
My first 3D-Macrame-Penguin
por Katja @cocoxue84
- 280
- 12
- 2
Einführung
Three years ago, I picked up macramé – and since then, I’ve knotted everything from bags and mirrors to clocks, lamps, and so much more. But never a 3D figure… until now! 🧵✨
When I saw the course “3D Macramé Sculptures: Designing and Creating Fiber Art Characters” by @stringtheoriesfiberdesign, I knew instantly: I had to try it.
Yes, macramé bags are technically 3D too, but let’s be real – this is a whole different level. More like crafting a cuddly little creature than a fashion accessory. 🐧💗
I love learning new techniques and pushing my creative boundaries – and honestly, I’m so proud of how this turned out.
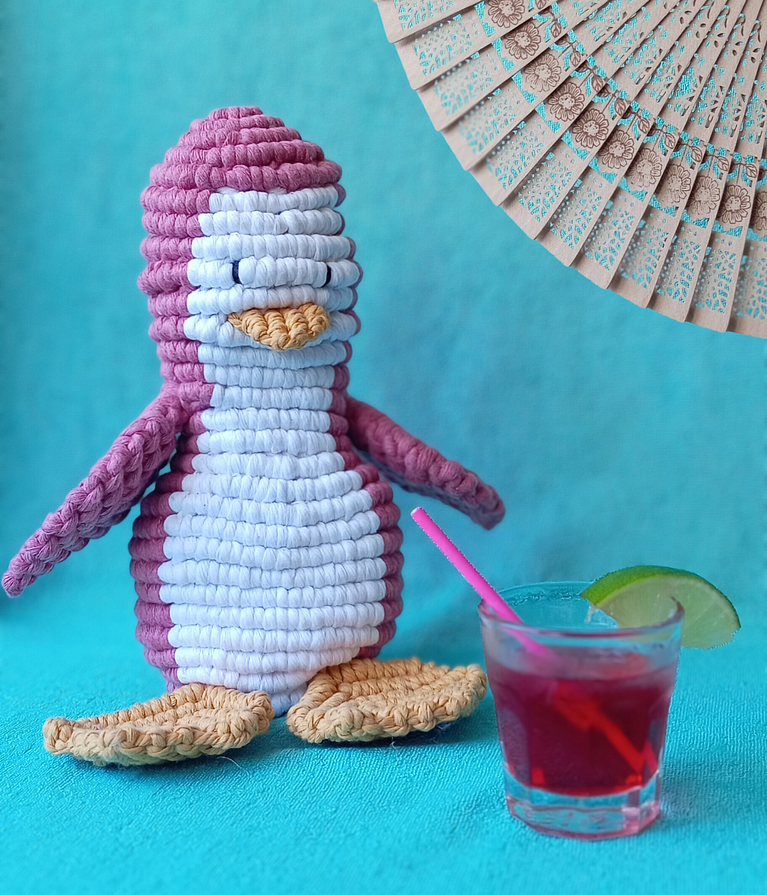
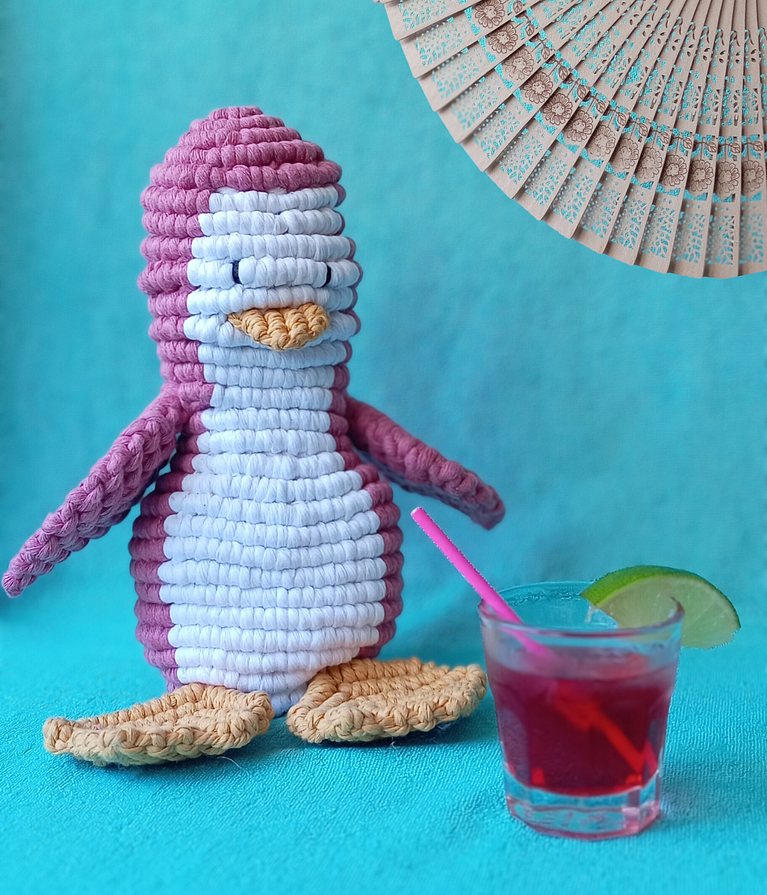
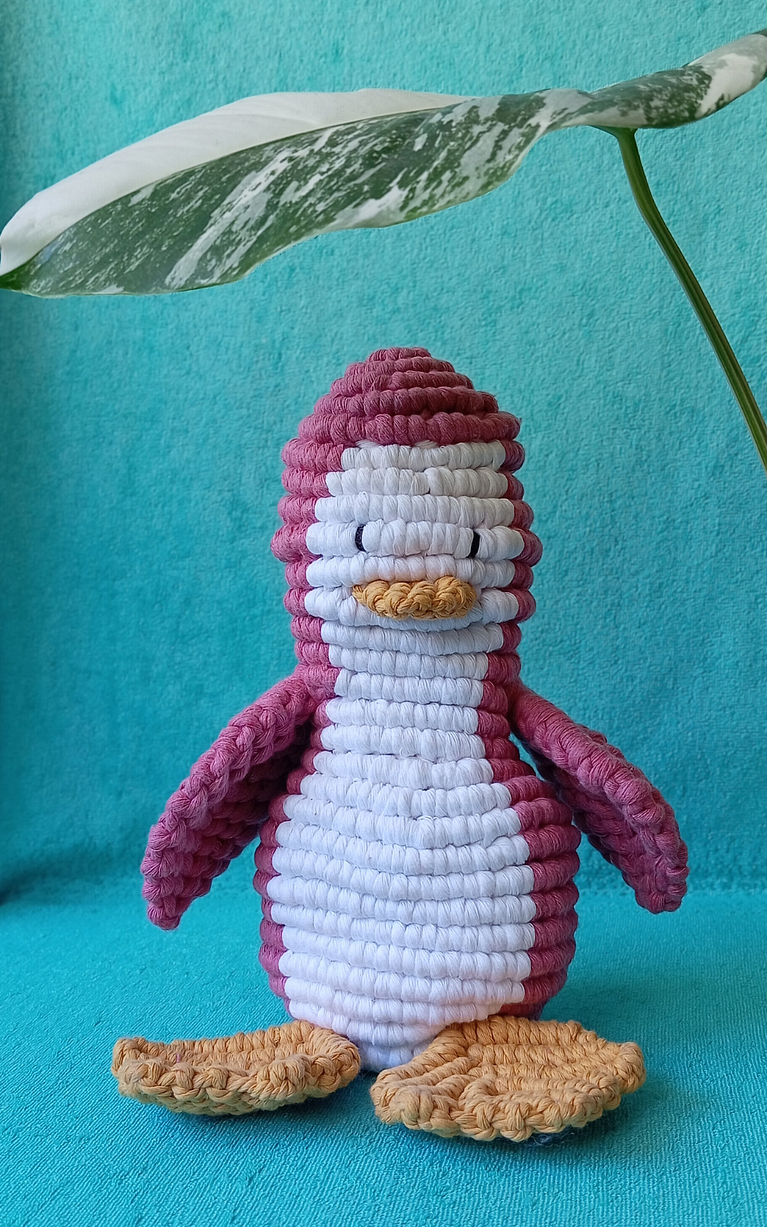
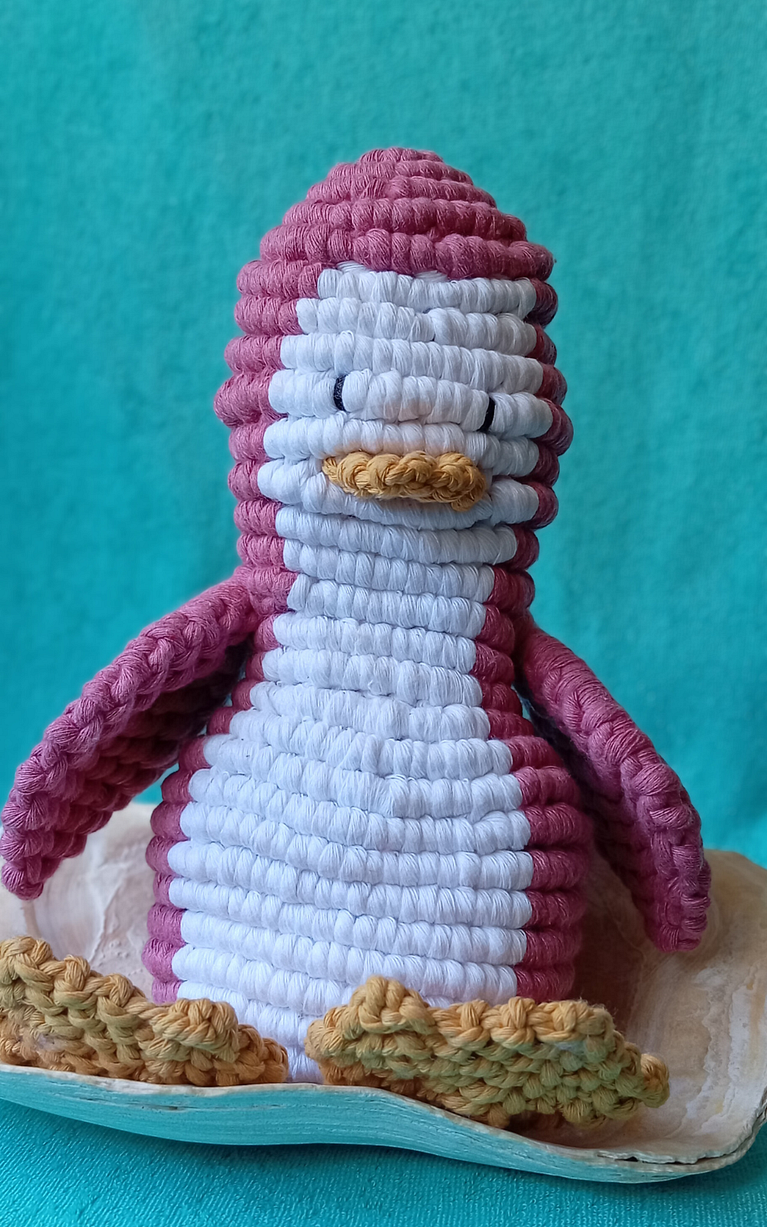
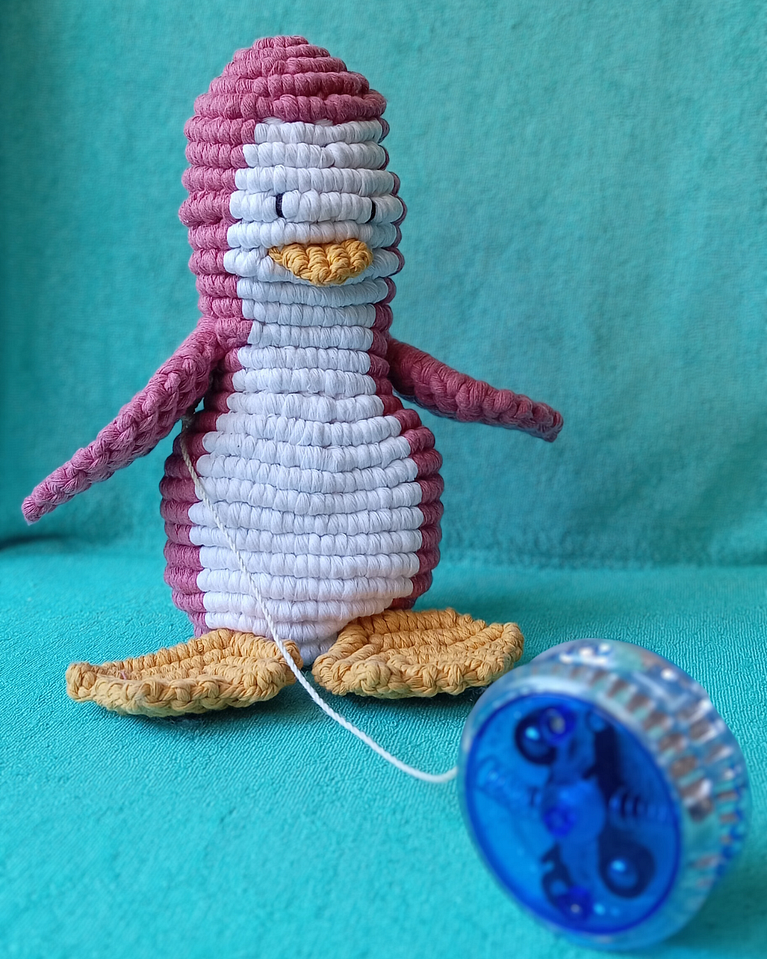
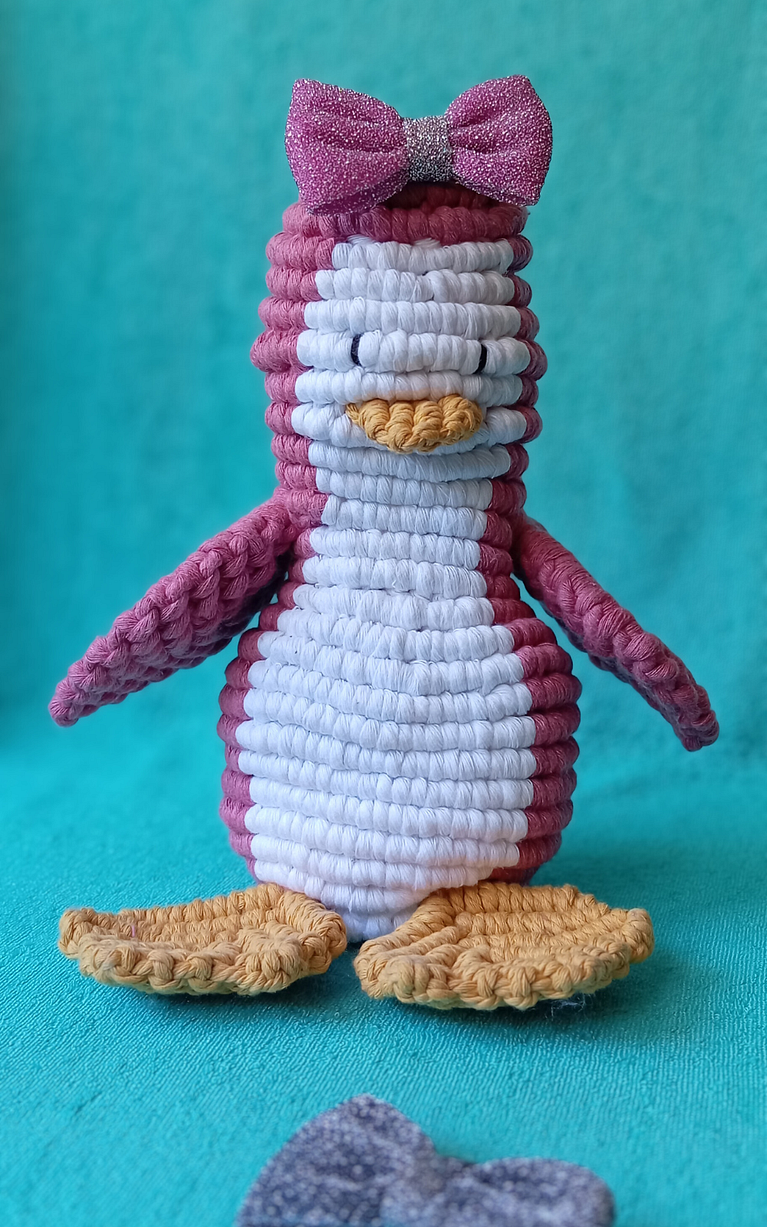
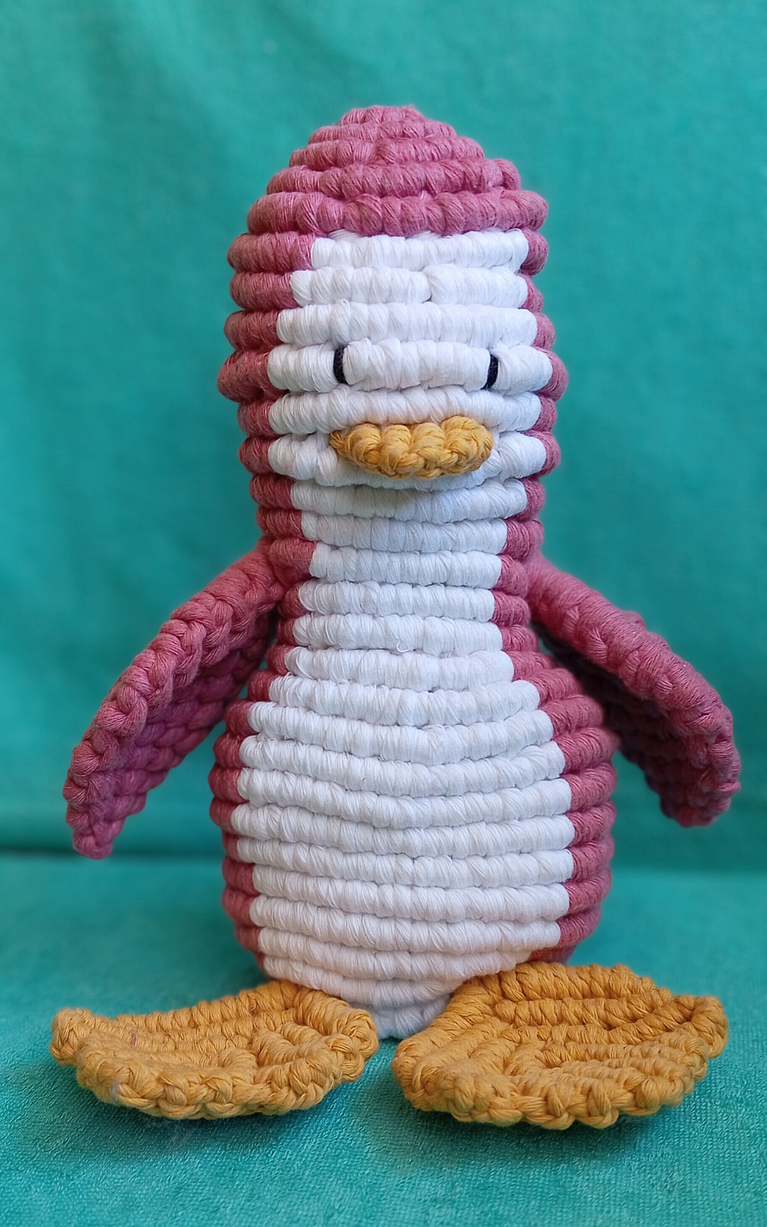
Meet my very first 3D penguin… or should I say PINKuin? Knotted in soft pink and ready for summer vibes. Because who says penguins can’t chill in the sun with a cocktail? 🍹☀️ (At least in our imagination!)
Lieferungen
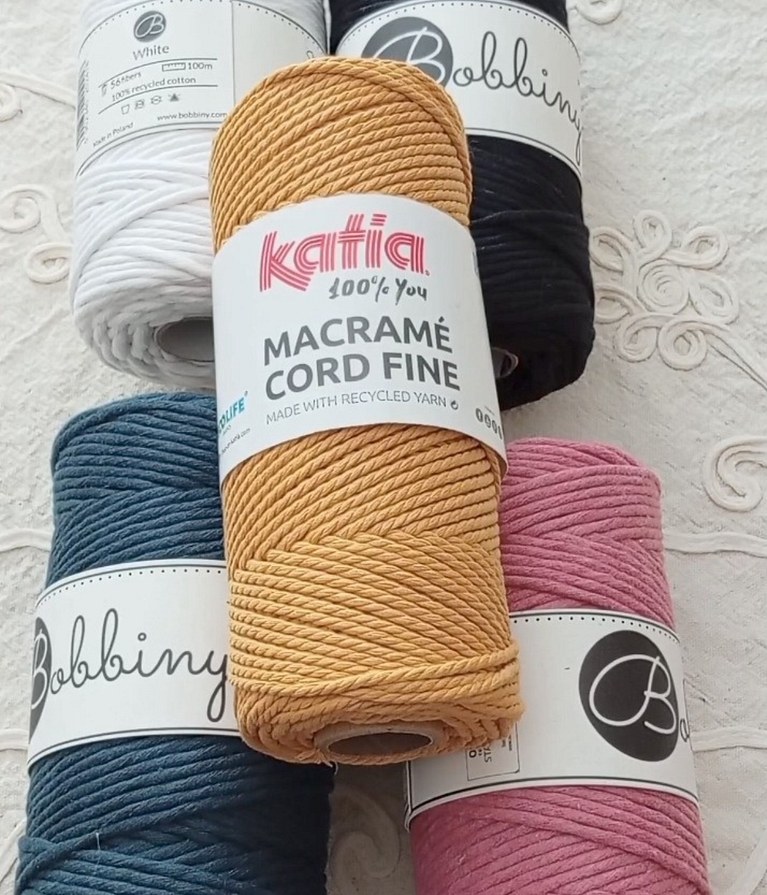
I ordered my yarn at https://lieblingsgarn.de
That's a German online shop that ships to the following countries: "Germany, Austria, Andorra, Belgium, Denmark, Estonia, Finland, France, Greece, Ireland, Italy, Croatia, Latvia, Lithuania, Luxembourg, Malta, Monaco, Netherlands, Poland, Portugal, Sweden, Slovenia, Romania, Slovakia, Spain, Czech Republic, Vatican City"
I bought 3mm and 2mm yarn, as it's quite hard to find 1mm yarn—especially in a specific color. So I adjusted my measurements to suit the thicker yarn. Naturally, the penguin turned out bigger—but that’s totally fine.
I also needed a macramé board (I don’t have a macrame board yet, that's why I used a punching mat made of special synthetic fibers that also holds pins), some pin needles, a pair of scissors, and a measuring tape.
Practicing knots
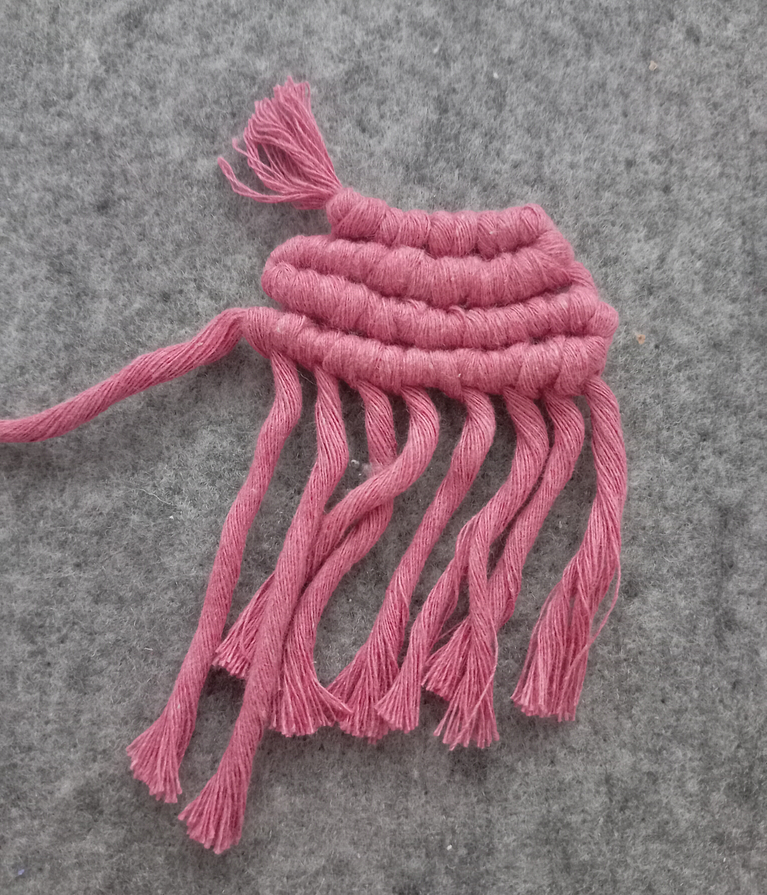
Since I already have a lot of experience with macramé, I didn’t need much practice – especially because this figure is made entirely using the clove hitch knot - either vertically or horizontally.
That said, it’s always a good idea to go through all the exercises. They really help ensure that the final result looks clean and polished – and ideally error-free (even though, let’s be honest, we usually learn the most from our mistakes 😉)
Sketch of my design
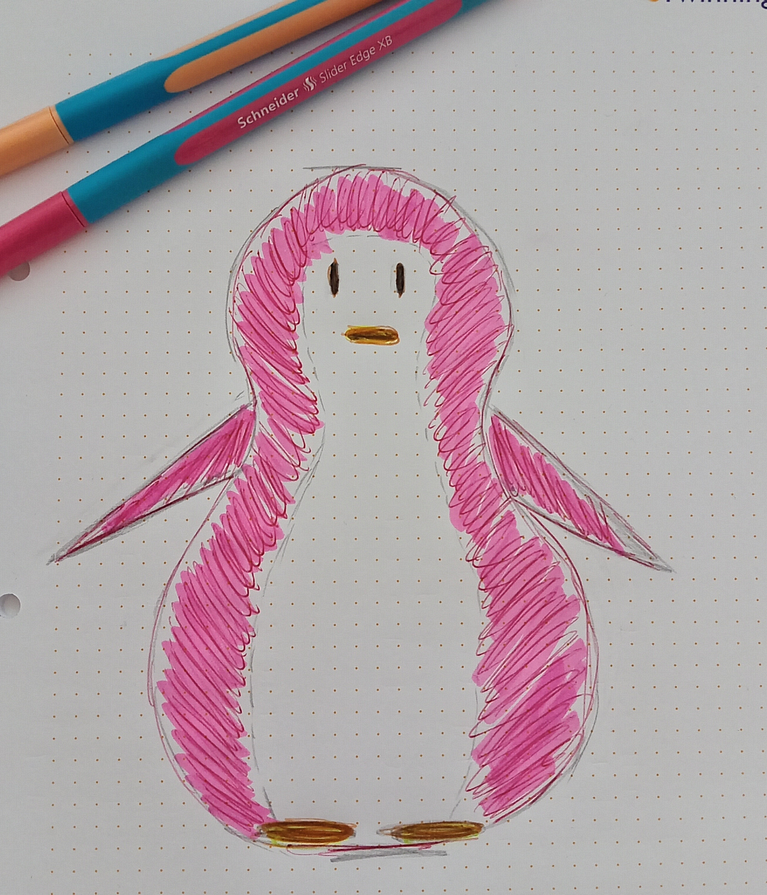
This is the initial sketch for my macramé design.
Since I had no prior experience with 3D figures, I initially stuck closely to the instructions and just started sketching—without thinking much about the actual size. At that point, I had no idea that the size of the sketch would directly determine the size of my penguin. The same applied to the width.
As it turned out, my penguin was going to be twice as big as the one in the video, which of course meant more rows—and therefore longer cords.
Longer cords, however, are usually much trickier to work with. Knotting becomes less smooth because the cords tangle more easily.
But I was still feeling optimistic at that point—especially since I planned to use thicker cord anyway and wanted the penguin to be much bigger in the end.
Calculate my final lengths
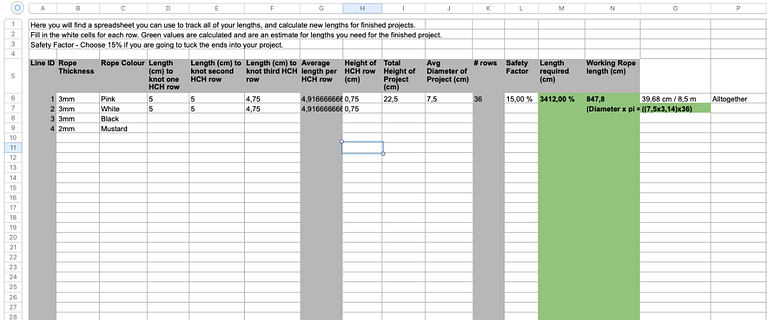
I'm working with 3 mm and 2 mm macramé cord. Because the thicker cord makes the penguin taller and wider, I need to adjust the proportions accordingly. That means the penguin should not only be taller, but also wider to stay in proportion. I had no experience and no template, so I based my design on a sketch and set a target size of 22.5 cm in height and 7.5 cm in width. Based on that, I estimated that the working rope should be around 8.5 meters, and all other cords should each be about 4,2 m long. (The formula didn't work for the "length required", that's why i converted feet into centimeters to get a result)
In general, I'm working in centimeters that's why i converted my measurements to feet and inches to double-check everything—and ended up with the same result.
The Elements: Creation of Wings, Feet, and Beak
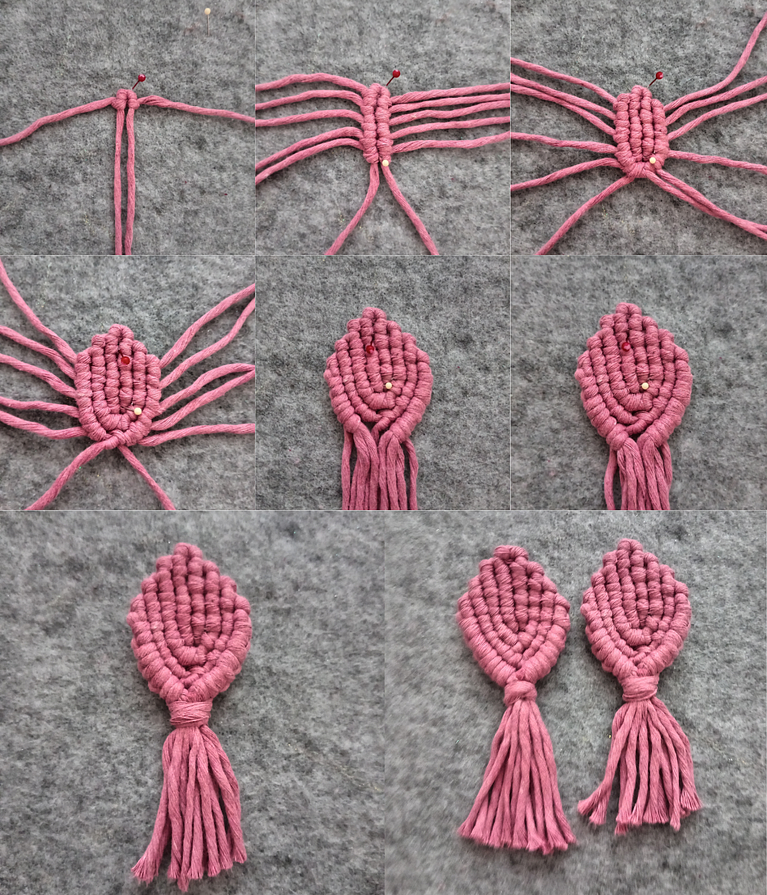
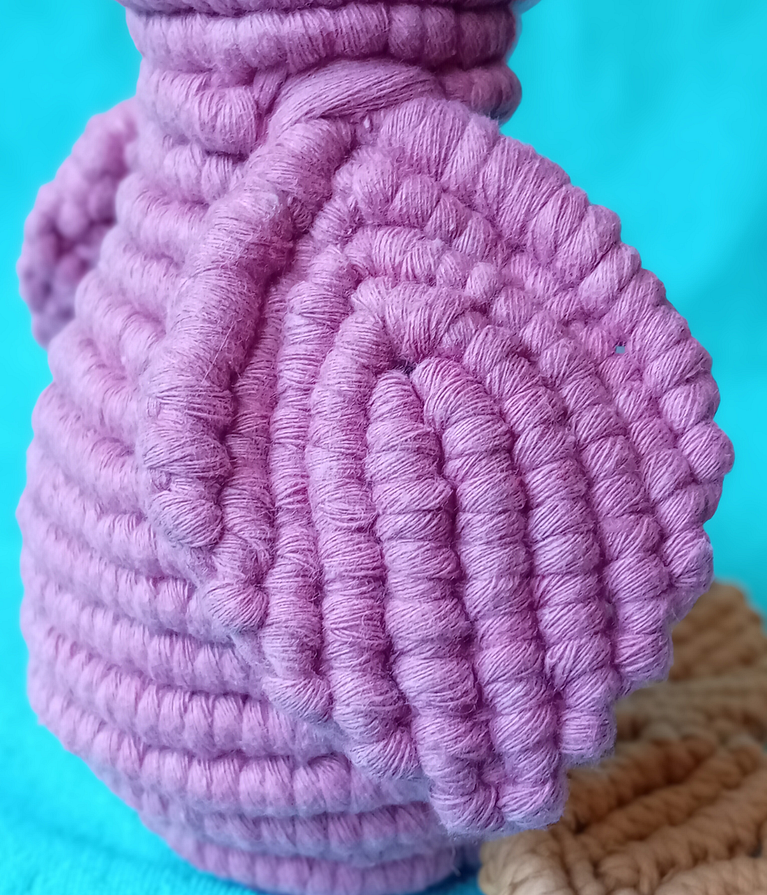
I made the wings using 3 mm cord – initially with six cords, each 70 cm long. For a smaller penguin, that would have been completely sufficient. However, since my penguin was going to be much larger, I had to adjust the wing pattern and add two more cords, as well as two additional rows on each side, using 80 cm cords.
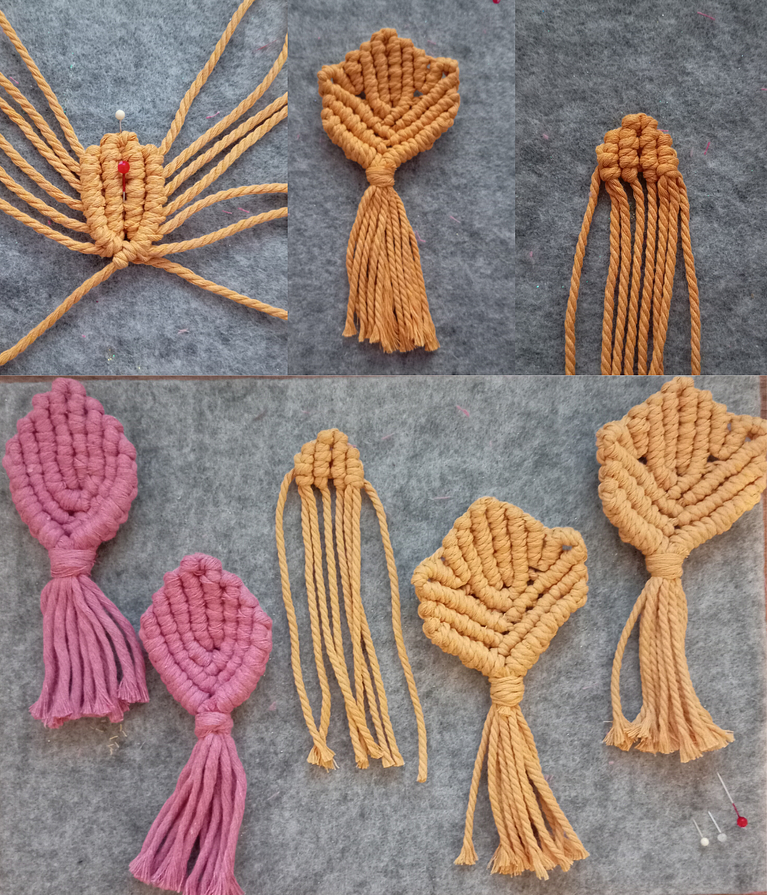
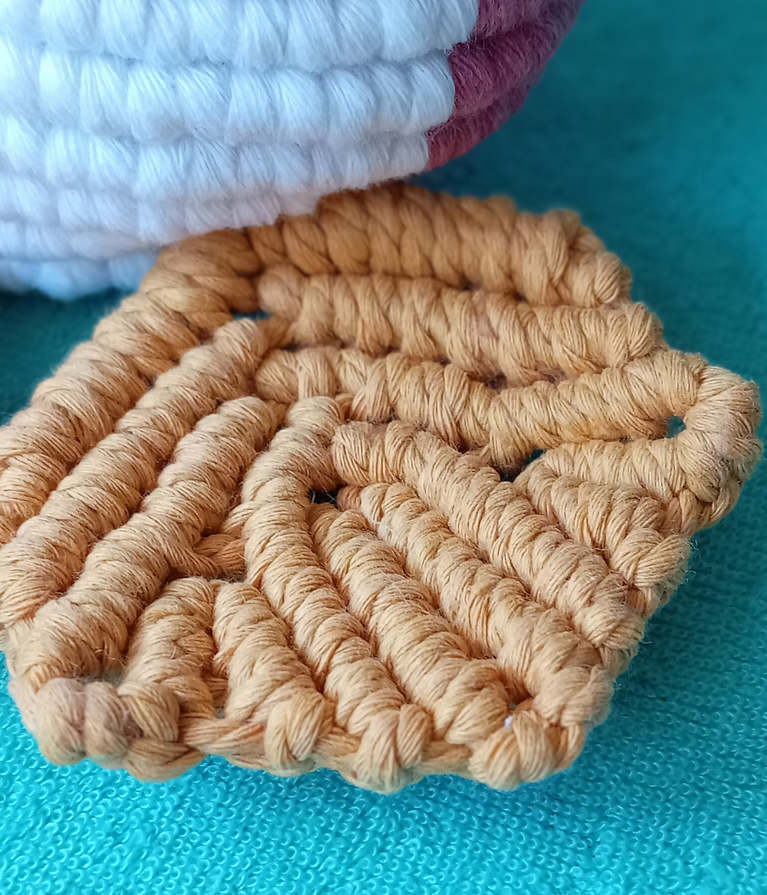
For the feet and the beak, I used 2 mm cord and adjusted the length by multiplying it by 1.5. For the feet, I used 7 cords of 90 cm each, and for the beak, 4 cords of 45 cm. That way, I didn’t have too much leftover cord.
For the first foot, I initially used 60 cm cords (as in the 2 mm instructions), but I ran out of cord and had to redo it with a longer length. That was definitely a valuable lesson.
The Body: Creating the Head with Eyes and Attaching the Beak
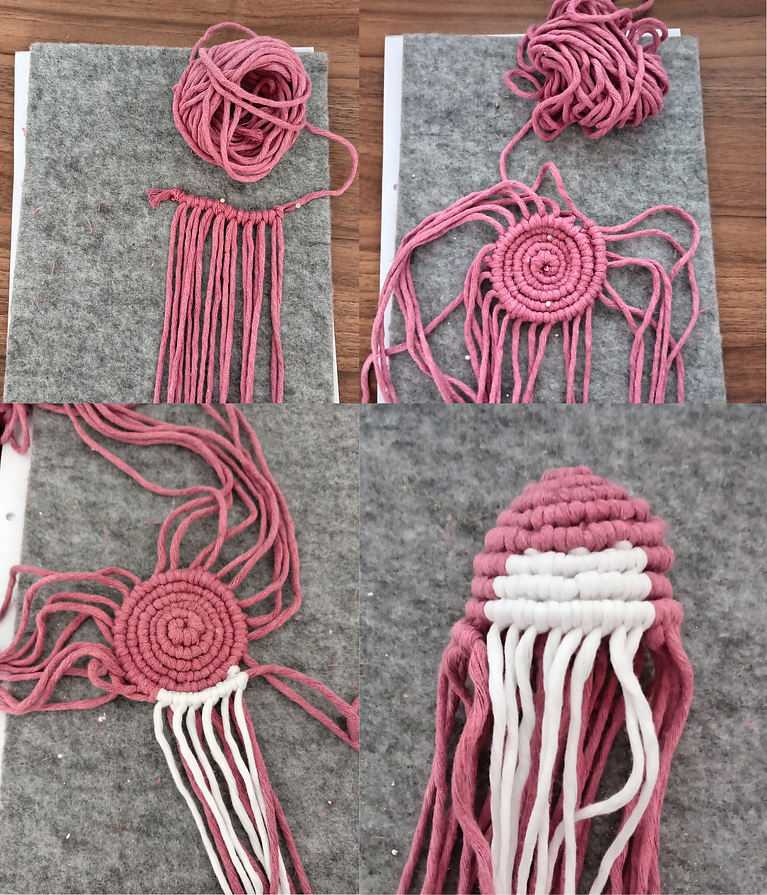
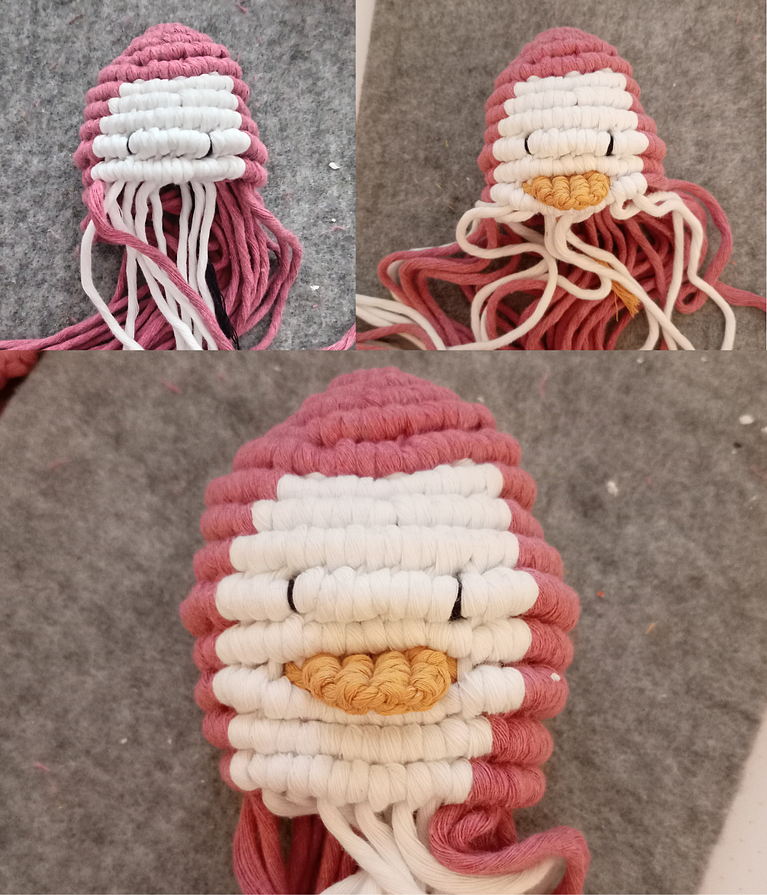
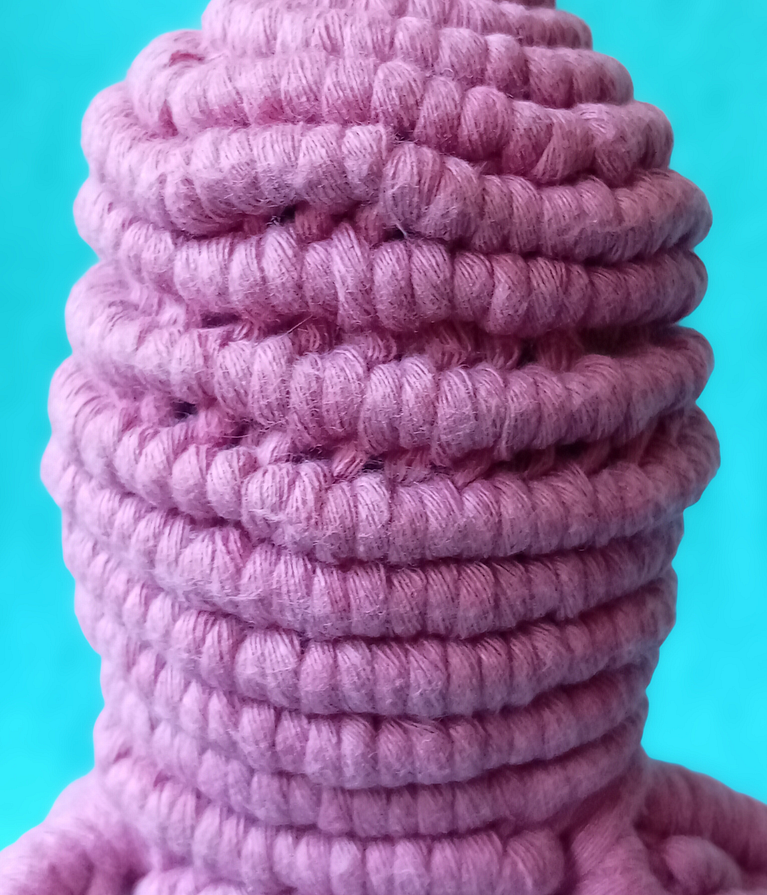
My penguin will be twice as big as the original, and since I’m working with 3mm cord, I have very long strands. This makes it harder to work smoothly, and I made some of the knots on the head a bit loose (which I didn’t notice at first) as the weight of the cords pulls the figure off the table, and separating the cords wasn’t always easy either. As a result, the head turned out a bit crooked and uneven. Definitely something I’ll pay more attention to next time. That was also the moment I decided to make the next penguin using 2 mm cord 😉
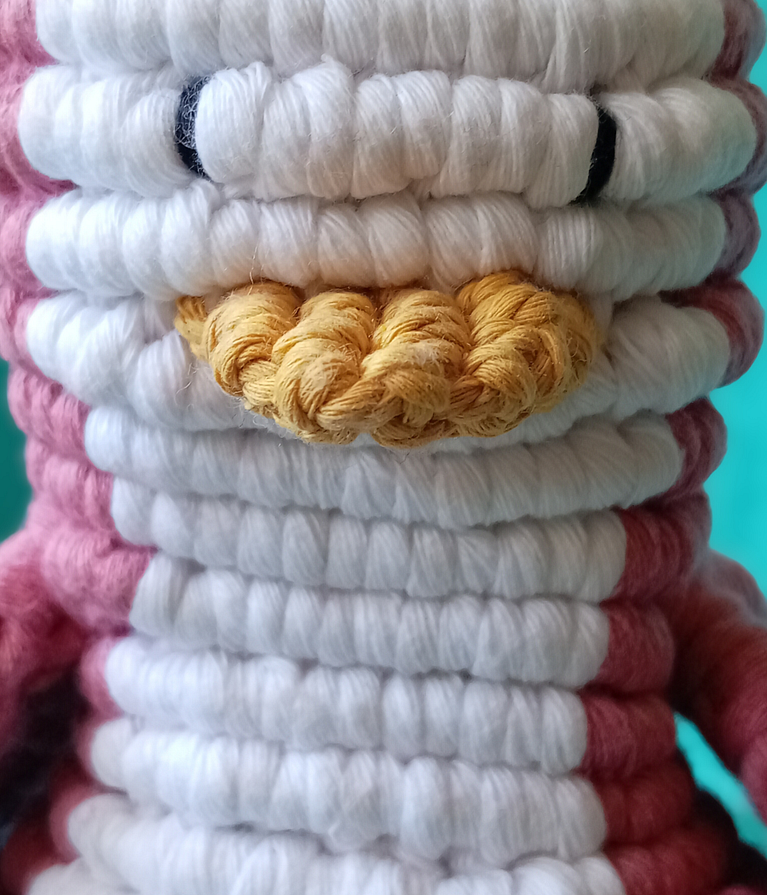
For the eyes, i used 2mm black yarn, splitting the cord in half (lengthwise) as shown in the video.
I also attached the beak a bit differently – after the second white cord, I already tied it and attached it to a total of four white strands. That’s because it’s quite wide, as it’s made from 2mm cord with 3 threads.
At the neck, it was important to drop cords in order to slim it down and visually separate it from the head. It is important that this is done symmetrically, otherwise the penguin would end up crooked or disproportionate.
The Body: Creating the Belly and Attaching the Wings and the Feet
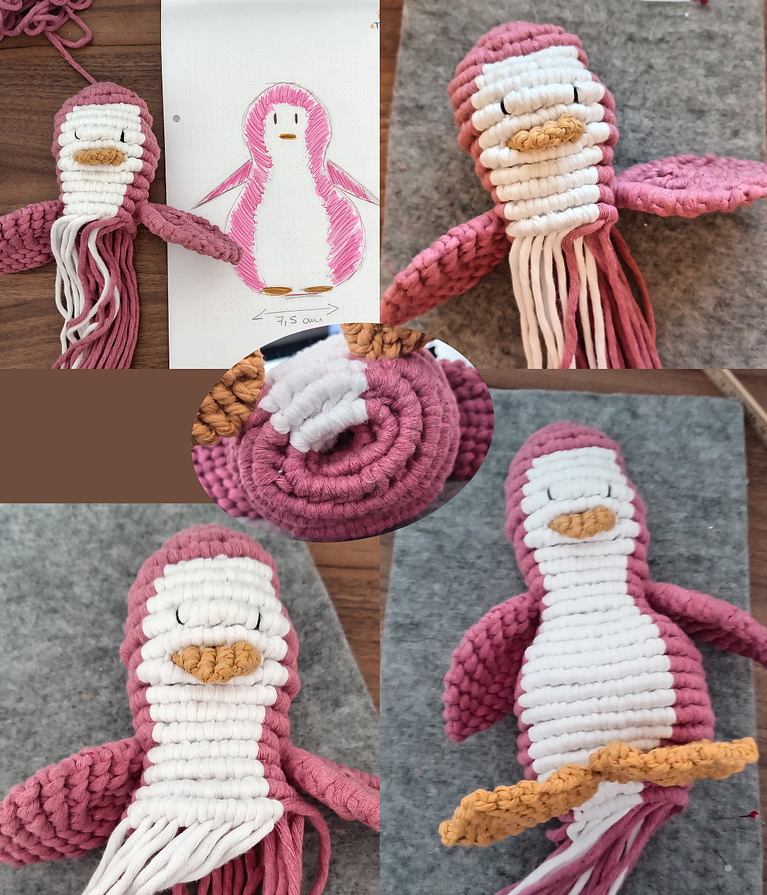
I redid the wings and made them bigger/wider so that they would look proportional to the rest of the body. Attaching them was also a bit tricky because the knot is thicker overall and actually needs more knots to go around it.
For the belly, it was important to pick up the previously dropped cords again and, if necessary, add new ones—depending on how thick the belly is intended to be. When picking up cords, you also need to make sure it's done proportionally to the rest of the body, so that the symmetry is maintained in the end. Up until the belly section, I followed the original instructions exactly and didn’t add any extra rows.
Unfortunately, it only occurred to me quite late: how was I supposed to knot 36 rows when the pattern (which was designed for 2 mm cord) only included 23? My penguin was supposed to be twice the size and have more rows—something I had actually calculated in Excel. So technically, I needed to distribute the additional rows symmetrically across certain parts of the body. In the end, I made the beginning of the belly exactly like in the tutorial, but at the widest part I added extra rows—knotting 7 instead of 4. In the following section, where cords are dropped again, I added 3 extra rows as well. Finally, I made the hole (used for stuffing the remaining cord inside) smaller than in the original version (see photo).
Unlike the wings, I didn’t make the feet any bigger—but since they’re made with 3-ply 2 mm cord, they still turned out much larger than expected. And even though the penguin itself is quite big, the feet still look comically oversized. When I attached them, I actually burst out laughing because they made the penguin look even cuter and clumsier. That’s when I even got the idea that the feet could double as a little earring holder 😉
As mentioned earlier, I used the leftover cord to stuff the penguin. Since I didn’t end up knotting all the rows I had originally planned—but had already cut that much cord—I was left with about 90 cm of unused length per strand (so roughly 1.80 m per cut cord). That’s quite a lot, but given the larger size of the penguin, I also needed more filling material anyway. For my next project, I now know that it’s better to actually knot all the rows I had calculated for and adjust the cord lengths accordingly.
In the end, my penguin is 20cm in size and 9cm wide. - All in all 2.5 cm shorter but 1.5 cm thicker. I don't know why it turned out much thicker.
A little photo session with my handmade 3D penguin
In the end, I wanted my handmade creation to shine in the best light, so I spontaneously did a little photo session with it. The imagination knows no bounds—you can use any props you have that fit the theme. For me, it’s 'Pinkuin goes Summer.' Which photo do you like best?
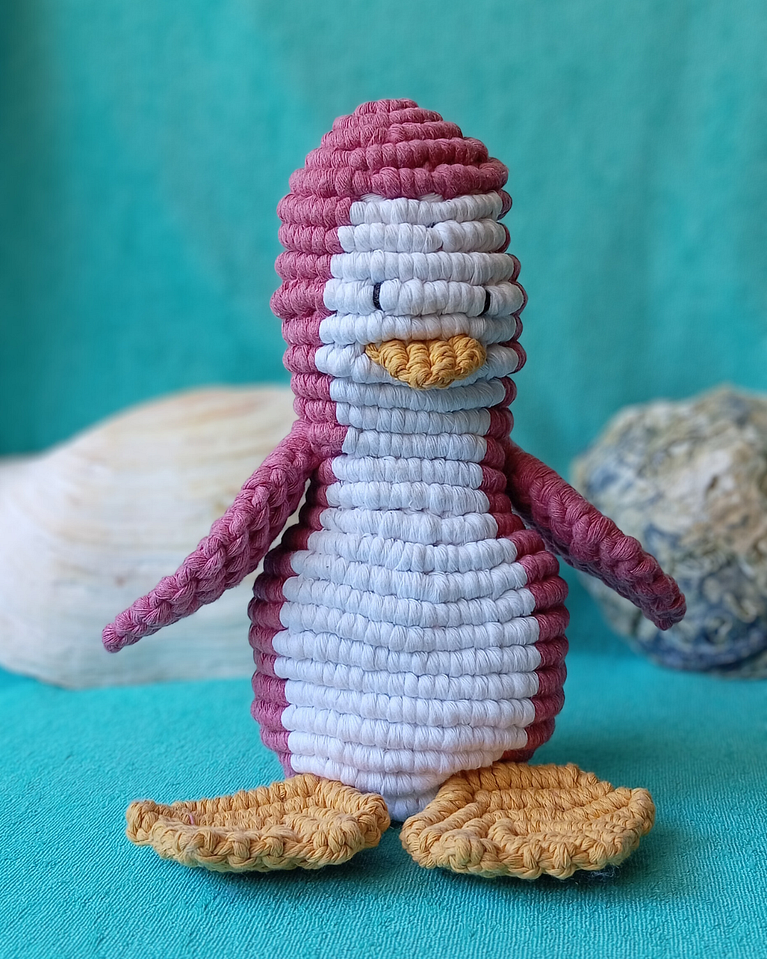
Some Close-Ups
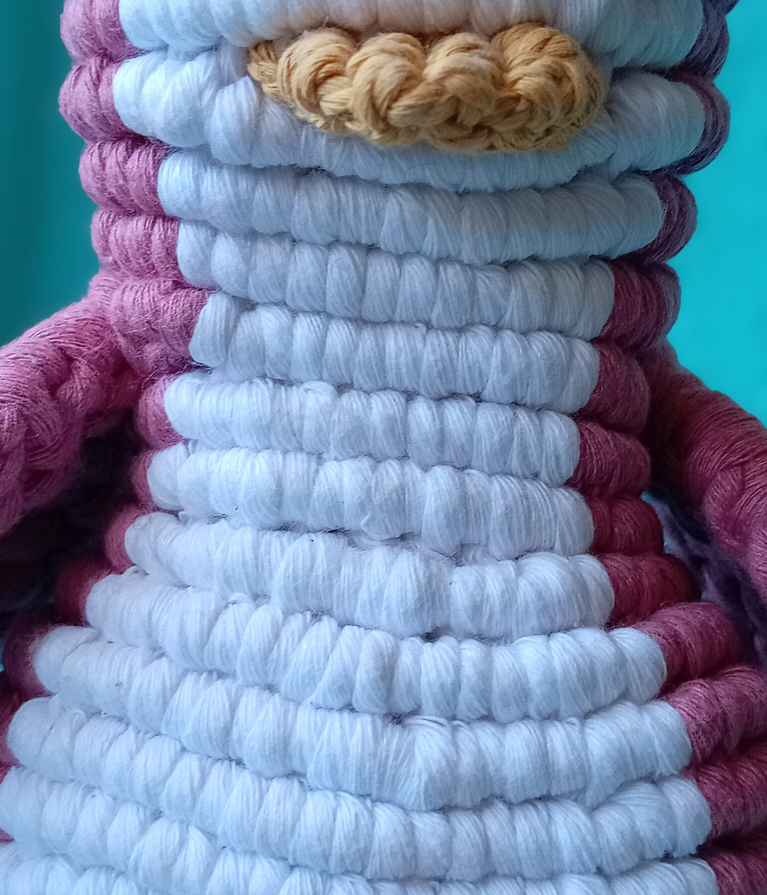
Here are some close-up shots of my Pinkuin
Trial and Error
As you can see in the picture, I didn’t knot with consistent tension at the beginning and was quite loose when the cords were very long, causing the weight to pull my penguin off the table. That’s why the rows aren’t straight and look wavy. But as we all know, you learn from your mistakes—and I definitely won’t let that happen again.


2 comentarios
Holy moly!!! This is such a detailed explanation of your journey, I absolutely loved reading this. Thank you for all the questions along the way, and apologies again about the formula excel download not working properly... Hope no one else has the same issue. 🤞
Your penguin looks so cute! Love the photo with the bow. Thanks for joining my course ❤️
@stringtheoriesfiberdesign Vielen lieben Dank 🤗
Entra o únete Gratis para comentar