Specialization
Best seller

Sketching Techniques Specialization

10 Teachers

Explore the power of sketching alongside top-notch drawing masters.

Explore the power of sketching alongside top-notch drawing masters.

10 Teachers
Specialization · 9 modules

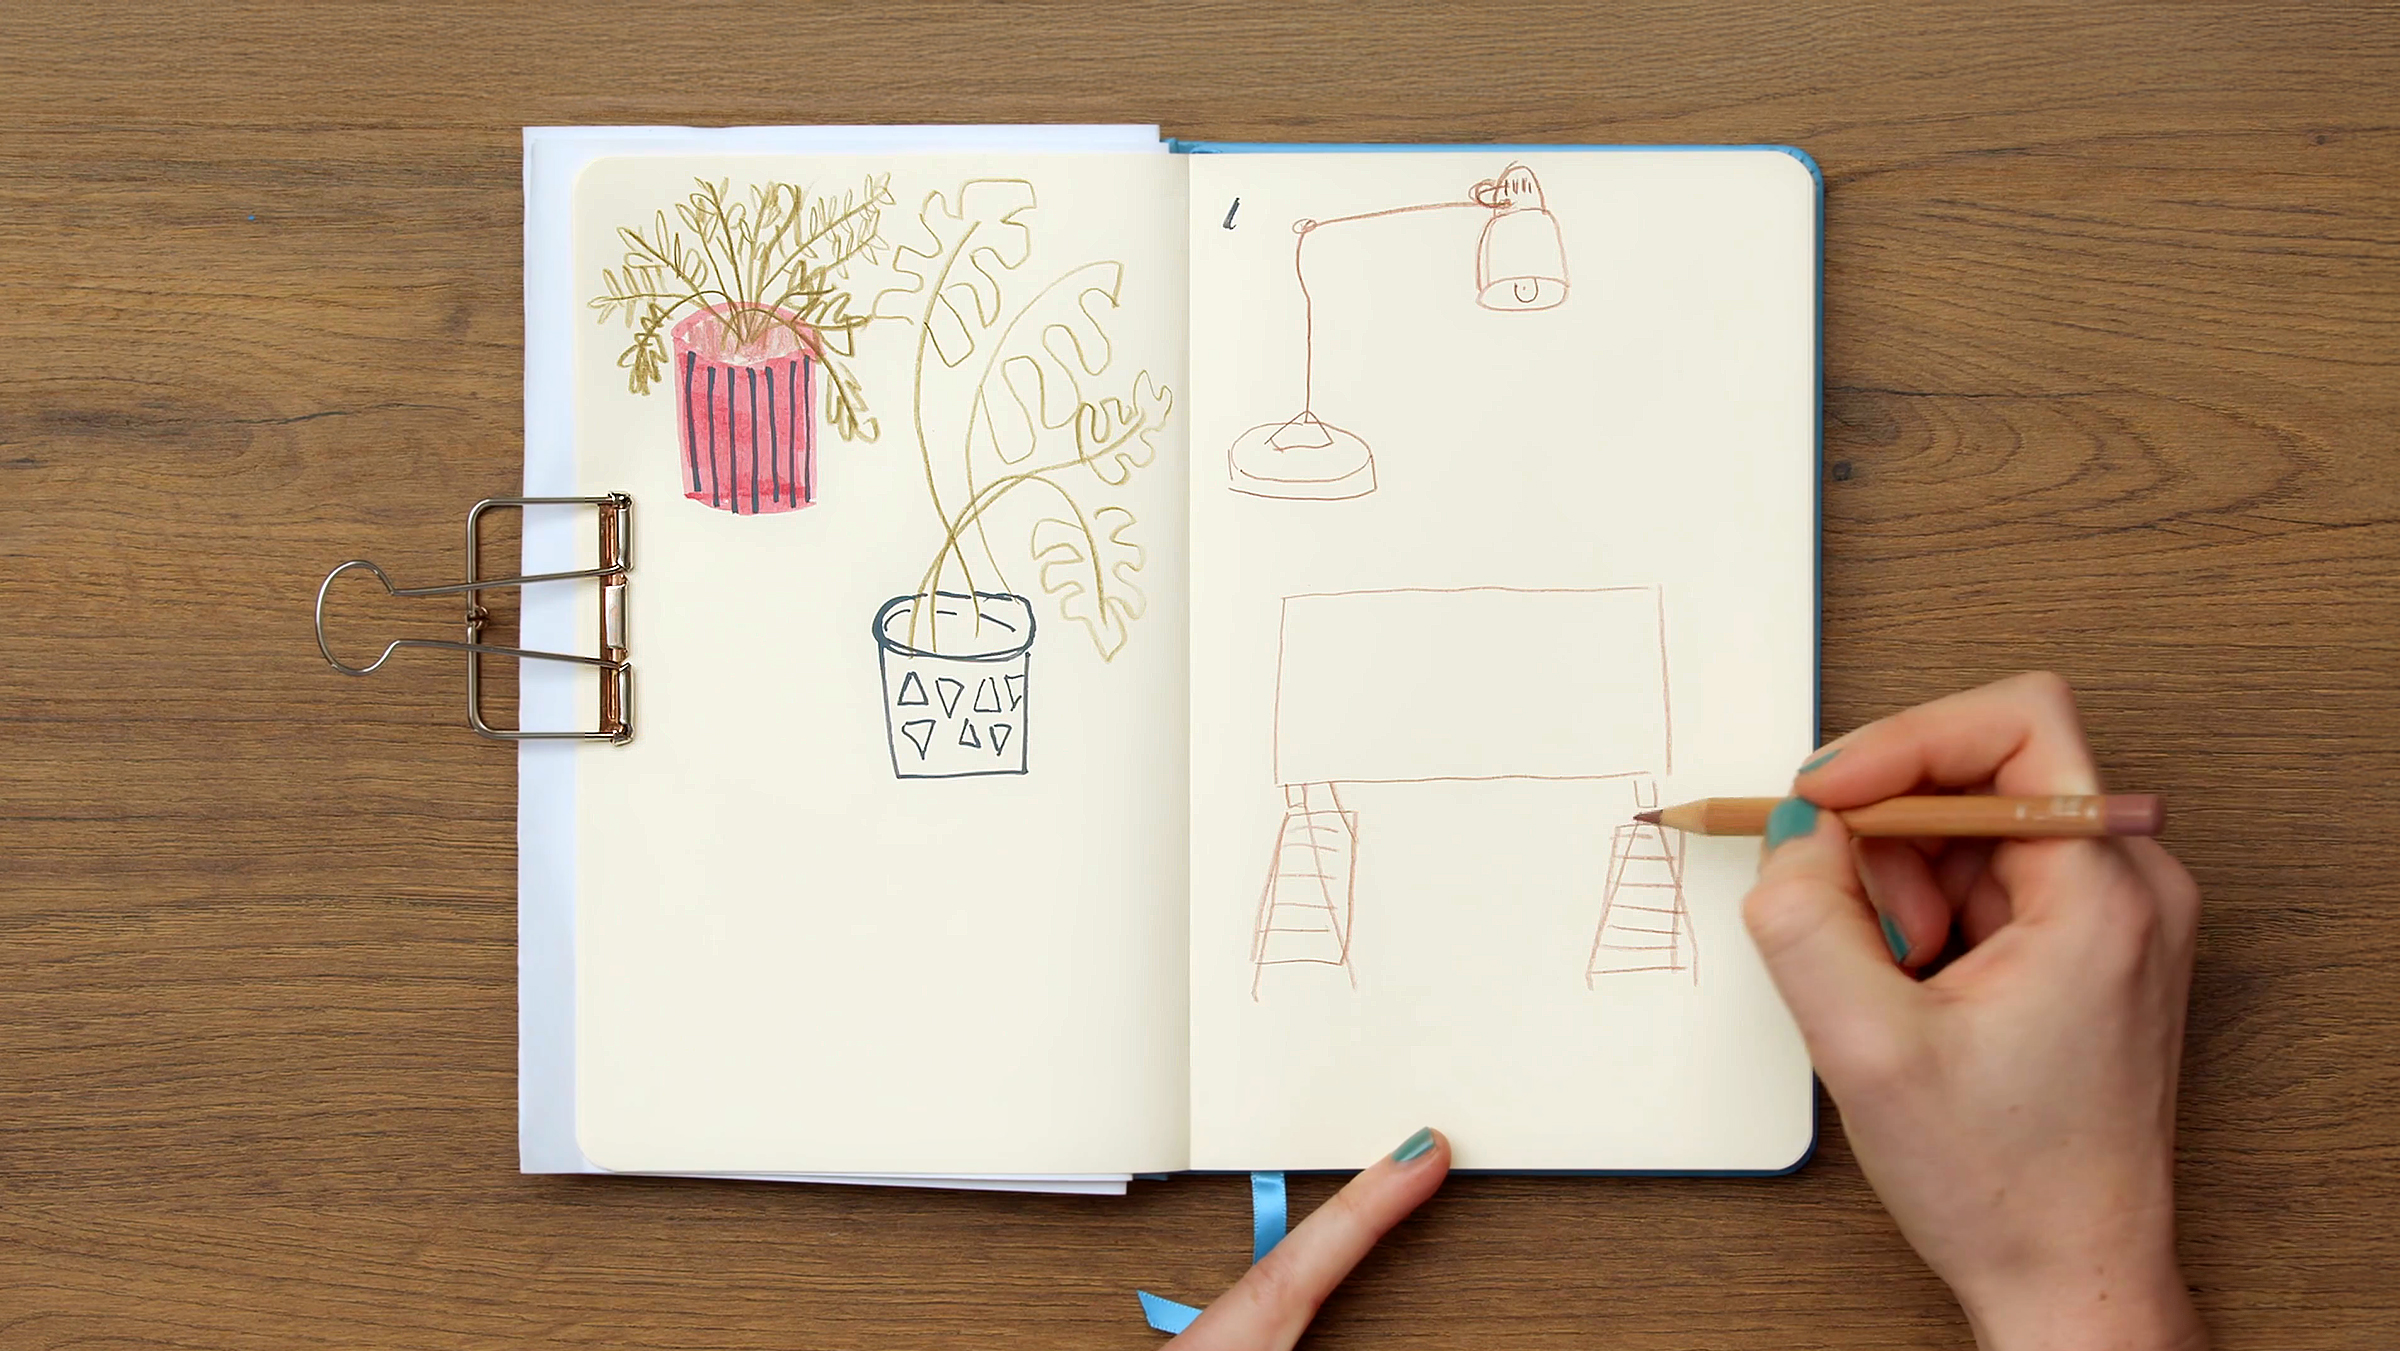
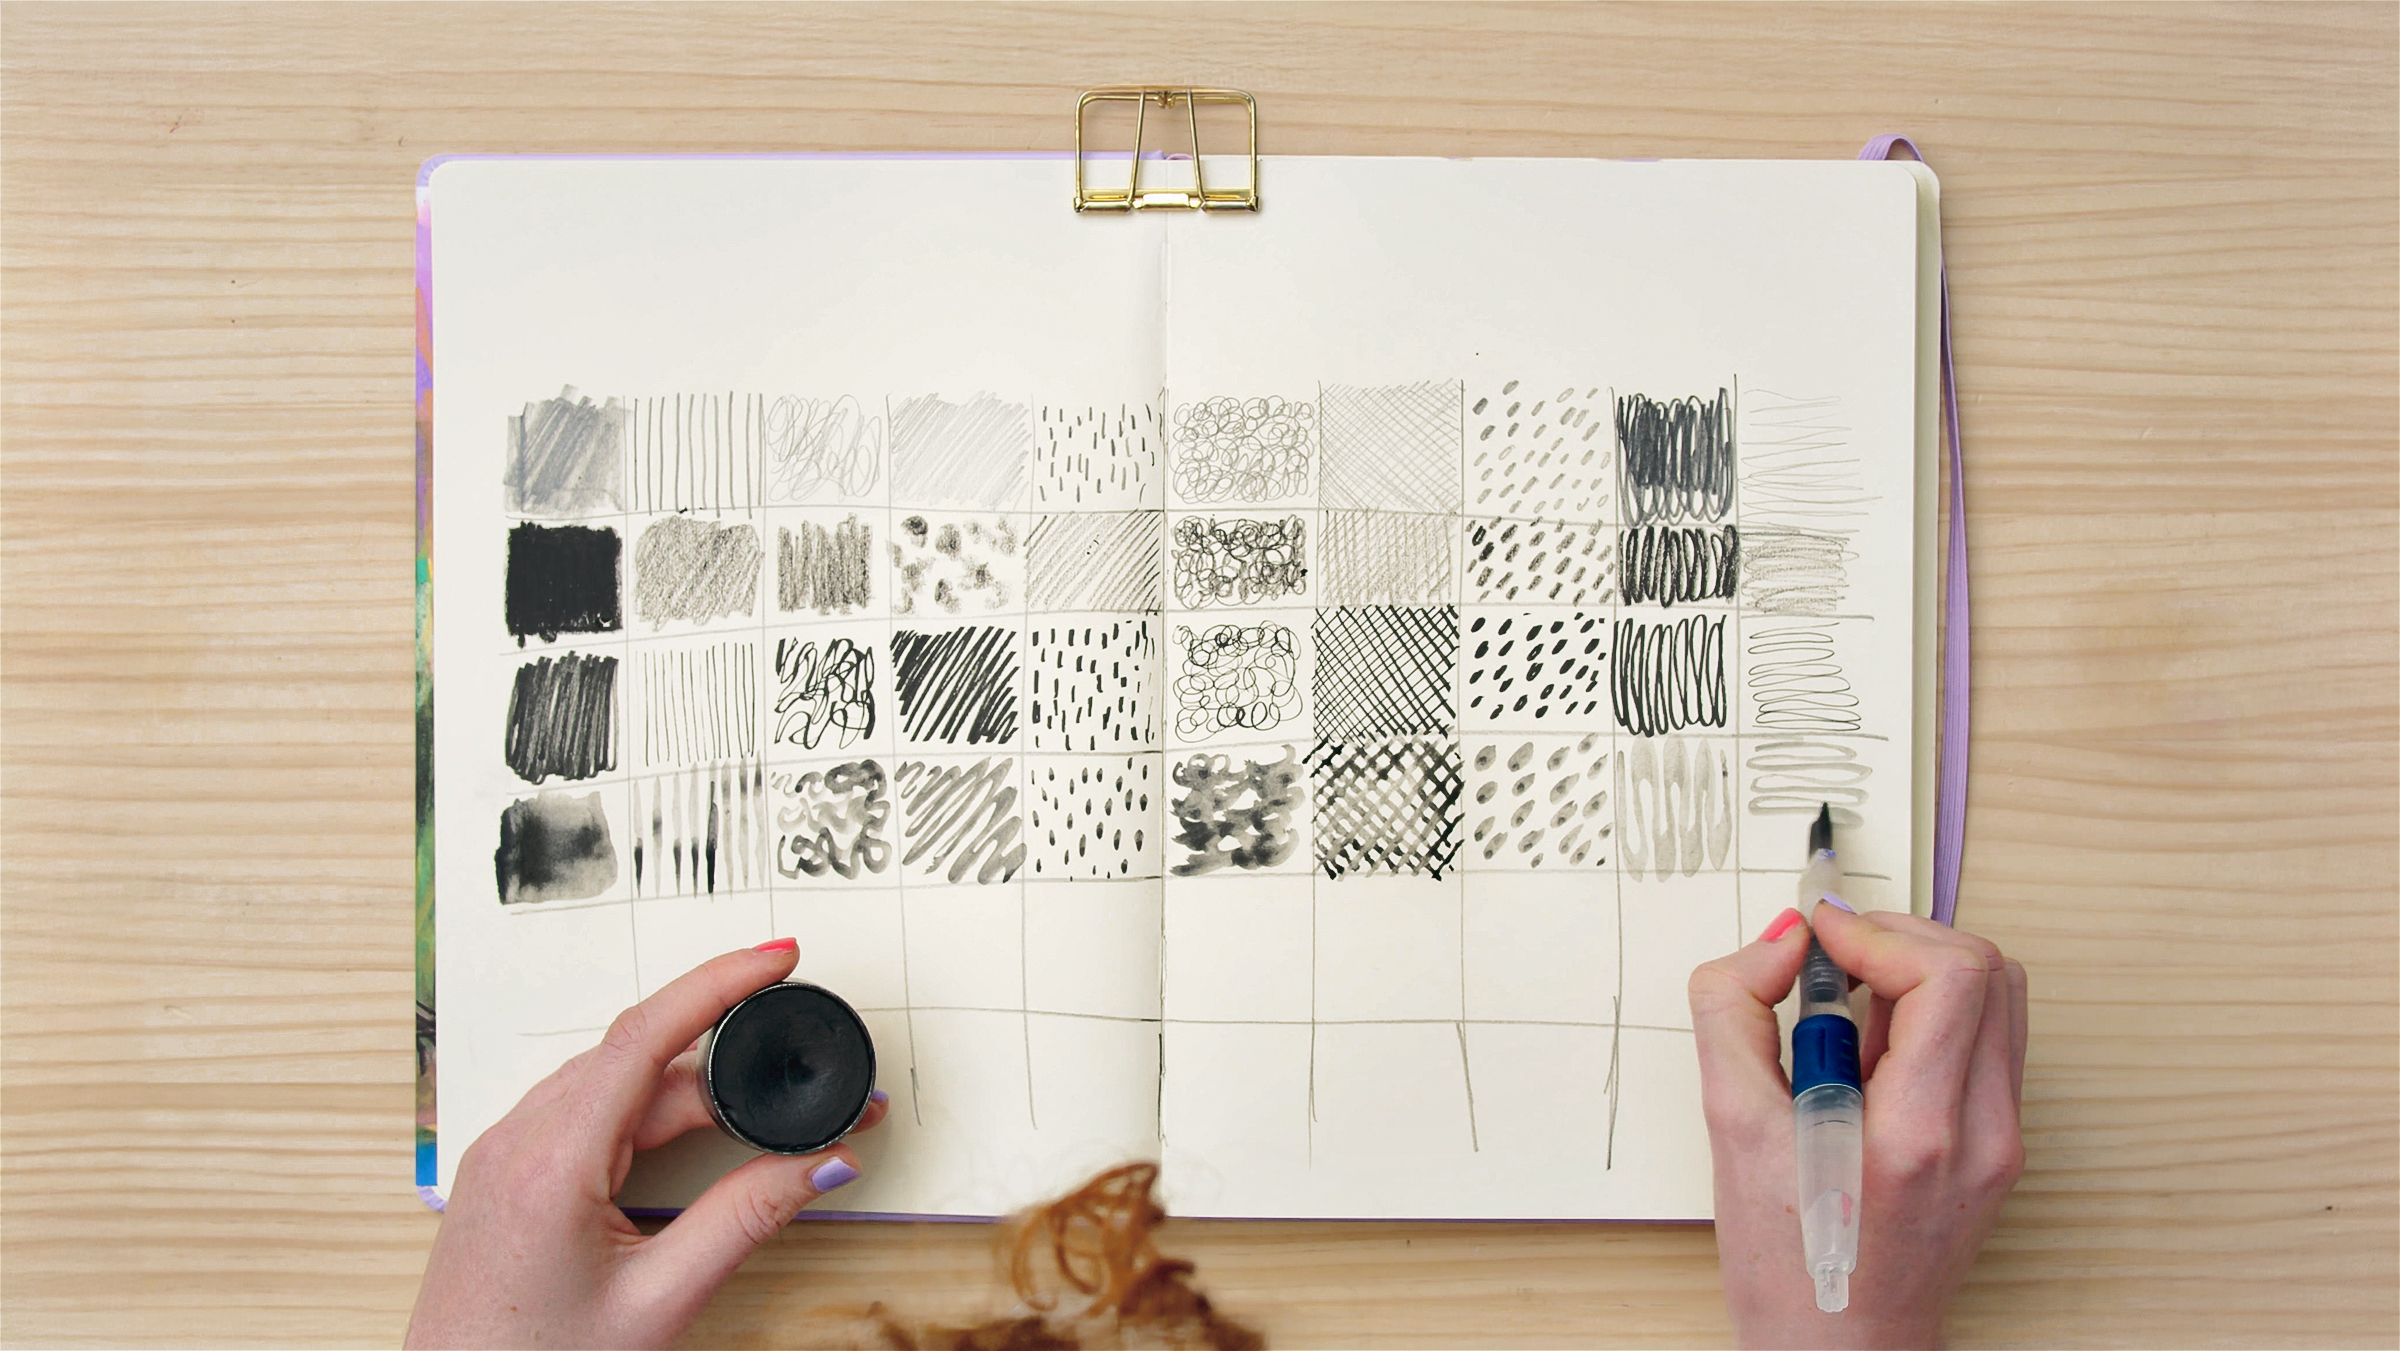
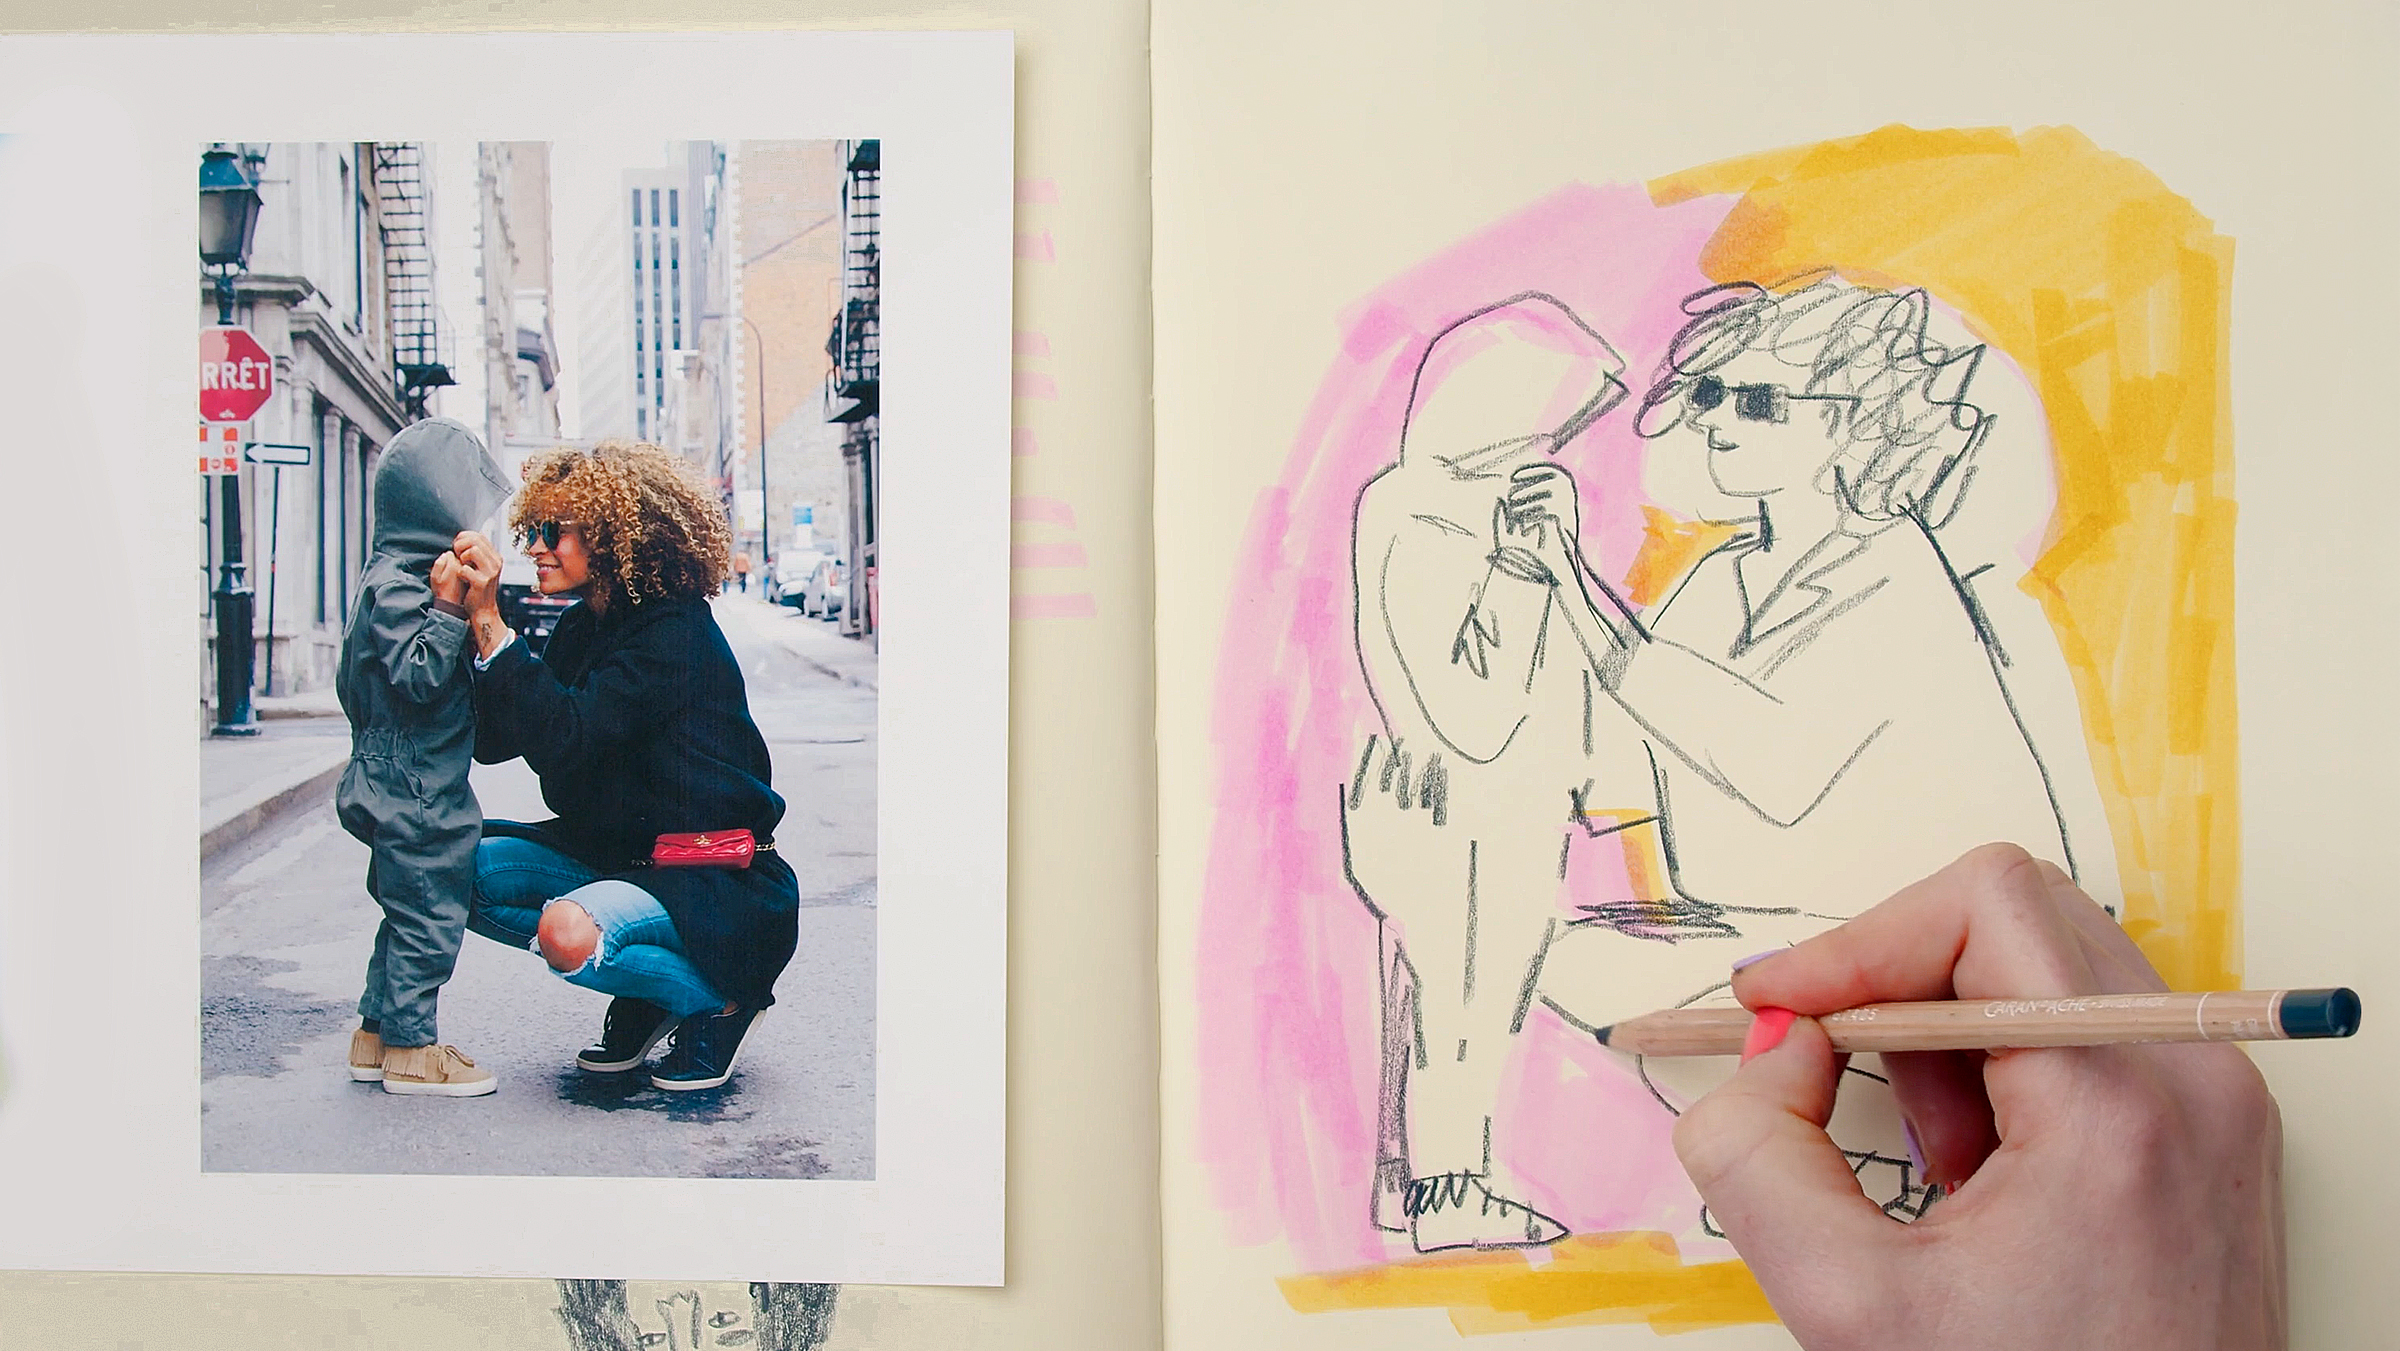
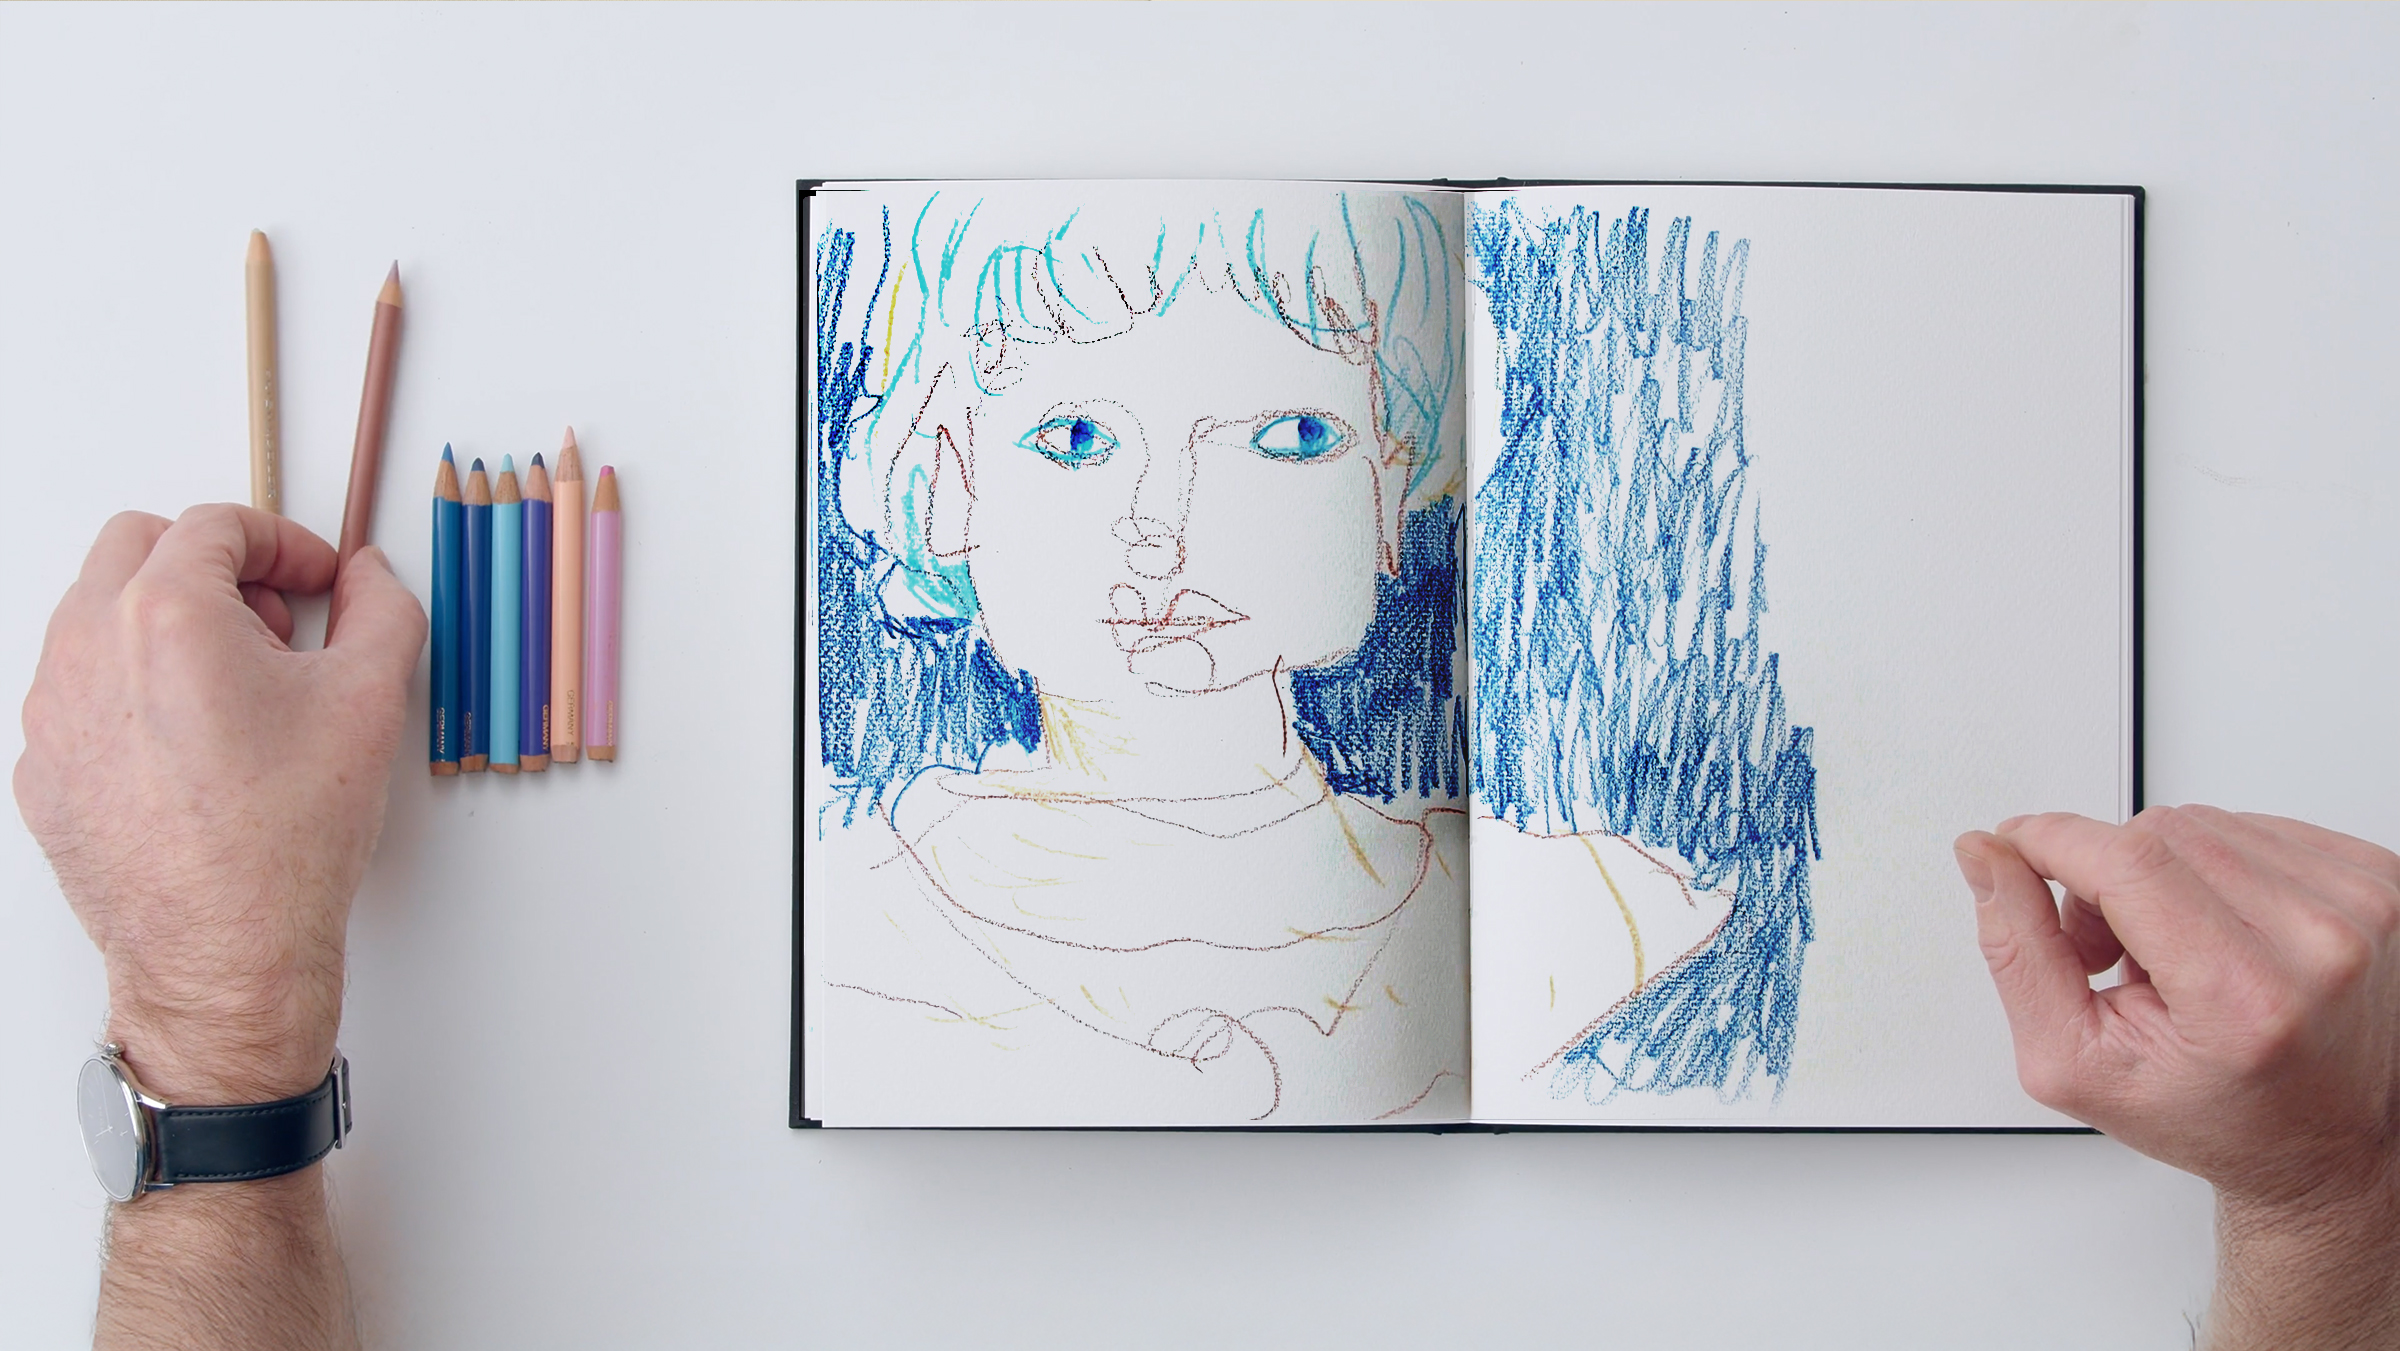
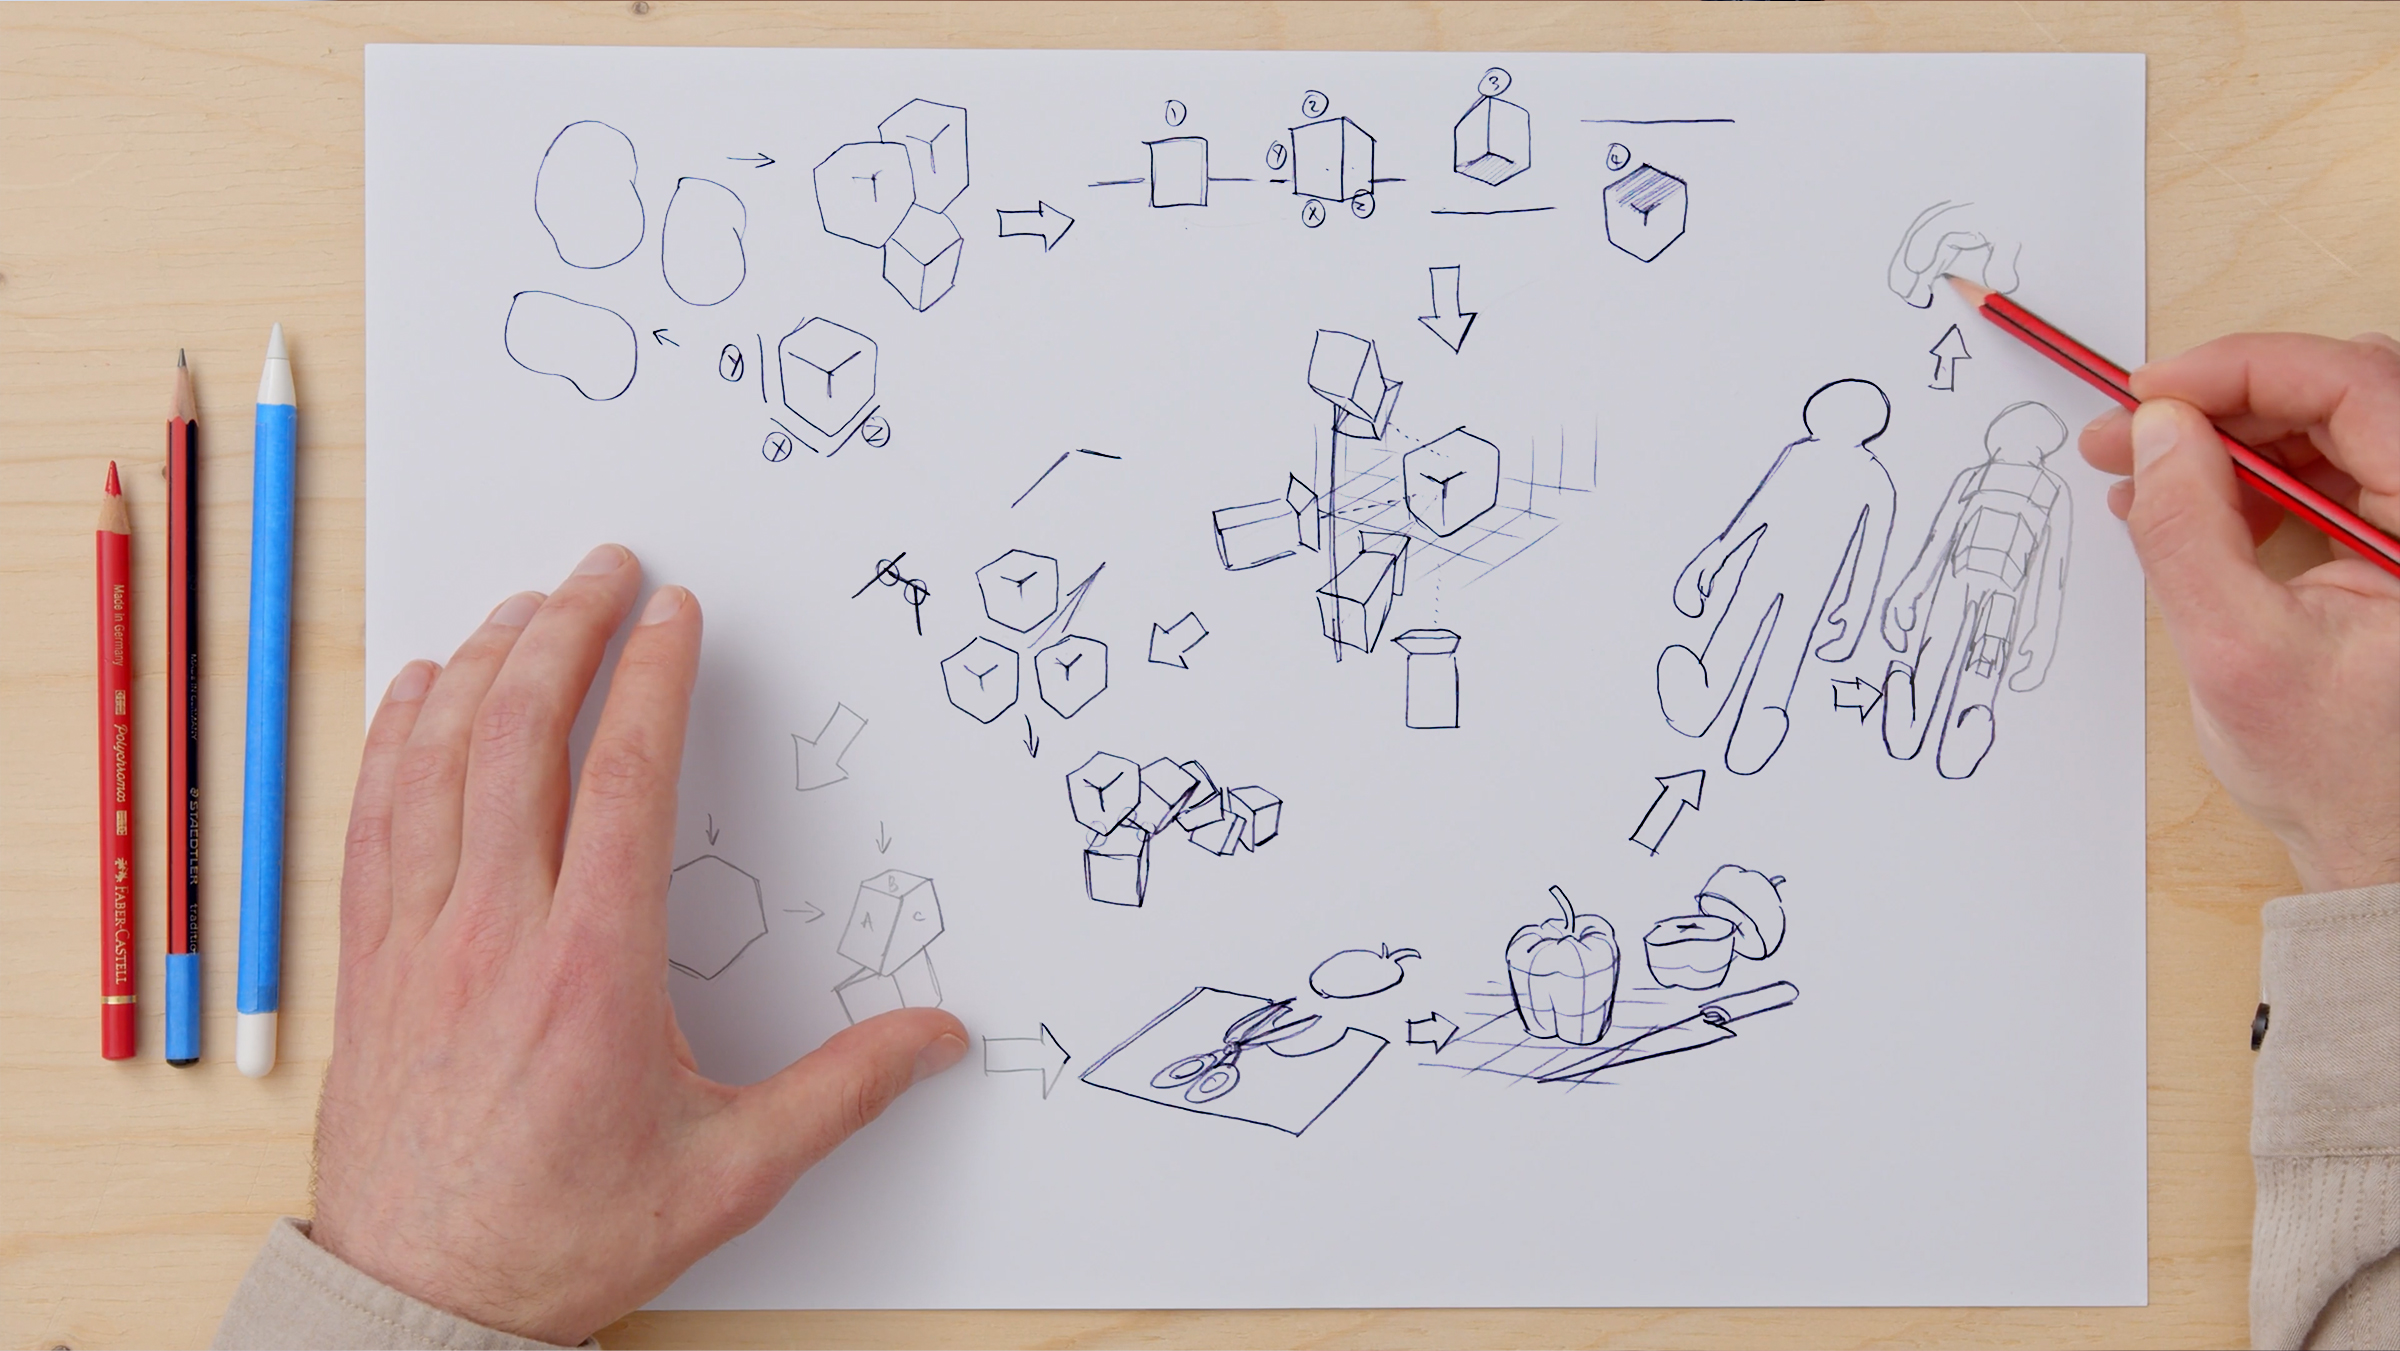
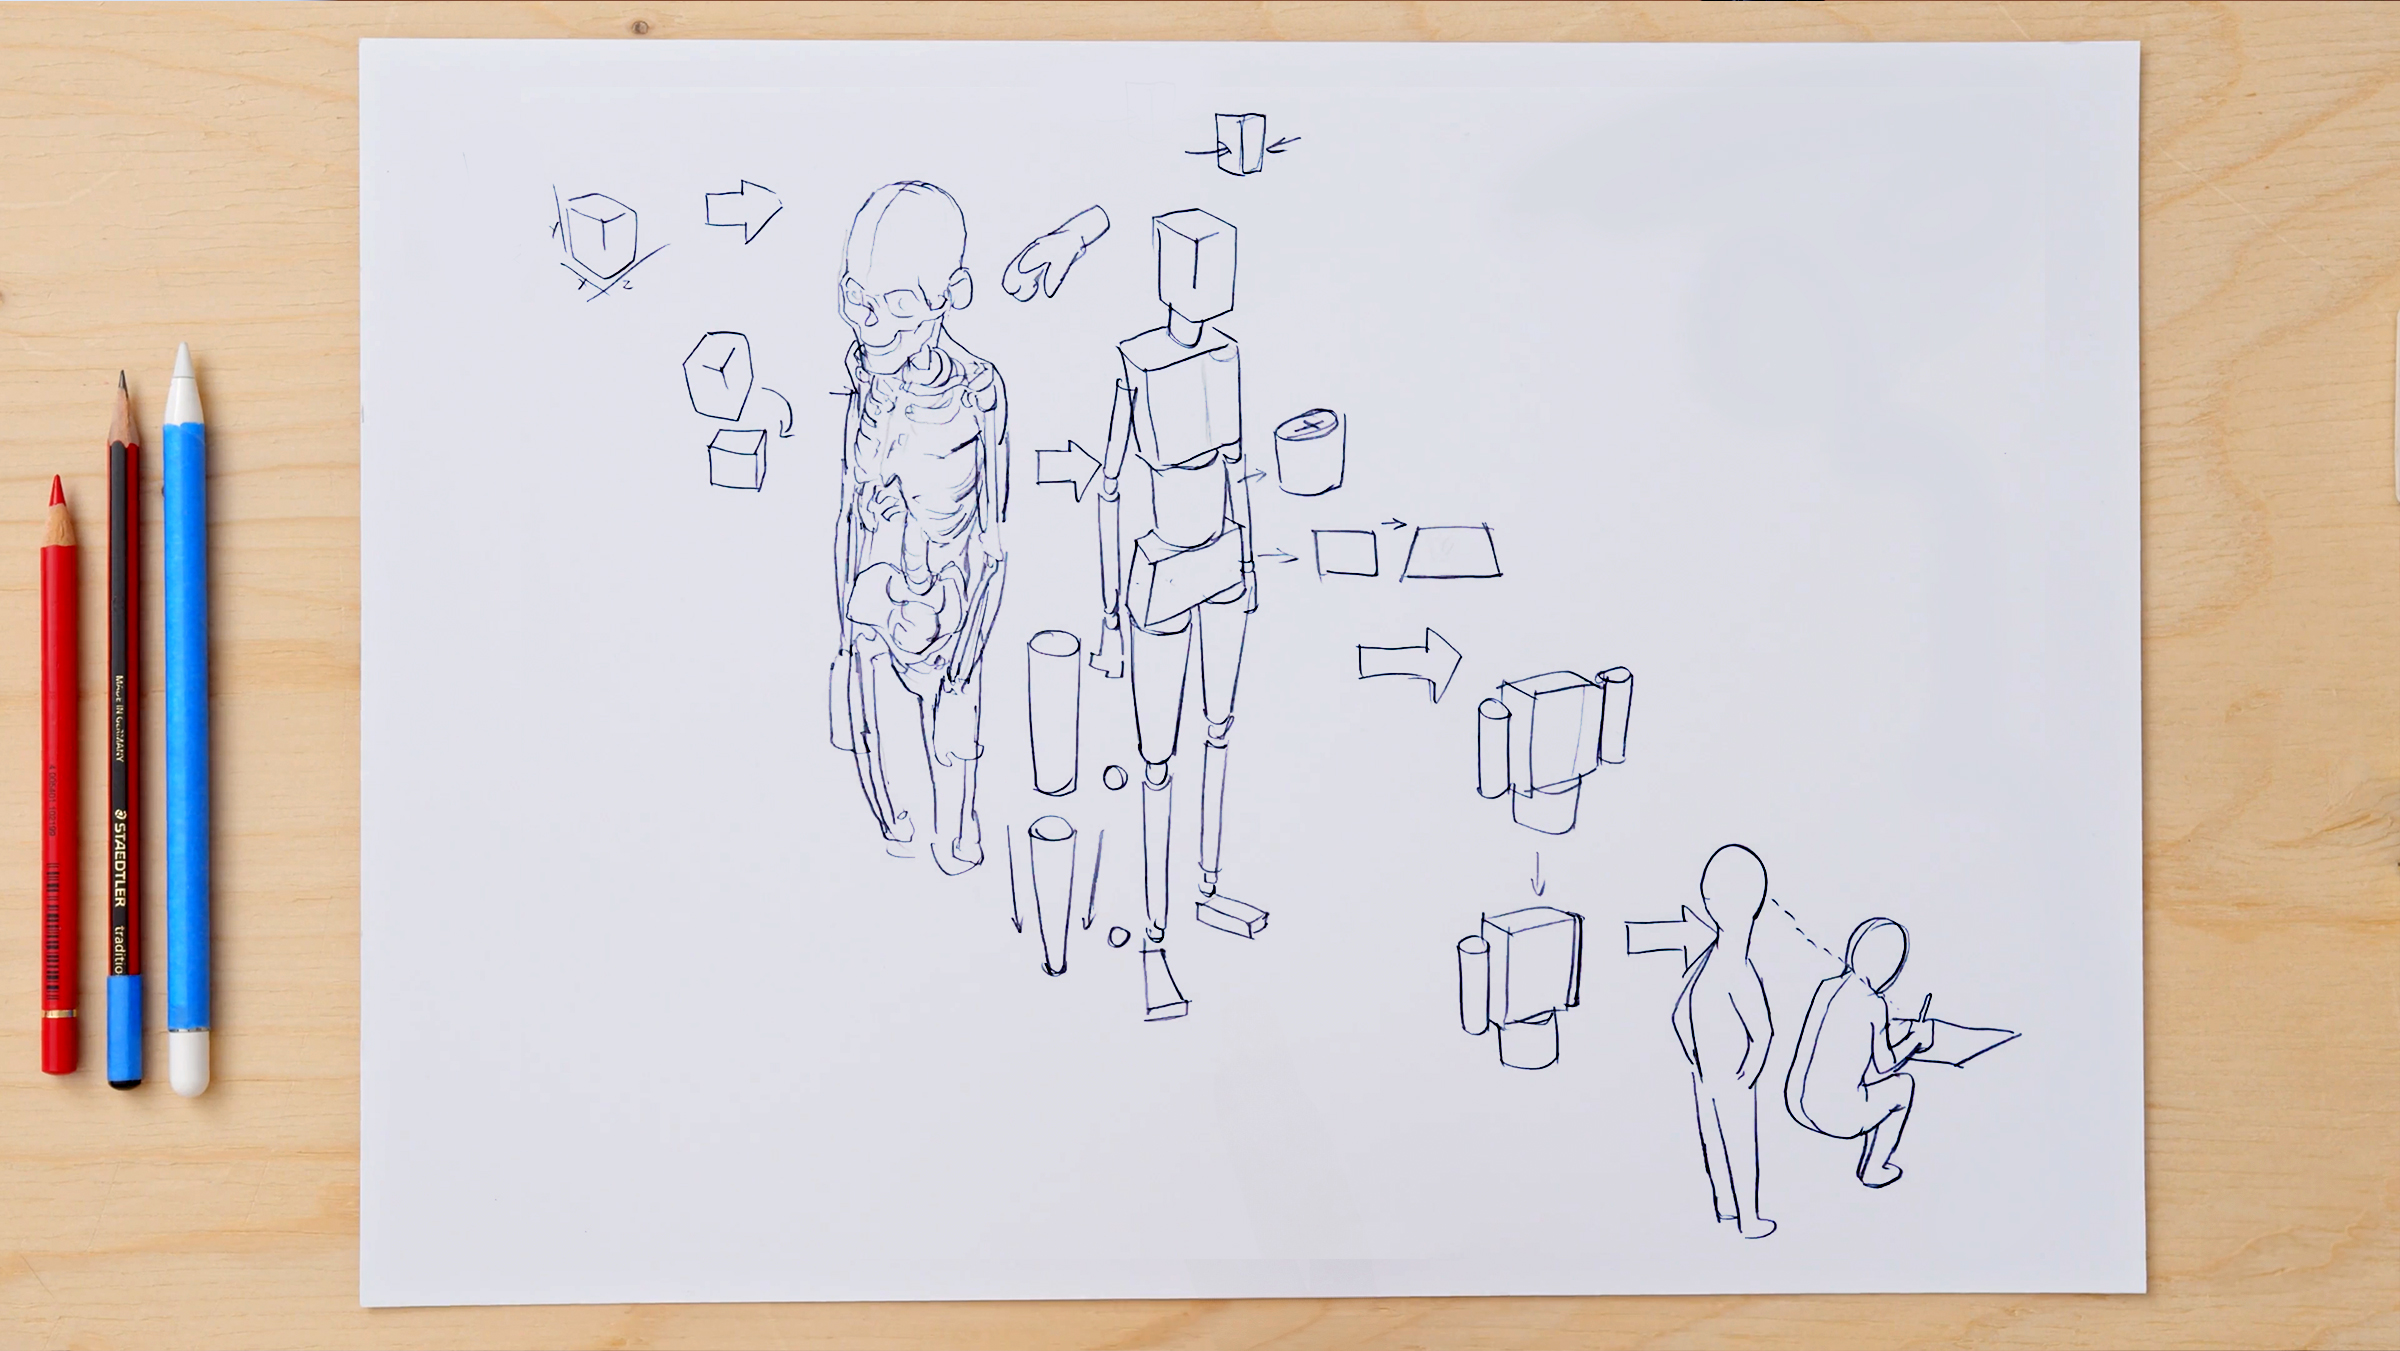
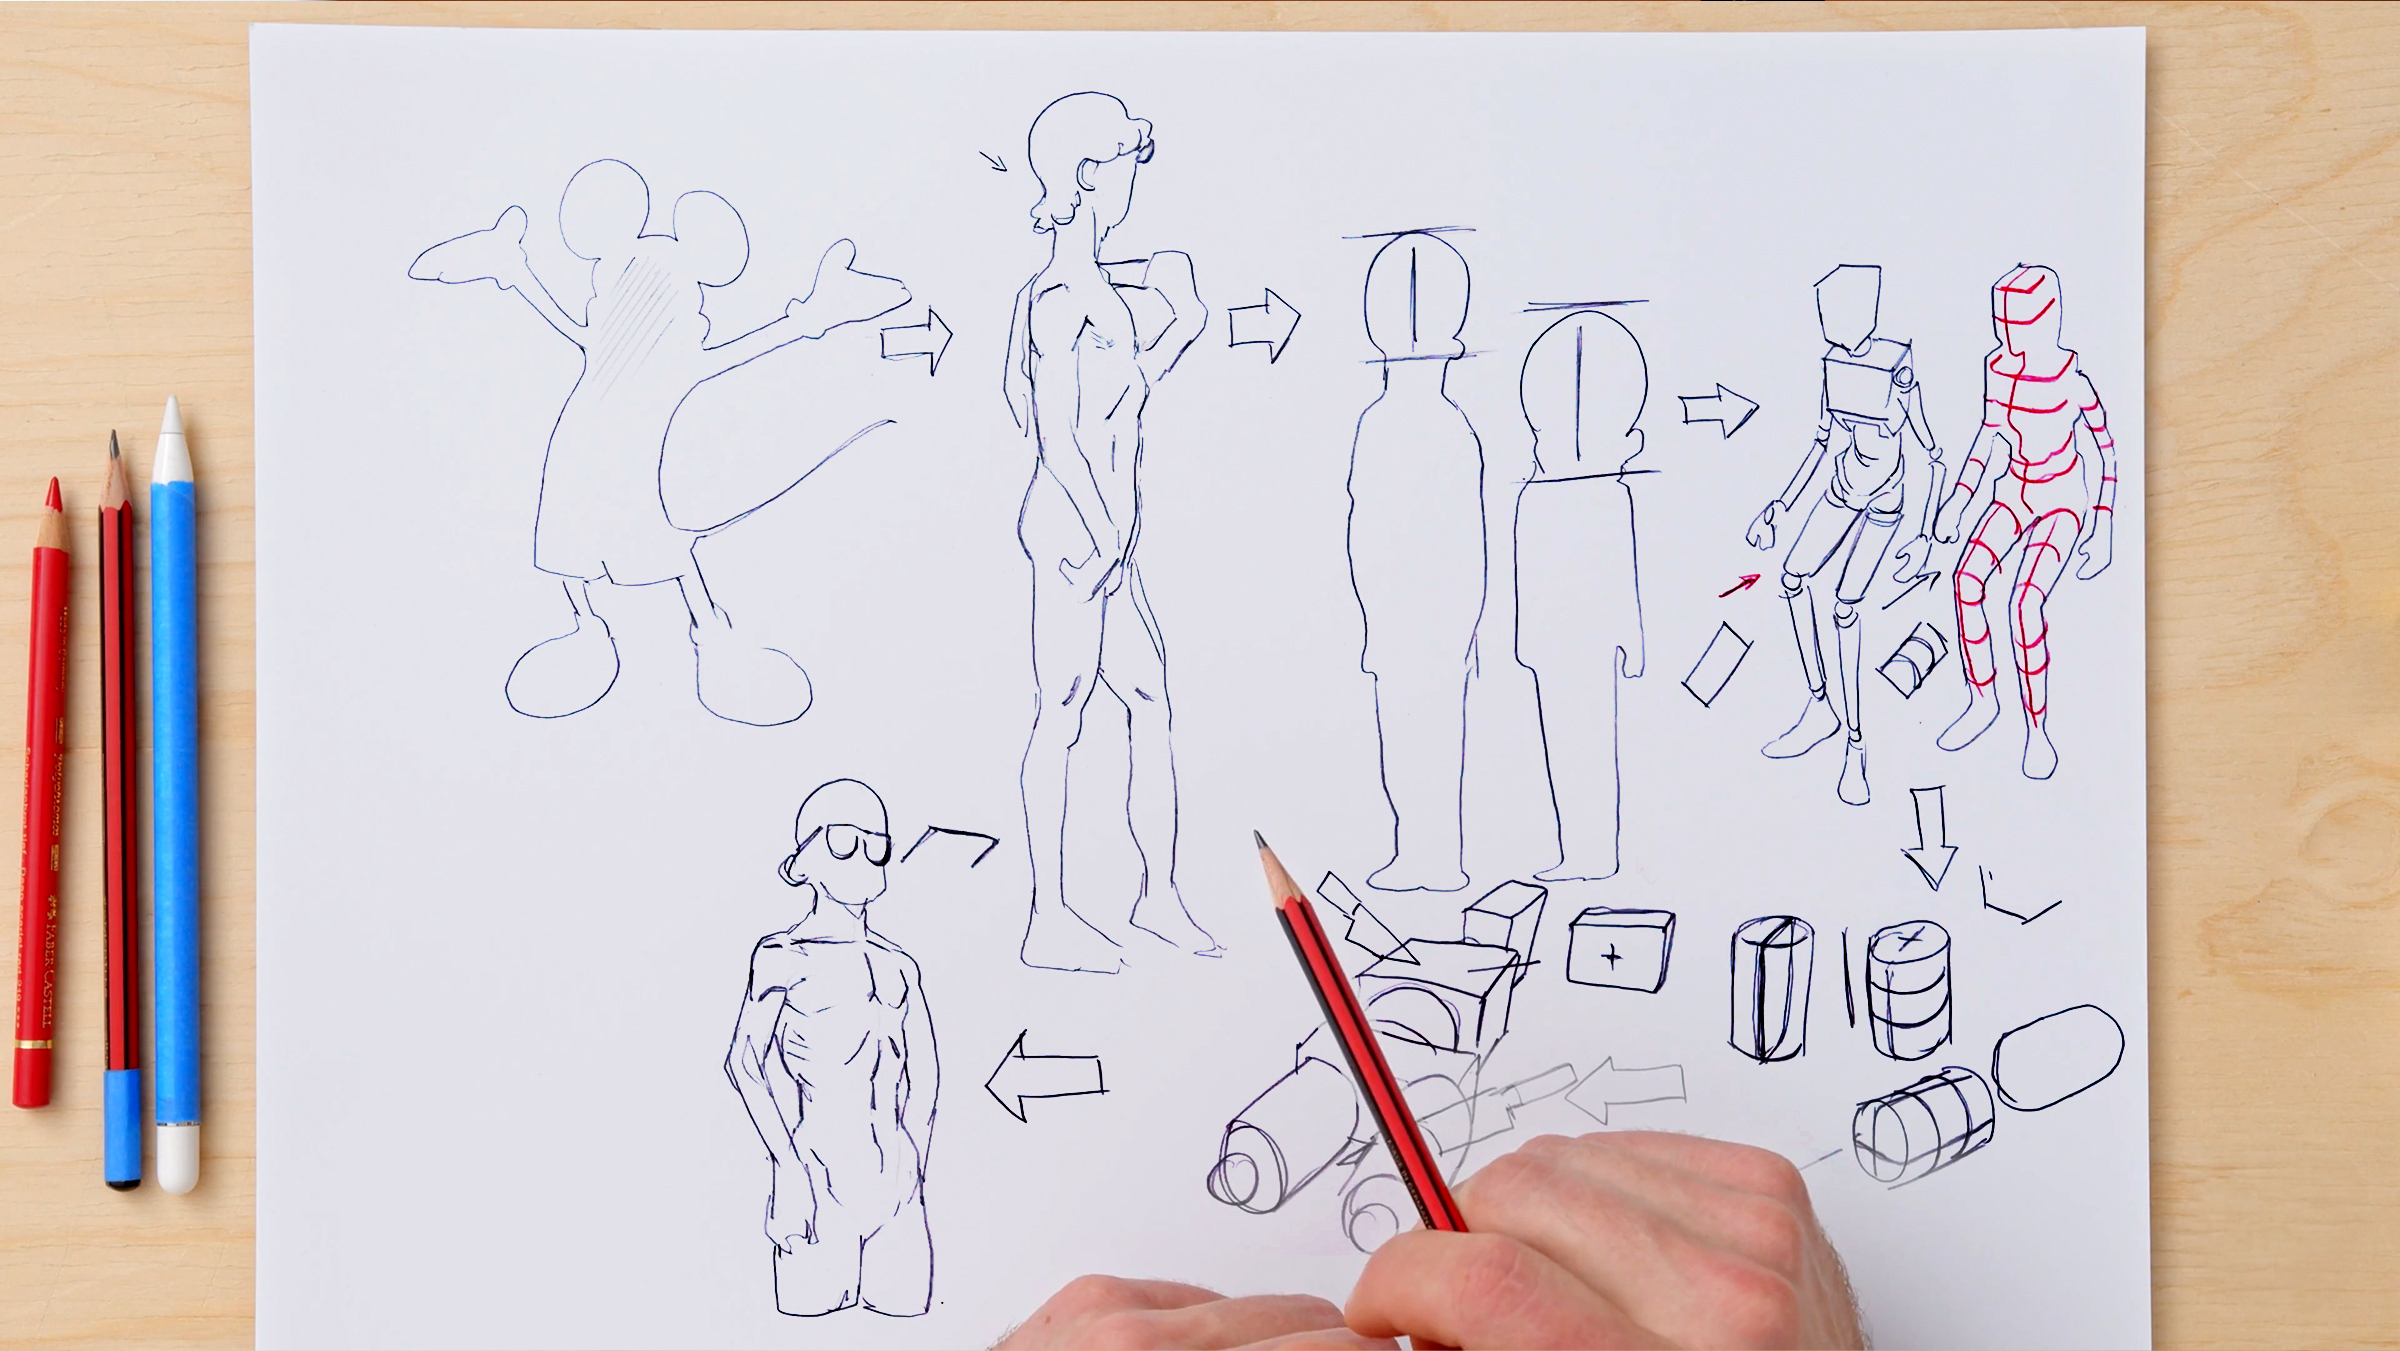
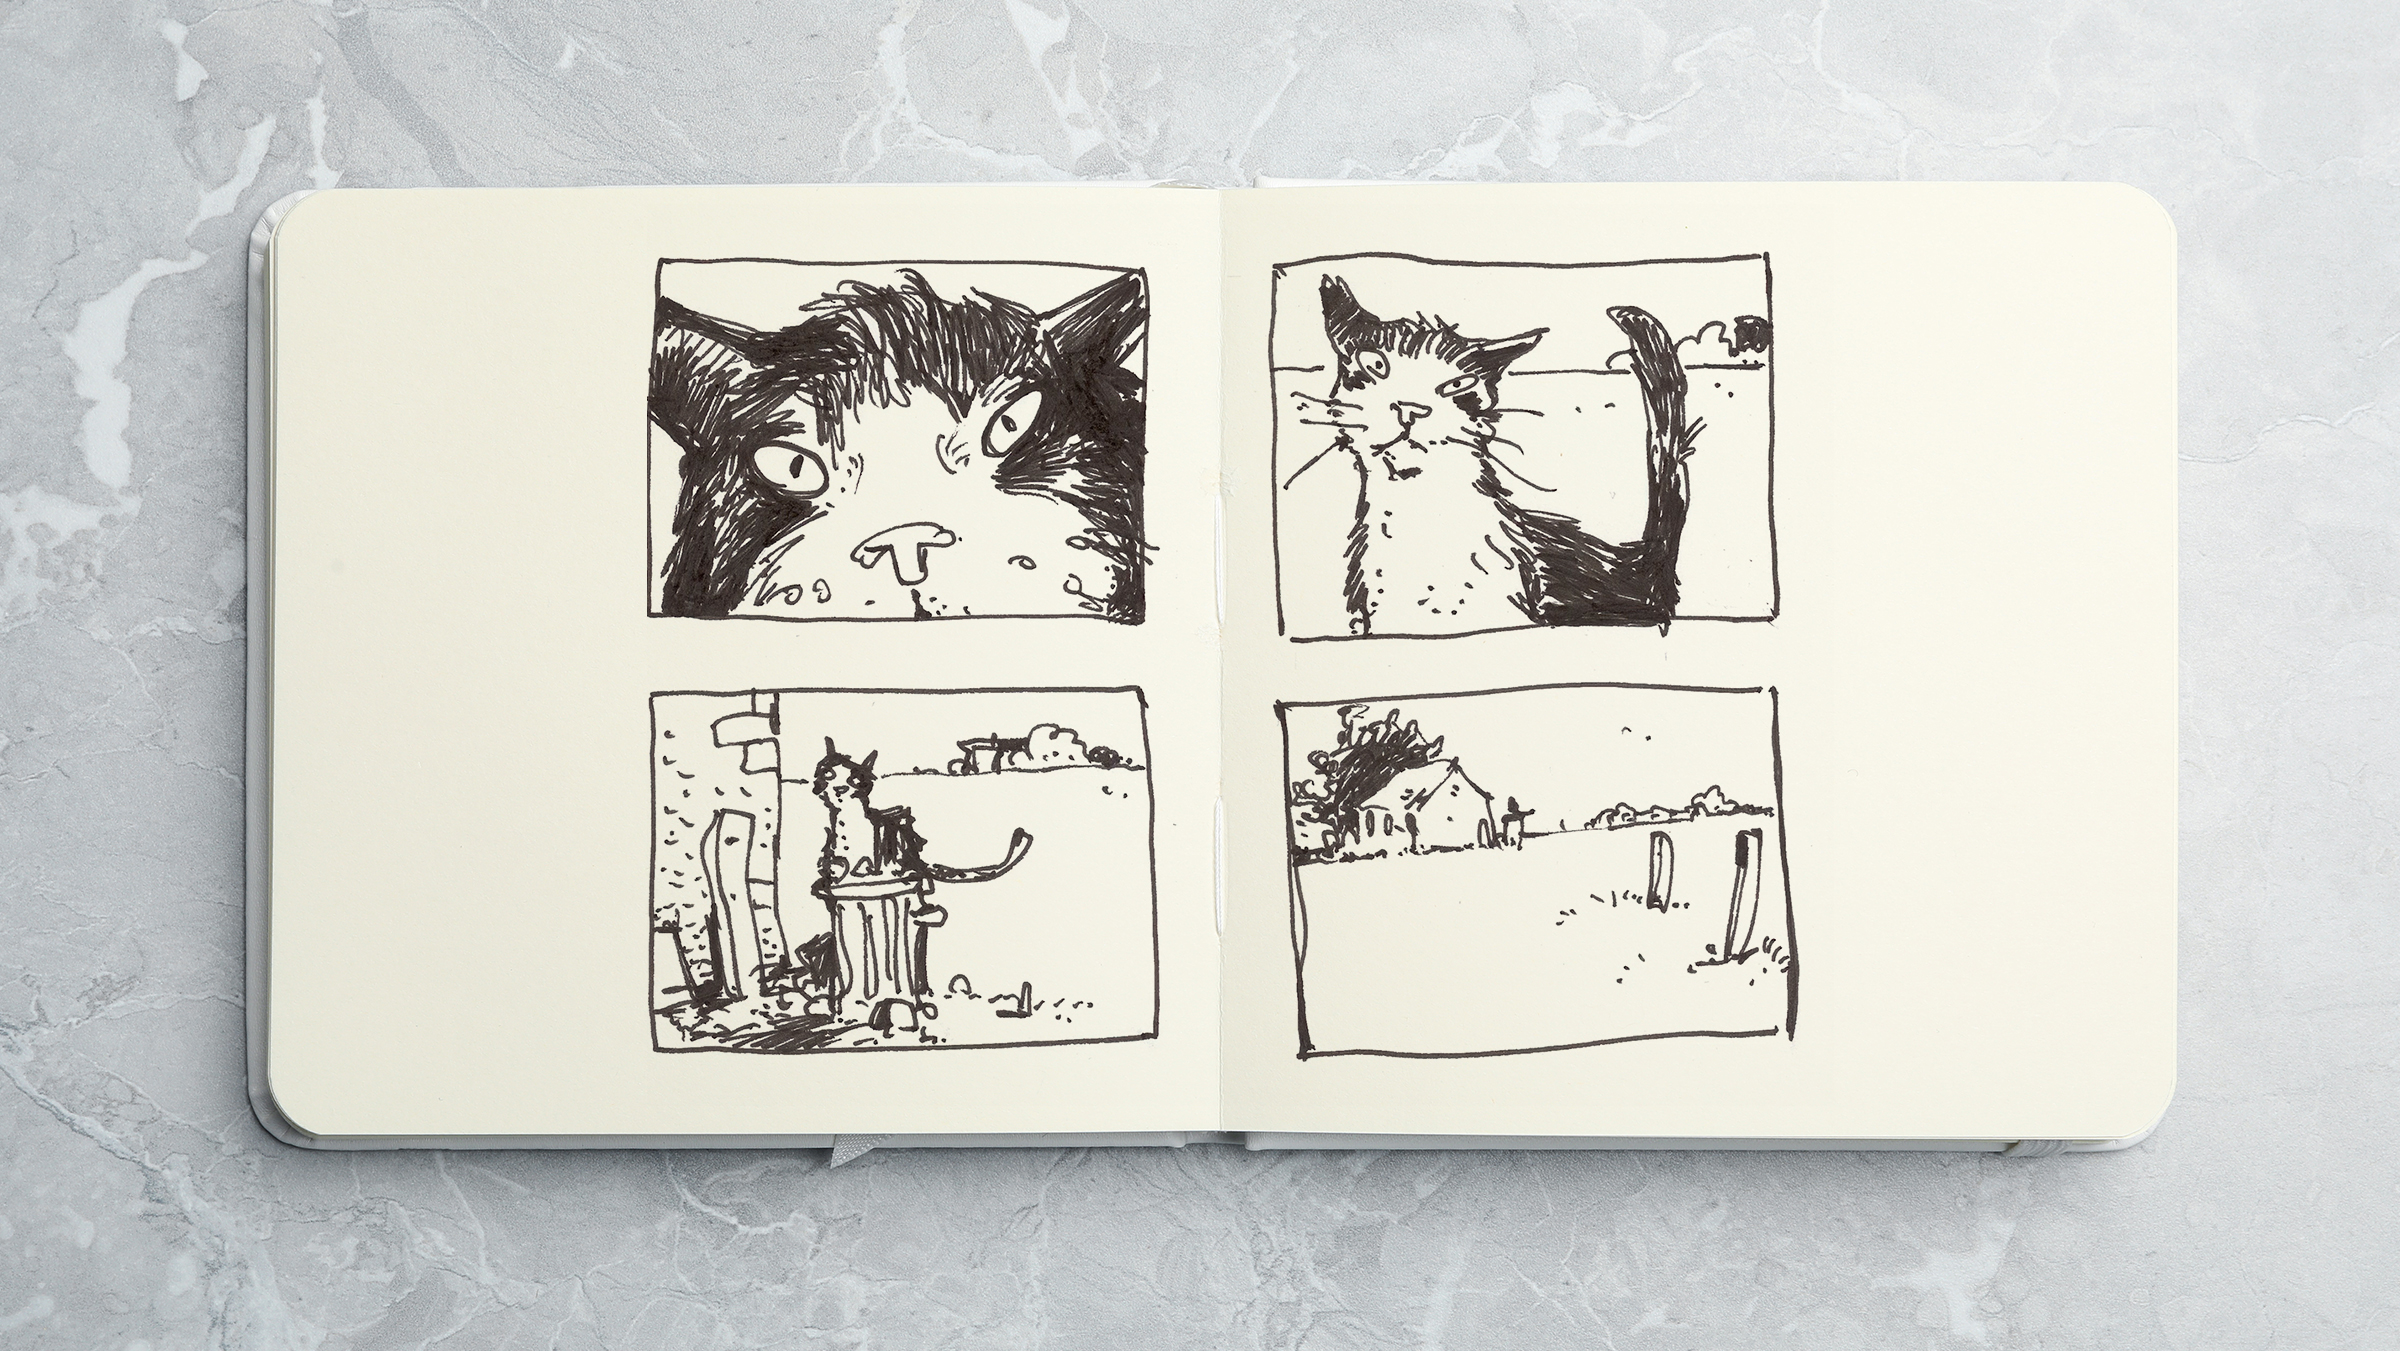
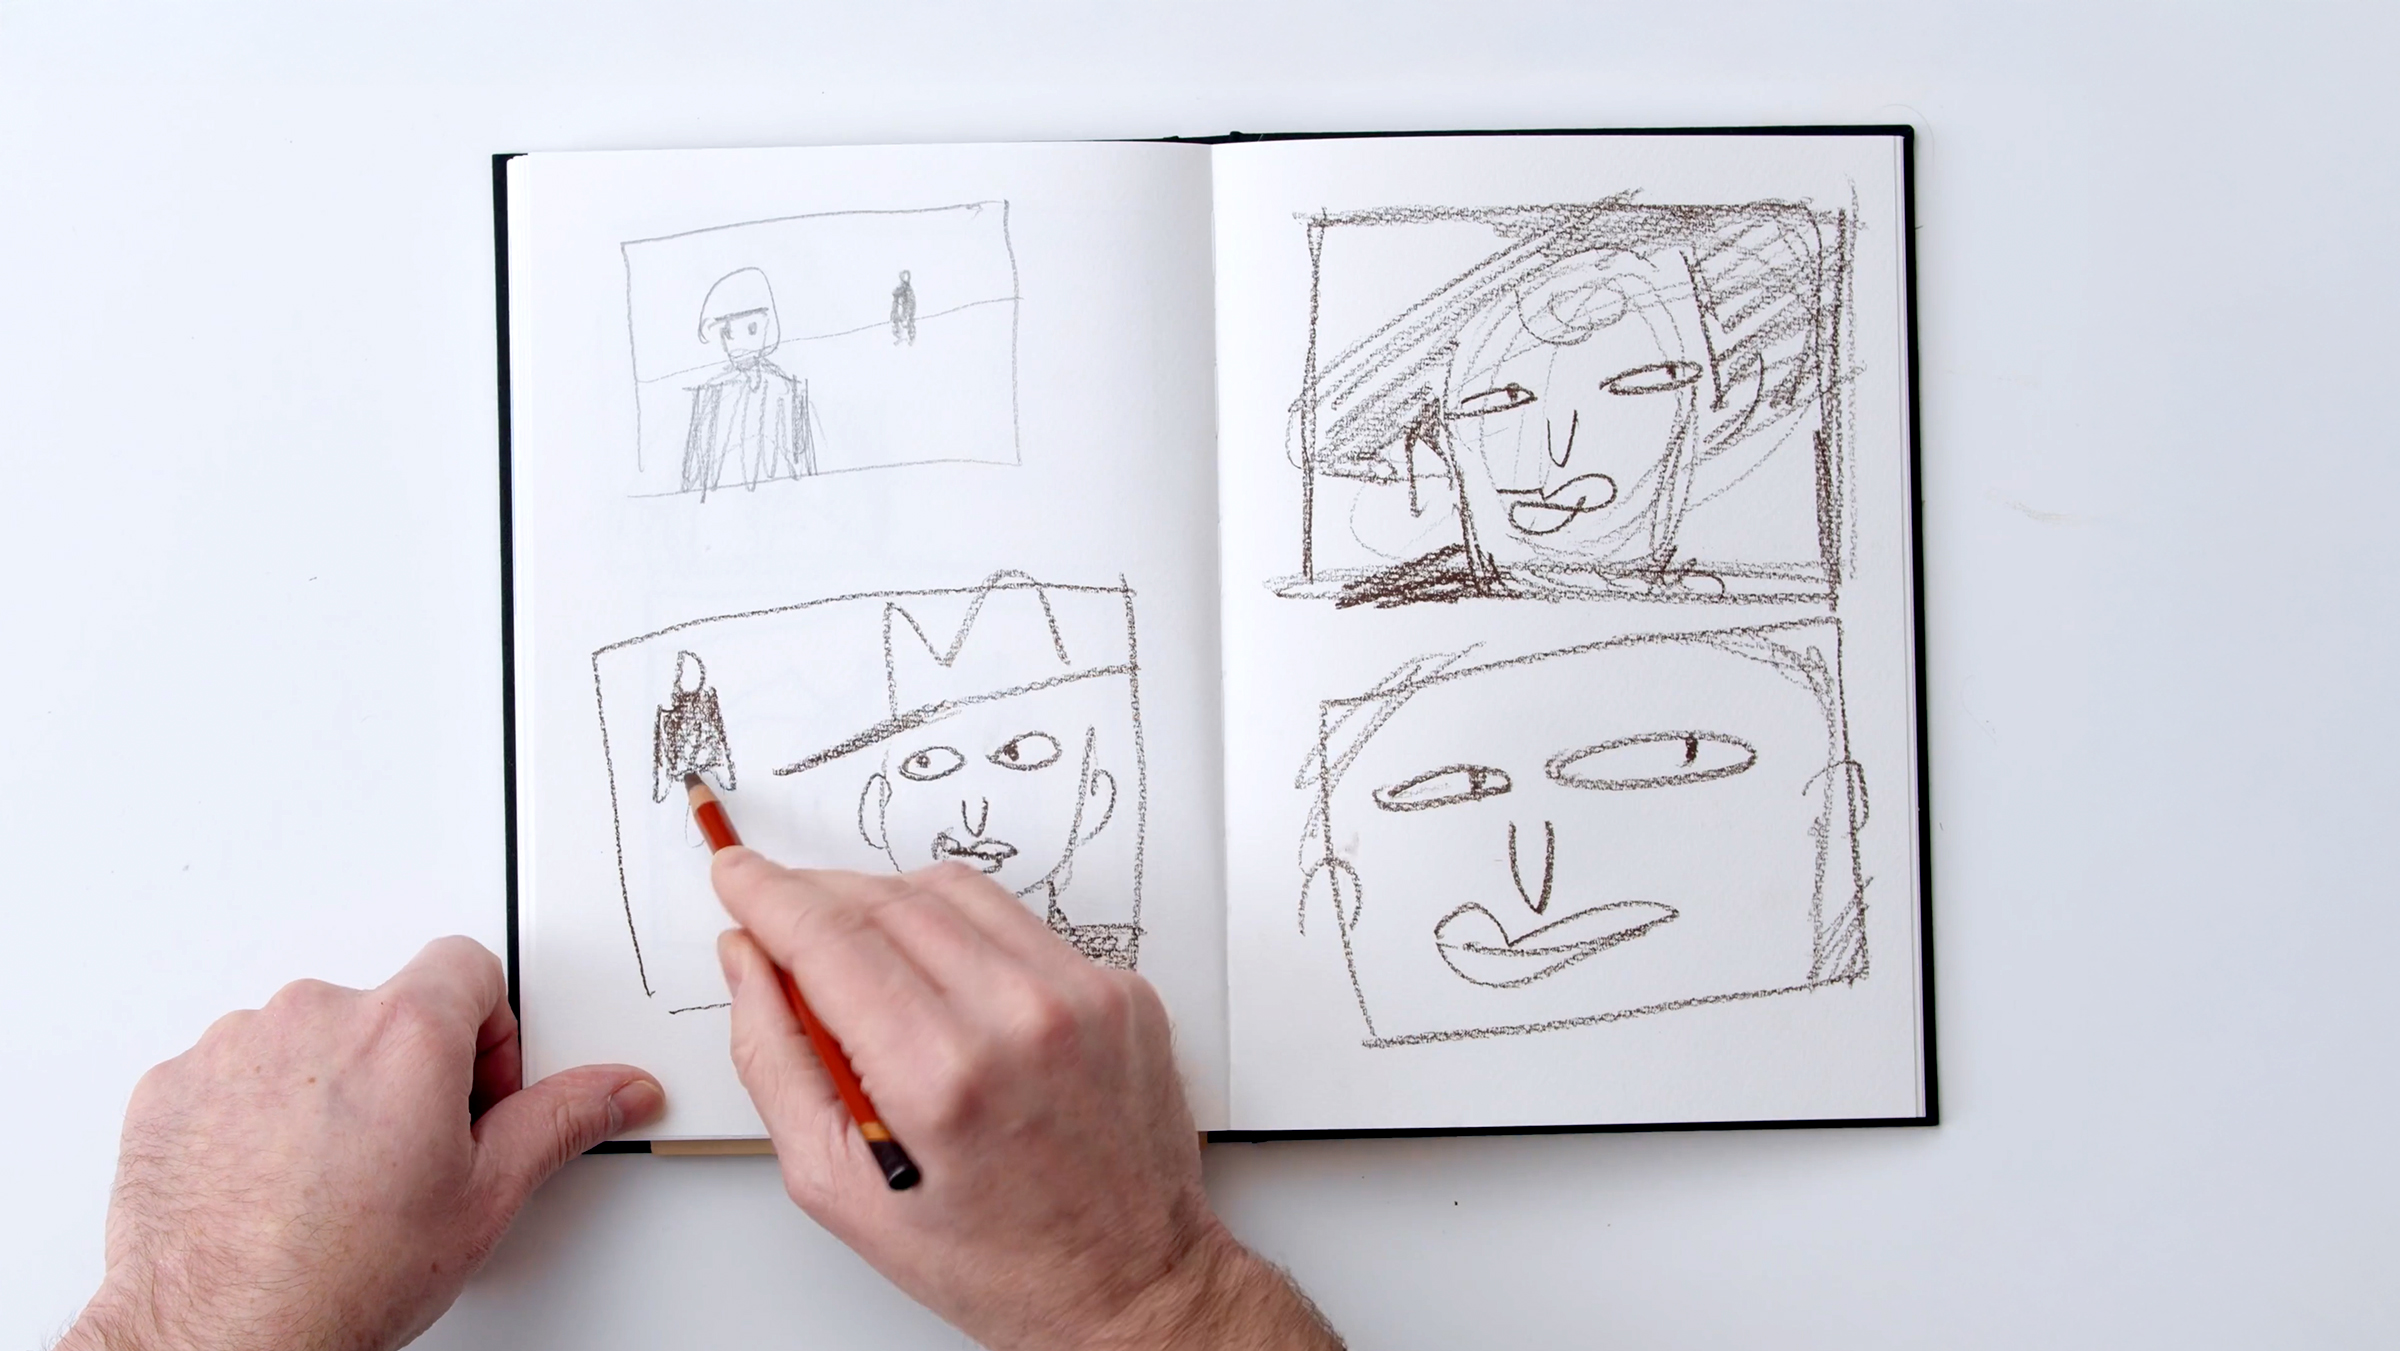
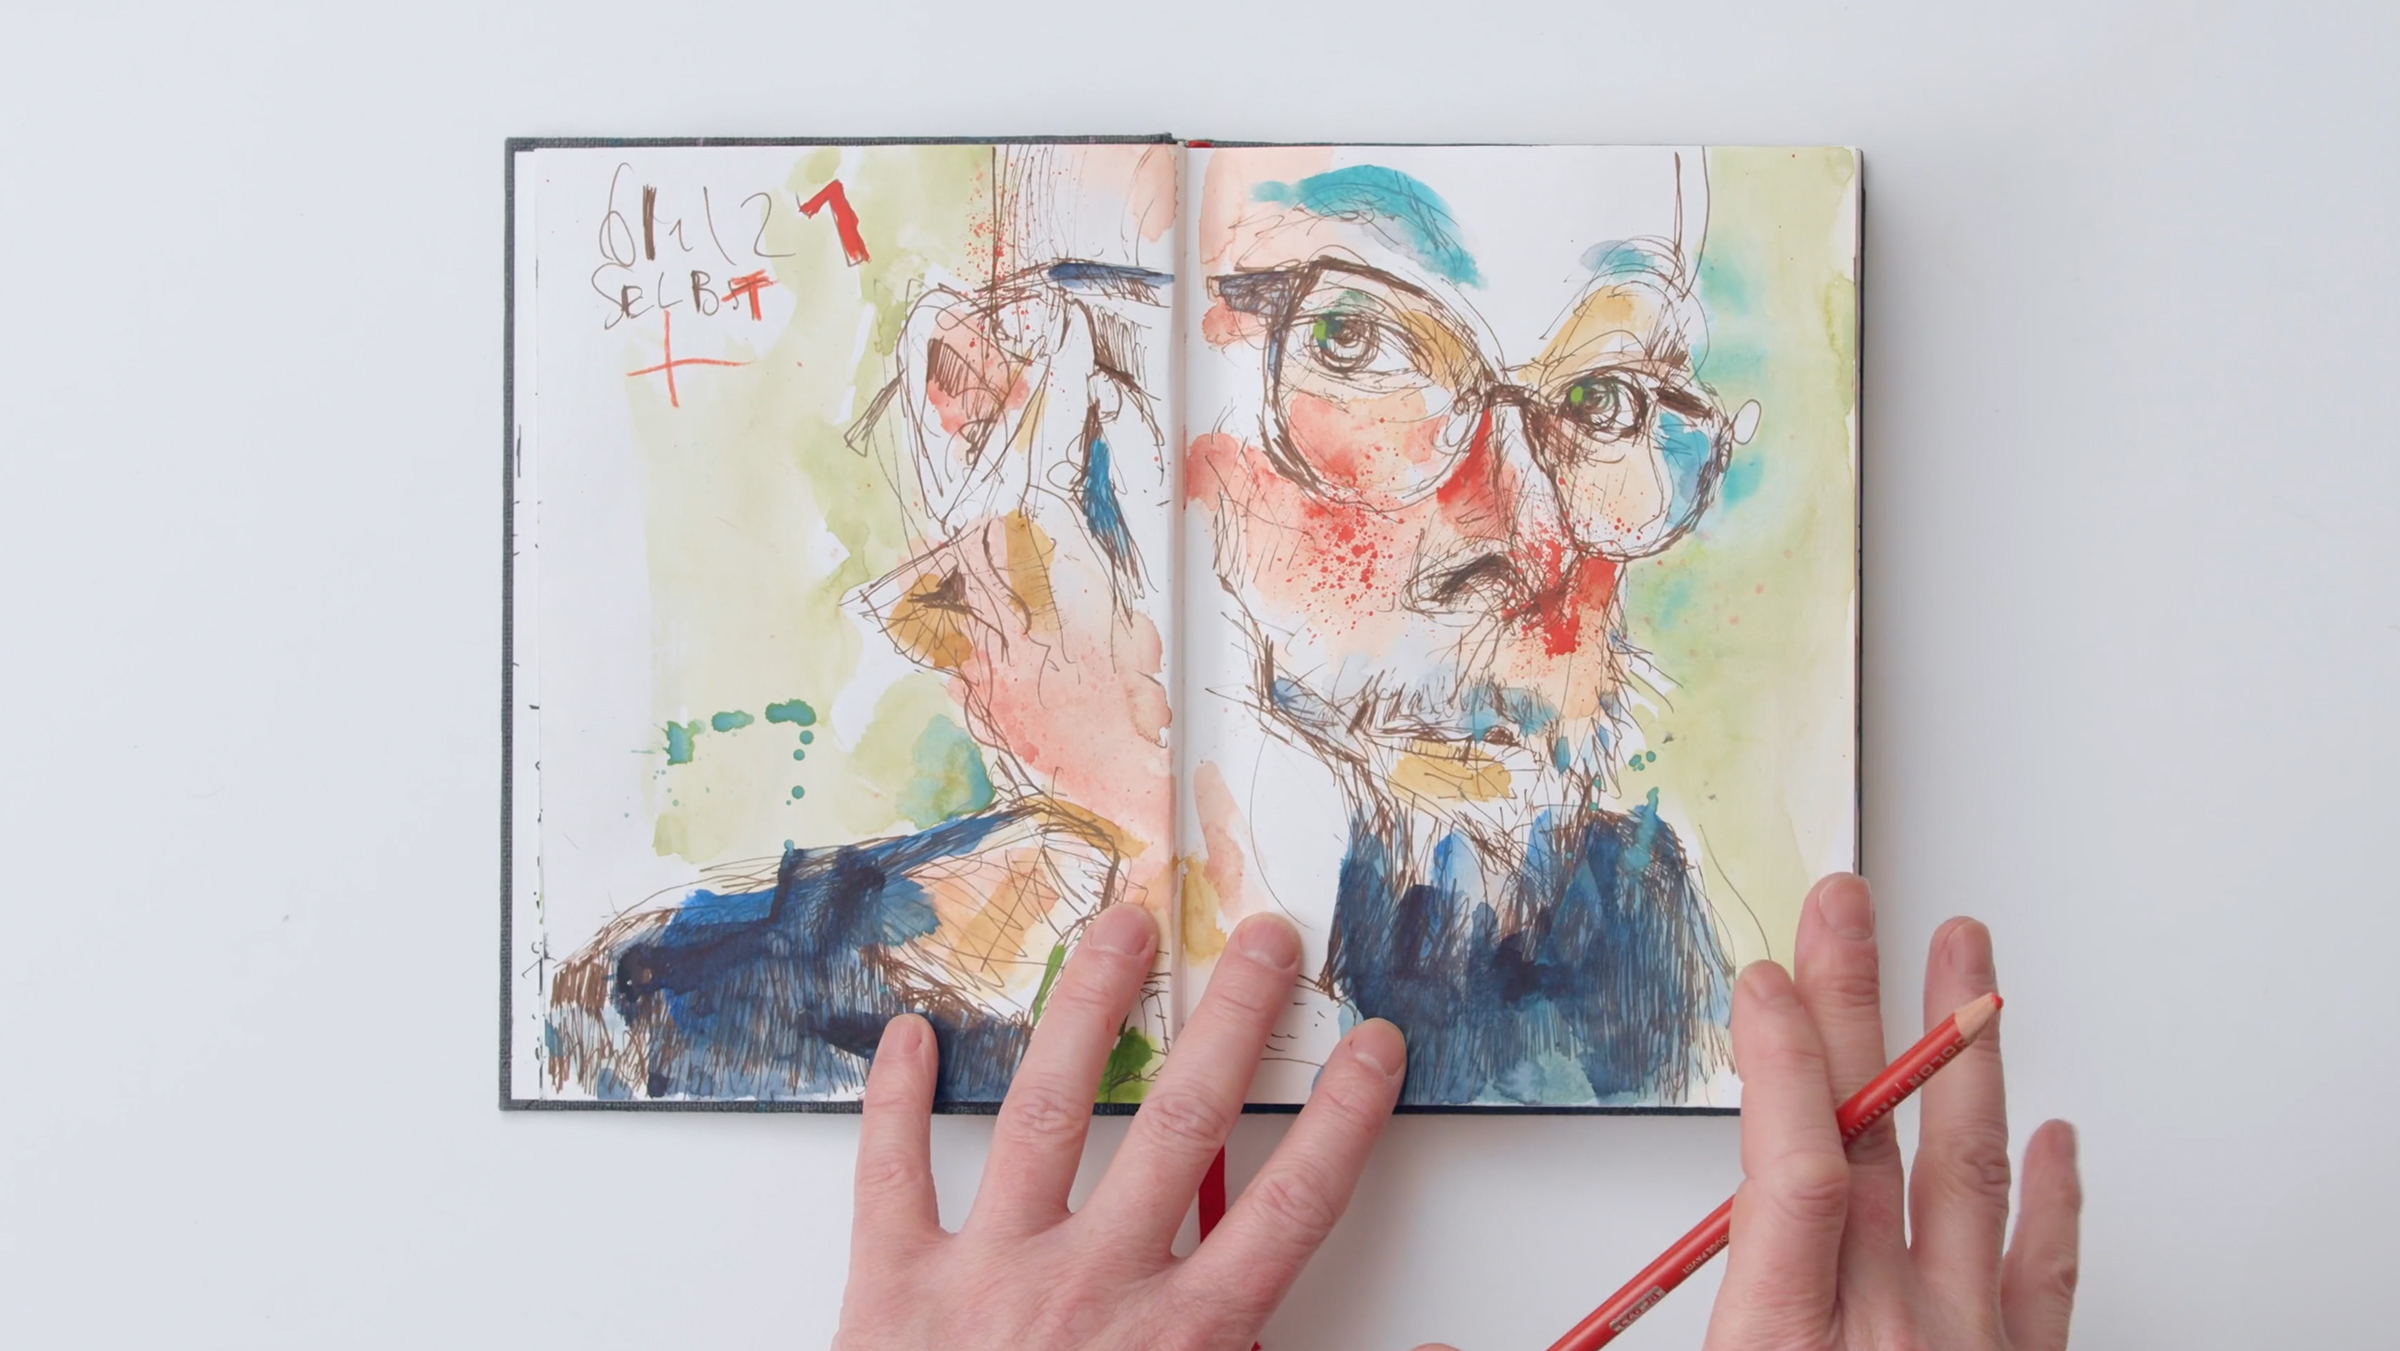
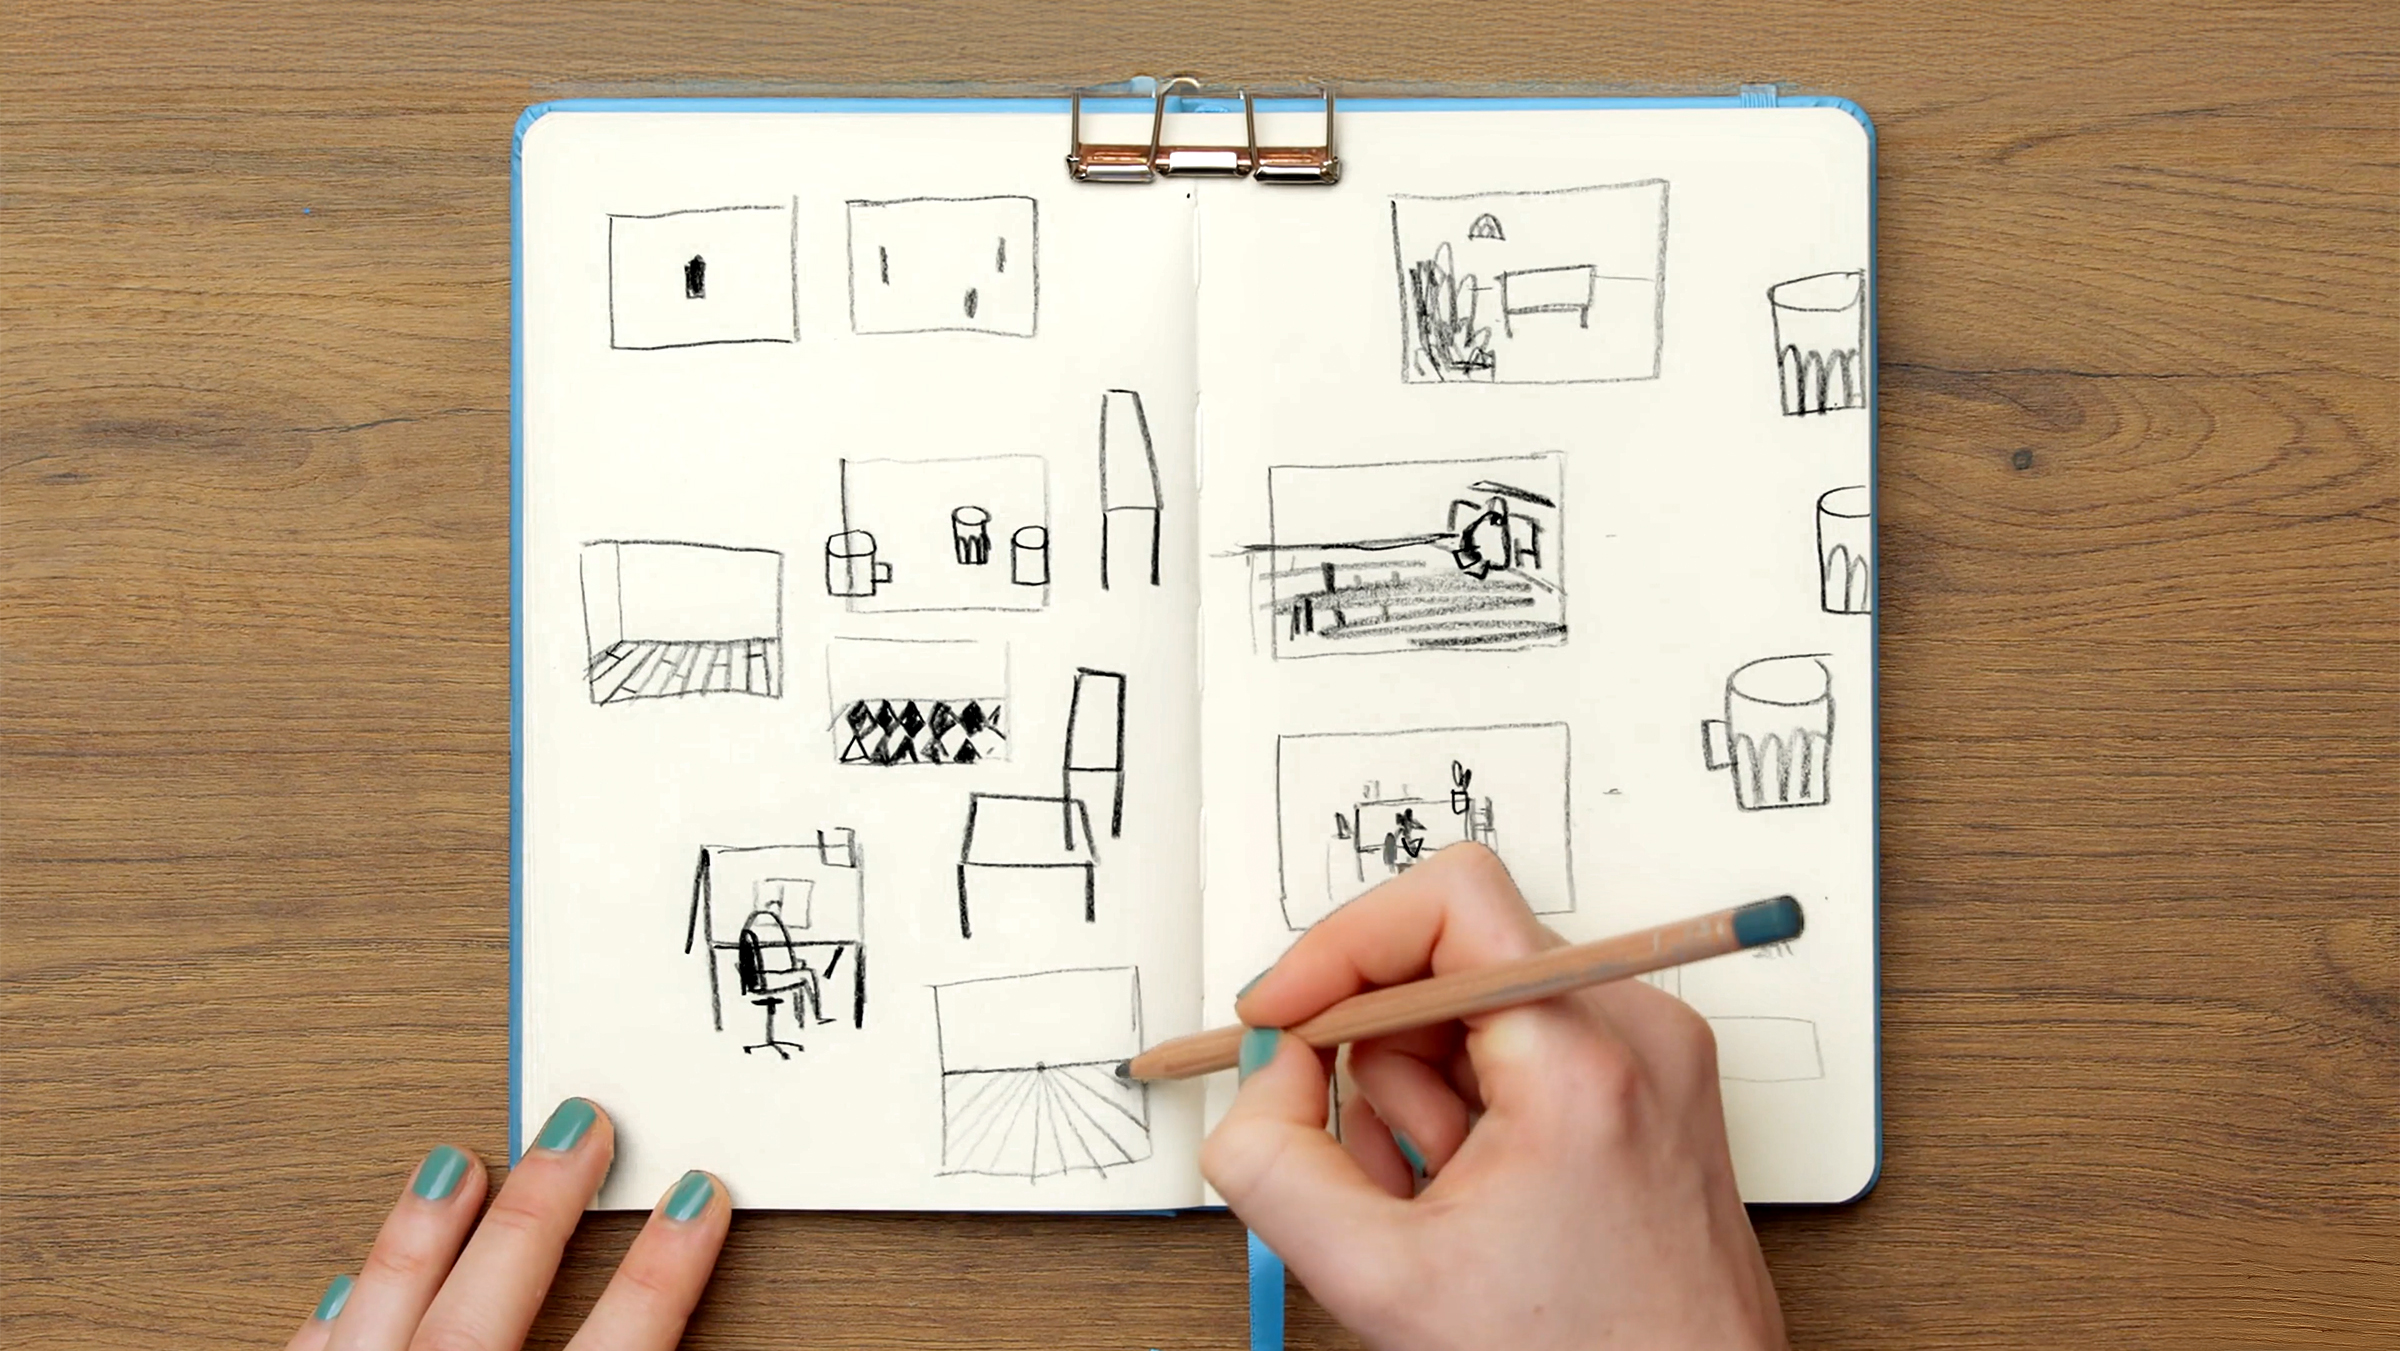
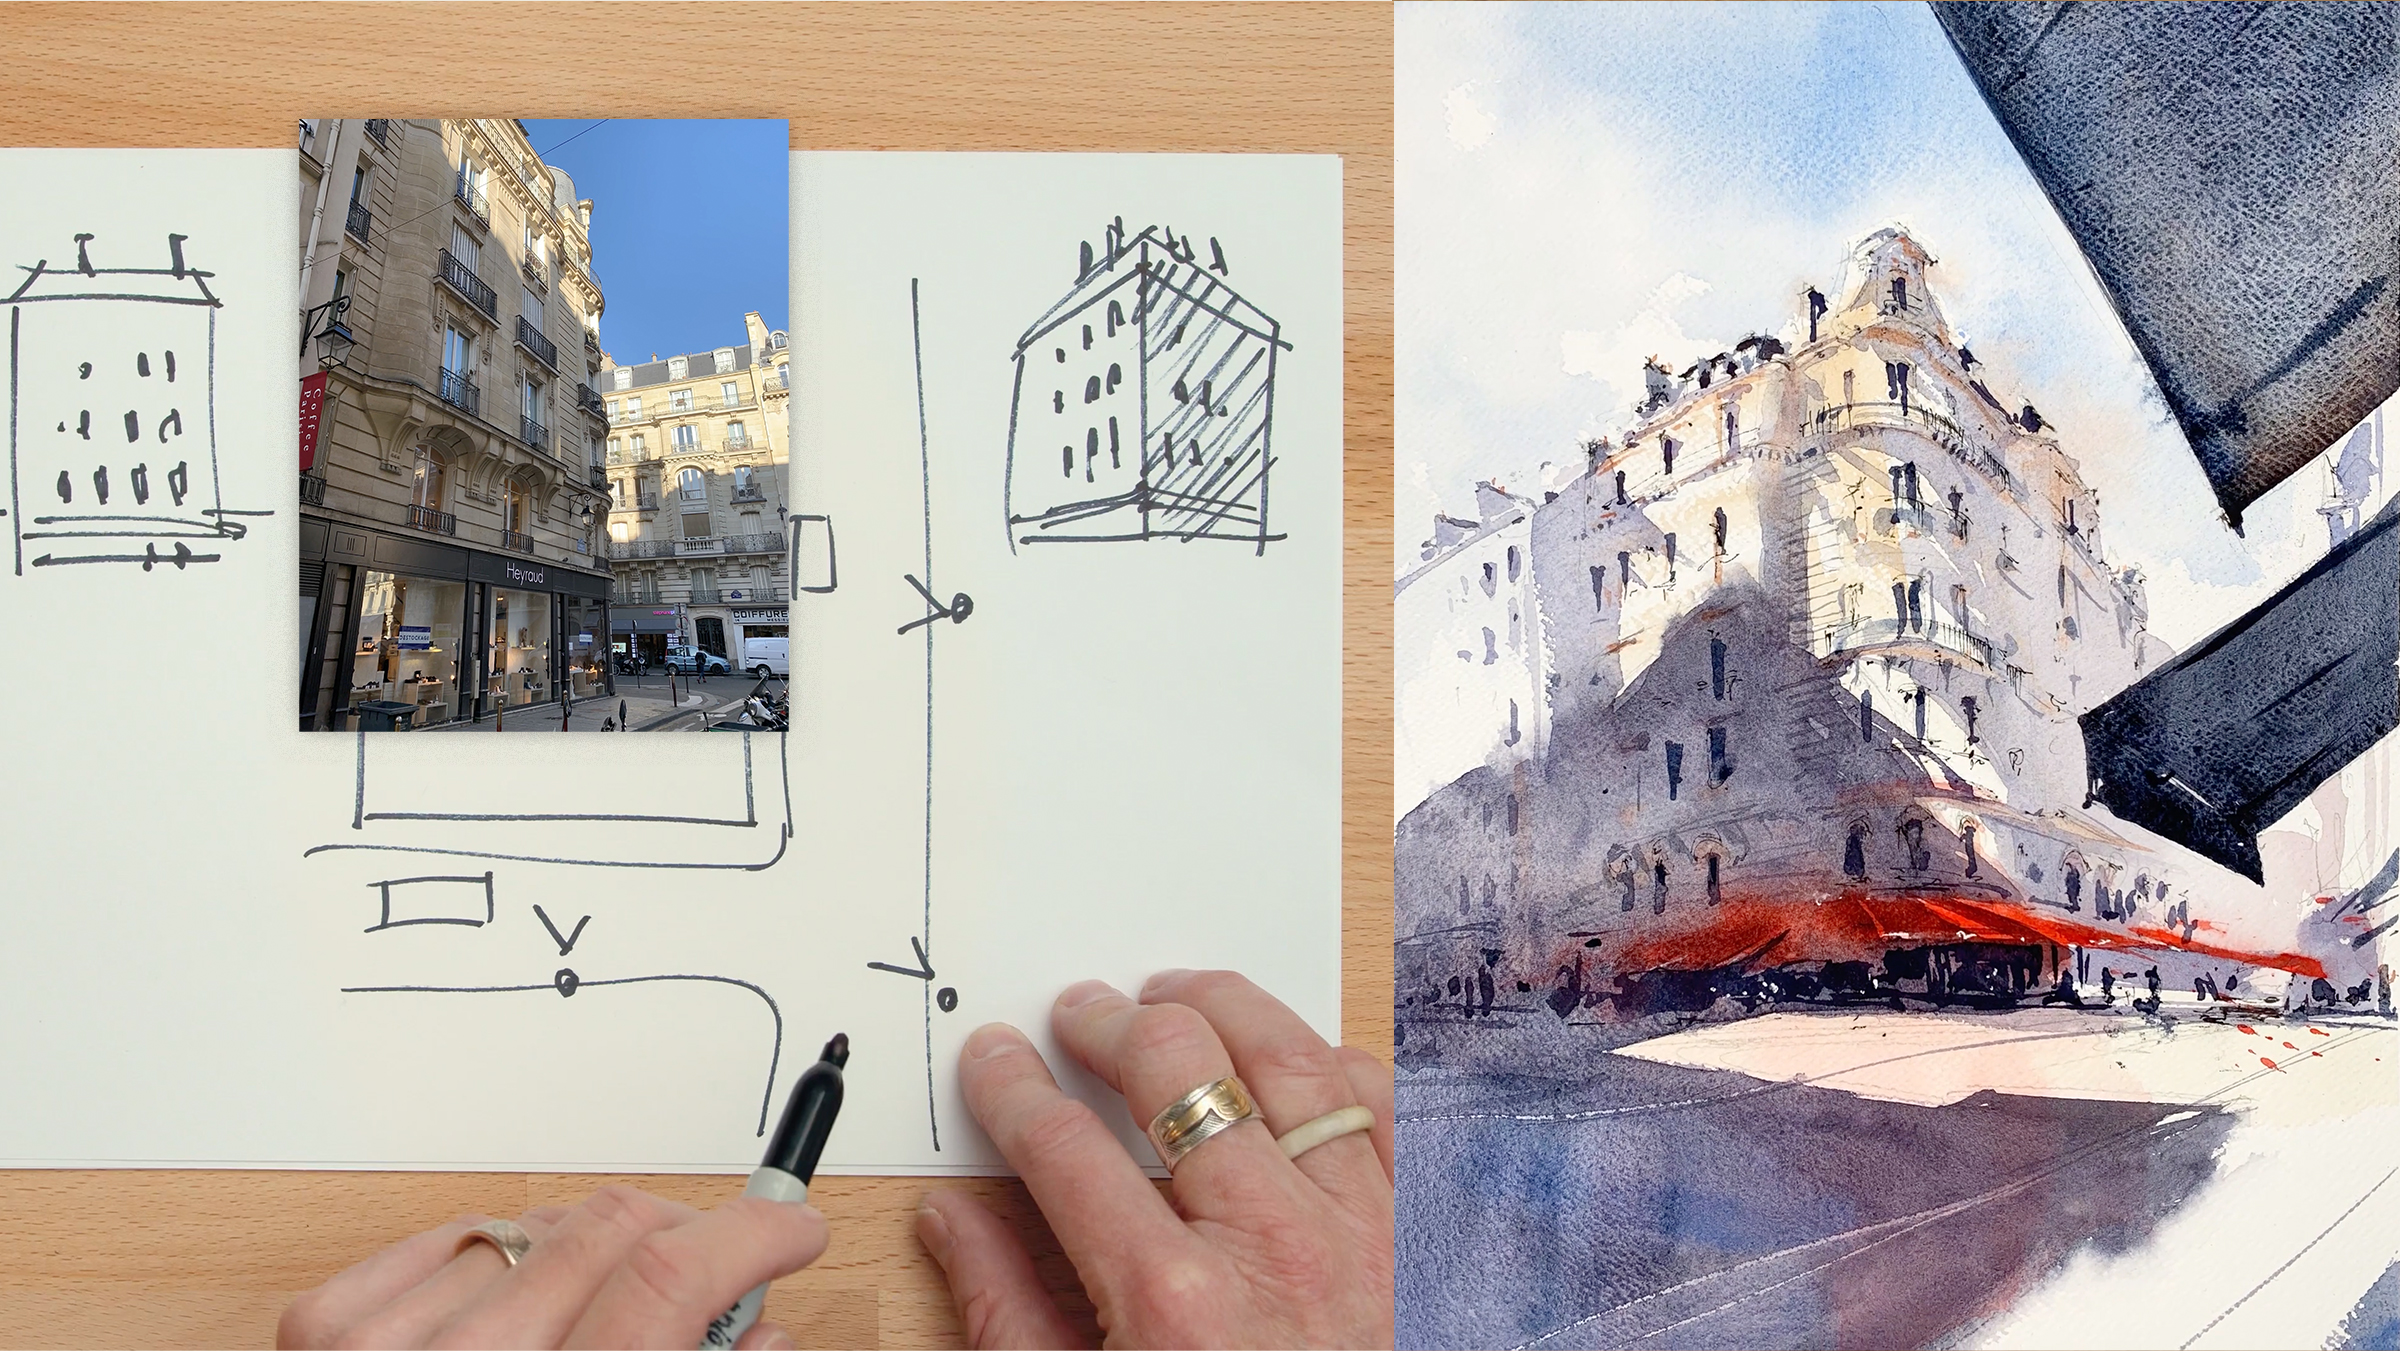
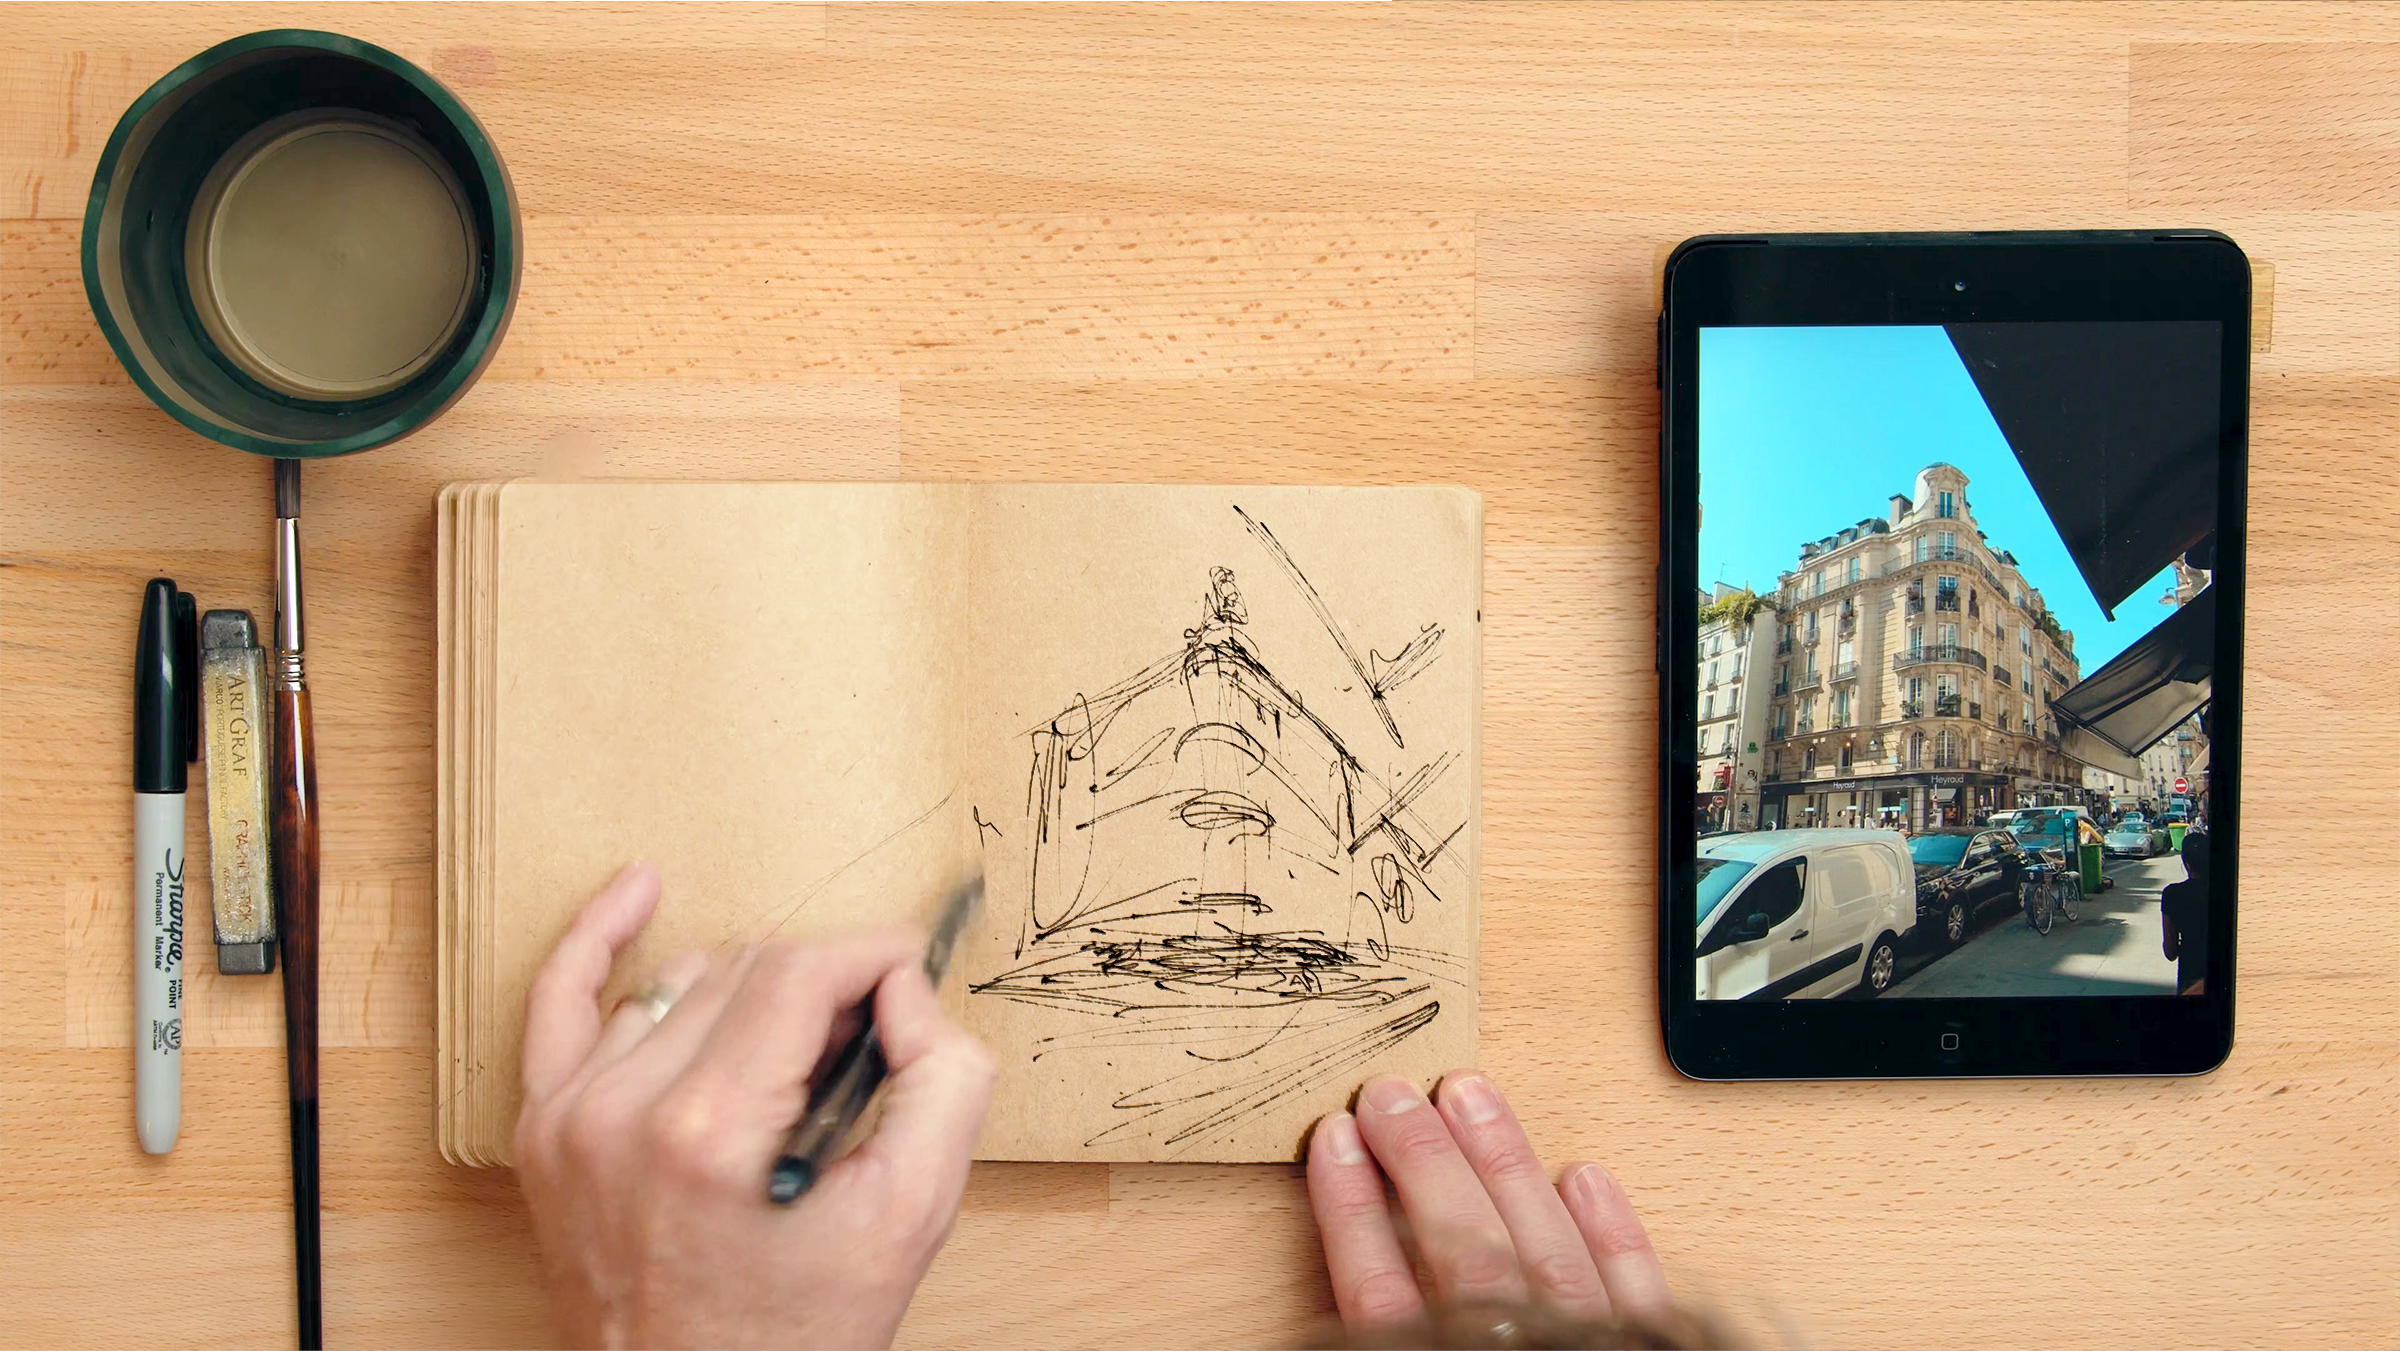
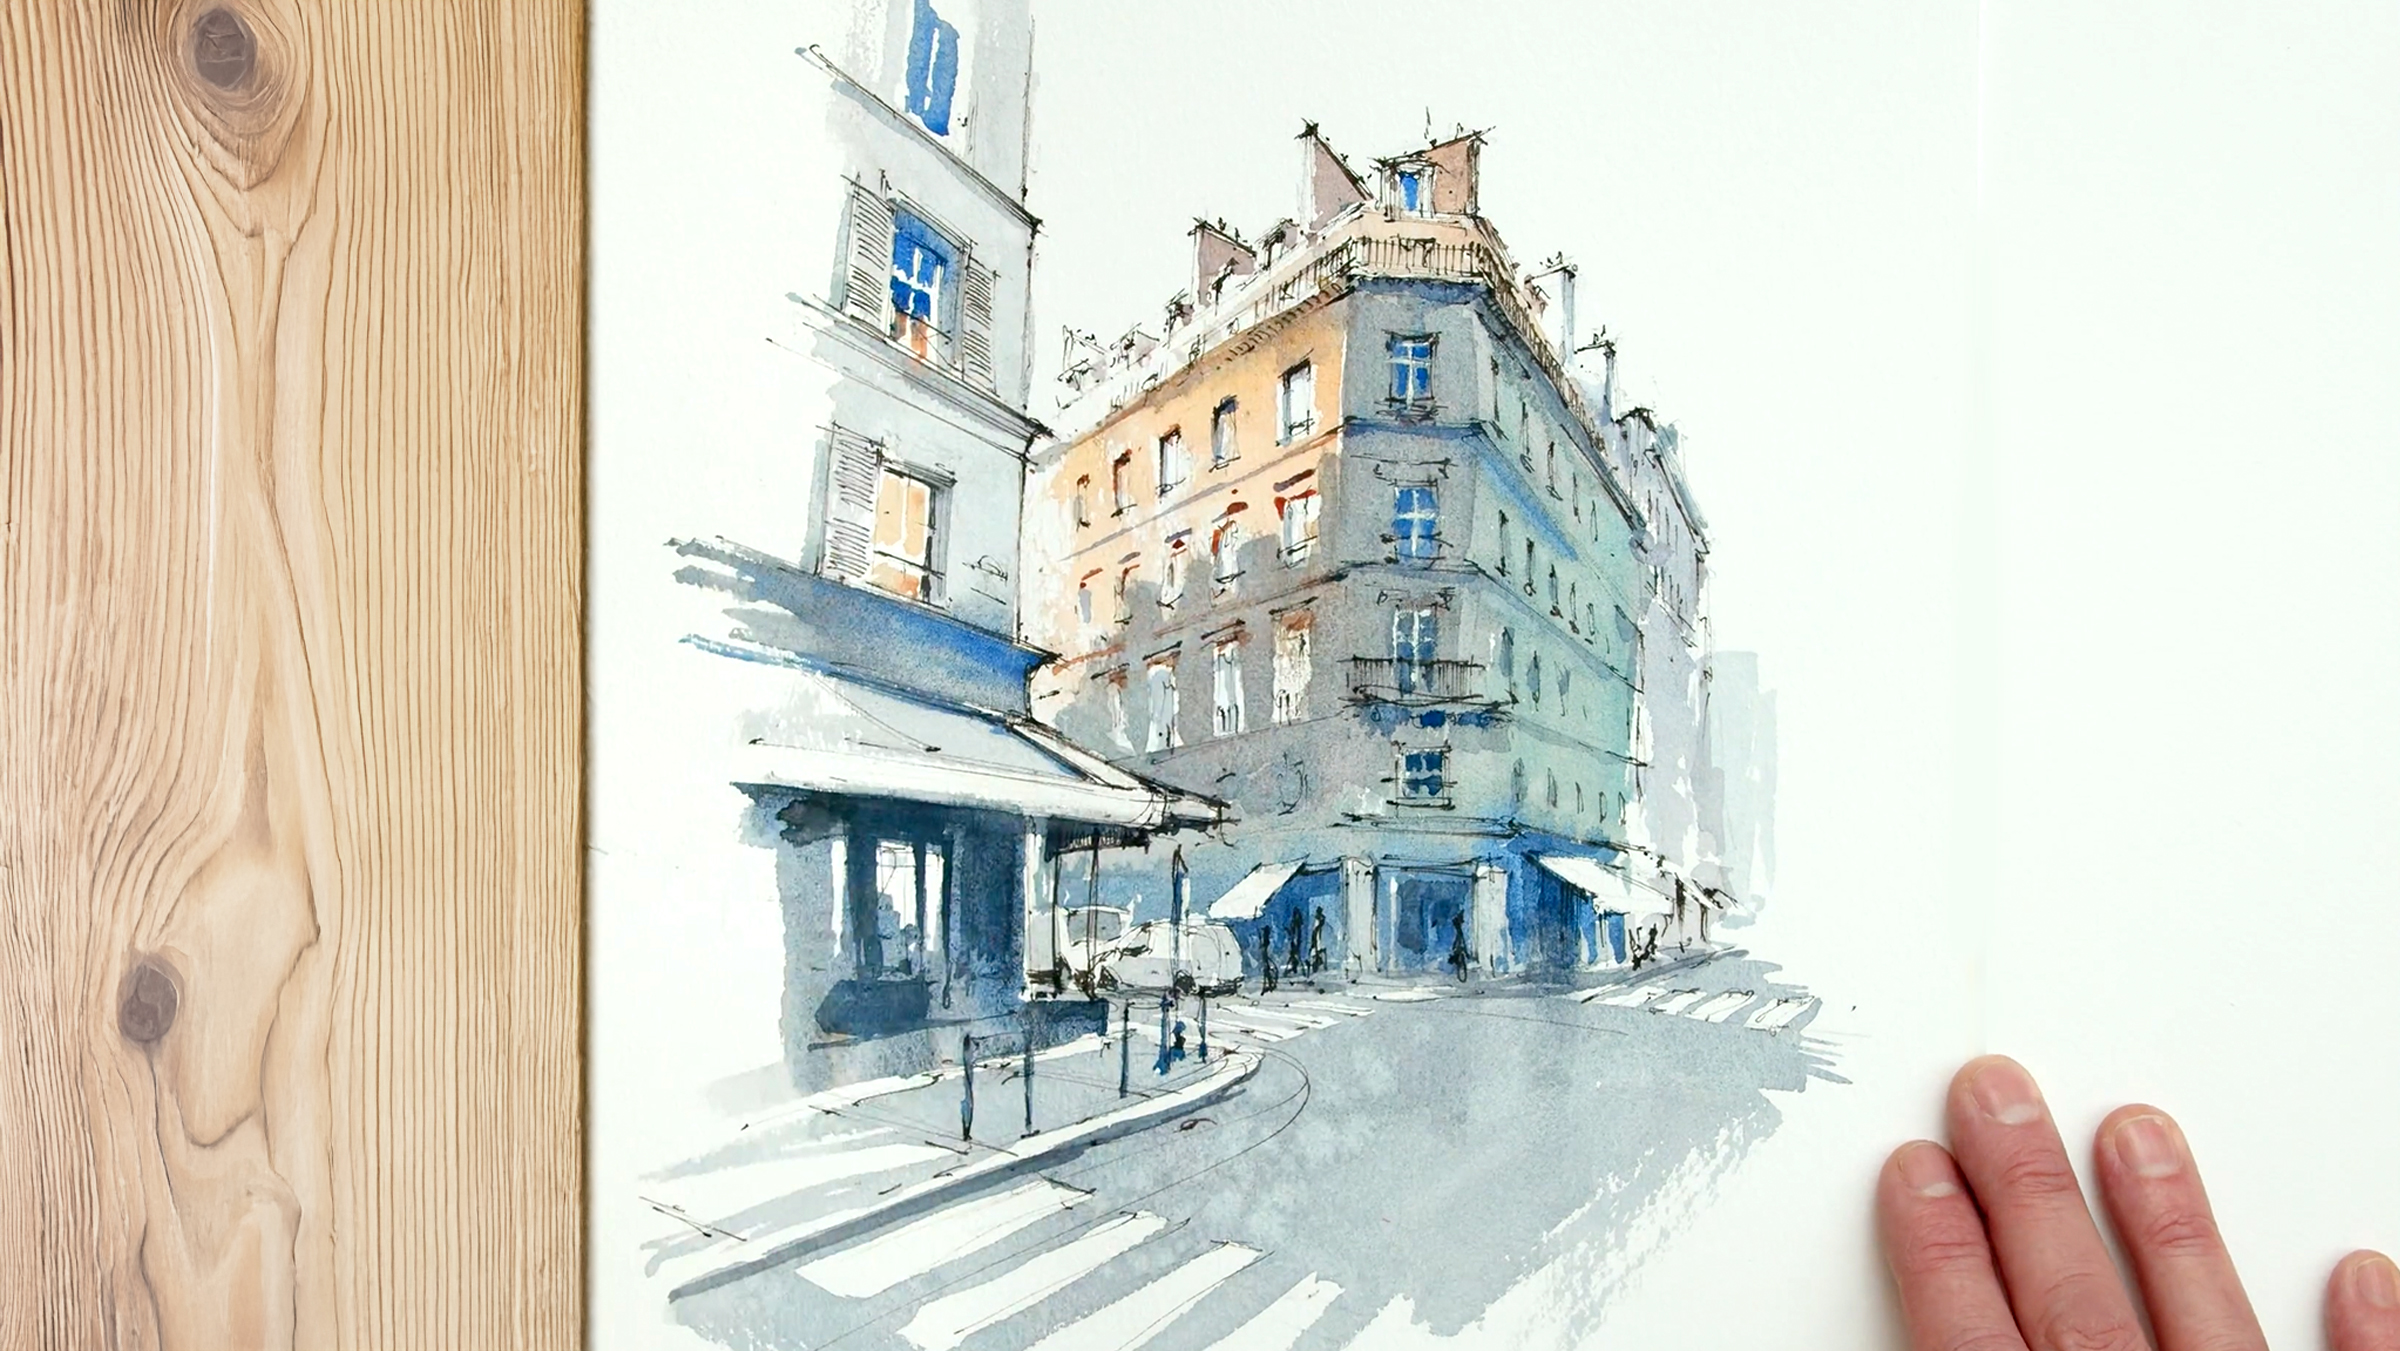
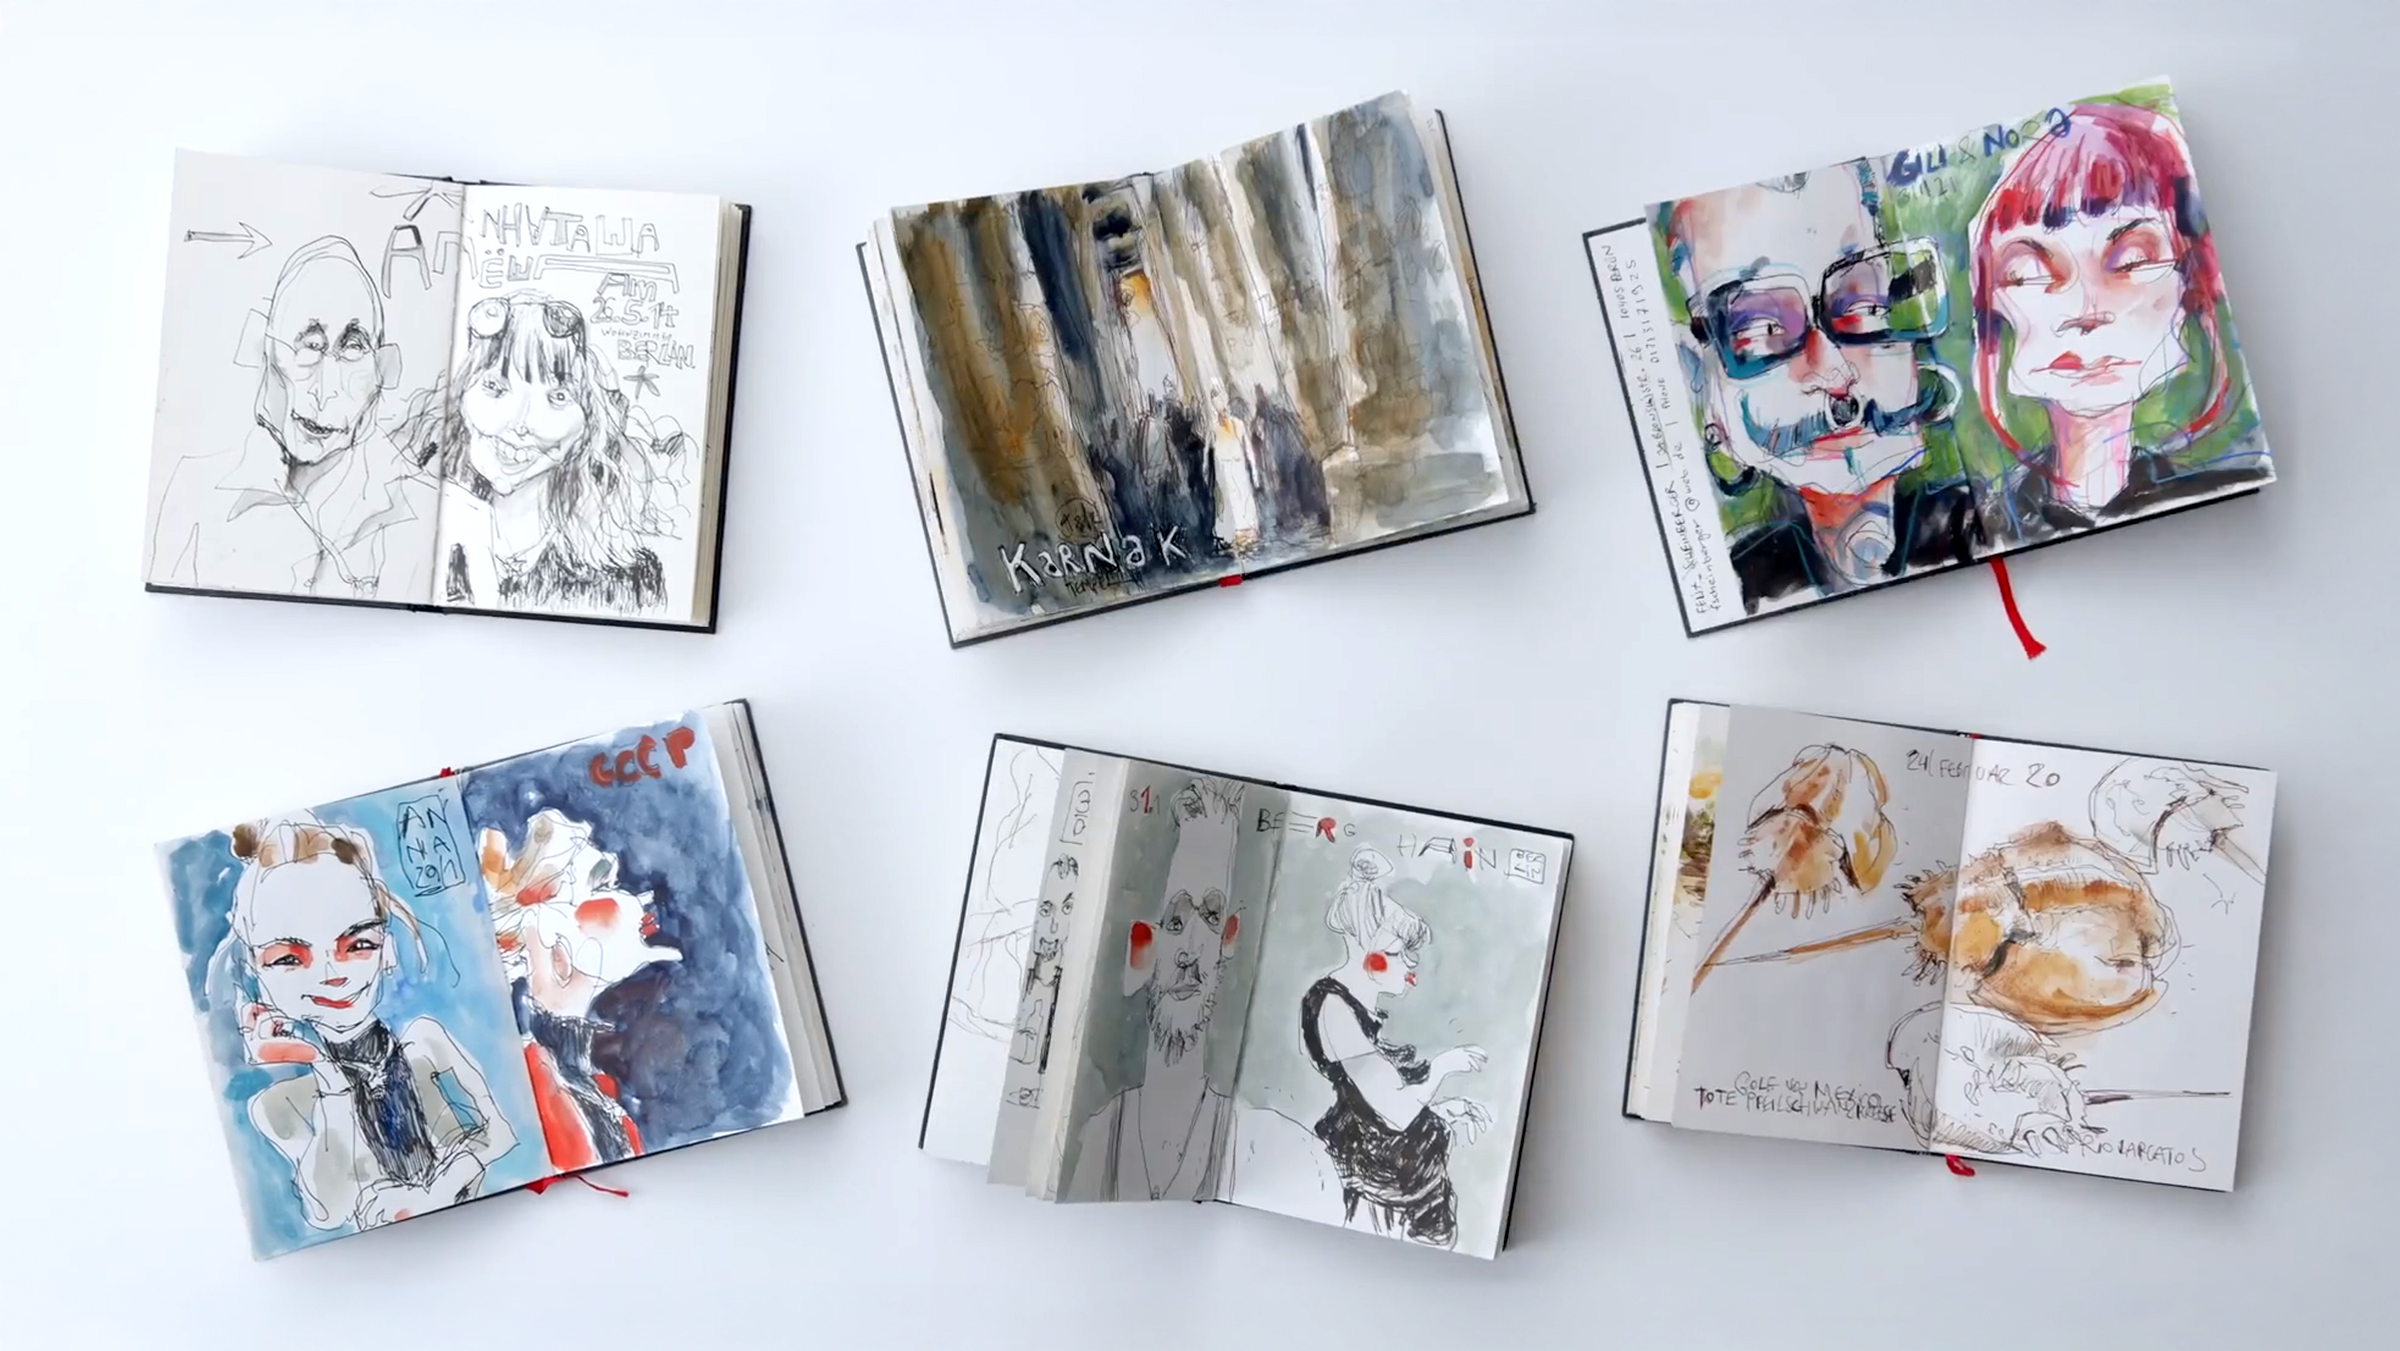
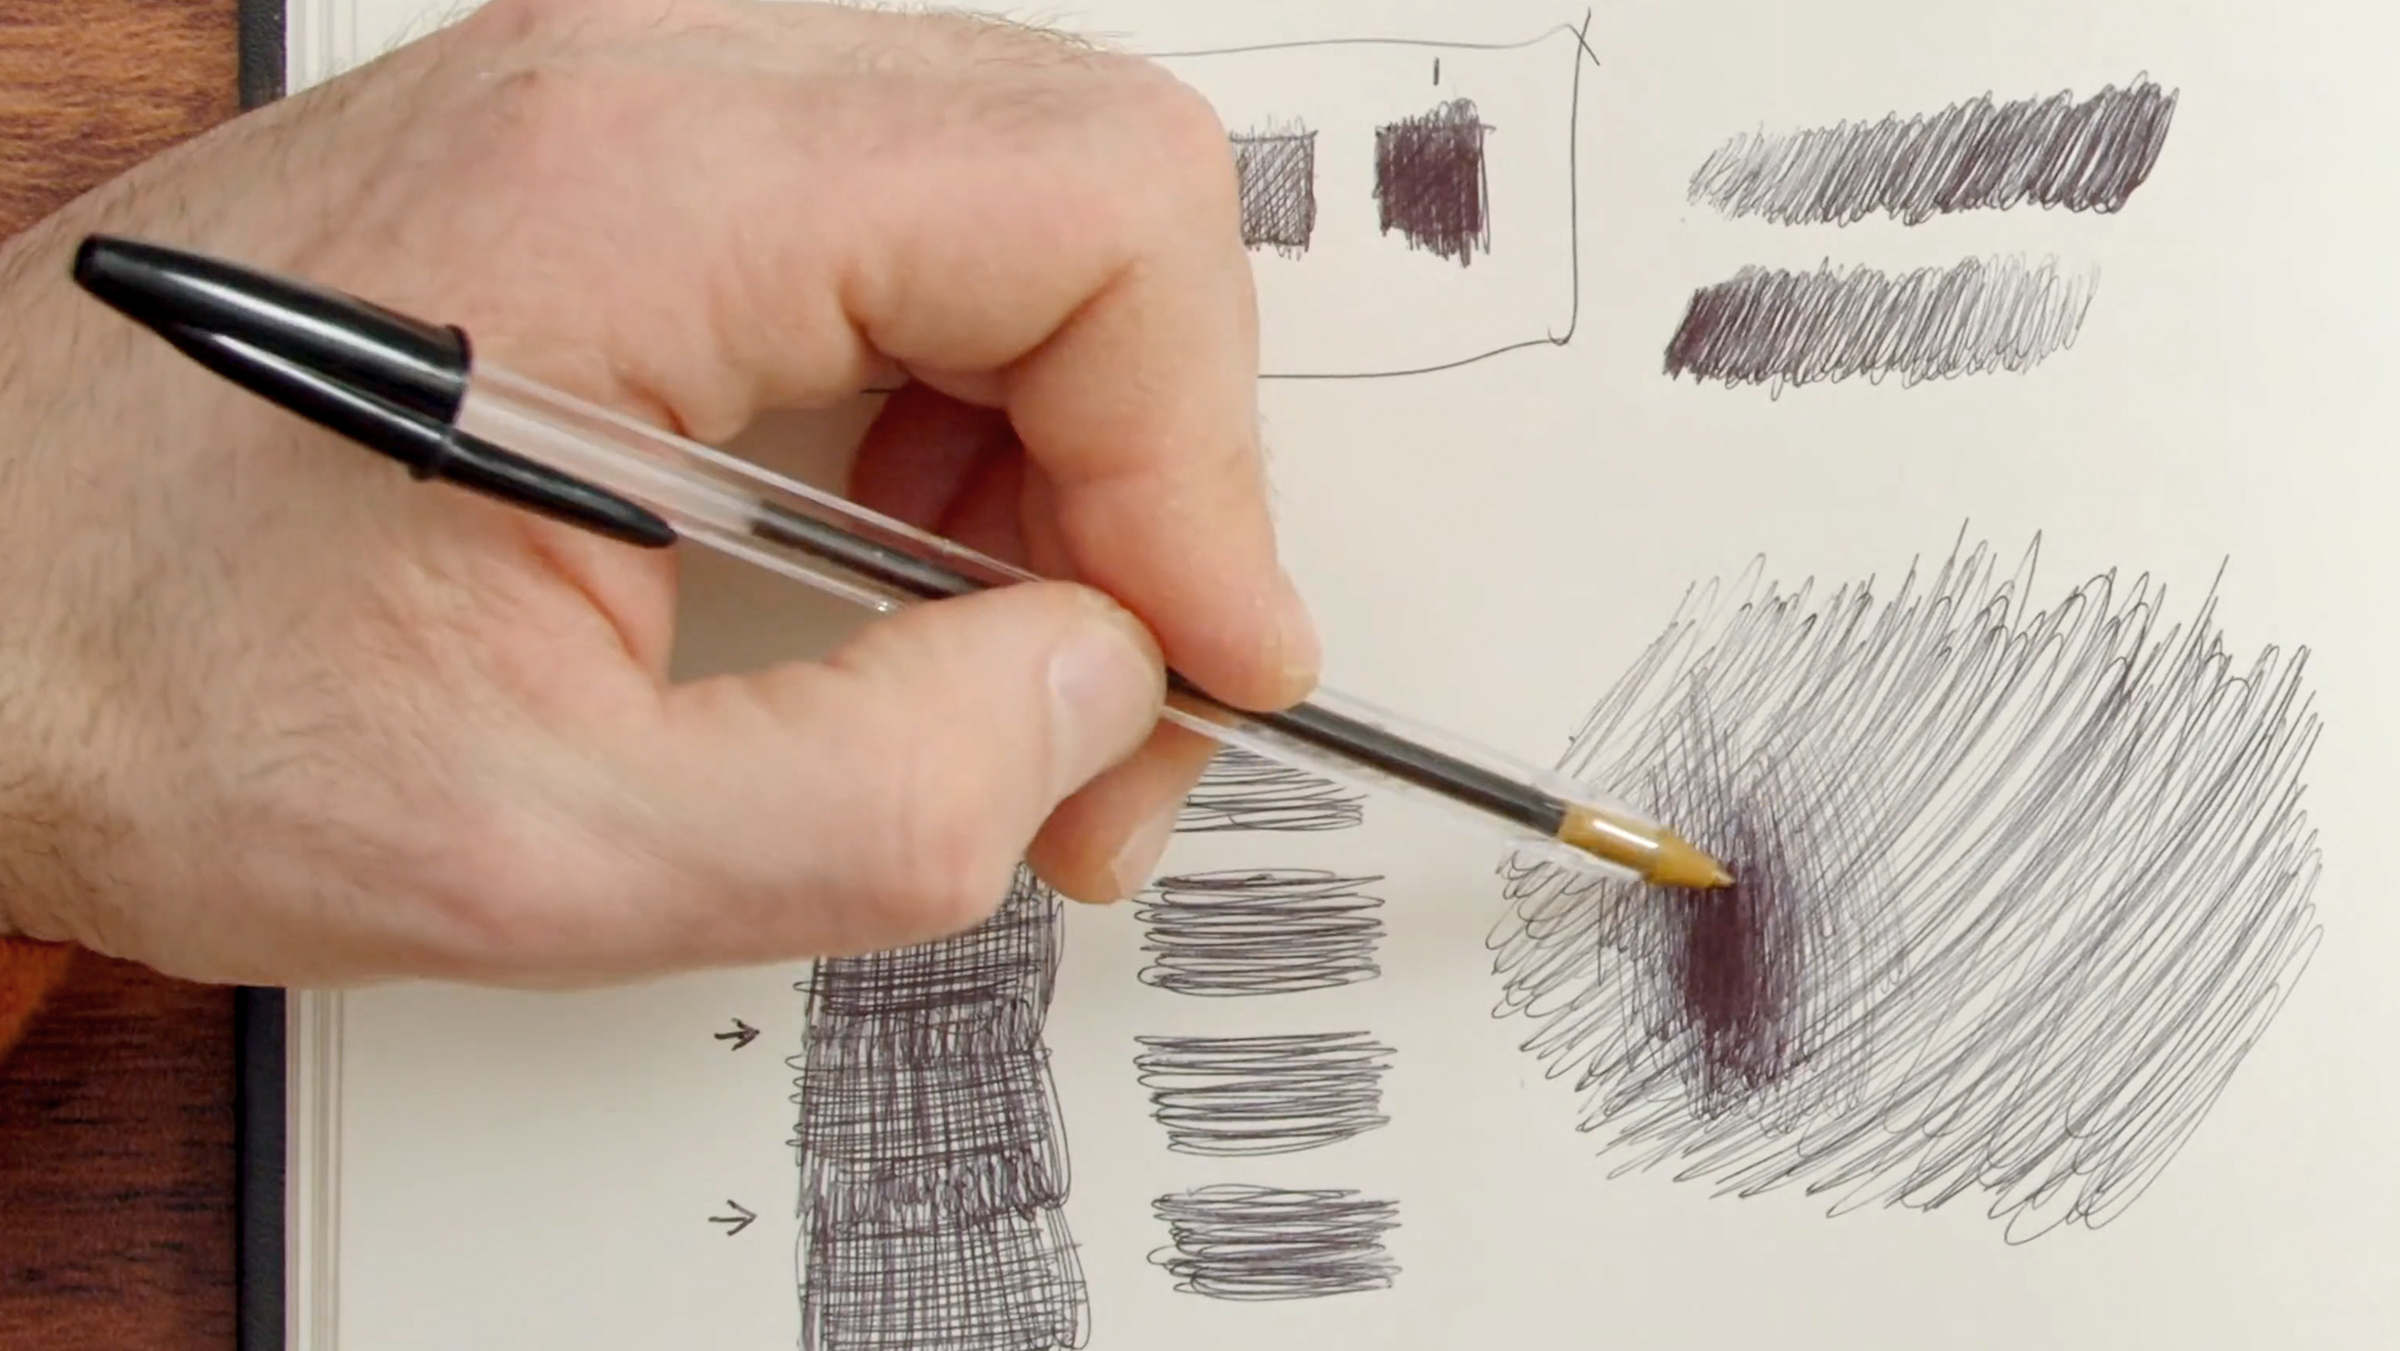
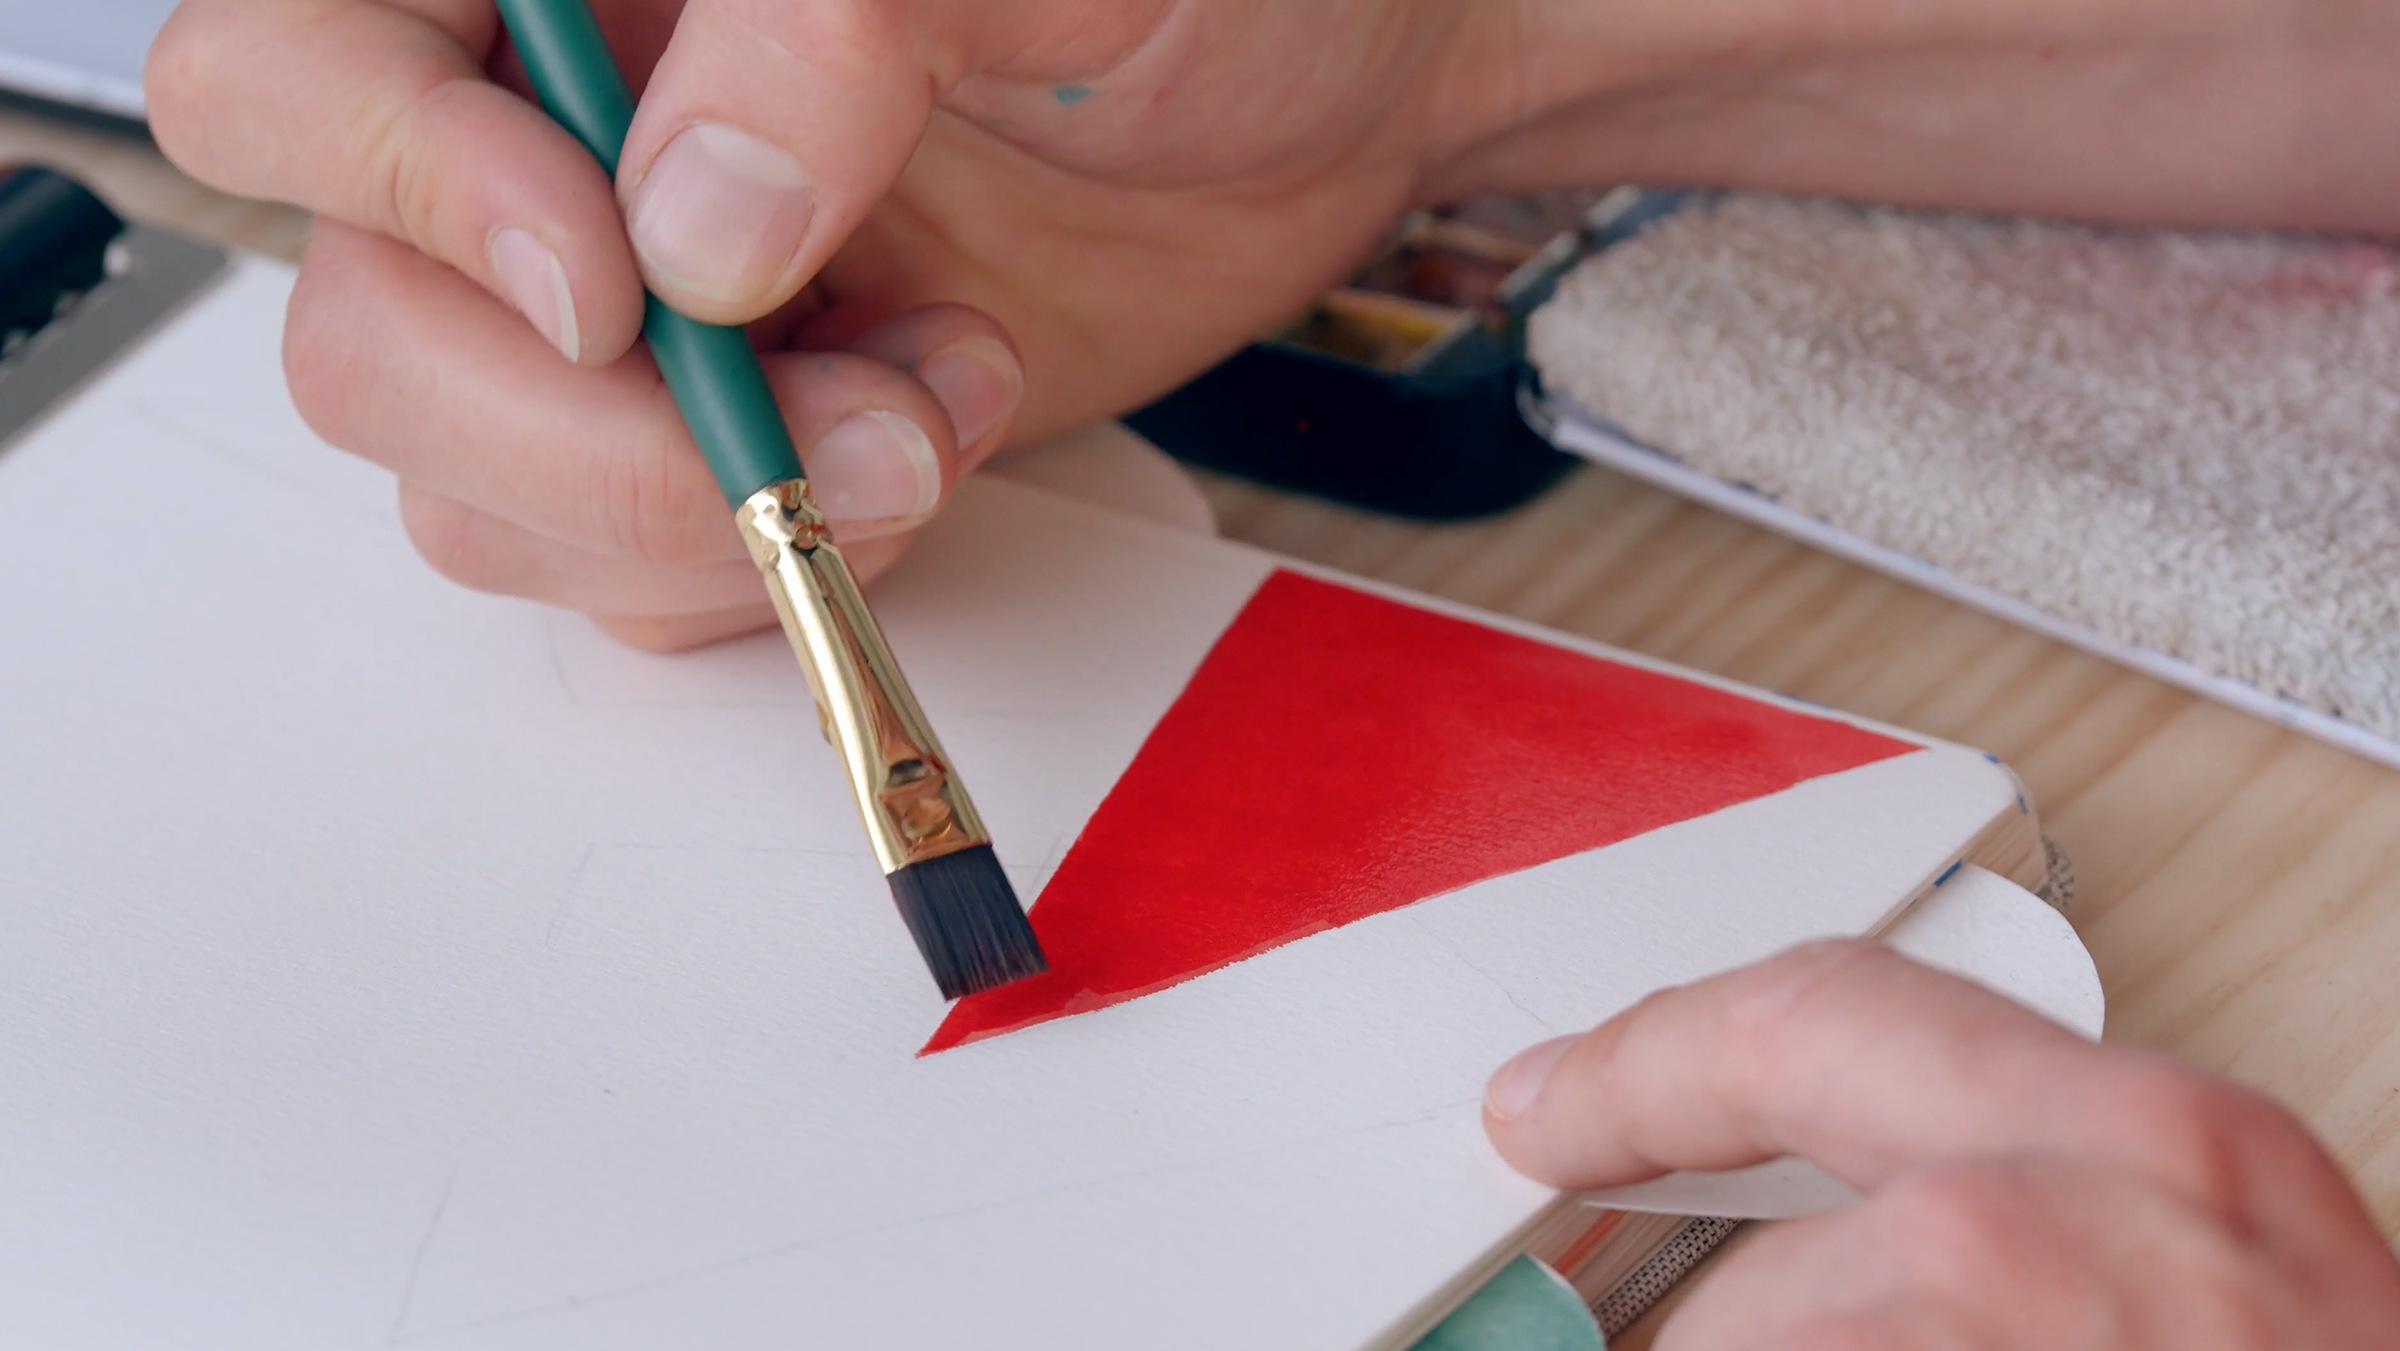
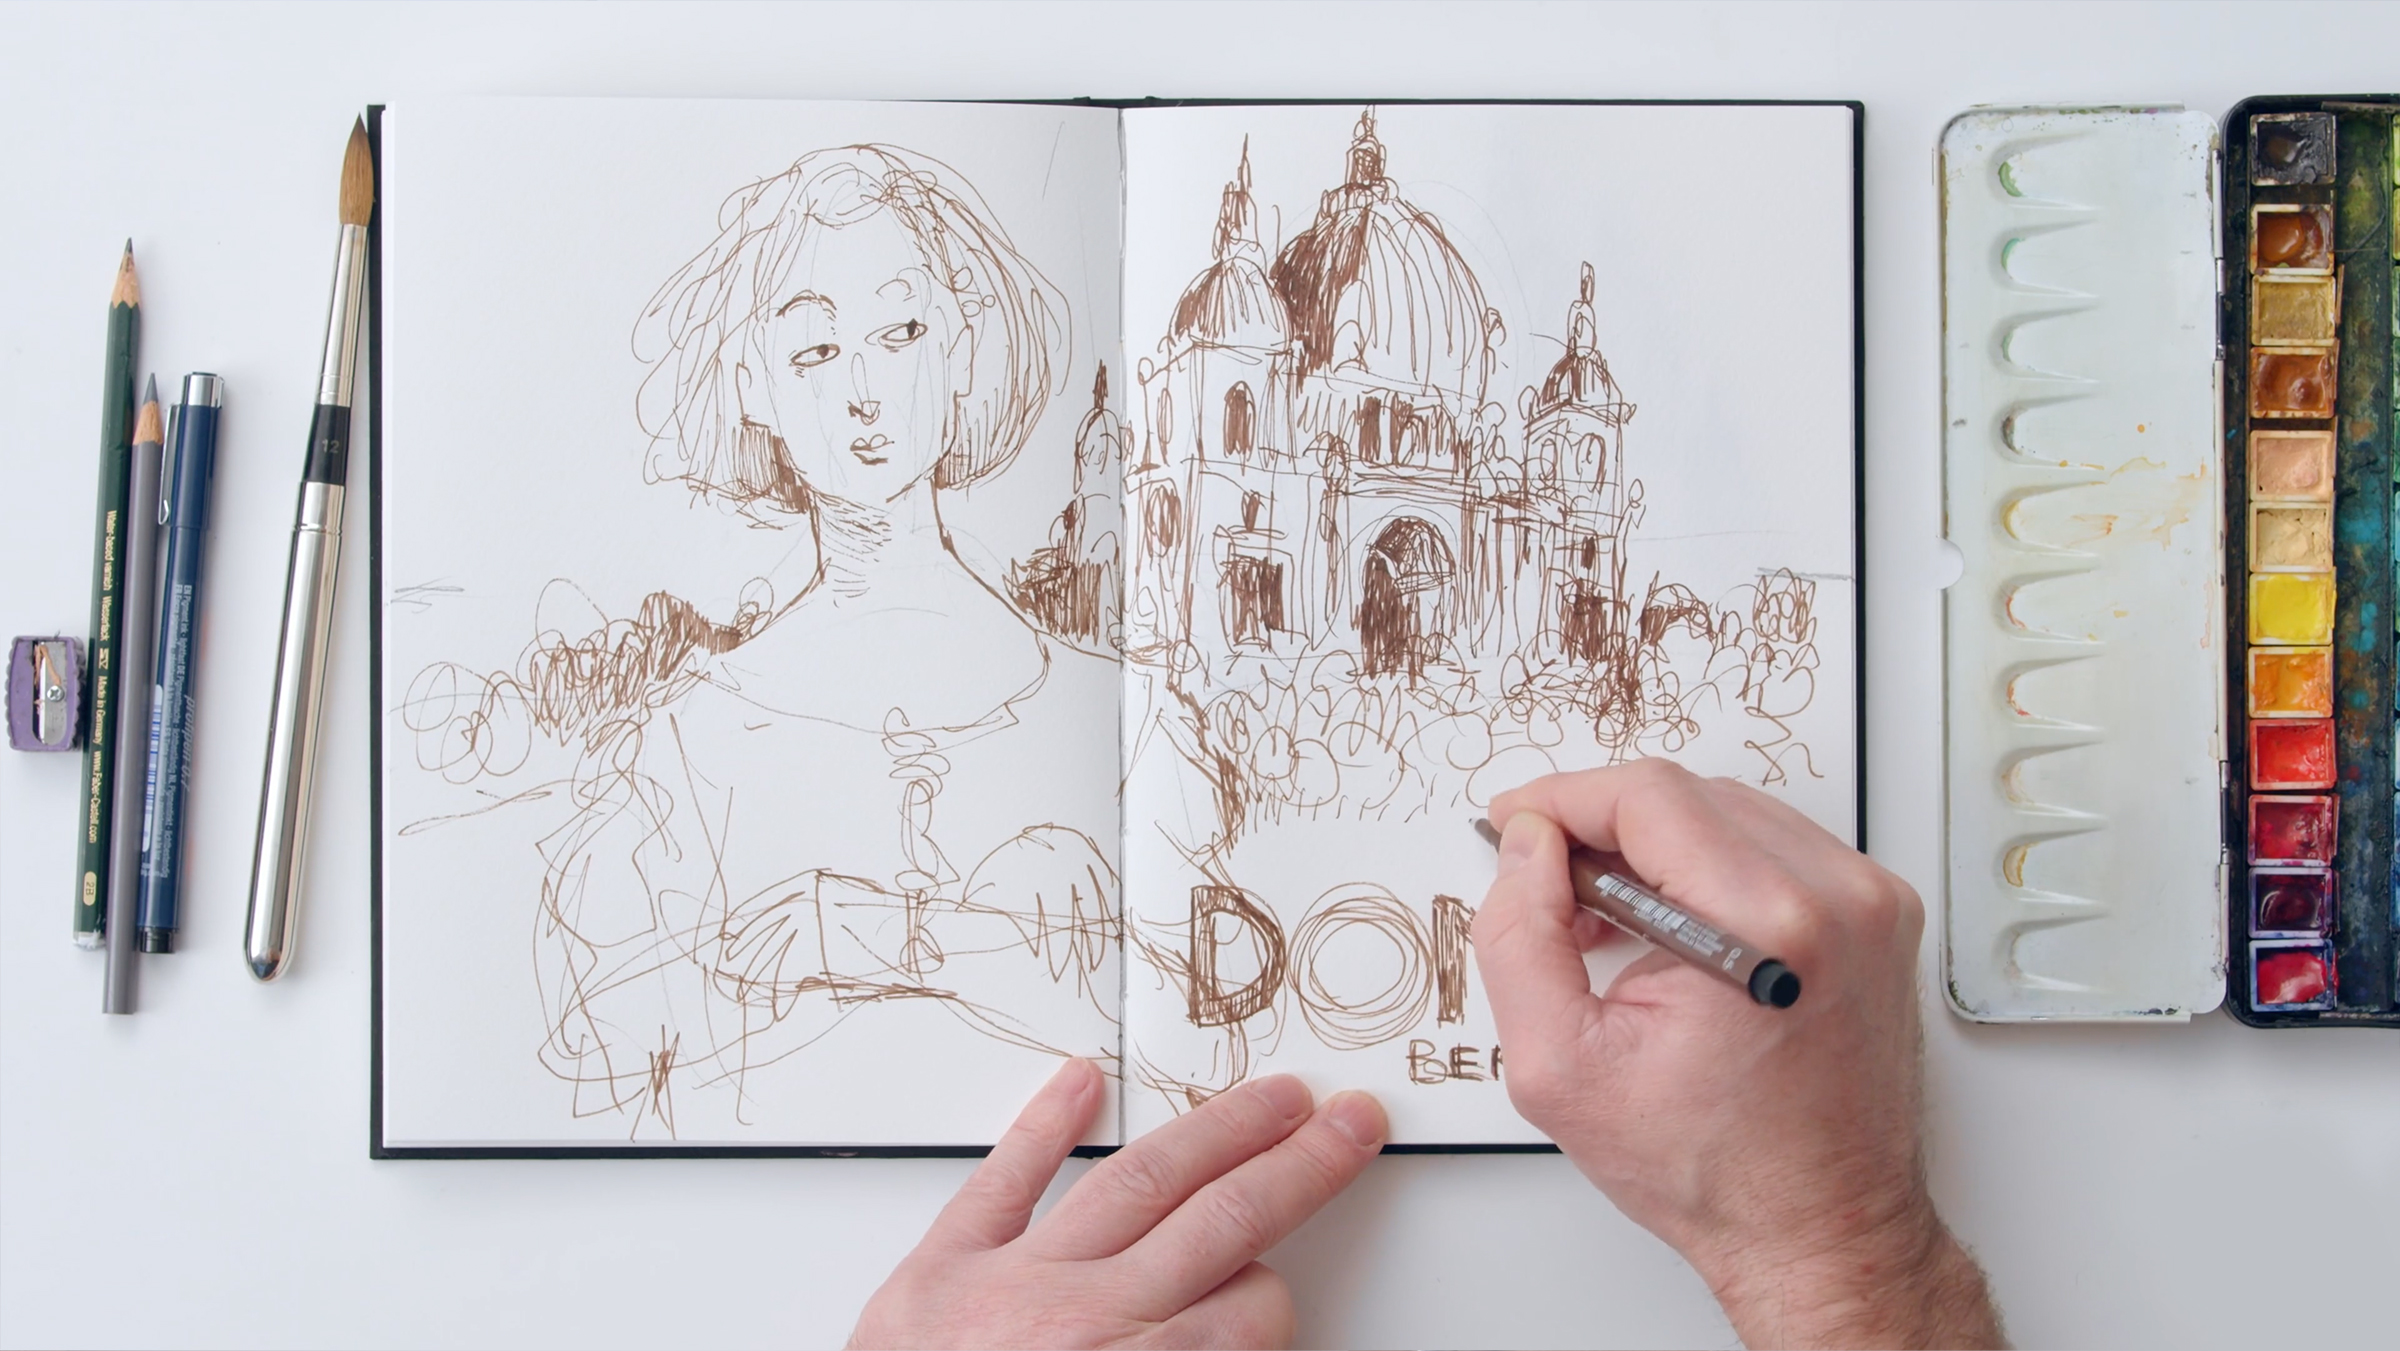
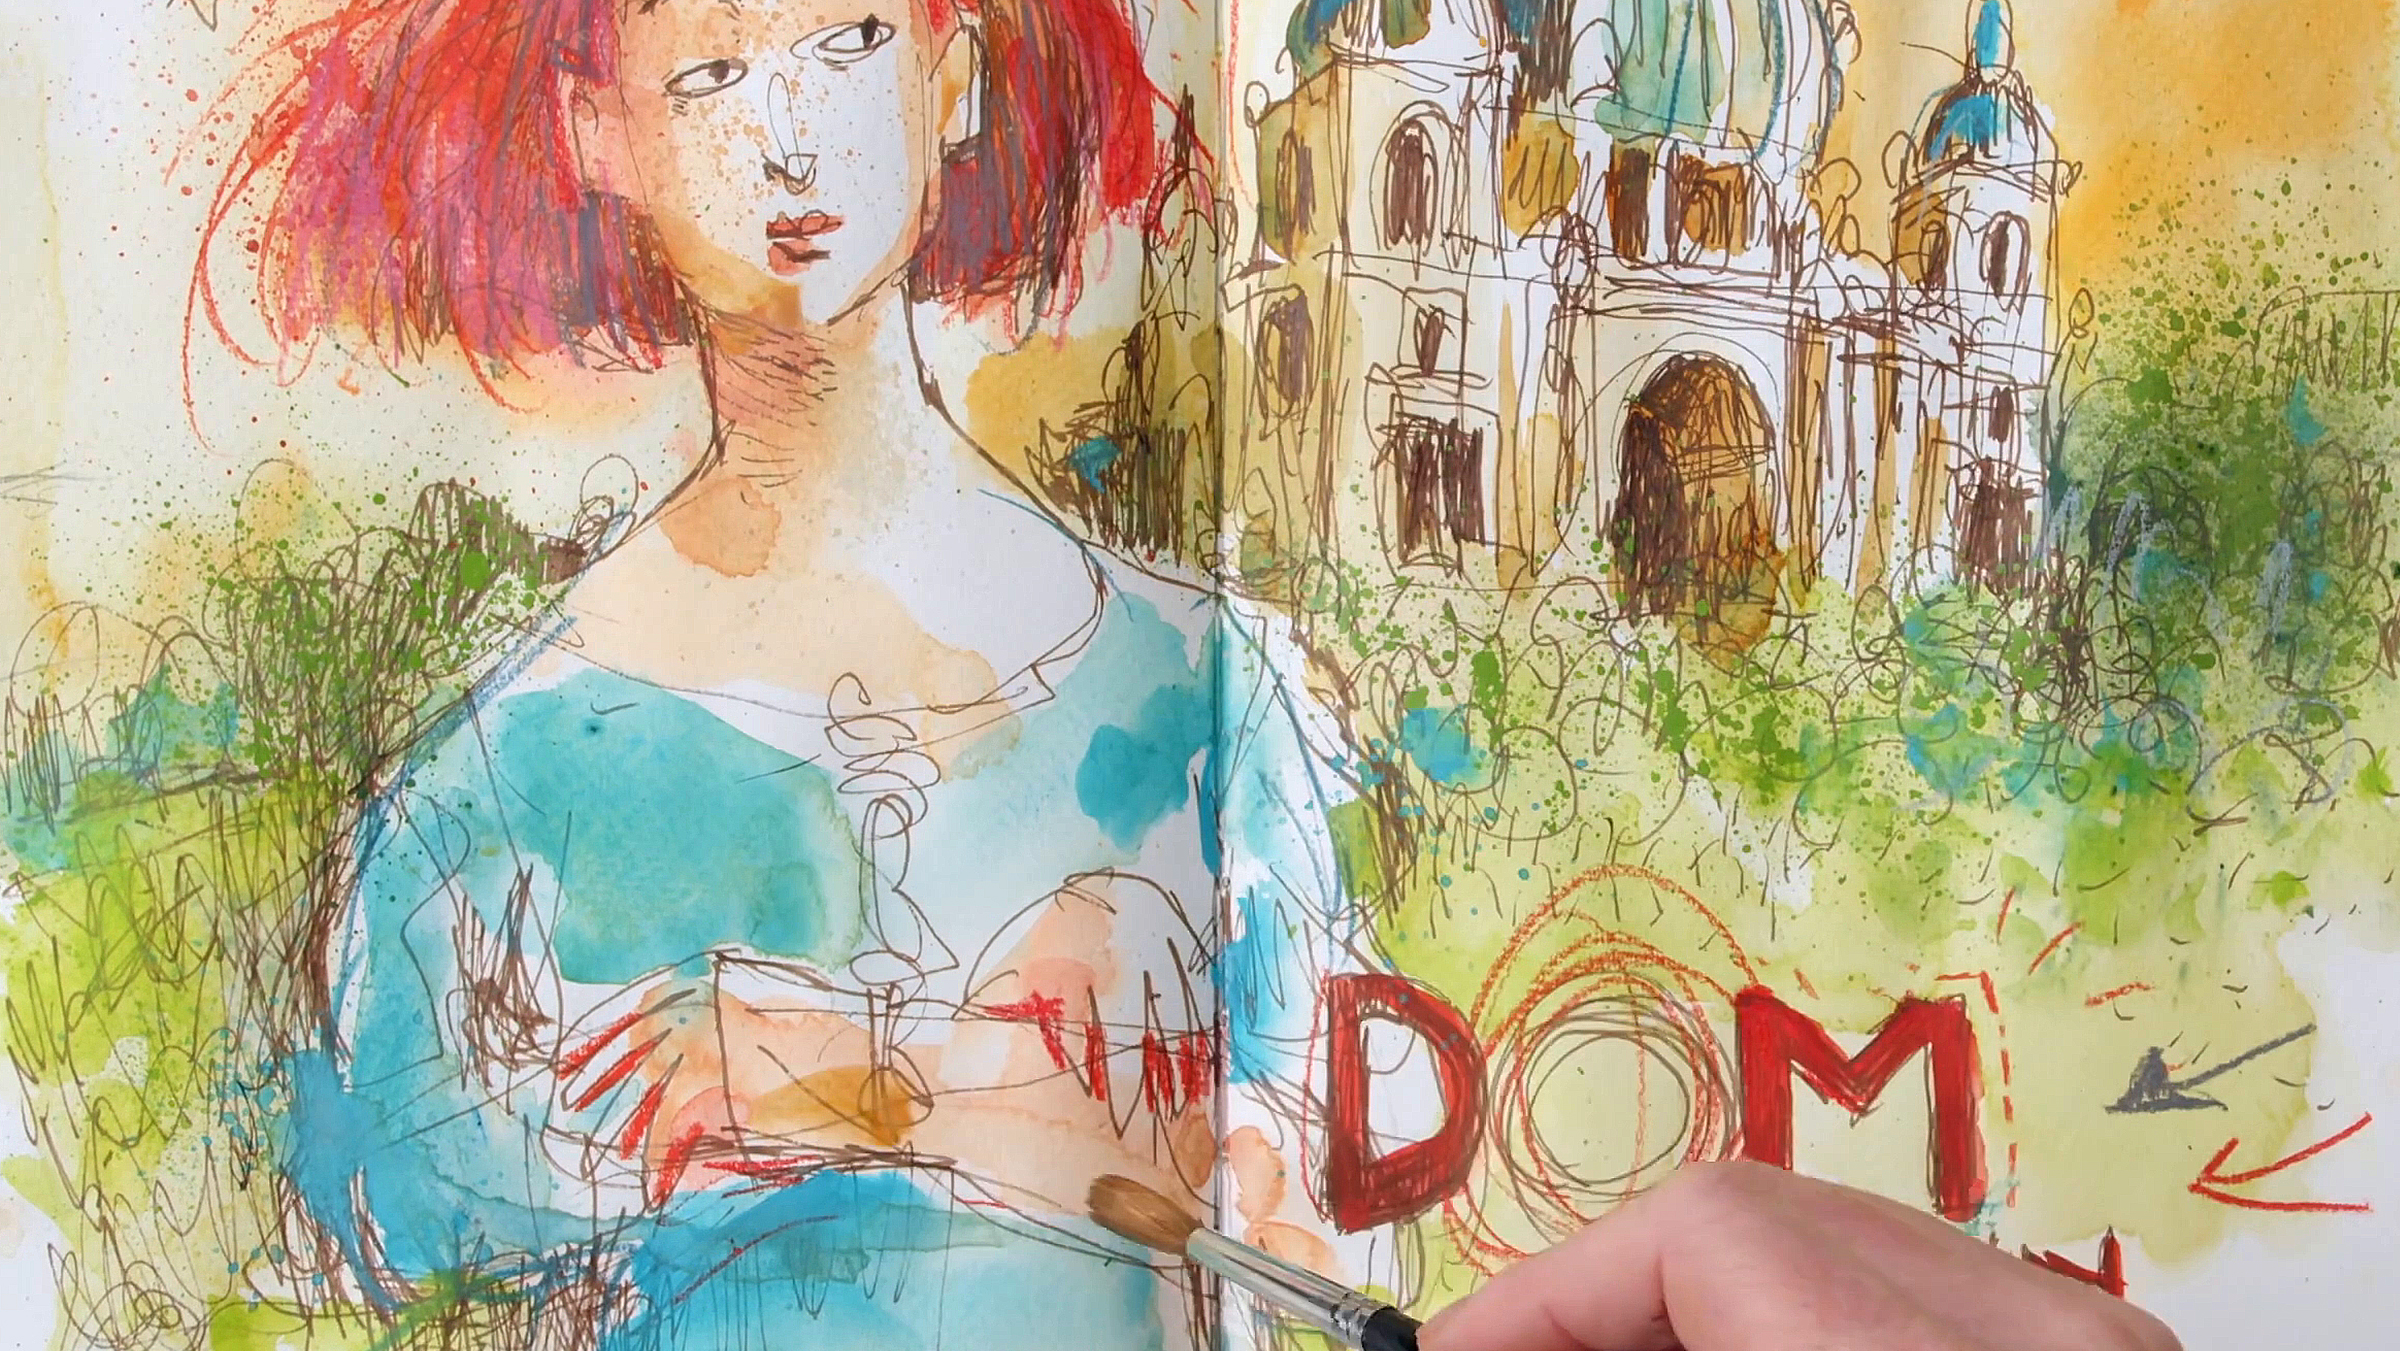
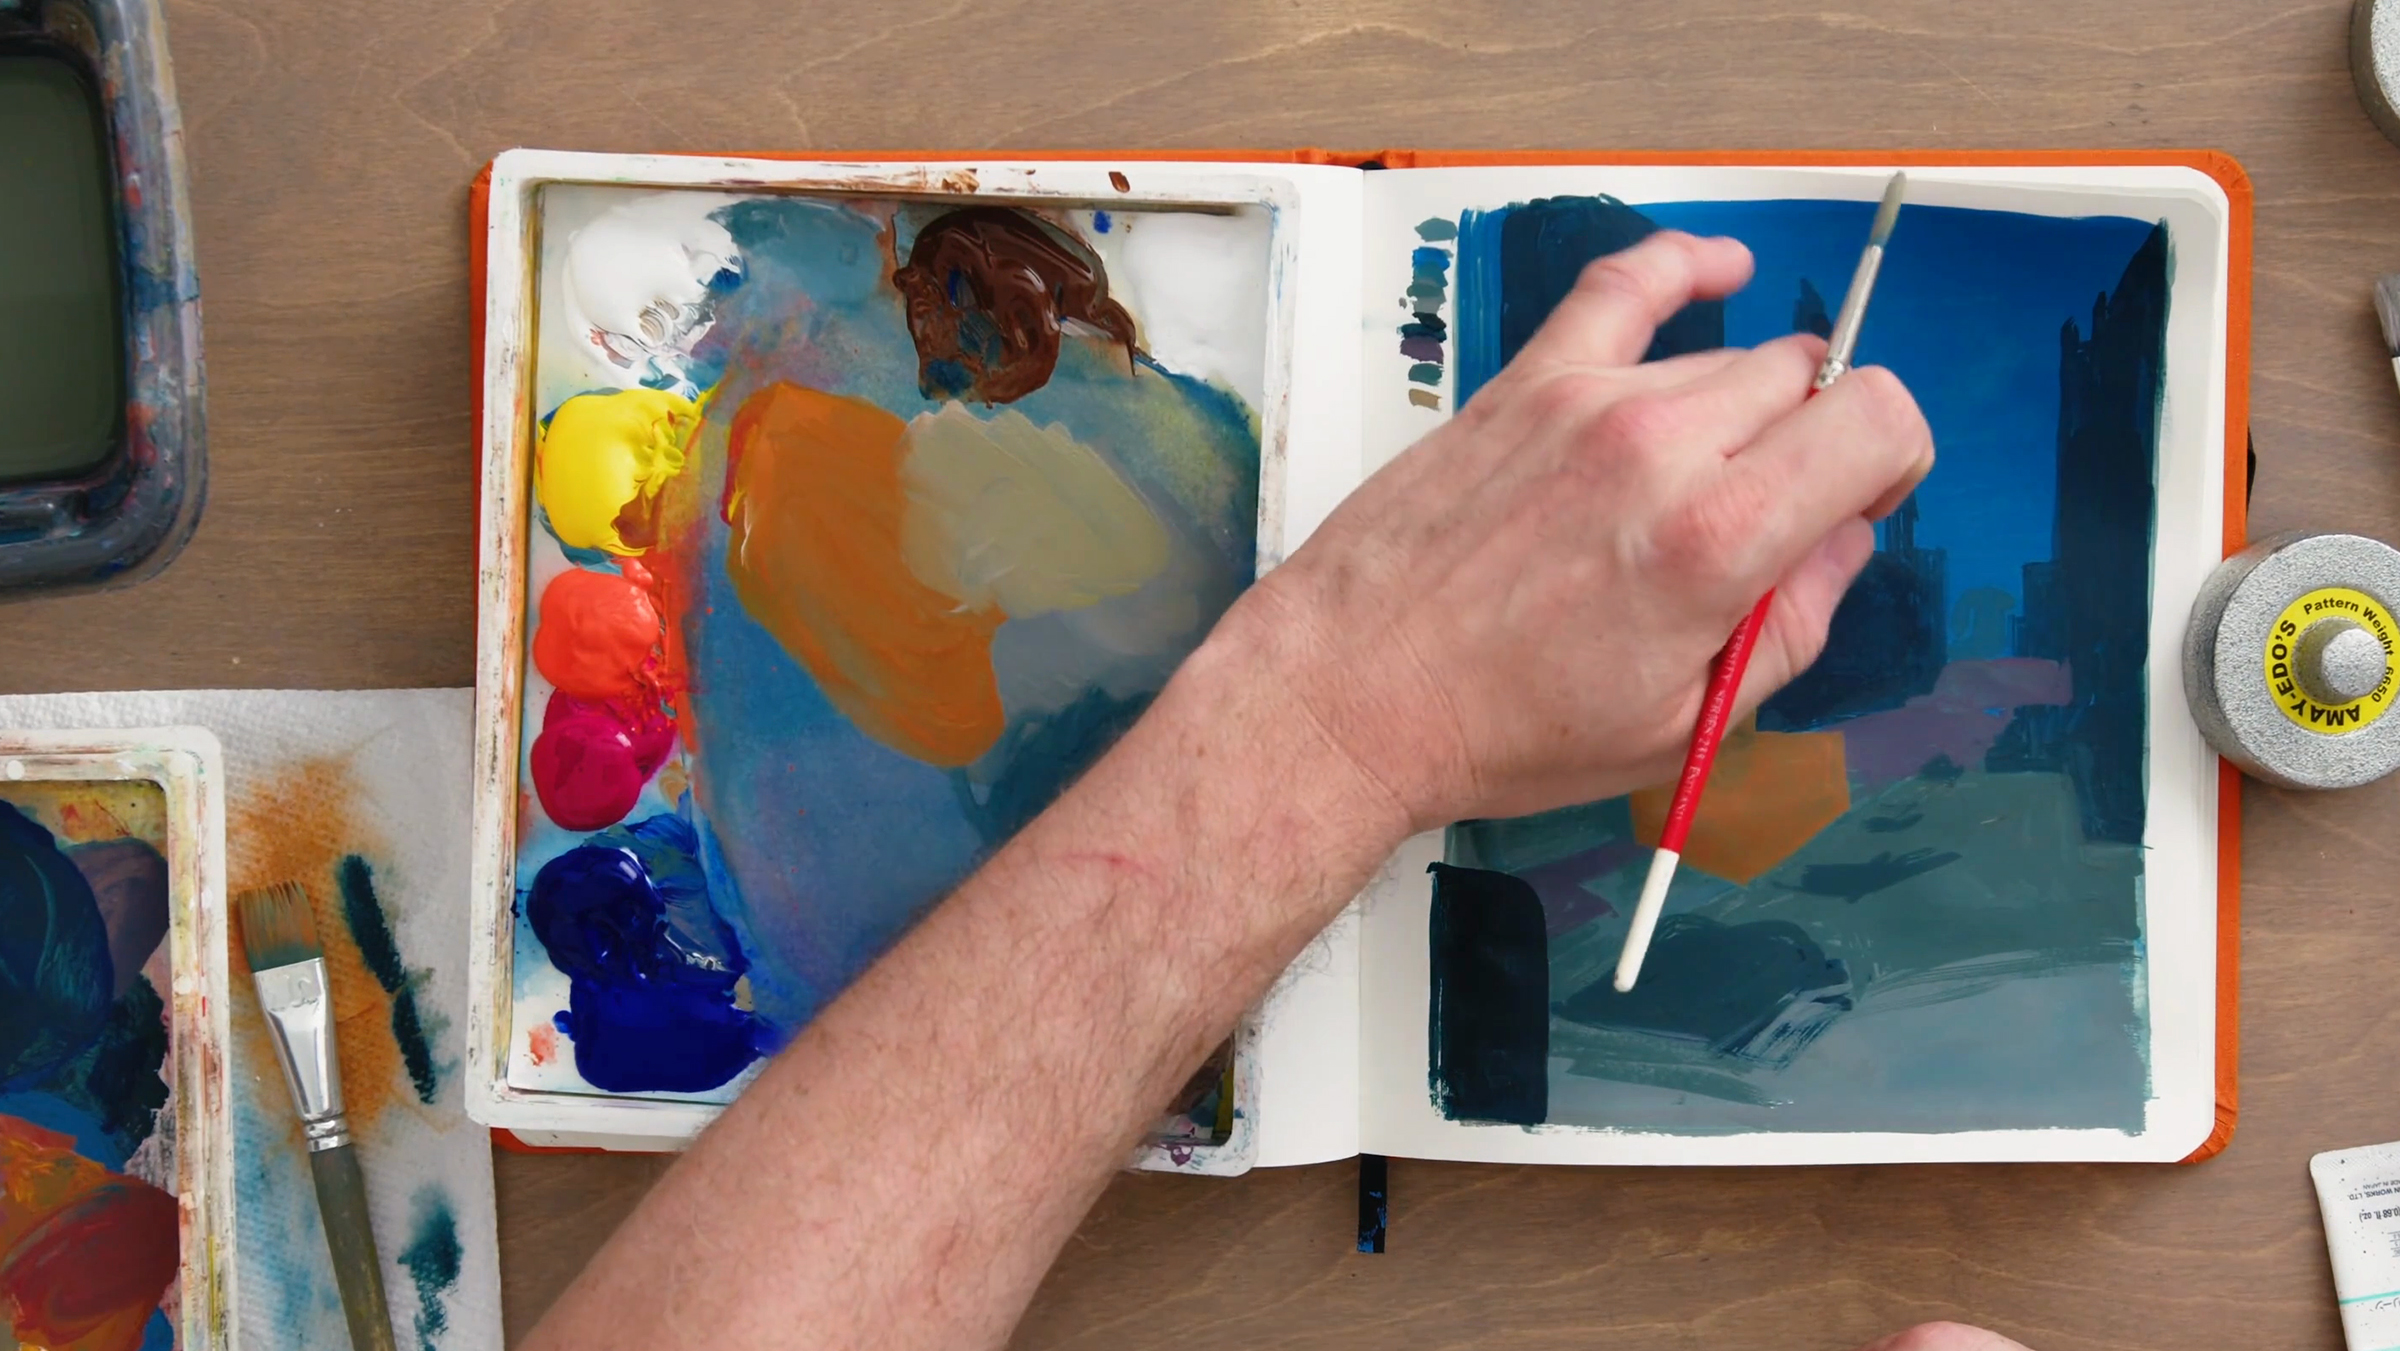
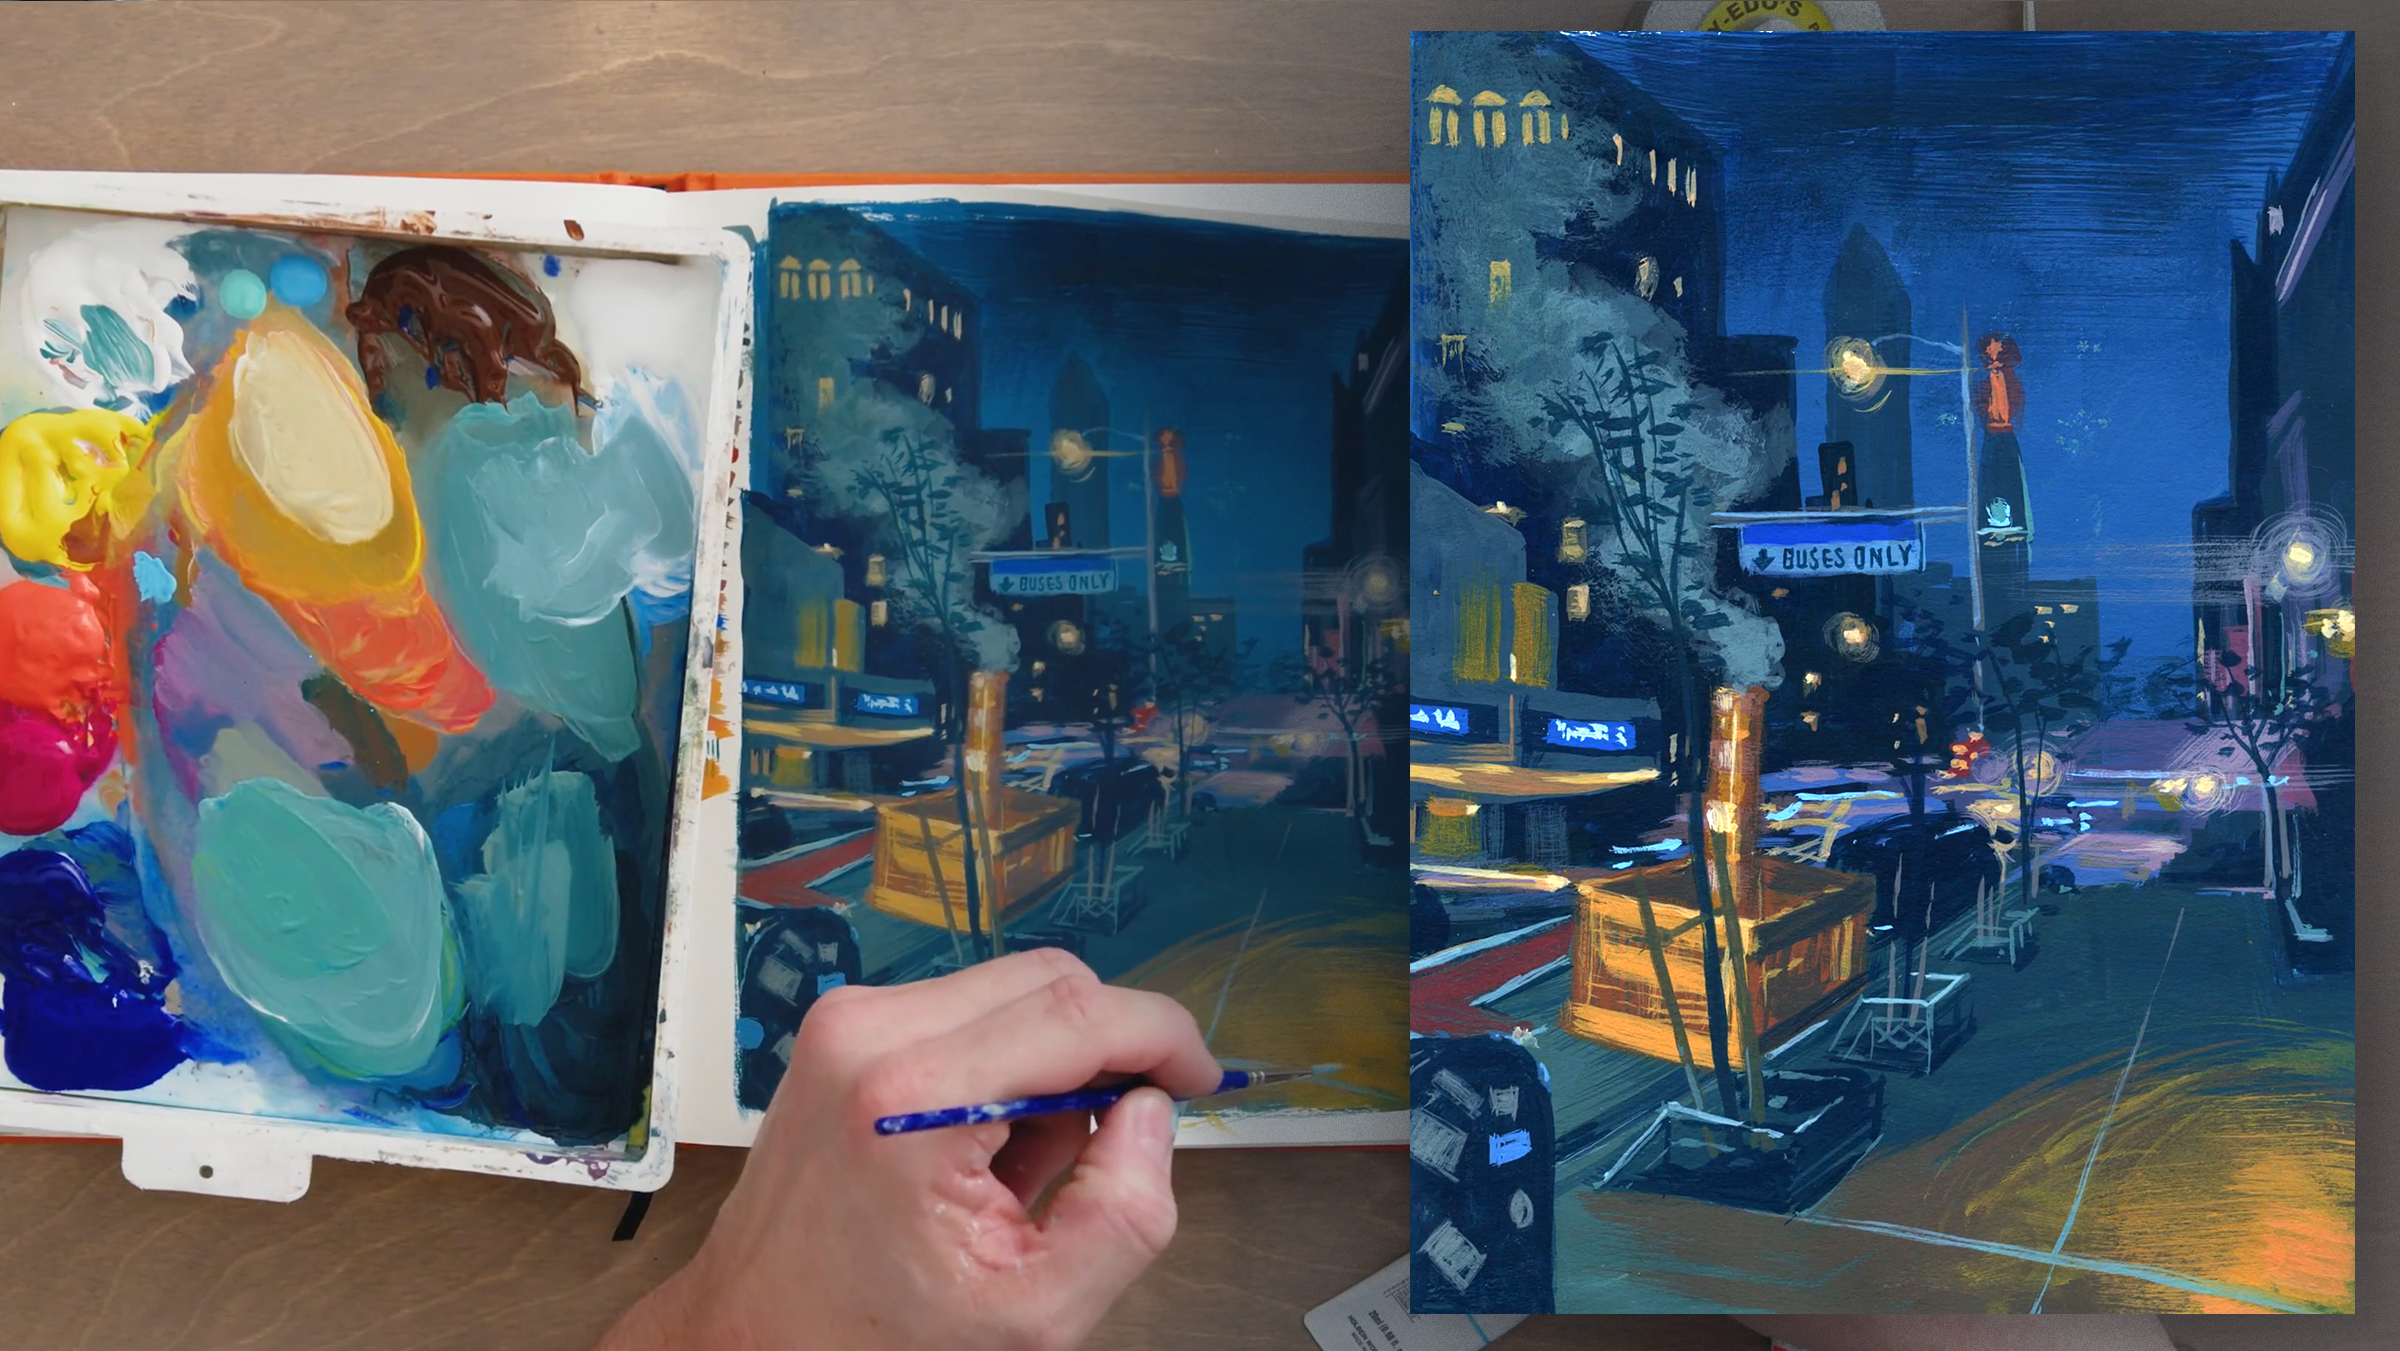
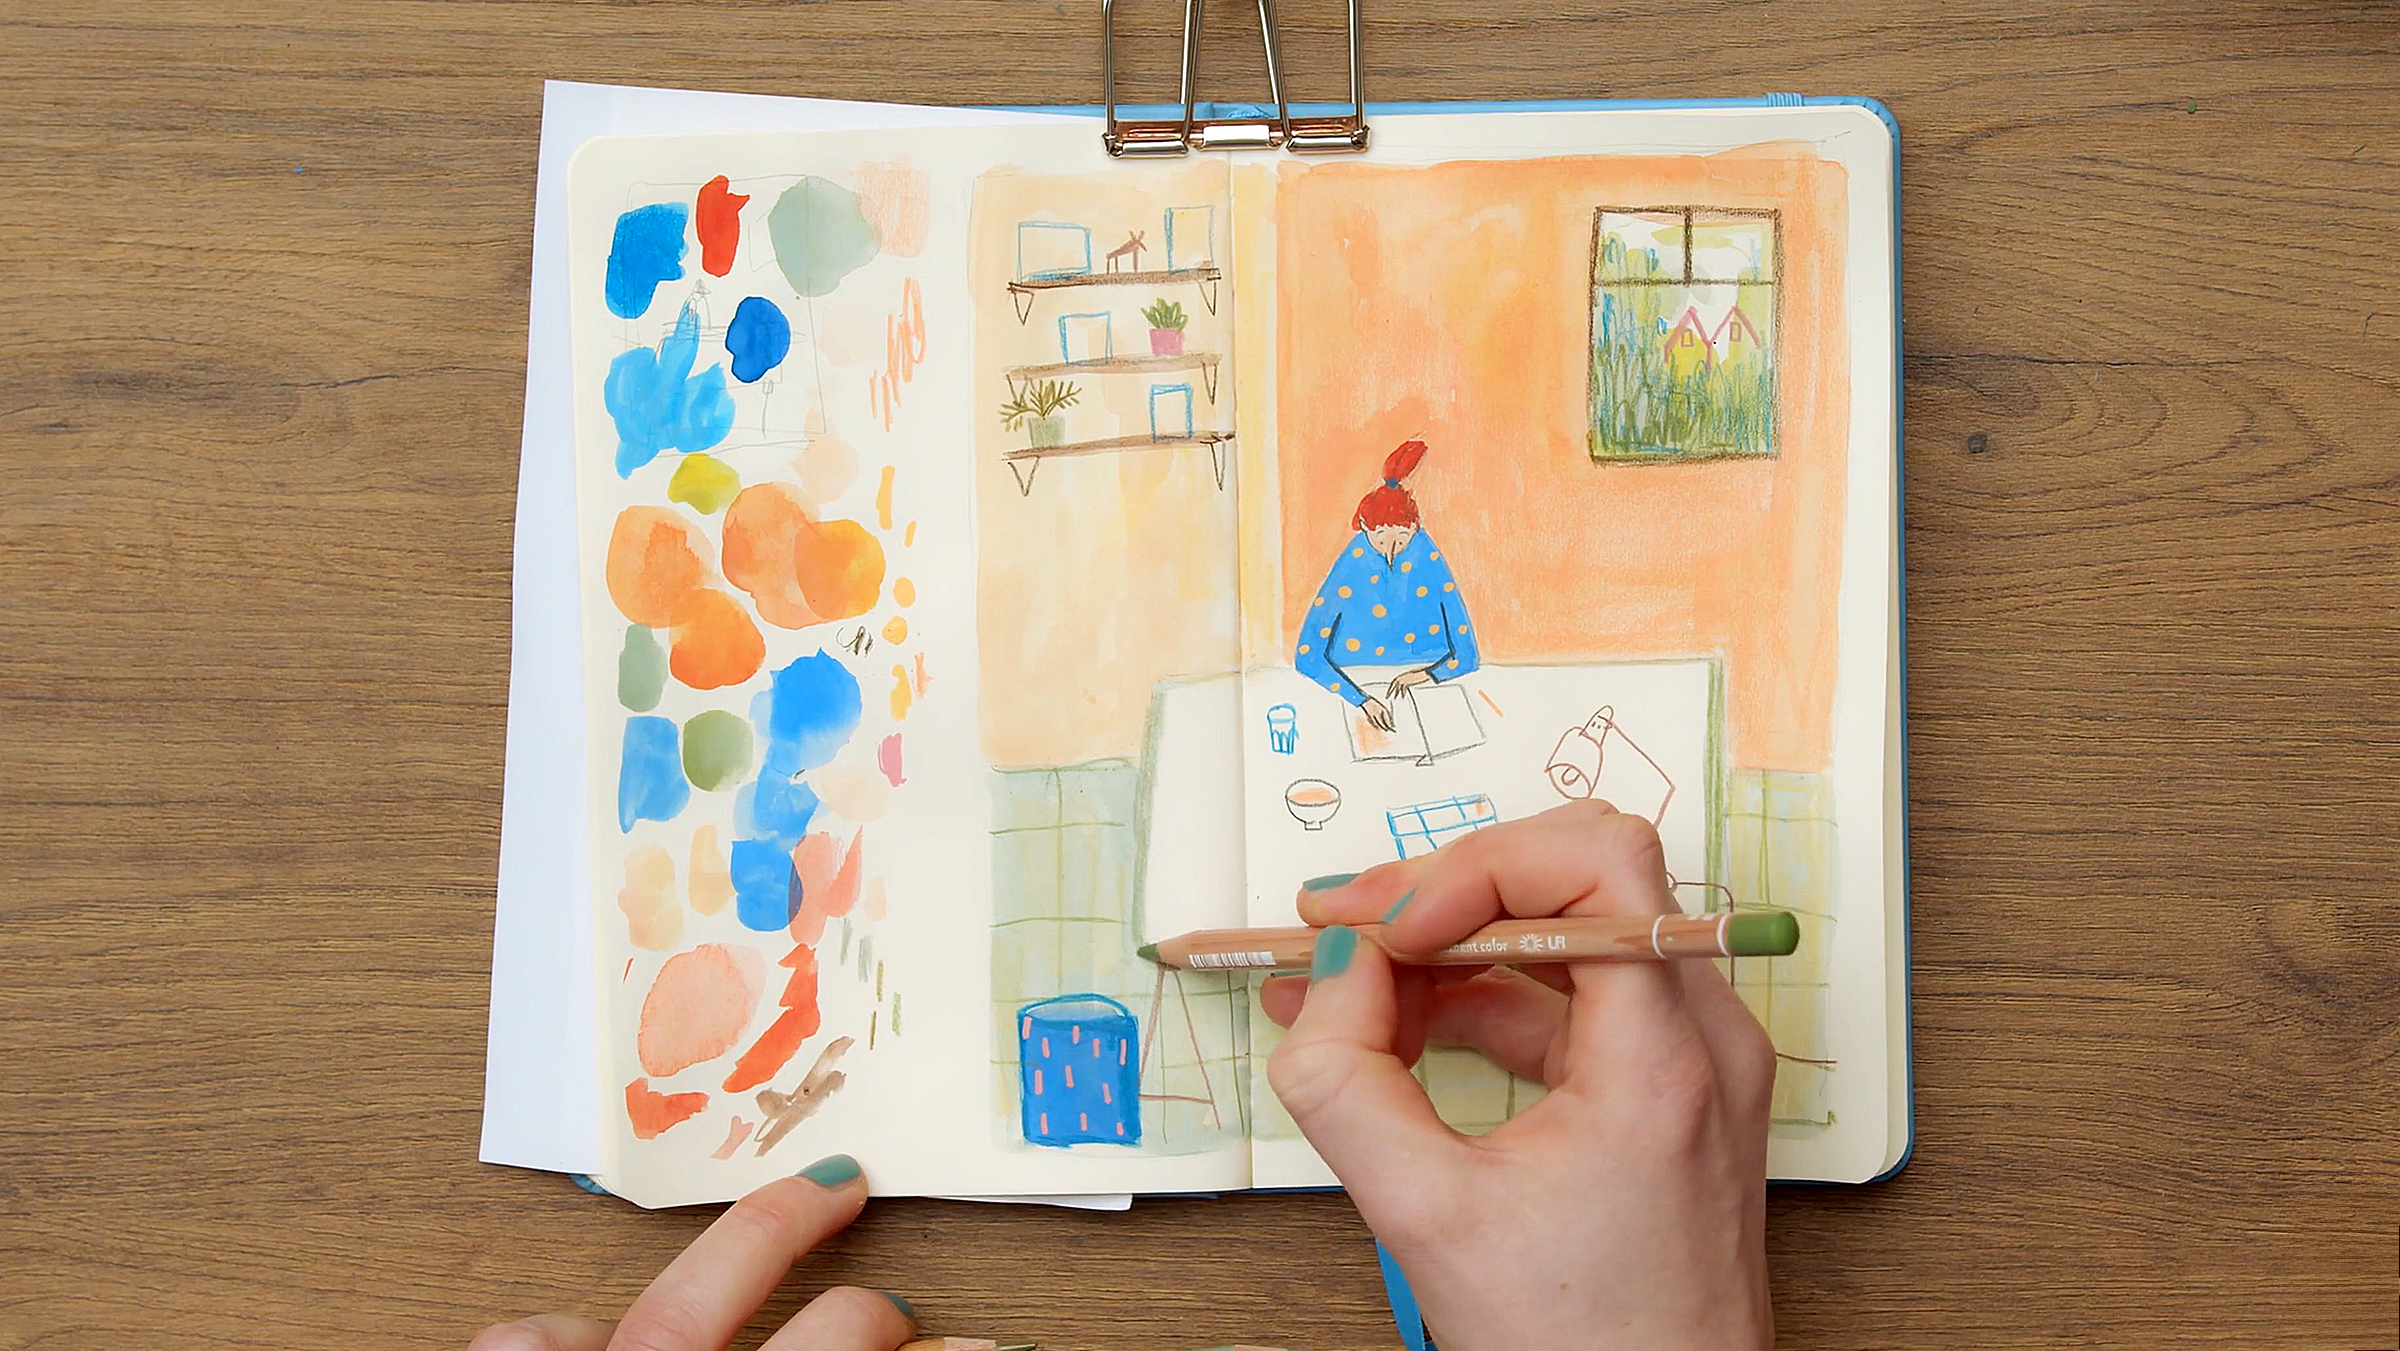
This sketching specialization will guide you on a creative journey alongside renowned international artists. Through nearly 100 carefully selected and designed lessons, you'll discover everything from essential fundamentals to sophisticated techniques like perspective, composition, play of light and shadow, and the fascinating world of color.

Each expert instructor will teach you how to capture the essence of the world around you in your sketchbook, exploring a variety of unique styles and methods. This learning experience will help you transform your ideas and emotions into captivating visual forms, opening your eyes to new ways of perceiving and expressing your environment.

Dive into this specialization and awaken your creativity.

Read more ↓

What will you learn in this specialization?

A total of 9 modules and 94 lessons
A total of 15h 44m of vídeo lessons
Taught by 10 selected expert teachers
image
1
Exploring Artistic Influences and Perspective Techniques
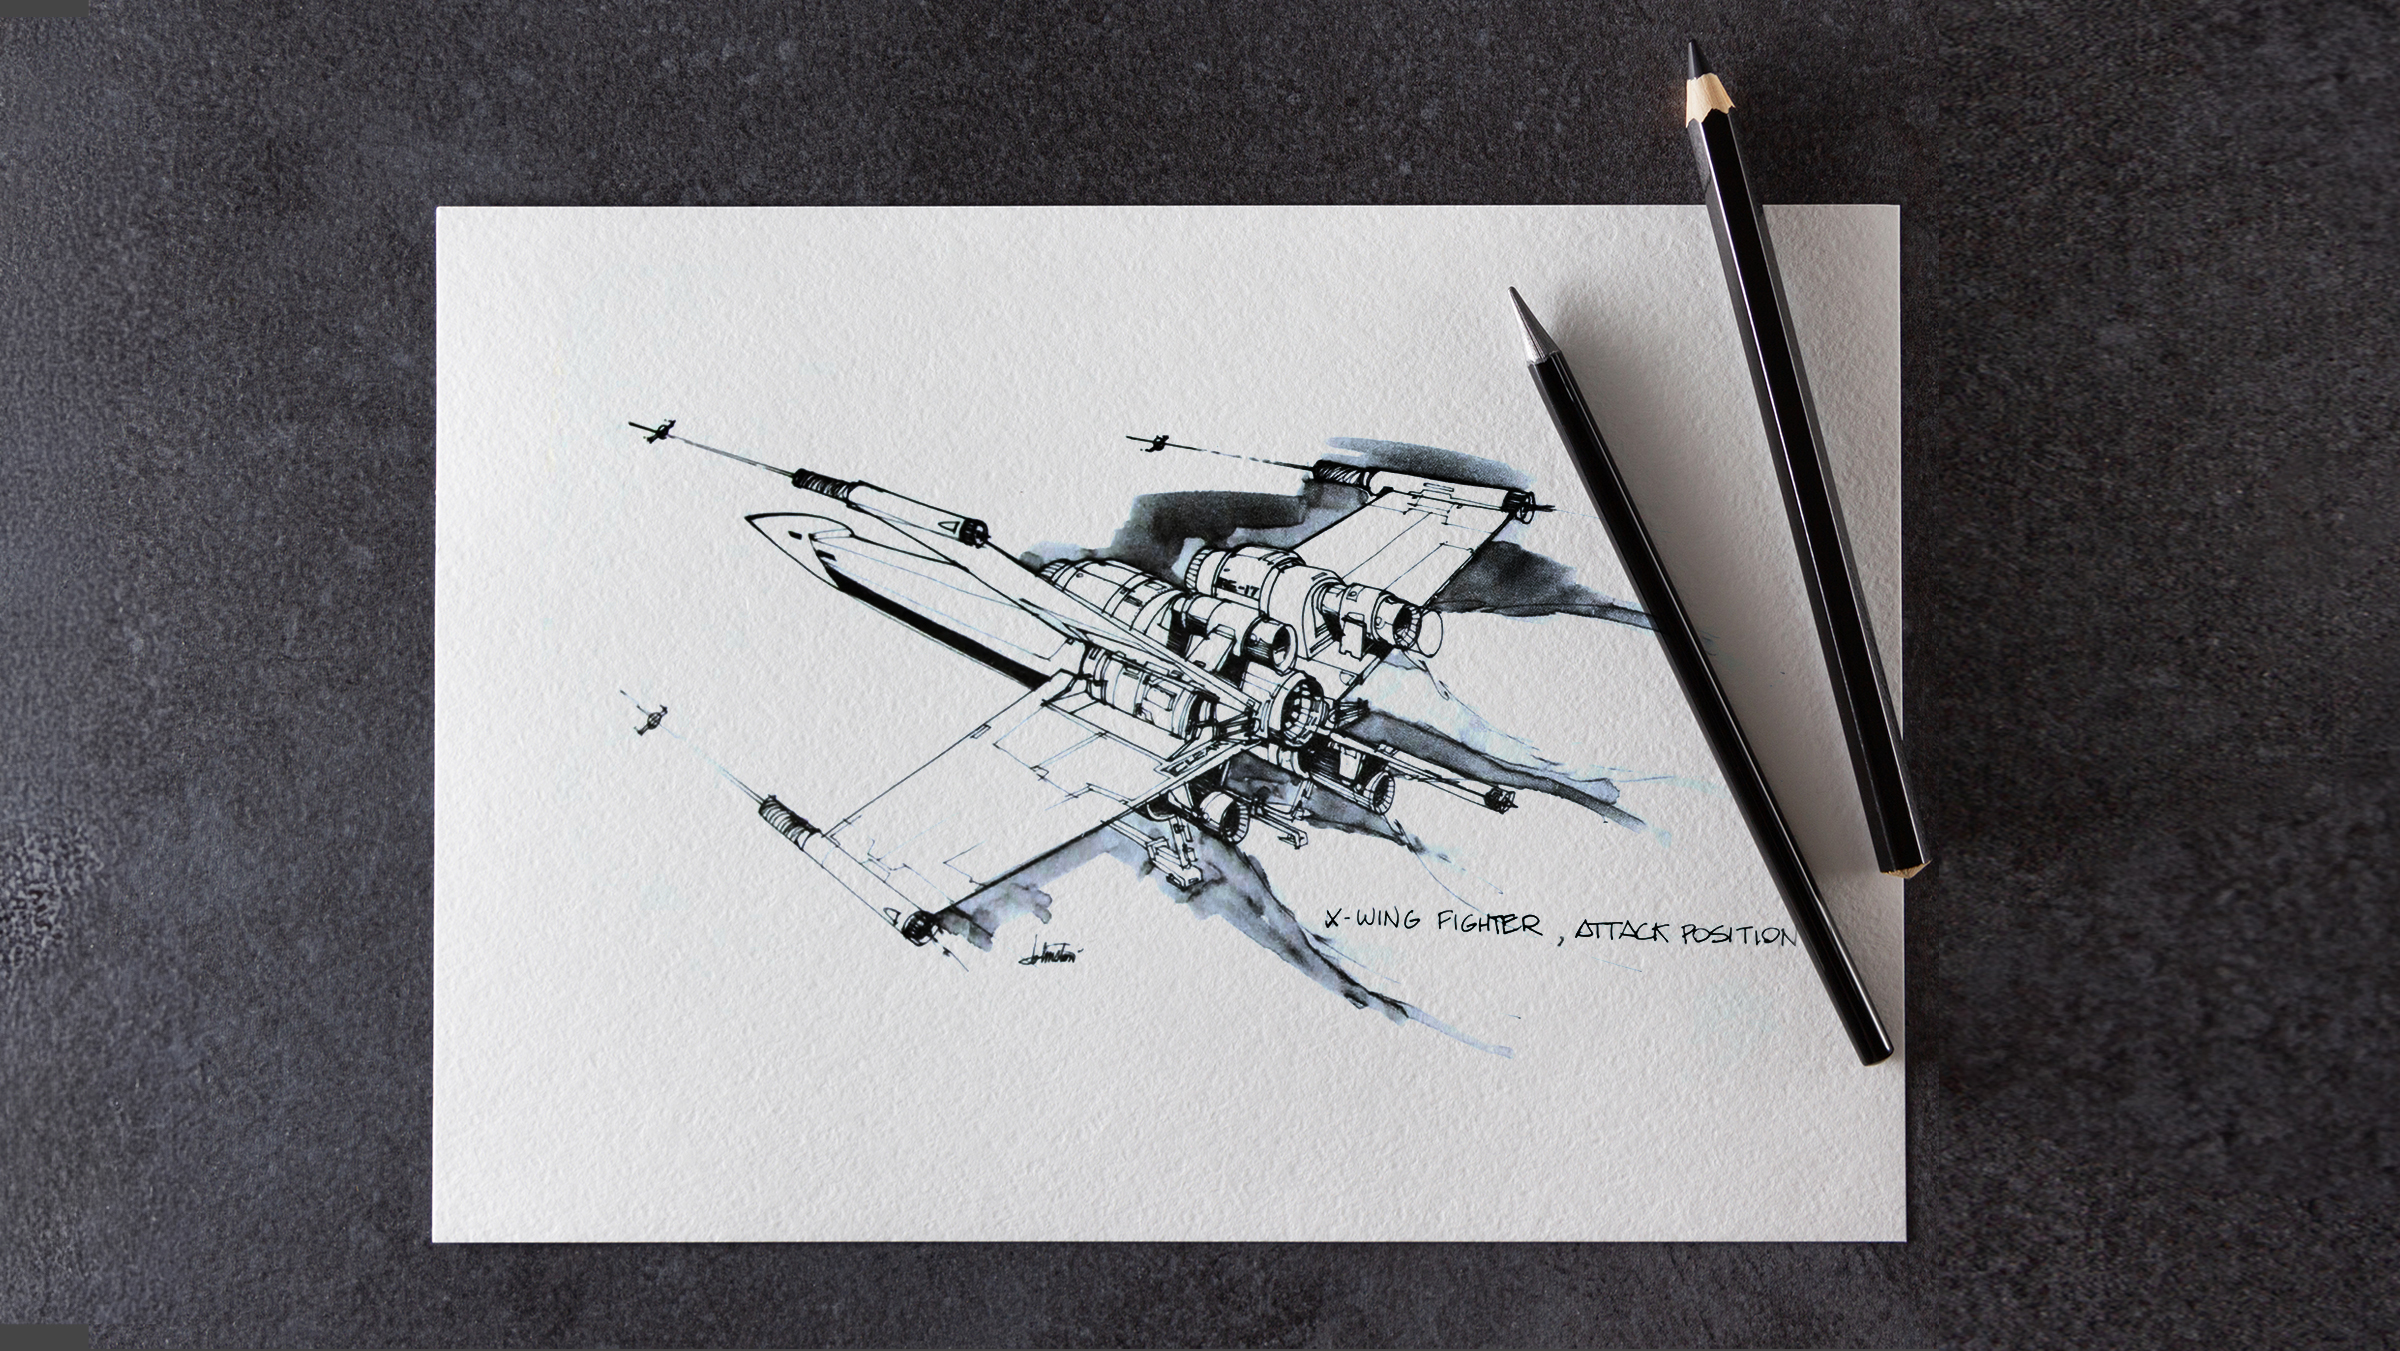
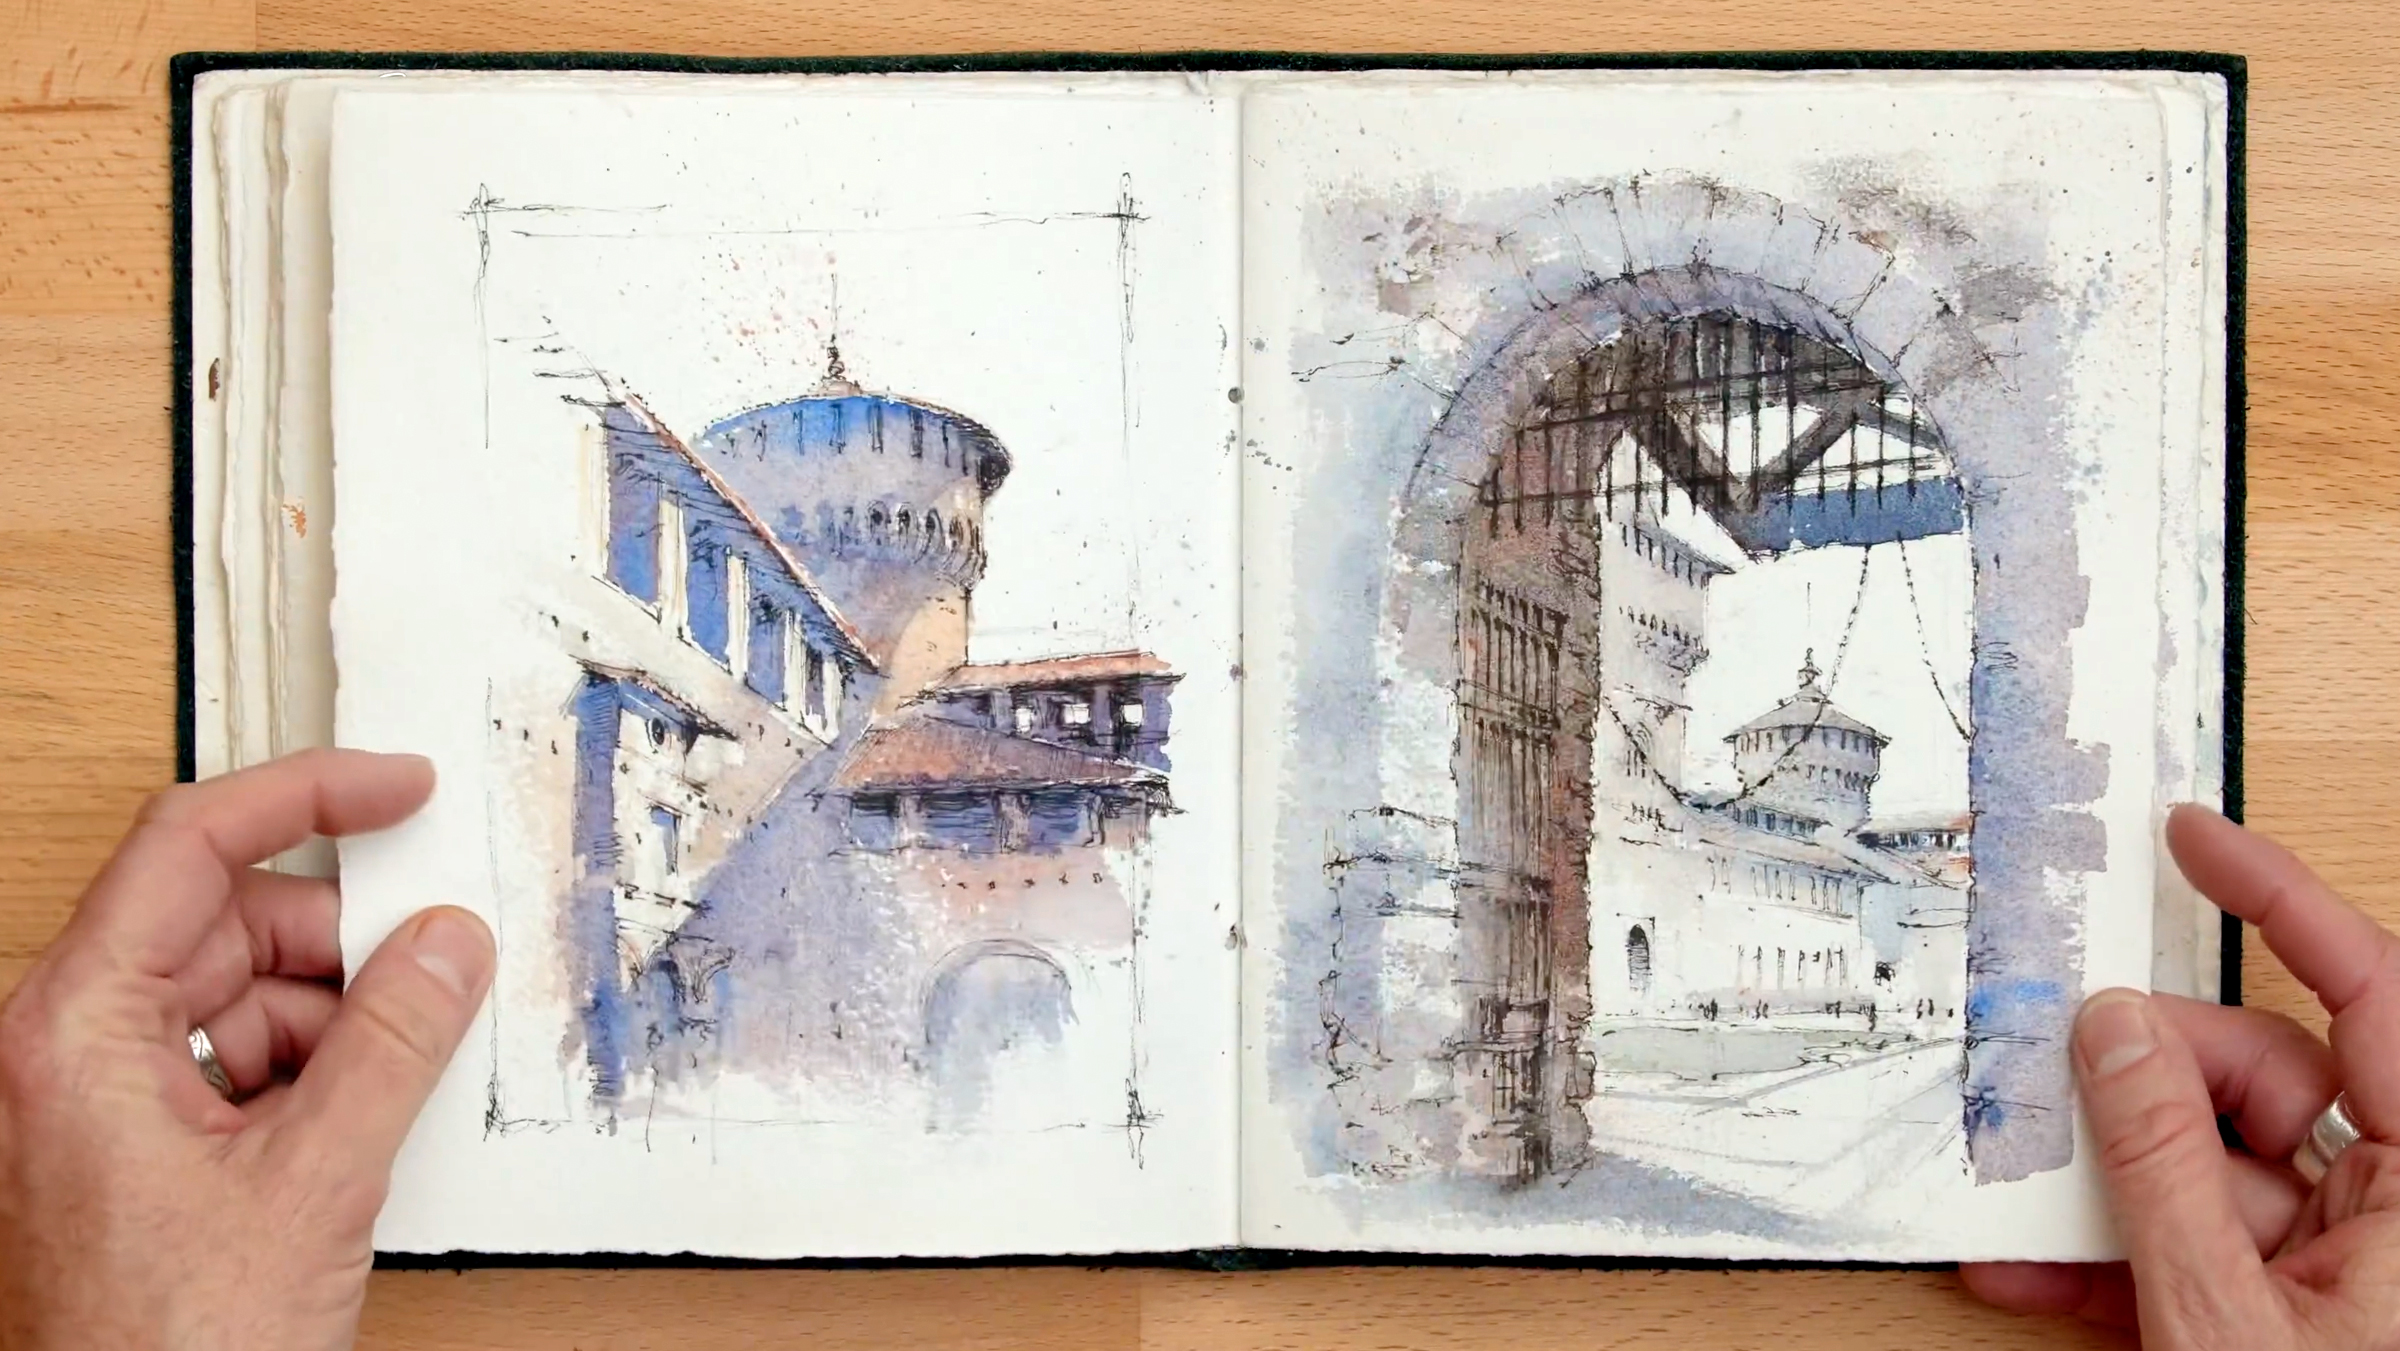
In this first lesson, you will explore with Alex Hillkurtz how early artistic influences shape your creative journey. You will examine the work of Joe Johnston, a renowned storyboard artist for Star Wars, and how his dynamic use of linear perspective can inspire your work. You will also reflect on how copying and studying these works of art can strengthen your core skills.
2m
image
2
Influences in Graphic Design and Cartooning
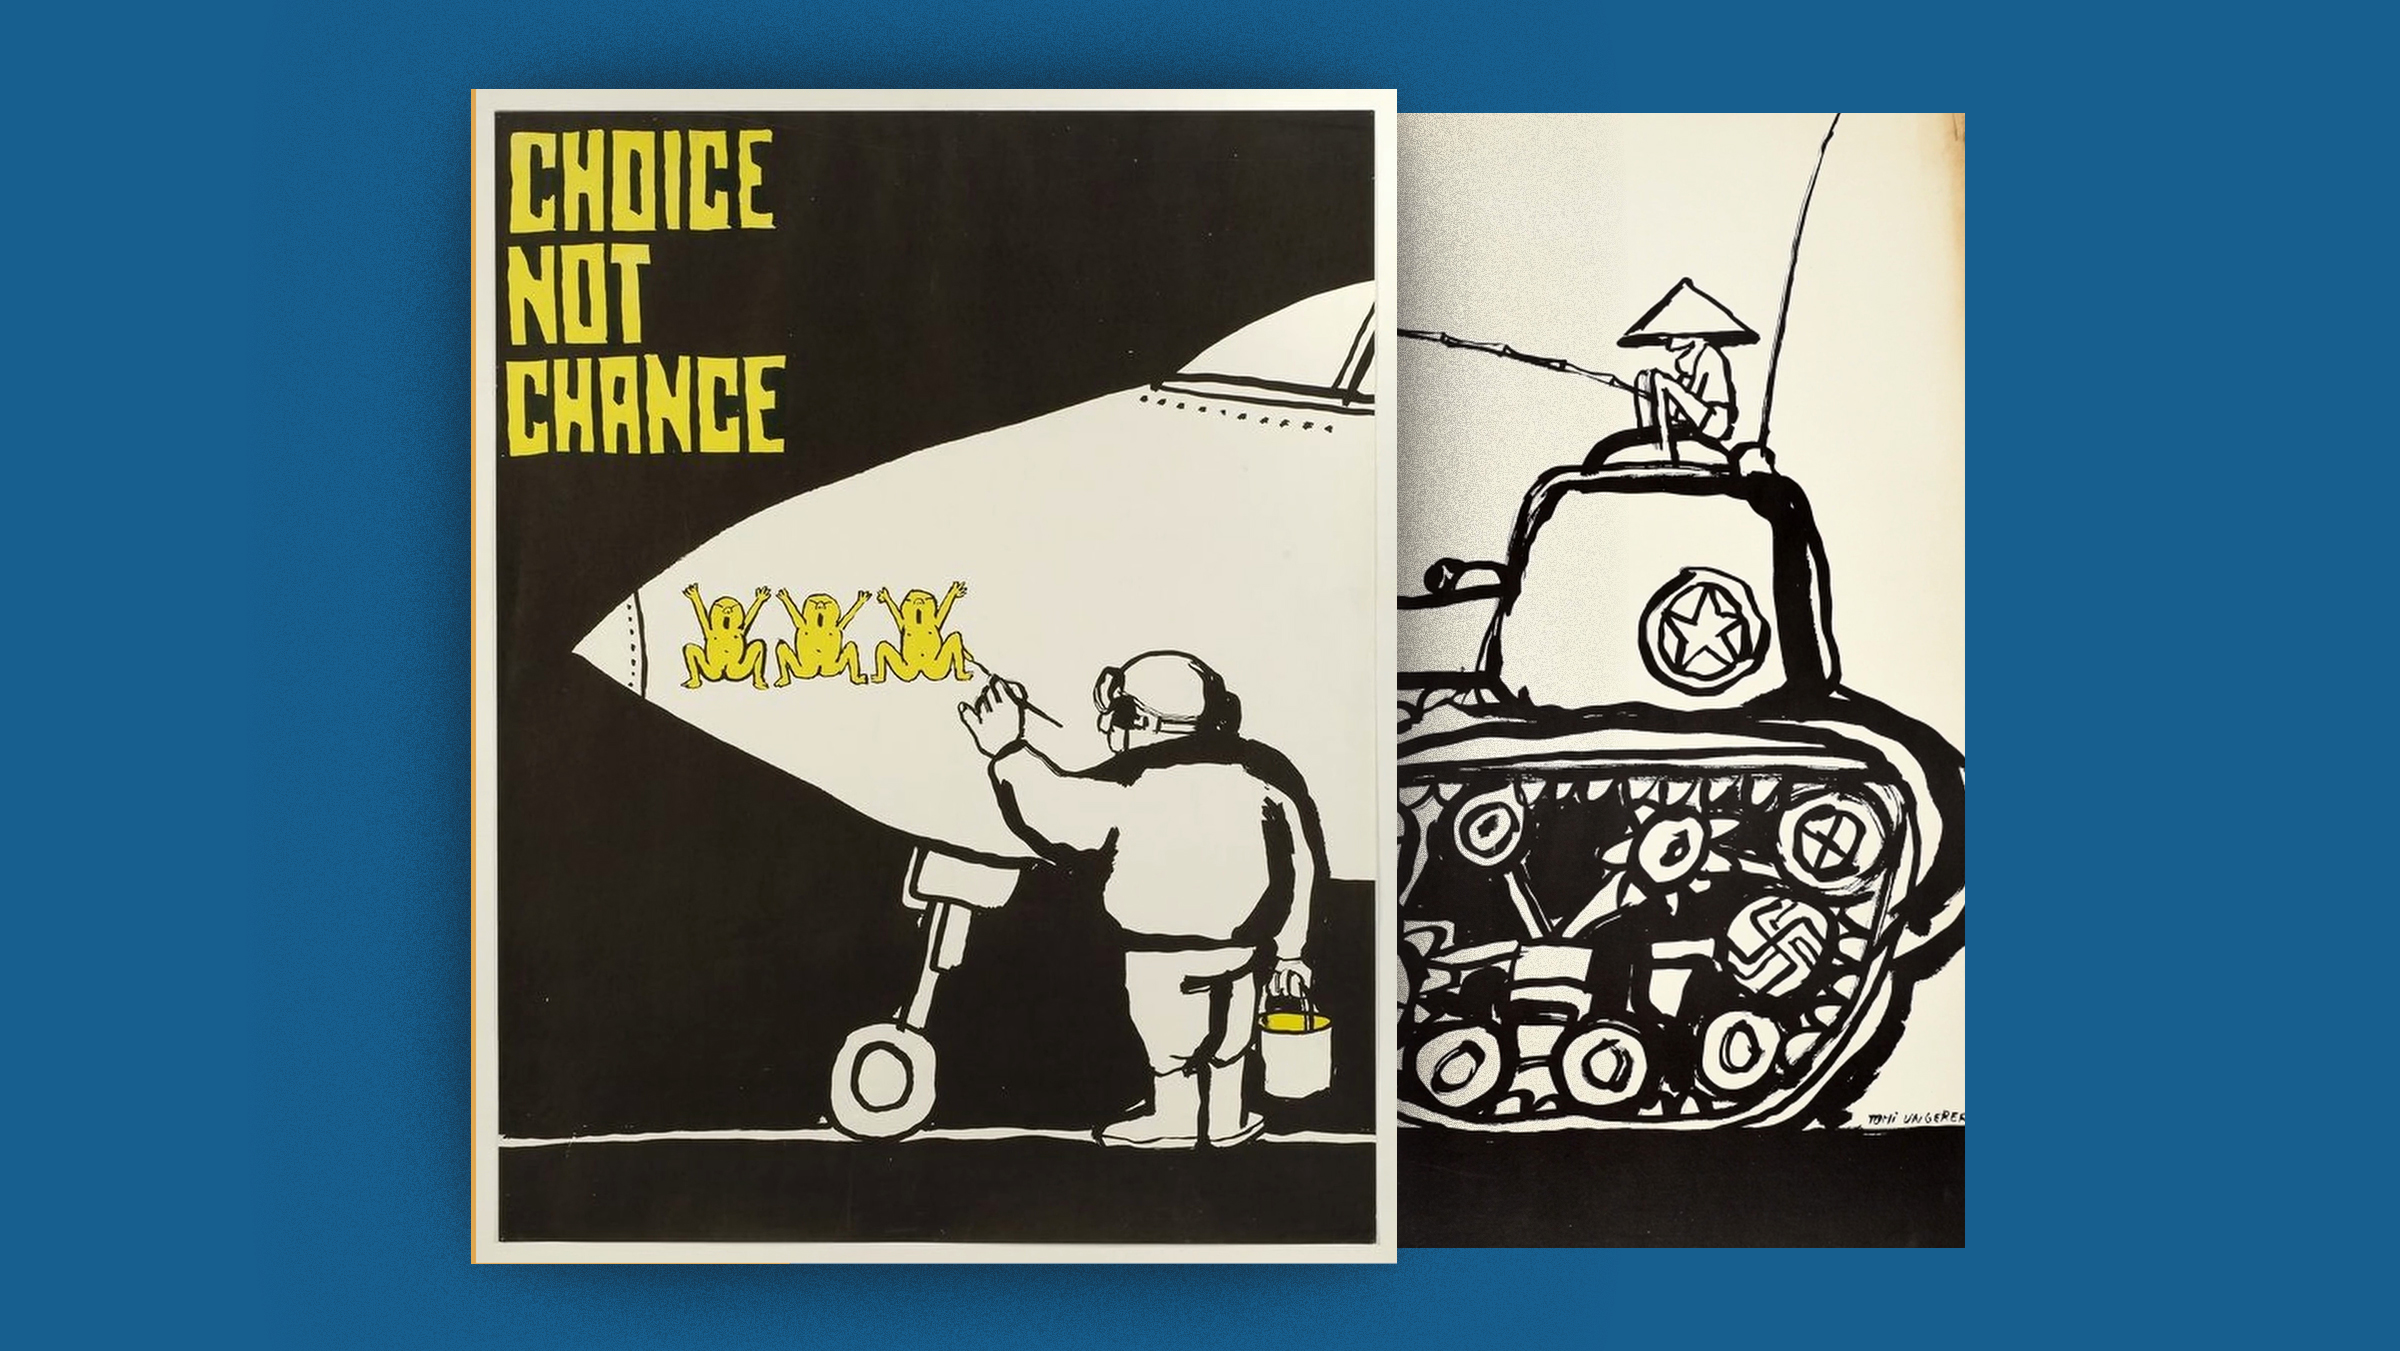
In this lesson with Felix Scheinberger, you'll delve into the impact of various artistic influences on developing your style. We'll explore how artists like Samuel Humbert, with his humor and fluid strokes, and Ralph Steadman, known for his raw, emotionally charged illustrations, inspire a range of techniques. You will learn how these influences help shape both graphic design and cartooning.
1m
image
3
Blending Realism and Imagination in Nature and Creature Design
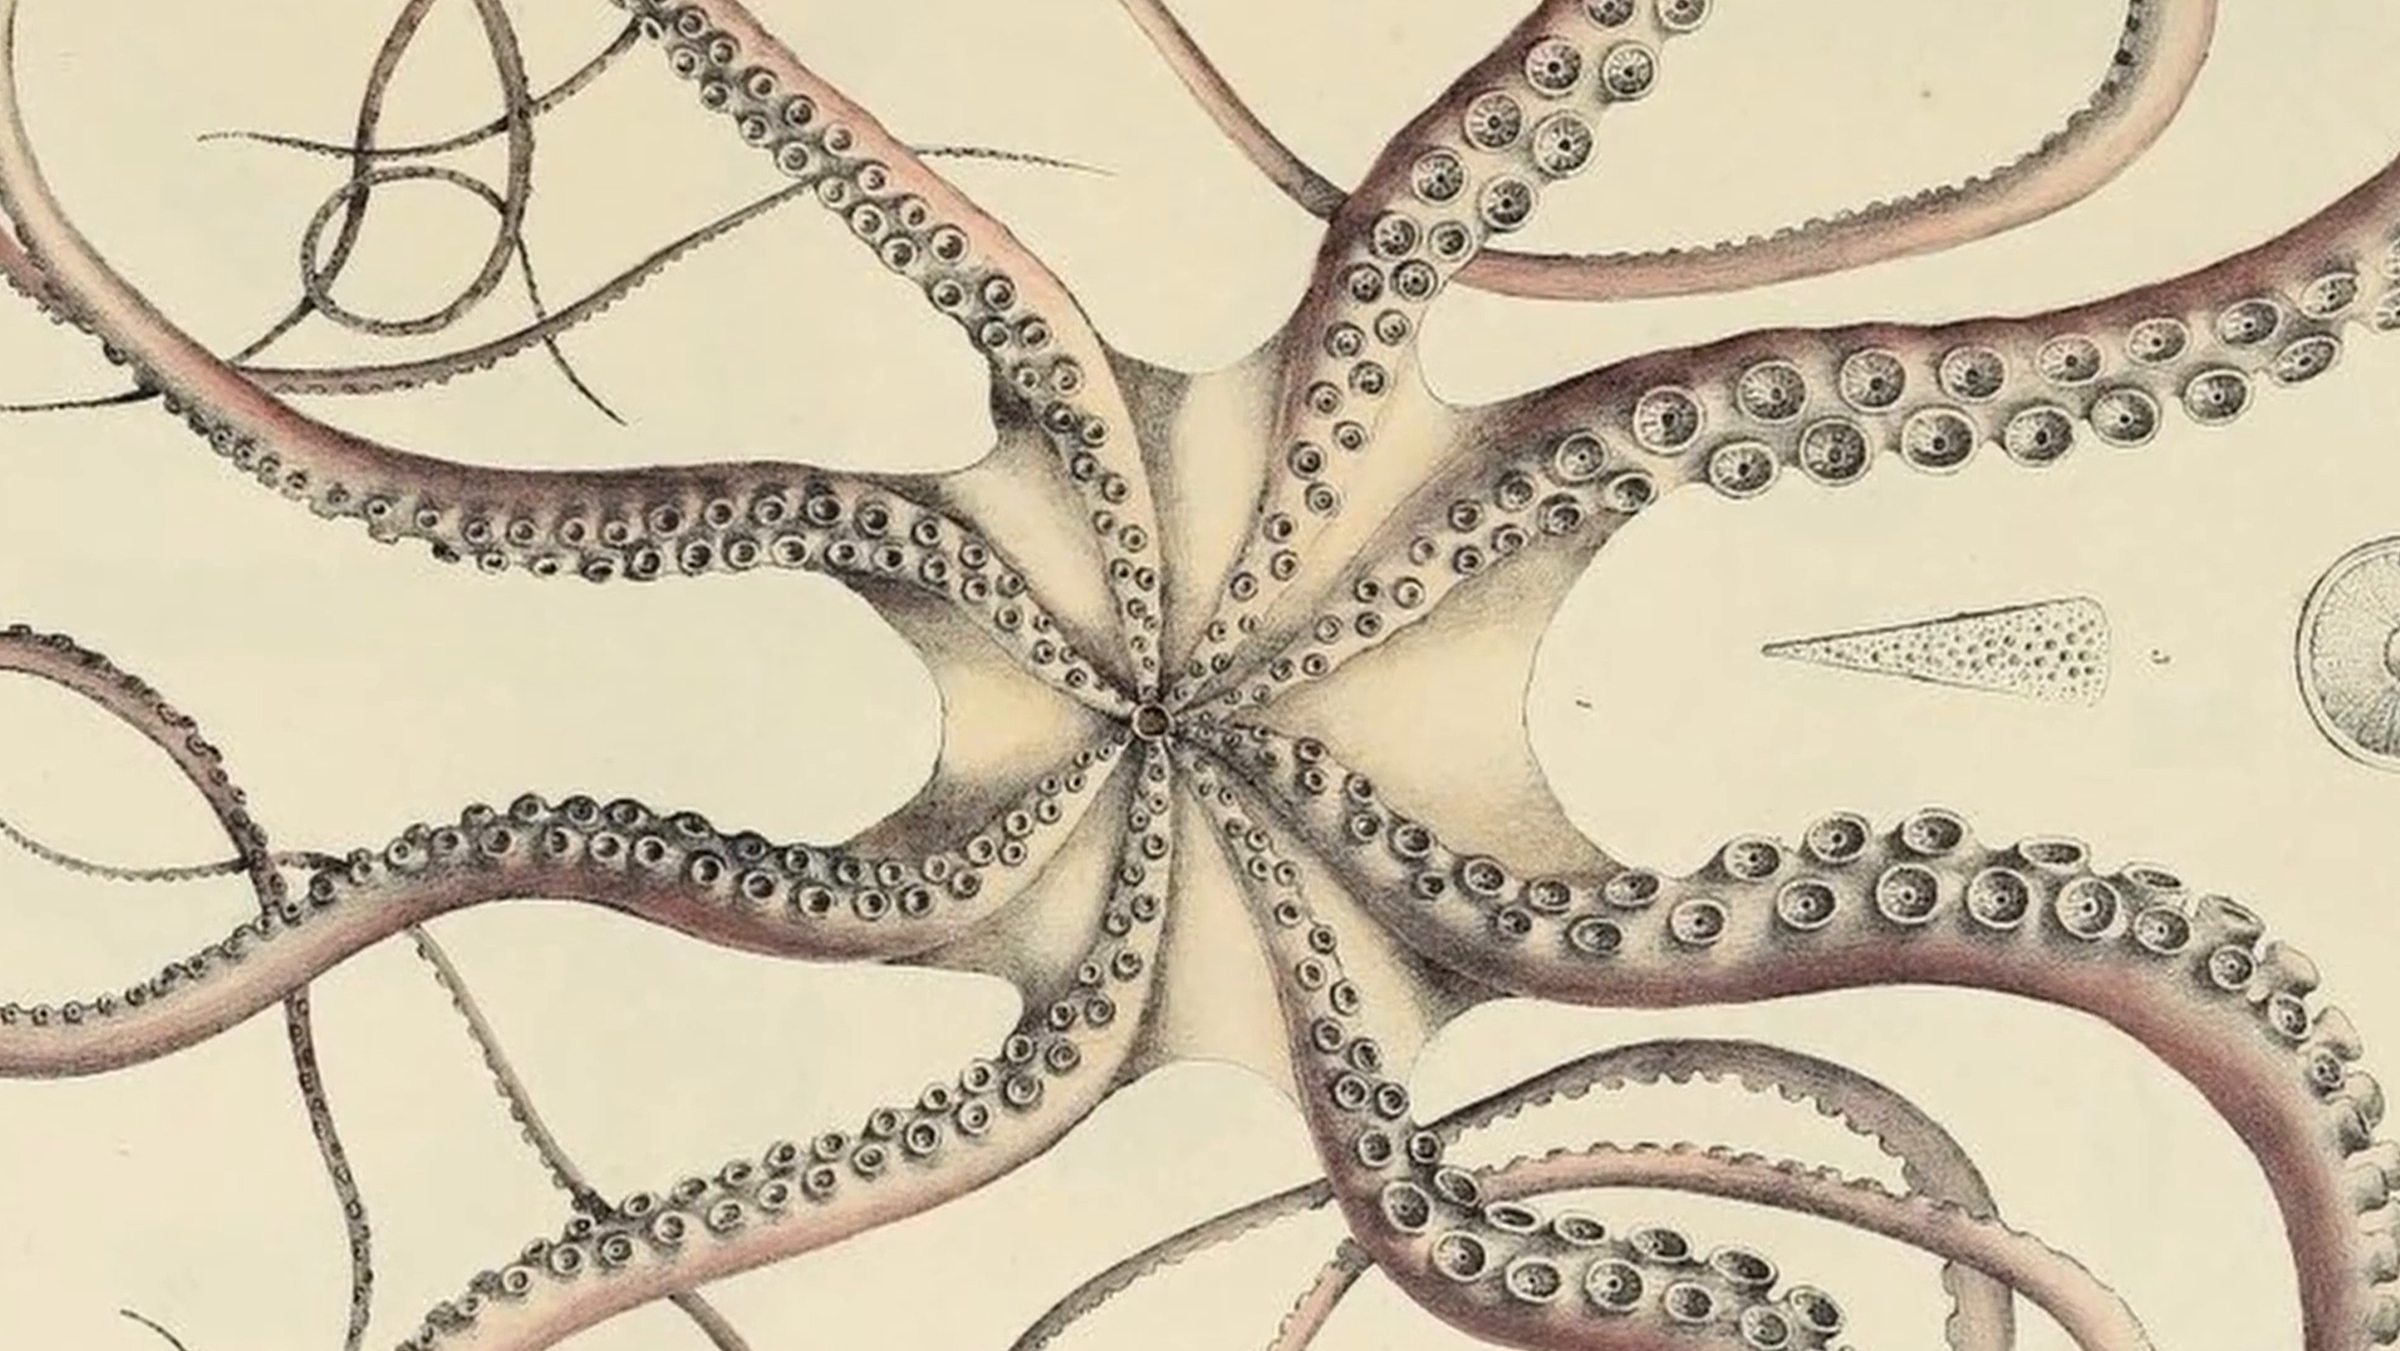
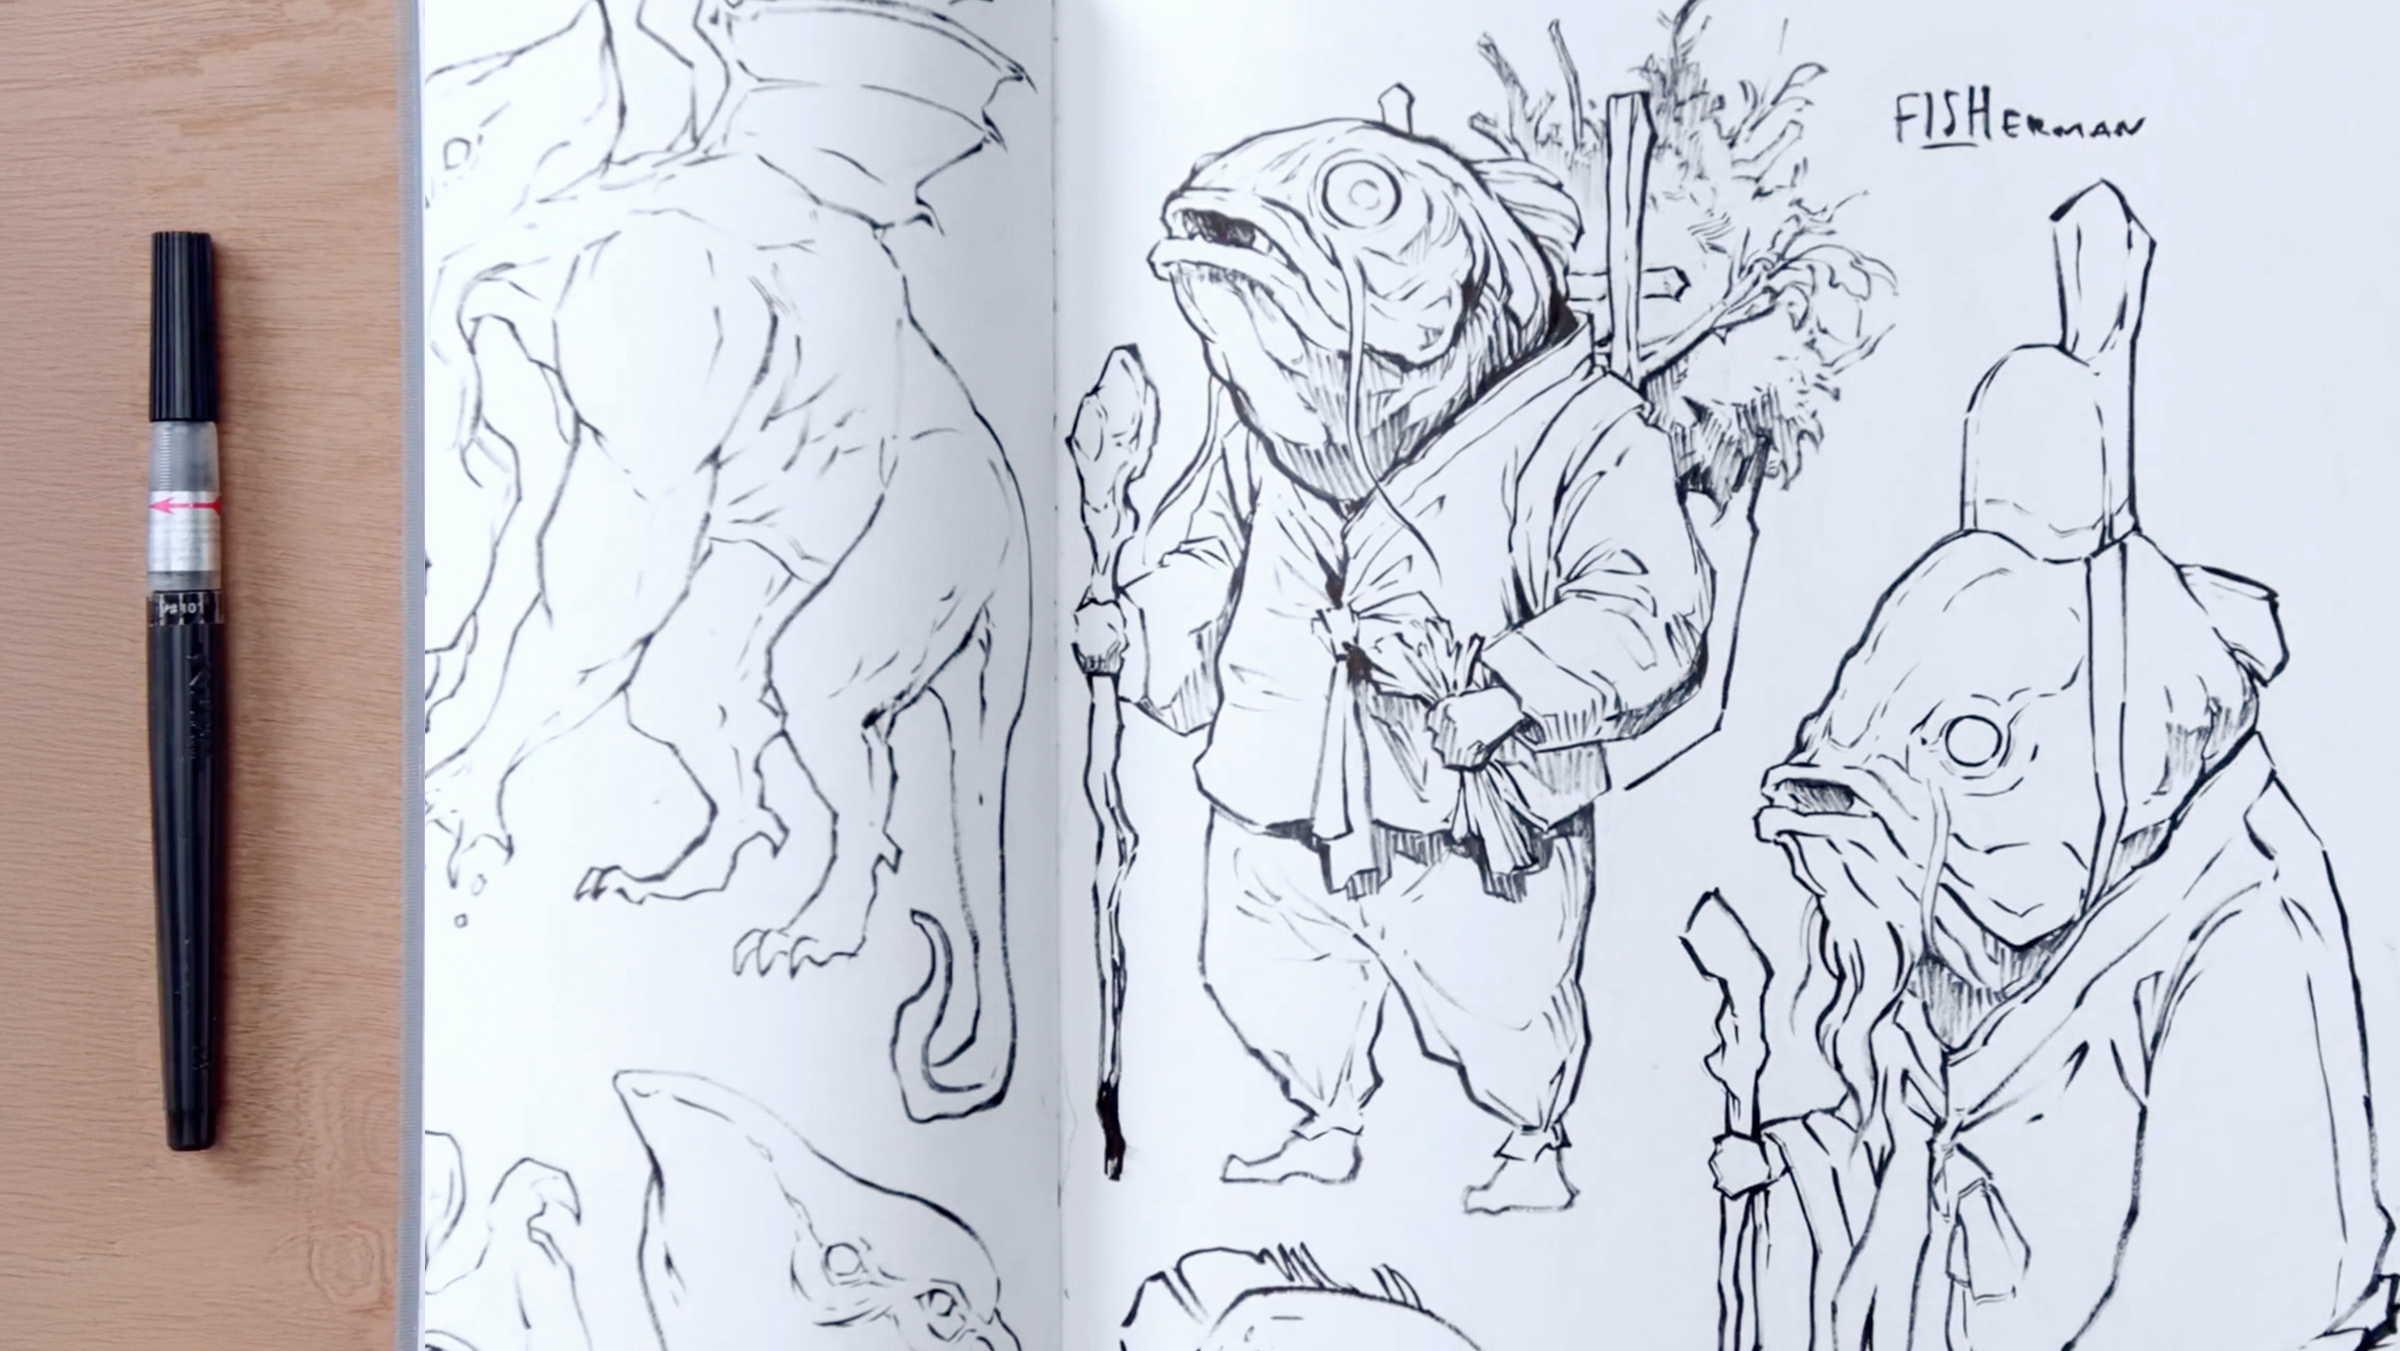
In this lesson with Sorie Kim, you'll explore the influence of historical and modern artists on depicting animals and nature. You'll study a 16th-century Korean artist known for her lifelike ink and watercolor depictions of flora and fauna alongside Terrell Whitlatch, a master of creature design. Examining their techniques allows you to combine real-world anatomy with imaginative creations.
1m
image
4
The Fascinating World of Oskar Andersson
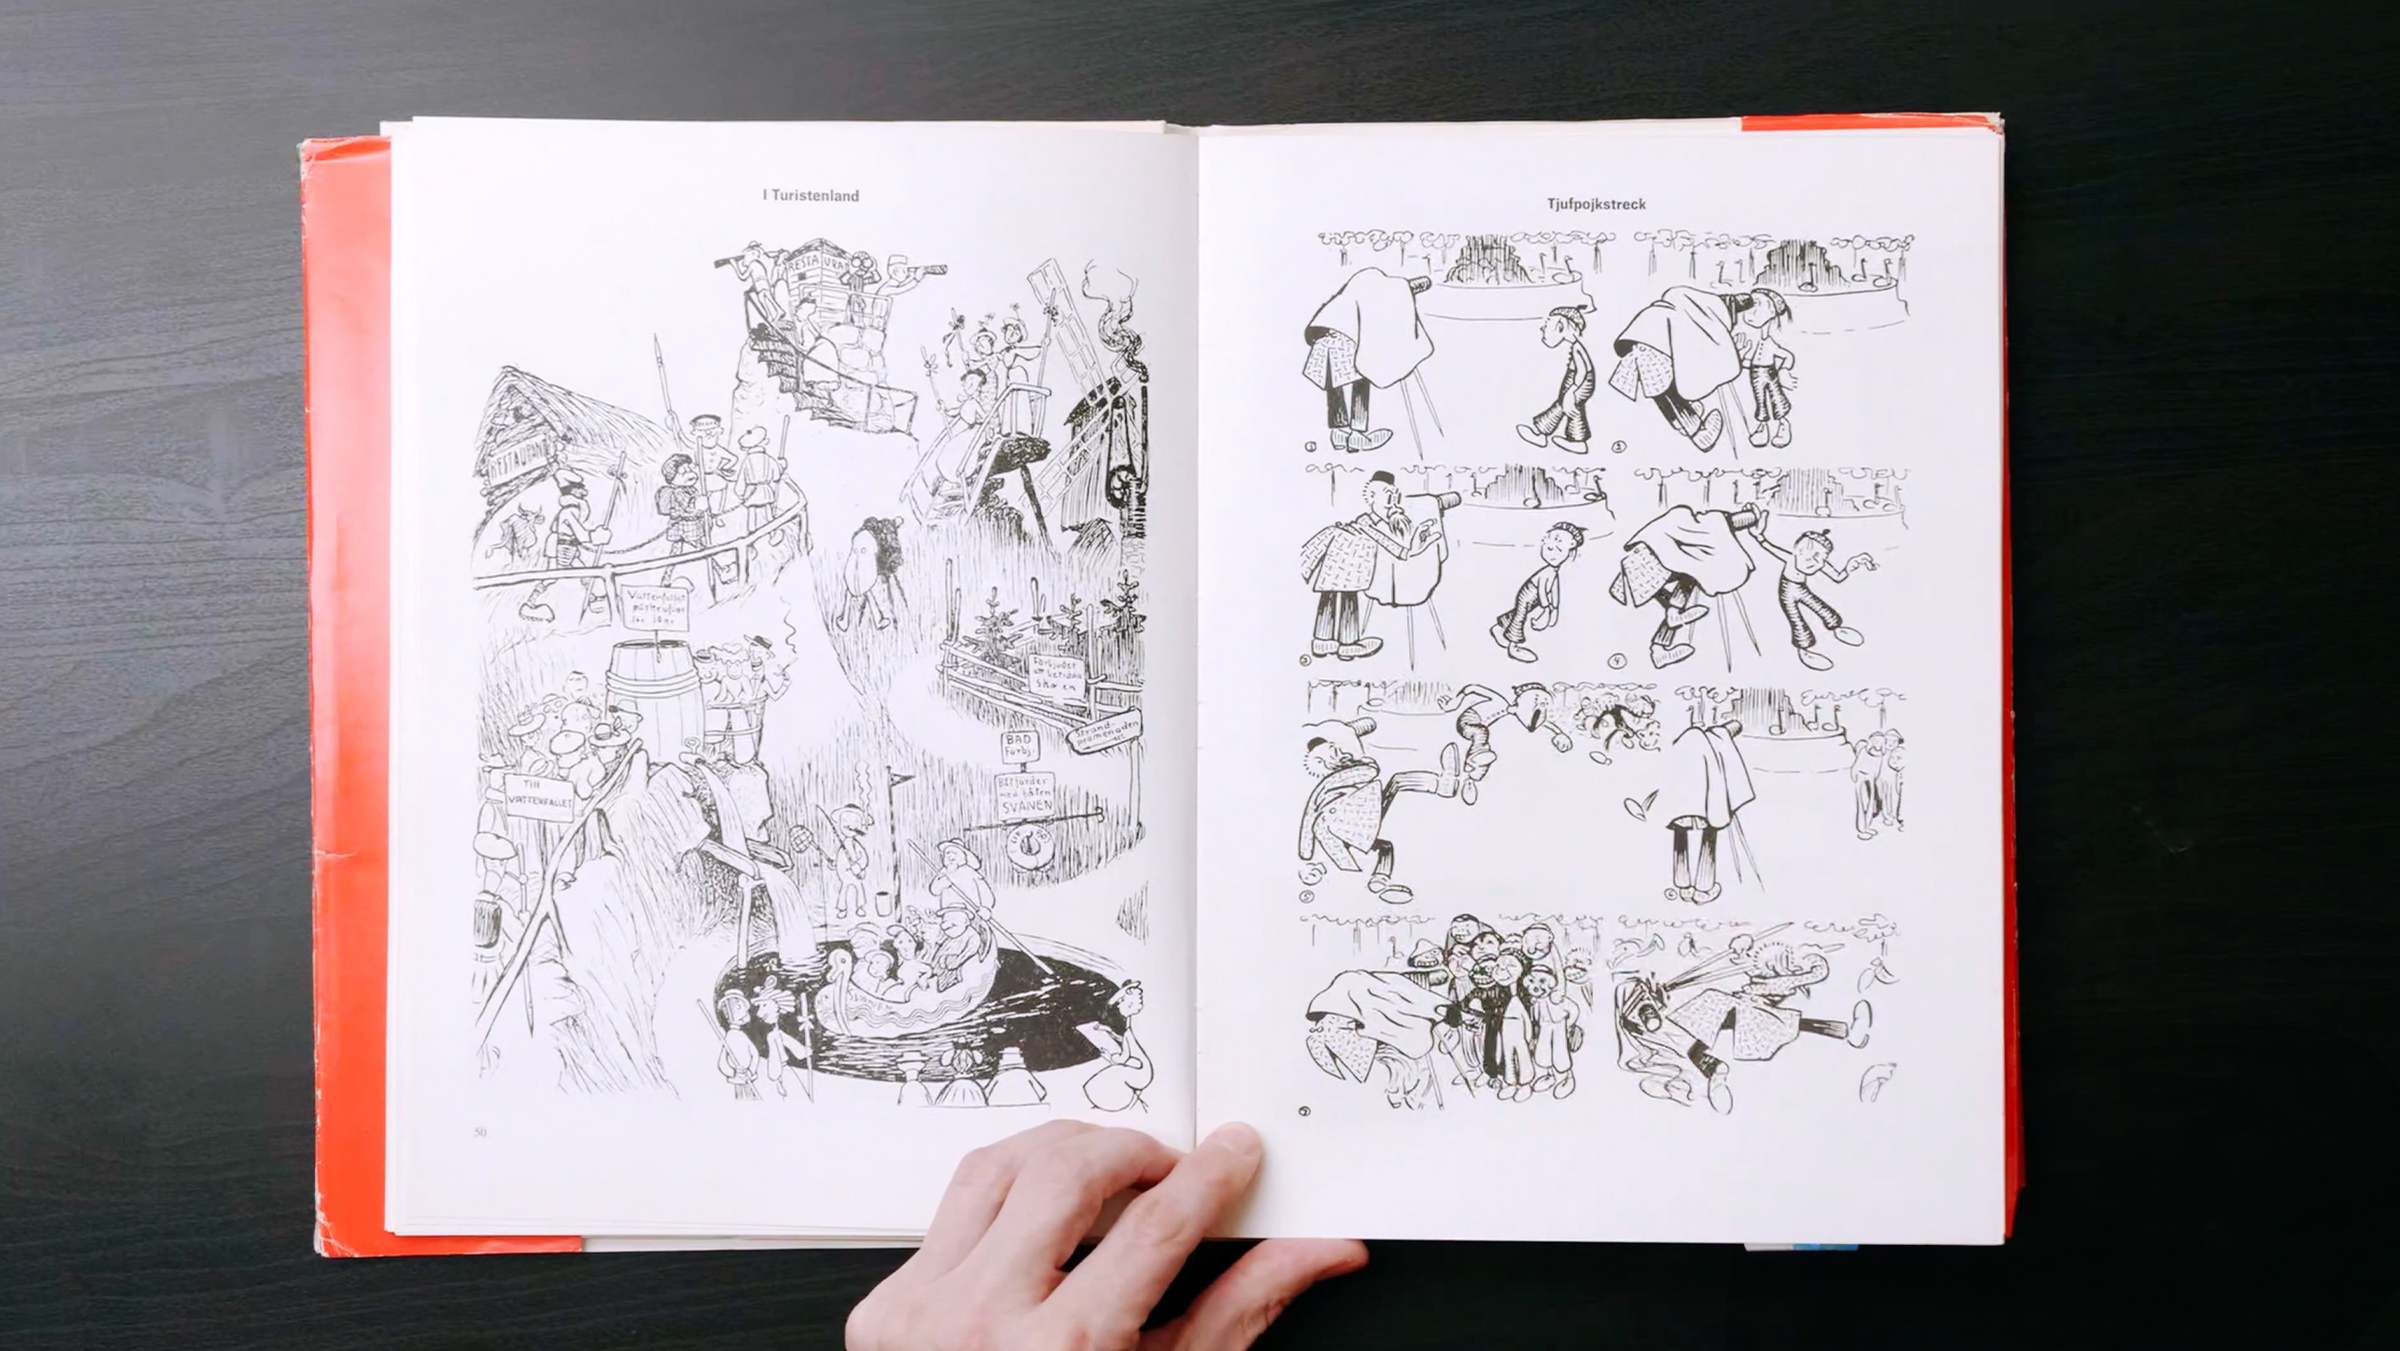
In this lesson with Mattias Adolfsson, you'll explore the timeless impact of Oscar Andersson, a Swedish artist from the early 1900s. Known for his expressive black-and-white illustrations, Andersson used simple yet dynamic lines to create humorous, often chaotic scenes. You'll study his character work, movement mastery, and ability to tell complex stories within a single image.
4m
image
5
Creativity and Critical Thinking in Picture Book Art
In this lesson with Laura McKendry, you'll explore Chris Raschka's playful approach to picture book illustration and his use of watercolor. You'll learn the importance of balancing creativity with critical thinking and how separating these processes can improve your artistic flow.
1m
image
6
Artistic Exploration and Travel Sketching Techniques
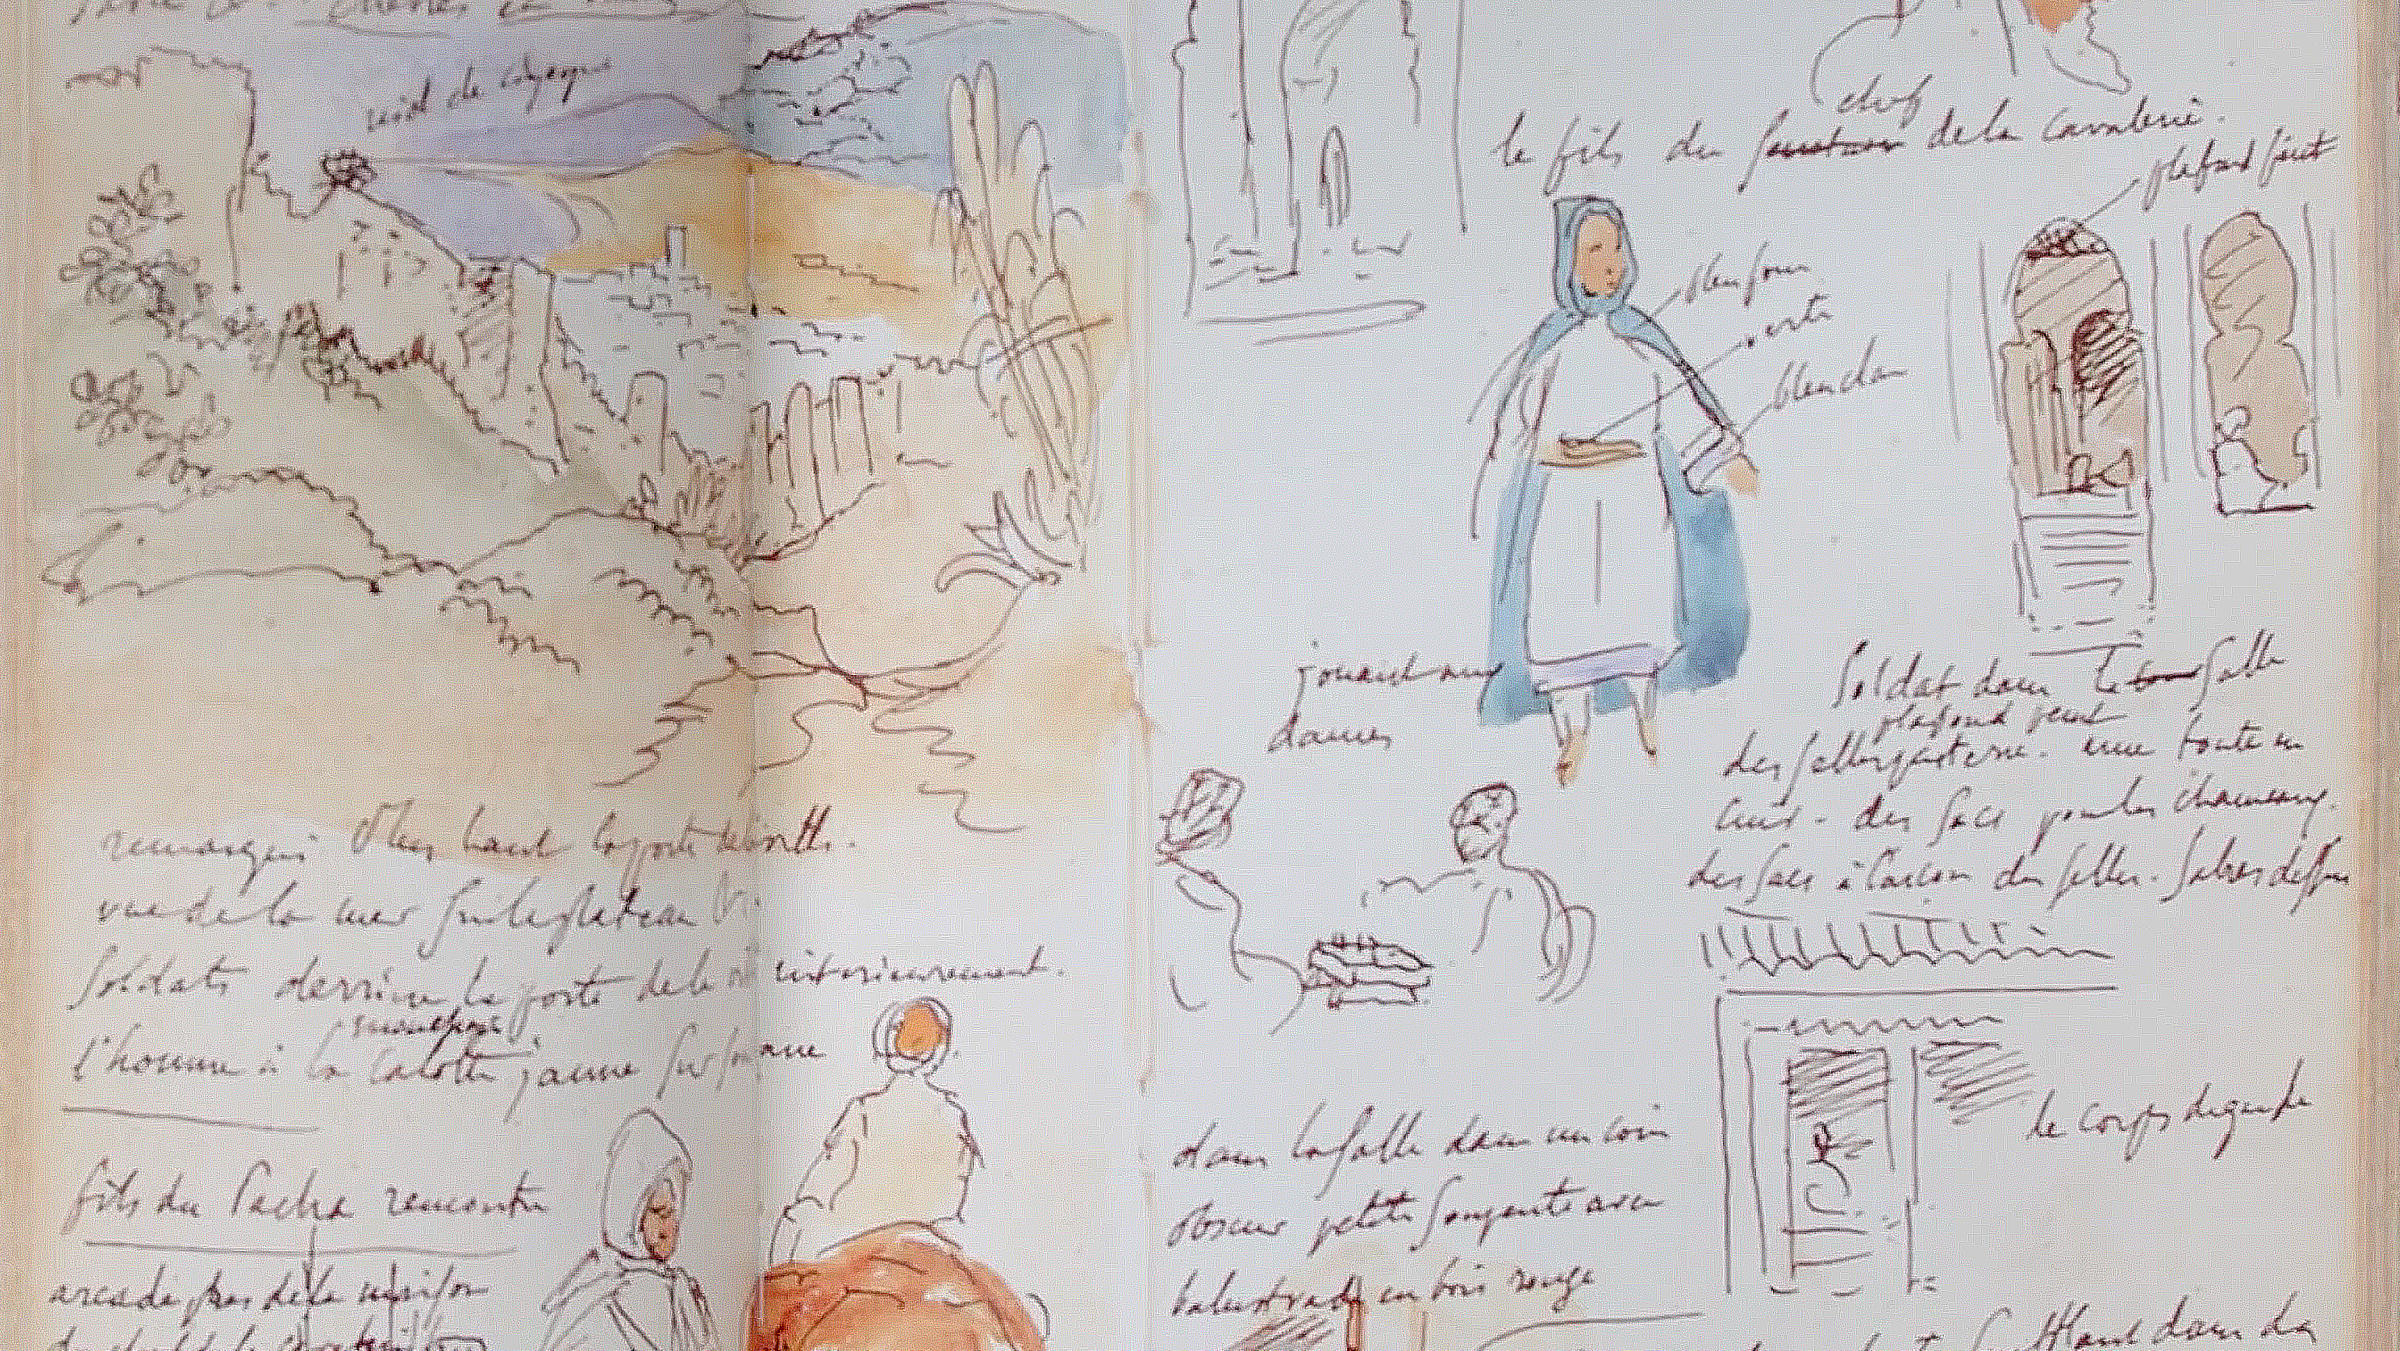
In this lesson with Lapin, you'll explore the influence of historical expeditions on art, focusing on how explorers documented unknown animals and cultures. You'll also study Eugene Delacroix’s travel sketches, learning how his on-location drawings captured vivid scenes and offered a personal glimpse into life in foreign lands.
2m
image
7
Essential Sketchbooks and Tools for Architectural Sketching
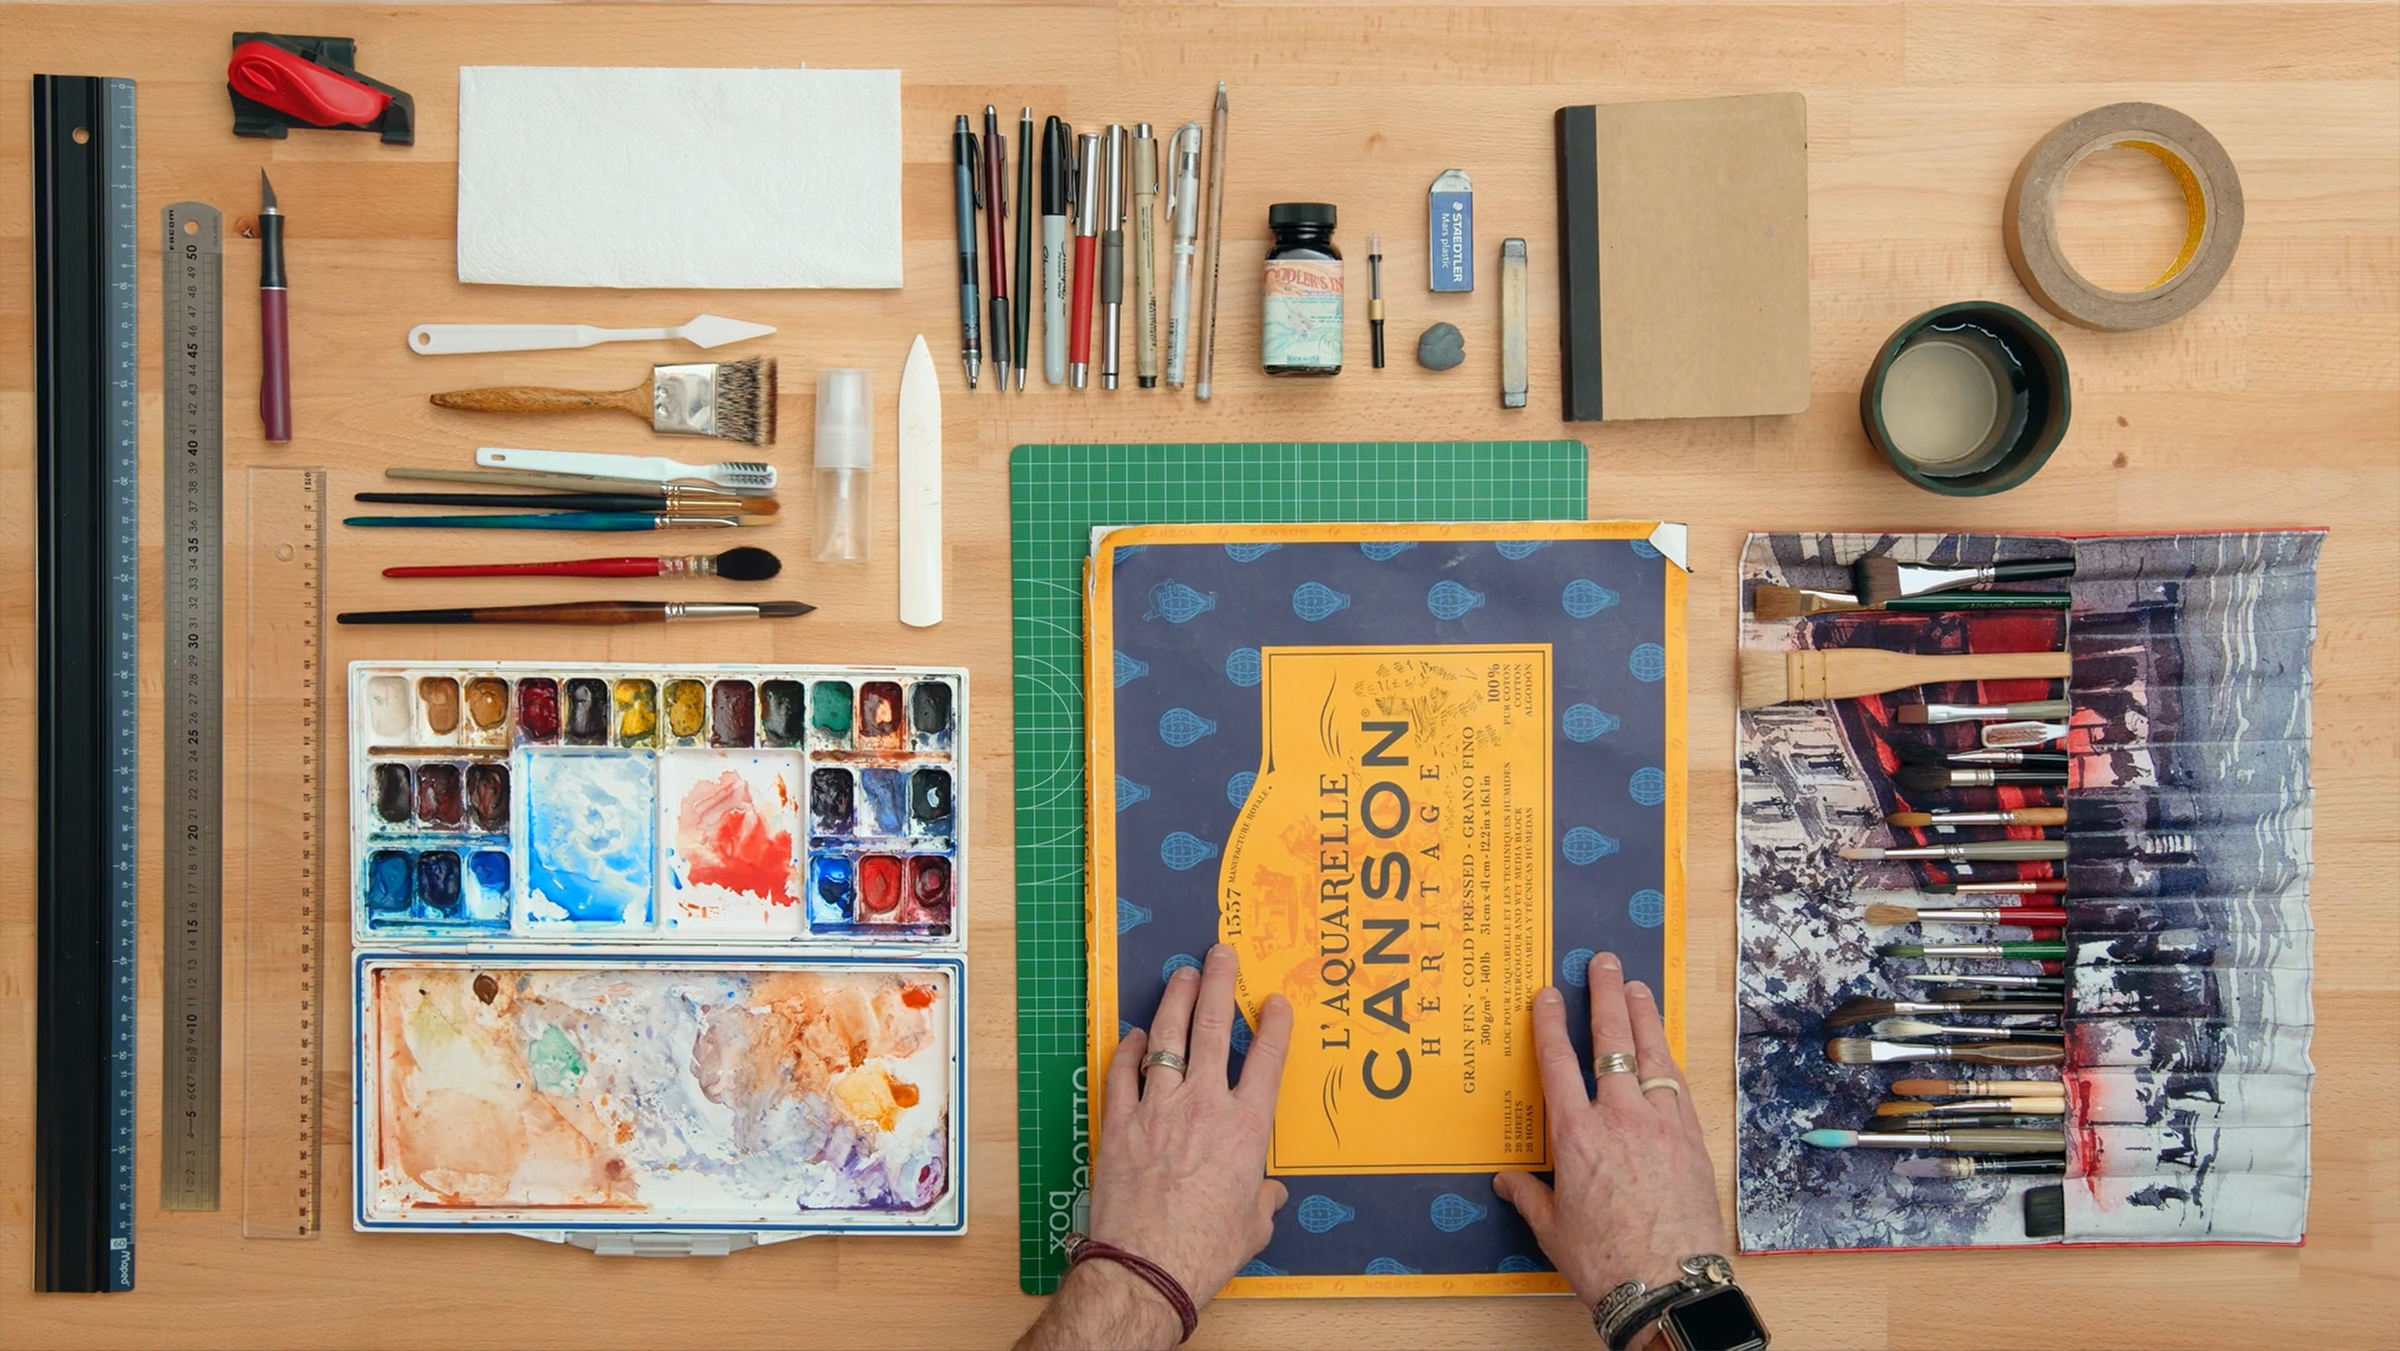
In this lesson with Alex Hillkurtz, you'll explore different types of sketchbooks and tools for daily sketching. You'll find materials suited for travel or detailed work, from lightweight Artist Loft sketchbooks to durable Moleskine and Midori options. We'll also cover a variety of pens, pencils, watercolors, and gouache paints, helping you choose tools that enhance your creative process.
3m
image
8
Practical Sketching Materials and Tips for On-the-Go Creativity
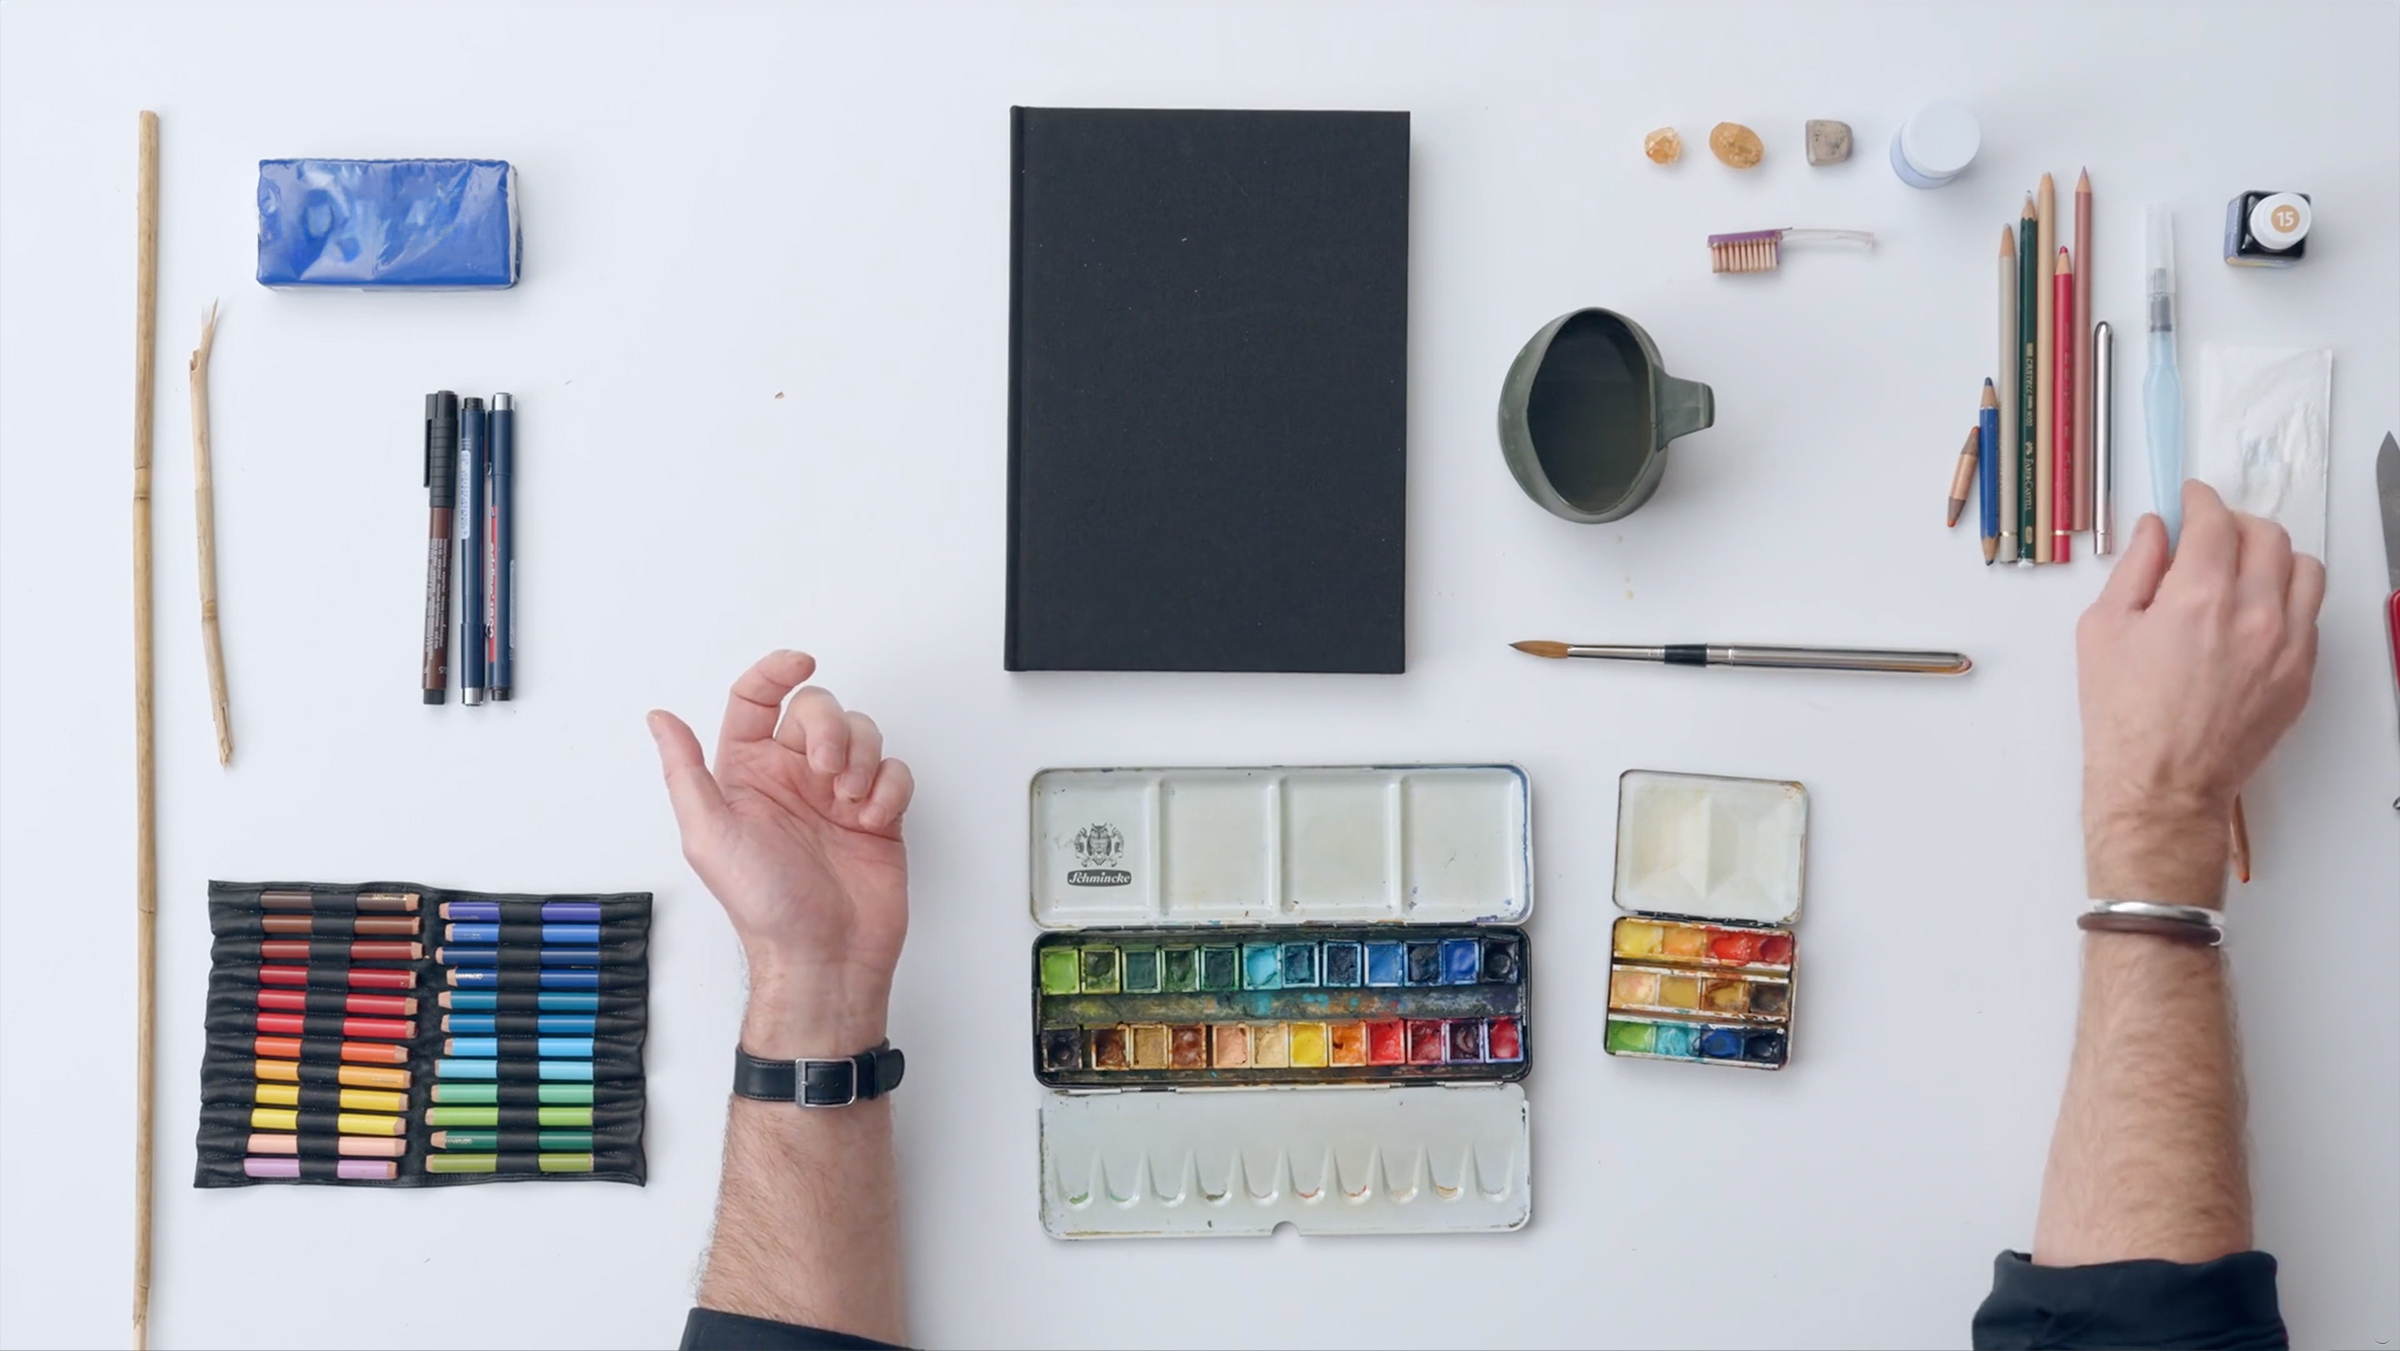
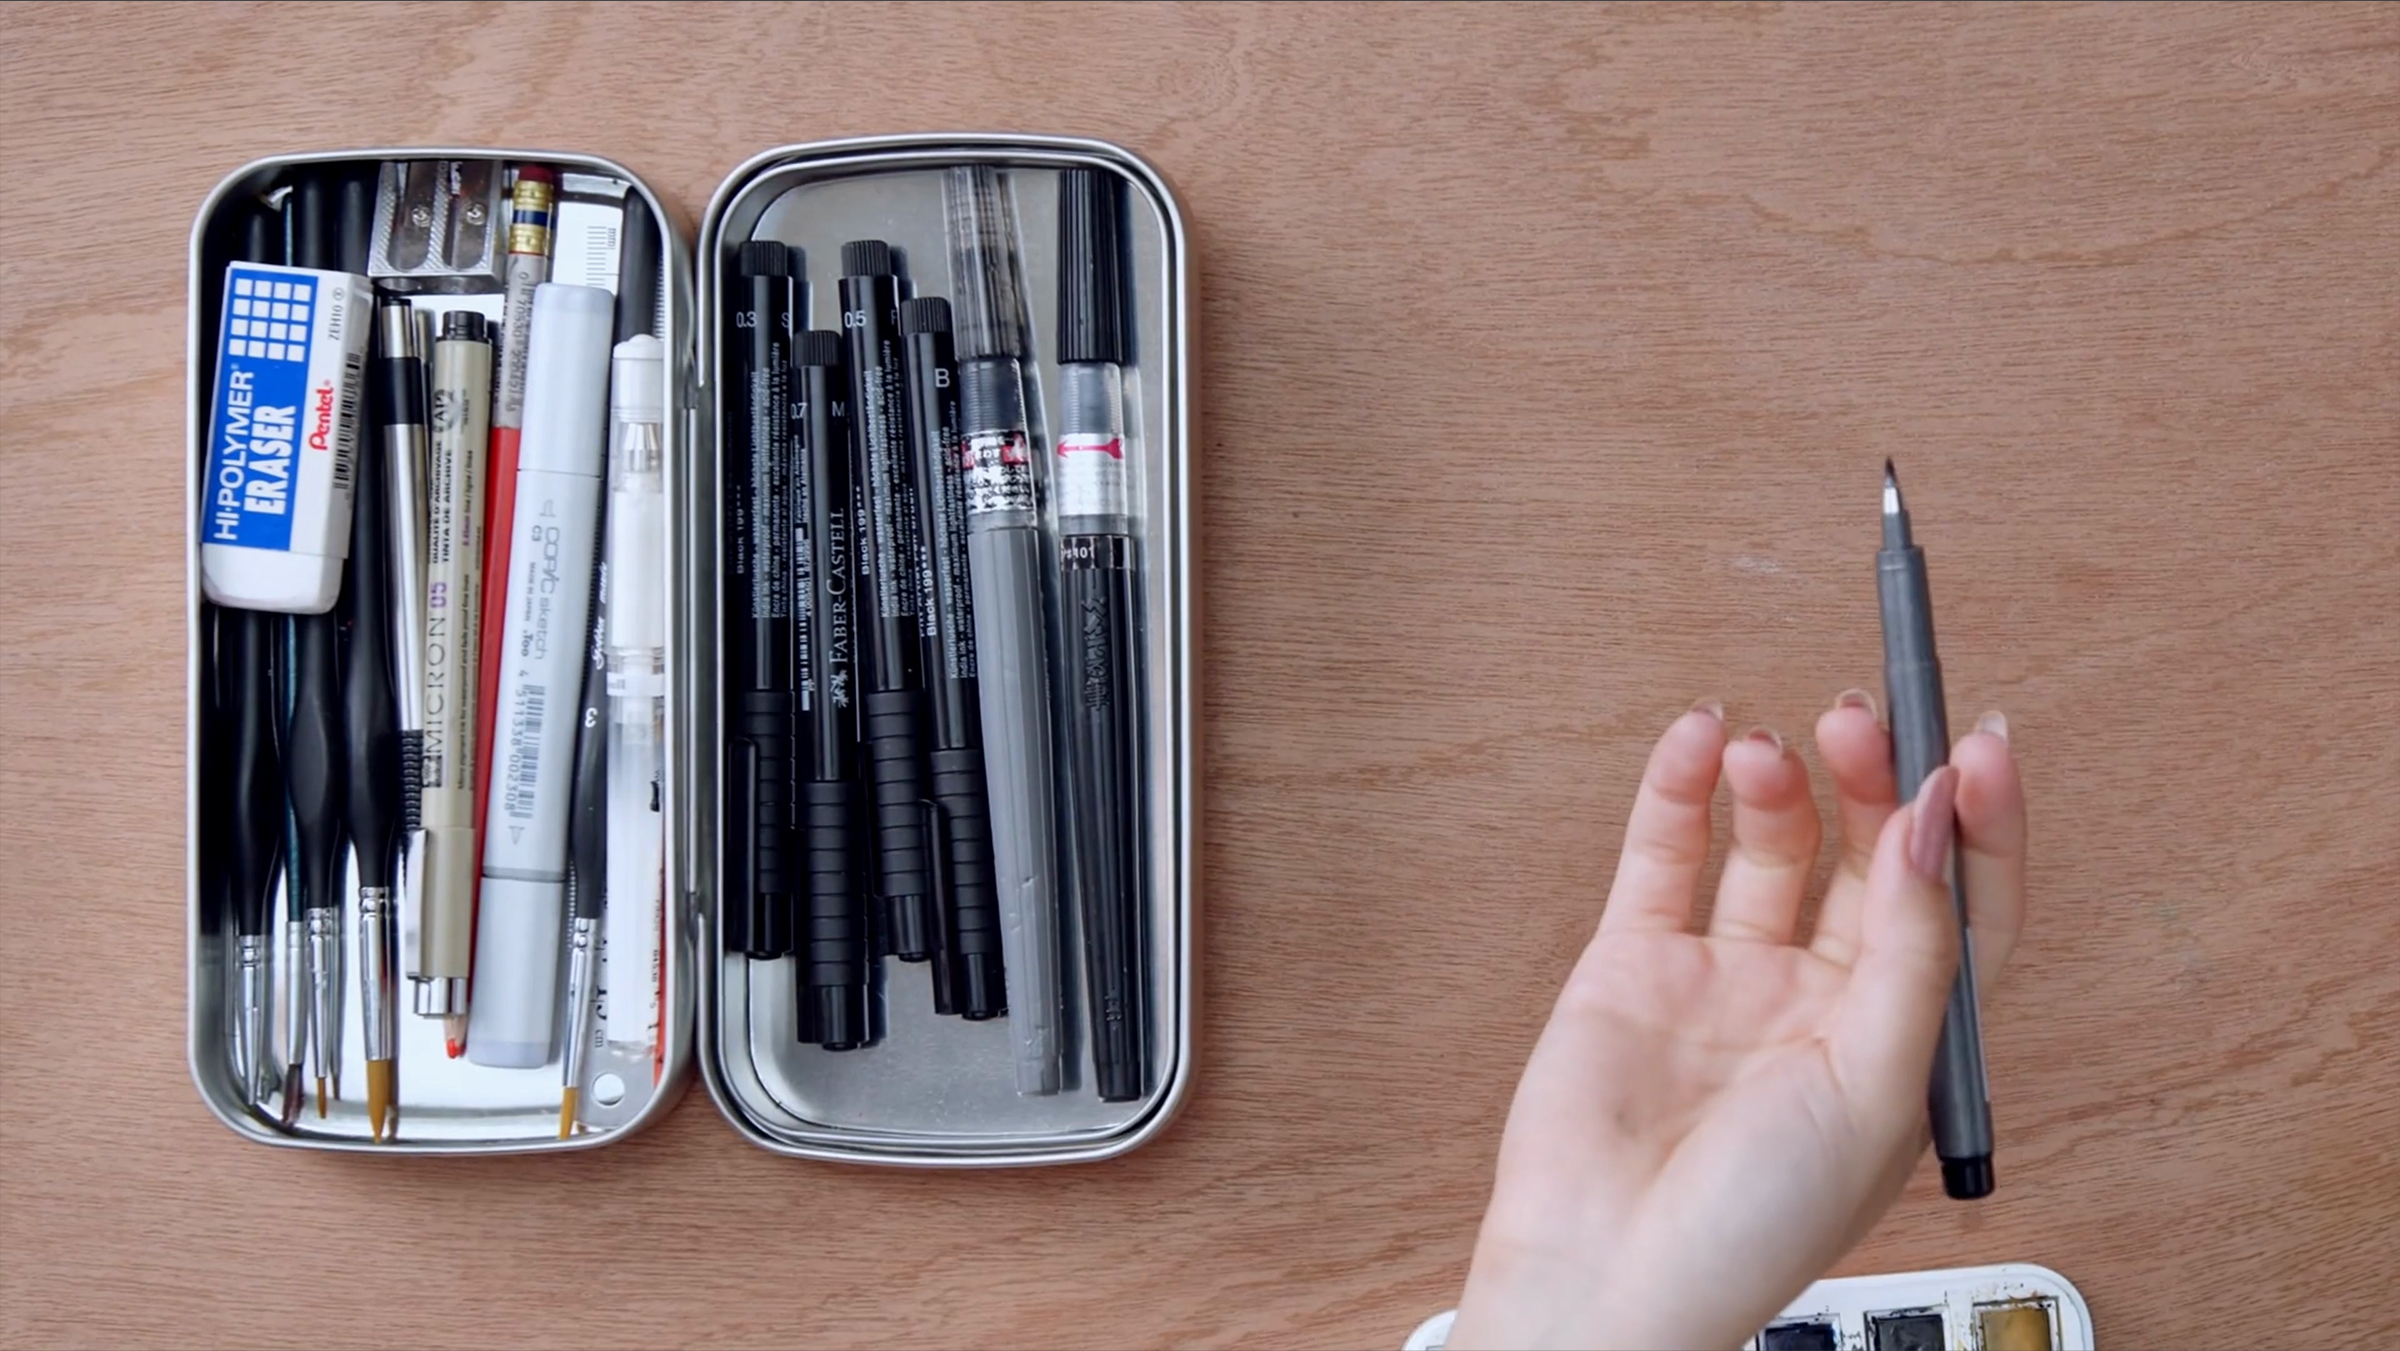
In this lesson with Felix Scheinberger, you'll explore essential sketching materials and practical tips for creating on the go. We'll cover why a small, acid-free sketchbook is ideal for travel, the benefits of using short pencils, and the versatility of waterproof fine liners. You'll also discover how bamboo pens and basic watercolor supplies can enhance your drawing and painting techniques.
6m
image
9
Essential Tools for Portable and Efficient Daily Sketching
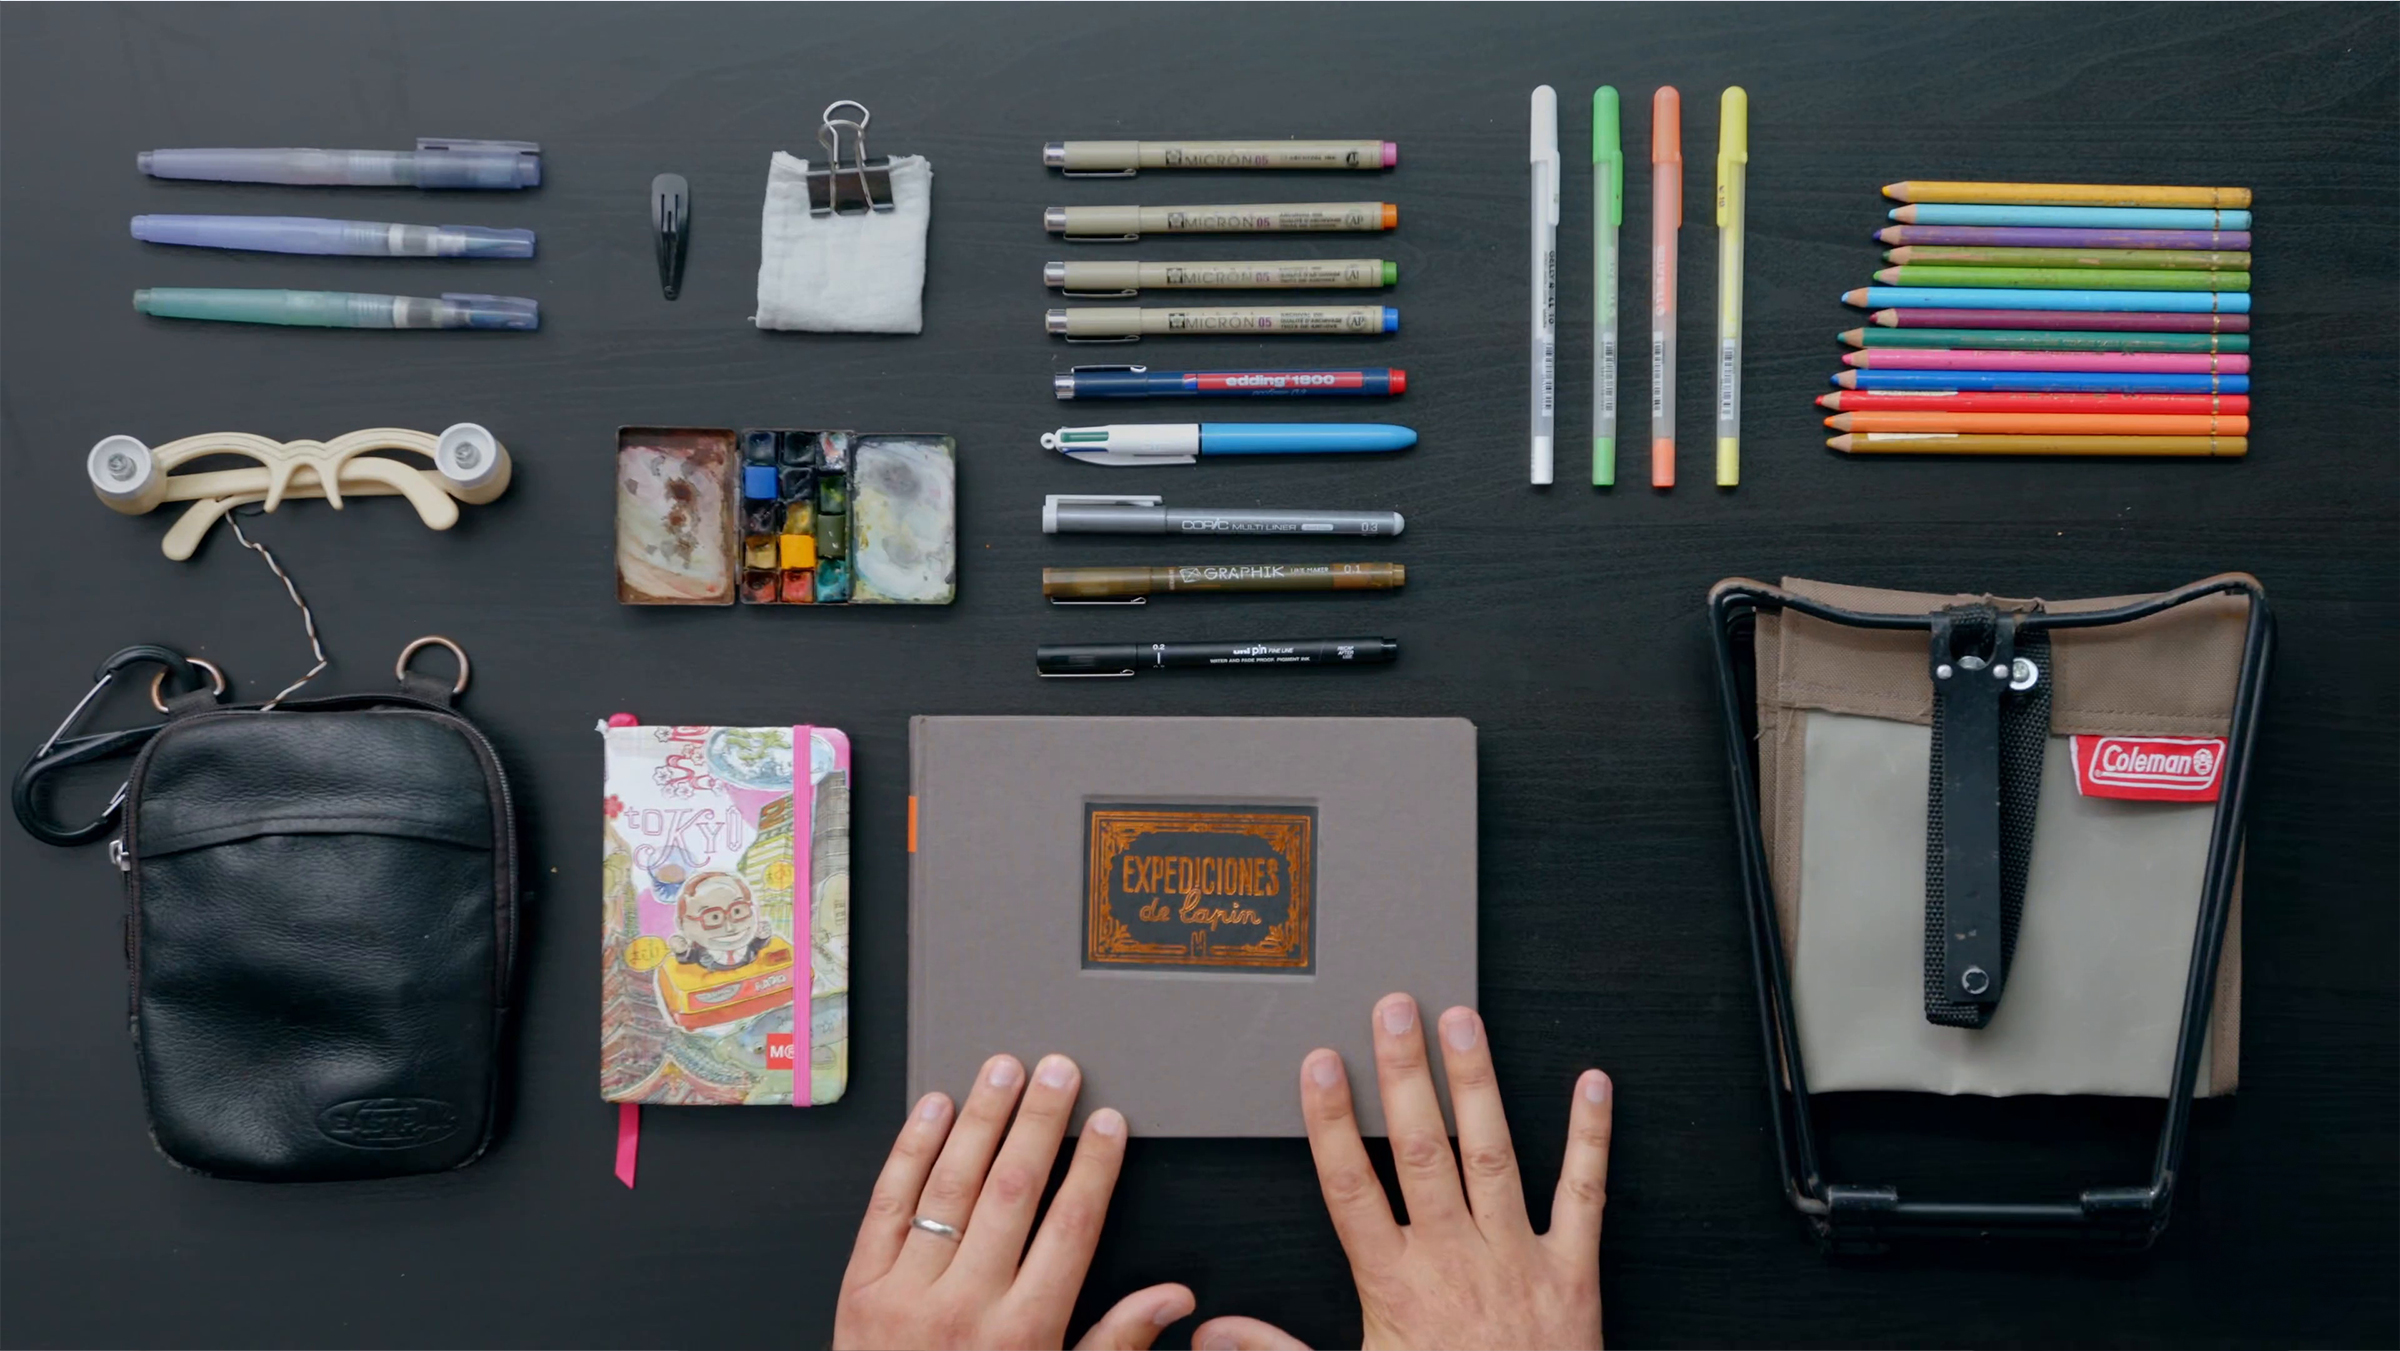
In this lesson Lapin, you'll learn about the essential materials I carry for daily sketching. From compact sketchbooks for quick subway sketches to folding stools for finding the perfect outdoor location, each tool is chosen for portability and versatility. You'll also discover how to use fine liners, watercolors, and gelly rolls to create layered, detailed illustrations efficiently.
9m
image
10
Fine Liner Materials
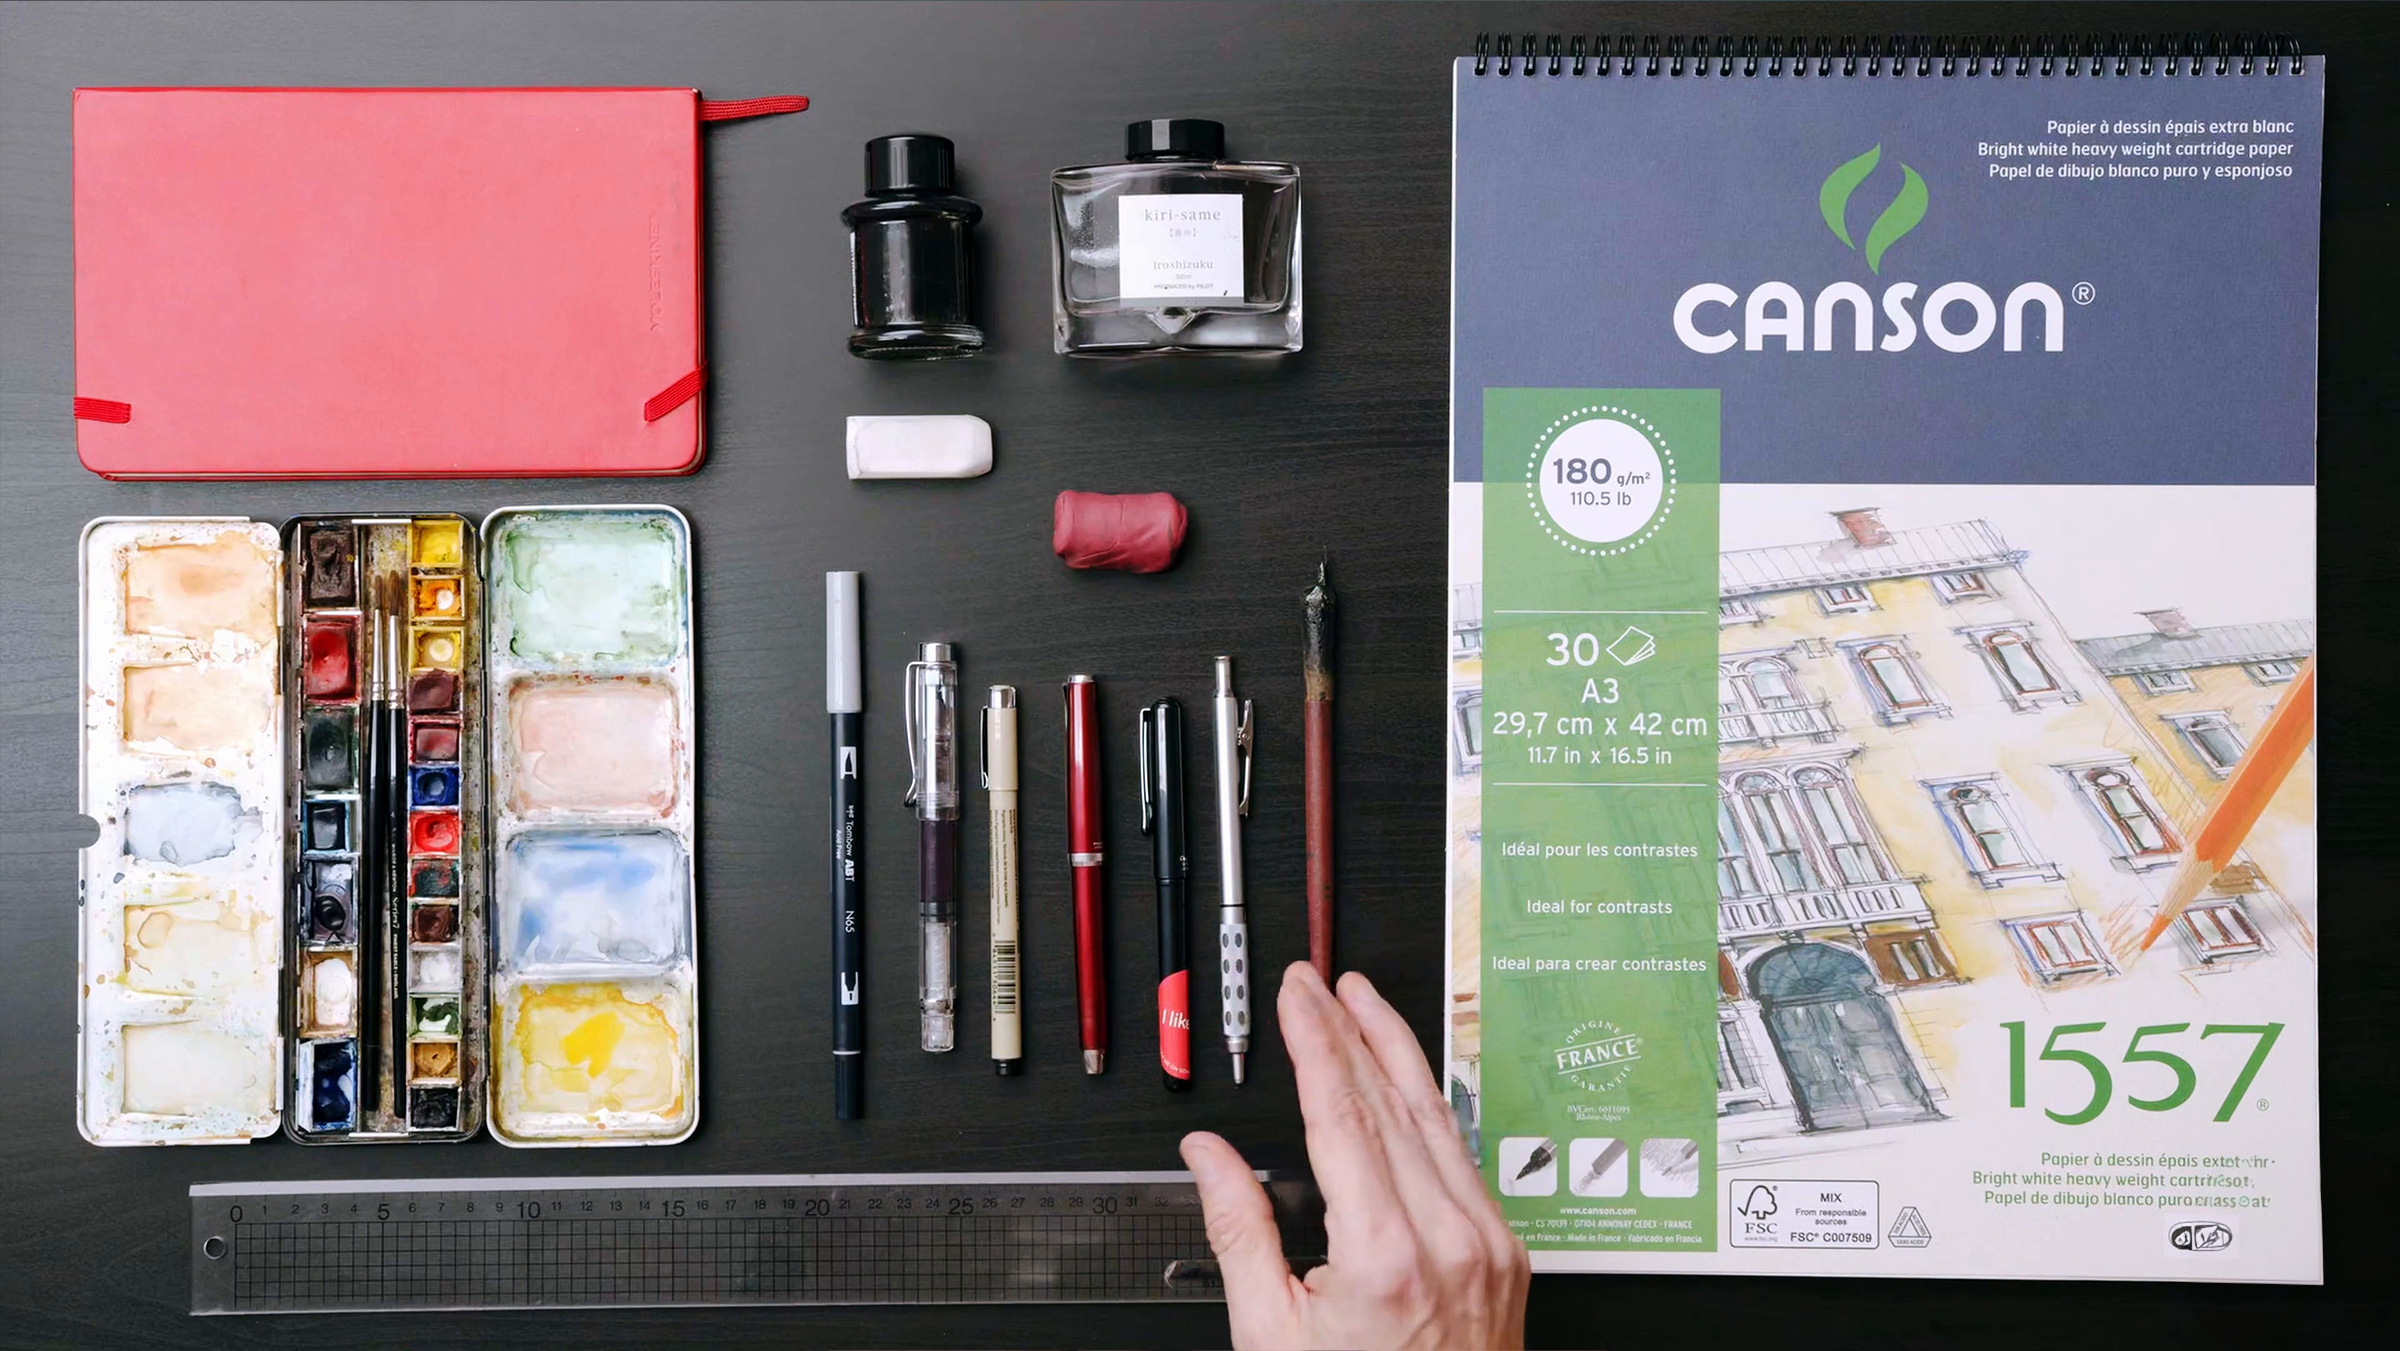
In this lesson, you'll explore with Mattias Adolfsson the essential materials for sketching, including thick drawing paper suitable for watercolors or shading. You'll work with ink tools like dip pens, fountain pens, fine liners, and pencils for perspective drawing. We'll also use rulers, erasers, and shading tools to add depth. You'll practice by drawing these materials themselves.
1m
image
11
Ink Pack Materials
In this lesson with Sorie Kim, we'll explore various sketchbooks and drawing materials to enhance your daily sketches. You'll learn about the pros and cons of sketchbook brands like Artist Loft, Midori, and Moleskine, along with versatile pens like Pentel brush pens and Faber Castell fine liners. We'll also cover watercolor and gouache paints, helping you select the right tools for on-the-go sketching.
7m
image
1
Introduction
This lesson is an introduction to help you understand what you will learn when you finish this module. We hope you enjoy learning with the best professionals.
2m
image
2
Line Drawing Exercises
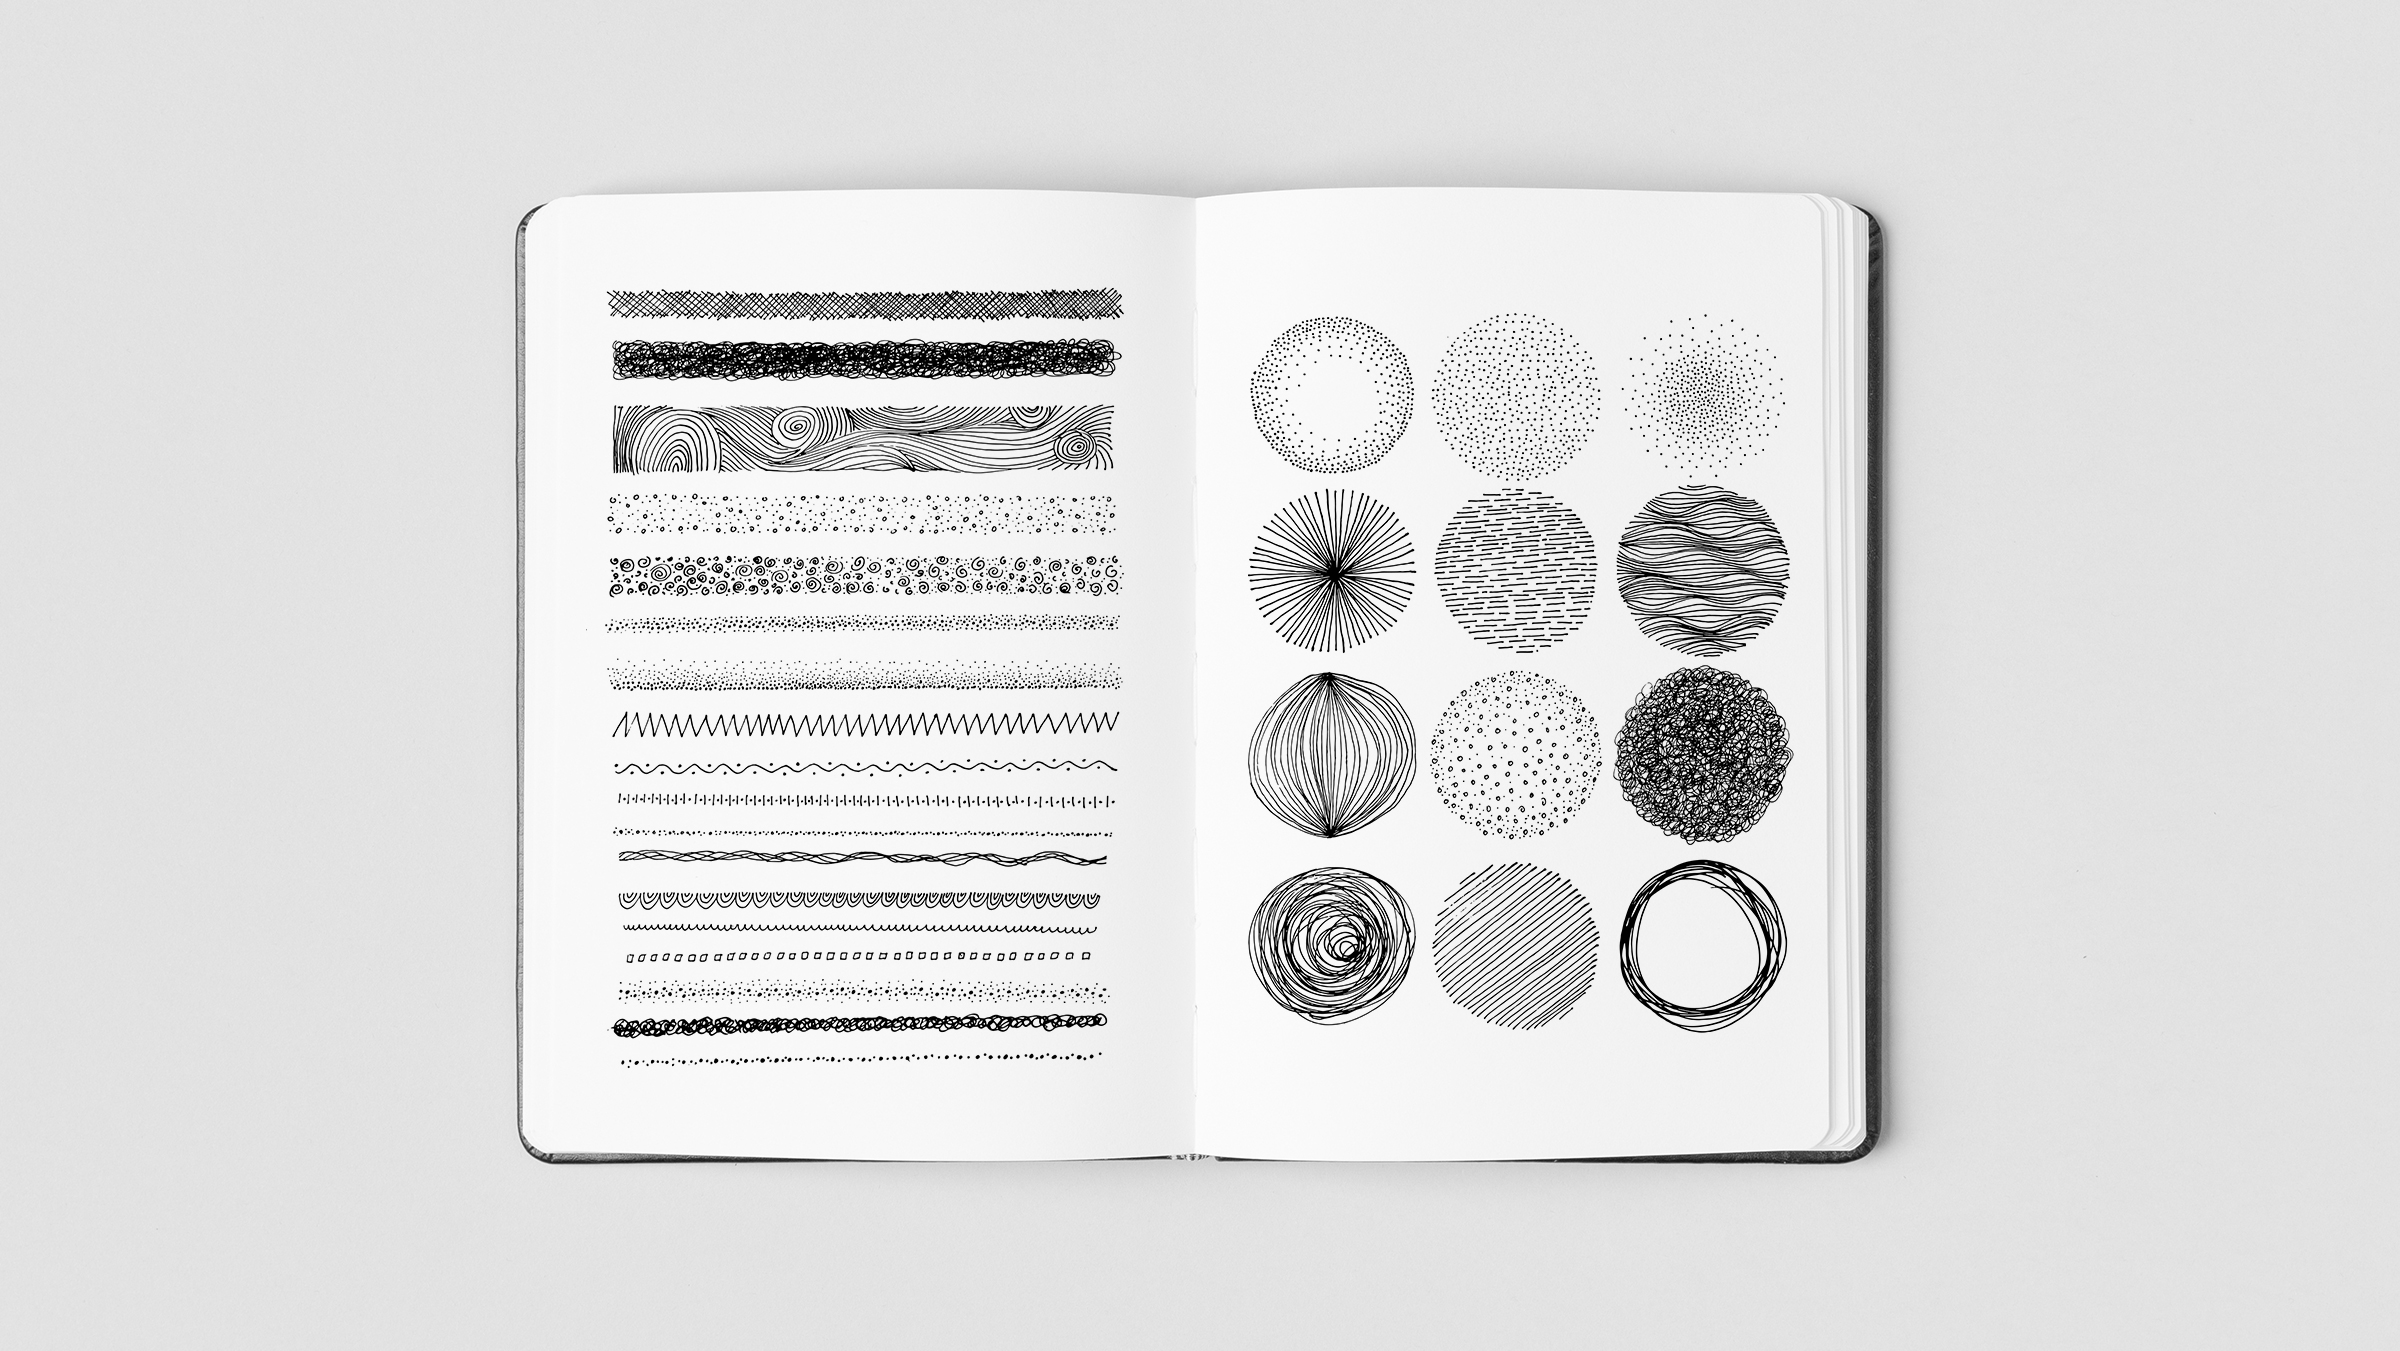
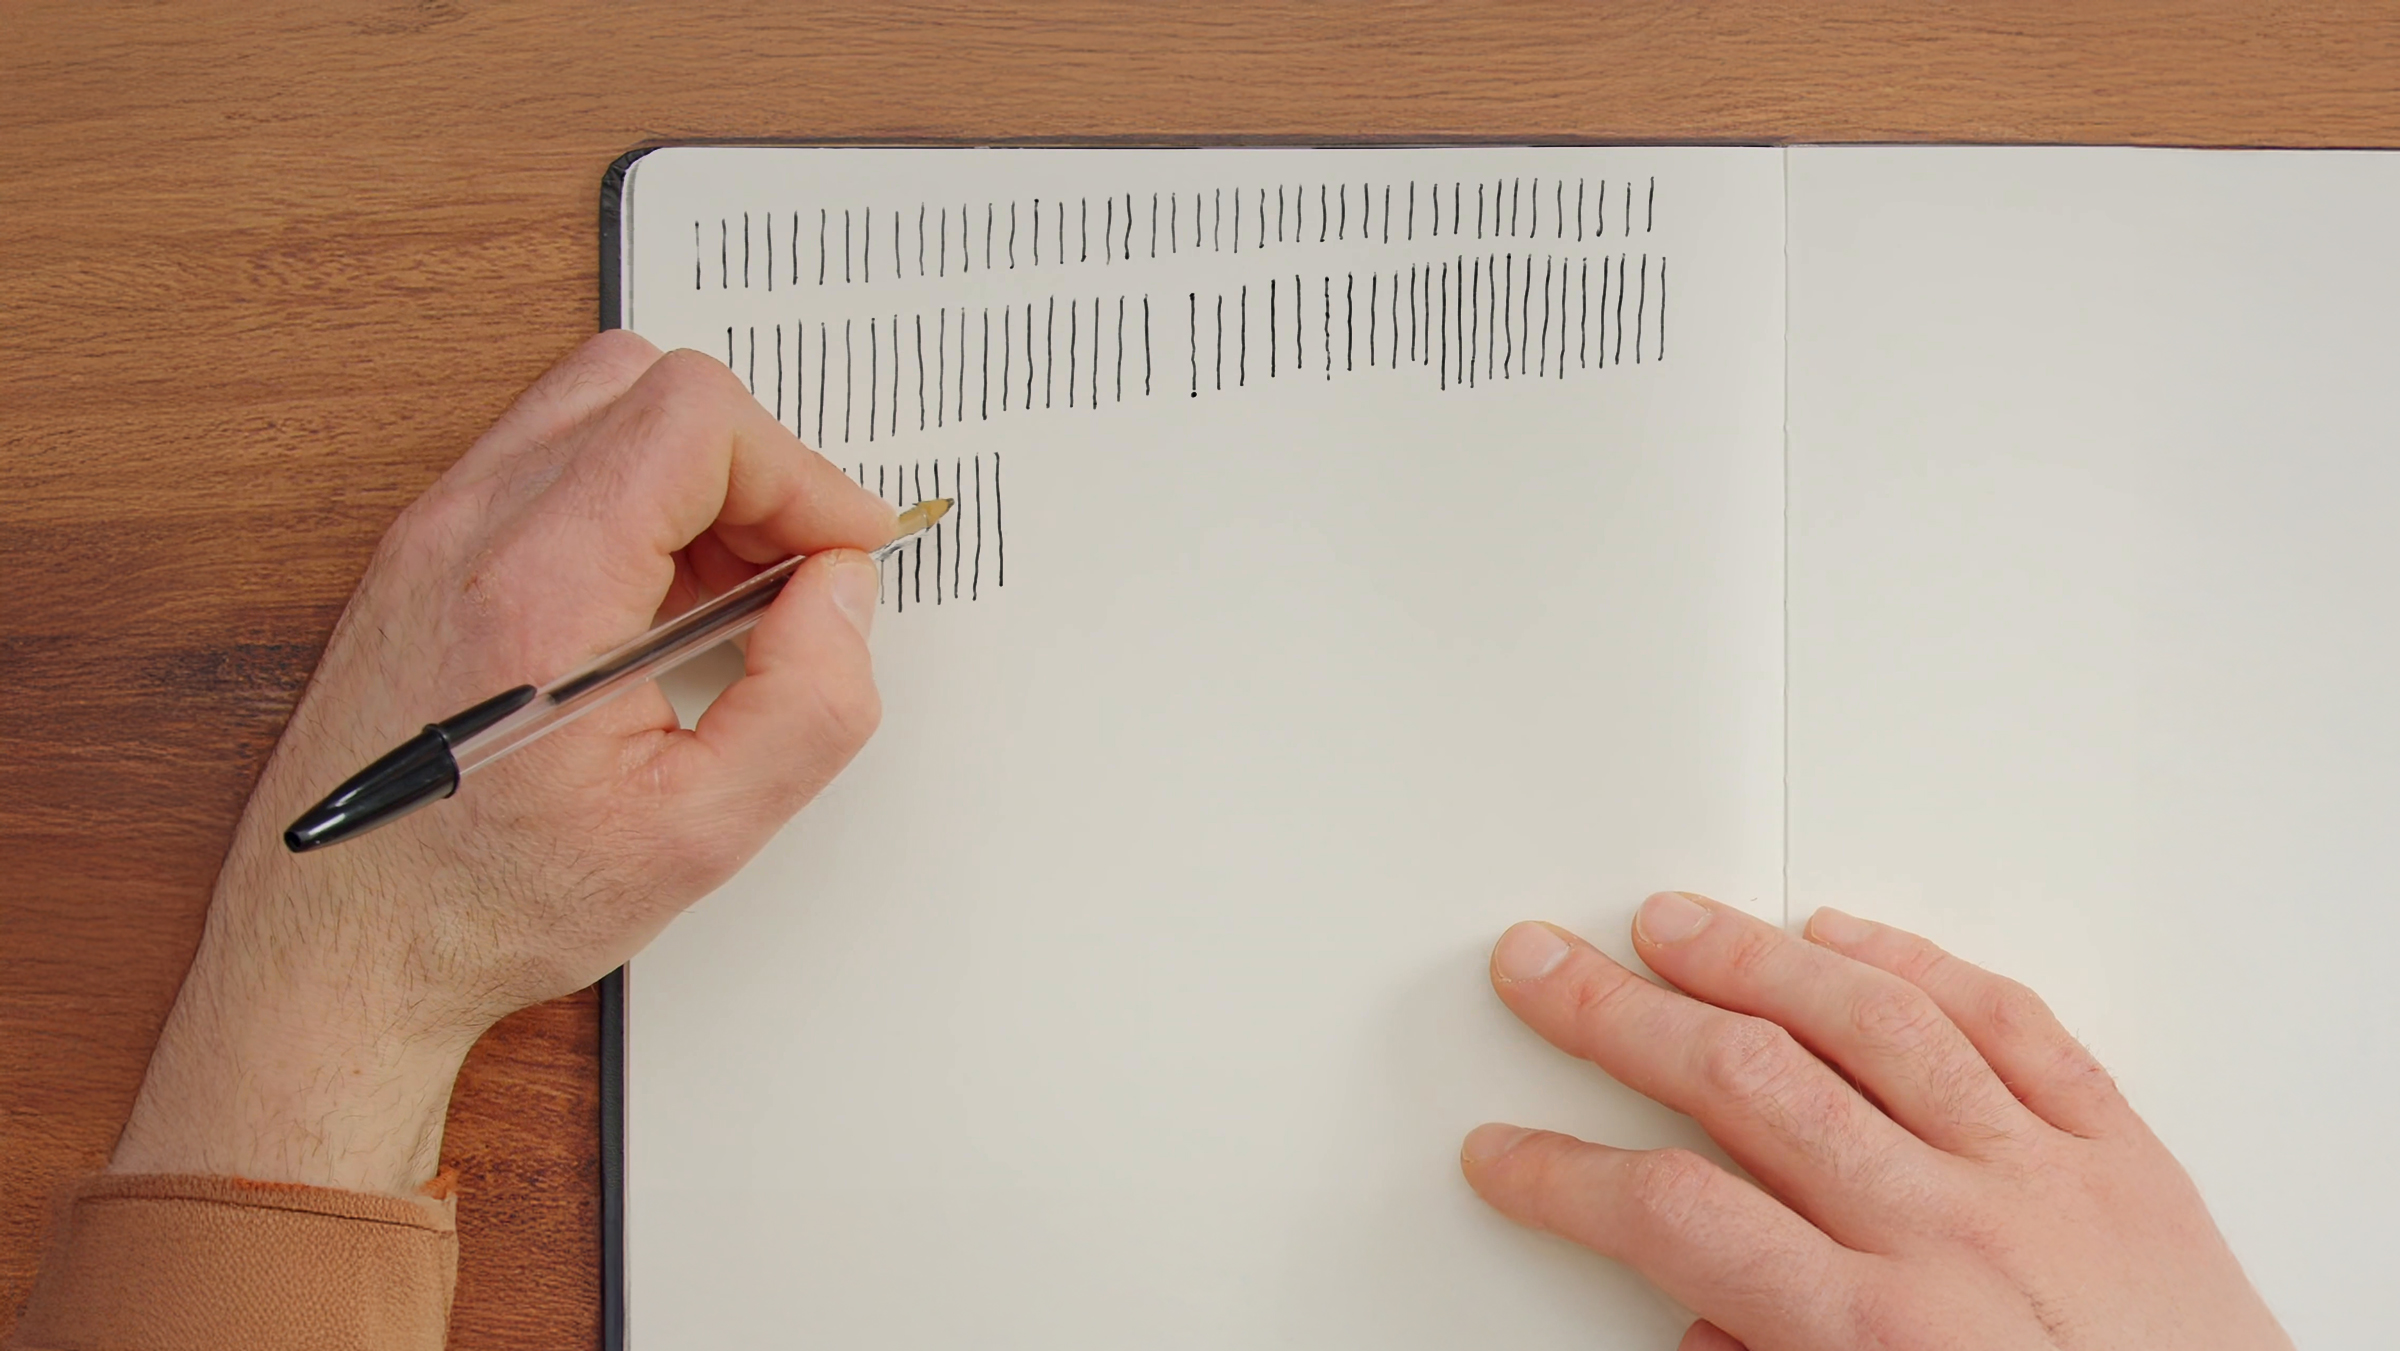
In this lesson, Marco Mazzoni will show you some exercises to help you feel more comfortable drawing lines.
10m
image
3
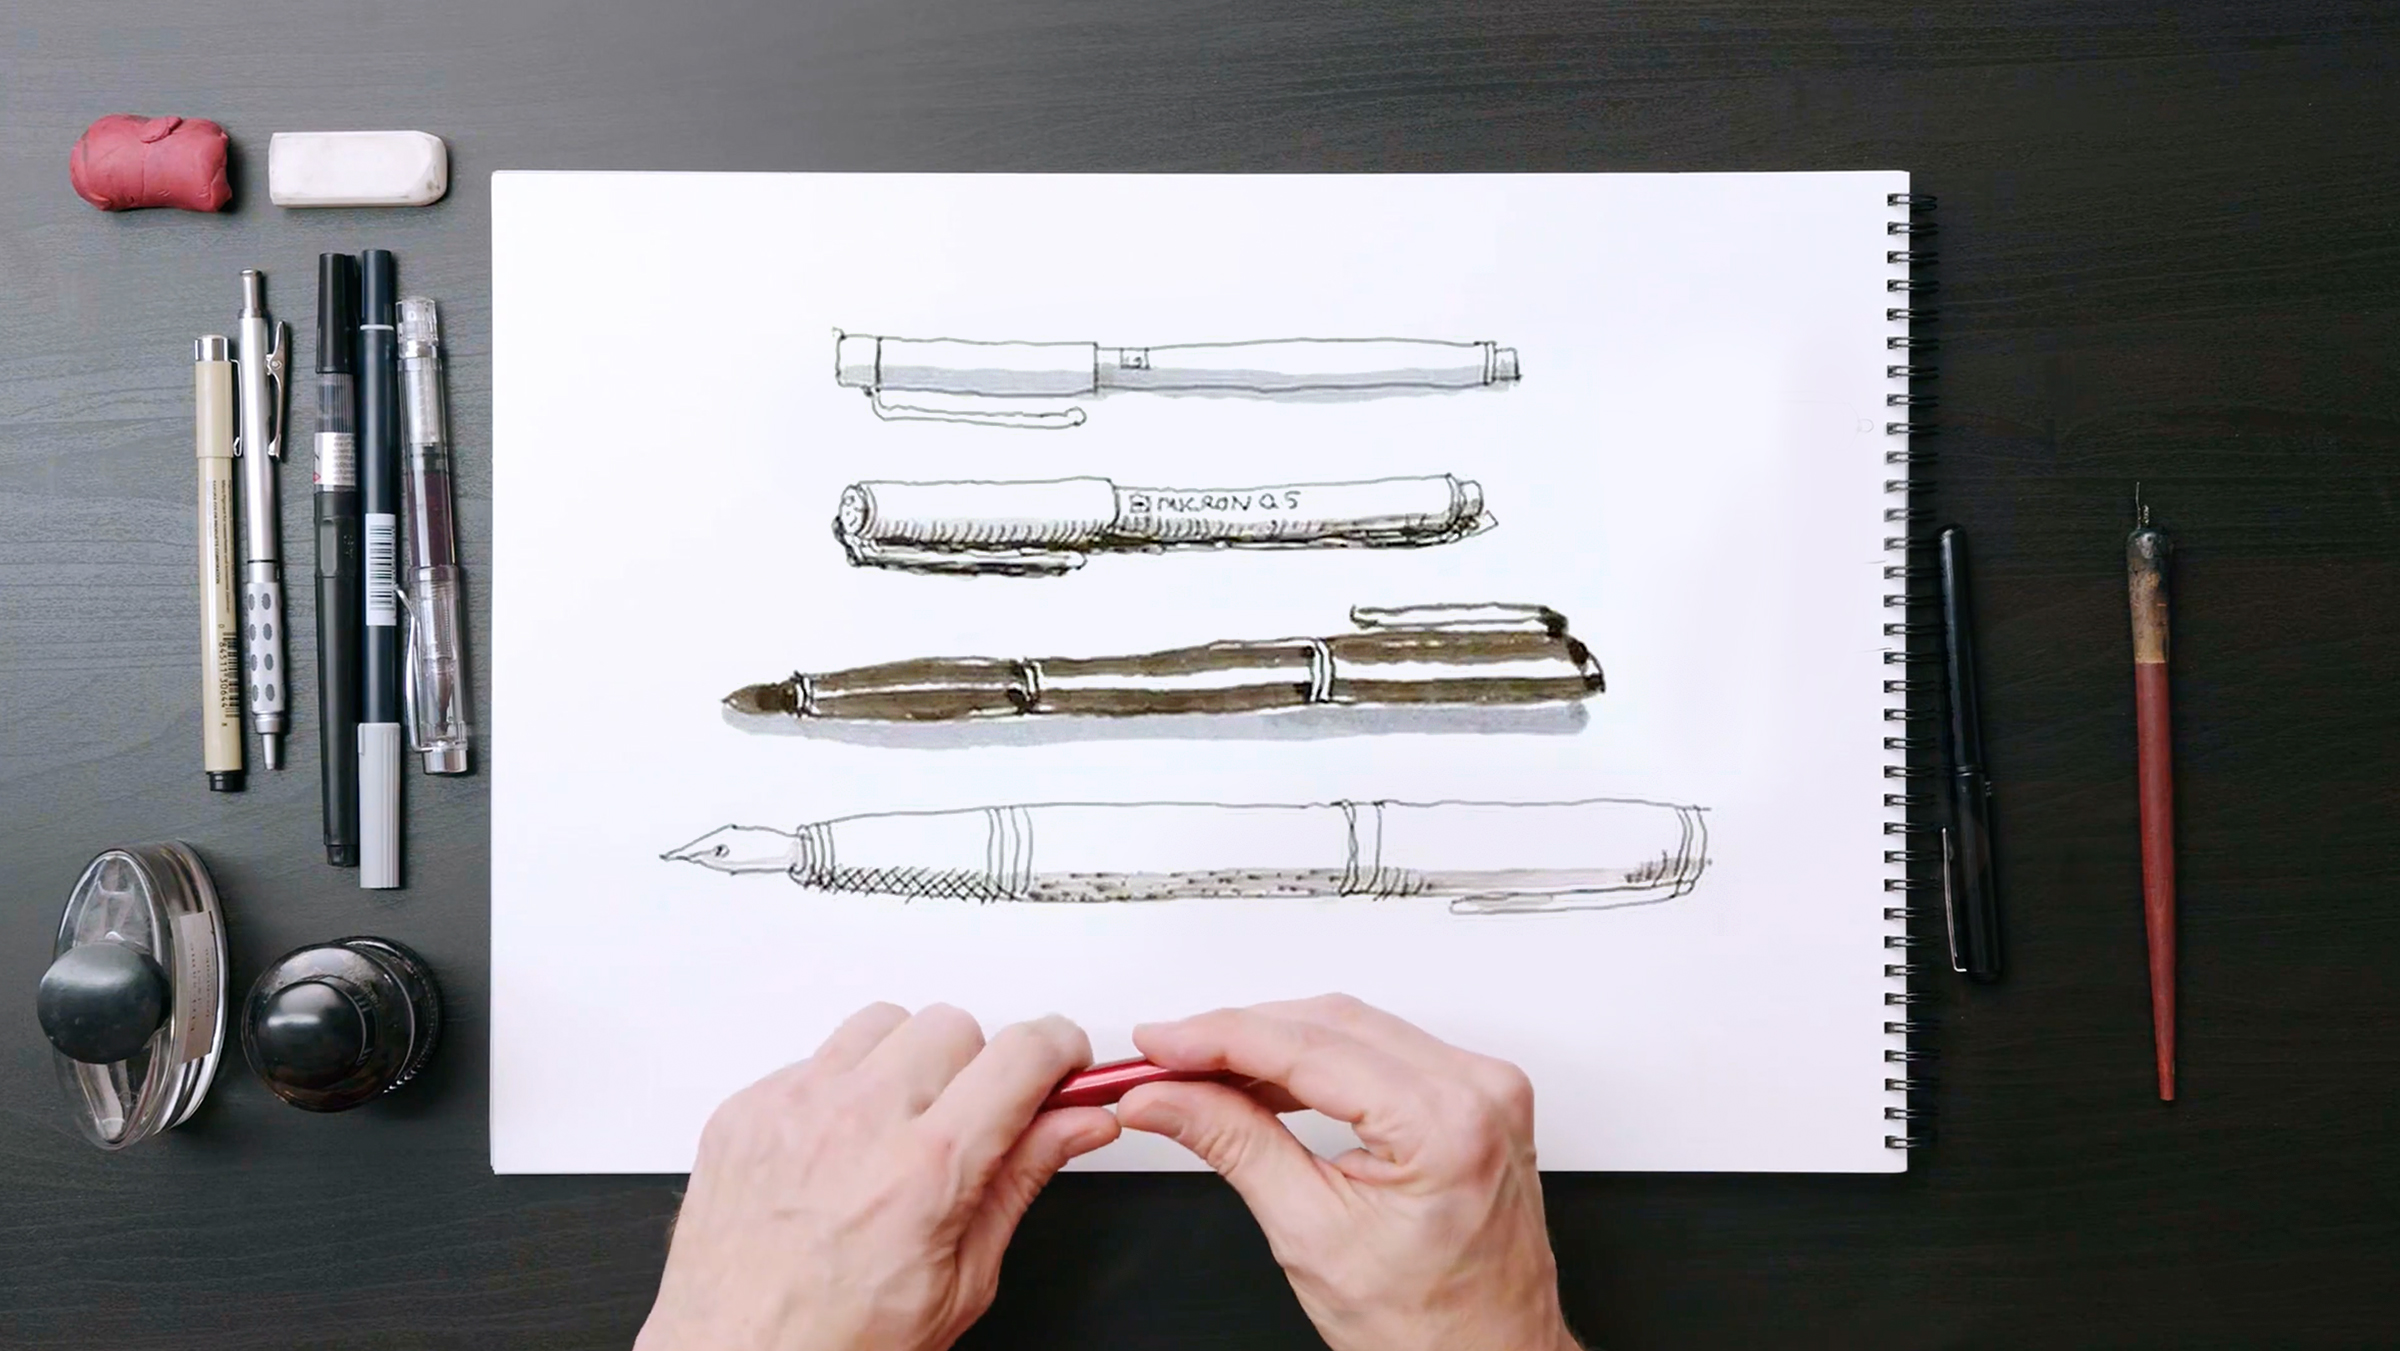
Materials as Models
In this lesson, you will explore how materials can serve as tools and subjects for drawing. Following the approach of Mattias Adolfsson, you'll first practice drawing from observation, and then shift to creating from your imagination. You'll also learn to add volume and depth to your drawings through cross-hatching and shading techniques.
11m
image
4
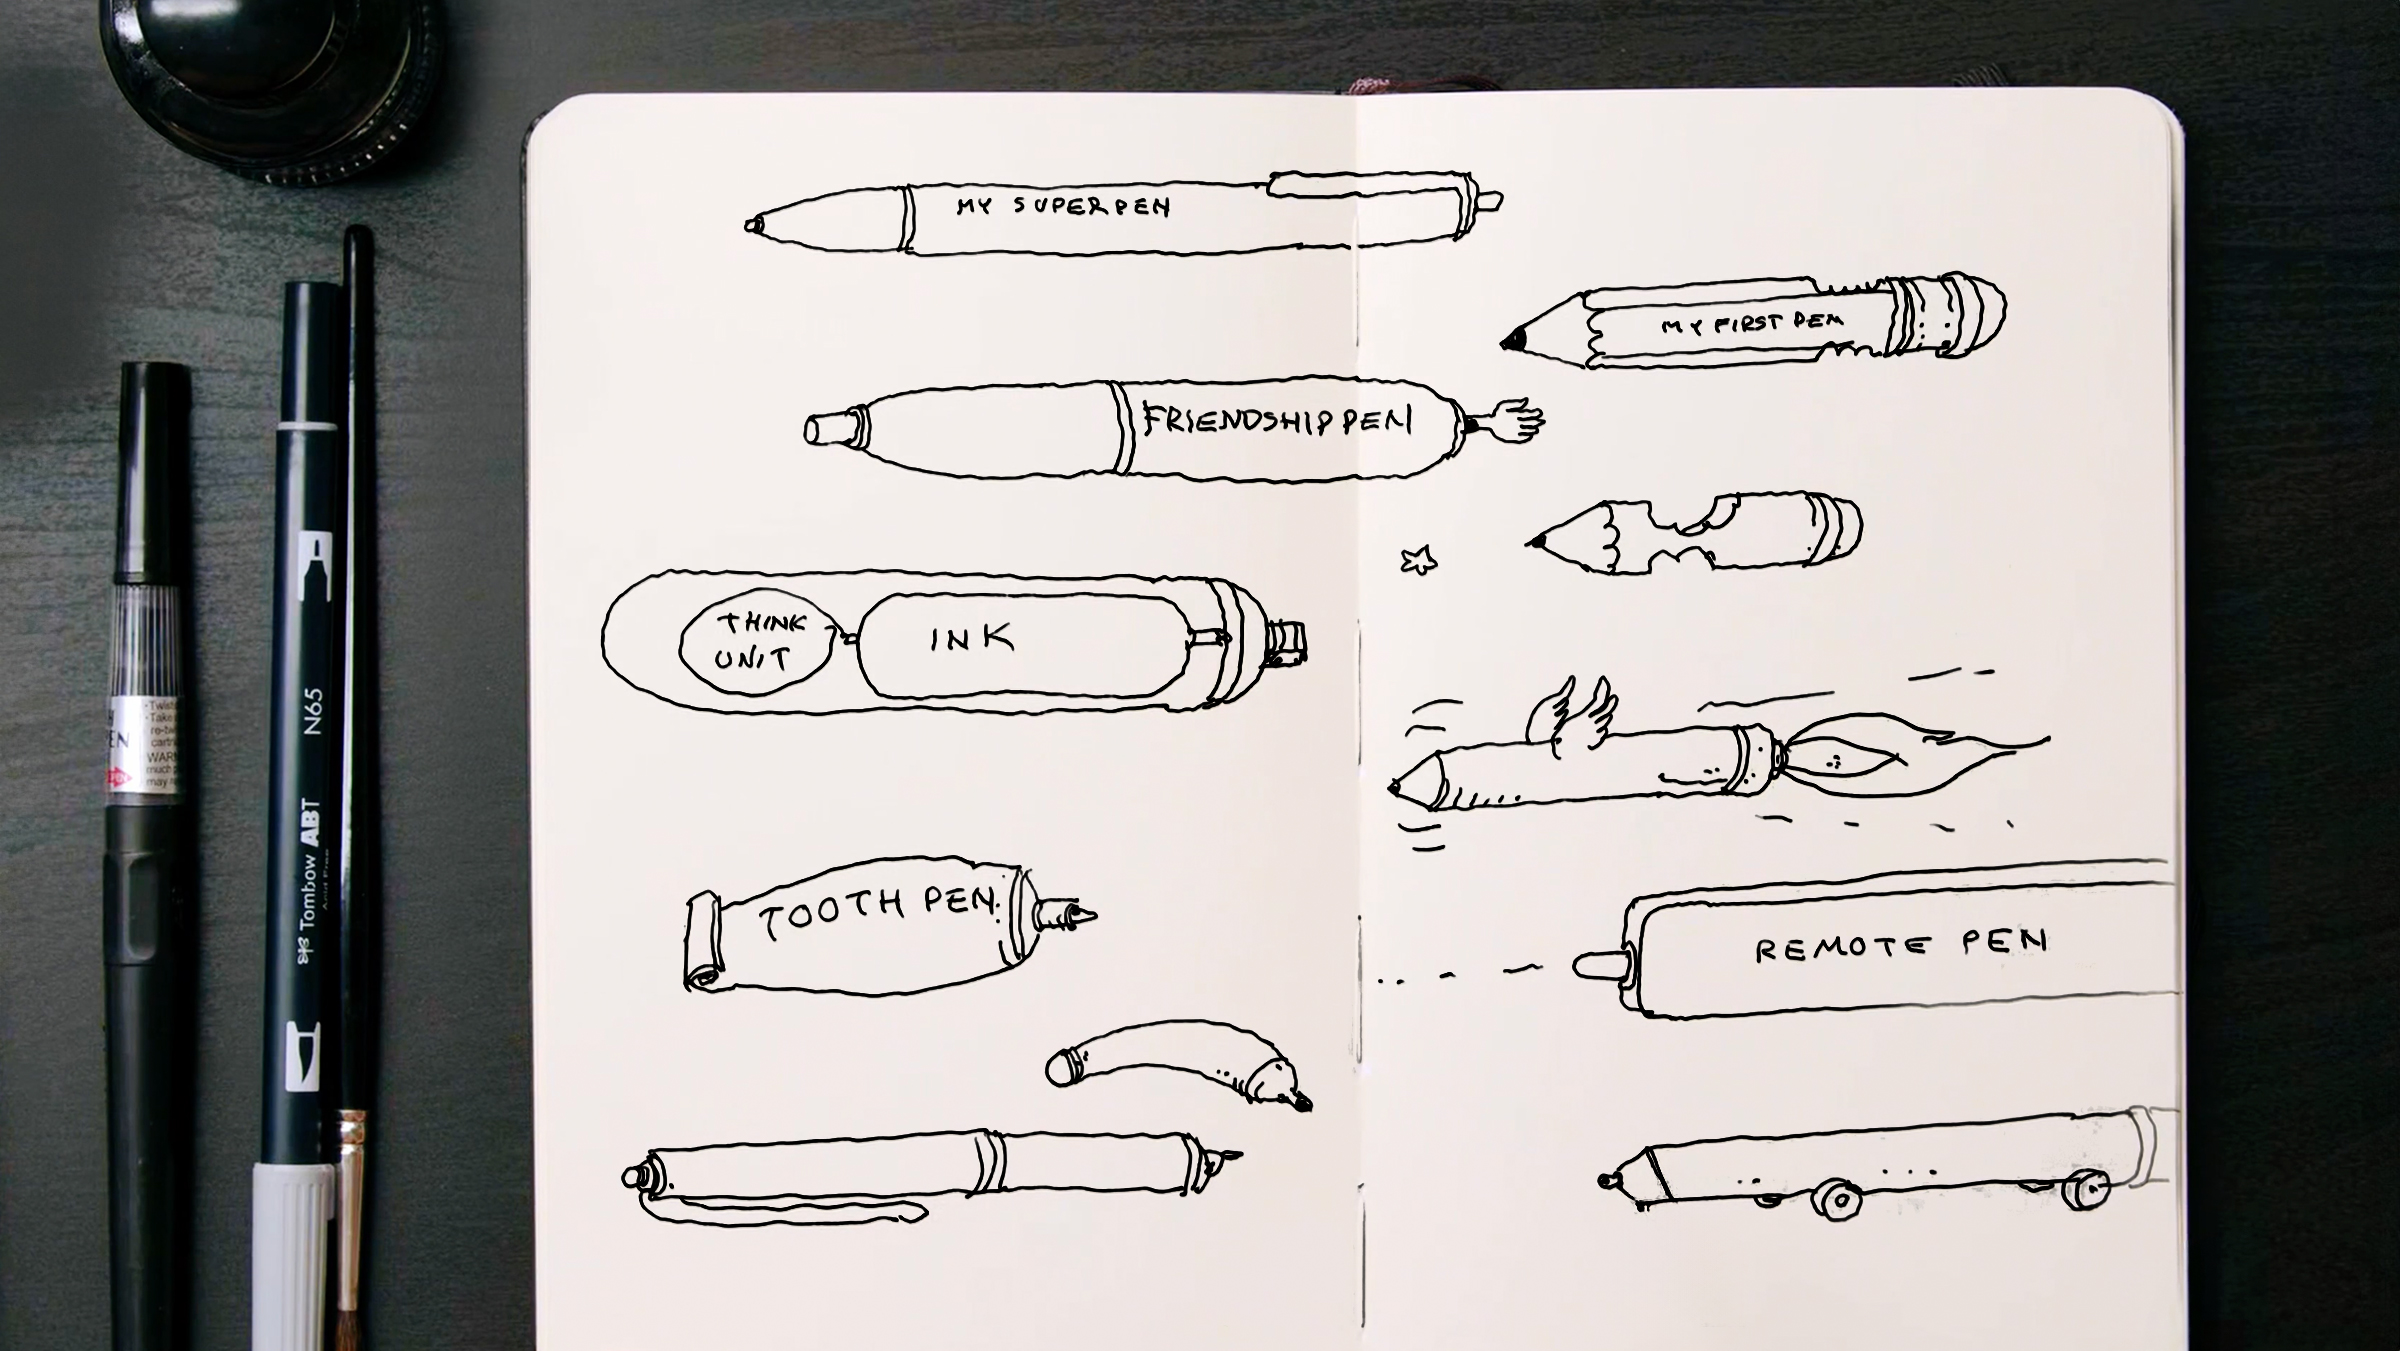
Freehand Material
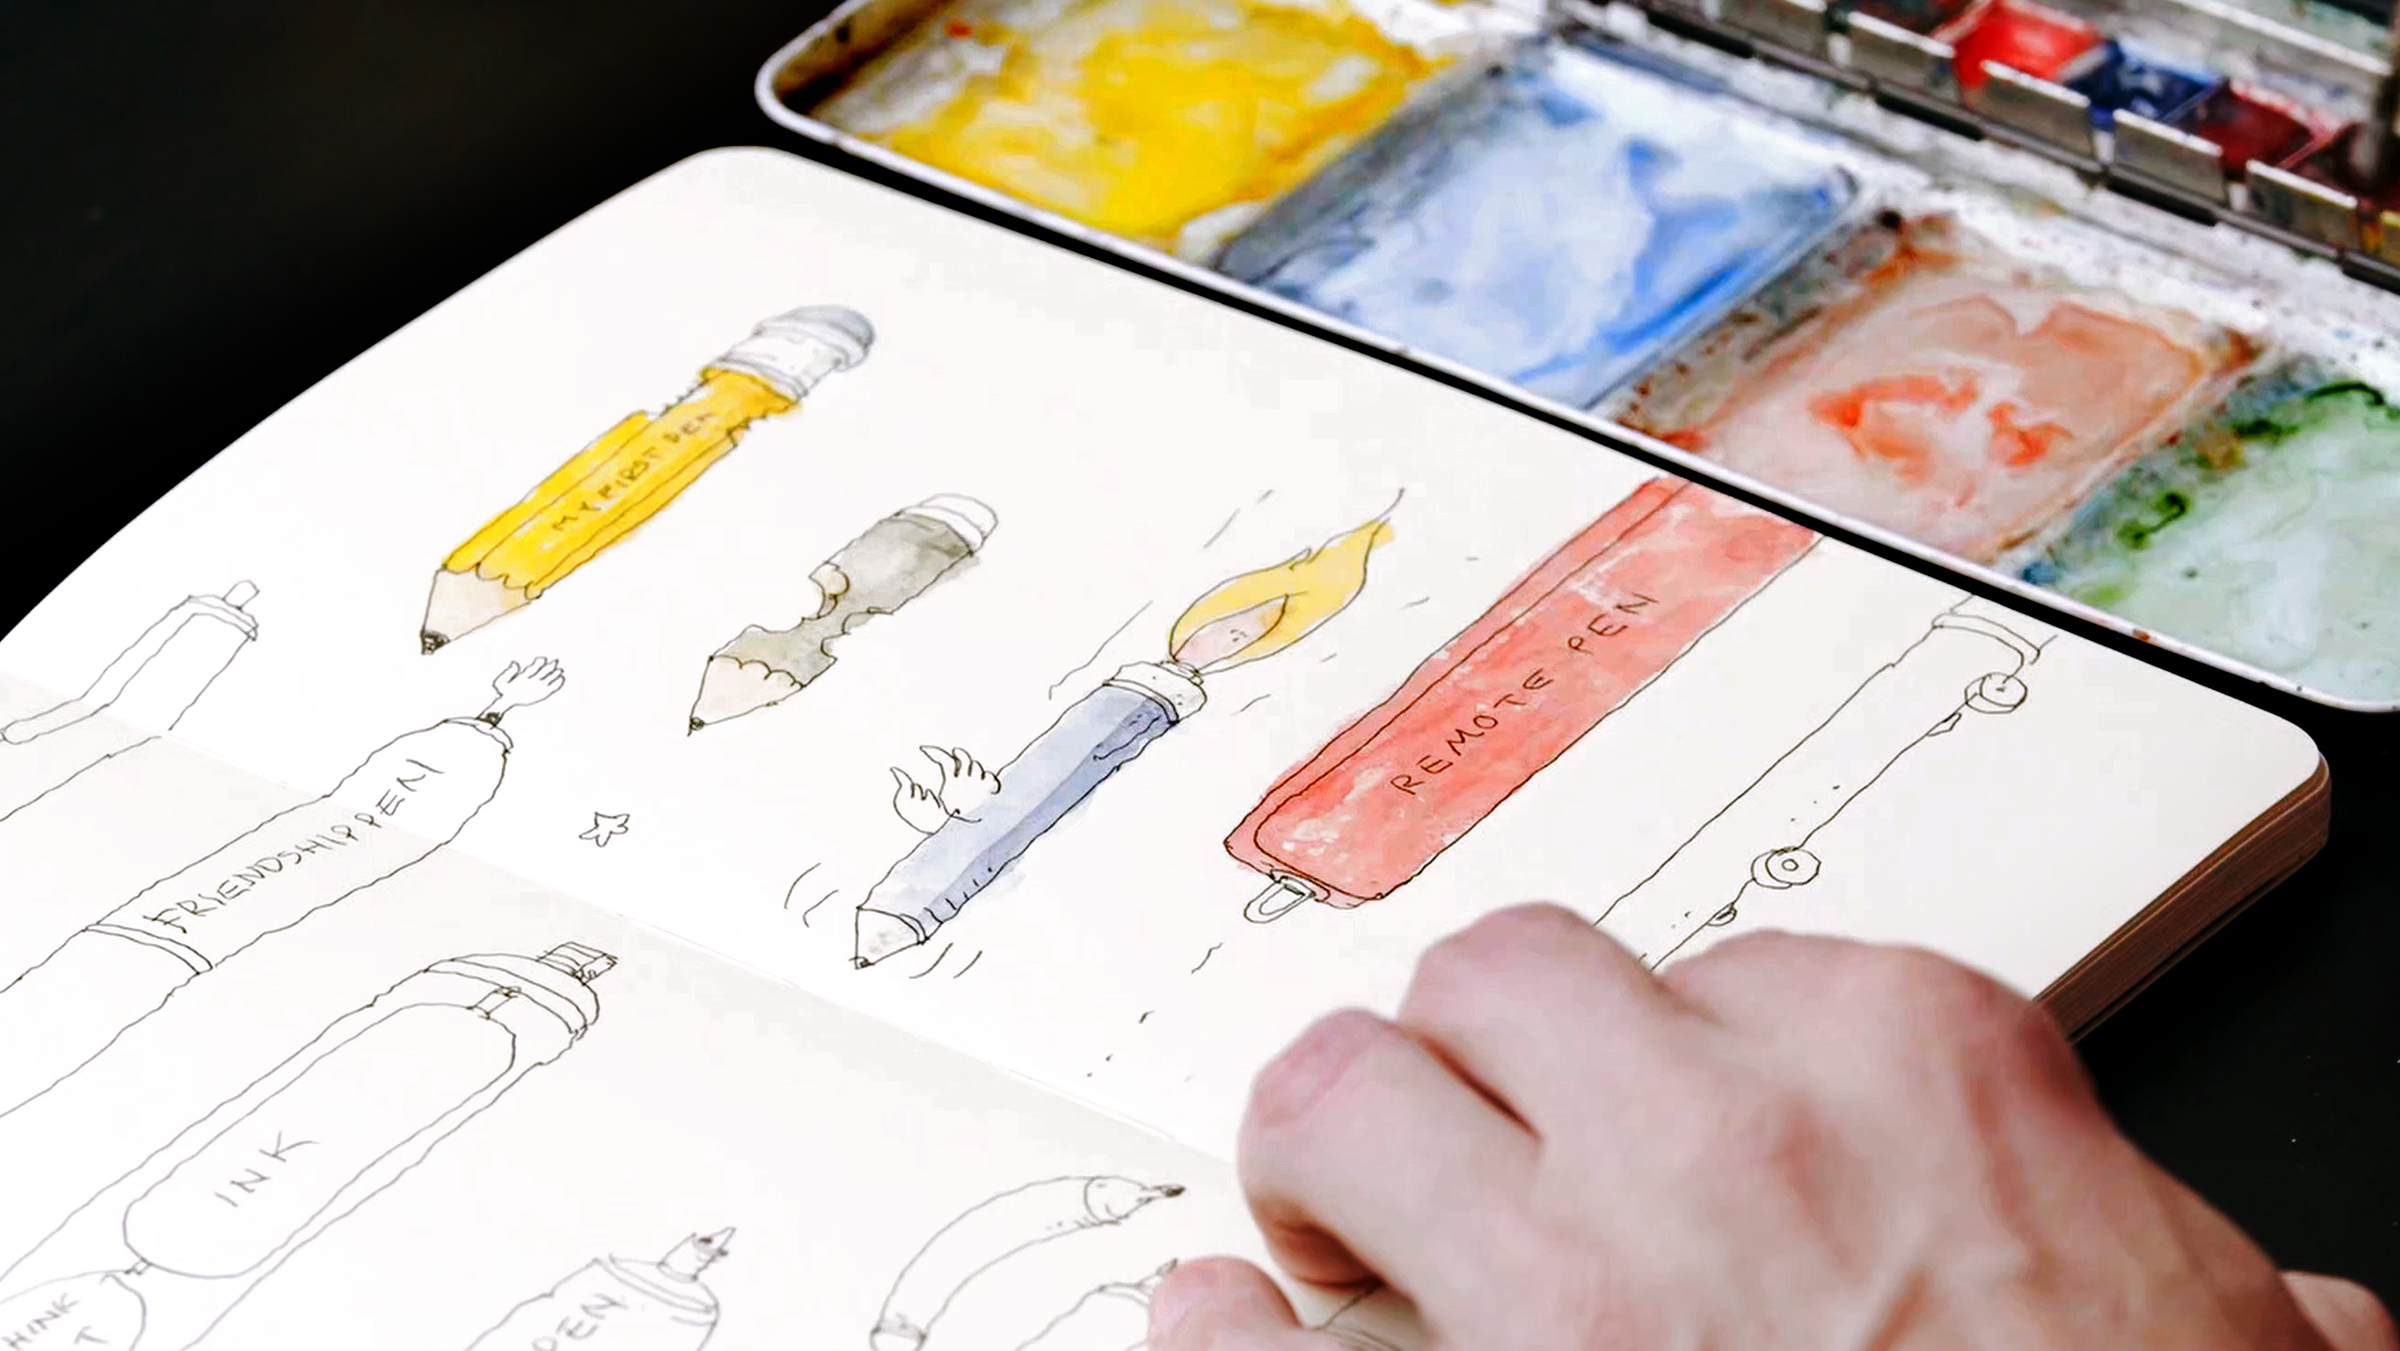
In this lesson, you'll begin by drawing pens from memory, following the creative process of Mattias Adolfsson. Afterward, you'll unleash your imagination, transforming these pens into whimsical, unexpected creations. You'll see how everyday objects can inspire playful, inventive drawings that make all kinds of crazy things happen on the page!
8m
image
5
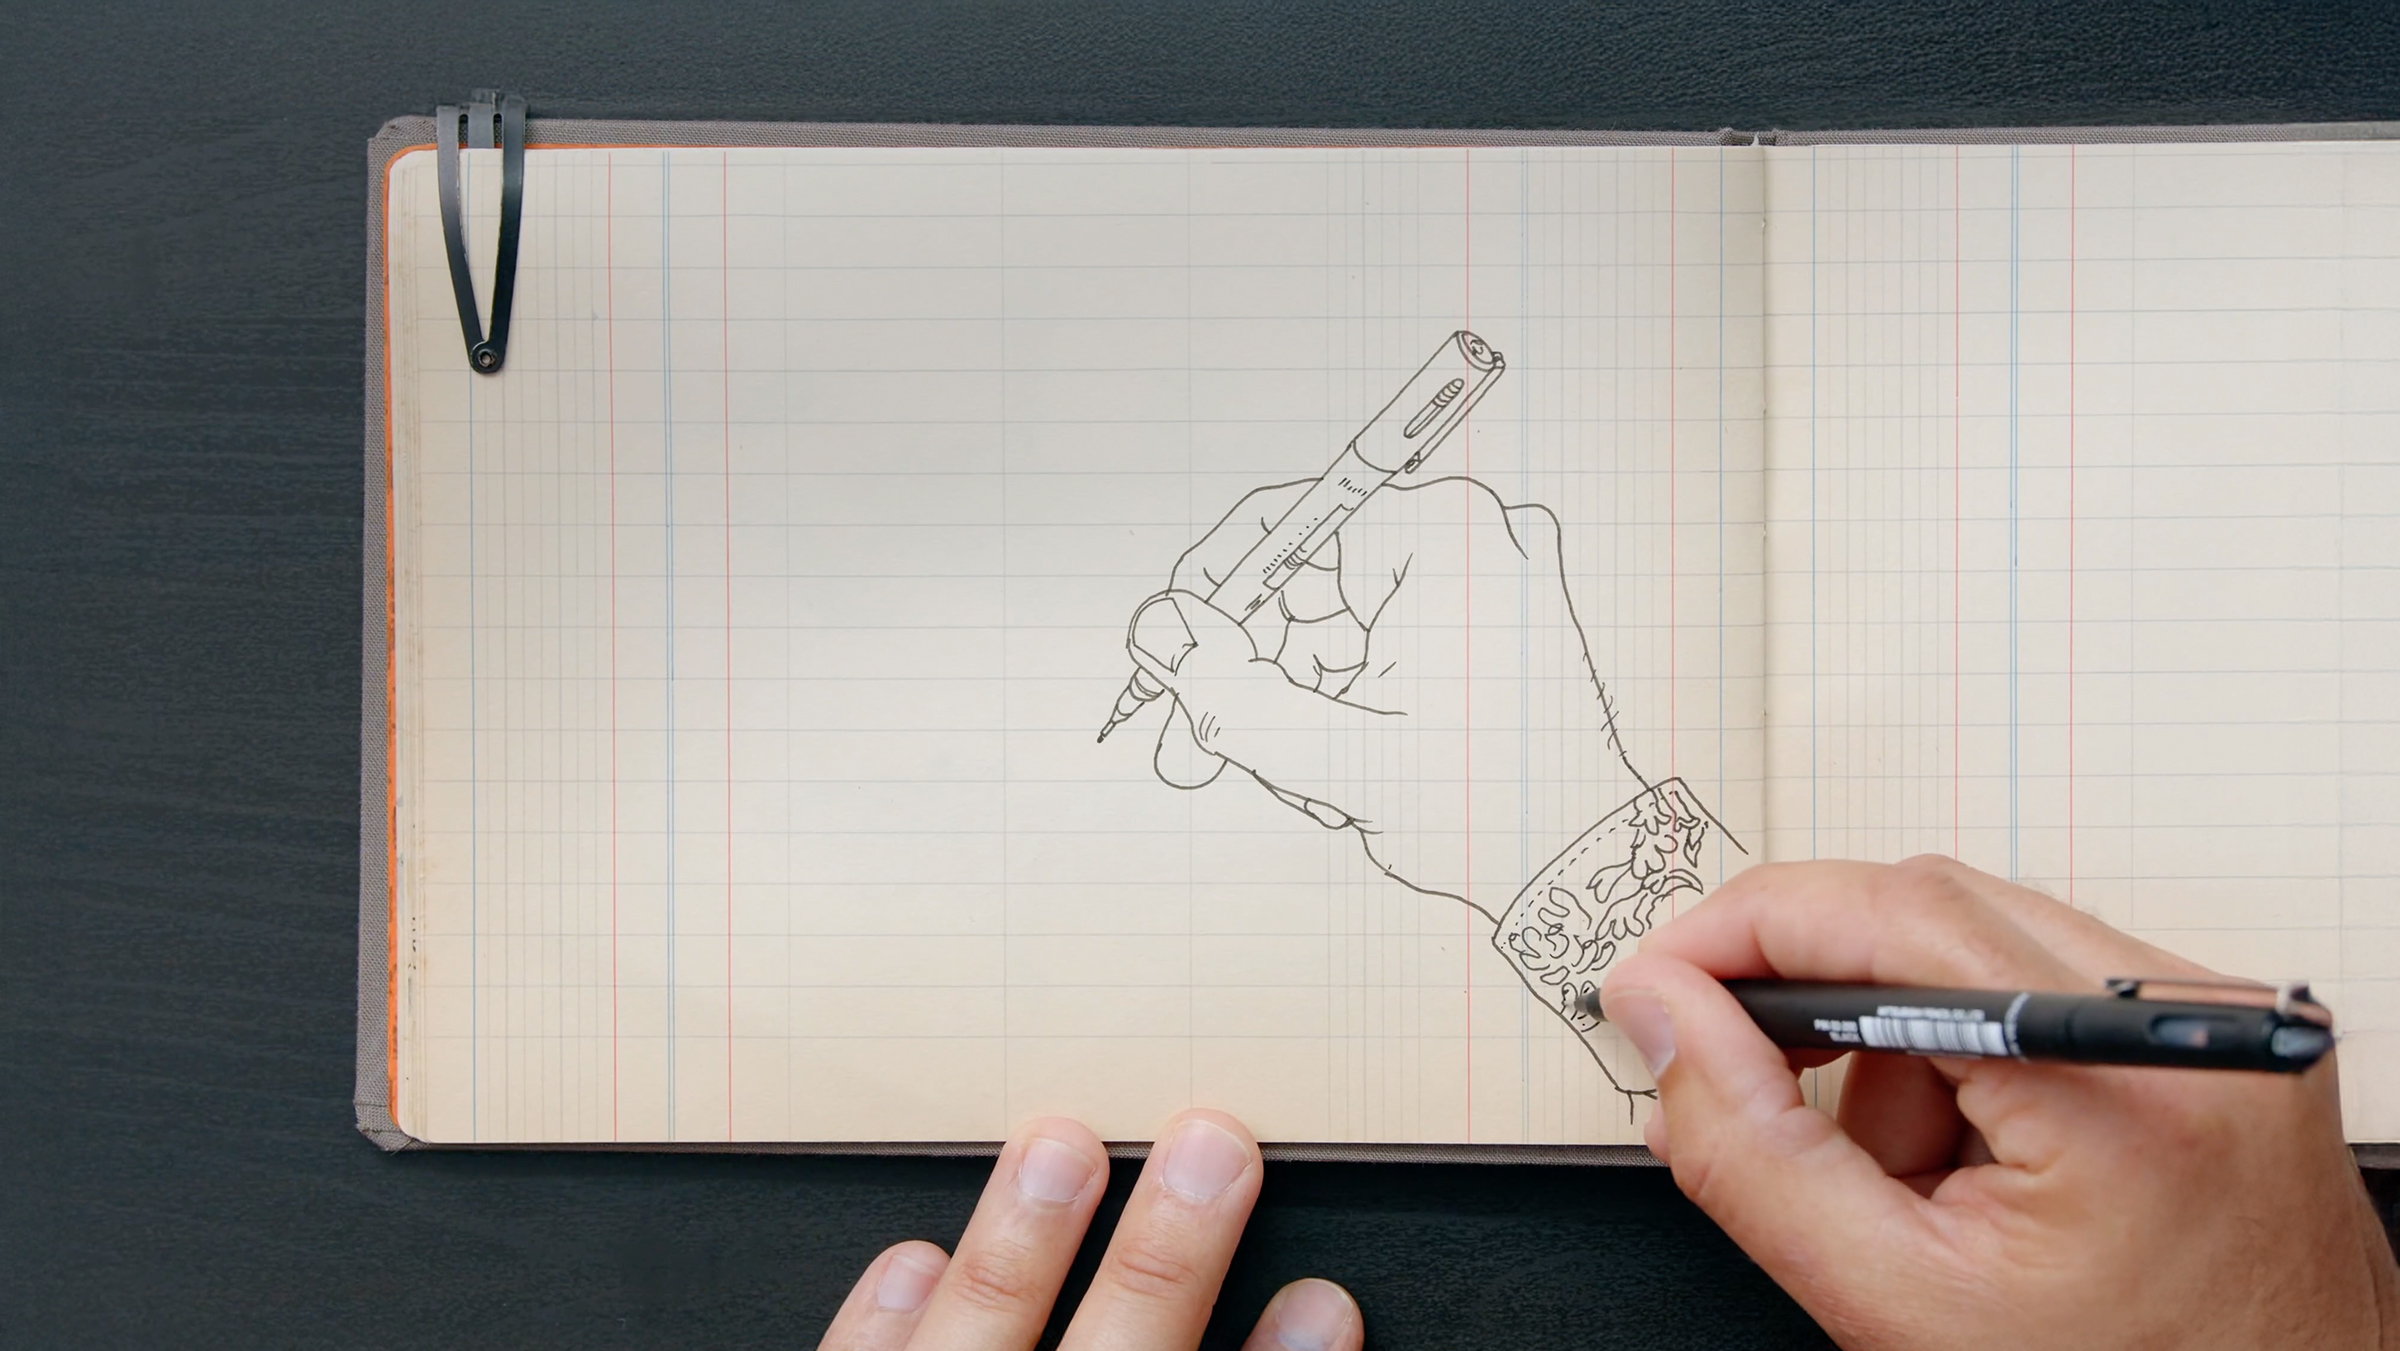
Contour and Observation
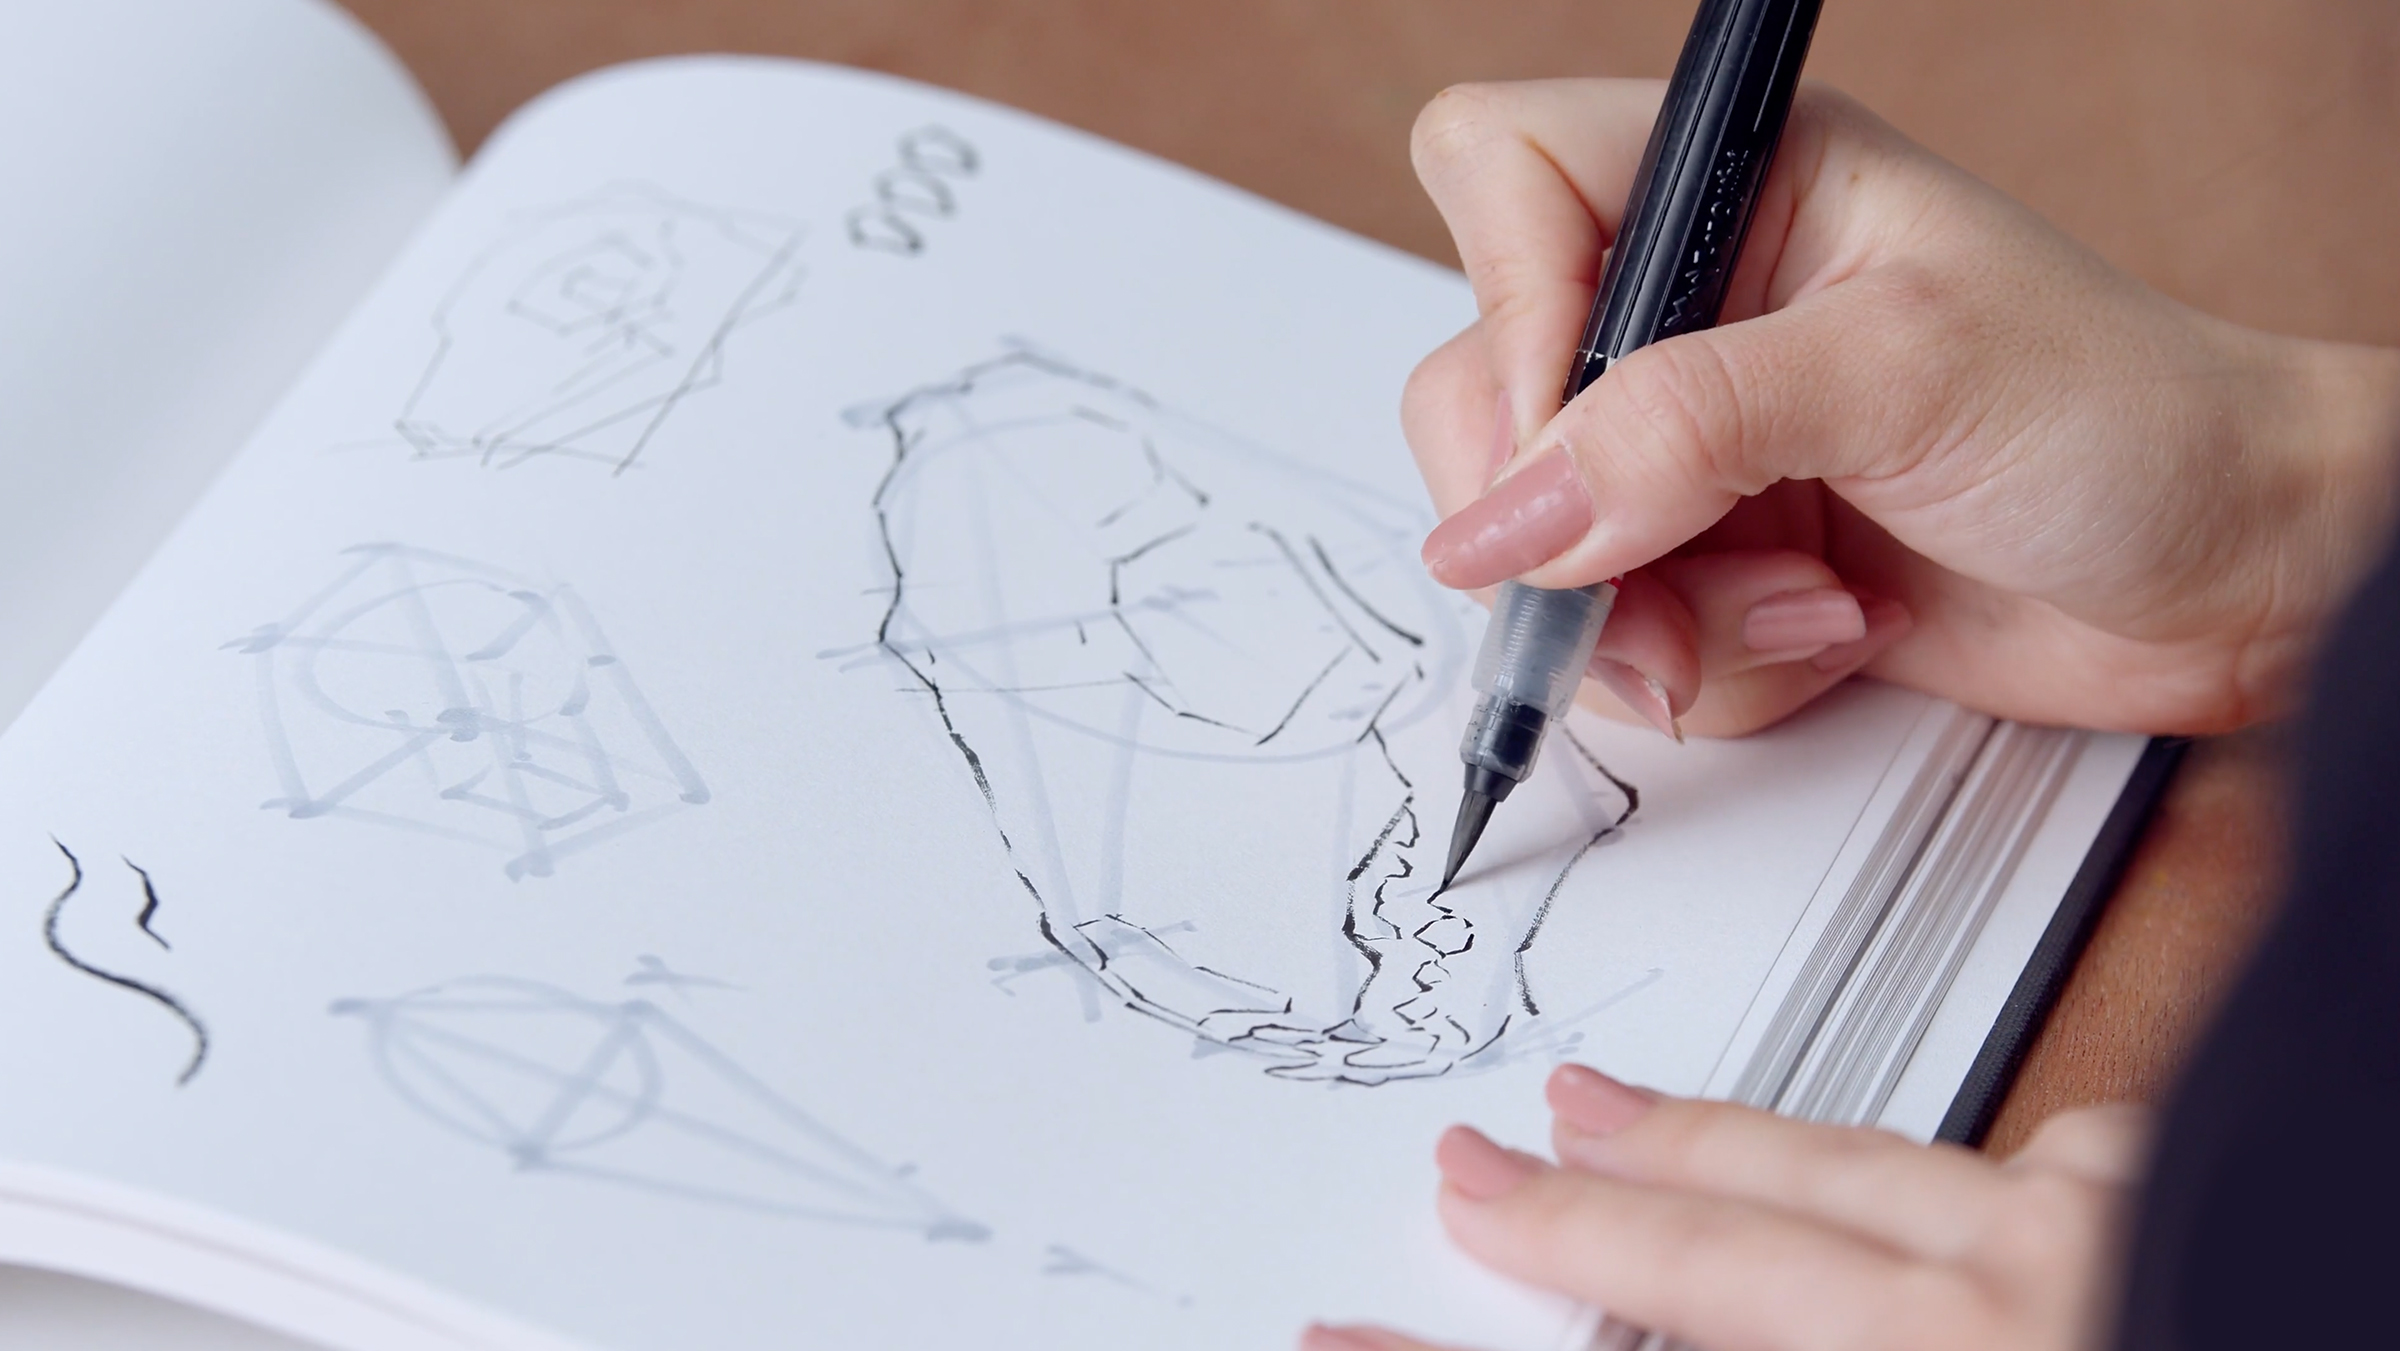
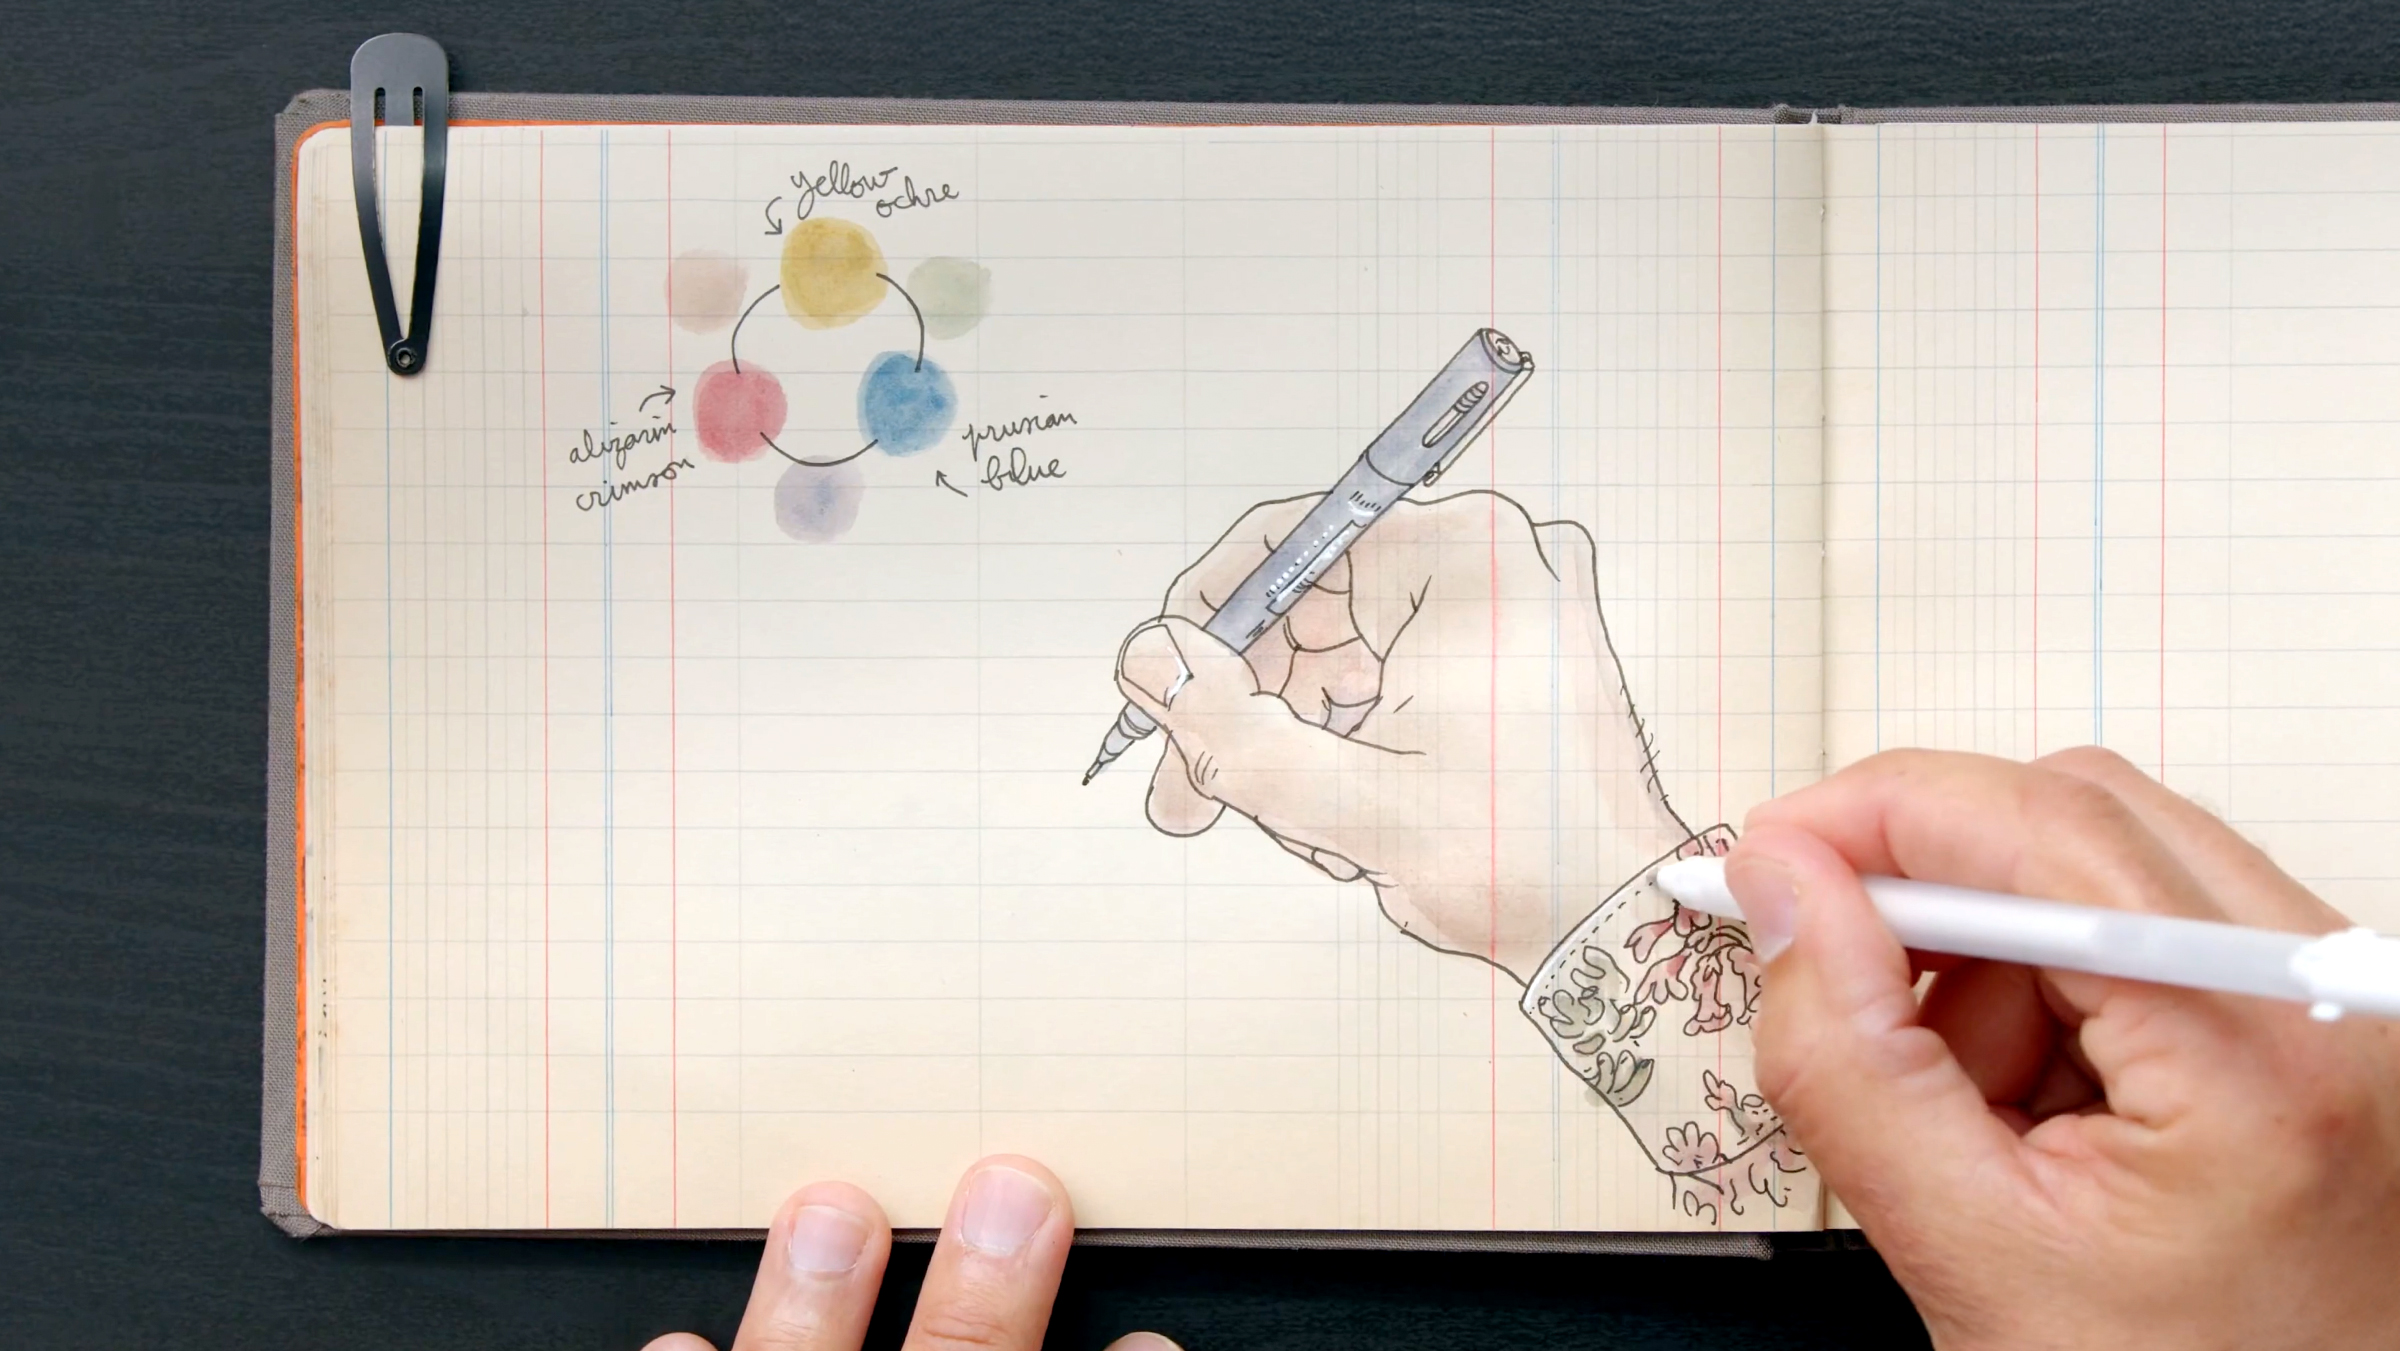
Guided by Lapin, in this session, you'll learn an intuitive technique for sketching from observation. You'll use a black fine liner to outline your hand, sharpening your ability to observe and capture details with simple, expressive lines.
3m
image
6
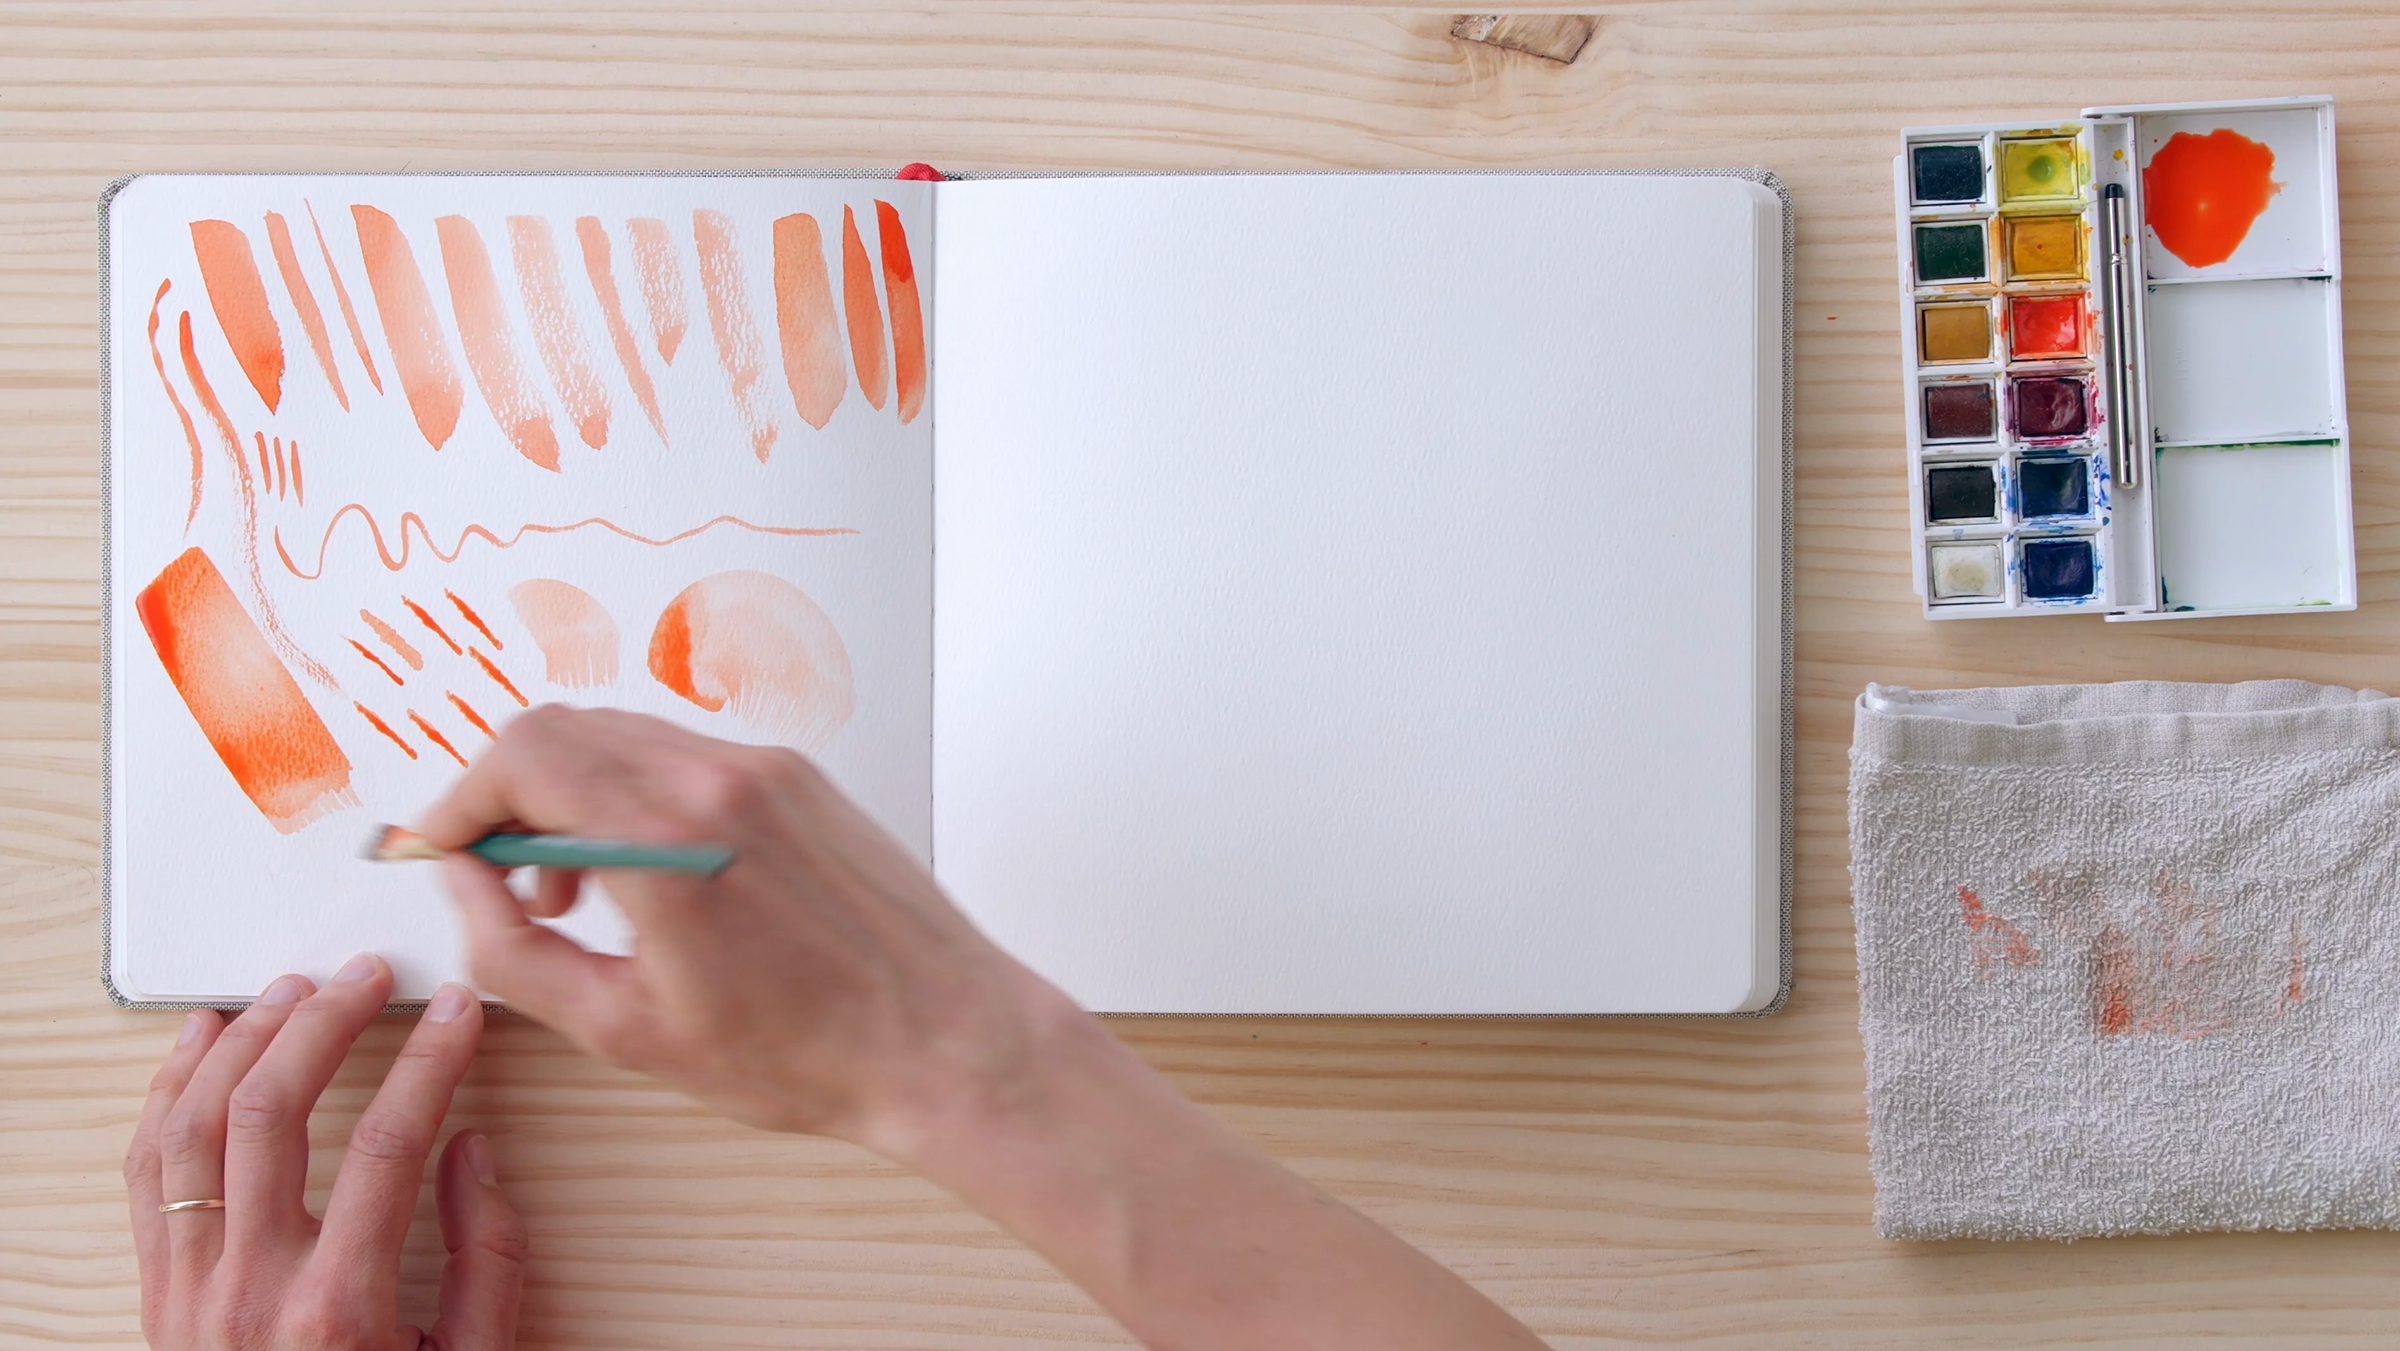
Dancing With Your Brushes
Let's jump into mark-making! Following Laura McKendry, you'll learn how to get started, familiarize yourself with your brushes, and warm up your hands for fluid and confident strokes.
11m
image
7
Observation and Mind Bank
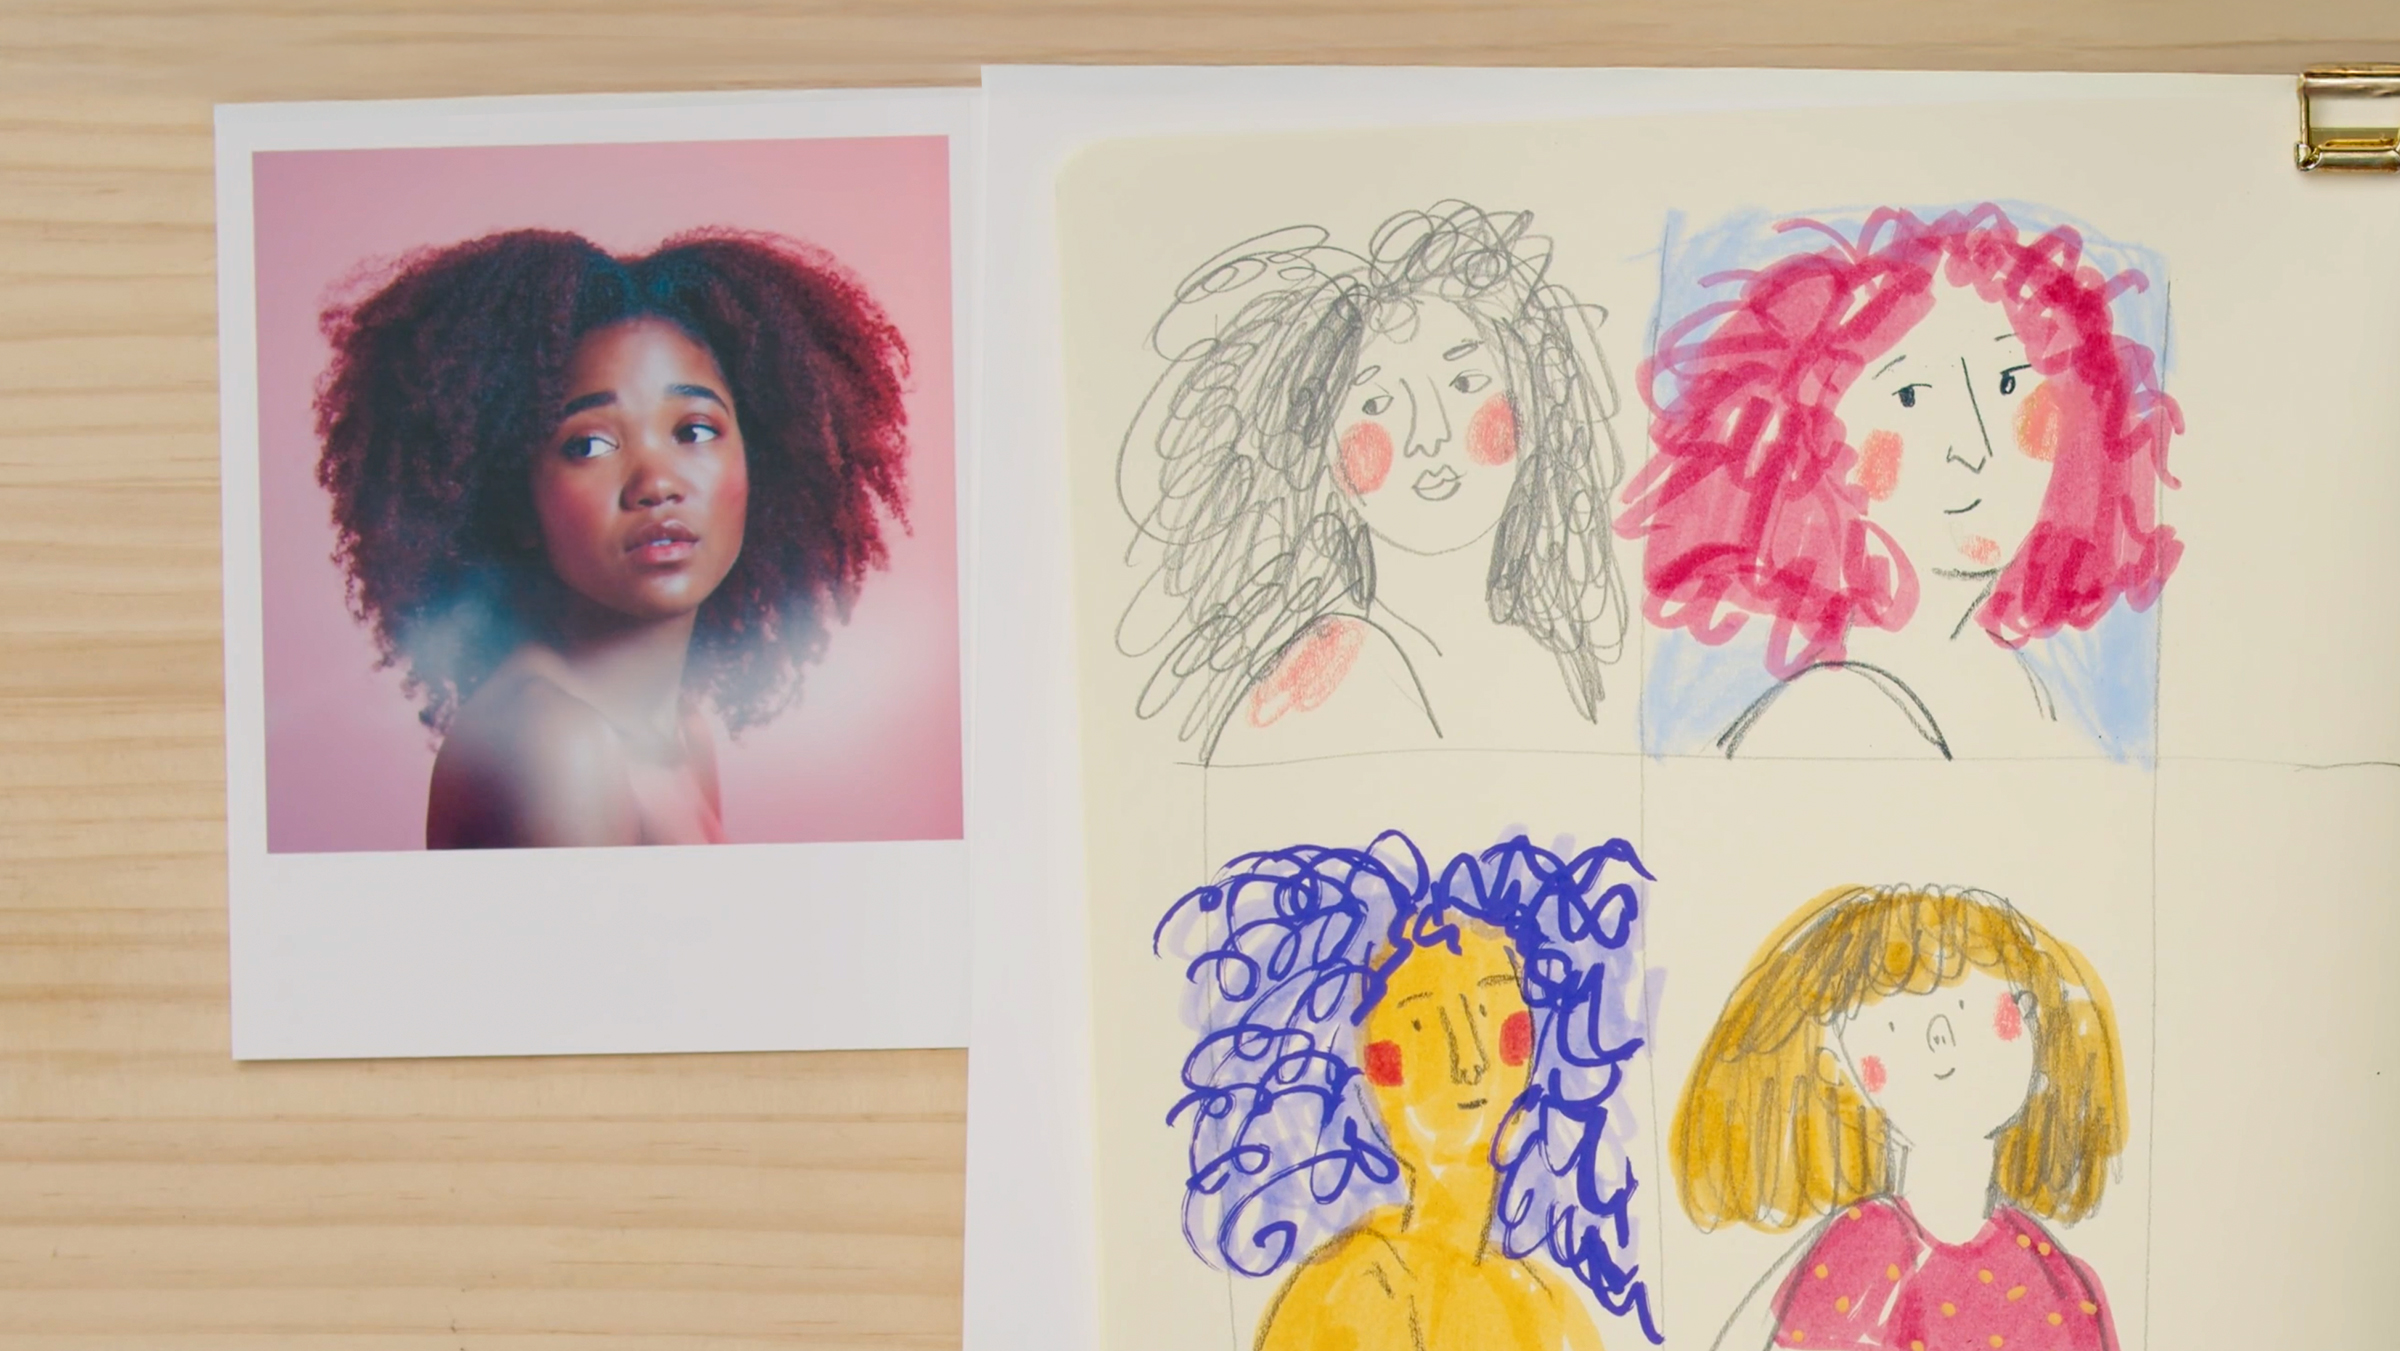
In this session, you will learn to draw from observation with the help of Sarah Van Dongen. You will draw everyday objects from your surroundings or work from a reference photo. Sara uses markers and colored pencils, but you can choose any material you feel comfortable with.
10m
image
8
Drawing and Observation 1
Let's get started with exercises designed to improve both your drawing and observation skills. With guidance from Sarah Van Dongen, you'll learn to better capture what you see, a fundamental ability for any artist looking to refine their technique.
17m
image
9
Drawing and Observation 2
In this exercise, you'll focus on mark-making, which will encourage you to explore your materials without worrying about the outcome. Sarah Van Dongen will guide you in understanding your style through your marks.
18m
image
10
Drawing and Observation 3
Developing your observation skills is crucial, as Sara Van Dongen emphasizes. When you look at something, you often look at it in detail based on experience, which can be done with accurate drawings. In this session, you'll learn to truly observe, allowing you to capture what's in front of you more faithfully.
15m
image
11
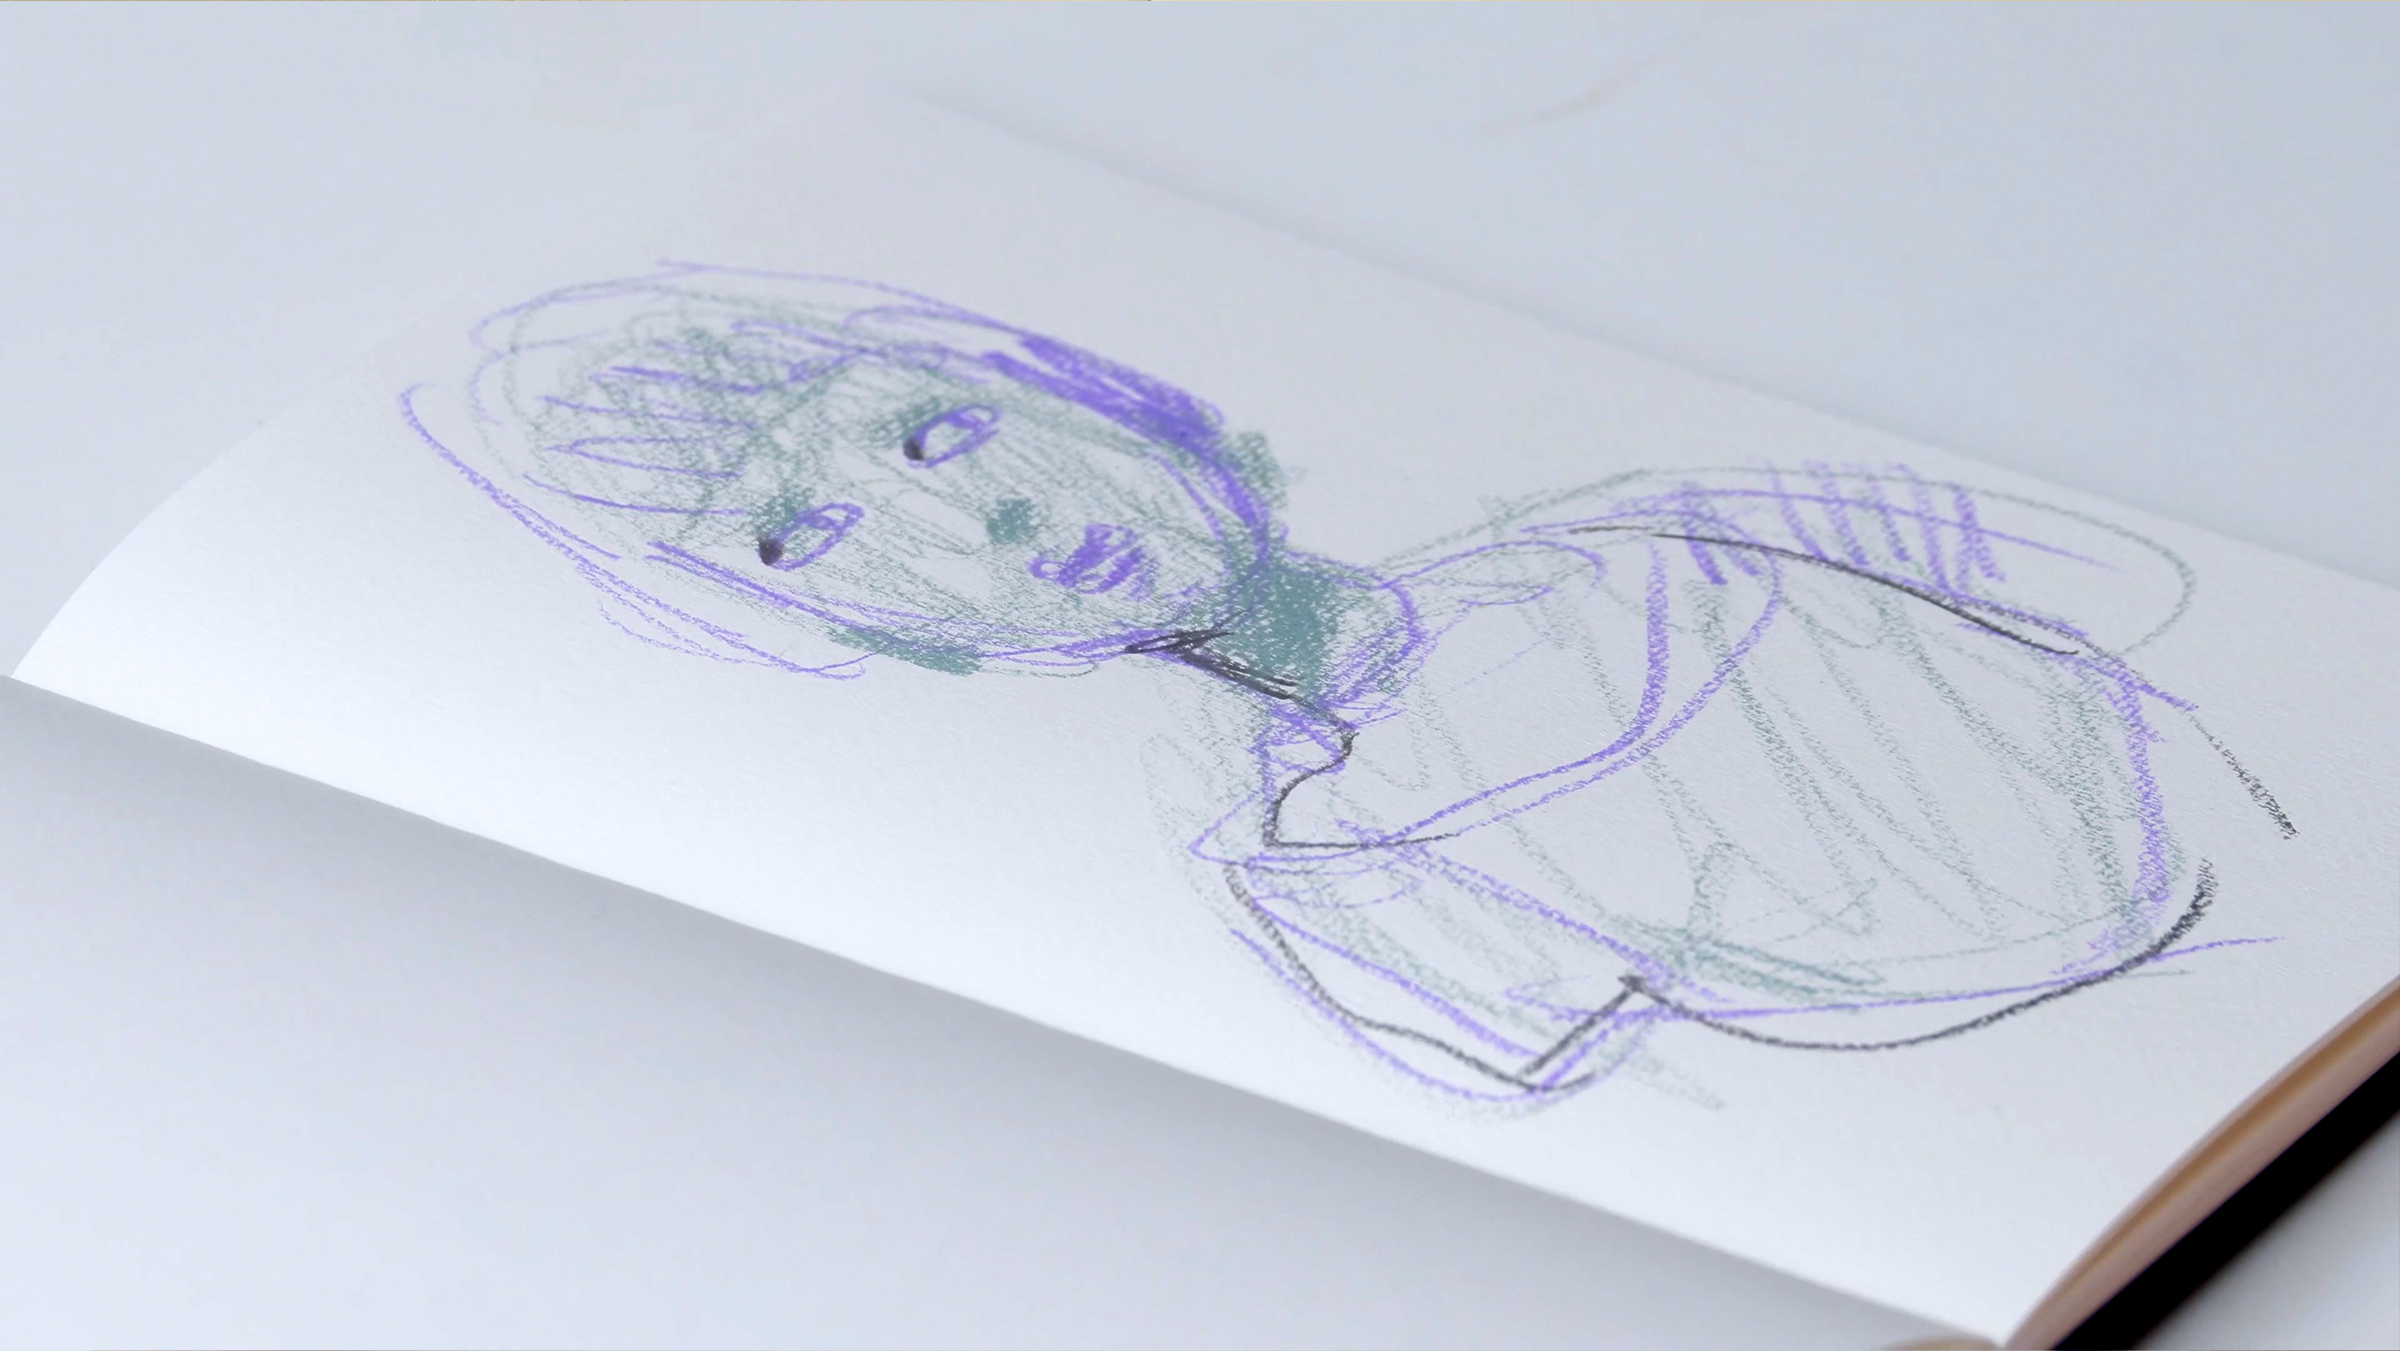
Blind Contour Drawing
In this session, you'll learn a technique from Felix Scheinberger that helps you create expressive face drawings while practicing fluid and dynamic lines. This approach will enhance both your portrait skills and your ability to draw with confidence and motion.
7m
image
12
Outline and Silhouettes
Drawing can be tricky because, as Felix Scheinberger explains, lines don't define the objects themselves but rather their boundaries. In this session, you'll explore how understanding this concept can help you create more effective and expressive drawings.
6m
image
13
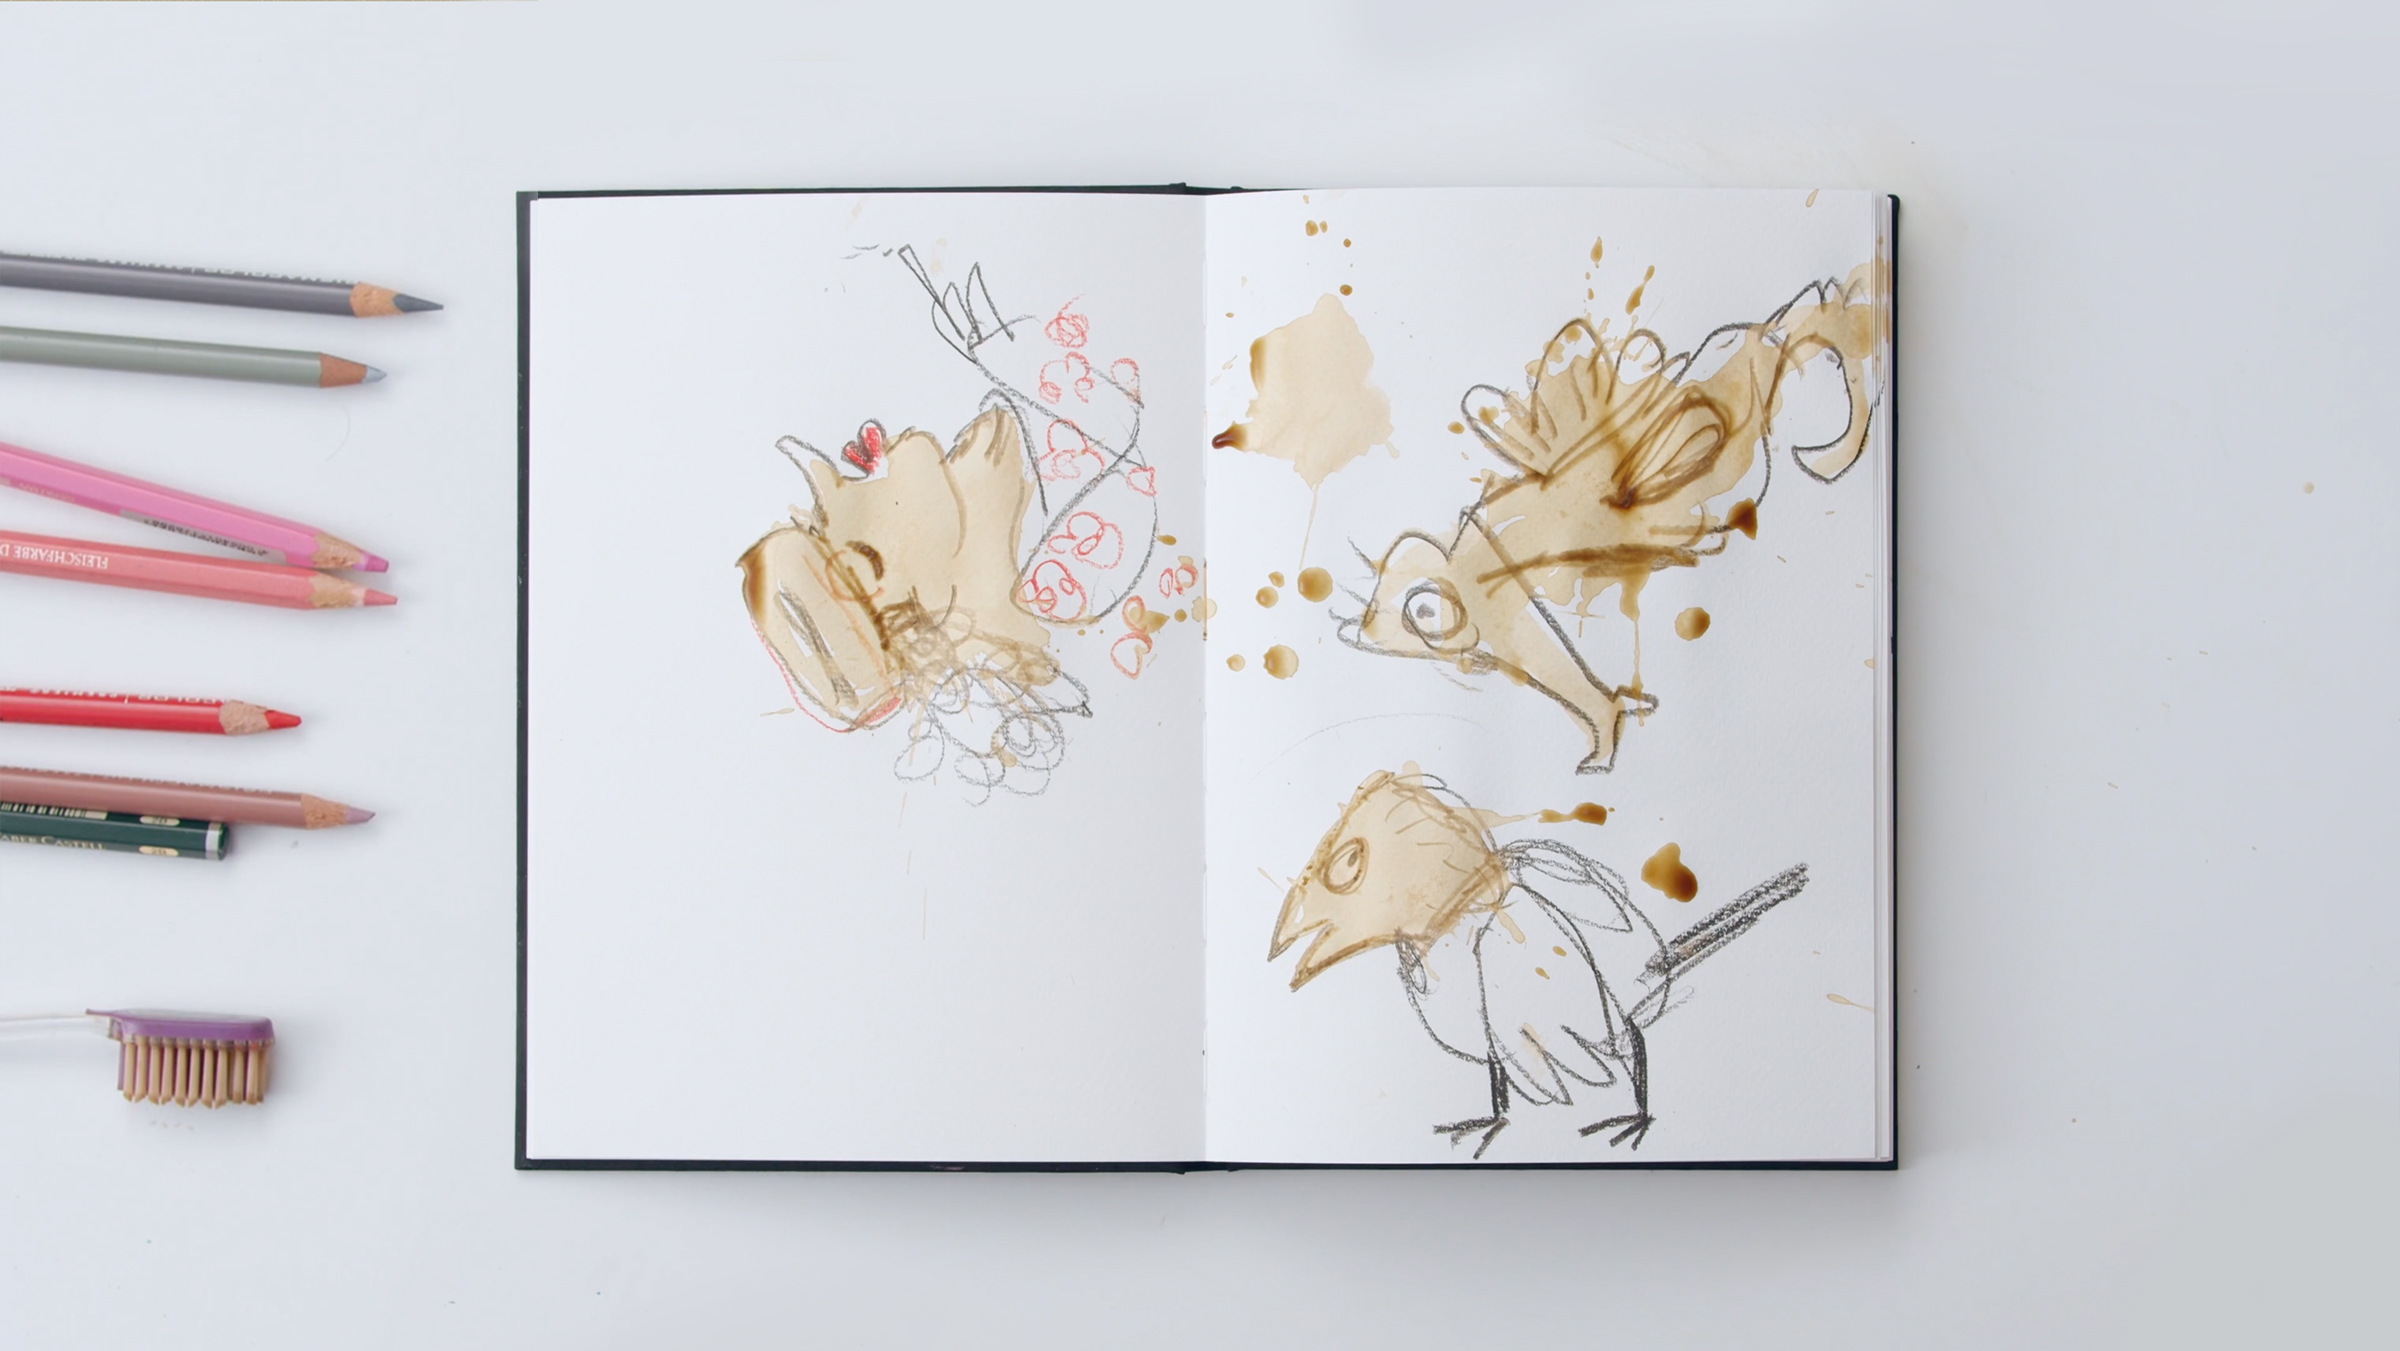
Pareidolia Exercise
Have you ever spotted a figure in a stain on the wall, a coffee cup ring, or a blurred photo? Maybe a face, a dog, or a horse in the clouds? This is called pareidolia—our brain's instinct to find familiar patterns in random shapes. In this session with Felix Scheinberger, you'll explore why we do this and how it can inspire creativity in your drawings. But why are we doing this?
7m
image
1
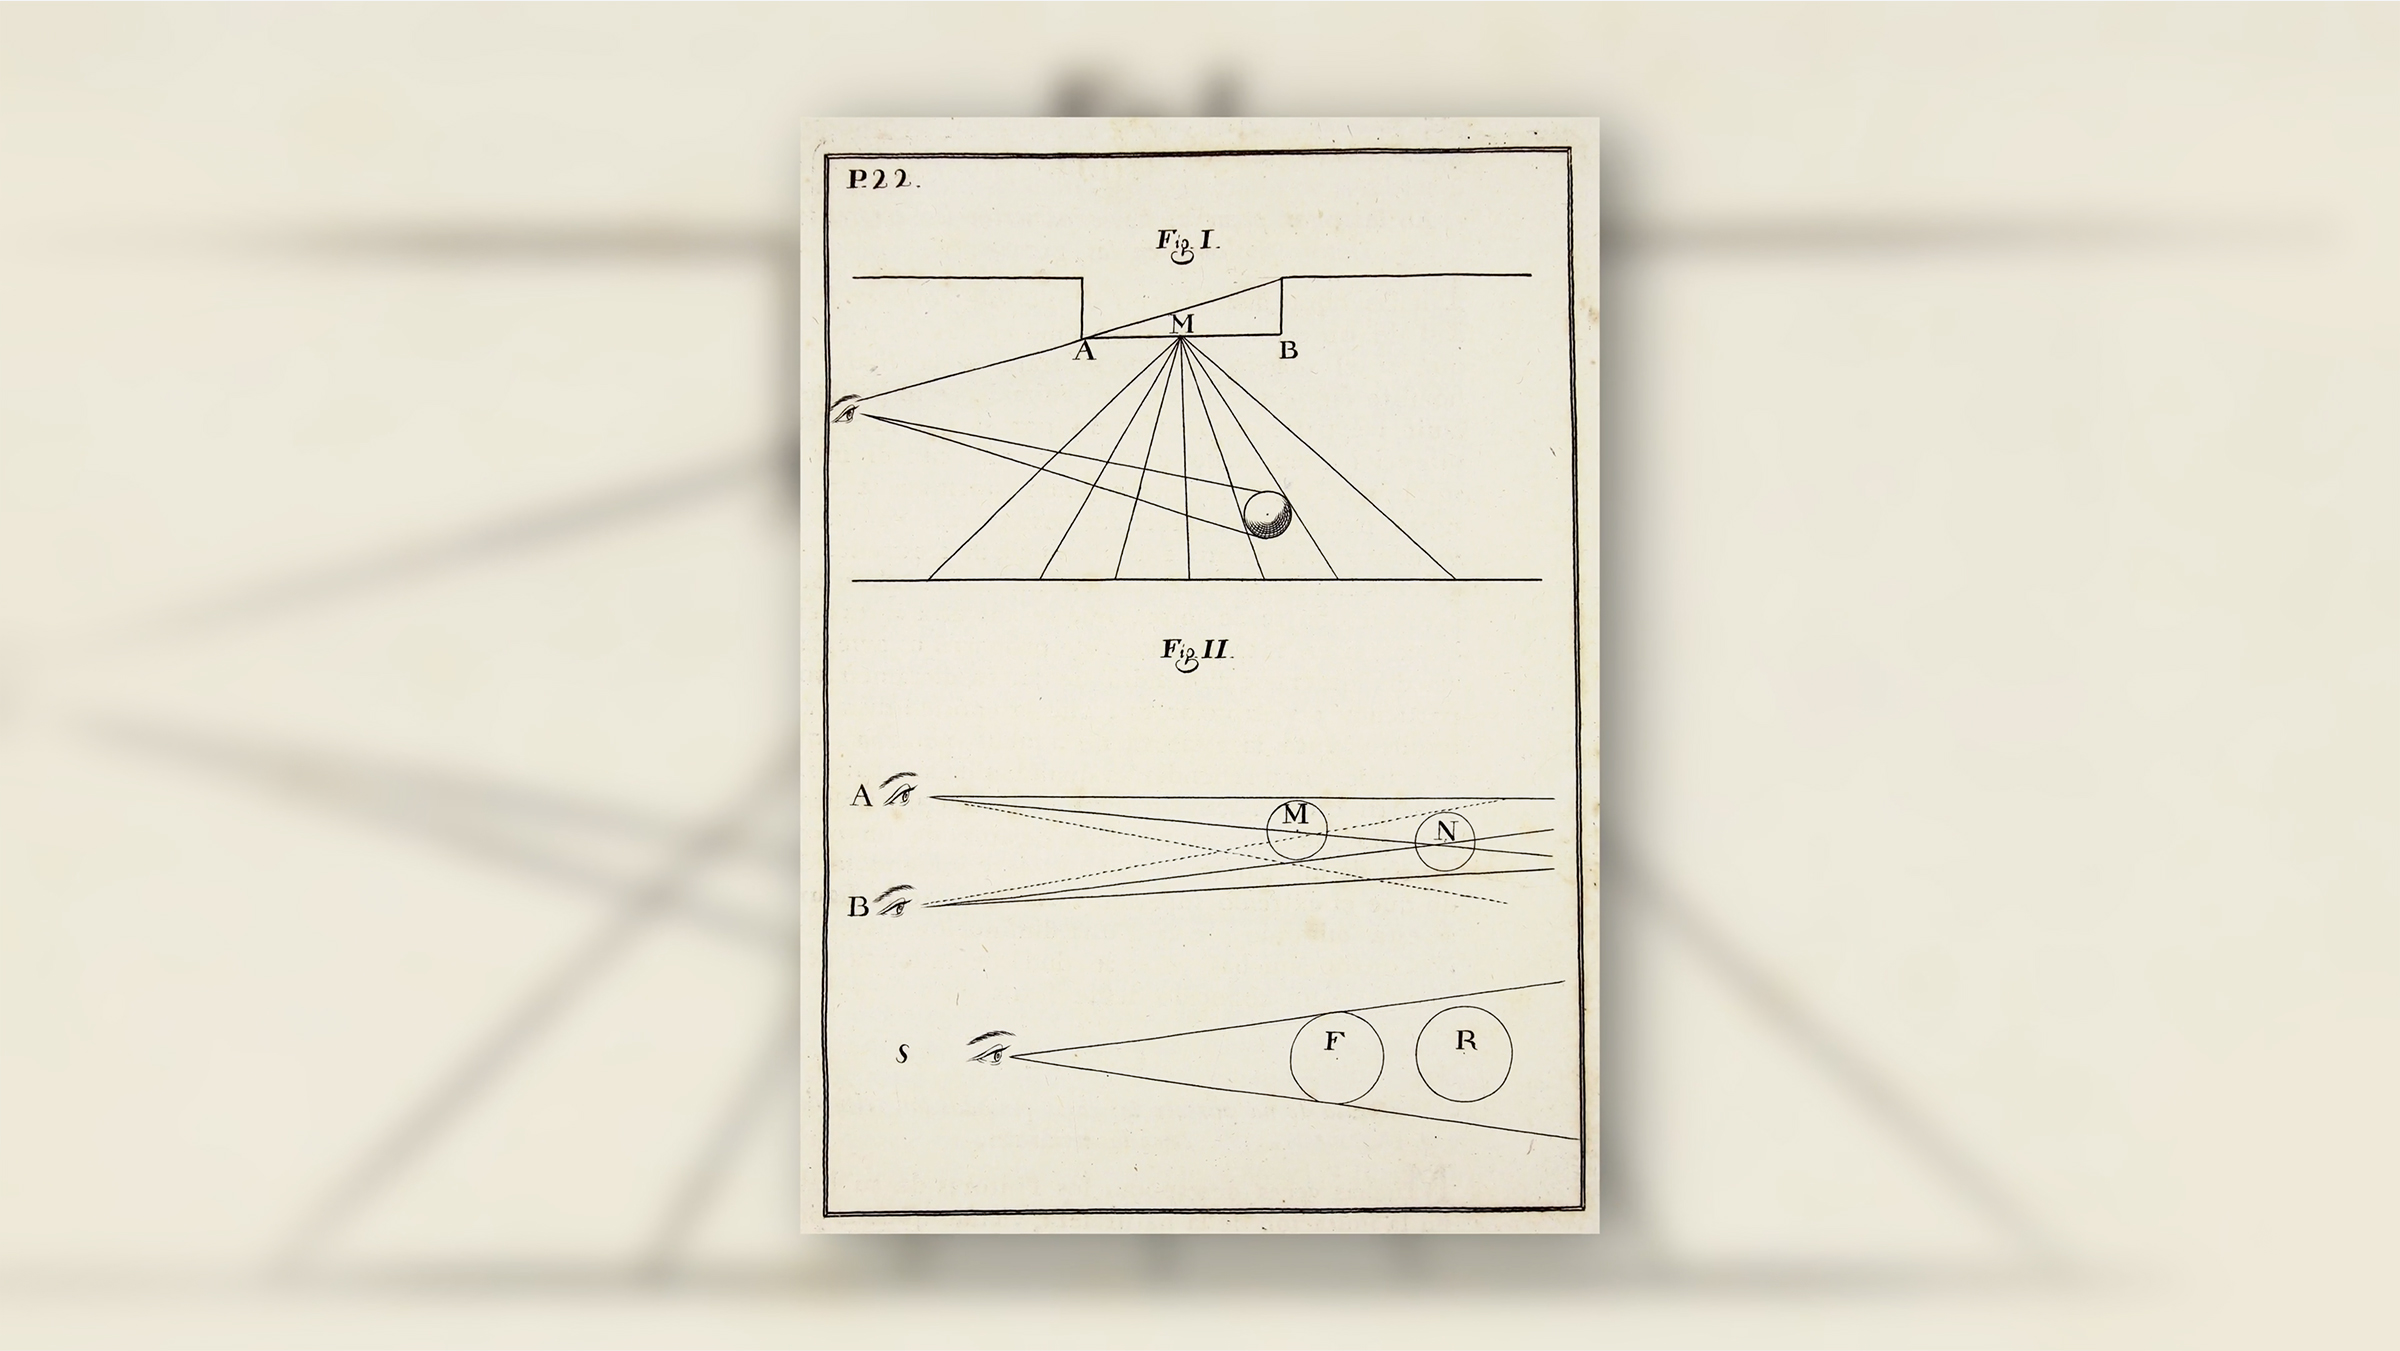
Introduction
During the Renaissance, perspective revolutionized art by introducing depth and realism, especially with the discovery of the vanishing point by Filippo Brunelleschi in Florence. Although mastering perspective improves technical skills, especially for rotating objects, it is not essential for all artistic styles. Artists often manipulate or ignore the strict rules of perspective to prioritize creative expression. With this module, we hope you will find it easy to understand how to use it in your drawings.
1m
image
2
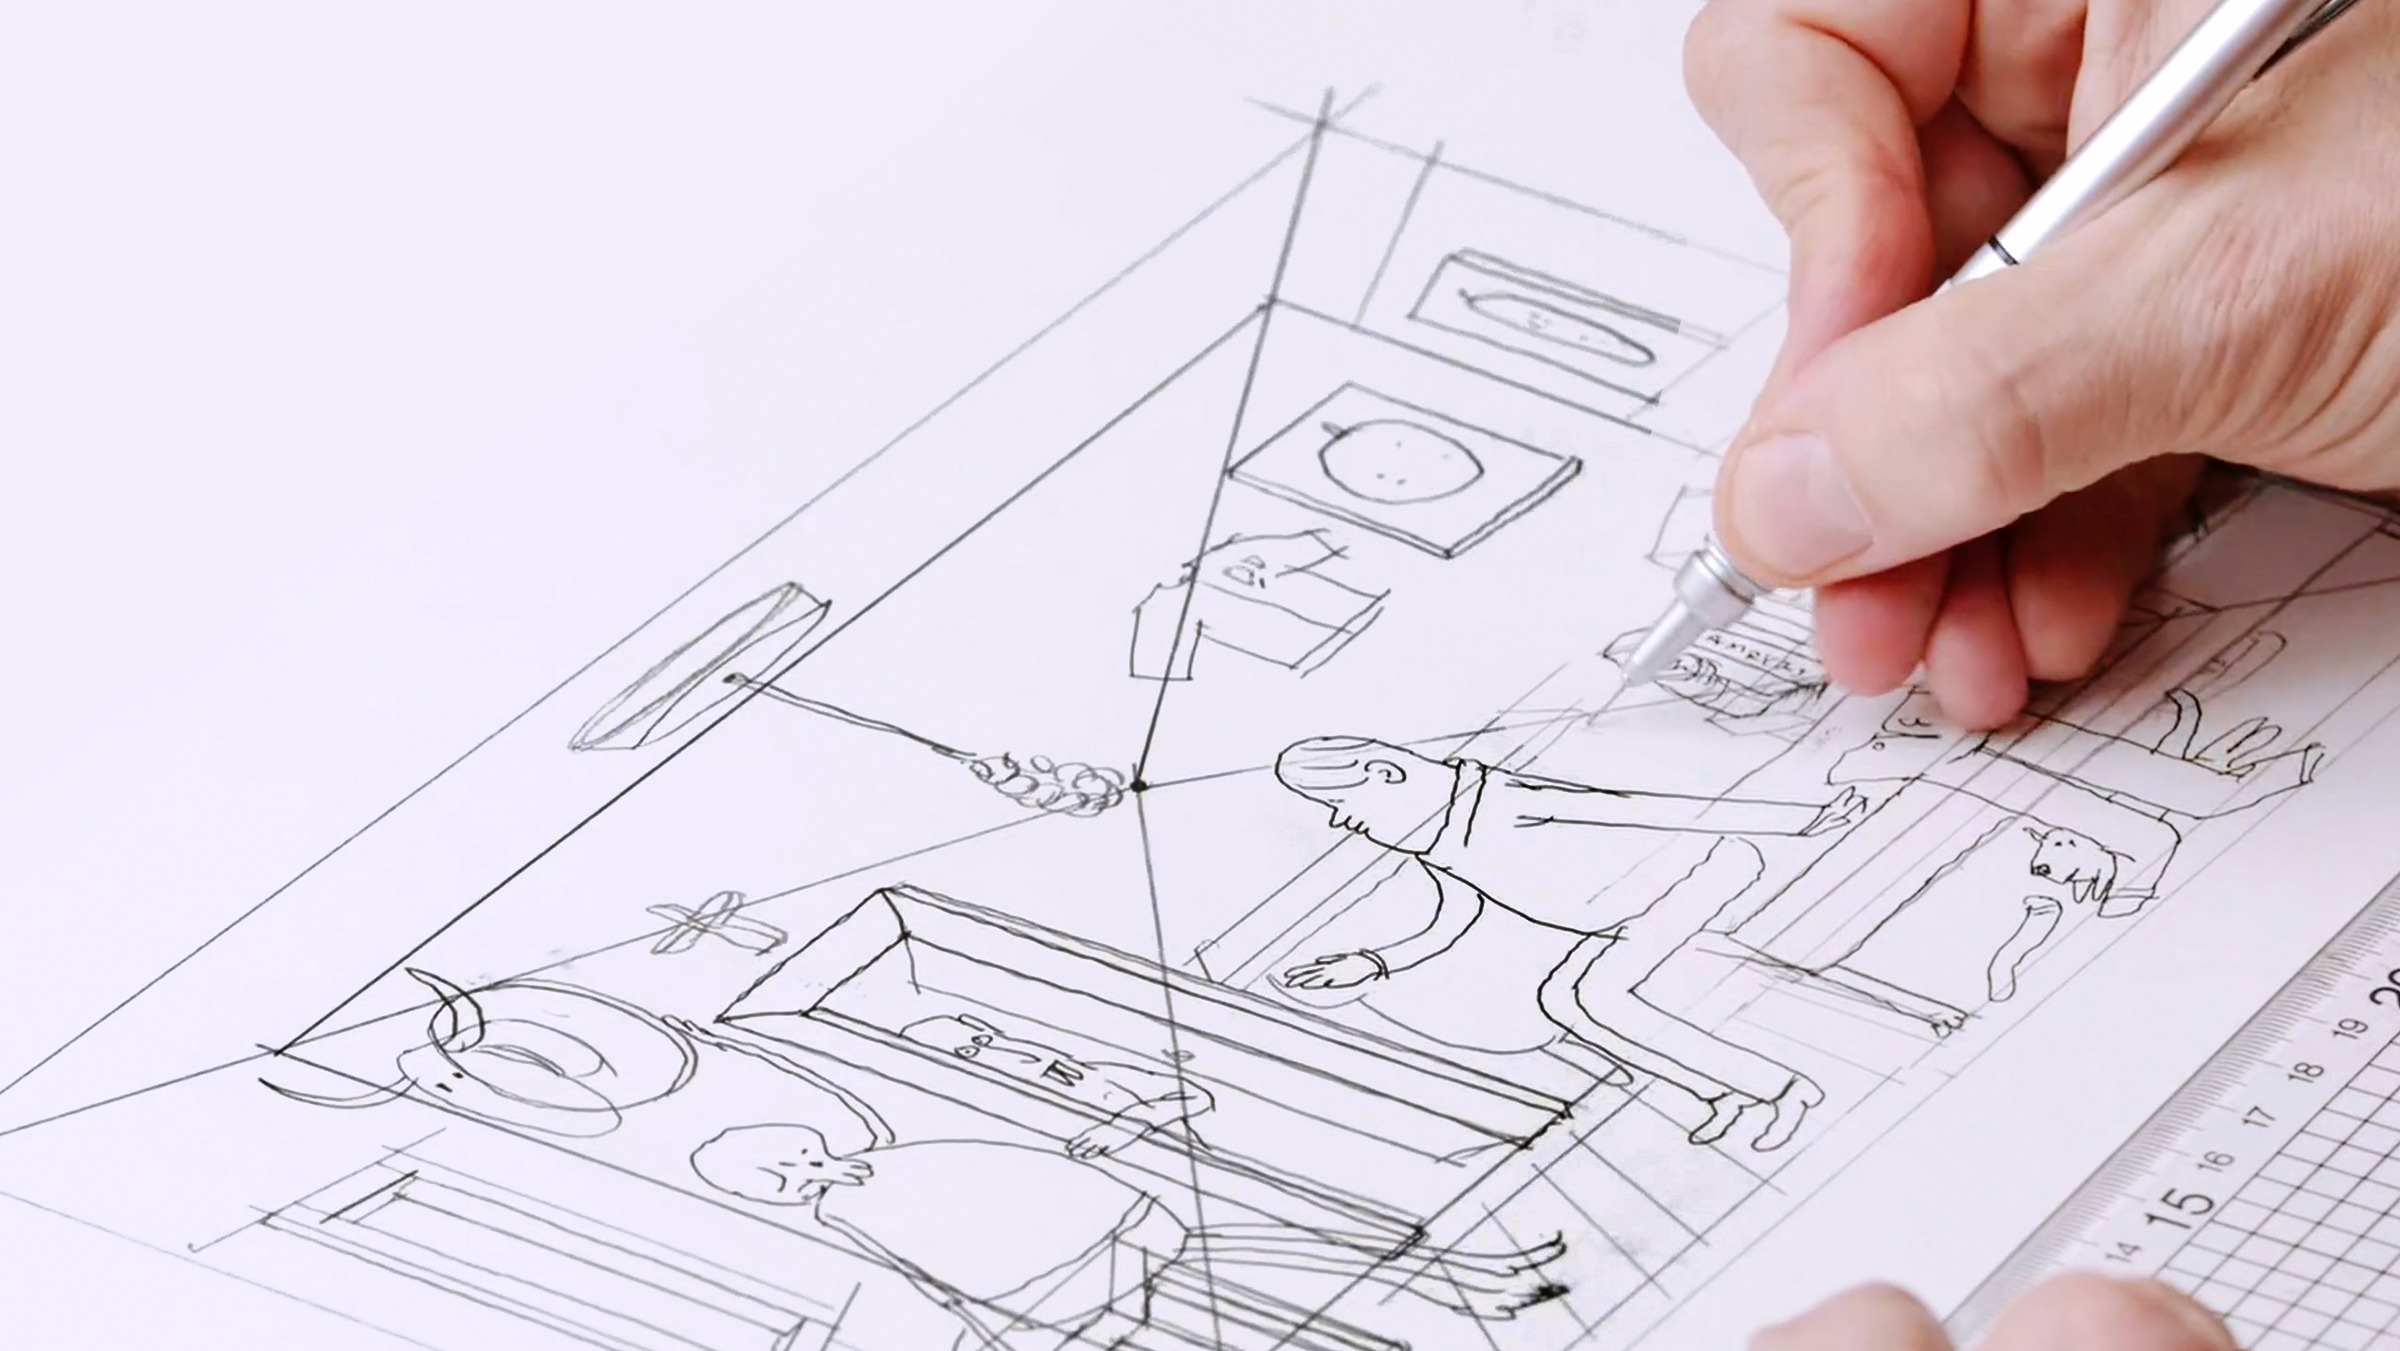
Basic Perspective
In this lesson, you will learn the basics of the single-point perspective with Mattias Adolfsson. It works great when making interiors with just one room.
20m
image
3
Isometric Perspective 1
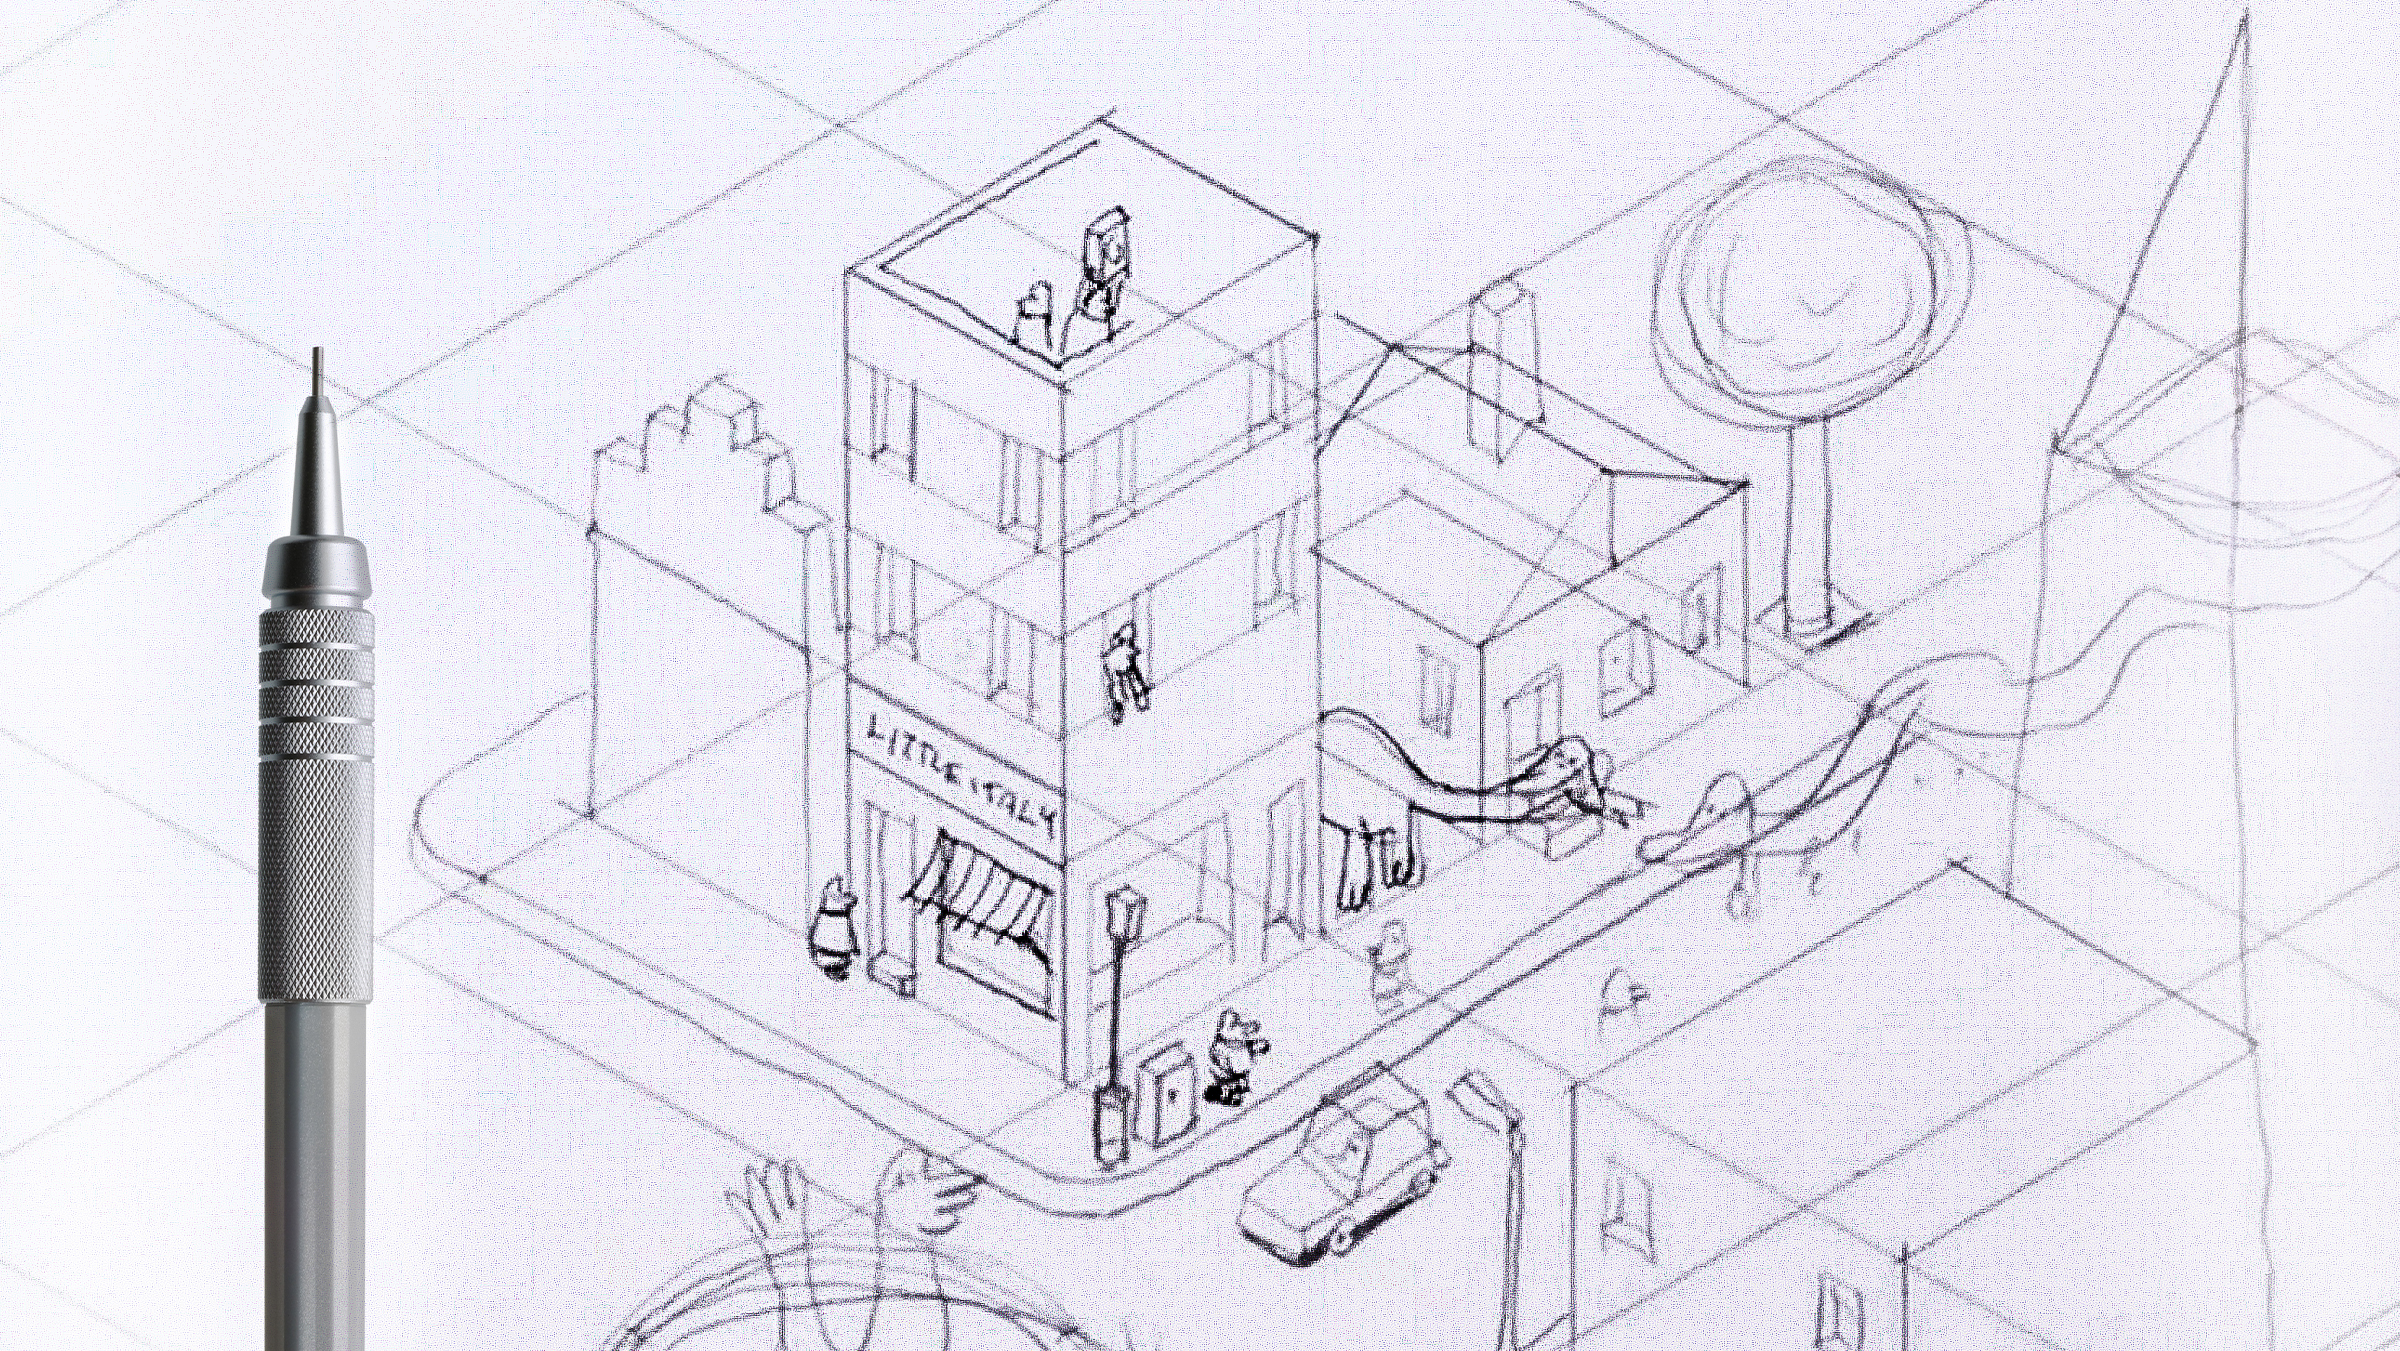
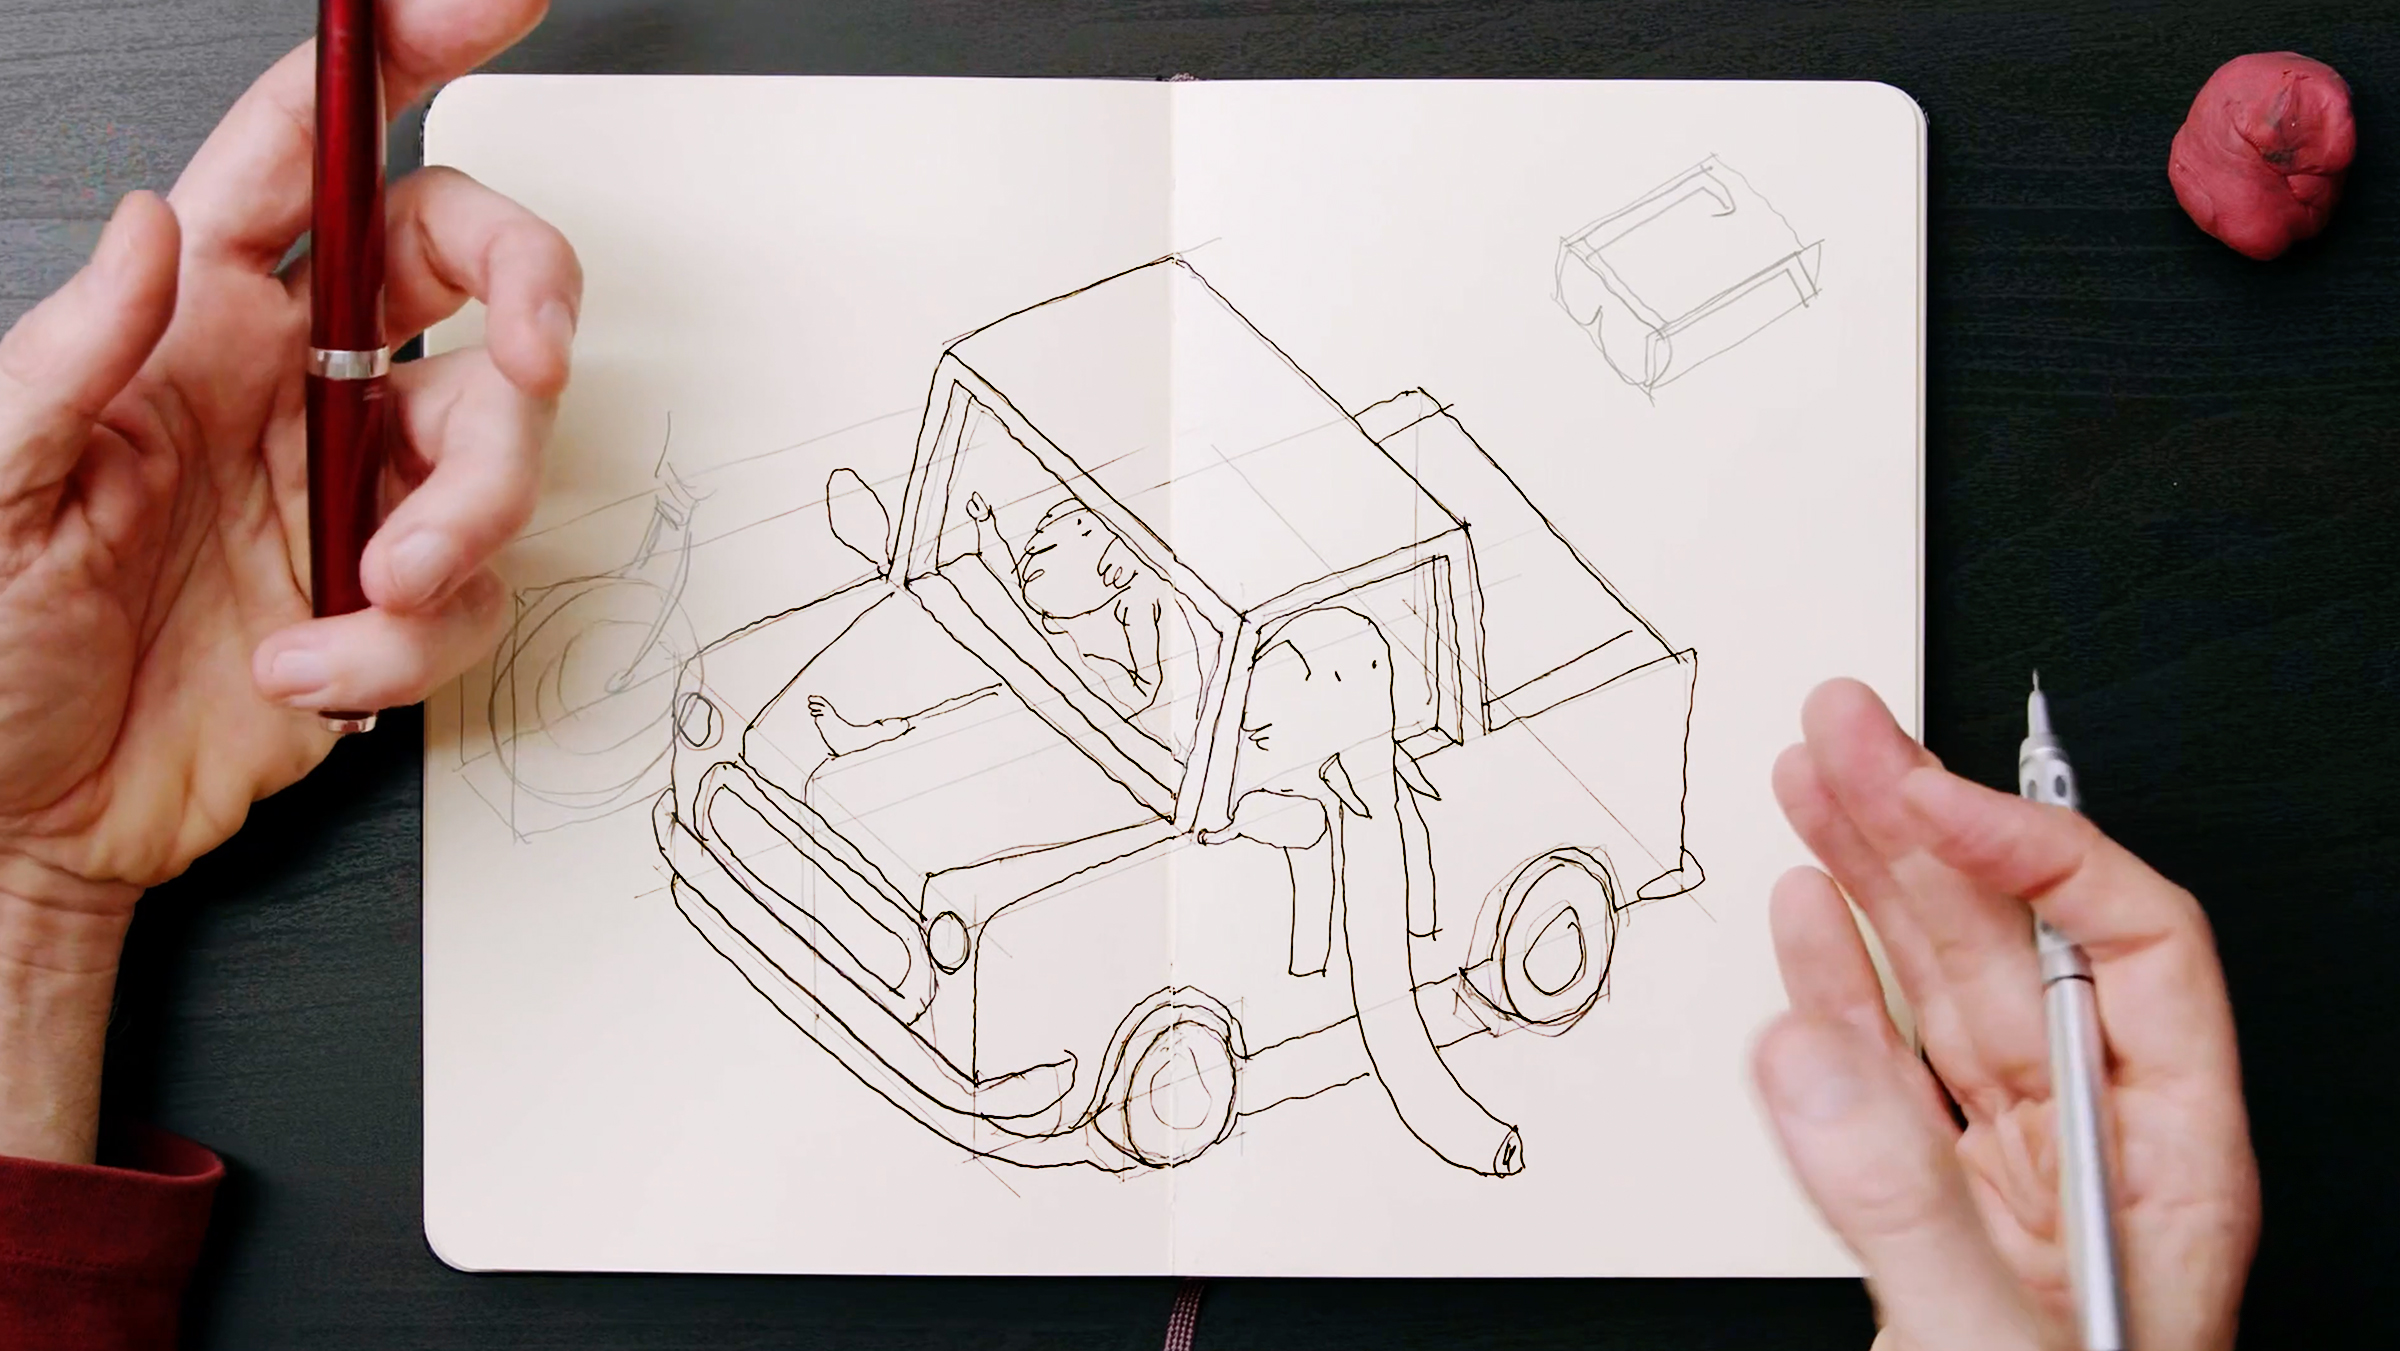
In this lesson with Mattias Adolfsson, you will learn how to create an isometric perspective. This perspective is great for large, busy drawings of cities or exteriors where you want a lot to happen.
9m
image
4
Isometric Perspective 2
In this lesson, you will continue exploring the isometric perspective with Mattias Adolfsson. One key advantage of this technique is its flexibility, as it does not rely on a vanishing point. This allows you to easily extend your drawings while maintaining consistent proportions and angles, making it ideal for complex designs and structures.
12m
image
5
Using Isometric to Draw a Technical Object
In this lesson , Mattias Adolfsson will teach you how to draw objects with the help of a more basic technique than in the previous lesson; it works when drawing single or many objects.
9m
image
6
Perspective
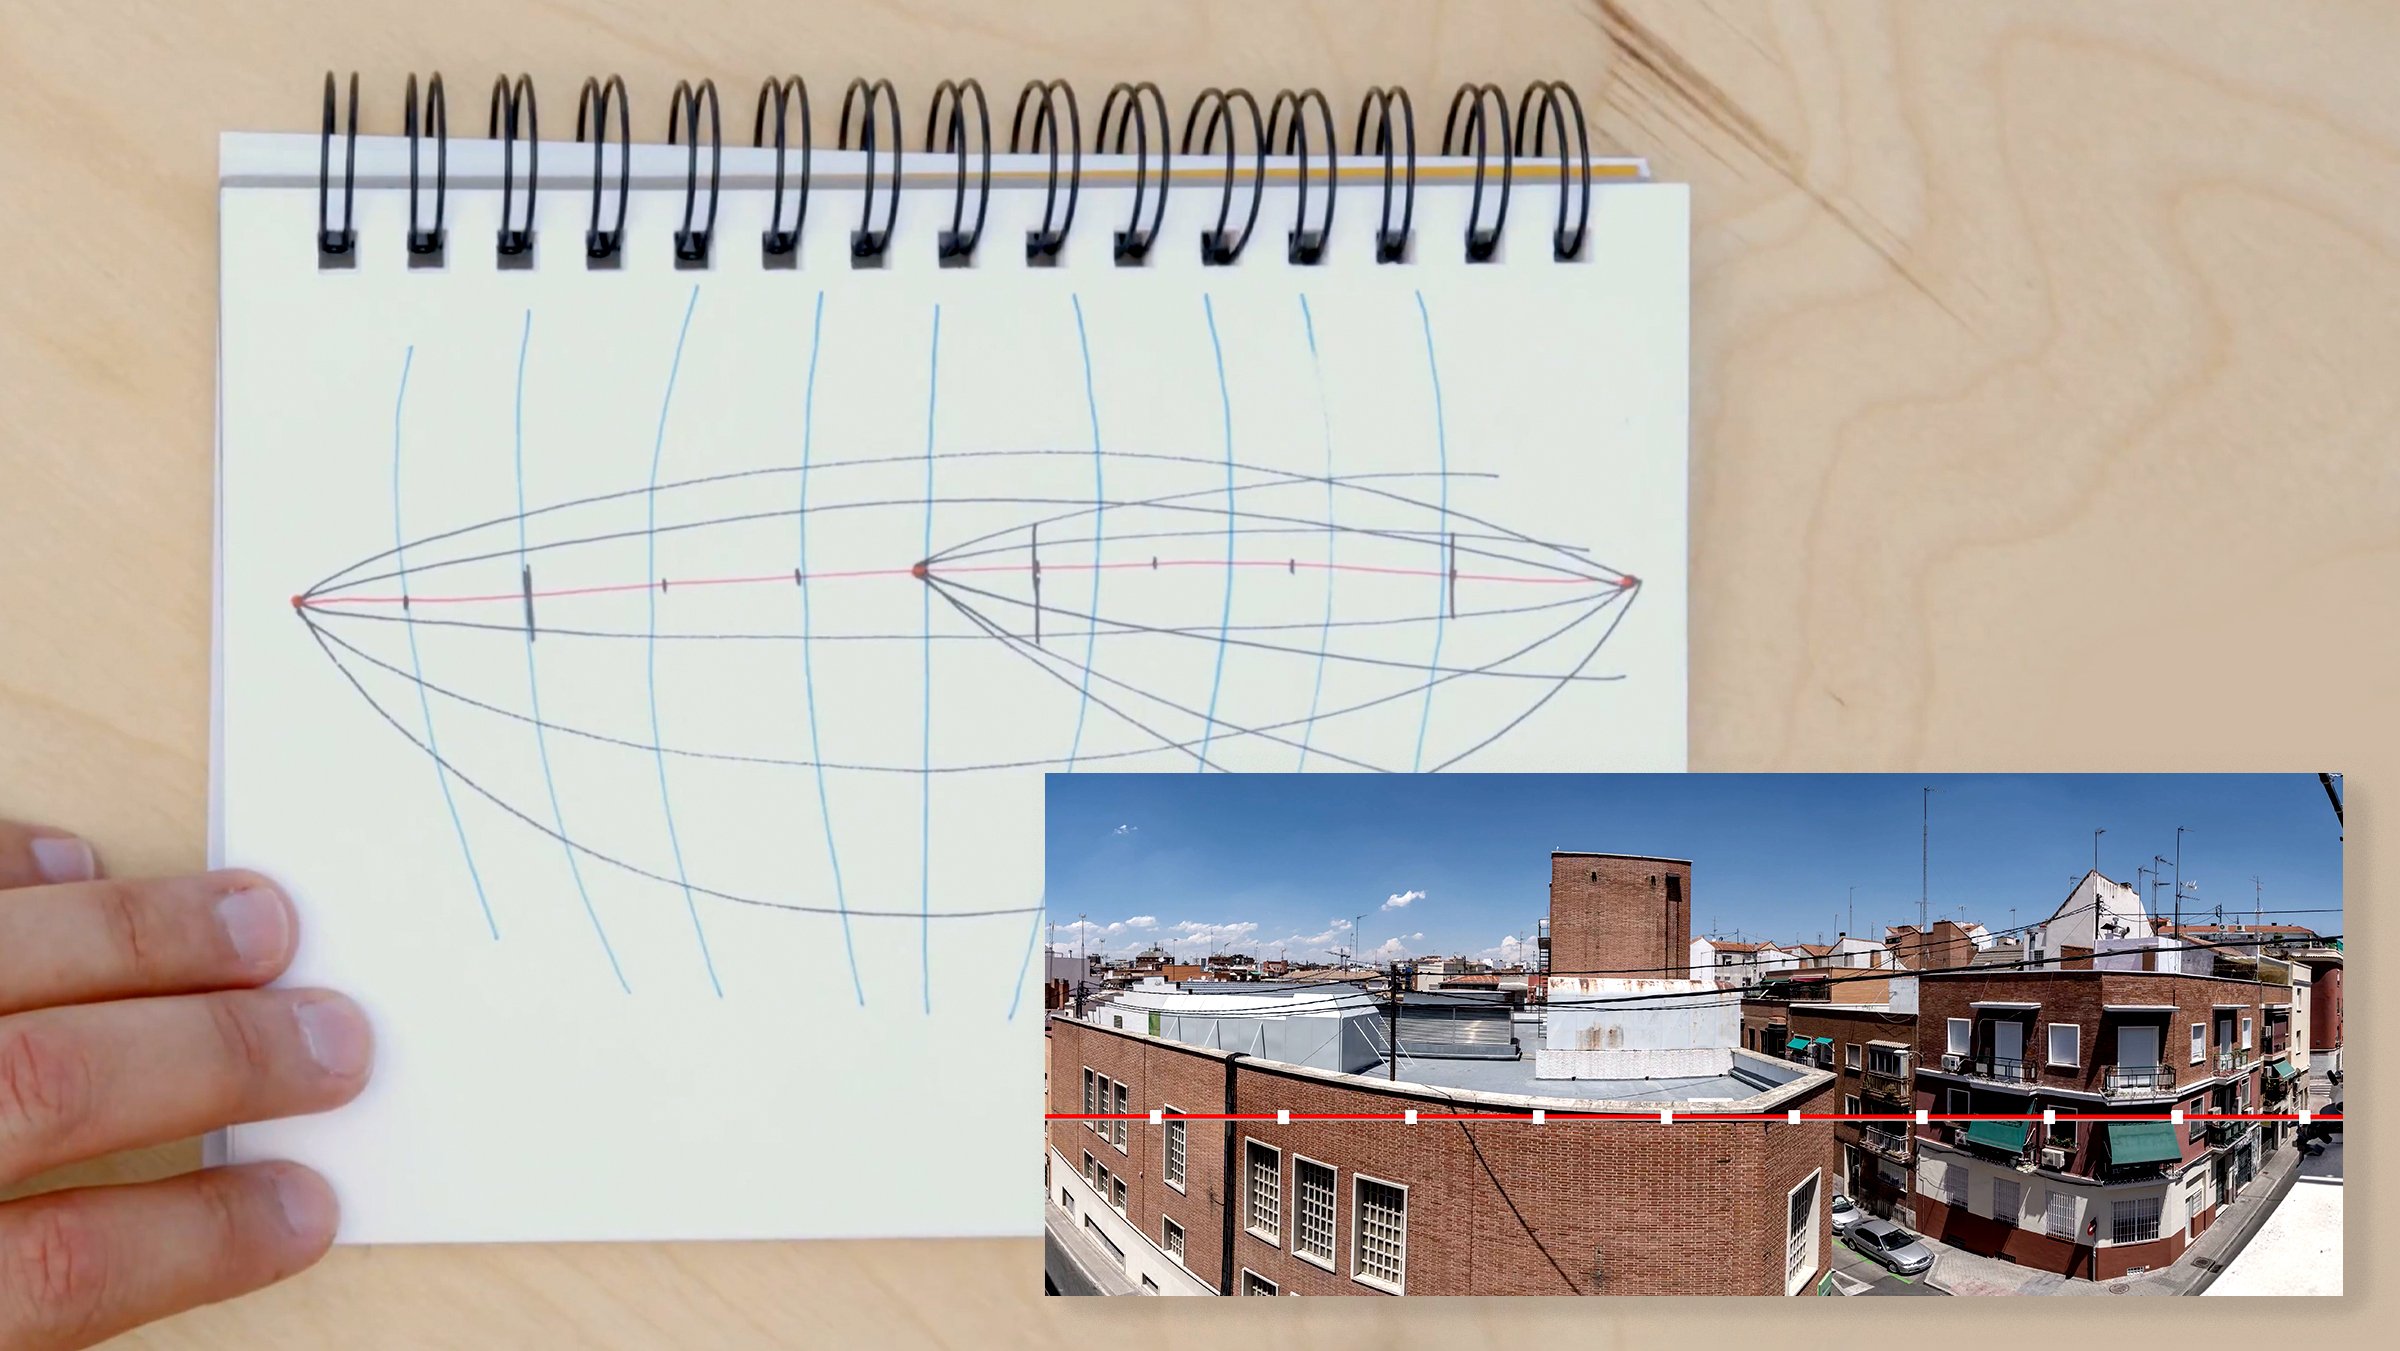
In this lesson, Lapin will explain different concepts of perspective representation, from classic perspective to curvilinear perspective, a revolutionary way to capture all the space around you, as if seen through a fisheye lens.
4m
image
7
The Basics of Perspective
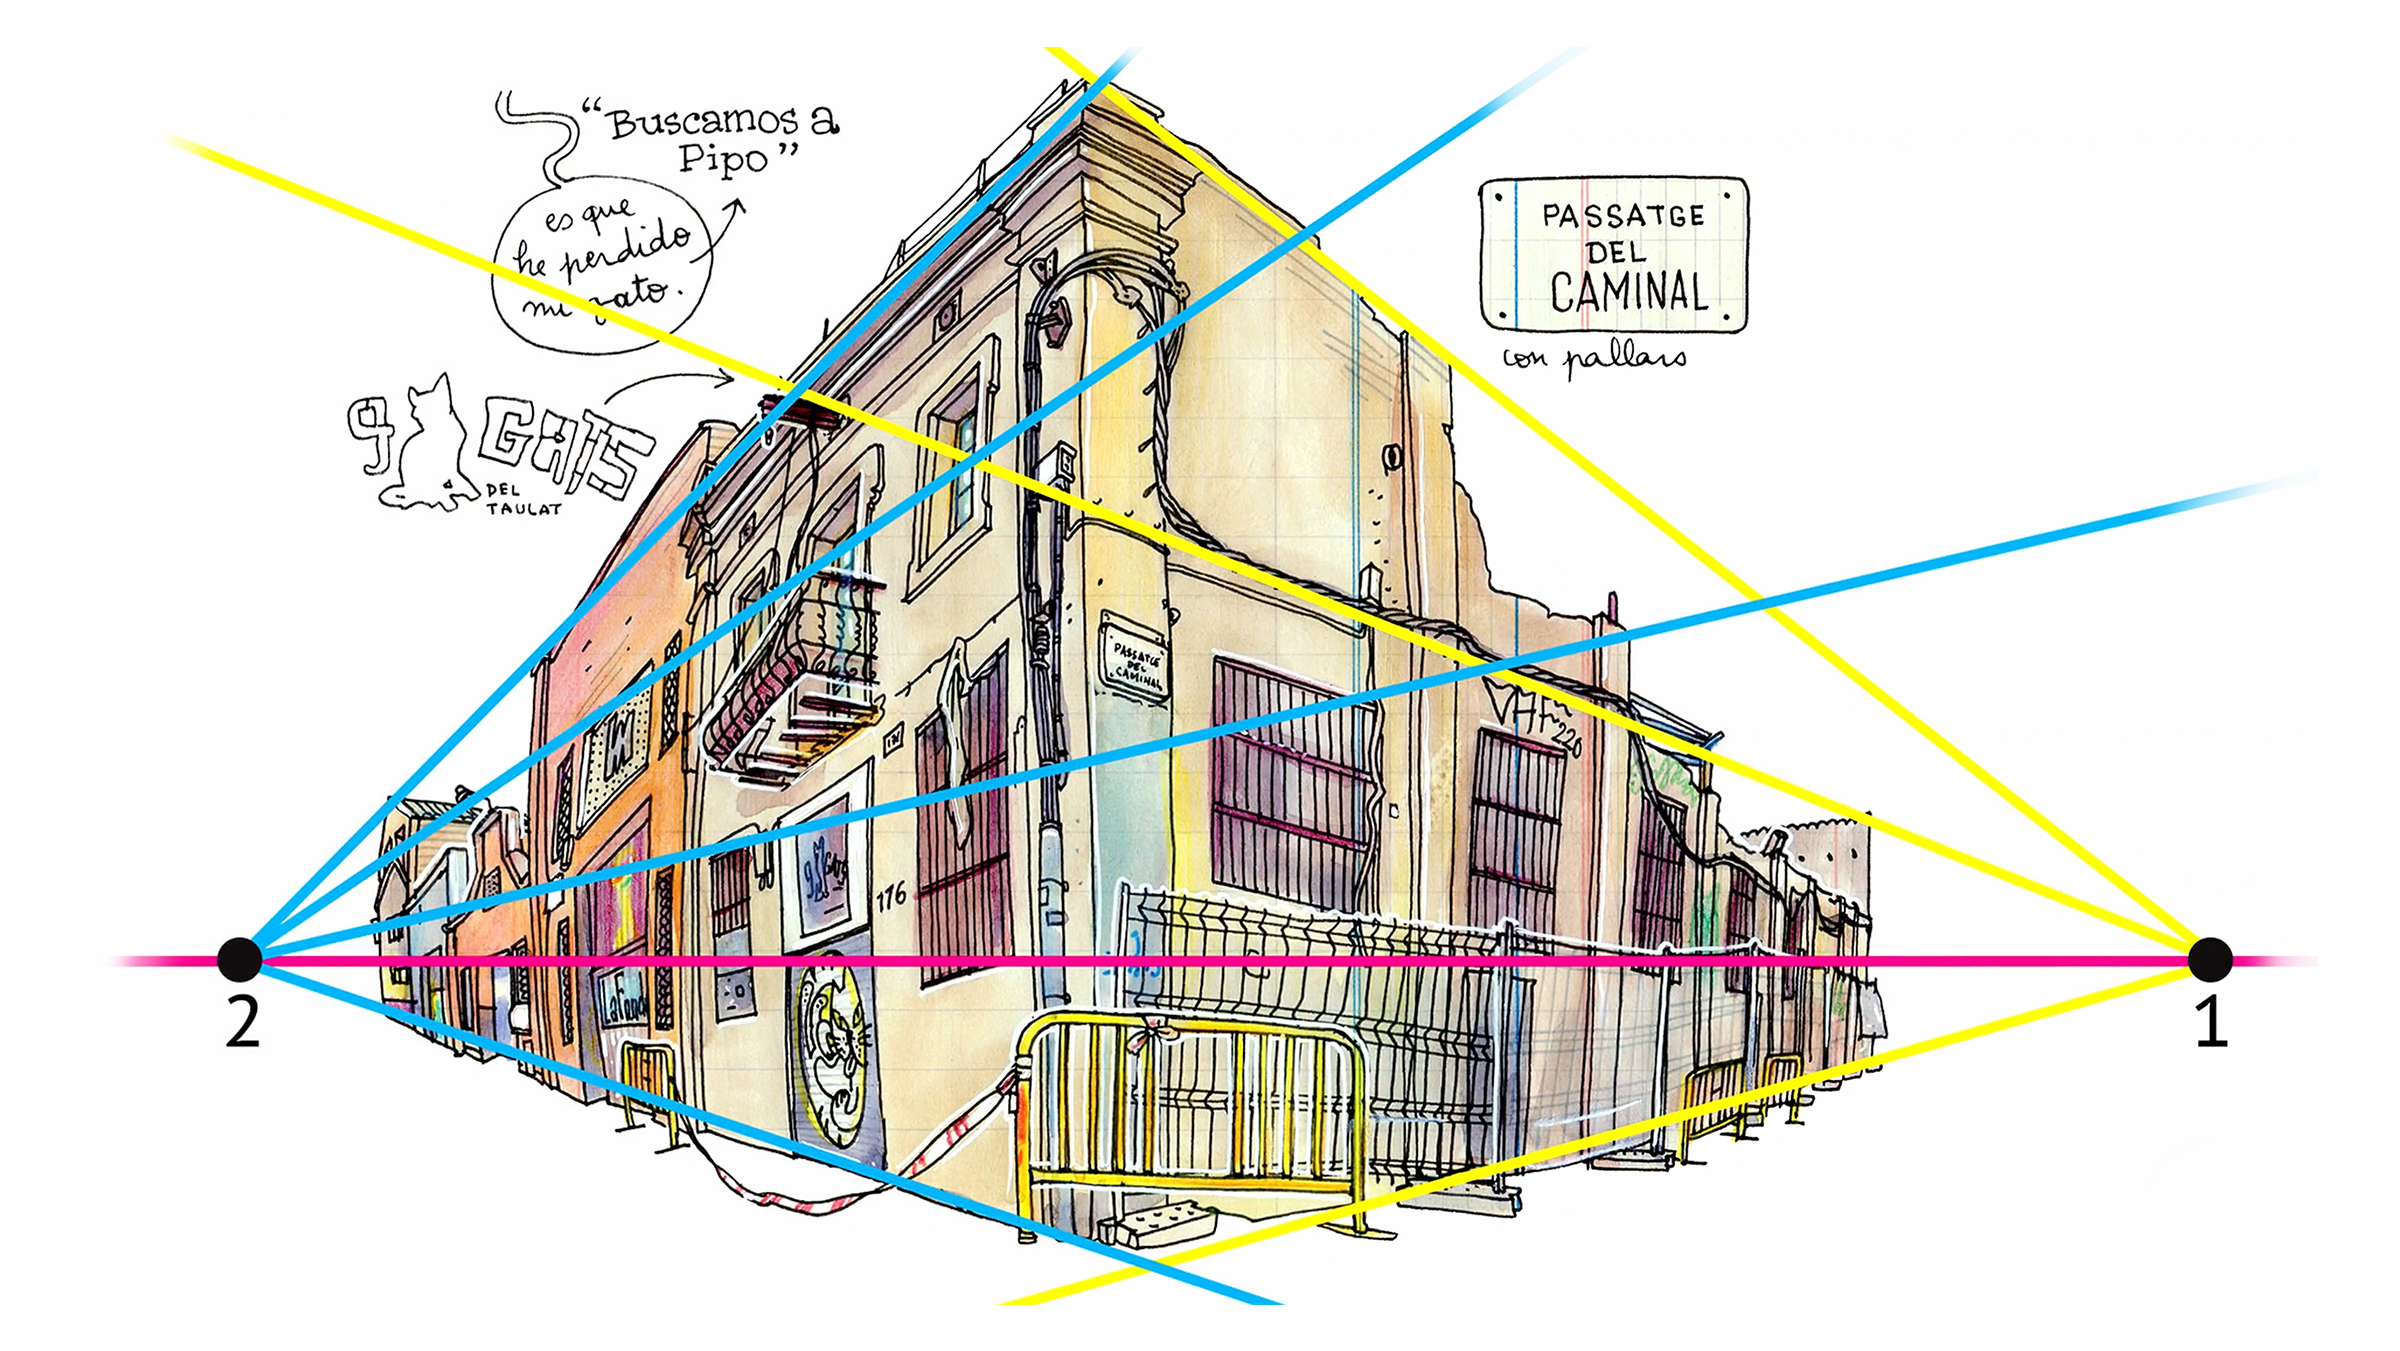
In this lesson, Alex Hillkurtz will give you a clear introduction to linear and atmospheric perspective. Using one- and two-point perspectives, he will provide simple examples that will form the foundation of your sketching.
18m
image
8
Fundamentals of Sketching
In this lesson, Sorie Kim will teach you the basics of form and two-point perspective. You'll learn how to use vanishing points and horizon lines to create depth in your sketches. She'll also show you how to break down complex shapes into simple forms like cubes and spheres, giving you more freedom and control in your drawings.
16m
image
9
What is Form: Drawing Volume
In this lesson, Tom Fox will teach you how to think in three dimensions by focusing on form and volume. You'll learn to give your drawings depth by using simple techniques like adding overlap and ensuring your shapes have three sides. These methods will help you create drawings that feel more realistic and three-dimensional.
10m
image
10
How to Draw a Simple Box Mannequin
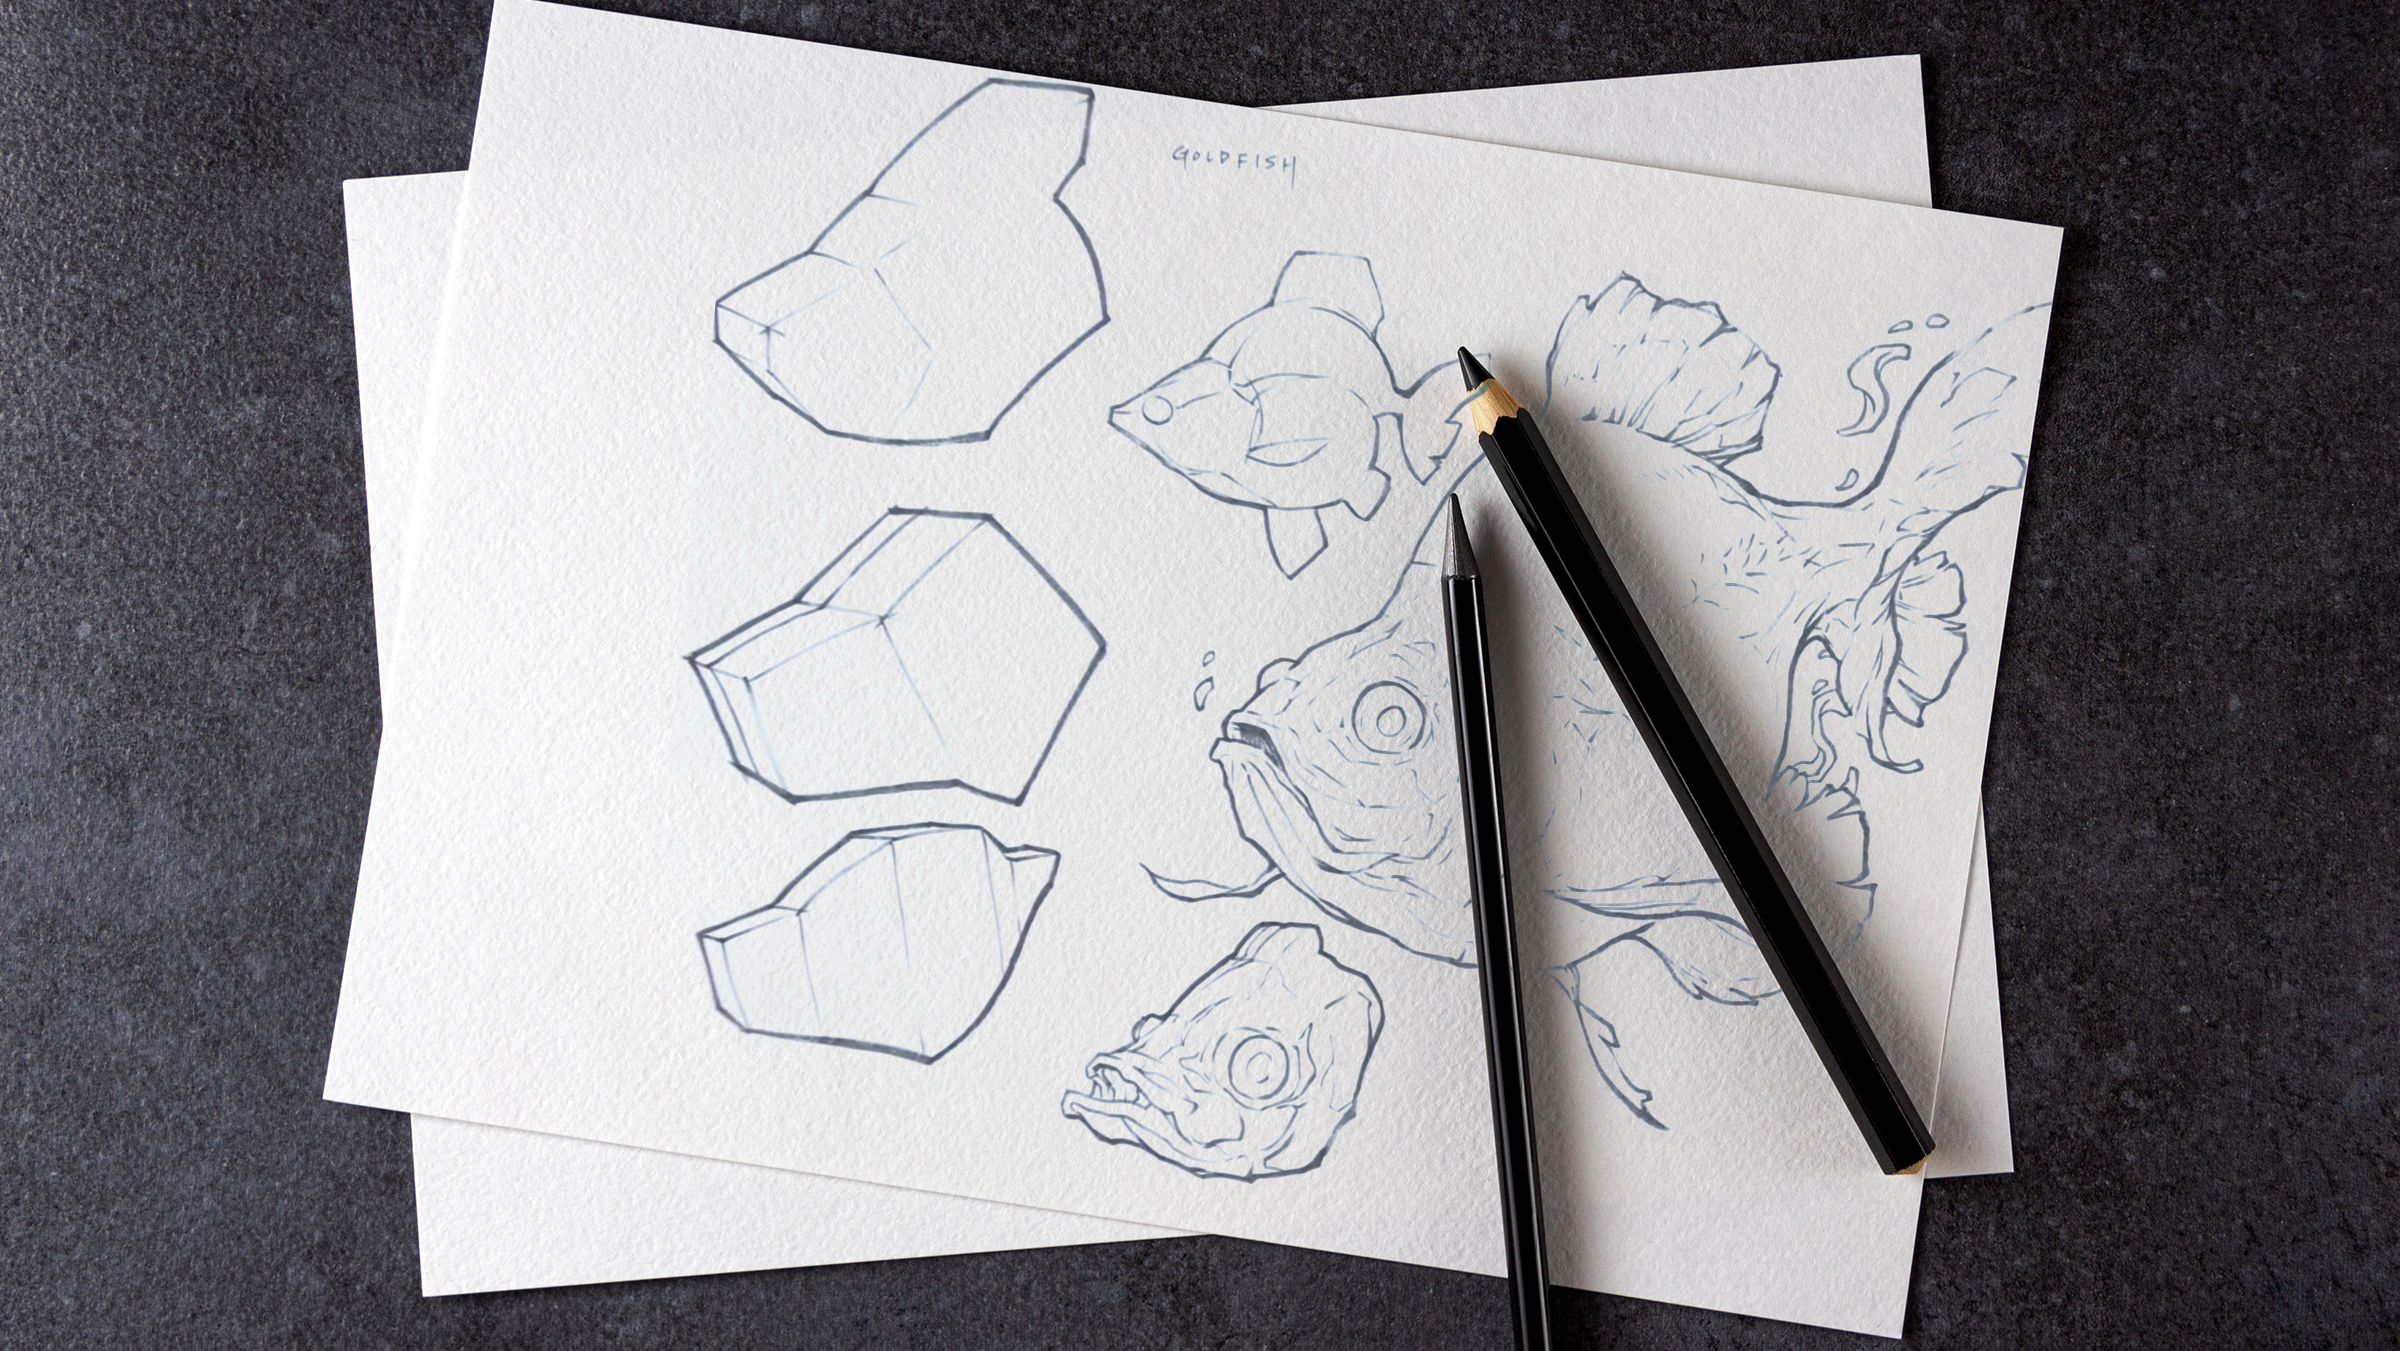
In this lesson, Tom Fox will show you how to draw a simple box mannequin, building on your understanding of three-dimensional space. You'll learn to simplify the human figure into primary forms like cubes and cylinders. By focusing on overlap, taper, and proportion, you'll create more dynamic and believable sketches with less effort.
12m
image
11
Silhouette and Contour Lines
In this lesson, Tom Fox will teach you how to use silhouette and contour lines to enhance the sense of form in your drawings. You'll learn how starting with a strong silhouette helps define a subject and how adding contour and cross-contour lines creates depth and volume. Focusing on these techniques will make your sketches feel more three-dimensional.
12m
image
12
Basic Folds
In this lesson, Tom Fox will teach you about the types of folds and what causes them. You'll explore critical principles like gravity, points of support, and tension, which shape how fabric folds and bunches. Understanding how folds radiate from these points will improve your ability to draw realistic clothing and fabric.
11m
image
1
Introduction
This module explores a fundamental aspect of sketching: perspective. With the help of our renowned artists Felix Scheinberger, Sara Van Dongen, and Alex Hillkurtz, you will learn how to master critical techniques to enhance your work. How to establish dynamic compositions: each lesson offers an in-depth look at the artistic process. You will also discover the importance of quick sketches or thumbnails when planning your pieces. We enter the world of composition.
2m
image
2
Shot Settings Perspective
In this lesson, Felix Scheinberger will introduce you to the concept of plane adjustment, a crucial tool for drawing. If you can learn one thing from western movies, it's how to draw. Westerns can be used to explain how one of the most elementary techniques in drawing works: shot settings. It's all quite simple. Complicated-sounding terms like a long shot, knee shot, and close-up mean nothing more than the distance between the viewer and the subject, and therefore how big the subject is in a drawing.
7m
image
3
Composition
In this lesson, Felix Scheinberger will introduce you to the importance of composition in drawing. You'll explore how changing the size, placement and arrangement of objects can drastically affect the impact of your sketch. Through simple exercises, you'll see how small adjustments can transform a boring image into something more dynamic and fun. By experimenting with thumbnails and trying different arrangements, you'll better understand how composition influences the mood and story of an image.
5m
image
4
Perspective and Composition
In this lesson, [bSarah Van Dongen will guide you through the importance of space in your illustrations. You will explore the basic rules of perspective and composition to create depth and structure in your work. Sarah will also teach you various techniques for portraying backgrounds, helping to improve the overall balance and narrative of your illustrations.
11m
image
5
The Right View
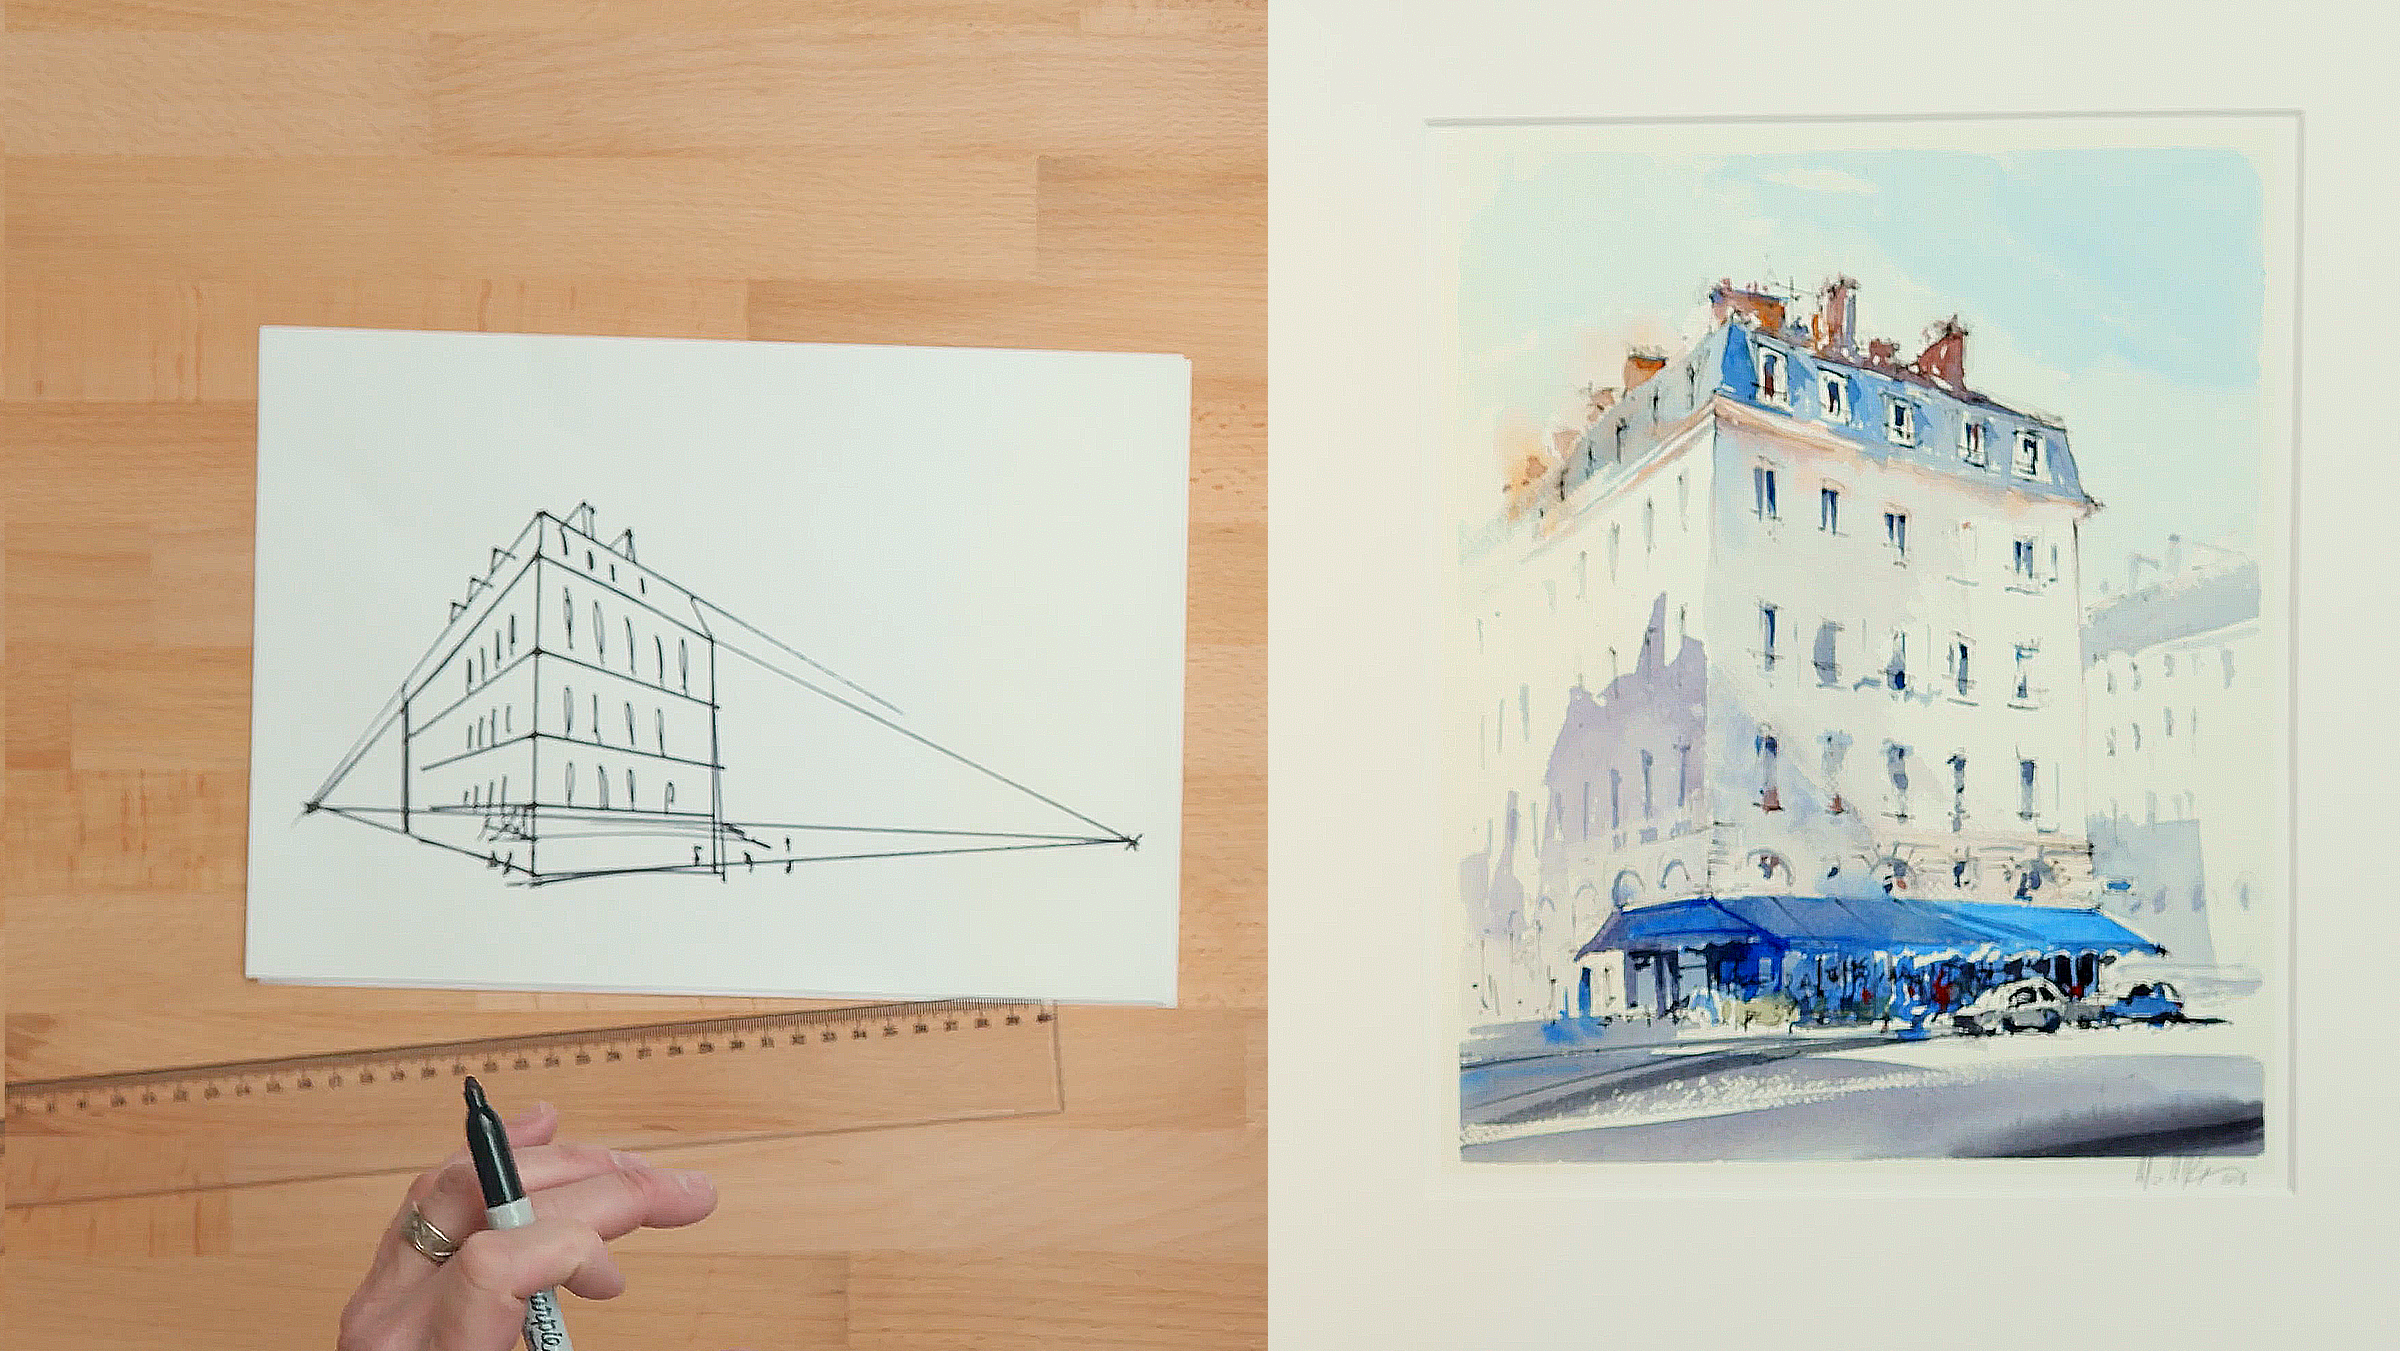
In this lesson, Alex Hillkurtz will show you how to choose the best viewpoint for painting a subject, like a building. You'll learn how different angles affect depth and composition. By using techniques like two-point perspective and considering light and shadow, you can make your paintings more dynamic and visually interesting.
7m
image
6
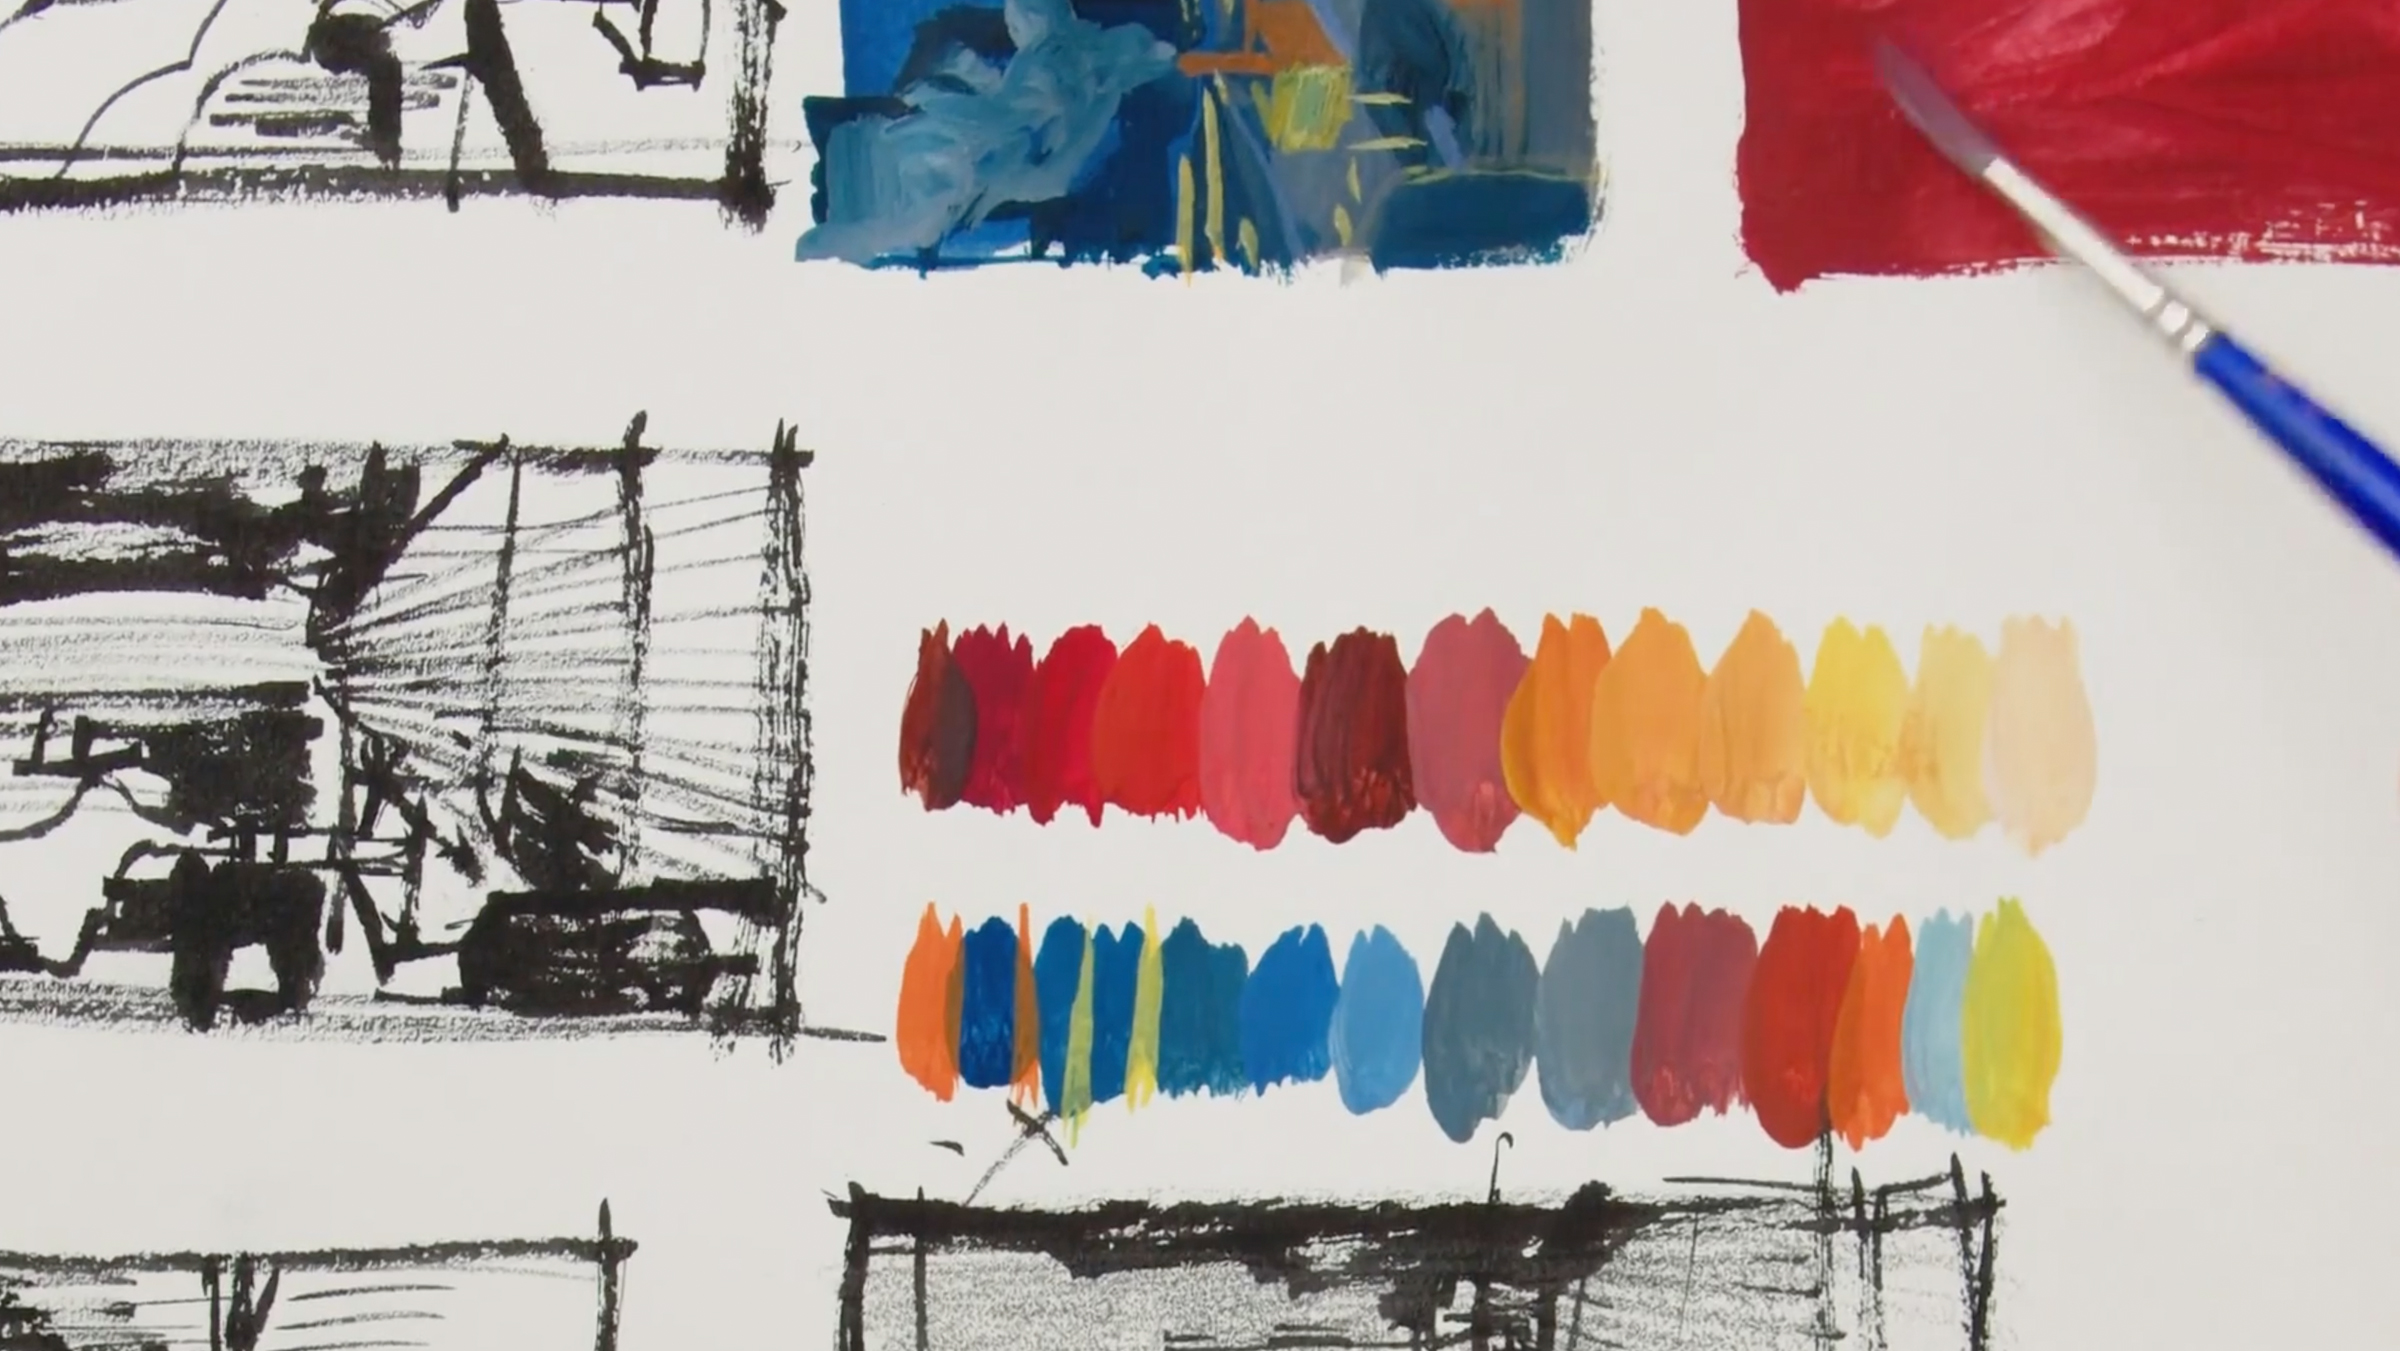
Creating a Thumbnail Sketch
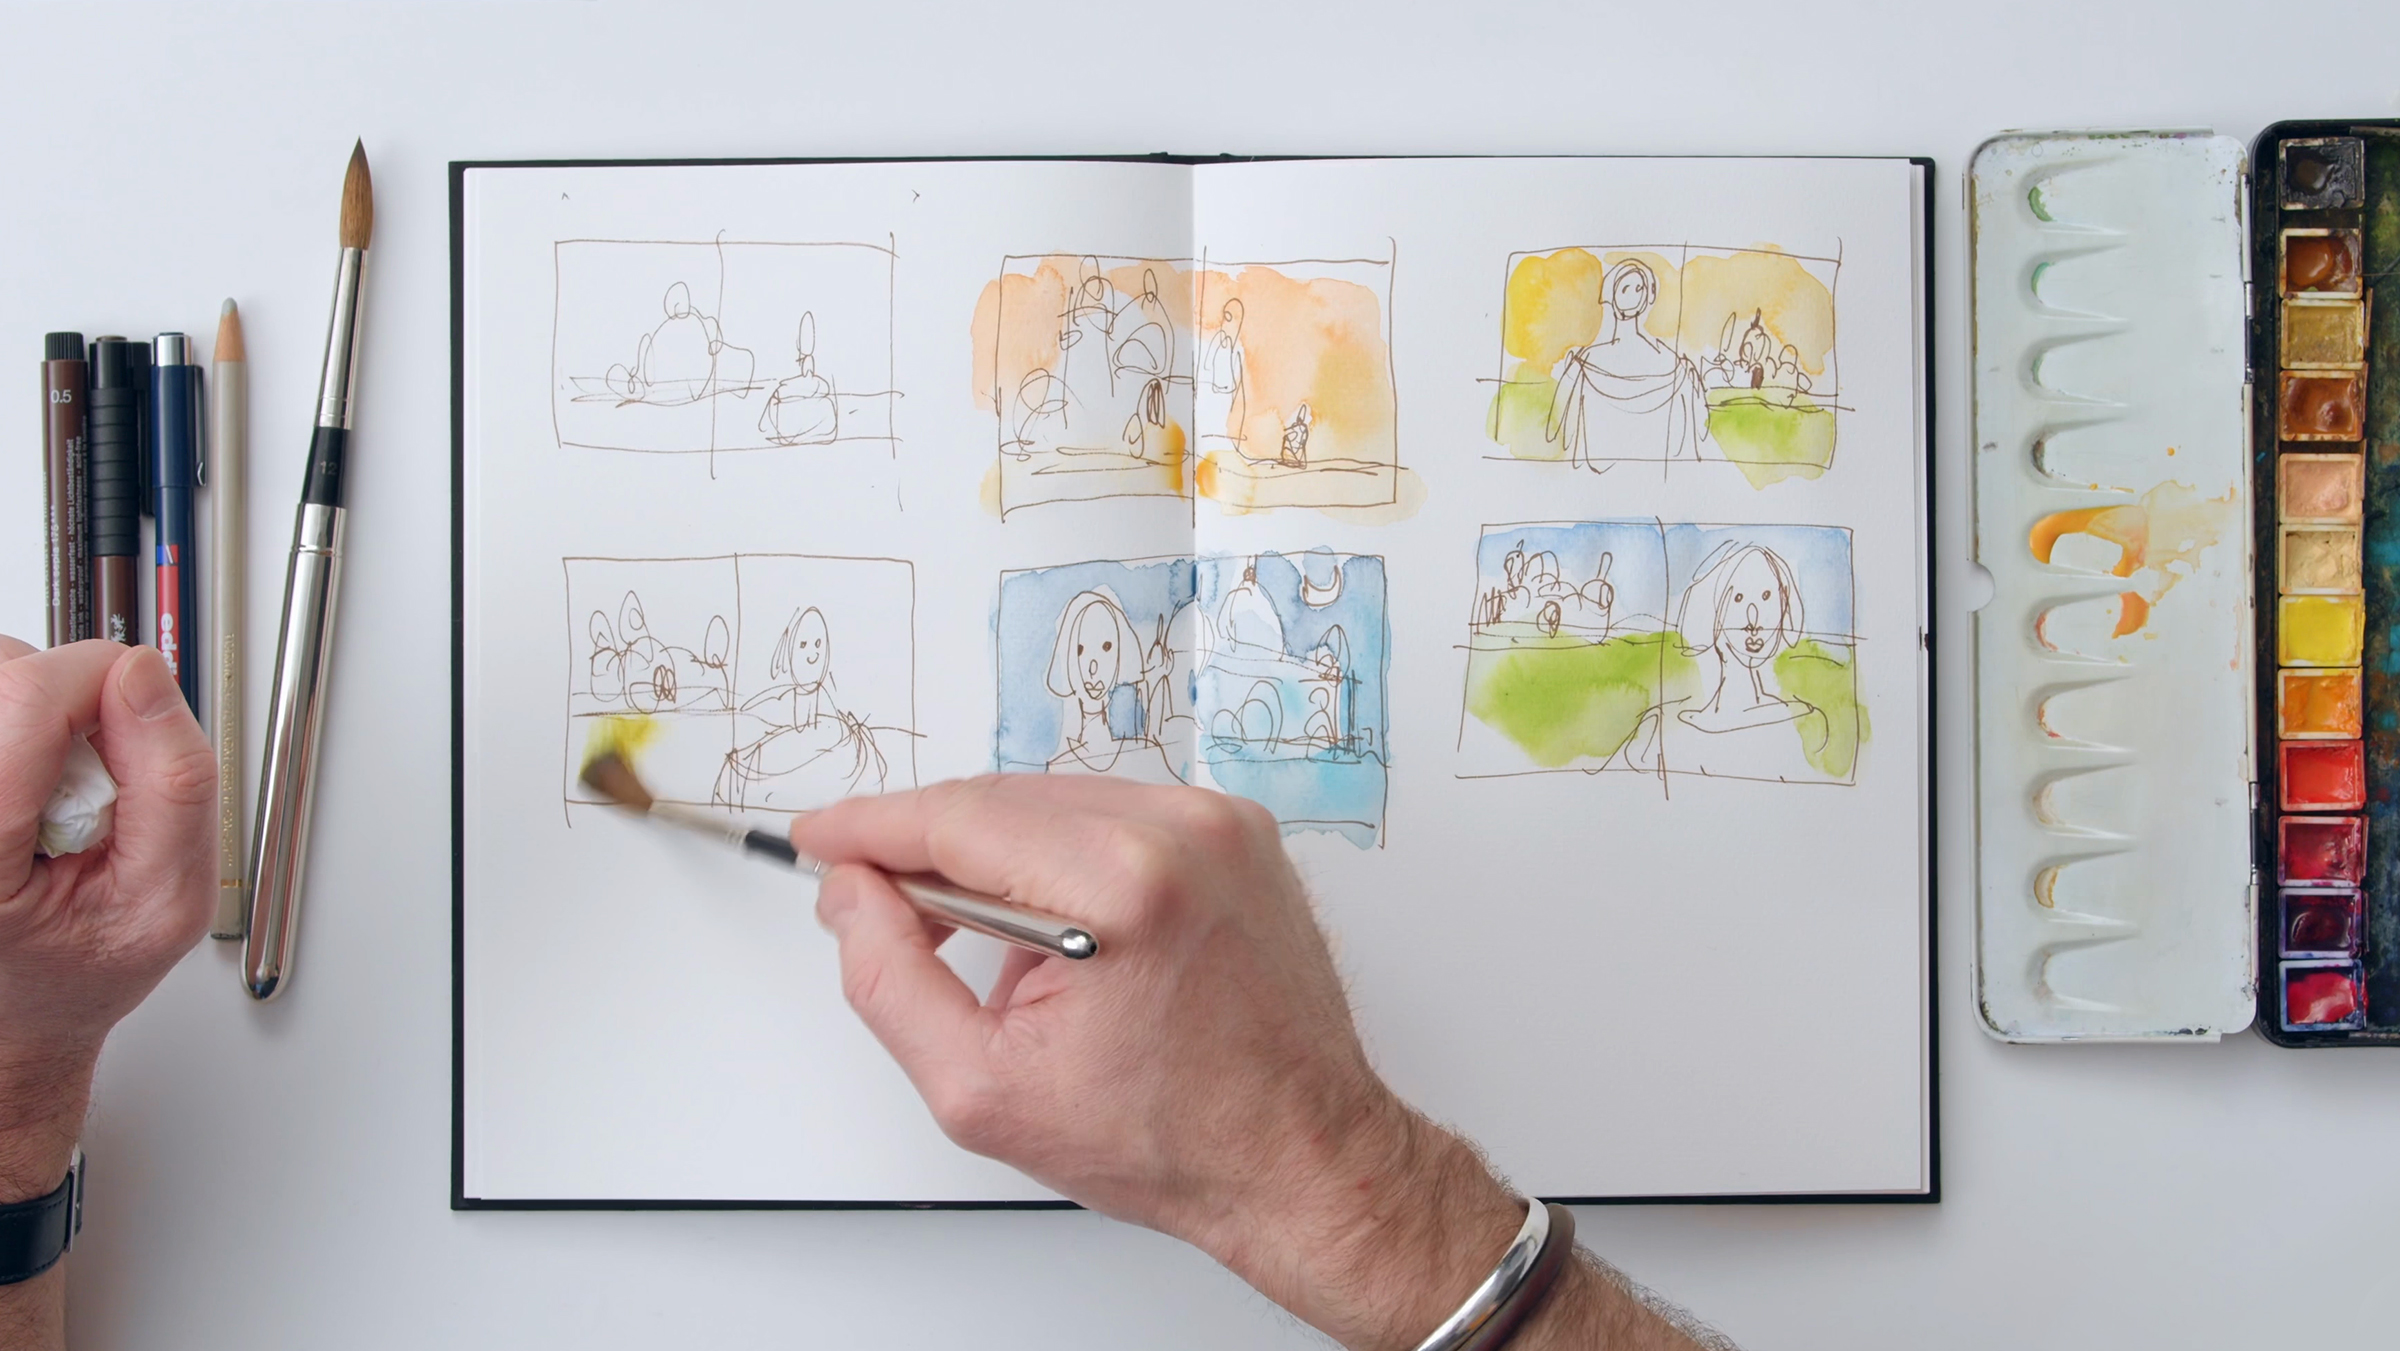
In this lesson, Alex Hillkurtz will teach you how to create a quick thumbnail sketch and explain its importance in planning a painting. A thumbnail helps you get familiar with the subject’s forms, light, and shadows, while also allowing you to experiment with composition. It’s a crucial step to avoid "mission creep"—running out of space on your paper mid-sketch.
8m
image
7
Creating Dynamic Compositions
In this part of the course, Alex Hillkurtz will teach you how to create a dynamic composition using two essential tools: the rule of thirds and the creation of a contrasting focal point. You'll learn to divide the frame into thirds to place the subject off-center for greater visual interest. In addition, you'll explore how contrasts in tone, color, and detail naturally draw the viewer's eye, enhancing your composition and making it more appealing.
9m
image
1
Introduction
Throughout art history, these elements have been vital in adding realism, volume, and atmosphere to works. Through careful observation and practice, you will learn to manipulate light to create depth, improve your compositions, and bring your characters to life. Get ready to discover how the interplay of light and shadow can completely transform your creations.
2m
image
2
Shaded Drawing Exercises
Marco Mazzoni will introduce you to shade drawing, a technique that focuses on building form through shadows rather than lines. Unlike line drawing, shade drawing emphasizes creating depth and texture by varying pressure and shading. You’ll practice controlling shadow intensity by creating gradients and learning how to blend smoothly. This technique allows for more freedom and expression.
8m
image
3
Lighting
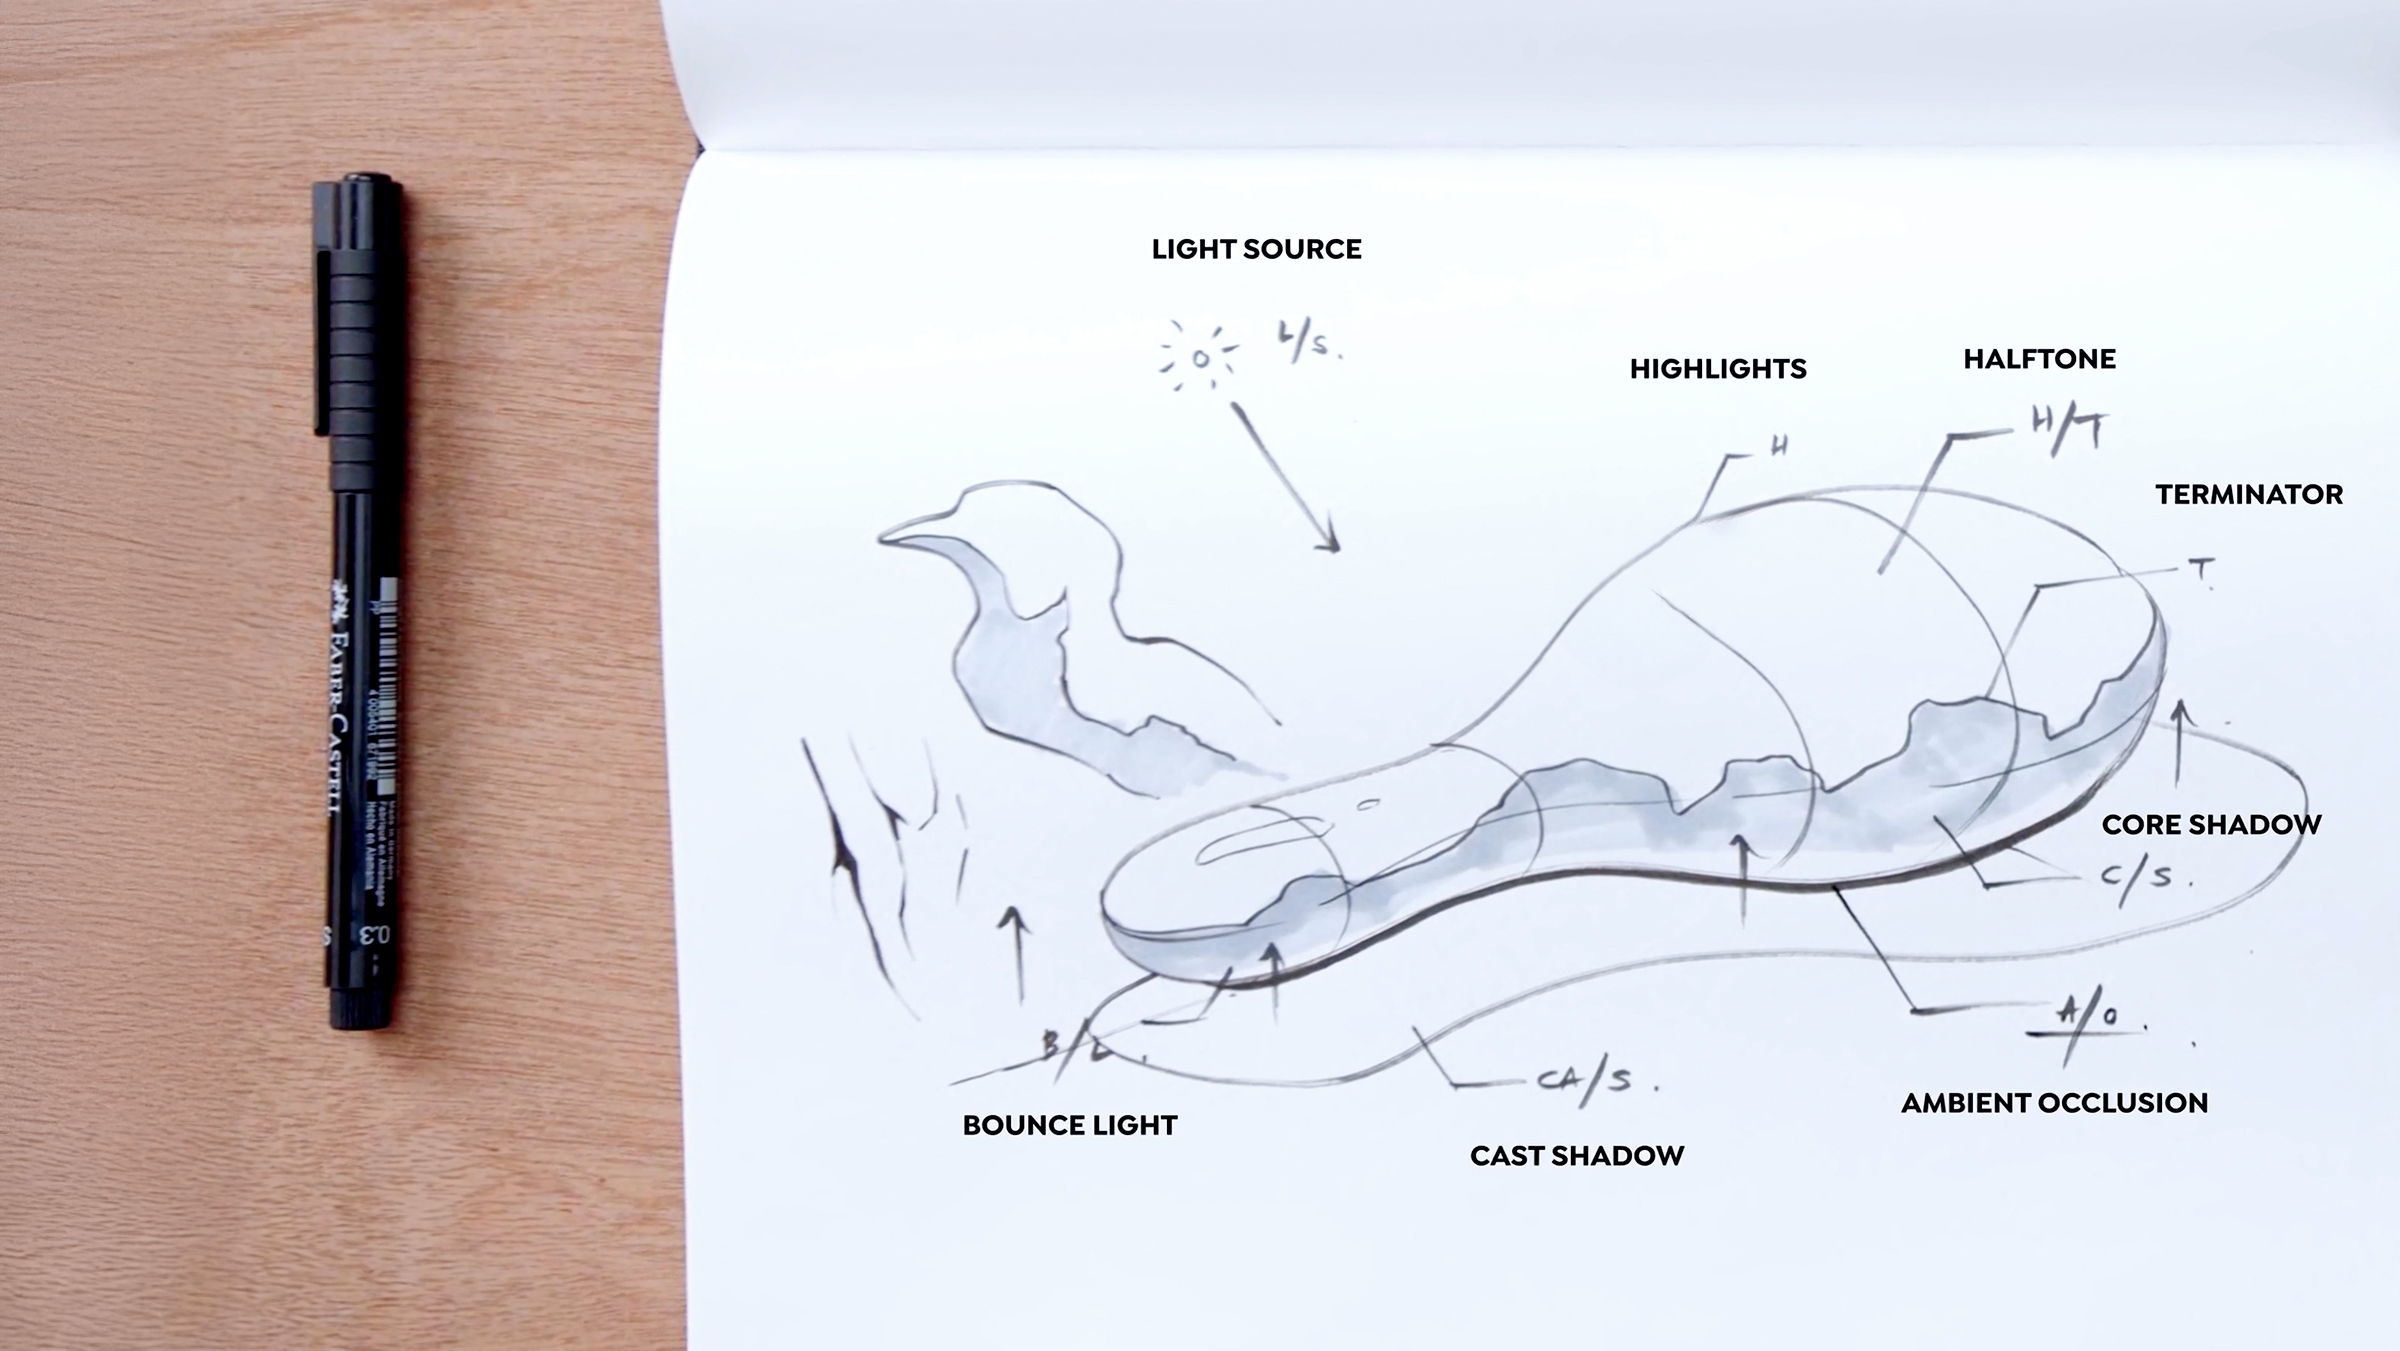
In this lesson, Sorie Kim will guide you through crucial lighting techniques to enhance your sketches. You'll learn essential terms like highlights, terminator, core shadow, bounce light, and cast shadow. By understanding how light interacts with a subject and how to construct cast shadows, you'll create depth and three-dimensionality in your drawings. You'll also explore the influence of light direction and angle, allowing you to control the mood and realism of your work.
13m
image
4
Rendering
In this lesson, Sorie Kim will teach you how to add detail, texture, and values to your sketches. You'll explore techniques like contour shading and drawing shadow shapes to create depth and volume. By refining edges and adding key details, you'll enhance the realism of your work while keeping the process fun and relaxed in your sketchbook.
10m
image
5
Lights and Shadows
Felix Scheinberger will show you how to easily add light and shadow to your sketches in this lesson. You'll create depth using simple techniques like ink or watercolor by identifying a light source and shading areas where light doesn't reach. This method emphasizes leaving white areas to represent light naturally.
4m
image
6
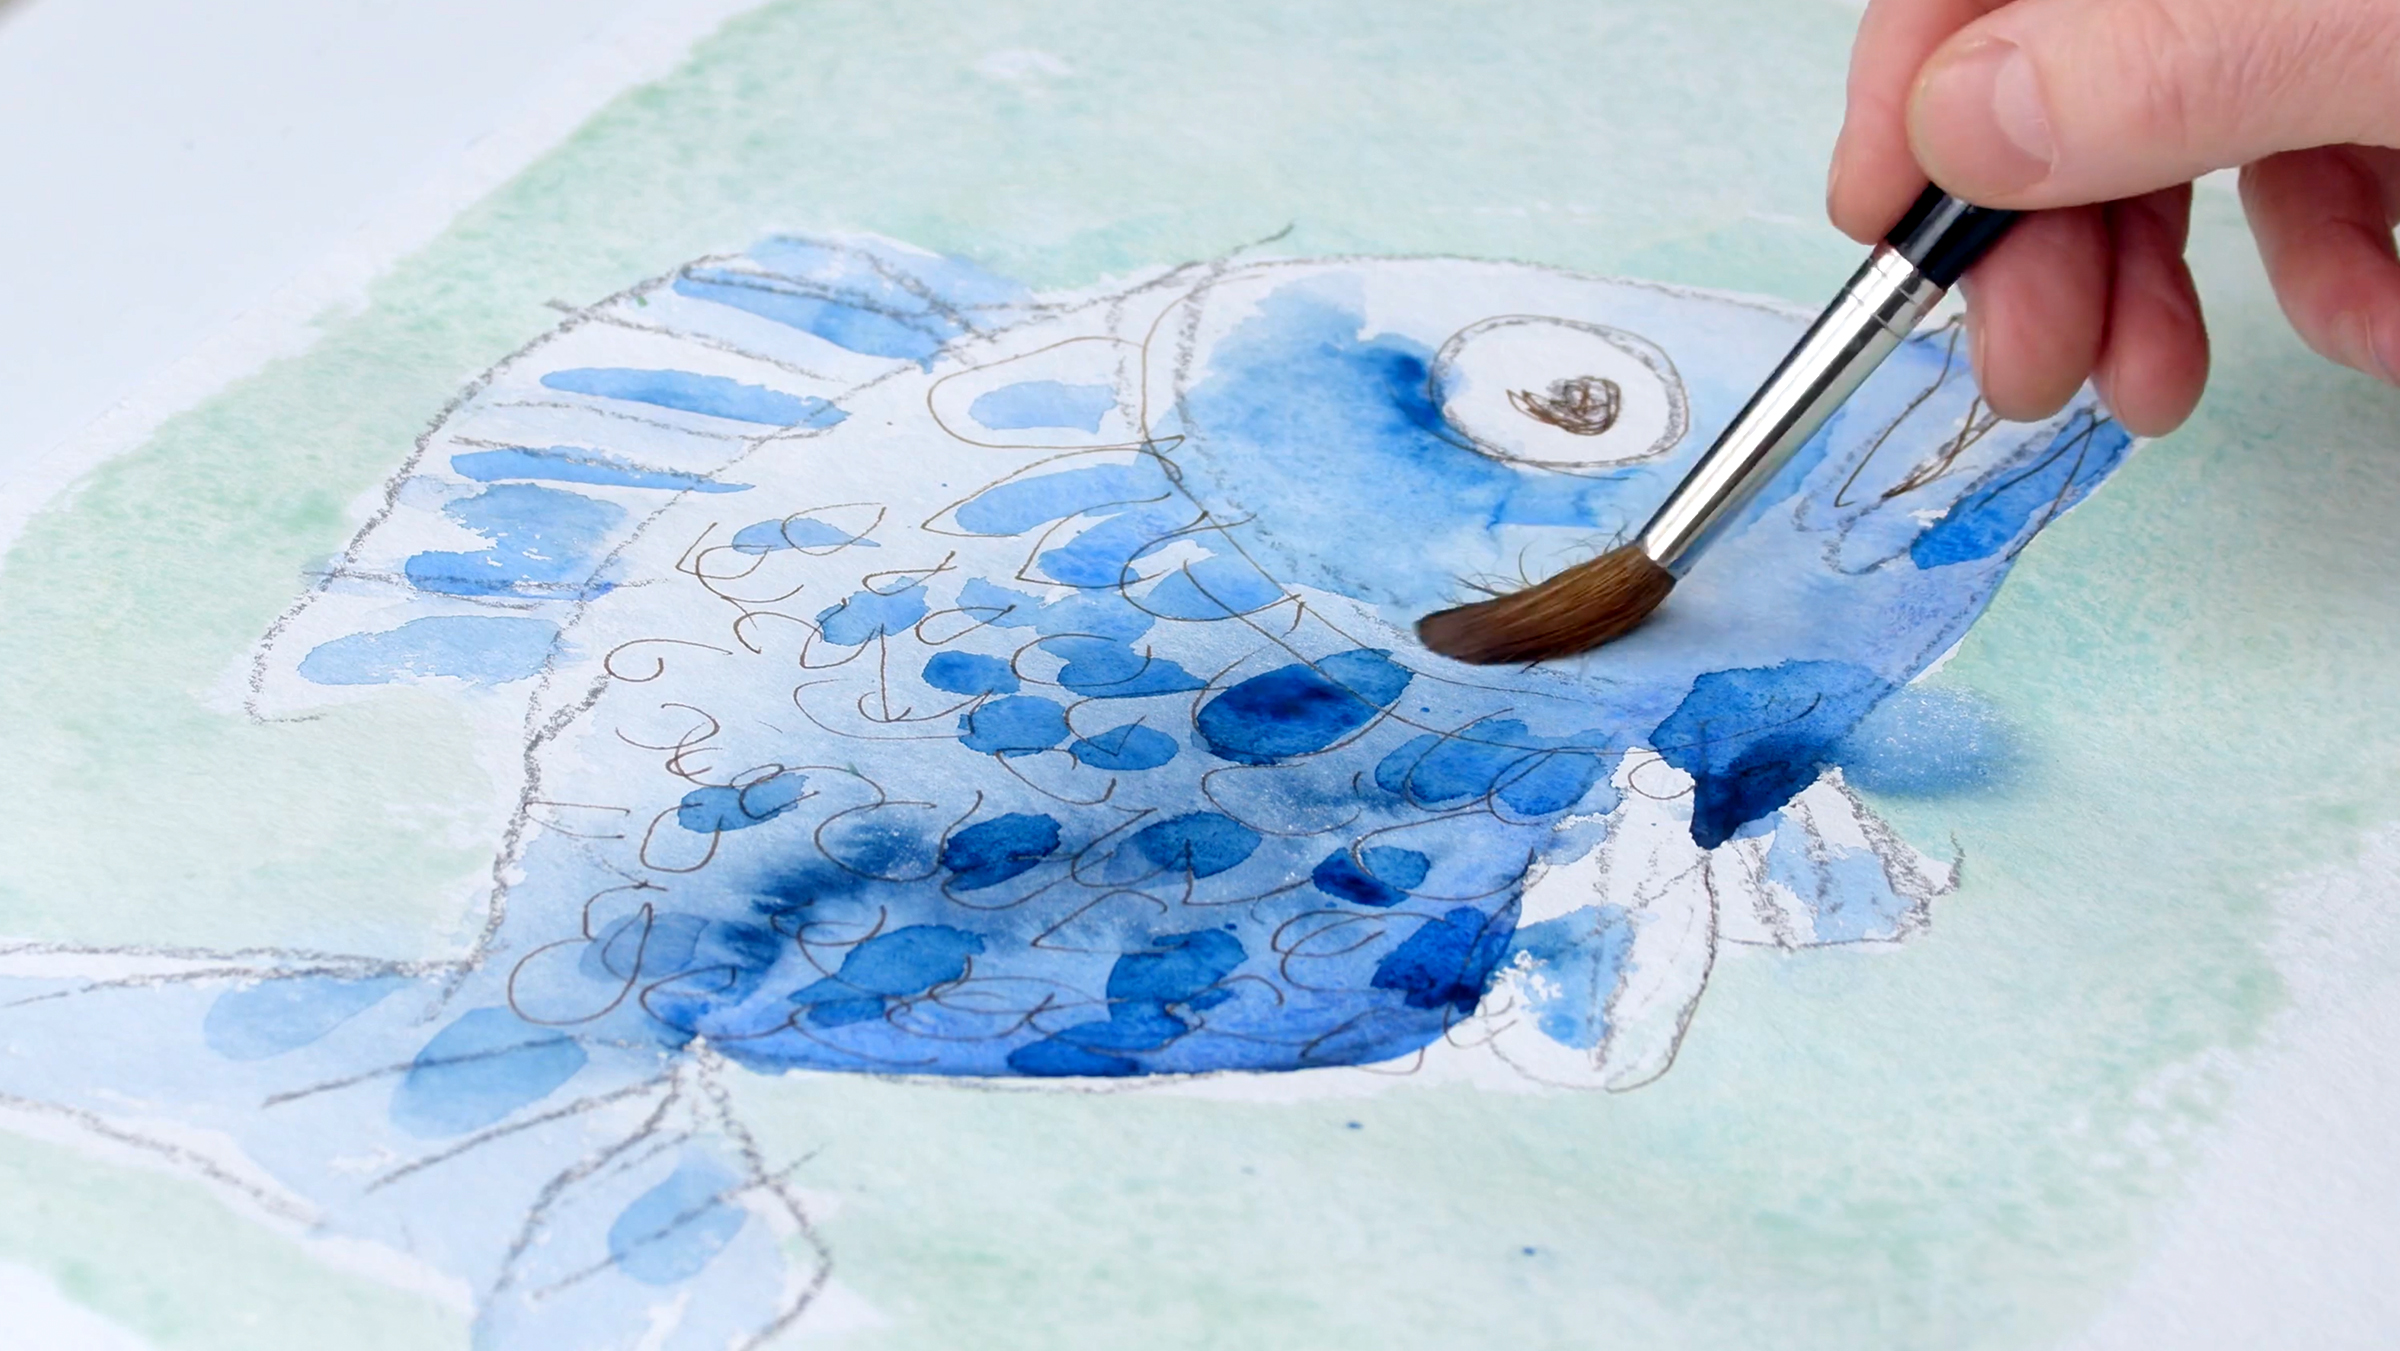
Watercolour: The Glaze 1
Simply put, a glaze can be compared to sunglasses because it provides a darker layer over the light. If we were to put on one pair of sunglasses over another, we would notice that things get a little darker with each pair. A glaze works the same way: we see our drawing (or parts of it) through a layer of color. Learn this technique with Felix Scheinberger
7m
image
7
Watercolour: The Glaze 2
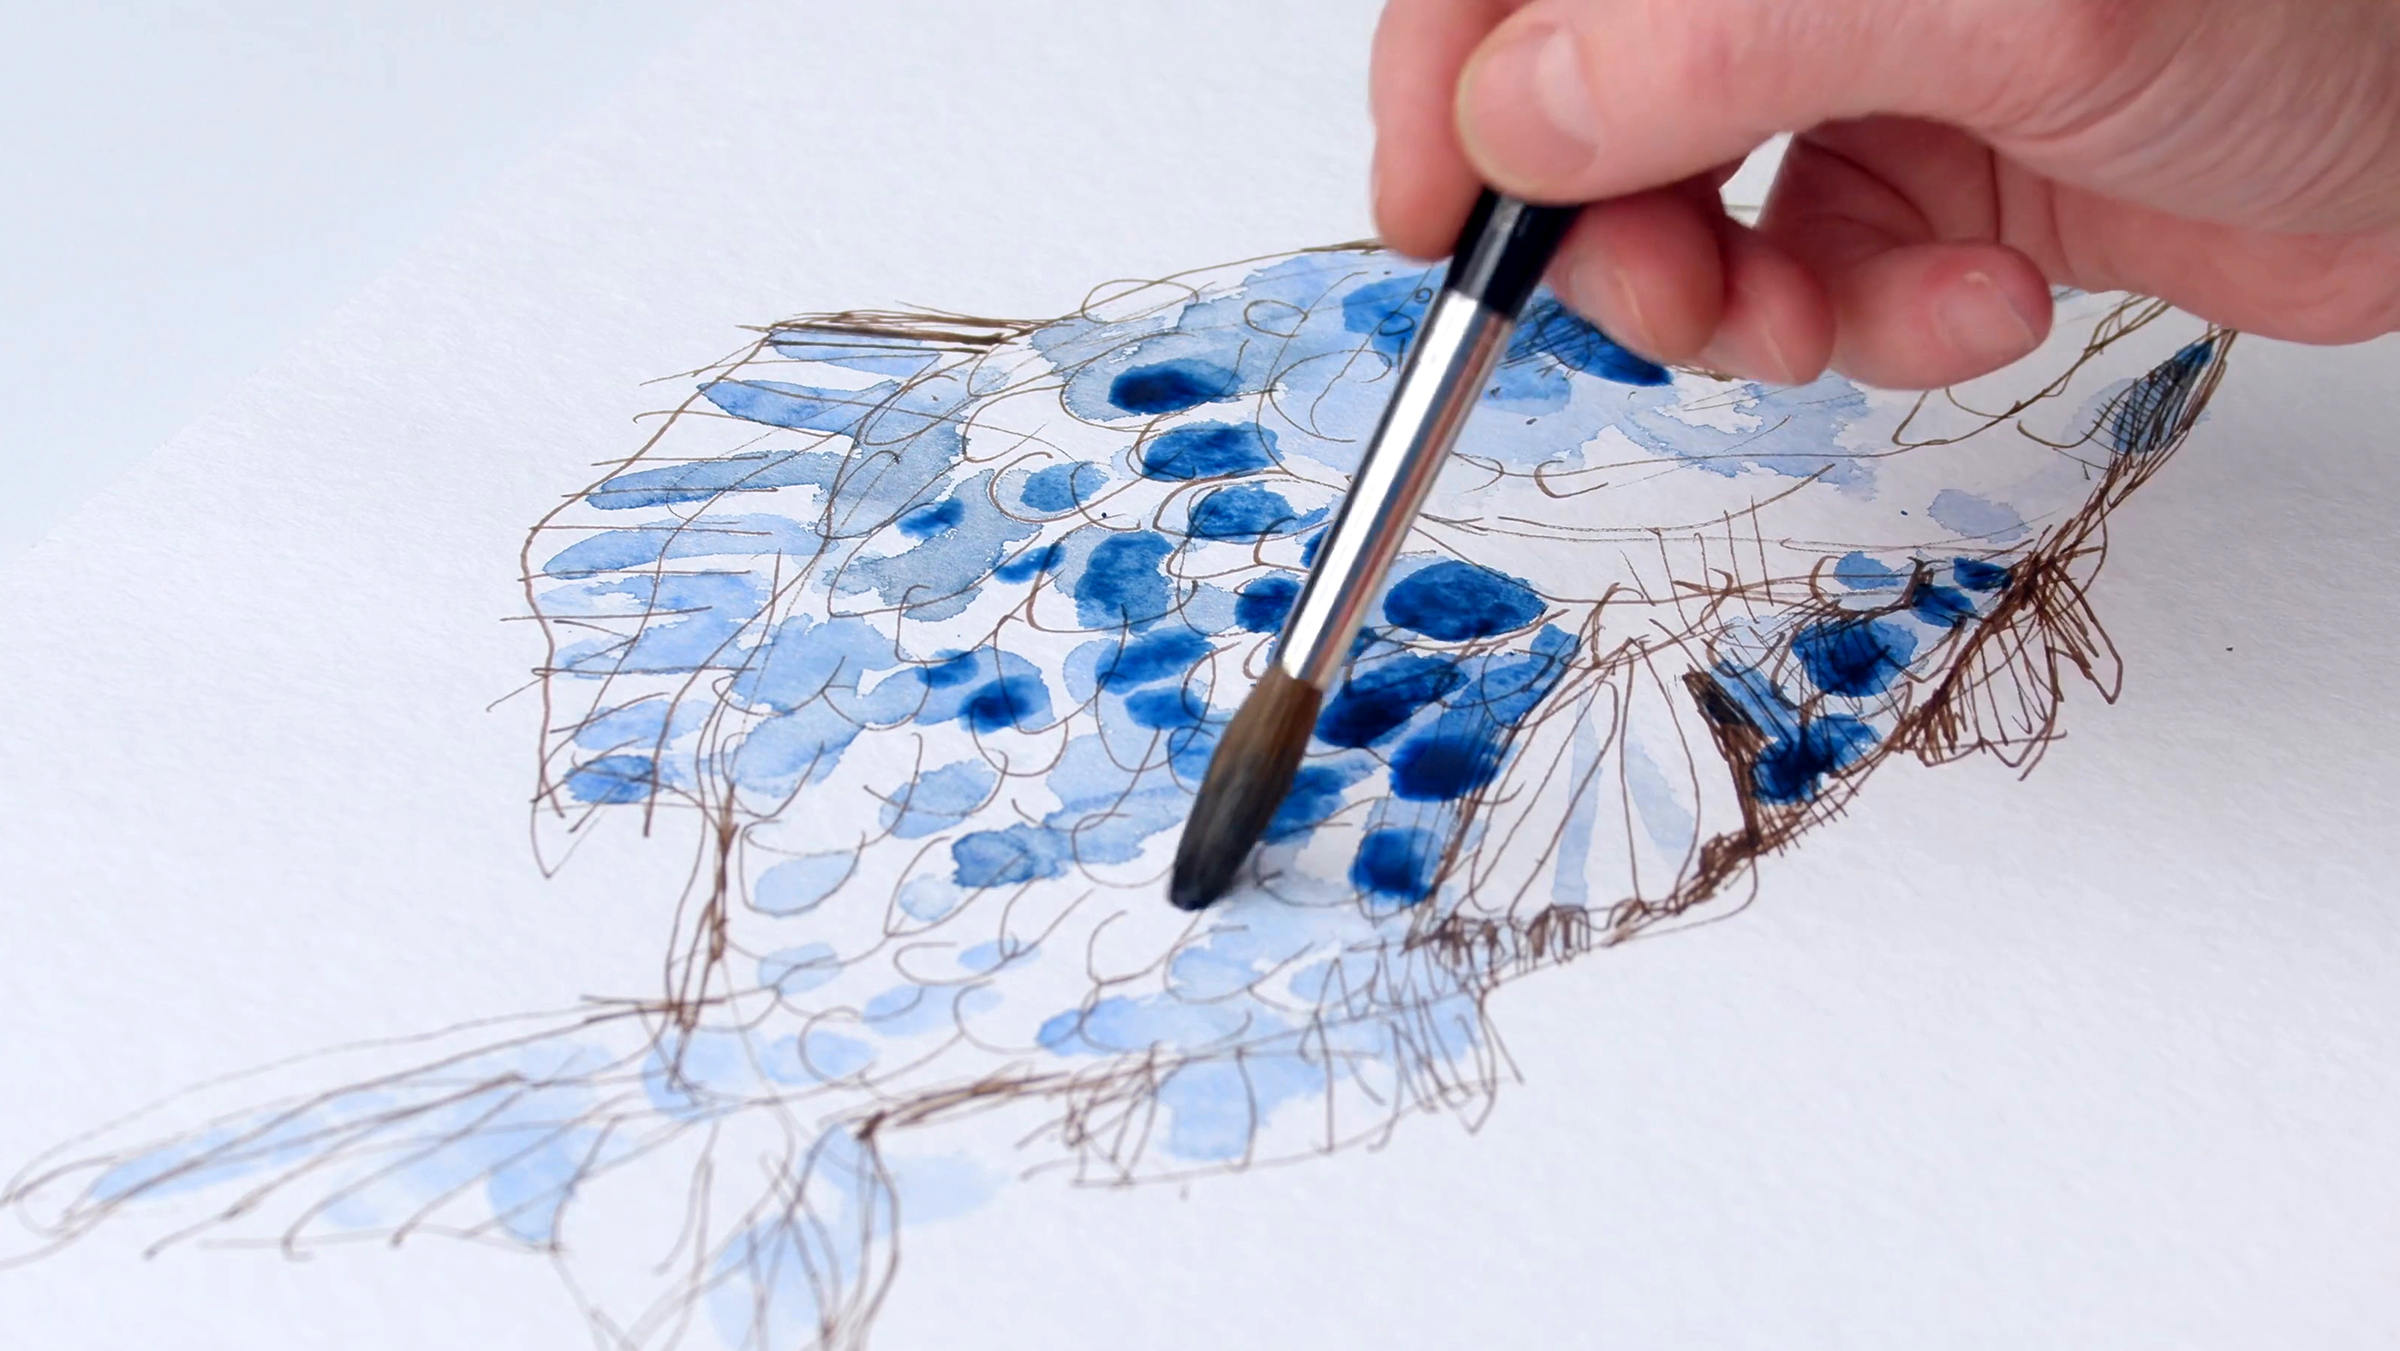
In this lesson, Felix Scheinberger will introduce the wash technique in watercolor. Wash occurs when fluid colors blend naturally, creating soft, fluid transitions. You'll learn how to use your brush to apply color and control water and pigment by removing excess. This method is ideal for faster, more atmospheric paintings, which can be combined with layers for added precision and detail.
6m
image
8
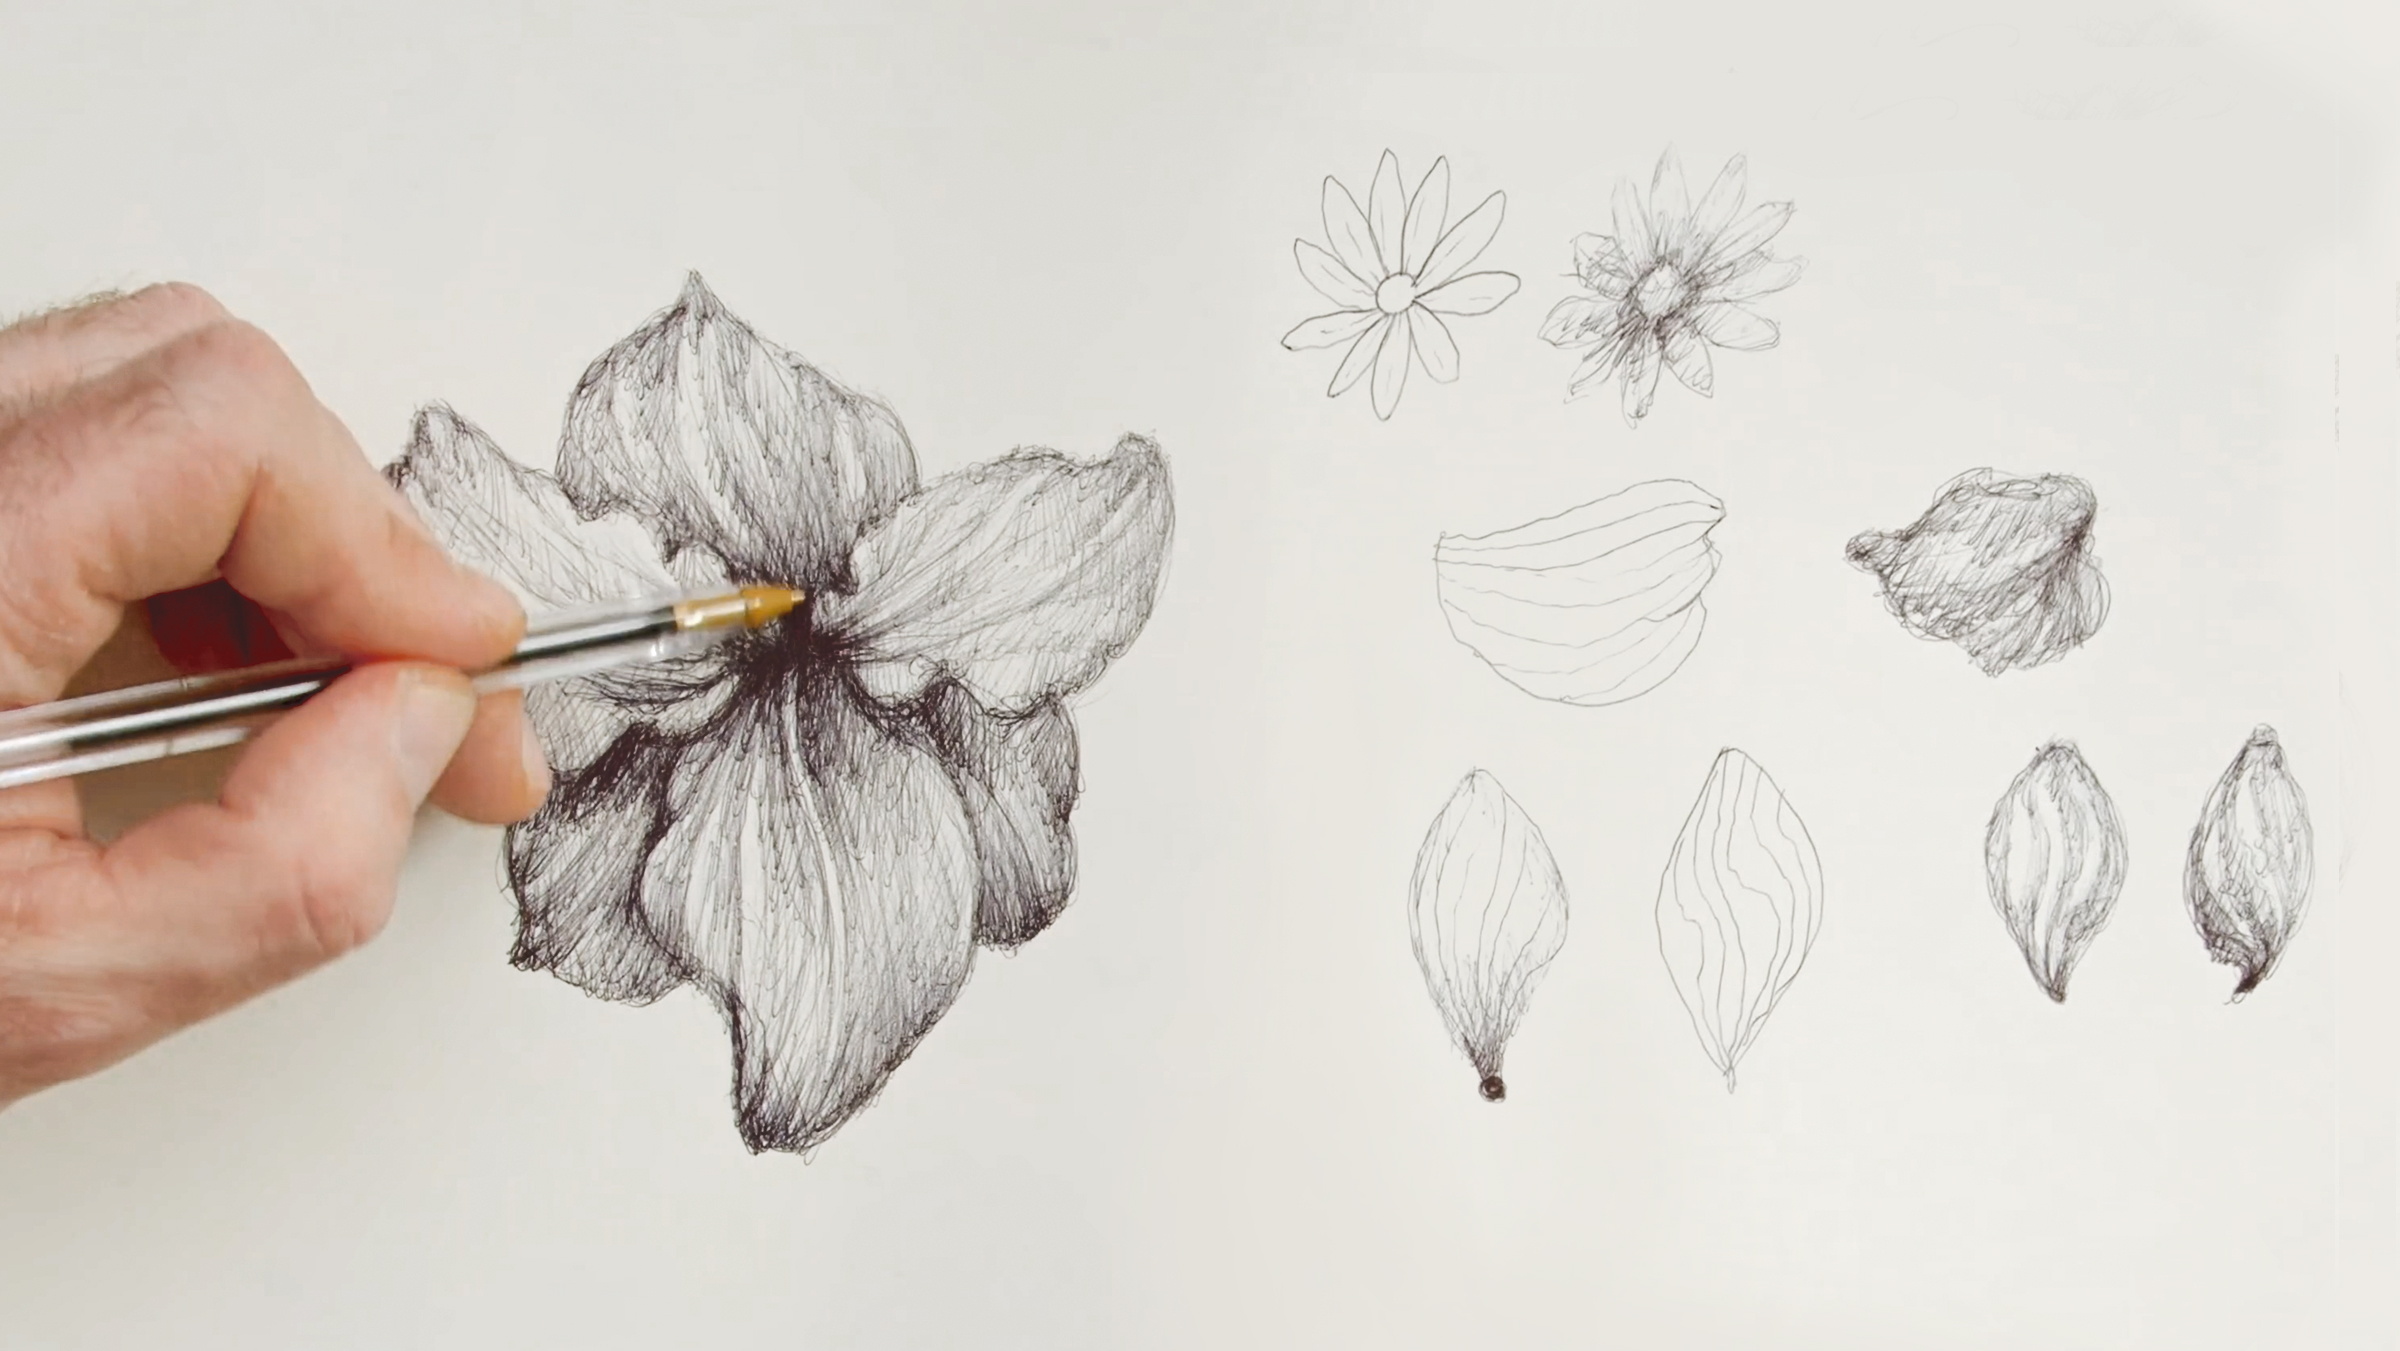
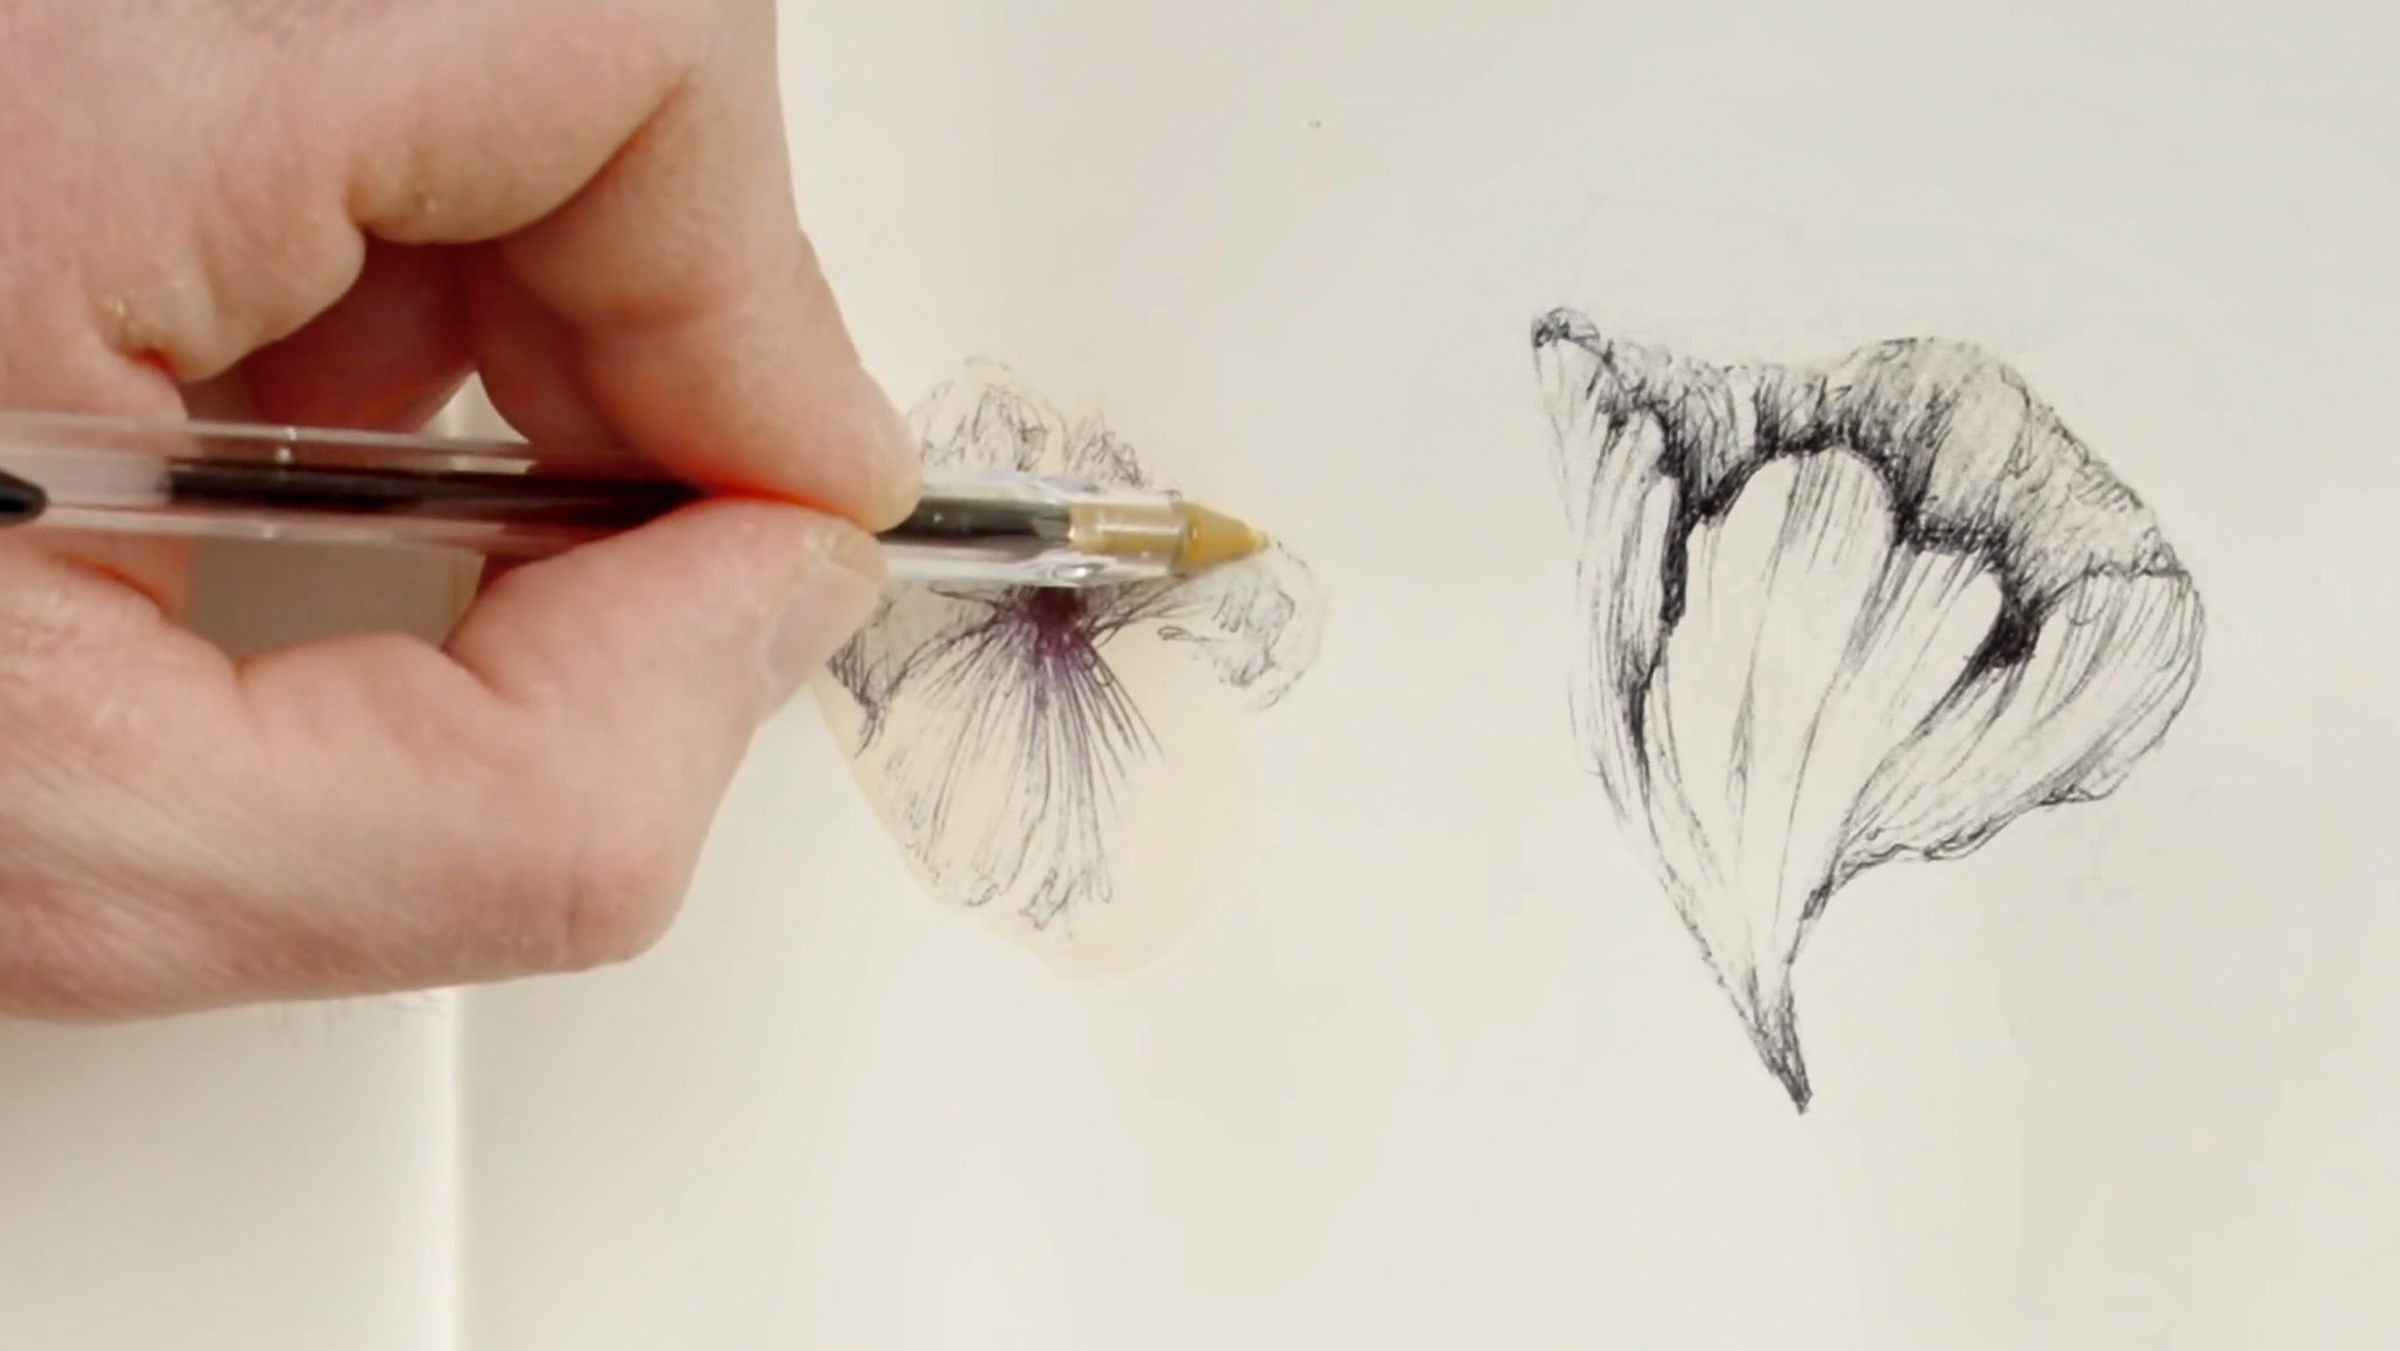
Shaded Drawing Flowers
In this lesson, Marco Mazzoni will demonstrate how to draw a flower using shading techniques. Instead of focusing on lines, you’ll build the form through shadows, starting lightly and adding pressure as needed. Using an amaryllis as an example, Marco will guide you through shading petals, creating depth, and working with stripes to add movement, ultimately bringing the flower to life with subtle layers of gray.
15m
image
9
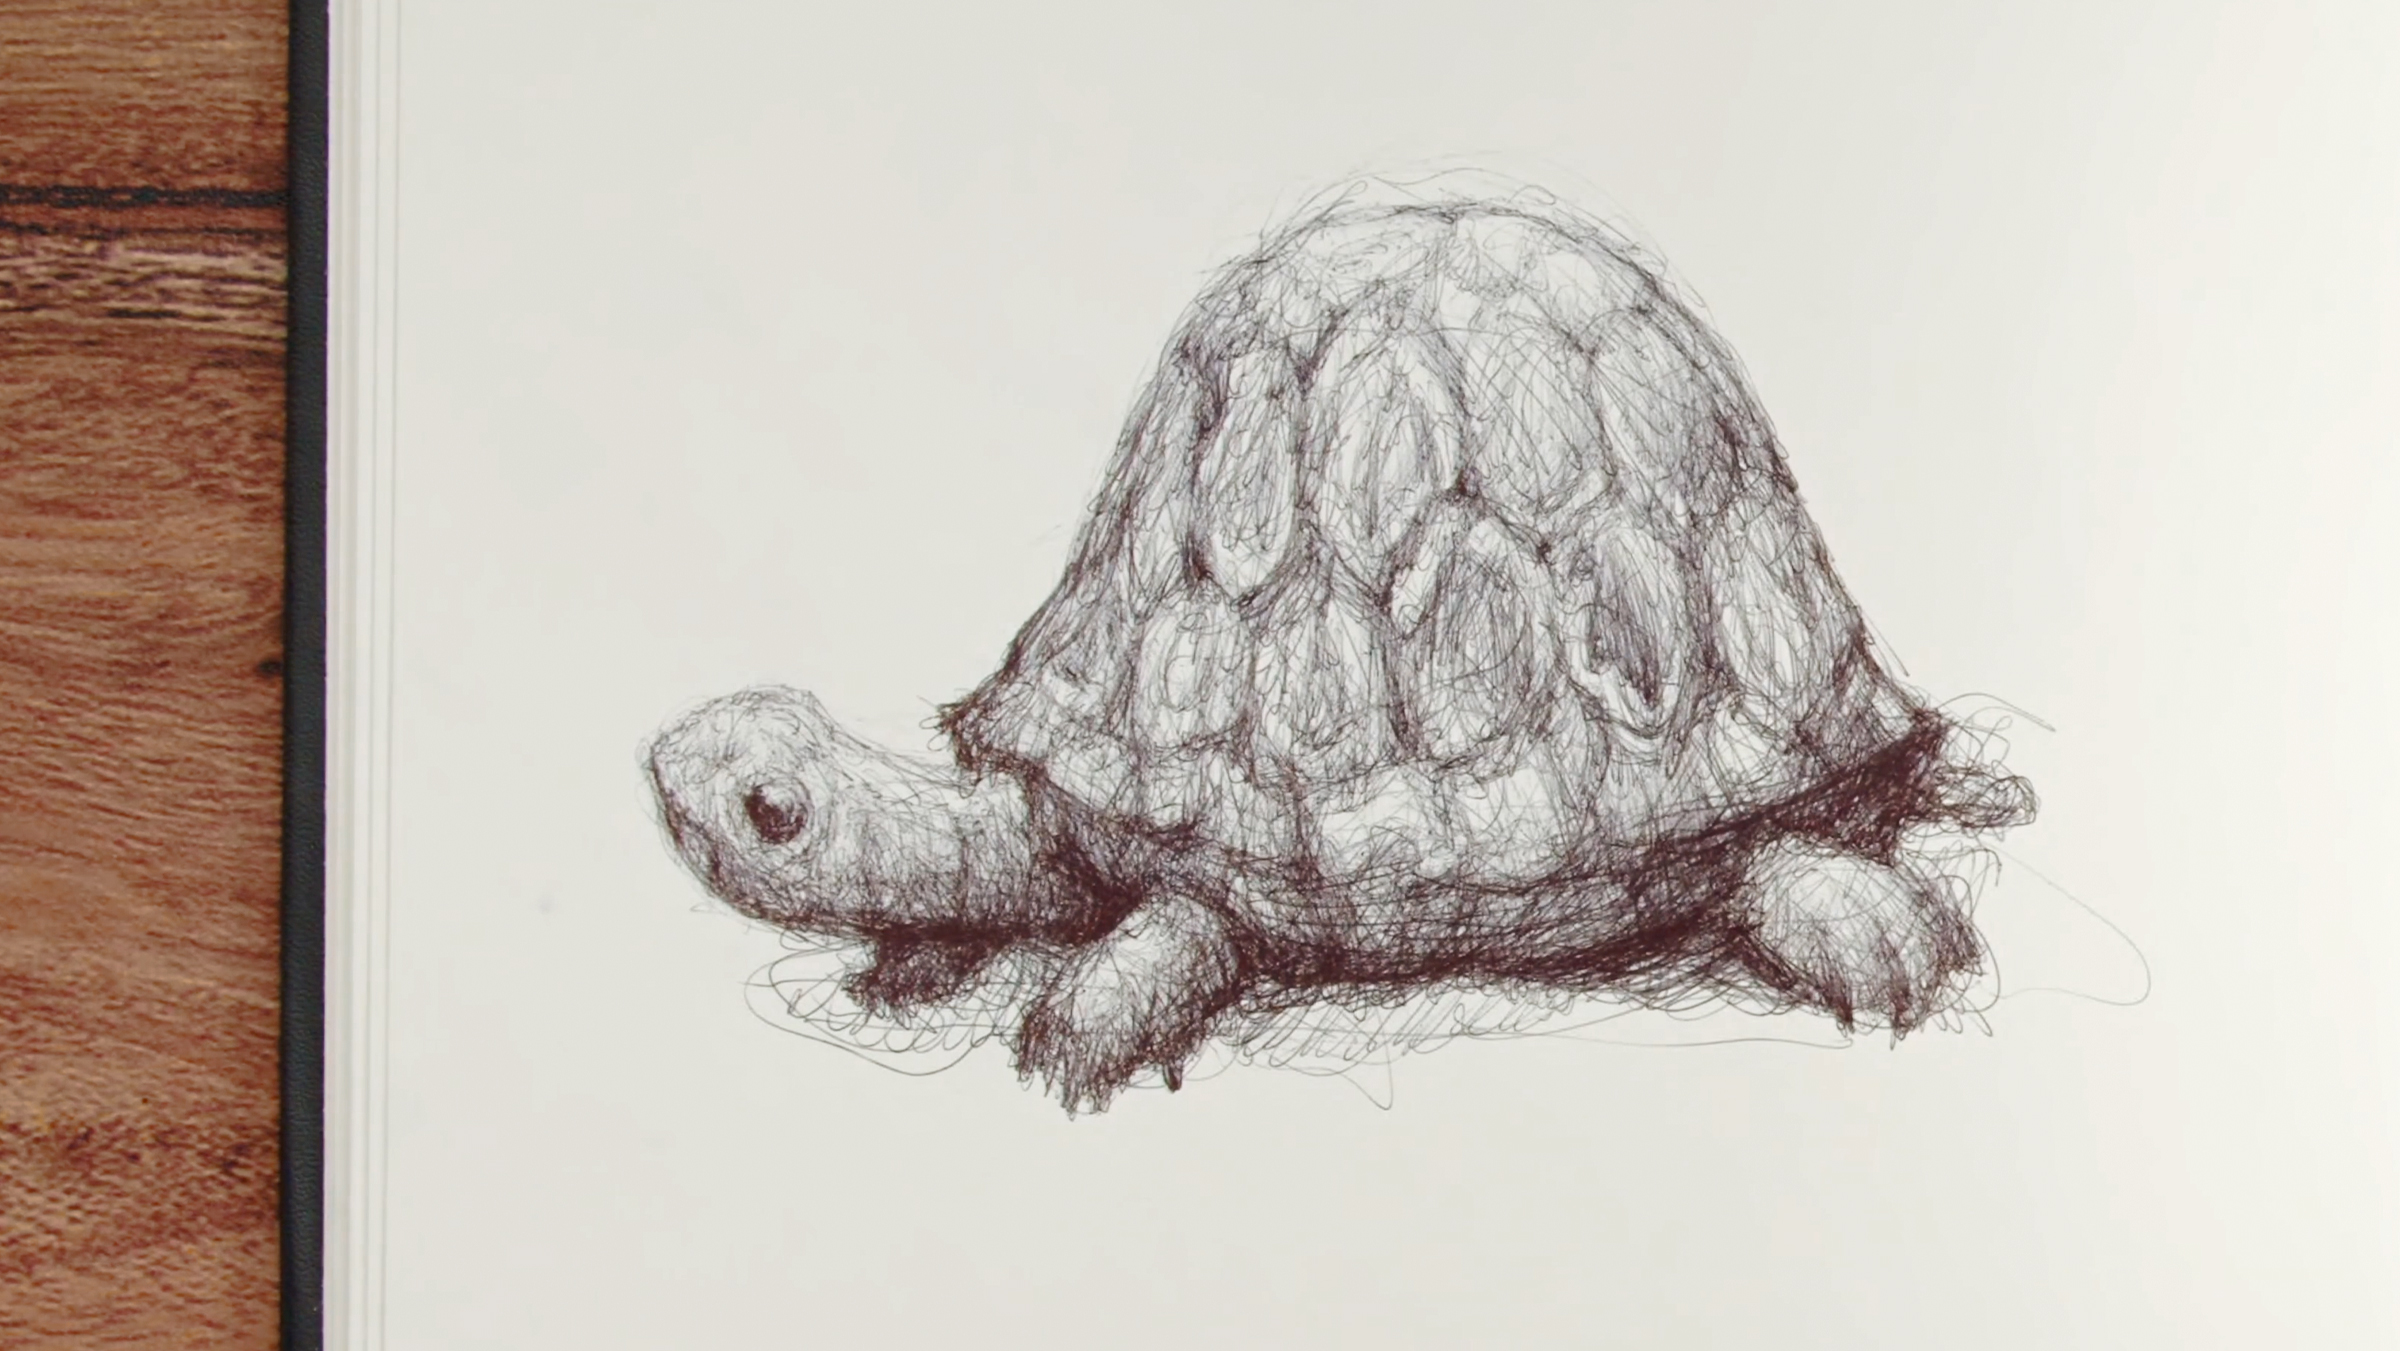
Shading Drawing A Turtle
In this lesson, Marco Mazzoni will demonstrate how to draw a turtle using the shading technique. You’ll experiment with different shell patterns, creating depth by starting with light strokes and gradually adding darker tones. Marco will guide you through constructing the turtle’s shape, focusing on the shell, legs, and rough texture of the skin.
15m
image
10
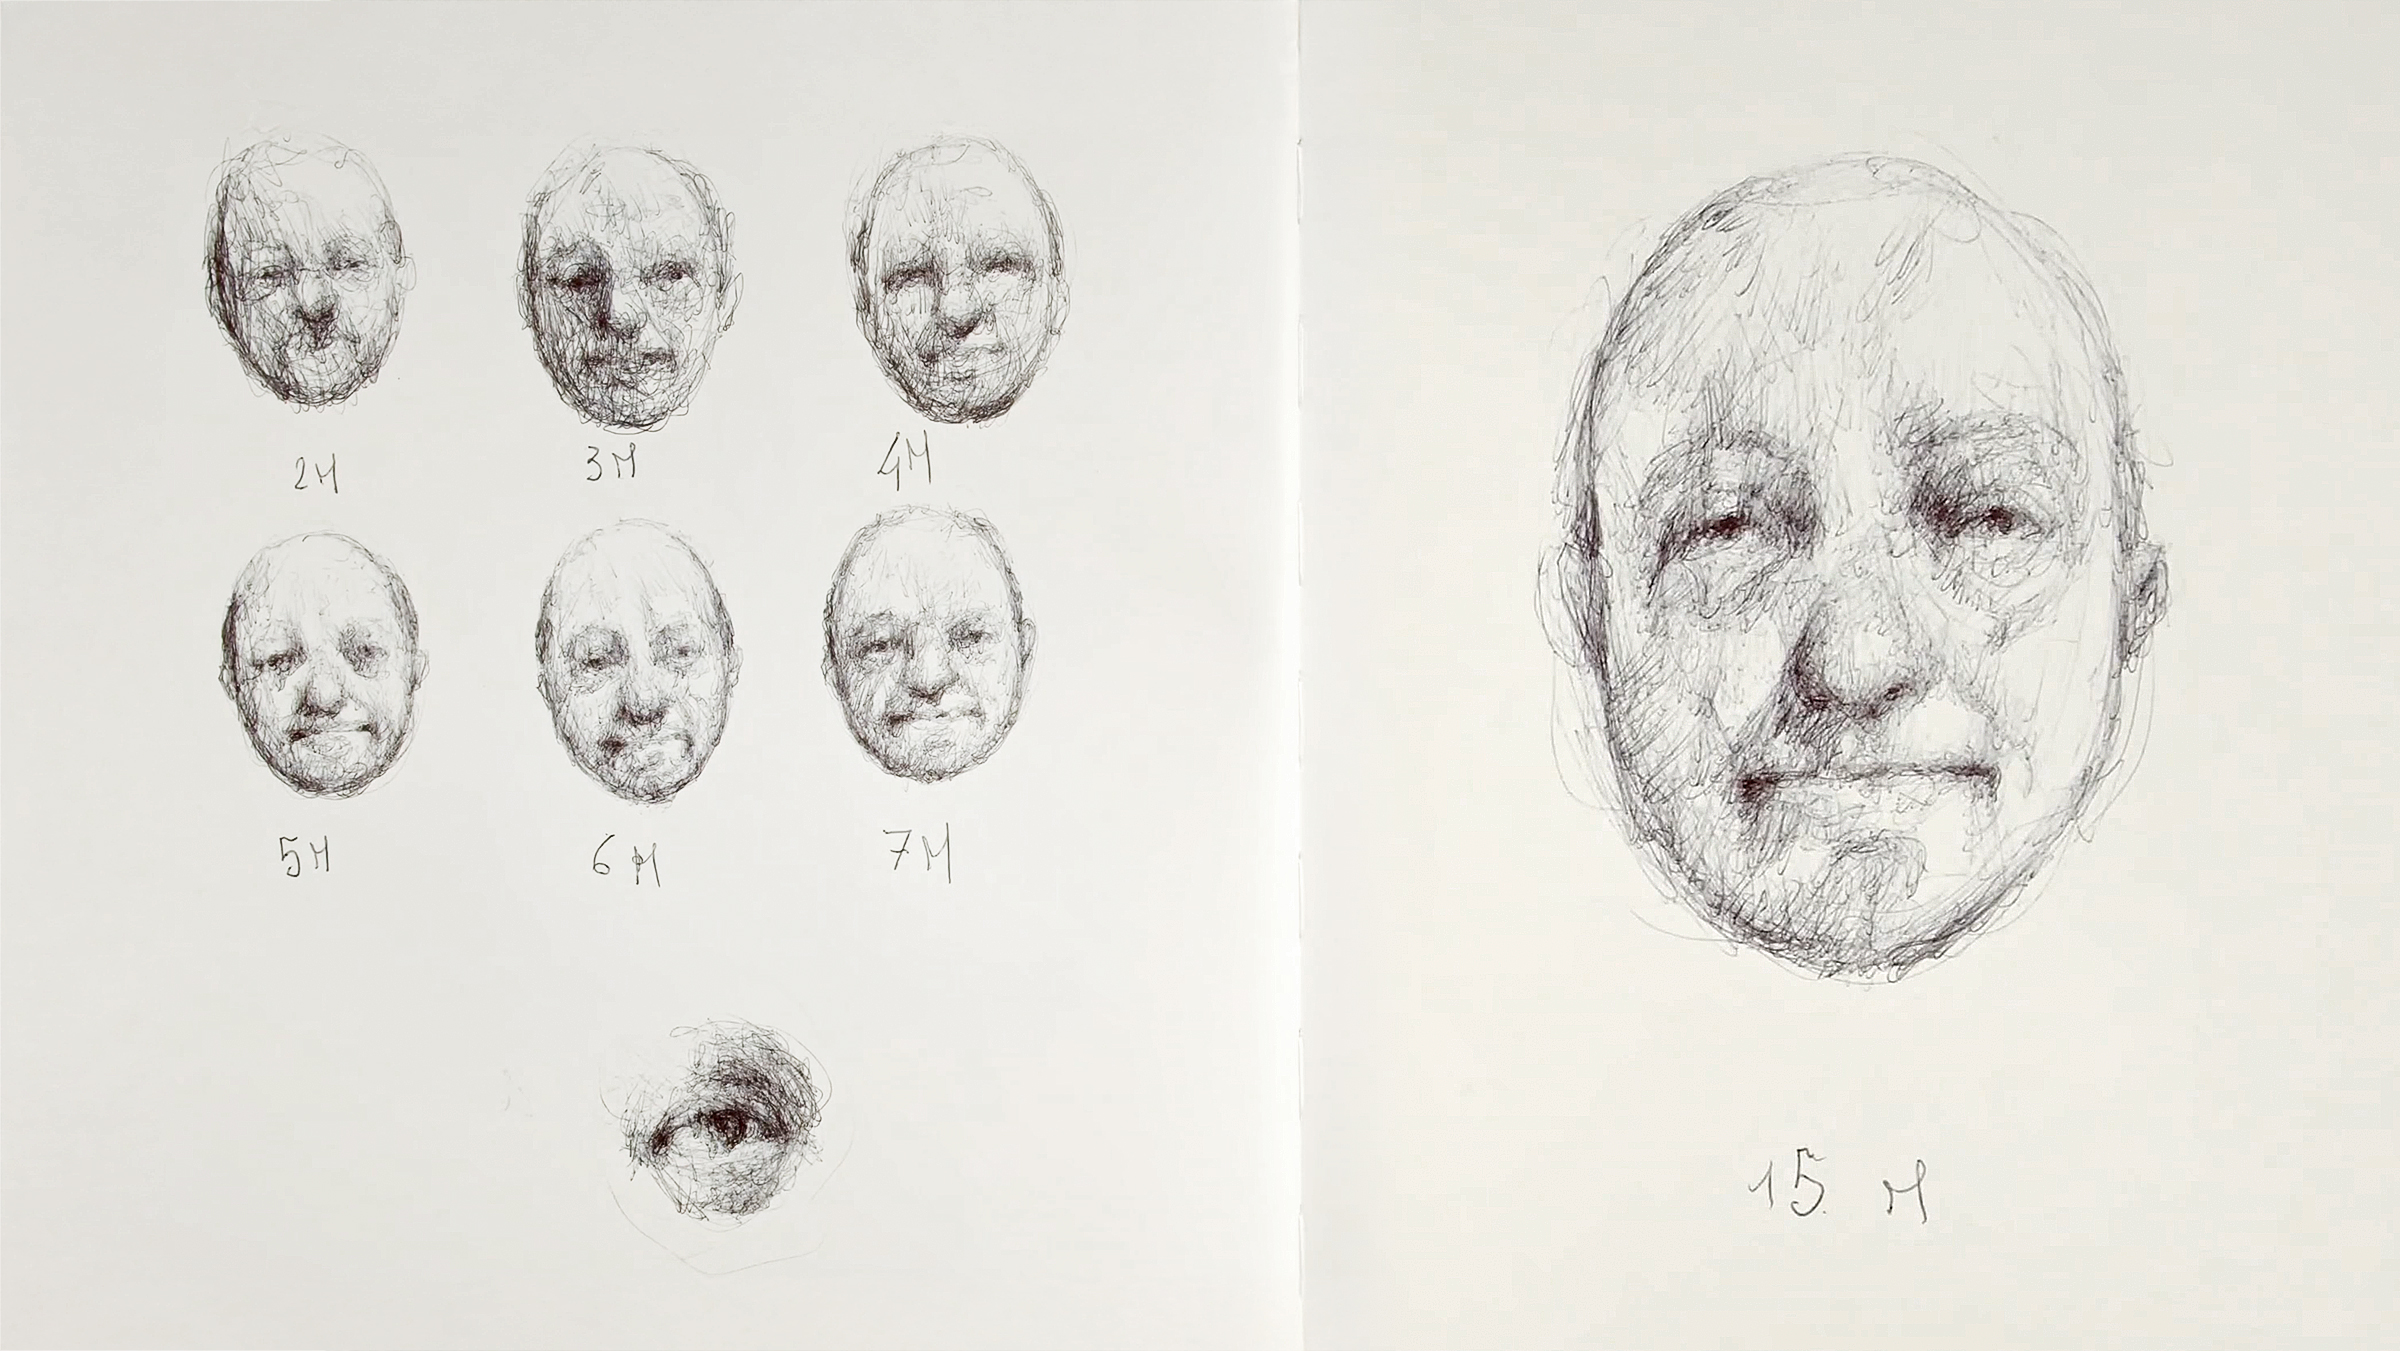
Shading Drawing Portrait of an Old Man
In this lesson, Marco Mazzoni will teach you how to create a portrait using the shading technique. You'll start with timed exercises, drawing mini-portraits ranging from two to seven minutes to improve speed and focus. You'll gradually define facial features and shadows by starting with light strokes and adding darker tones. This exercise helps you discover your natural workflow and understand how time affects your drawing process, leading to more dynamic and expressive portraits.
20m
image
1
Introduction
Incorporating color into sketches can enhance your work by adding vibrancy and realism. This video is an introduction to this module. Through practice, you will develop a unique approach to using color, adding depth and character to your sketches.
2m
image
2
Color, Contrast and Balance
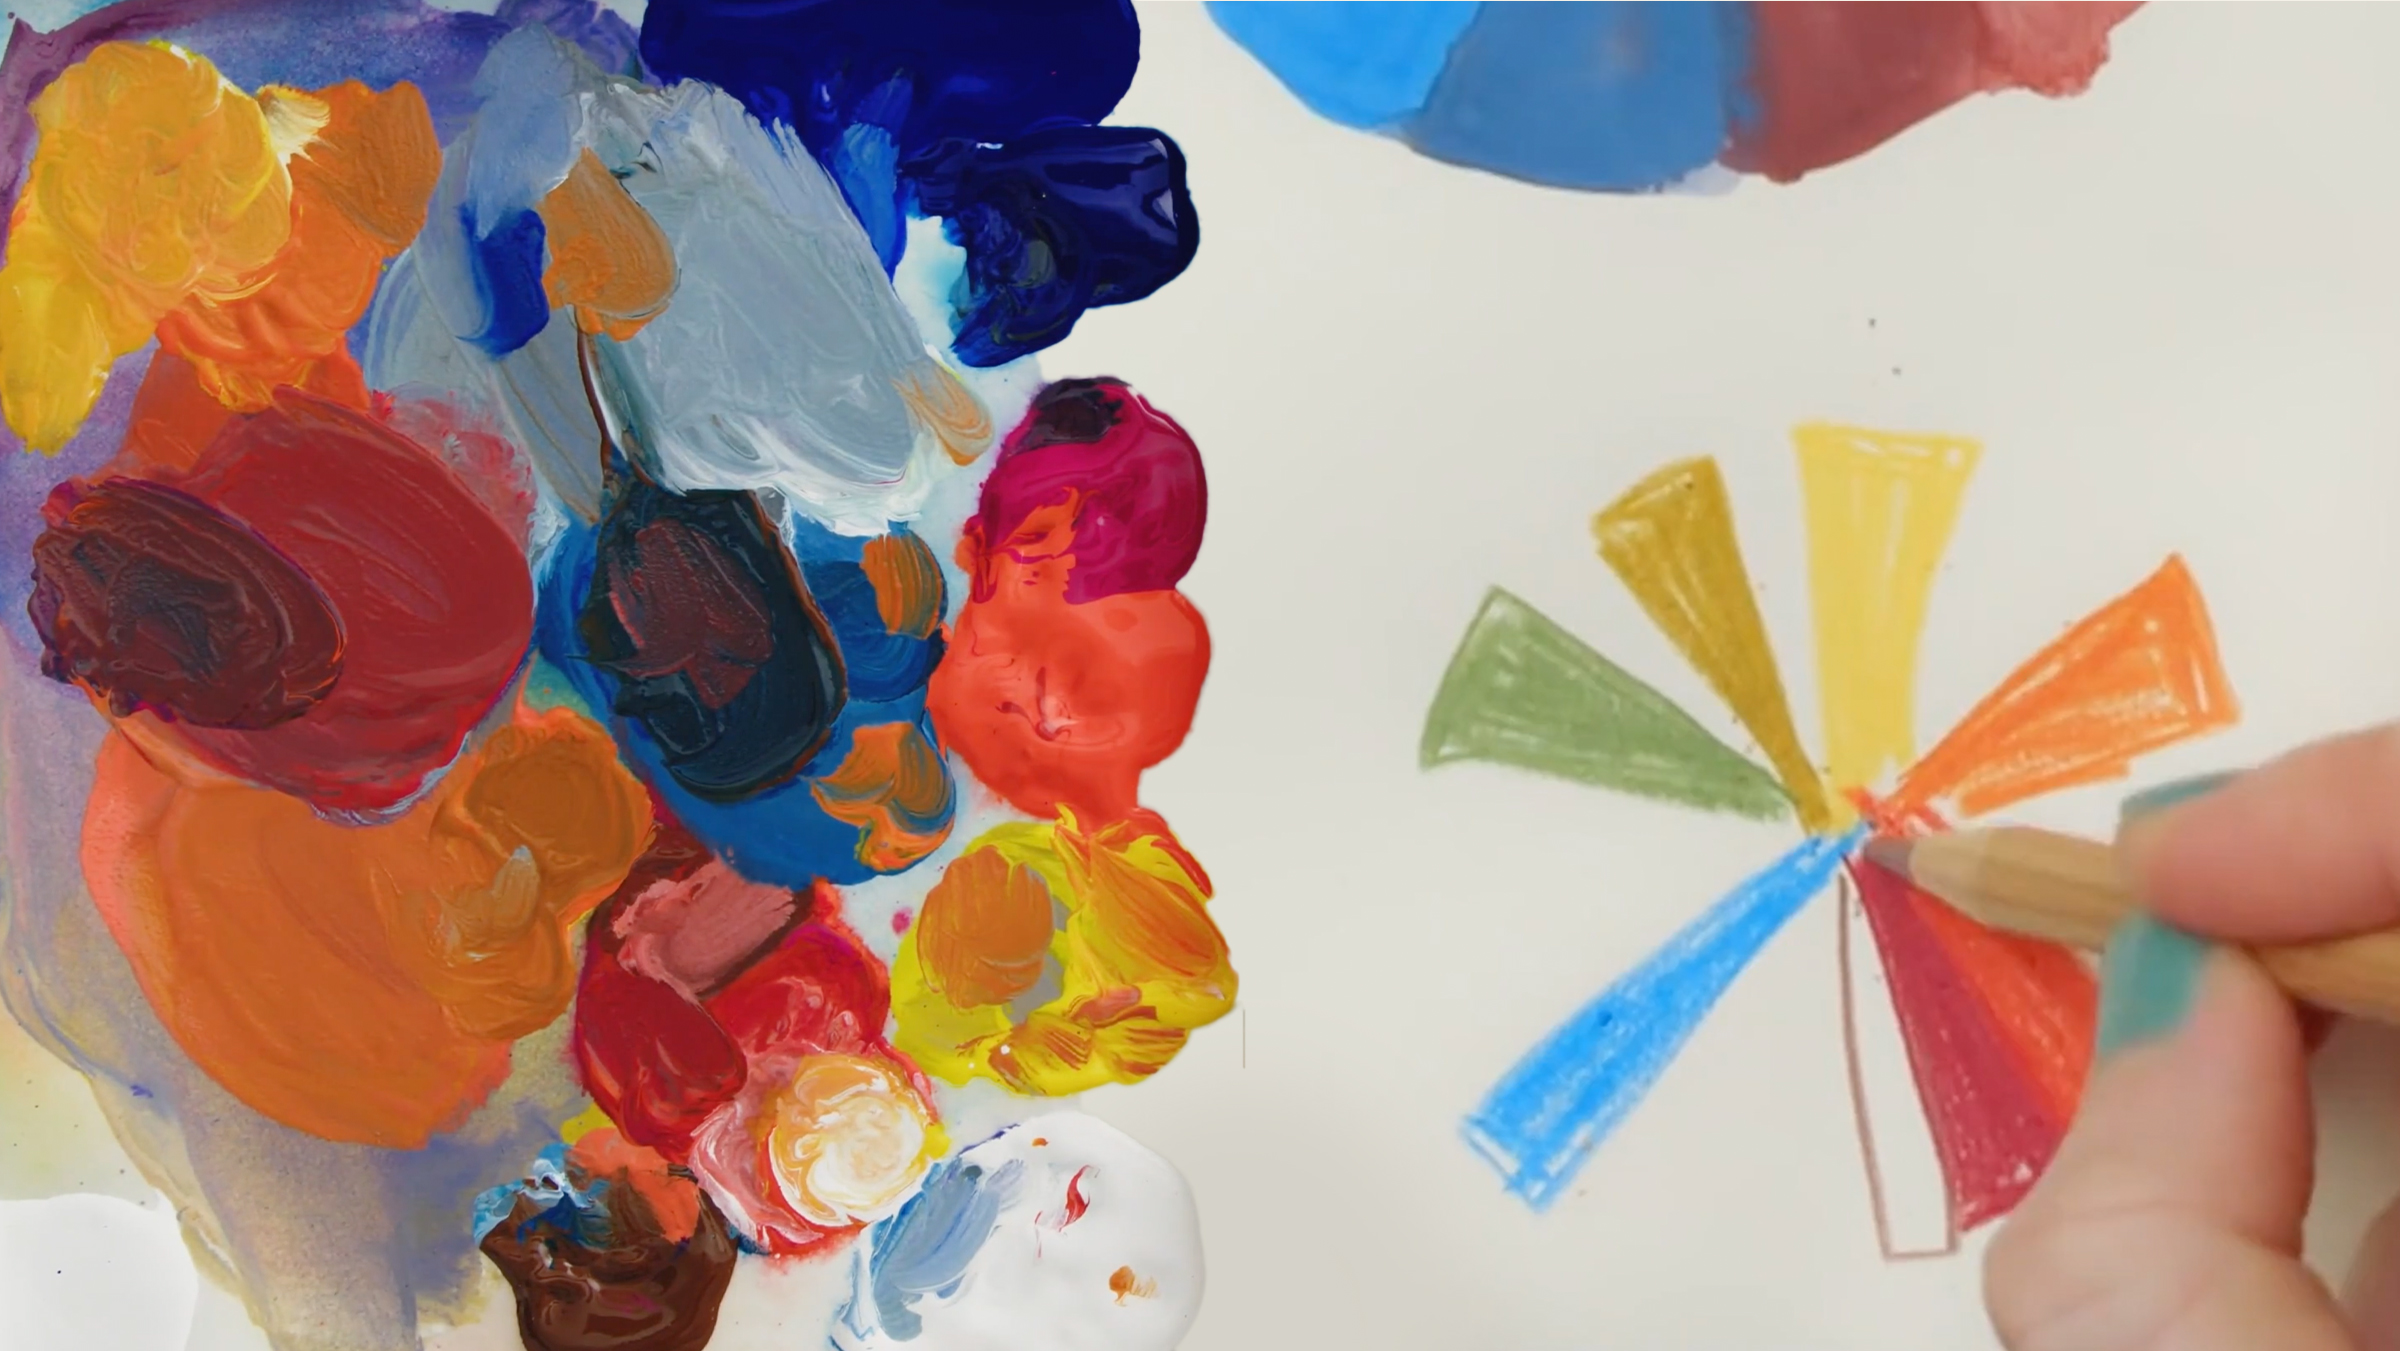
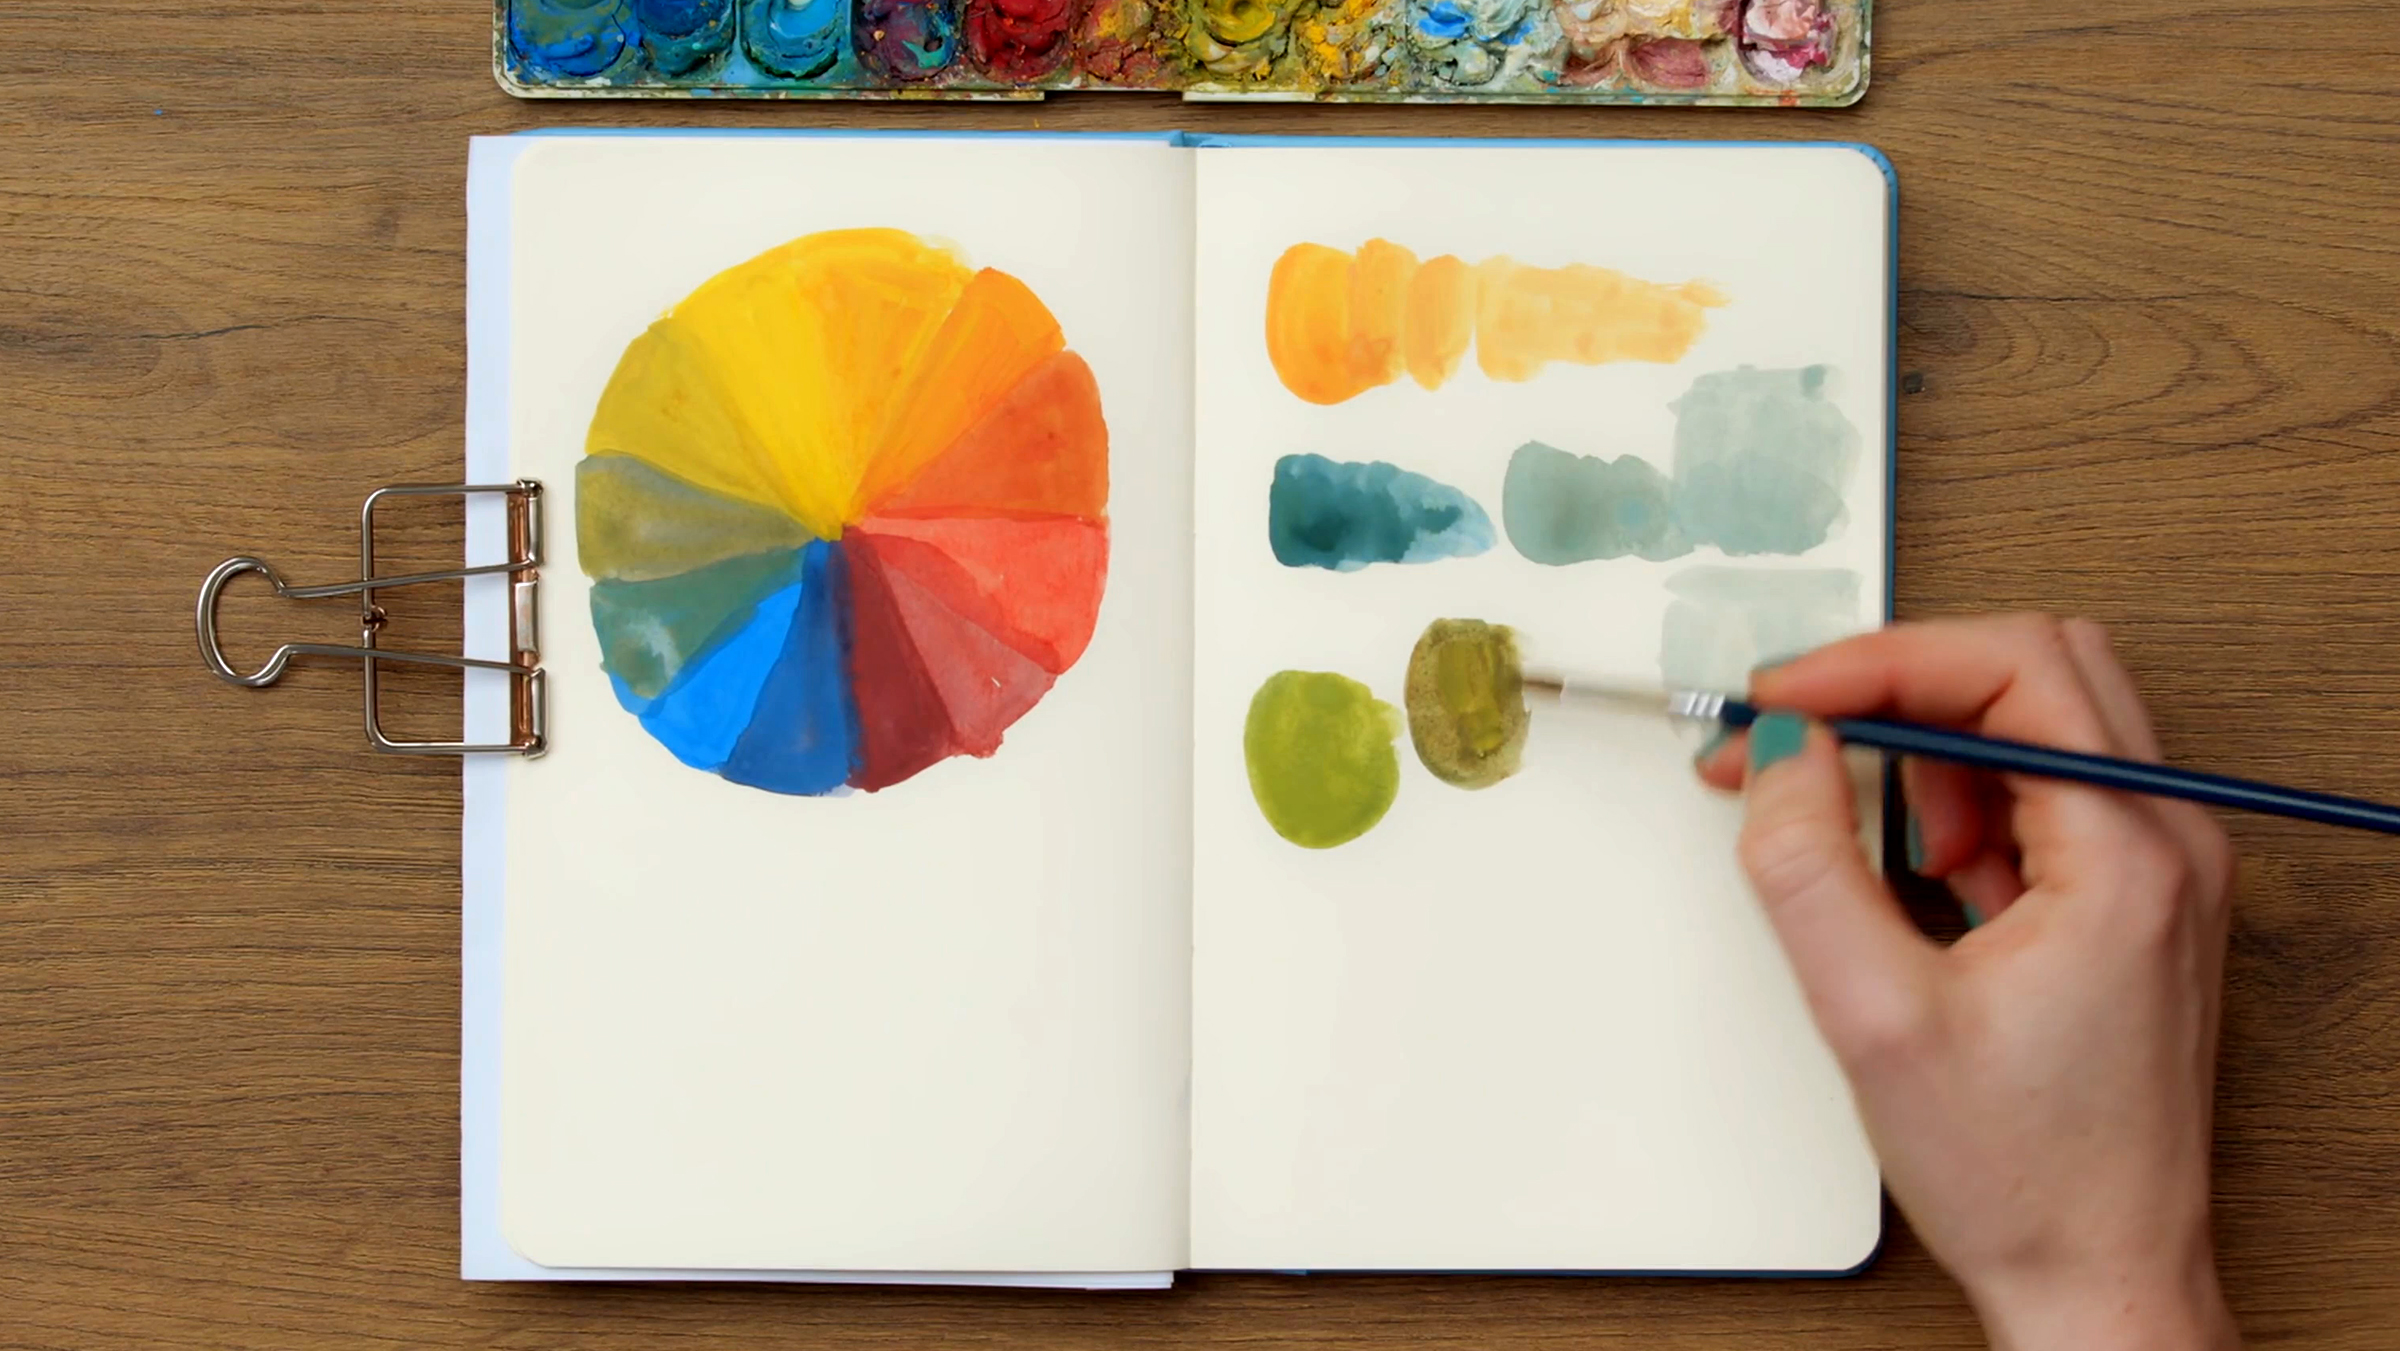
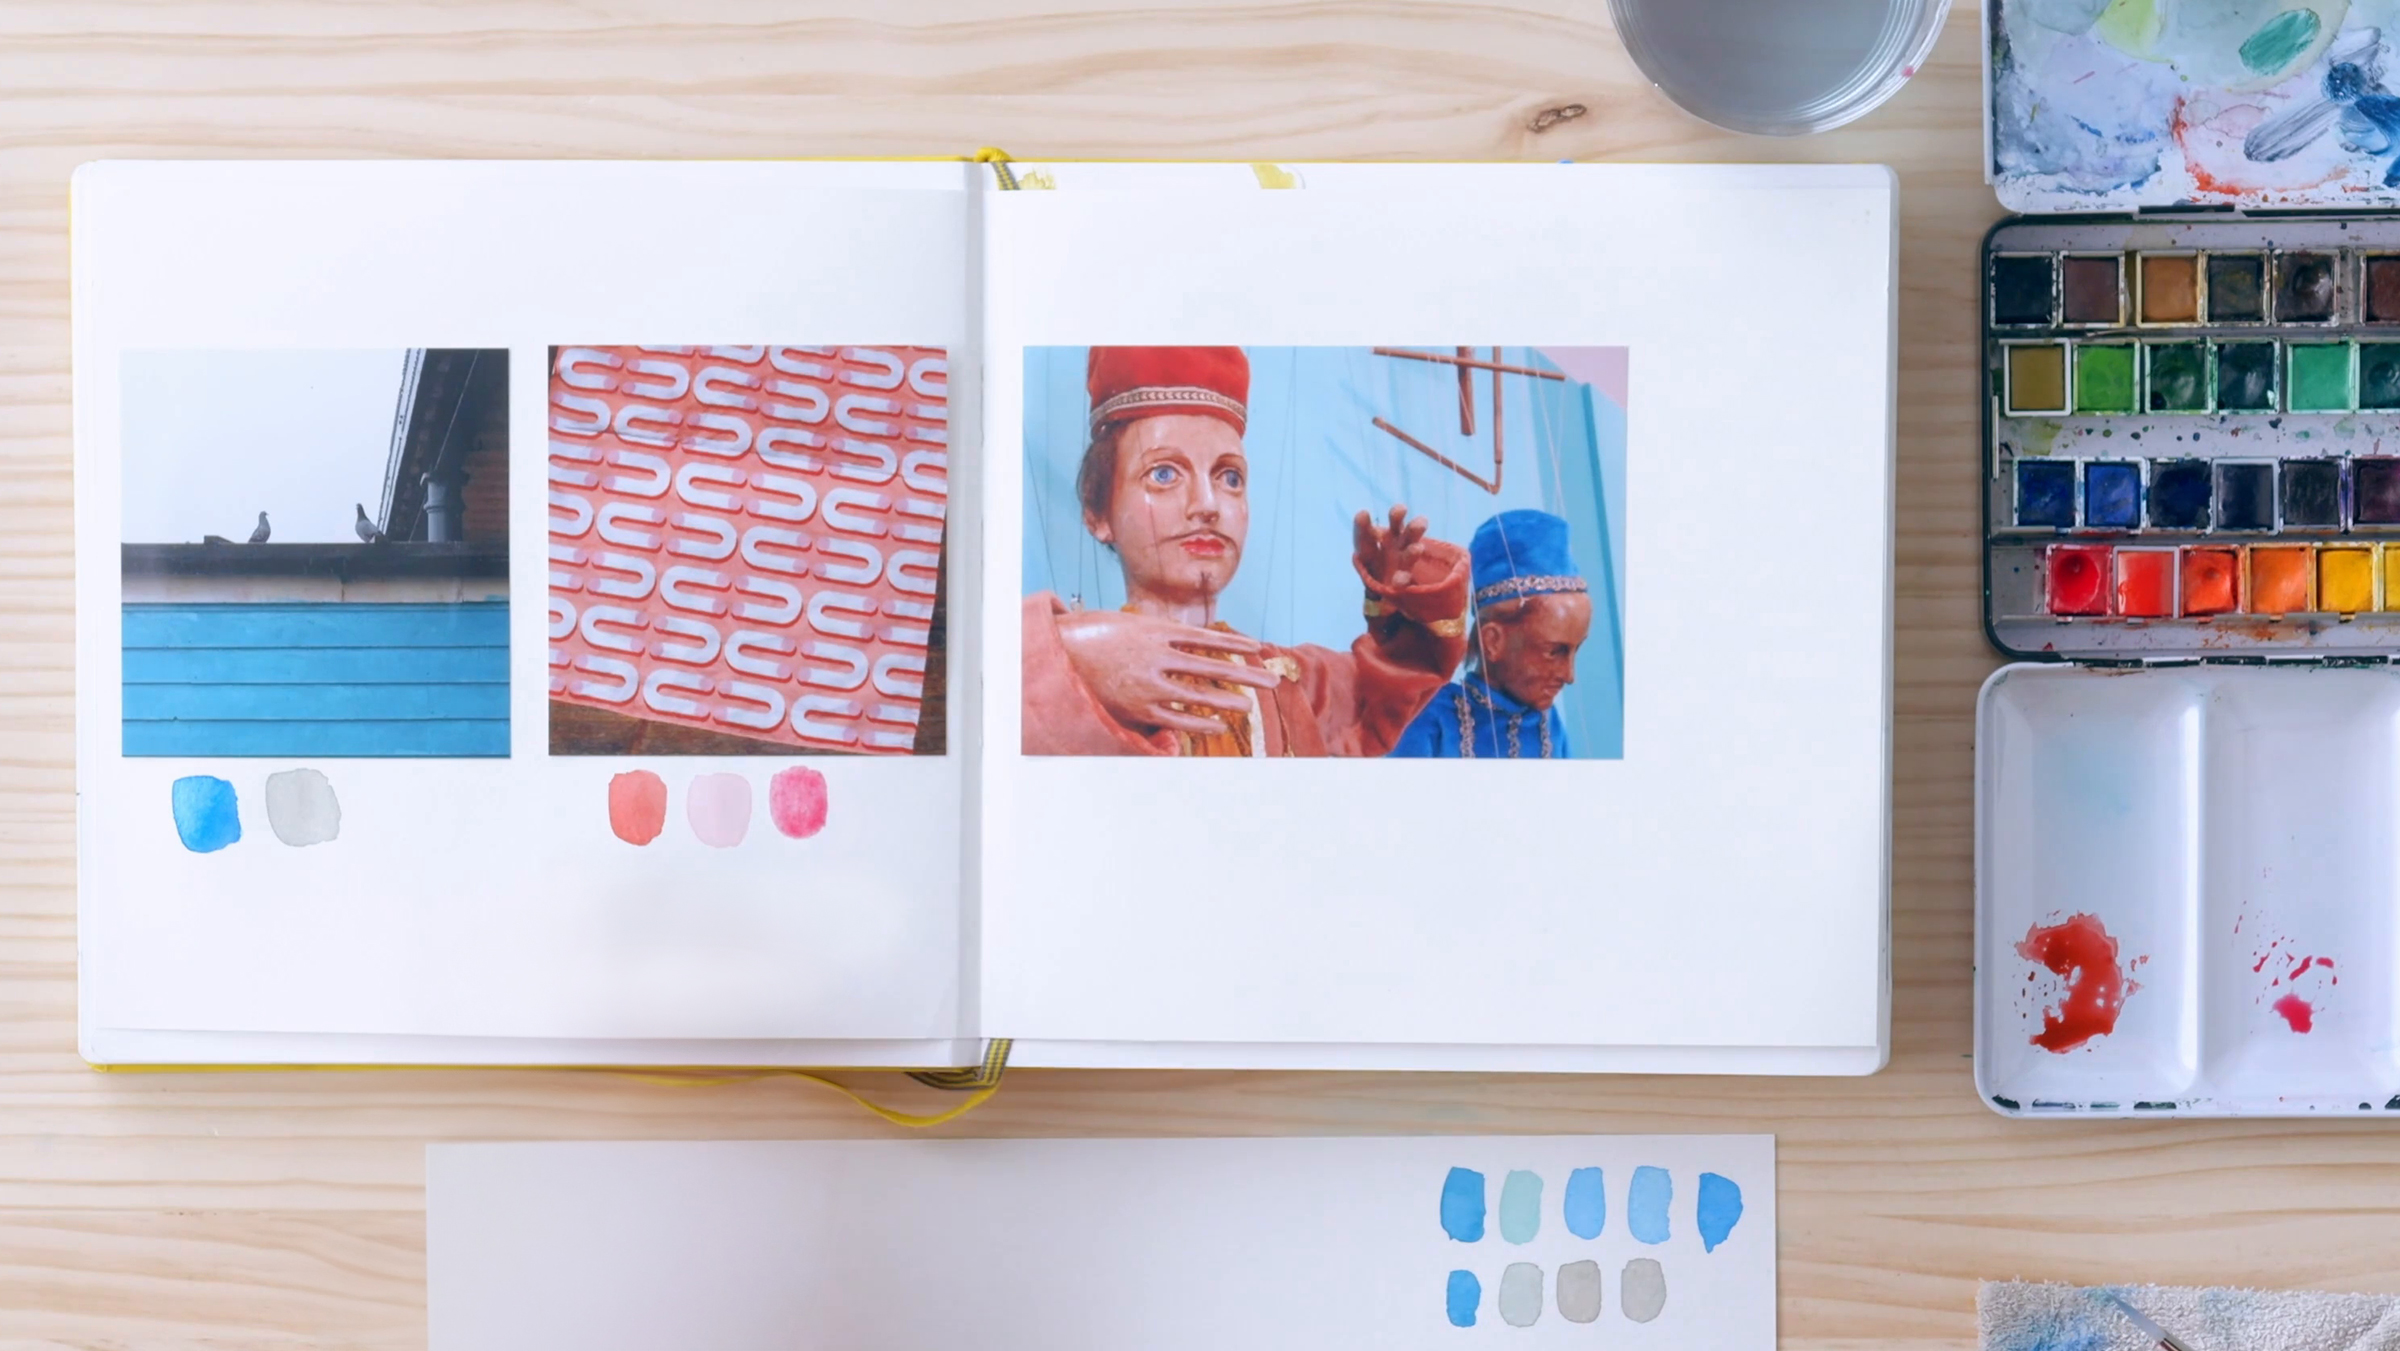
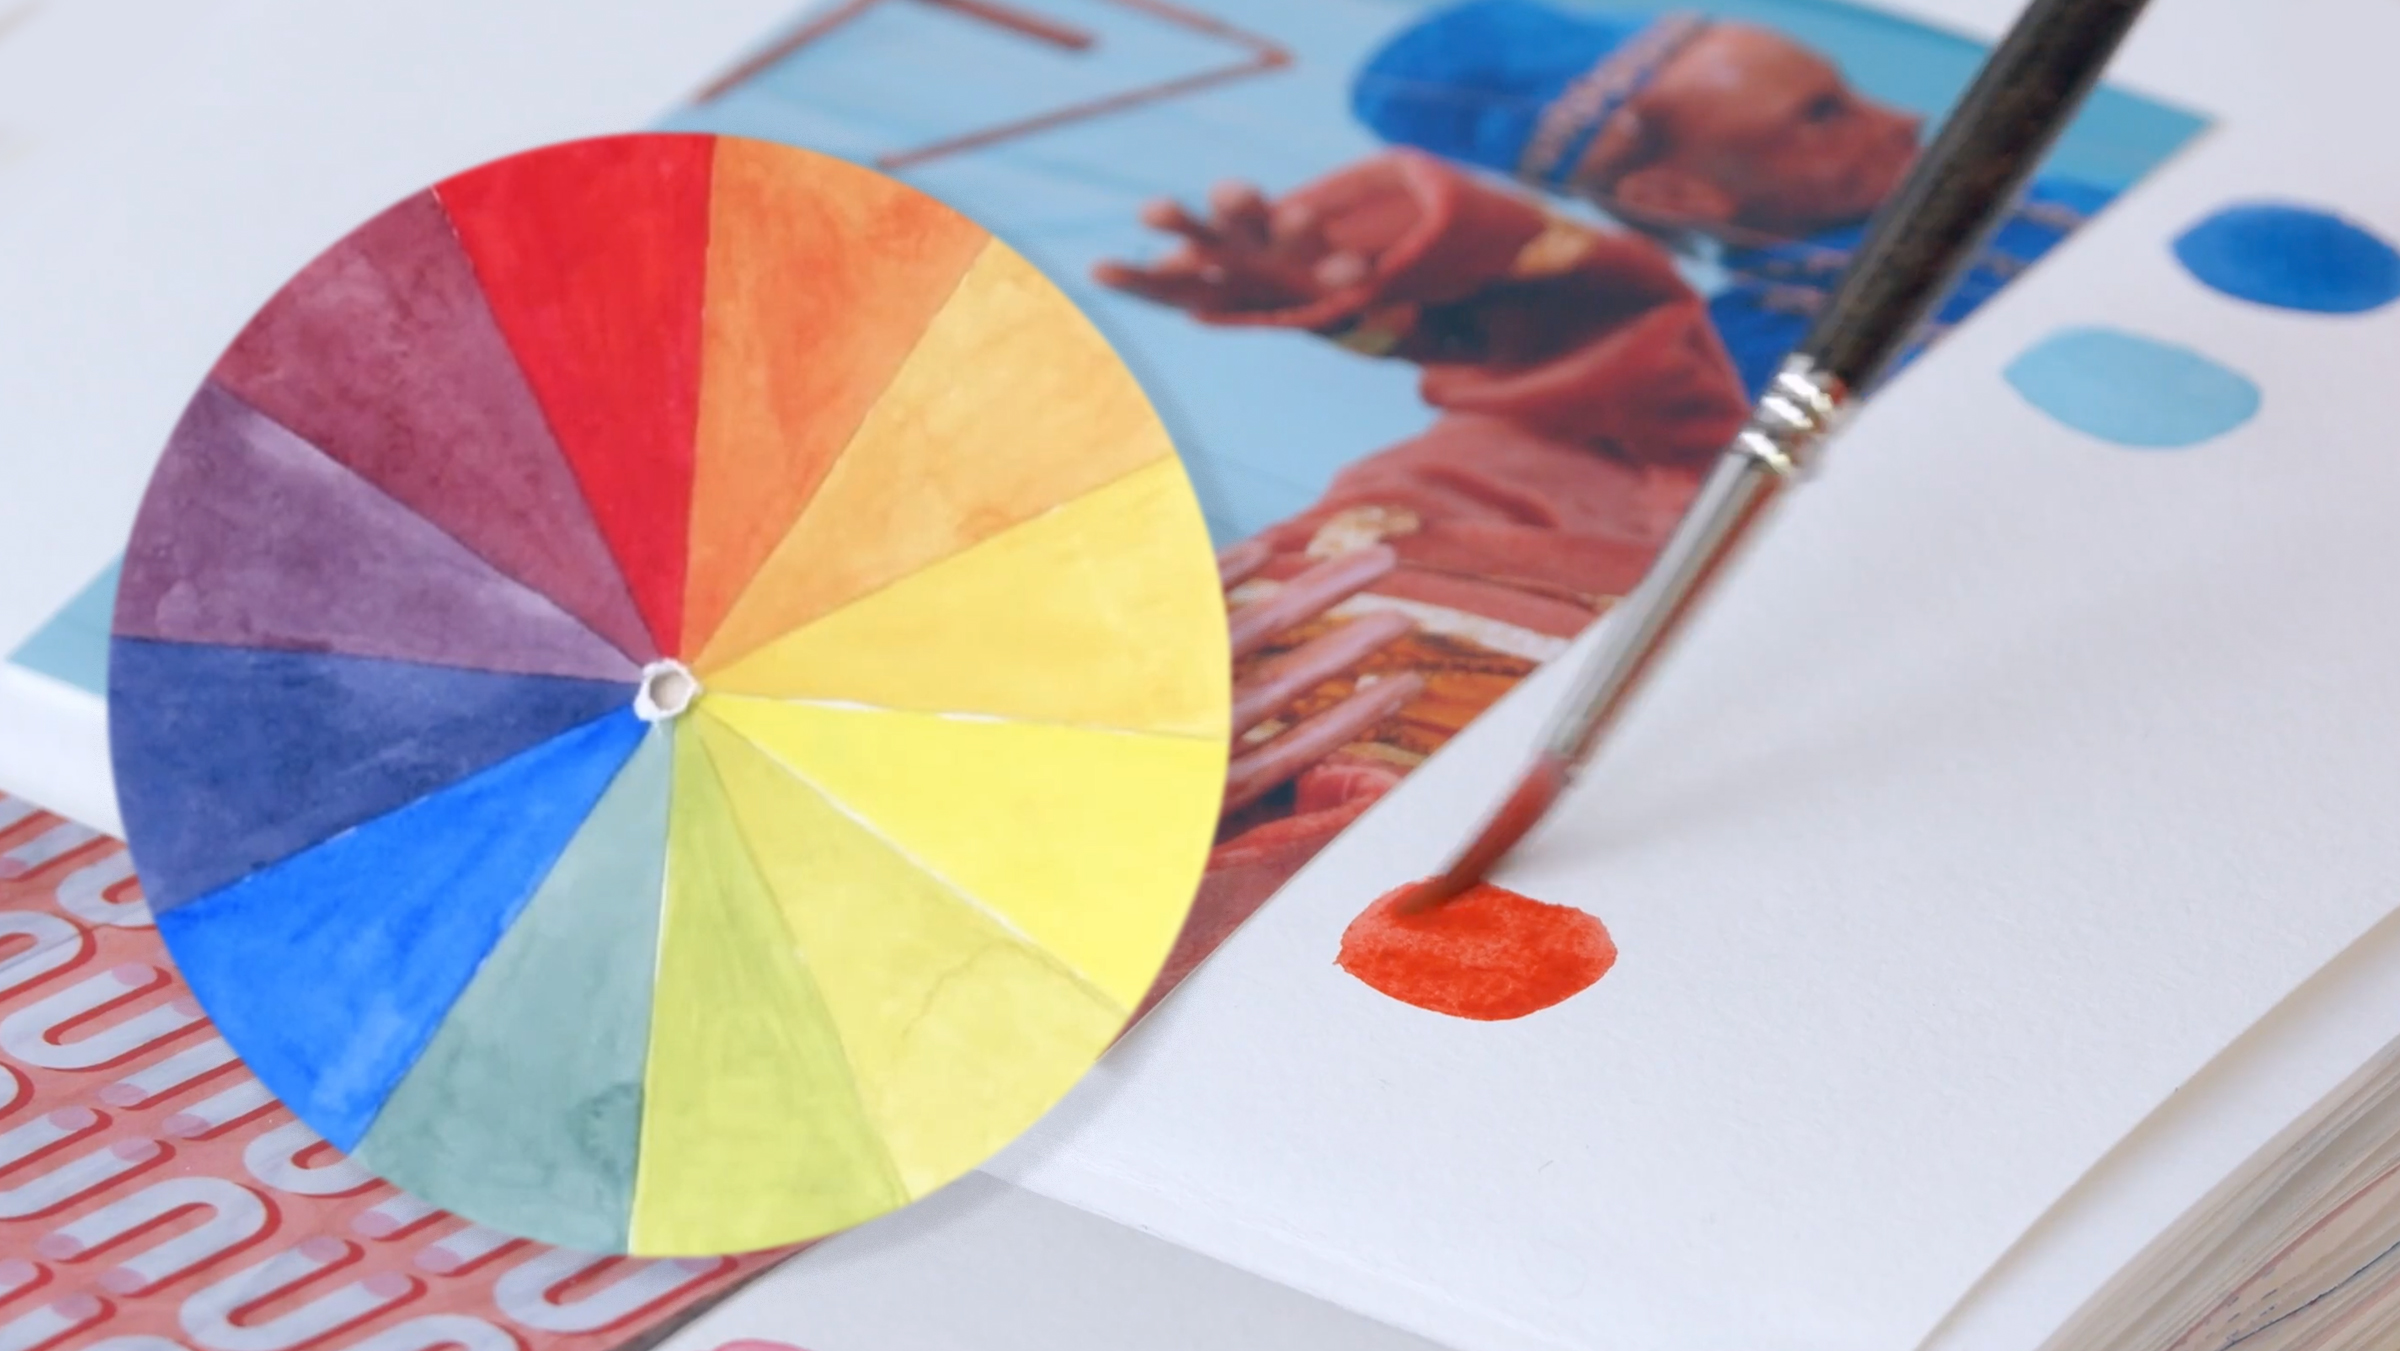
In this lesson, Sarah Van Dongen will show you how to mix colors and make a color wheel. Examples from picture books demonstrate how colors create mood in an illustration. You will also create color palettes from both a reference and your imagination.
16m
image
3
Adding Color and Using Different Mediums
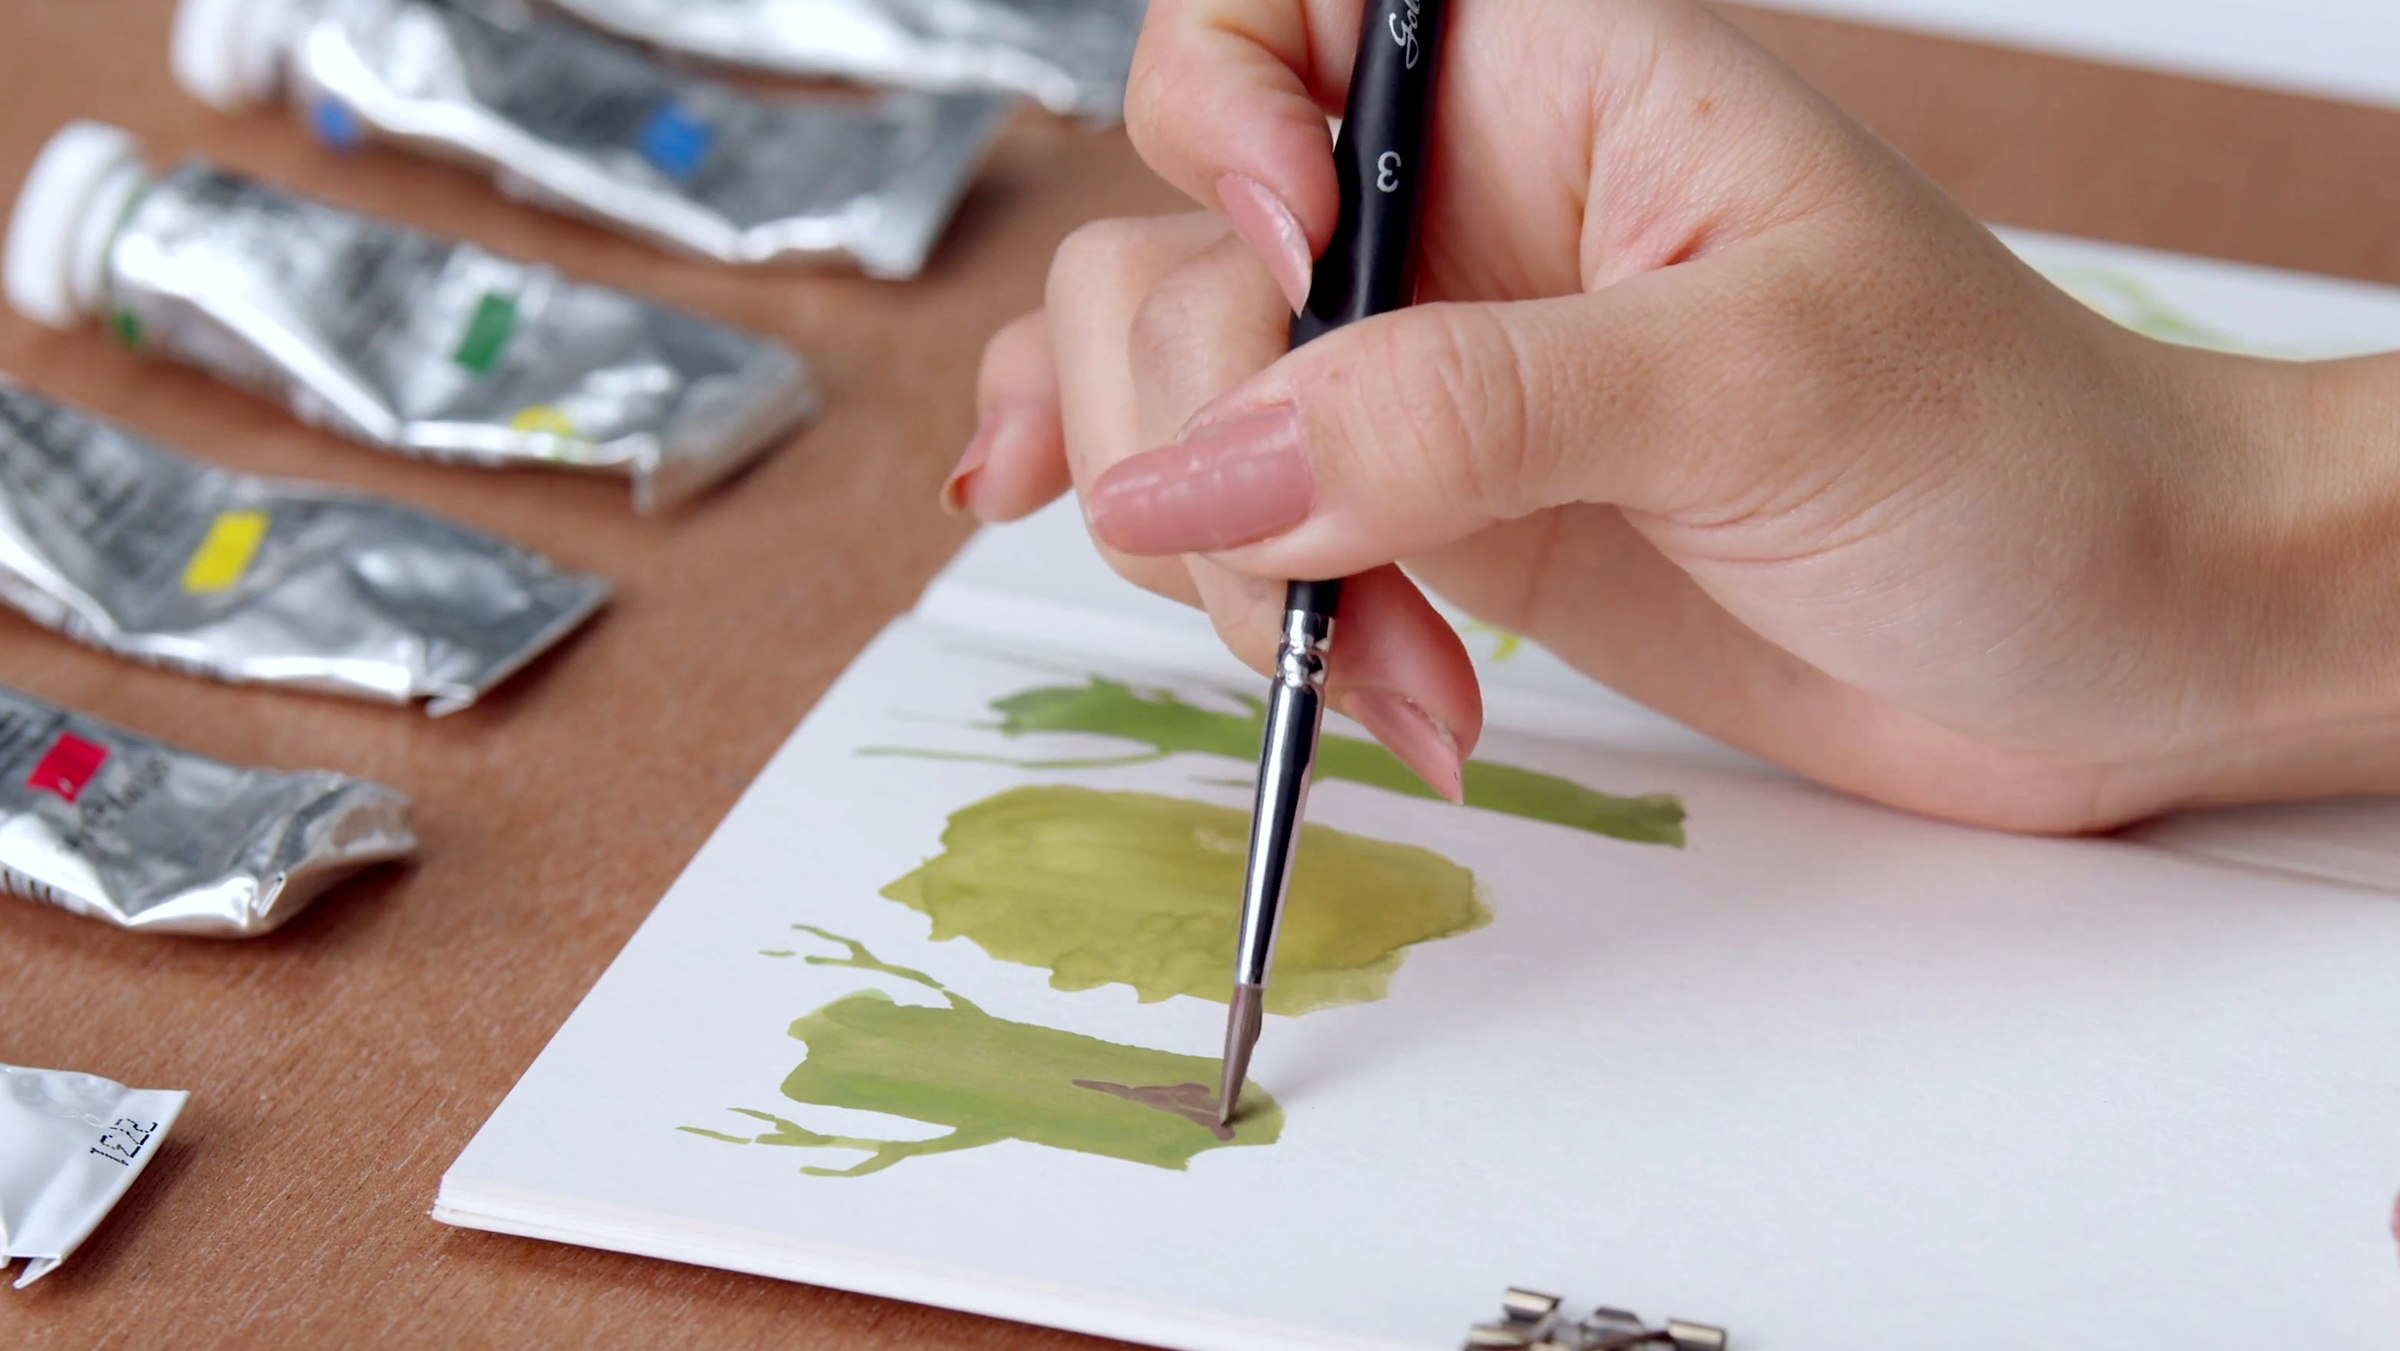
Sorie Kim will teach you how to incorporate color into your sketches using watercolors and gouache in this lesson. Starting with watercolors, you’ll explore creating muted tones, avoiding primary colors, and building outlines that blend seamlessly with the paint. Then, with gouache, you’ll learn to mix complementary colors, layer values and use highlights for depth. By experimenting with these mediums, you’ll gain new tools to enhance texture, dimension, and lighting in your daily sketches.
16m
image
4
Adding Color
In this lesson, you will learn with Mattias Adolfsson how to add color to some of the sketches you have previously created, bringing more life and soul to your characters.
9m
image
5
Line and Colour Techniques
In this lesson, you will learn with Lapin, a very intuitive technique for sketching from observation. You will use a black fine liner for contour drawing and watercolor for adding volume, working with only three pigments.
4m
image
6
Color Studies
You will create a variety of value drawings and choose your color scheme for the project with Don Kilpatrick III. This process will ensure that your final composition is harmonized in line, color, shadow, and light.
13m
image
7
Taking a Spin With Colour 1
Starting with the basics, Laura McKendry will give you the foundations for everything you need to know when working with color and how this can genuinely enhance your painting.
19m
image
8
Taking a Spin With Colour 2
Let's continue with Laura McKendry as we define color combinations from our photos.
10m
image
9
Abstract Transparencies 1
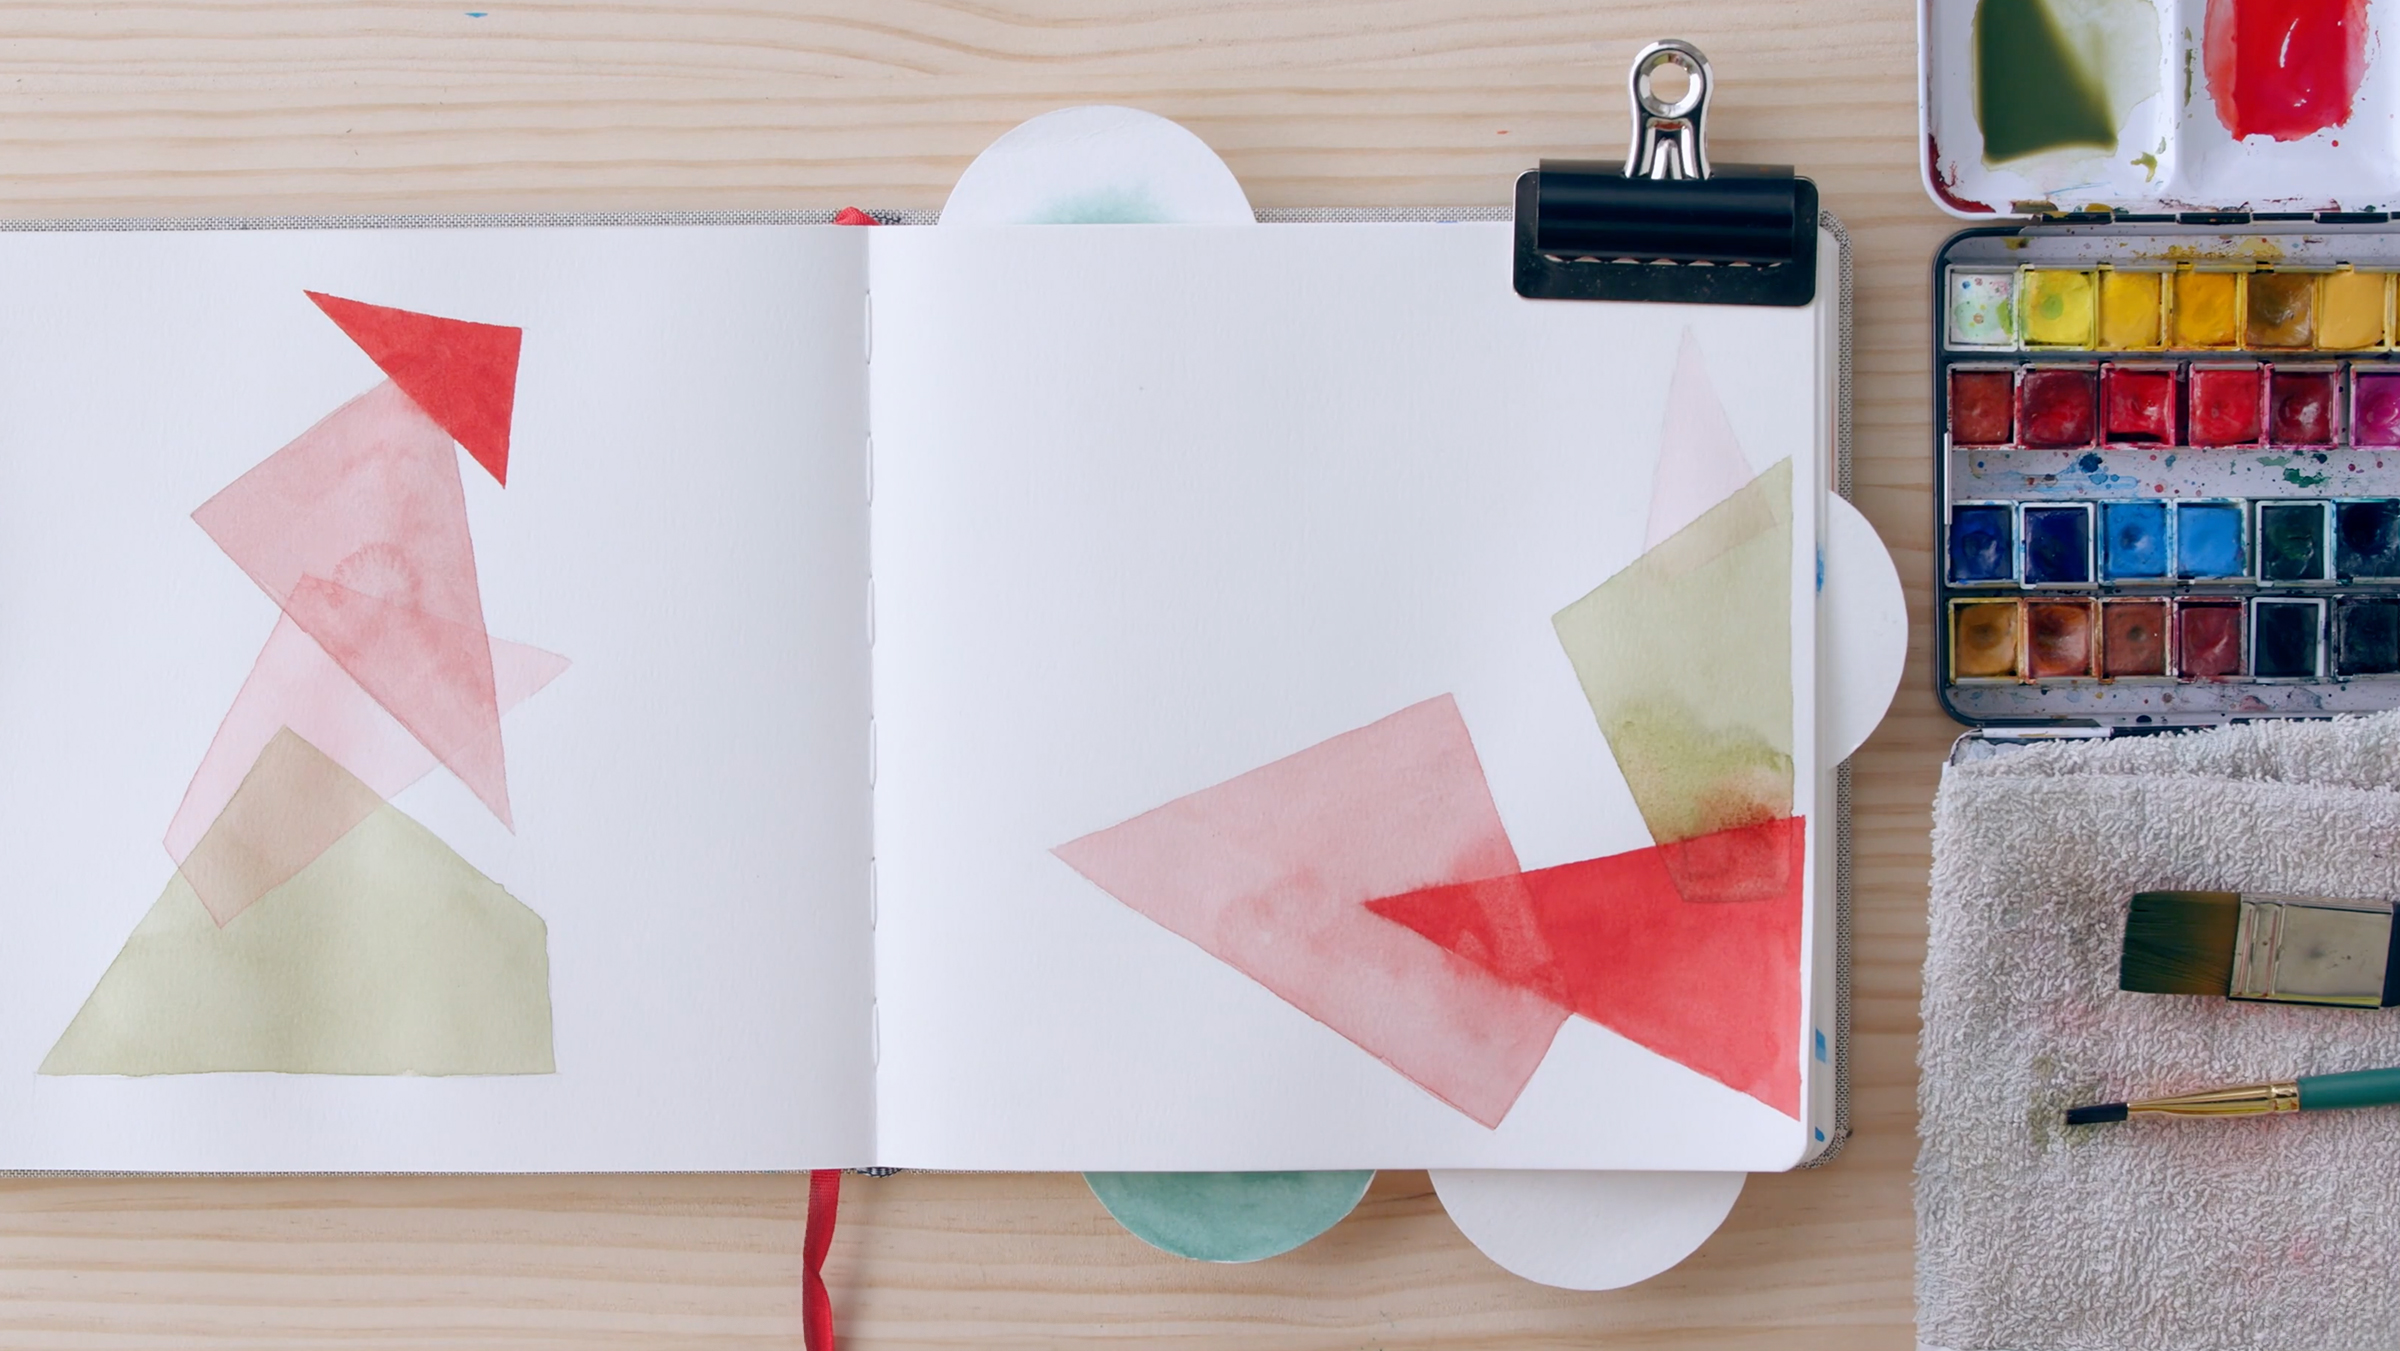
Now that we've got to grips with color, in this lesson, Laura McKendry will guide you through playful ways to combine layers of color, drawing inspiration from abstract shapes in the world around us.
13m
image
10
Abstract Transparencies 2
Here, Laura McKendry will continue to guide you as we play around with layers of color.
11m
image
11
When Colours Bleed
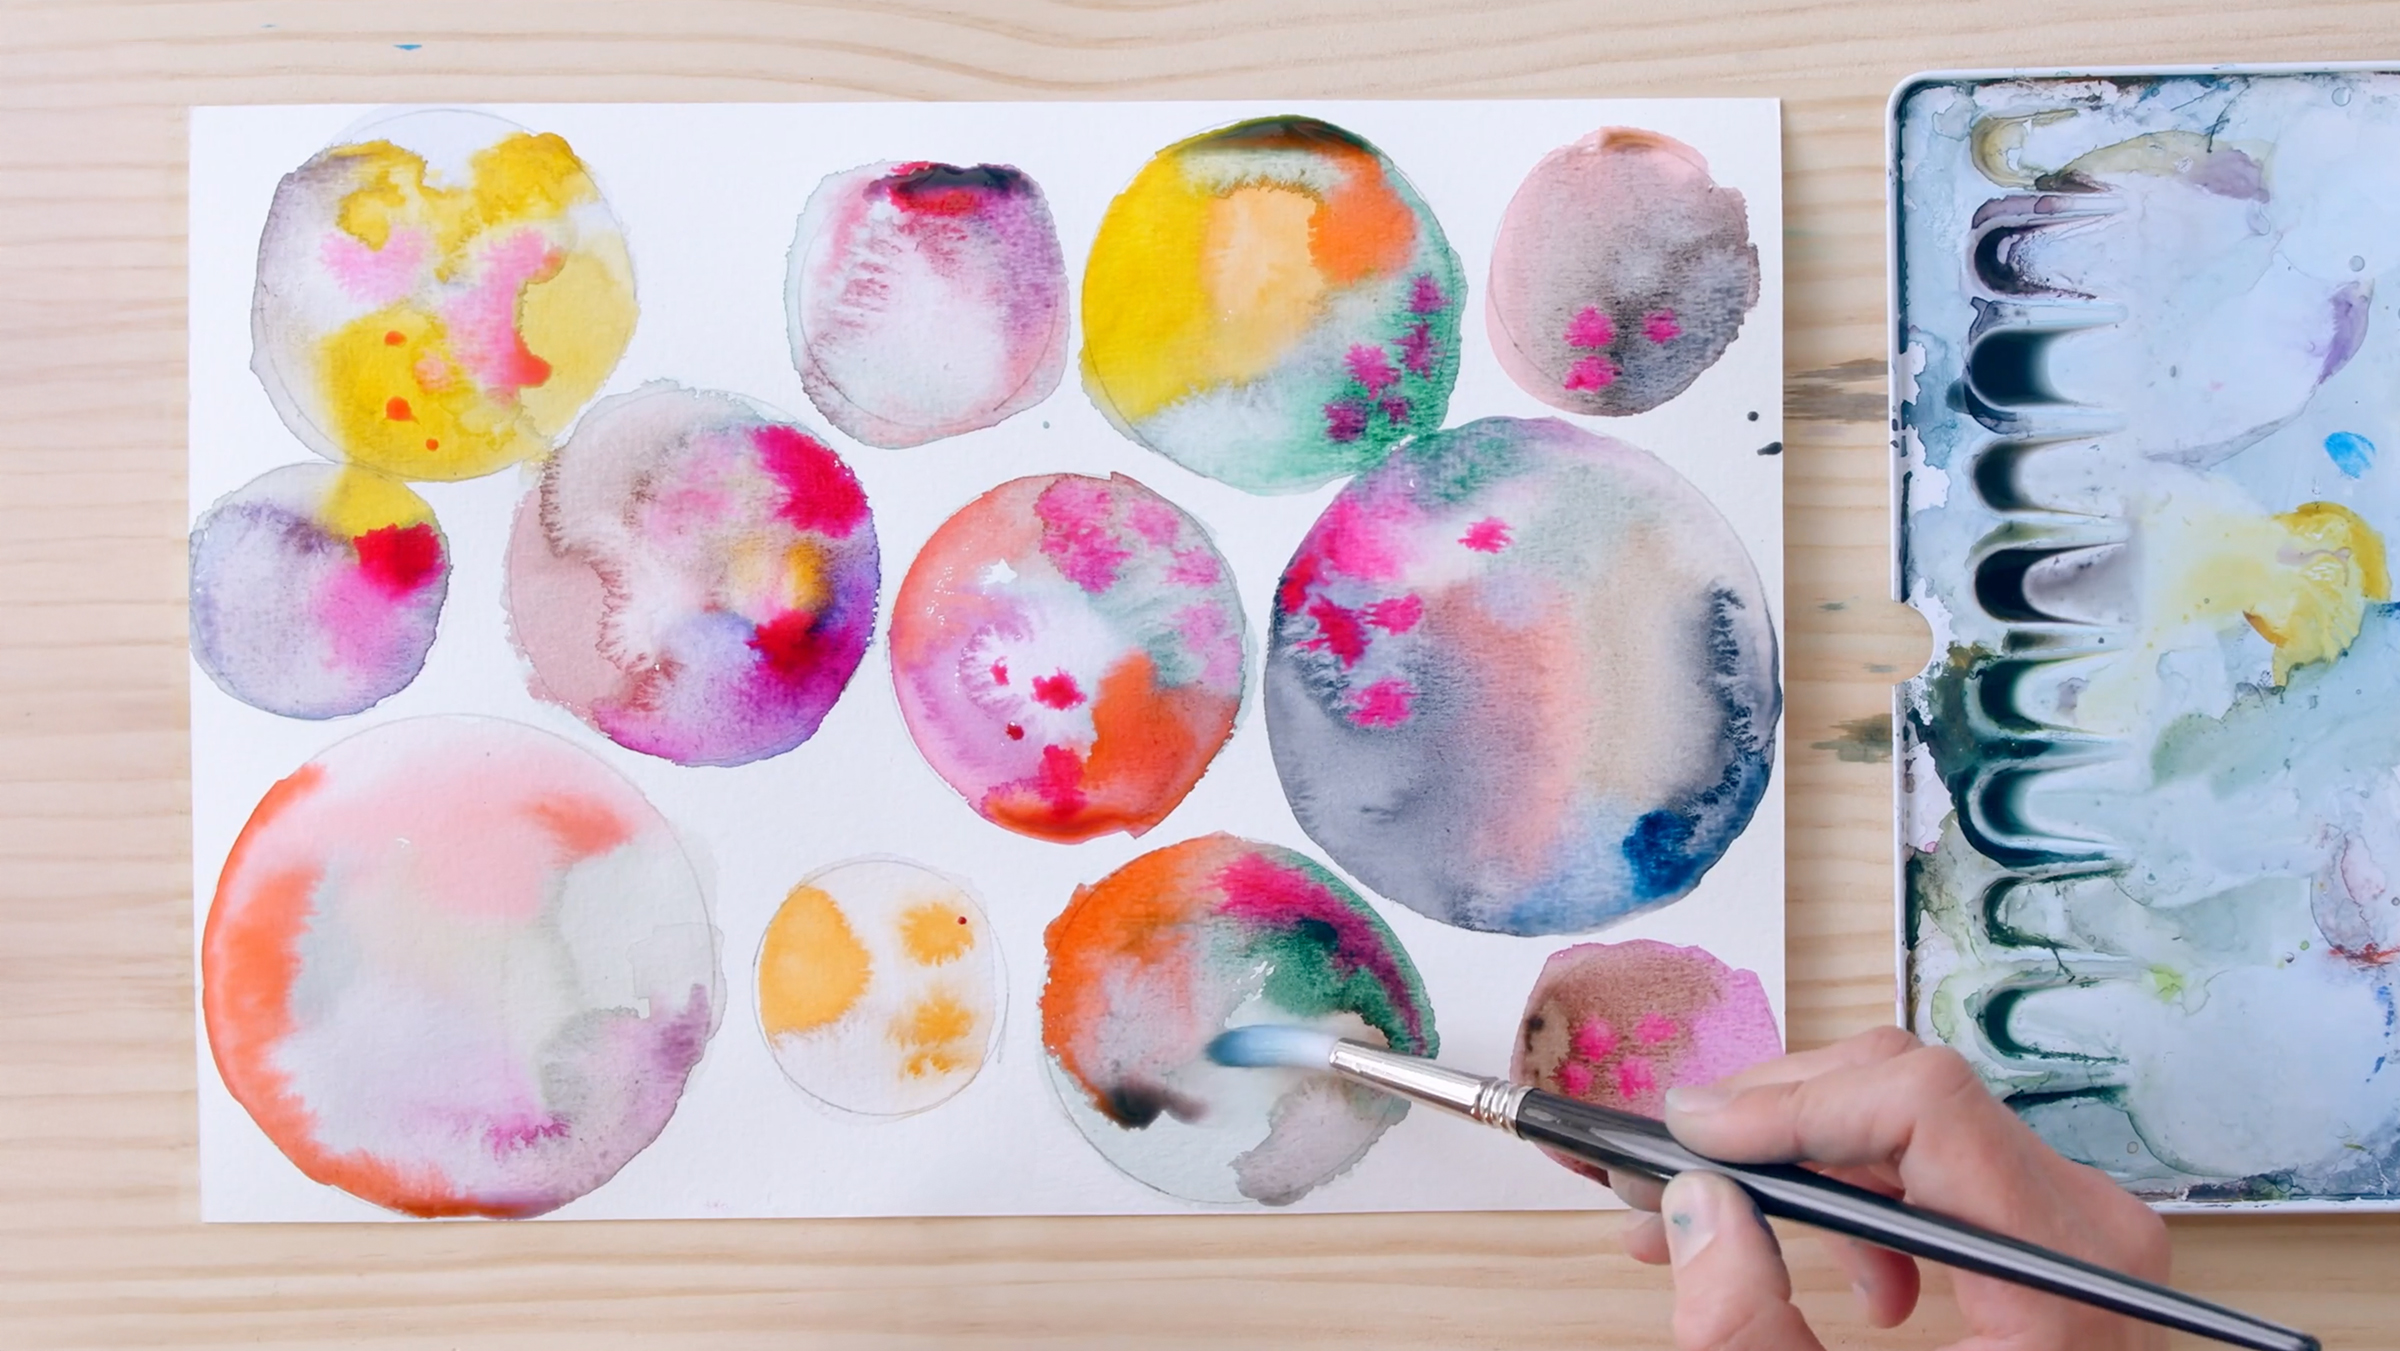
We’ve explored what happens when we add layers of color. Now, Laura McKendry will show you how to combine colors less predictably, encouraging them to bleed into each other to create unexpected results.
17m
image
12
Start Sketching 1
Vacation photos, postcards, and historical paintings are all equally suitable as templates for the final project, as Felix Scheinberger emphasizes. The key is that they feature beautiful architecture. Peter particularly enjoys views of market scenes and castle ruins.
14m
image
13
Start Sketching 2
Now, Felix Scheinberger is going to show you how to nail the perspective and details of the building.
13m
image
14
Colourize
In this lesson, Felix Scheinberger will guide you through coloring the preliminary drawing with watercolor and bringing it to life. Ensure you have a large enough container of water and paper towels (or a tissue) to dry the paint. Dip all the colors in your watercolor box, and you're done!
14m
image
1
Inspiration, Research, and Copying
In this lesson, Sarah Van Dongen encourages you to focus on personal research to improve your drawing skills. You can explore various techniques such as line, shape, and negative space by choosing a subject, like dogs in Sarah's case. The process involves starting with simple poses, learning from reference images, and gradually moving toward developing your style and stories.
12m
image
2
Drawing Flowers from Stains
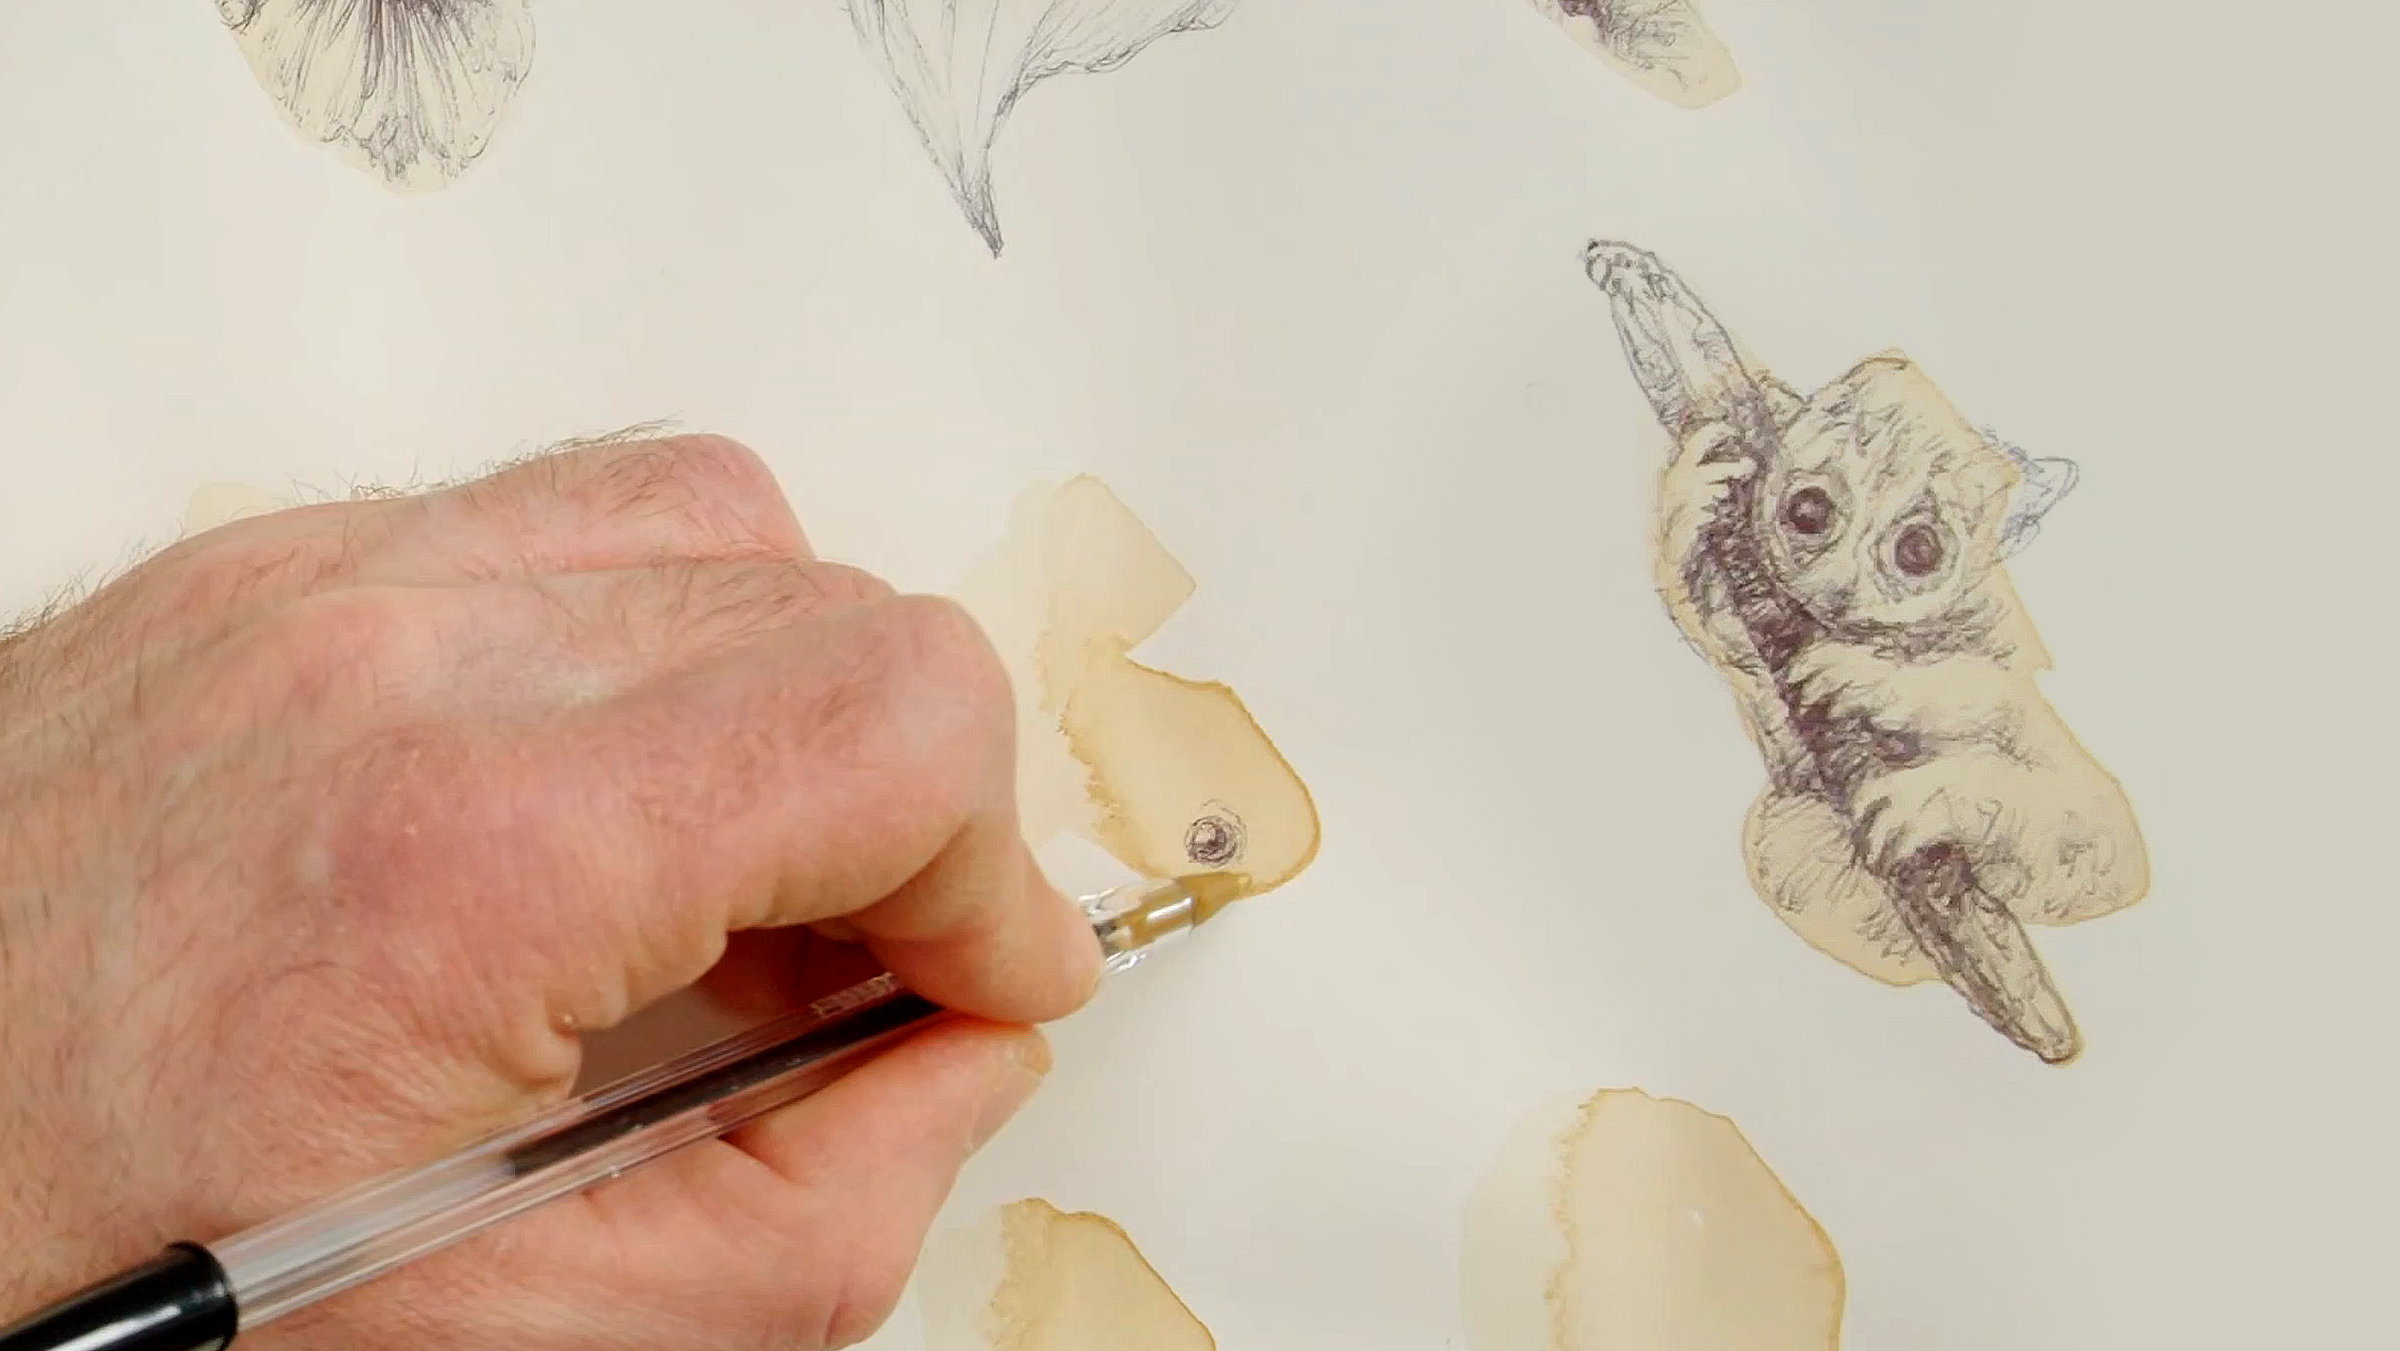
Now, Marco Mazzoni will teach you how to work with stains to embrace mistakes and unlock creative potential. Working with unpredictable shapes, you'll explore flowers, animals, and portraits using stains as the foundation. This technique encourages you to let go of control, sparking imagination and allowing playful experimentation, which is critical to enhancing your drawing skills.
9m
image
3
Drawing Animals from Stains
Next, Marco Mazzoni will guide you through creating animals from stains. You'll learn to adapt your designs by interpreting unpredictable shapes and letting the stain suggest movements or forms. This exercise opens your mind to new possibilities, encouraging you to explore how animals move and inhabit space while embracing creative experimentation.
7m
image
4
Ink Sketch
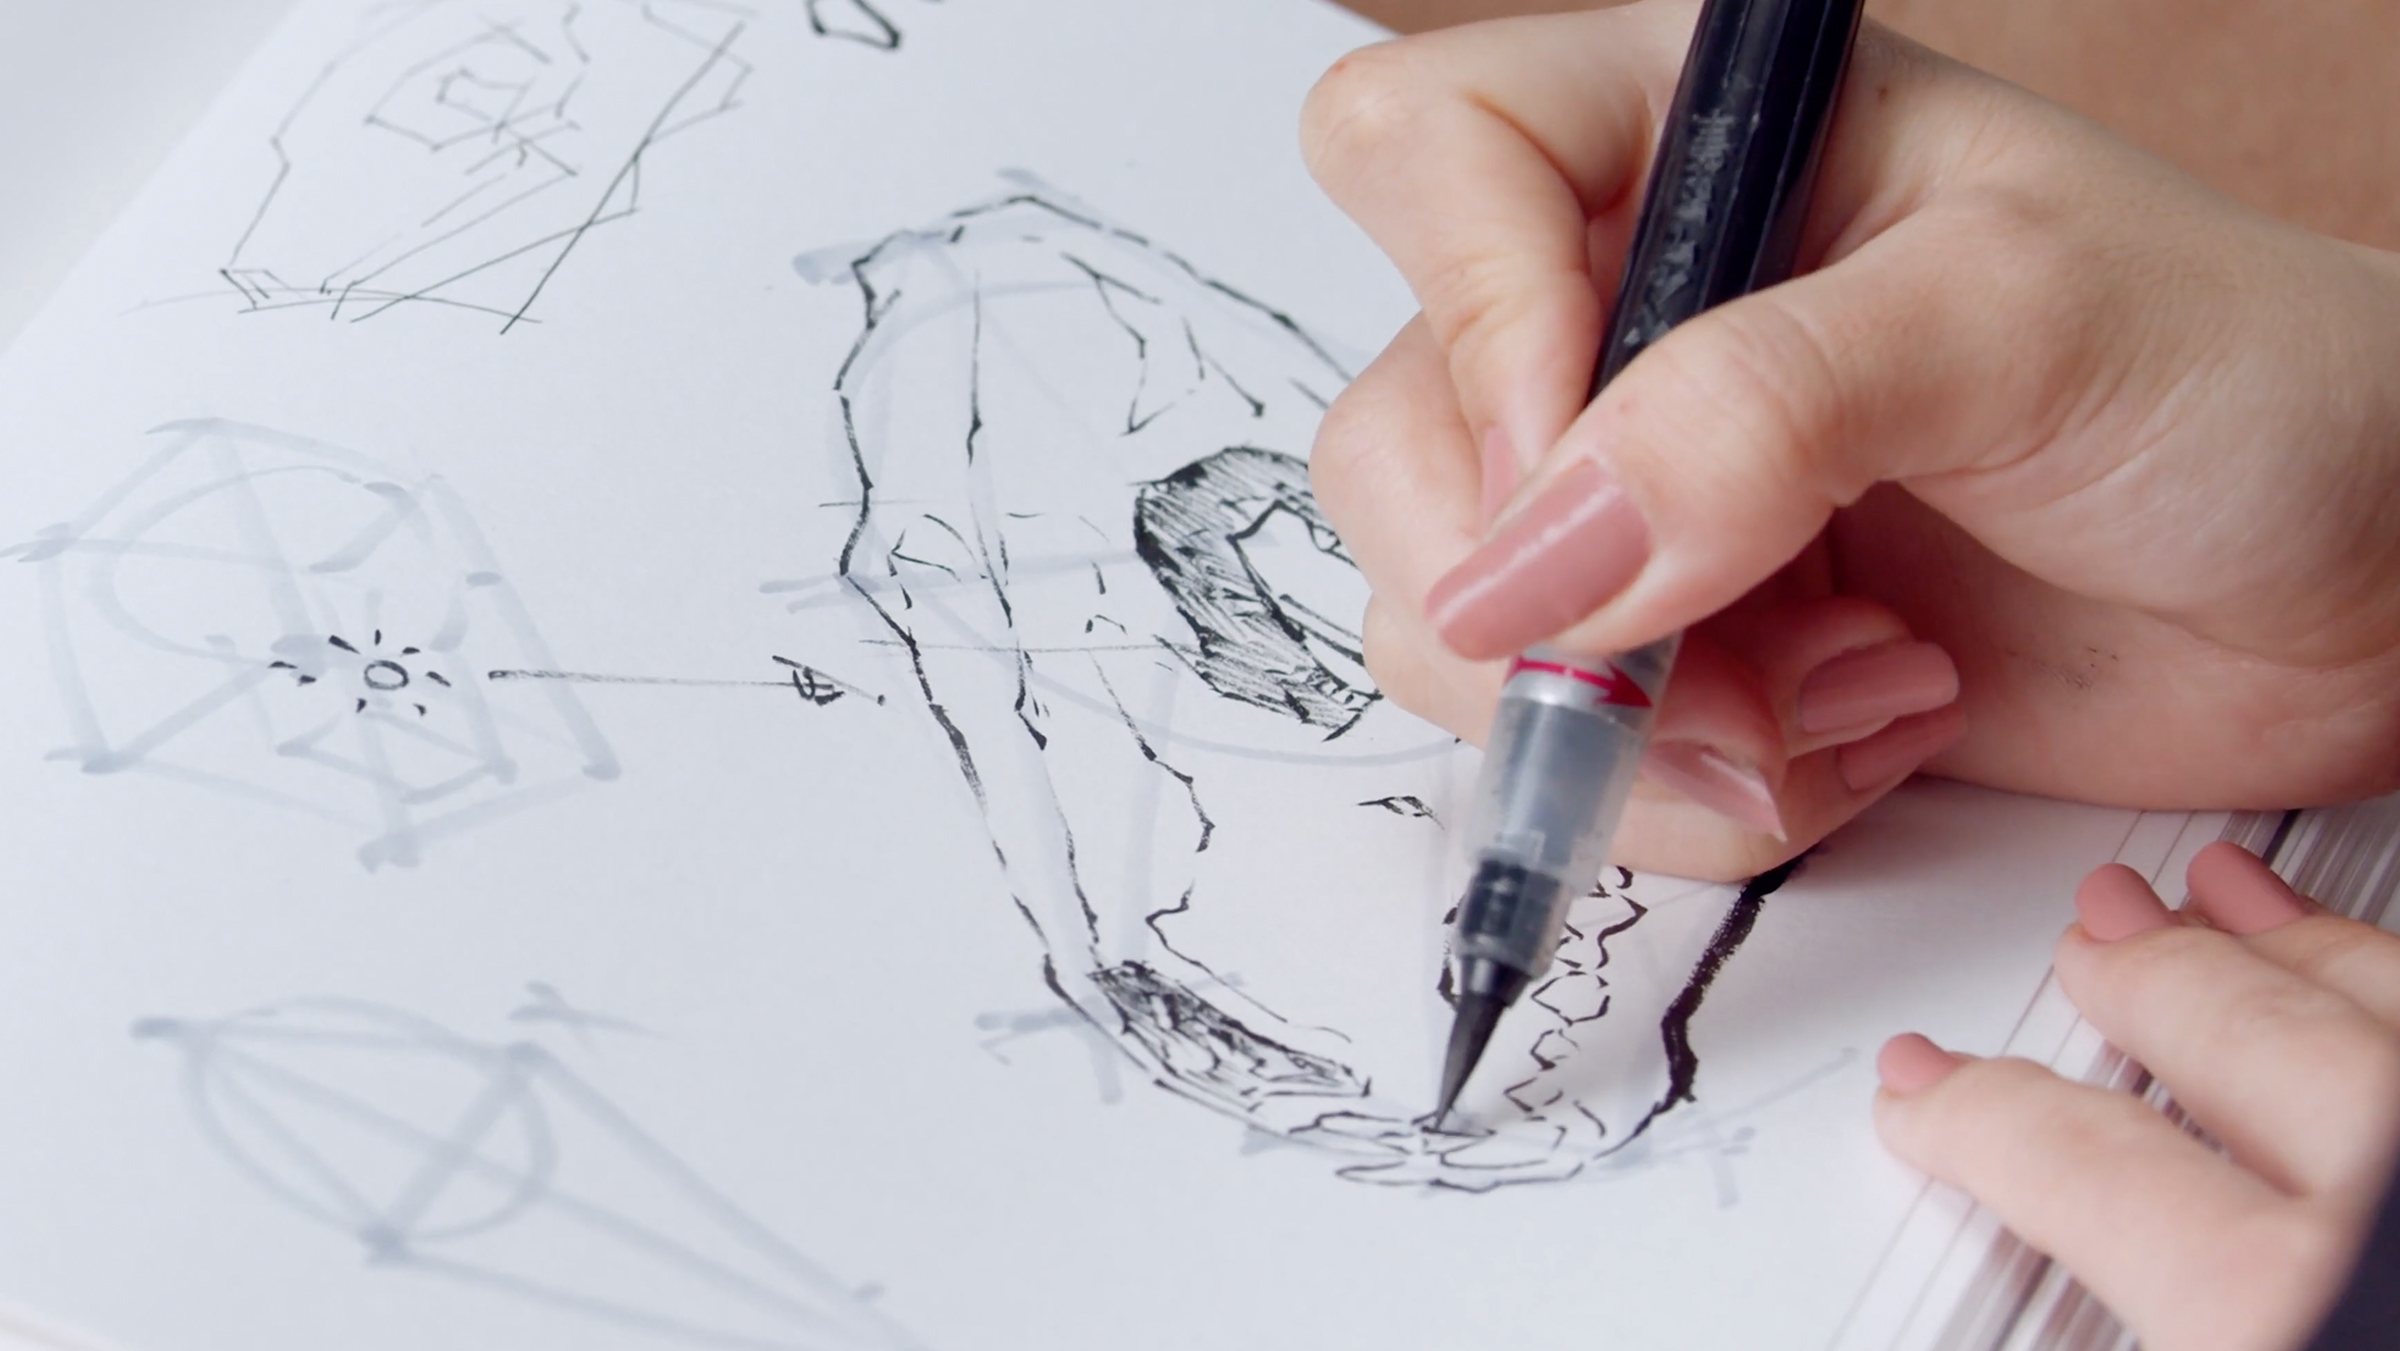
In this lesson, Lapin will show you his approach to sketching with ink. He will demonstrate how to use ink to define the darkest parts of the composition, how to suggest details with just a few pen strokes, and, most importantly, stop before overworking the drawing!
3m
image
5
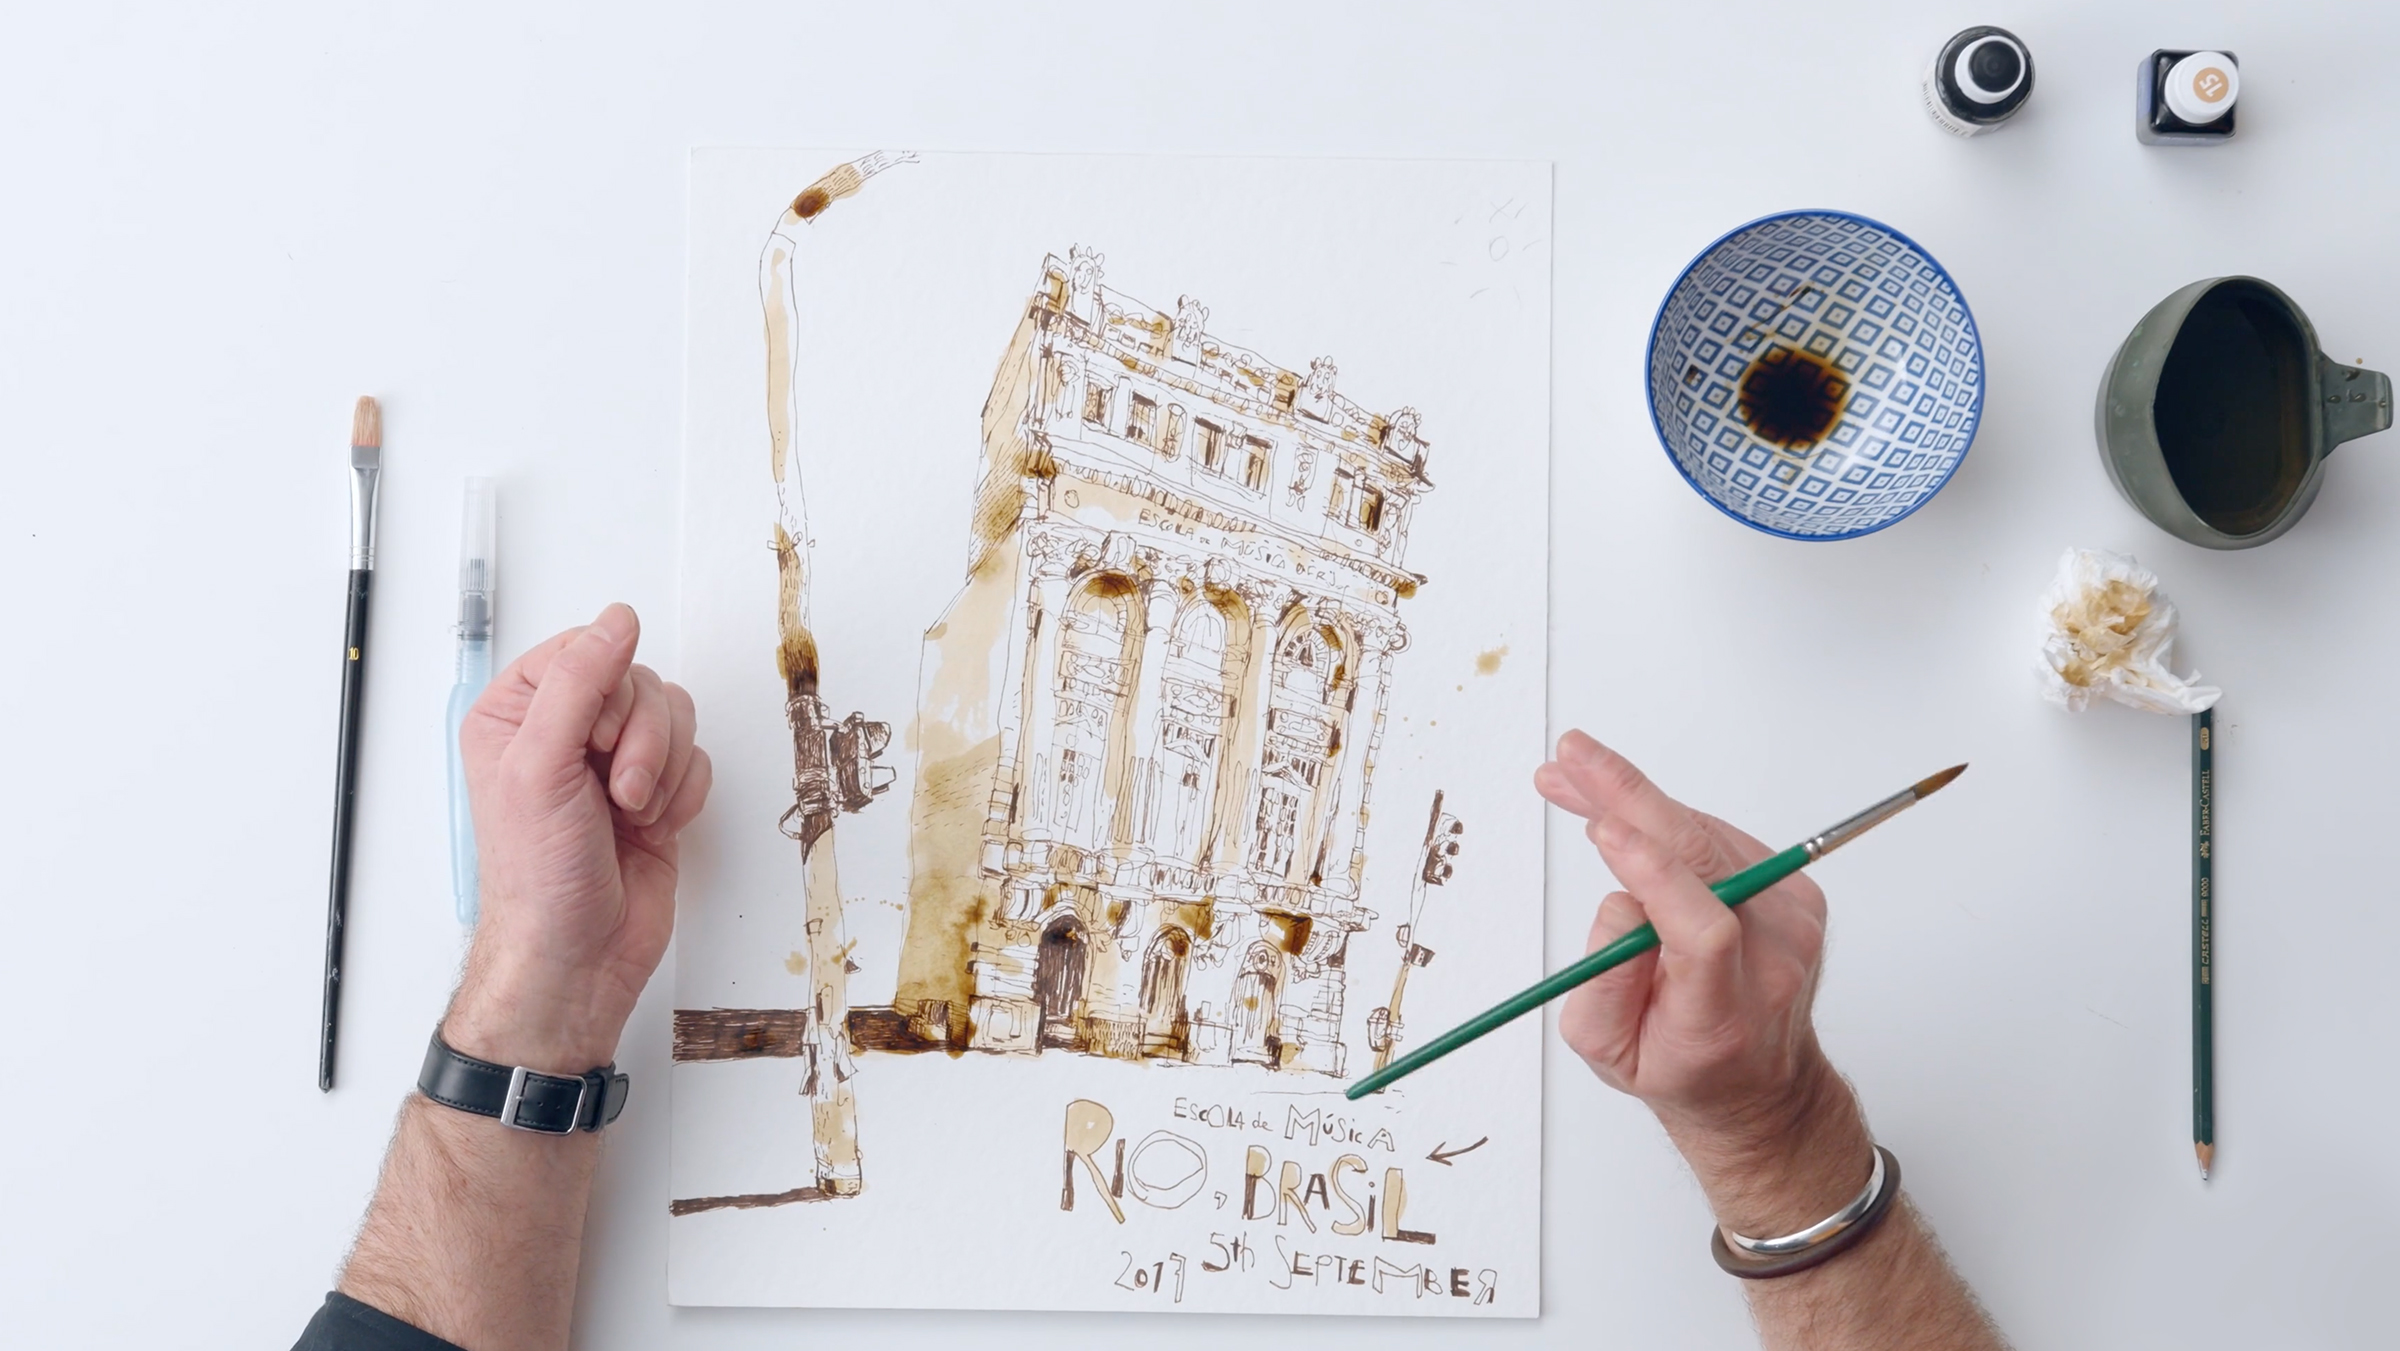
Outdoor Views Line Work
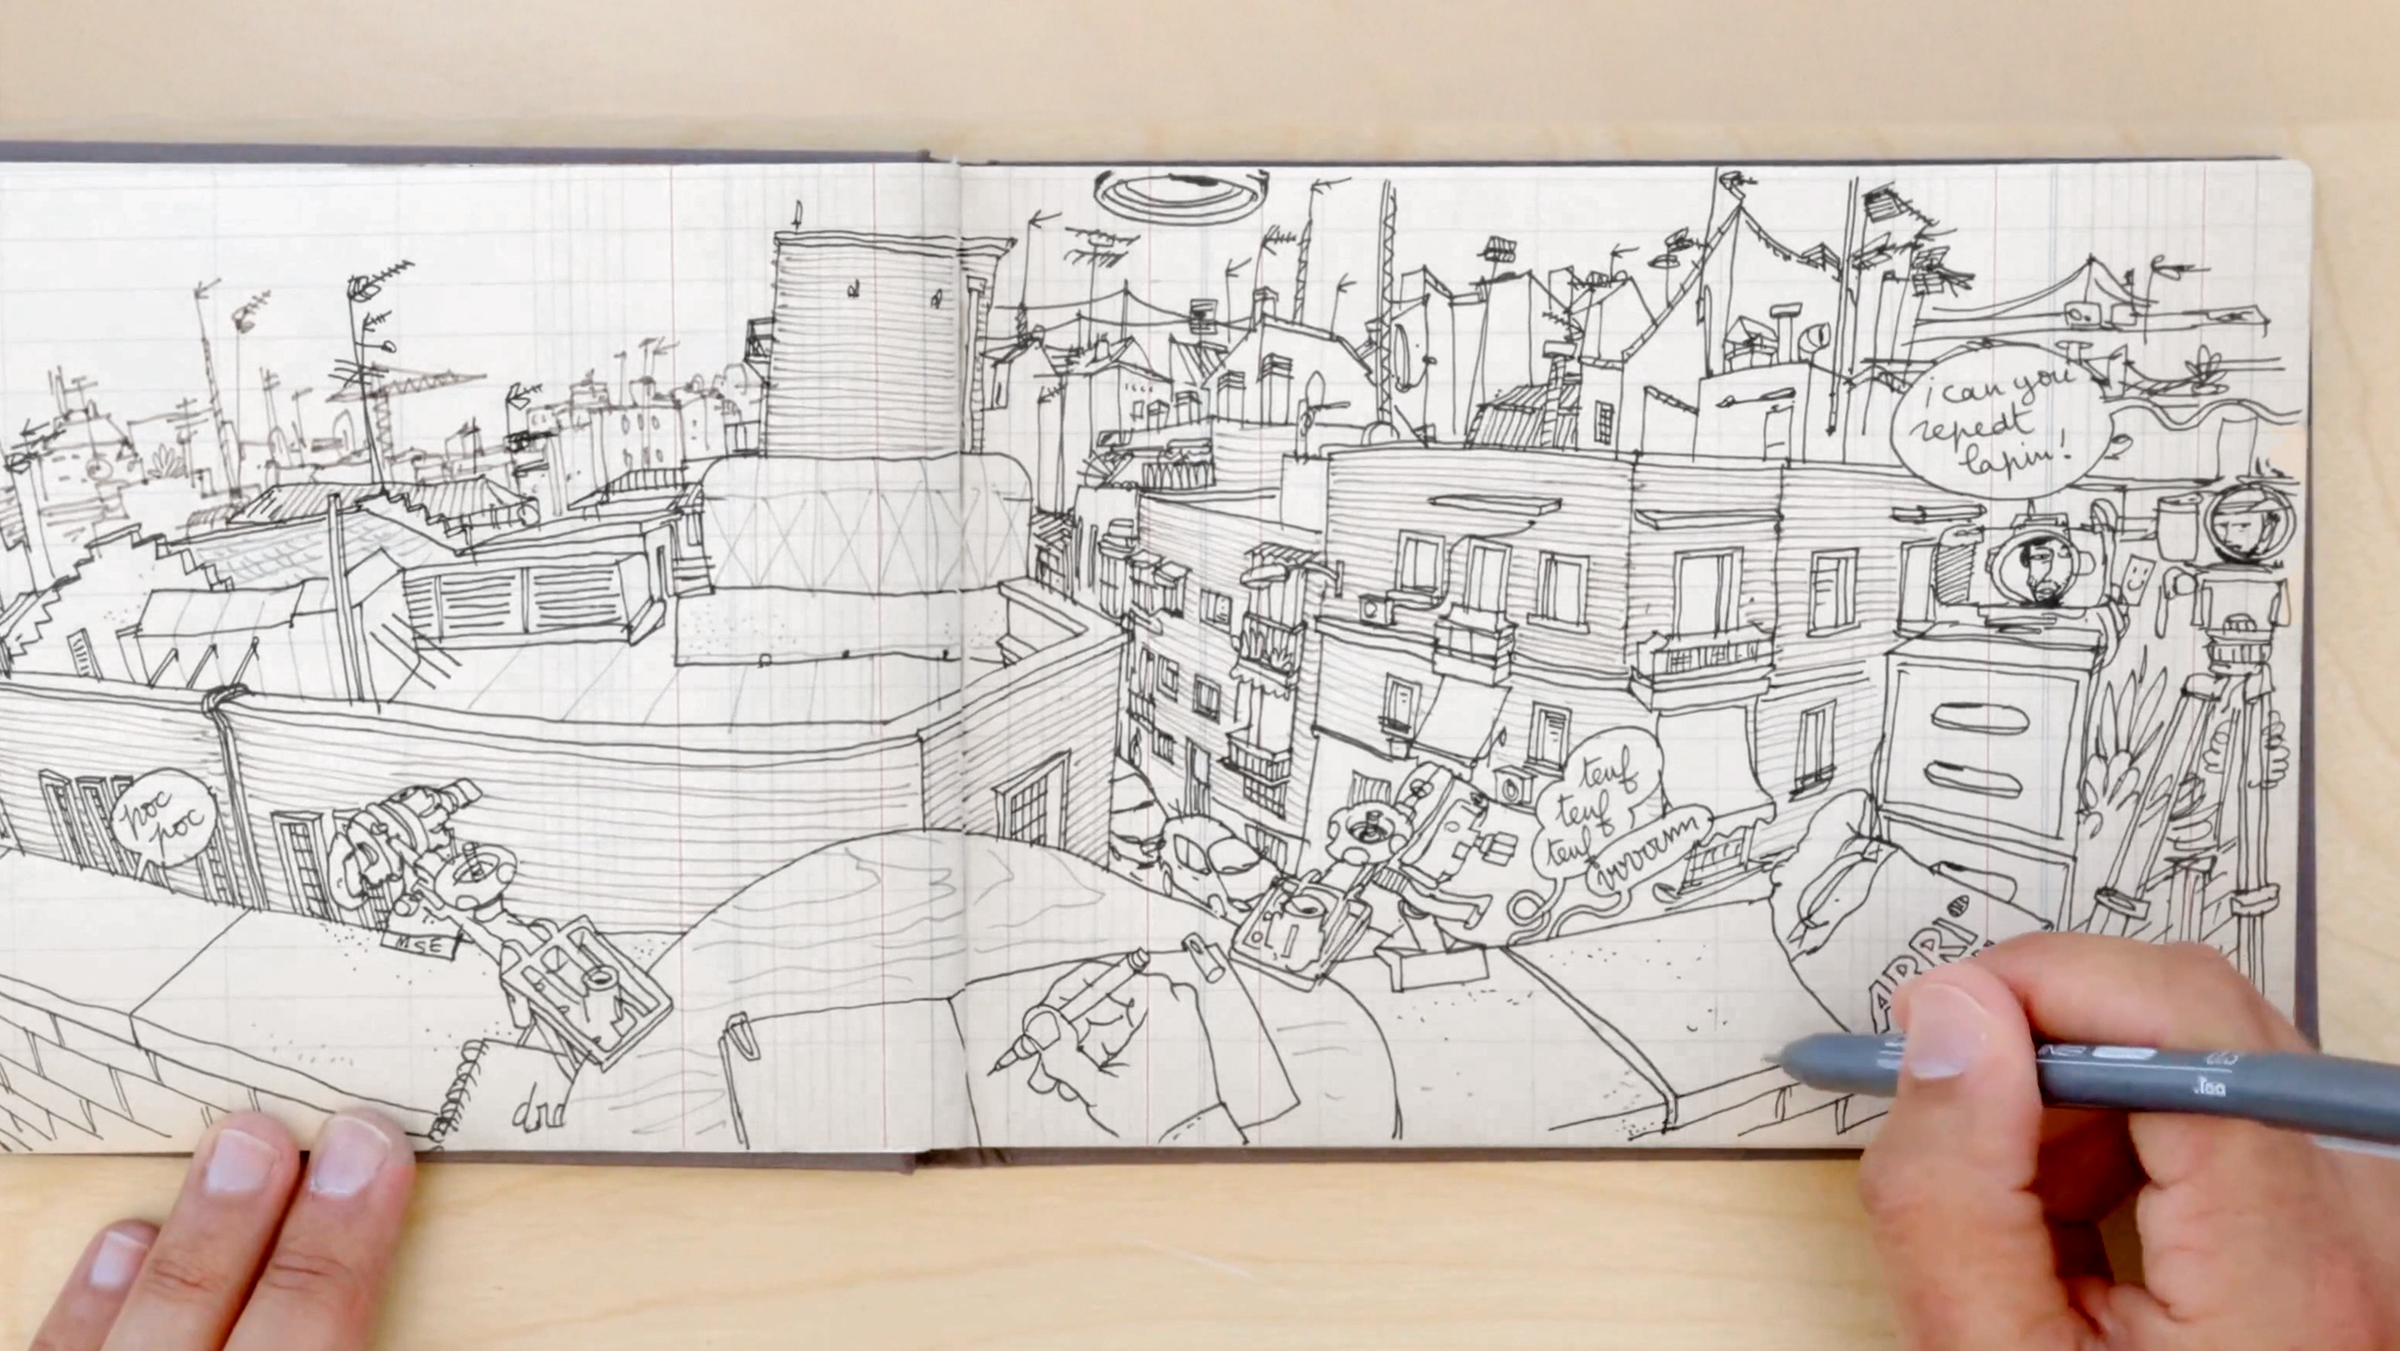
In this lesson, Lapin focuses on line work, starting with an ink pen to sketch the foreground and gradually moving to the background. You’ll learn to build a scene step by step, simplifying complex shapes while maintaining perspective. He emphasizes observing, keeping the drawing spontaneous, and preparing for color in the next stage.
20m
image
6
Outdoor Views Color and Texture
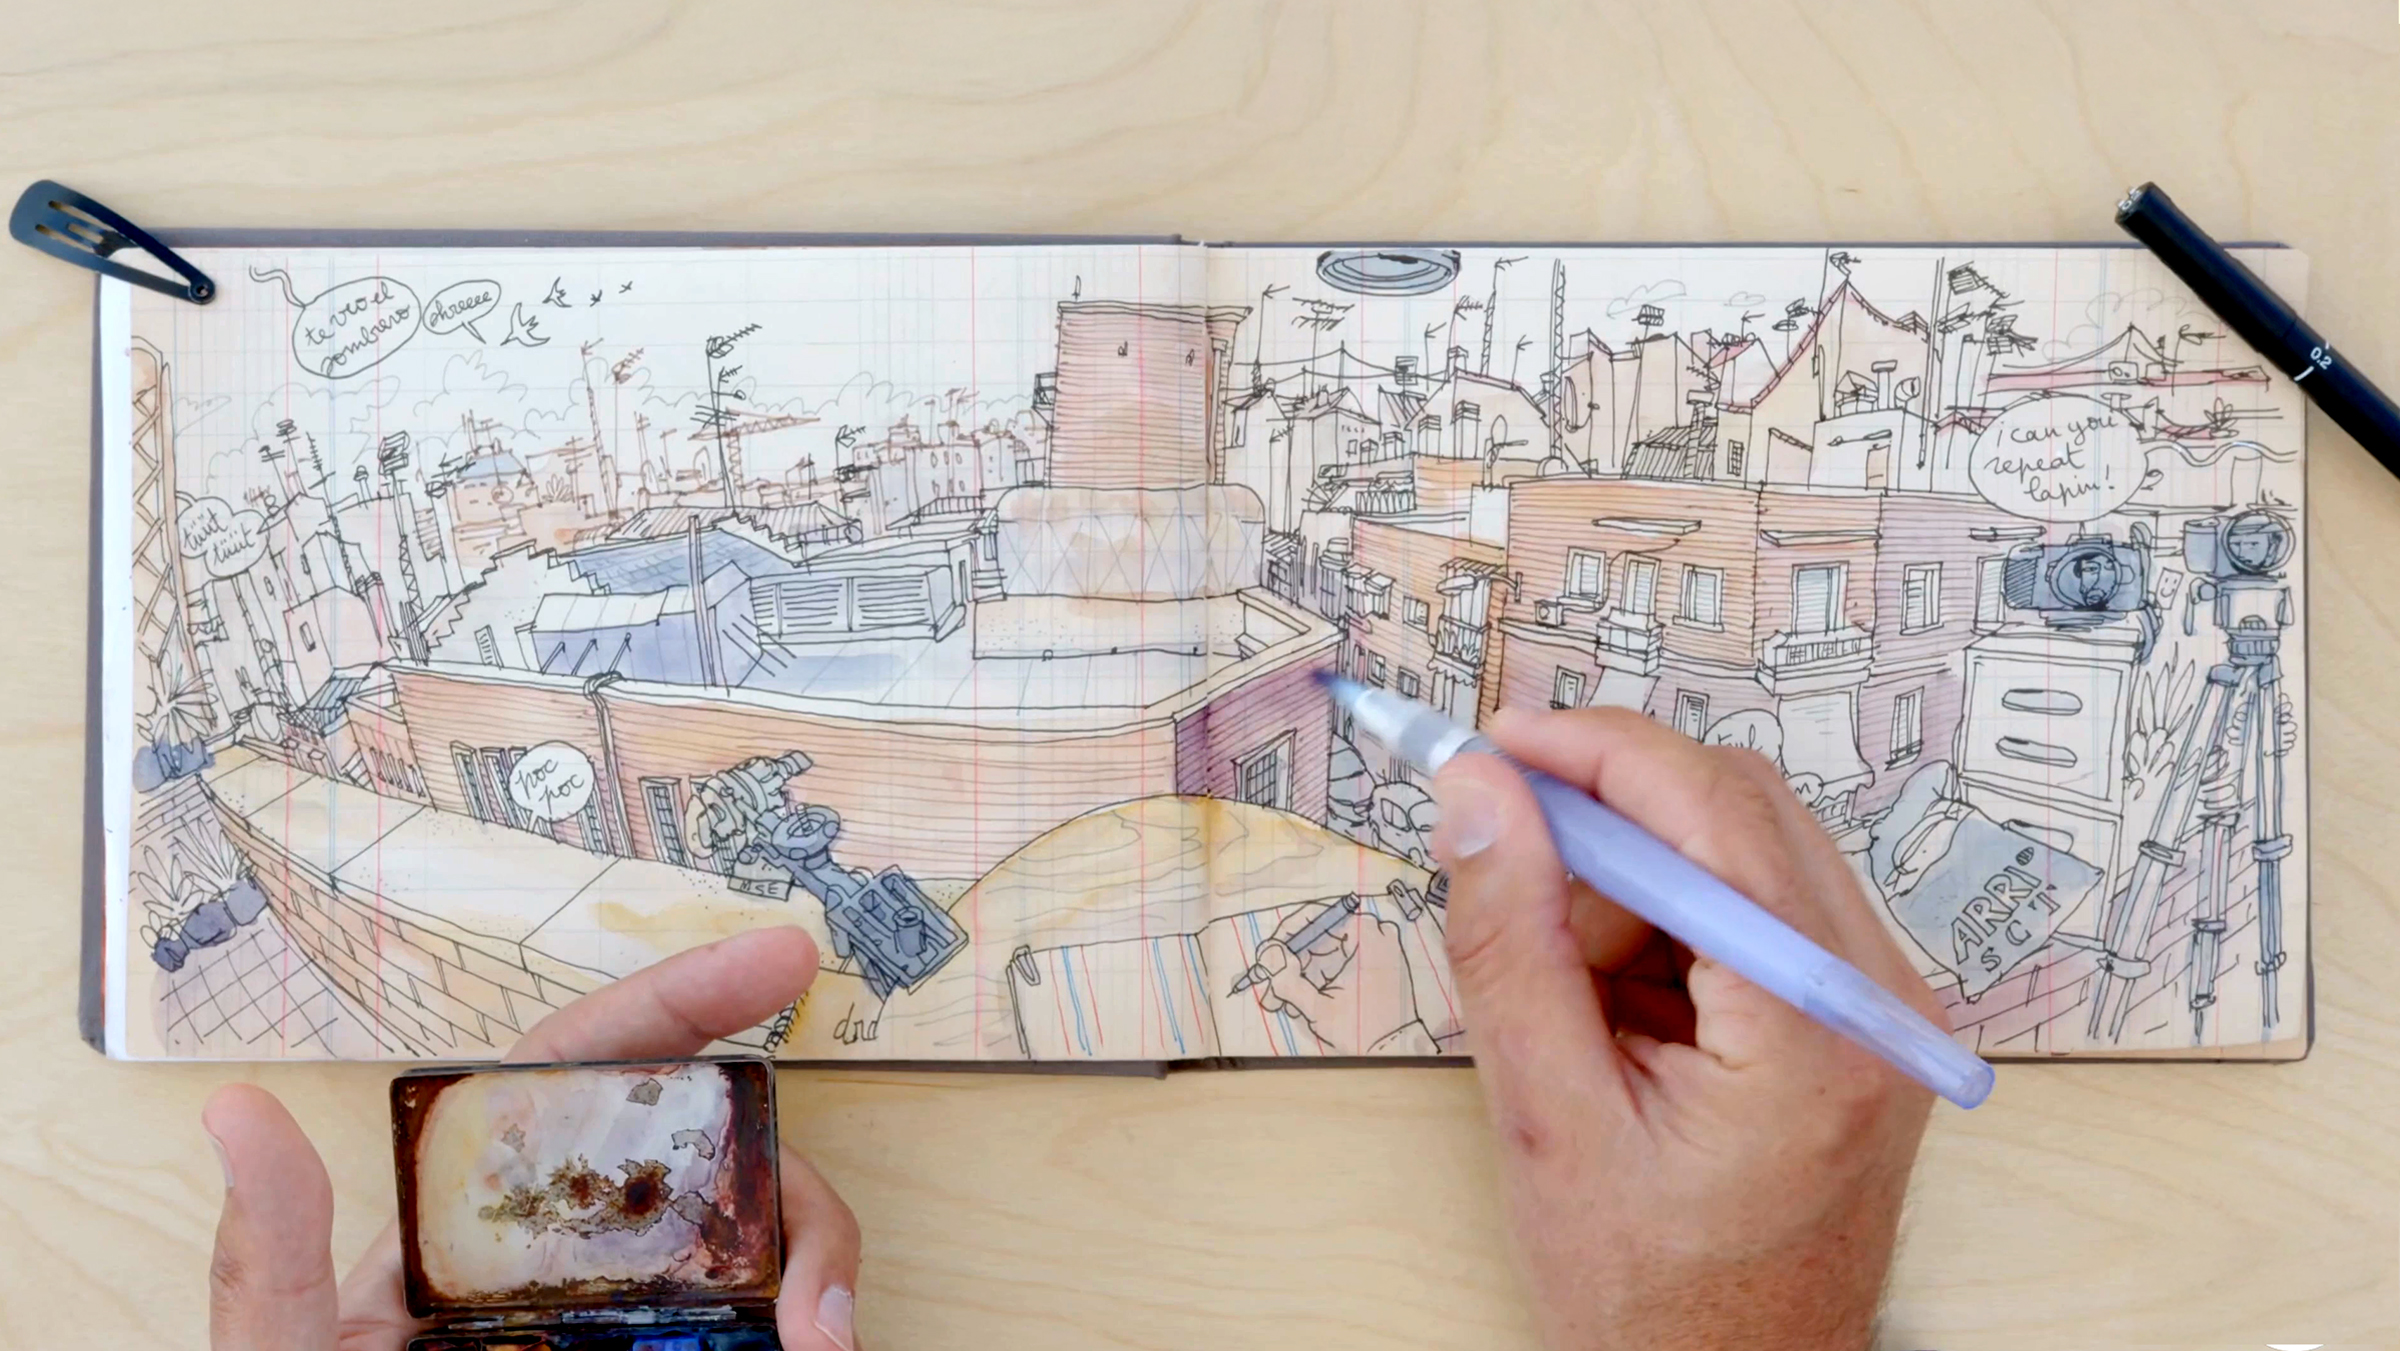
In this lesson, Lapin will teach you how to apply watercolor to a line drawing and use a white gelly roll pen to add highlights and dimension. You'll begin by mixing colors like alizarin crimson, yellow ochre, and blue to create brick tones and shadows, applying them quickly as the light changes. Then, after layering colors for depth, you'll finish with the white gelly roll pen for bright accents and contrast, adding final touches such as electric cables and even a pigeon to enhance the scene.
13m
image
7
Painting the Project 1
This process will begin by establishing the background painting based on the reference photo. Don Kilpatrick III will teach you how to map out the primary colors and shapes of the composition before moving on to the details. In this phase, it's important to view the painting from an abstract perspective, focusing on aspects such as the language and design of shapes, the relationship between small and large objects, and building up the values.
19m
image
8
Painting the Project 2
Here, Don Kilpatrick III will guide you in adjusting the values of your painting to refine how they relate to each other. This experimentation is important to maintain throughout the painting, even when adding more minor details. Once you're satisfied with the piece, the next step is to digitize it!
14m
image
9
Layer one, Paint
In this lesson, Sarah Van Dongen will guide you in sketching out the big shapes you want in your final image. It's essential to take your time with this step. Once you're satisfied with the outlines, you'll apply the first layer of paint.
13m
image
10
Layer Two, Colored Pencils and Markers 1
After the first layer of paint is dry, Sarah Van Dongen will guide you in adding colored pencils and markers. First, you'll erase any remaining graphite pencil lines and then add details, patterns, contrast, and depth using the pencils and markers.
11m
image
11
Layer Two, Colored Pencils and Markers 2
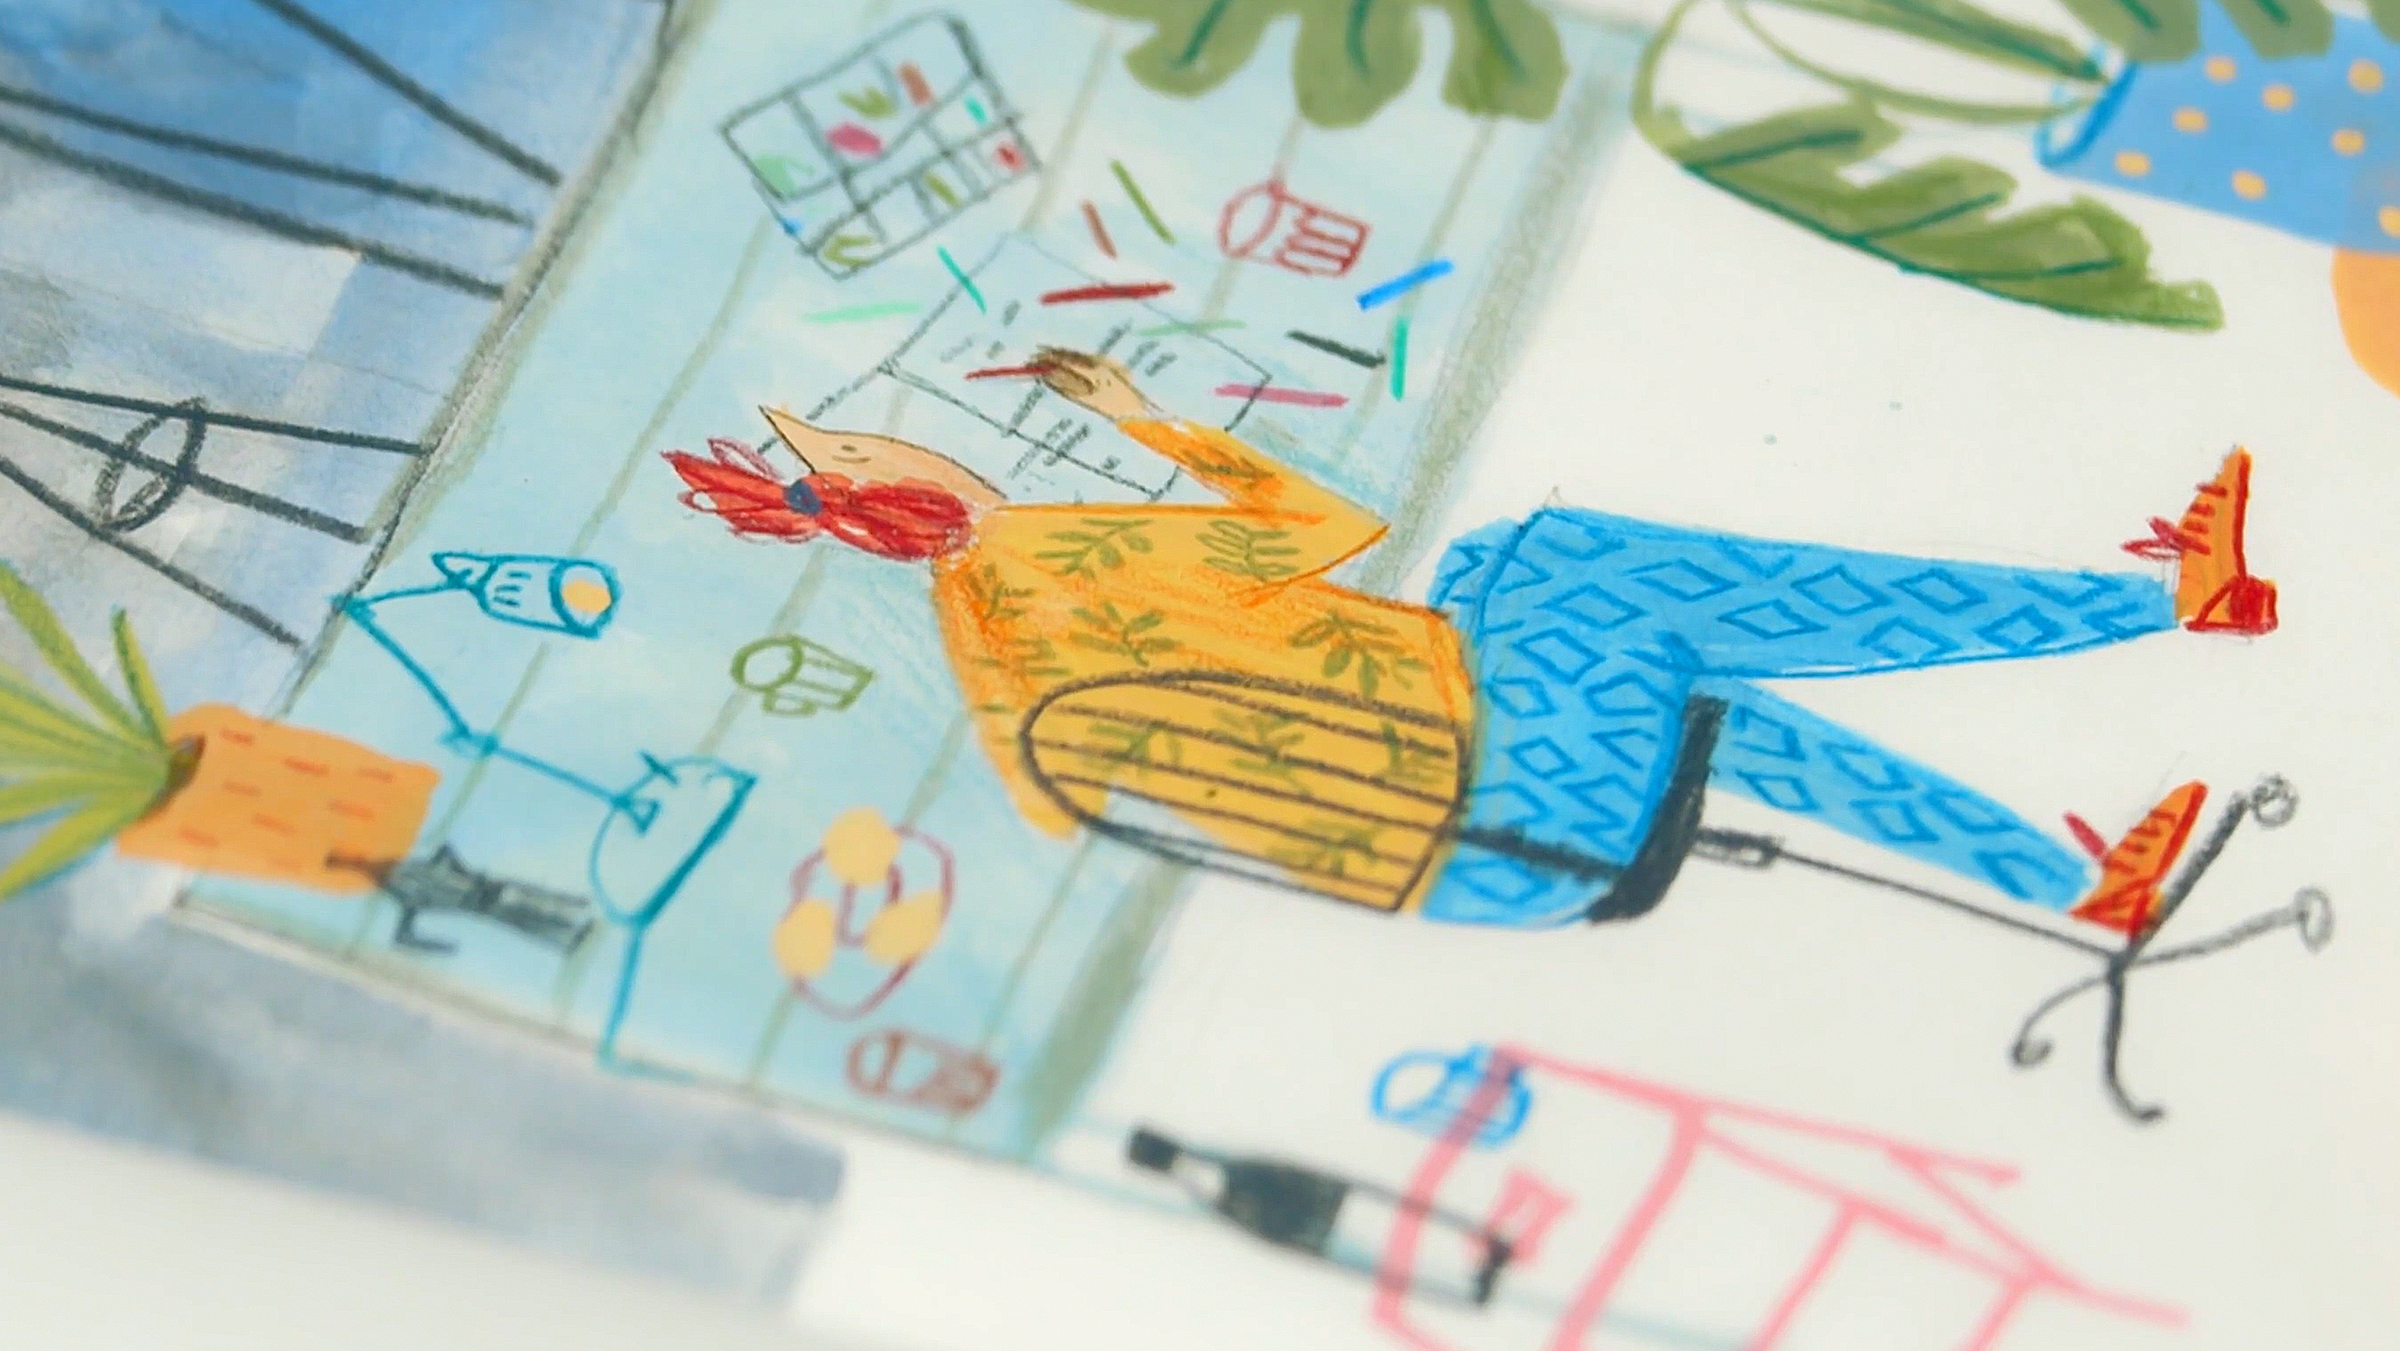
In this lesson, Sarah Van Dongen will demonstrate how to use color and layering techniques to create depth and perspective in your illustrations. By mixing darker tones for foreground objects and lighter shades for background elements, you’ll learn how to enhance the three-dimensional effect. Sarah also explores using various materials—crayons, colored pencils, and markers—emphasizing how different line qualities and textures can add interest. You’ll finish by refining the composition, balancing busy areas with quieter spaces for visual harmony.
11m
image
1
Studying From Observation
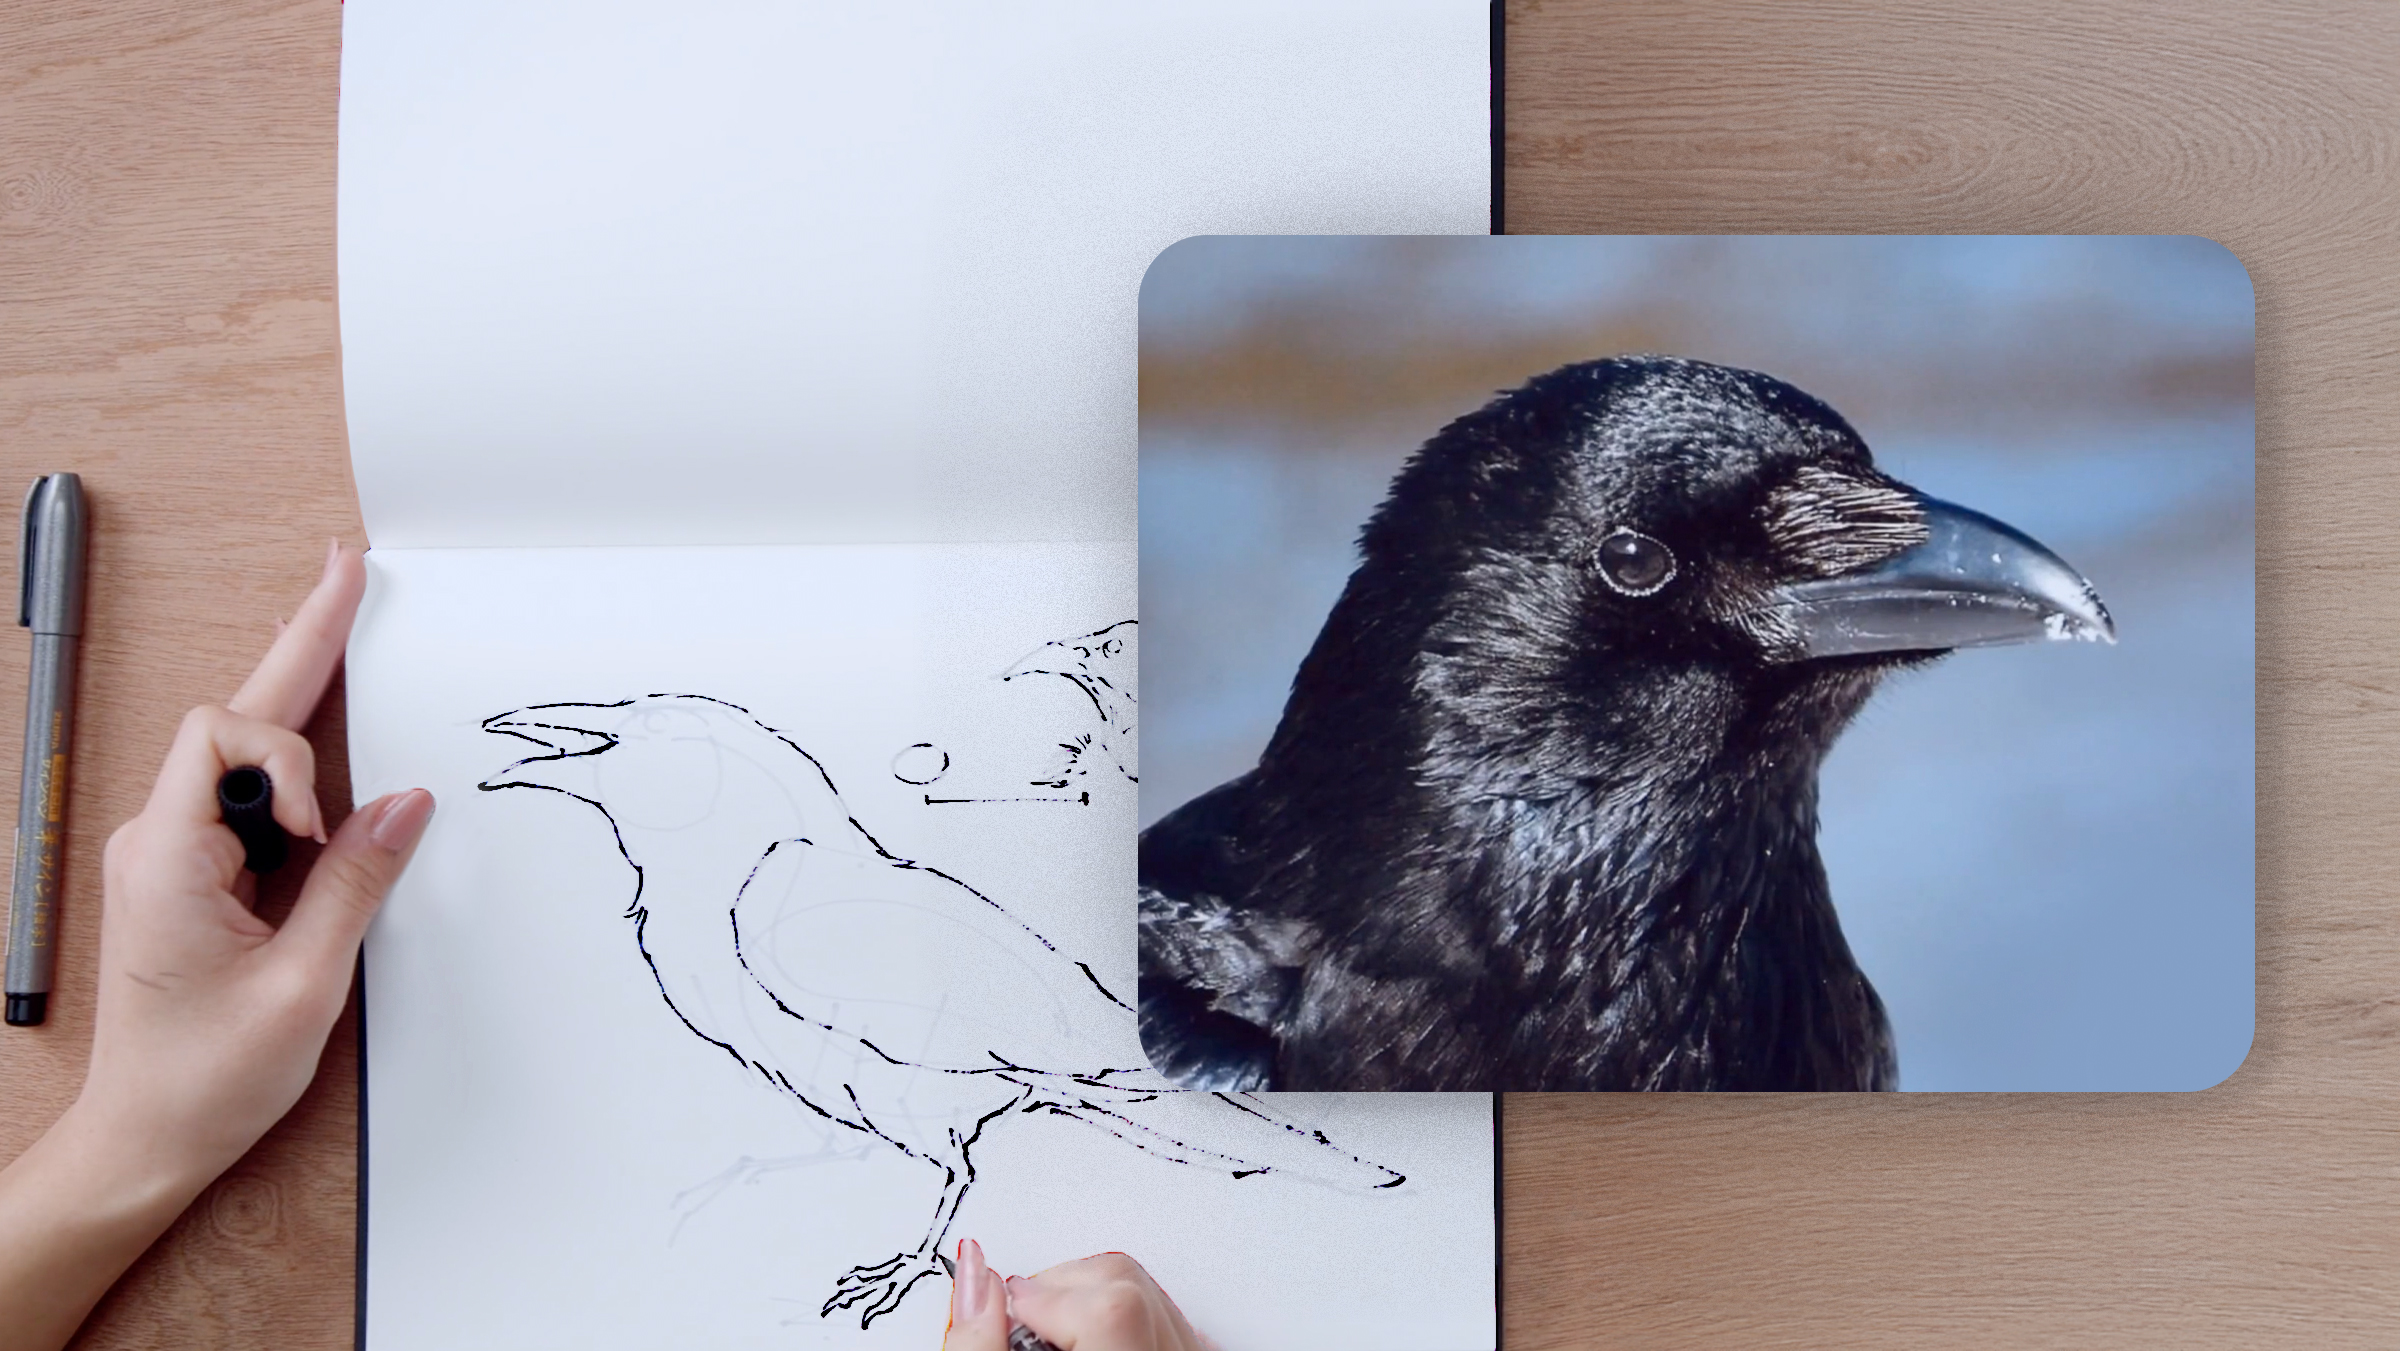
In this lesson, Sorie Kim explains how to draw from observation using multiple photo references. By studying different angles of a subject, like a raven, you can better understand its form. CAMBIA breaks the raven into basic shapes, sketches side, and three-quarter views, and adds details, emphasizing proportions and texture. This technique helps build your visual library for future sketches.
8m
image
2
Drawing to Document Daily Life
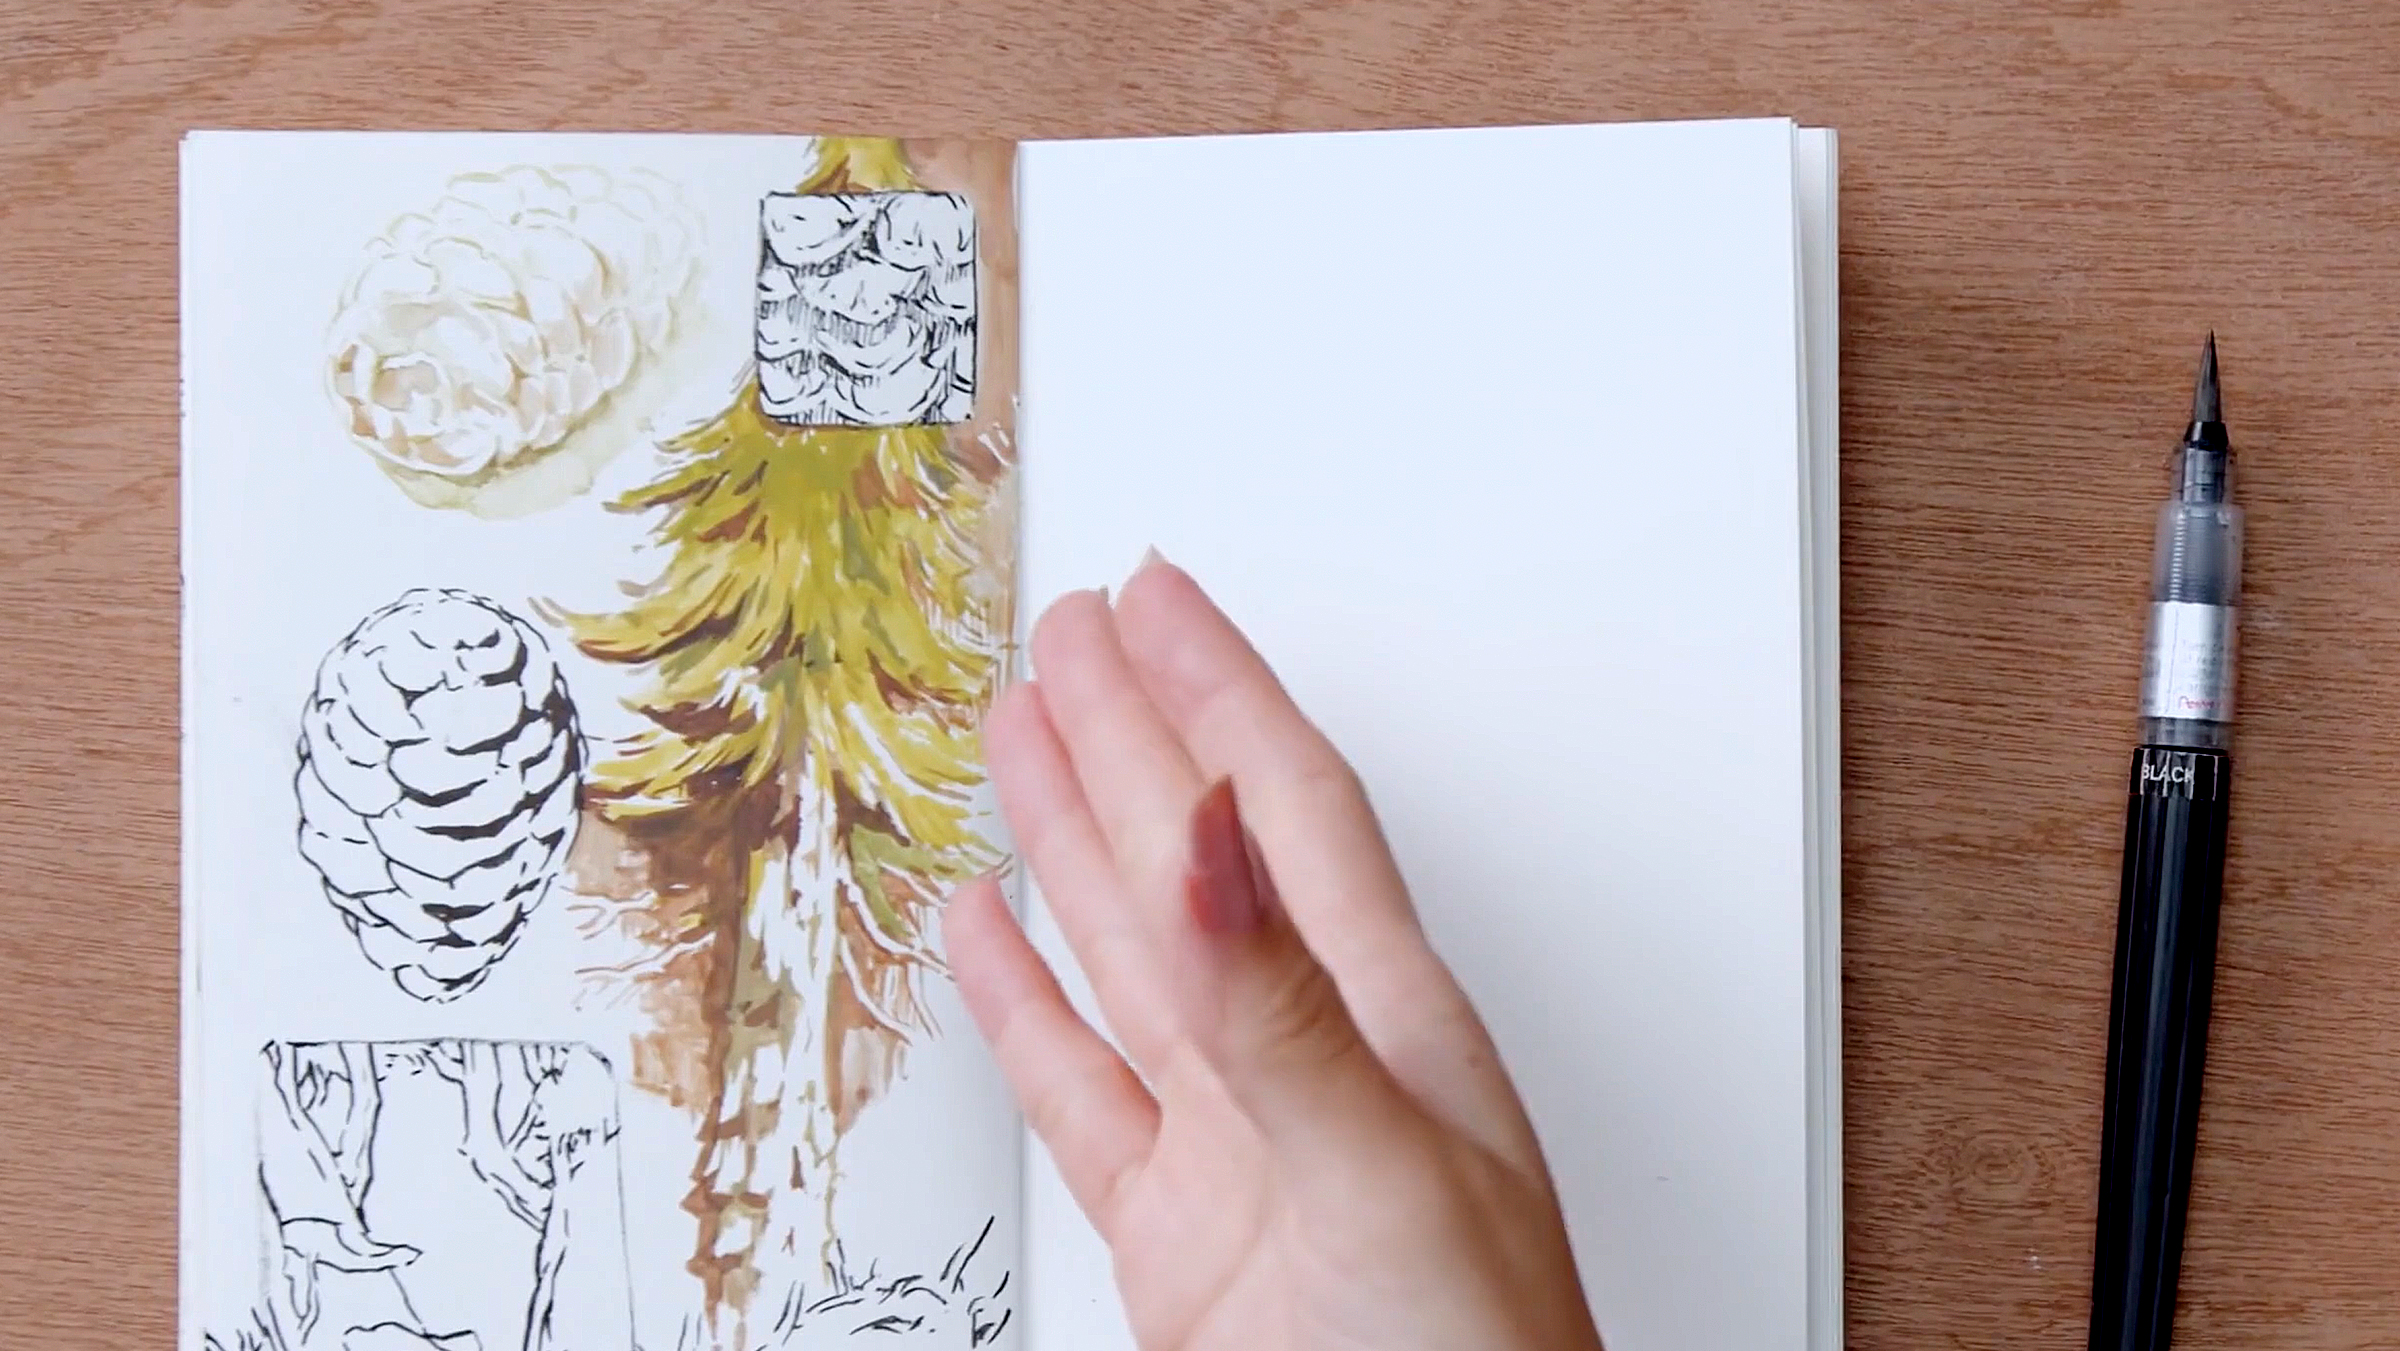
In this lesson, Sorie Kim introduces designing from observation, blending real-life reference with creative design. You'll explore shape language—circles, squares, and triangles—to evoke emotions in sketches. Using a pine cone, Sorie demonstrates how simplifying shapes and focusing on form and texture enhances creativity in your visual diary.
11m
image
3
Drawing From Imagination
This lesson teaches you to merge drawing from observation and imagination. Sorie Kim uses a snail shell as a reference, building an alien creature around it. The focus is on using real-life elements for structure and perspective while adding imaginative details. A solid visual library and willingness to experiment are vital to creating dynamic sketches.
8m
image
4
Experimentation and Playing 1
In this lesson, Sarah Van Dongen will show you how to experiment and play with different materials. This is important for keeping your work fresh and growing as an artist. You will explore a few other exercises to help you along the way.
15m
image
5
Experimentation and Playing 2
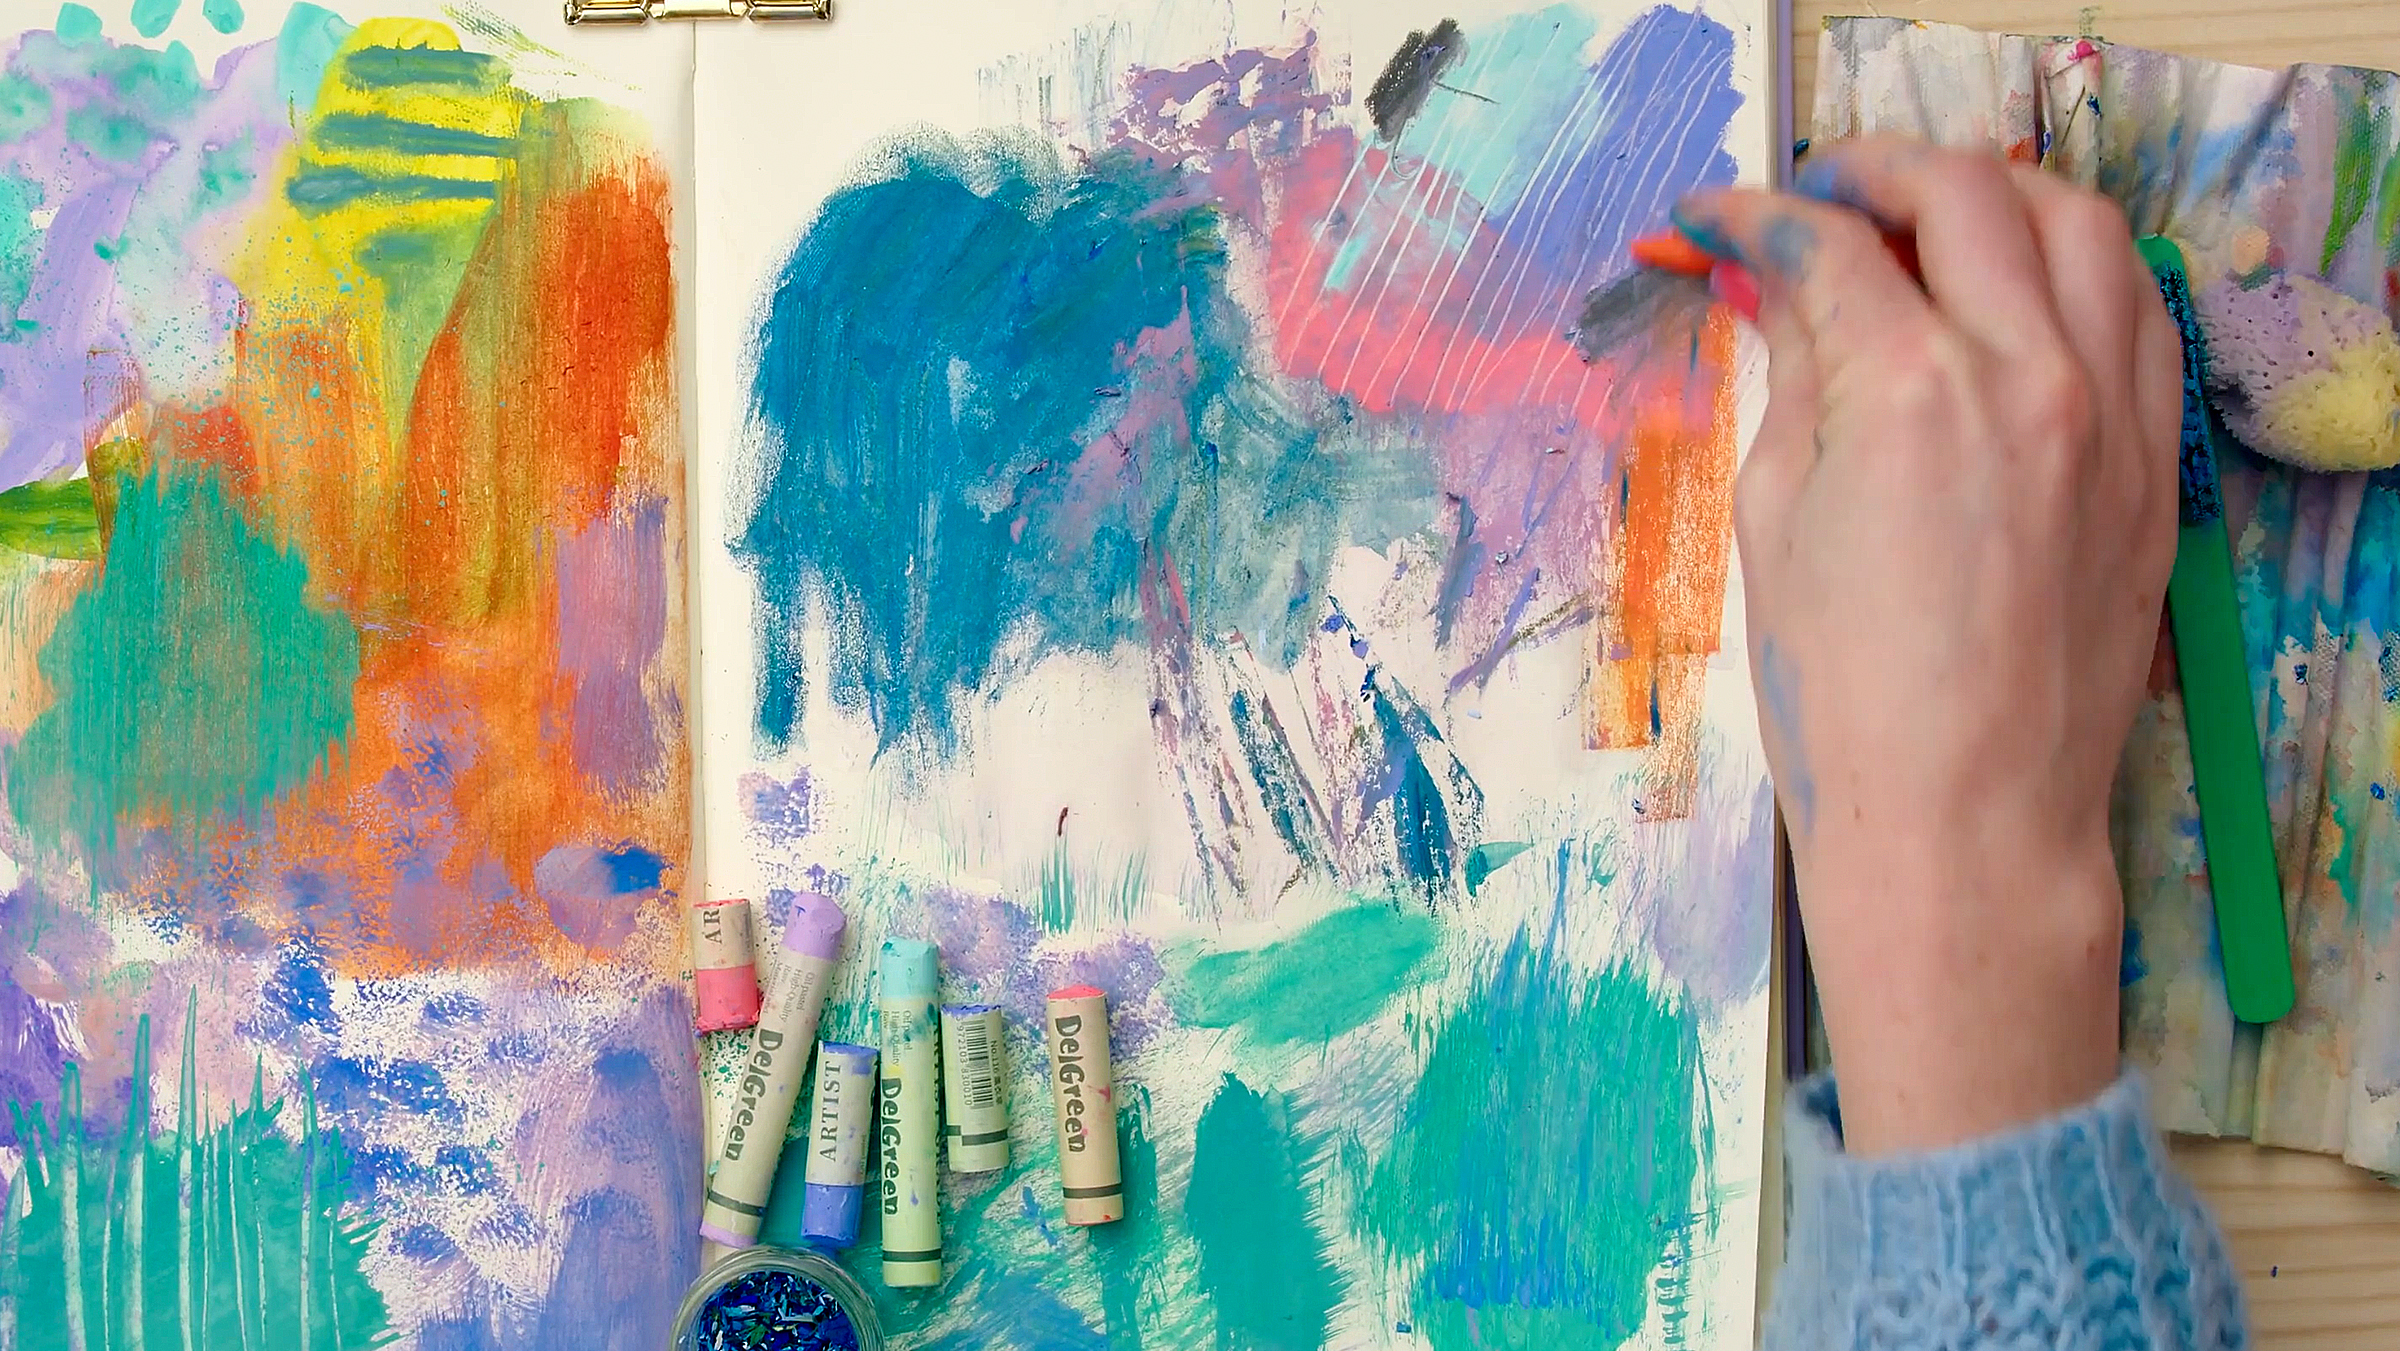
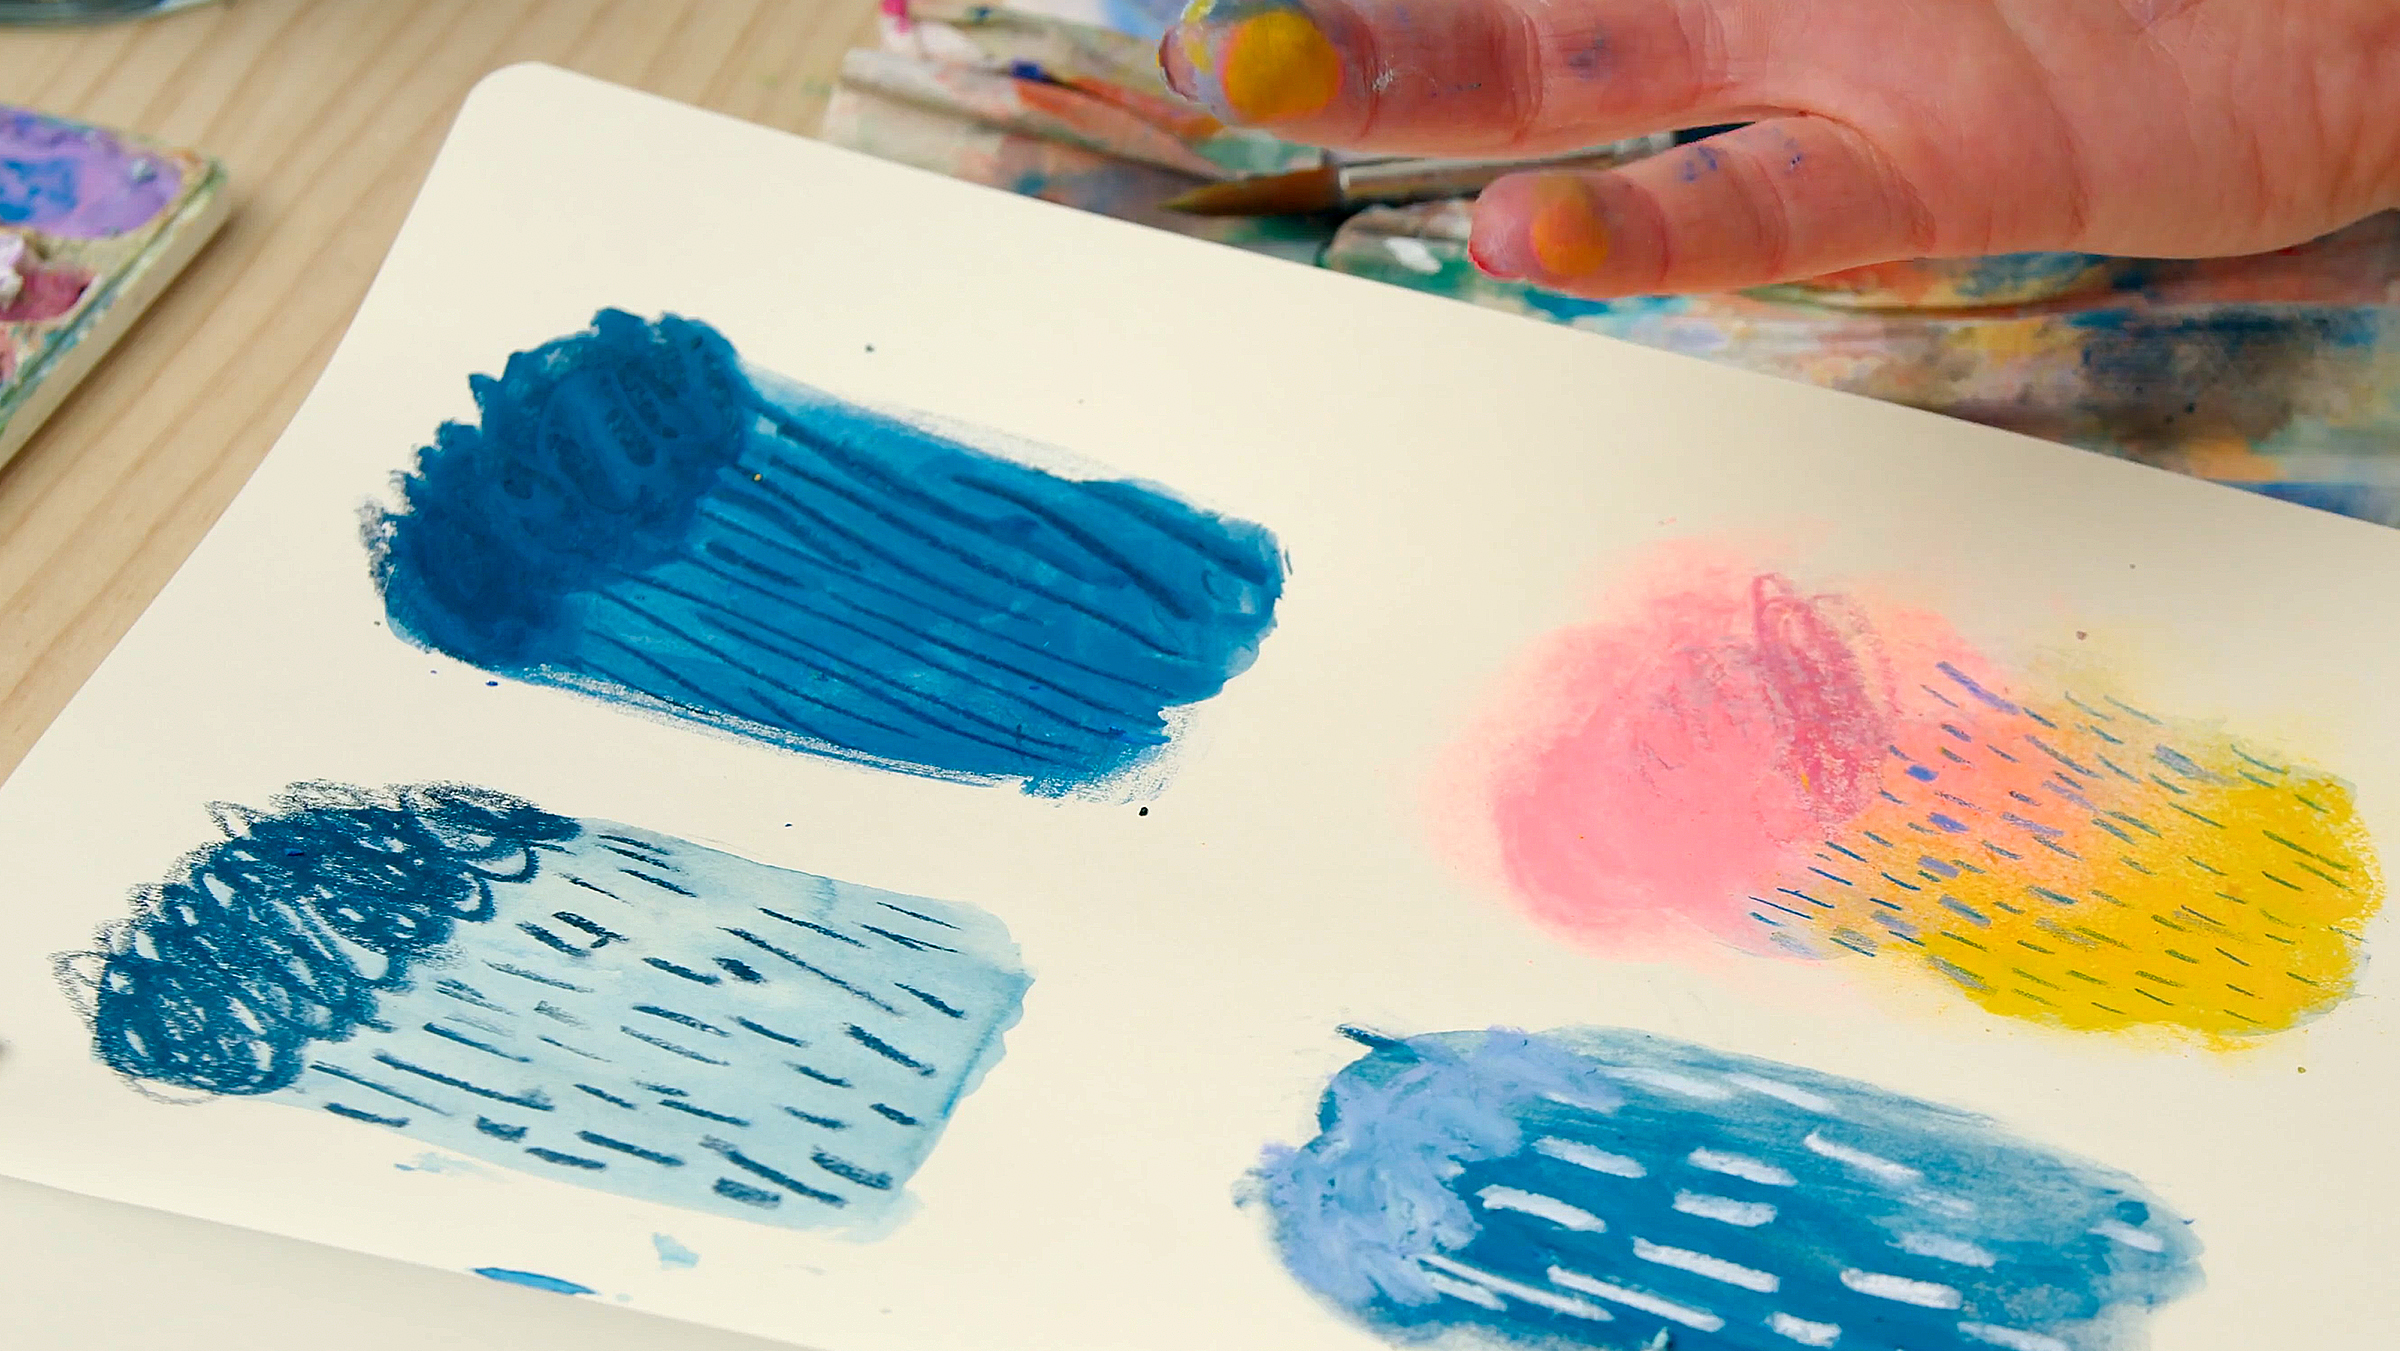
In this lesson, Sarah Van Dongen explains two types of experimentation: playful experimentation, where there's no set goal, and structured experimentation, where you're focused on portraying a specific subject, like water or mist. First, Sarah completes a playful exercise using wet materials, then demonstrates focused experimentation by drawing rain, emphasizing technique and intention.
10m
image
6
Association and Imagination 1
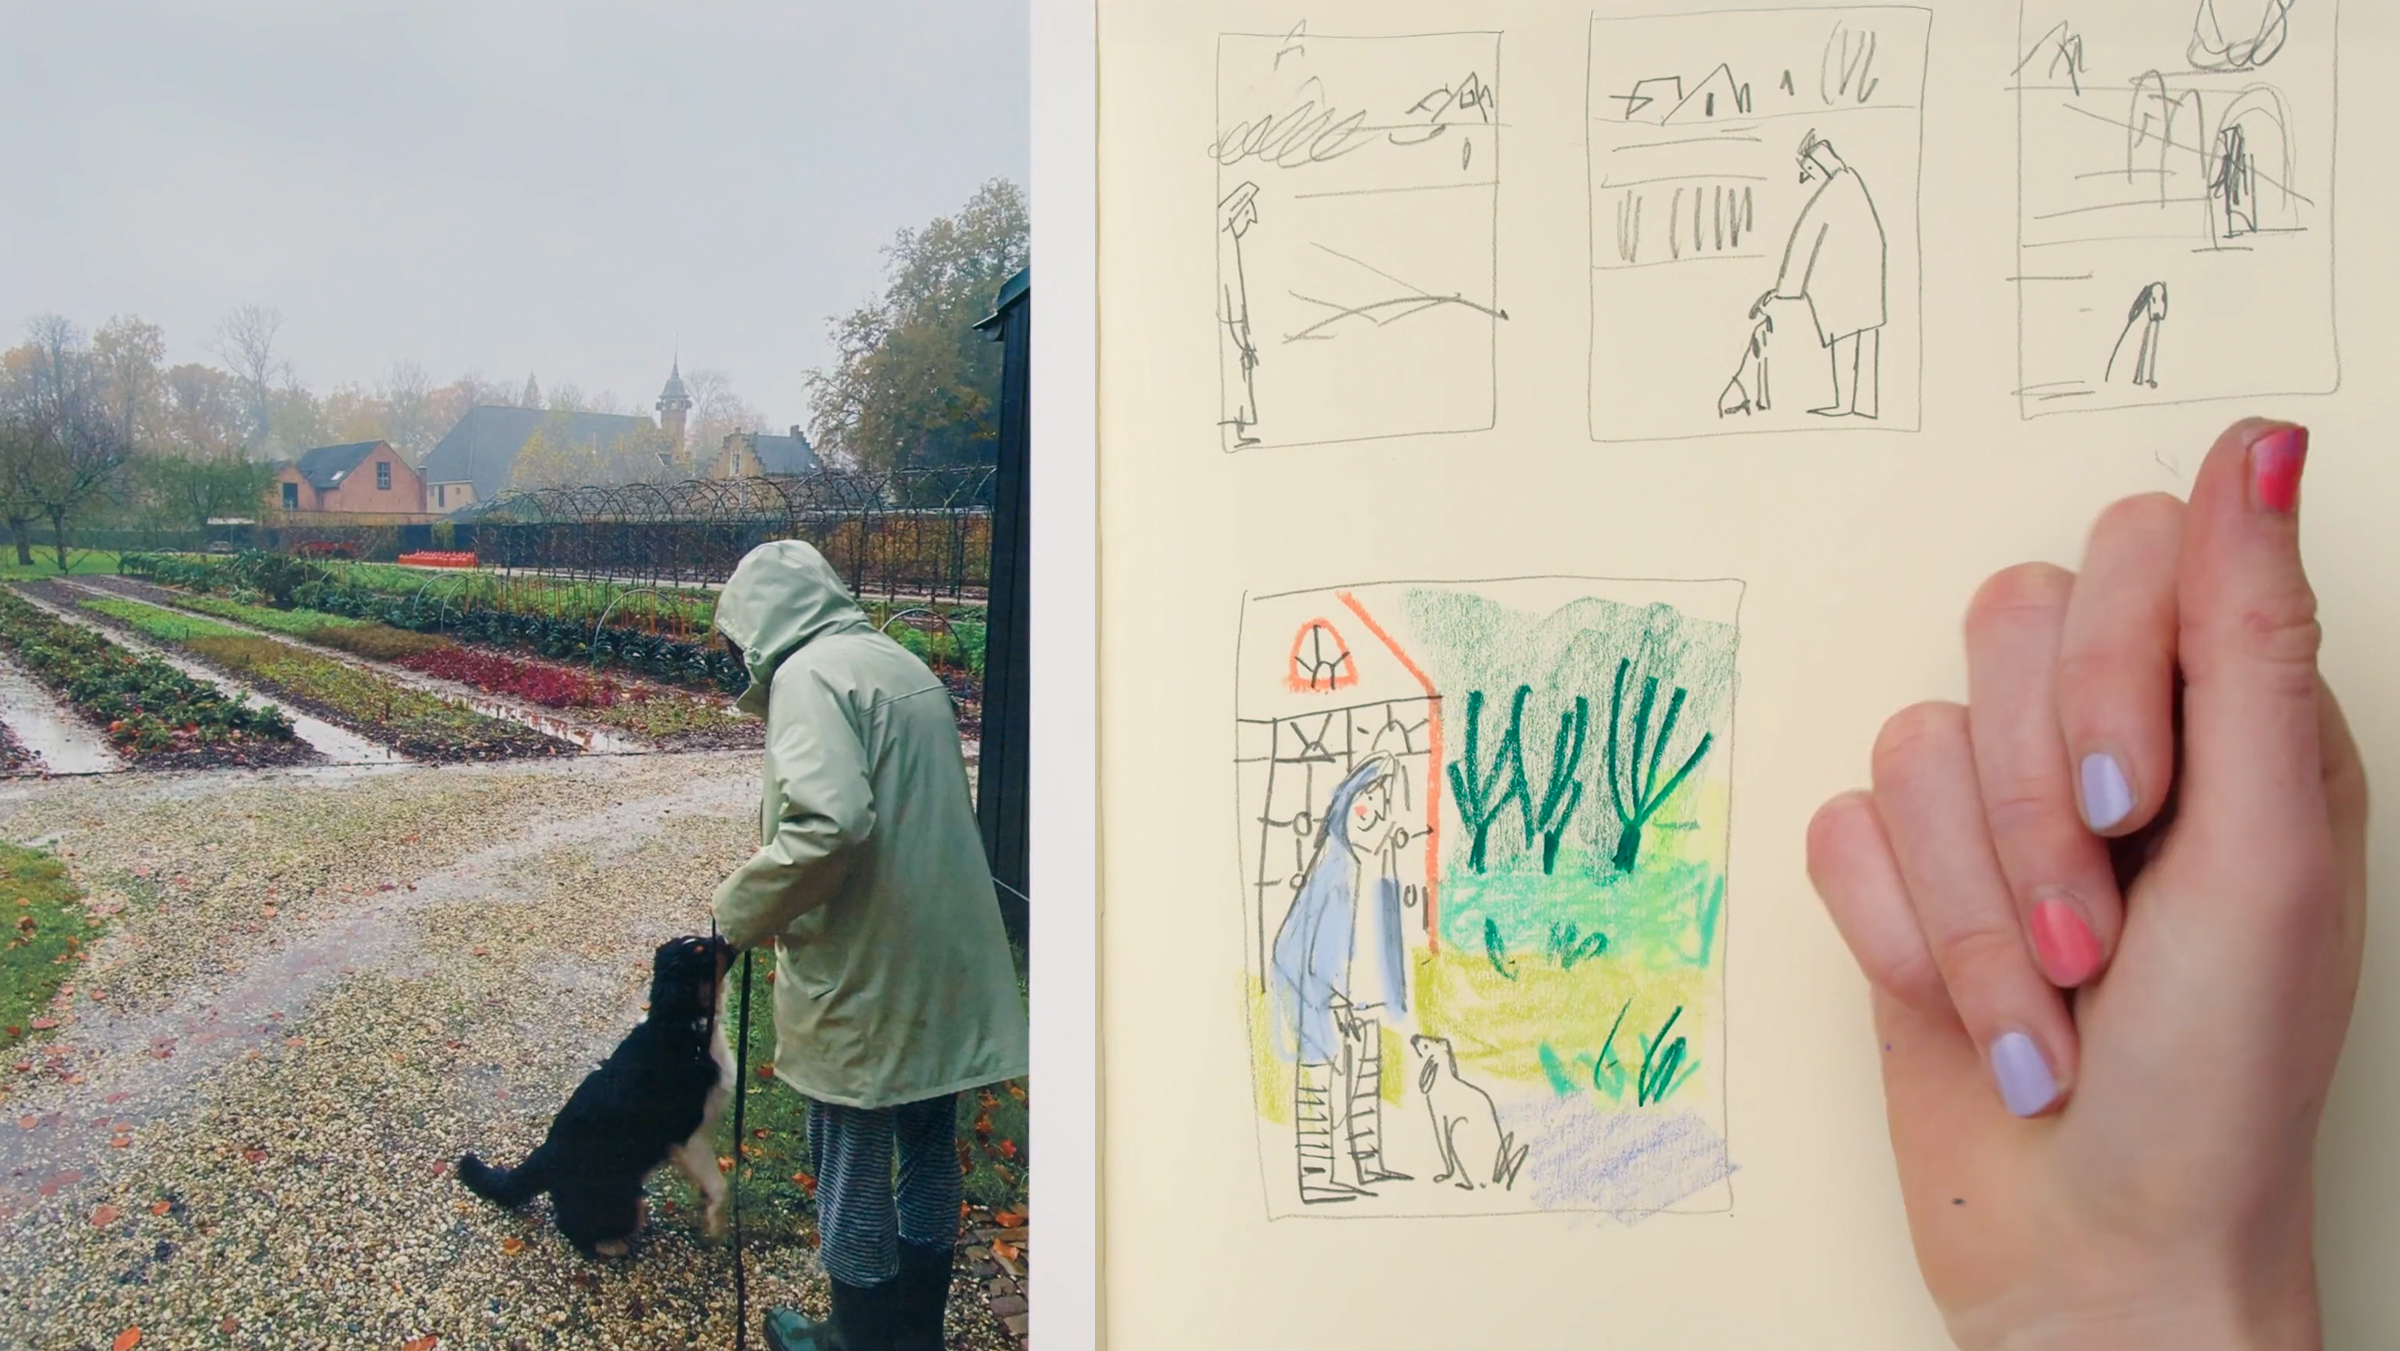
In this lesson, Sarah Van Dongen introduces exercises to tap into your imagination and memory, guiding you to create stories within a single image. These exercises help unlock your creativity and transform your sketches into narrative-driven illustrations, moving beyond simple observation to more personal, imaginative work.
15m
image
7
Association and Imagination 2
In this lesson, Sarah Van Dongen addresses the challenge artists face when combining observation with imagination. While observational work leans toward realism, imaginative work can be more stylized and expressive. Sarah introduces a final exercise to help you merge these approaches, encouraging experimentation with different ways of portraying subjects creatively.
12m
image
8
Playful Collage 1
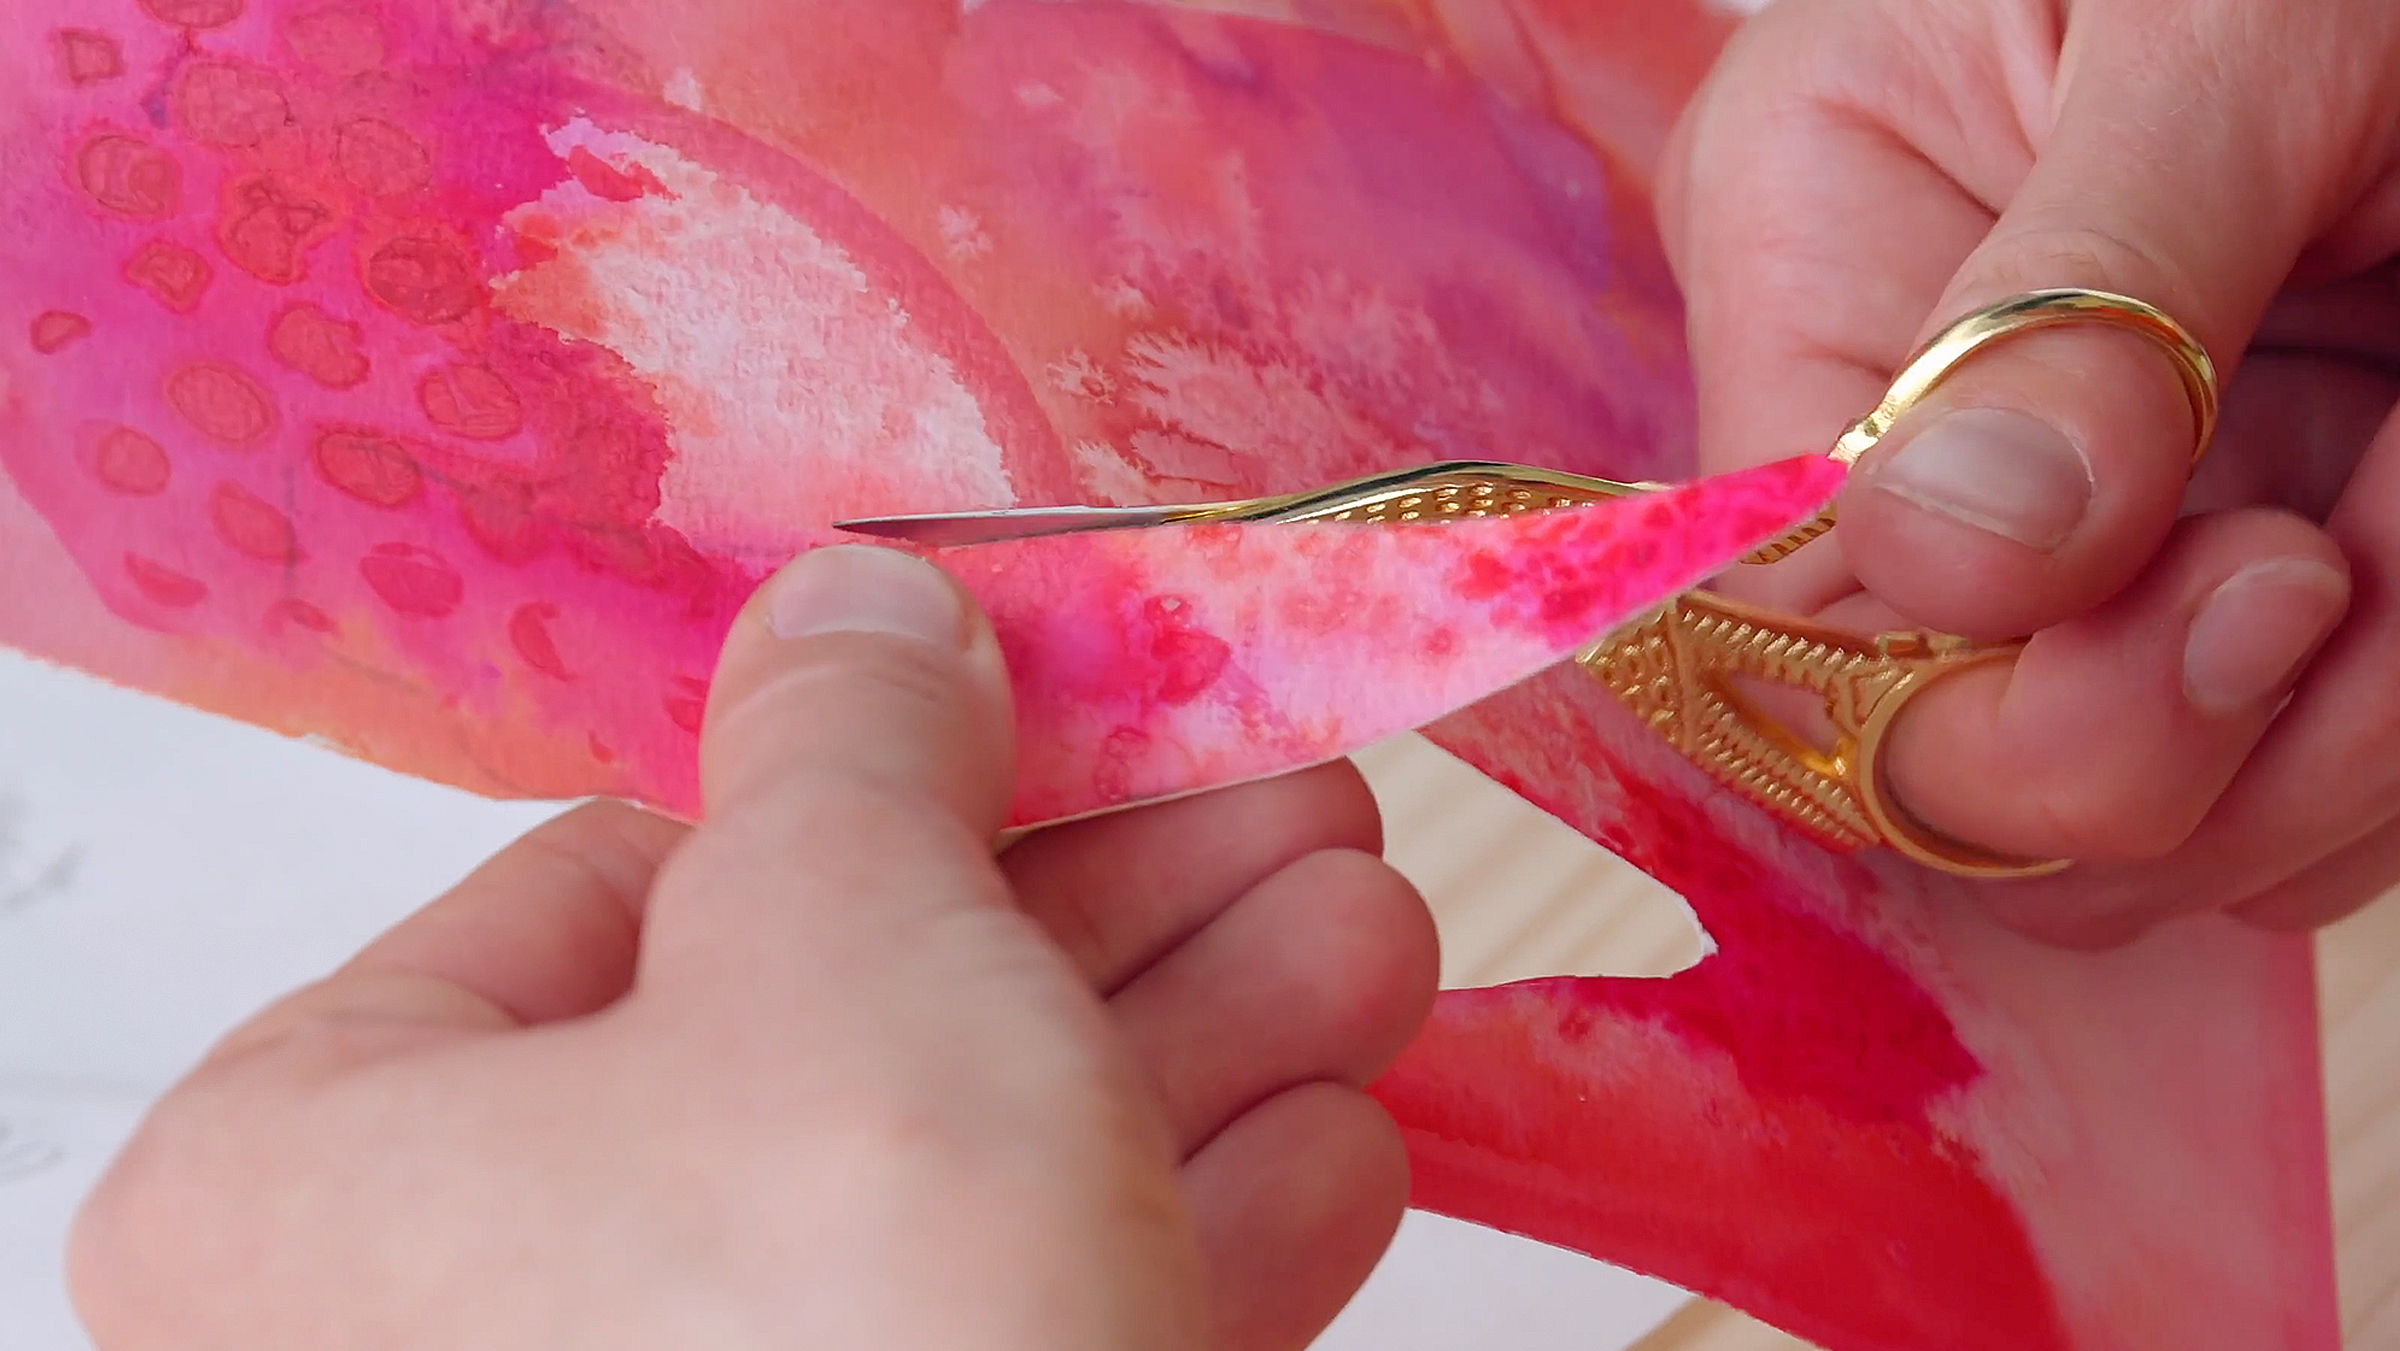
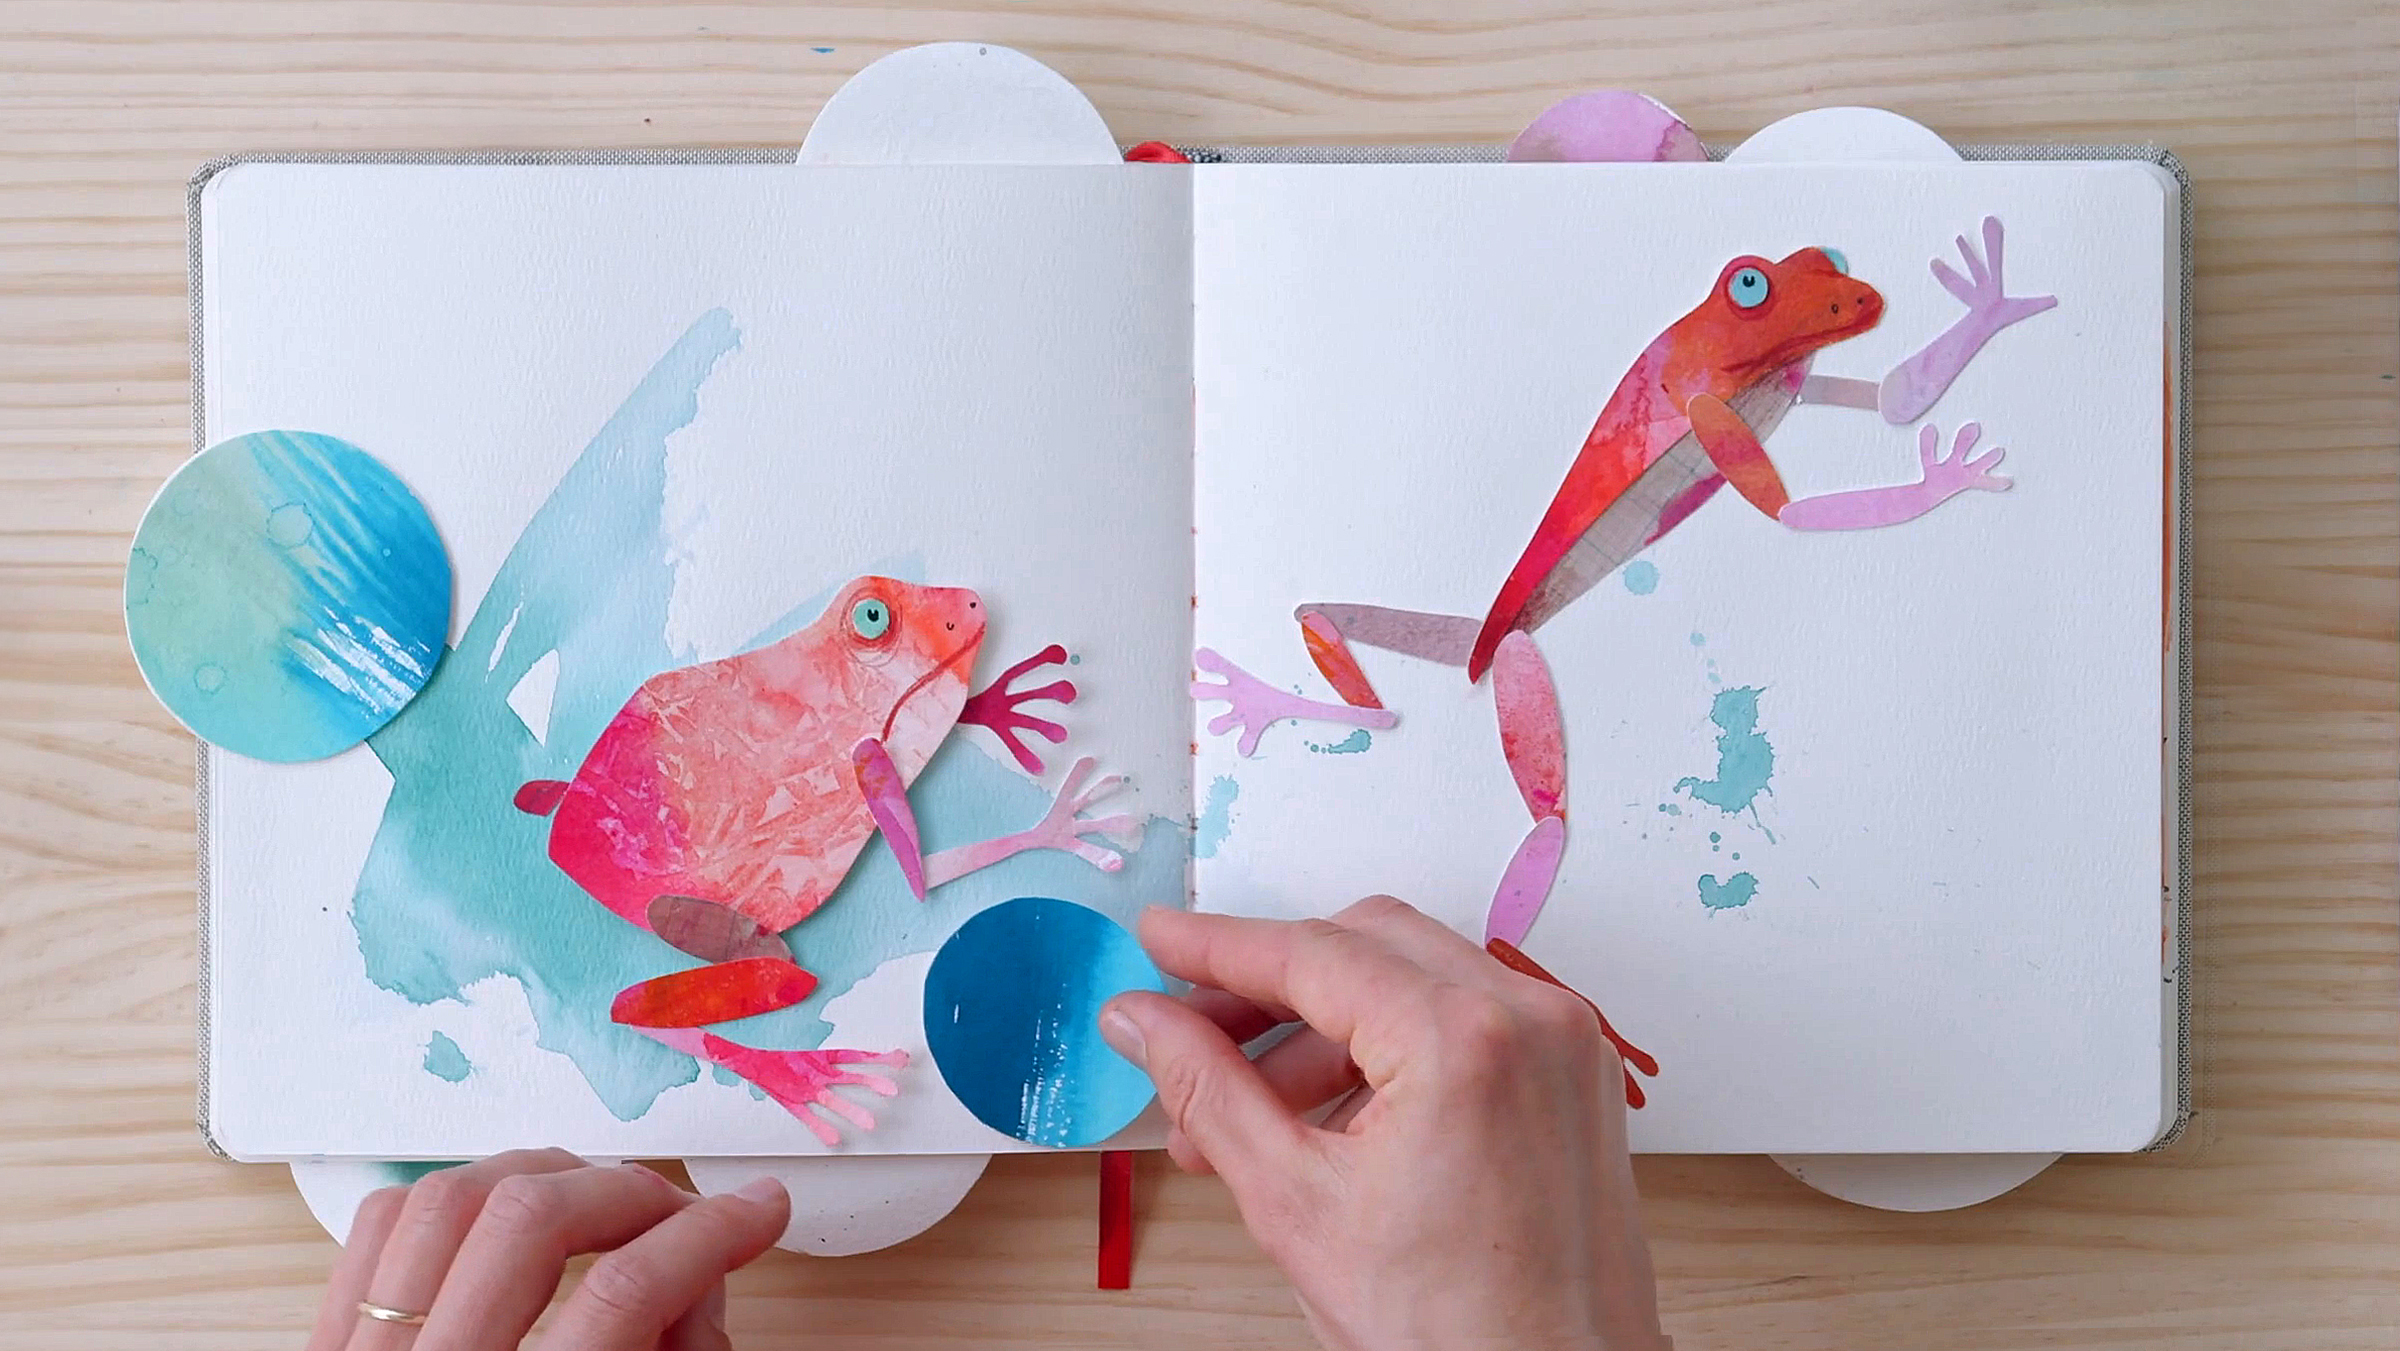
In this lesson, you'll experiment with watercolor textures using salt, bubble wrap, and bleach. After creating textured sheets, you'll cut them into shapes to form playful collages. Laura McKendry demonstrates how to simplify a subject, like a frog, into basic shapes, encouraging experimentation and layering textures for unique, dynamic illustrations.
16m
image
9
Playful Collage 2
In this lesson, Laura McKendry guides you through playful experimentation by creating watercolor textures, cutting them into shapes, and collaging them into images. You’ll arrange the pieces, adjusting placement to create dynamic compositions. Adding pen, pencil, or paint enhances the design while encouraging creative storytelling and surprise elements.
11m
image
10
The Next Image
In this lesson, Sarah Van Dongen will guide you on what to do after finishing an illustration and how to keep filling your sketchbook while improving your drawing skills. You will explore different ways to find inspiration and ideas to help you stay creative and consistent in your artistic journey.
6m
image
1
Organizing and Documenting Sketchbooks
Ready to dive into the world of sketchbook organization? Sorie Kim shares how to use different sketchbooks for various purposes, from capturing spontaneous ideas in loose sketches to structured books focused on specific themes. You'll discover how to document your progress, expand your visual library, and improve your techniques.
8m
image
2
Keep Using Your Sketchbooks
In this lesson, Sarah Van Dongen offers advice on maintaining a sketchbook habit. While pushing yourself is vital for growth, it’s equally essential to be flexible with your goals. Integrate sketching into your daily routine realistically, without pressure, and remember to enjoy the process of learning and improving.
6m
image
3
Finding Your Voice
Let’s dive into the process of finding your unique artistic style! Alex Hillkurtz reflects on early sketchbooks, showcasing how experimenting with different materials, subjects, and colors shaped their evolving voice. By following your interests and trying new techniques, you’ll develop a personal style that grows and changes over time.
7m
image
4
Storytelling
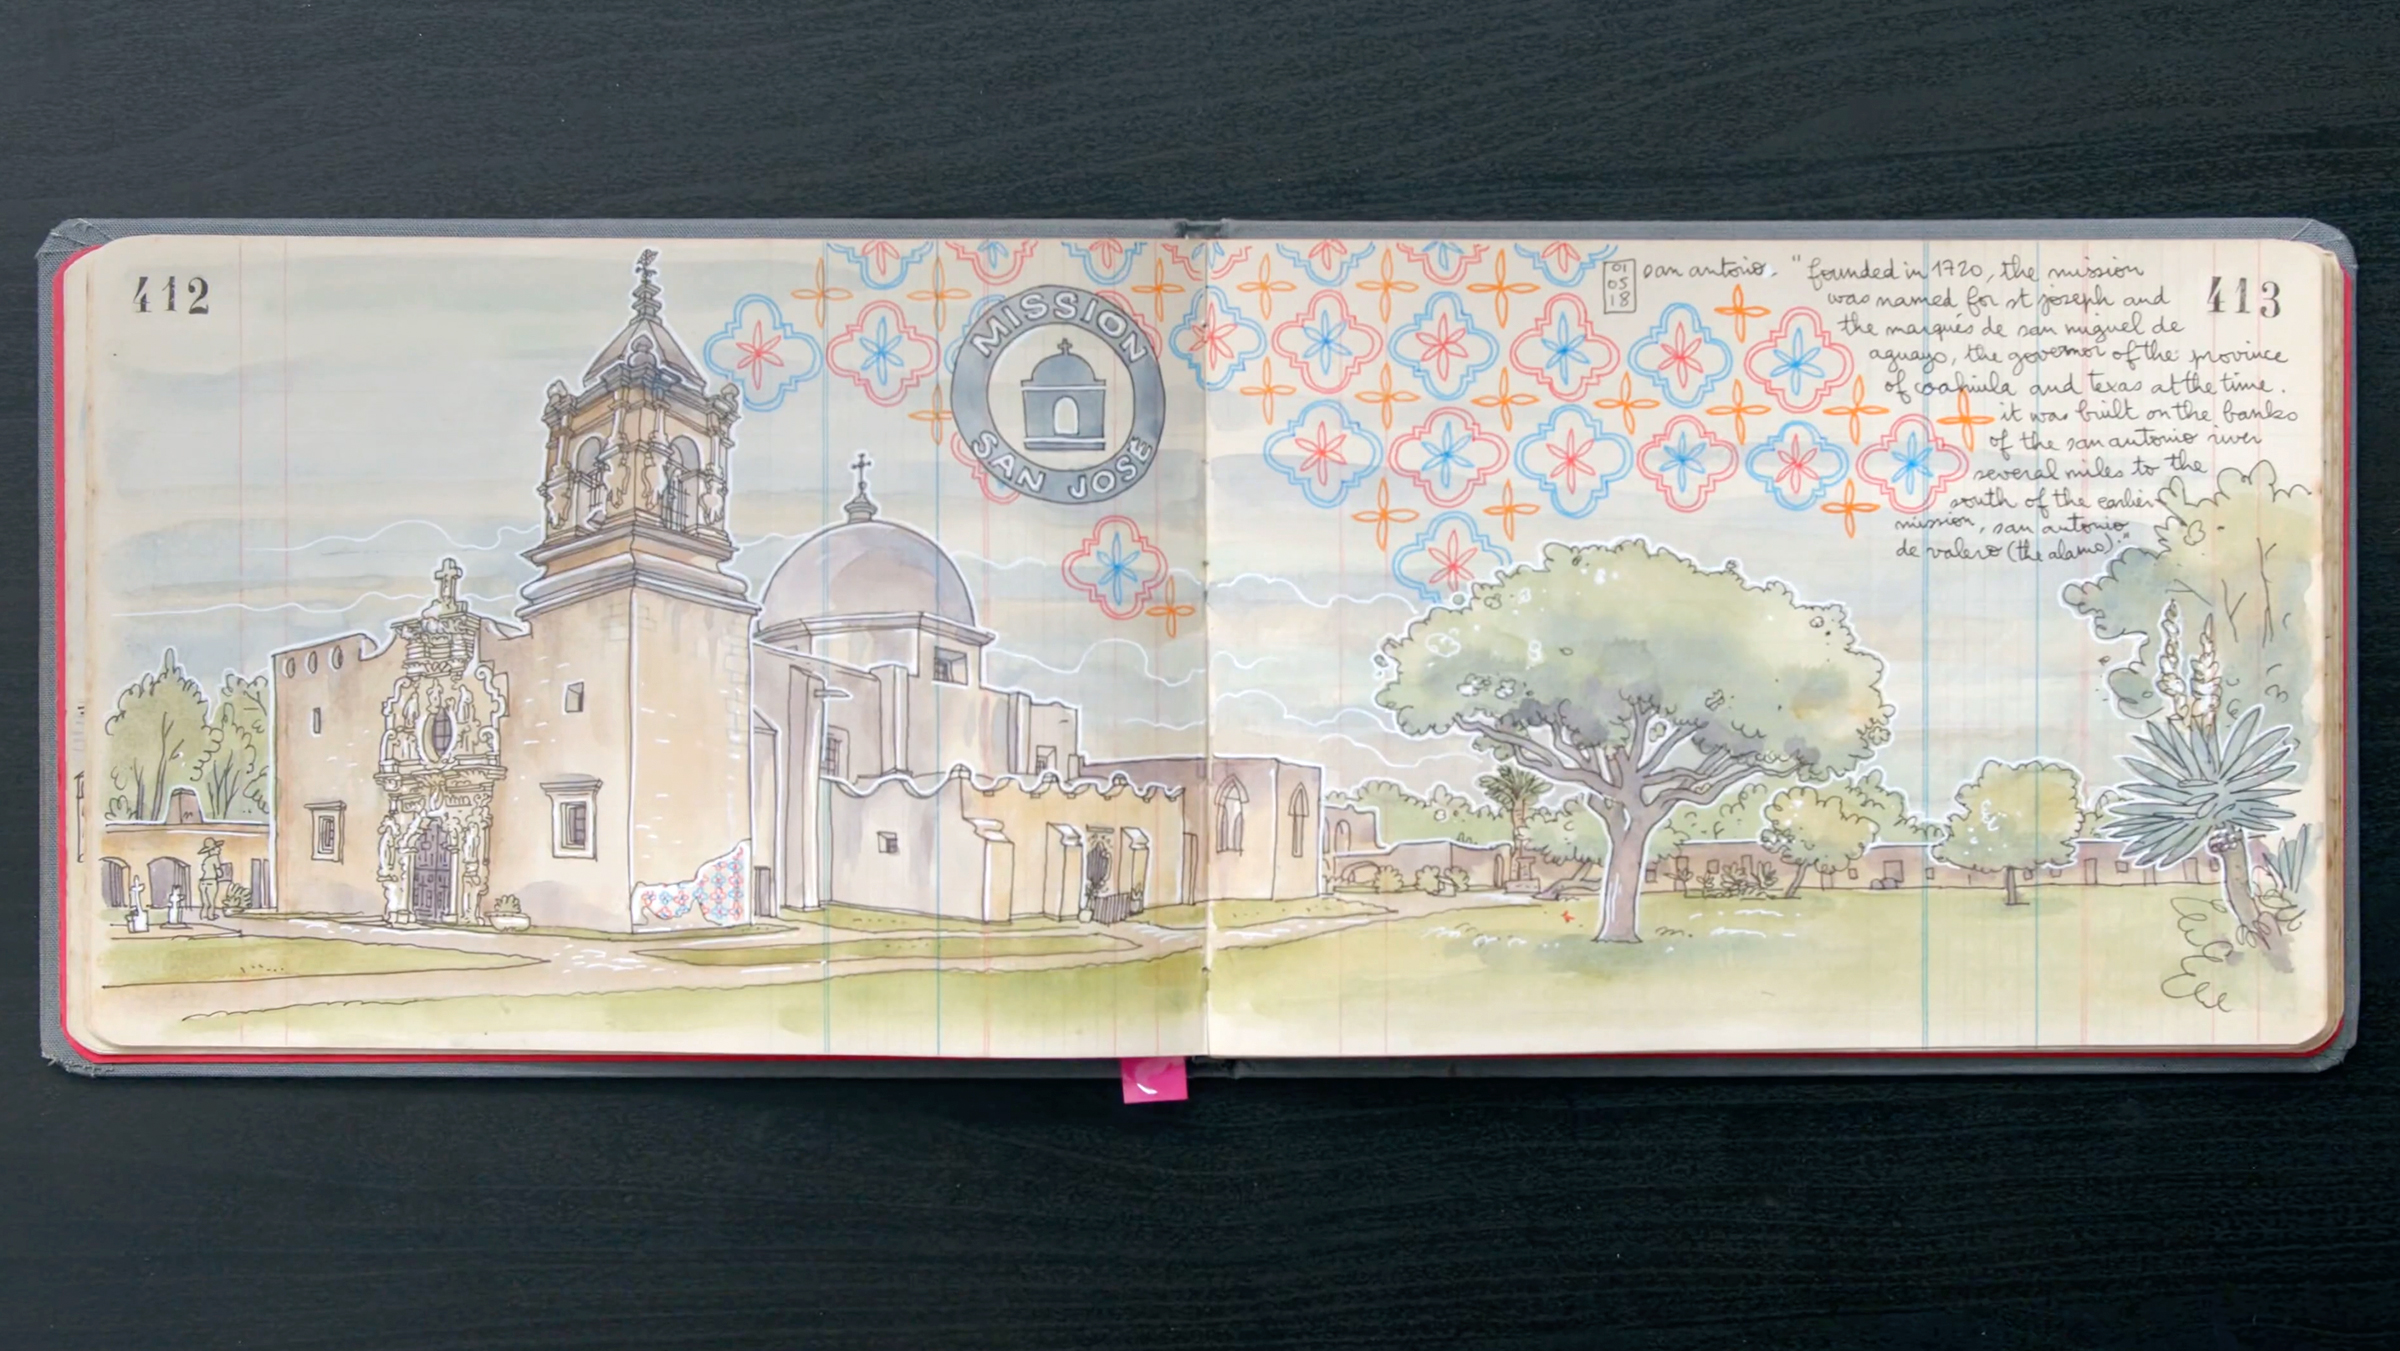
Let's explore how to bring storytelling into your sketches! Lapin emphasizes capturing the essence of a scene by adding personal details, speech bubbles, and annotations. You'll see how these elements go beyond typical postcard views, allowing you to convey your unique experience and mood. Sketching becomes a way to document moments, conversations, and even sounds, creating a richer narrative.
13m
image
5
Building a Community
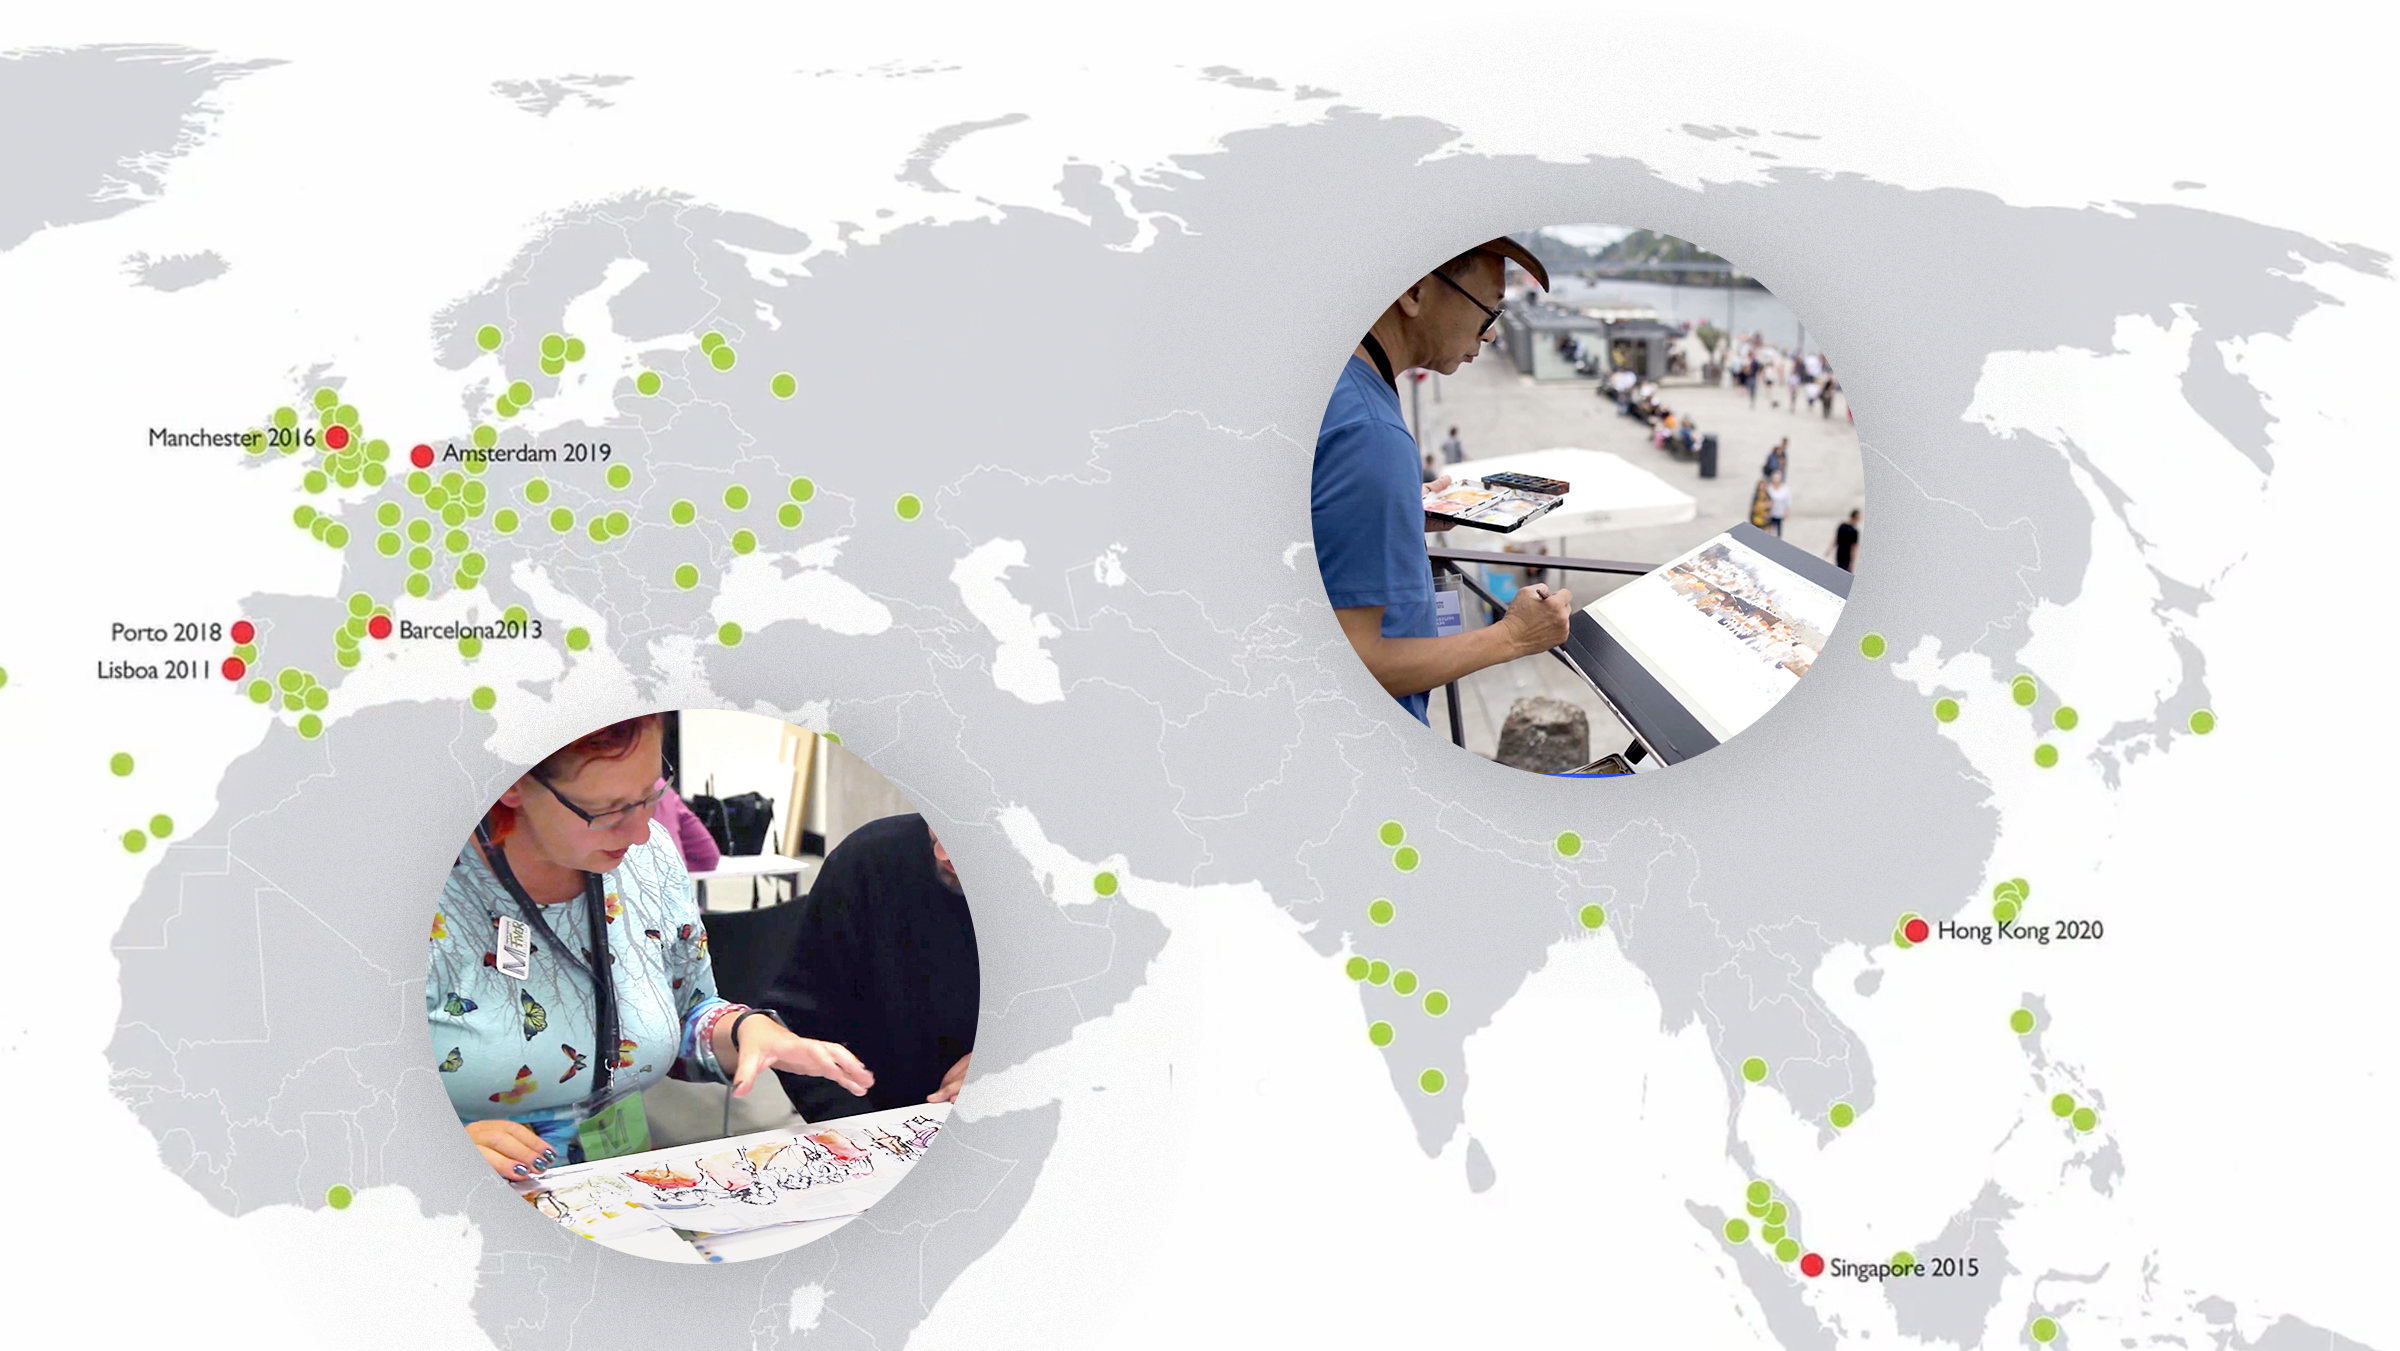
Exploring the importance of community, Lapin discusses how meeting other sketchers can boost your creativity and skill. Whether joining local Urban Sketchers groups or sketching with friends and family, collaborating allows you to share techniques and see different interpretations. These connections can turn sketching into a habit, making it fun and inspiring.
2m
image
6
Taking Part in the Artistic Community
This time, we’re diving into the role of artistic communities and how you can engage with them. Mattias Adolfsson highlights how online challenges like Inktober can inspire your creativity, connect you with fellow artists, and push you to think outside the box. Whether participating in online events or meeting sketchers in person, being part of a community helps you learn, find inspiration, and receive feedback.
4m
  • 100% positive reviews (36)
  • 4,705 students
  • 94 lessons (15h 44m)
  • 52 additional resources (50 files)
  • Online and at your own pace
  • Audio: English, Spanish
  • English · Spanish · Portuguese · German · French · Italian · Polish · Dutch
  • Level: Beginner
  • Unlimited access forever

What is this course's project?
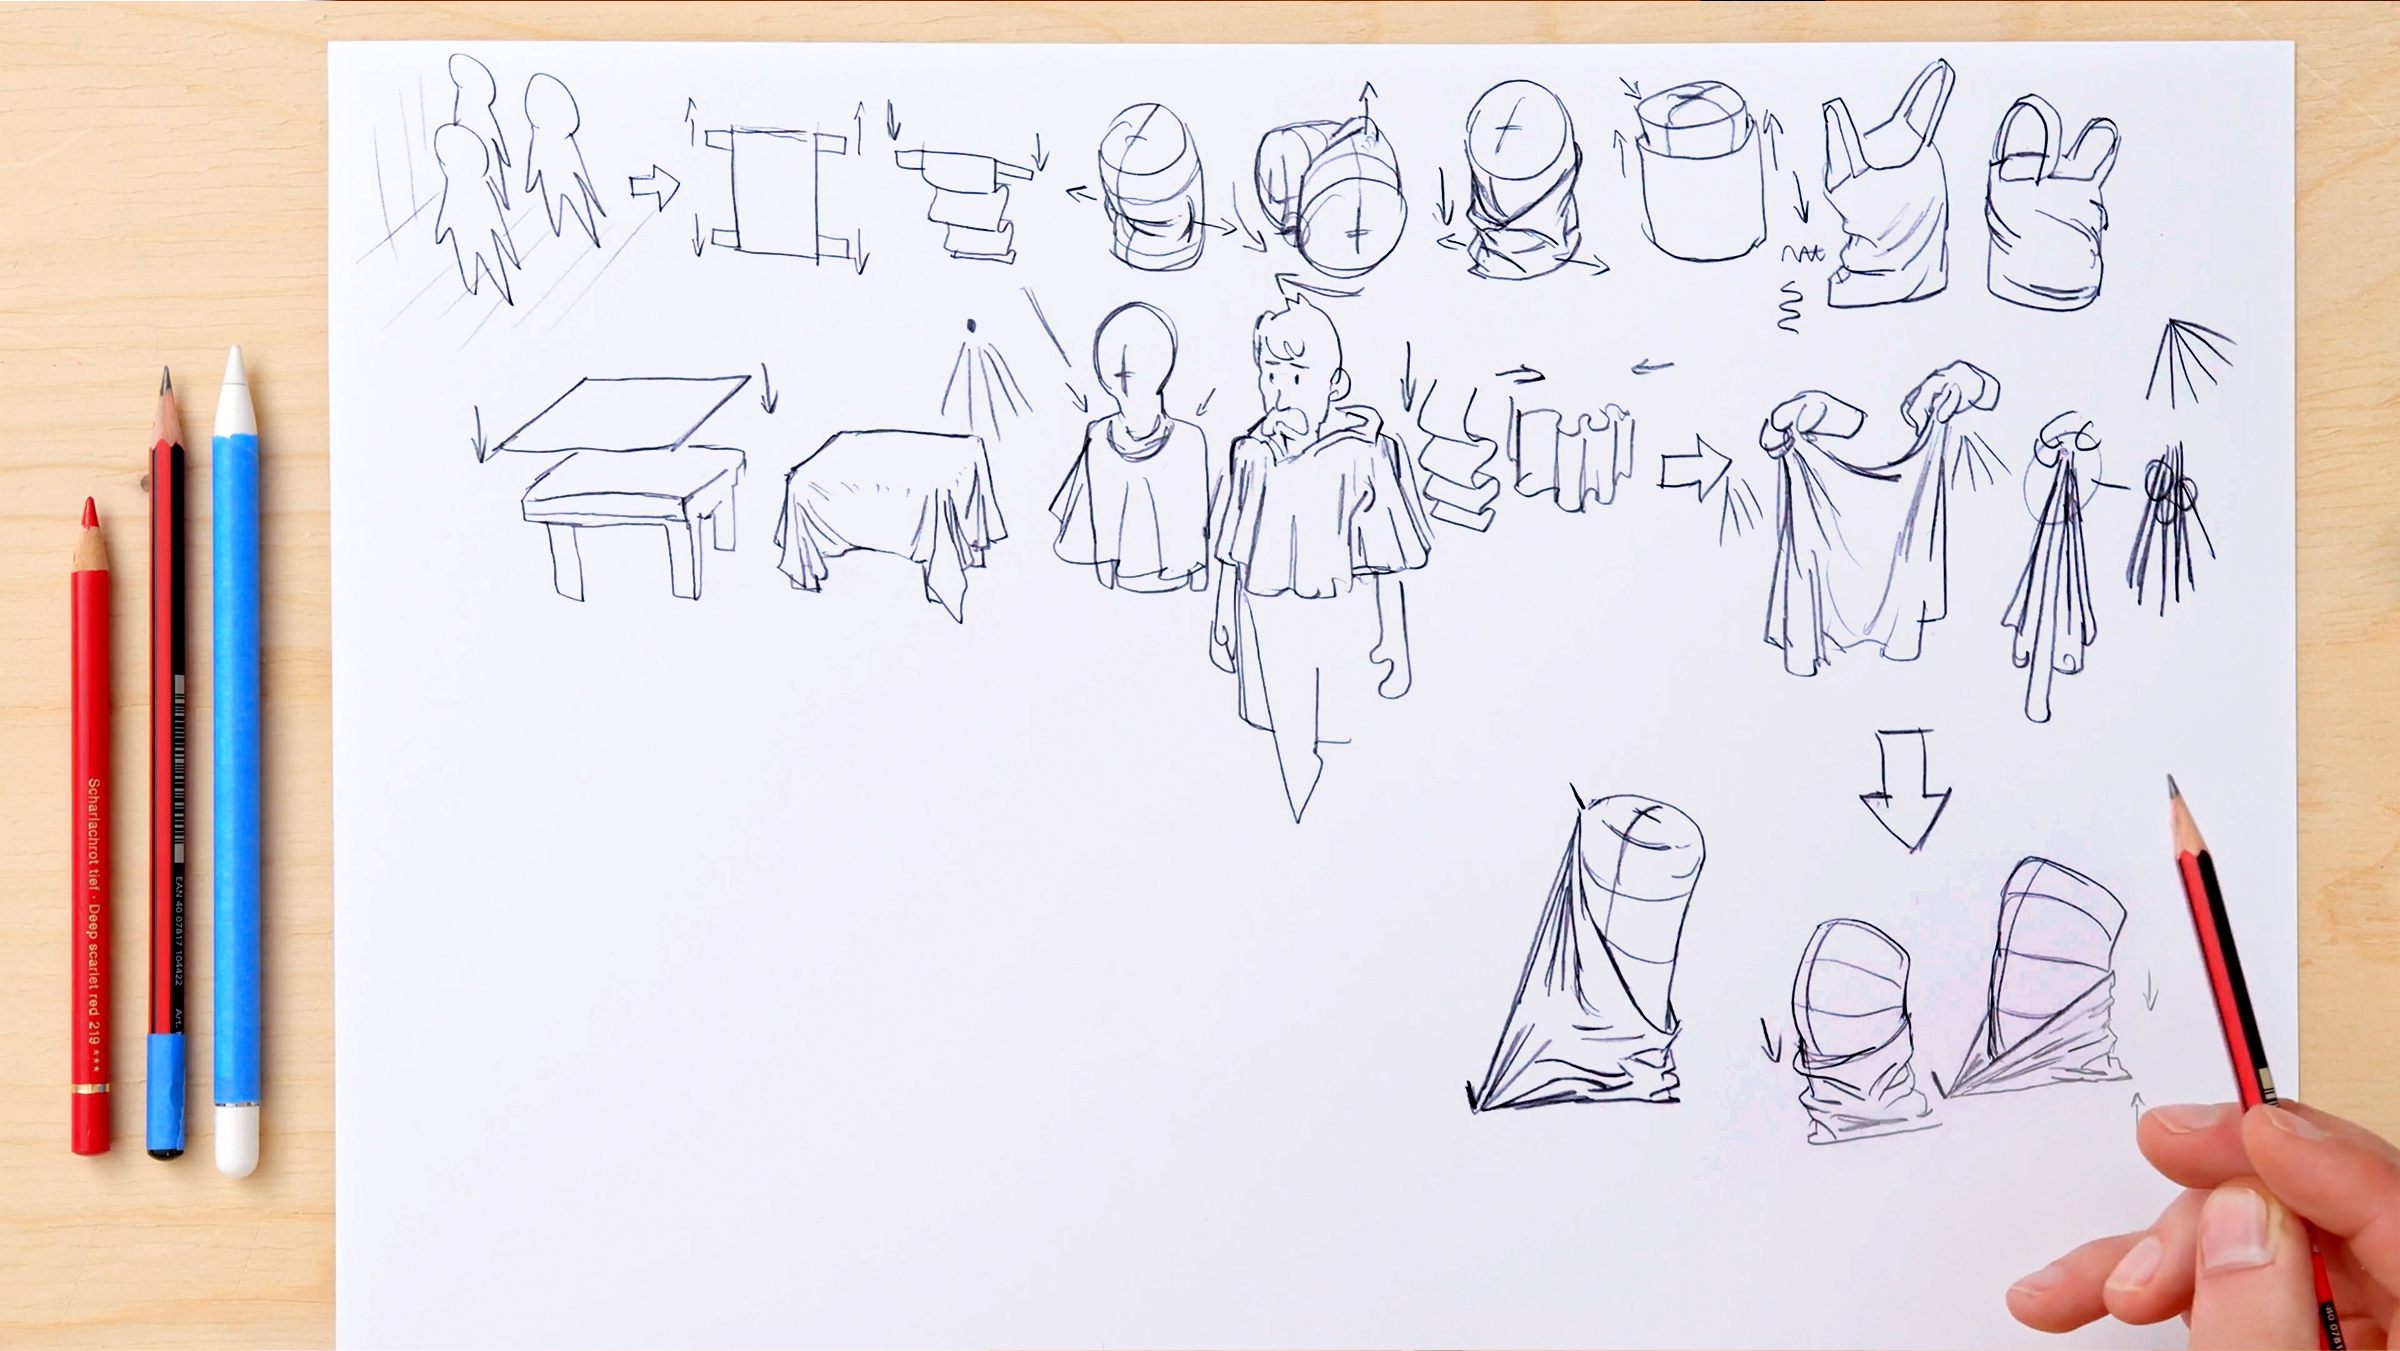
By the end, you will have created a series of sketches that reflect your own interpretations of figures, landscapes, and abstract compositions.

Who is this specialization for?
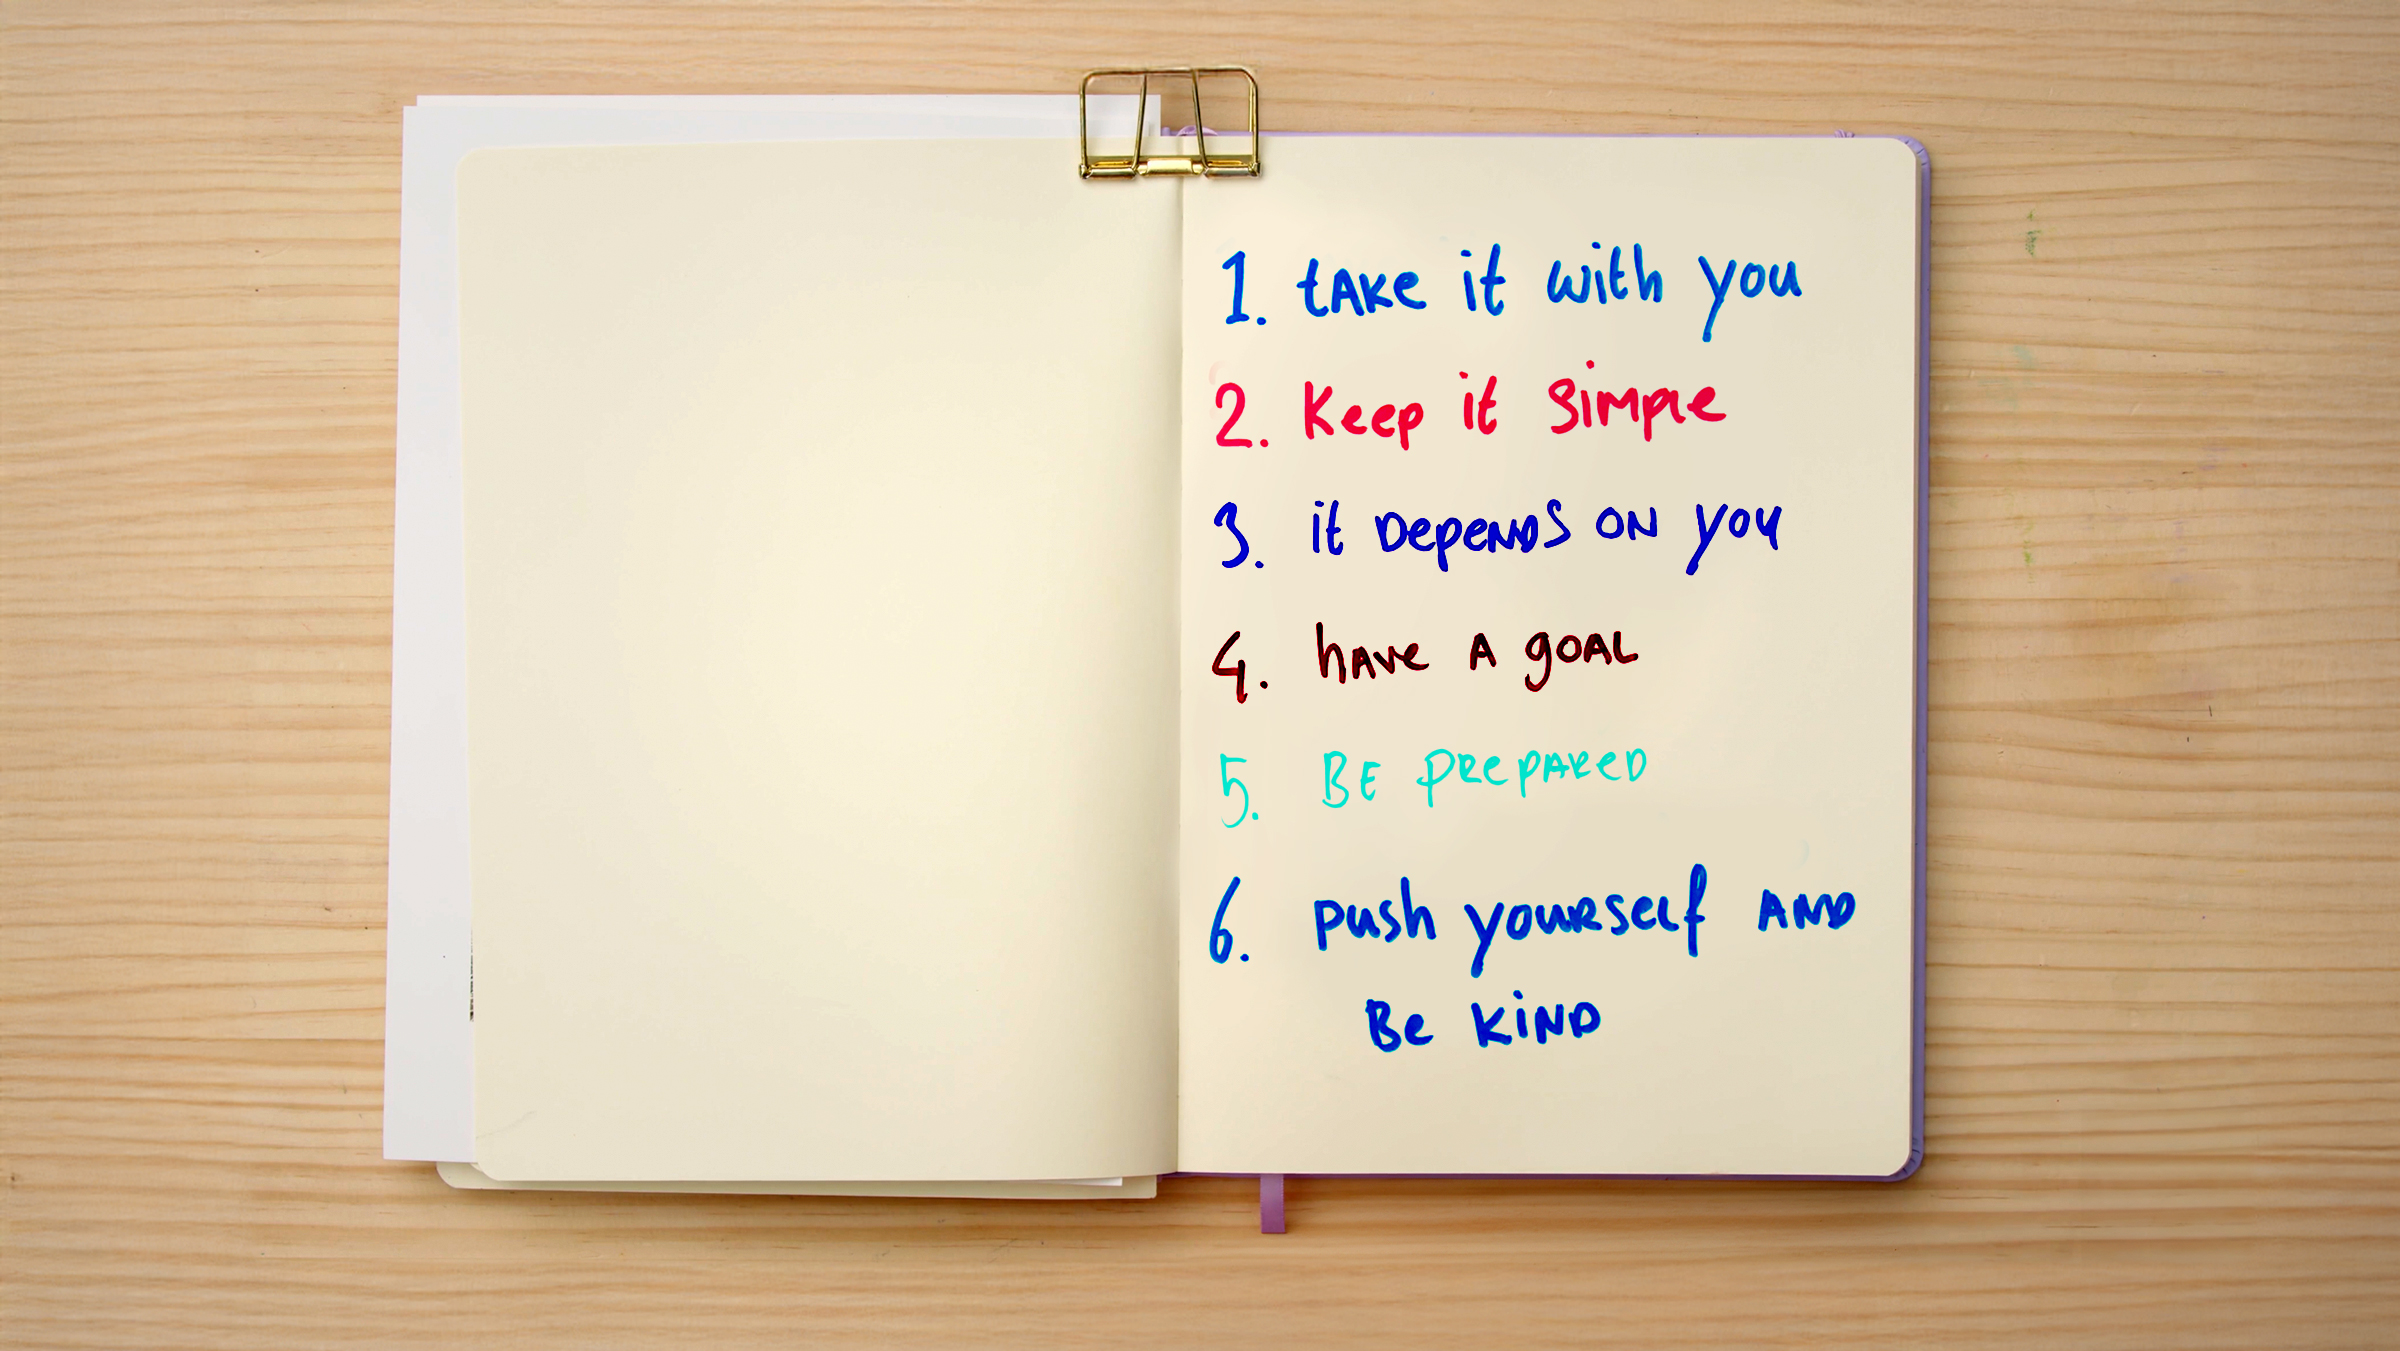
This specialization is crafted for artists, illustrators, and creative minds eager to supercharge their sketching skills. It's perfect for beginners itching to master the basics, as well as those looking to level up their technique or dive into thrilling new realms of visual expression.

Requirements and materials

All you need is a sketchbook, some pencils, maybe a few brushes, and possibly a drawing program at some point (but one you can adapt to your usual tools) - the concepts are what really matter. Bring your creative passion along for this journey, and you're all set. This specialization is designed to flex with your experience level, whatever it may be.

Select to get to know your teachers in this specialization course
Read more ↓

Reviews

4,705 Students
36 Reviews
100% Positive ratings


What to expect from this specialization course

  • Learn at your own pace

    Enjoy learning from home without a set schedule and with an easy-to-follow method. You set your own pace.

  • Learn from the best professionals

    Learn valuable methods and techniques explained by top experts in the creative sector.

  • Meet expert teachers

    Each expert teaches what they do best, with clear guidelines, true passion, and professional insight in every lesson.

  • Certificates
    Plus

    If you're a Plus member, get a custom certificate for every specialization course. Share it on your portfolio, social media, or wherever you like.

  • Get front-row seats

    Videos of the highest quality, so you don't miss a single detail. With unlimited access, you can watch them as many times as you need to perfect your technique.

  • Share knowledge and ideas

    Ask questions, request feedback, or offer solutions. Share your learning experience with other students in the community who are as passionate about creativity as you are.

  • Connect with a global creative community

    The community is home to millions of people from around the world who are curious and passionate about exploring and expressing their creativity.

  • Watch professionally produced courses

    Domestika curates its teacher roster and produces every course in-house to ensure a high-quality online learning experience.


FAQs

Domestika's specialization courses are online classes that provide you with the tools and skills you need to complete a specific project. Every step of the project combines video lessons with complementary instructional material, so you can learn by doing. Domestika's specializations also allow you to share your own projects with other students, creating a dynamic course community.

All specialization courses are 100% online, so once they're published, specialization courses start and finish whenever you want. You set the pace of the class. You can go back to review what interests you most and skip what you already know, ask questions, answer questions, share your projects, and more.

The specialization courses are divided into different modules. Each one includes lessons, informational text, tasks, and practice exercises to help you carry out your project step by step, with additional complementary resources and downloads. You'll also have access to an exclusive forum where you can interact with other students, as well as share your work and your final project, creating a community around the specialization course.

You can redeem the specialization course you received by accessing the redeeming page and entering your gift code.

If you're a Plus member, when you complete a course you've purchased, you'll instantly get your personalized certificate. You can see all your certificates in the Certificates section of your profile. You can download your certificates as PDFs and share the link online. Learn more about certificates.
Sketching Techniques Specialization. Illustration course by Domestika Best seller

Sketching Techniques Specialization

A specialization by multiple teachers
Artists specialized in sketching. Berkeley, United States.
Joined April 2002
  • 100% positive reviews (36)
  • 4,705 students