Specialization
Best seller

Embroidery Techniques Specialization

9 Teachers

Master embroidery techniques with realistic stitches, color theory, and design transfer to create intricate wearable art

Master embroidery techniques with realistic stitches, color theory, and design transfer to create intricate wearable art

9 Teachers
Specialization · 9 modules

Immerse yourself in the colorful world of embroidery and unleash your creative potential with a comprehensive specialization course designed to teach you various techniques and styles. Explore the fundamentals of embroidery, from selecting the perfect materials to mastering basic stitches. With expert guidance from talented instructors such as Emillie Ferris, Yulia Sherback, and Chloe Giordano, learn the art of freehand needle painting and realistic embroidery. Develop skills to bring your ideas to life, focusing on color theory, thread selection, and transferring designs to fabric.

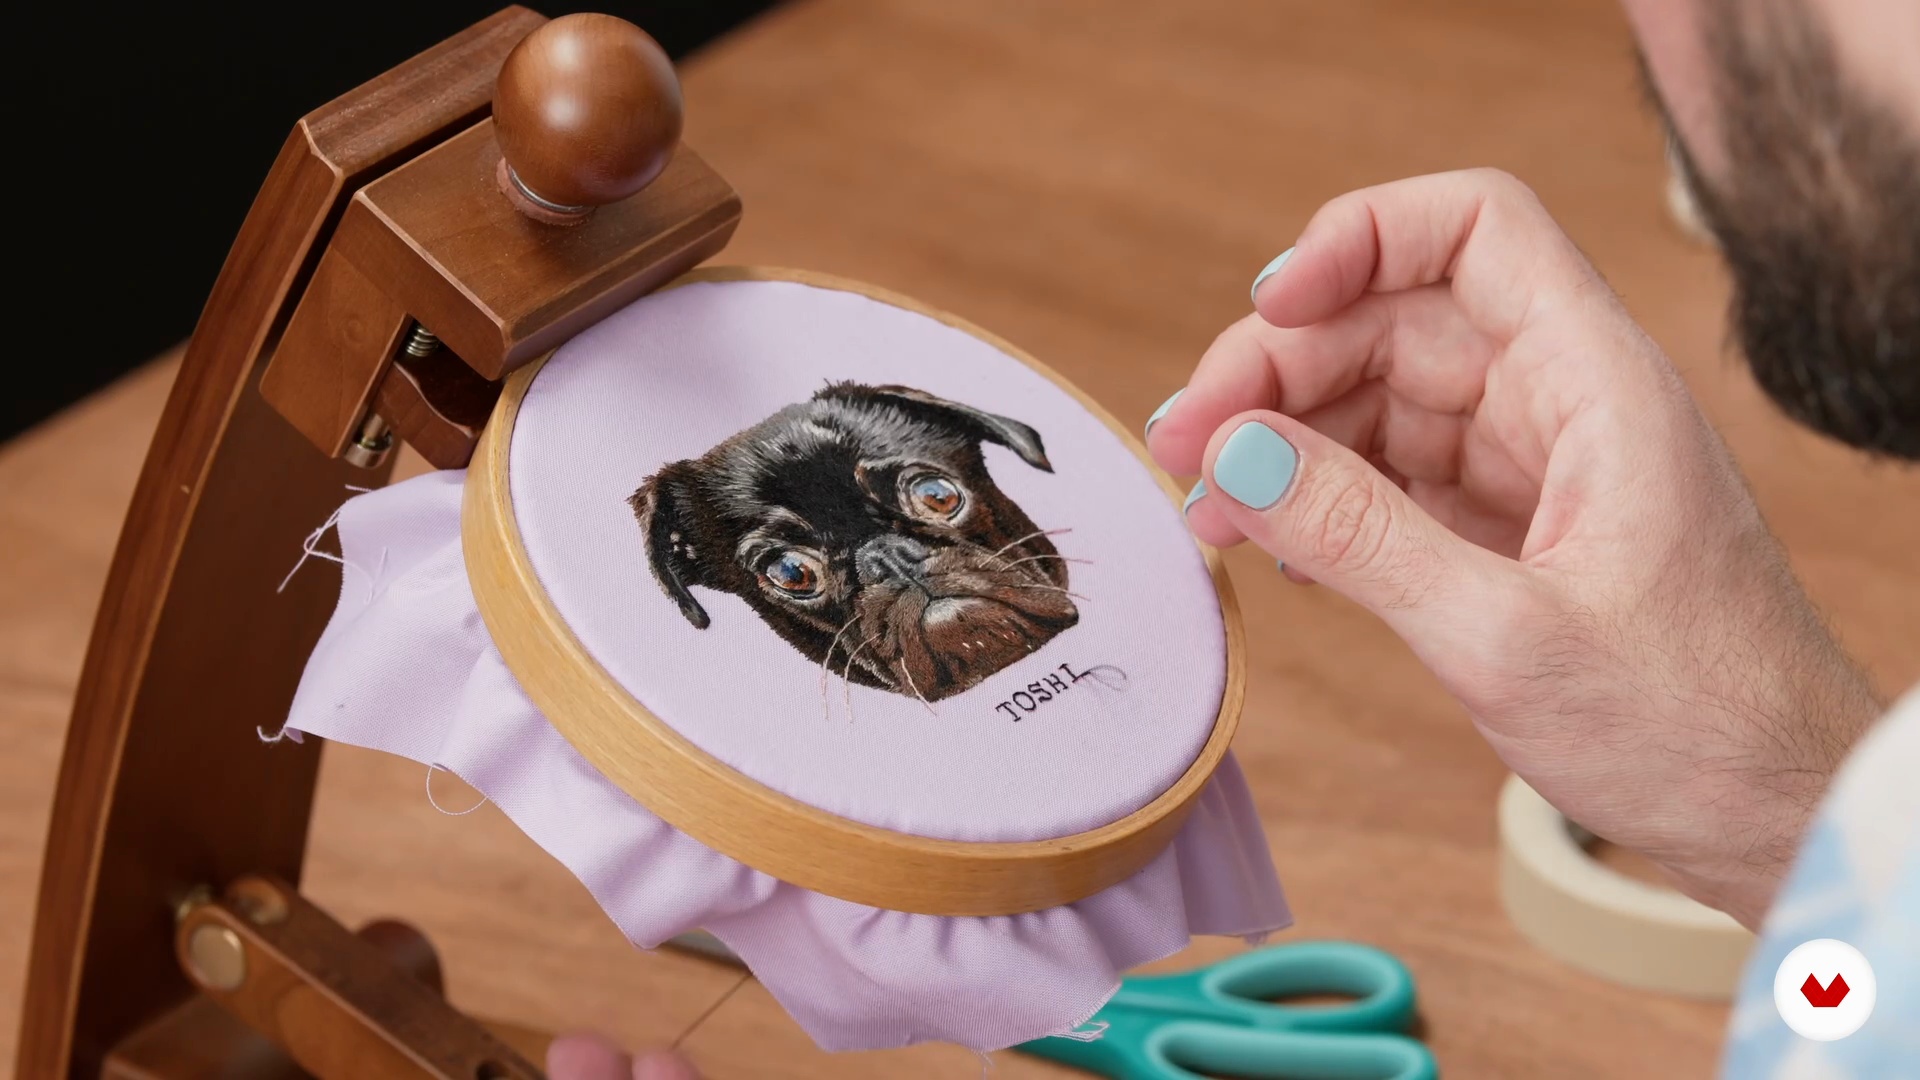
The journey continues with specialized modules on botanical embroidery, vibrant insect designs, and expressive lettering. Defne Güntürkün and Cristin Morgan offer information on floral motifs and embroidered wearable patches. Meanwhile, Michelle Staub, Nneka Jones, and Santo Cielo delve into realistic pet portraiture and storytelling through color. Whether you want to create intricate jewelry, animated pet portraits, or stitch the beauty of wildlife, each lesson provides an invaluable resource for crafters of all levels. Expand your embroidery repertoire and let your creativity flourish in this inspiring, hands-on experience.

Read more ↓

What will you learn in this specialization?

A total of 9 modules and 46 lessons
A total of 7h 15m of vídeo lessons
Taught by 9 selected expert teachers
image
1
Introduction
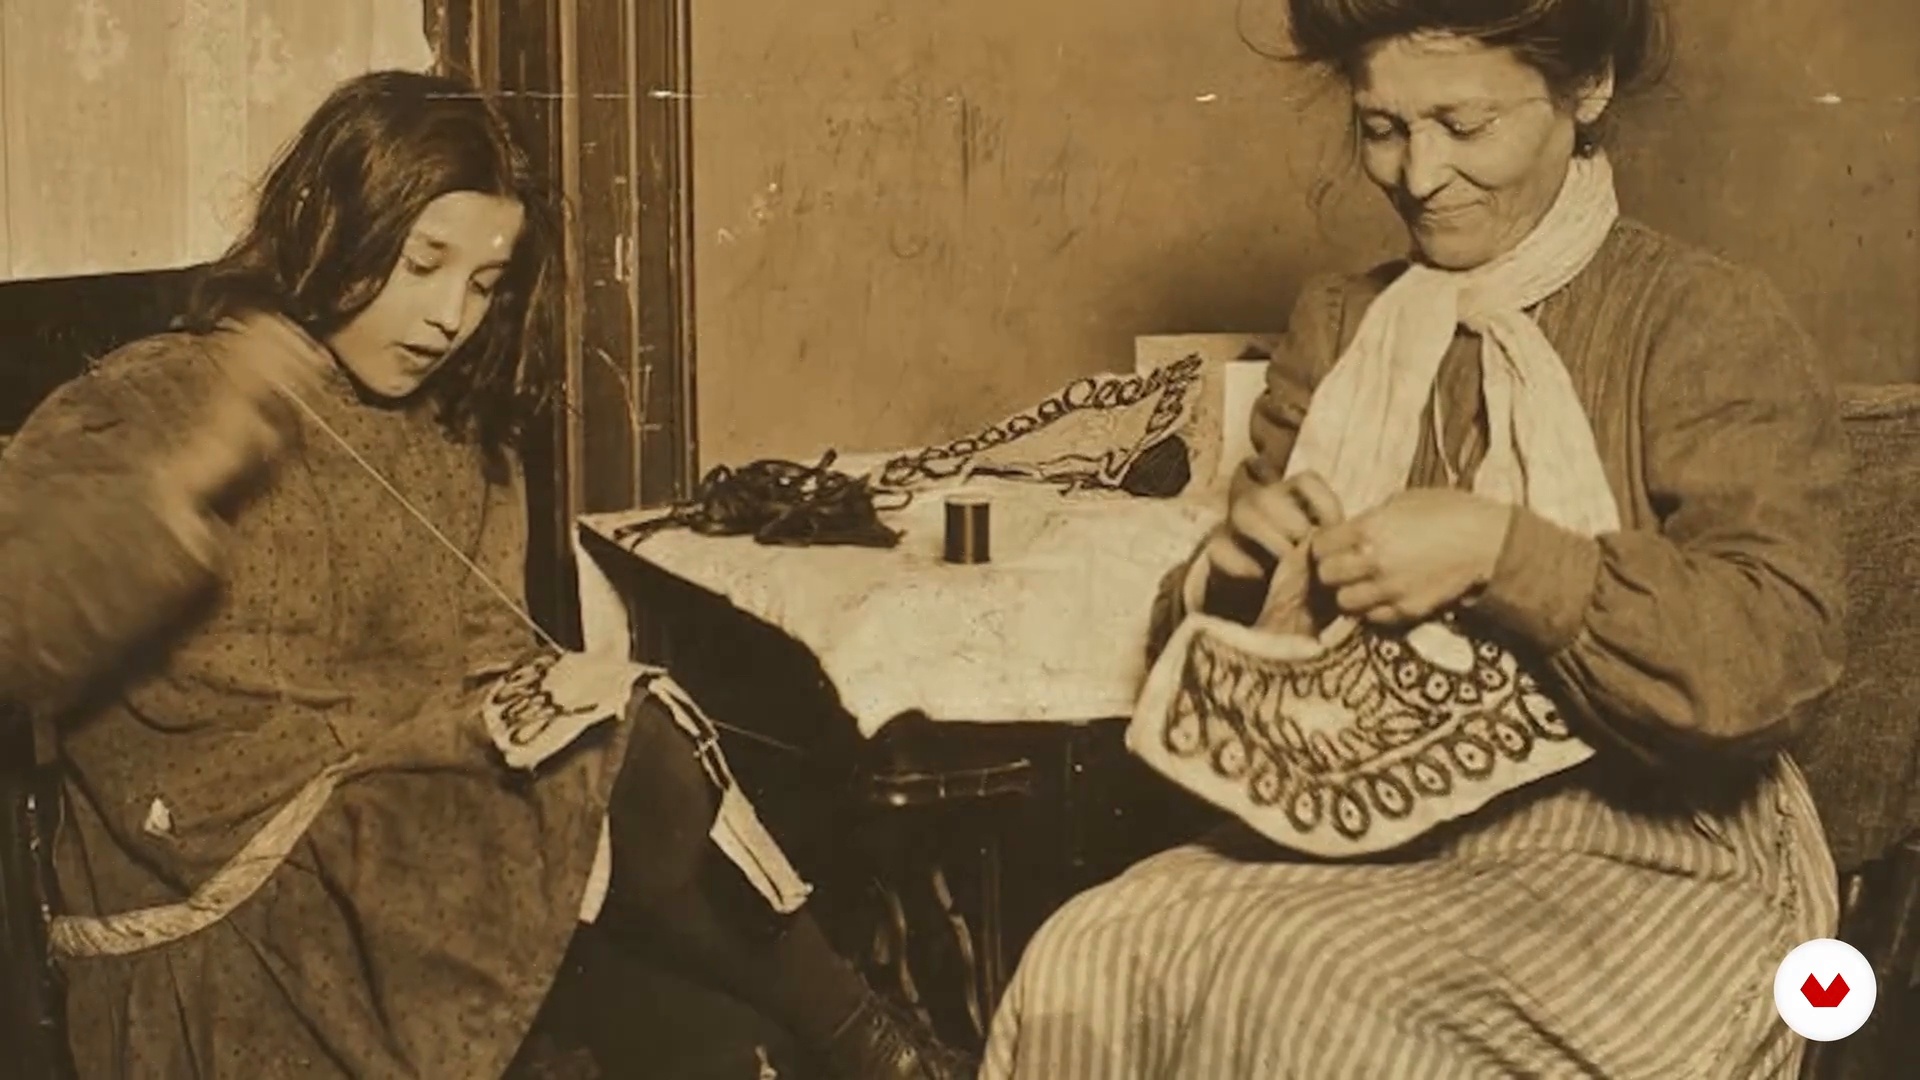
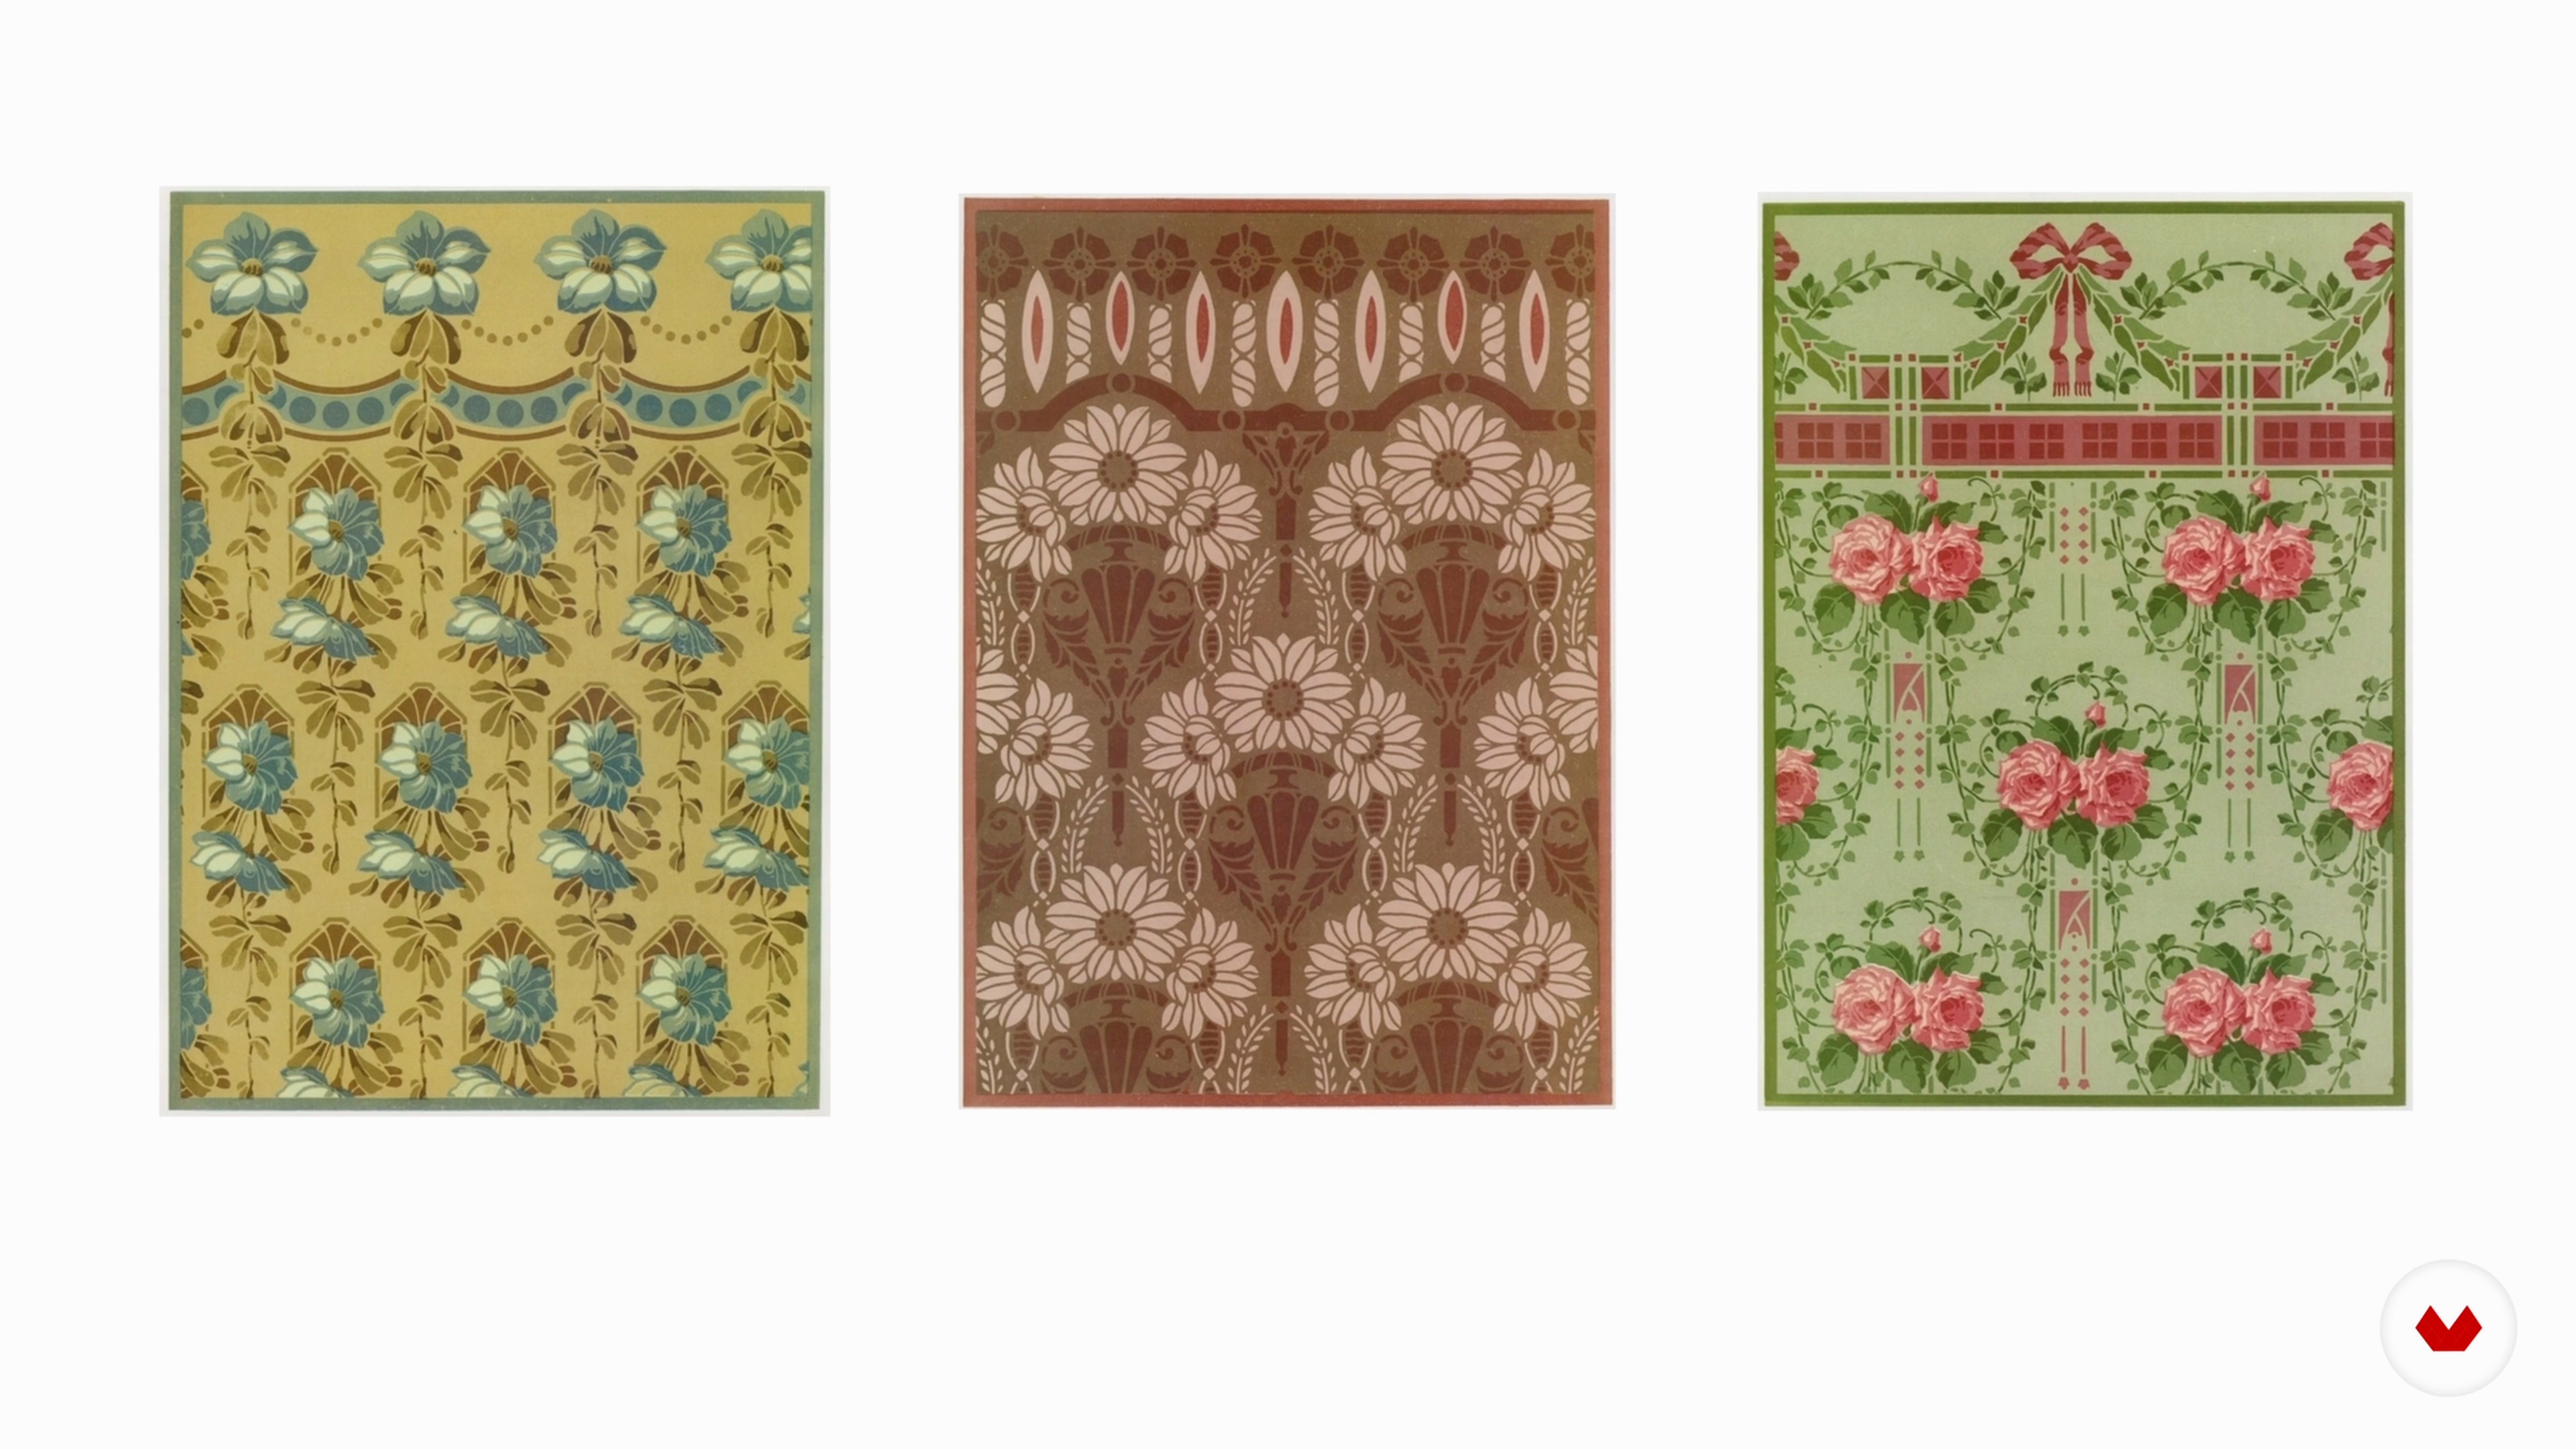
Discover embroidery’s evolution from an ancient craft to an art form inspired by William Morris’s nature-inspired patterns. Reflect on its meditative qualities and personal storytelling, connecting tradition and creativity to create meaningful, expressive works.
2m
image
2
Influences / Defne Güntürkün
In this lesson, you’ll explore how Defne Güntürkün´s textile and fashion design background connects with his love for art history and romantic influences. Inspired by artists like William Morris and Musa, he reveals how their timeless patterns resonate with his creative vision.
1m
image
3
Influences / Ciara (Pretty Strange)
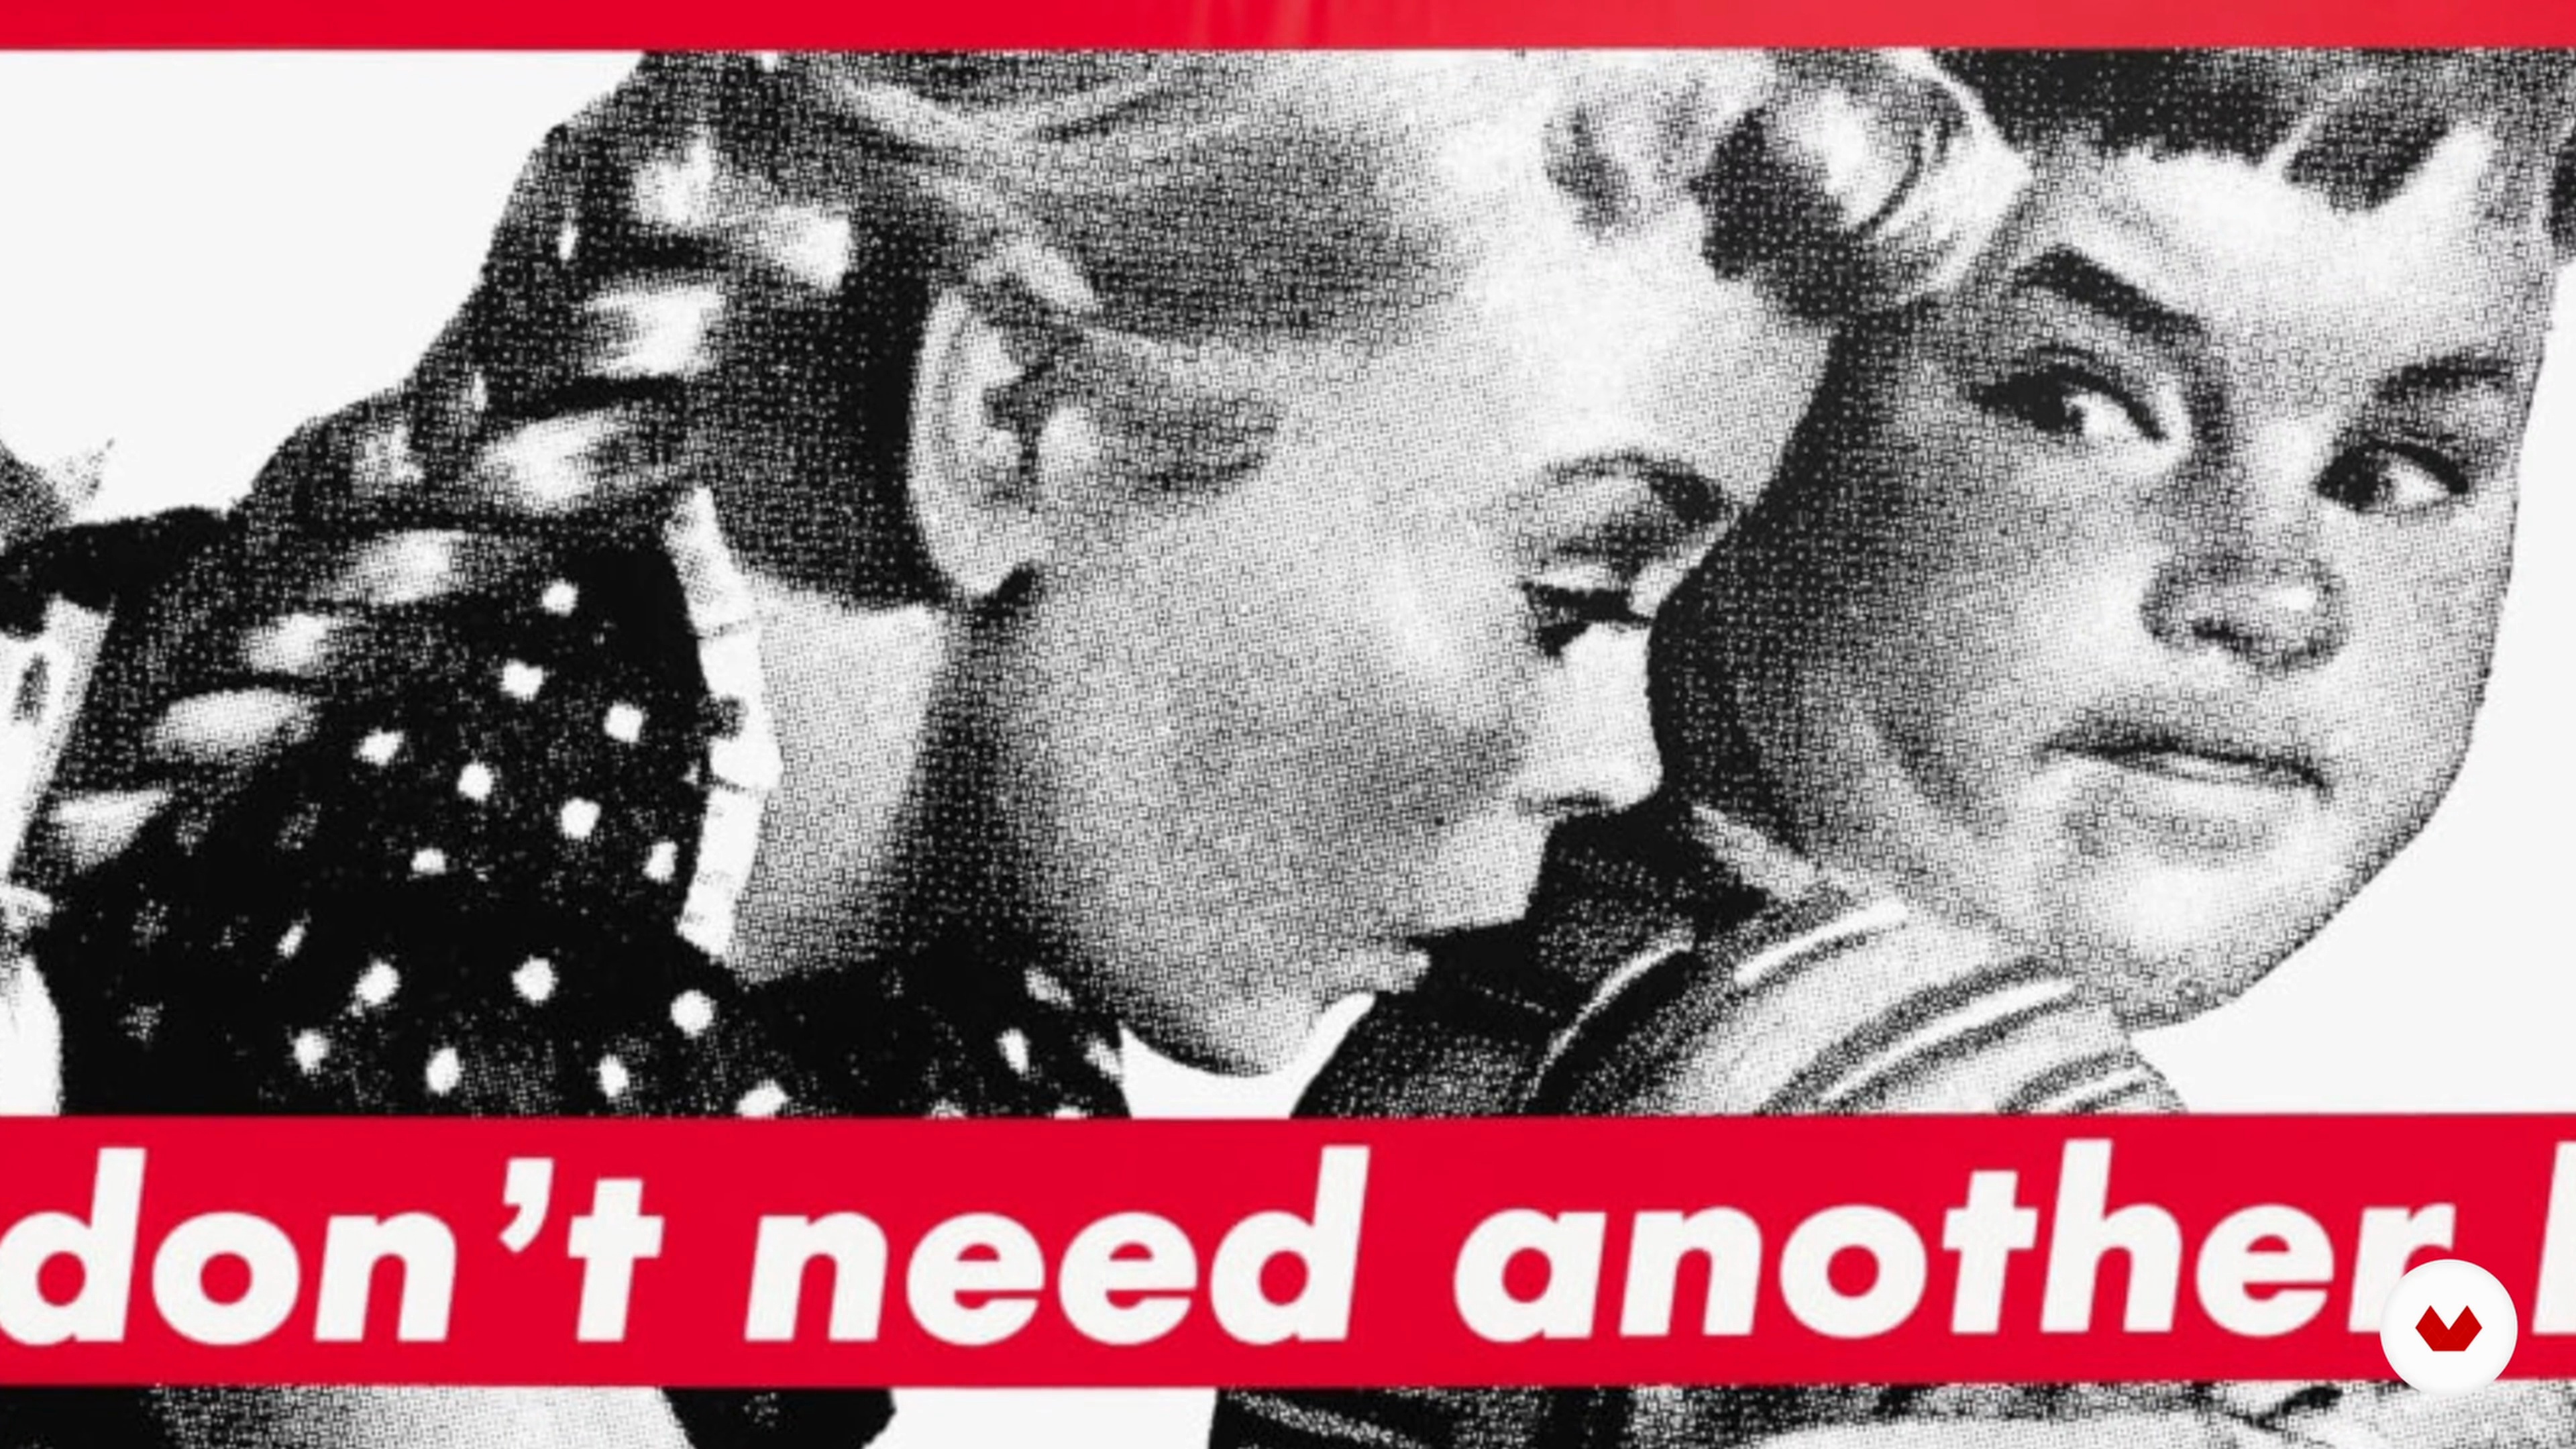
Get ready to explore the artistic influences behind Ciara’s bold and impactful style. Drawing inspiration from Ginny Holzer’s conceptual statements, Barbara Kruger’s sharp imagery and typography, and LaQuinna’s colorful, joyful designs, he unveils how each artist shapes his use of lettering and words. Discover the power of art to create compelling and meaningful messages.
1m
image
4
Influences / Julia Sherback
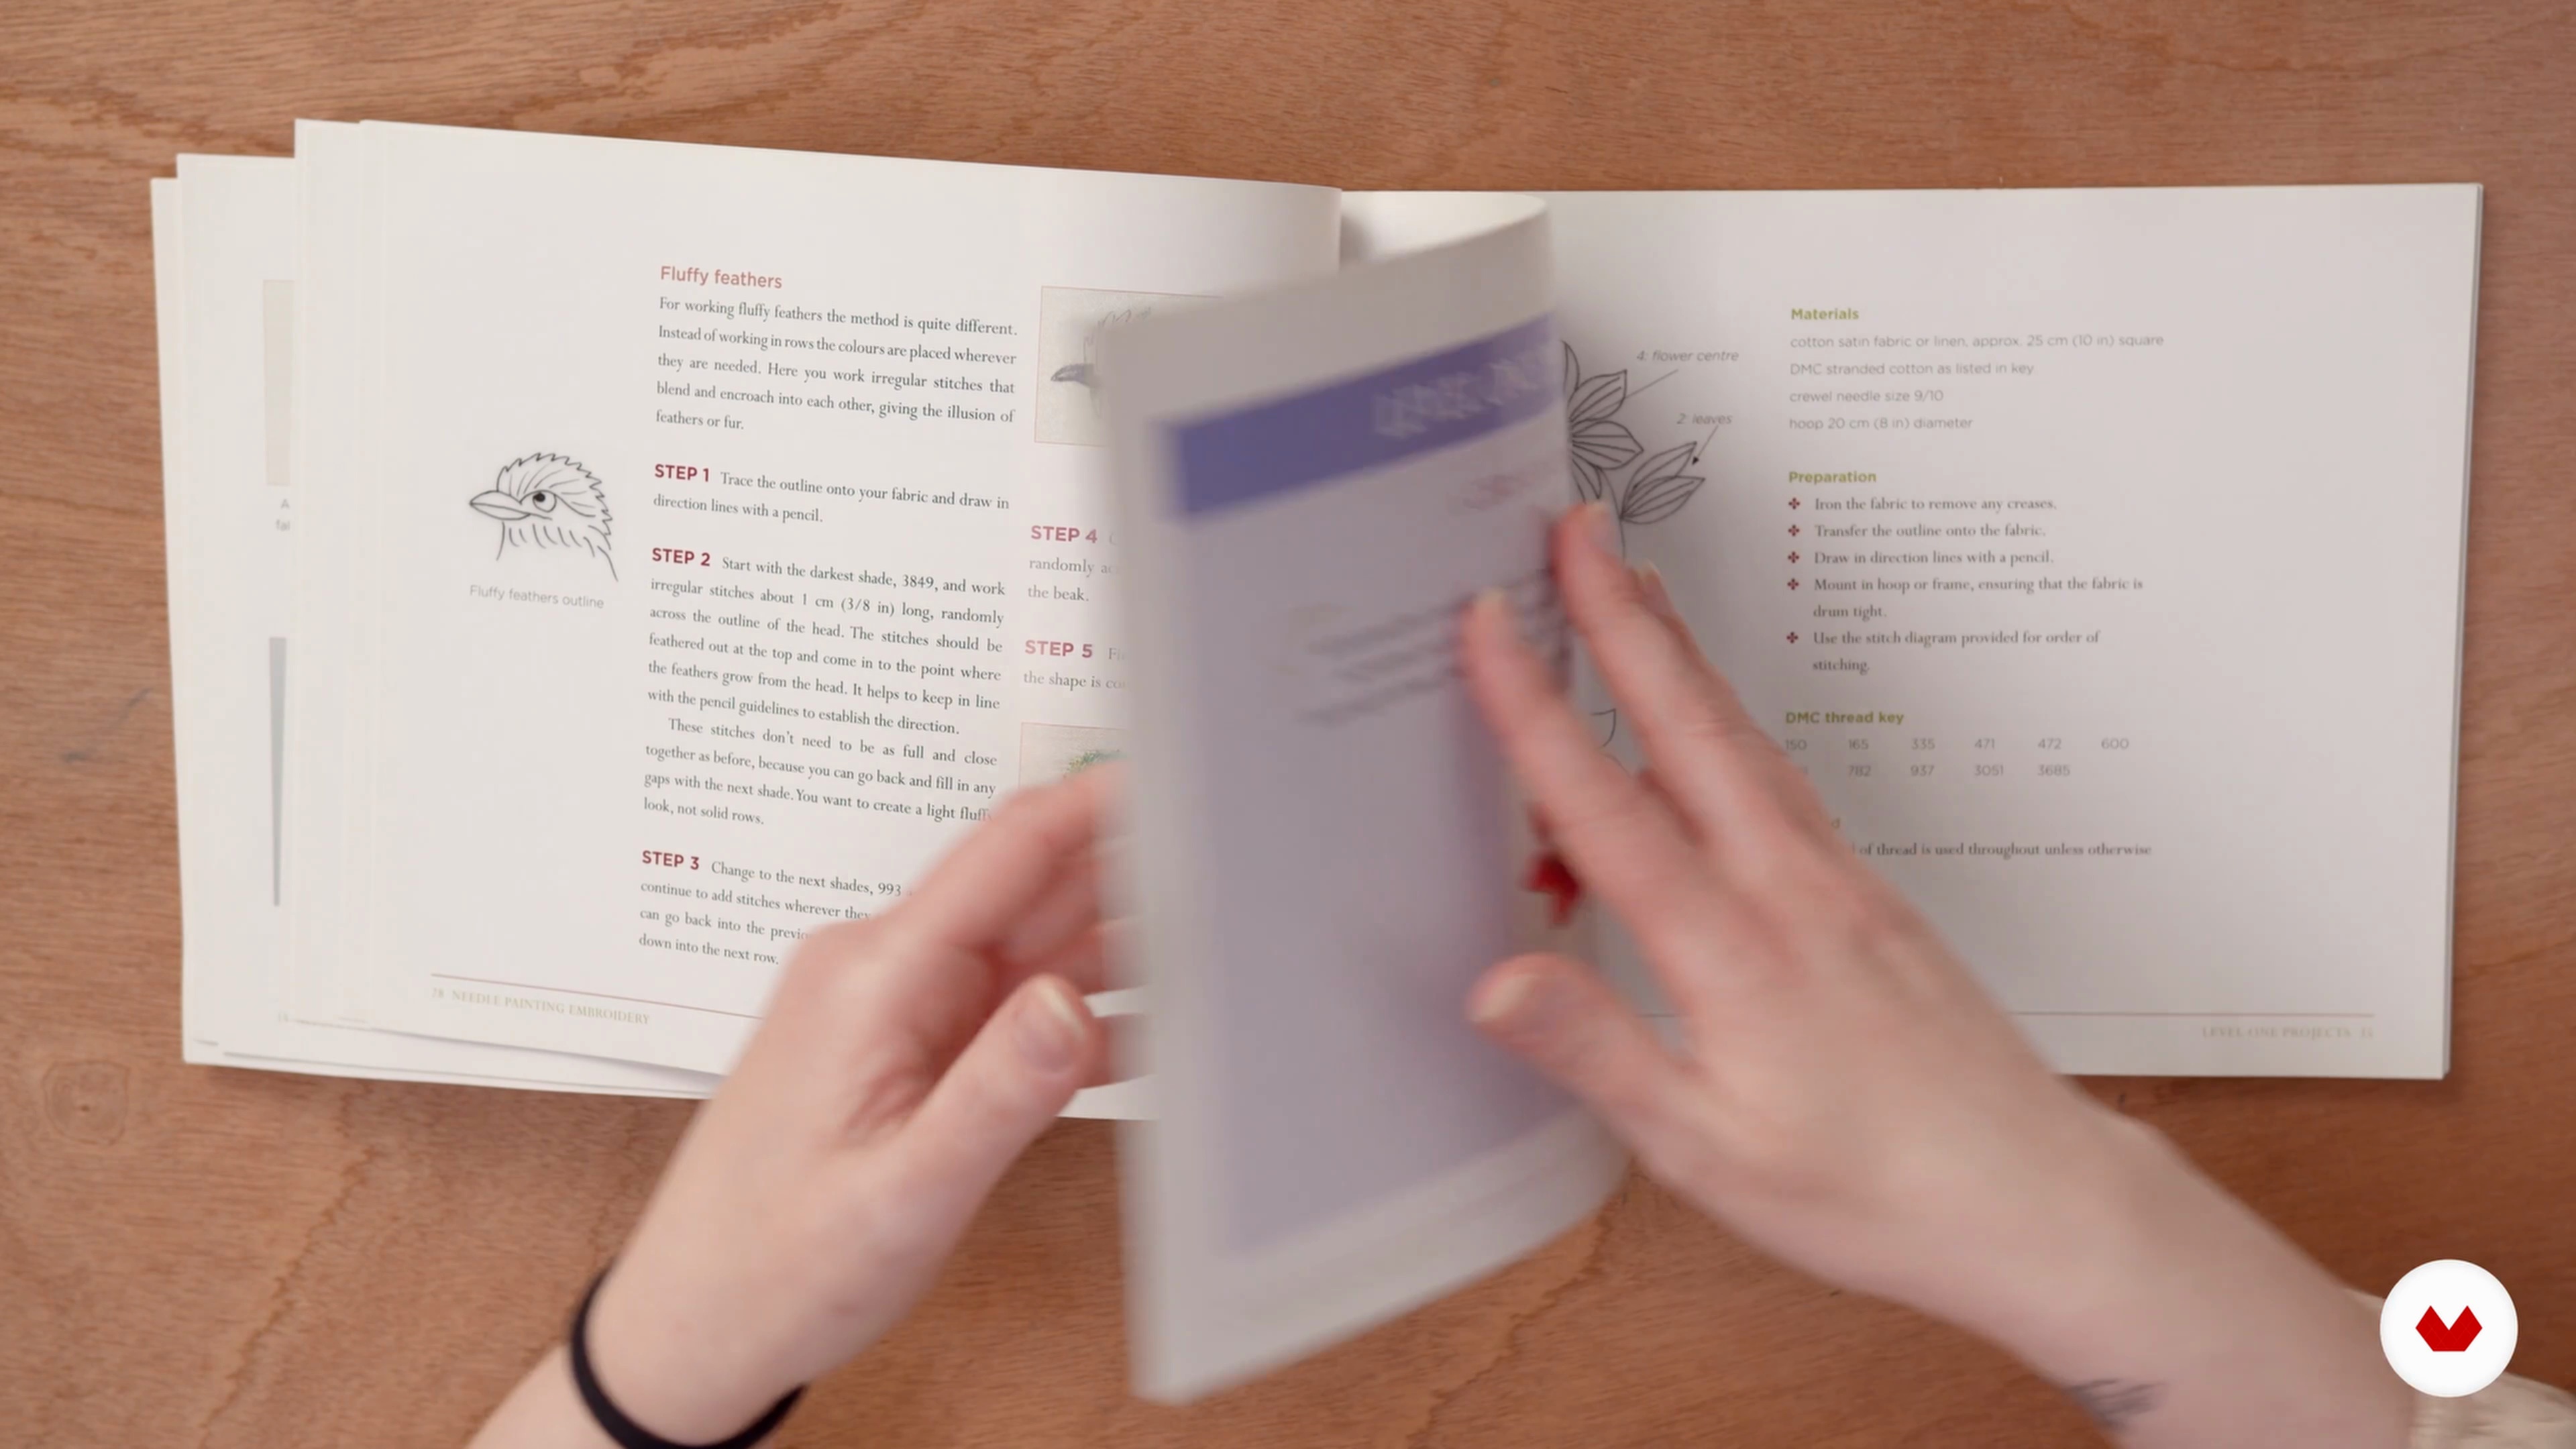
Yulia Sherbak introduces the inspiring work of Trish Burr, an embroidery artist known for her exquisite flora, fauna, and portrait designs. Through her book Needle Painting Embroidery: Fresh Ideas for Beginners, you’ll explore step-by-step projects that build skills and showcase beautiful shading techniques—a perfect resource for beginners and those looking to refine their embroidery.
2m
image
5
Influences / Chloe Giordano
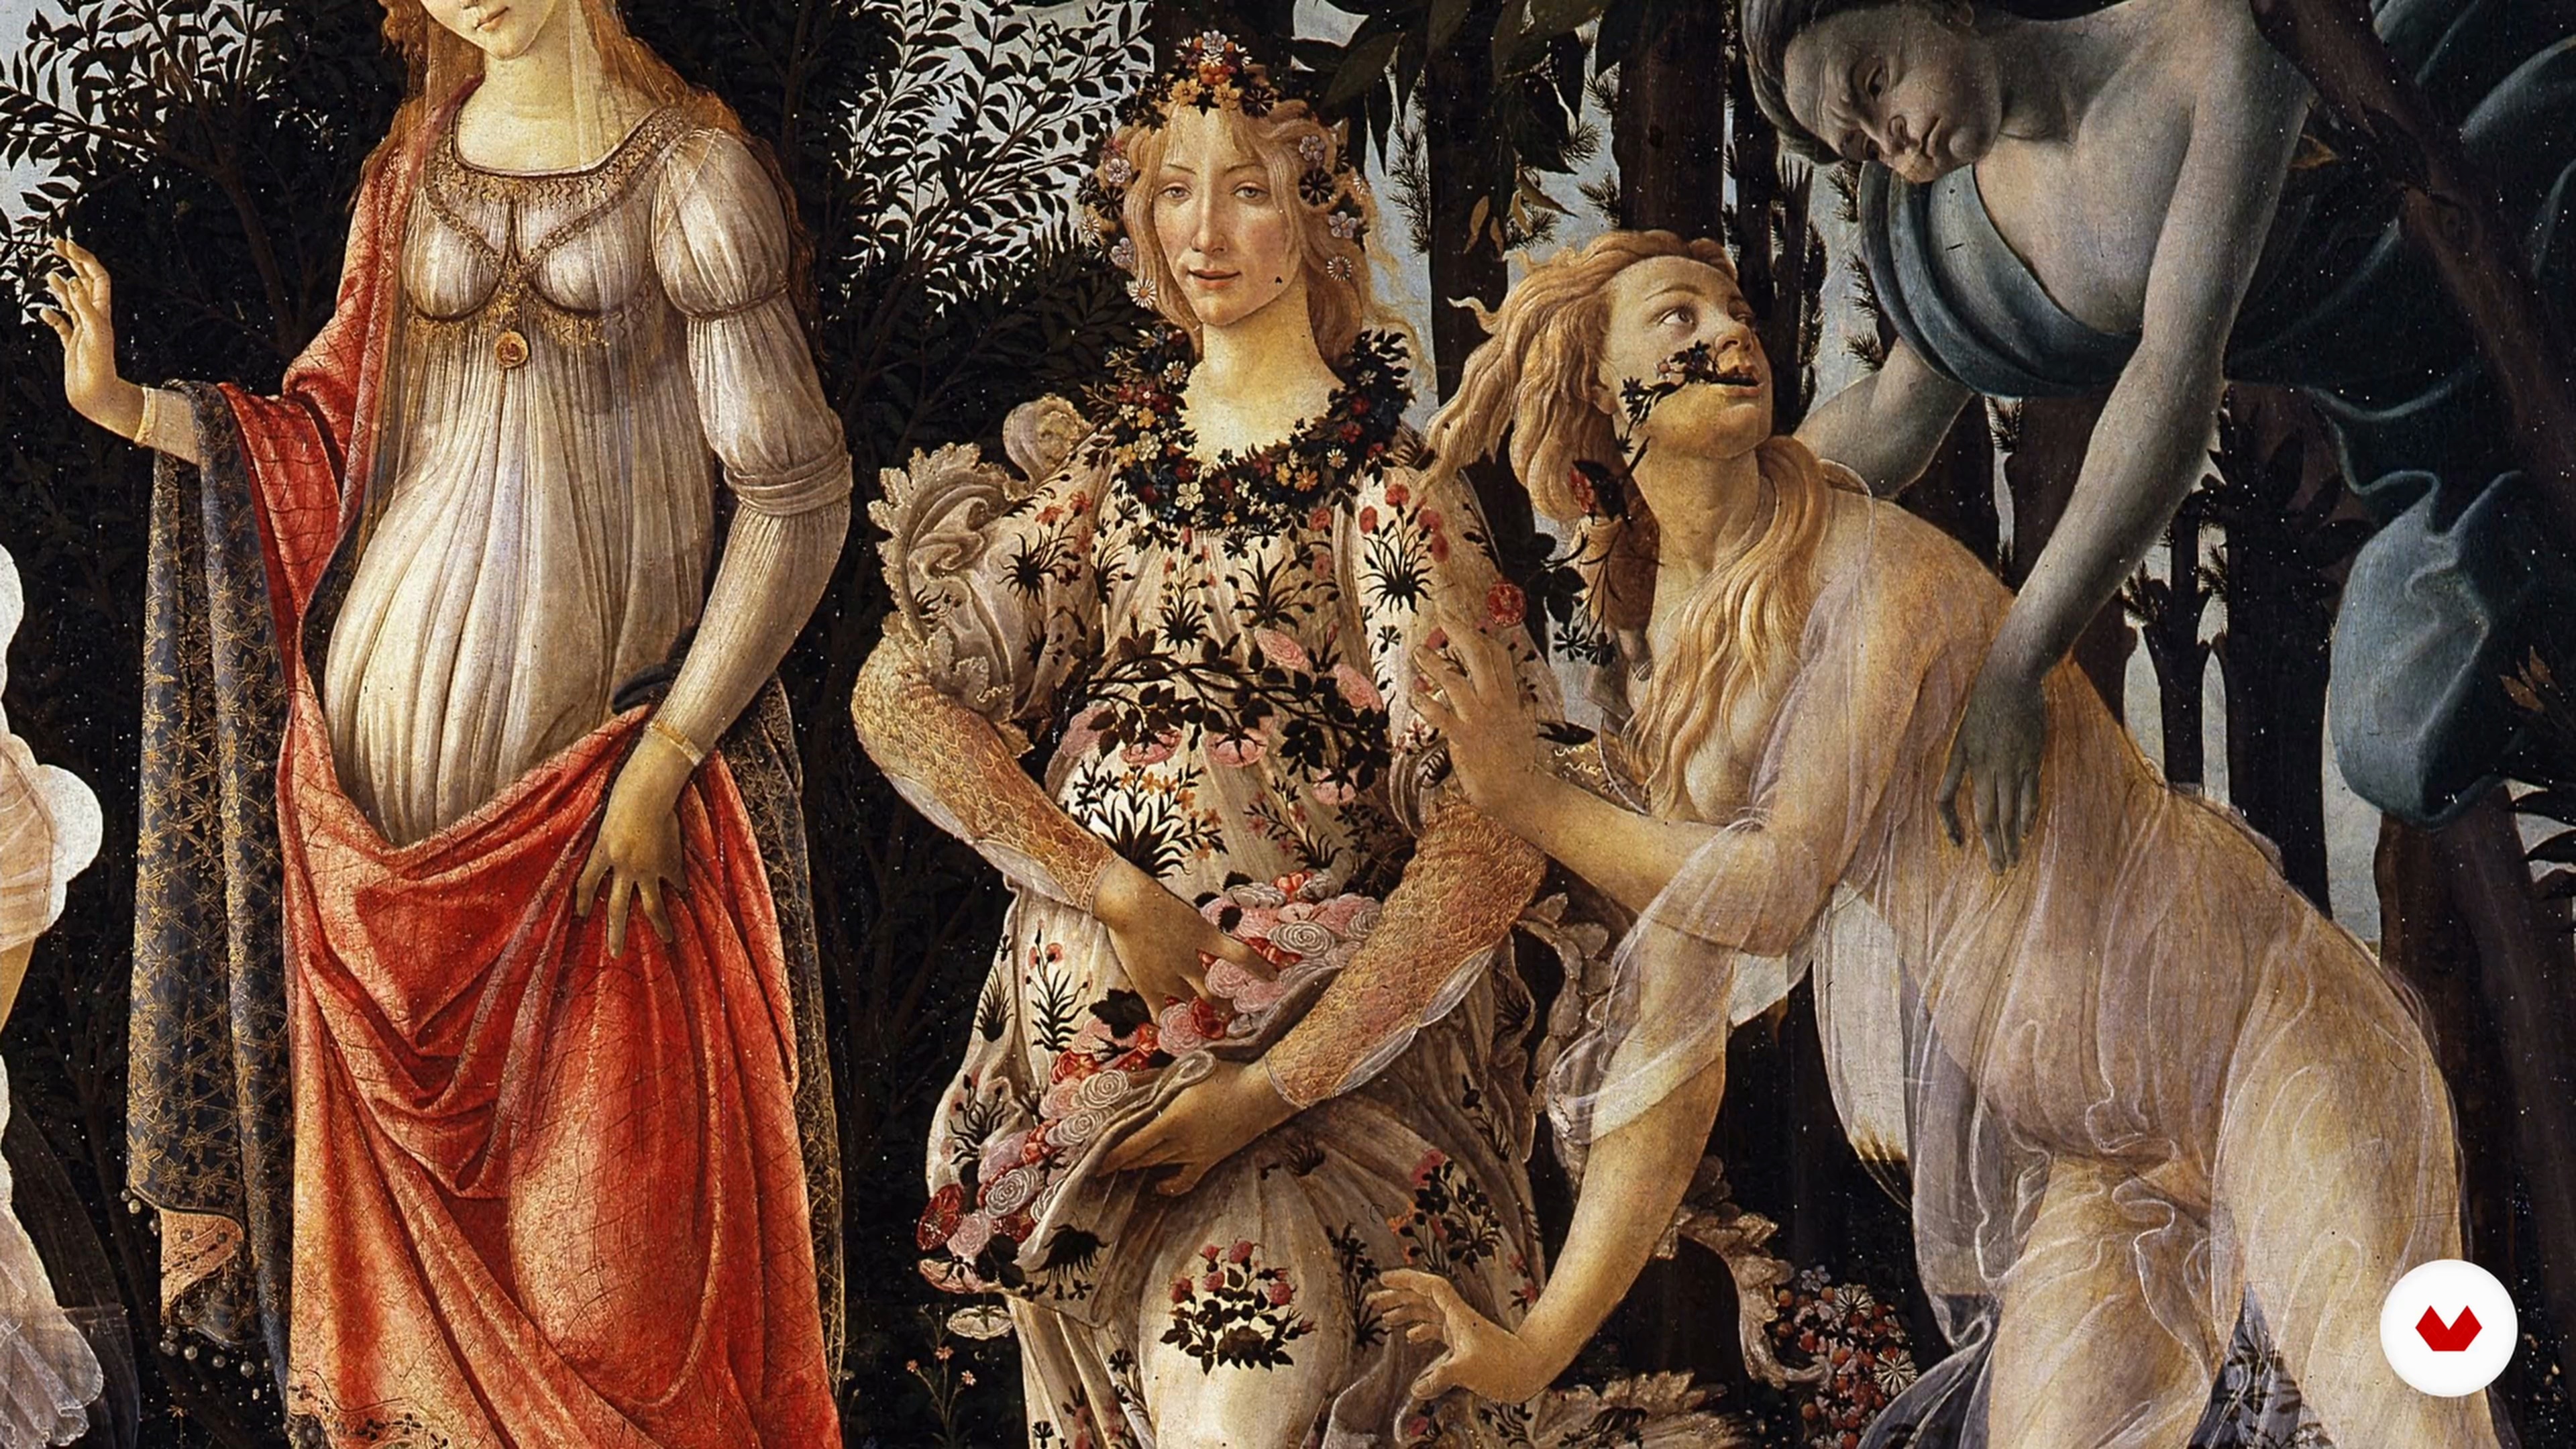
Chloe Giordano finds inspiration in Botticelli’s Primavera, using its floral details to influence his embroidery on dark fabrics. He also draws from the shared visual style of Renaissance artists like Fra Angelico and Filippo Lippi.
image
6
Influences / Nneka Jones
Artists like Lisa Butler, Danielle Clough, and Titus Stephan have profoundly shaped Nneka Jones’s creative vision. From Butler’s vibrant quilts to Clough’s textured experiments and Stephan’s activist storytelling, their work inspires him to blend technique with meaningful narratives in his art.
3m
image
1
Introduction
Embroidery stitches may seem simple, but each has a unique character and purpose. From the versatile straight stitch to the intricate French knot and the flowing long and short stitch, these techniques add texture, color, and depth to your creations. Embroidery becomes more than art—it’s a meditative practice that connects you to tradition while expressing your individuality.
2m
image
2
Basic Embroidery Stitches 1
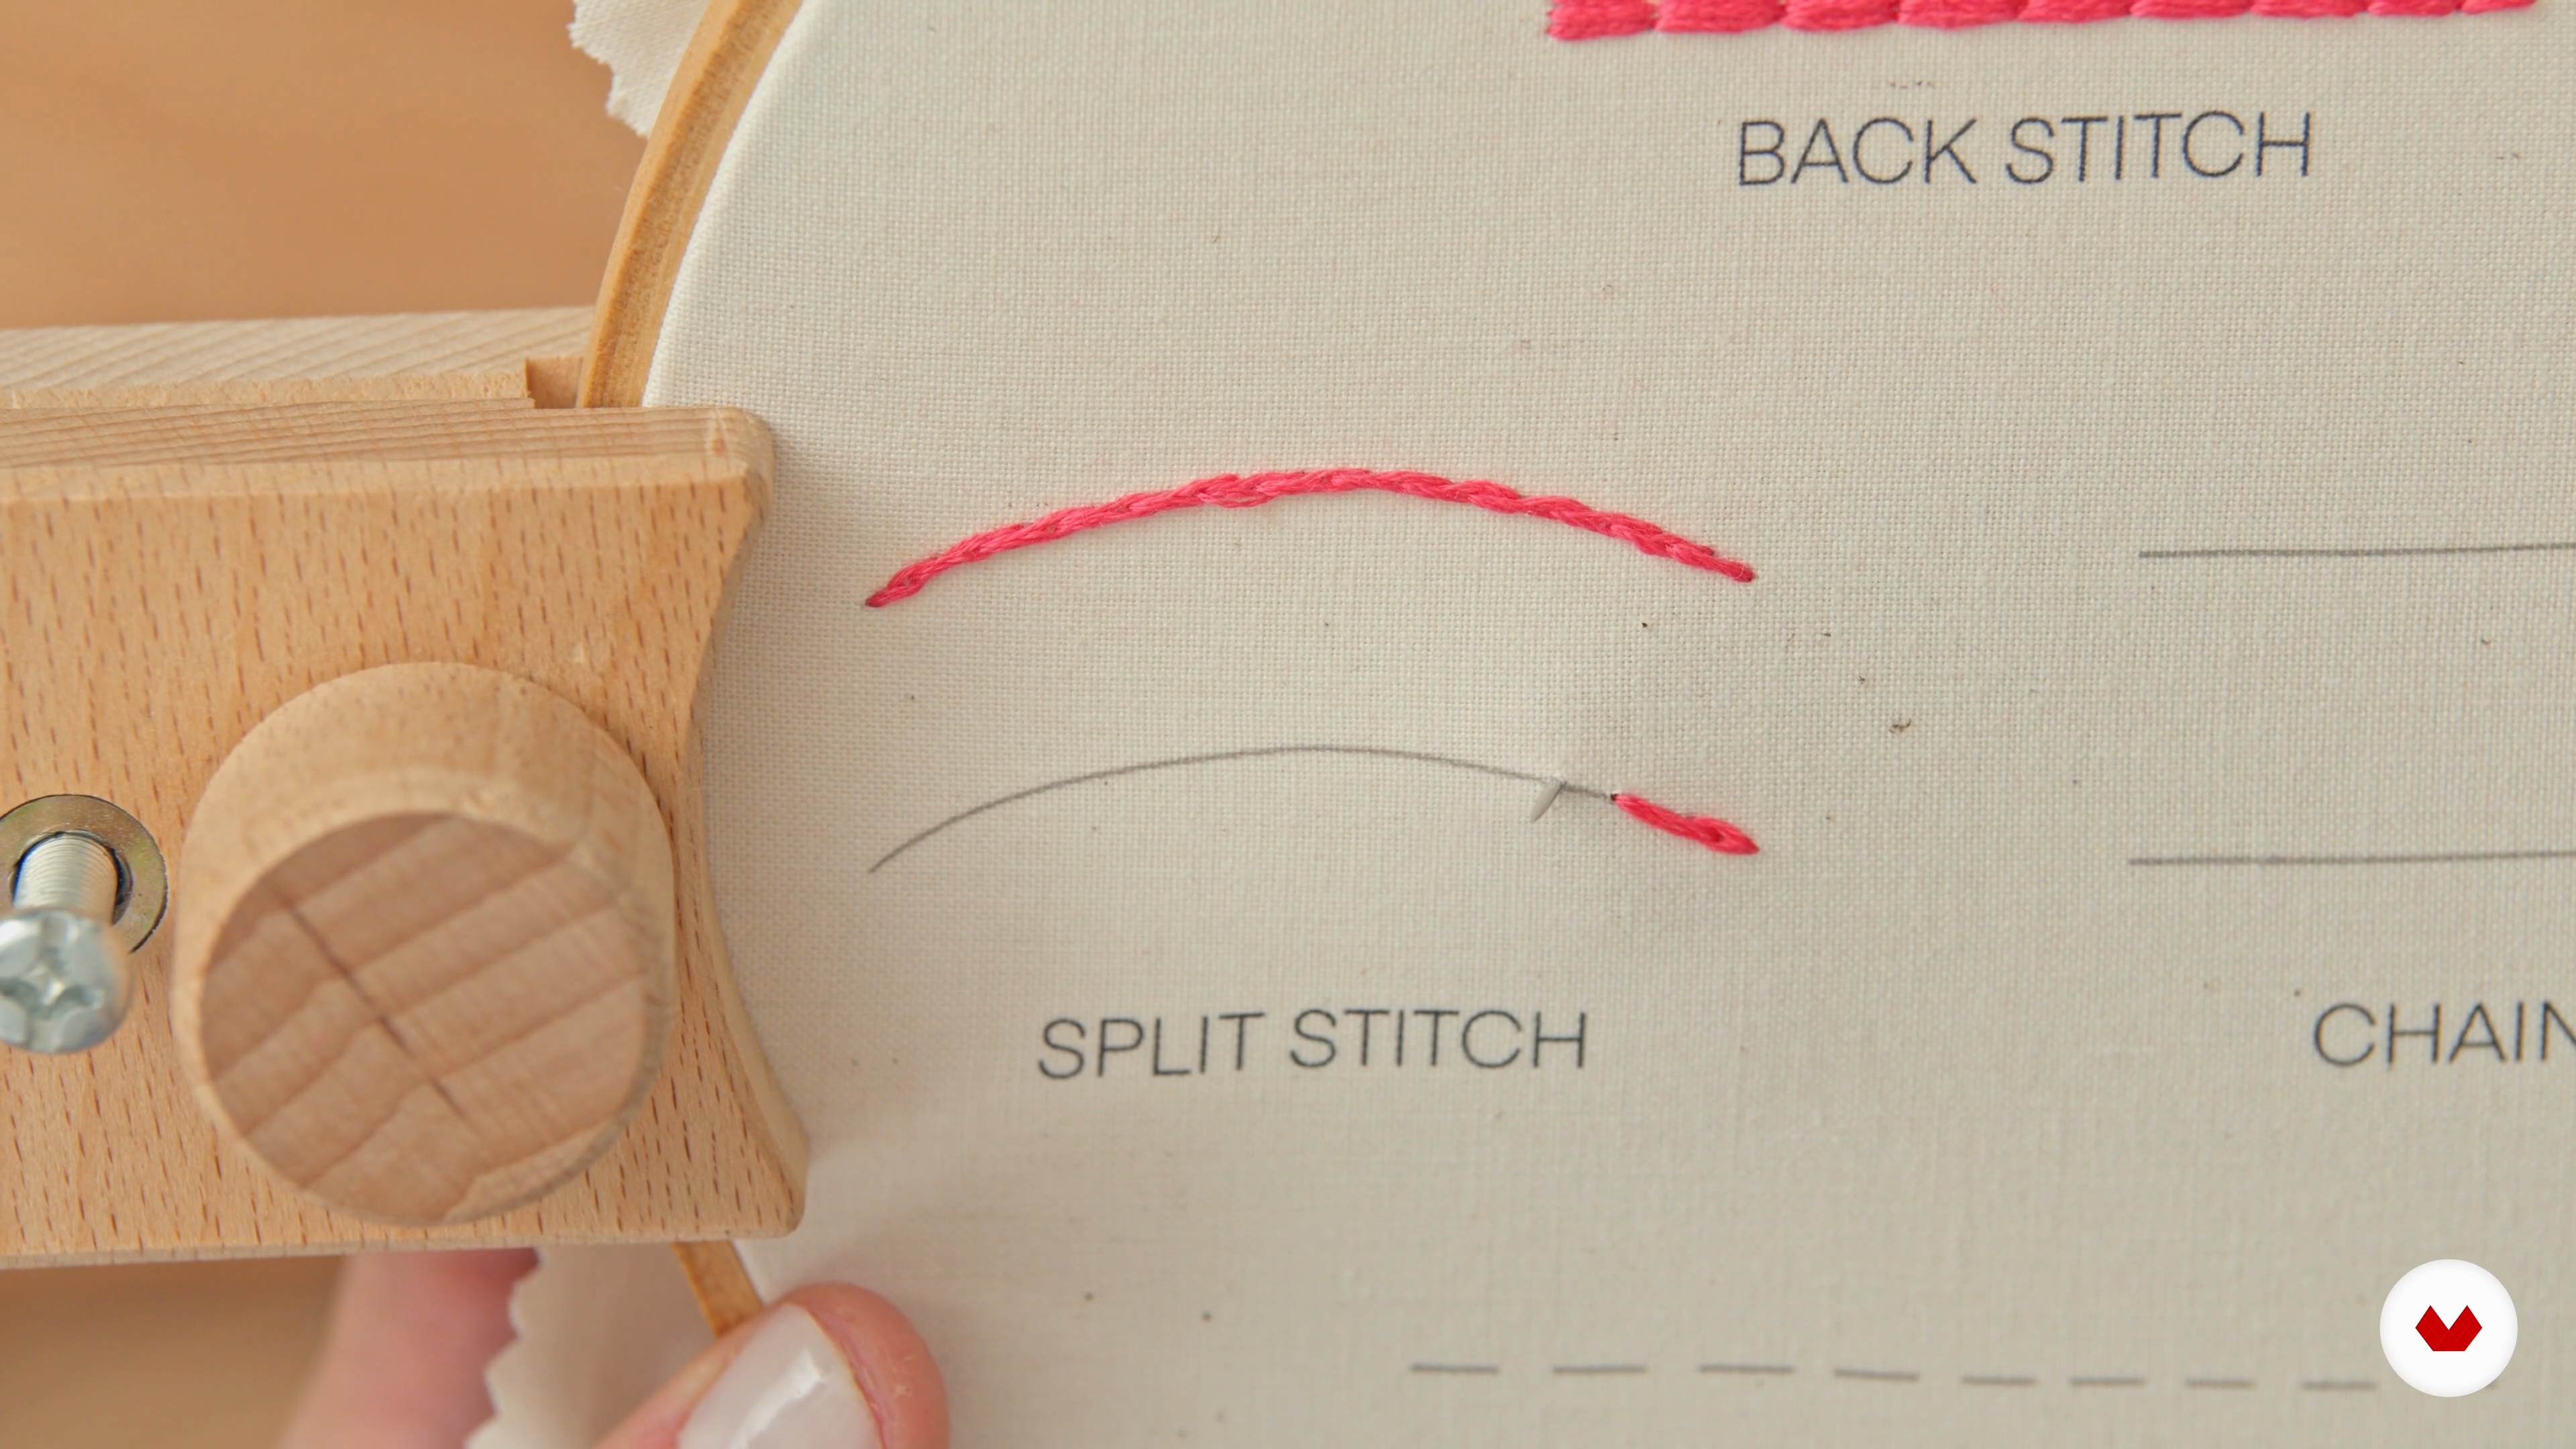
With Cristin Morgan’s guidance, you’ll master foundational embroidery stitches like back stitch, chain stitch, and split stitch. Learn how to create neat lines, fill shapes, and add texture, all while experimenting to develop your unique style. Each stitch is a building block for your creative expression.
17m
image
3
Basic Embroidery Stitches 2
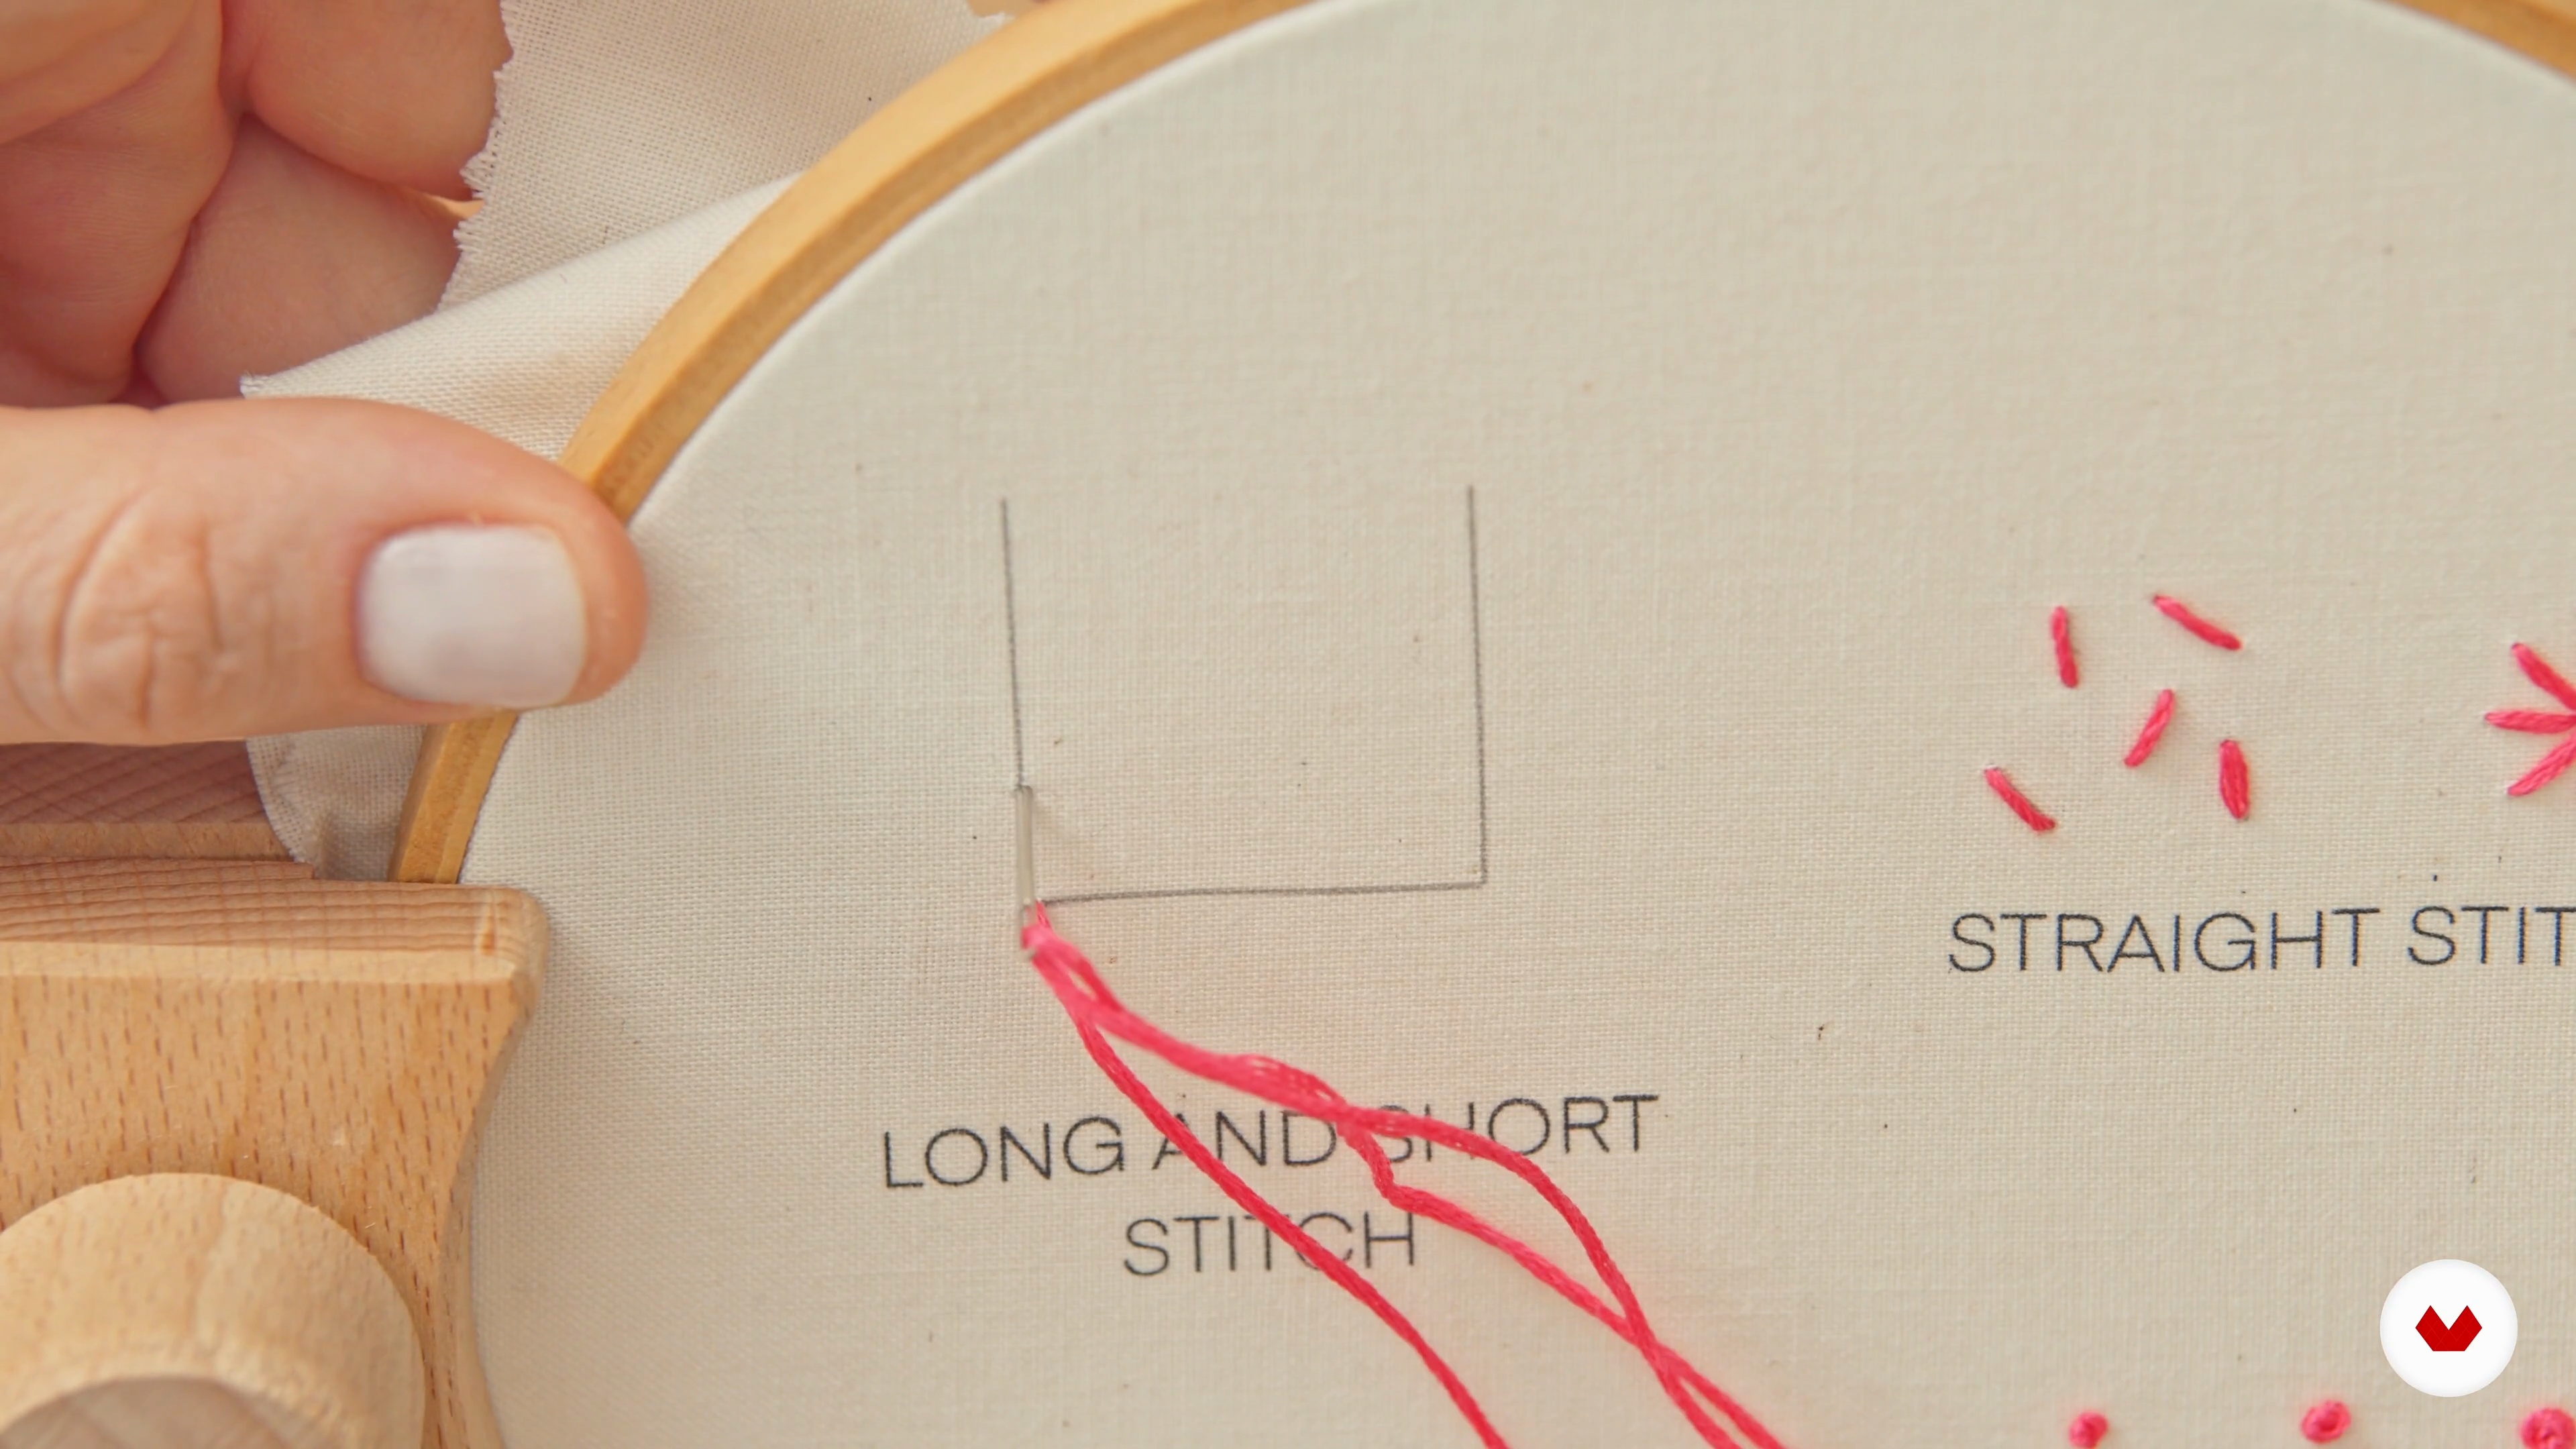
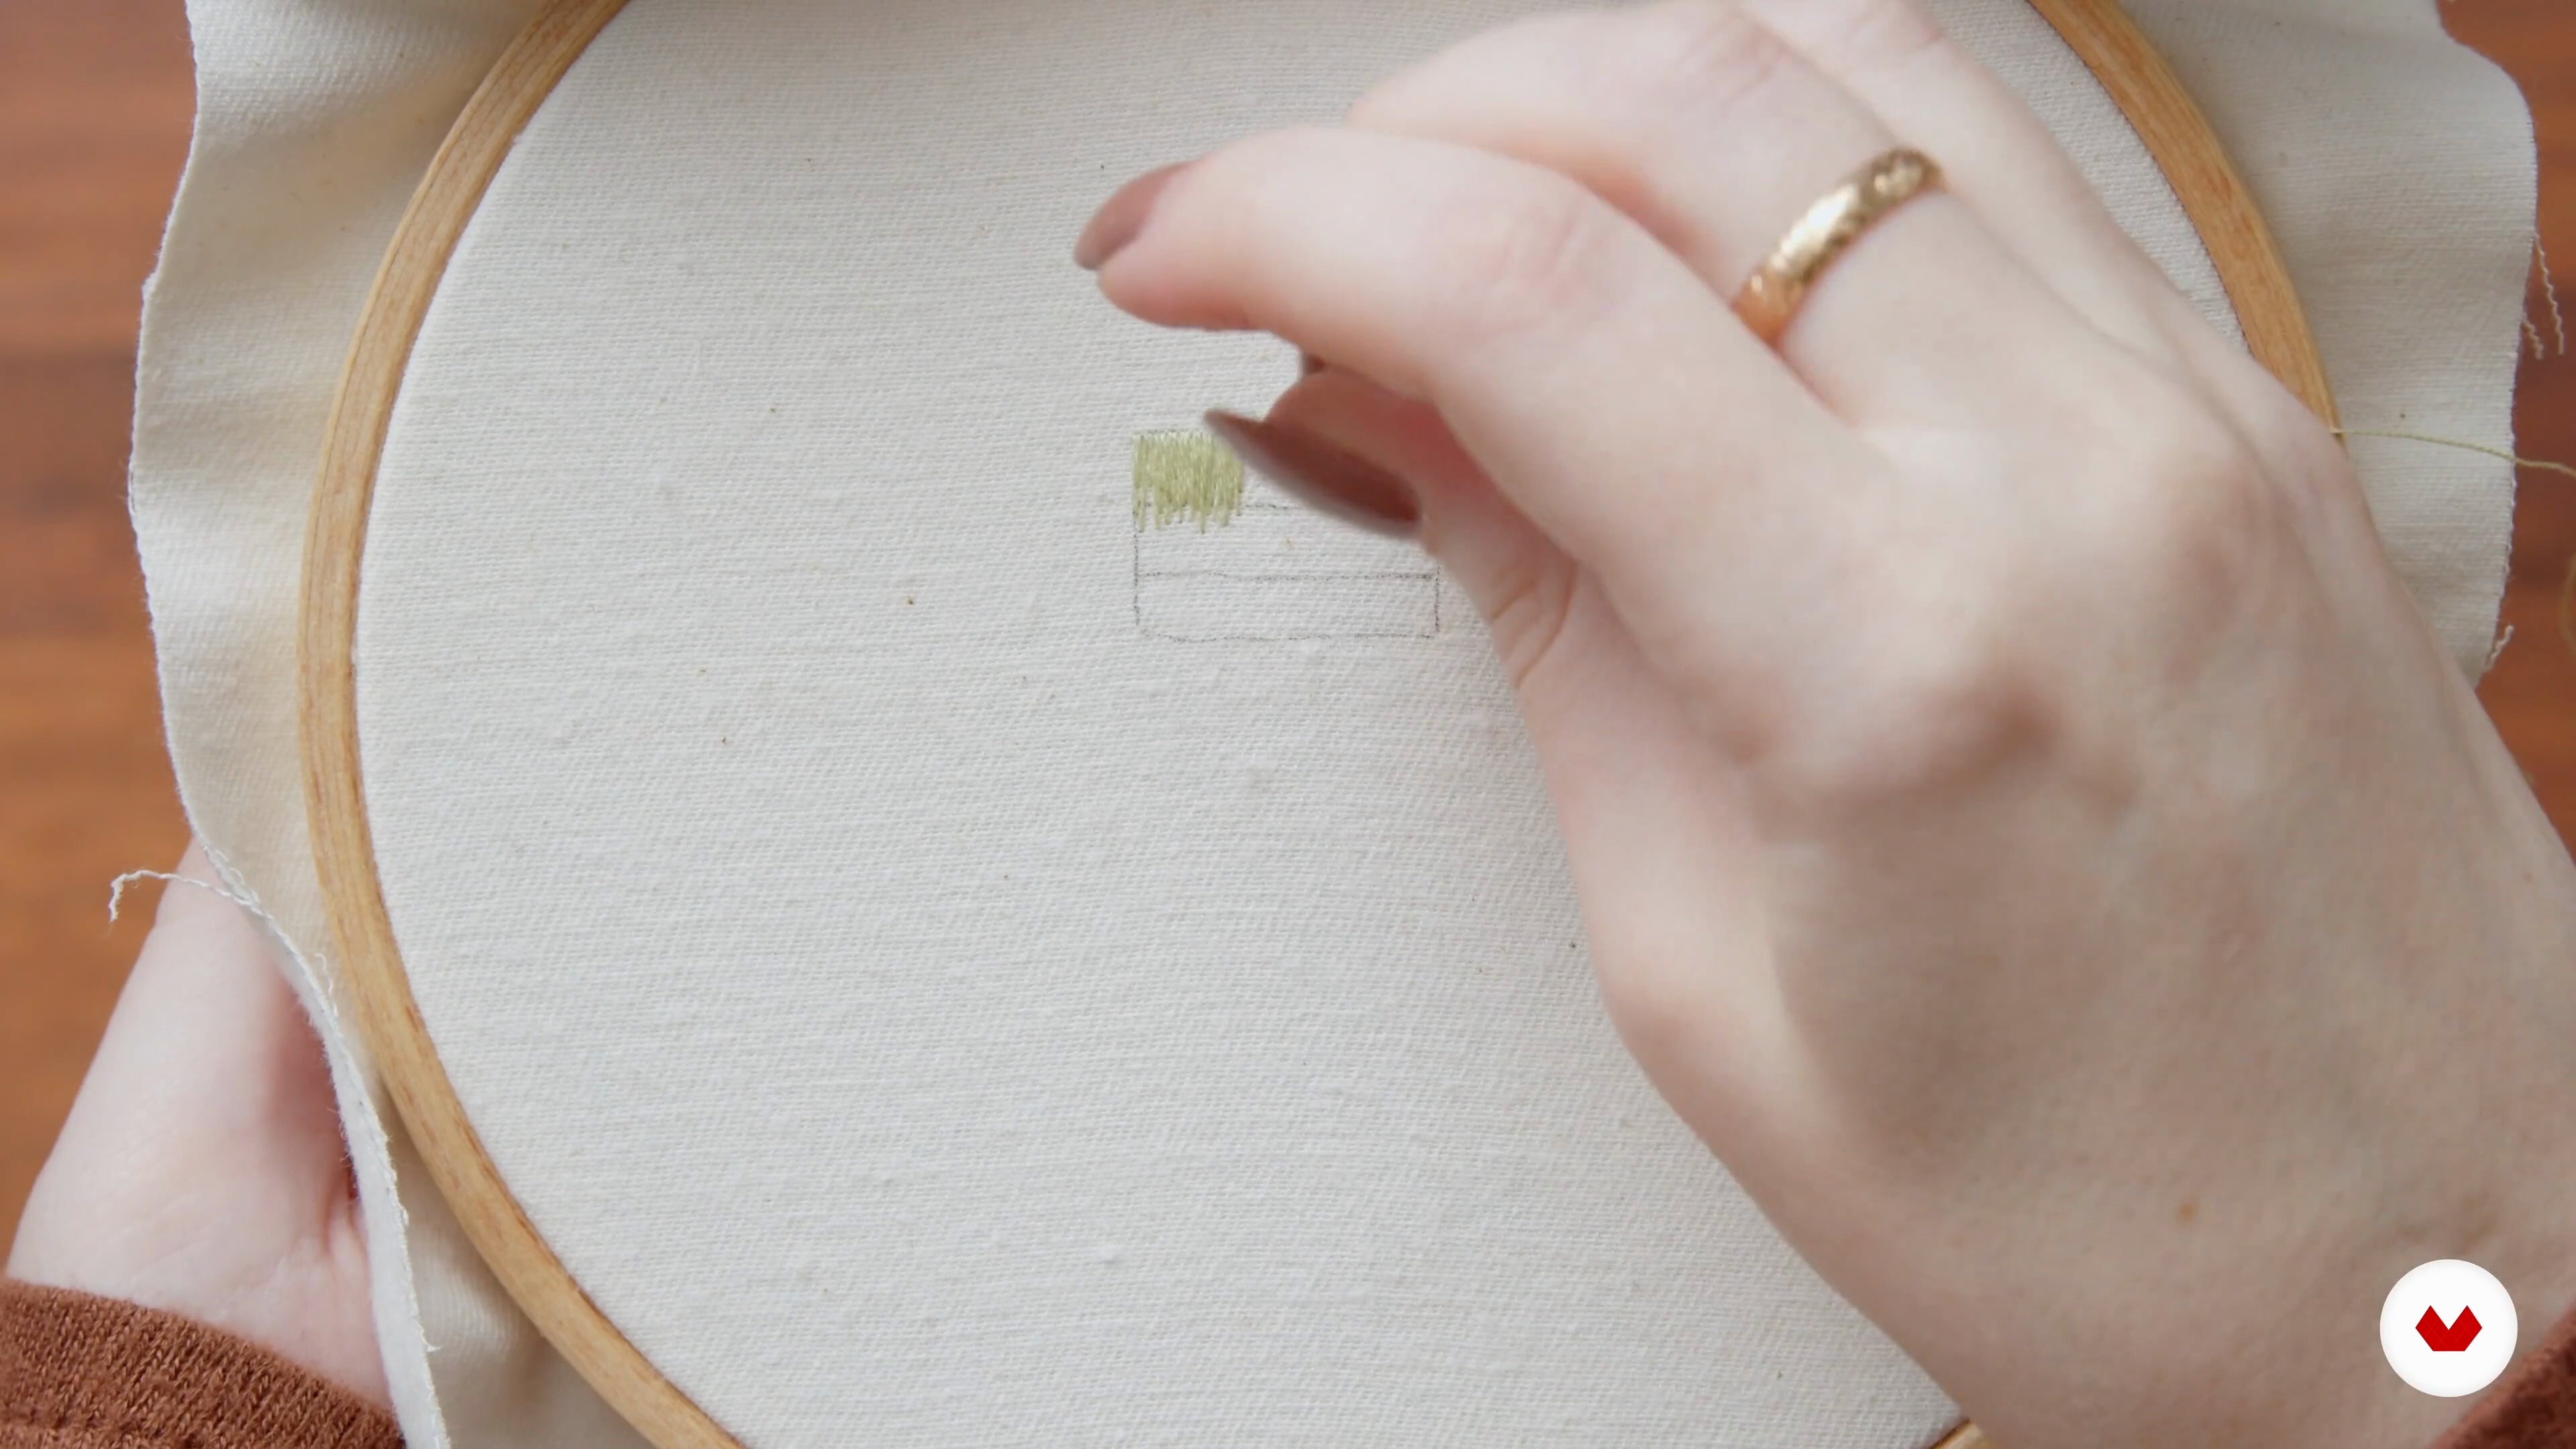
In this lesson, Cristin Morgan introduces the final set of stitches that bring texture and detail to embroidery. You’ll learn the straight stitch, perfect for adding confetti-like effects, and the French knot, ideal for creating botanical details and fluffy textures. Finally, the long and short stitches will show you how to blend colors seamlessly, opening new possibilities for expressive designs.
10m
image
4
Hoop and Practice Stitching
In this lesson, Chloe Giordano introduces the final set of stitches that bring texture and detail to embroidery. You’ll learn the straight stitch, perfect for adding confetti-like effects, and the French knot, ideal for creating botanical details and fluffy textures. Finally, the long and short stitches will show you how to blend colors seamlessly, opening new possibilities for expressive designs. Experiment and make each stitch your own!
10m
image
5
Embroidery Stitches 1
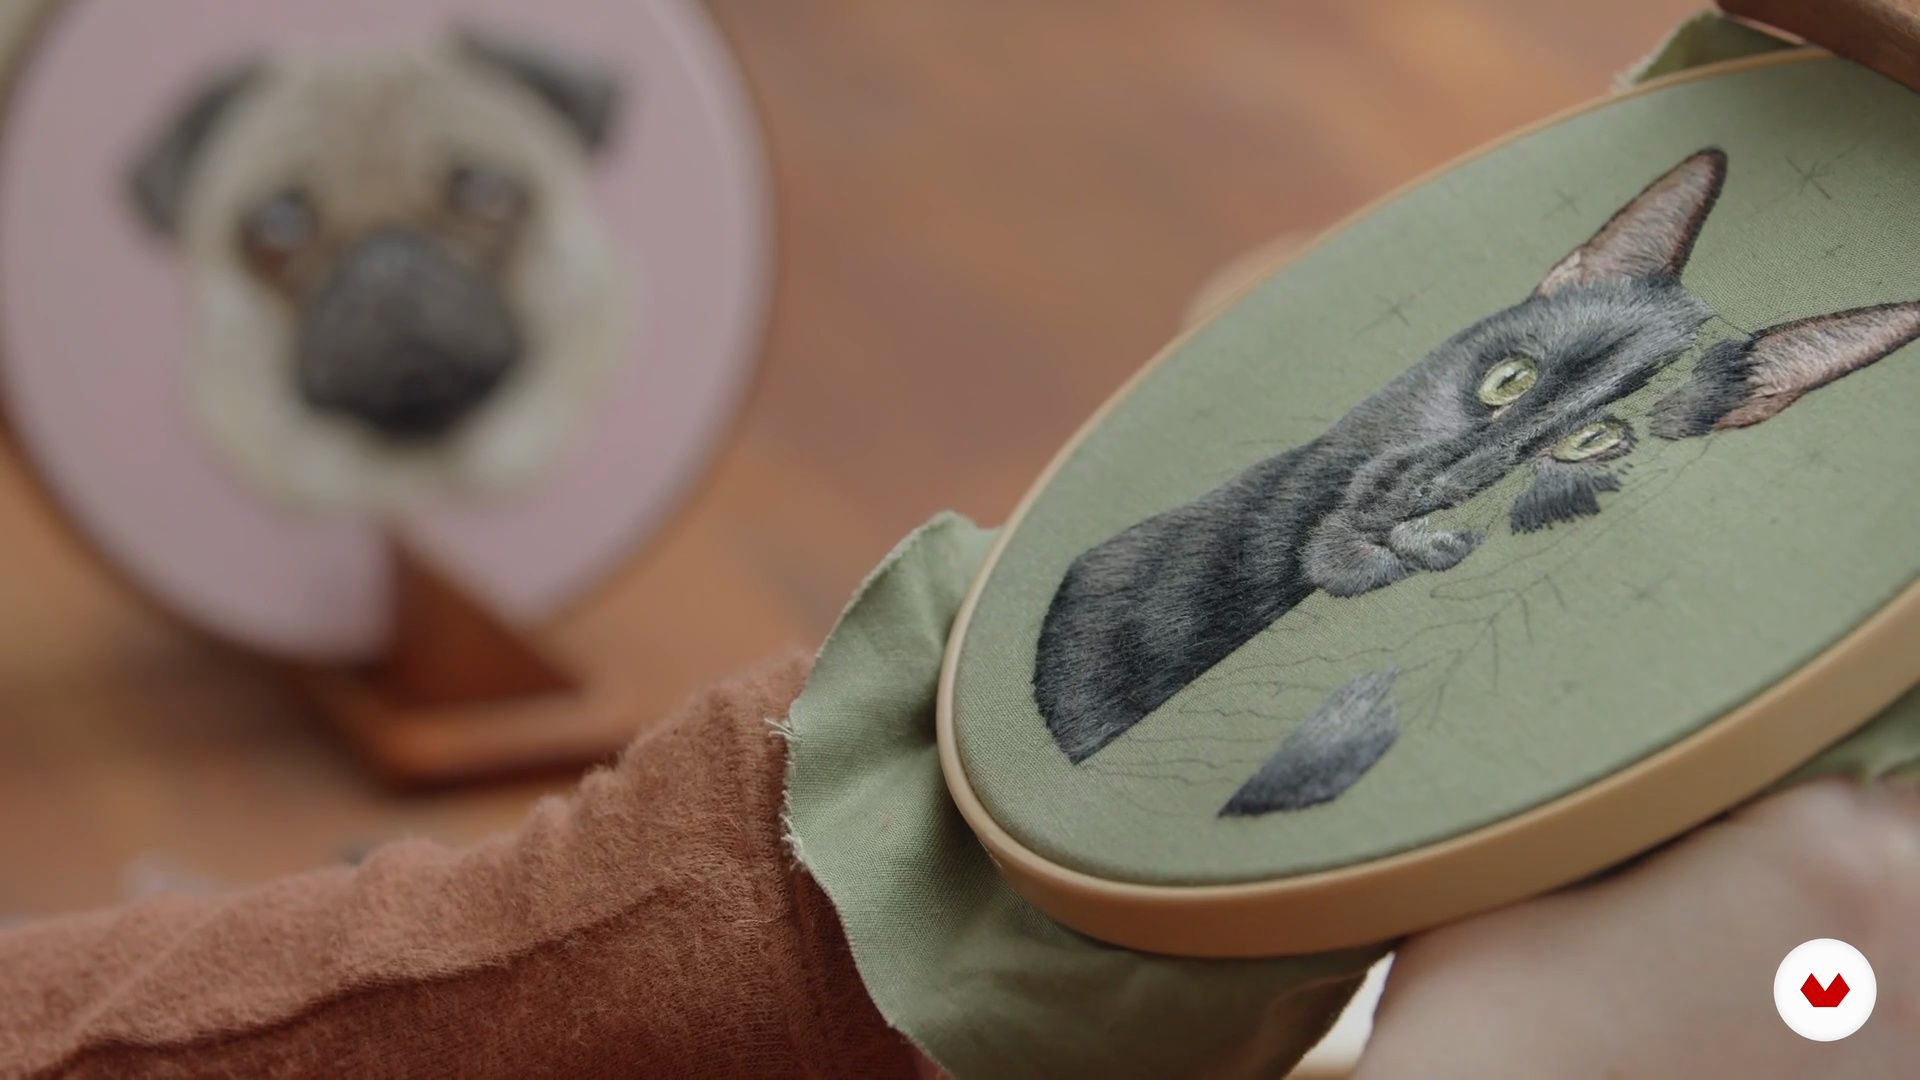
Cristin Morgan teaches you foundational stitches like back stitch and split stitch, along with the art of thread painting. Explore blending colors seamlessly, creating realistic textures, and achieving polished finishes. These techniques will add depth and character to every embroidery piece you create.
18m
image
6
Embroidery Stitches 2
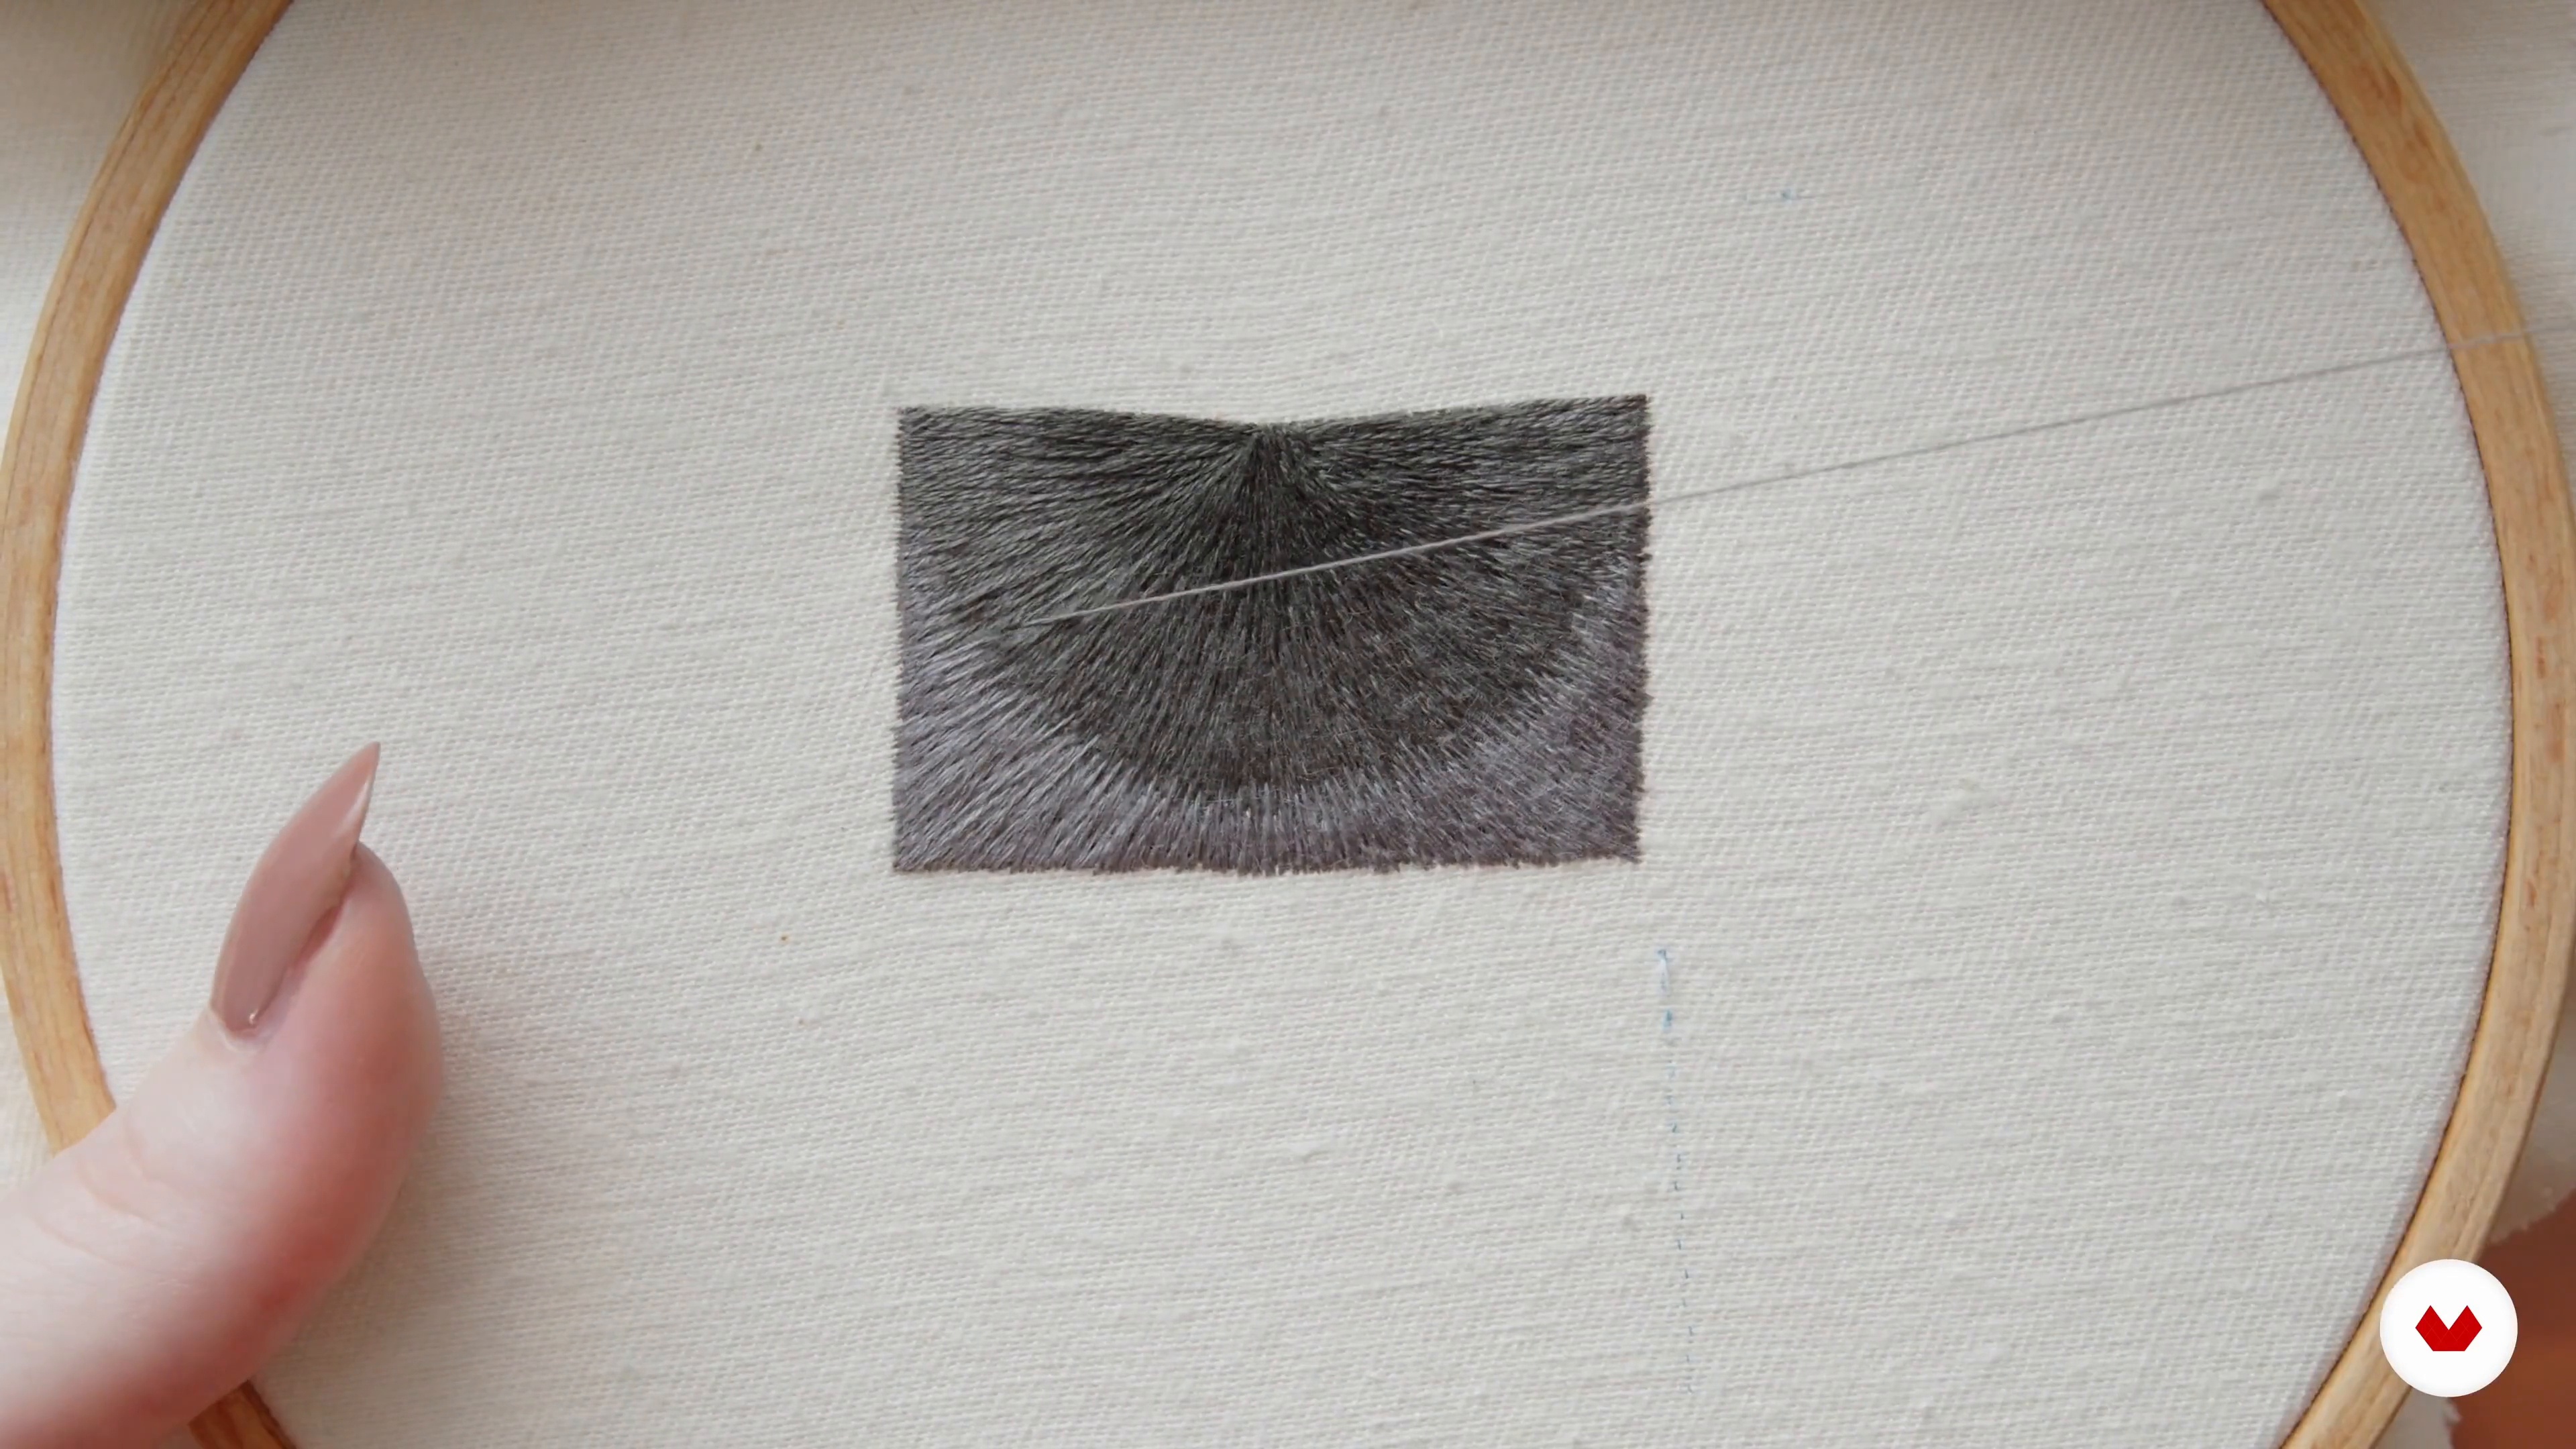
Cristin Morgan takes thread painting to the next level in this second part, showing how to create fur-like textures with flowing, angled stitches. A perfect follow-up to refine your technique and bring your embroidery to life!
11m
image
1
Introduction
In this module, you will explore the unique qualities of embroidery as a tactile art form. You will compare its deliberate, meditative process to painting, examining how thread adds texture, depth, and physical connection to your creations. Discover how patience transforms stitches into an enriching artistic journey.
1m
image
2
Color Mapping
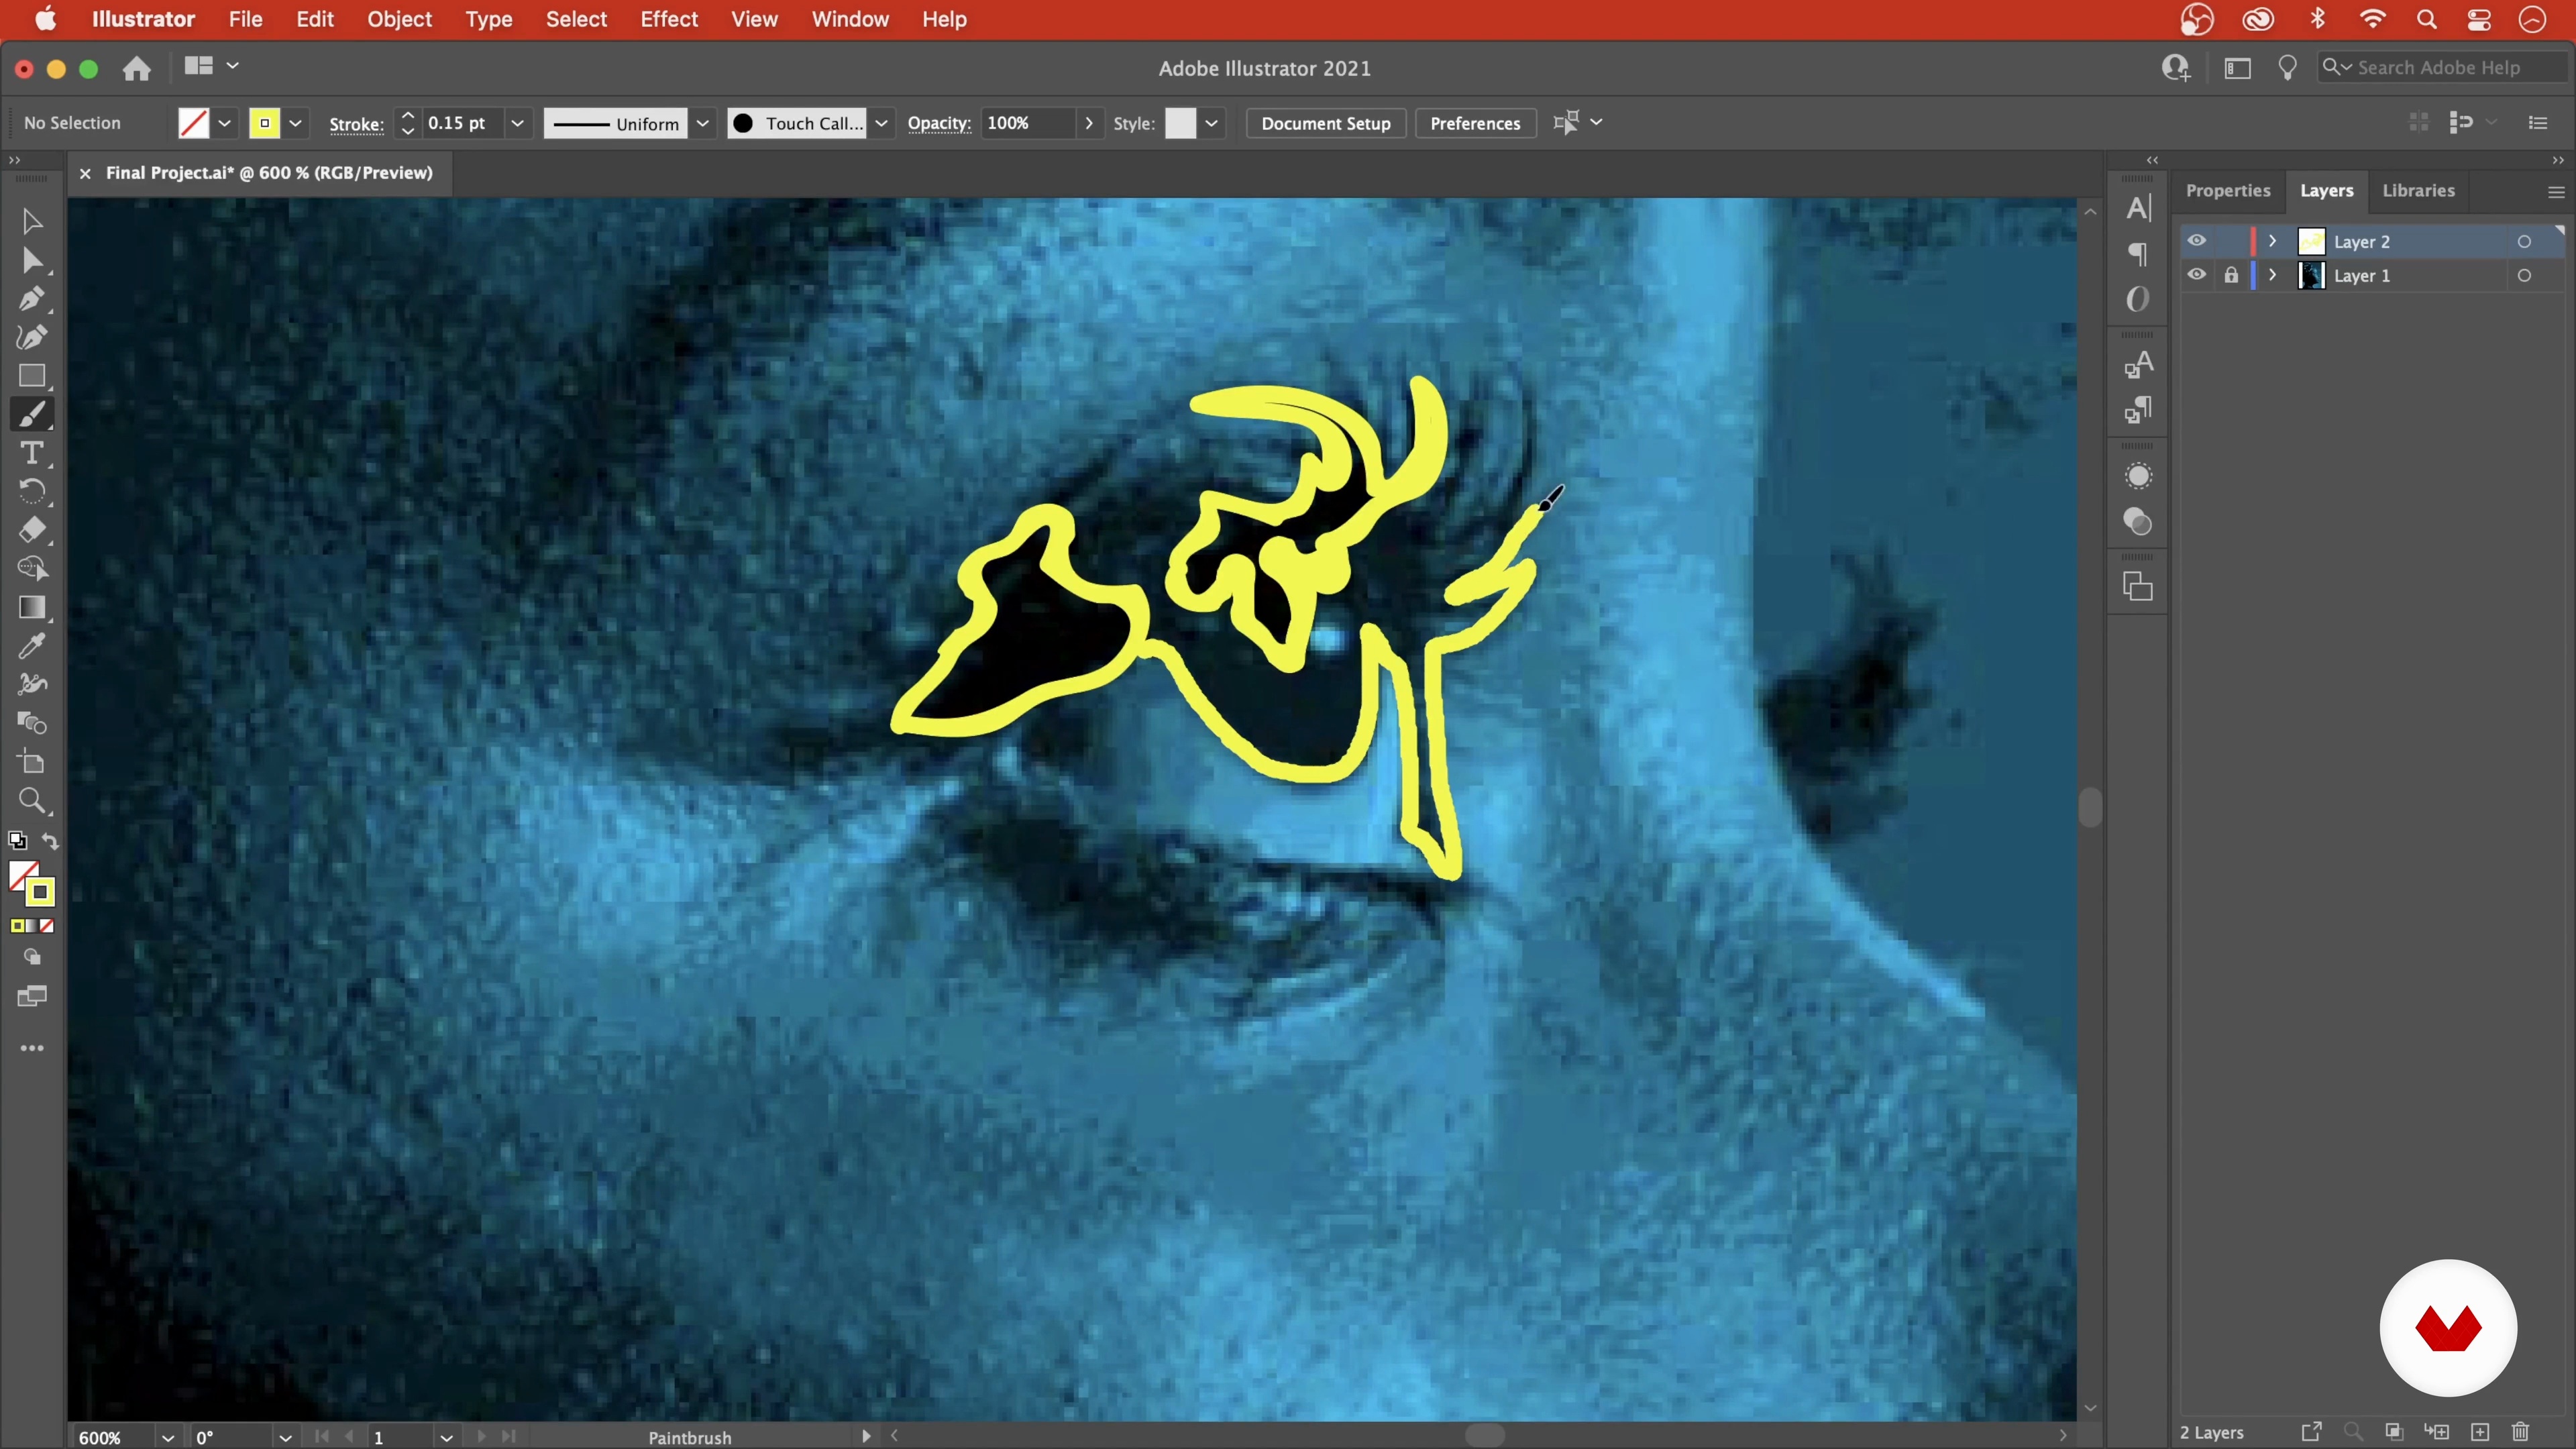
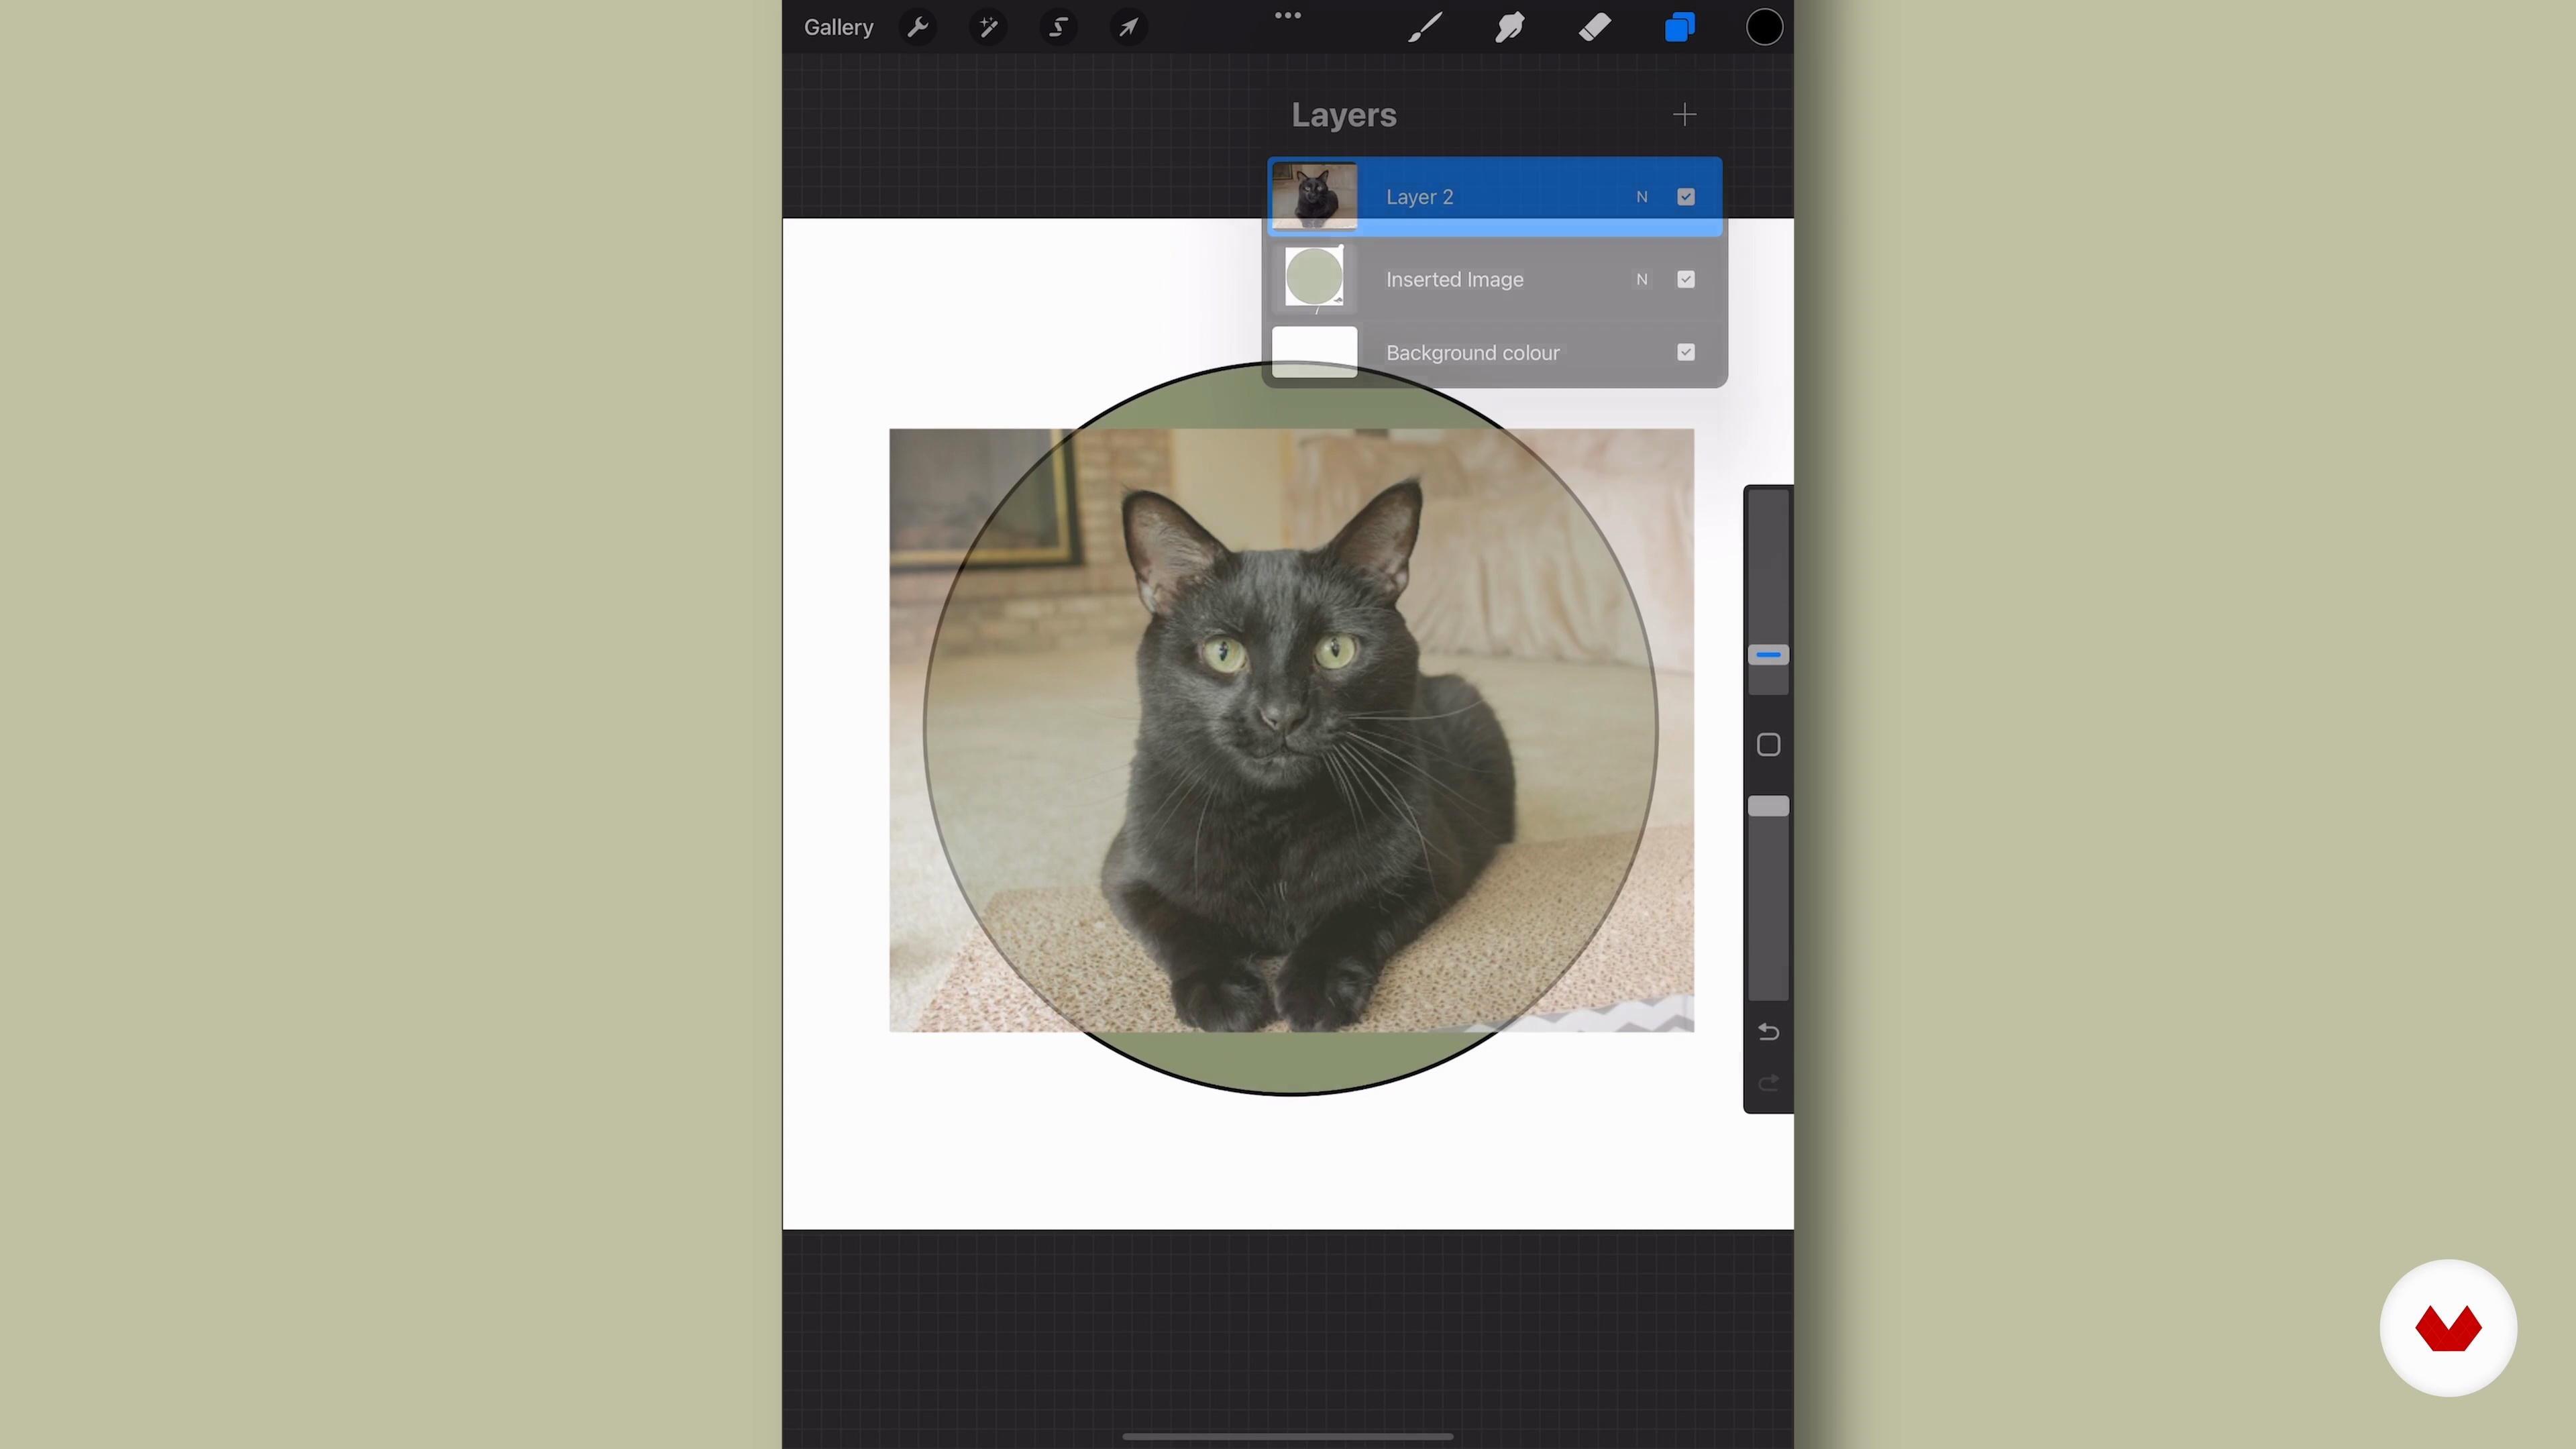
Discover with Nneka Jones a practical approach to digital color mapping in Adobe Illustrator. You'll master essential techniques for identifying and outlining color variations in portraits, from creating precise vector layers to capturing subtle details in facial features. Get ready to transform your digital art skills with professional color mapping techniques.
9m
image
3
The Movement of Fur and Layers
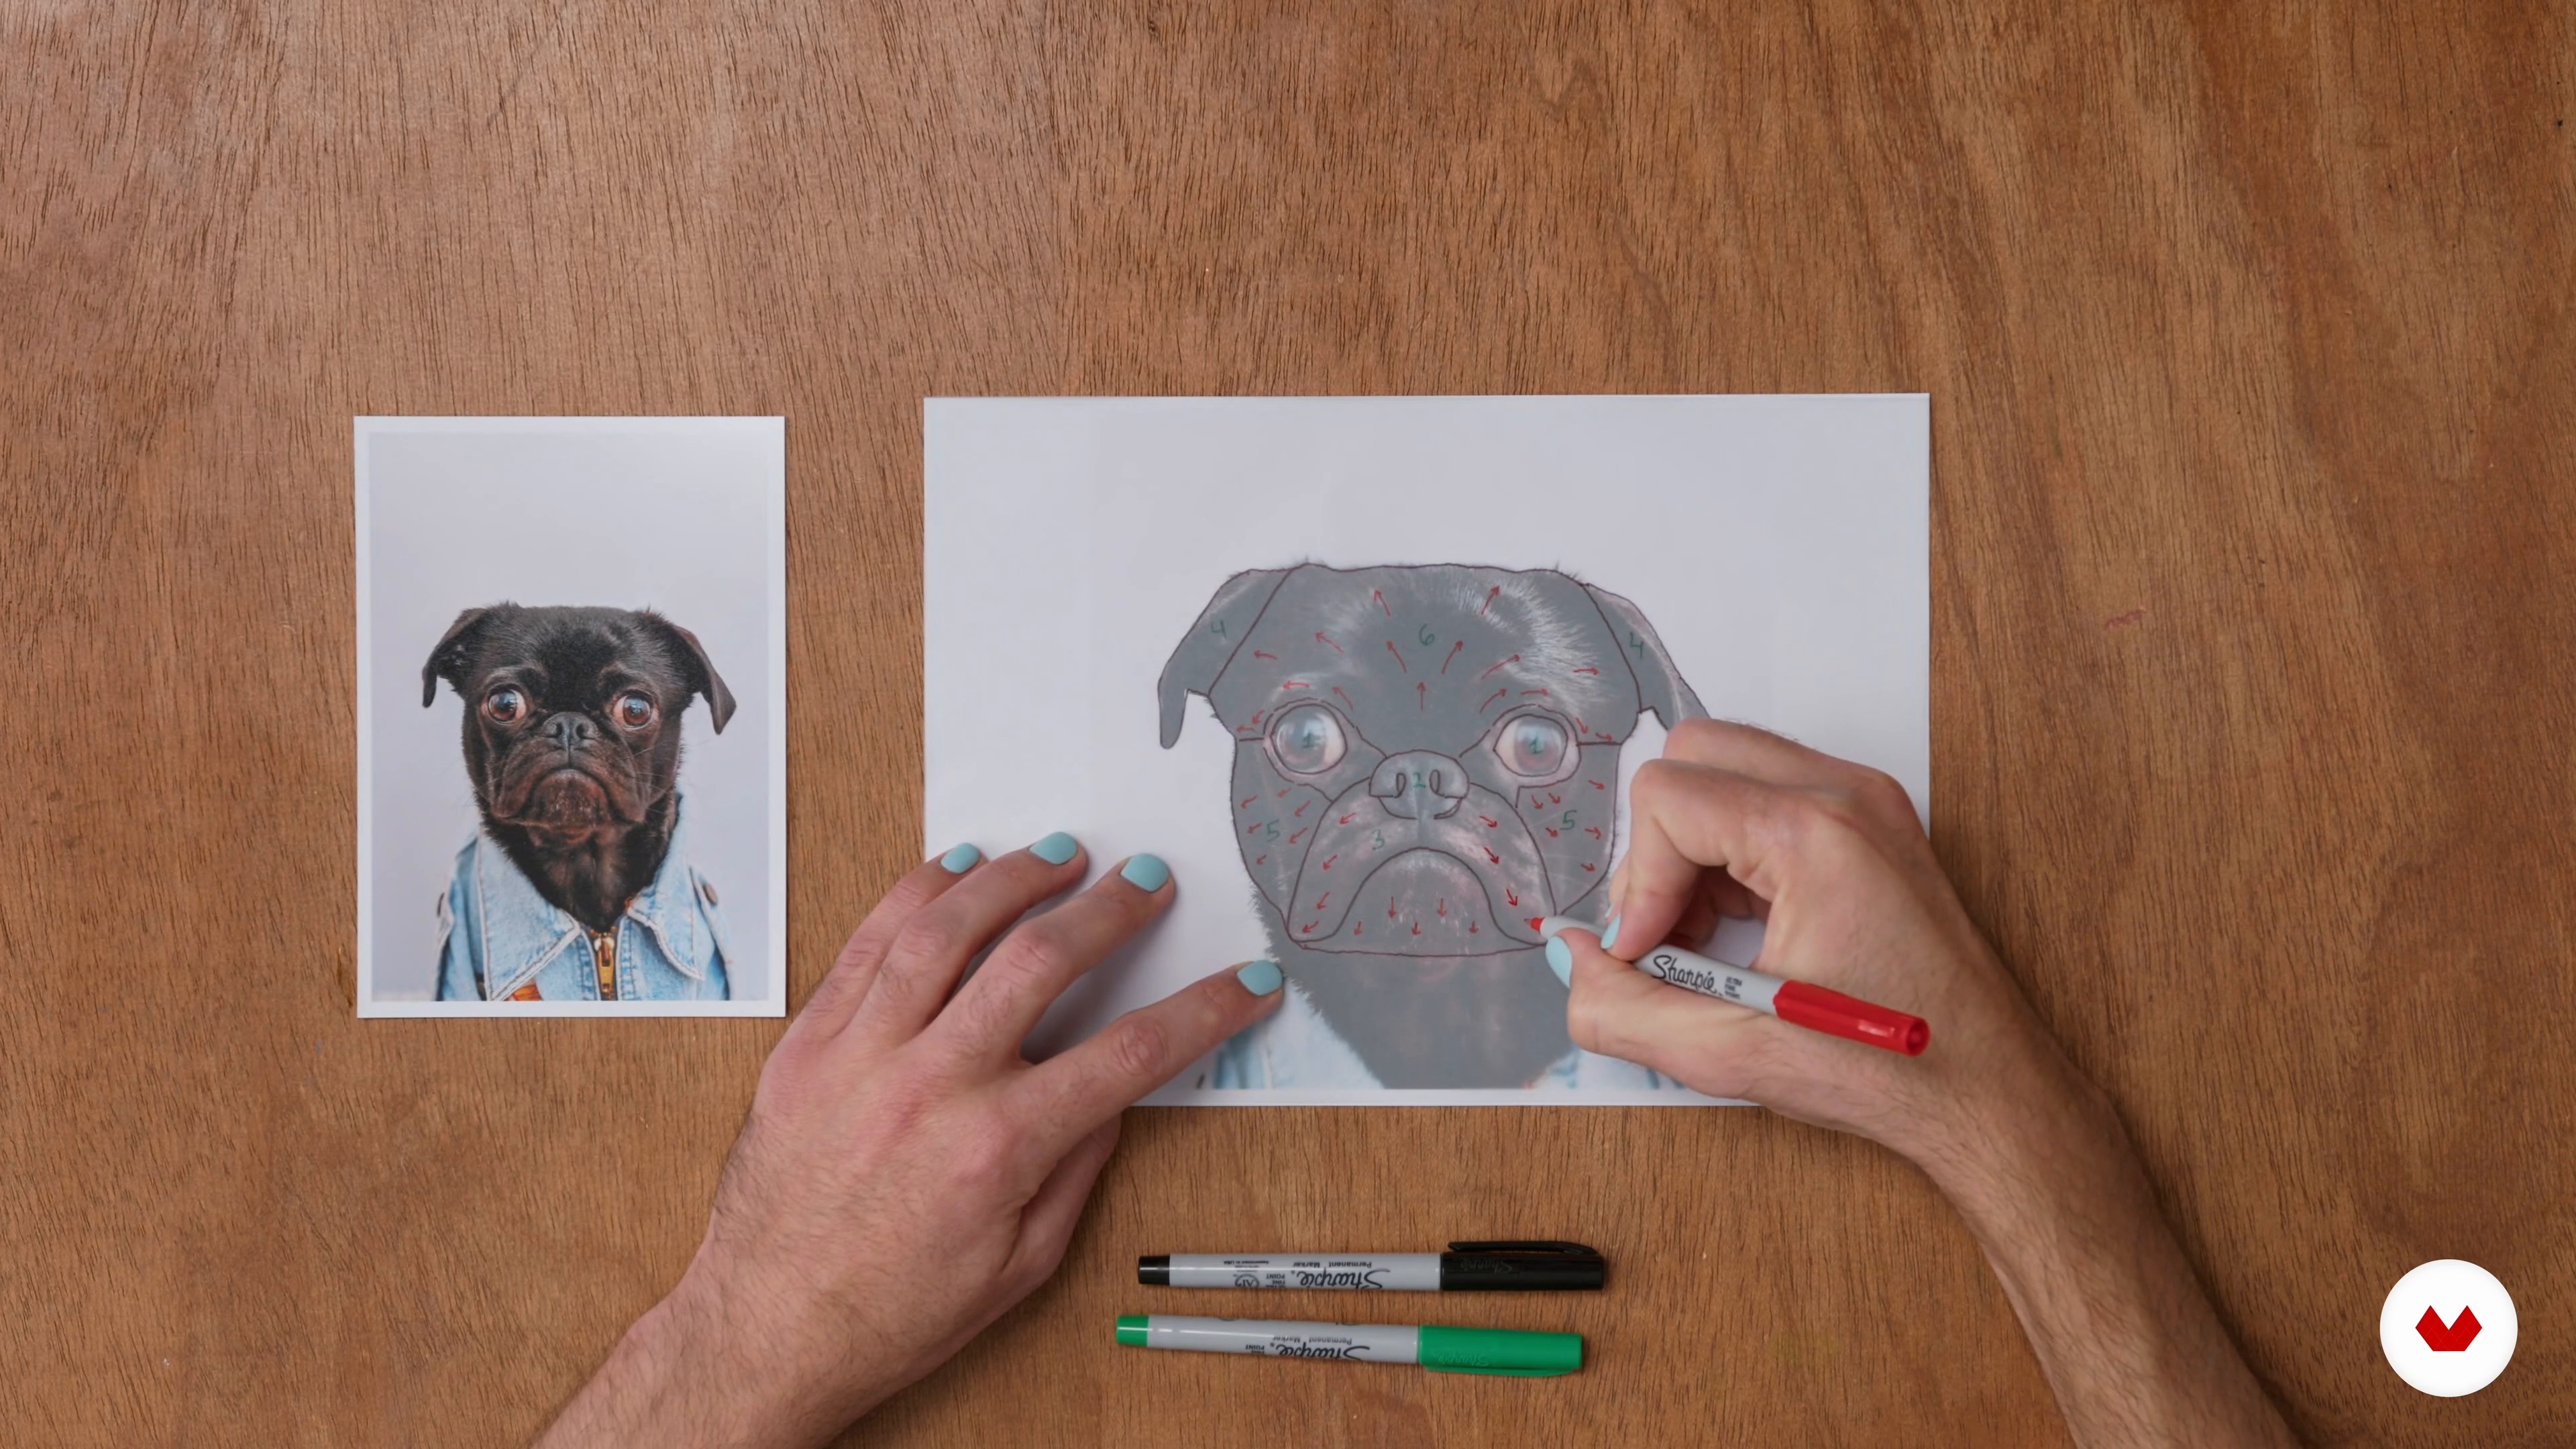
Follow Santo Cielo through a detailed exploration of fur patterns and layering techniques essential for pet portrait embroidery. Learn to analyze hair growth directions, identify crucial layers, and understand the optimal stitching order that brings dimension to your work. This foundation will help you create strikingly realistic embroidered pet portraits.
10m
image
4
Tracing
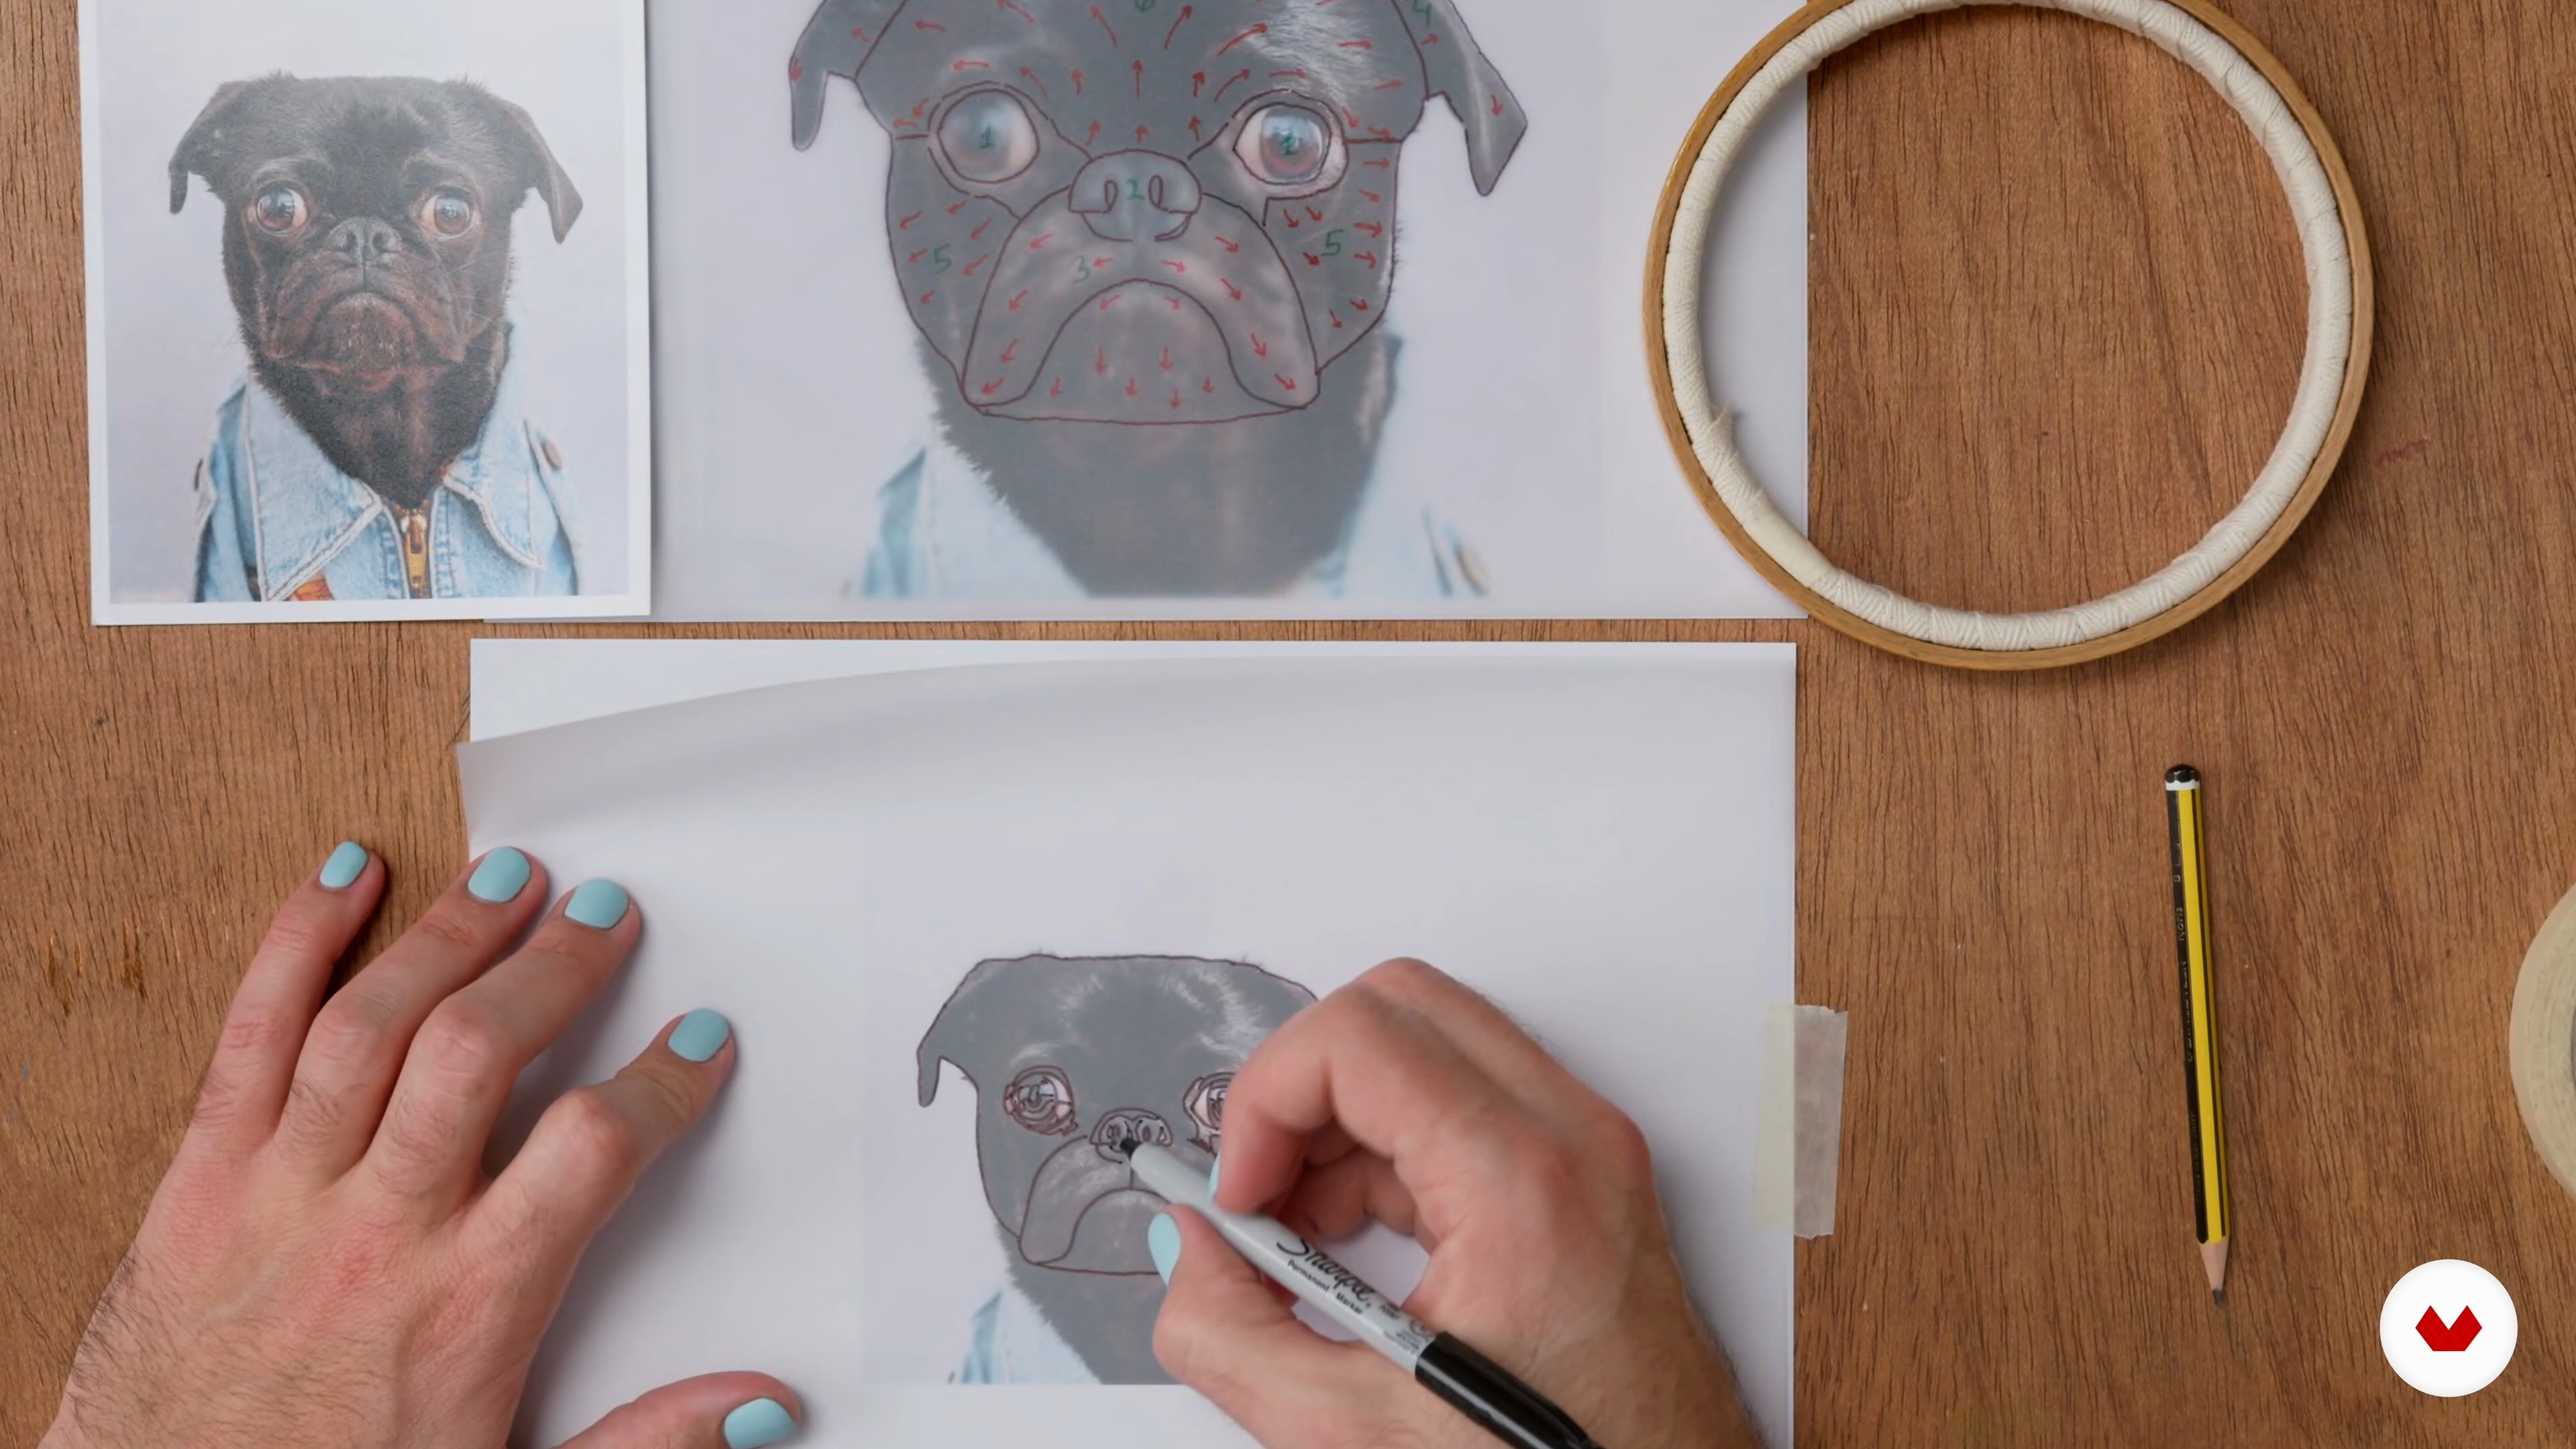
Let Santo Cielo show you the precise art of creating detailed tracings for your pet portrait embroidery. Discover how to effectively map color transitions, reflections, and textural details to serve as your stitching roadmap. These techniques will help you capture every nuance of your pet's unique features, from whiskers to subtle fur variations.
11m
image
5
Finding the Perfect Photo and Creating a Pattern
Michelle Staub ⋆ StitchingSabbatical guides you through the essential process of selecting and preparing the perfect reference photo for your pet portrait embroidery. You'll learn how to identify ideal lighting conditions, capture important details, and transform your chosen photo into a workable pattern. Master these foundational steps to ensure your embroidered portrait truly captures your pet's personality.
8m
image
1
Introduction
Selecting colors is one of the most enjoyable steps in embroidery. Subtle gradients and thoughtful combinations bring your work to life. Using the monarch butterfly as inspiration, you will learn to blend shades effectively, creating depth, harmony, and stunning vibrancy in your designs.
2m
image
2
Colors
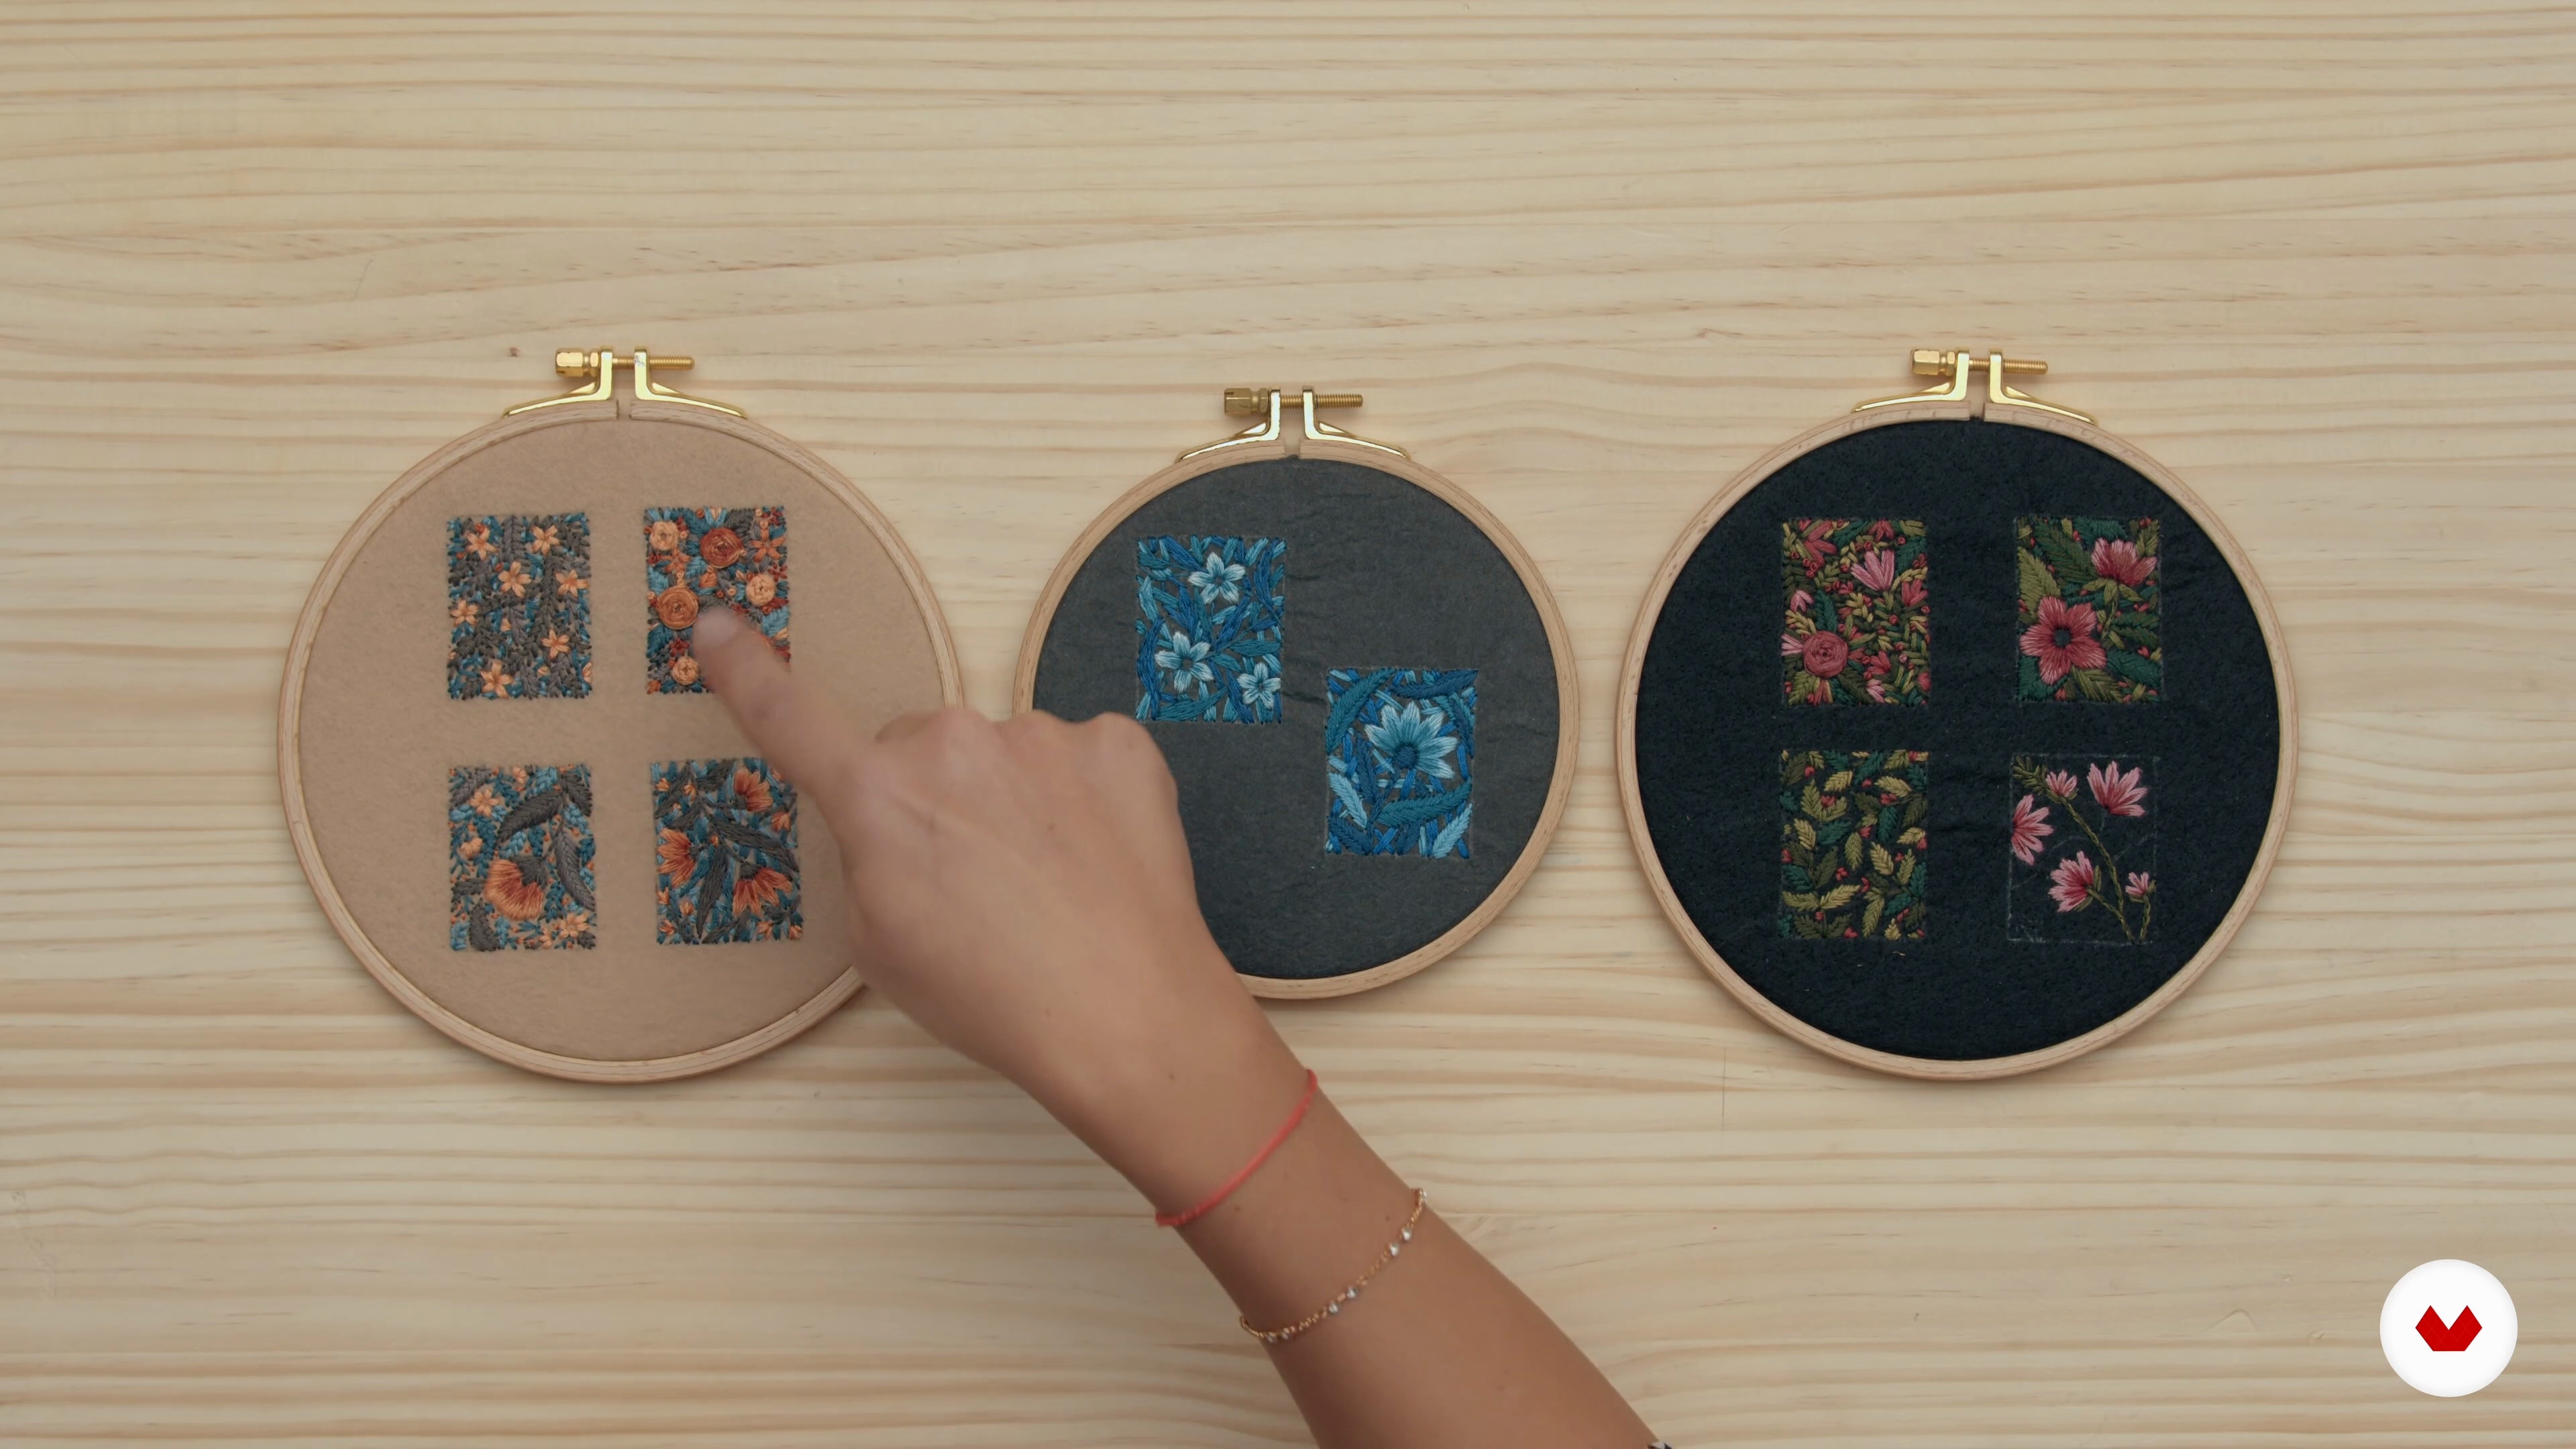
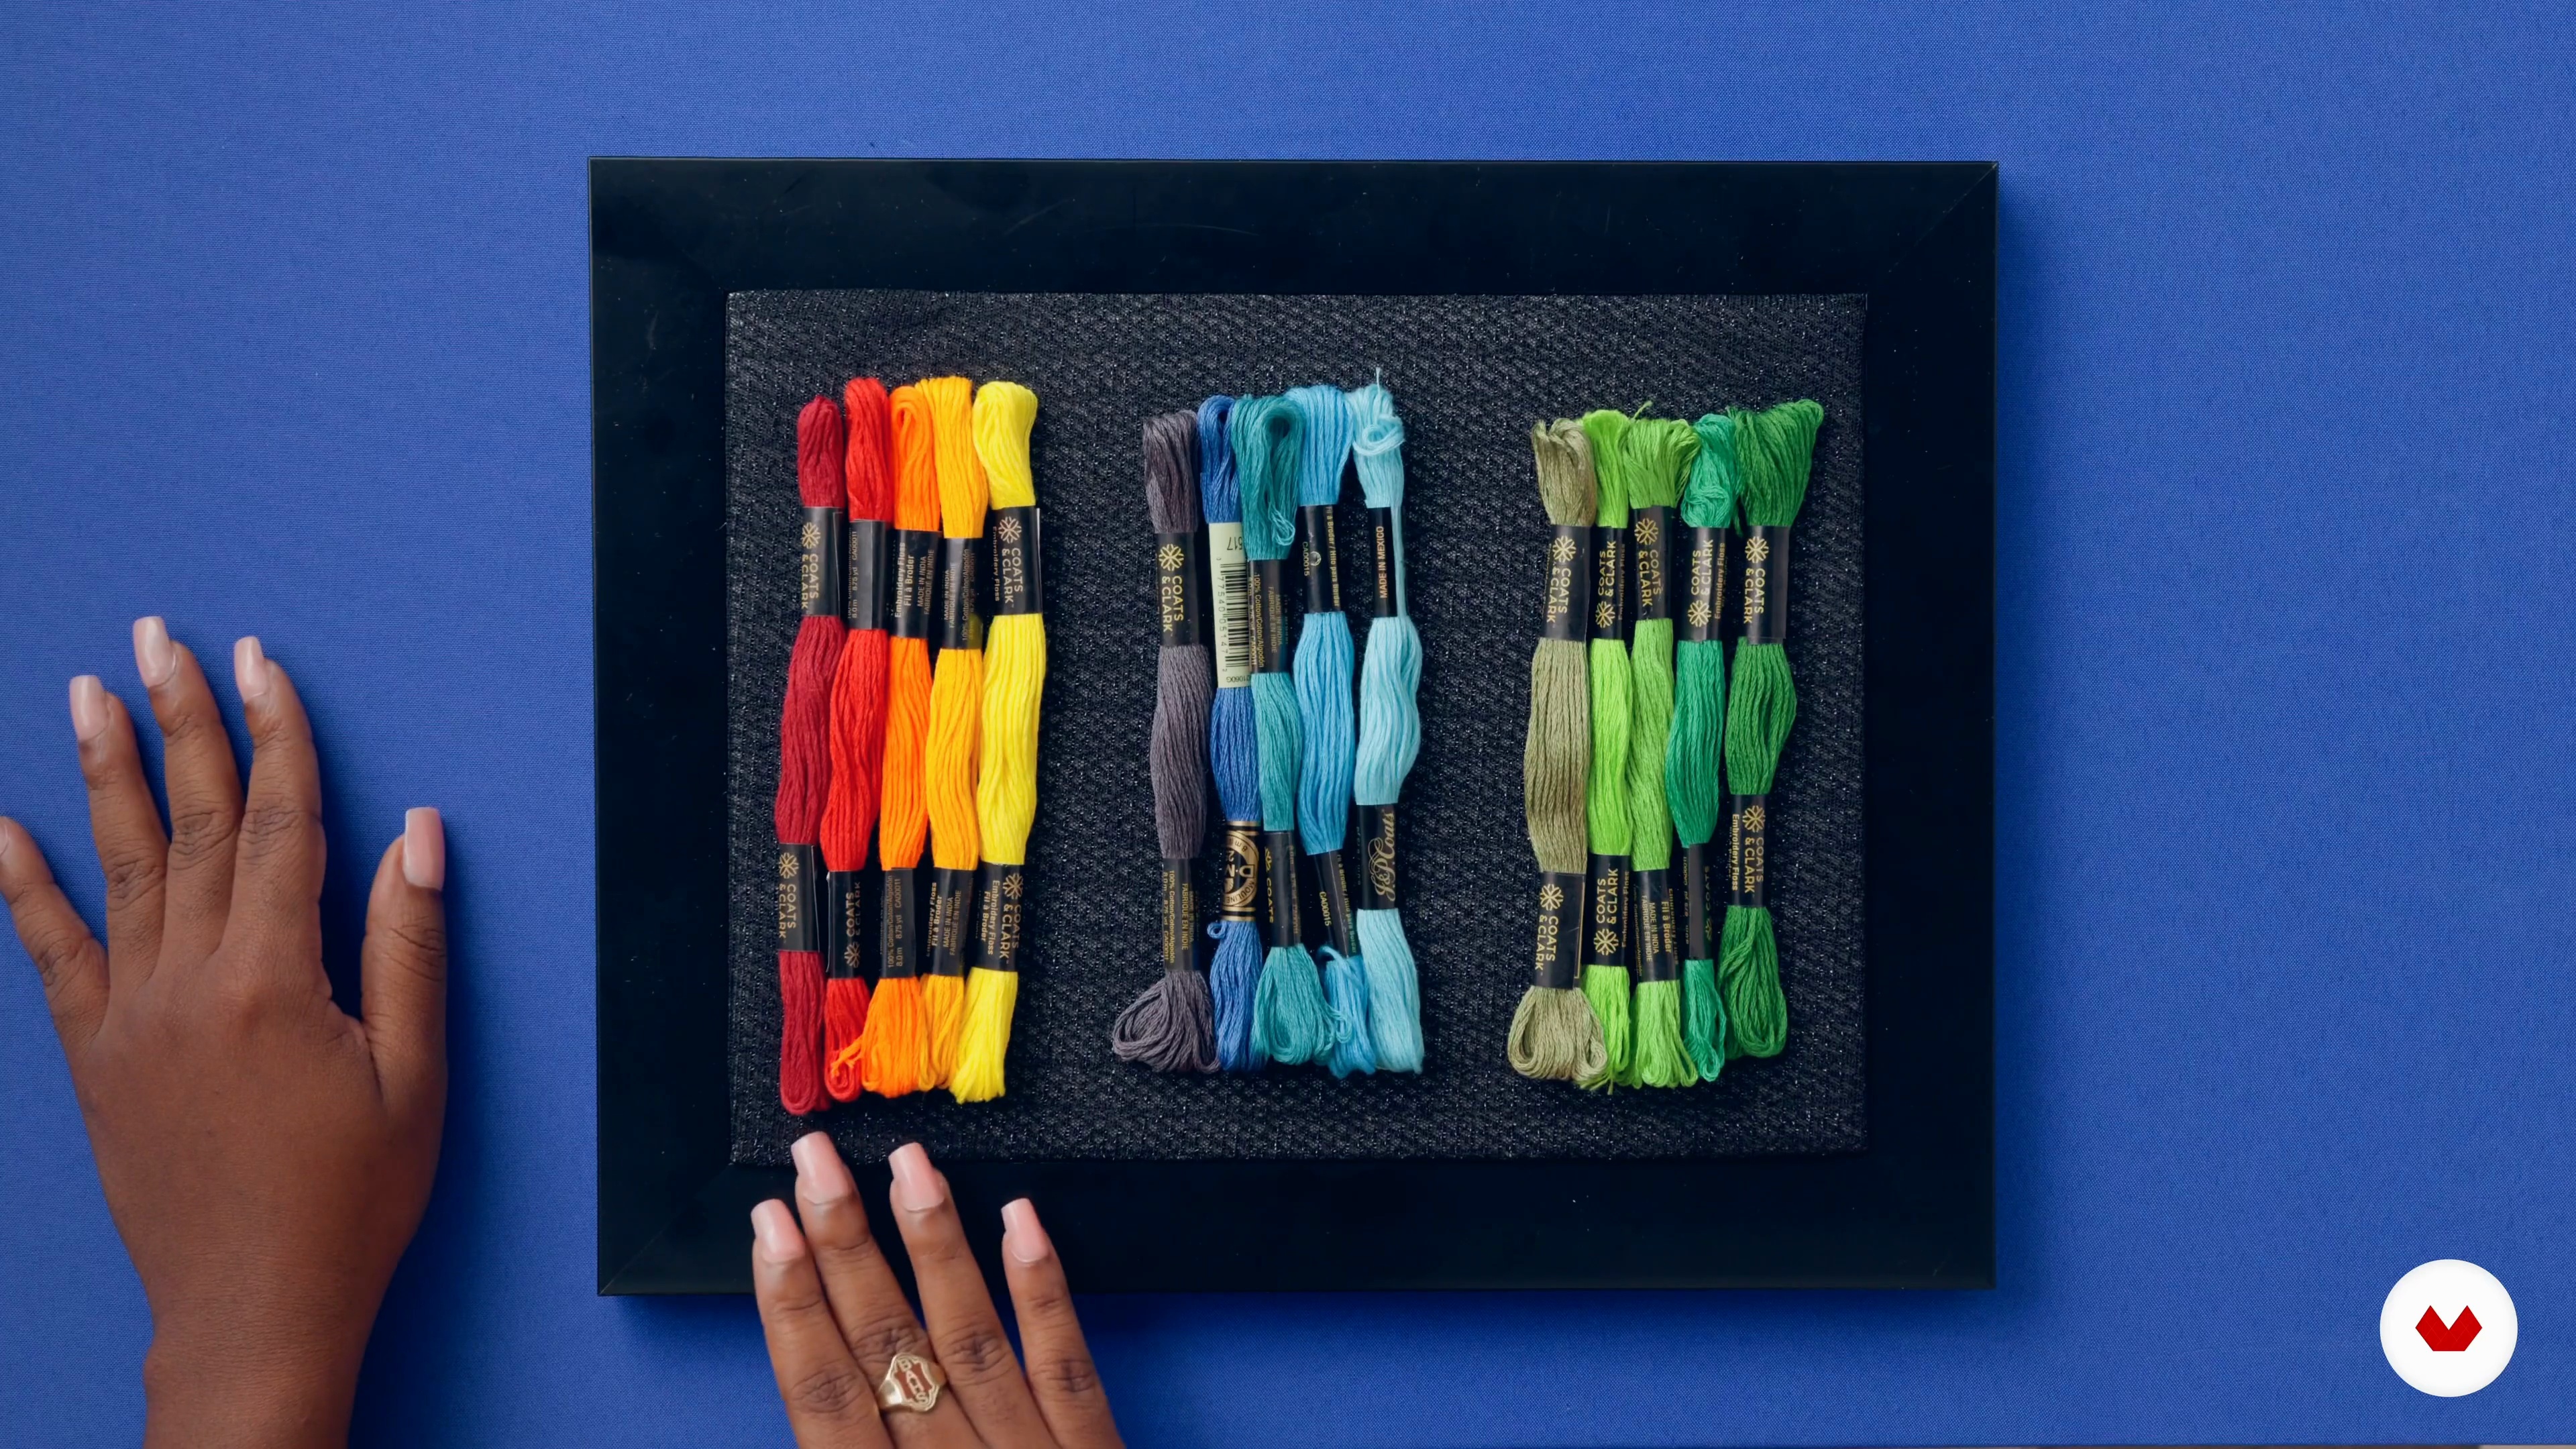
Defne Güntürkün explores the power of color in embroidery, teaching how to balance tones, use contrasts, and create harmony with the color wheel. Her examples reveal how backgrounds and thoughtful color choices can transform your designs and evoke emotion.
4m
image
3
Choosing the Color Palette
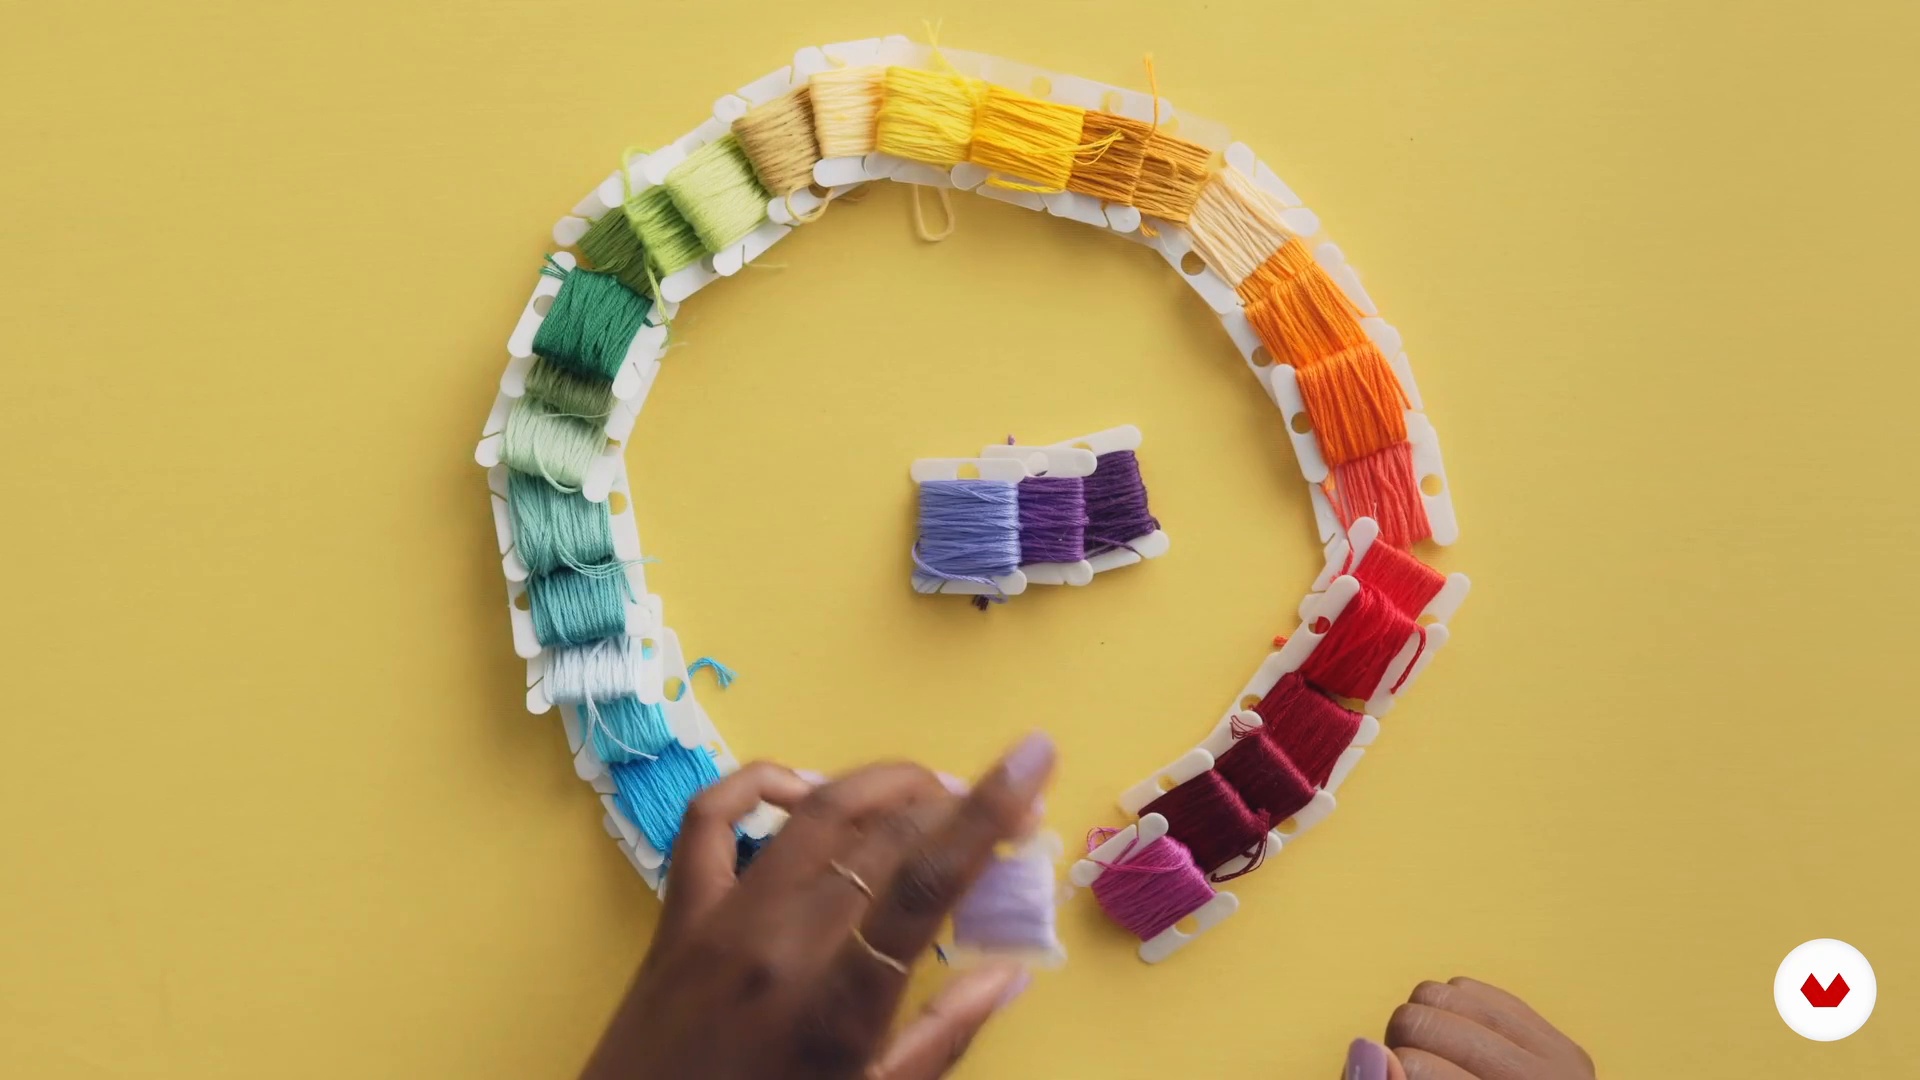
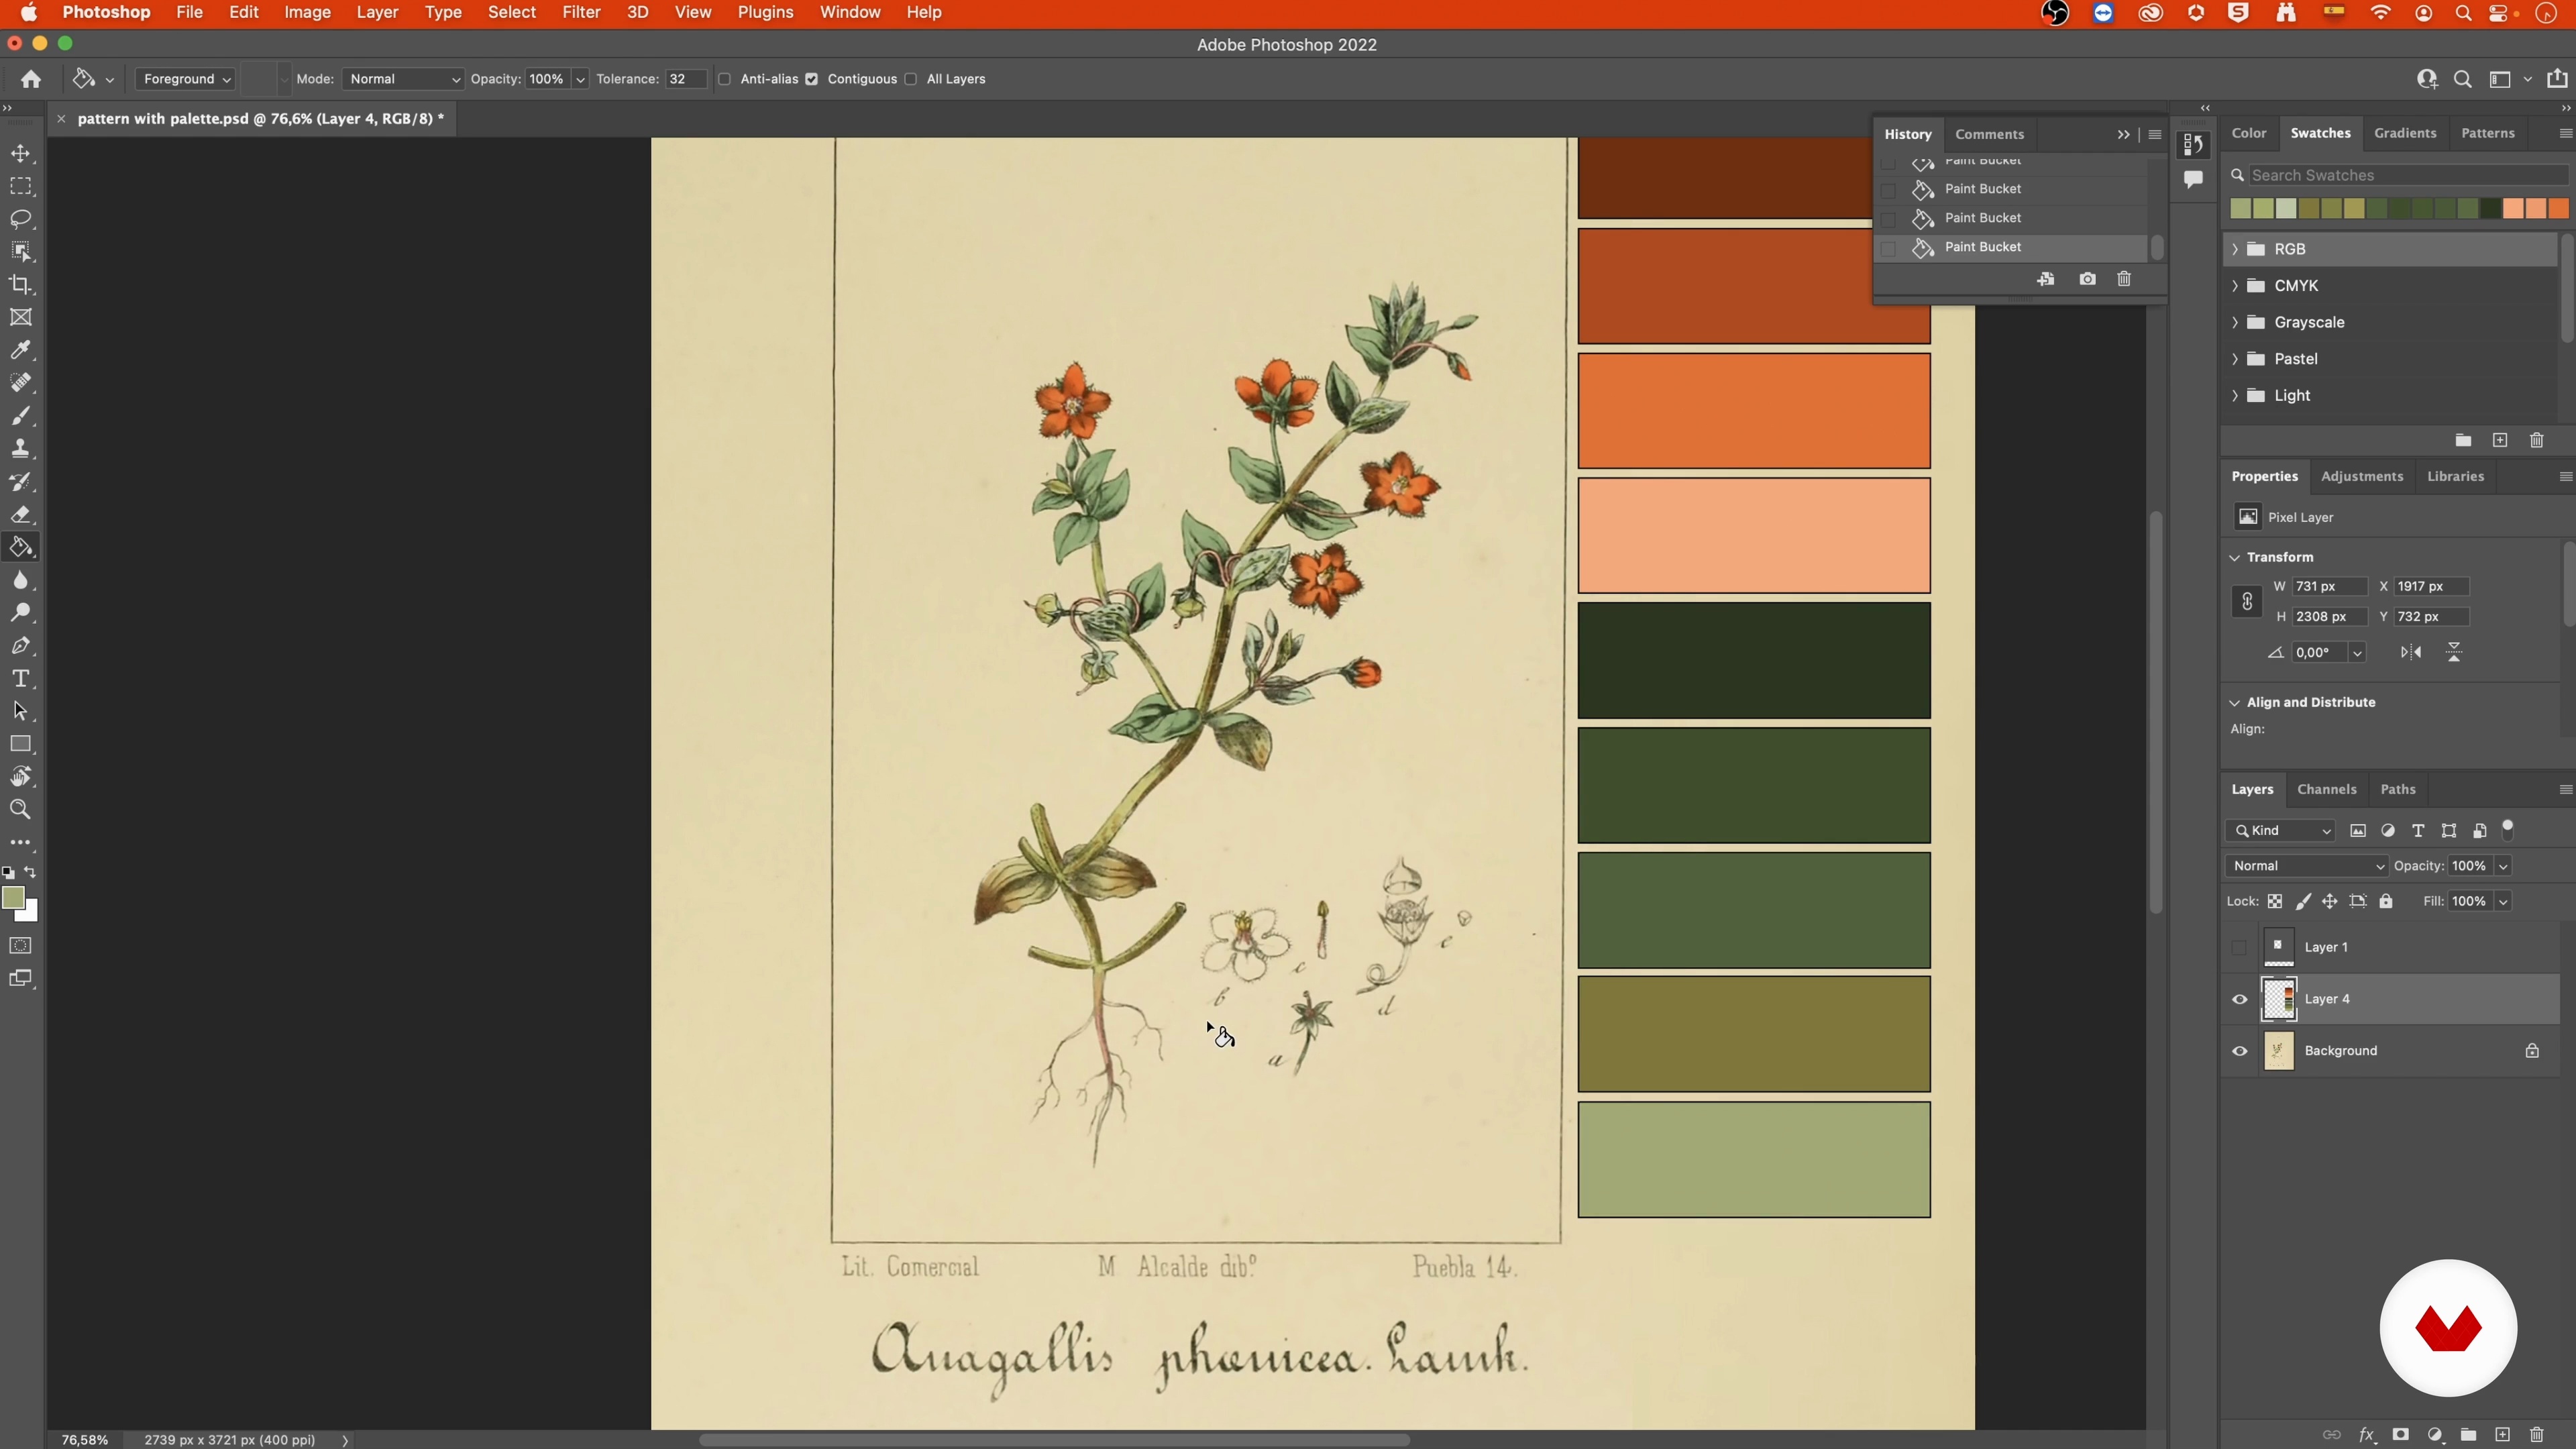
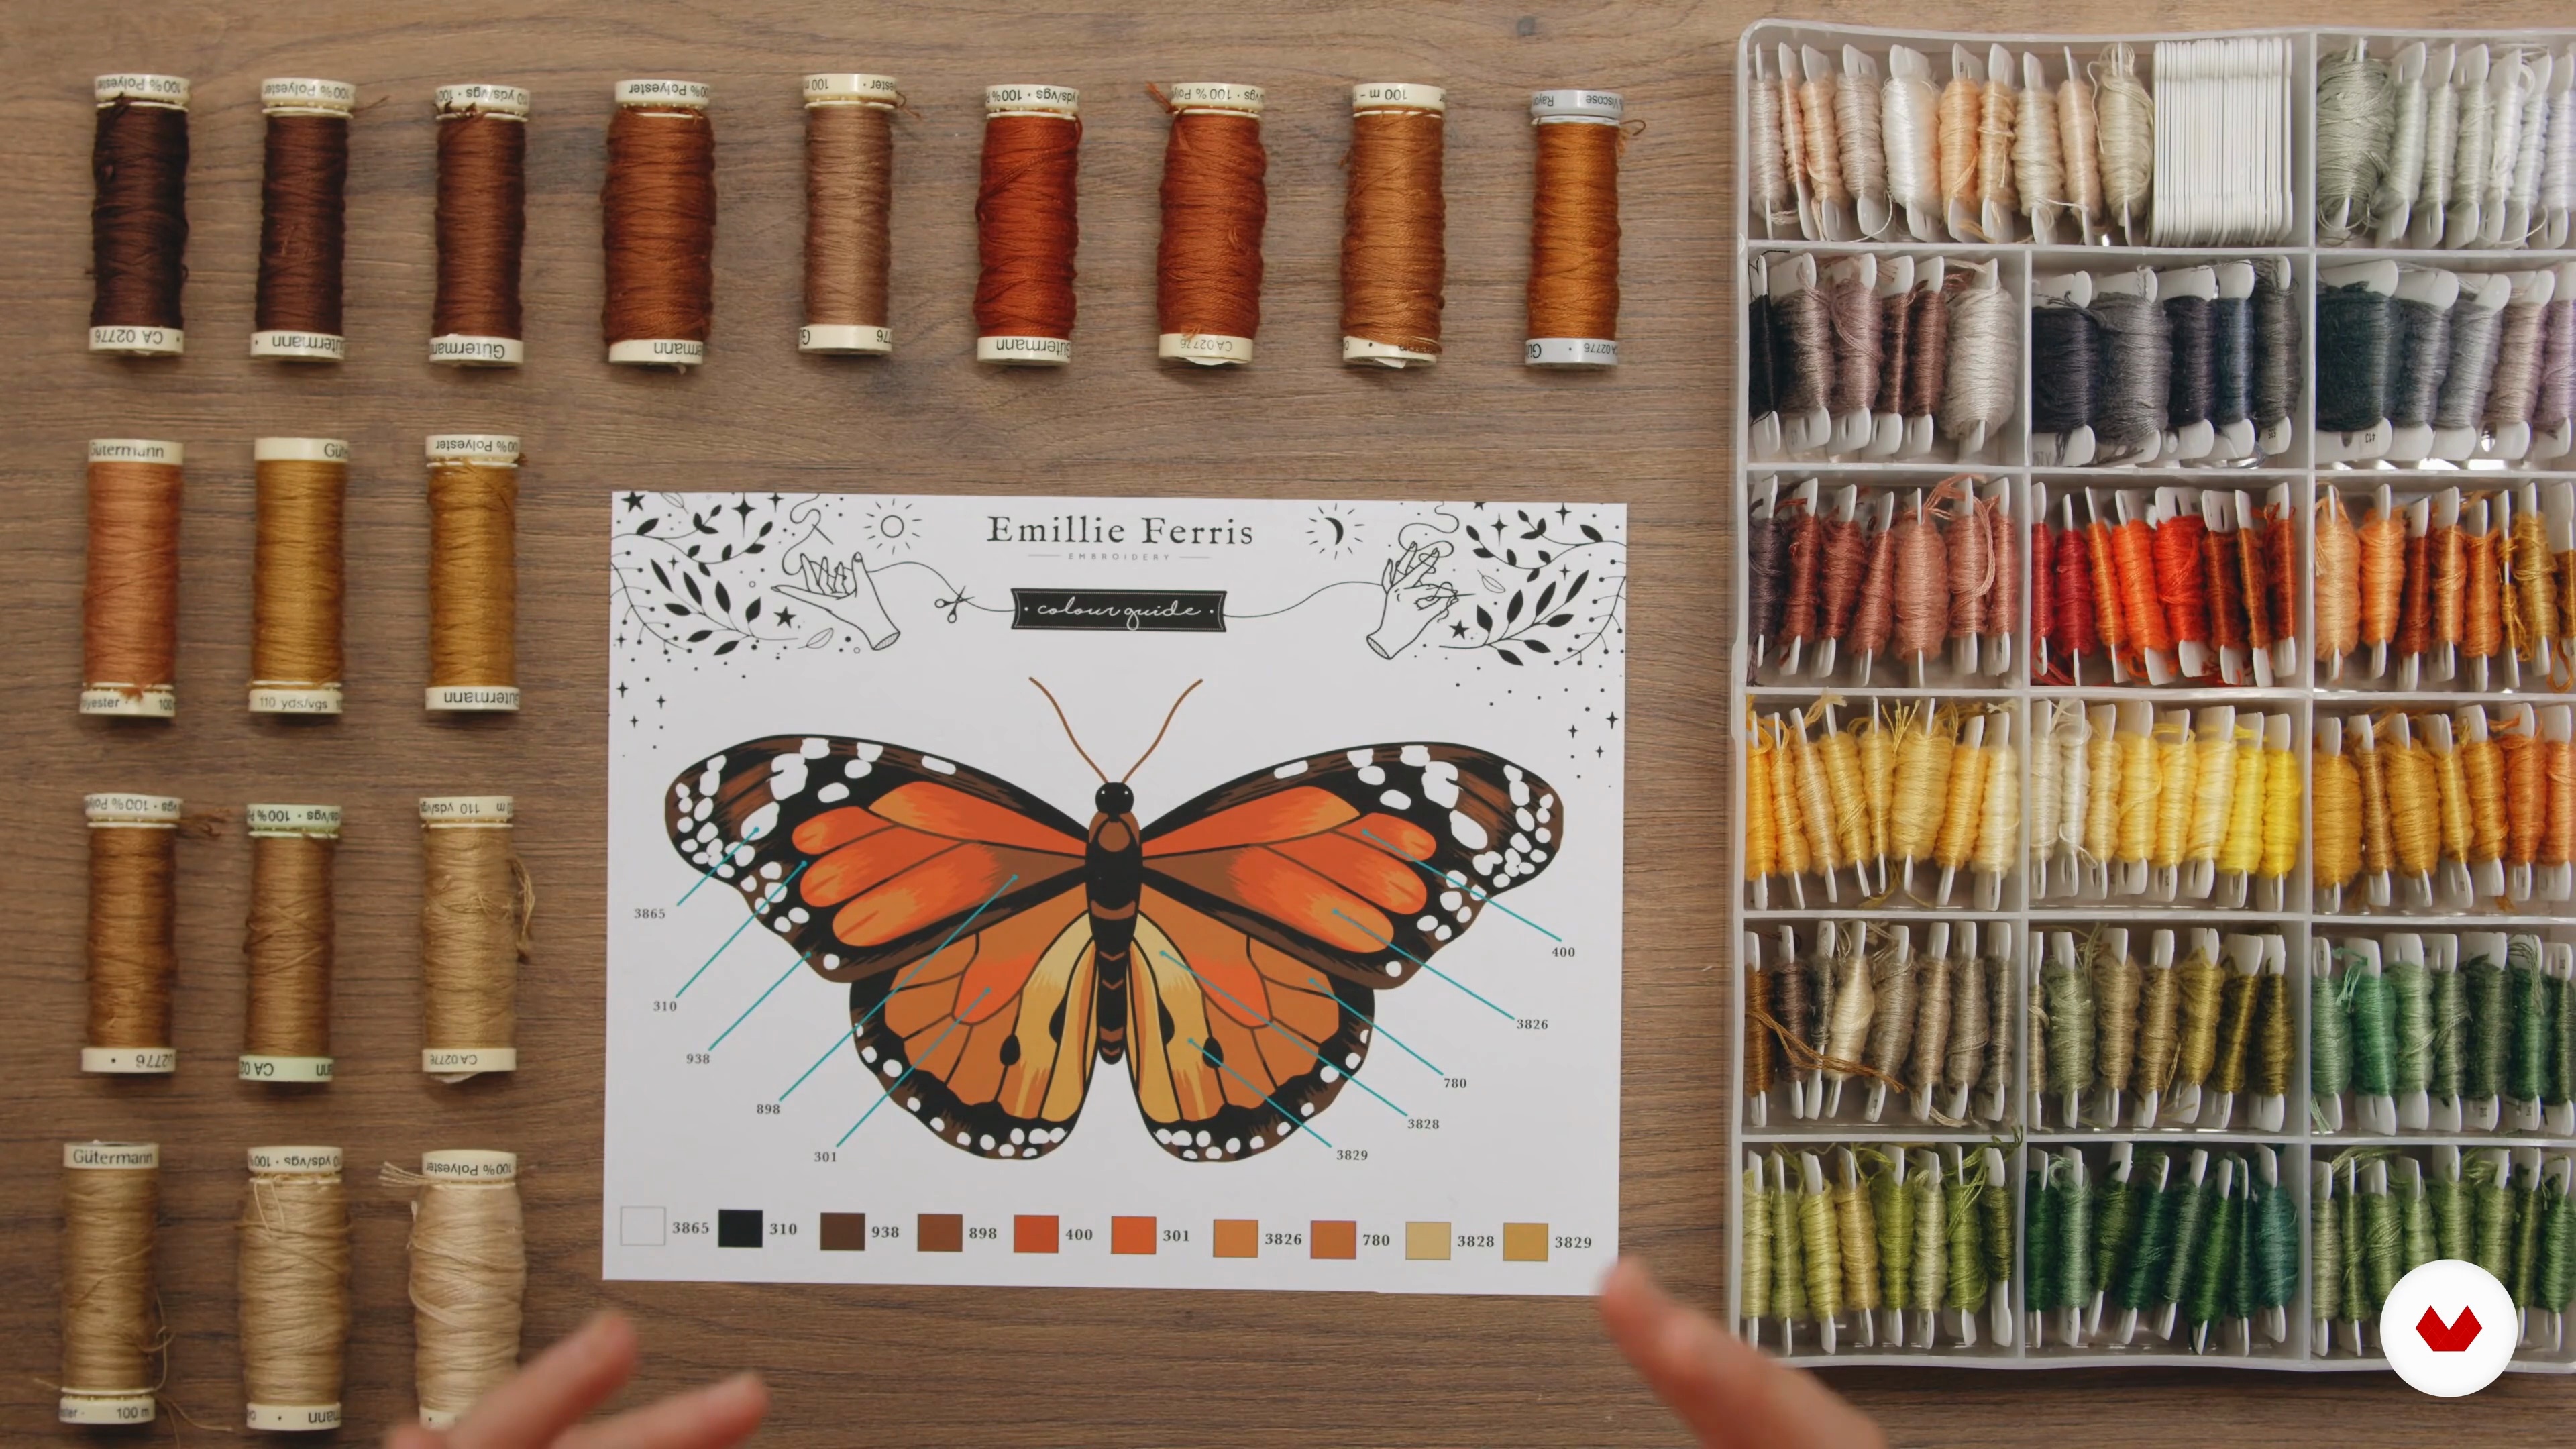
Emillie Ferris demonstrates her process for creating color palettes, starting from an inspirational image. Learn how to select shades for gradients, balance warm and cool tones, and match threads for your projects. With tips on organizing and testing colors, this method ensures a harmonious palette to bring your embroidery designs to life.
6m
image
4
Choosing Floss Colours
Choosing colors is a creative and essential part of embroidery, where subtle gradients and harmonious tones make all the difference. In this lesson, Emillie Ferris demonstrates how to select shades, blend them seamlessly, and organize threads for realistic results. Using a monarch butterfly as inspiration, you’ll learn practical tips to bring depth and vibrancy to your designs.
8m
image
5
Color Theory
Selecting colors is one of the most enjoyable steps in embroidery. Subtle gradients and thoughtful combinations bring your work to life. Nneka Jones uses the monarch butterfly as a guide to demonstrate how to choose and blend shades for realistic results. Learn practical techniques to create depth, harmony, and stunning vibrancy in your projects.
9m
image
1
Stitching the Flowers
This lesson focuses on stitching flowers using techniques like the wheel stitch and long-and-short stitch. Defne Güntürkün demonstrates how to blend shades for depth, add highlights and shadows, and correct small imperfections for a natural finish. With her guidance, you’ll create layered, detailed flowers that bring your embroidery composition to life.
19m
image
2
Stitching the Leaves
This lesson focuses on stitching leaves and stems using feather stitch, backstitch, and long and short stitch techniques. Defne Güntürkün shows how to blend greens for natural depth, add French knots for blooming details, and create realistic connections between stems and flowers. Follow these steps to bring movement and balance to your embroidery composition.
16m
image
3
Stitching Needle Painting 1
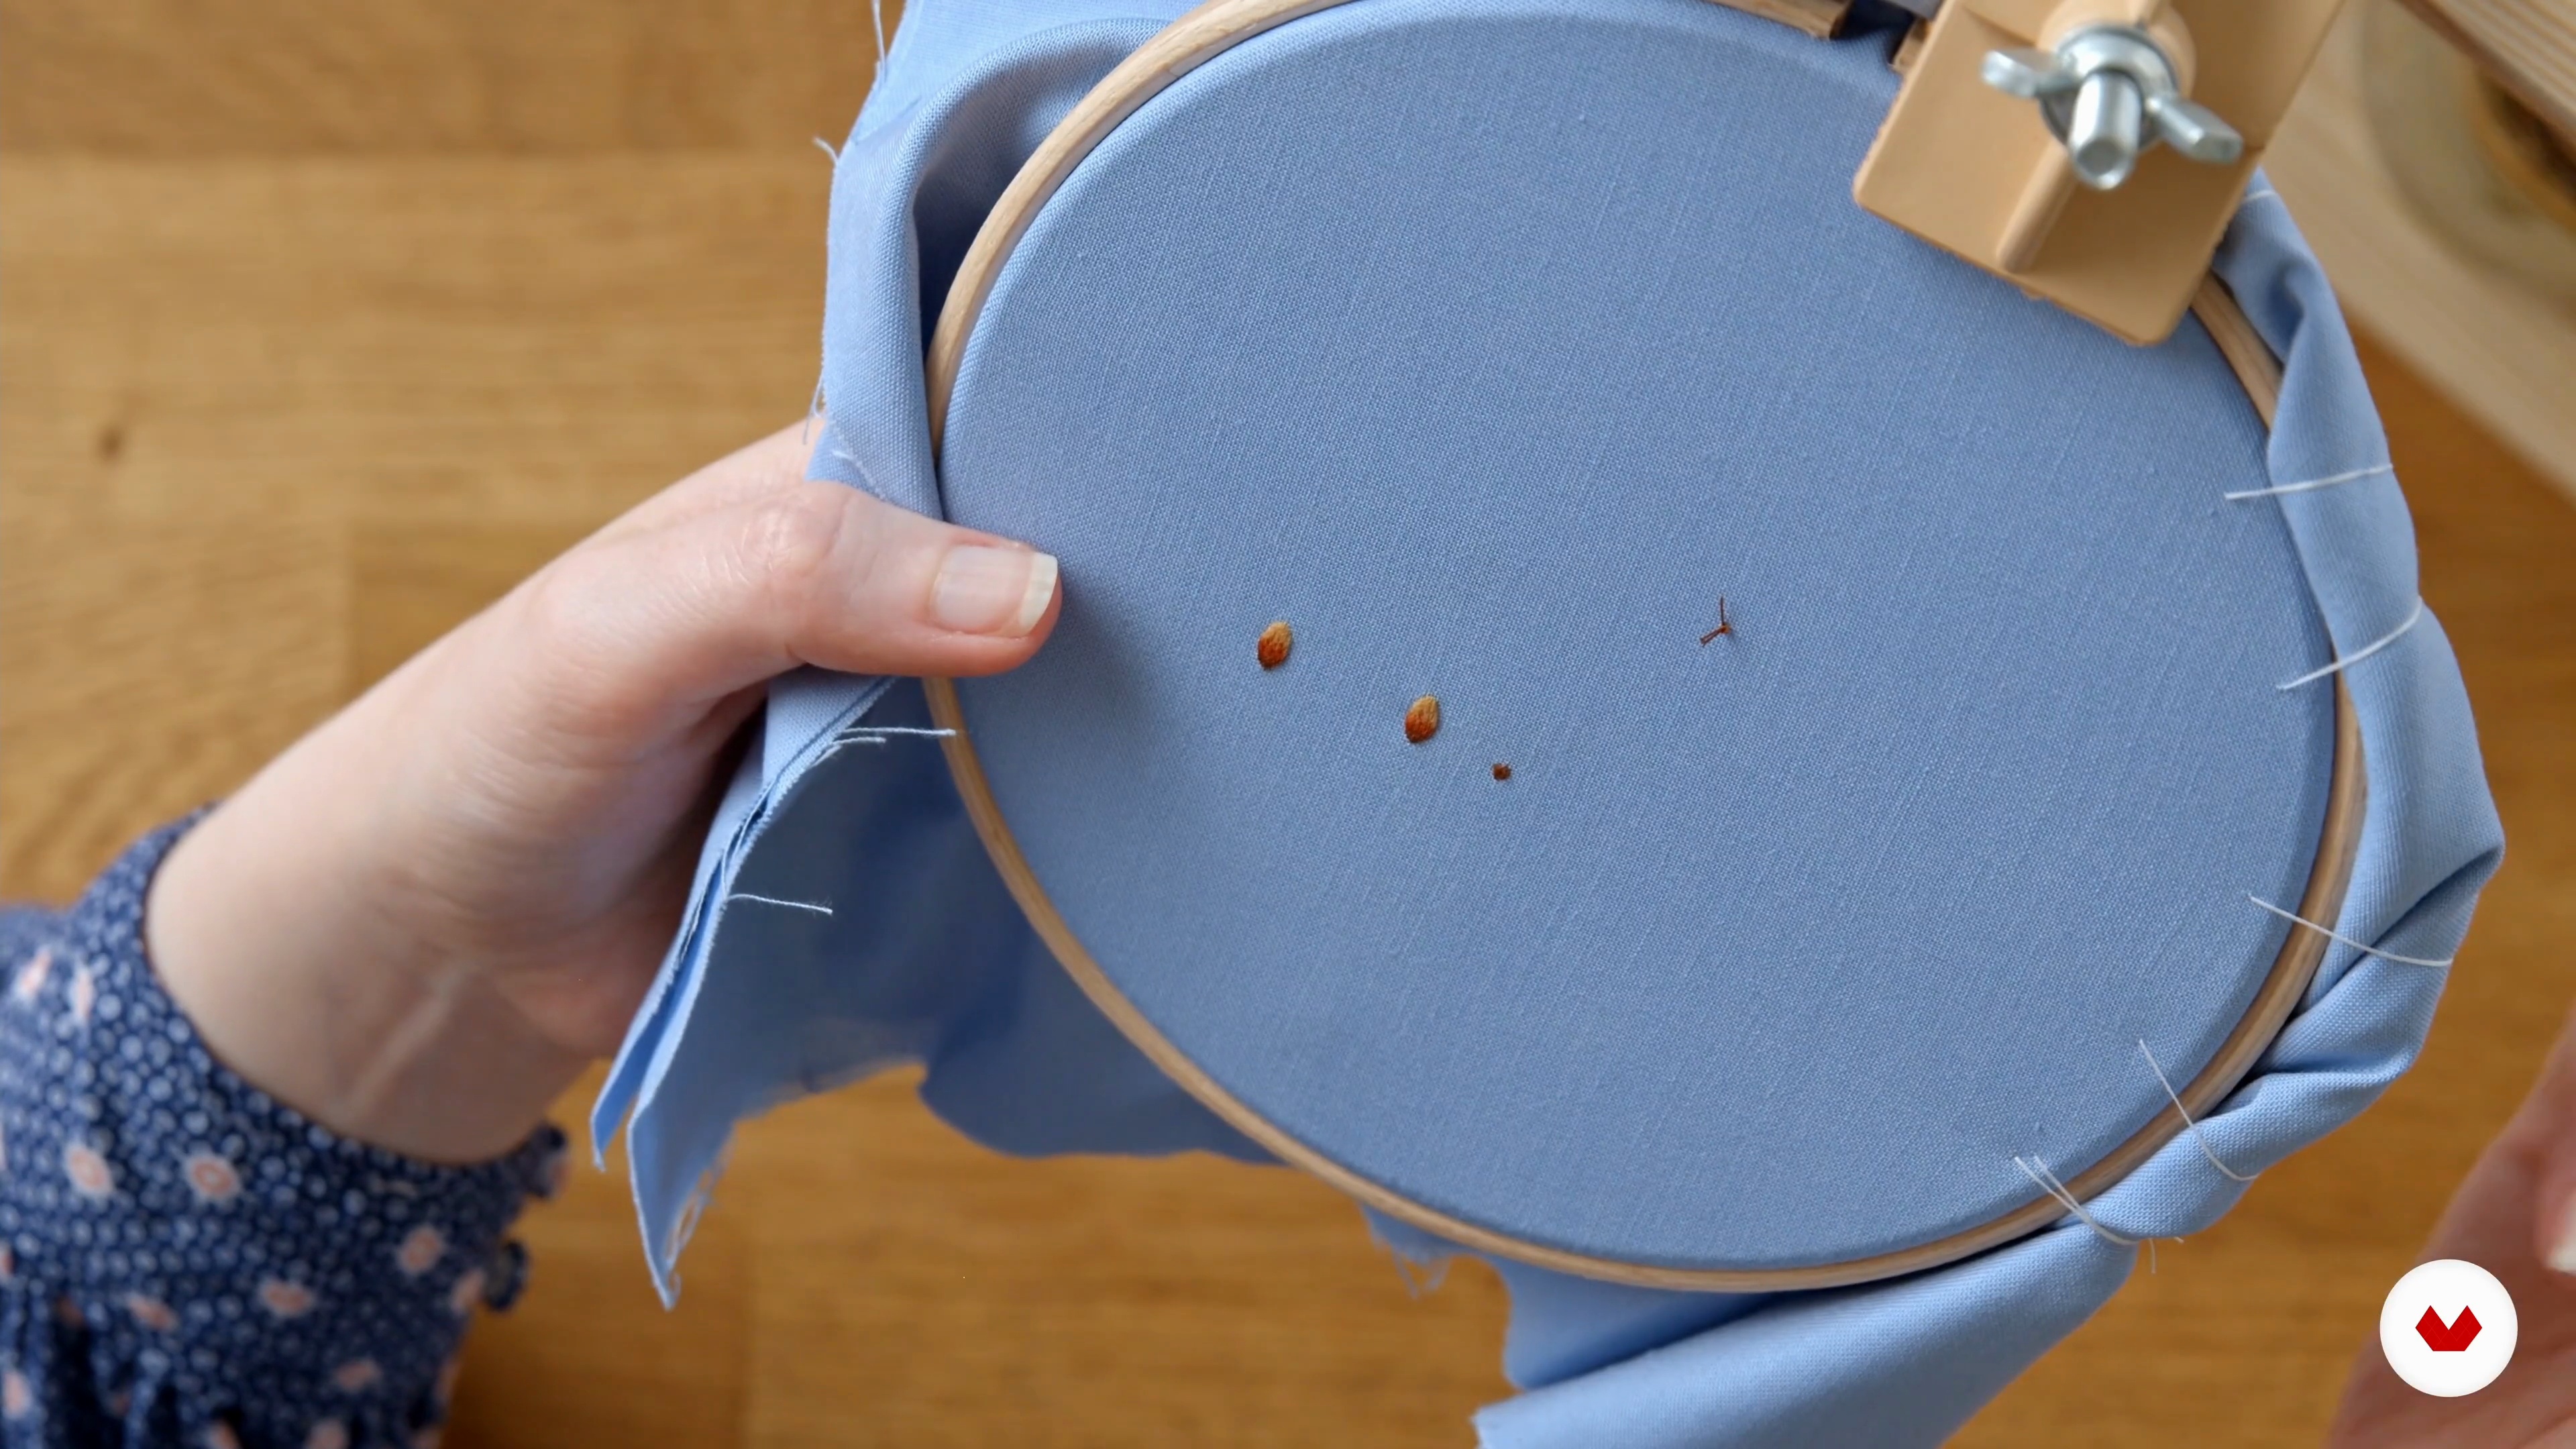
This lesson focuses on stitching the mushroom cap with satin stitch, split stitch, and long and short stitch. Yulia Sherbak begins with a satin stitch for the scales, layering them for a 3D effect. You'll outline the cap, add shading and highlights, and create depth using thoughtful color placement. Step by step, bring your mushroom design to life with texture and dimension.
13m
image
4
Stitching Needle Painting 2
With the mushroom cap complete, it's time to stitch the stem. Using shades of brown and beige, you'll create smooth transitions and add shadows for depth. Yulia Sherbak demonstrates techniques like satin stitch for small areas and shading under the cap for realism. Finish by erasing any pen marks for a polished final piece.
13m
image
1
Stitching Needle Painting 2.1
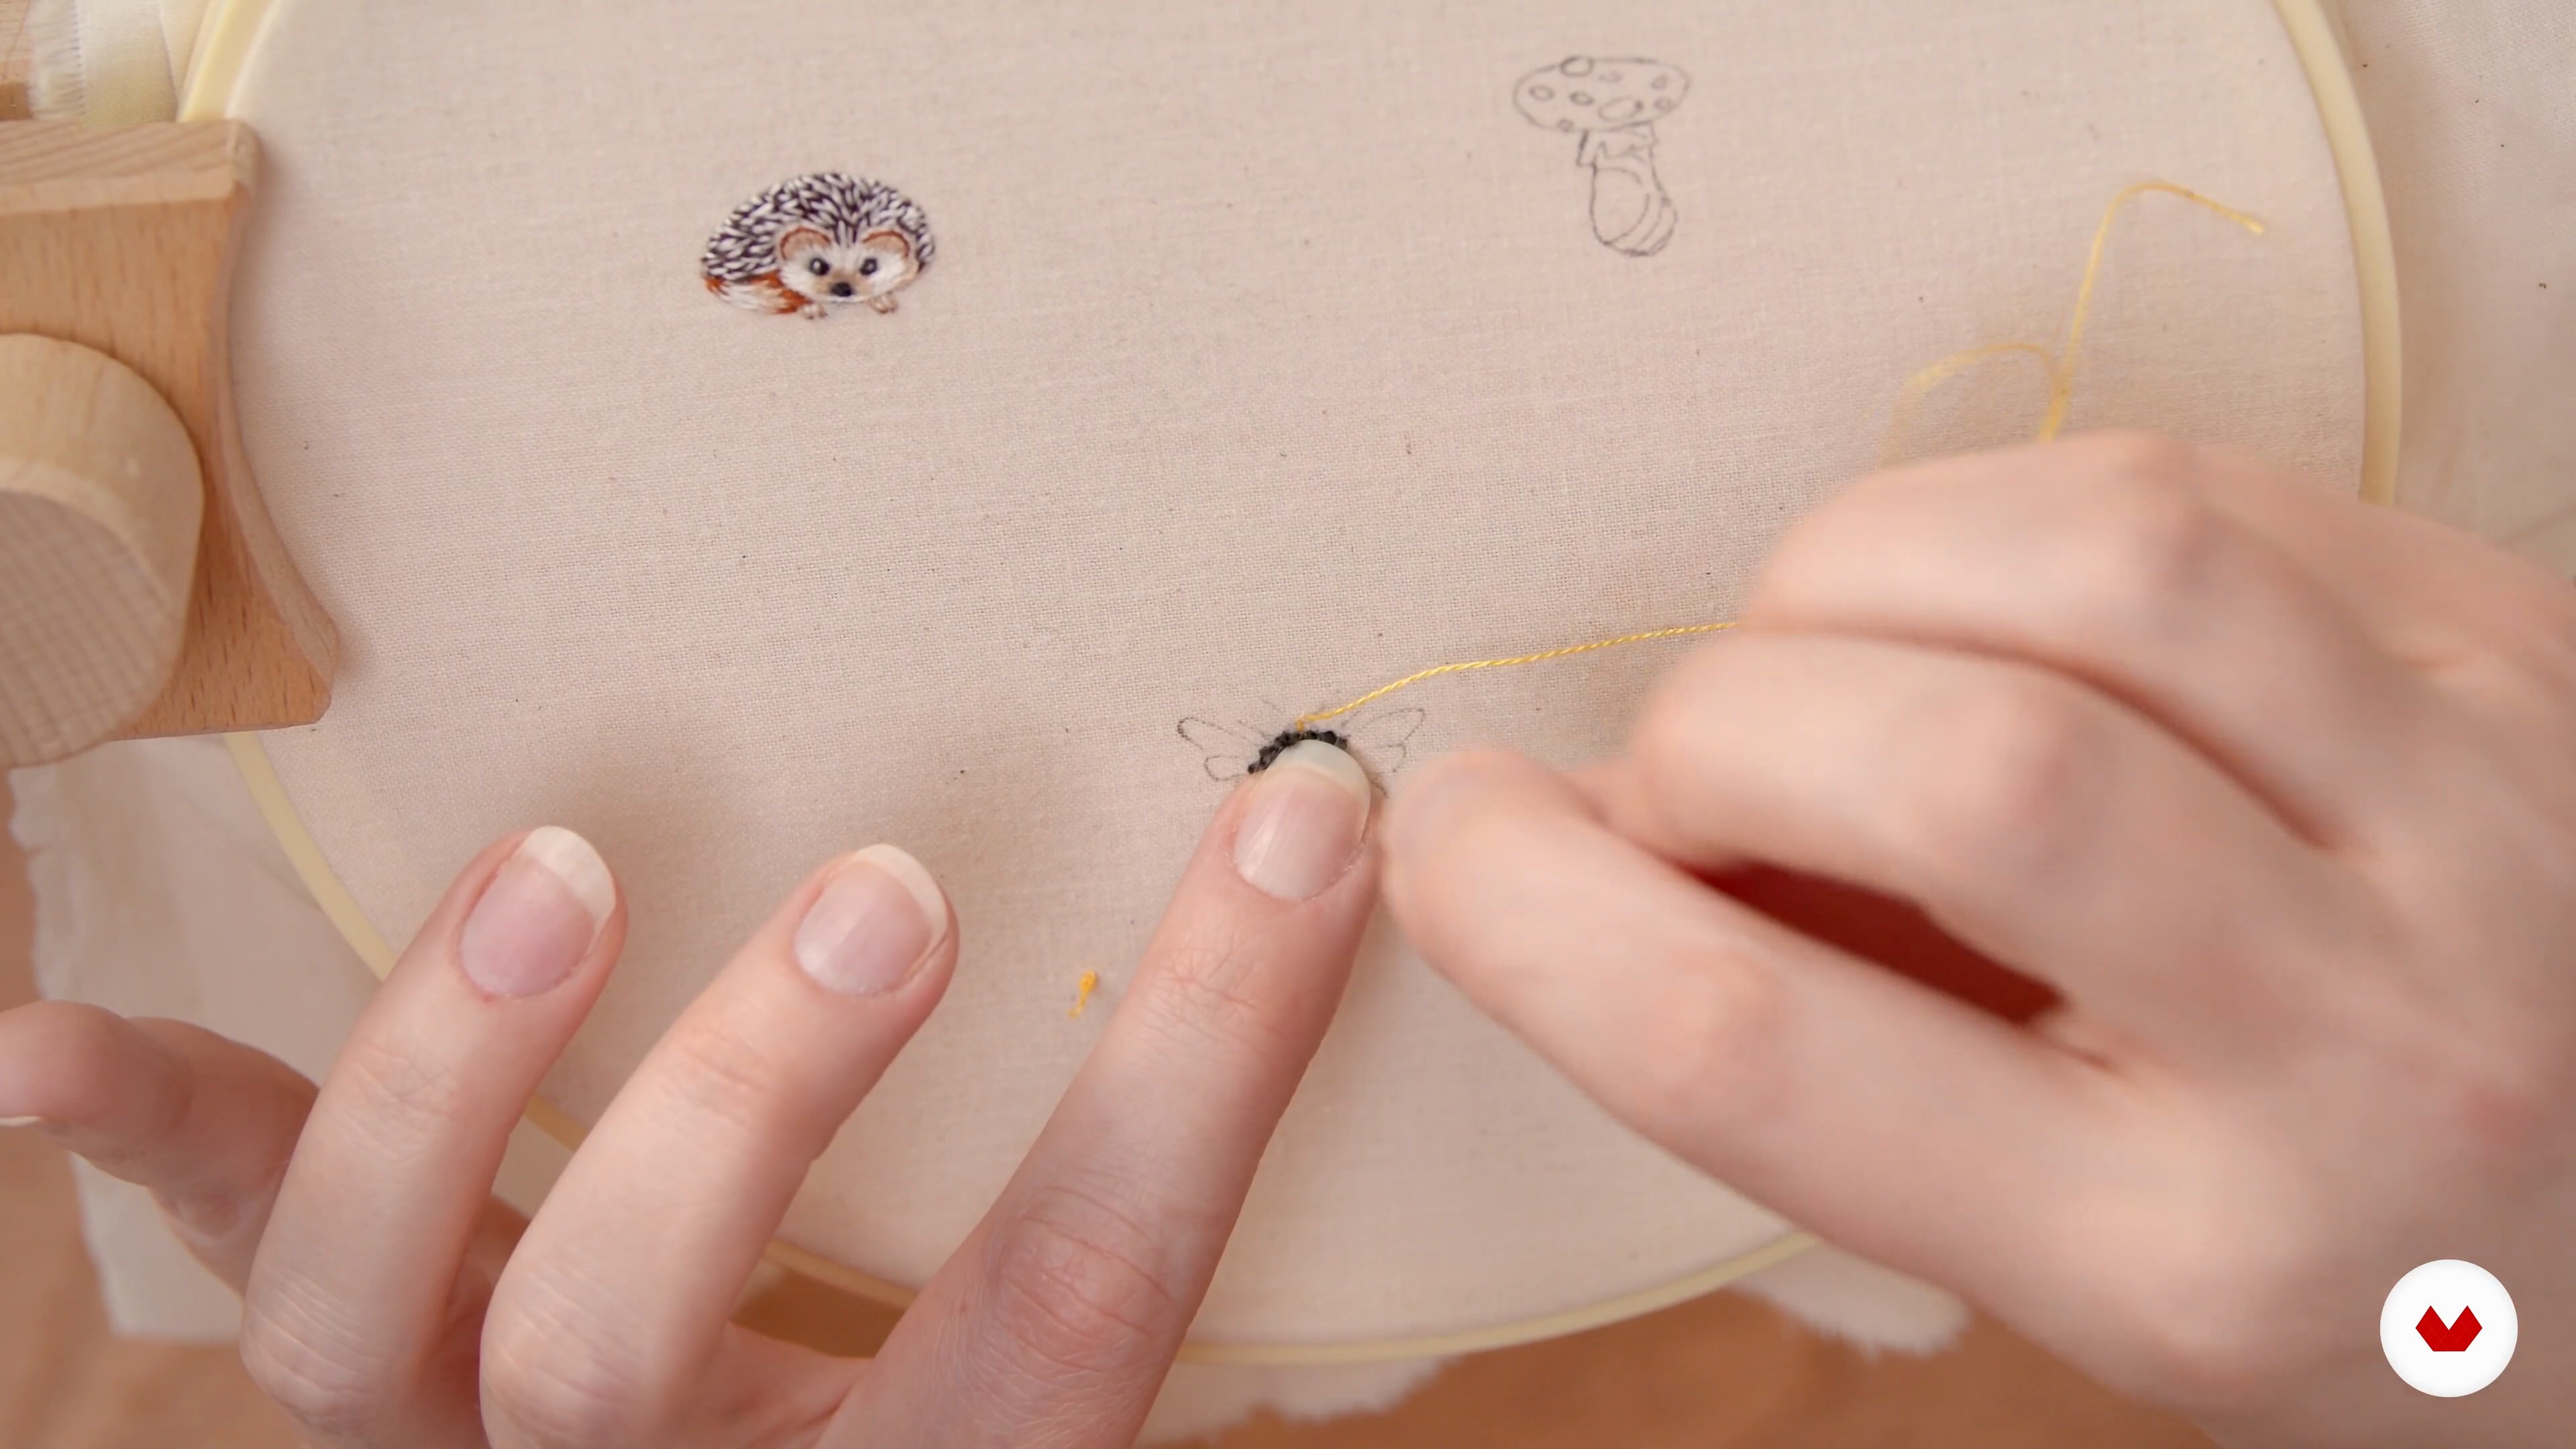
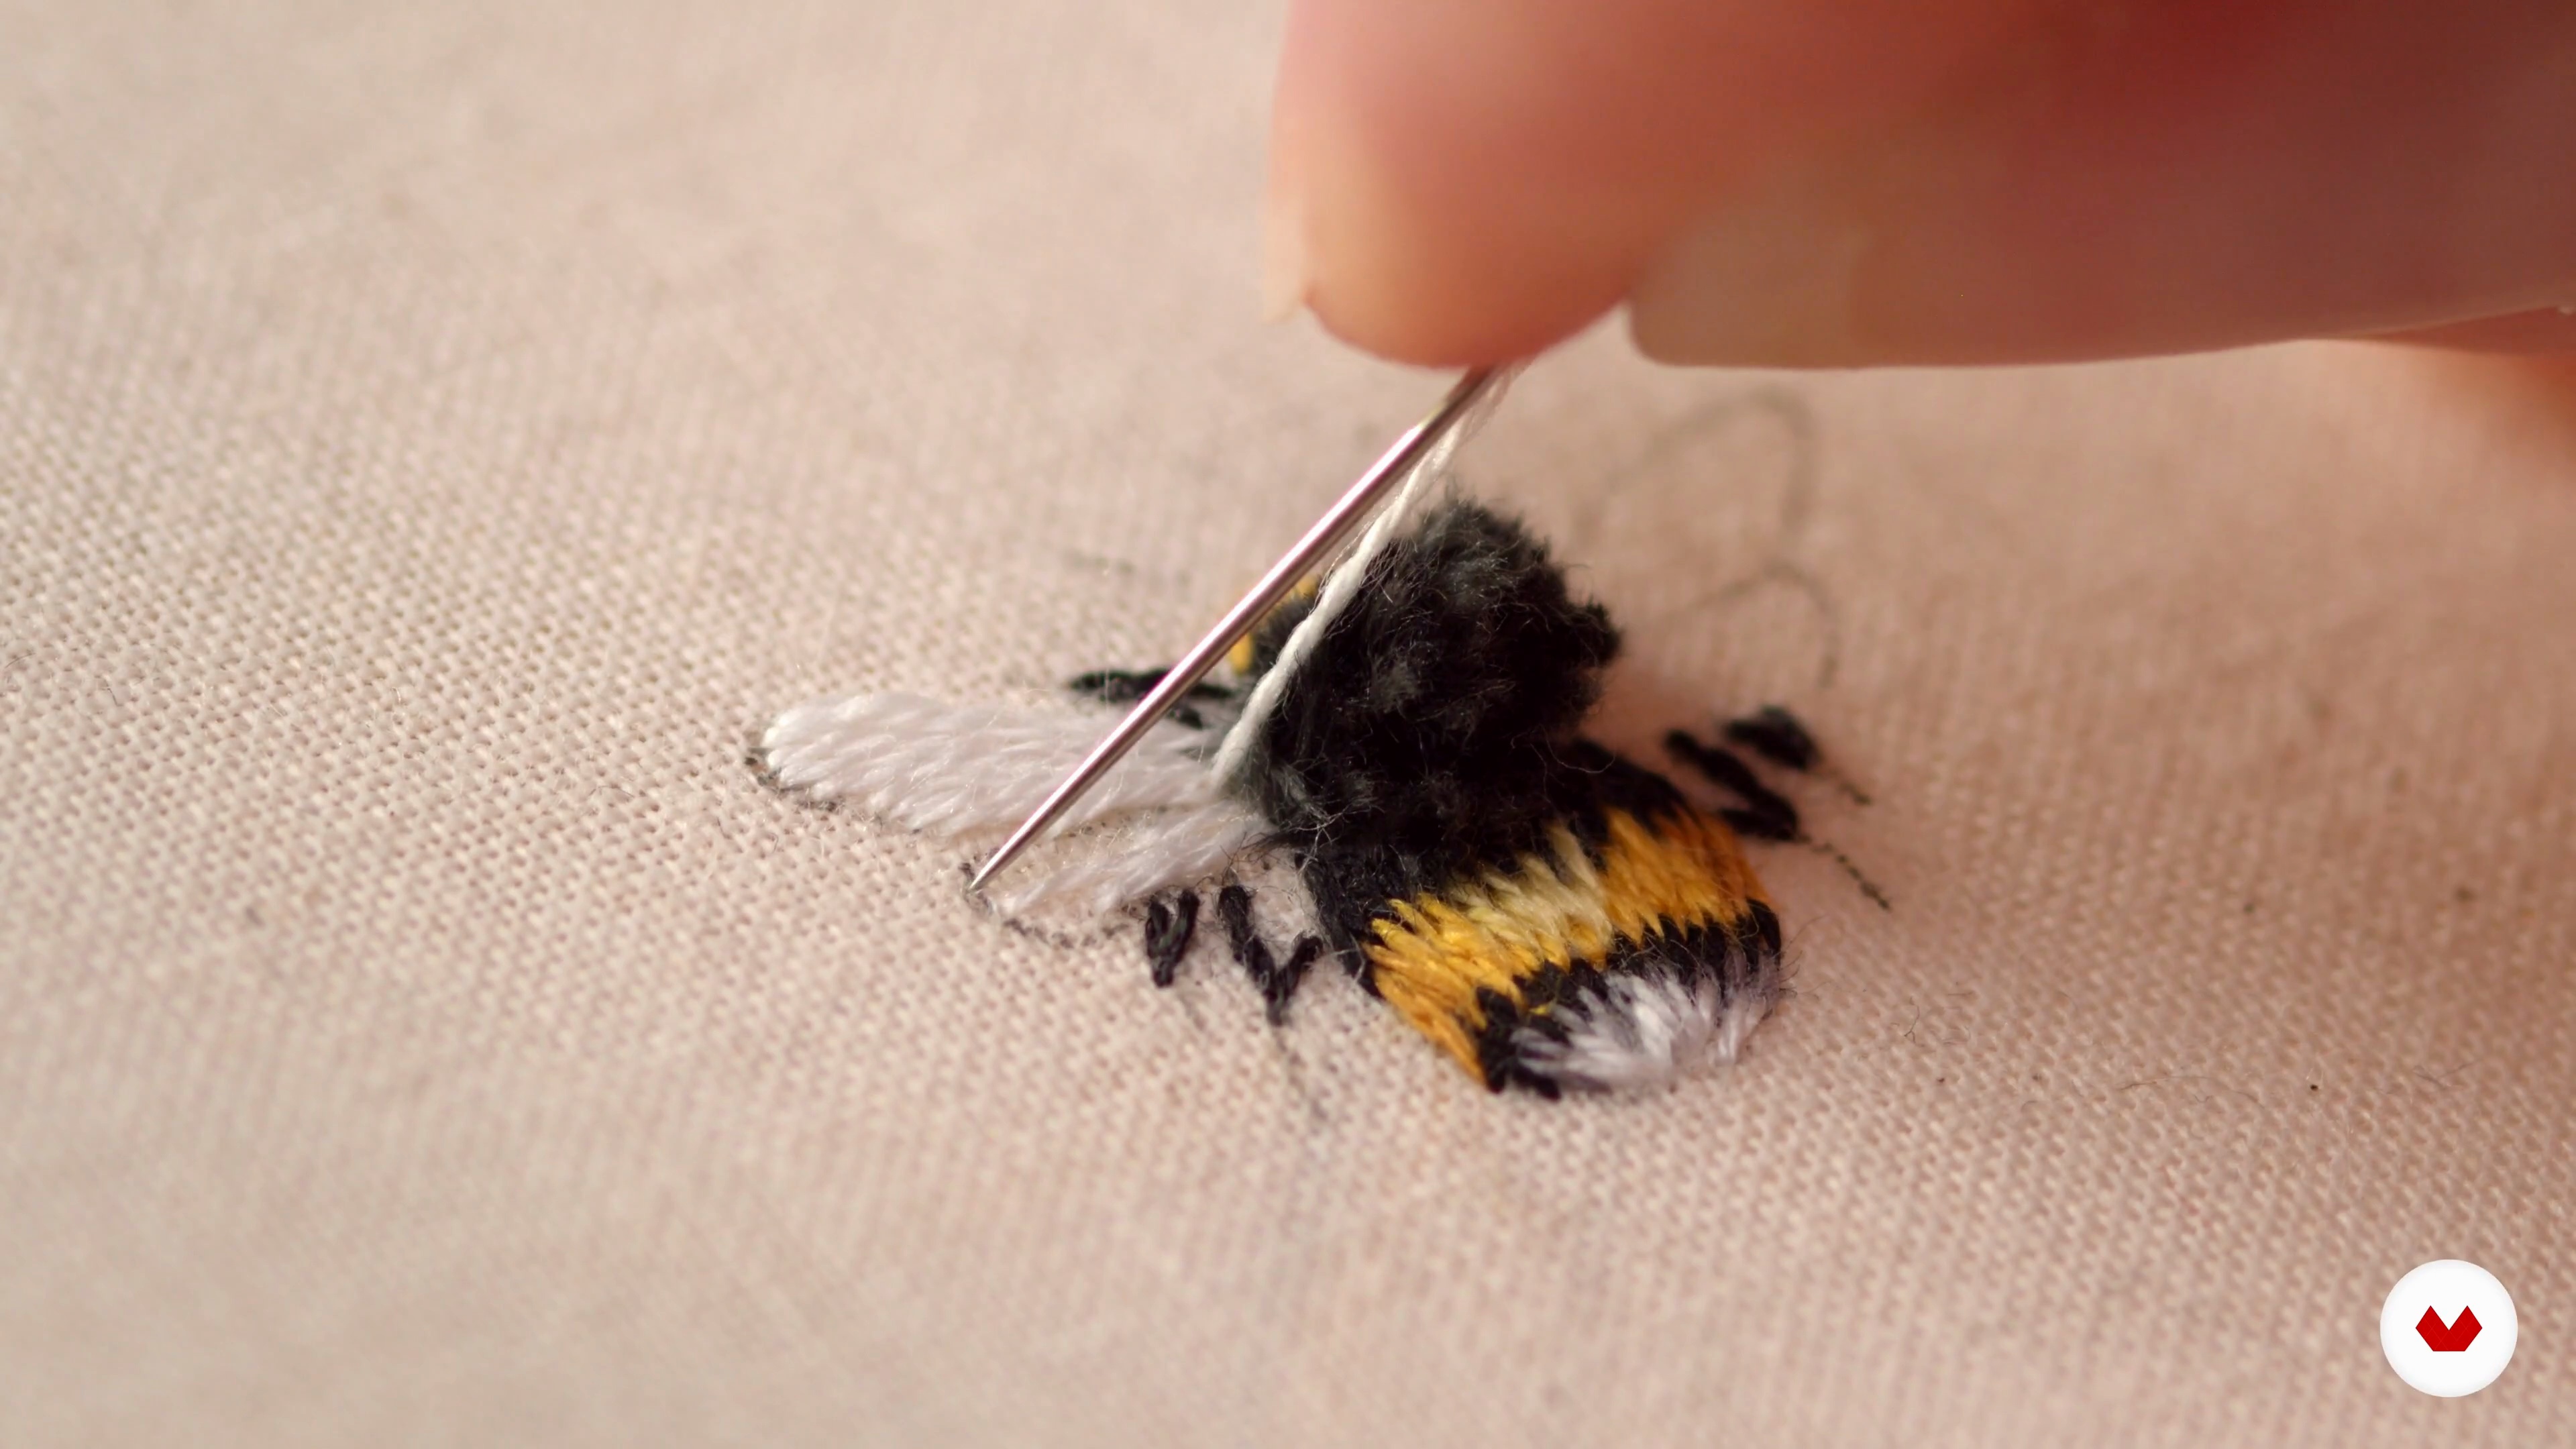
Stitching the bumblebee begins with the thorax, using Turkey Work to create a plush texture by blending black and gray threads. Next, Yulia Sherbak uses satin stitch for the head and long-and-short stitch for the abdomen stripes, alternating between black and yellow shades for dimension. With details like split-stitched legs and shading, this bee comes to life with realistic depth.
13m
image
2
Stitching Needle Painting 2.2
The bumblebee is completed with final touches to the abdomen, tail, wings, legs, and antennae. Using long and short stitches, Yulia Sherbak blends black, gray, and white for smooth gradients, fill the wings with soft detailing, and adds depth with dark brown for the legs.
9m
image
3
Our First Stitches 1
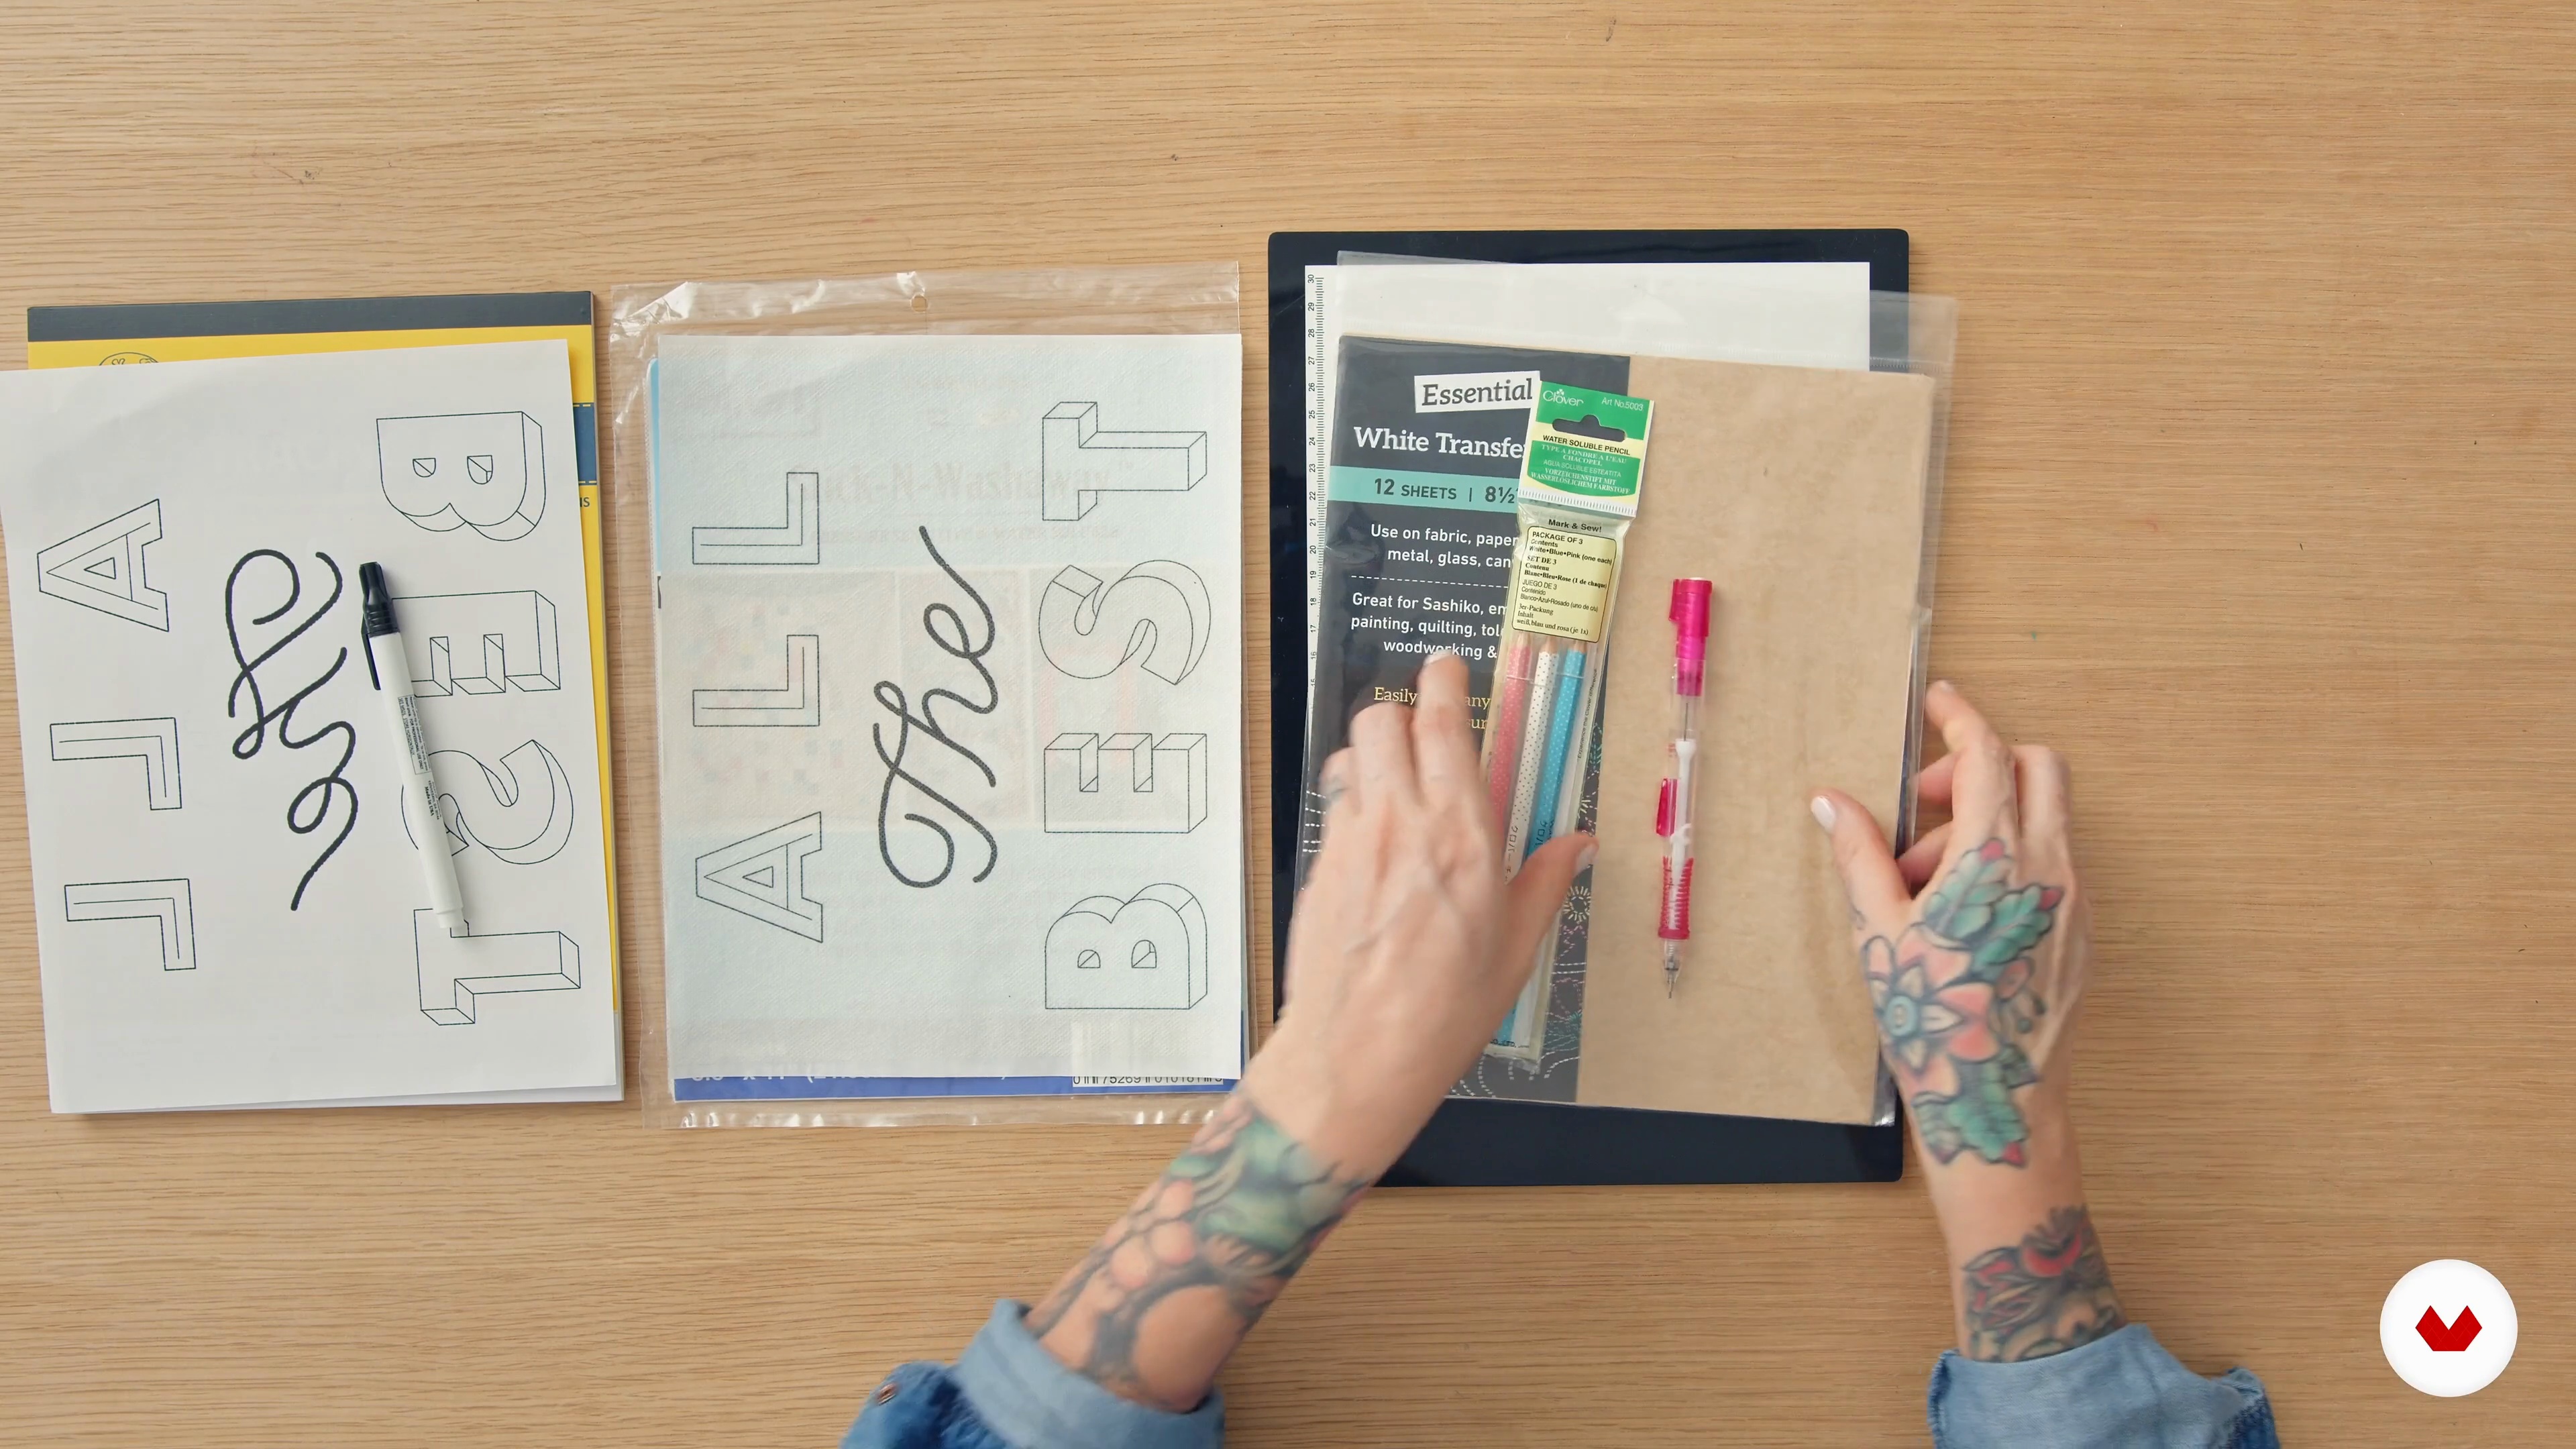
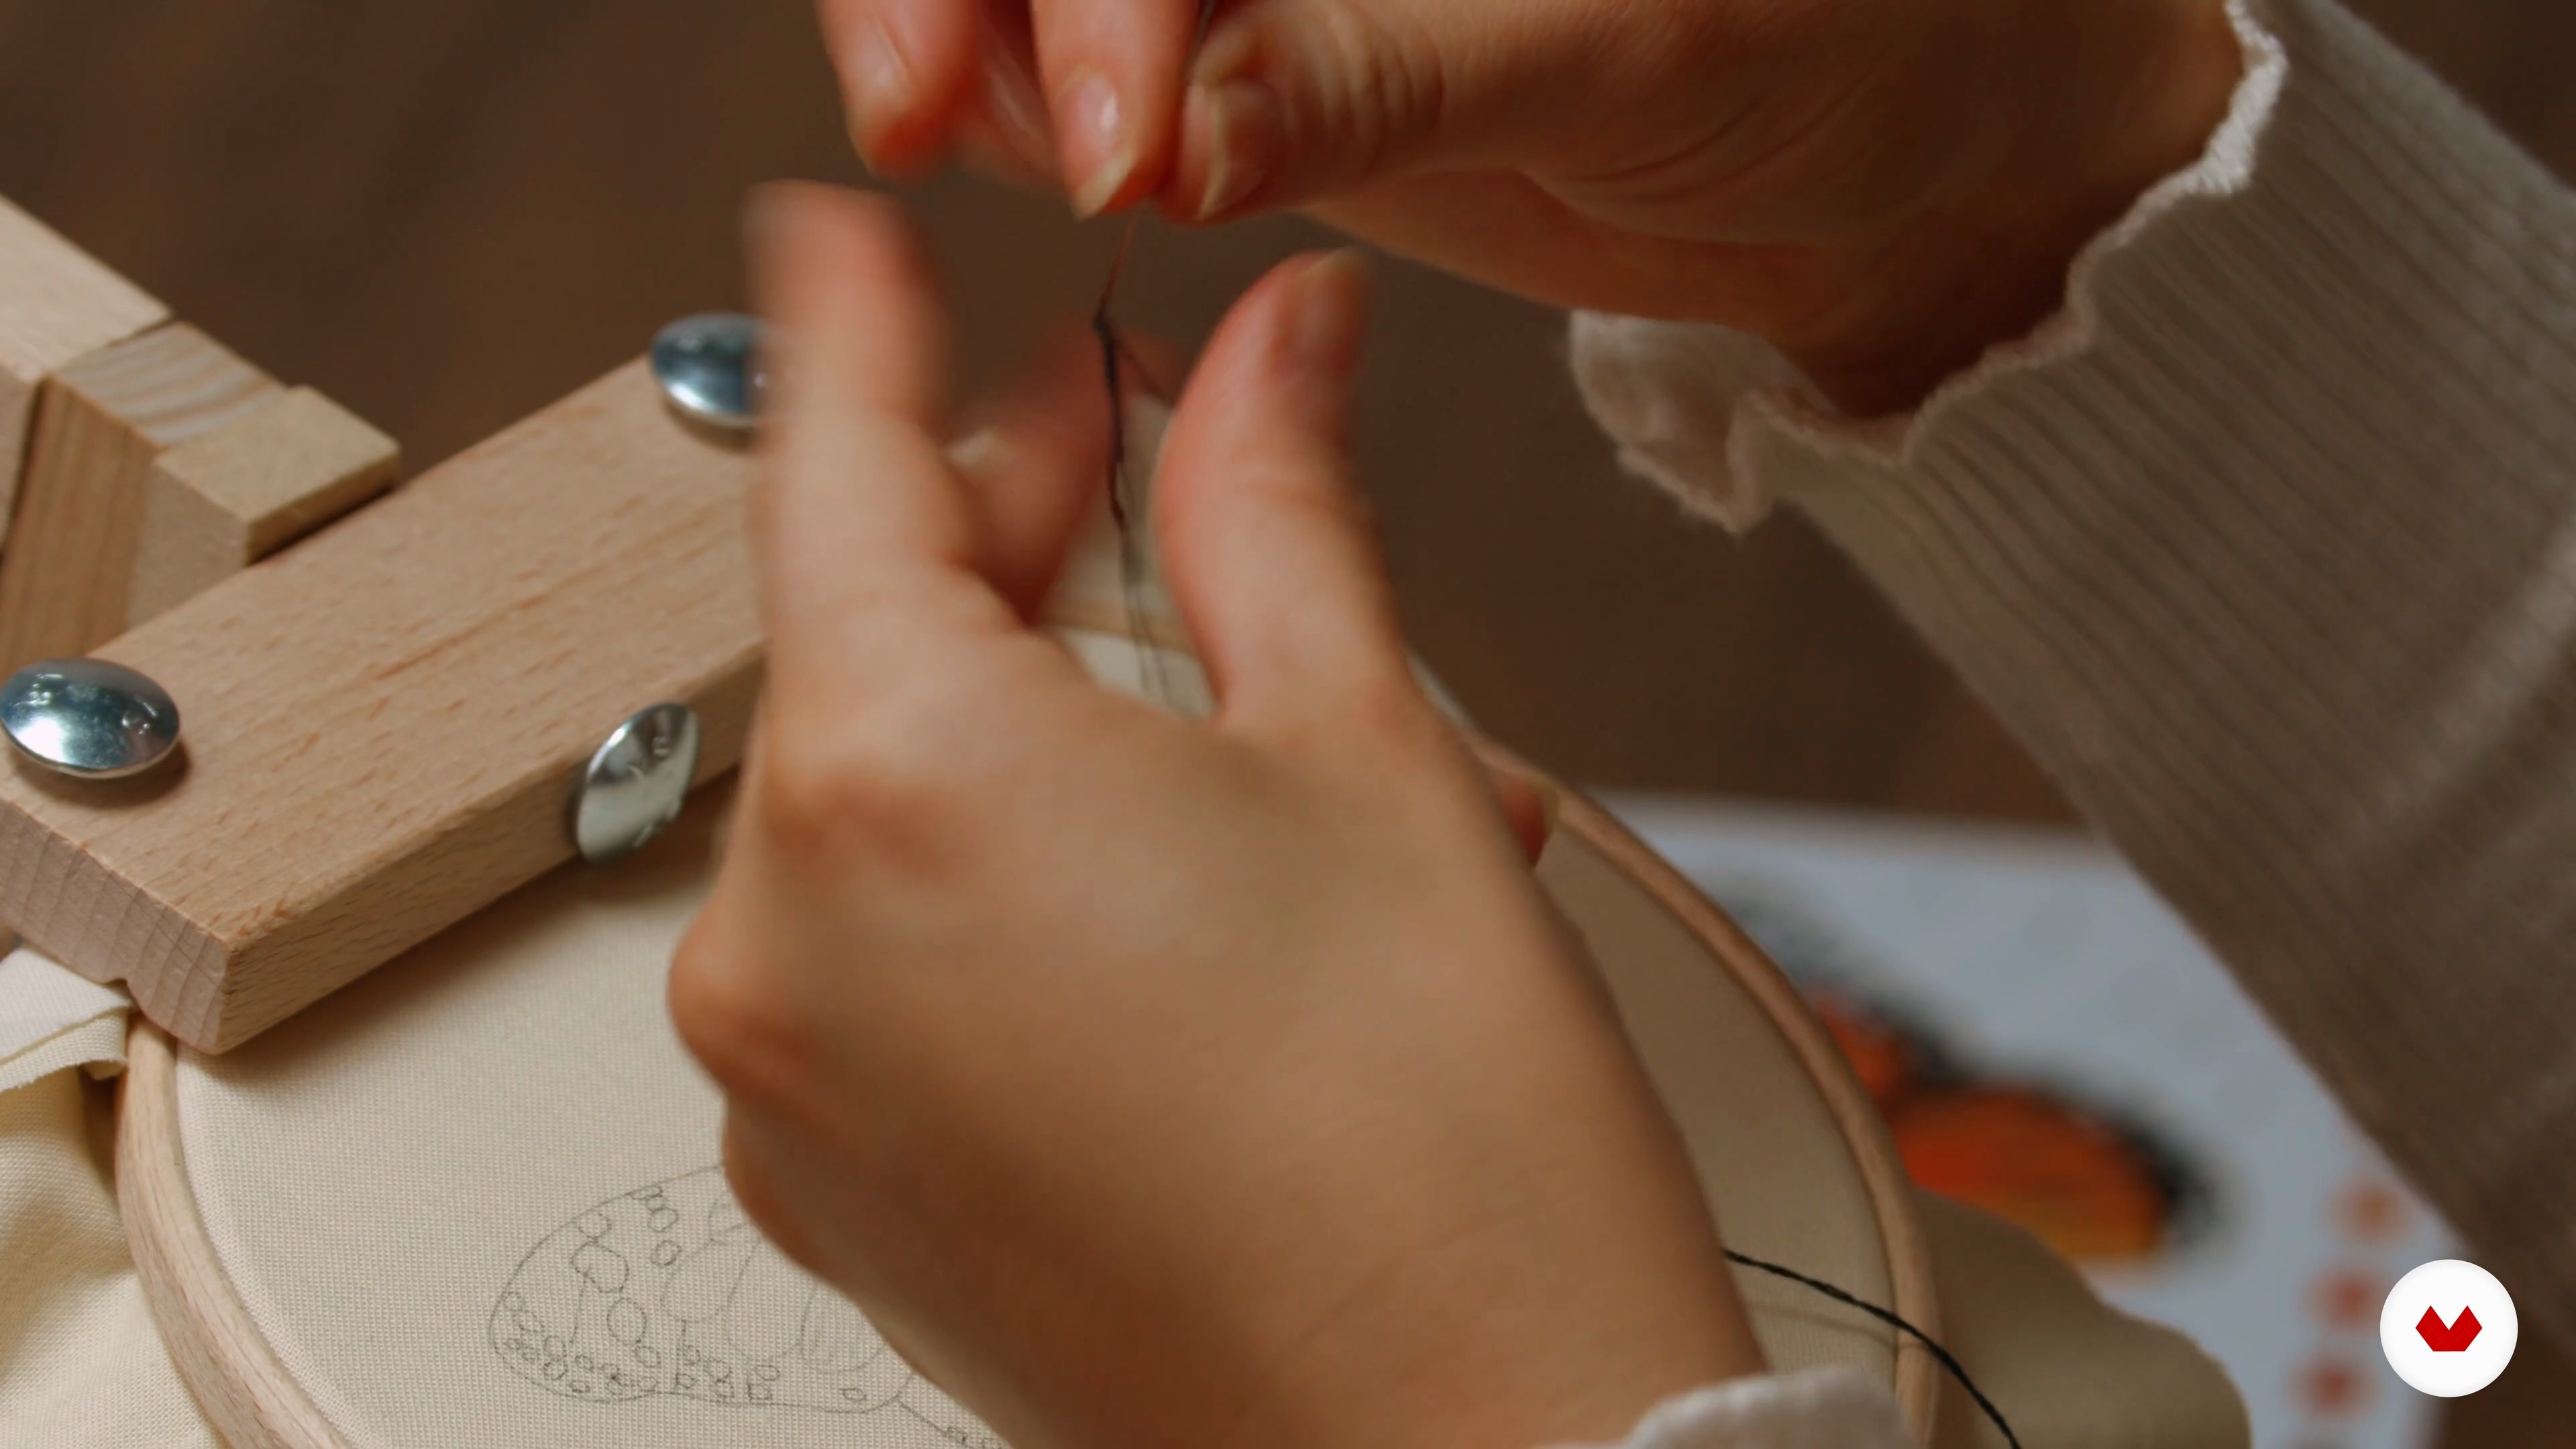
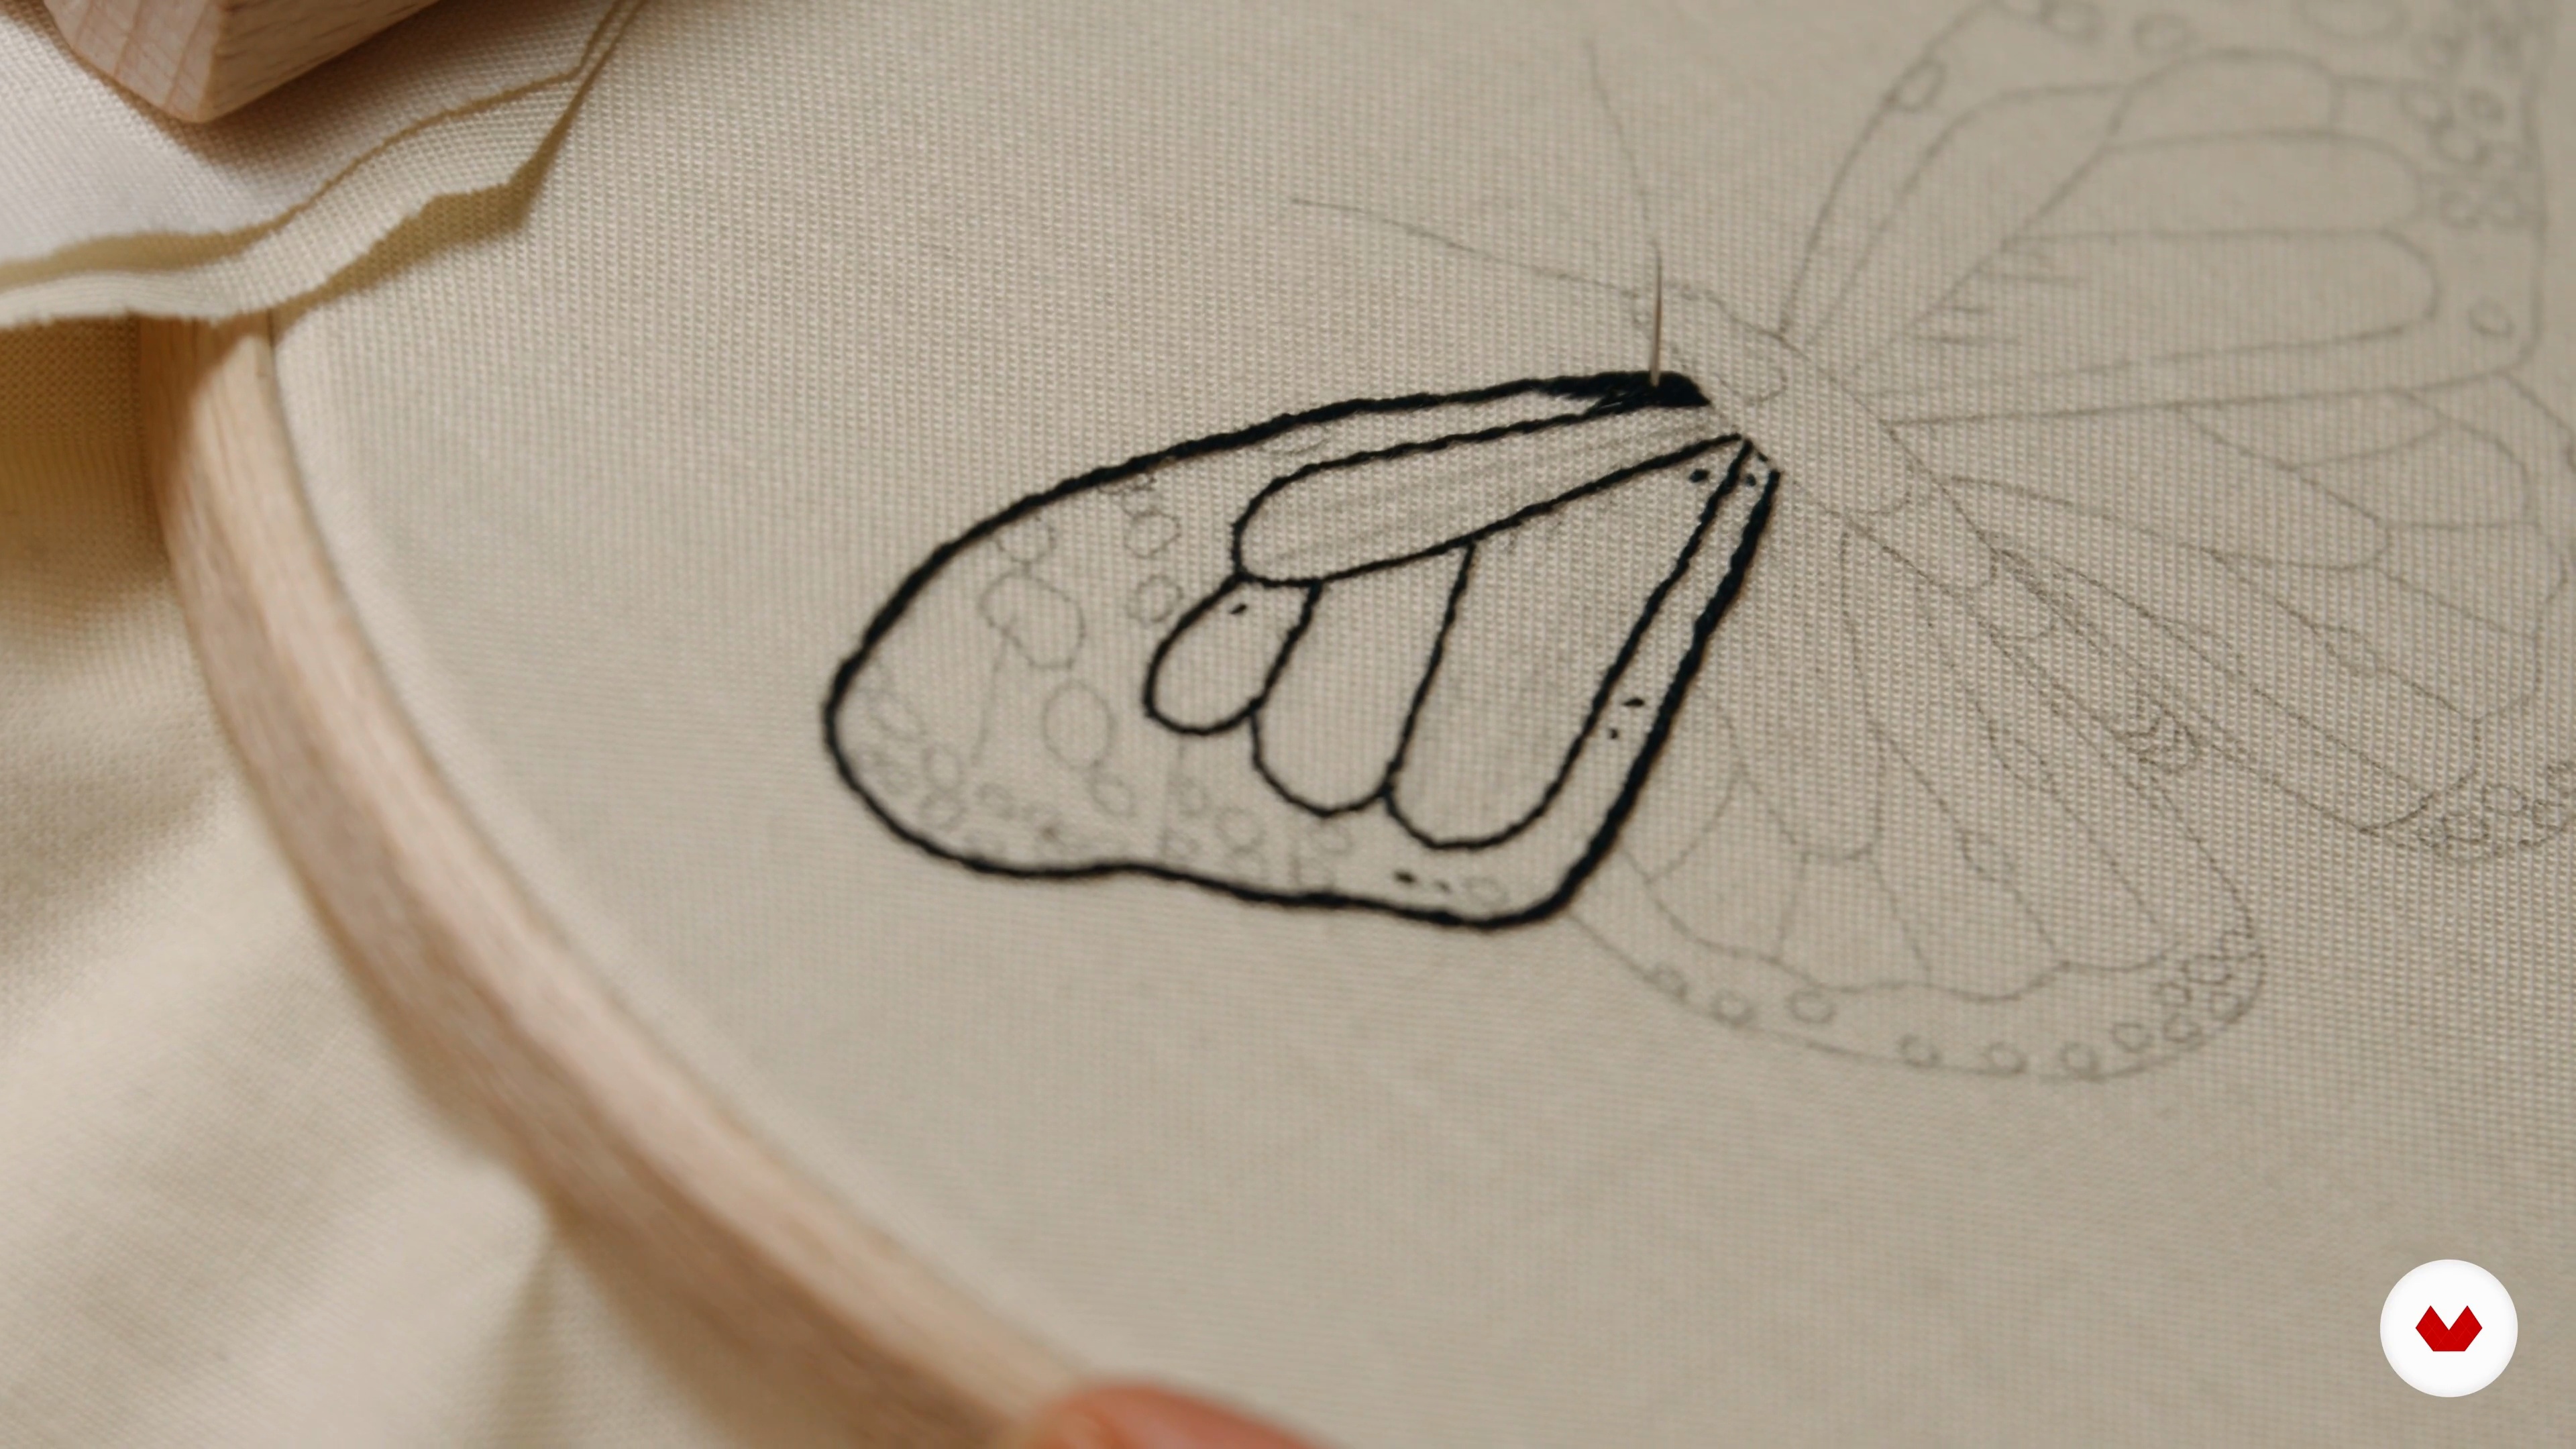
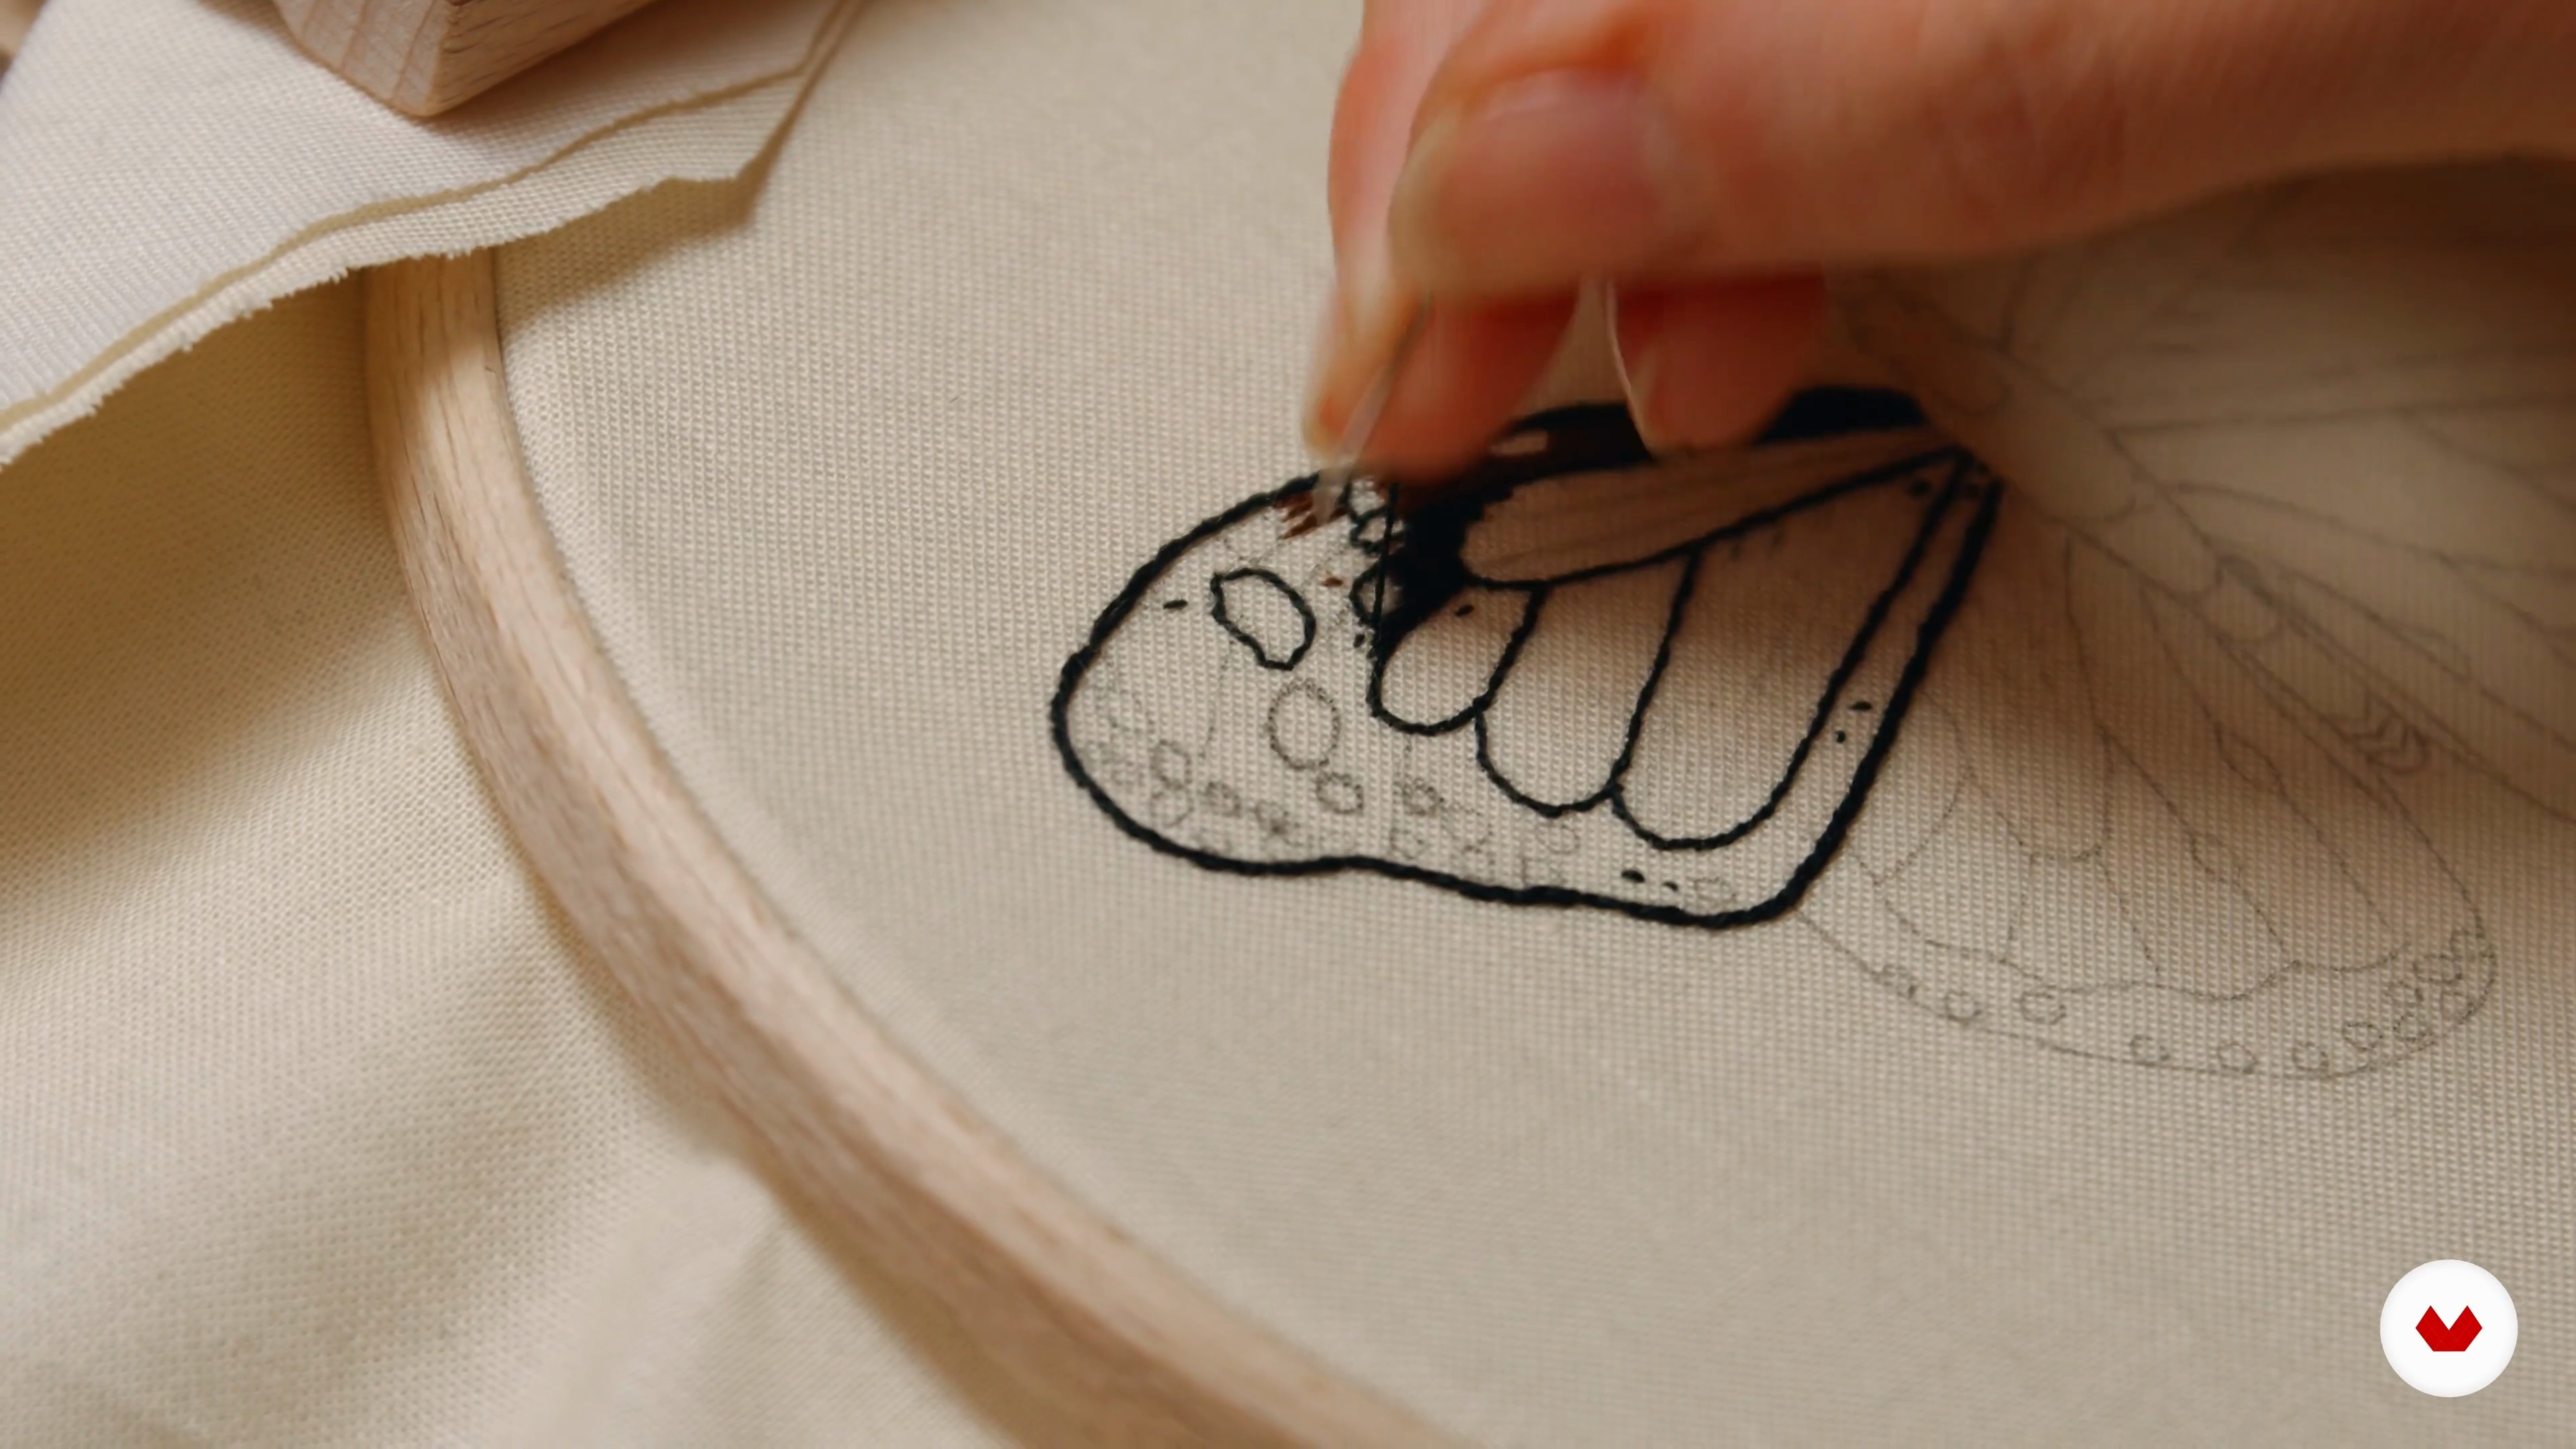
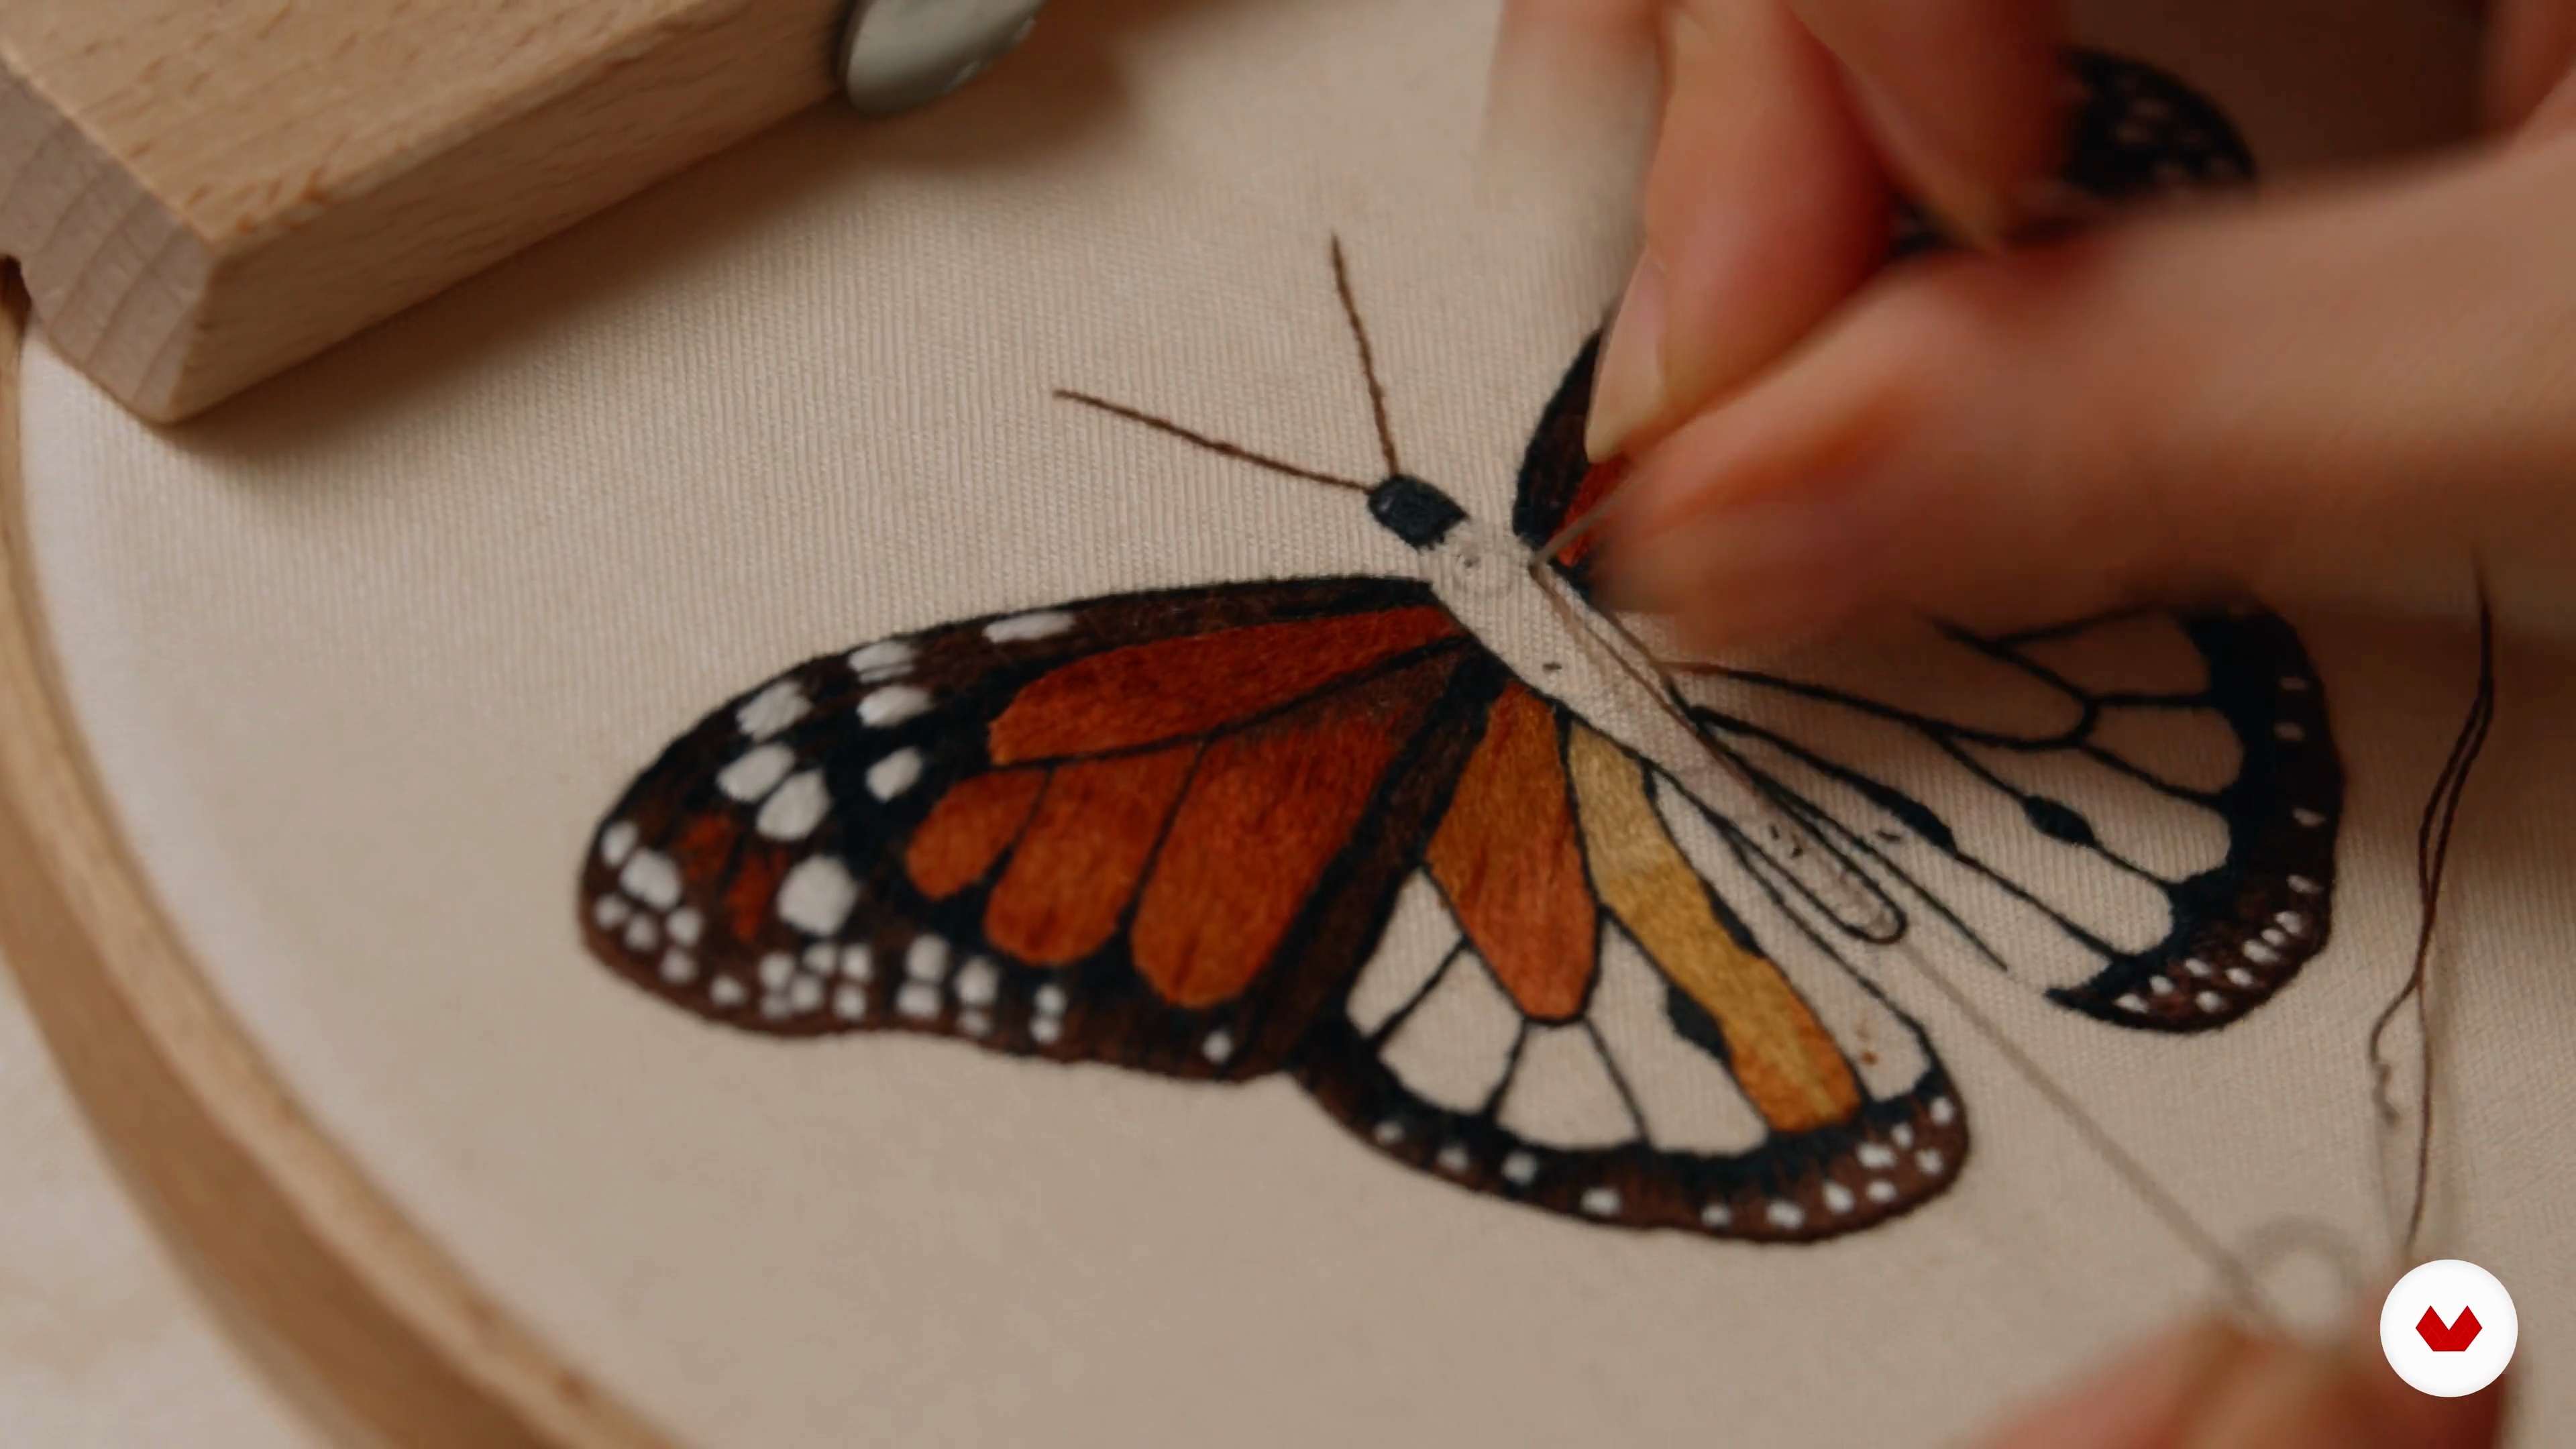
The talented Emillie Ferris starts our monarch butterfly project today! You'll carefully transfer the pattern and outline those gorgeous wings using split stitch with two strands of black thread for a neat, raised effect. Plus, you'll learn all the tricks for smooth stitching and keeping your workspace tidy as you create this beautiful butterfly.
12m
image
4
Our First Stitches 2
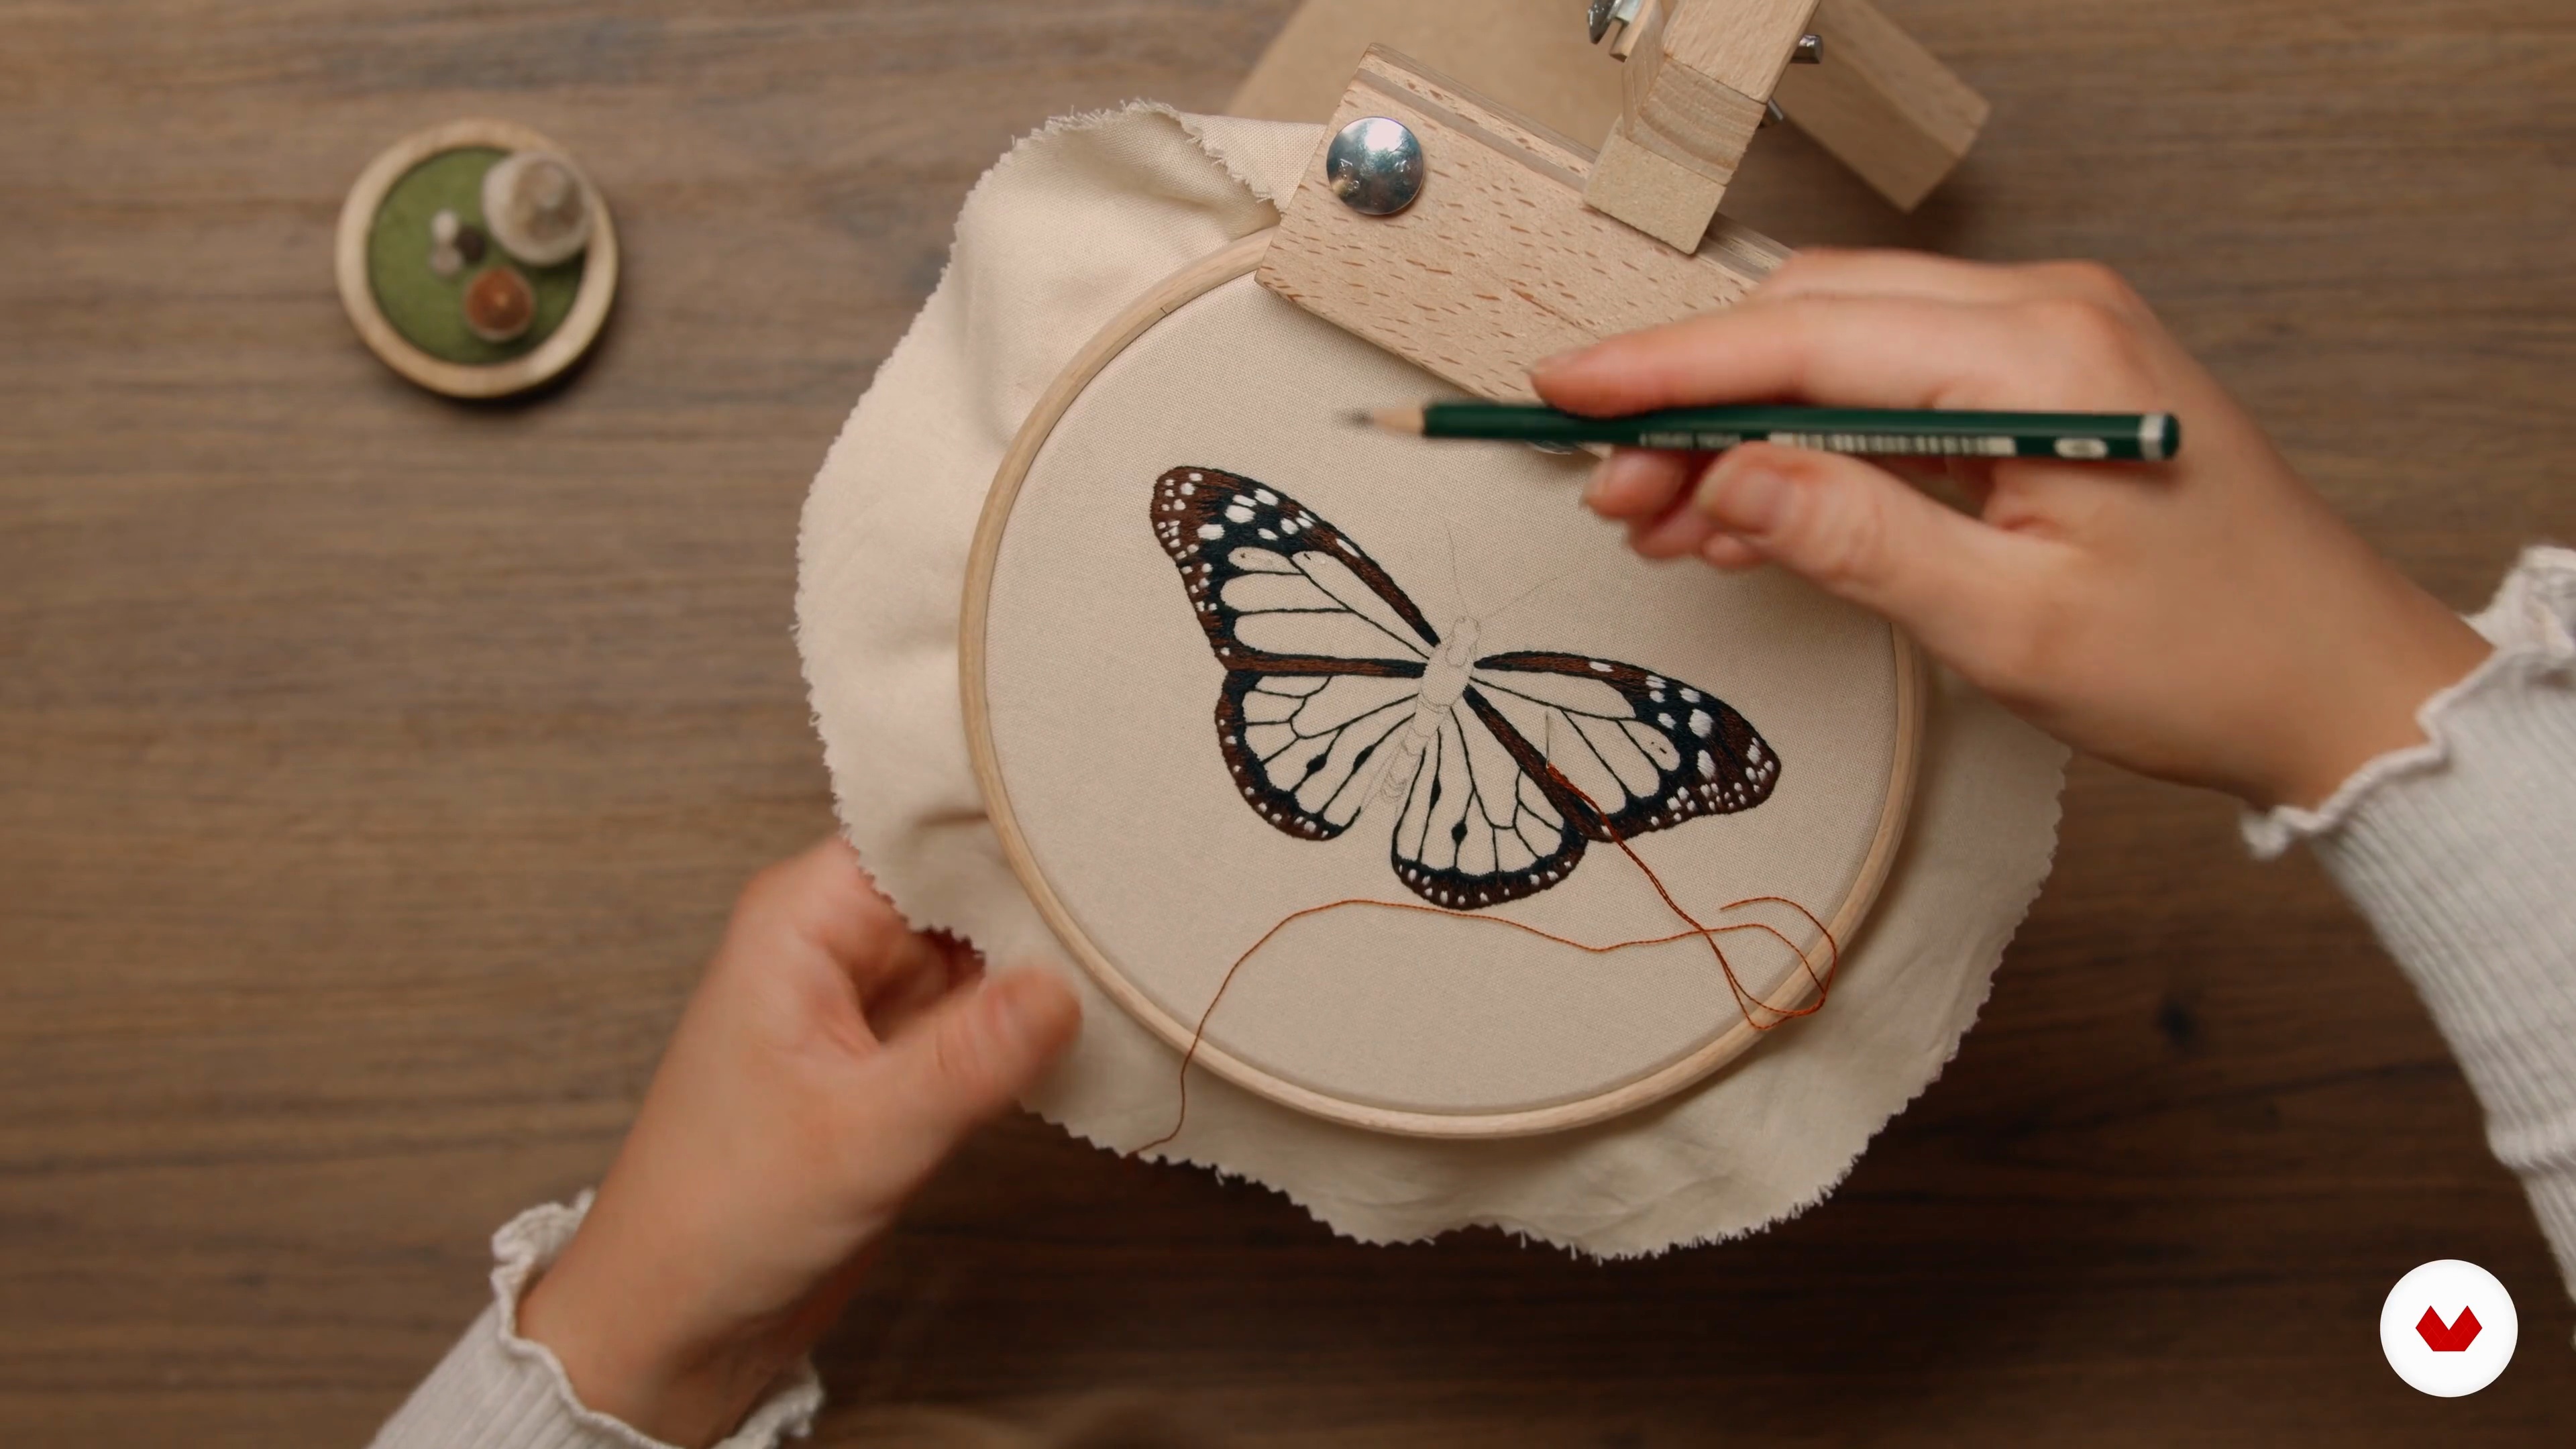
Following the pattern transfer, our talented Emillie Ferris moves into detailed wing work. She uses a single thread of 310 for inner segments as a base, then compares split and back stitch methods—she prefers the back stitch for curved lines! Moving into long and short stitches, she demonstrates color blending techniques and shares a key tip: work symmetrical pieces evenly to prevent fabric warping.
14m
image
5
Our First Stitches 3
Moving forward with the detailed work, gentle Emillie Ferris reveals a crucial technique: outlining all those tiny circles with split stitches using 310 thread before they disappear under your work. After marking them clearly, she shows her special color blending magic - adding random black stitches into brown areas to create a natural transition between colors. Remember, there's no strict rule here - trust your artistic eye to guide you! ✨
8m
image
6
The Forewings
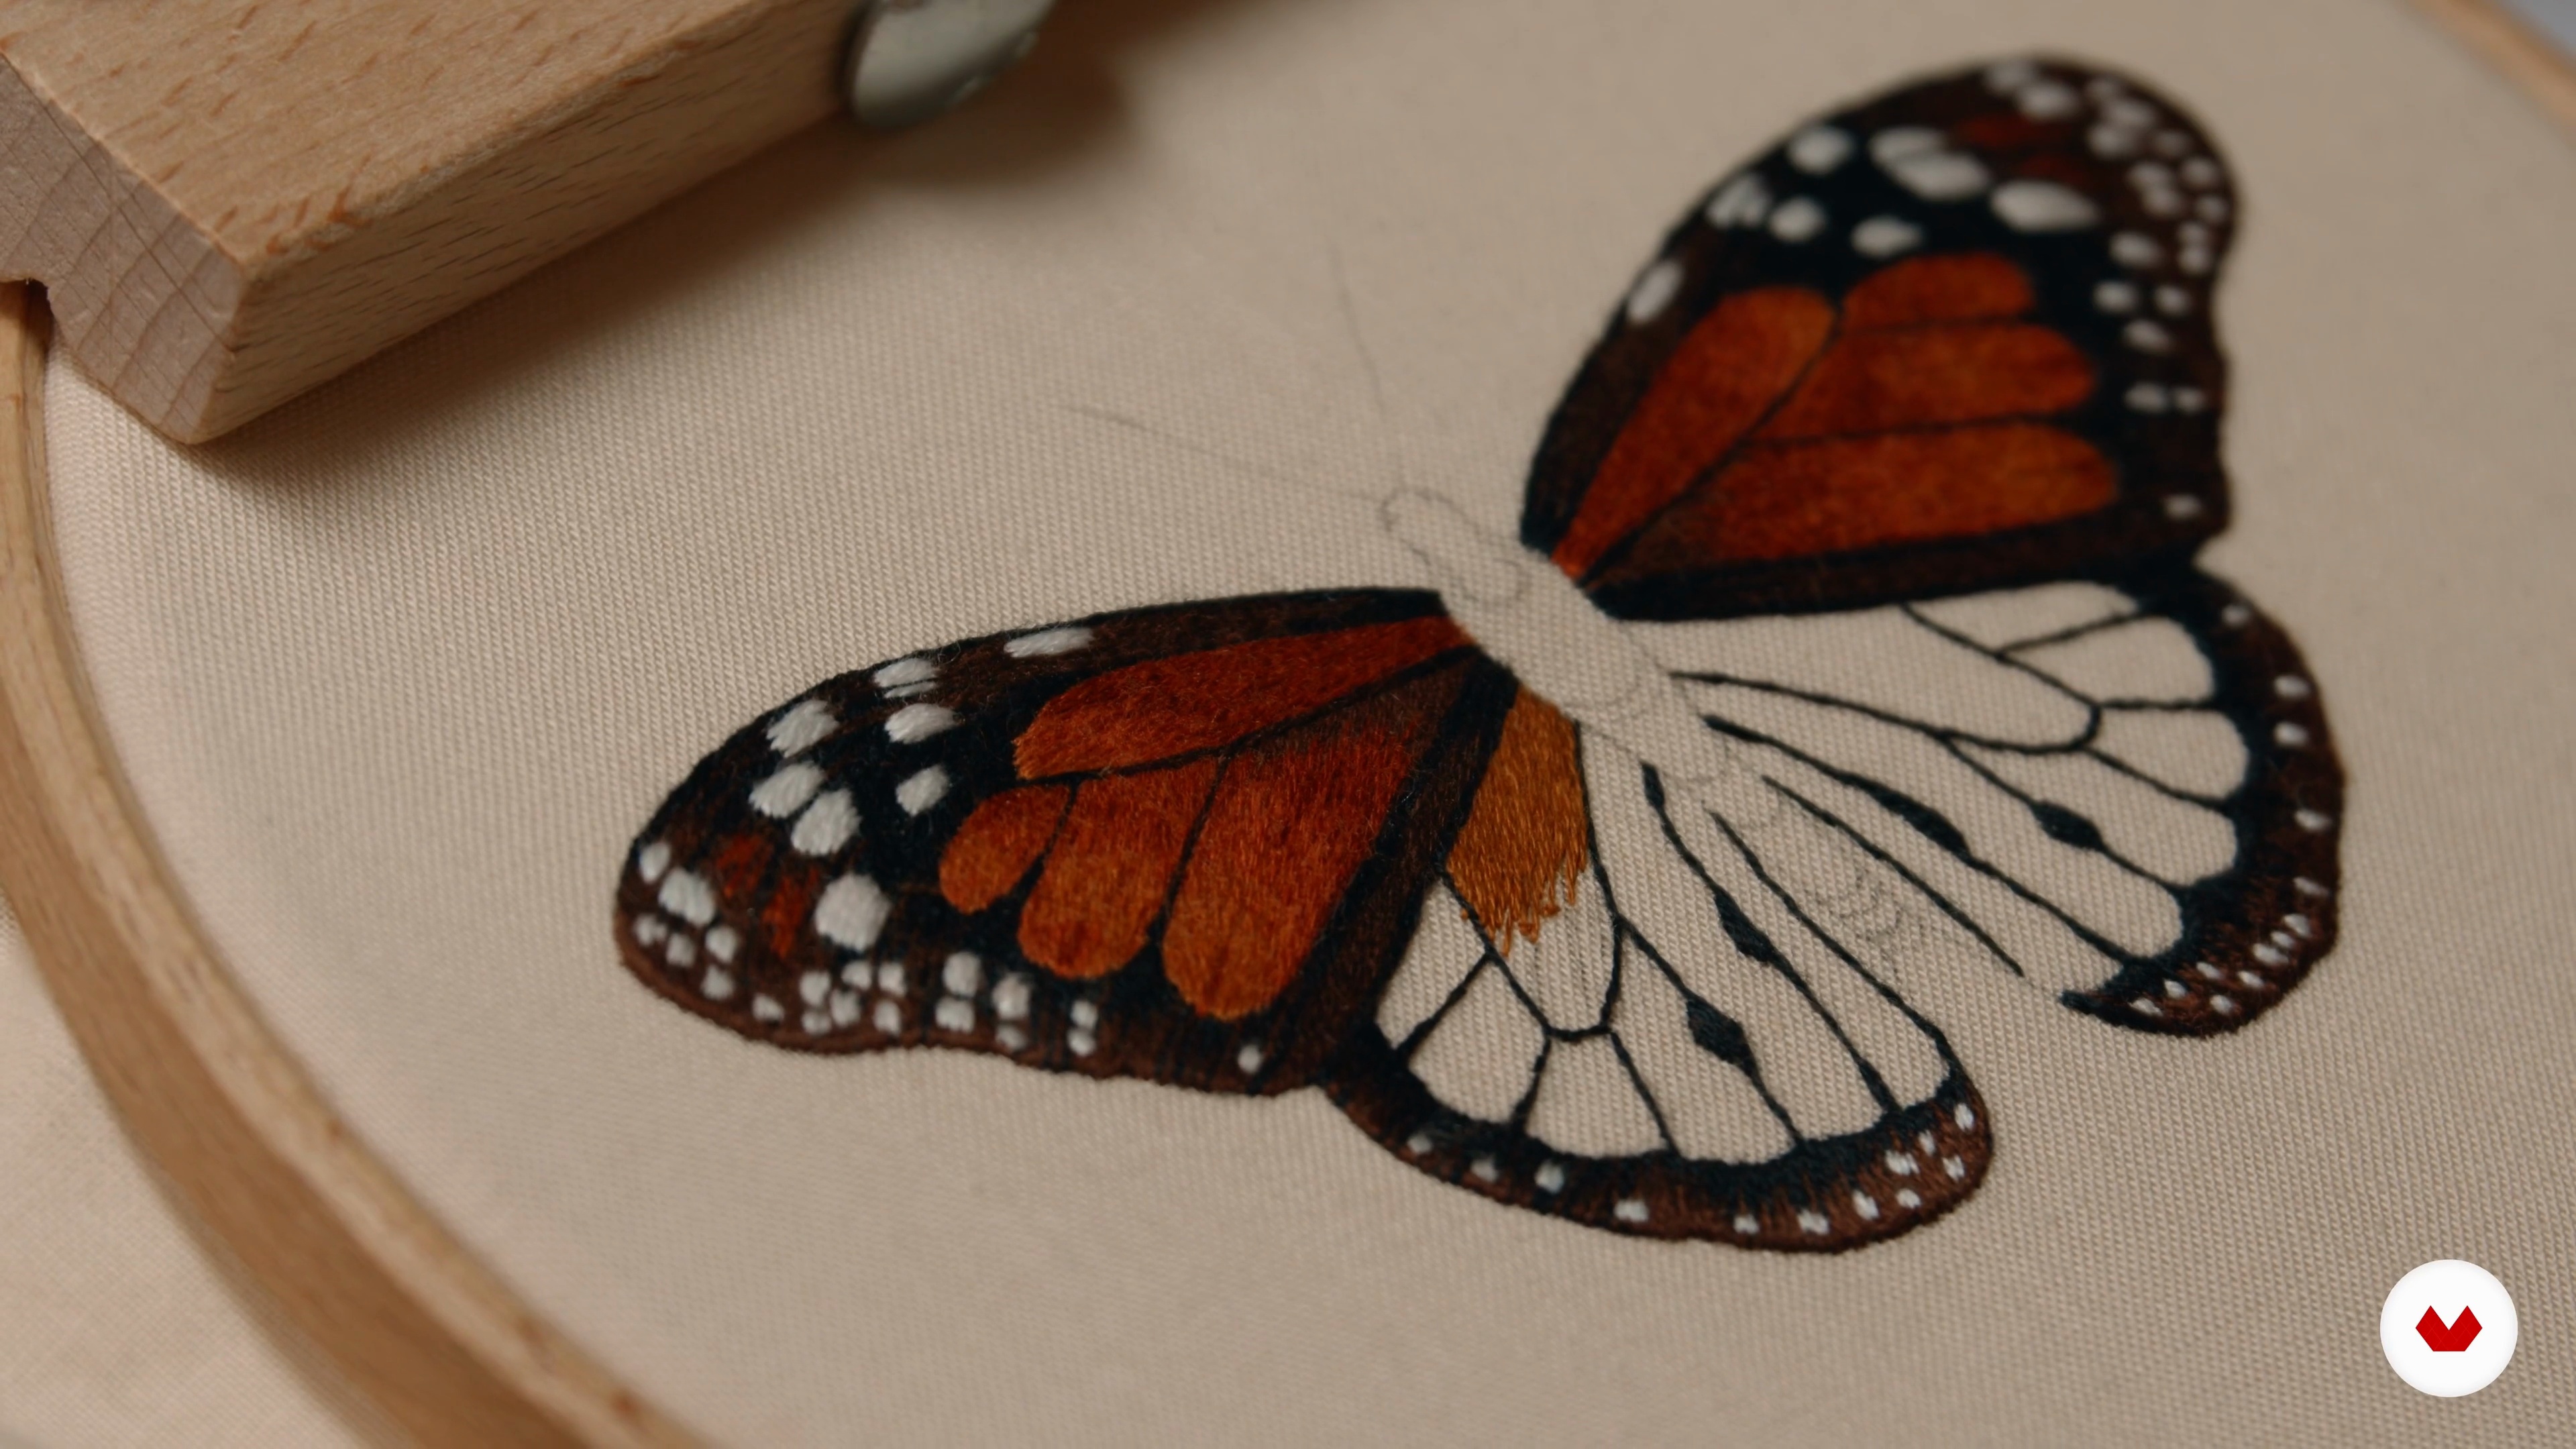
Working from inside out, our creative Emillie Ferris shares her secrets for those final wing details. She uses double thread to handle tricky edges and white dots, then guides us through creating beautiful orange gradients. Her top tip: blend similar shades carefully and "comb" your stitches for that perfect painted look! 🦋
18m
image
7
The Hindwings and the Body 1
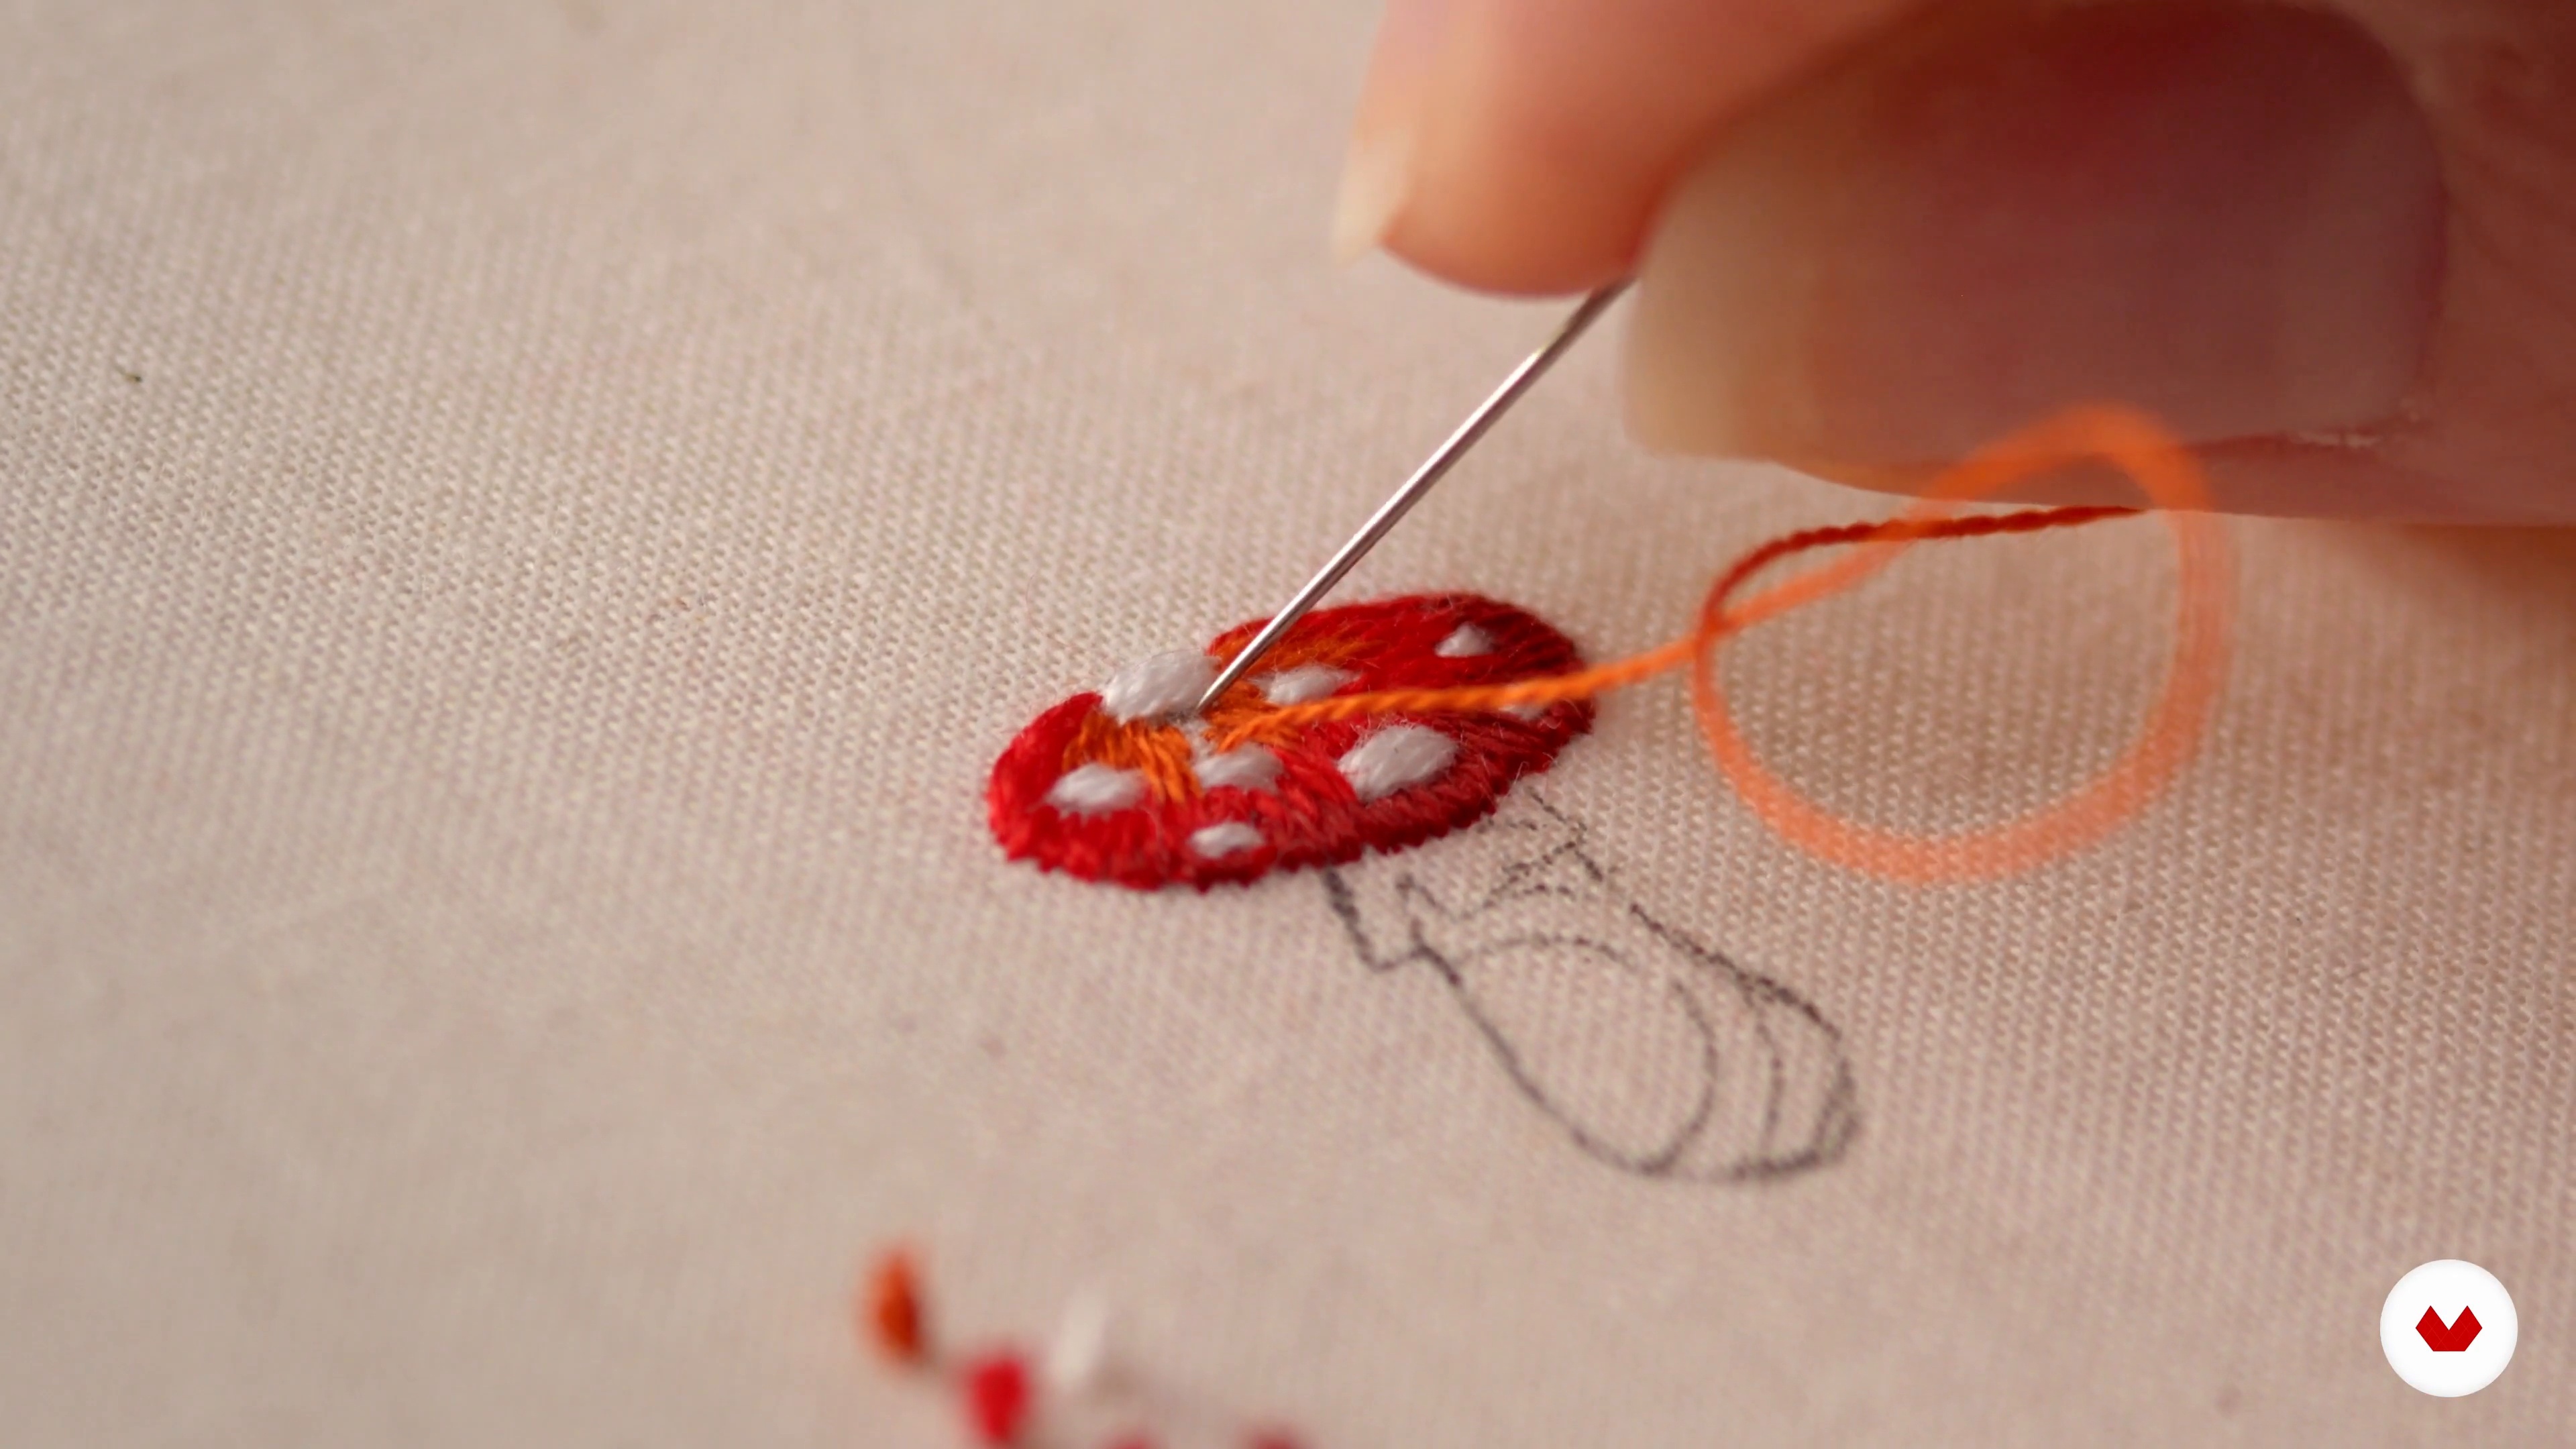
Moving to the lower wings, Emillie Ferris reveals how light and shadow create butterfly magic! She adds extra layers of stitches to create beautiful gradients that mimic sunlight, then shows how to tackle those tricky middle segments with different stitch lengths. Her artistic touch? Adding subtle highlights with lighter thread for that extra sparkle!
11m
image
8
The Hindwings and the Body 2
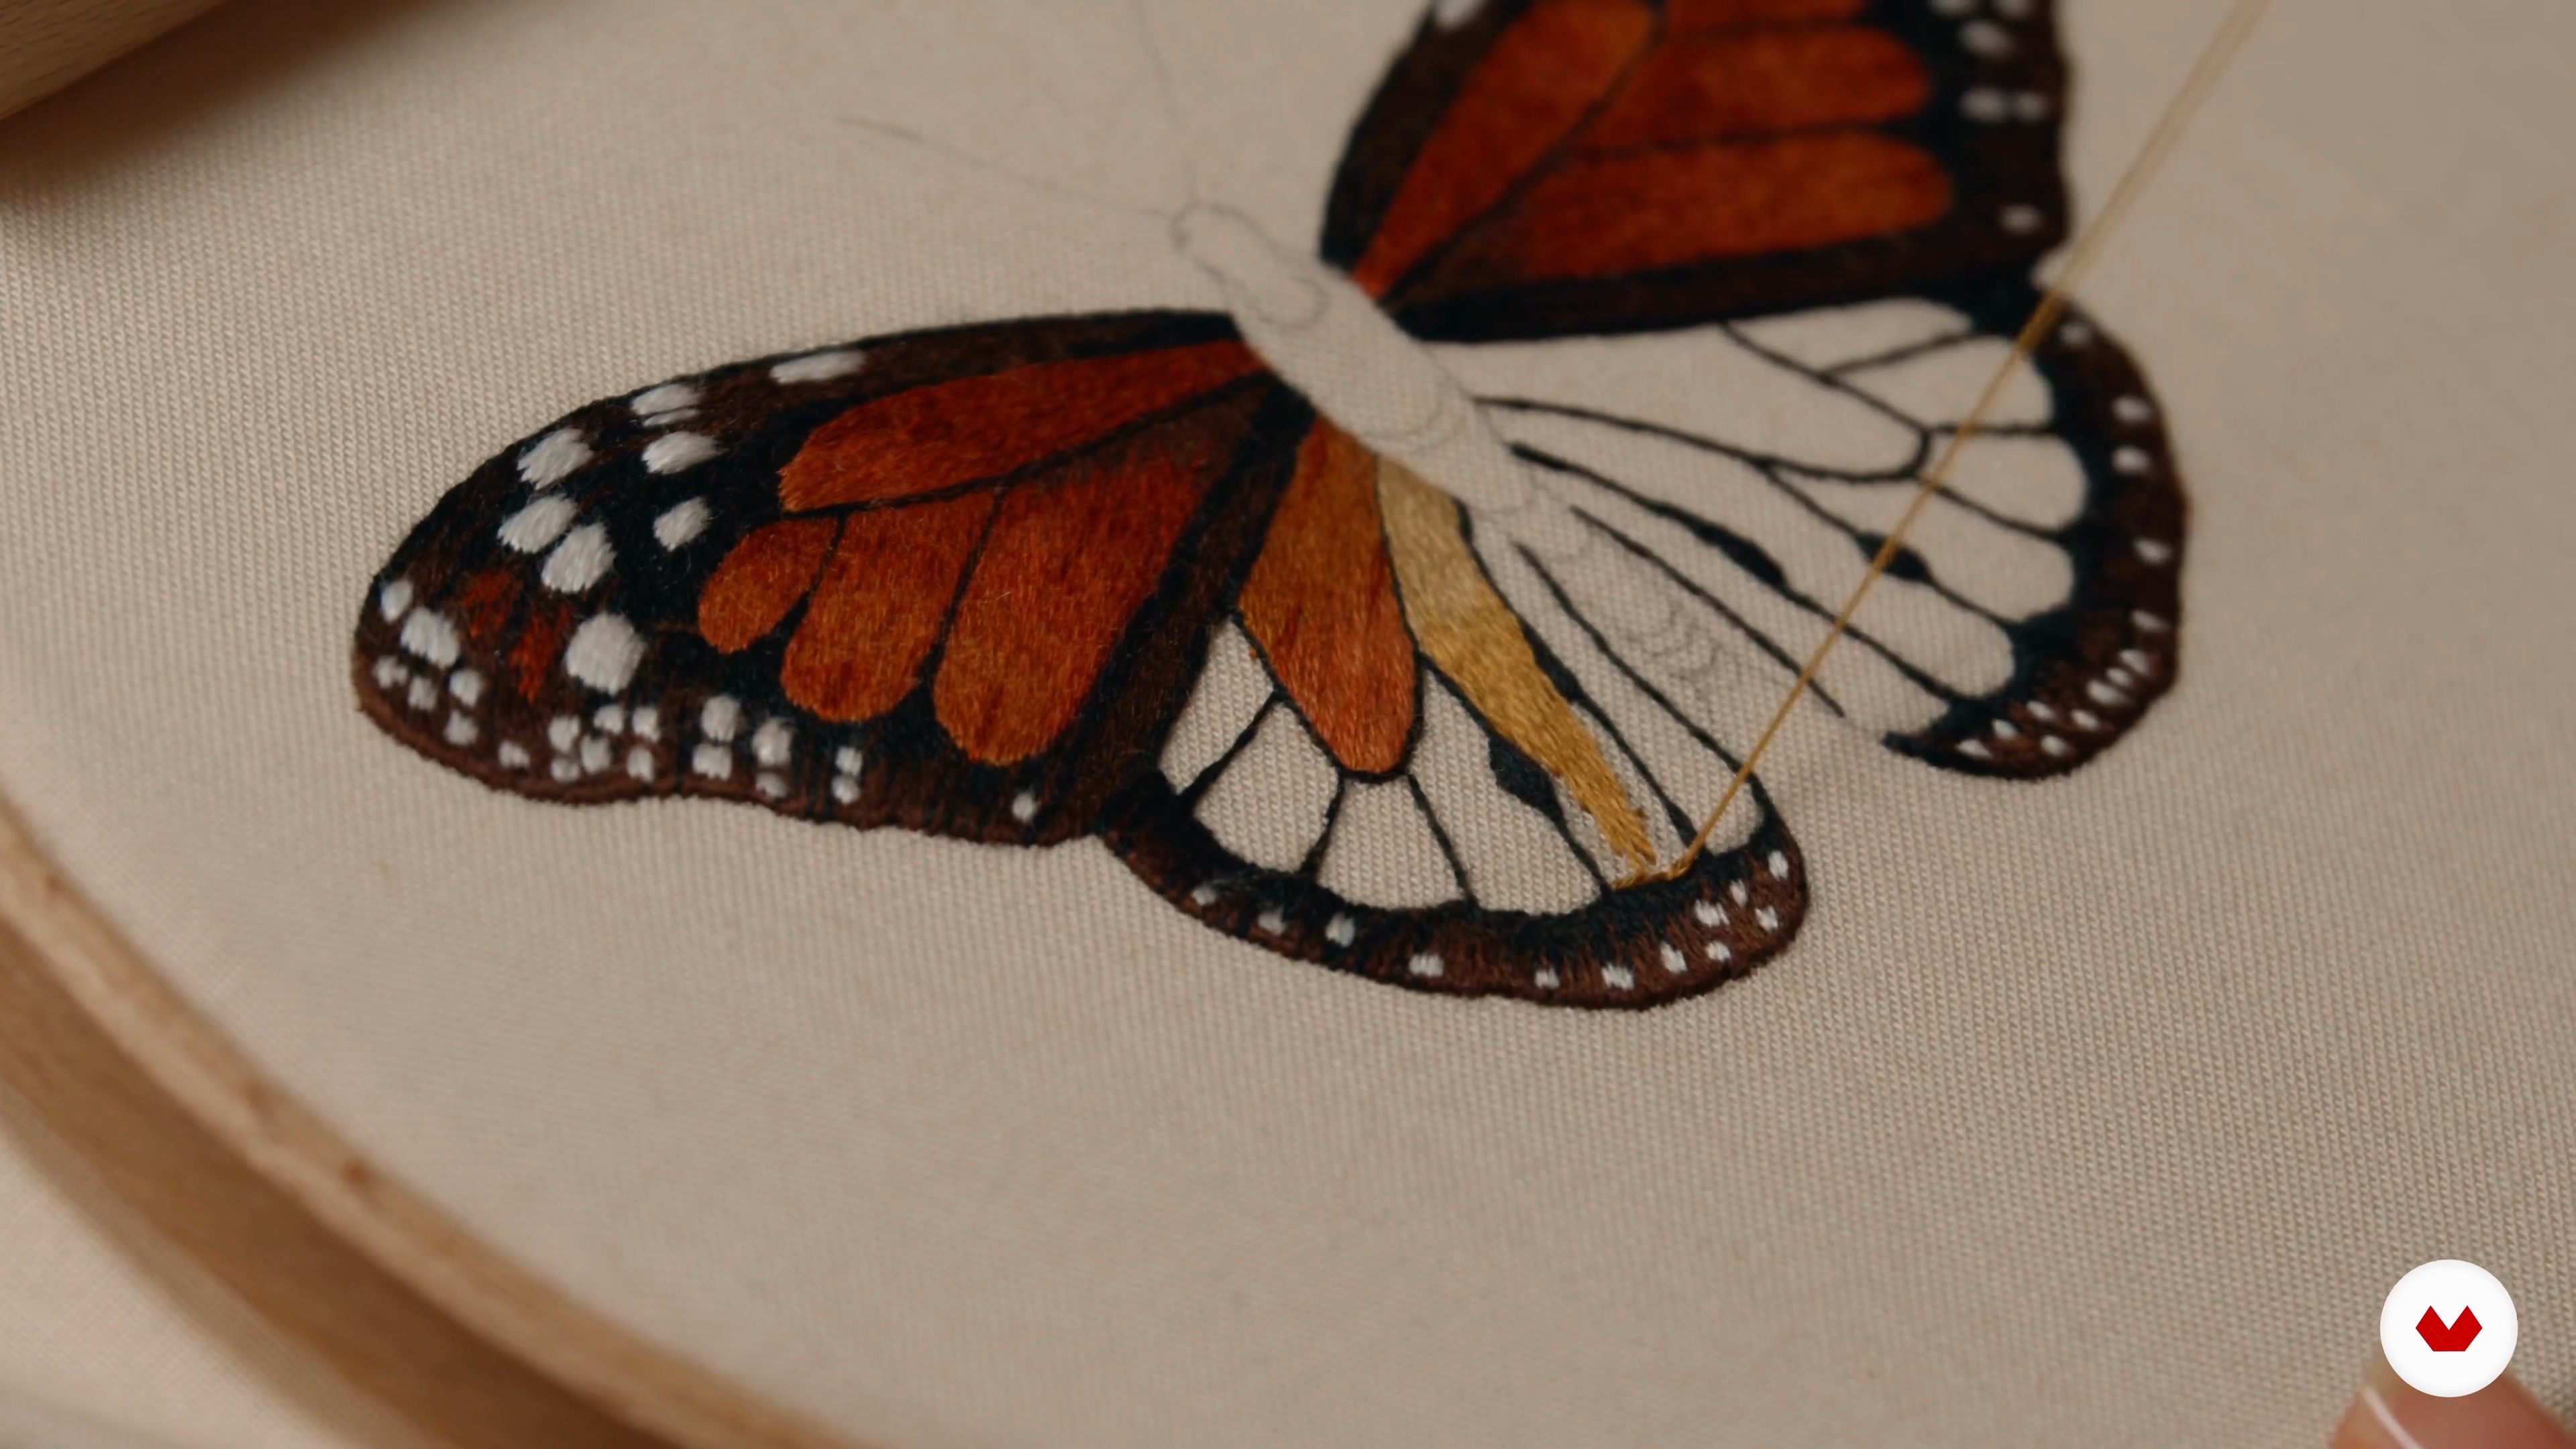
TOBOR guides us through the yellow wing sections, showing how to use tiny stitches around curves for smooth results and create contrast with darker shading near the butterfly's body. A key technique is going over the wing veins twice with black thread for depth and realism, making embroidery look like a painting!
13m
image
9
The Hindwings and the Body 3
After the wings, Emillie Ferris guides us through the butterfly's body. She uses tiny split stitches for the head and antennae, carefully anchoring them for durability, then creates realistic eyes with unique horizontal stitching. Her blend of brown and black threads adds texture, while horizontal stitches on the lower body perfectly capture a butterfly's natural shape!
20m
image
1
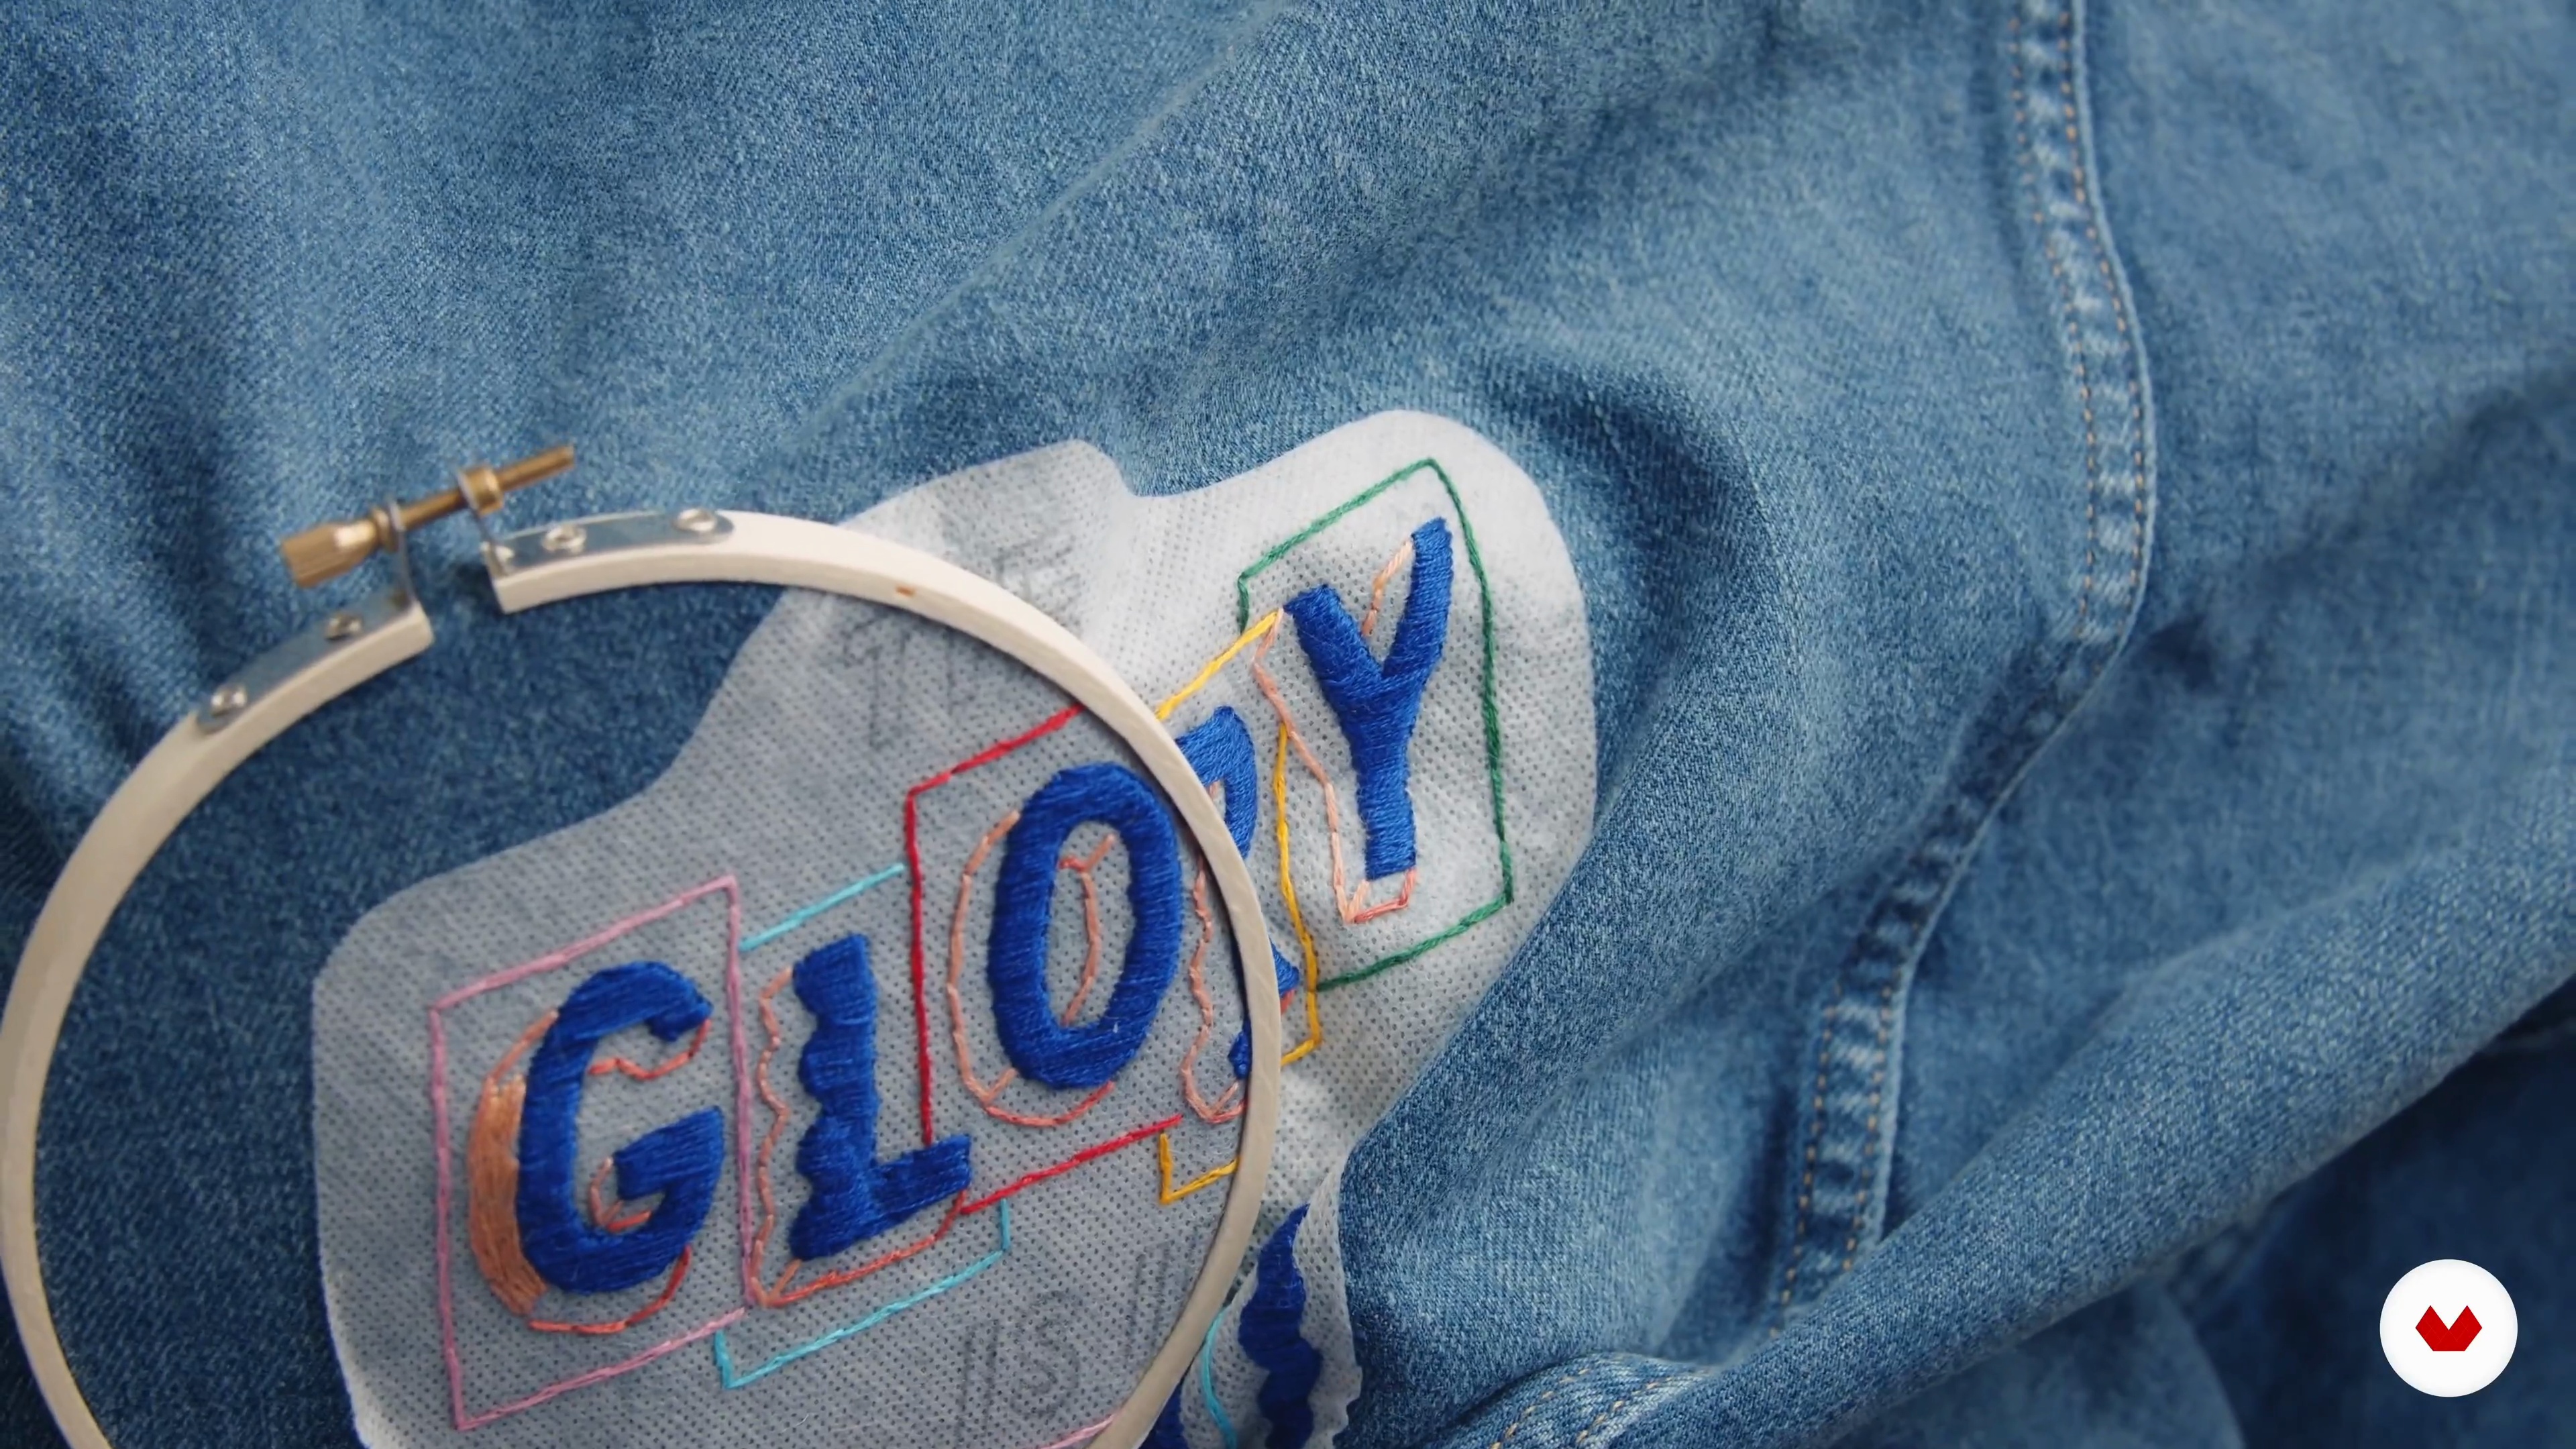
Cursive Letters
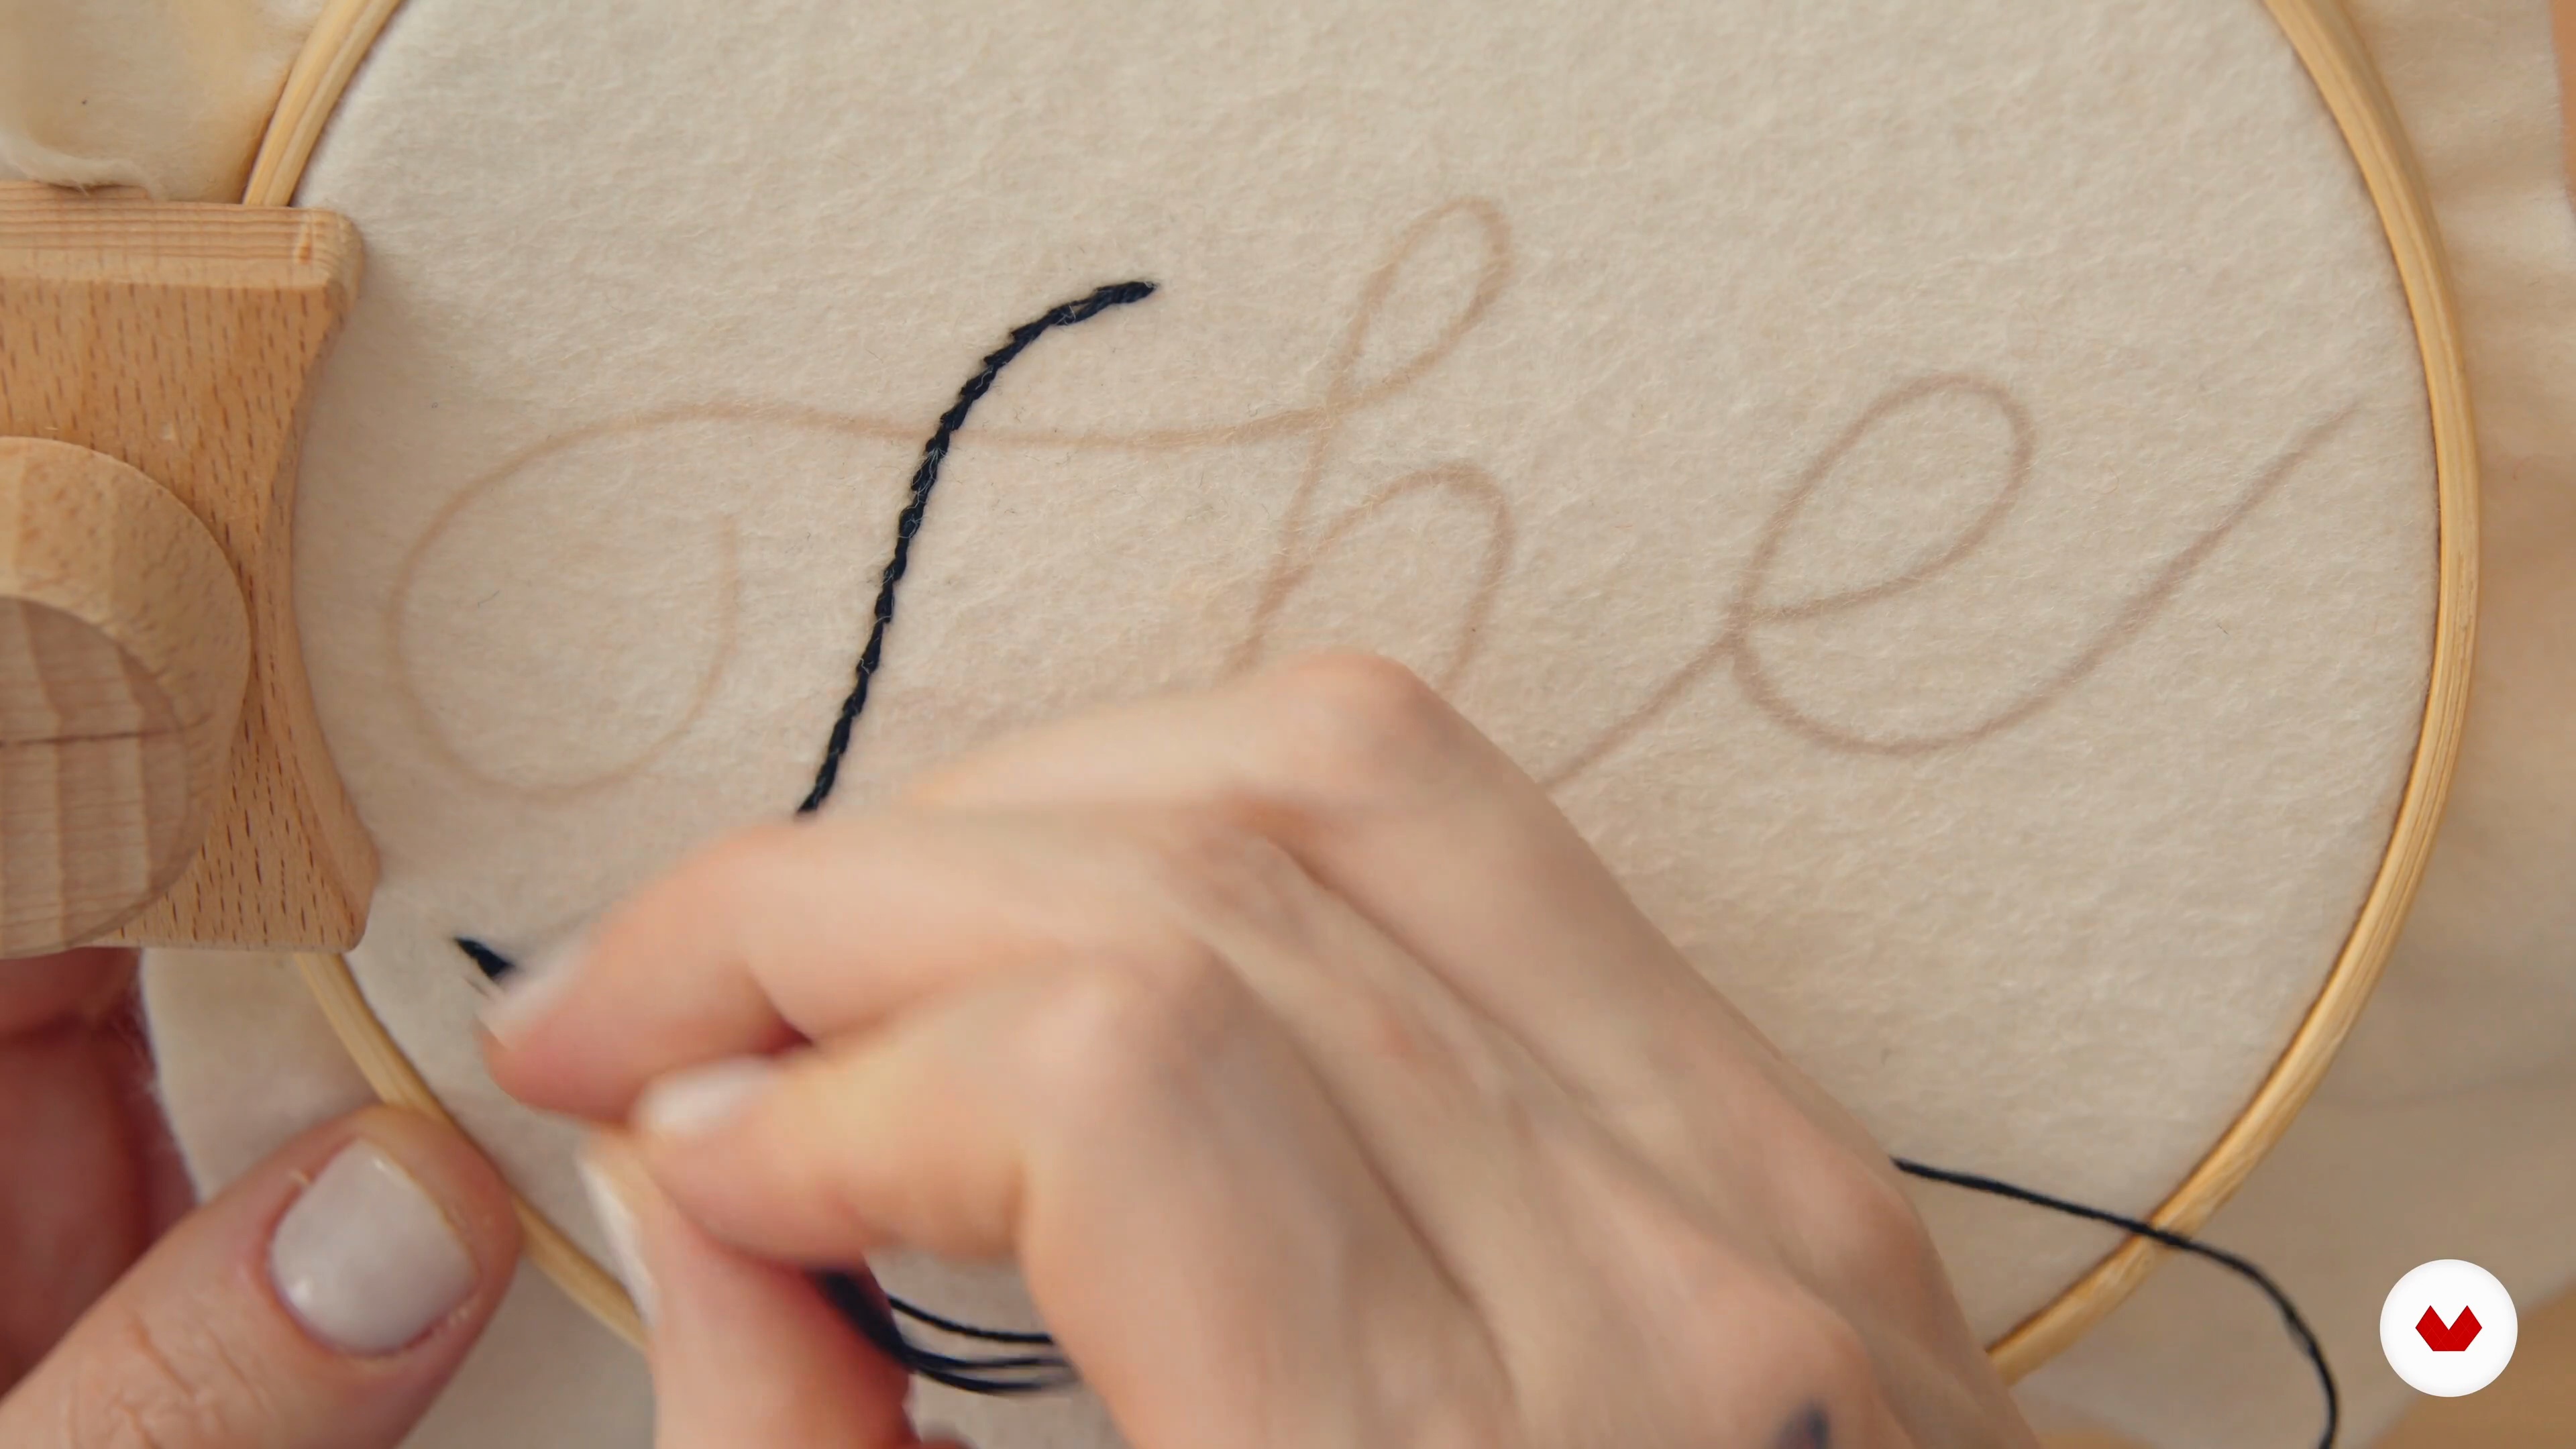
Sharing tips for embroidering on felt, Cristin Morgan starts with a clever paper backing trick to prevent sagging. Moving to the lettering work, she demonstrates a bold technique: starting with four-strand split stitching, following natural writing flow, then building thickness by adding parallel lines. This creates dramatic, overlapping letters that are perfect for patch-making! 🪡
9m
image
2
Block Letters
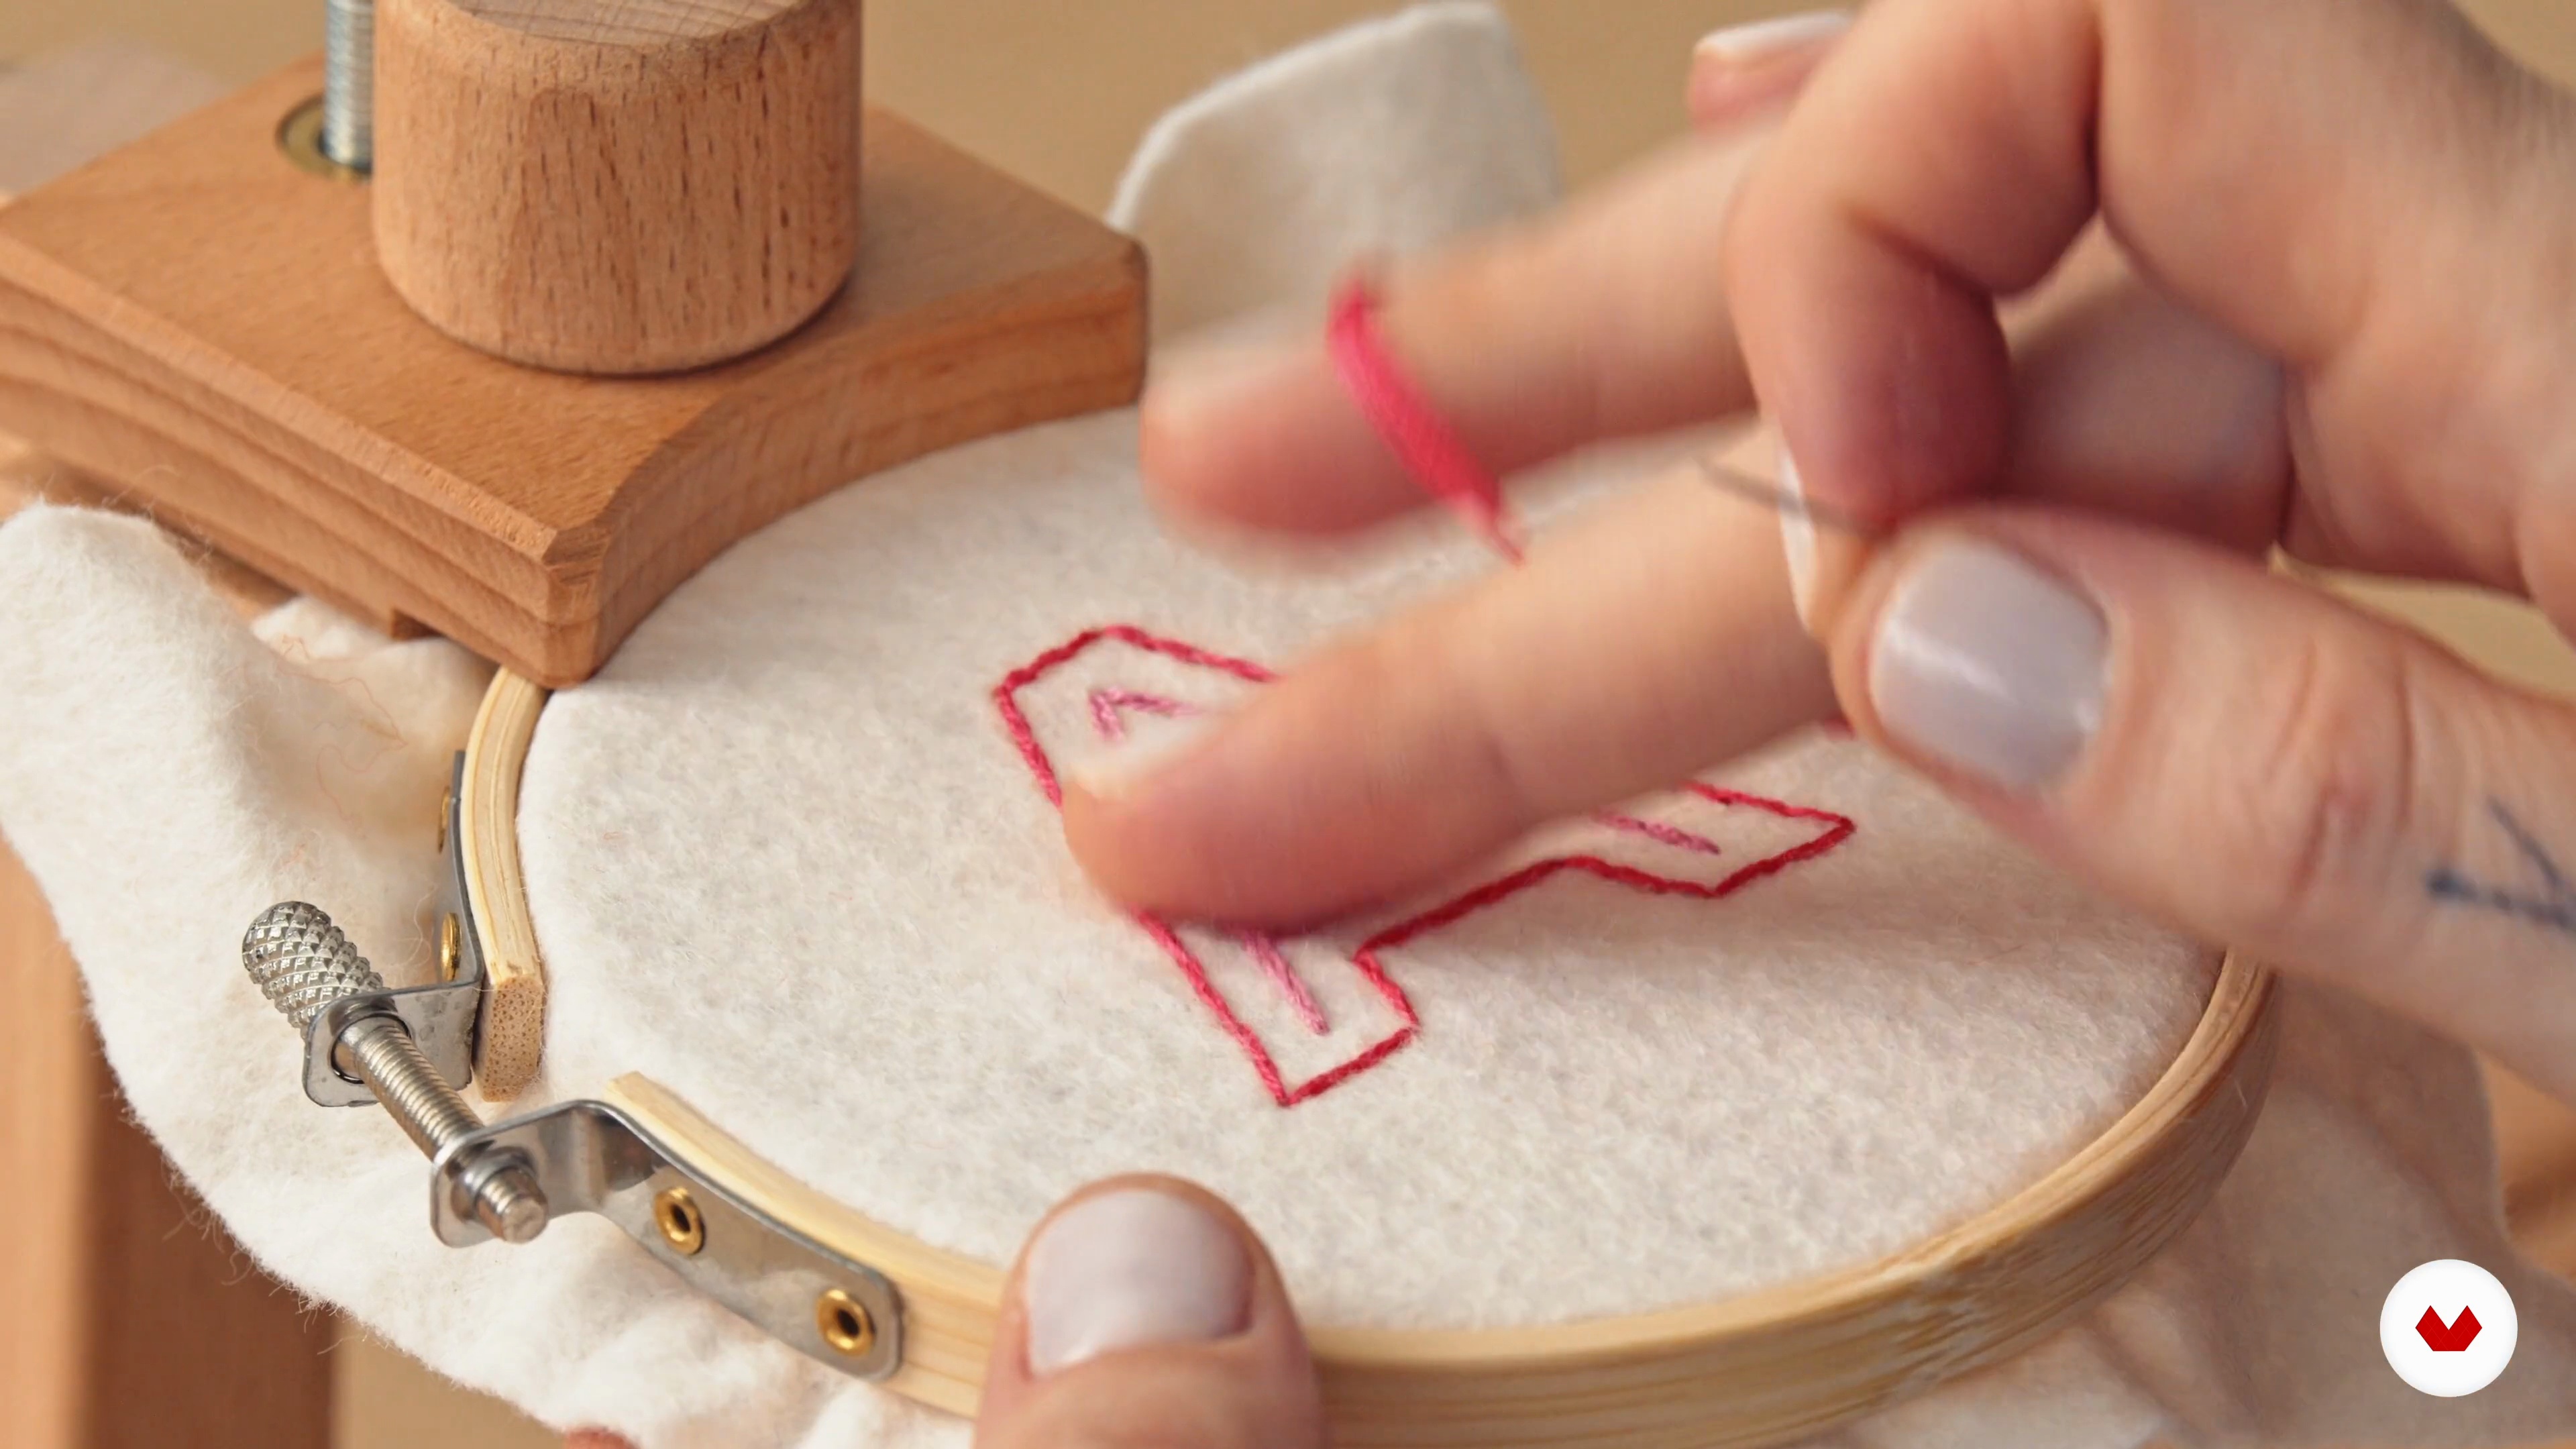
Following the first letters, Cristin Morgan breaks down the art of creating a perfect 'A'. She begins with a sharp three-strand outline, then fills with four-strand split stitching from outside inward, crafting beautiful beveled corners. Each precise stitch builds up to create a solid, textured letter that's both durable and eye-catching - perfect for patch-making! 🪡
12m
image
3
Add Dimensions And Details
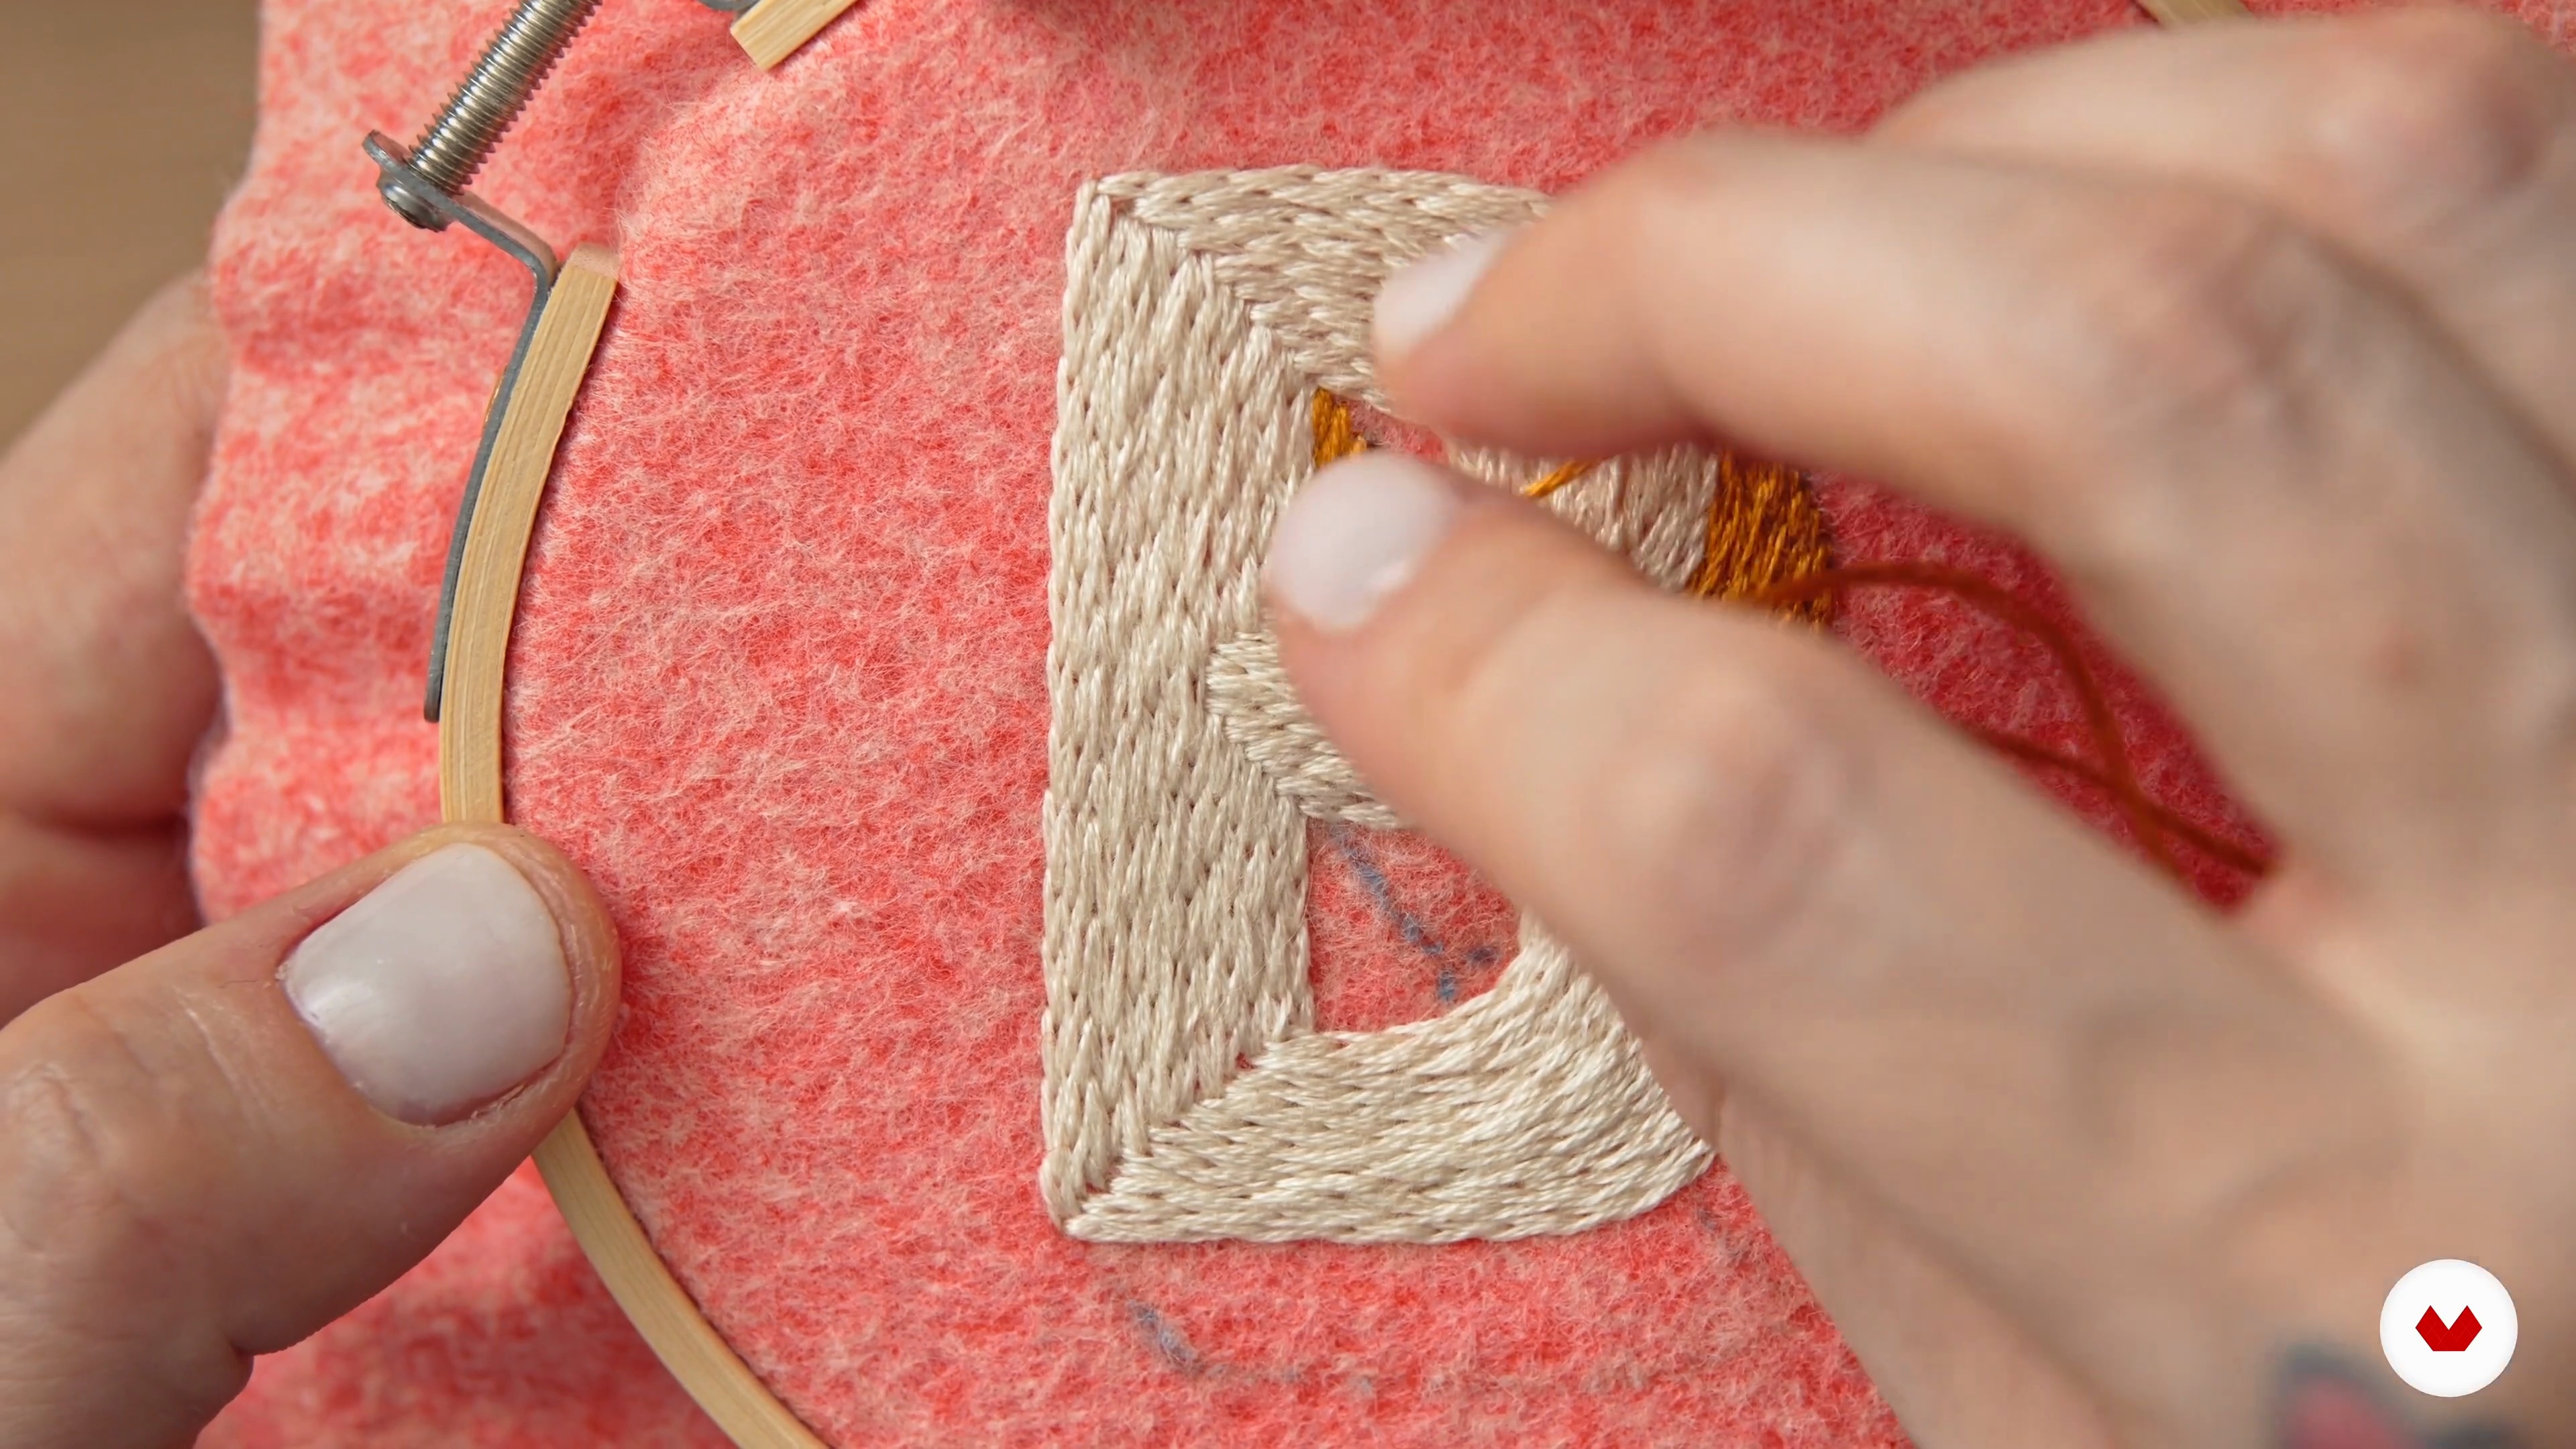
Moving to 3D effects, Cristin Morgan demonstrates how to transform a basic letter into one with depth. After filling the base 'B' with six-strand split stitching, she reveals her dimensional magic: using different stitch directions and contrasting colors to create visual planes. Vertical shadows get parallel lines, while horizontal ones feature bold coral thread - creating that perfect pop-up letter effect! 🪡
17m
image
4
Embroidering the Pattern
Join Ciara as he demonstrates advanced embroidery techniques like satin stitch fills, long and short stitches for drop shadows, and the intricate chain stitch. Along the way, he shares tips for managing thread thickness, fixing common mistakes, and achieving beautiful textures. This lesson will boost your confidence in tackling complex designs with precision and creativity.
16m
  • 100% positive reviews (11)
  • 2,019 students
  • 46 lessons (7h 15m)
  • 13 additional resources (9 files)
  • Online and at your own pace
  • Audio: English, Spanish
  • English · Spanish · Portuguese · German · French · Italian · Polish · Dutch
  • Level: Beginner
  • Unlimited access forever

What is this course's project?

Create stunning embroidery artwork by mastering realistic techniques for portraits, pets, and wildlife. Explore color theory, thread selection, and design transfer while developing skills in lettering, floral patterns, and needle painting to bring vibrant and intricate pieces to life.

Who is this specialization for?

Crafters eager to elevate their embroidery skills, hobbyists seeking creative expression through needlework, and artists wishing to explore vibrant textures and detailed stitching techniques will find this course an enriching resource. Ideal for those passionate about intricate designs and innovative embroidery methods.

Requirements and materials

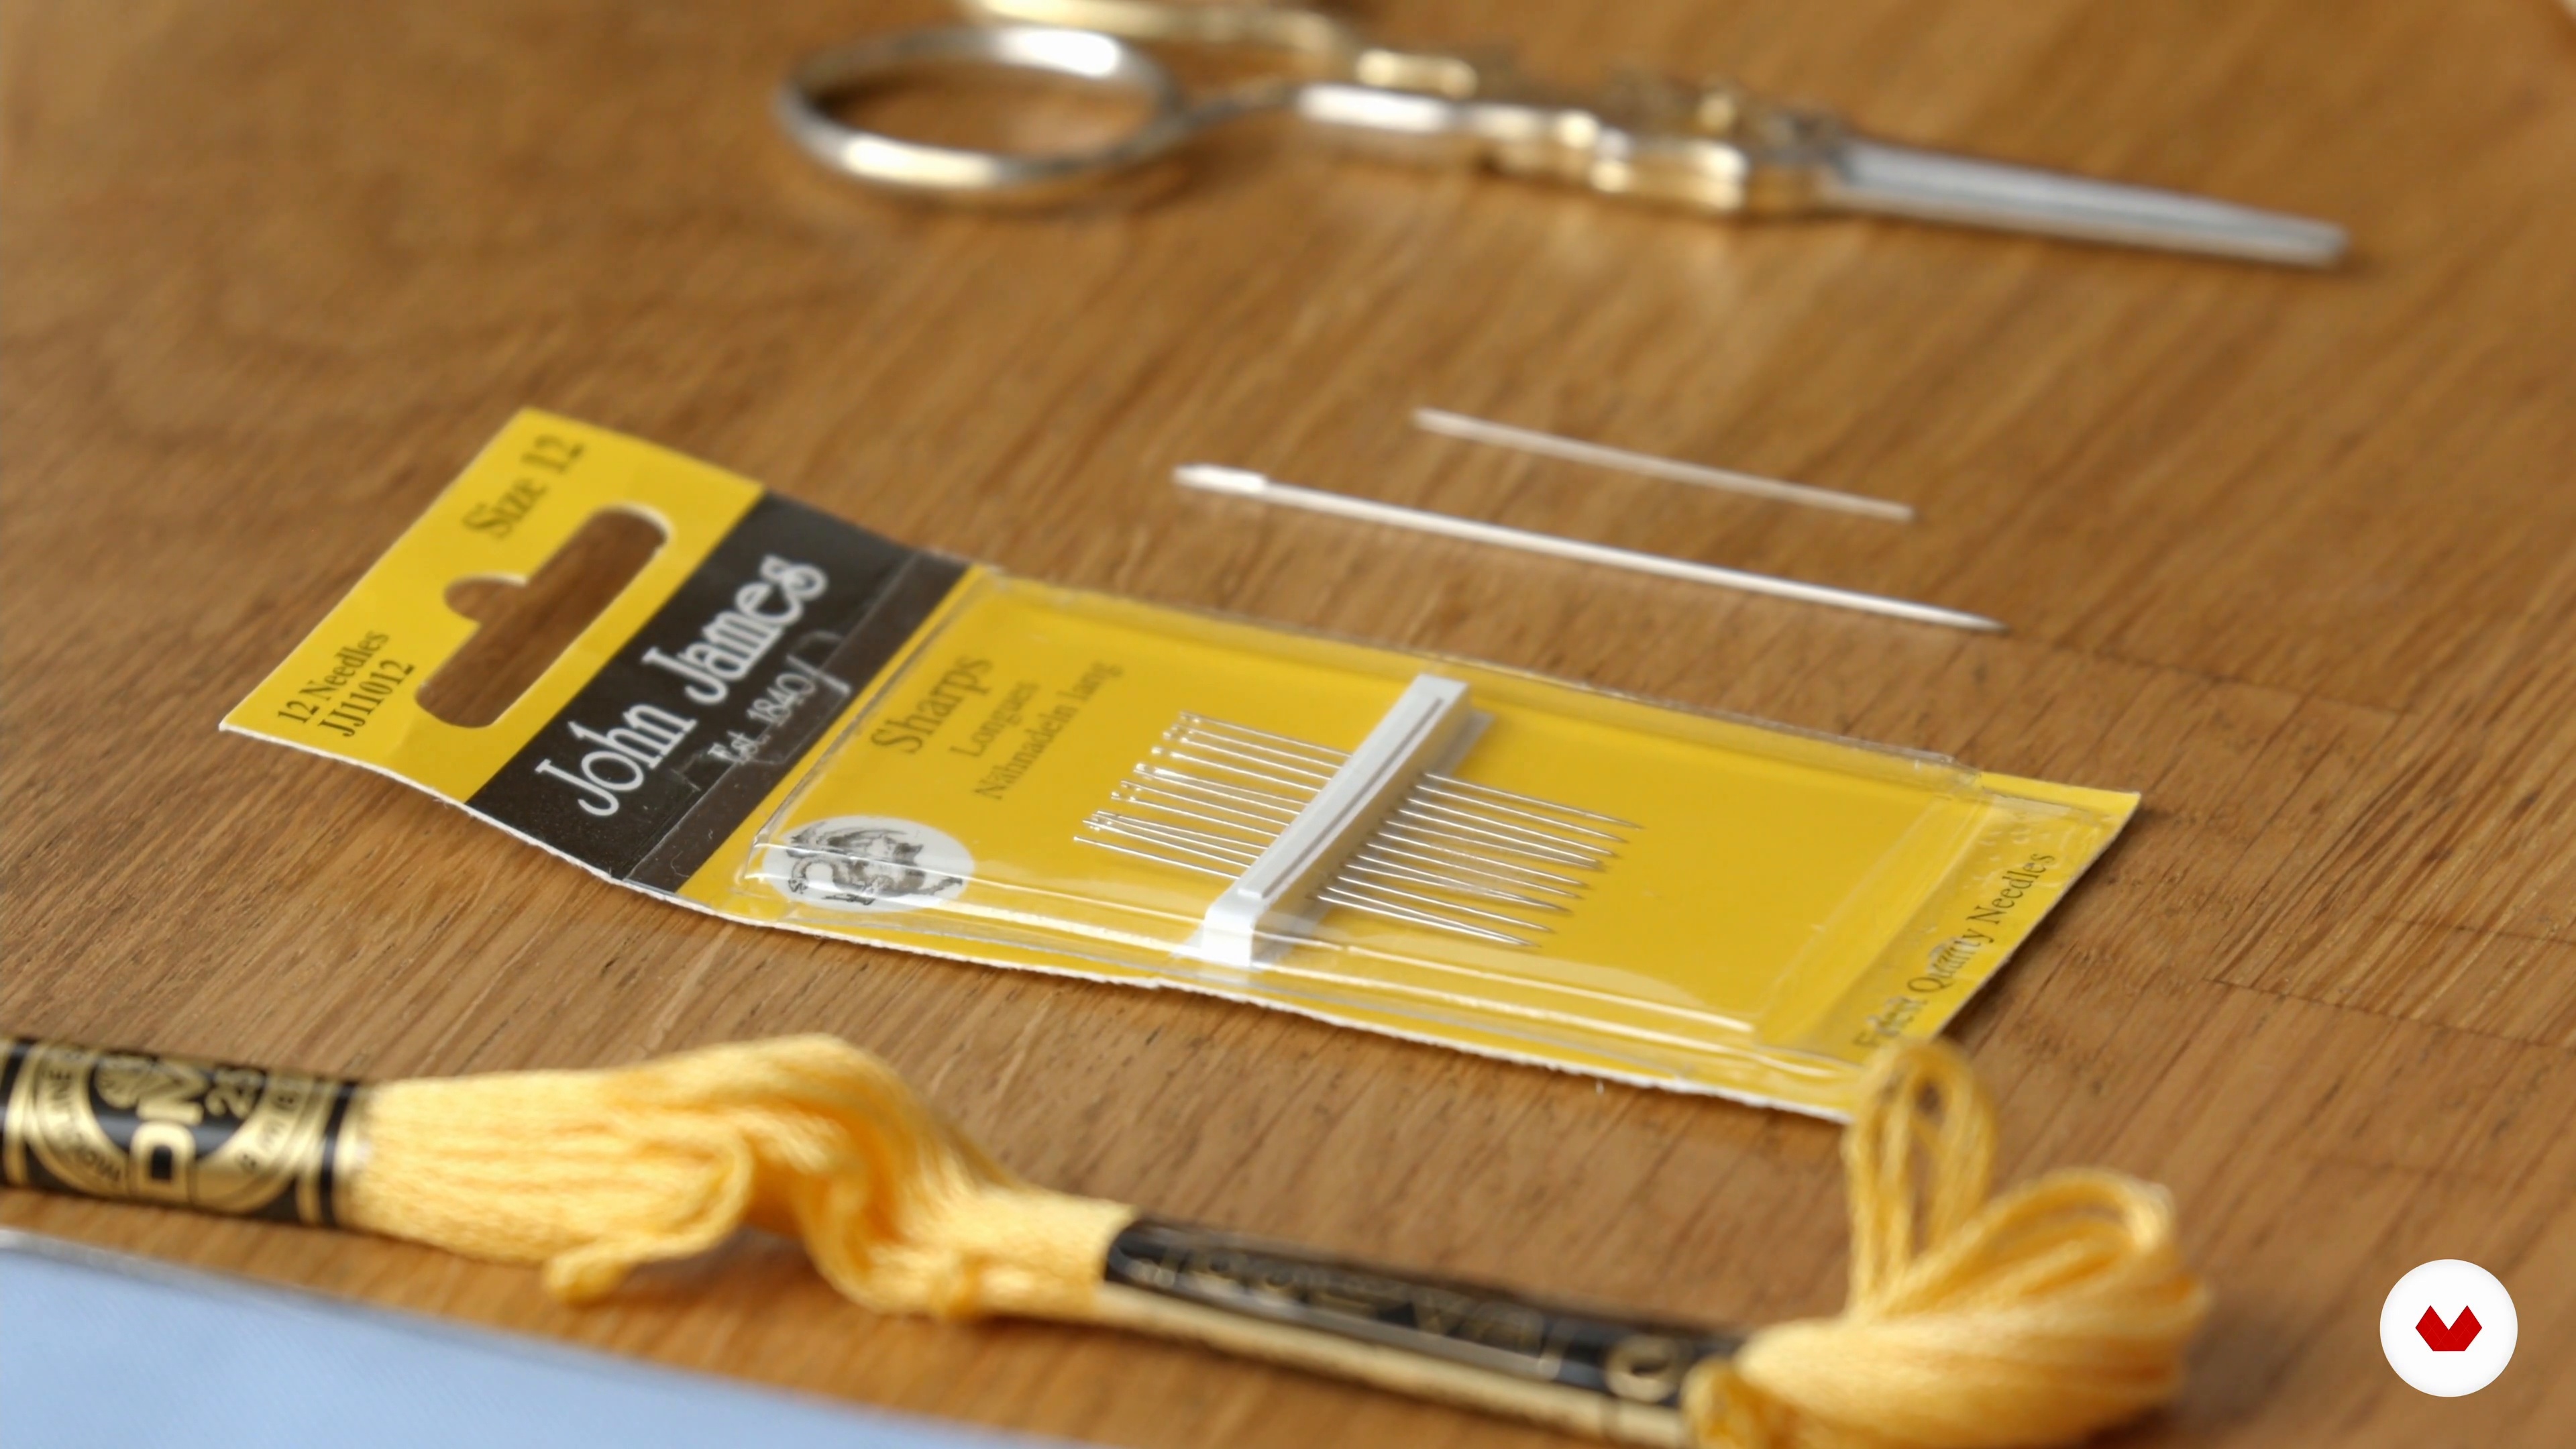
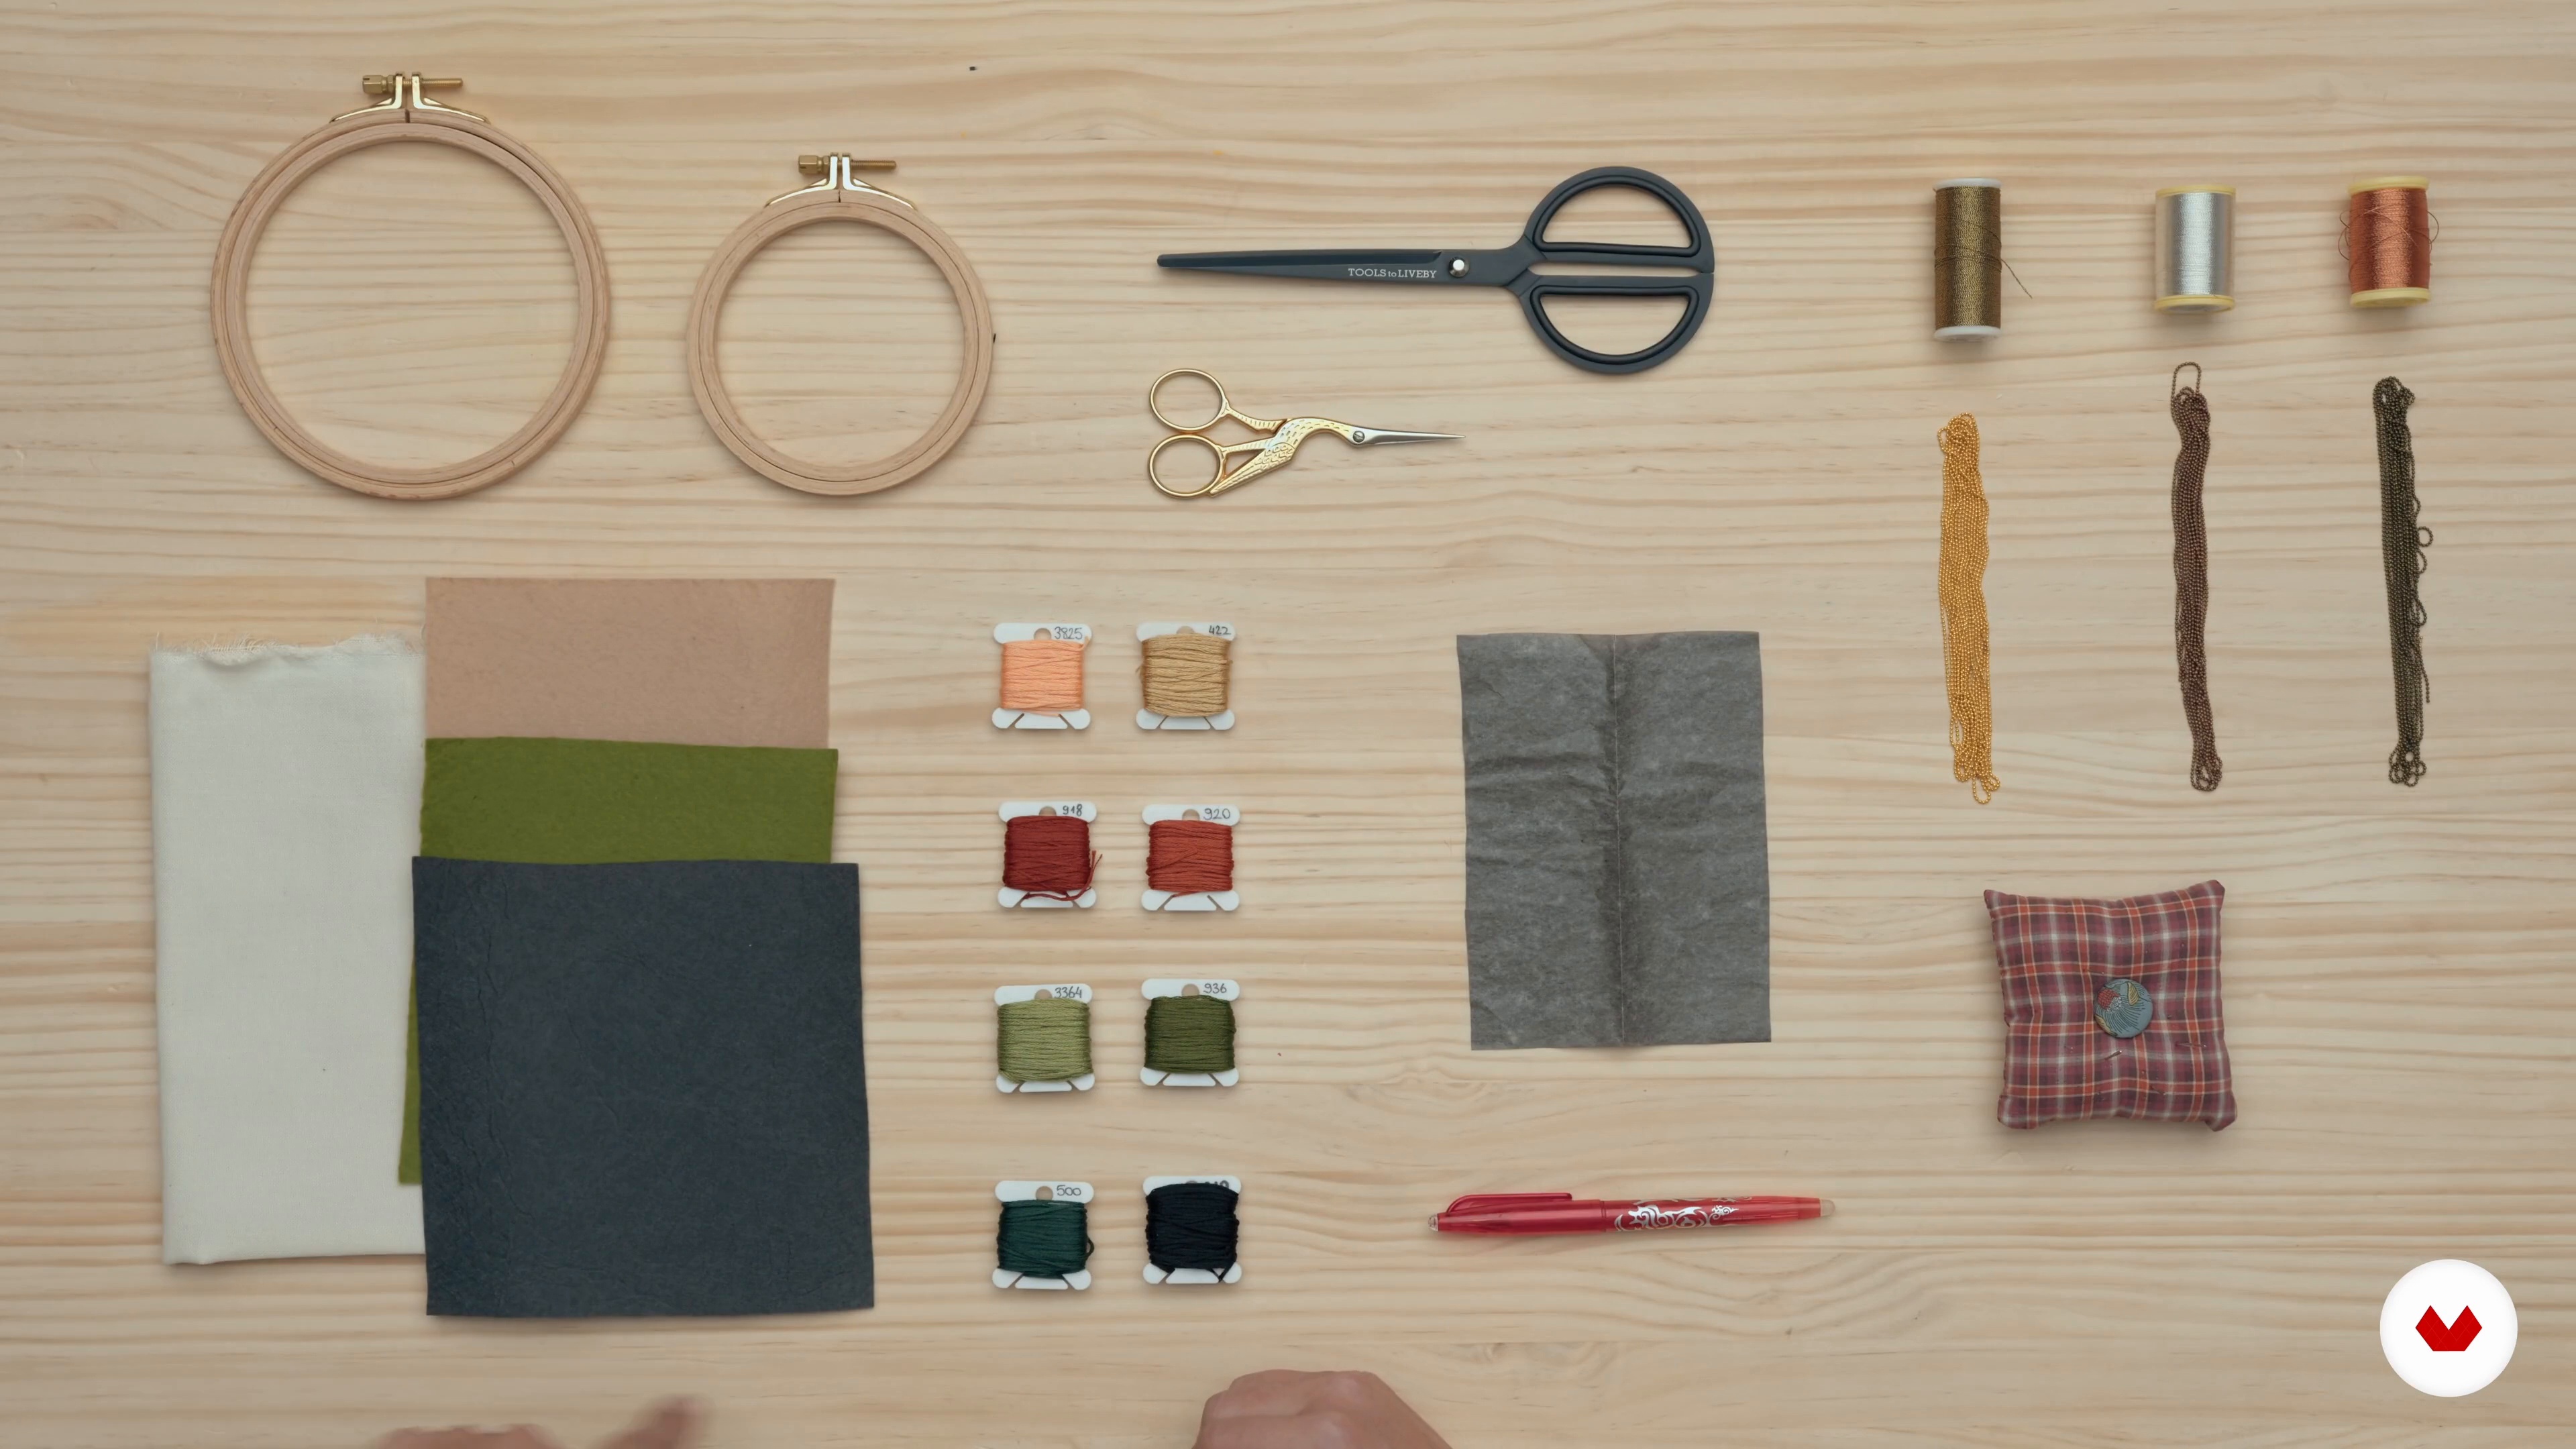
No extensive prior knowledge is required. Basic necessities include a selection of embroidery floss, fabric, an embroidery hoop, needles, and scissors. Familiarity with basic stitches helps, though guidance is provided. A creative mindset enhances the experience.

Select to get to know your teachers in this specialization course
Read more ↓

Reviews

2,019 Students
11 Reviews
100% Positive ratings


What to expect from this specialization course

  • Learn at your own pace

    Enjoy learning from home without a set schedule and with an easy-to-follow method. You set your own pace.

  • Learn from the best professionals

    Learn valuable methods and techniques explained by top experts in the creative sector.

  • Meet expert teachers

    Each expert teaches what they do best, with clear guidelines, true passion, and professional insight in every lesson.

  • Certificates
    Plus

    If you're a Plus member, get a custom certificate for every specialization course. Share it on your portfolio, social media, or wherever you like.

  • Get front-row seats

    Videos of the highest quality, so you don't miss a single detail. With unlimited access, you can watch them as many times as you need to perfect your technique.

  • Share knowledge and ideas

    Ask questions, request feedback, or offer solutions. Share your learning experience with other students in the community who are as passionate about creativity as you are.

  • Connect with a global creative community

    The community is home to millions of people from around the world who are curious and passionate about exploring and expressing their creativity.

  • Watch professionally produced courses

    Domestika curates its teacher roster and produces every course in-house to ensure a high-quality online learning experience.


FAQs

Domestika's specialization courses are online classes that provide you with the tools and skills you need to complete a specific project. Every step of the project combines video lessons with complementary instructional material, so you can learn by doing. Domestika's specializations also allow you to share your own projects with other students, creating a dynamic course community.

All specialization courses are 100% online, so once they're published, specialization courses start and finish whenever you want. You set the pace of the class. You can go back to review what interests you most and skip what you already know, ask questions, answer questions, share your projects, and more.

The specialization courses are divided into different modules. Each one includes lessons, informational text, tasks, and practice exercises to help you carry out your project step by step, with additional complementary resources and downloads. You'll also have access to an exclusive forum where you can interact with other students, as well as share your work and your final project, creating a community around the specialization course.

You can redeem the specialization course you received by accessing the redeeming page and entering your gift code.

If you're a Plus member, when you complete a course you've purchased, you'll instantly get your personalized certificate. You can see all your certificates in the Certificates section of your profile. You can download your certificates as PDFs and share the link online. Learn more about certificates.
Embroidery Techniques Specialization. Craft course by Domestika Best seller

Embroidery Techniques Specialization

A specialization by multiple teachers
Embroidery Techniques Experts. Berkeley, United States.
Joined April 2002
  • 100% positive reviews (11)
  • 2,019 students