Specialization
Best seller

Sewing and Design Specialization

6 Teachers

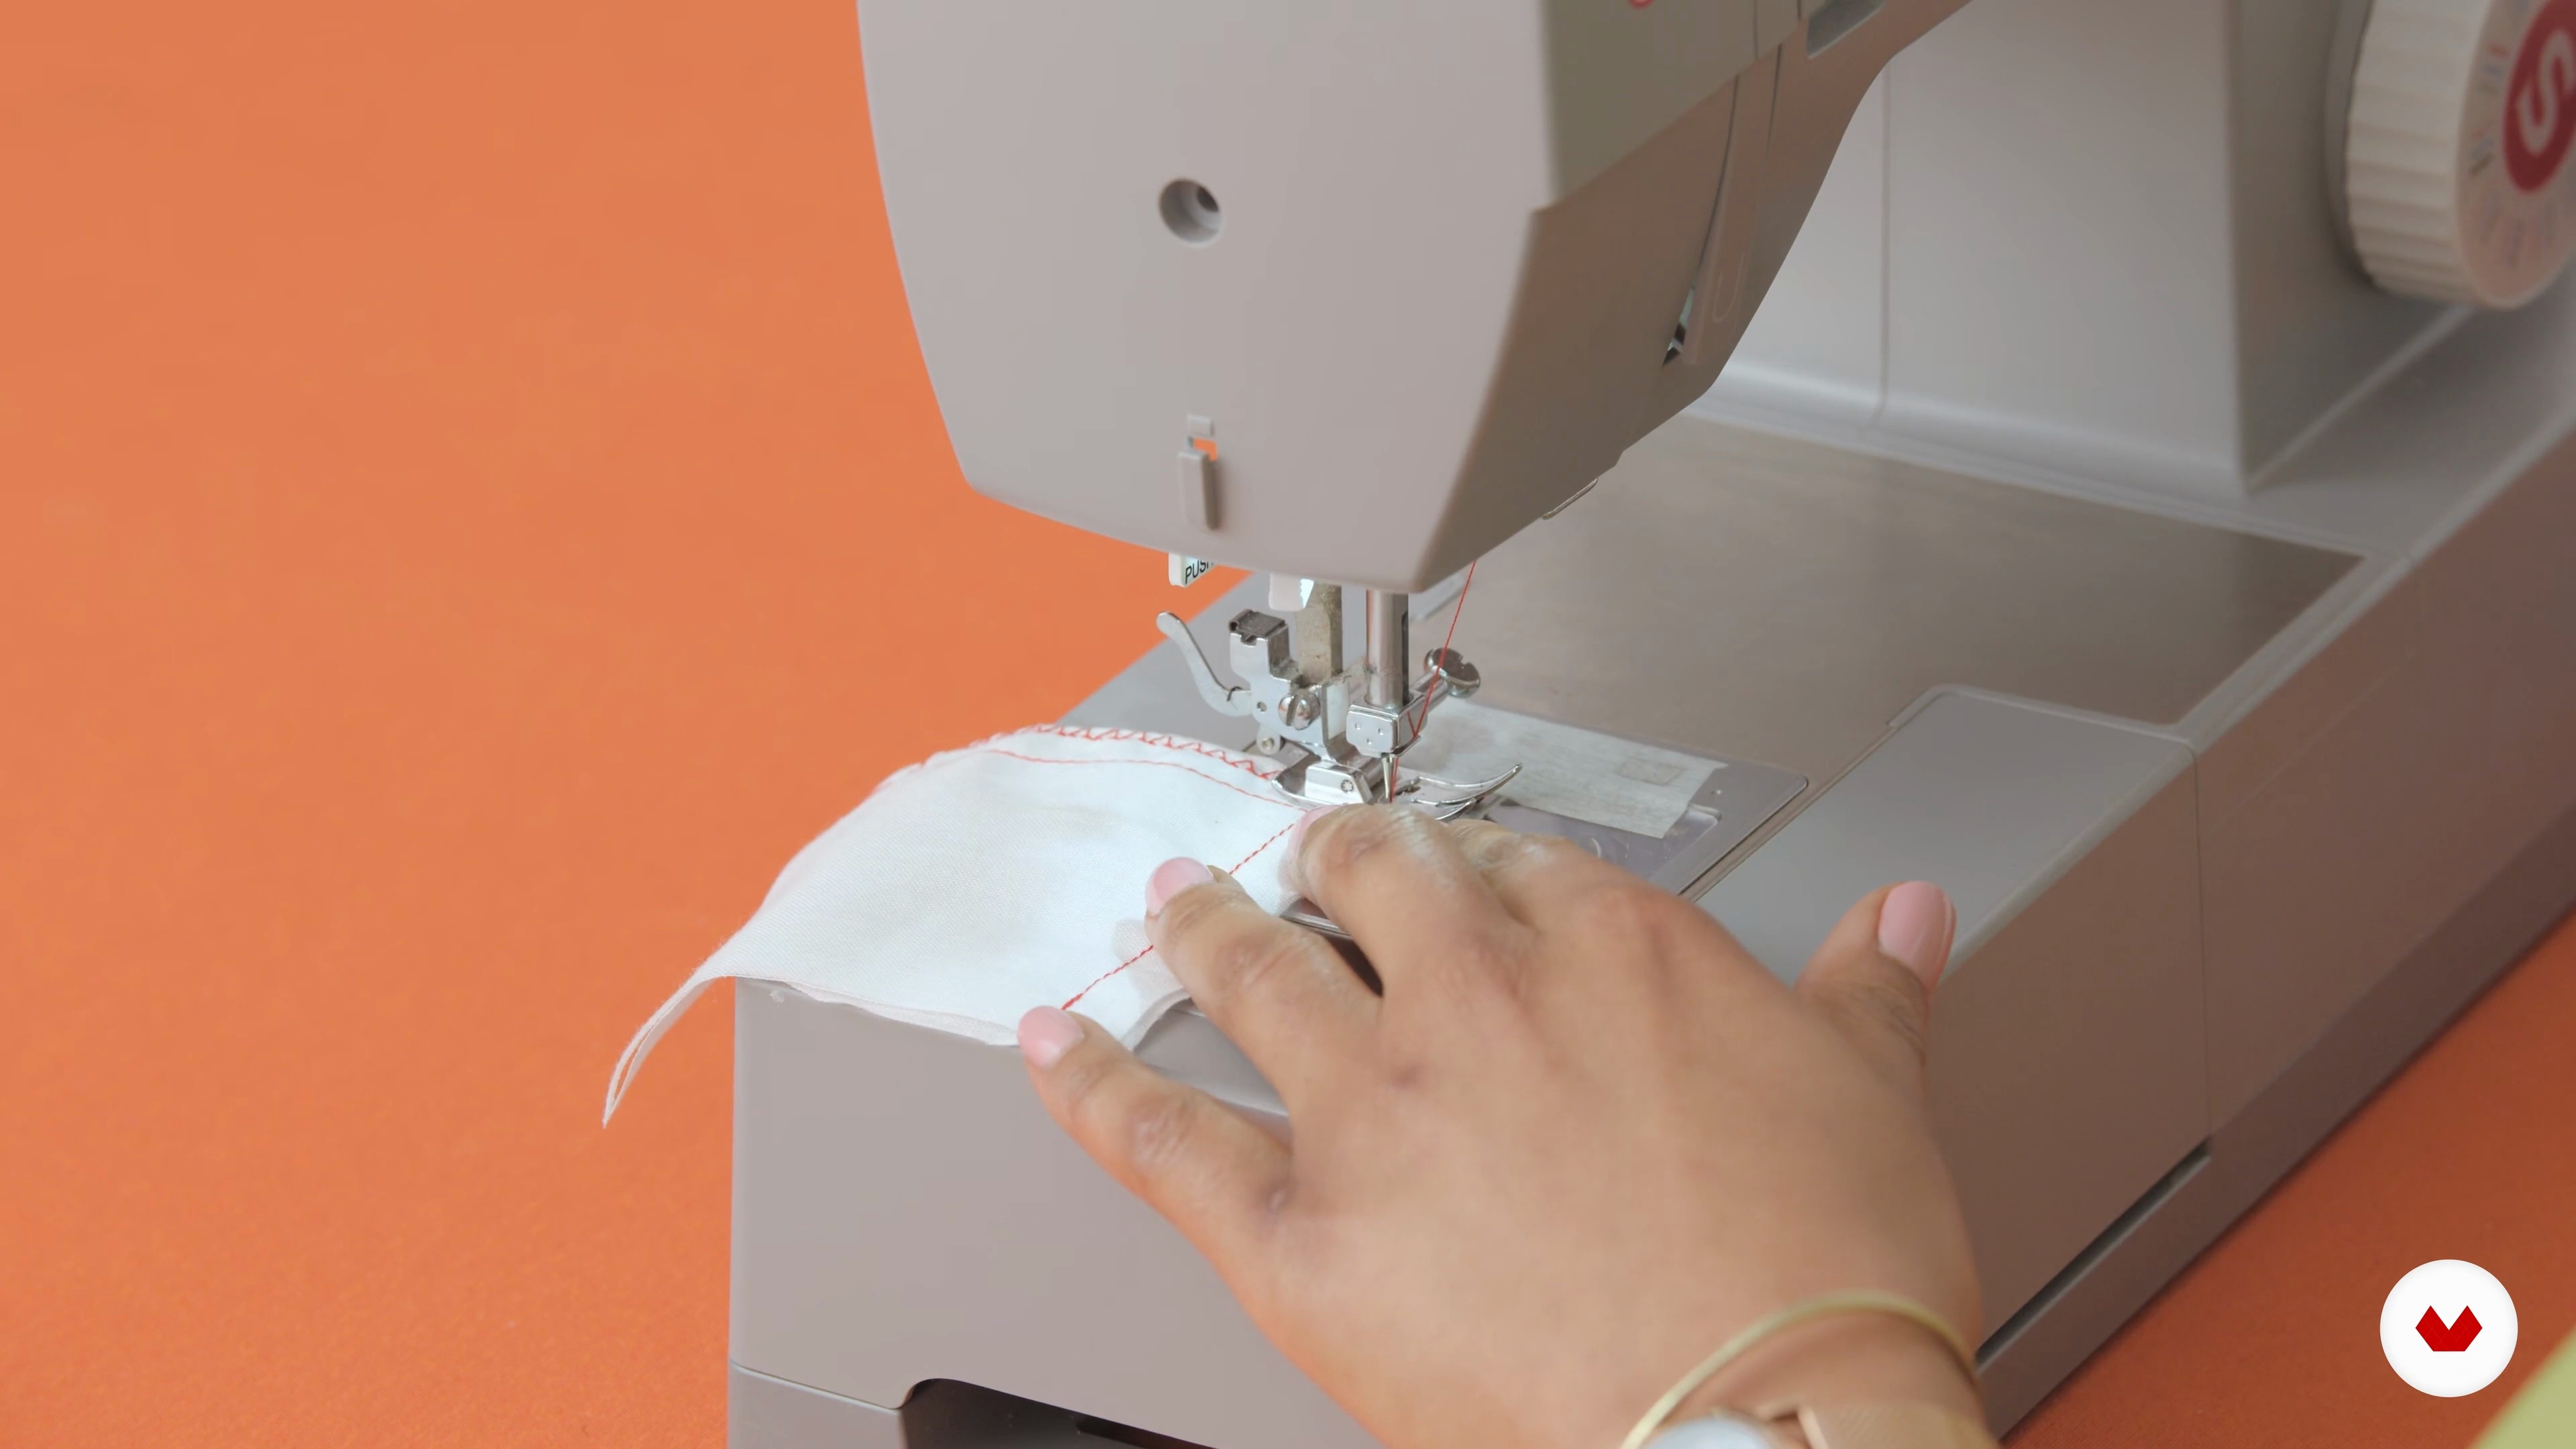
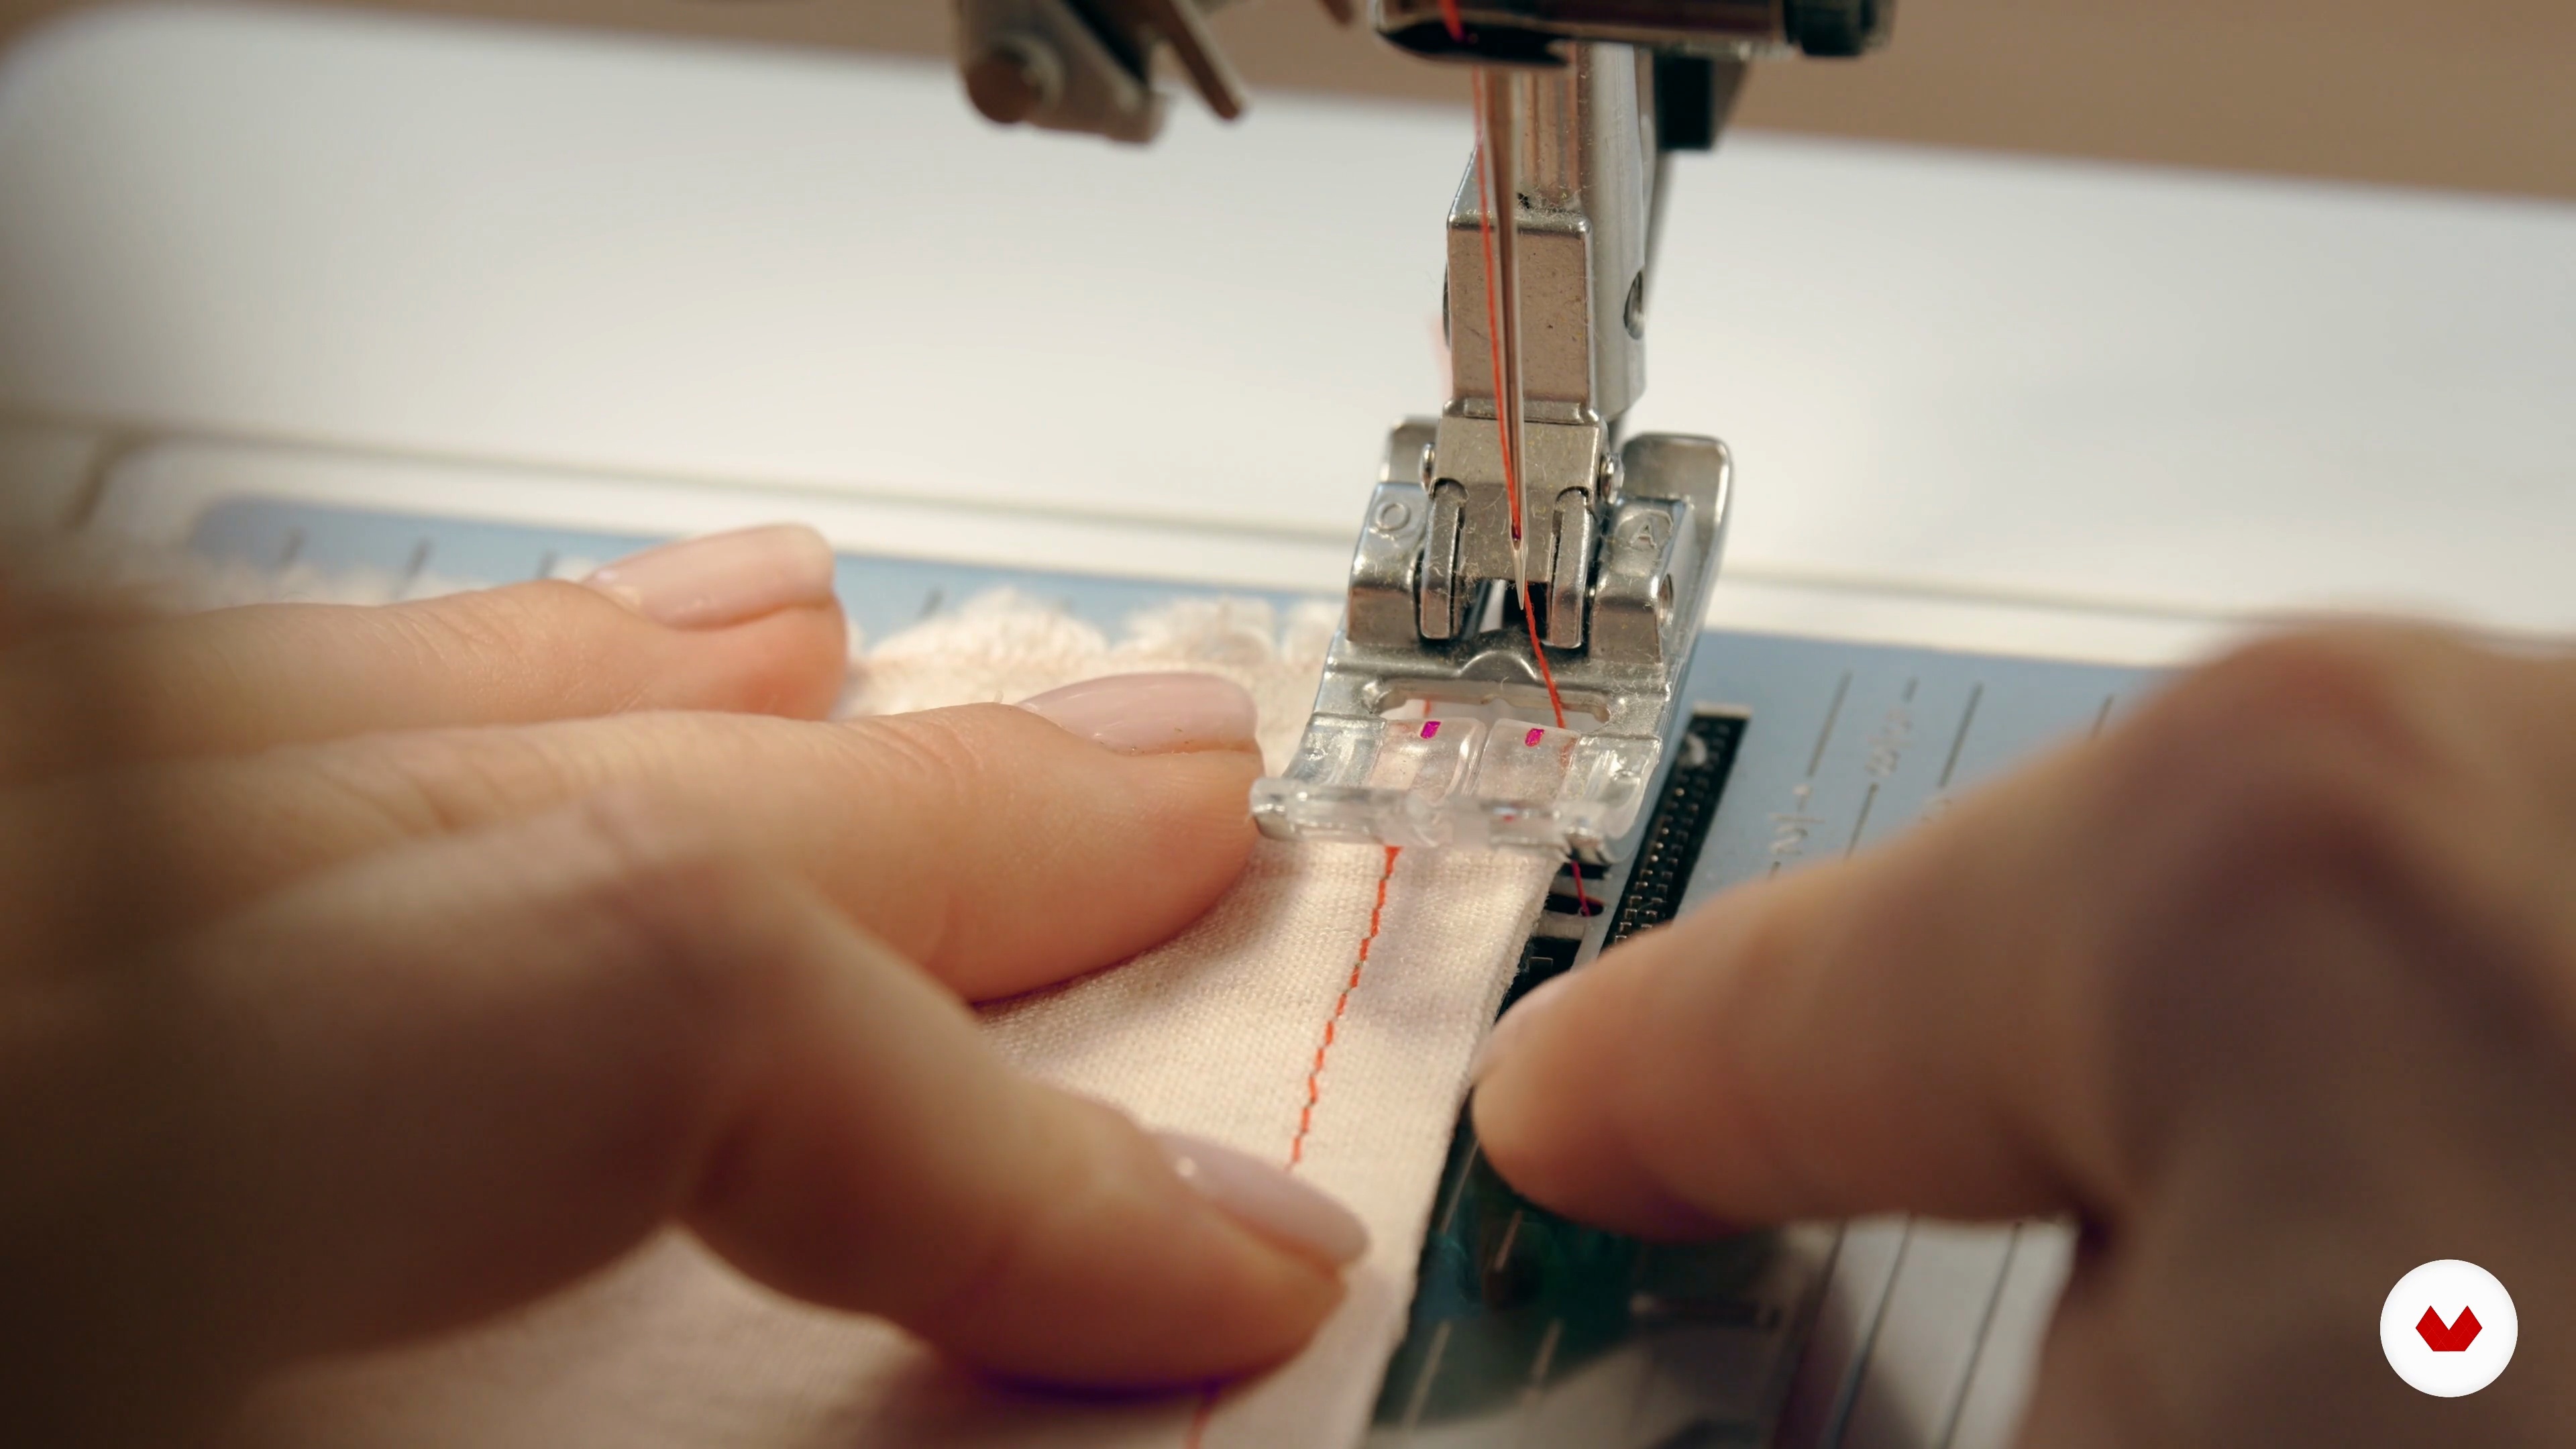
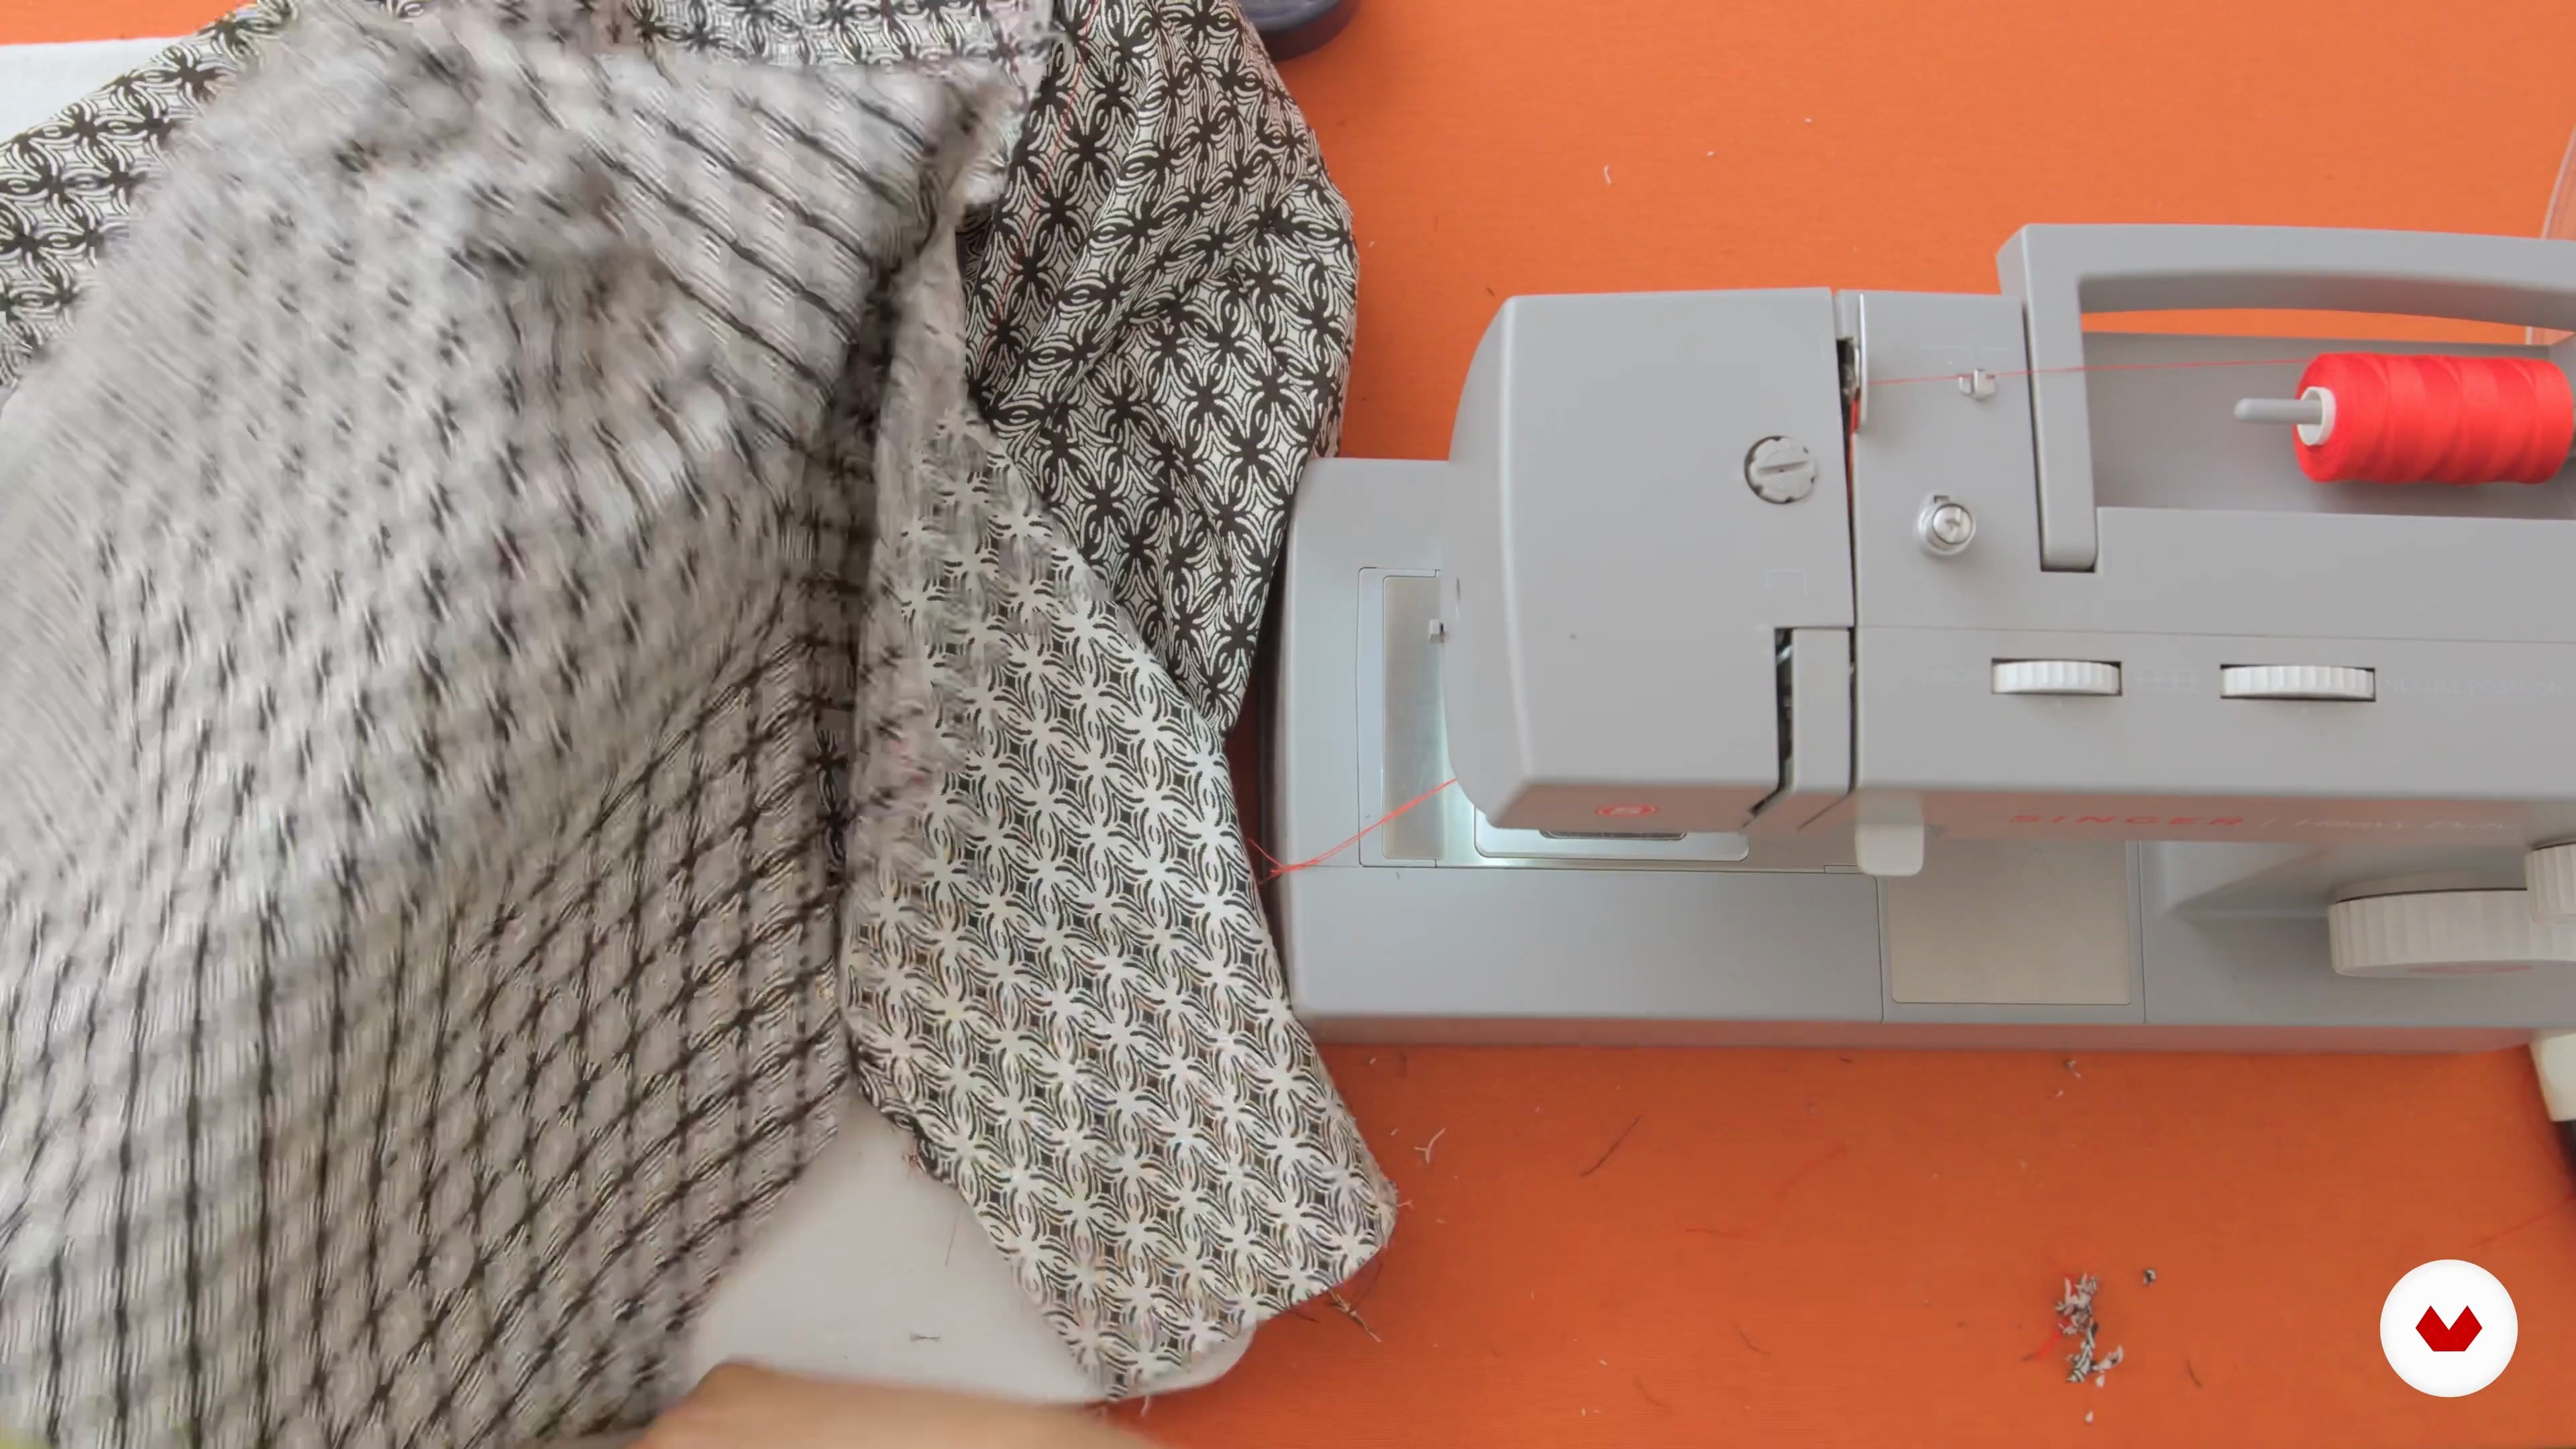
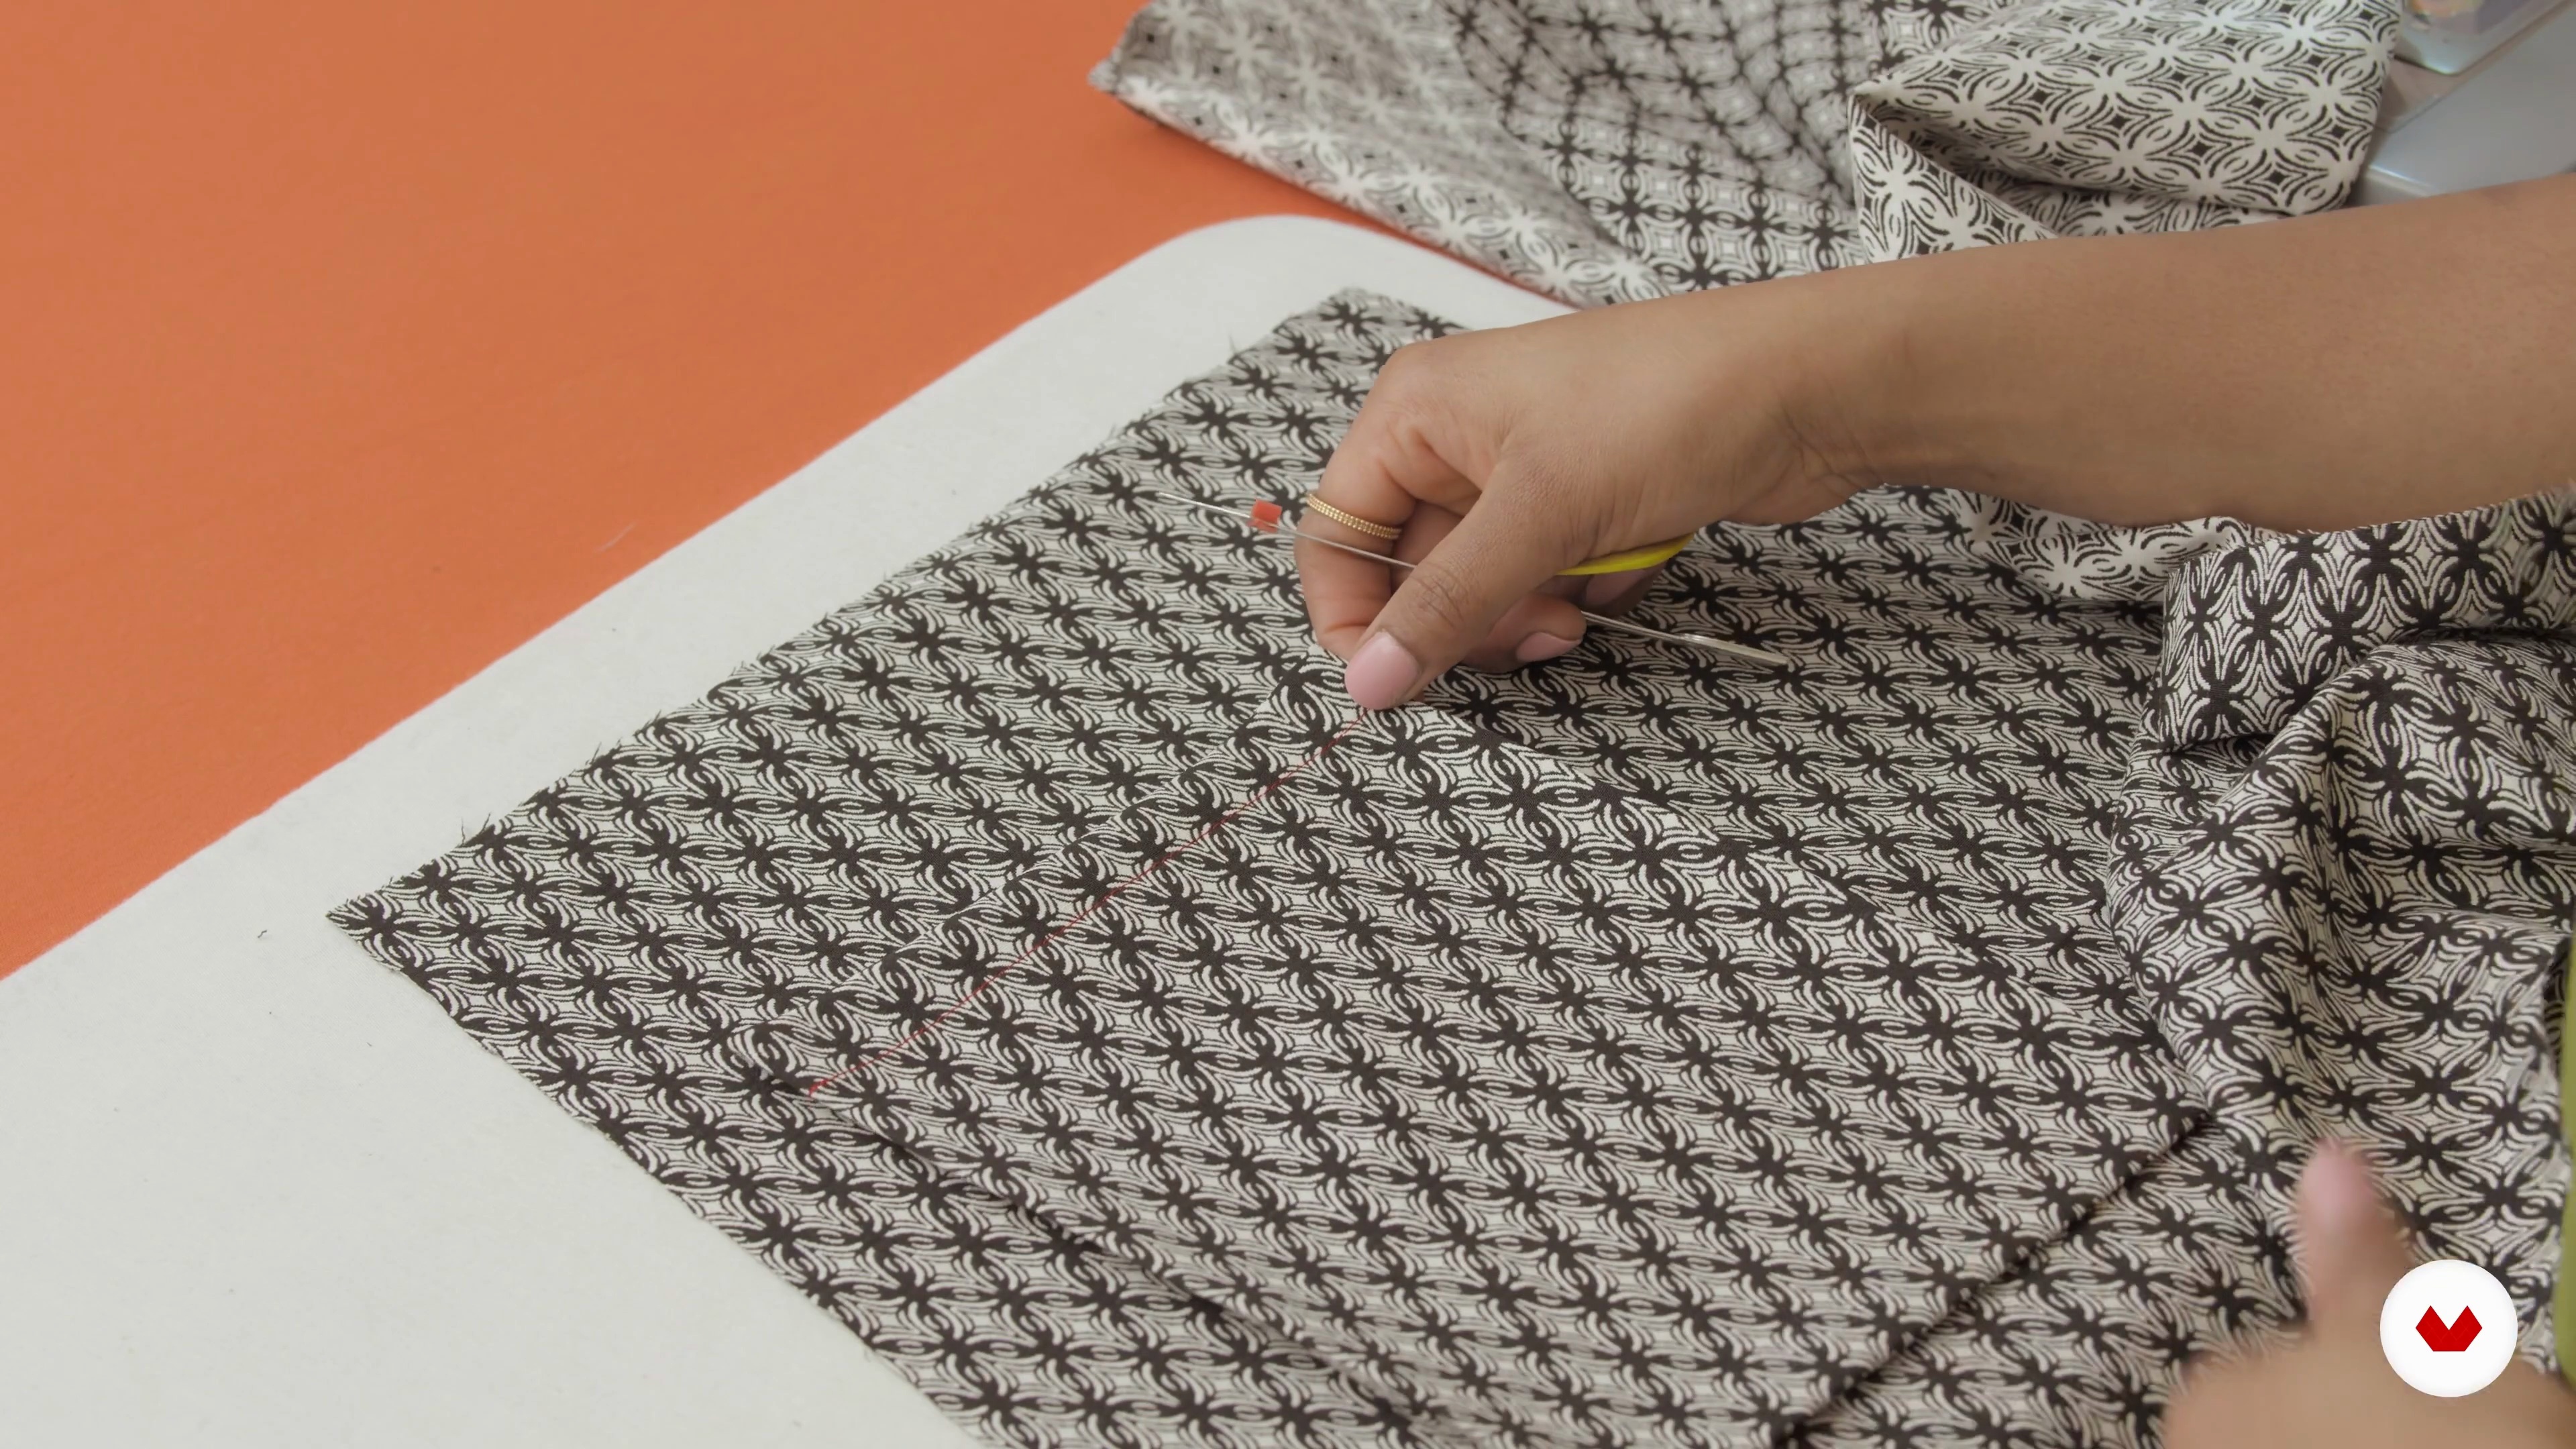
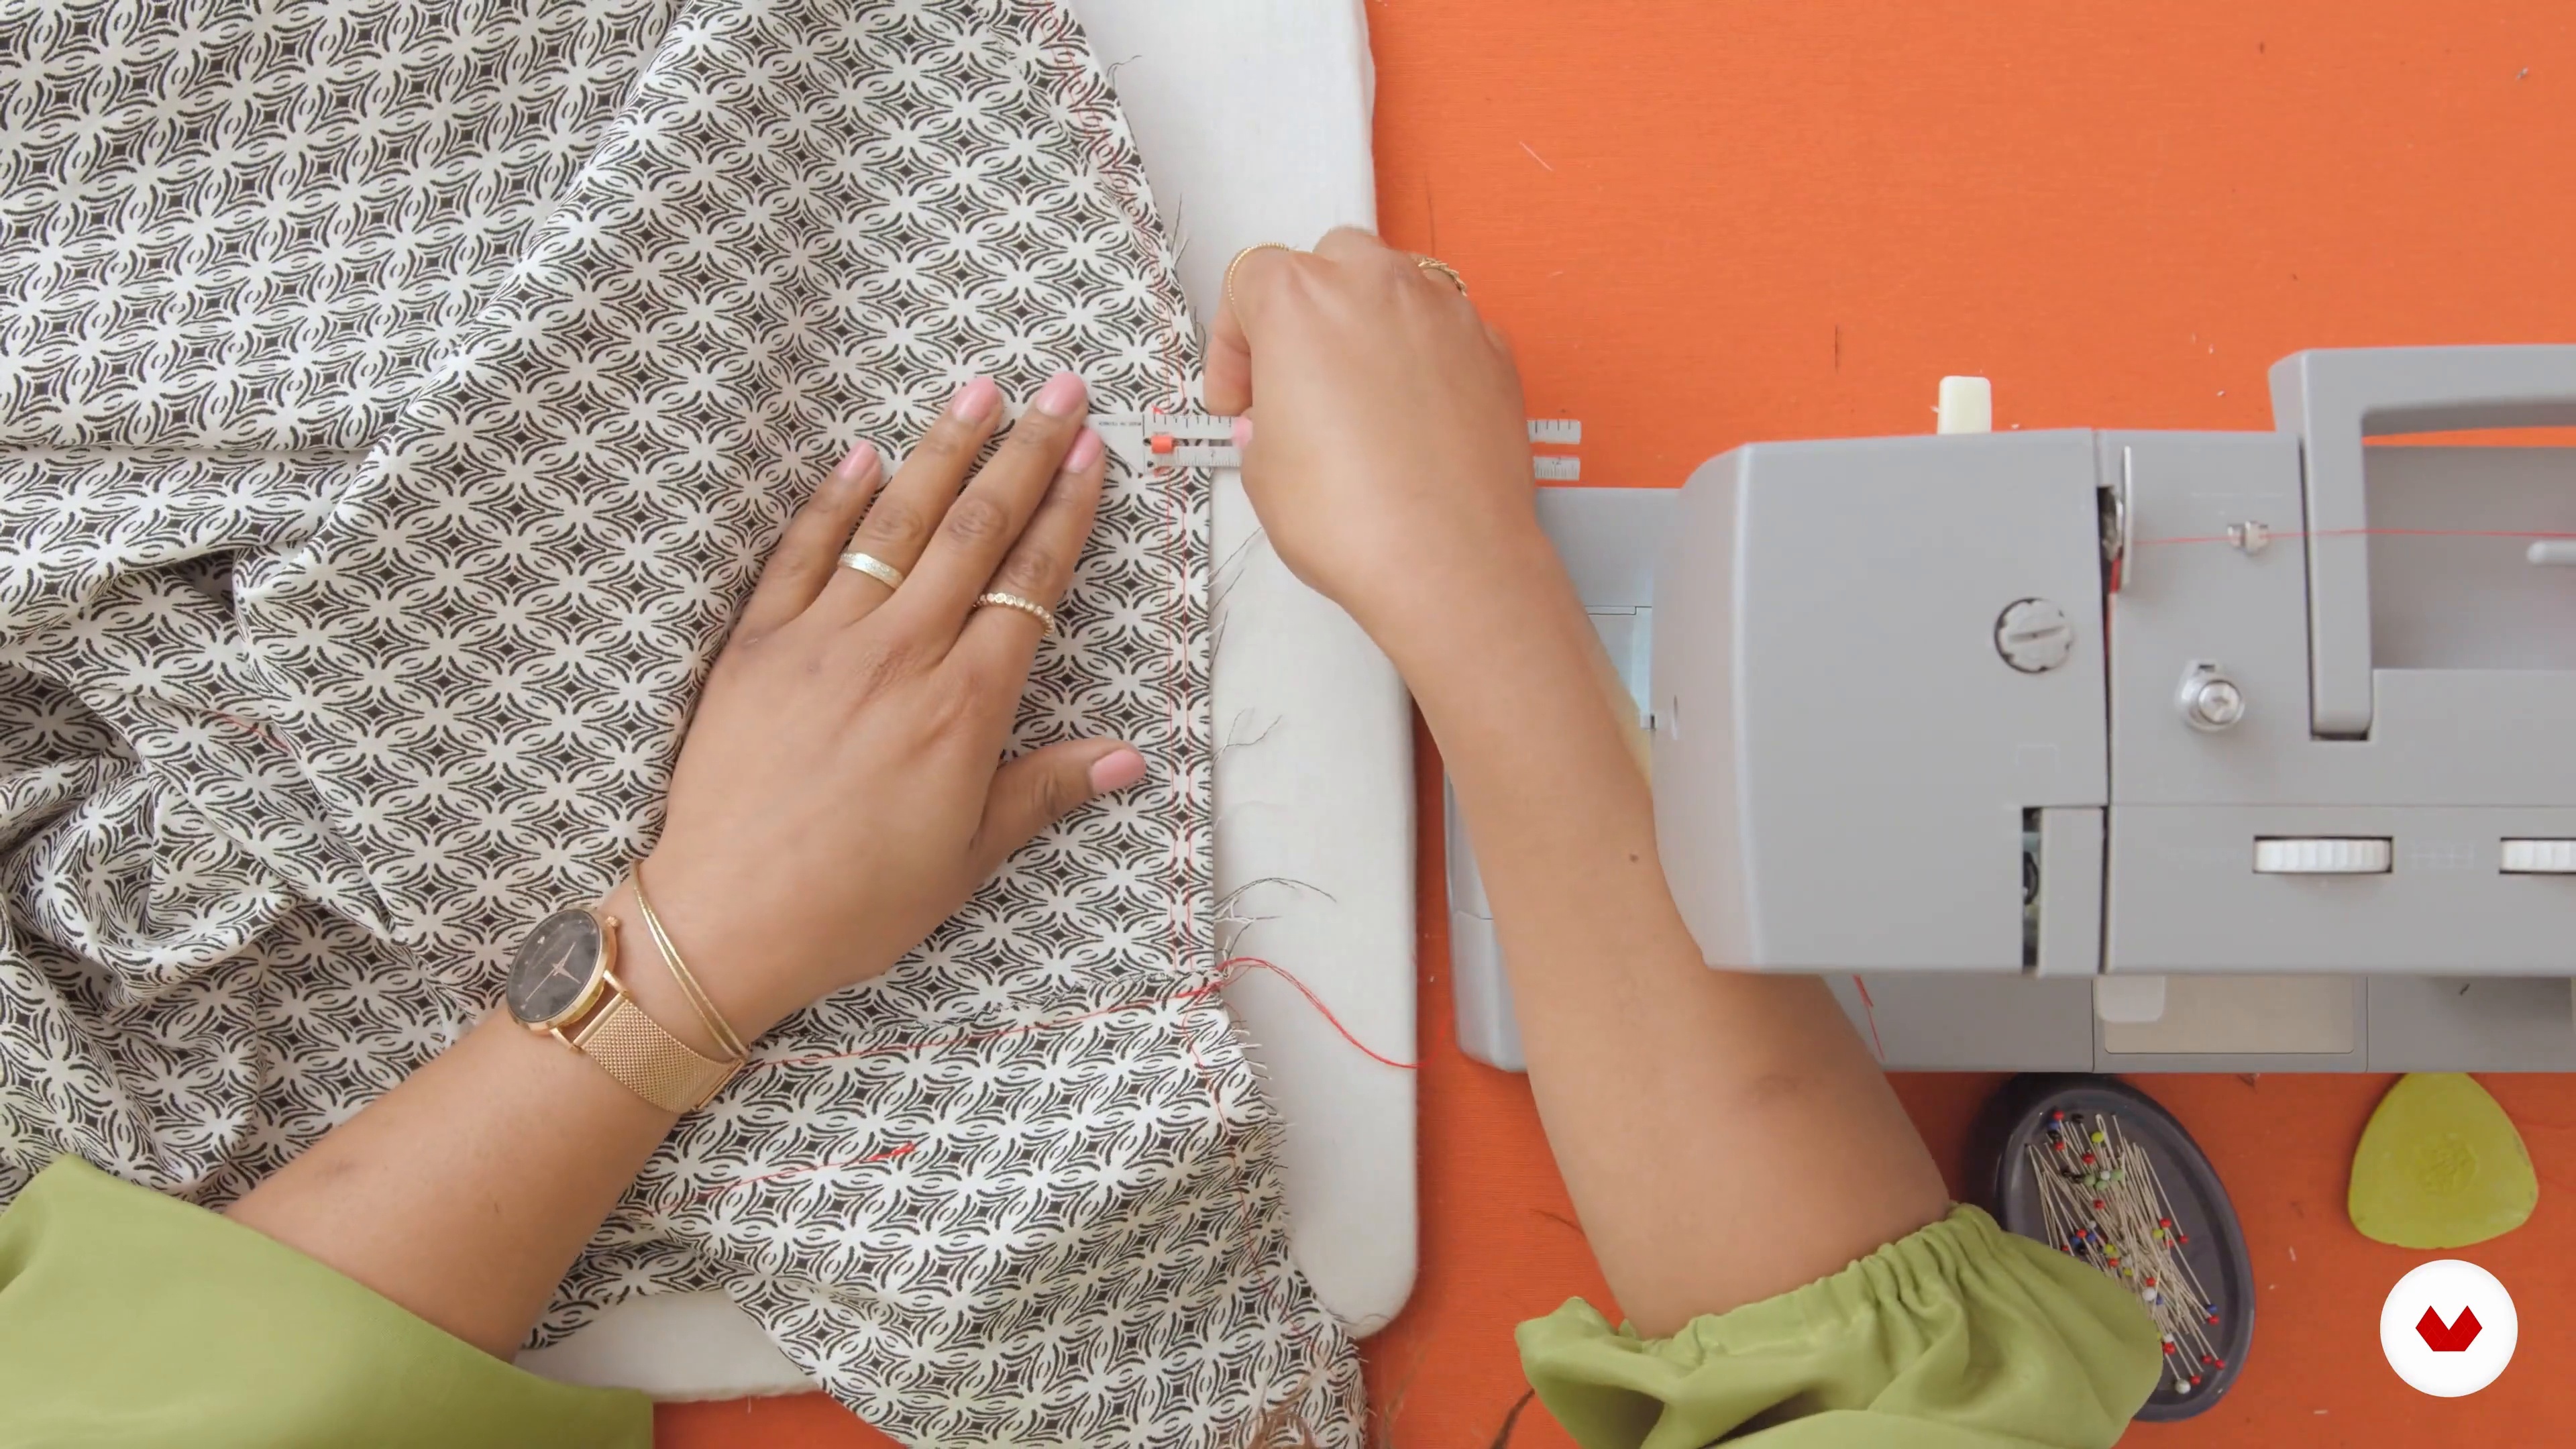
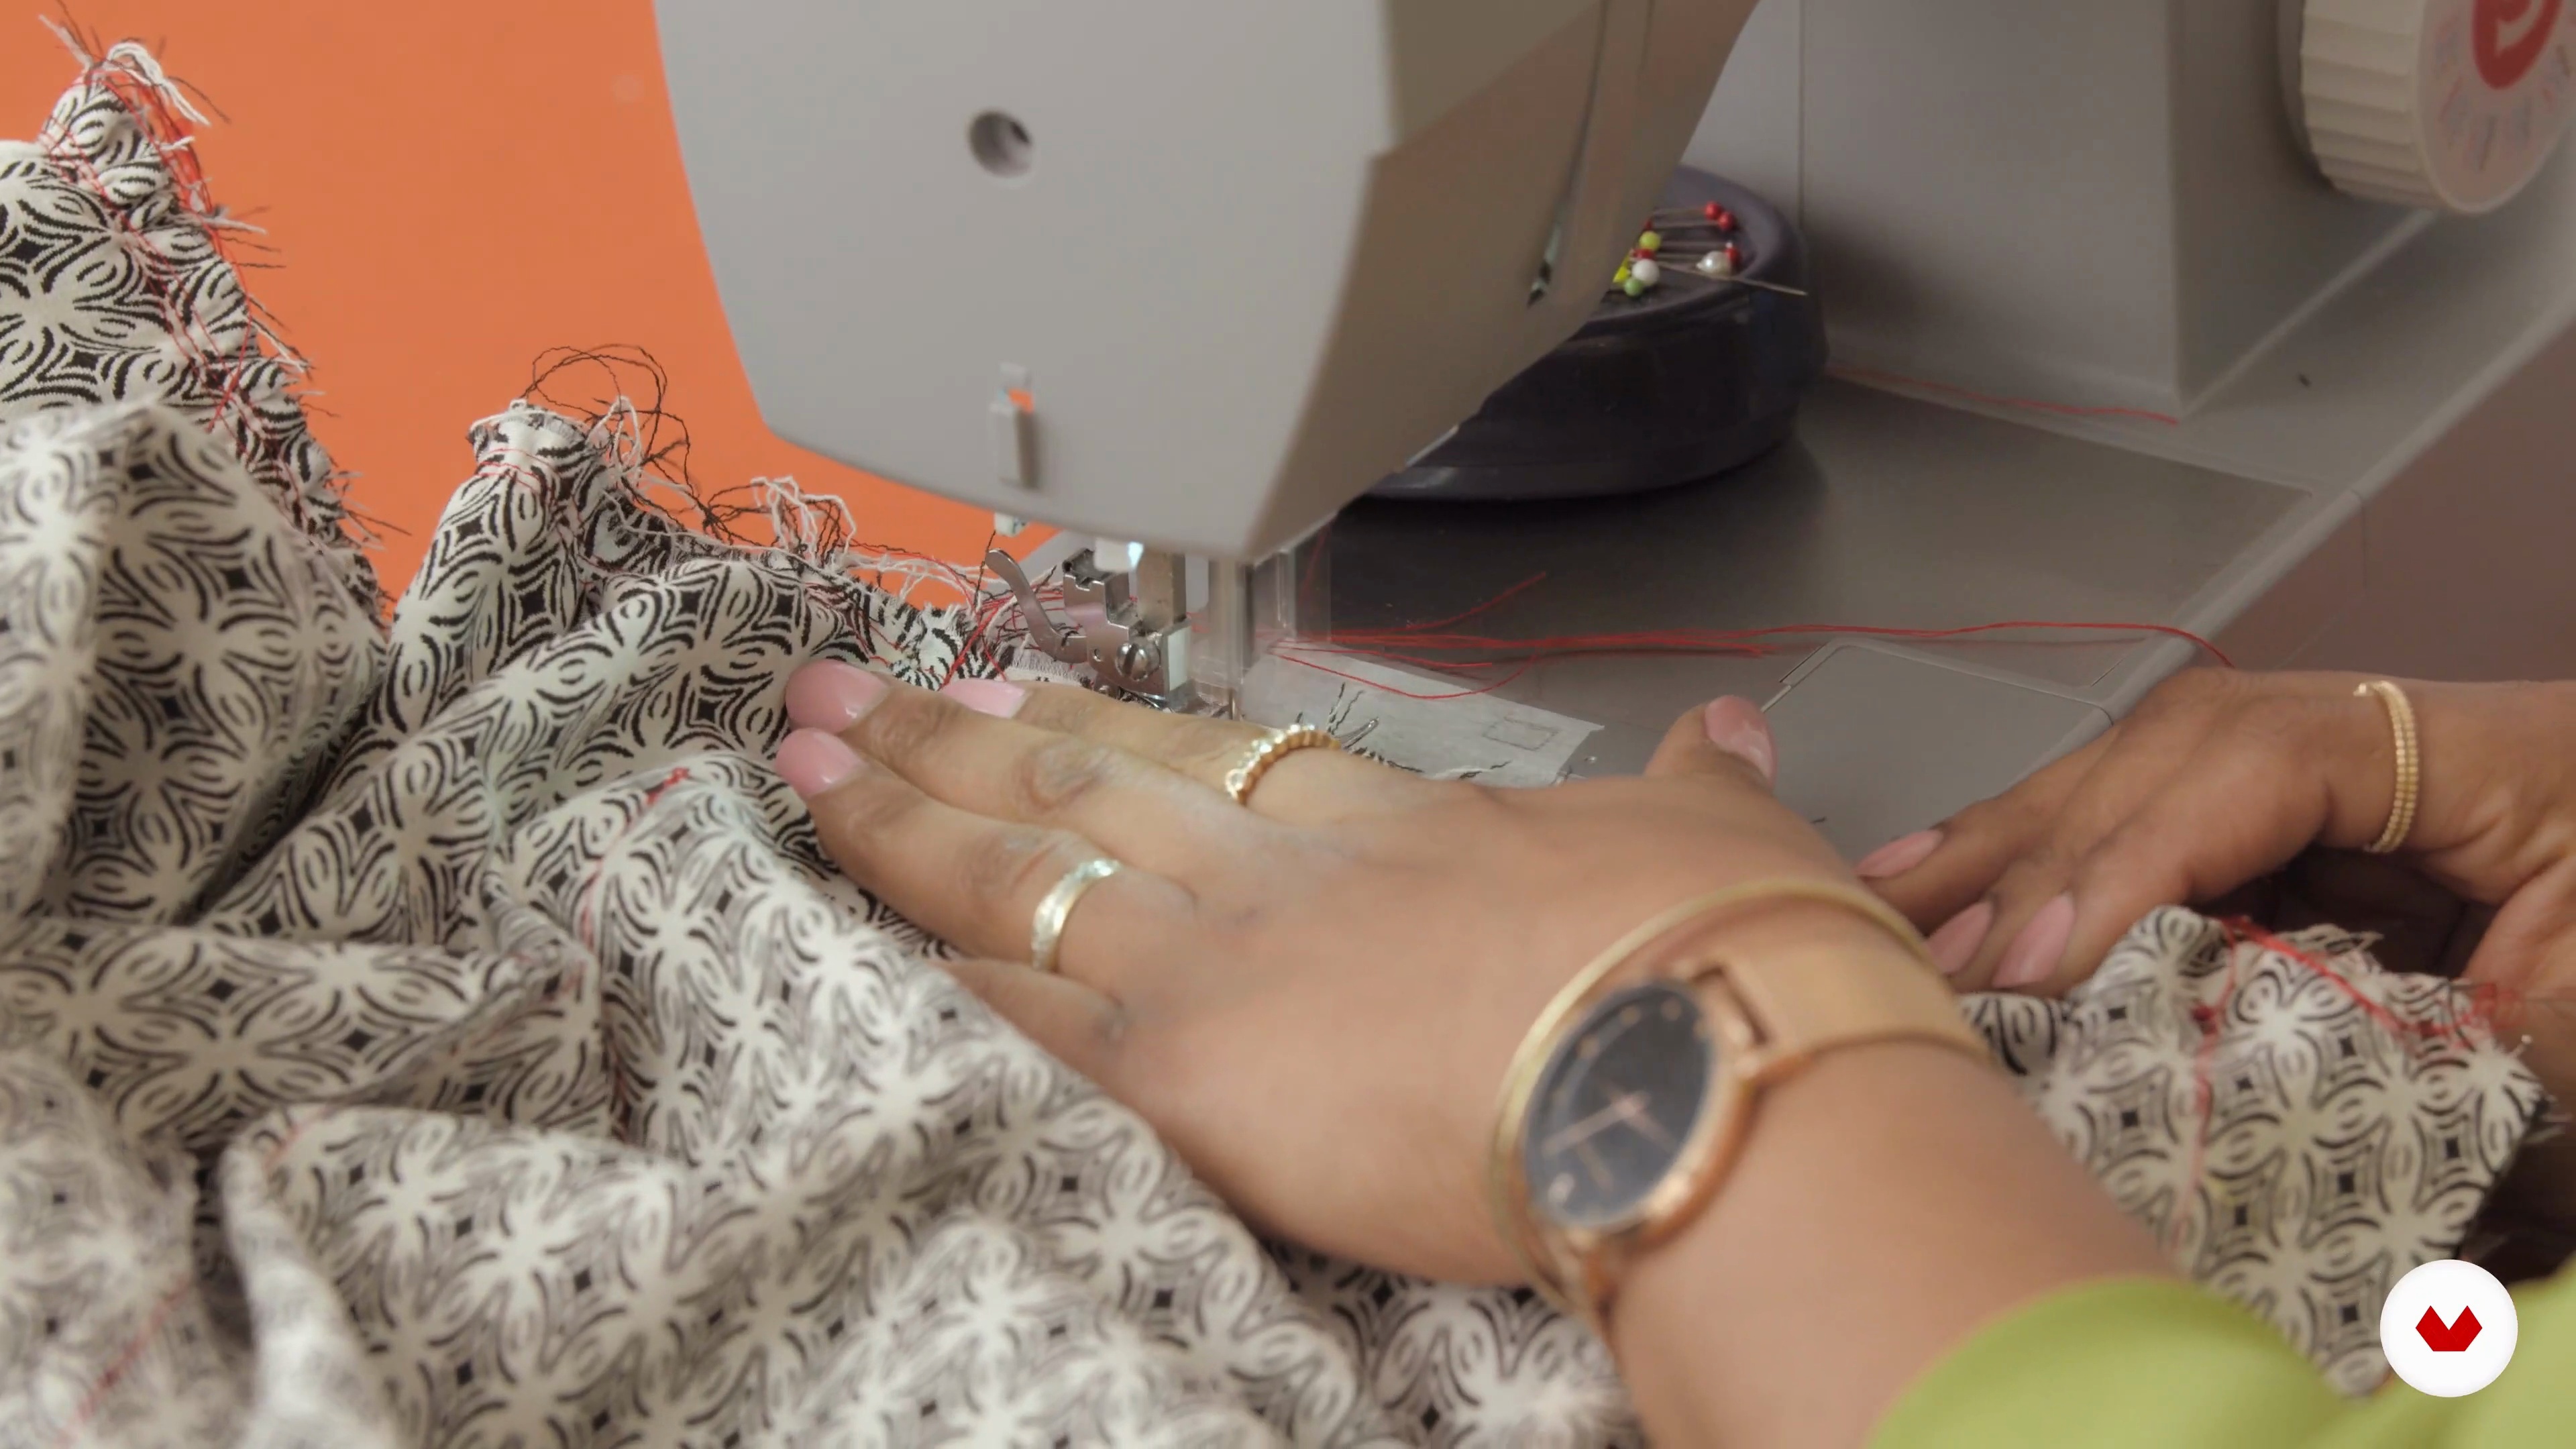
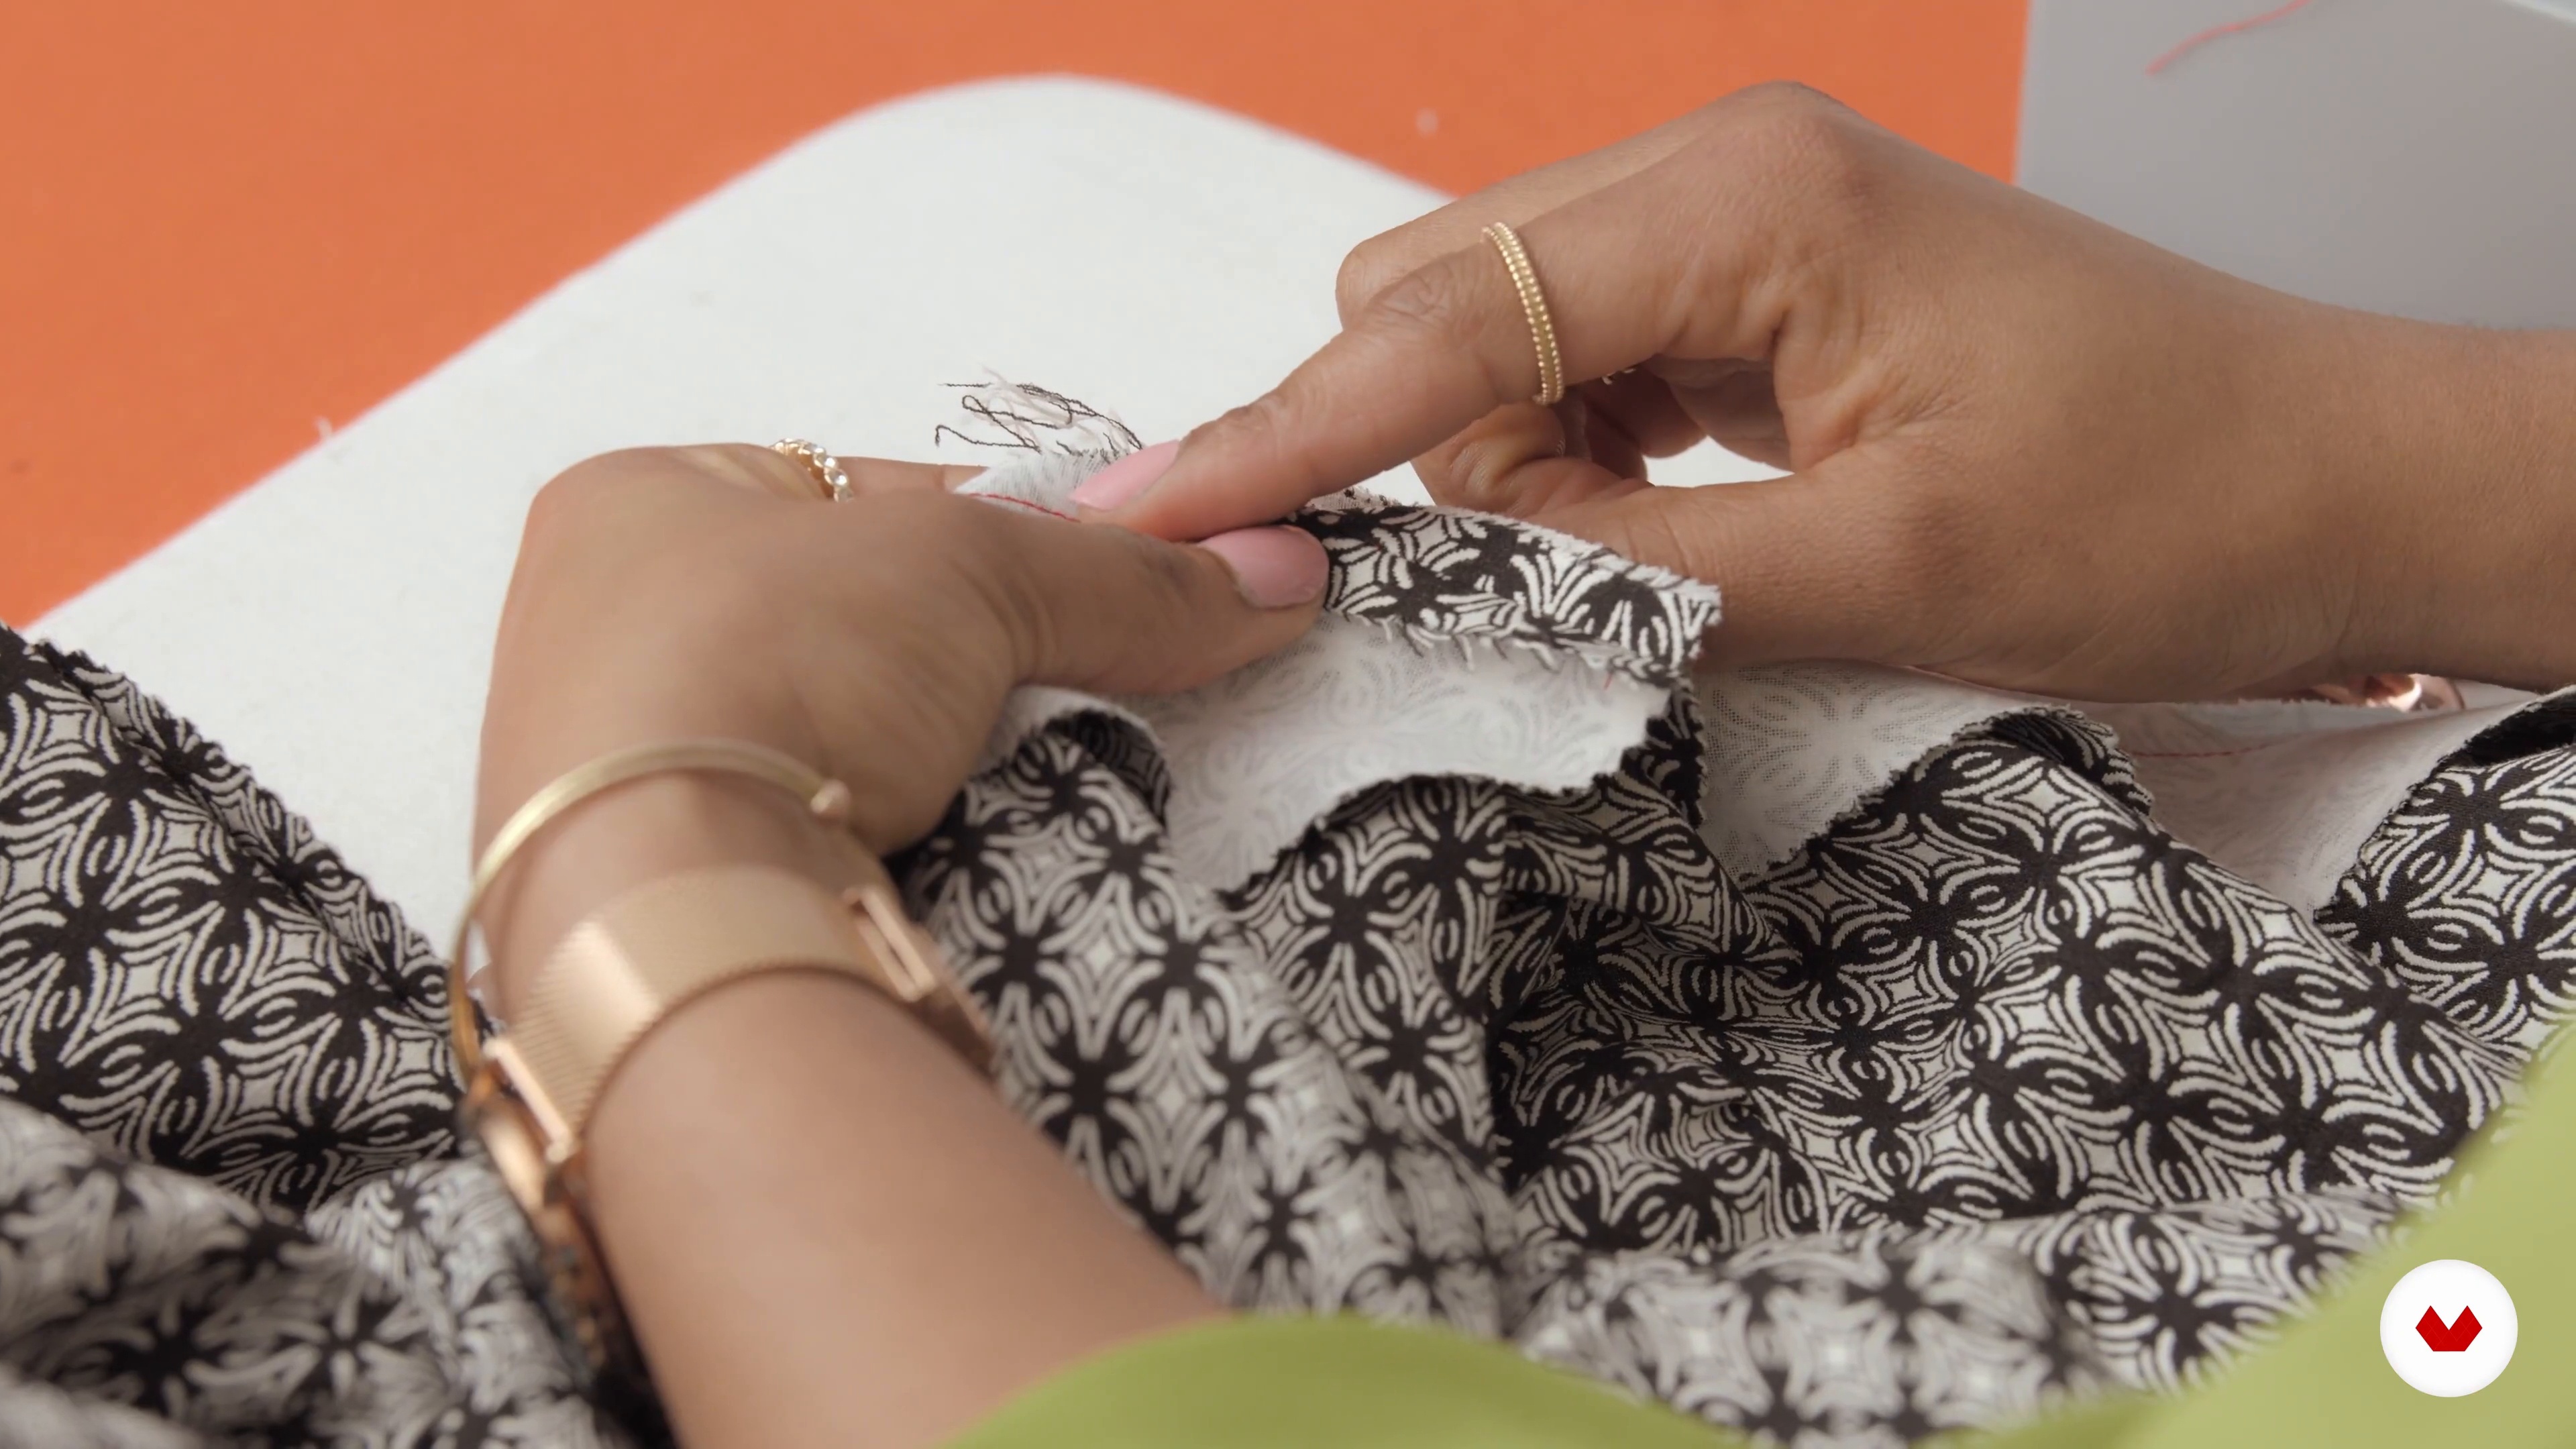
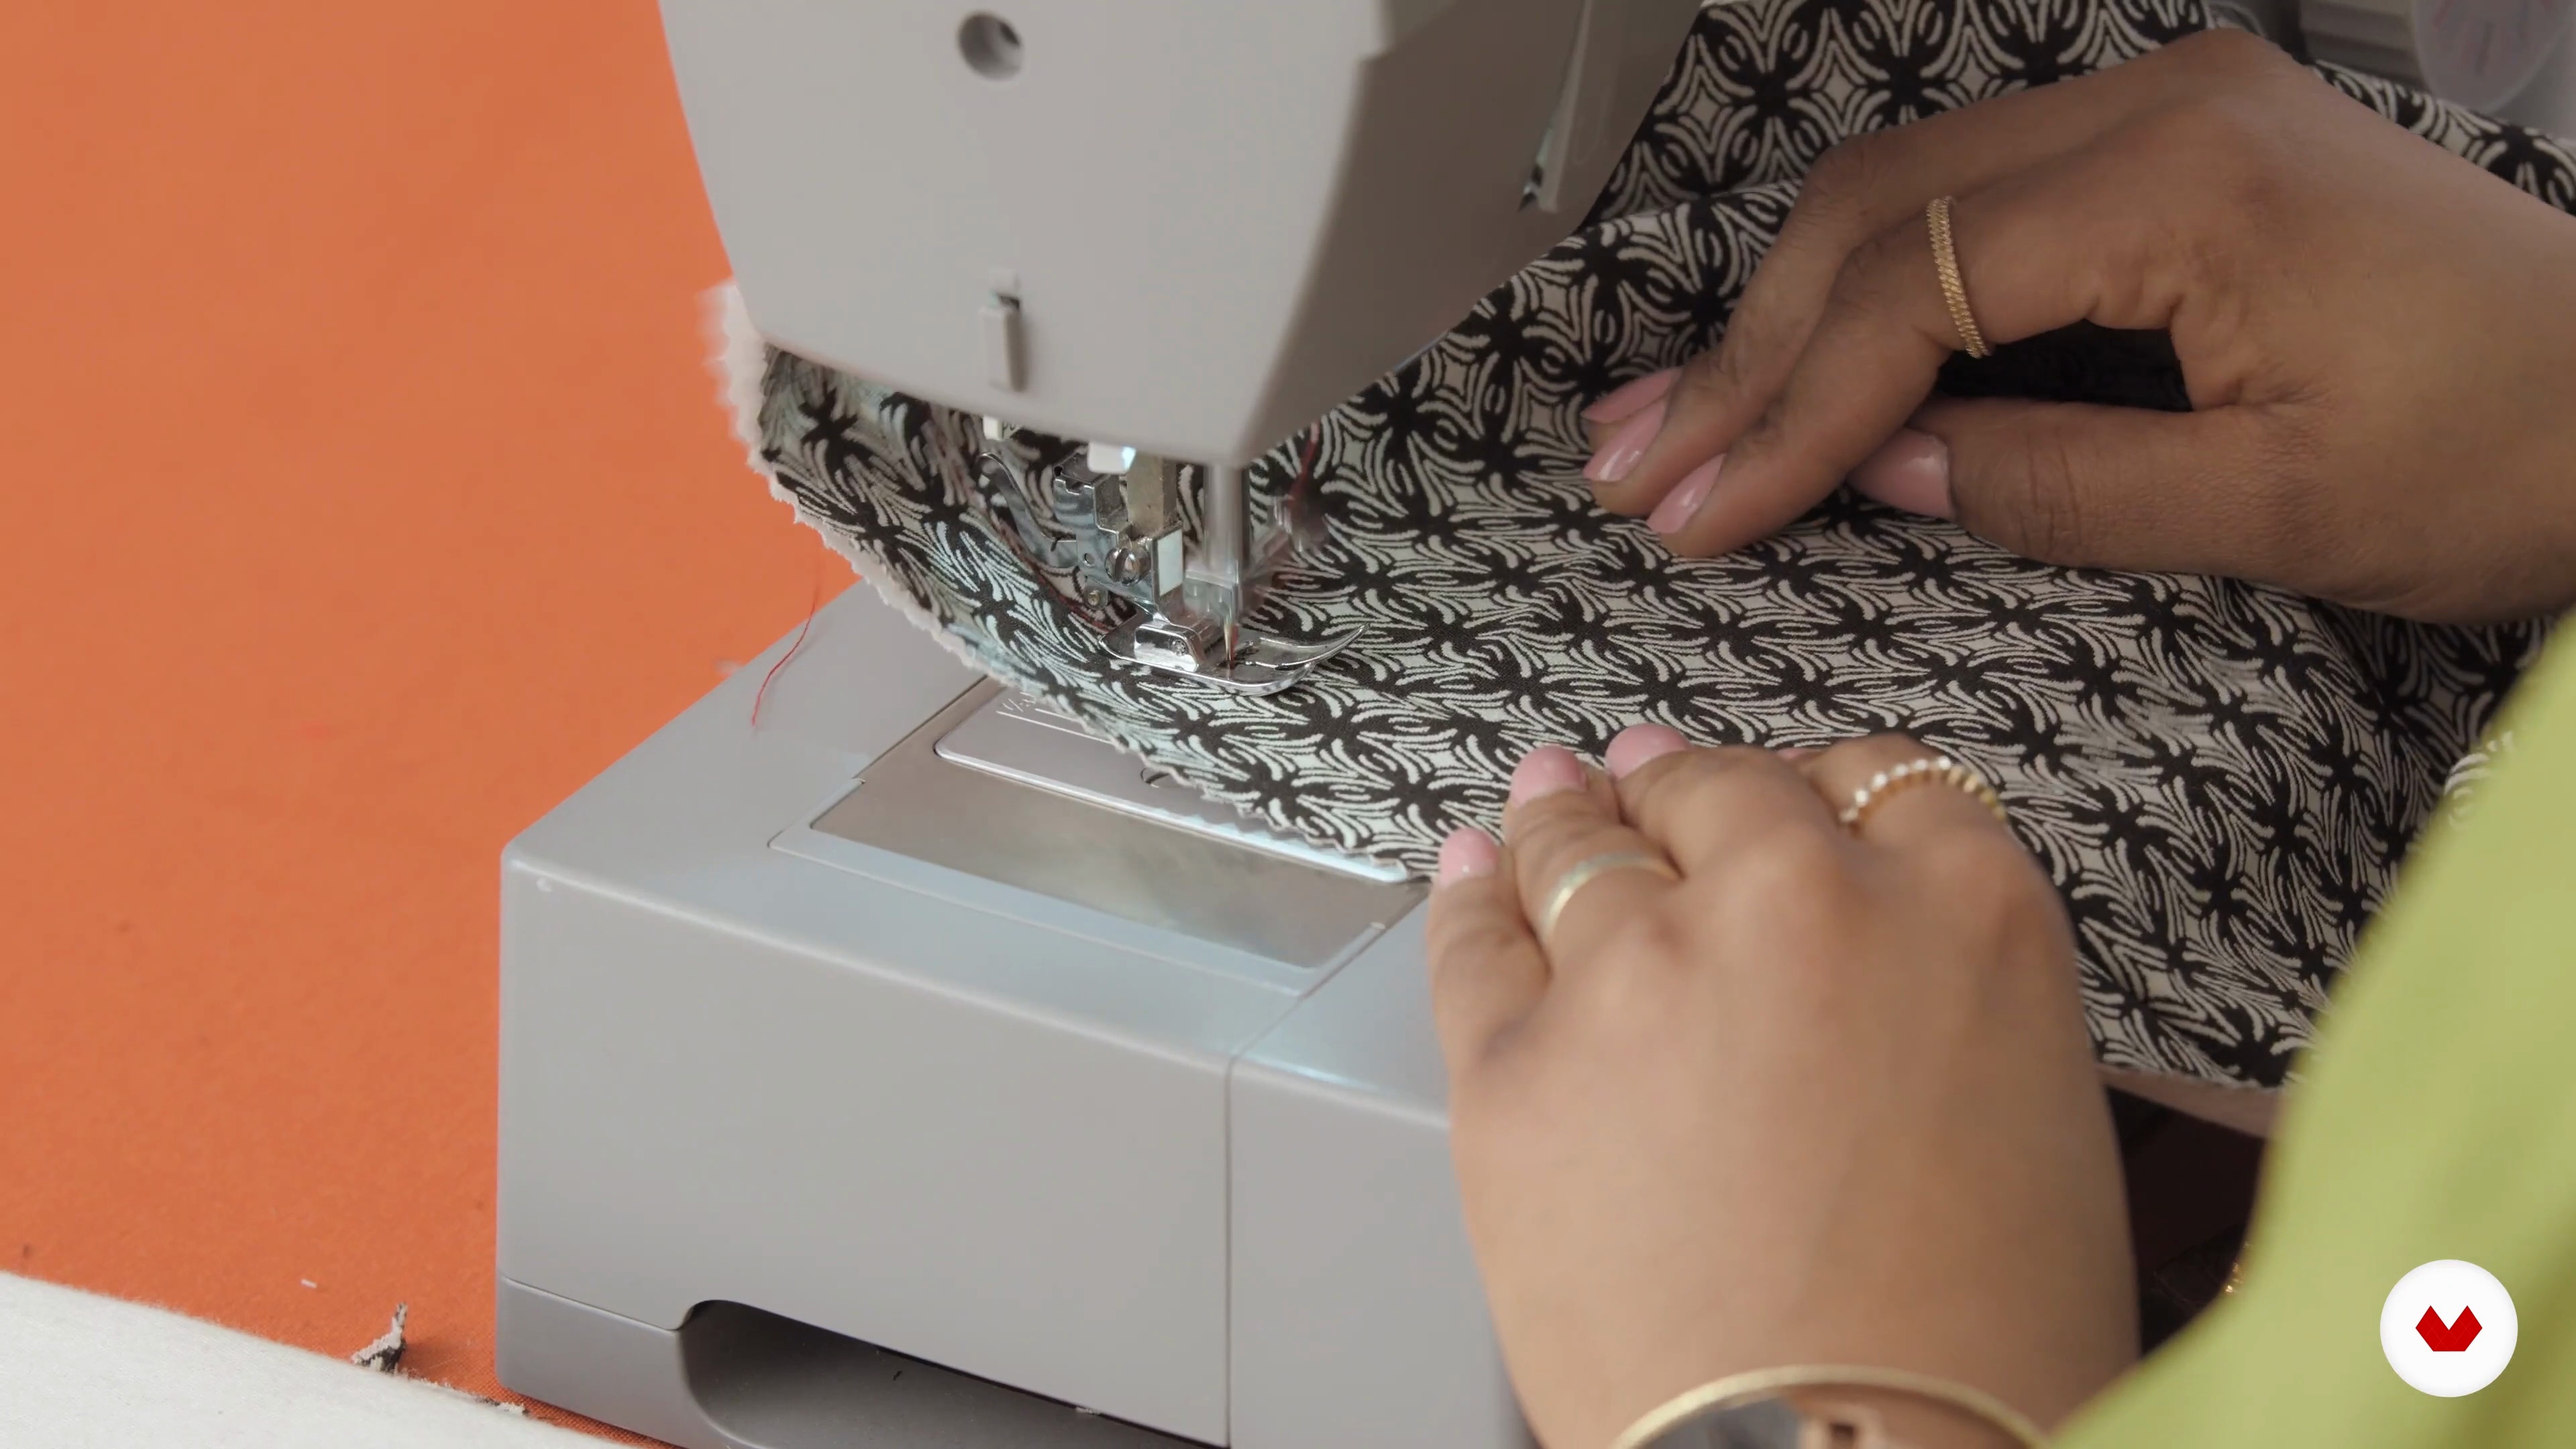
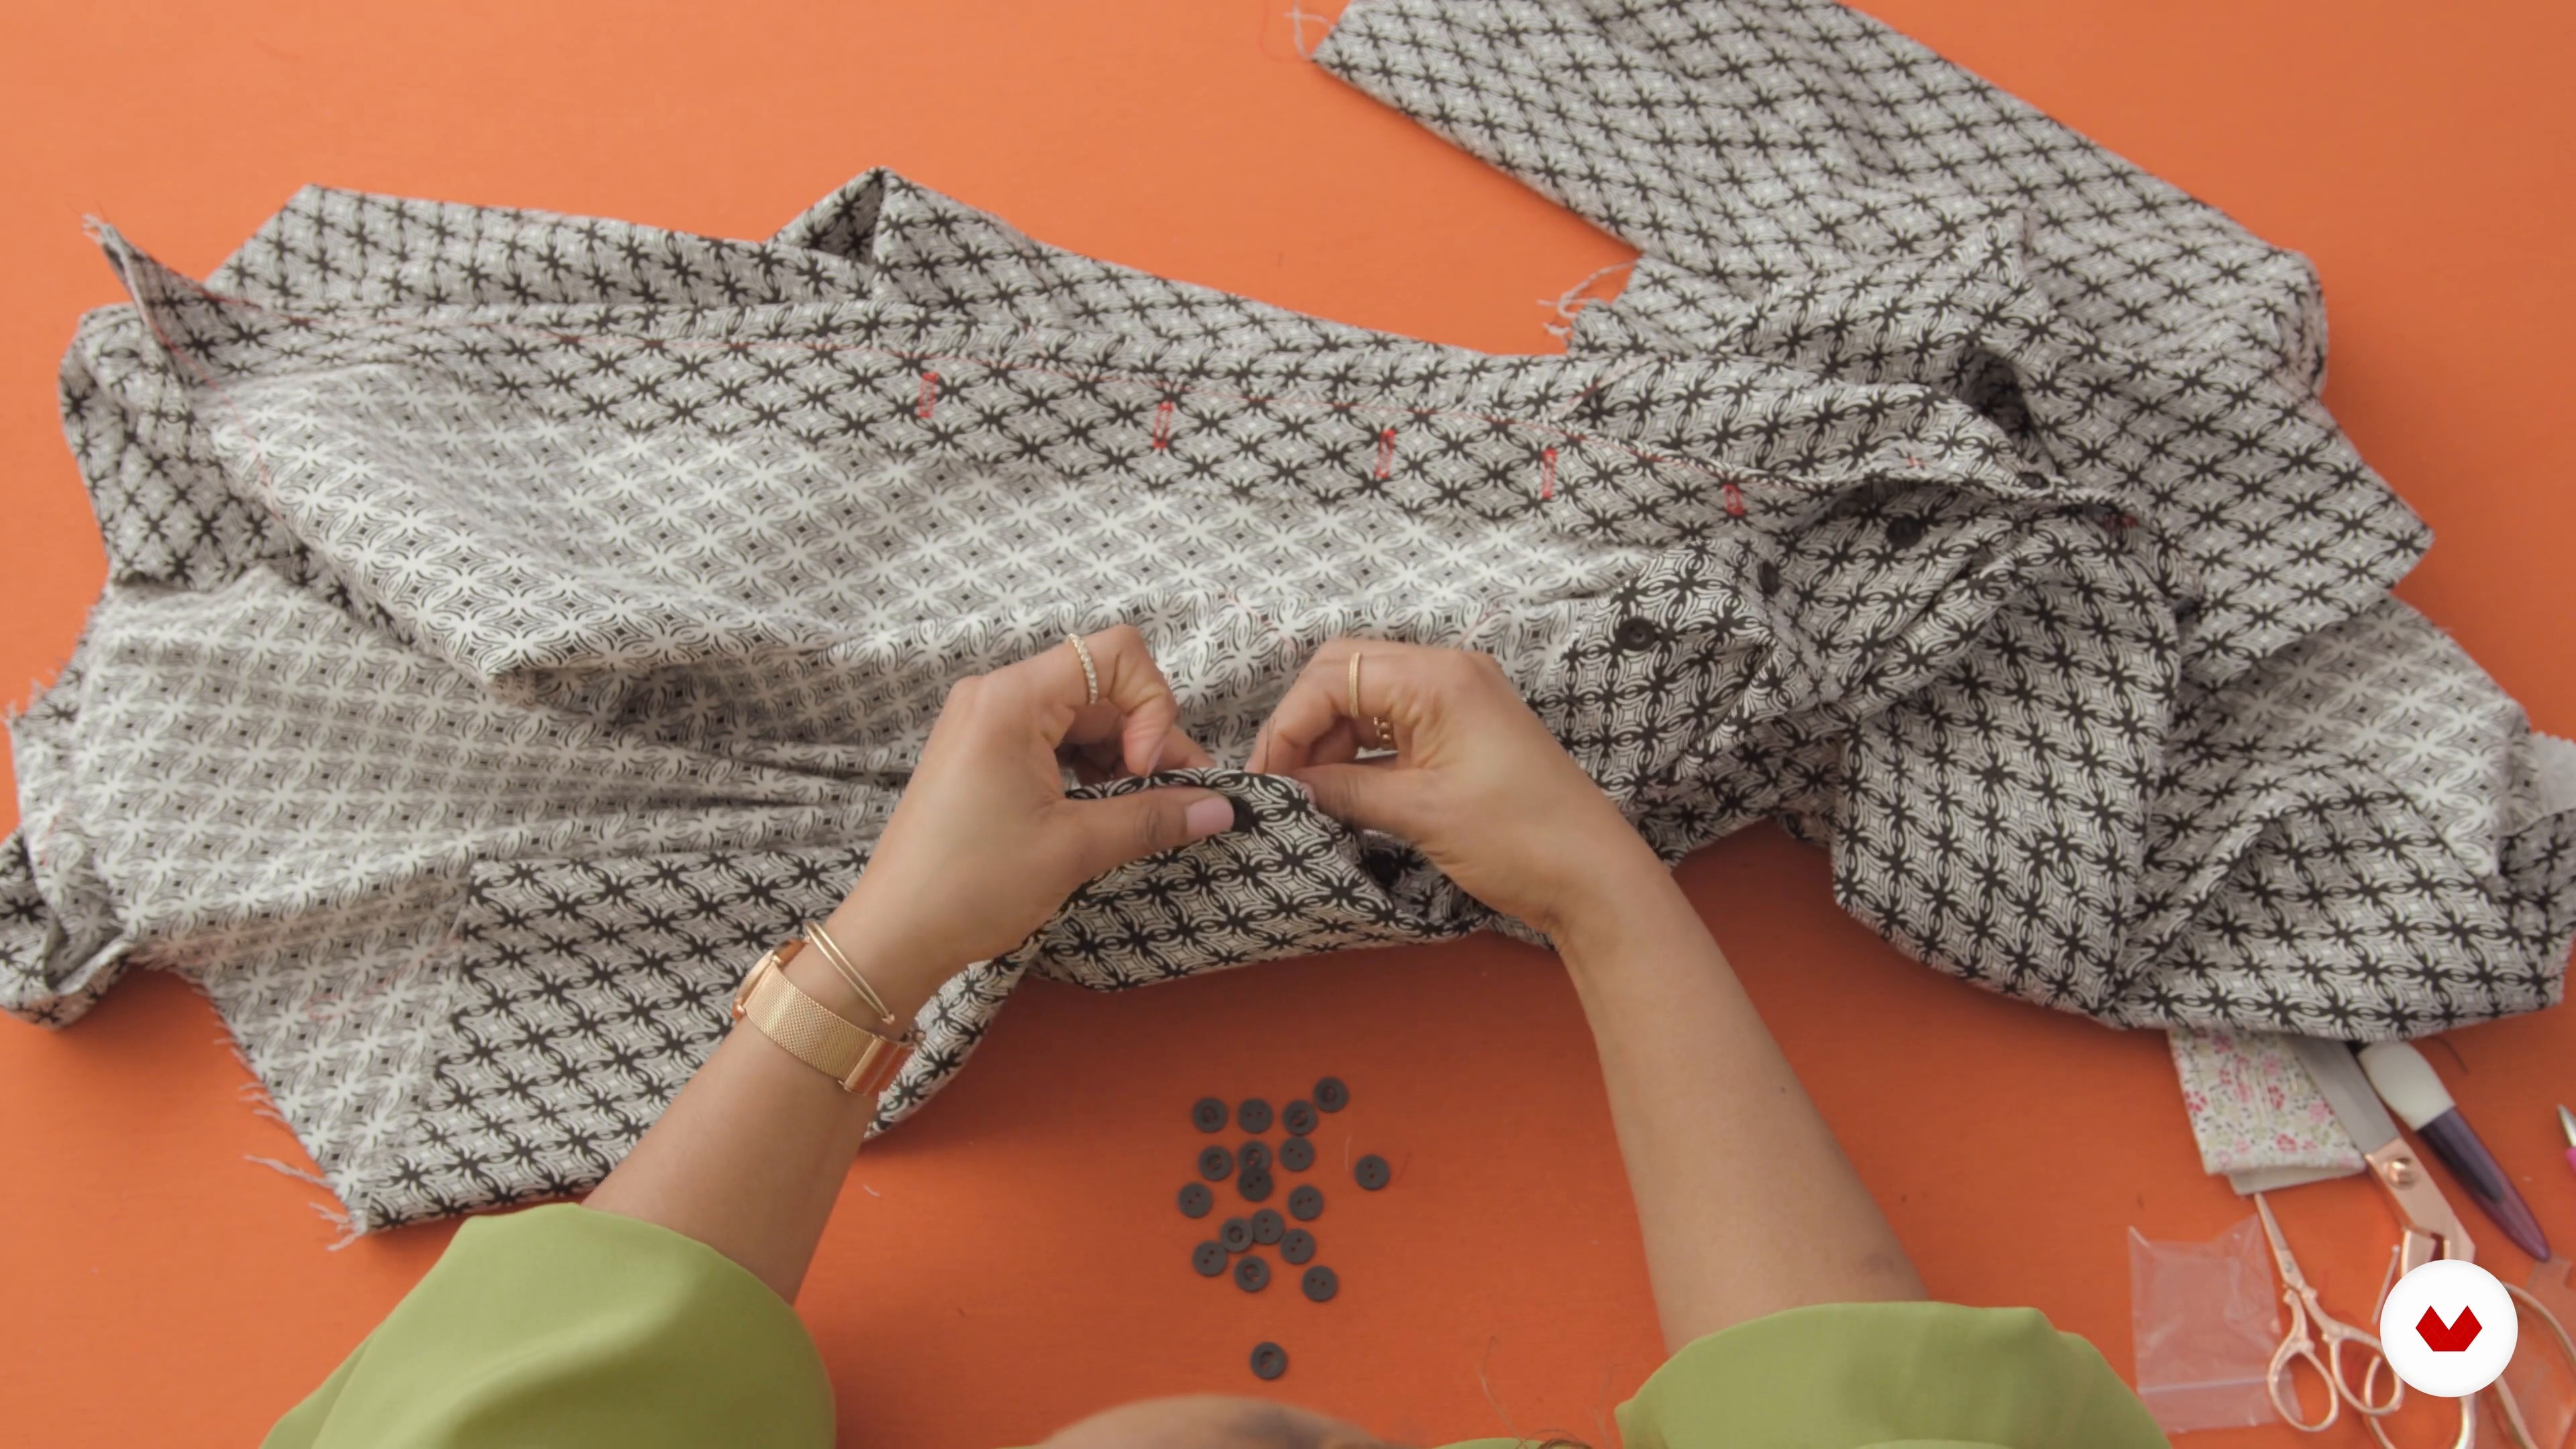
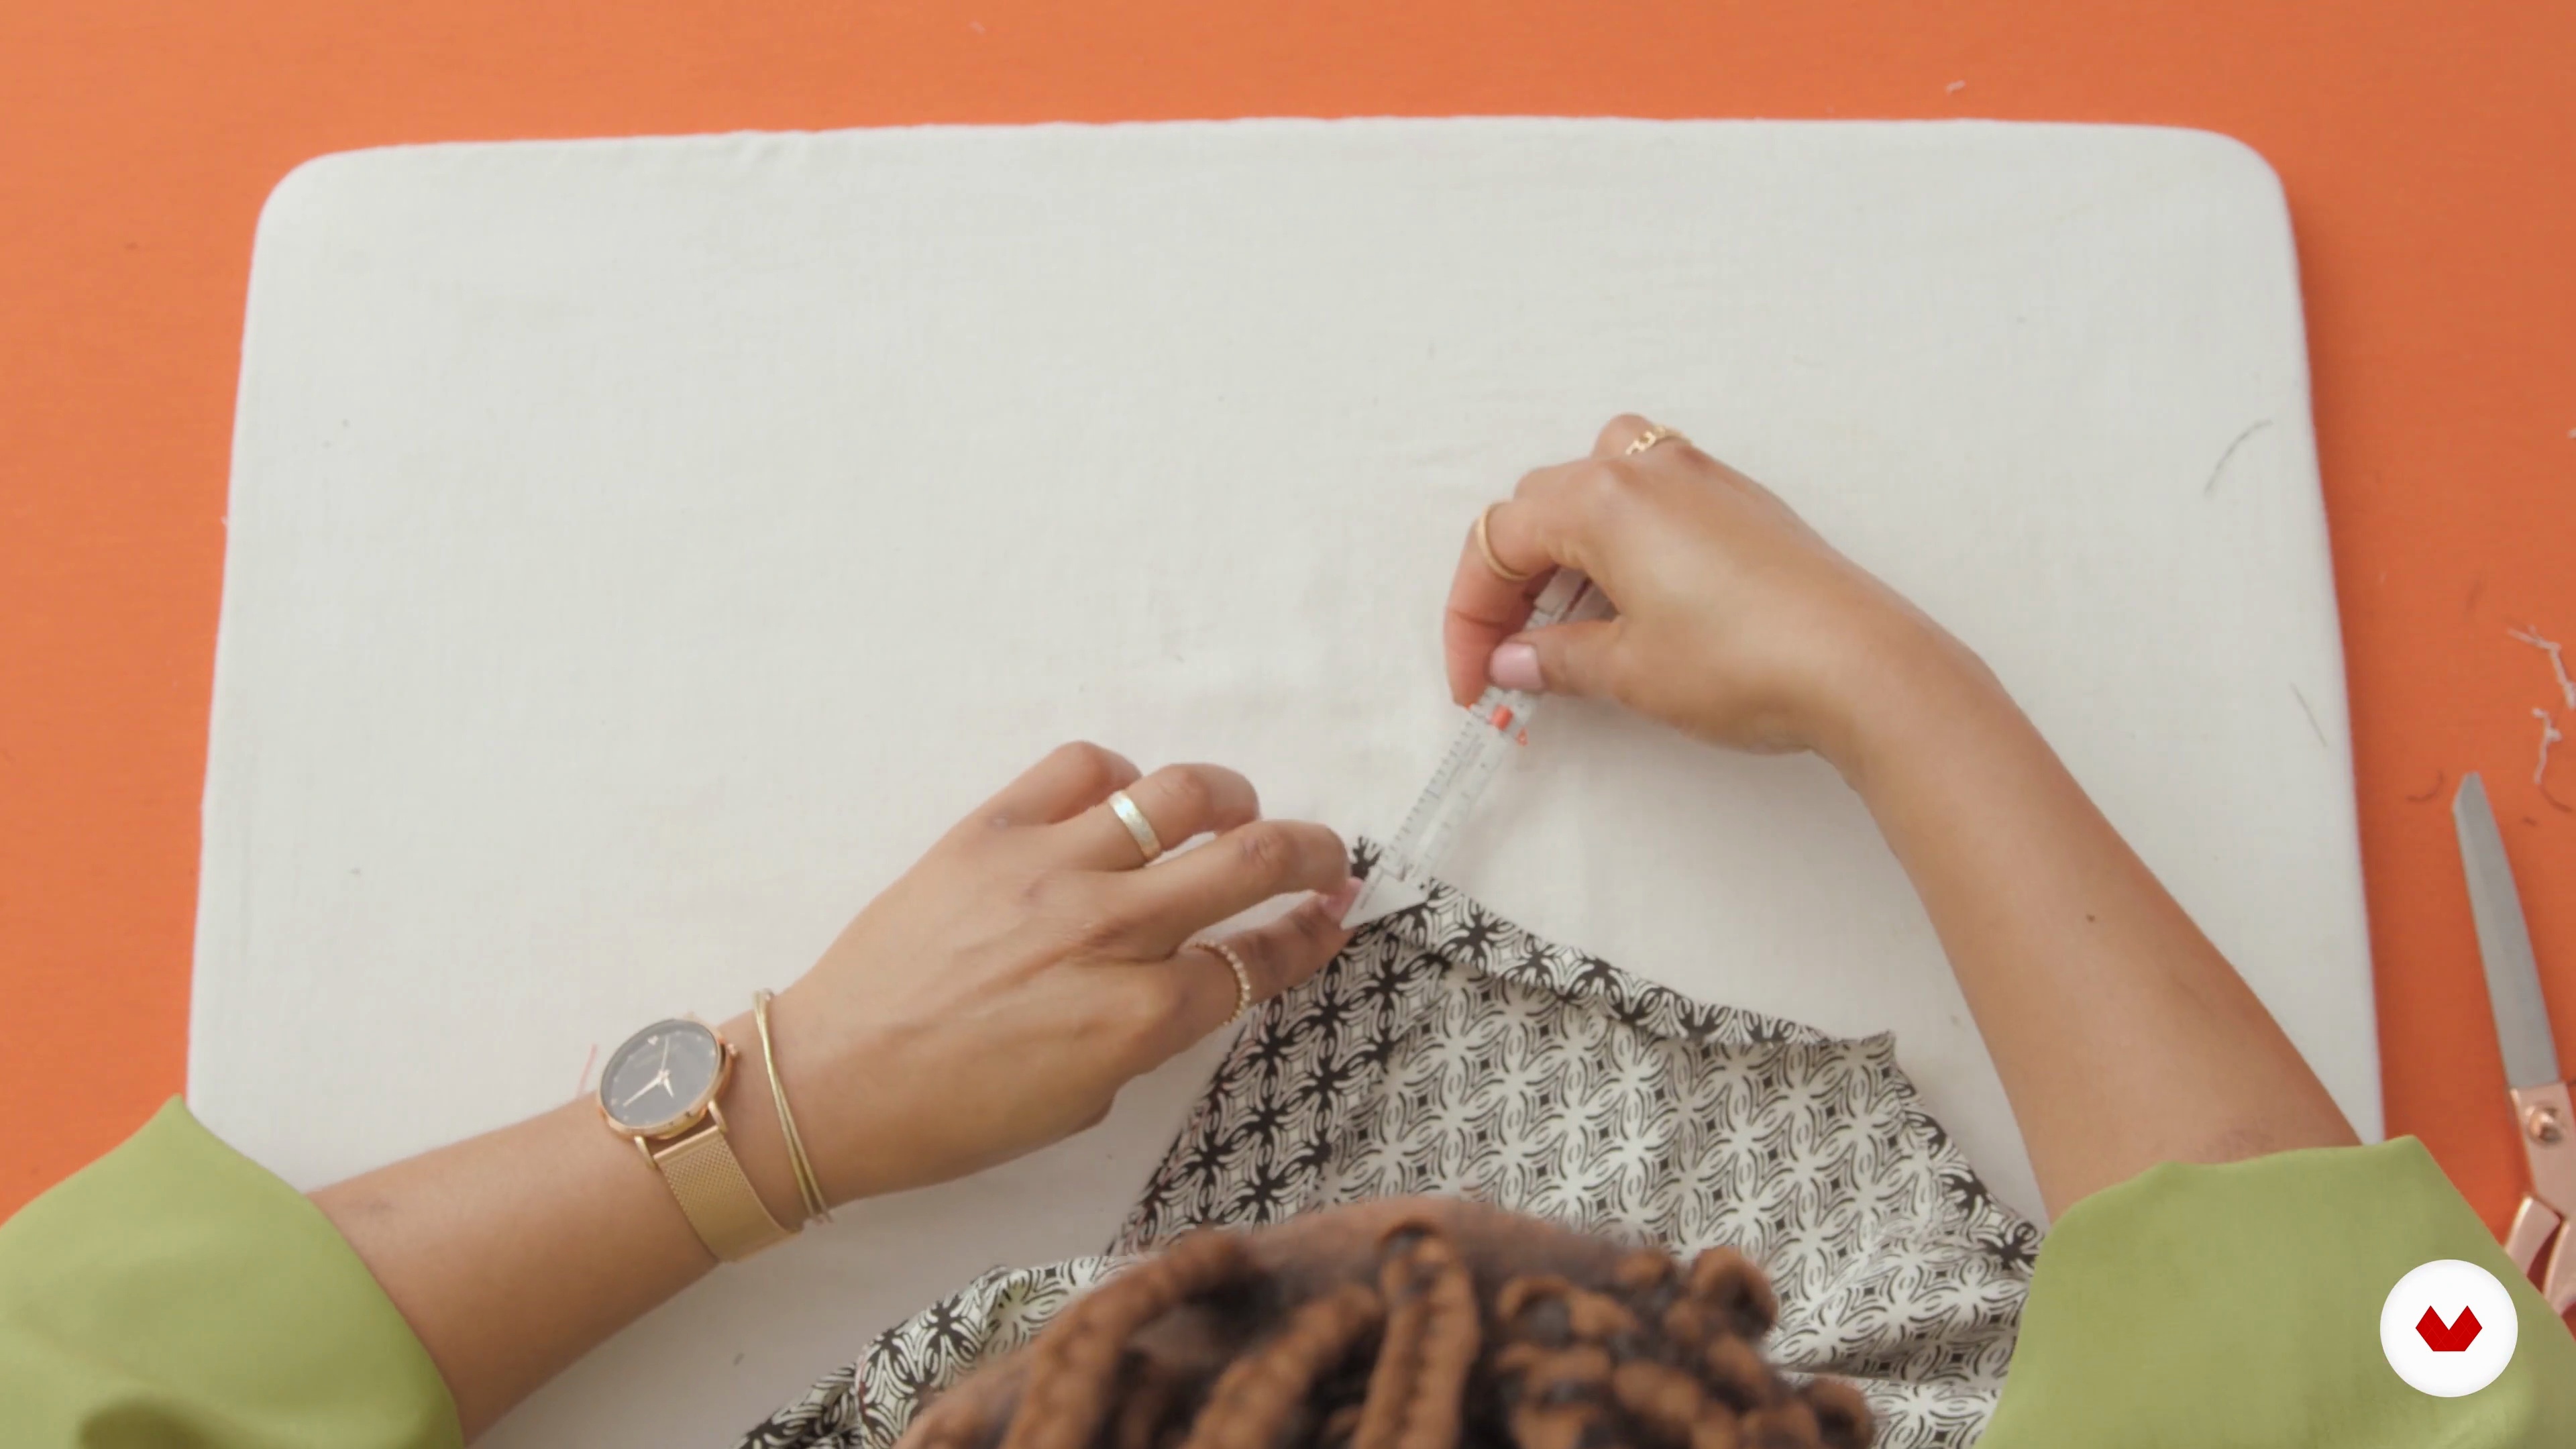
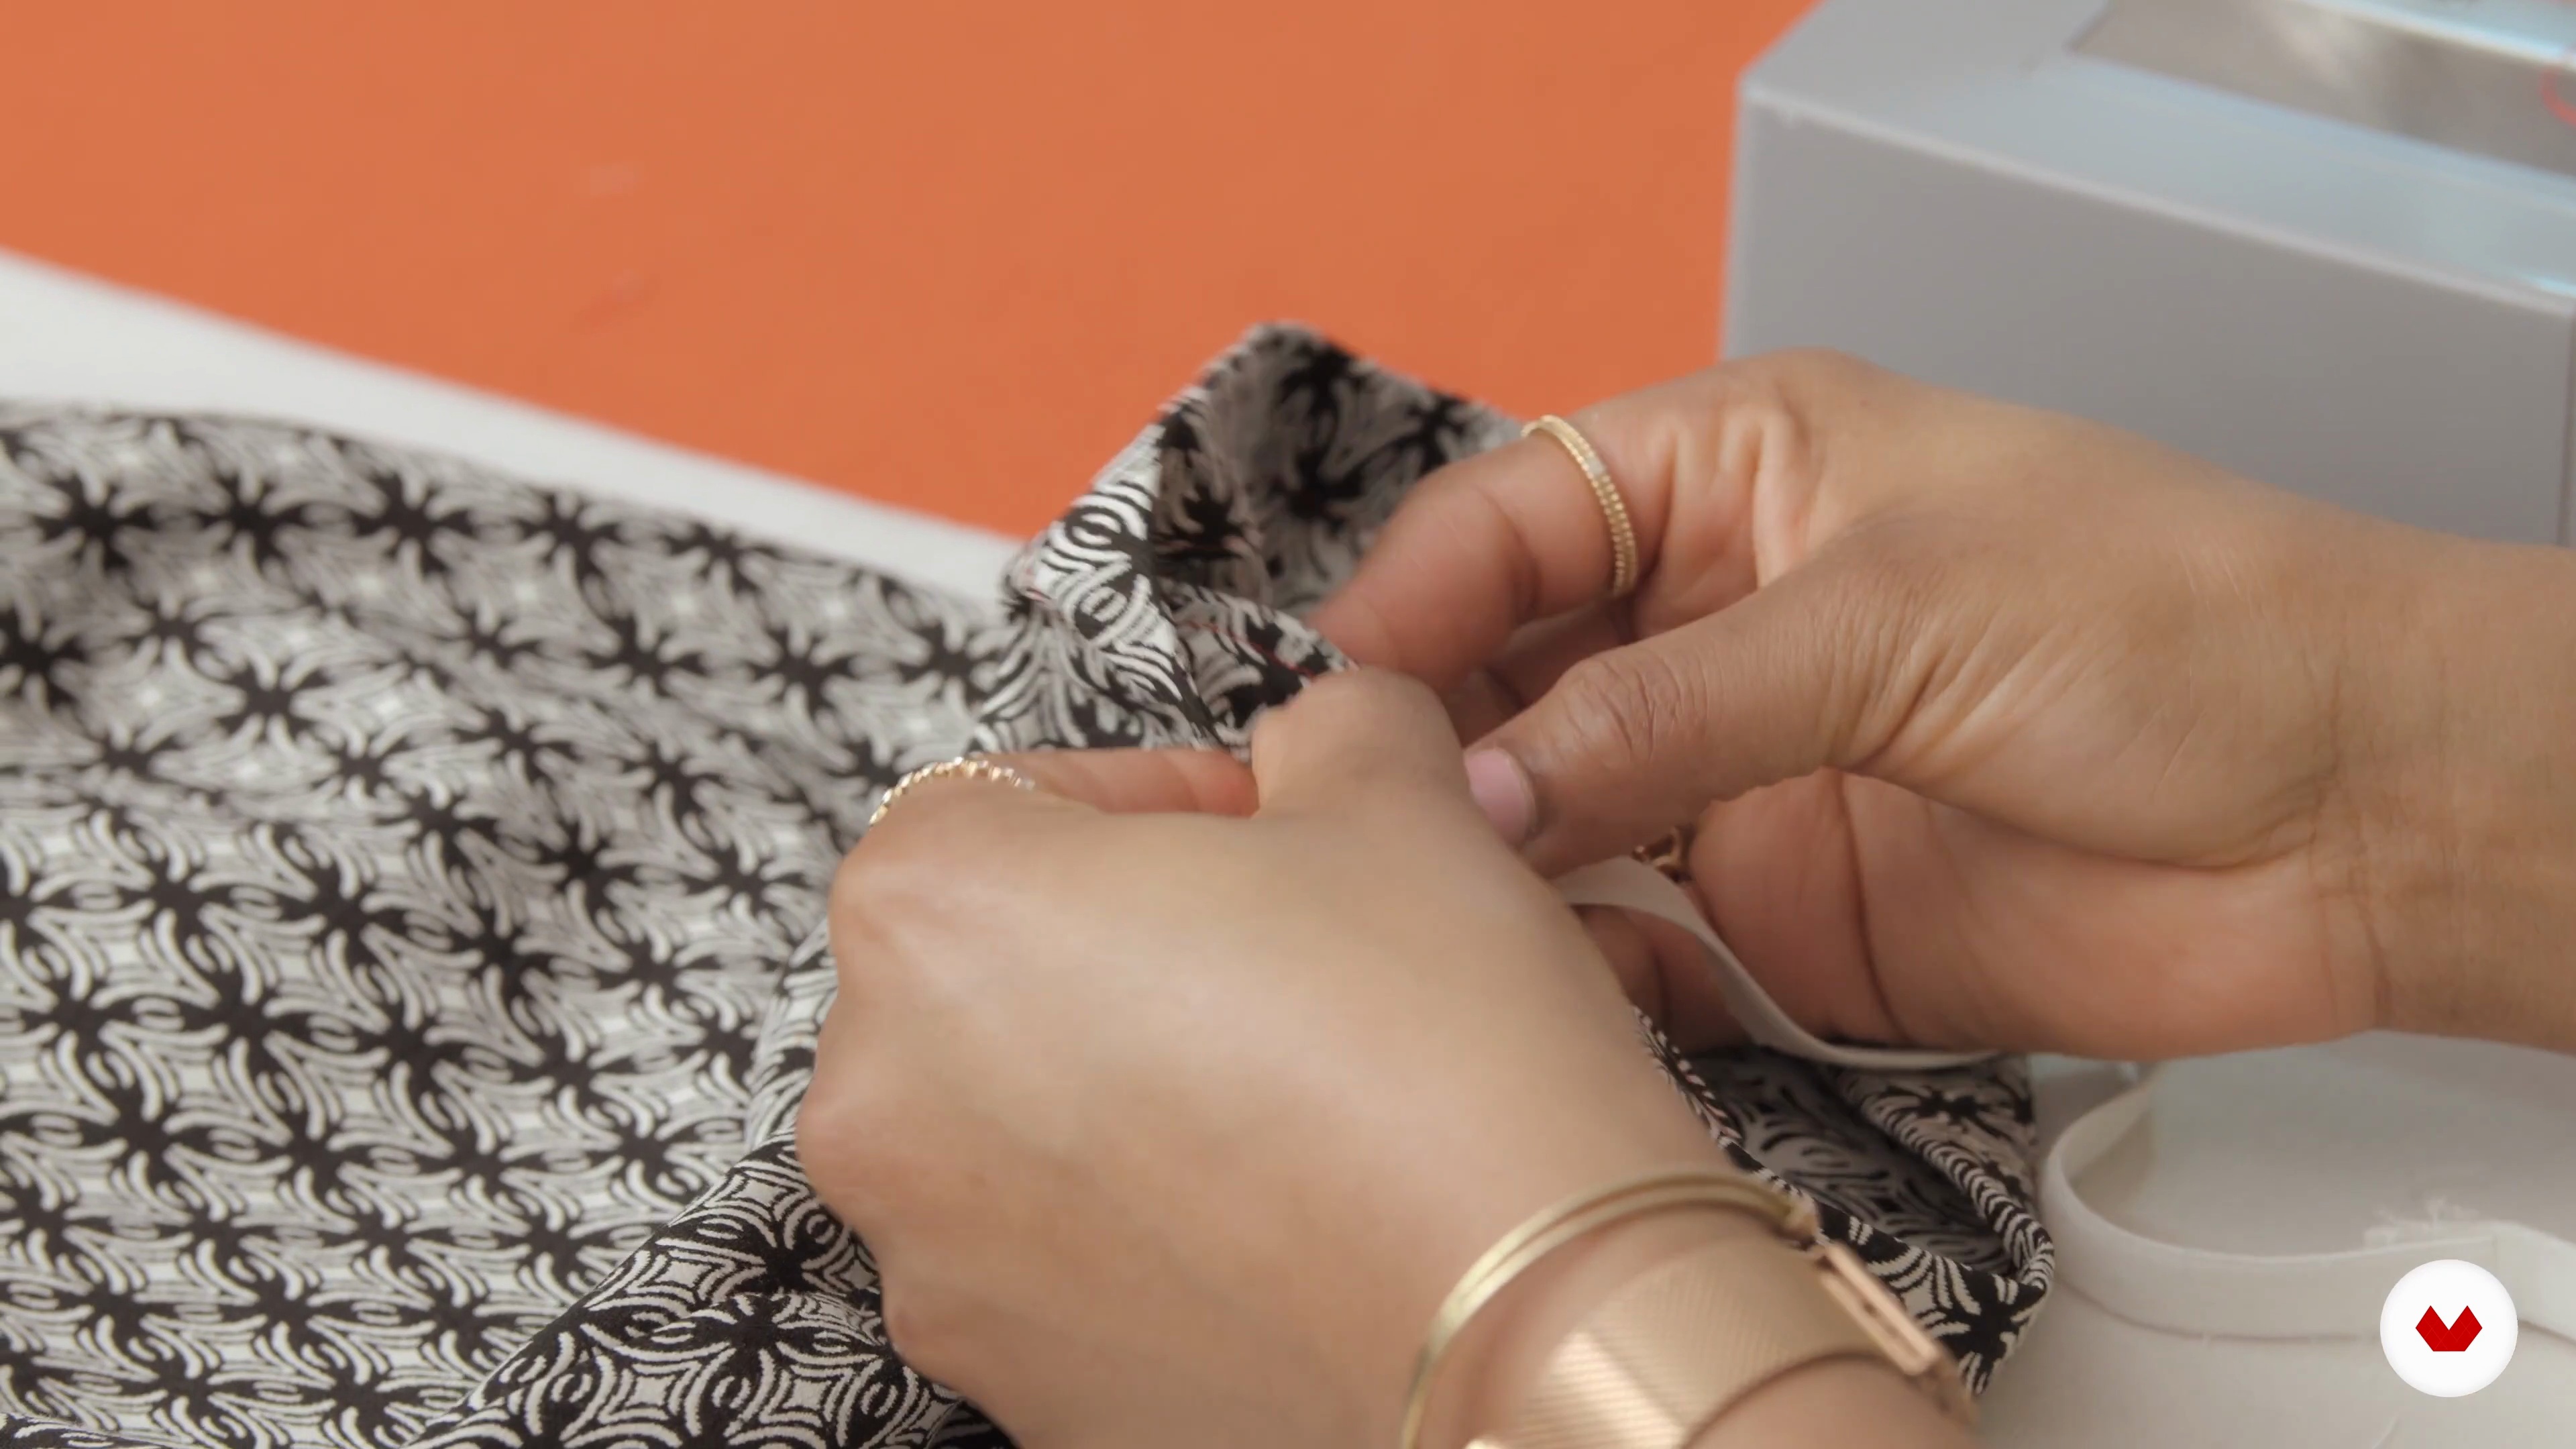
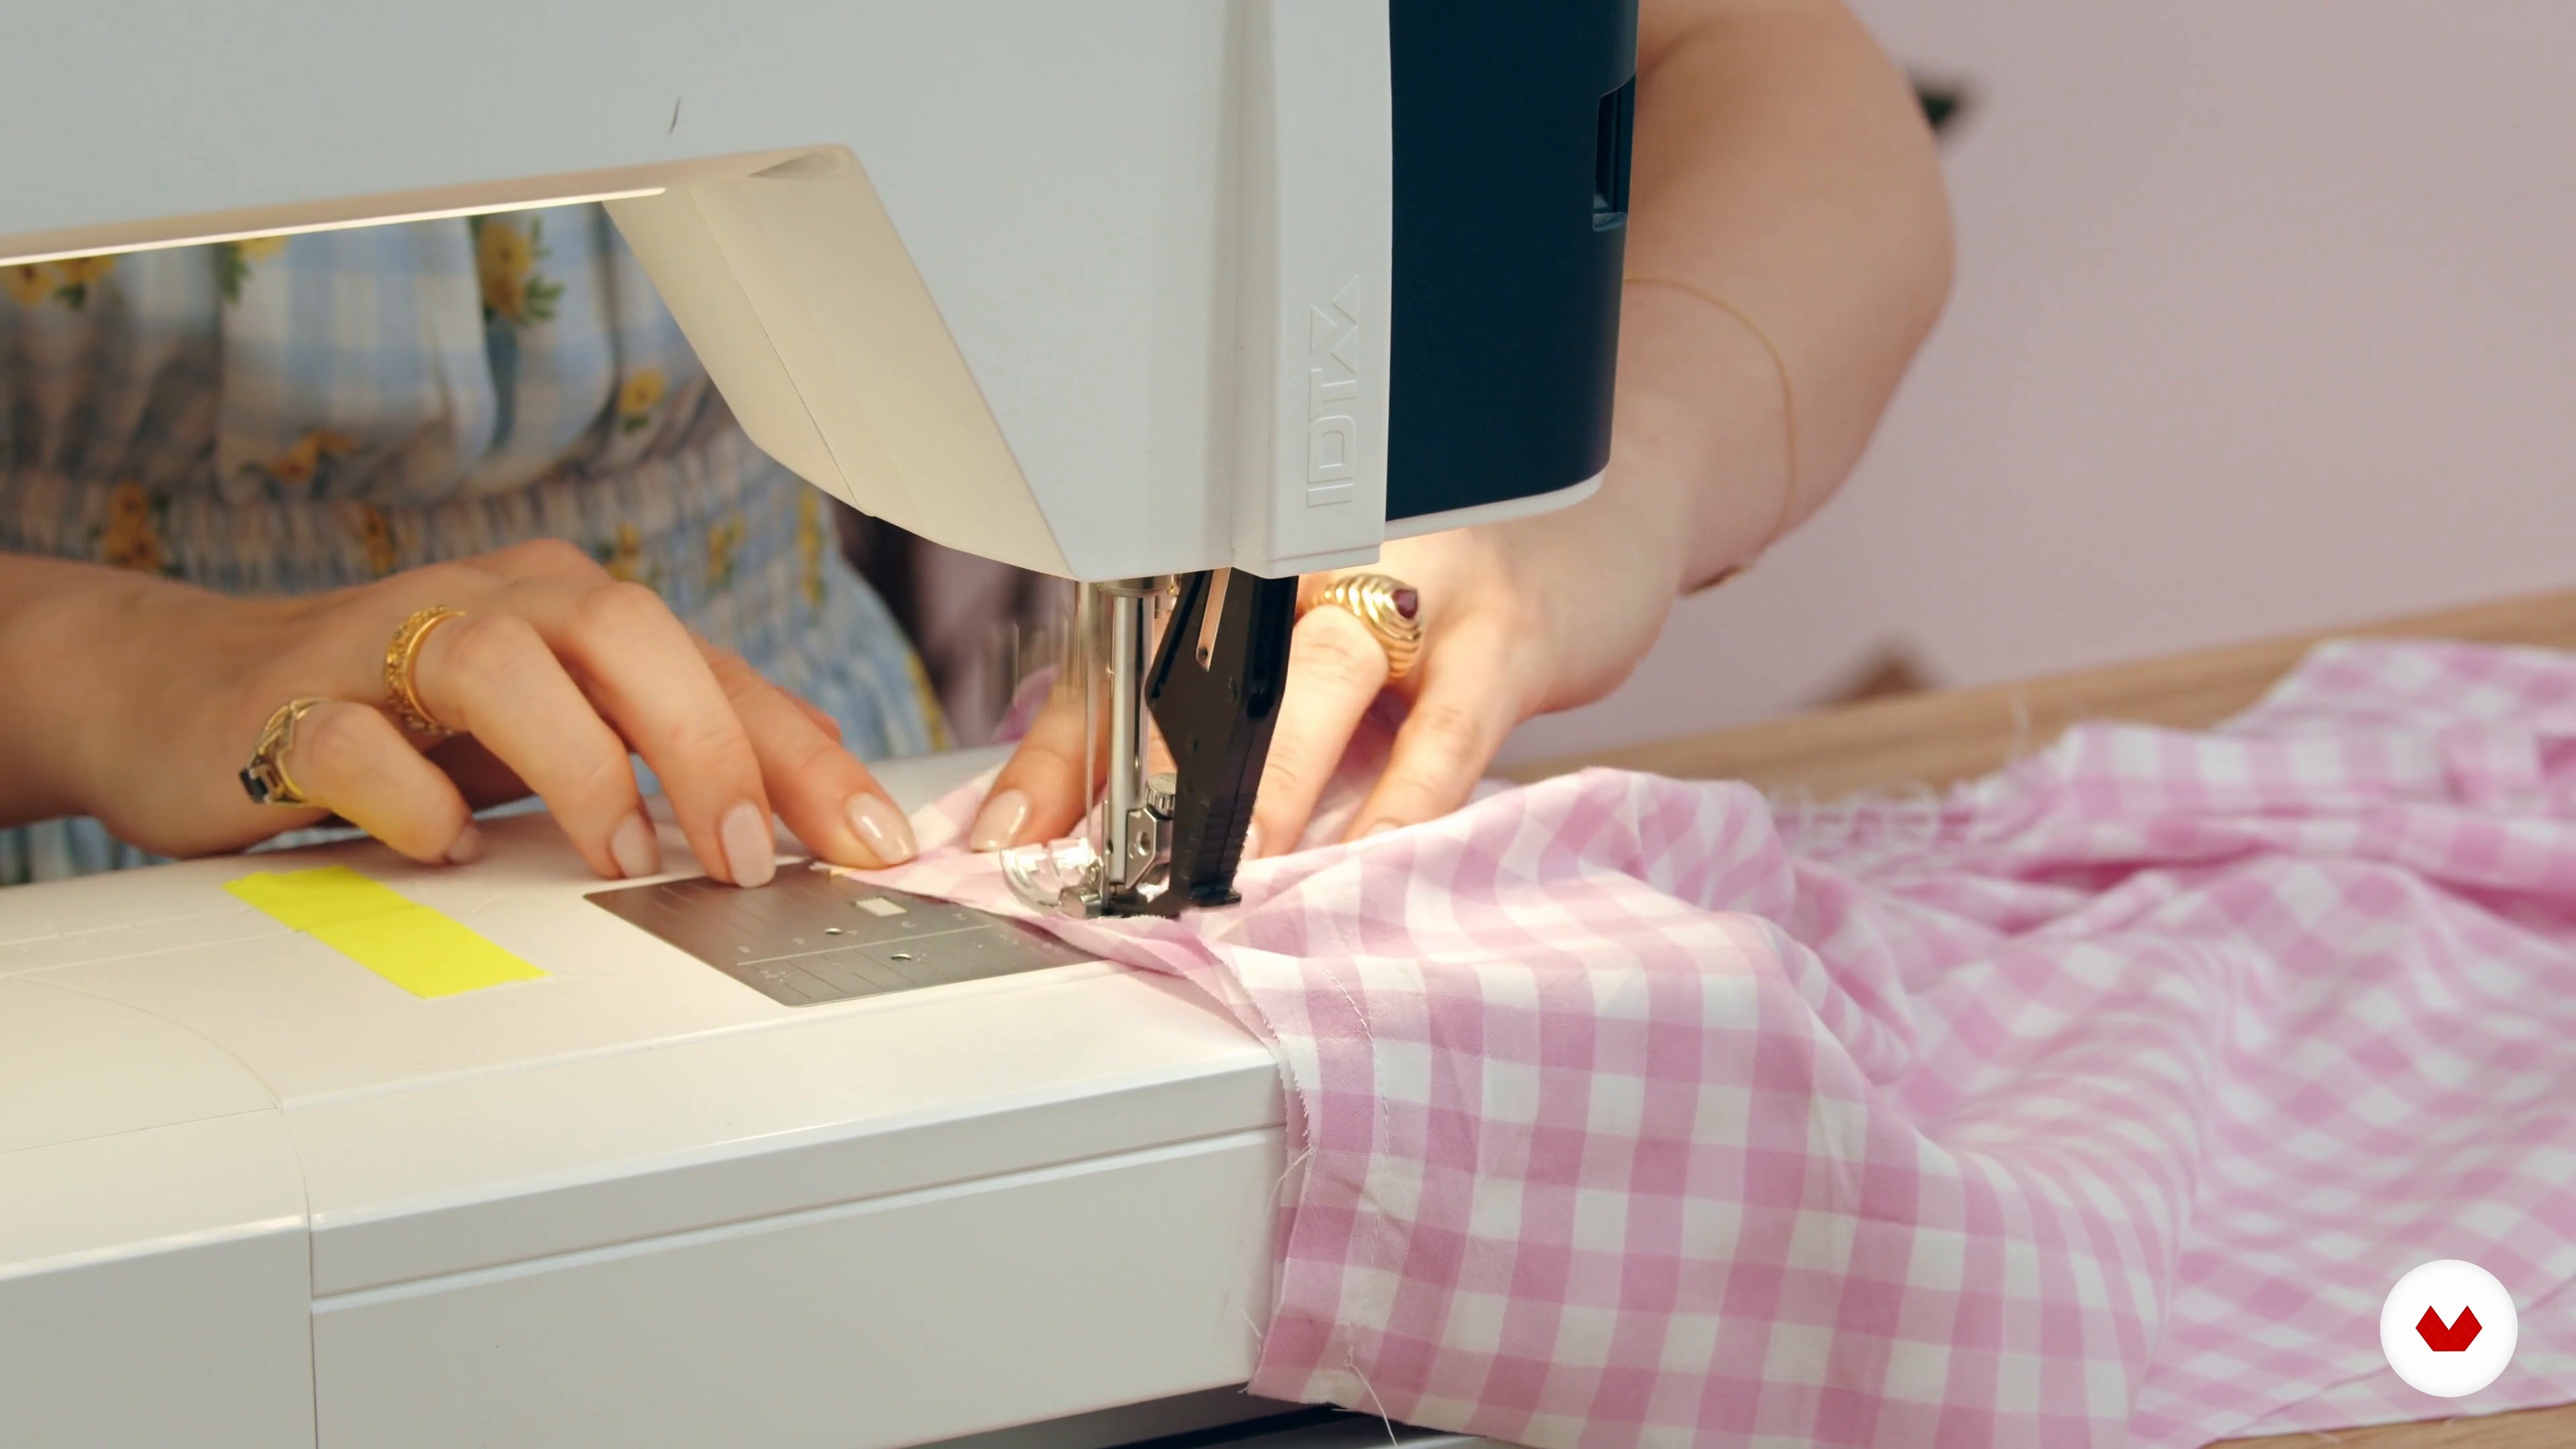
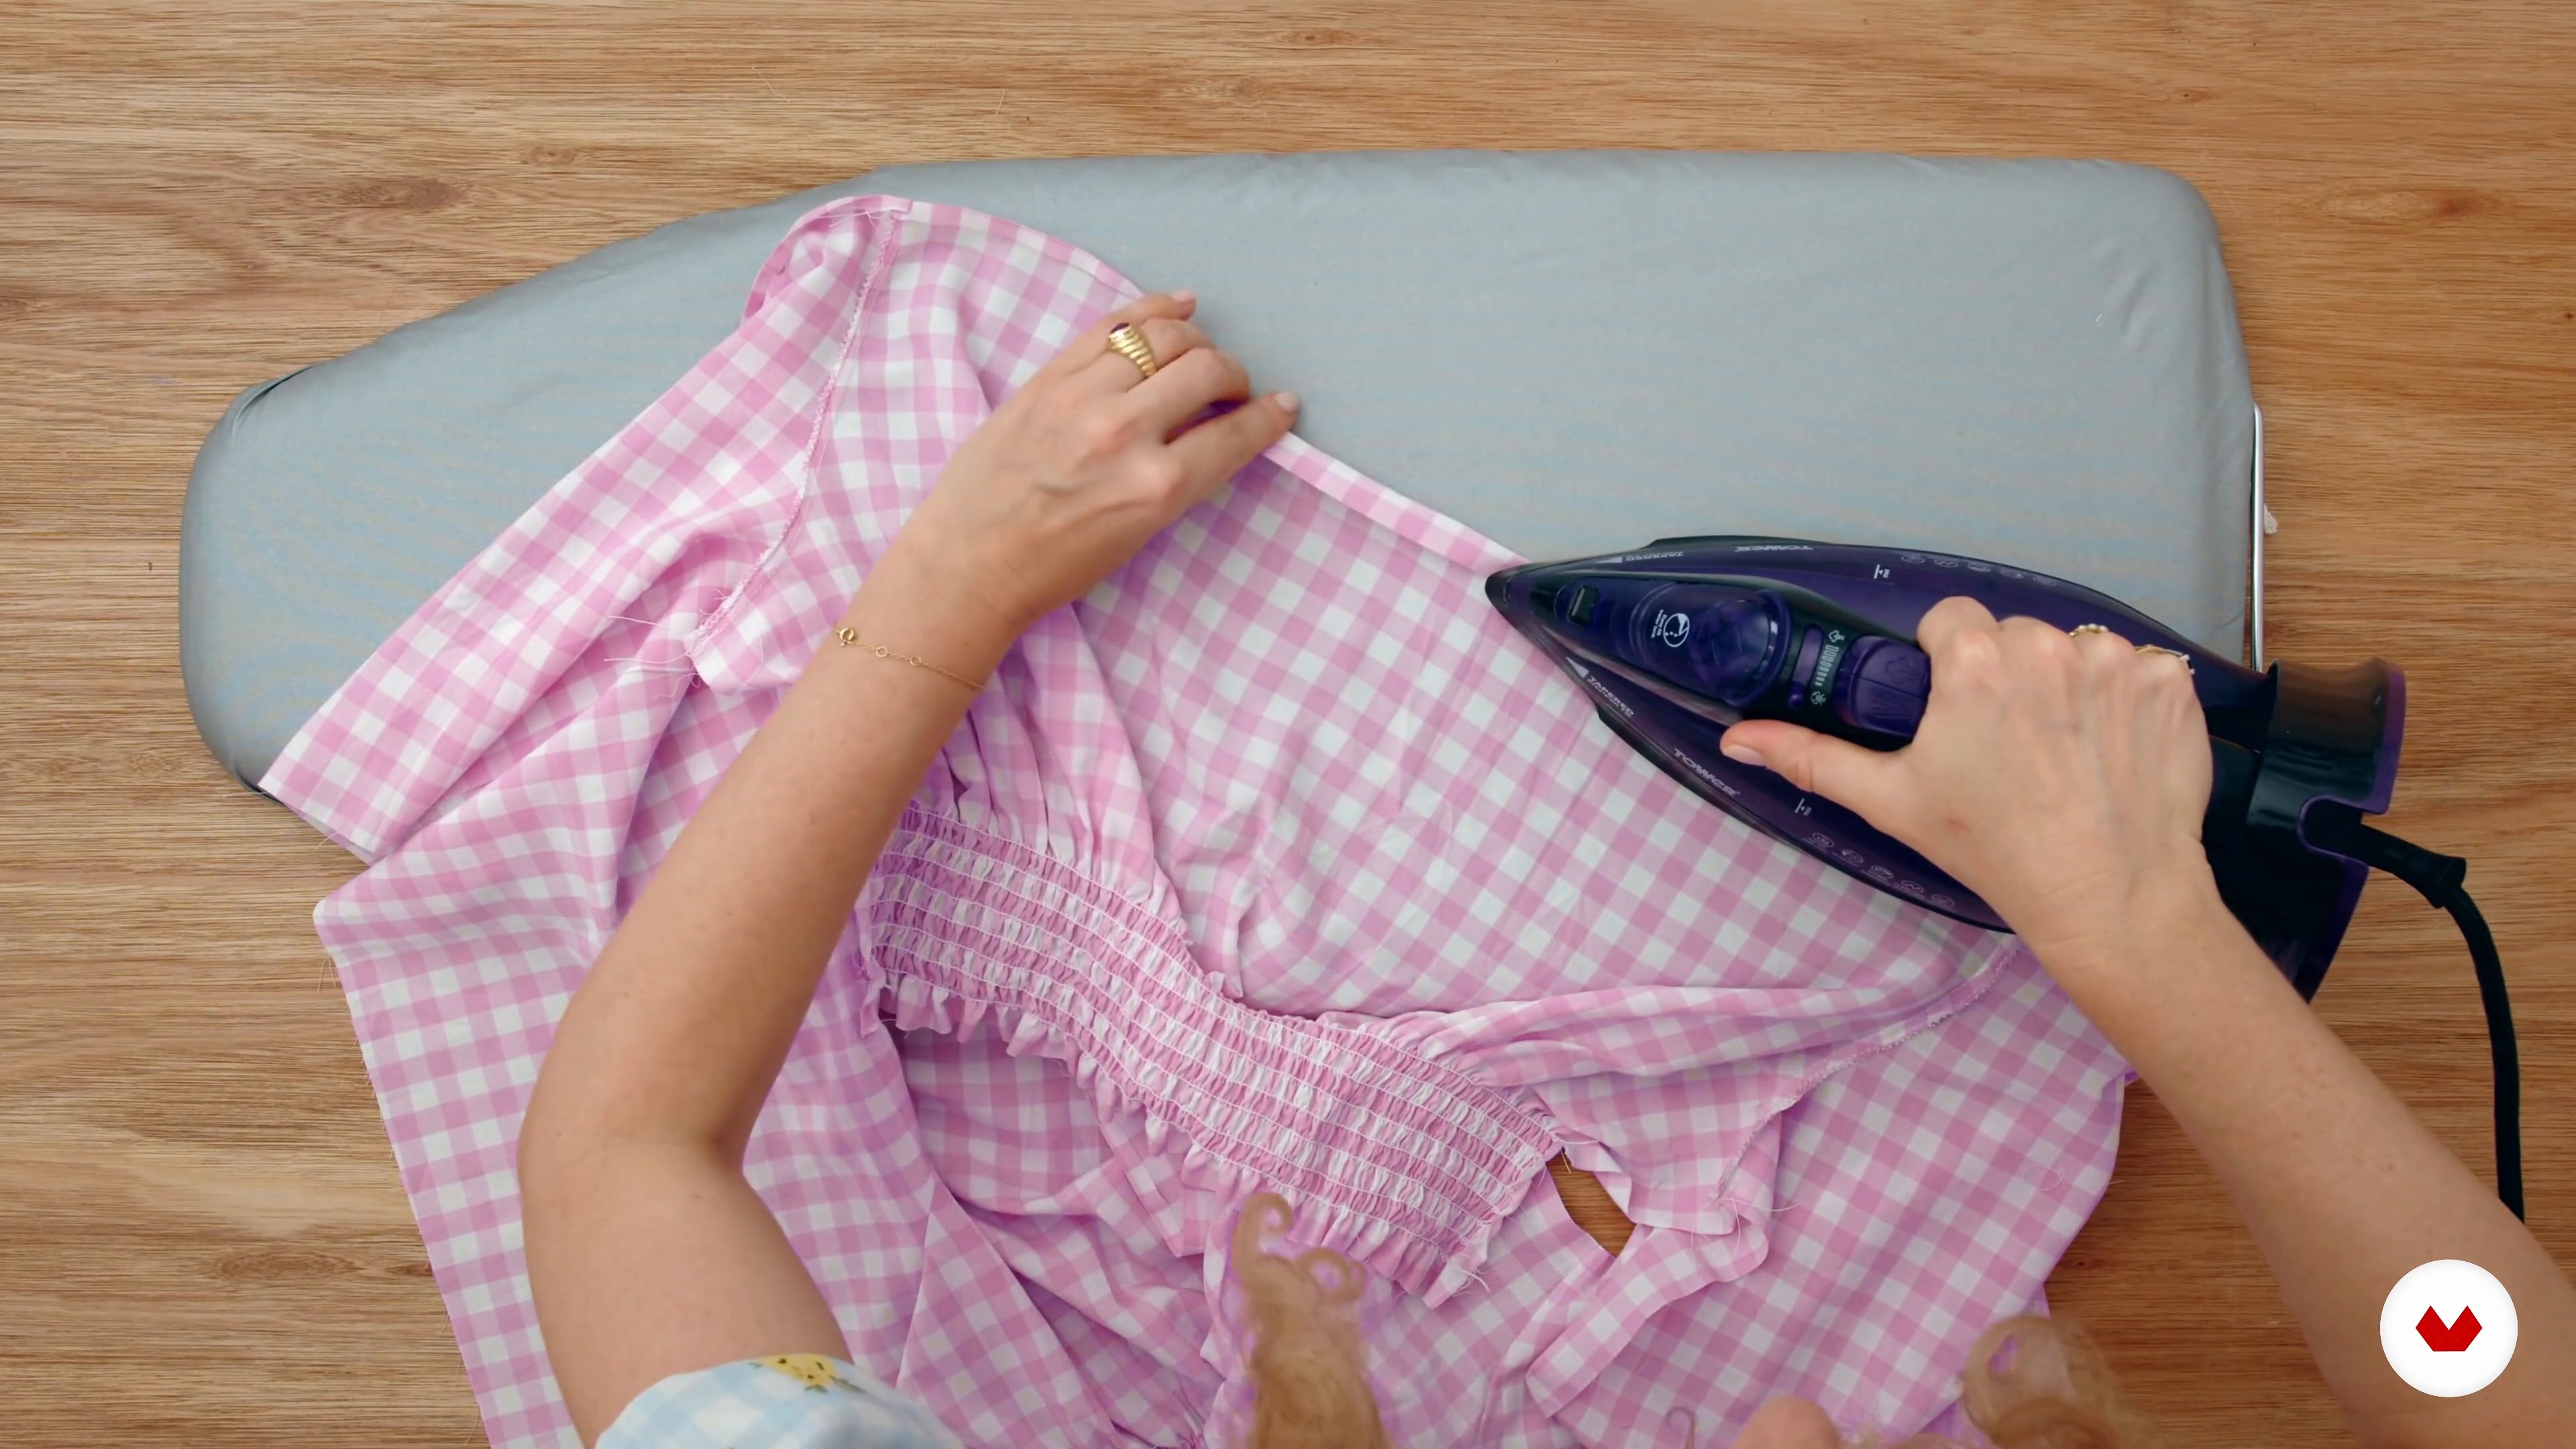
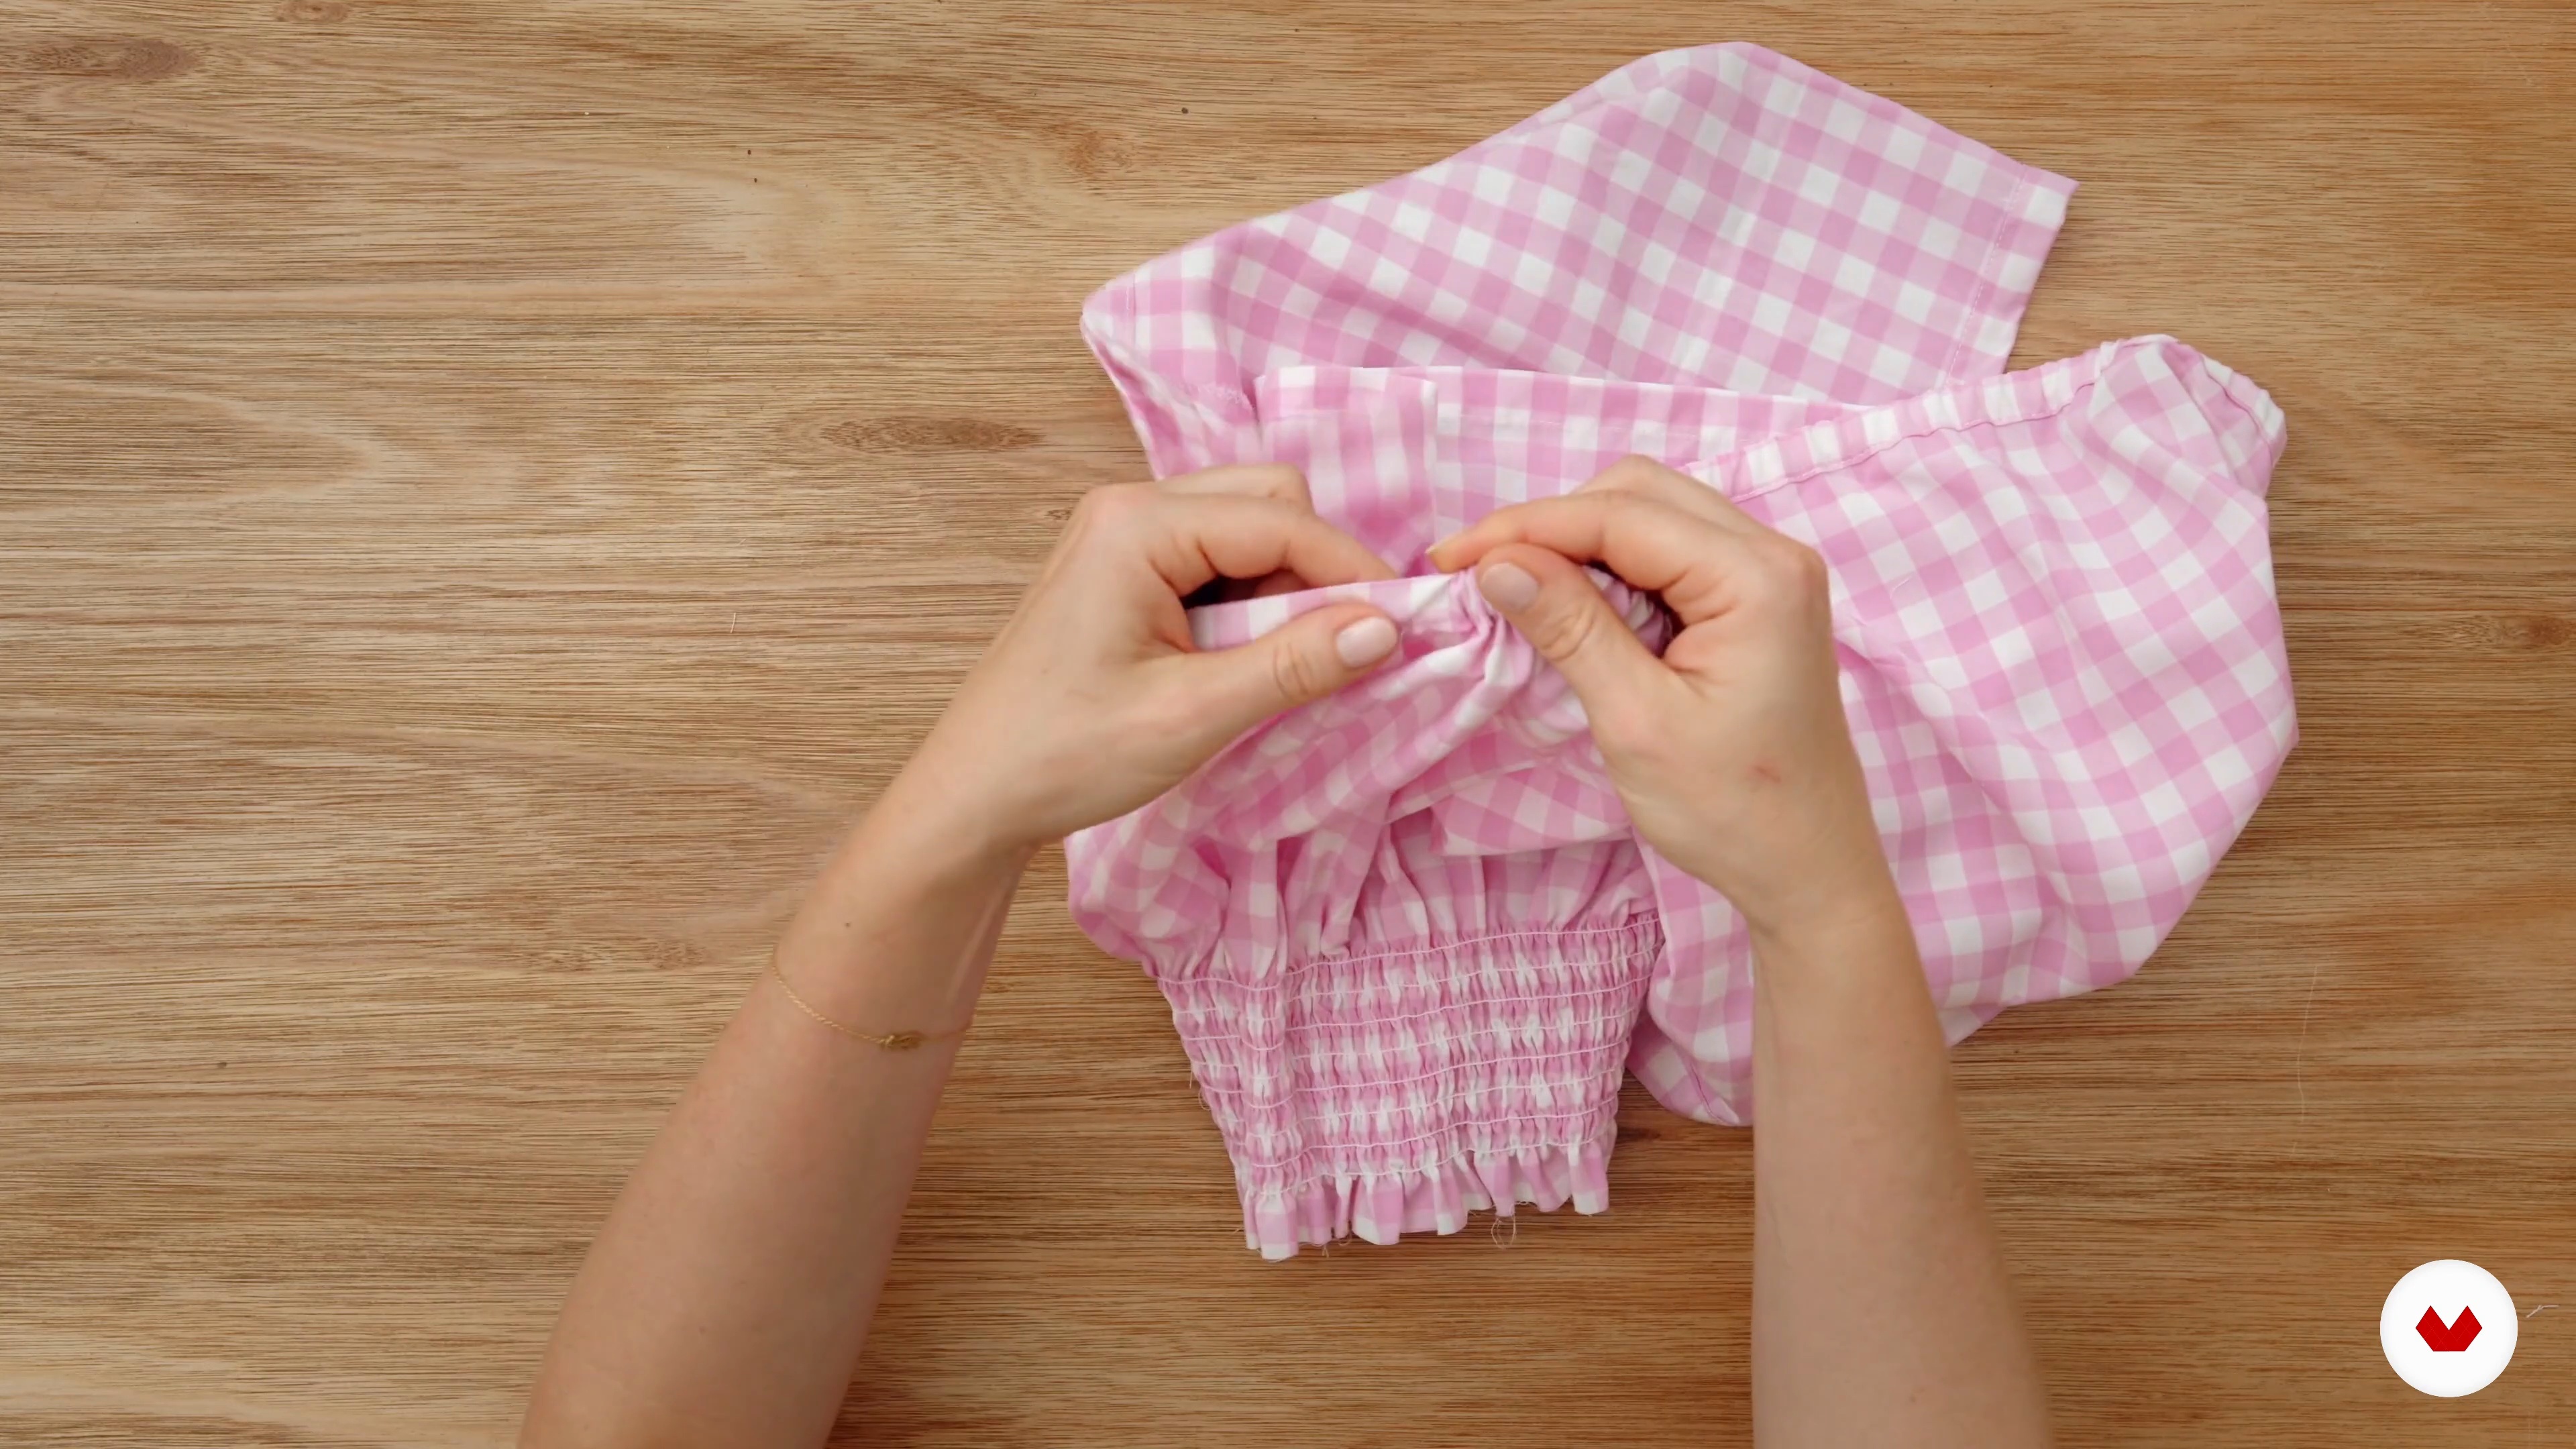
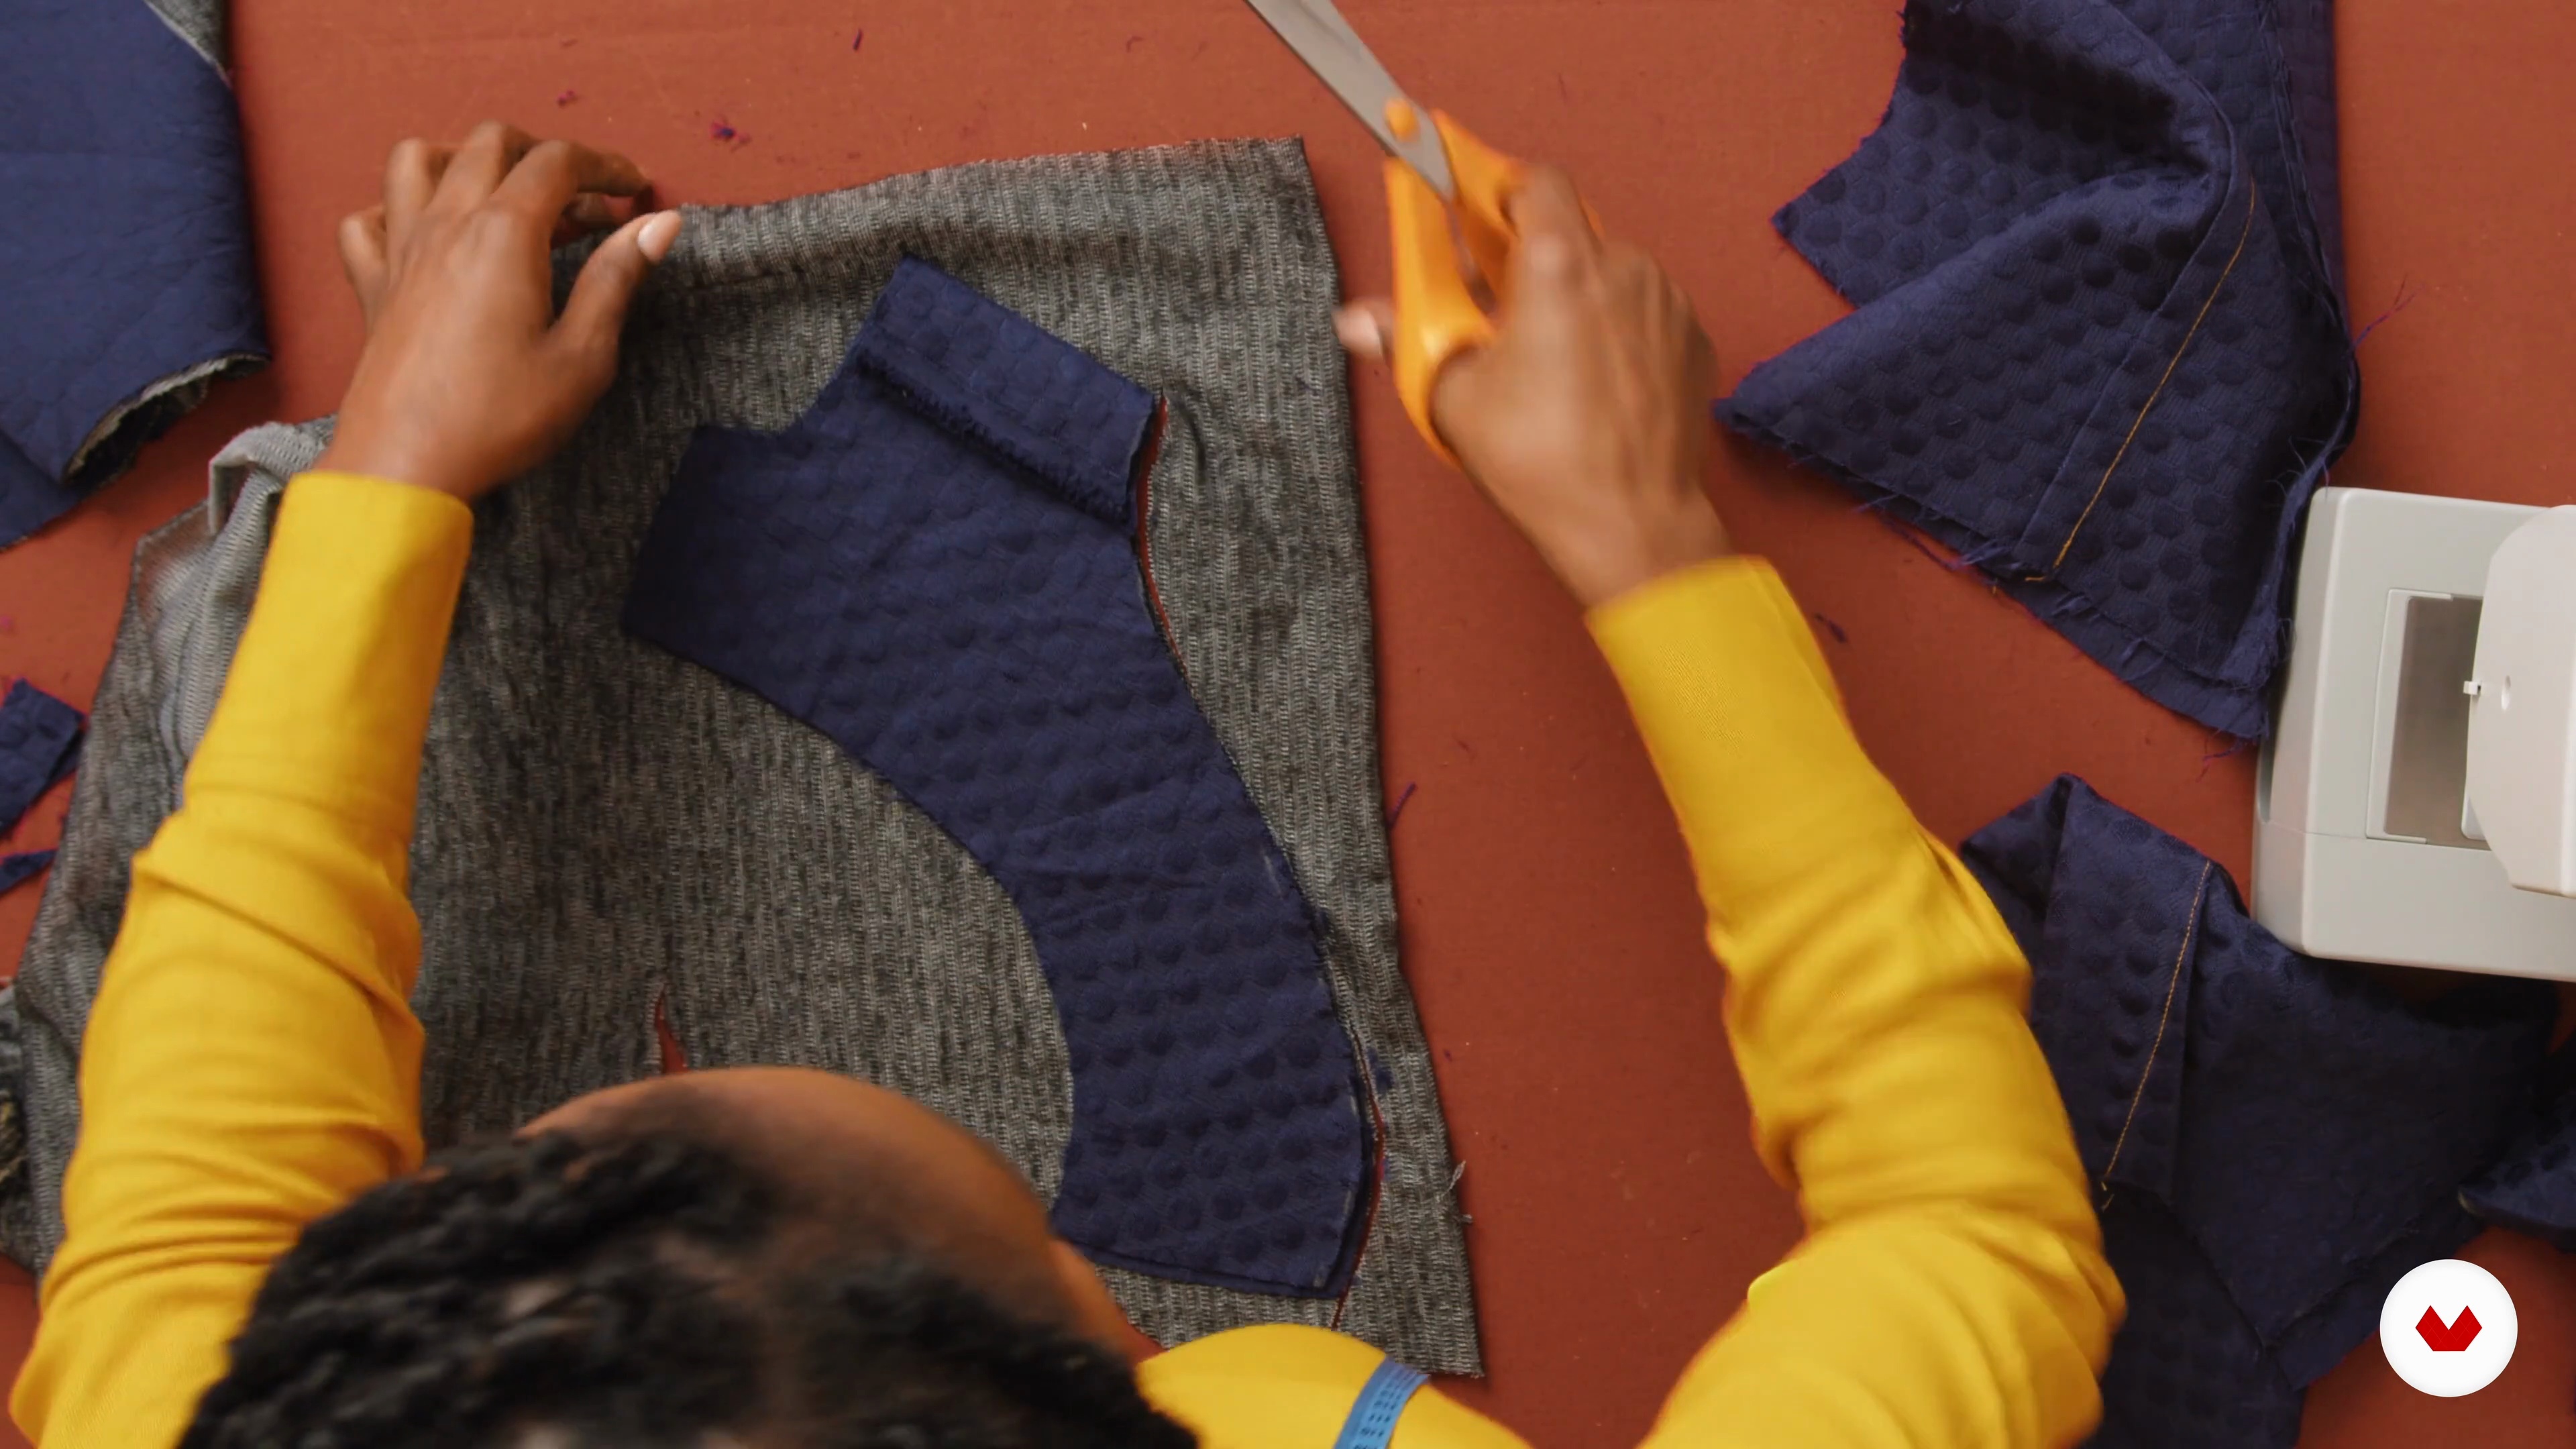
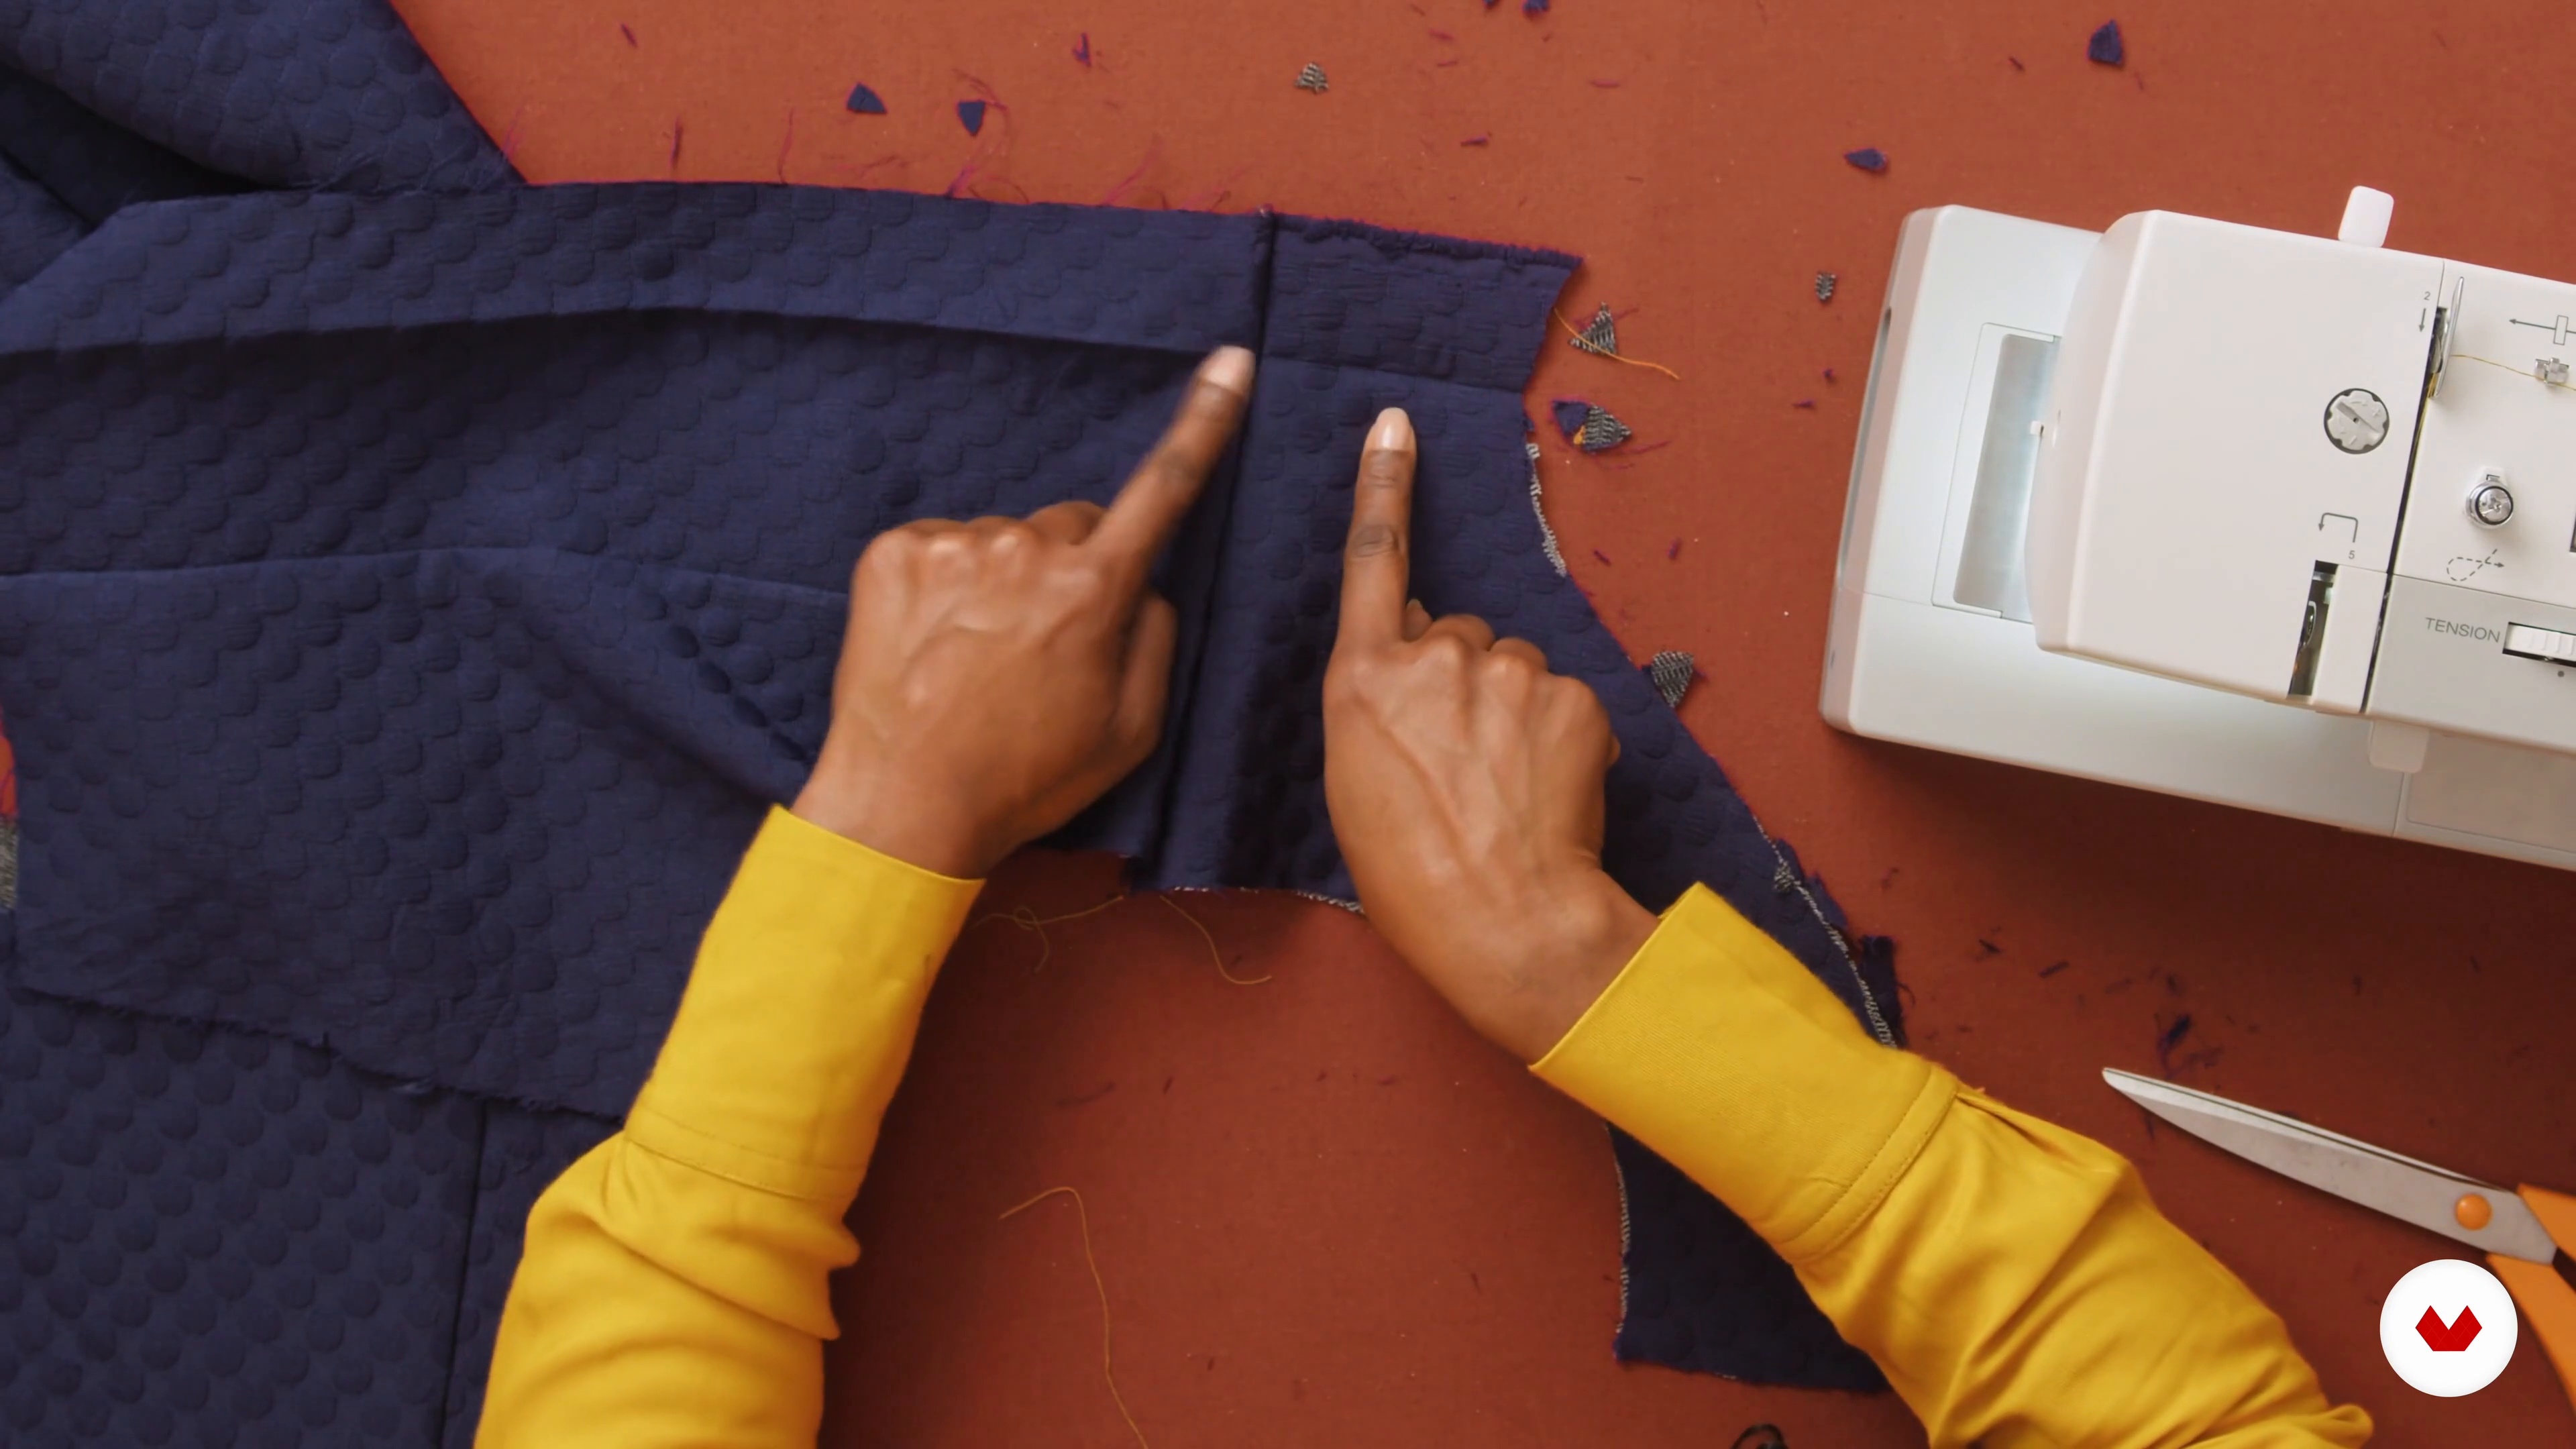
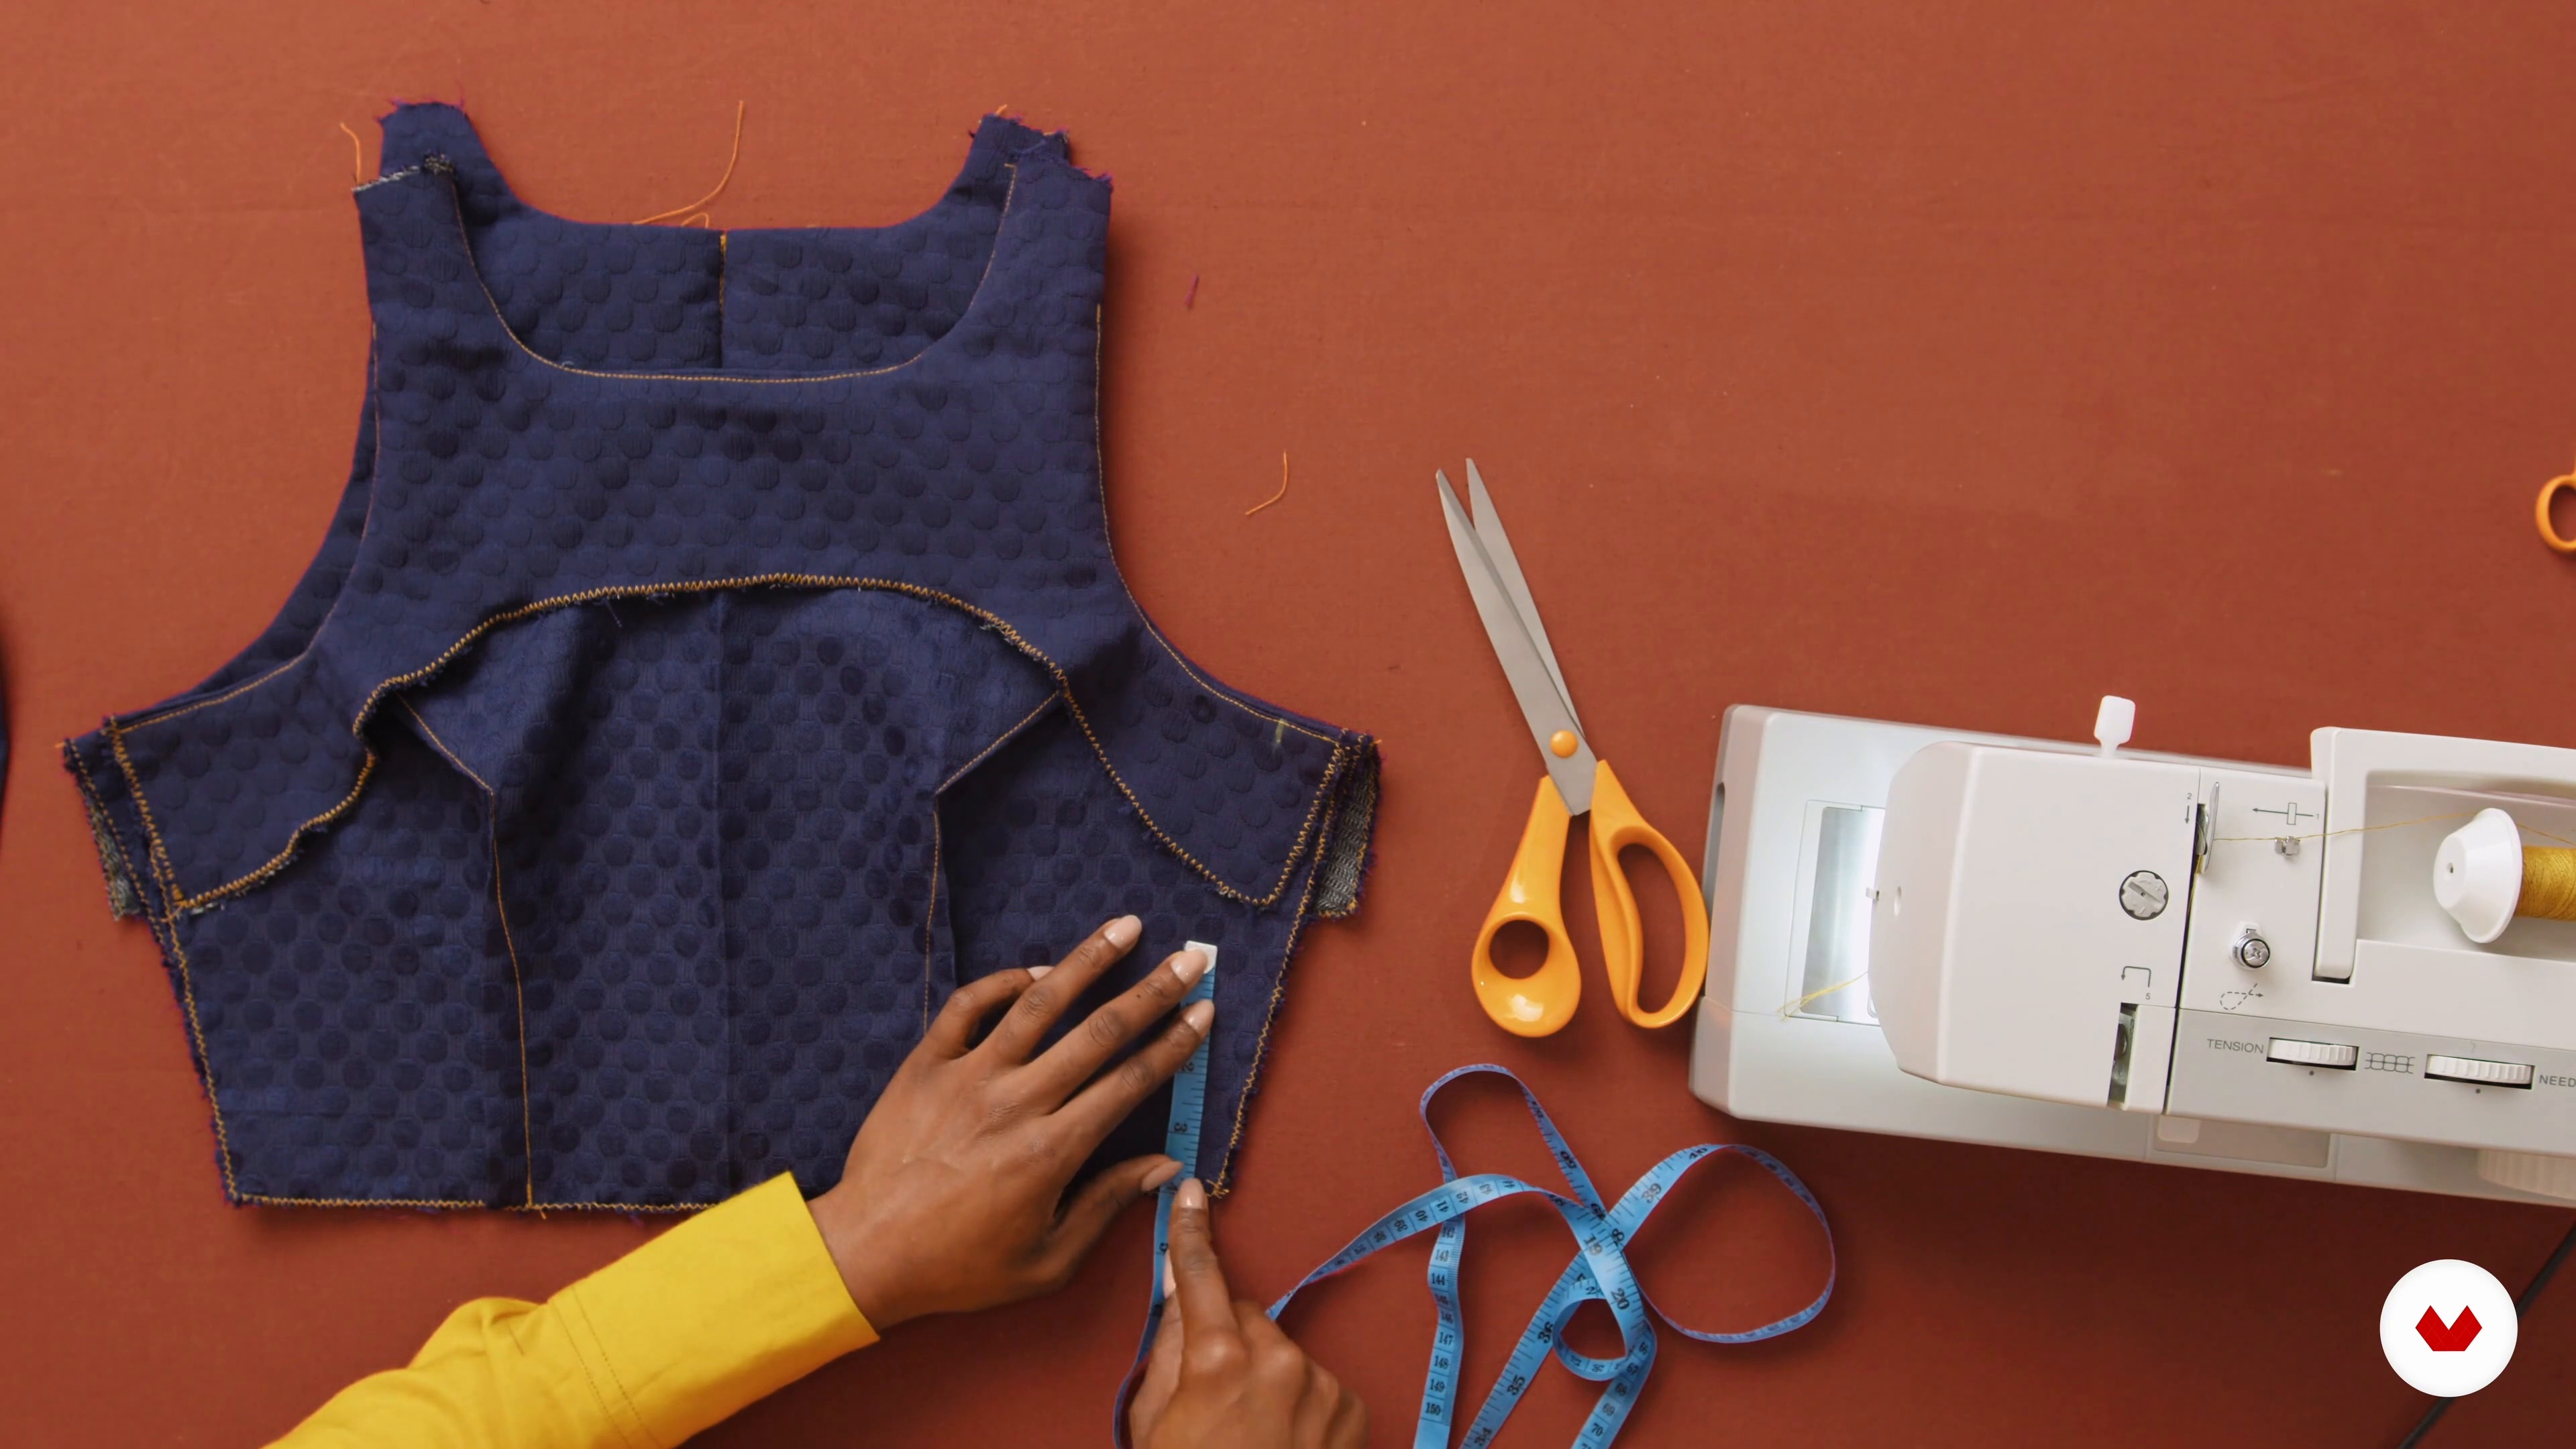
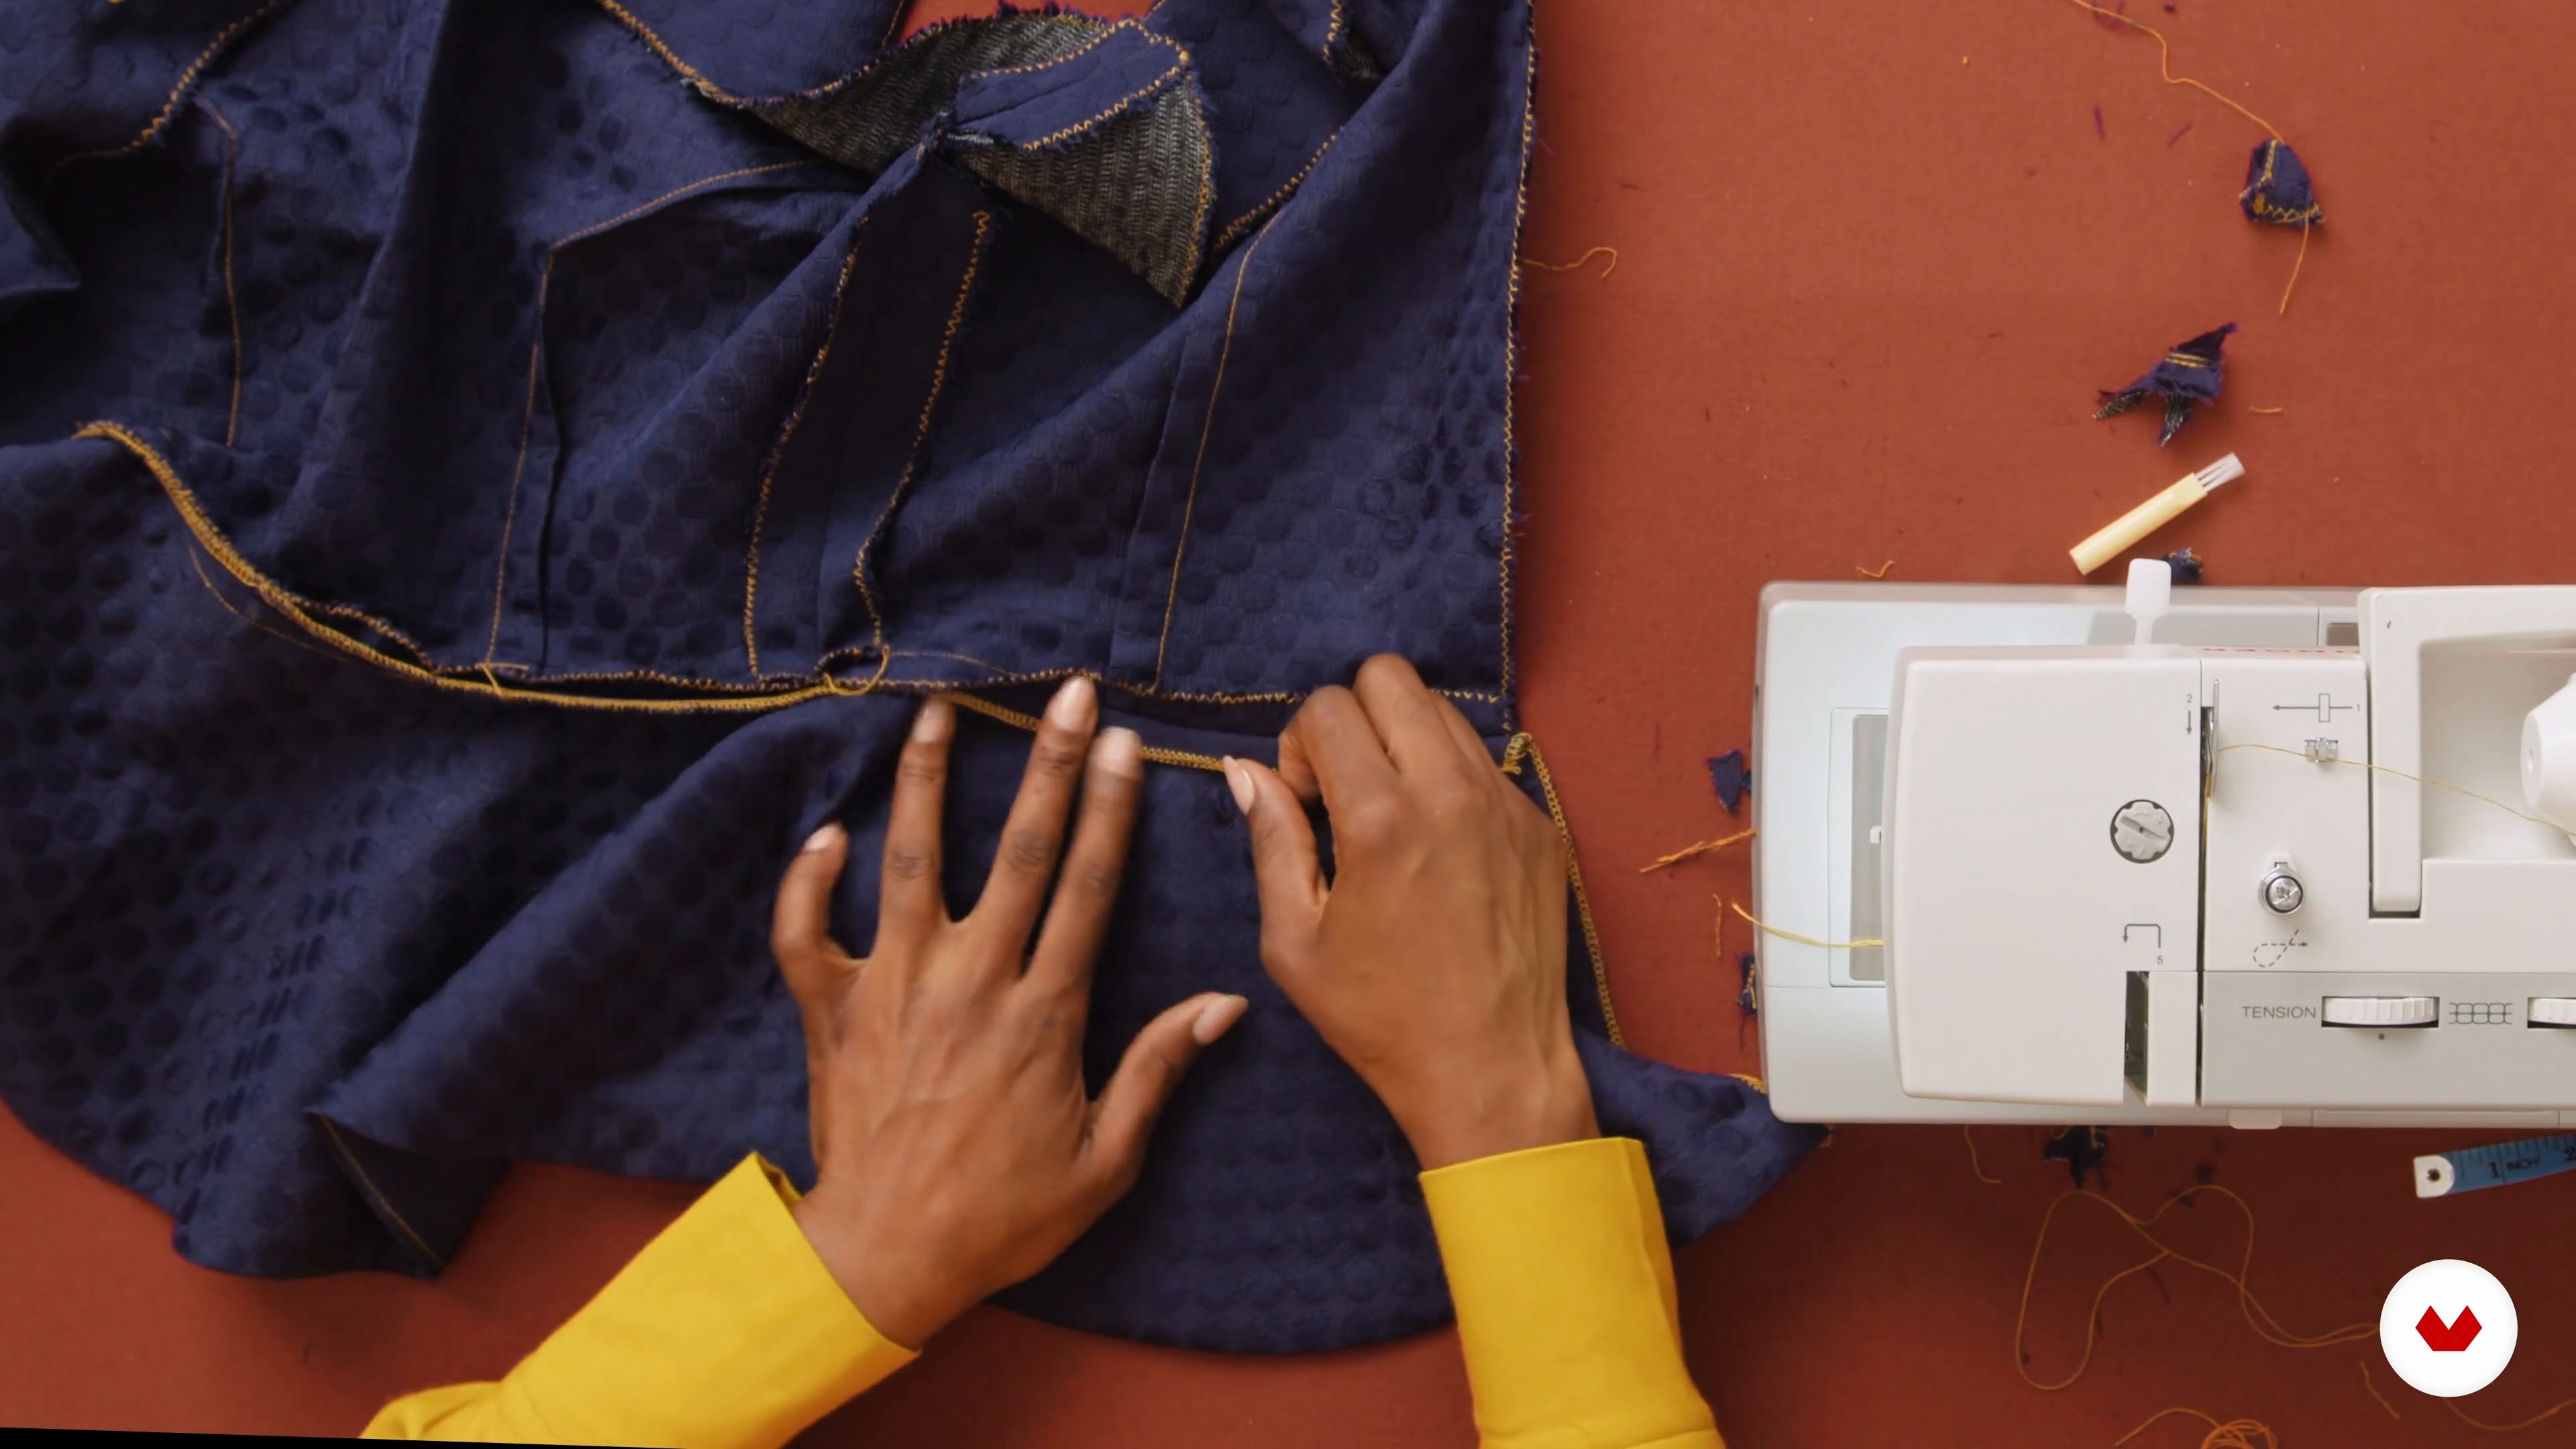
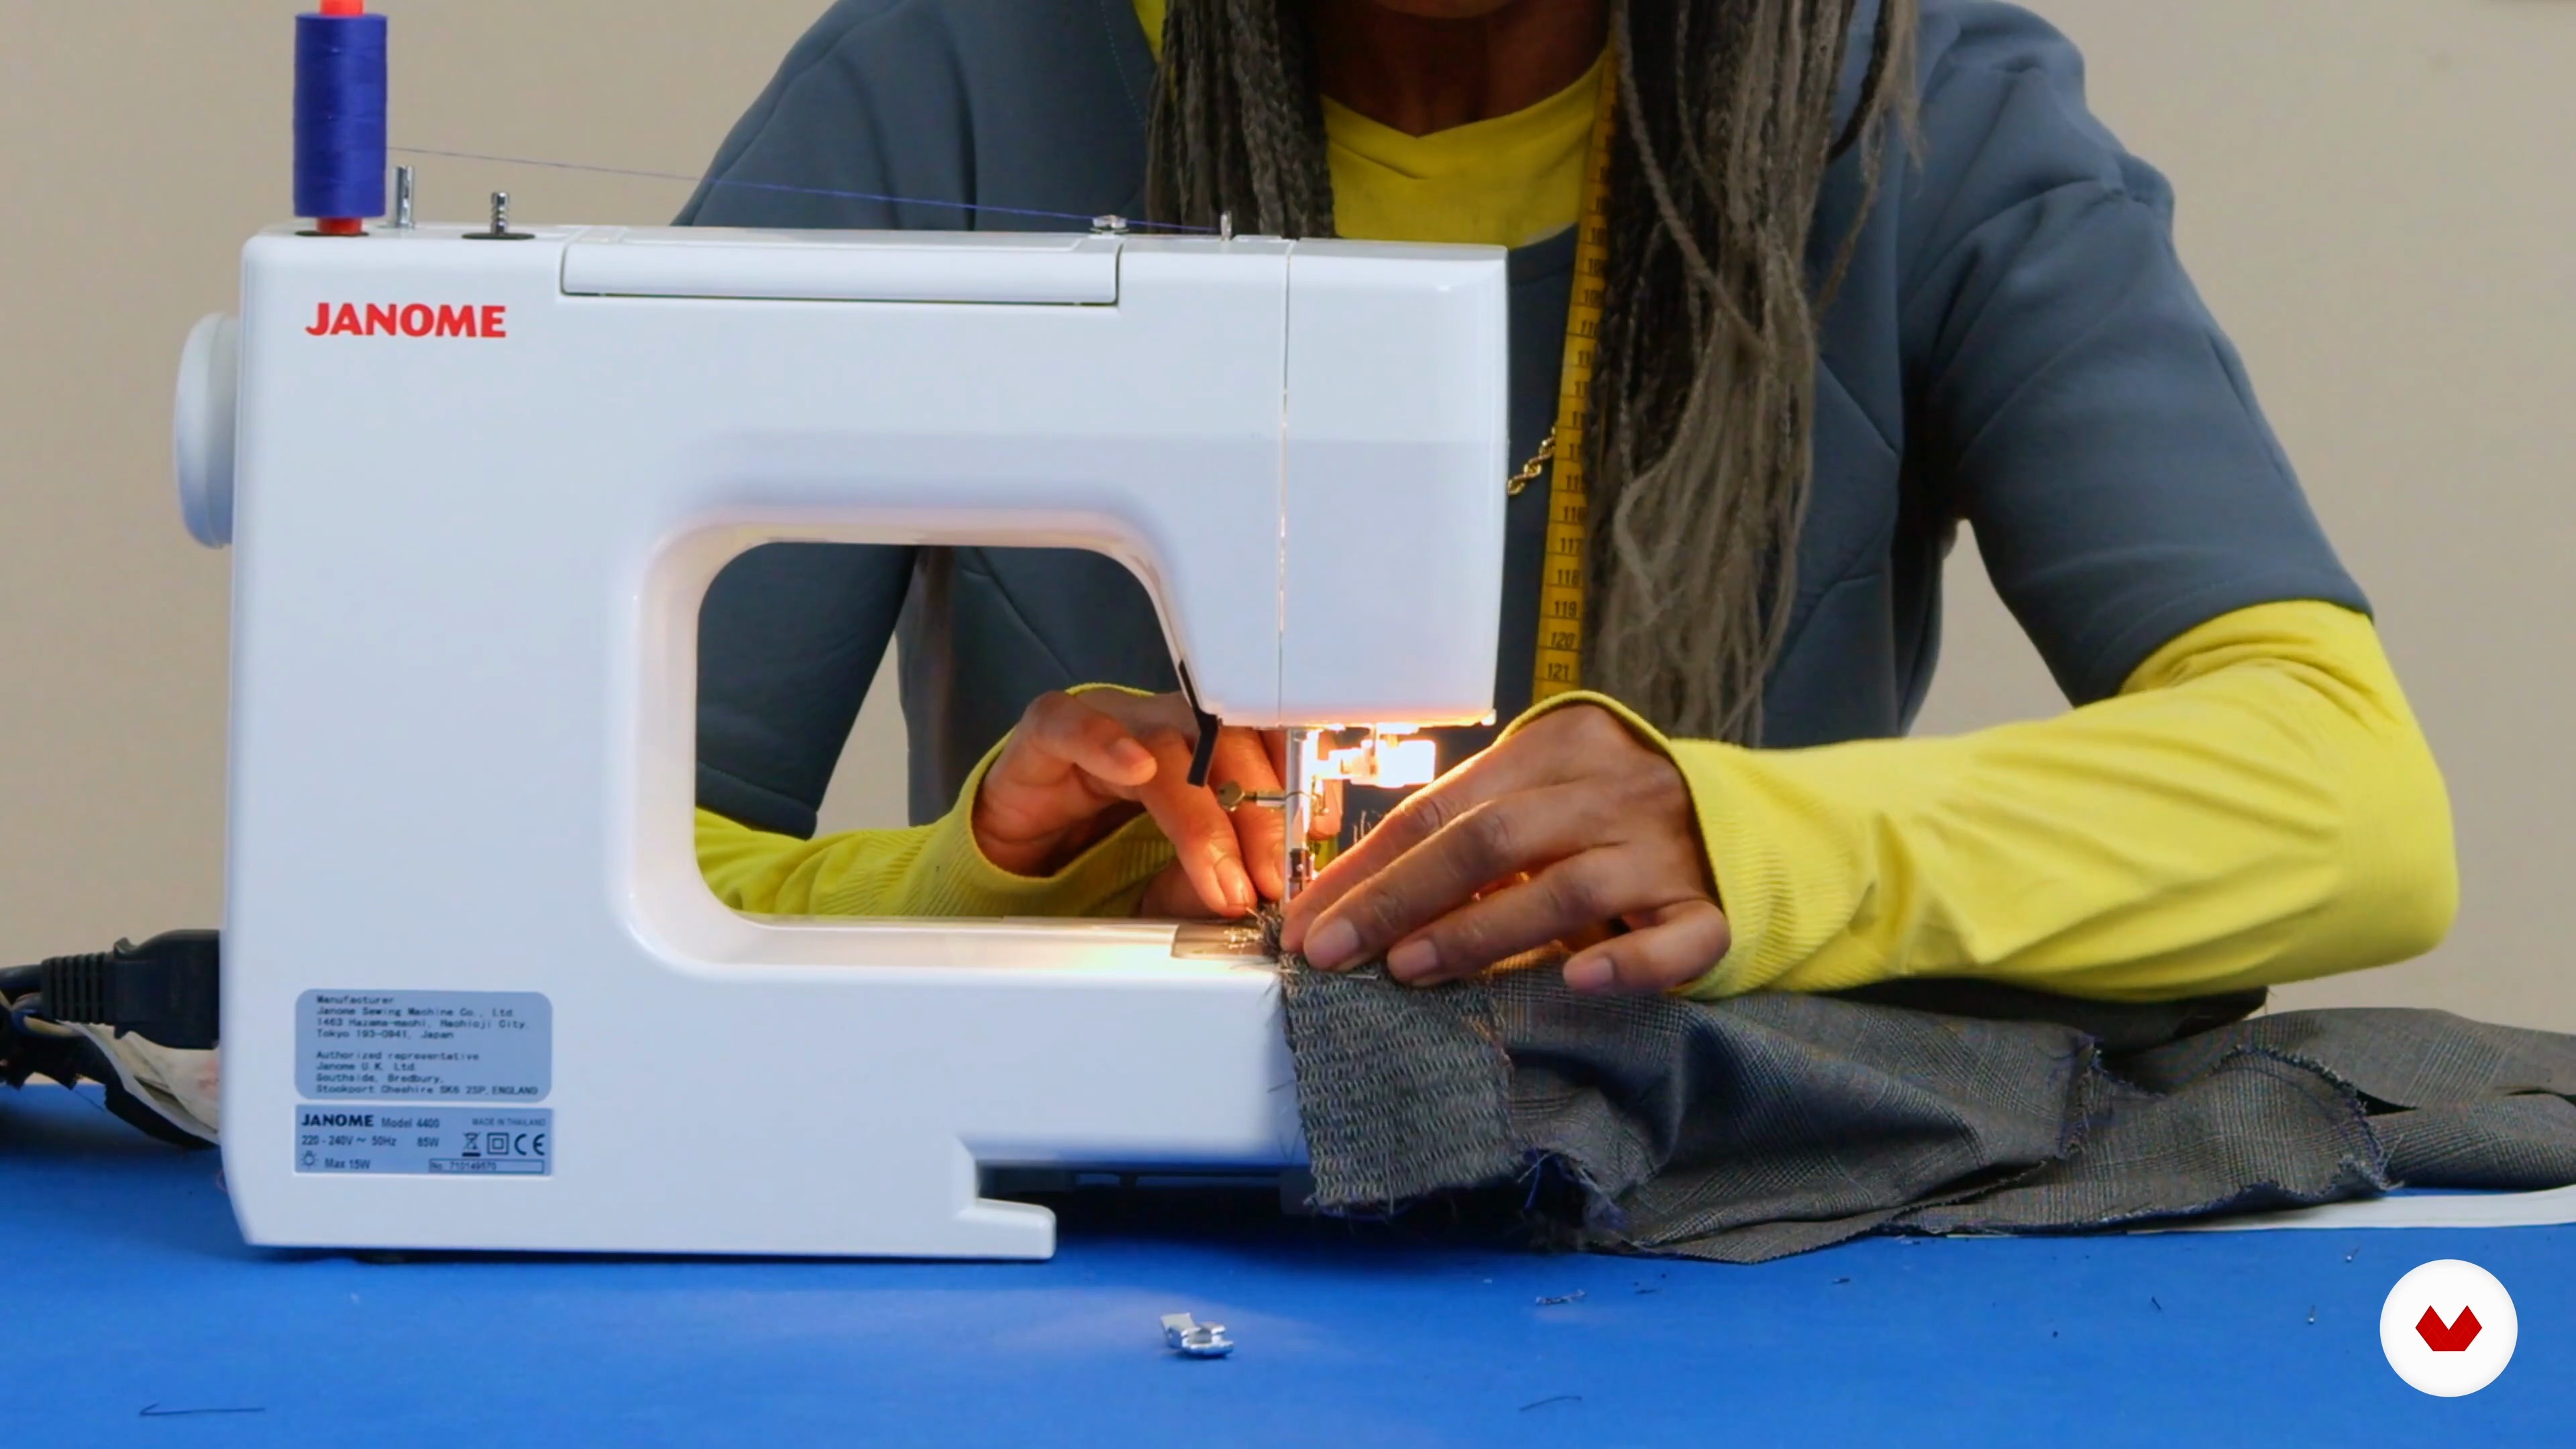
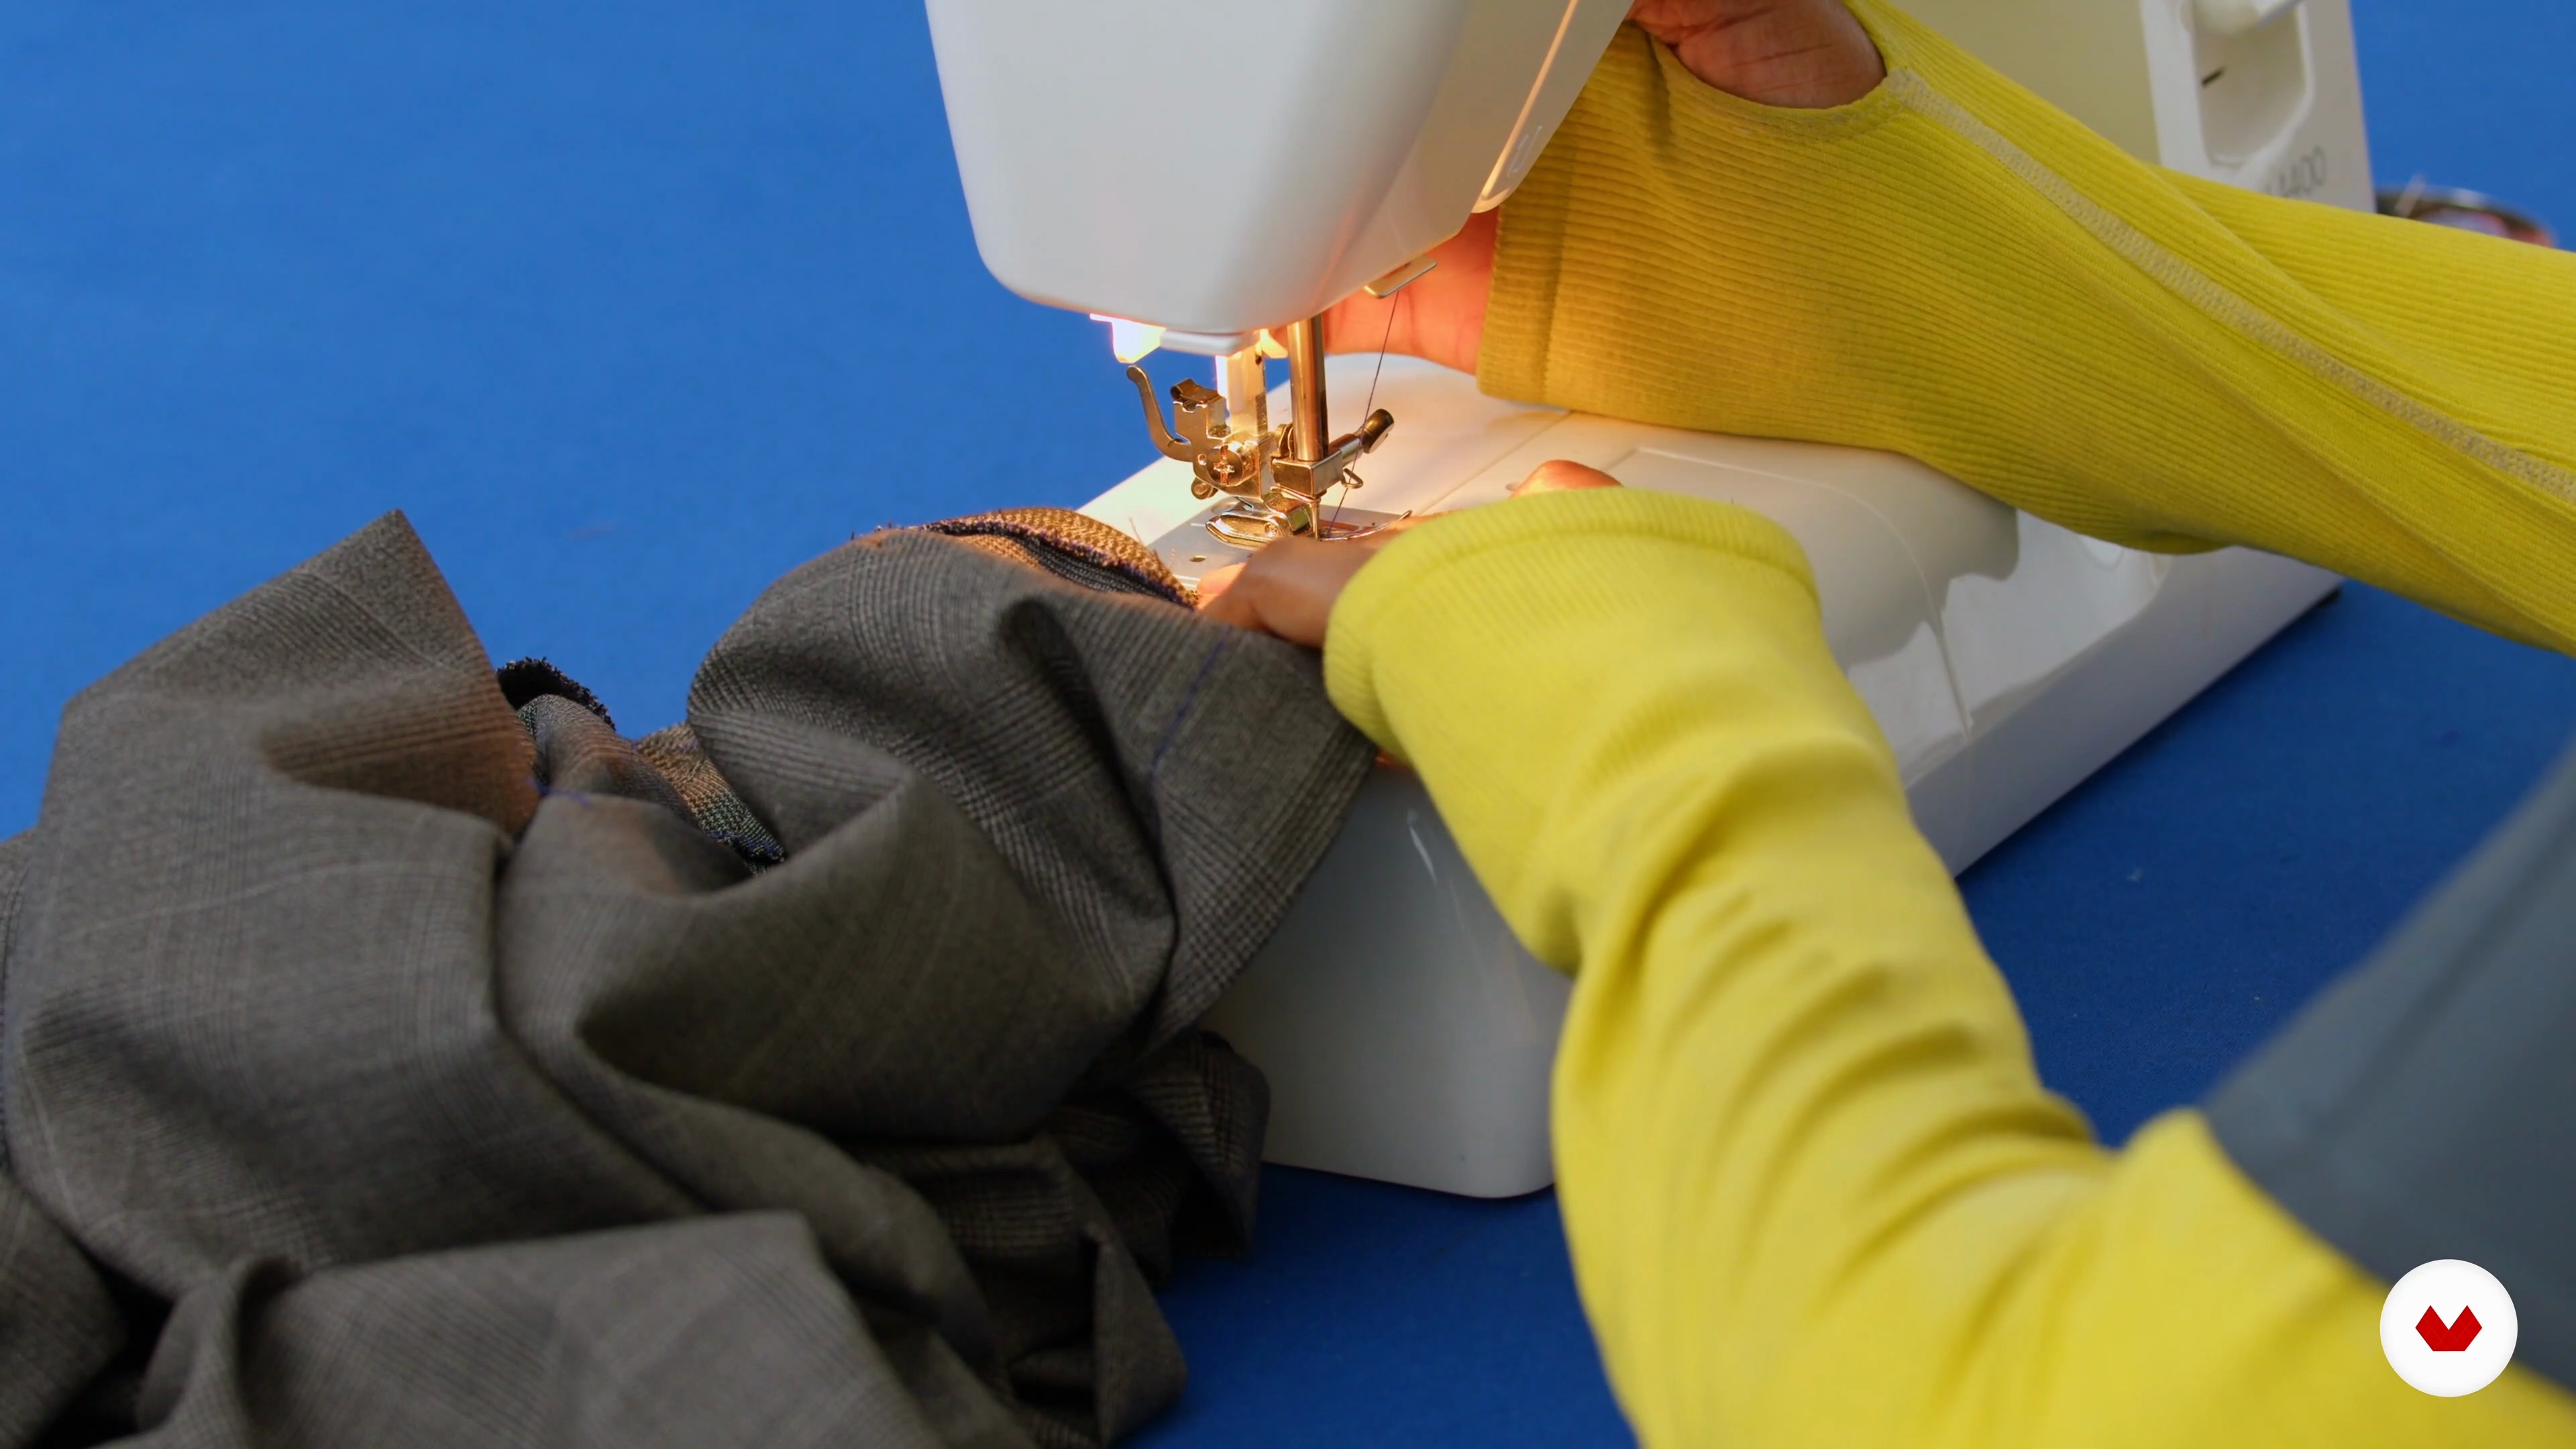
Master sewing techniques: from using a sewing machine to creating garments like dresses, trousers, peplum tops, and backpacks

Master sewing techniques: from using a sewing machine to creating garments like dresses, trousers, peplum tops, and backpacks

6 Teachers
Specialization · 11 modules

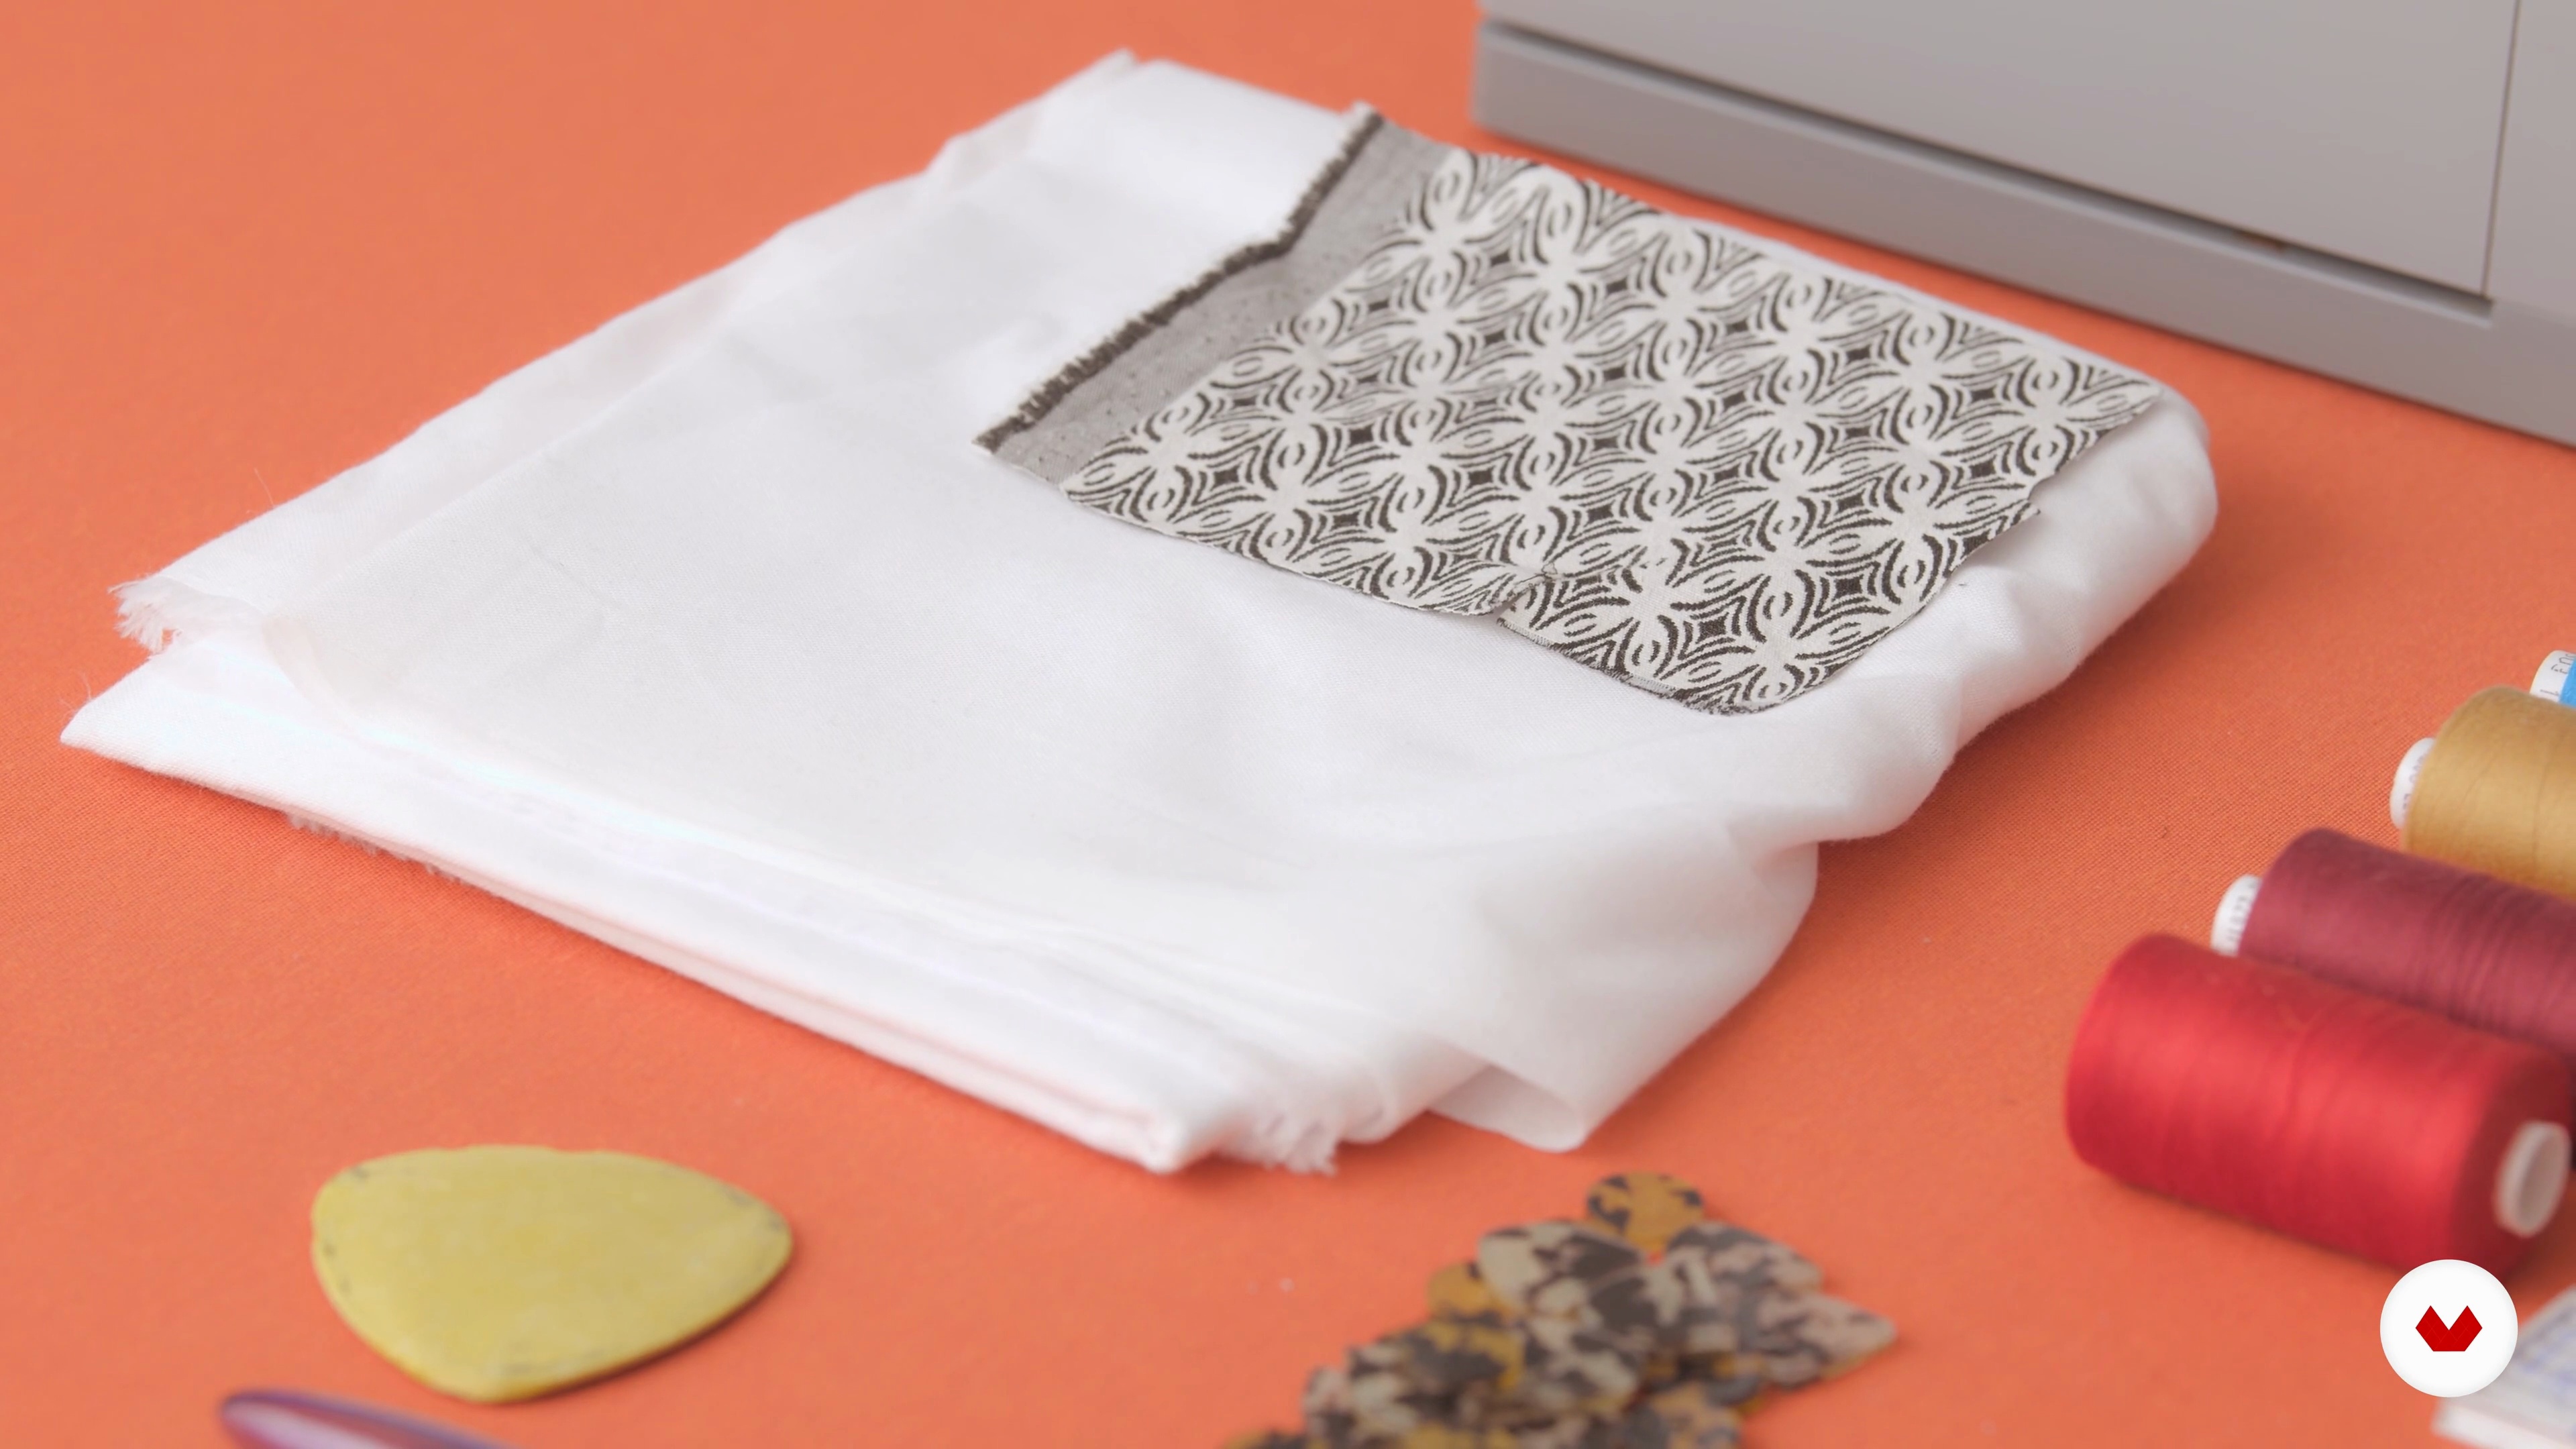
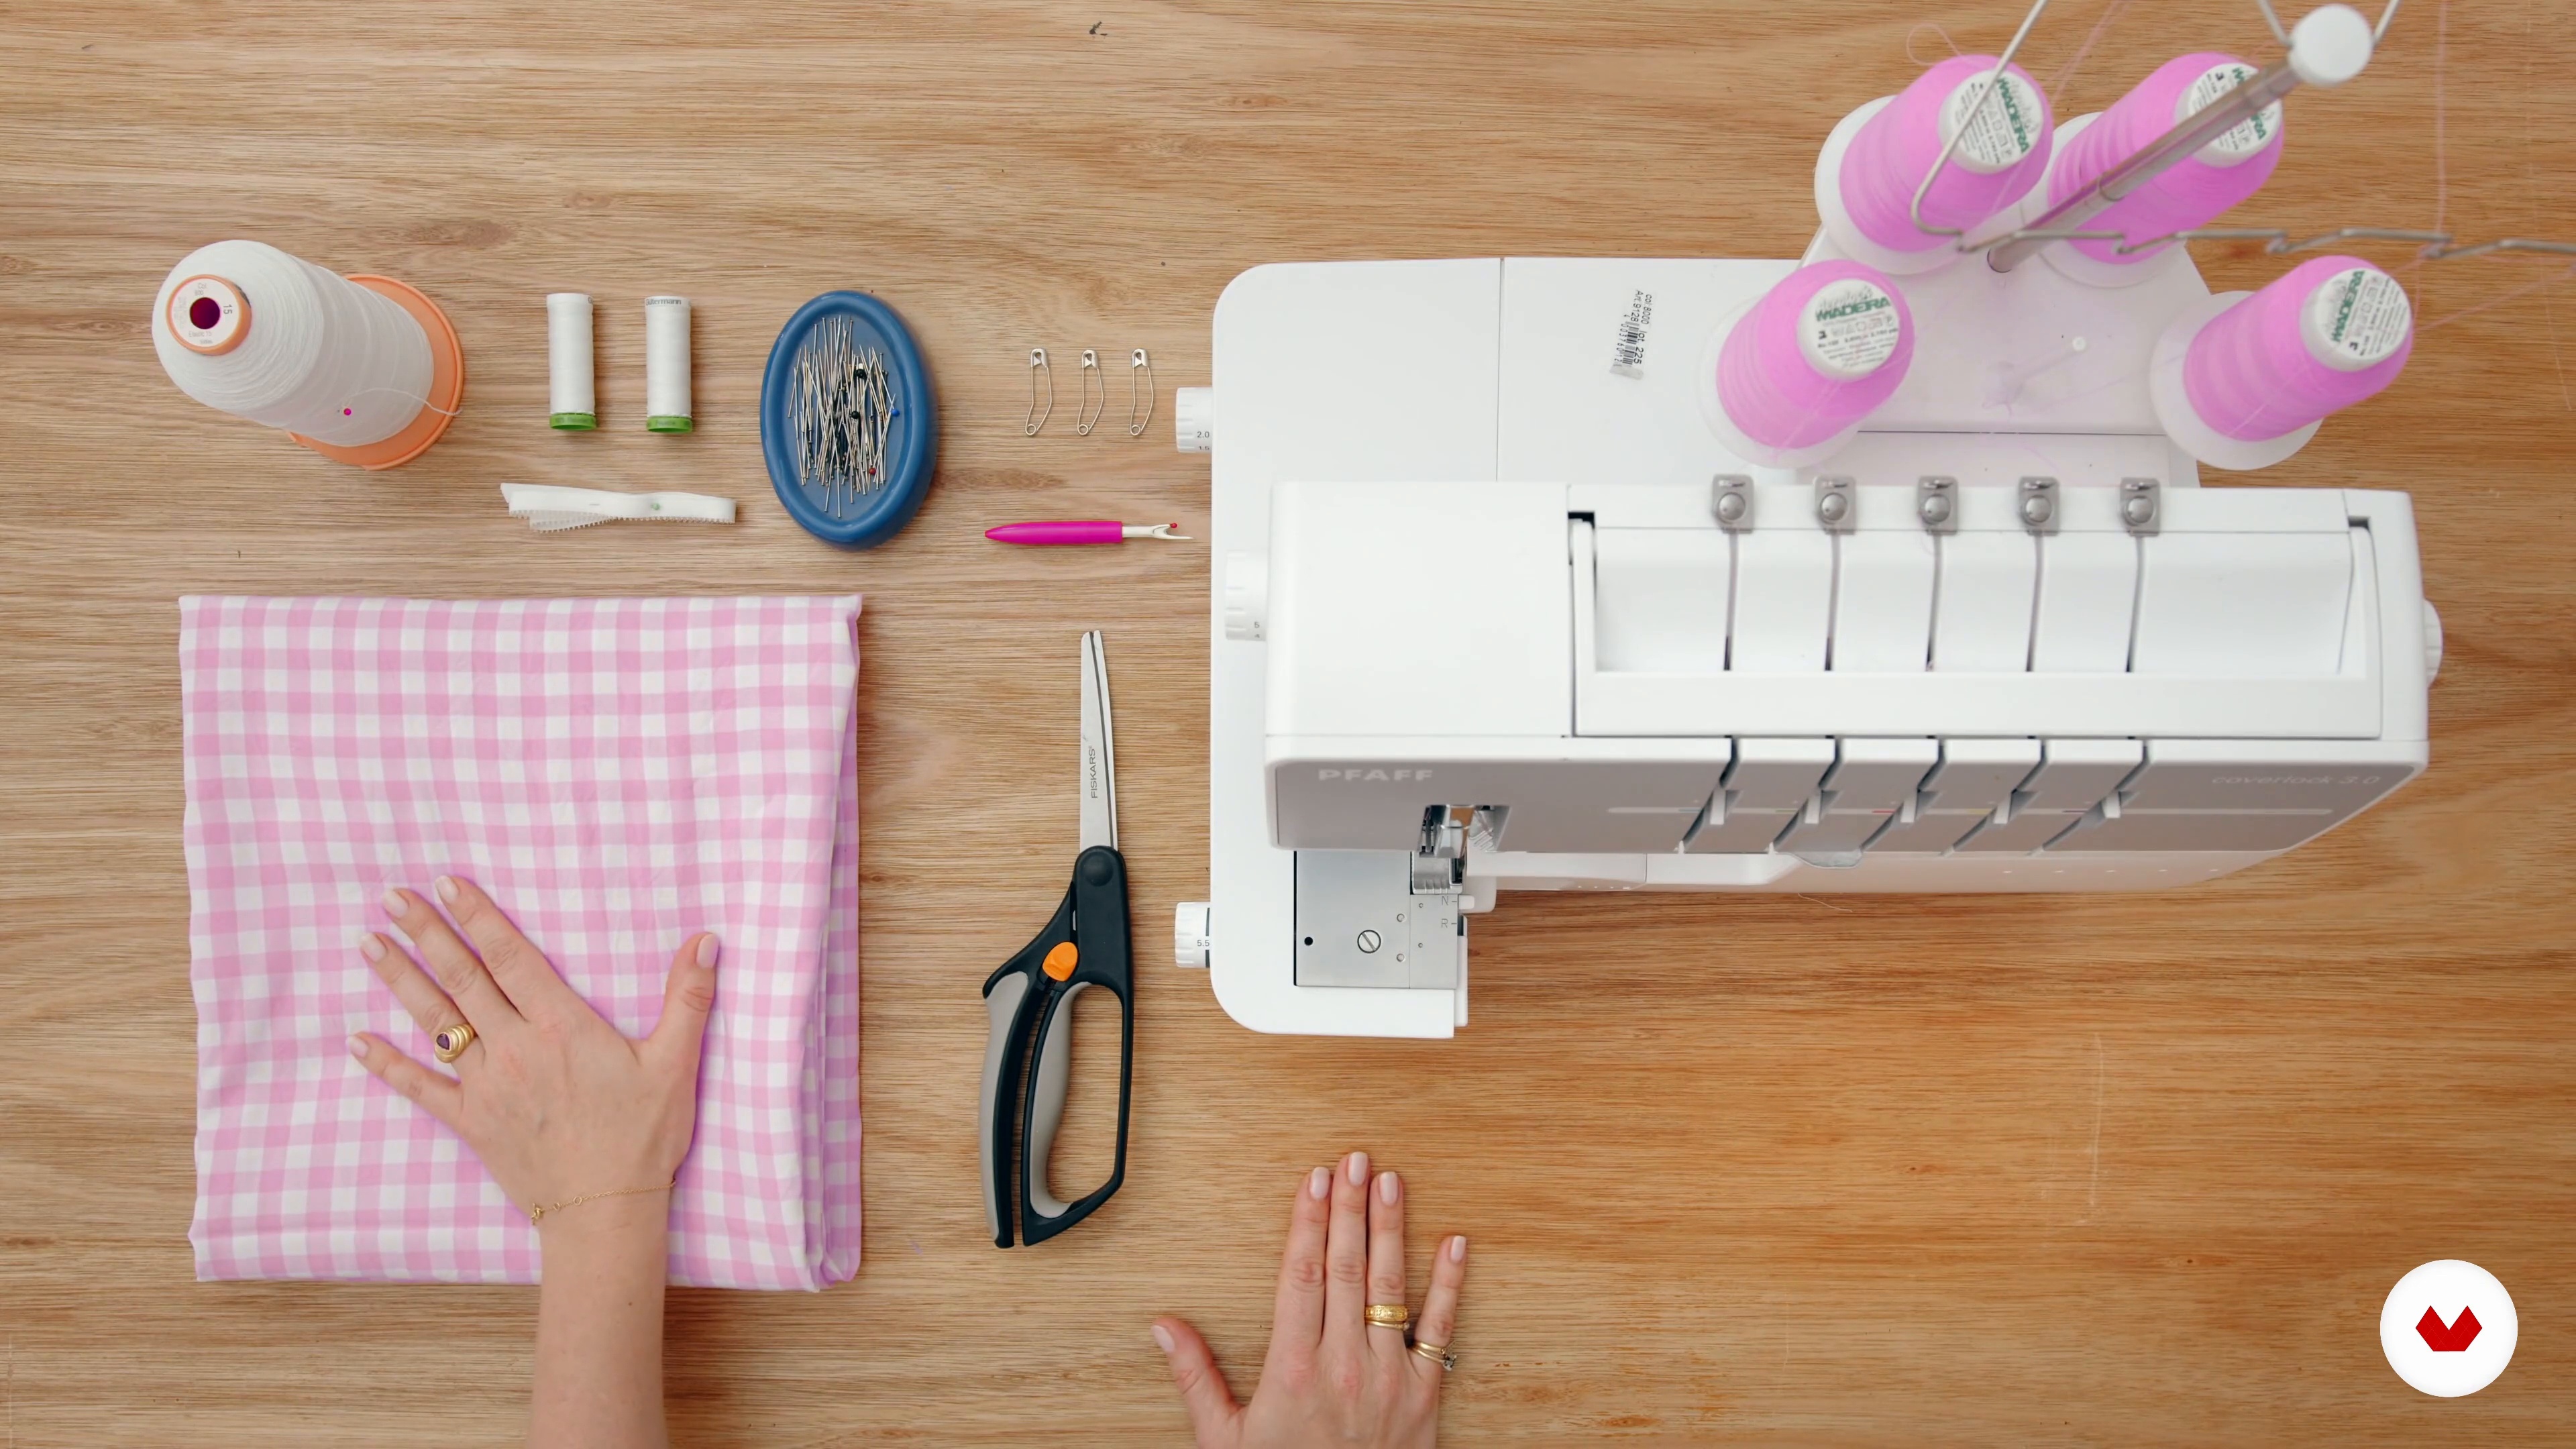
Discover the art of sewing with a comprehensive journey through various techniques, guided by talented instructors like Juliet Uzor, By Hand London, Monisola Omotoso, Amanda McCavour, Chinelo Bally, and Luisa Hurtado. Start from the basics, mastering your sewing machine's intricacies, and progress to foundational stitches that transform fabric into unique garments. Learn to choose the perfect fabric, create custom patterns, and explore the essentials of sewing dresses, peplum tops, trousers, and even backpacks. Each step reflects the care and creativity that go into making beautiful pieces

Gain confidence with modules dedicated to specific projects, from drafting classic tailored trousers to upcycling fashion by creating backpacks with second-hand clothes. Delve into techniques like freehand cutting, embroidery, and sustainable sewing practices, ensuring your projects not only look good but are also environmentally conscious. Whether you're crafting a shirred dress or adding finishing touches to a garment, this specialization equips you with the skills needed for polished, professional results. Let each lesson inspire your creativity, turning your sewing dreams into reality with expert guidance and a supportive learning environment.

Read more ↓

What will you learn in this specialization?

A total of 11 modules and 83 lessons
A total of 15h 27m of vídeo lessons
Taught by 6 selected expert teachers
image
1
Inspirations in African fabrics and essential sewing
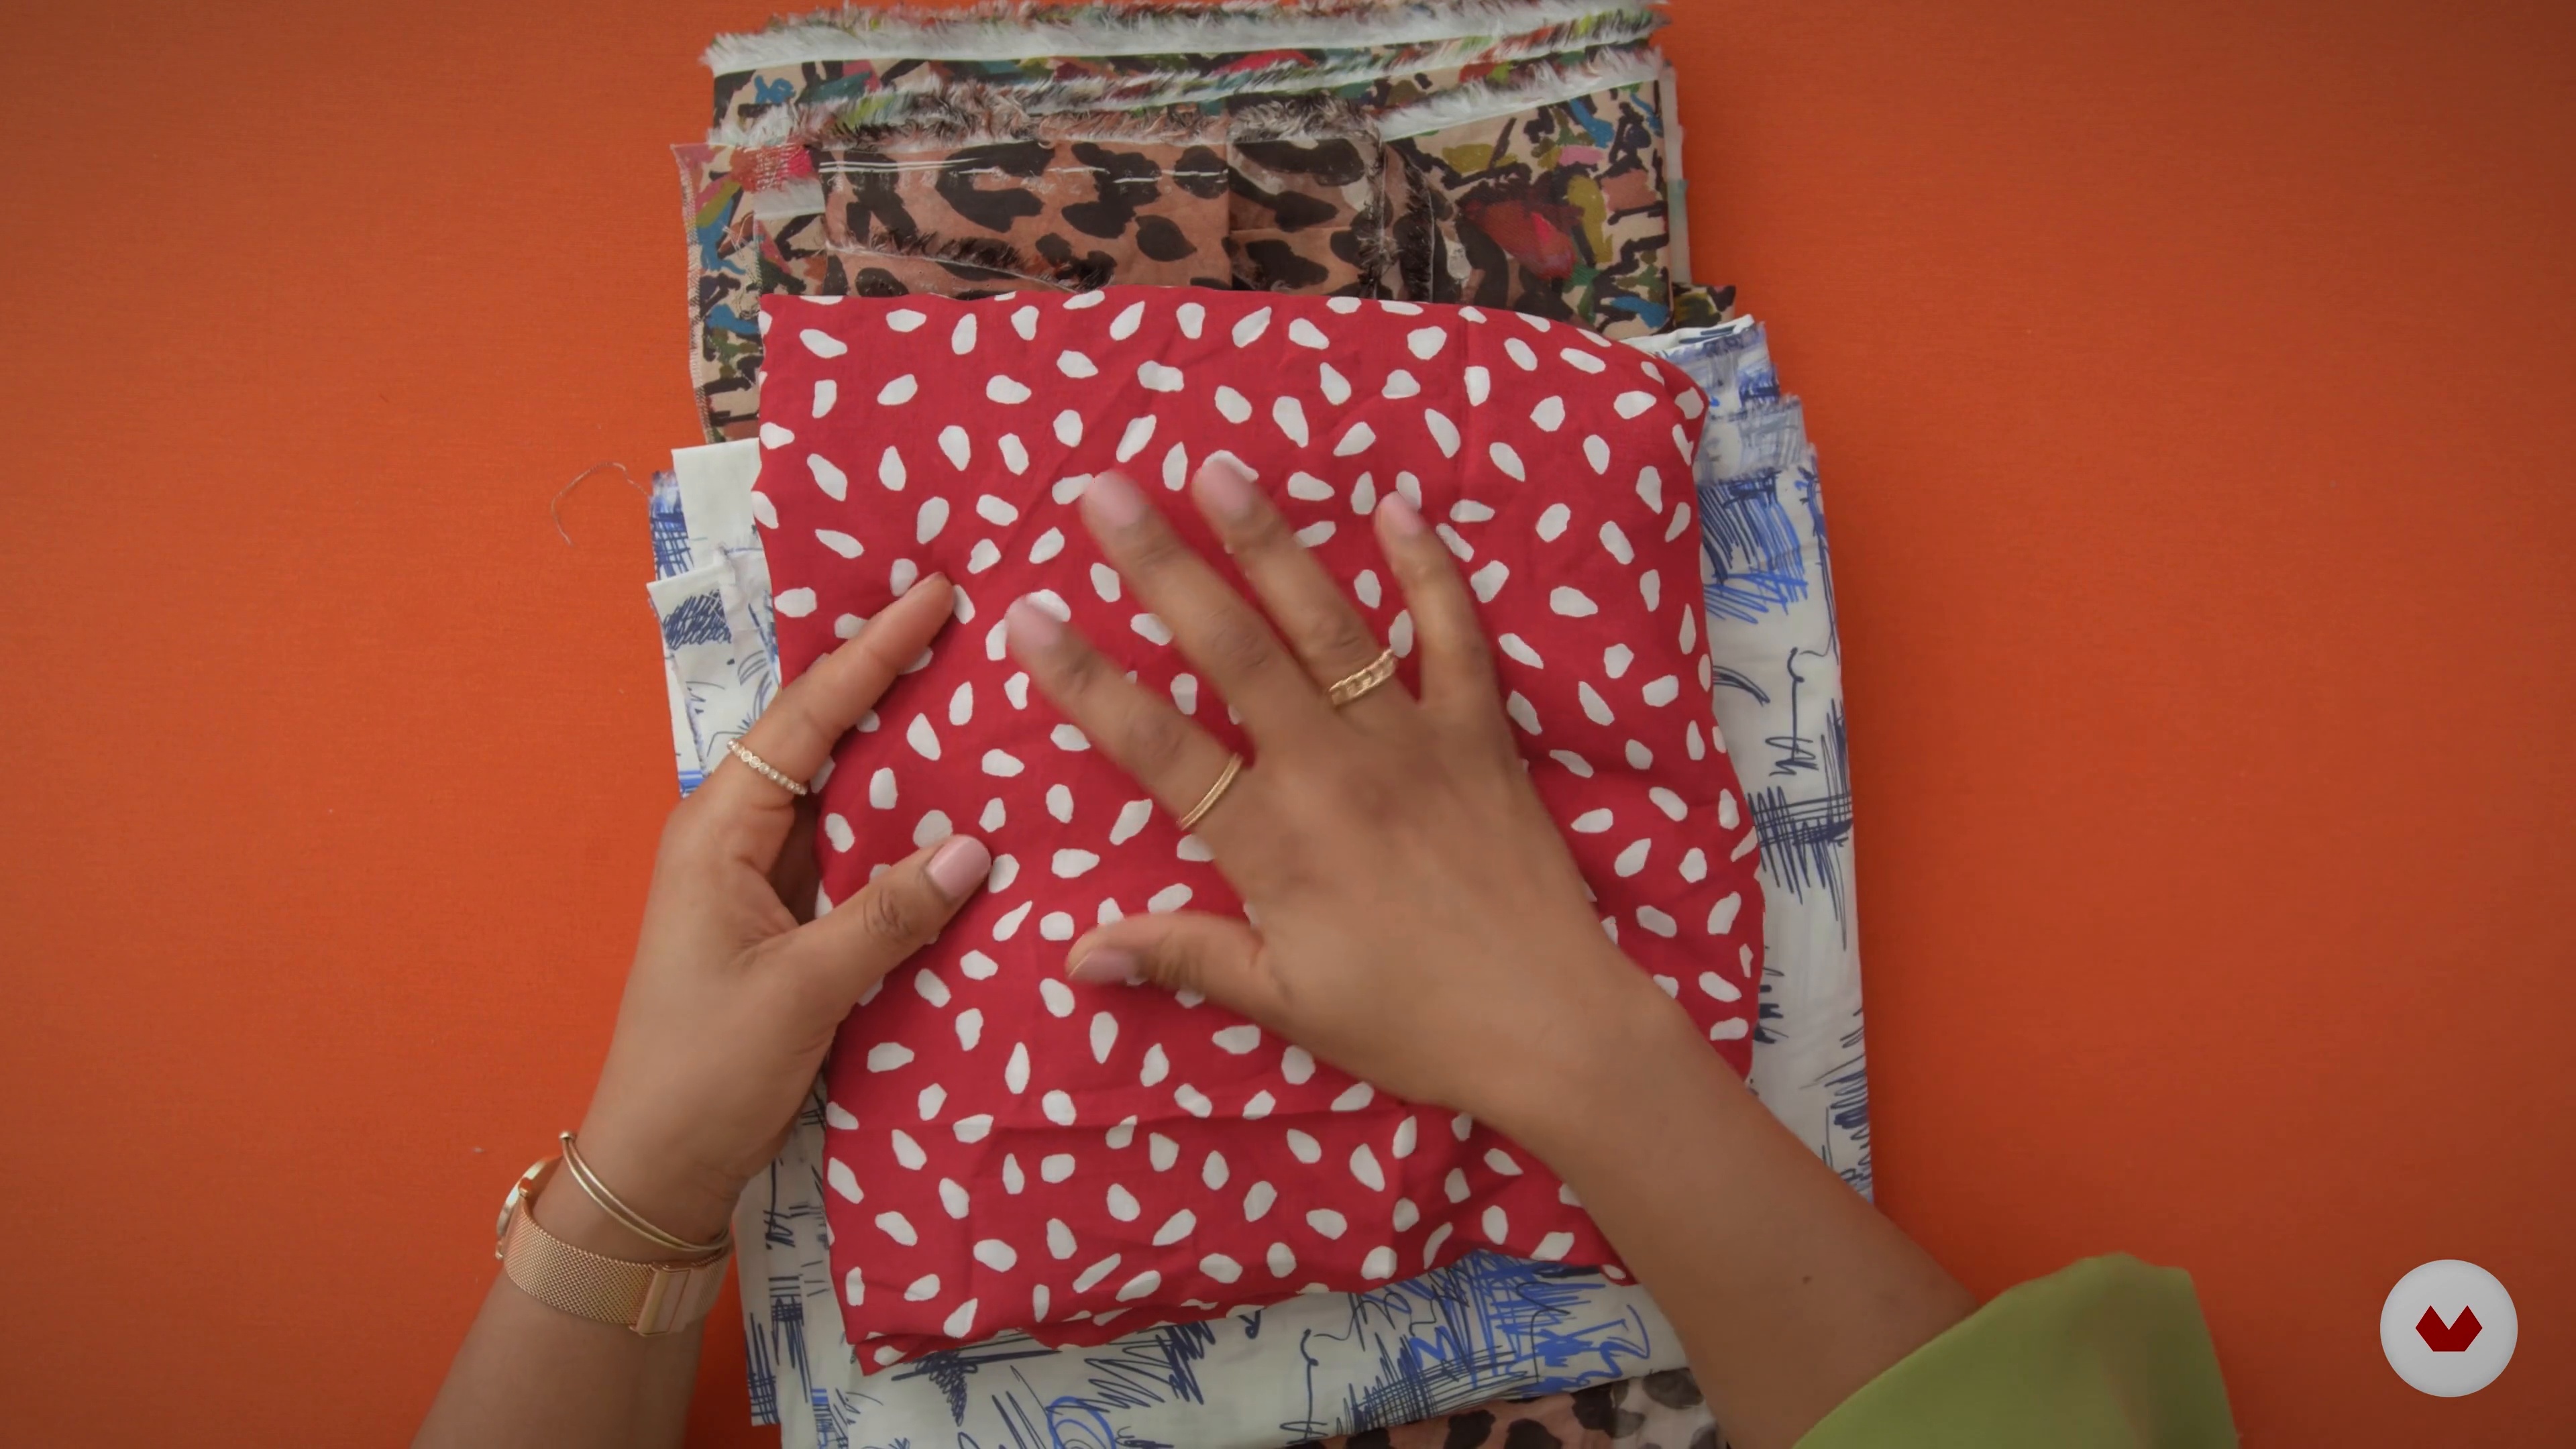
In this lesson, you'll discover the deep passion for fabric and design that drives creative expression. You'll explore the inspiring influence of African wax prints and contemporary fabrics by designers like Liberty London and Atelier Brunette, with Juliet Uzor. This session highlights the power of textures, colors, and patterns, showing how fabrics can shape the entire direction of your designs.
4m
image
2
Inspiration from Iconic Designers and Vintage Finds
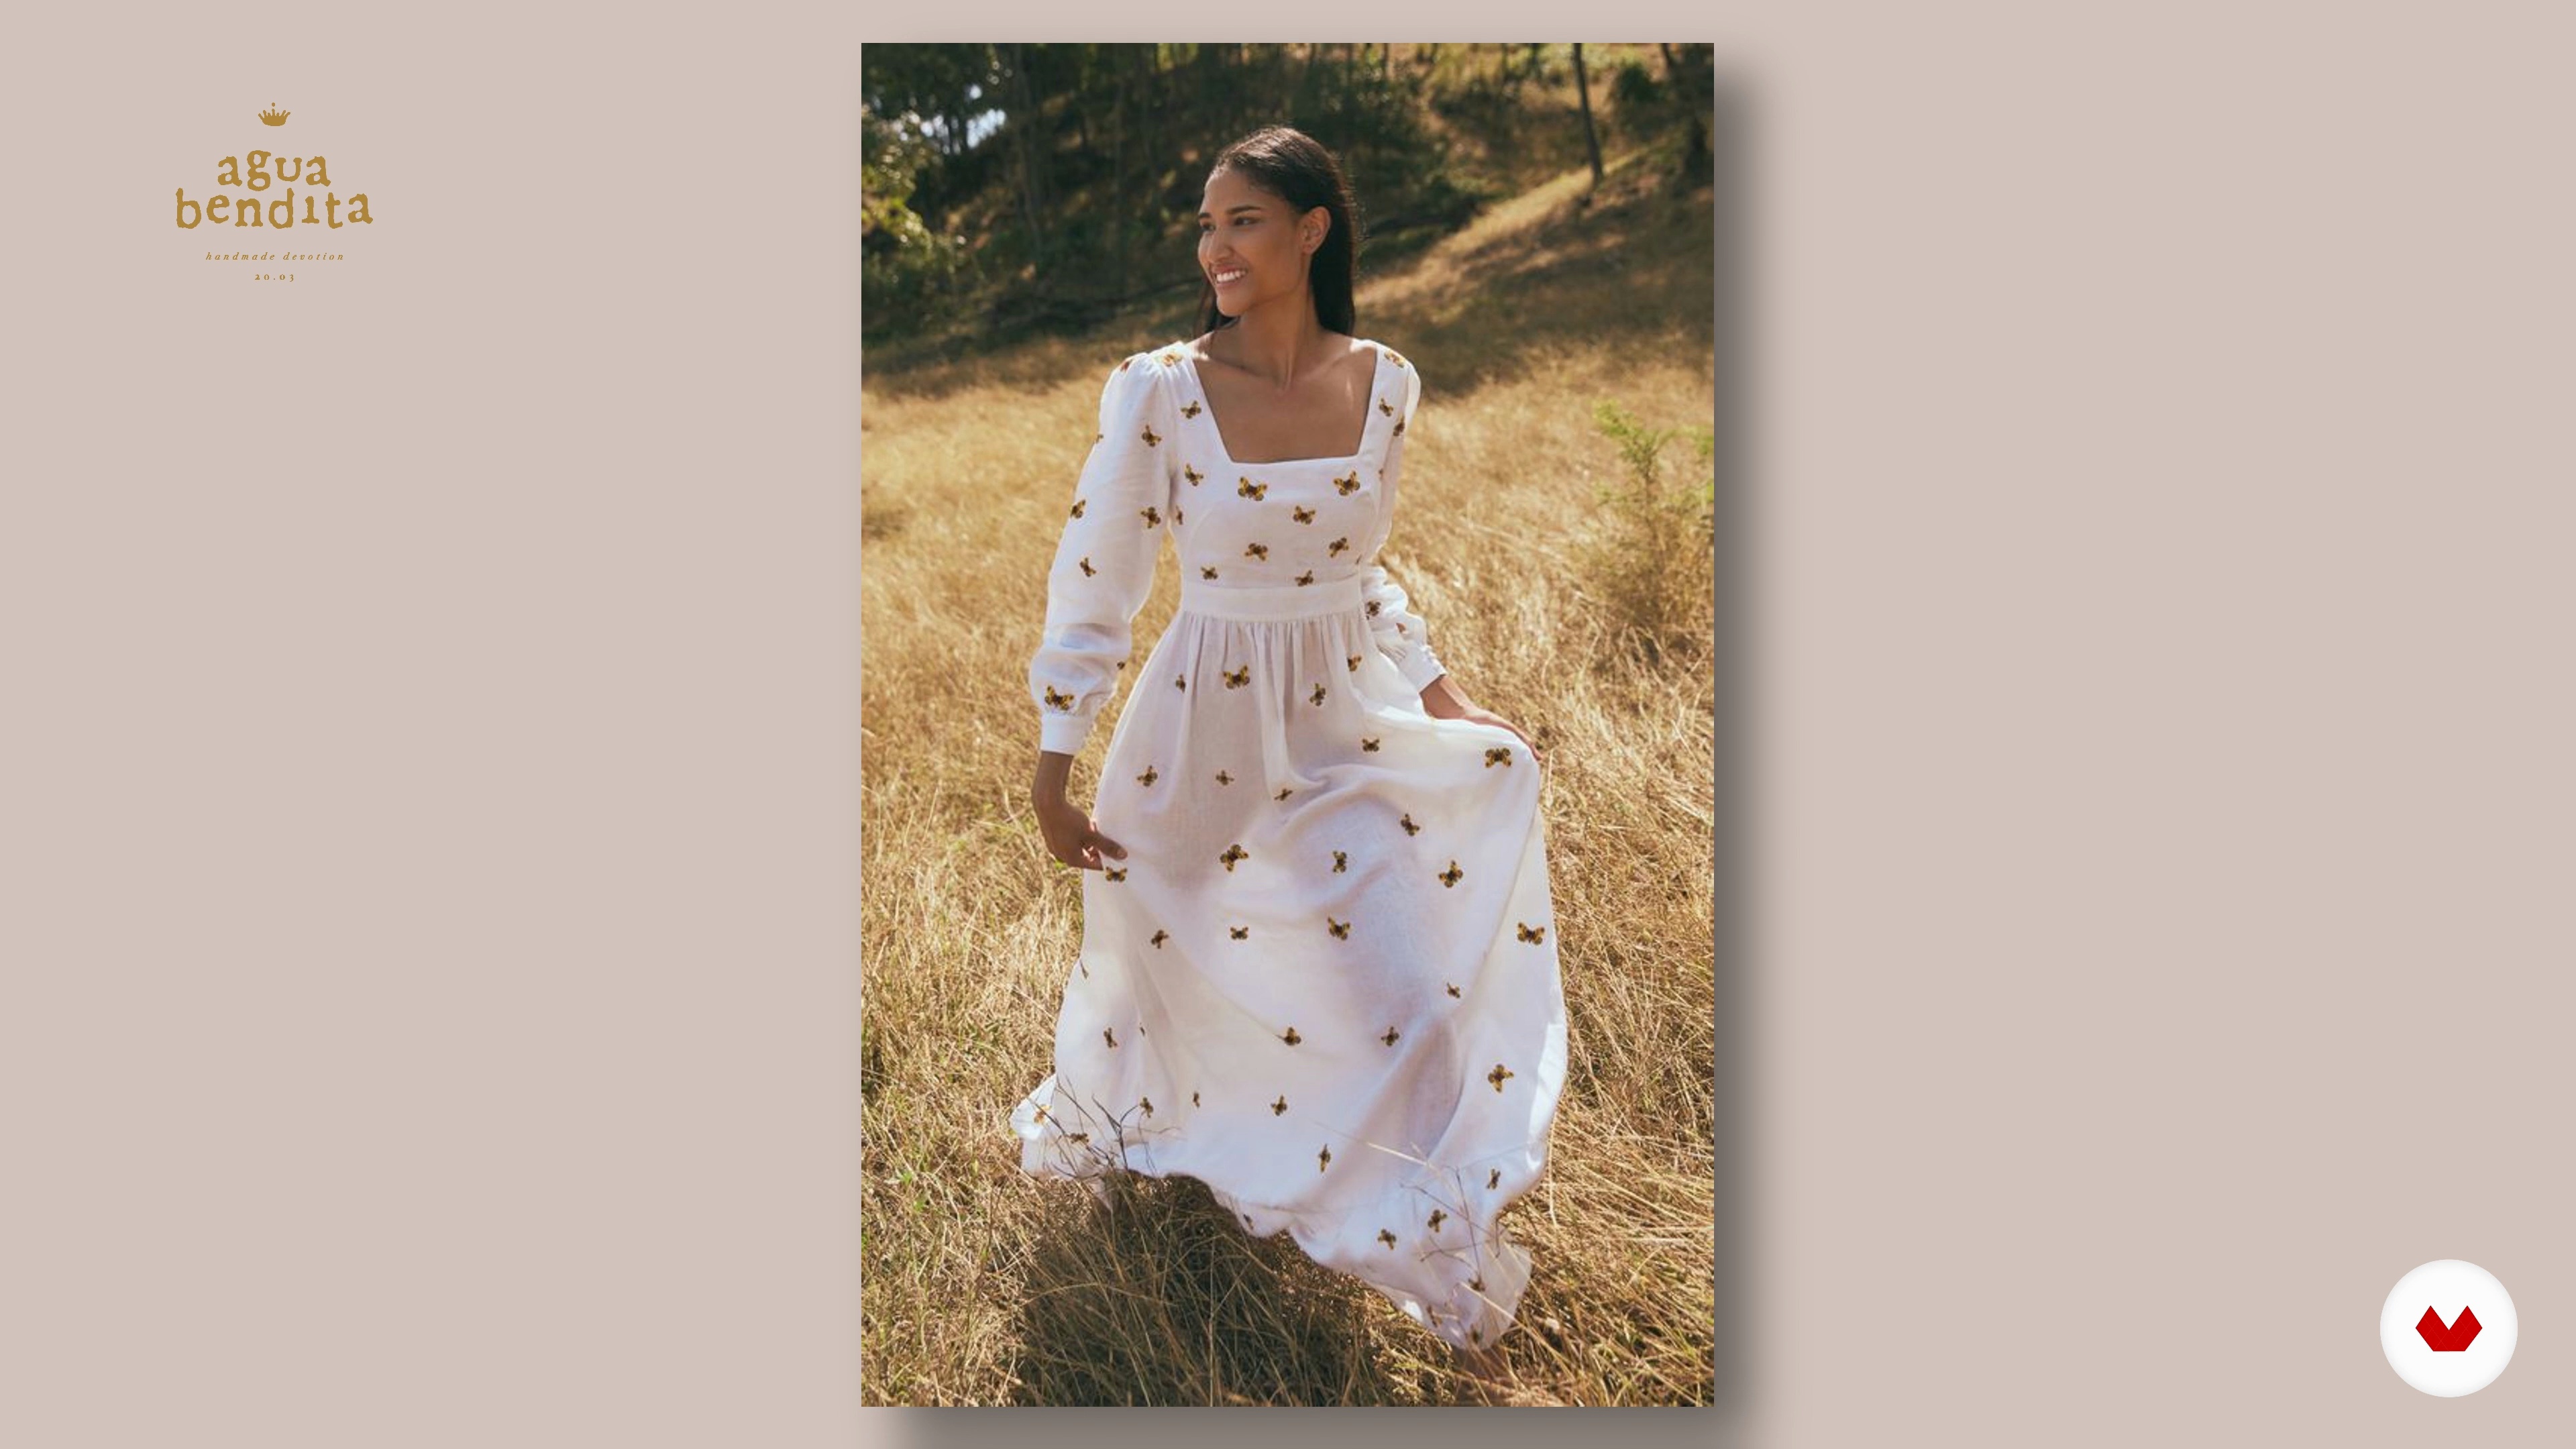
In this lesson, Elisalex, founder of By Hand London invites you to explore the allure of eclectic glamour, drawing on the wealthy, regal influences of designers like Dolce & Gabbana and Luisa Beccaria. You’ll dive into the nostalgic, fairytale aesthetics of flowing fabrics and delicate embroidery while discovering how vintage finds can add unique charm and character to your style. Prepare to infuse a sense of fantasy and elegance into every outfit!
1m
image
3
From Trapunto Techniques to Vintage Patterns
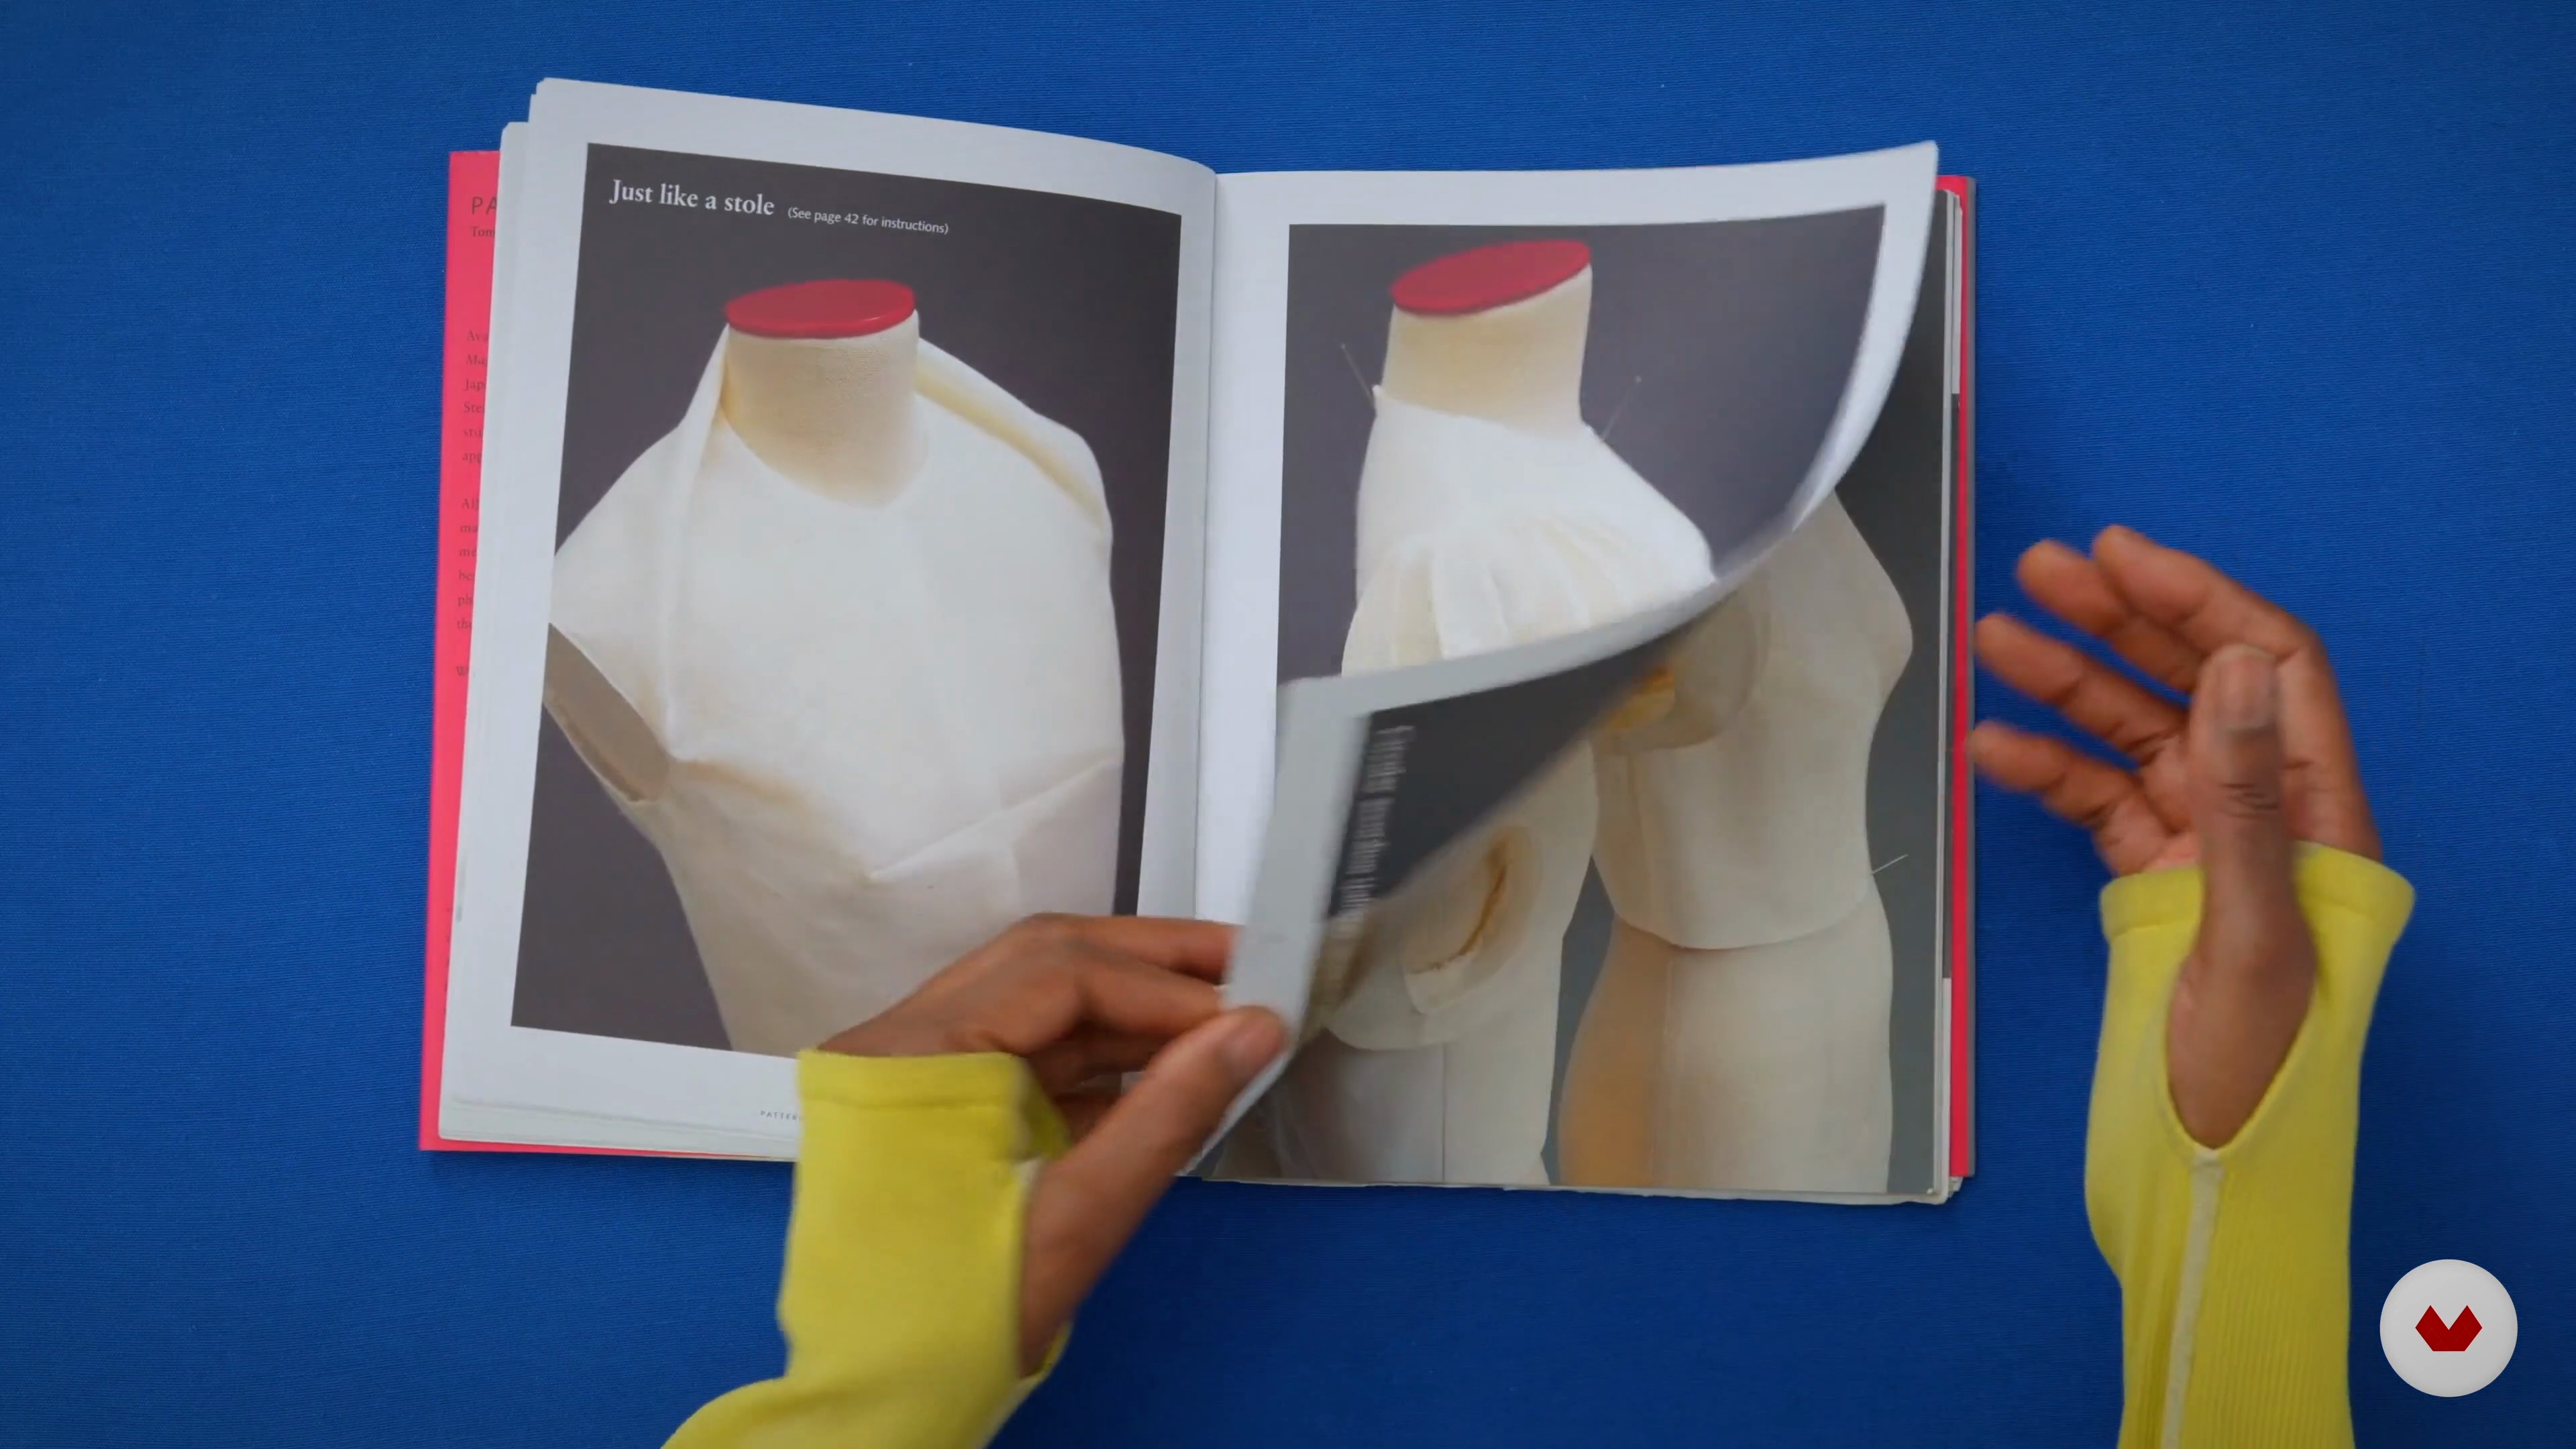
Explore a range of influences, where art, design, and fashion history merge into unique approaches to garment making. Inspired by techniques like trapunto and chiaroscuro, you’ll discover how to fuse classic and contemporary elements to achieve detailed, innovative designs. Get ready to expand your creative toolkit! Join Monisola Omotoso
9m
image
4
Vibrant African Prints
Reveals how vibrant African prints and bold designer details shape his style. Discover how to bring these colorful, textured inspirations into your designs, with Chinelo Bally.
1m
image
5
Heritage and Sustainability
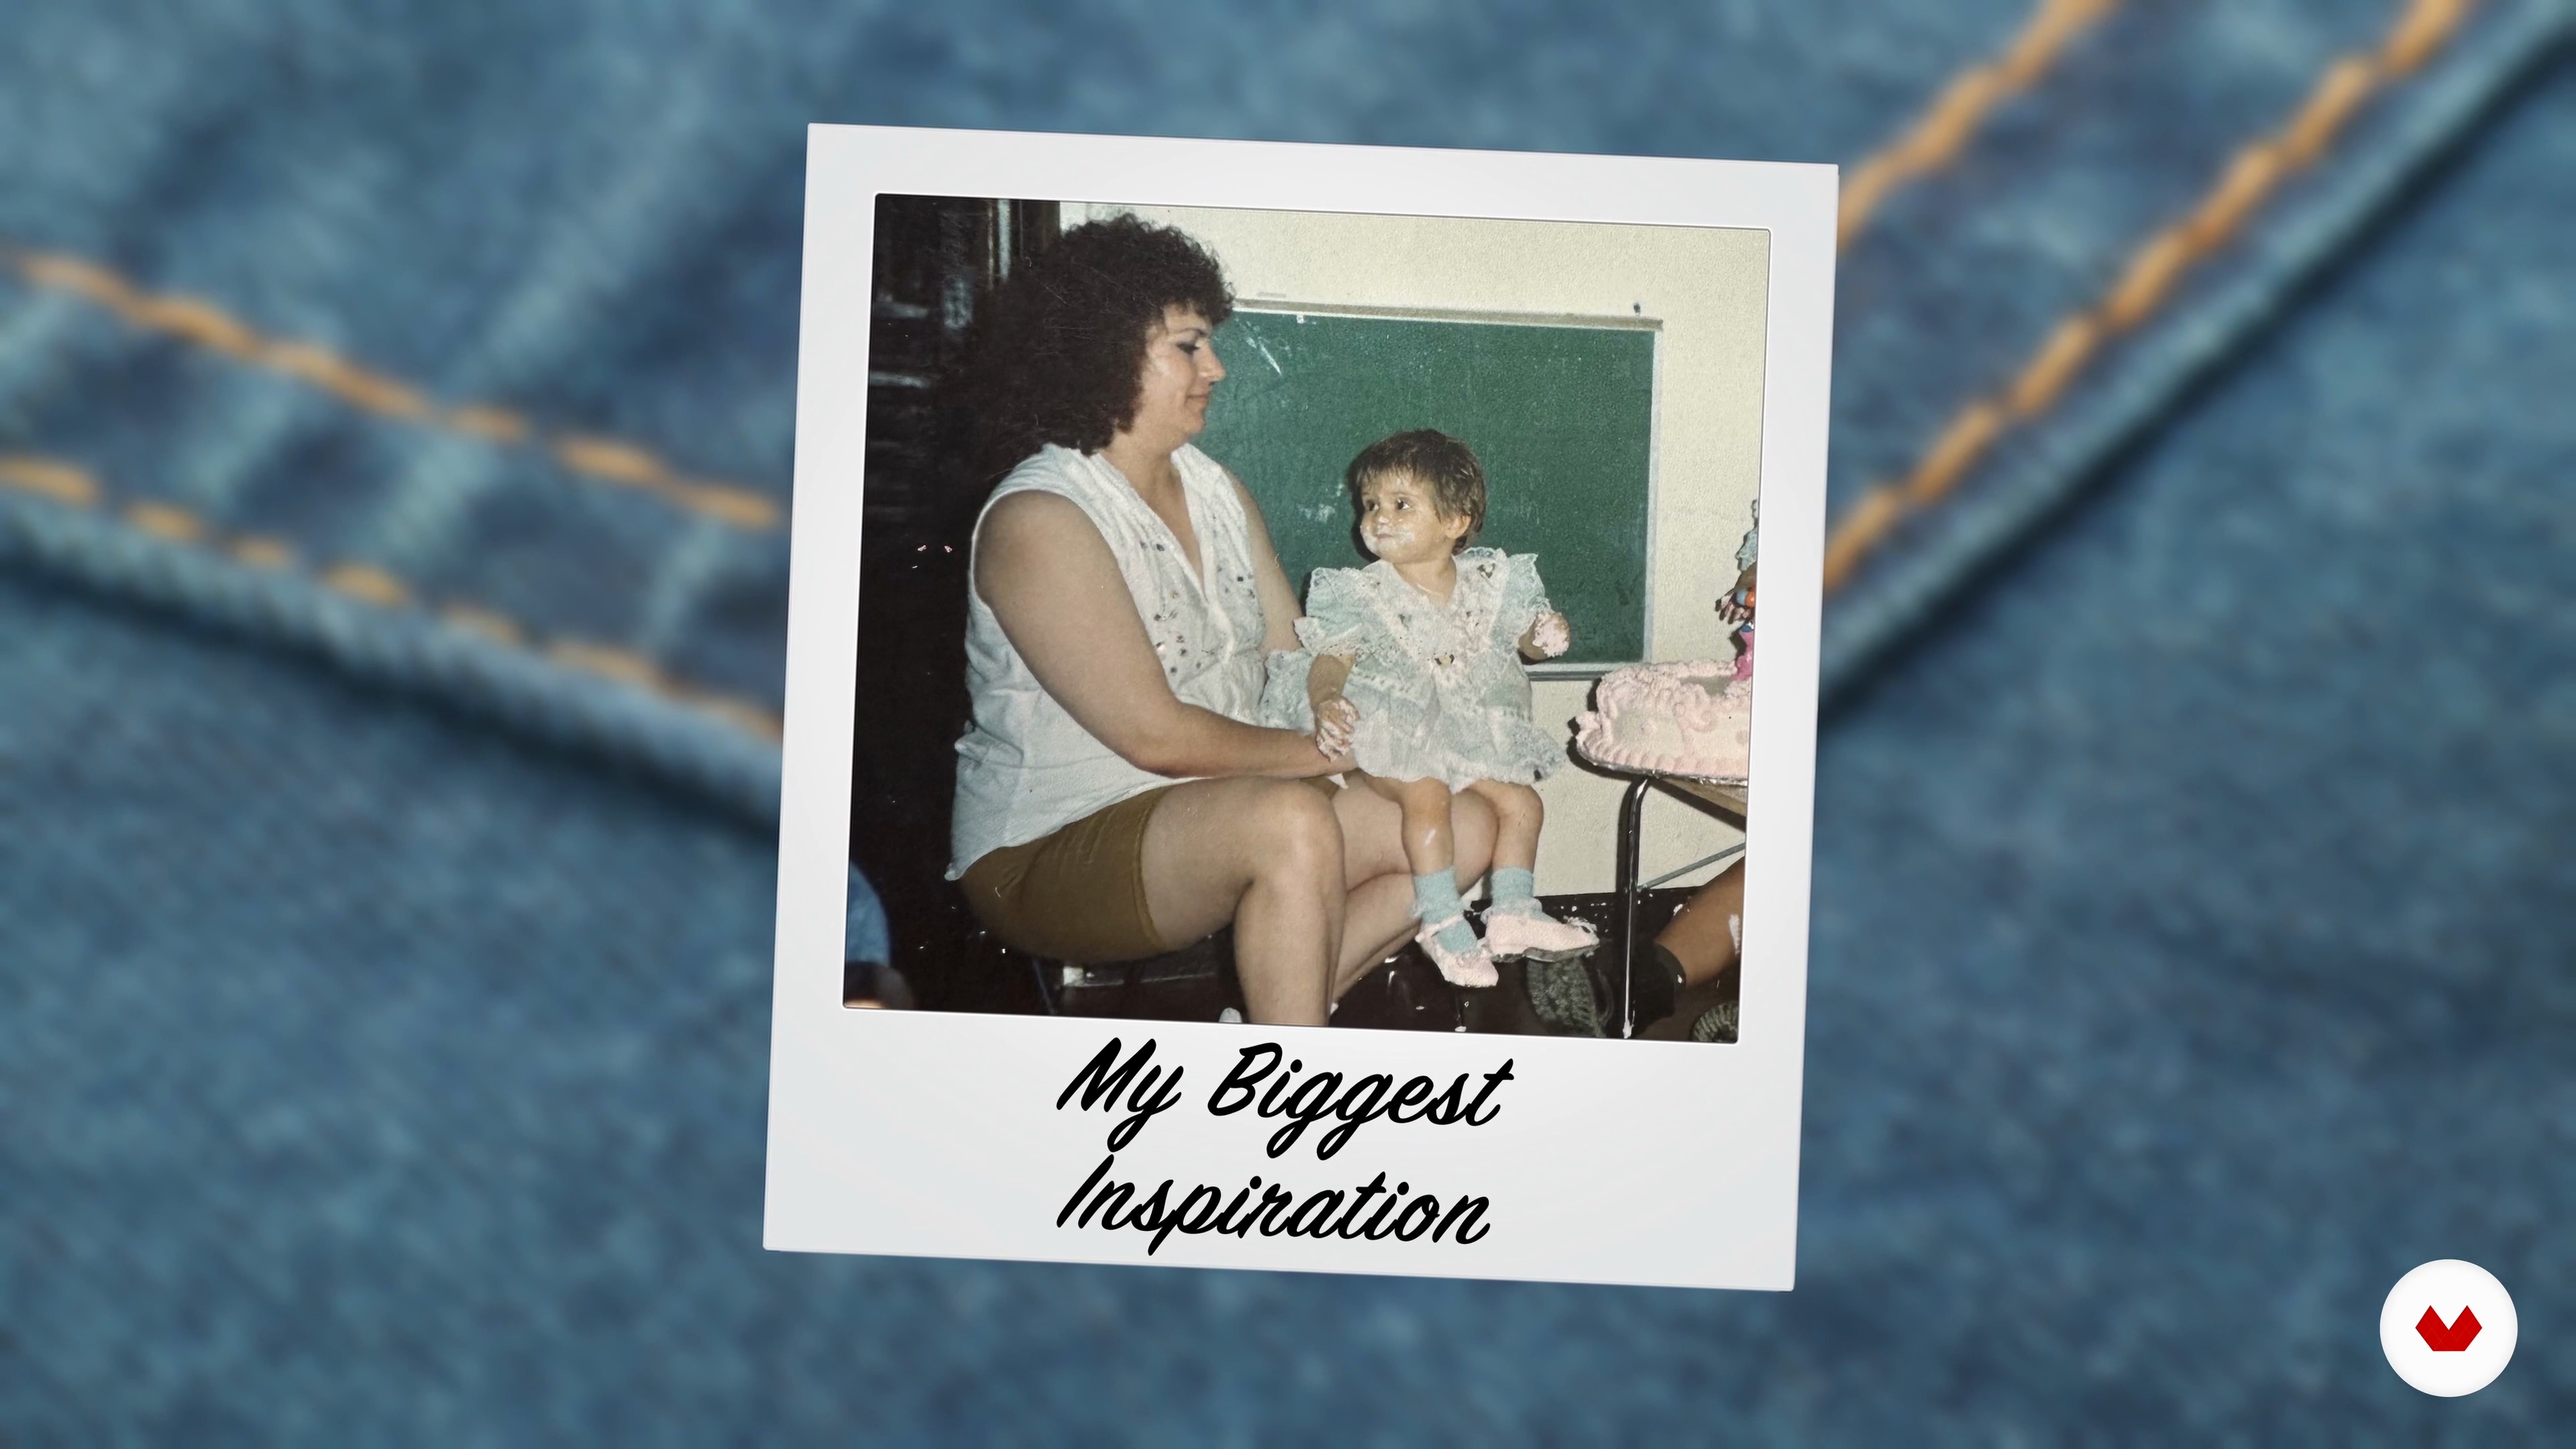
Inspired by his grandmother, a self-taught seamstress, and his ever-creative mother, the teacher demonstrates how family and sustainable fashion shape his work. Discover how he integrates values of perseverance and environmental awareness, transforming clothing and finding unique treasures in thrift stores. Join Luisa Hurtado in this lesson.
2m
image
6
Essential Tools for Home Sewing
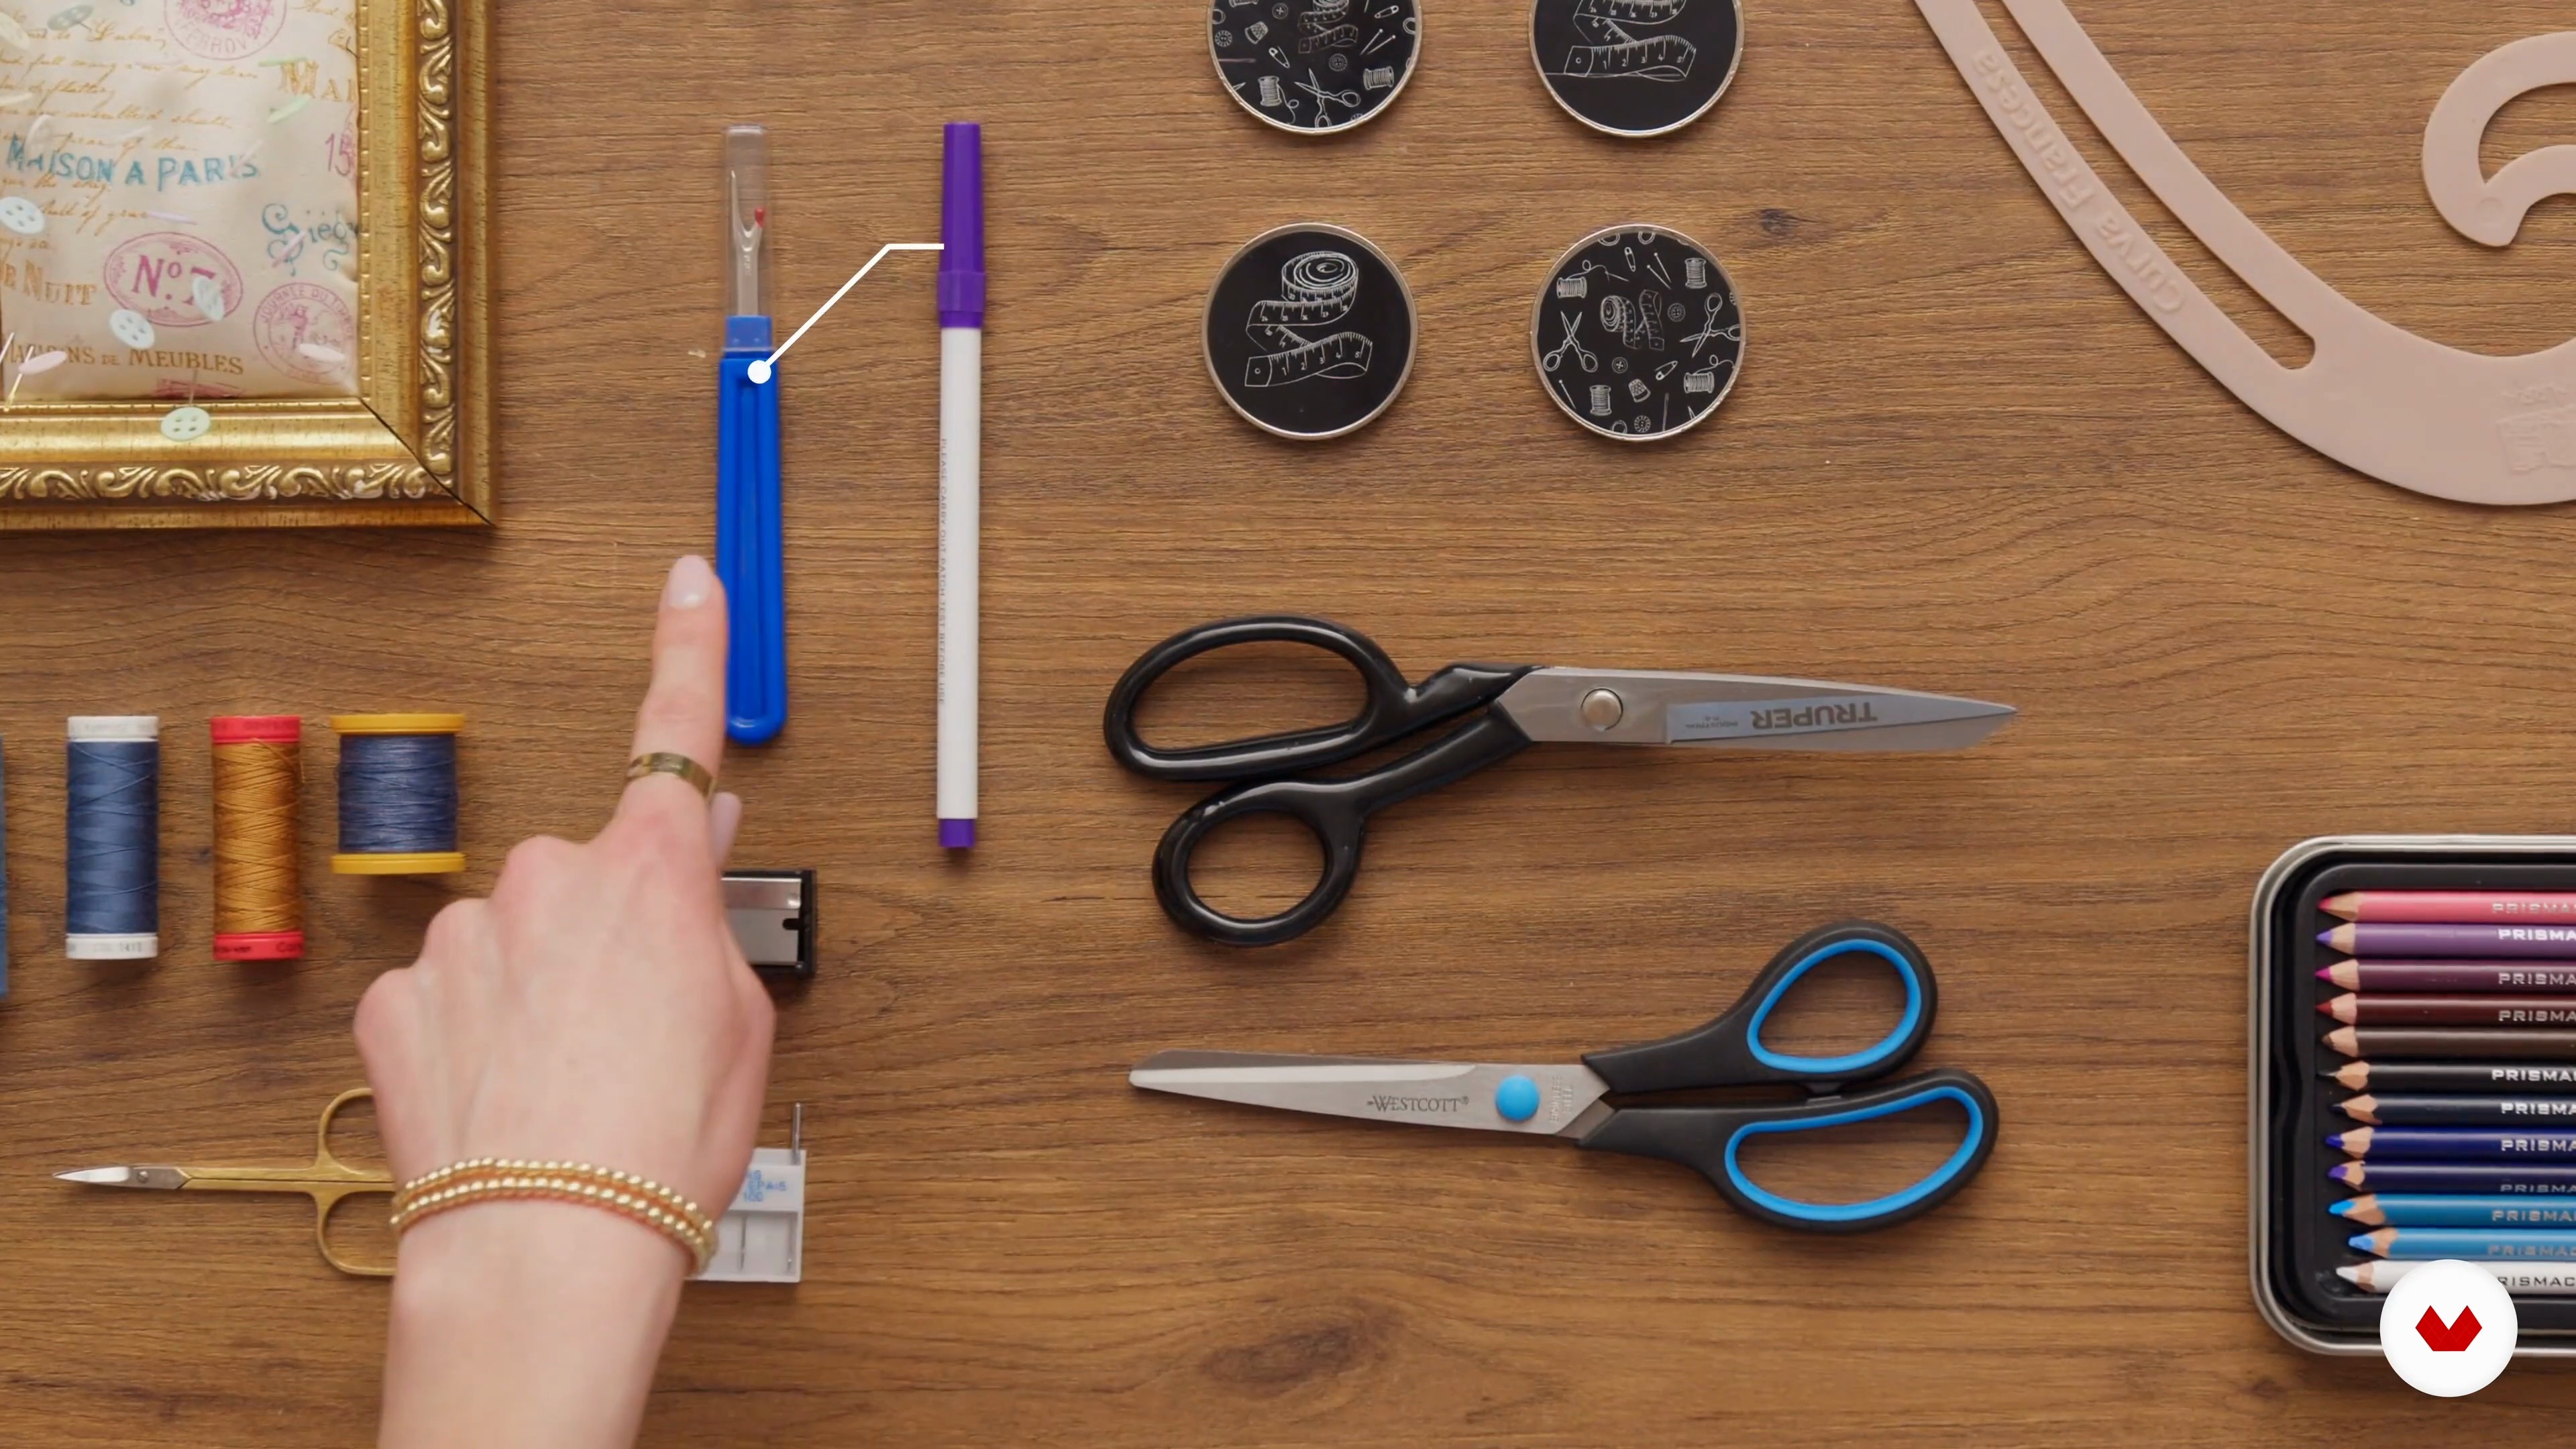
In this lesson will introduces you to the essential tools for making clothes at home, from the sewing machine to pinking shears. You’ll learn about each tool, how to use it, and why it’s necessary—from needles and rulers to the importance of a good iron for a professional finish. Join Juliet Uzor on this lesson.
4m
image
7
Dressmaking Essentials: Pattern Drafting and Sewing
This lesson guides you through all the tools and materials needed to make a dress from scratch. From paper and pencils for drafting to elastics and sewing machines for construction, you’ll learn what’s required at each step and how to adapt to what you have. Get ready to create with Elisalex, founder of By Hand London.
2m
image
8
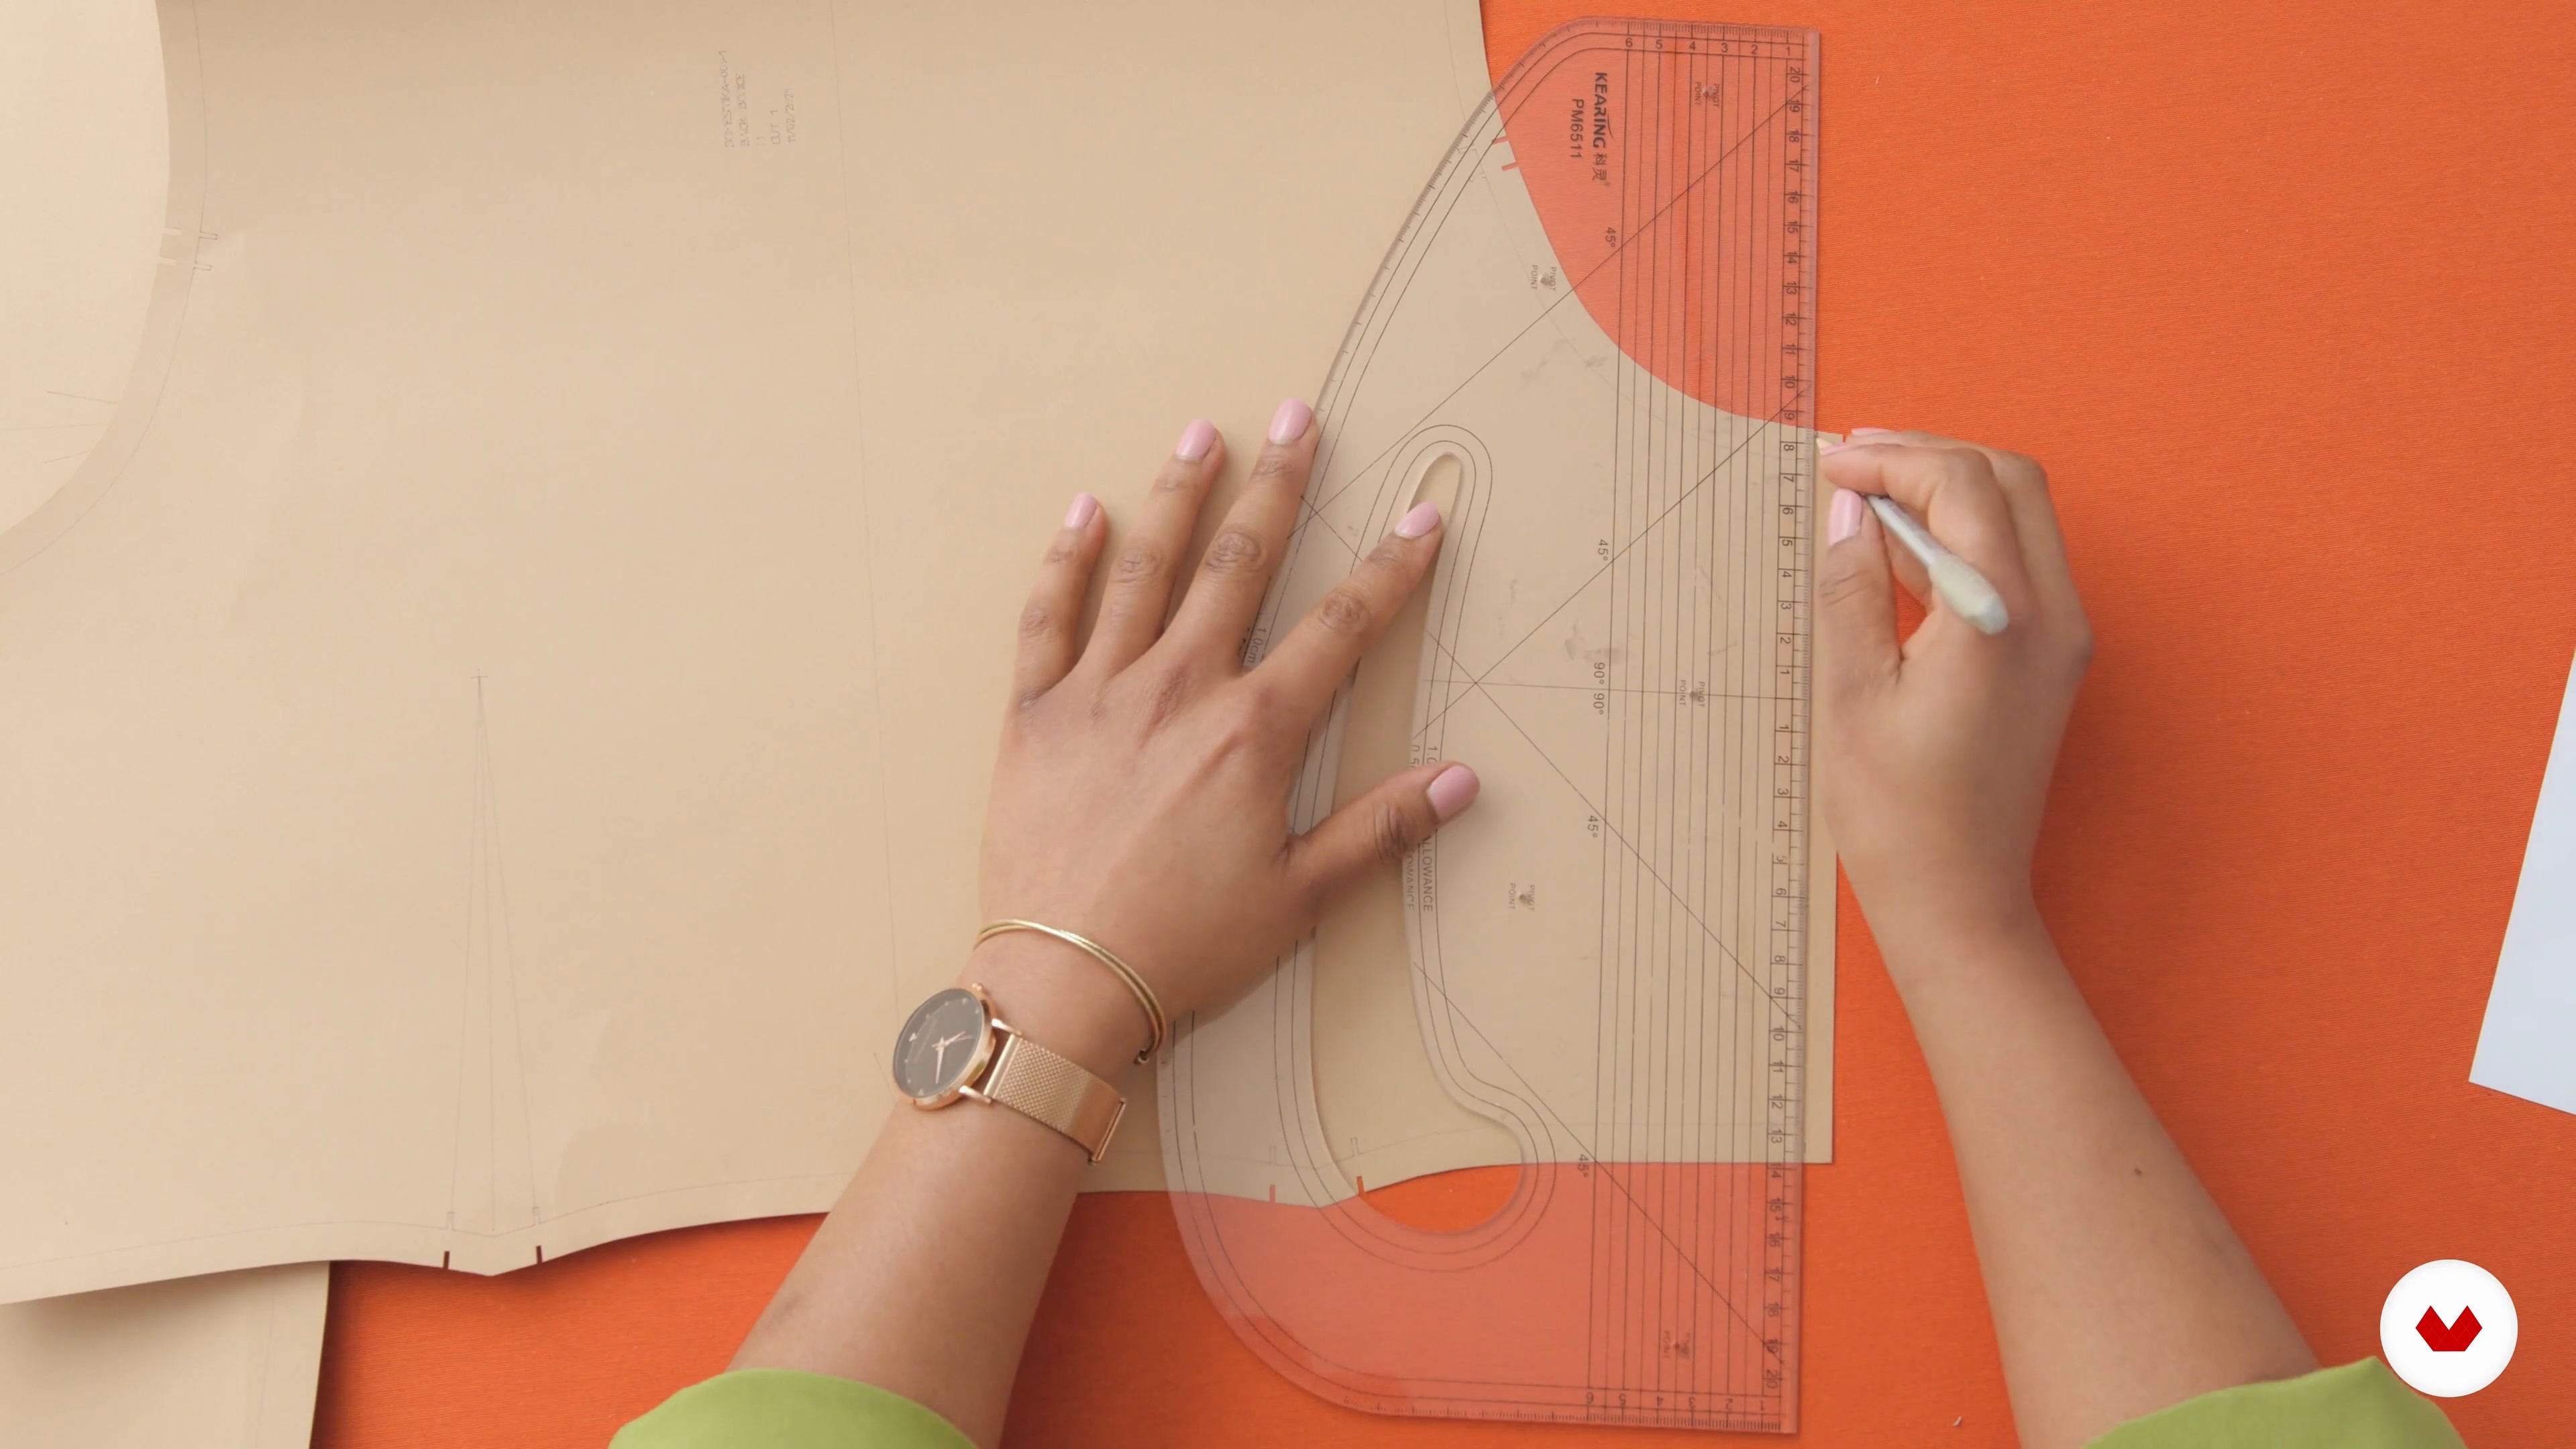
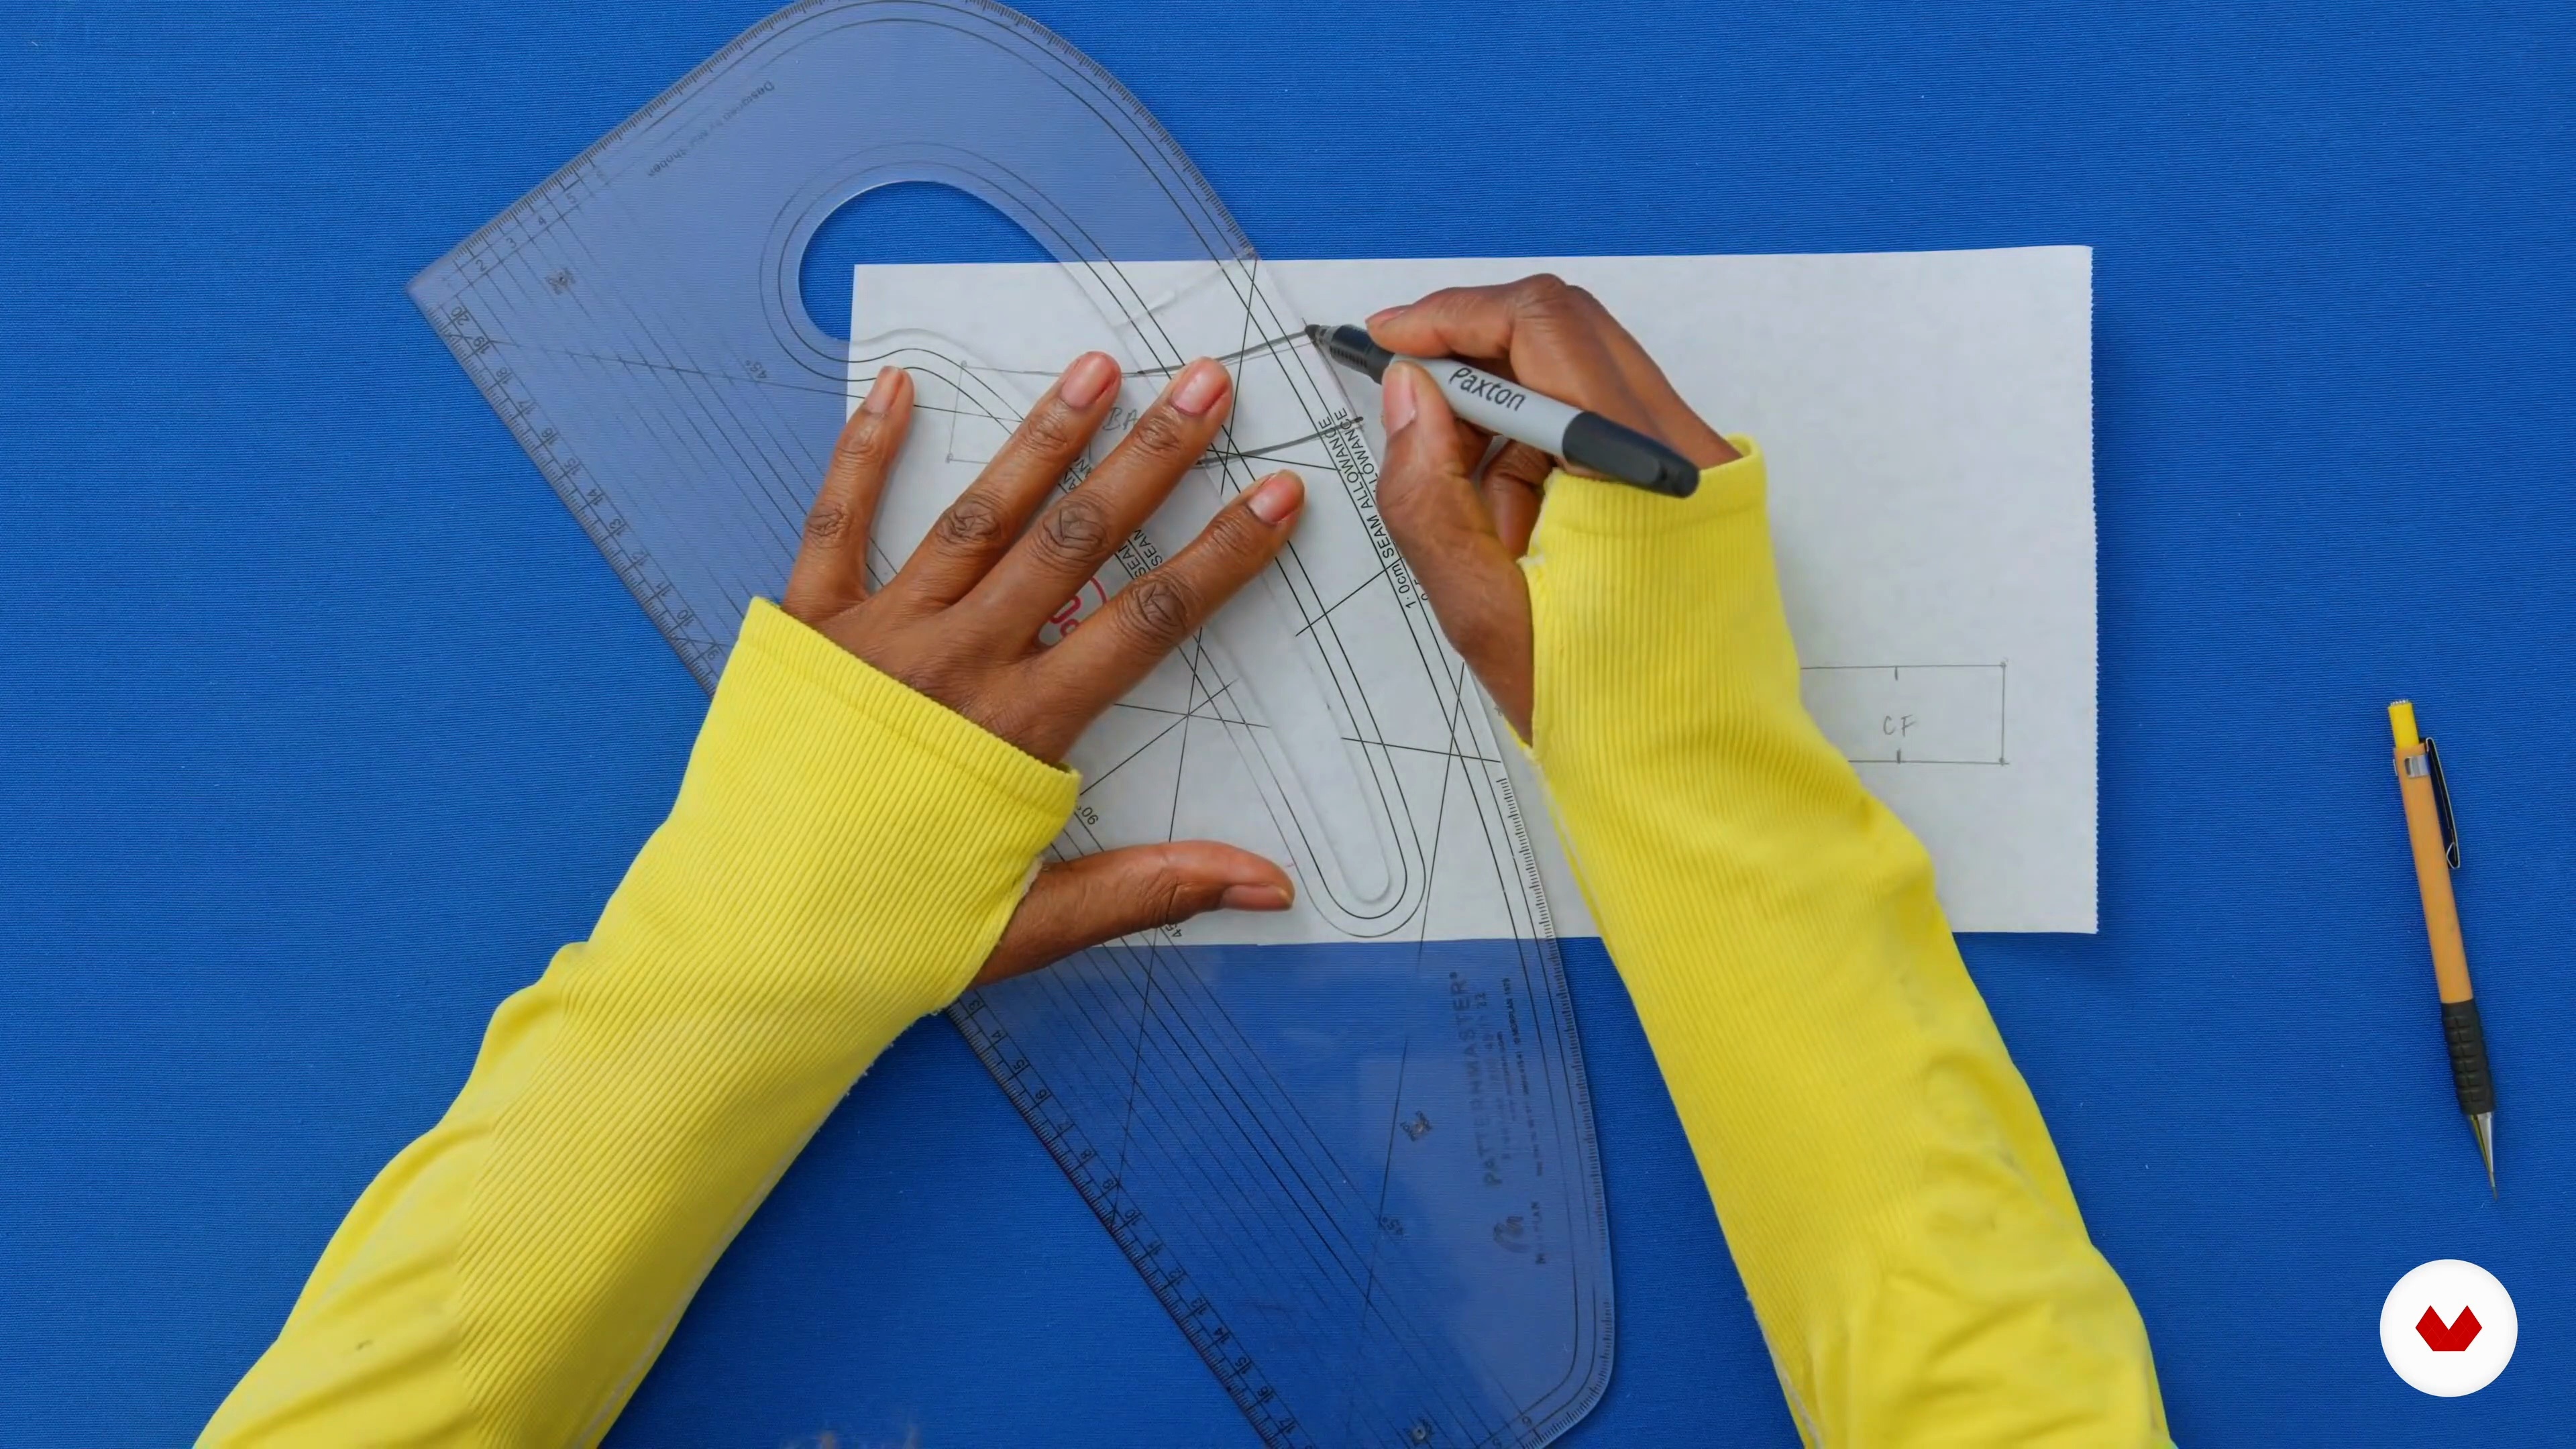
Essential Tools and Materials for Pattern Cutting
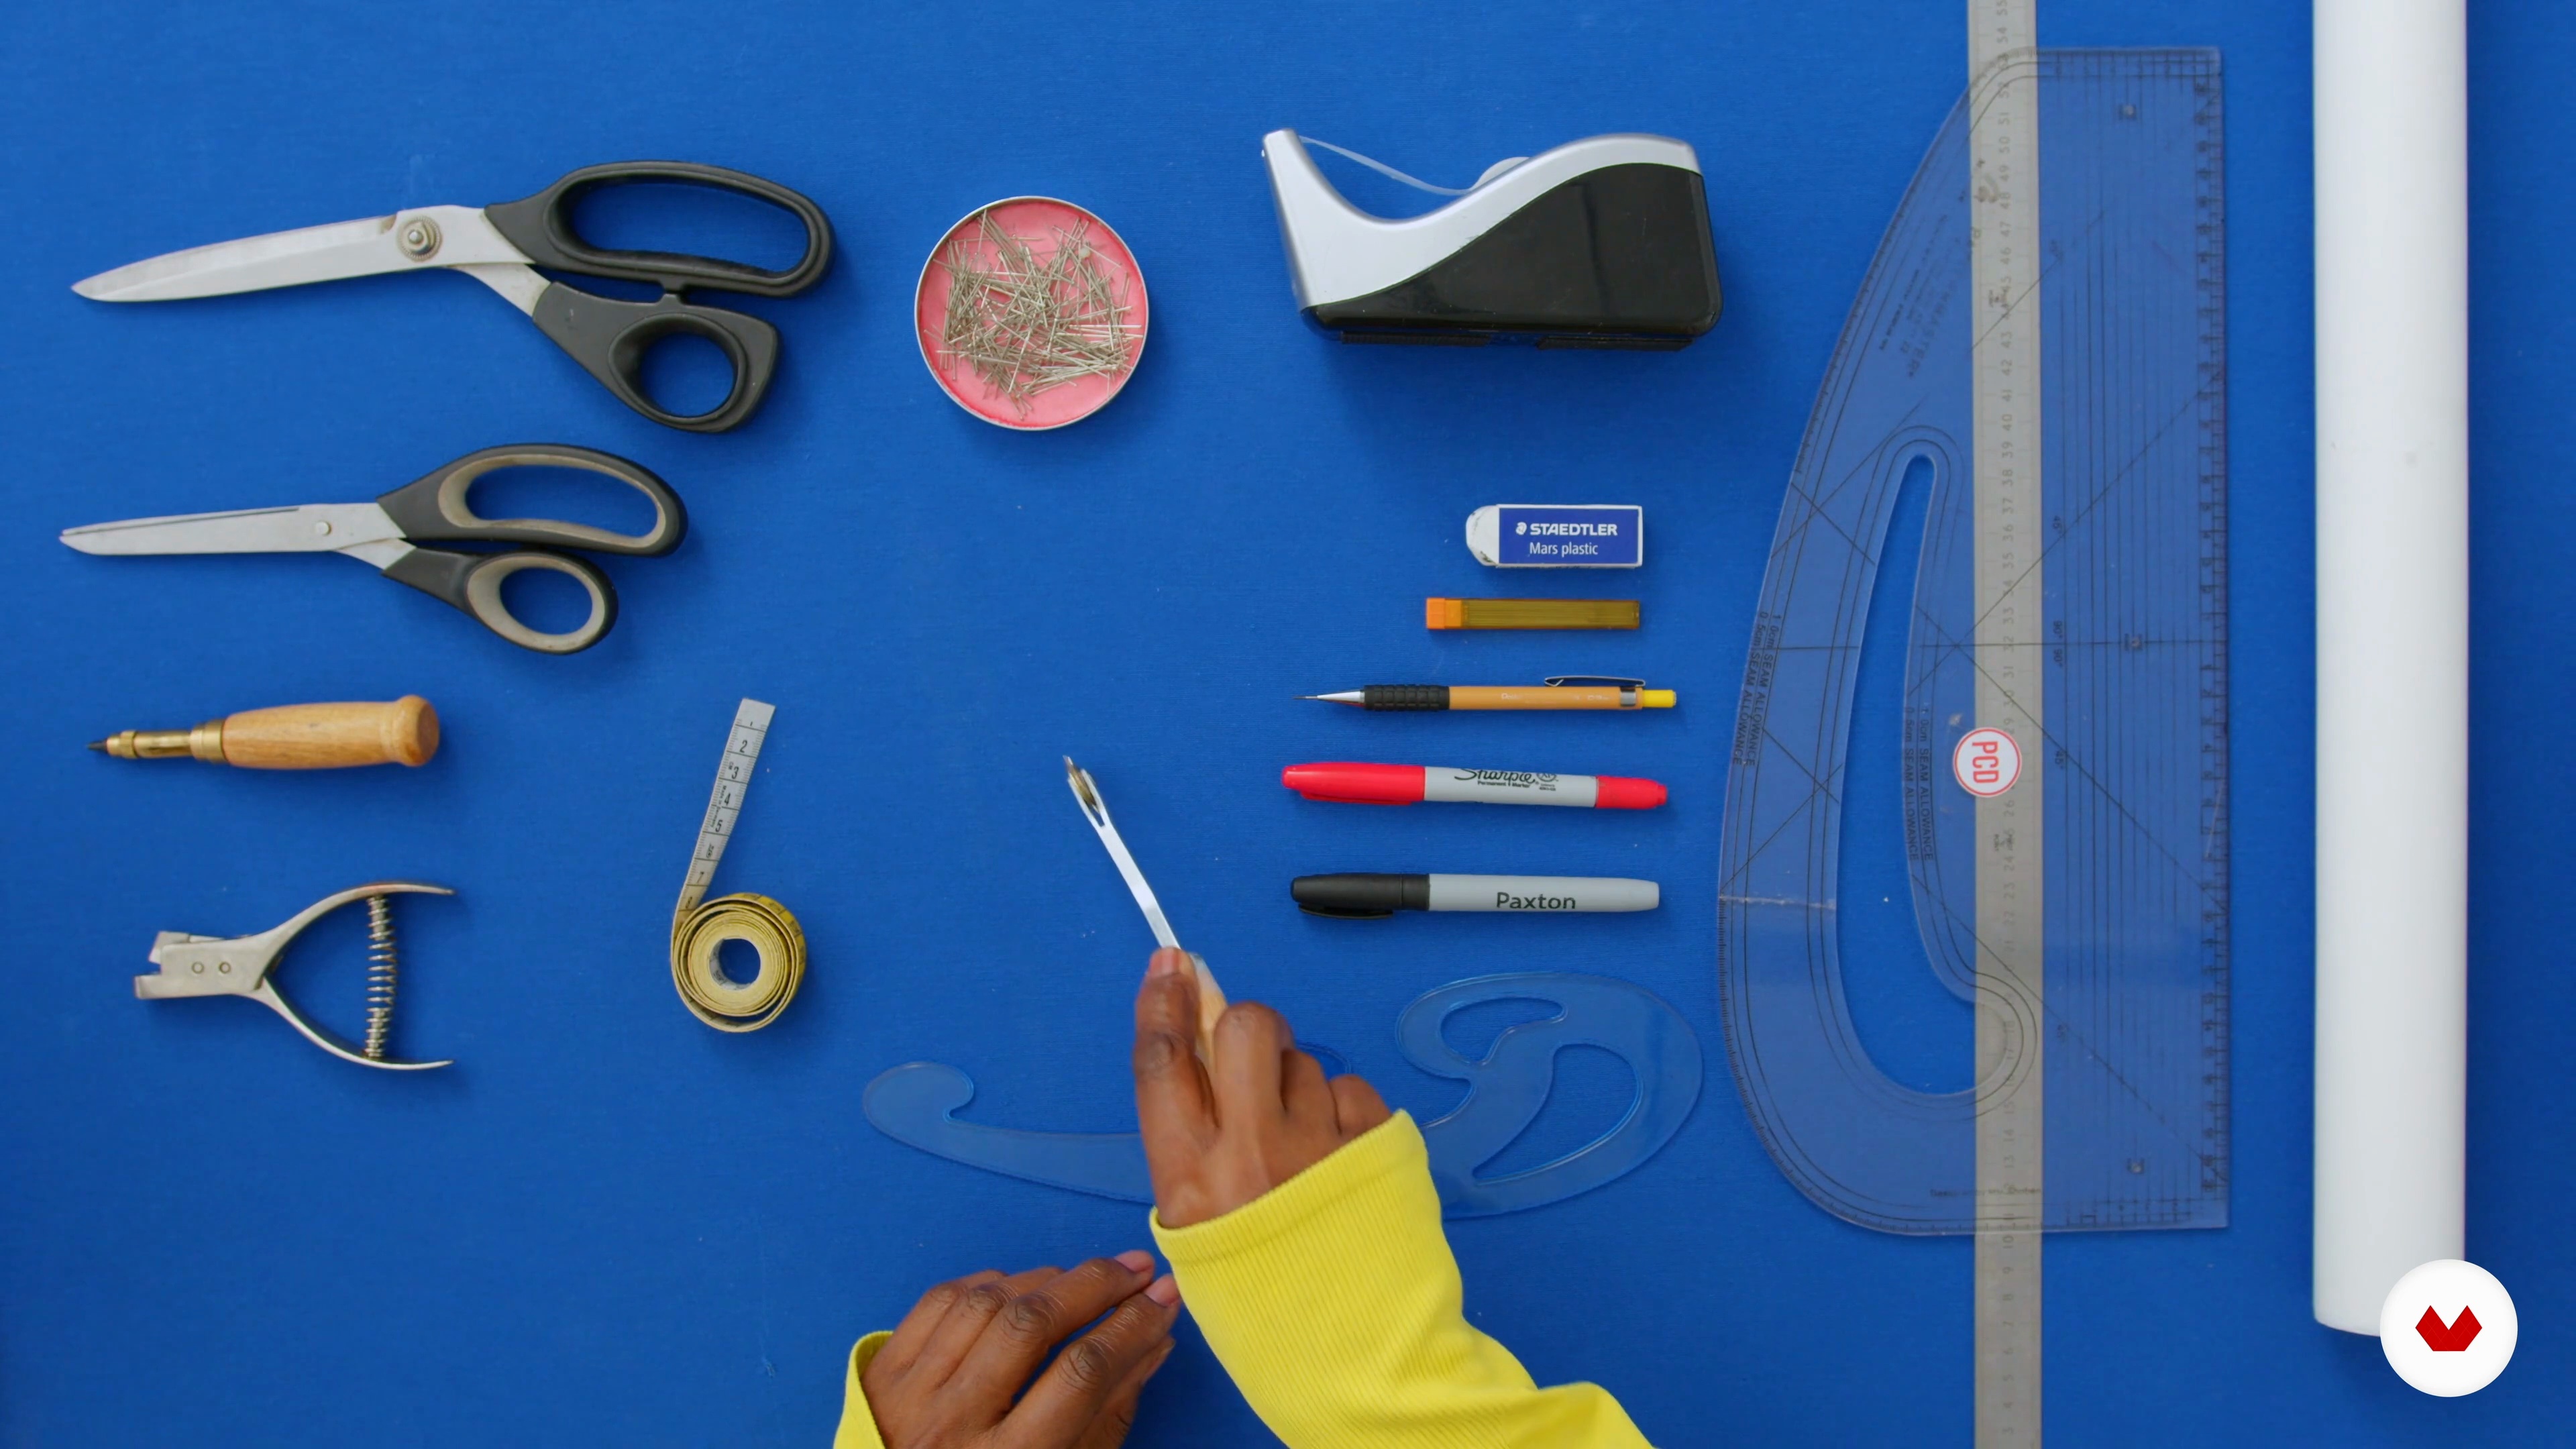
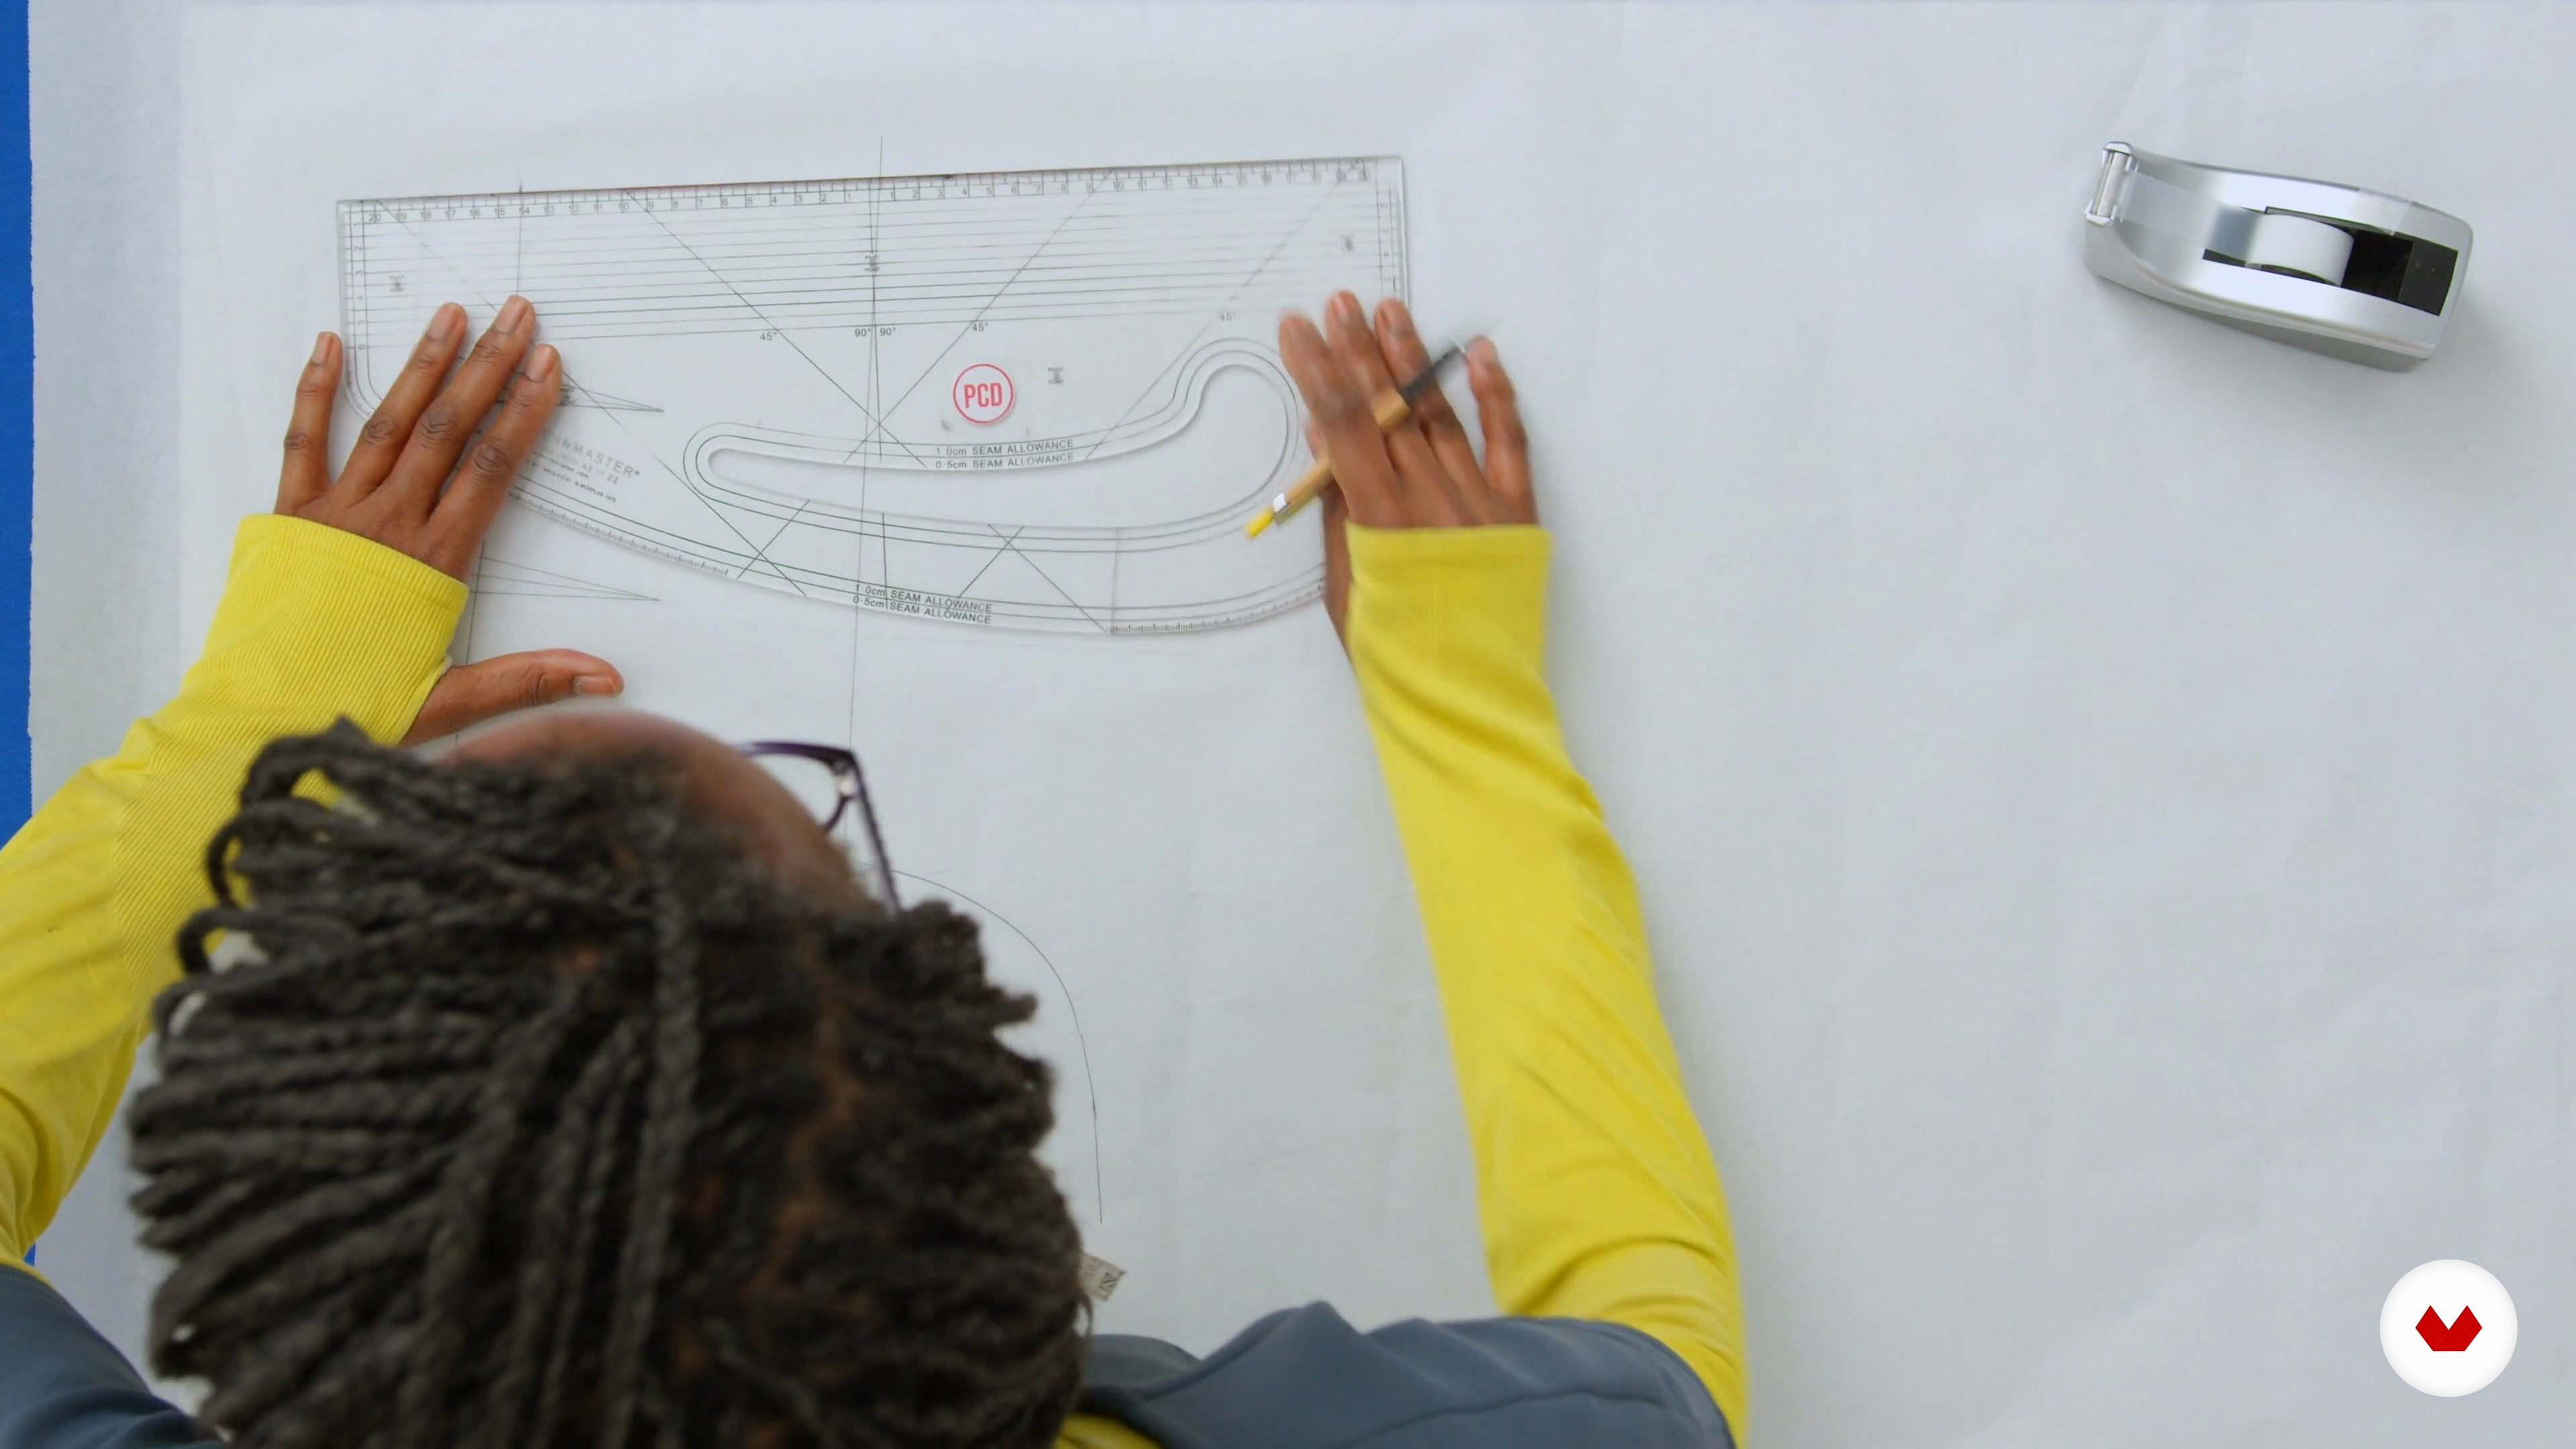
Discover the essential pattern-cutting tools, like the indispensable pattern master, French curve, and pattern paper. Monisola Omotoso will show you how each one helps achieve precision in your designs, along with how to prepare a test toile and select the right materials for the final project.
4m
image
9
Materials and Tools for Making a Denim Backpack
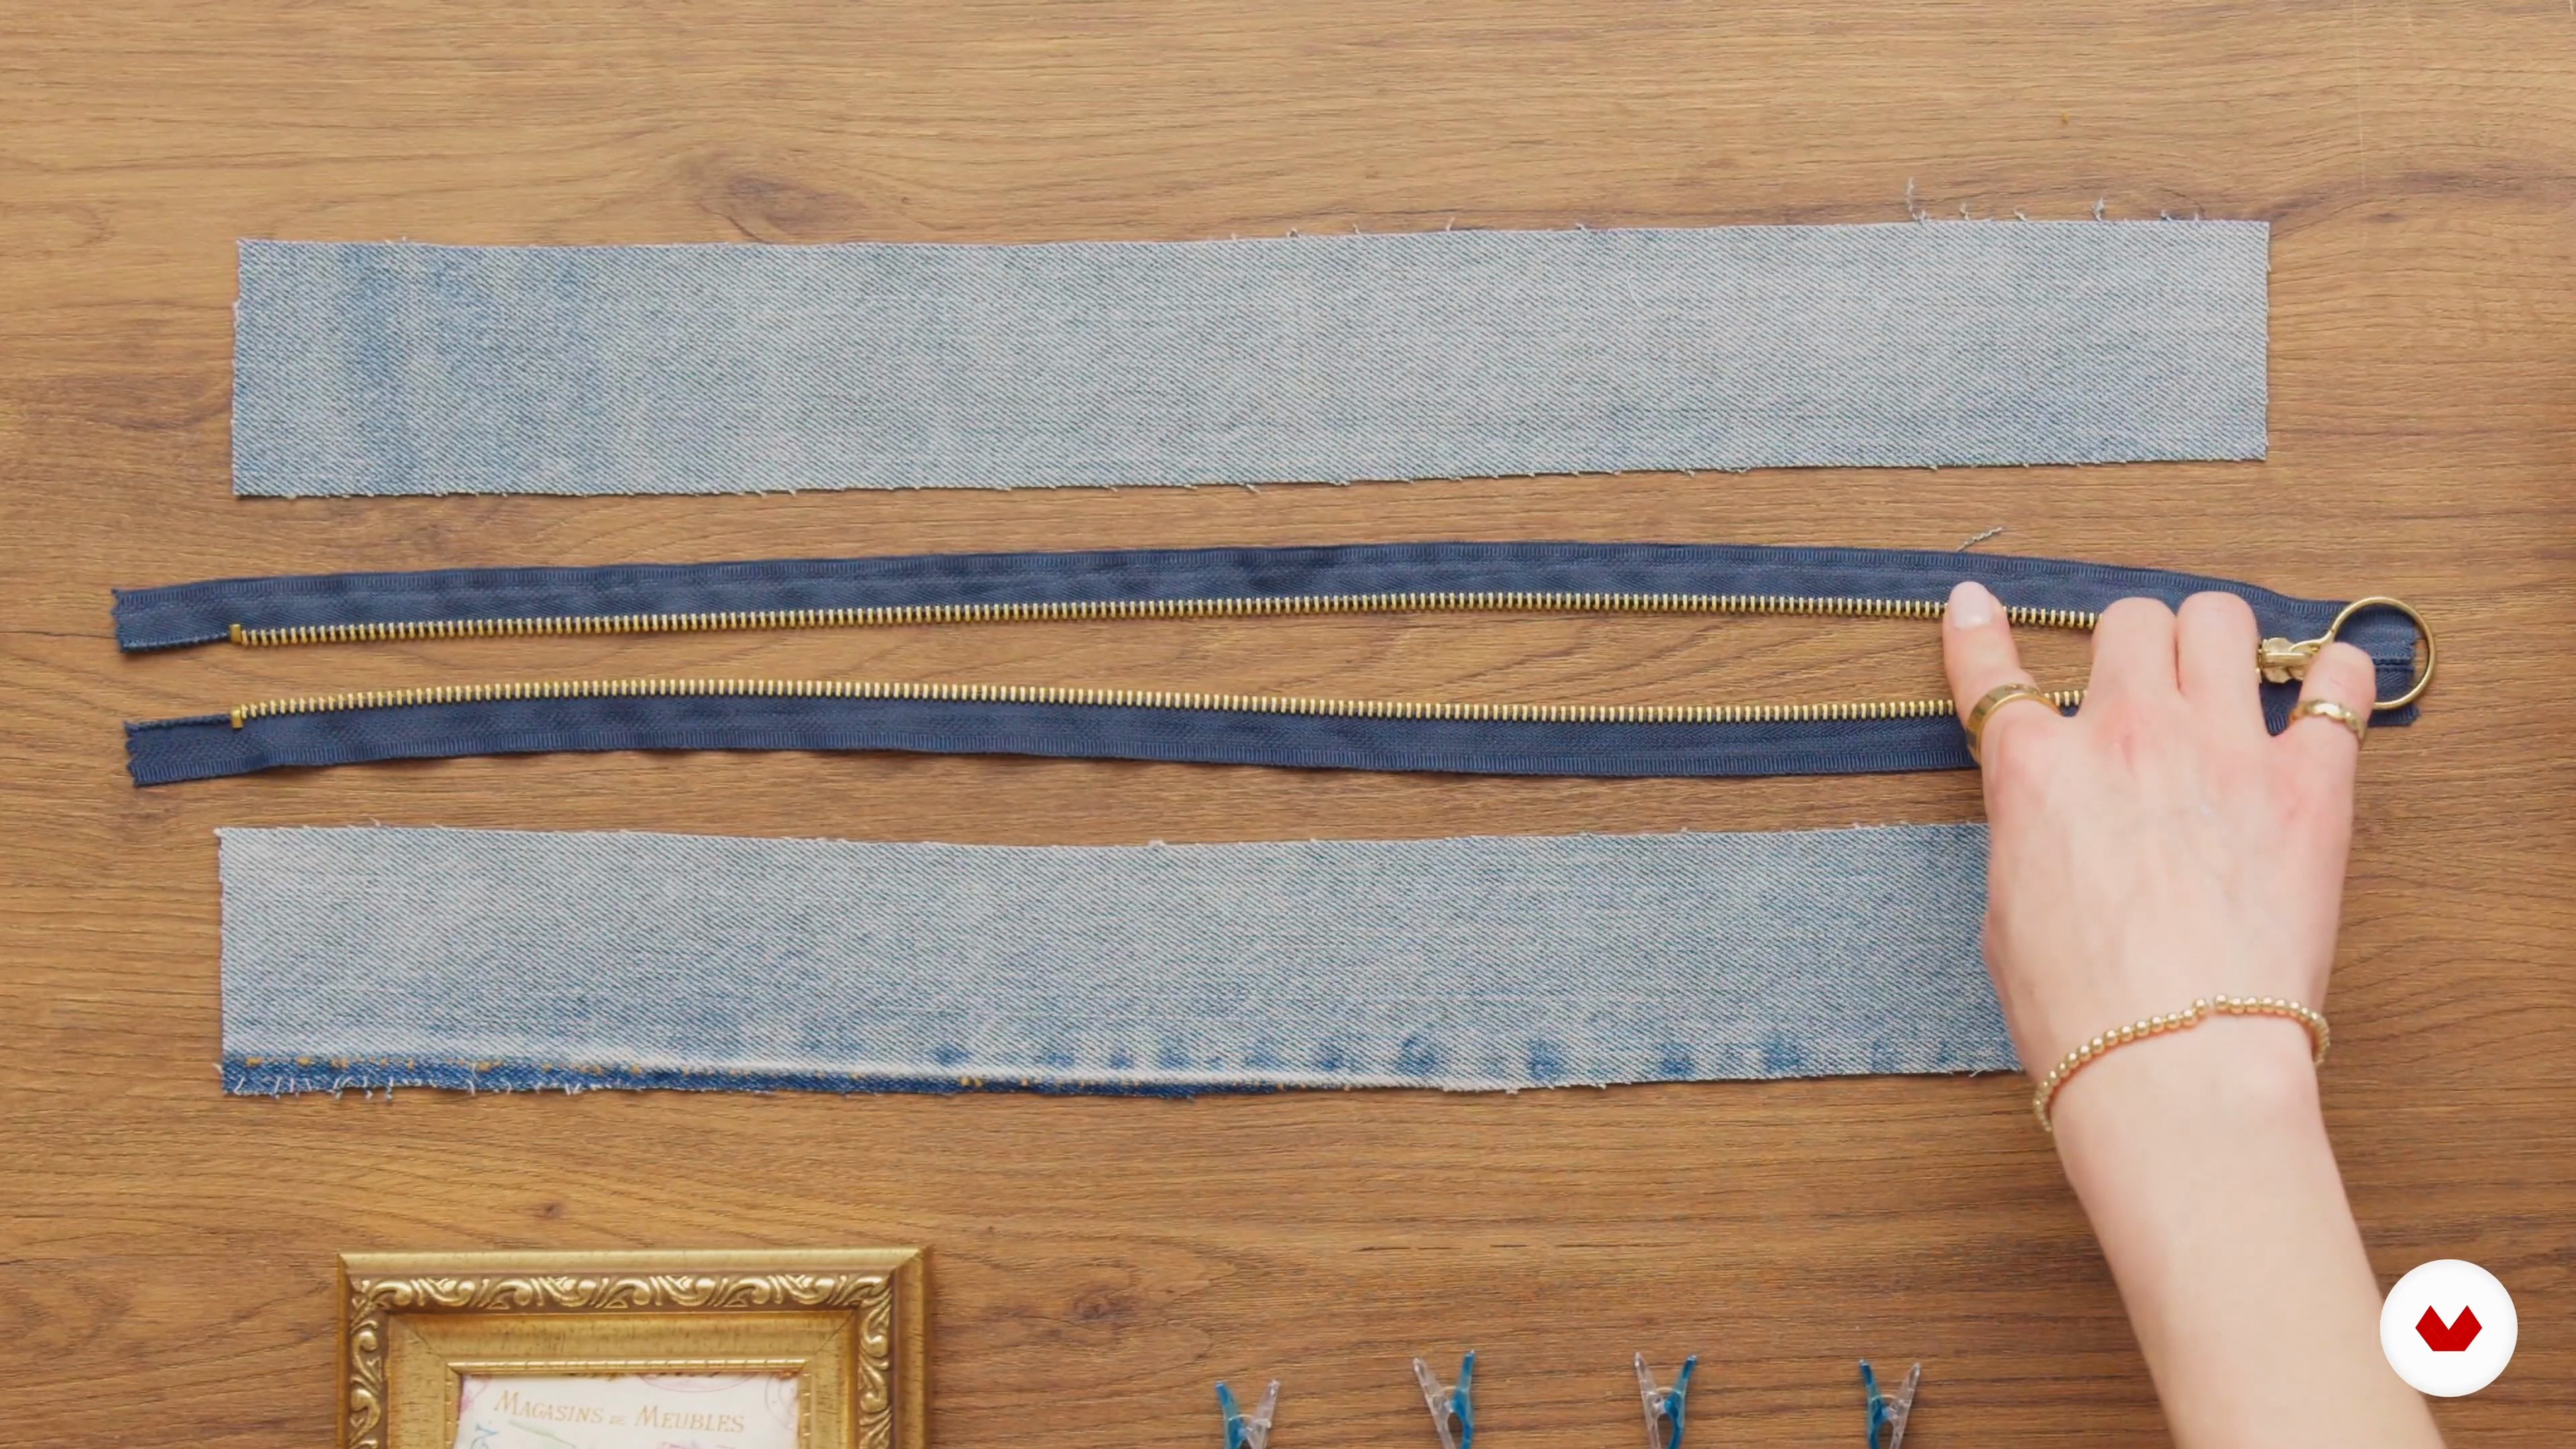
This lesson will guide you in creating a unique backpack from old jeans. You’ll need a metal zipper, fabric for lining, and essential tools like pins and a sewing machine with a jeans needle. Join Luisa Hurtado.
2m
image
1
Introduction
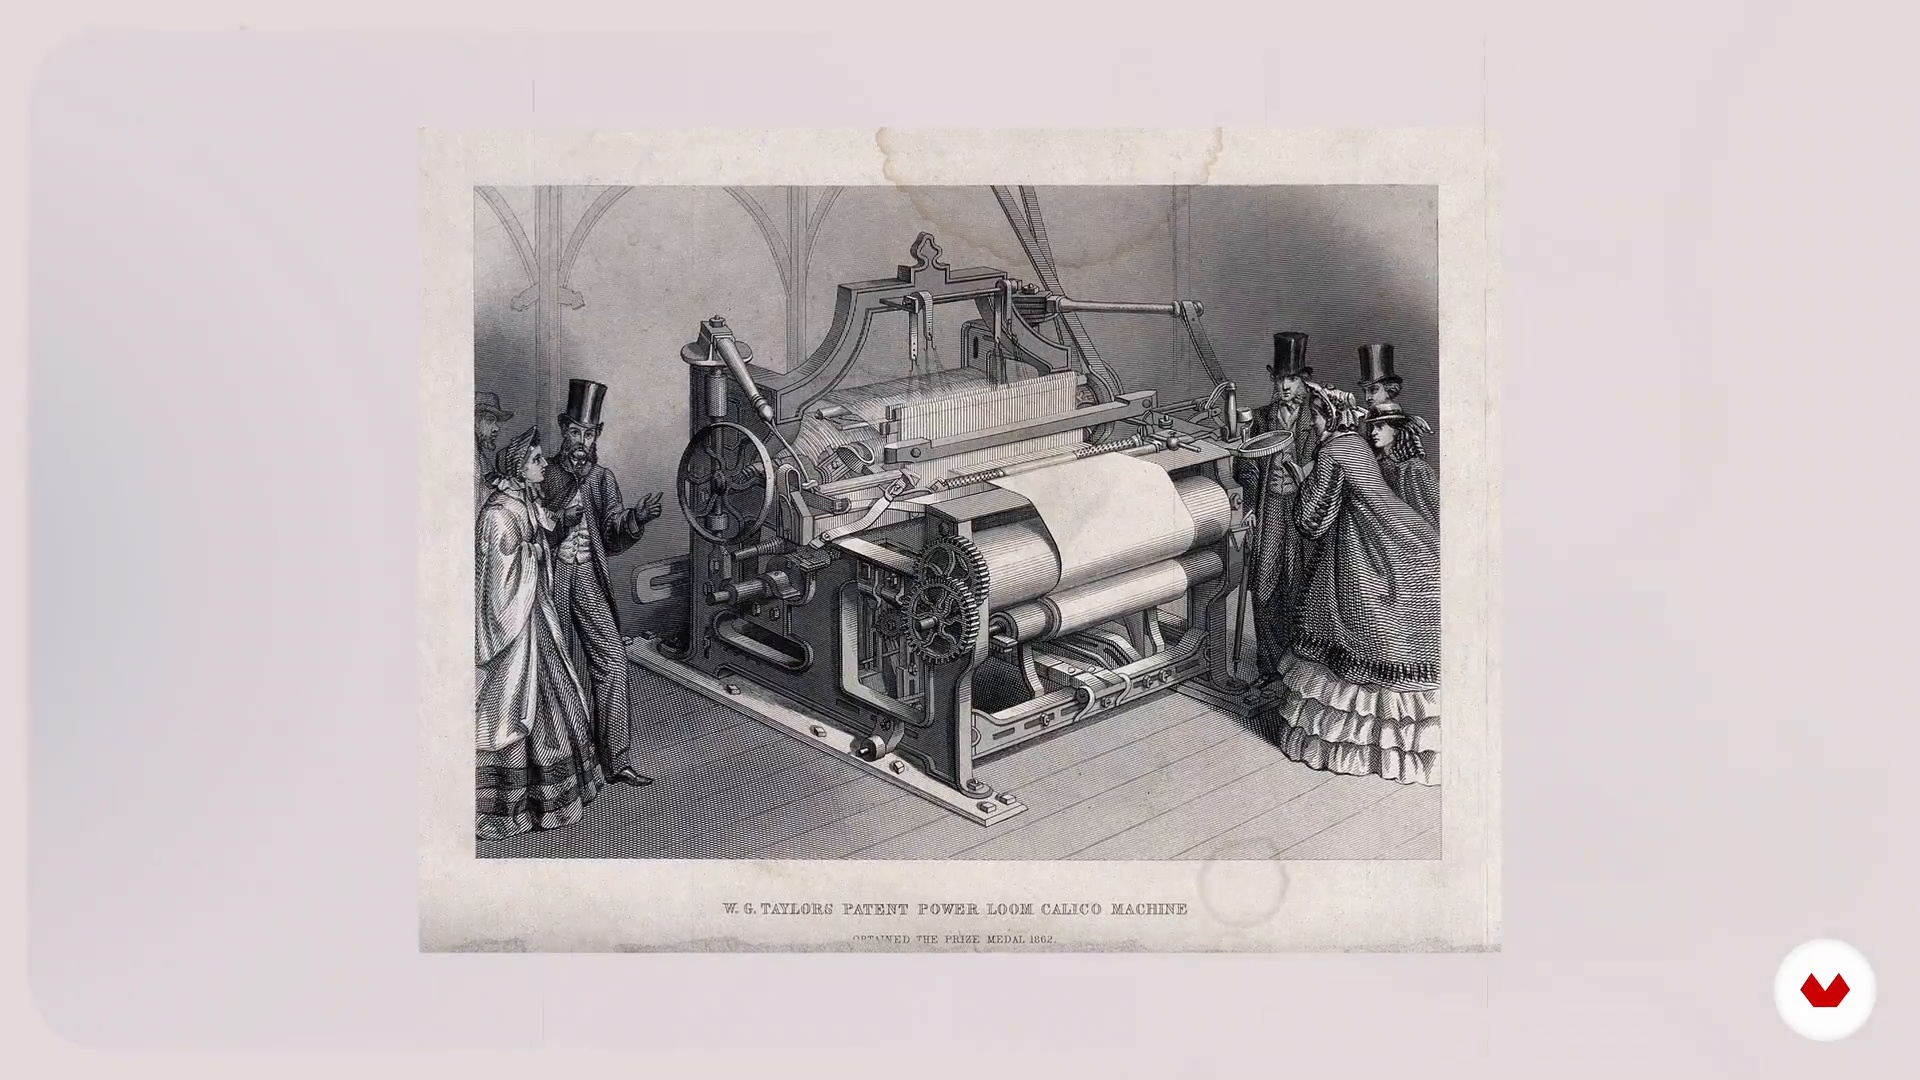
Sewing is a timeless art that connects generations and allows for self-expression. Since the invention of the sewing machine in the 19th century, this tool has revolutionized the process, making textile creation more accessible. Today, each stitch is an opportunity to bring unique, sustainable ideas to life, reflecting our true style and purpose.
2m
image
2
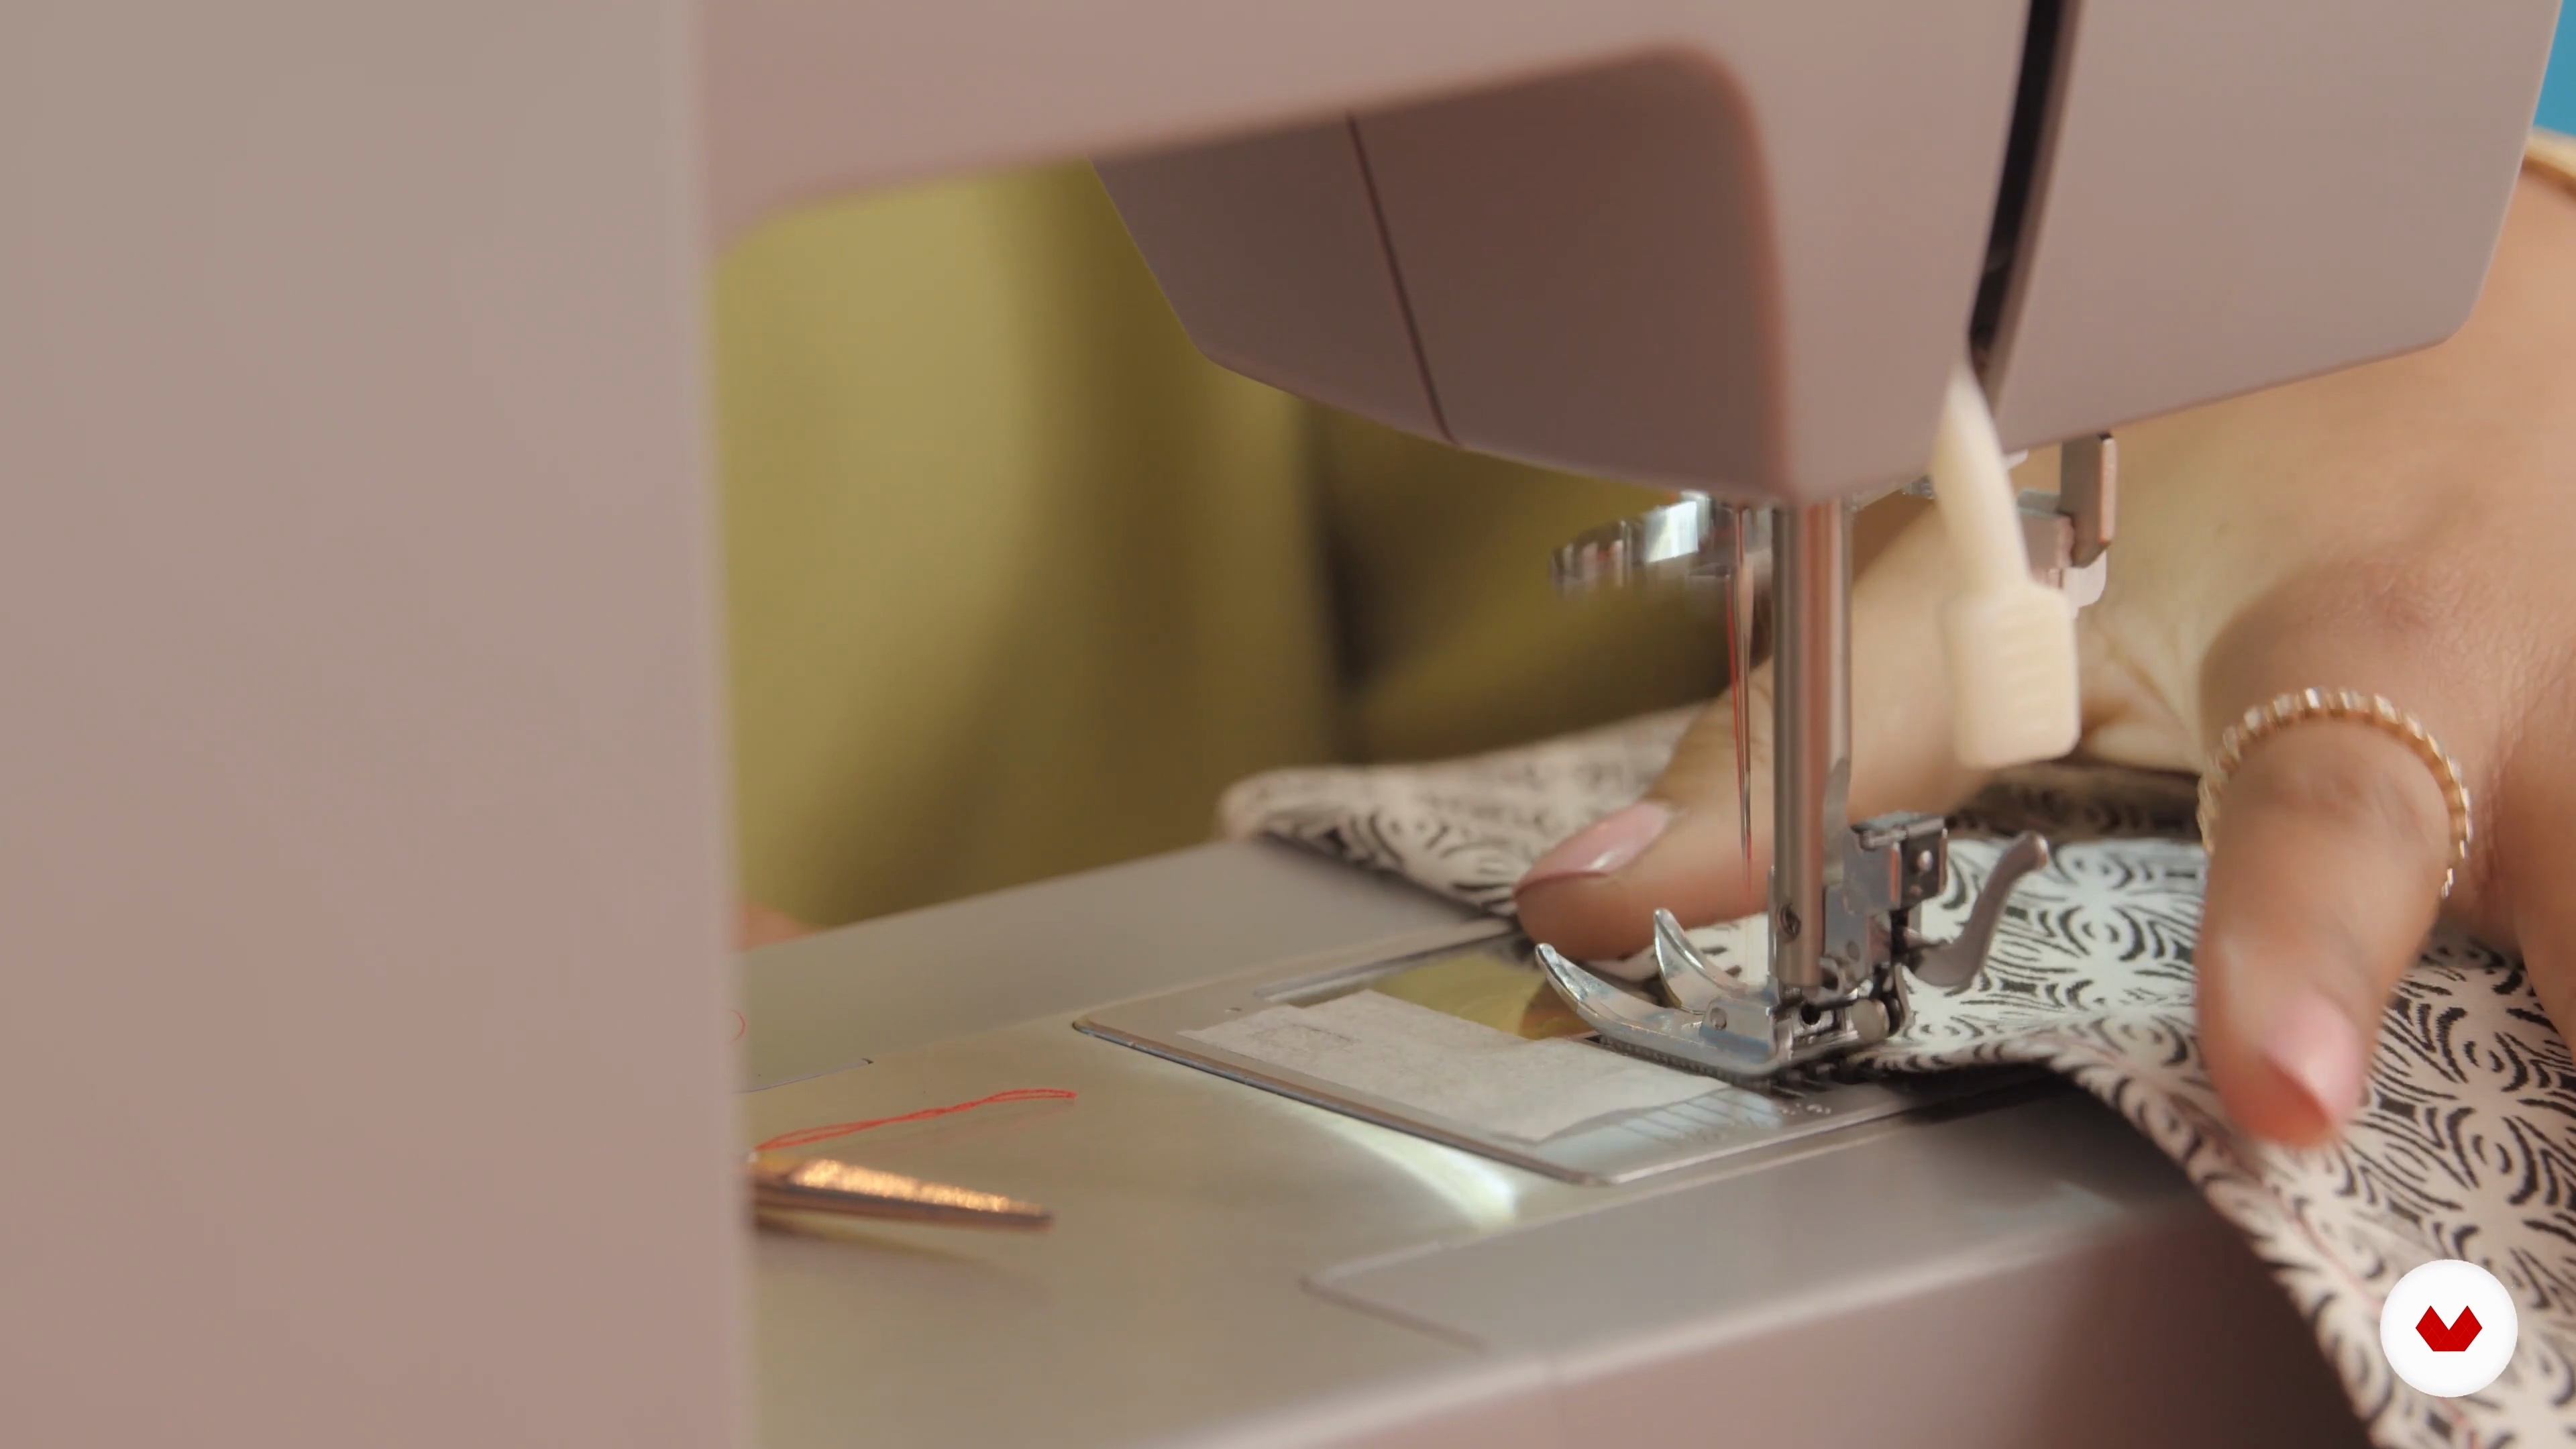
Getting to Know the Machine
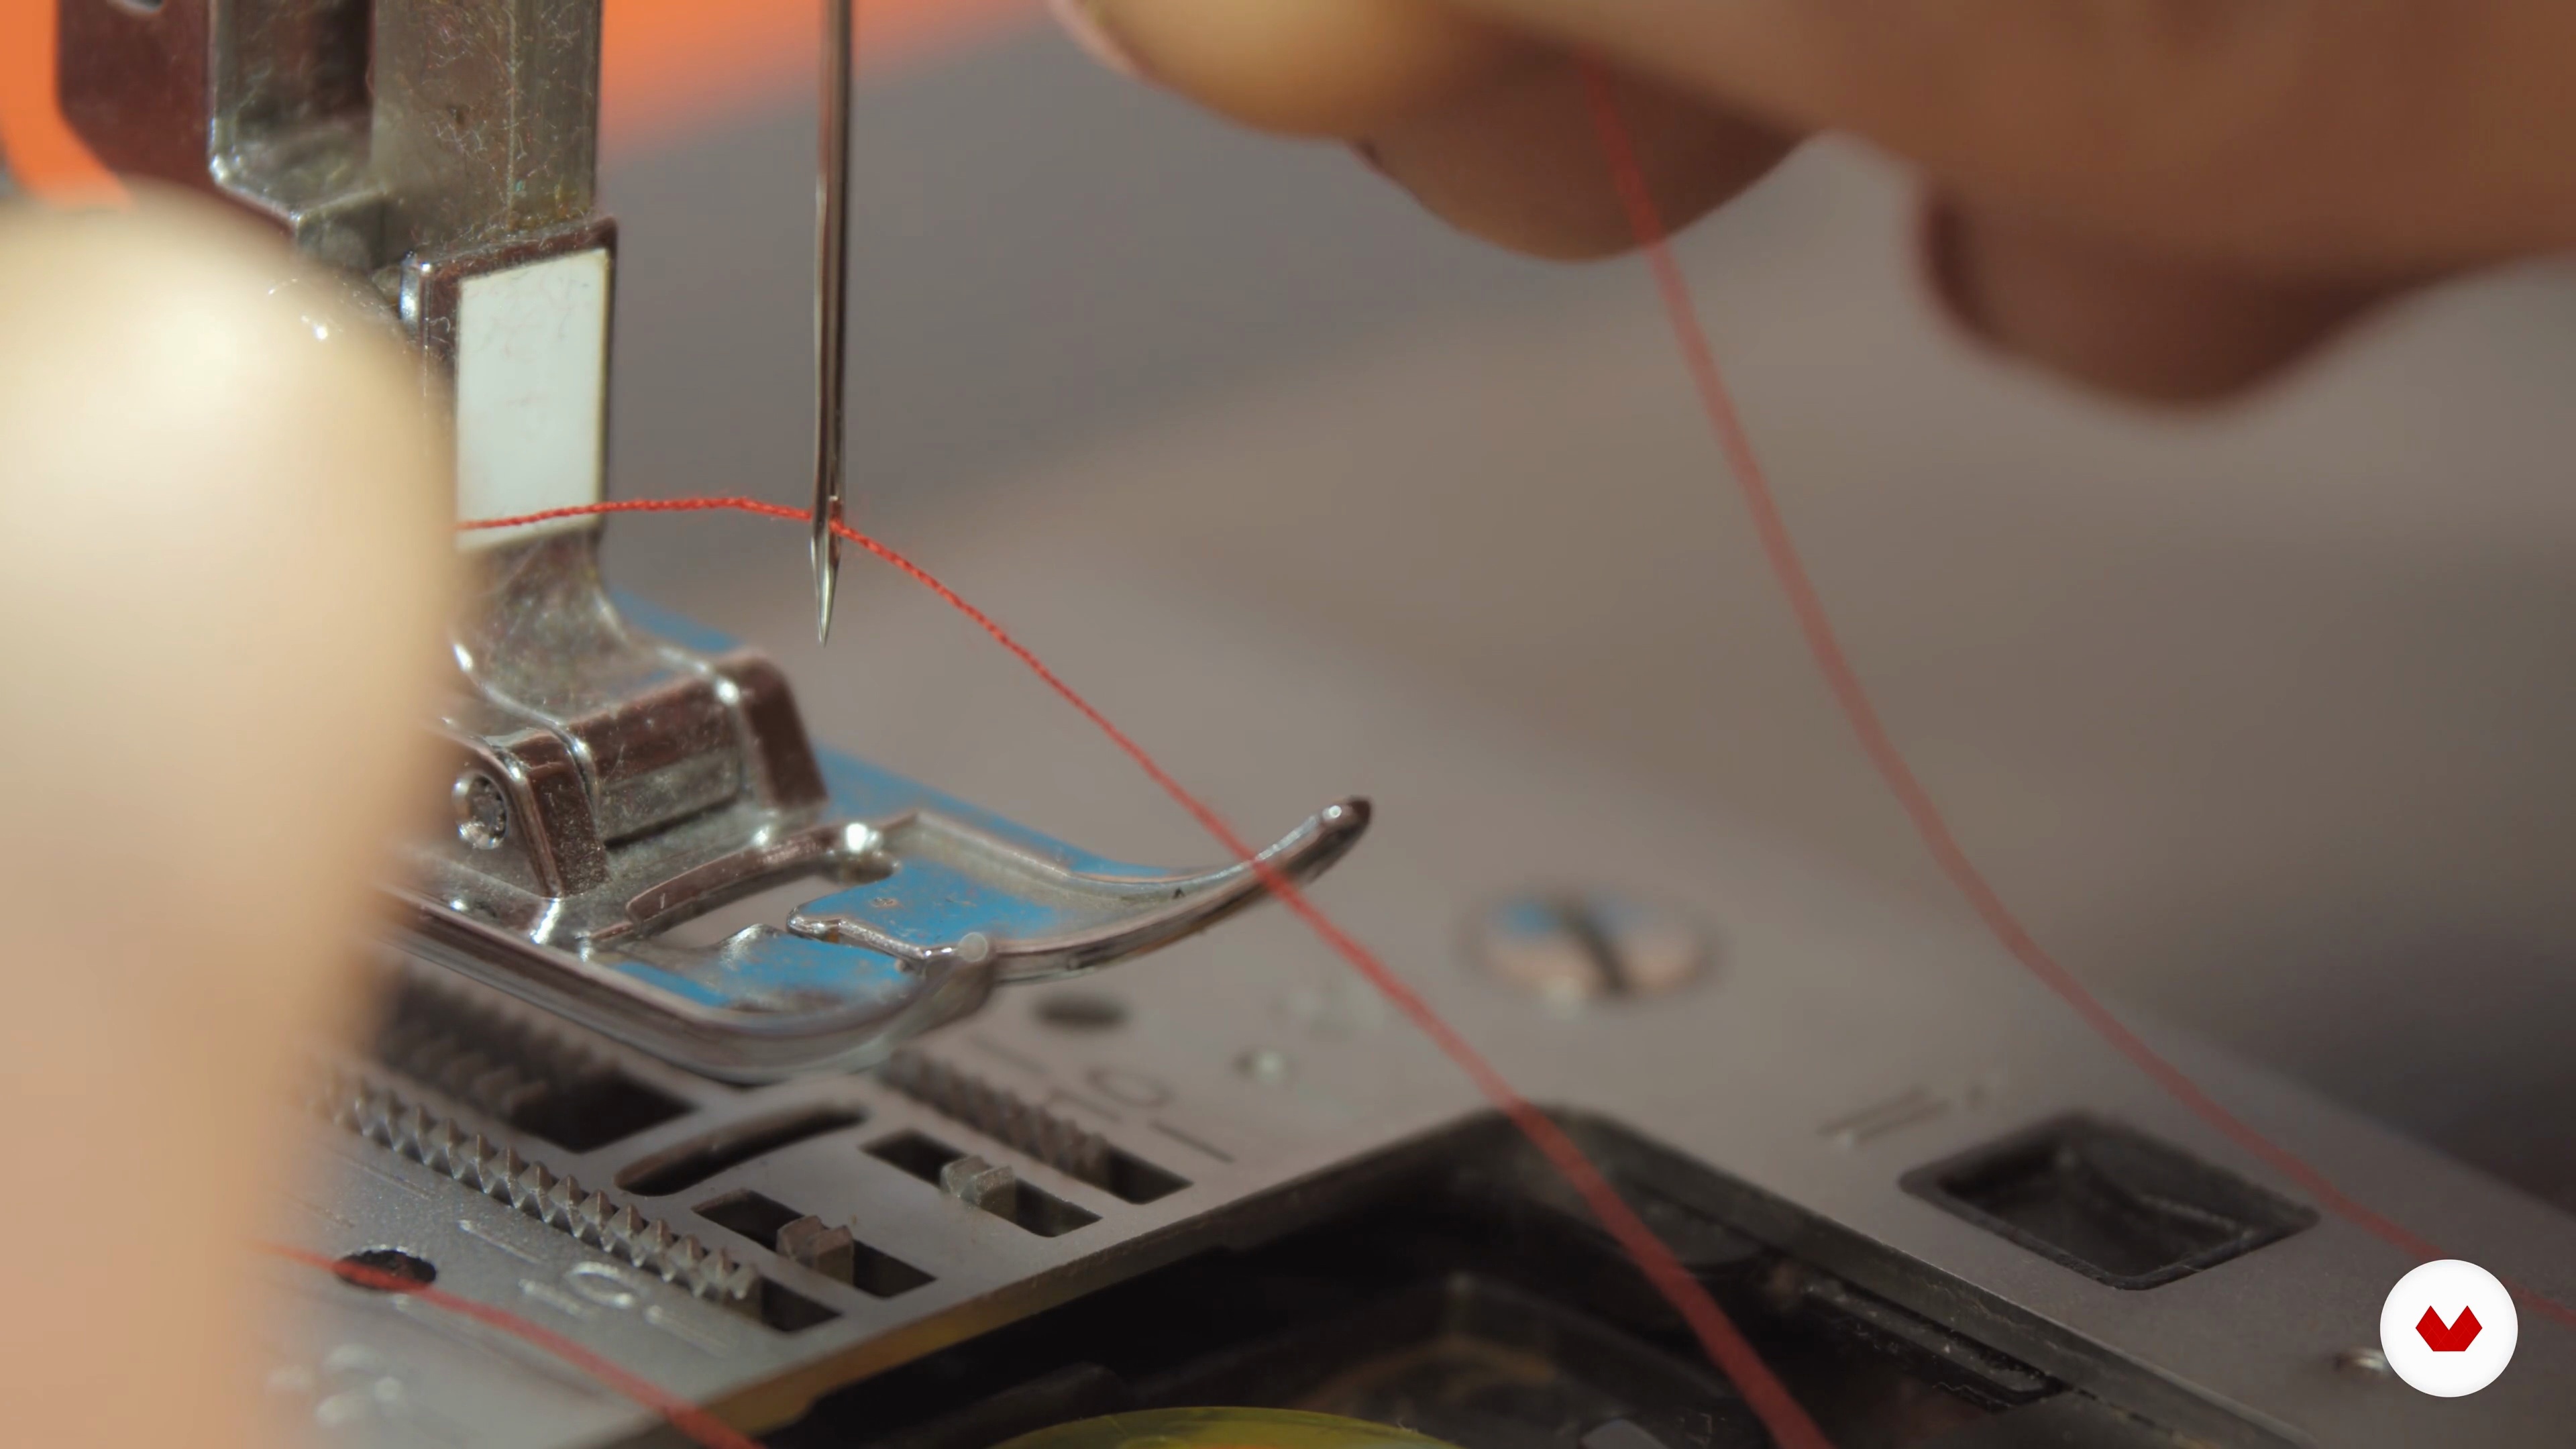
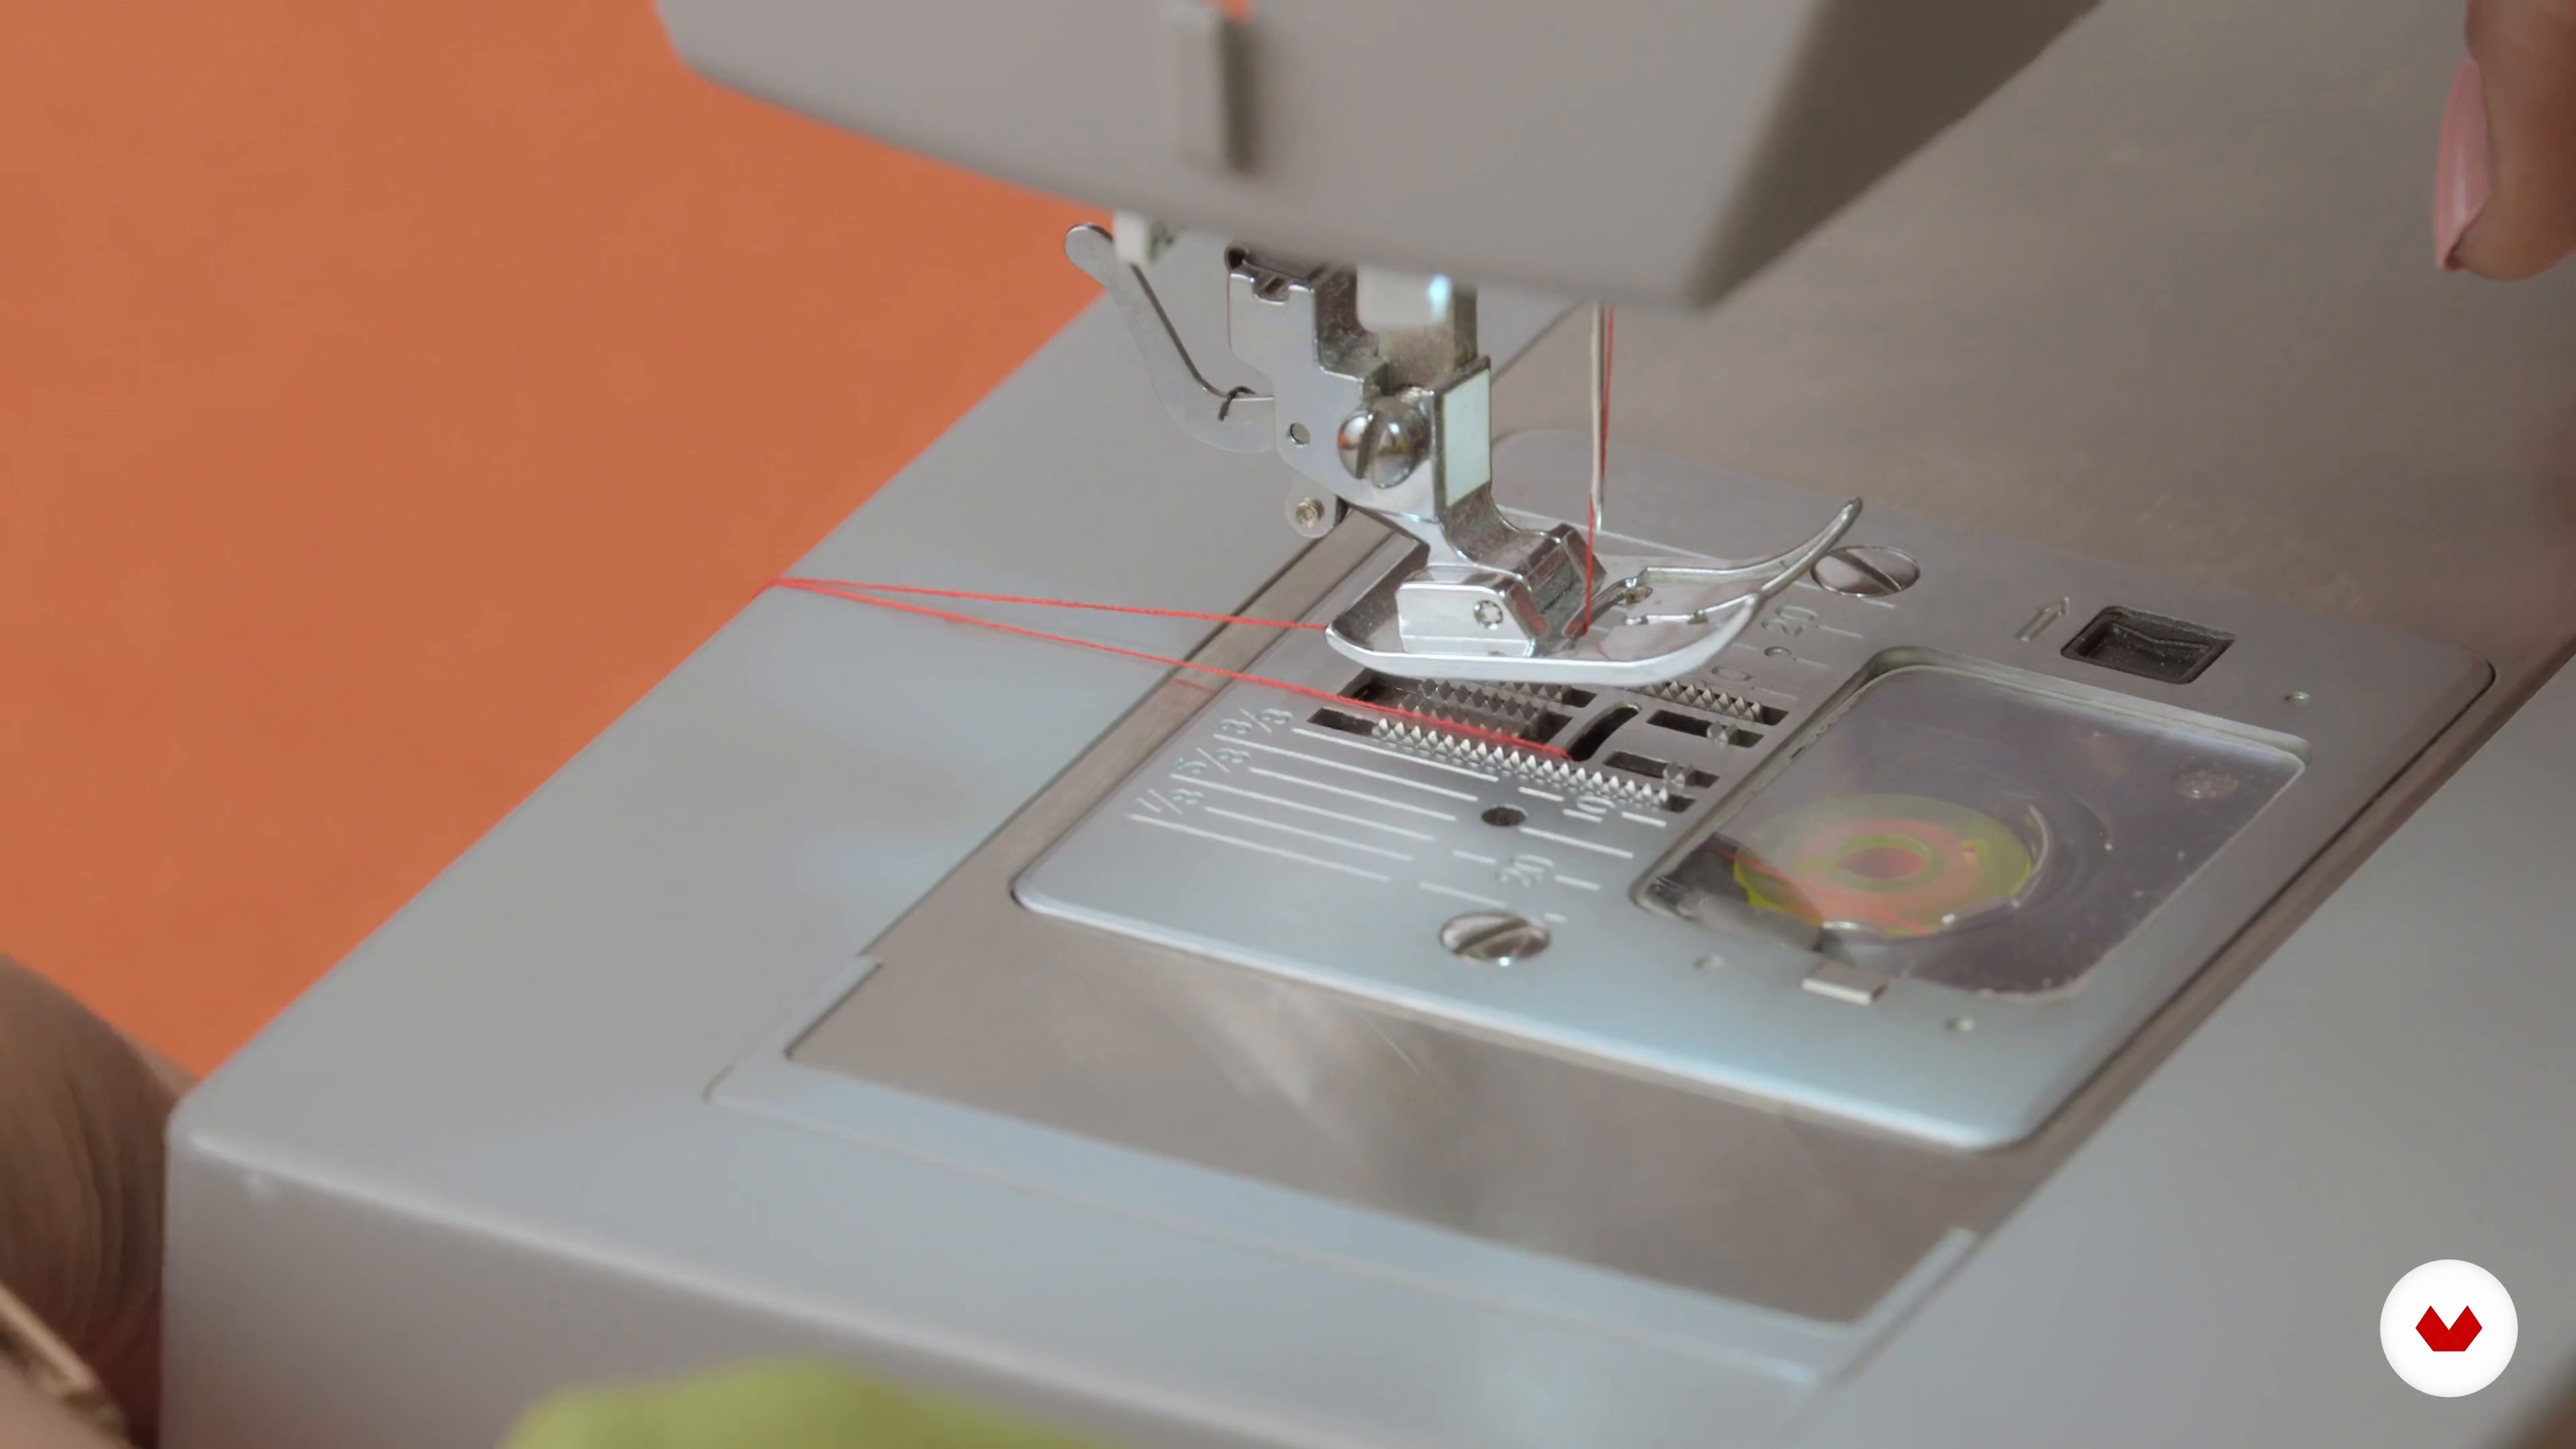
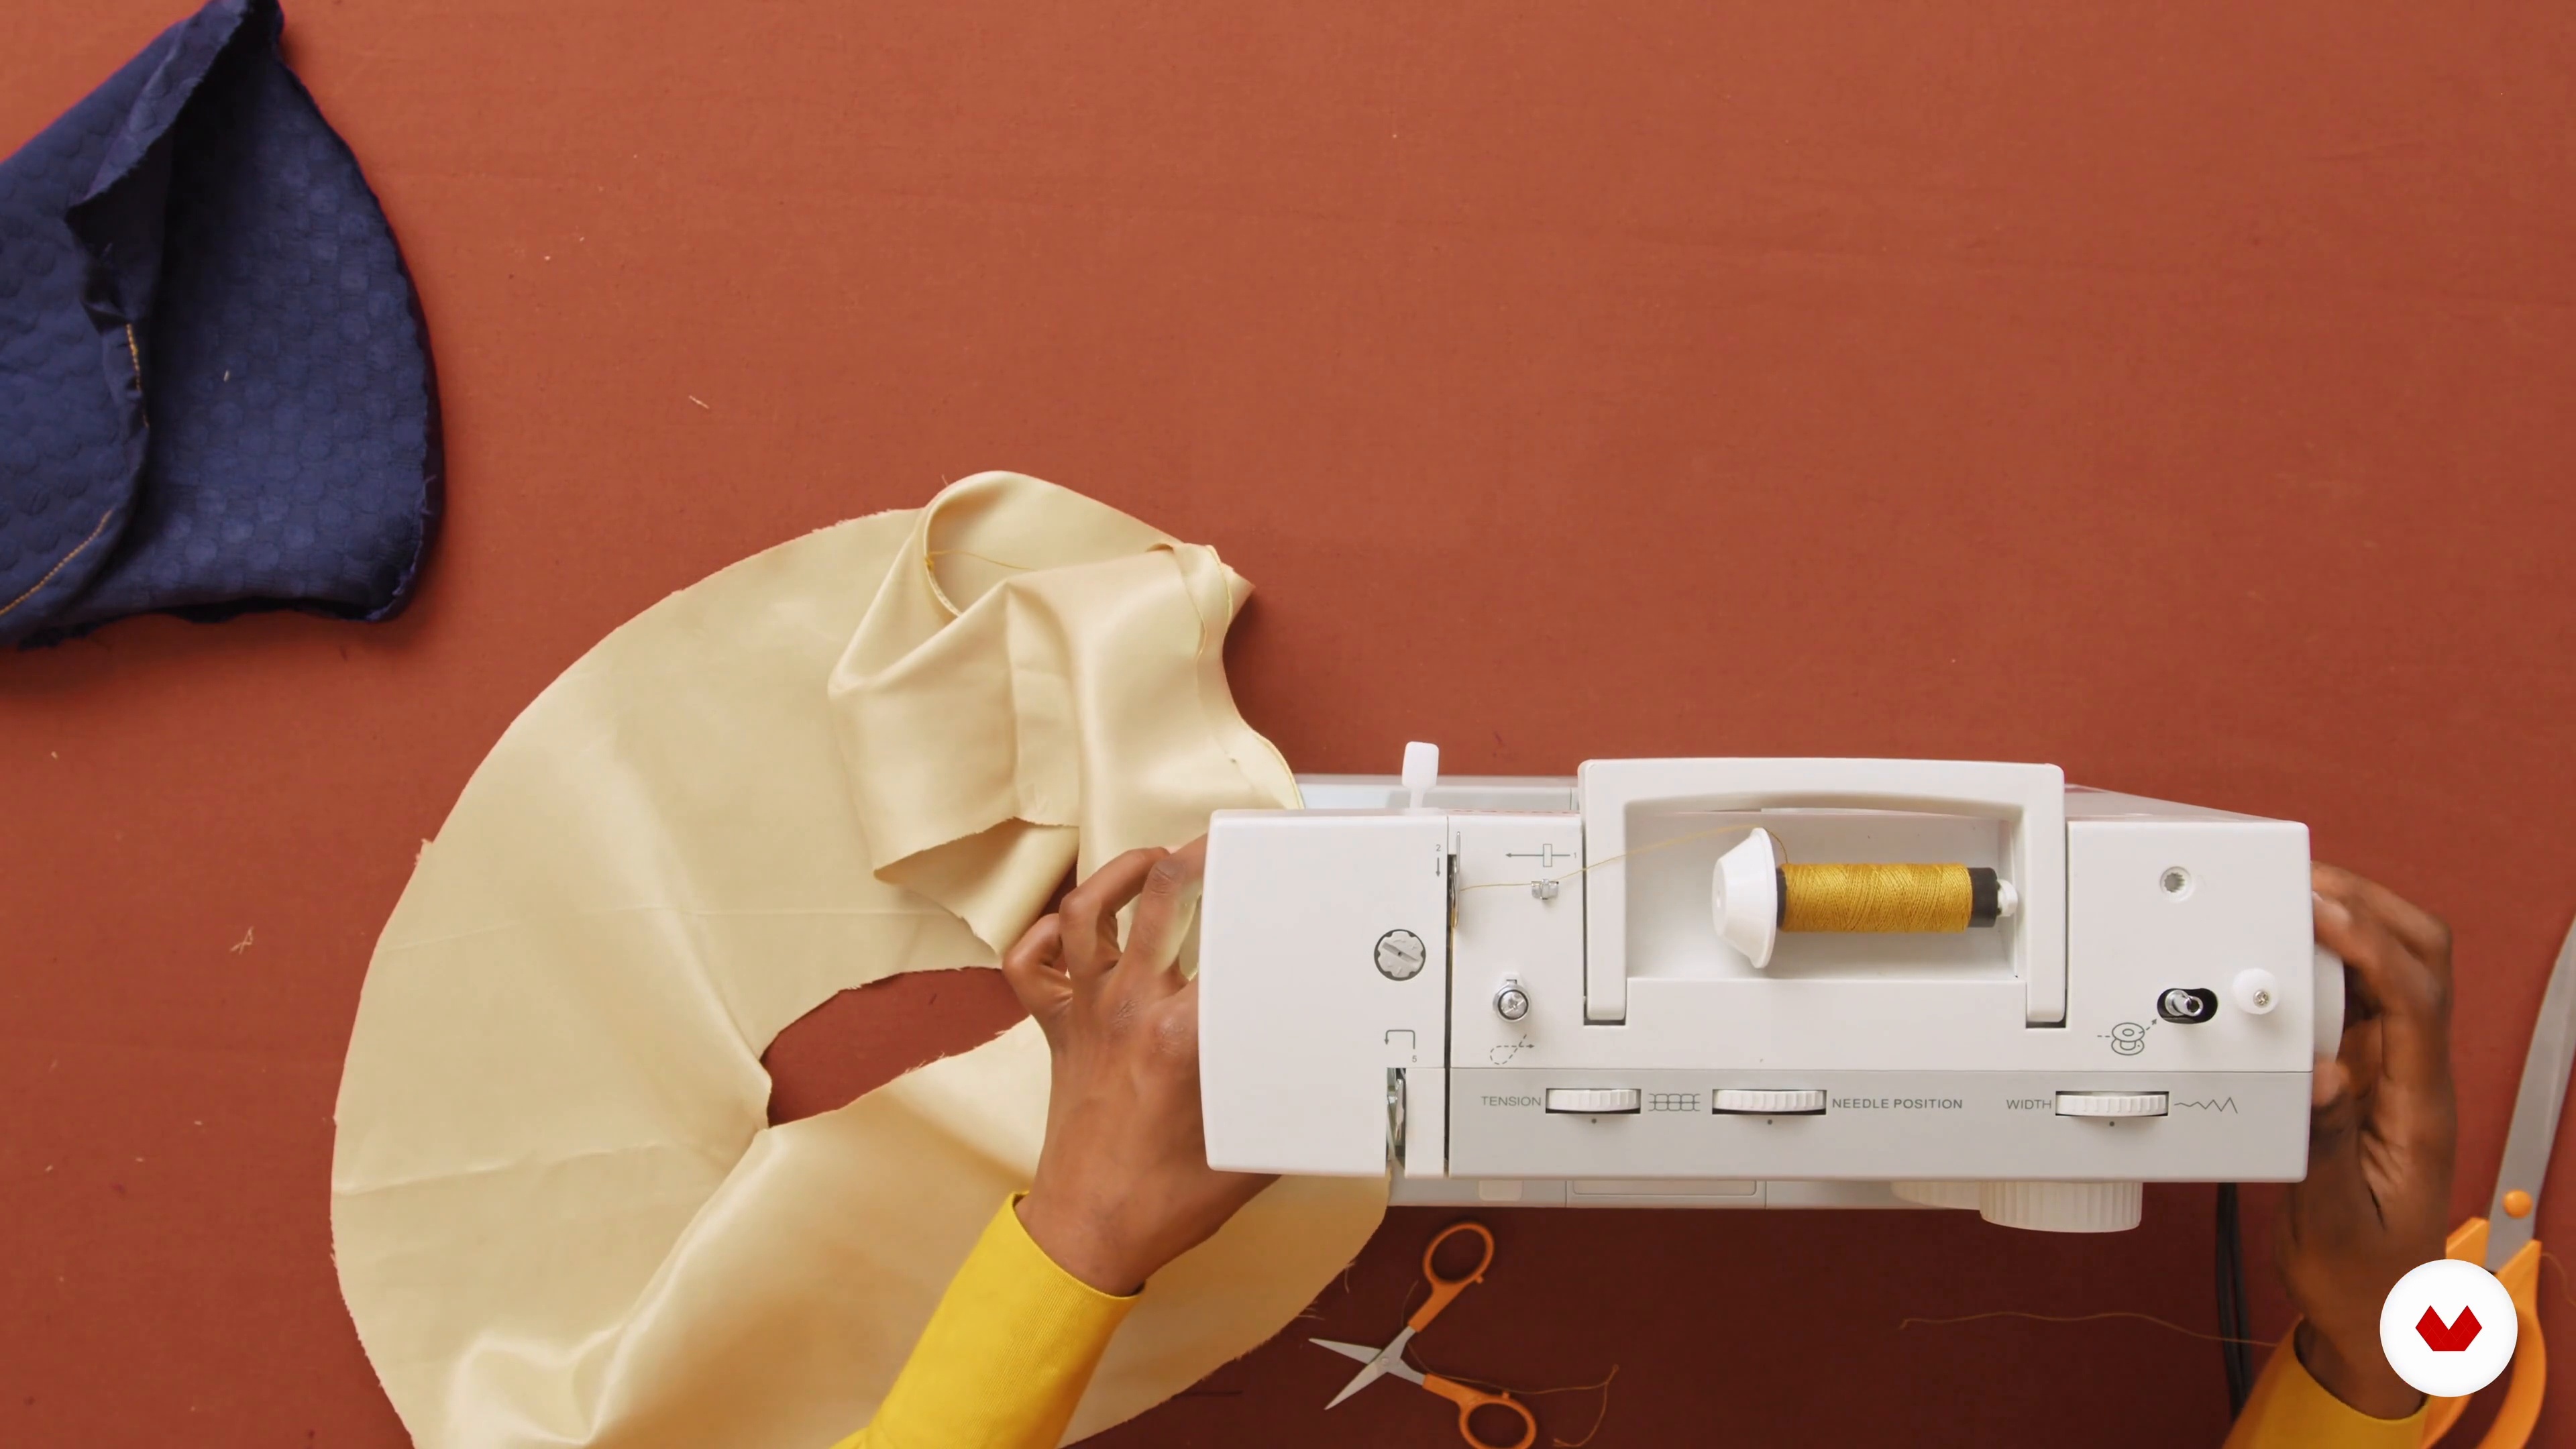
In this lesson, Juliet Uzor will guide you in selecting and setting up a sewing machine for home projects. You’ll learn how to choose critical features like zigzag and stitch adjustment, follow the bobbin and needle threading process, and explore essential techniques like backstitching to ensure your seams are secure and durable.
10m
image
3
Common Sewing Machine Issues
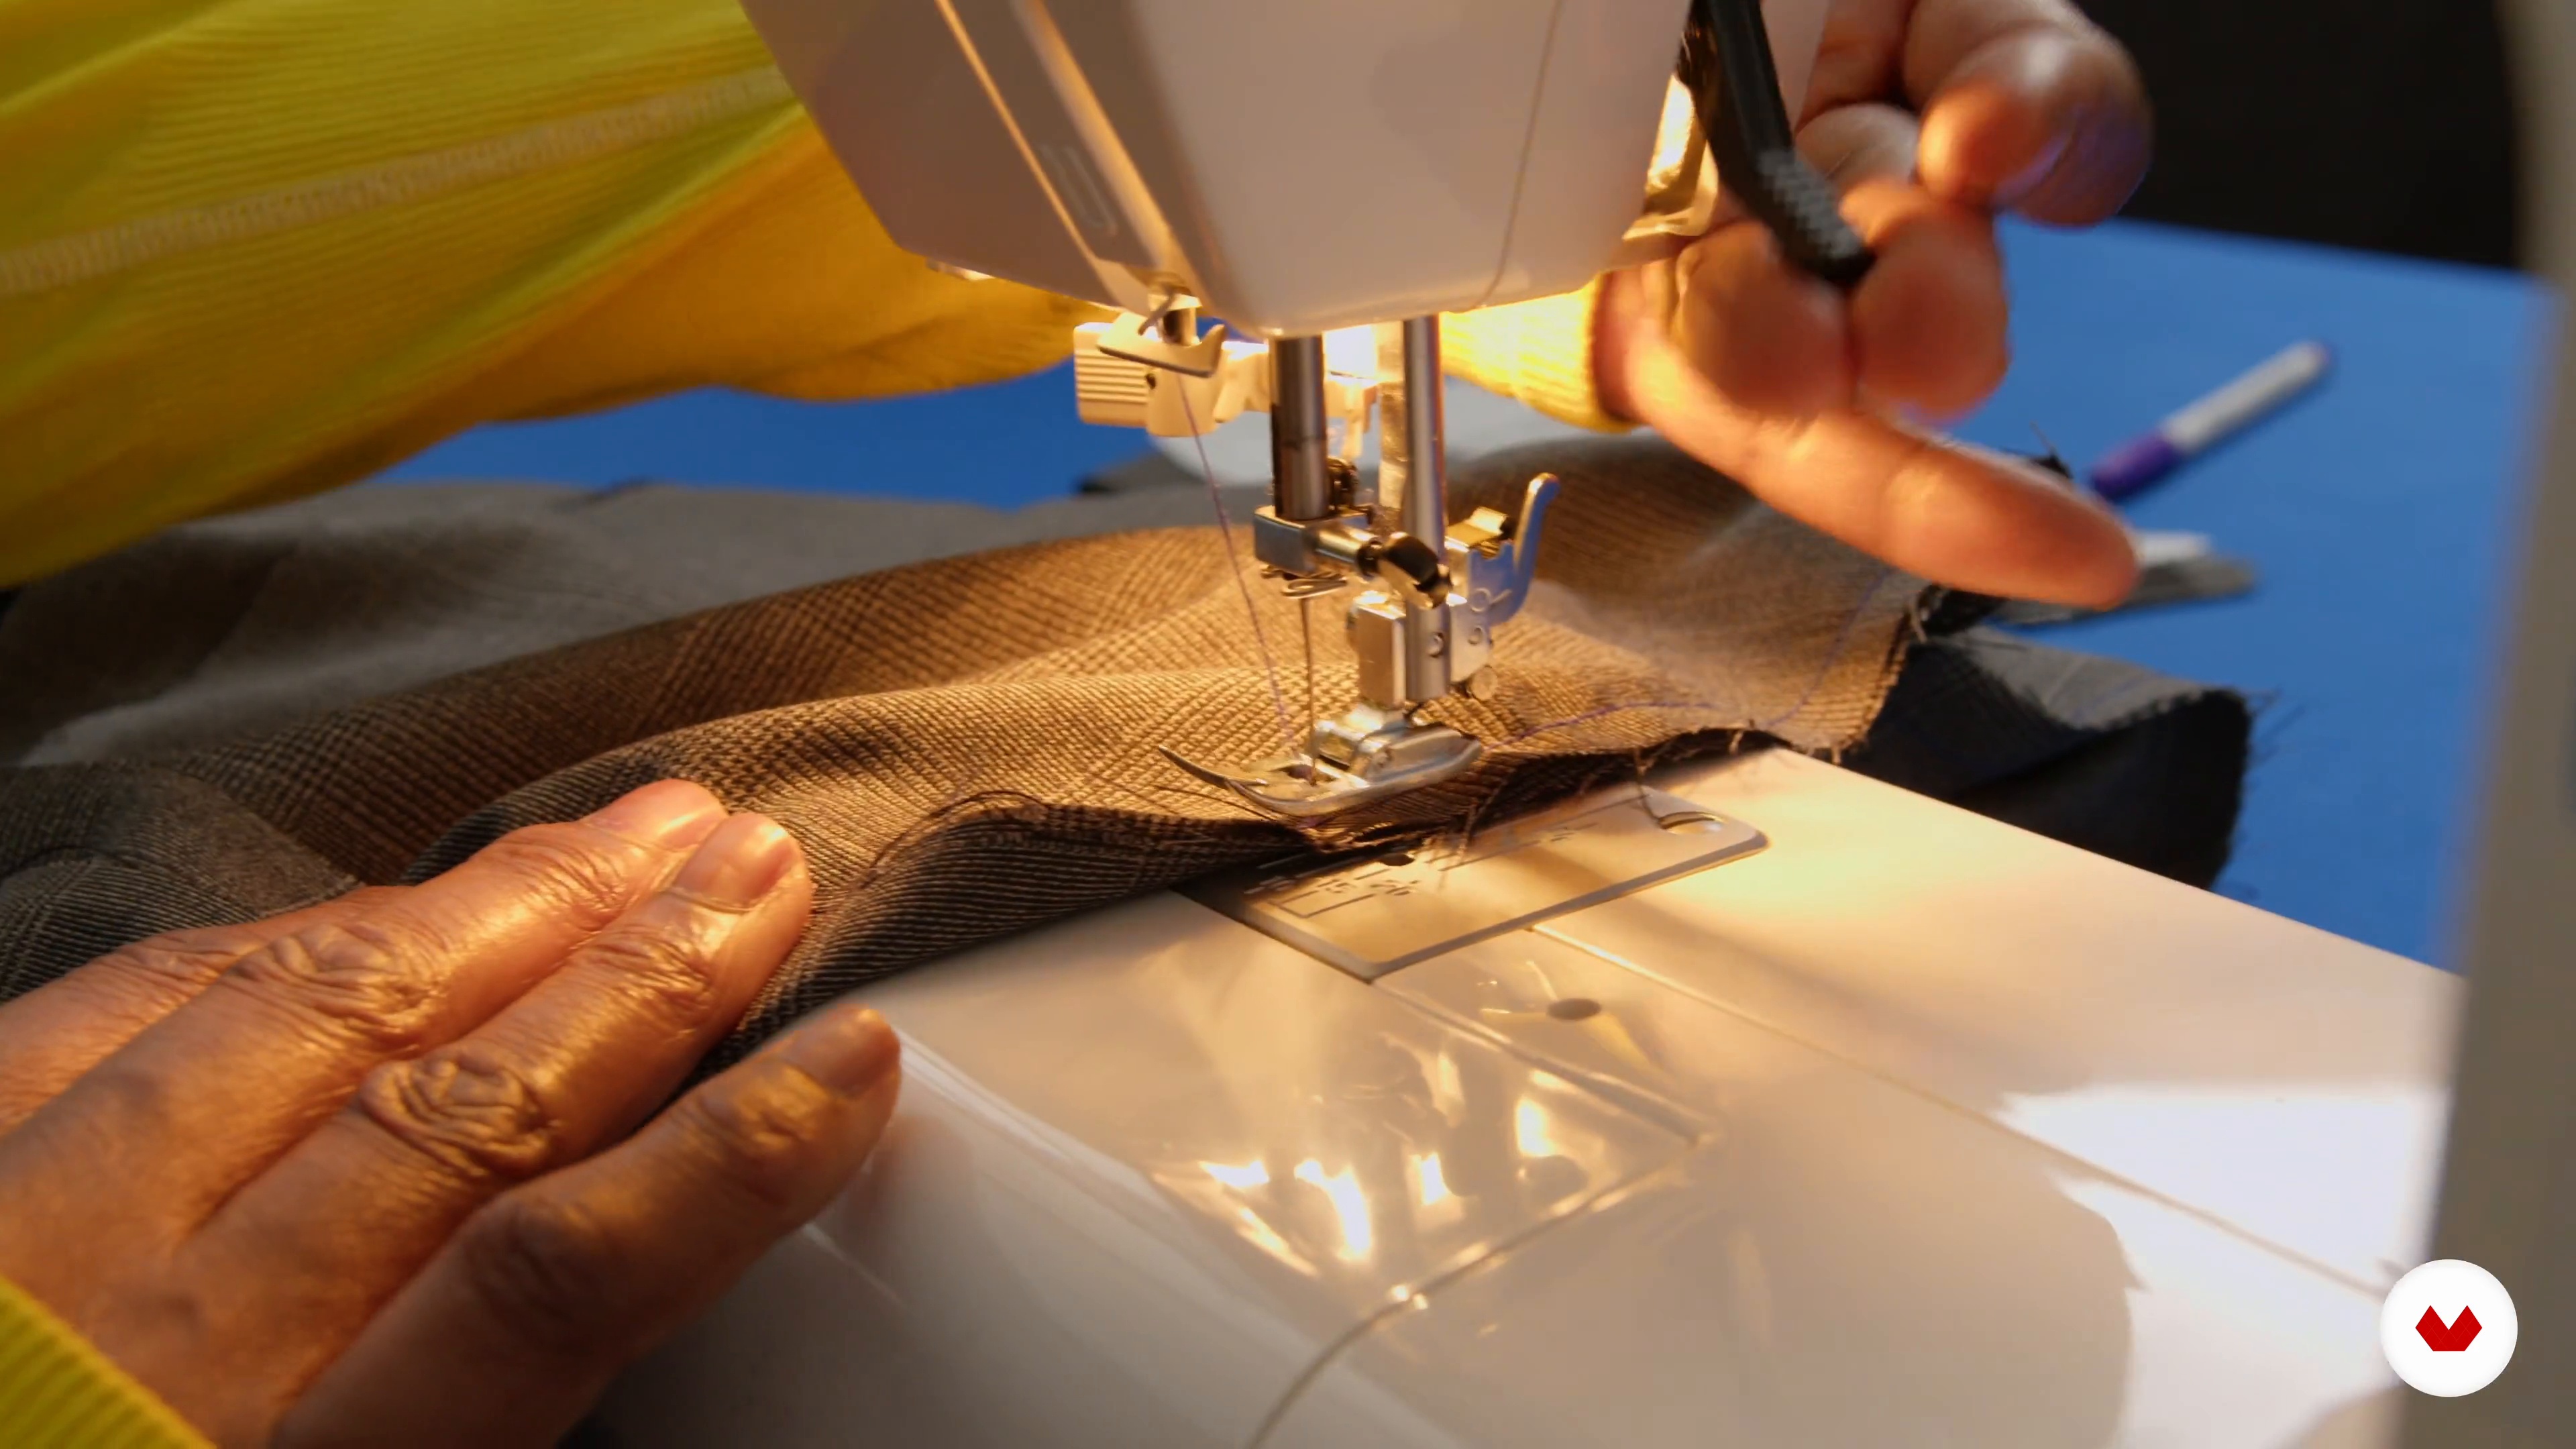
In this lesson, Juliet Uzor shares essential tips and tricks to avoid common sewing mistakes. You’ll learn the importance of testing settings on a fabric swatch, adjusting tension to prevent loose threads, and performing basic machine maintenance for optimal performance. These steps will help you perfect your projects smoothly.
7m
image
4
Setting Up the Sewing Machine
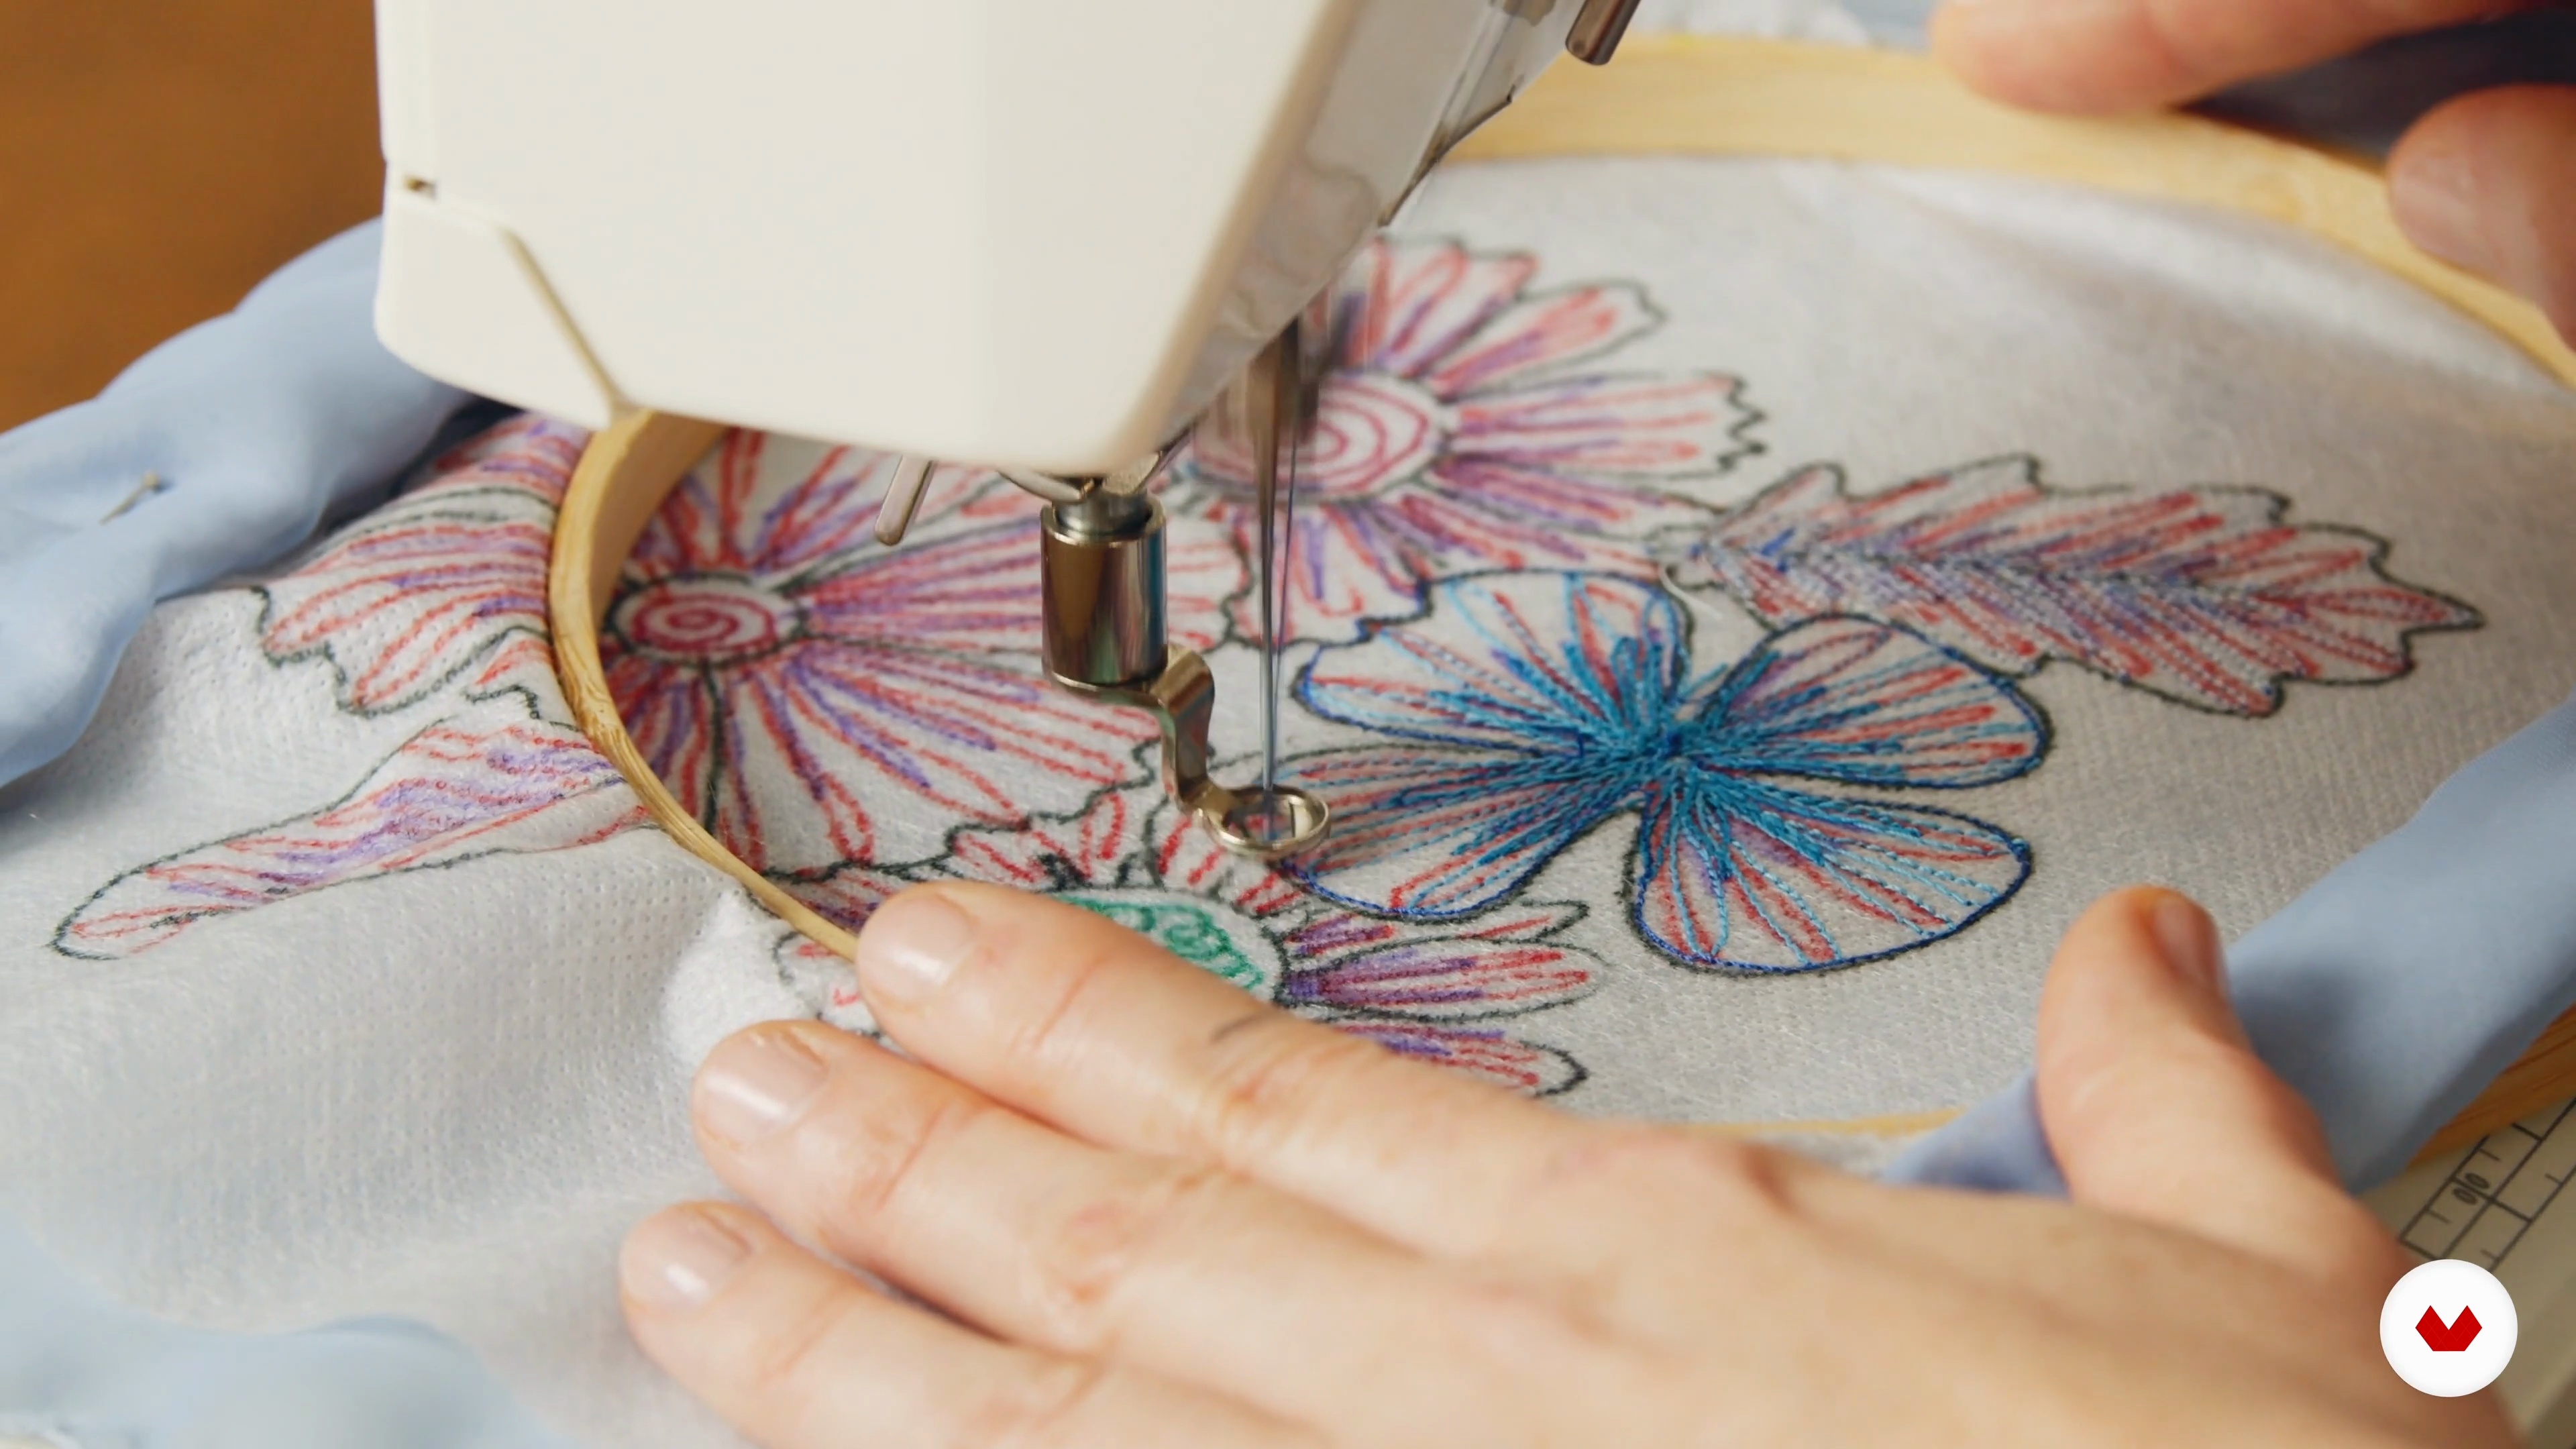
Discover the world of free motion embroidery as Amanda McCavour guides you in setting up your sewing machine step by step. You’ll learn to lower the feed dogs, adjust tension, and use an embroidery foot for safe, precise work. With these techniques, you can create unique fabric patterns and unleash creativity.
13m
image
5
Troubleshooting Stitching Problems
In this lesson, Amanda McCavour will guide you through identifying and solving common sewing machine issues during free motion embroidery. You’ll learn to re-thread properly, adjust tension, check the bobbin, and replace needles to prevent breakages and ensure smooth stitching. These tips will help you tackle obstacles and keep your machine in shape.
5m
image
6
Taking Care of Your Sewing Machine
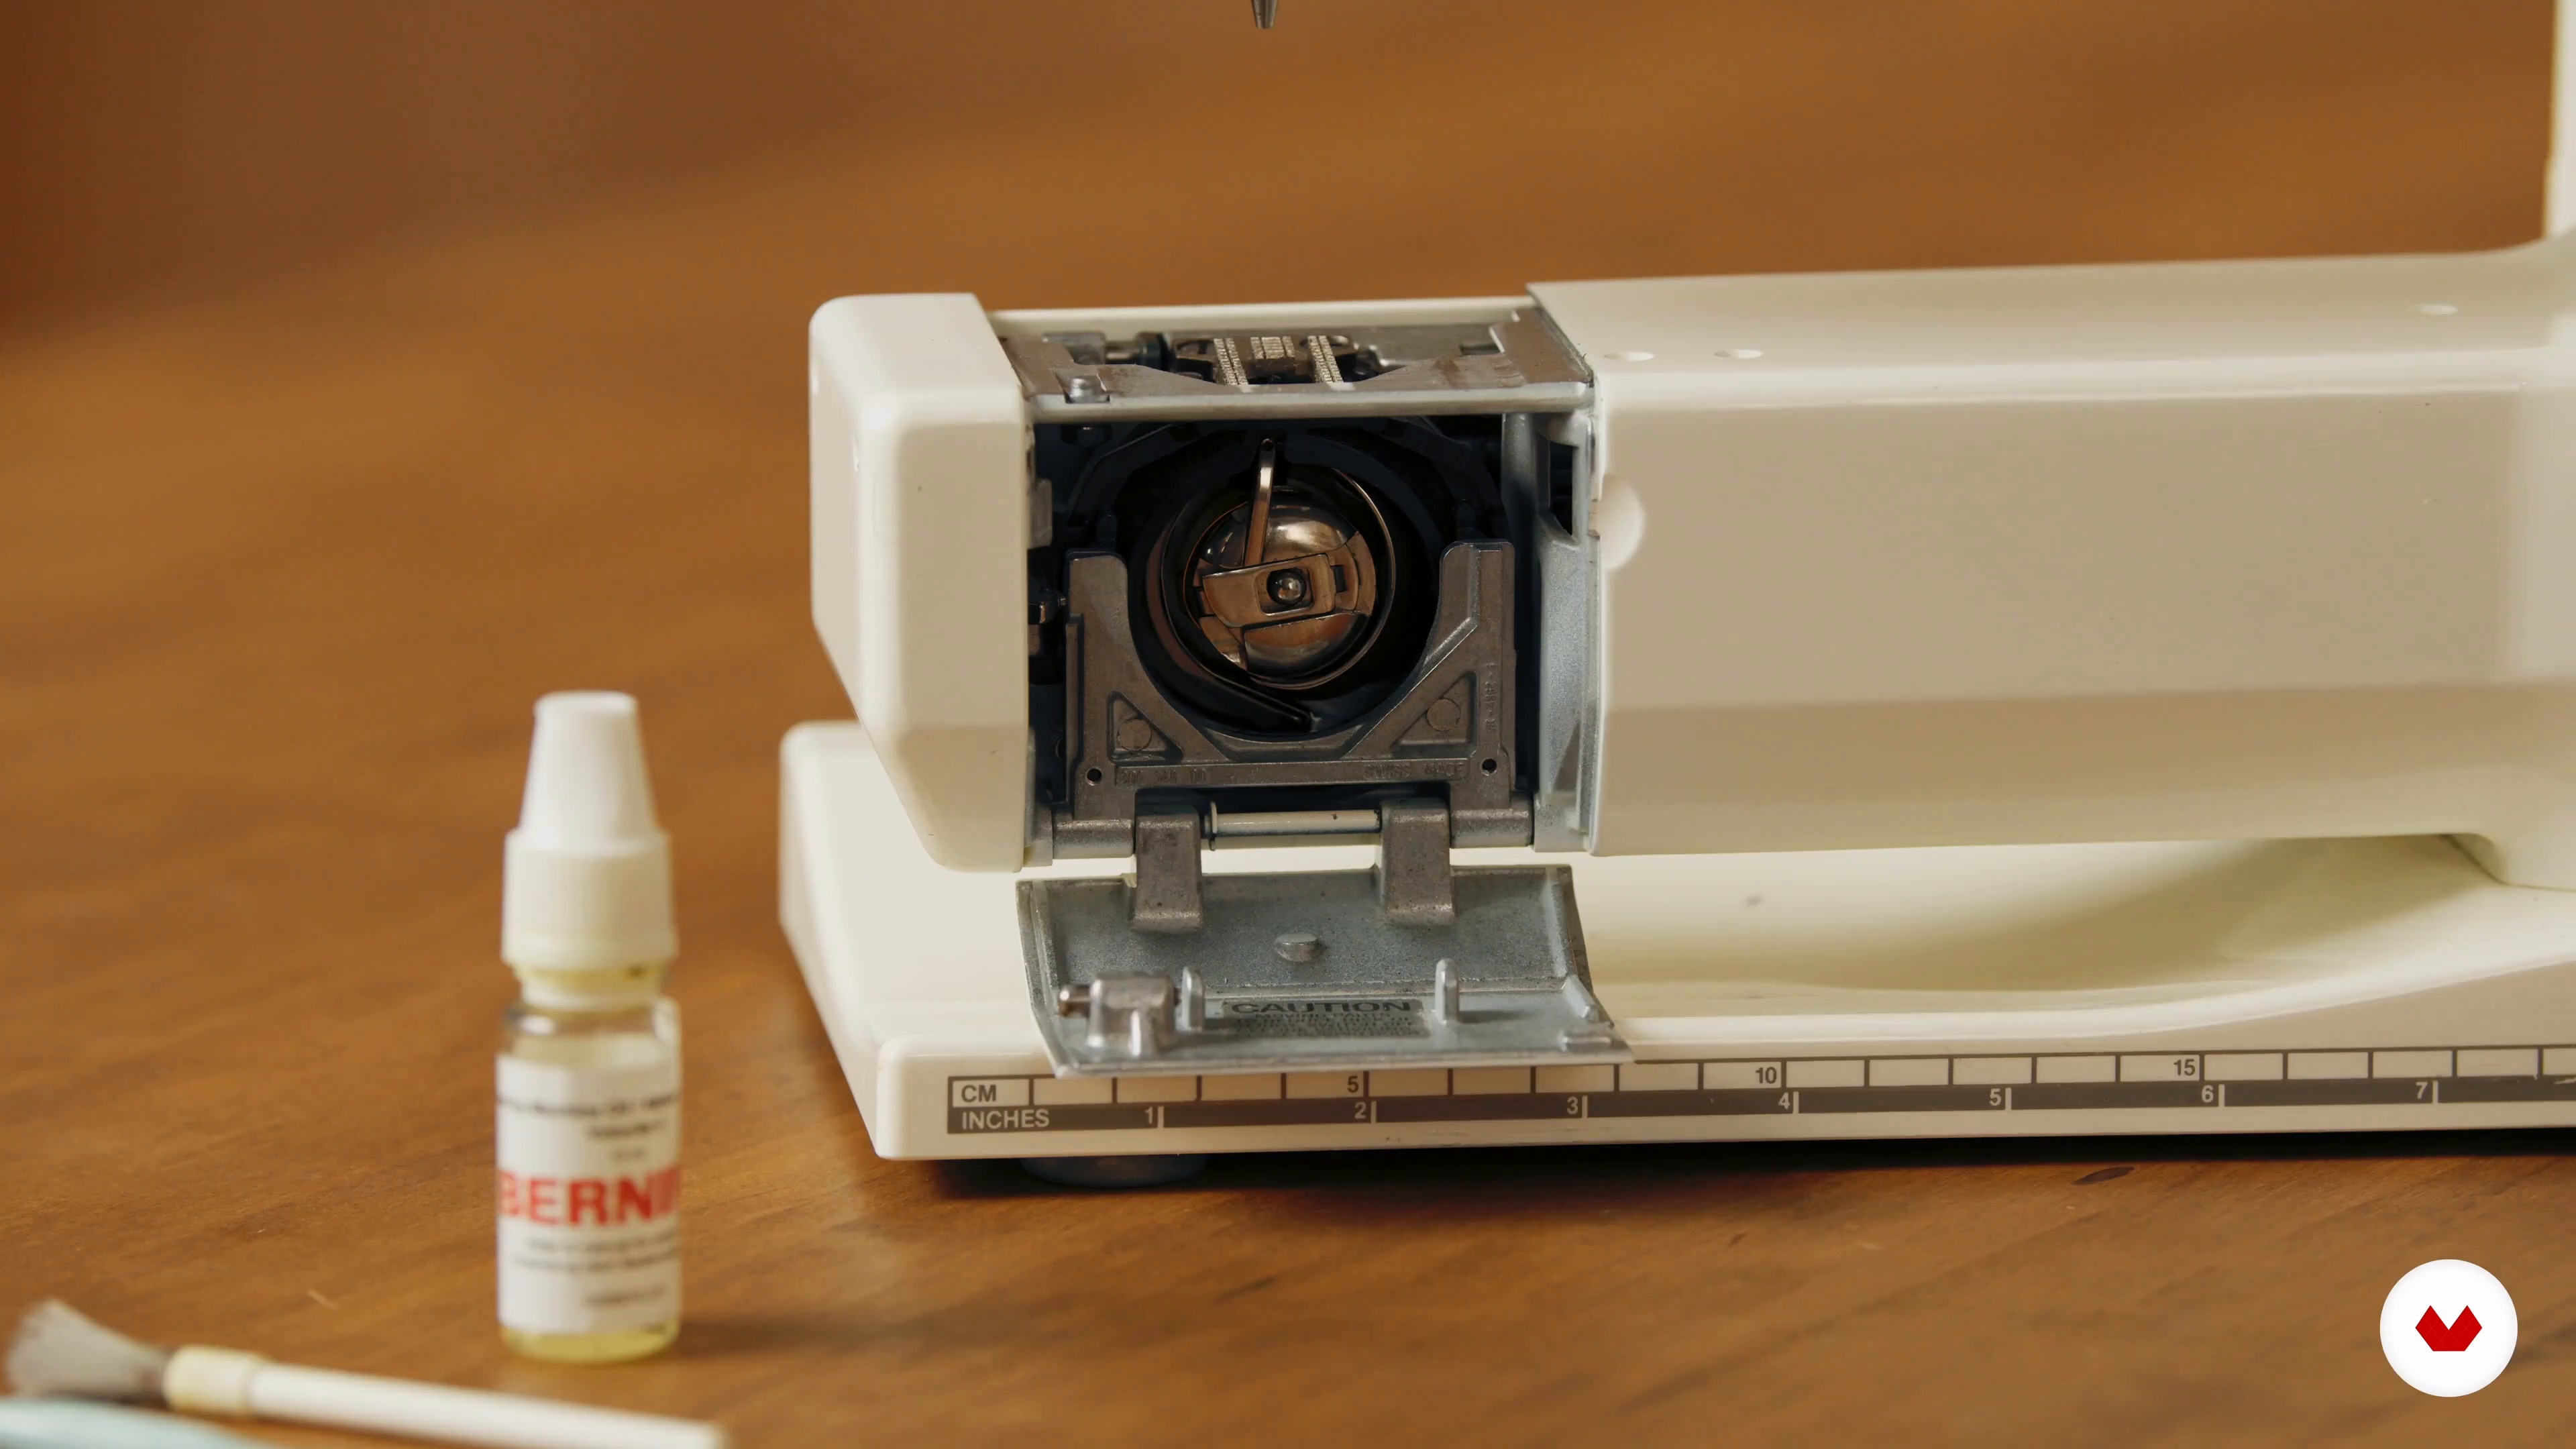
Amanda McCavour will teach you how to keep your sewing machine in top condition by cleaning out dust and oiling essential parts with the correct oil. This maintenance will extend your machine’s lifespan and ensure smooth operation for future projects.
4m
image
1
Introduction
Sewing is much more than joining pieces of fabric; it expresses art and tradition. From the first hand-sewn stitches to modern techniques, each stitch carries centuries of history and dedication. You join a rich craft heritage that transforms simple garments into unique pieces by learning the basics, like the running stitch and backstitch.
2m
image
2
Main Stitches
In this lesson, discover how to master different stitch types on your sewing machine. Juliet Uzor guides you in adjusting stitch length and width for straight and zigzag stitches to match your needs. Explore decorative stitches to add unique flair to your projects, and get practical tips on handling the bobbin. Start experimenting and see the difference in your sewing!
6m
image
3
First Steps for Sewing
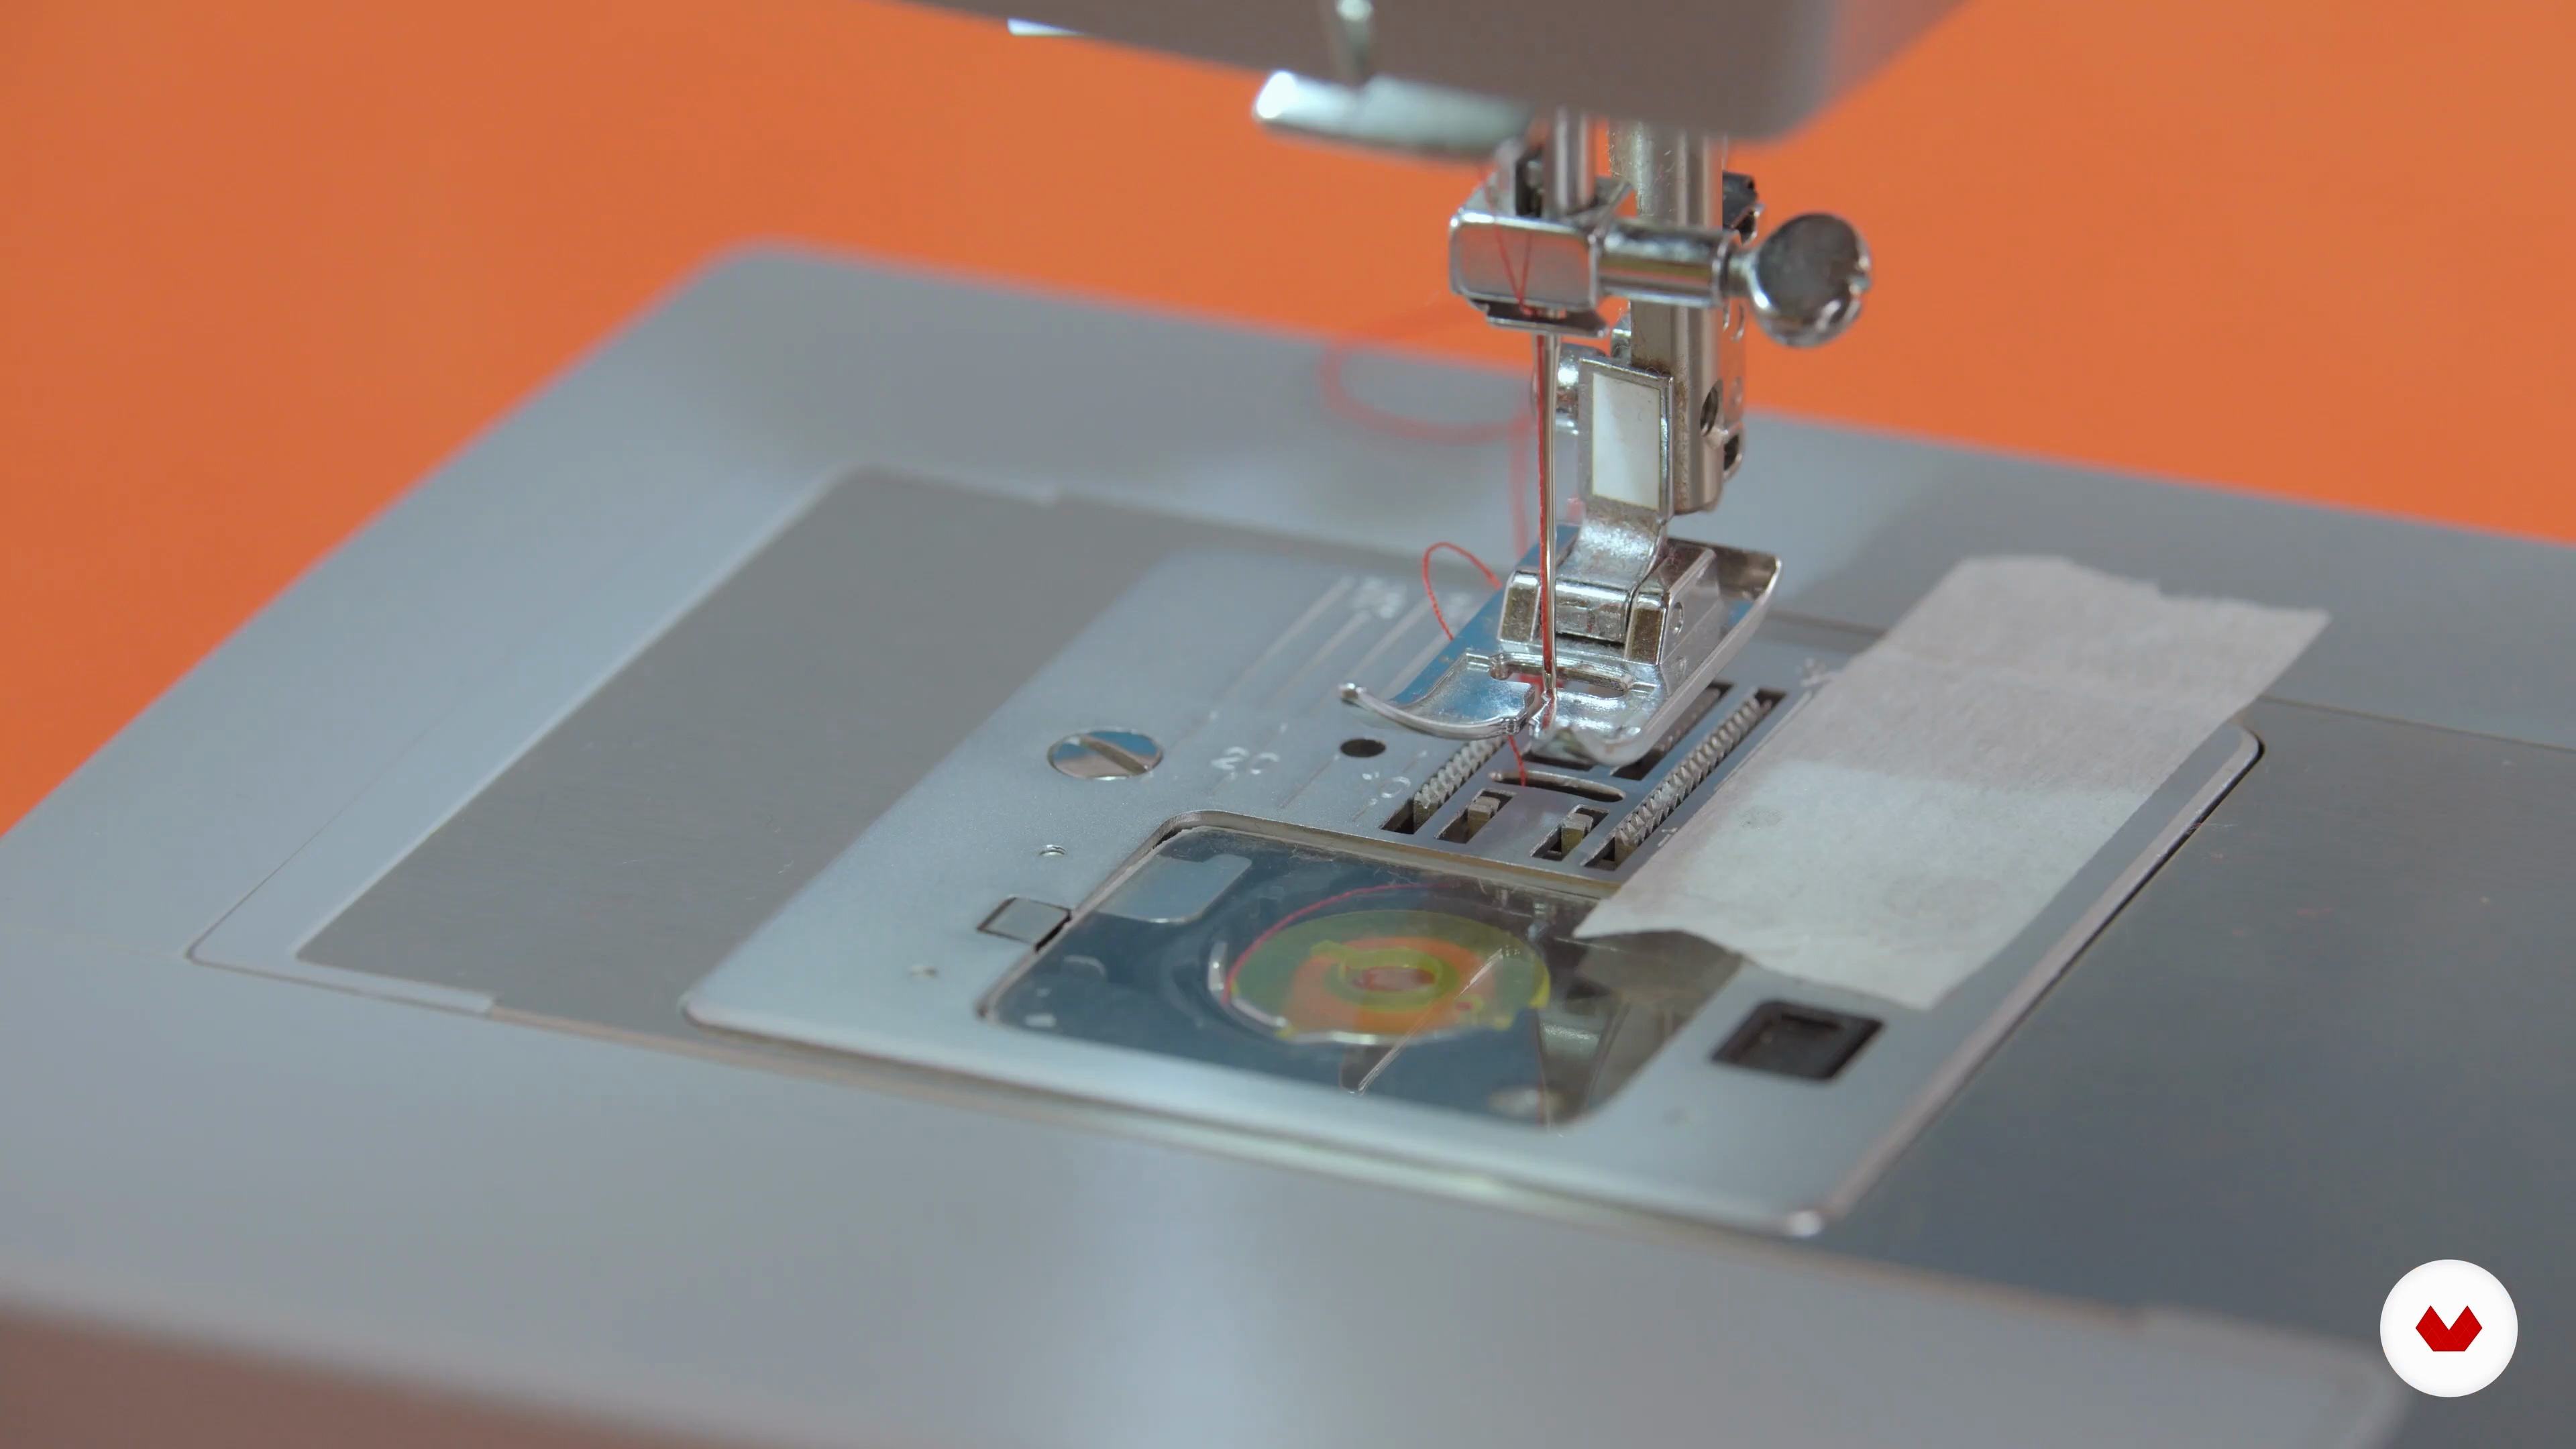
Master essential sewing techniques for creating garments, from keeping even seam allowances to navigating curves and corners. Juliet Uzor demonstrates how to align fabric with seam markings, control speed for straight lines, and use tools like tape as a guide. Practice will help you perfect curves and corners, building a solid foundation for all your home sewing projects.
10m
image
4
Seam Finishes 1
In this lesson, dive into essential techniques for finishing raw fabric edges to prevent fraying and create a polished look. Juliet Uzor demonstrates three popular methods: using pinking shears for zigzag edges, a zigzag stitch on a sewing machine, and an overlocker for a professional, woven finish. These options help you keep projects looking neat, durable, and ready to wear!
5m
image
5
Seam Finishes 2
In this lesson, you'll learn four essential seam finishes to keep your garments polished and lasting longer. Elisalex, founder of By Hand London, demonstrates techniques for neat, sturdy edges: from a basic zigzag stitch to a professional overlock, as well as the refined French seam. These methods prevent fraying, add durability, and ensure a clean look inside and out. Practice each option to find your preferred finish before we dive into working with shearing elastic in the next lesson.
13m
image
6
Shirring Elastic
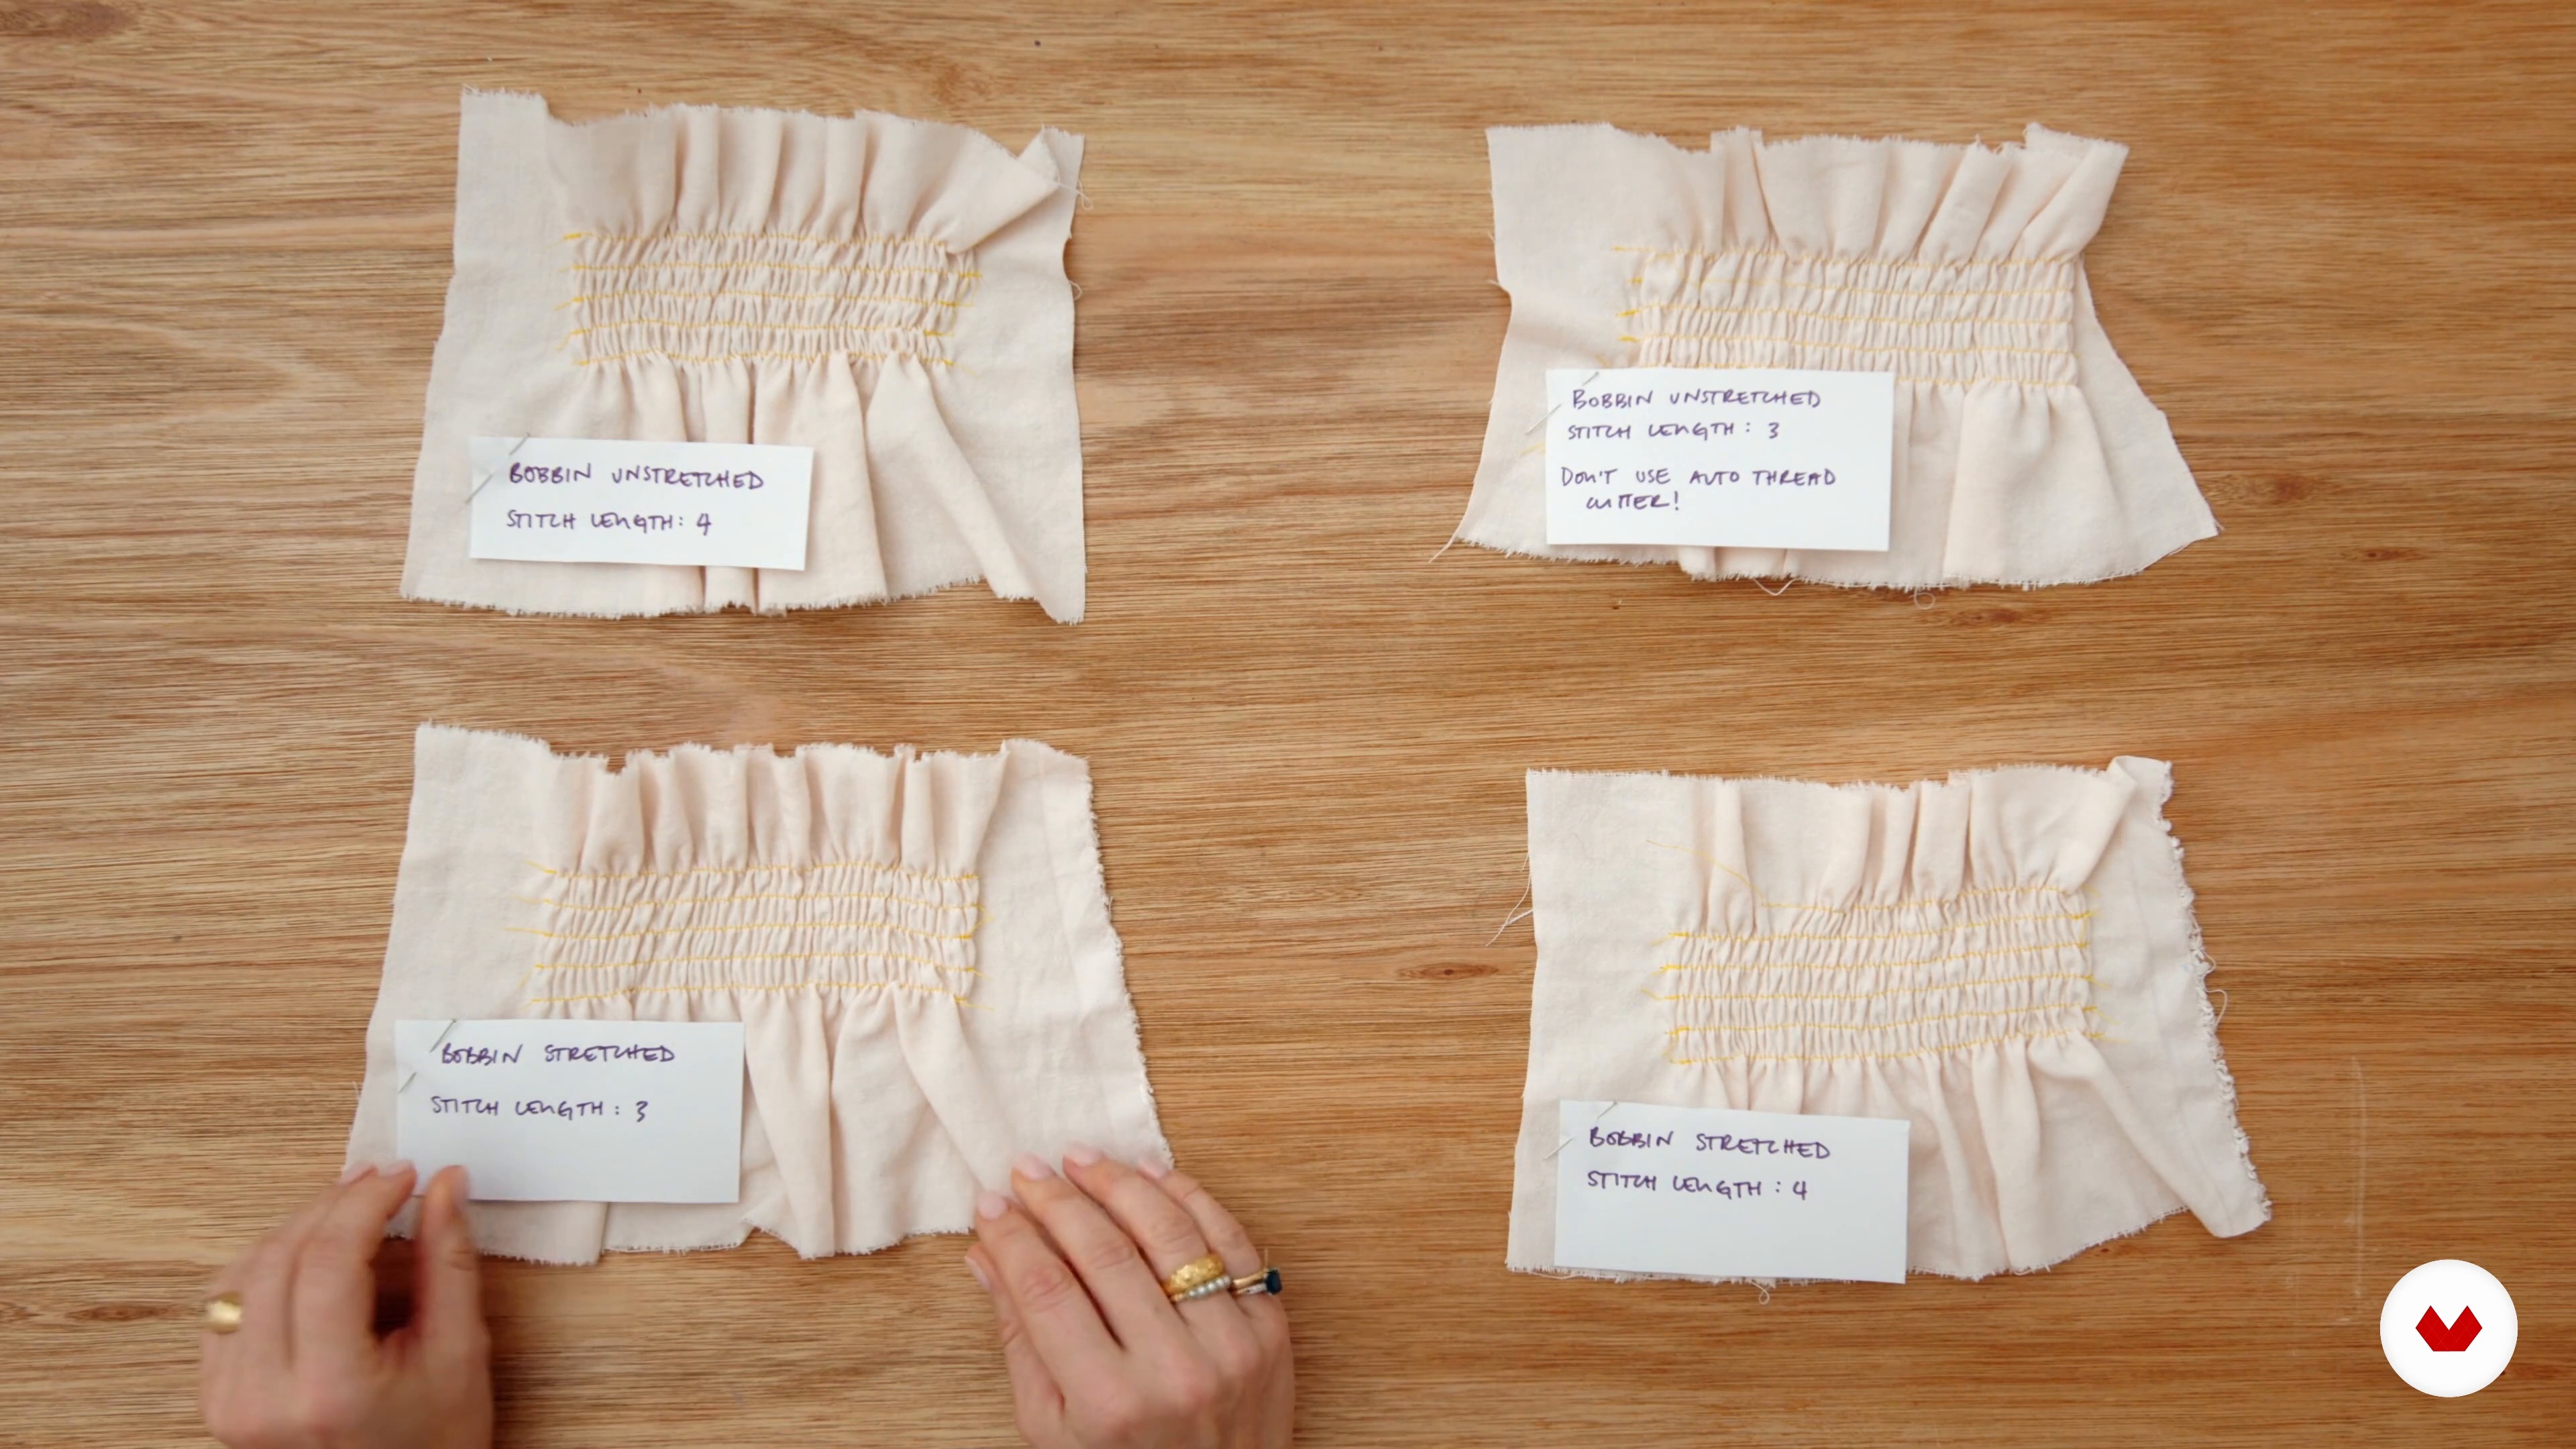
Discover the art of creating stretchy, ruched fabric with shearing elastic—a technique that combines style and functionality. Elisalex, founder of By Hand London, guides you in setting up your machine, adjusting stitch lengths, and experimenting with stretched versus unstretched bobbin elastic to achieve the perfect fabric fit. This practice will prepare you to add beautiful shirring details to any project.
13m
image
7
Gathering
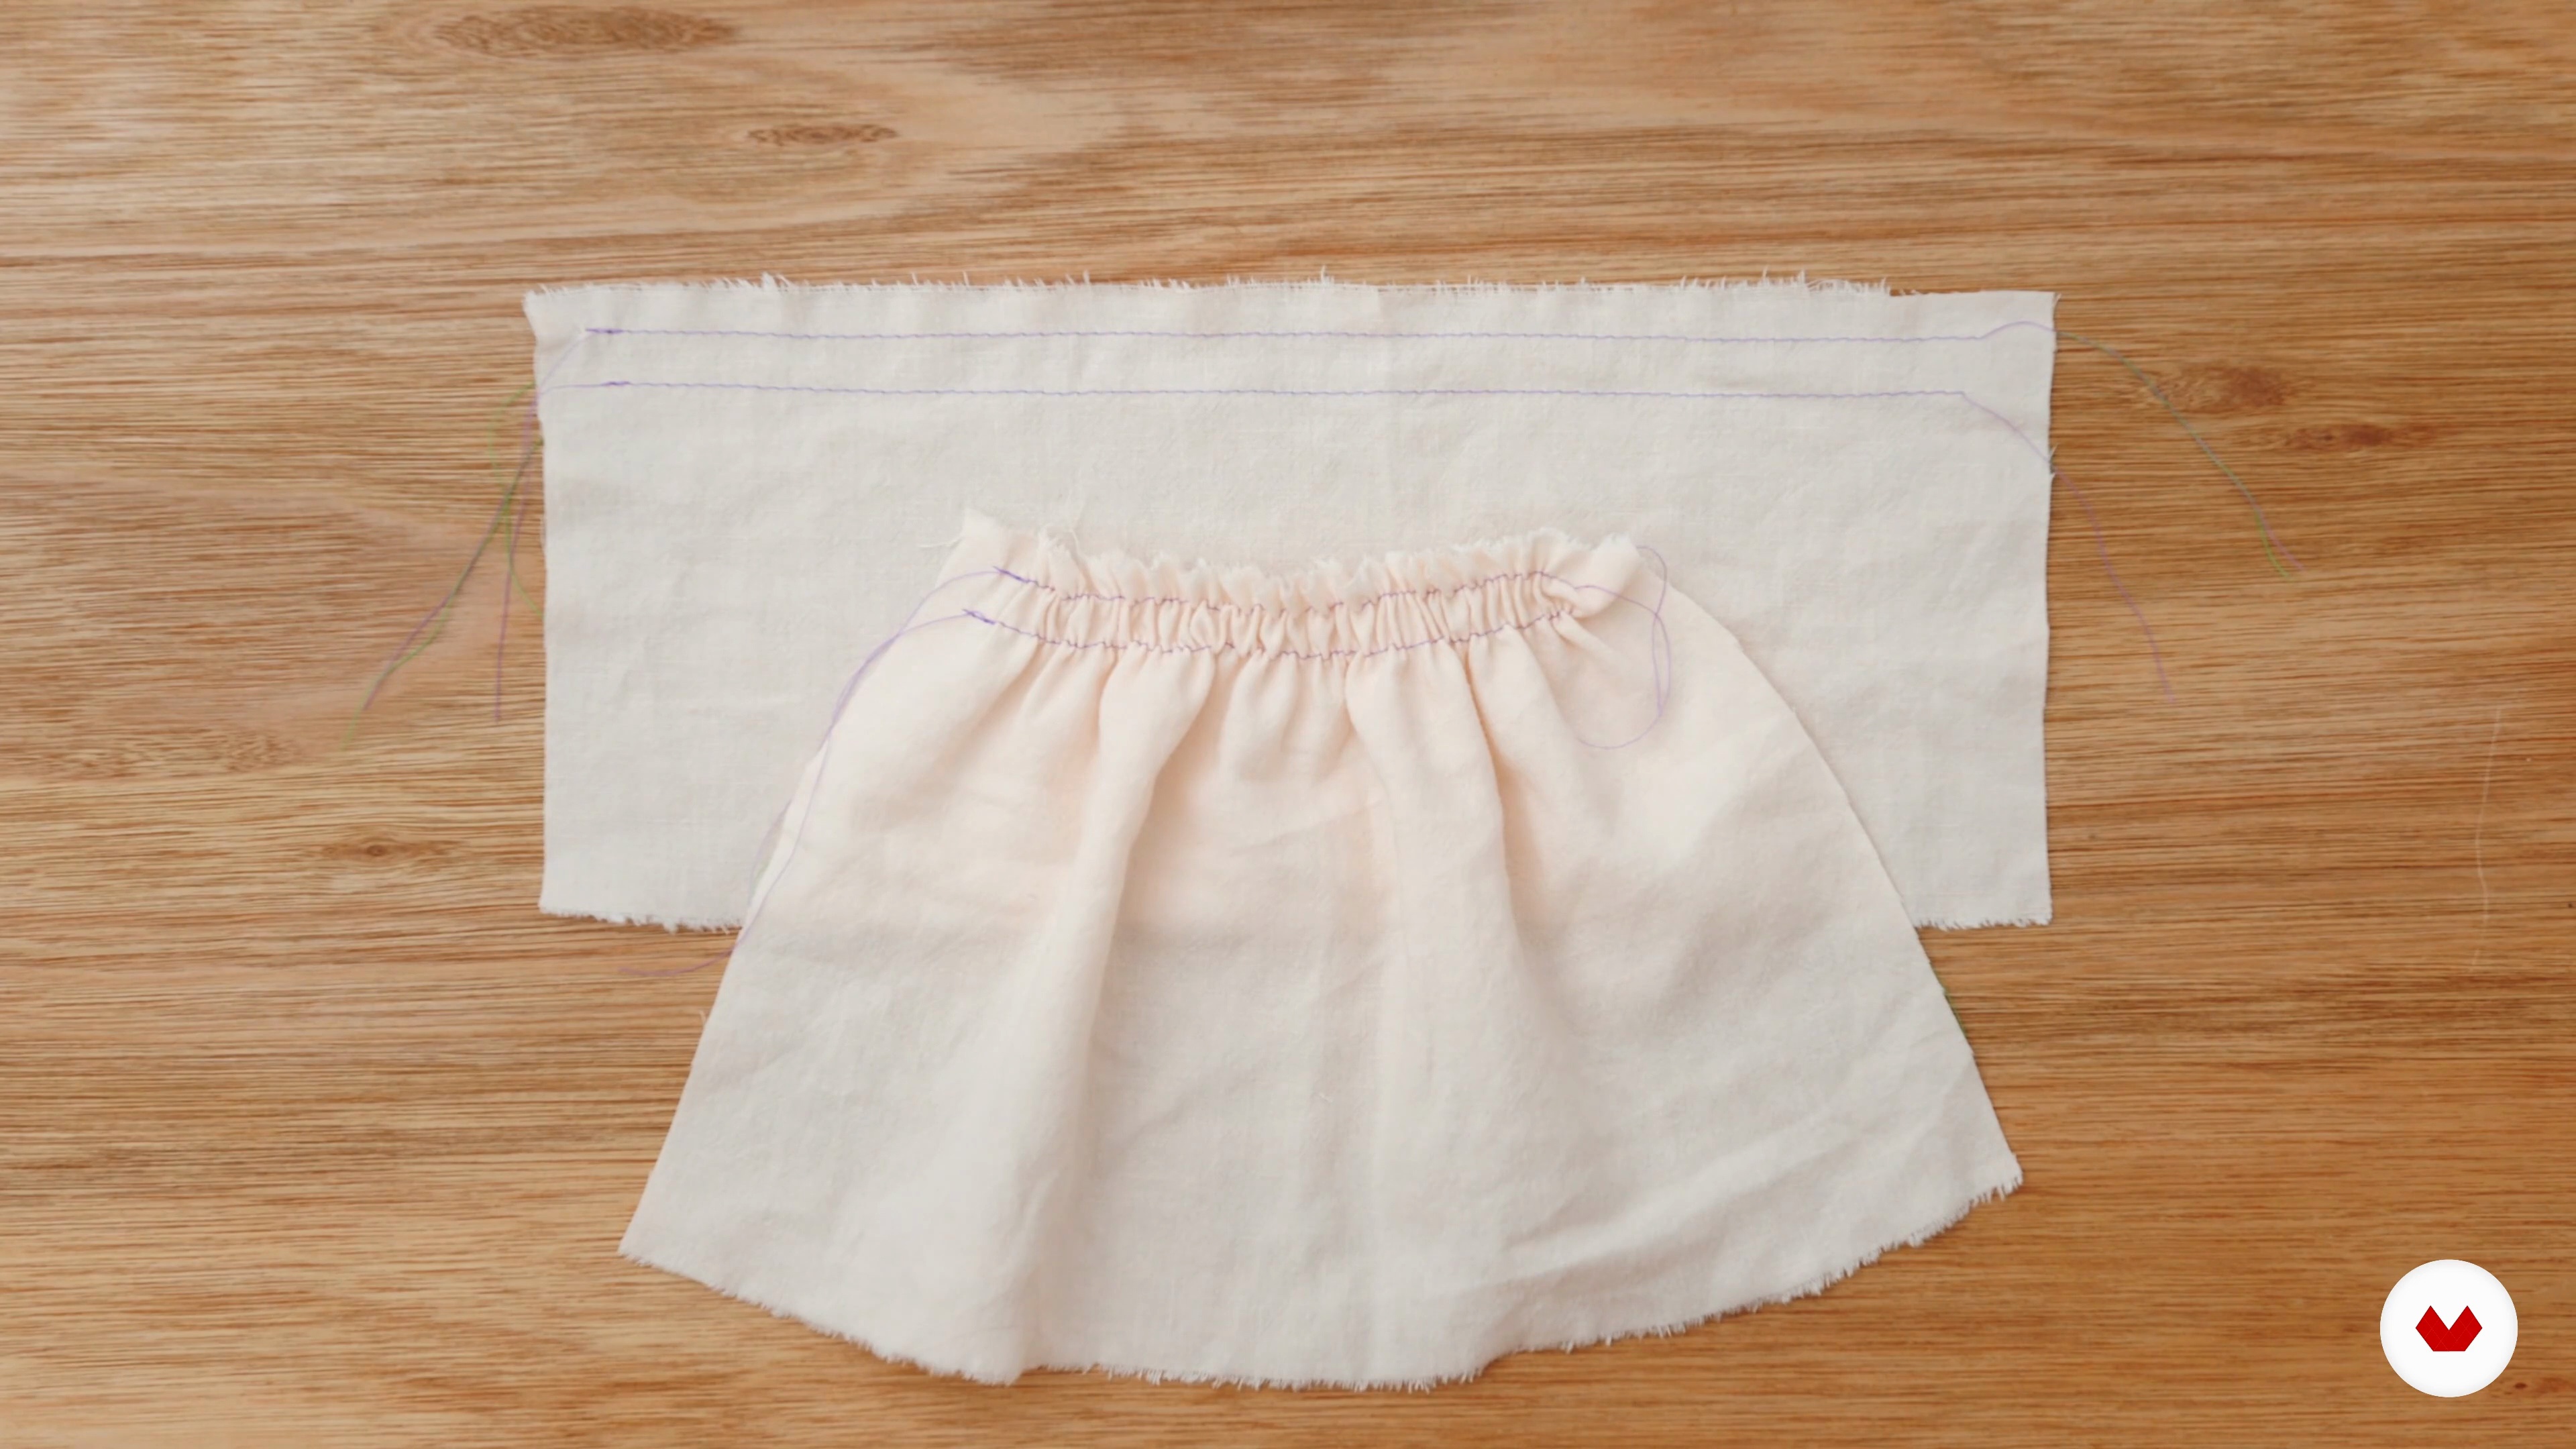
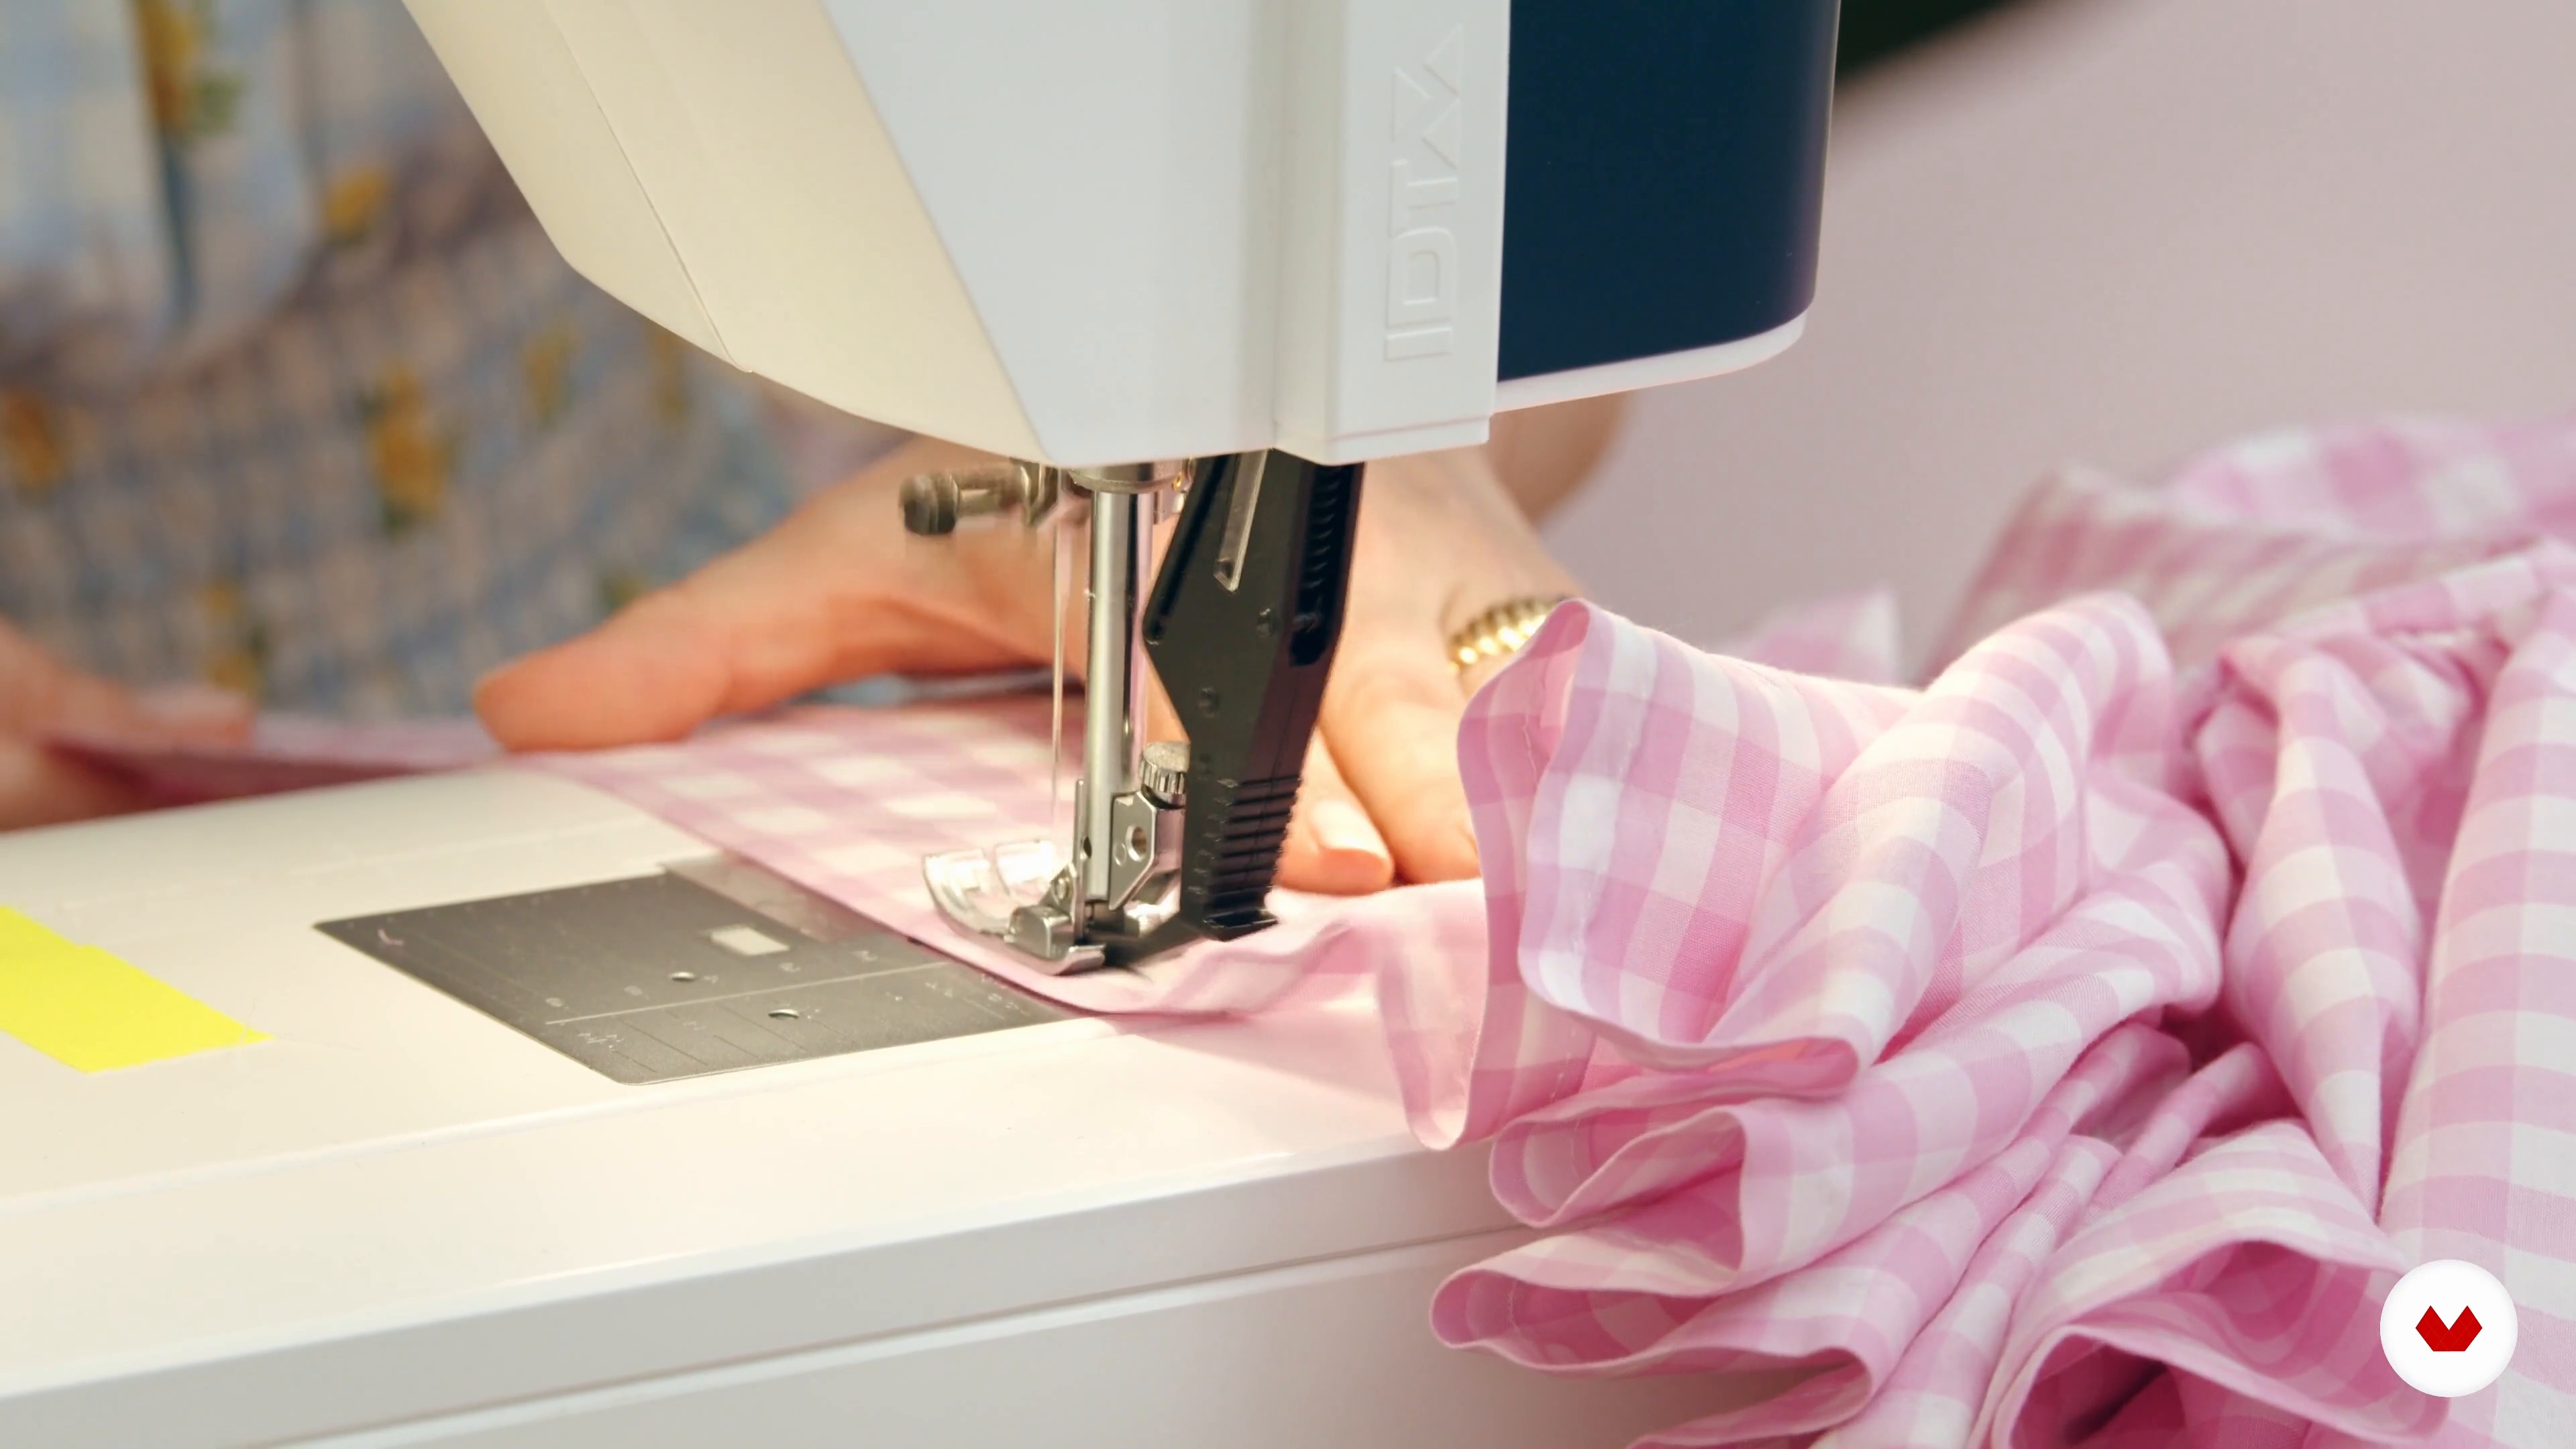
Learn how to add beautiful, soft pleats to your projects with fabric gathering. Elisalex, the founder of By Hand London, introduces you to this versatile technique, perfect for creating delicate skirts and adding volume. You'll gain control over the fabric with two parallel stitch rows and a careful "smooshing" technique, producing even, romantic gathers. This method will soon become your go-to for adding elegance and style to any piece!
9m
image
8
Free Motion Embroidery
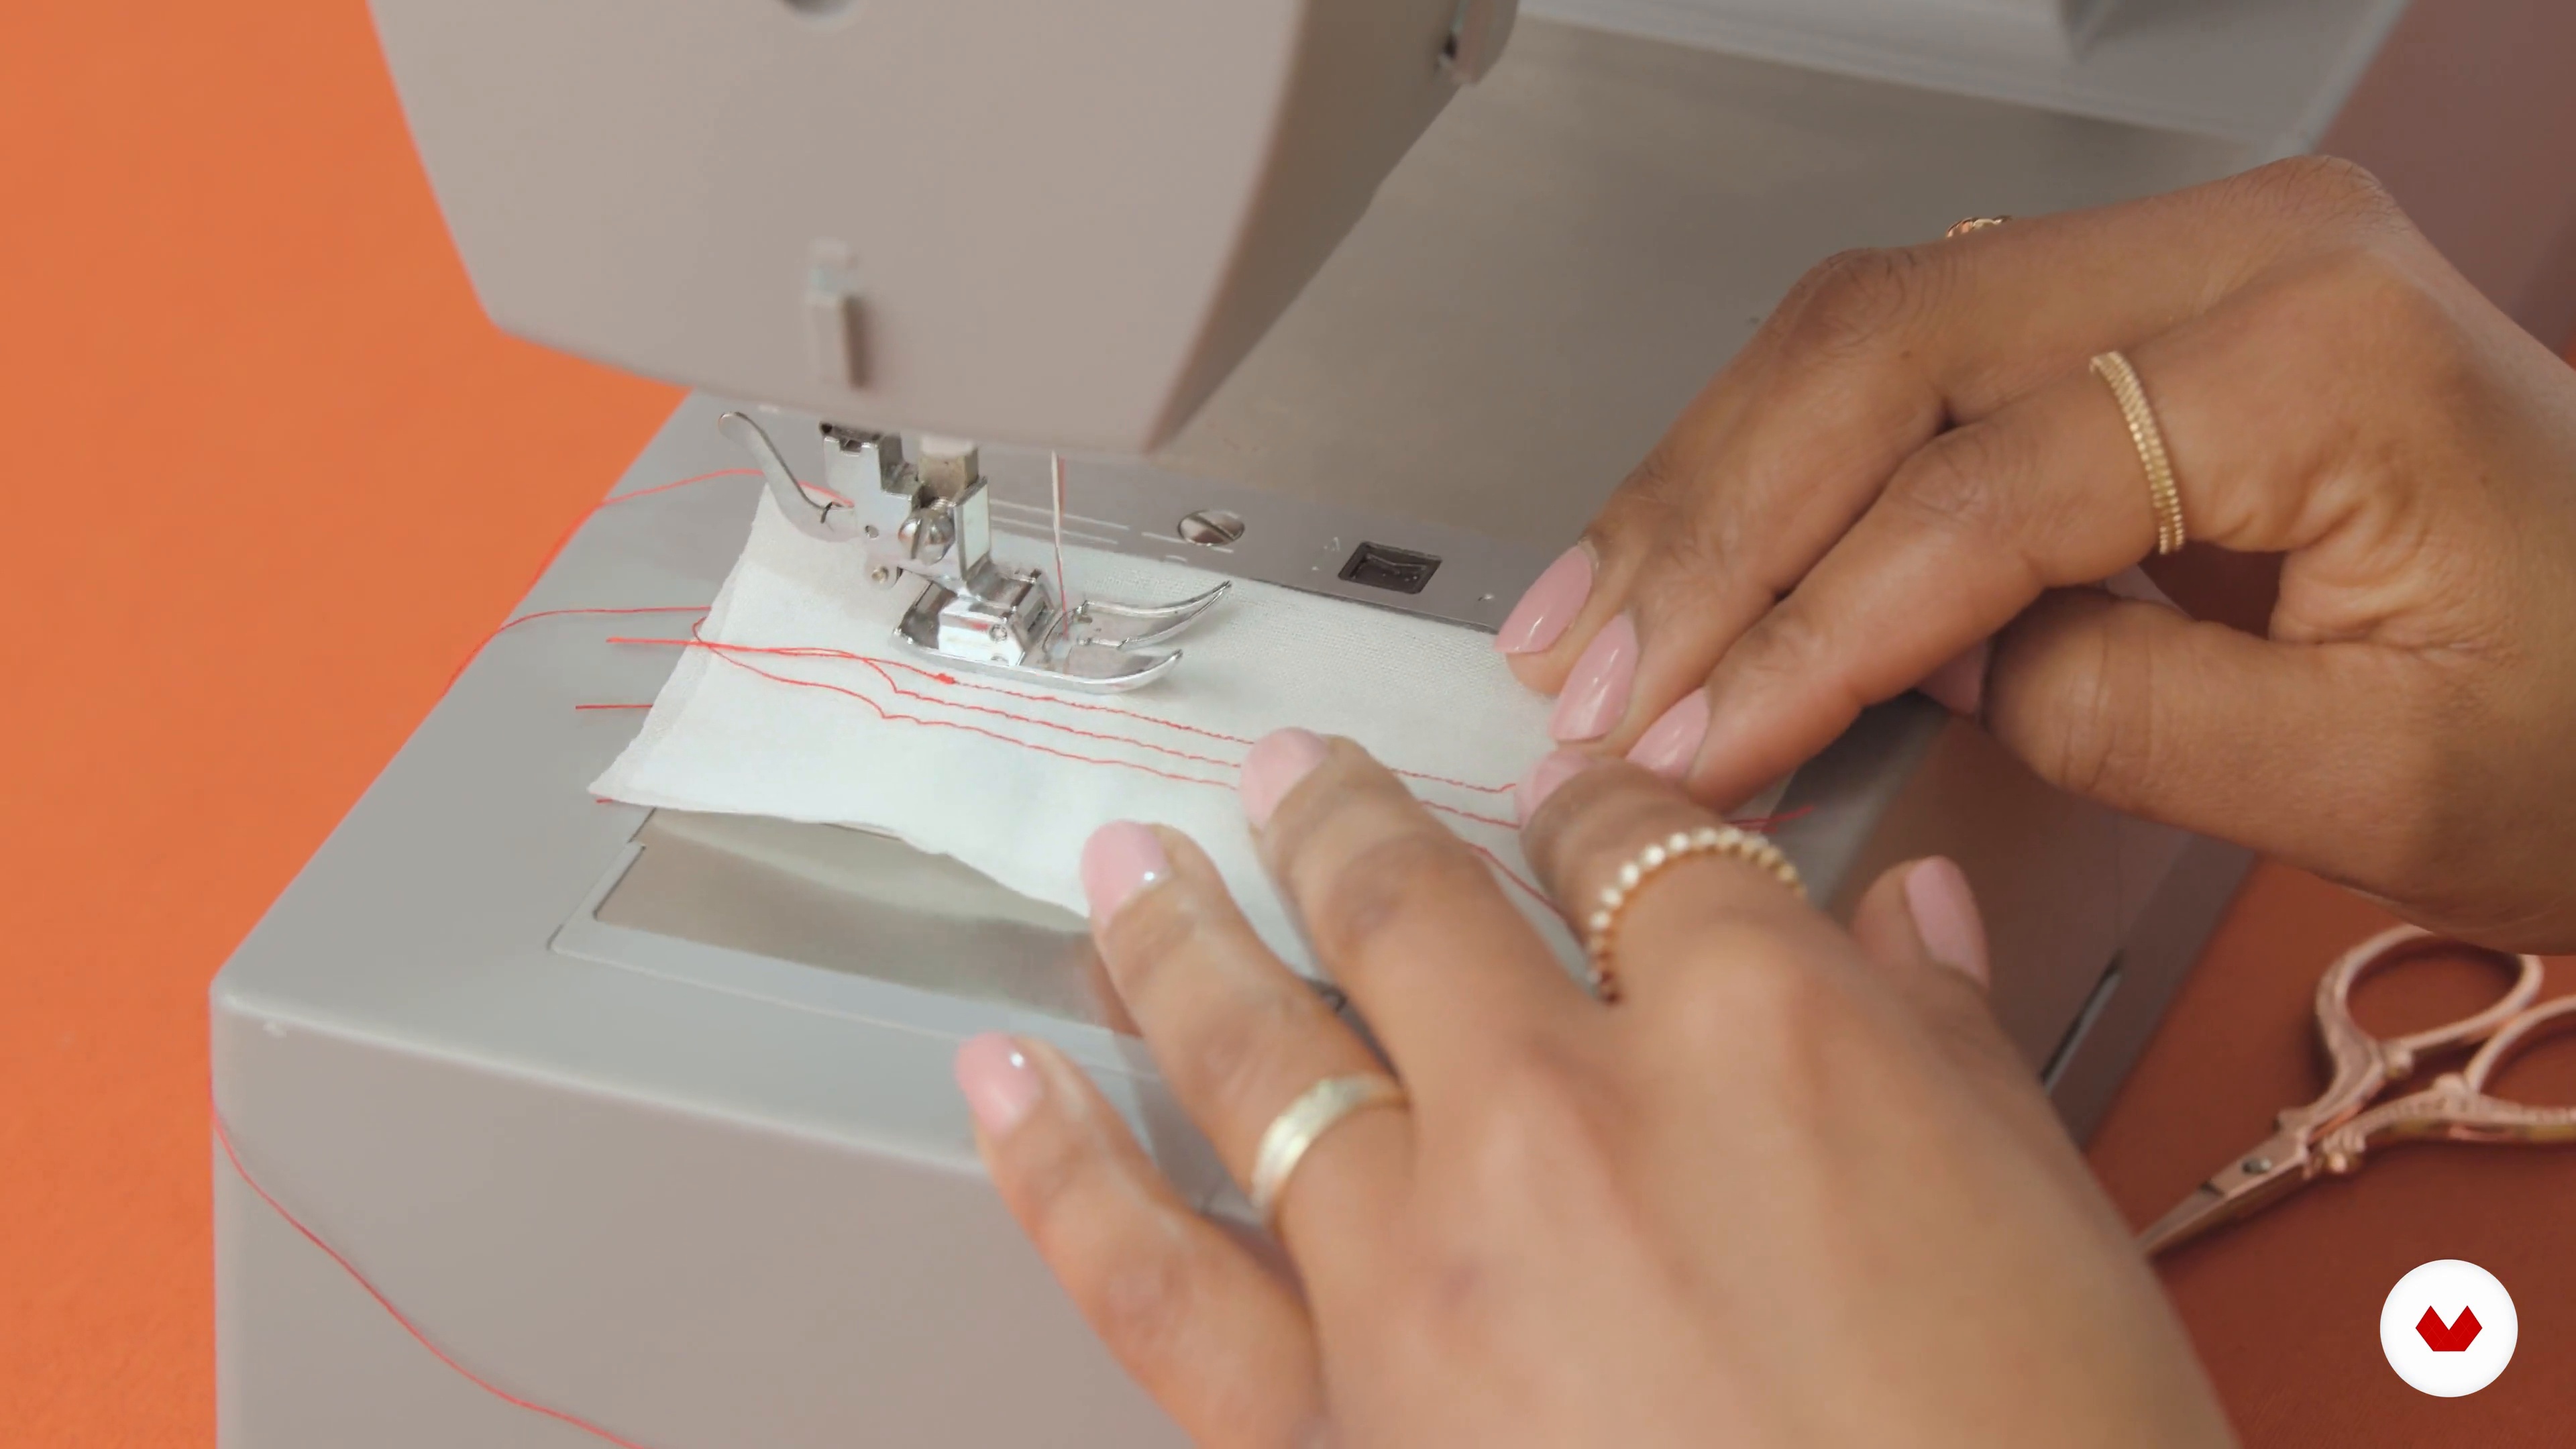
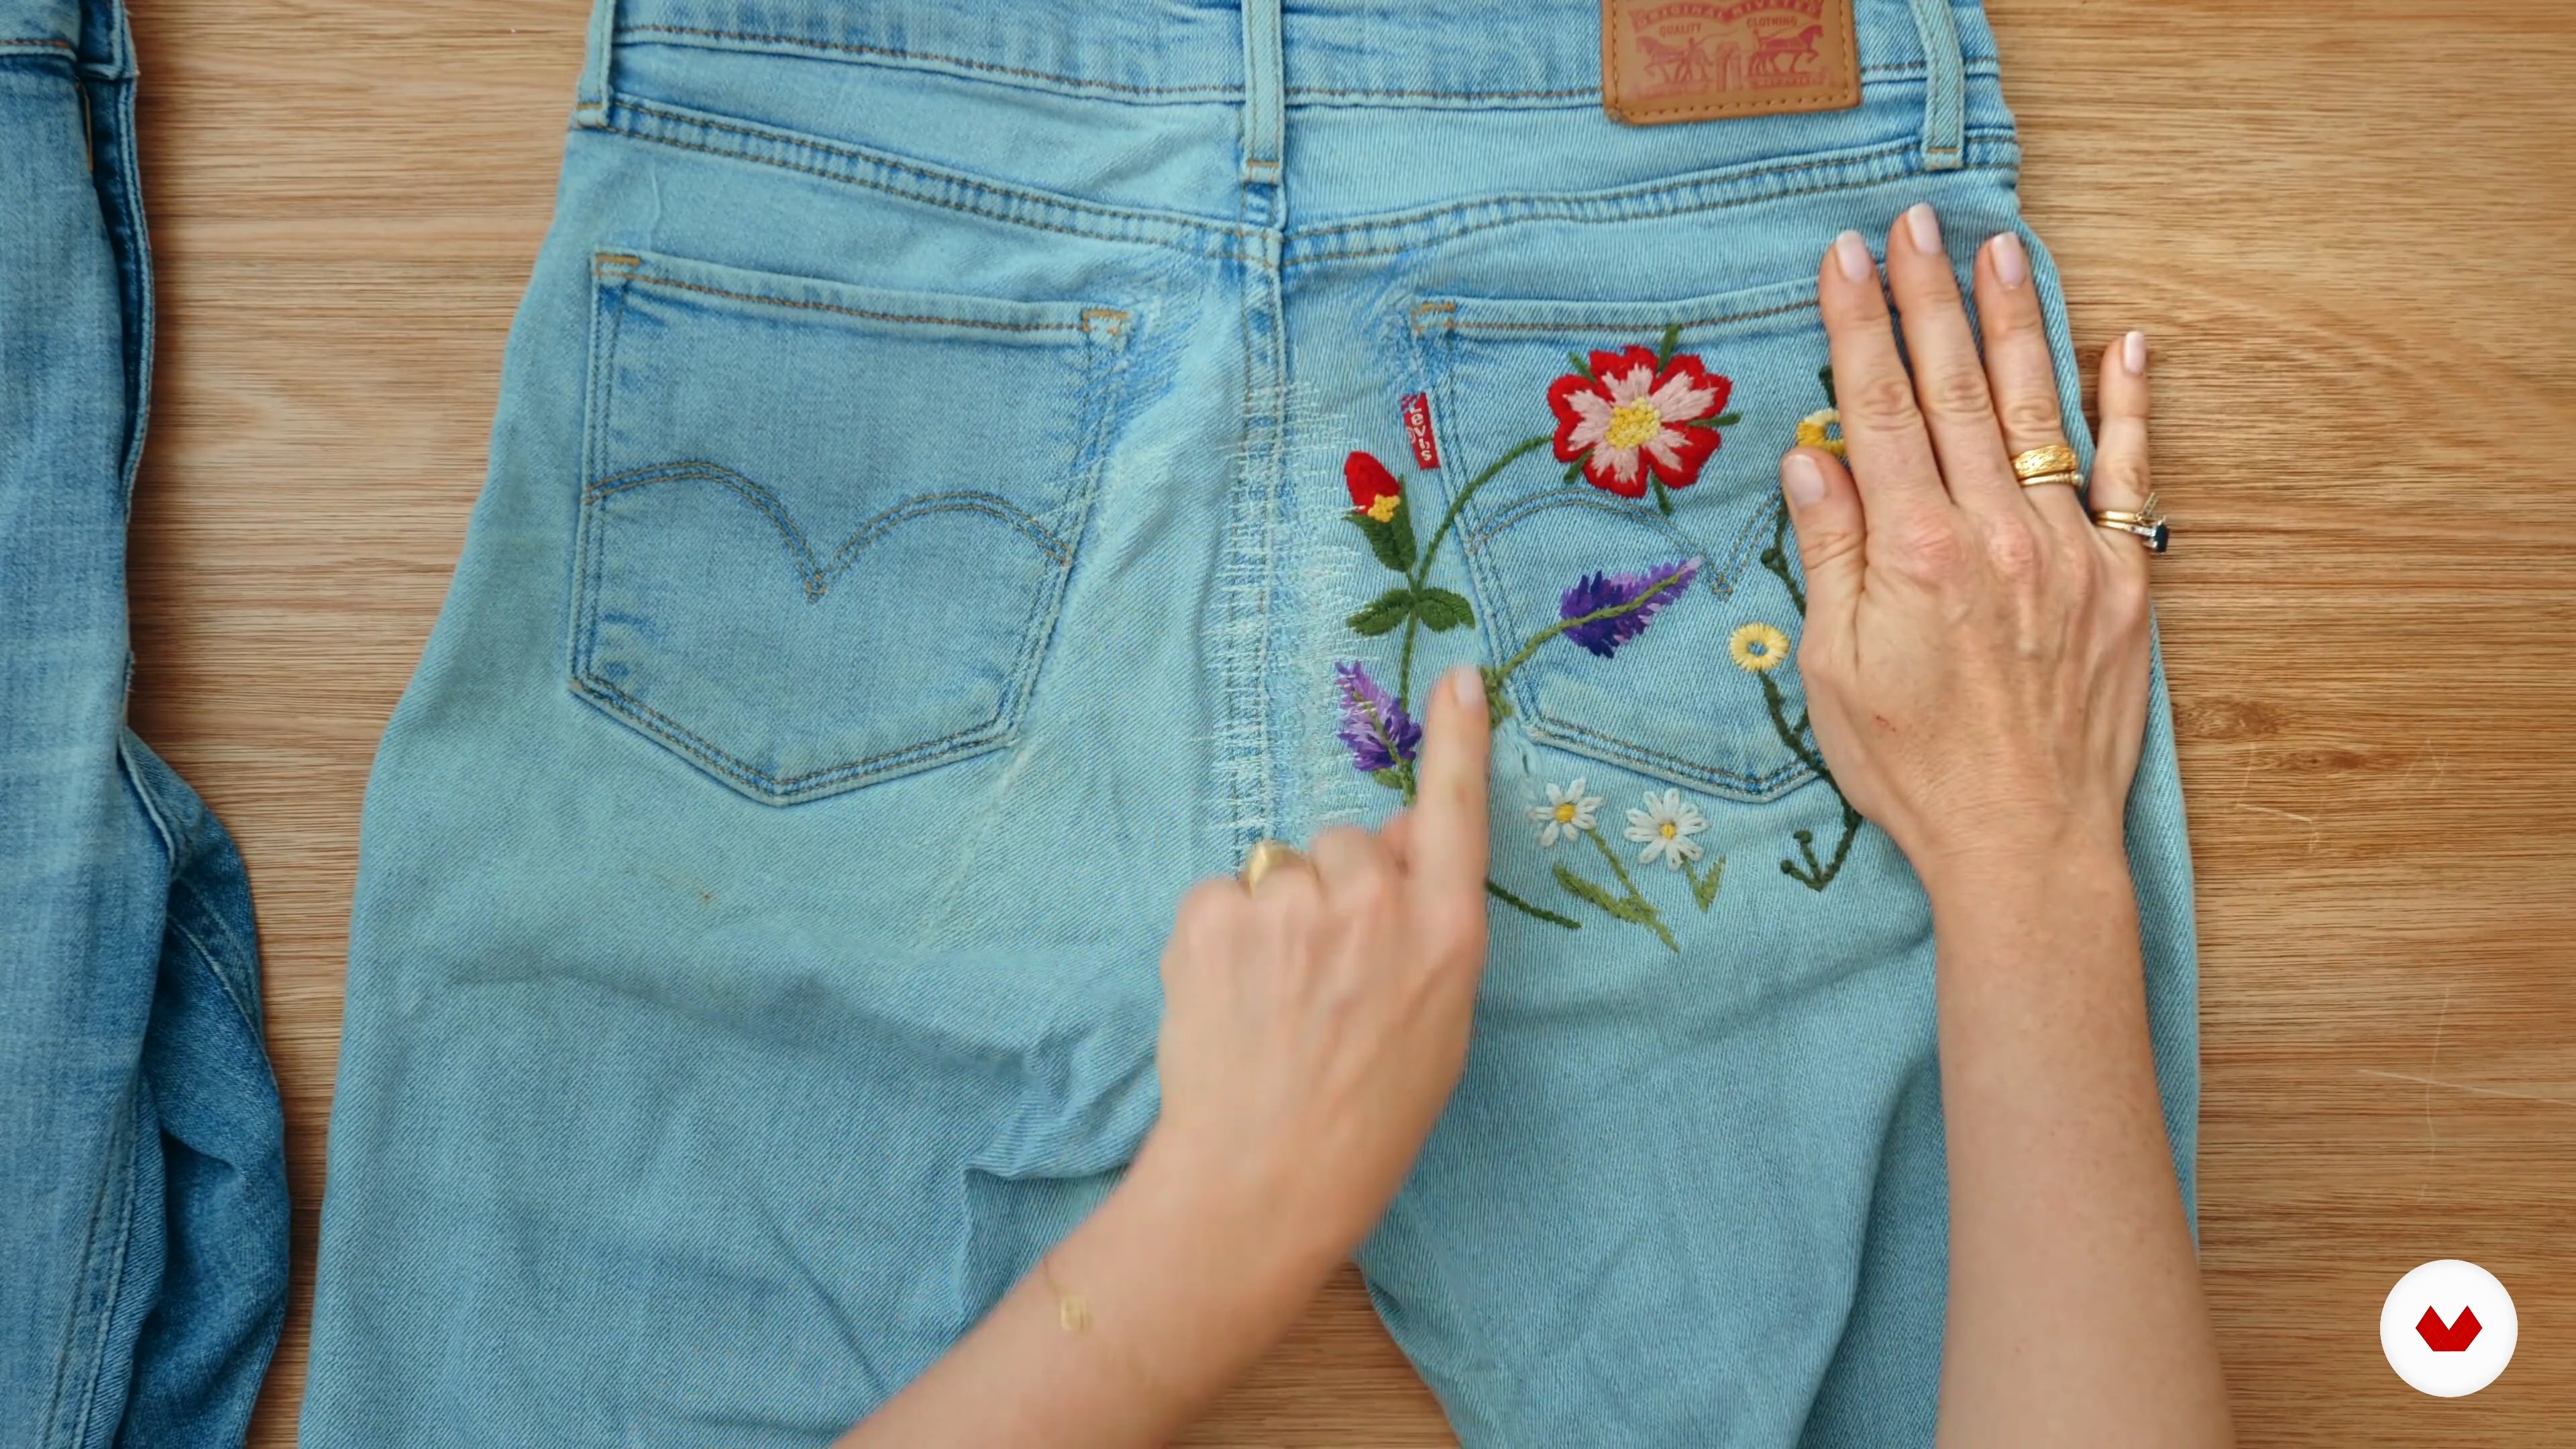
Explore the creative possibilities of free-motion embroidery in this lesson. Amanda McCavour walks you through setting up your machine and practicing your first stitches on fabric within an embroidery hoop. With tips on stitch length, speed control, and movement, you'll gain confidence in creating fluid, unique designs. Embrace this meditative process and see how line variations can bring depth to your work—perfect for adding personal touches to any project!
15m
image
9
Basic Stitches
This lesson dives into adding color depth and texture to your floral embroidery using layered stitches. Amanda McCavour demonstrates how to apply light, medium, and dark shades to create shading and outlines, bringing dimension to leaves and petals. Practice with various stitches, including spirals, tiny circles, and starbursts, to build layers of vibrant detail. Experiment with color changes for outlines and bobbins to achieve a polished and unique finish!
18m
image
10
A Concealed Zipper
With Chinelo Bally, you’ll learn how to insert a concealed zipper step by step, ensuring it’s perfectly hidden within the garment. Discover key techniques for accurately aligning and sewing the zipper with a zipper foot, achieving a polished, professional finish. In the next lesson, you’ll explore seam finishing techniques for a flawless touch.
5m
image
11
Adapting the Seams
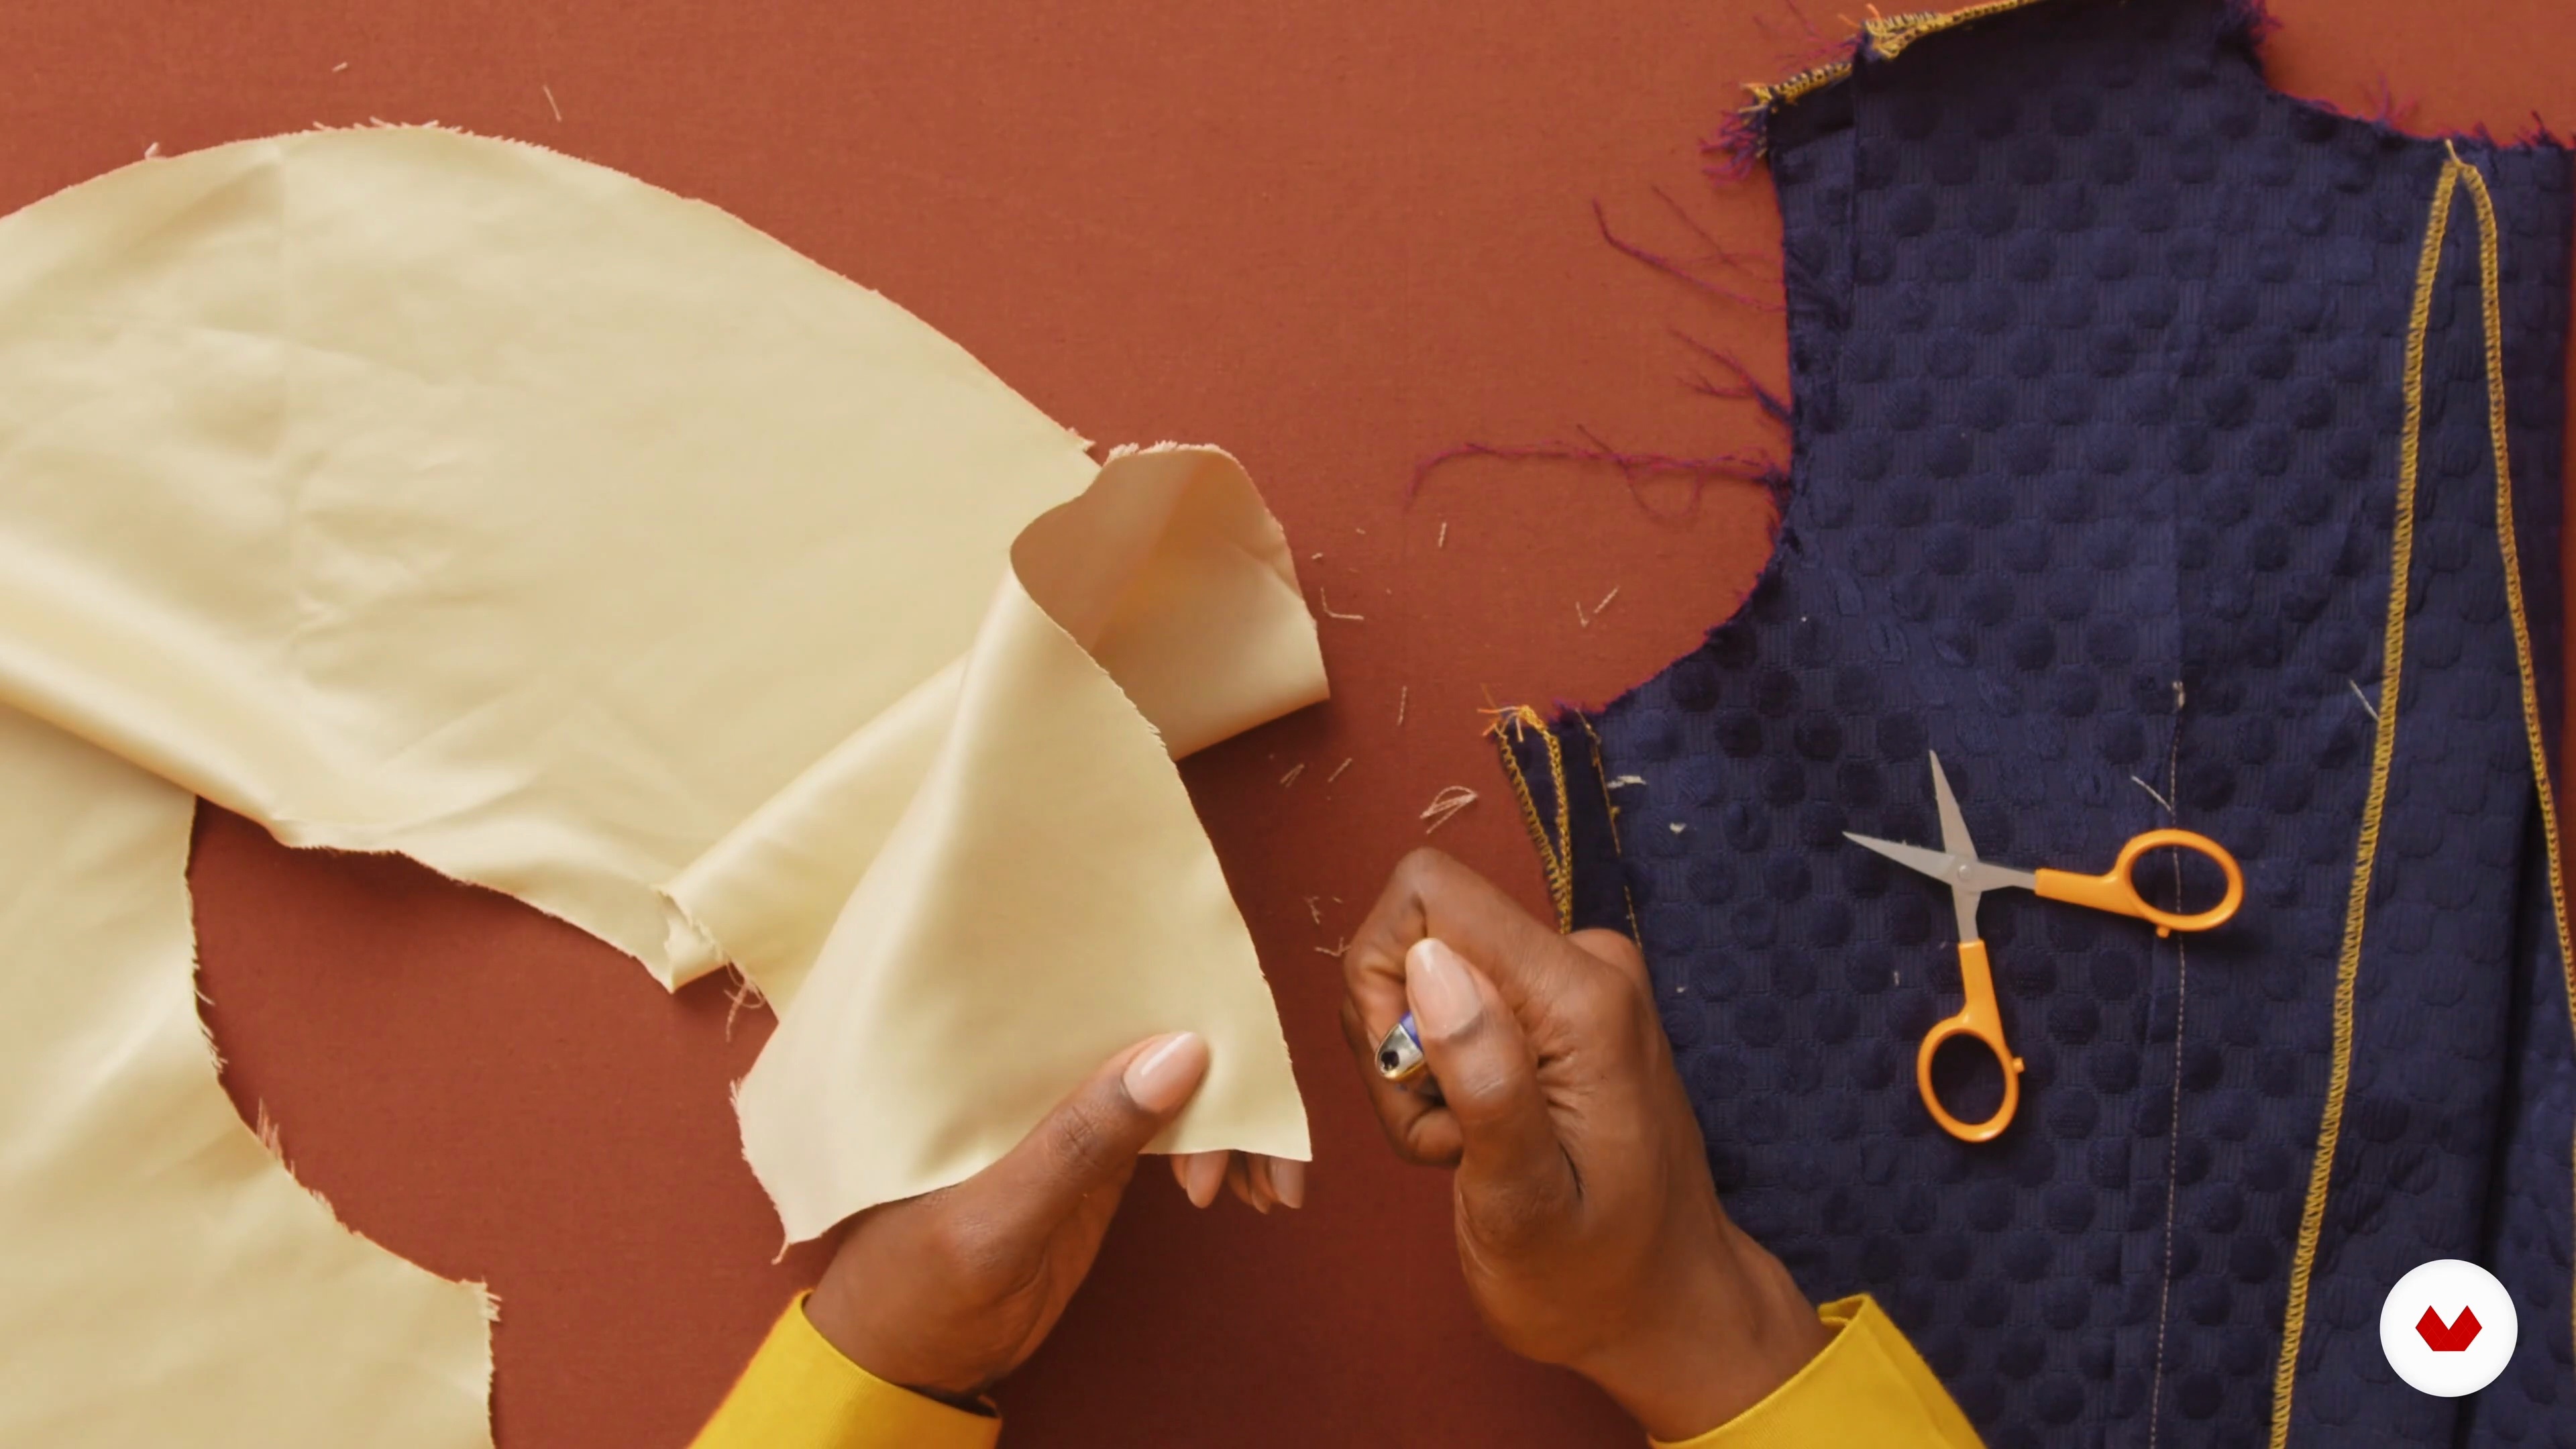
Chinelo Bally will show you how to finish seams with a polished edge in this lesson. You’ll learn an alternative method to zigzag stitching for sealing edges, which is particularly useful for polyester, organza, or chiffon. This melting technique creates clean, fray-free edges, giving a laser-cut effect.
2m
image
12
Designing the Front
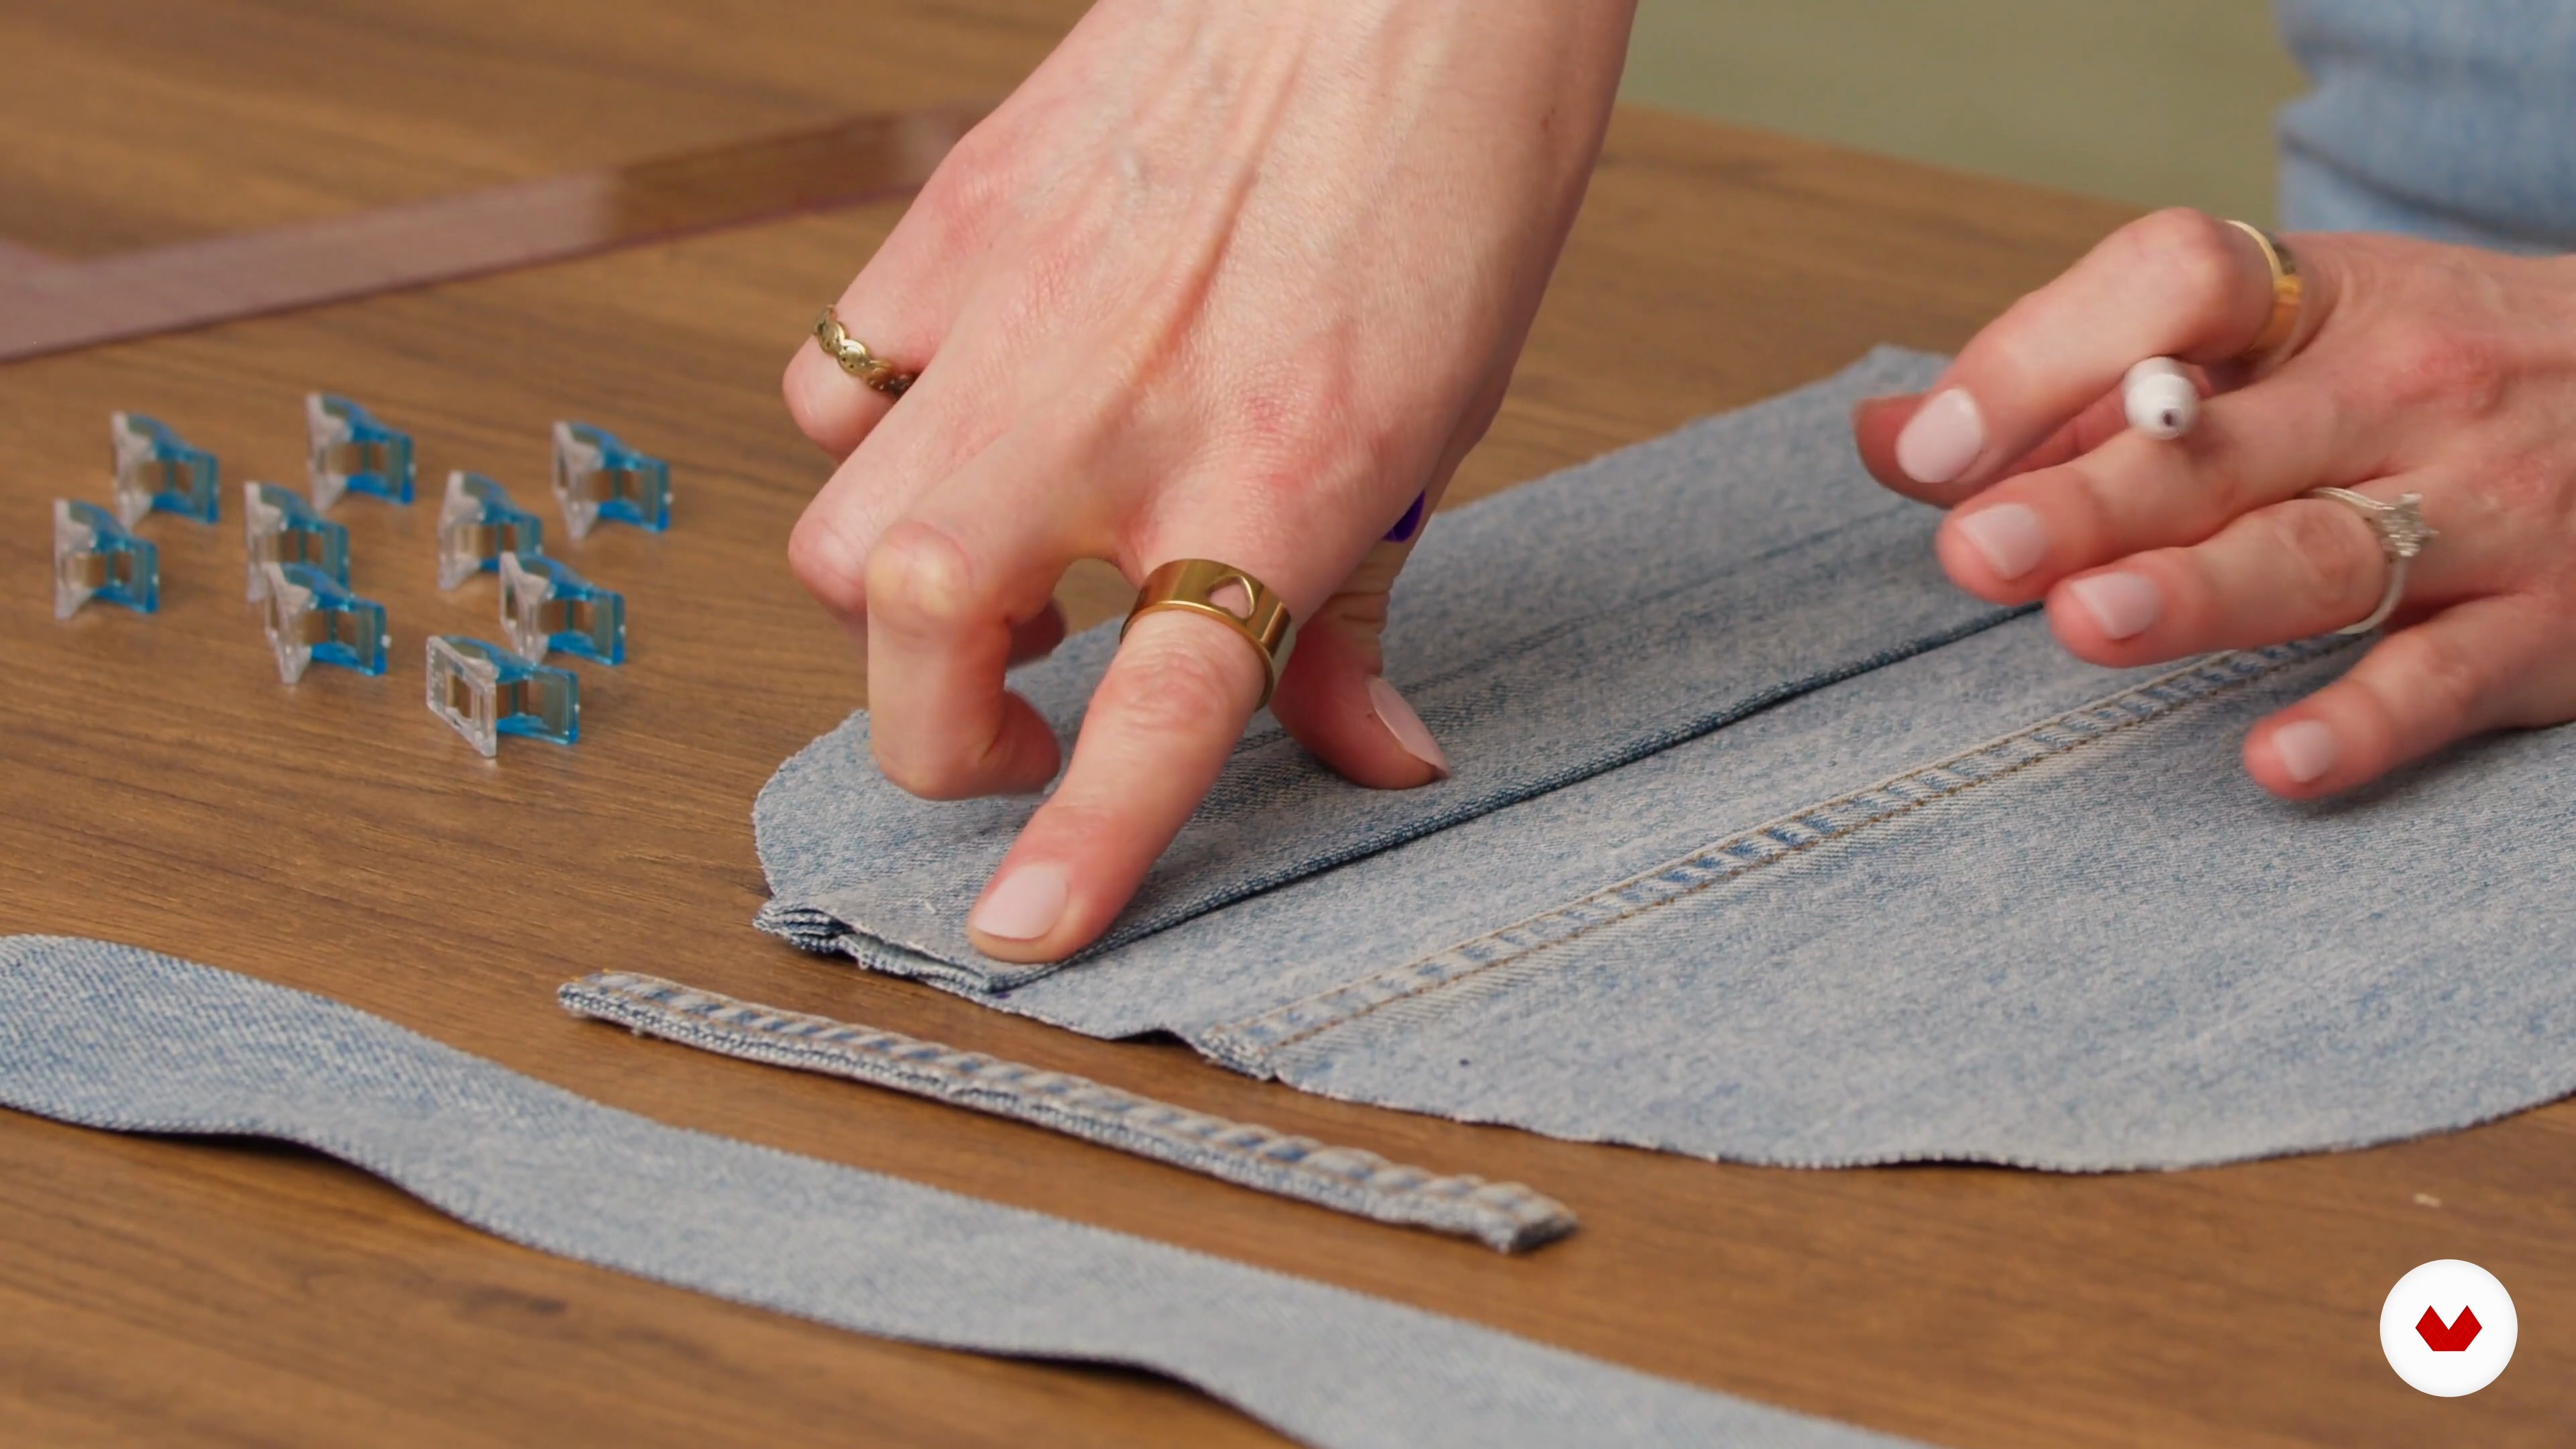
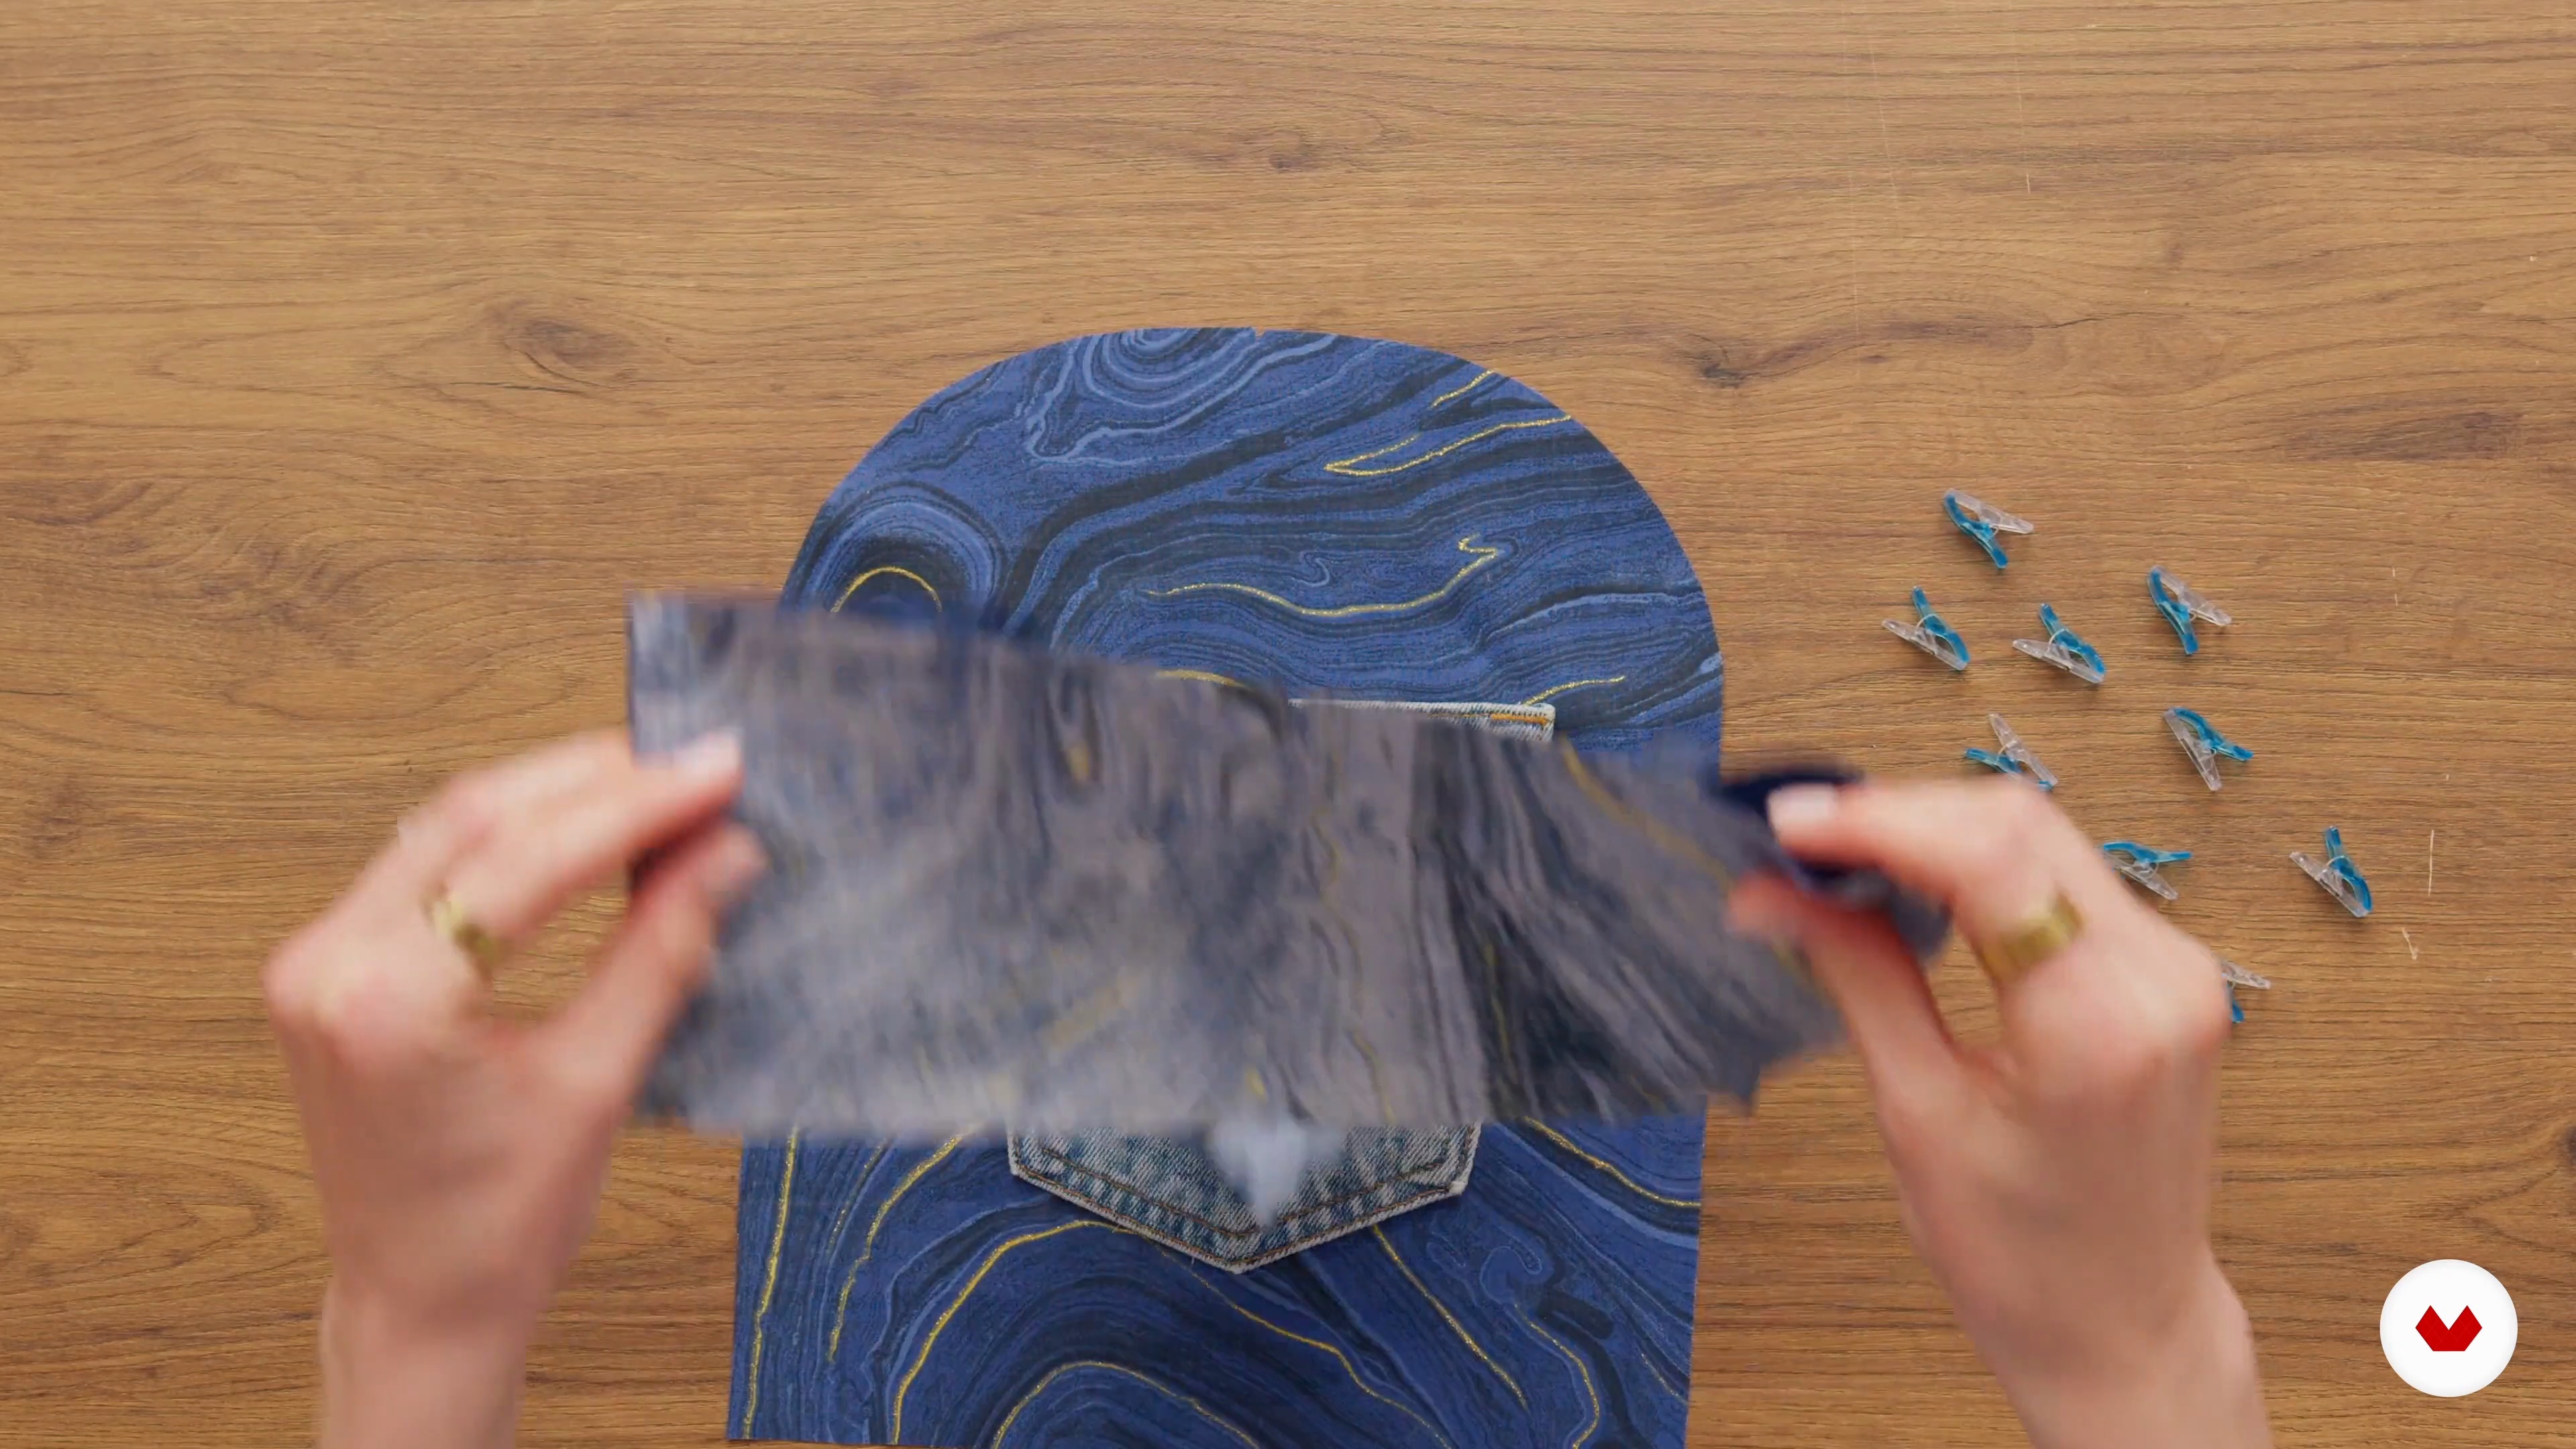
In this lesson, Luisa Hurtado will show you how to customize your backpack with details like pockets, labels, and decorative patches. You'll learn to secure the front pocket and attach the zipper precisely using reinforced stitching and straight seams. Finally, you'll trim the edges and add straps, creating your project's unique, functional design.
12m
image
1
Introduction
Fabrics are the foundation of every garment, telling stories of culture and craftsmanship. Early textiles like linen, wool, and cotton offered strength, warmth, and softness. Today, fabric choice shapes a garment’s look, feel, and function. Understanding natural and synthetic fibers allows you to create pieces with purpose. Let your fabric choice tell a story shaped by your vision.
2m
image
2
Choosing the Right Fabric and Preparing to Sew - Part 1
Prepare to bring your sewing project to life by choosing and cutting out your fabric. Juliet Uzor shares top tips for selecting fabrics that suit your garment’s style, from structured cotton poplin to flowing viscose and linen. You’ll also learn how to make minor fit adjustments on the pattern to match your measurements, handle large prints, and prepare the fabric by ironing and aligning it on grain before cutting. These foundational steps will set you up for a perfectly tailored piece!
19m
image
3
Choosing the Right Fabric and Preparing to Sew - Part 2
Building on the previous steps, it’s time to lay out and cut the pattern pieces while carefully aligning the fabric grain. Juliet Uzor demonstrates how to arrange larger pieces first and then fit smaller ones, ensuring efficient fabric use. Once all pieces are cut, add essential notches, mark darts, and position button placements. These precise markings will guide you through the assembly, making sewing much smoother and more accurate.
11m
image
4
Choosing Your Fabric
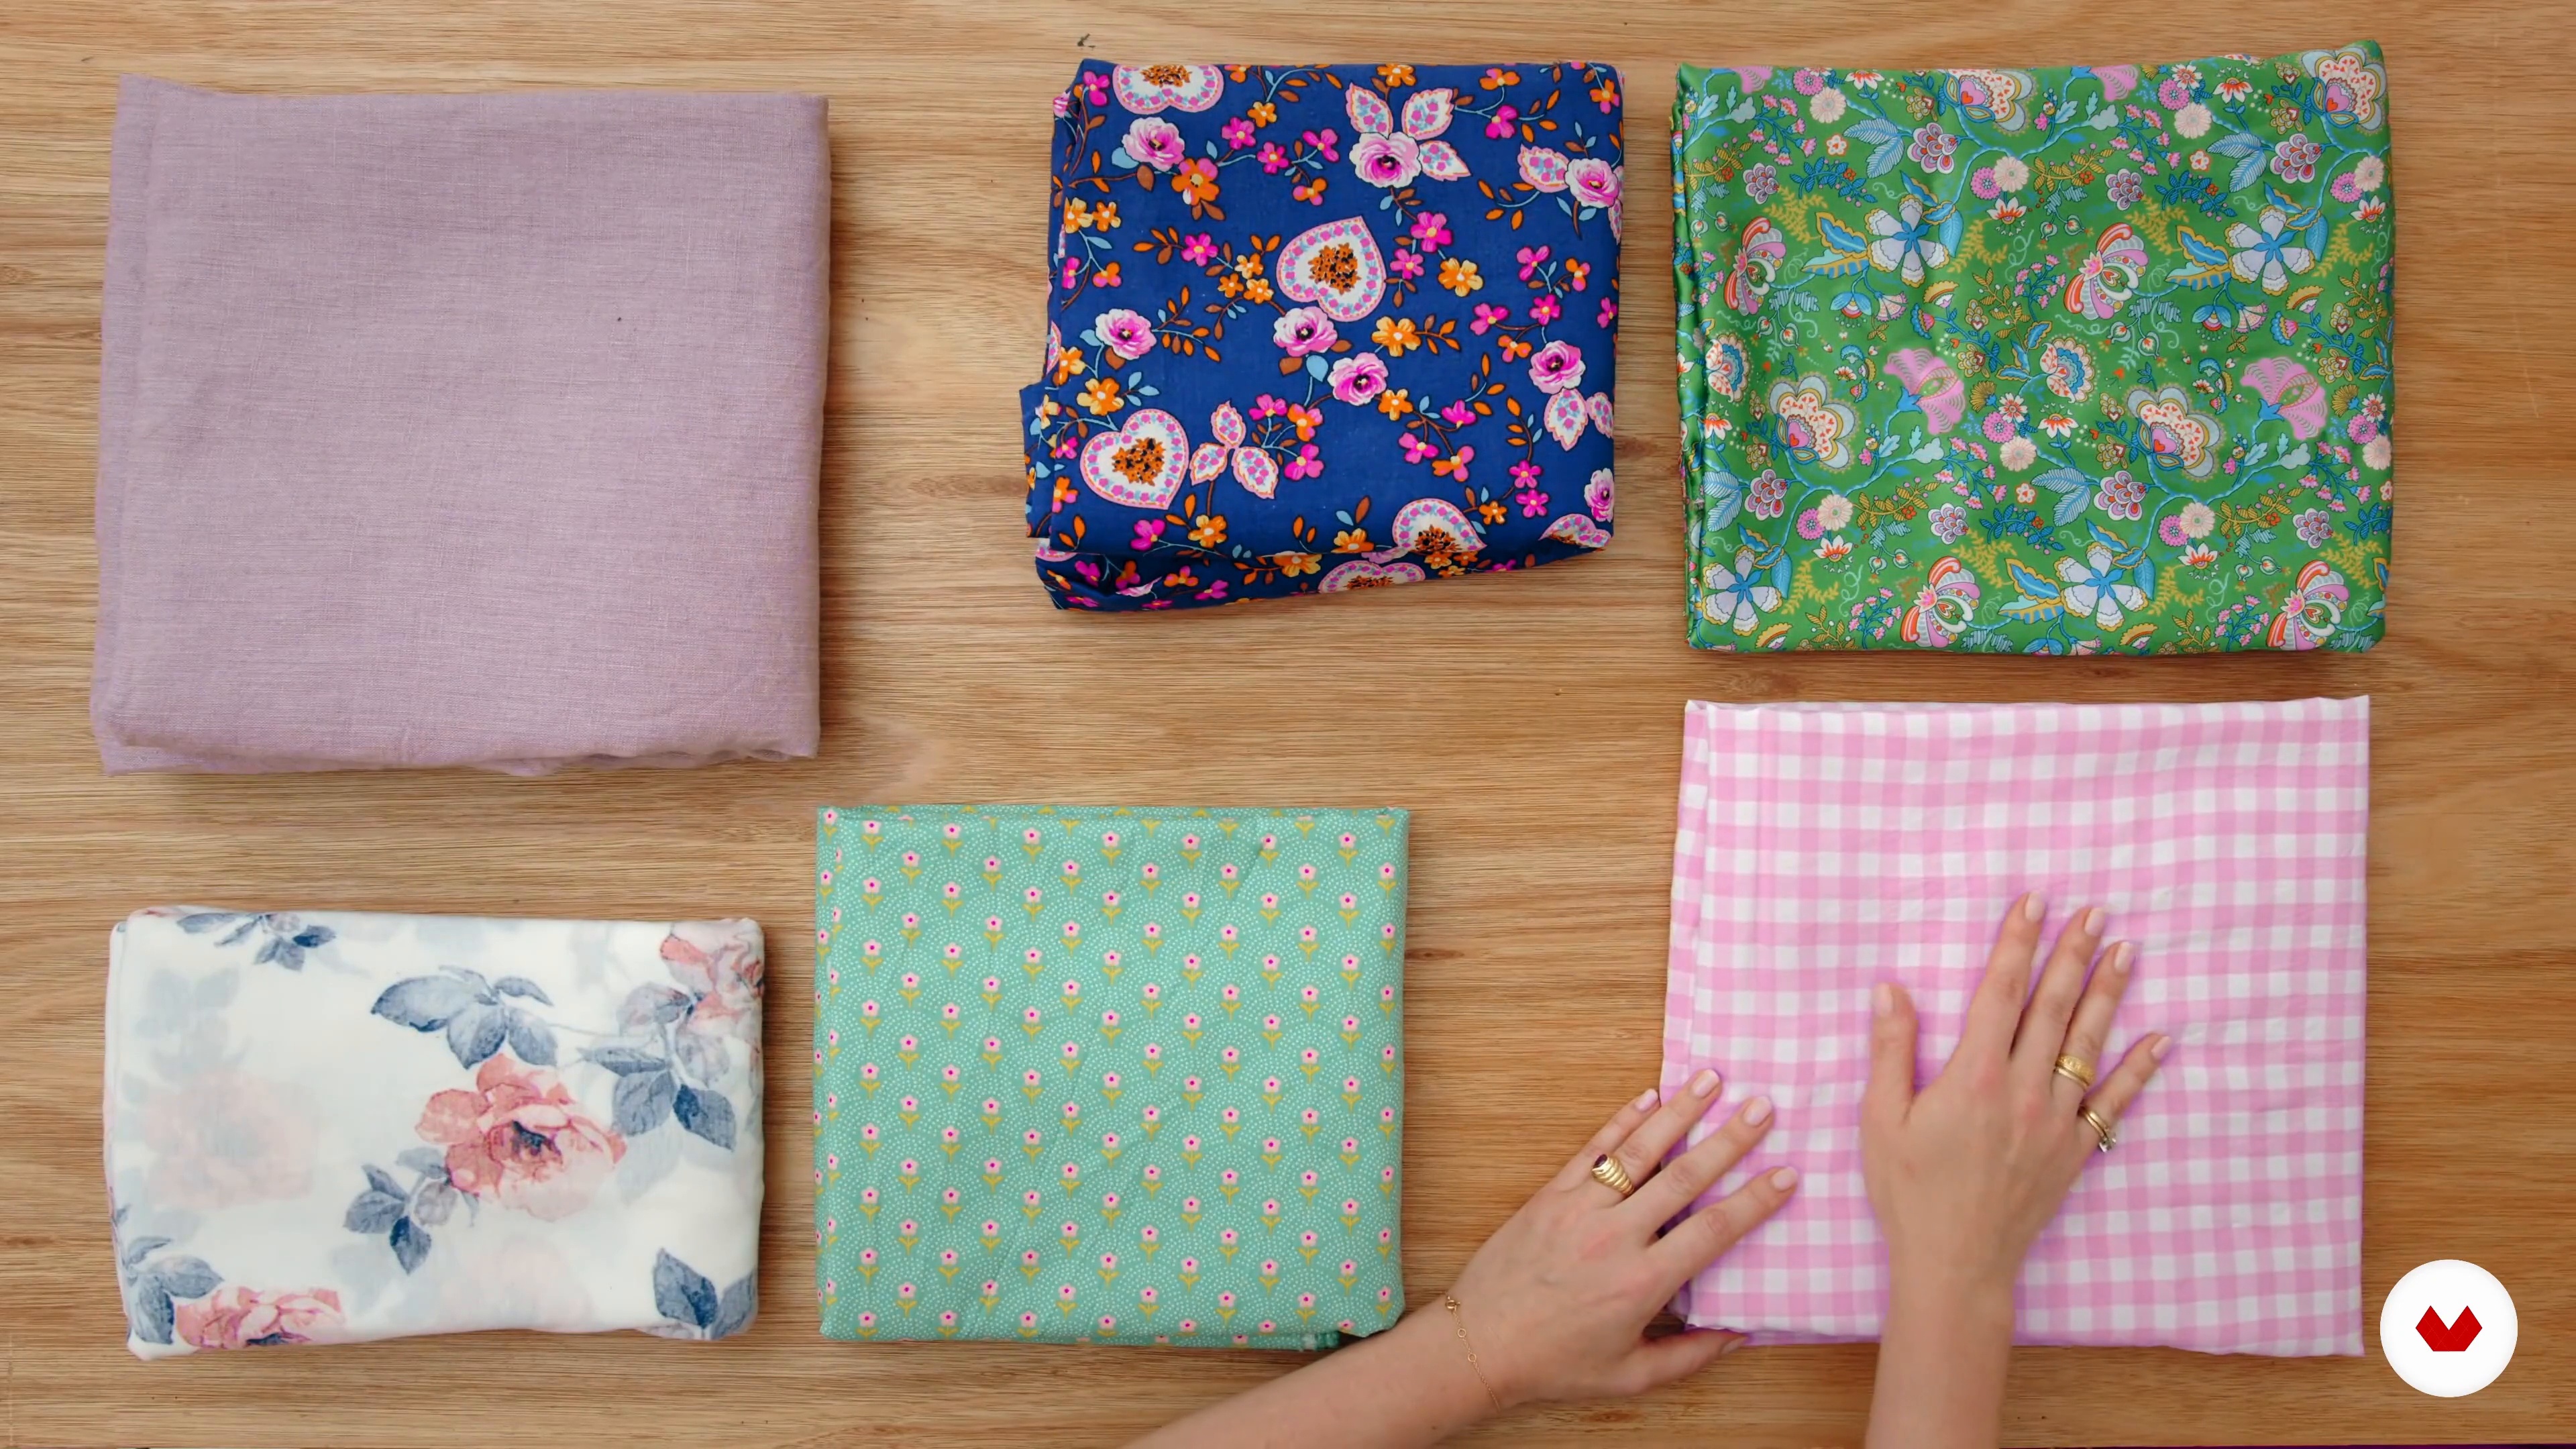
In this lesson, you’ll choose the perfect fabric for your final design. Elisalex, the founder of By Hand London, walks you through which fabrics work best for a floaty, romantic dress, focusing on lightweight and breathable options like cotton lawn, viscose challis, and silk. You’ll also learn about fabrics to avoid, like heavy linen and stretchy jersey, as they don’t hold gathers or elastic well. By considering the drape, fiber type, and skill level, you’ll make fabric choices that bring out the best in your garment and keep it comfortable.
7m
image
5
How to Handle Different Fabrics
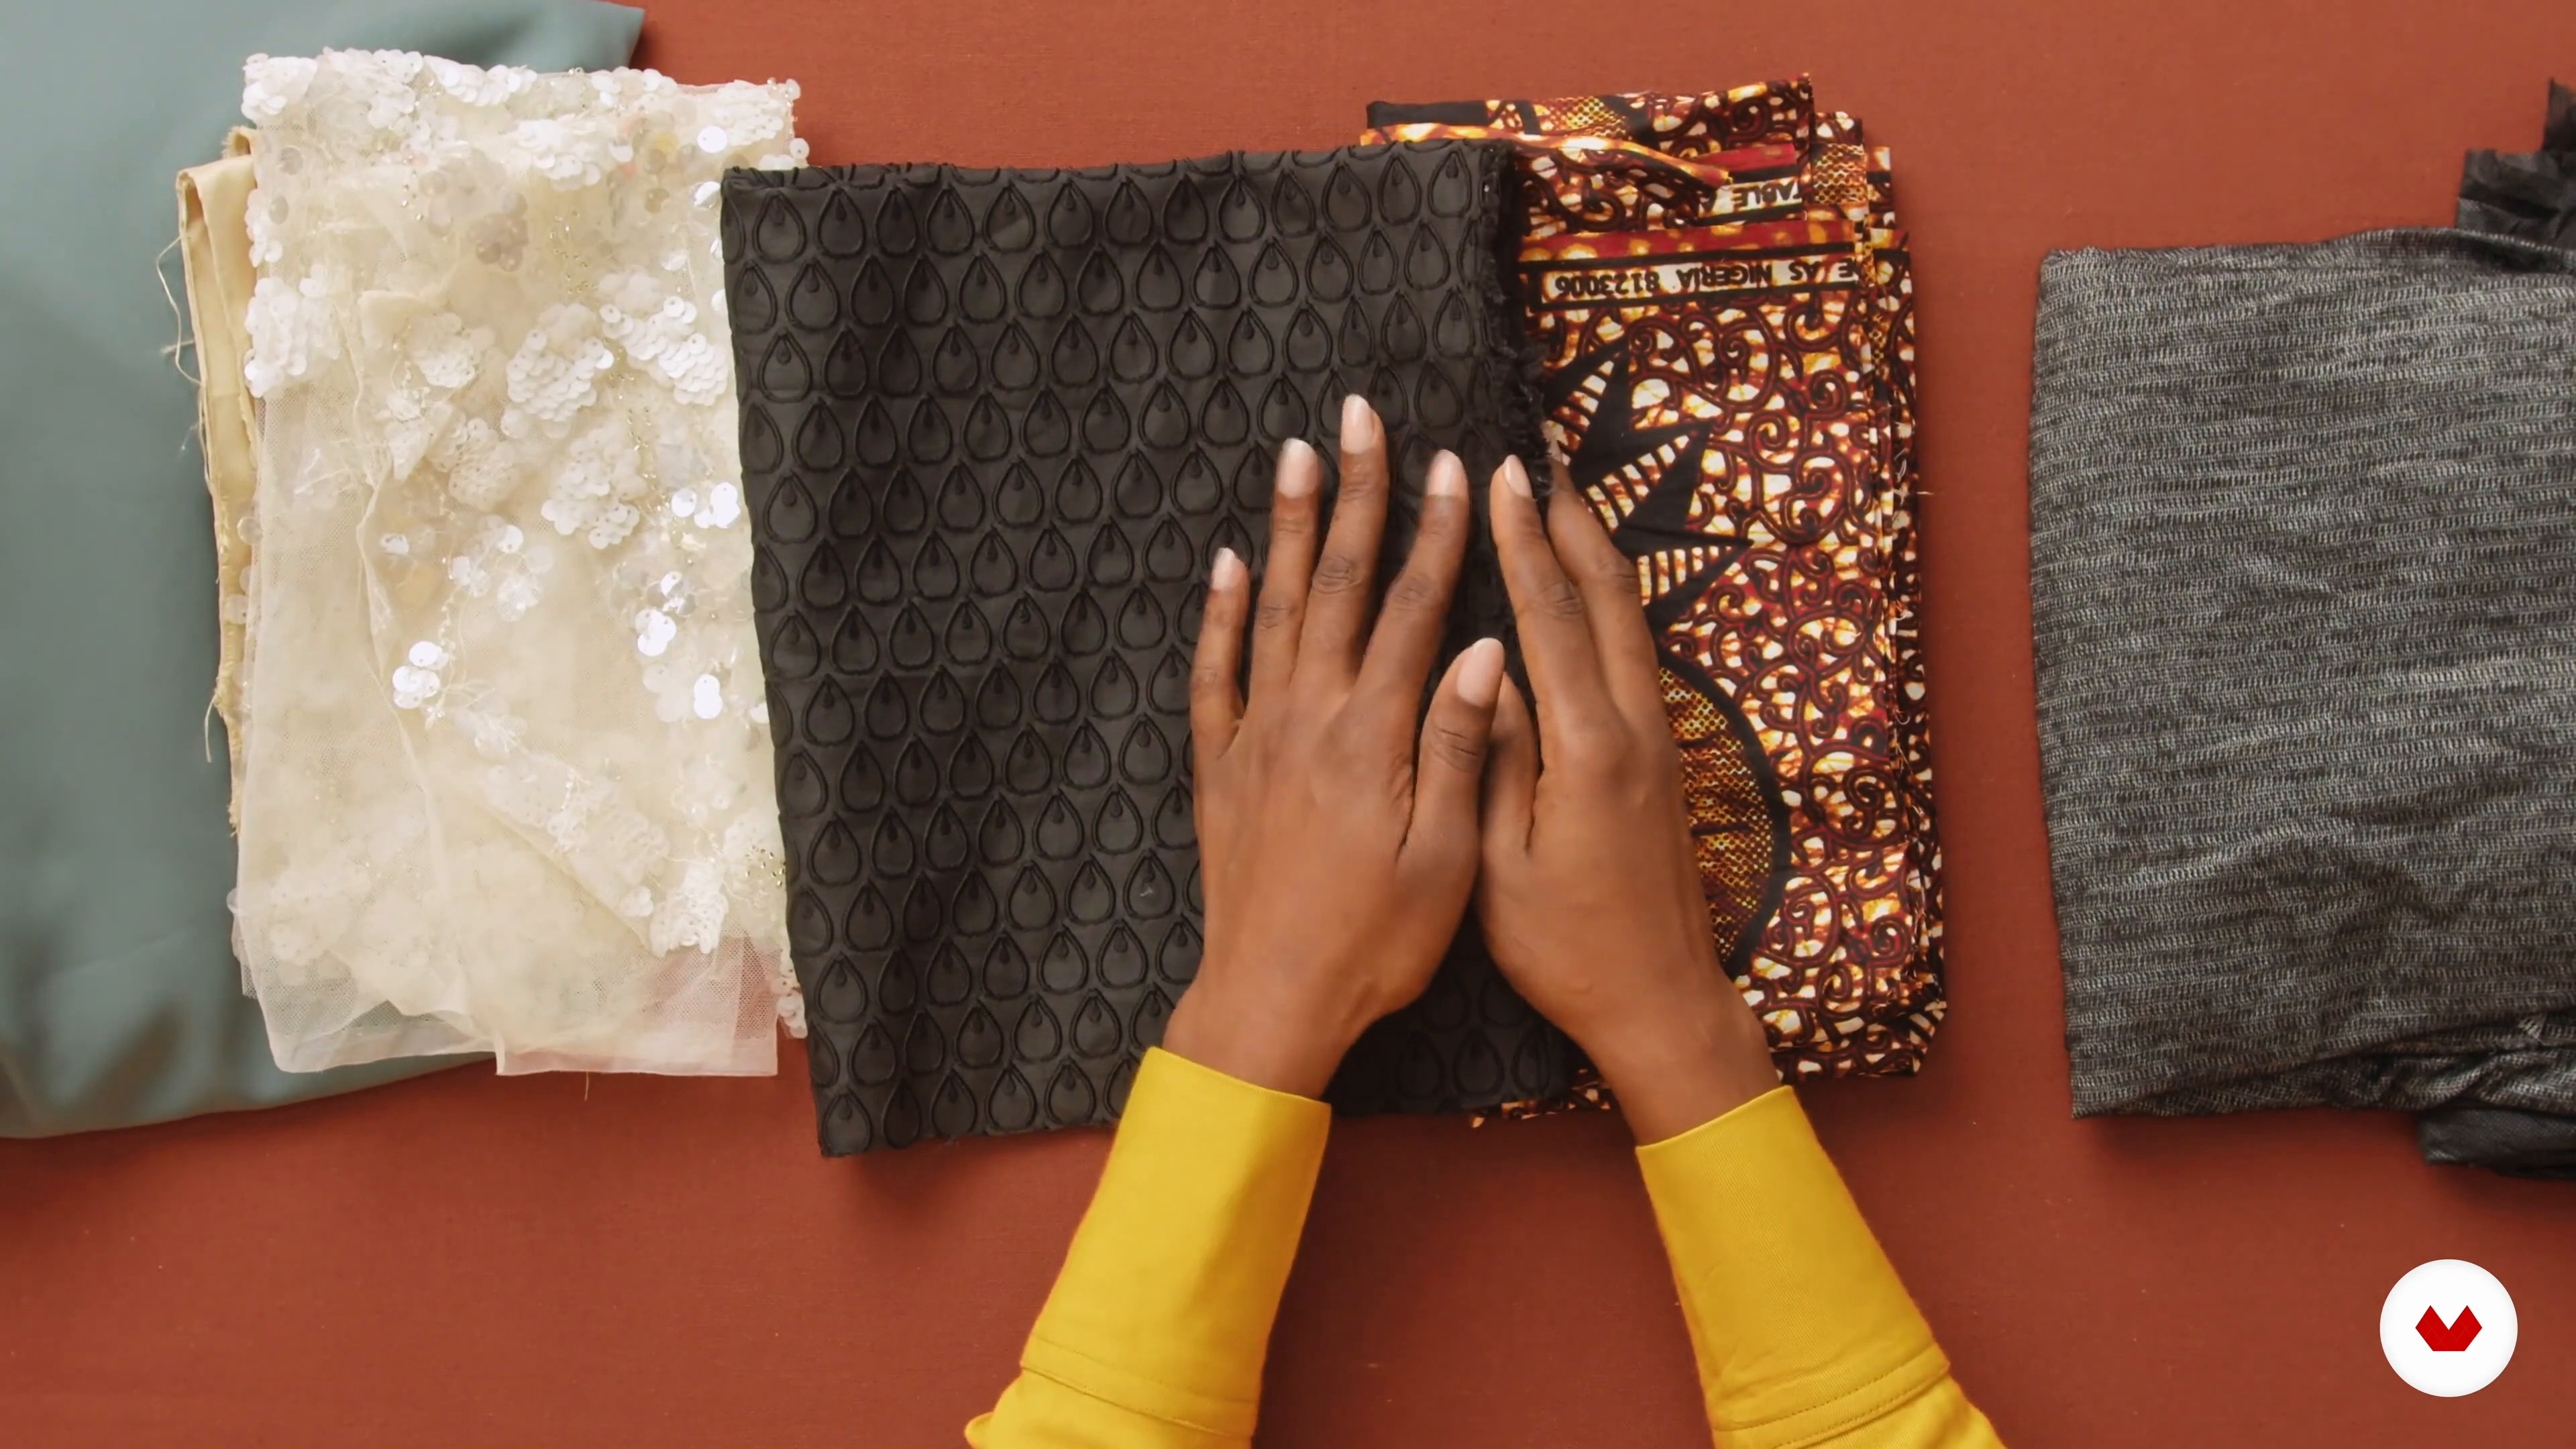
Discover how different fabrics can transform your project’s look and feel in this lesson. Chinelo Bally introduces four options, each offering a unique outcome: crisp Ankara for structure, damask for subtle texture, and delicate lace for special occasions. For a flowing, elegant effect, silk with interfacing adds shape to the bodice while preserving its drape. You’ll learn tips for pattern alignment, lining, and when to add interfacing for the best results with each fabric type.
3m
image
1
Introduction
Patterns and measurements form the sewing foundation, making fabric unique and personal creations. These essential tools guide each step, ensuring that garments are beautifully crafted, fit perfectly, and express individual style.
2m
image
2
Taking Your Measurements
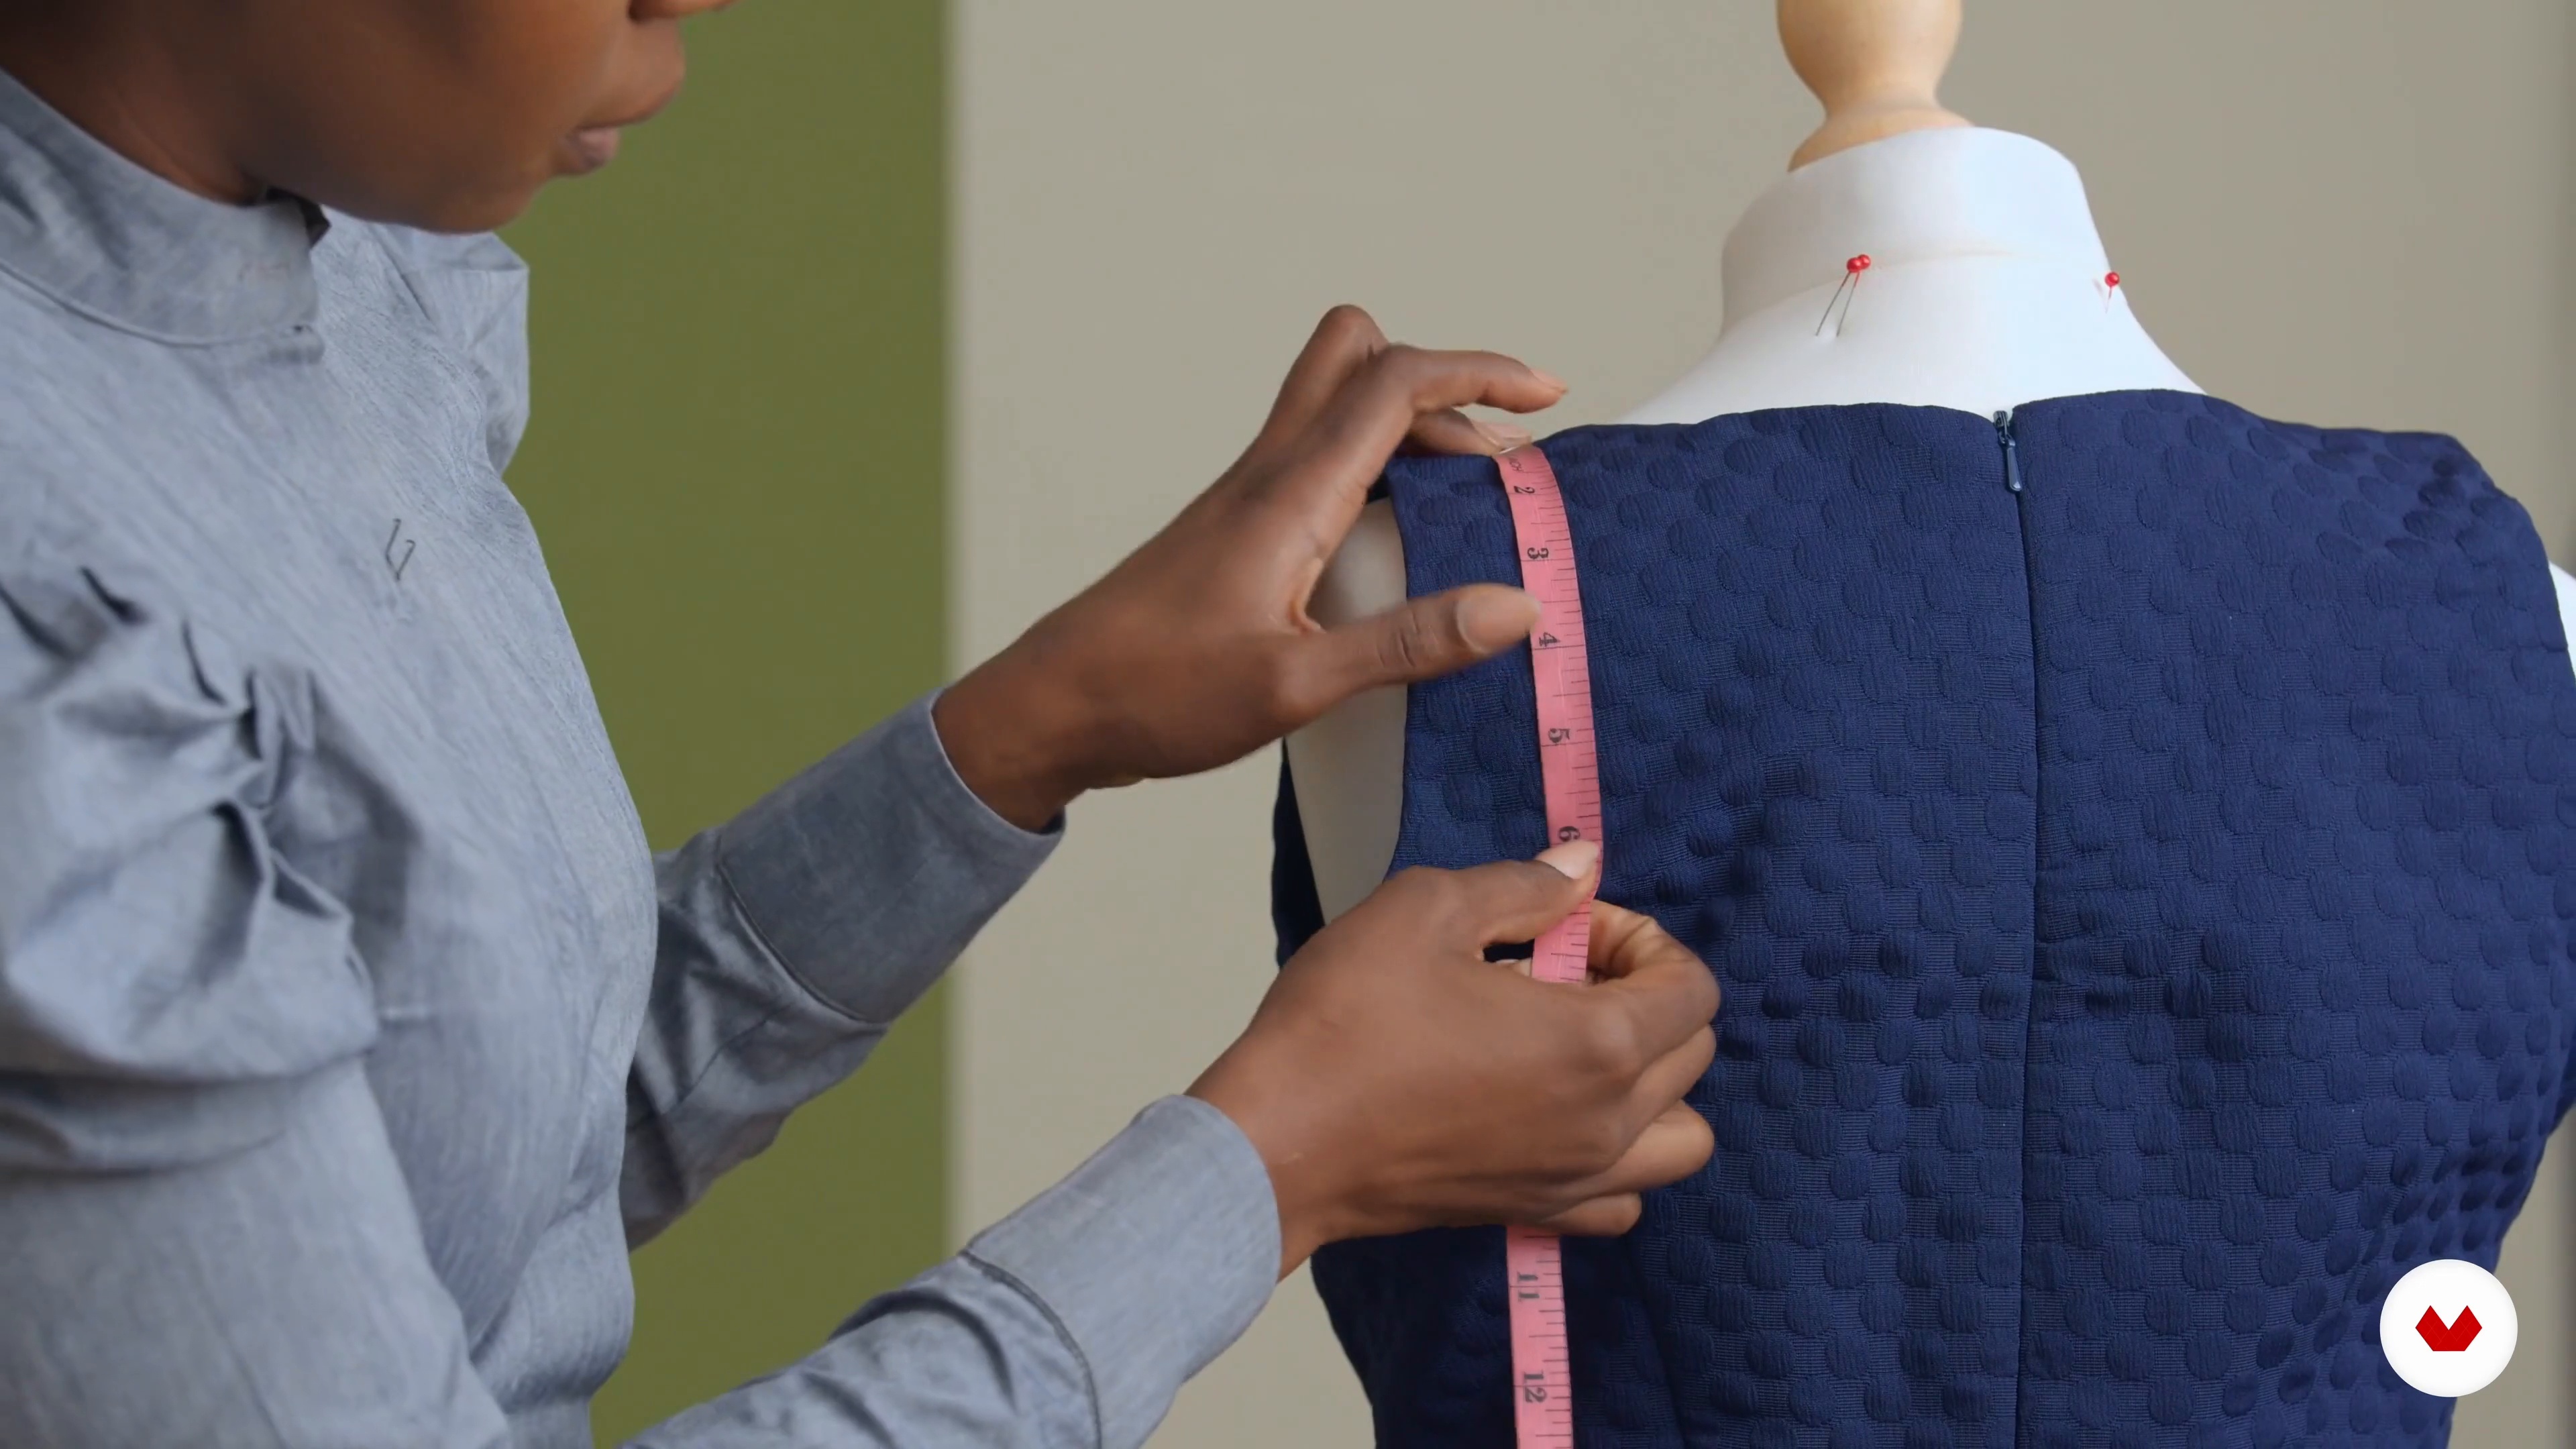
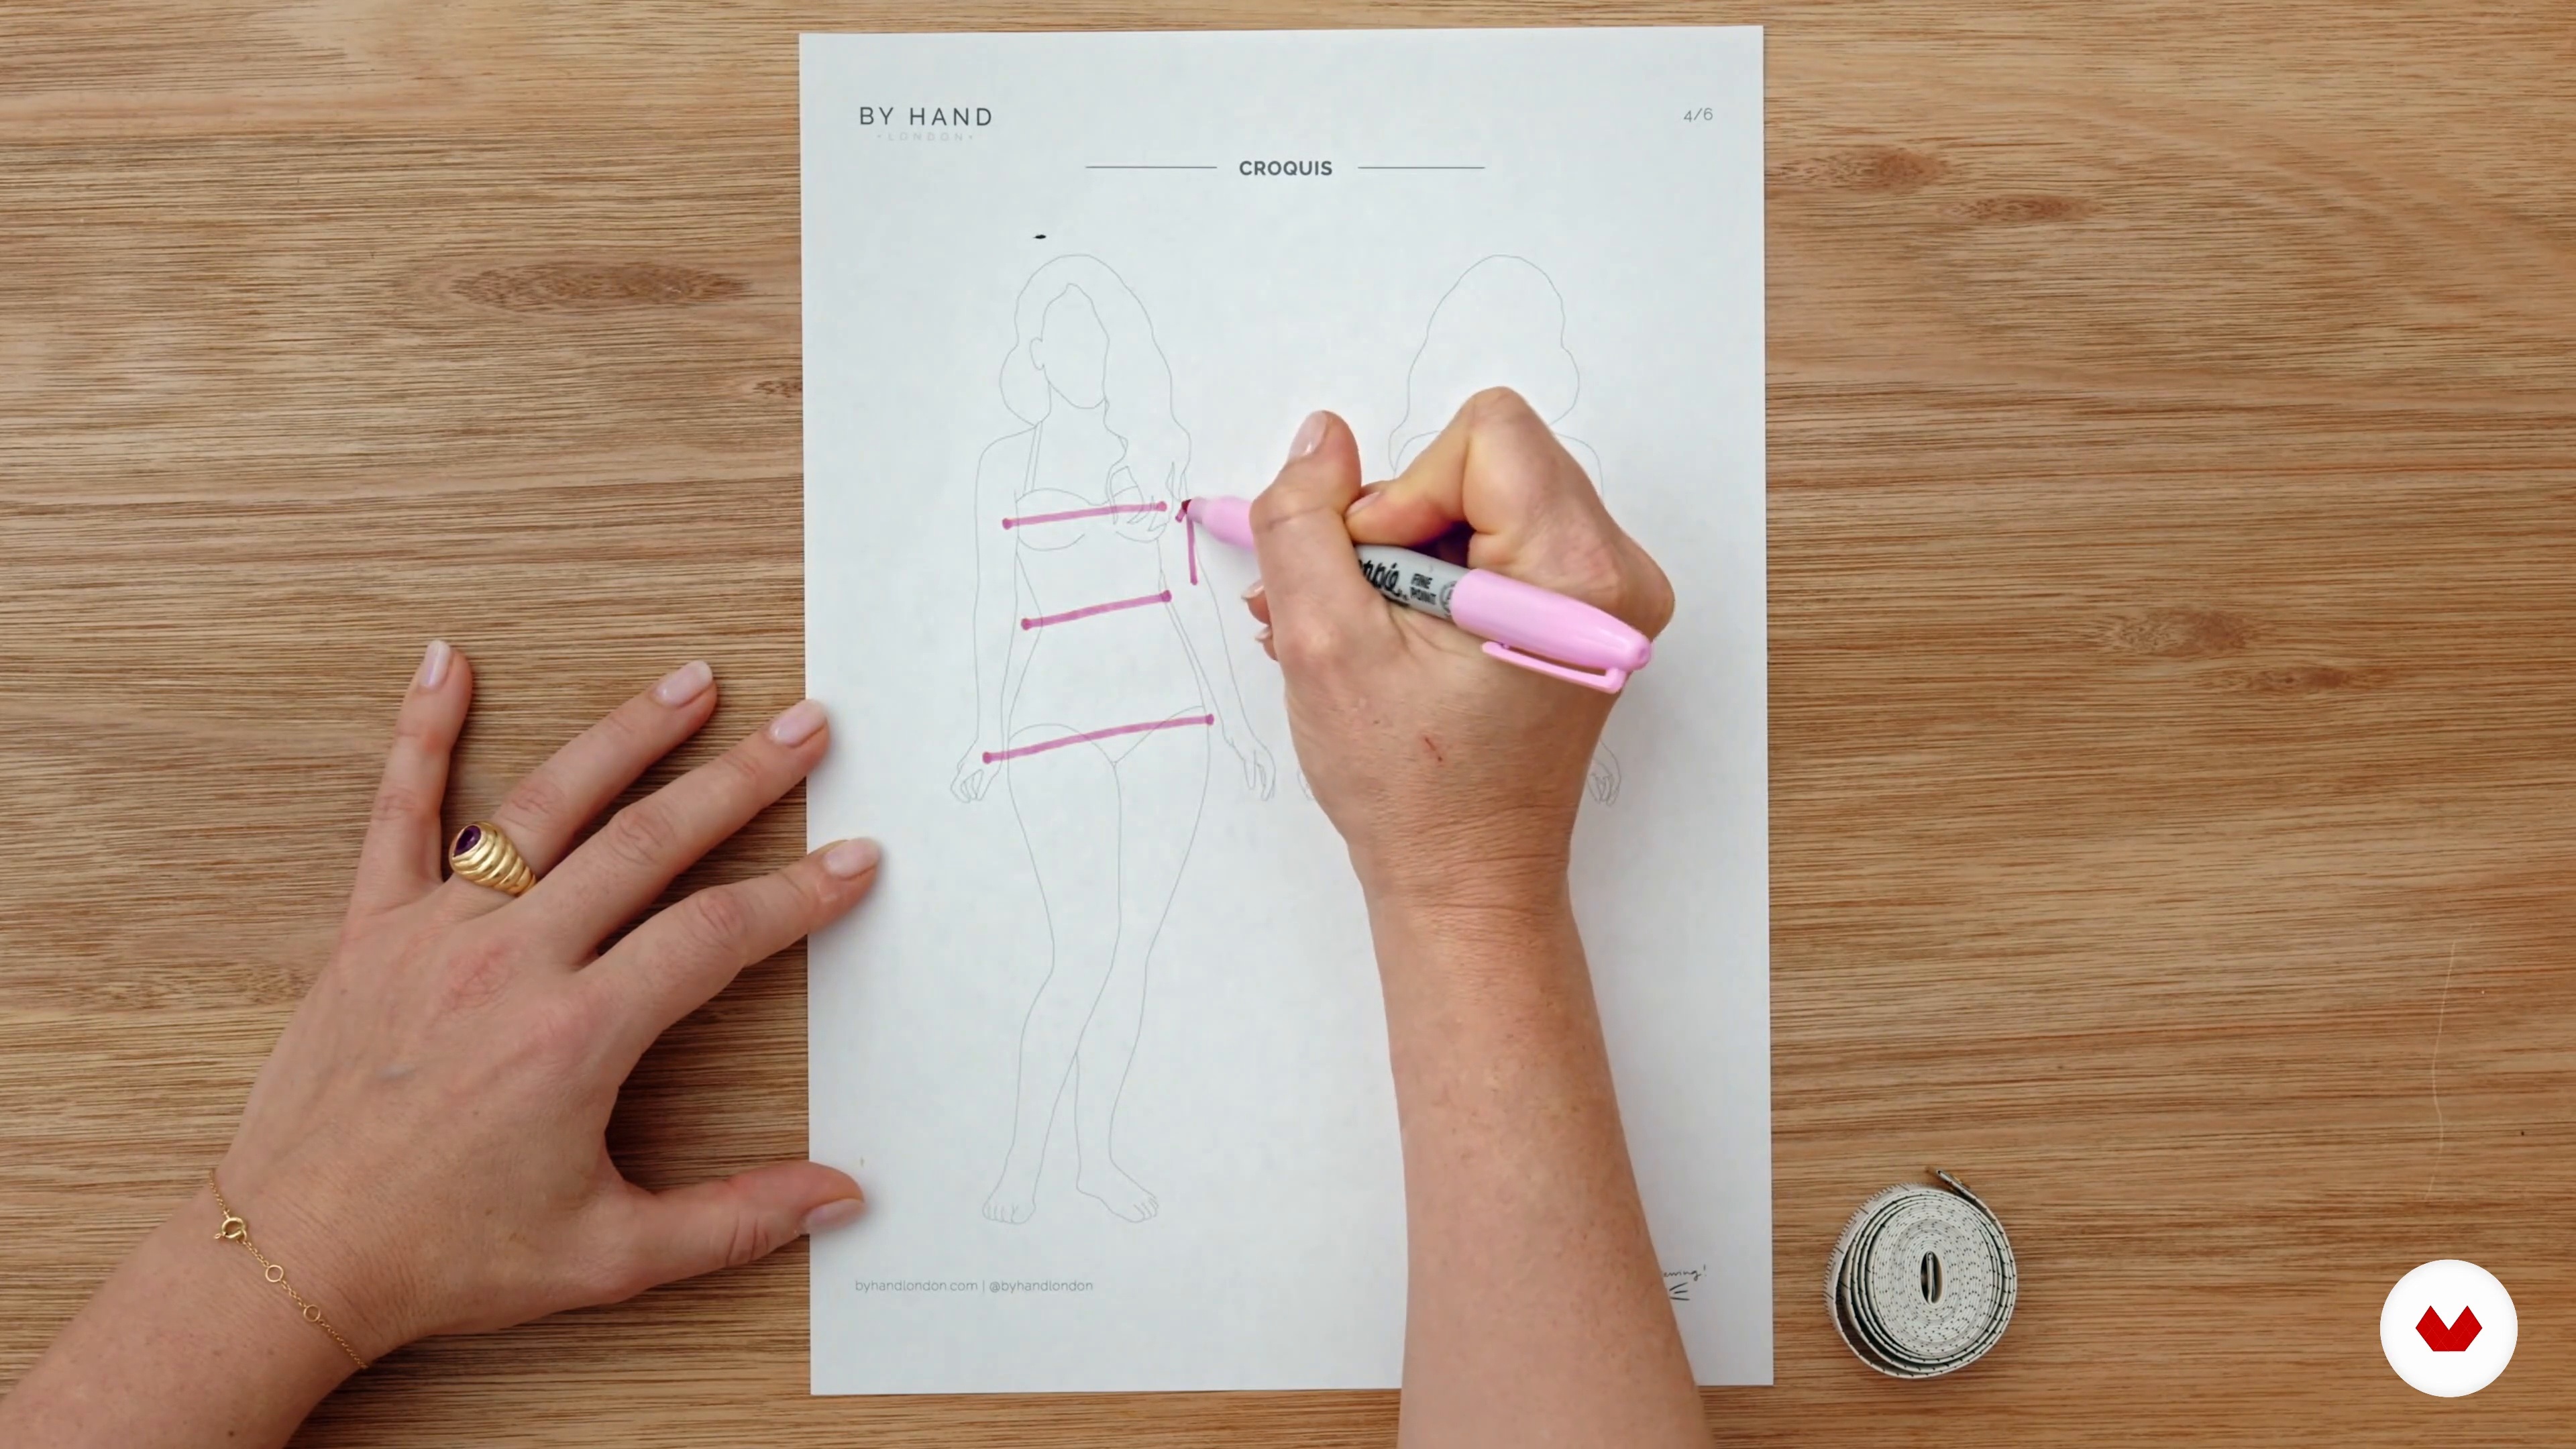
Elisalex, the founder of By Hand London, will show you how to take precise body measurements, focusing on the bust, waist, hips, and vital vertical points for the bodice. With practical guidance, you’ll learn tips to ensure accuracy, laying the groundwork for a perfectly fitting garment that highlights your style and fits your unique measurements.
5m
image
3
Taking Measurements
Chinelo Bally will guide you in taking precise body measurements to achieve a flawless fit for your garments. You’ll explore his unique method, covering three main measurement categories: vertical, horizontal, and additional ones like arm length and shoulder-to-floor. With TIBOR’s tips, you’ll master these steps, building the foundation for creating beautifully tailored clothing.
10m
image
4
Drafting Your Pattern - Part 1
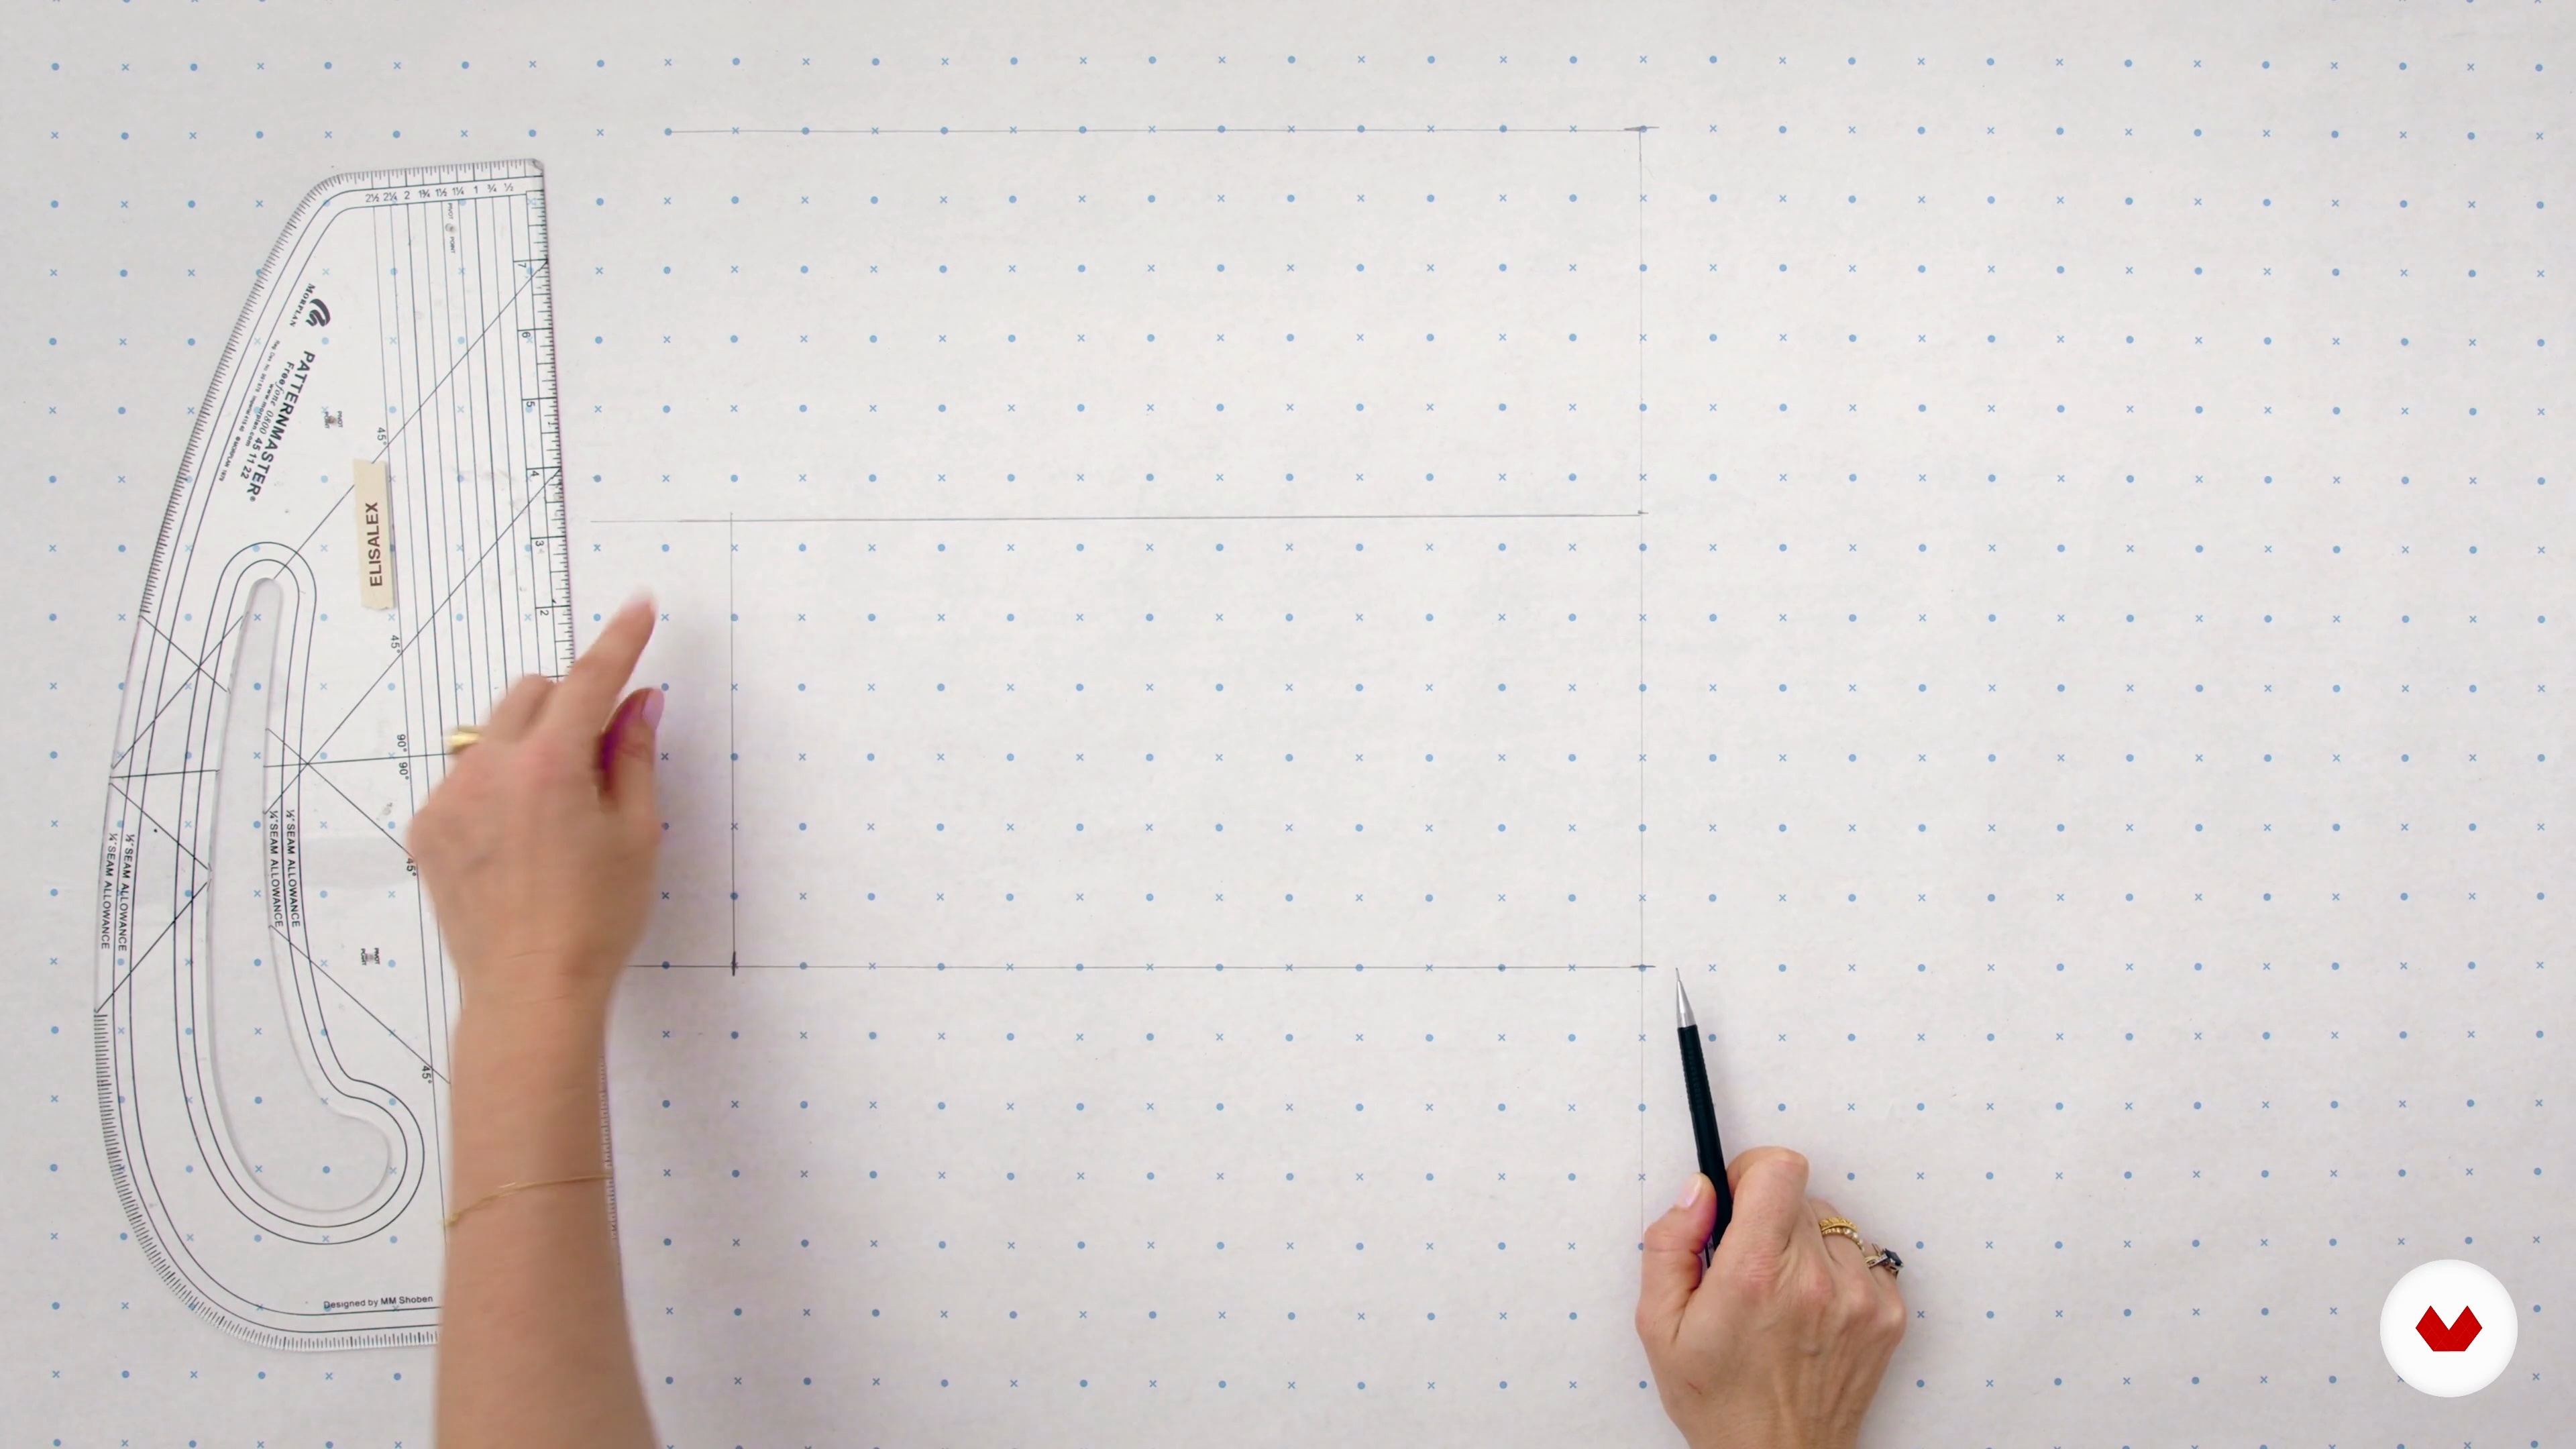
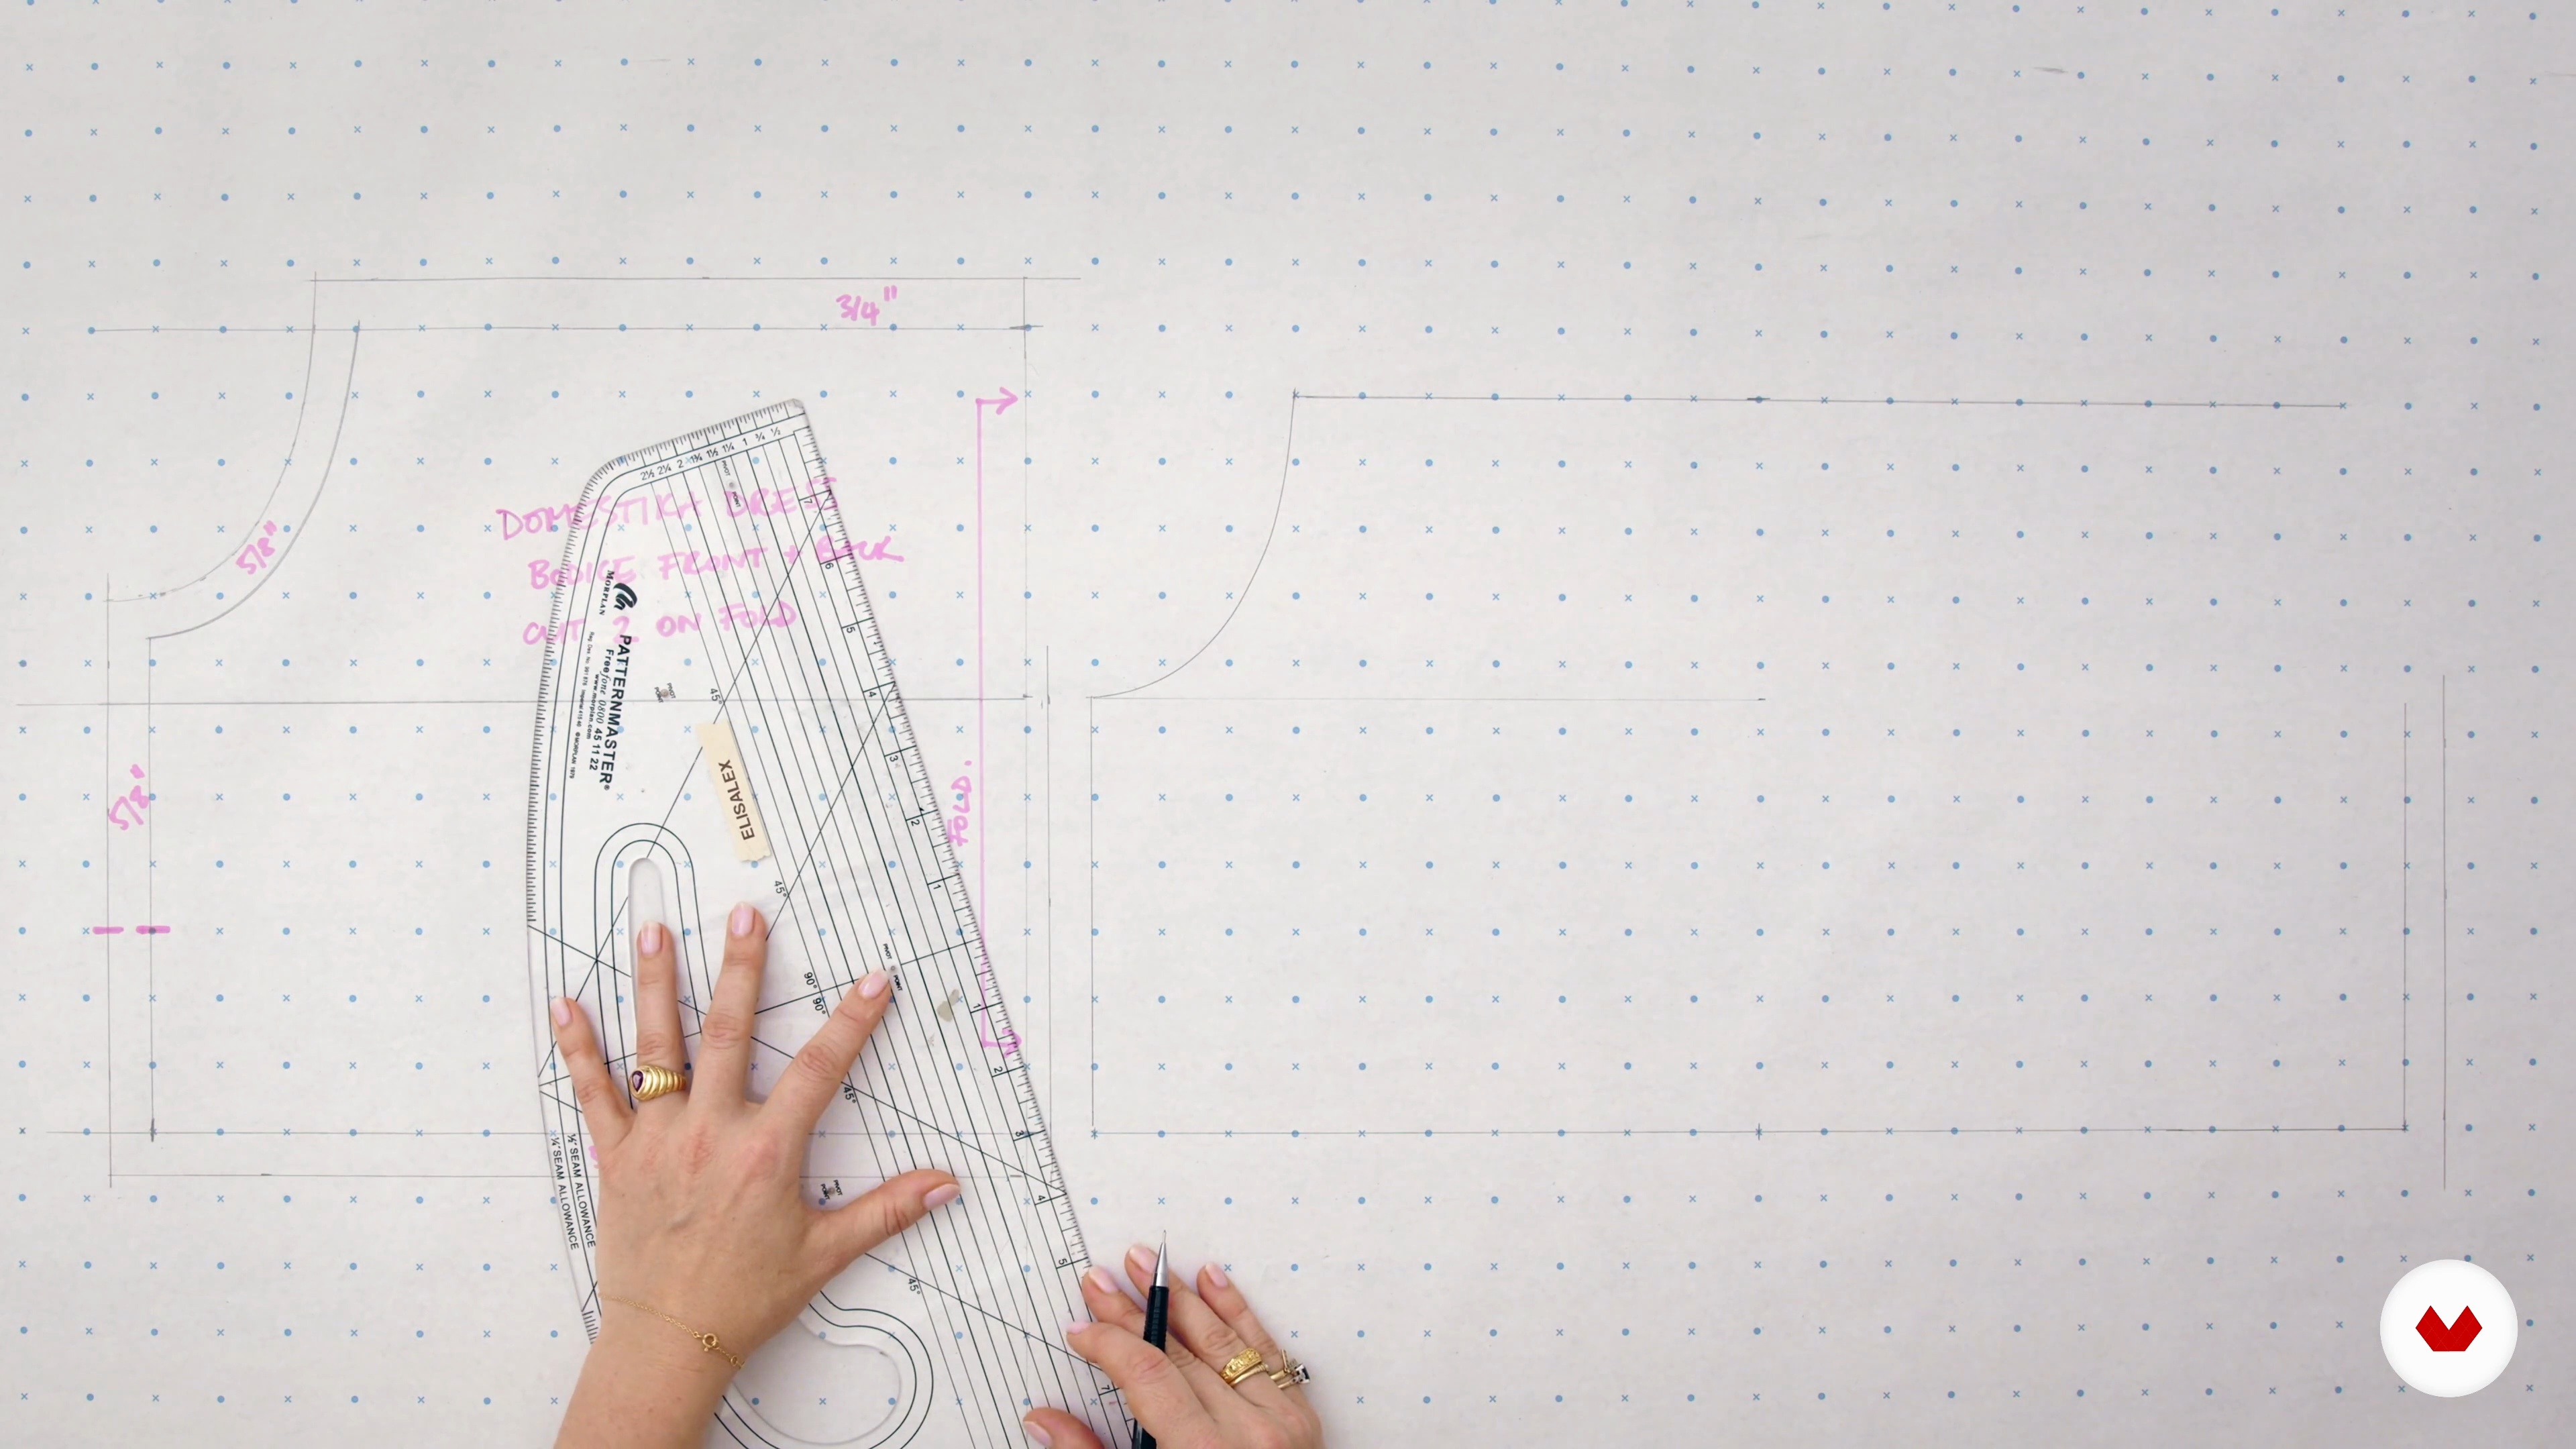
Guided by Elisalex, the founder of By Hand London, you'll learn to draft a simple two-piece pattern for a relaxed-fit dress. With just a bodice and sleeve piece, this lesson covers using your measurements, understanding ease, and applying shearing for an ideal fit. Practical tips simplify each step, helping you create a foundational pattern ready for customization.
19m
image
5
Drafting Your Pattern - Part 2
In this second part, Elisalex, the founder of By Hand London, demonstrates how to draft the sleeve pattern for a relaxed, puffy effect. You’ll learn to calculate sleeve width, adjust for length, and add essential seam allowances for ease and elastic casing. With step-by-step instructions, the process ensures a precise pattern that matches the bodice and is ready for assembly and customization.
12m
image
6
Preparing Your Fabric - Part 1
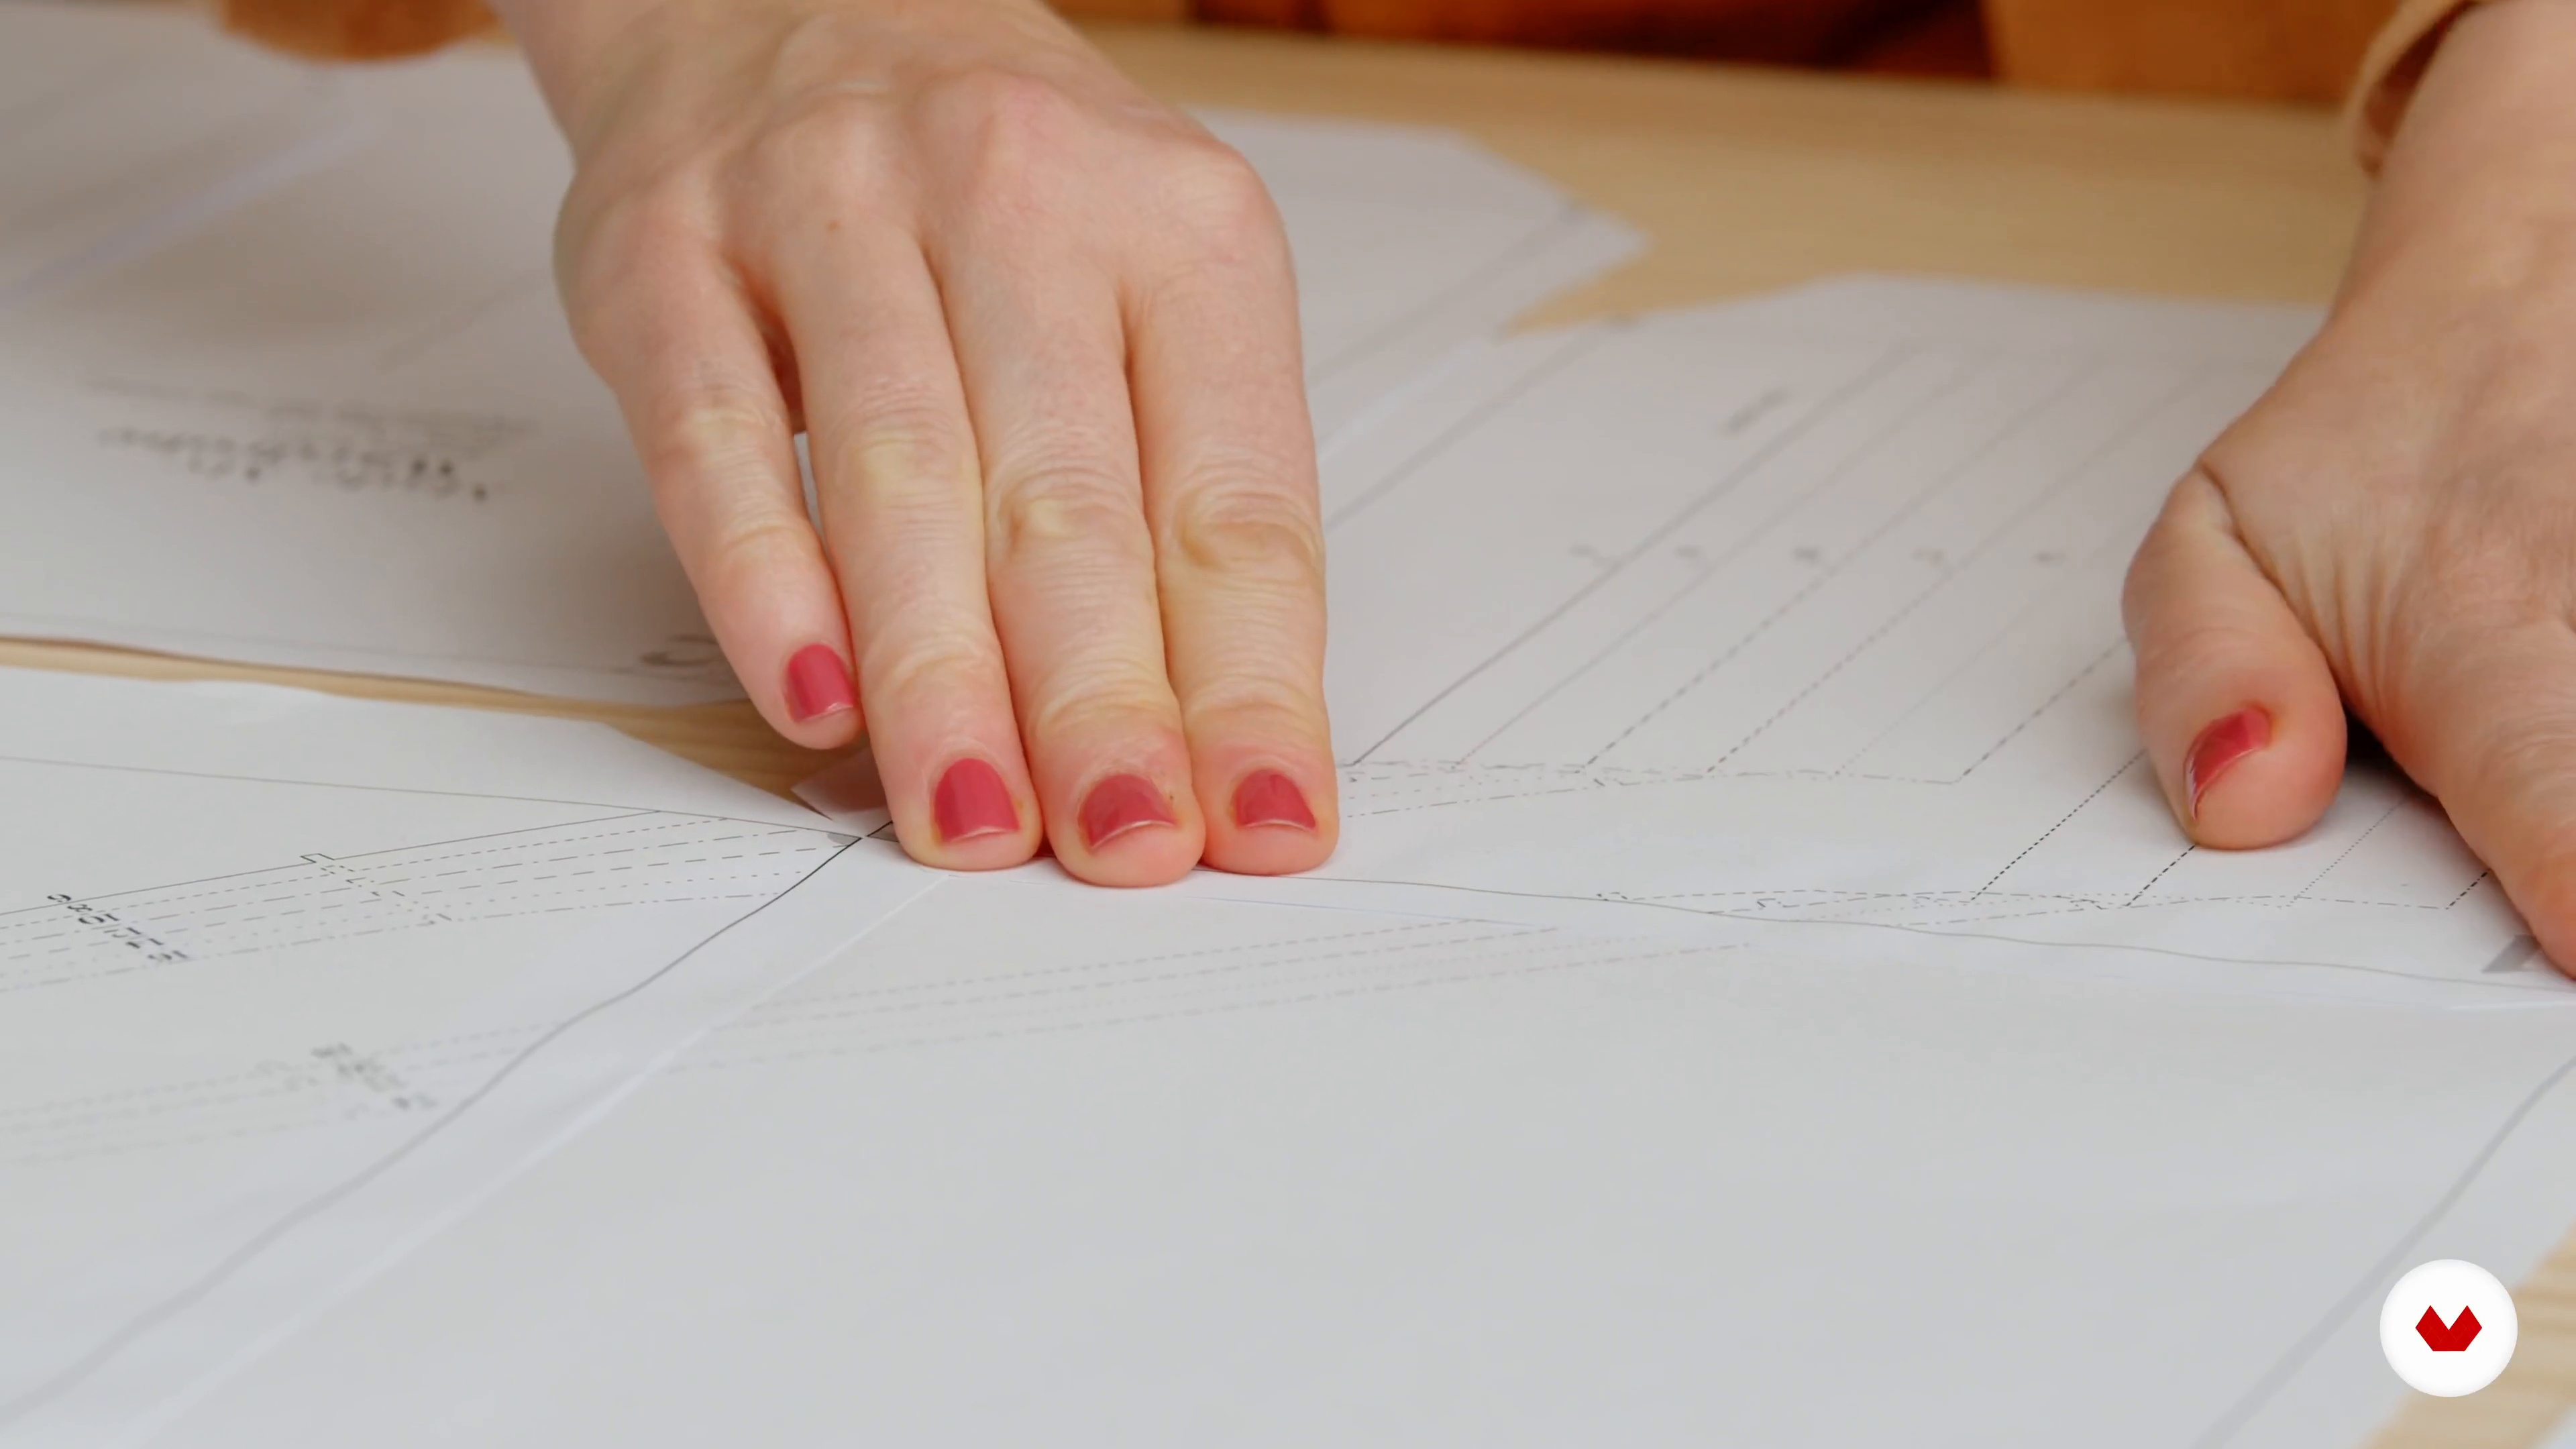
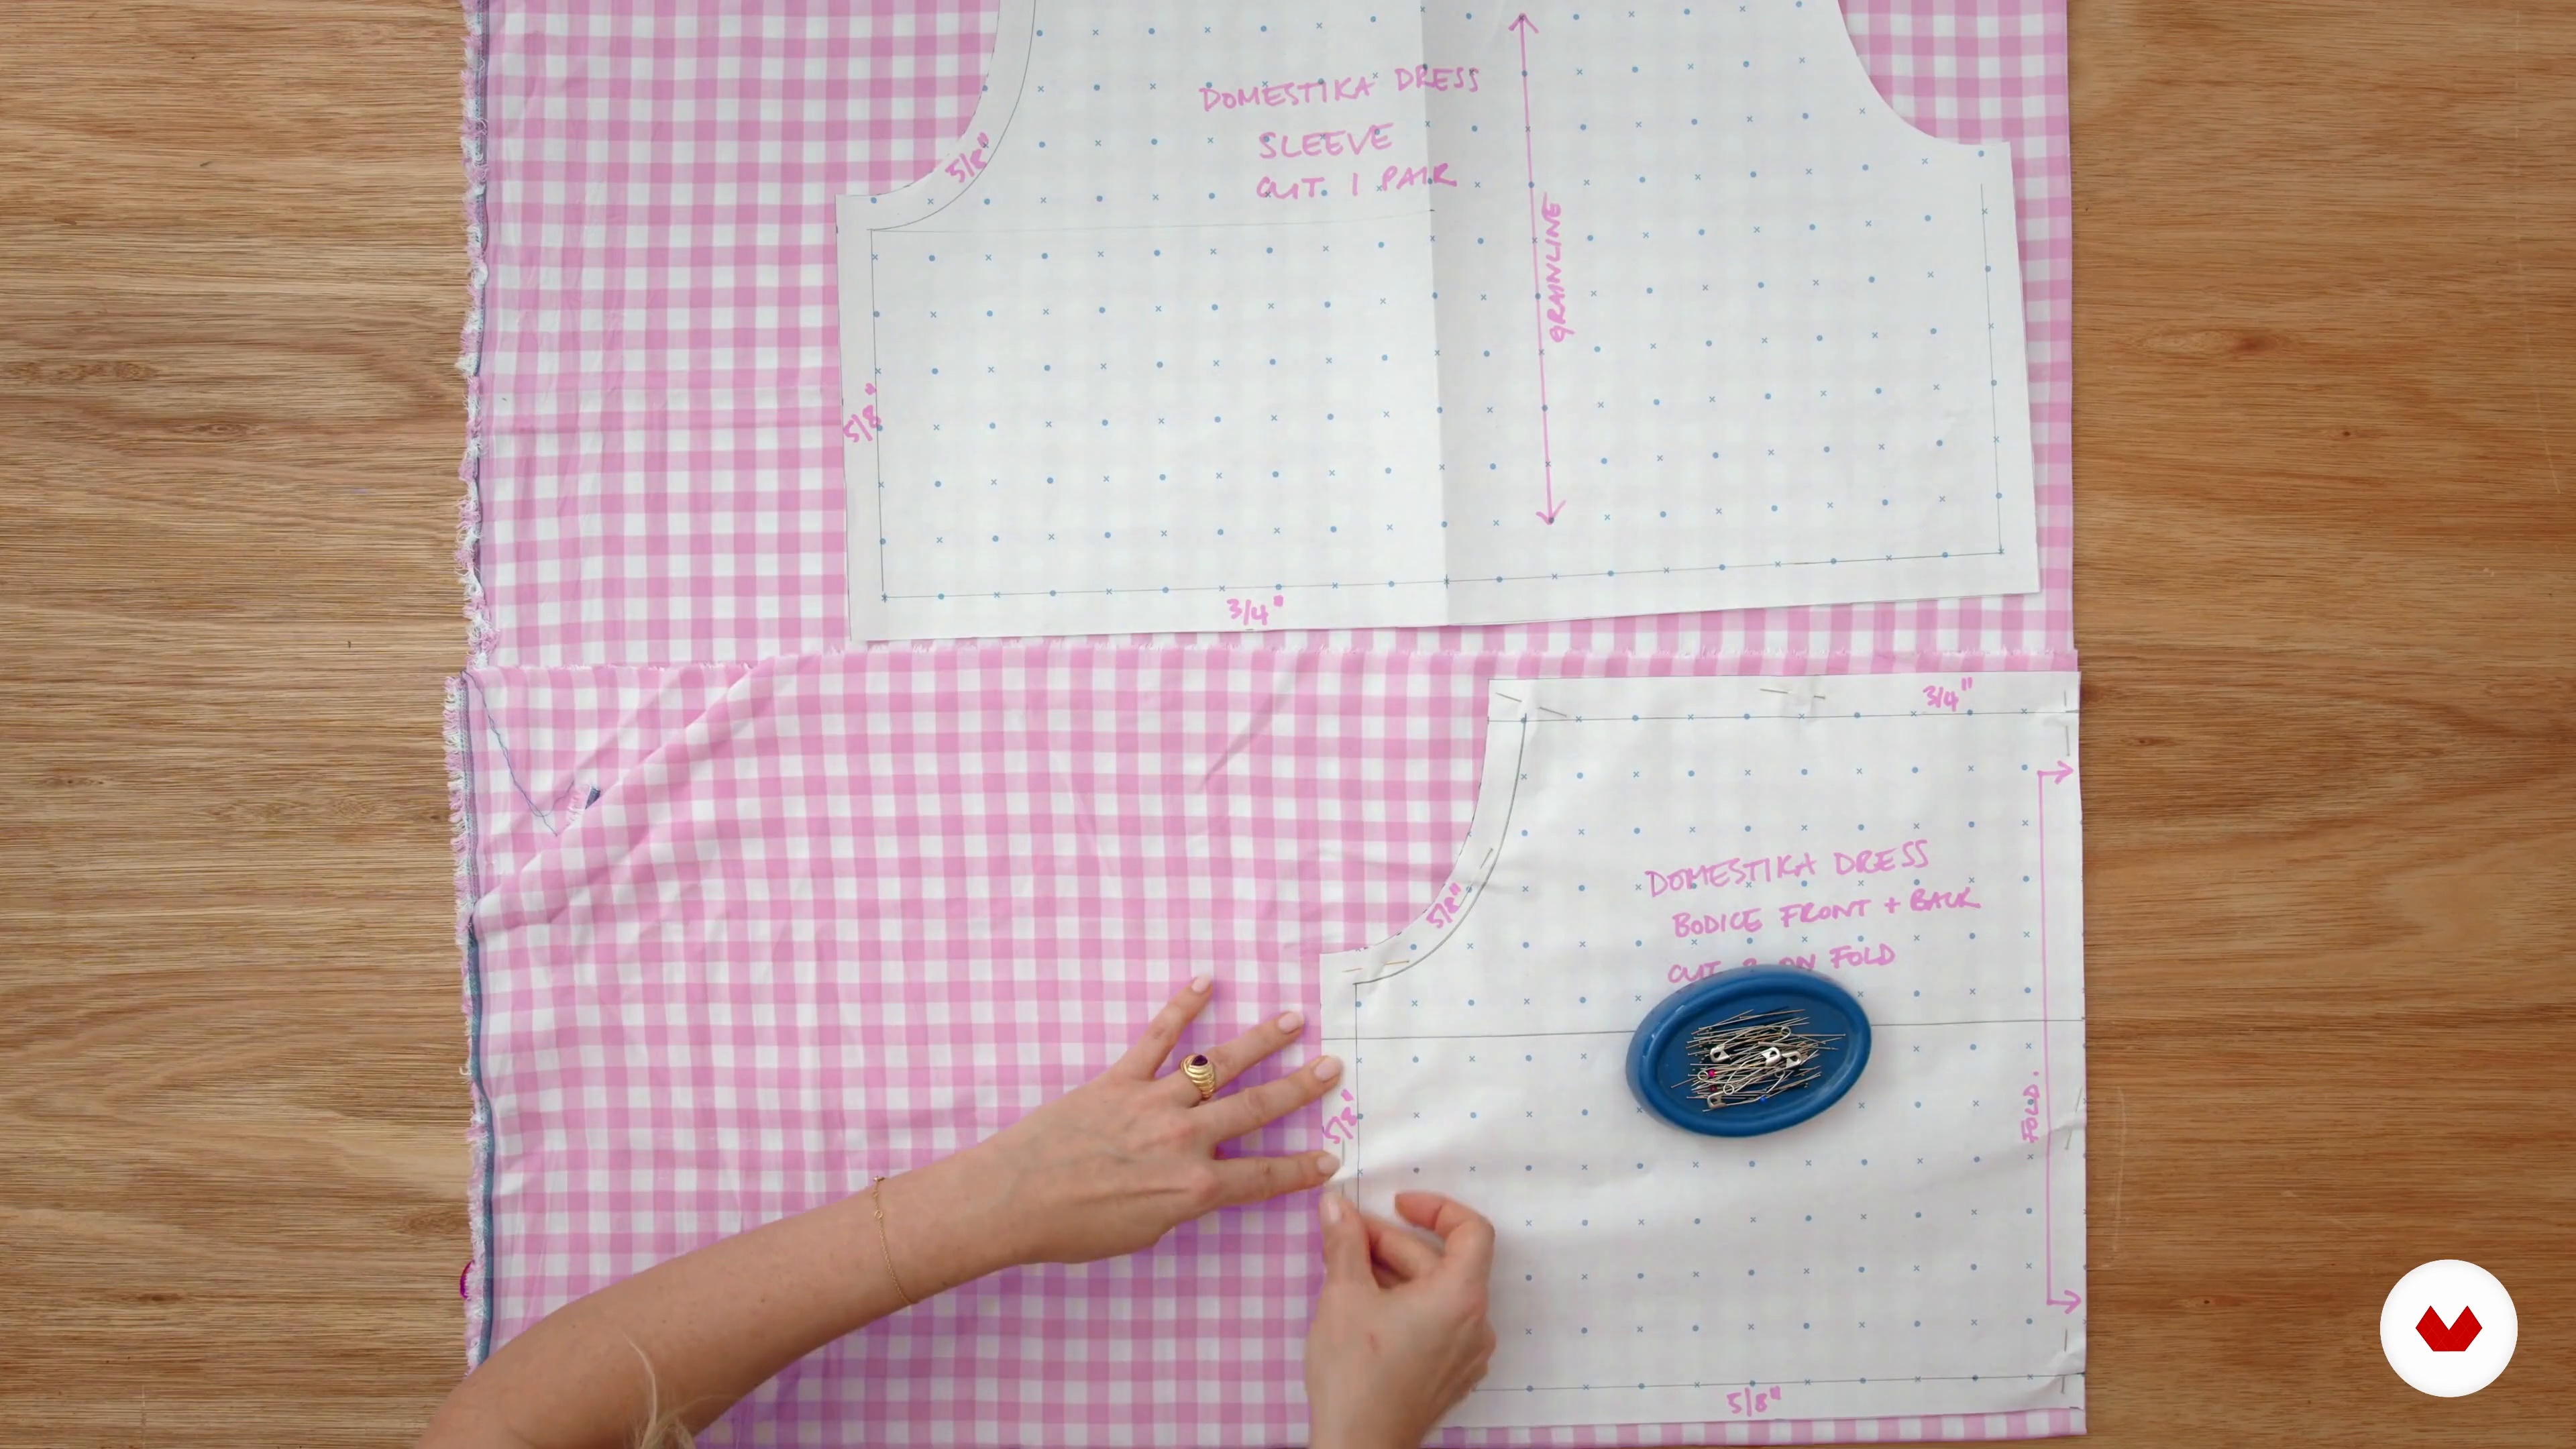
In this lesson, Elisalex, the founder of By Hand London walks you through fabric preparation, pinning, and cutting out your pattern pieces with precision. You’ll learn about fabric anatomy, such as hem and grain lines, to ensure your cuts enhance the fabric’s natural drape. With tips for accurate pinning and cutting, you’ll be ready to transfer all markings and start bringing your dress to life.
10m
image
7
Preparing Your Fabric - Part 2
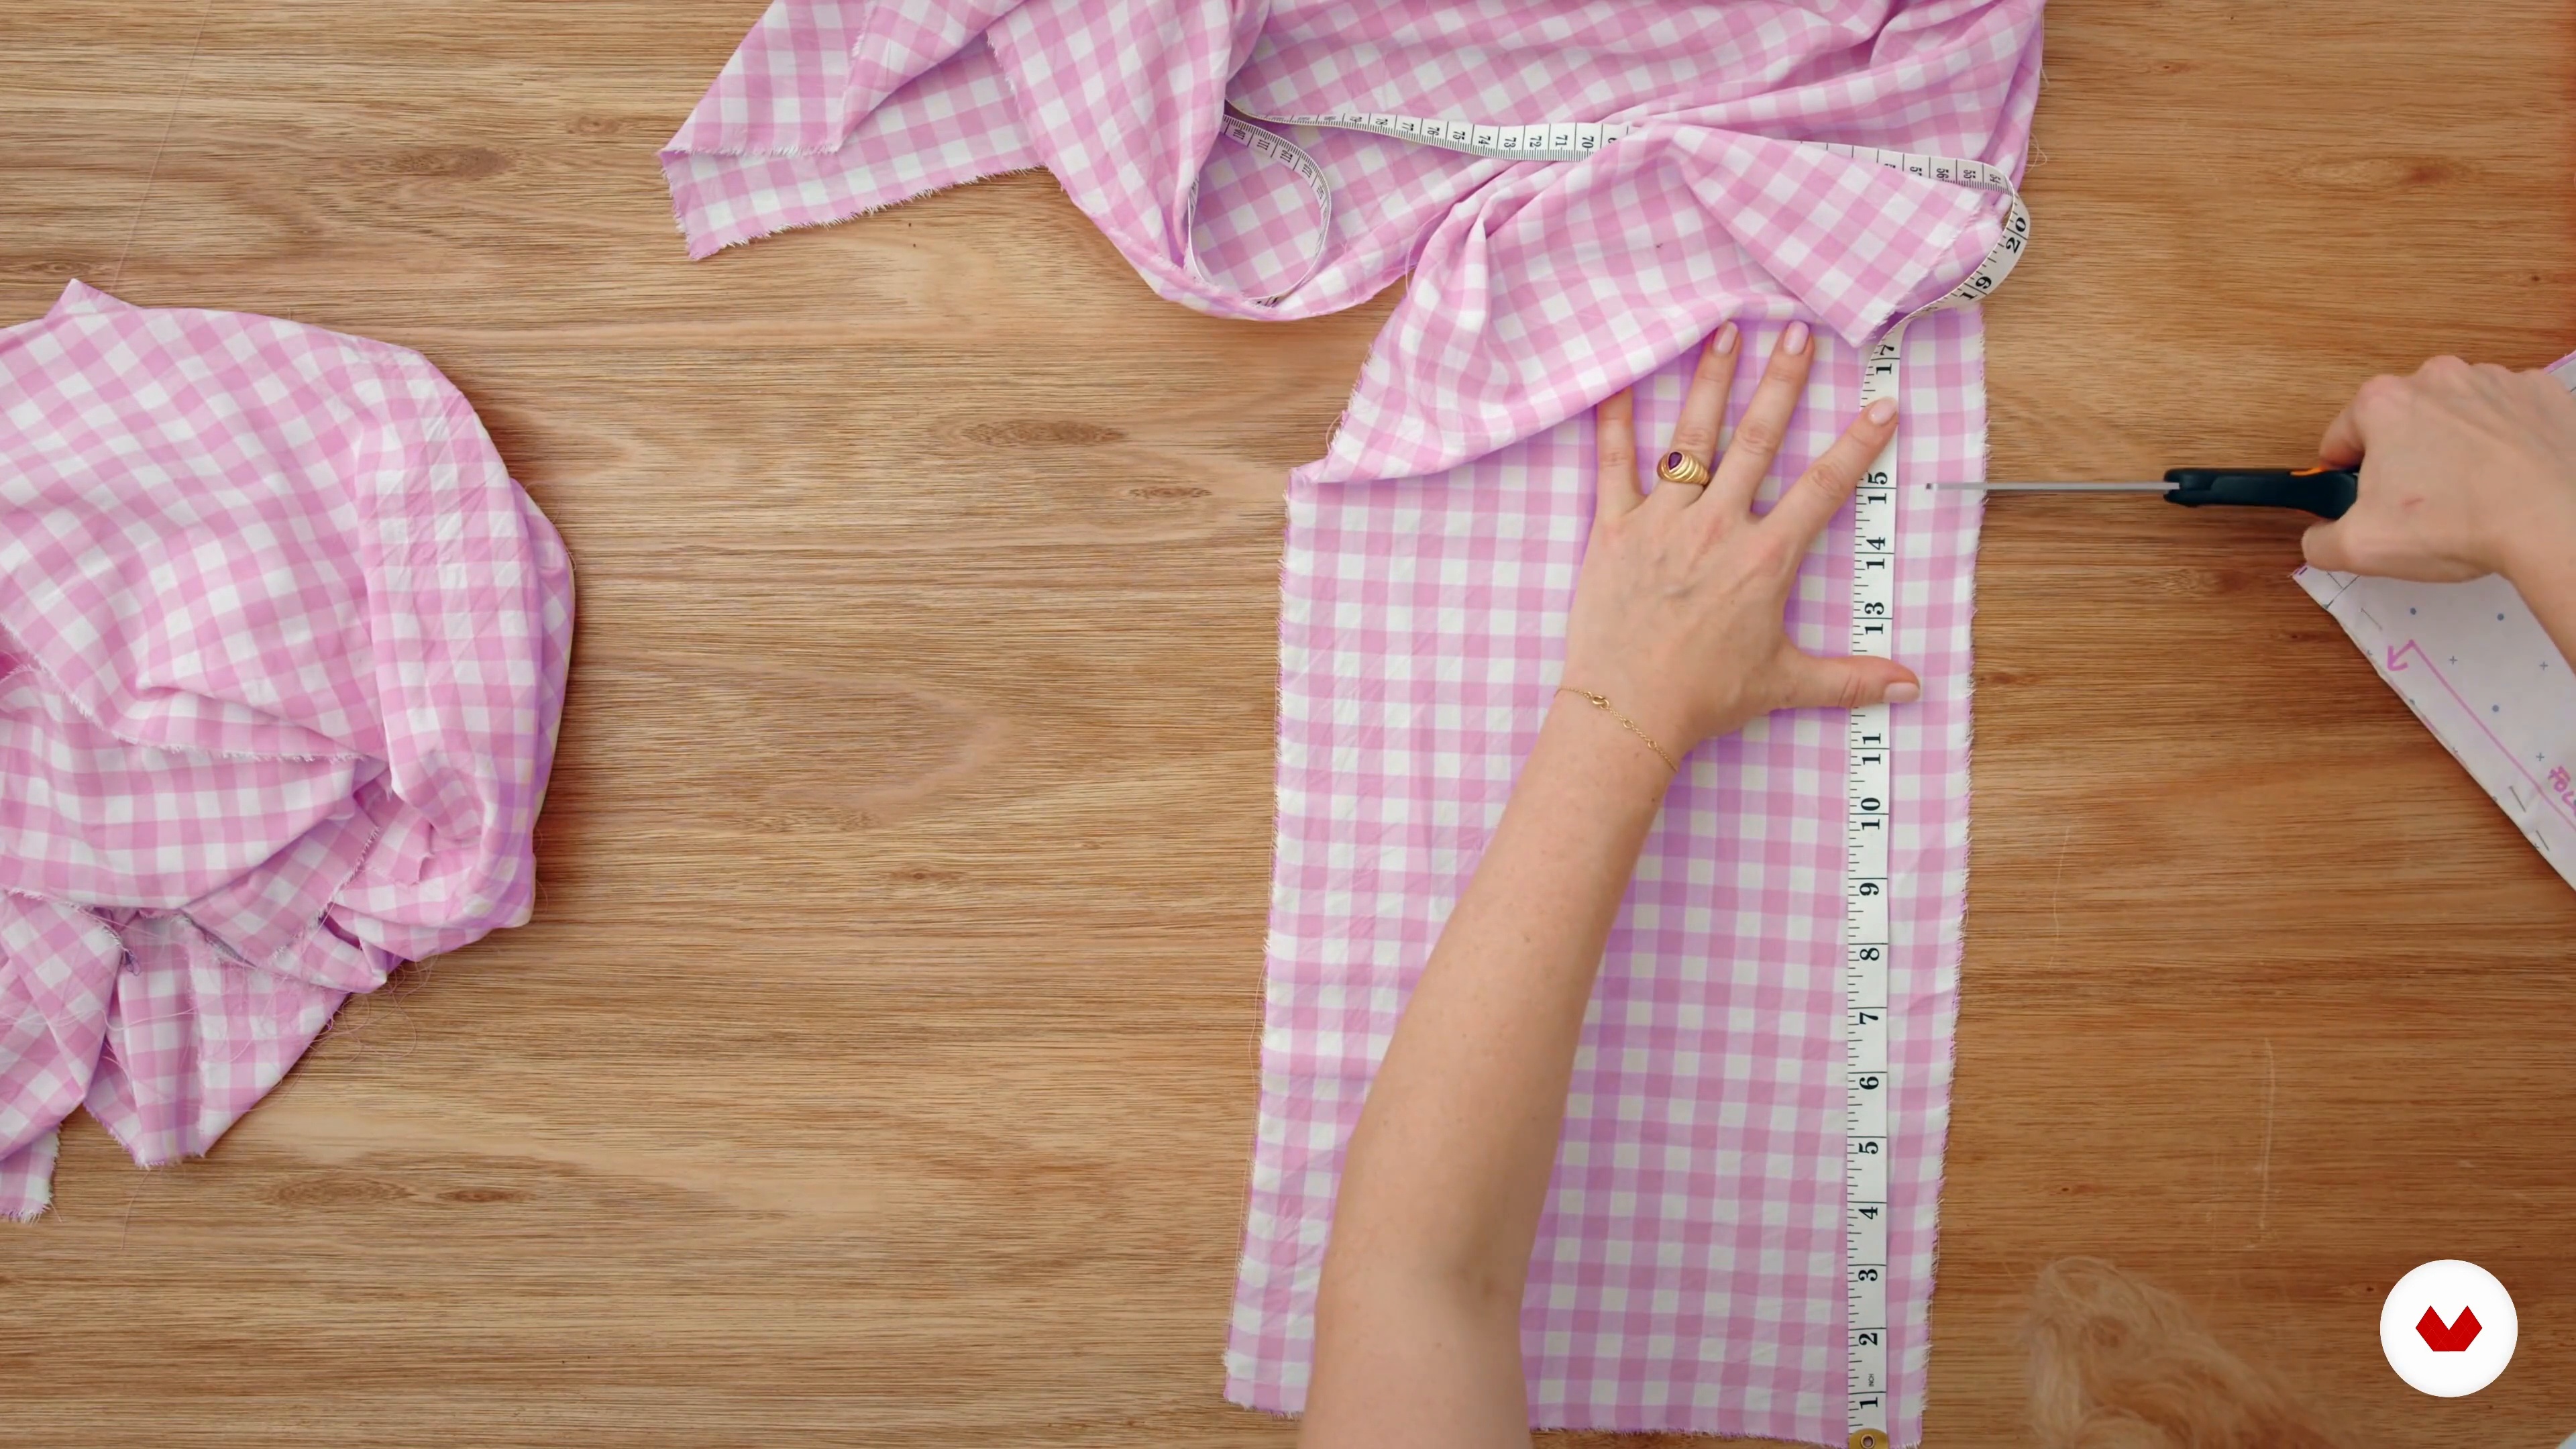
With the bodice and sleeve pieces complete, Elisalex, the founder of By Hand London now guides you through creating a simple, rectangle-based skirt with two layers for added fullness. You’ll learn to calculate the skirt’s width and length, cut the fabric, and add a second gathered tier for volume. This approach allows you to customize the measurements and achieve a flowing skirt that perfectly complements the bodice.
11m
image
8
Folding, Mapping, and Cutting - Part 1
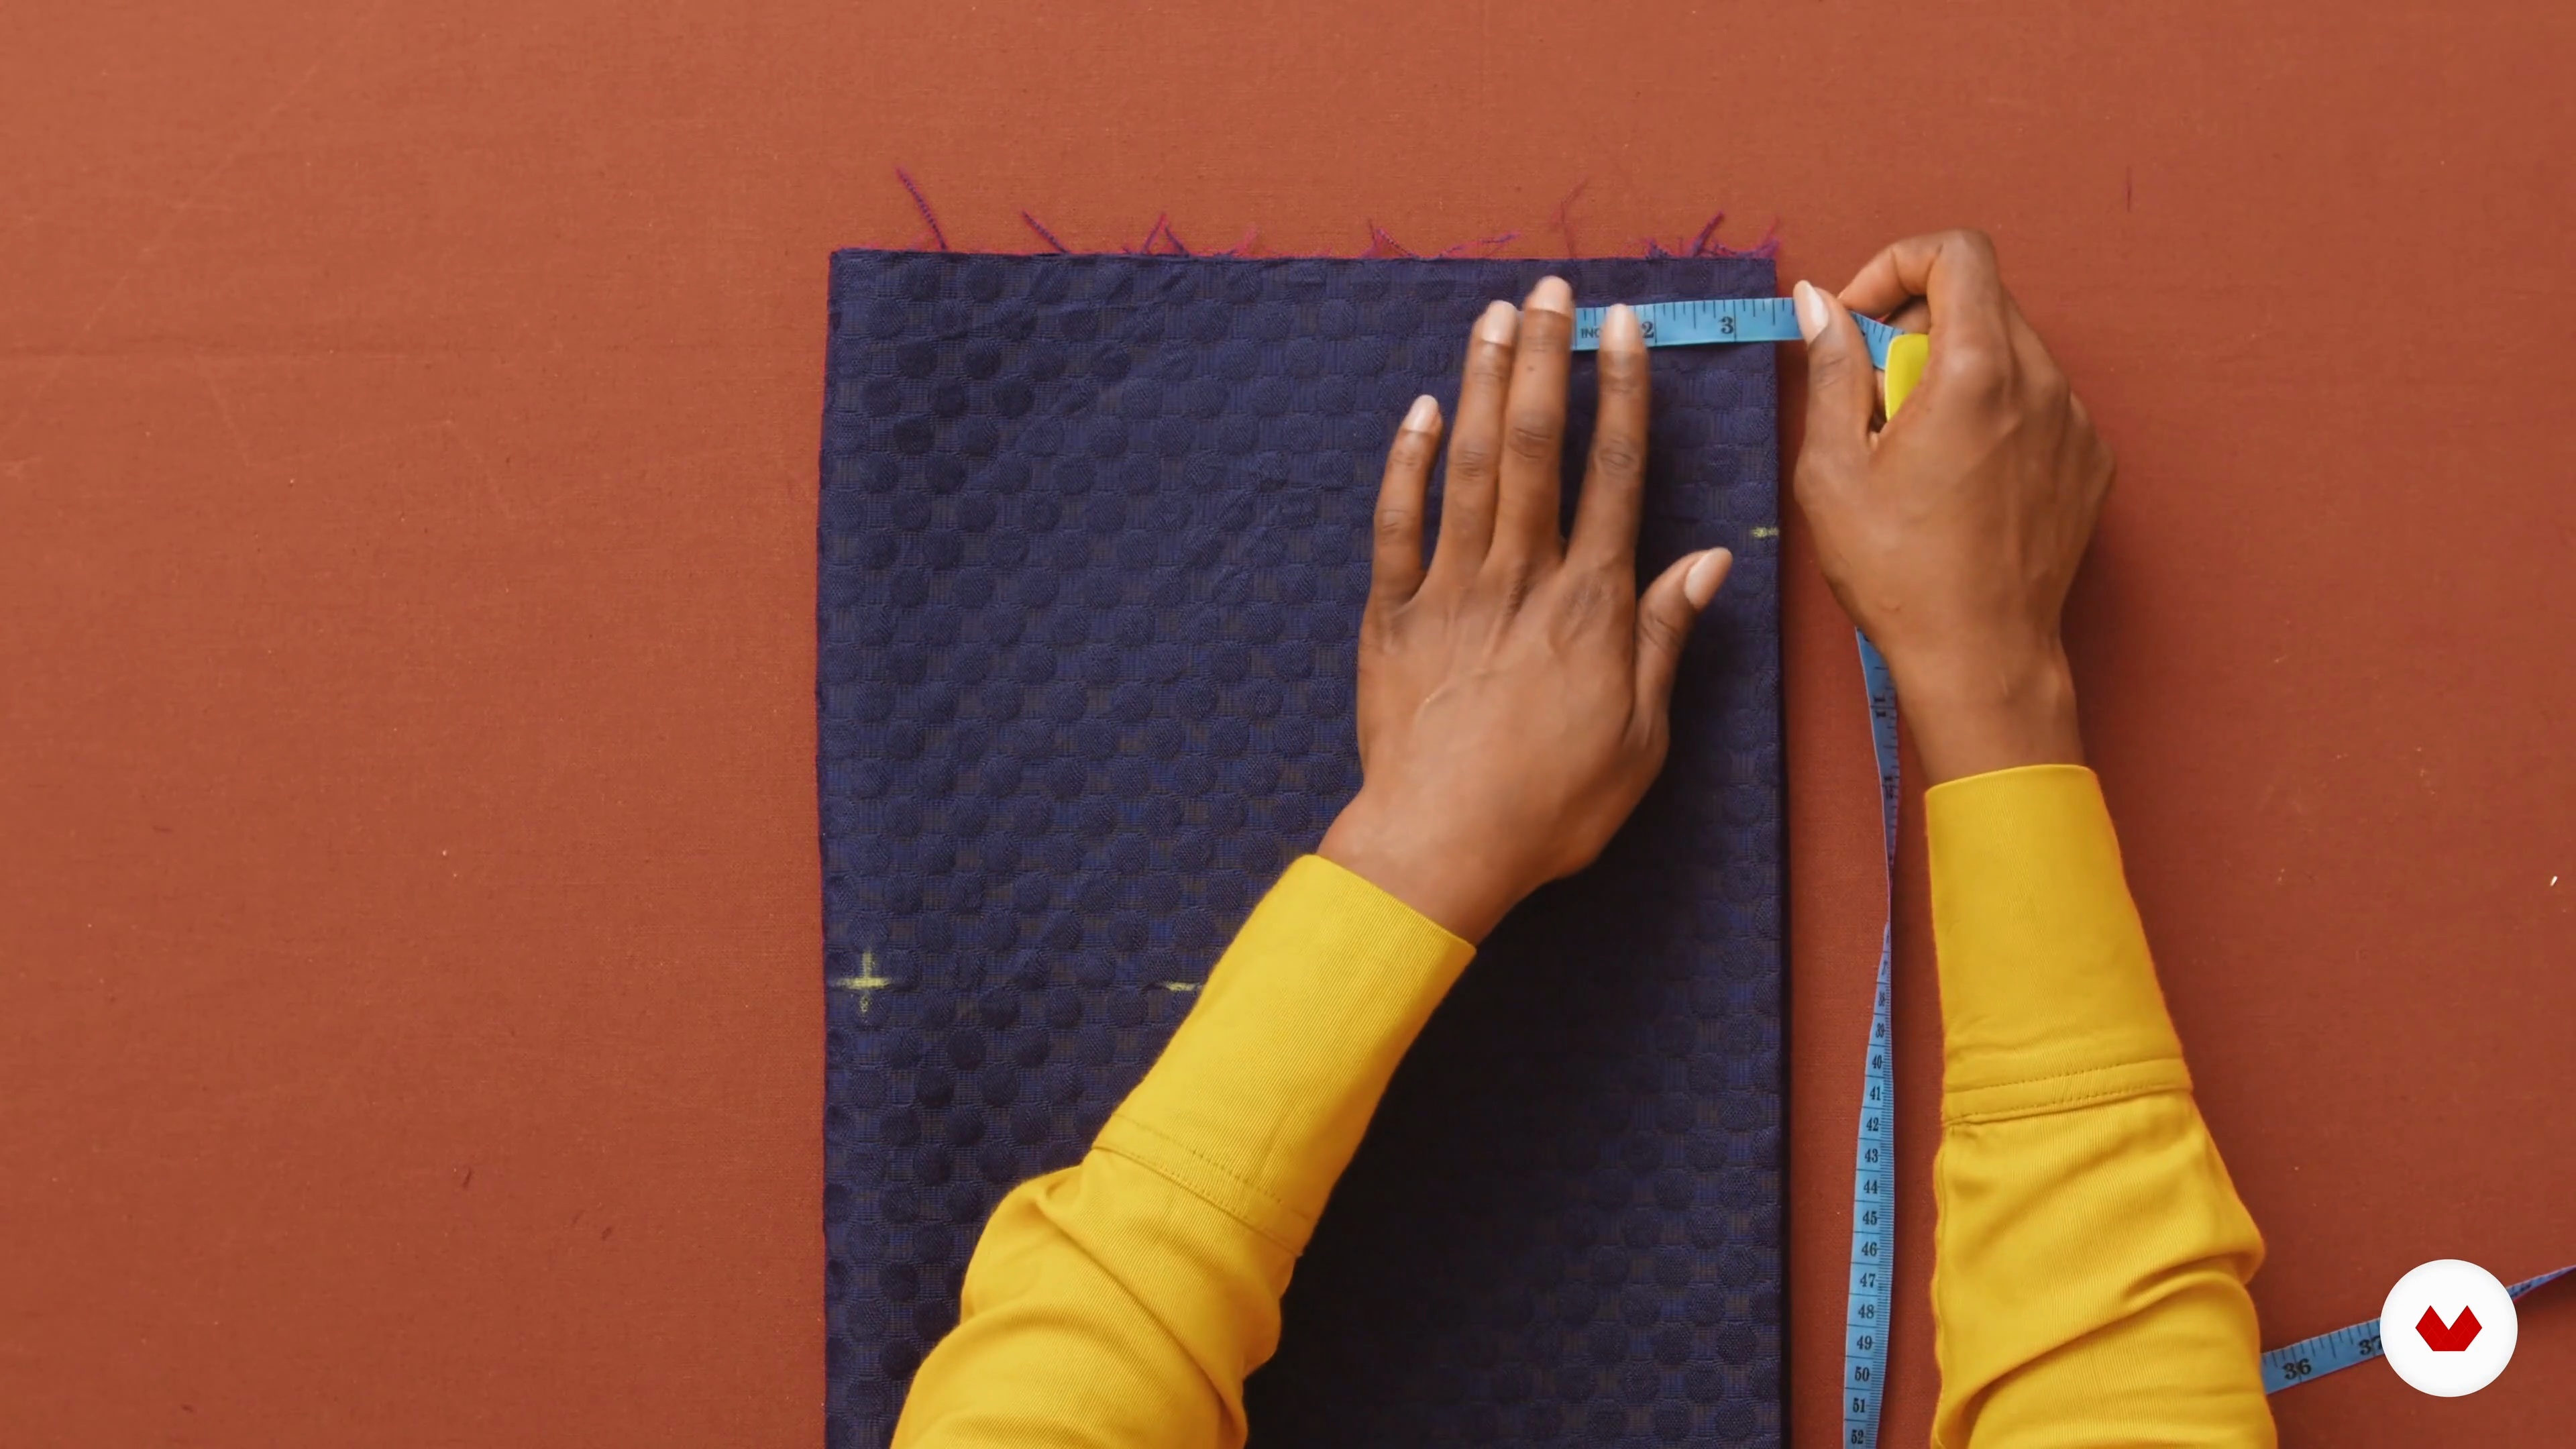
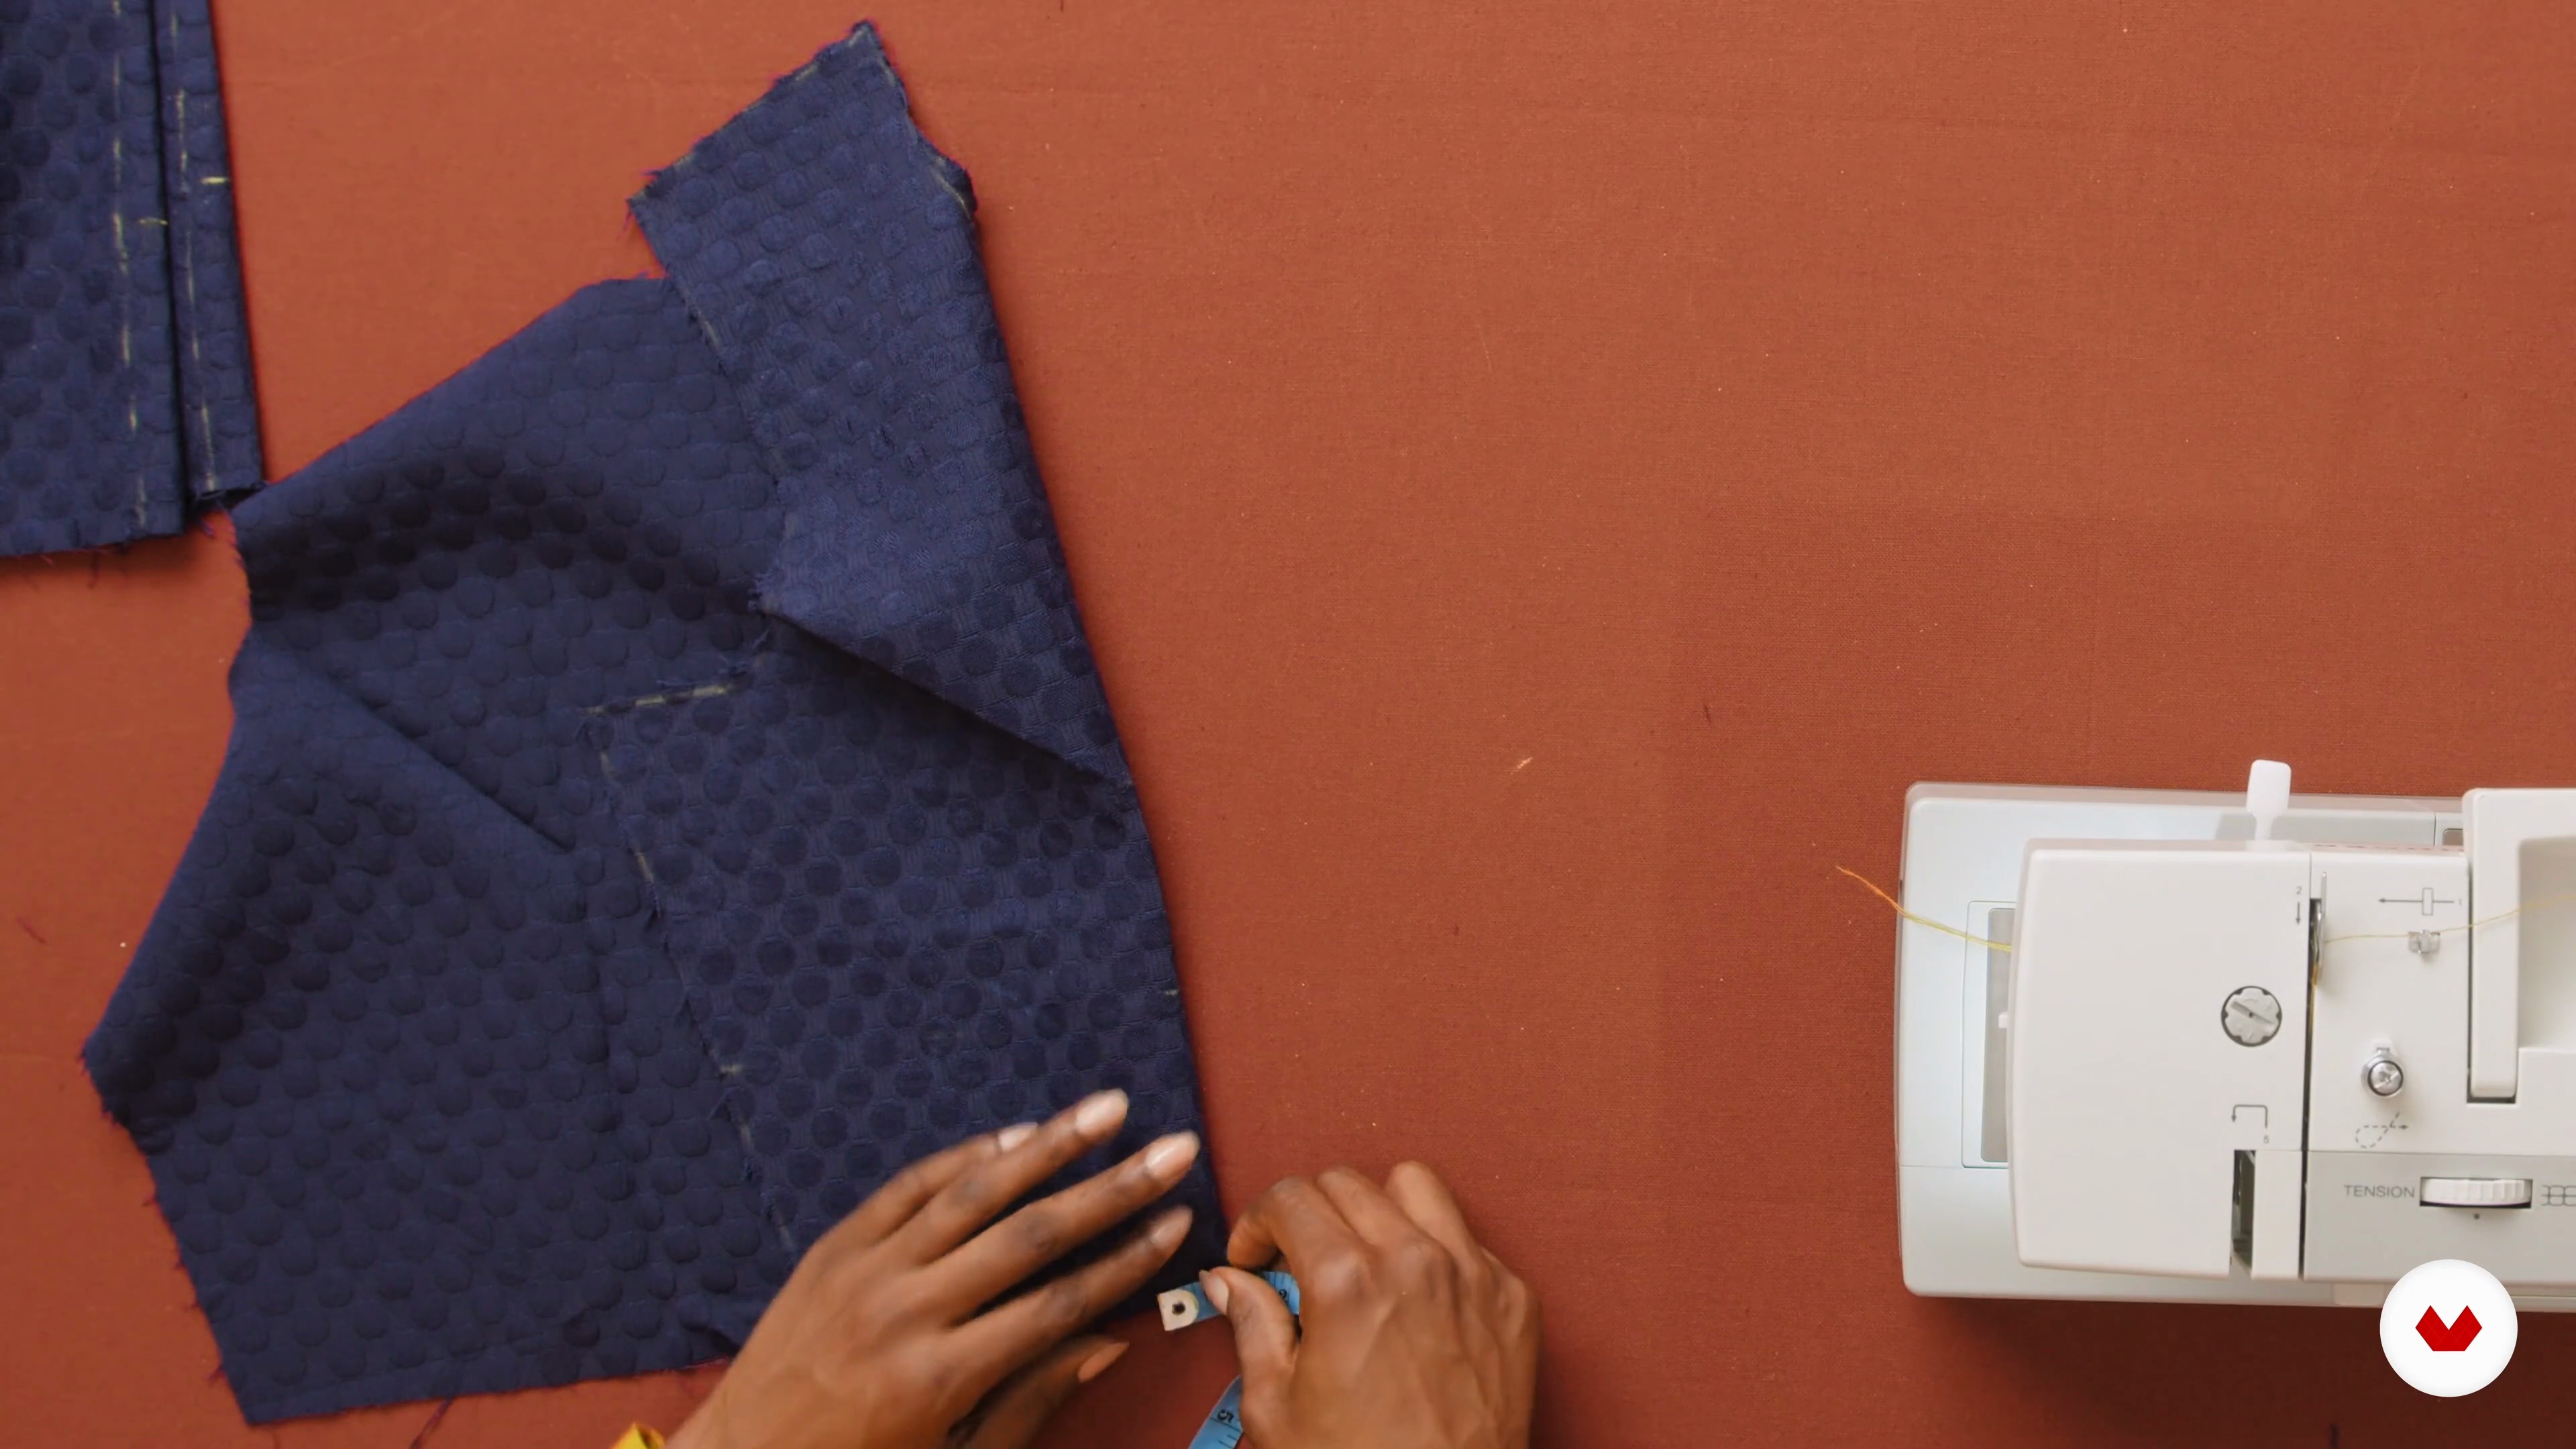
In this first part, Chinelo Bally guides you through cutting the bodice piece for the top, mapping measurements directly onto the fabric. You’ll create center front and back lines, form the neckline, shoulder seam, and armhole, and then cut along the markings to separate the front and back pieces. This precise setup will ensure the bodice’s fit and structure before moving on to assembly.
10m
image
9
Folding, Mapping, and Cutting - Part 2
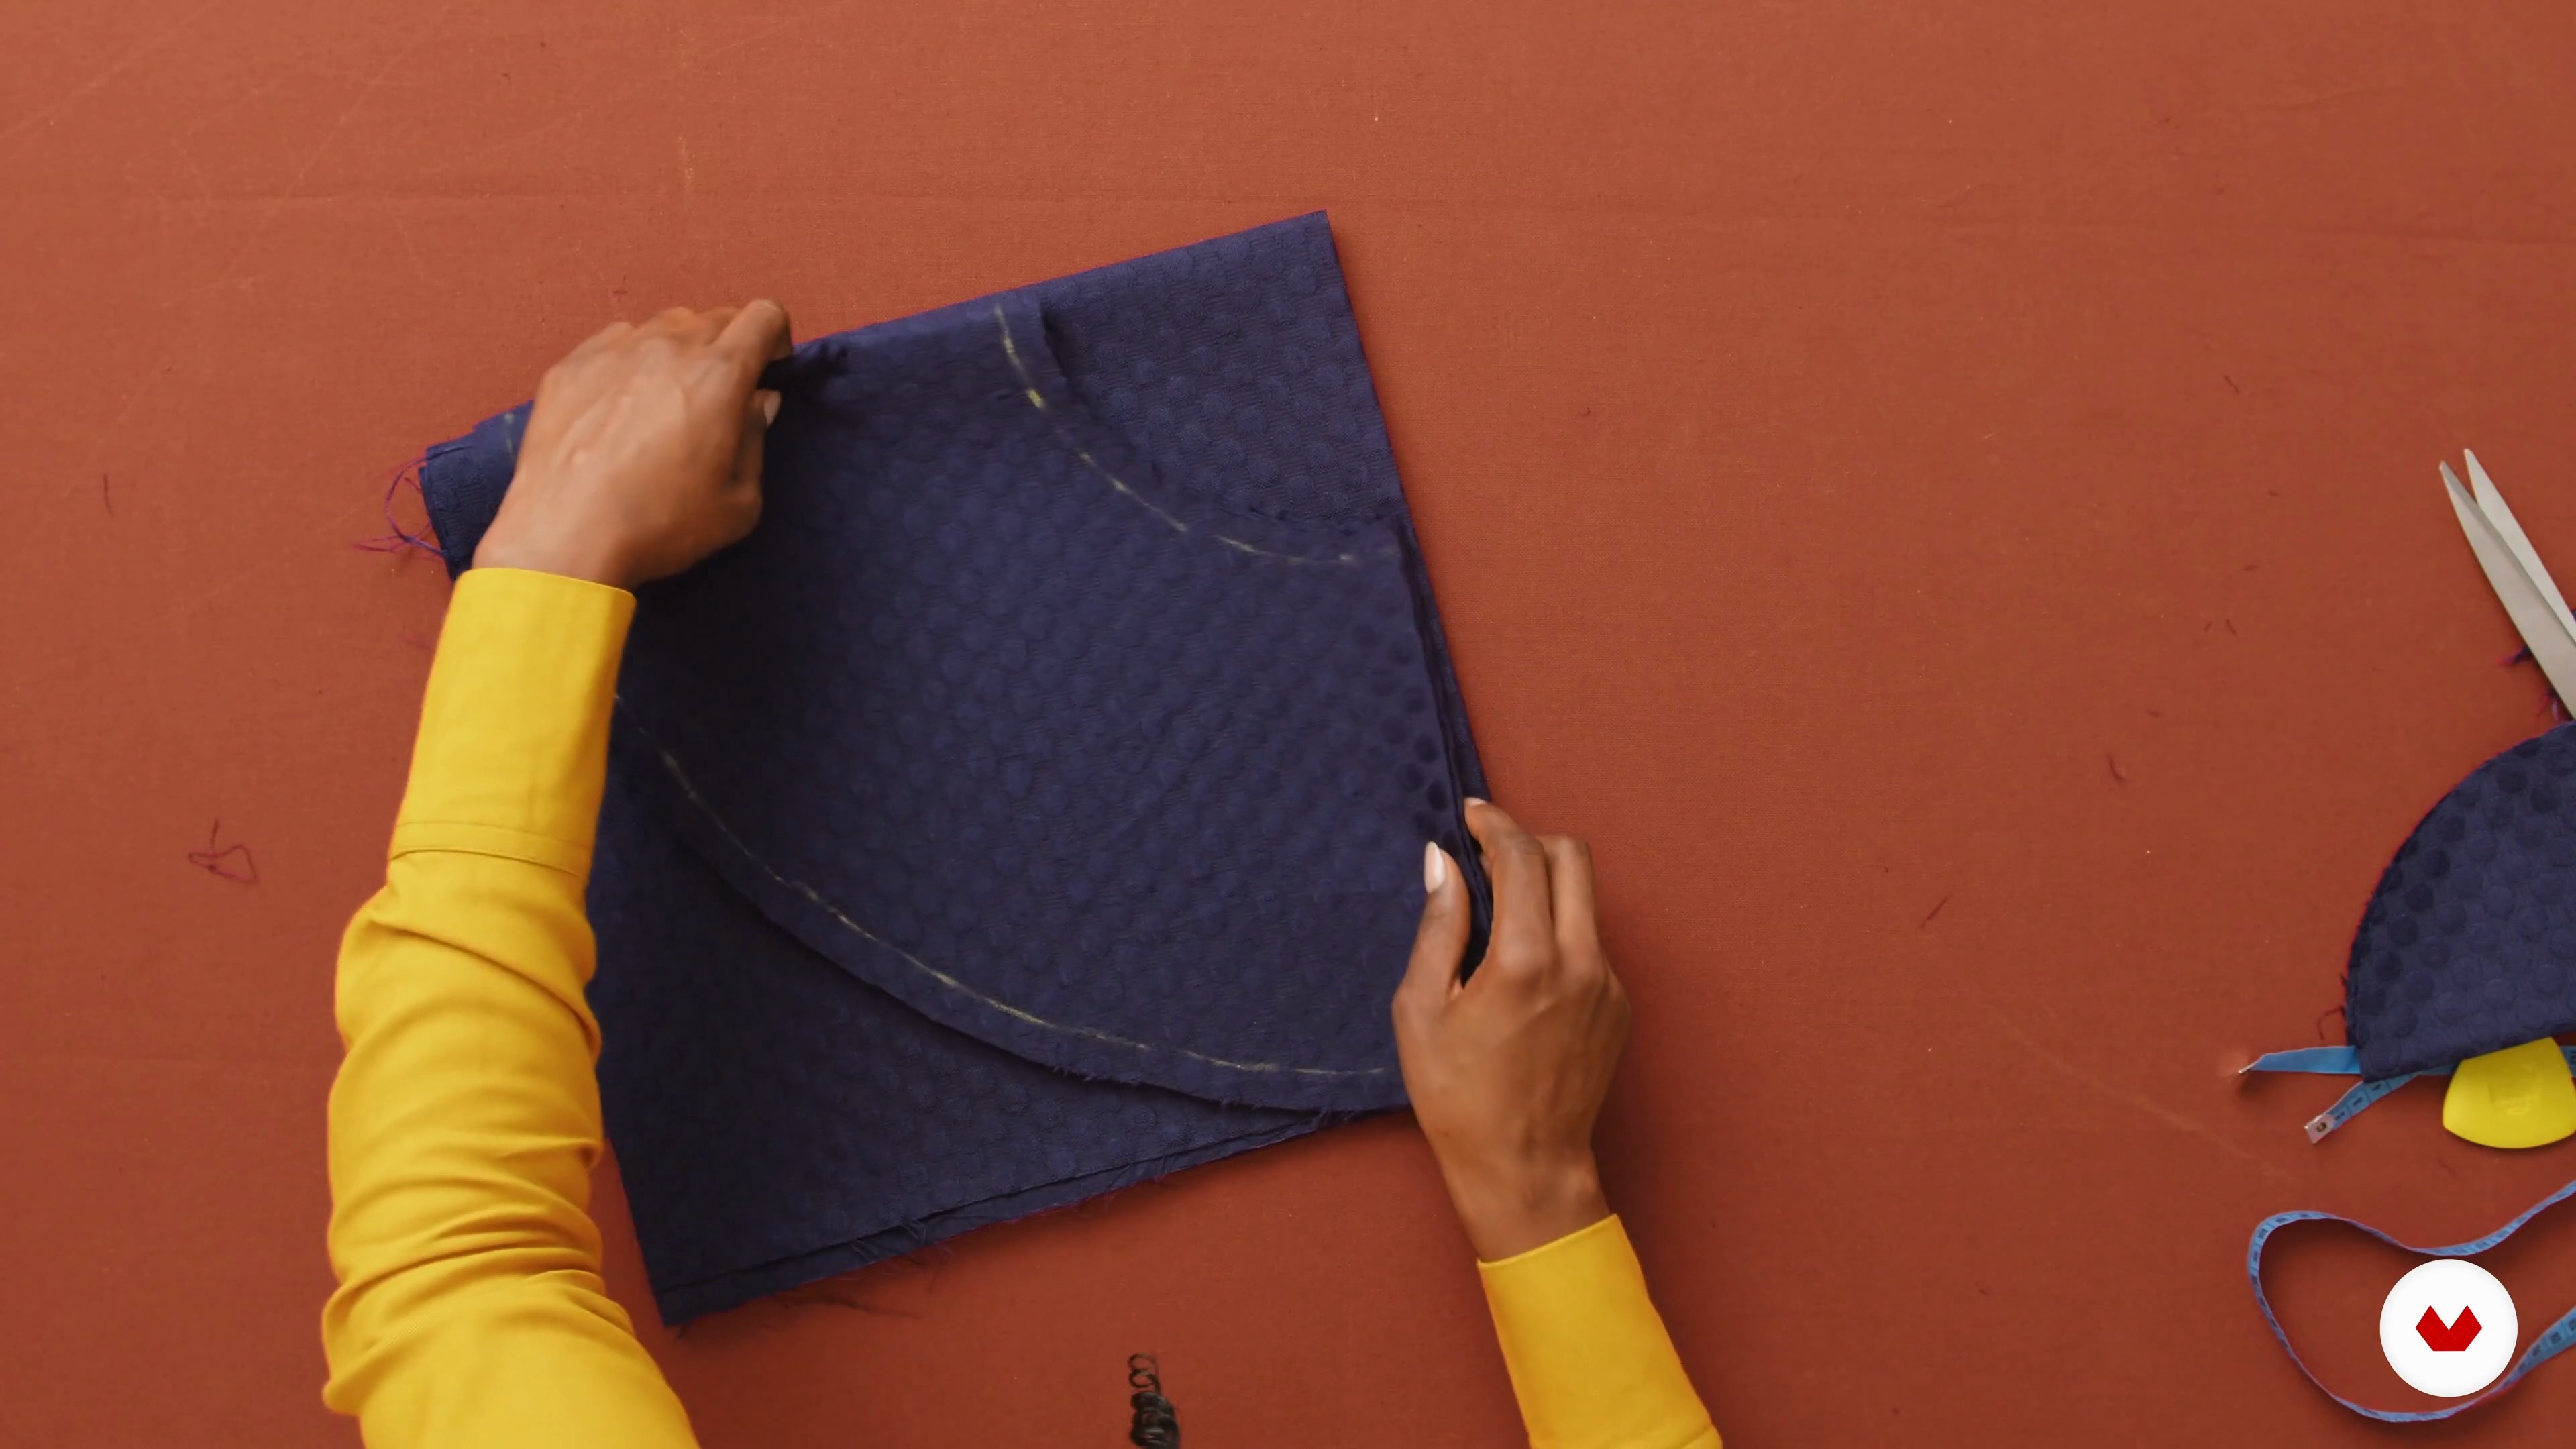
Chinelo Bally will show you how to cut the peplum or skirt using a folded square technique to create a circular ruffle effect. You’ll learn to cut the outer fabric and lining, add seam allowances and a zip opening, and apply fusible interfacing for added structure. These steps will prepare the peplum for sewing onto the finished bodice.
13m
image
10
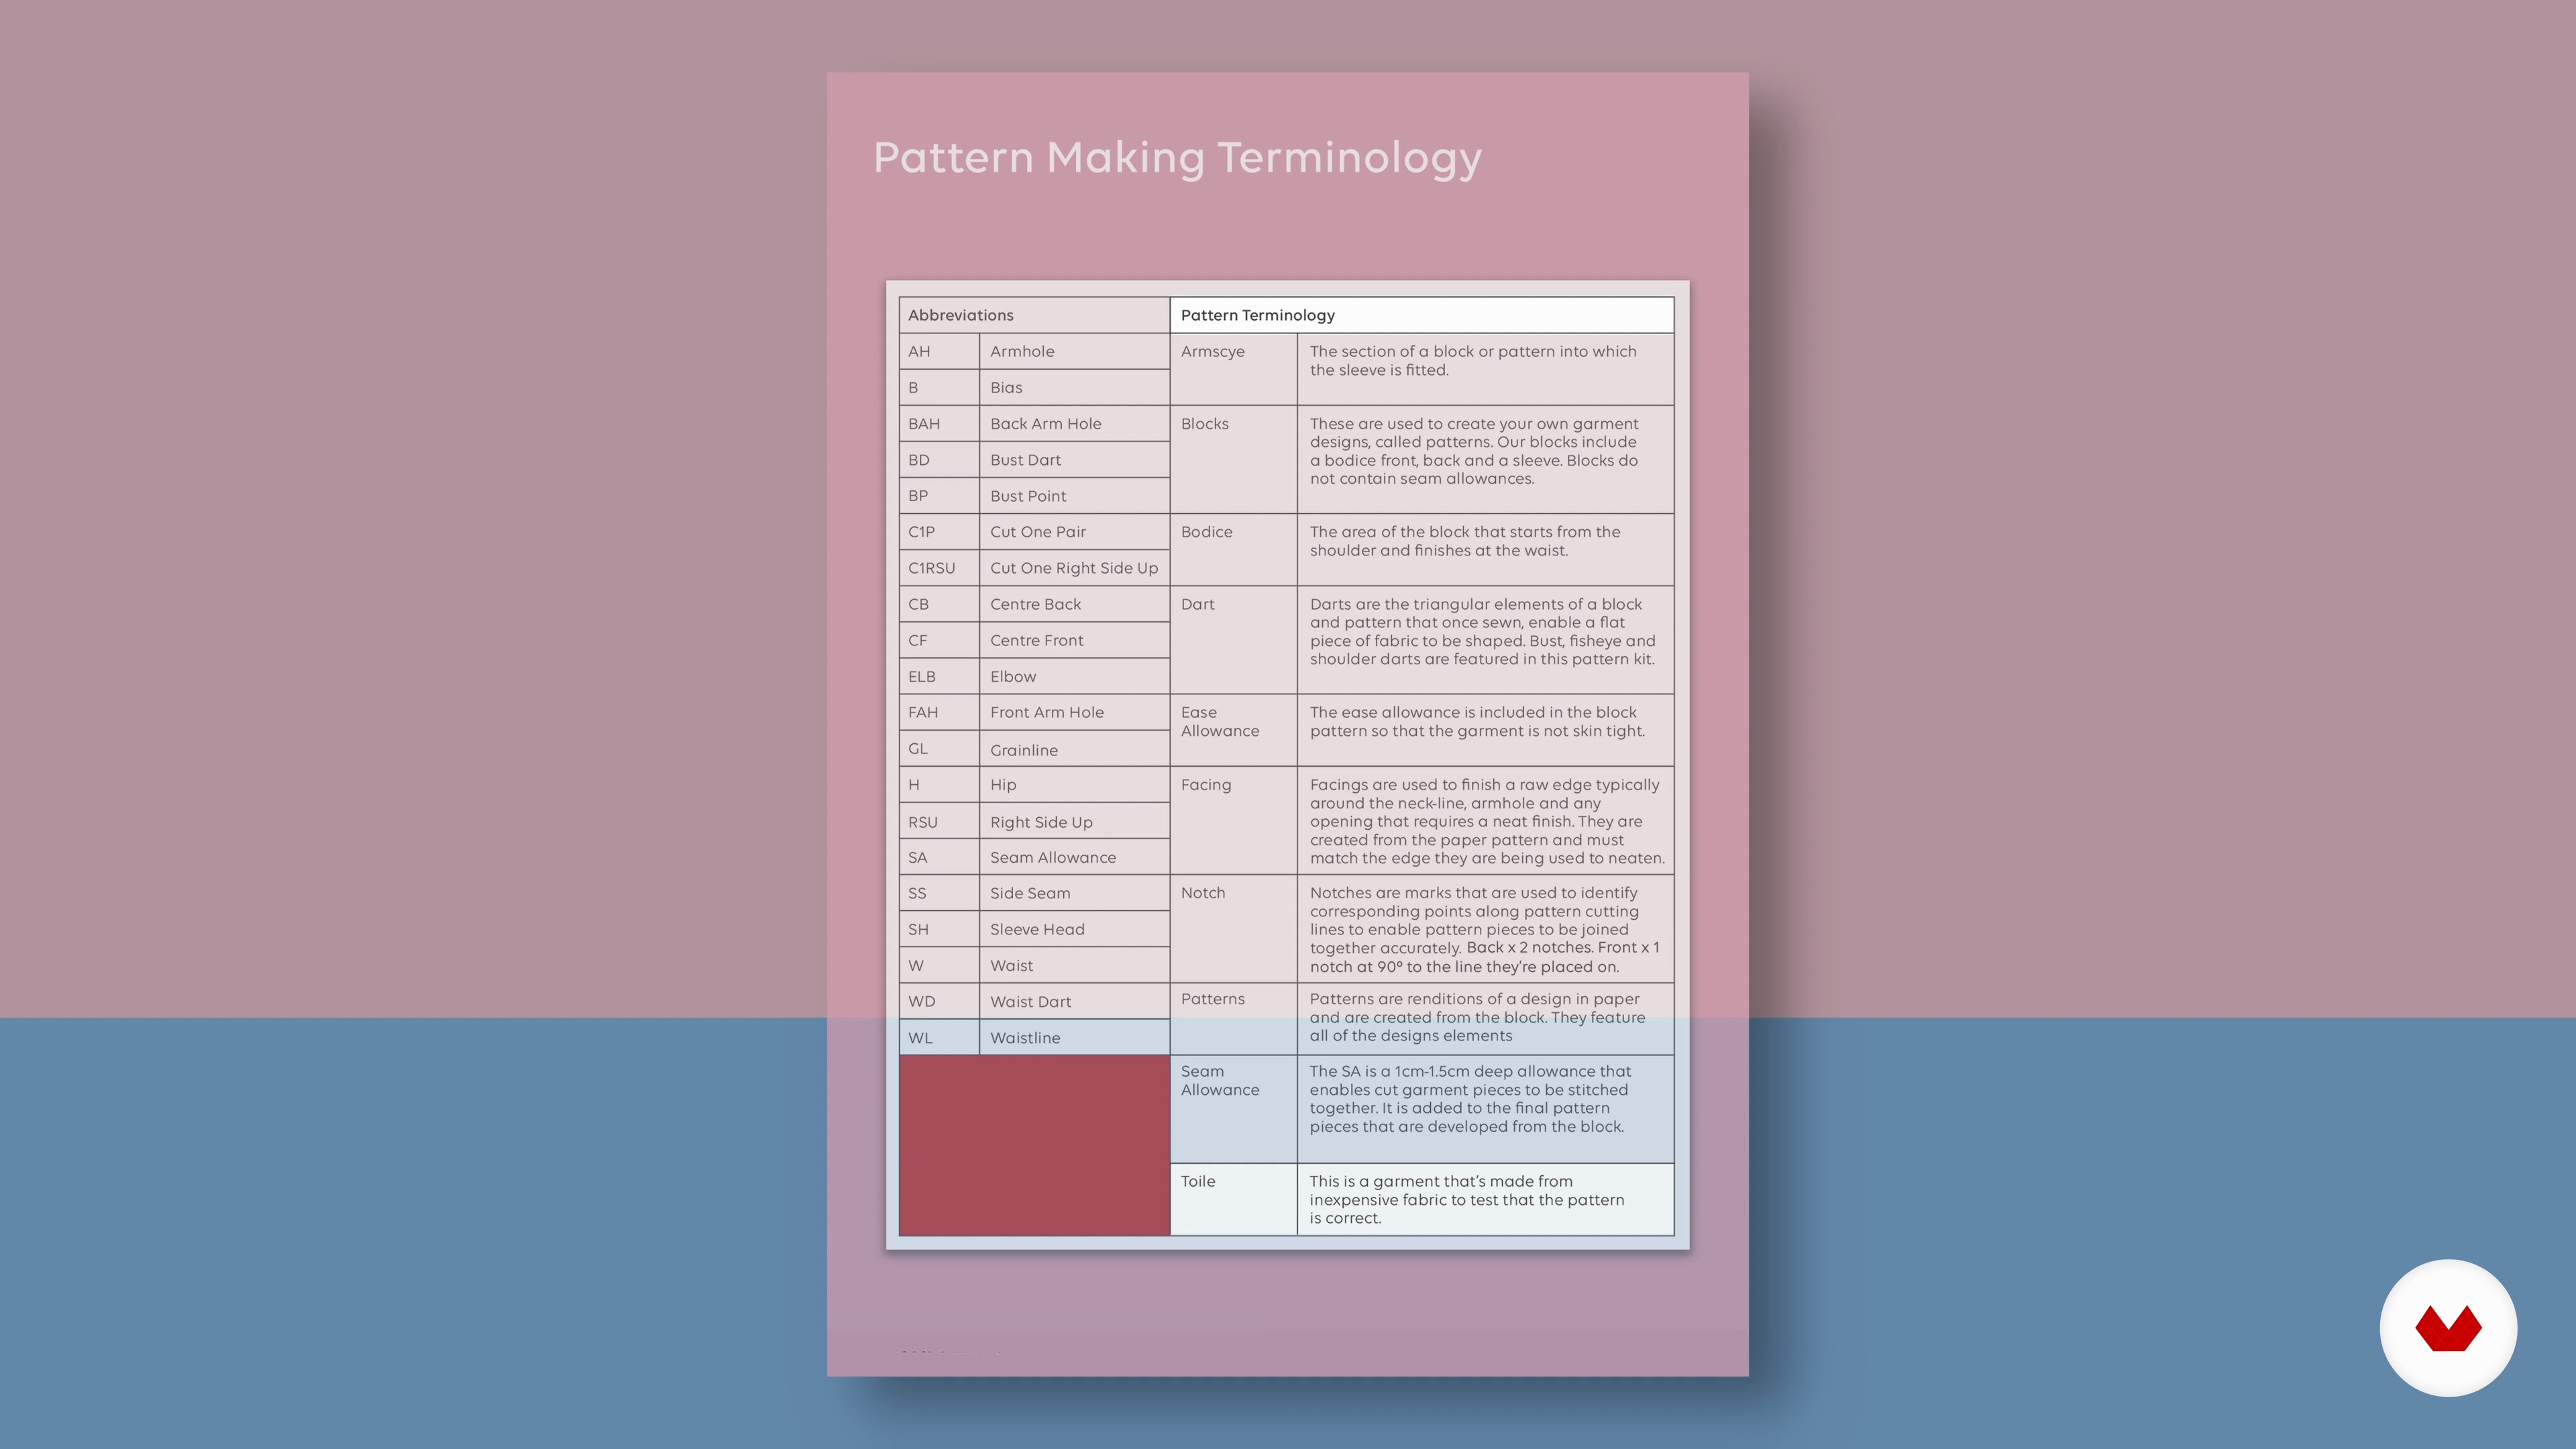
Flat Pattern Cutting and Useful Terminology
With Monisola Omotoso as your guide, you'll explore essential abbreviations and concepts in pattern cutting for trousers. You’ll learn key terms like "cut one pair" and "seam allowance," as well as concepts such as blocks, notches, and facings. Finally, you'll discover the three stages in pattern-making: basic block, working pattern, and finished pattern, to achieve a well-fitted garment.
6m
image
11
Darts, Curves, Squaring off, and Seam Allowance
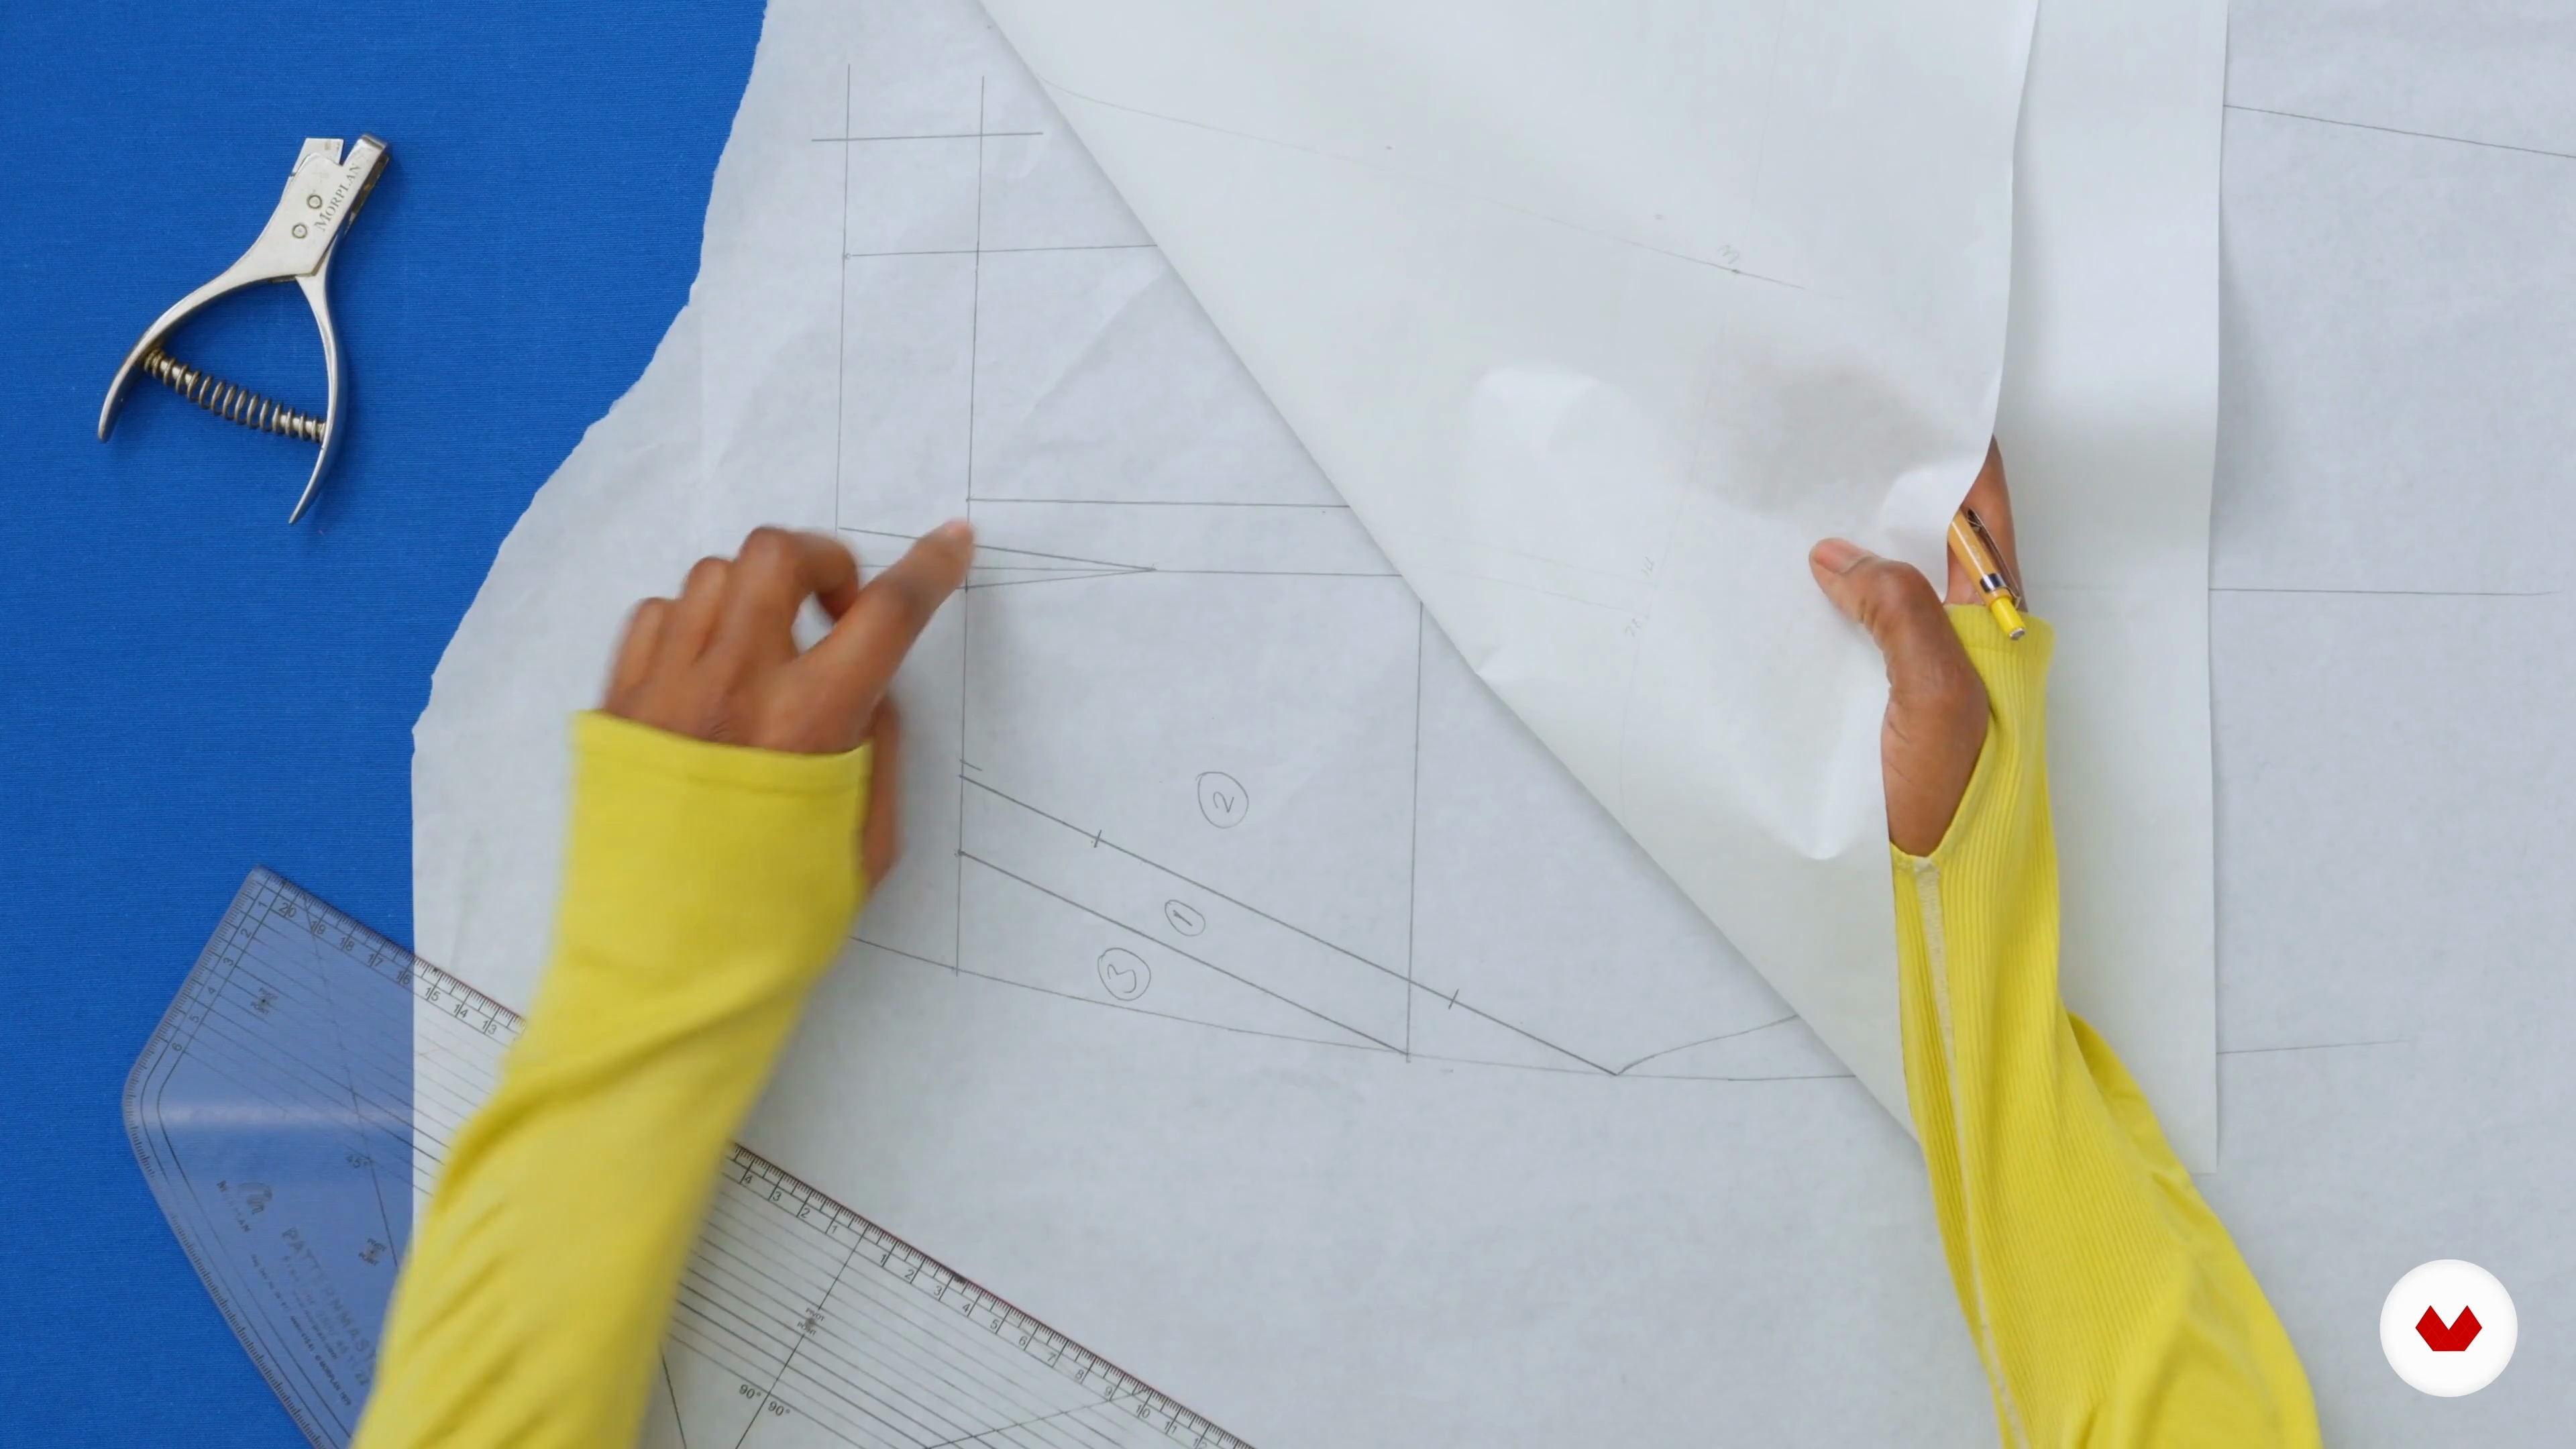
Join Monisola Omotoso in the fascinating world of pattern drafting, where you’ll explore advanced techniques like symmetrical darts, smoothing curves, and precise seam squaring. Using specialized tools, you’ll learn to work on the waistband, square seams, and perfect pattern lines. These skills will help you achieve professional, polished patterns for any garment.
10m
image
1
Sewing the Bodice - Part 1
Learn the secrets of assembling the bodice and setting the sleeves of your dress with precision and detail. This lesson focuses on essential steps like stitching the neckline, sewing darts for a perfect fit, and joining shoulder seams to give structure. Each step includes pressing techniques to ensure a polished, professional finish, eliminating any “homemade” look from the final garment.
20m
image
2
Sewing the Bodice - Part 2
Discover techniques for setting the sleeves of your dress, adding a subtle gathered effect at the shoulder. Here, you’ll learn to align the notches and adjust the gathers for a smooth fit into the armhole. Sewing and pressing tips will ensure a neat, professional finish, allowing the sleeves to blend stylishly with the bodice.
14m
image
3
Sewing the Bodice - Part 3
We move on to the next phase, where you will learn the essential techniques for attaching sleeves and finishing off seams with precision in dress assembly. You will learn methods for handling sleeve gathers, edge finishing, and tools such as clippers and steam irons to ensure a professional look. This lesson prepares you to seamlessly attach the sleeves to the bodice and move on to preparing the skirt.
18m
image
4
Preparing the Skirt - Part 1
Learn how to prepare and attach pockets to your dress skirt for a customized fit. You’ll master folding and pressing techniques, positioning pockets to your preference, and securing durable seams with reinforced stitching. Plus, you’ll get essential tips for achieving straight stitching lines and finishes that complement your garment’s design, preparing the skirt for the next step in your project.
18m
image
5
Preparing the Skirt - Part 2
Learn to assemble the skirt pieces and apply gathering techniques to add volume and shape. You'll discover how to join the side seams, finish edges, and distribute gathers in sections—an essential technique for easier fabric management. With these steps, you’ll ensure a balanced skirt, ready to be attached to the bodice, achieving a professional finish in every detail.
17m
image
6
Preparing the Skirt - Part 3
It’s time to attach the bodice to the skirt at the waistline, giving your dress its final shape. With the right sides facing each other, you’ll learn to adjust gathers for a balanced finish, secure the side seams, and manage the gathering threads. When finished, you’ll clean up the edges and press the seam toward the bodice to set the gathers, achieving a professional look for your garment.
11m
image
7
Neckline Finishing - Part 1
We're adding the finishing touches to the neckline of your dress by attaching the facing. Begin by assembling the front and back-facing pieces, joining them at the shoulder seams, and pressing them open. Then, attach the facing to the neckline, making small clips around the curves to reduce bulk and ensure the neckline lays smoothly. Finally, apply the understitching technique. This will secure the facing, preventing it from showing on the right side of the dress and giving your neckline a clean, professional finish.
17m
image
8
Neckline Finishing - Part 2
In this lesson, you'll complete the neckline by securing the facing with understitching, a critical step that keeps the fabric flat and prevents the facing from showing on the outside. First, sew close to the seam, only catching the seam allowance and facing. Then, gently press the neckline and use a blunt object like a chopstick to push out any inner corners. Your neckline should now be smooth and professional-looking. In the next lesson, we'll add buttonholes and finish up the bottom hem of your dress.
13m
image
9
Buttons and Buttonholes
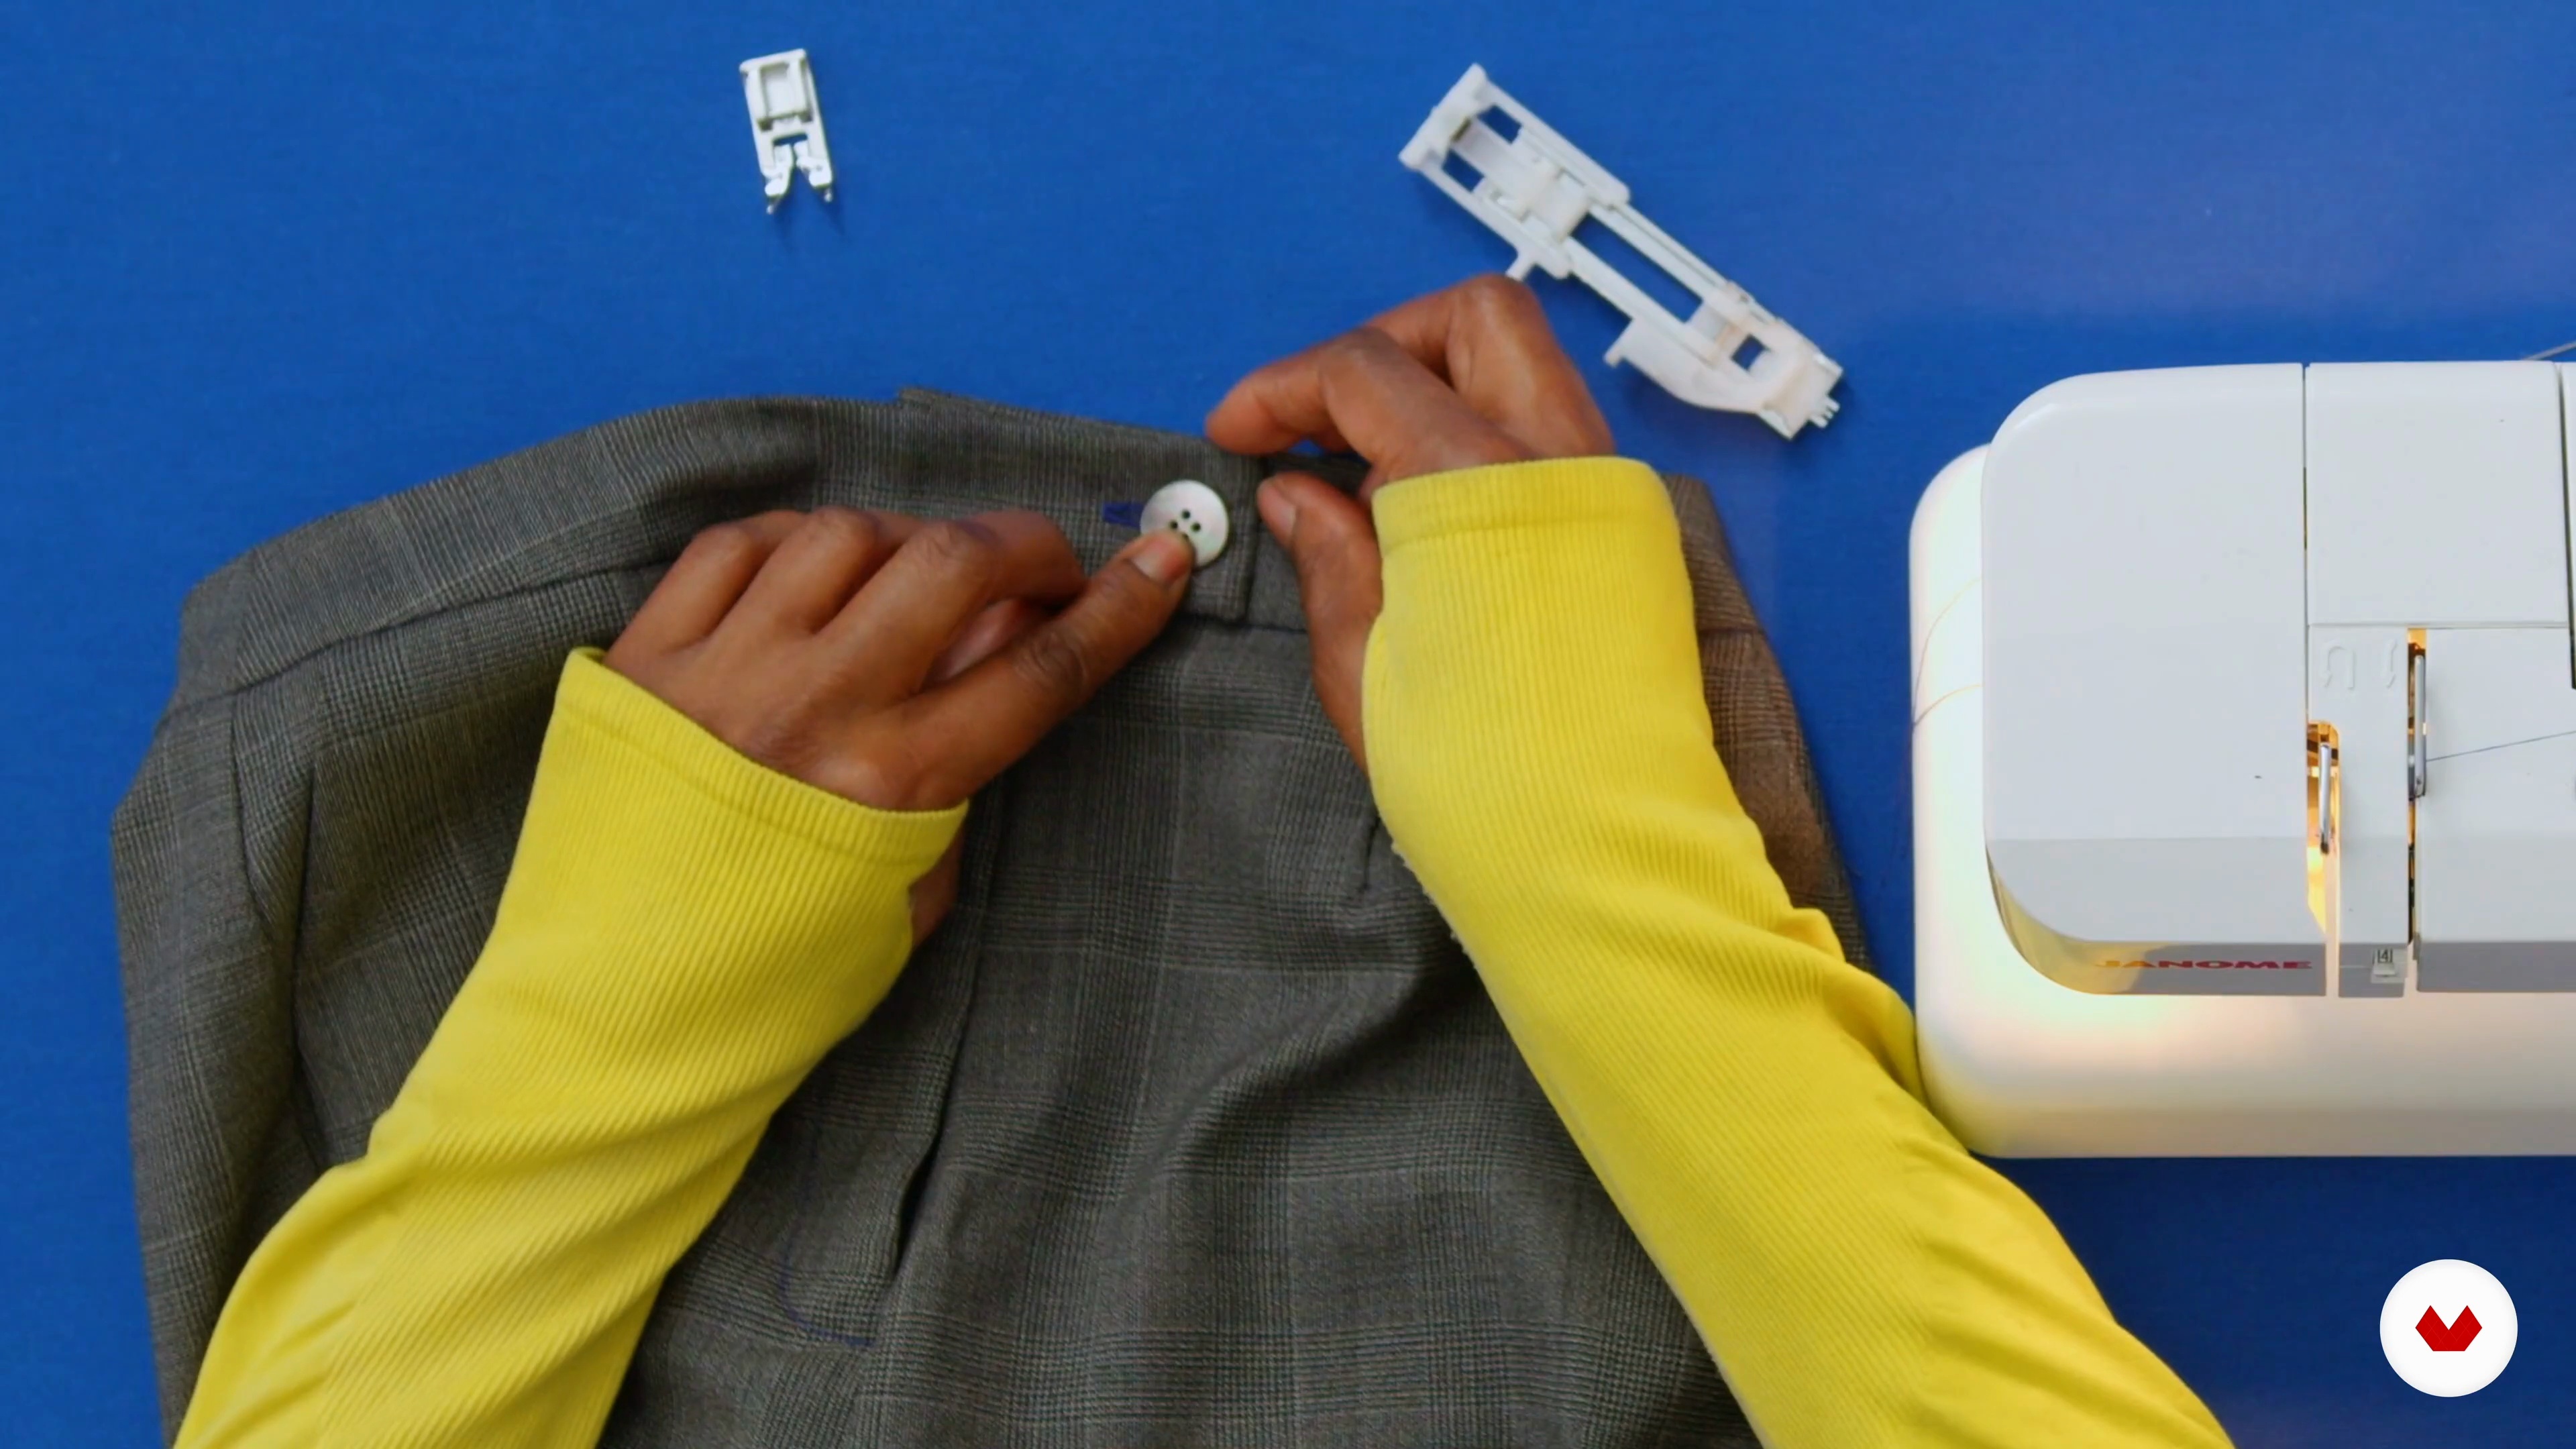
In this lesson, you’ll add buttonholes and buttons to the dress. Using the buttonhole foot, sew along the marked areas, including an extra one at the waistline, for a smooth fit. Carefully open each buttonhole and mark button placements. Sew the buttons securely by hand, and your closures are set! Up next: adding the final finishing touches.
17m
image
10
Finishing Touches - Part 1
We’ll complete the final touches in this lesson, starting with hemming the dress. First, fold the hem by half a centimeter, press, and fold again by 1.5 centimeters. Pin in place, sew close to the edge and give it a final press to secure the stitches. With the main hem done, we’ll finish by hemming the sleeves.
7m
image
11
Finishing Touches - Part 2
In this lesson, we’ll add the finishing touches to the sleeves by creating an elasticated hem. First, fold the hem twice, forming a channel for the elastic, and sew, leaving a small opening. Insert a 1 cm elastic using a safety pin, secure the ends with a zigzag stitch, and close the gap. Repeat for the other sleeve, adjust the gathers, and give your dress a final press.
13m
image
1
Sewing Your Dress - Part 1
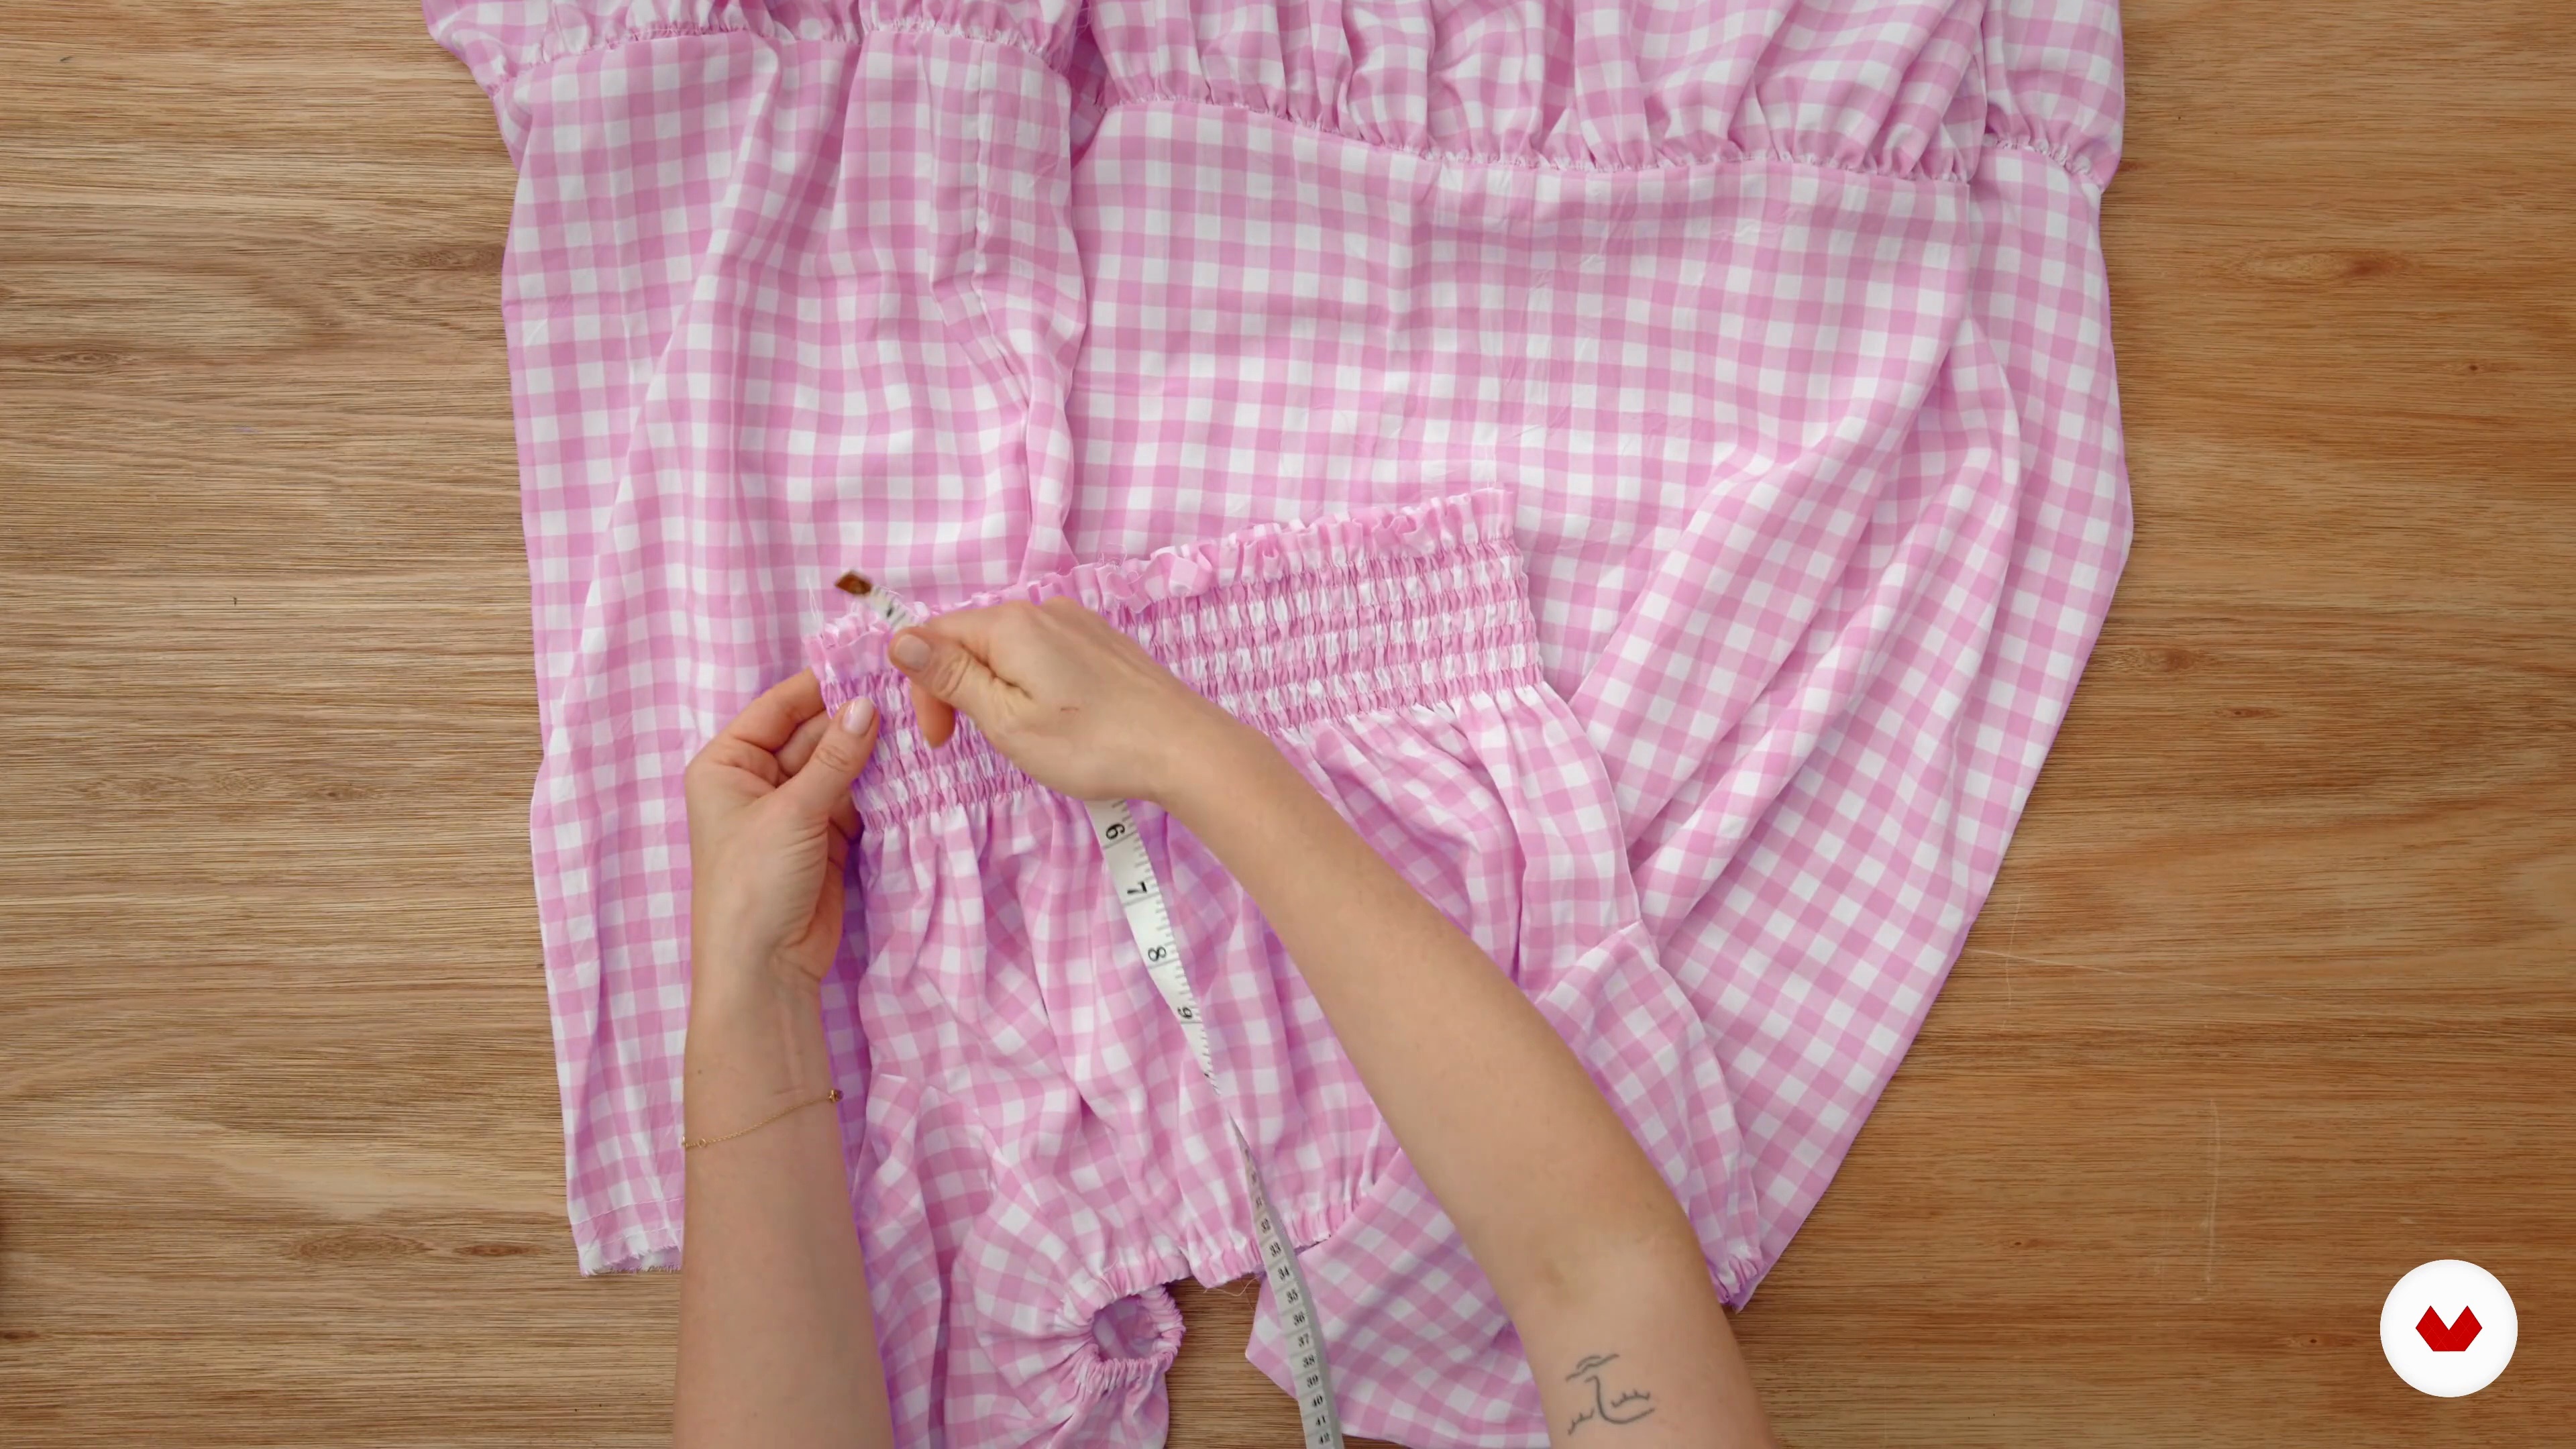
In this lesson, it's time to start sewing the bodice with shirring to create a comfortable, fitted shape. First, ensure all your markings are transferred to your fabric, then thread your bobbin with elastic. Begin stitching rows of shirring across the bodice, leaving room for the seam allowance at the bottom. Once complete, you'll attach the sleeves, pinning and sewing at the armholes, and prepare for elasticated finishes at the neckline and cuffs.
14m
image
2
Sewing Your Dress - Part 2
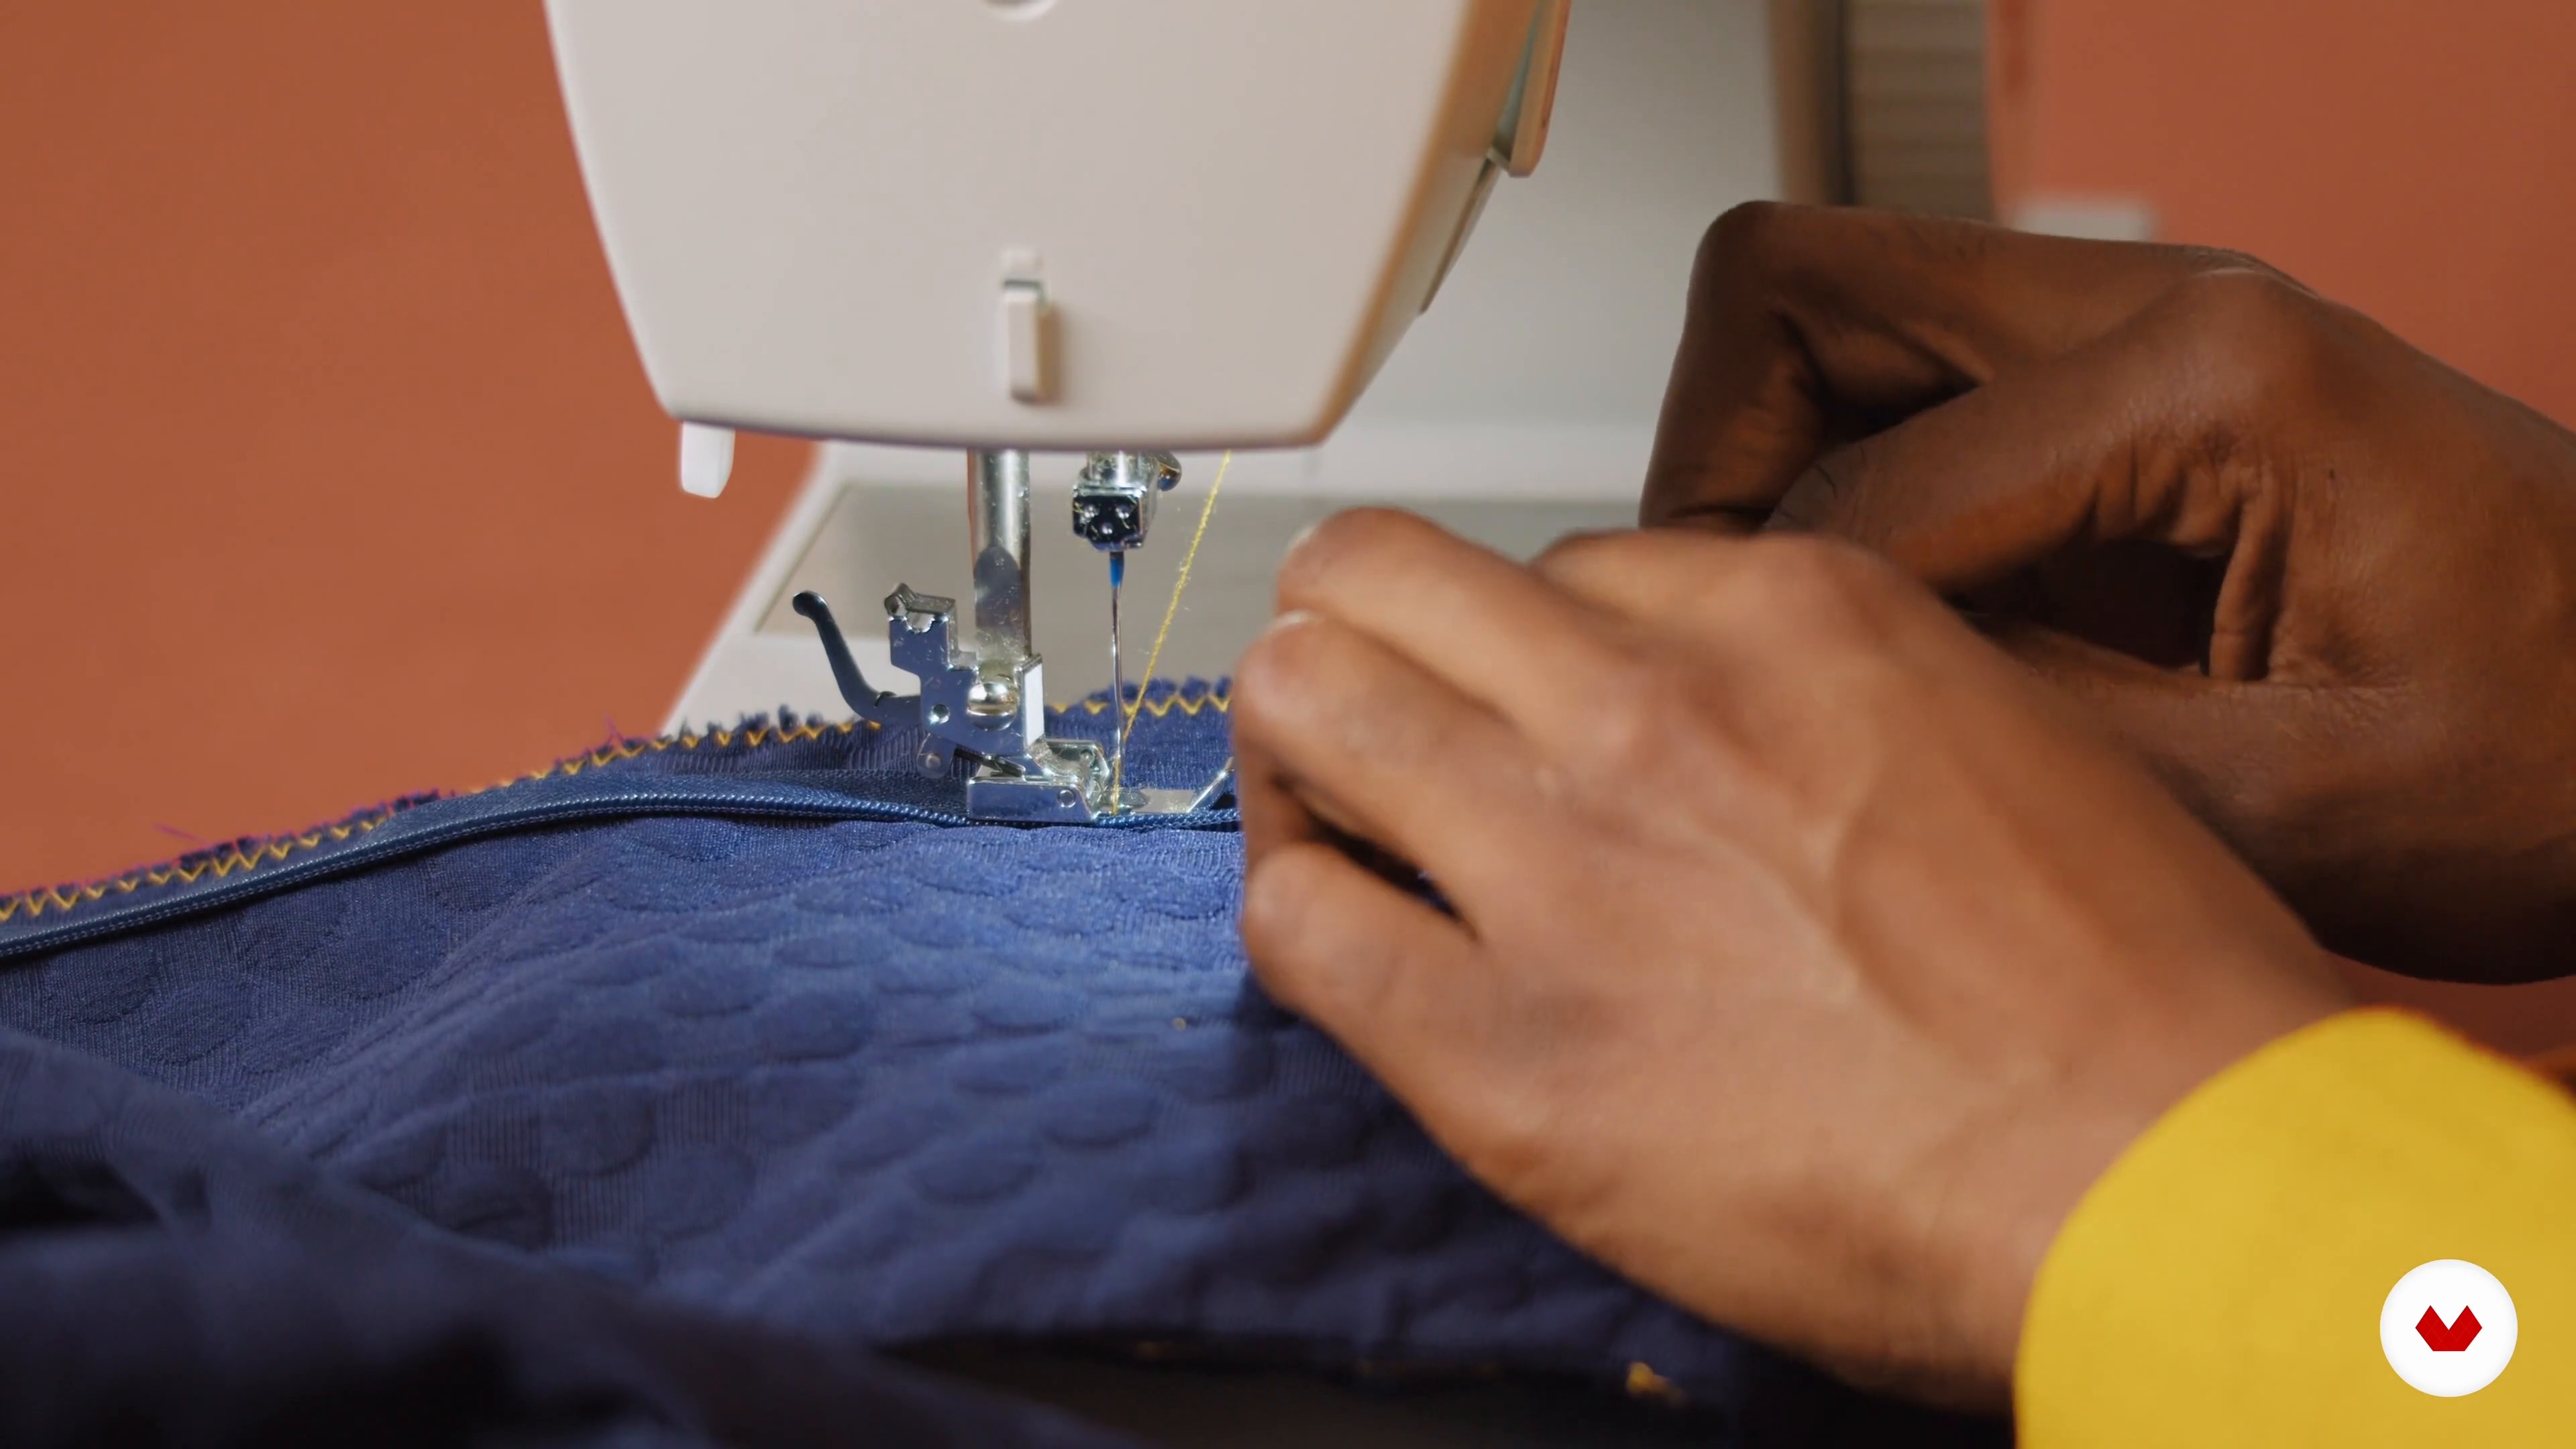
In this lesson, you’ll finish seam allowances with a classic zig-zag stitch, giving your piece a charming, vintage touch. You’ll prep the neckline and sleeve cuffs for elastic and learn techniques for pressing and aligning seams. Finally, it’s time to assemble the bodice by joining side and underarm seams, ensuring a secure, polished finish.
14m
image
3
Sewing Your Dress - Part 3
In this lesson, you’ll sew the neckline and sleeve cuffs to create casings, which will soon hold the elastic, giving the garment its lovely gathered effect. You’ll also learn to feed elastic through these channels, try on the bodice to perfect the fit, and secure everything neatly. This critical step brings your dress structure to life, beautifully shaping the neckline and sleeves.
12m
image
4
Finishing Your Dress - Part 1
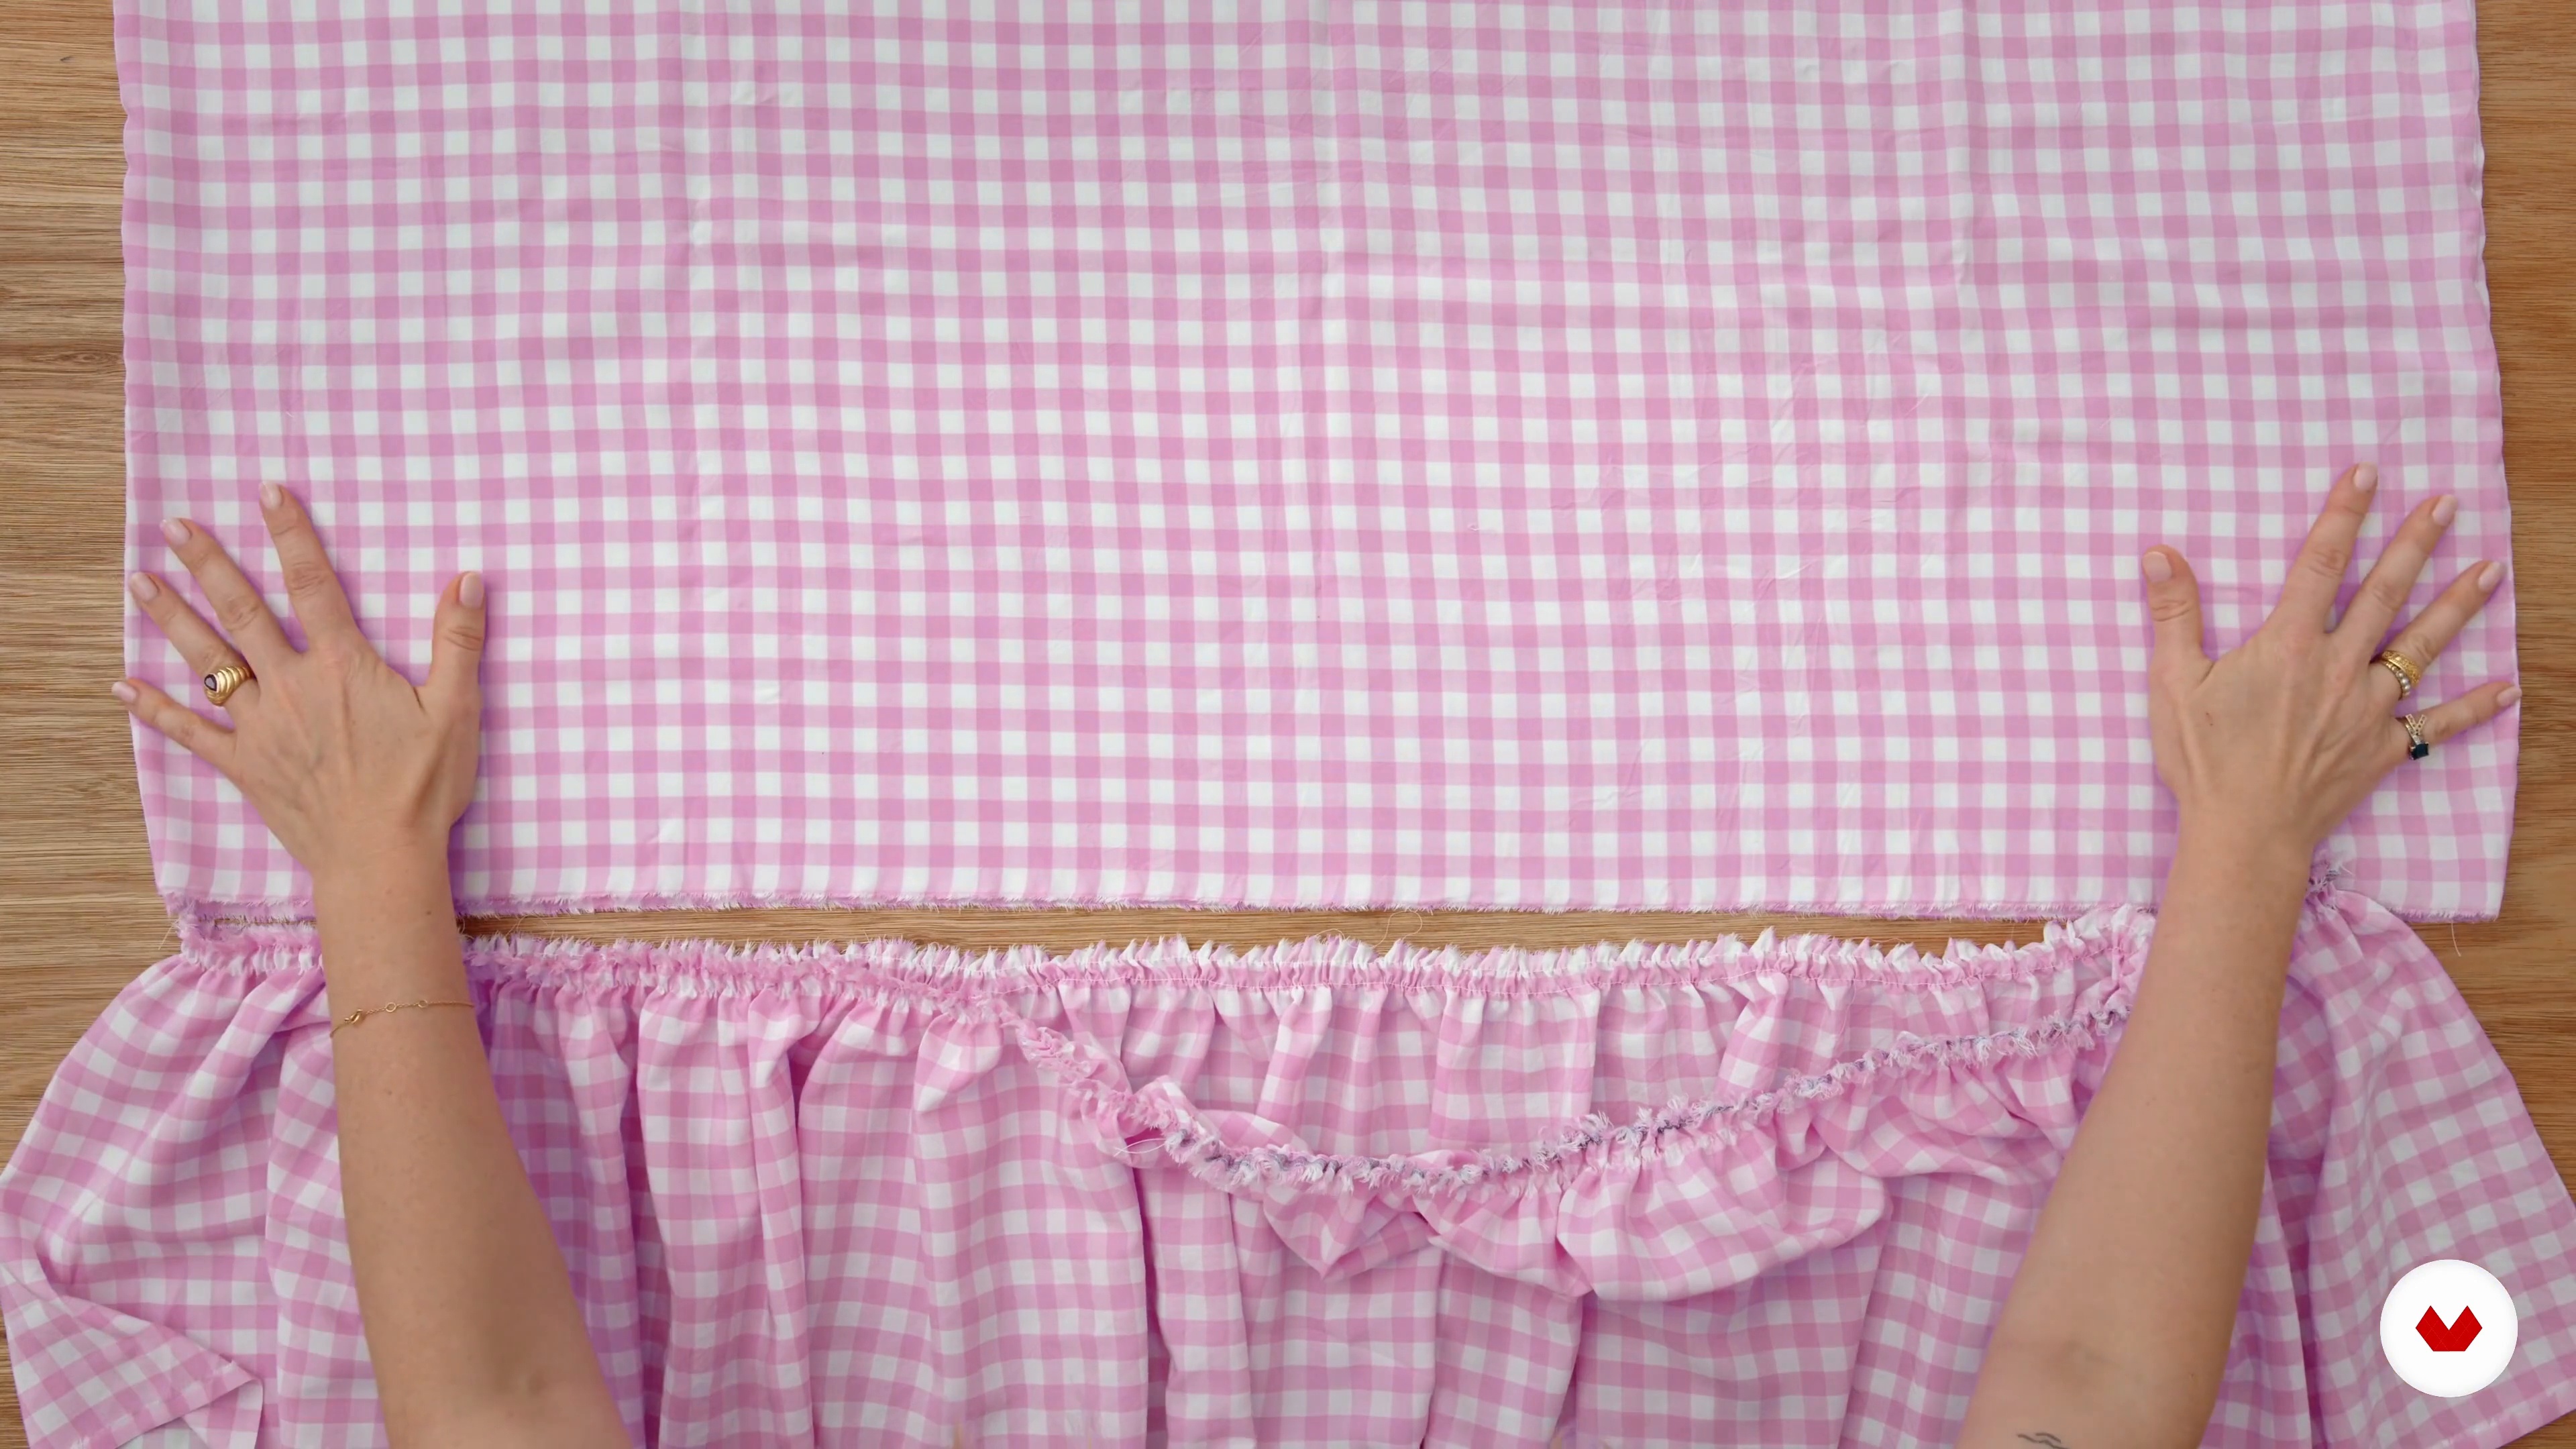
In this lesson, you’ll assemble and gather your skirt, join it to the bodice, and complete the hem—bringing your dress to life! Starting with the main skirt and the hem frill, you’ll sew side seams, press, and gather for that perfect fit. Once the hem frill is attached, you’ll gather the waistline, align it with the bodice, and sew everything together.
18m
image
5
Finishing Your Dress - Part 2
In this lesson, you'll join the gathered hem frill to your skirt and then attach the gathered skirt to the bodice, giving your dress its final shape. Sewing the gathered layers can seem tricky, but the process is manageable with careful pinning and guidance from the feed dogs. Once attached, you'll secure the seams, check the distribution of gathers, and finalize your dress's elegant, flowing silhouette.
13m
image
6
Finishing Your Dress - Part 3
In this final lesson, you'll complete your dress by attaching the gathered skirt to the bodice and adding a clean hem. You'll start by carefully sewing the waistband and stretching the bodice to ensure a smooth, even seam. After attaching, you'll adjust the hem to your preferred length, topstitch it, and remove any visible gathering stitches. Once these finishing touches are done, your beautiful dress is complete!
14m
image
1
Adding Darts to the Bodice
In this lesson, you'll get to shape your bodice beautifully by adding darts! Darts are like little sculpting tricks that give your fabric curves and bring it to life. You'll learn how to mark, fold, and sew bust and back darts to create a three-dimensional form. Plus, you'll pick up handy tips for preventing gaping and achieving a polished look. Ready to give your bodice a flattering fit?
20m
image
2
Preparing the Facing - Part 1
In this lesson, you’ll learn to create facings that give your neckline and armholes a neat, professional finish. Facings are cut from the same fabric as the main garment and reinforced with fusible interfacing for extra structure. Step-by-step, you’ll shape, cut, and attach your facings to your garment, picking up helpful tricks to keep curves smooth and avoid puckering. By the end, you’ll have a beautifully finished neckline and be ready to move forward confidently!
18m
image
3
Preparing the Facing - Part 2
In this lesson, you’ll perfect the finishing touches for your neckline and armholes by adding facings. With a bit of precision, you’ll stitch, clip, and topstitch your facings to create crisp, polished edges. Then, you’ll use zigzag stitching to neaten up raw edges, ensuring that your garment looks as good on the inside as it does on the outside. Finally, you’ll learn to baste the back facings, setting everything up for the zipper insertion in the next lesson!
20m
image
4
Sewing the Pieces Together - Part 1
In this lesson, you’ll bring your top to life by putting all the pieces together! Starting with the peplum, you’ll align and stitch the outer layer and lining, finishing it with a clean edge. Then, you’ll join the bodice pieces, carefully marking and sewing the side seams for an exact fit. By the end, you’ll have a fully assembled bodice and peplum, neatly joined and ready for final adjustments!
12m
image
5
Sewing the Pieces Together - Part 2
In this lesson, you’ll finish constructing the top by attaching the bodice and peplum! After making final fit adjustments, you’ll sew and press side and shoulder seams for a neat look. Then, you’ll carefully match and sew the peplum to the bodice, learning tips for quickly aligning curved and straight edges. With a final press, your assembled top is ready for the last steps, including the invisible zipper, in the next lesson.
9m
image
6
Inserting the Zipper
In this lesson, you’ll complete the finishing touch by inserting an invisible zipper, giving your top a polished, professional look. Step-by-step, you’ll align and sew the zipper to ensure it lies flat and blends seamlessly into the back seam. You’ll also learn tricks for perfect alignment, handling bulk, and securing extra zipper length. With the zipper in place, your top is nearly complete and beautifully fitted!
15m
image
7
Hemming Curves Edges
In this lesson, you’ll learn two techniques for hemming curved edges: the classic double-rolled hem and a narrow, delicate hem perfect for finer fabrics. You’ll start with the standard double-rolled hem, a sturdy and neat method, and then move on to the narrow hem, ideal for chiffons and silks, which creates an elegant, lightweight finish. With these techniques, you’ll master beautiful hems for any fabric.
9m
image
1
Drafting a Two-Piece Waistband
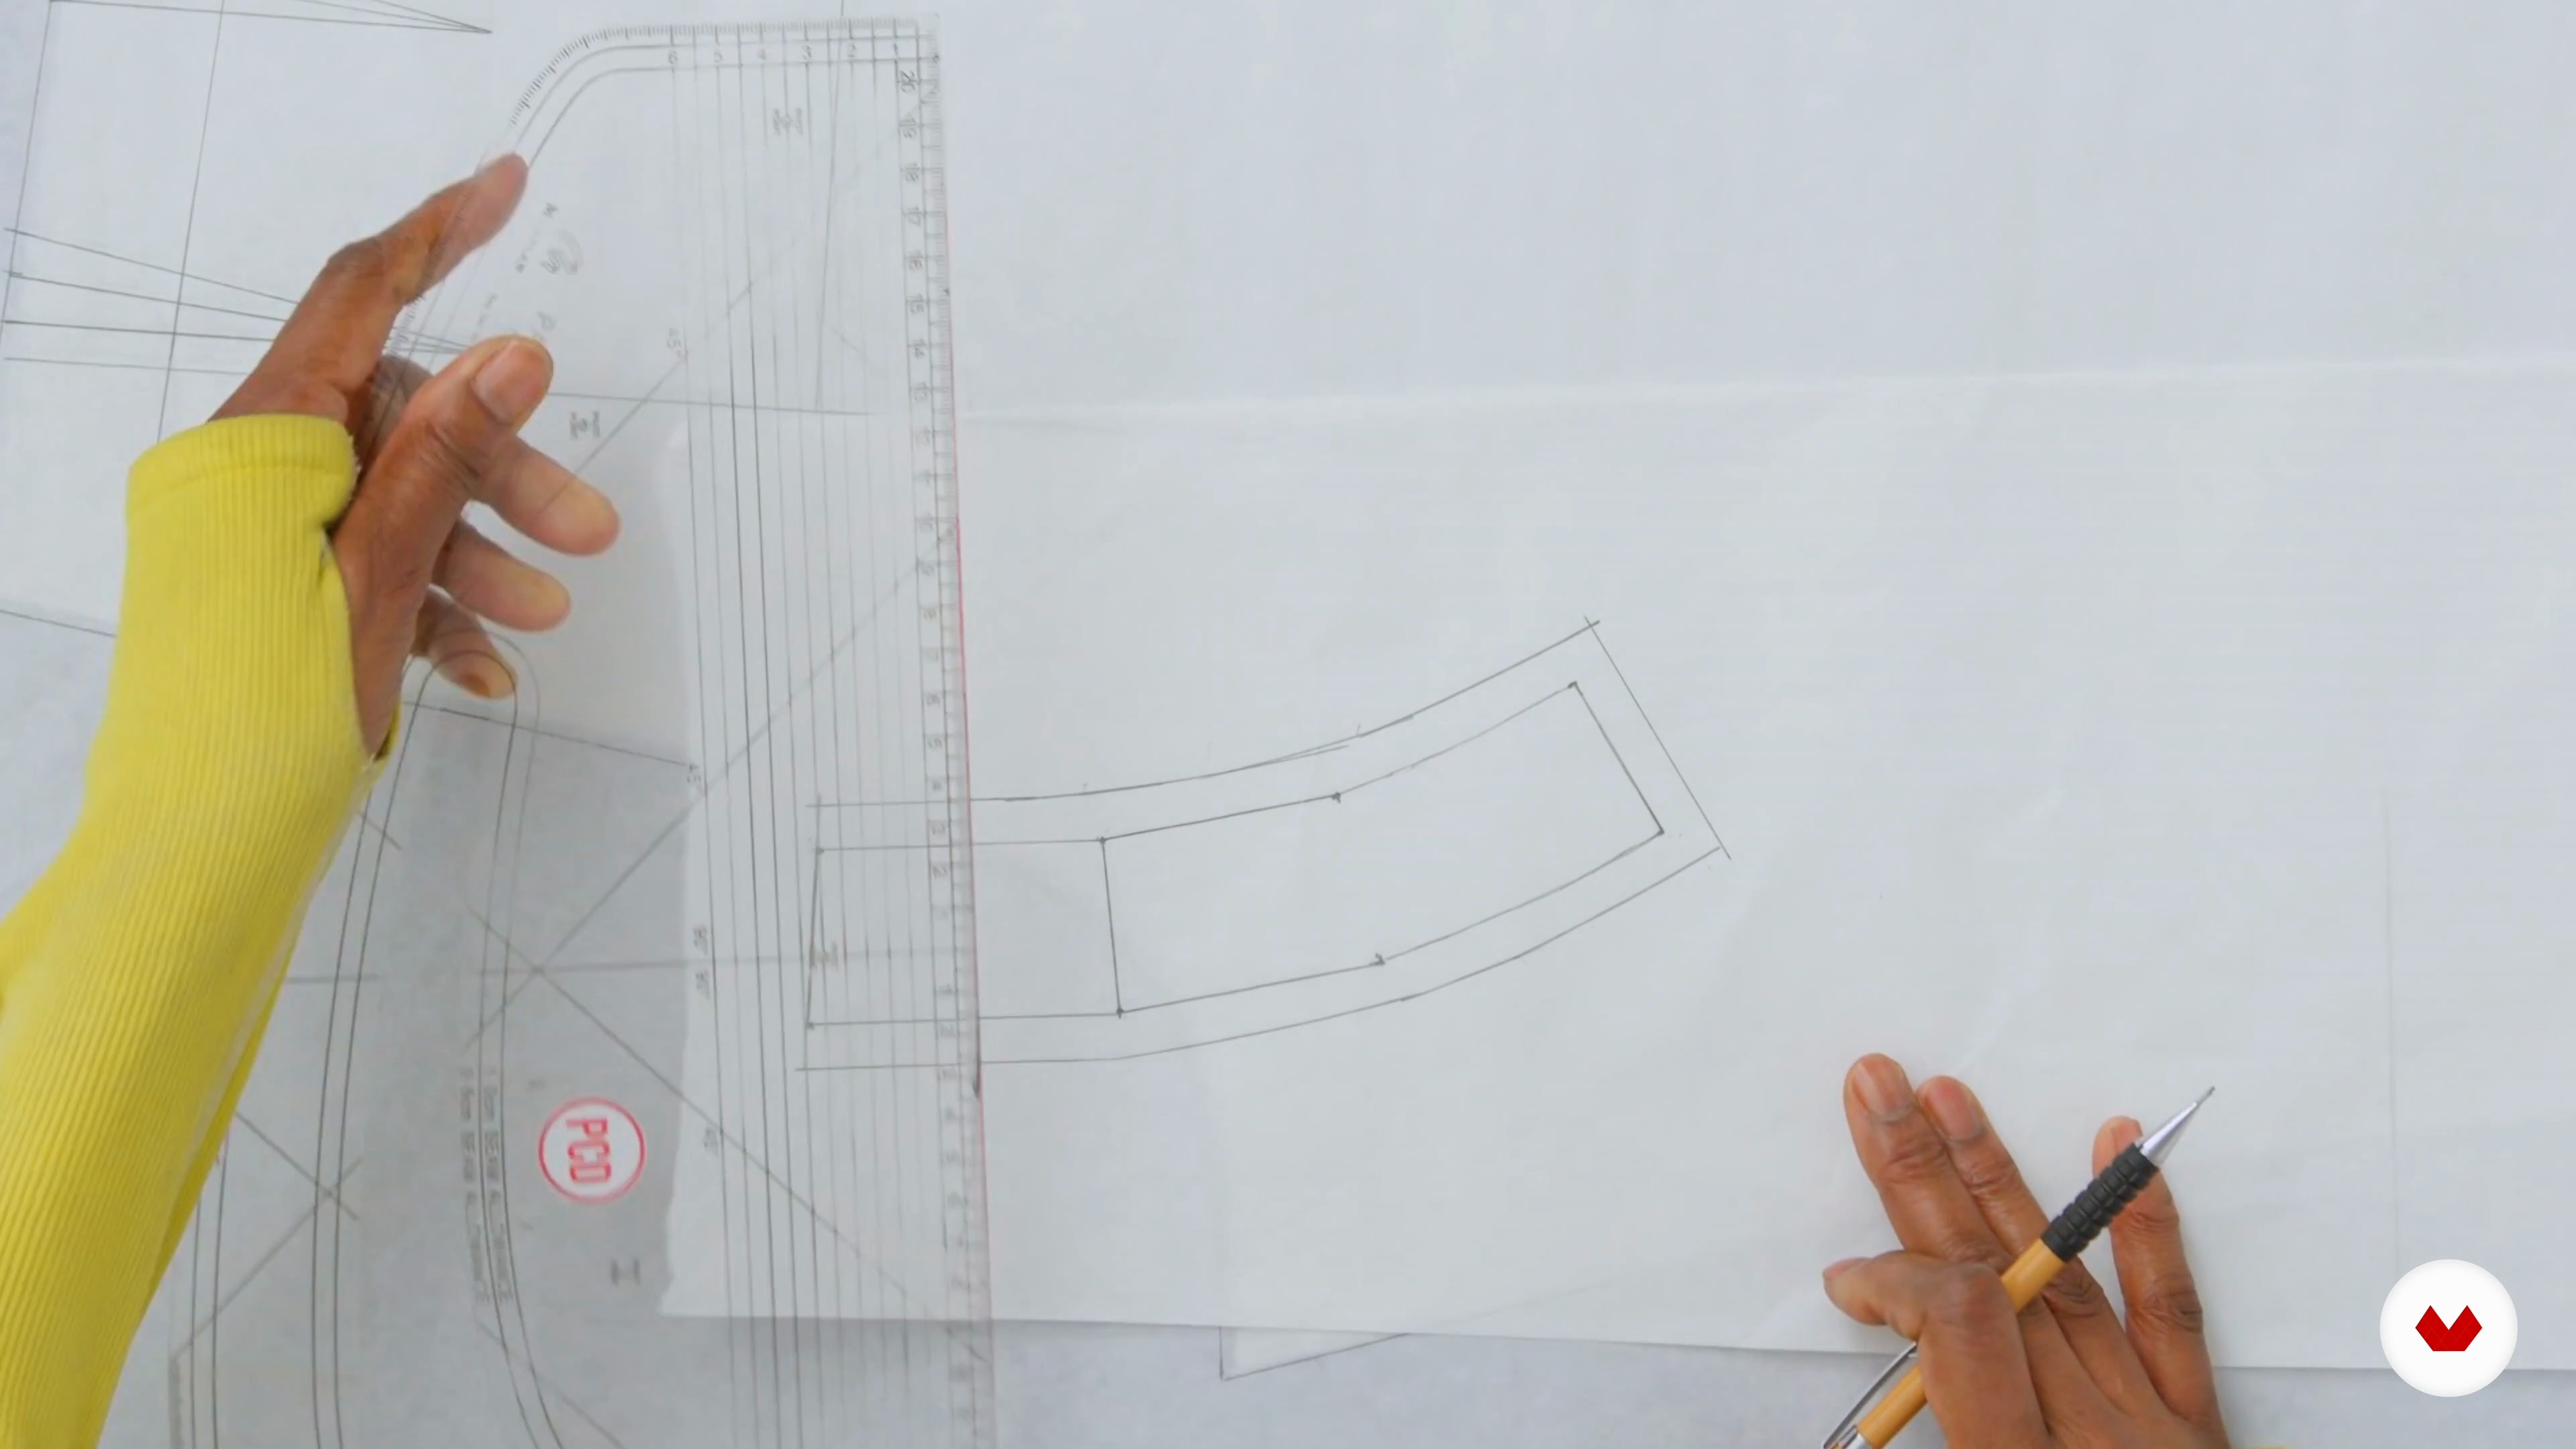
This lesson teaches you to transform the block pattern into a classic trouser waistband. Following a series of precise steps, you’ll adapt the waistband section for the front and back, marking essential measurements and creating curves by closing darts. Add seam allowances, notches, and interfacing notes to reinforce the waistband for wear and tear. By the end, you’ll have custom waistband patterns ready to cut, forming the foundation for your tailored trousers.
15m
image
2
Drafting the Pockets
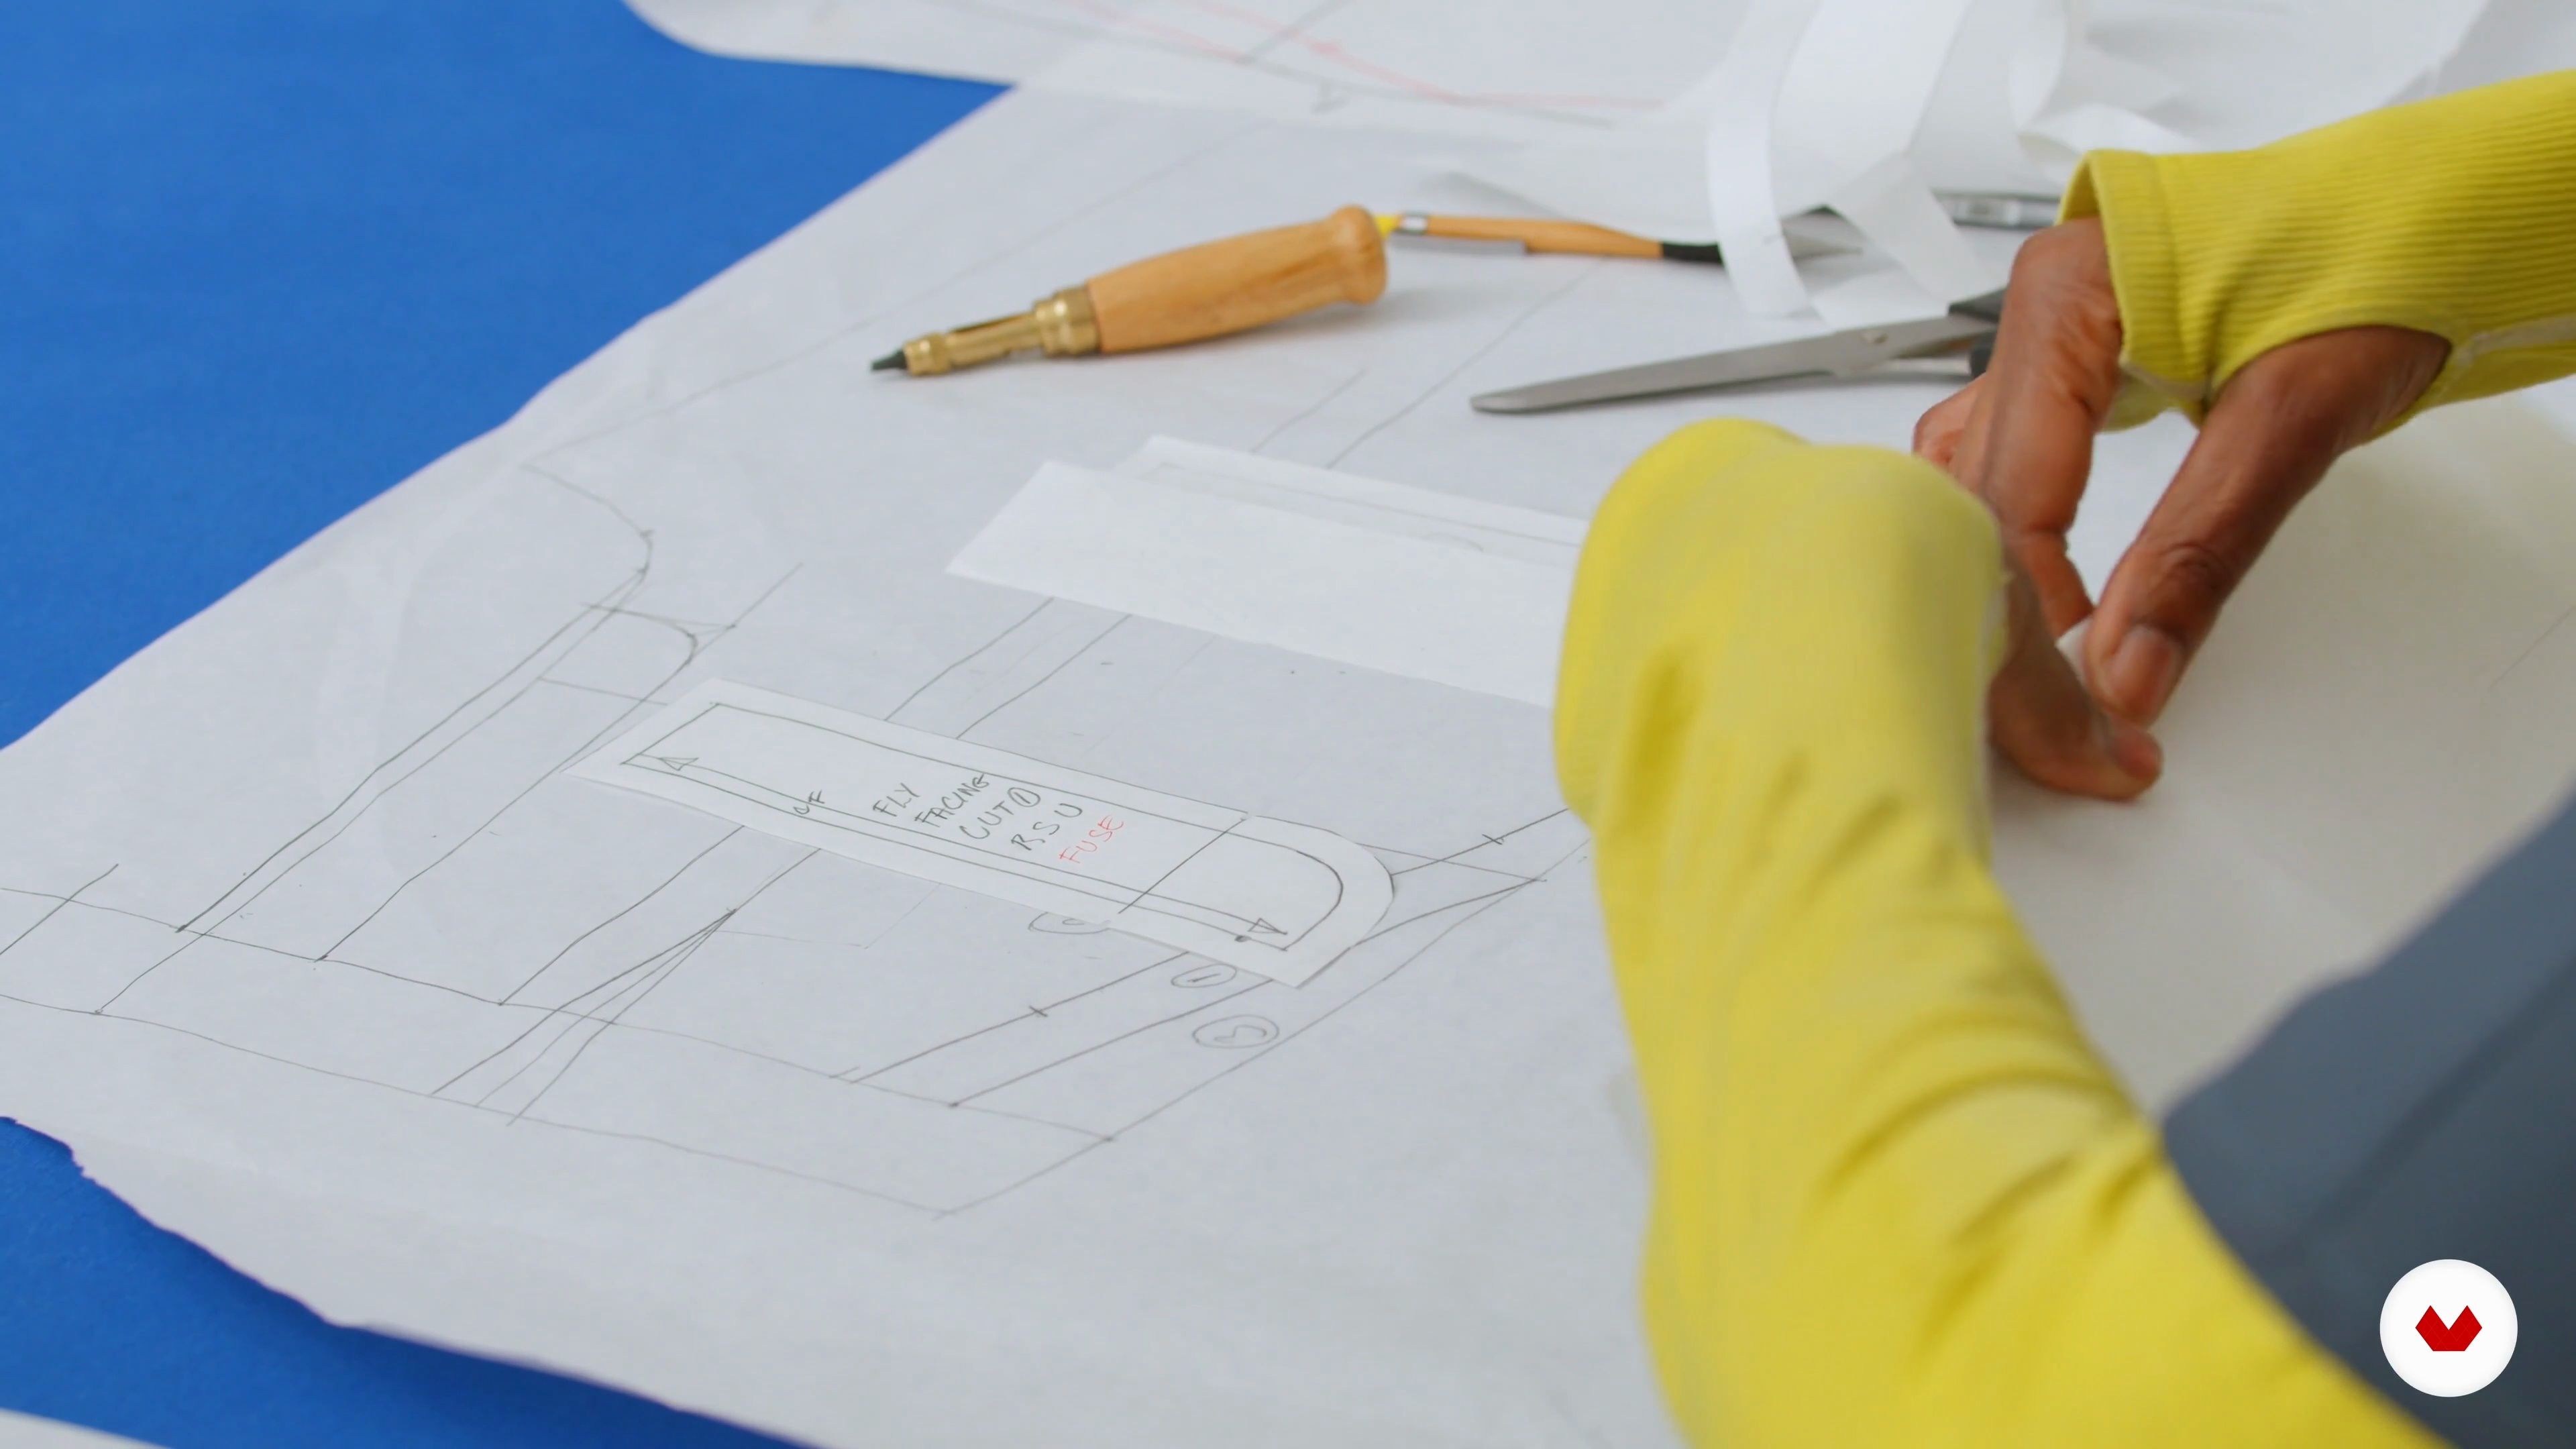
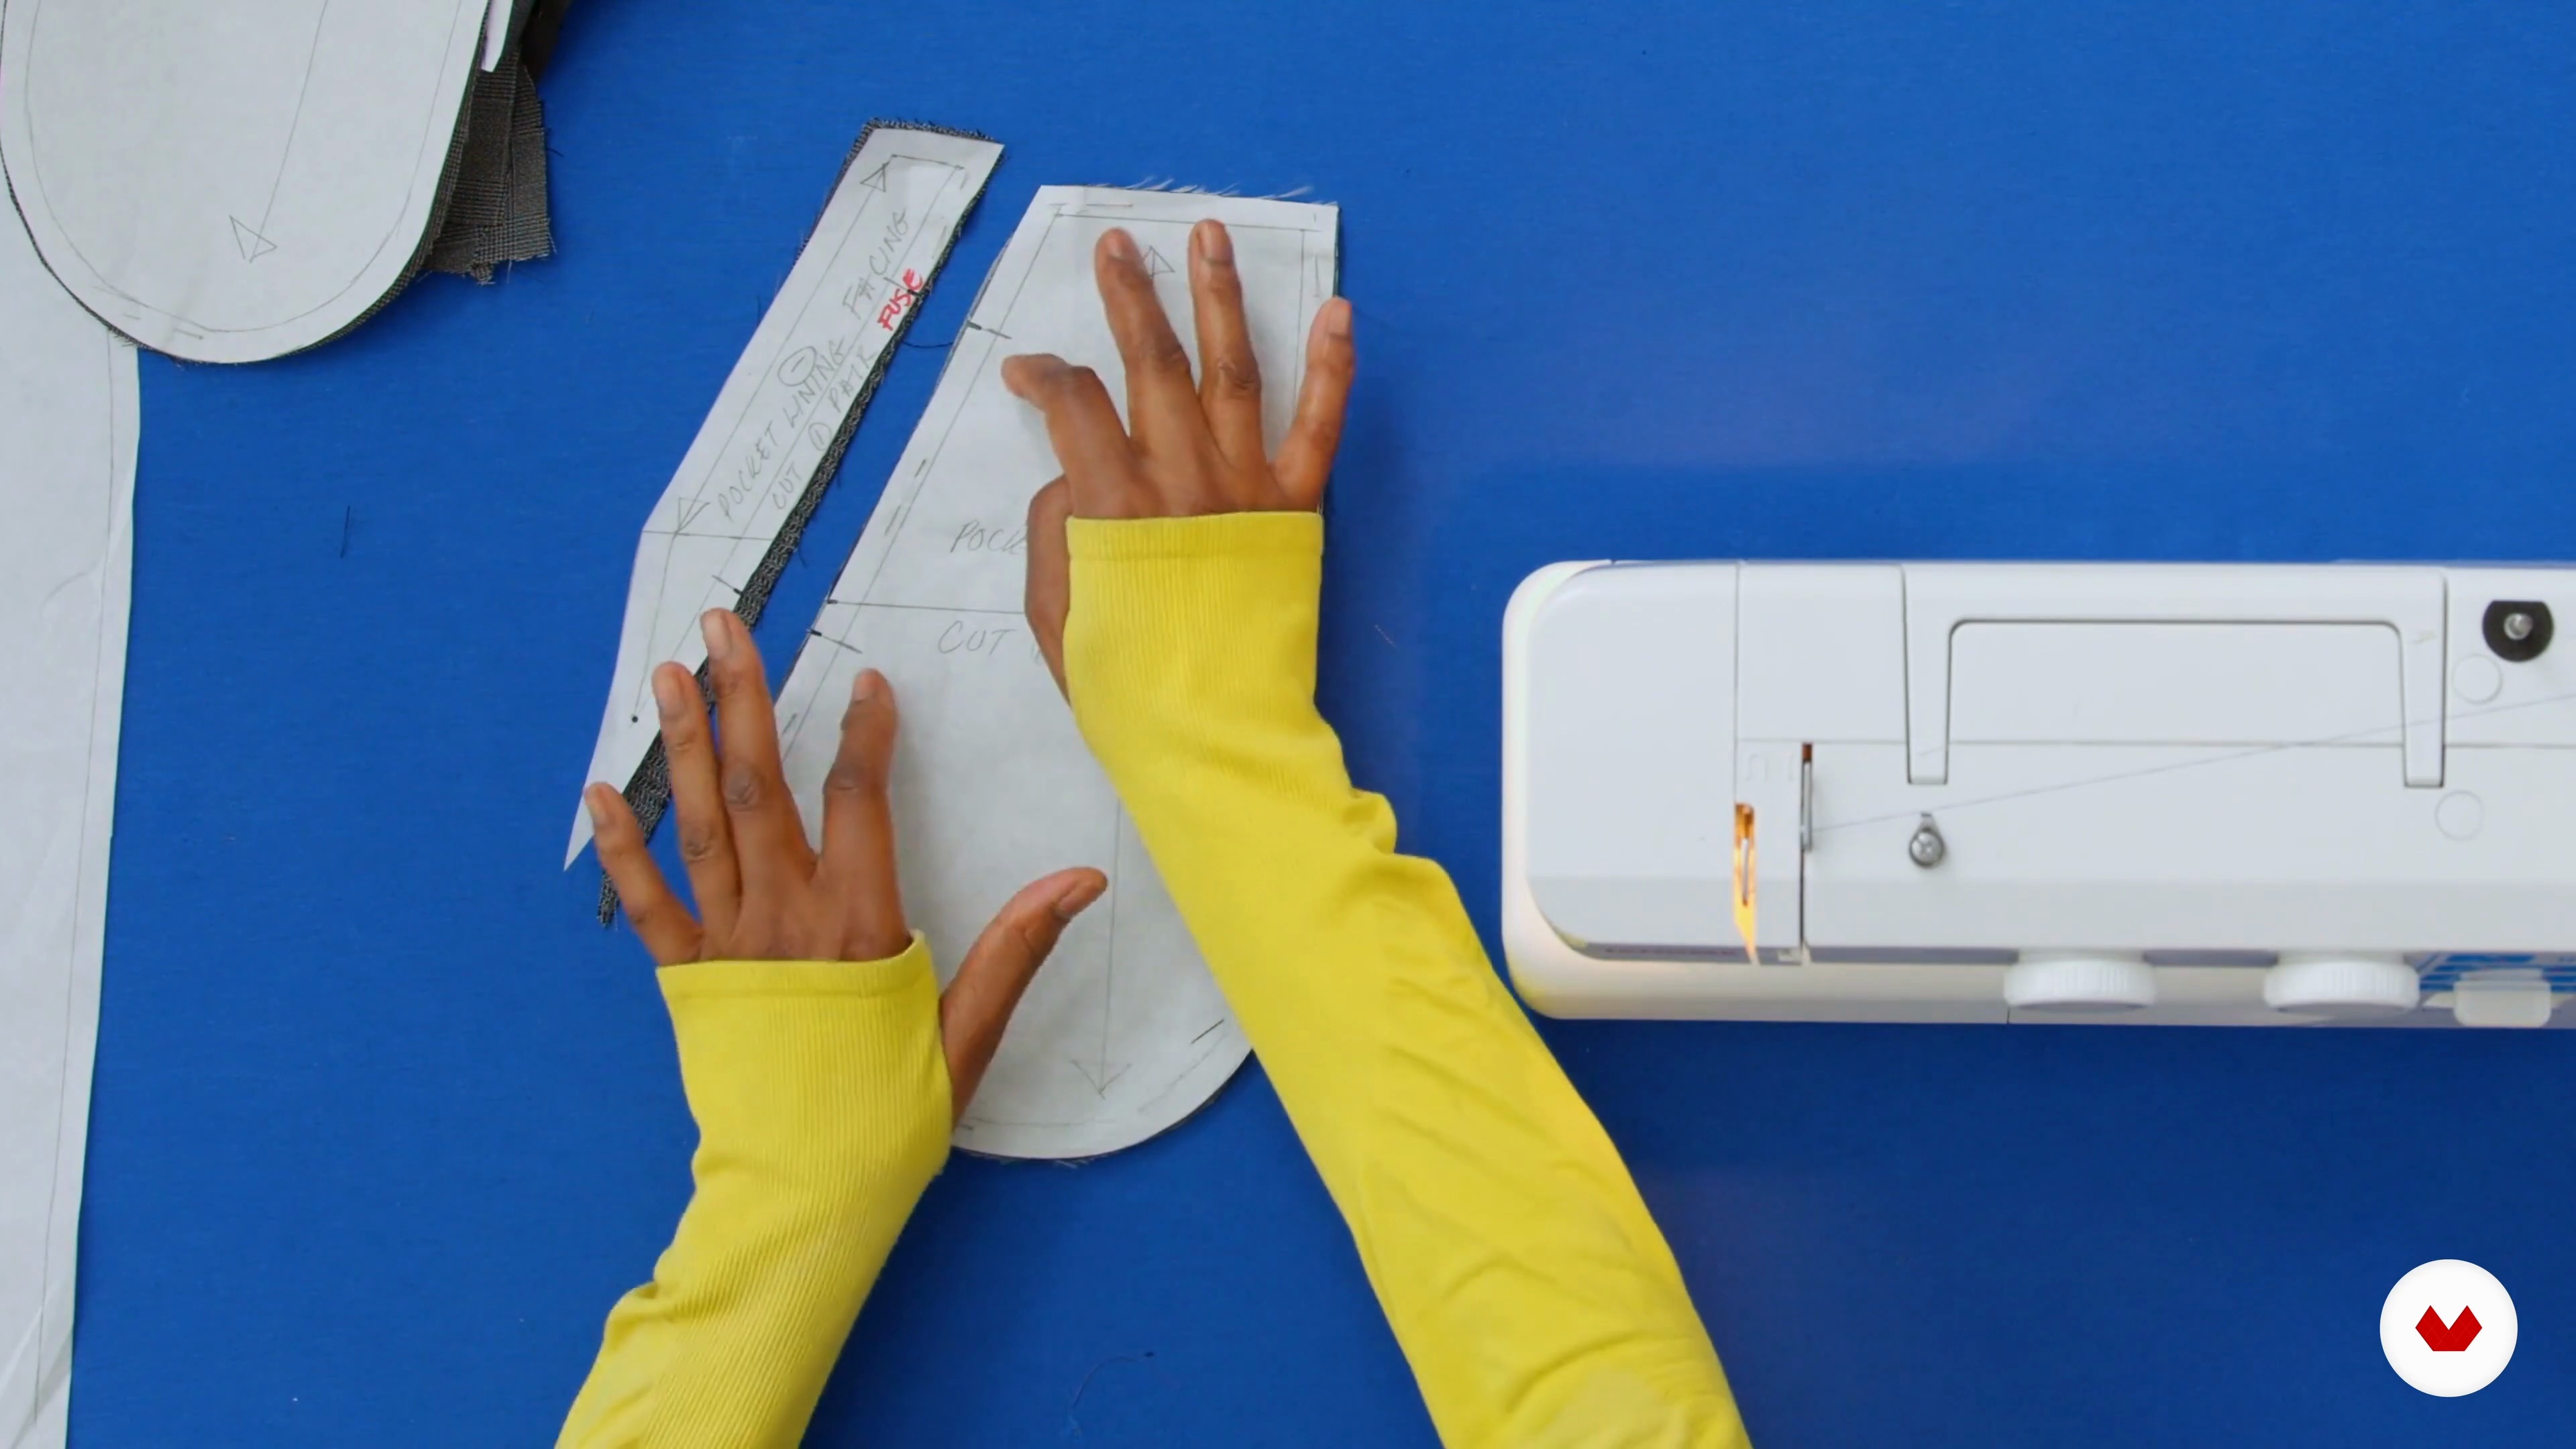
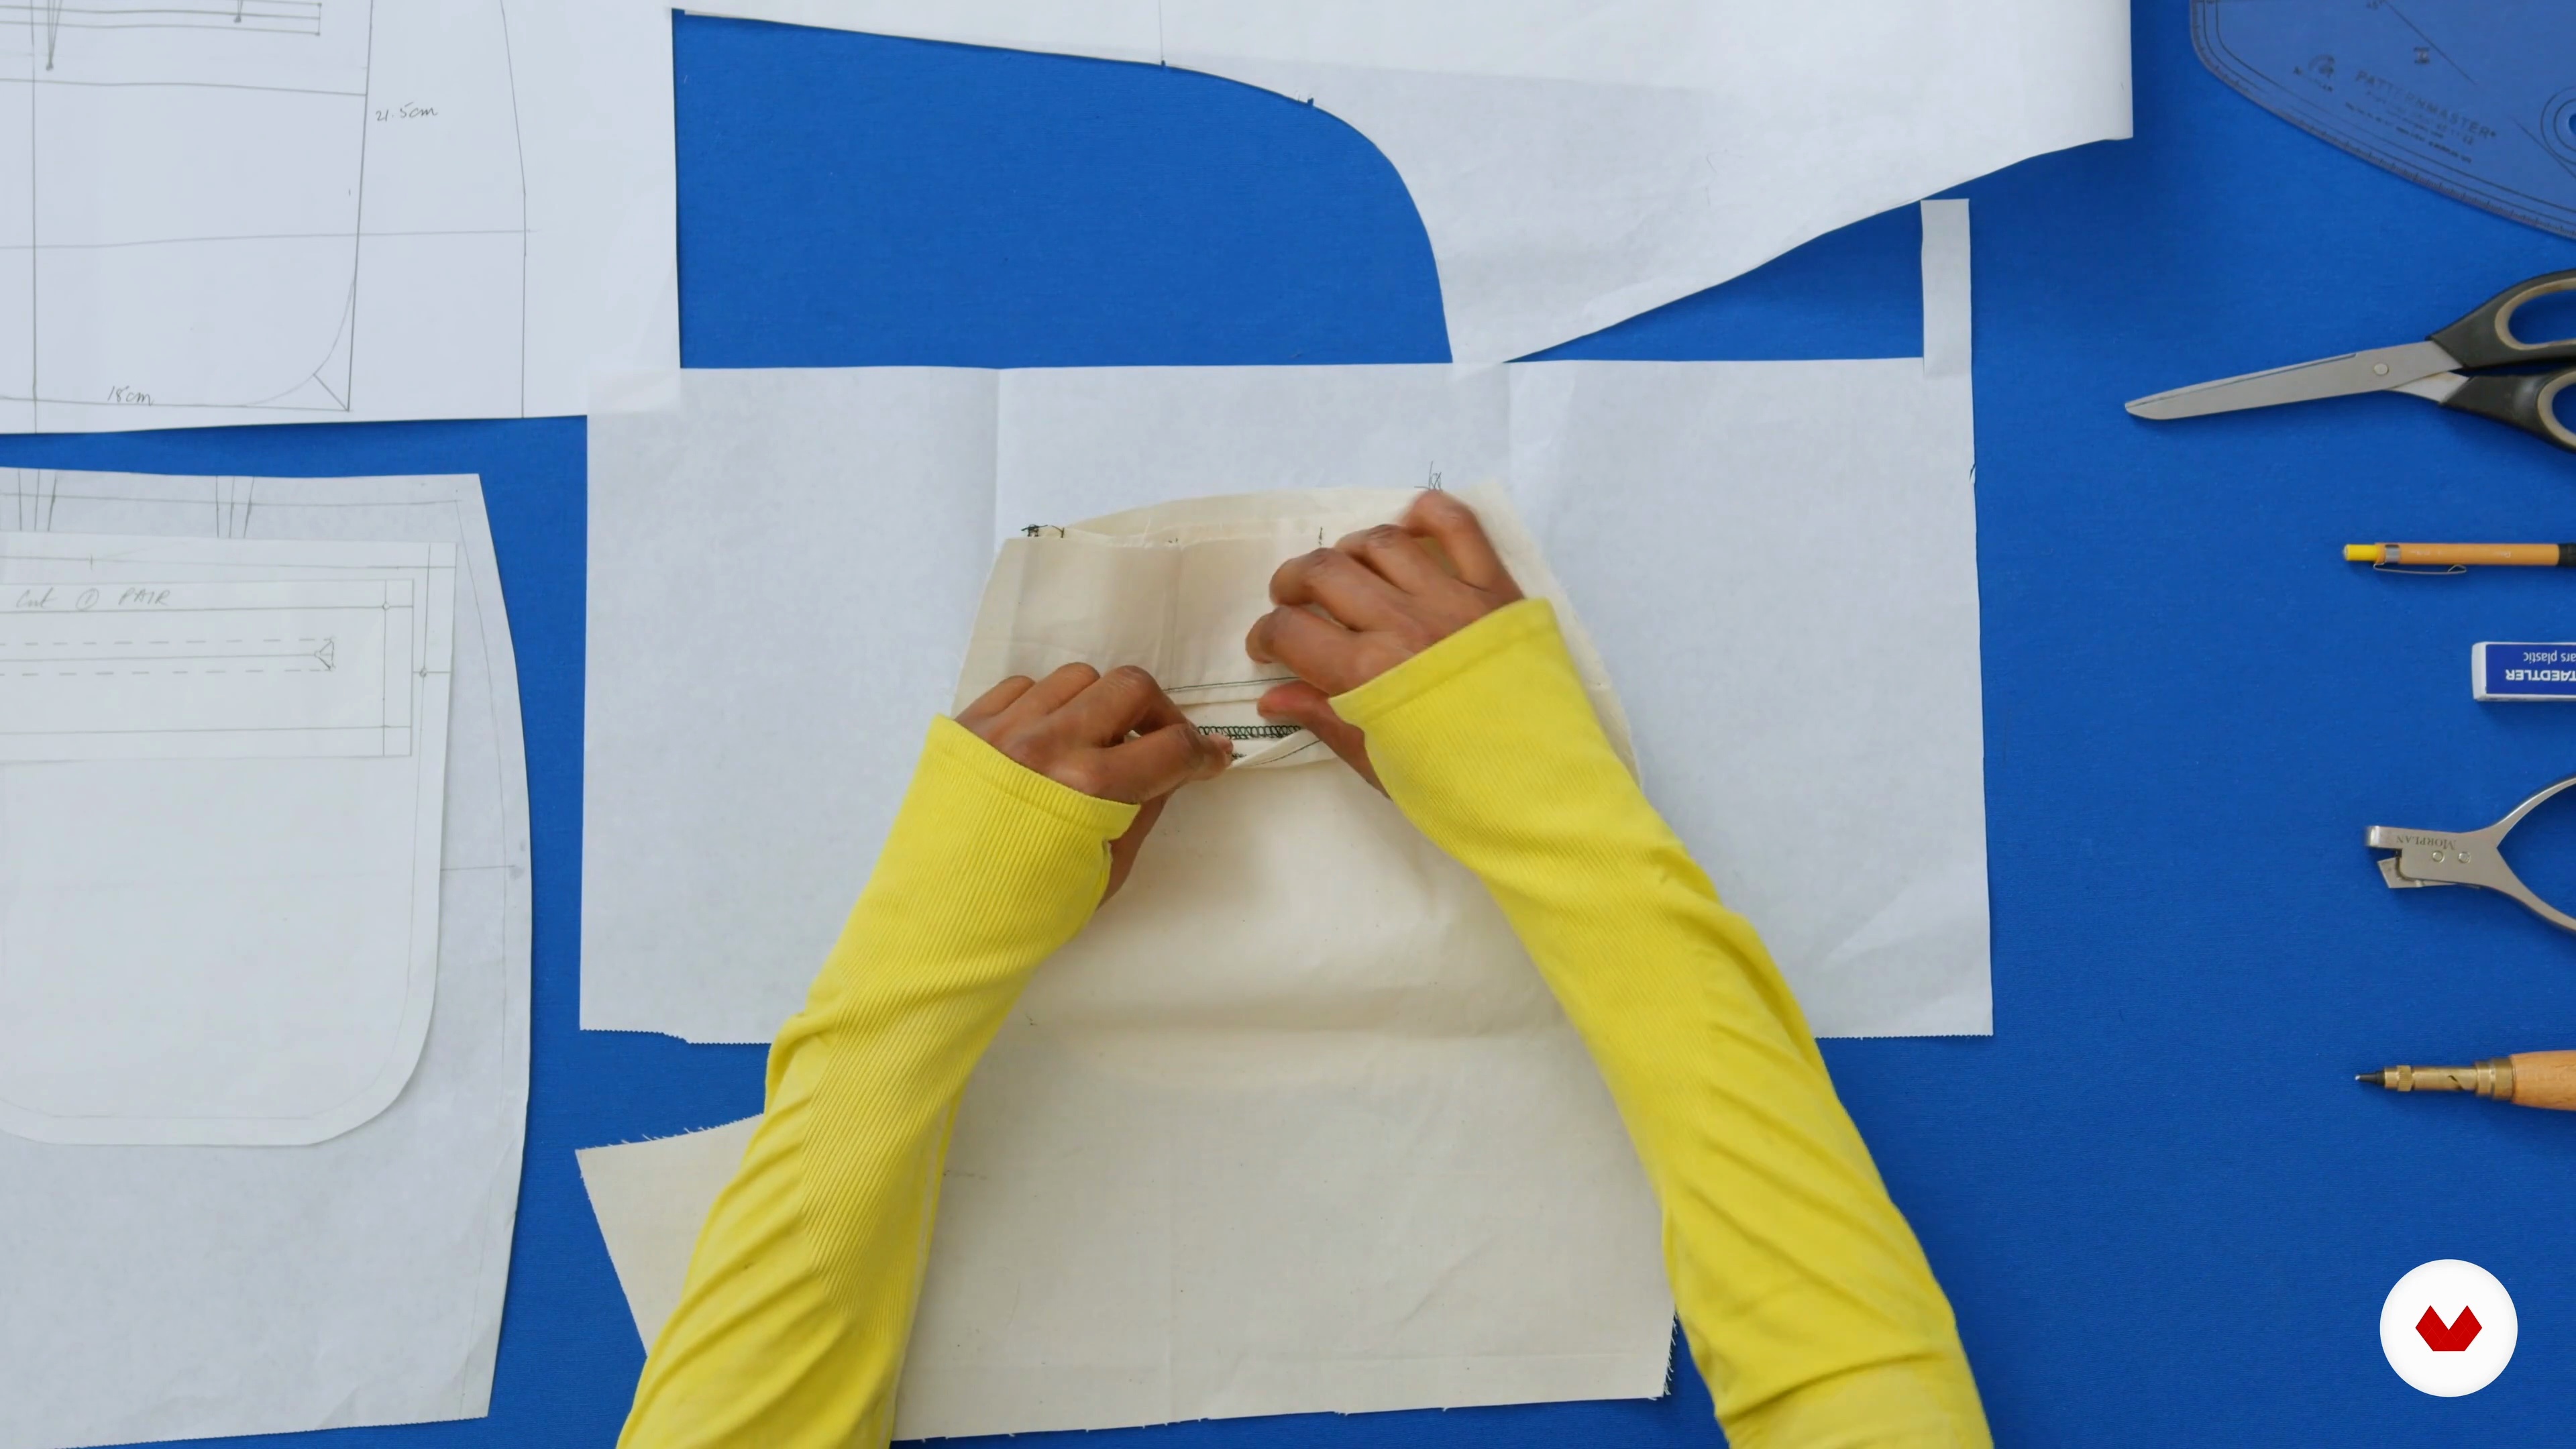
In this lesson, you’ll draft a classic three-piece pocket for trousers. Starting with measurements from the waistband block, you’ll create the pocket opening, add seam allowances, and design each pocket layer for a comfortable fit. By the end, you’ll have completed the pocket lining, pocket bag, and pocket-facing patterns, all with carefully placed notches and seam allowances for easy assembly. This custom pocket adds function and style, setting a solid foundation for the next steps in trouser construction.
13m
image
3
Drafting the Fly and Trouser Legs - Part 1
In this lesson, you’ll draft the fly front and front trouser legs. Starting with the fly, you’ll add the overlapping section and create the fly-facing and zip guard, complete with notches and seam allowances. Then, you’ll draft the right trouser leg, adding key reference points for darts, knee line, and hem. With these pieces ready, you’re set for trouser assembly.
18m
image
4
Drafting the Fly and Trouser Legs - Part 2
In this lesson, you’ll draft the left front trouser leg by tracing the right leg up to the knee, with a few adjustments to remove the fly extension. You’ll draft only one pattern piece for the back leg, as both legs will be cut from the same pattern. After marking essential notches and seam allowances, you’ll add a curved hem allowance for a natural fit. With both legs prepared, you’re ready to cut and start sewing in the next lesson.
10m
image
5
Stitching: Darts, Pockets, and Fly - Part 1
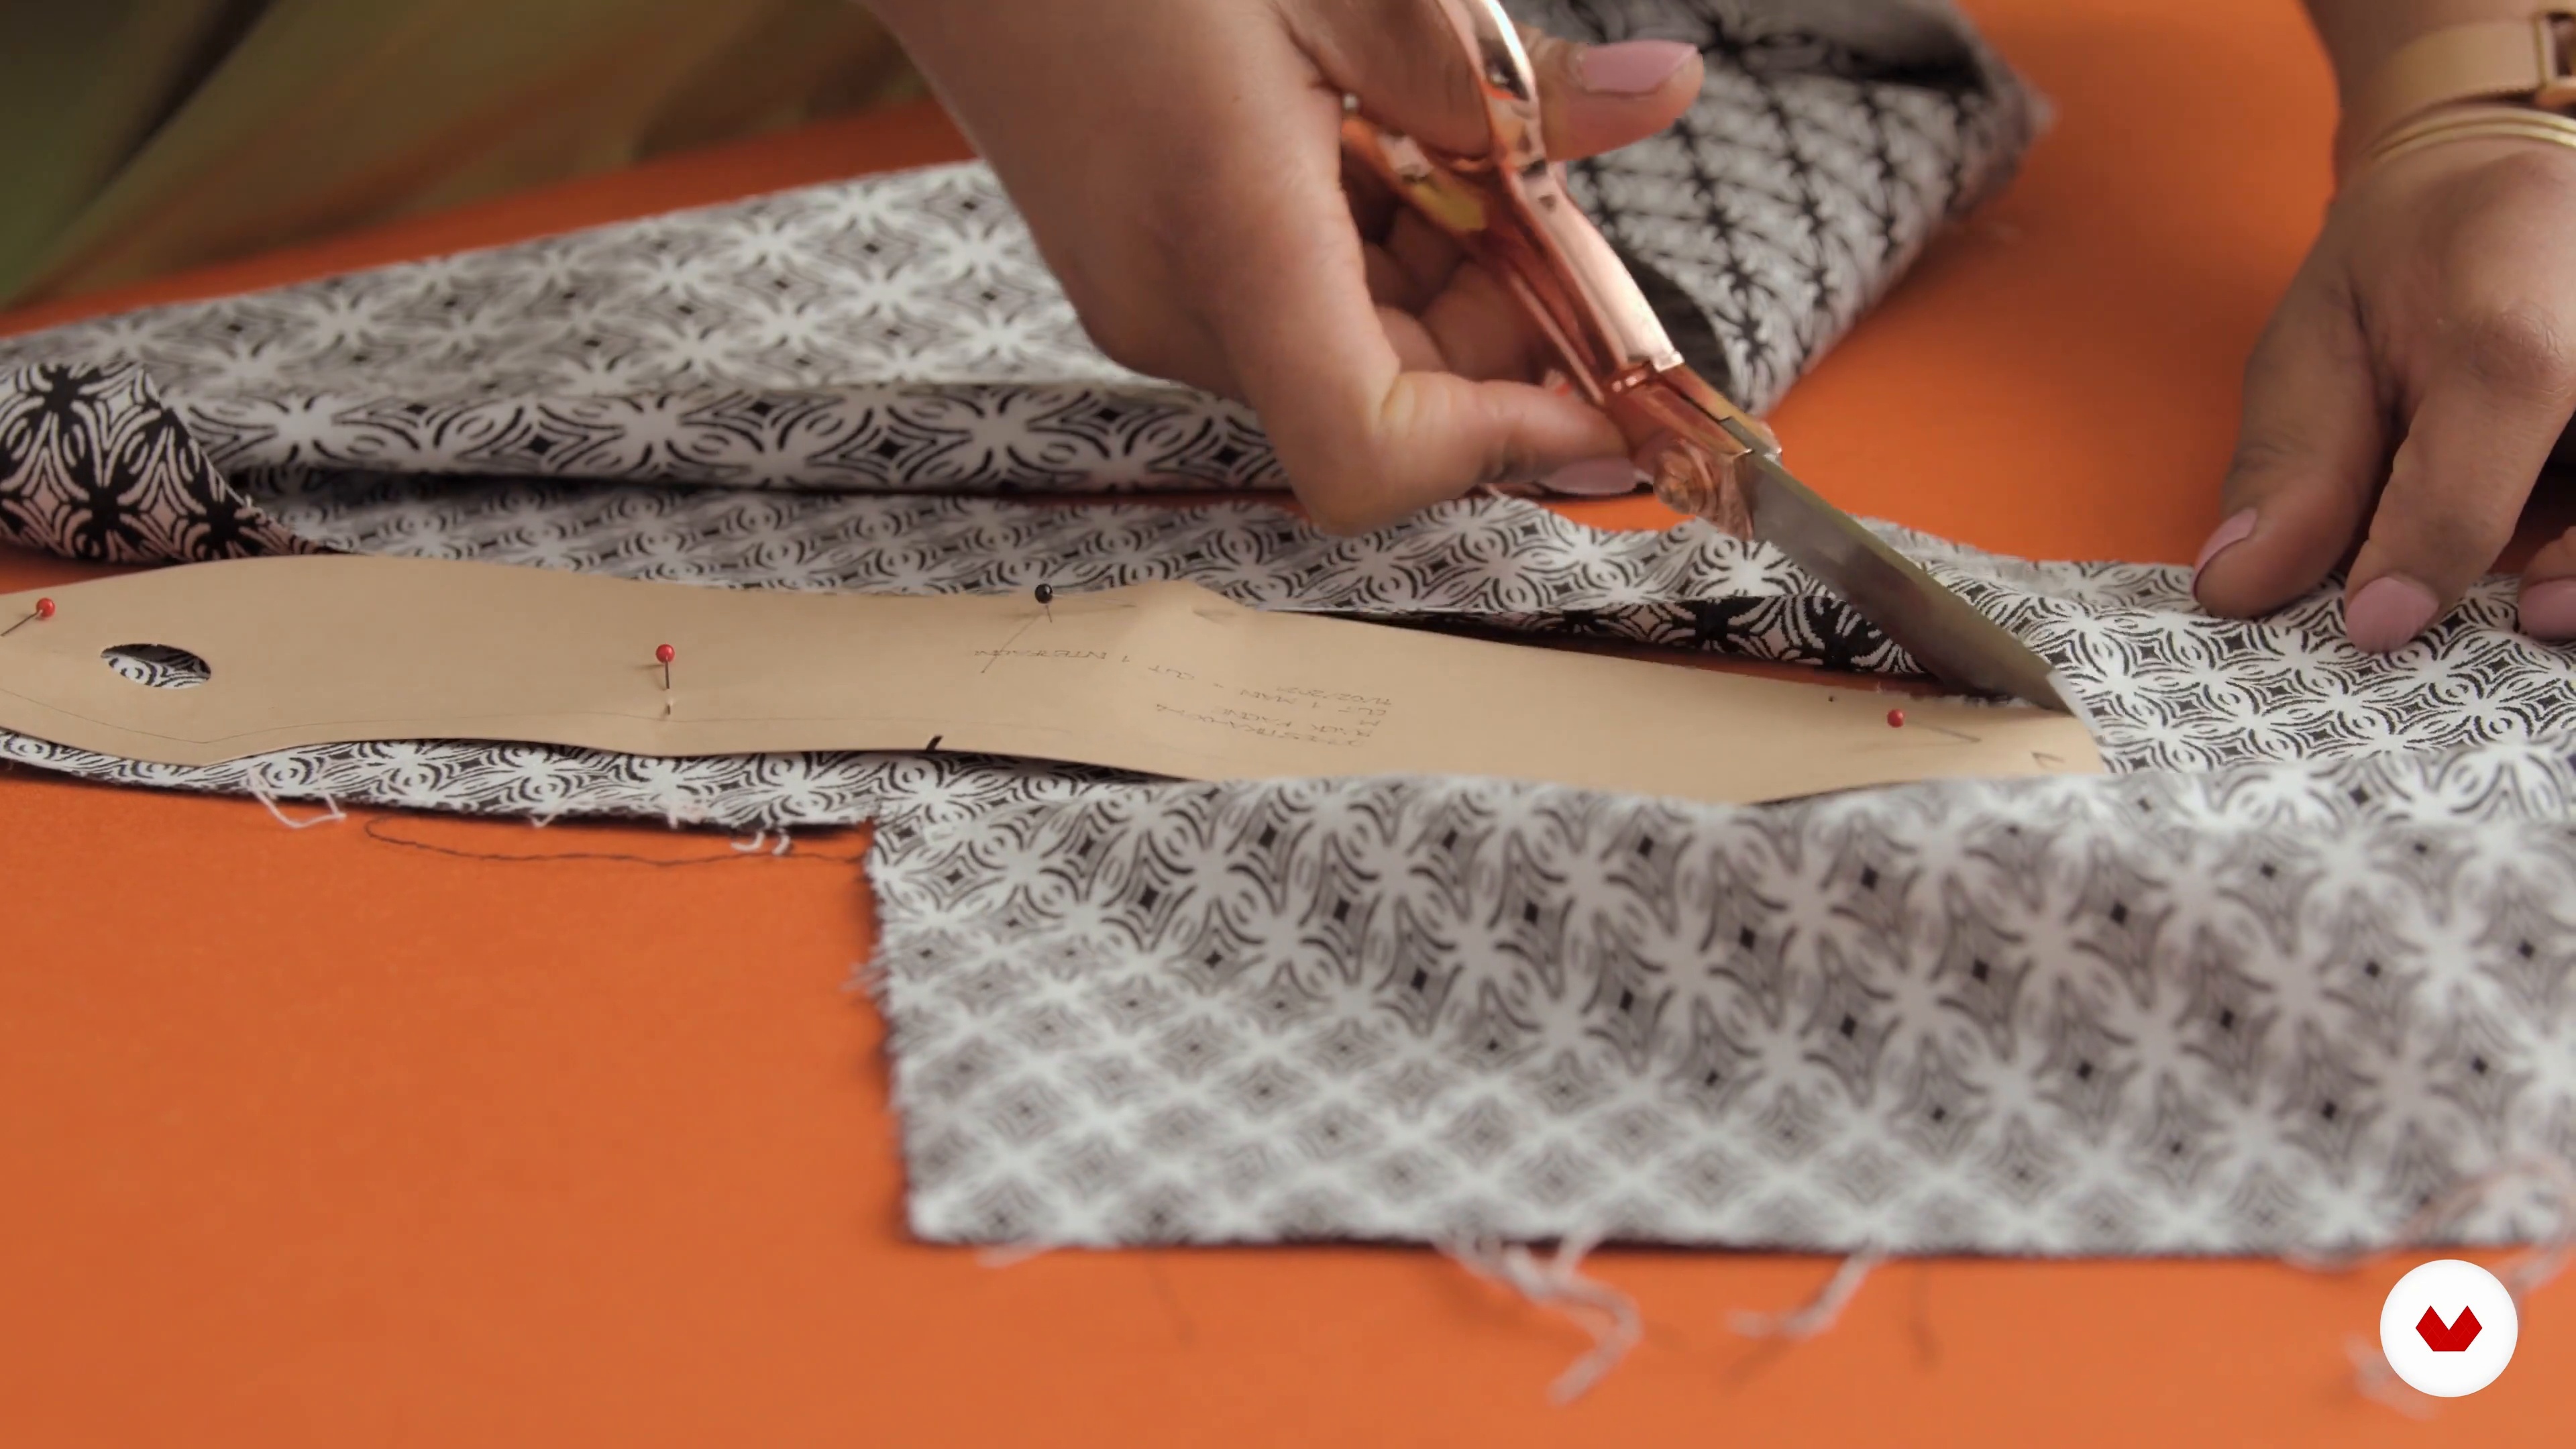
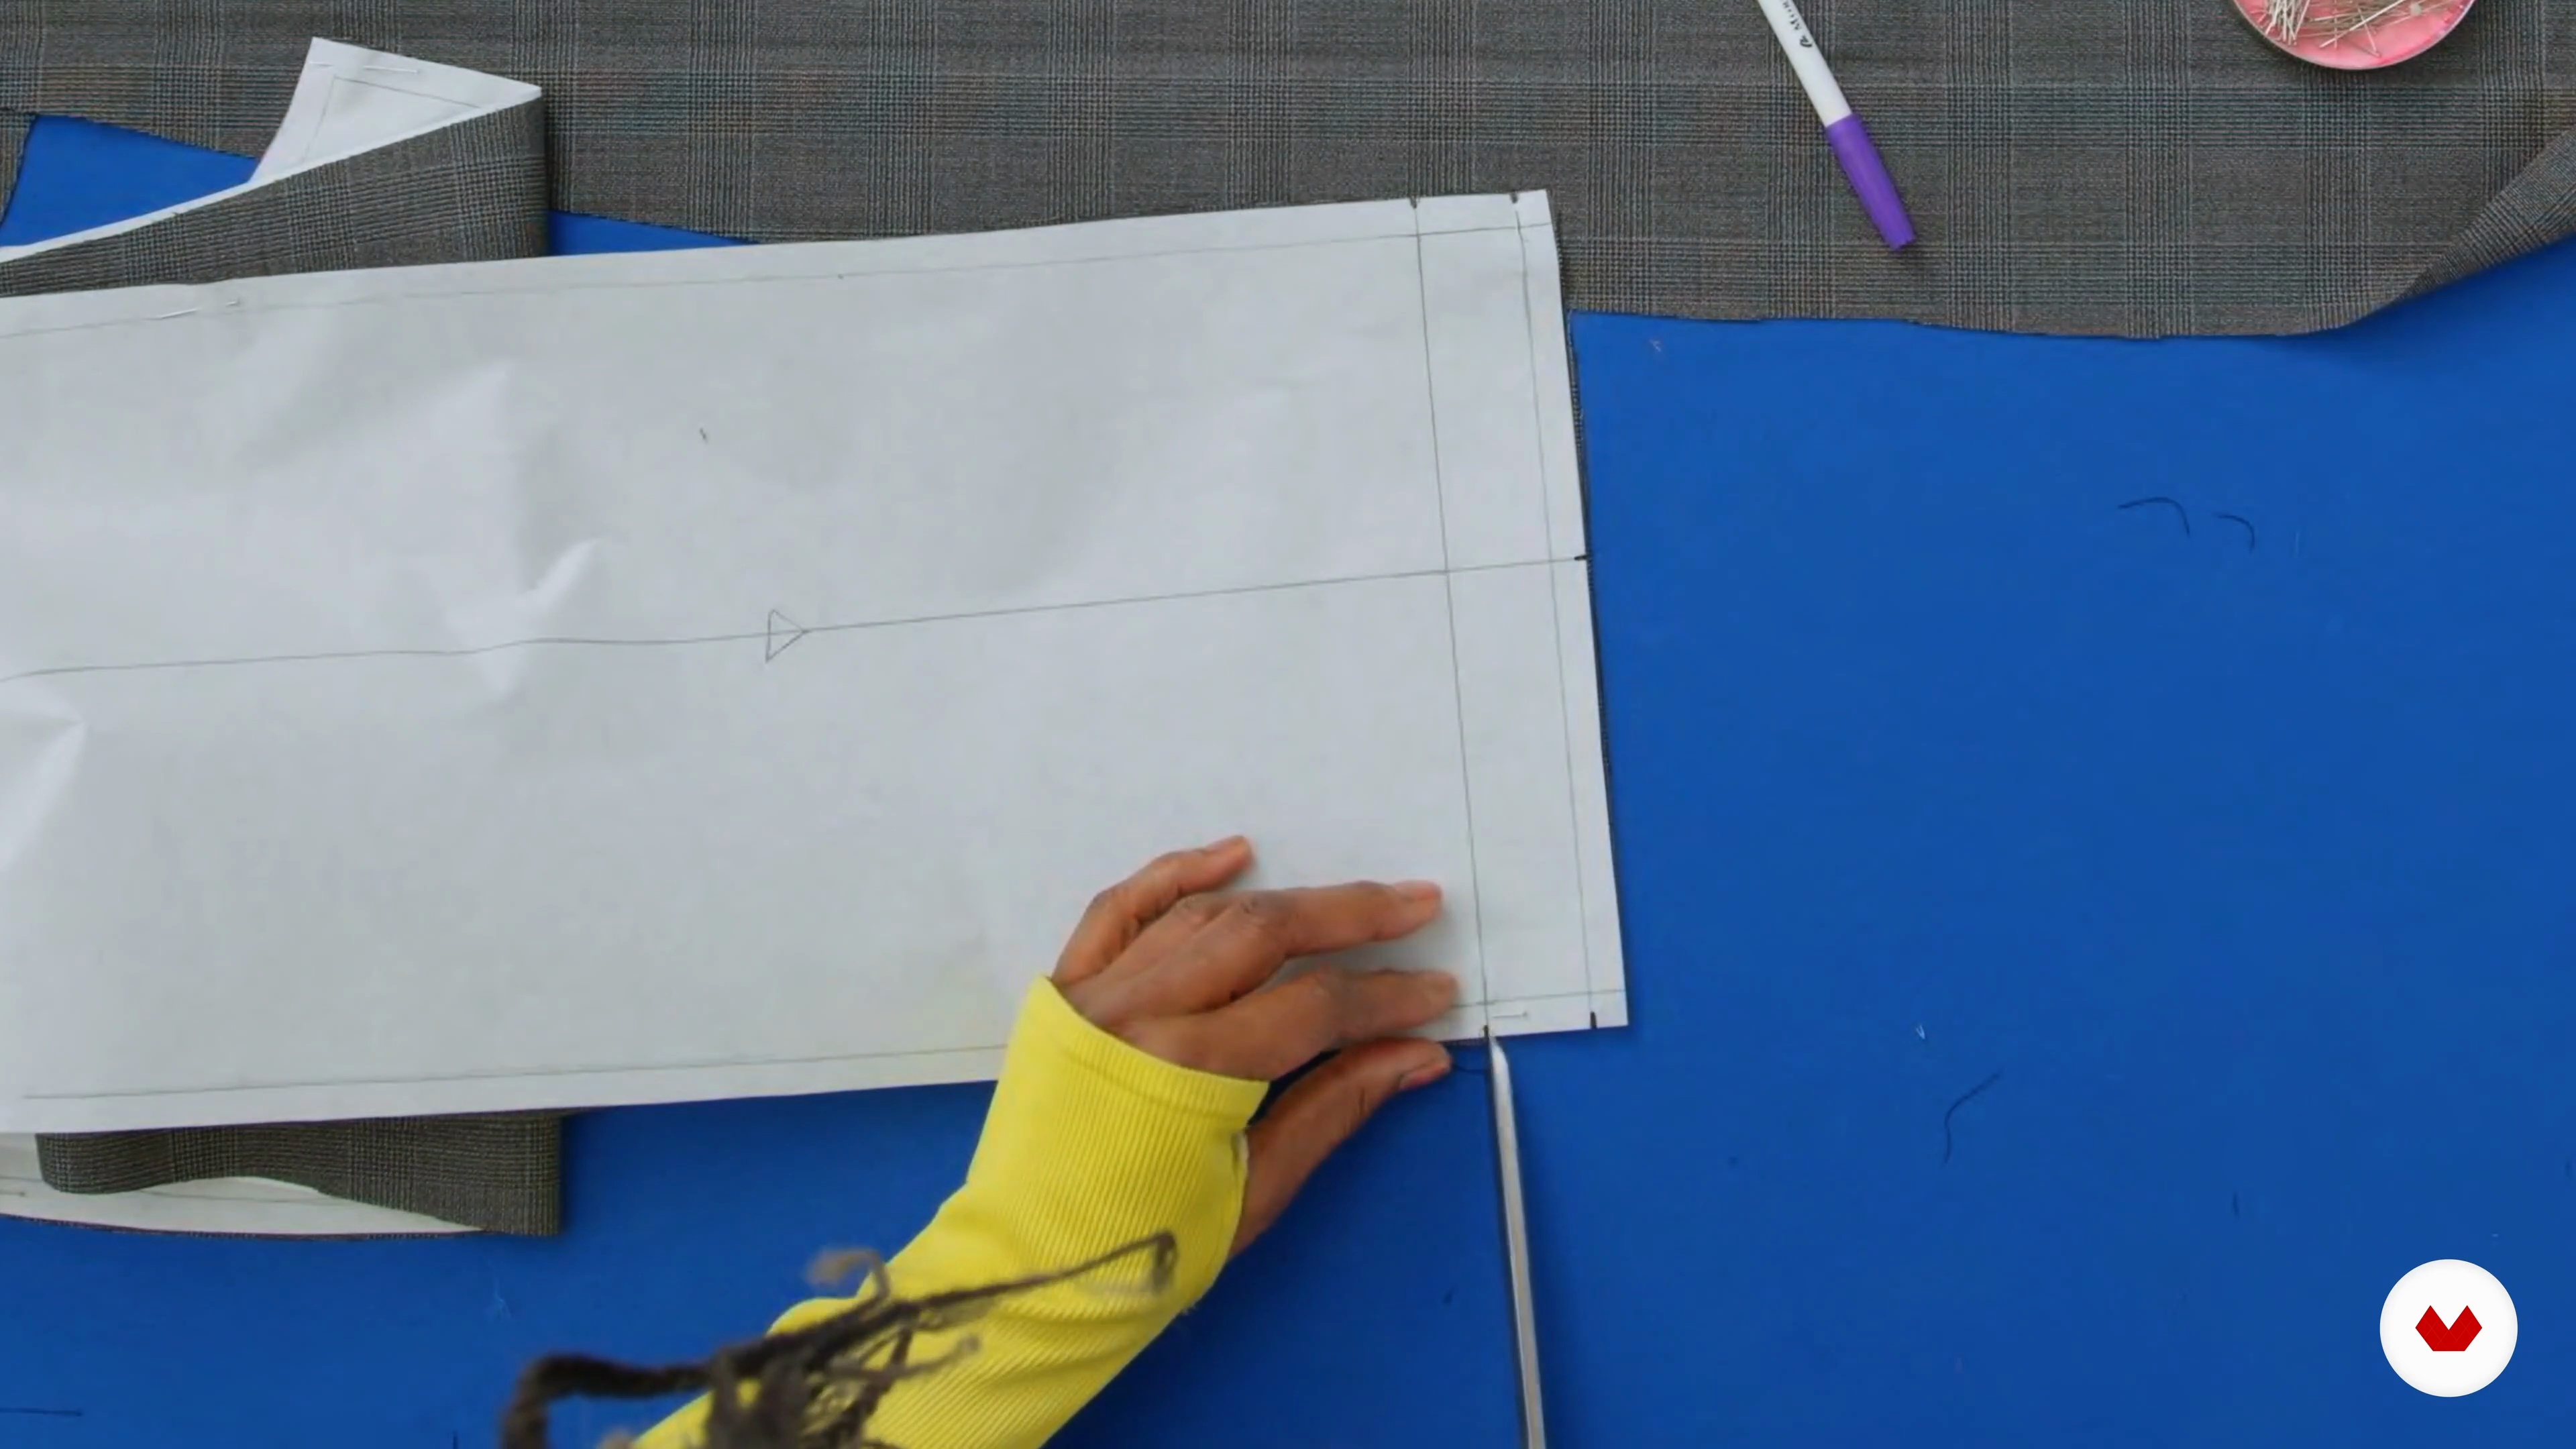
In this lesson, you'll learn to place your trouser pattern pieces on fabric, cut them out, and mark drill holes and notches. You'll see how to conserve fabric by folding where possible and aligning the grain line with the fabric's selvage. After cutting the trousers, you'll move on to the pocket lining and remaining pieces, ensuring these parts are well-marked and ready for fusing or stitching.
15m
image
6
Stitching: Darts, Pockets, and Fly - Part 2
In this lesson, you’ll layer your fabric and interfacing for easy cutting, pin the pattern pieces, and cut each part precisely. After that, you’ll sew the front and back darts, pressing them neatly toward the crotch. Moving on, you’ll assemble the pockets by attaching the facing to the pocket lining and adding stay stitches for stability. Finally, you’ll secure the pocket bags, trim excess fabric, and finish edges, preparing the trousers for the fly front.
20m
image
7
Stitching: Darts, Pockets, and Fly - Part 3
Now, we’ll focus on shaping the trouser fly. We’ll start by stitching the crotch area up to the mark and preparing the zip guard. Then, we’ll secure the zipper, ensuring it’s fully covered with no visible edges. Finally, we’ll join the front of the trousers and define the curve. The front is almost ready! See you in the next lesson to learn how to attach the waistband.
14m
image
8
Legs and Waistband - Part 1
In this lesson, you’ll learn how to join and sew the waistband pieces to the trousers. First, we assemble the outer shell and facing of the waistband, securing the side seams and ensuring a neat edge. Then, we press and attach the waistband to the top of the trousers, aligning the edges and stitching carefully. Finally, we add the facing, ensuring the zipper is hidden, and the finish is tidy.
14m
image
9
Legs and Waistband - Part 2
In this lesson, you’ll learn to make a buttonhole on the waistband tab and hem the trouser legs. We’ll start by marking and stitching the buttonhole, trimming threads, and creating a small cut to open it. Then, I’ll guide you through folding and sewing a neat, three-centimeter hem. Finally, we’ll prep for the following steps: drafting patterns for belt loops and a back welt pocket.
7m
image
10
The Welt Back Pocket and Belt Loops
In this lesson, you'll learn how to create patterns for the belt loops and the back pocket. We'll first draft a strip that includes all five belt loops, with added seam allowances to be folded and attached neatly between the waistband and trousers. Then, using the base pattern, we'll outline the double-welt back pocket, including the facing, lining, and pocket bag, for a professional finish. Let's get started!
16m
image
11
Alternative Trouser Styles
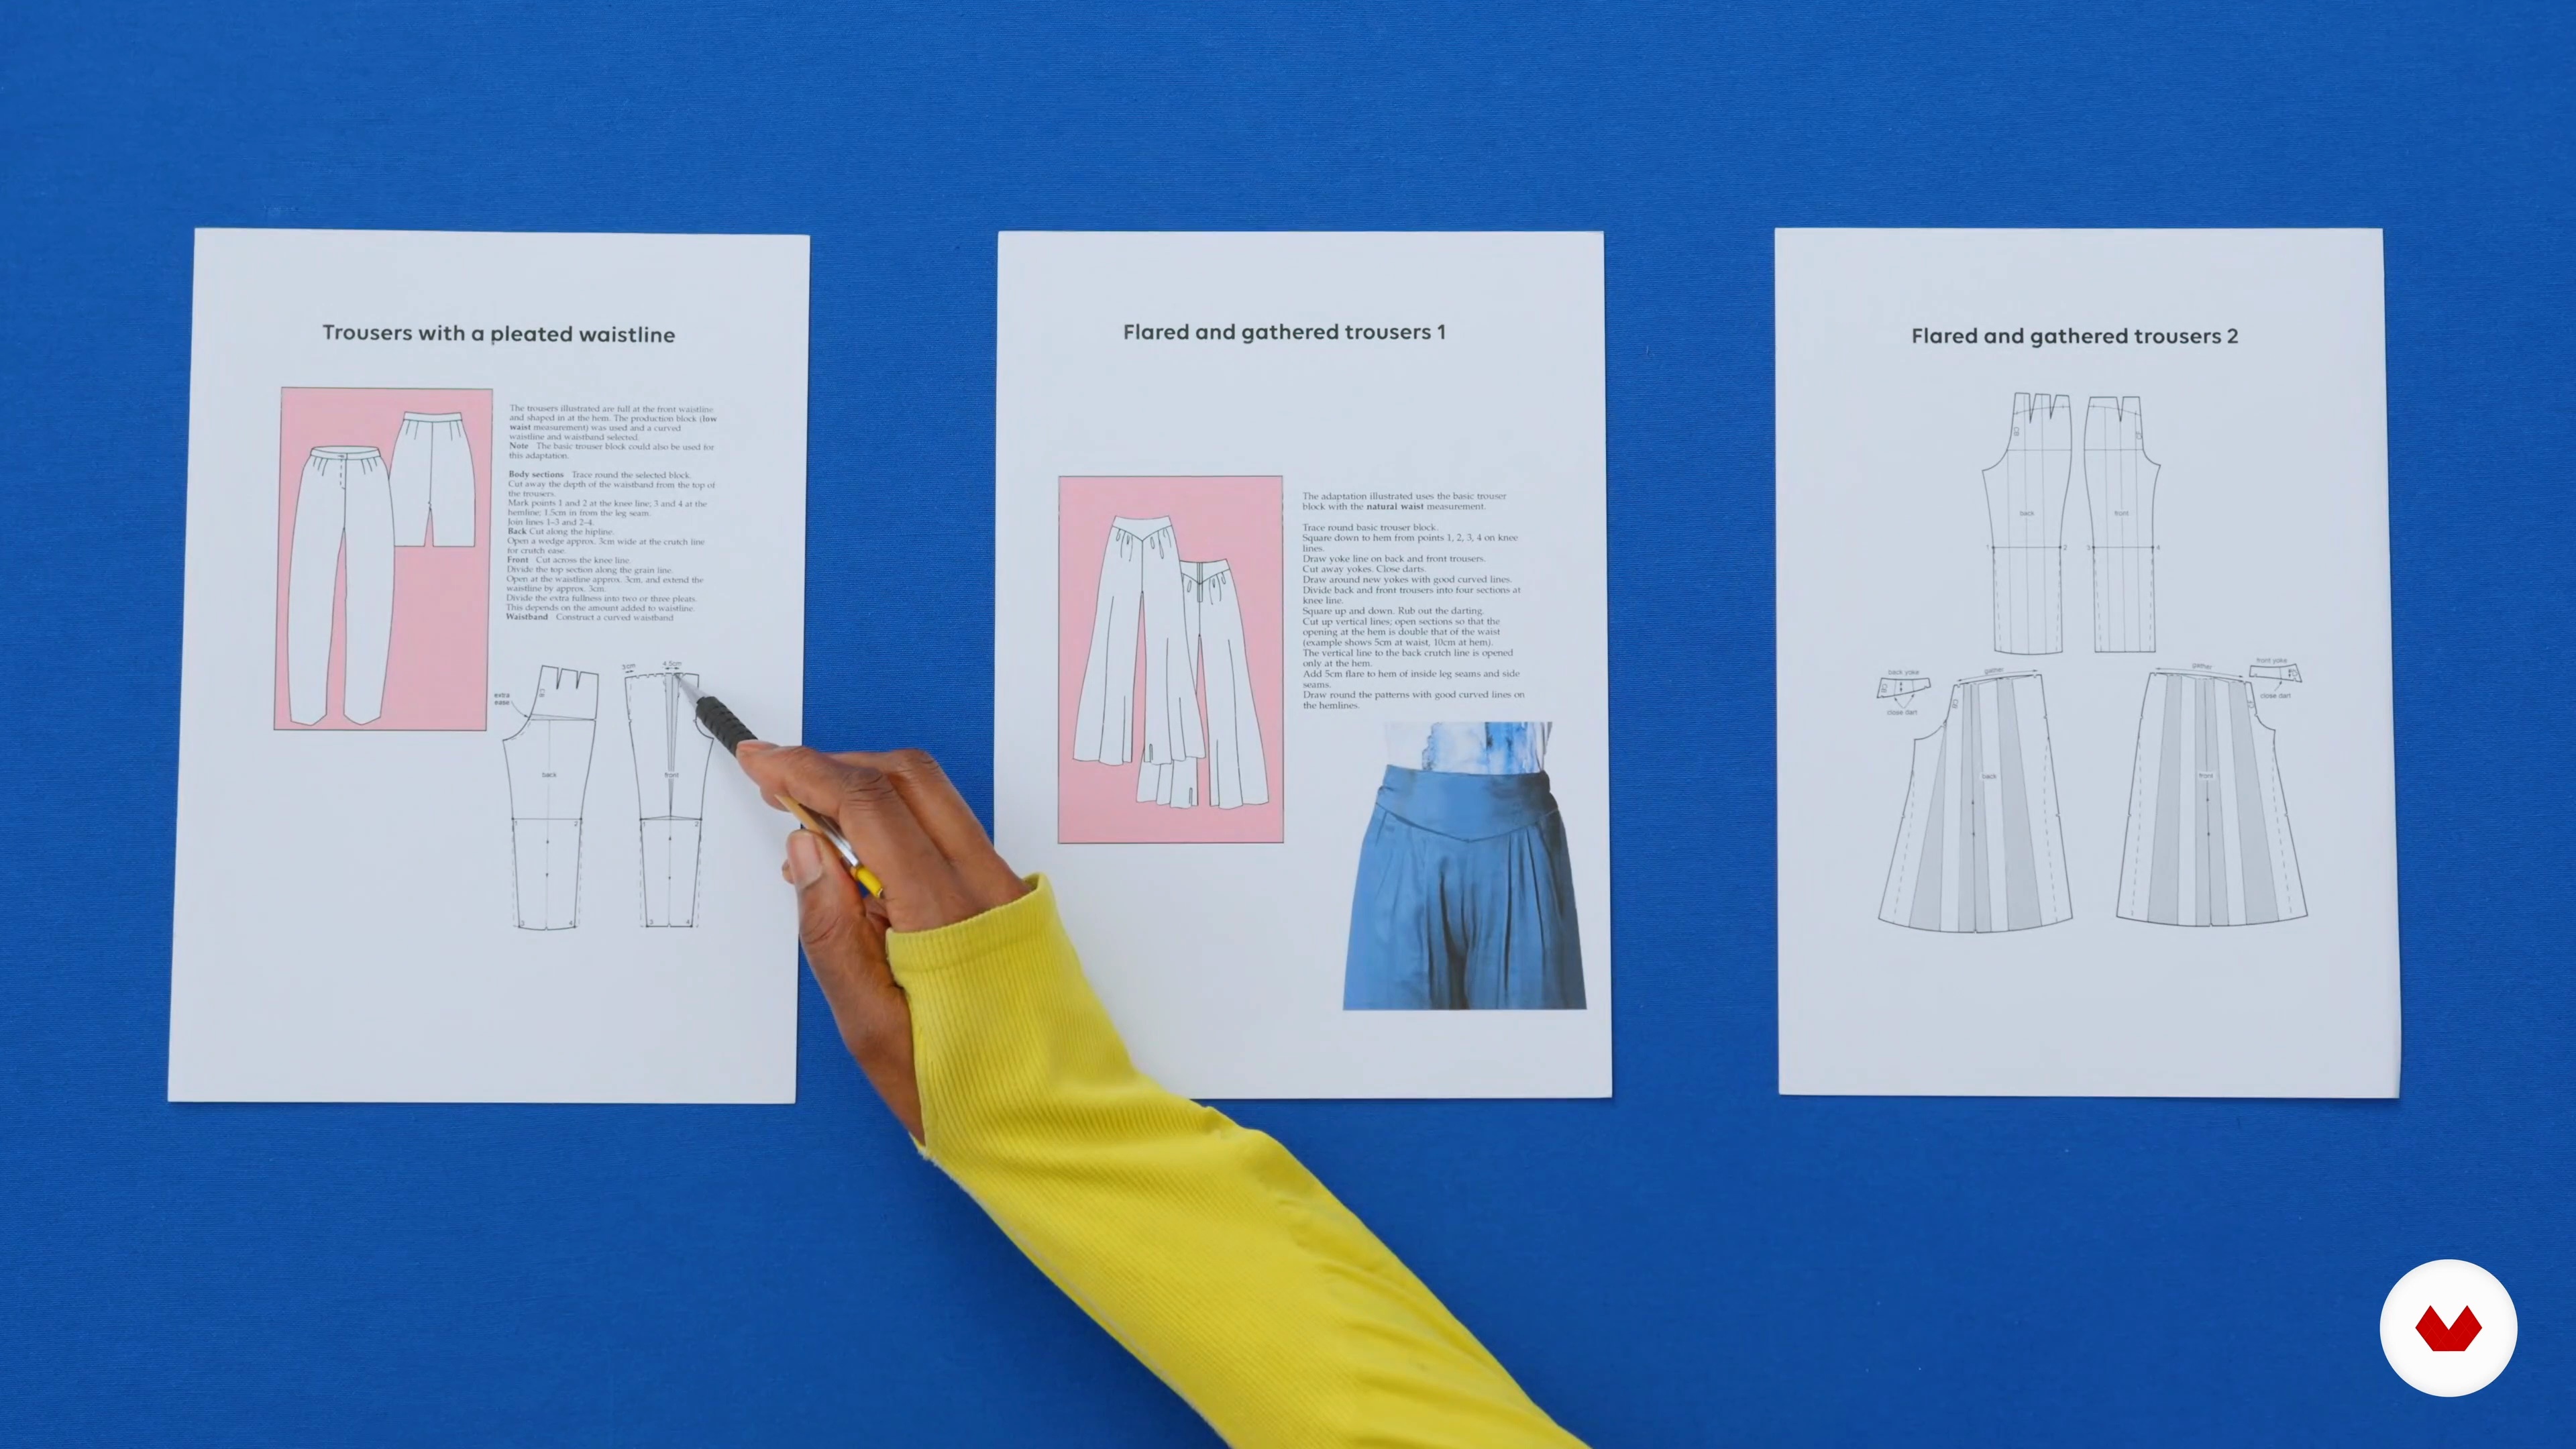
This lesson will explore creative ways to adapt your basic trouser block into different styles. Since the block was customized to your measurements, it’s a perfect base for modifications. We’ll start with a pleated waistline style, which adds ease around the waist for a looser fit. Then, we’ll move to flared and gathered trousers with a yoke front and wide leg.
2m
  • 879 students
  • 83 lessons (15h 27m)
  • 37 additional resources (35 files)
  • Online and at your own pace
  • Audio: English, Spanish
  • English · Spanish · Portuguese · German · French · Italian · Polish · Dutch
  • Level: Beginner
  • Unlimited access forever

Who is this specialization for?

Aspiring fashion enthusiasts eager to explore creative sewing techniques will find this course ideal. Perfect for beginners or intermediate sewists looking to enhance skills, design unique garments, and master sewing machine care, pattern making, and fabric selection effectively.

Requirements and materials

Dive into sewing with minimal prerequisites. Bring a basic sewing machine, fabric, thread, scissors, measuring tape, pins, and a needle. No extensive prior knowledge is needed—just a passion for creating with your hands and a willingness to learn.

Select to get to know your teachers in this specialization course
Read more ↓

What to expect from this specialization course

  • Learn at your own pace

    Enjoy learning from home without a set schedule and with an easy-to-follow method. You set your own pace.

  • Learn from the best professionals

    Learn valuable methods and techniques explained by top experts in the creative sector.

  • Meet expert teachers

    Each expert teaches what they do best, with clear guidelines, true passion, and professional insight in every lesson.

  • Certificates
    Plus

    If you're a Plus member, get a custom certificate for every specialization course. Share it on your portfolio, social media, or wherever you like.

  • Get front-row seats

    Videos of the highest quality, so you don't miss a single detail. With unlimited access, you can watch them as many times as you need to perfect your technique.

  • Share knowledge and ideas

    Ask questions, request feedback, or offer solutions. Share your learning experience with other students in the community who are as passionate about creativity as you are.

  • Connect with a global creative community

    The community is home to millions of people from around the world who are curious and passionate about exploring and expressing their creativity.

  • Watch professionally produced courses

    Domestika curates its teacher roster and produces every course in-house to ensure a high-quality online learning experience.


FAQs

Domestika's specialization courses are online classes that provide you with the tools and skills you need to complete a specific project. Every step of the project combines video lessons with complementary instructional material, so you can learn by doing. Domestika's specializations also allow you to share your own projects with other students, creating a dynamic course community.

All specialization courses are 100% online, so once they're published, specialization courses start and finish whenever you want. You set the pace of the class. You can go back to review what interests you most and skip what you already know, ask questions, answer questions, share your projects, and more.

The specialization courses are divided into different modules. Each one includes lessons, informational text, tasks, and practice exercises to help you carry out your project step by step, with additional complementary resources and downloads. You'll also have access to an exclusive forum where you can interact with other students, as well as share your work and your final project, creating a community around the specialization course.

You can redeem the specialization course you received by accessing the redeeming page and entering your gift code.

If you're a Plus member, when you complete a course you've purchased, you'll instantly get your personalized certificate. You can see all your certificates in the Certificates section of your profile. You can download your certificates as PDFs and share the link online. Learn more about certificates.
Sewing and Design Specialization. Design, Craft, and Fashion course by Domestika Best seller

Sewing and Design Specialization

A specialization by multiple teachers
Berkeley, United States.
Joined April 2002
  • 879 students