Specialization

Oil Painting Techniques Specialization

6 Teachers

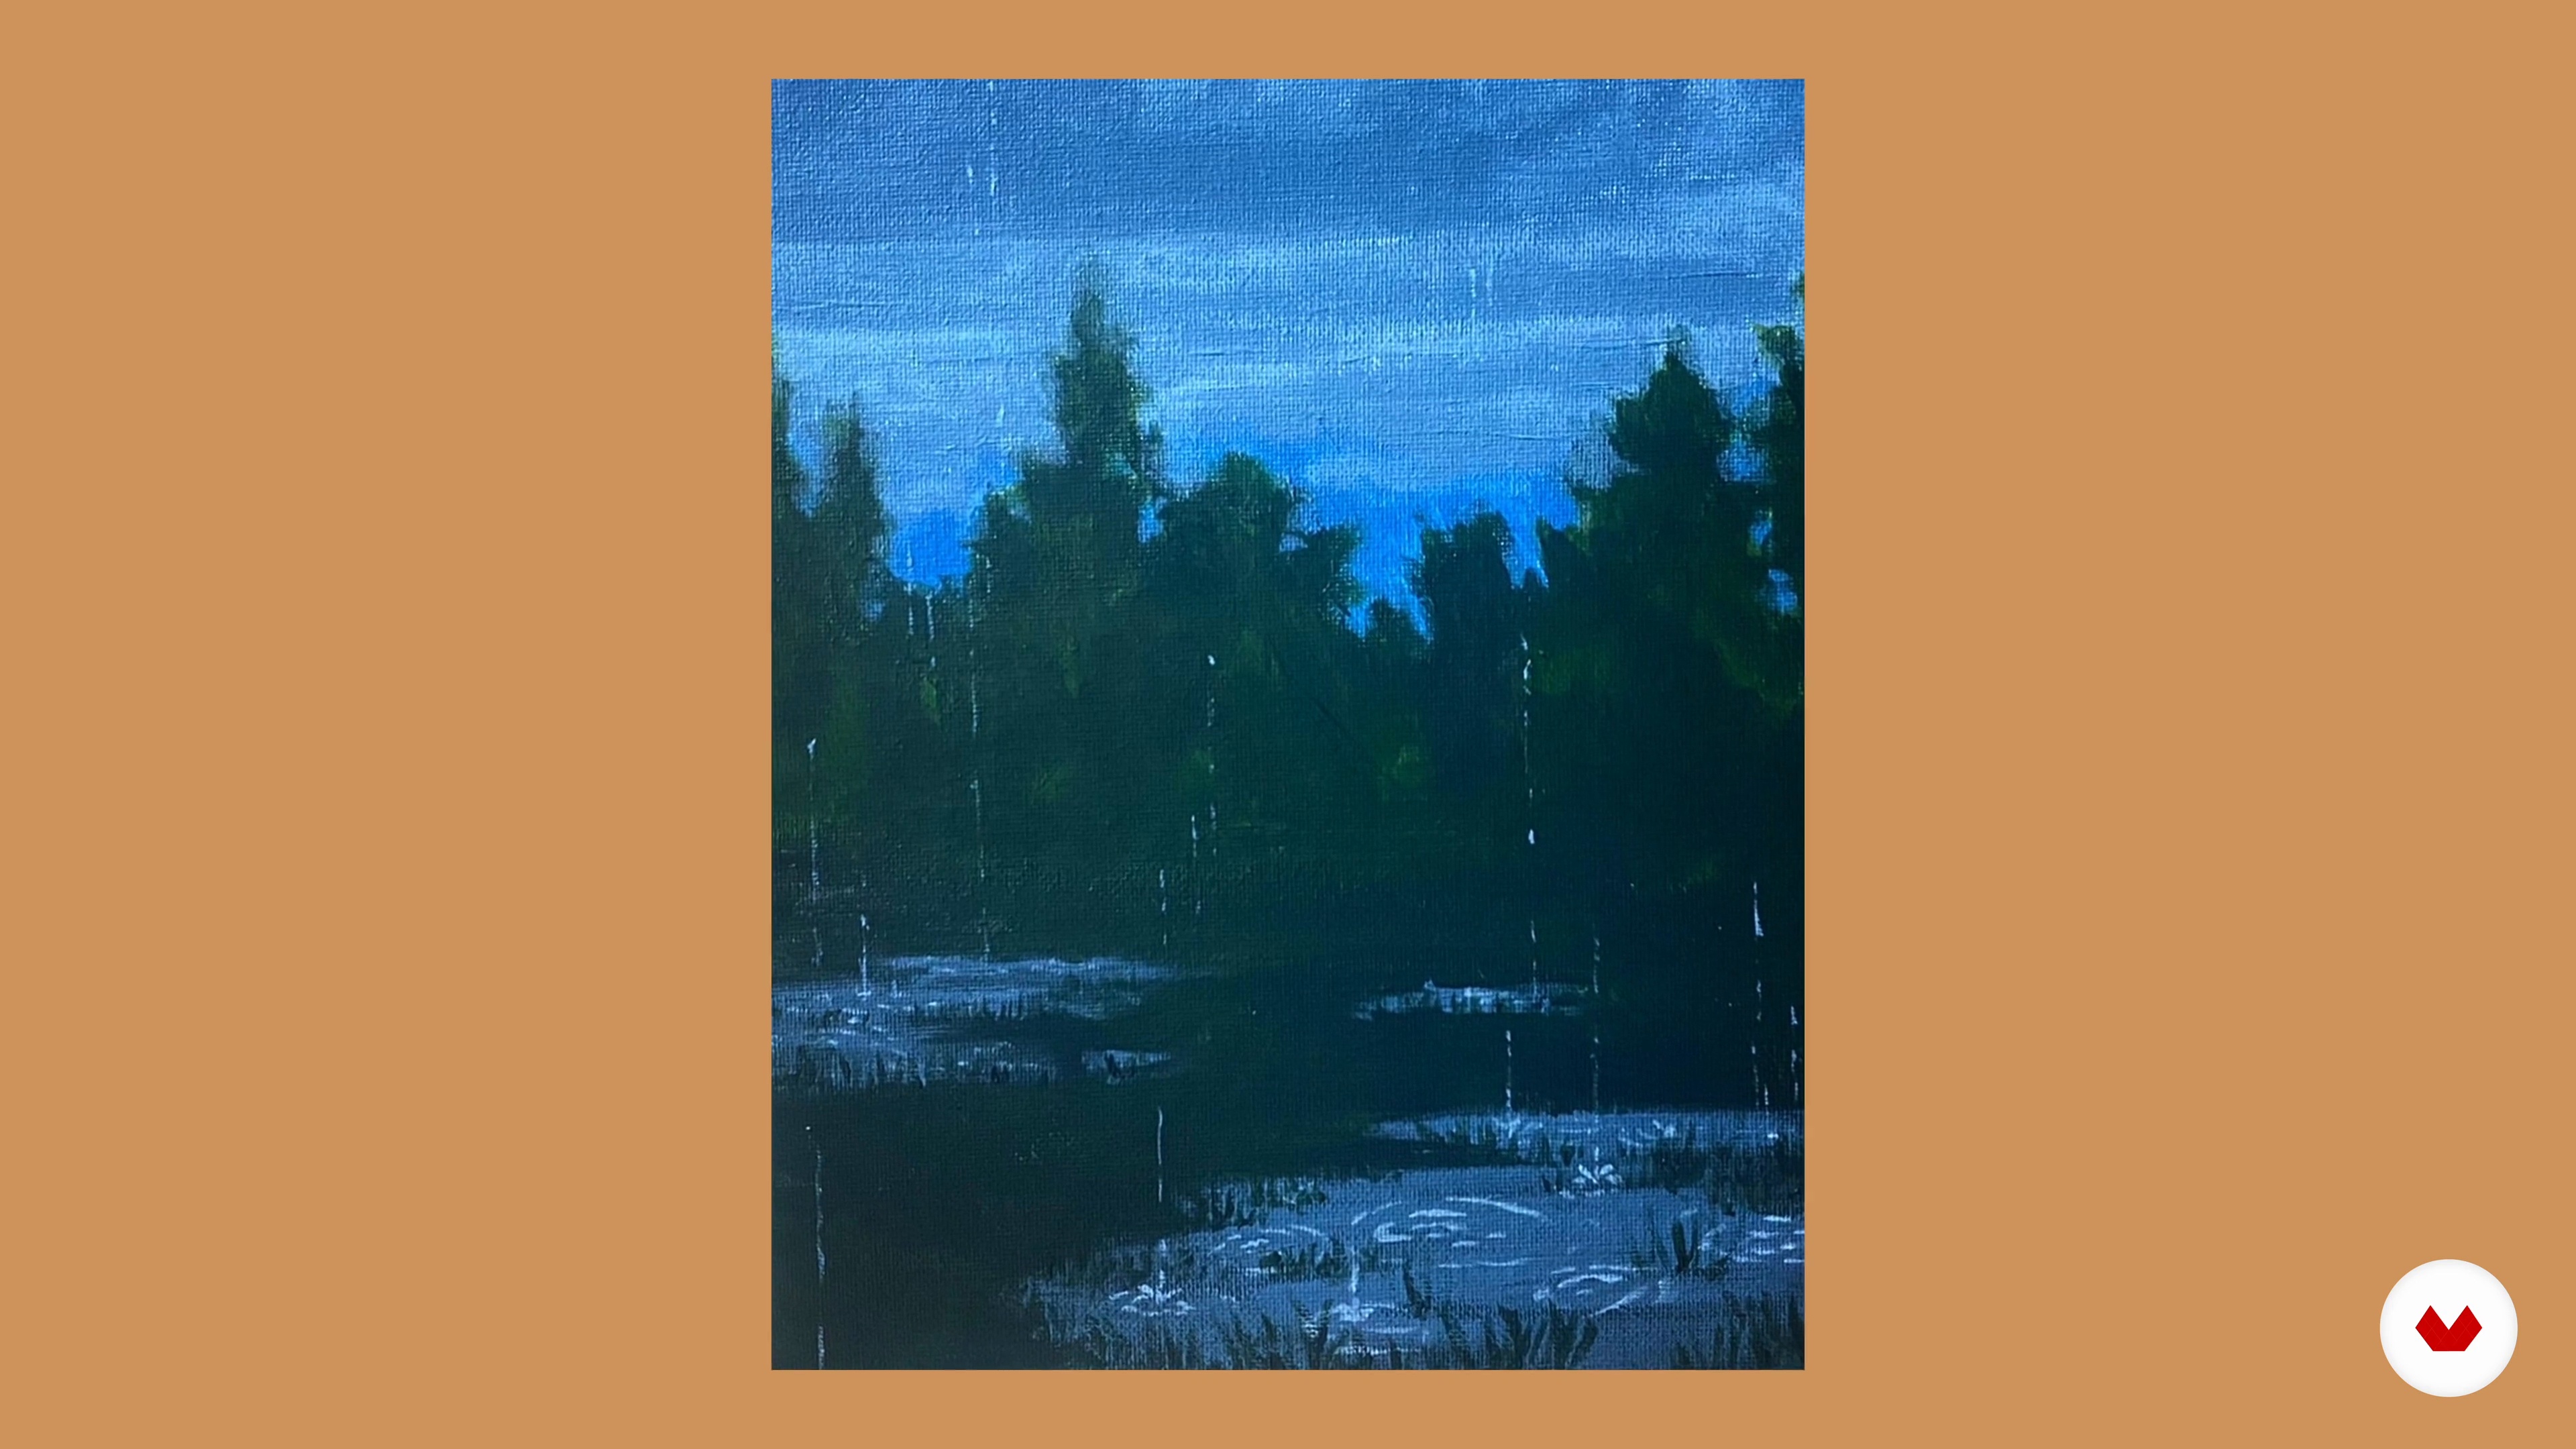
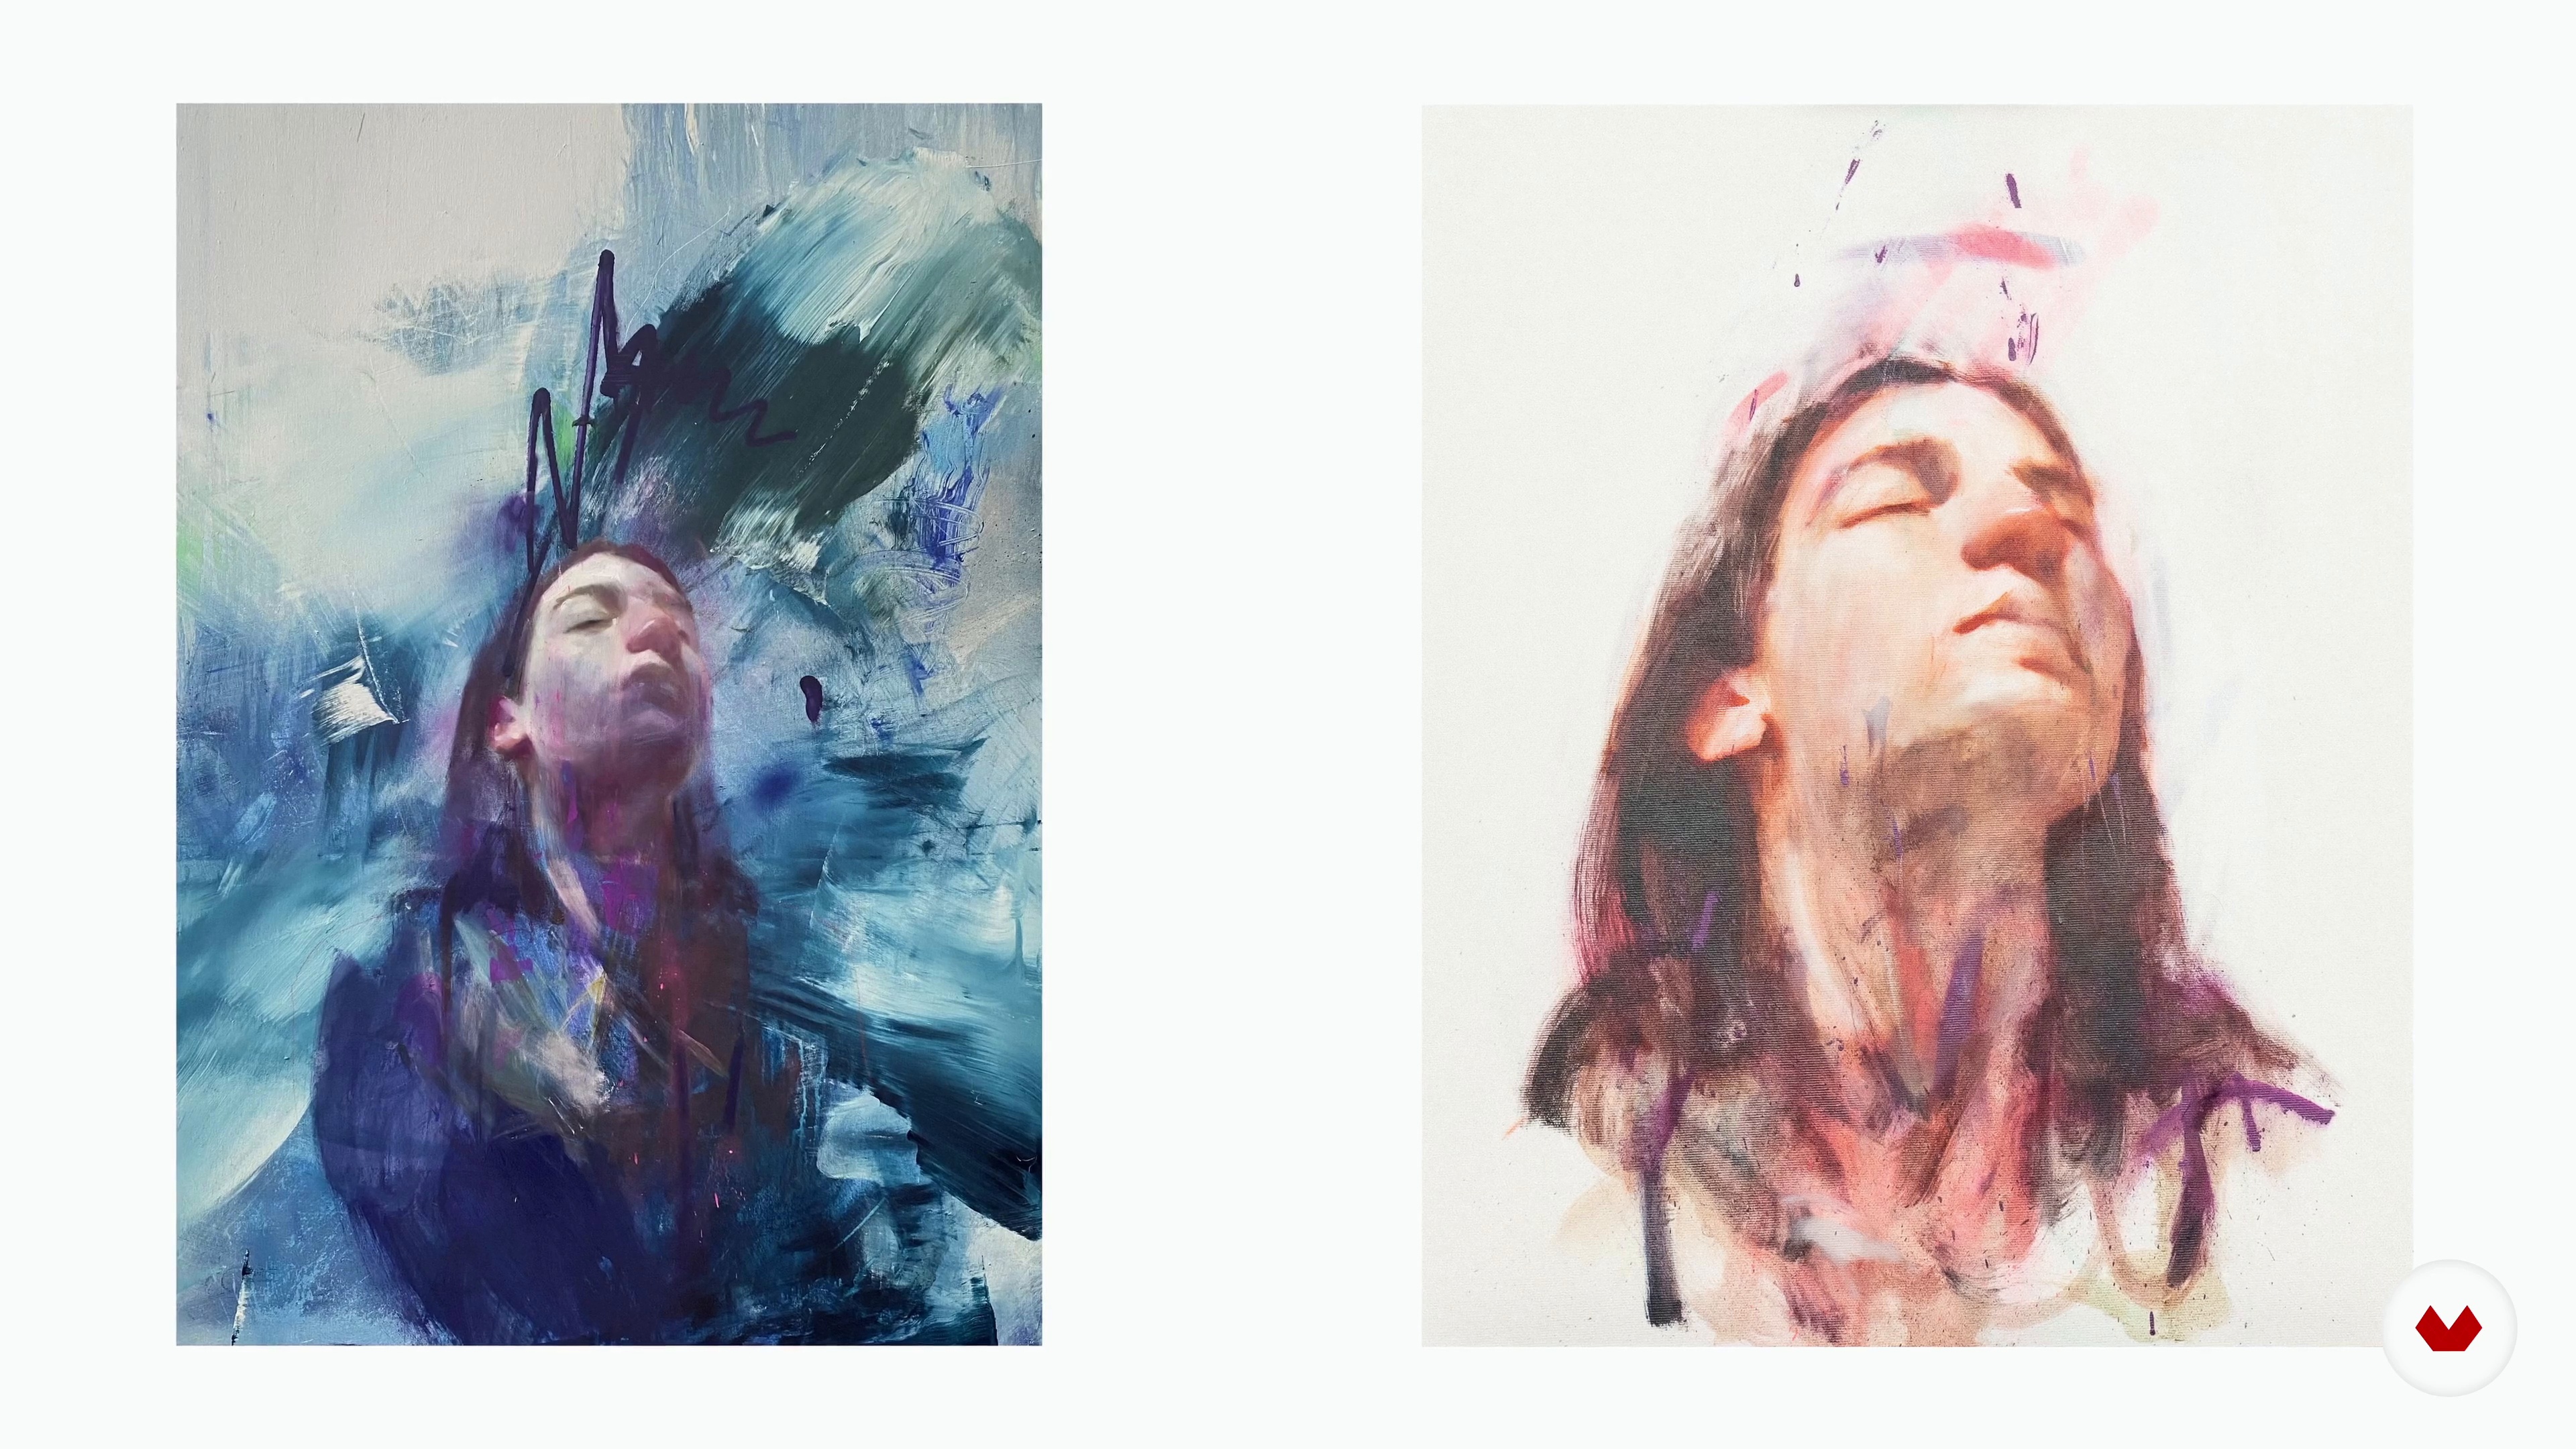
Master oil painting techniques to create expressive portraits, surreal landscapes, and photorealistic effects using varied materials

Master oil painting techniques to create expressive portraits, surreal landscapes, and photorealistic effects using varied materials

6 Teachers
Specialization · 7 modules

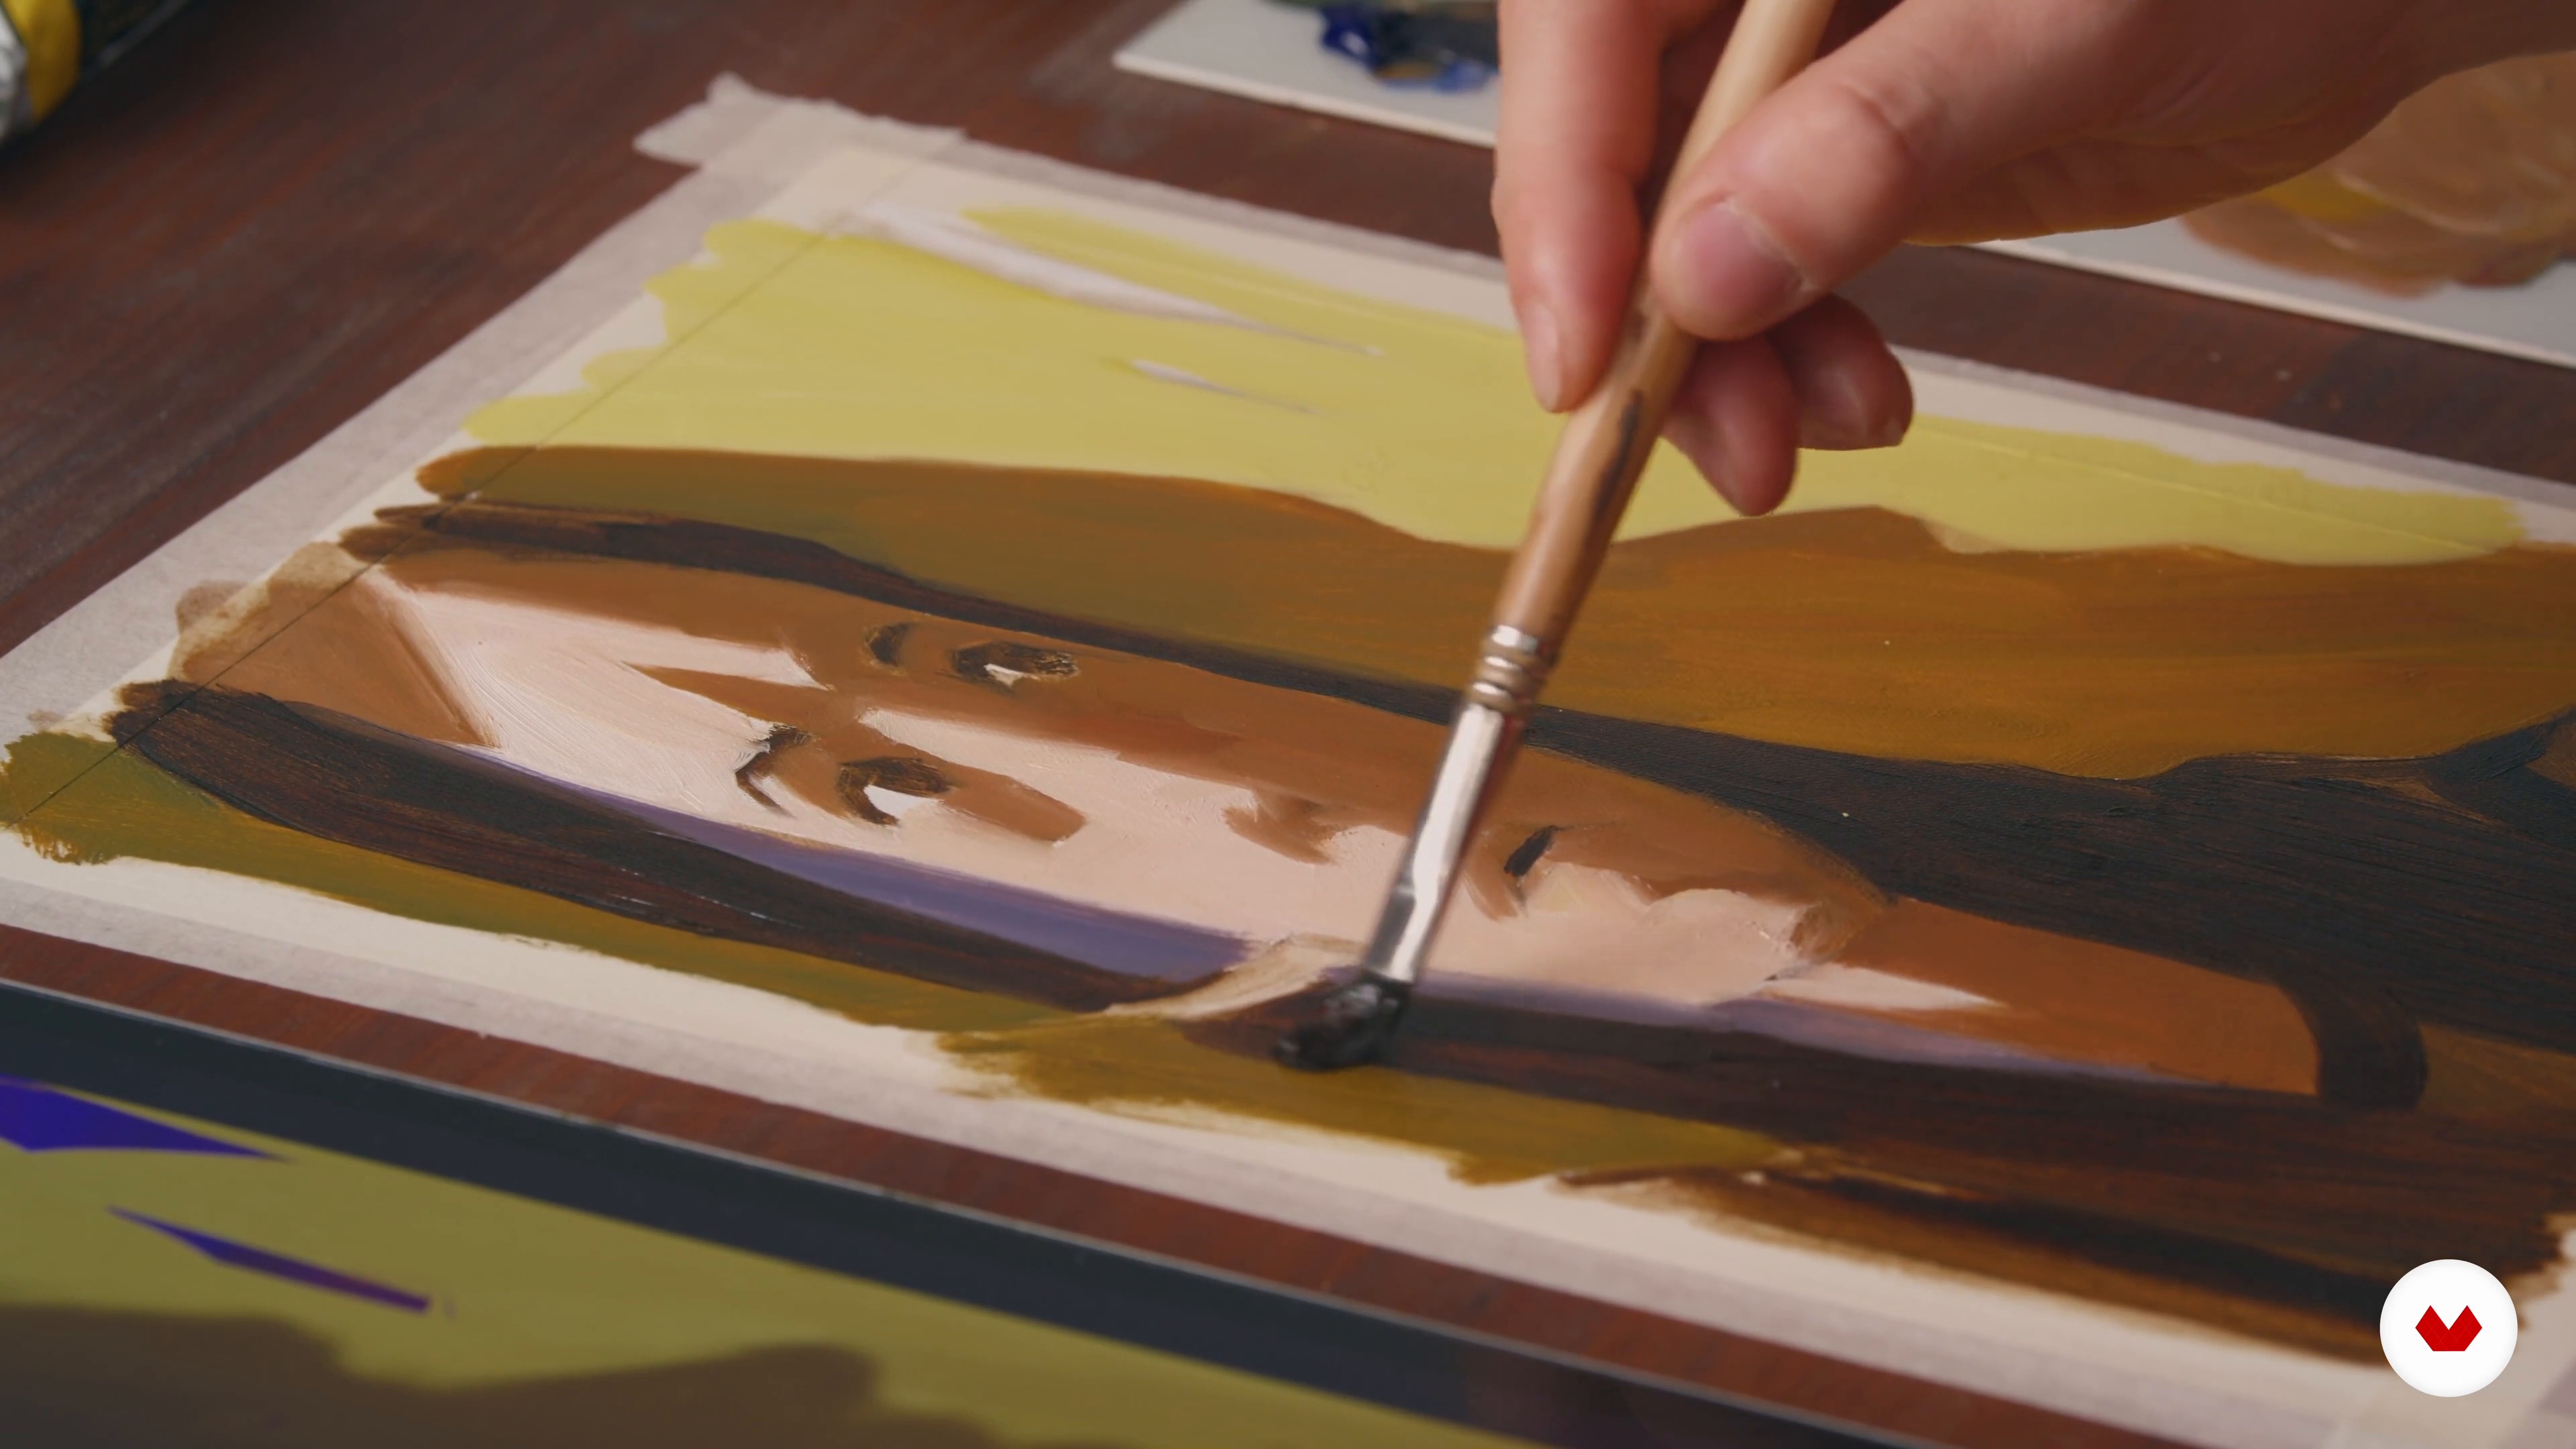
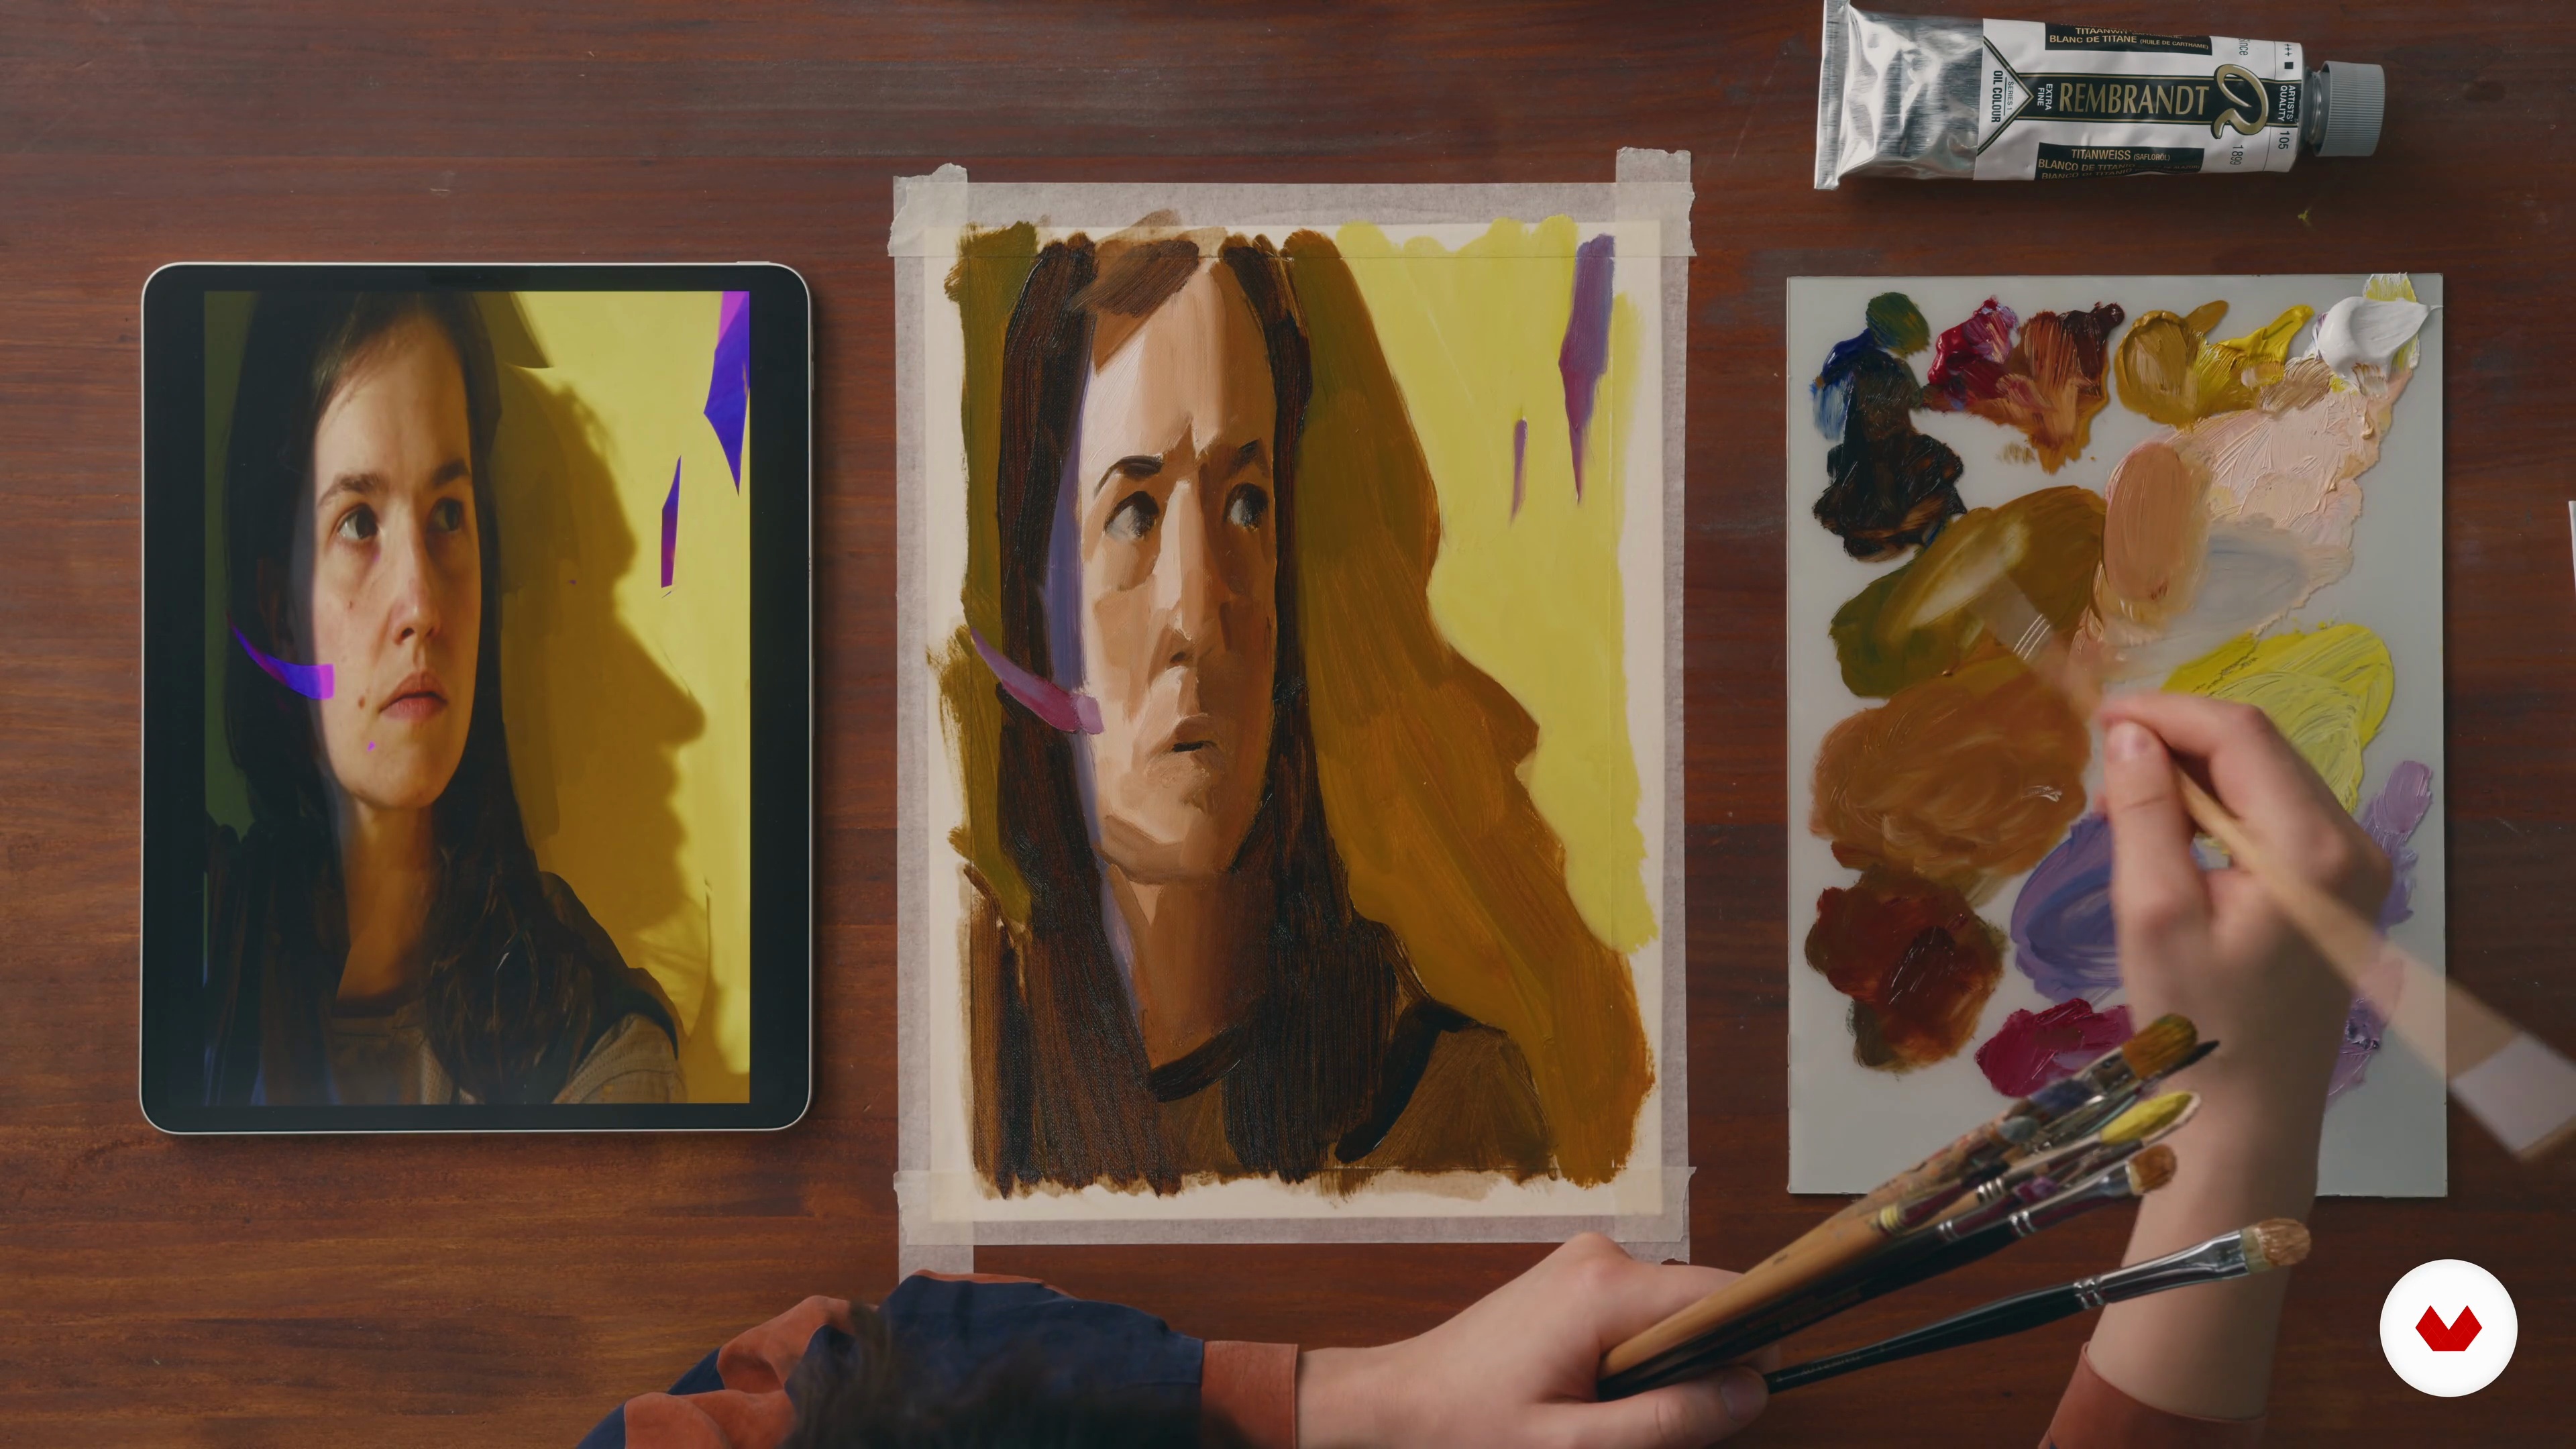
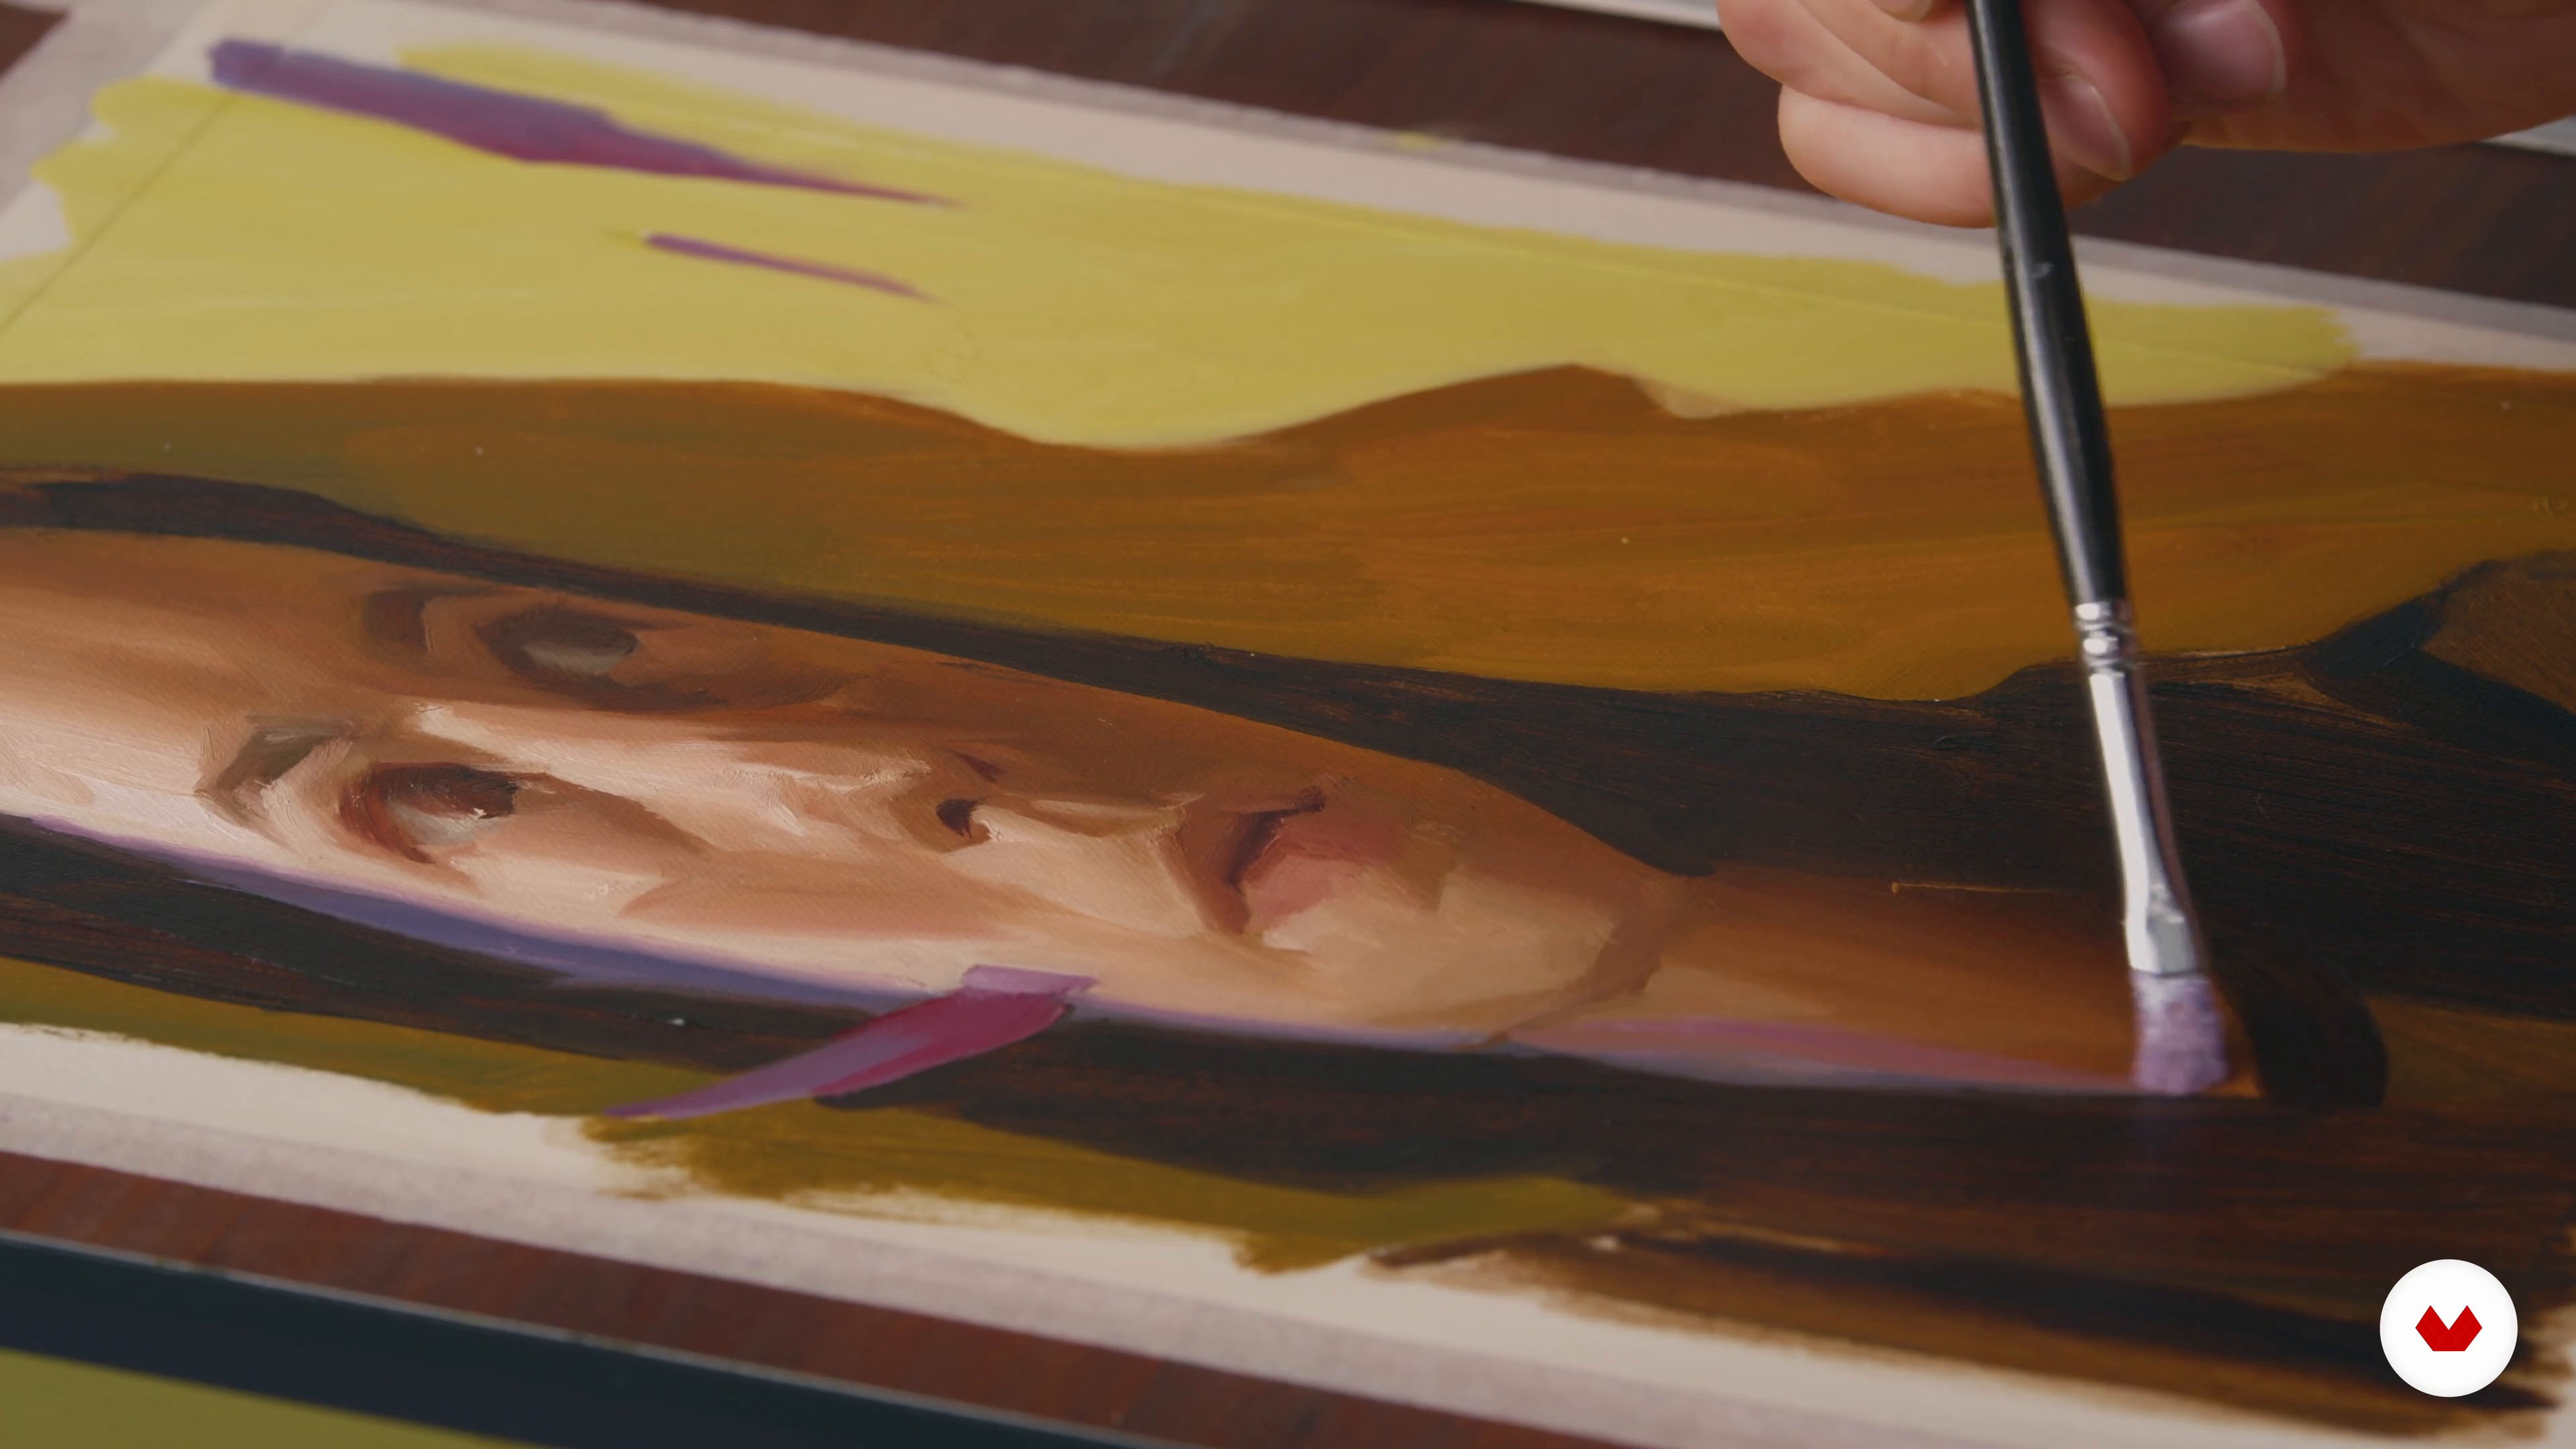
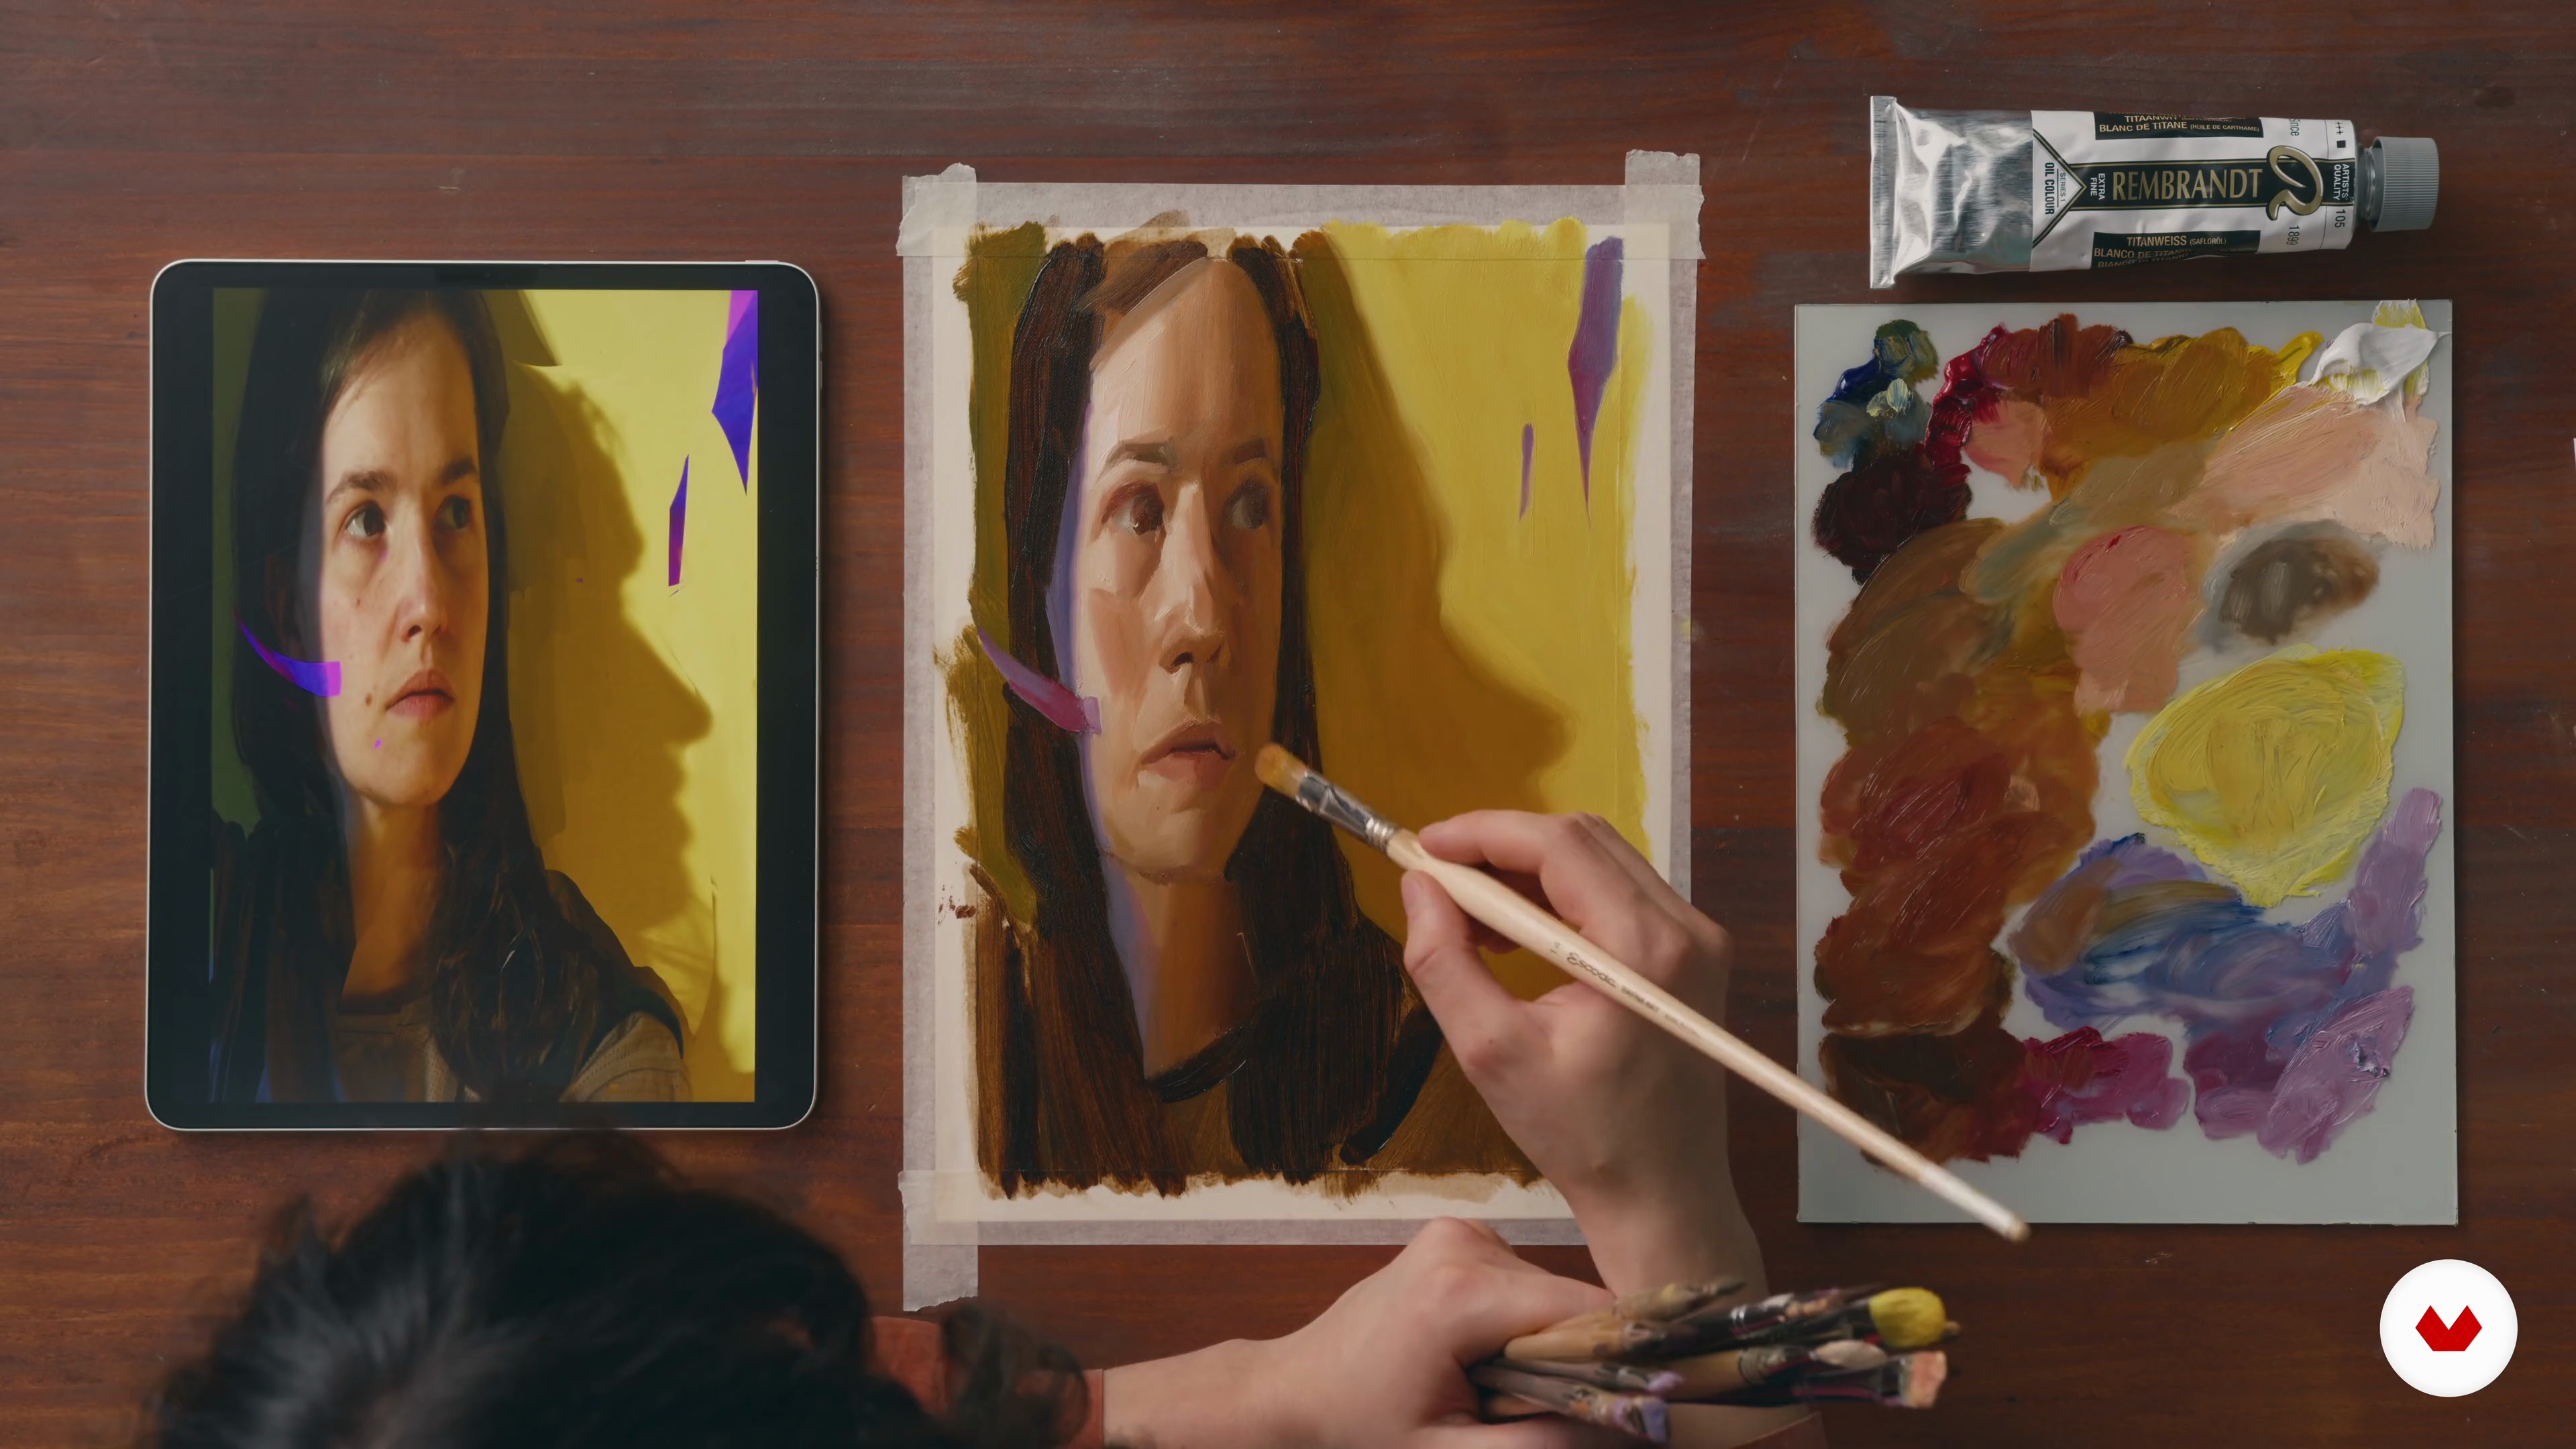
Embark on a journey to master the art of oil painting with guidance from renowned artists across the globe. Dive into the fundamentals with Daphne Frizzle, learning essential techniques like material selection, composition, and color mixing. Discover the intricate dance of light and shade with Jane French, capturing the essence of your subject's story through vibrant portraits. Christopher Paul Stevens elevates ordinary scenes into striking photorealistic artworks, while Anetta Lukjanova encourages creative expression in representational portrait painting using digital tools.

Explore surreal landscapes with Paul Neberra, blending realism and symbolism to create dreamlike worlds. Push the boundaries of portraiture with Nikolas Antoniou, experimenting with oil, acrylic, and spray paints to reflect emotions in unique ways. Each module offers a new perspective, transforming your approach to oil painting. Whether creating landscapes, portraits, or surreal scenes, the expertise shared by these artists will inspire and enhance your artistic skills. Engage in a rich, creative process with lessons designed to ignite imagination and refine technique, leaving you with a deeper understanding of oil painting's possibilities.

Read more ↓

What will you learn in this specialization?
A total of 7 modules and 100 lessons
A total of 20h 58m of vídeo lessons
Taught by 6 selected expert teachers
image
1
Introduction
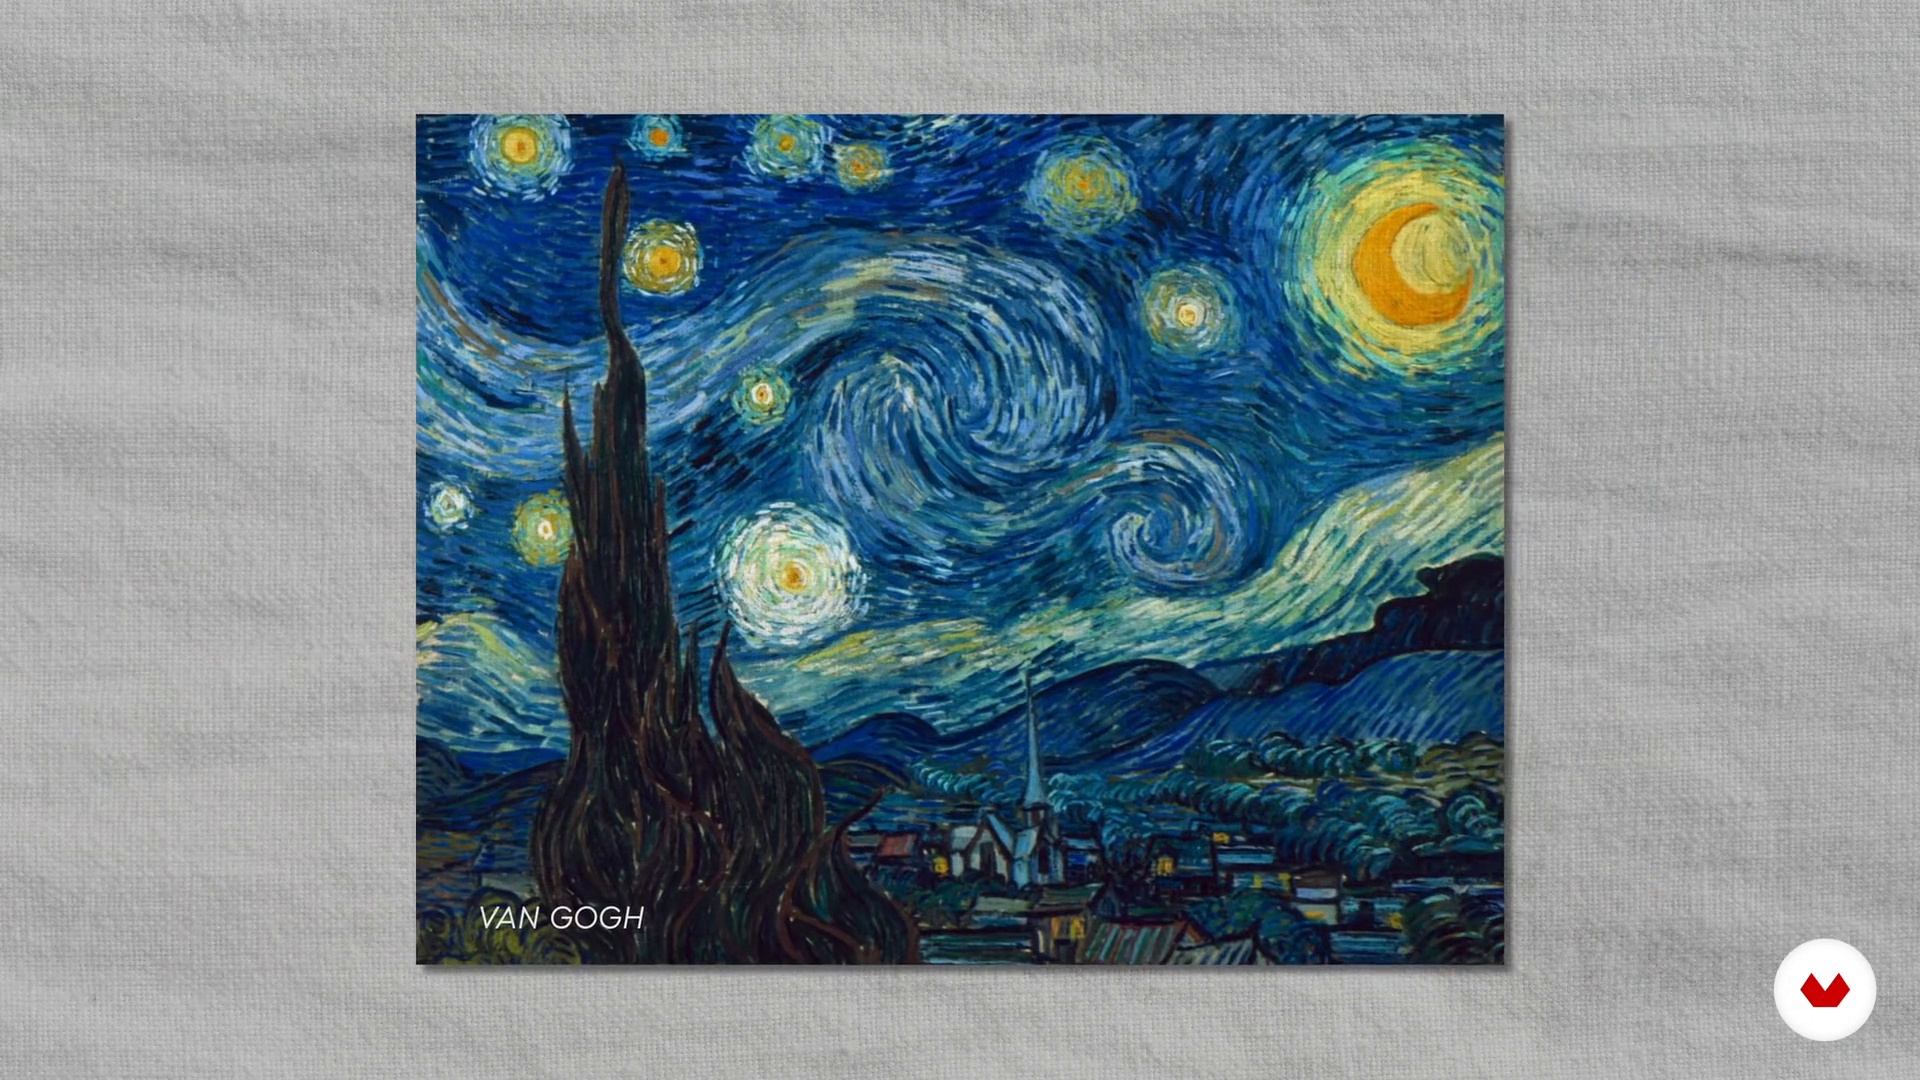
In this lesson, you’ll explore the enduring appeal of oil painting, a medium renowned for its vibrant colors, depth, and versatility. Inspired by masters like Rembrandt, Van Gogh, and Klimt, you’ll discover how classical techniques can enrich your creative voice. By embracing oil painting’s storytelling and self-expressive potential, you’ll embark on a journey of artistic discovery, blending timeless methods with your unique imagination. Let’s begin!
1m
image
2
Influences / Daphne Frizzle
In this lesson, you will explore the role of inspiration in creating art, both from your daily experiences and from other artists. You’ll reflect on how personal memories shape your unique style and learn that originality stems from blending influences. Inspiration will guide you to slow down, observe, and creatively interpret your world.
6m
image
3
Influences / Jane French
Here, you will delve into the work of artists who excel in portraiture. You’ll explore Lucian Freud and Jenny Saville’s painterly approaches to depicting light, texture, and the vibrancy of skin tones. You’ll also examine Euan Uglow and Catherine Kehoe’s focus on composition, simplified forms, and sculptural use of paint. Gustav Klimt’s bold patterns and decorative details will inspire your use of color and intricate design, while Steve McCurry’s emotive photography will encourage you to consider the emotional depth and lighting in your portraits. These influences will guide you as we begin creating a portrait in oil paints.
6m
image
4
Influences / Christopher Paul Stevens
In this lesson, you will explore how key artists and their techniques have shaped artistic approaches. From Chuck Close's grid method to Edward Hopper's innovative use of color, you’ll learn how to integrate new ideas into your work. You’ll also reflect on photorealism, humor, and emotional depth in art through influences like Norman Rockwell and Audrey Flack. These artists’ unique methods and philosophies will inspire you to experiment, find beauty in the everyday, and develop your own creative instincts.
16m
image
5
Influences / Anetta Lukjanova
Let's explore a range of influential artists, from Norman Rockwell's storytelling and emotional expressions to Rupert von Kaufmann's surreal atmospheres and bold textures. You’ll learn how Colleen Barry sculpts flesh with paint and how Nicolas Uribe fosters creativity through a fearless, process-driven approach. These artists will inspire you to balance technical skill, experimentation, and emotional depth in your own work.
7m
image
6
Influences / Paul Neberra
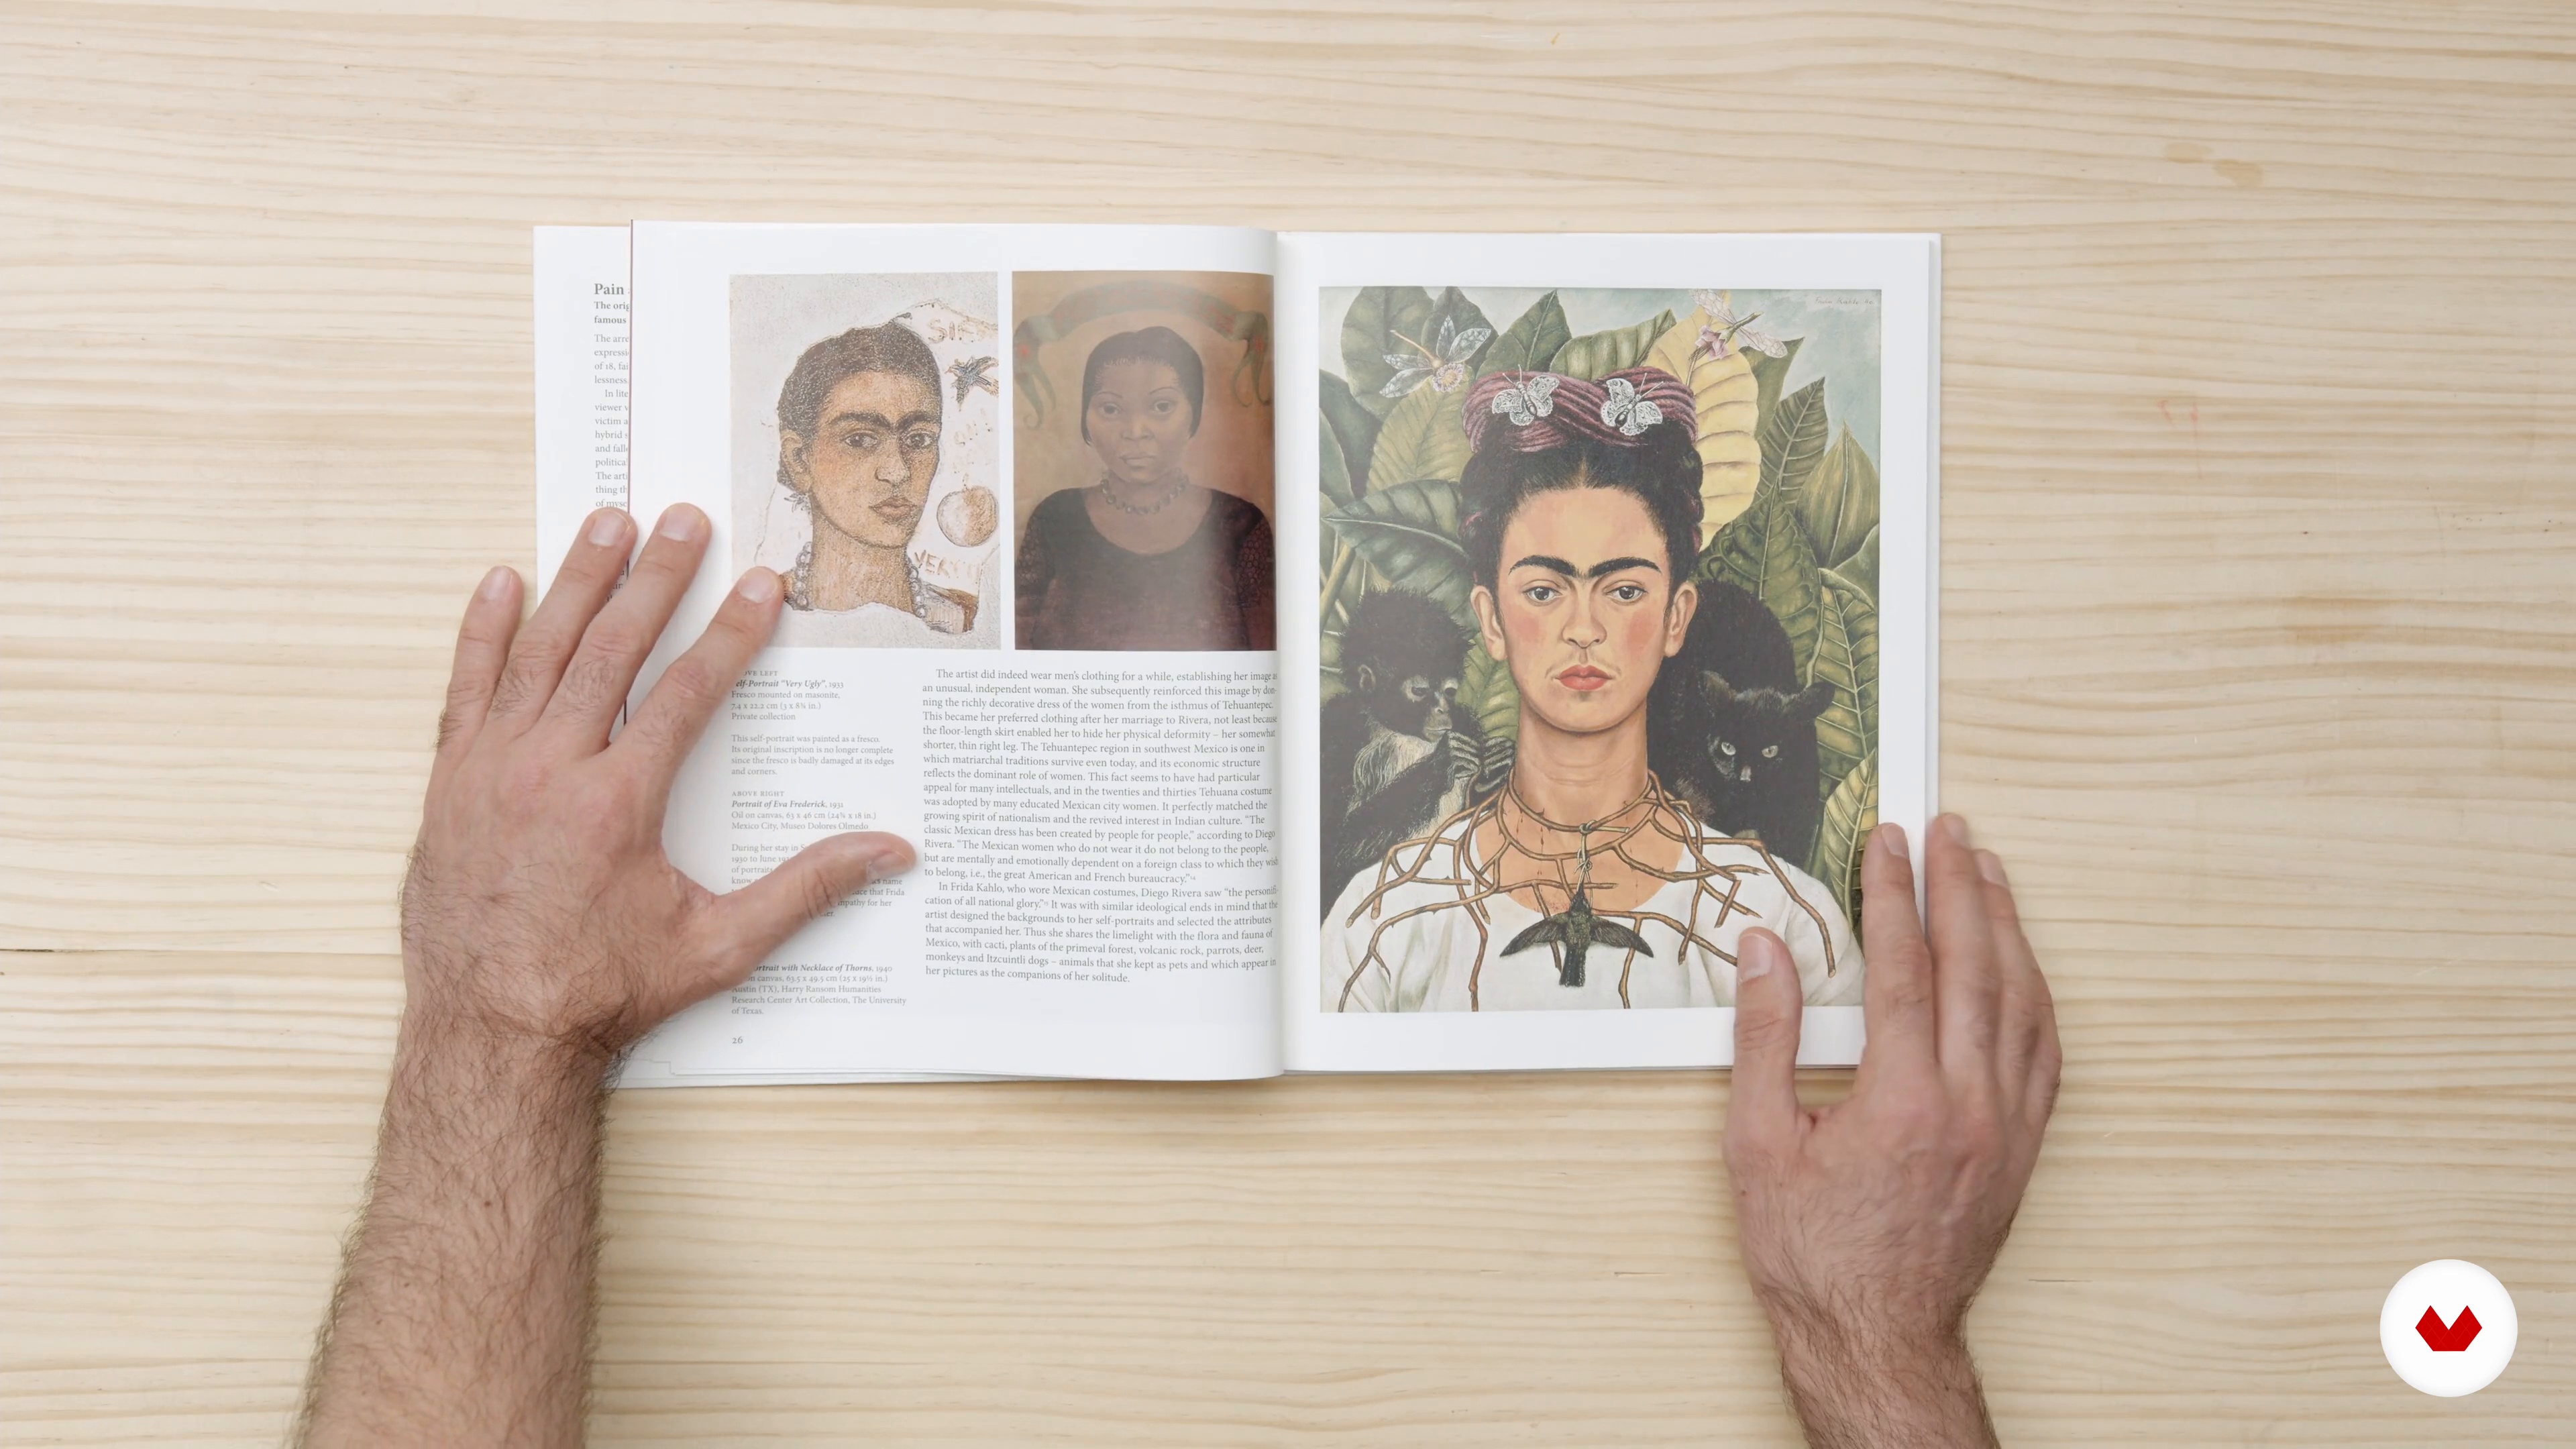
During this lesson, you’ll explore how surrealism and storytelling shape artistic expression. Salvador Dalí’s dreamlike compositions and René Magritte’s striking aesthetics inspire imaginative worlds where reality meets fantasy. Frida Kahlo and Paula Rego’s deeply personal and emotive works showcase the power of self-reflection, cultural patterns, and strong female figures. Finally, Mark Ryden’s pop surrealism, with its whimsical, vintage-inspired characters and hidden messages, offers a playful yet thought-provoking perspective. These artists demonstrate how to merge narrative, emotion, and surreal elements into captivating artwork.
10m
image
7
Influences / Nikolas Antoniou
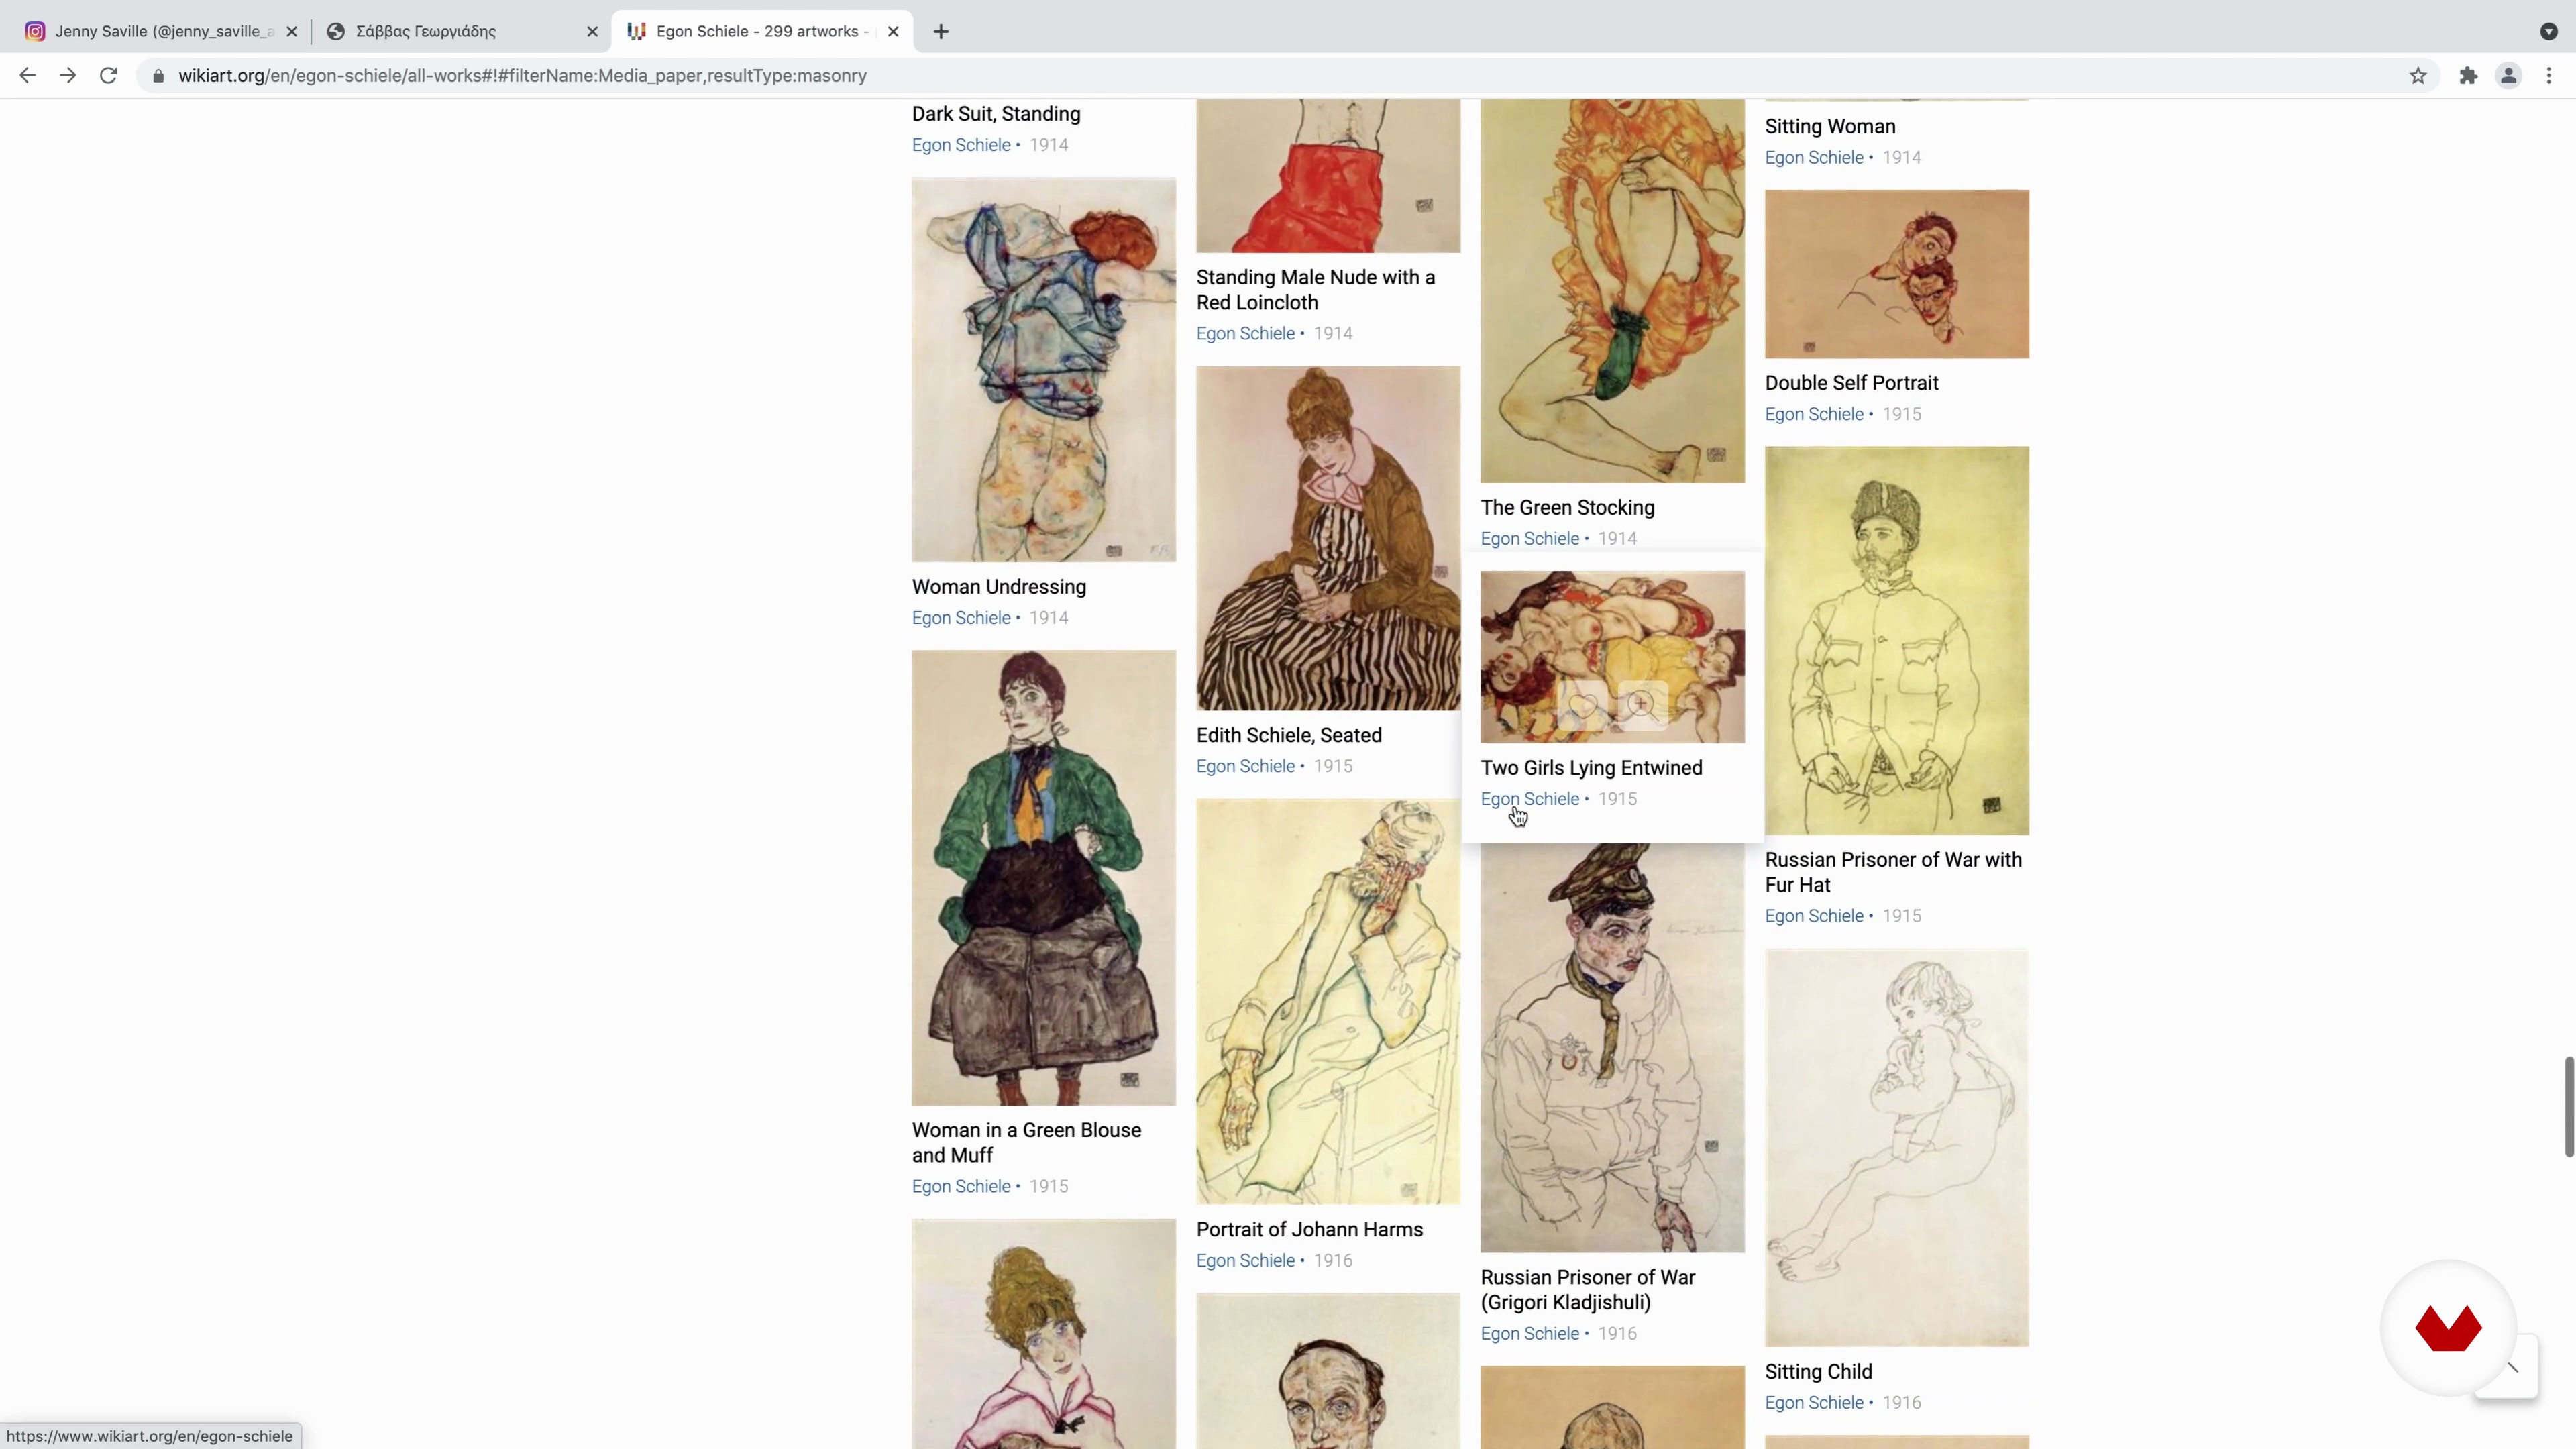
You will study the work of four influential artists—Francis Bacon, Egon Schiele, Thomas Yurialis, and Jenny Saville. You’ll explore how their unique styles, use of color, distortion, and emotional depth shaped their art and inspired new approaches to figurative painting. You’ll also reflect on how observing their techniques can inform and inspire your own creative journey, encouraging you to experiment with form, texture, and emotion in your work.
13m
image
1
Materials
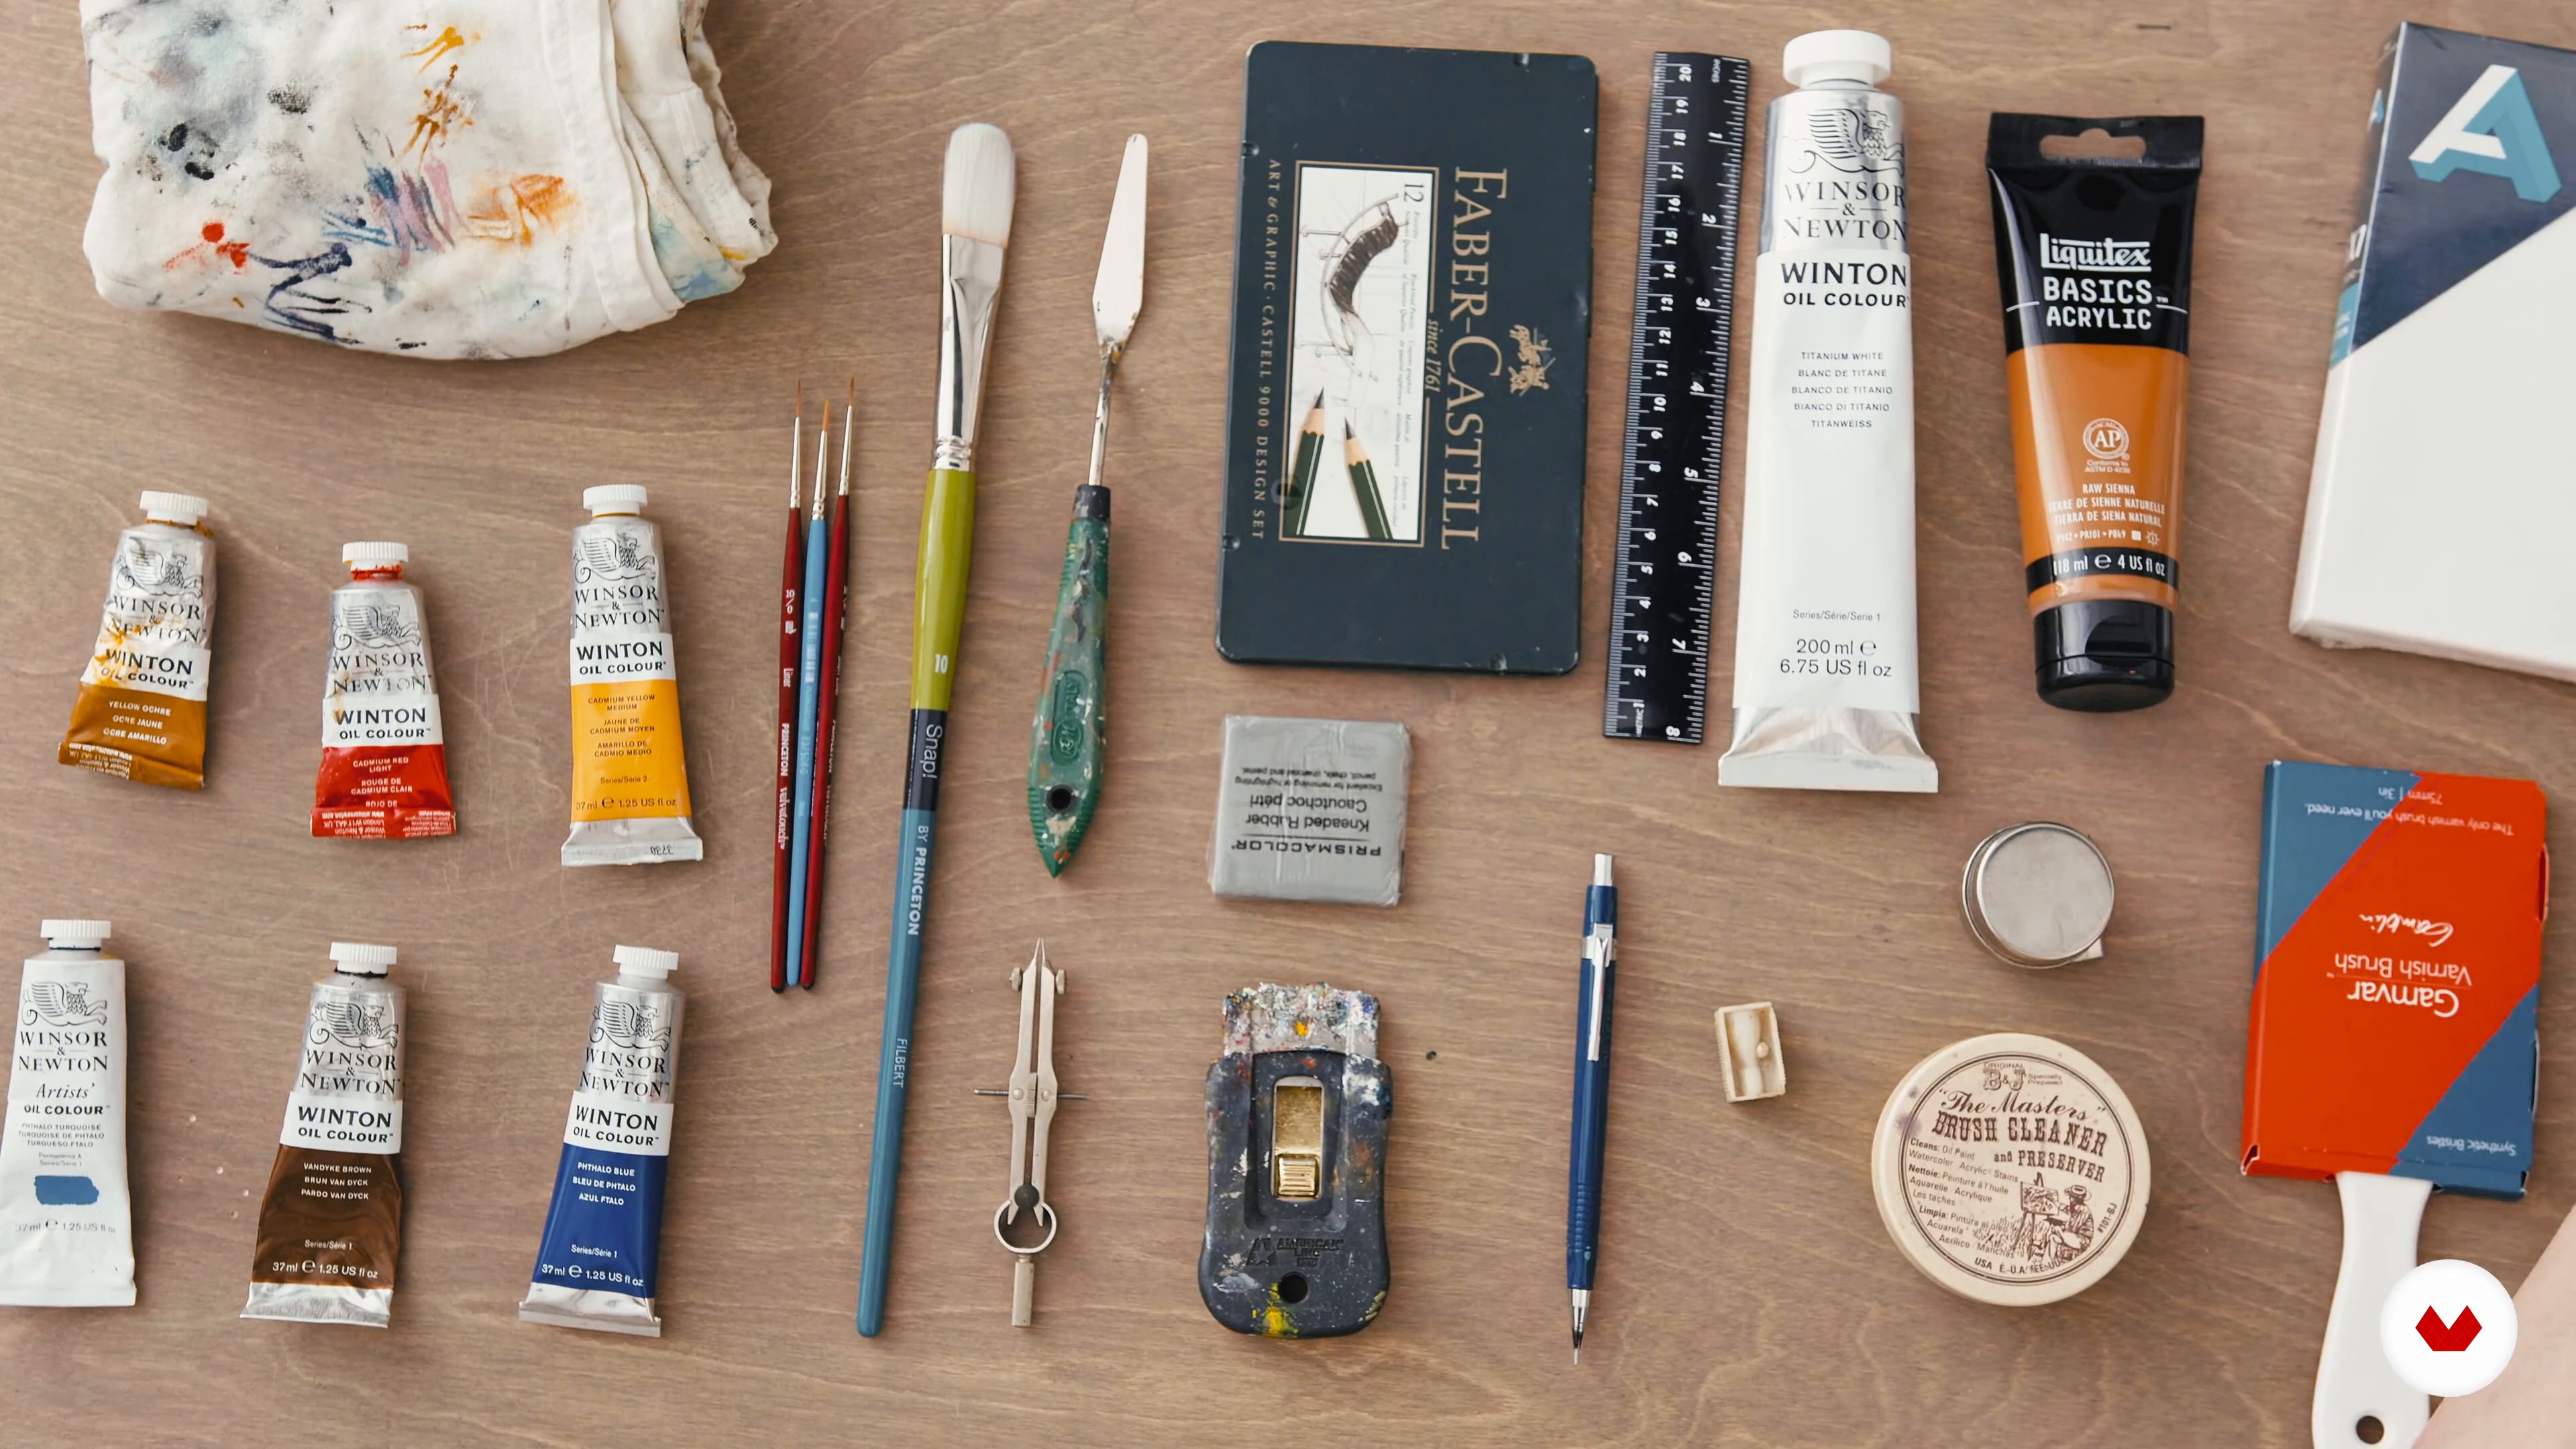
In this first lesson, I'll introduce you to the essential tools every beginner needs to know.
16m
image
2
Gathering Inspiration
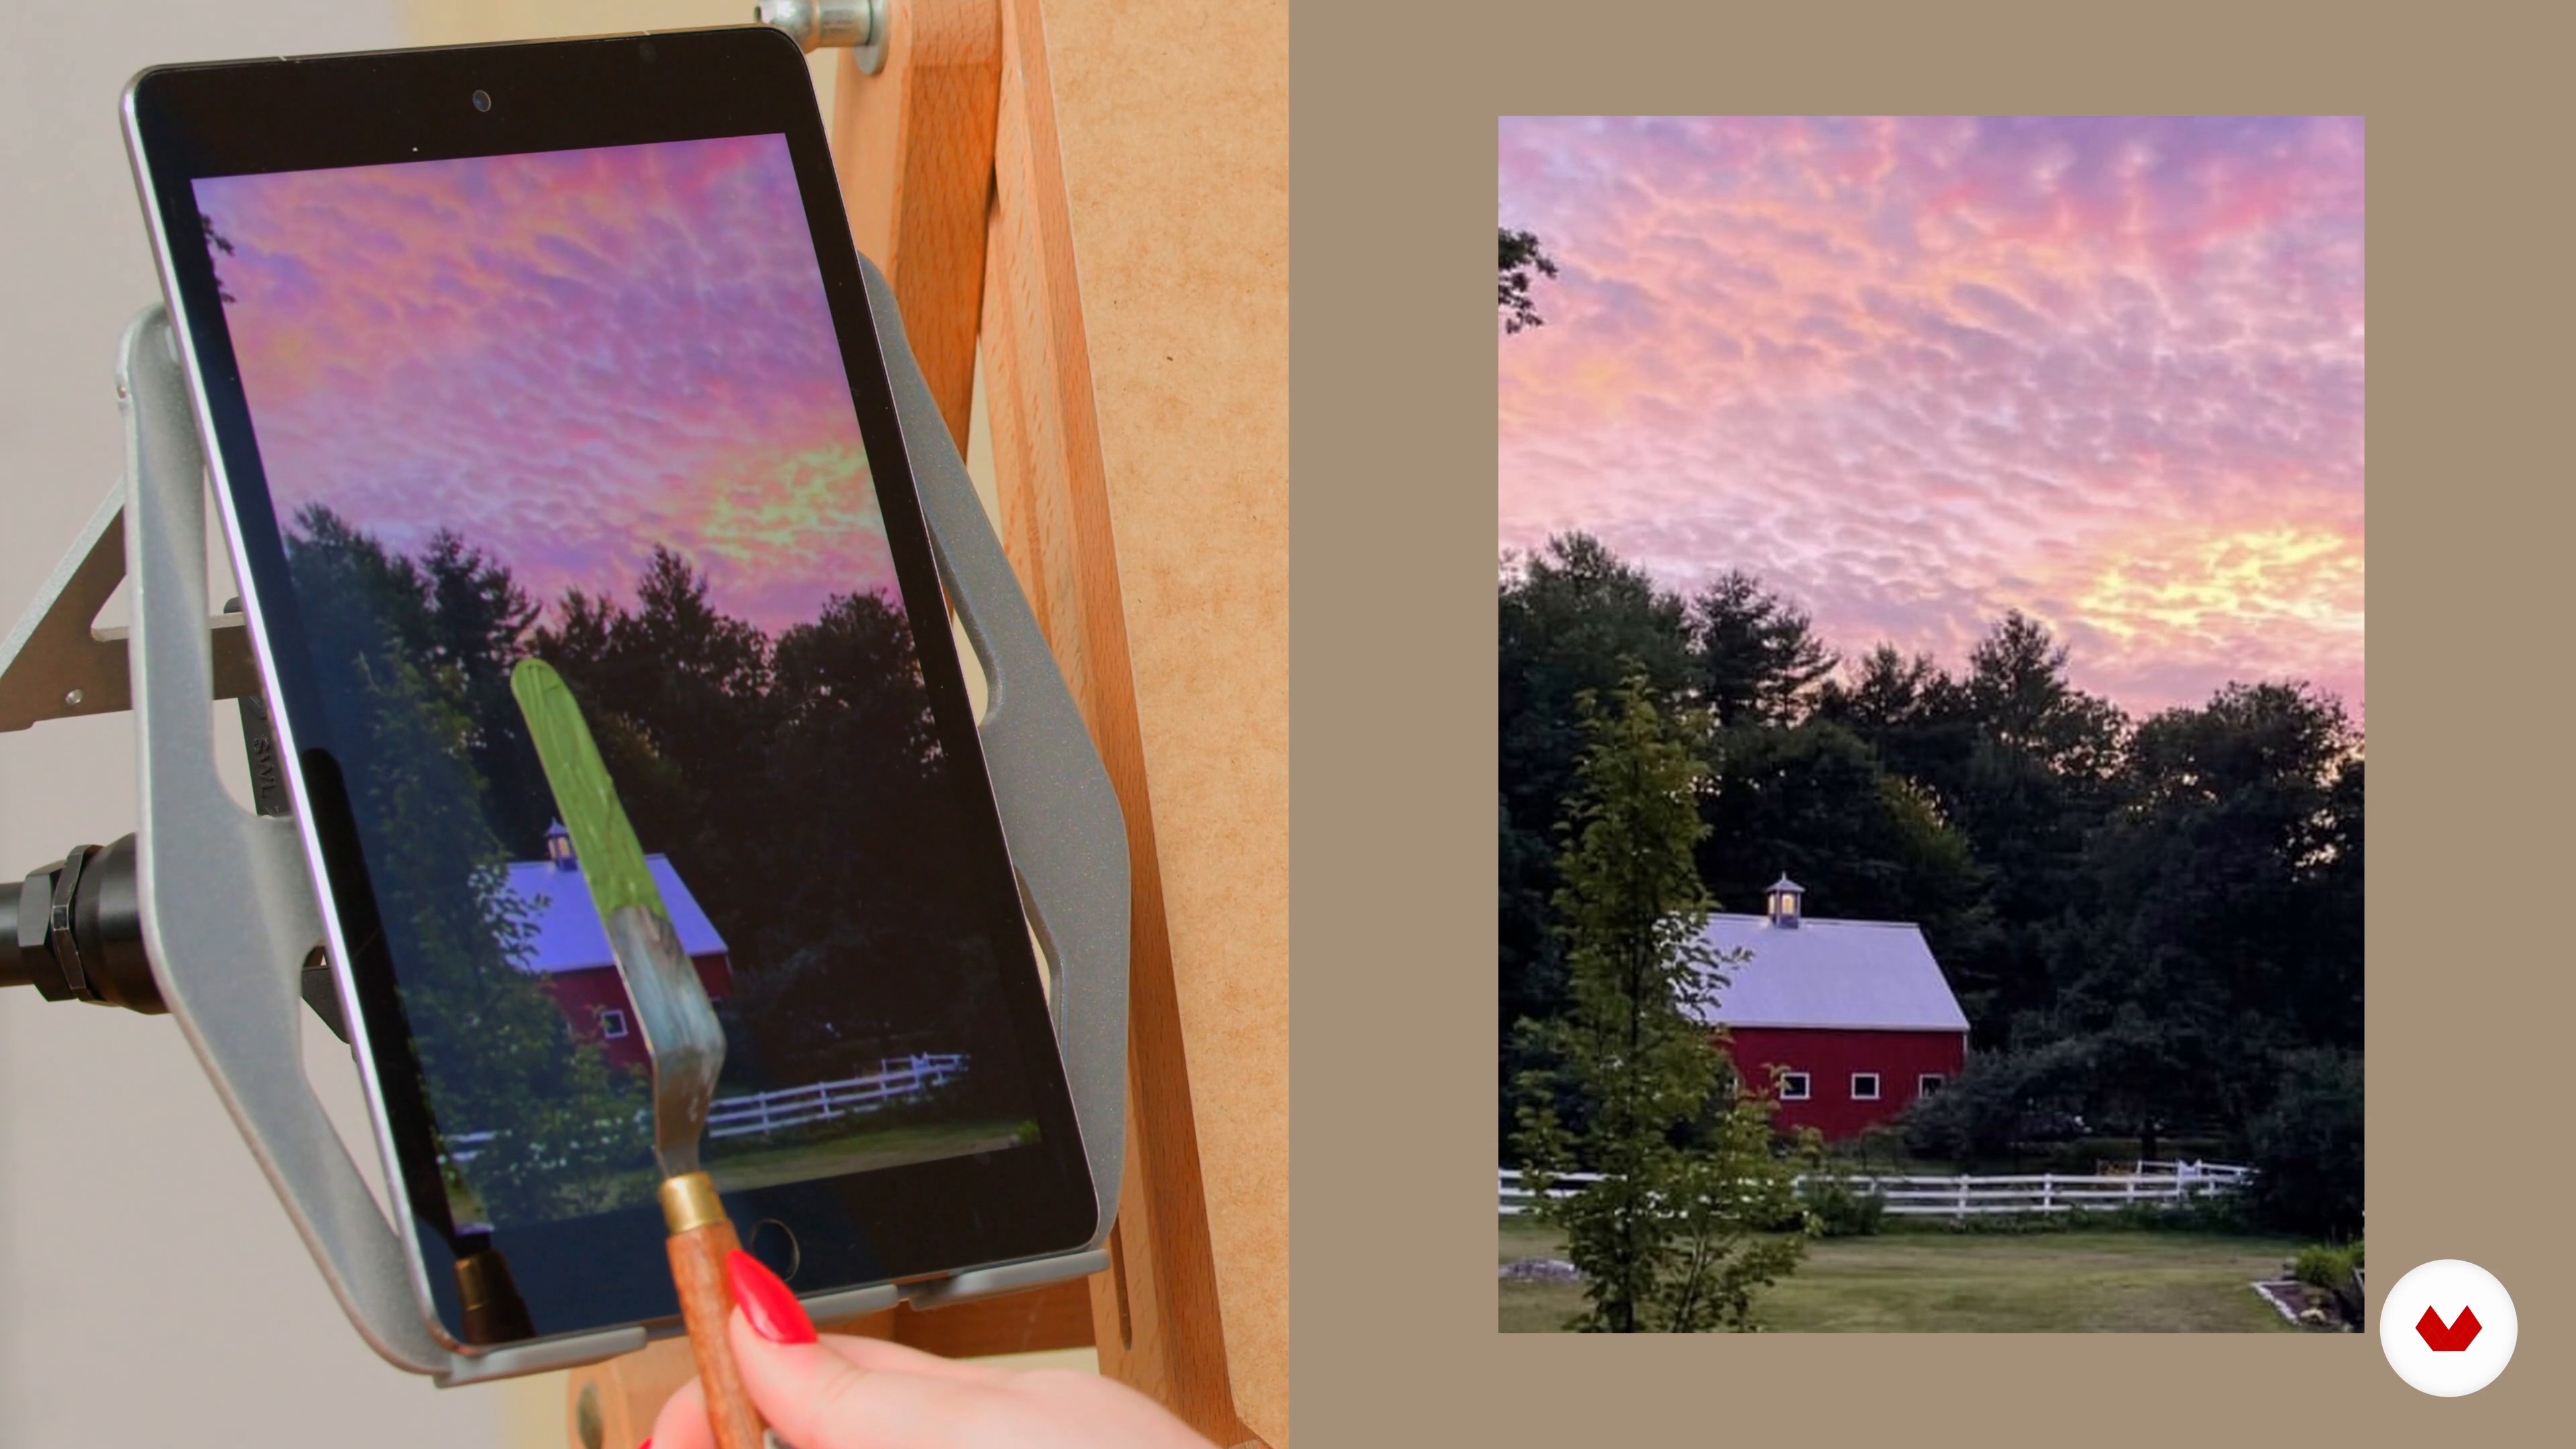
I'll teach you my methods for collecting and using photos as inspiration. You'll learn how to see the world through an artist's lens.
9m
image
3
Composition Basics
Understanding composition is critical. I'll guide you through the process of choosing images with substantial compositional value and explain why this matters in our work.
4m
image
4
Understanding the Underpainting
Before applying any paint to a surface, I'll teach you the history and use of this powerful painting technique.
6m
image
5
The Stain
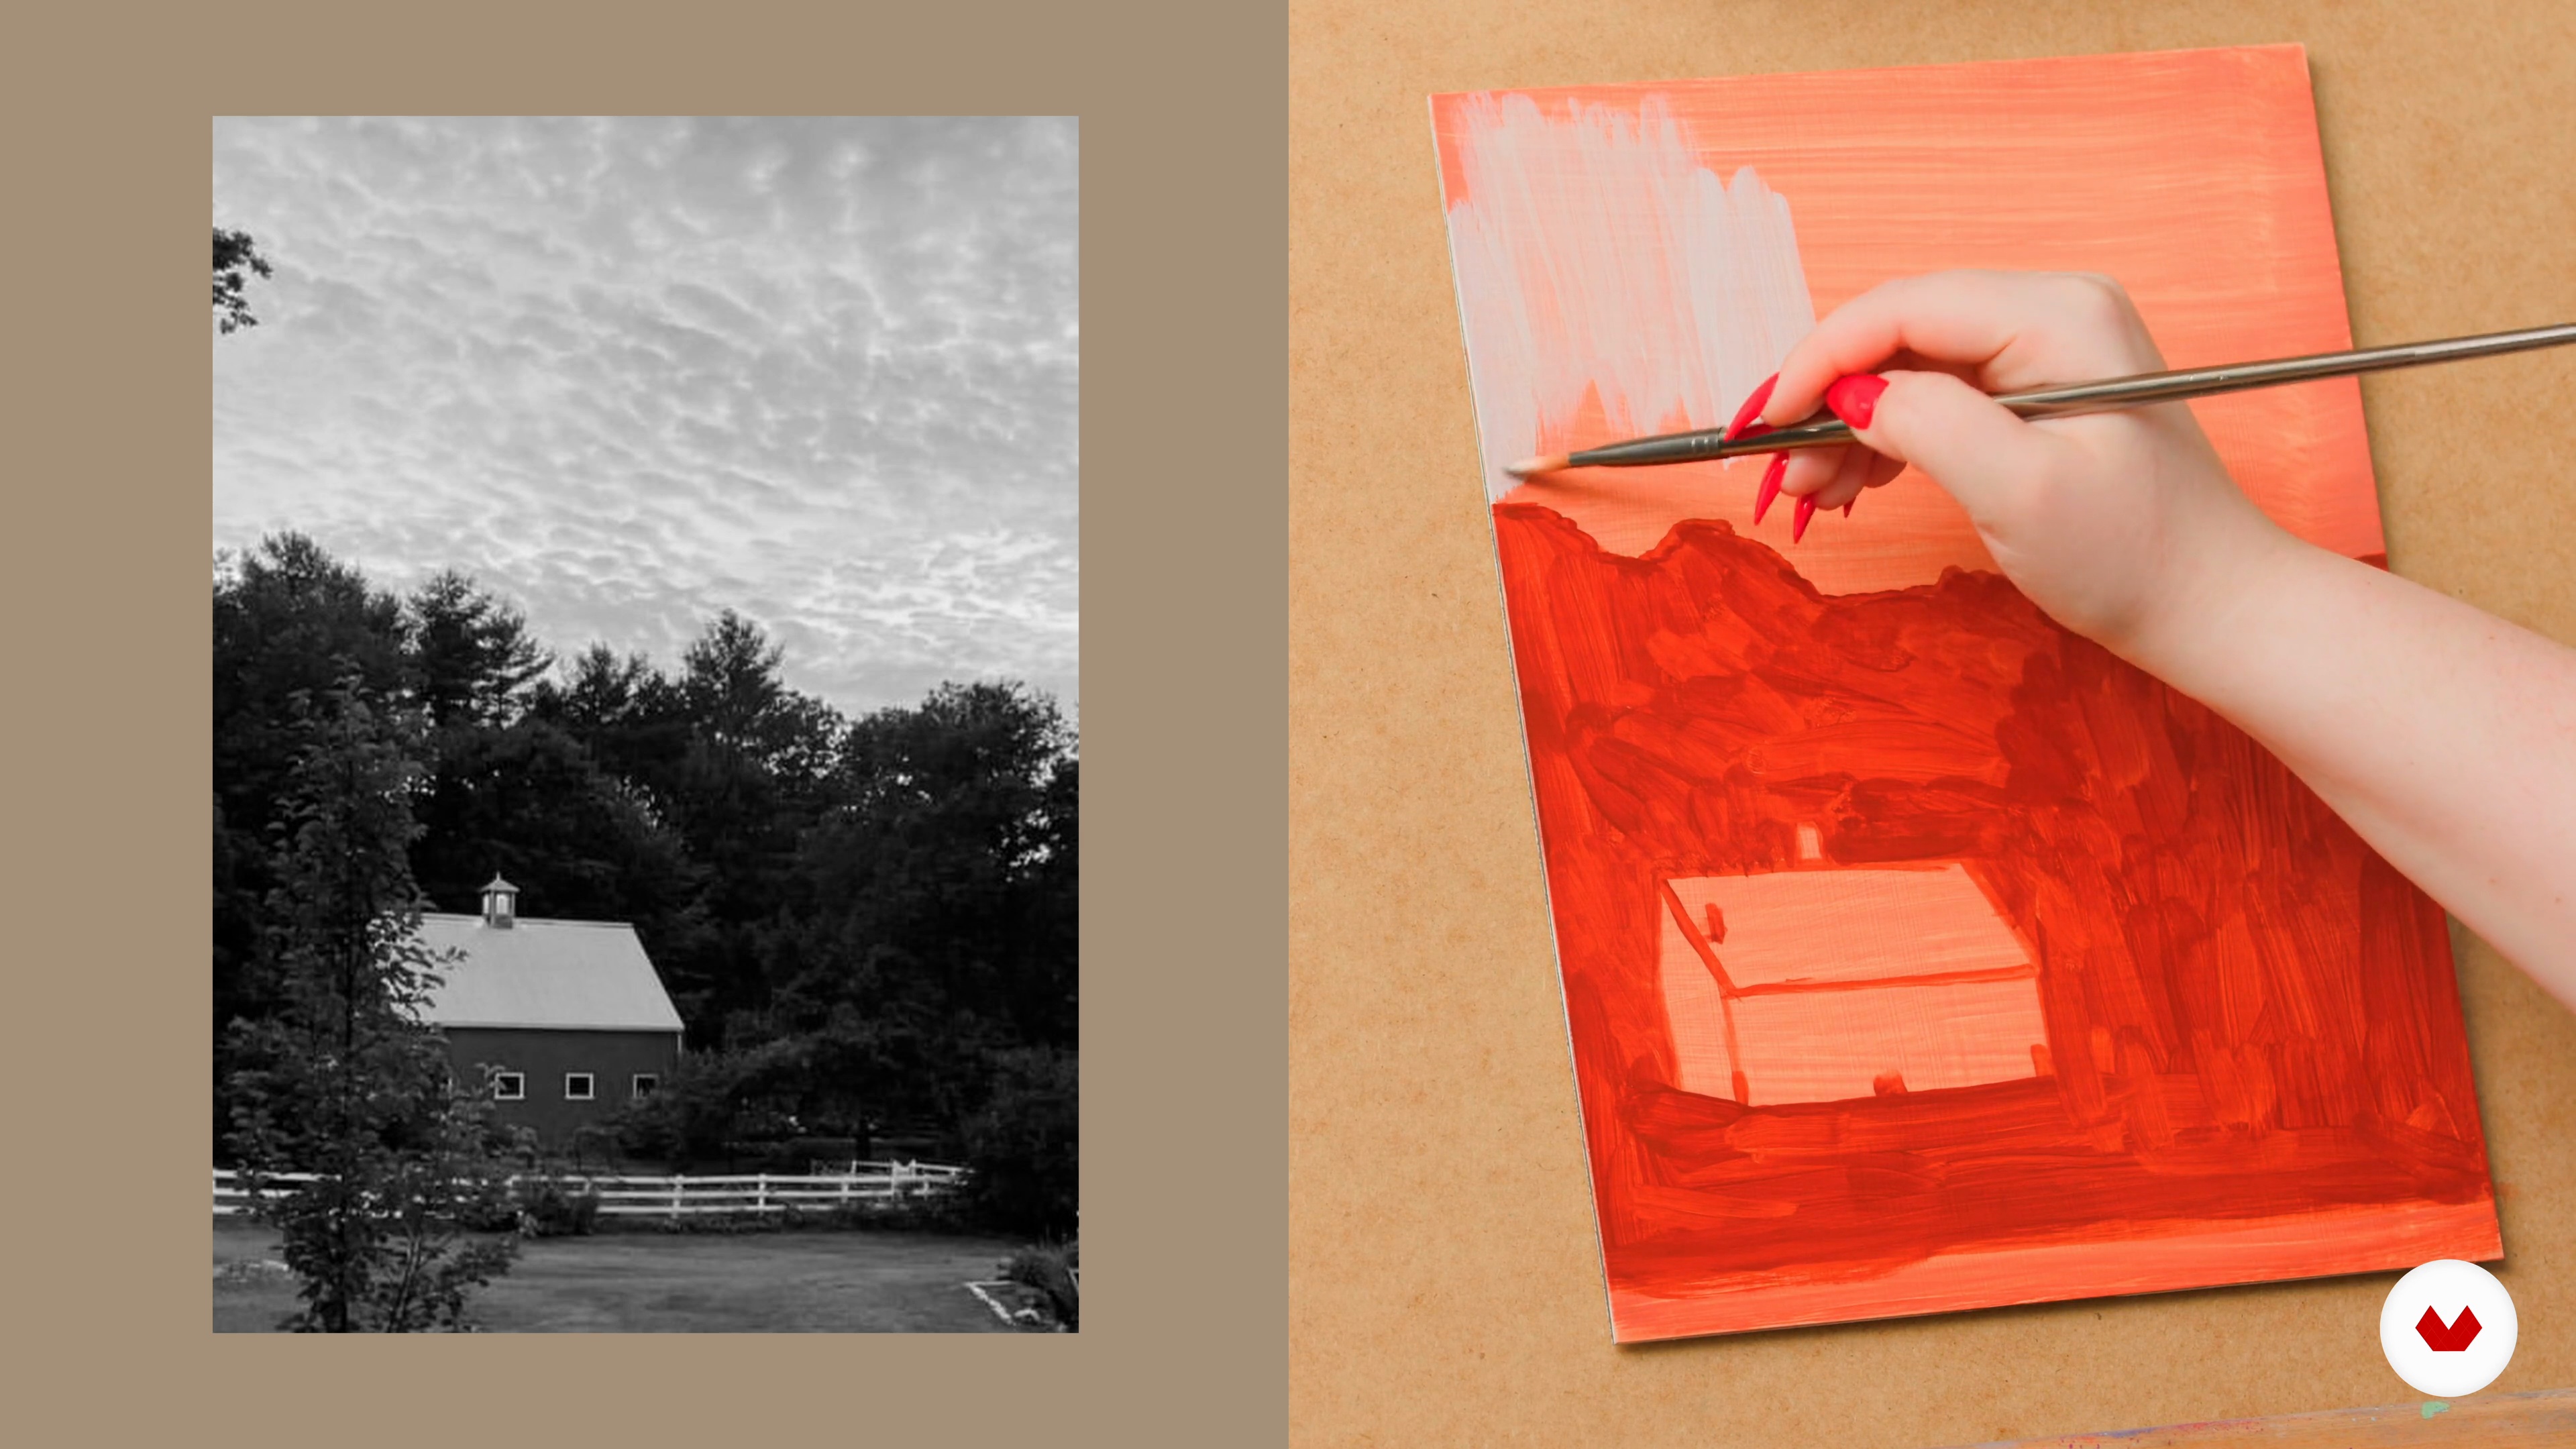
During this lesson, I'll take you through the process of choosing the right hue for your underpainting.
6m
image
6
Sketching With Line
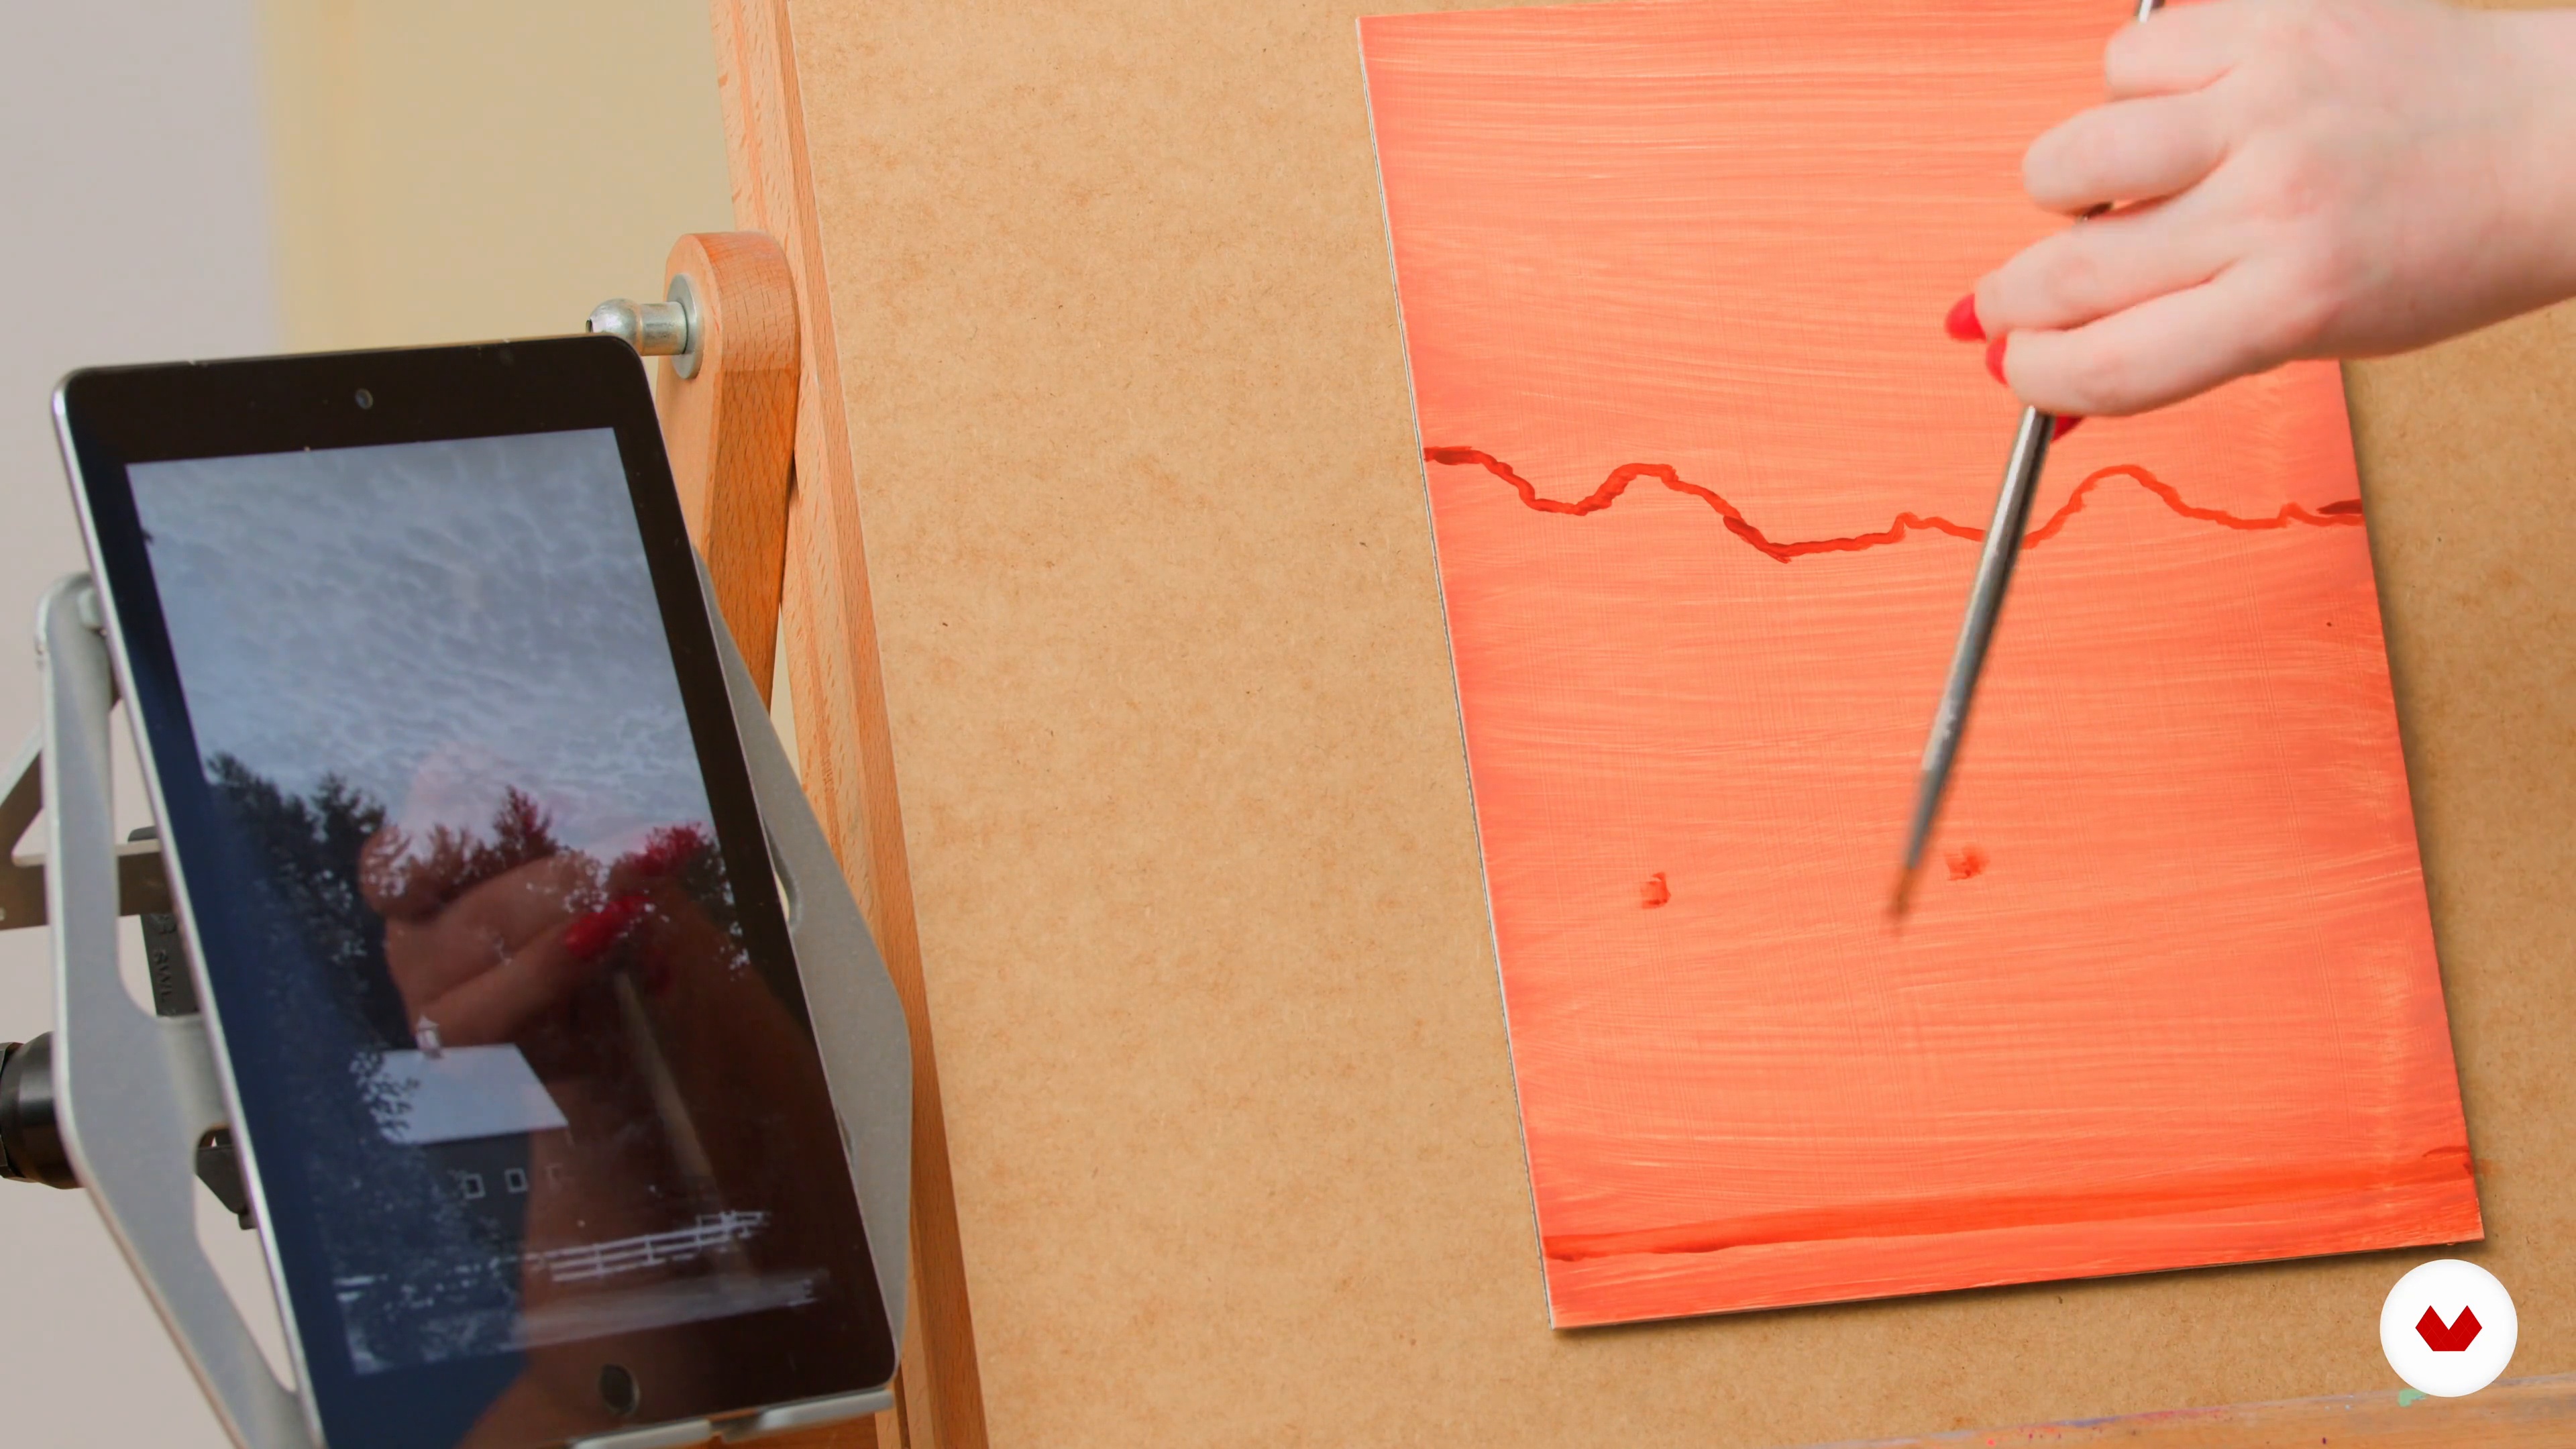
Now, I'll introduce you to an effective way to think about line when using it to sketch in a composition.
16m
image
7
Sketching With Value
Then, I'll show you how to set your painting up for success by sketching important information about the composition's values.
16m
image
8
Color Theory and Pre-Mixing Your Palette 1
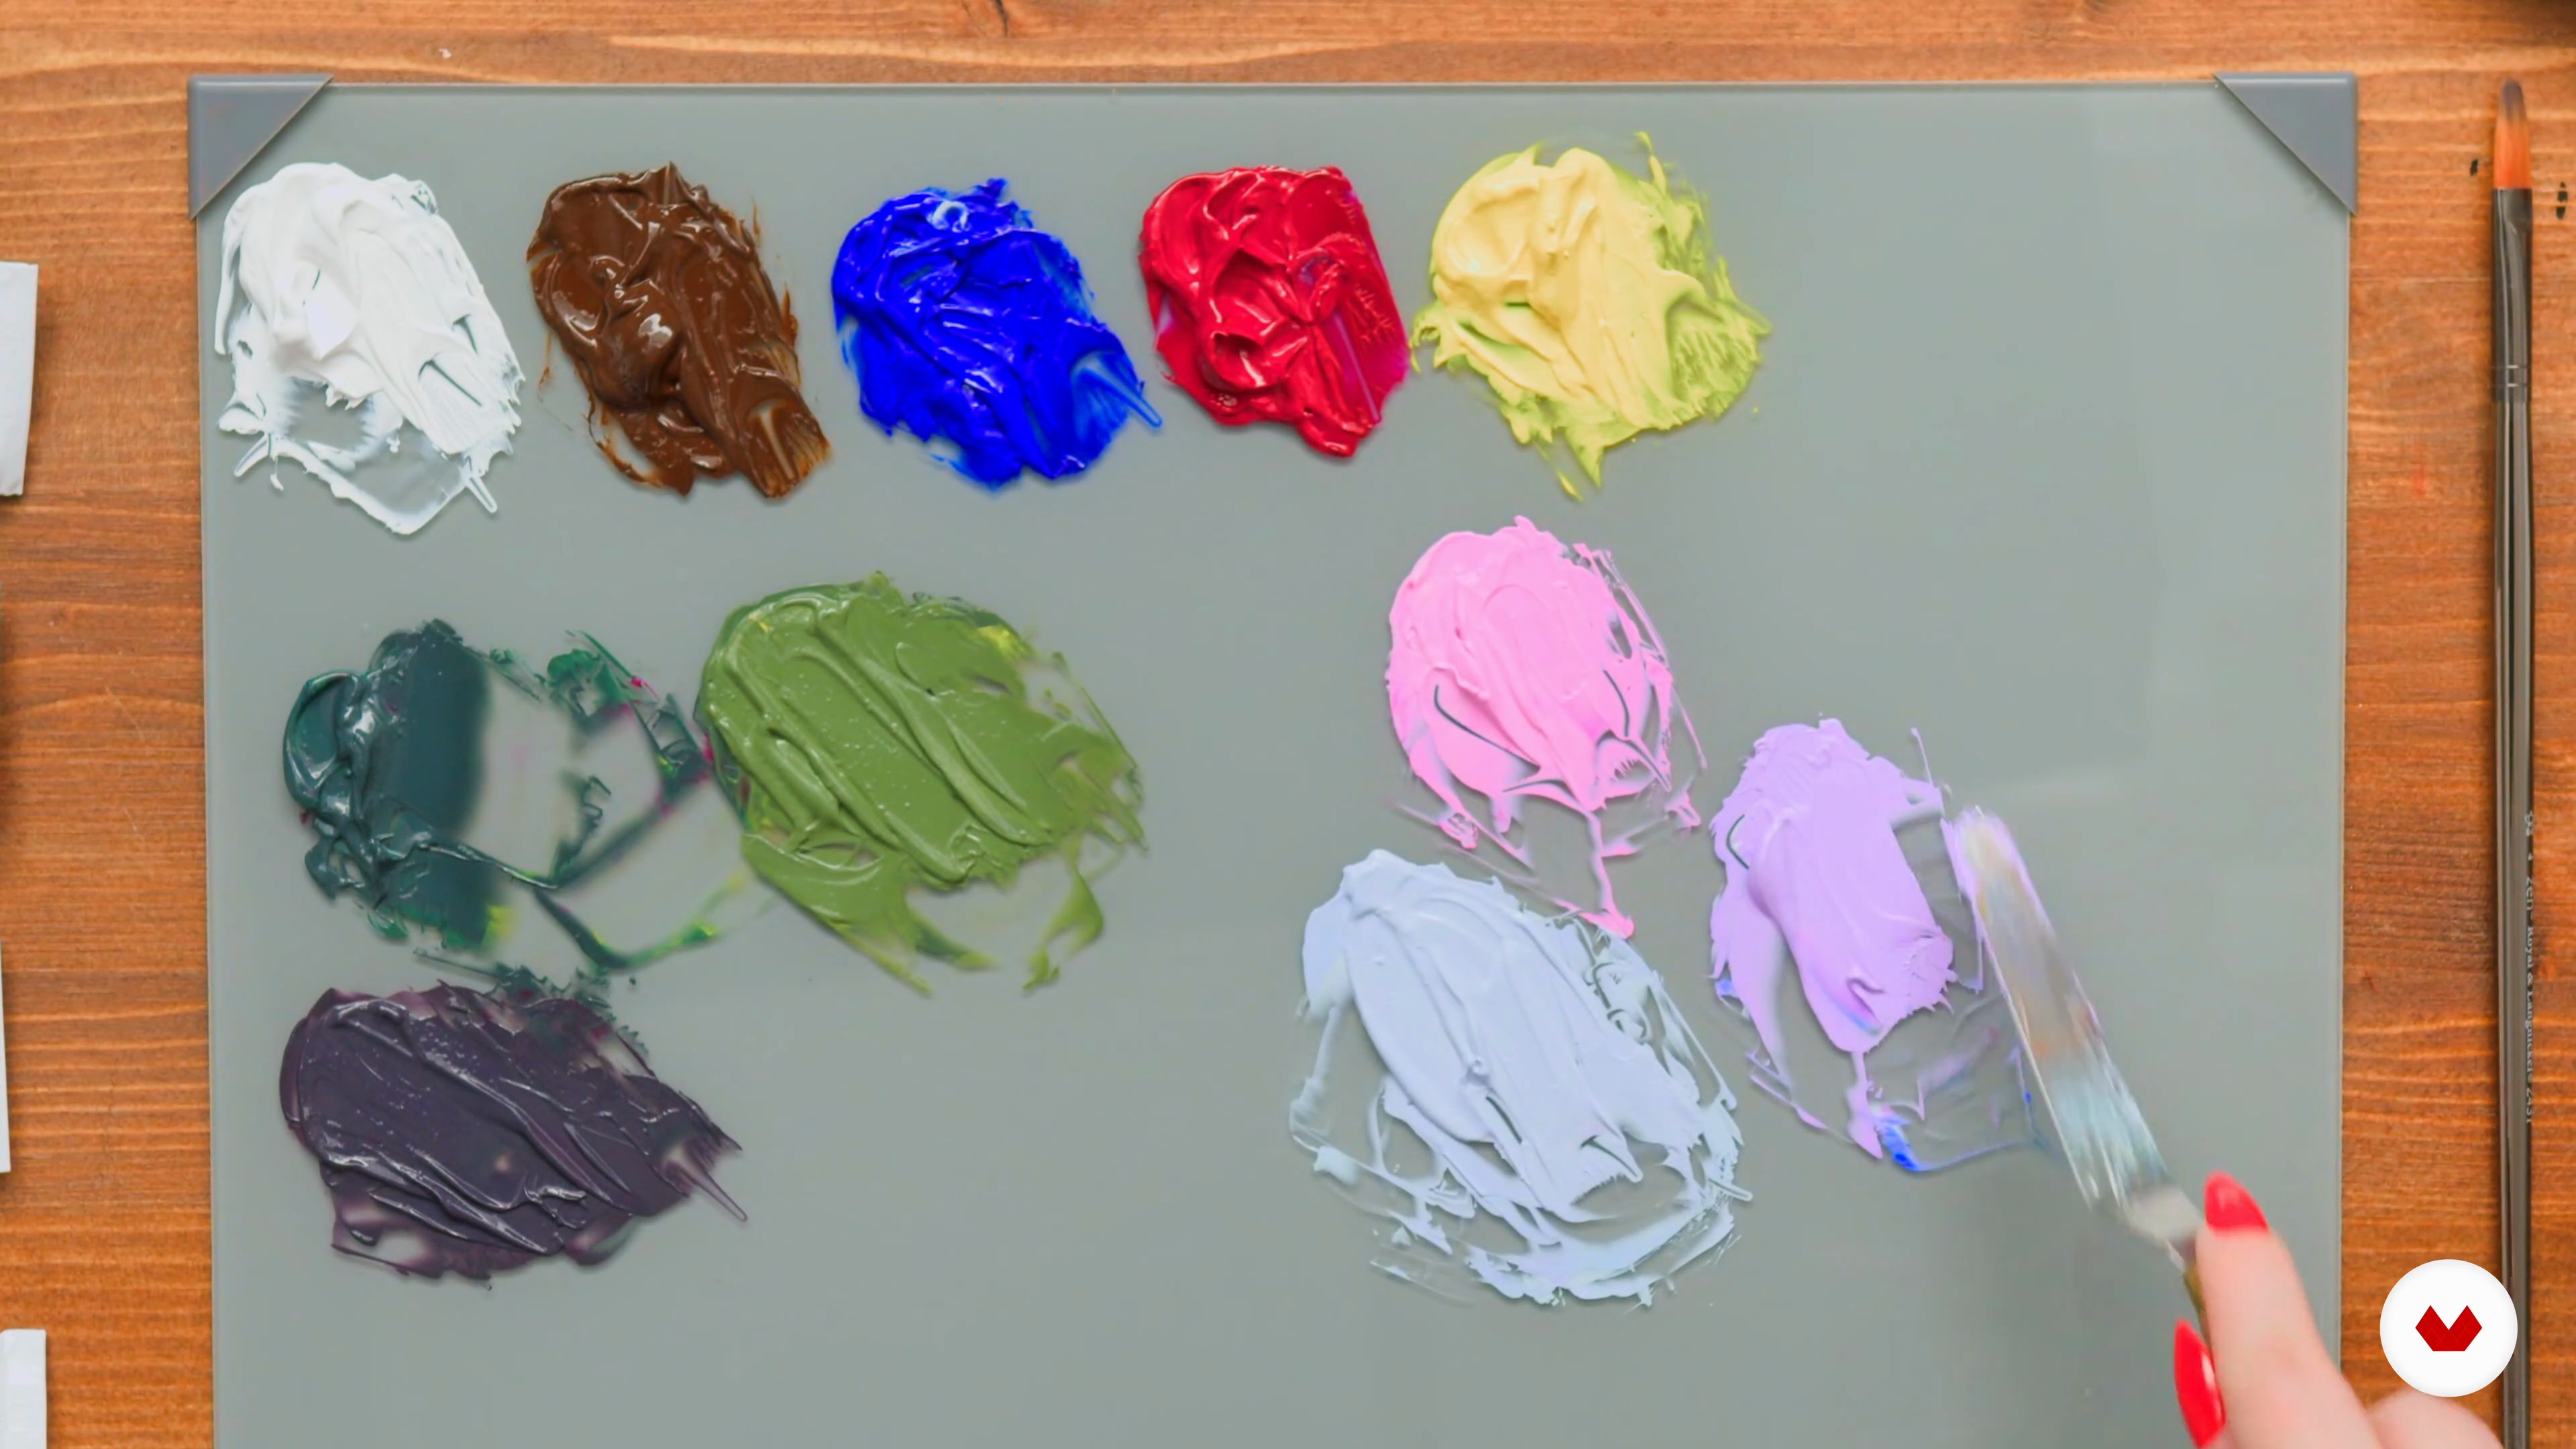
In this lesson, I'll teach you how to prepare your color palette before painting. I'll mix all the colors necessary in advance to maintain flow and focus on the artistic process, using a paint retarder to keep the paint wet and work comfortably.
16m
image
9
Color Theory and Pre-Mixing Your Palette 2
It's time to explore advanced color mixing techniques for different areas of our composition, focusing on highlights, midtones, and shadows. I will guide you in mixing essential colors, such as yellows and purples, enhancing your ability to make quick adjustments as you paint. Remember, a well-prepared palette minimizes distractions, allowing you to maintain focus and efficiency throughout the artistic process.
9m
image
10
Adjacent Color Comparison 1
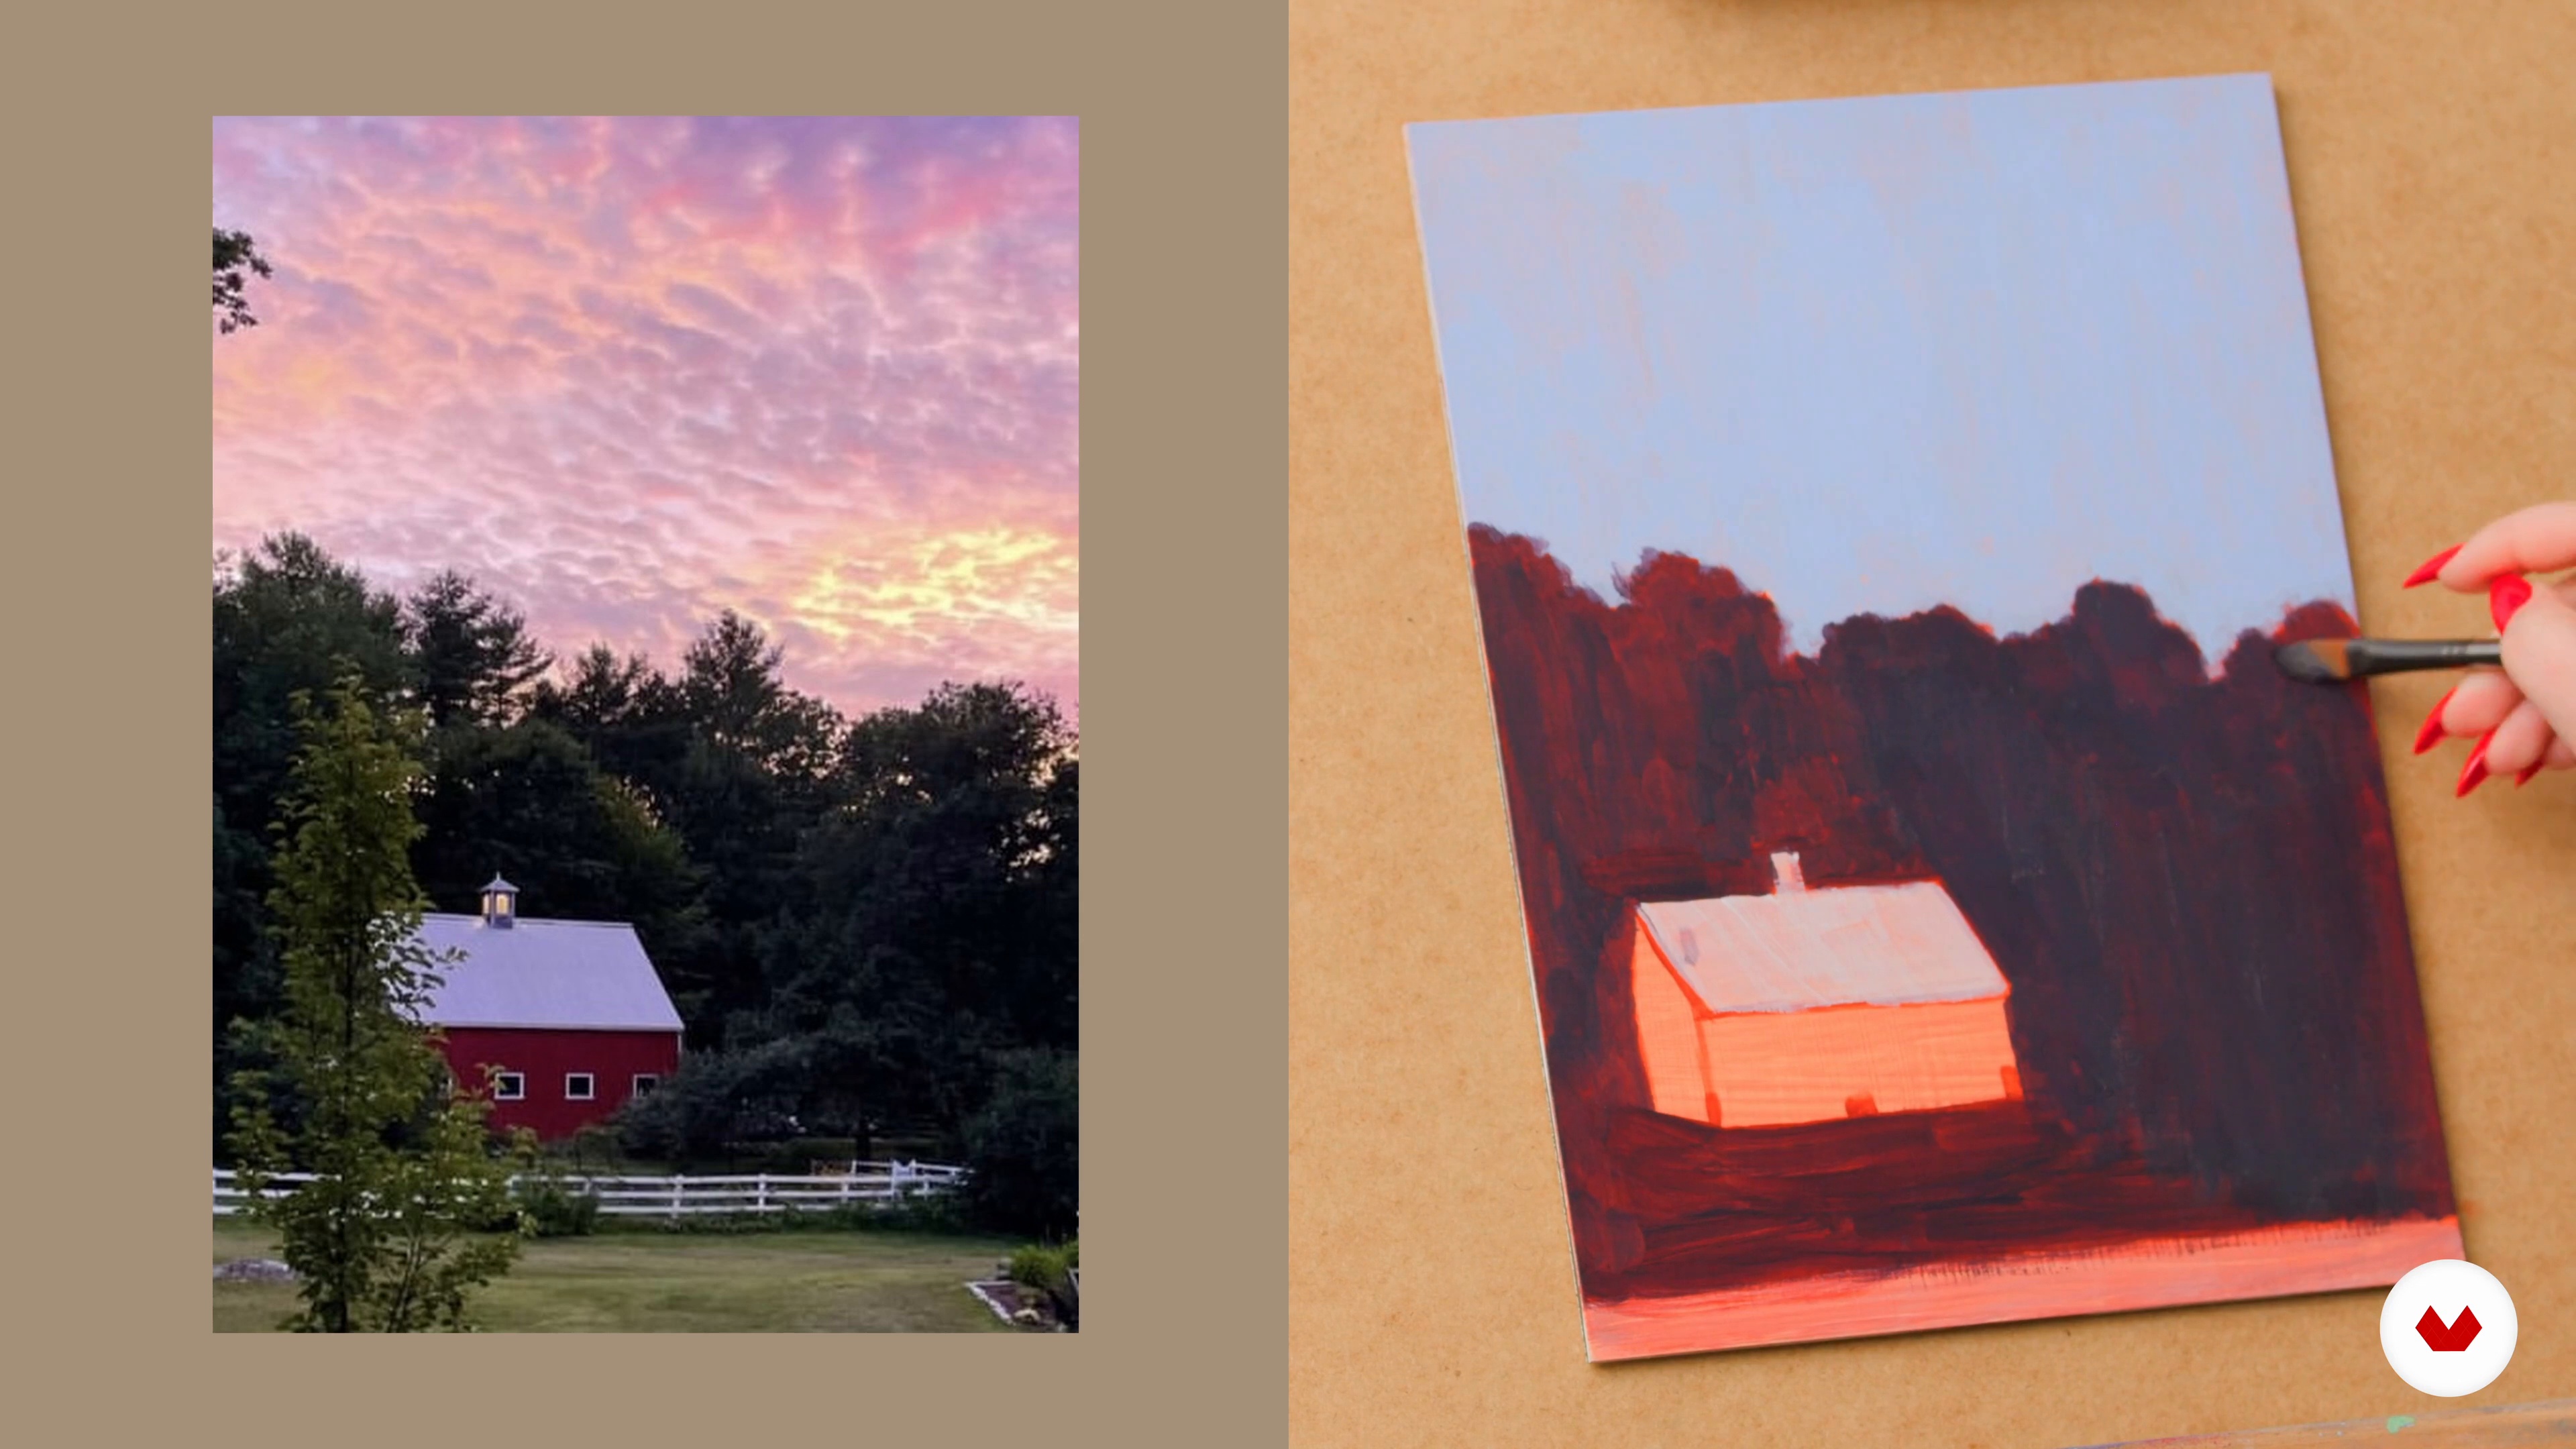
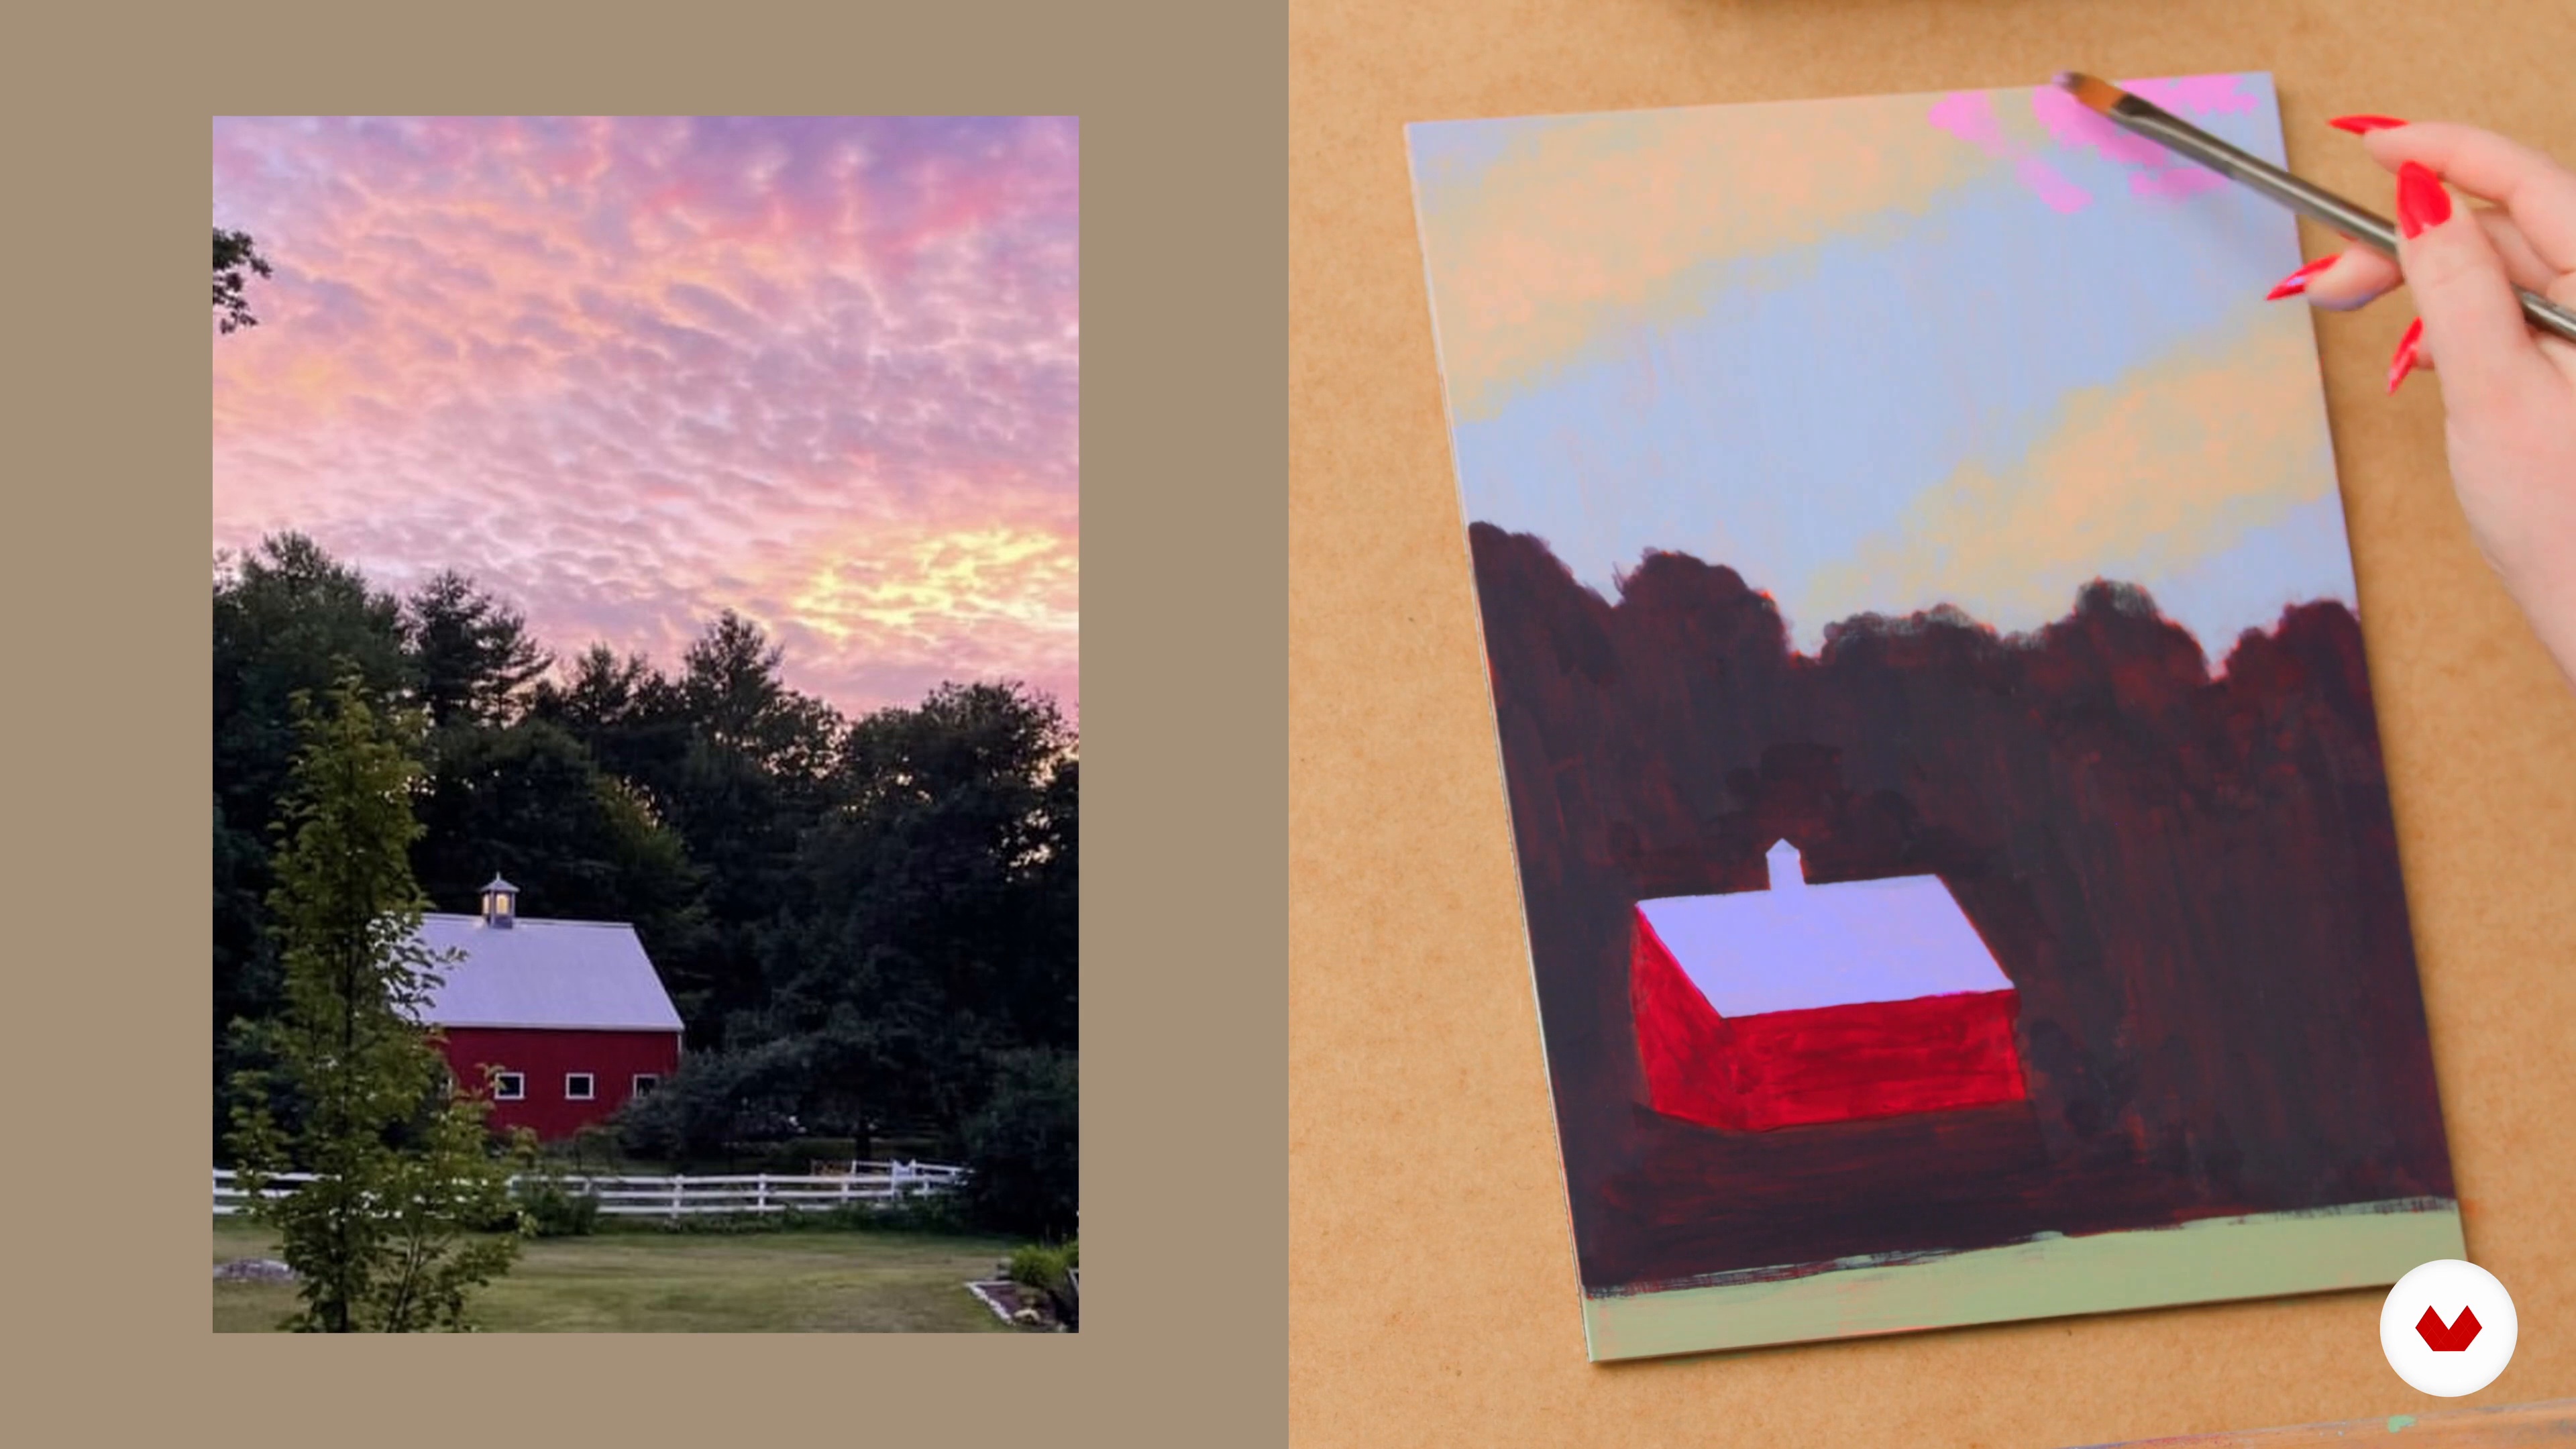
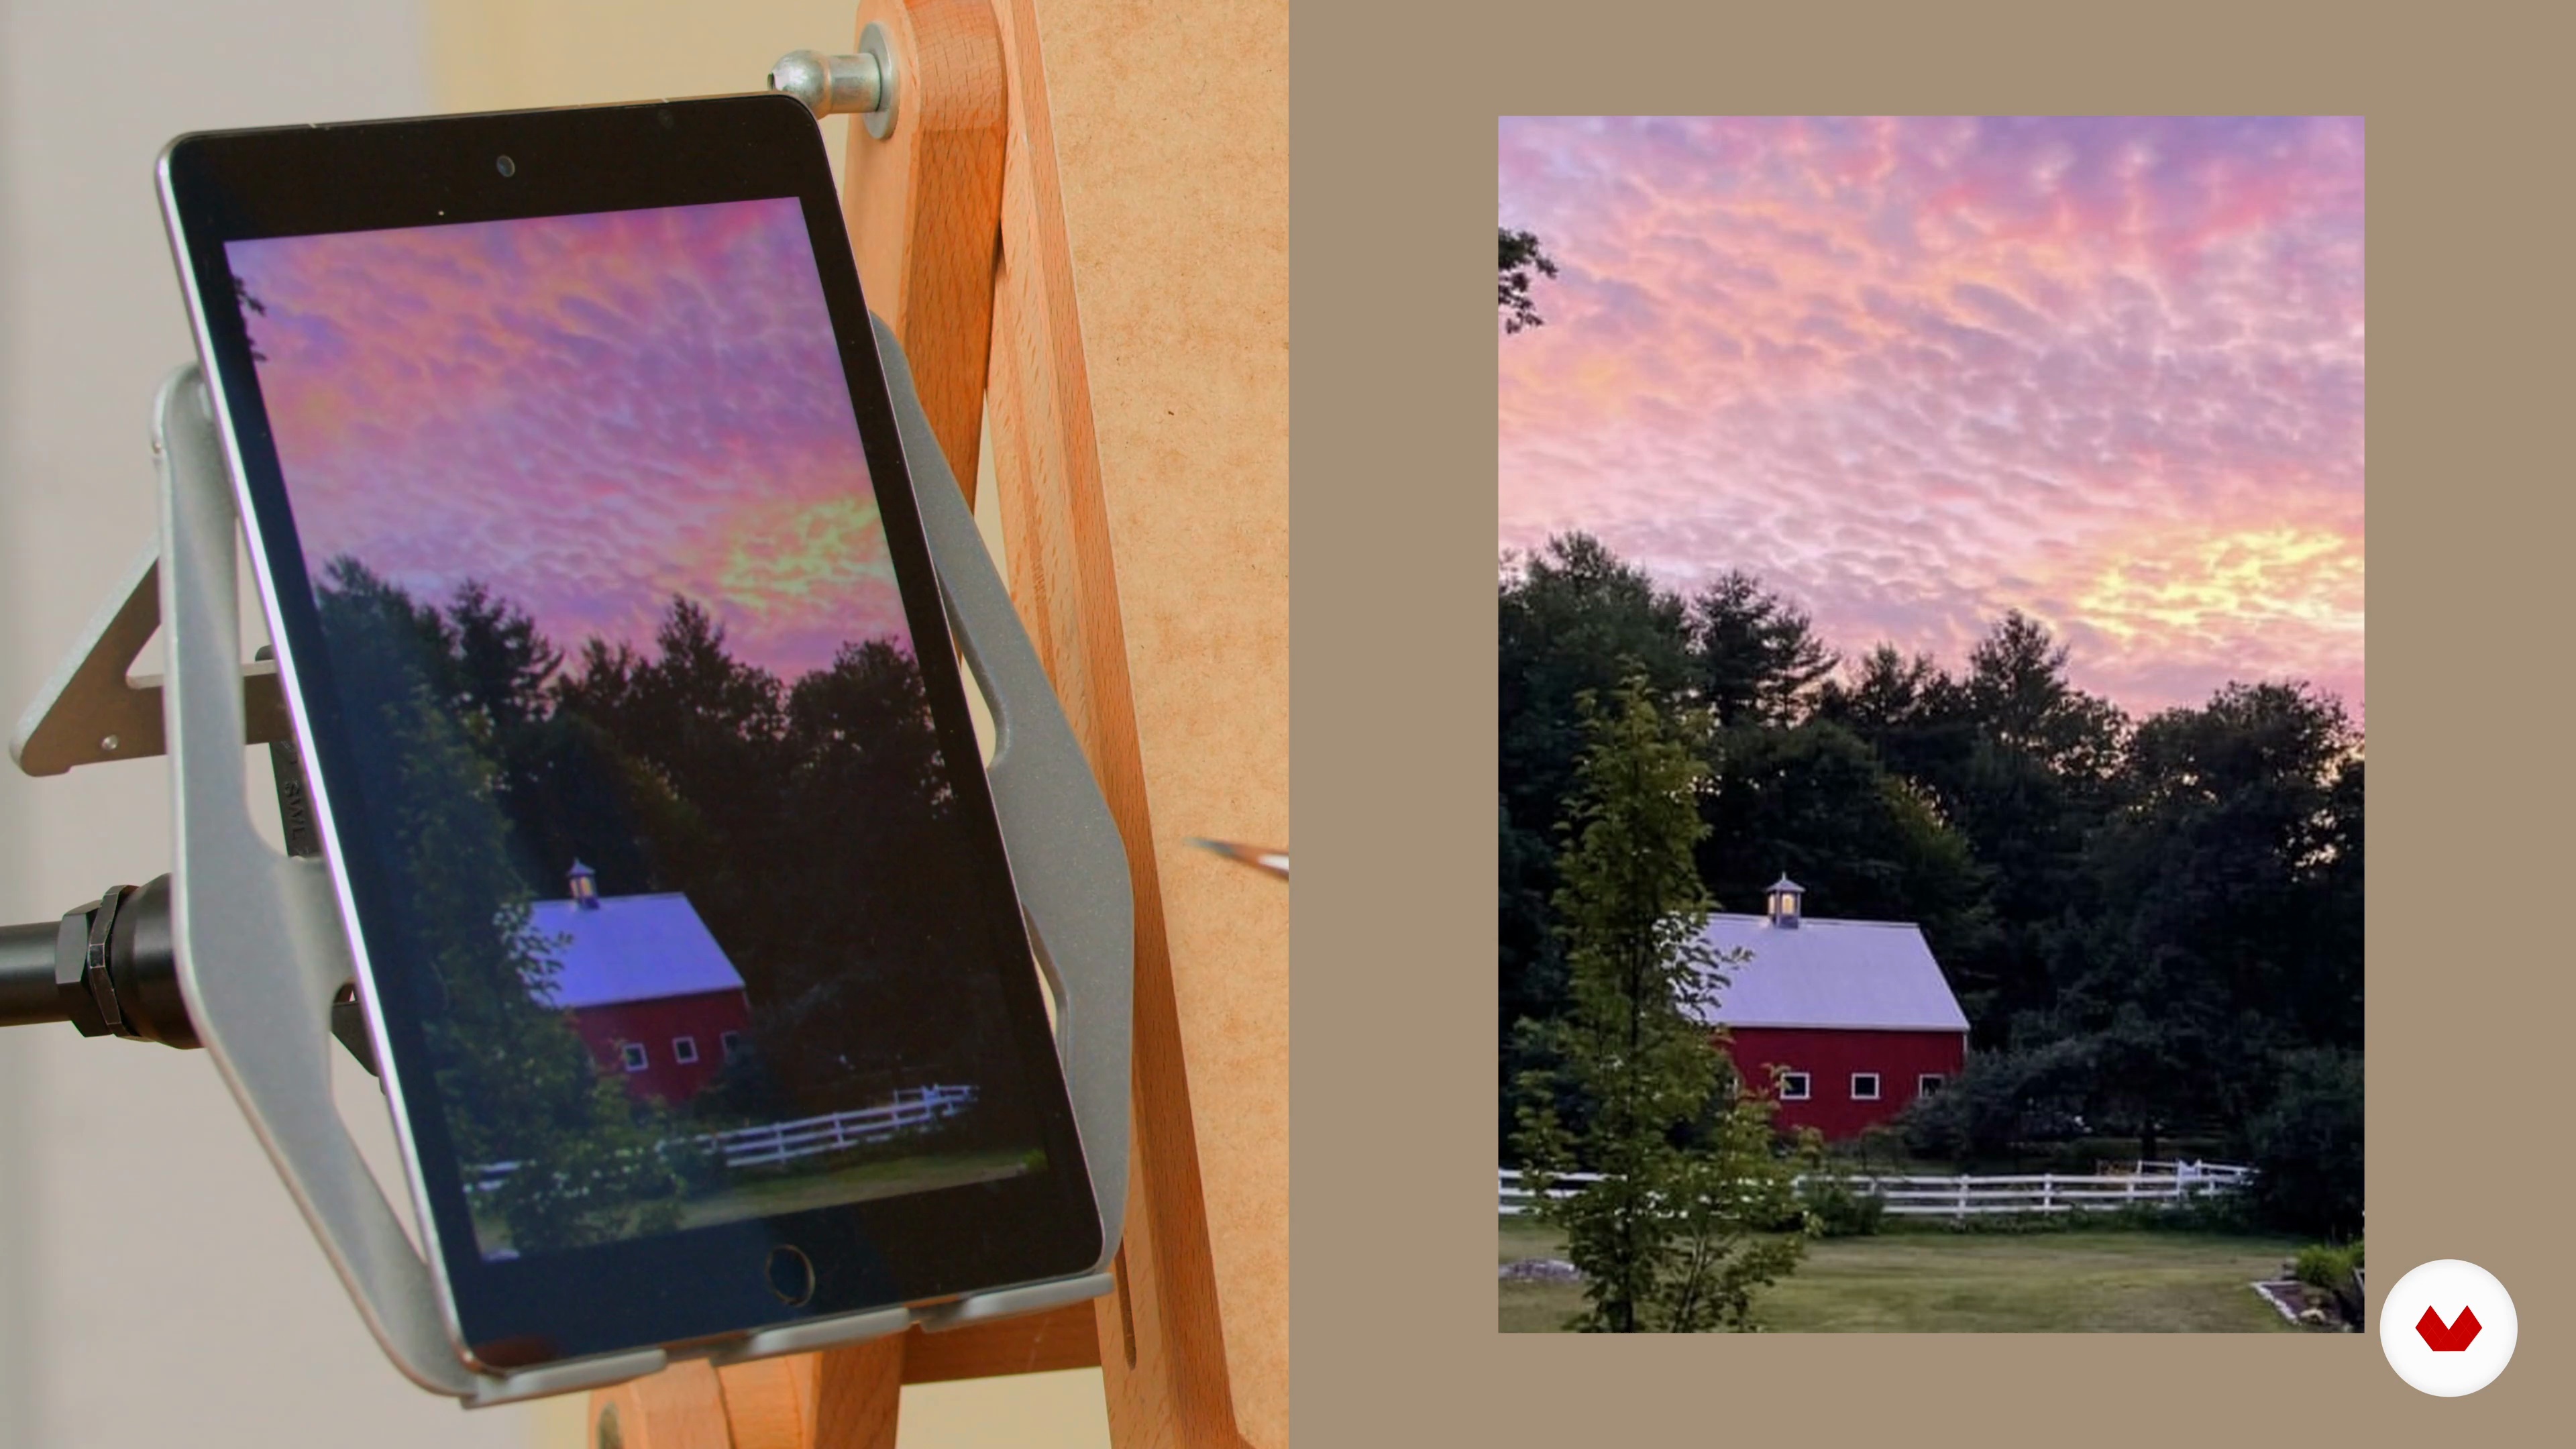
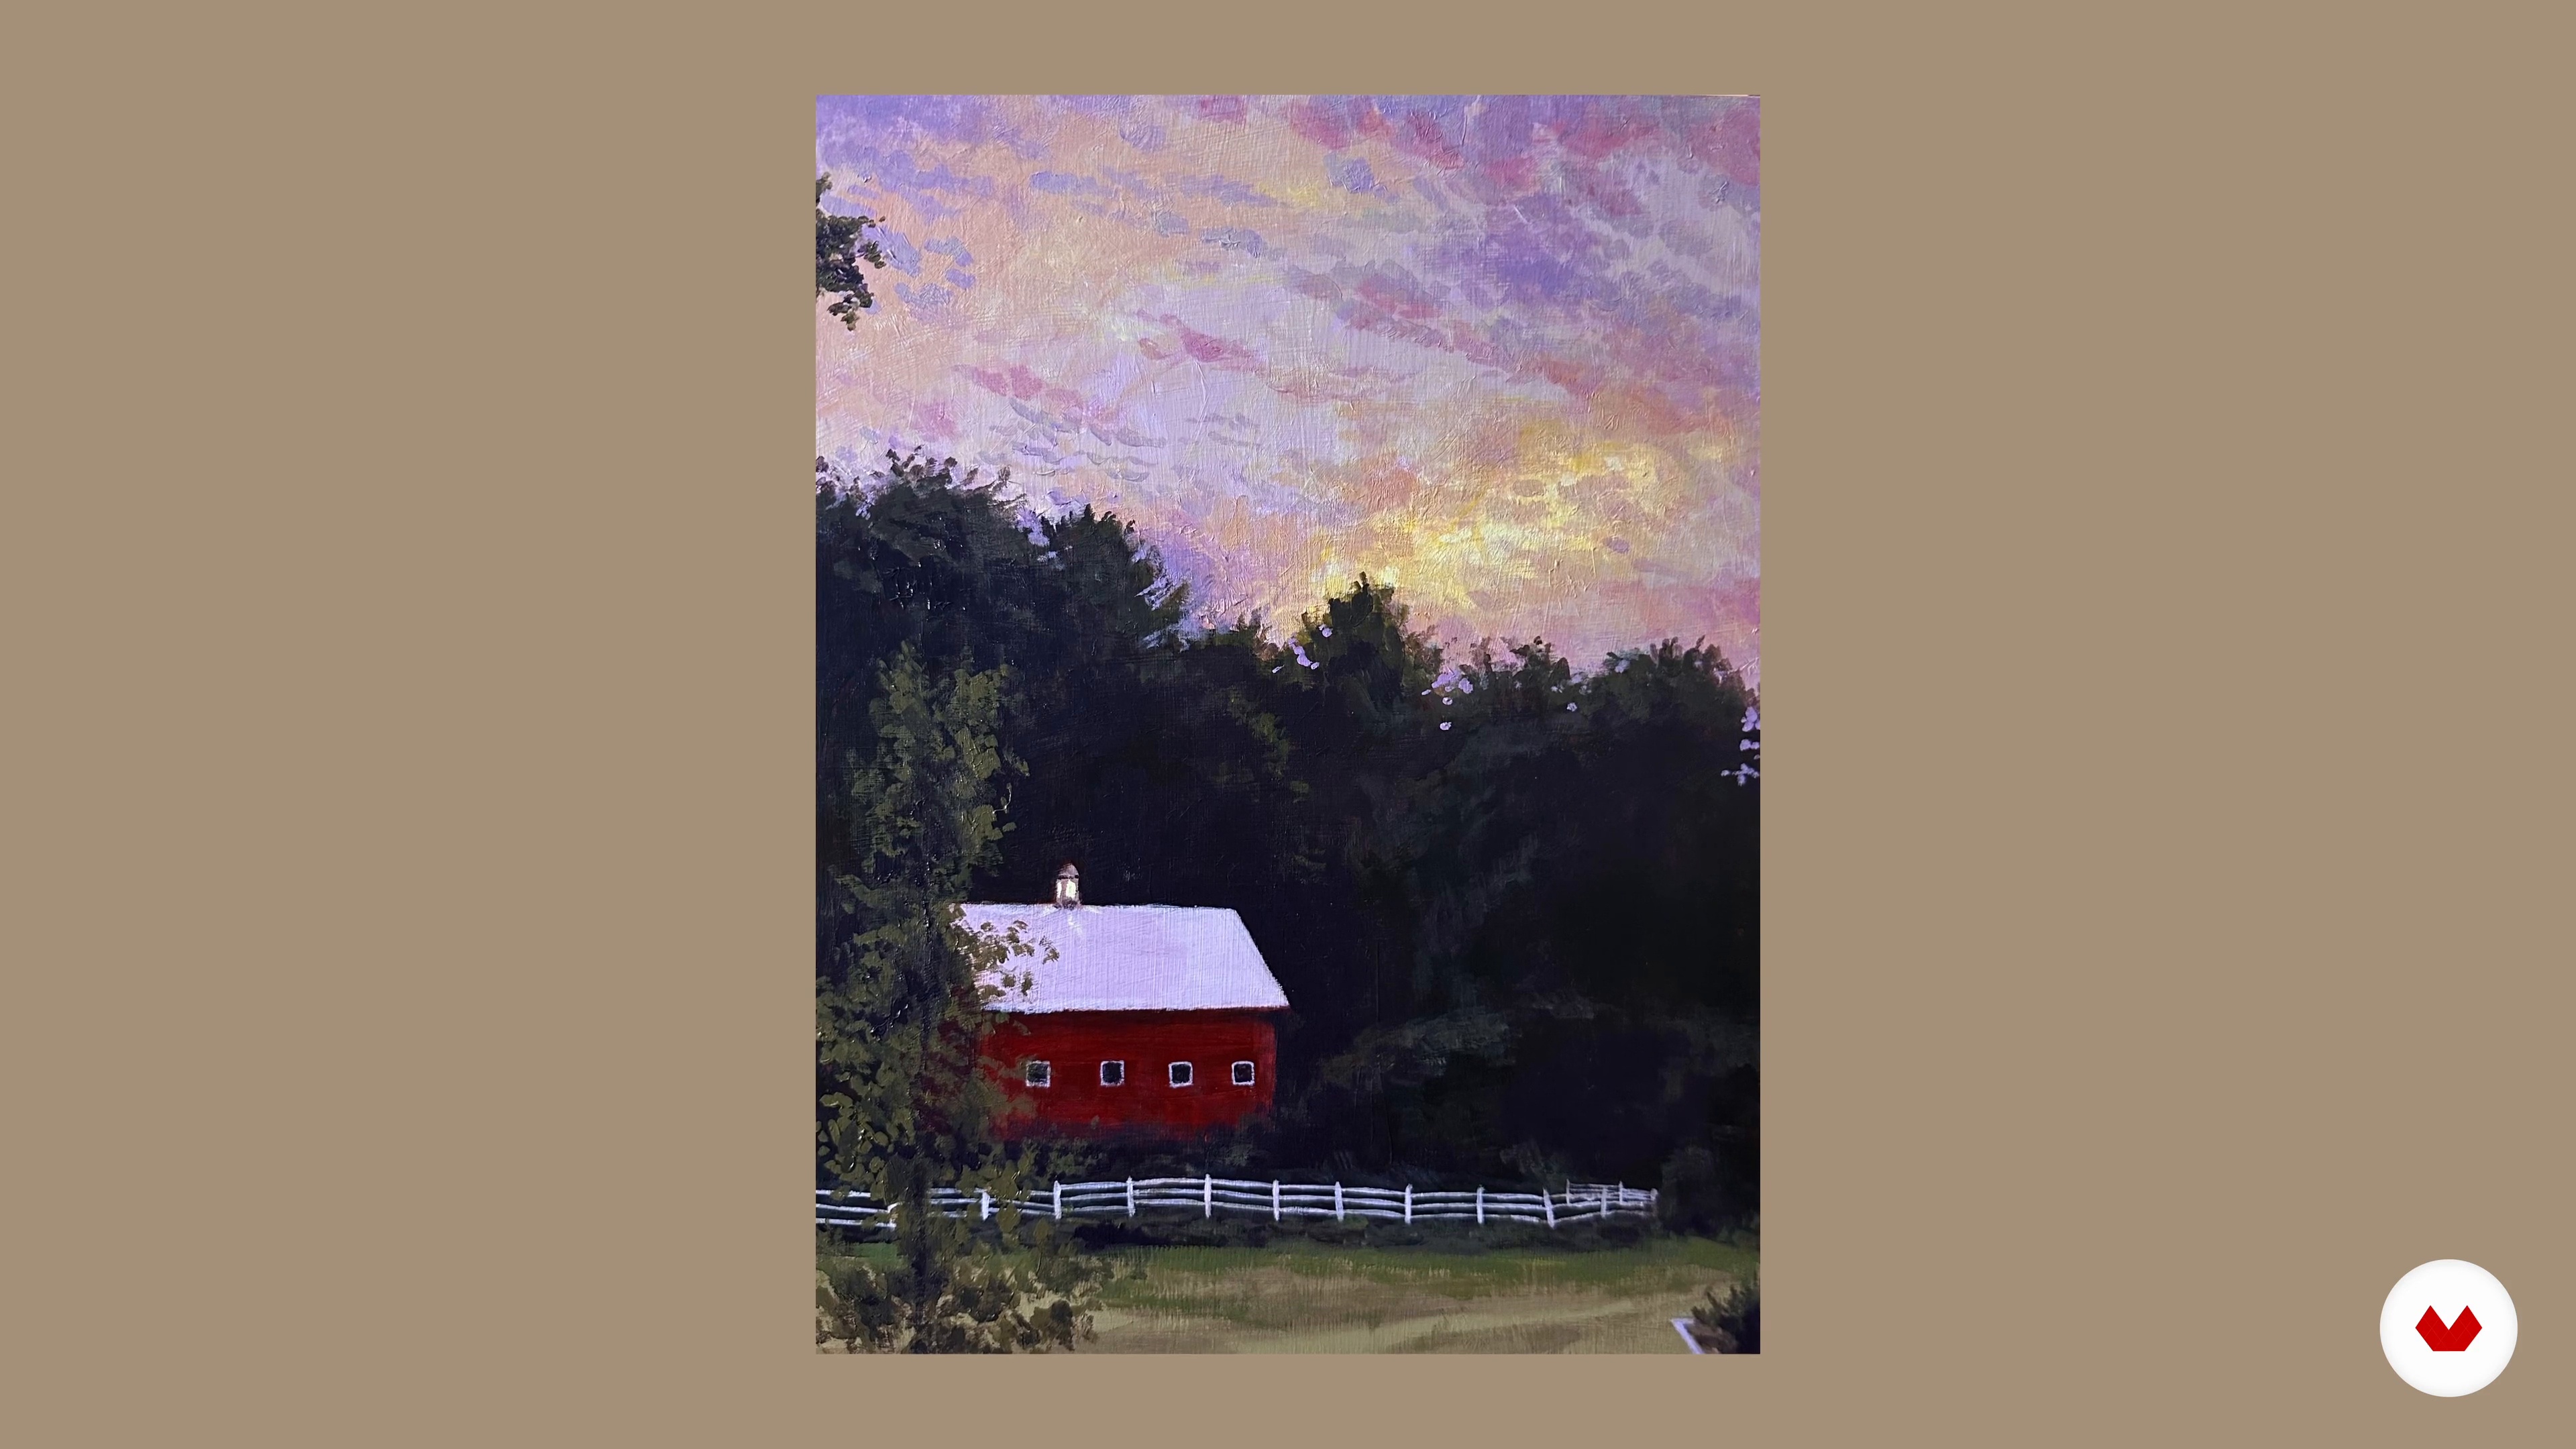
In this lesson, I'll teach you how to apply our pre-mixed colors using tiling, color blocking, and back-to-front techniques. Starting with the sky, I simplify complex scenes into manageable layers, ensuring a smooth progression towards the final artwork.
19m
image
11
Adjacent Color Comparison 2
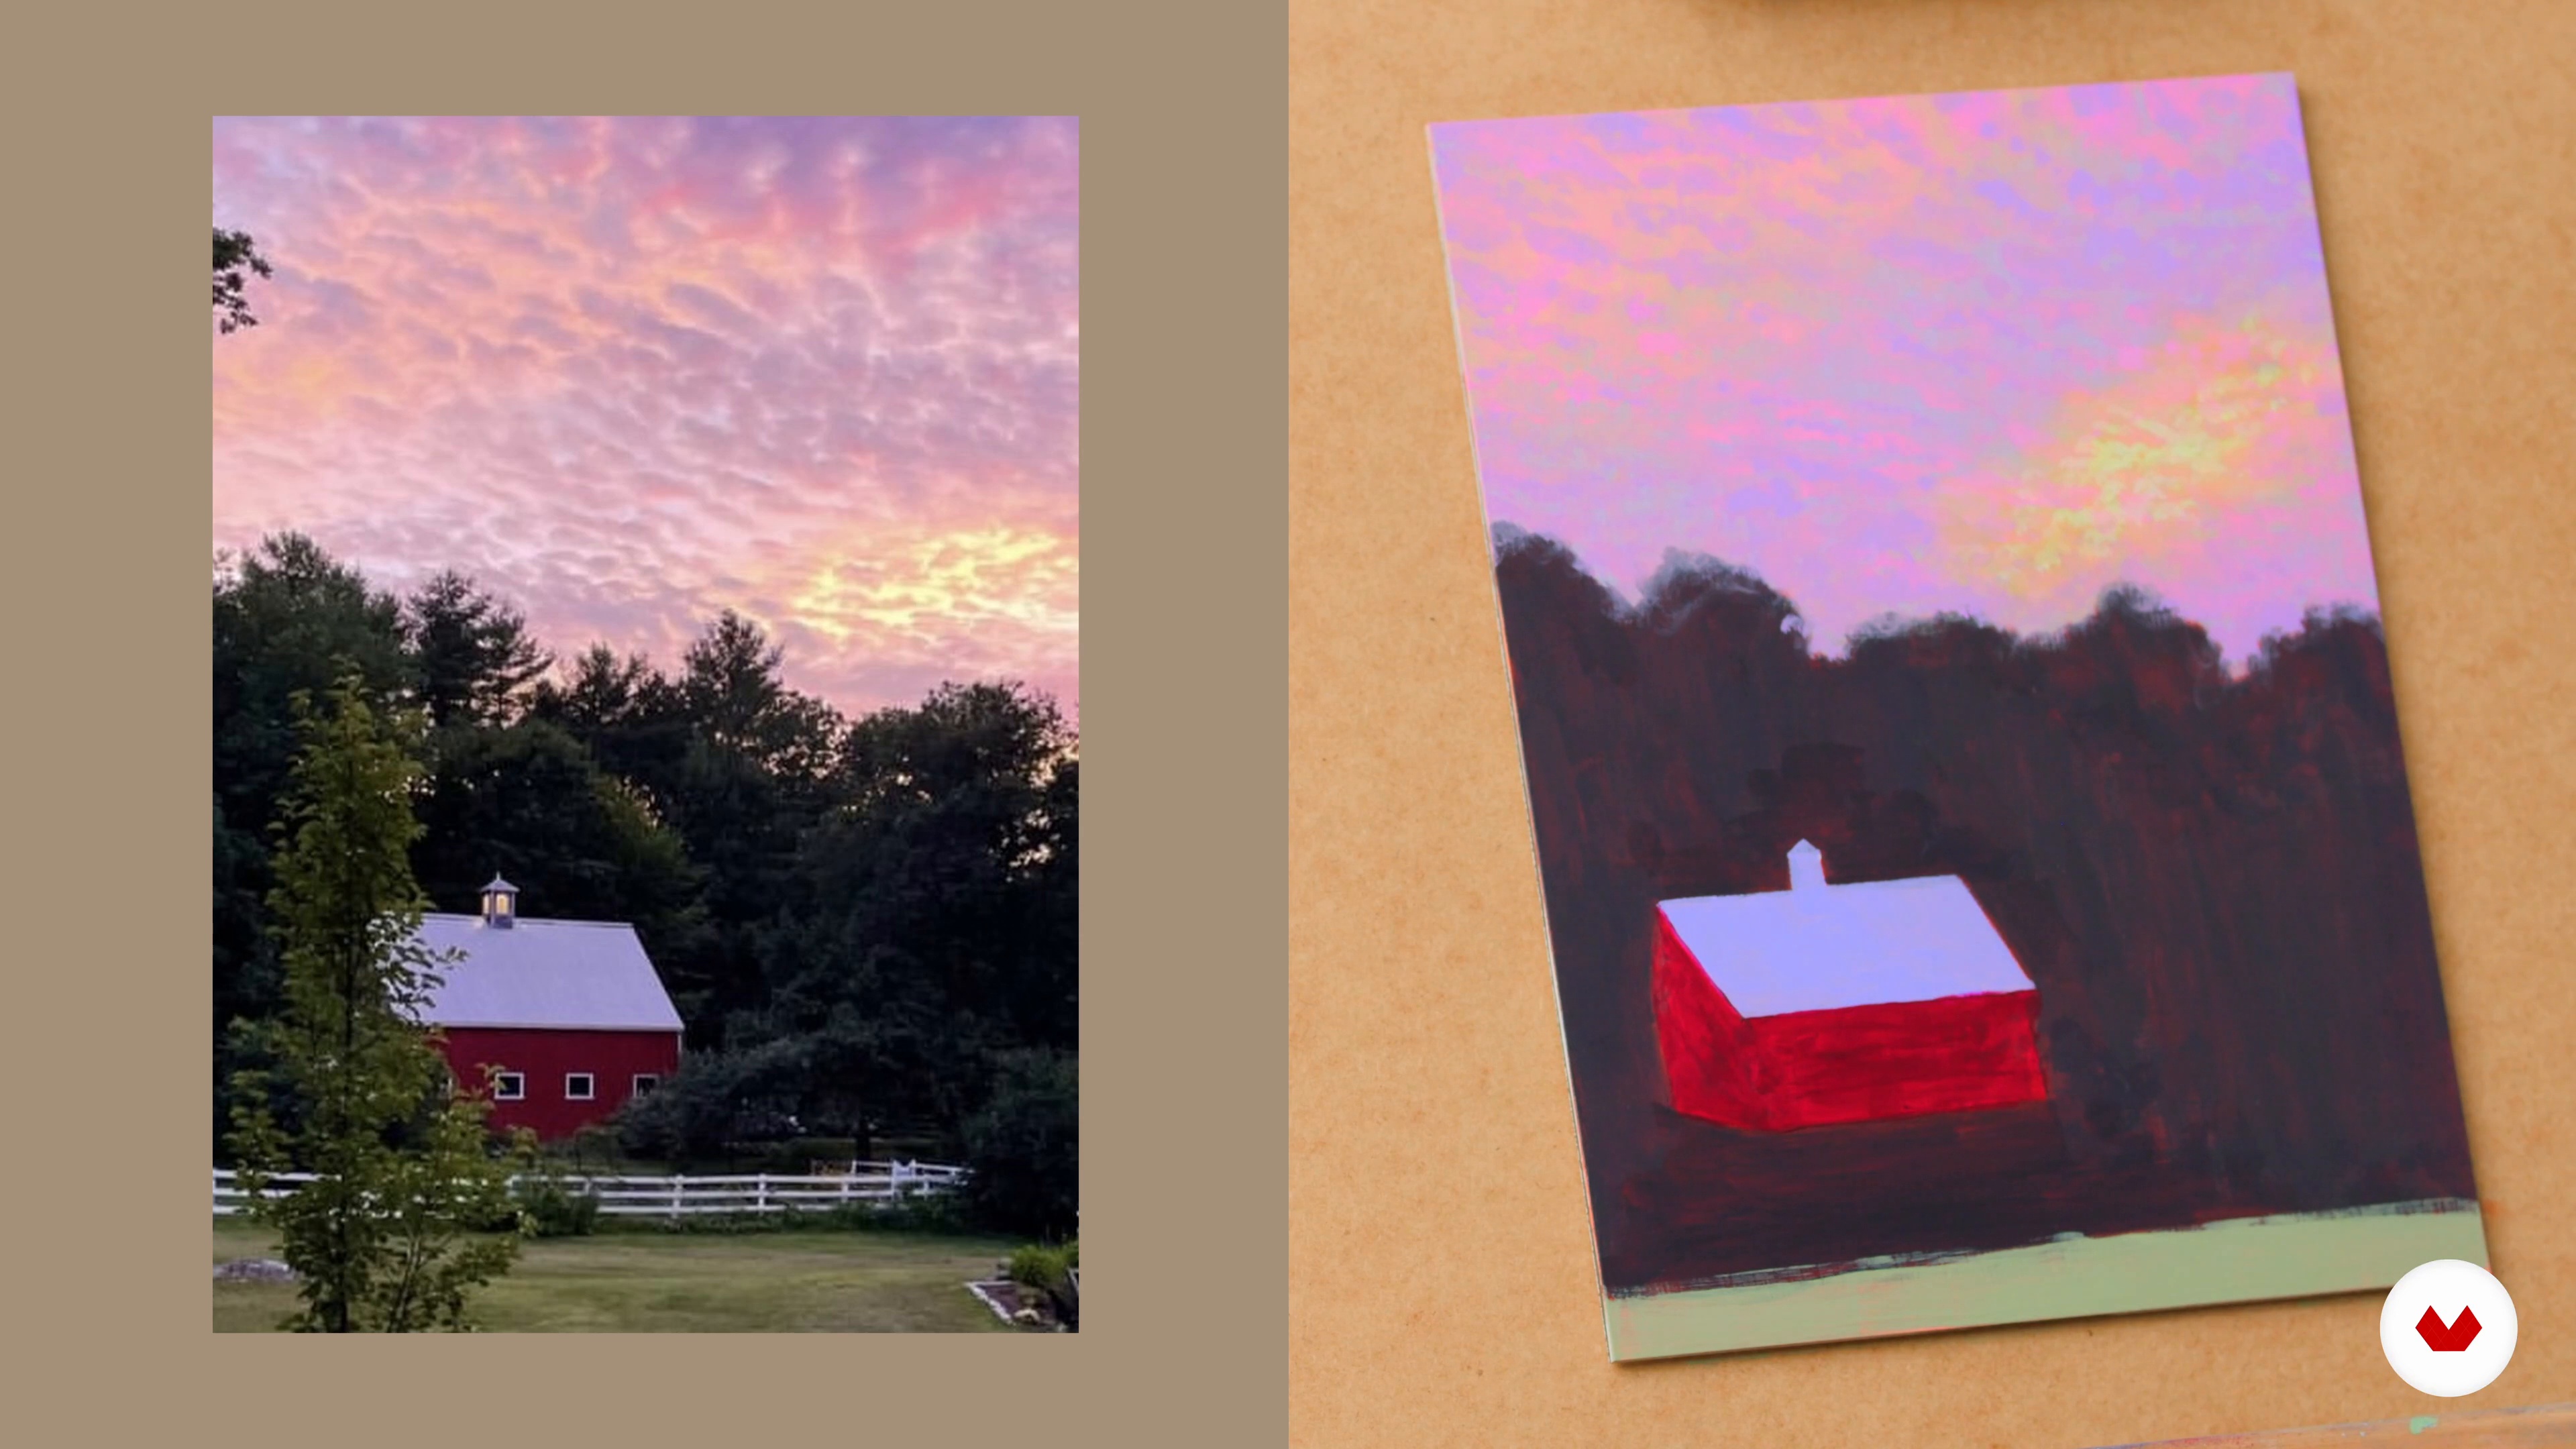
Next, you'll see how to add a second layer of dark green to the trees, enhancing depth while allowing the orange undertone to peek through, adding vibrancy and a painterly quality. I'll teach you how to block the barn and grass colors, ensuring smooth transitions and proper edge quality.
19m
image
12
Adjacent Color Comparison 3
During this part of the lesson, you'll see how to adjust cloud colors and use techniques like scumbling and glazing to intensify and harmonize colors, ensuring a realistic and dynamic depiction of the sky.
18m
image
13
Adjacent Color Comparison 4
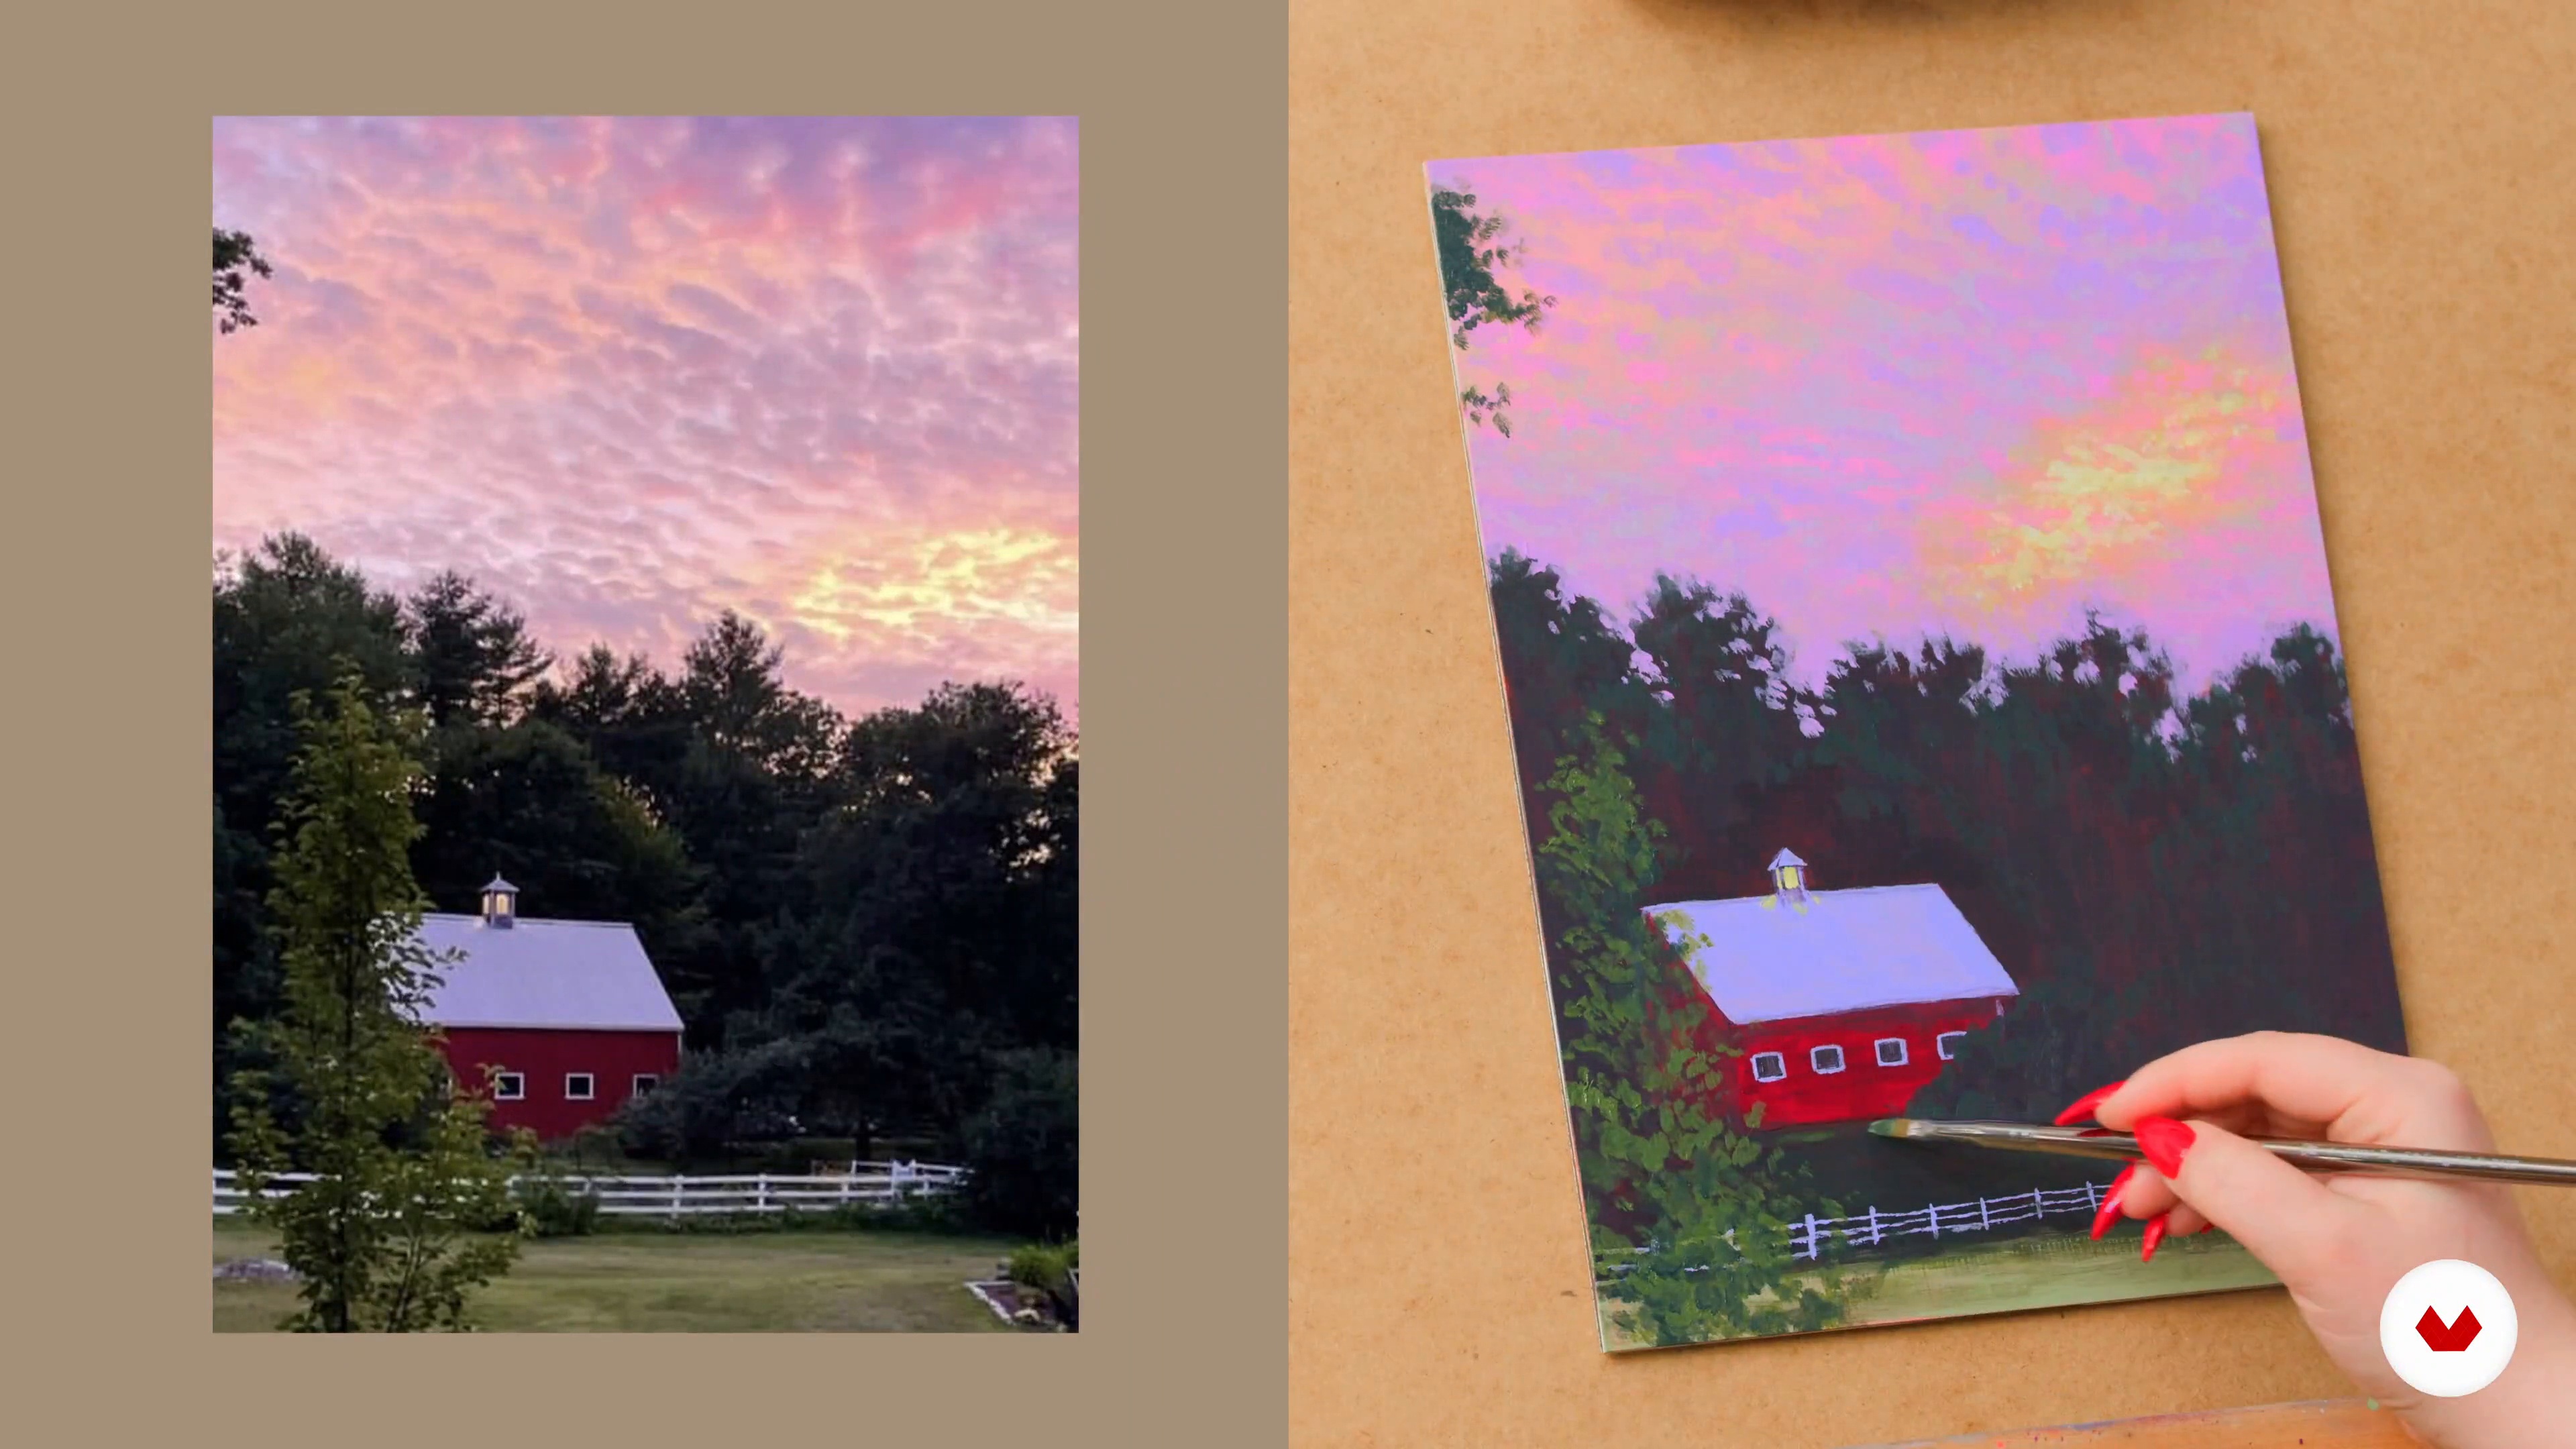
Now that the sky layer has dried, it's time to paint the layers in front, starting from the background to the front. I'll teach you how to work on the tree line, simplifying the detail by painting broader shapes and using negative space techniques. This approach creates the illusion of detailed foliage without painting every leaf, enhancing the overall texture and depth of the trees.
15m
image
14
Adjacent Color Comparison 5
At this stage the foreground is ready, you'll see how to add the fence using a flat brush to get precise planks. This involves a stamping motion to control the width and placement. Adding touches such as shrubs, the wall blends into the environment naturally. Finally, 'll share some tips and tricks to paint the foreground tree, suggesting foliage without detailing each leaf, enhancing realism in the final layers of the composition.
9m
image
15
Creative Problem Solving
Have you ever wondered how to face some problems? Don't panic! Here, I'll share some helpful tips and tricks for facing any unexpected problems during a painting session.
8m
image
16
Final Adjustments and Stepping Back
To finish this module, I'll teach you the importance of stepping back from your work, gaining new perspectives and learning when to conclude a painting session.
8m
image
1
Materials and the Equipment
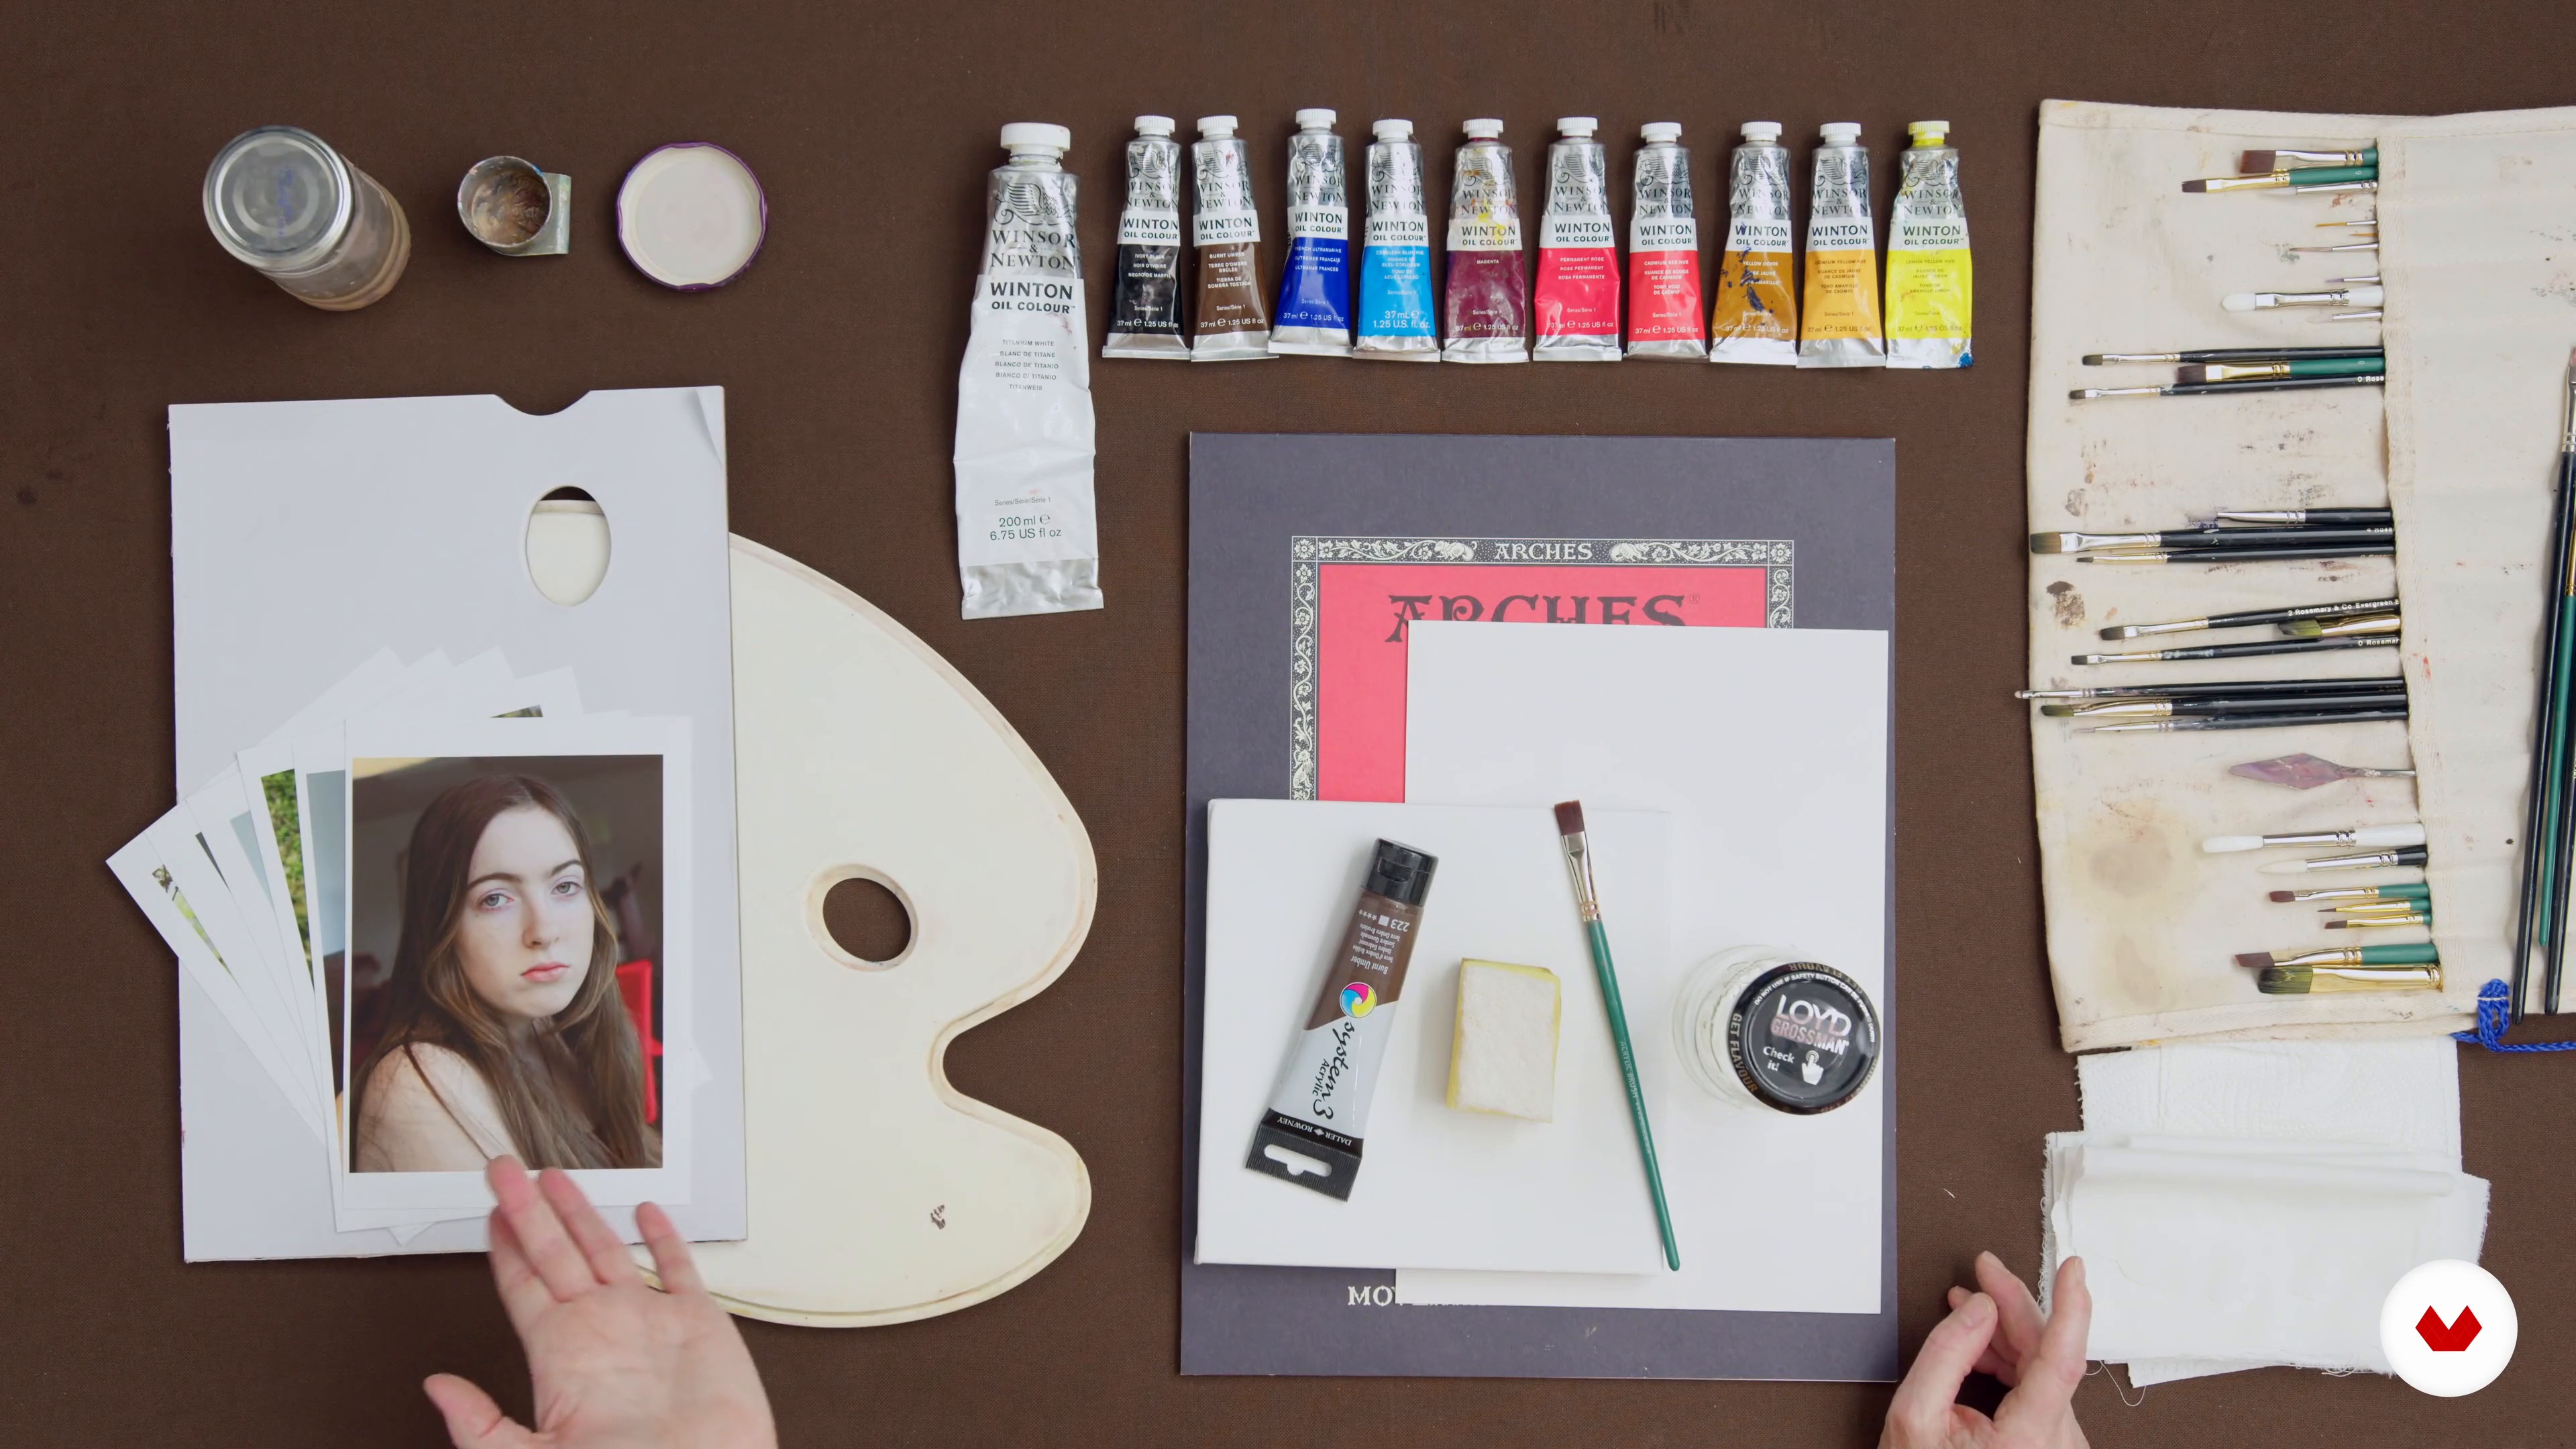
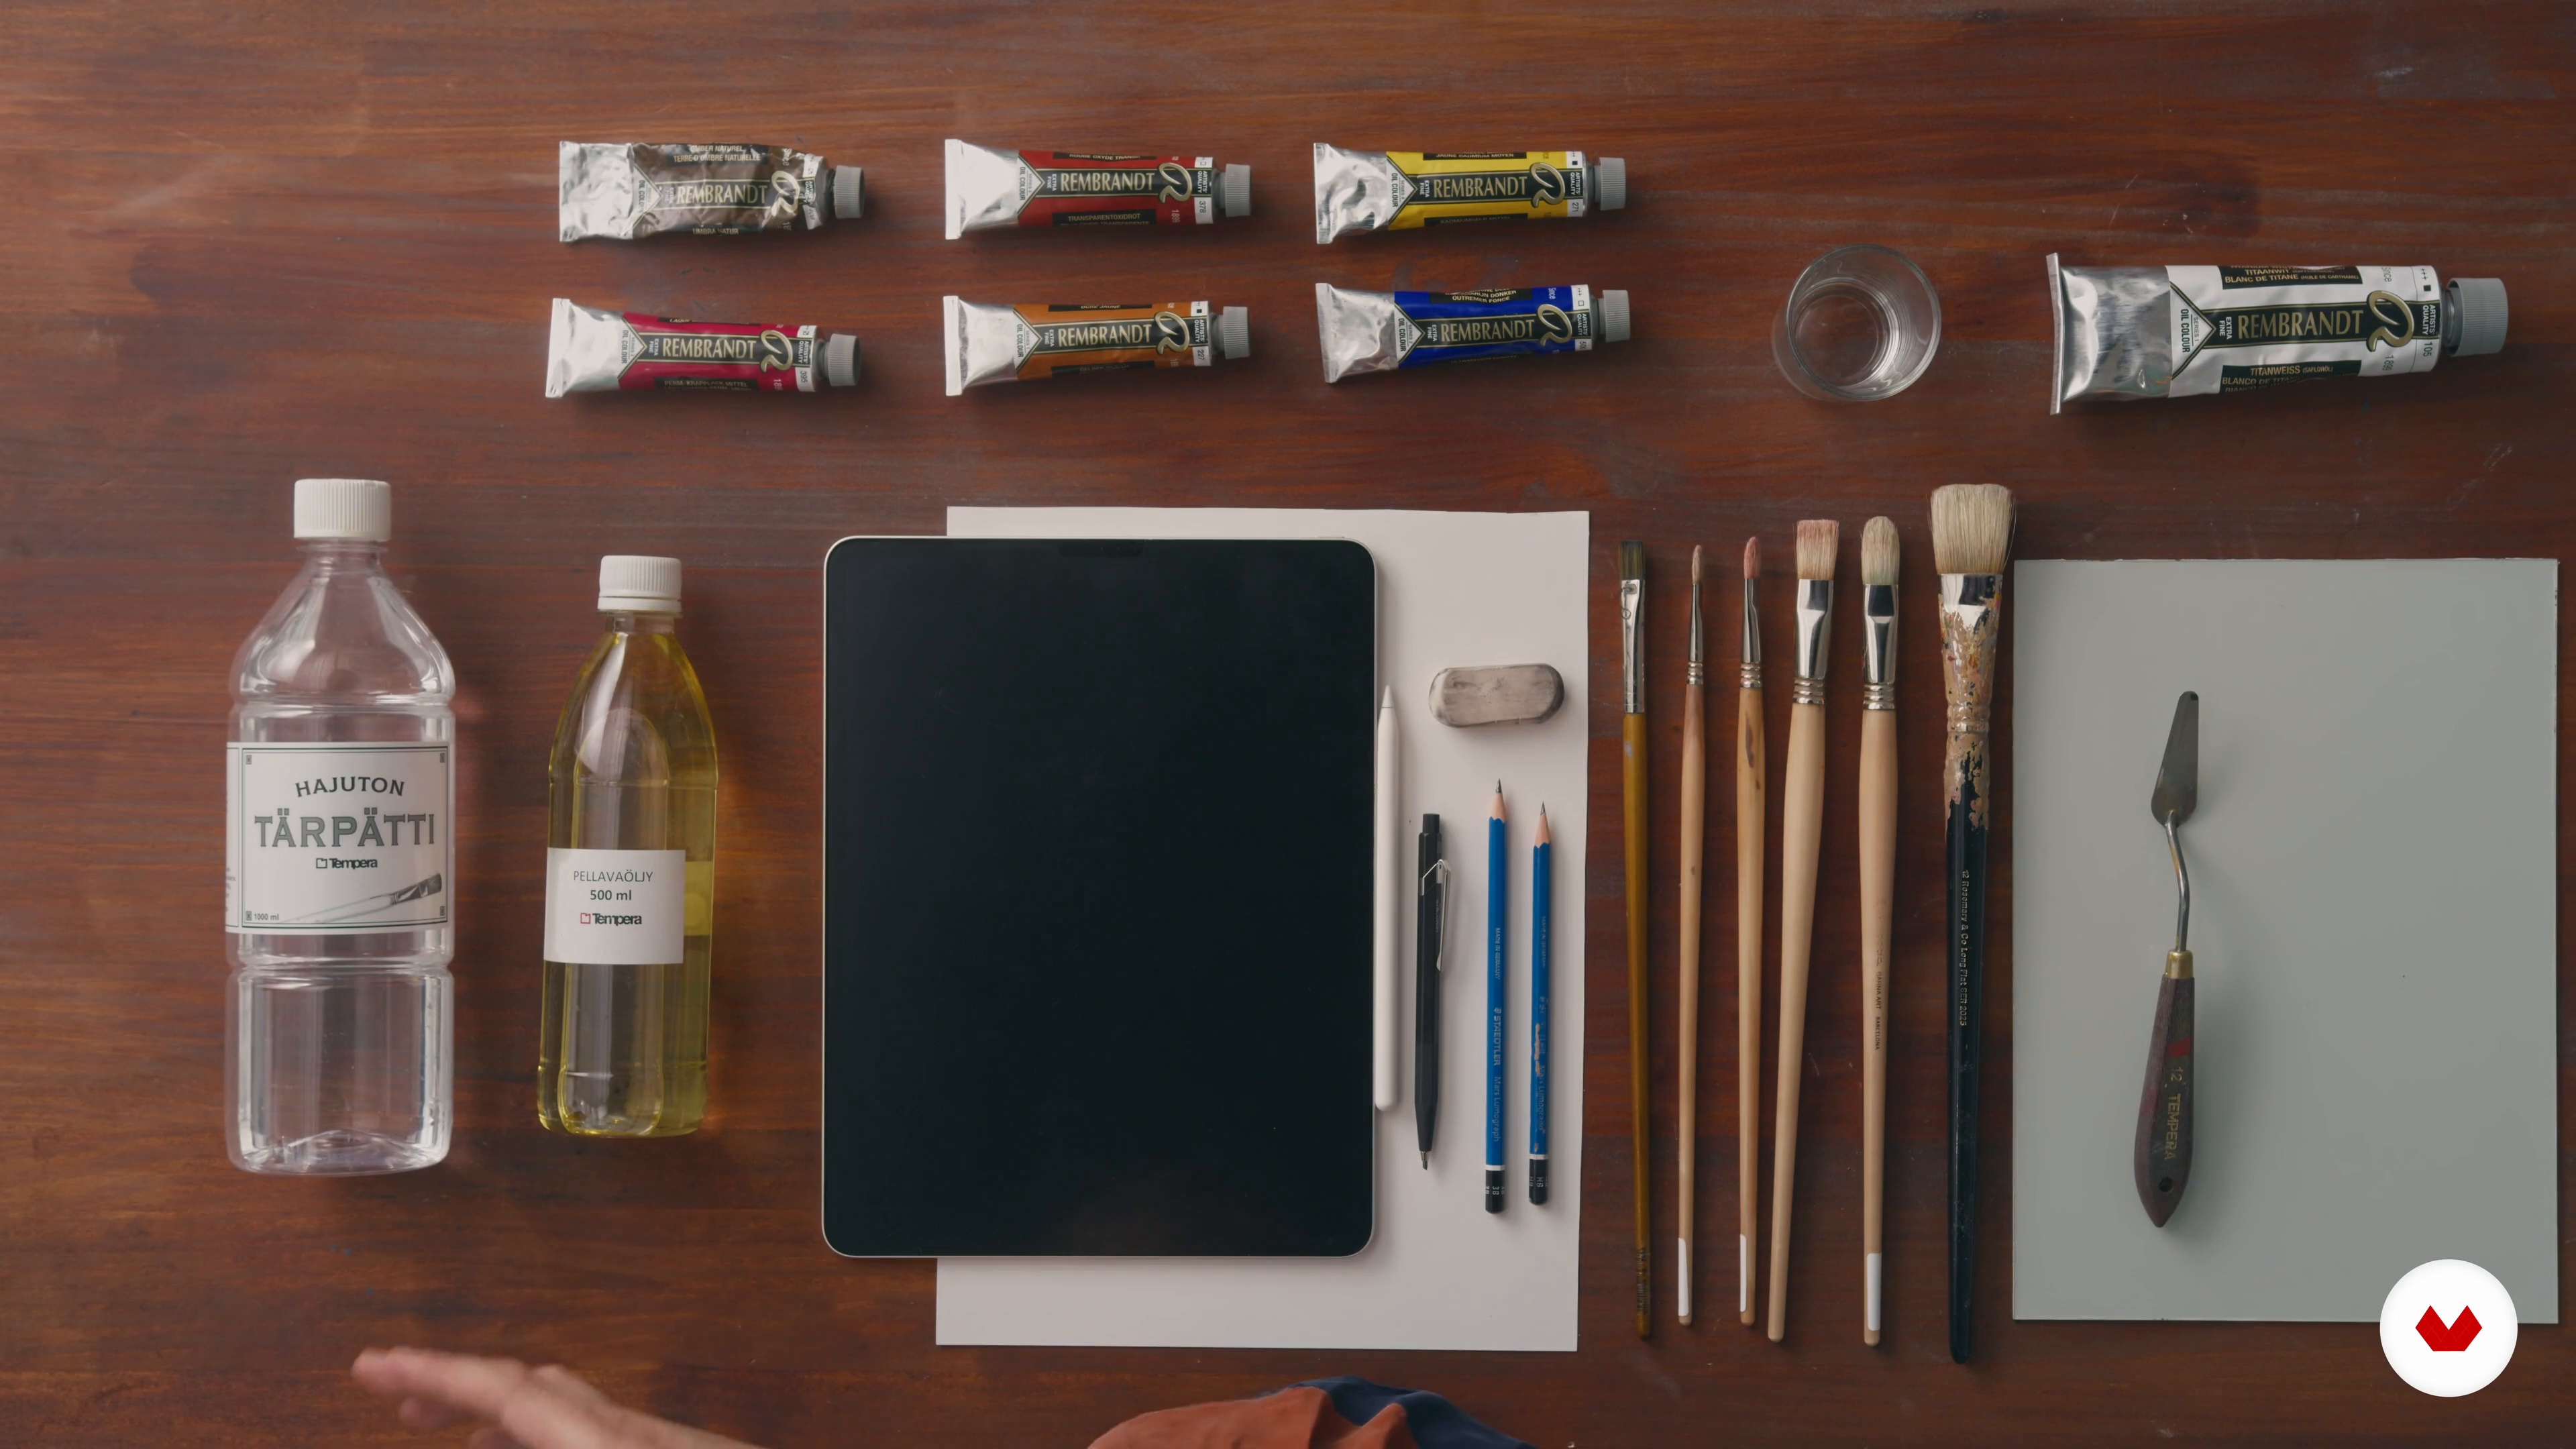
Before working on a project, you need to get ready! Therefore, in this lesson, I will describe the materials and equipment I use to paint a portrait in oil.
4m
image
2
Mixing and Applying Oil Paint
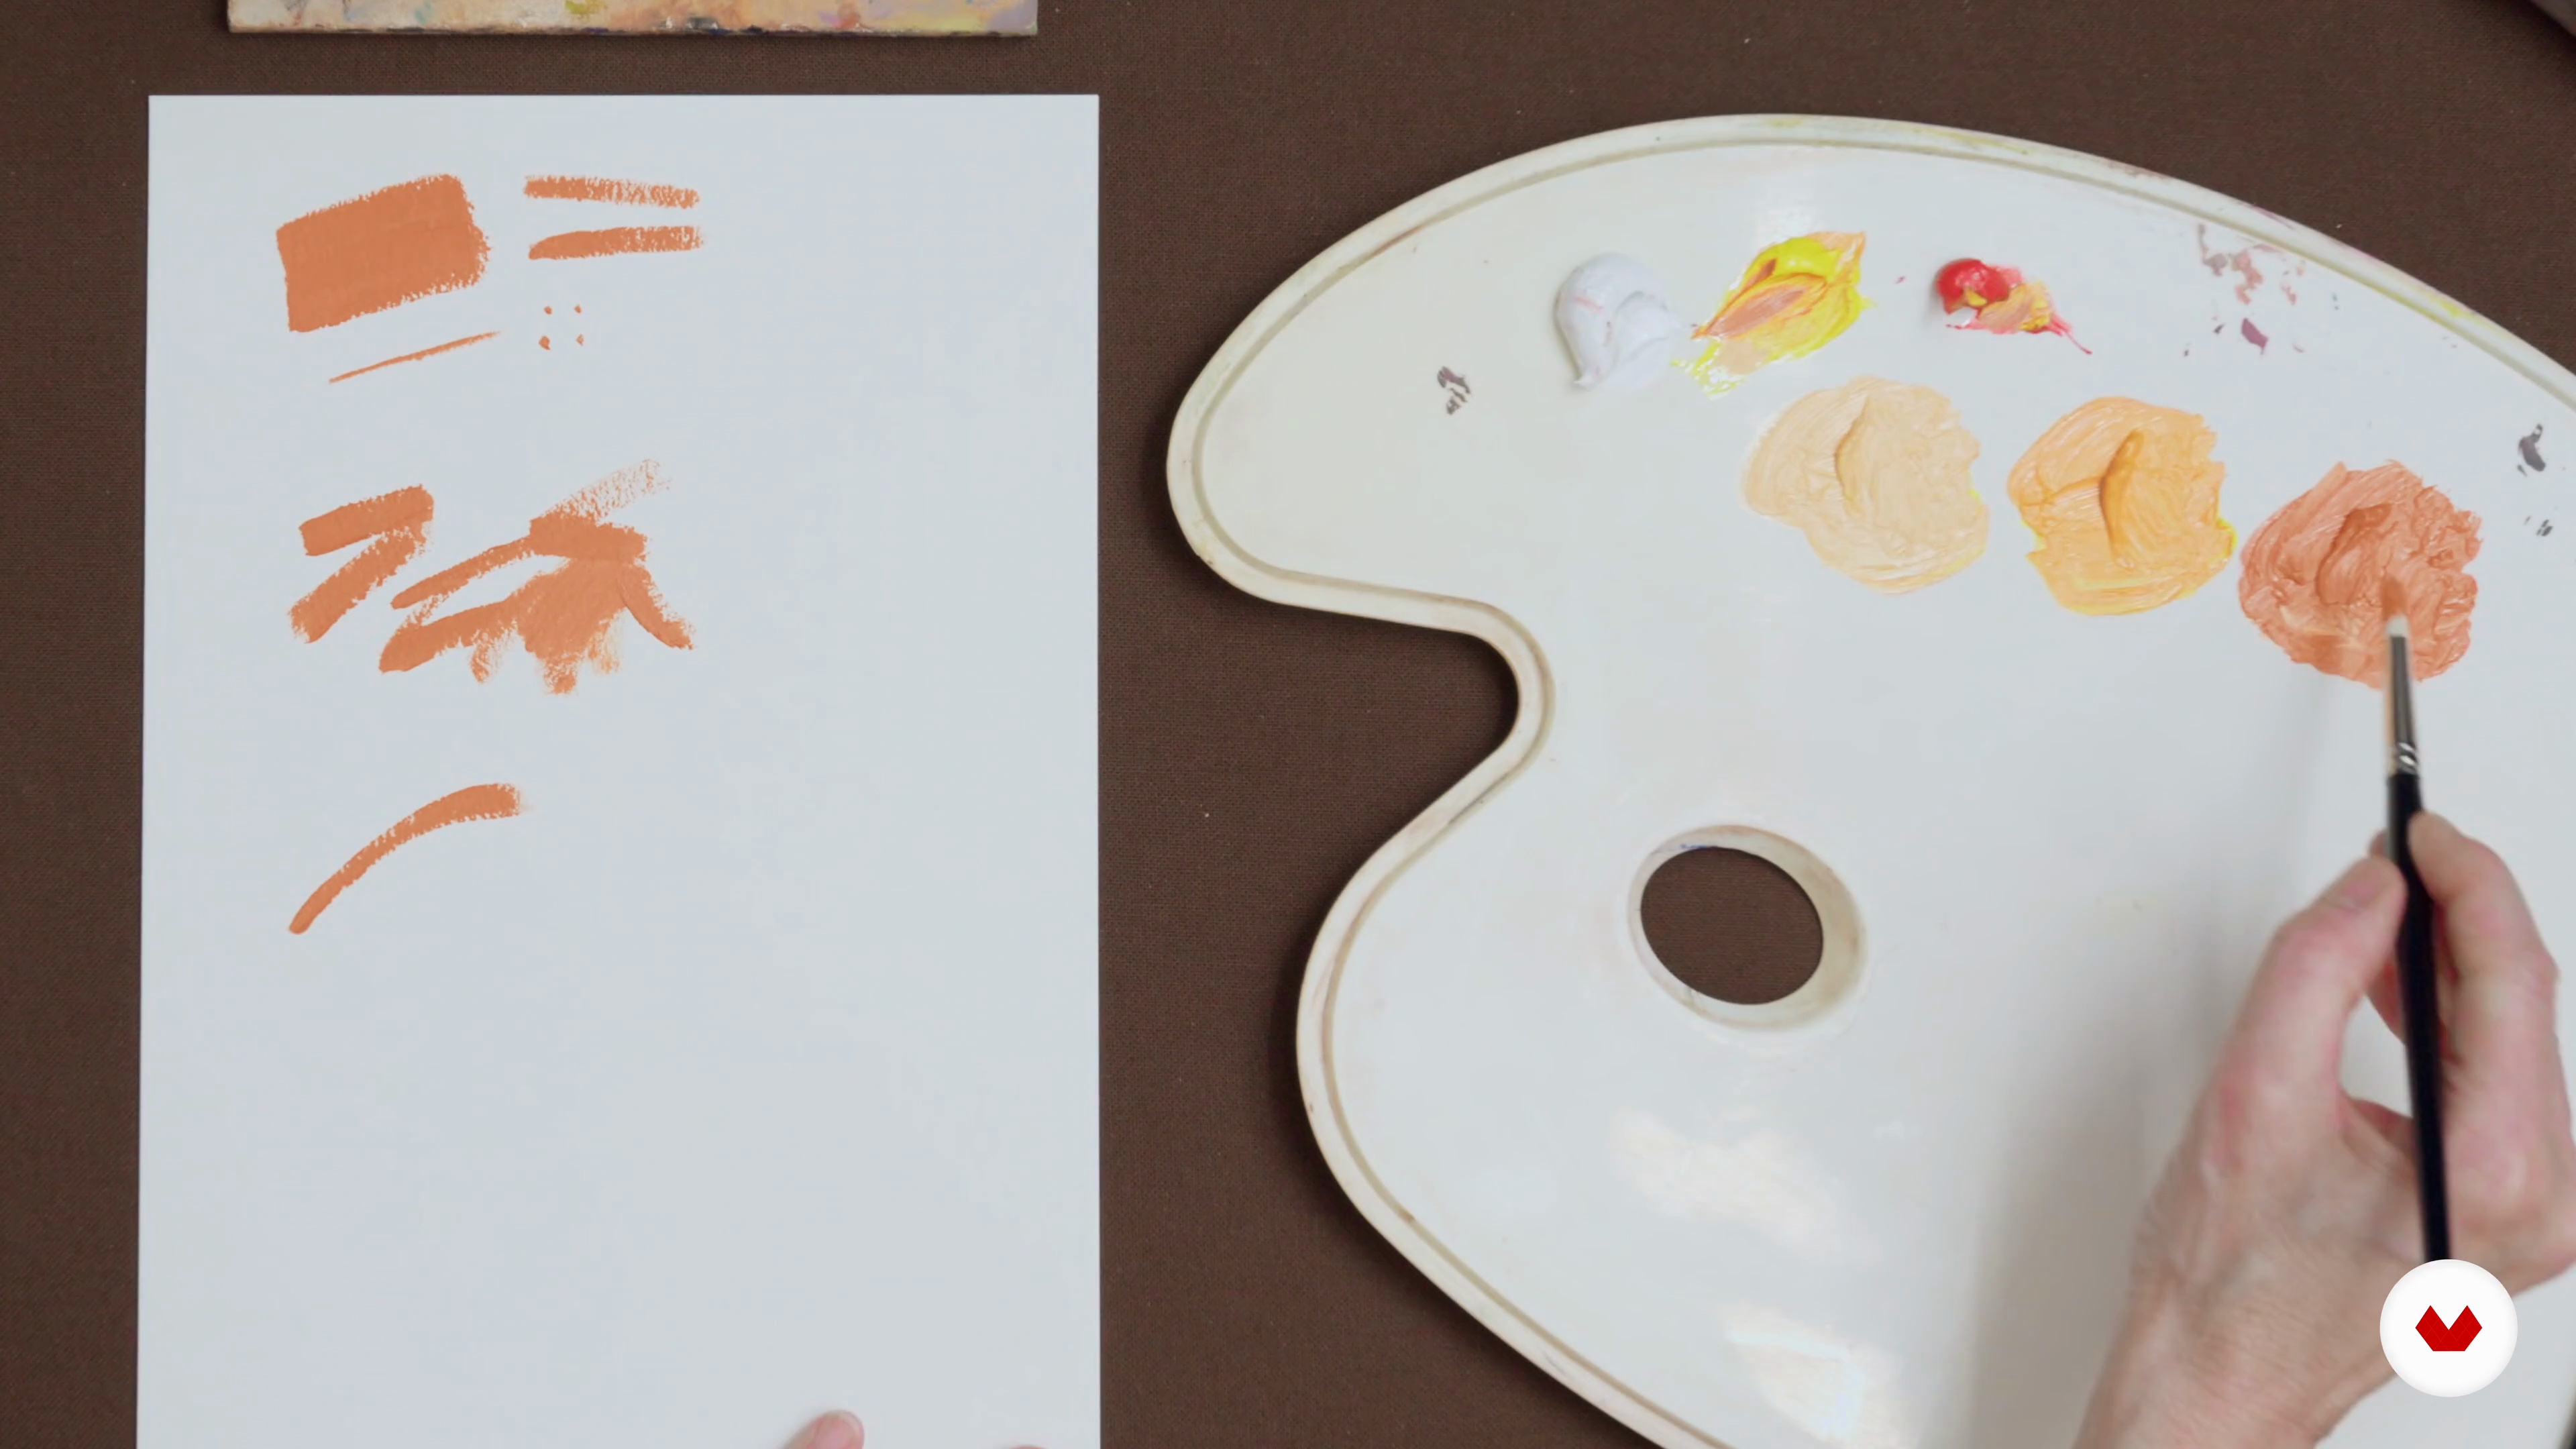
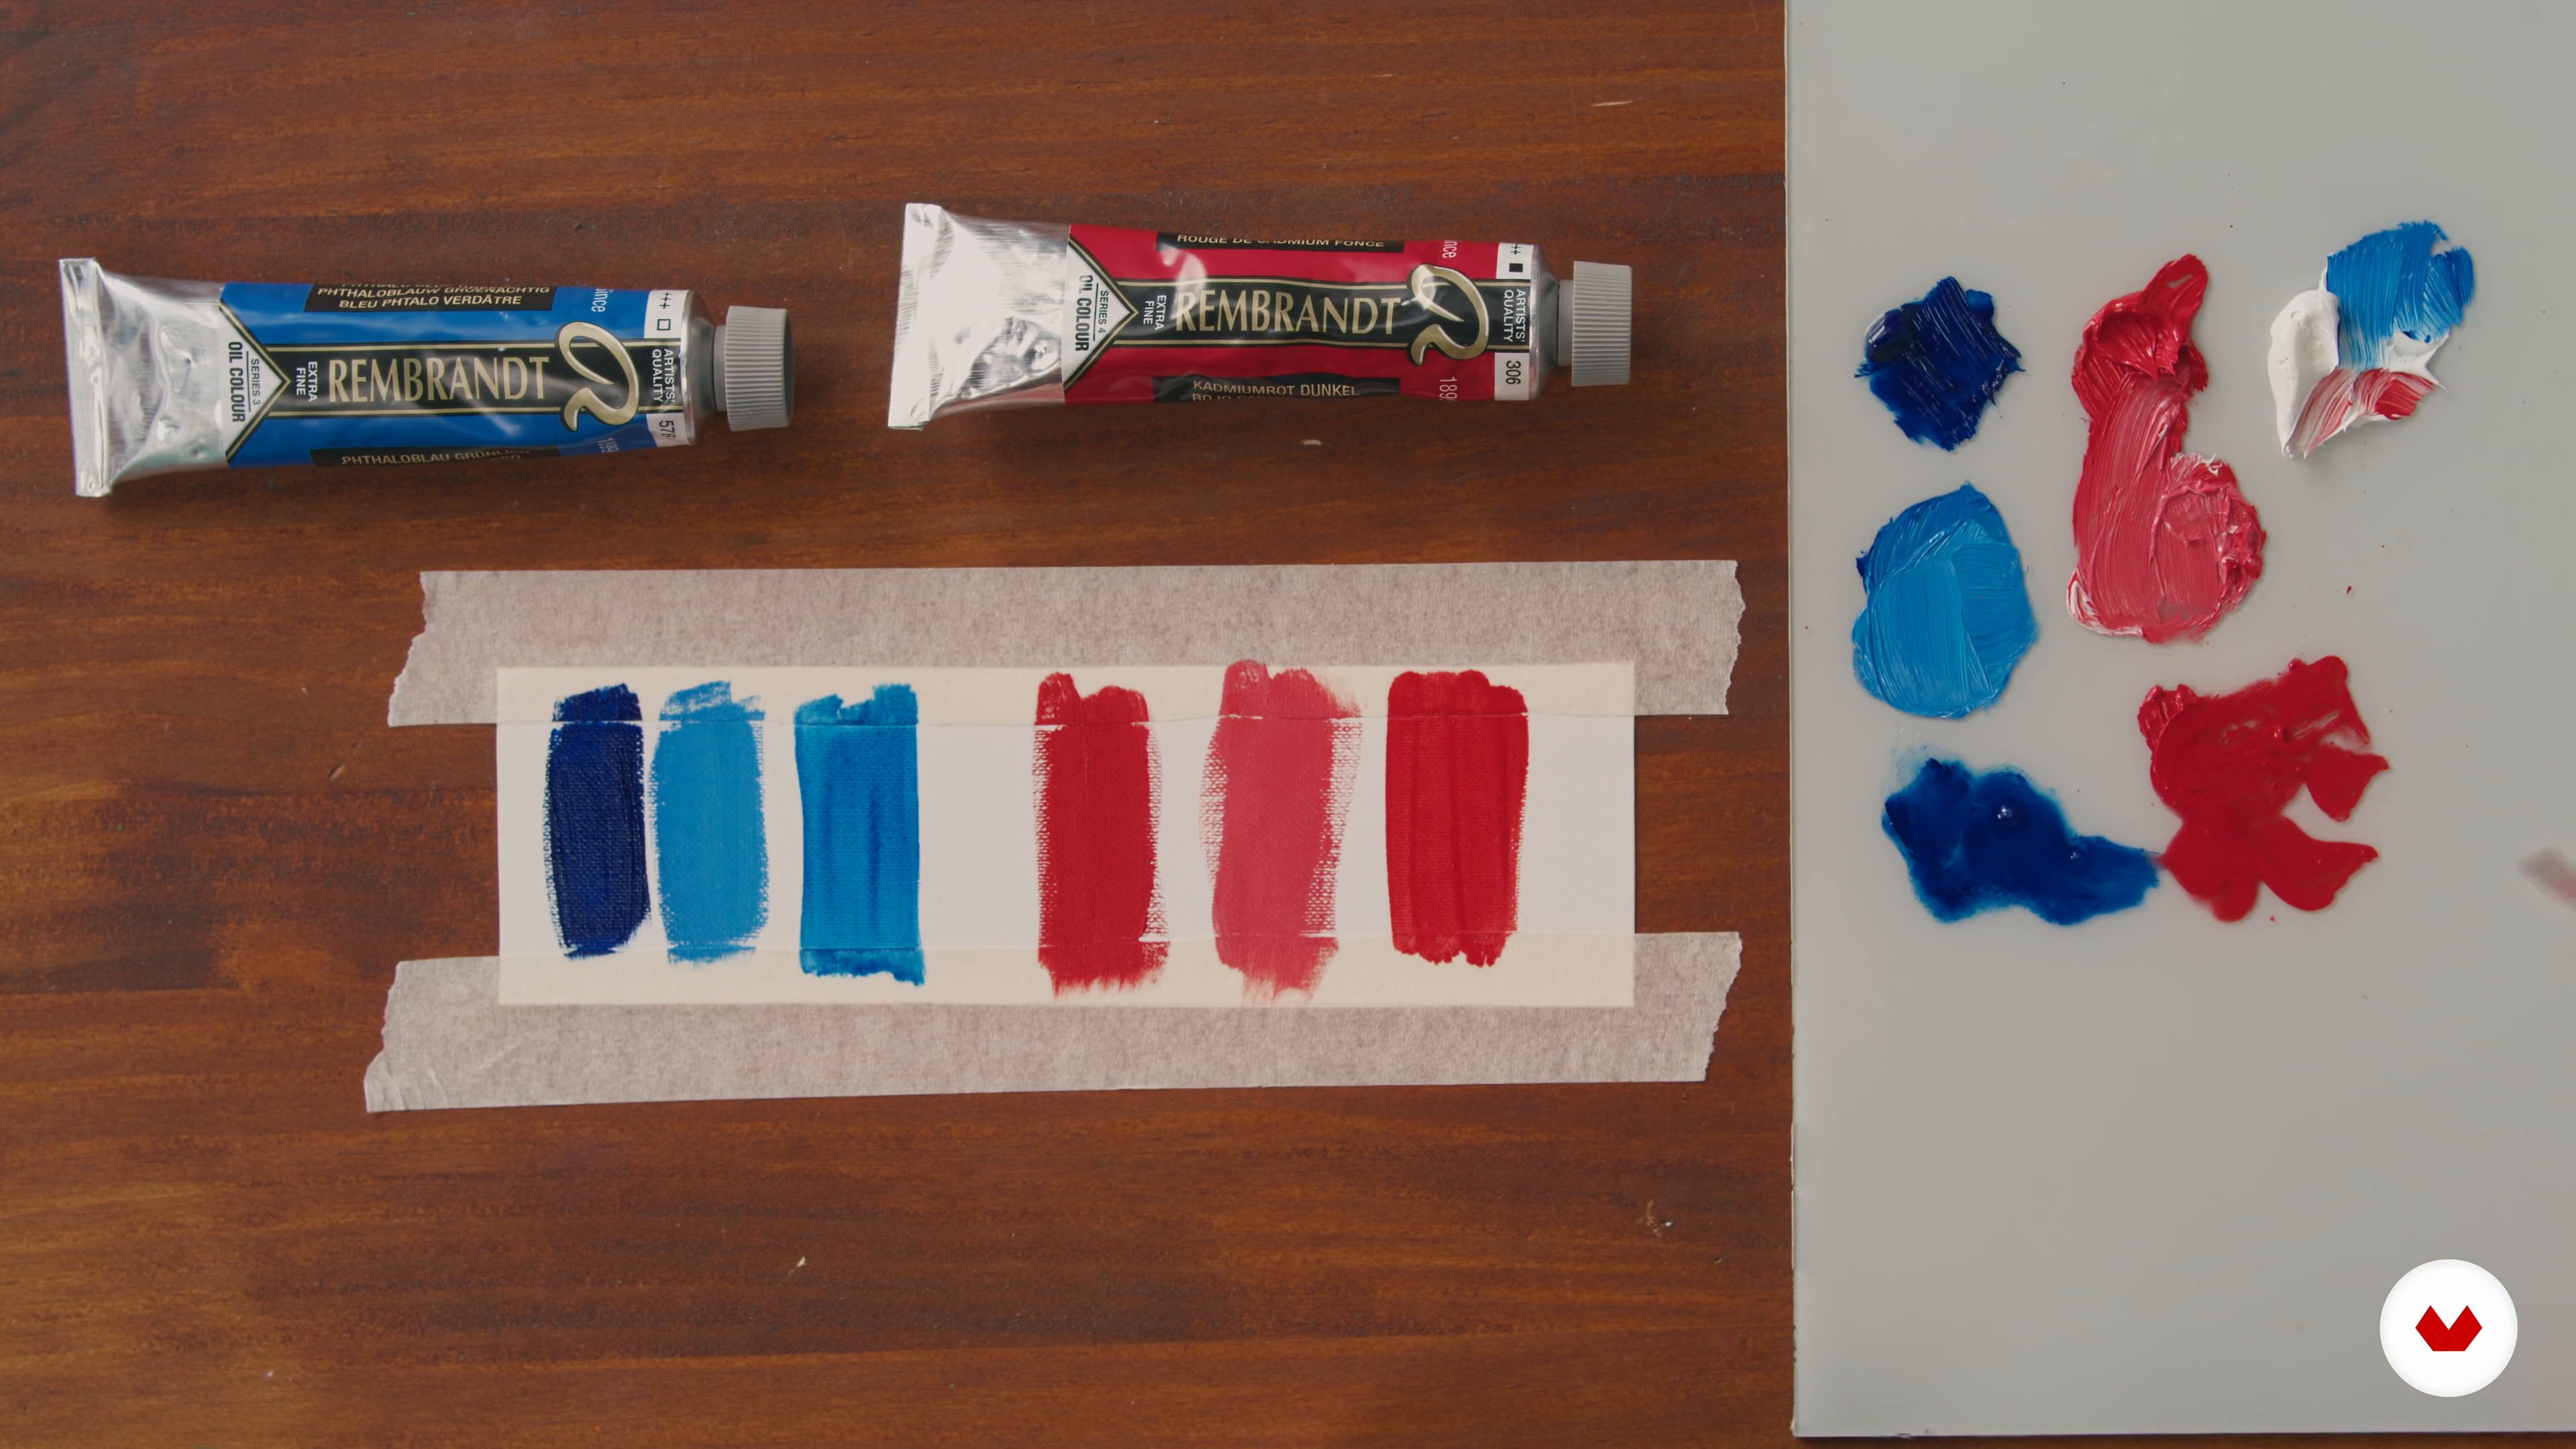
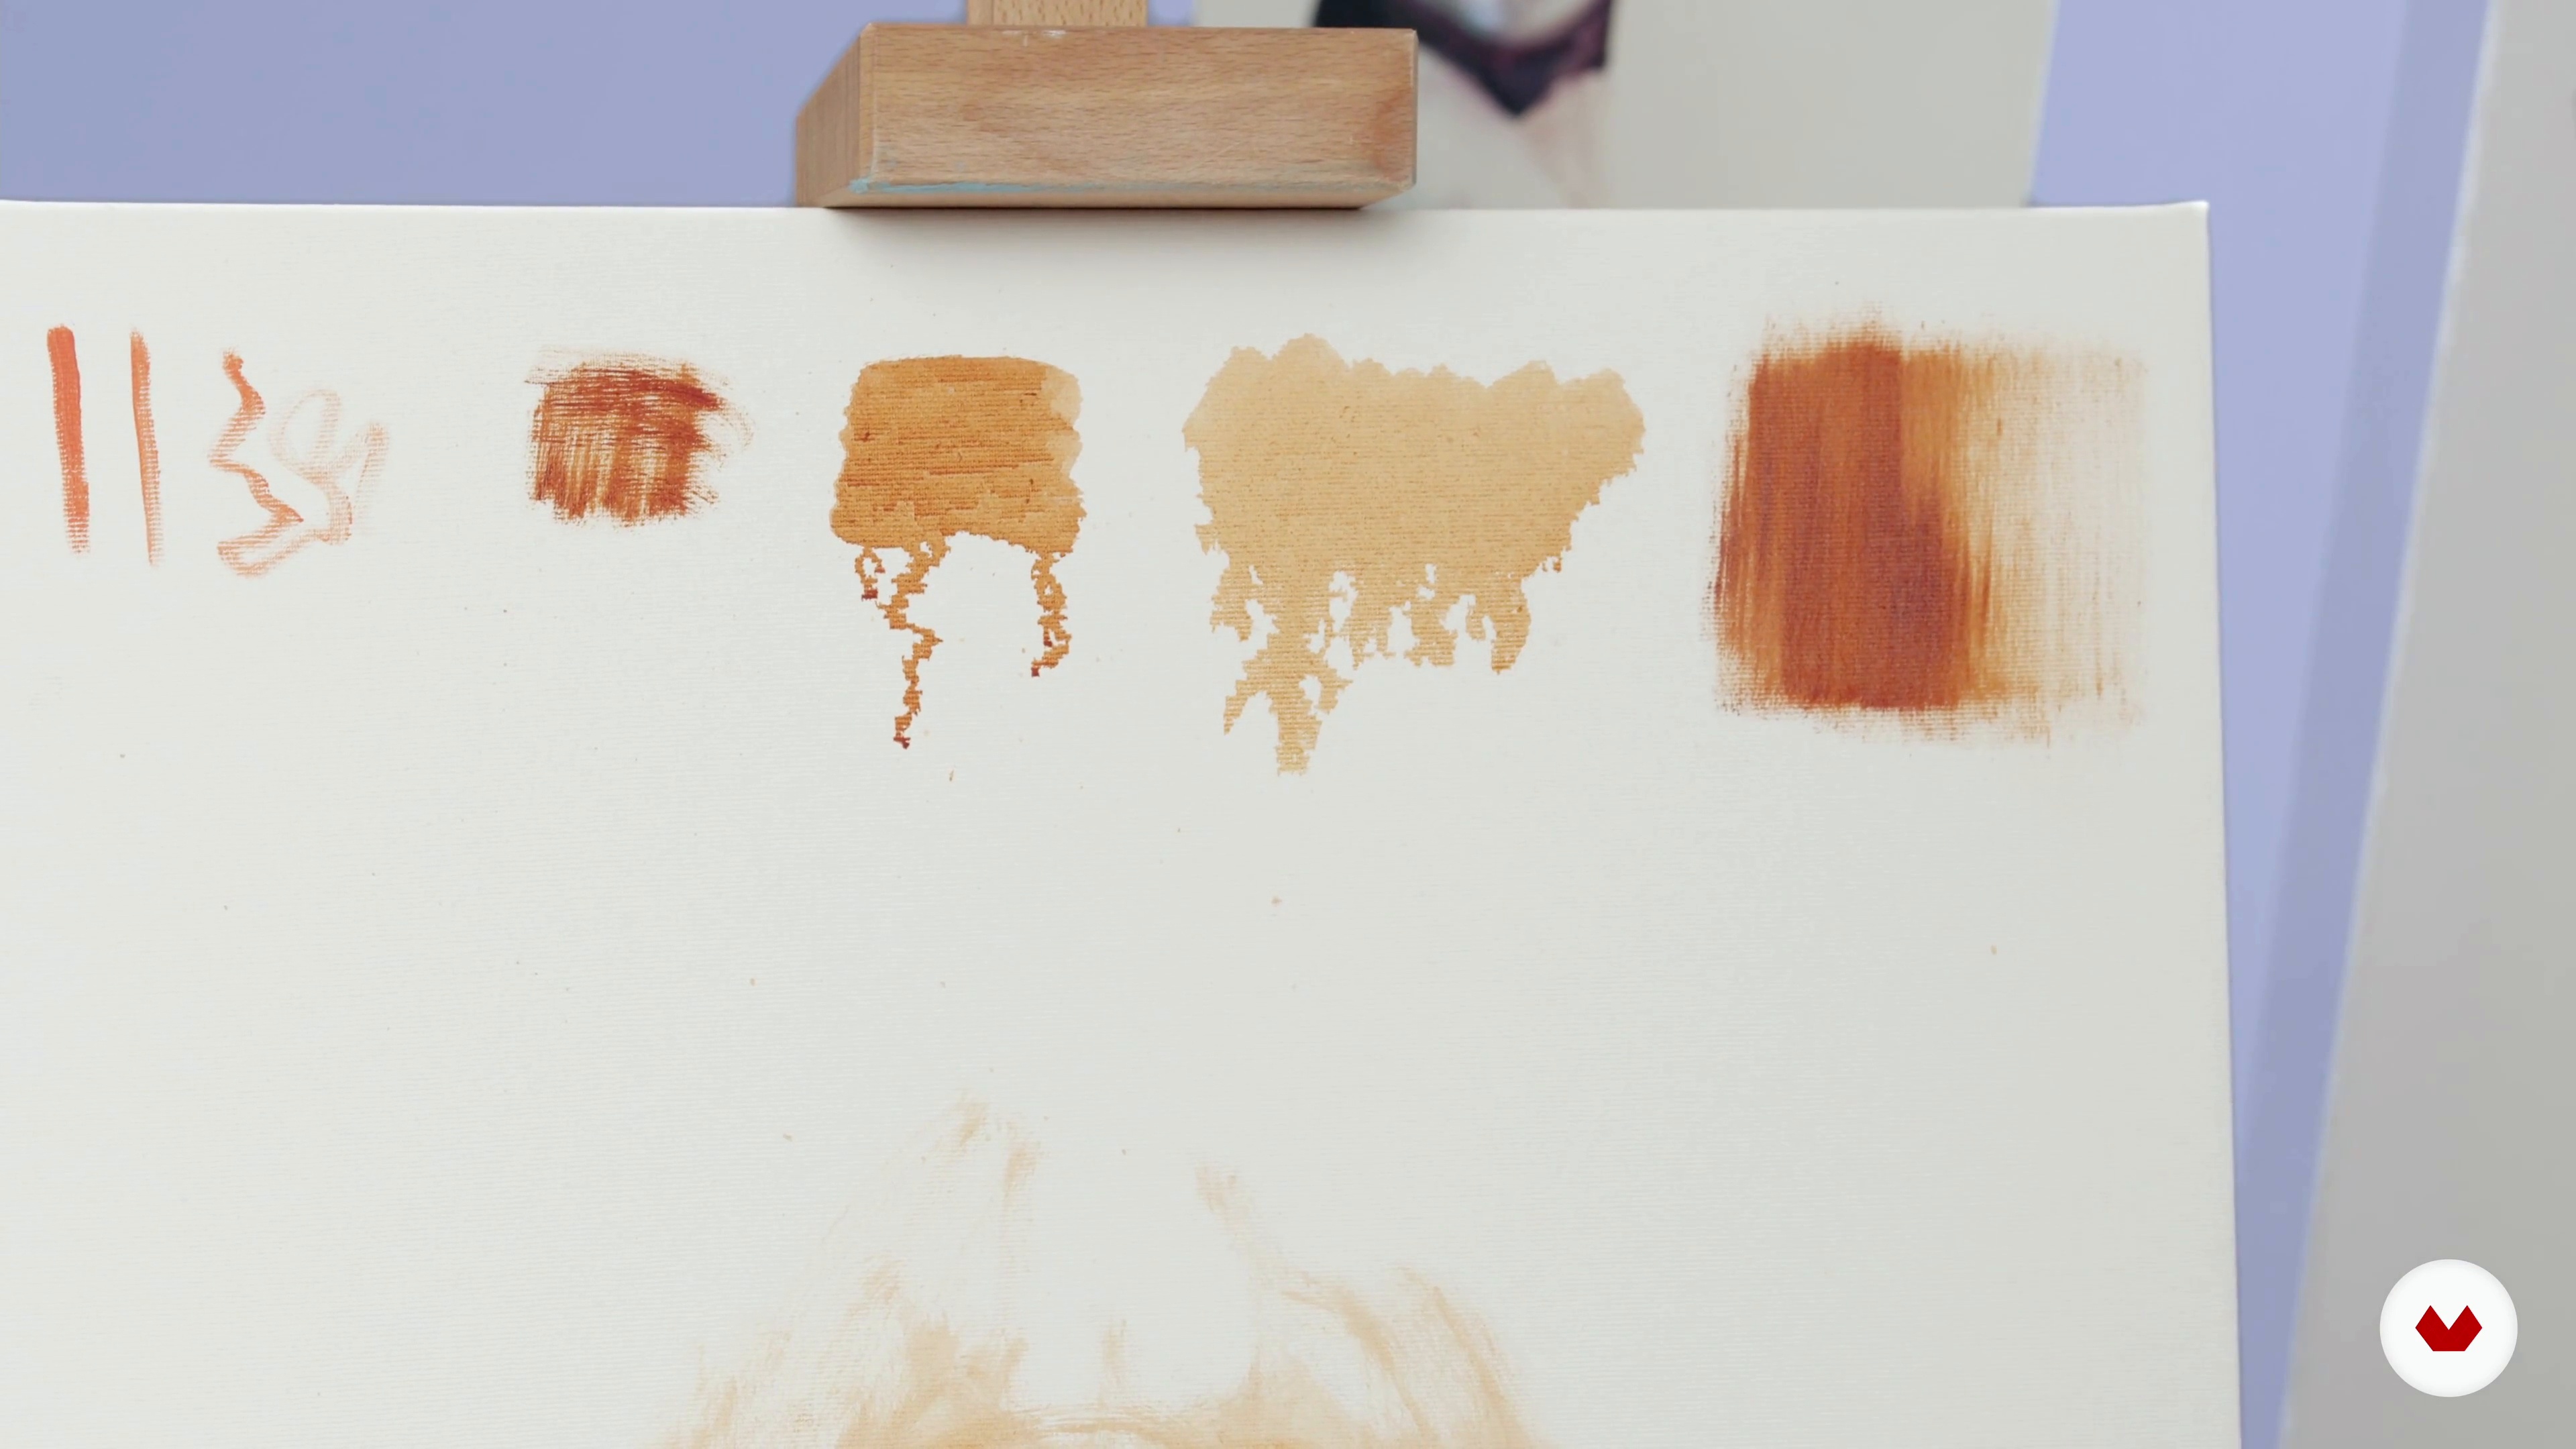
Now you will learn how to use mediums to adjust the consistency of oil paint. Also, I will show you how to use different brushes to make various marks and effects.
13m
image
3
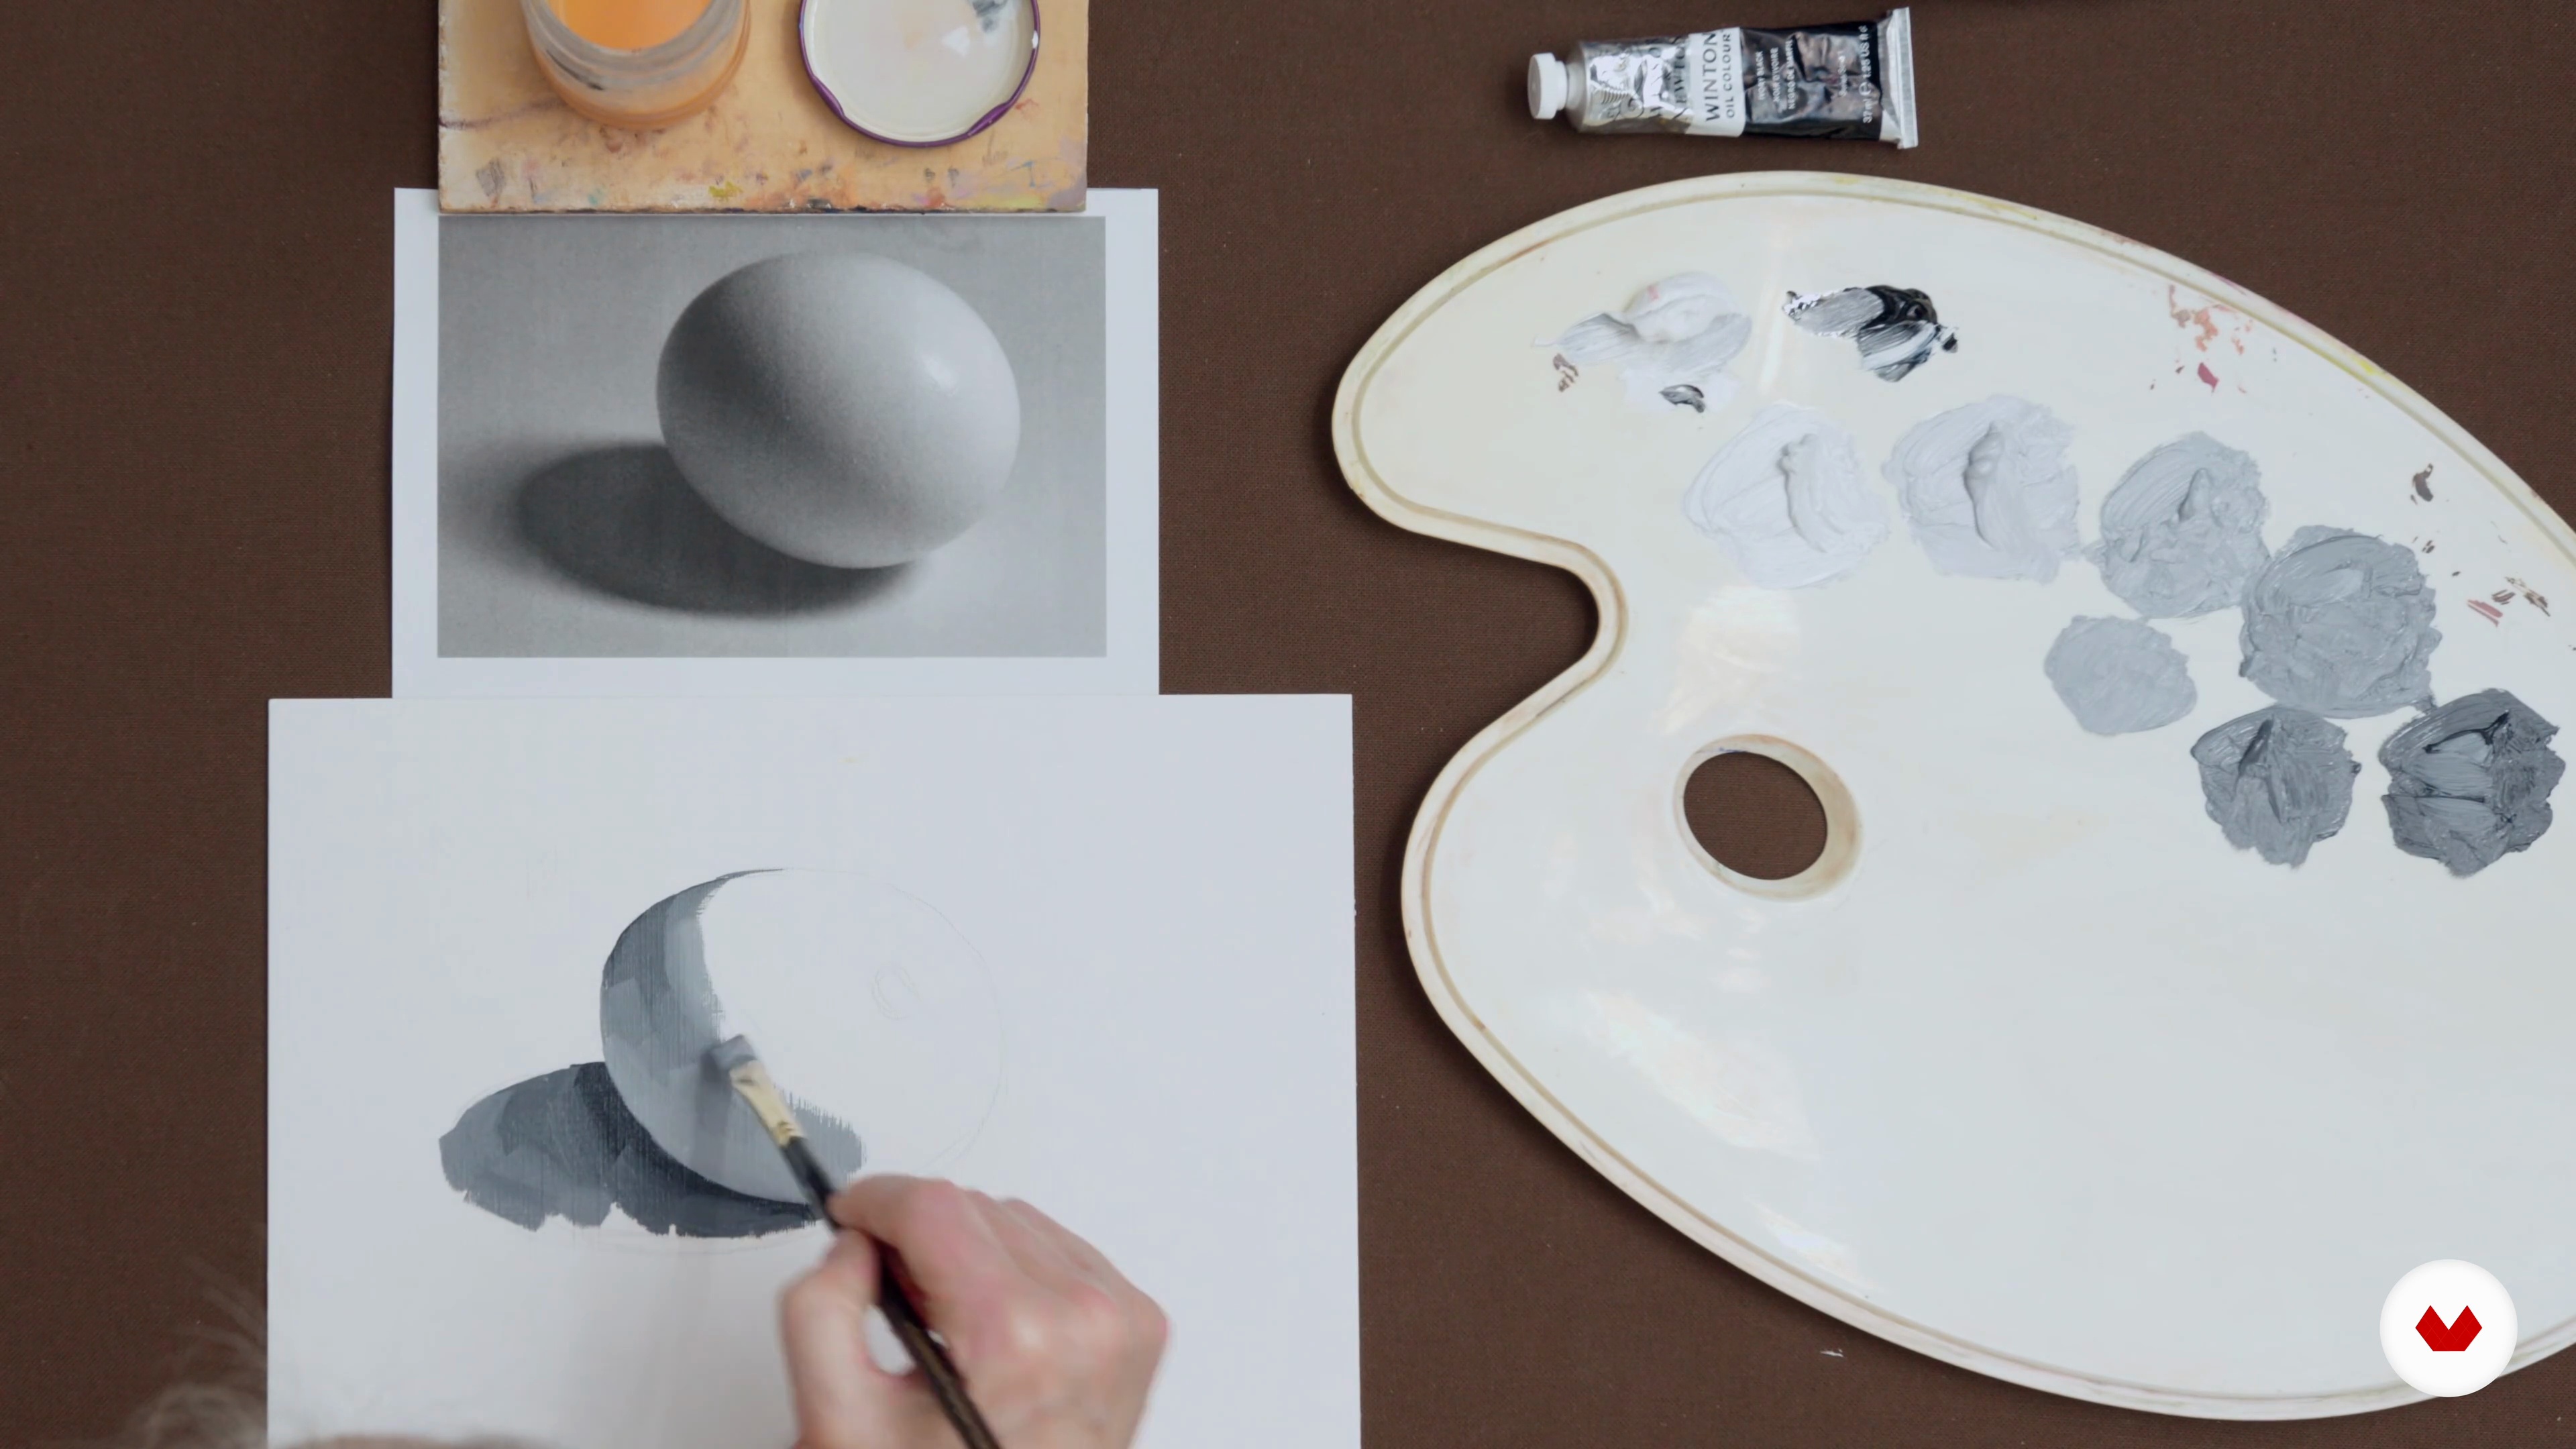
Tonal Values: Painting a Simple Object In Monochrome
How many colours do you need to paint? Sometimes just two are enough! During this lesson, you will see how to mix a range of tonal values and then use them to paint a simple object.
20m
image
4
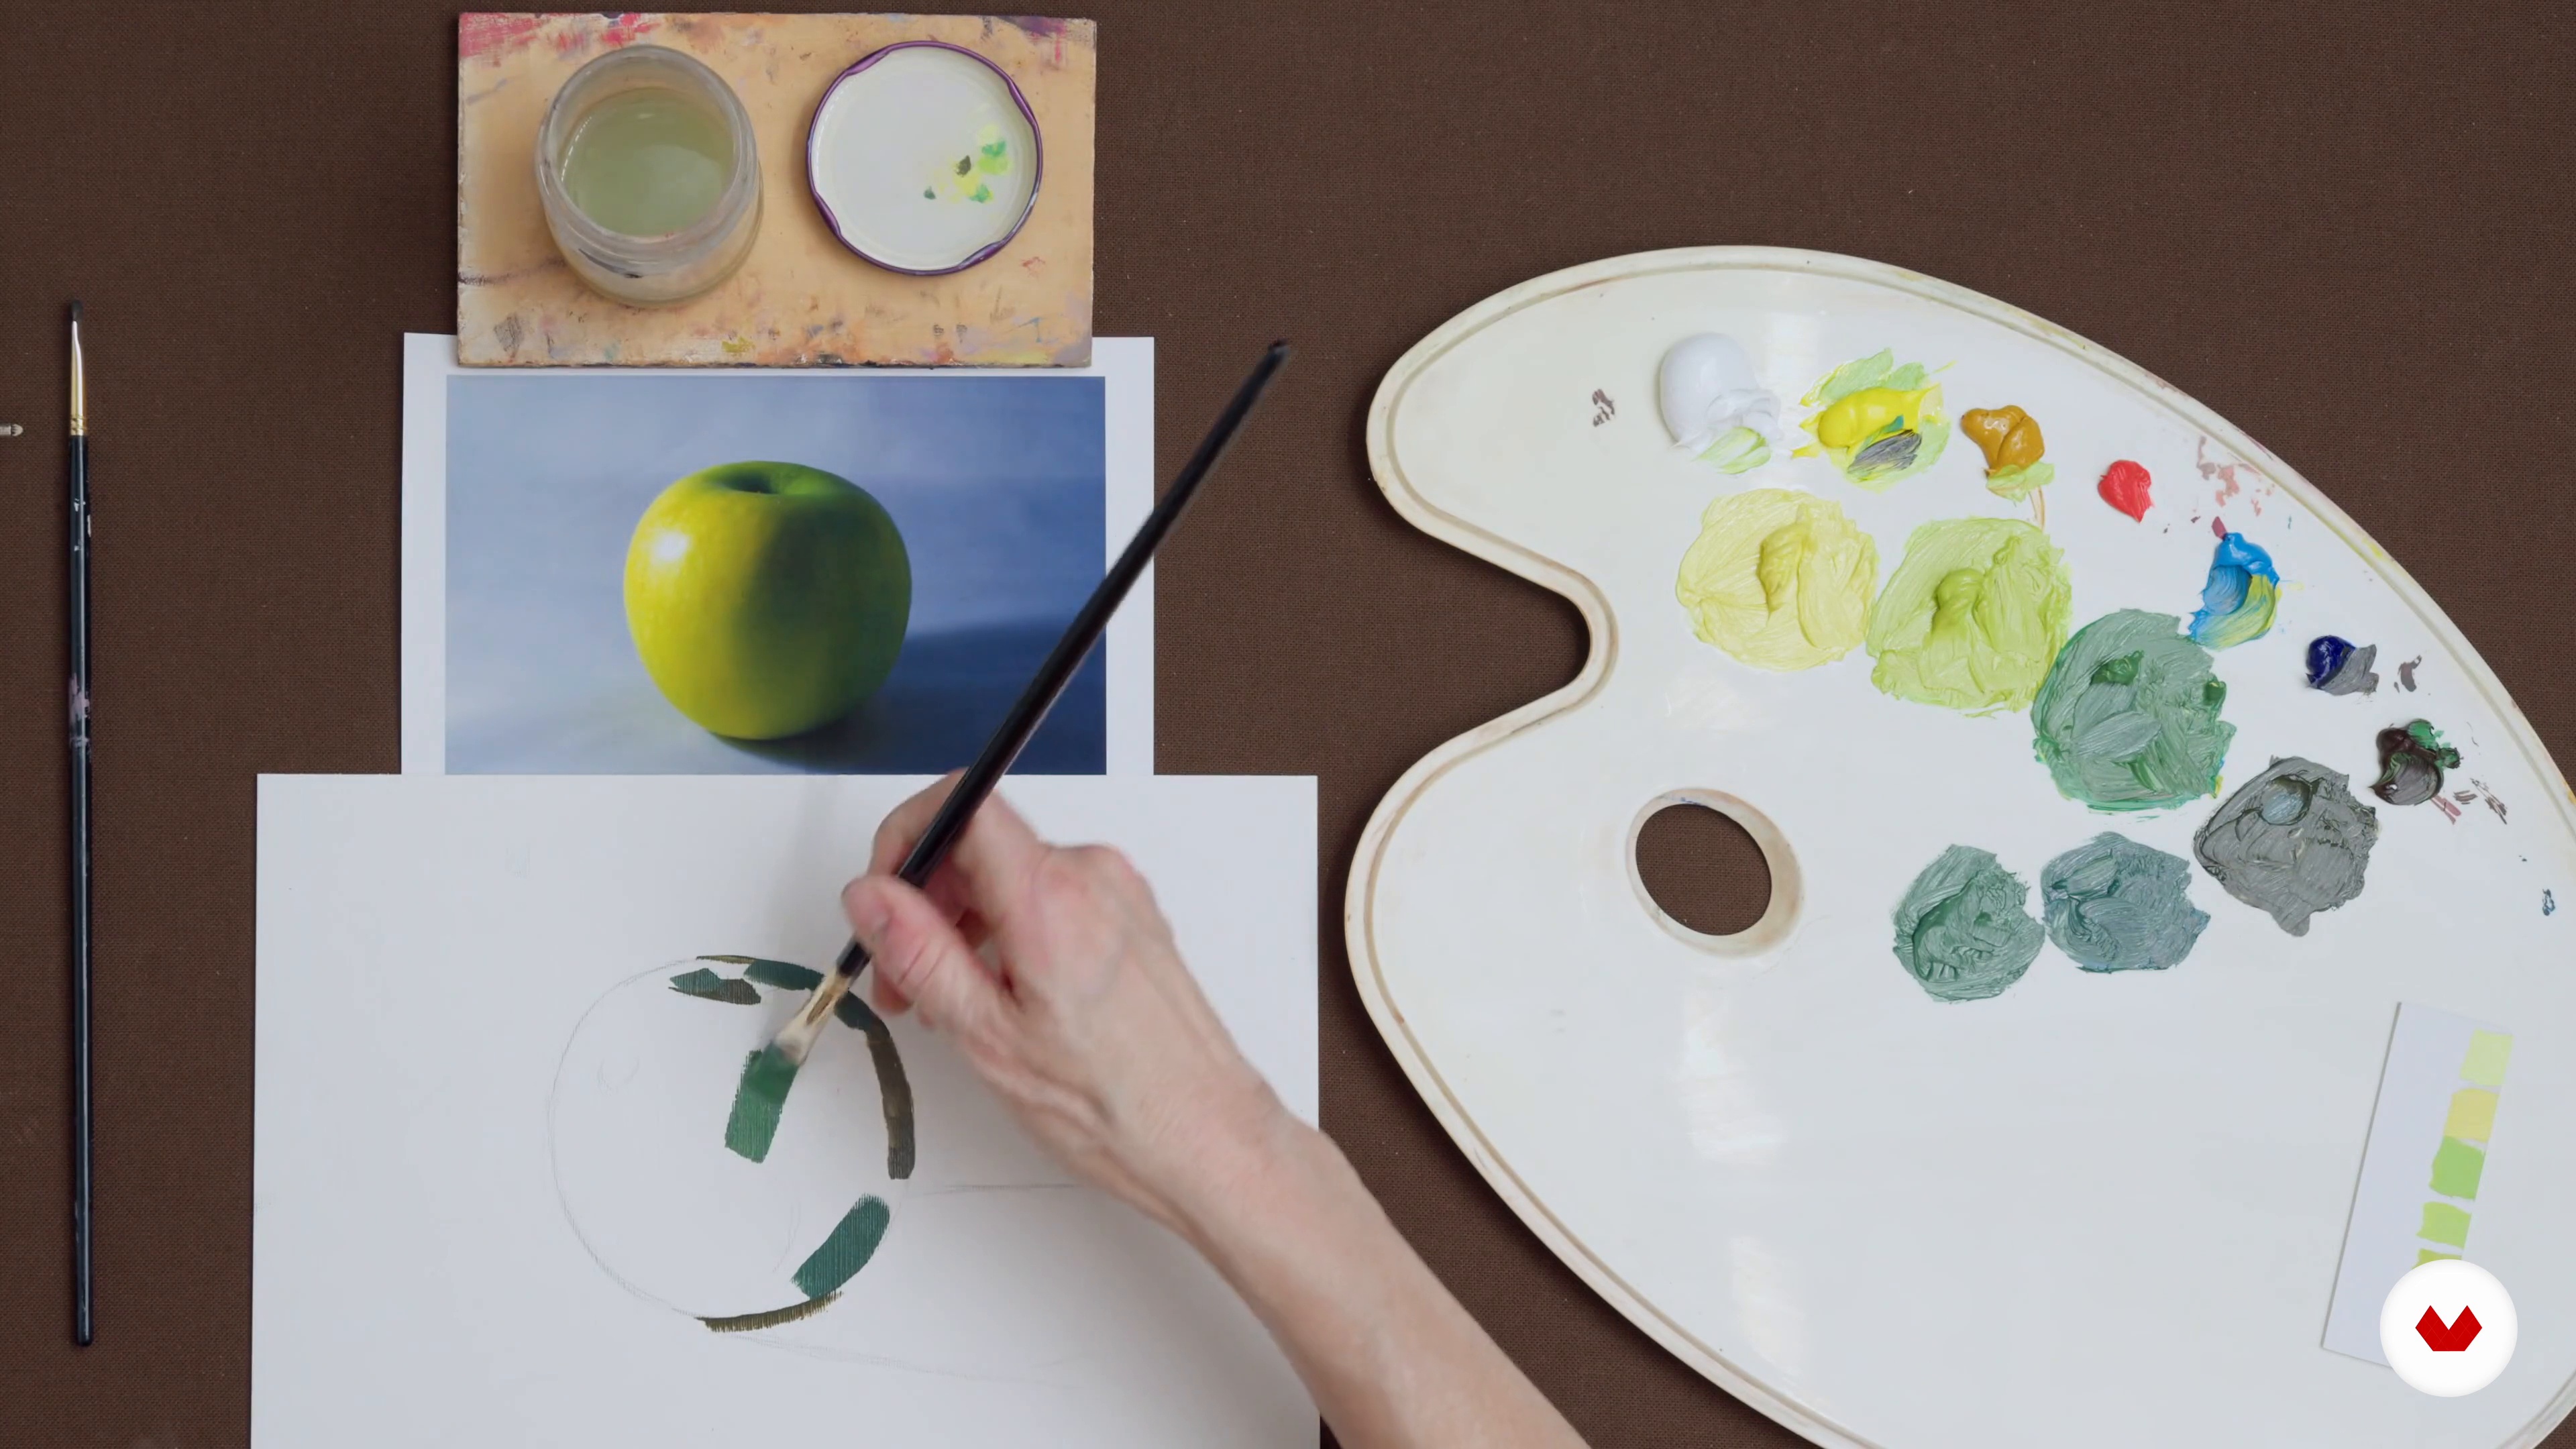
Colour Mixing: Painting a Simple Object in Full Colour 1
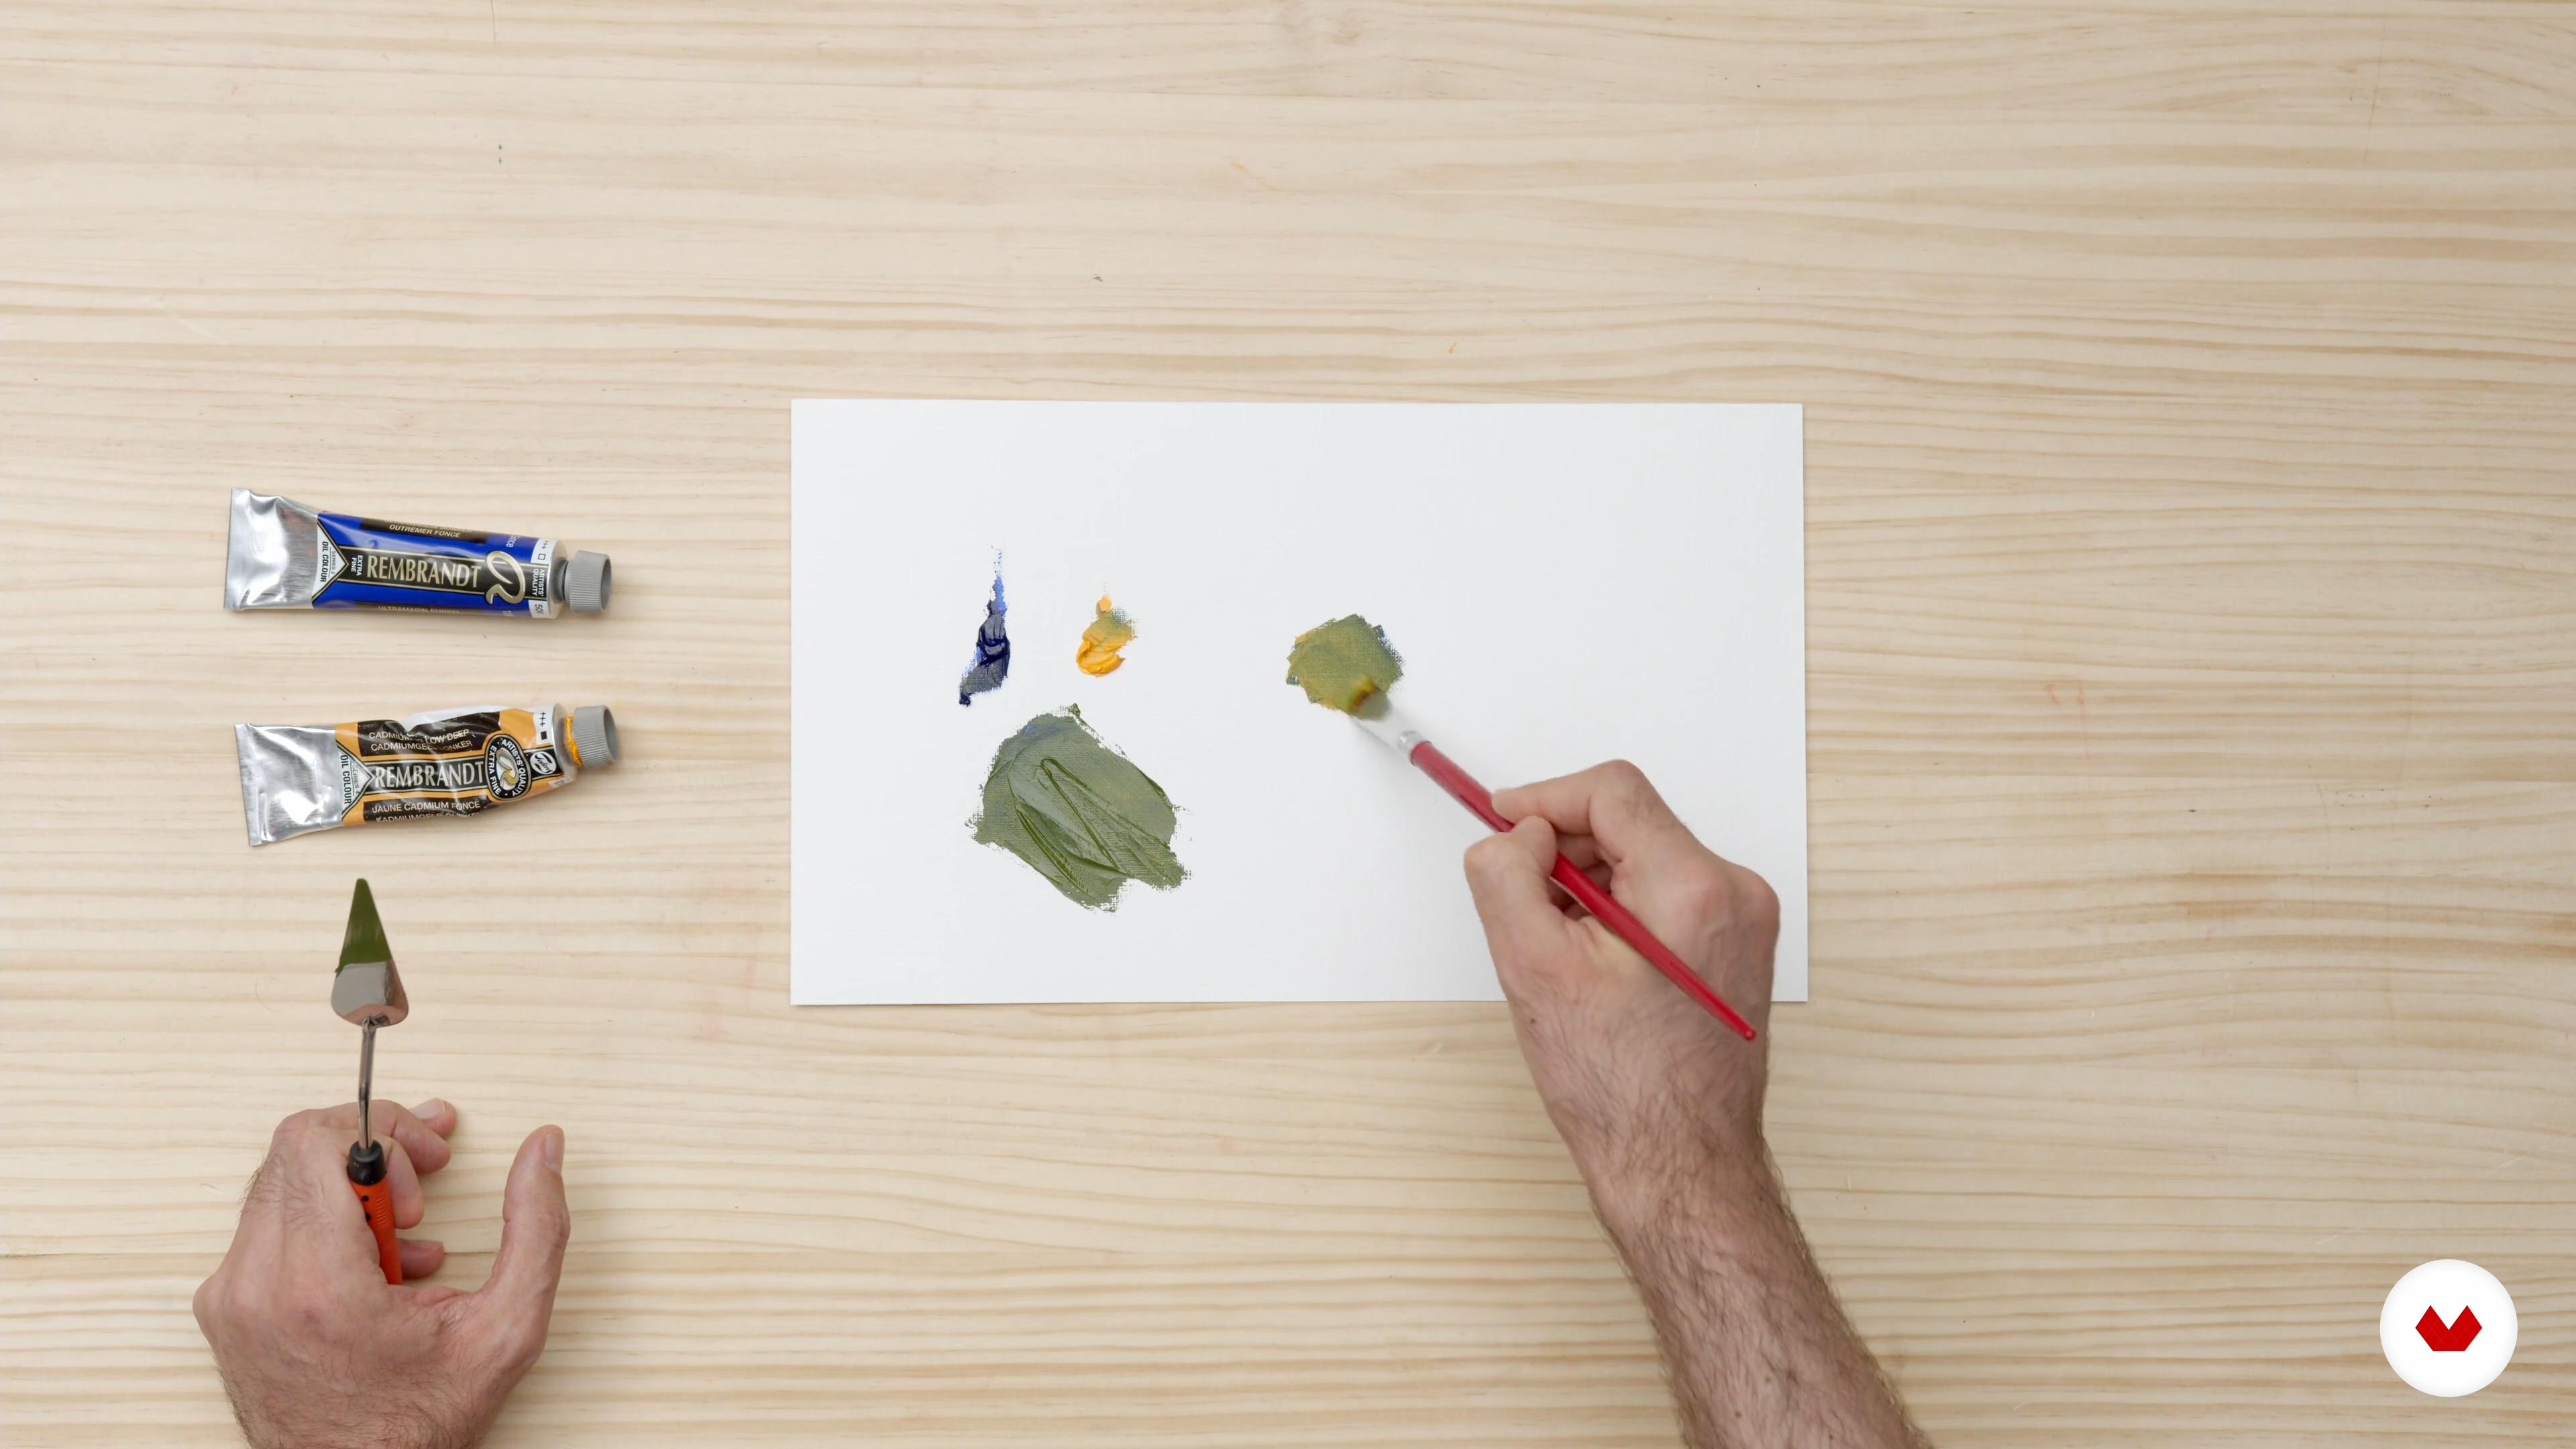
It's time for colour! That's why, in this lesson, you will learn to paint an object in full colour. I will also show you how to use the knowledge gained from the previous two lessons to assist you.
11m
image
5
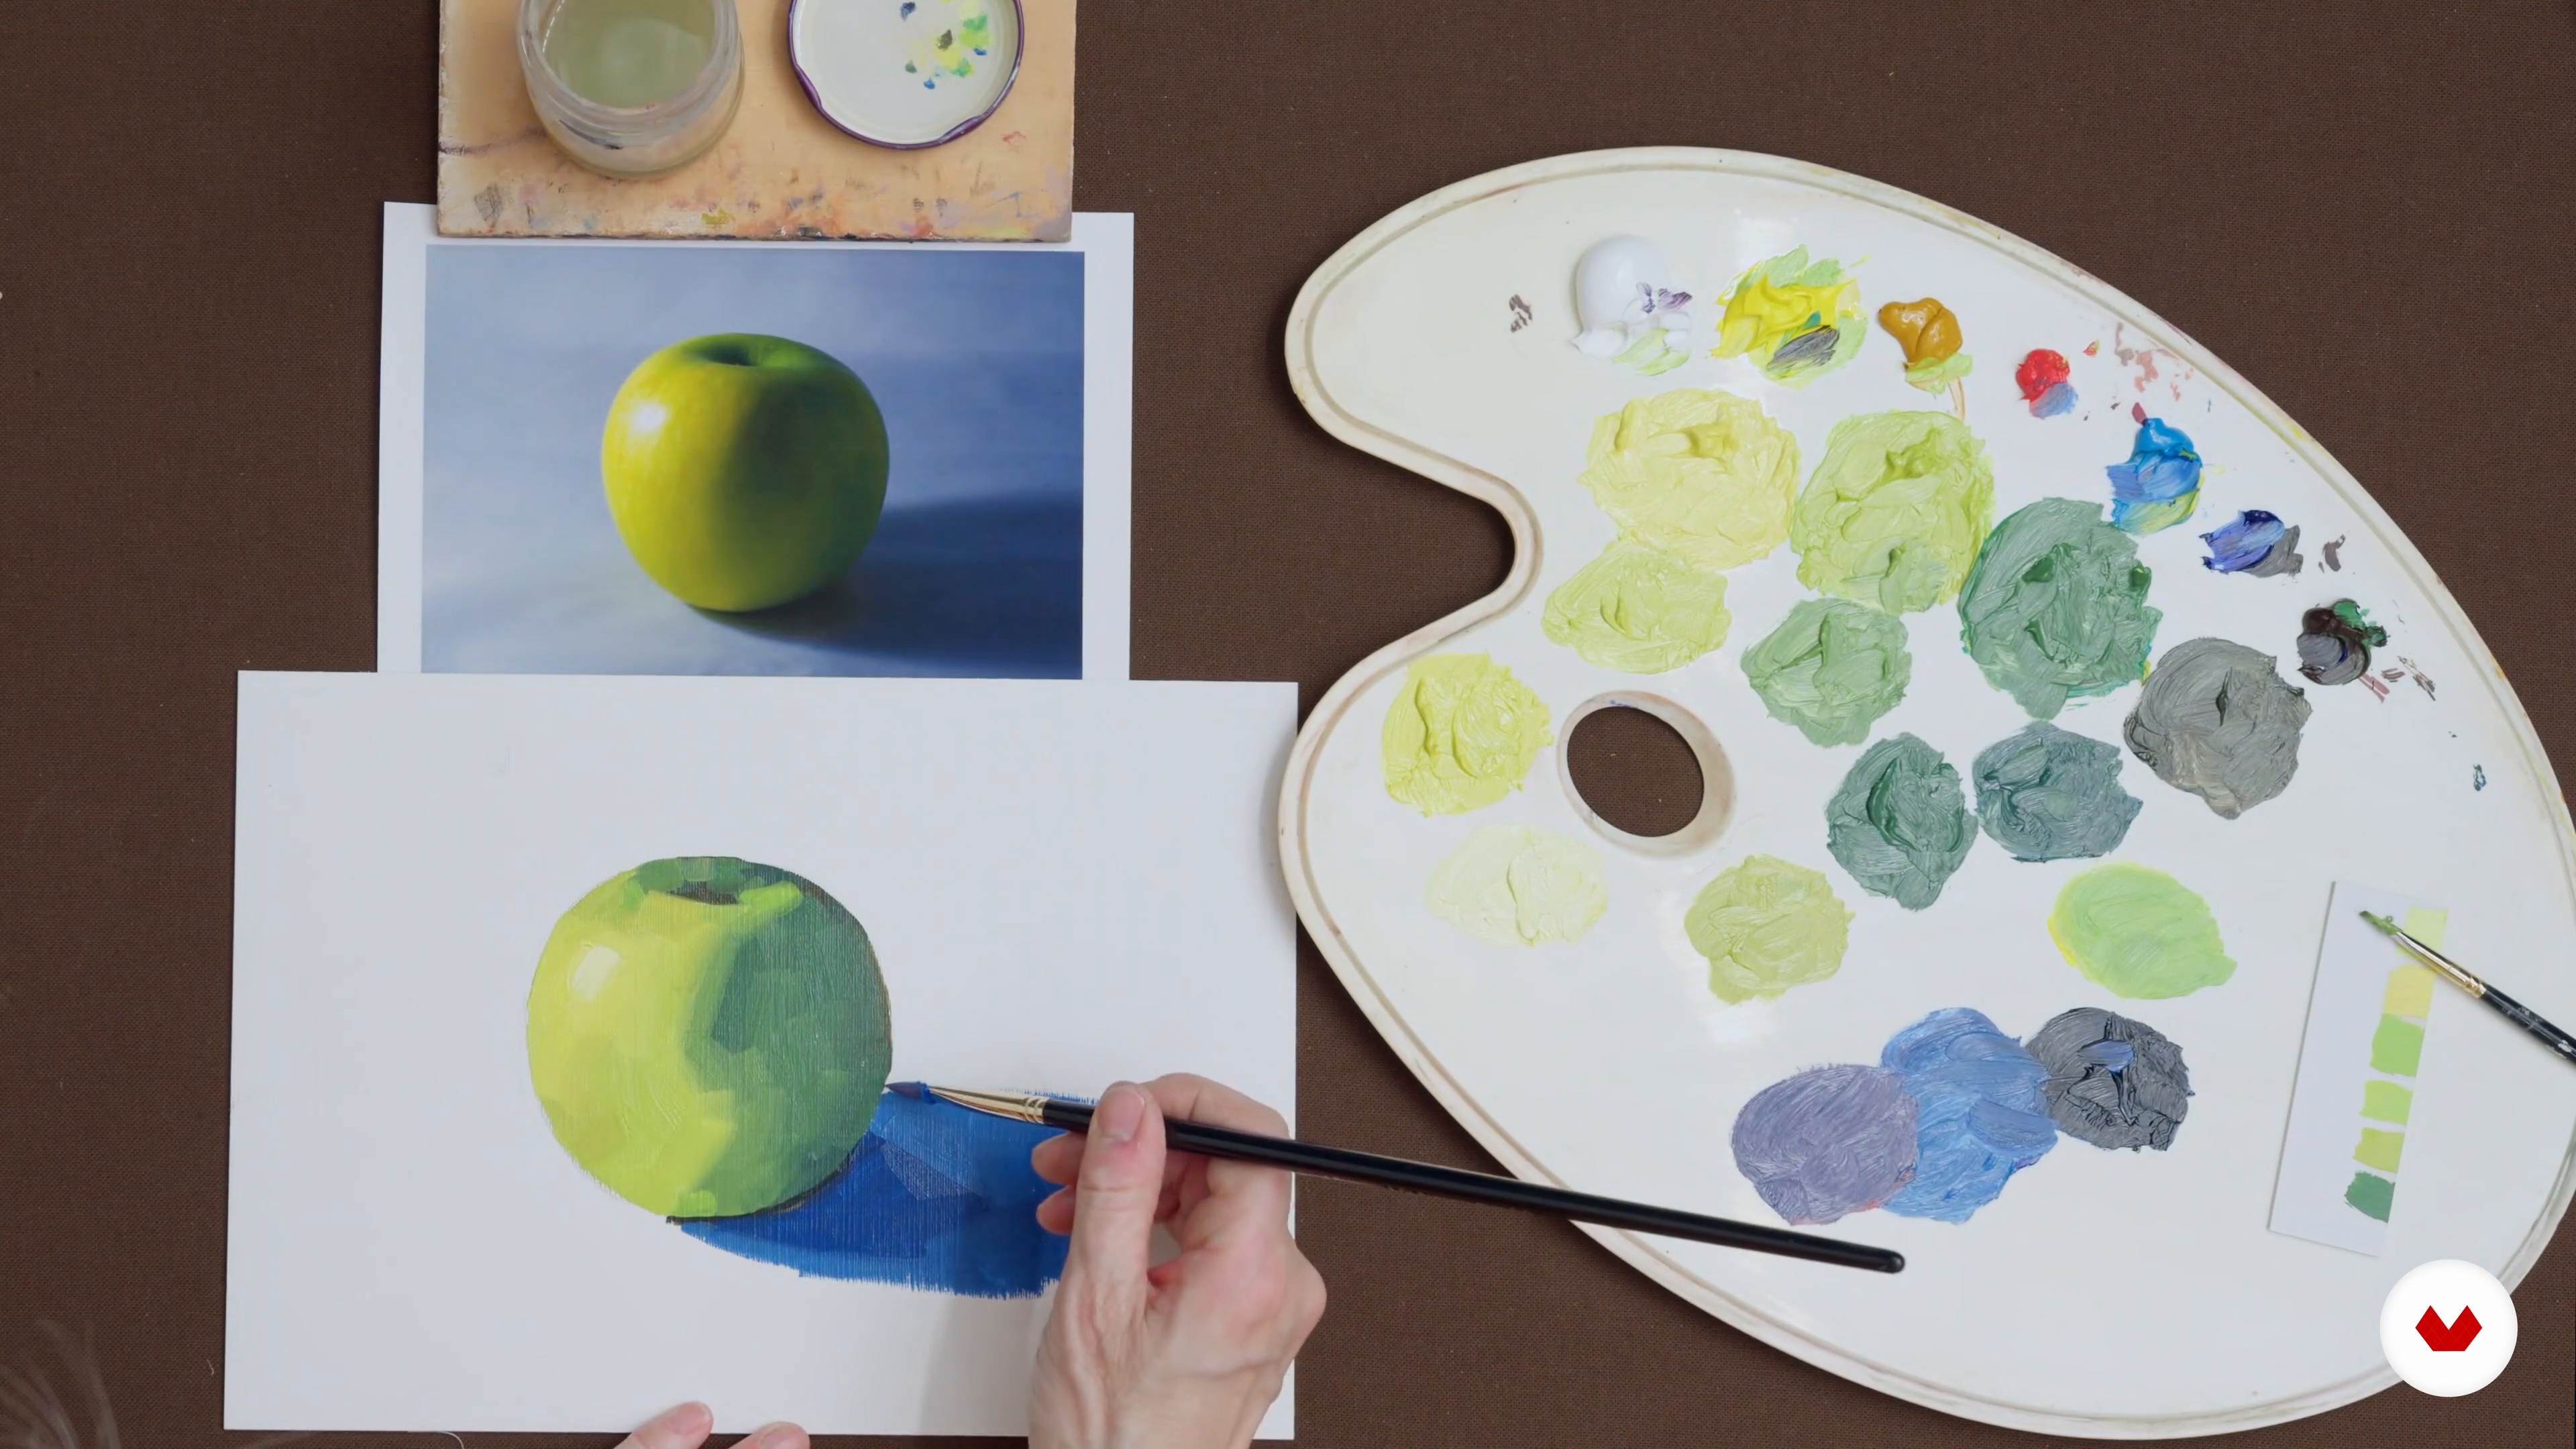
Colour Mixing: Painting a Simple Object in Full Colour 2
During the second part of this lesson, I will show you the painting process, beginning with darker areas and moving towards lighter areas.
13m
image
6
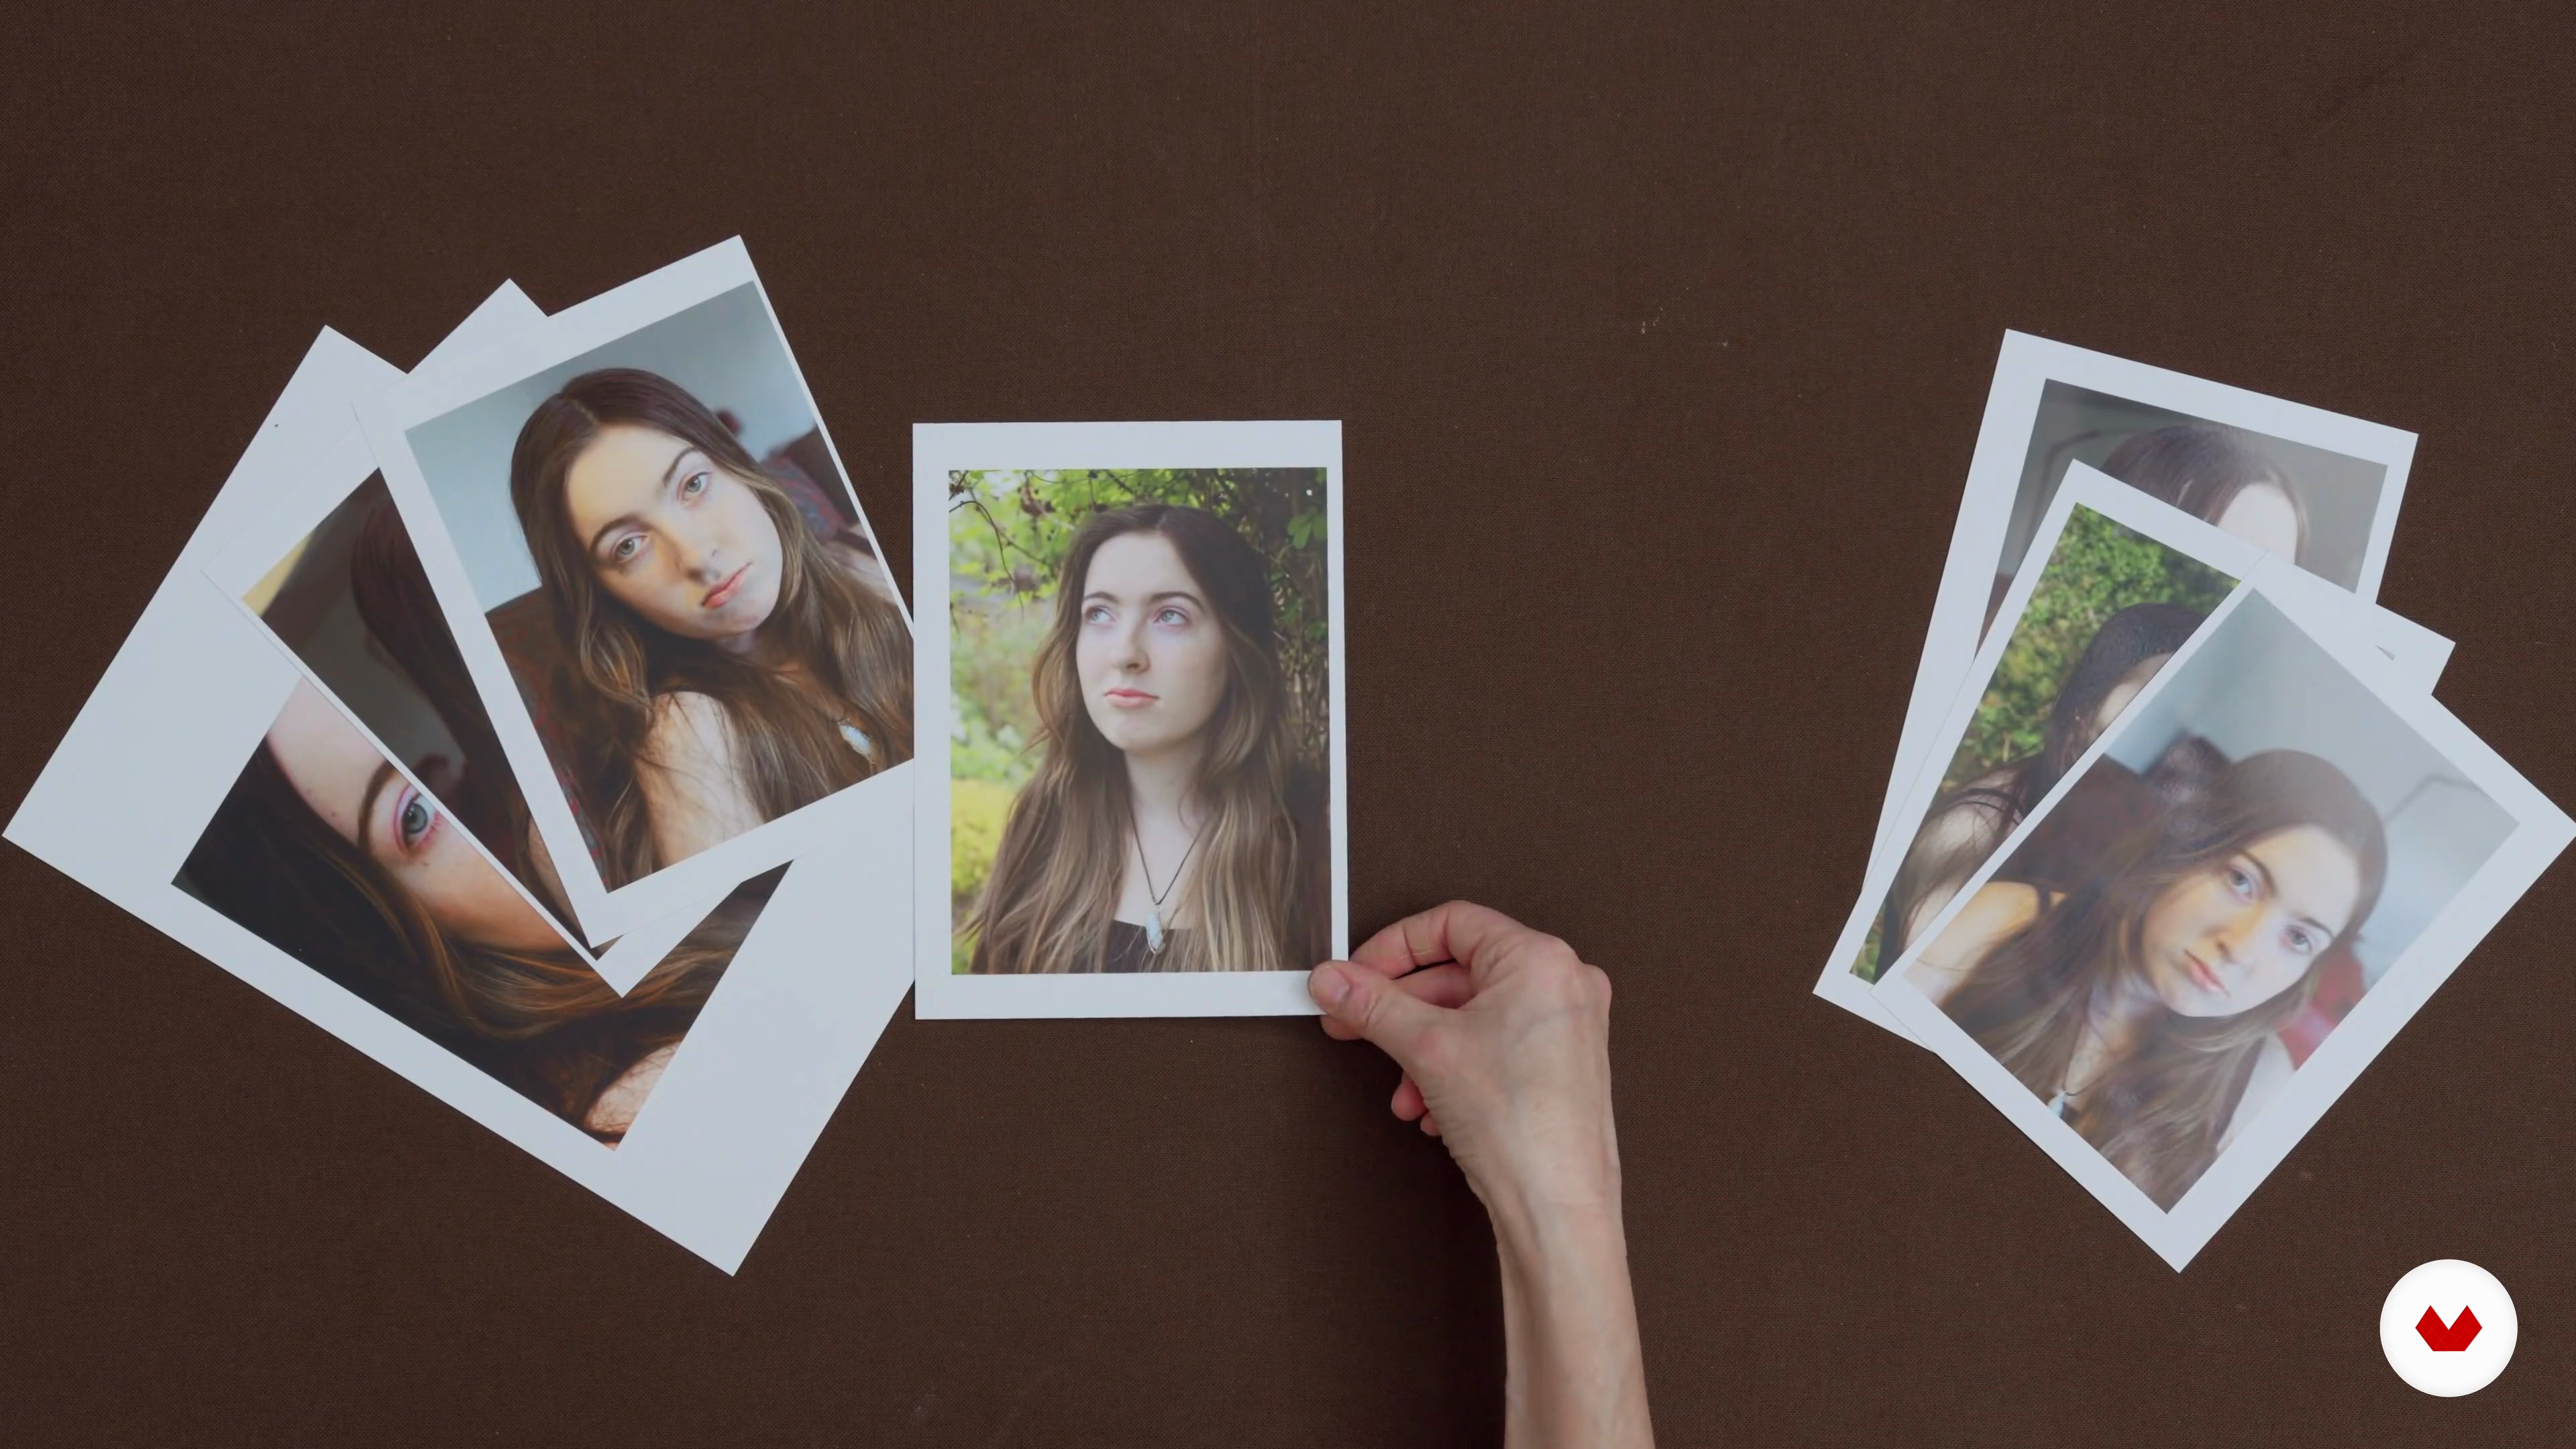
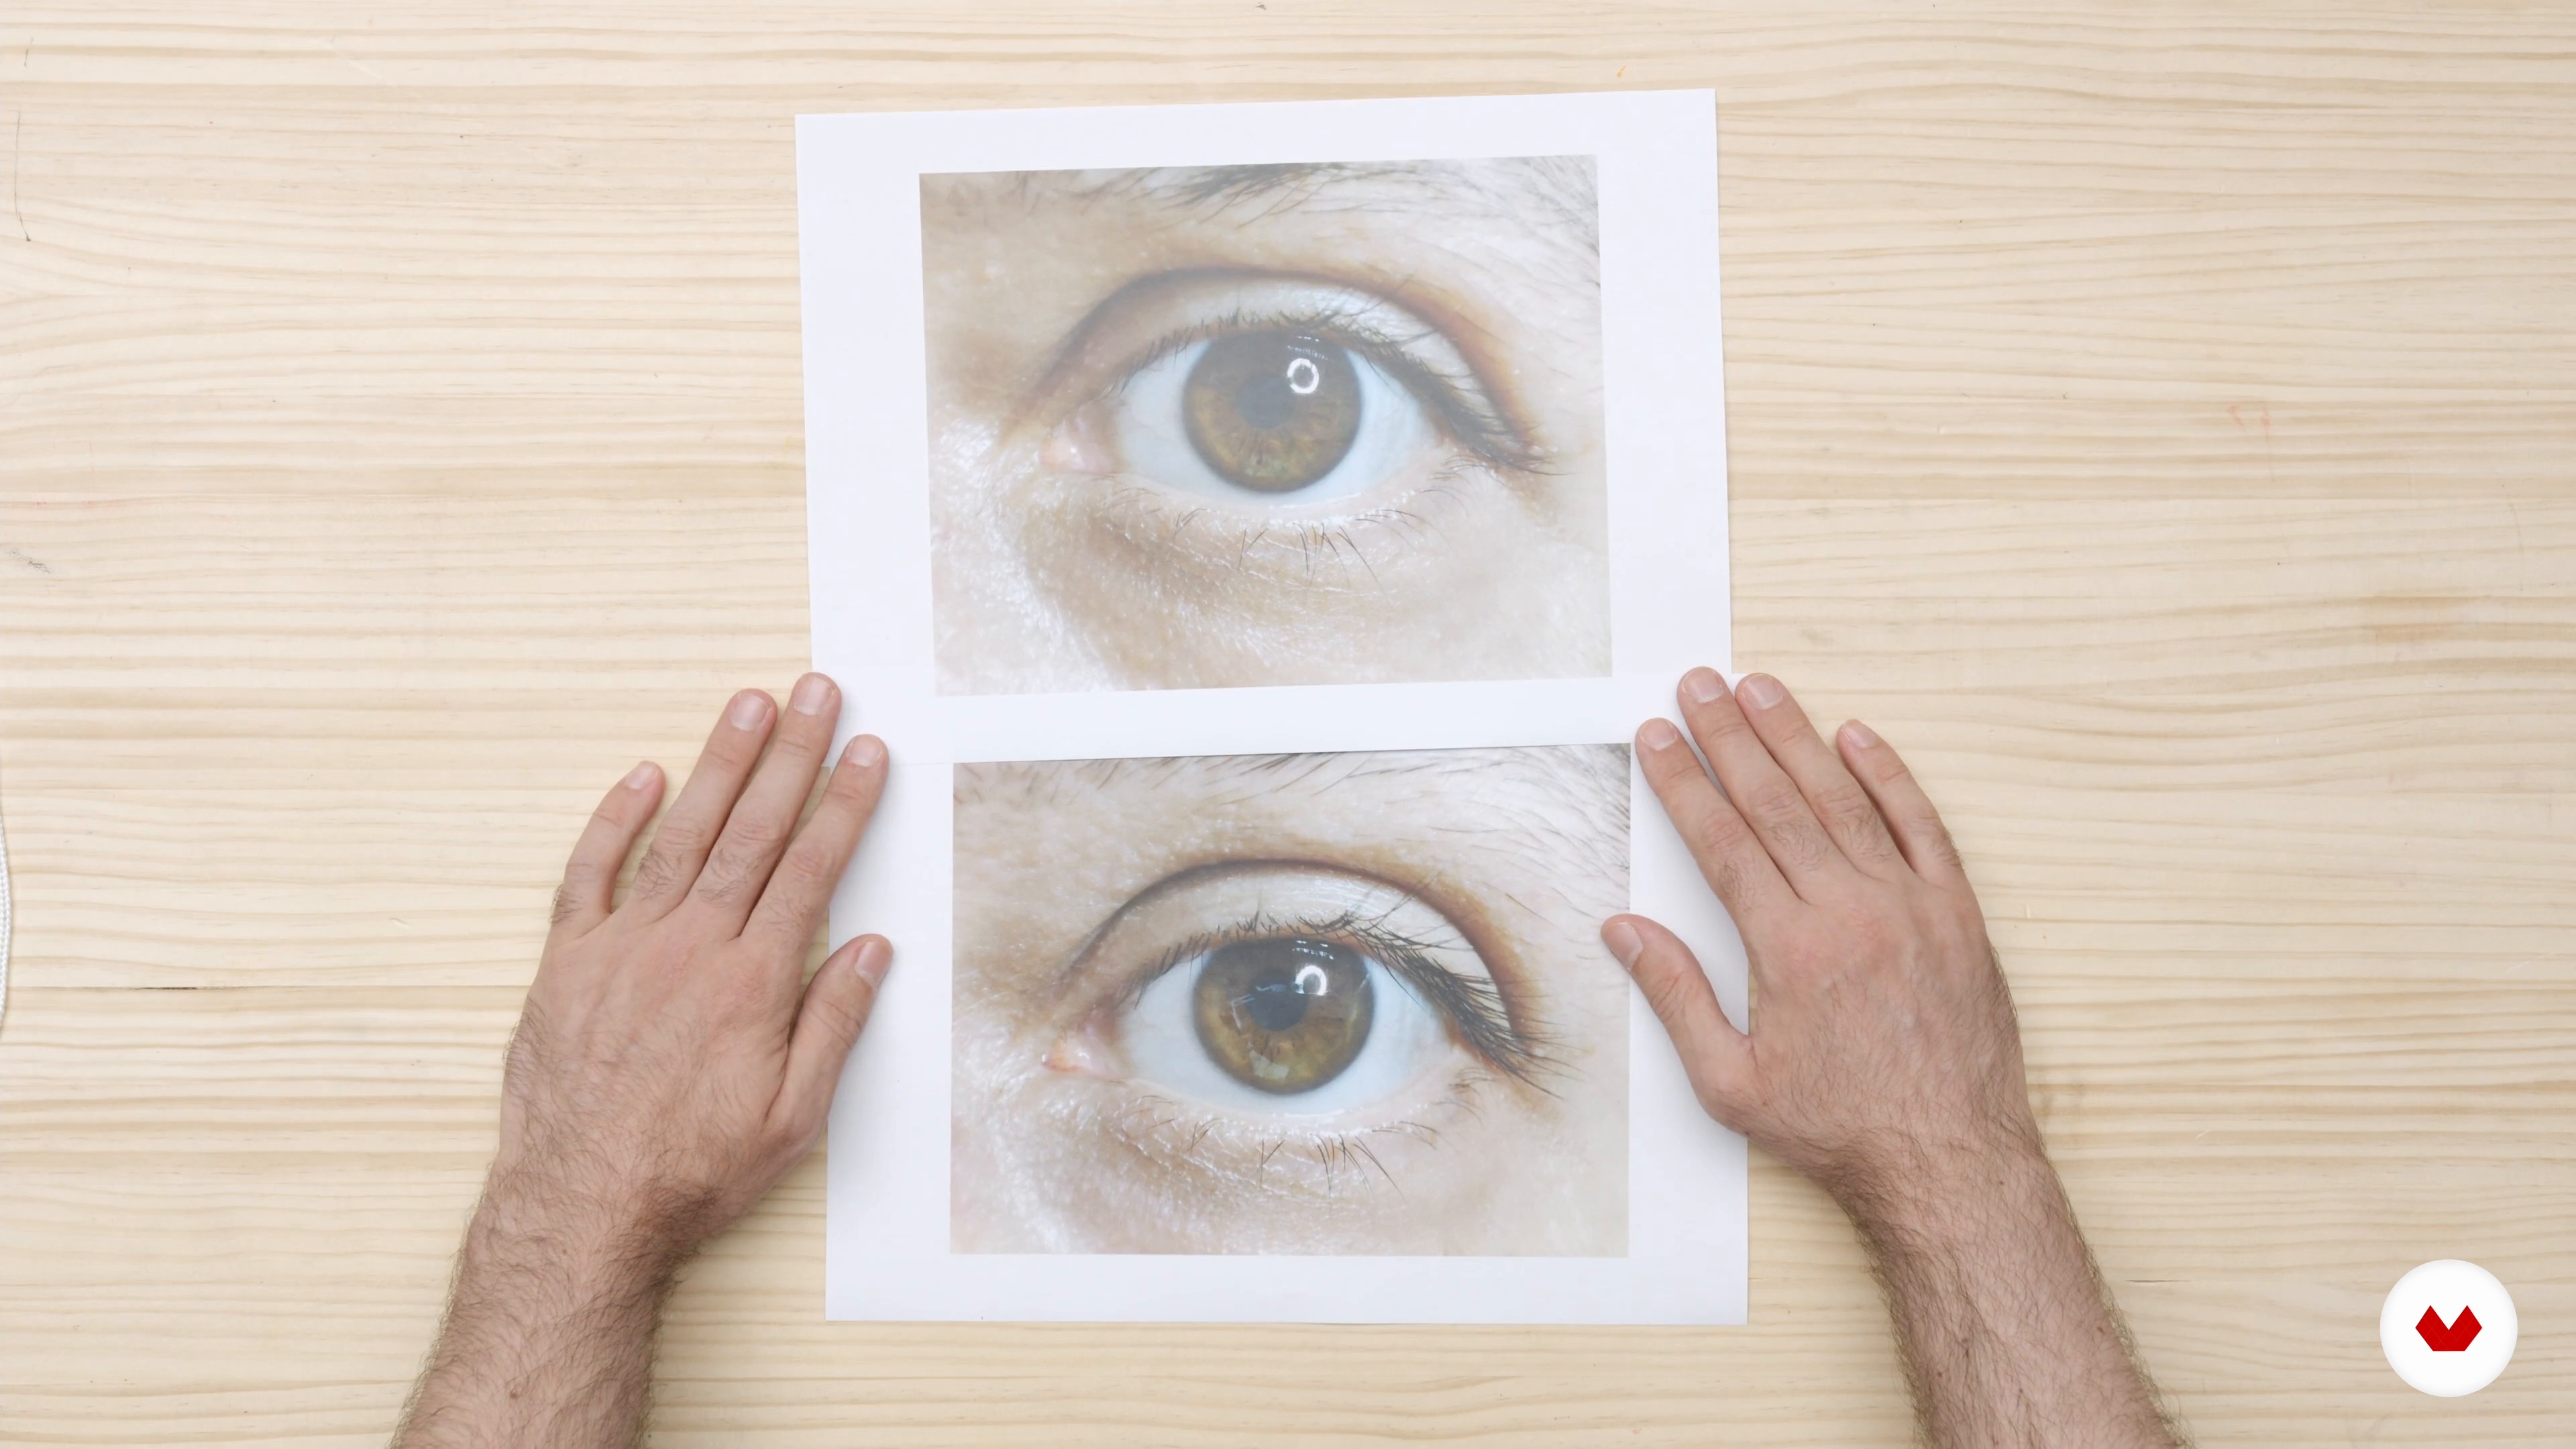
The Reference Image
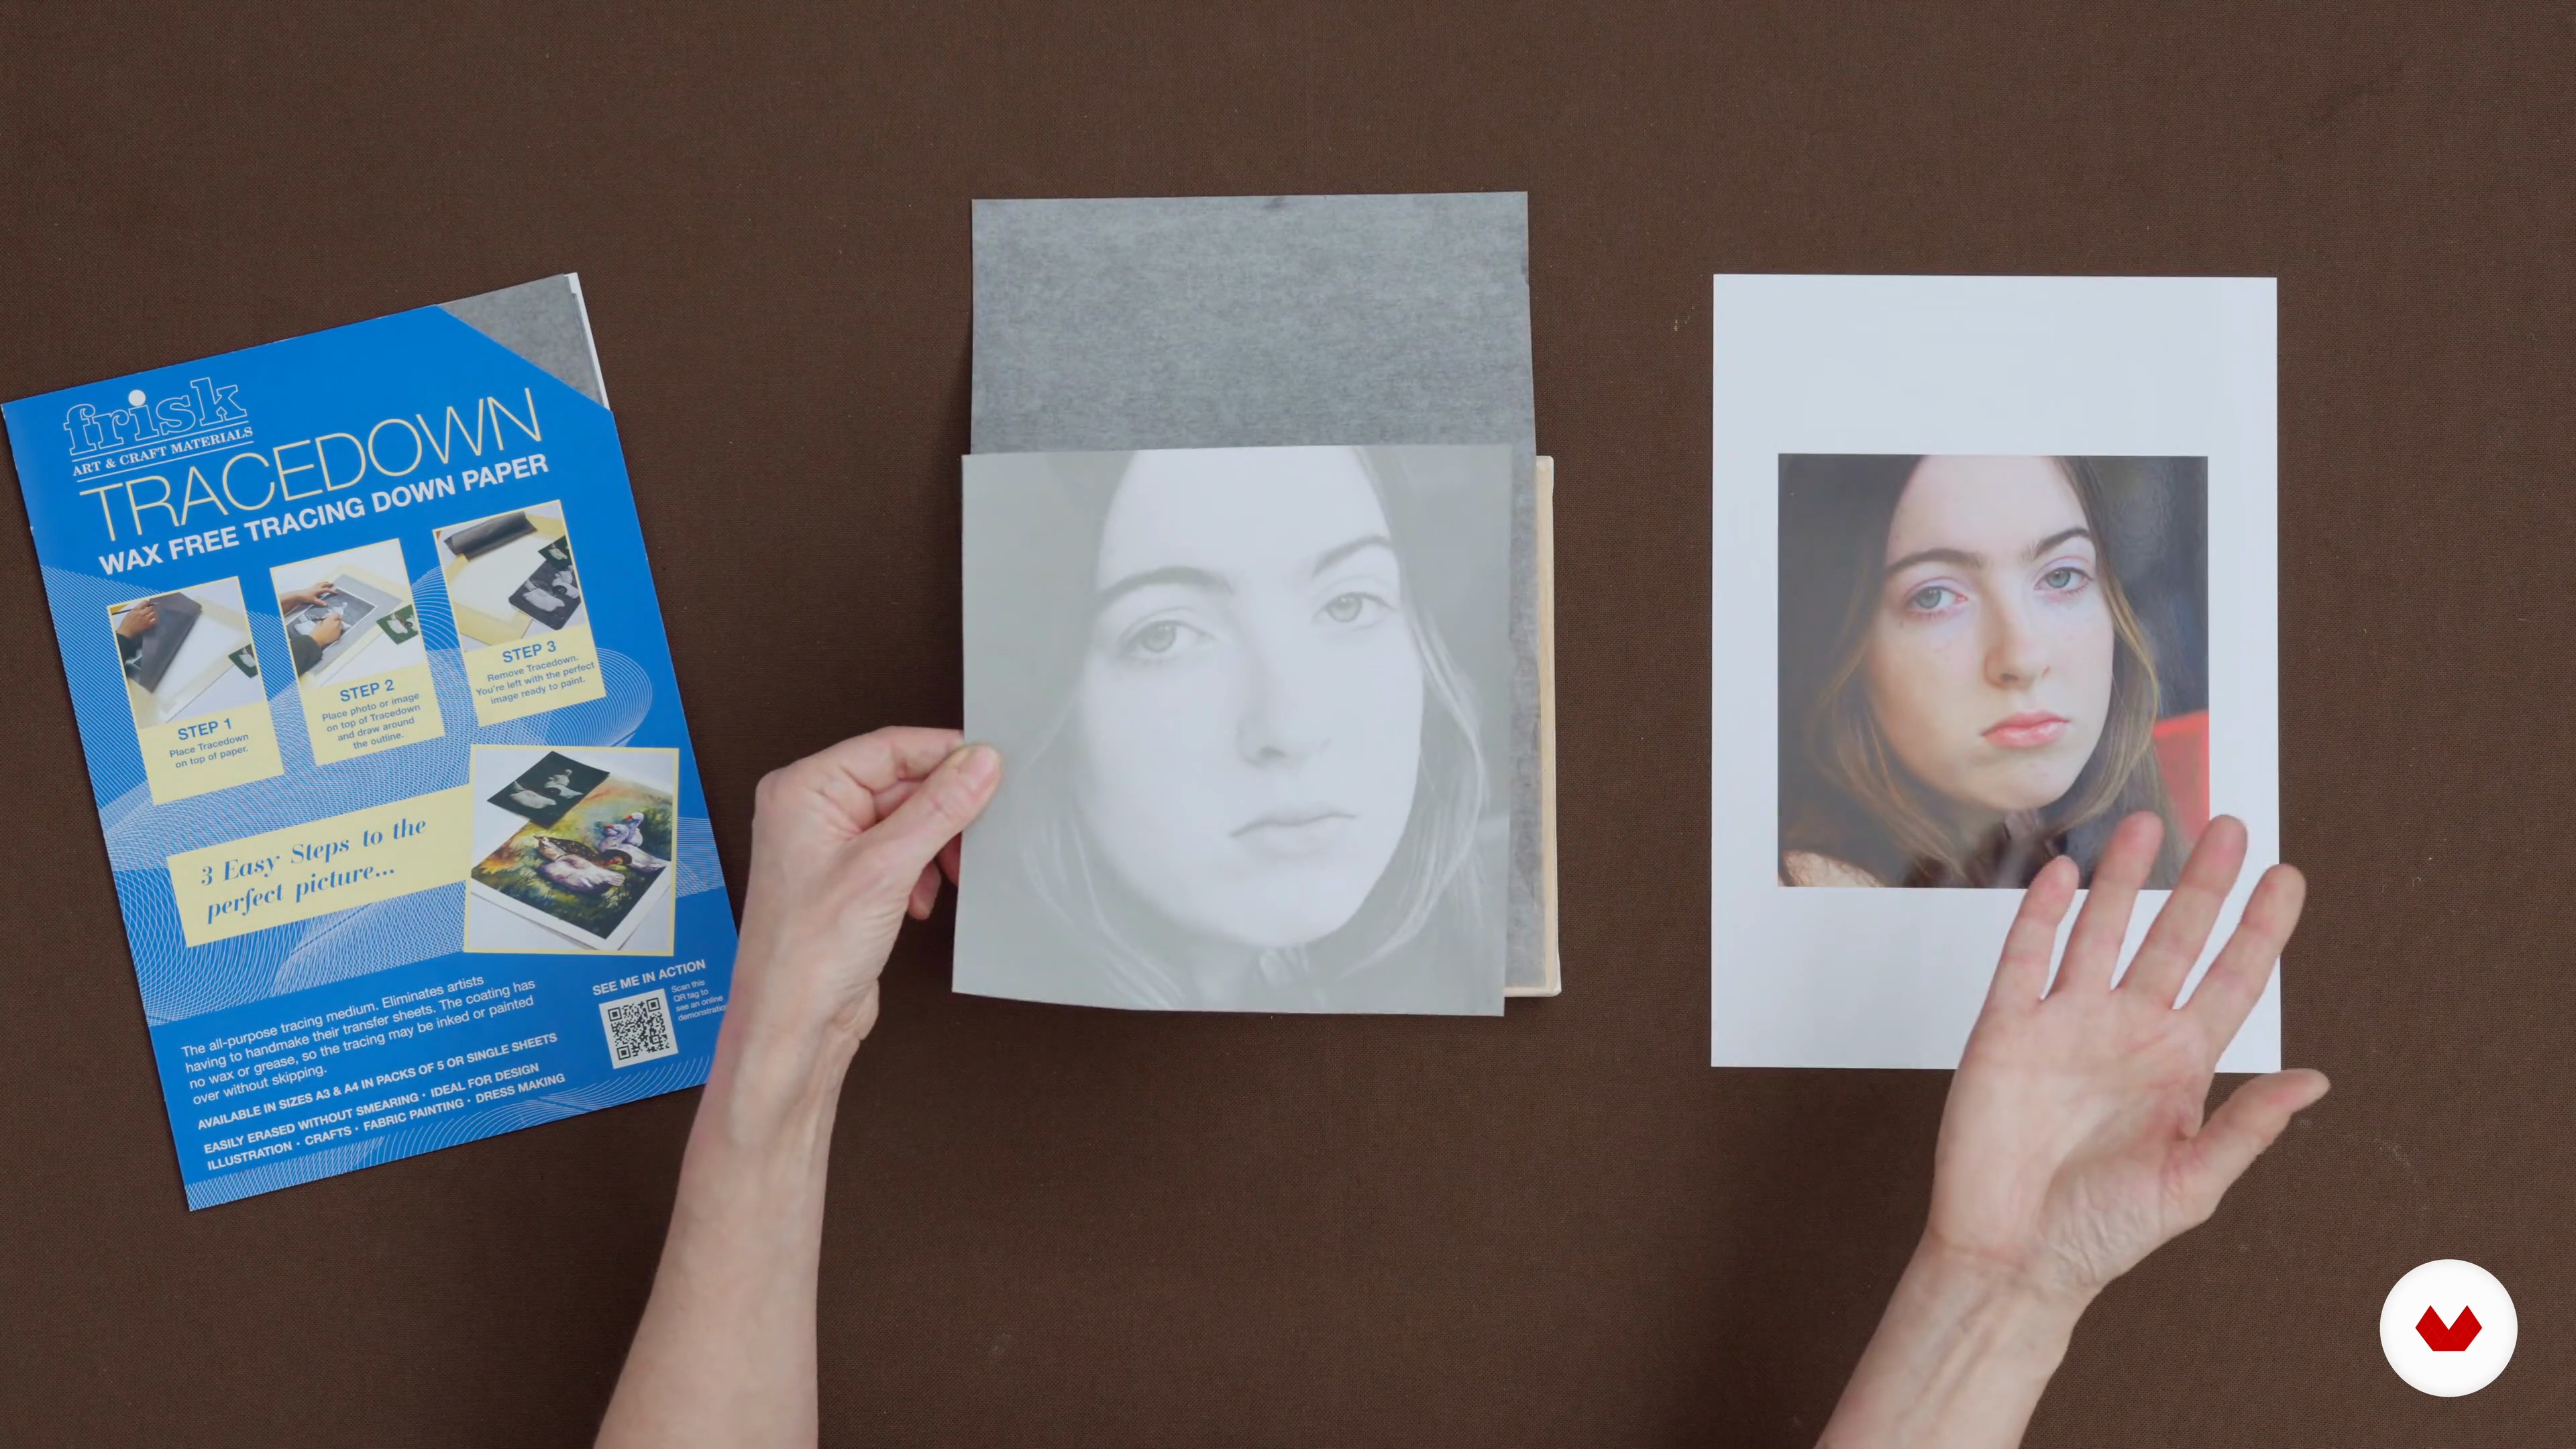
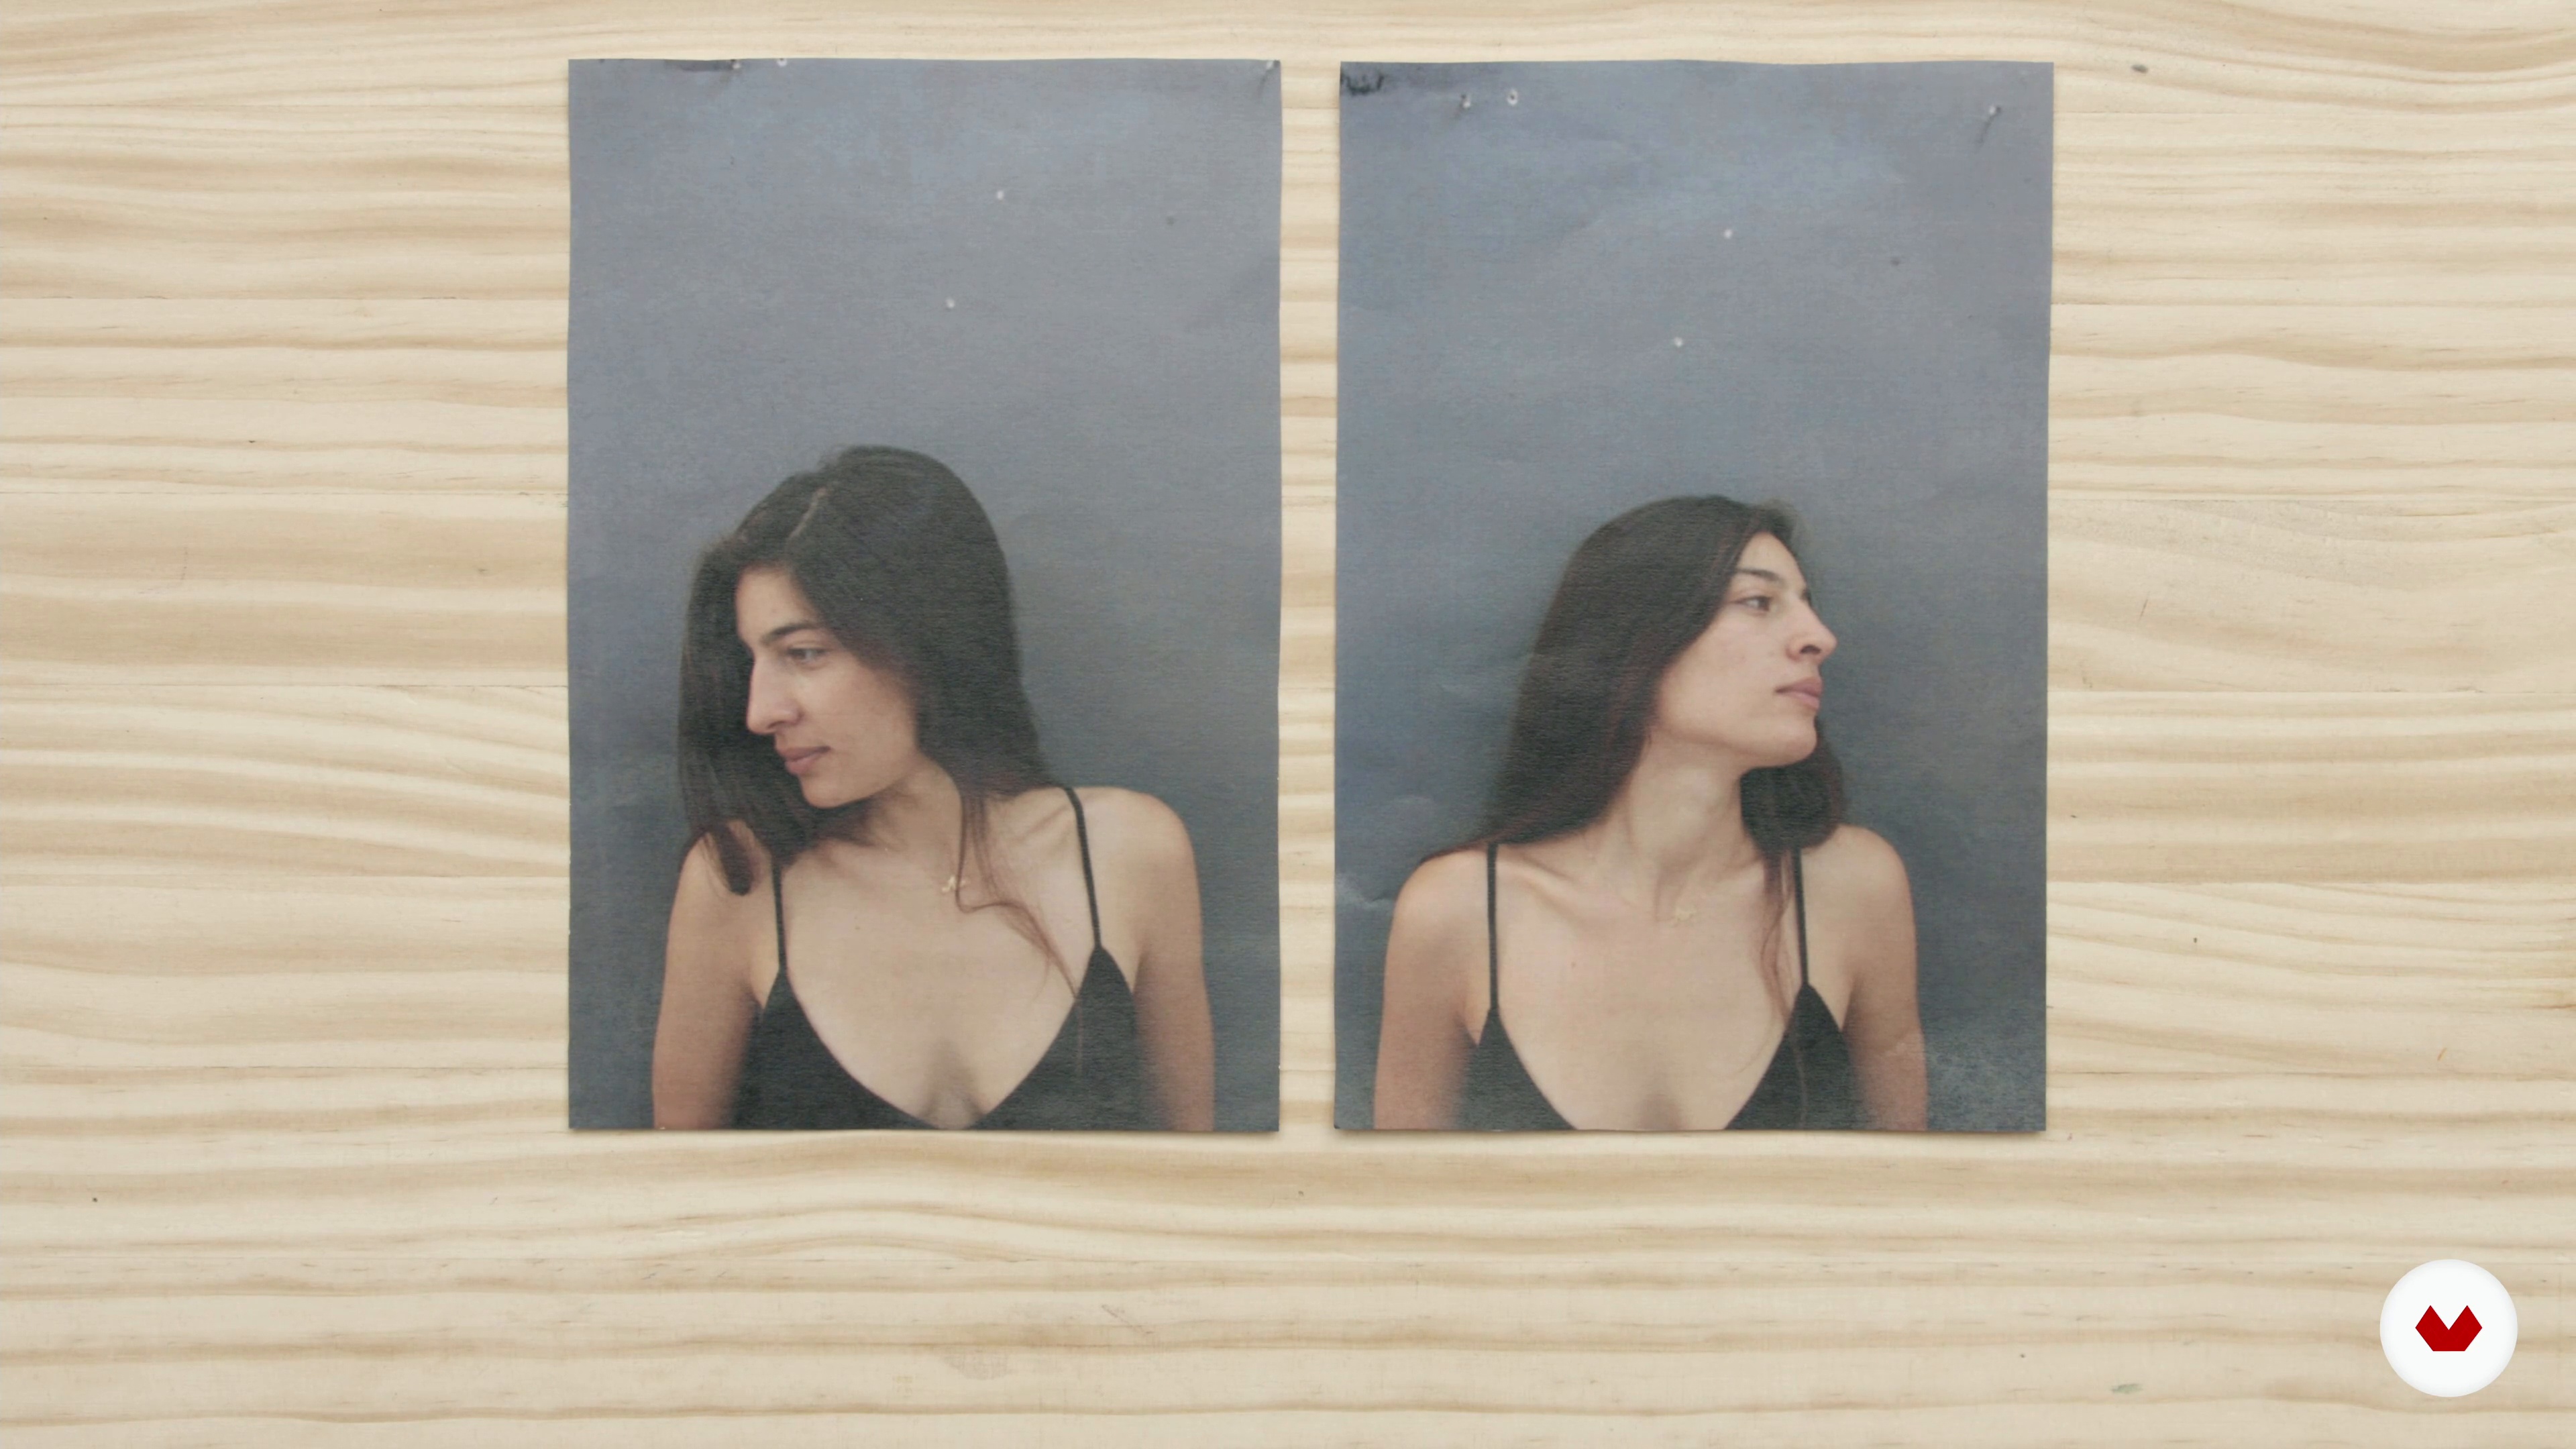
It's time to start making decision. Therefore, I will teach you how to select an appropriate photograph to use as a reference for an oil portrait.
4m
image
7
Preparing the Painting Surface and Drawing
In this lesson, I will explain how and why I apply coloured ground to my painting surface. I will also talk about the different methods of making the drawing prior to the paint application stage.
7m
image
8
Pre-mixing Skin Tones and Painting the Dark Areas 1
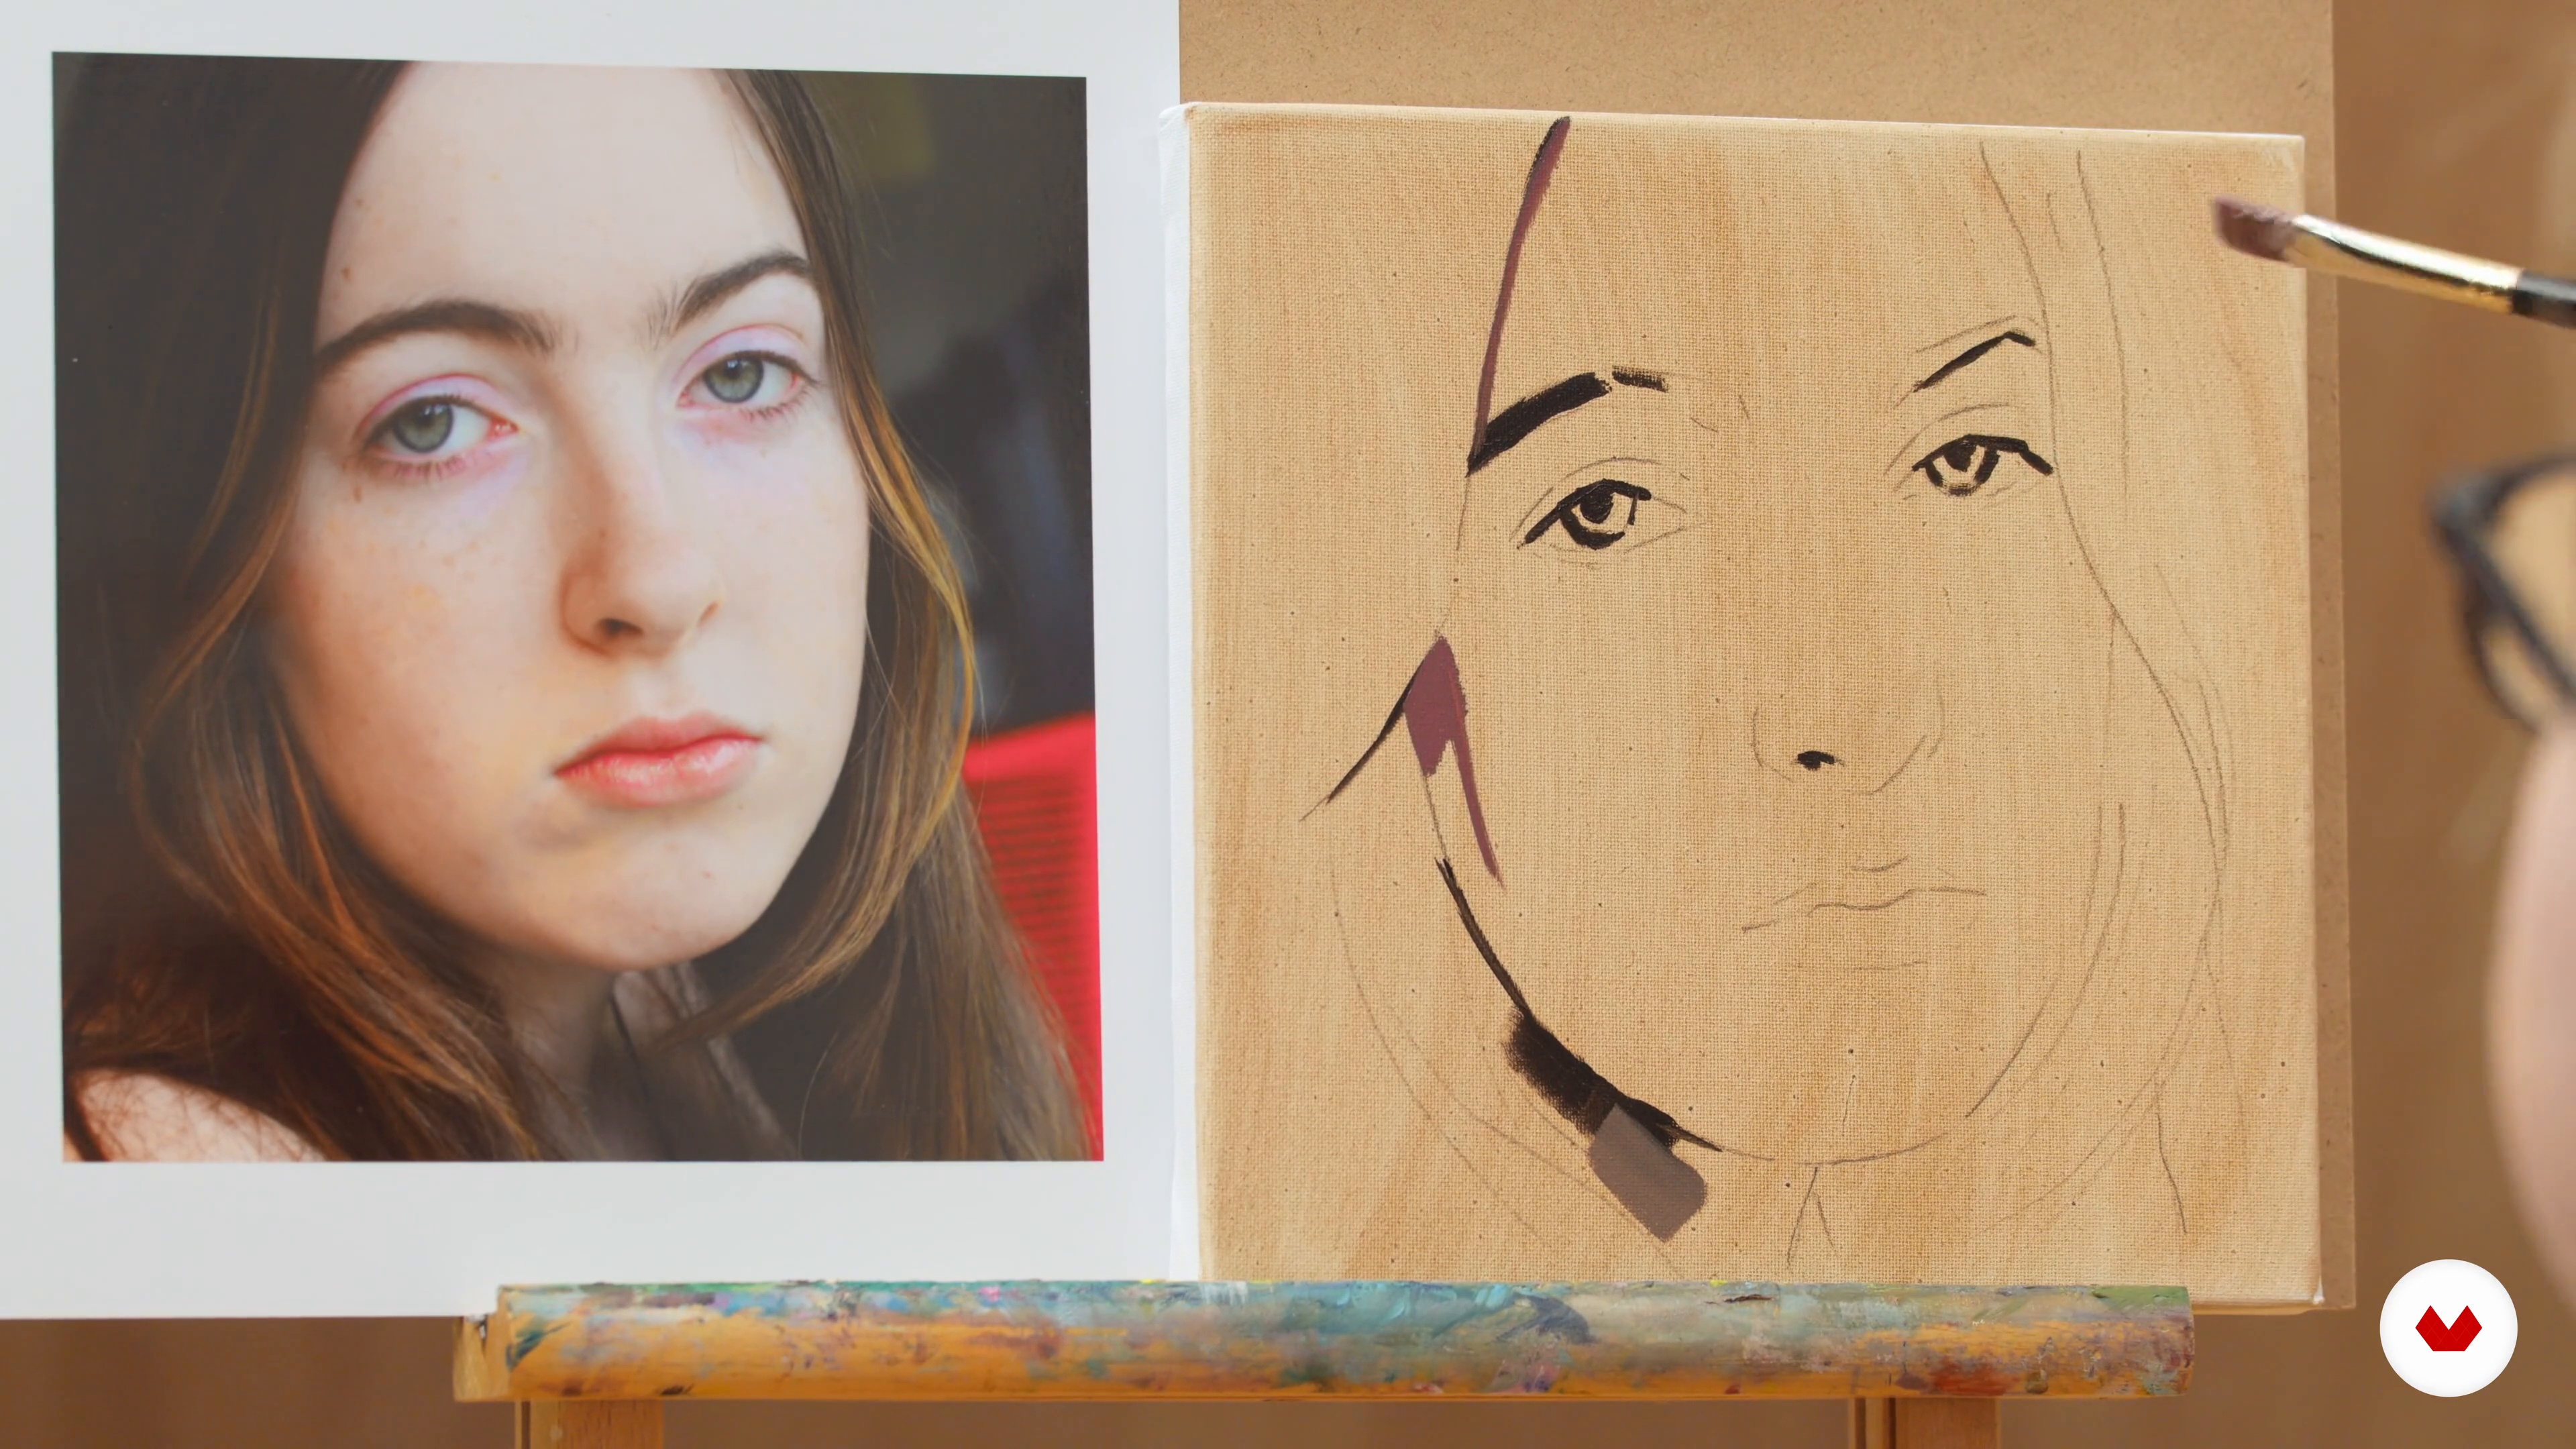
Here, I will show you how to begin the painting process by pre-mixing a set of basic skin tones and then using them to paint some of the darker areas of the portrait.
20m
image
9
Pre-mixing Skin Tones and Painting the Dark Areas 2
I will continue using the fourth of the pre-mixed values to start moving from the darkest to the increasingly lighter areas. Also, I will explain the increasing vibrancy of the hue, which is used to make more of an impact and create a more exciting, colourful, fresh artwork.
18m
image
10
Blocking in Mid-Tones and Light Values 1
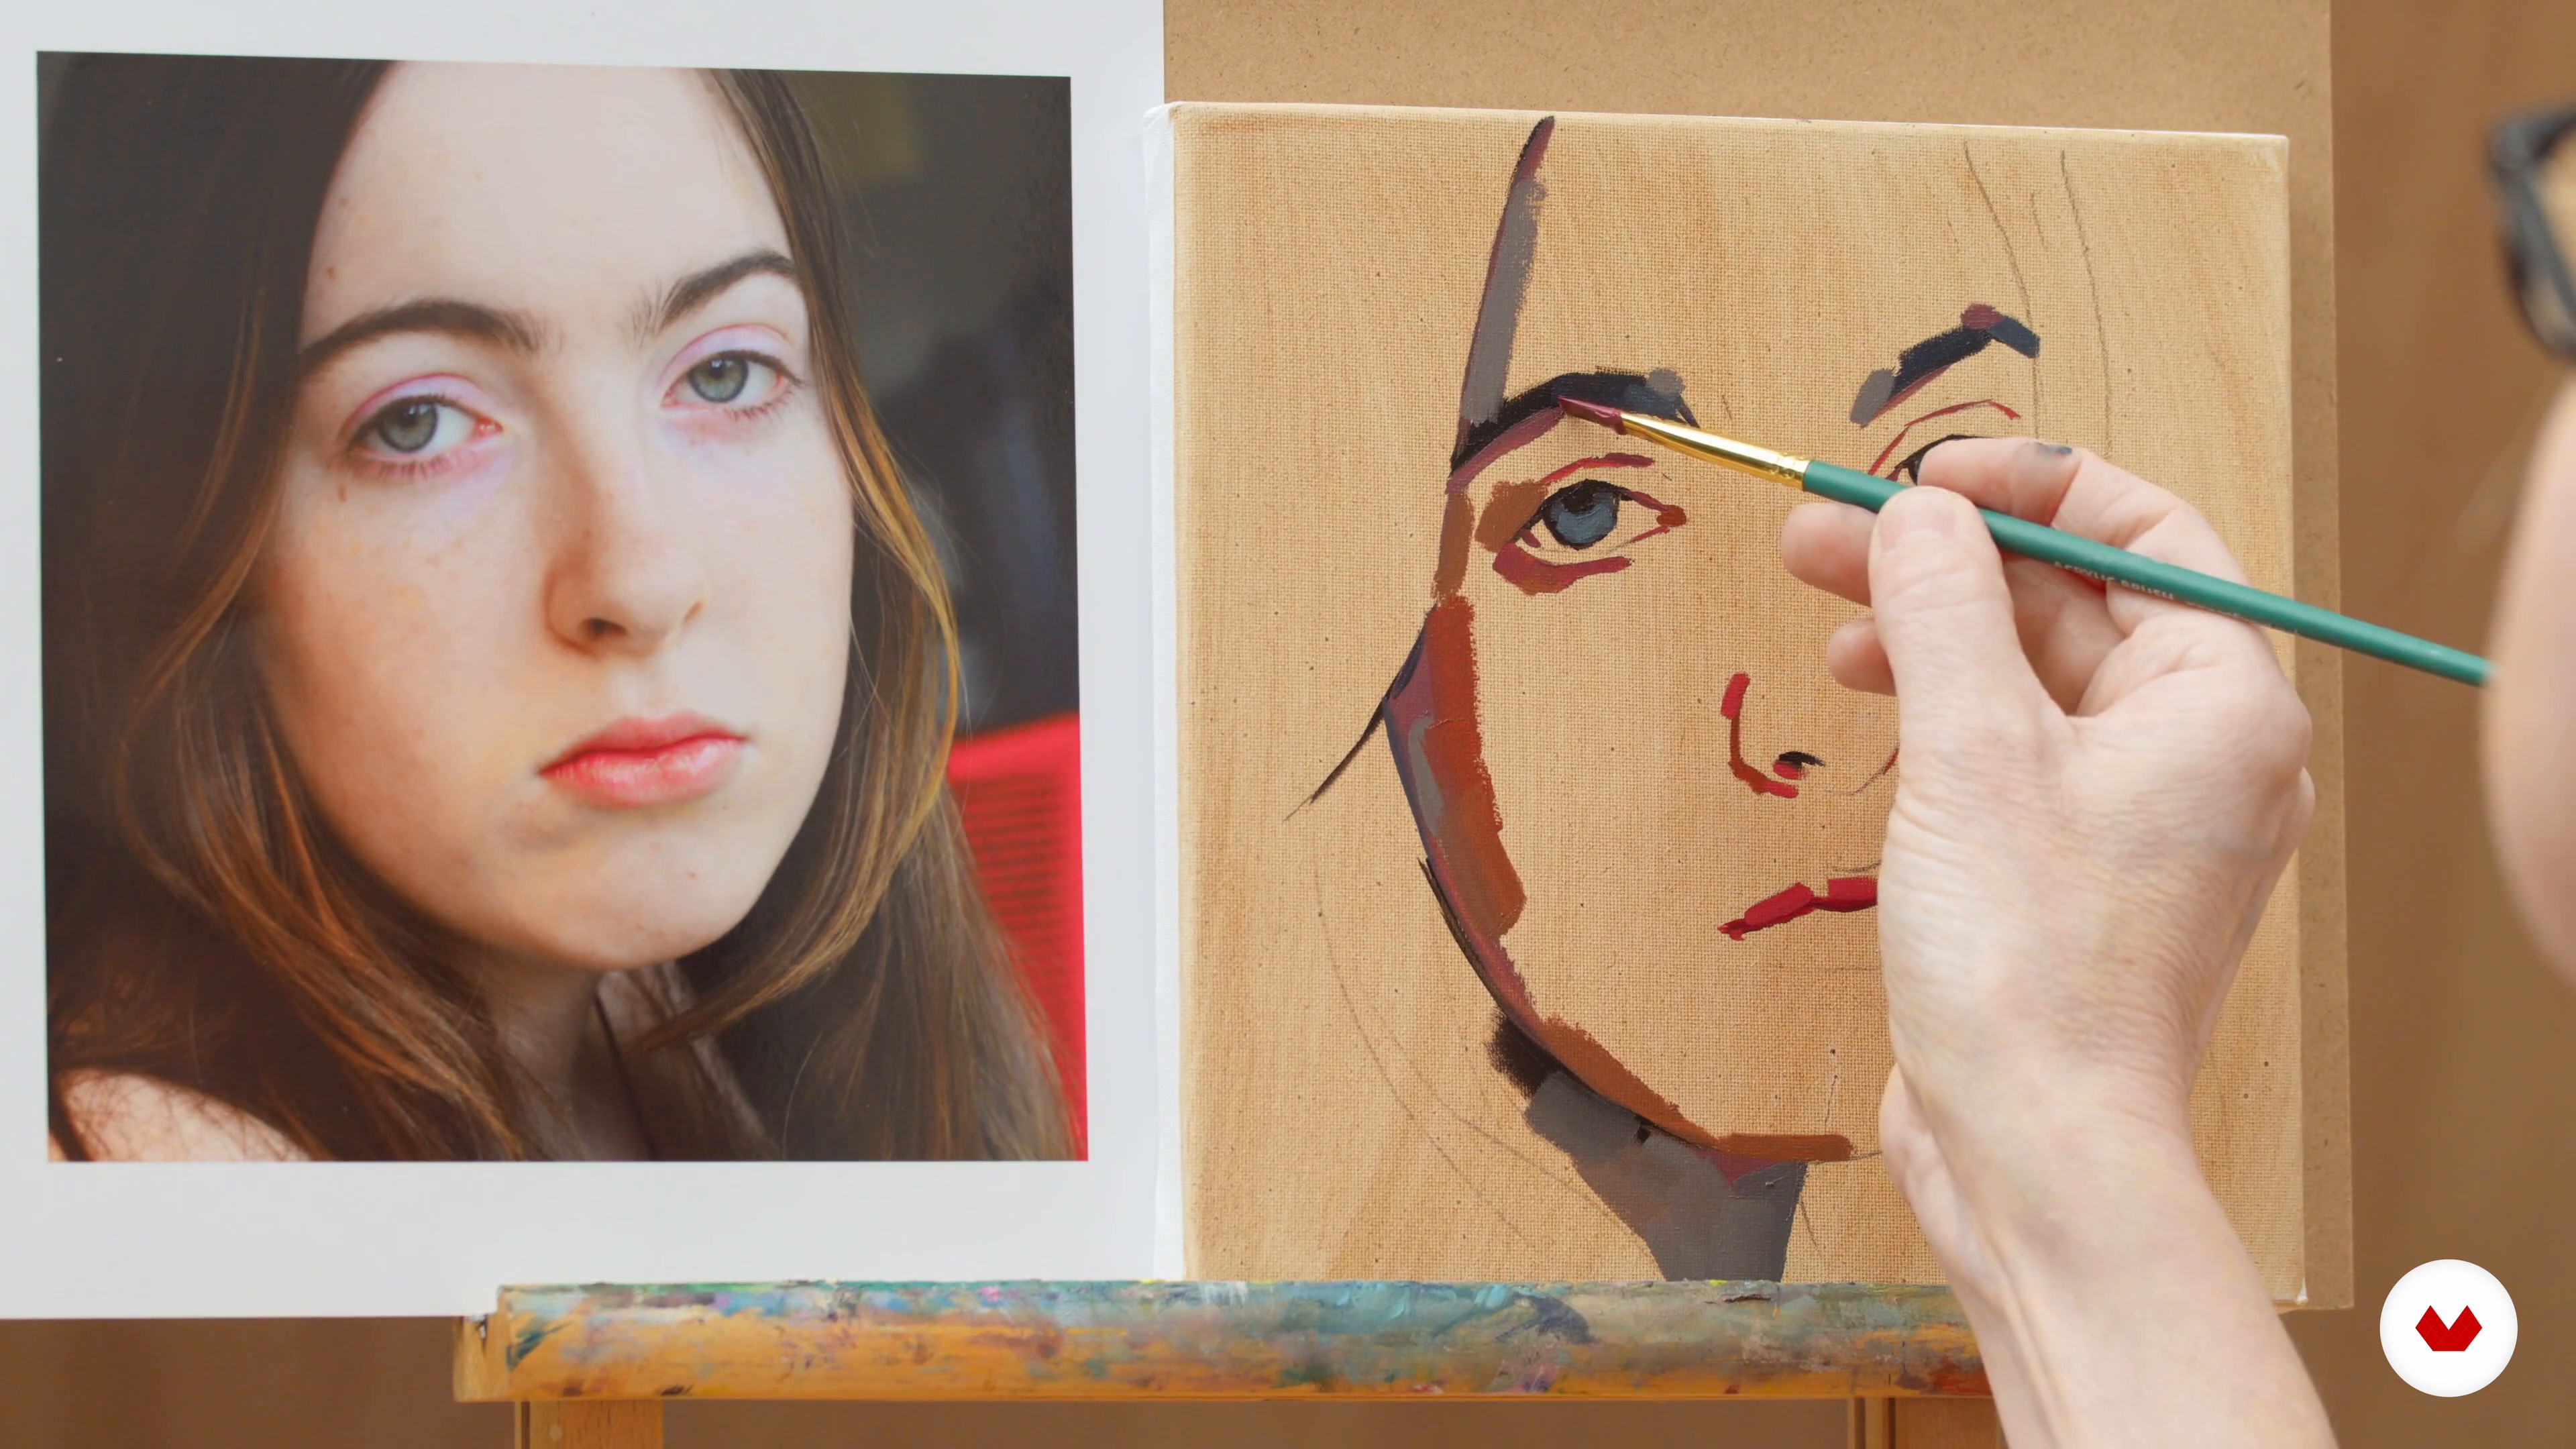
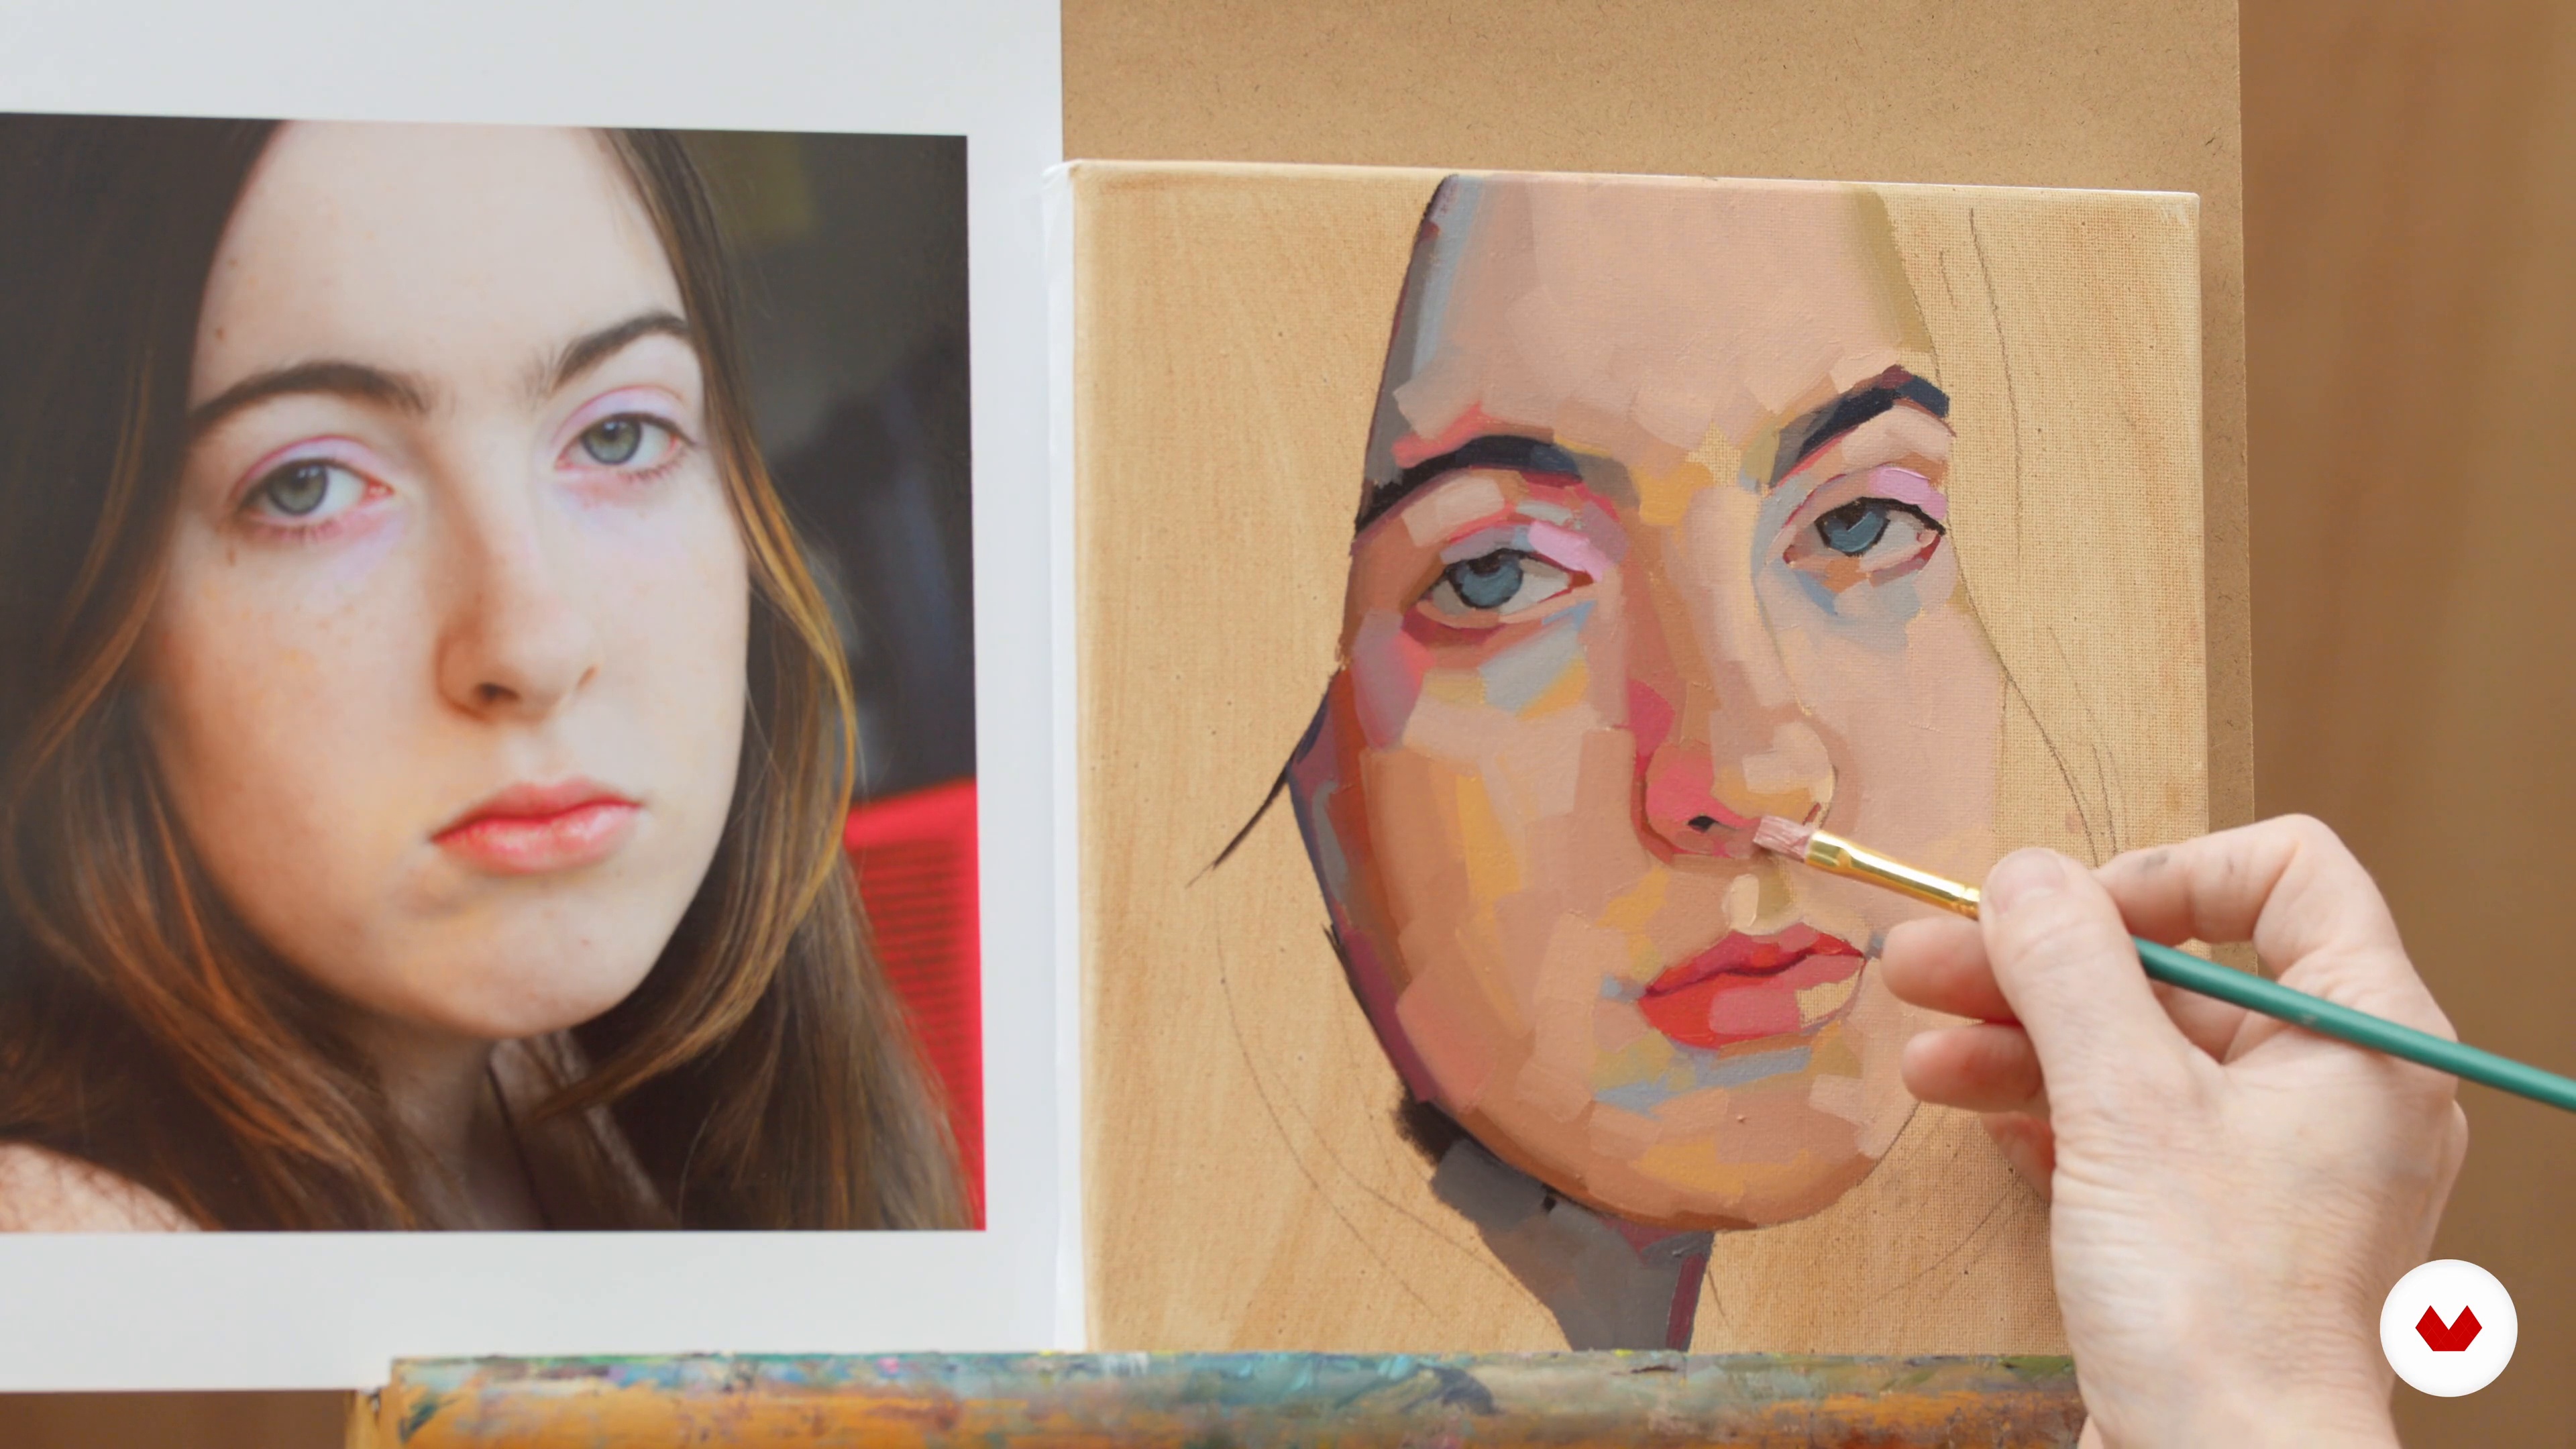
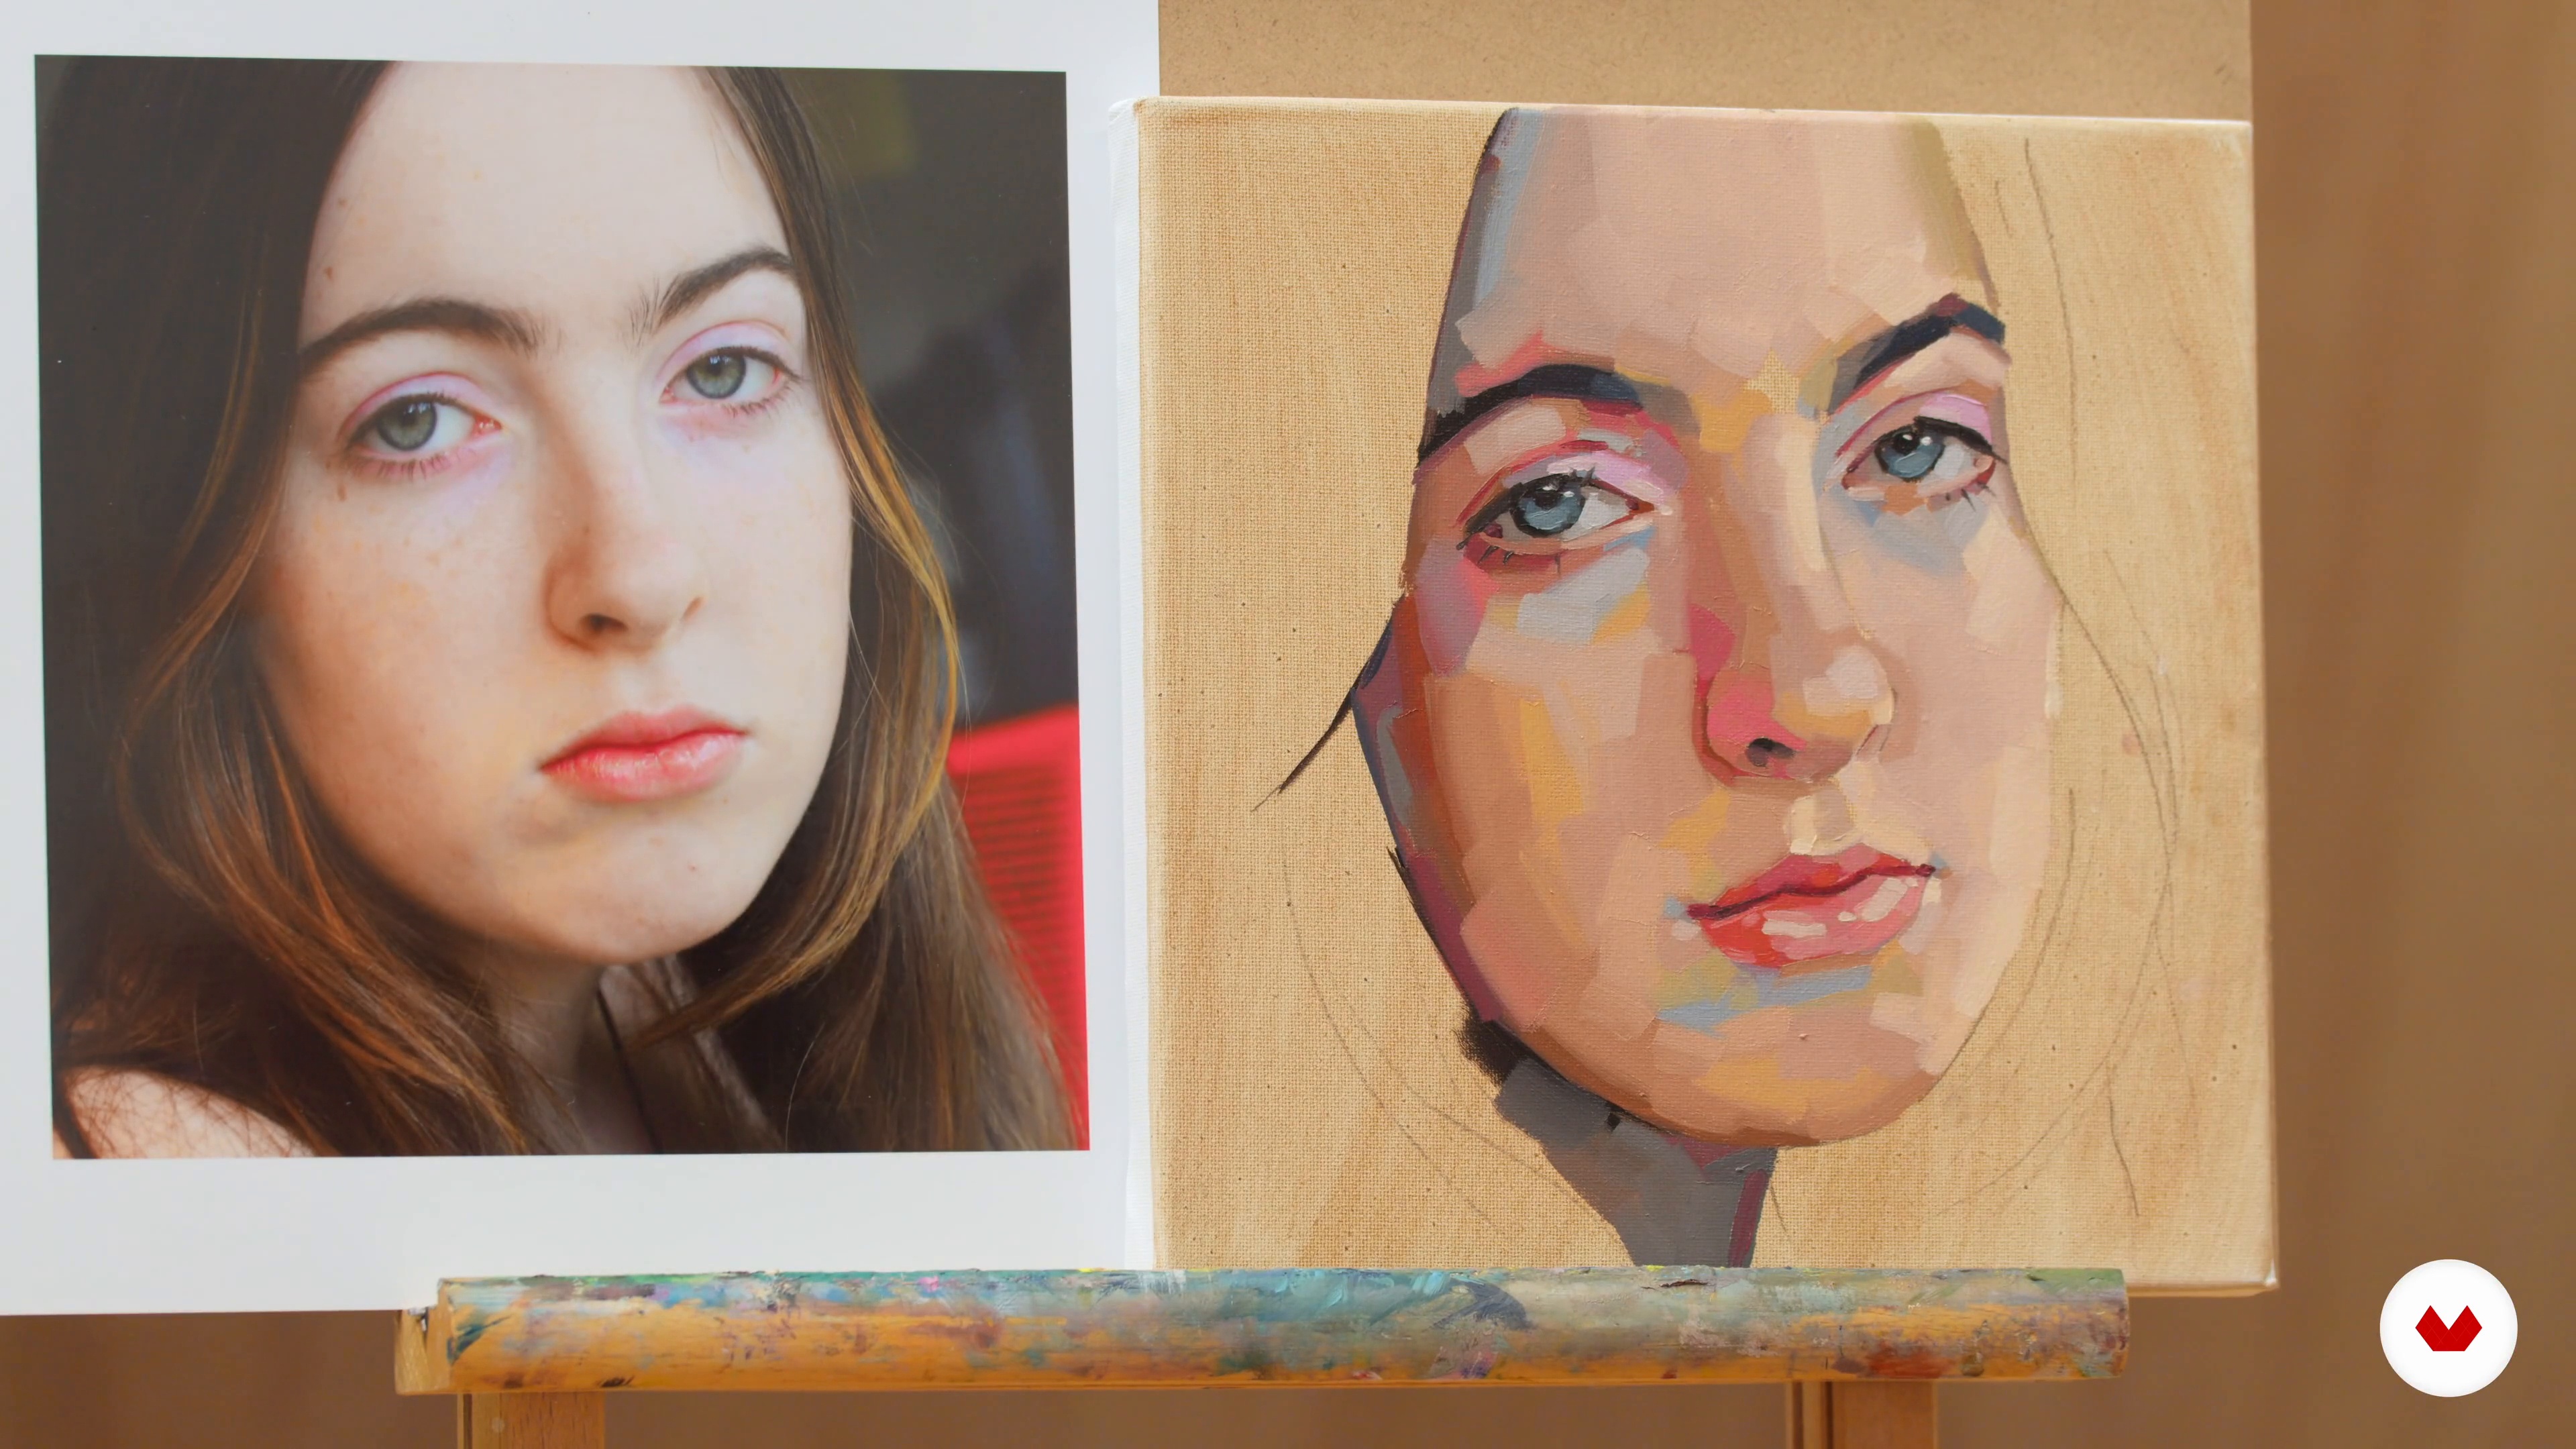
Now you will learn to block in the mid-tones and light values on the face by using the pre-mixed skin tones.
18m
image
11
Blocking in Mid-Tones and Light Values 2
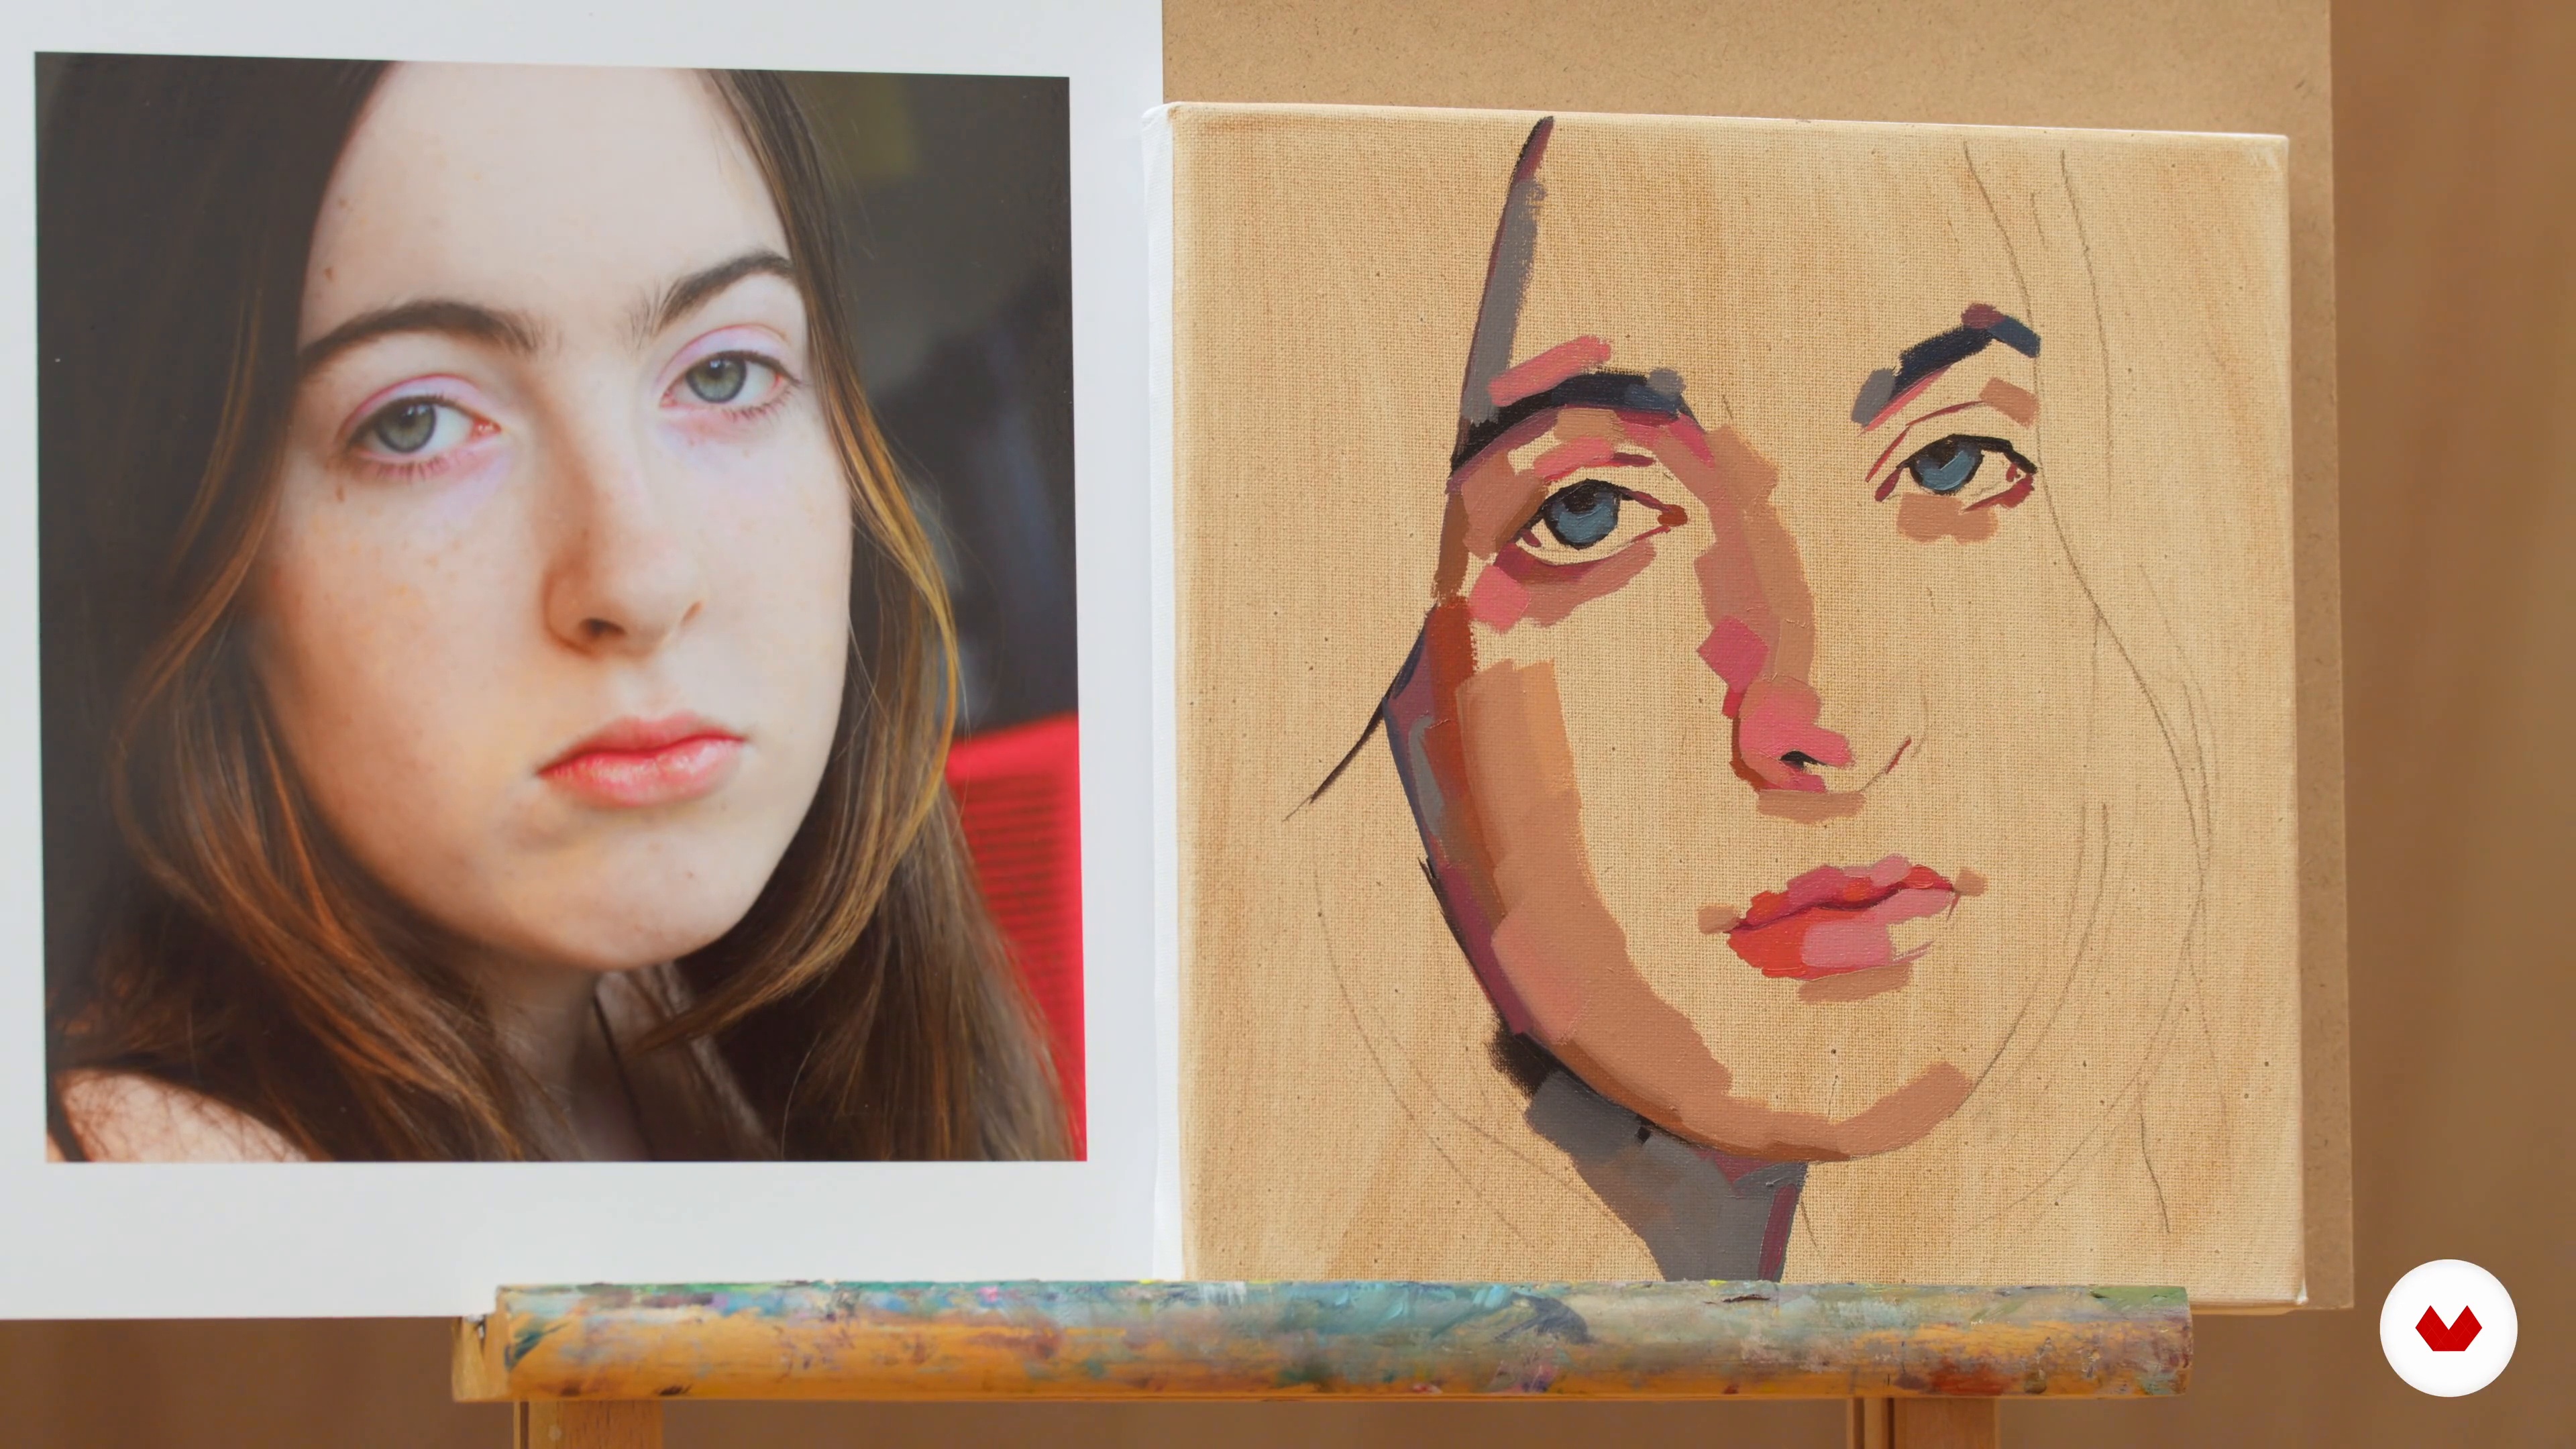
Next, I will teach you how to use brushstrokes that follow the contours of the face and features. You will also see how to gradually get lighter and lighter with your colours until you've fully blocked in the face.
19m
image
12
Adding Highlights and Final Details 1
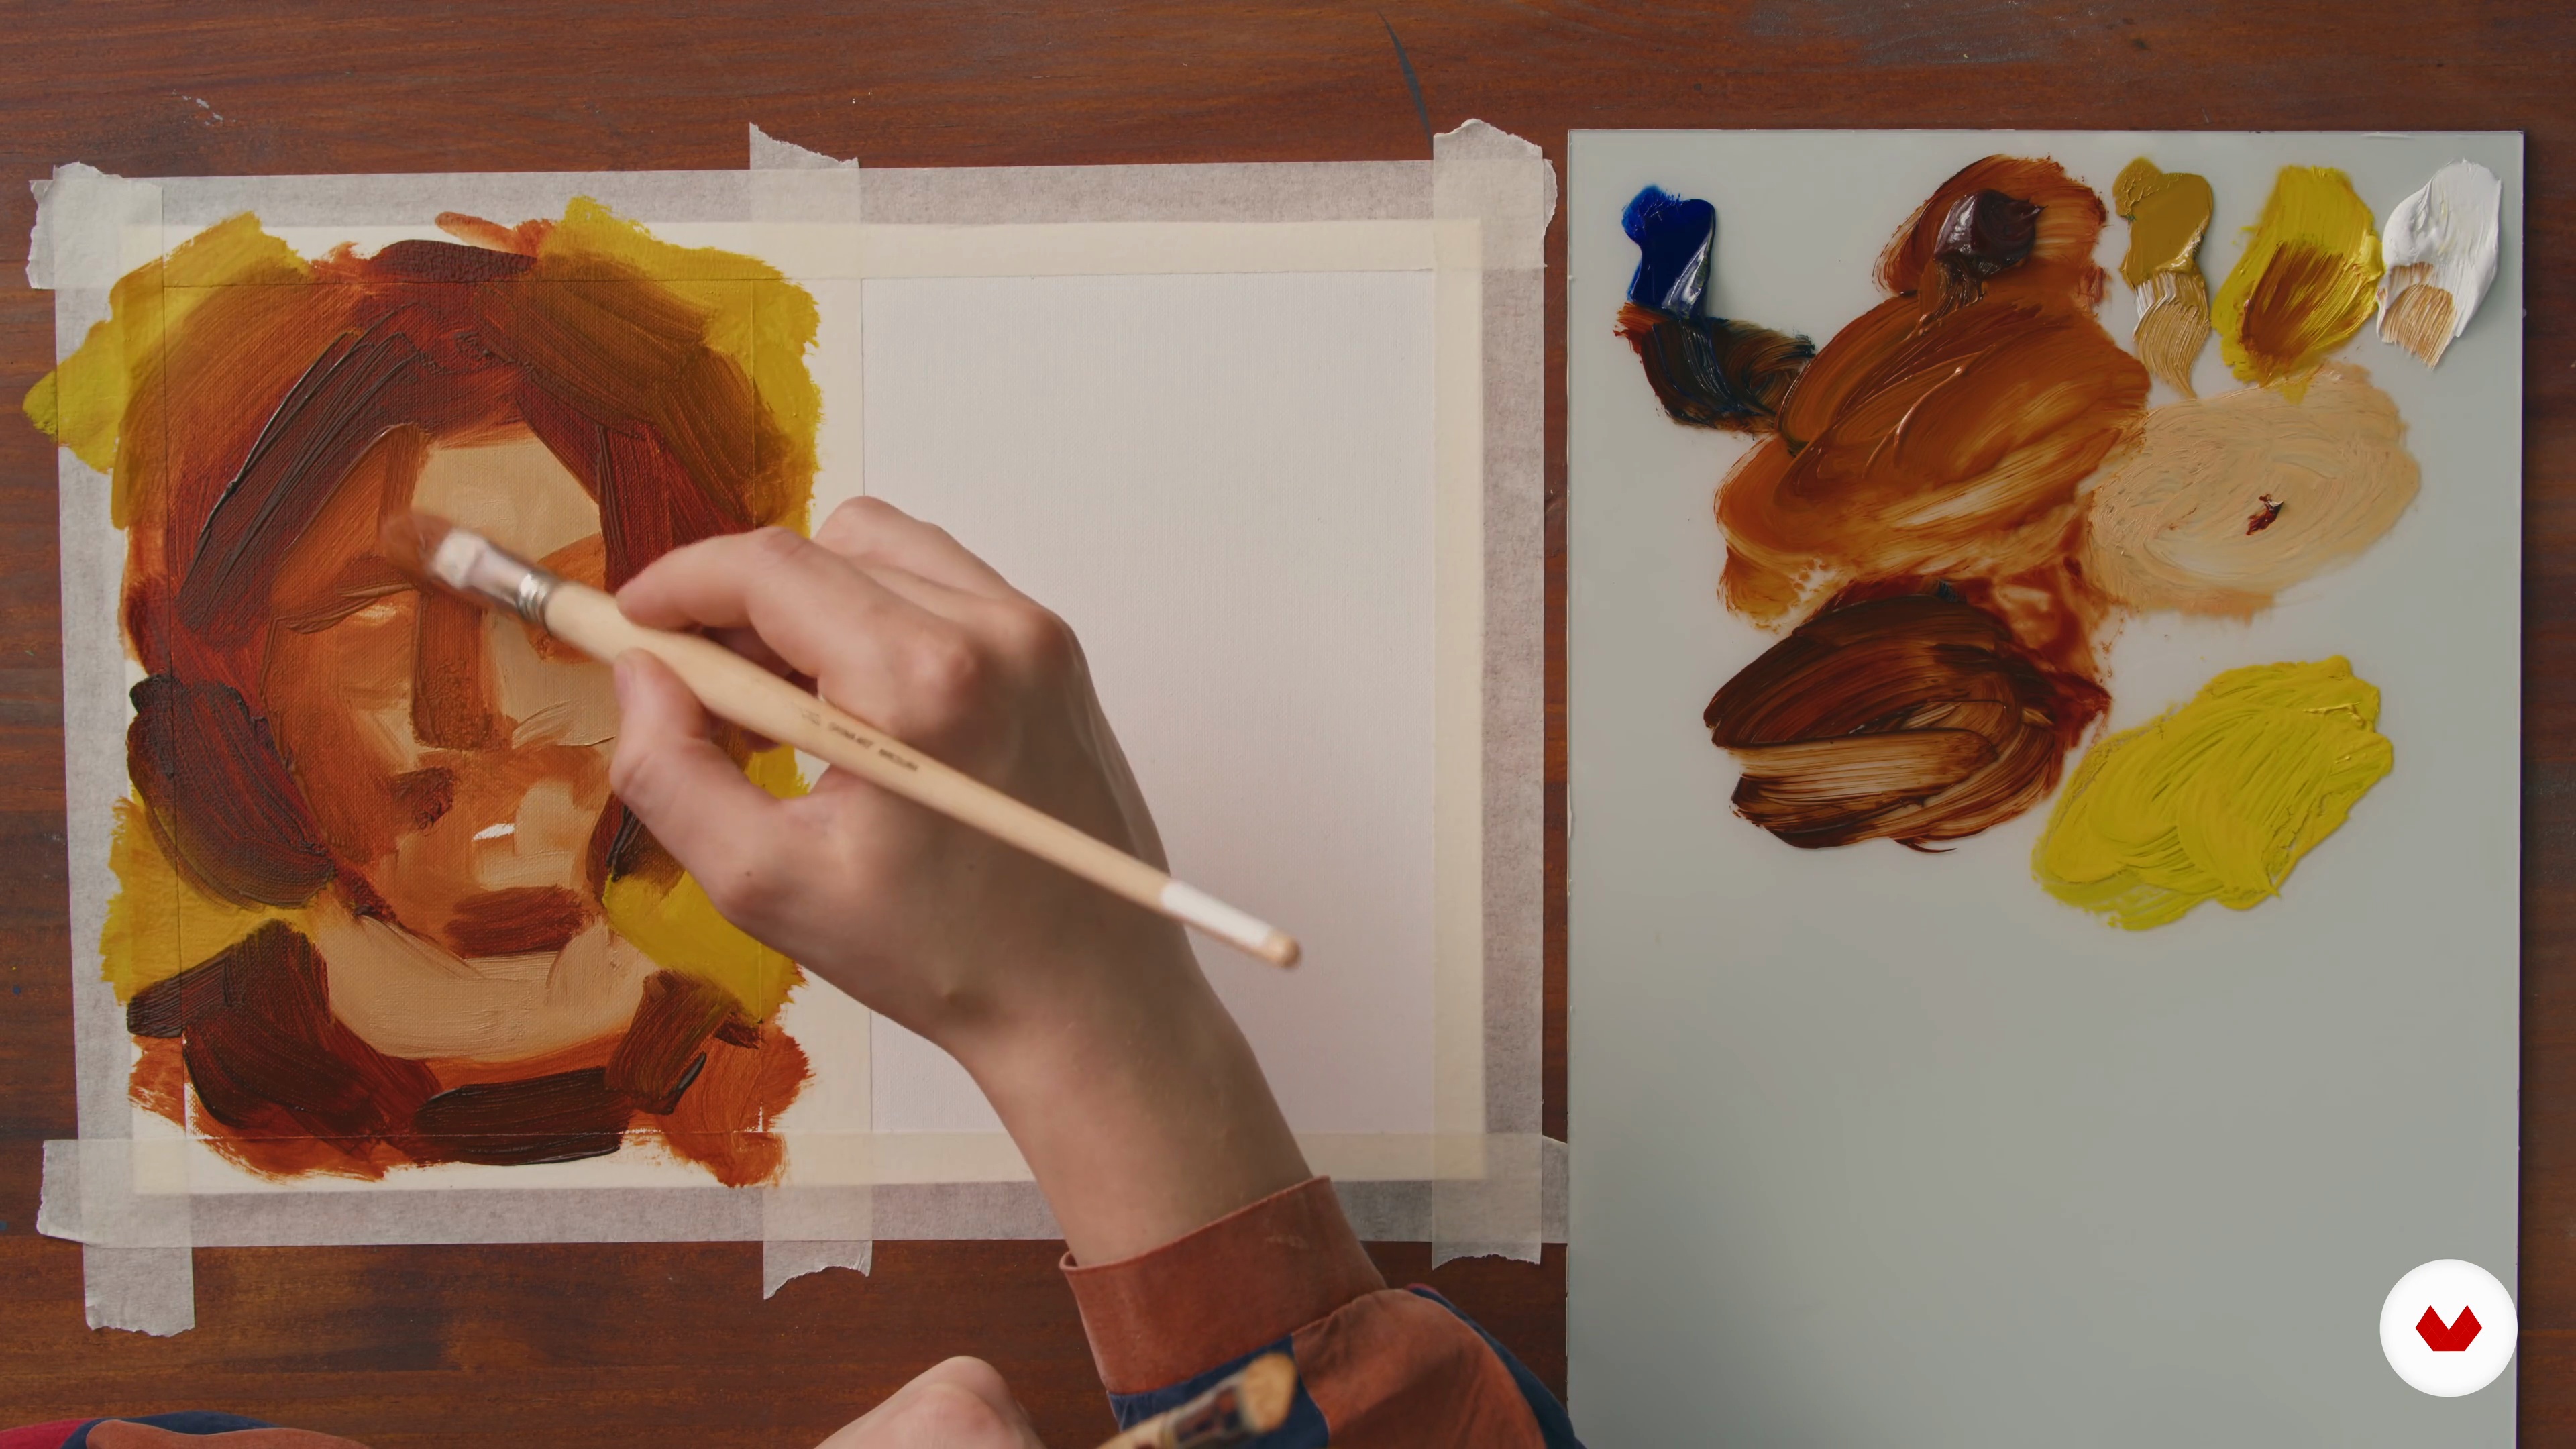
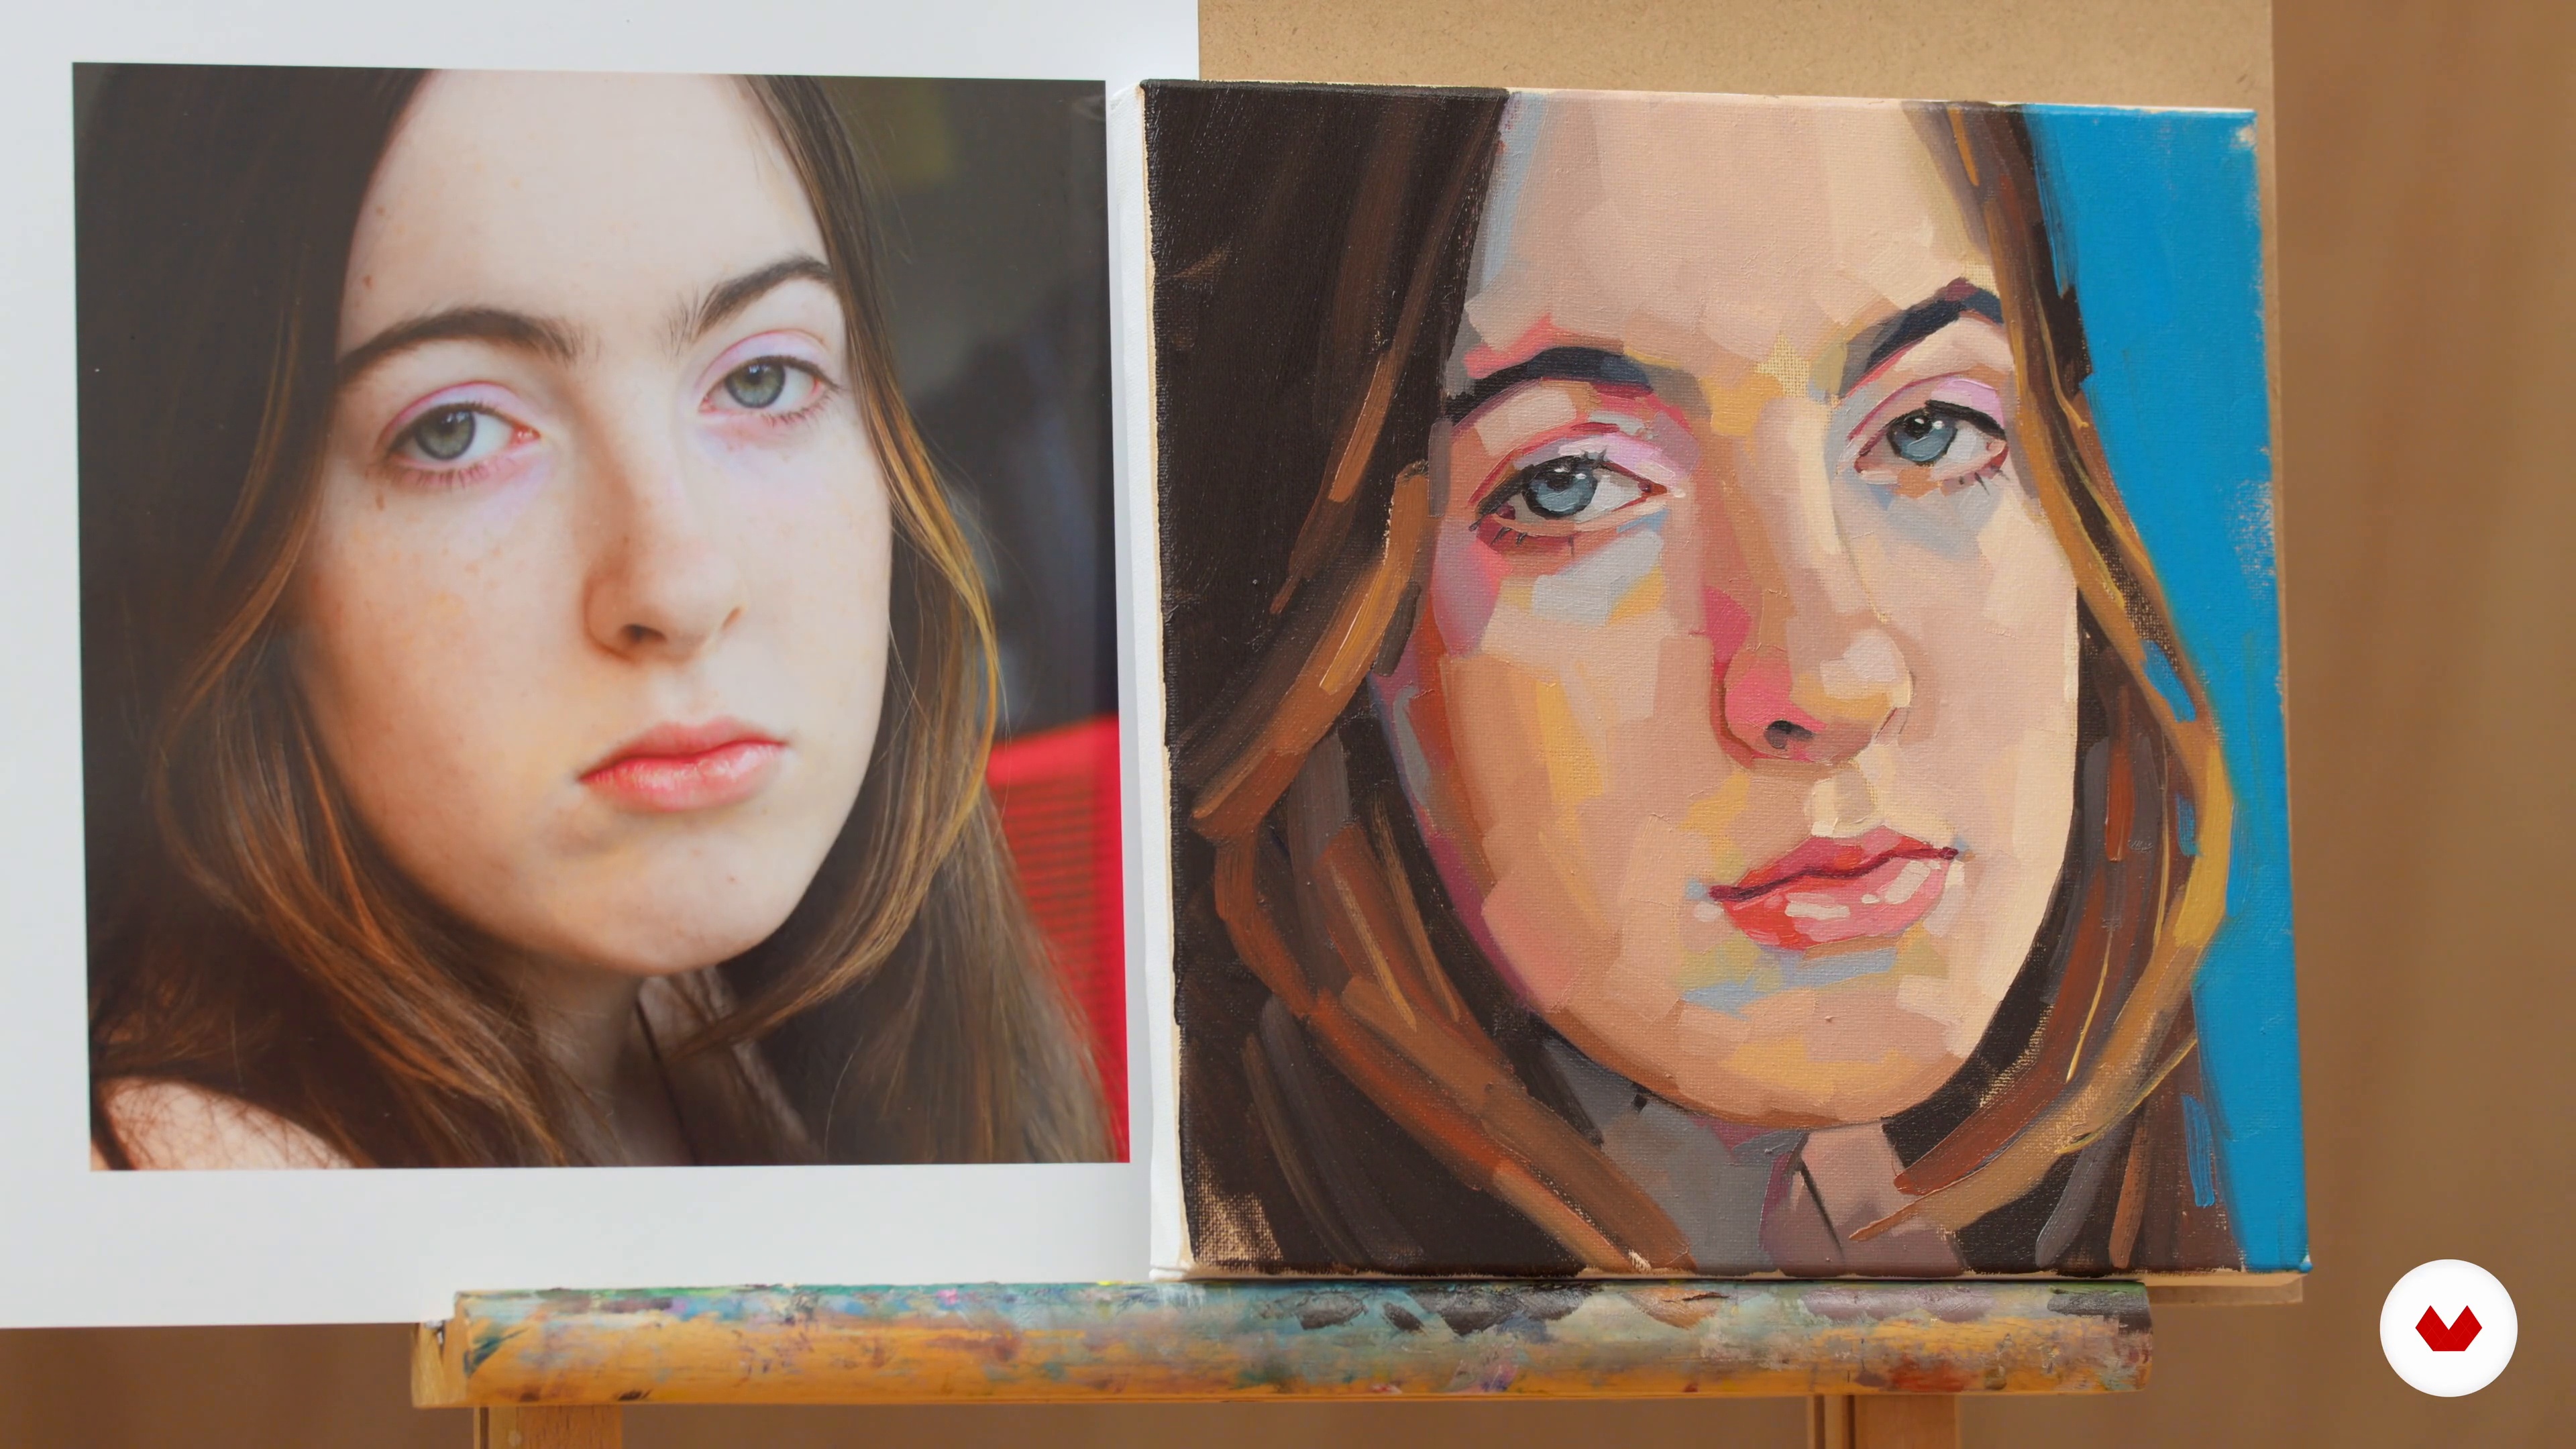
With the base skin tones complete, it's time to add highlights! Then, I will teach you how to paint the hair, clothing, and background.
17m
image
13
Adding Highlights and Final Details 2
In this second part of the lesson, you will see how to paint the background. I will teach you how to choose a colour to complement your portrait. I've chosen a bright blue because I think it will look good with the orange streaks in her hair. You may prefer a more neutral background or you may leave it as the original ground colour.
15m
image
14
Working on a Series and Developing Your Practice
In this lesson, I will talk about the importance of continuing to develop your practice. I will suggest some ideas for working on a series.
3m
image
15
Promoting Yourself and Your Work
To end this module, I will talk about how to promote yourself as an artist and how to find different ways to promote your artwork.
5m
image
1
Materials
First of all, I will show you all the materials you will need to create your project.
4m
image
2
Choosing a Subject
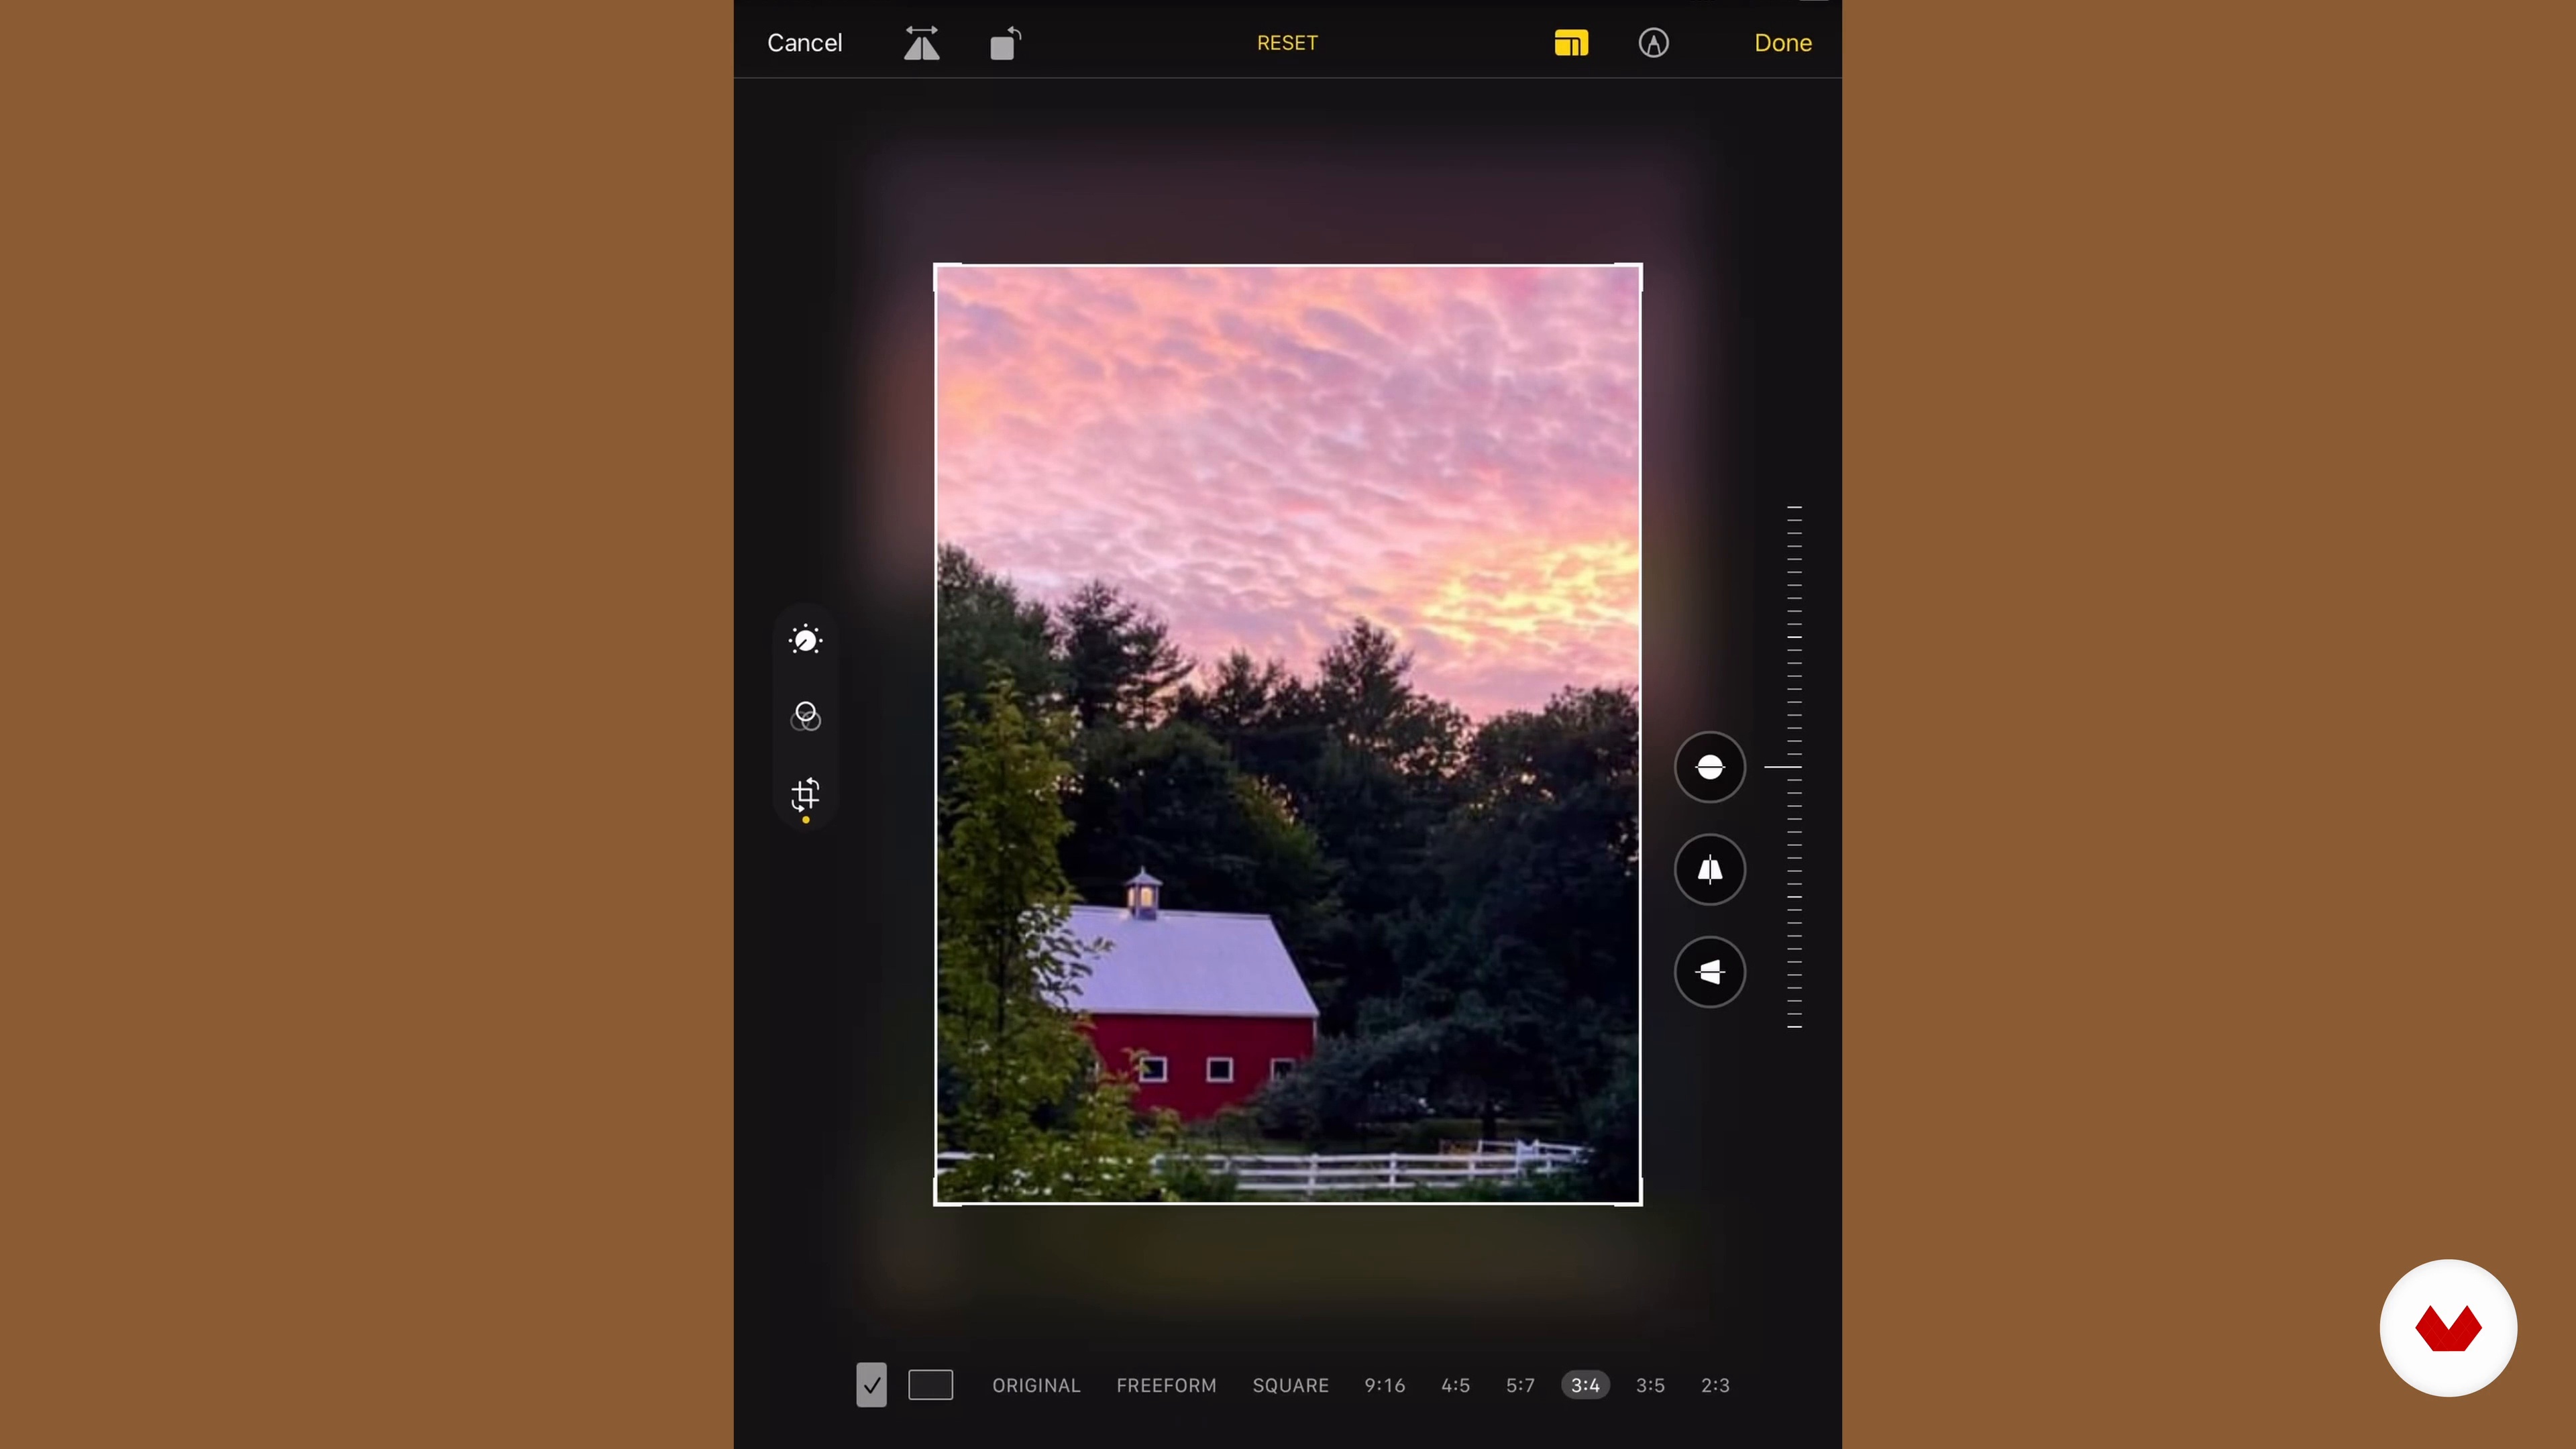
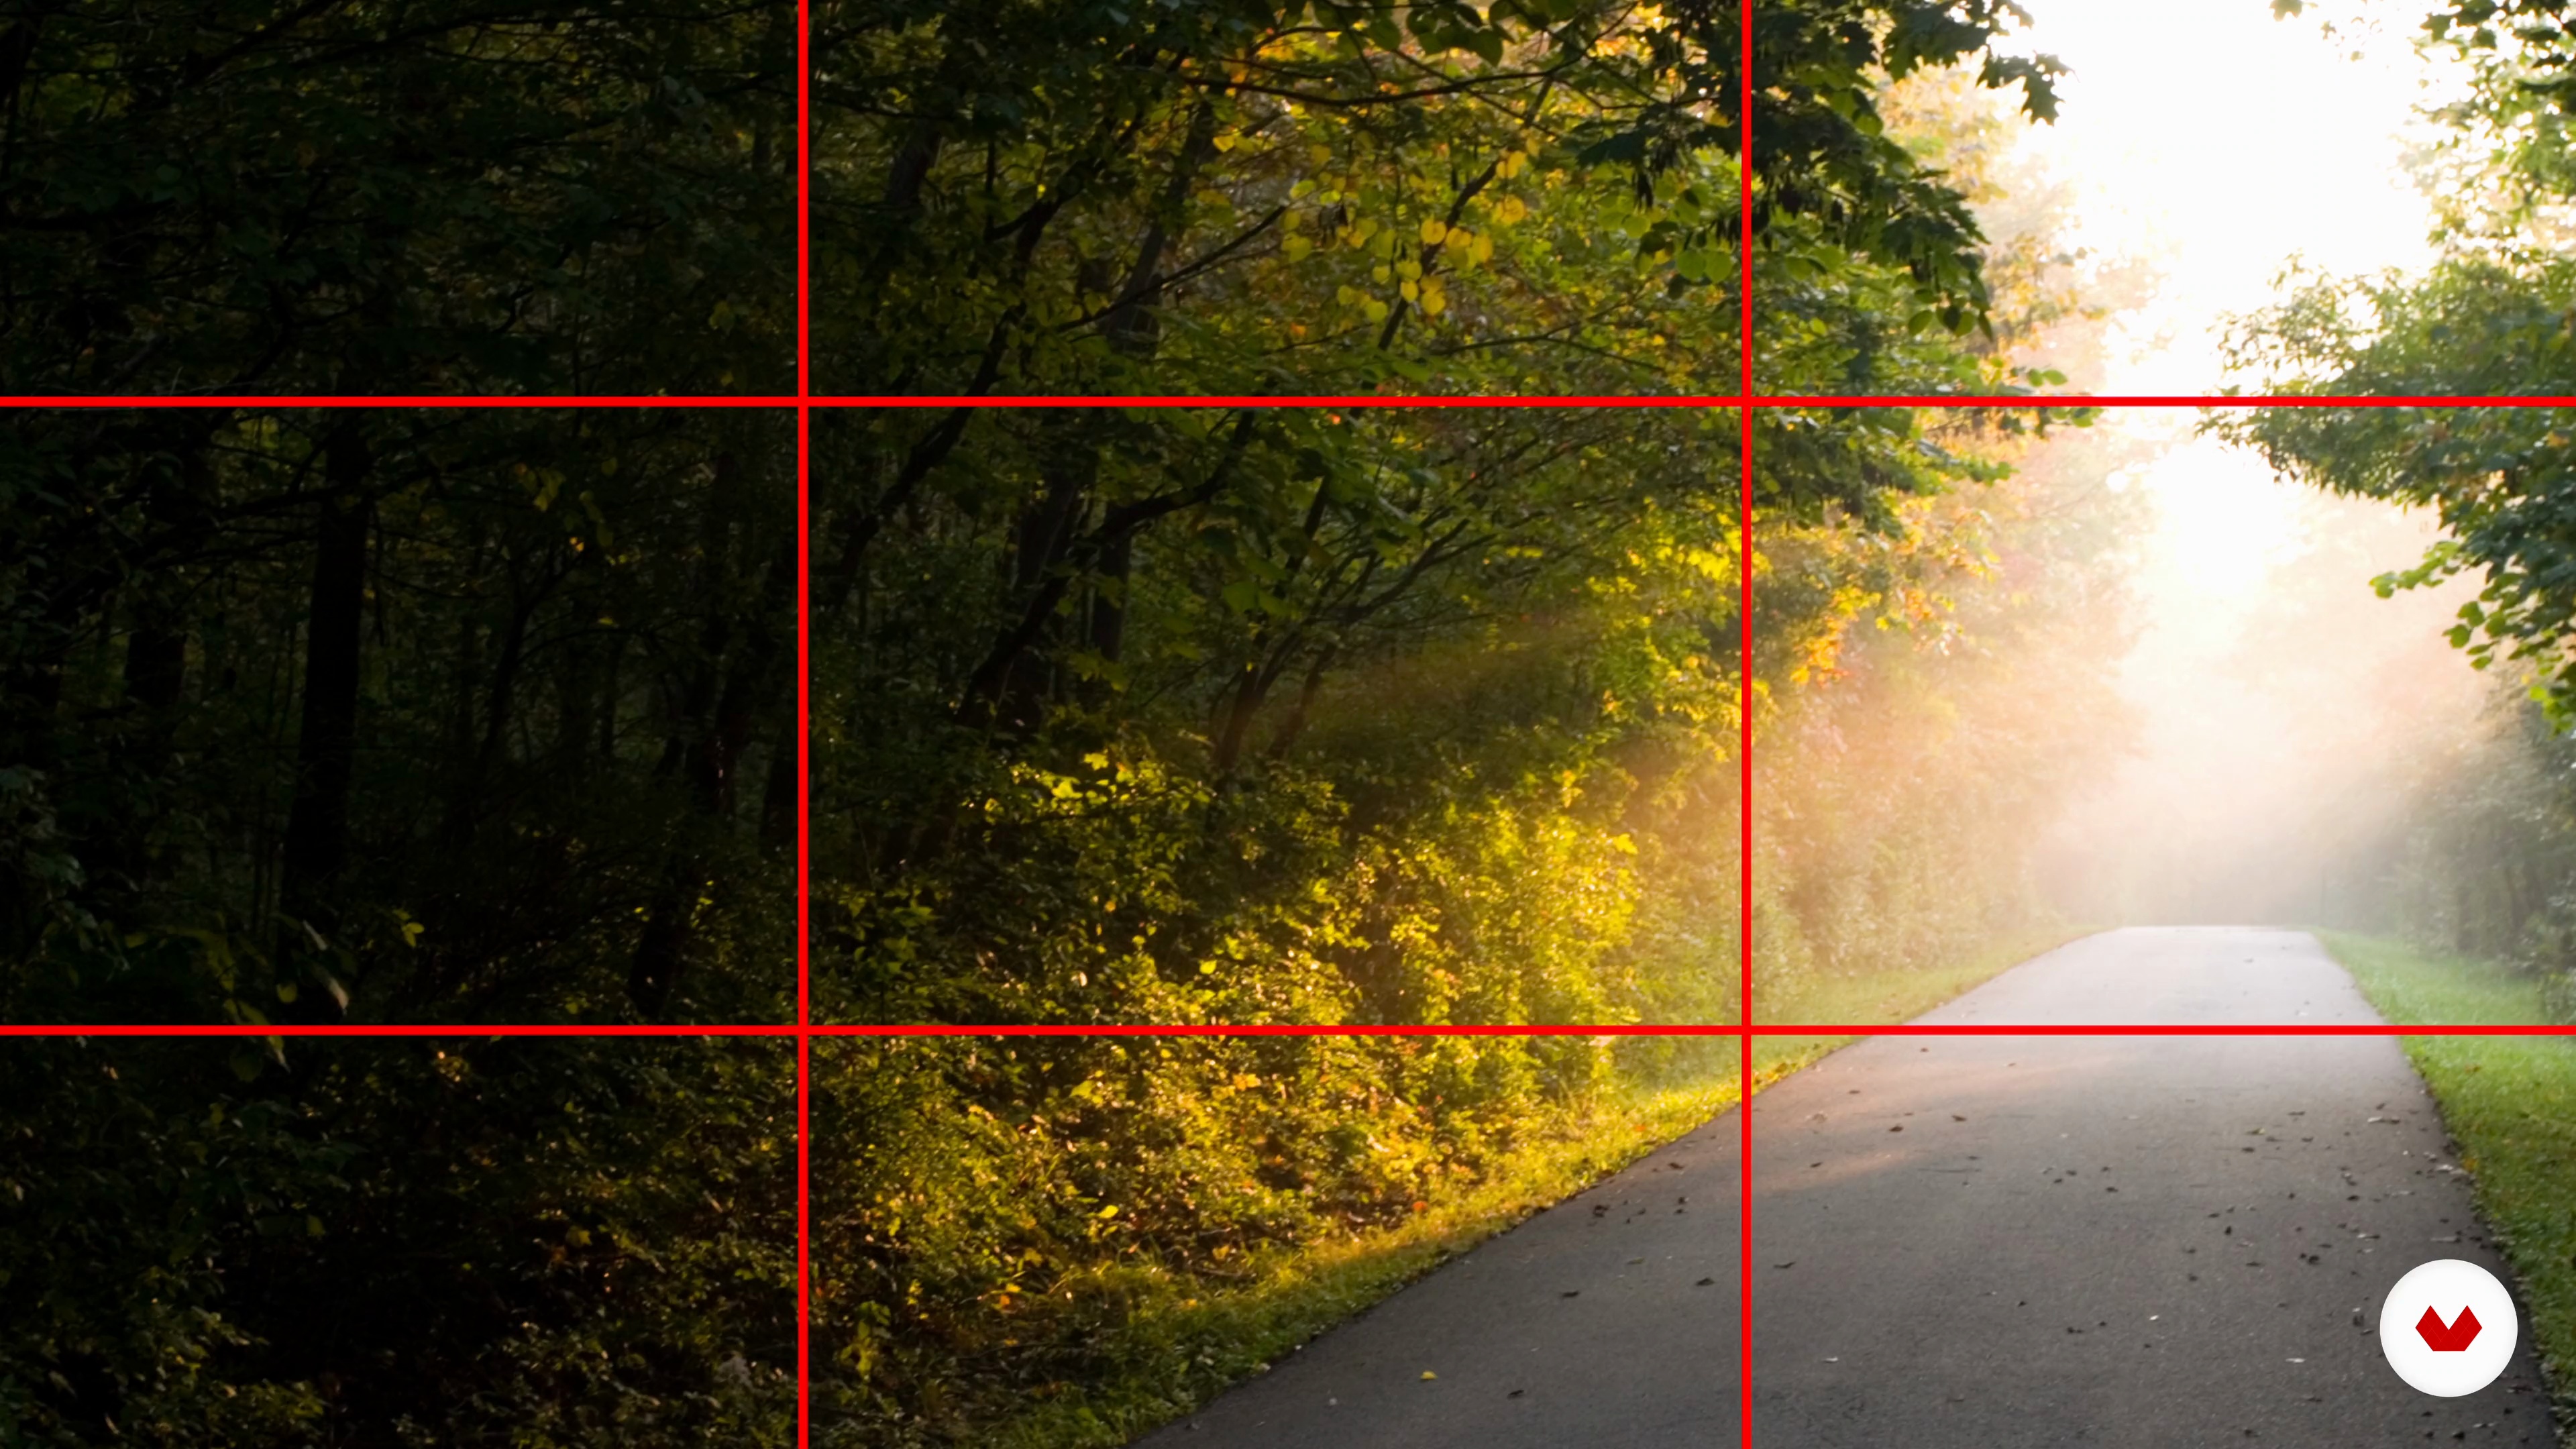
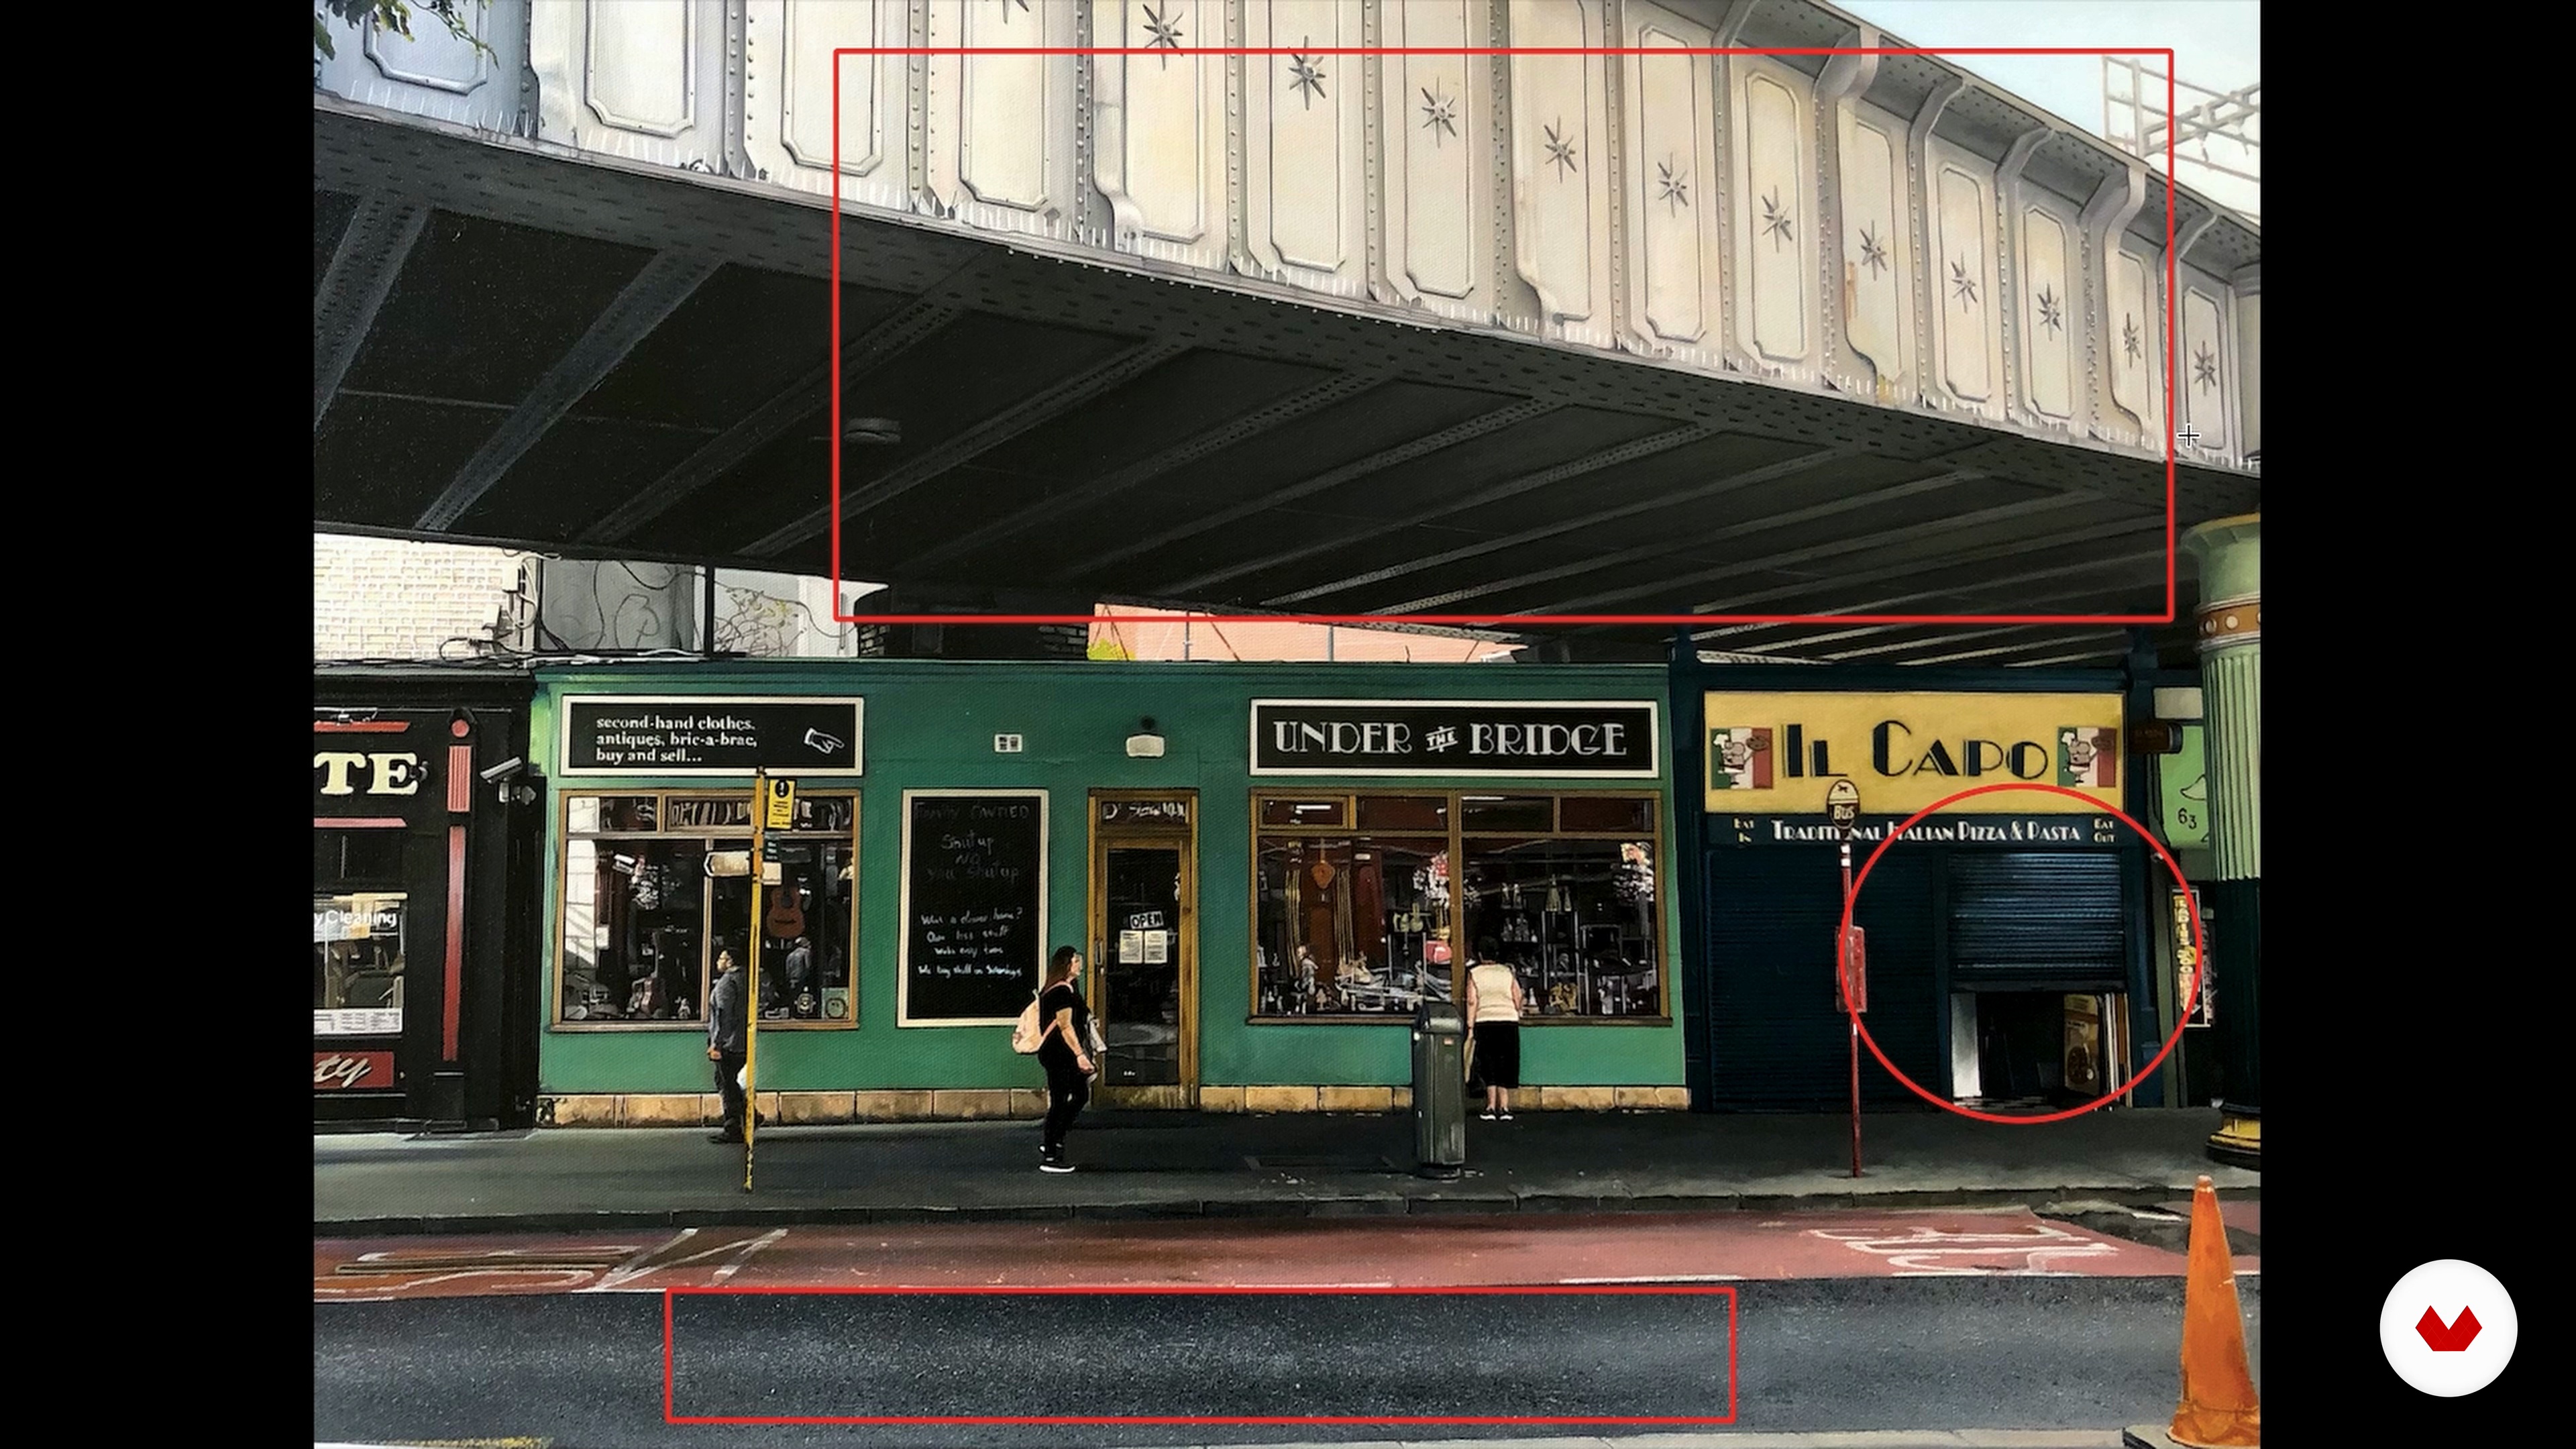
Choosing and preparing for a subject to paint is just as important as the execution of the painting itself. We want to create something that is visually appealing to ourselves and the viewer. In this lesson, I will discuss the basic principles of design and the rule of thirds to create a visually compelling image. You will also learn how to photograph the subject and how to edit the scene. Keep in mind, the work you put in here will save you time once you are in the studio.
11m
image
3
The Illusion of Depth and Thinking in 3D
Now I will talk about the importance of creating depth and illusion of 3D on a 2D surface.
7m
image
4
The Grid 1
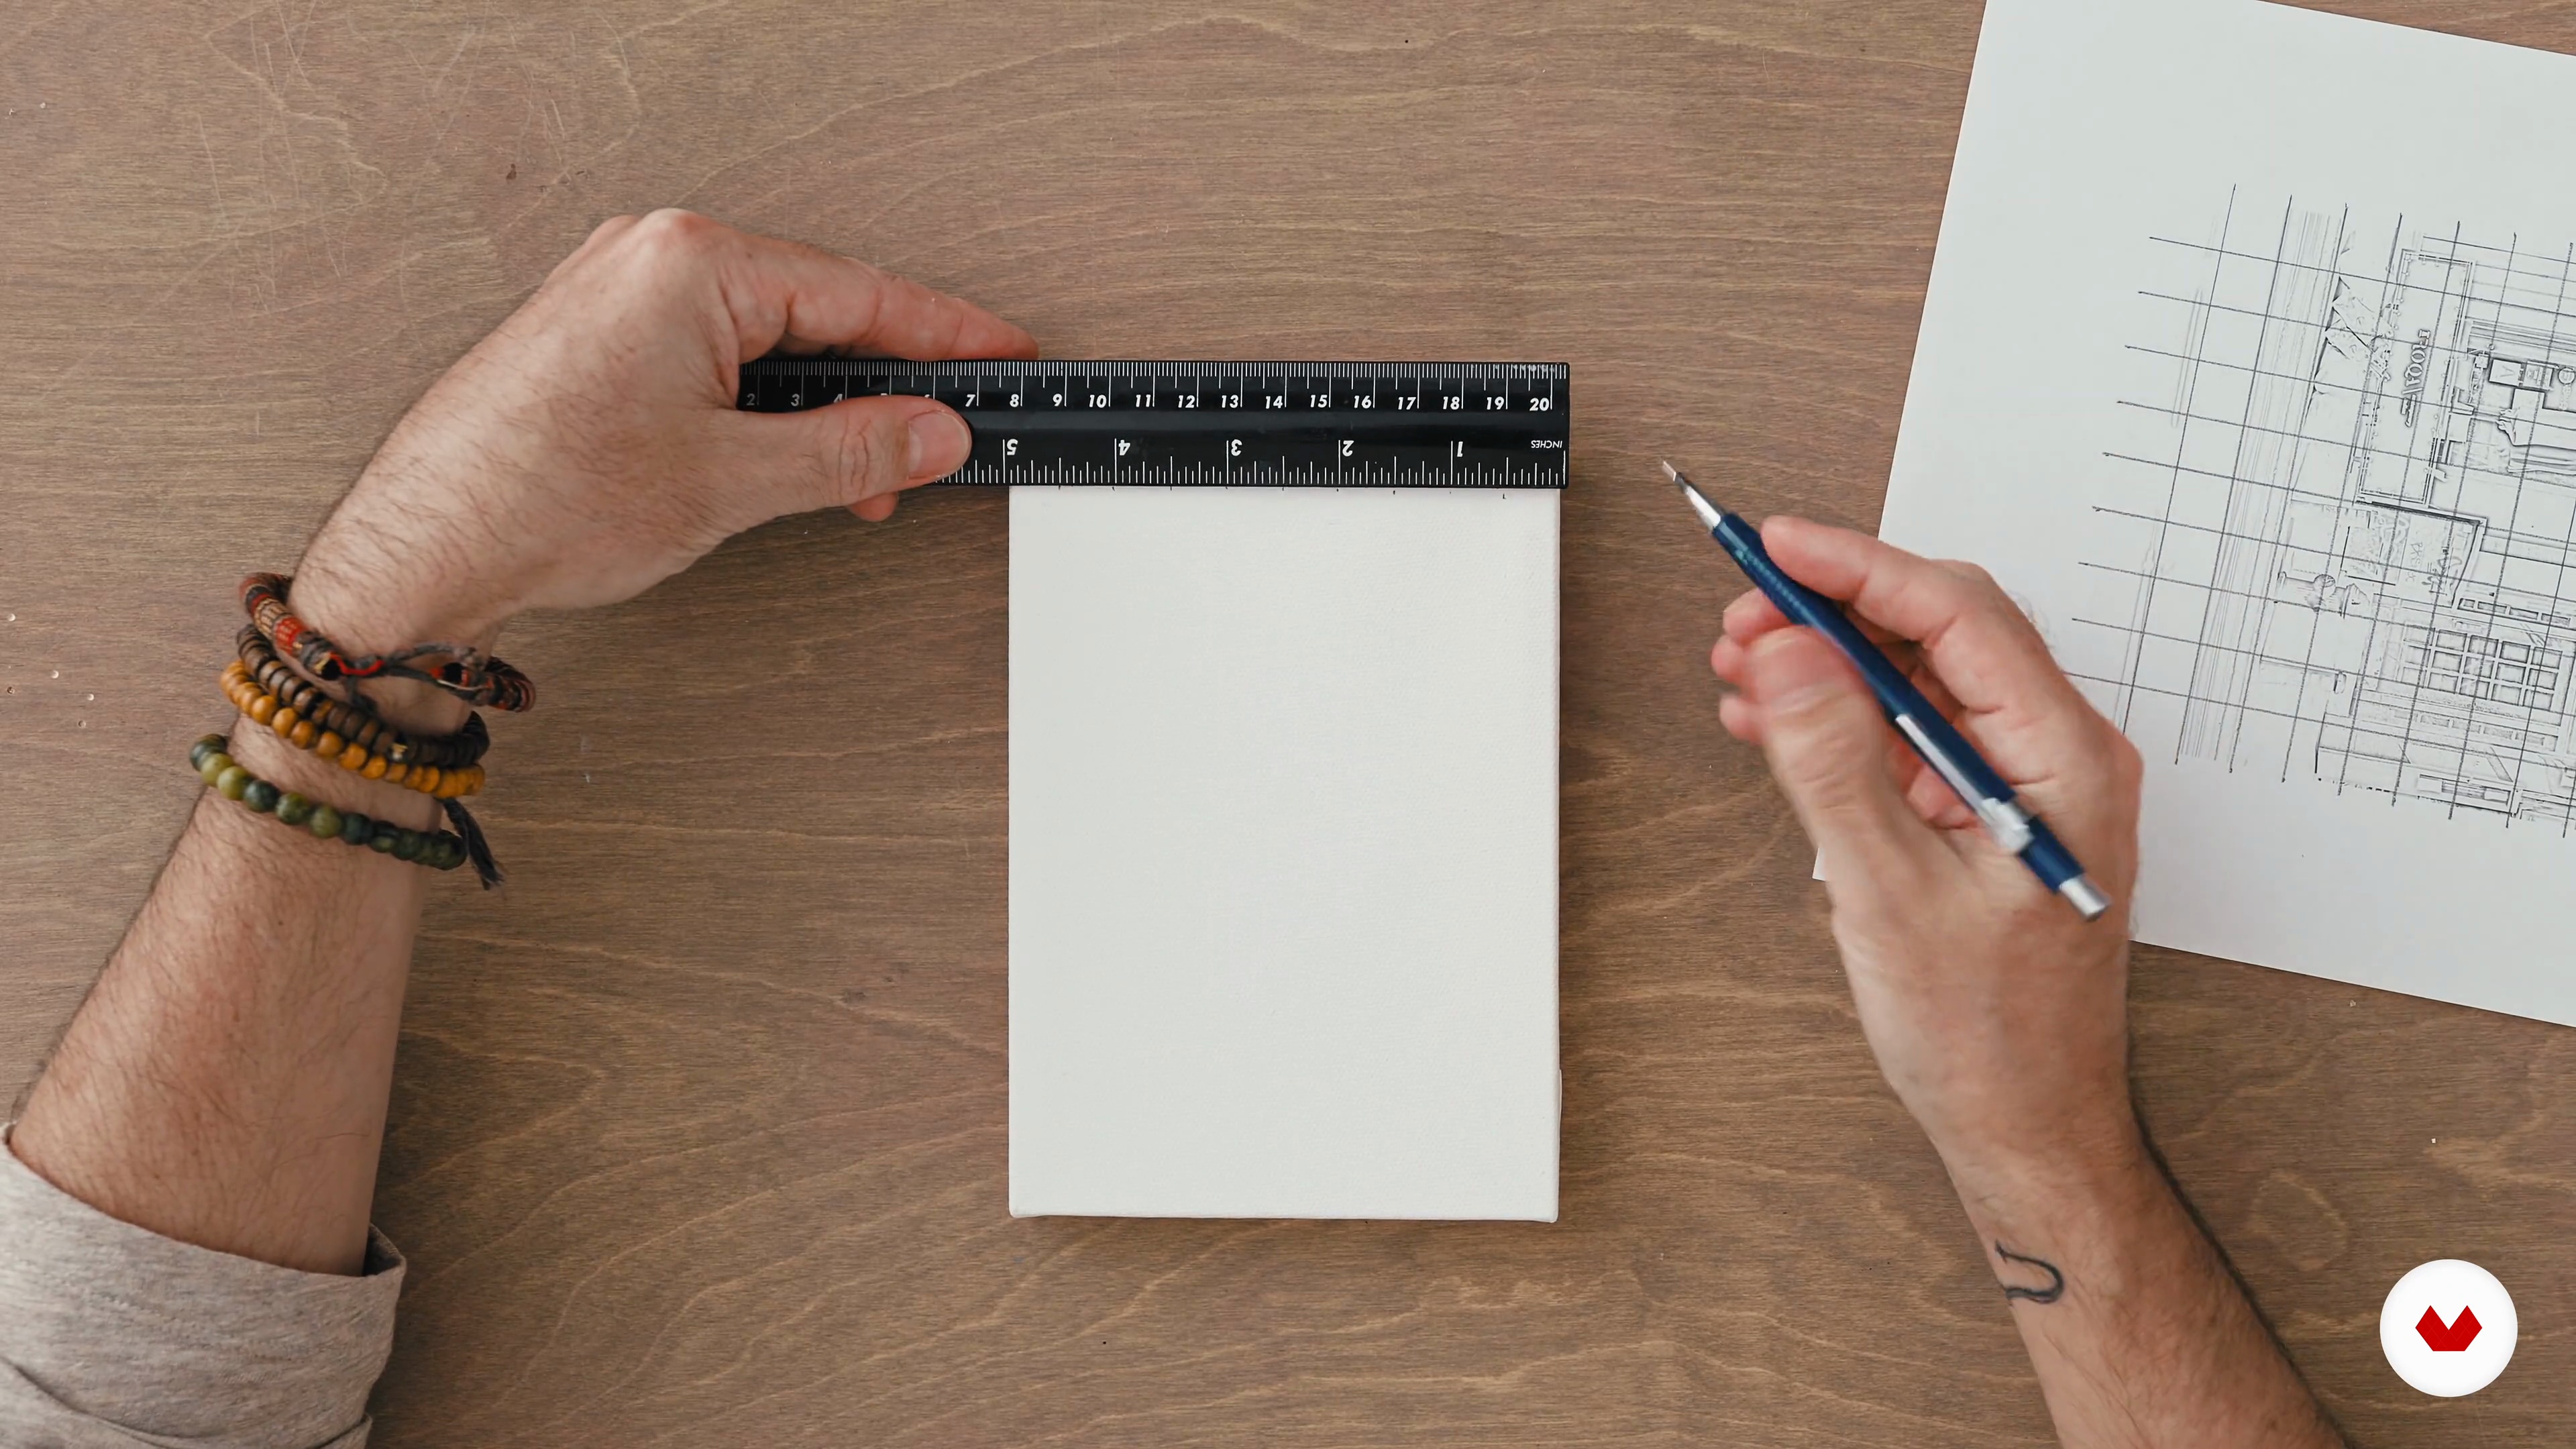
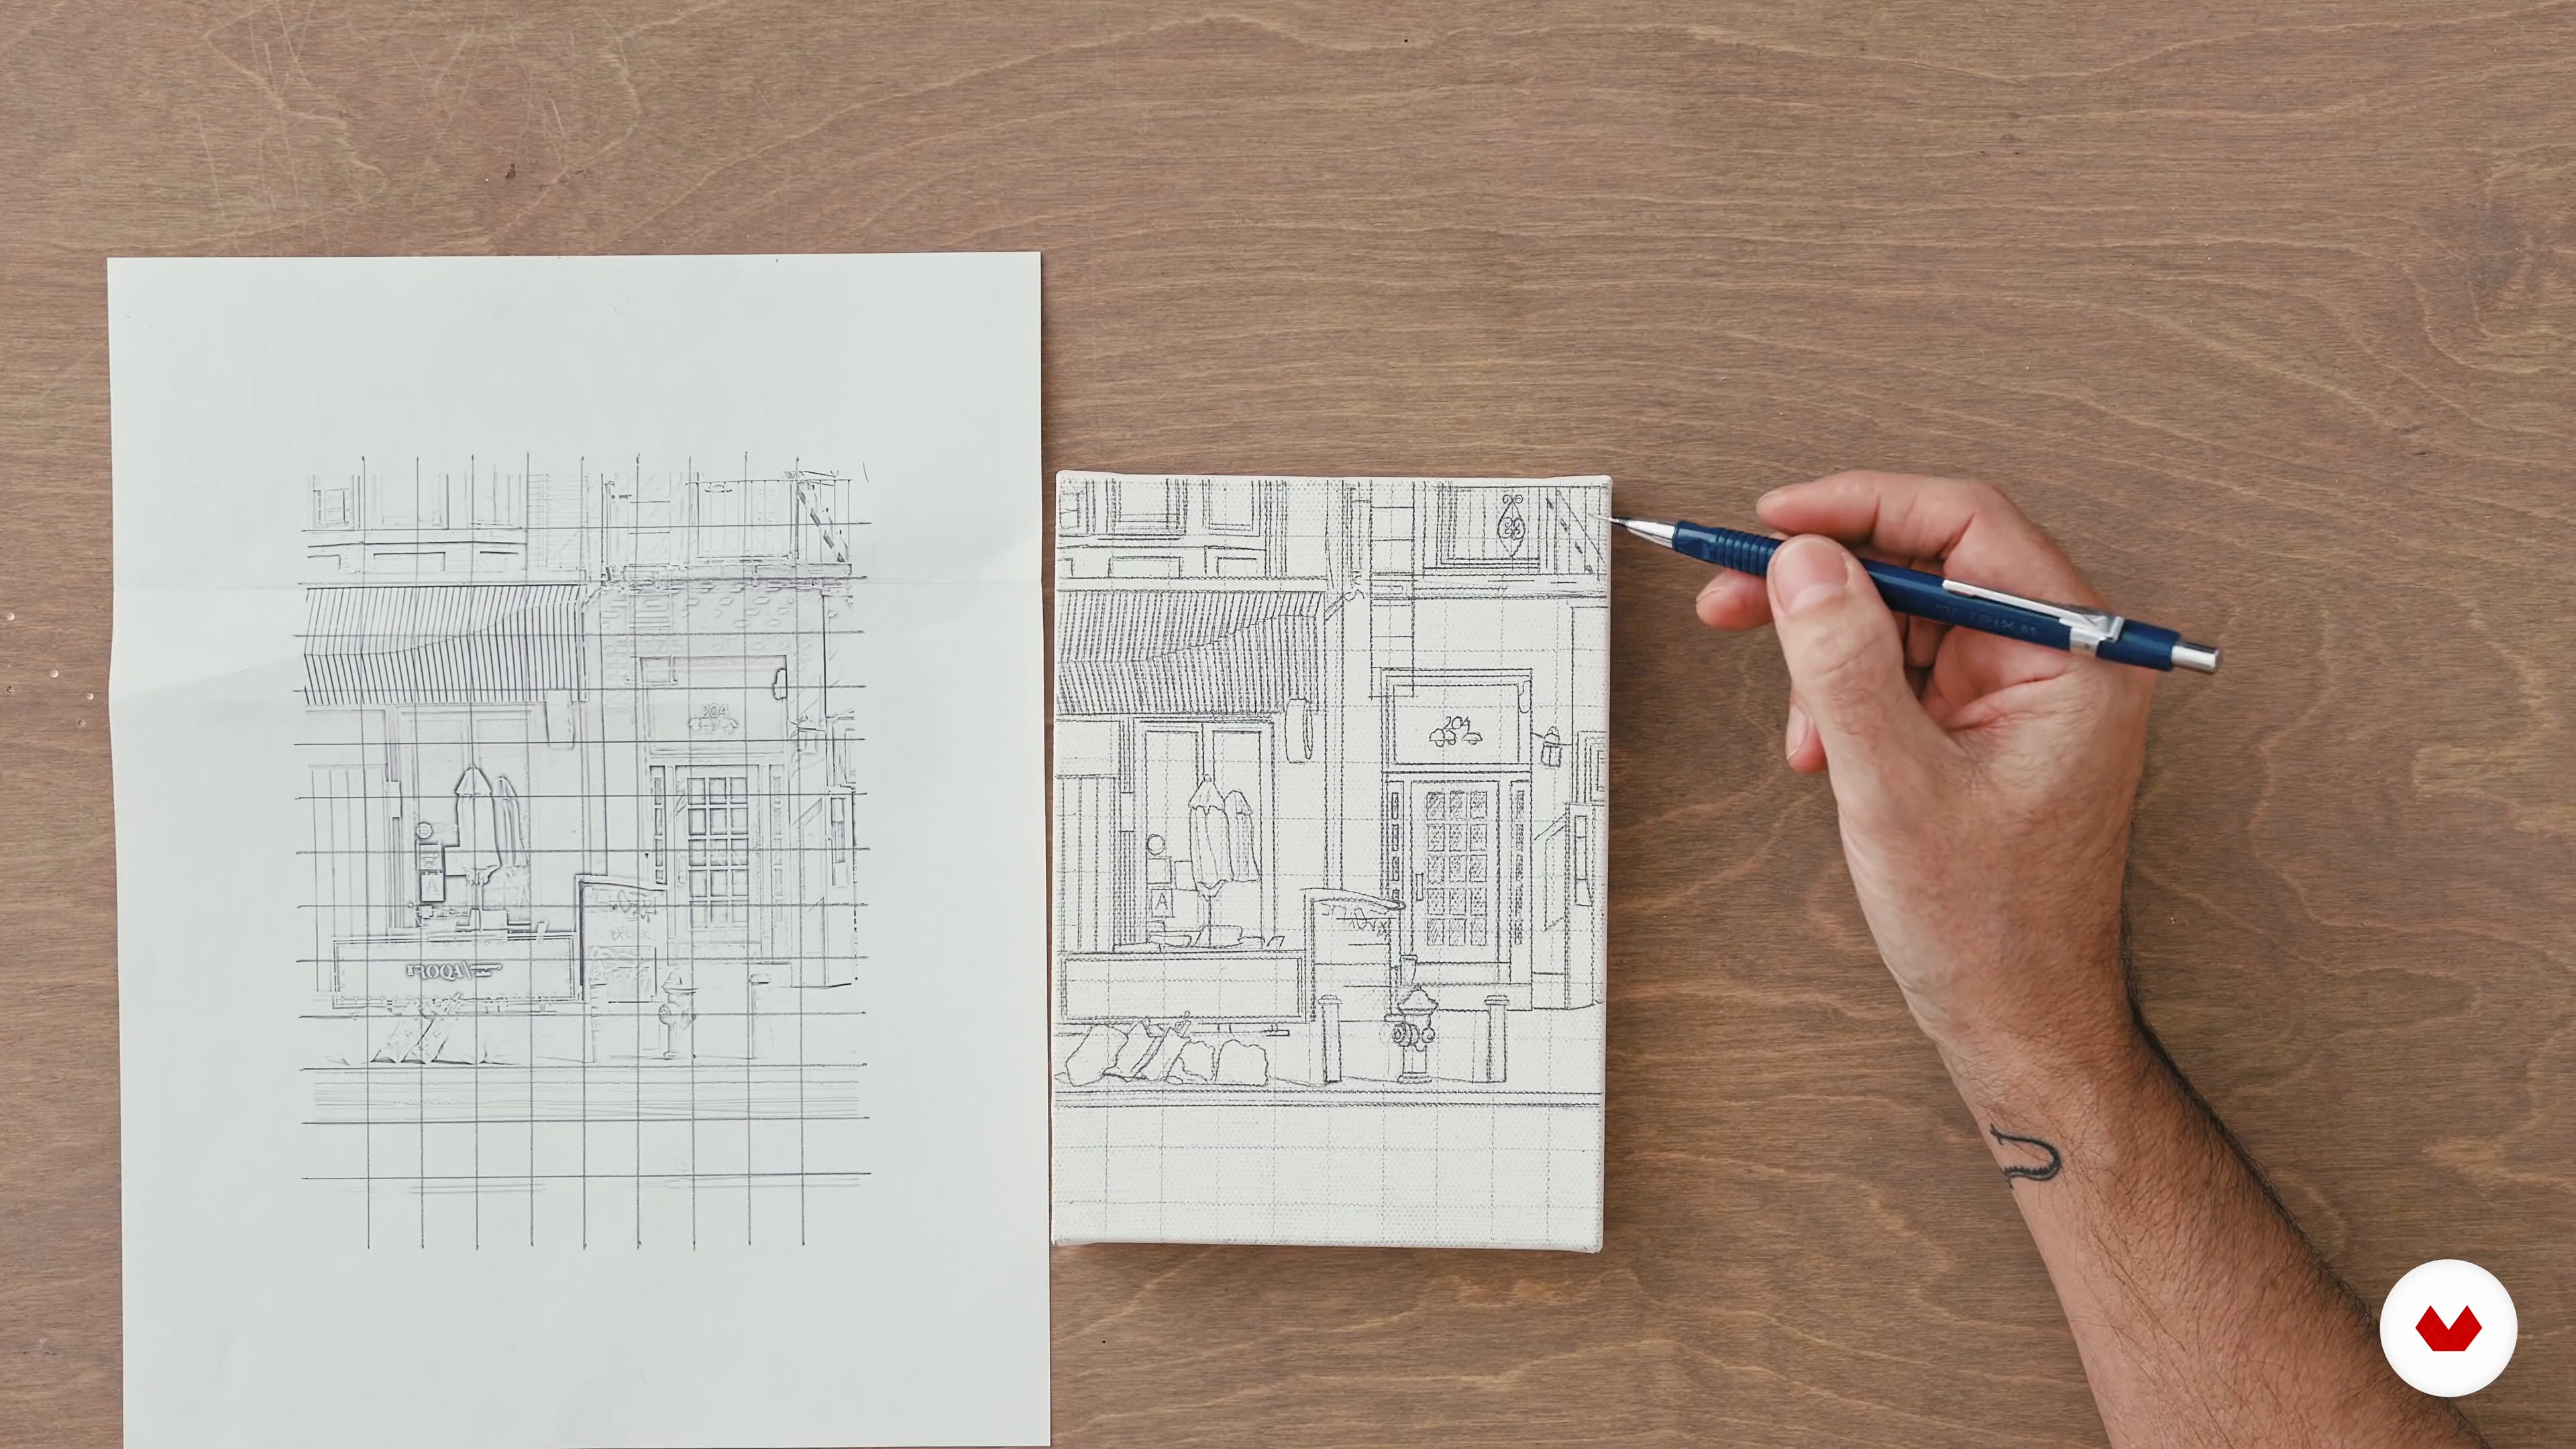
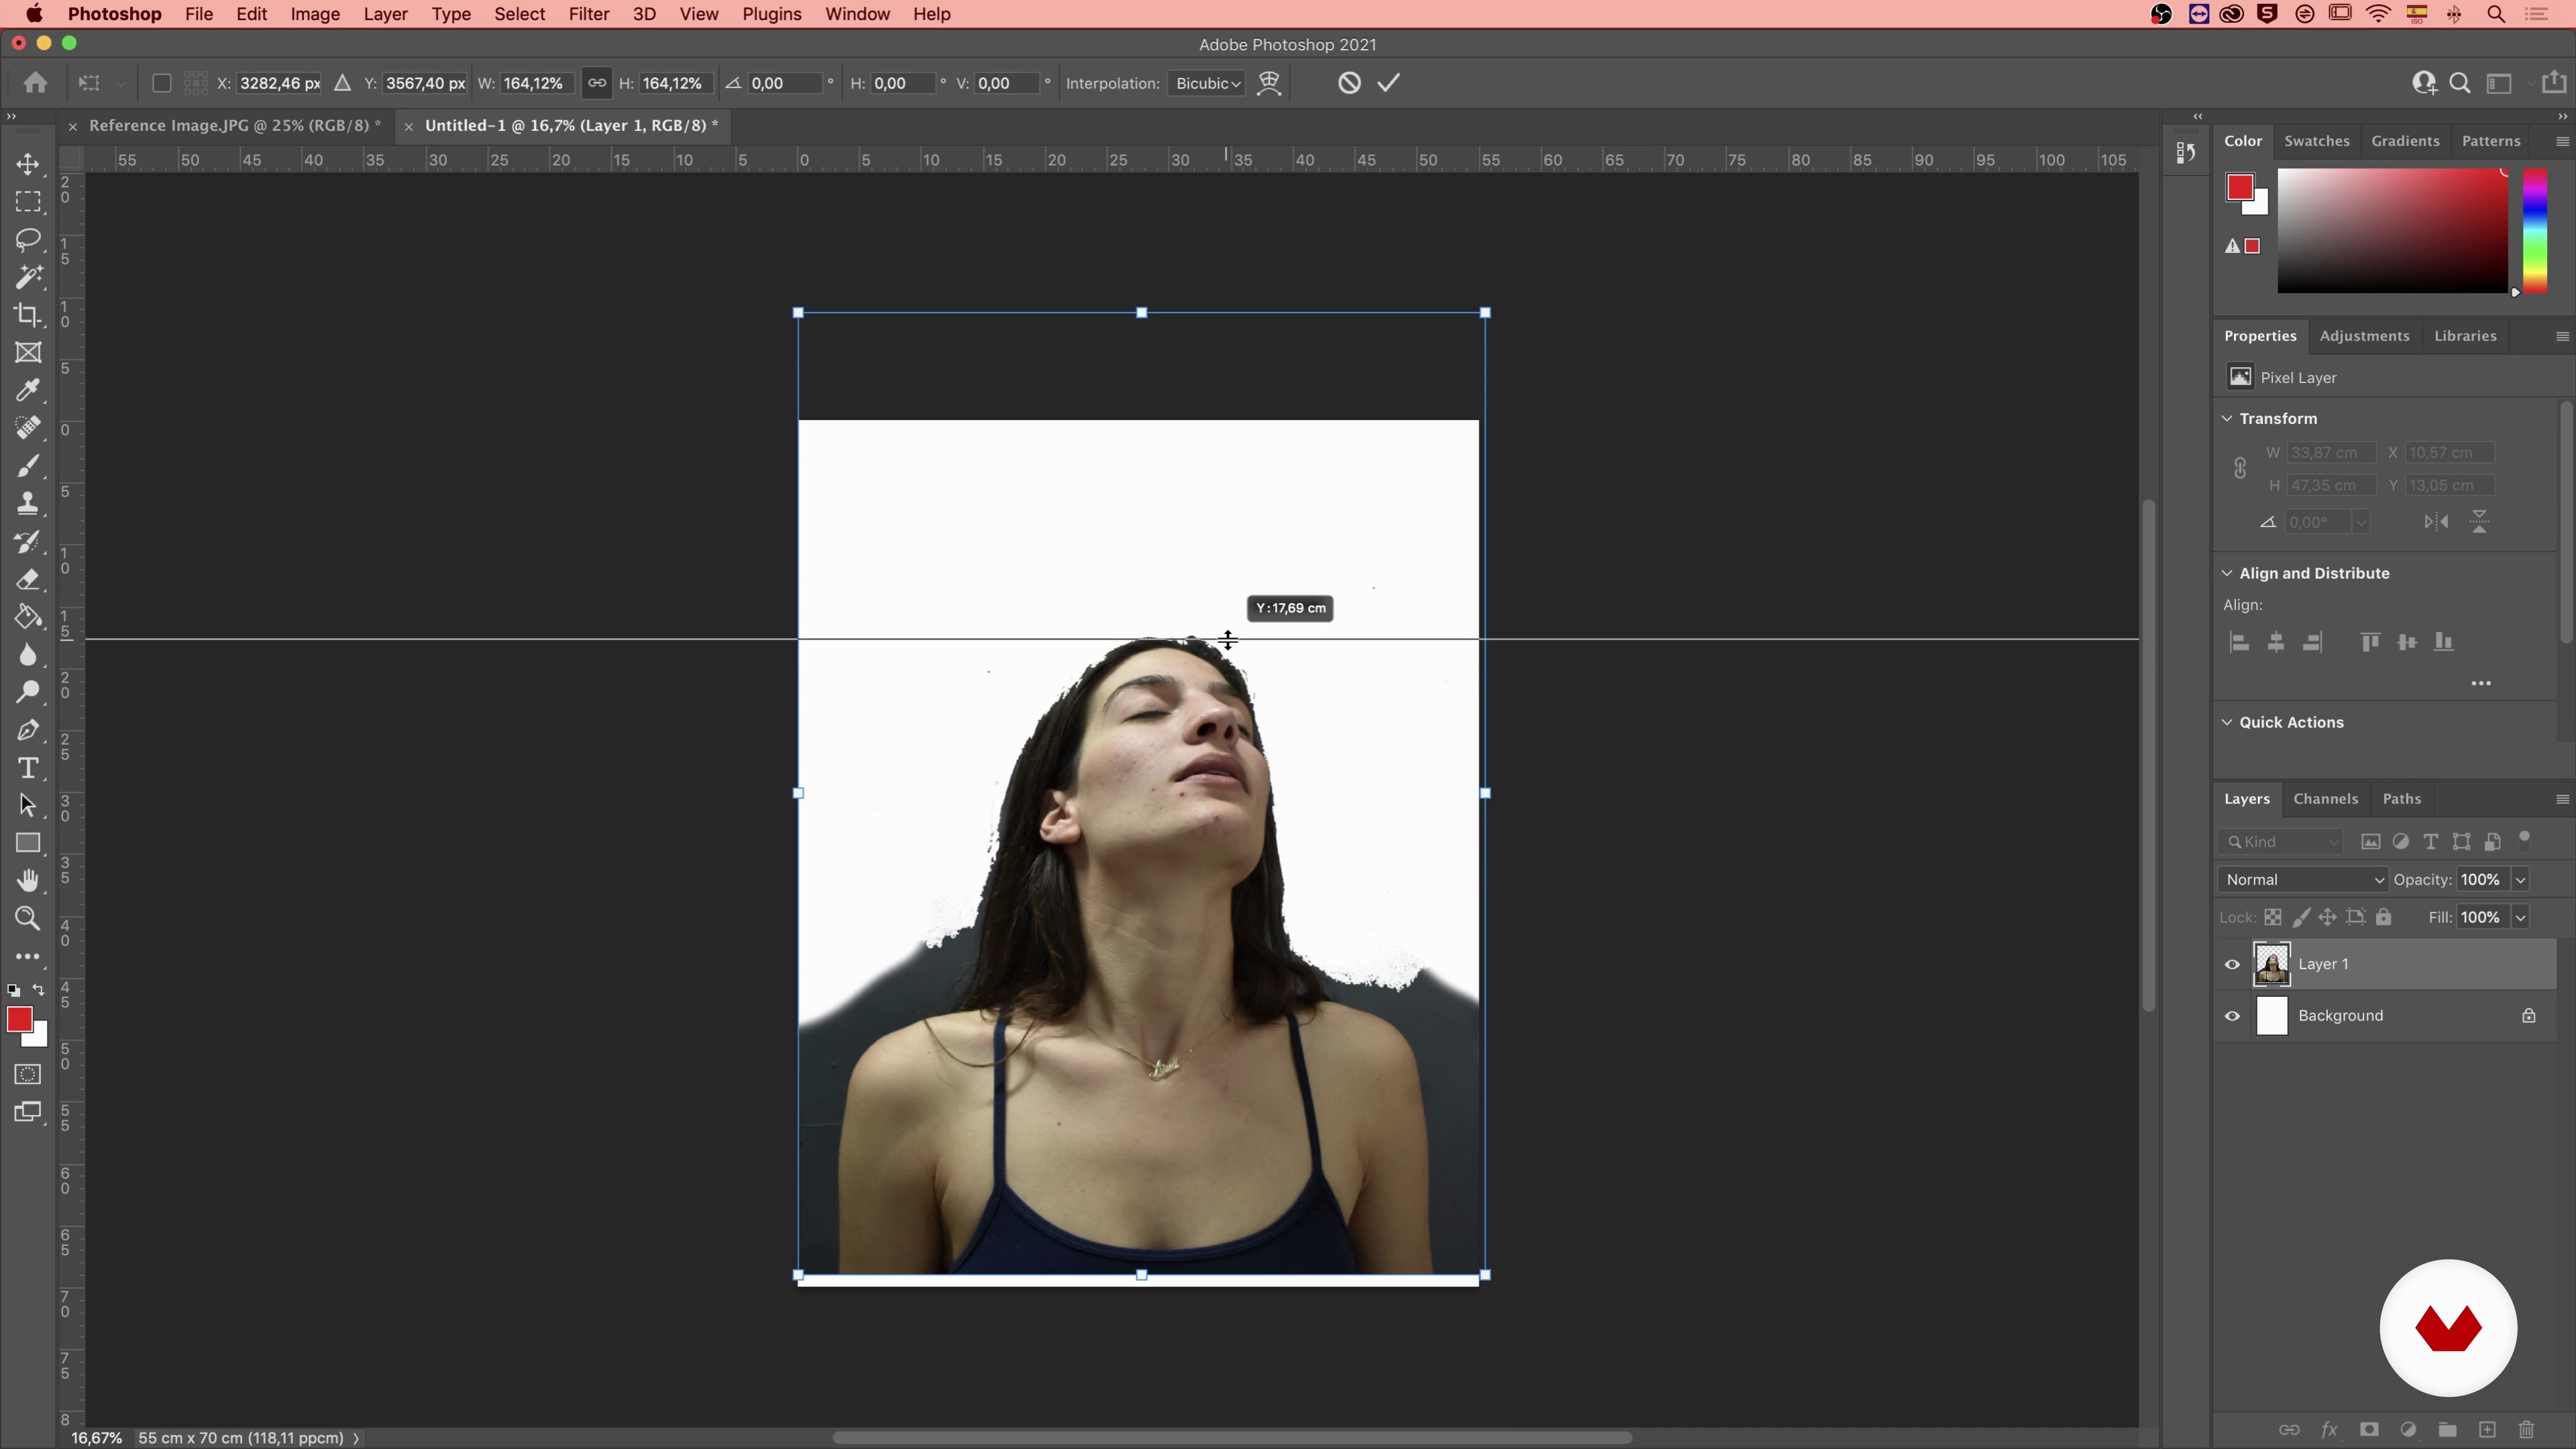
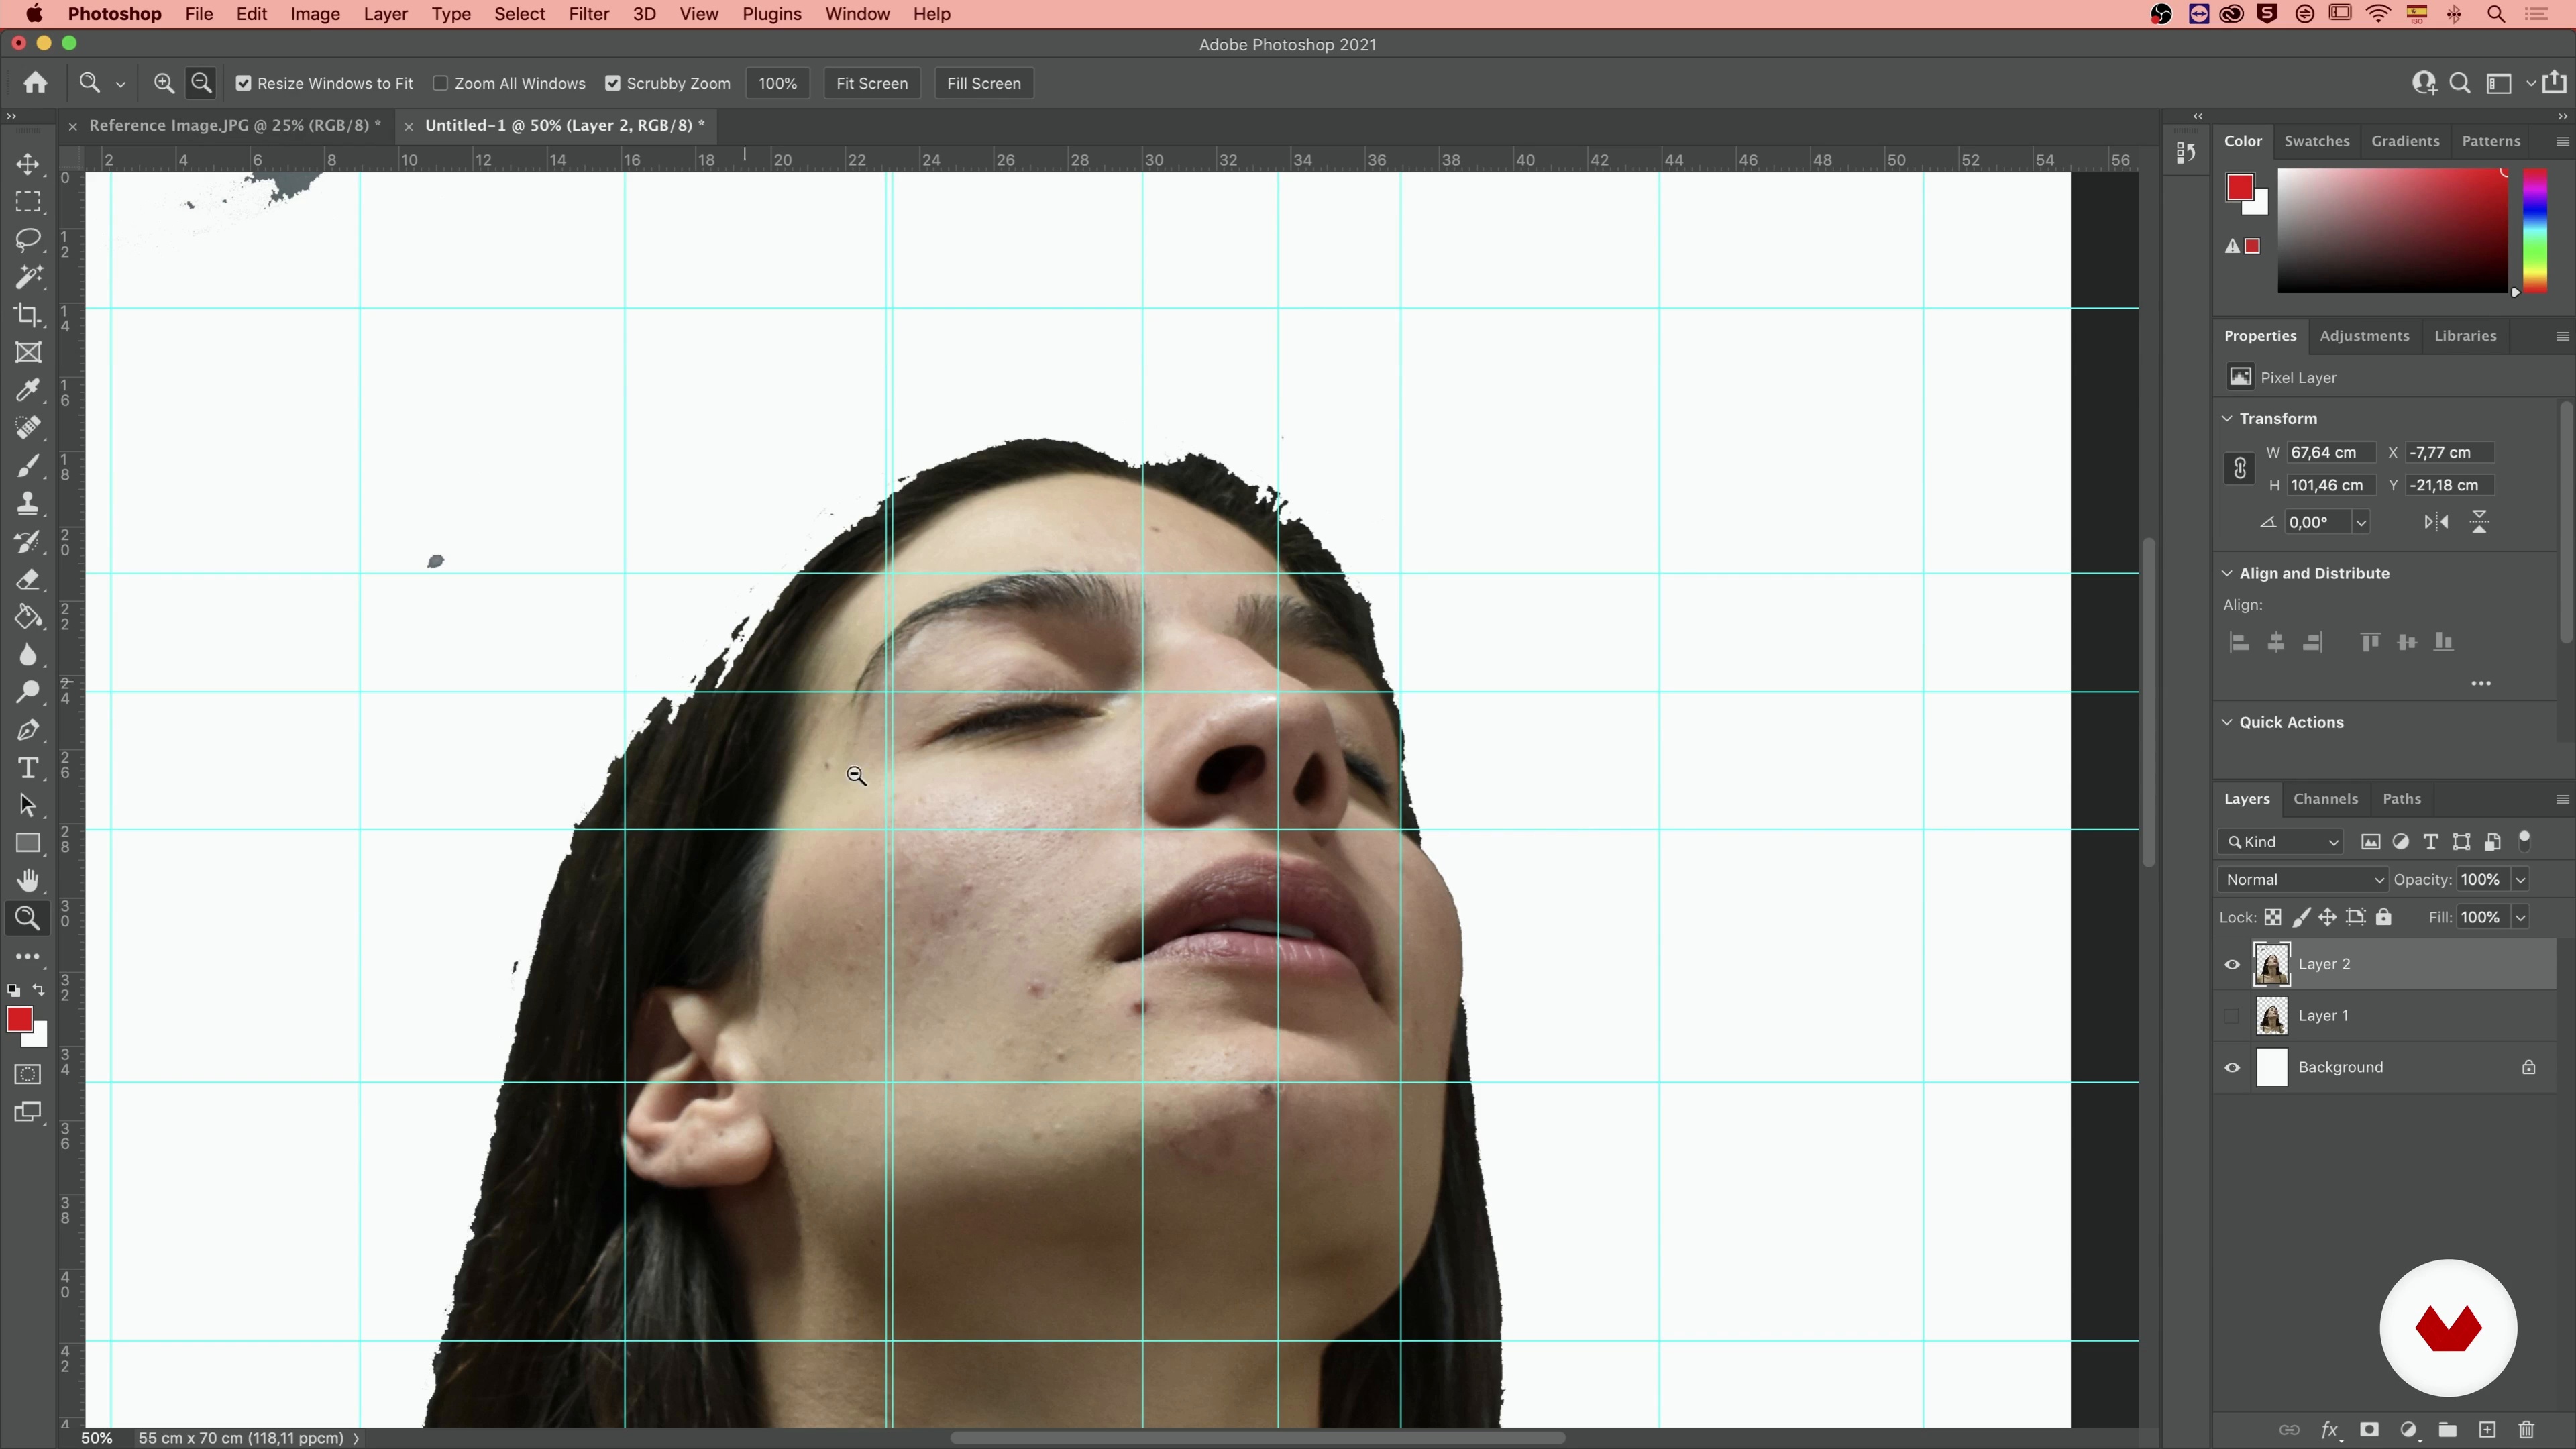
The grid method is an inexpensive, low-tech way to reproduce and/or enlarge an image that you want to paint or draw. This method can be a fairly time-intensive process, so be patient and persistent. The work you do here will make the painting process easier. First, I will teach you how to do it by using Photoshop to add this grid to the image.
20m
image
5
The Grid 2
Next, you will learn how to draw the grid onto your canvas. Then you will see how to transfer the image by starting in the top corner.
20m
image
6
Toning the Canvas
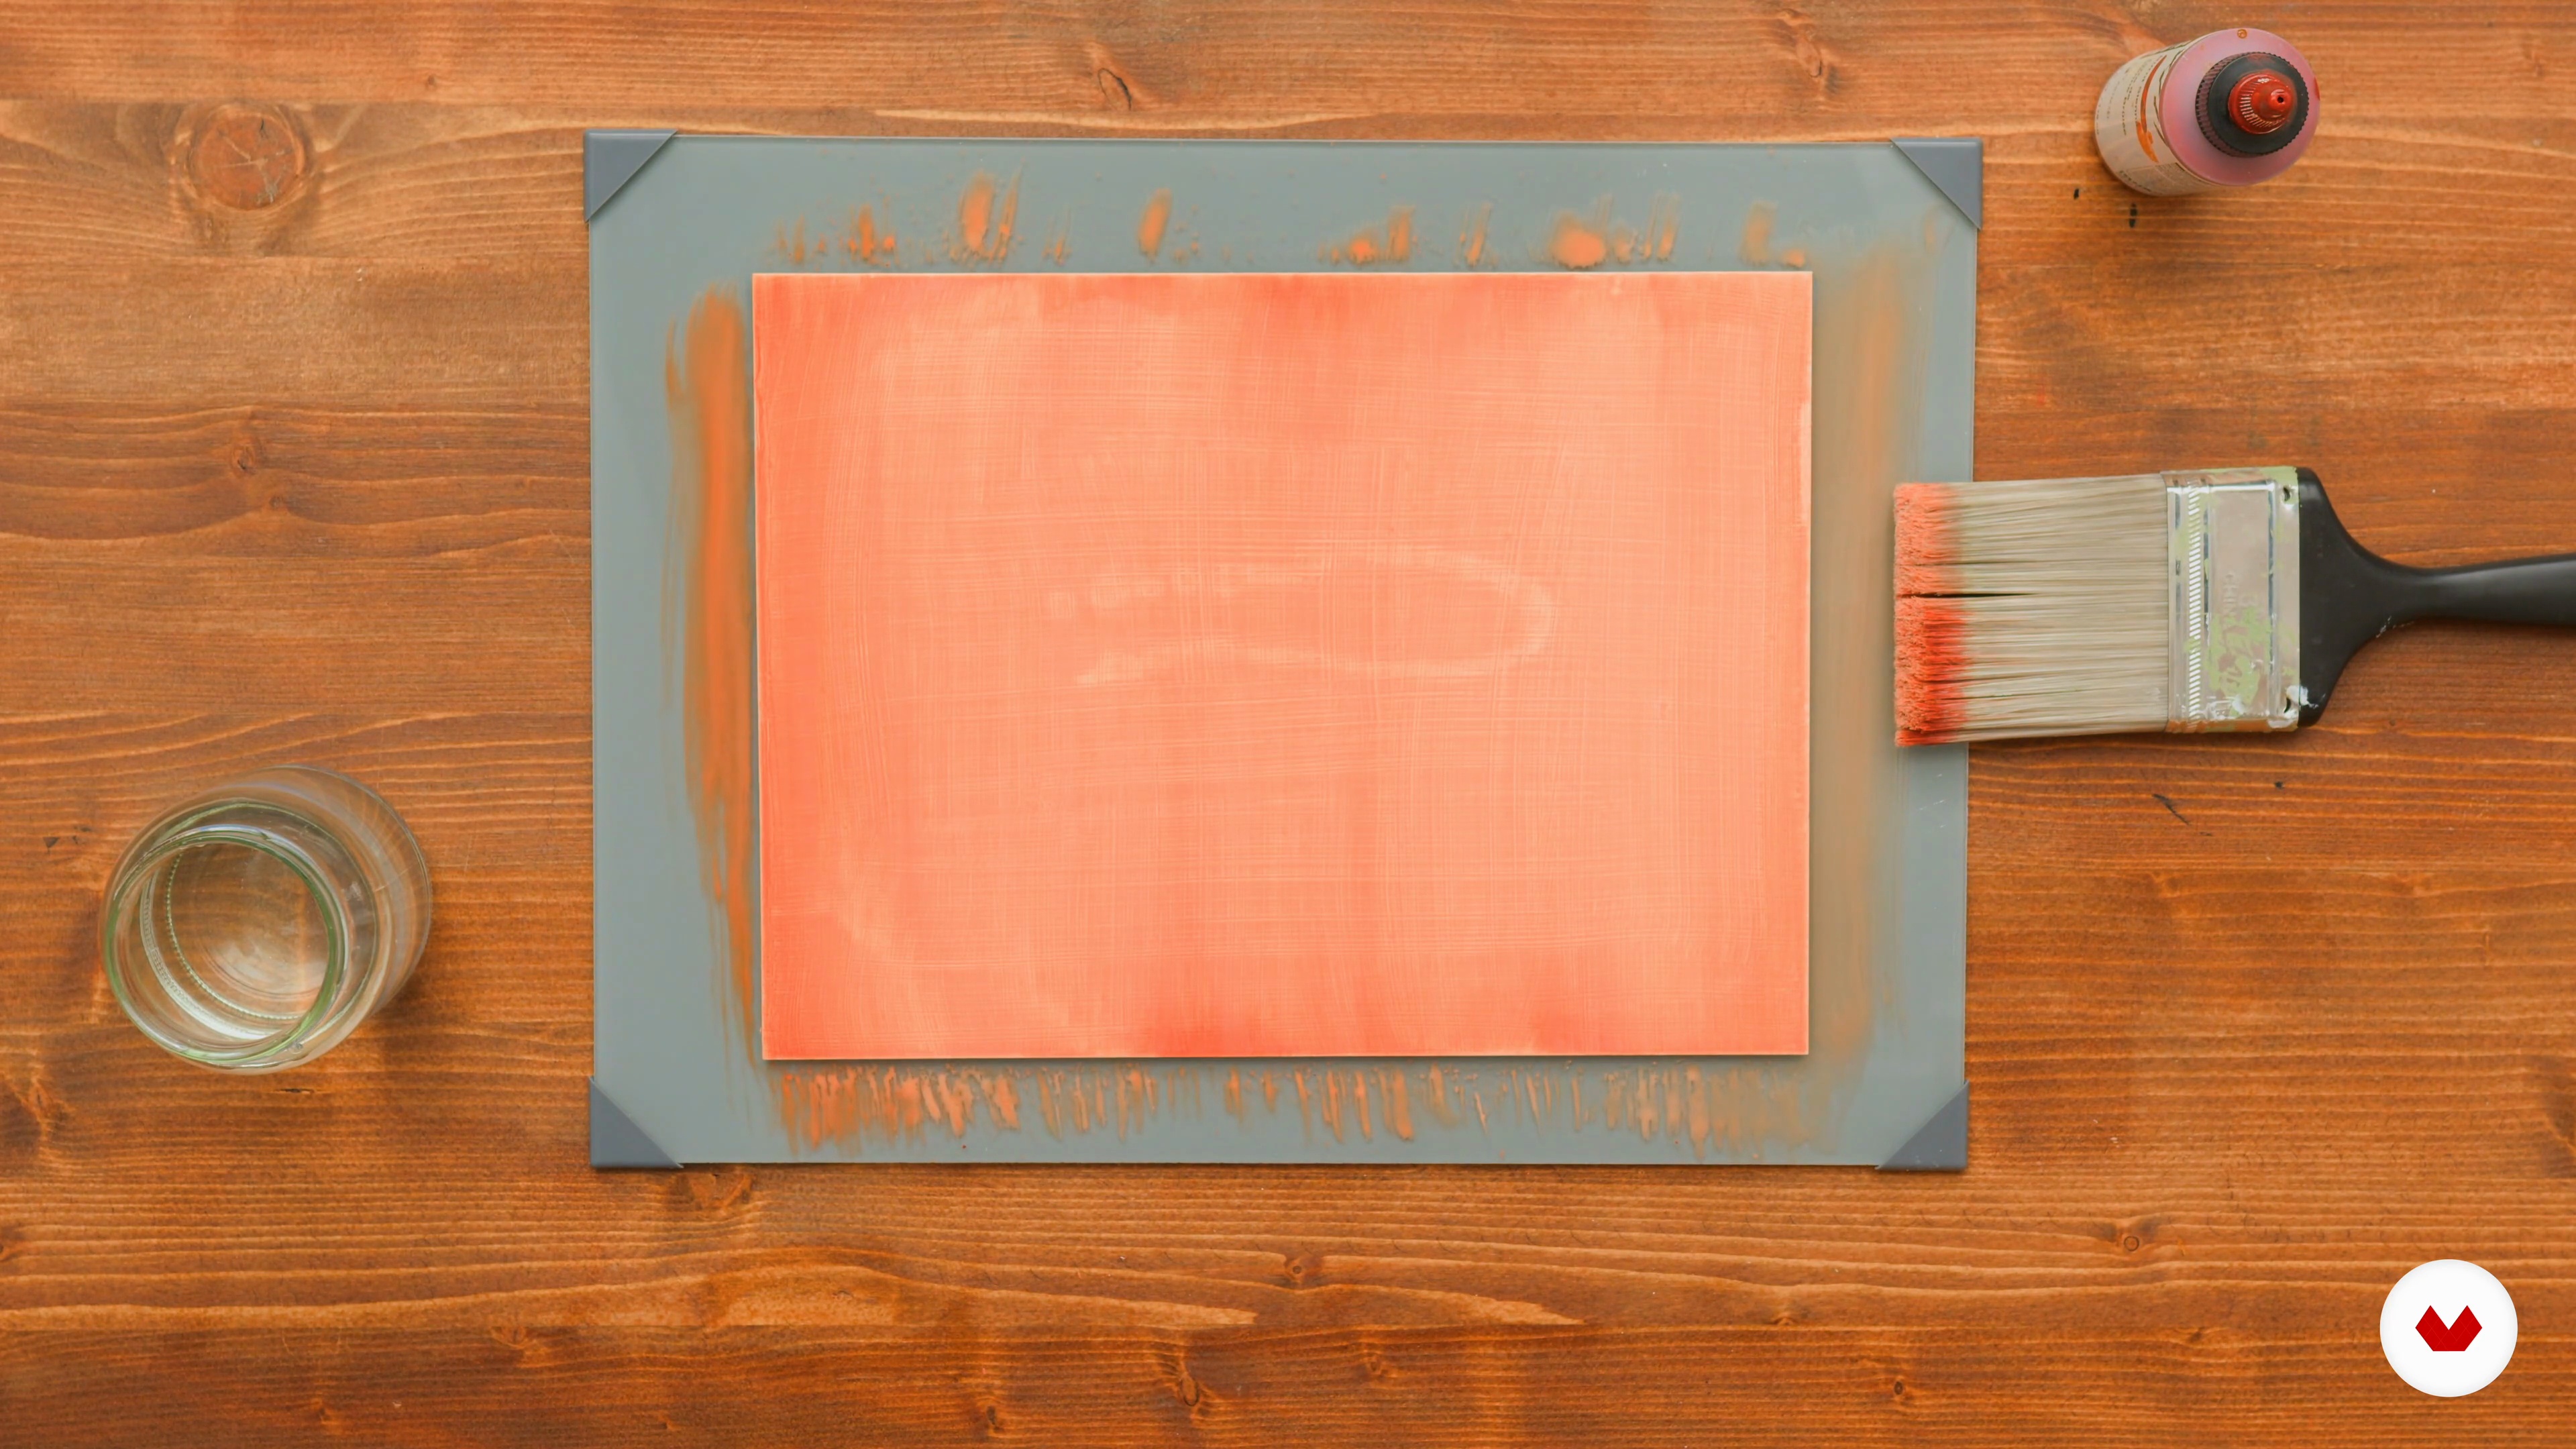
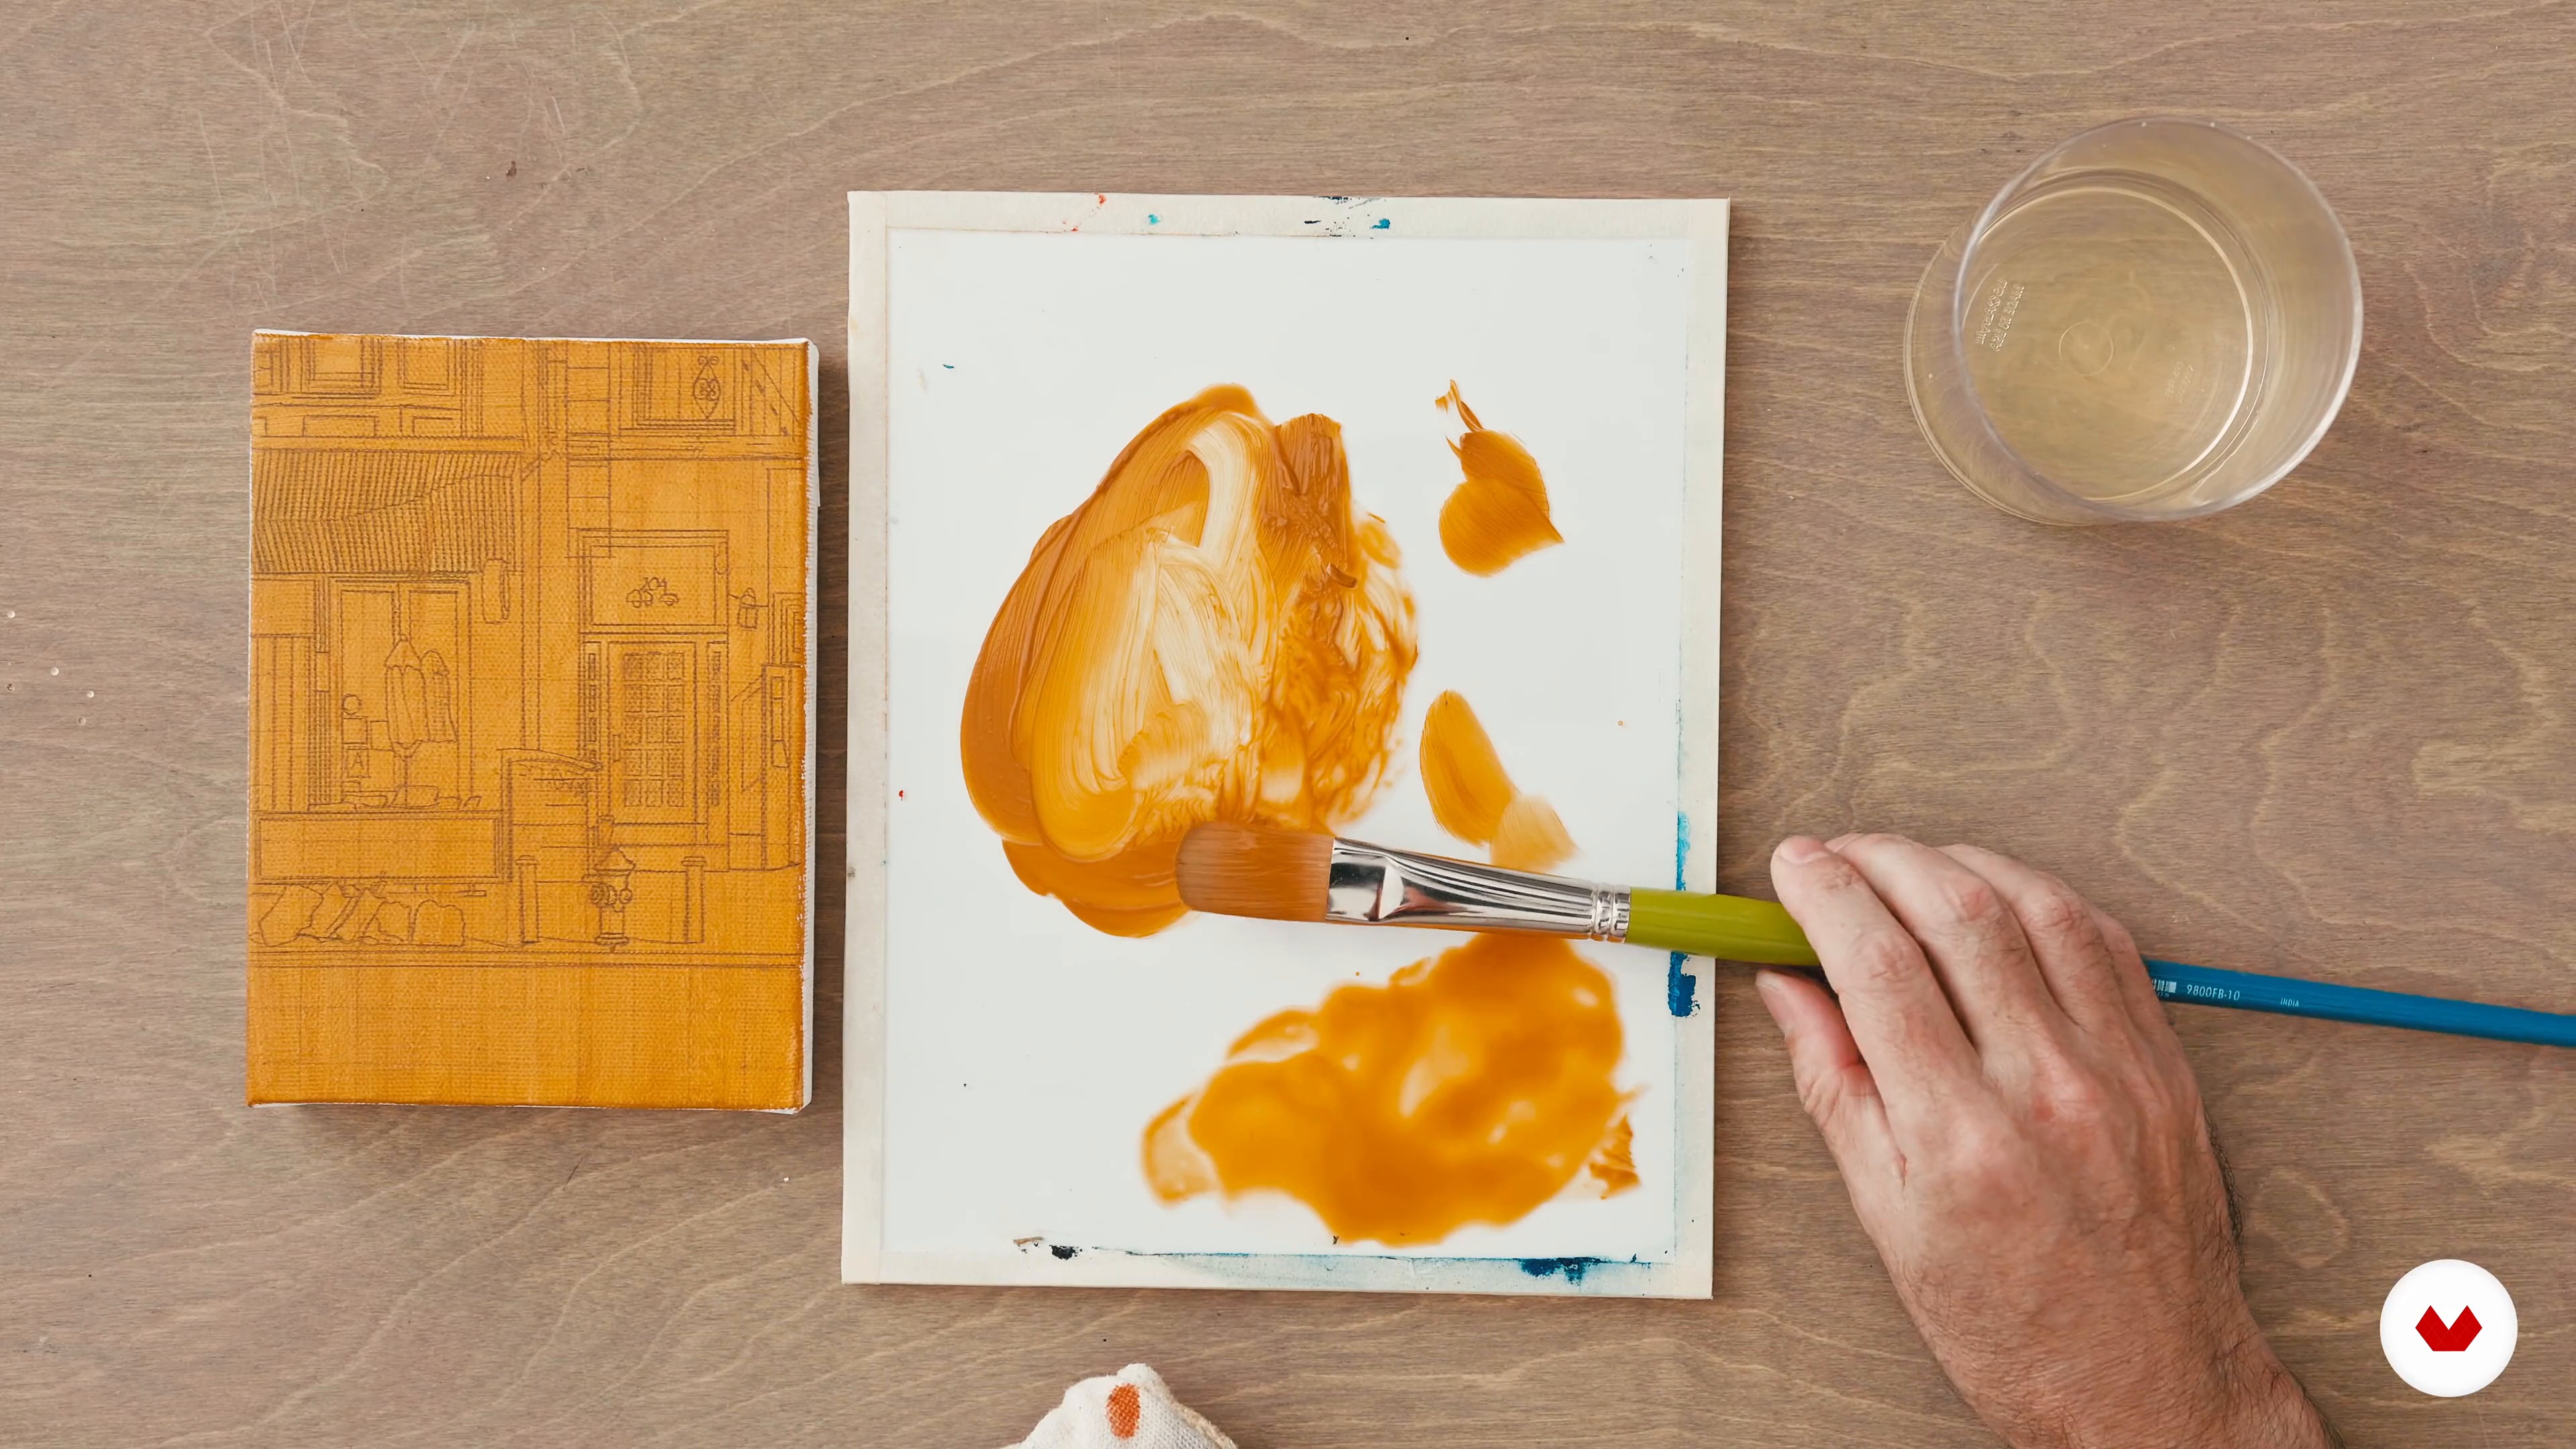
It's time to go a bit further. Therefore, in this lesson, you will learn how to use an acrylic raw sienna to tone the canvas. Ready?
6m
image
7
Color: Mix and Match
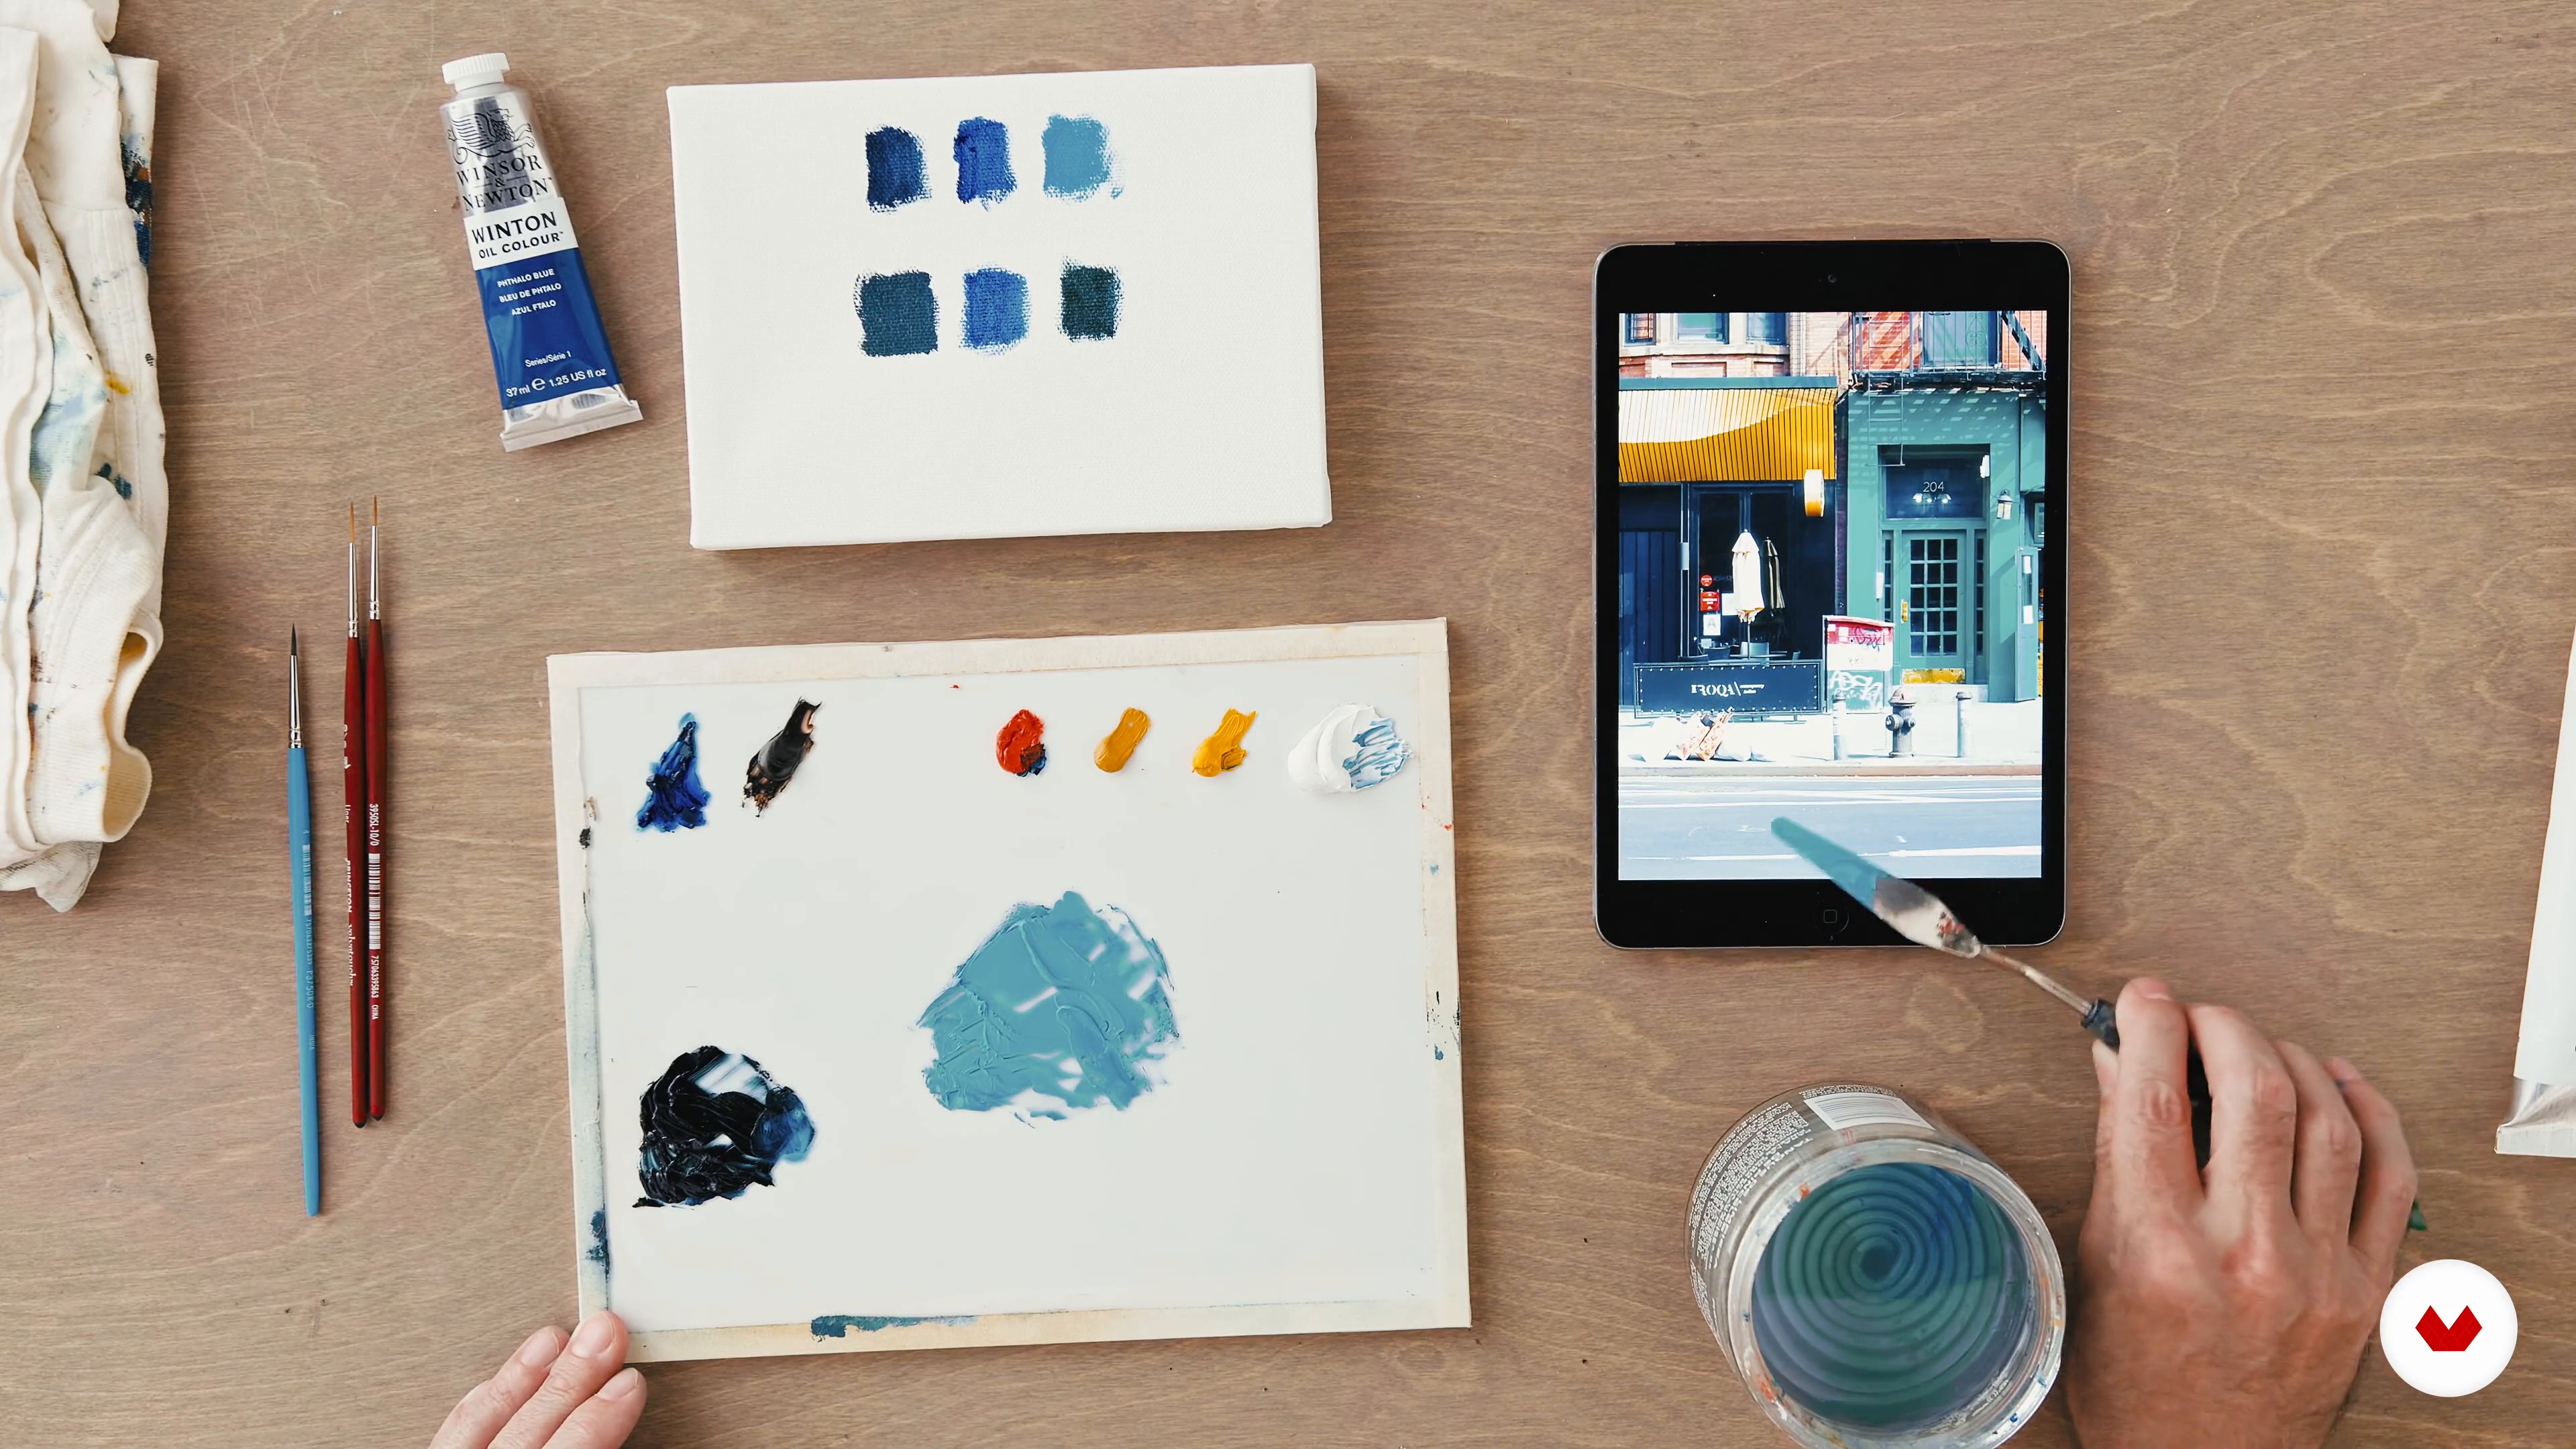
I will talk about how I lay out my studio. You will then learn to add pigment to the palette to begin mixing the colors you will need. Also, you will learn to match the colors as good as possible to source your image.
20m
image
8
Blocking In and Details 1
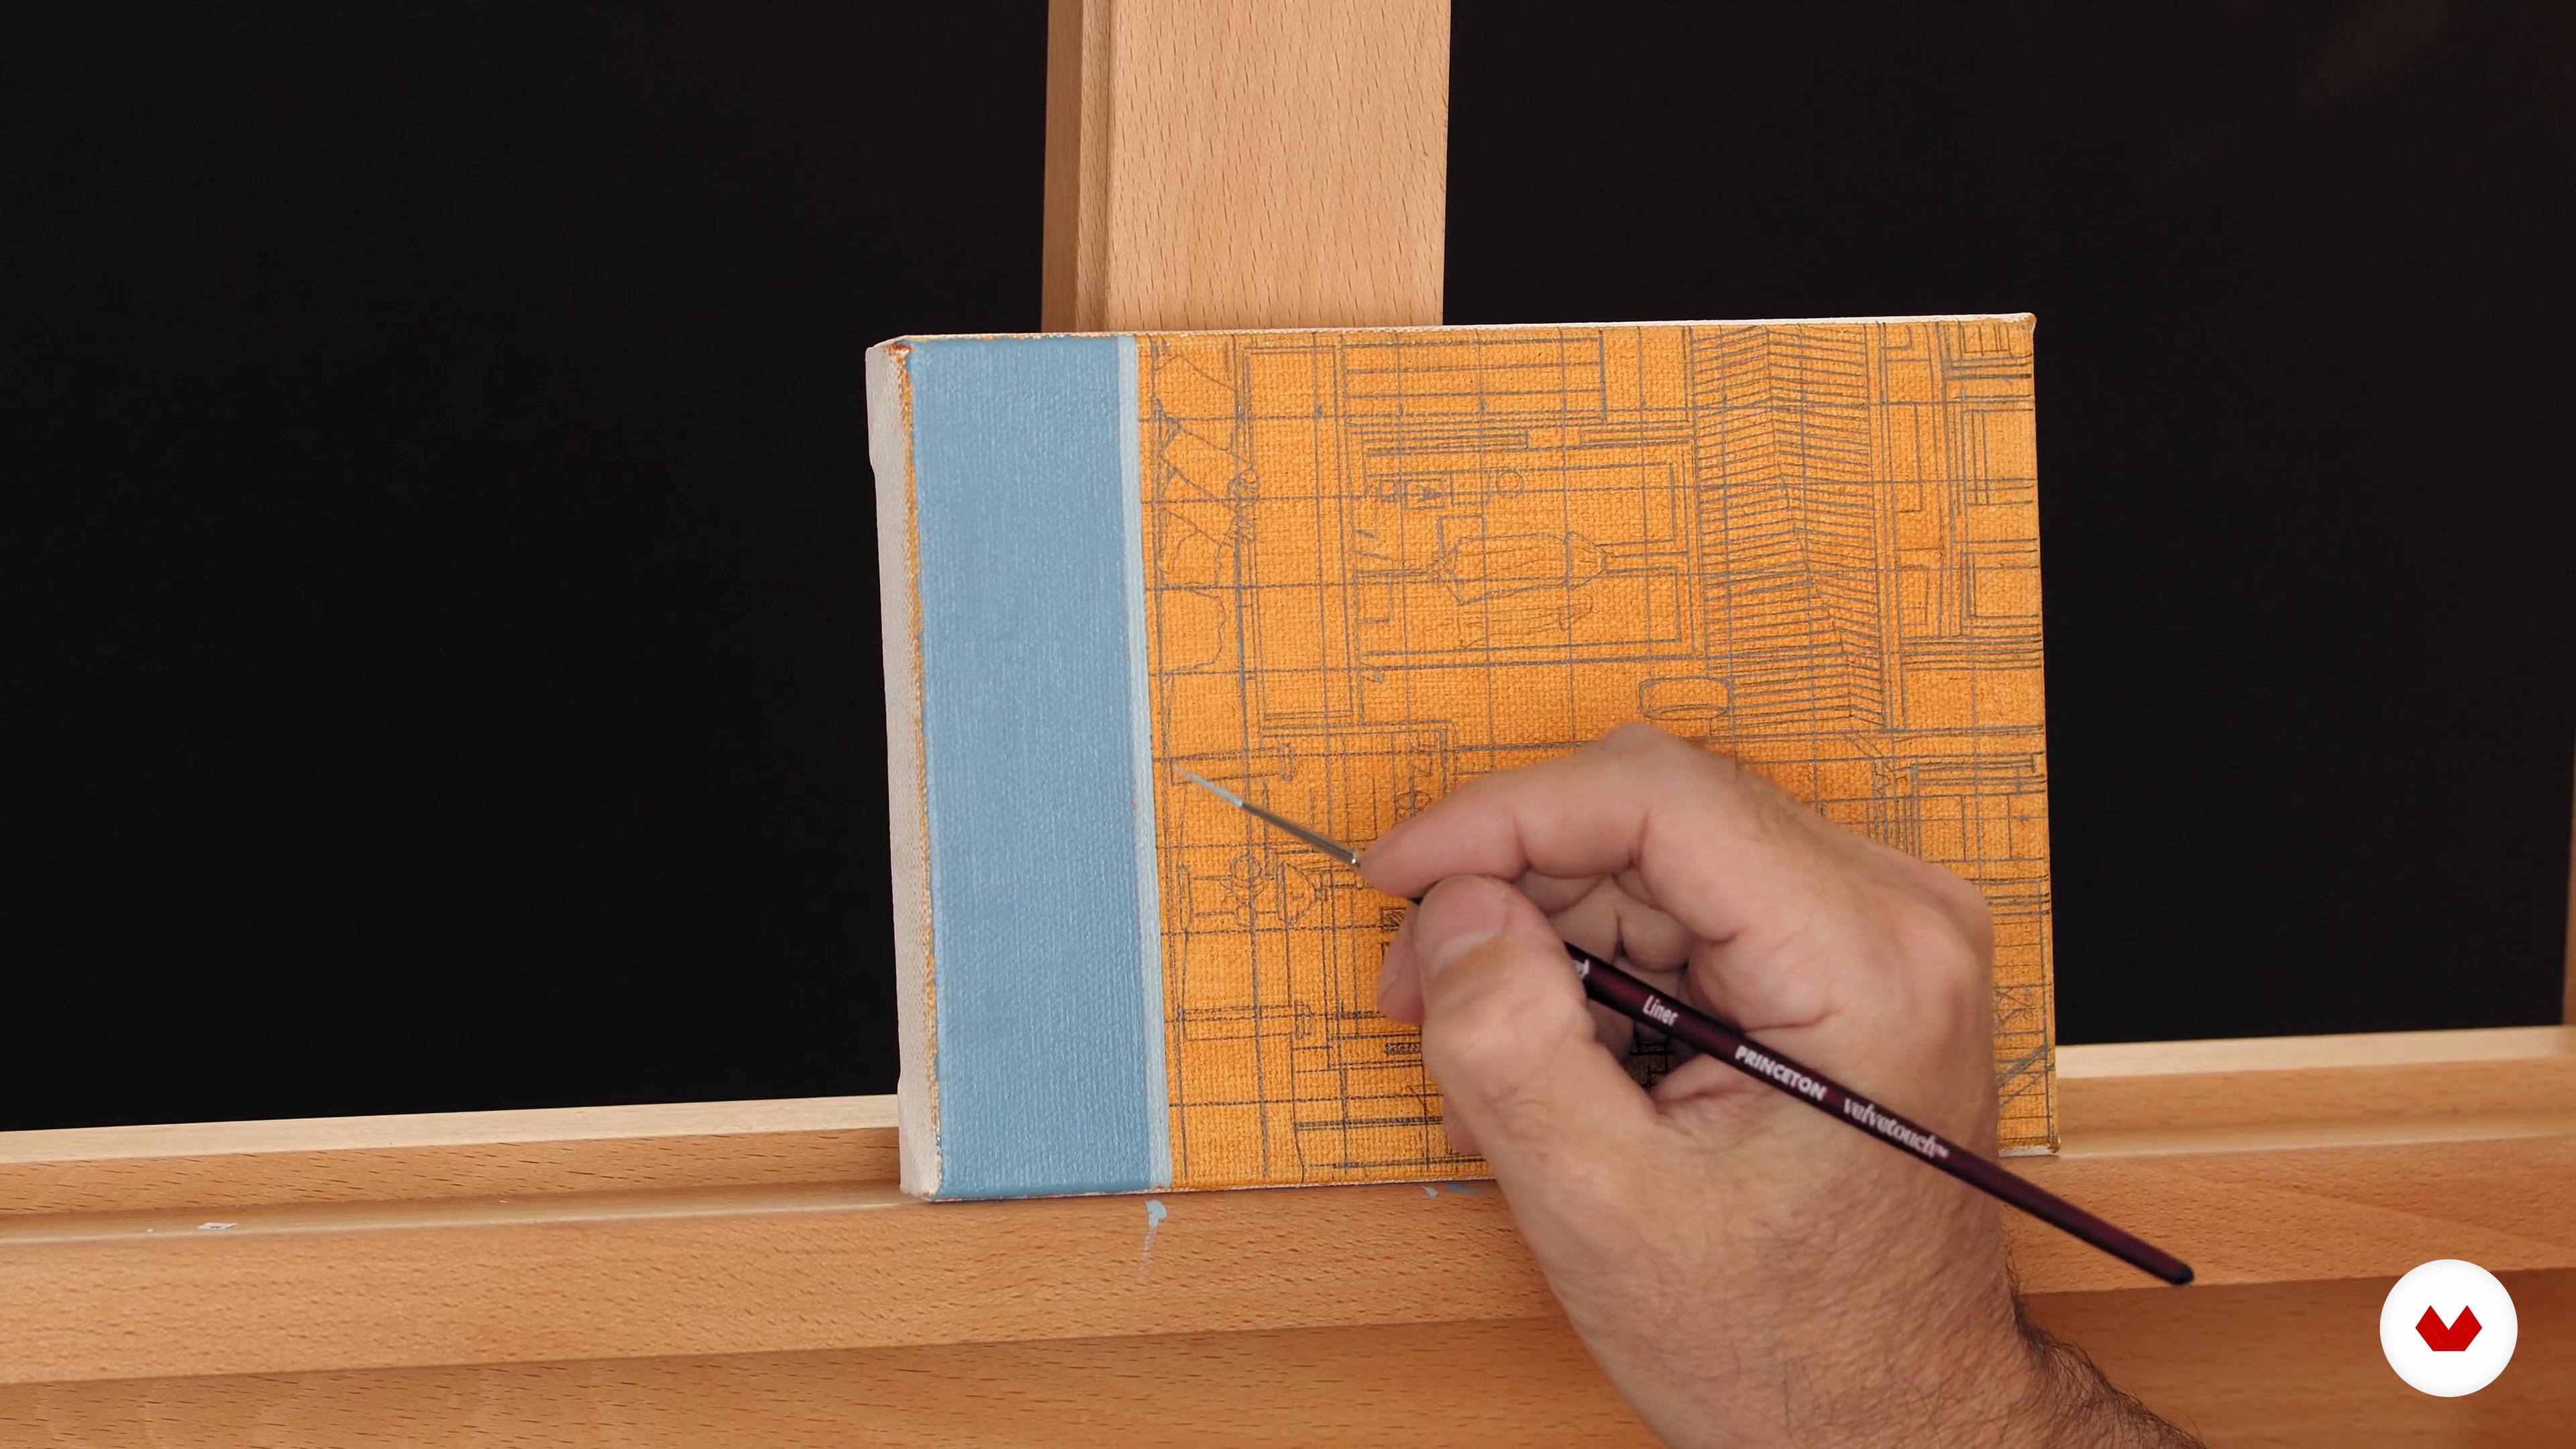
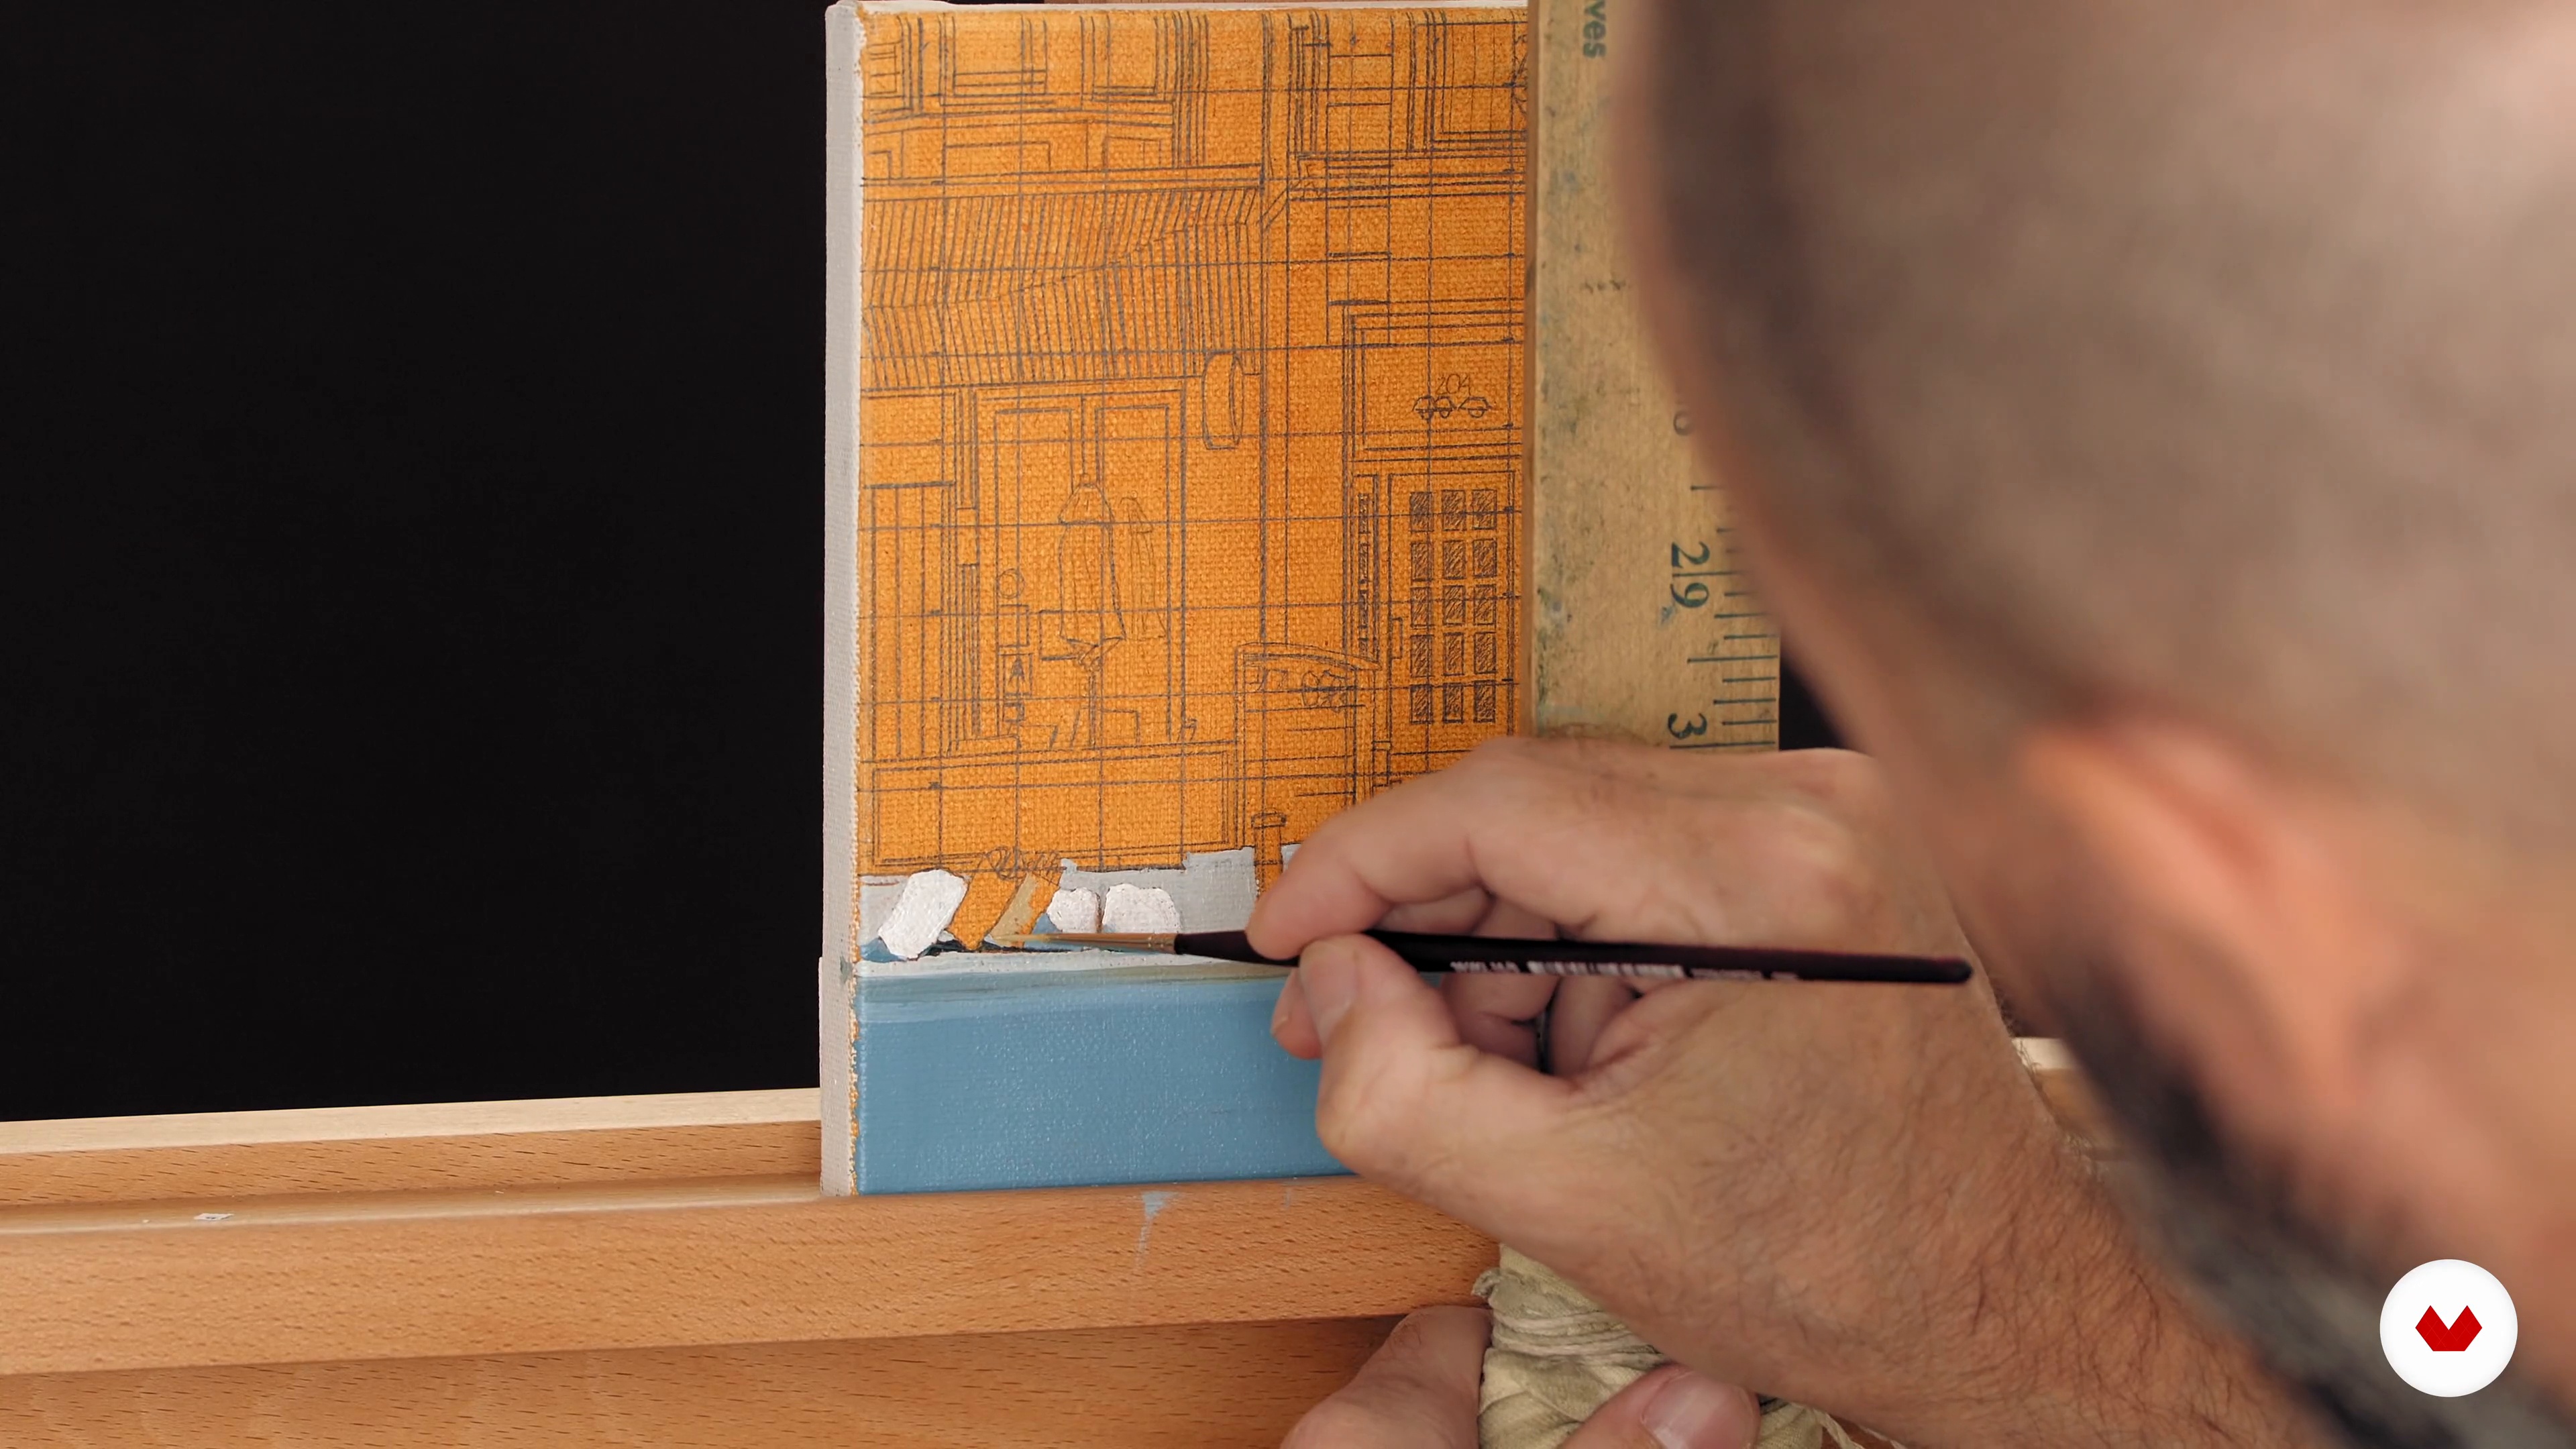
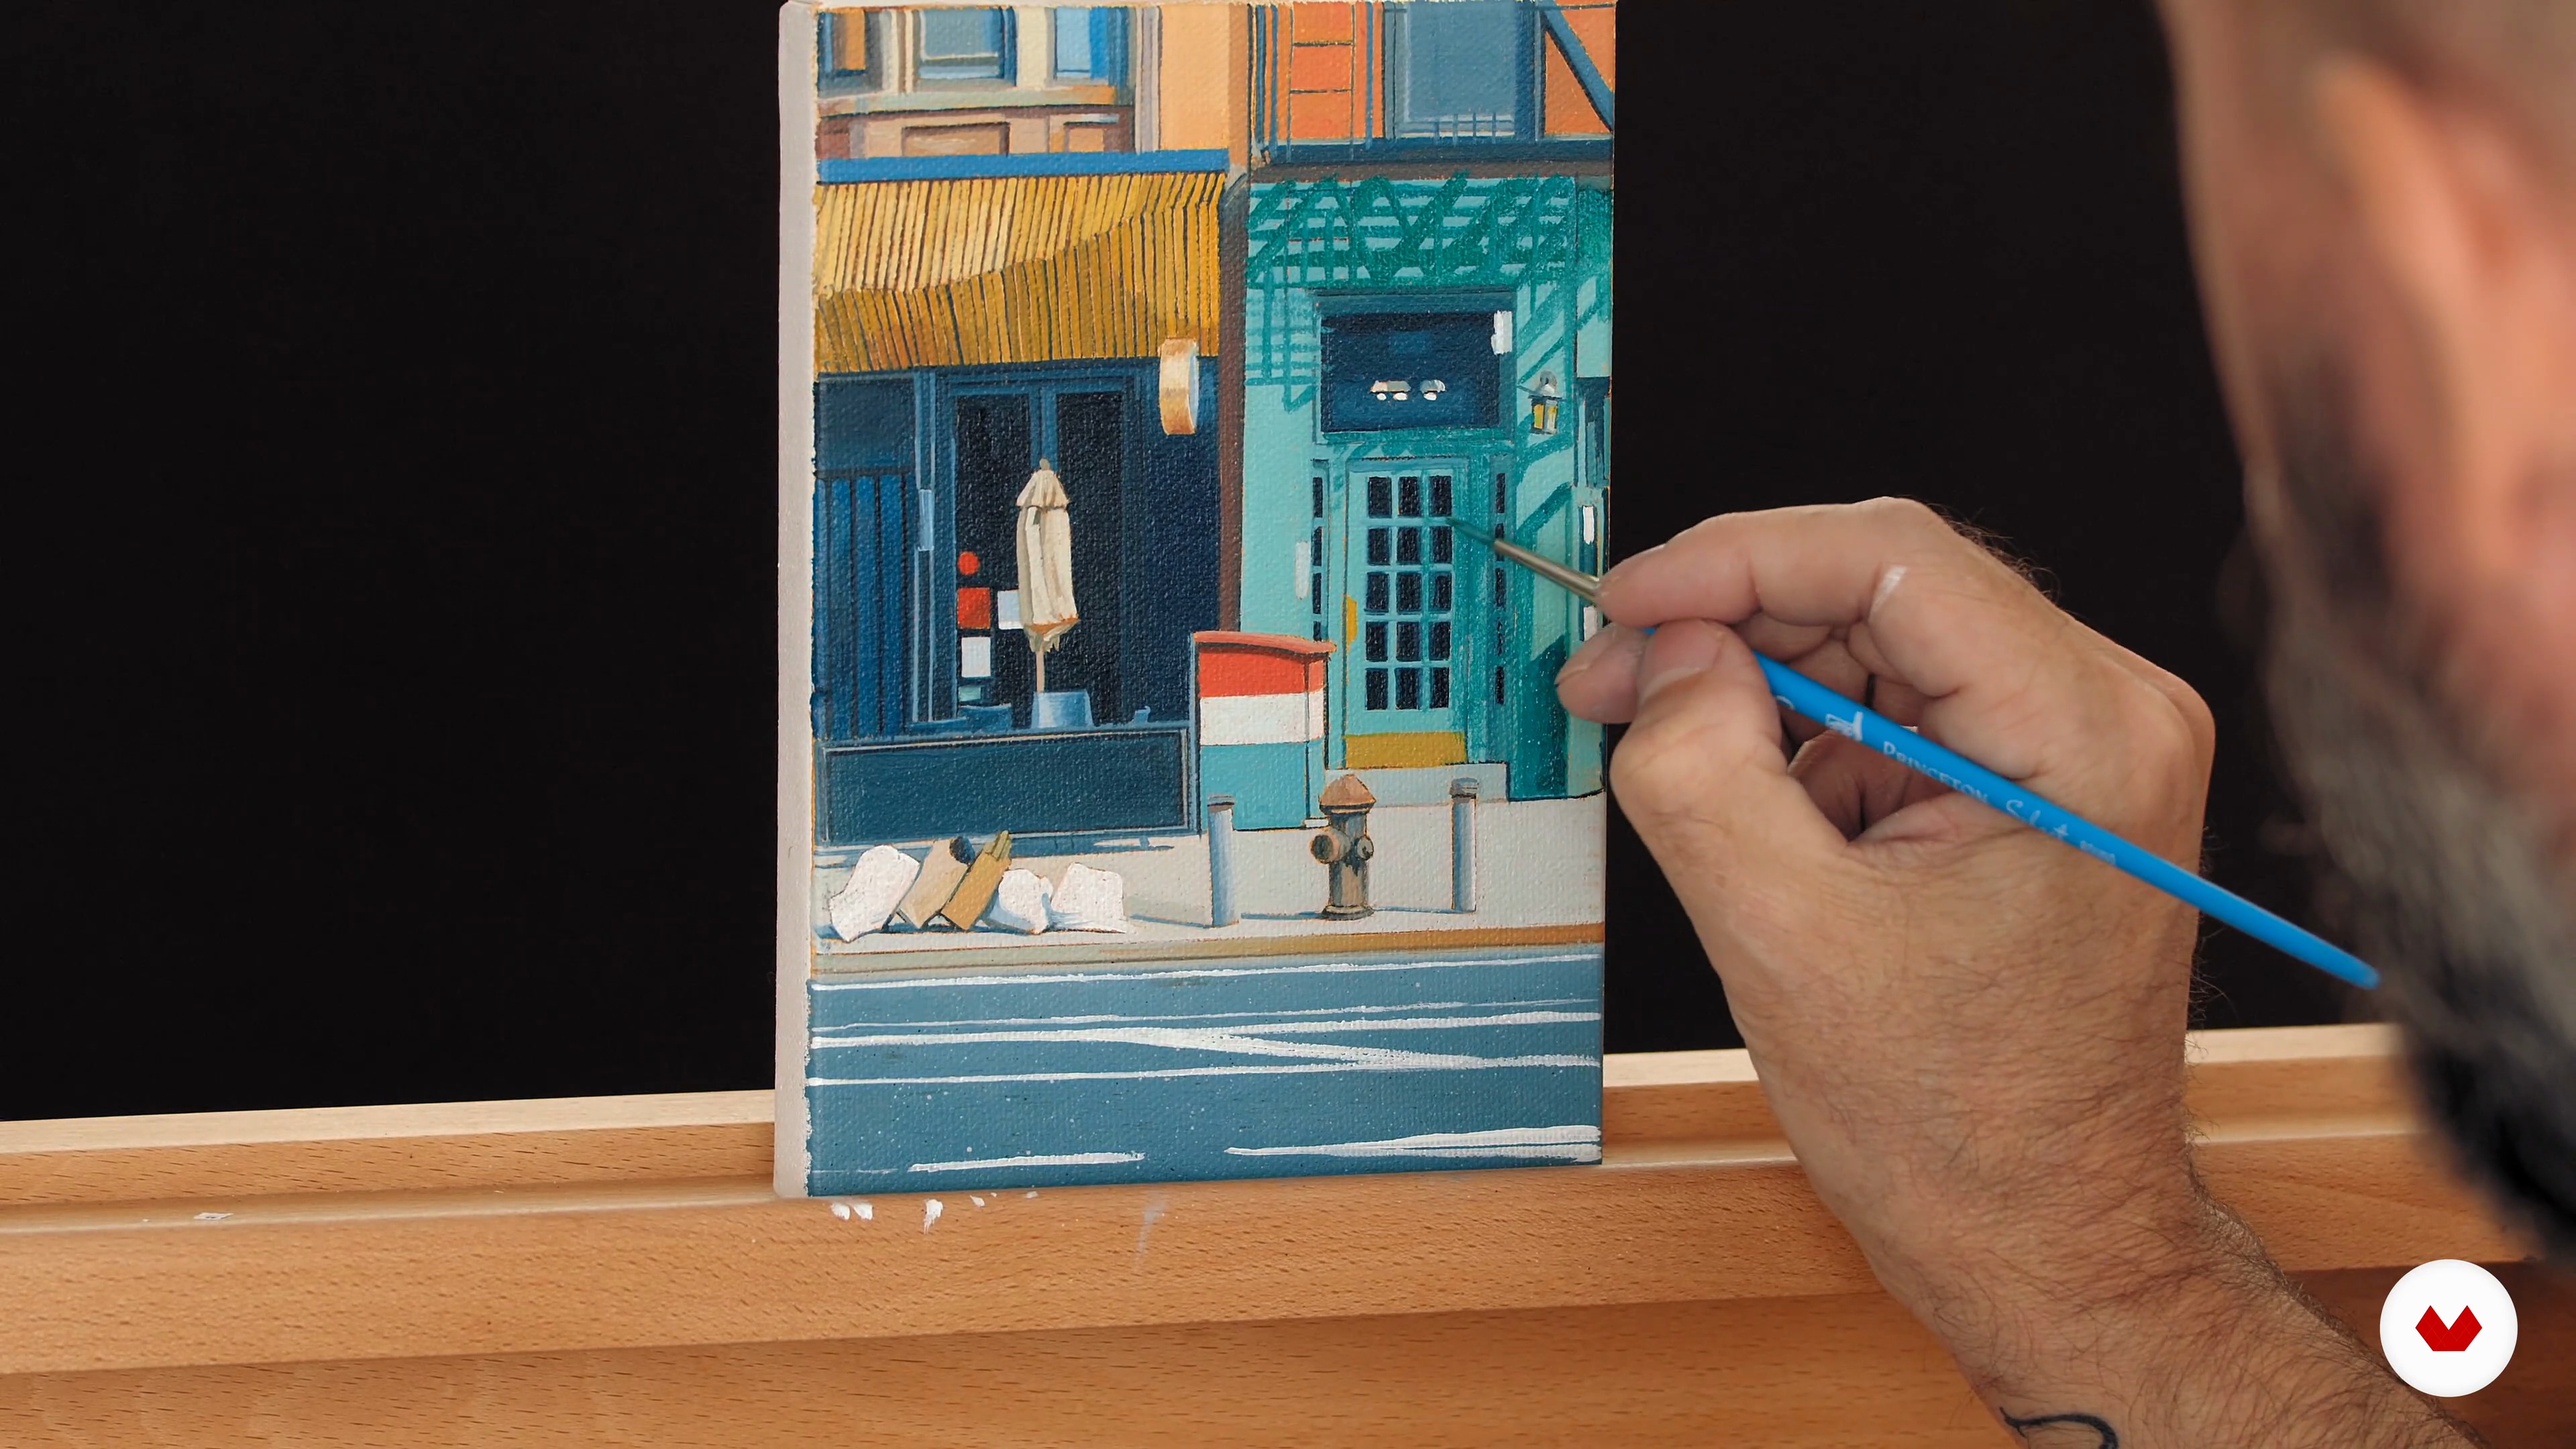
It's about time to start painting! To begin, I will show you how to start blocking in. You will learn to add oil paint to your canvas, fill in basic shapes, and match colors as good as possible
20m
image
9
Blocking In and Details 2
You will continue learning how to finish filling the pavement, which is the first section. Next, I will show you how to fill in shapes, but without going into details.
19m
image
10
Blocking In and Details 3
I will continue giving you tips and tricks to keep painting. You will see how I move on my color palette to create the colors I need. Besides, you will also see how I paint to take care of light and shadows!
20m
image
11
Blocking In and Details 4
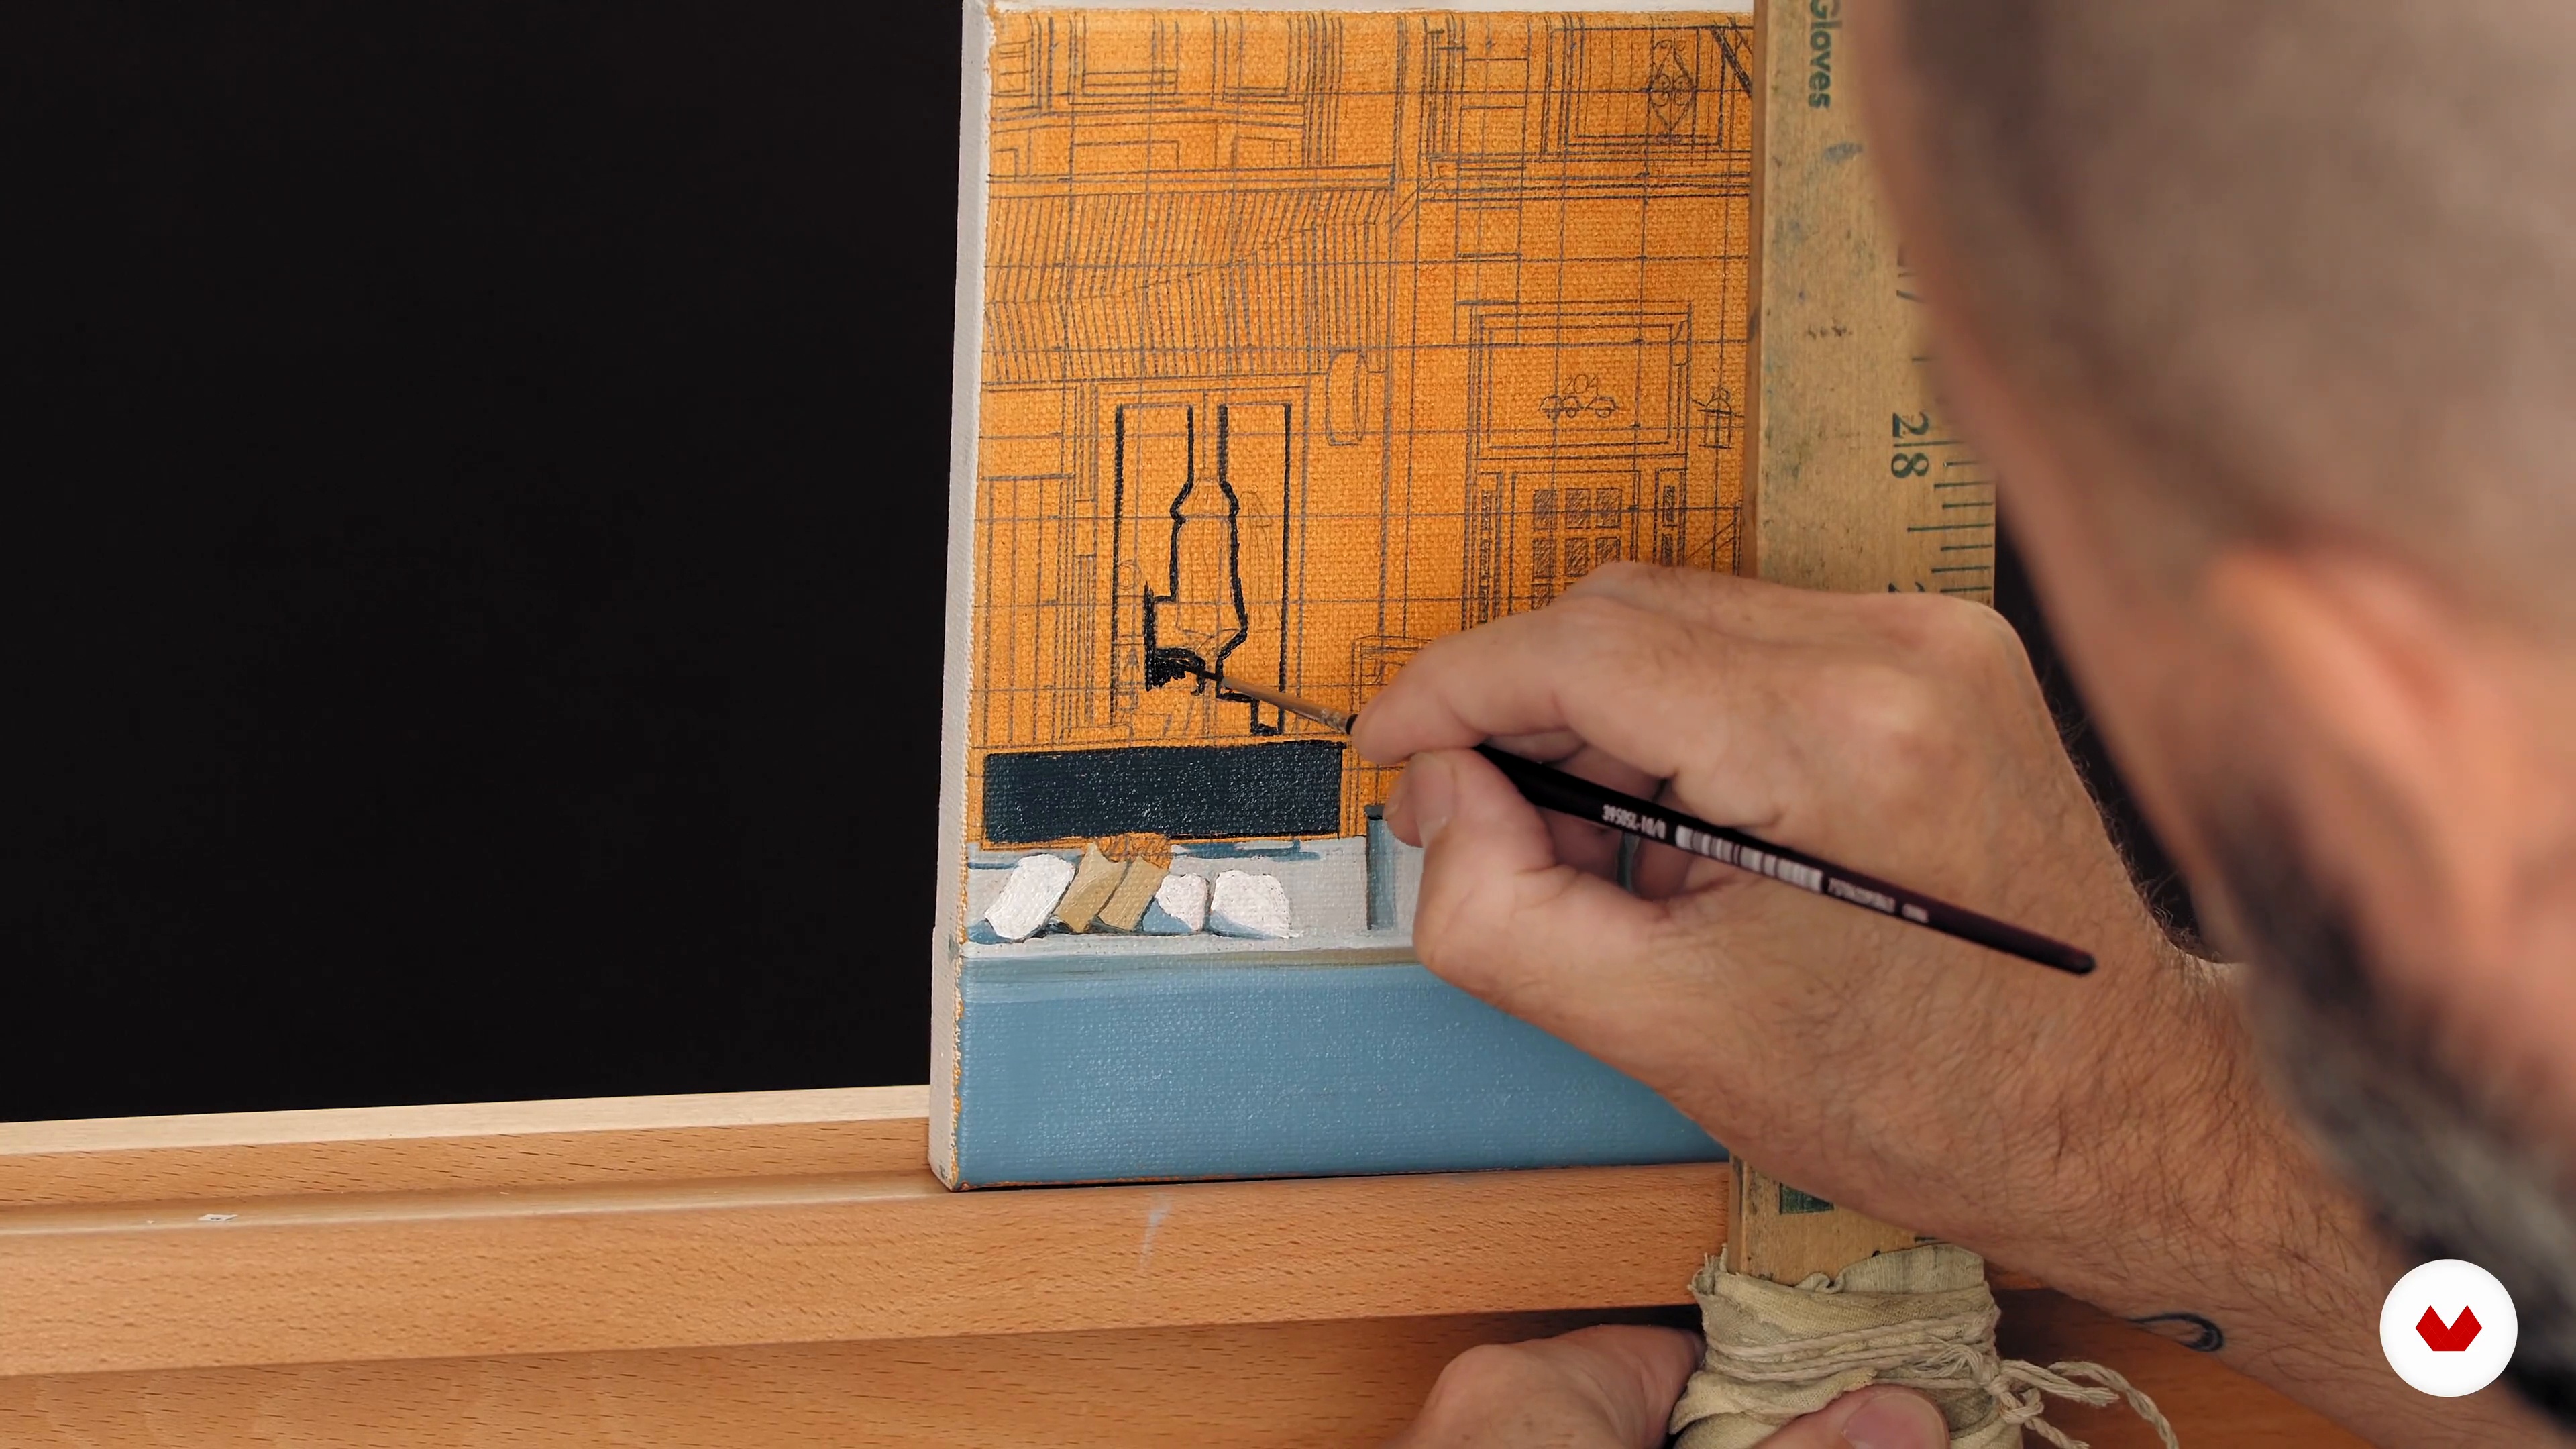
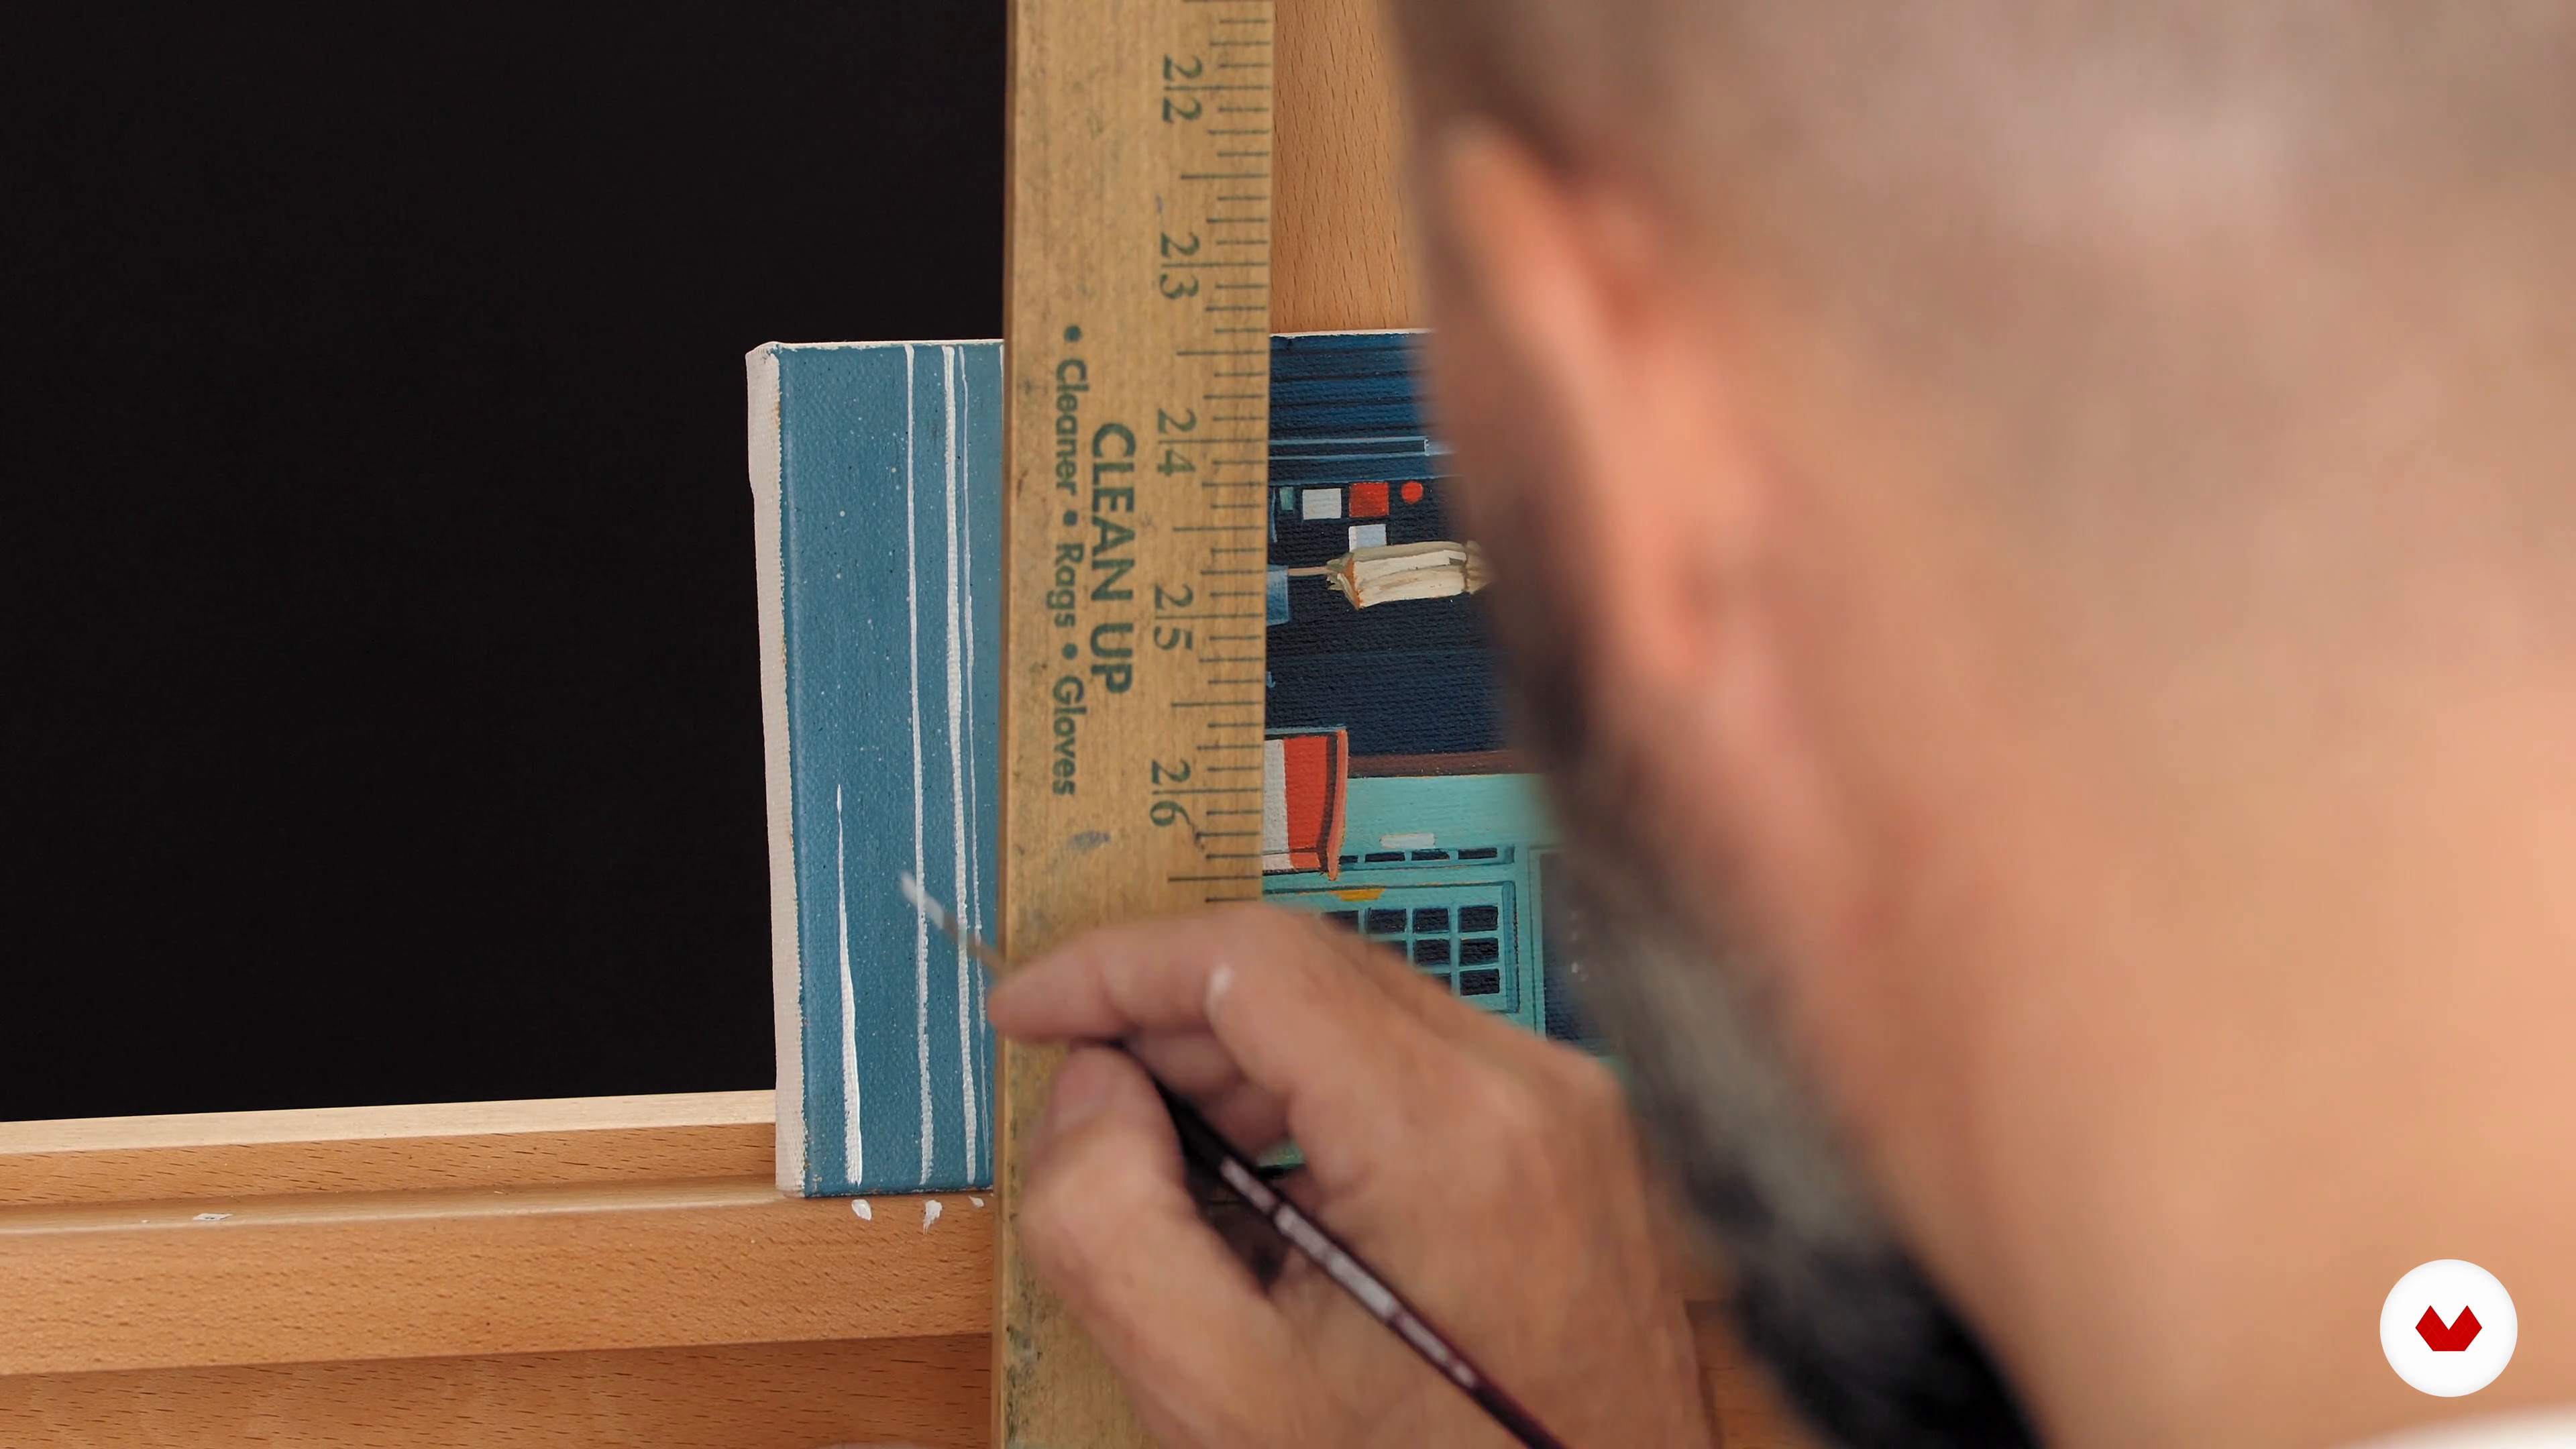
Now I will teach you how to paint straight lines to distinguish what is what. You will see how to use the pointer liner to create fine lines. Remember to be patient, there's no rush!
18m
image
12
Blocking In and Details 5
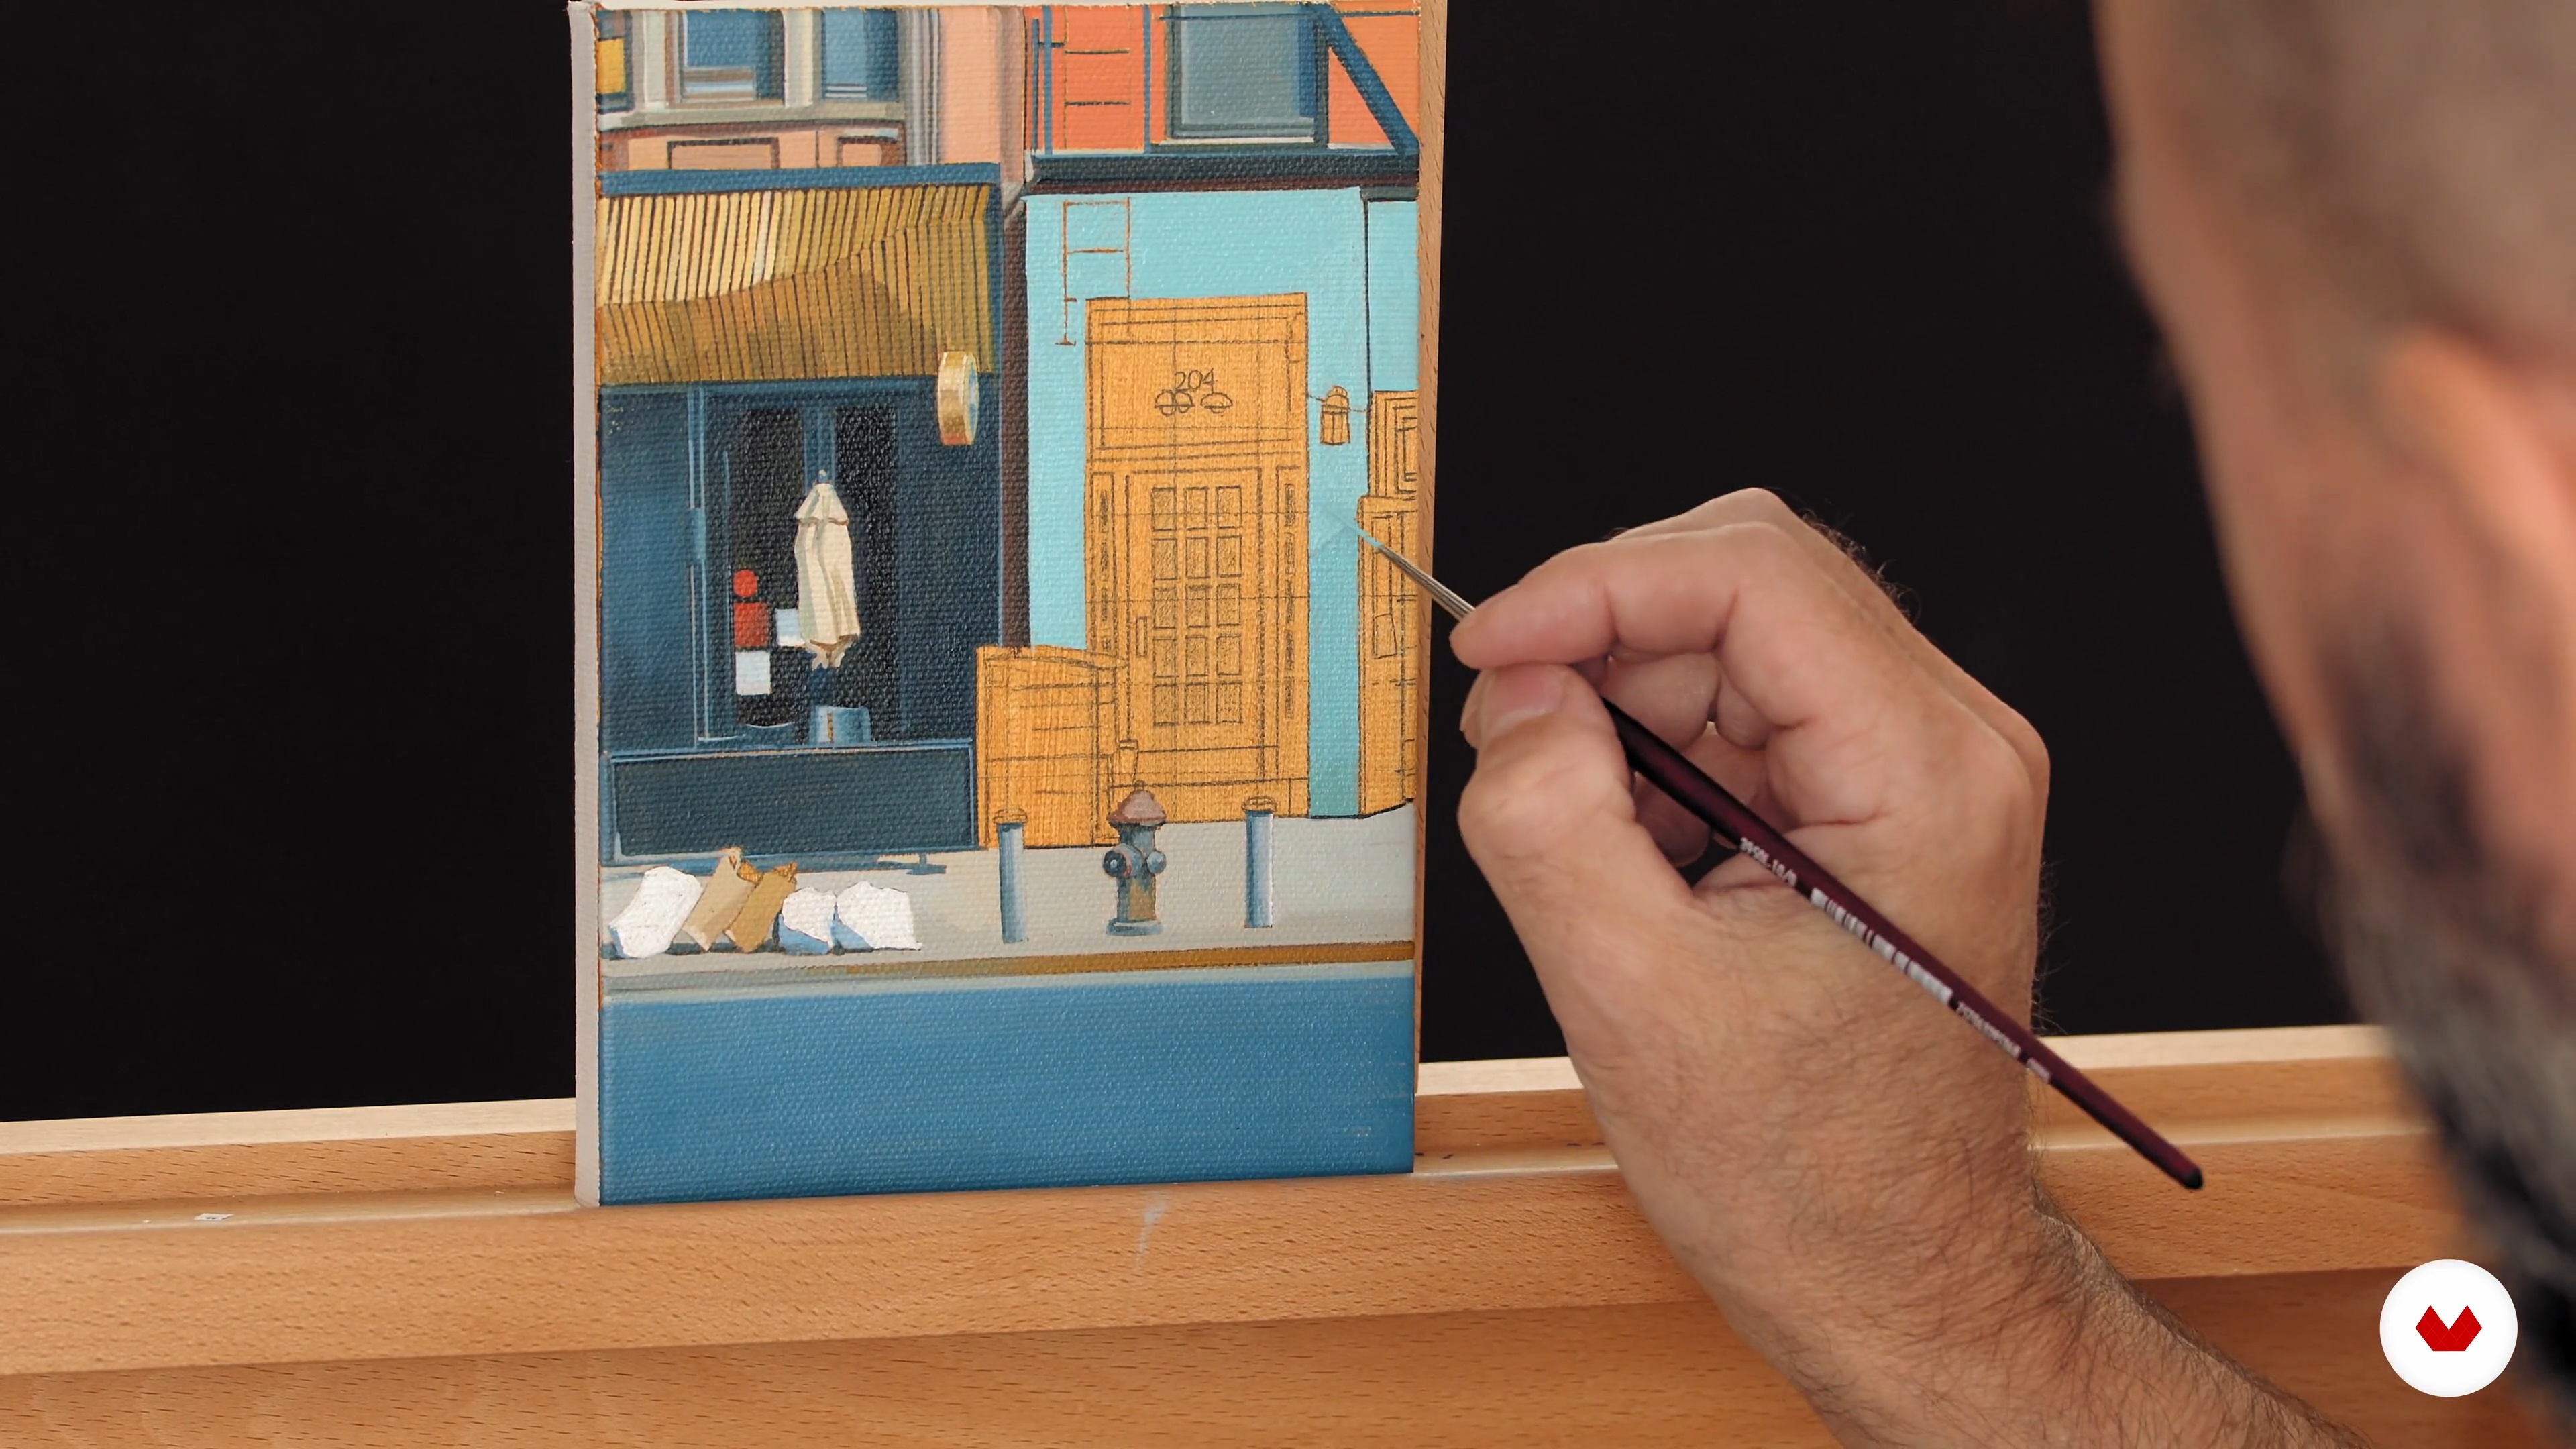
At this stage, you will see how I end the blocking-in stage, and how the painting looks realistic but a little blurry as if you were squinting your eyes. From here, I will teach you to add or sharpen any remaining details as needed.
12m
image
13
Glazing or Layering 1
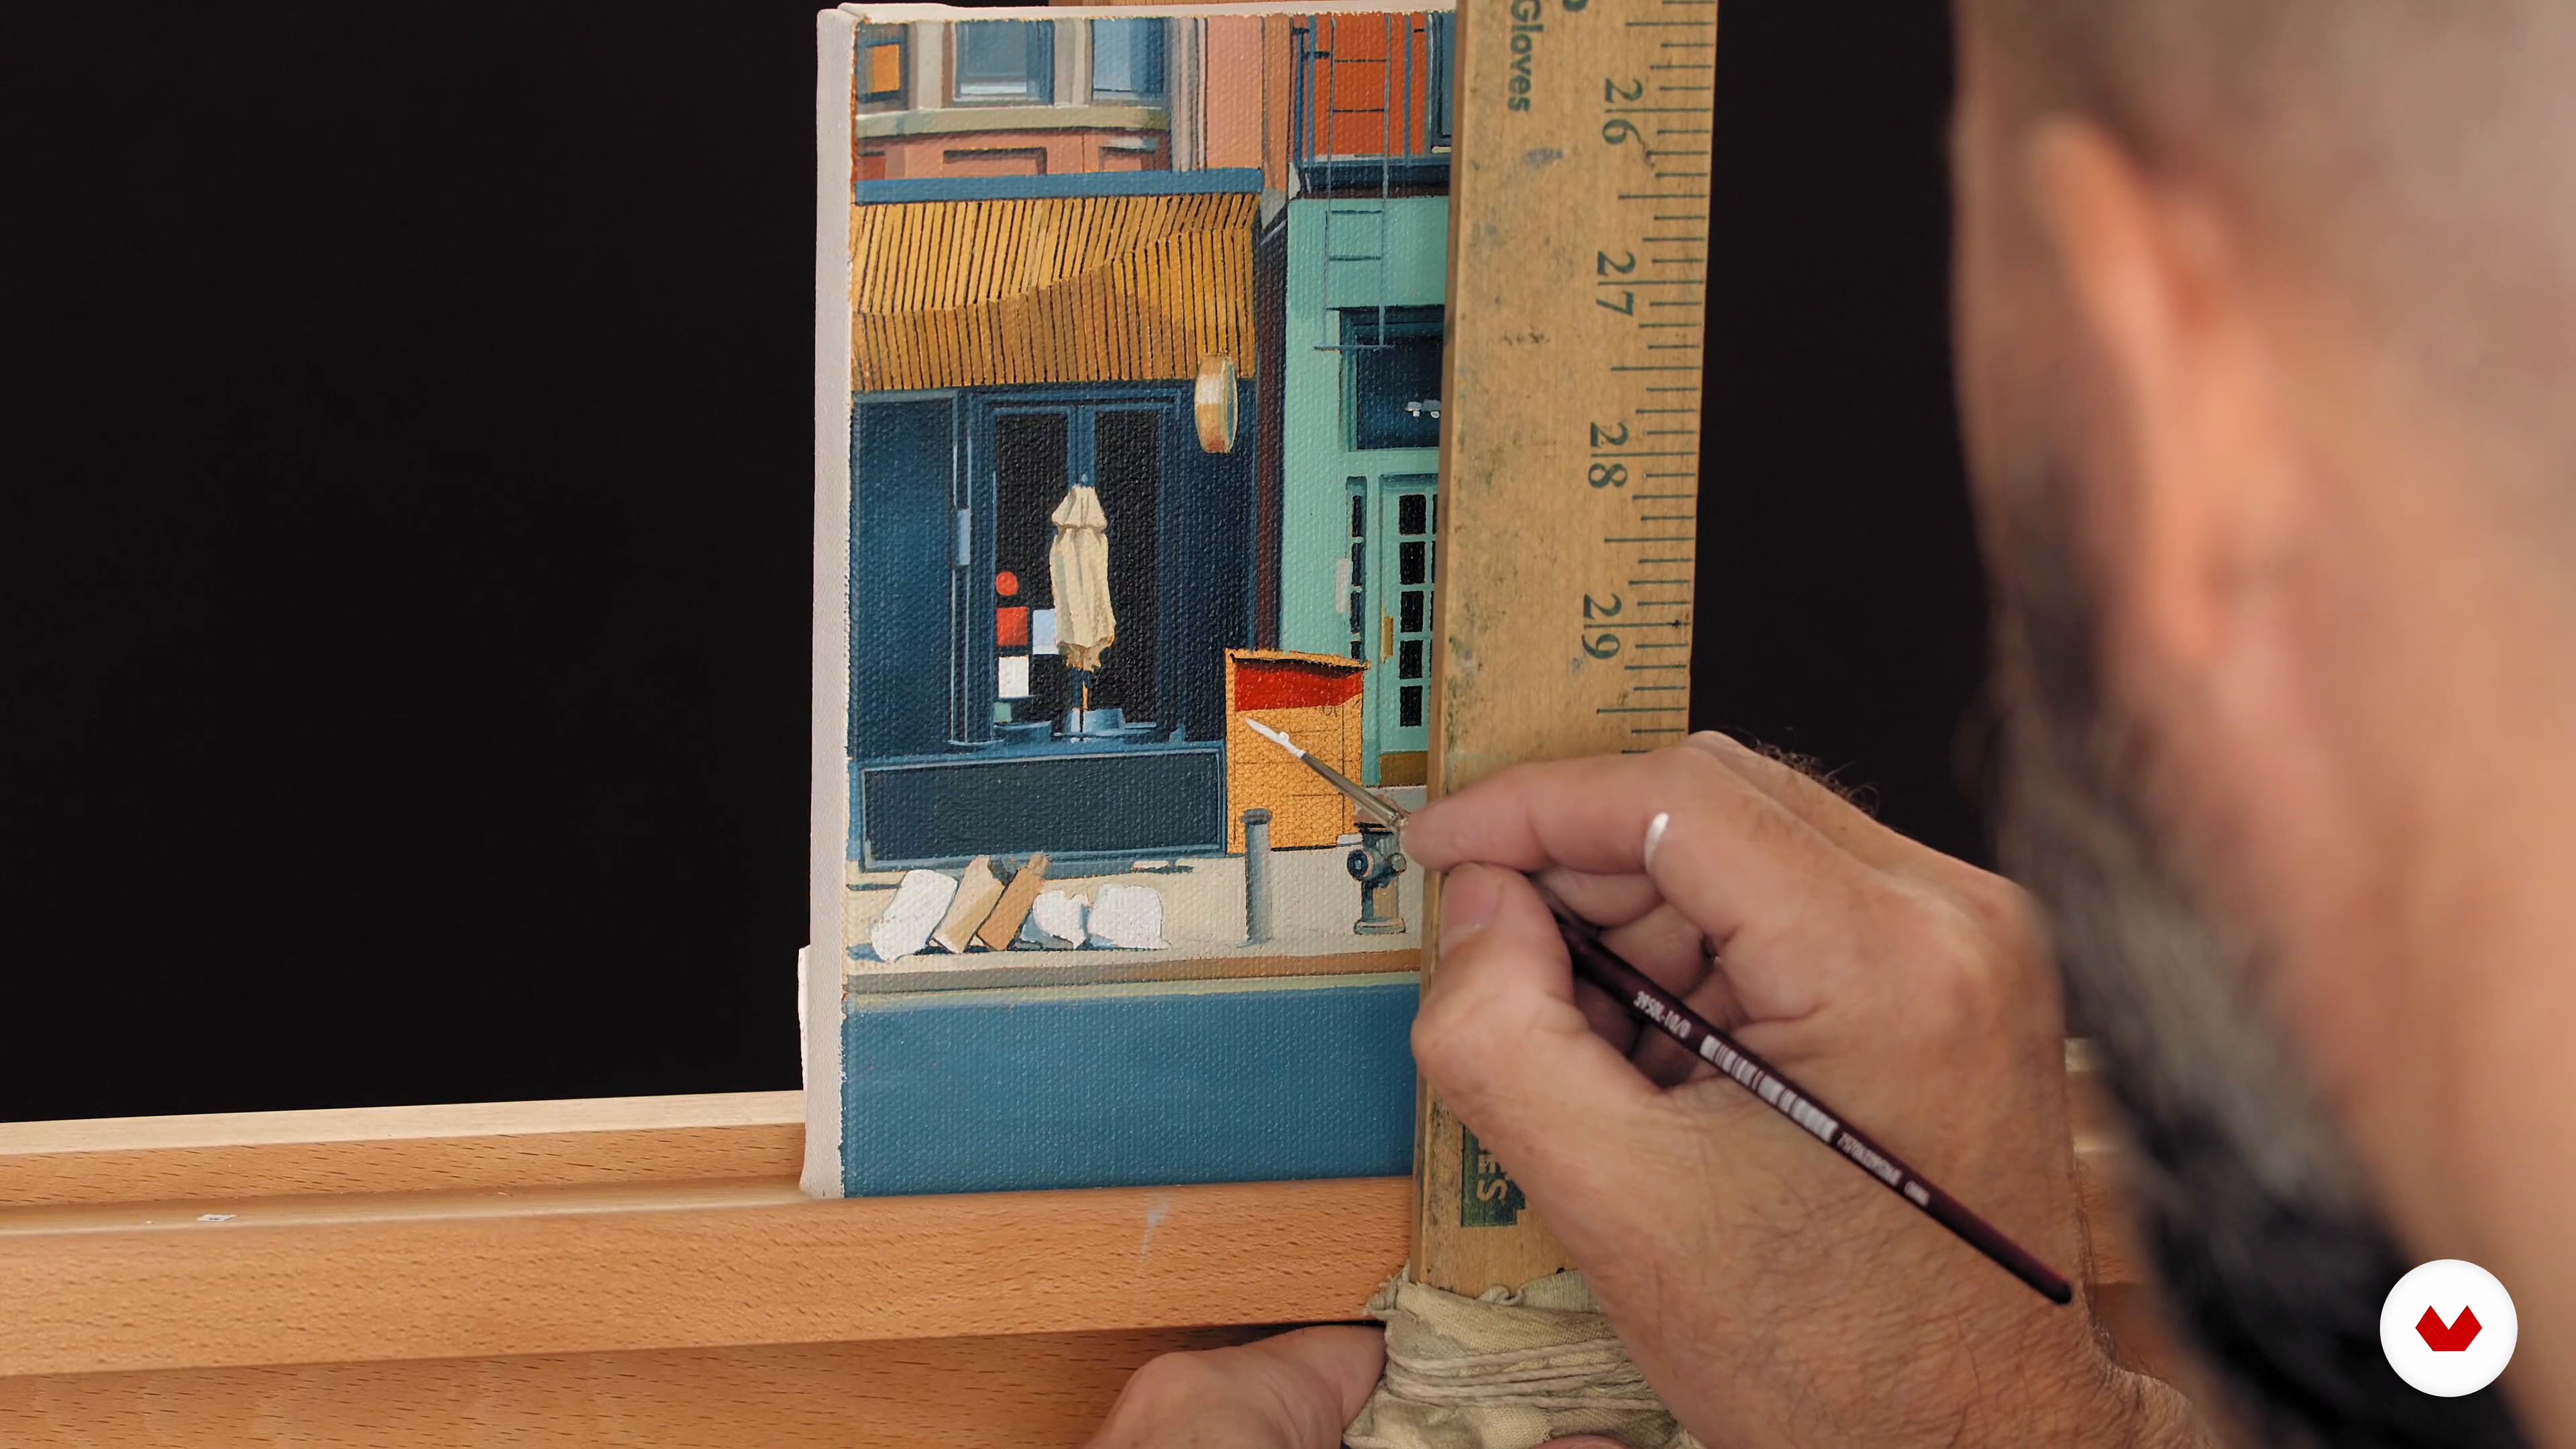
Let's go over the process of glazing the painting. You will see how to cover the definition of “fat over lean” and its benefits to the life of the painting.
13m
image
14
Glazing or Layering 2
During this second part of the lesson, I will show you how and where to apply your glaze.
19m
image
15
Varnish
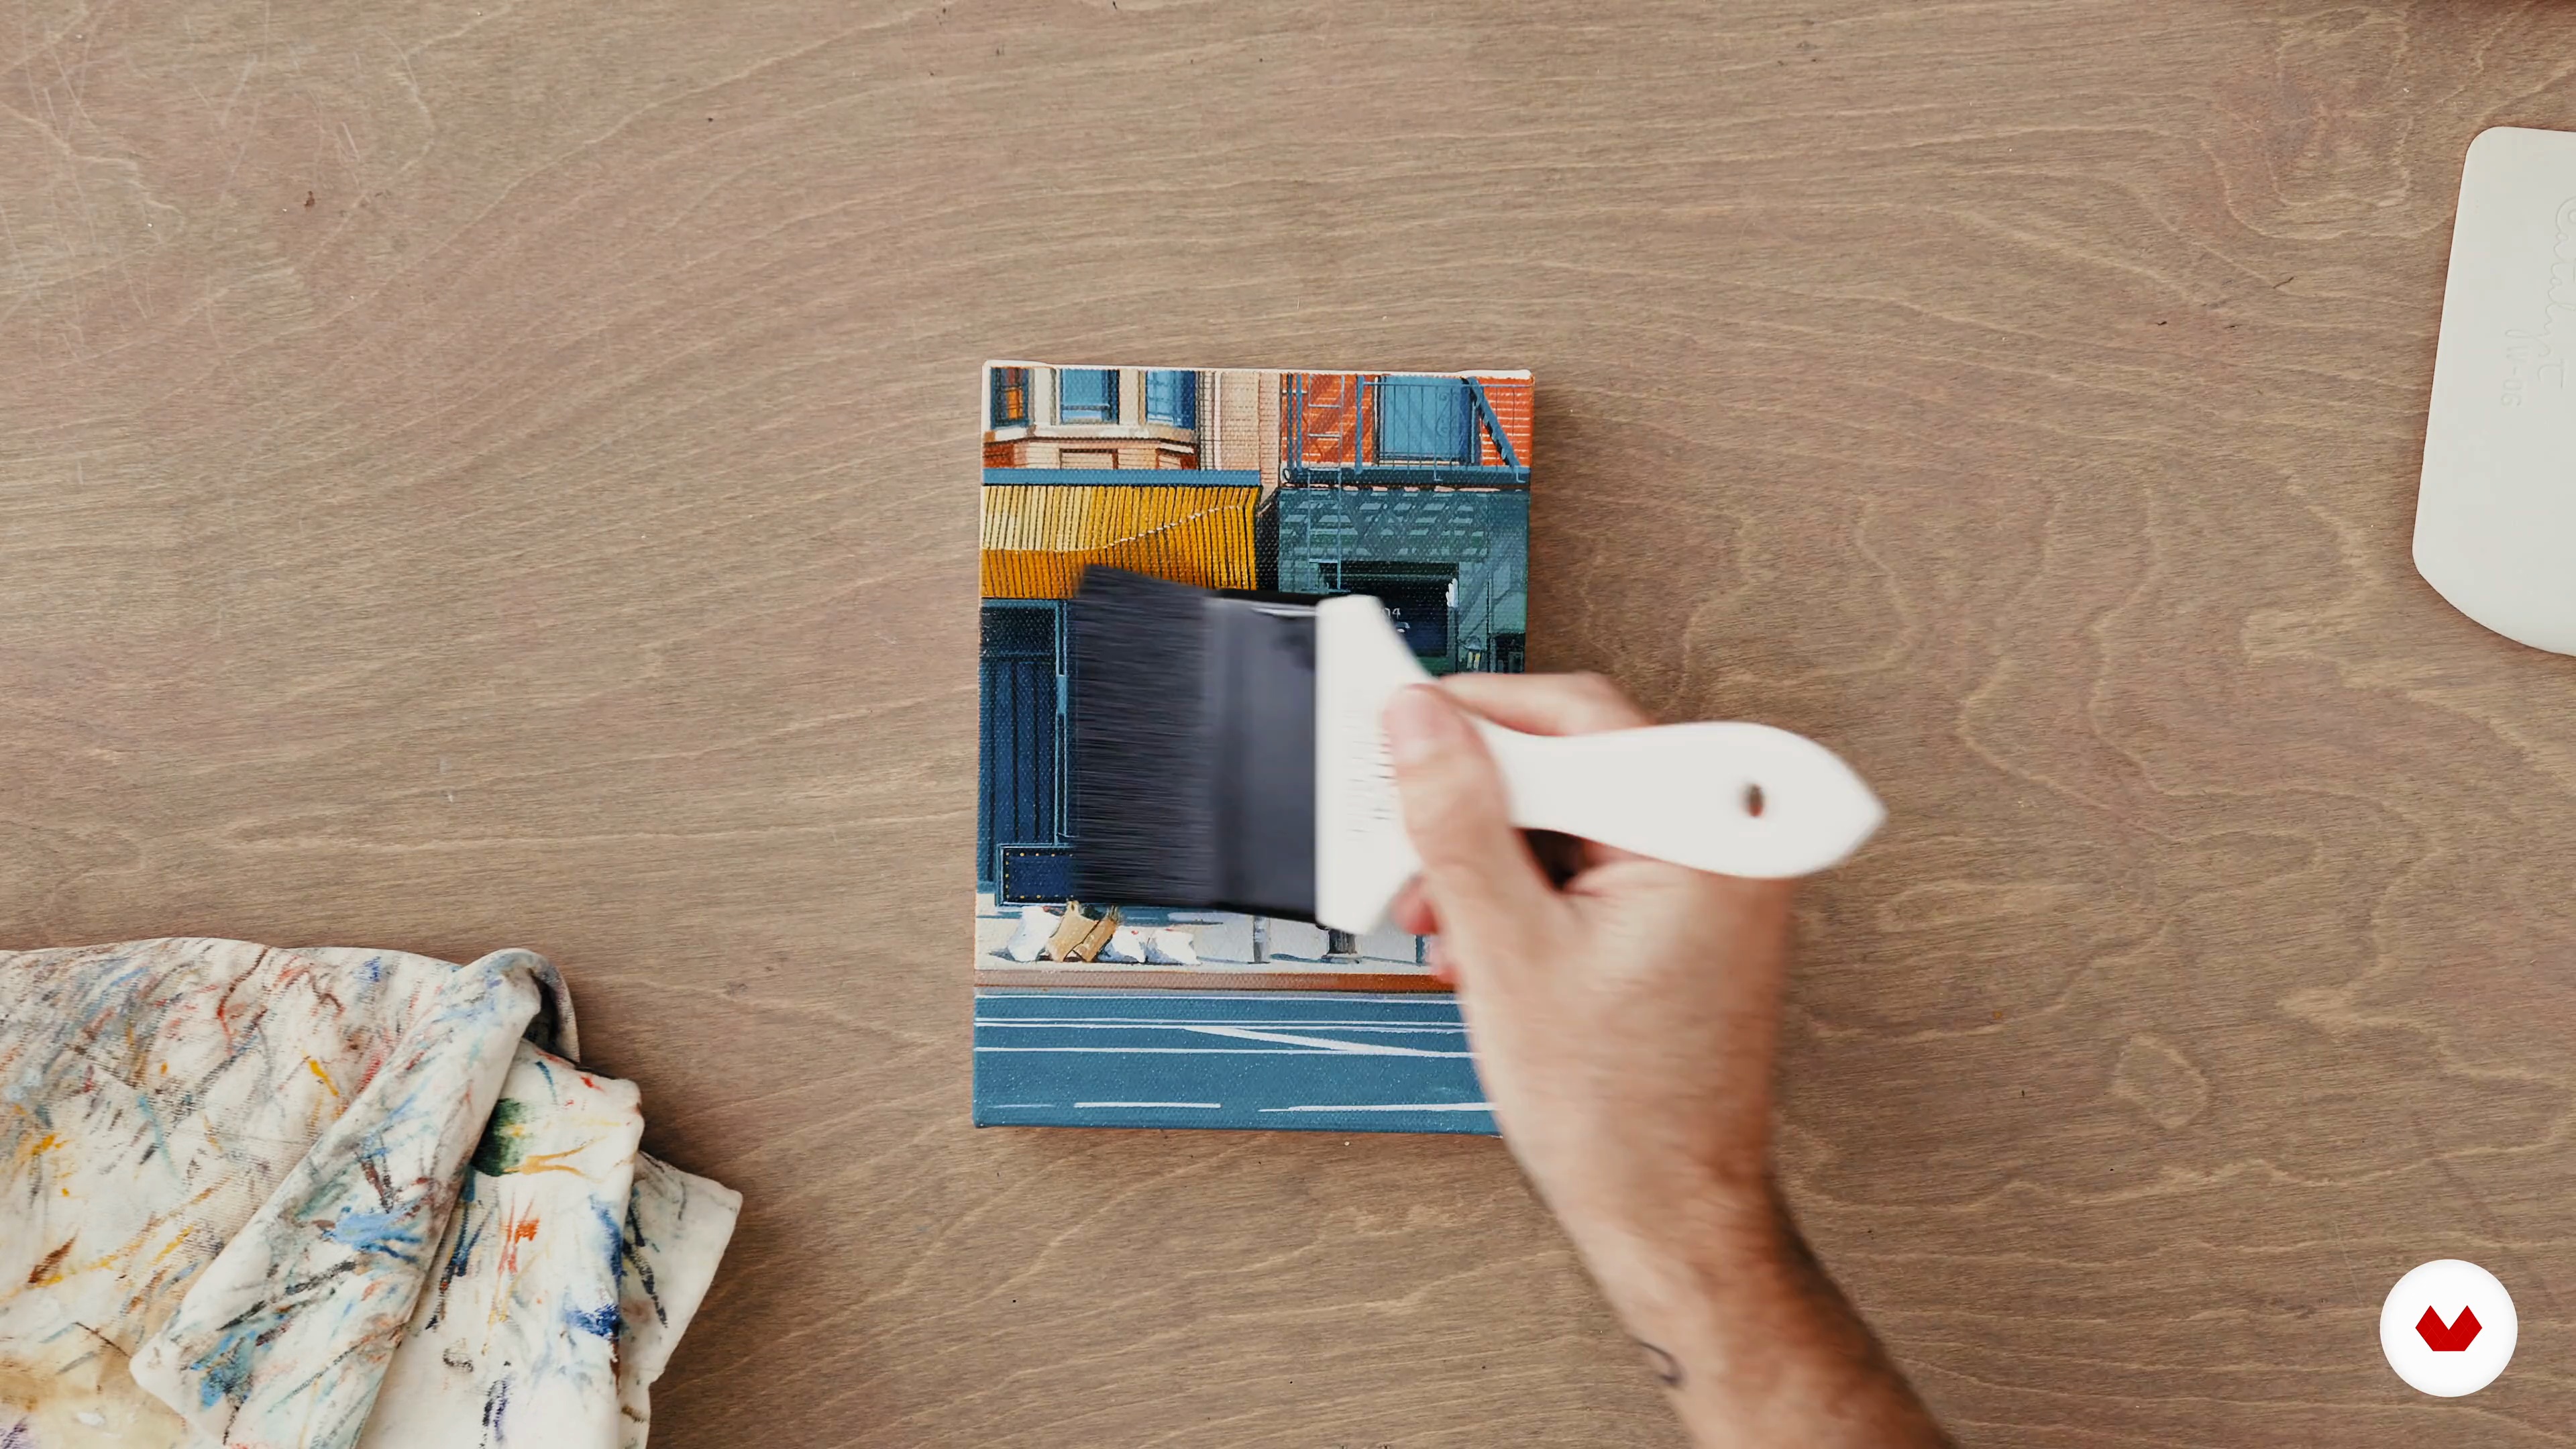
Next, I will talk about the questions regarding varnishing, such as: should you varnish? What are the advantages of varnishing? When should you varnish? What type of varnish you should use? Then, I will go over the varnishing process and application.
10m
image
16
Show Your Work
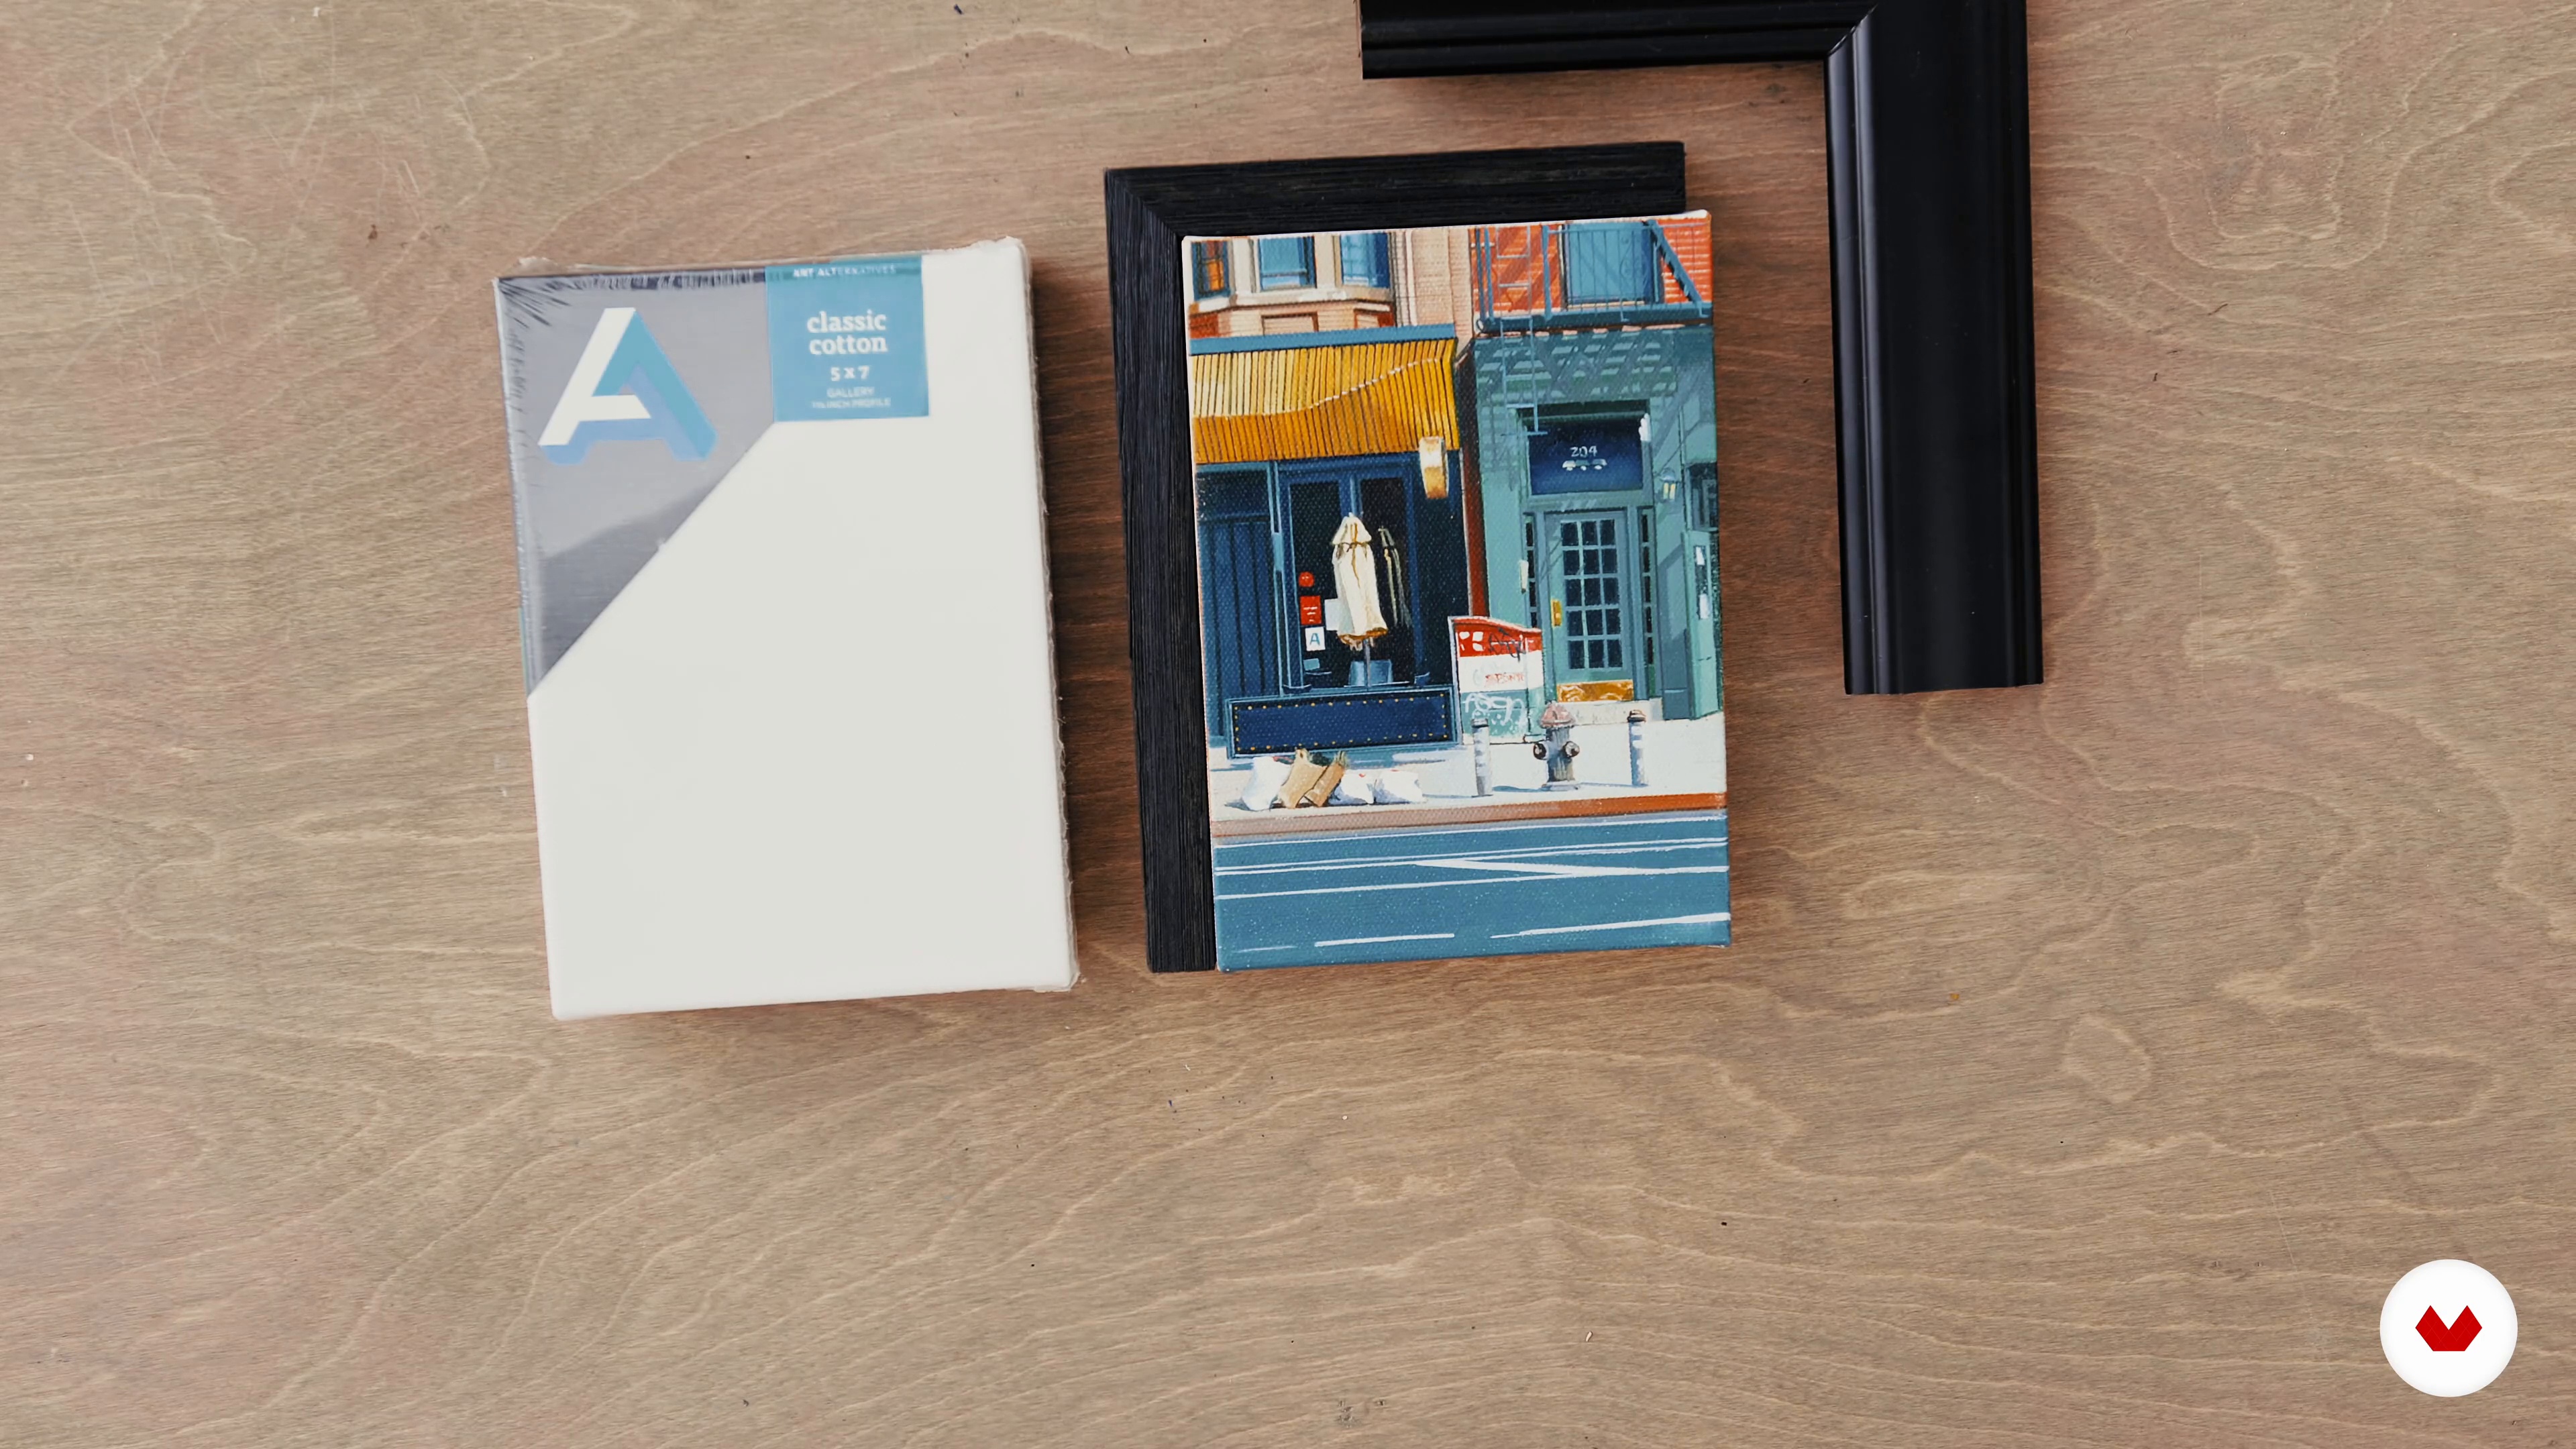
Finally, I will talk about framing options. I will share tips with you to show your work through social media or a gallery setting. I will wrap up with what to do at an opening and what to wear.
7m
image
1
Materials
In this lesson, I will introduce all the materials needed for the course to set you up for the painting process. I will run through their properties and why I like to use them.
5m
image
2
Basic Head Structure and Lighting
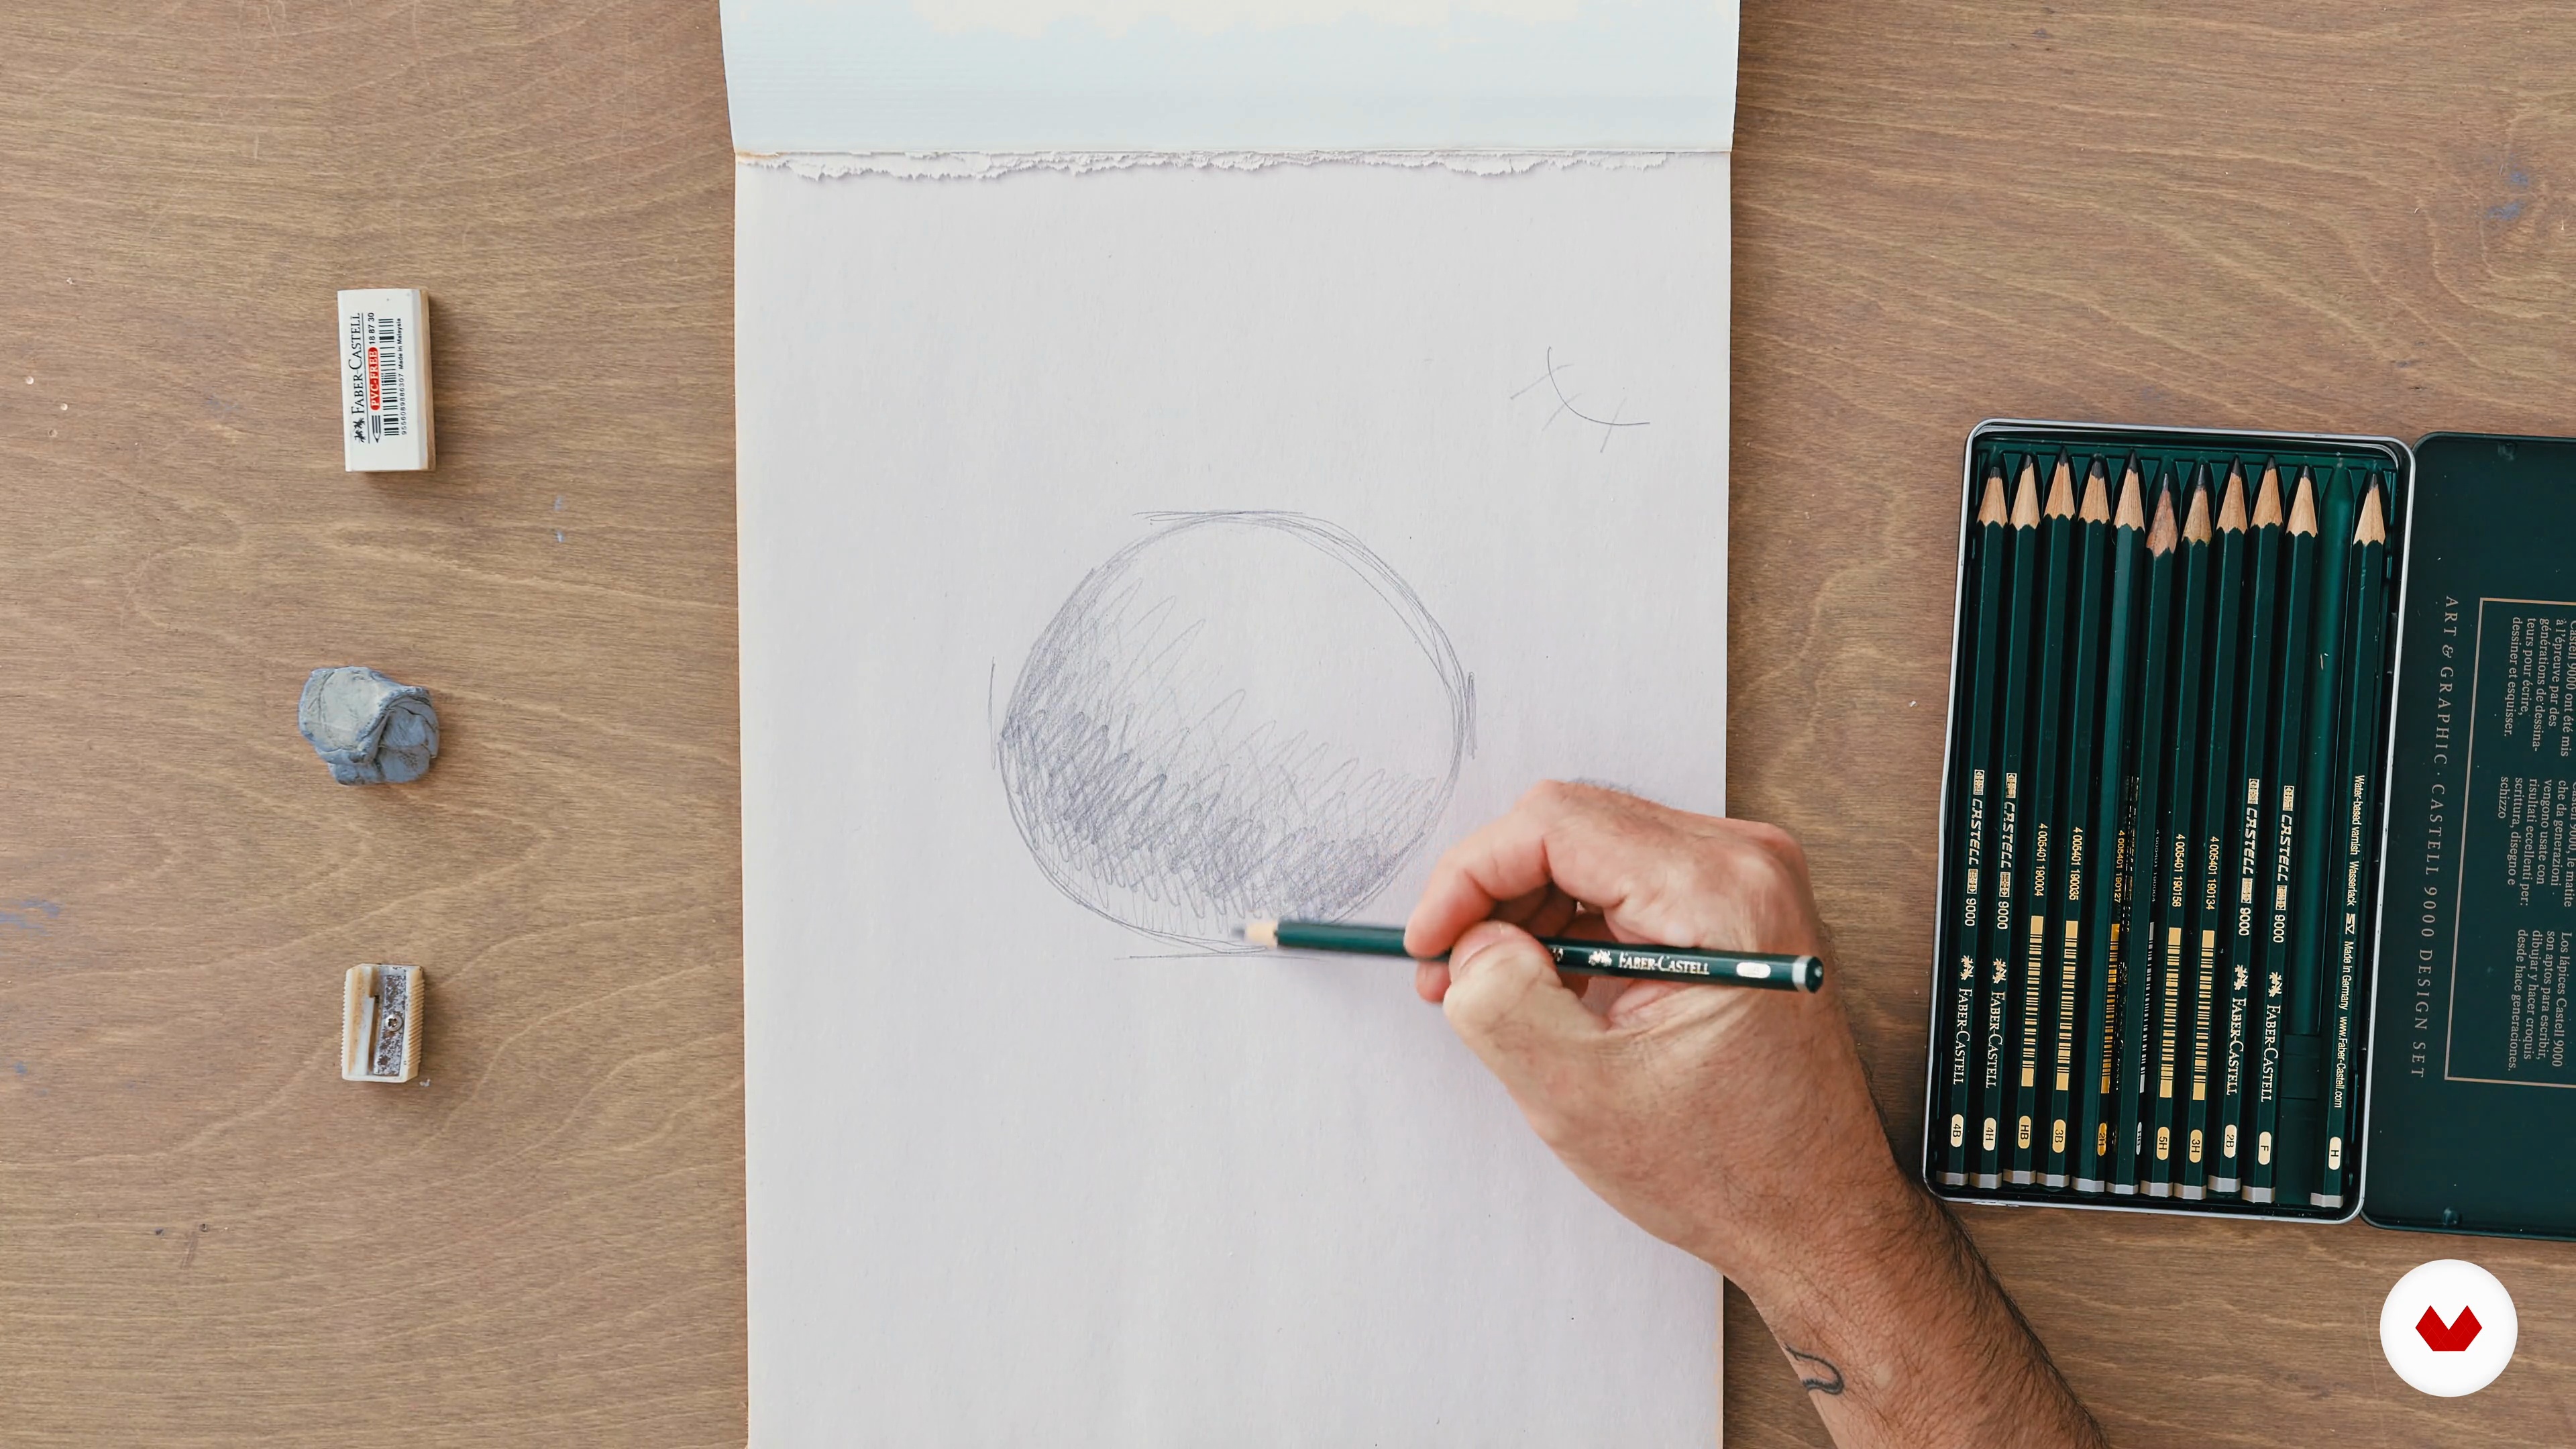
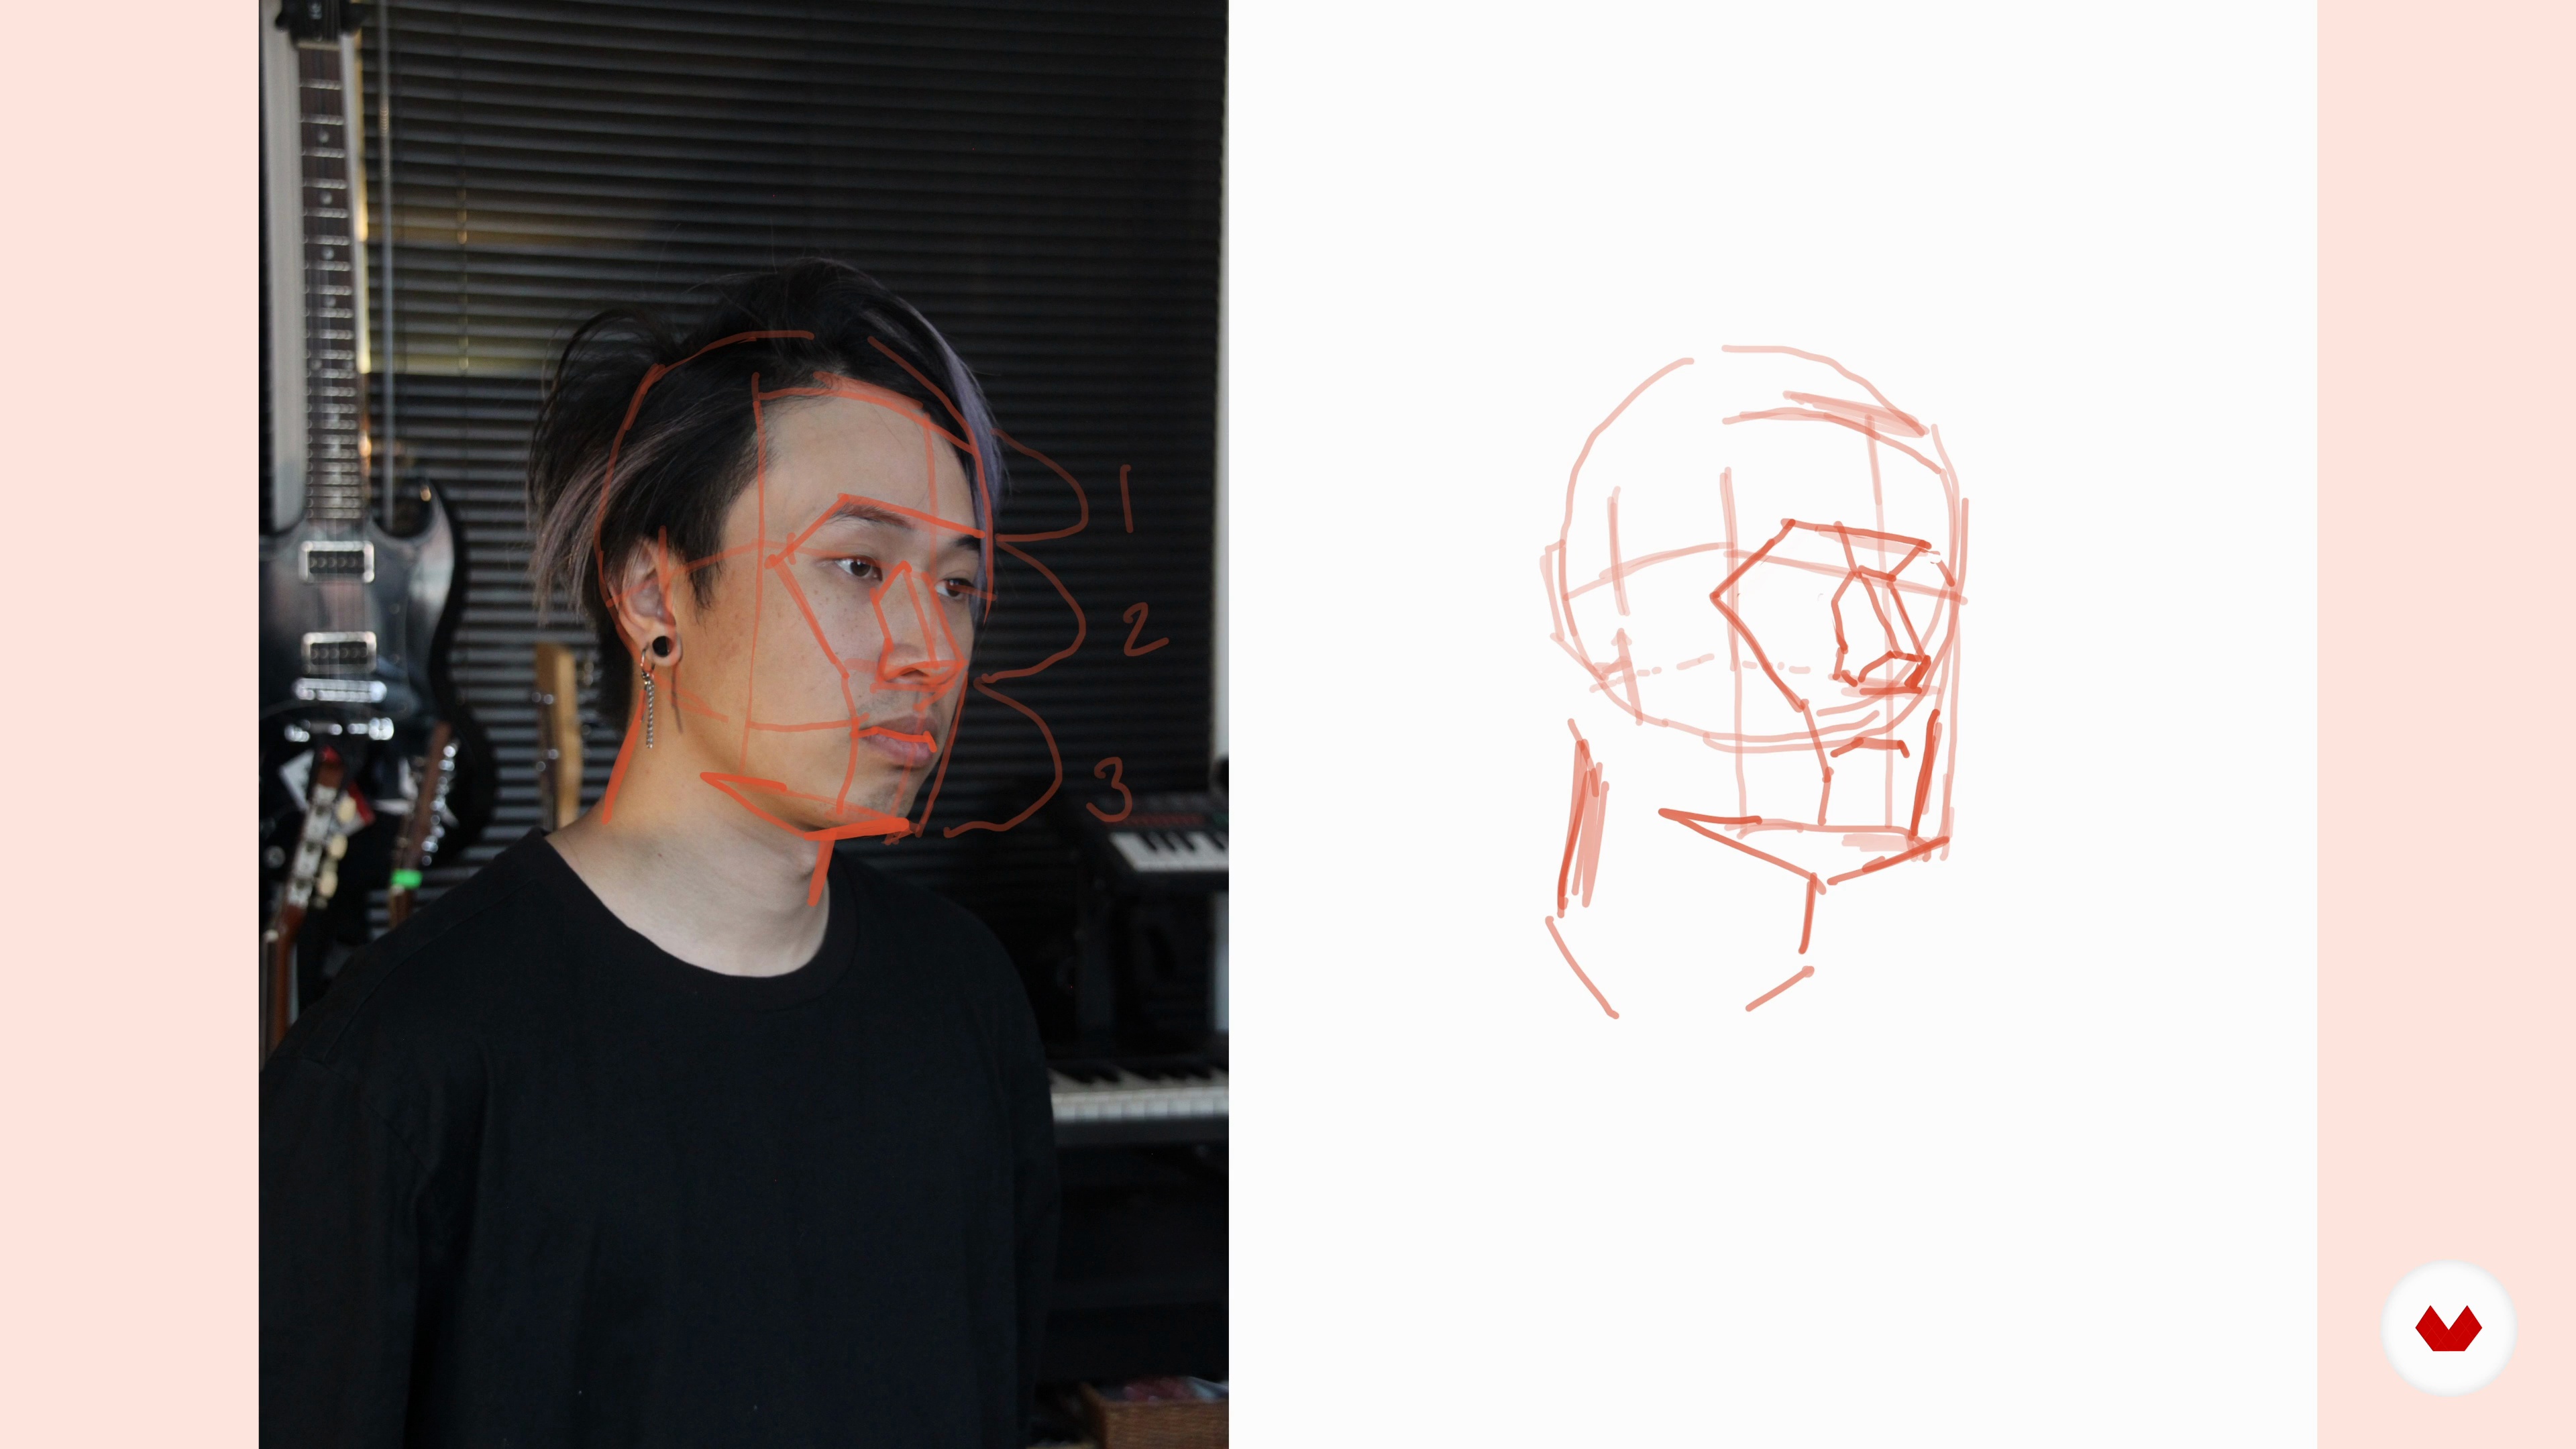
Once you have your workspace set up, it's time to get drawing! In this lesson, you will learn how to replicate the general head structure and see how lighting affects it.
4m
image
3
Gestures in Portraiture
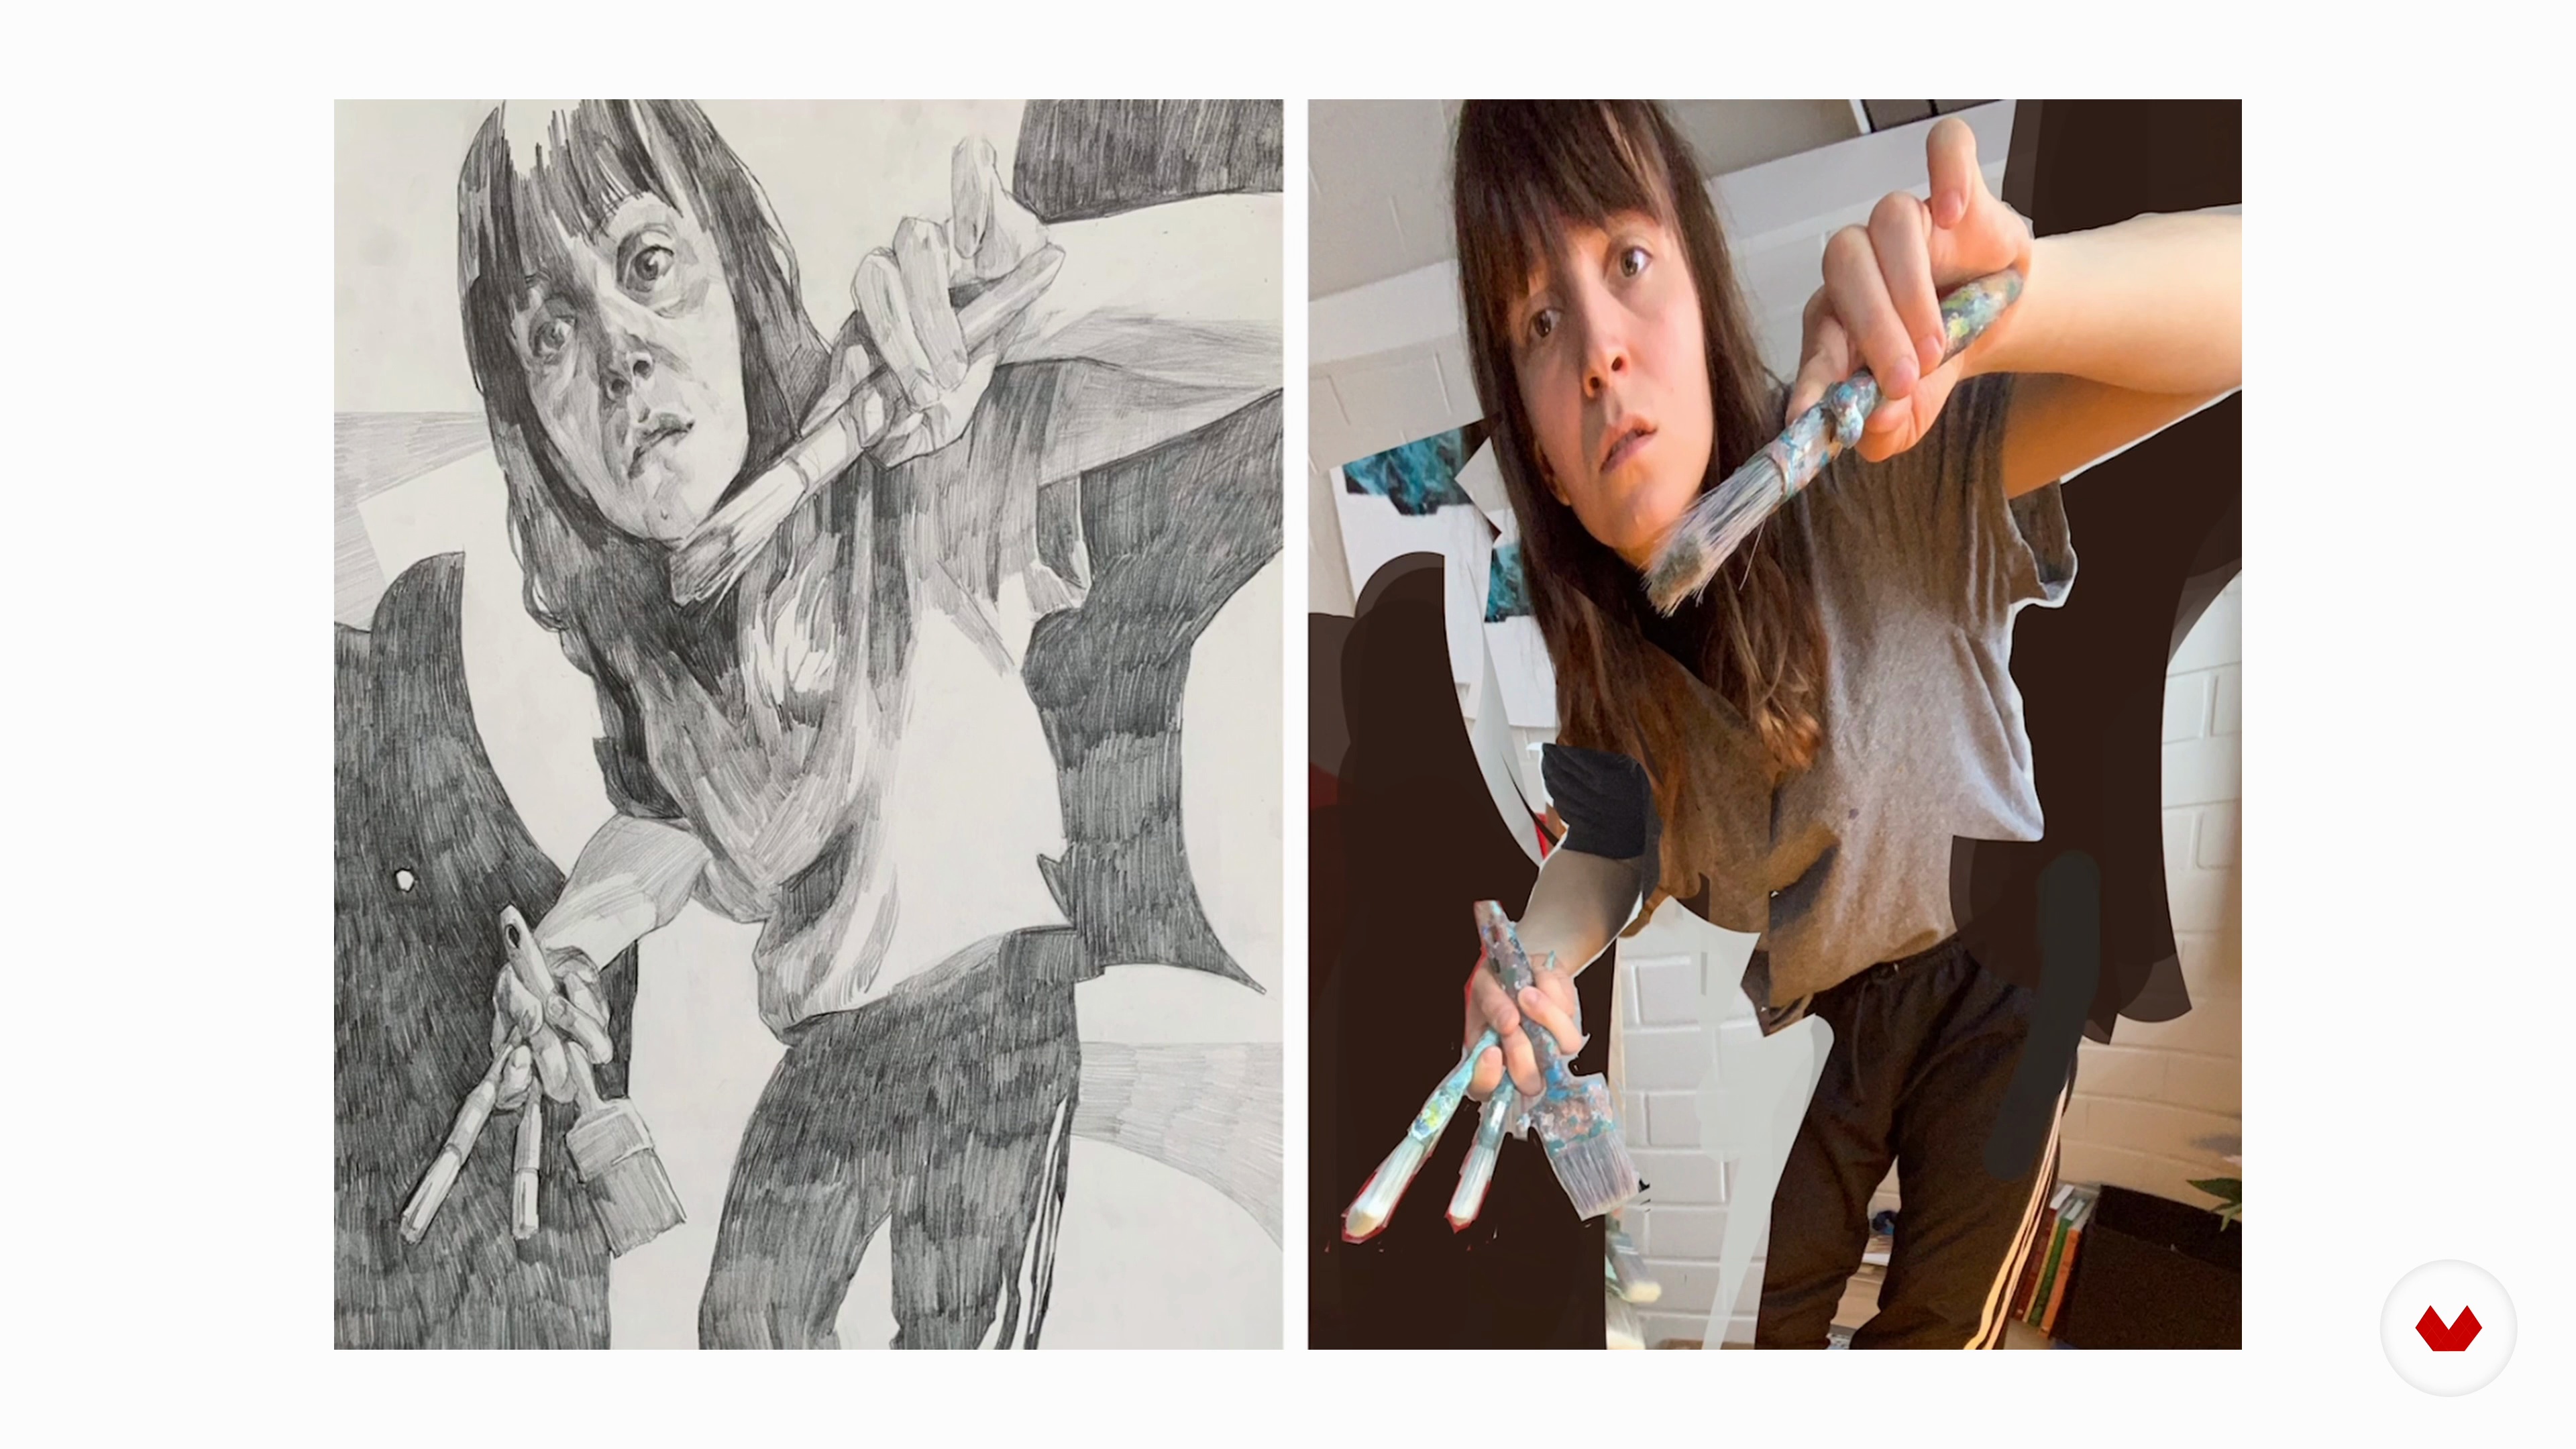
Next, I will show you how to create a unique composition by altering your reference photo. For this purpose, I will be using Procreate.
9m
image
4
Color Theory
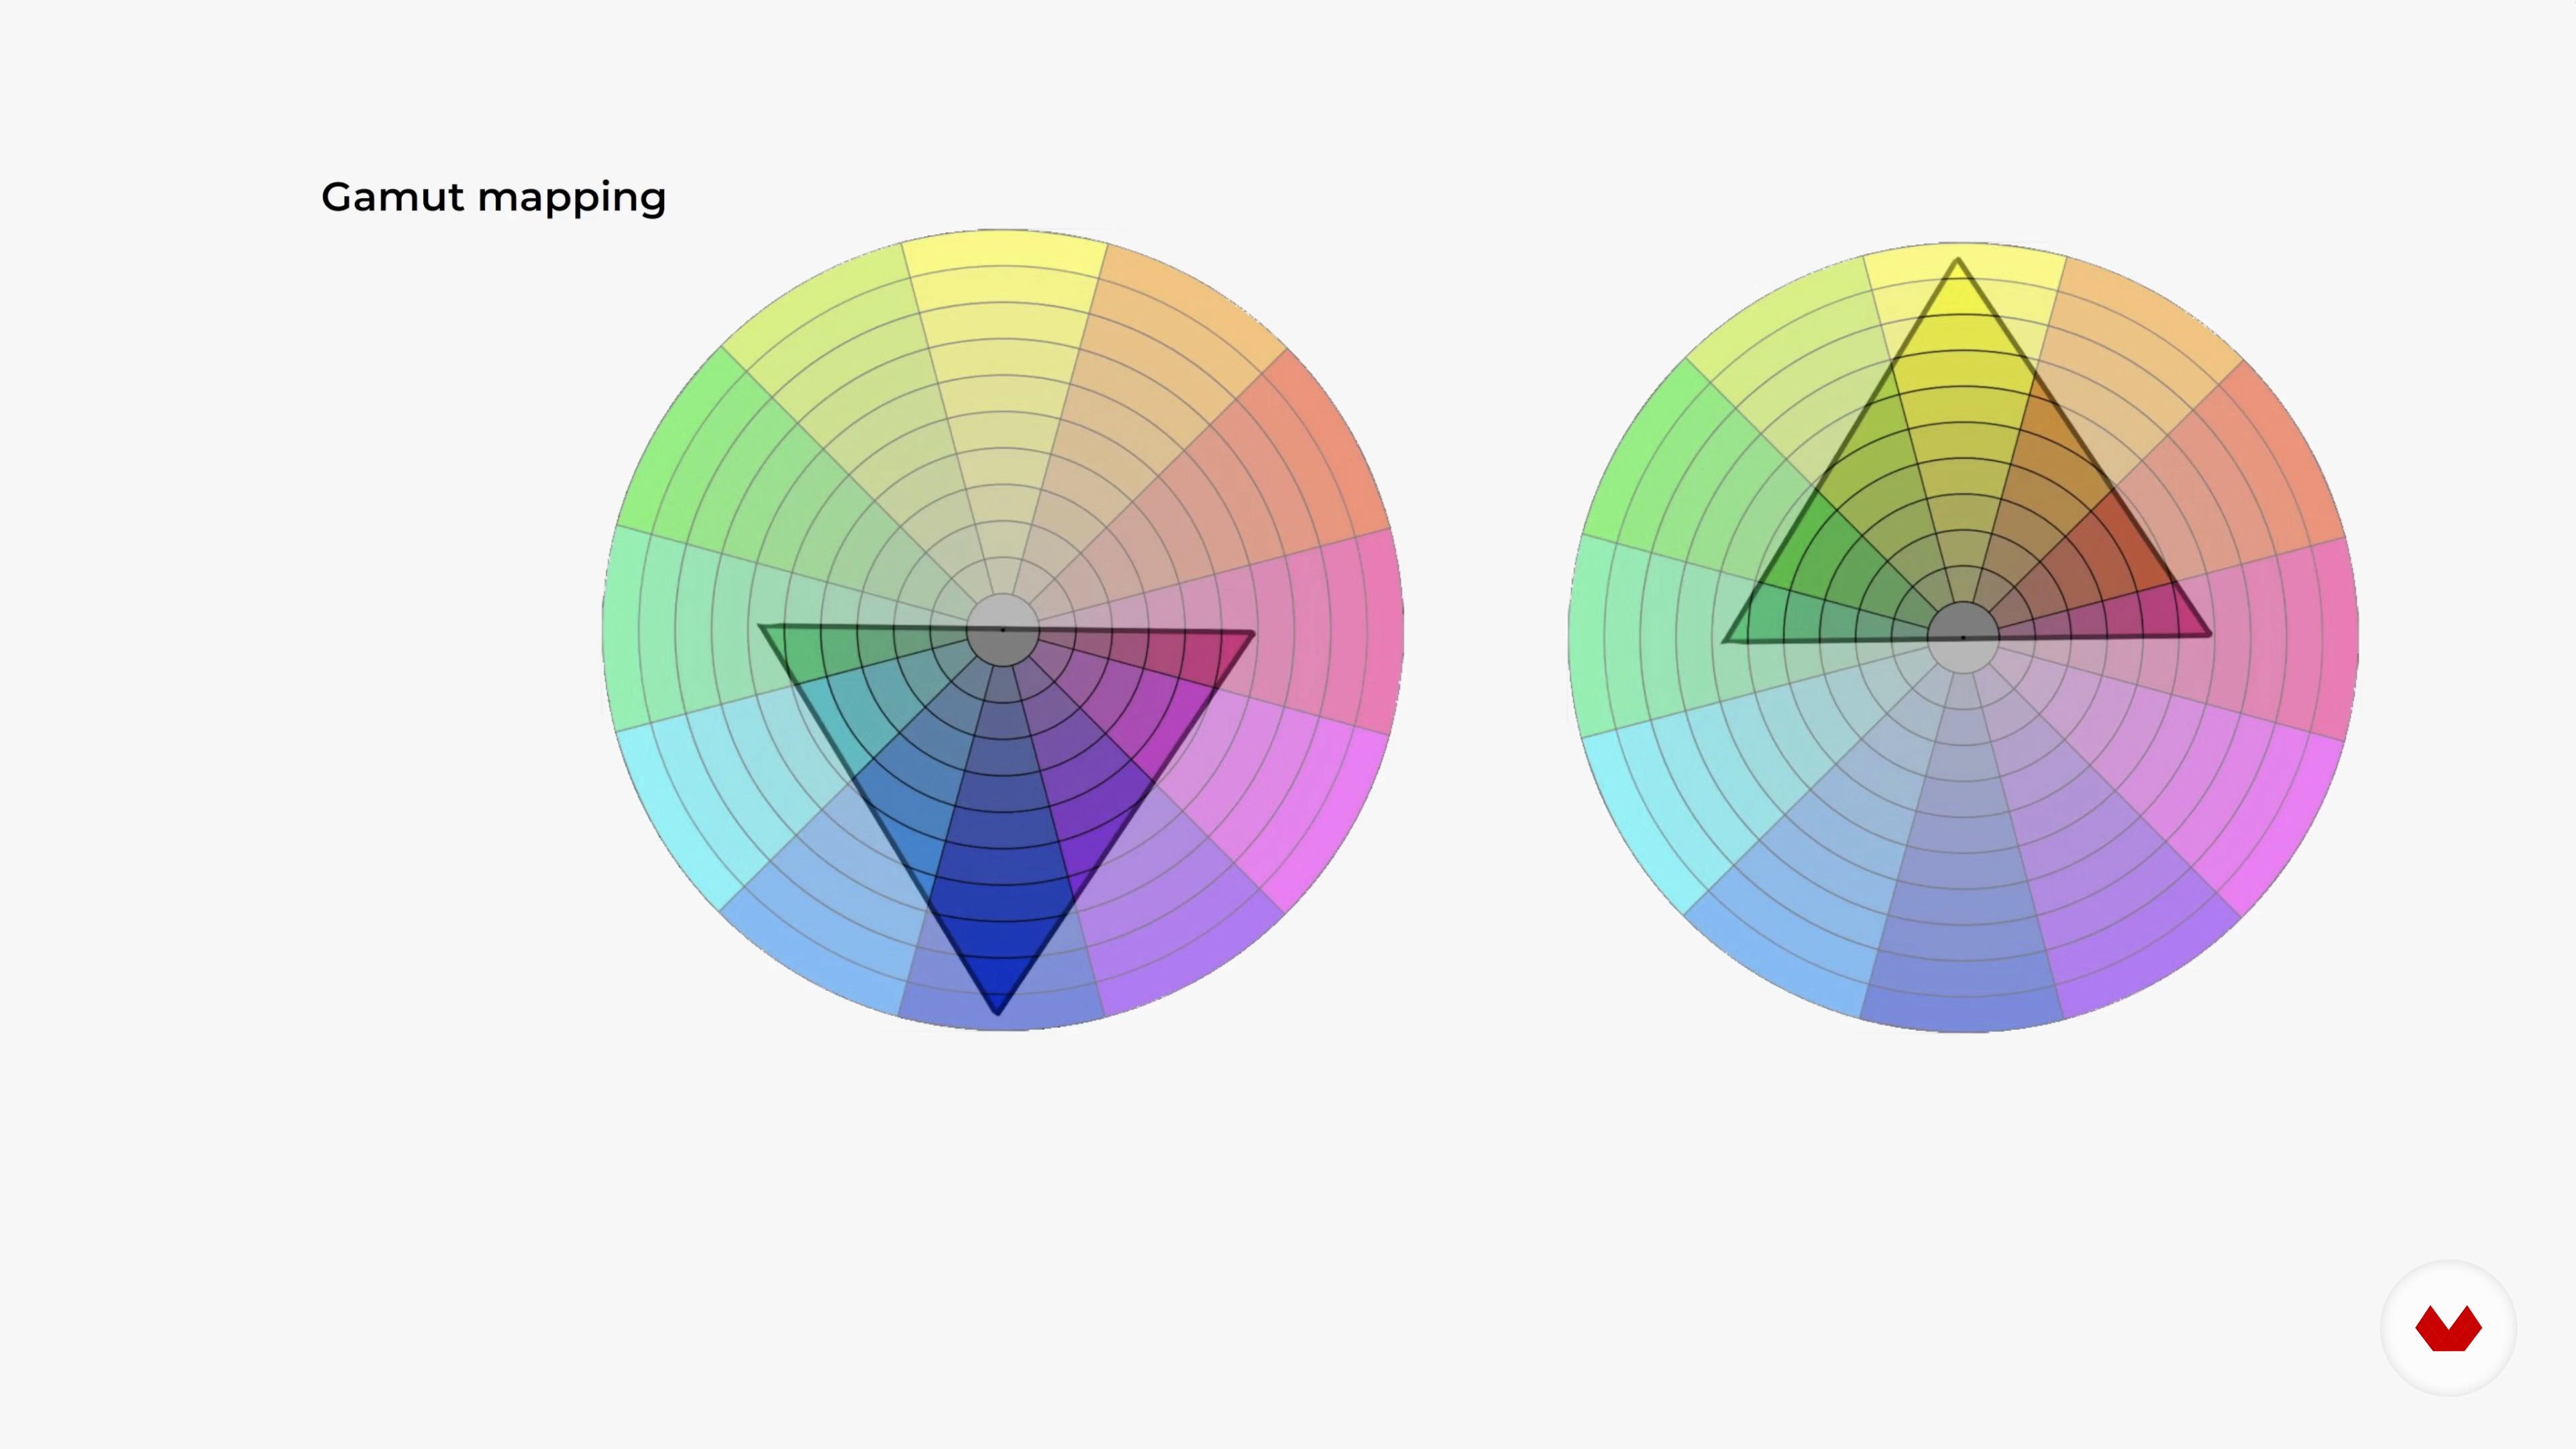
Color is a powerful tool that will affect how your painting is received by the viewer. But how can you harness its power? In this lesson, I will teach you about color theory.
10m
image
5
Breaking the Stillness 1
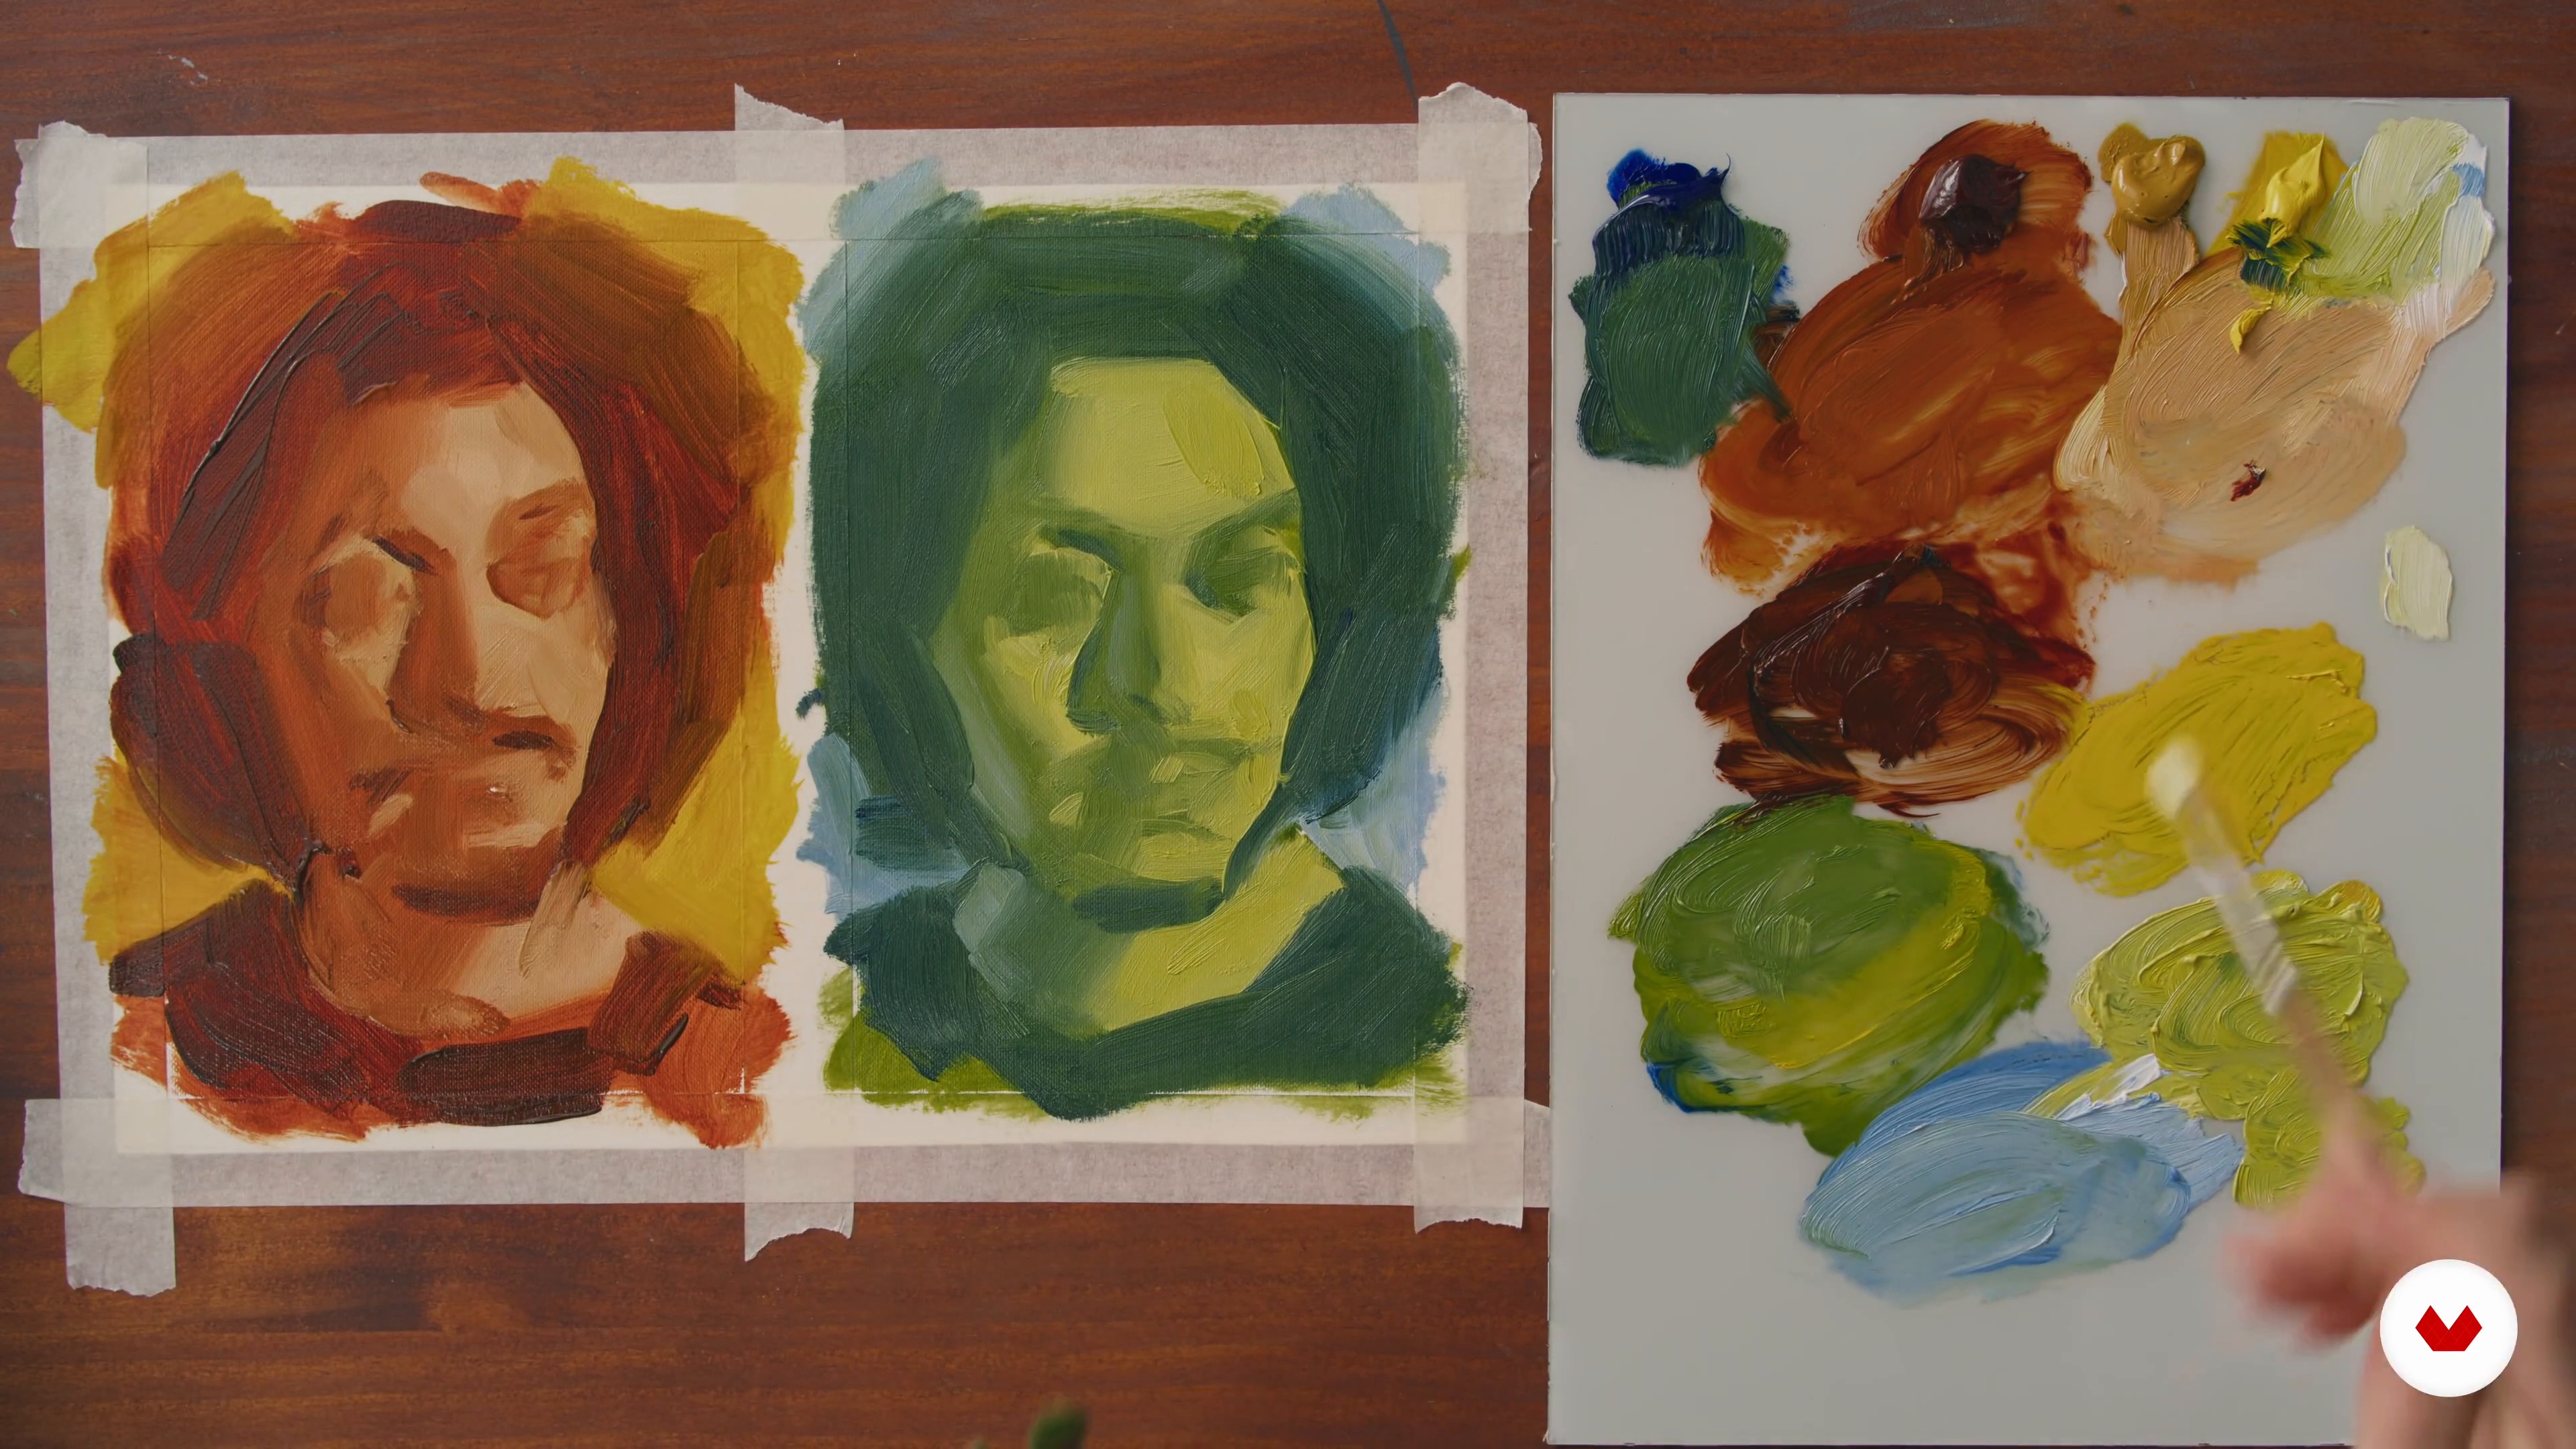
Let's put your painting skills into action! I will walk you through some exercises to do this. I will show you how to interpret the same reference image in different ways to flex your creative muscle.
20m
image
6
Breaking the Stillness 2
I will now reinterpret the same reference image but with a more abstract color scheme. Because the first painting used warmer tones, I will experiment with a cooler palette.
18m
image
7
First Sketch
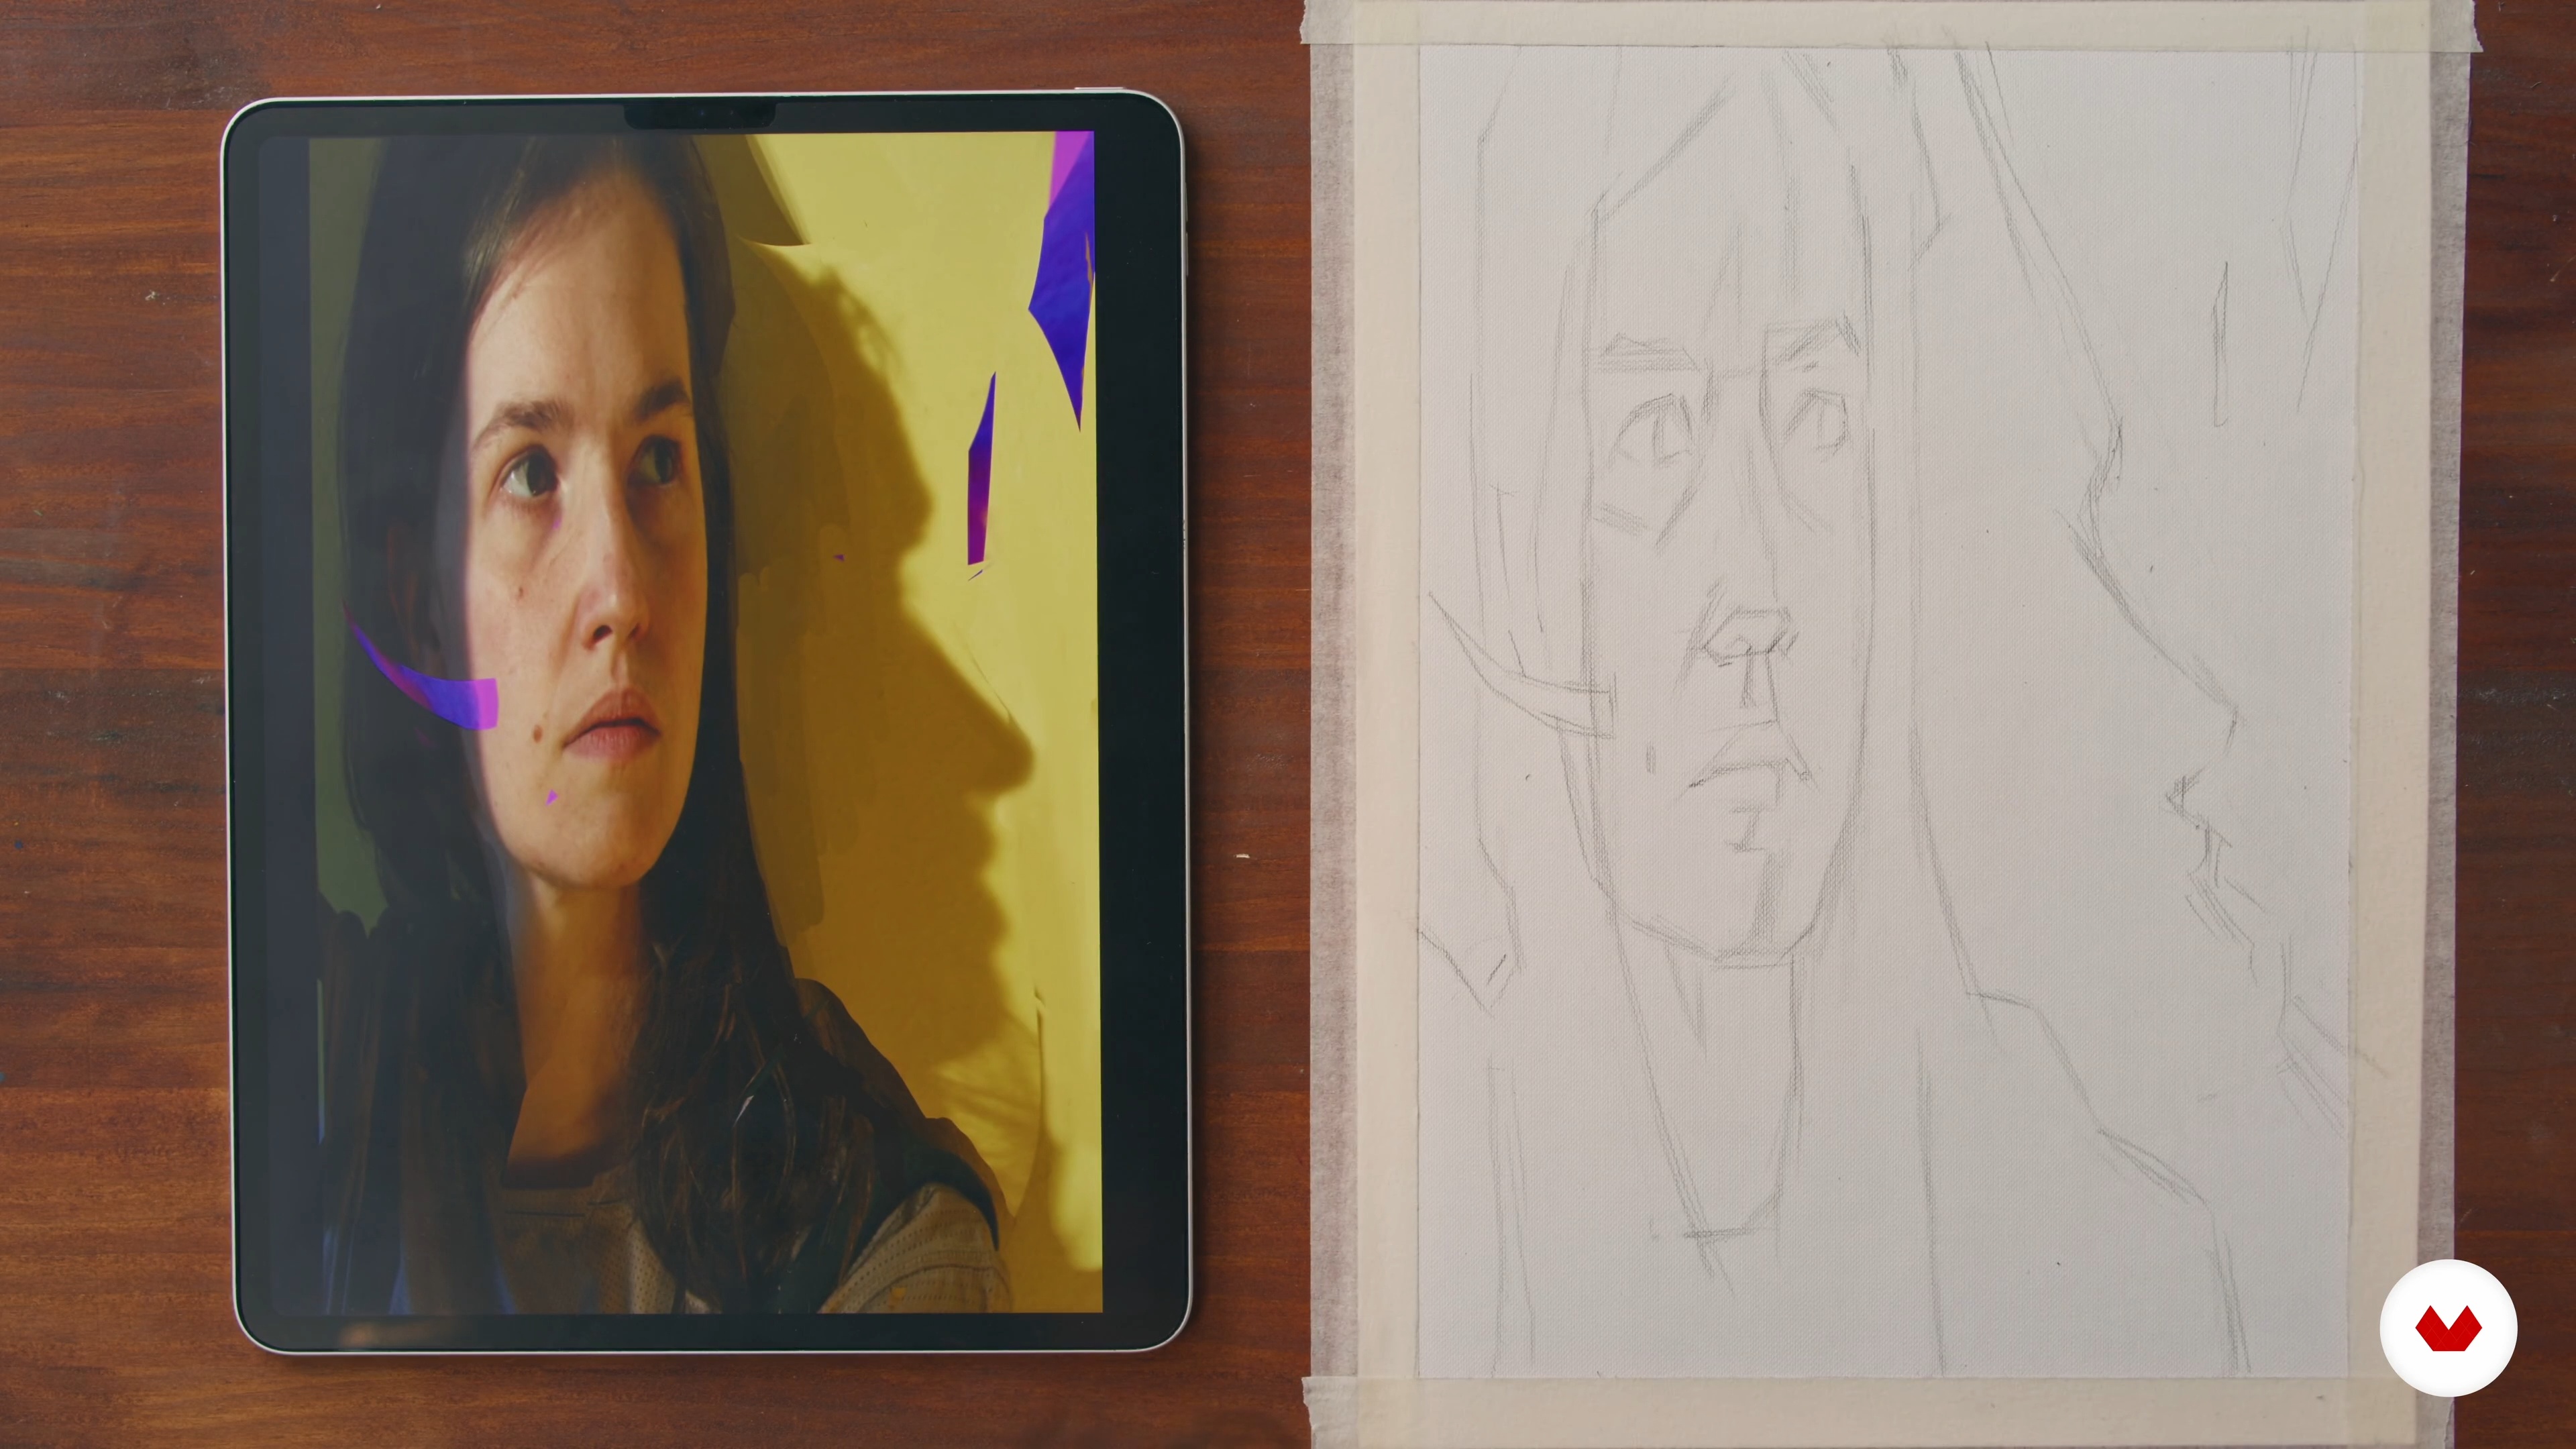
To start with, I will analyze my sketch for the module project. I will then provide an example of how to draw the first version. Let's dive in!
18m
image
8
Starting the Underpainting
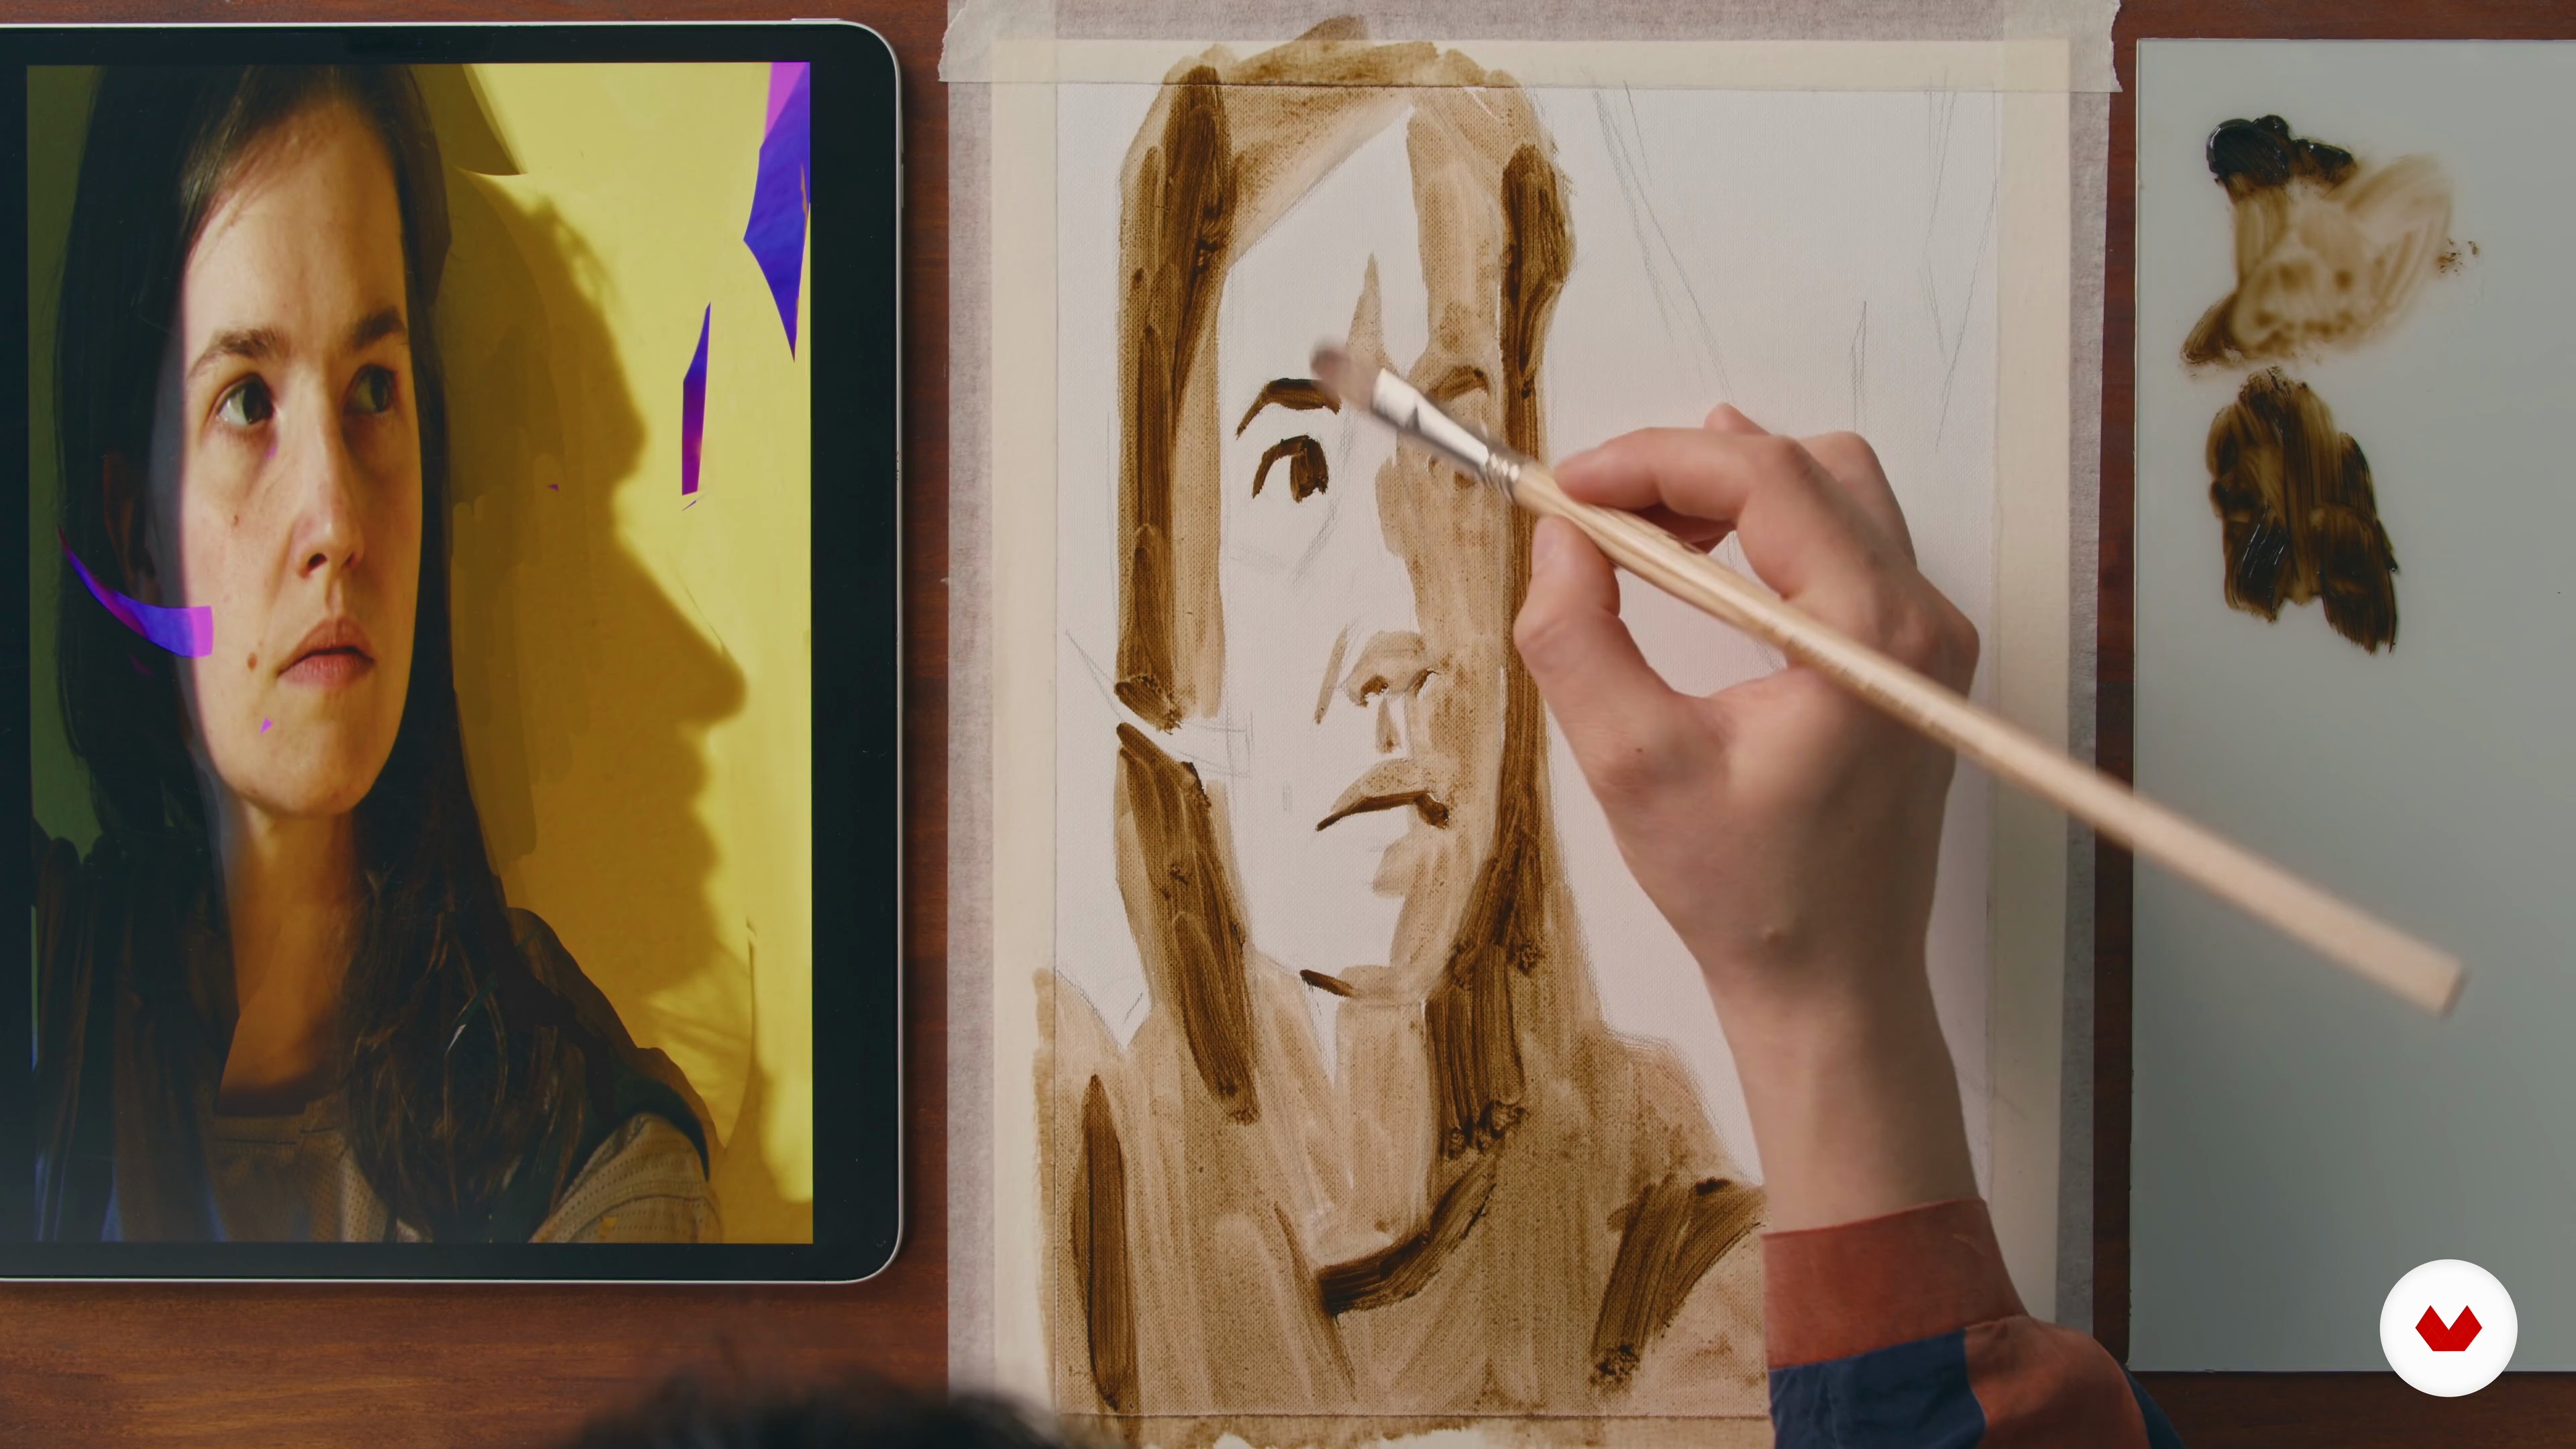
In this lesson, I will help you to establish a base drawing of your reference with one color. This will be the underpainting.
10m
image
9
Keying the Values
Once the underpainting is ready, the next step is to lay down the lightest and darkest parts. We will also try finding the correct tones for each major color area.
19m
image
10
Sculpting the Volume
In this lesson, I will show you how to add smaller color areas and start sculpting the portrait form. We will consider the relationships between light and shadow.
15m
image
11
Value and Saturation Relationships
Can you spot any mistakes in the color relationships? I will help you to analyze your painting and adjust forms and connect everything once again. By the end of the lesson, you will be one step closer to finishing the portrait.
20m
image
12
Finishing Touches
To bring the painting to a strong finish, I will give an example of how to add the final details, accents, and focal points.
15m
image
13
Different Ways to Challenge Your Palette
In this lesson, I will show you a few alternative color choices. An important part of finding your personal aesthetic is allowing your creative juices to flow. Let me show you how!
4m
image
14
Final Tips on Expressive Mark Making
I will now provide a few tips on how to experiment with different mediums to create expressive marks. This can add further interest to your portraits.
2m
image
1
Materials
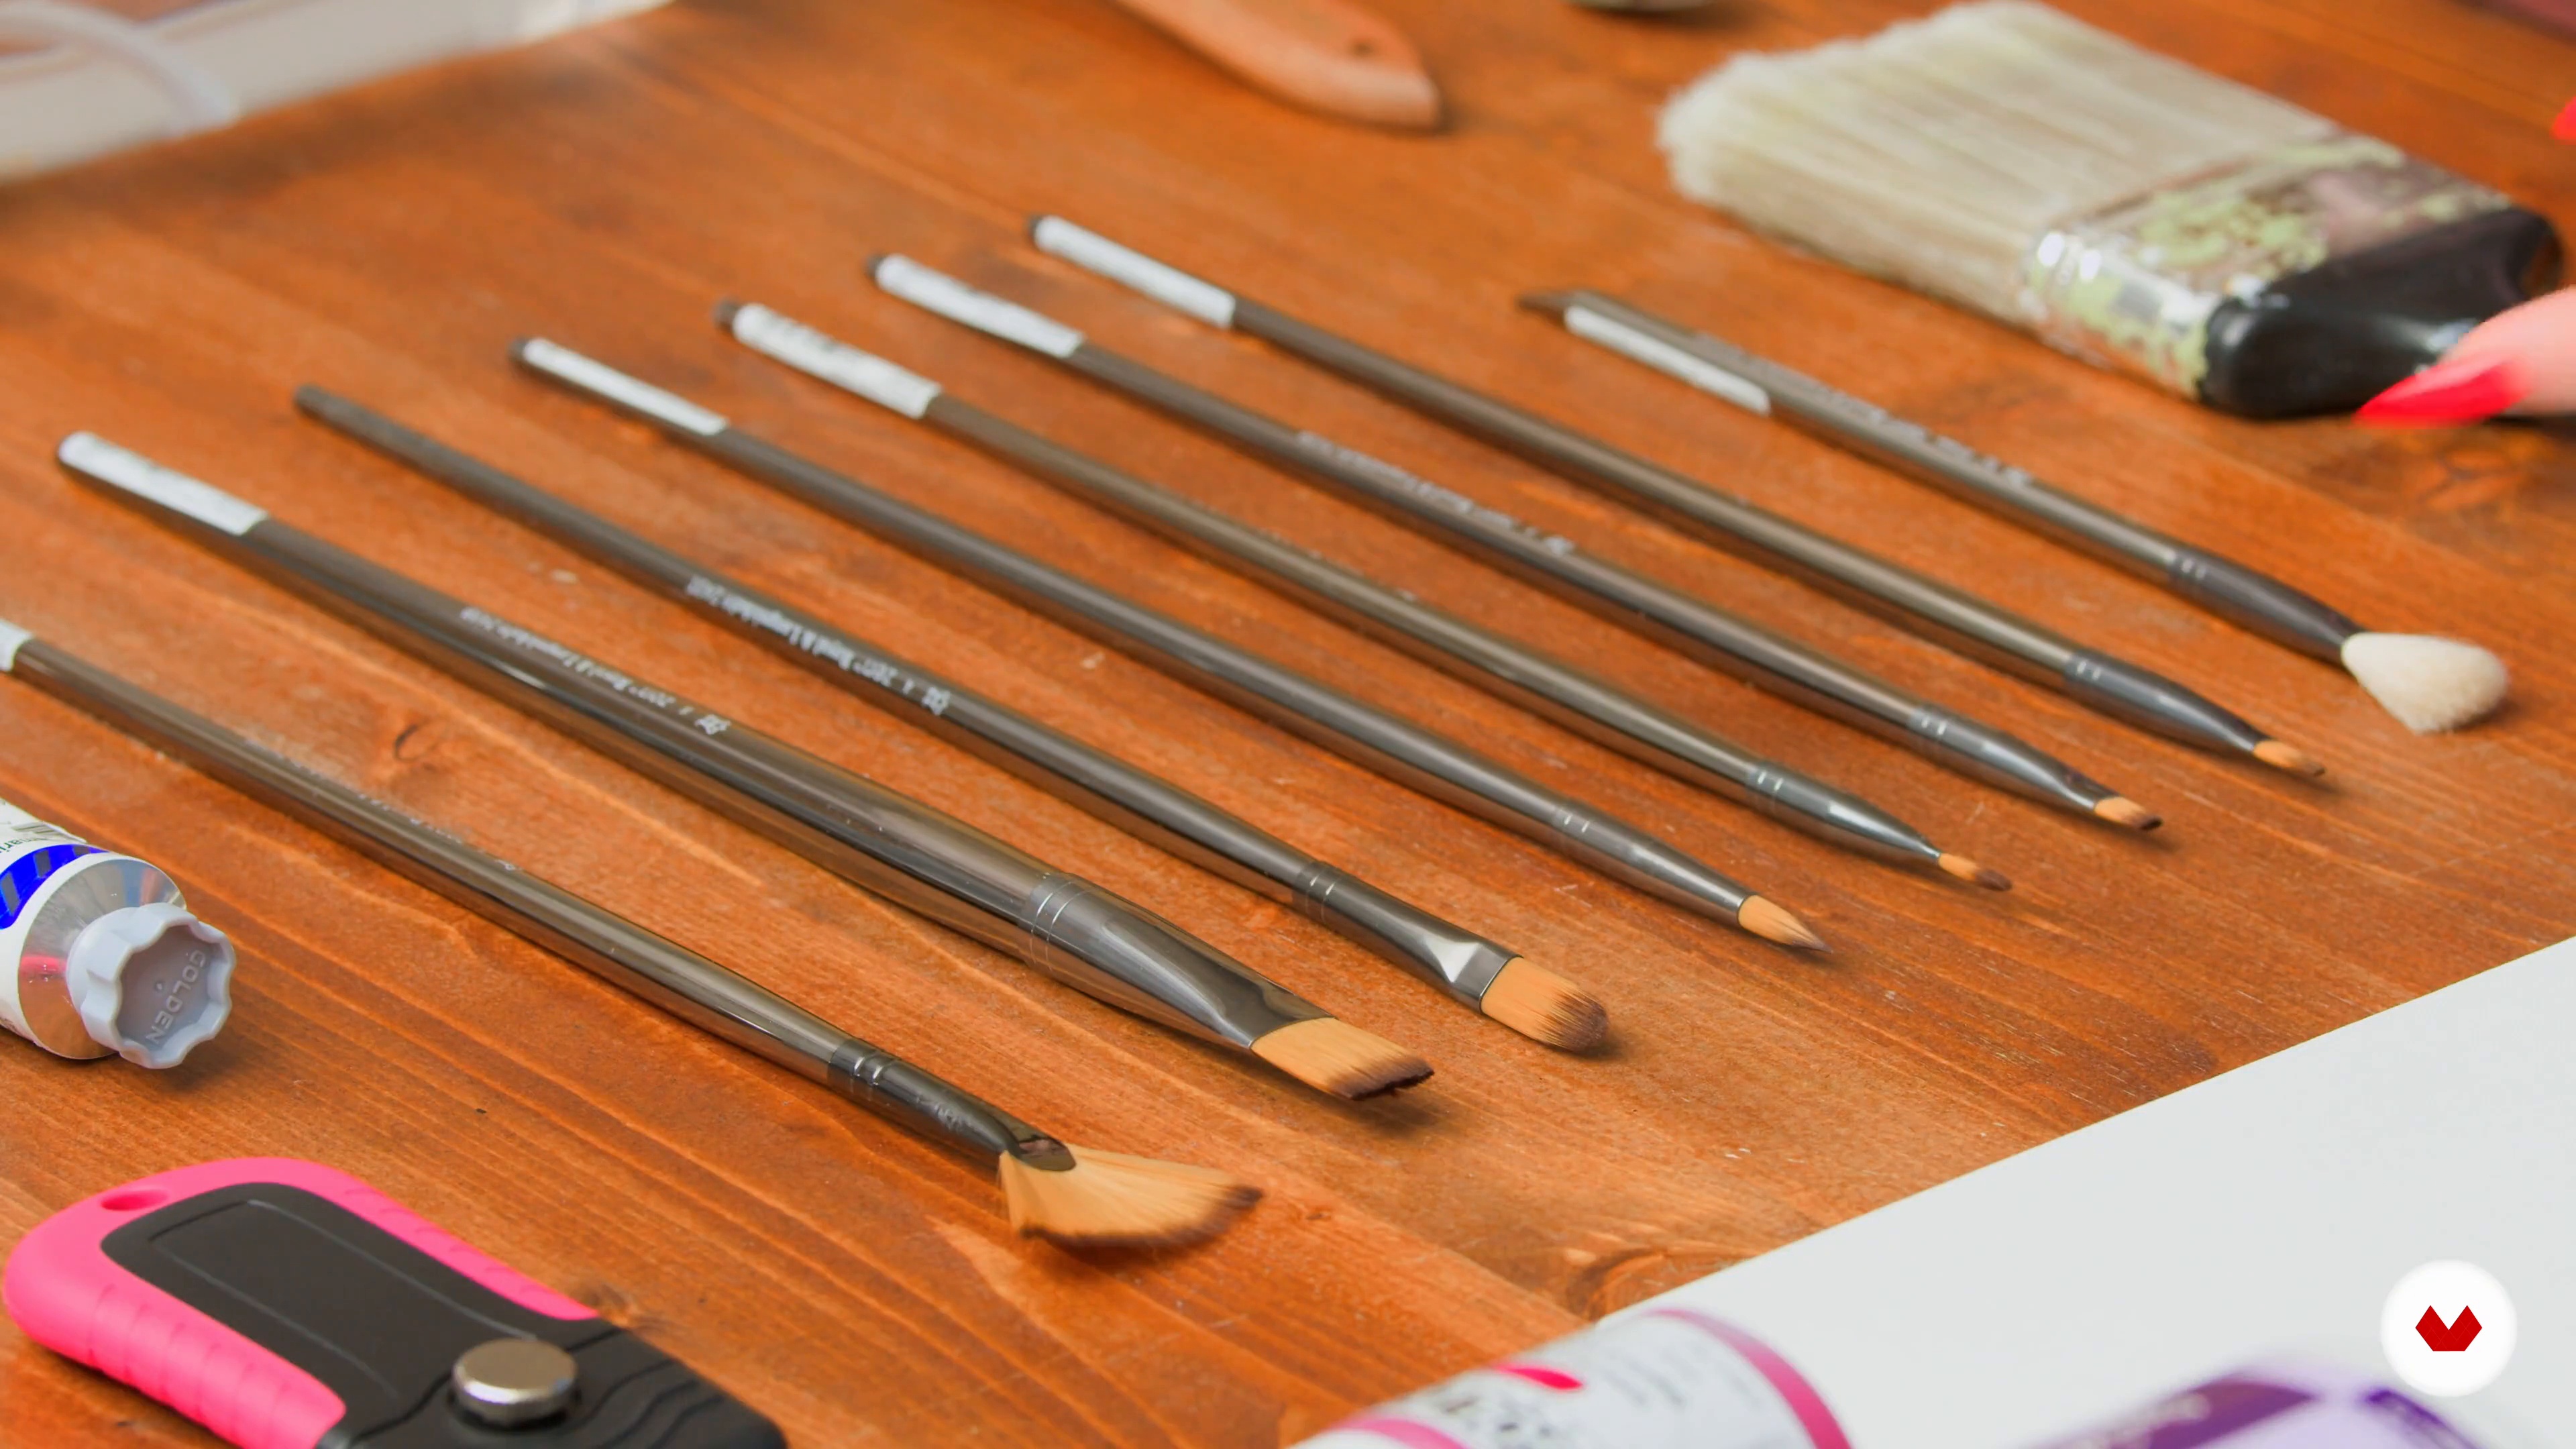
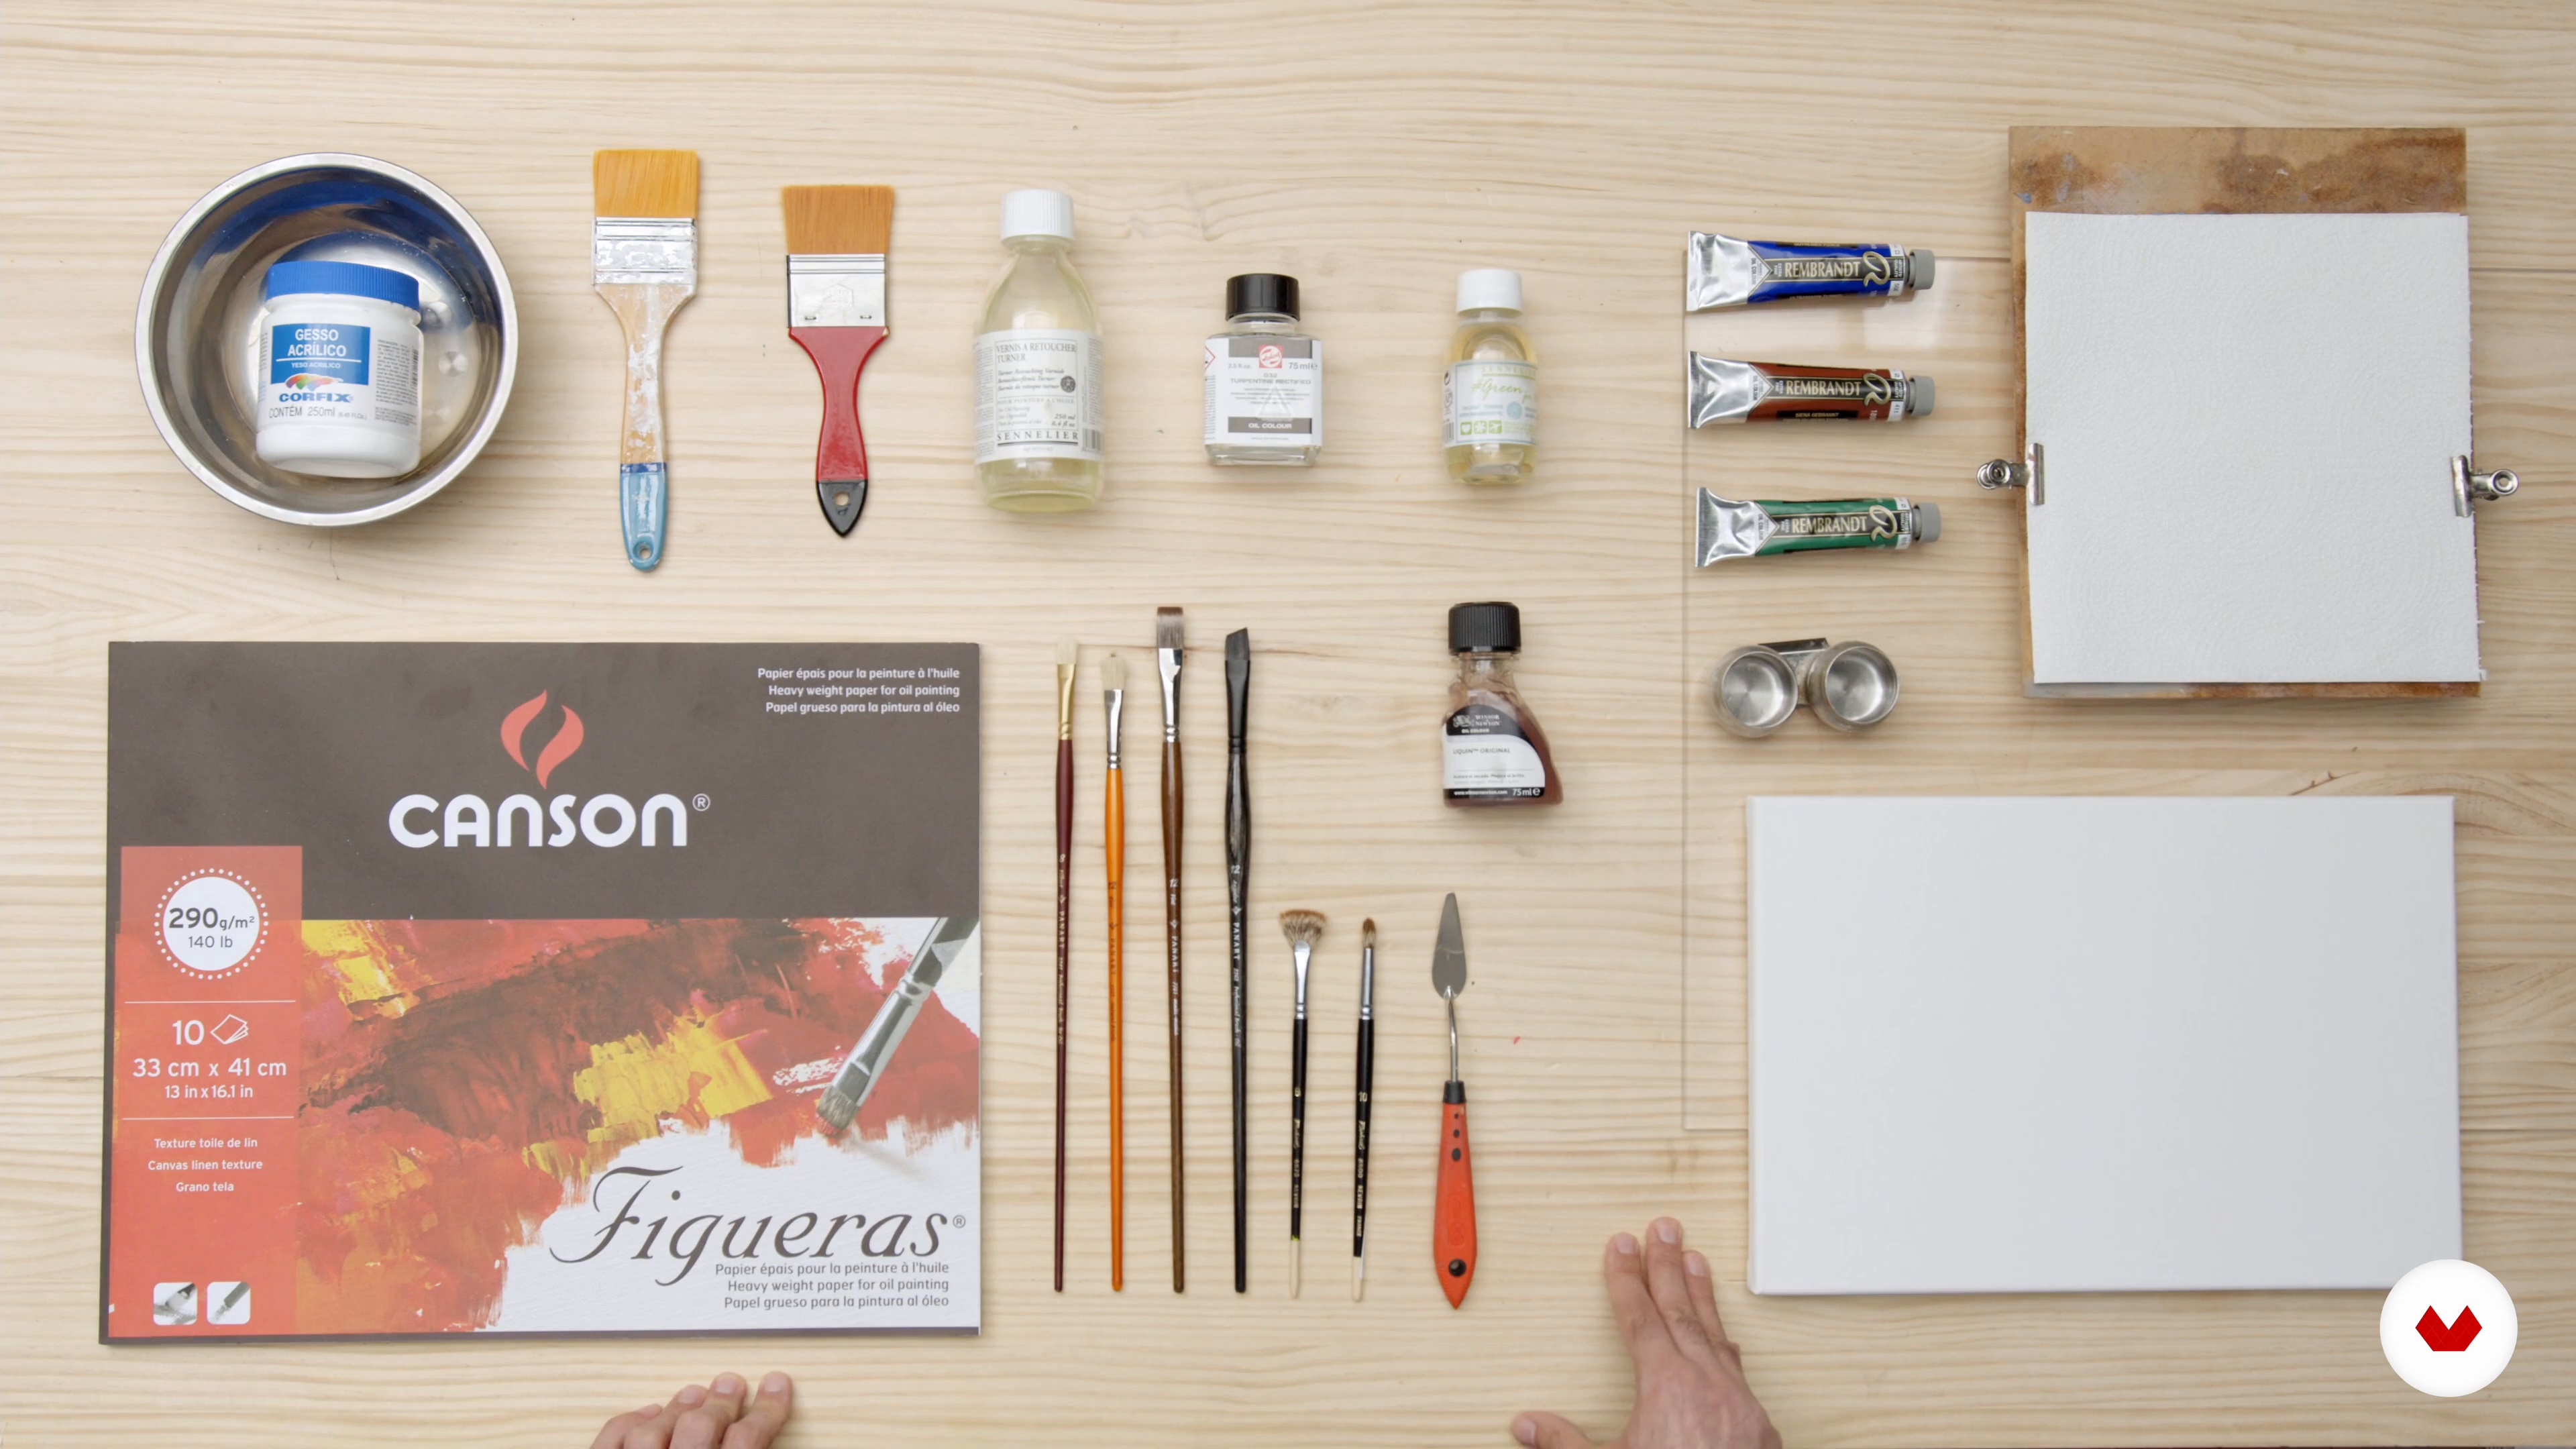
I will show you how to explore the different painting materials that you will need to create your final project. I will start to talk to you about oil paints and the different mediums that you can use; then, you will see the different types of brushes and how they apply to different situations. By the end of this lesson, you will understand different painting surfaces and the safety measures you need to know to handle solvents.
7m
image
2
Mixing Medium and First Brush Strokes
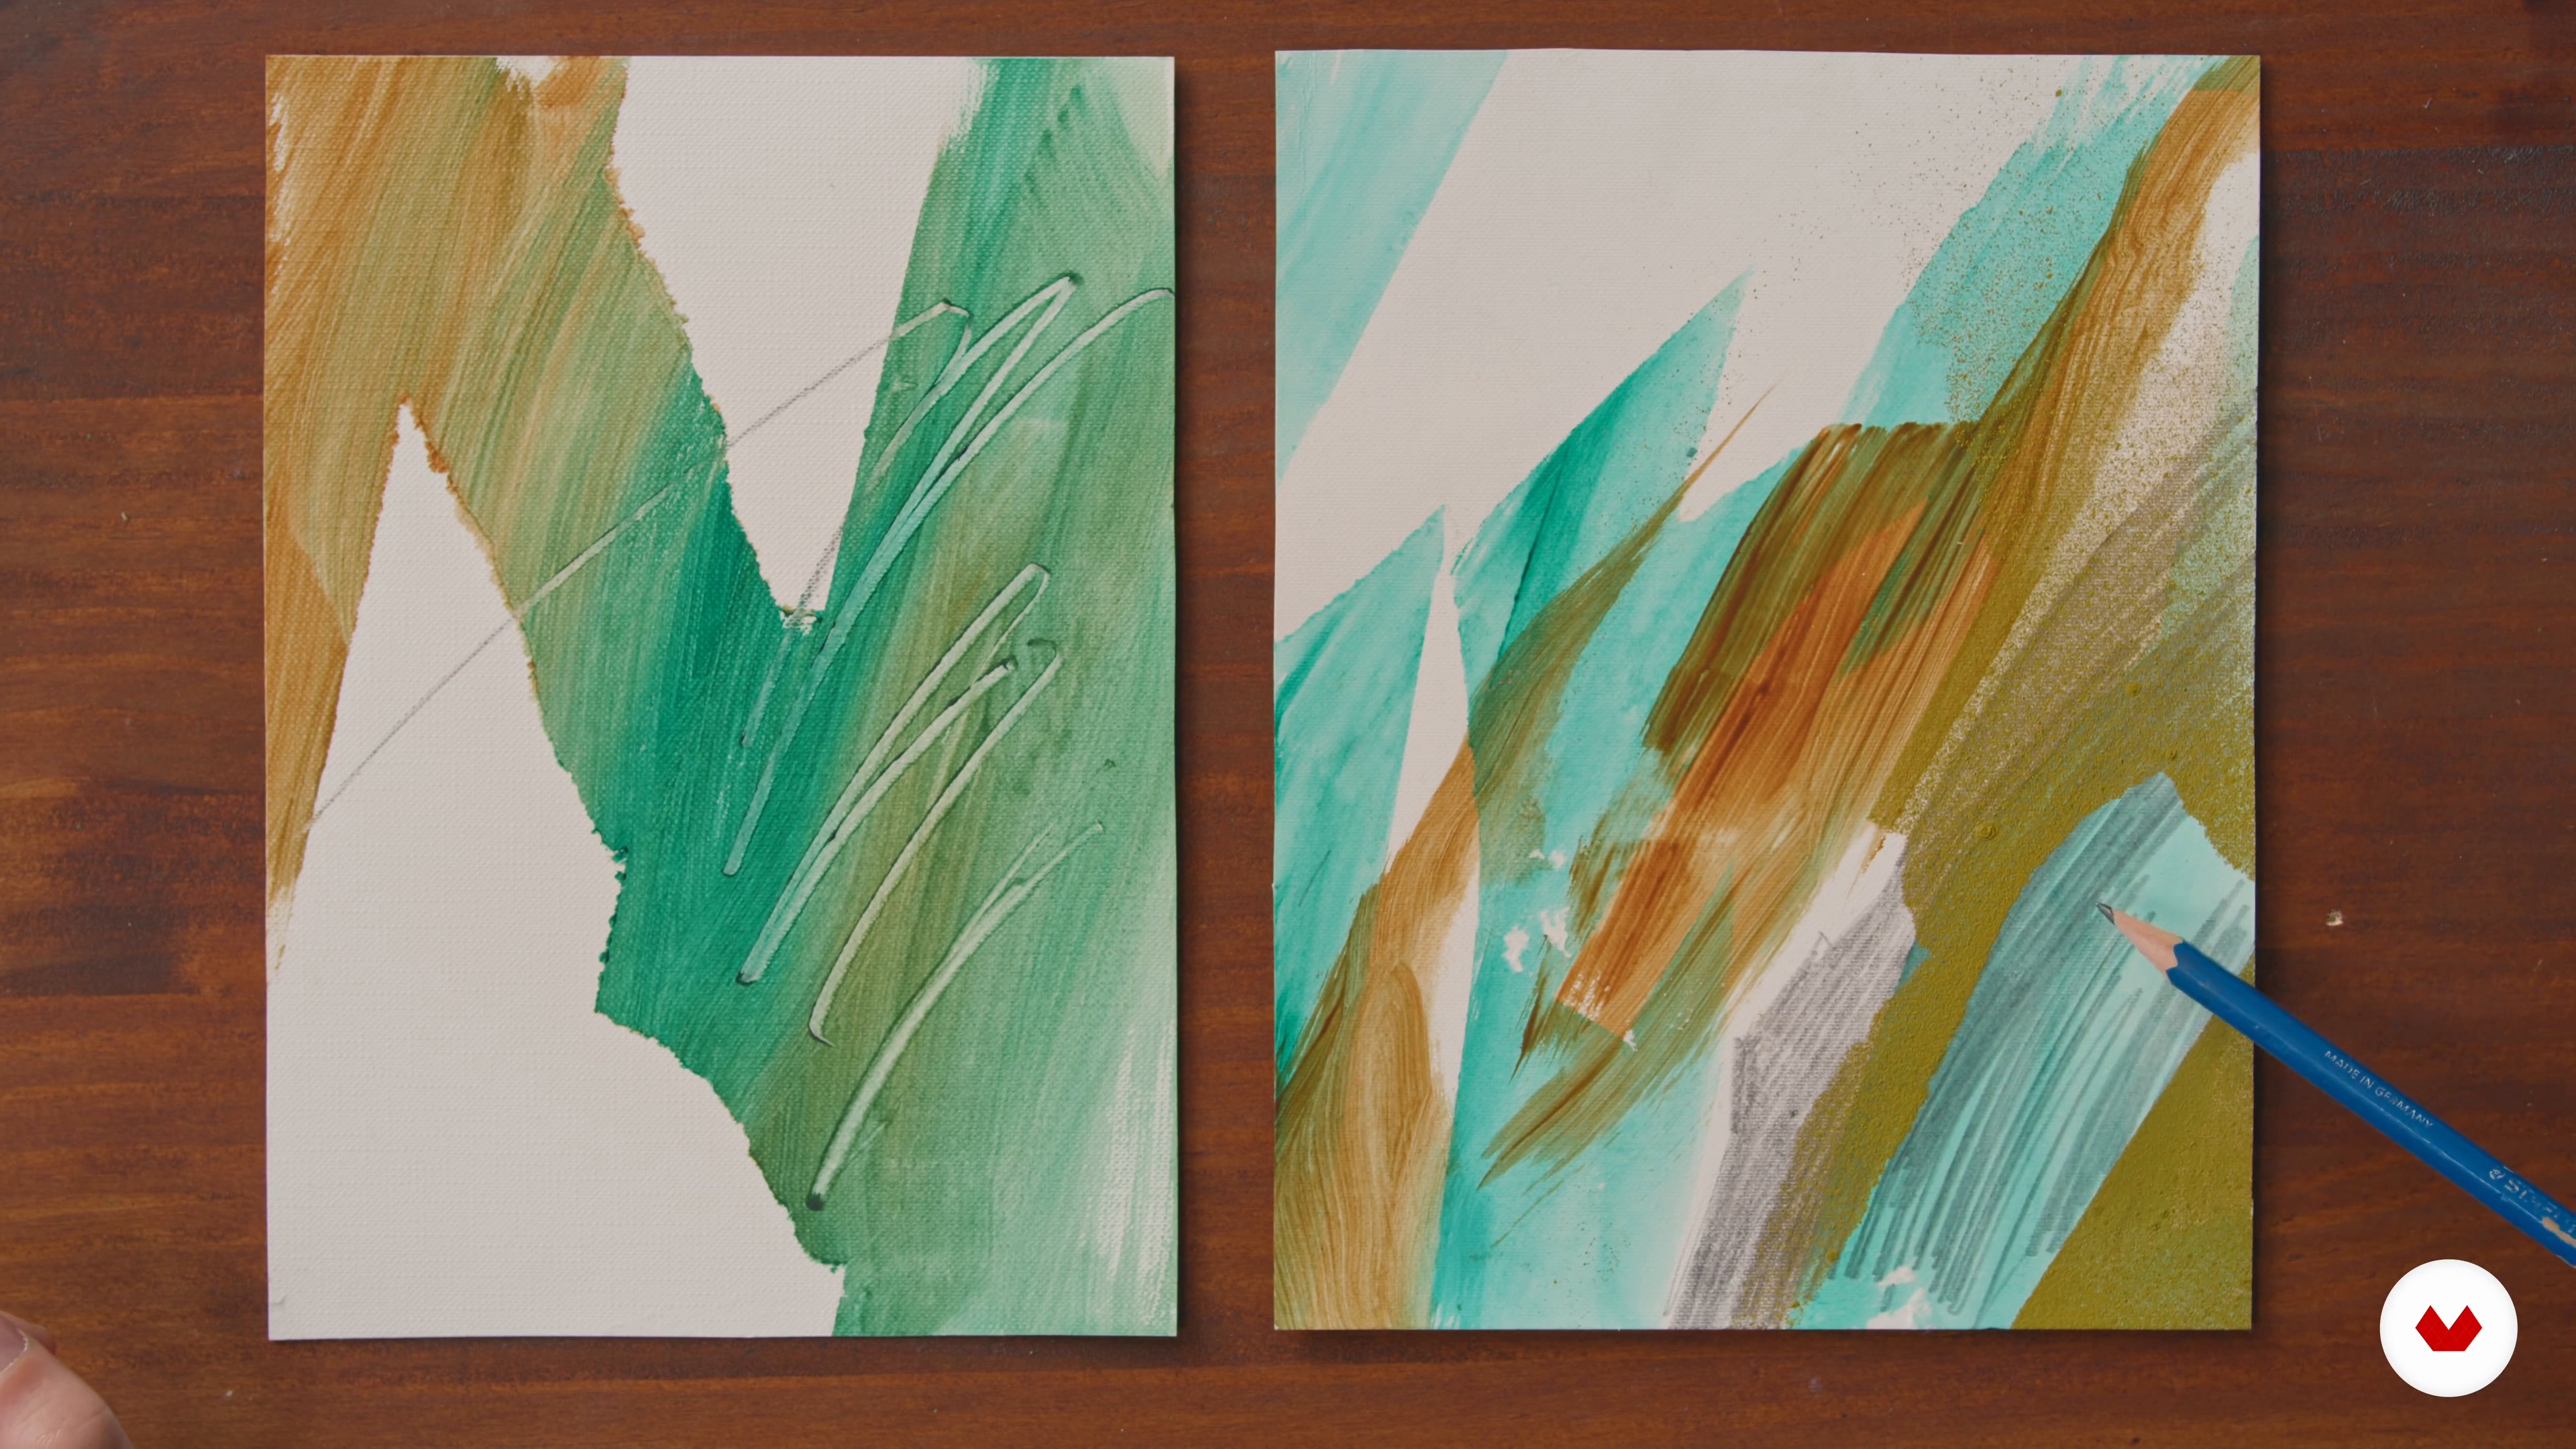
You will learn to get comfortable with different types of brushes and understand with little exercises how and when to use them.
8m
image
3
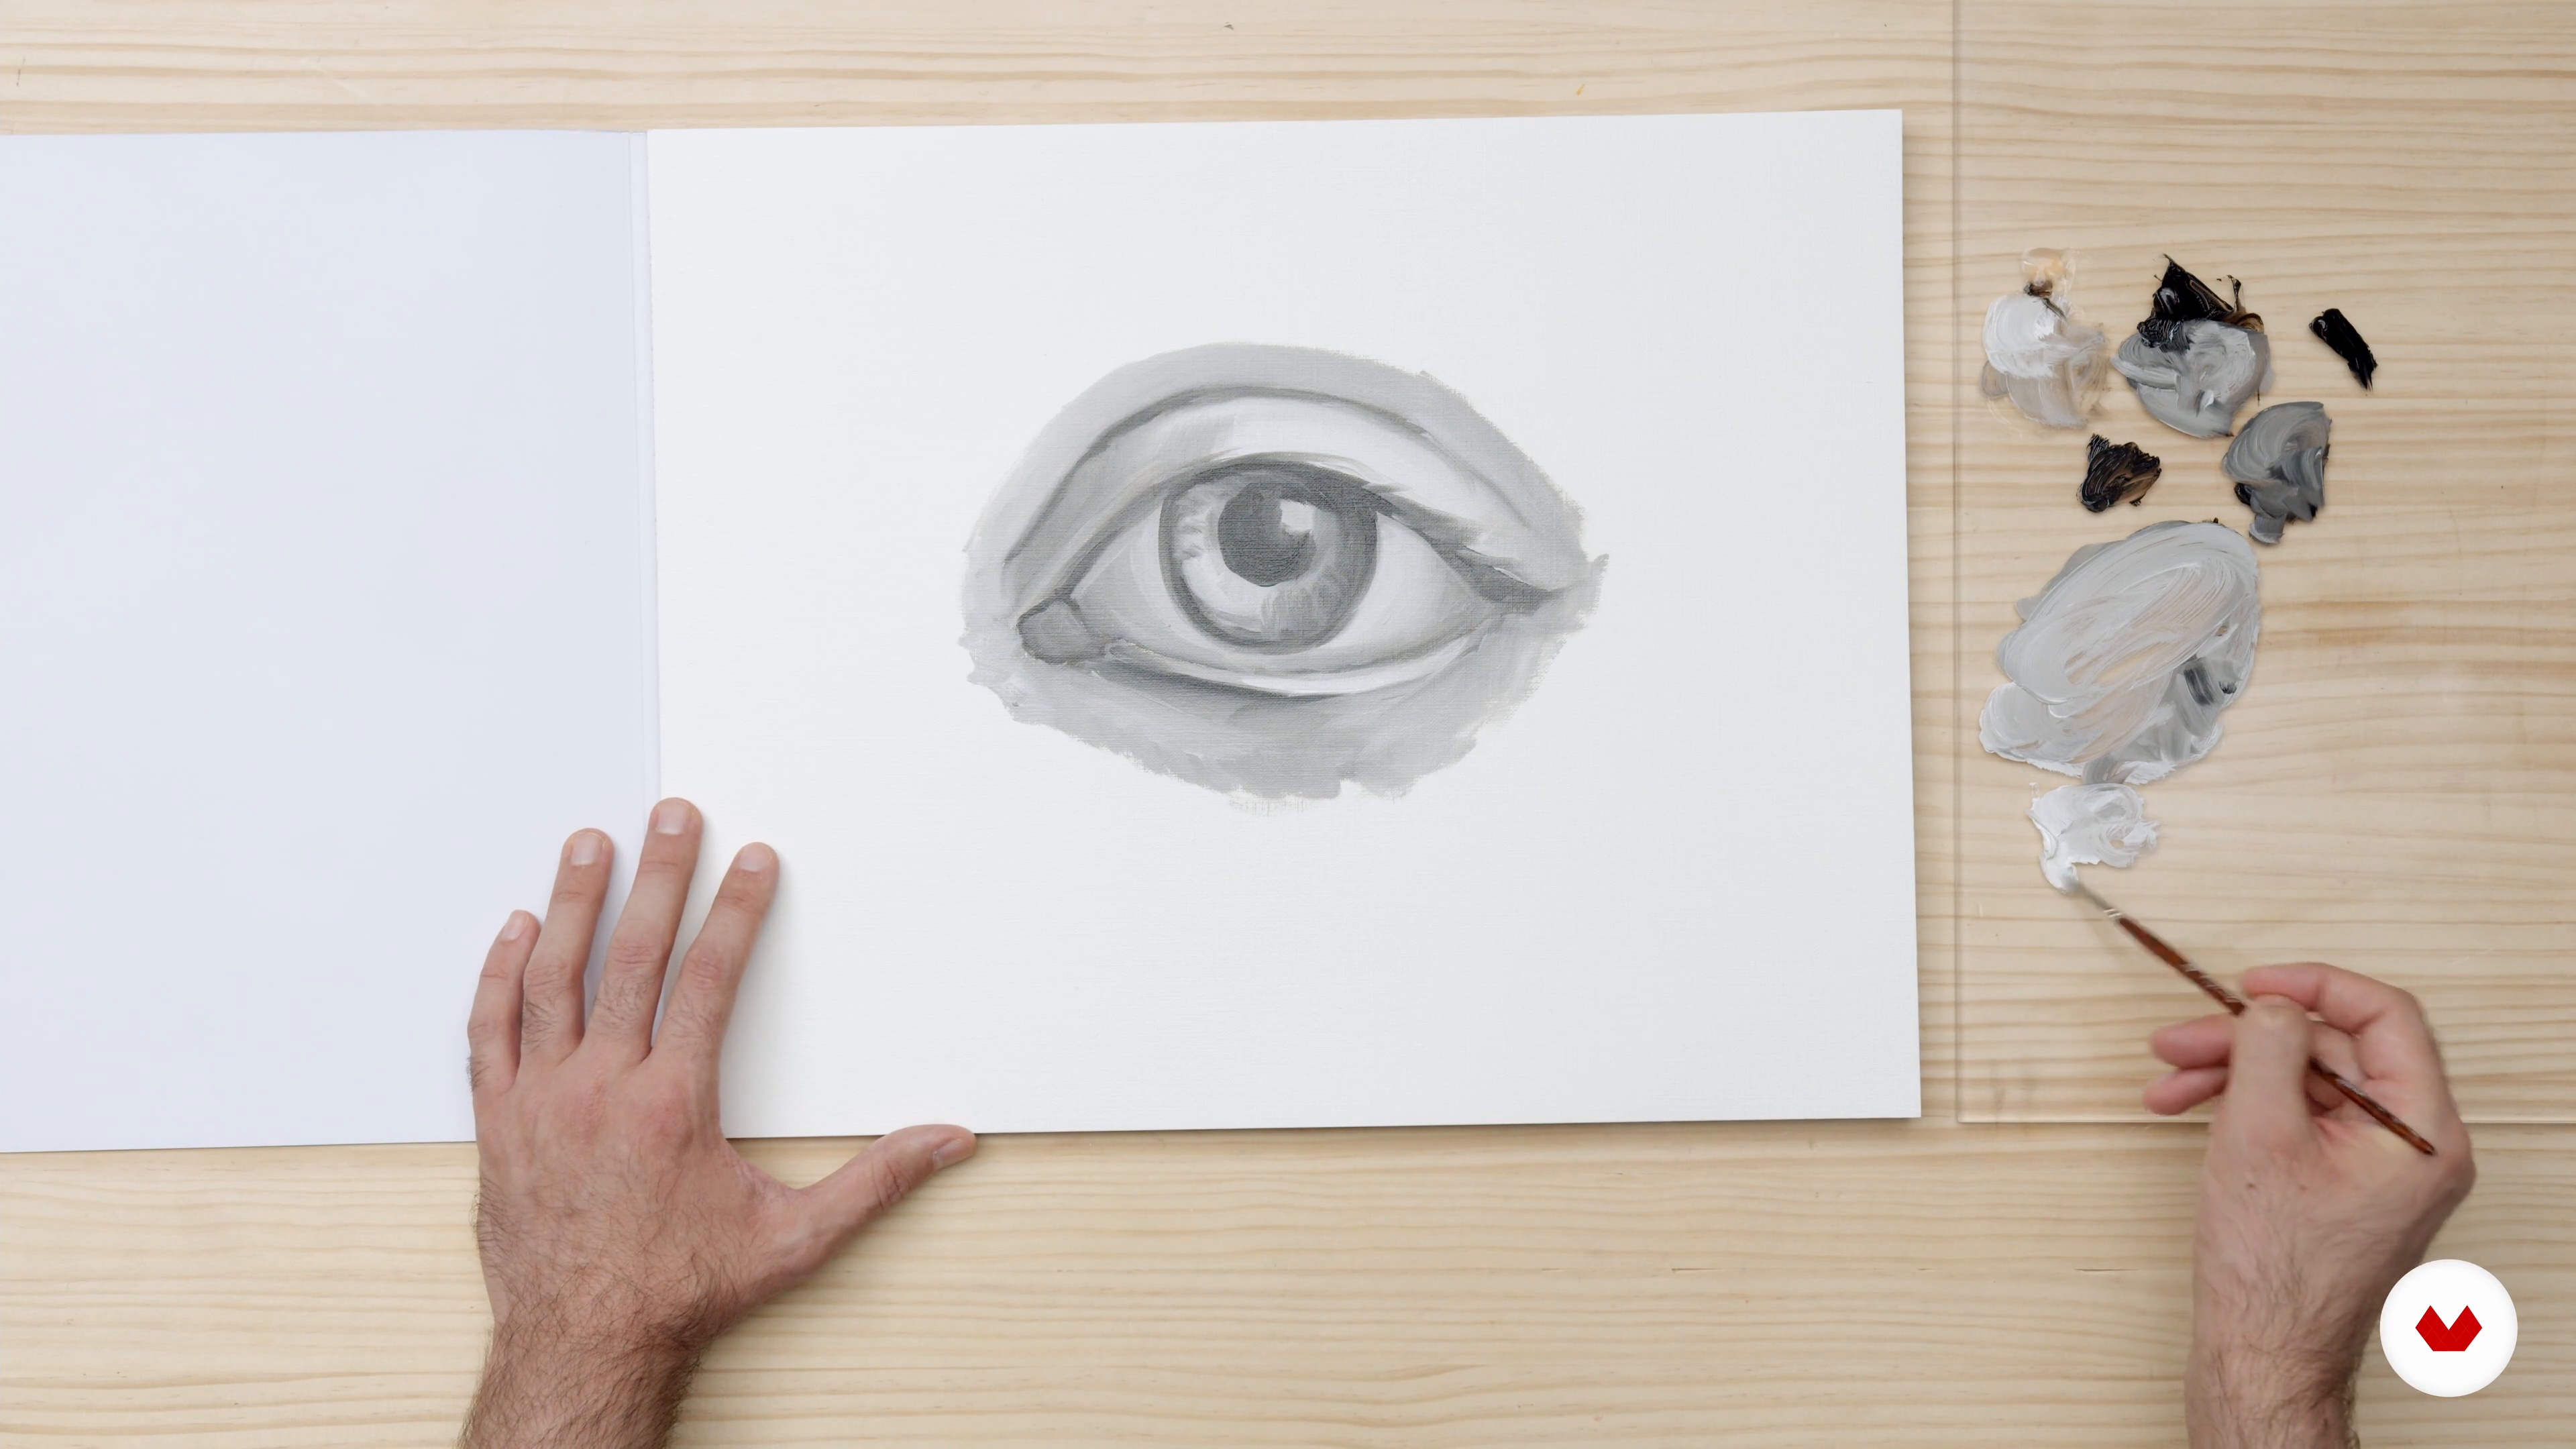
Eye Study
During this lesson, you will see how to create an anatomically correct eye, using only greyscale.
20m
image
4
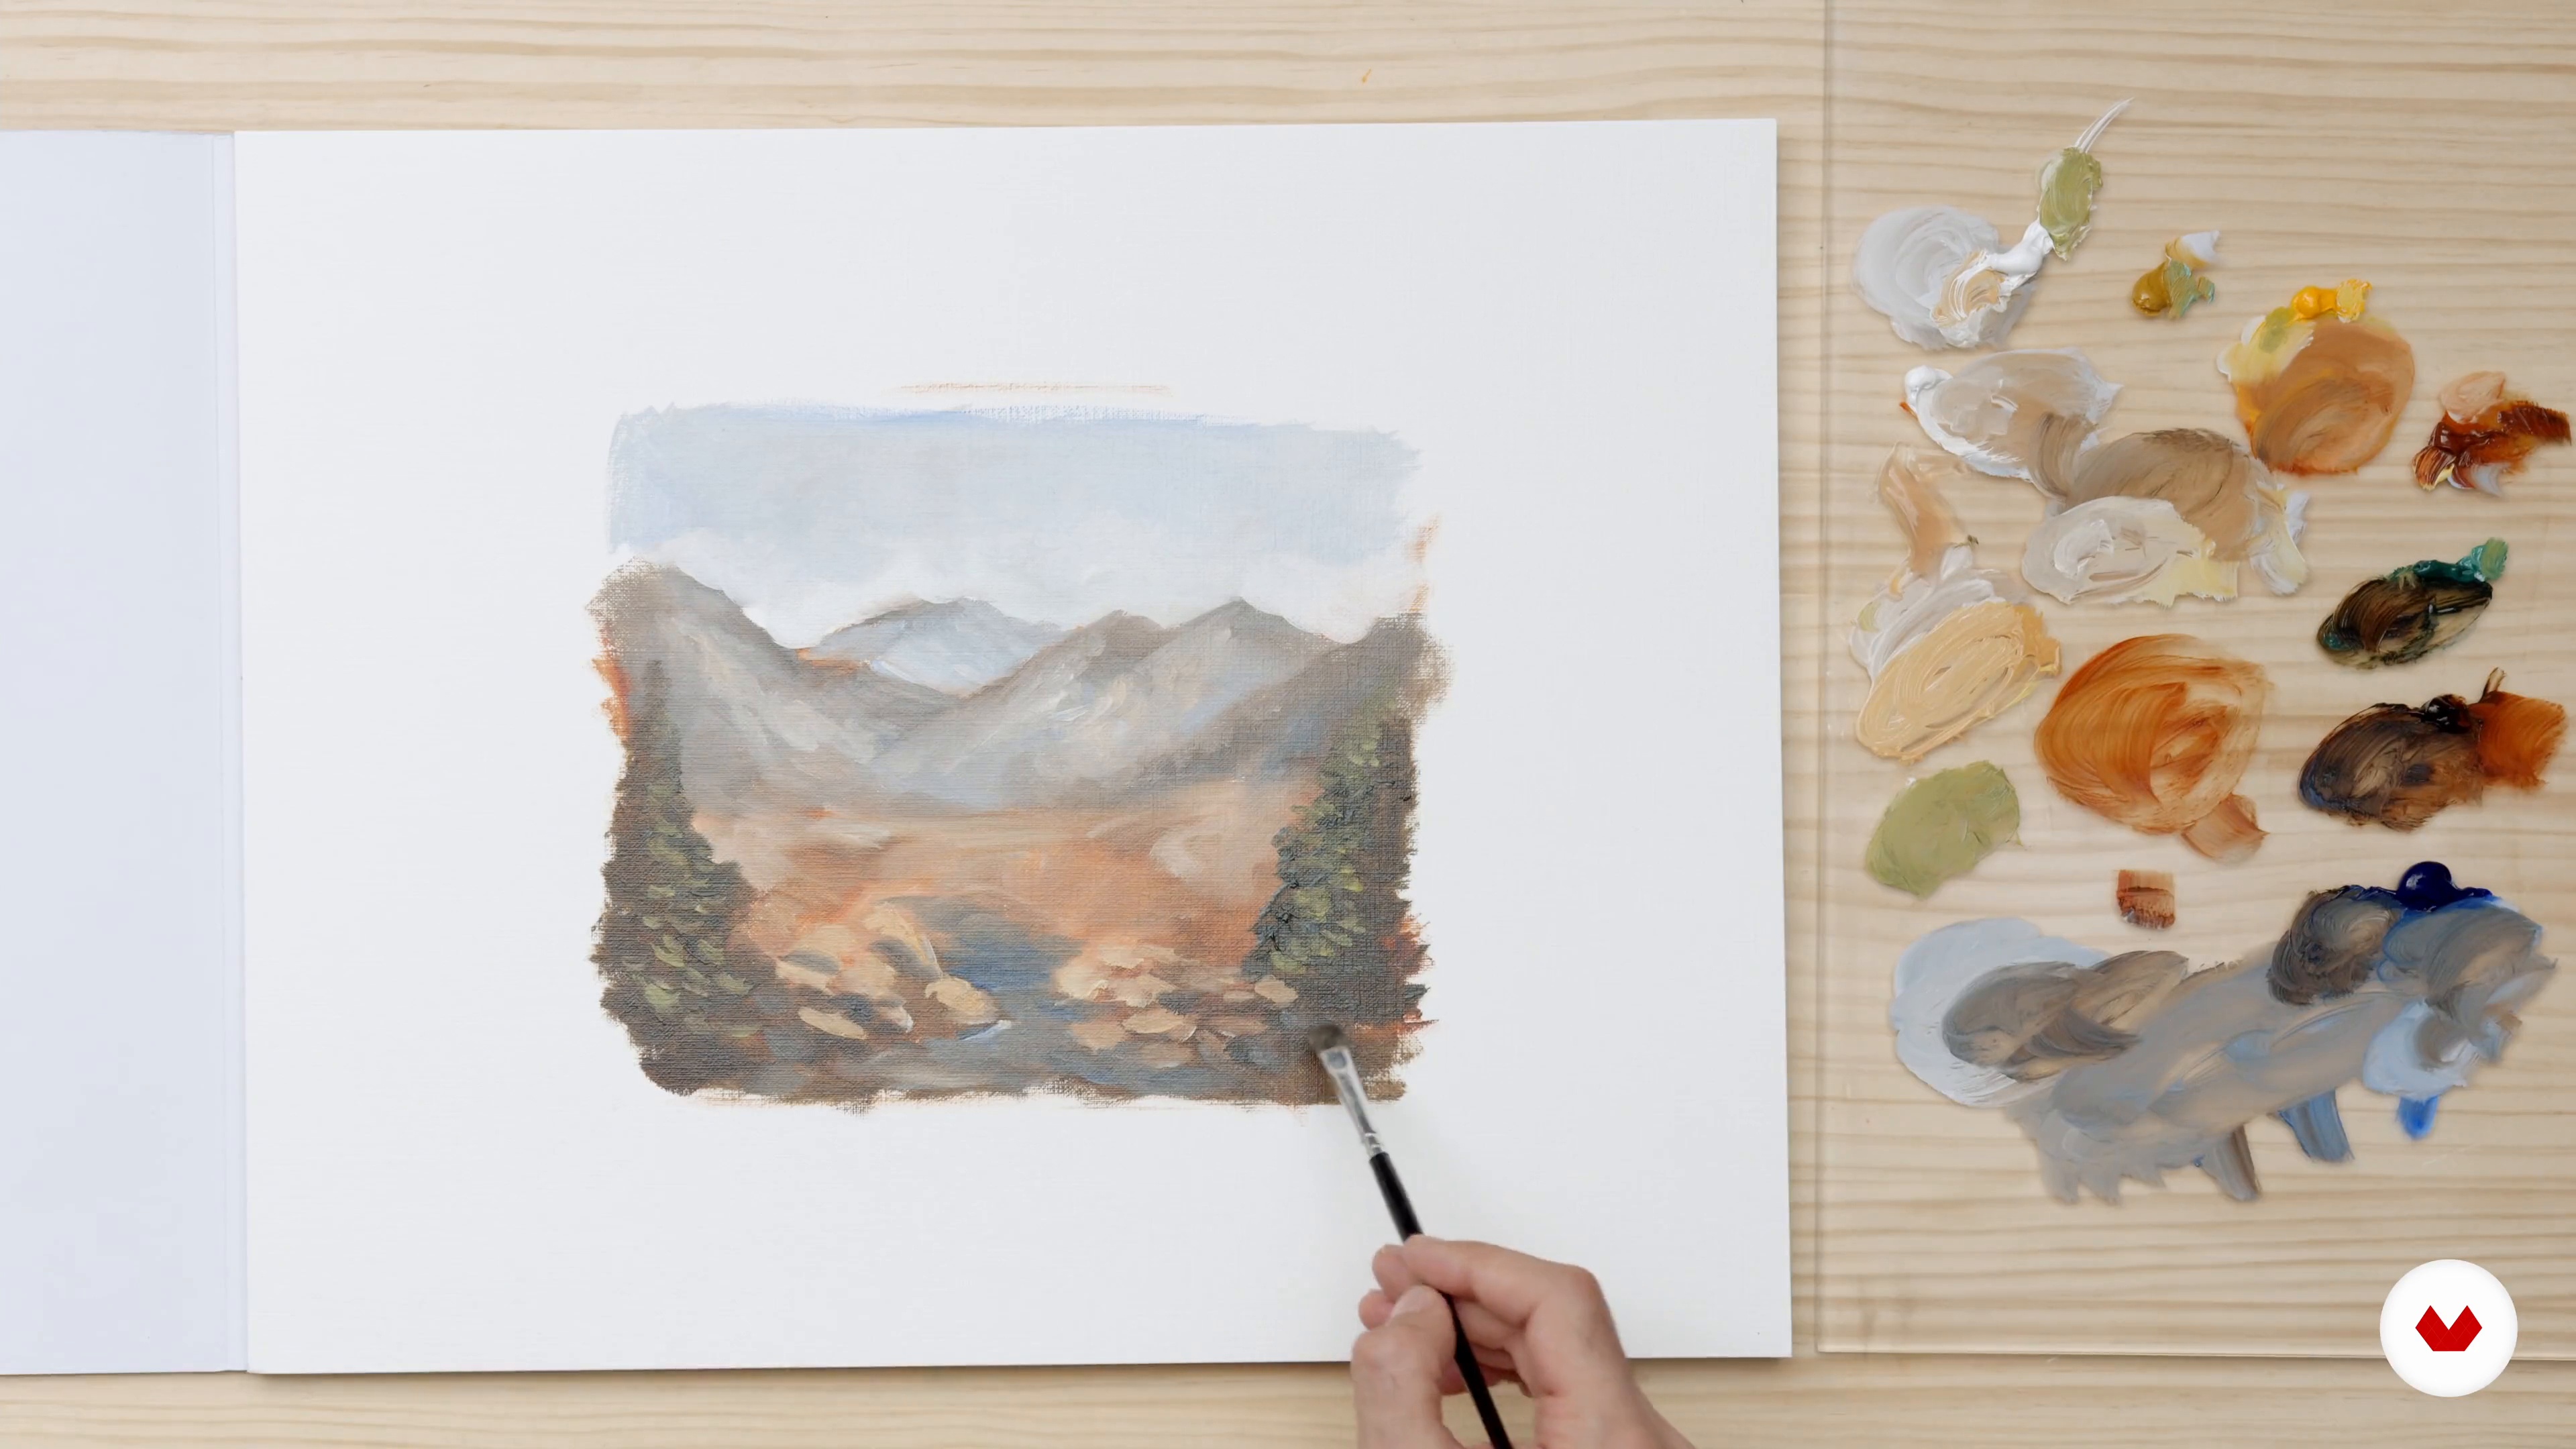
Landscape Study
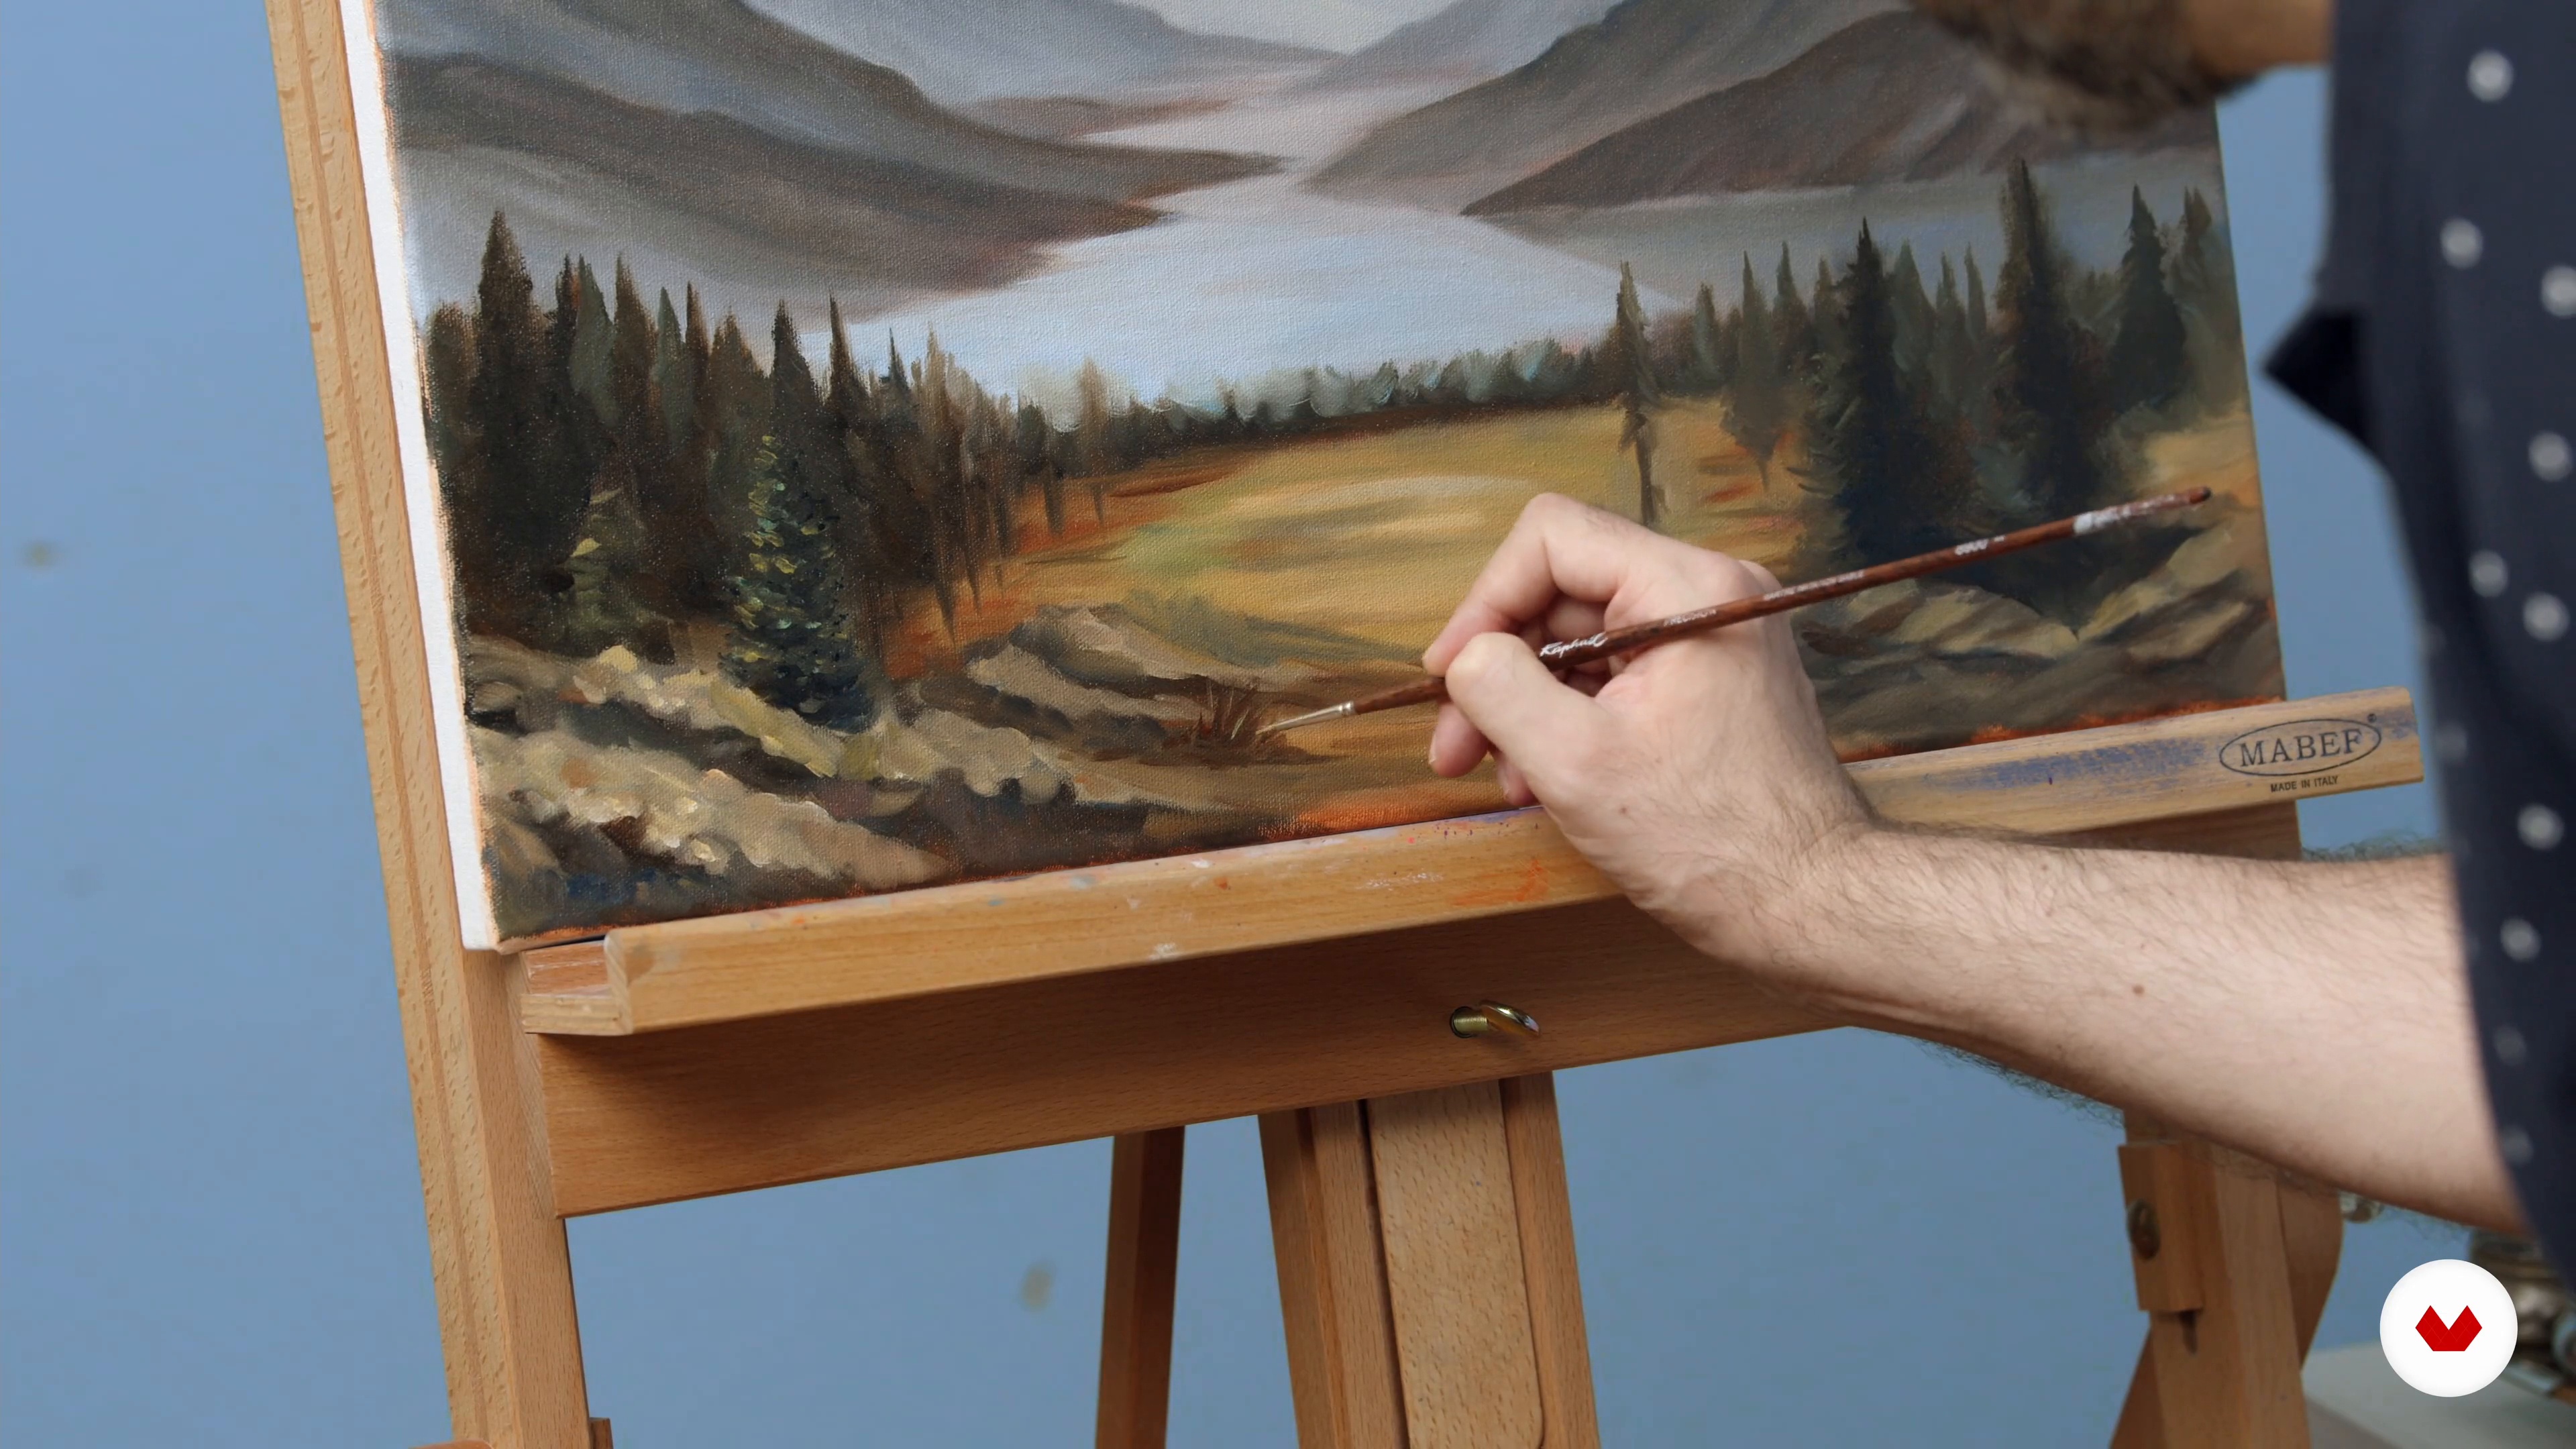
Now you are ready to take your first steps in painting the scenery with oils. I will help you to understand the foreground and background as the main colours!
21m
image
5
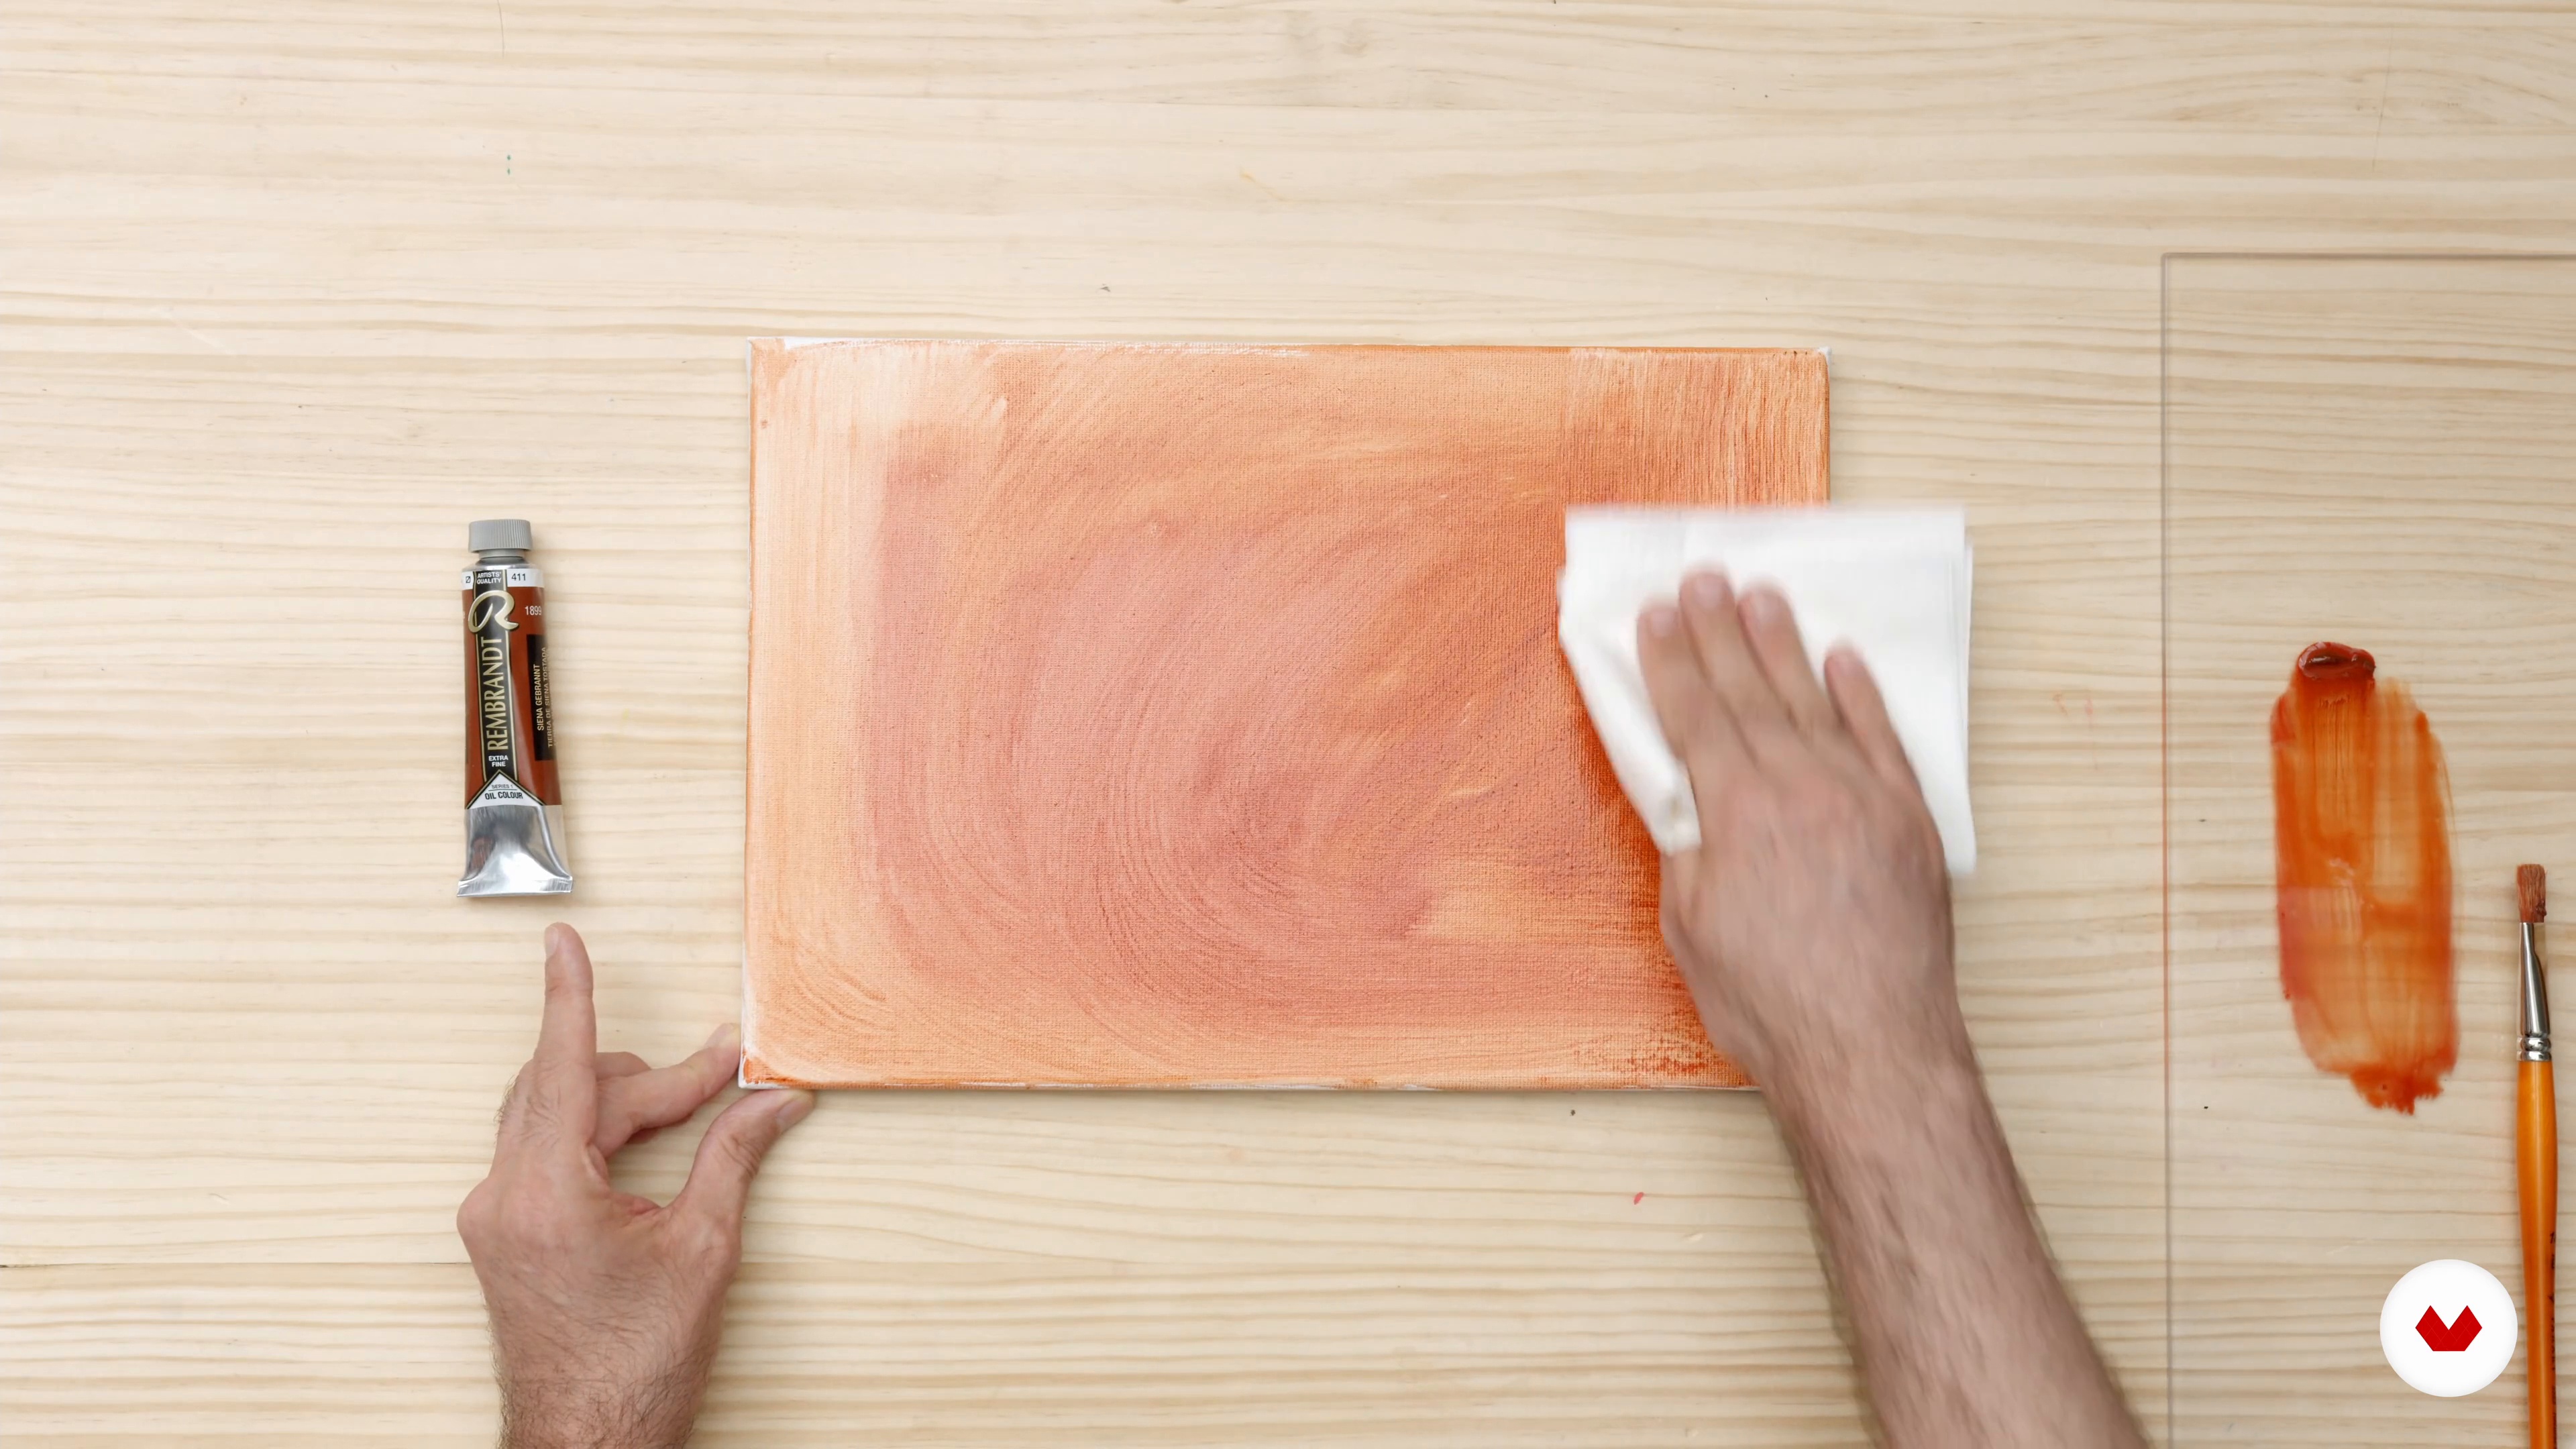
Preparing the Canvas
Before you start your final project, you will prepare your canvas by priming it with gesso. This is a very important task before starting any painting because oils can deteriorate the canvas in time. You will also learn how to tint the canvas with Burnt Sienna after the gesso is dry.
5m
image
6
Getting Ready
You will place all the materials on your table and understand that organizing the workplace is key.
7m
image
7
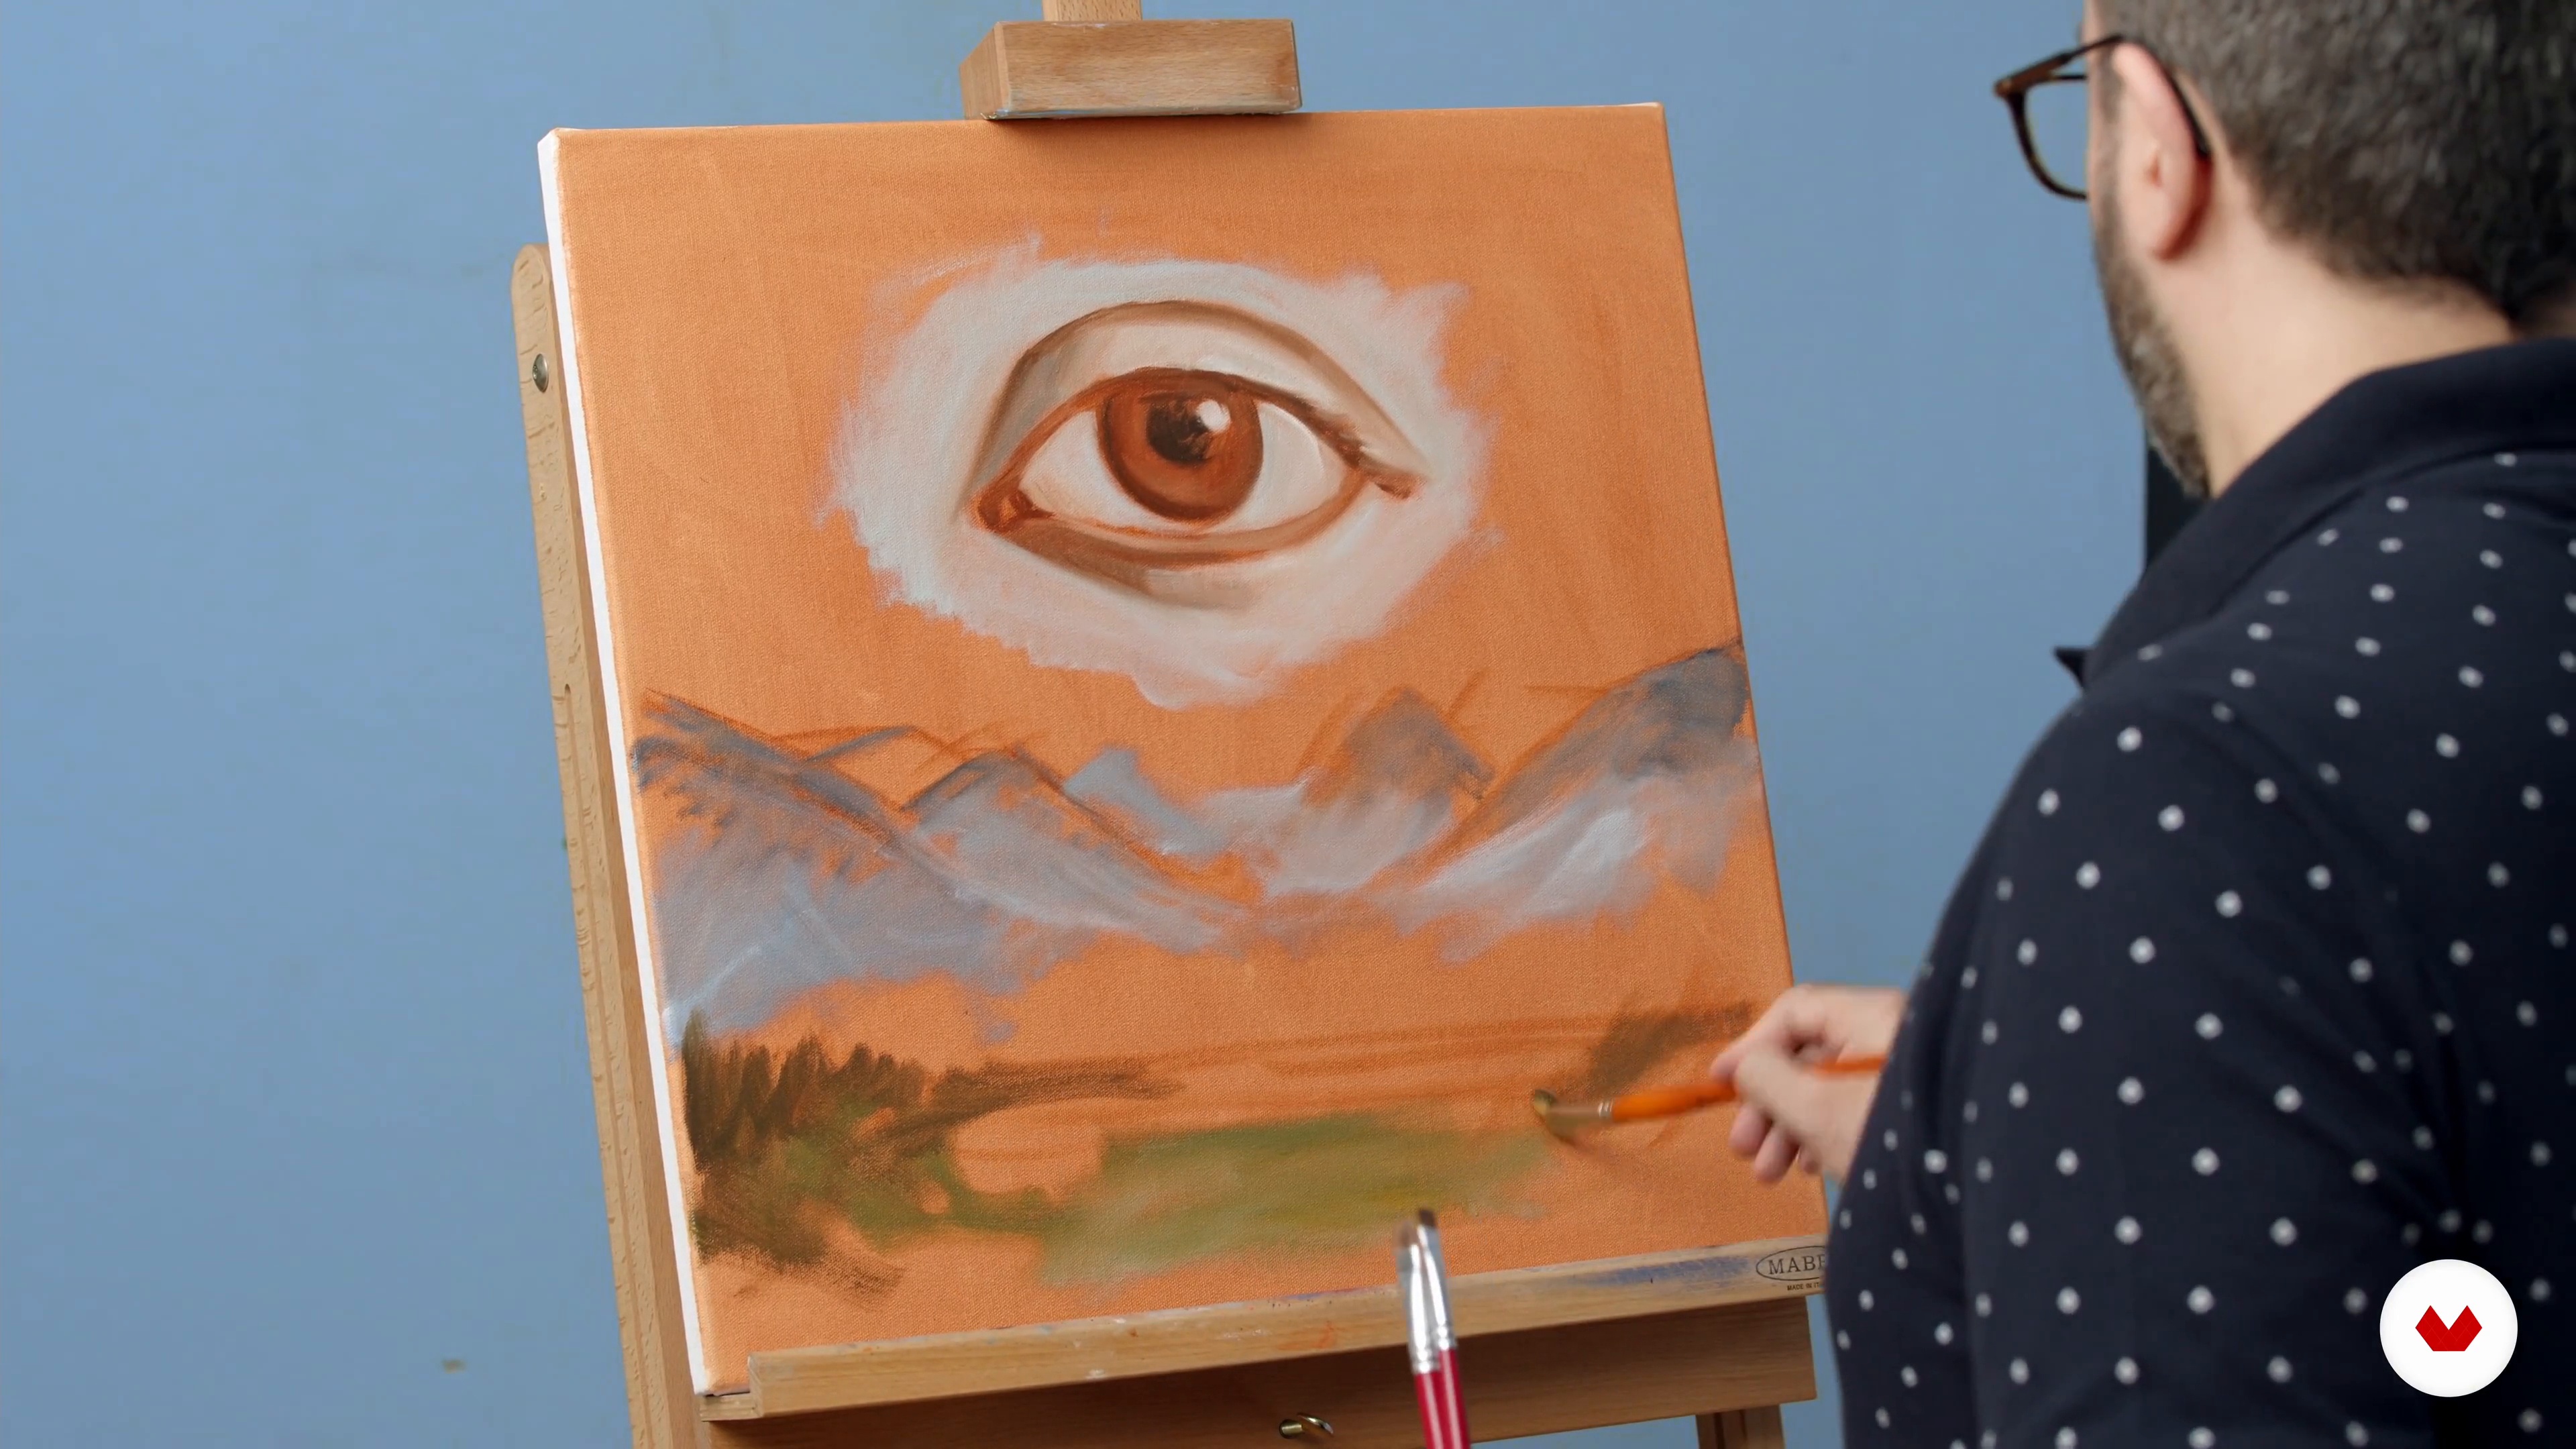
Underpainting
The underpainting is a really important step of the painting process. While you are making this almost sketch-like illustration, you are defining your main composition and how your painting will look at the end.
21m
image
8
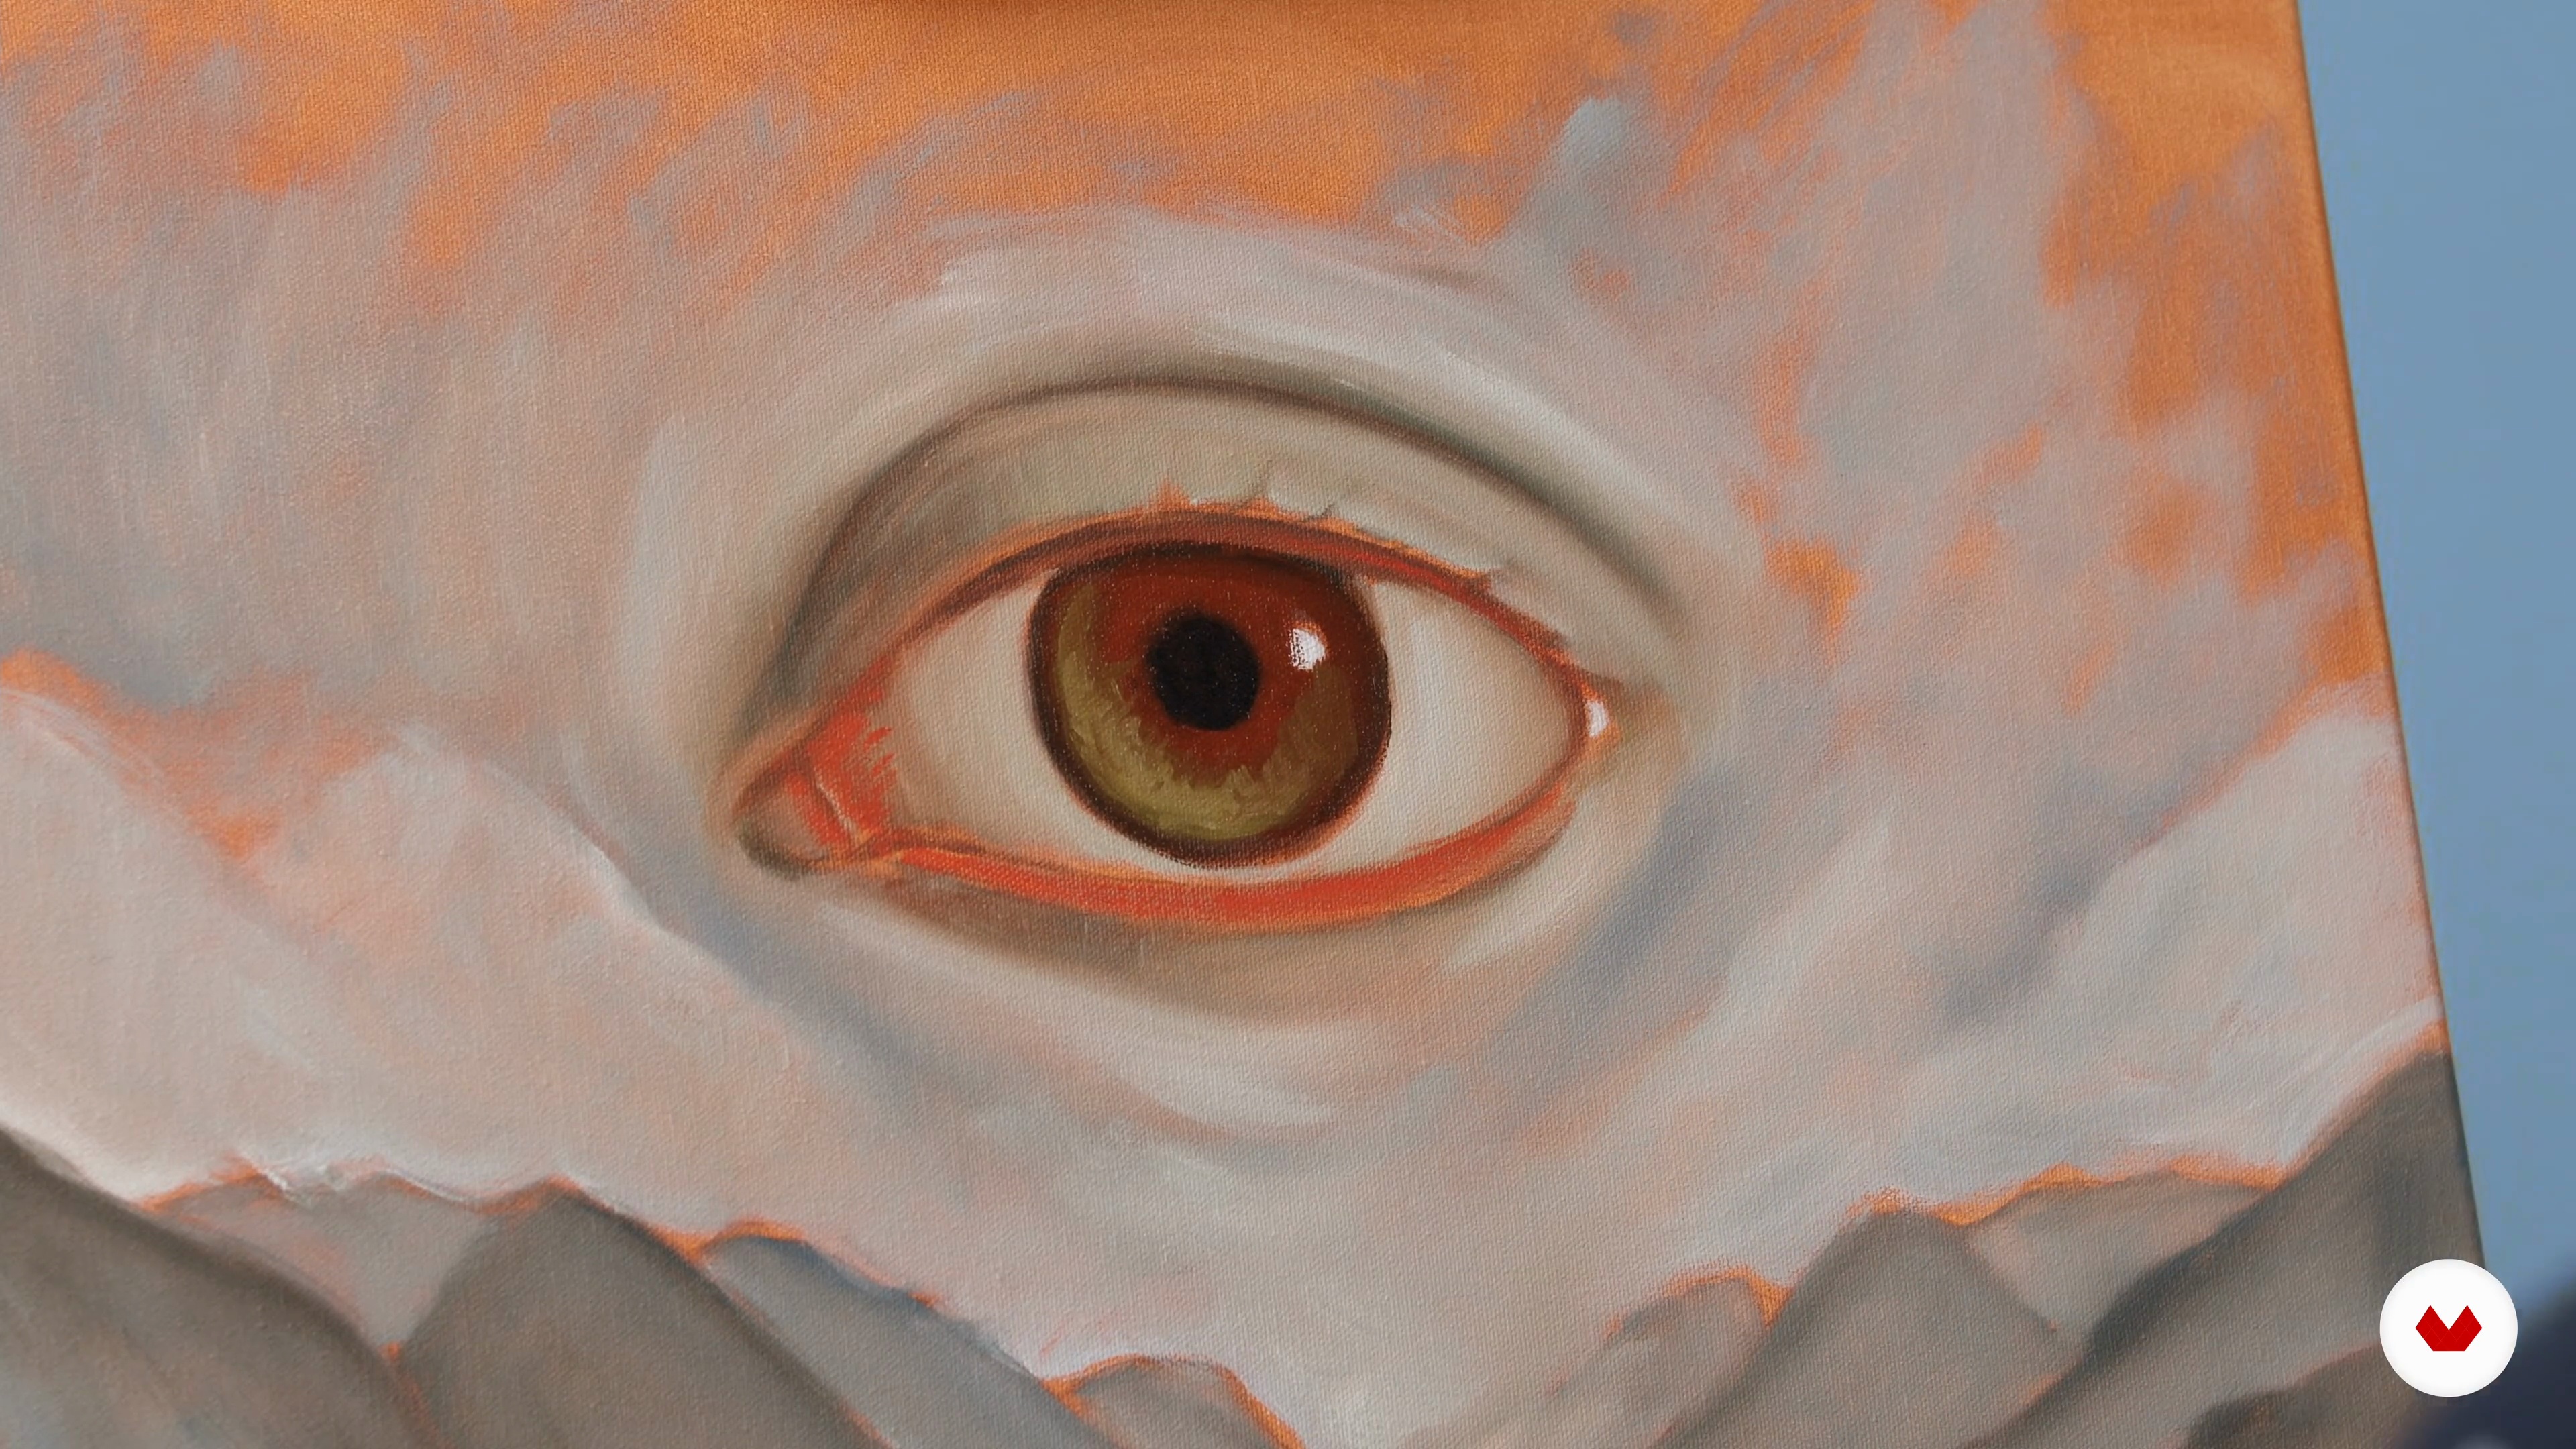
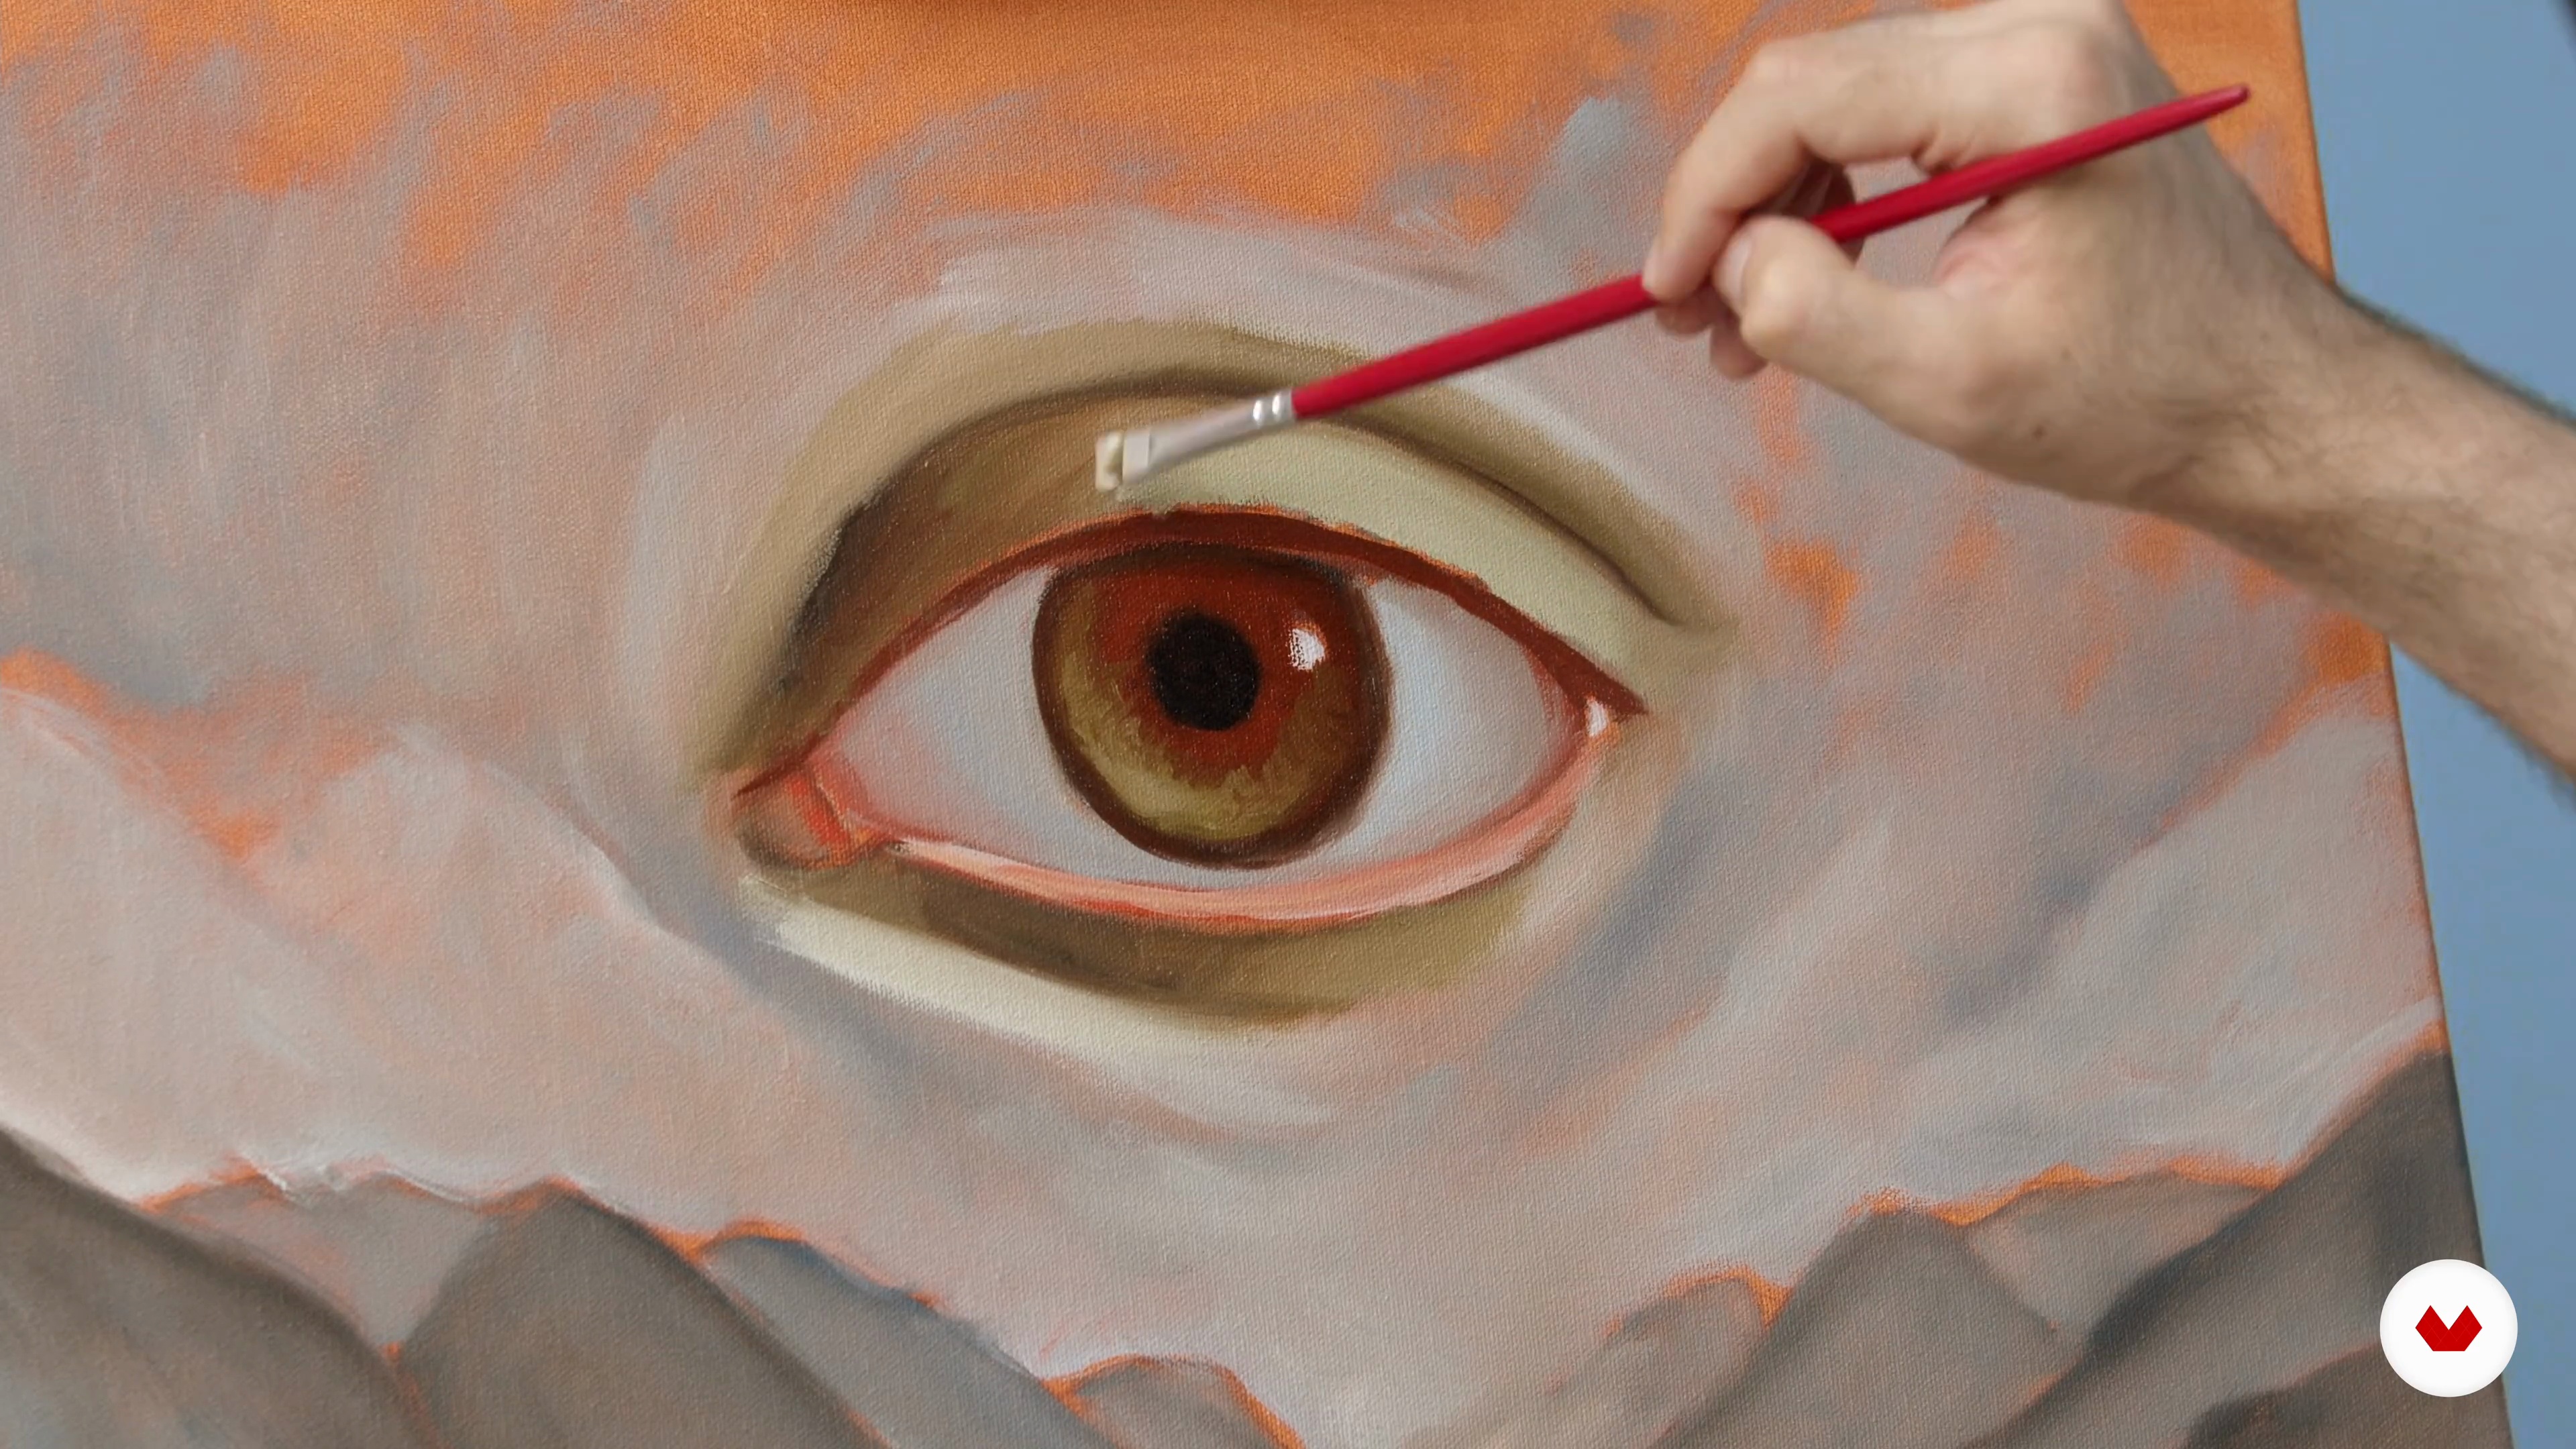
Painting the Eye 1
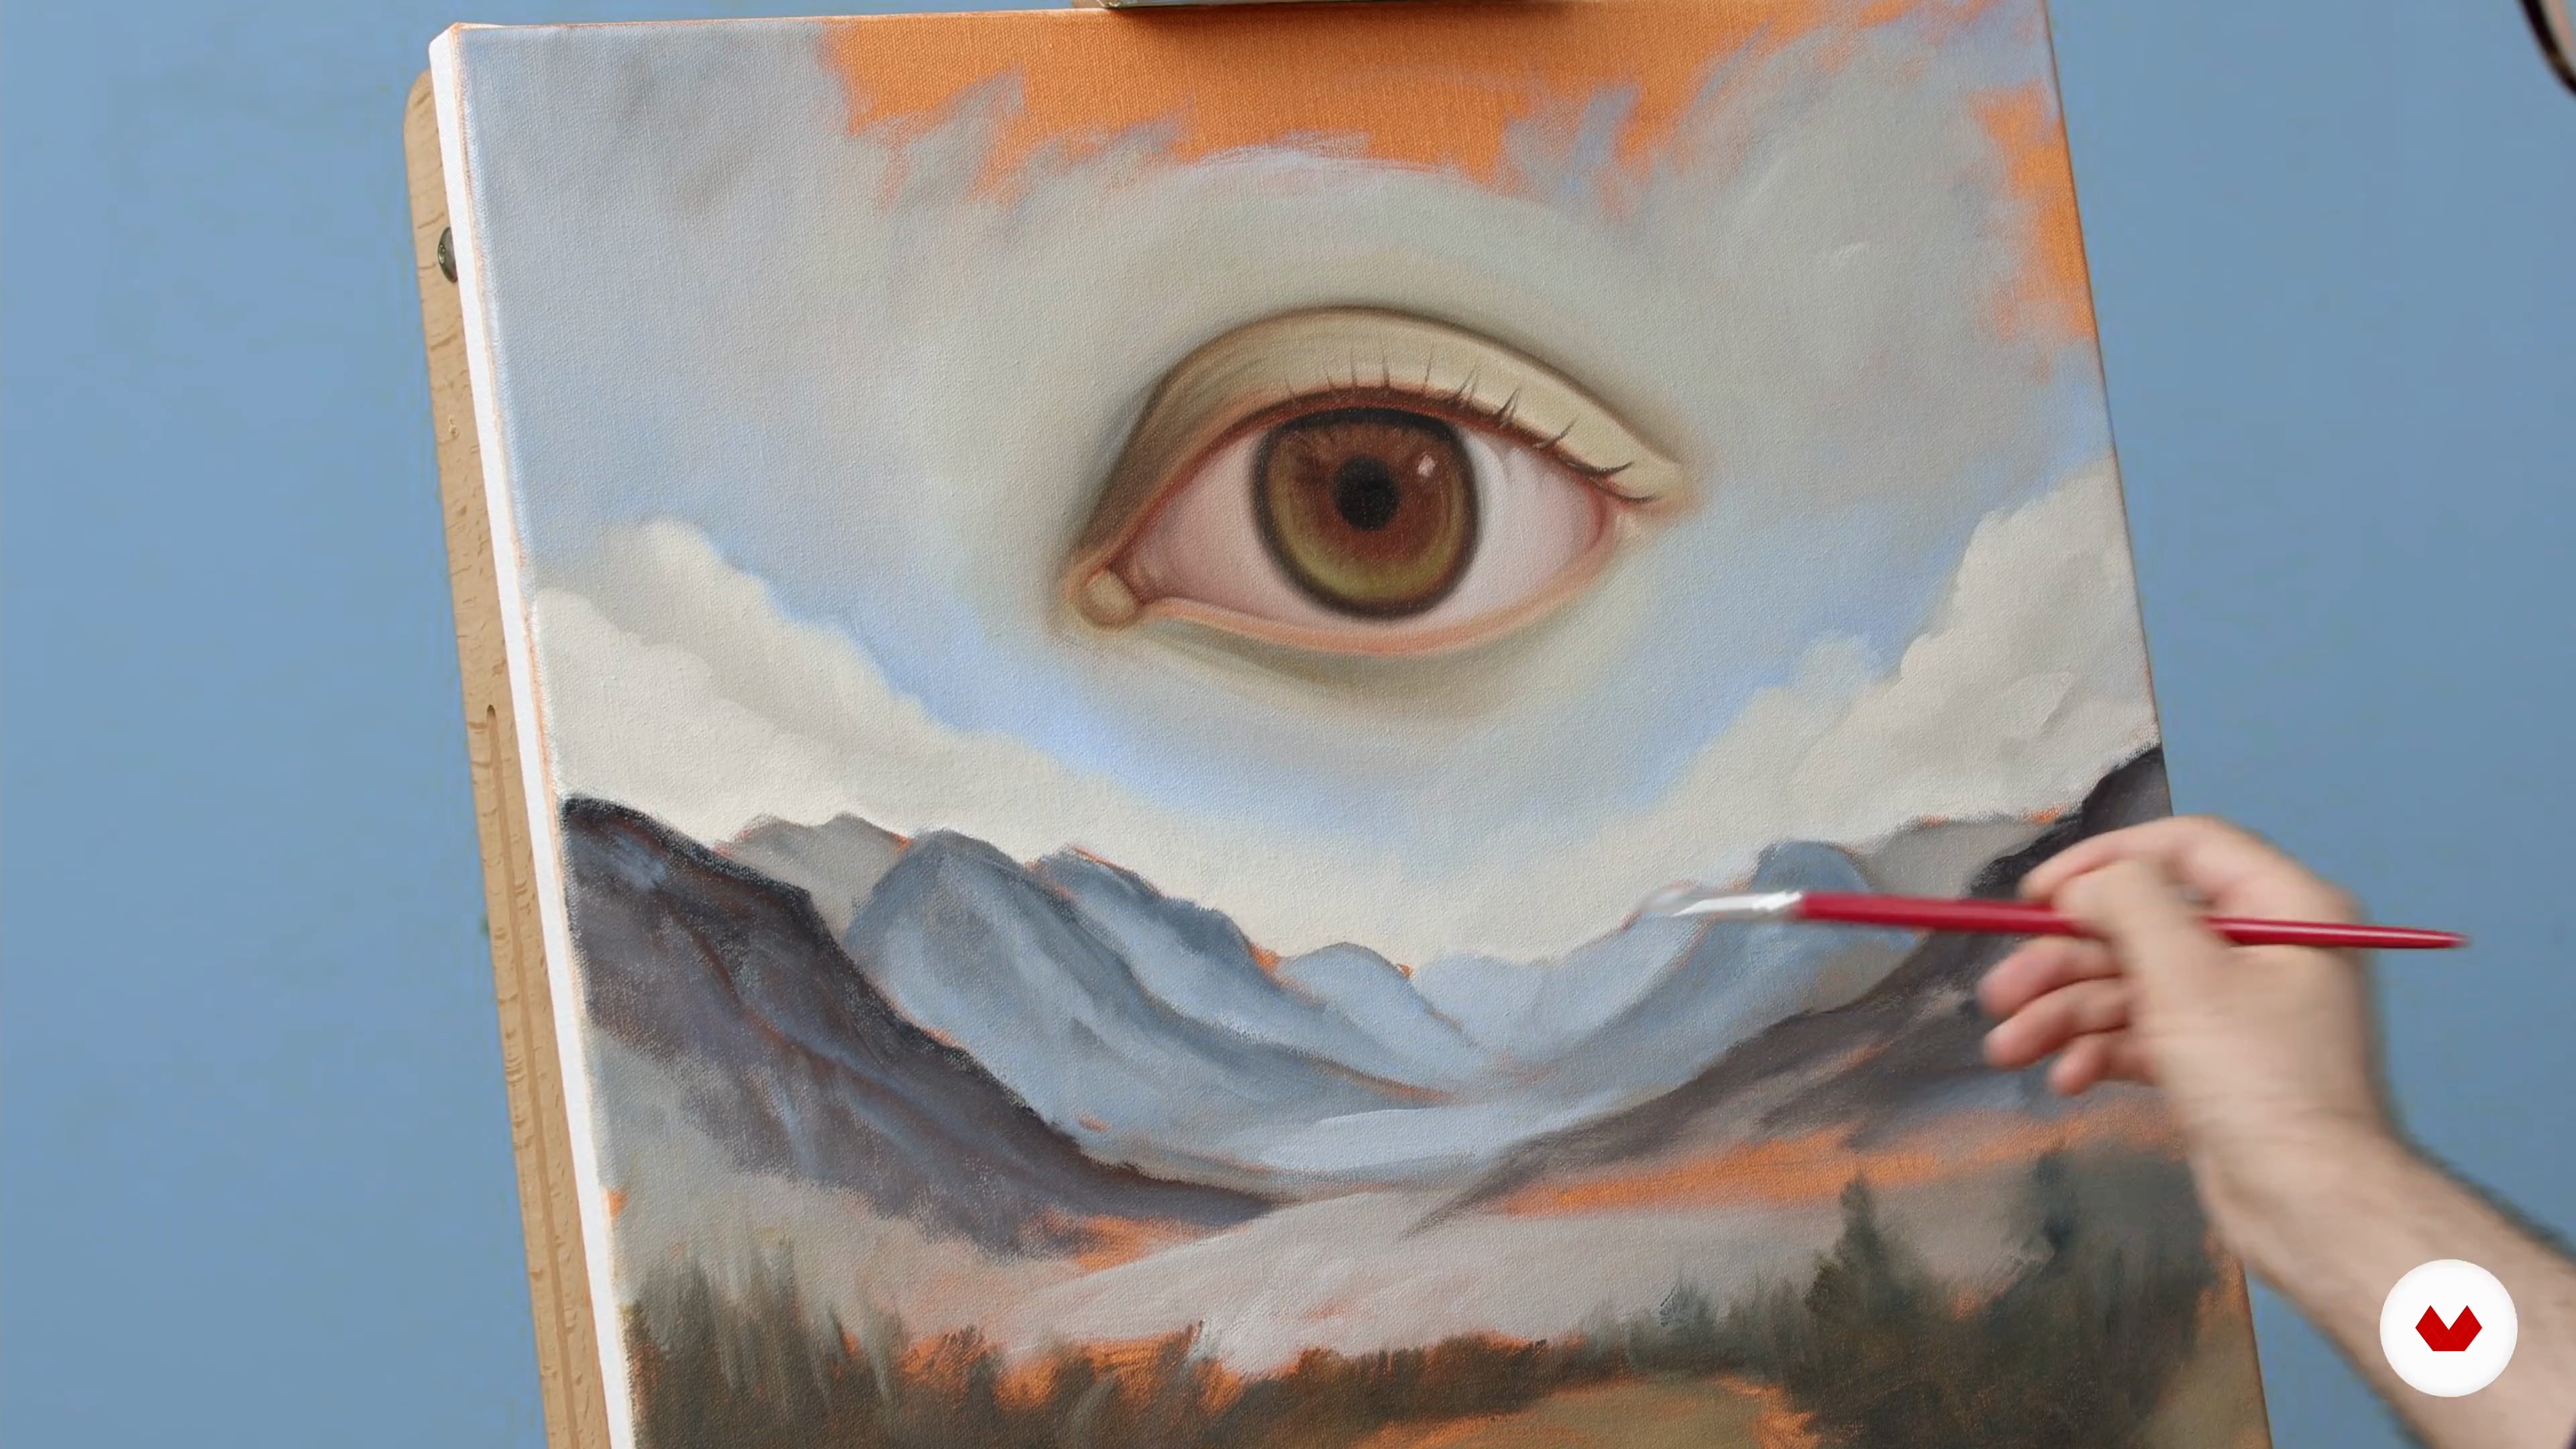
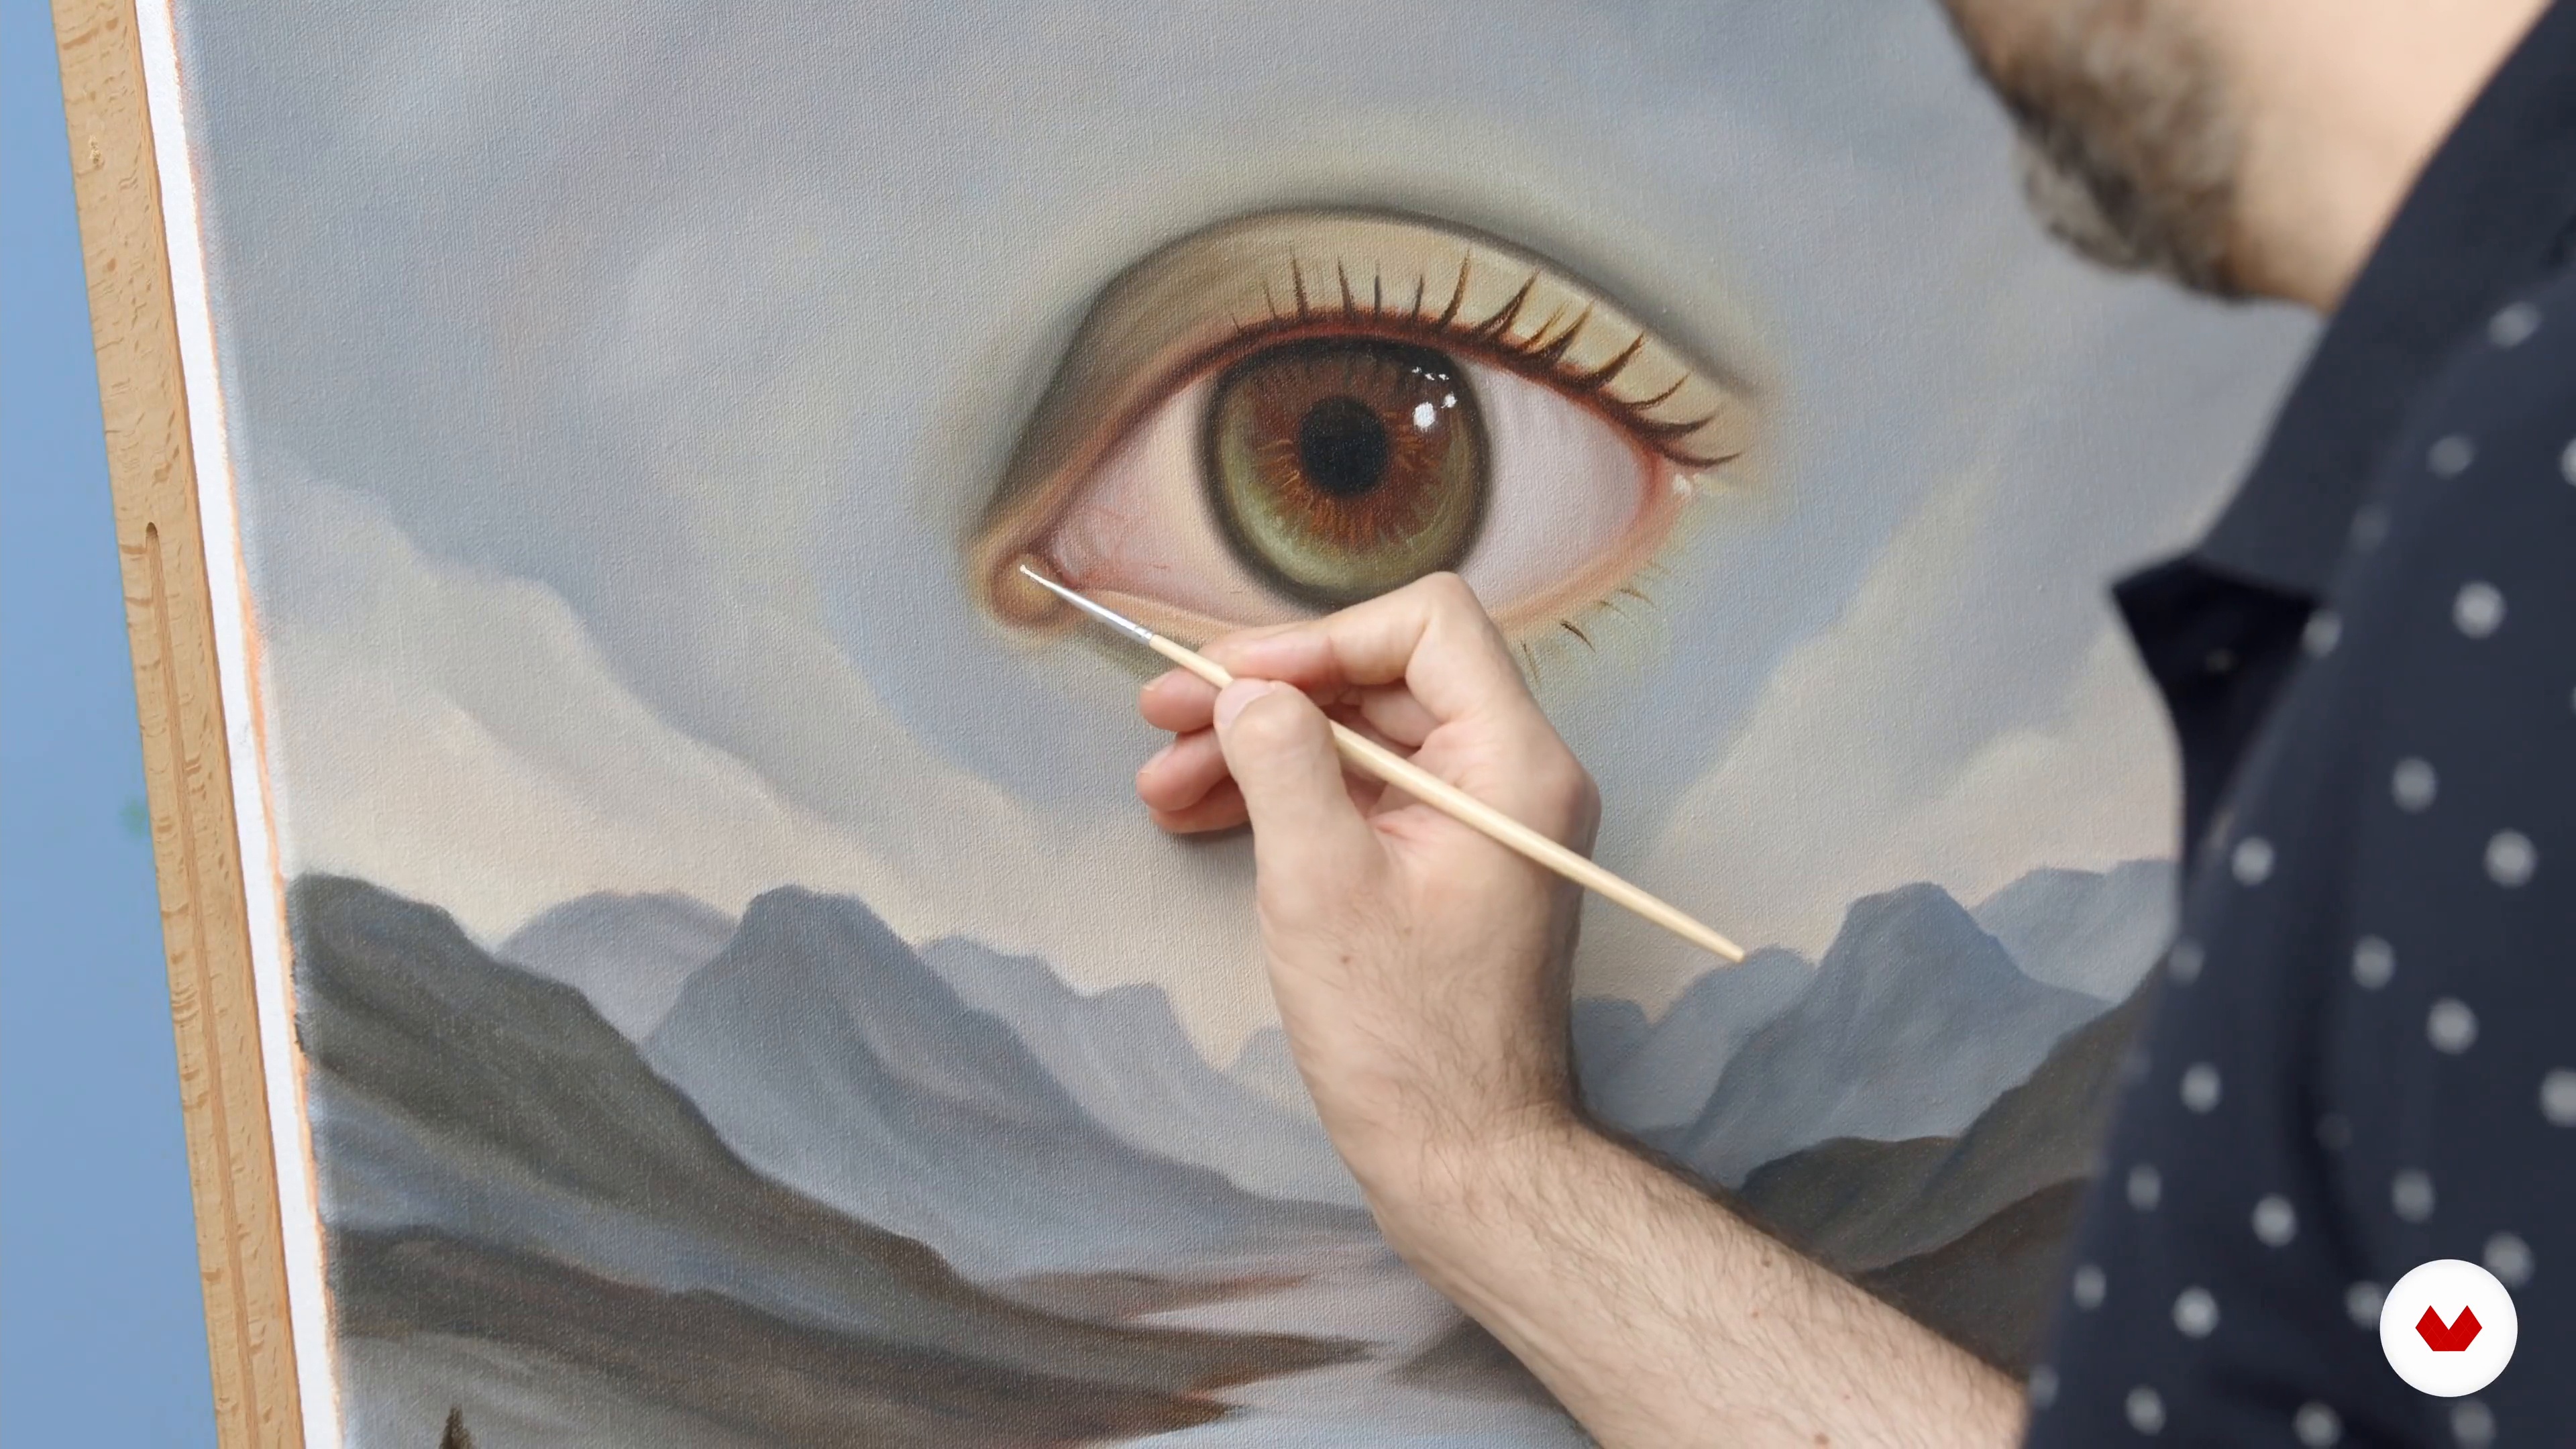
As mentioned before, the eye is one of the most important elements of the composition, it’s almost the soul of this painting, so you will spend some time on painting details.
19m
image
9
Painting the Eye 2
I will teach you how to finish the last details of the eye. This part of the painting will take you more time than you think, but you will see it's totally worth it.
10m
image
10
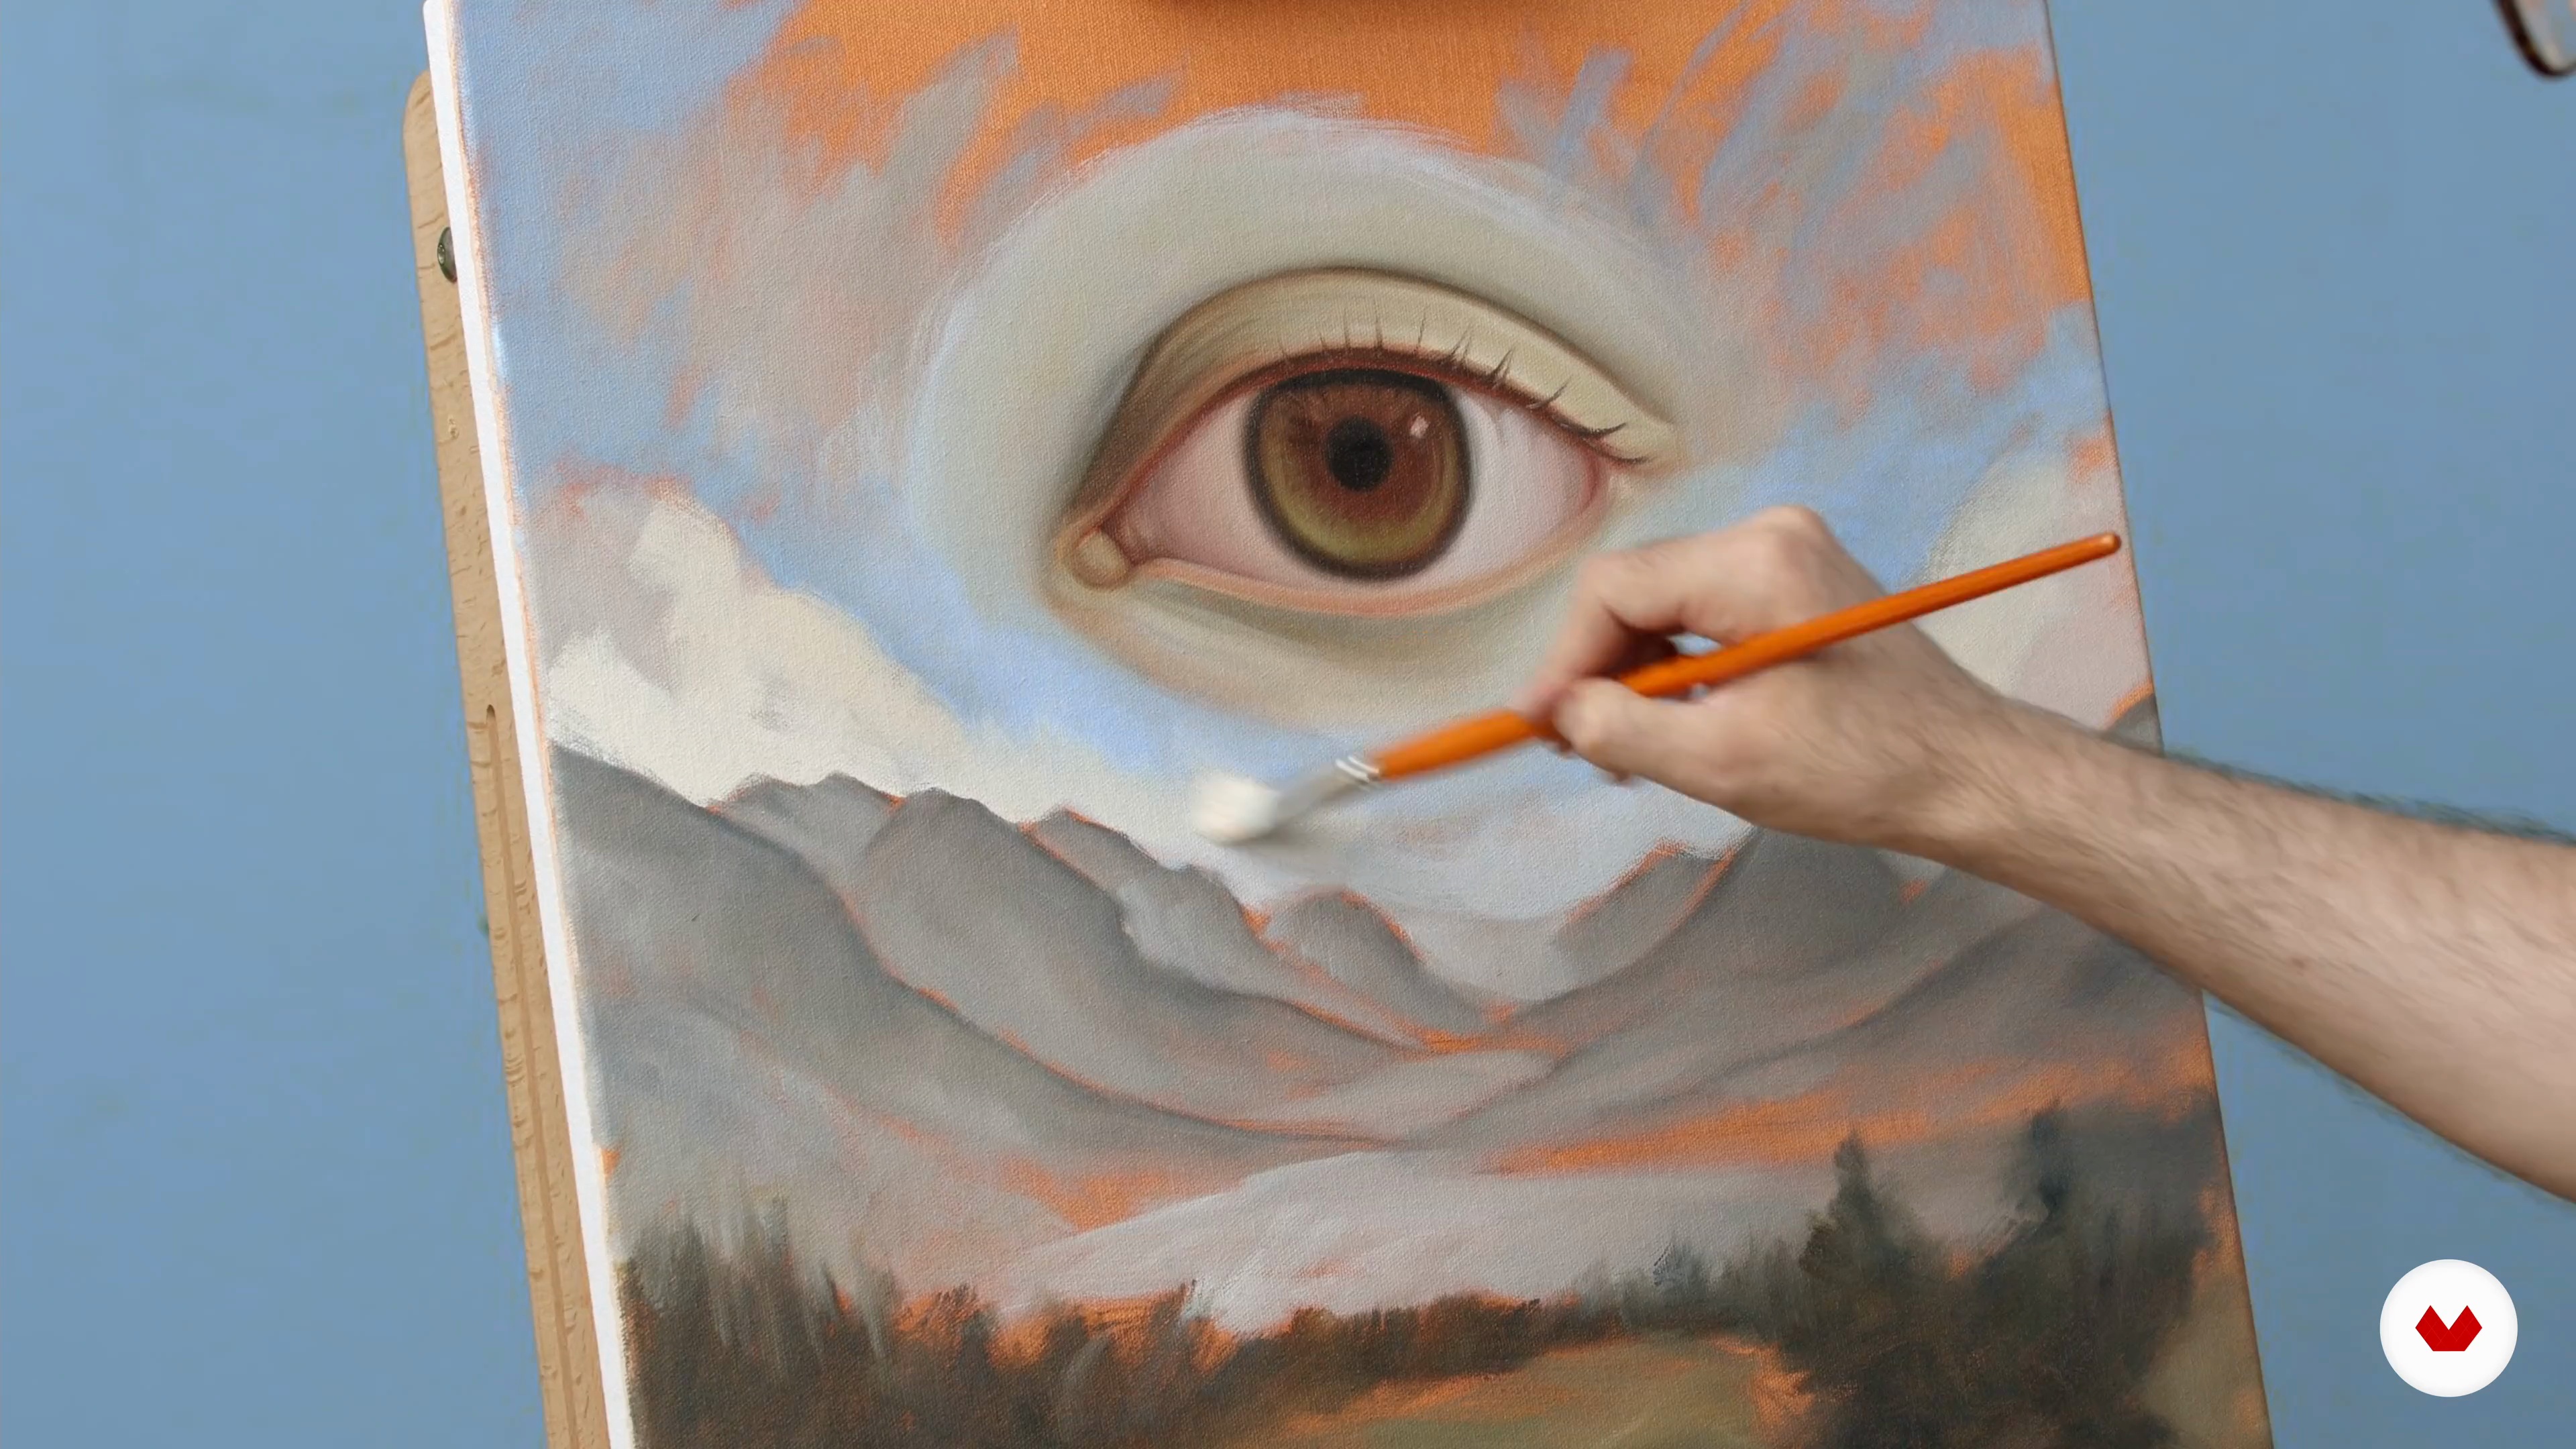
Merging the Eye With the Sky 1
During this lesson, you will learn to create a blur between the eye and the sky, and you will do so by blending the eyelids with the clouds. Don't worry, because I will give you many tips to achieve this successfully.
20m
image
11
Merging the Eye With the Sky 2
Blending the eye with the sky and the clouds will be the key! I will continue sharing with you more tips for you to do it in your artwork. I will also teach you how to paint the mountains that are closer to the eye.
6m
image
12
Finishing the Landscape 1
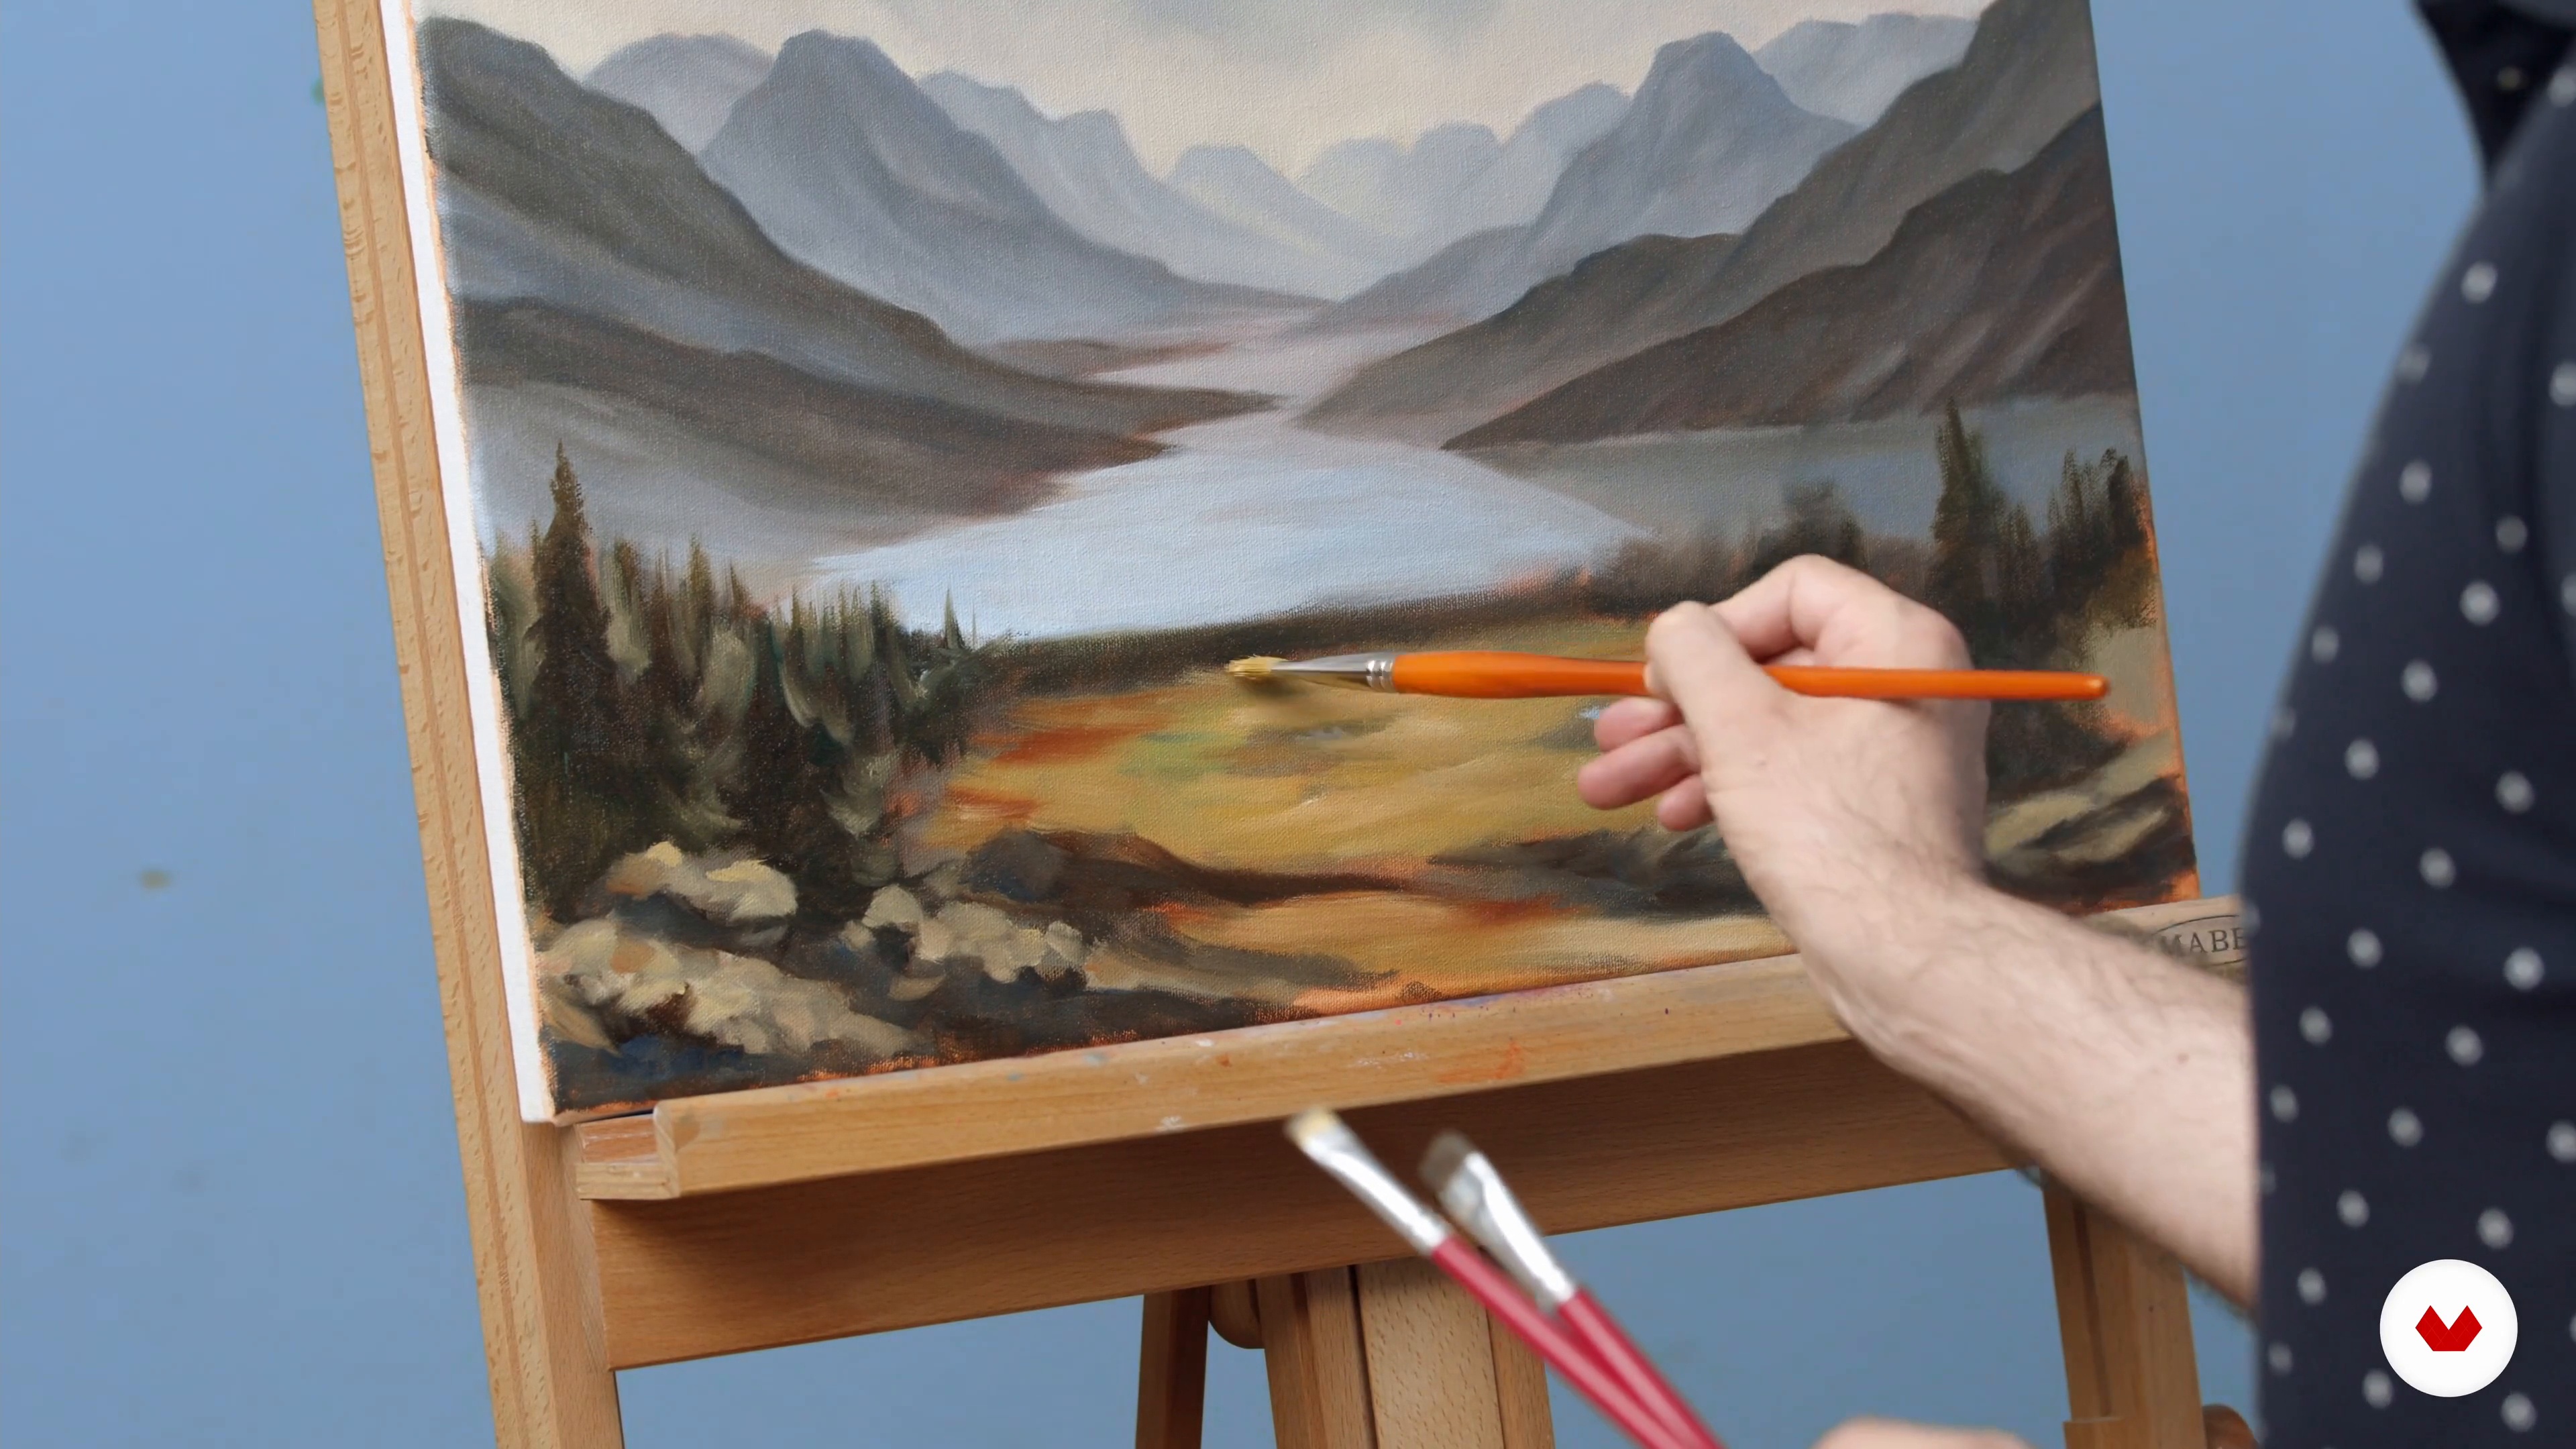
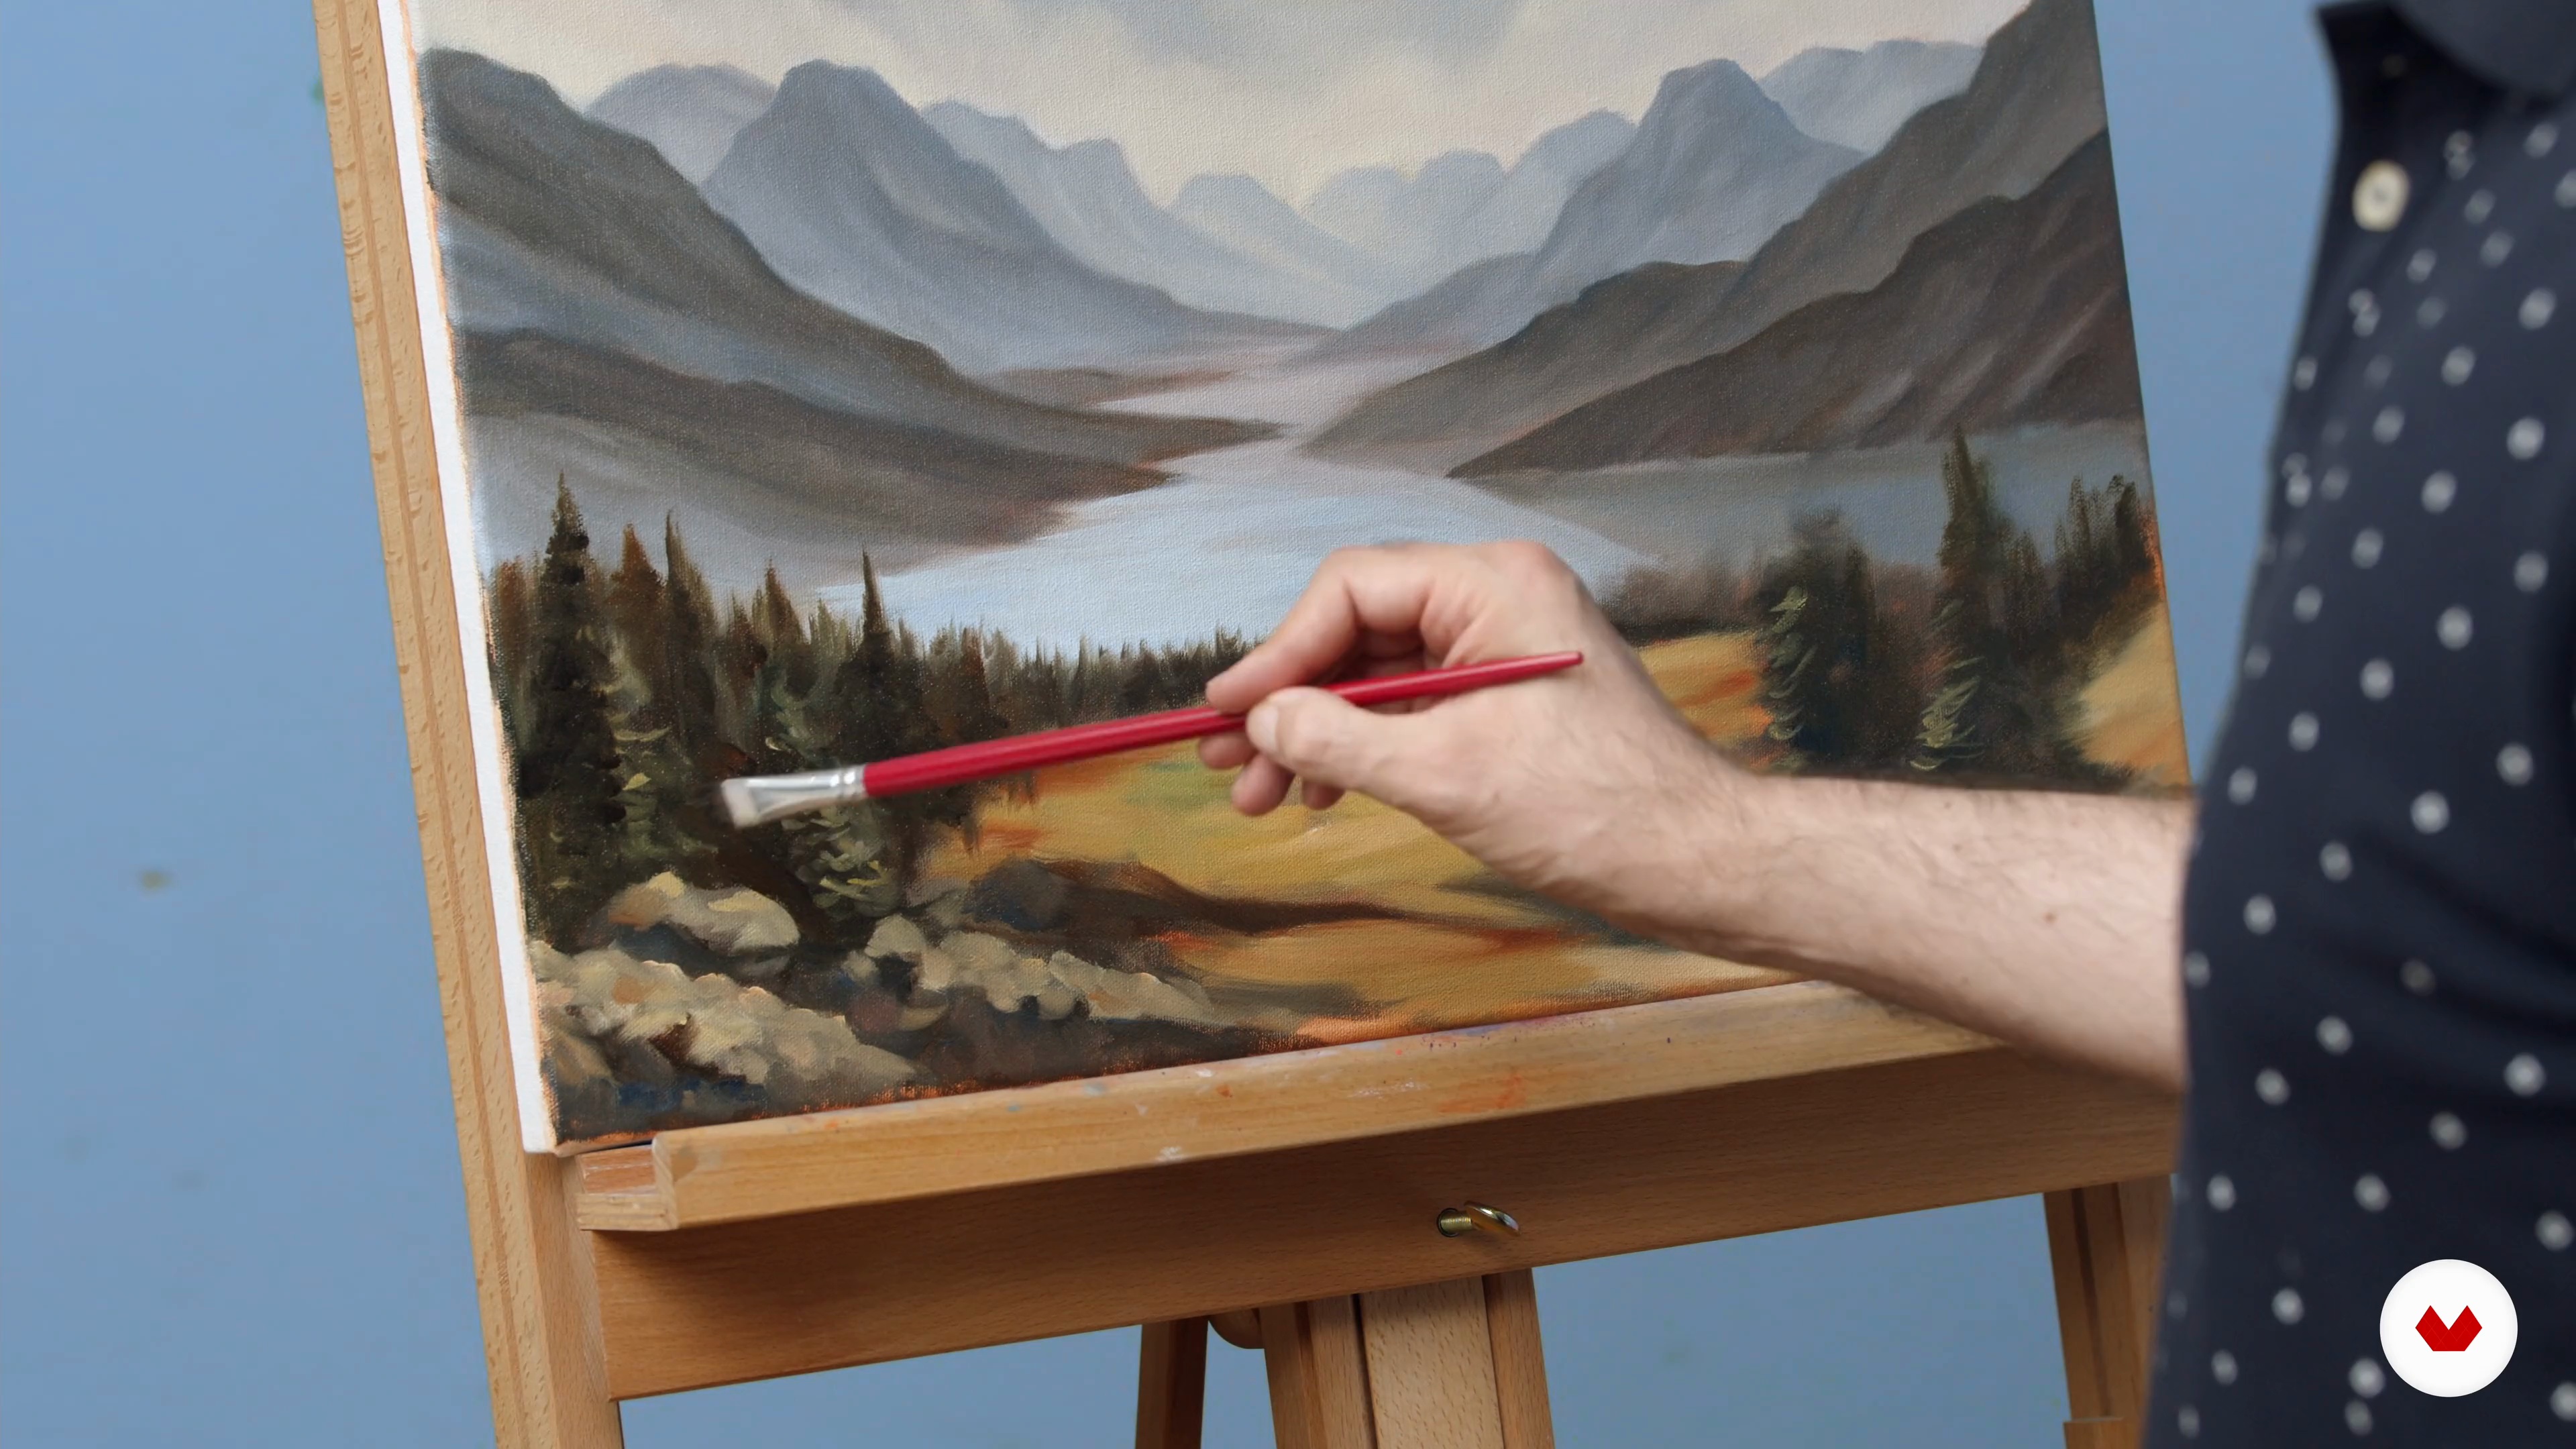
You will learn how to finish the painting! I will explain to you the different features of the scenery.
20m
image
13
Finishing the Landscape 2
In this second part of the lesson, you will see how to finish the landscape by adding some details, besides I will share with you some additional tips to improve your artwork.
10m
image
14
Final Details 1
After the main painting is done, there’s always space for improvement! I will teach you some final details you should take care of.
19m
image
15
Final Details 2
Details always matter! And when it comes to painting, it could help your artwork to look amazing. I will keep showing you how to do those details.
4m
image
16
Varnishing
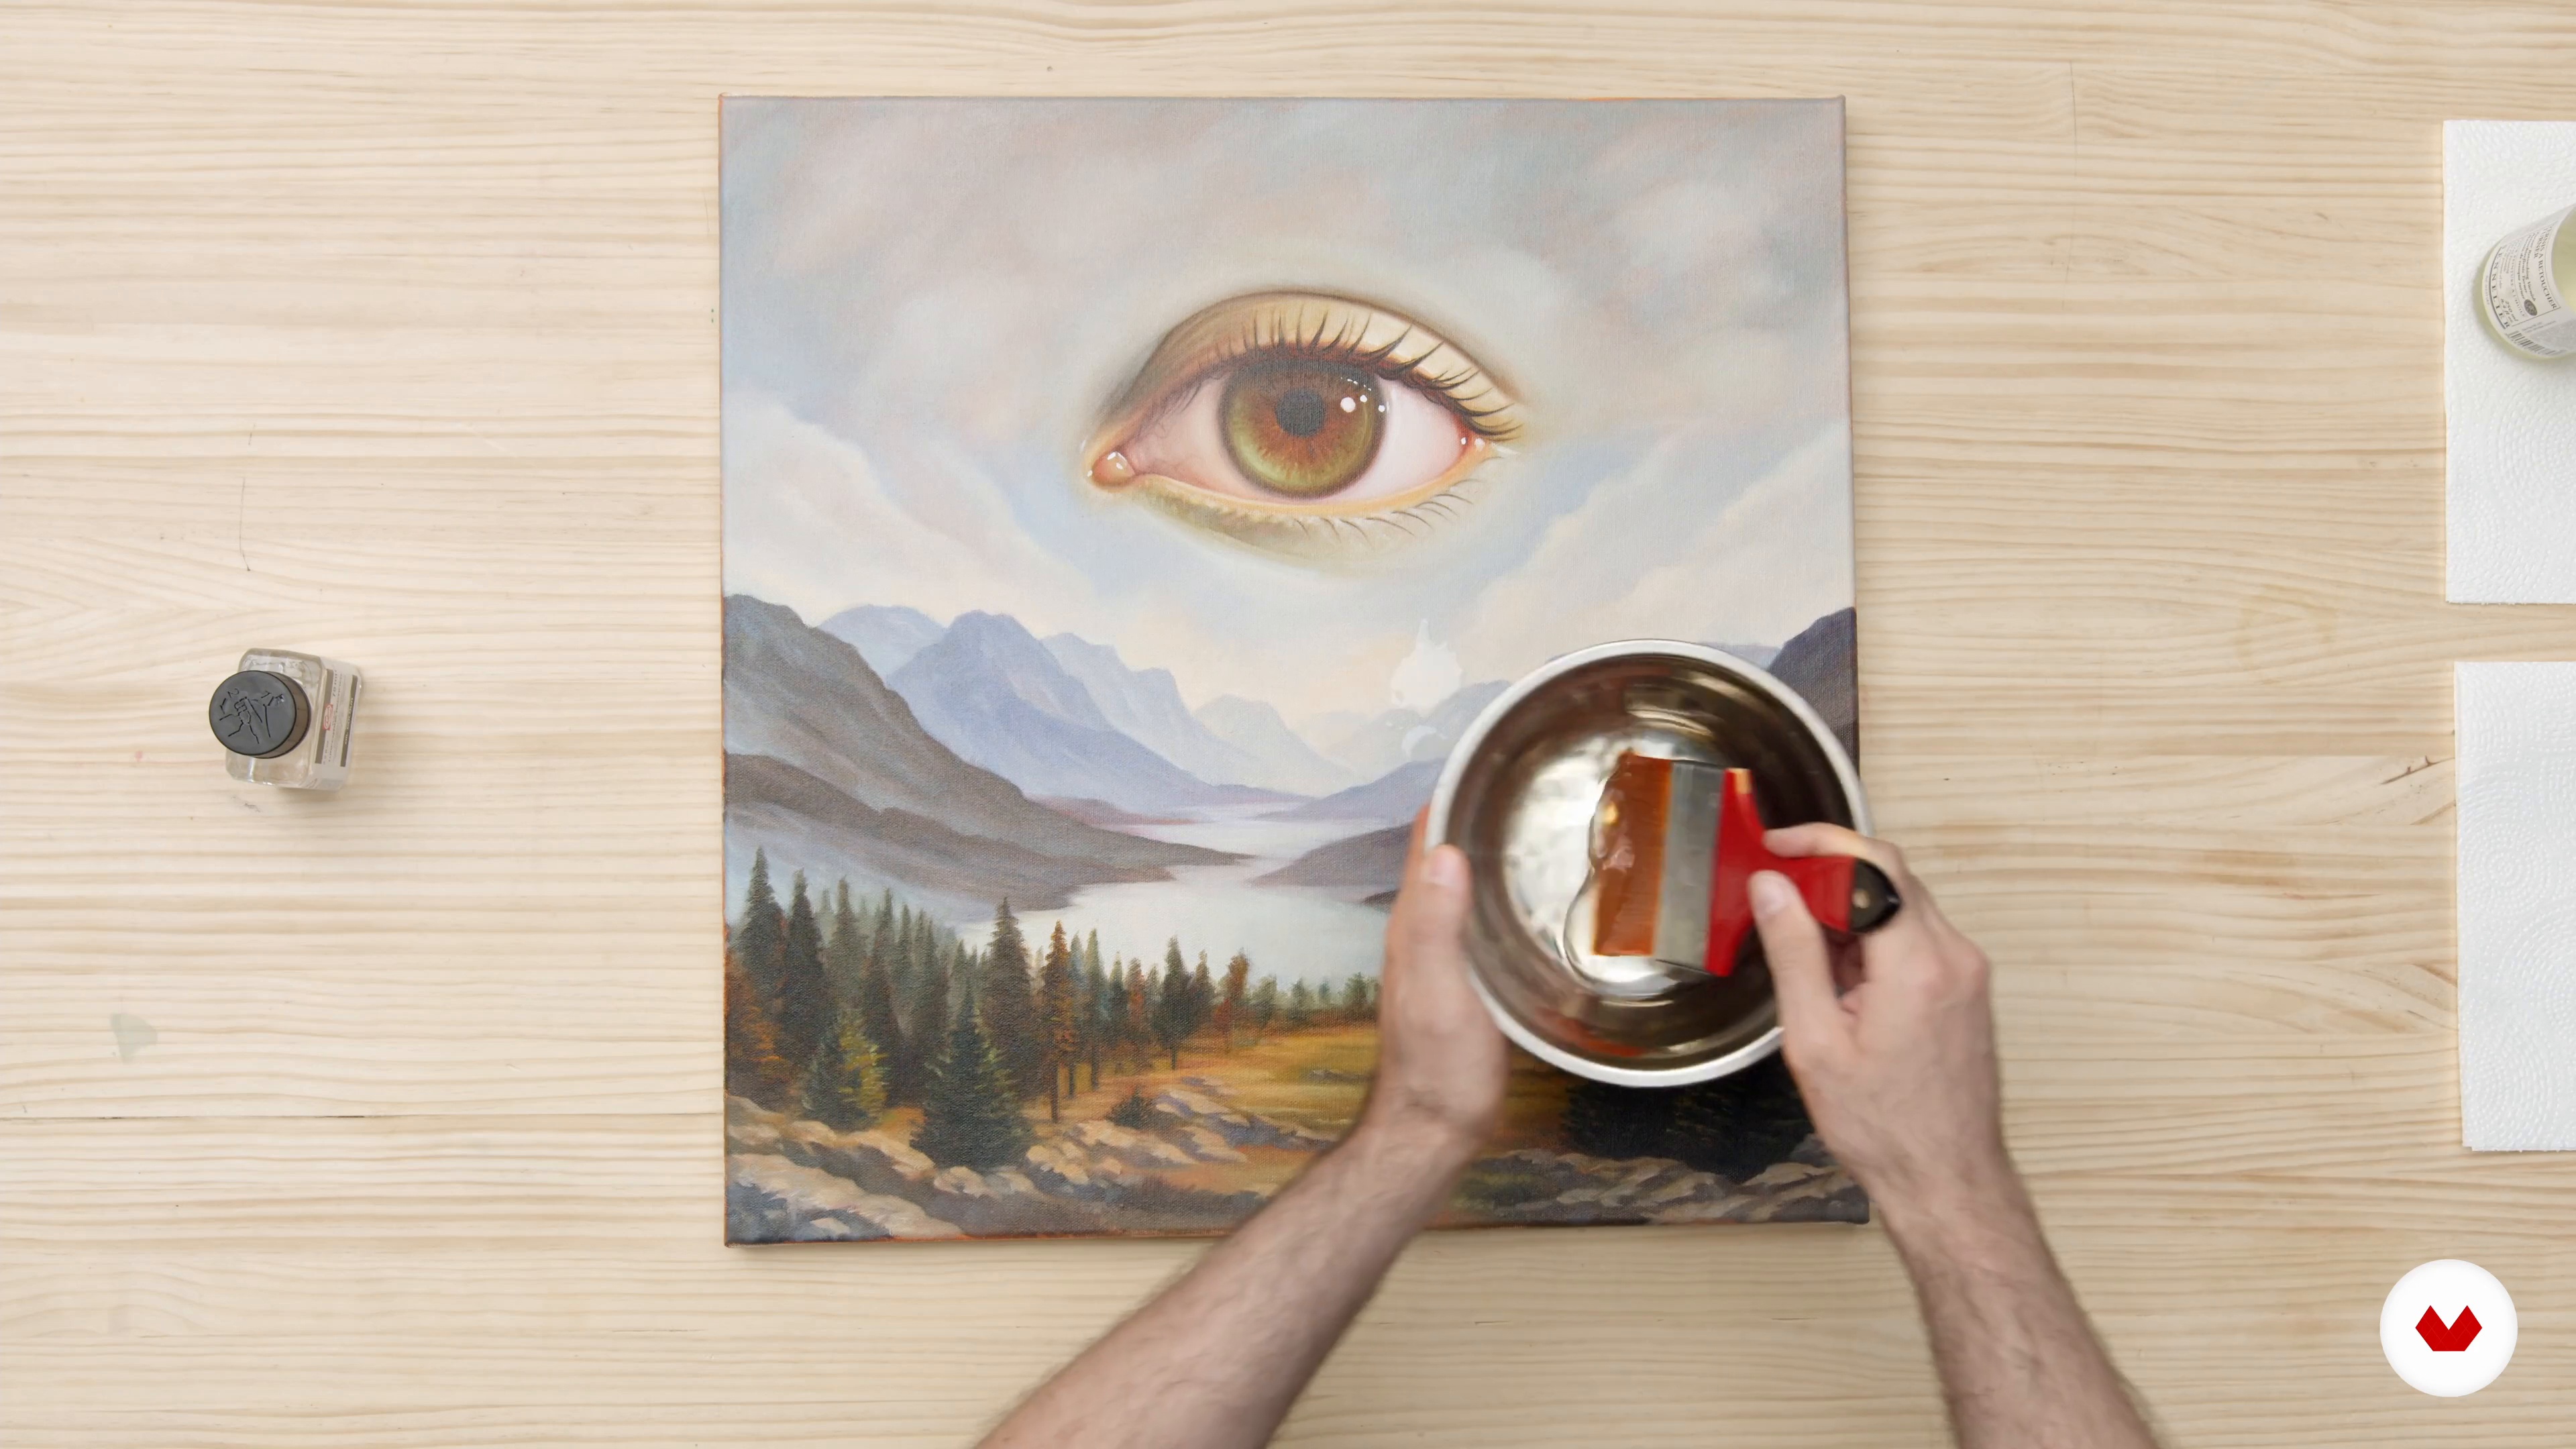
This lesson is about adding the final touch to your painting. Varnishing will make all the beautiful colours pop out of the canvas, creating more contrast and saturation. I will talk to you about the safety measures you need to have. You will learn how to apply the retouch varnish with a large brush.
3m
image
1
Portraits That Reflect Emotion
A portrait is not just an image of someone. It is also about feelings and thoughts. In this lesson, I will show you some ways to find and capture these emotions on your canvas.
5m
image
2
Materials
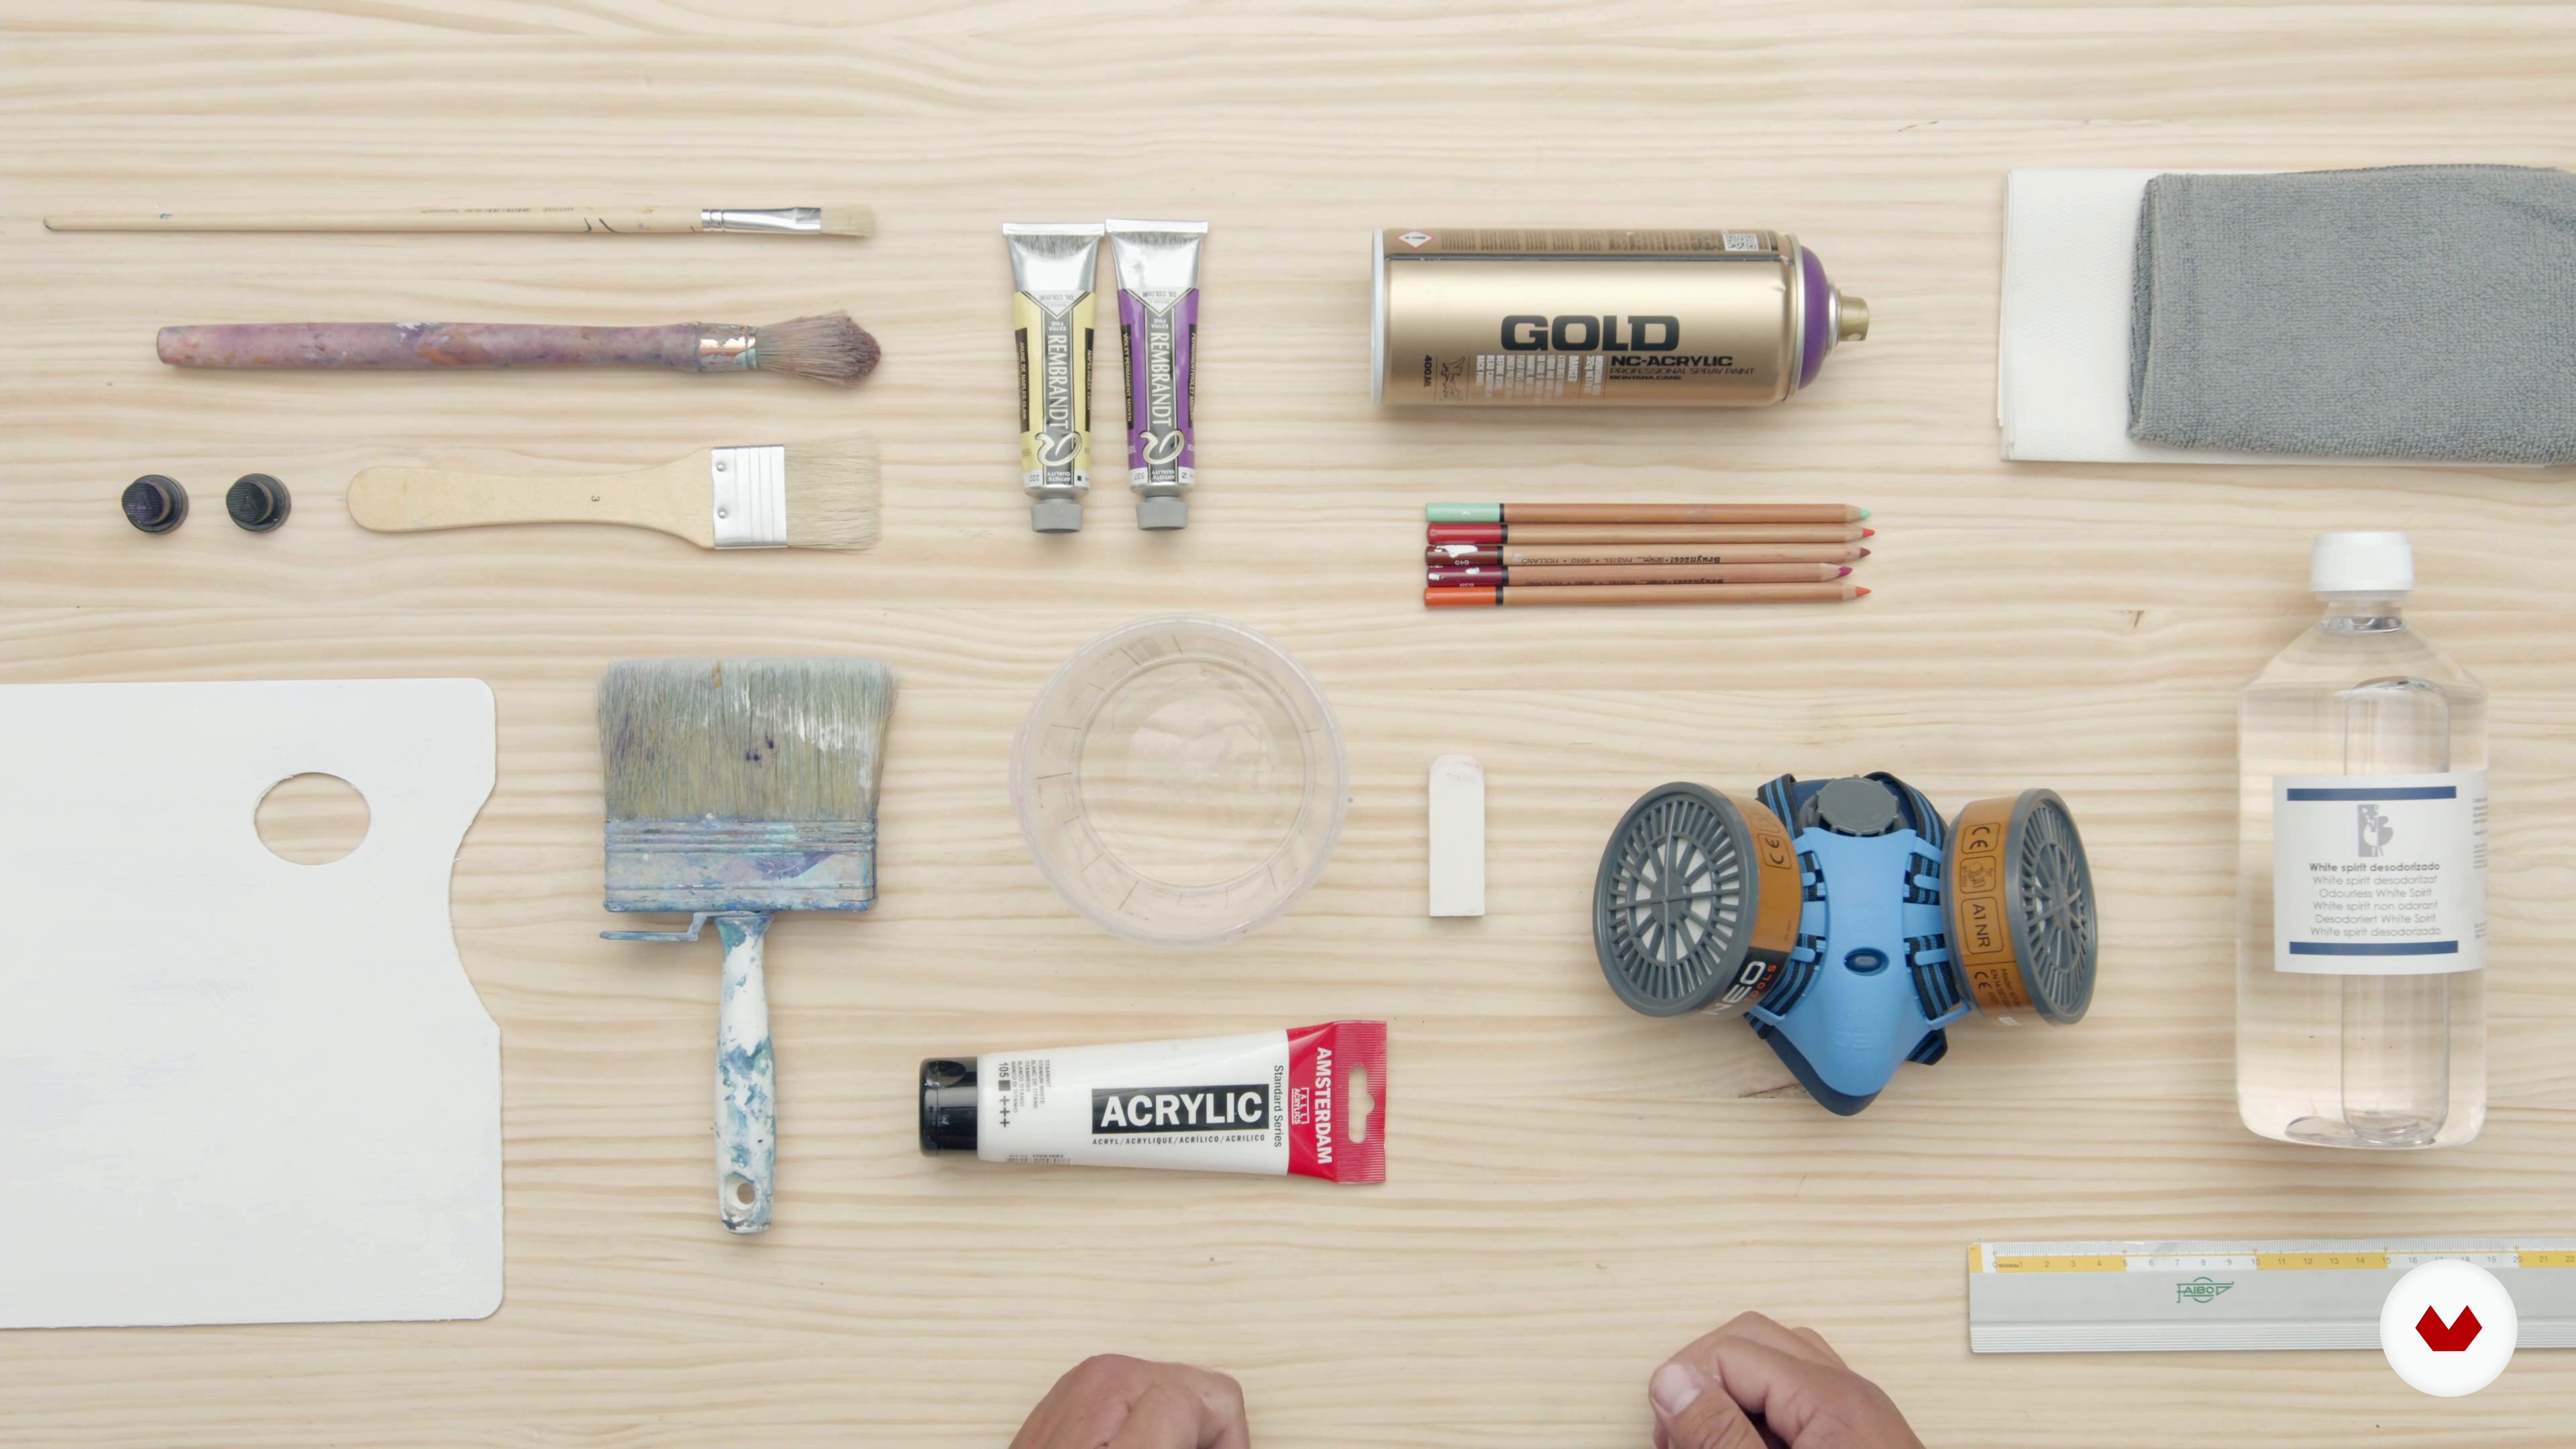
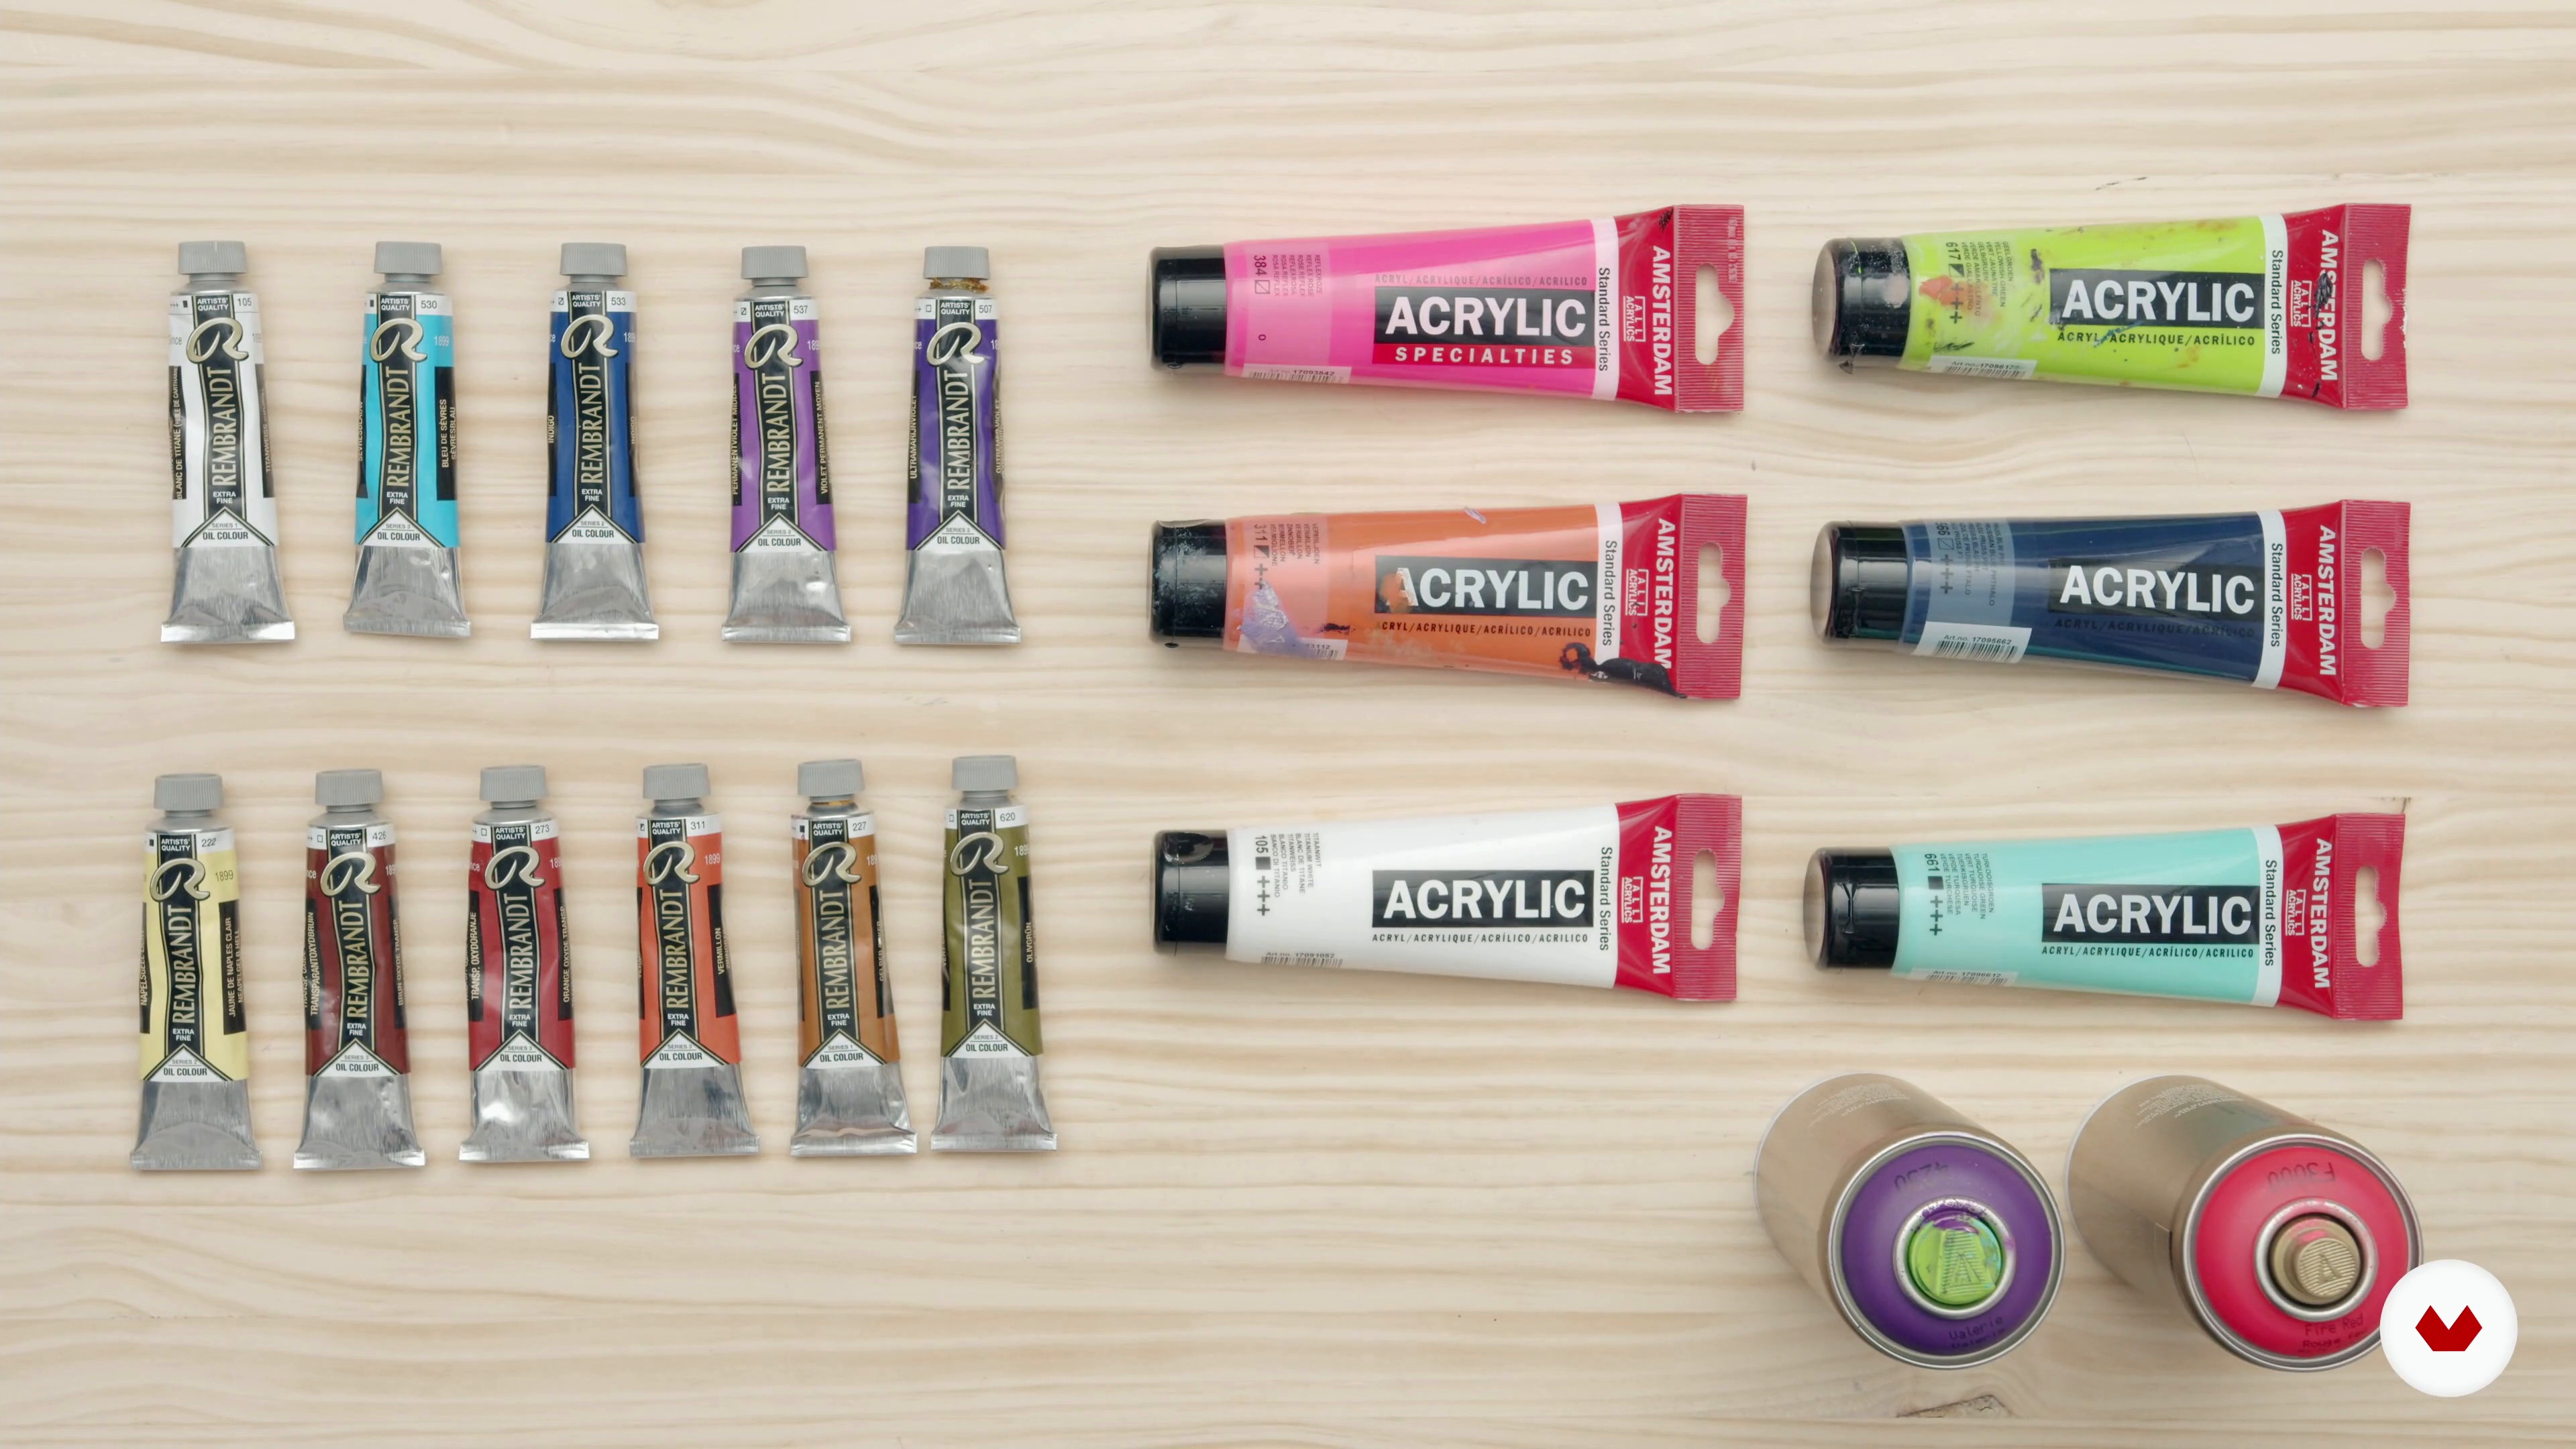
Creating a painting needs you to make decisions. Those decisions are limited to the options you have on your palette. So let me get you through the materials.
3m
image
3
Brushes and Spray Paint 1
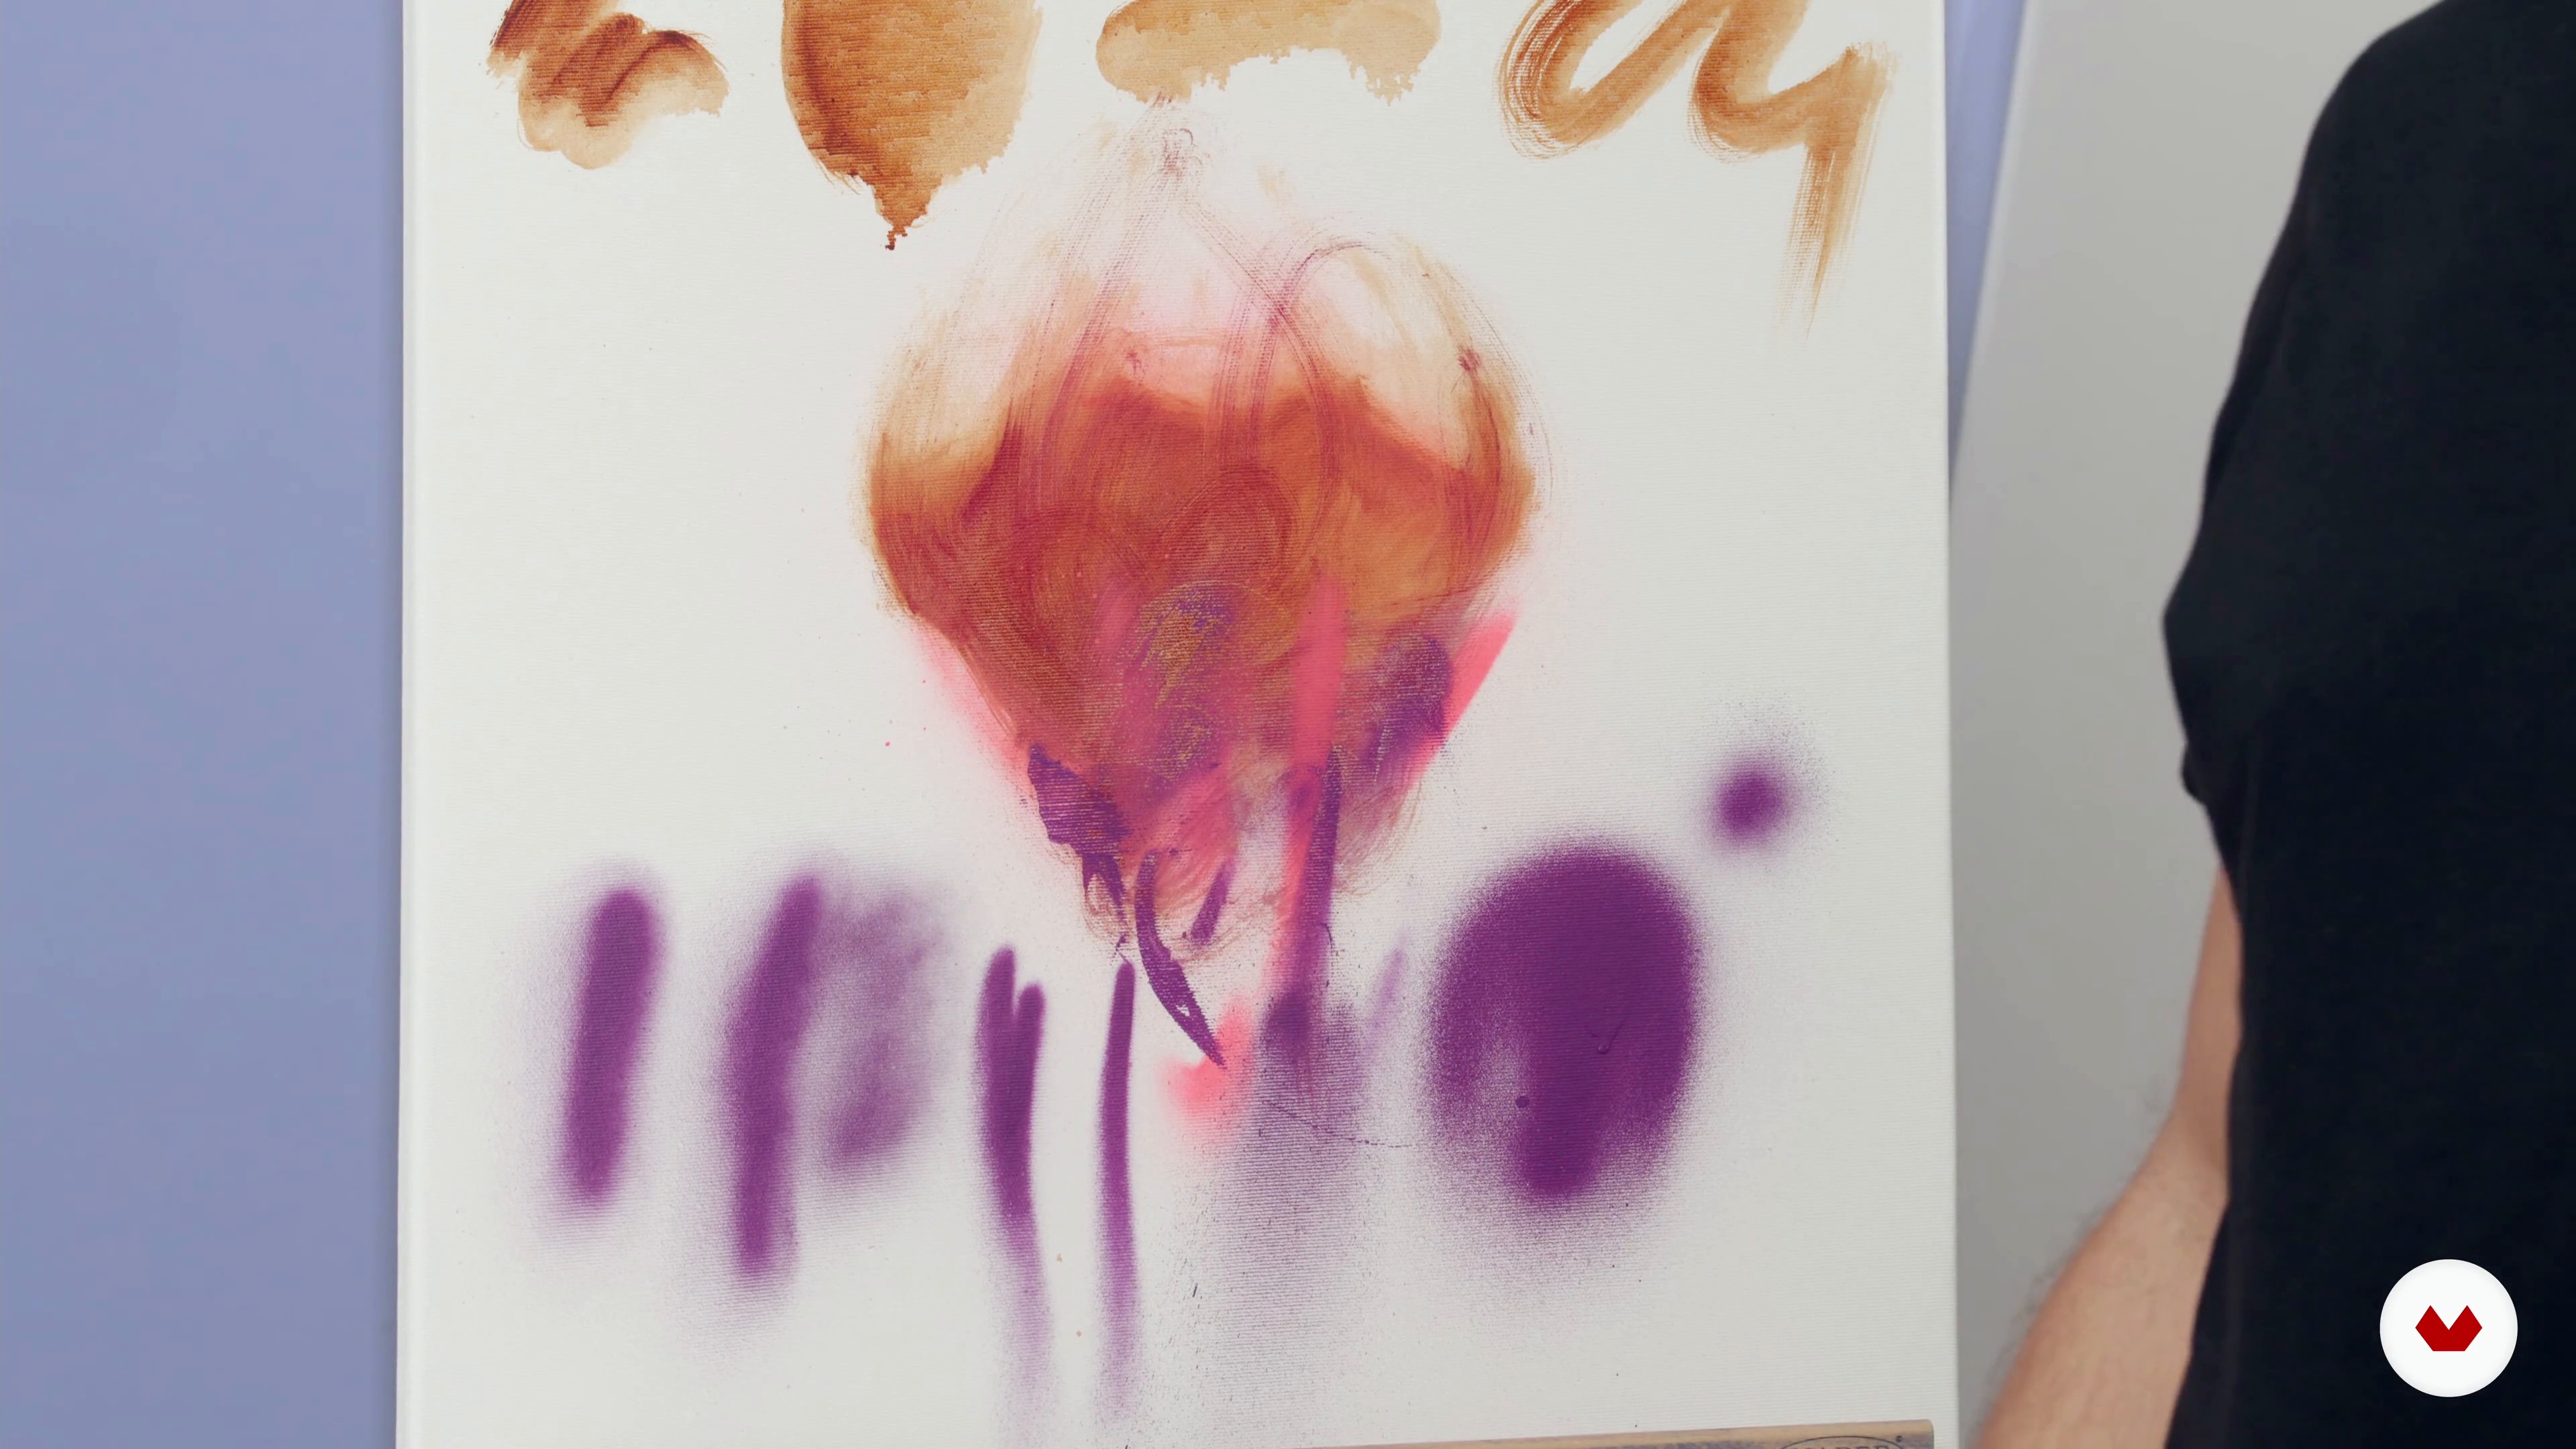
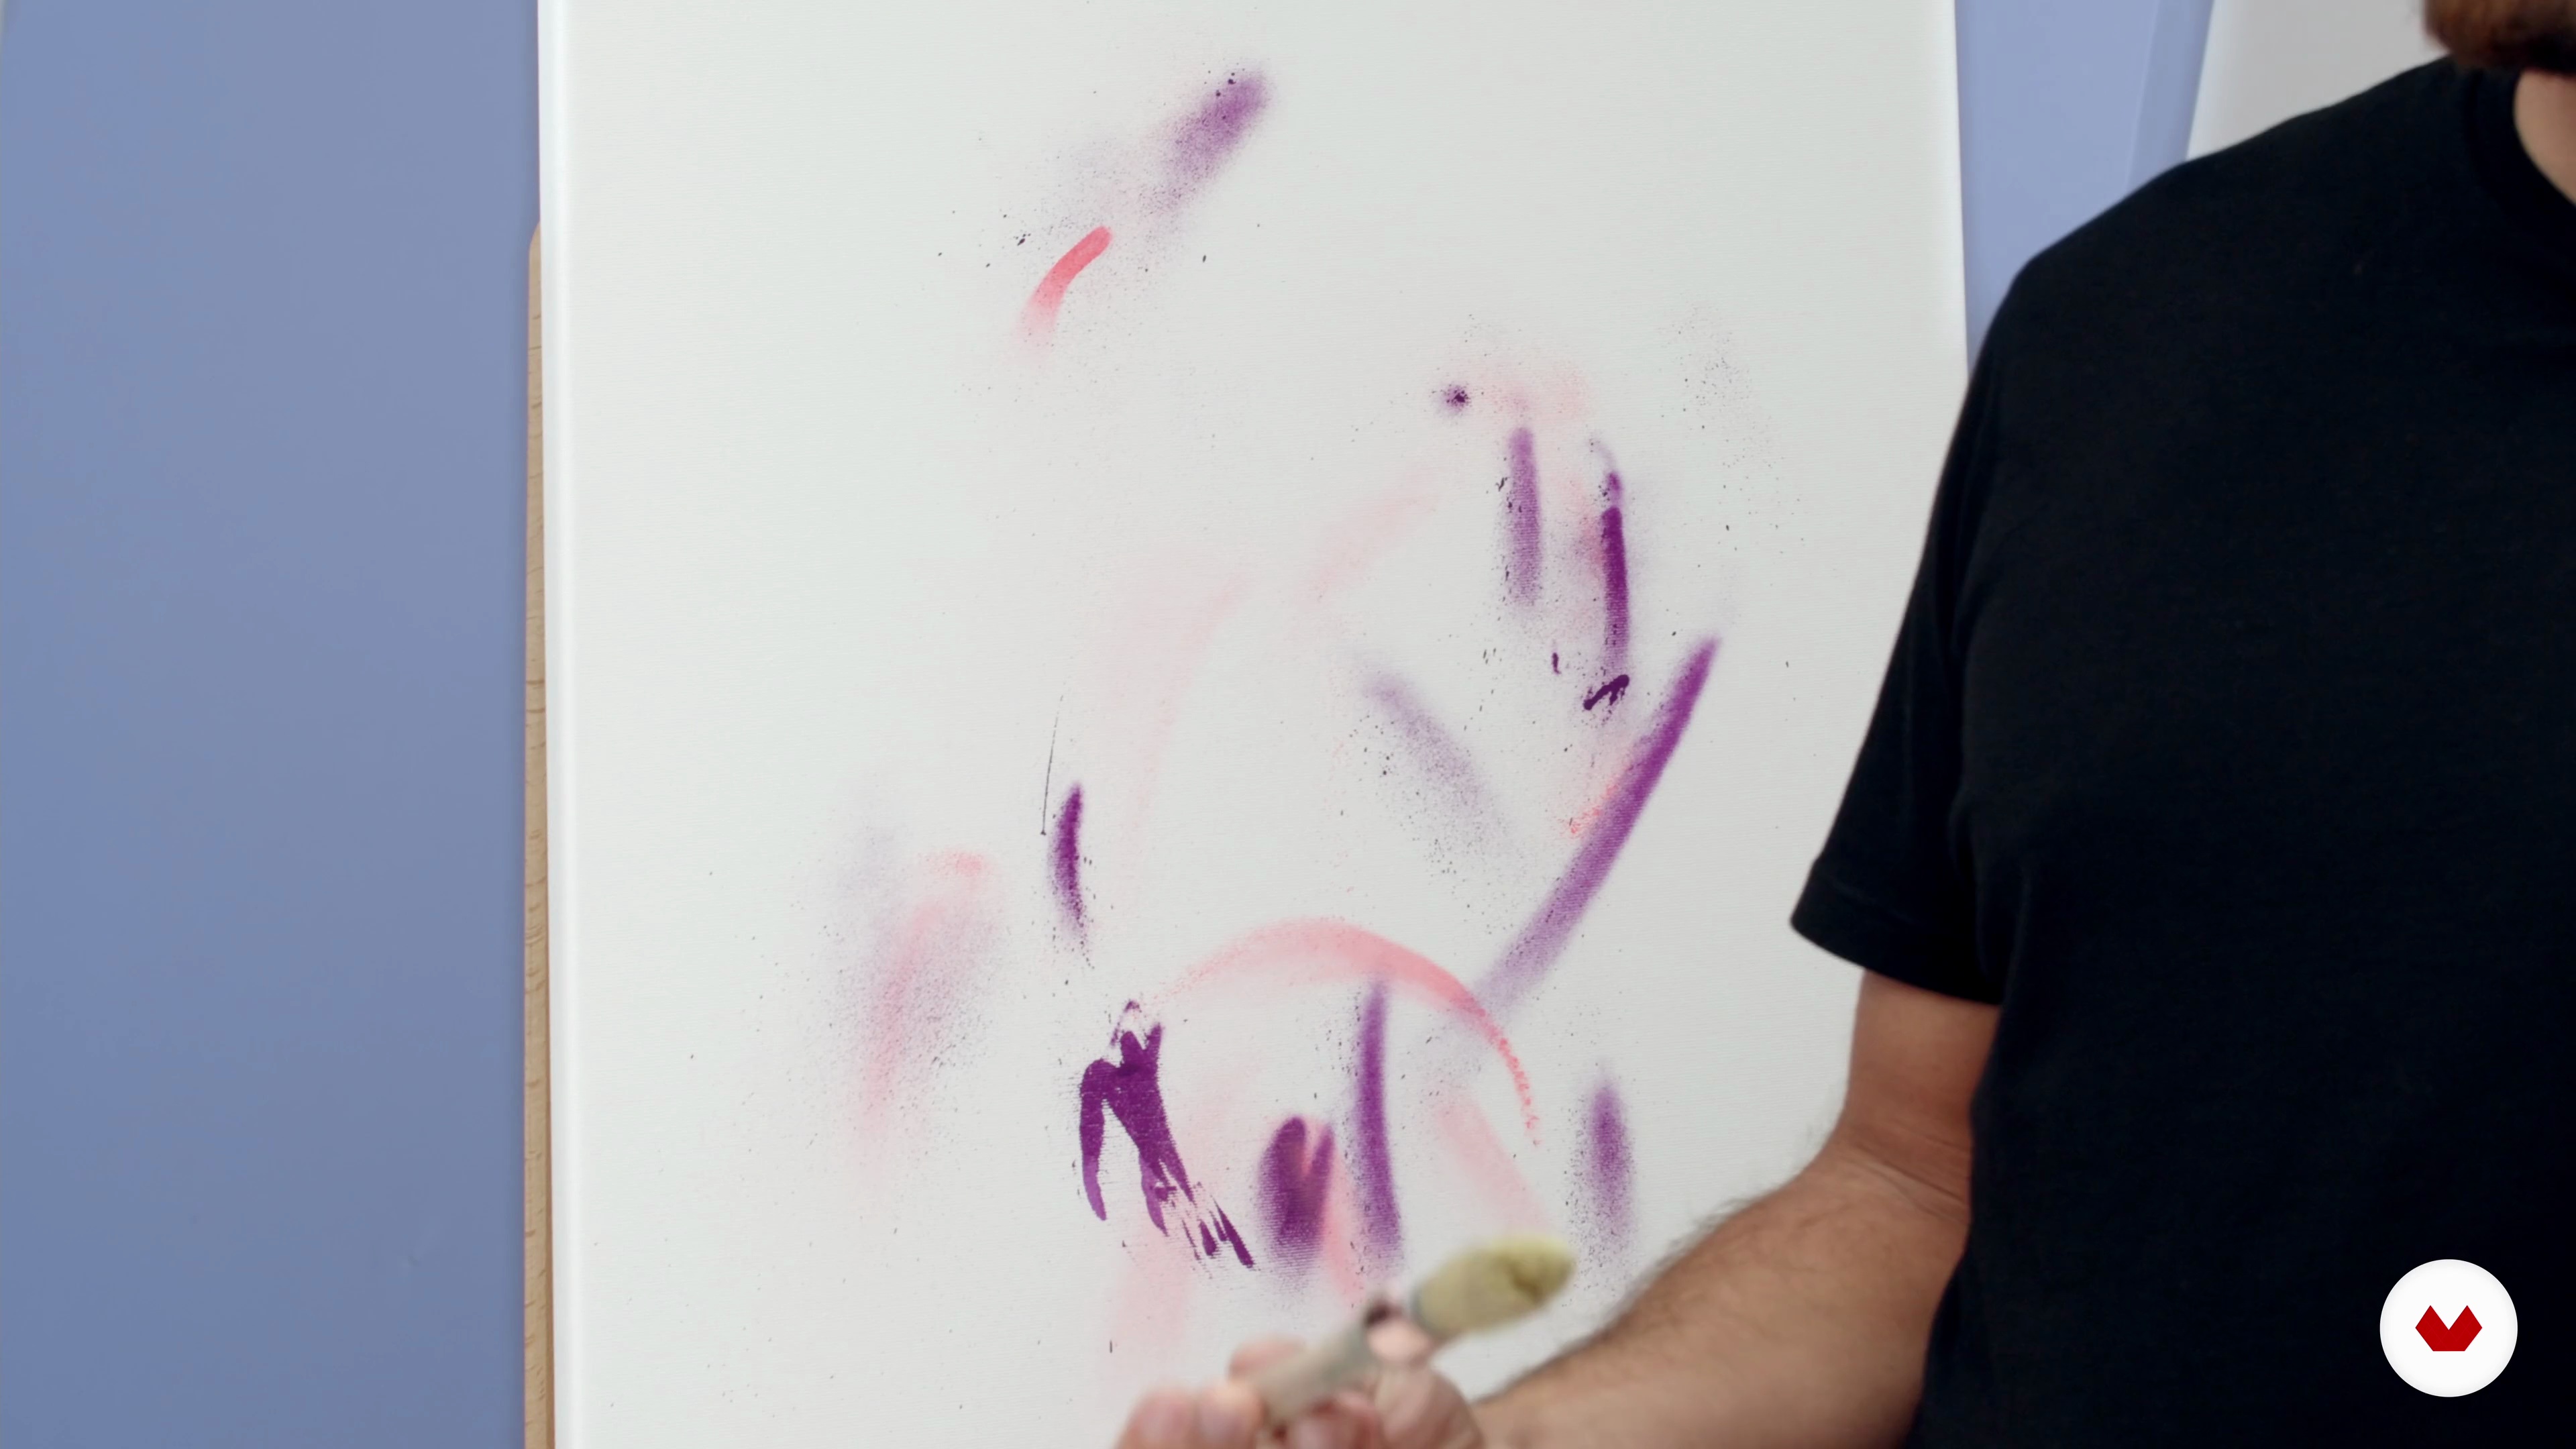
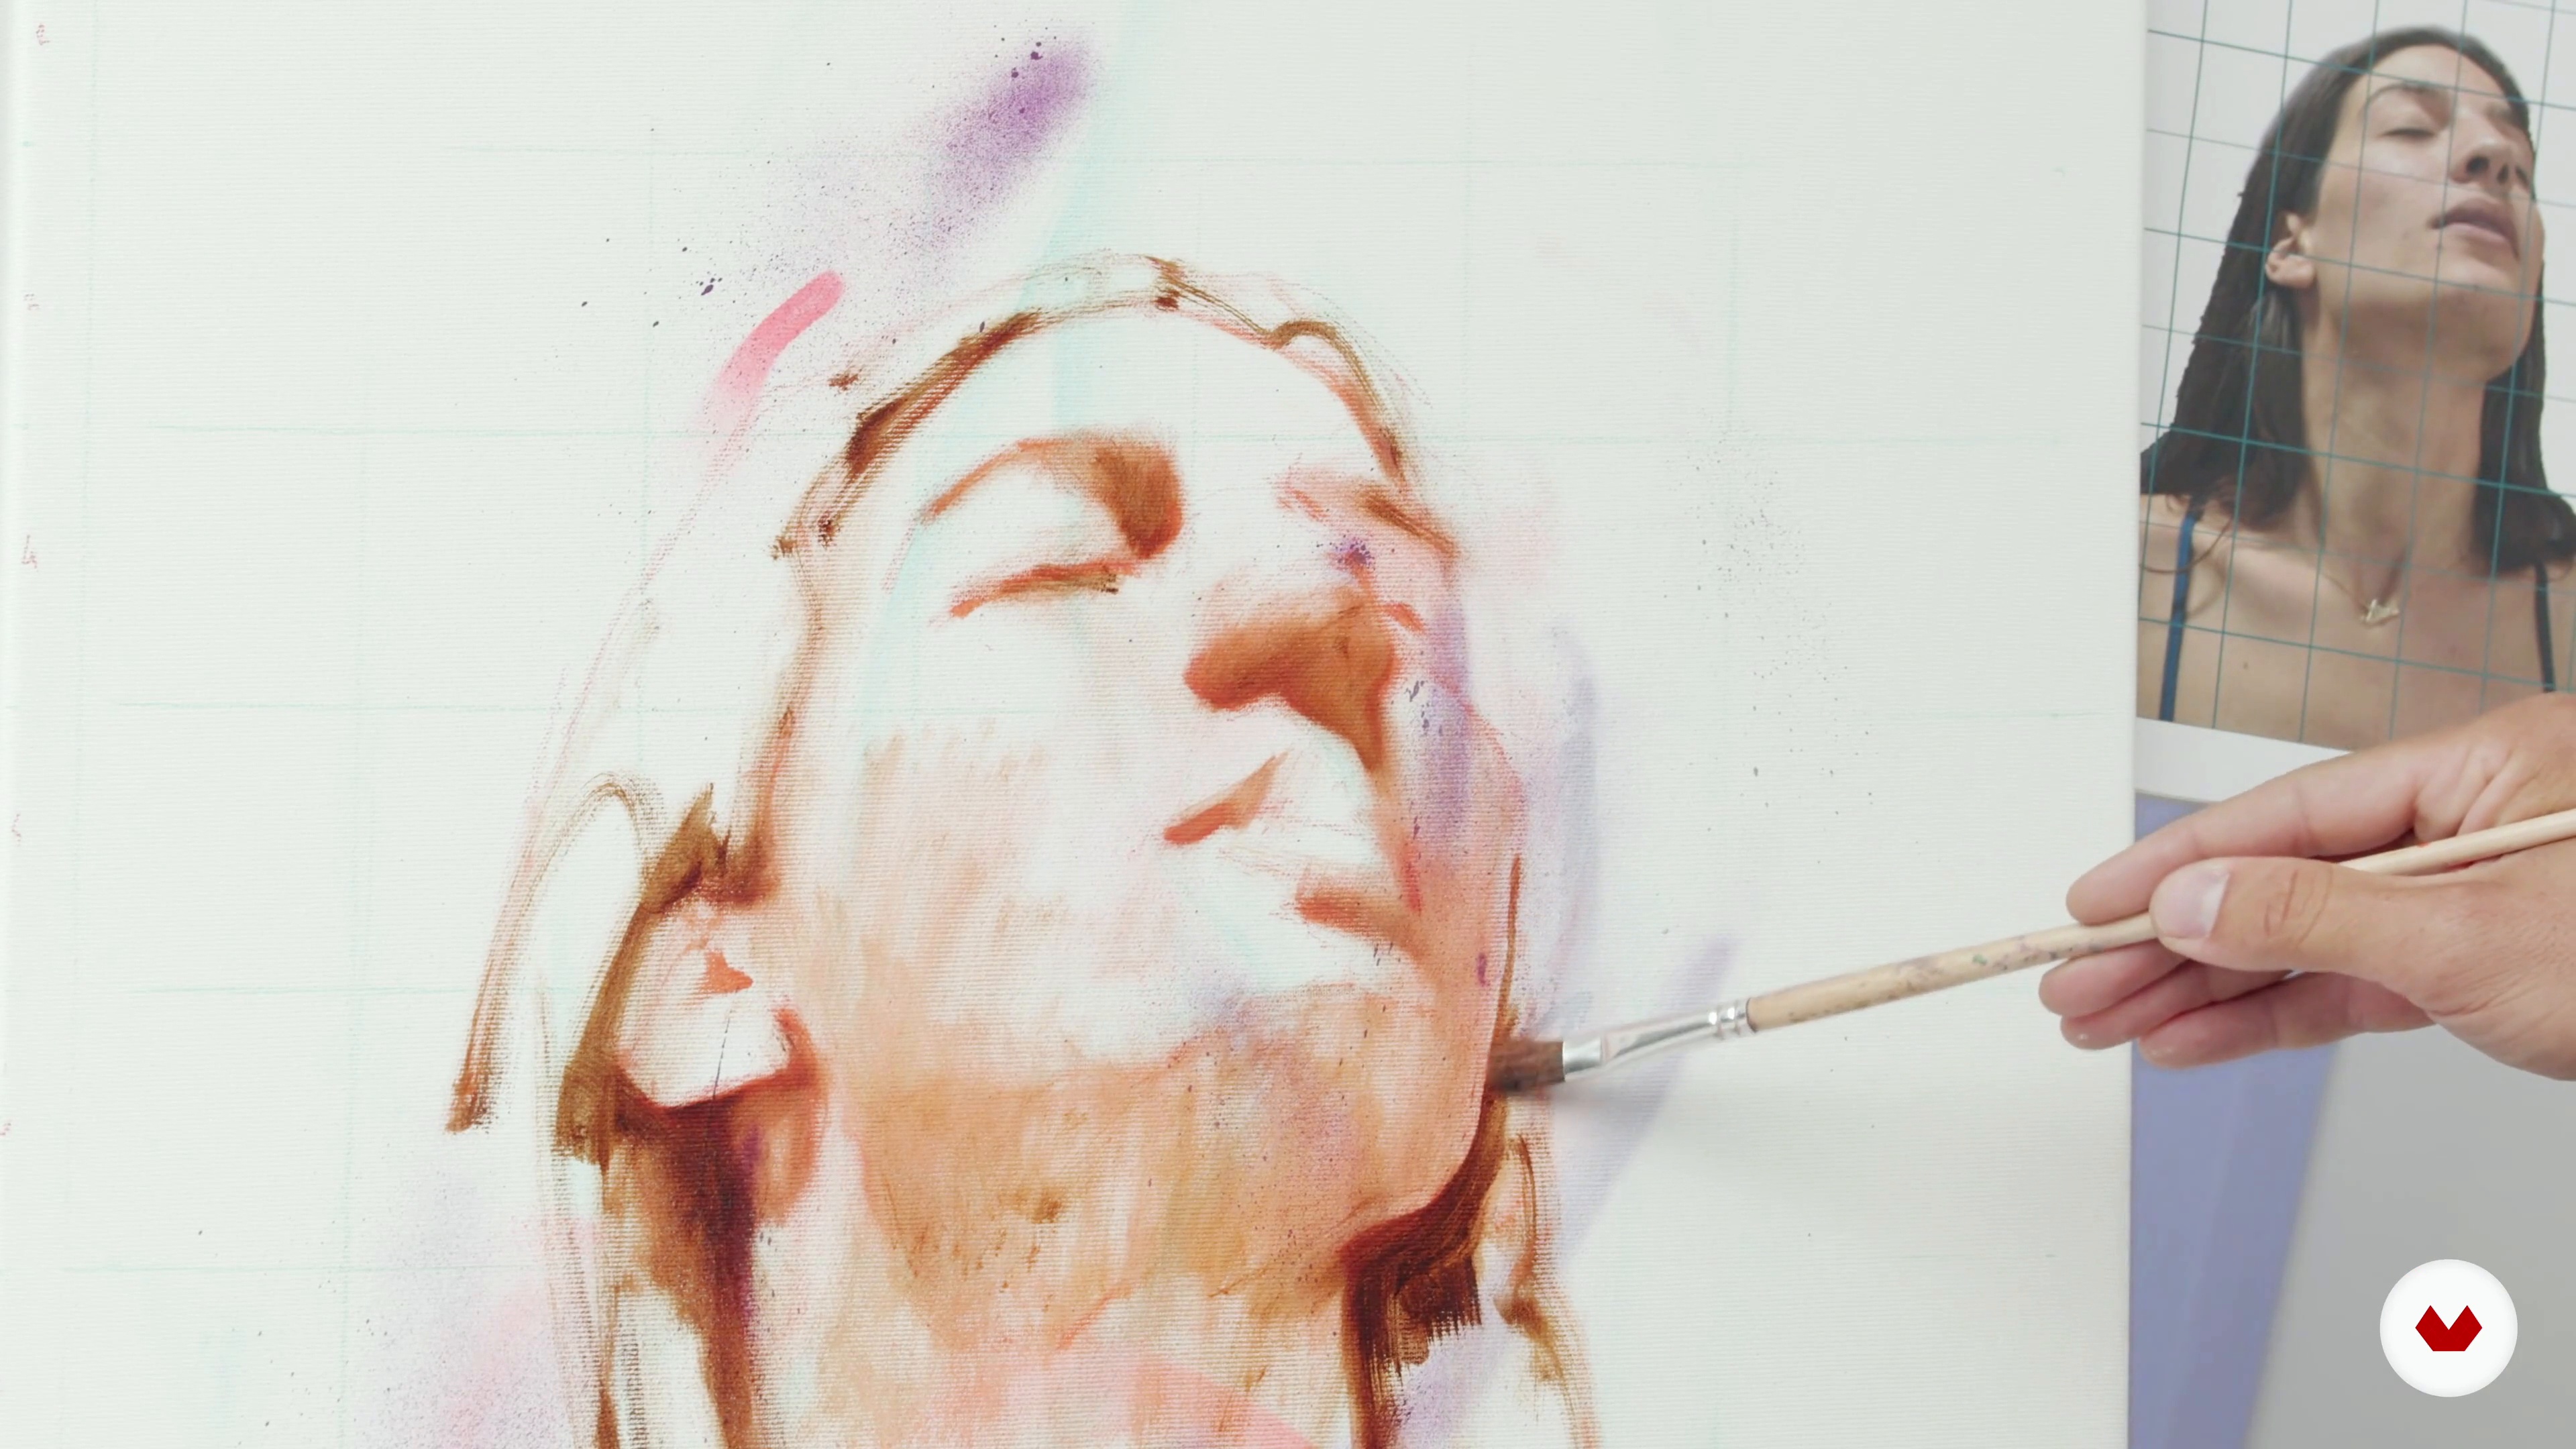
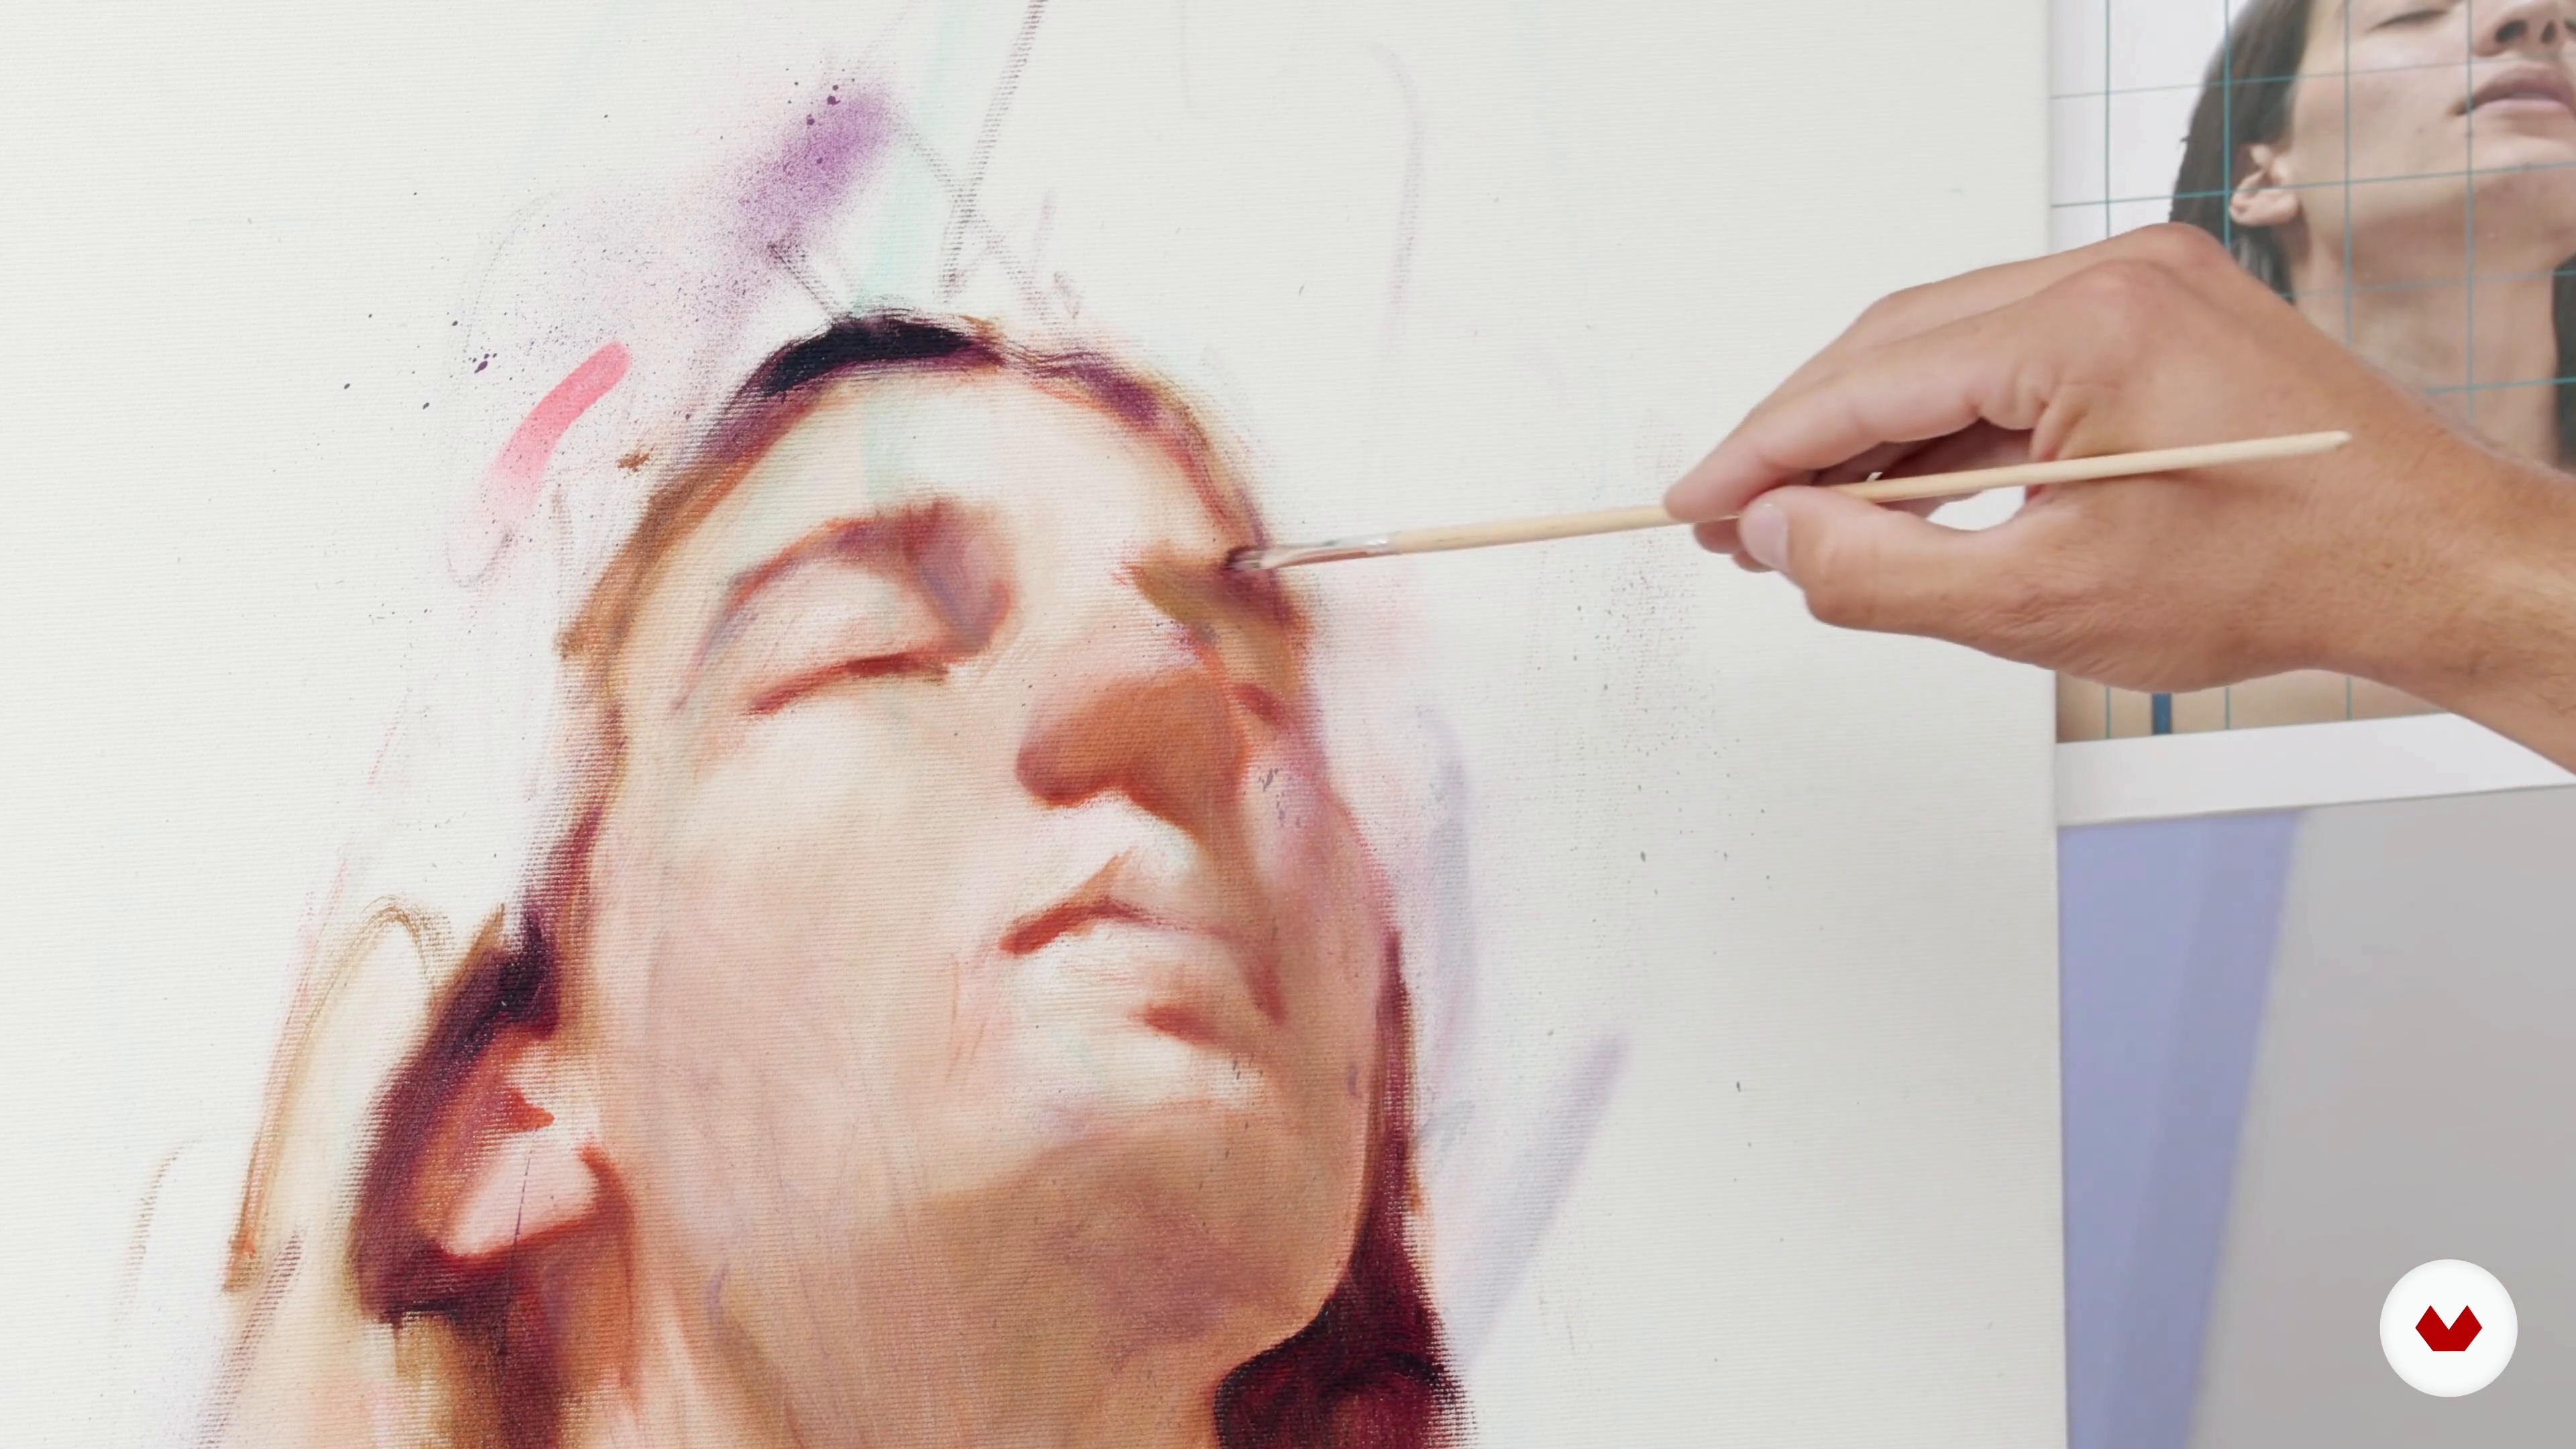
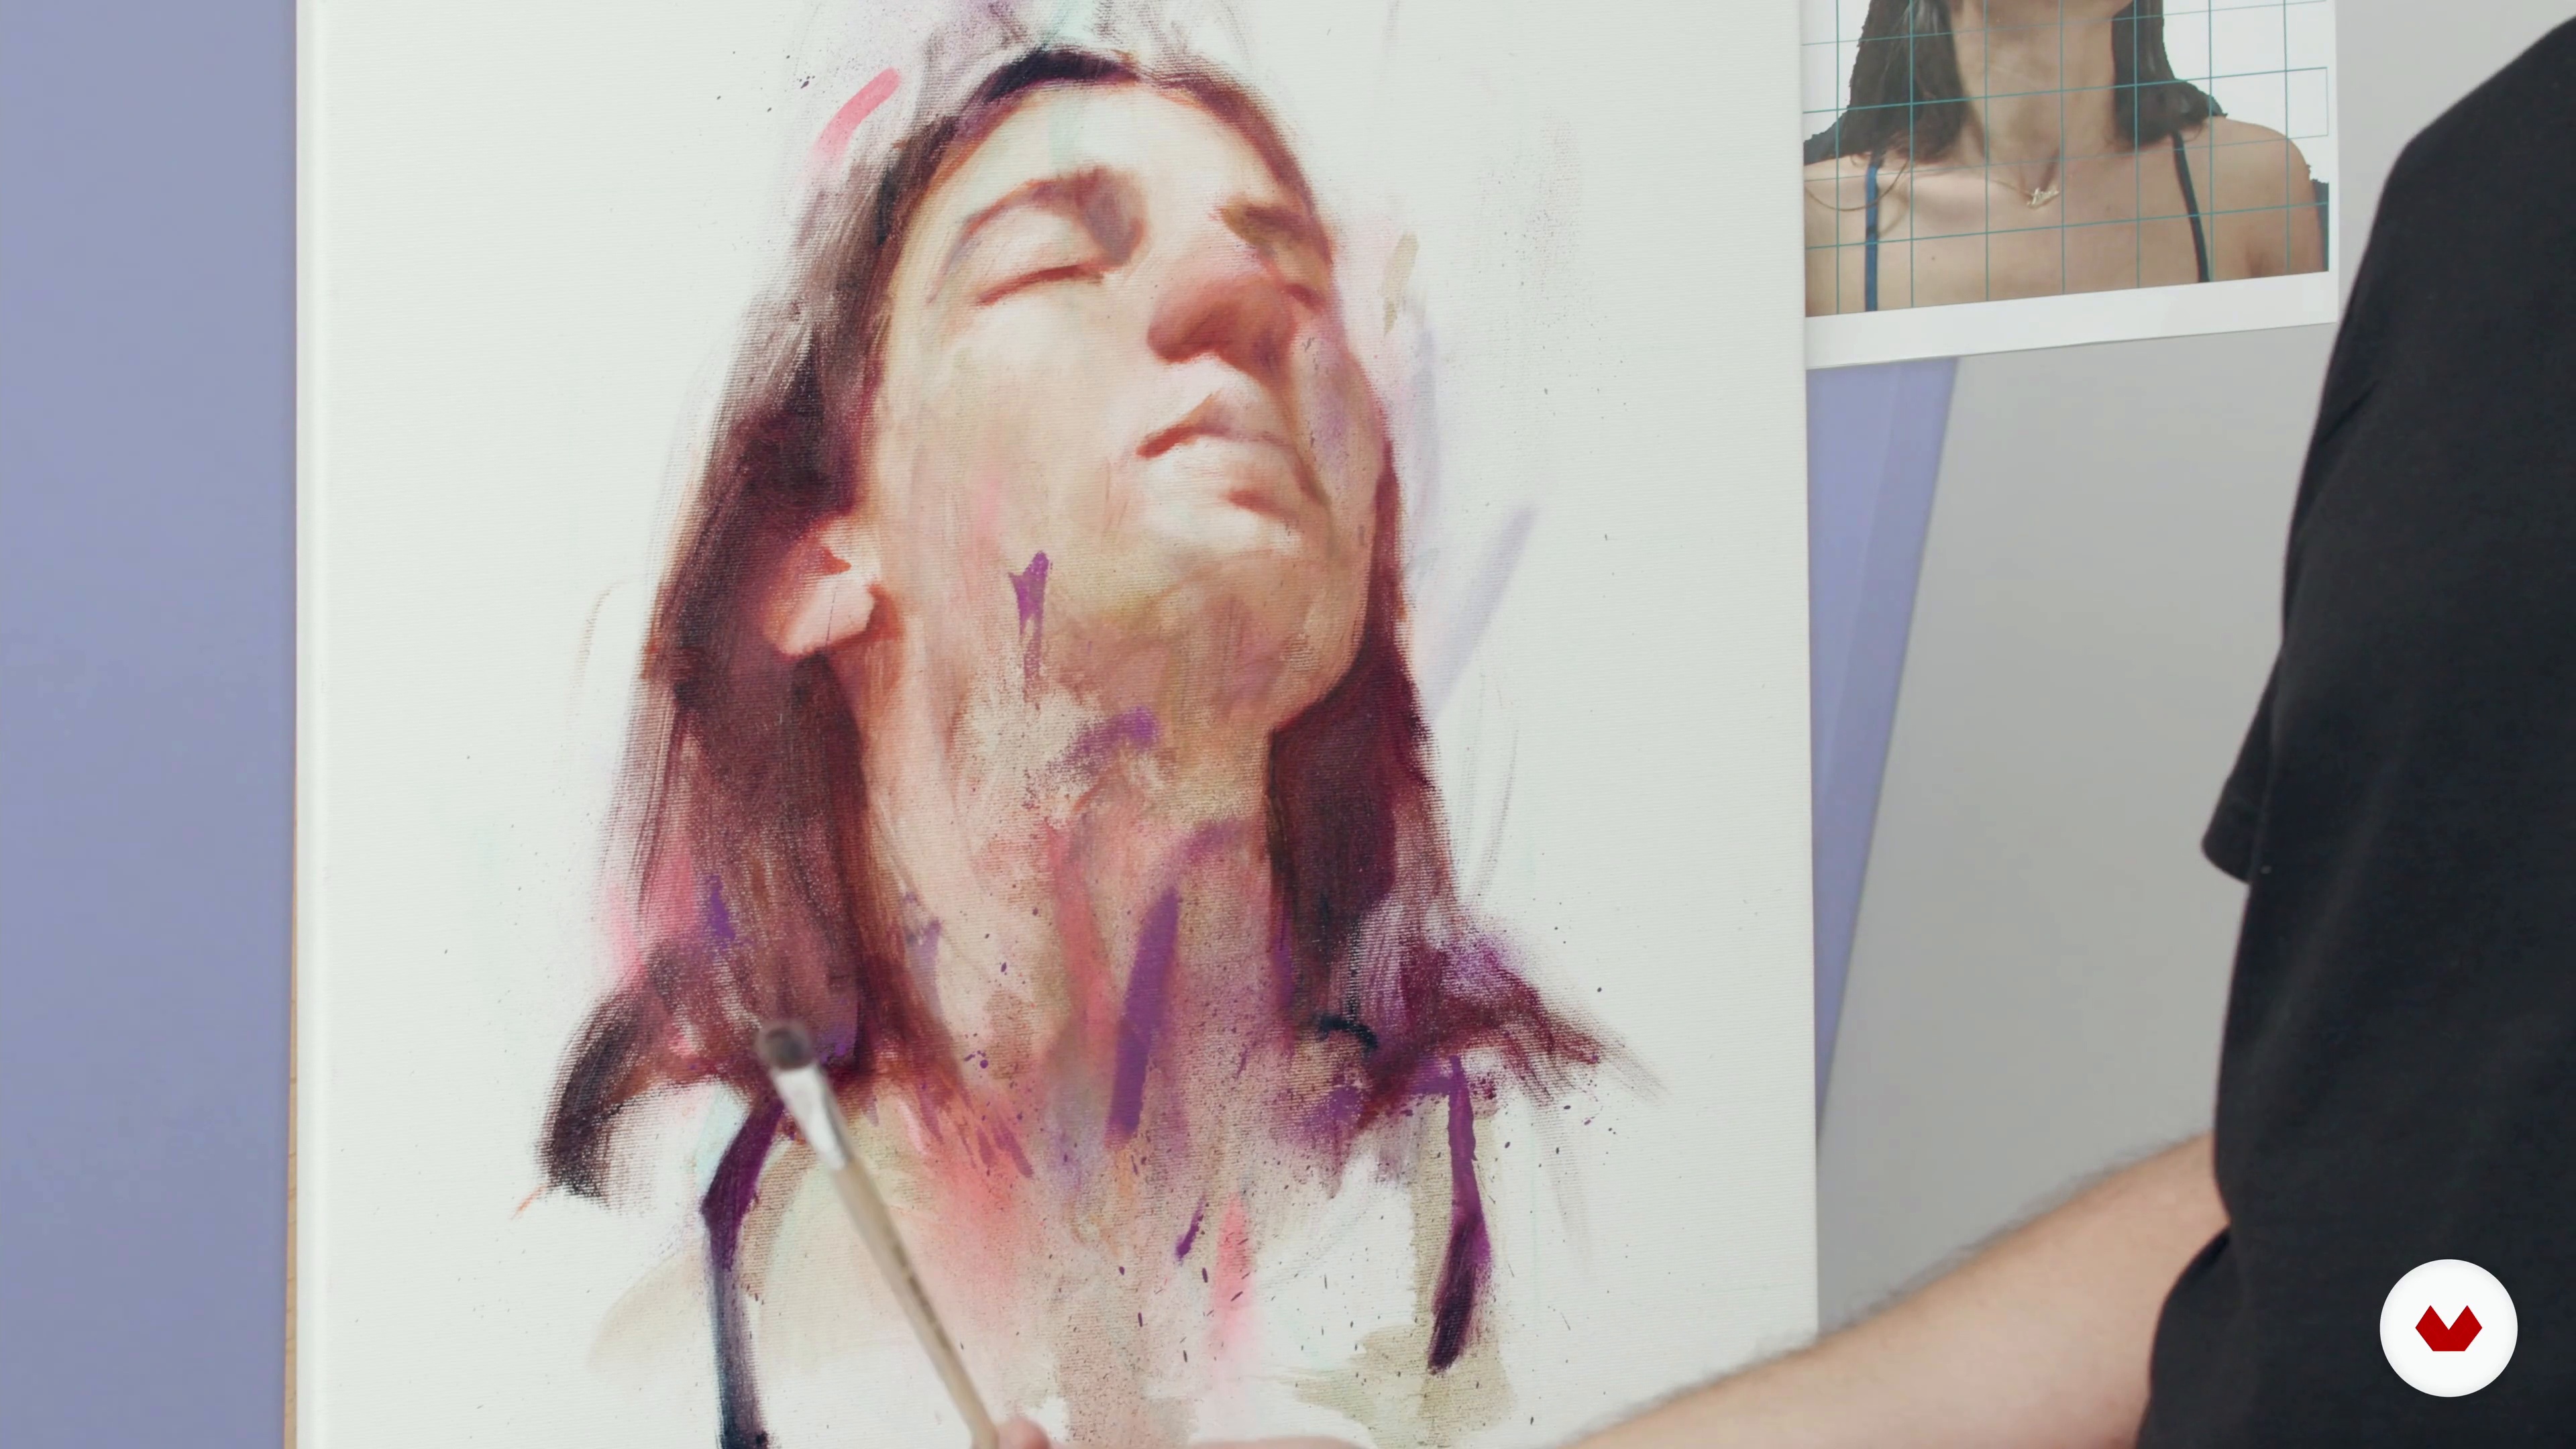
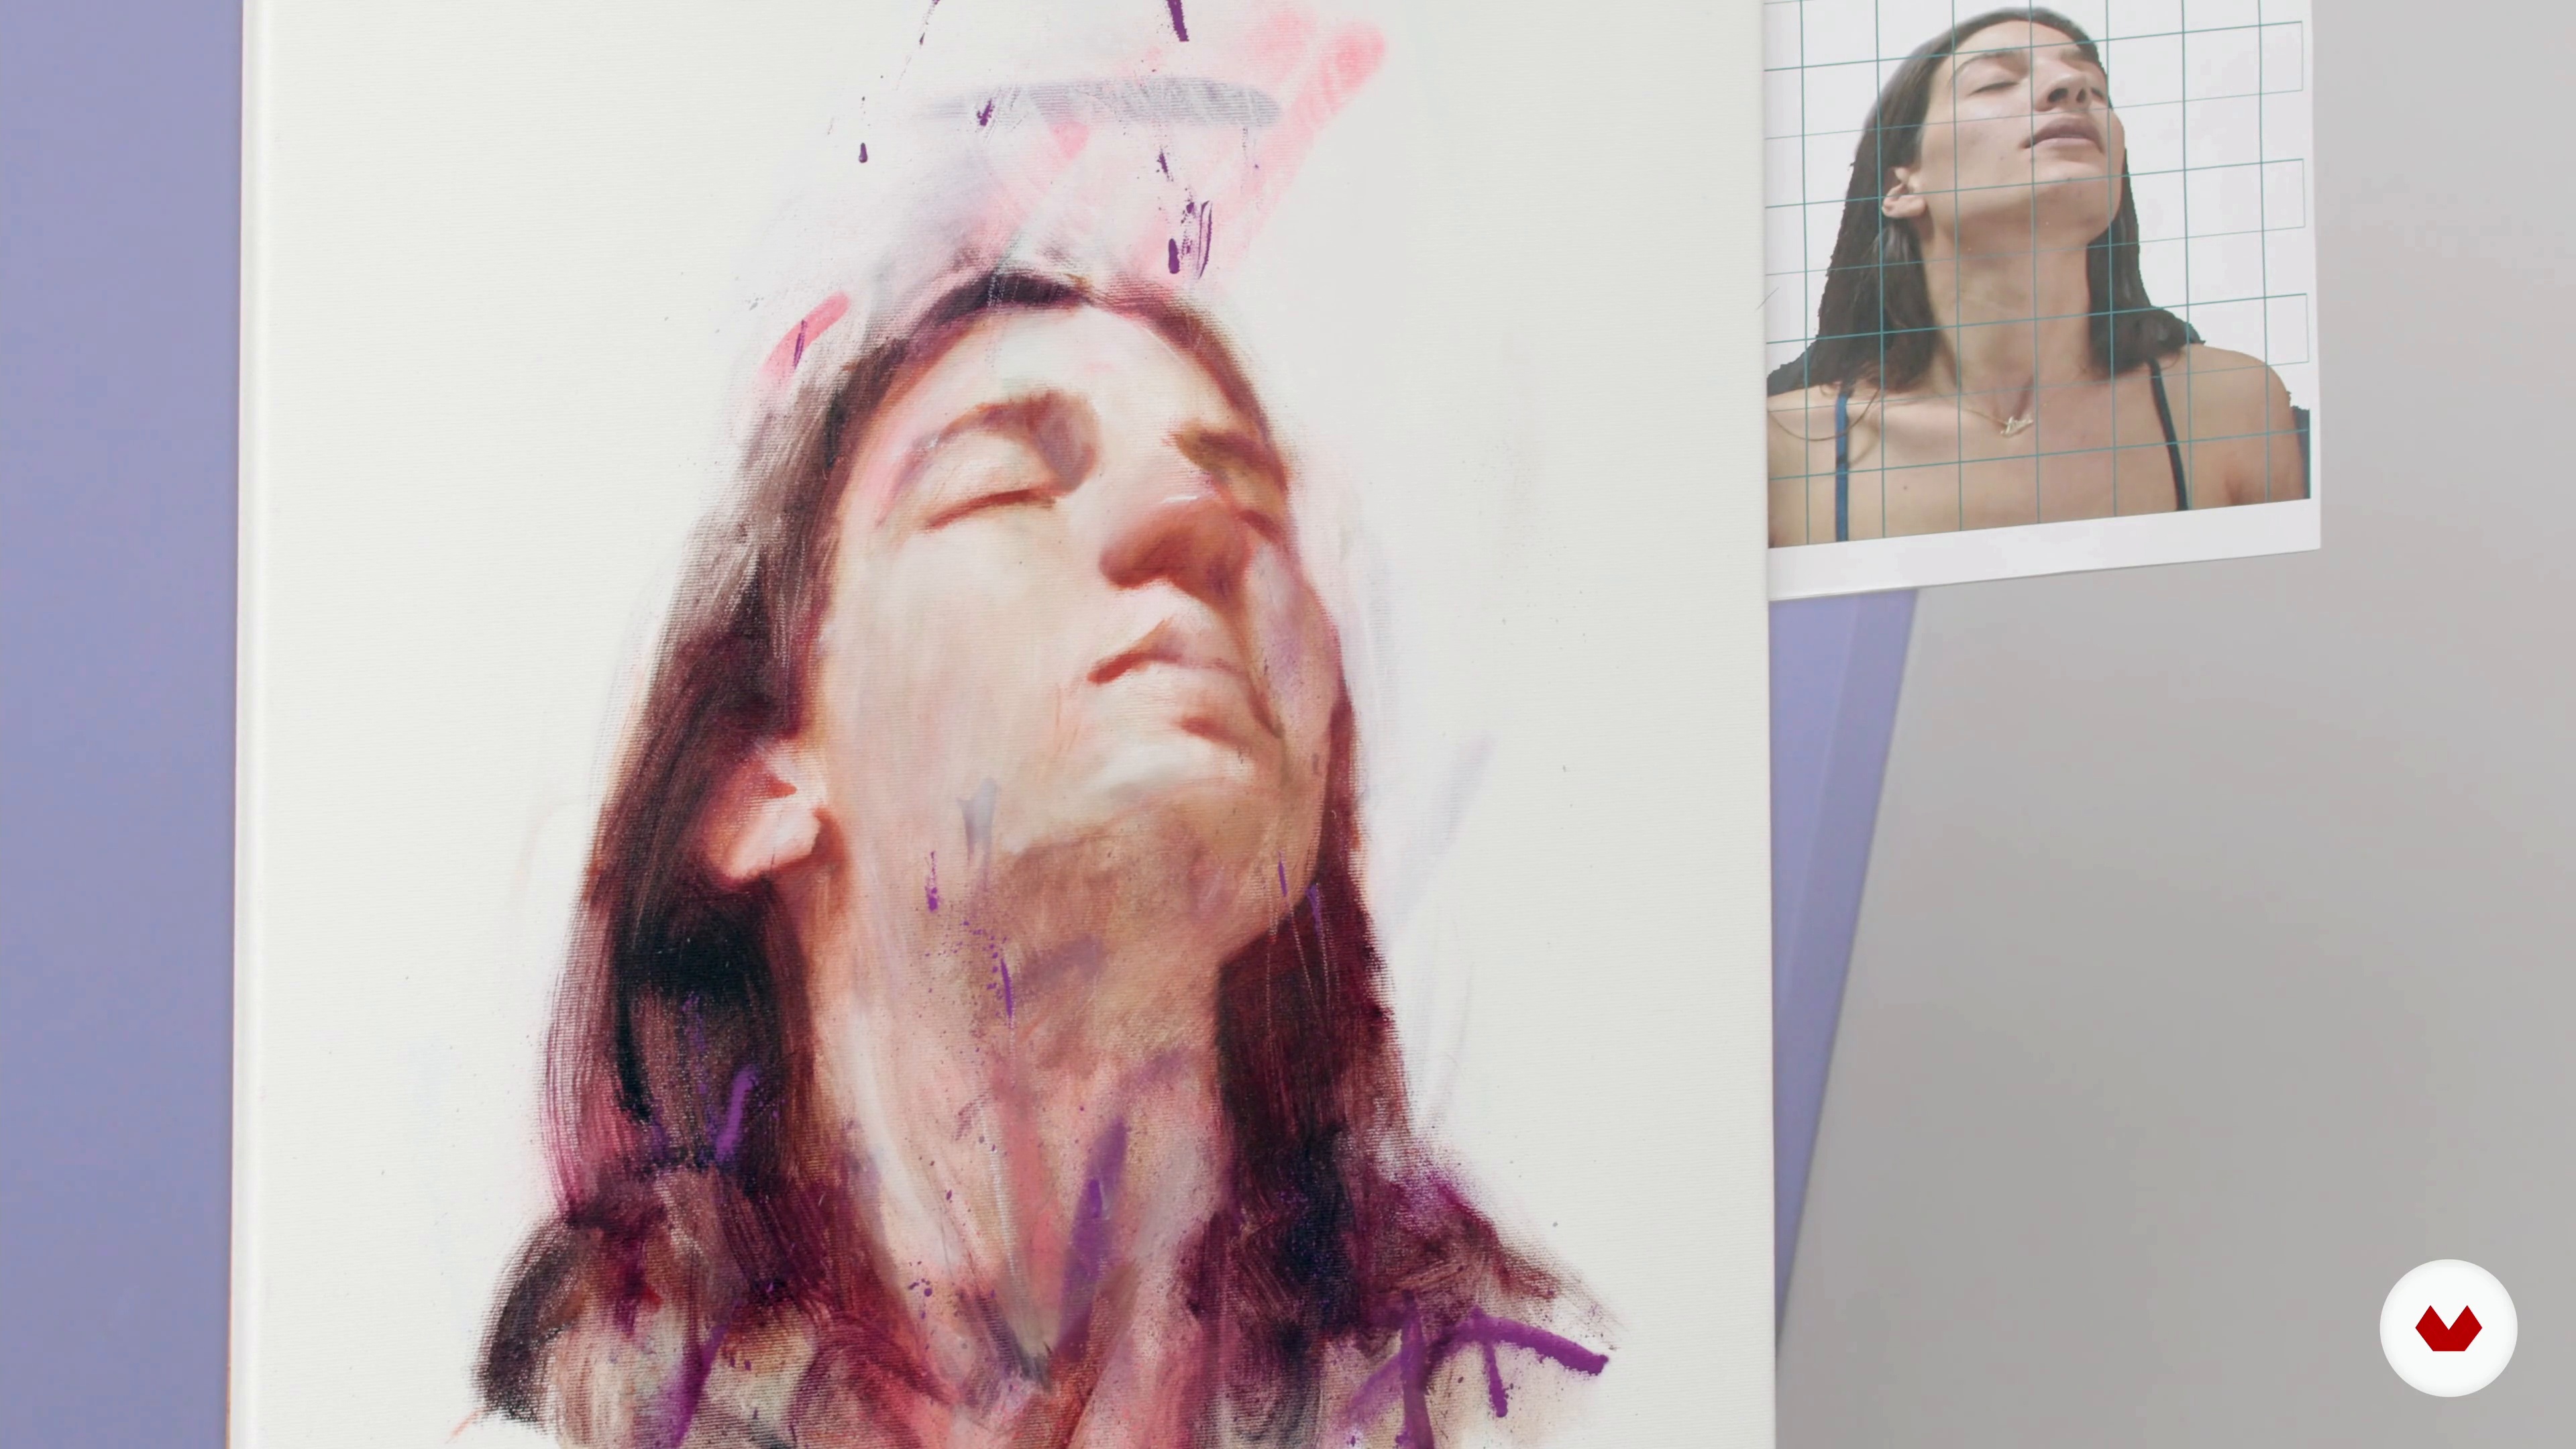
There are many ways to use a material. You can always experiment and find out what helps you the most. In this lesson, I will show you how I use my brushes and spray paints.
13m
image
4
Brushes and Spray Paint 2
Let's keep exploring the materials and how to use them.
12m
image
5
Creating Light with White Spirit
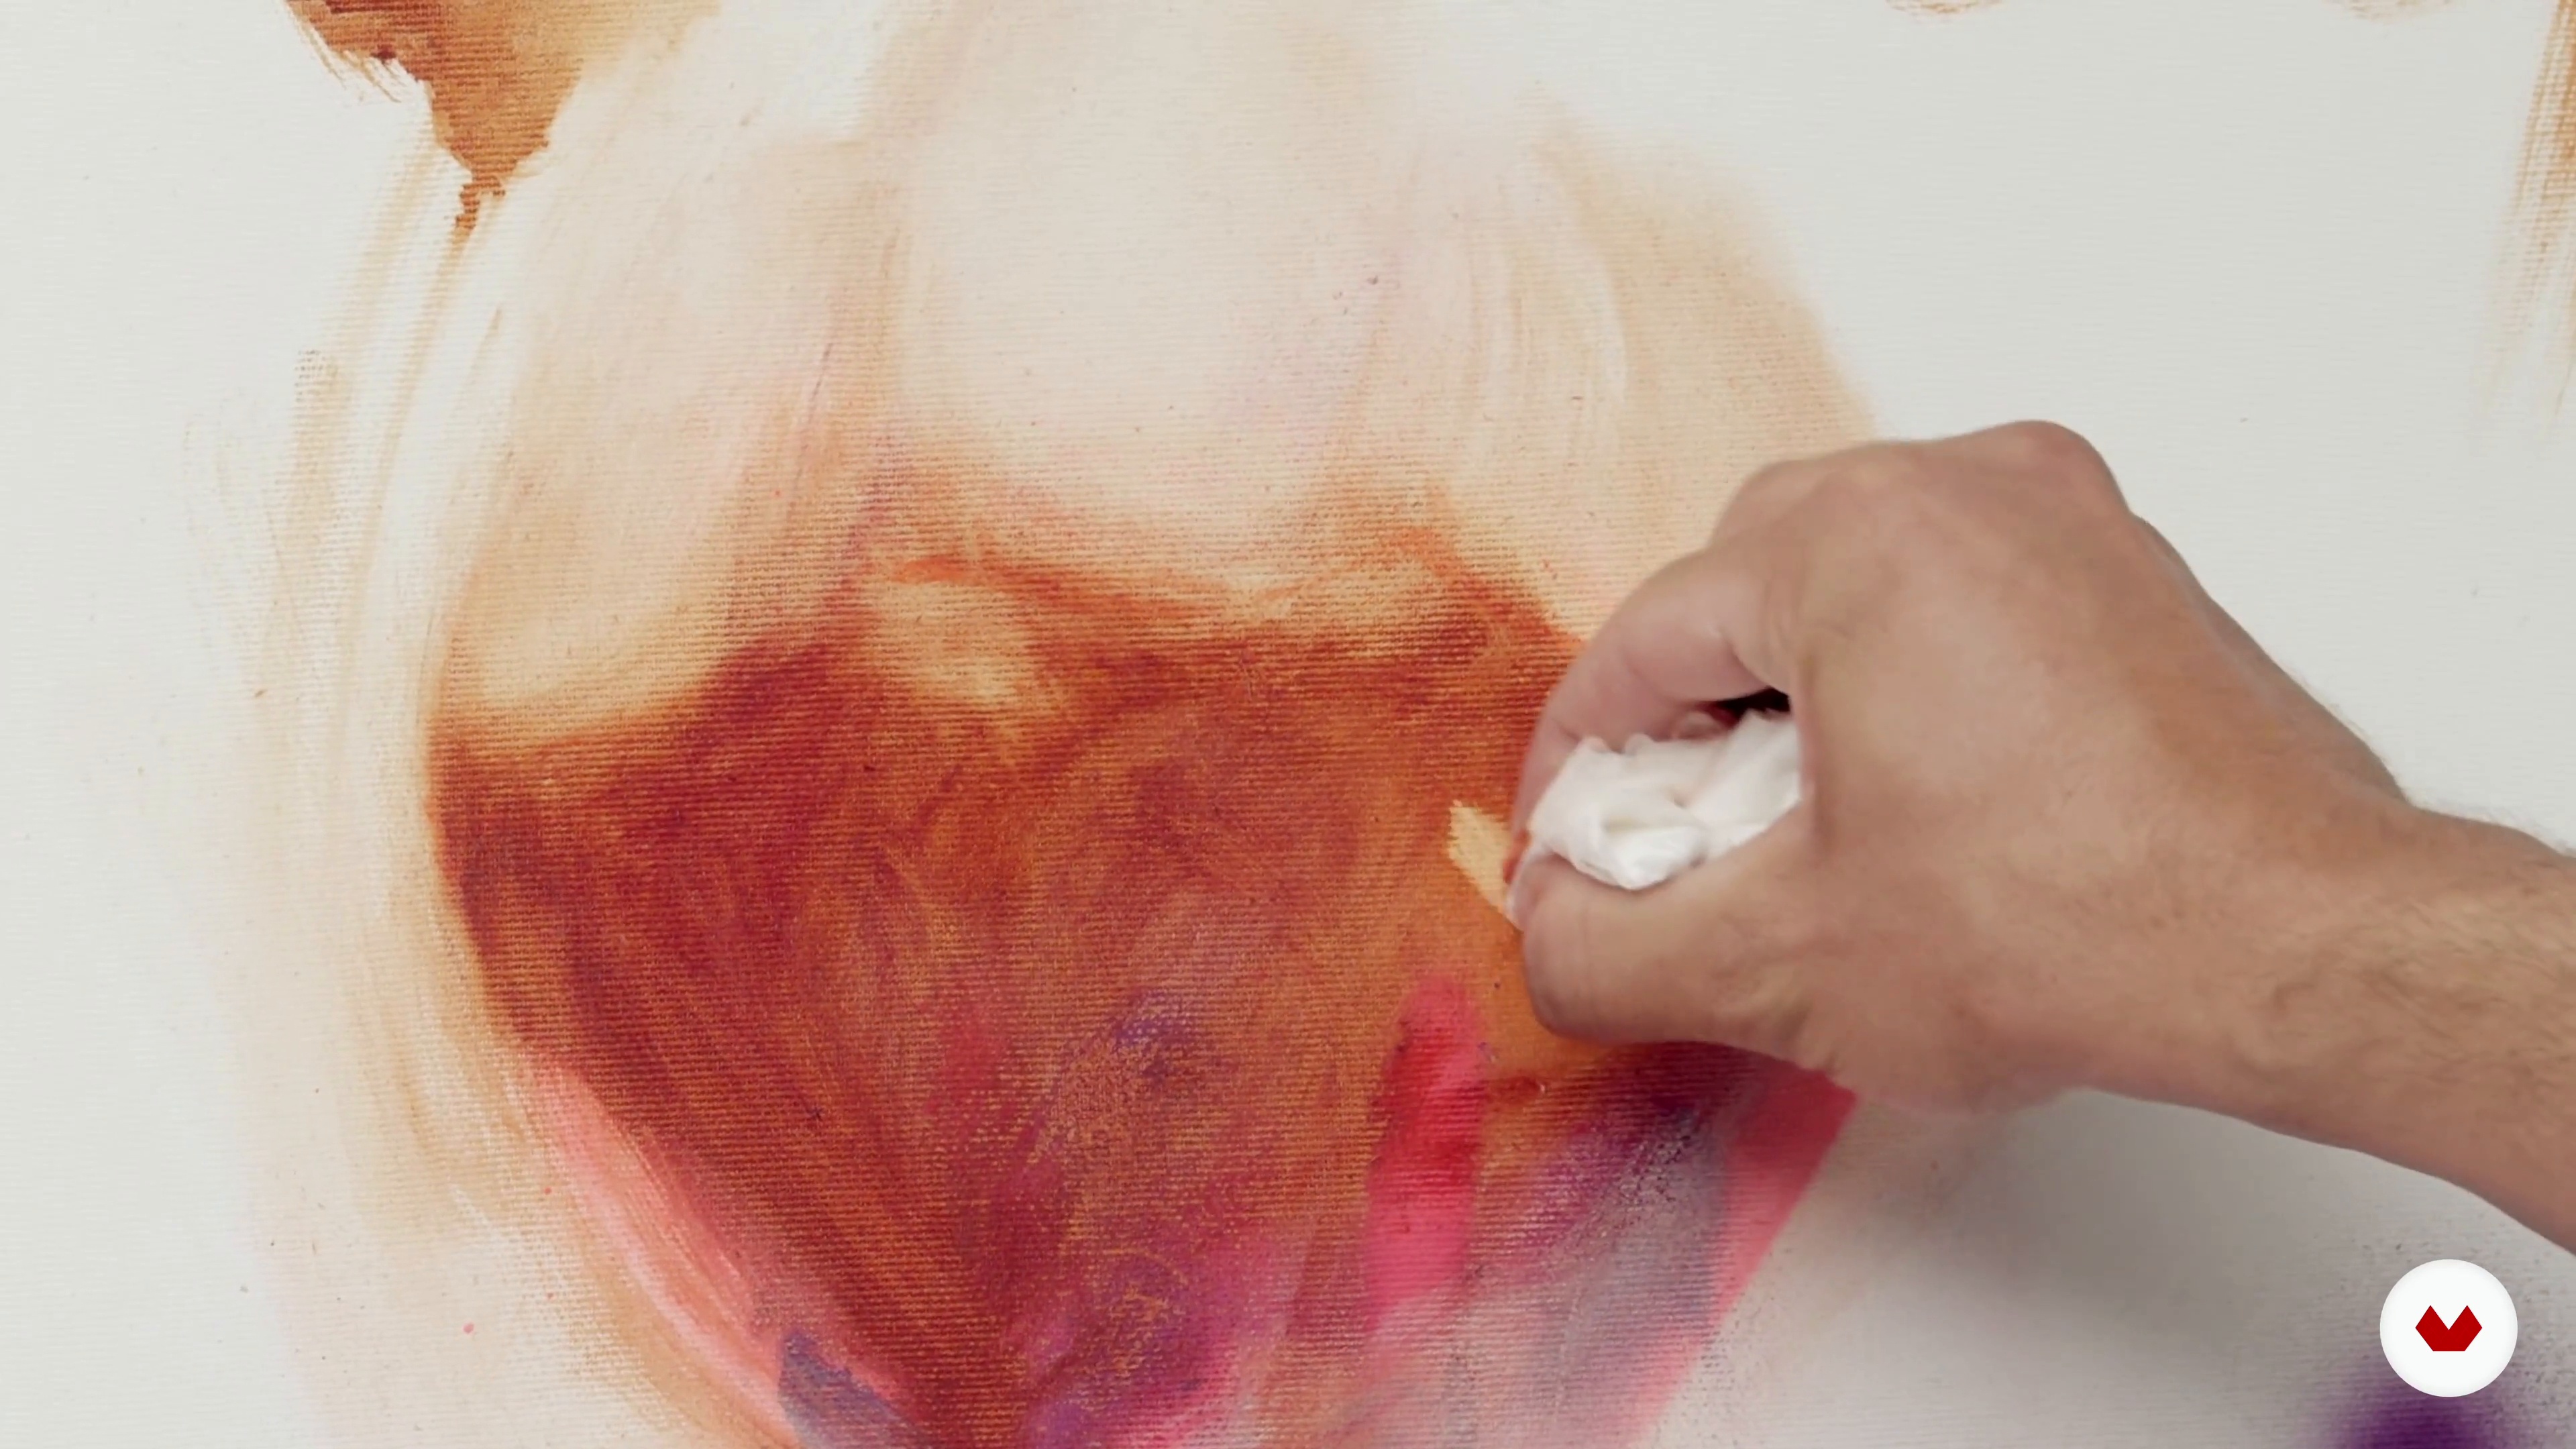
In this lesson, I will show you how to benefit from the white canvas and use white spirit to create smooth light textures on an oil painting.
8m
image
6
How to Choose the Right Reference Image
It is important to have a reference image that you like! A reference image that makes you want to paint it. An image that already expresses an emotion, an image that reminds you of something or triggers an emotion.
10m
image
7
Synthesis 1
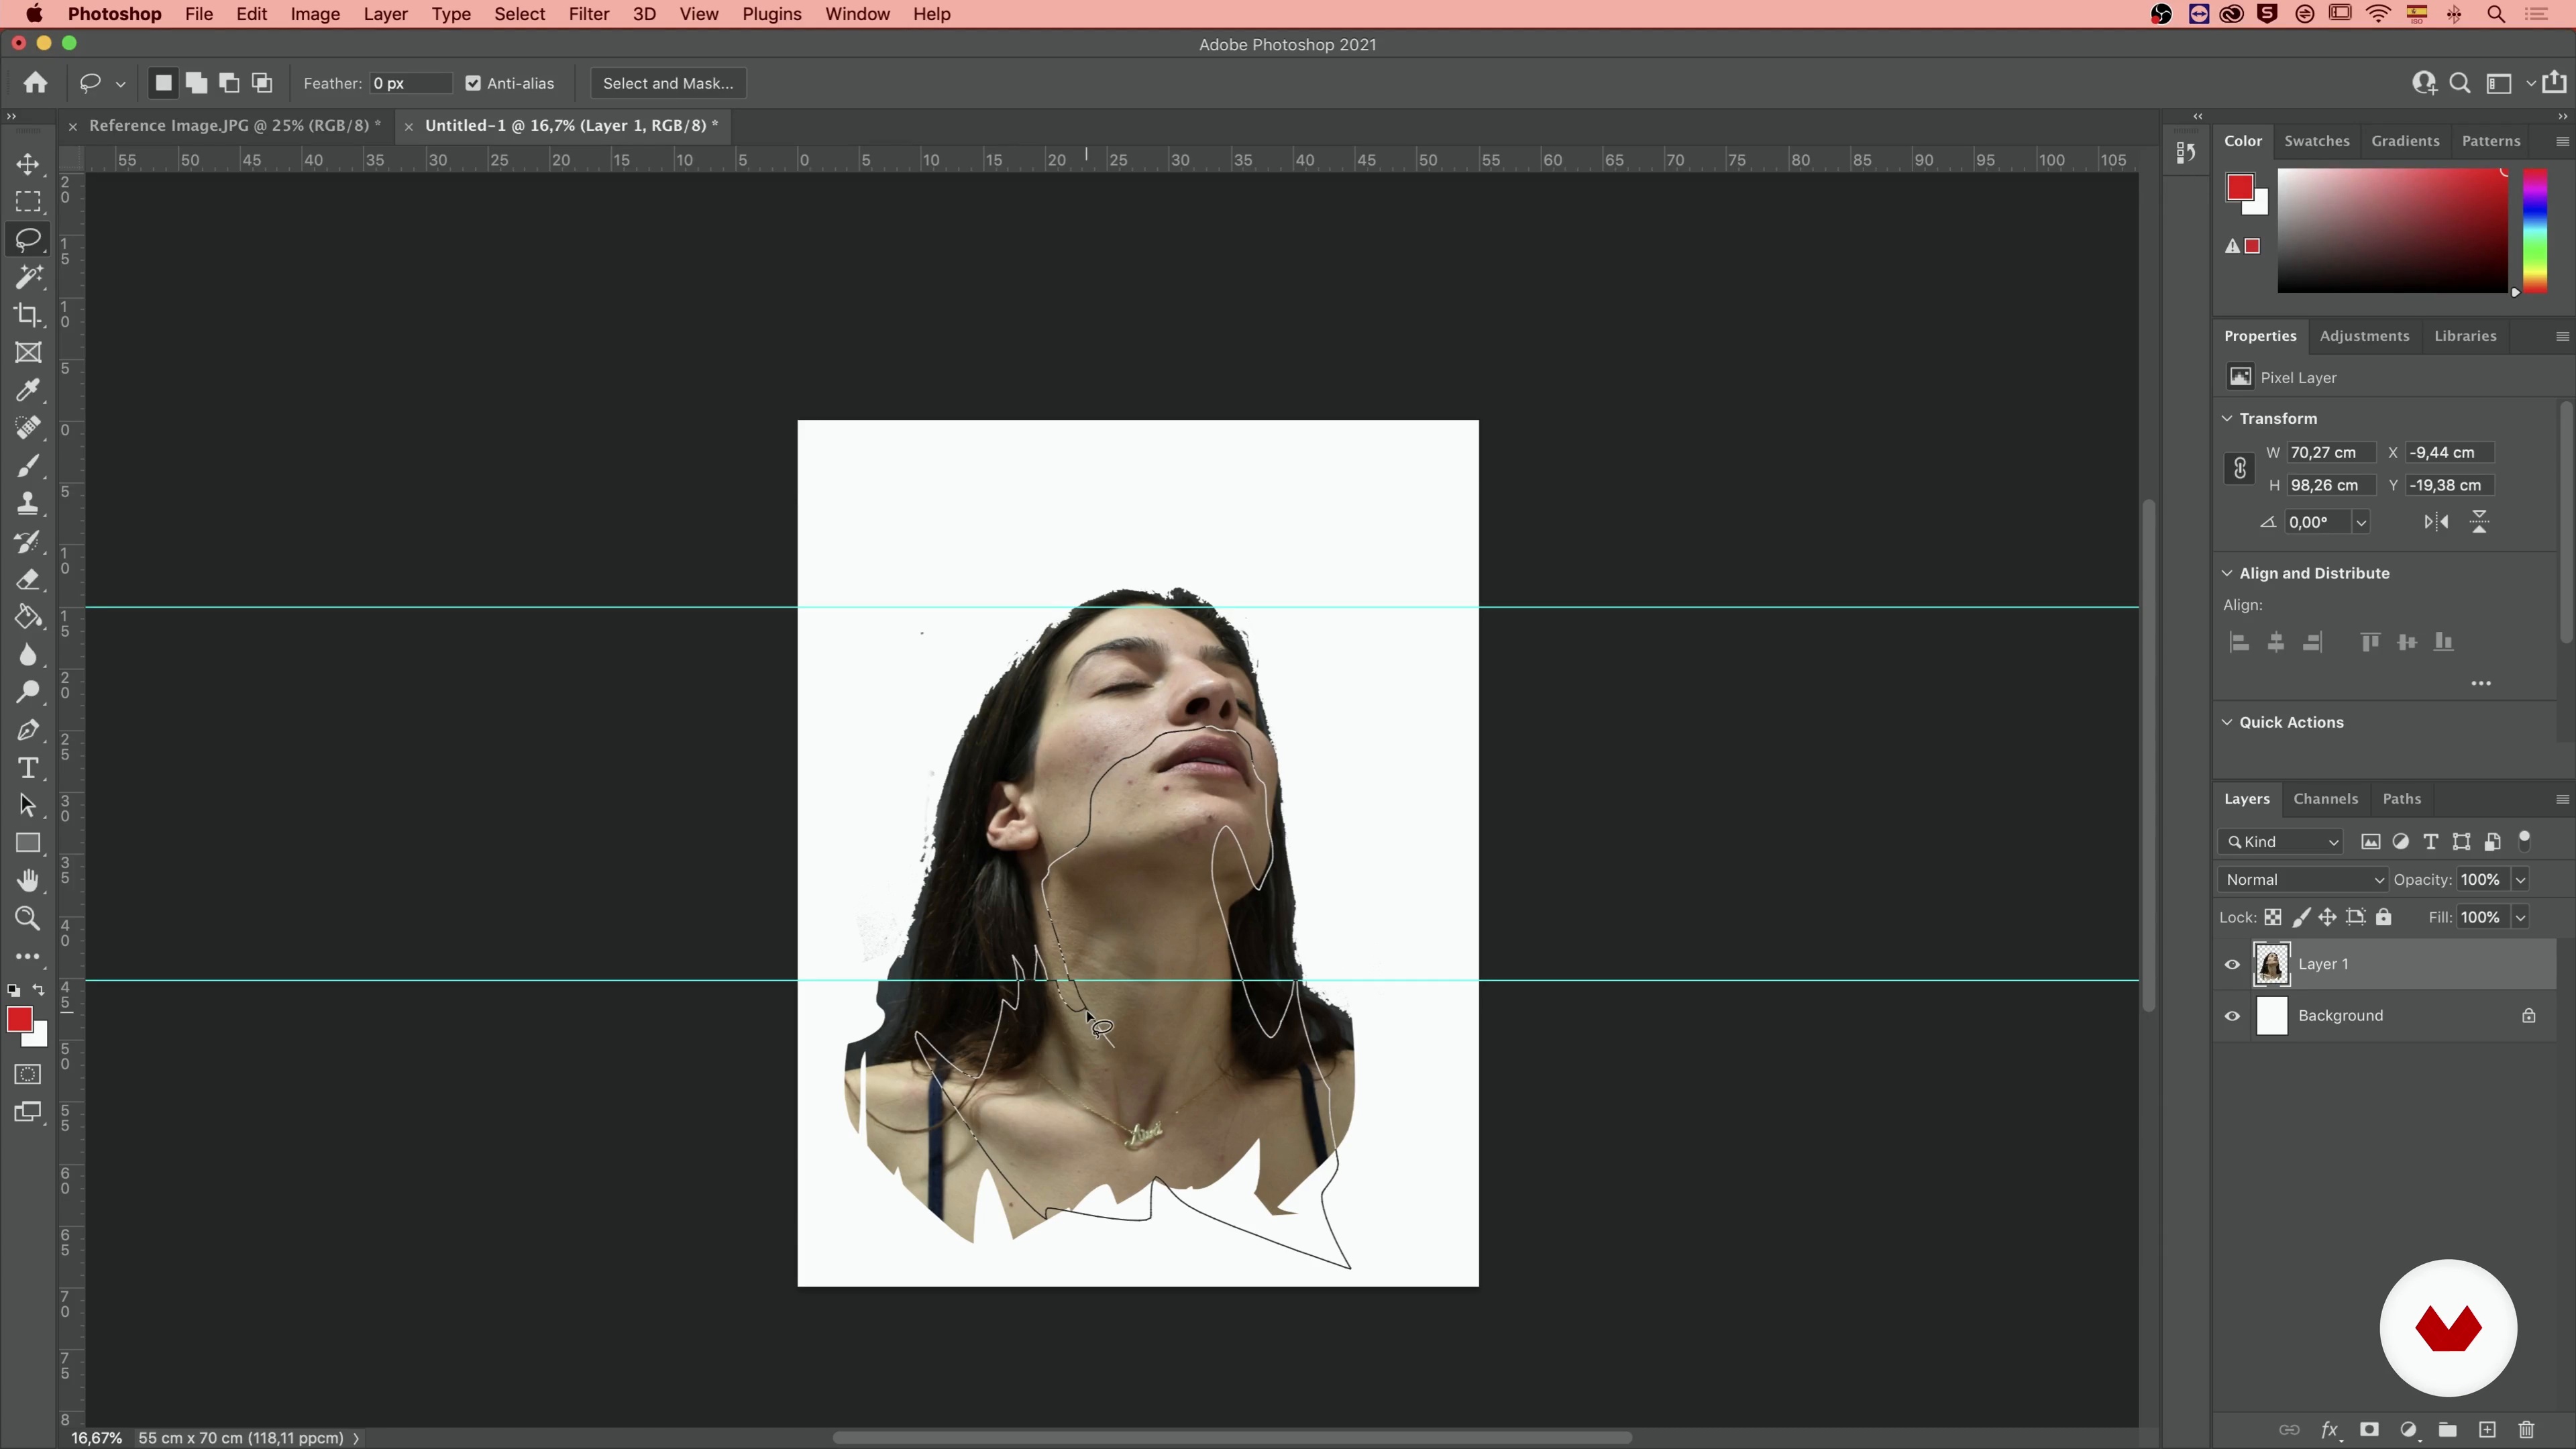
Synthesis is such an important step in our preparation. With the use of Photoshop, we can easily play around with our reference image to see and decide the synthesis that will strengthen our final project. Doing this on Photoshop can give you the freedom to experiment with your subject before transferring it on the canvas.
10m
image
8
Synthesis 2
It is now time to show you how to define the final syhtesis for a project. Keep in mind this is an important step, so don´t be afraid of take as many time as you need.
11m
image
9
The Power of Colors
Colors are power. Power that you need to control. In this lesson, I will show you which colors I prefer to use and why.
10m
image
10
Preparing Our Canvas
It is nice to have a canvas that makes you feel comfortable and eager to start painting. In this lesson, we will see how to create depth and break the flatness of the canvas.
6m
image
11
Create the Grid
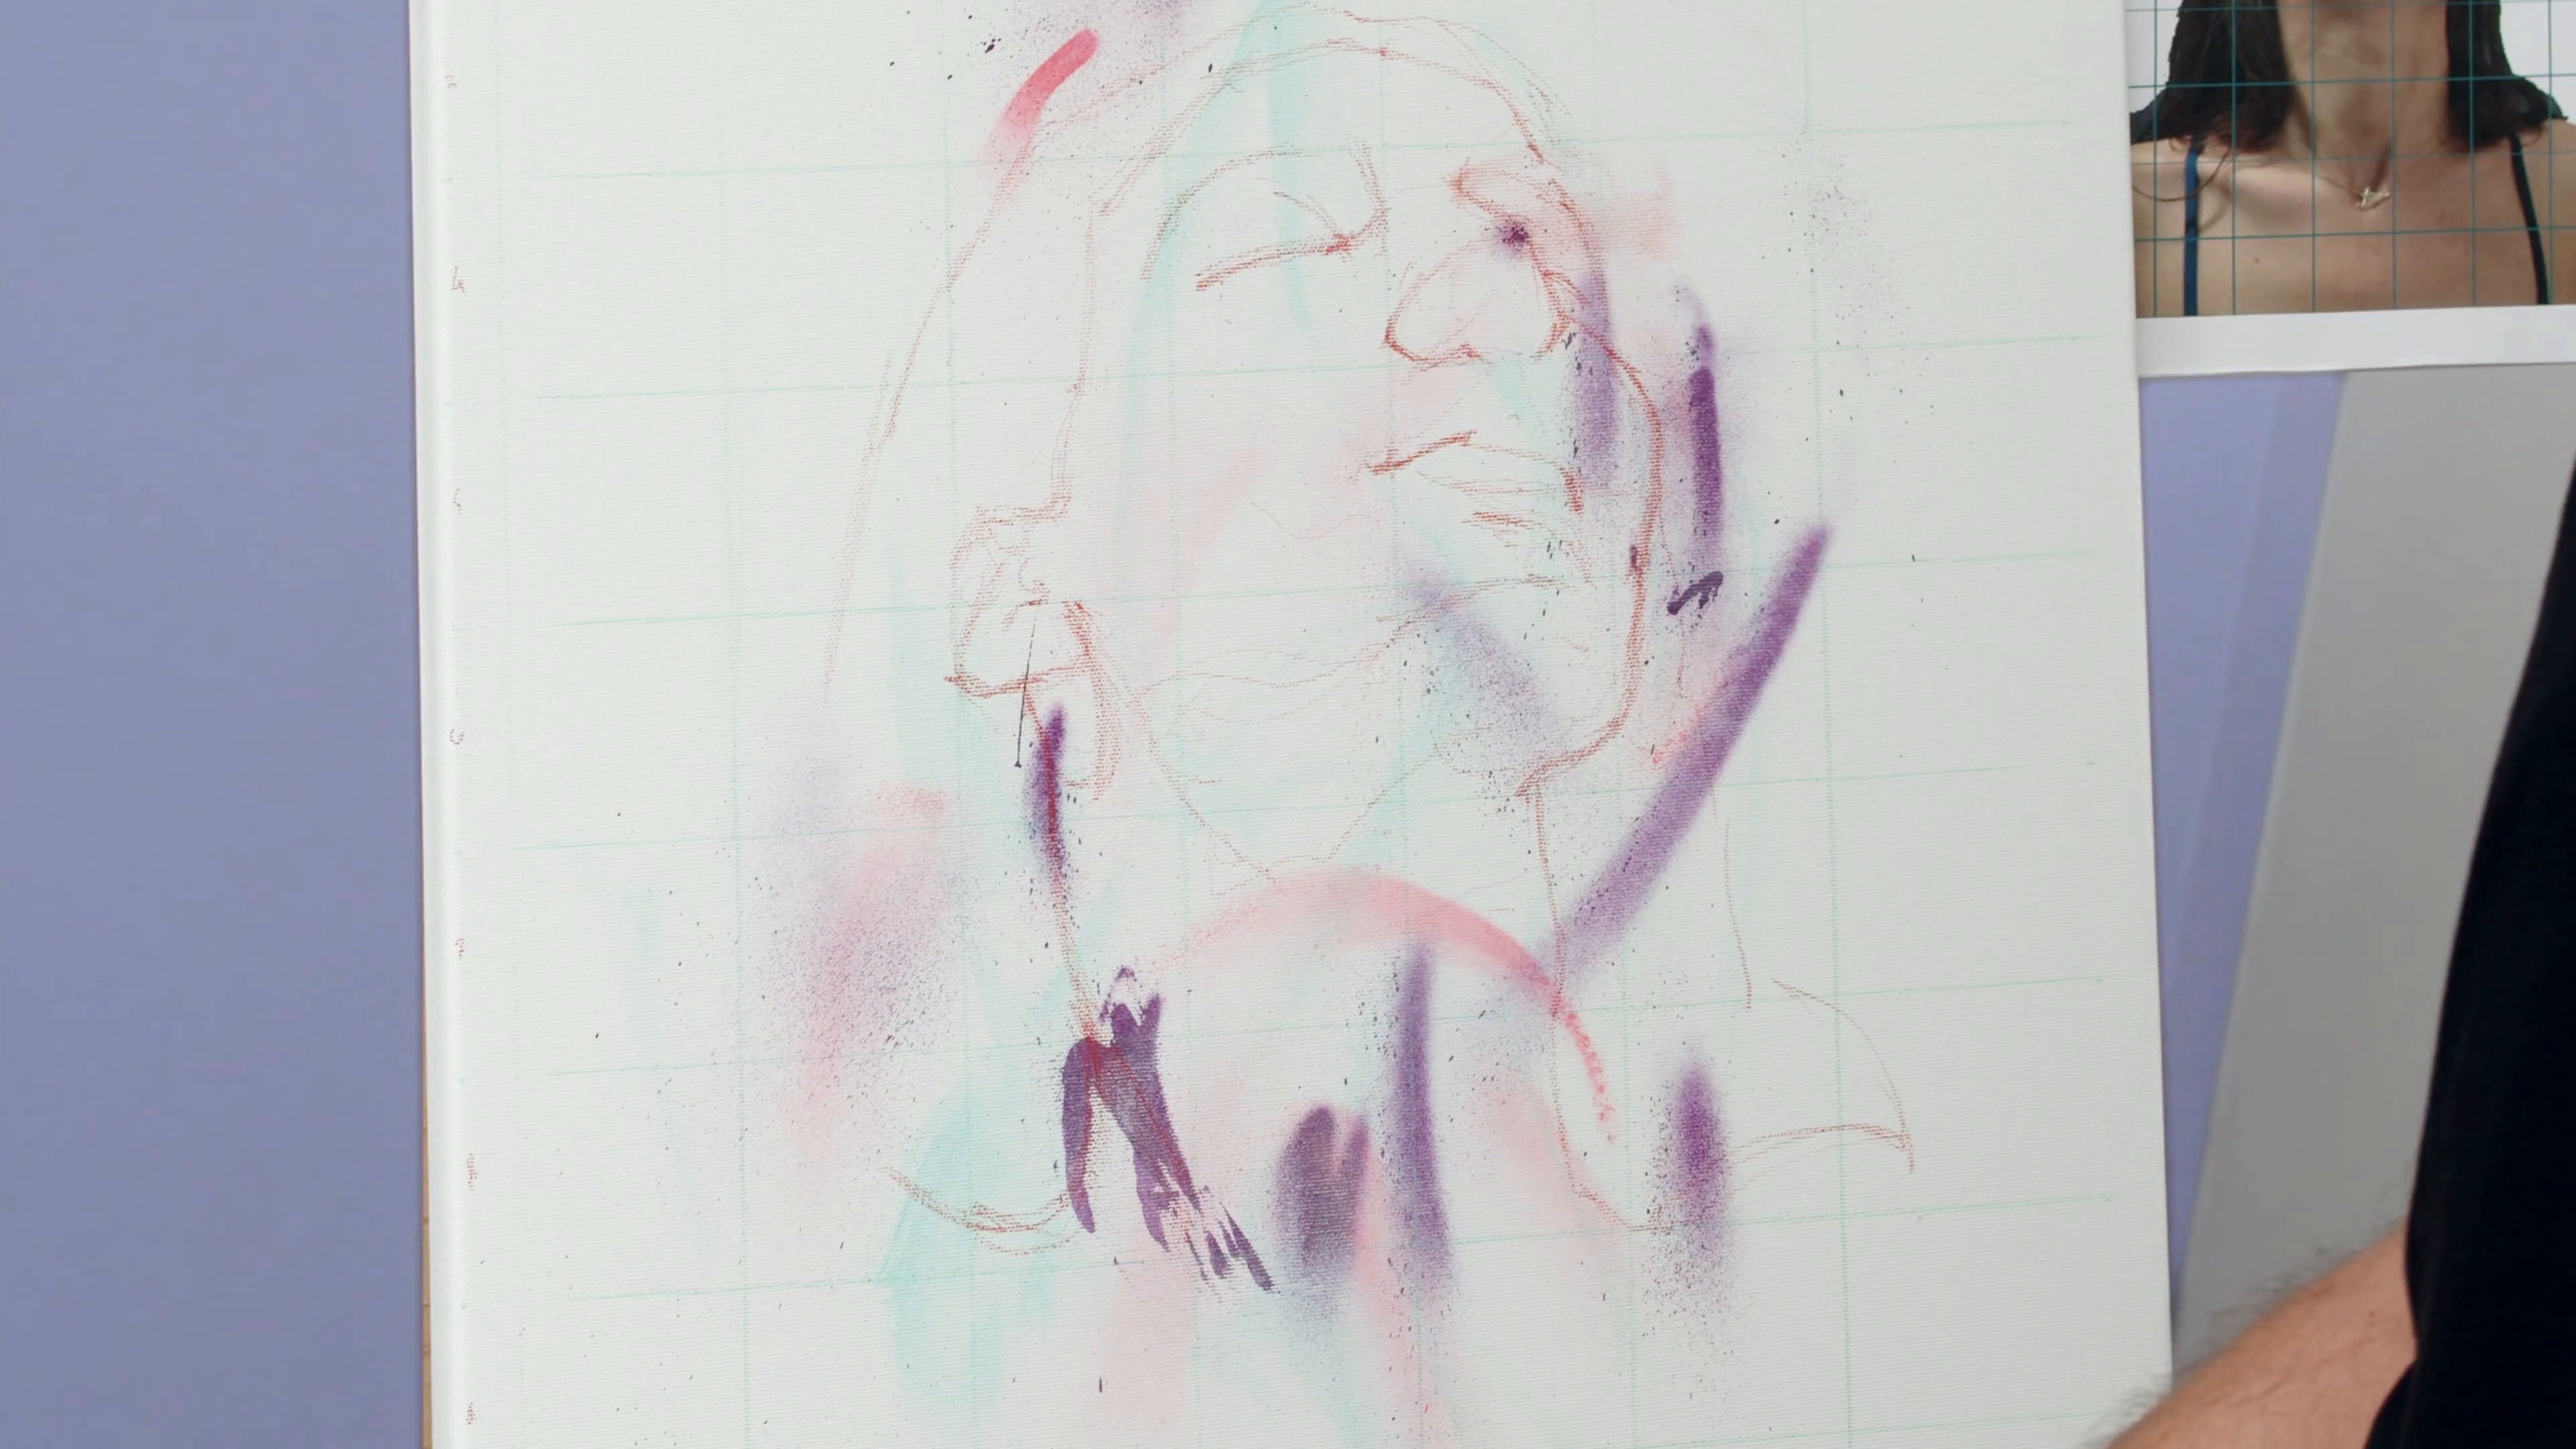
In this lesson, you will learn a fast and easy technique to draw characteristics of the portrait from your reference image on your canvas.
15m
image
12
Shadow Layers
The first few layers are the ones to determine the outcome of our process. I will now show you what I do to stay on the right track.
14m
image
13
Creating Accidents and Using Colors 1
Now that we have a strong base and we feel safe and happy with our portrait, it is time to experiment and be creative.
20m
image
14
Creating Accidents and Using Colors 2
Let's keep building the color layer of our project, so that it will be ready for the final touches.
17m
image
15
Adding Elements to Make Our Work Stand Out
The portrait is almost done. We are happy with our colors and textures. The light is smooth, creating nice volumes. Now it's time to give our portrait the final touch to make it stand out.
16m
image
16
Deciding When to Stop
It is important to know when to stop. There is no rule to follow, but I will share with you what helps me to decide when the work is done and how to understand the viewers' perspective and give them something interesting to trigger their emotions.
6m
  • 5 students
  • 100 lessons (20h 58m)
  • 69 additional resources (26 files)
  • Online and at your own pace
  • Audio: English
  • English · Spanish · Portuguese · German · French · Italian · Polish · Dutch
  • Level: Beginner
  • Unlimited access forever

What is this course's project?

Create a masterpiece that mirrors a photograph using oil paints, achieving photorealistic effects through techniques like layering, blocking, and grids. Transform ordinary scenes into striking art, capturing intricate details and the illusion of depth with precision.

Who is this specialization for?

Art enthusiasts seeking to deepen their oil painting skills, explore new techniques, and express creativity through various styles and themes will find this course ideal. Perfect for those passionate about enhancing their artistic expression and mastering the art of oil painting.

Requirements and materials

No extensive prior knowledge is required for this course. Gather basic materials like oil paints, brushes, canvas, and a palette. Familiarize yourself with color theory and composition basics. Bring enthusiasm and a willingness to experiment with new techniques.

Select to get to know your teachers in this specialization course
Read more ↓

What to expect from this specialization course

  • Learn at your own pace

    Enjoy learning from home without a set schedule and with an easy-to-follow method. You set your own pace.

  • Learn from the best professionals

    Learn valuable methods and techniques explained by top experts in the creative sector.

  • Meet expert teachers

    Each expert teaches what they do best, with clear guidelines, true passion, and professional insight in every lesson.

  • Certificates
    Plus

    If you're a Plus member, get a custom certificate for every specialization course. Share it on your portfolio, social media, or wherever you like.

  • Get front-row seats

    Videos of the highest quality, so you don't miss a single detail. With unlimited access, you can watch them as many times as you need to perfect your technique.

  • Share knowledge and ideas

    Ask questions, request feedback, or offer solutions. Share your learning experience with other students in the community who are as passionate about creativity as you are.

  • Connect with a global creative community

    The community is home to millions of people from around the world who are curious and passionate about exploring and expressing their creativity.

  • Watch professionally produced courses

    Domestika curates its teacher roster and produces every course in-house to ensure a high-quality online learning experience.


FAQs

Domestika's specialization courses are online classes that provide you with the tools and skills you need to complete a specific project. Every step of the project combines video lessons with complementary instructional material, so you can learn by doing. Domestika's specializations also allow you to share your own projects with other students, creating a dynamic course community.

All specialization courses are 100% online, so once they're published, specialization courses start and finish whenever you want. You set the pace of the class. You can go back to review what interests you most and skip what you already know, ask questions, answer questions, share your projects, and more.

The specialization courses are divided into different modules. Each one includes lessons, informational text, tasks, and practice exercises to help you carry out your project step by step, with additional complementary resources and downloads. You'll also have access to an exclusive forum where you can interact with other students, as well as share your work and your final project, creating a community around the specialization course.

You can redeem the specialization course you received by accessing the redeeming page and entering your gift code.

If you're a Plus member, when you complete a course you've purchased, you'll instantly get your personalized certificate. You can see all your certificates in the Certificates section of your profile. You can download your certificates as PDFs and share the link online. Learn more about certificates.
Oil Painting Techniques Specialization. Illustration course by Domestika

Oil Painting Techniques Specialization

A specialization by multiple teachers
Online Courses. Berkeley, United States.
Joined April 2002
  • 5 students