Specialization

Photography: Art and Techniques Specialization

6 Teachers

Master basic camera skills, explore photography theory, and capture unique images using any type of camera

Master basic camera skills, explore photography theory, and capture unique images using any type of camera

6 Teachers
Specialization · 7 modules

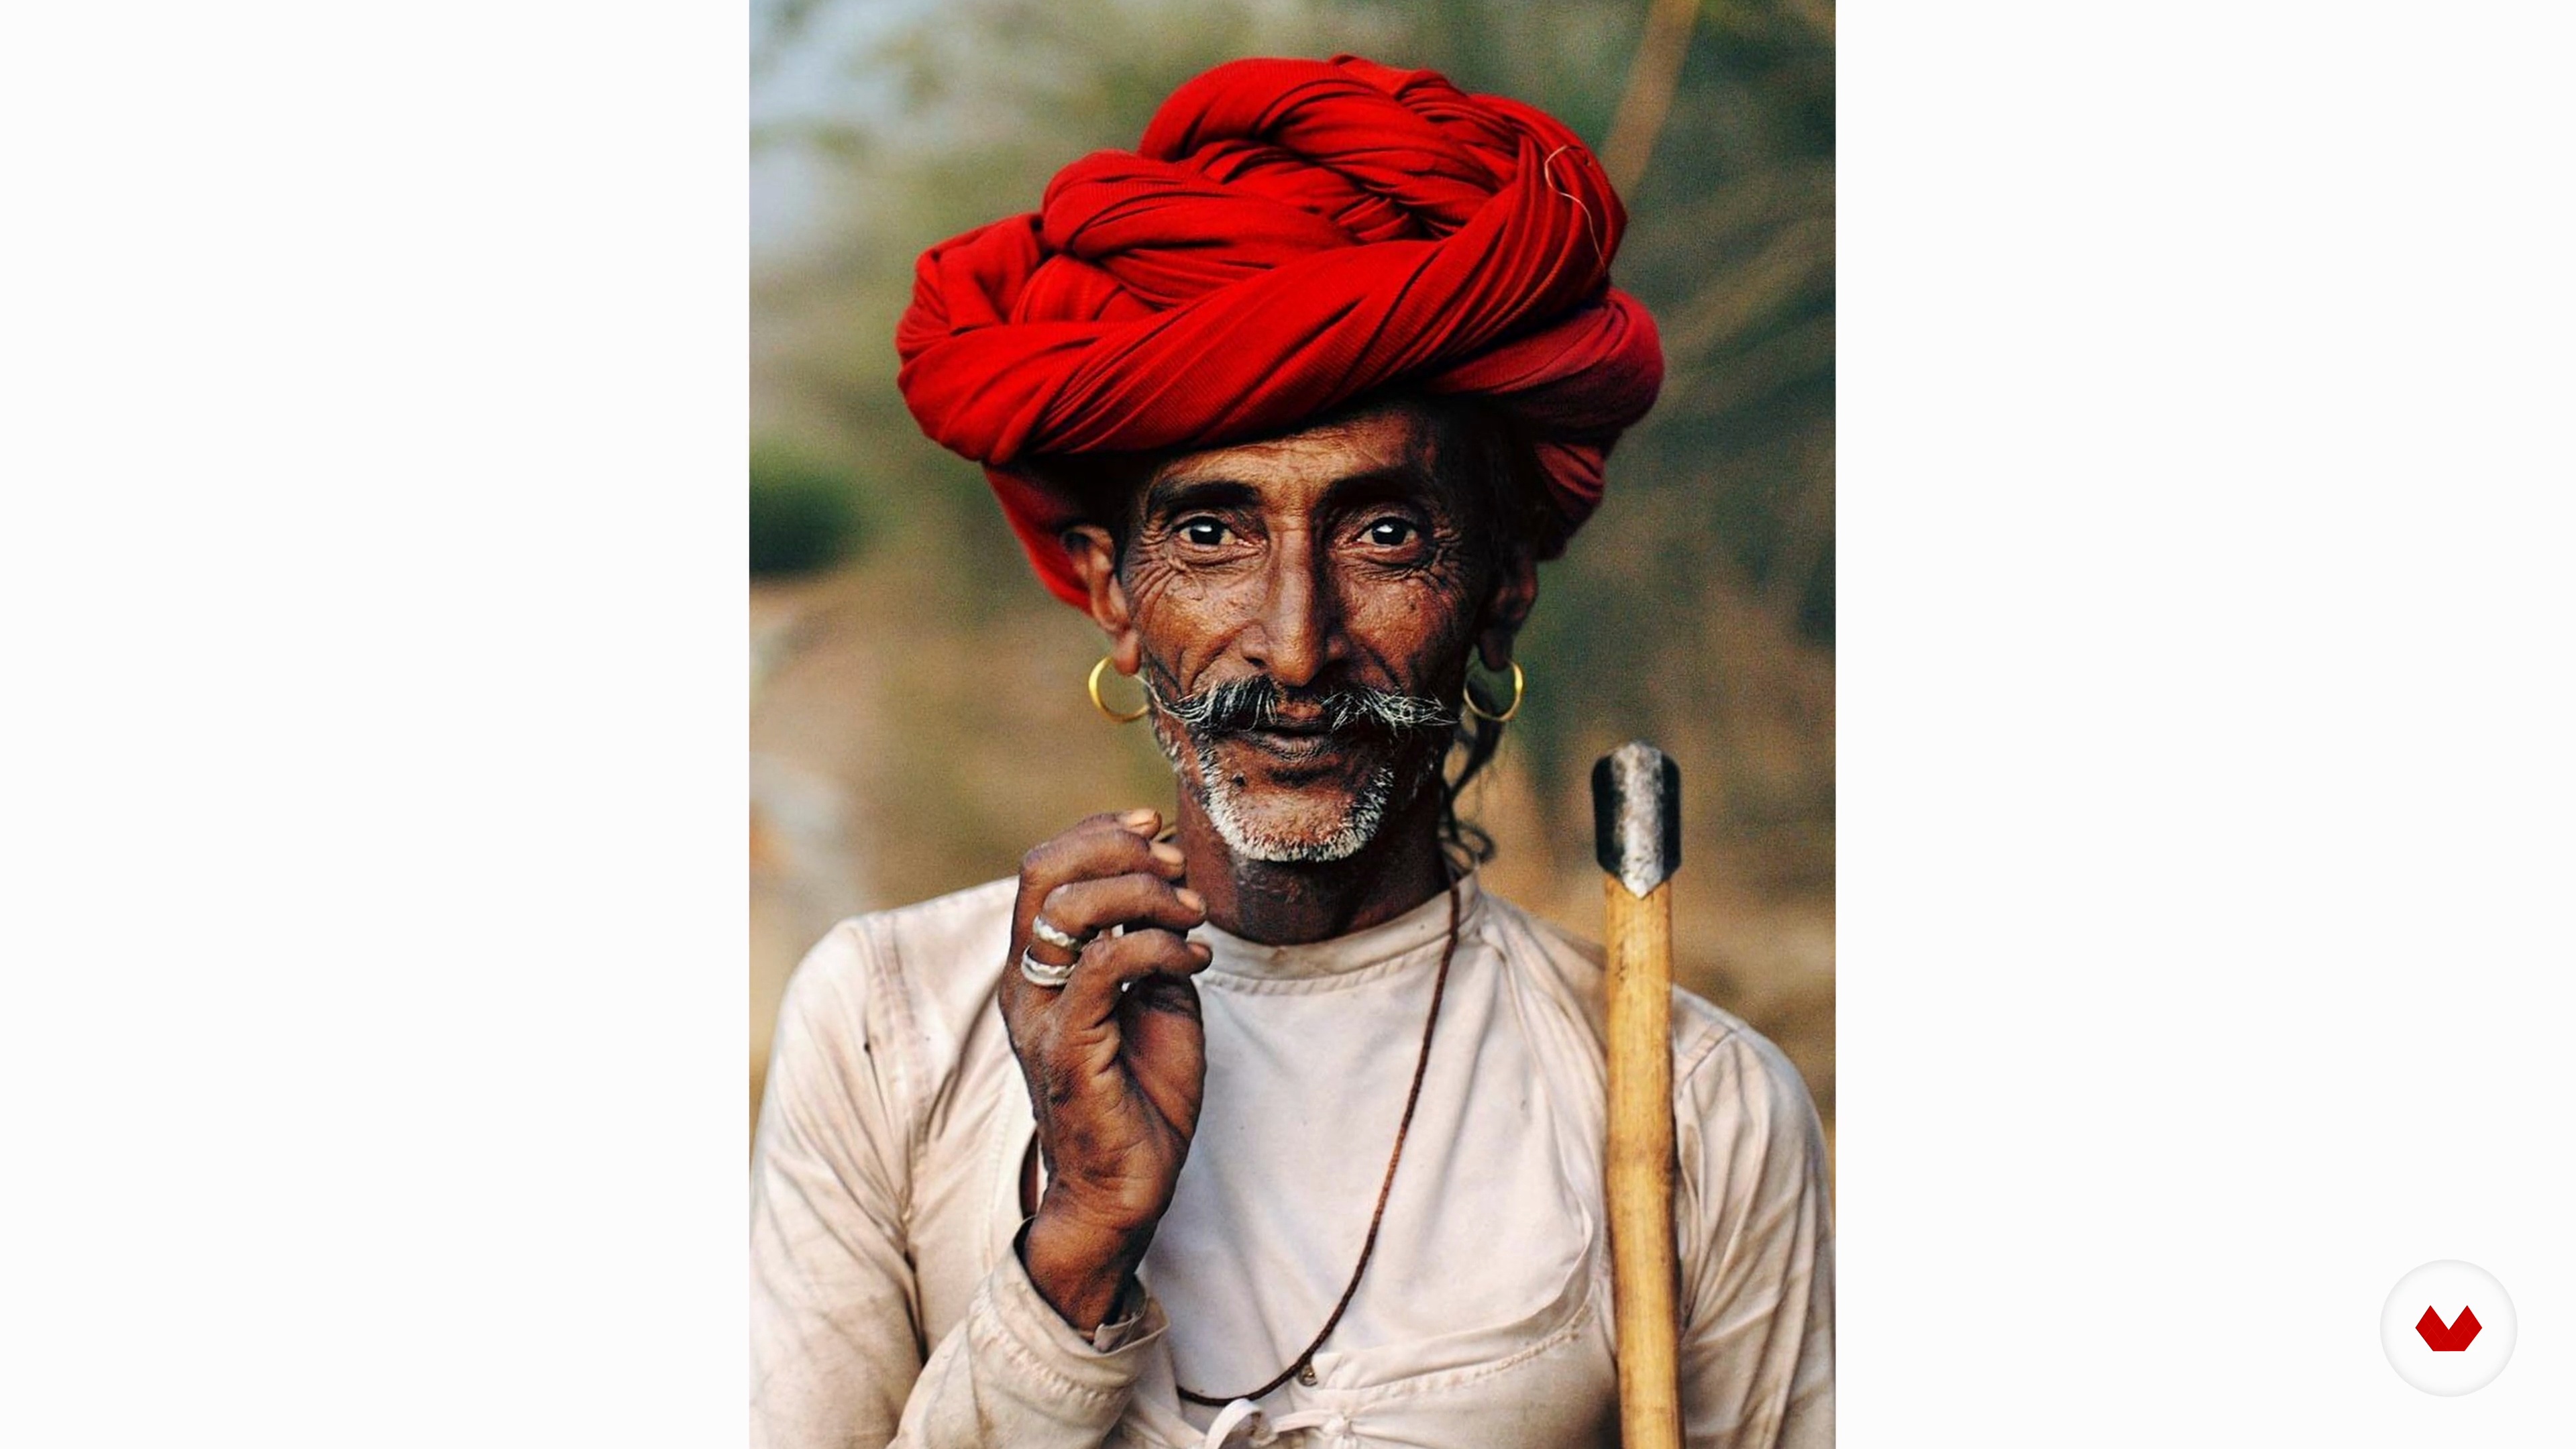
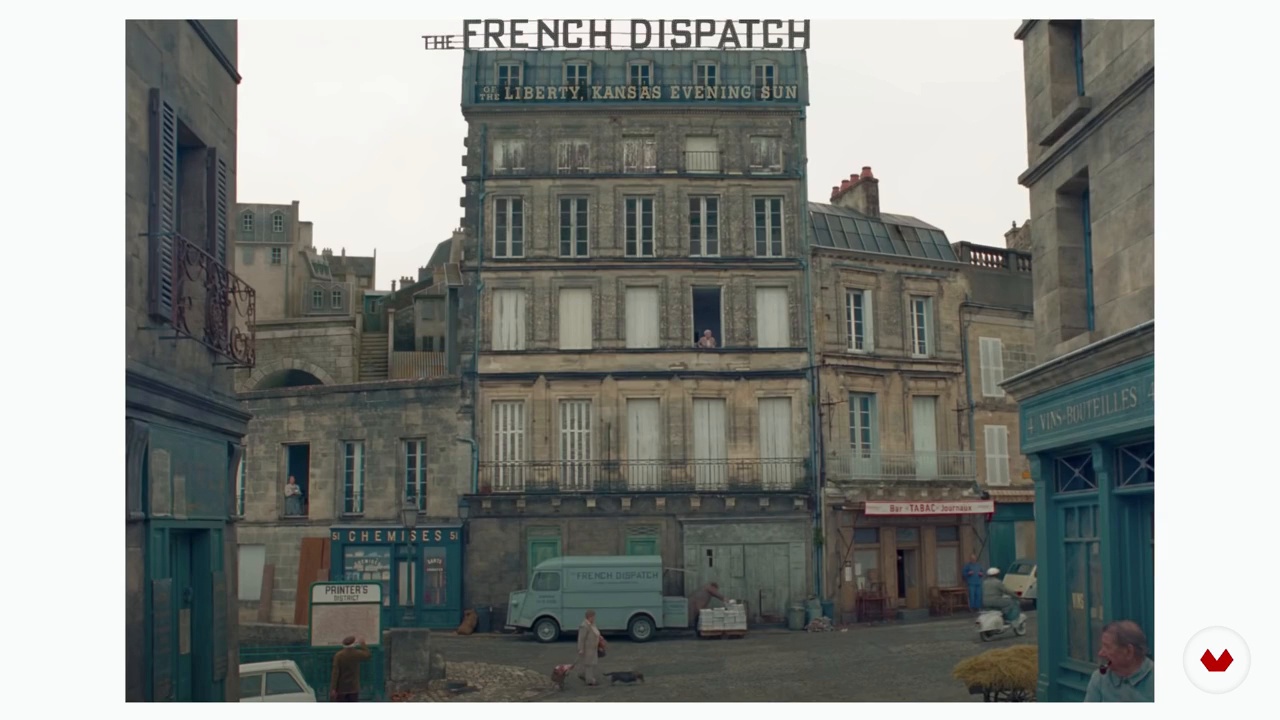
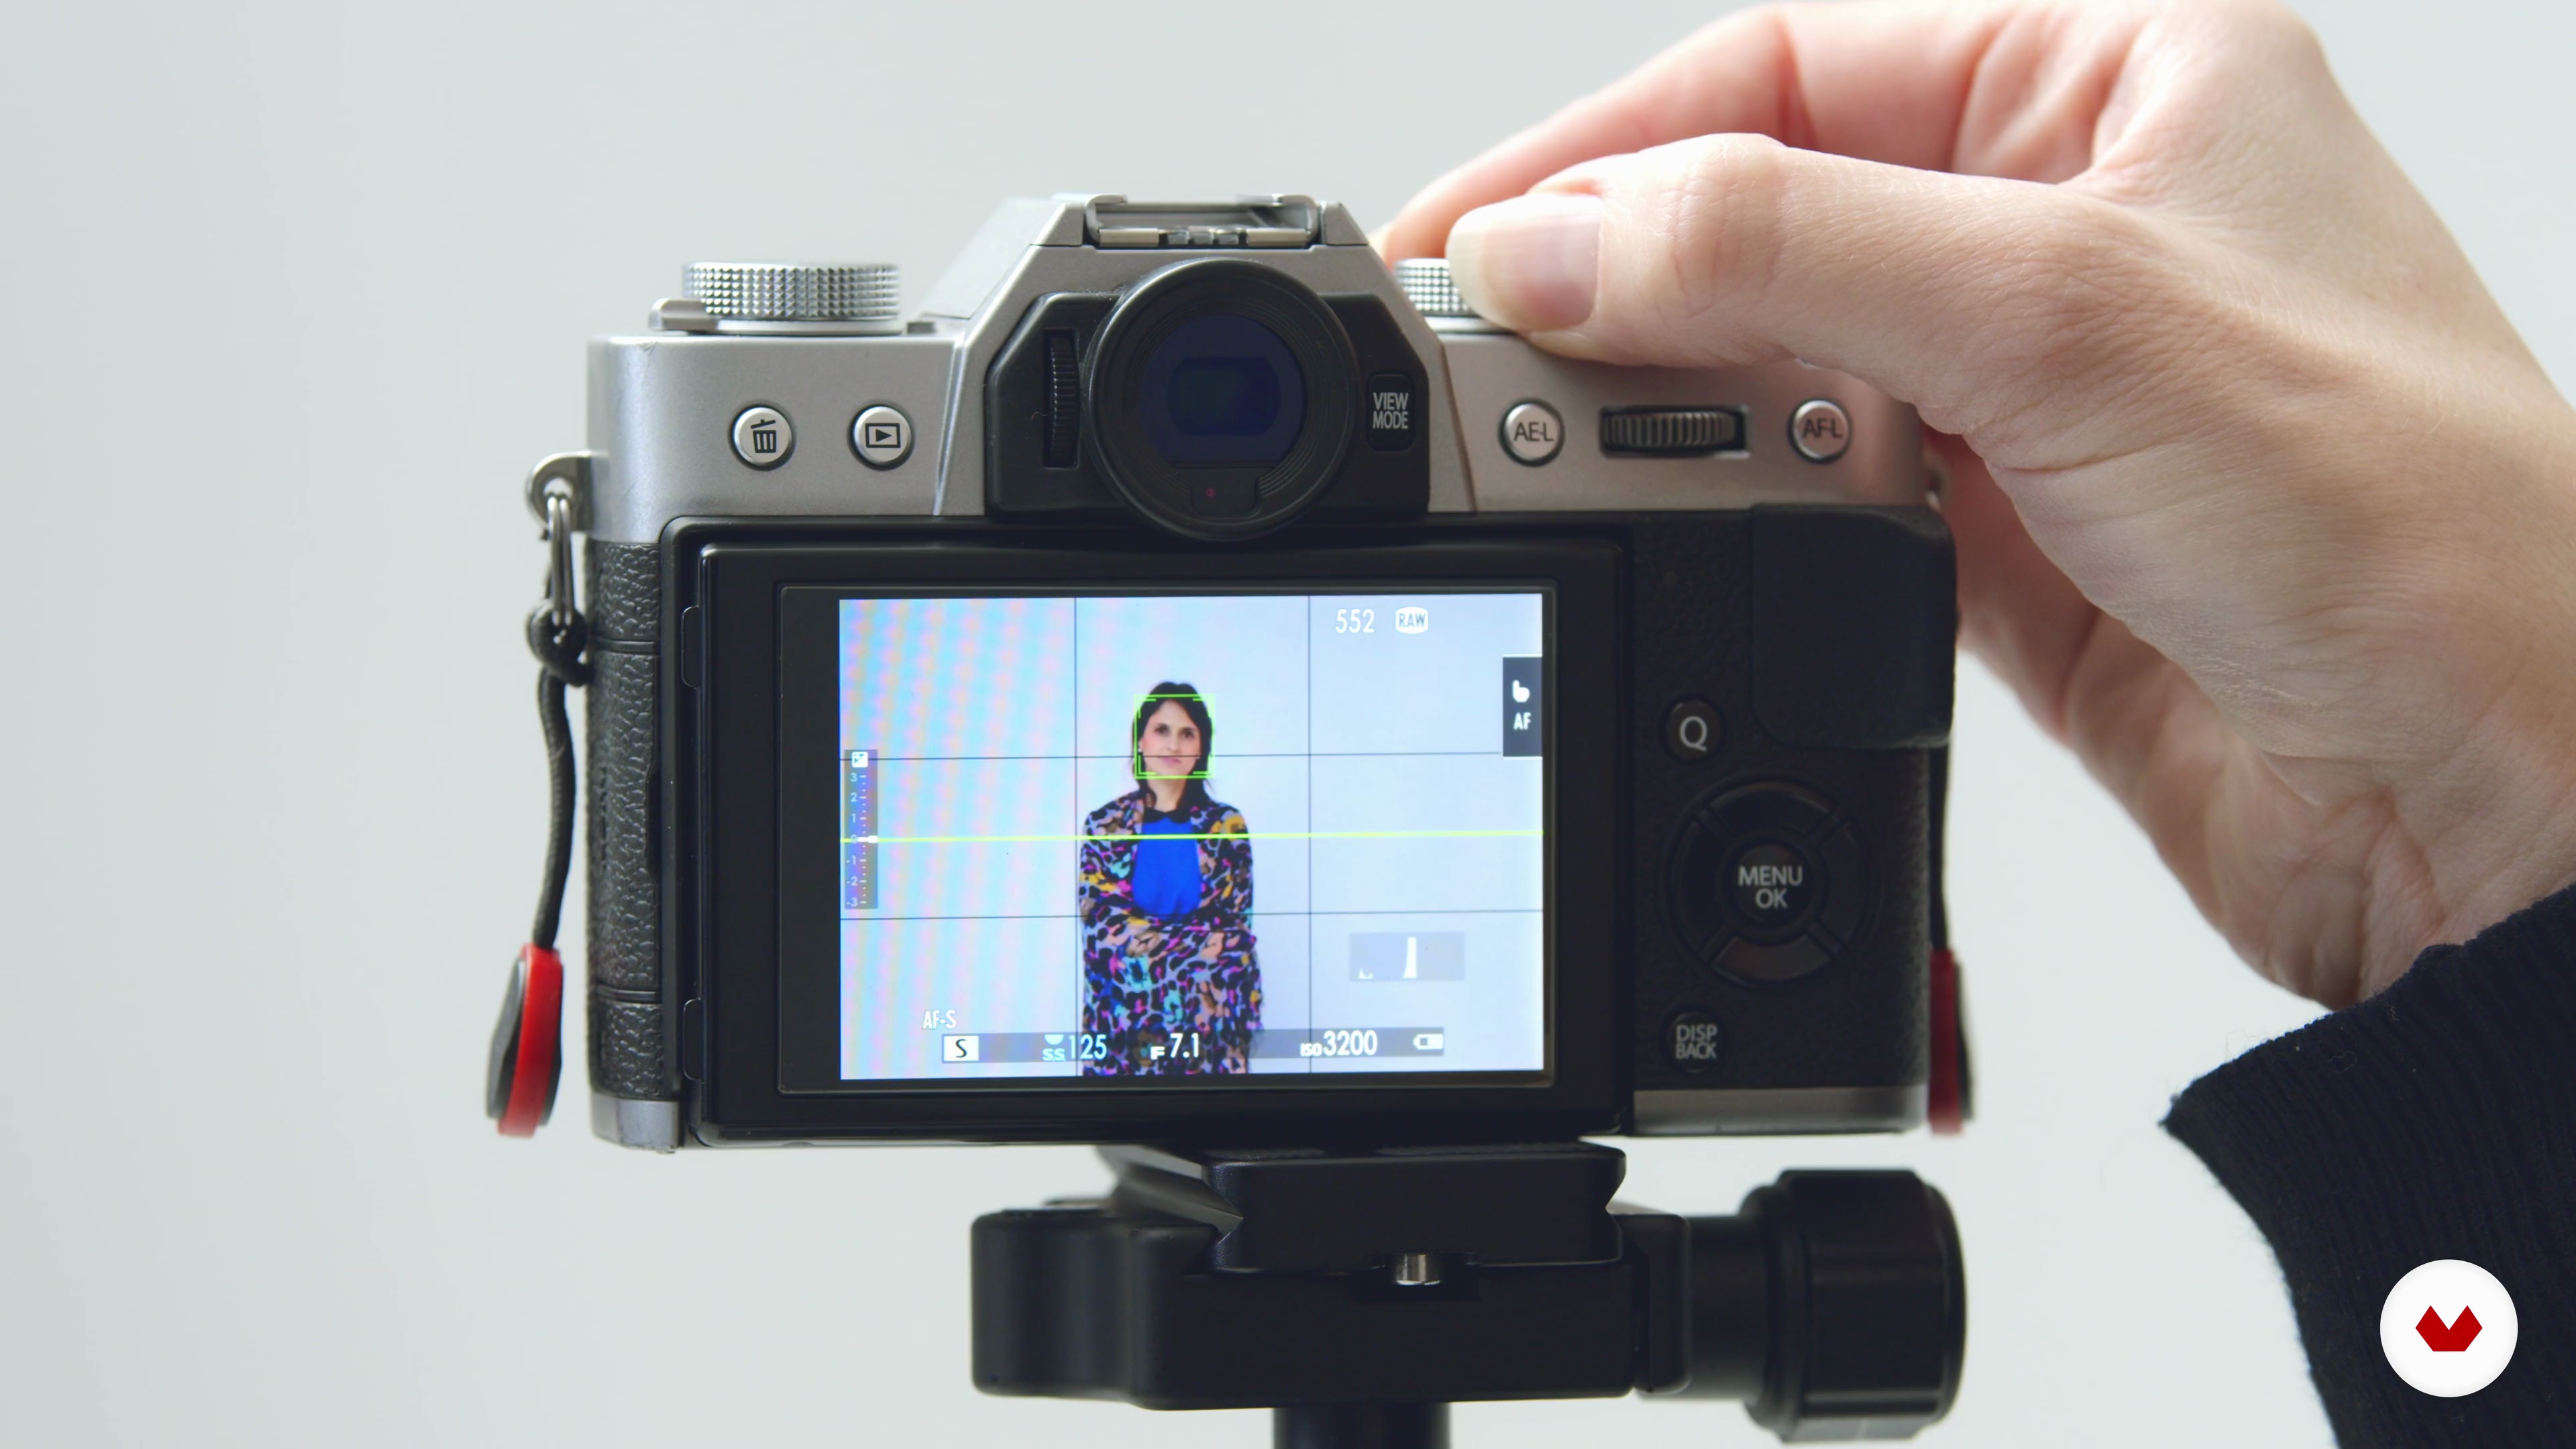
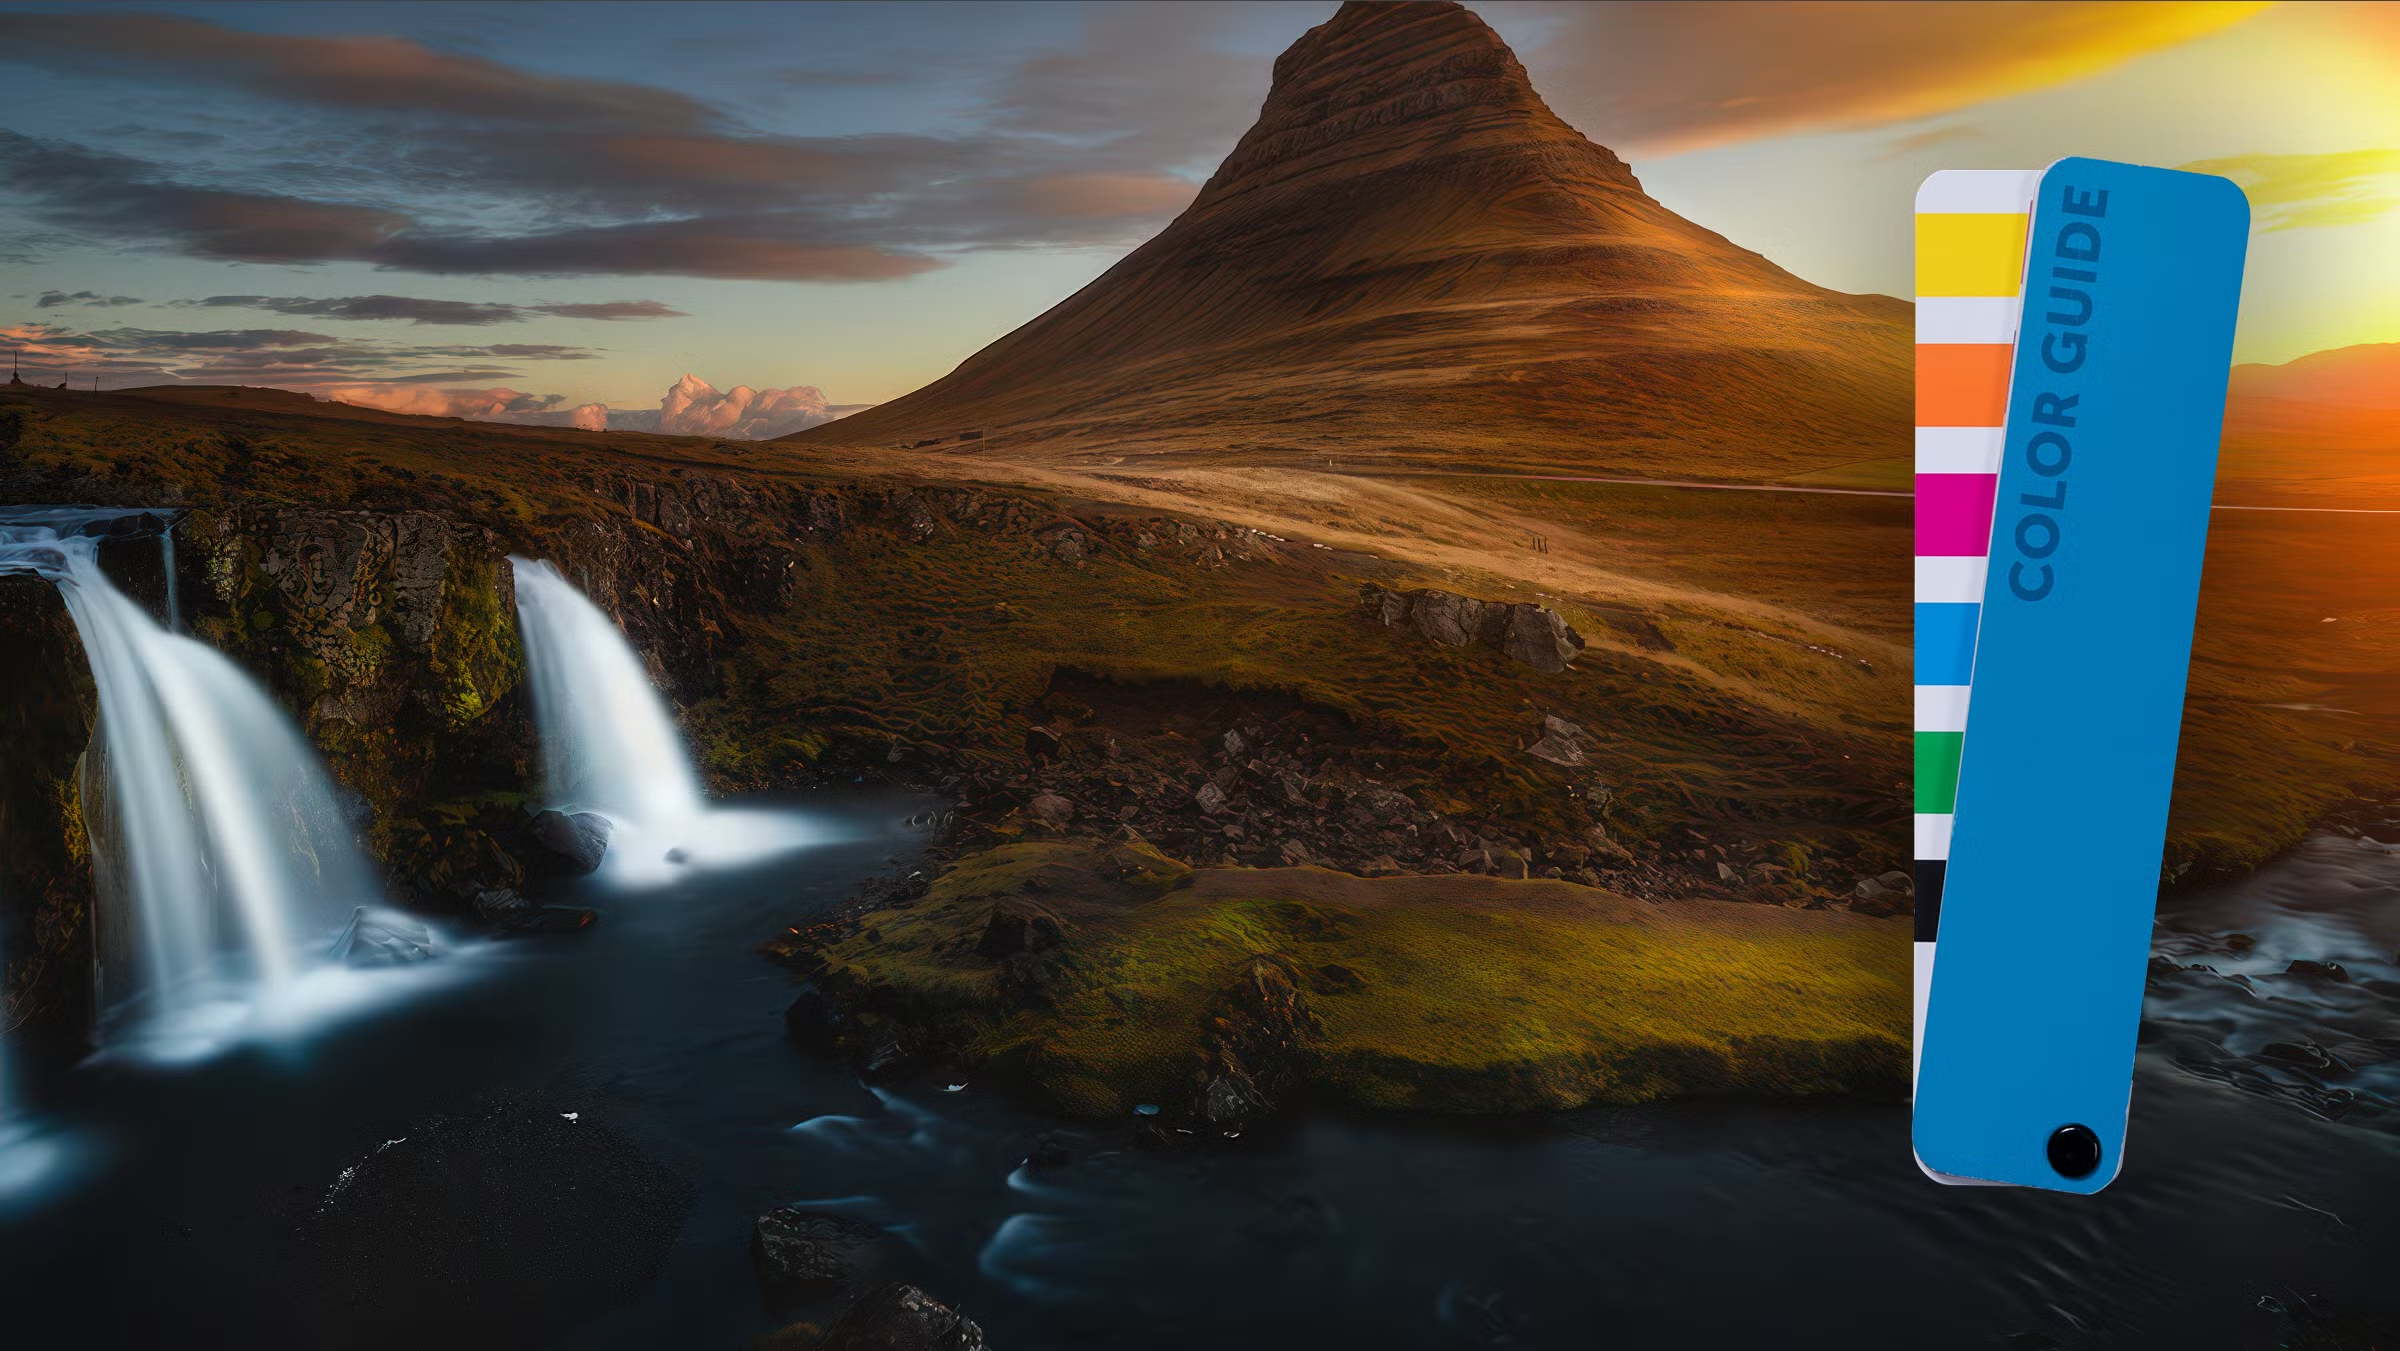
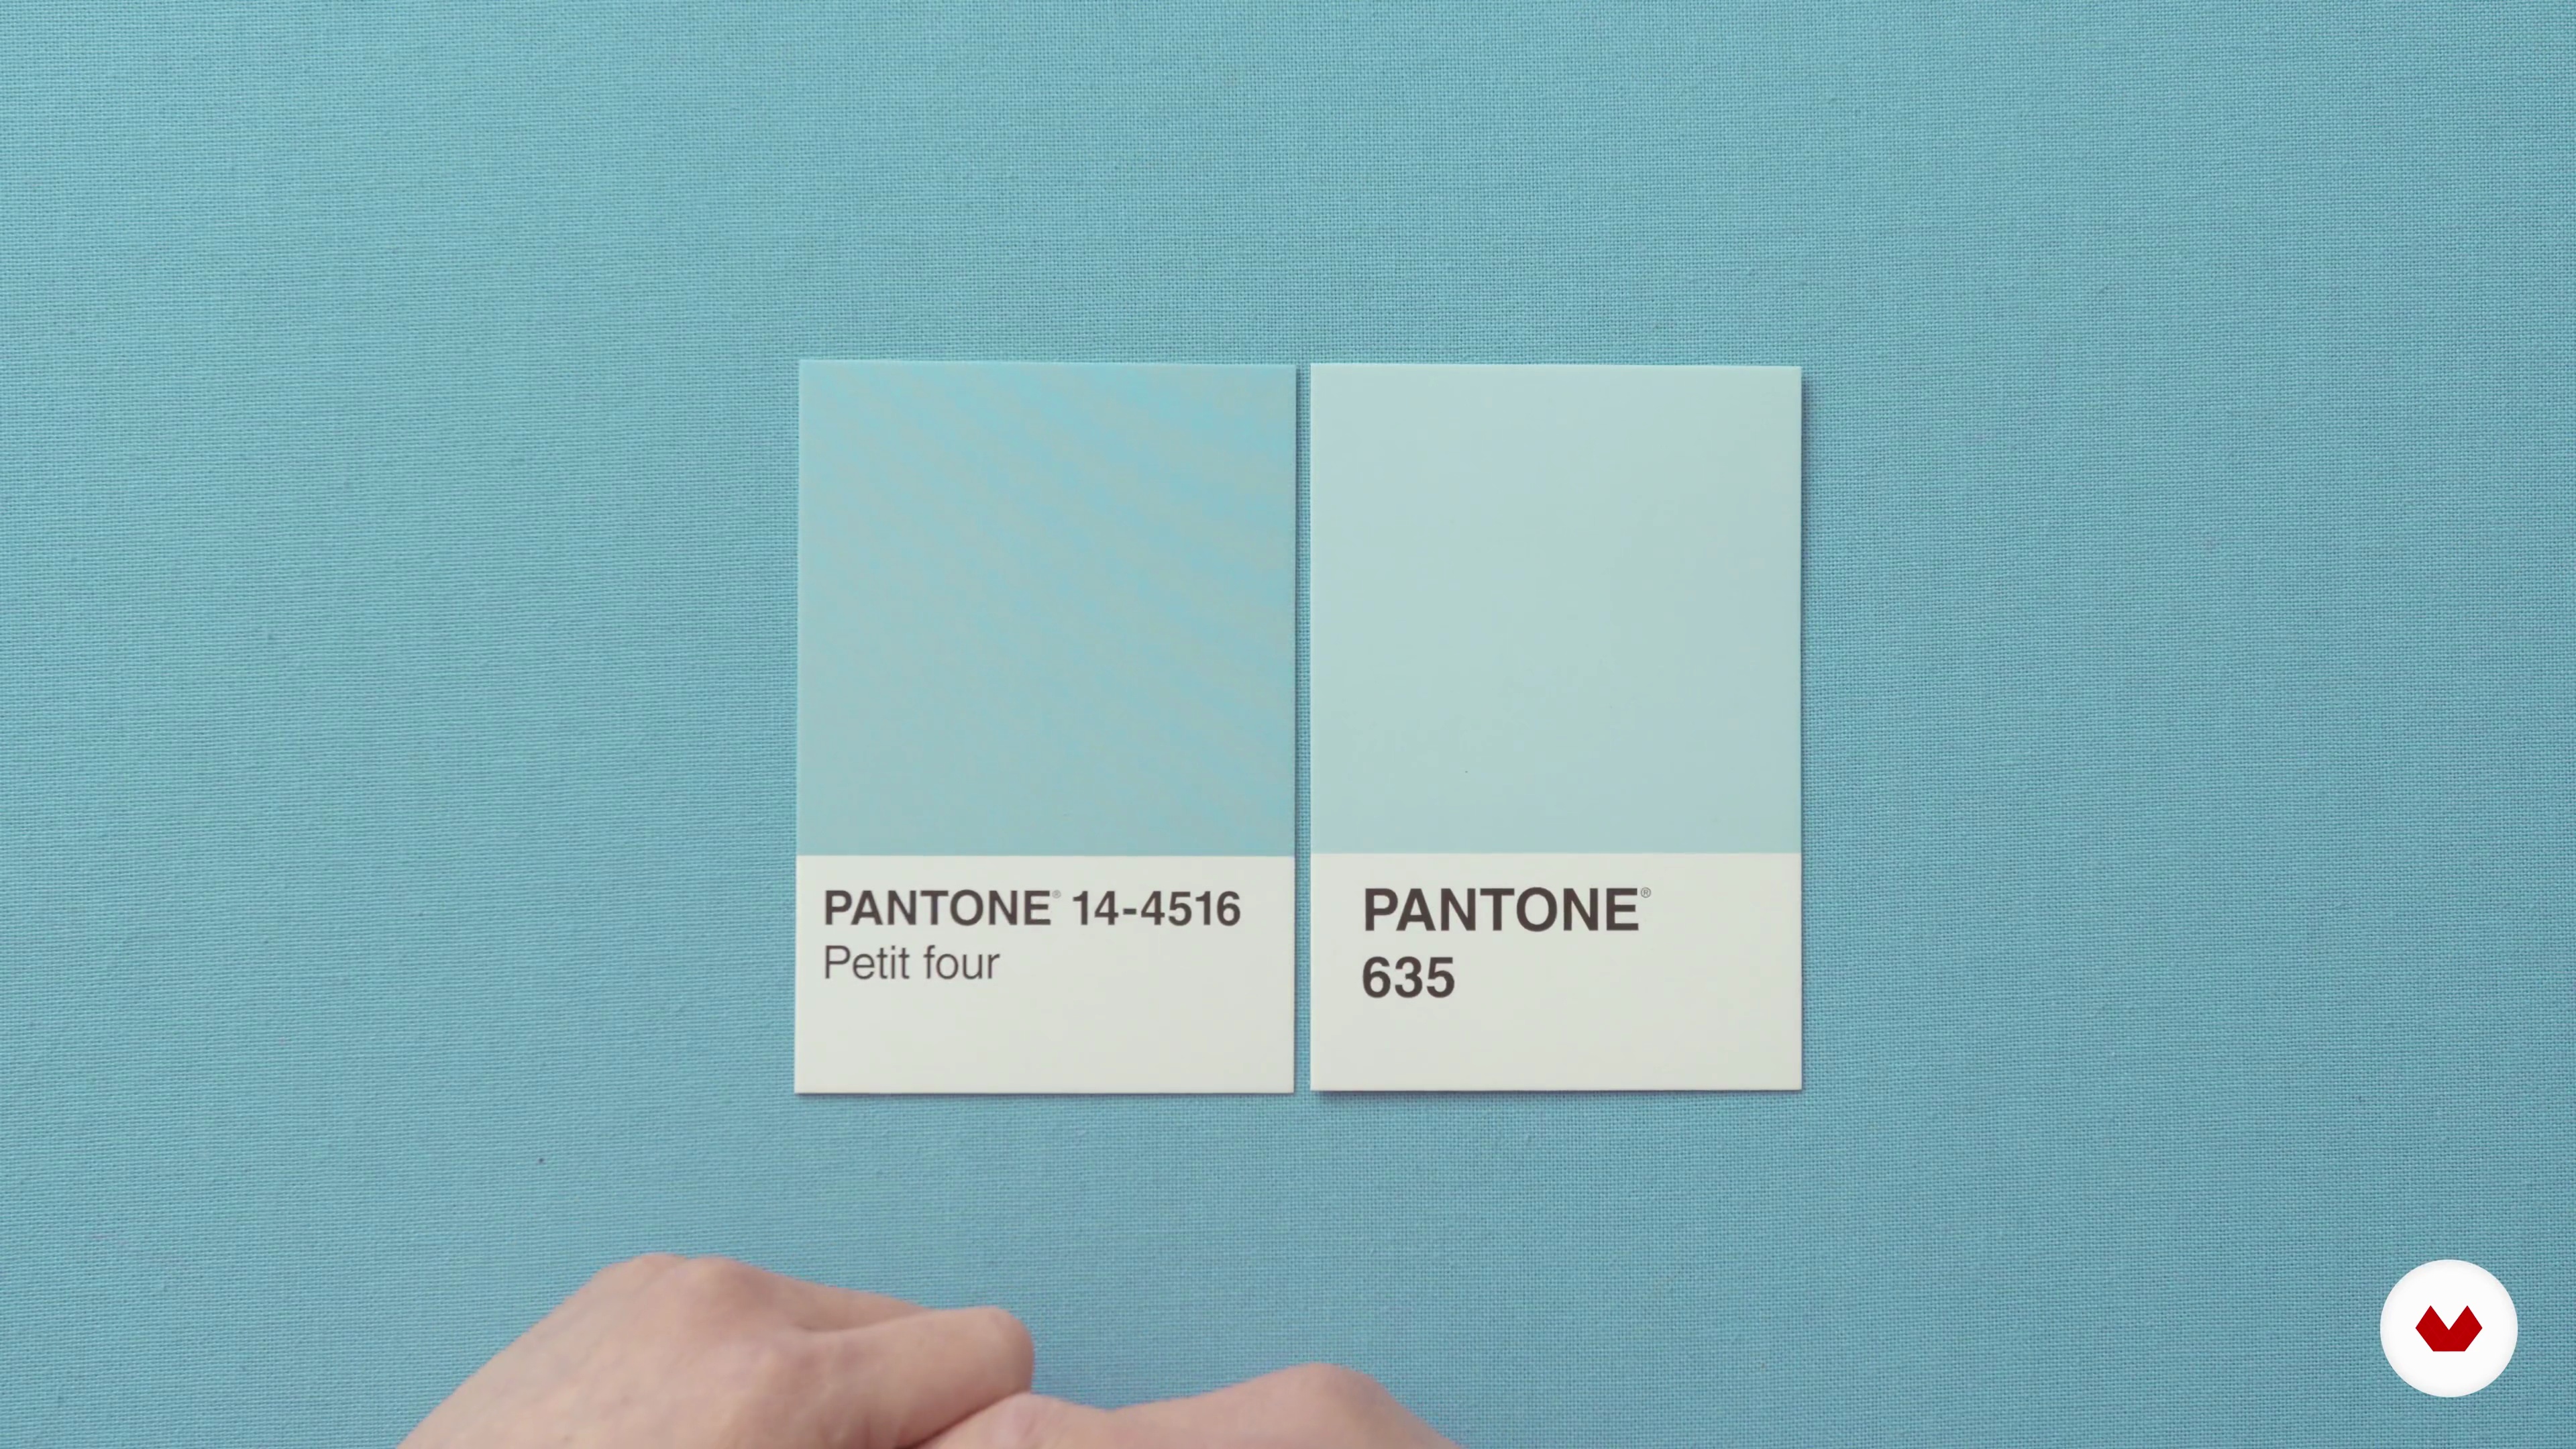
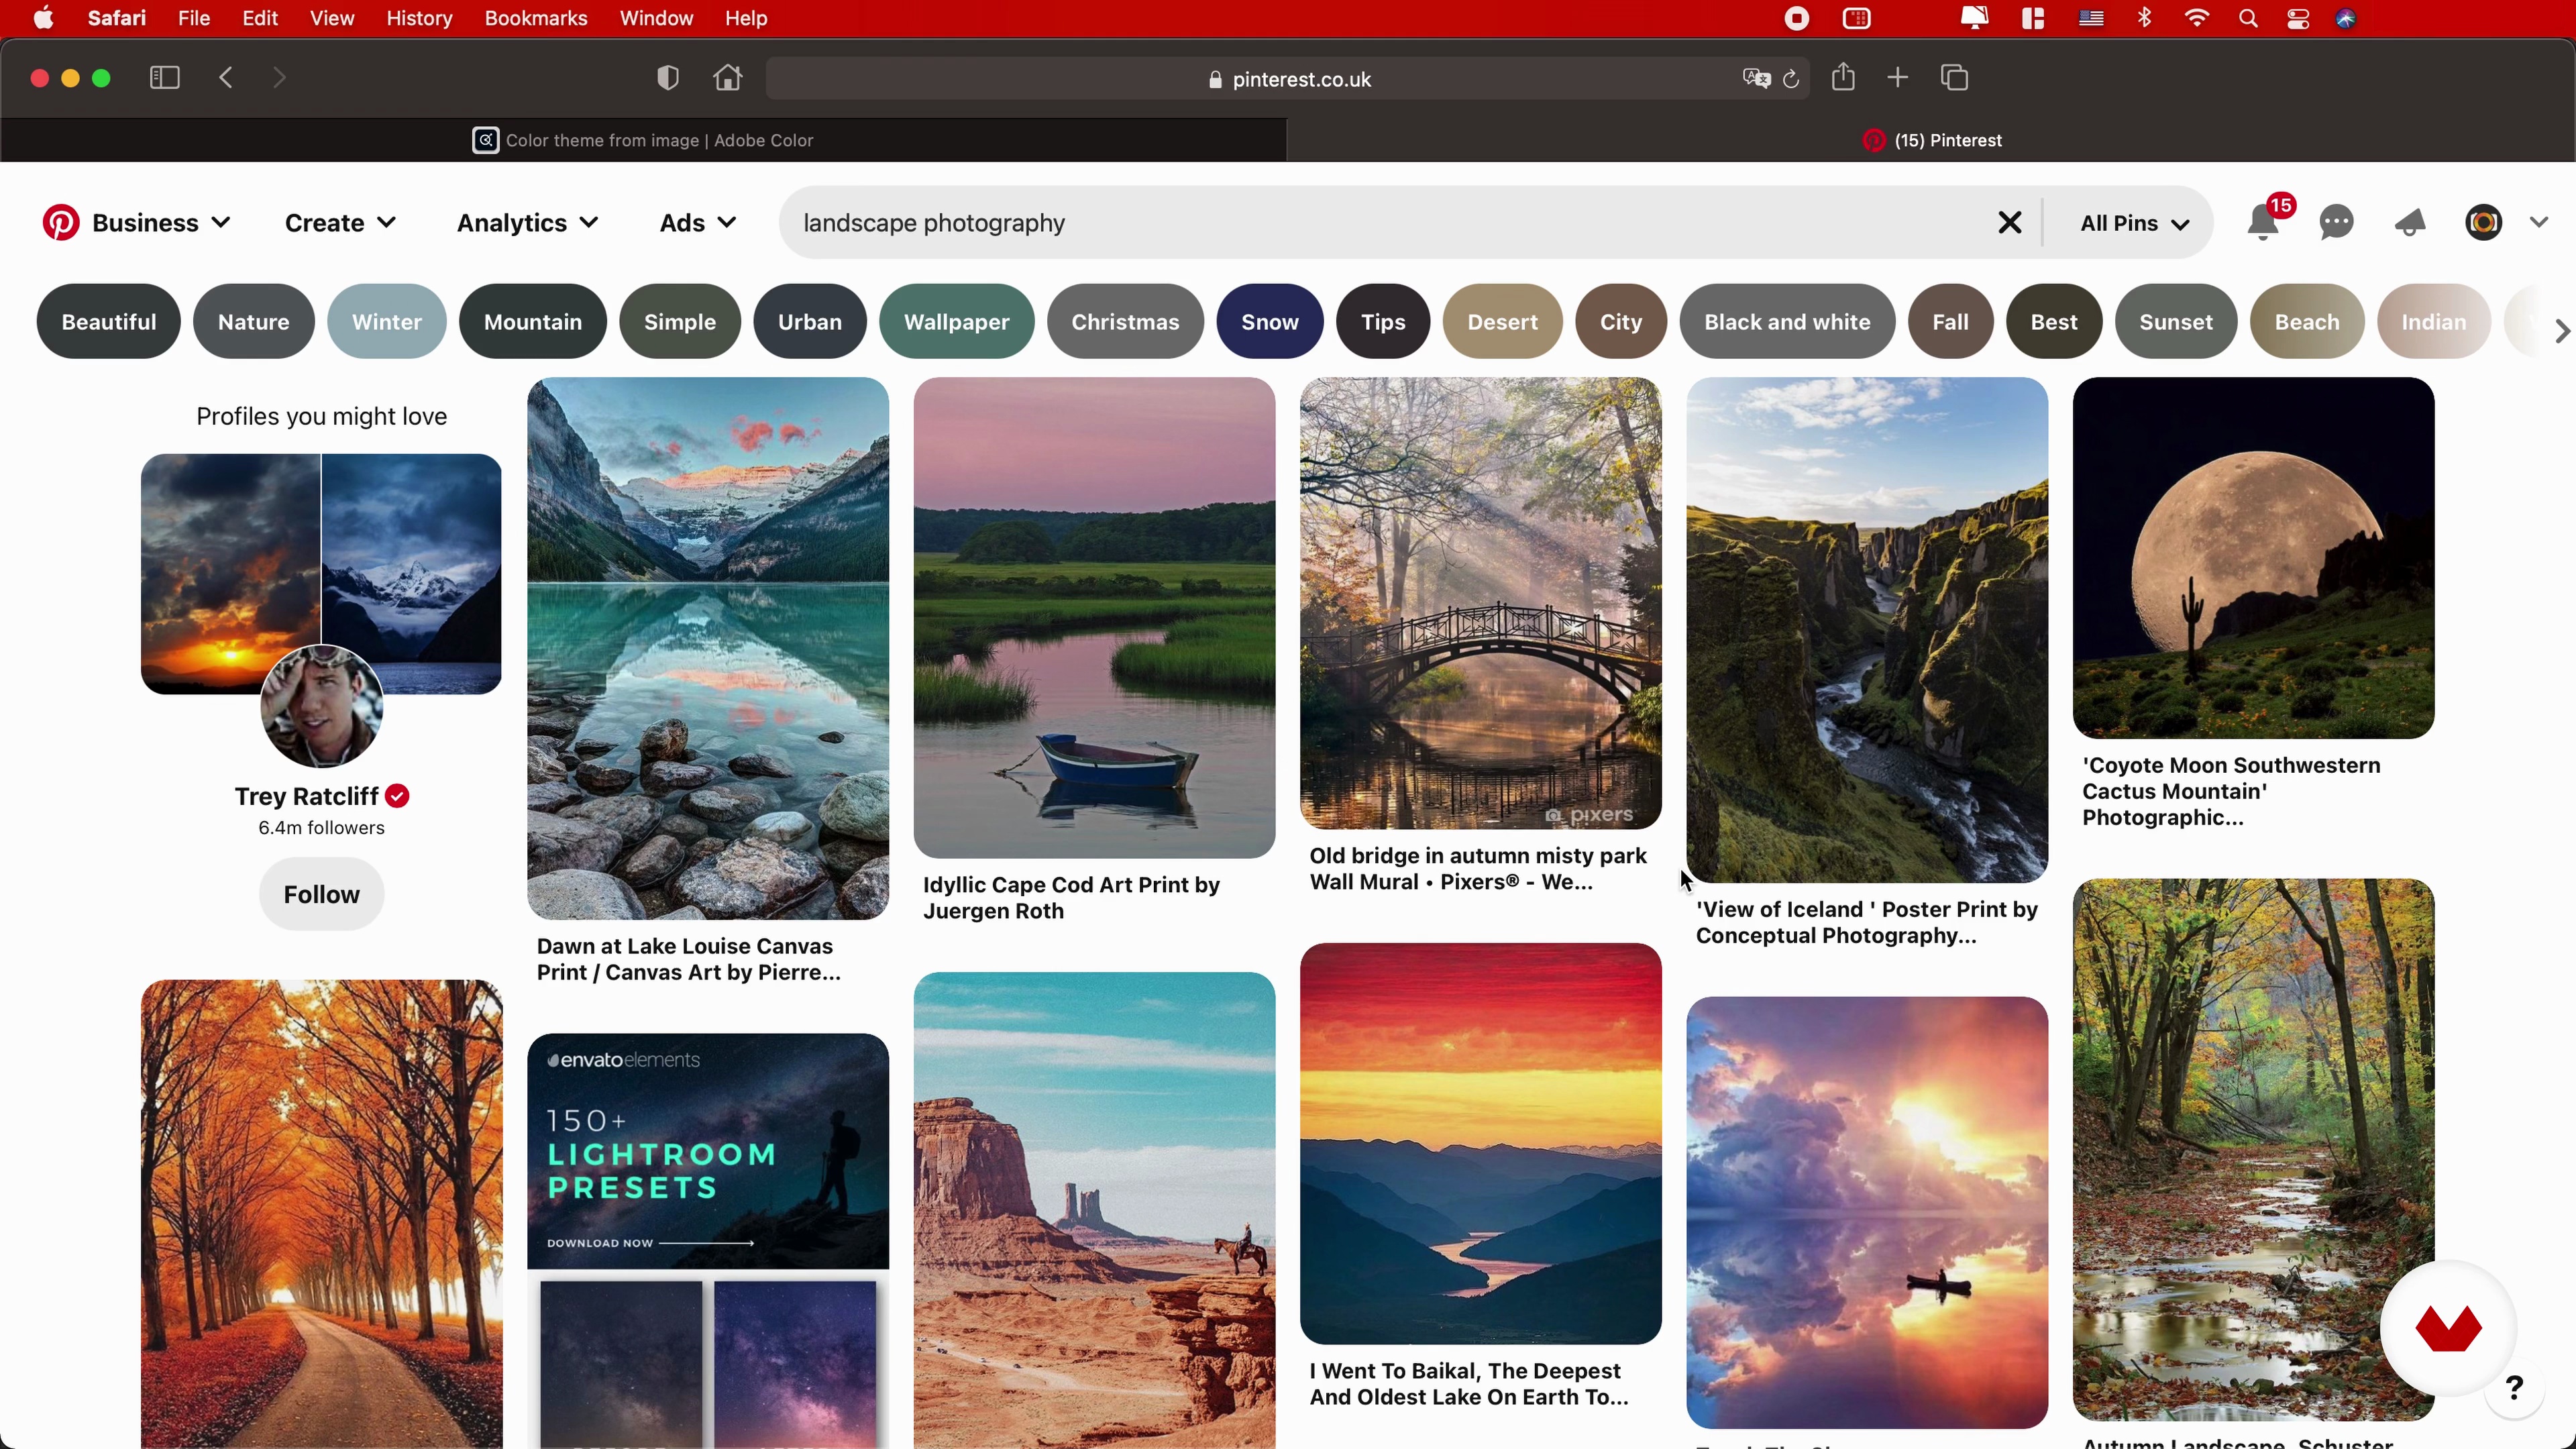
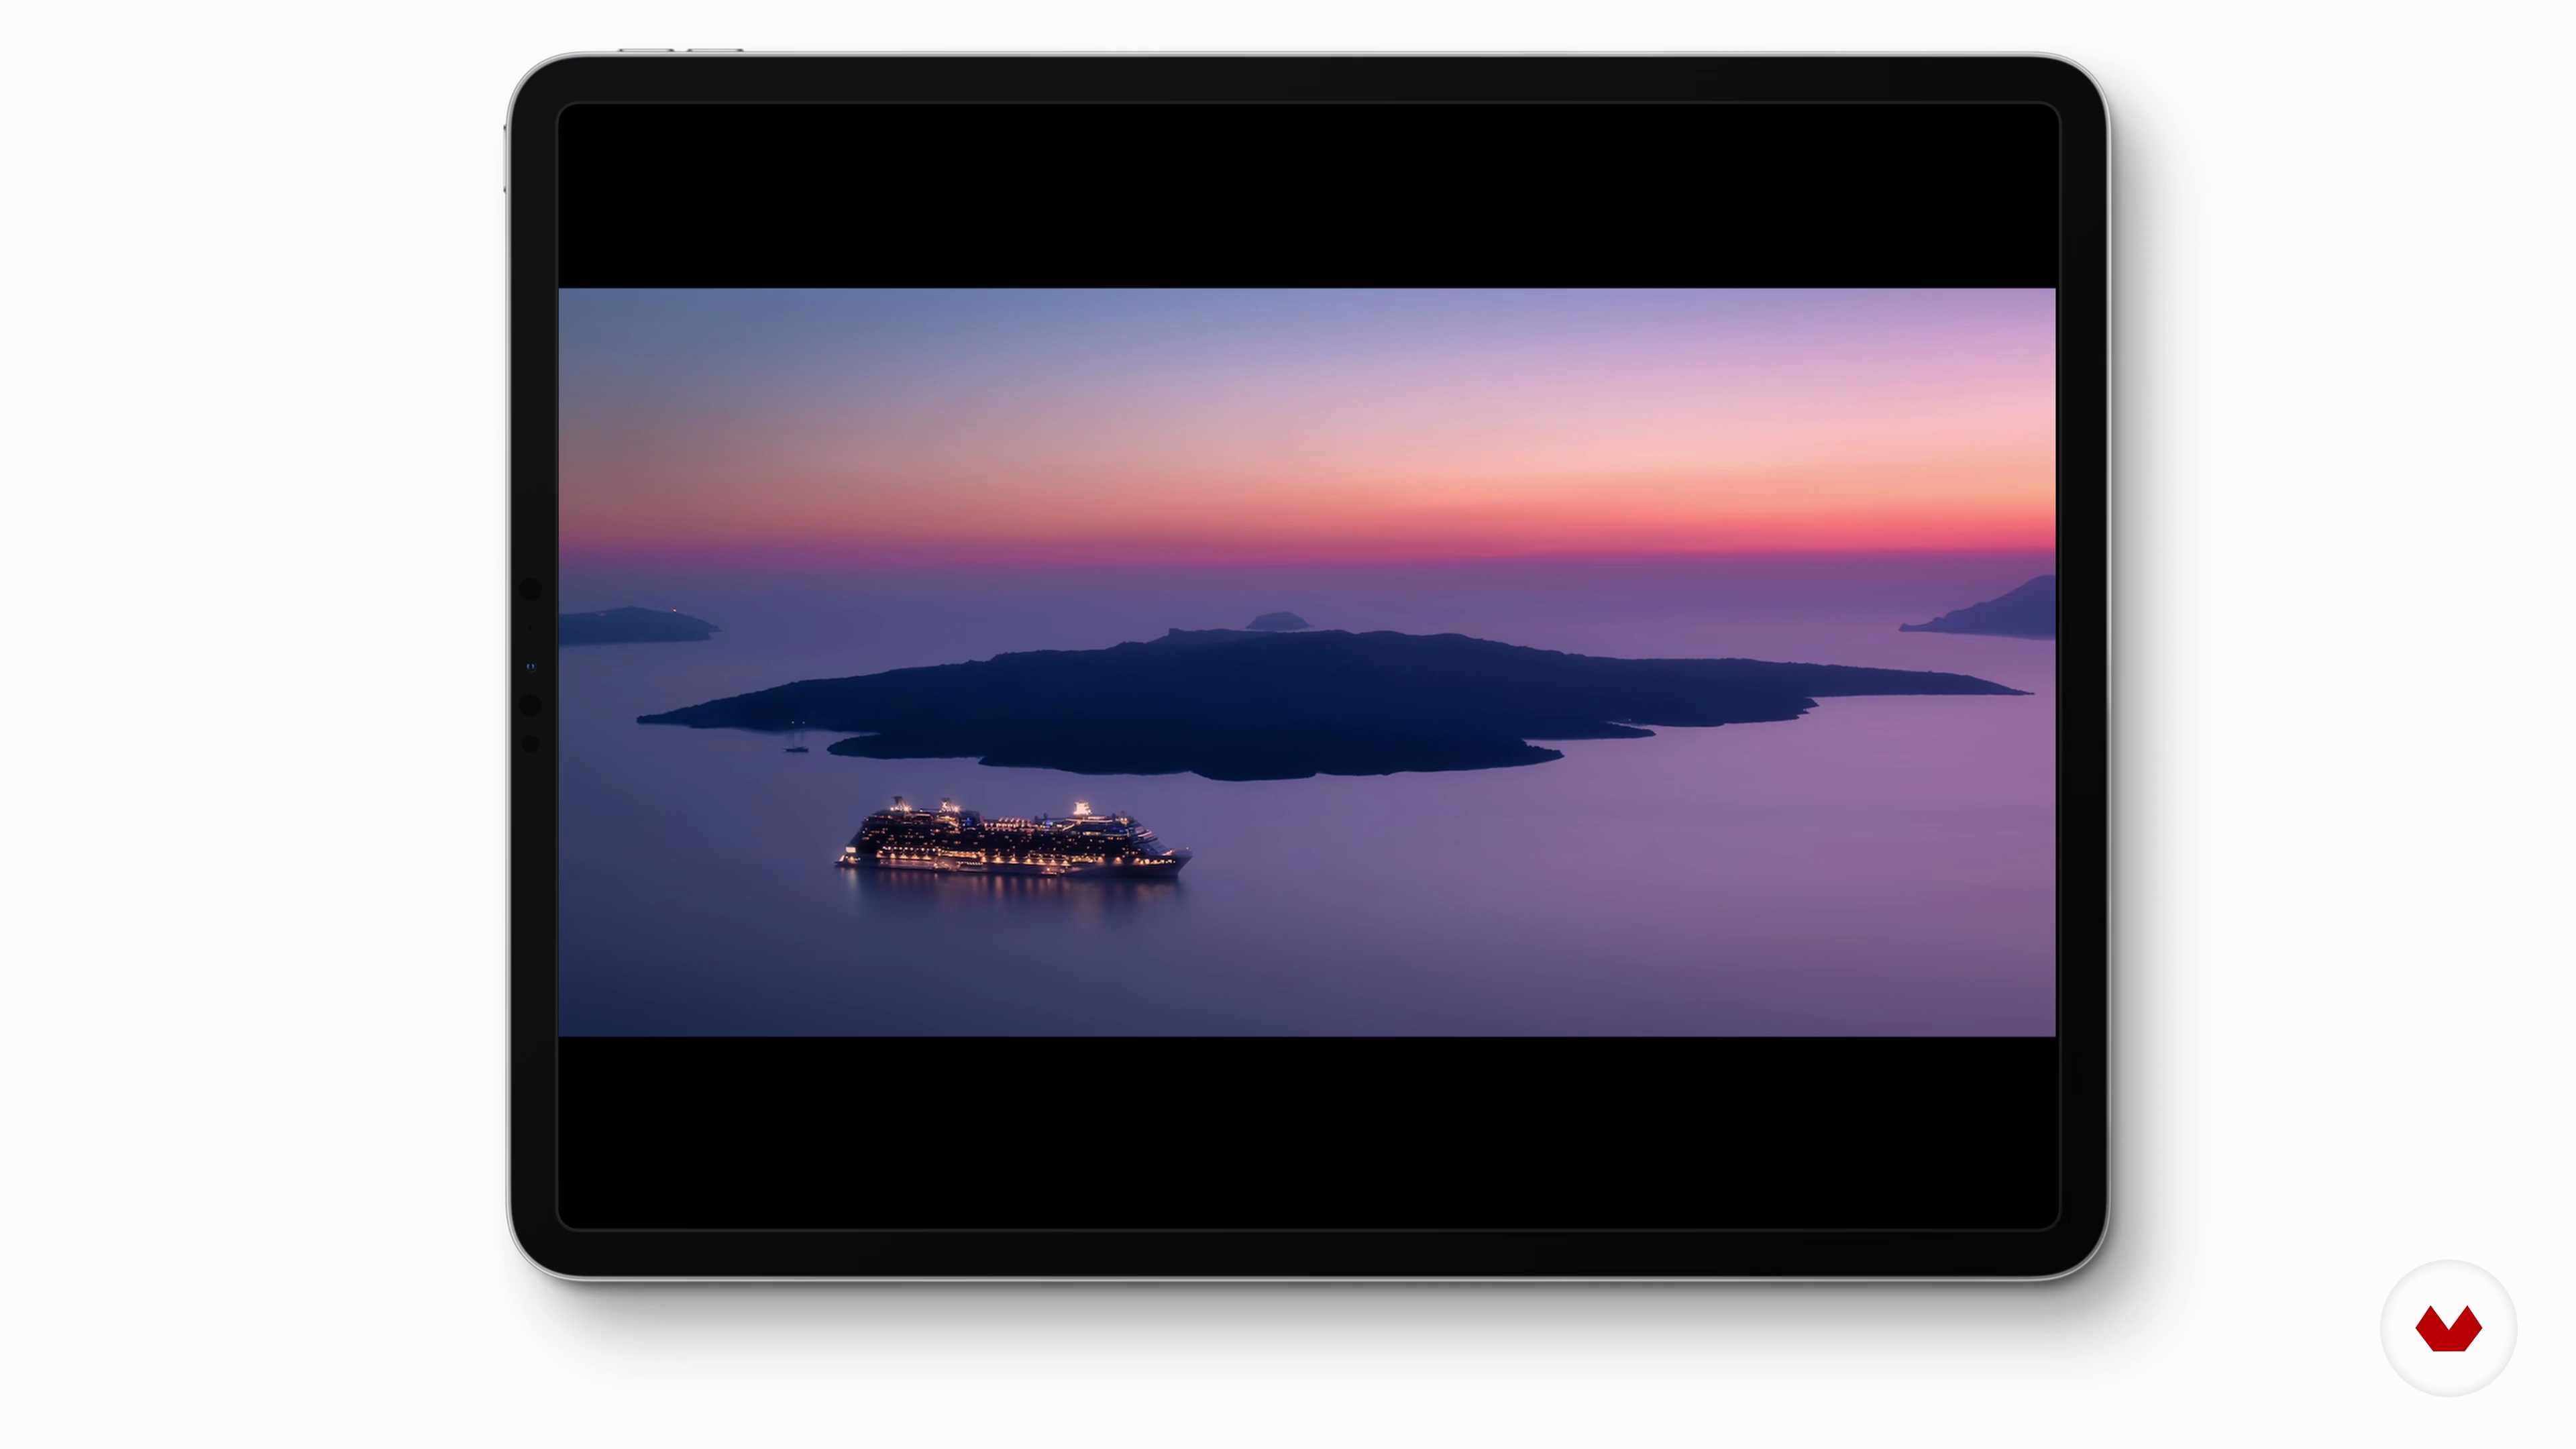
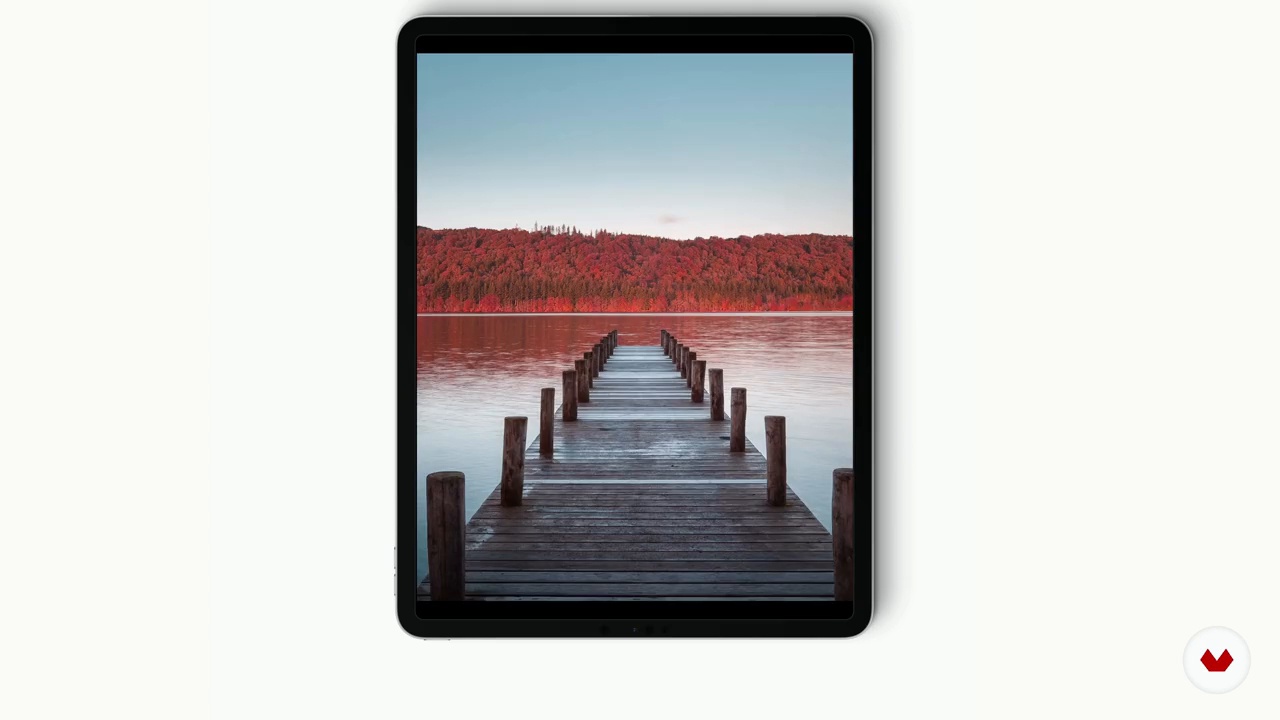
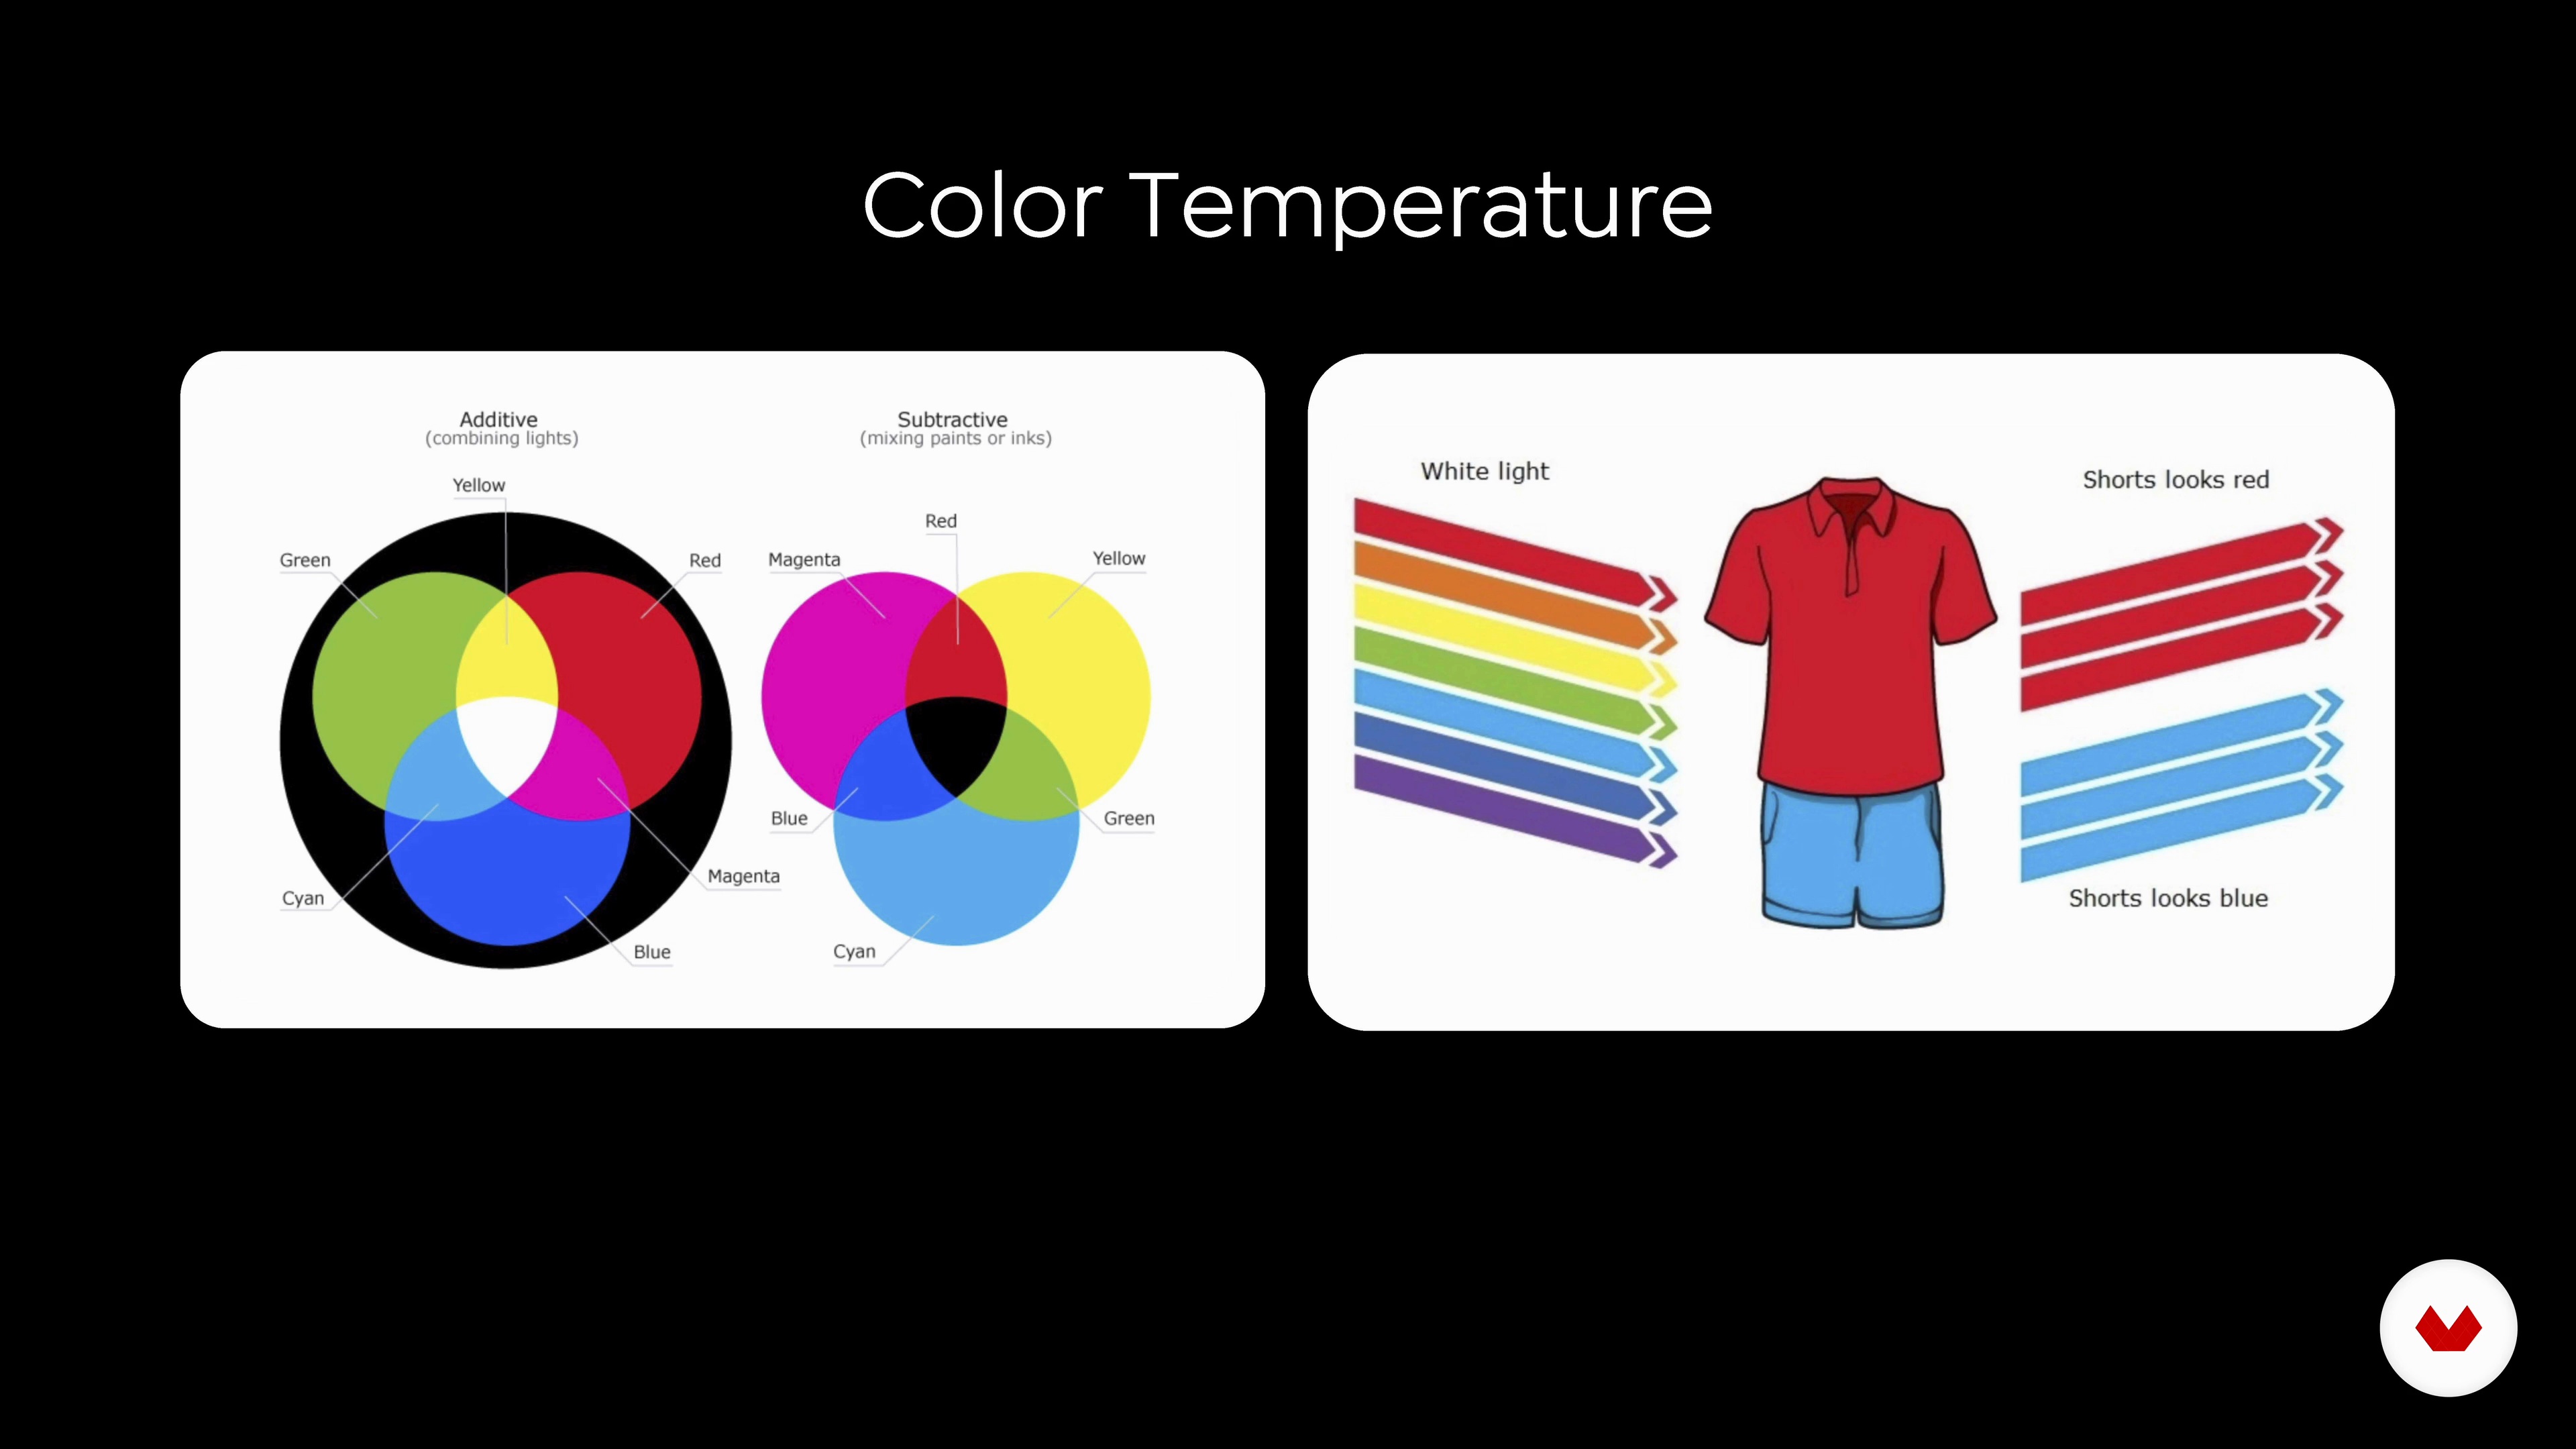
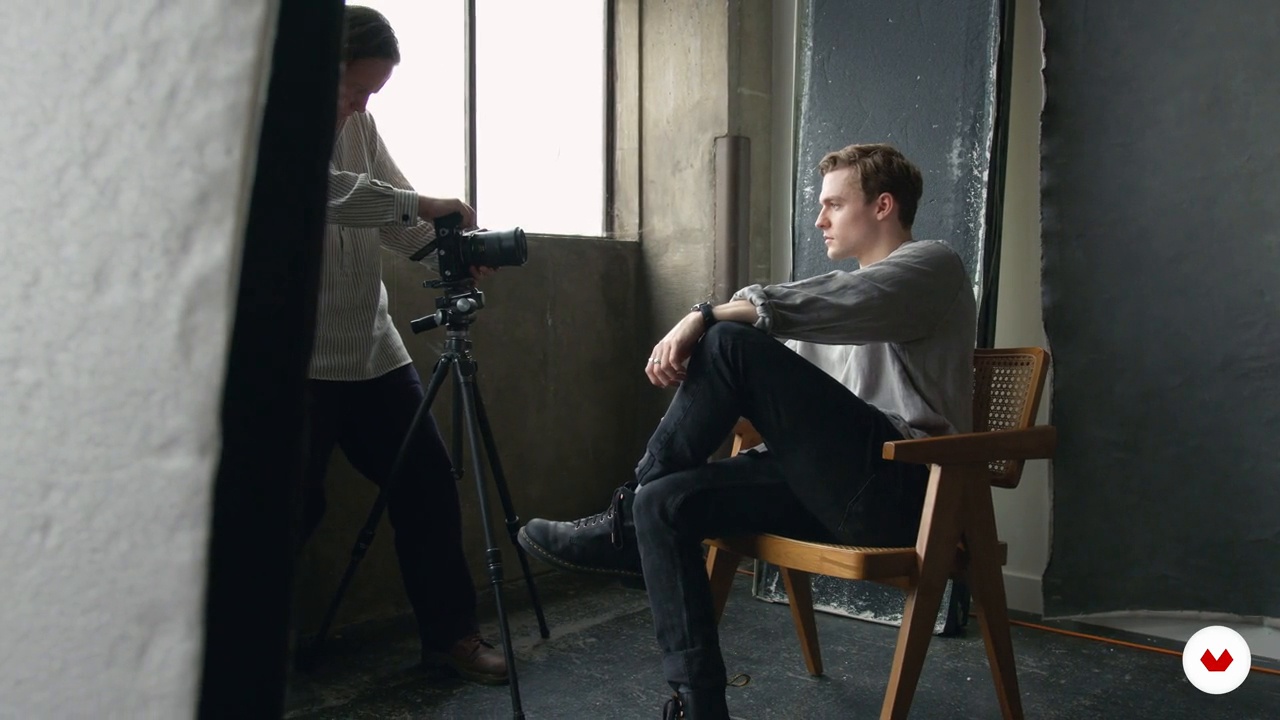
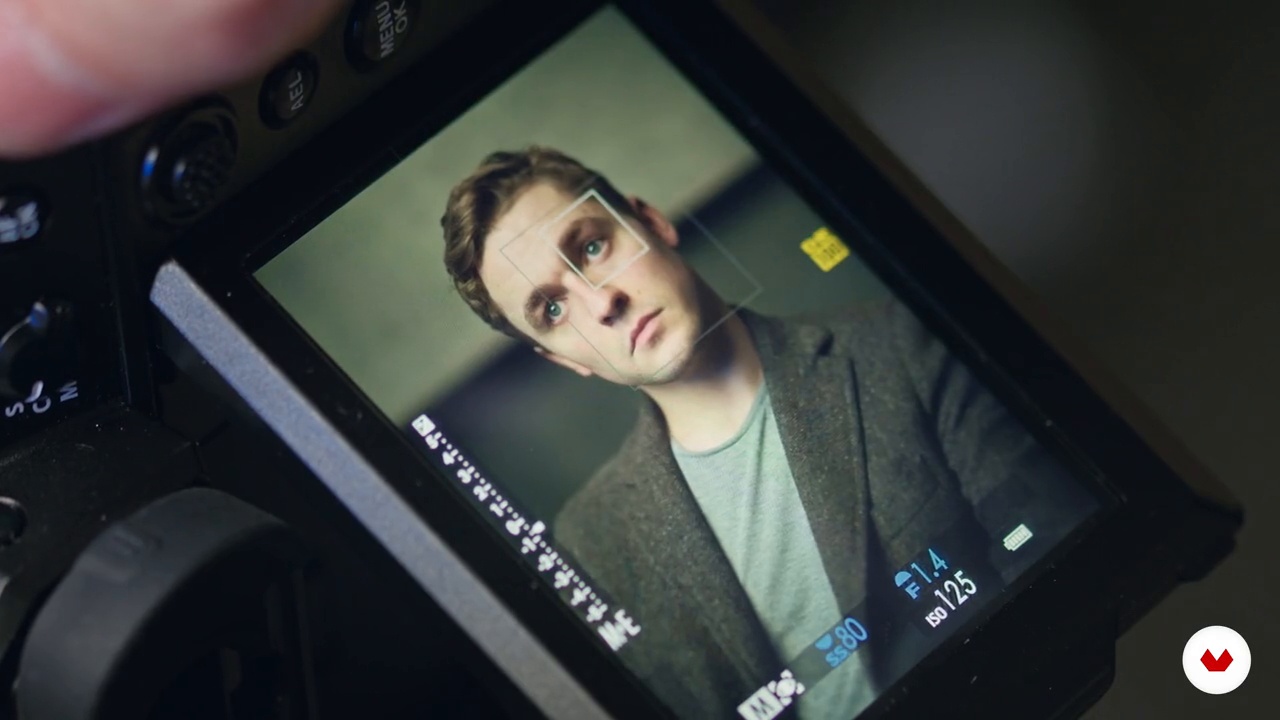
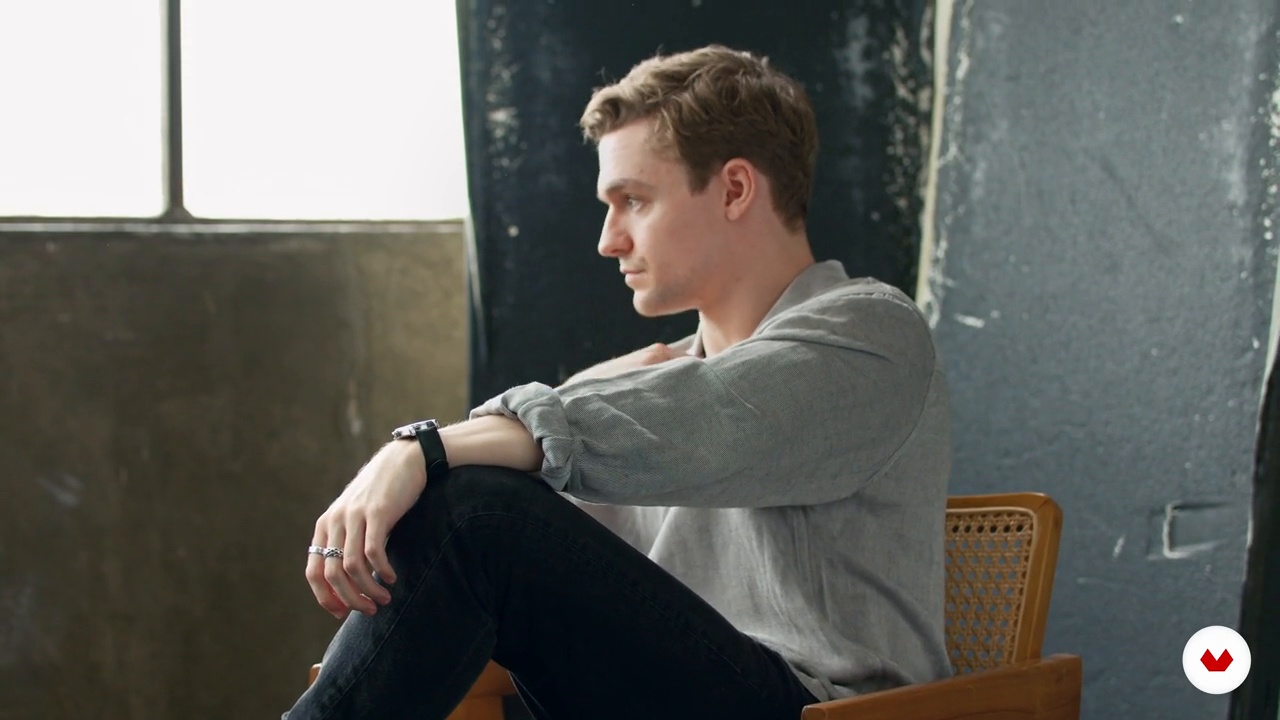
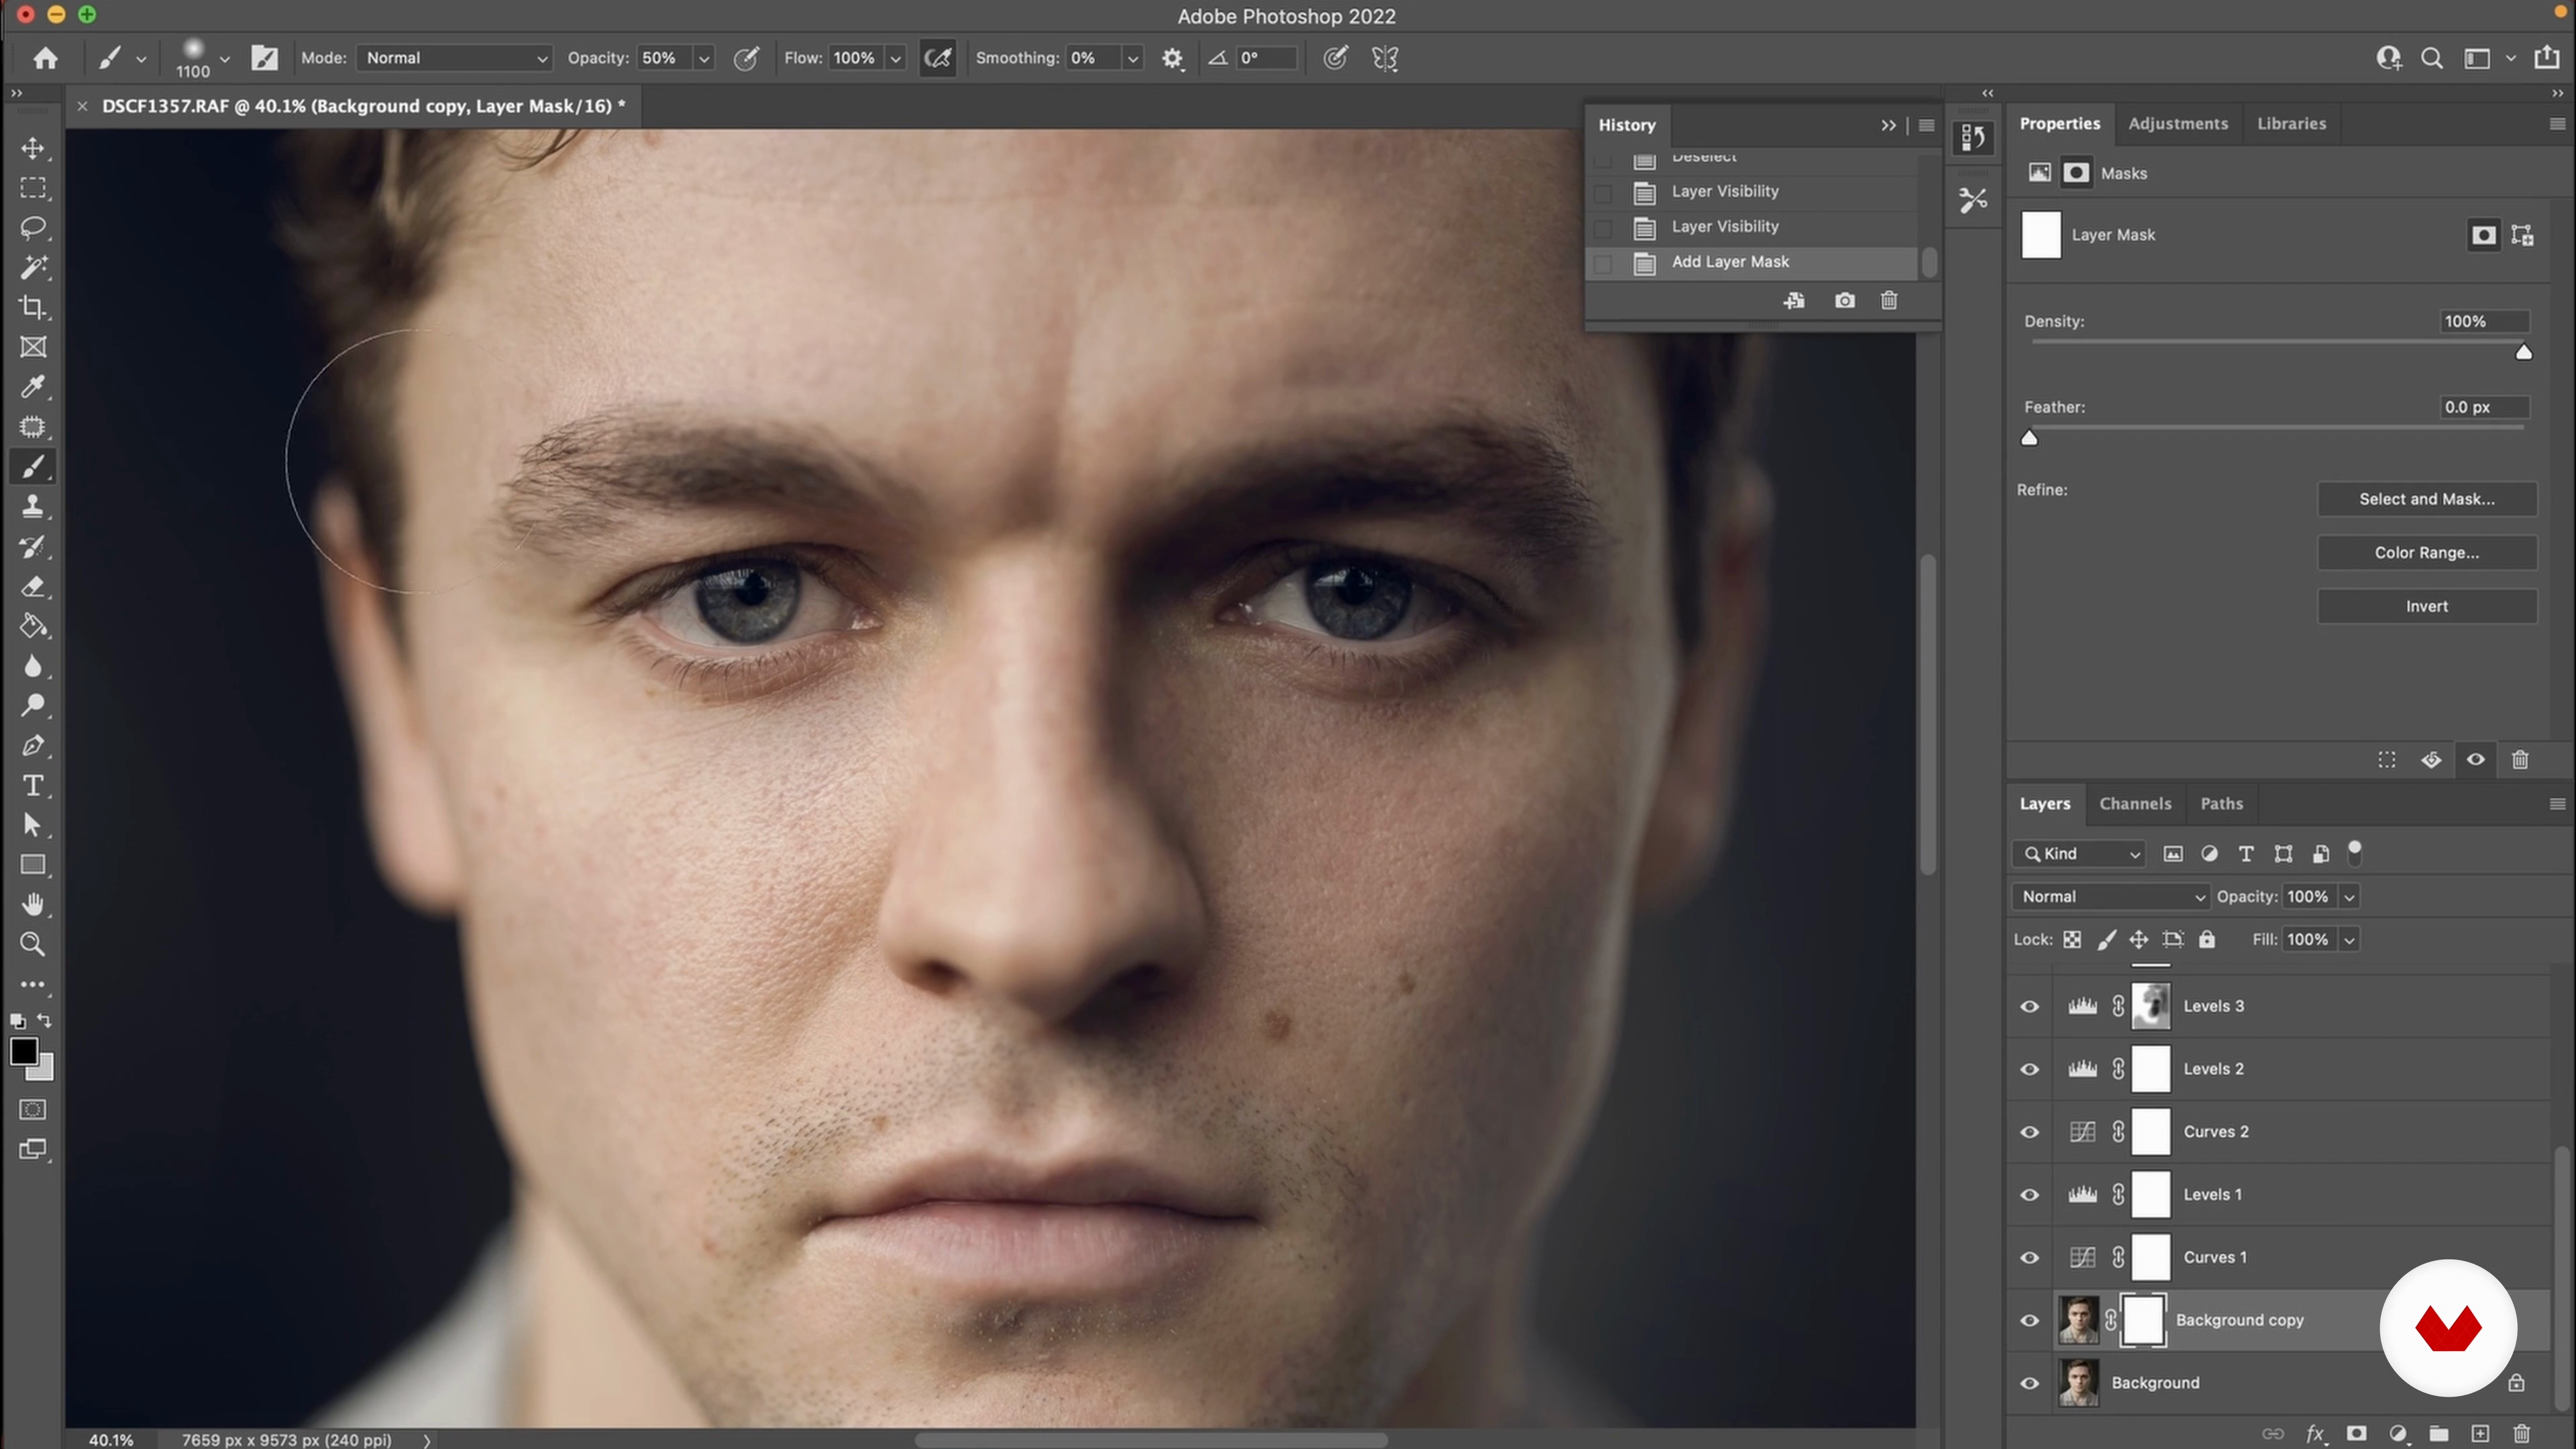
Dive into the world of photography guided by experts Giulia Candussi, Yaopey Yong, Scott McDermott, Phil Sharp, and Laura Zalenga. This comprehensive journey covers everything from mastering your camera’s basic functions to exploring intricate concepts like color theory, professional lighting, and self-portrait techniques. Learn to capture breathtaking images that reflect your unique vision, whether using a professional DSLR or a smartphone. Each lesson is designed to enrich your understanding of composition, lighting, and storytelling, allowing you to create images that convey emotion and atmosphere.

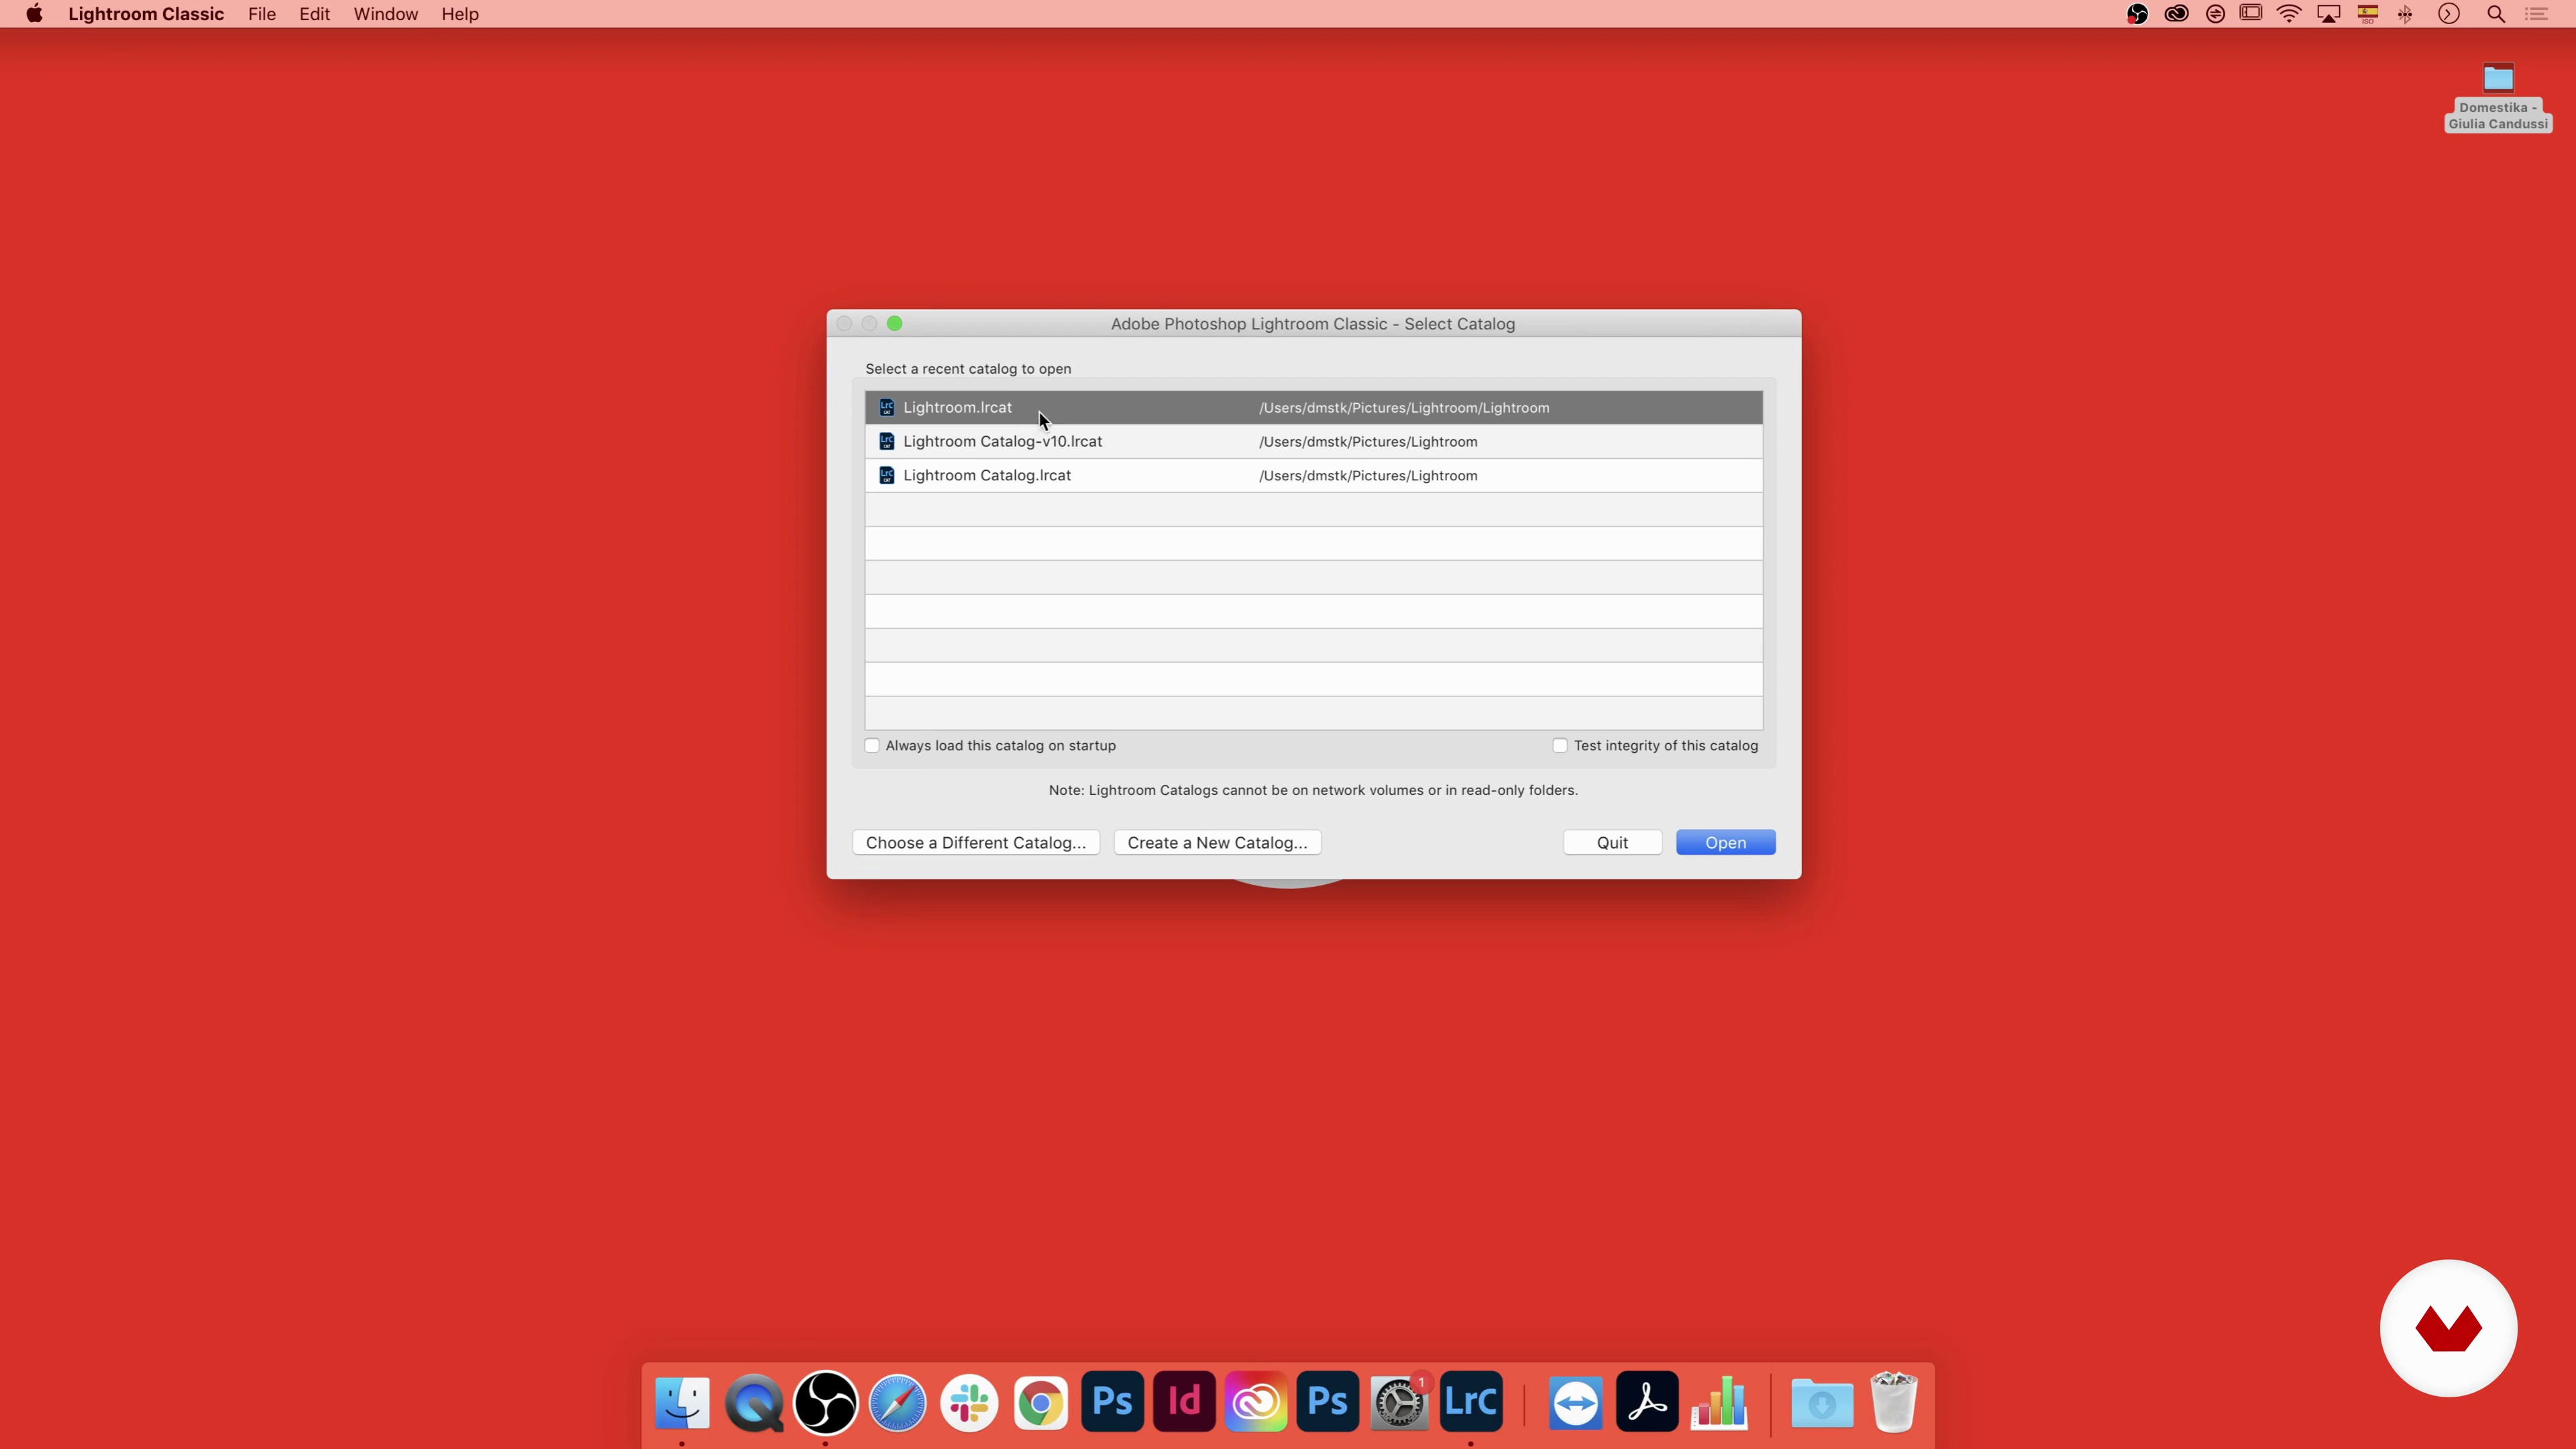
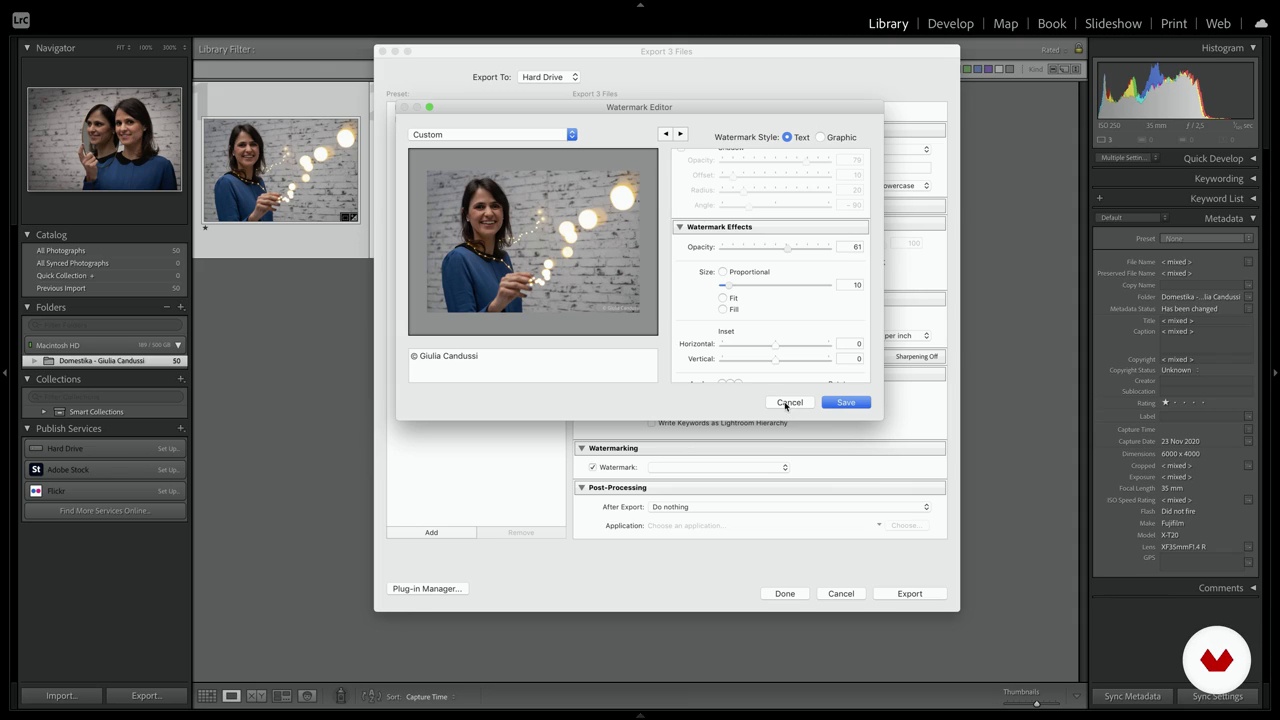
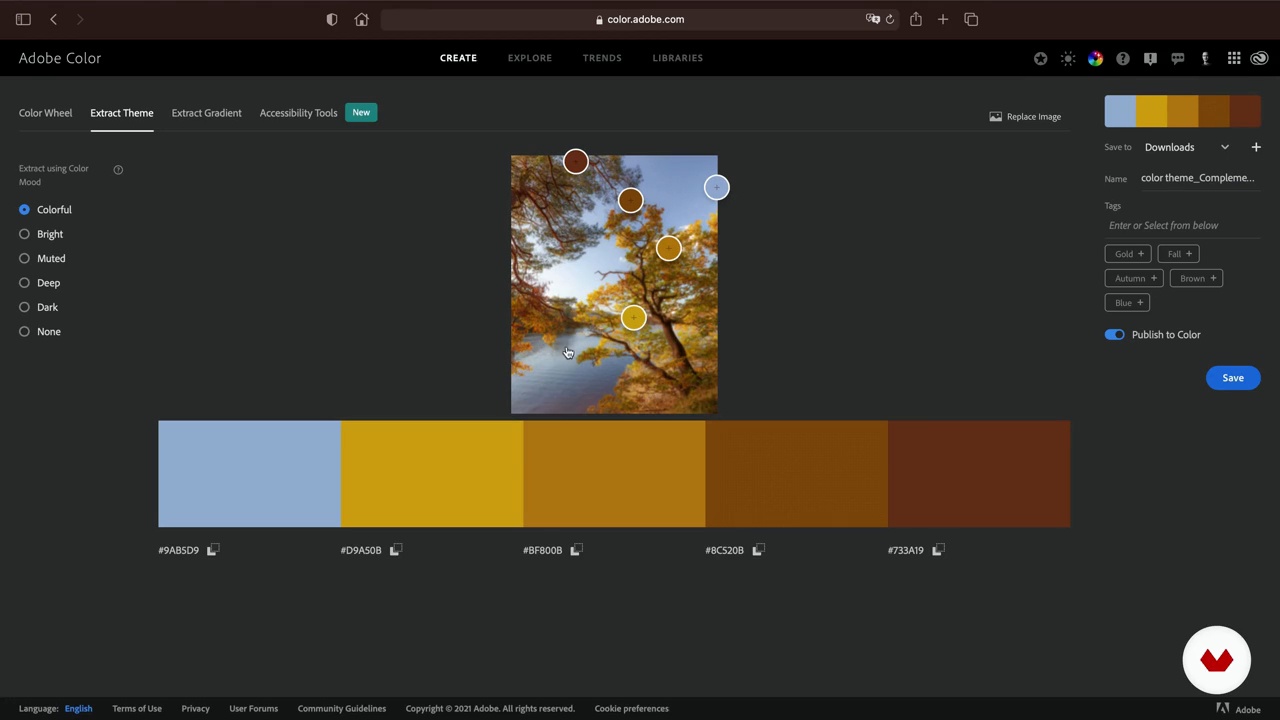
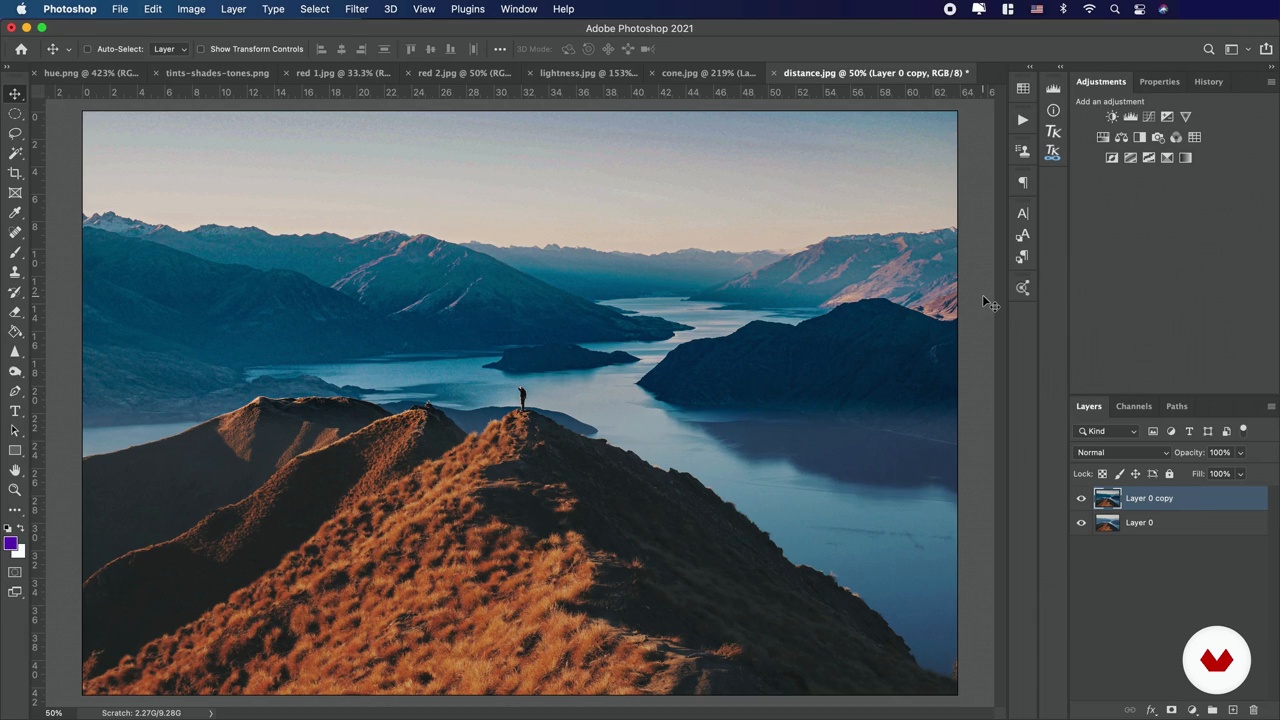
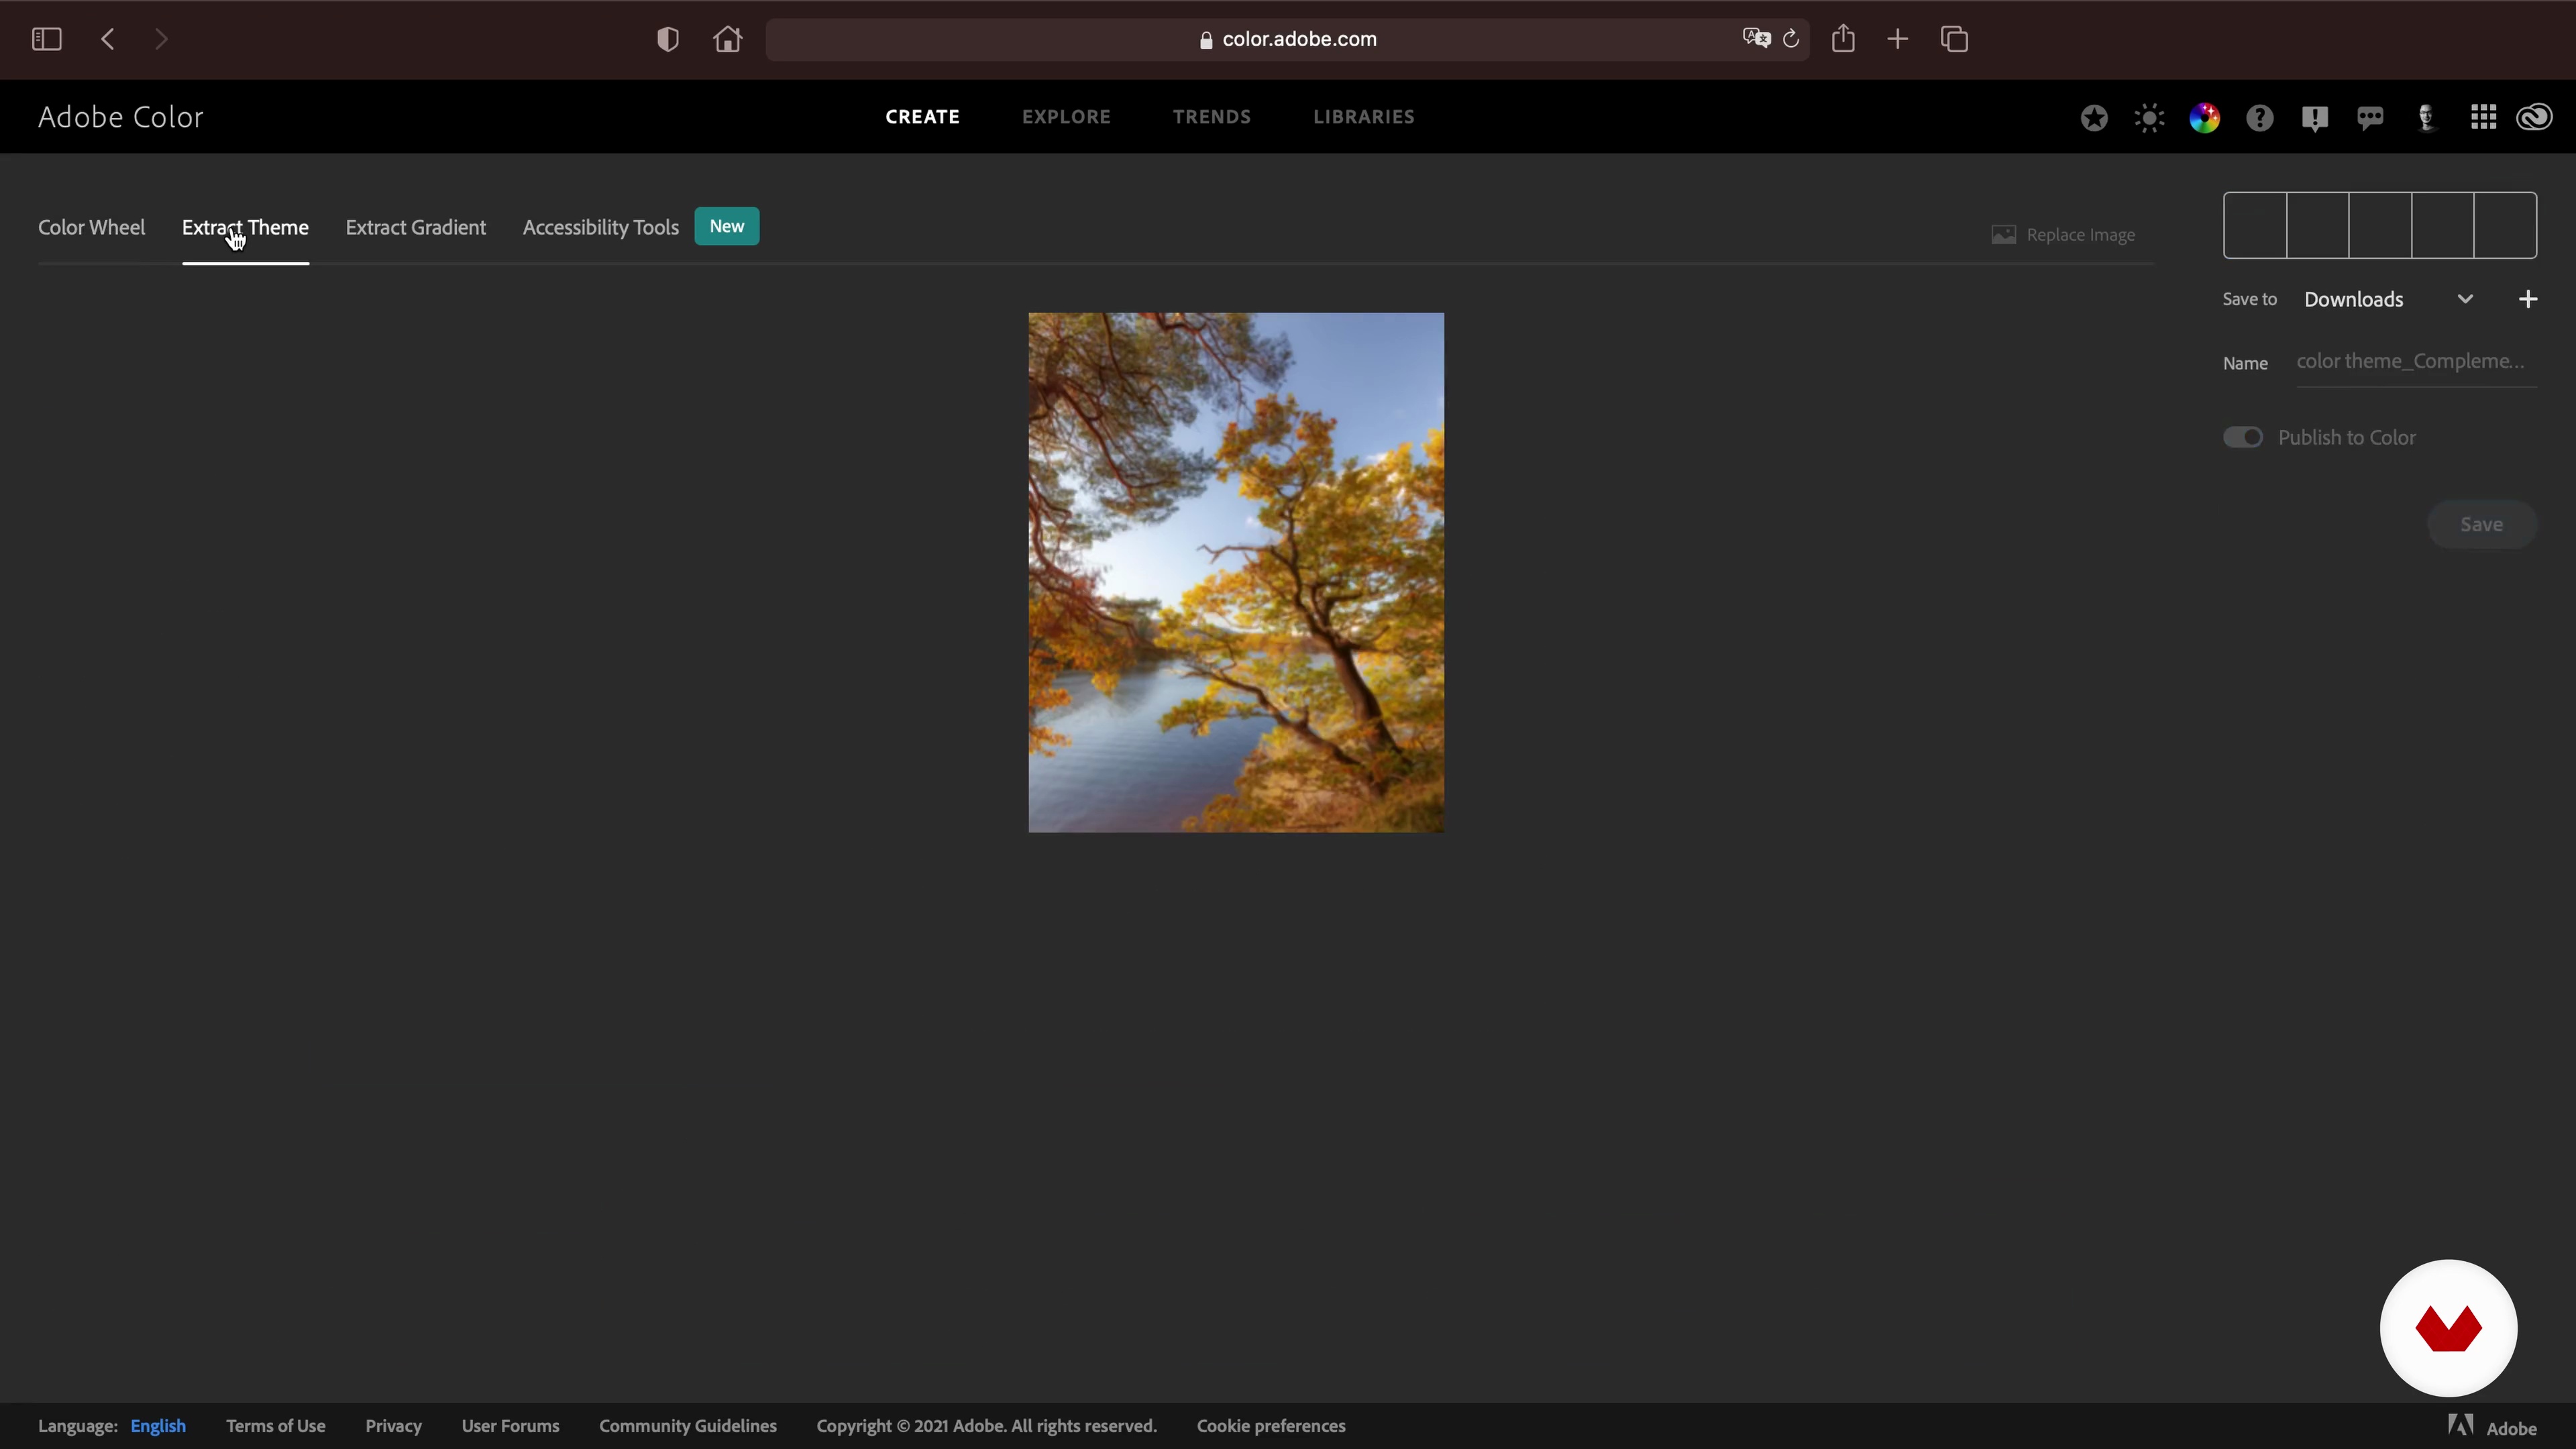
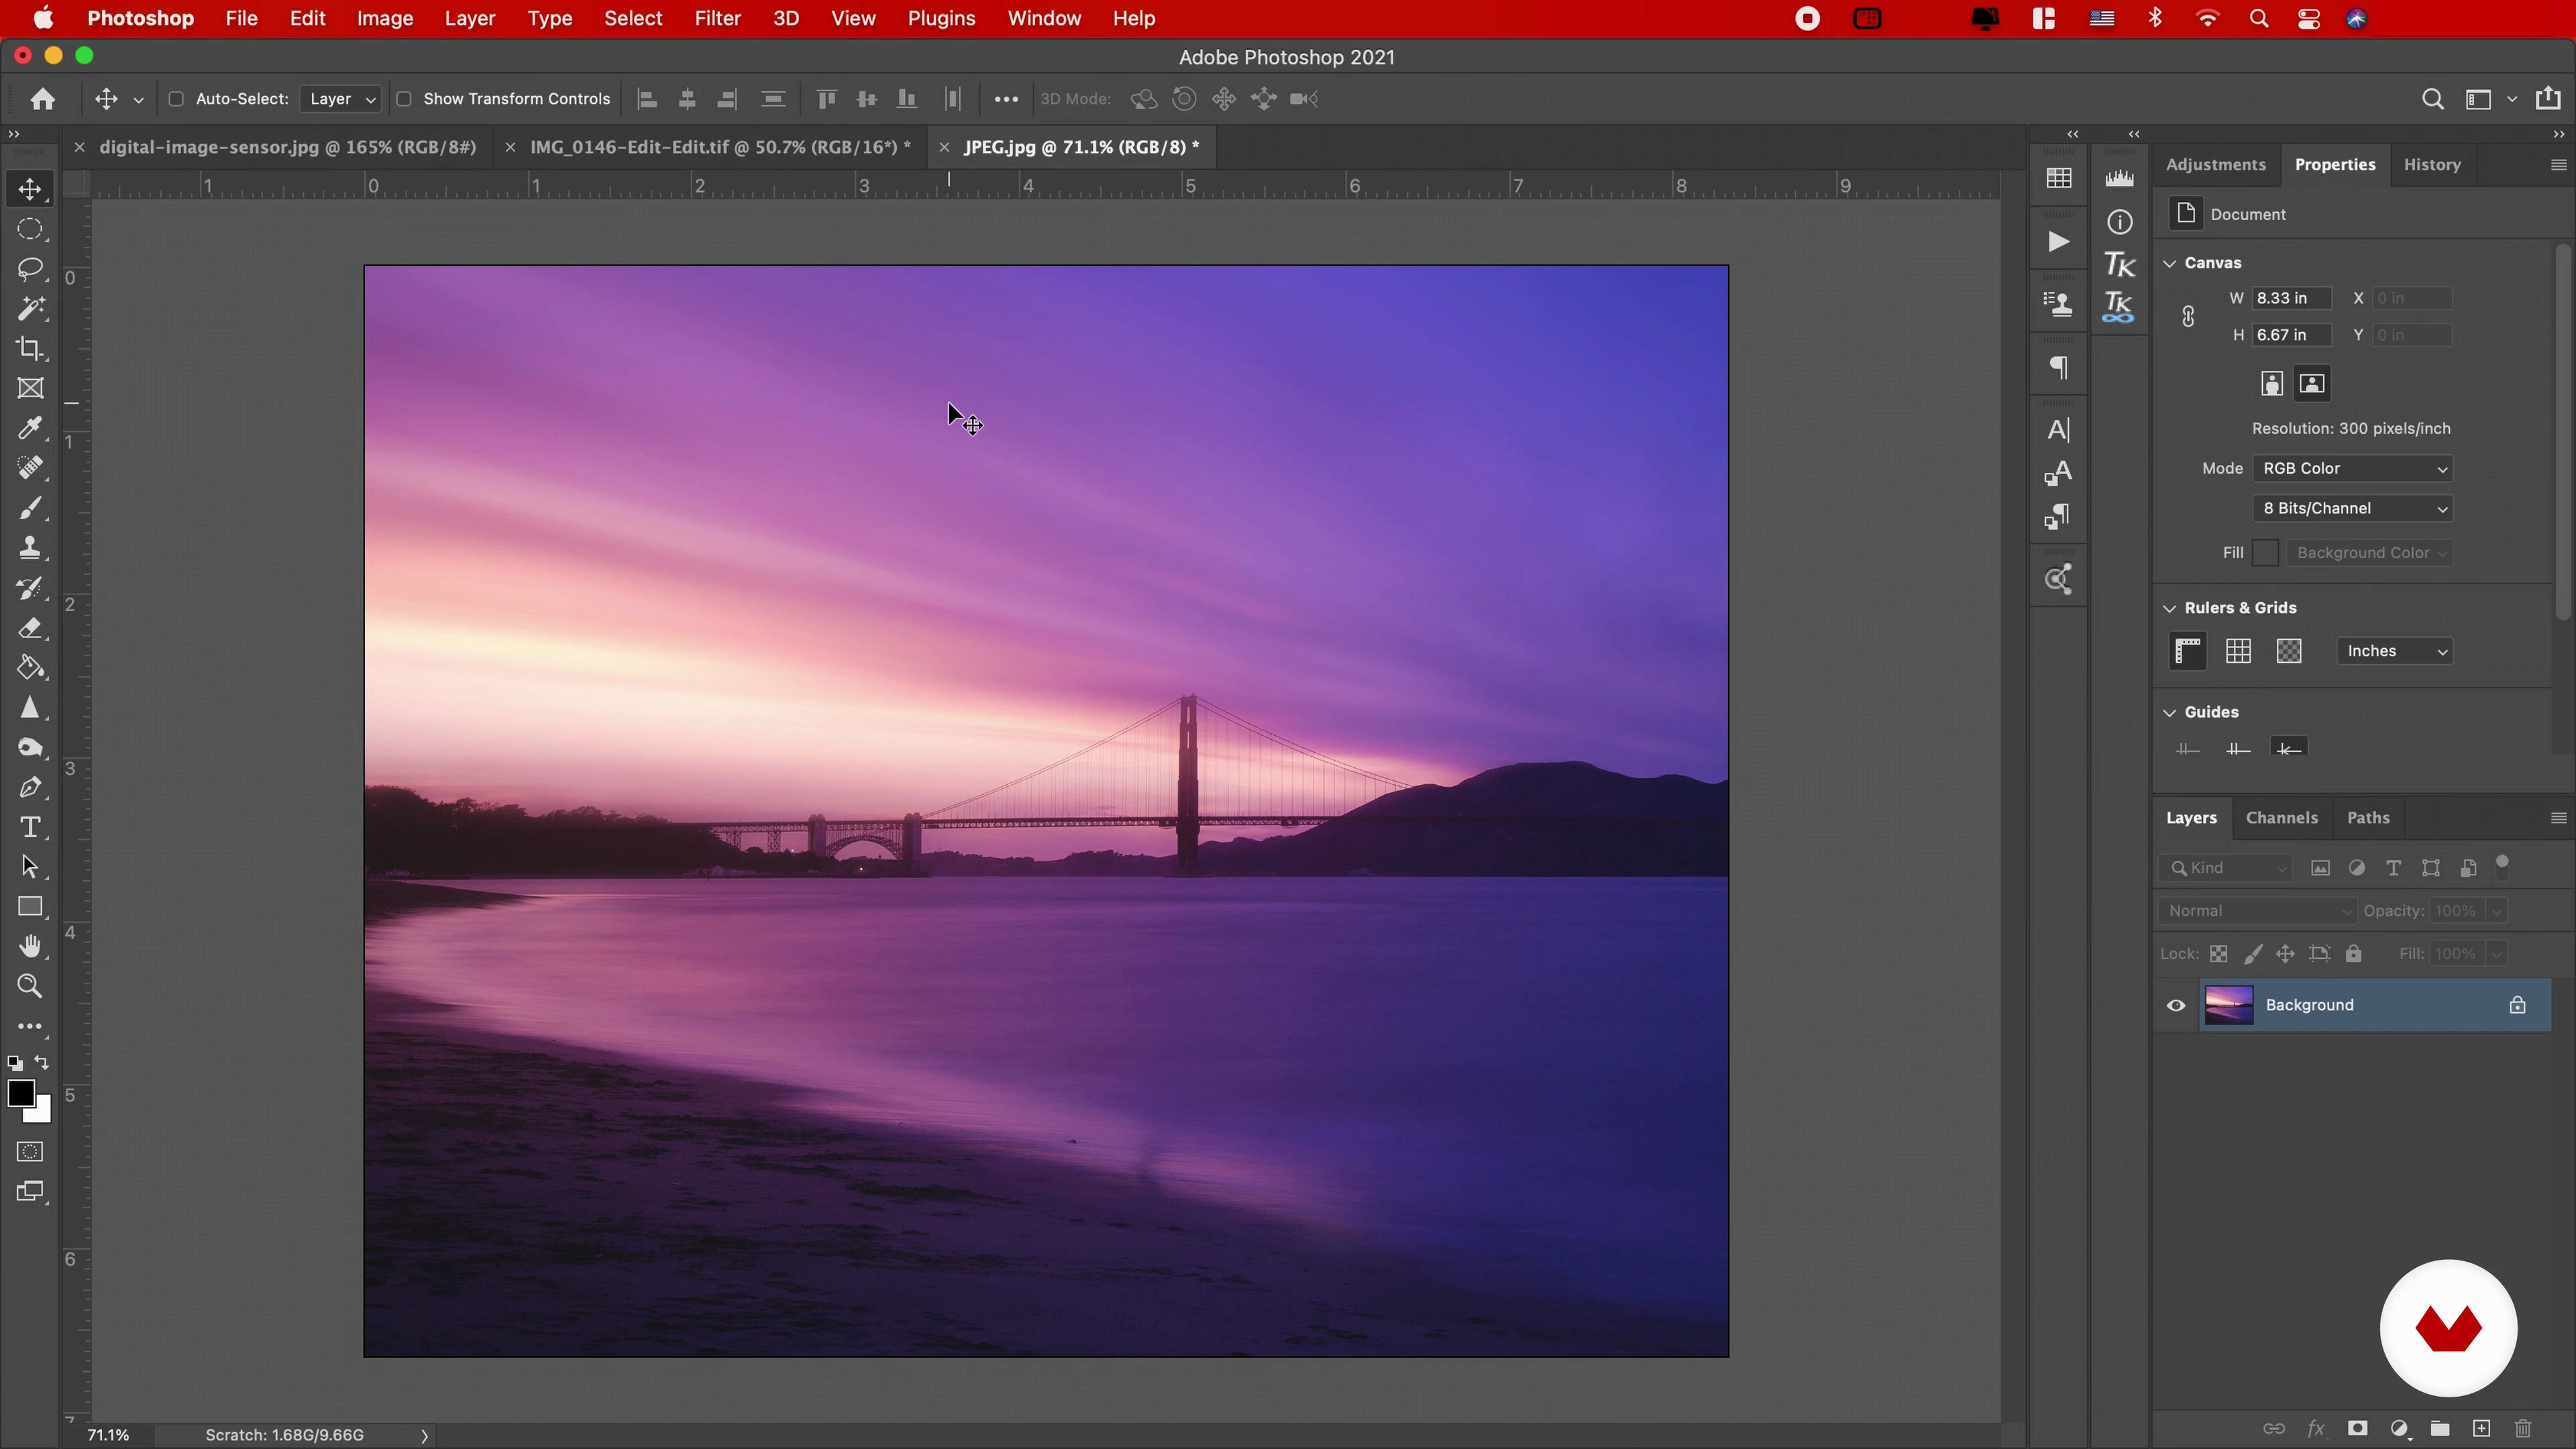
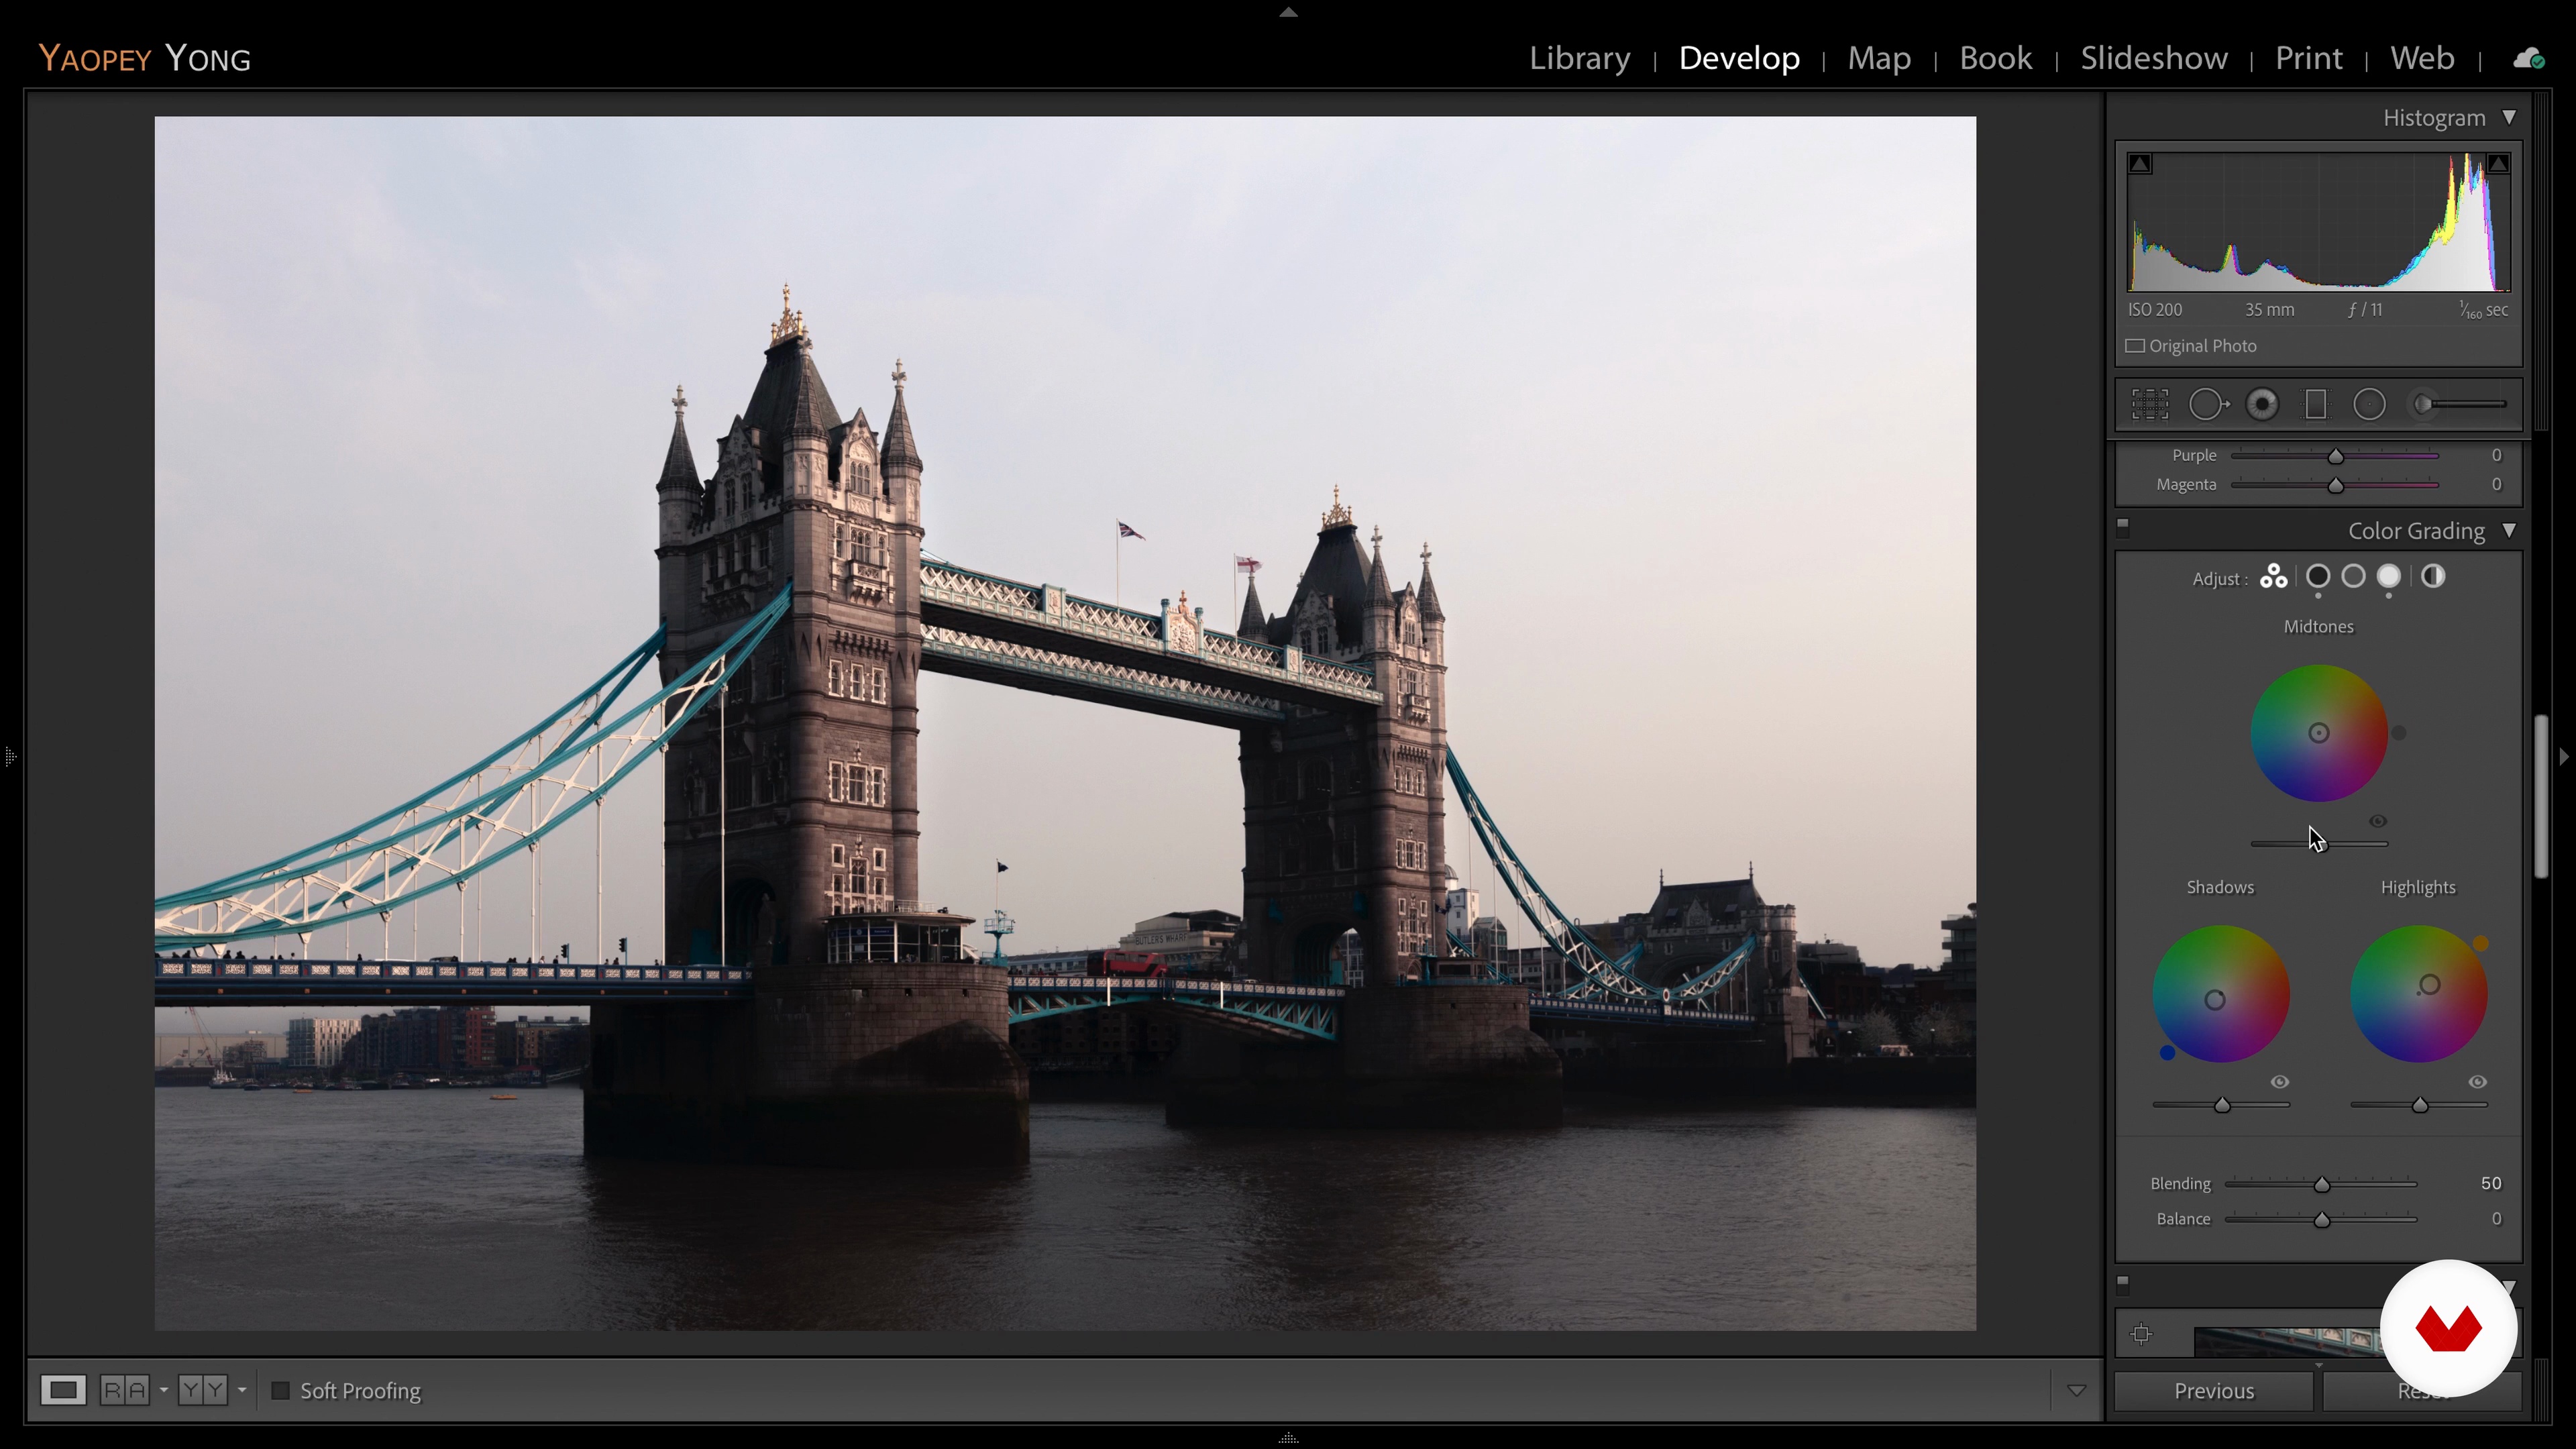
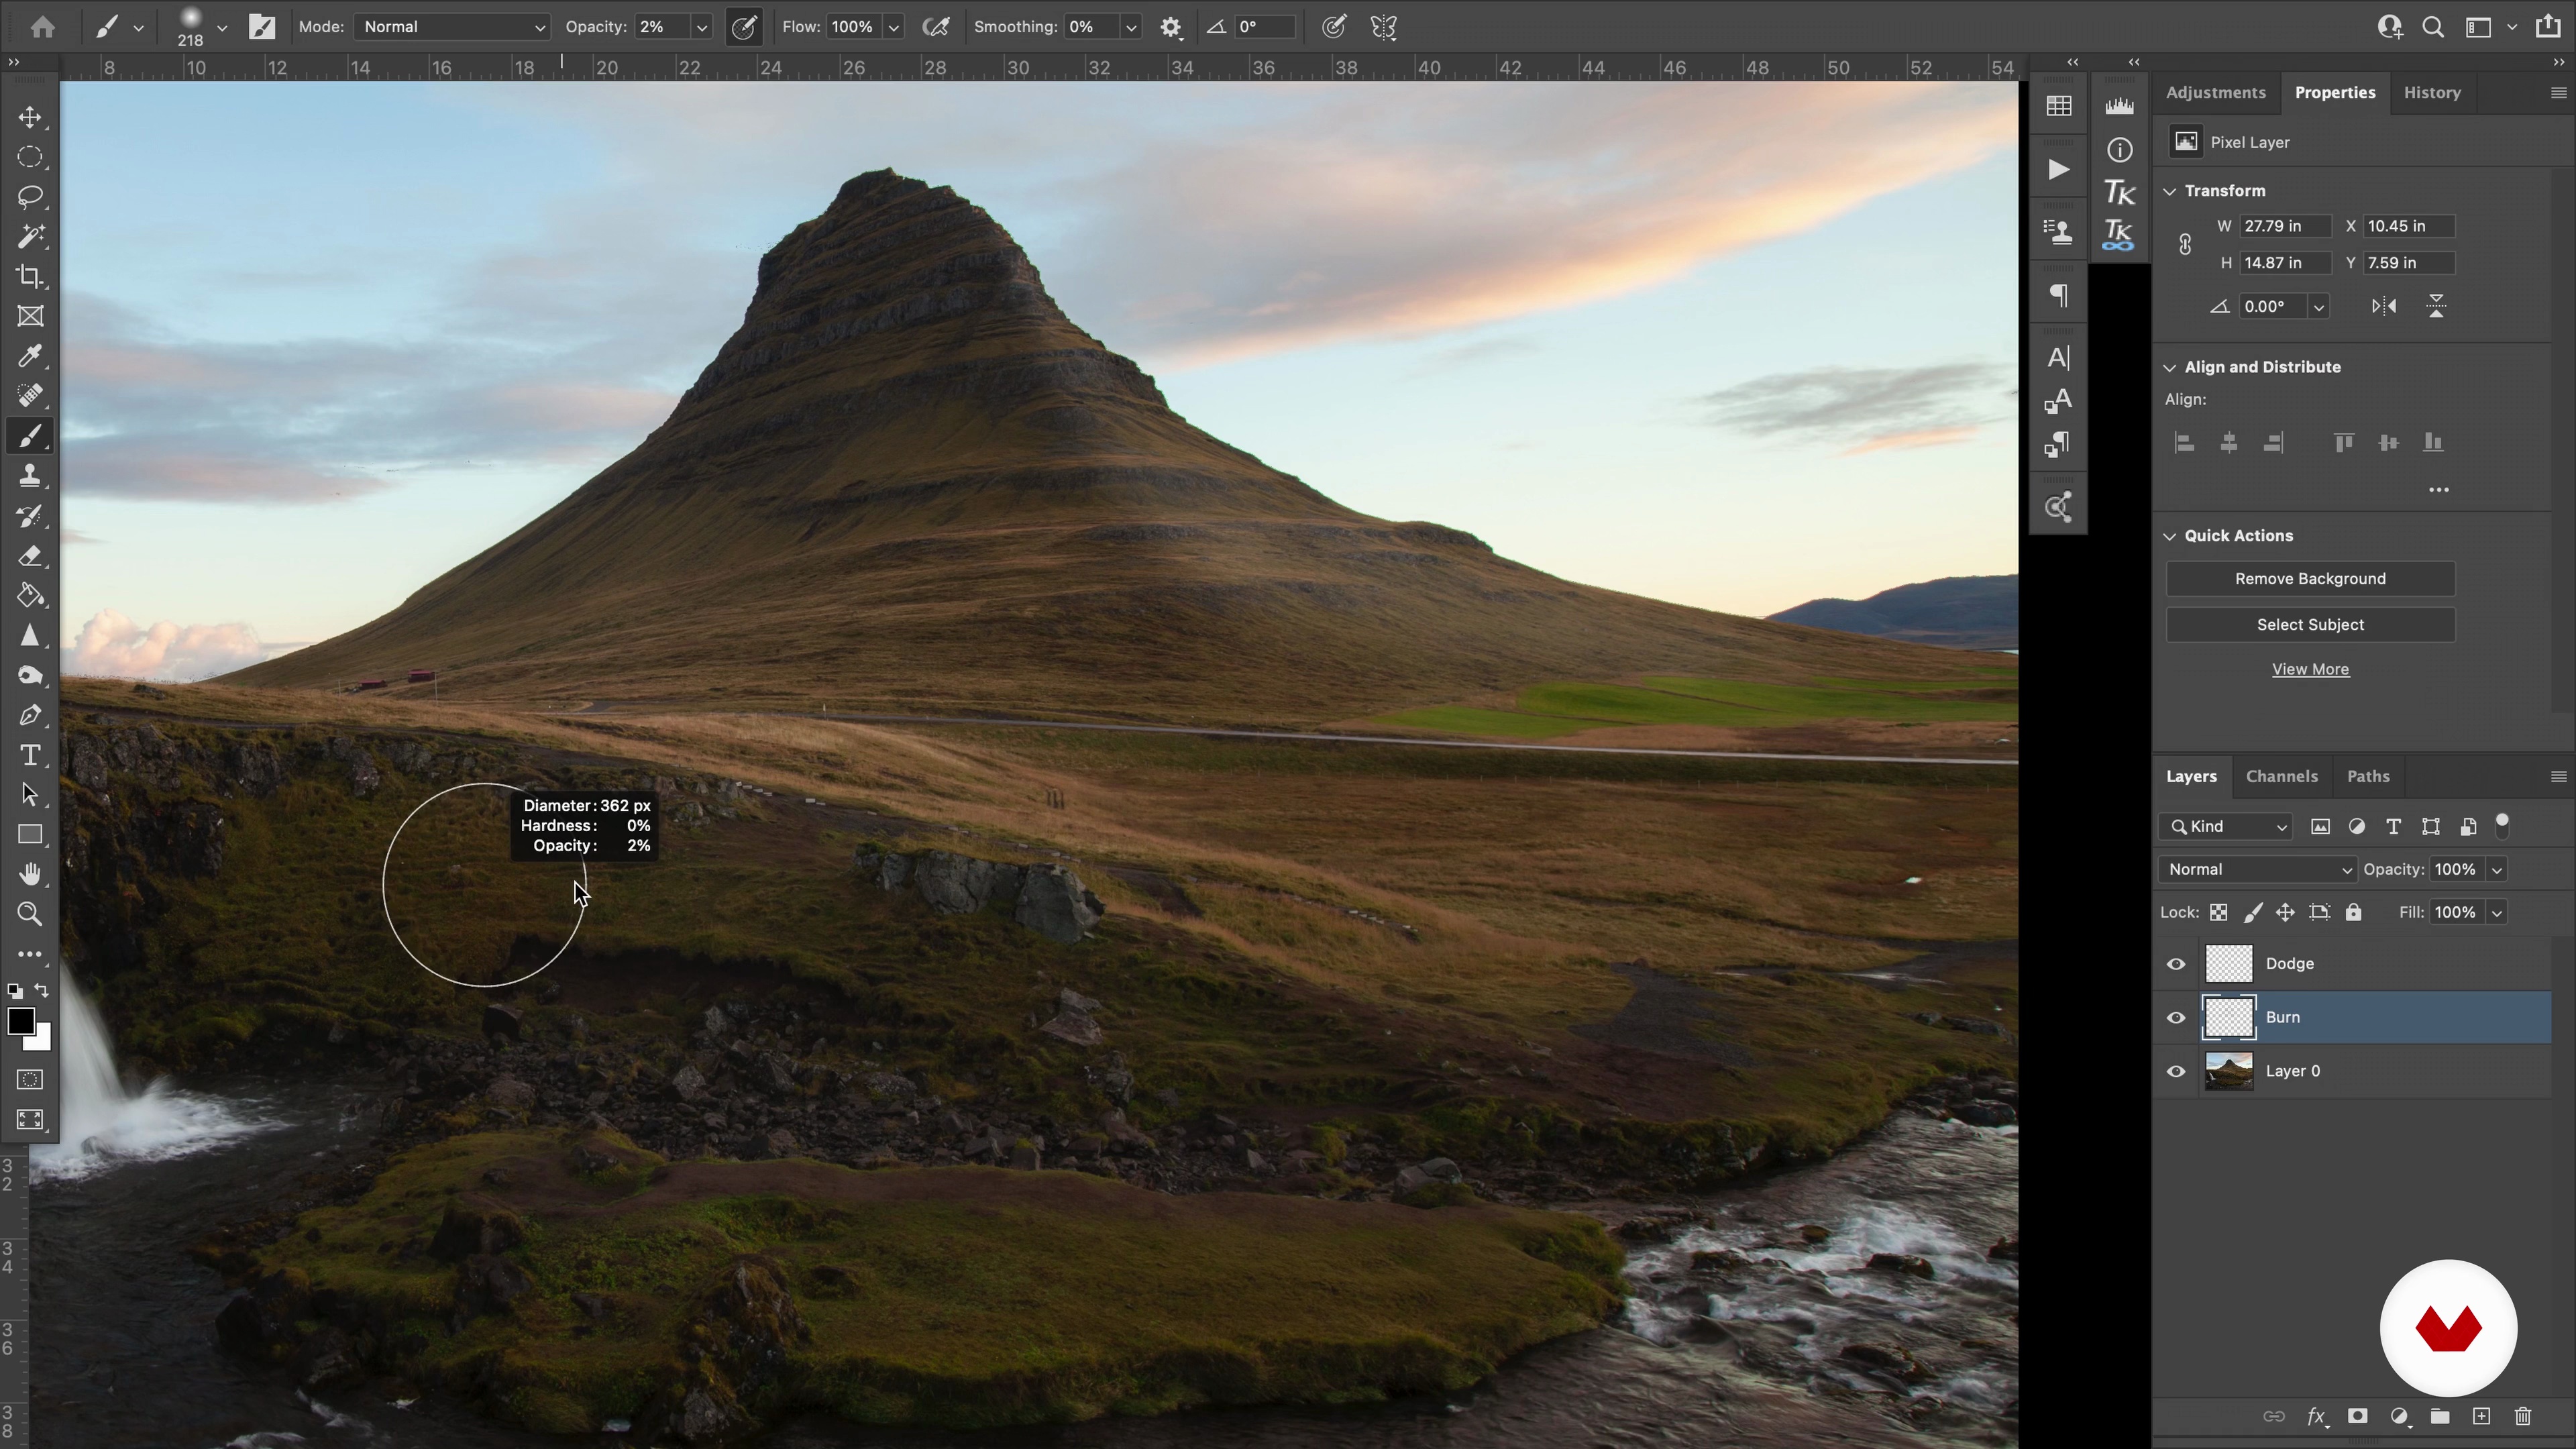
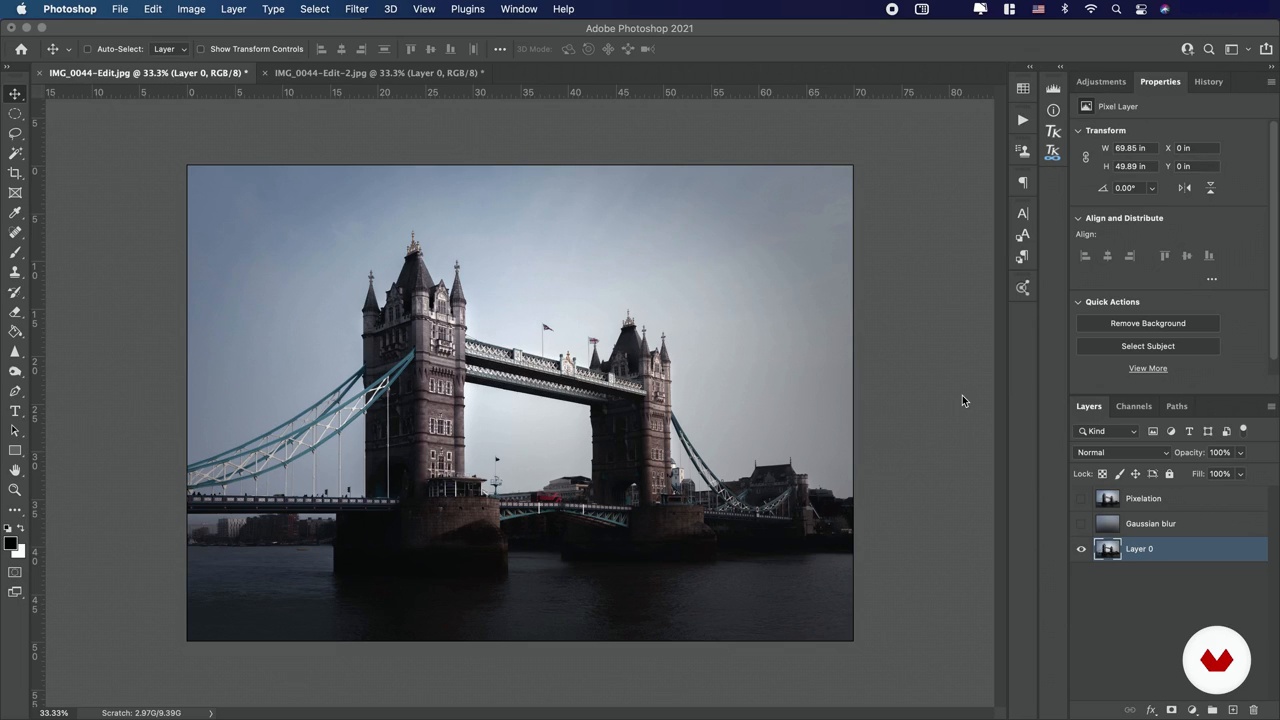
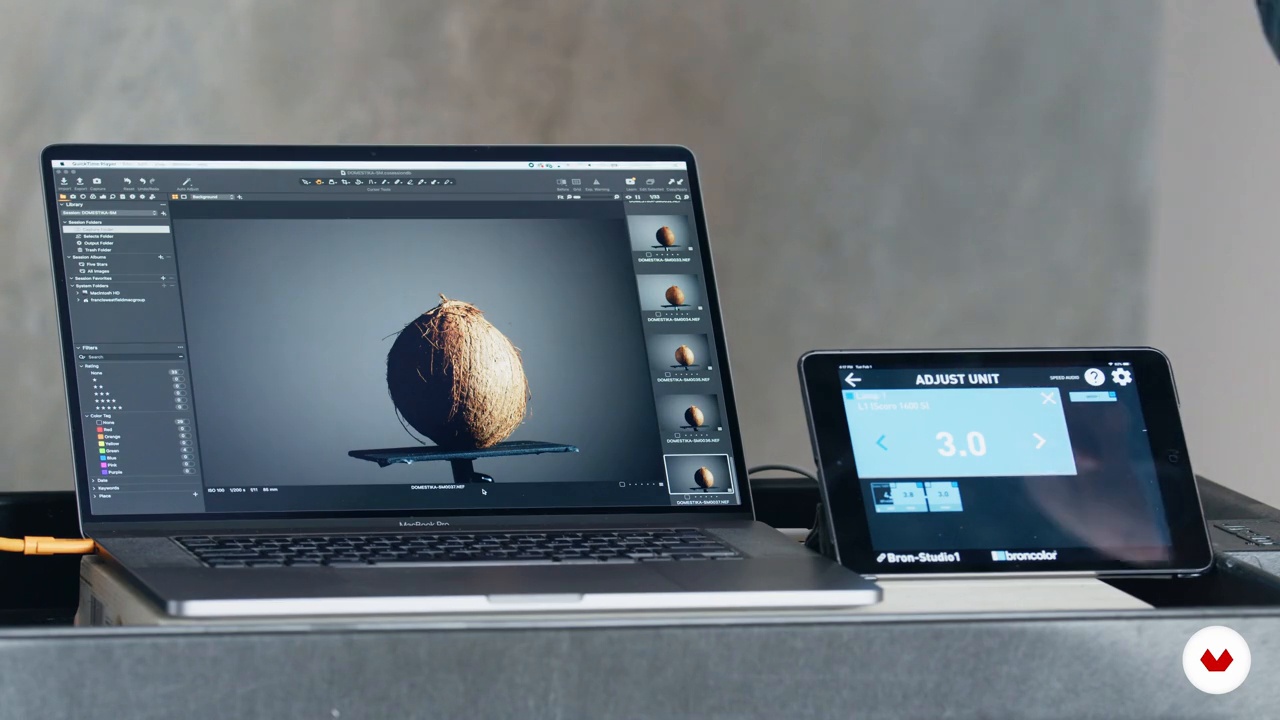
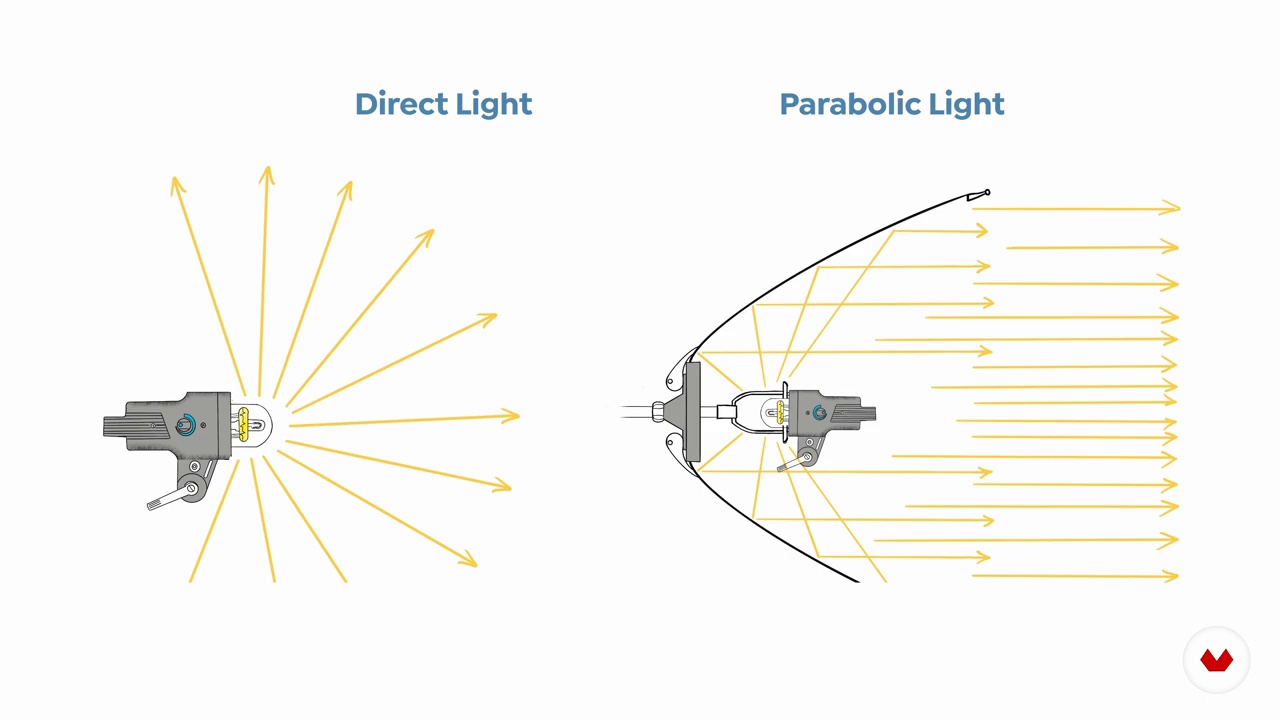
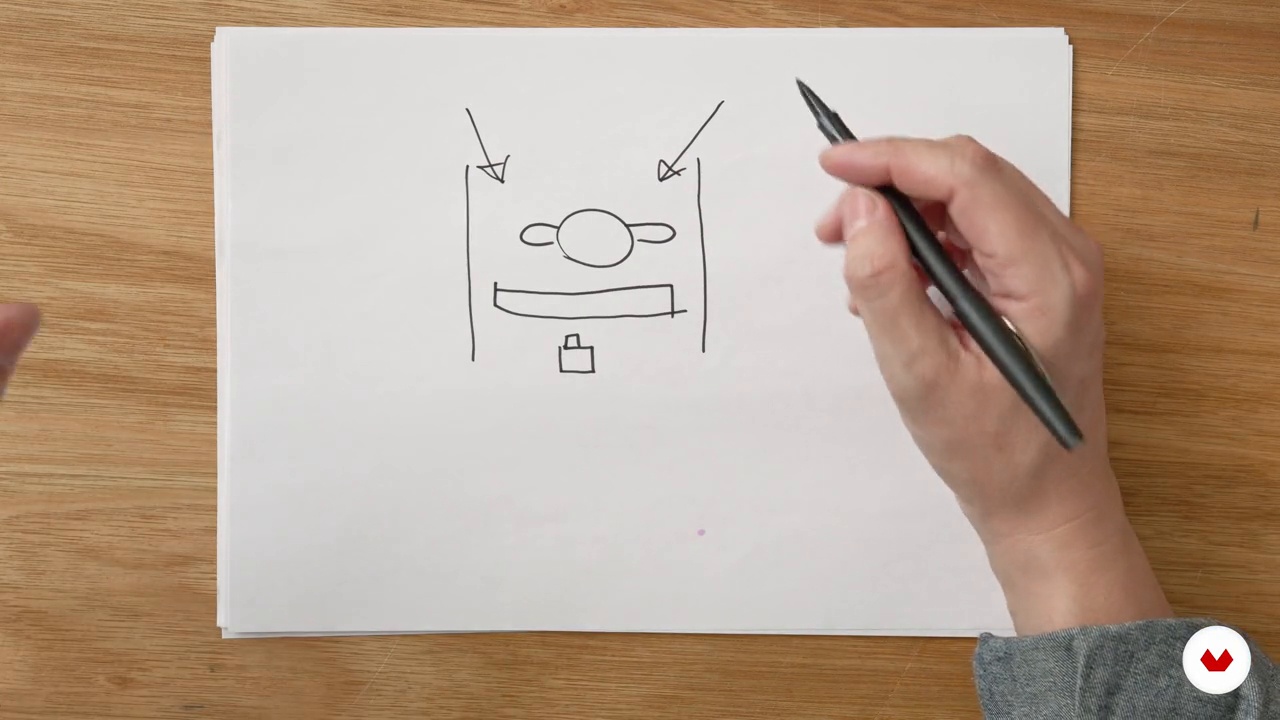
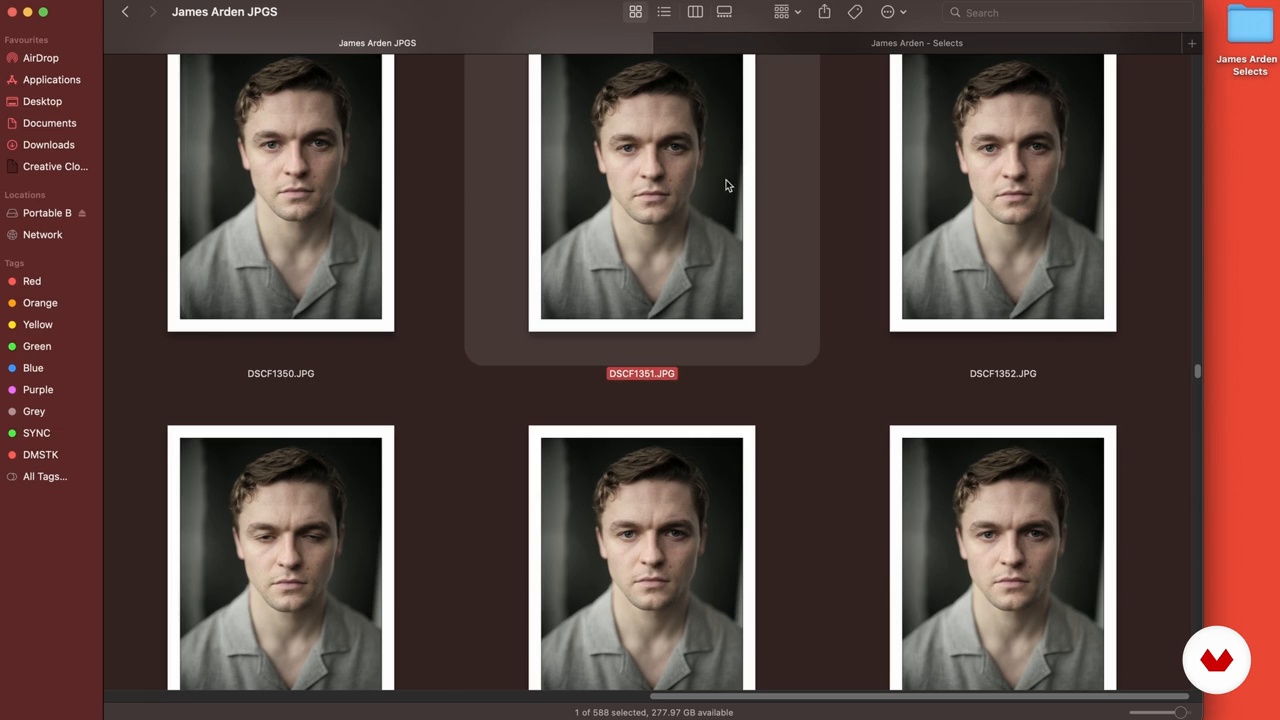
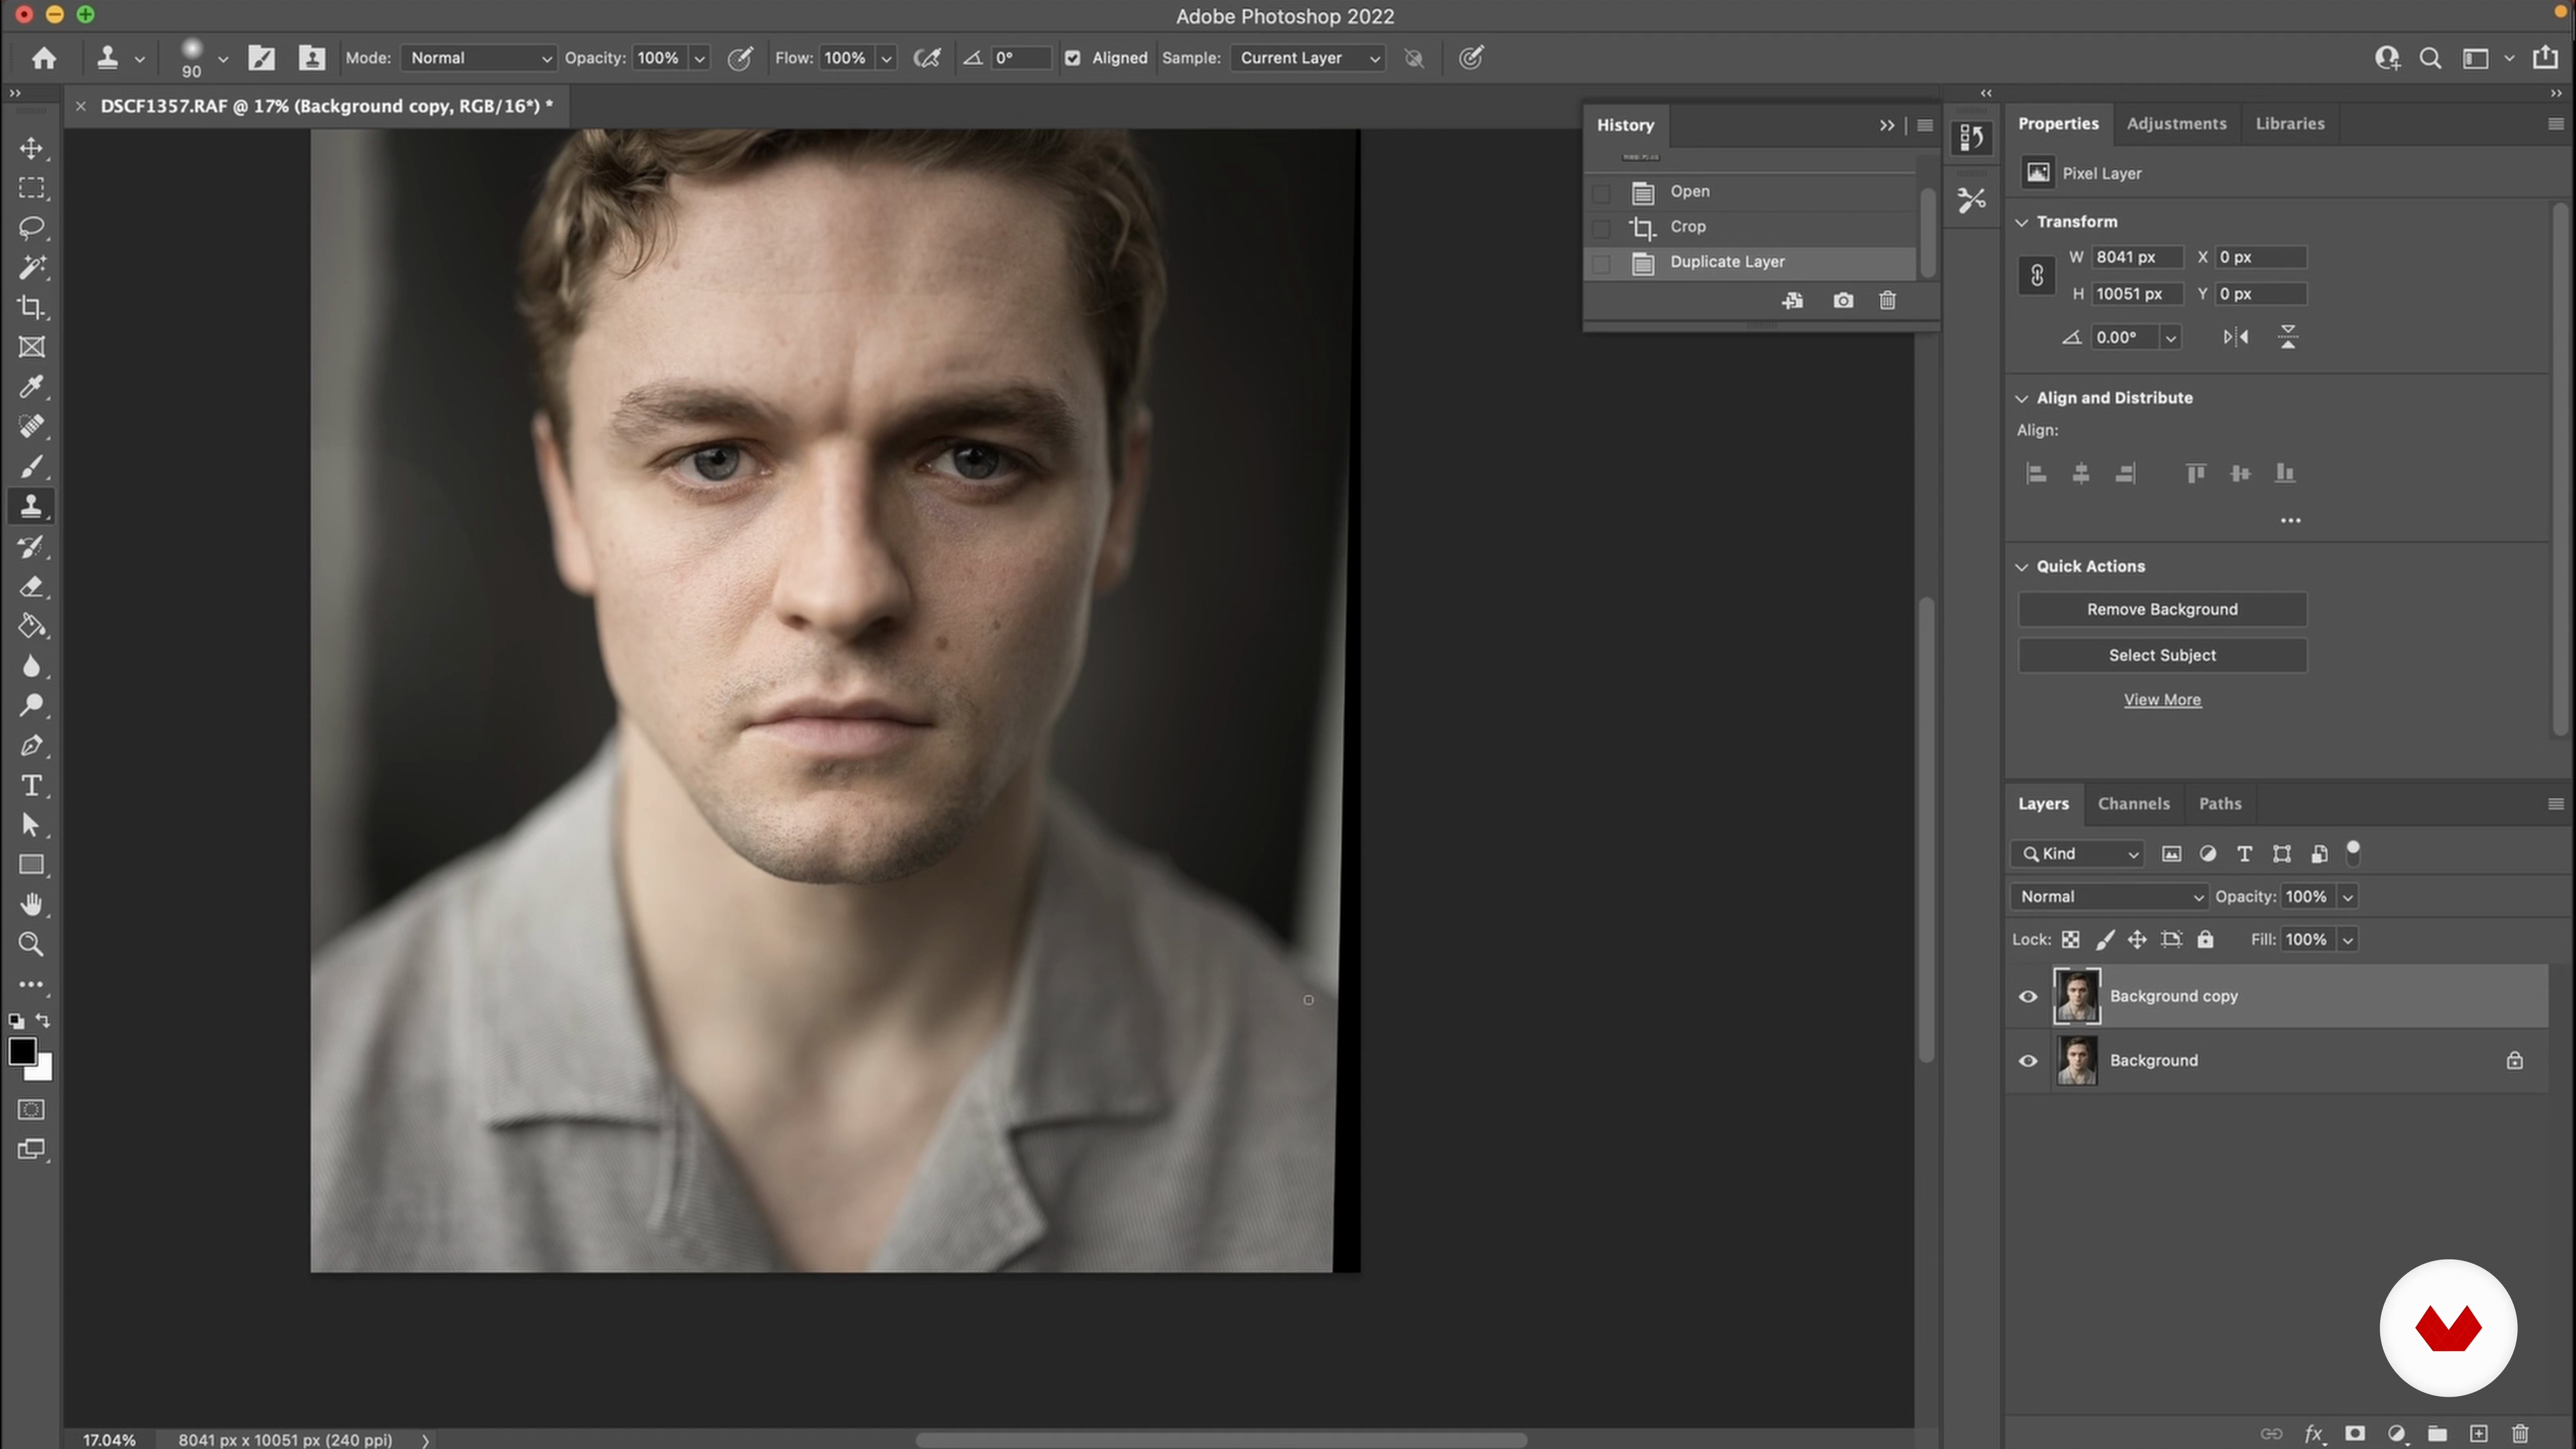
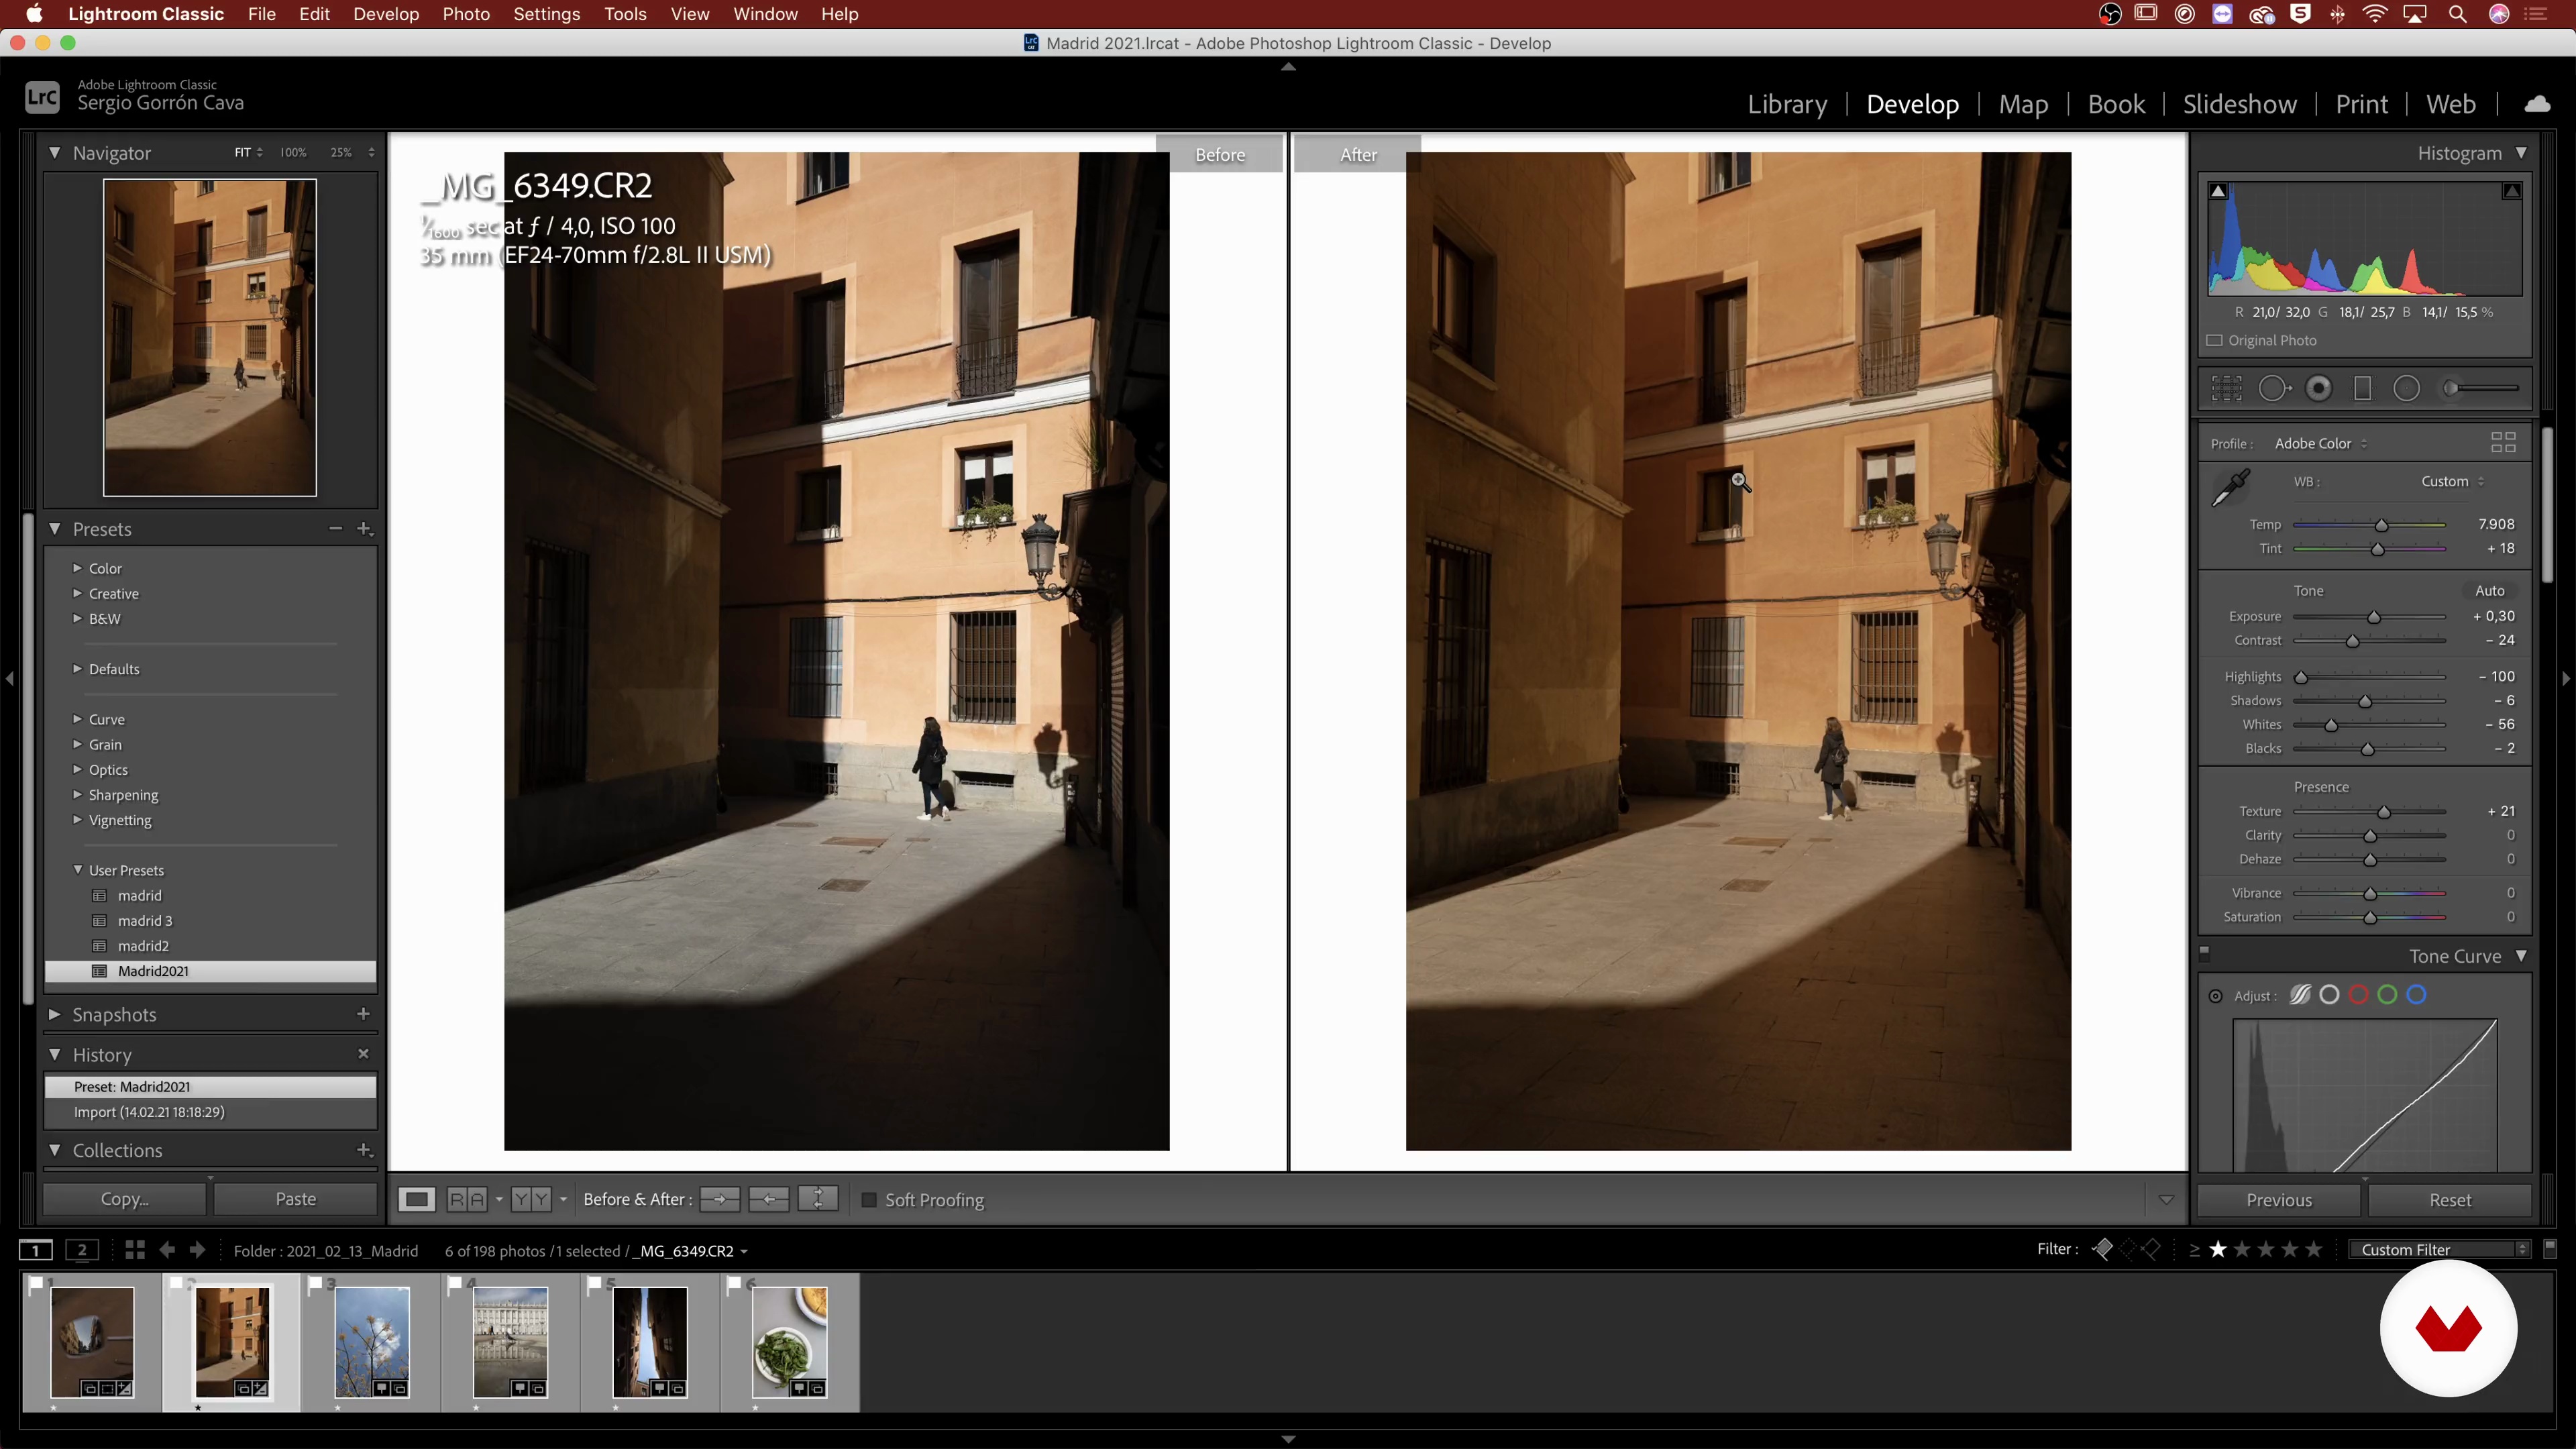
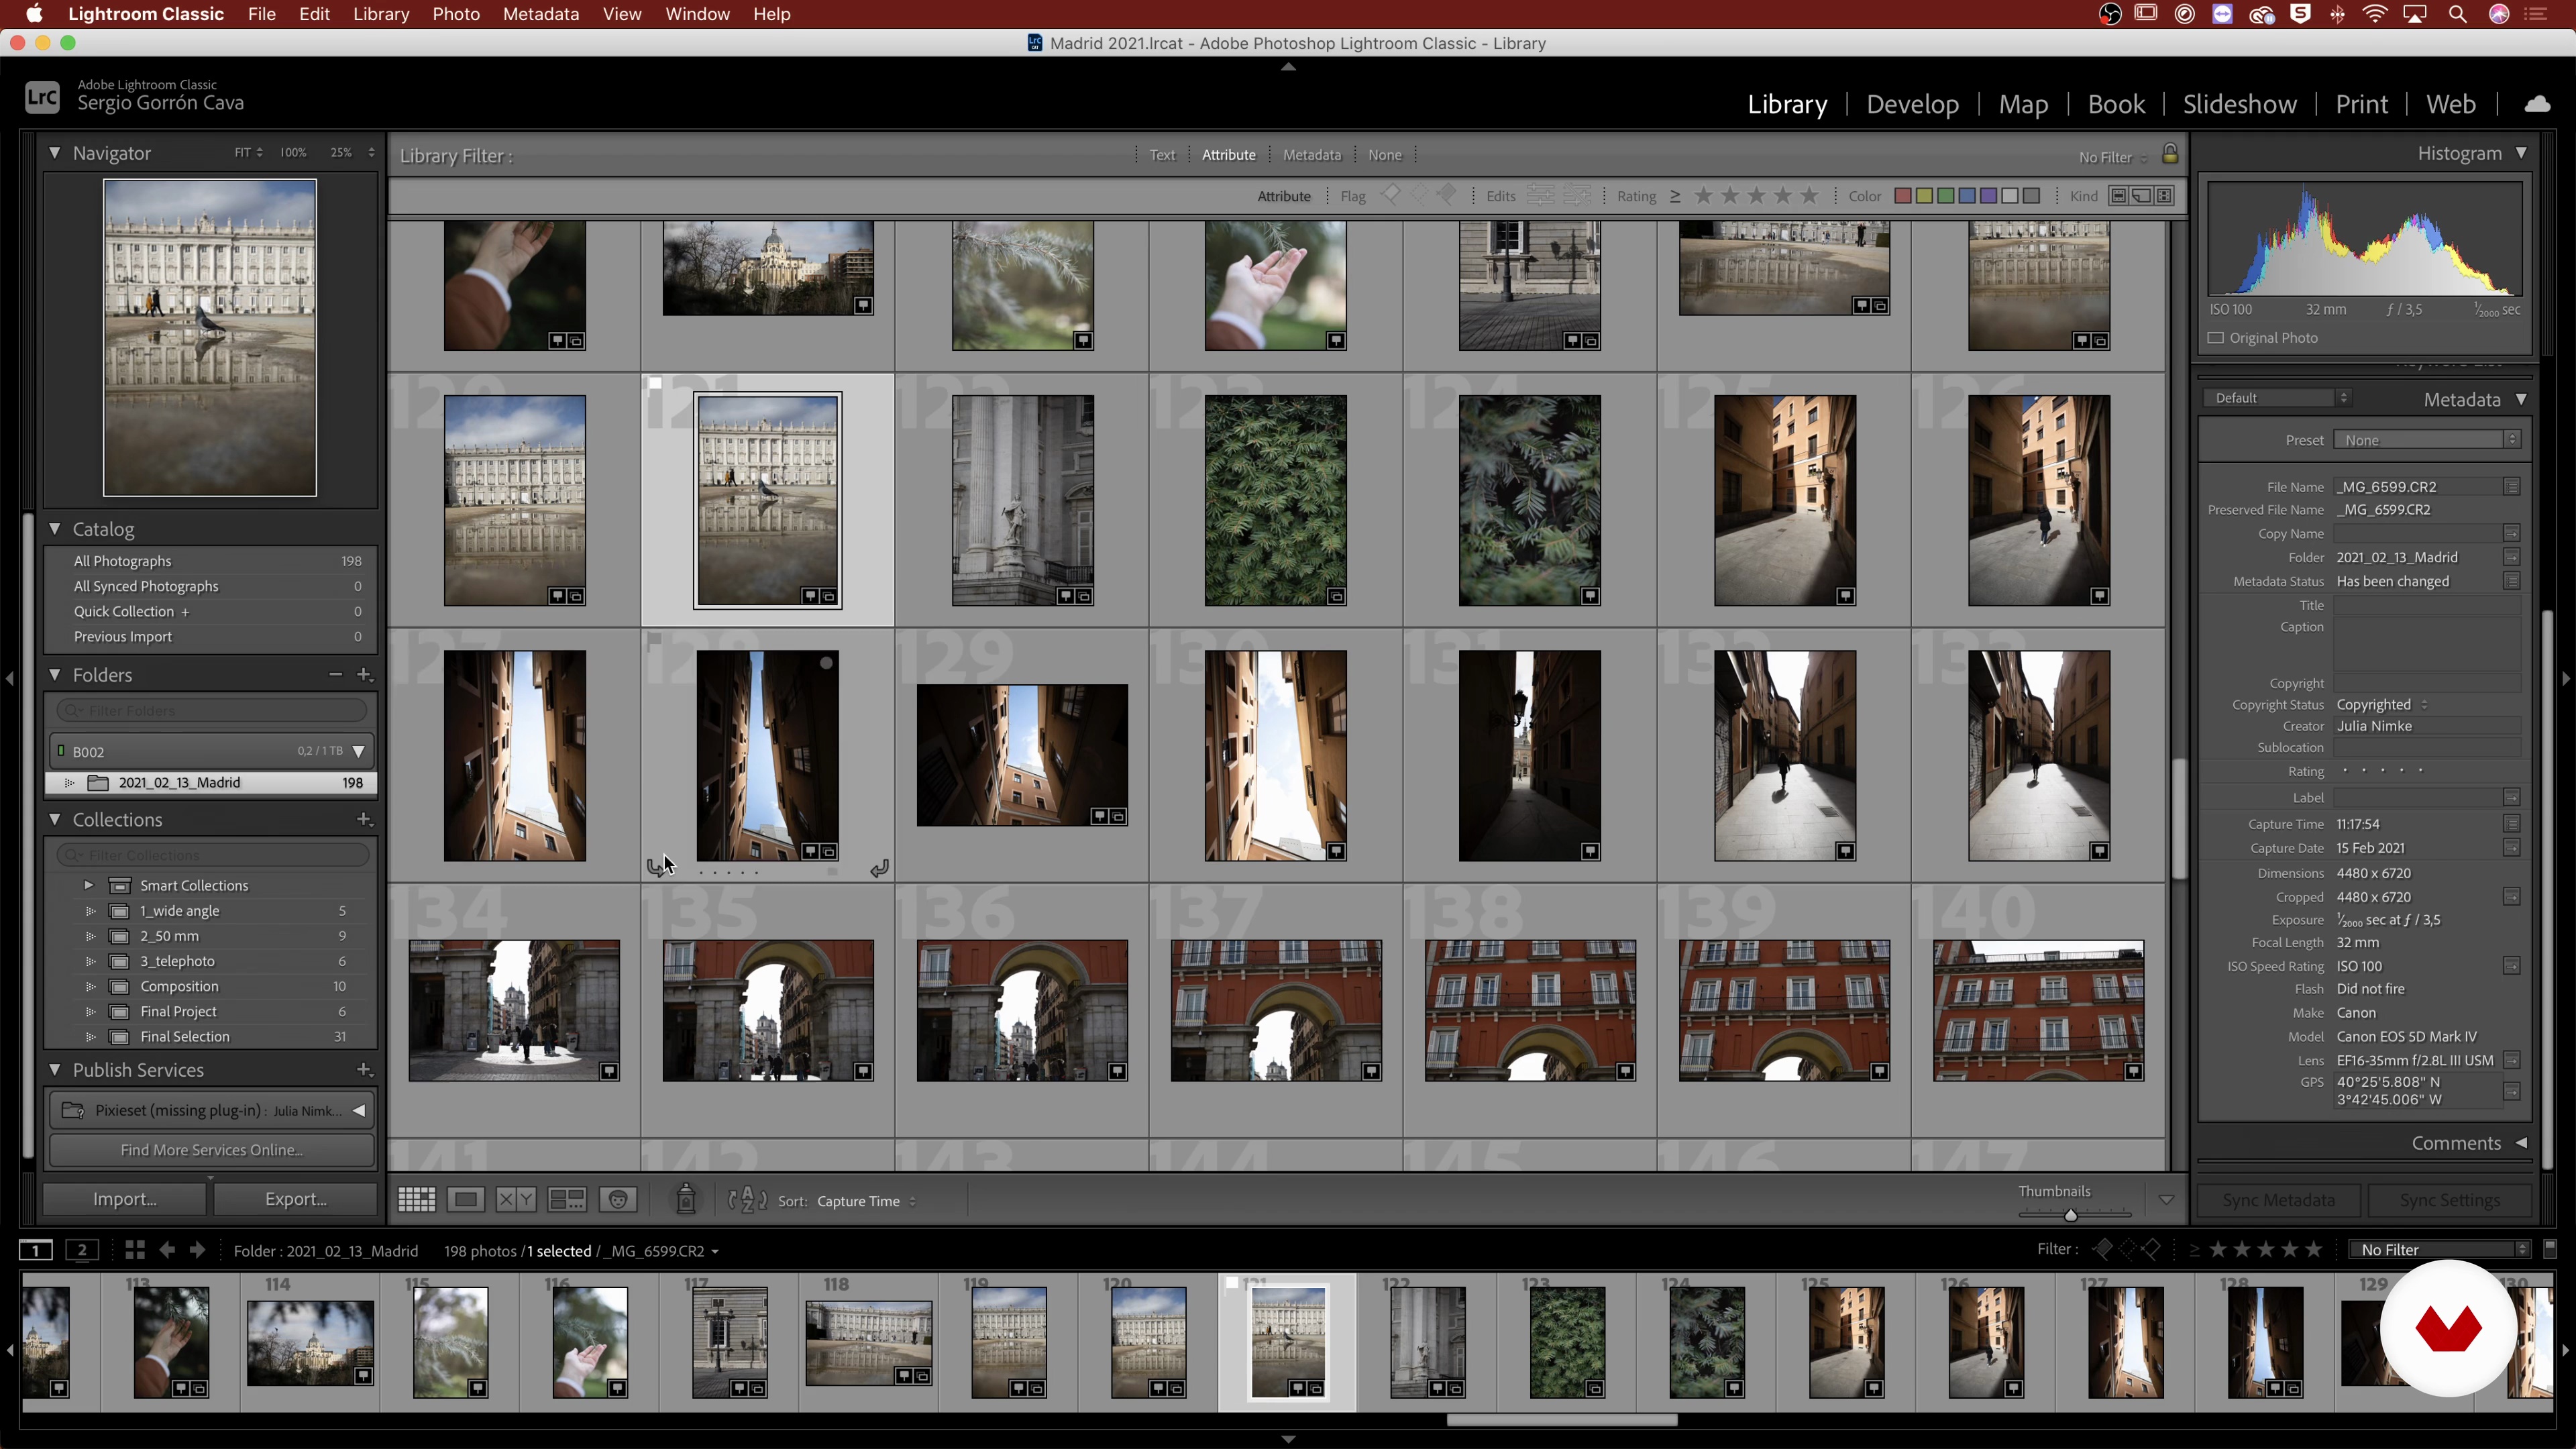
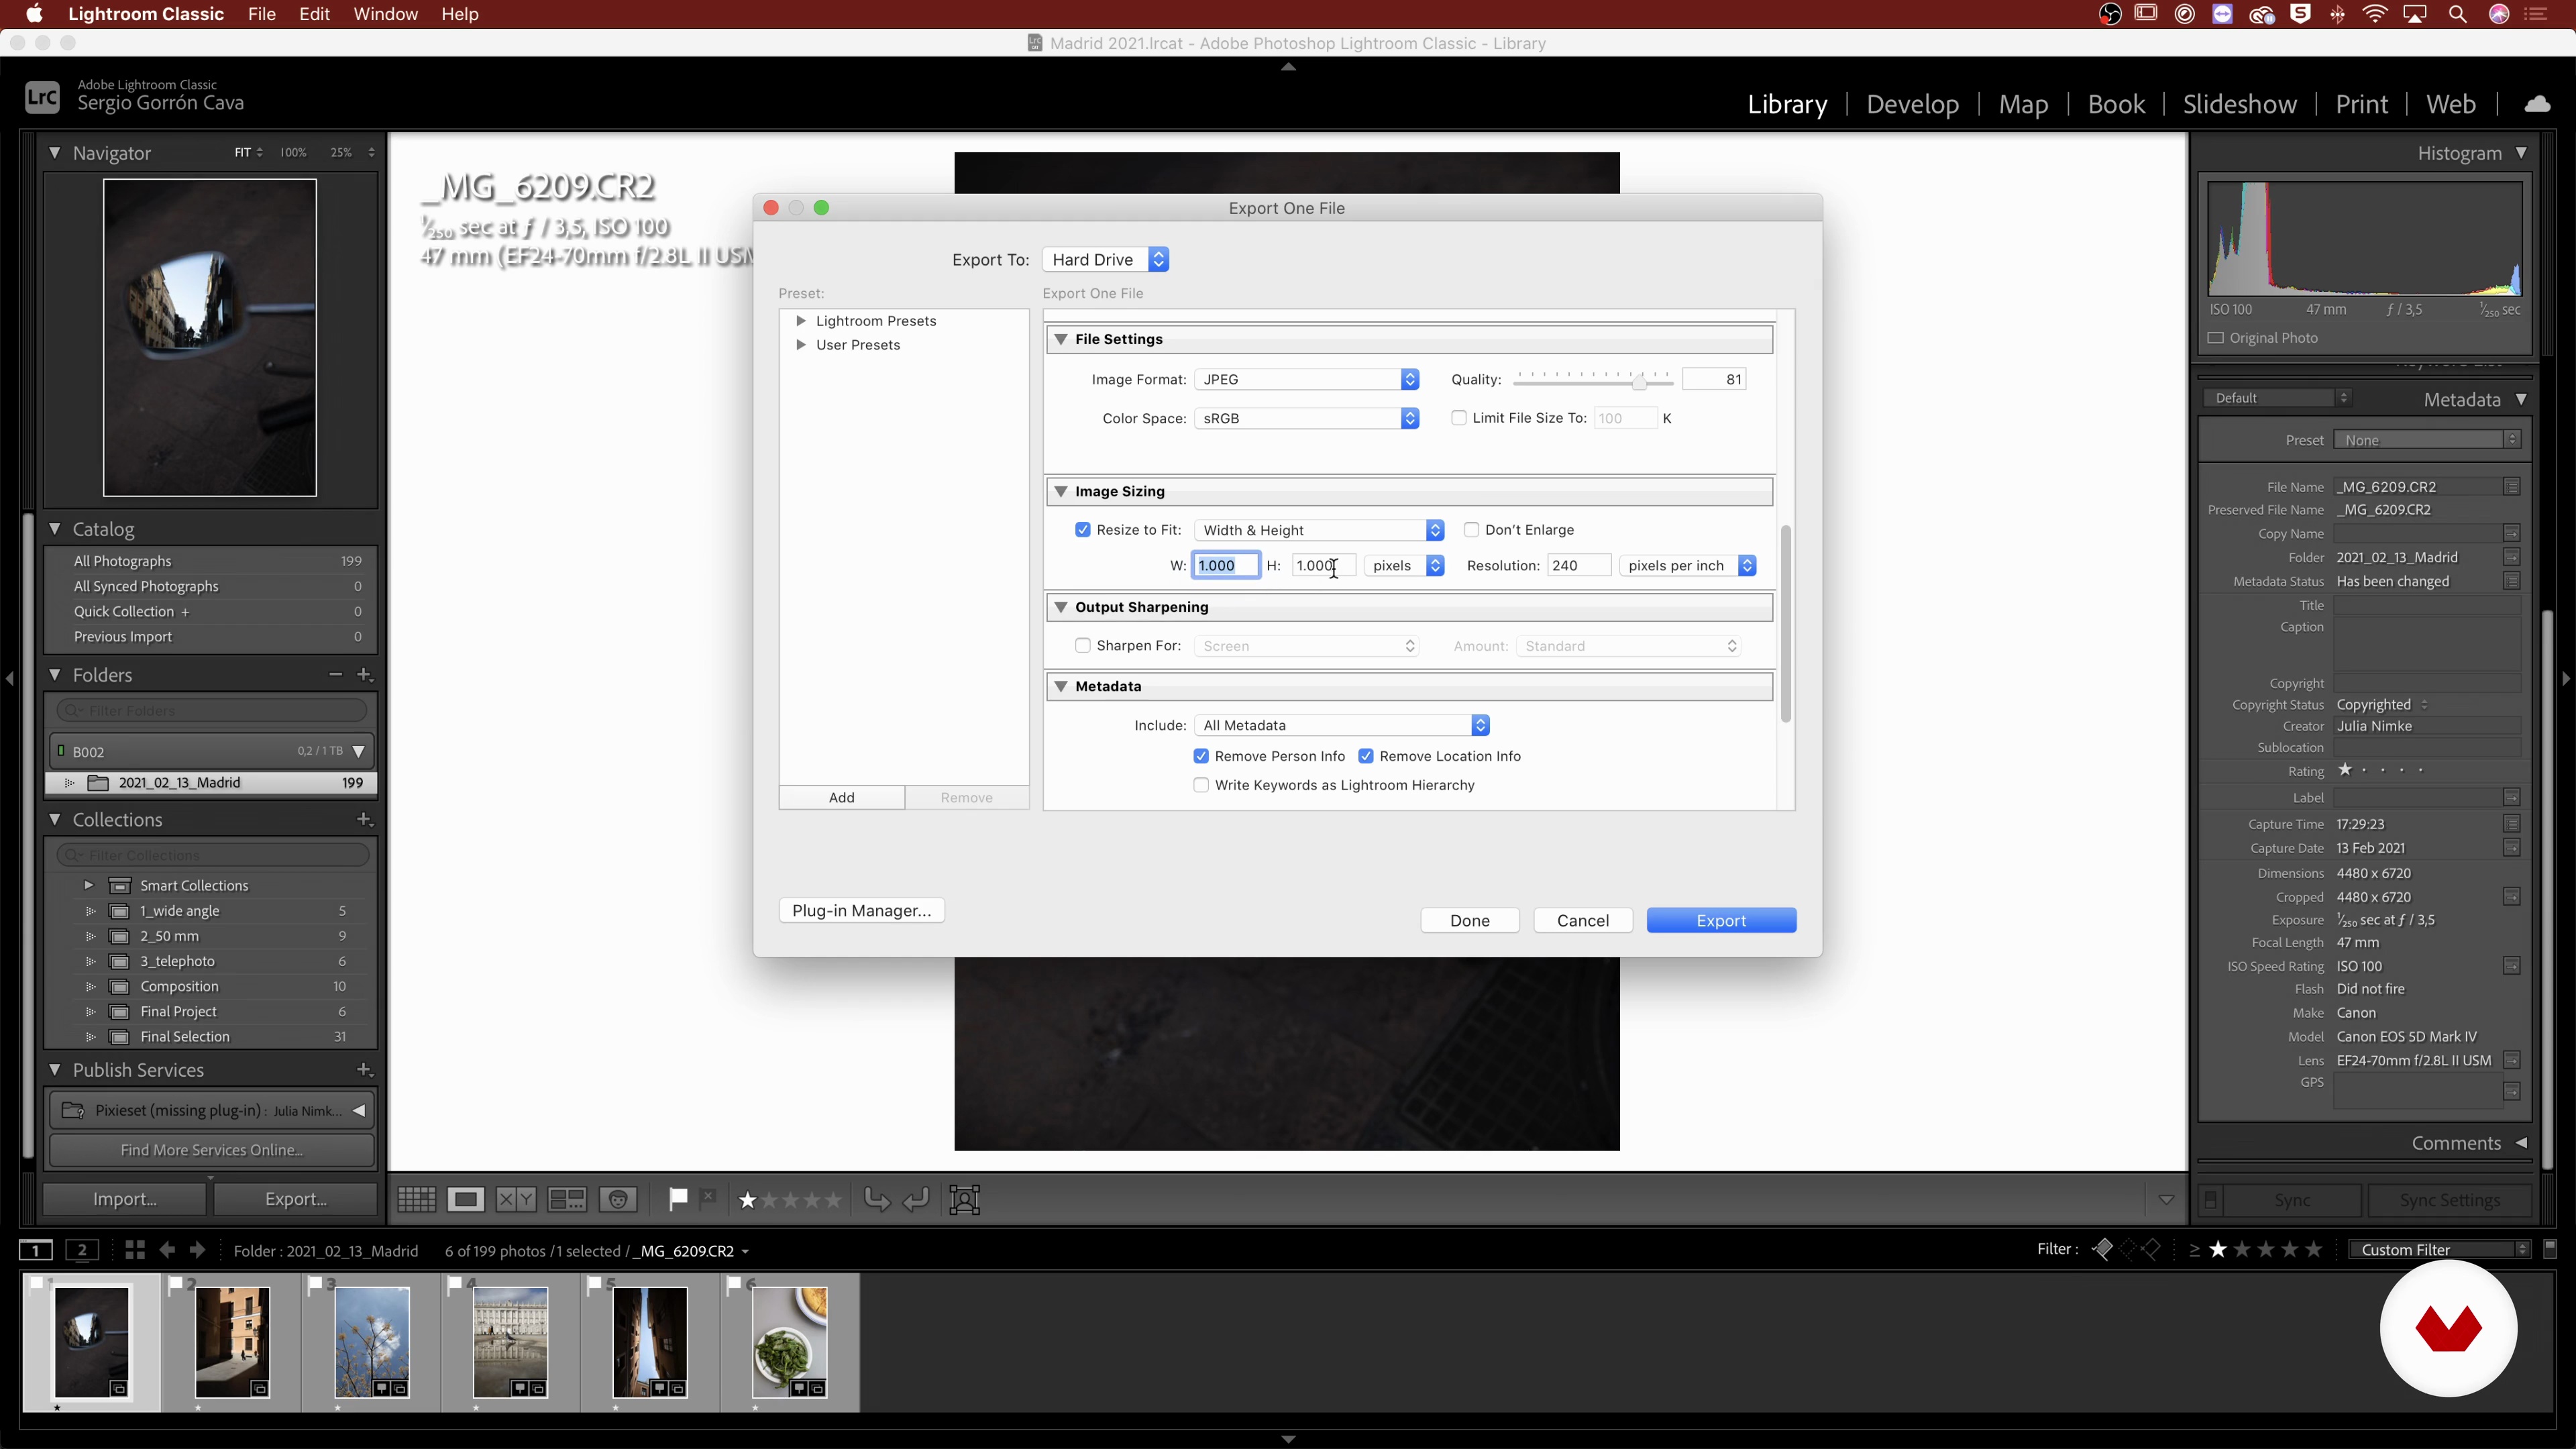
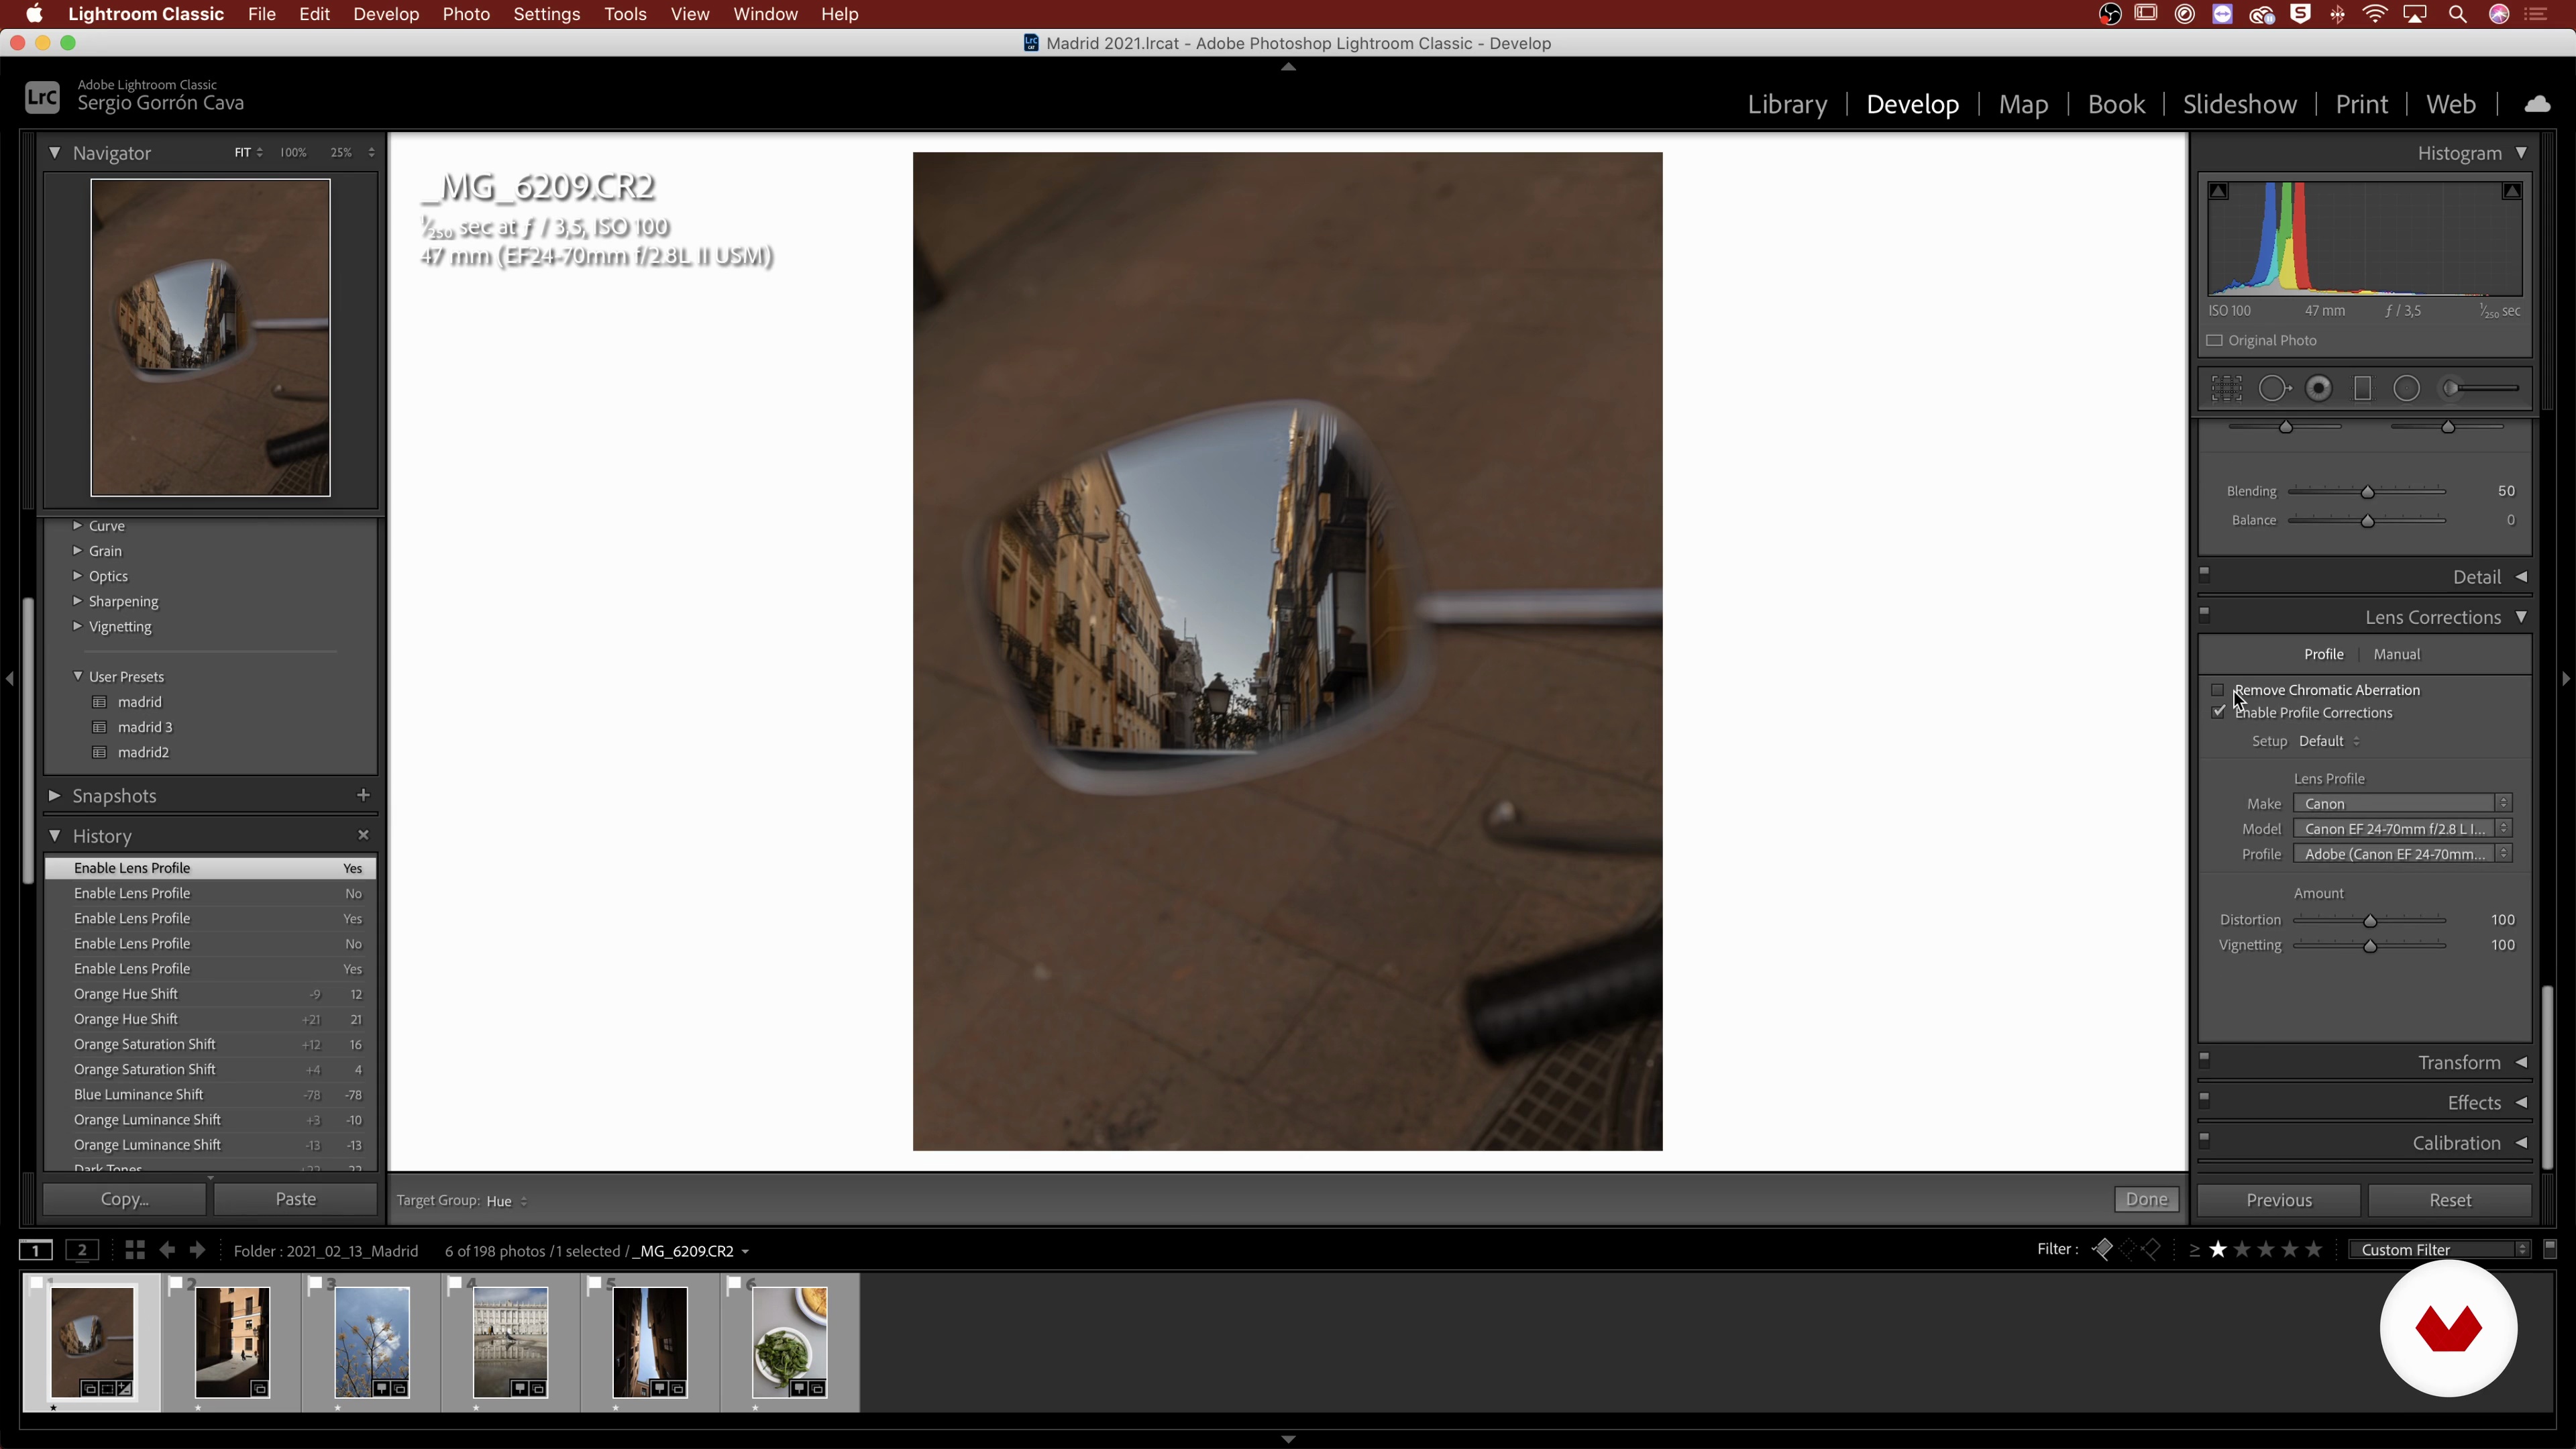
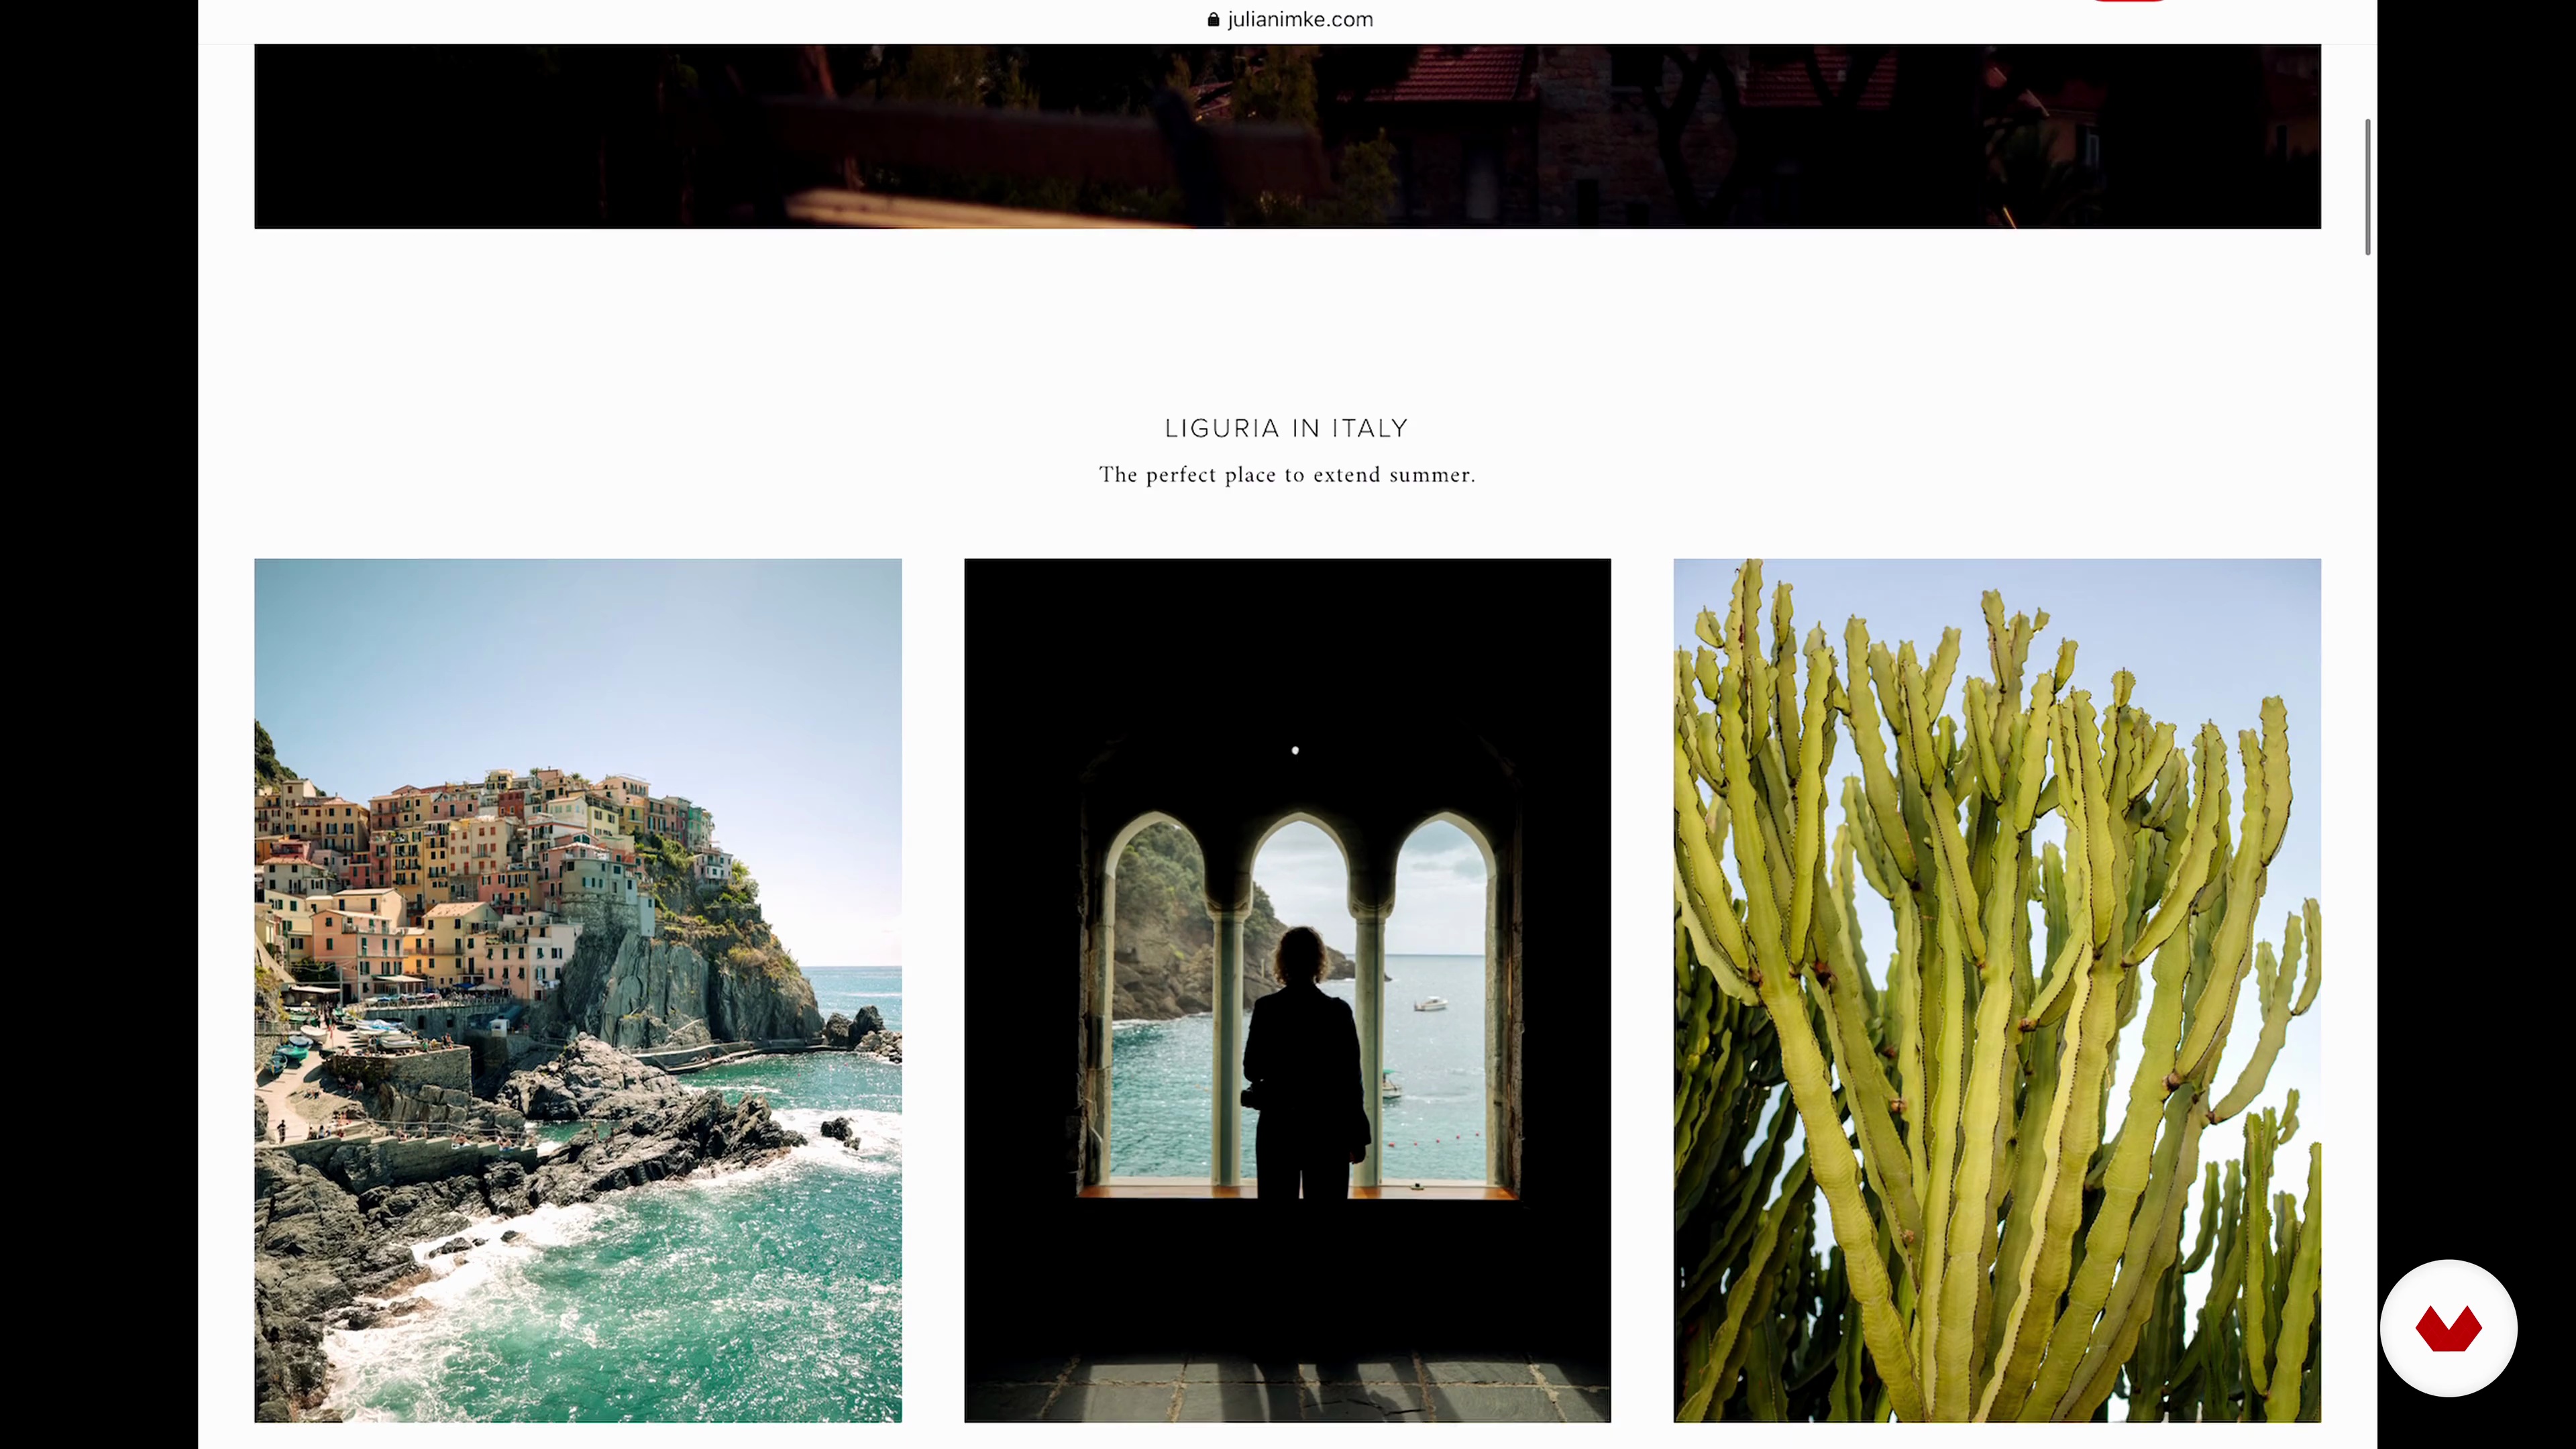
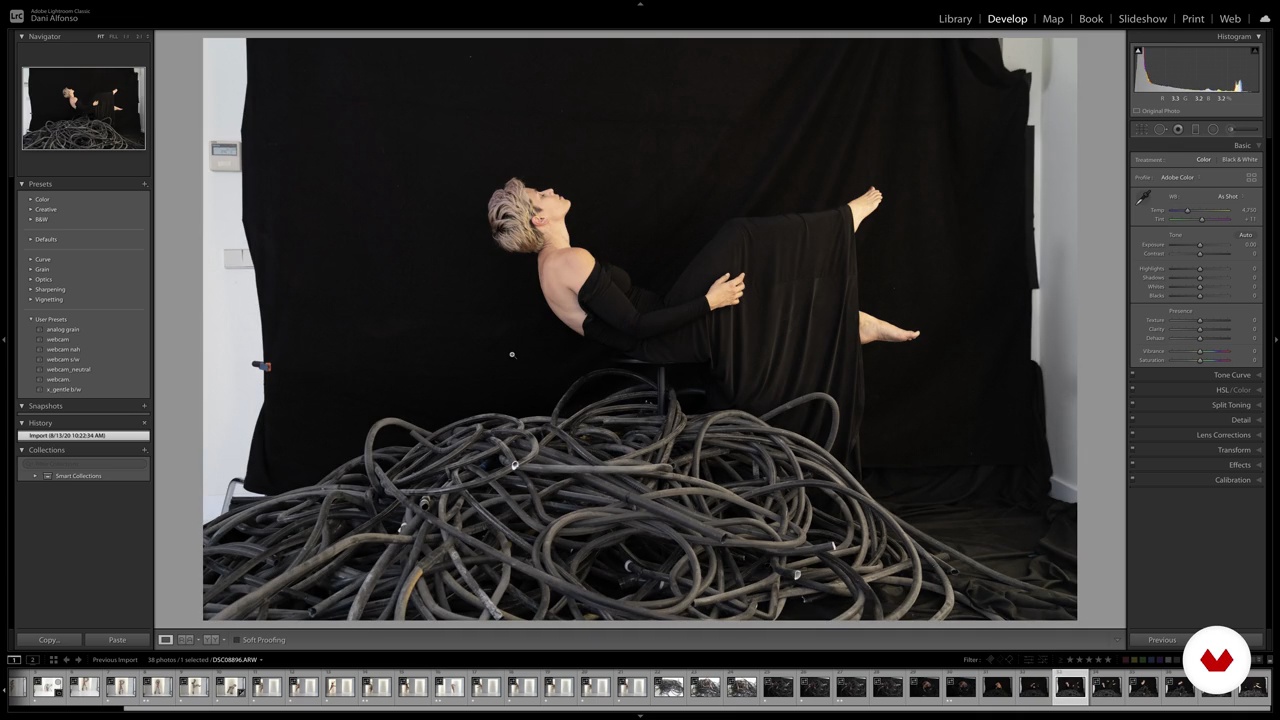
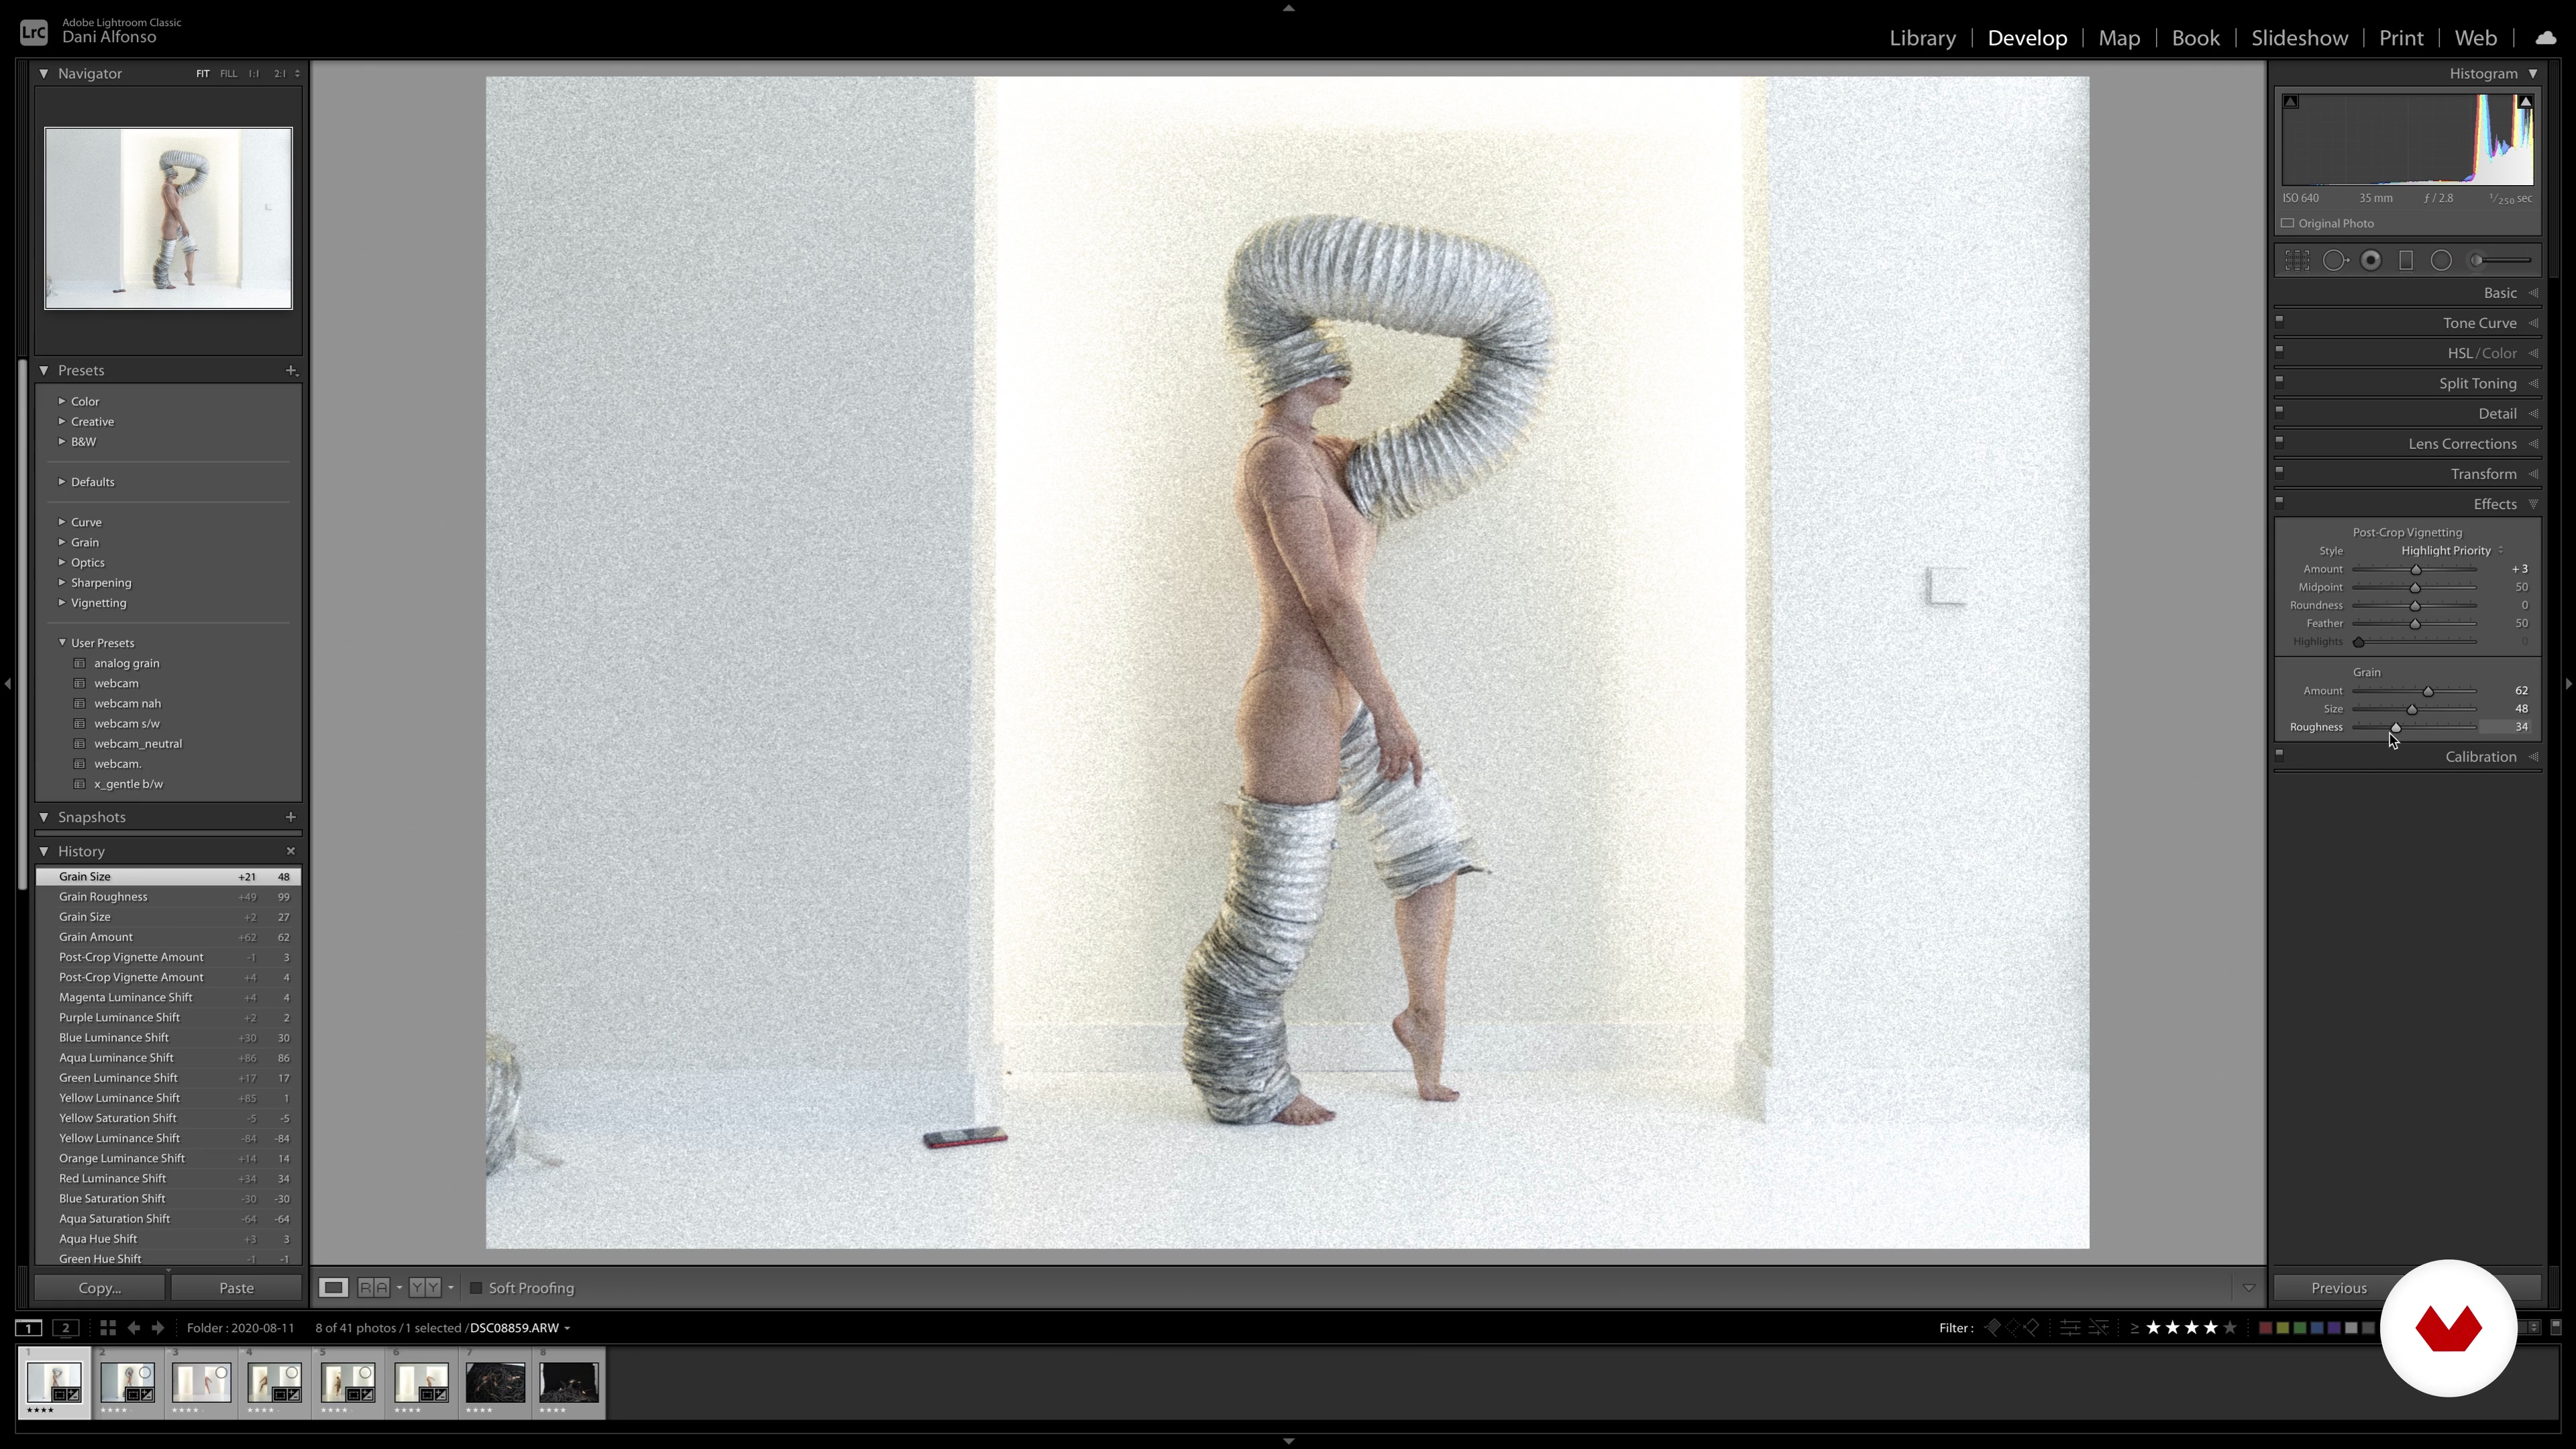
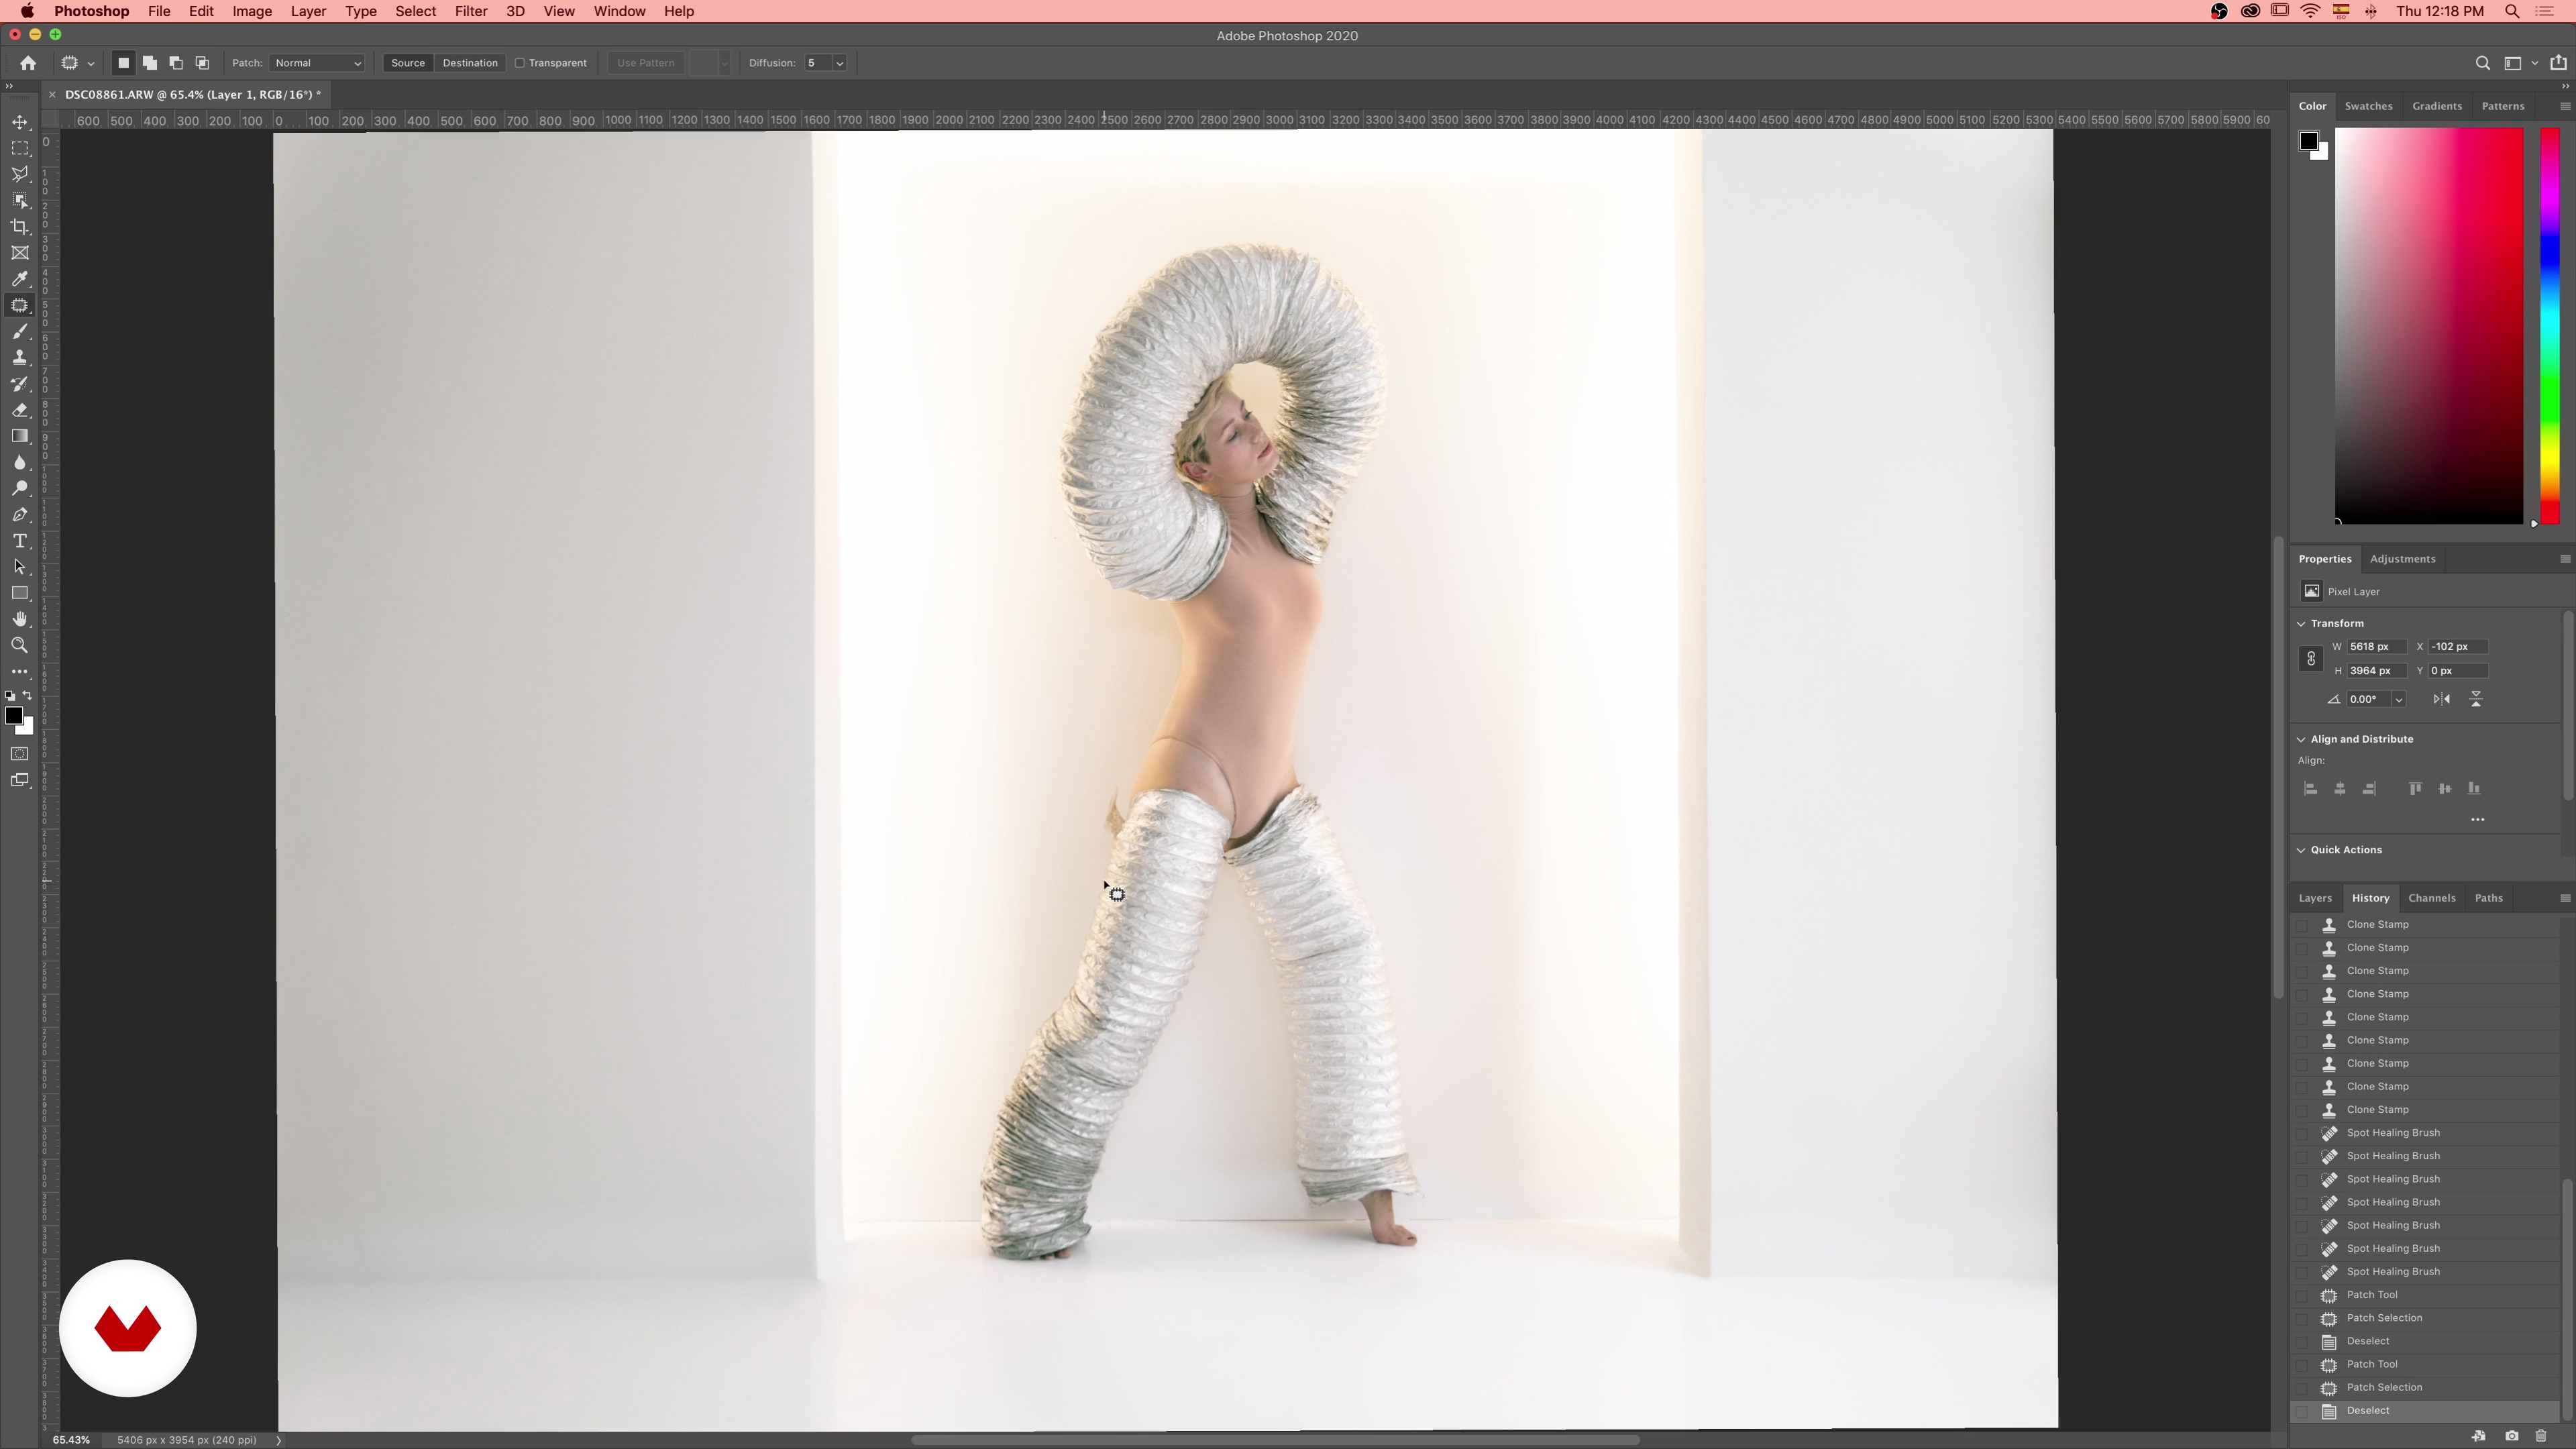
Develop your skills through hands-on projects, such as creating a photo reportage, a professional studio portrait, or a travel-themed photo series. Discover how to manipulate color, direct your subjects, and utilize various lighting setups to achieve stunning results. Post-processing techniques in Lightroom and Photoshop further enhance your creations, ensuring each image tells a compelling story. Whether you're a beginner eager to learn or an experienced photographer seeking to refine your craft, this specialization offers valuable insights into achieving professional-quality photography.

Read more ↓

What will you learn in this specialization?

A total of 7 modules and 92 lessons
A total of 14h 16m of vídeo lessons
Taught by 6 selected expert teachers
image
1
Introduction
Explore photography as both an art and a science, uncovering its rich history and transformative power. From Daguerre’s daguerreotype to Ansel Adams’ masterpieces, learn how visionaries shaped the medium into a tool for storytelling, cultural preservation, and personal expression. Dive into the emotional and technical elements that bring photographs to life. Discover how to capture moments that go beyond the frame to tell compelling stories that truly matter. By the end, you’ll understand how to blend creativity and mechanics to create meaningful, timeless images.
1m
image
2
Inspiration / Giulia Candussi
In this lesson, explore the work of masters like Henri Cartier-Bresson, Steve McCurry, and Amy Vitale. Discover key concepts like the "decisive moment," emotional storytelling, and composition. Use their techniques as inspiration to develop your own style and create impactful, meaningful photographs.
8m
image
3
Inspiration / Yaopey Yong
Explore how historic art and renowned photographers like Franz Lanting, Erin Babnik, and Bruce Percy influence photography. Learn techniques such as color harmony, strategic composition, and minimalism to refine your storytelling and develop your unique style.
12m
image
4
Inspiration / Scott McDermott
This lesson covers the Scot's key influences, from Albert Watson’s bold contrasts to Ansel Adams’ technical mastery and Anton Corbijn’s raw, dramatic style. Learn how unique approaches to light, color, and composition from these masters can shape your own photography. Next, we’ll focus on lighting fundamentals.
6m
image
5
Inspiration / Phil Sharp
Check out how artists like Vermeer and Rembrandt and photographers like Nadav Kander and Peter Lindbergh use light, color, and composition to tell stories. Discover techniques to elevate your portraits by drawing on these influences and experimenting with mood, symbolism, and creative approaches.
18m
image
6
Inspiration / Julia Nimke
Get to know influences like Henri Cartier-Bresson, Joao Tieu, Wes Anderson, and more. Discover how light, composition, minimalism, and other art forms inspire creativity. Learn to draw from diverse sources, from magazines to podcasts, to enrich your photographic style.
13m
image
7
Inspiration / Laura Zalenga
Learn how artists like Kaylee Garrett, Rosie Hardy, and Nerimi inspire emotional and honest self-portraiture. Discover how everyday moments, emotions, locations, and objects spark creativity. Share your inspirations in the forum, and next, dive into the meaning of self-portraiture.
5m
image
1
What Will We Do on This Course
I will briefly explain the structure of the course, but please do not feel overwhelmed, we are in this together and will do one baby step at a time. I promise that at the end of this, you will fear your camera buttons no more and you’ll be confident enough to take the story you want through images!
3m
image
2
Types of Photo Cameras
An experienced photographer should be able to take beautiful pictures with any camera and any lens, but that's a big but. The perfect camera will depend on the type or style of photos you wish to take.
10m
image
3
Sensors, Pixels and Resolution
We talked about cameras as a whole in the previous lesson, now it’s time to see what’s inside! As we know, the size of a camera is not important, but the size of the sensor and the amount of pixels is! In this lesson, we will understand what these scary terms mean and how they affect the quality of our photos.
4m
image
4
Types of Lenses
The camera is useless without a lens! We will discuss what lenses are available on the market and what’s the most fitting lens for each occasion.
9m
image
5
Composition
Let’s talk about the basic composition principles such as point of interest, the rule of thirds, framing, point of view, and horizon line.
6m
image
6
Aperture, Shutter Speed
Aperture is one of the three elements that build up the exposure, in conjunction with shutter speed and the ISO. As you develop your photography skills, you would want to have more control over your camera. The point is not to rely so much on auto modes and to start shooting in manual modes like "Aperture" and "Shutter Priority". You can bring out the best of your photography by manually controlling all three settings of the exposure triangle.
7m
image
7
ISO and the Exposure Triangle
So, you have learned what the Aperture & Shutter speed are. Now you will learn about ISO and how these settings interact with each other.
9m
image
8
White Balance
I bet you have wondered yourself, upon taking a picture, why is the sunset not as gold as it looked, why is snow bluish rather than white, or even why does your skin look yellowish. That’s because the white balance in your camera wasn’t set correctly.
6m
image
9
Shooting Modes
In the previous unit, we learned about aperture, shutter speed, and ISO. Now, the next step is to learn how to apply these settings on your camera to achieve the perfect exposure.
5m
image
10
Exposure Compensation and Light Metering
As we said, the camera analyses a frame and decides what is the best exposure, but you might think otherwise. You can make your adjustments by using either the Manual Mode. Let's address this in detail in this lesson.
8m
image
11
Portrait - Focus: Subject and Sharp Background
Focusing is choosing the part of your photo that will be sharp. Our brains usually prefer sharper images over blurry ones. A well-defined subject draws attention and is the most important part of the composition.
12m
image
12
Moving Subjects
To photograph moving subjects, the way you want and not the way the camera wants, you need to master the shutter speed.
5m
image
13
Textures
Textures are everywhere. You can find compelling textures in art like sculptures, pottery, paintings, and so on. Everyday objects and nature like trees, flowers, and fabrics also have interesting textures. Let's study how to best capture them with our camera.
6m
image
14
Editing Software and Importing Your Photos
Choosing the correct photo editing software can be daunting as there are so many options. Let's assess Photoshop and Lightroom, the two top picture editing software.
8m
image
15
Selecting the Best Photos, Basic Retouching
The first port of call is having a clear idea of how you are going to store your image files on your computer or hard drive.
20m
image
16
Exporting Your Images
Once you are done with editing in the develop module, you can move on to the final step and export your work.
8m
image
1
What Will We Do in This Course?
Before we dive into the content of this module, I like to go through what you’ll be learning in each unit. There is also a project for you at the end to consolidate your new-found photography skills!
2m
image
2
Fundamentals of Color
We are going to look at some fundamentals of color, such as primary colors, hue, saturation, lightness, etc. so that we share the same understanding when we dive deeper into color theory in photography.
12m
image
3
Color Harmony Rules
Color harmony rules explain why some colors work well together and why some don’t. This was a big “aha” moment for me when I first learned about it and I hope it inspires you too.
7m
image
4
Psychology of Color
Color is more than what it appears to be. It evokes an emotional response in our subconscious, and that emotion could be linked to a memorable life experience that we have. This is why we feel emotionally connected to some photographs.
6m
image
5
How to Study Color
Here you will learn a really simple and effective way to understand yourself from a color’s perspective. This is an exercise that you will be doing at the end of this lesson.
8m
image
6
Capturing Raw Data
Let’s dive into the fun part! First, we need to understand how to capture a photograph. Then I’ll show you how to best optimize your camera to get every single pixel working for you.
6m
image
7
Creating the Story
A good photograph is more than visual content, it has a story too. I’m going to share with you how I approach composition with color in mind.
5m
image
8
Getting the Best of Your Camera
Here are some tips, tricks, and accessories I use to get the image right on camera. In my opinion, capturing a good image is the first step in photo editing, as it makes the process so much easier and enjoyable.
10m
image
9
Color Adjustment Tools in Editing
It’s time to edit your photo! This is my favorite part of the workflow because you never know how the photo really turned out. Let me show you the color adjustment tools I use in my editing.
15m
image
10
Color Adjustments in Lightroom 1
You are now going to see how to apply everything you have just learned into practice. This is where you can let your creativity run wild. The possibilities are limited only by your imagination.
14m
image
11
Color Adjustments in Lightroom 2
In this part of the lesson, you will use radial, linear, and luminance masks to sculpt light and enhance mood in an image. You’ll refine highlights, darken edges, adjust saturation, and balance warmth and cool tones, creating a dramatic and ethereal effect that draws attention to key elements.
13m
image
12
Color Adjustments in Lightroom 3
Here, you will refine an image’s natural tones by enhancing warm light and cool shadows. Using tools like HSL, luminance masks, and vibrance adjustments, you’ll create a vivid yet realistic edit, accentuating the original colors and balancing light for a lifelike result.
12m
image
13
Lightness Manipulation in Photoshop
In this lesson, I’ll show you how to edit an image within Photoshop with a particular emphasis on the manipulation of light. Let's take a look.
10m
image
14
Getting to Know Your Image
You did it! The photo looks great to you, right? But have you wondered what might the viewer see or feel at first sight? What emotional response do you think they will have? There is a simple way to predict and I’m going to show you how.
3m
image
15
Revisiting Edits, Is Your Image Successful?
I often consider this to be the last step in my workflow, and this can take anywhere from a few hours to a few days to complete. Let me explain why I think you should revisit your image.
6m
image
1
The Light: Basic Properties
I'll start by sharing with you some basic concepts that would be considered the fundamentals to understand lighting.
8m
image
2
Types of Artificial Light
How many types of artificial light do you know? There are many of them! In this lesson, I will discuss the pros and cons of Tungsten hot lights, HMI, Fluorescent, LED, and Strobe lights.
5m
image
3
Working with Strobes
For still photography, the best combination of power efficiency, flexibility, and portability is the strobe. In this lesson, I'll explain to you how a strobe works and why it’s such a powerful tool.
6m
image
4
Common Light Modifiers
Light modifiers are attachments you place on a light to change the quality. They can generally be divided into four groups: diffusers, focusers, reflectors, and constrictors. Here, I'll talk about the principles of each one of the modifiers.
7m
image
5
The Fundamentals in Action
Now that we've covered the theory, it's time to see it in action. Here, I will teach you how to apply what you've learned to create terrific photos.
8m
image
6
Exponential Fall Off from Omni Directional Transmitted Light
As the distance away from any non-focused light source doubles, the light intensity decreases by a factor of four. Inverse Square Law is an important concept to understand. It has a lot of practical applications. In this lesson, I will give you an overview.
3m
image
7
Common Lighting Setups for Portraits
Here I will show you a handful of common setups that people tend to always come back to. These examples work for a proven look. You can use them in your own experimentation as something to build from.
8m
image
8
The White Background
The white background is something that always comes up! Therefore, in this lesson, I'll talk about how to do it correctly with a subject.
4m
image
9
Ring Flash and the Mandela Day Lighting
Let's talk about an interesting tool: the ring flash! As an all-in-one light source and modifier, this tool is extremely useful to have at your disposal. If you want to know more, I encourage you to watch this lesson.
5m
image
10
Mixing Strobe and Continuous Light
Now, I will teach you how I deconstructed the lighting for an image of Meek Mill. Using a colored ring flash strobe and continuous fluorescent light, you will see how I achieved this mixed light and color effect.
2m
image
11
Shooting for Composite
As an example of how to shoot for composite, let me show you an ad I did for AT&T with an astronaut walking from her room into space.
7m
image
12
Taste Level
As an artist, your taste level is everything. By this, I am referring to what you do and don’t like aesthetically, artistically, culturally, etc. It’s partly a culmination of your life experiences, but it’s also something you actively cultivate according to what you consume/expose yourself to. Let's see how this related to the photography you produce.
2m
image
1
History of Headshot Photography
In this lesson, I will provide a brief look into the history and evolution of headshots, a visual window into the subject's identity. You will then learn about my personal approach.
13m
image
2
Materials and Equipment
Next, I will talk about the photography equipment that I’m currently using.
18m
image
3
Understanding Light
In this lesson, I will delve into light and its relation to portraiture.
15m
image
4
Setting Up
I will explain how I prepare for a portrait sitting. It's not only important to check your equipment and tools, but also little details in your workspace.
6m
image
5
Getting the Best Out of Your Subject
With the studio set up, let's talk about how I interact with my sitters to create a comfortable environment. In this lesson, I will share how I elicit a strong performance from my subject to achieve the best possible portraiture.
10m
image
6
The Shoot
It's time to start capturing the headshots! Next, I will walk you through the process of a typical photoshoot. You will learn what tricks I employ to optimize the elements of visual interest.
11m
image
7
Selection
Before editing the photos, you'll first need to select your favourites. In this lesson, I will demonstrate my selection process: how I narrow down all my captured images to show my best work.
13m
image
8
Editing 1
In this lesson, I will give you a look into my post-production workflow. You will see my editing process.
12m
image
9
Editing 2
Here, I will continue to edit my image, focusing on colour, tonal values, shadowing, texture, and minor retouches.
9m
image
10
Creating an Online Presence
To end this module, I will share my approach to using online and social media tools.
8m
image
1
What Will We Do in This Course?
In this module, I will teach you my workflow from preparing to finishing a personal or client project and you’ll learn how to organize and create your own travel lifestyle shooting from start to finish. I will give deep insights into my workflow and not only teach you how to shoot good images but especially the whole process around a successful photo shooting.
1m
image
2
Materials
What equipment do you need? Join me in taking a look at my travel bag and in reviewing the camera, lenses and filters I will use throughout the course.
6m
image
3
Storytelling and Getting Inspiration
In this lesson, we will focus on what it takes to create a set of images to tell a story by learning the basics of storytelling transferred to photography. You will learn how and where I get inspiration for a new trip.
10m
image
4
Location Scouting
Look at how to find the right locations for your shooting day and what to keep in mind when picking out locations (distances, etc.) I will also share with you some tips on how to scout for locations without being at the location itself using maps and Google Street View.
7m
image
5
Creating a Mood Board
Here, you will learn how and why it is important to create mood boards. This is one of my key elements for a successful production! Plus, you can easily transfer that to your own personal or professional projects.
8m
image
6
Planning Your Visit
Time to plan our visit and learn how to create a call sheet for your shooting! In this lesson, we will look at when and where do you want to be exactly on the day of your shooting, and also create a good and a bad weather plan.
5m
image
7
Studying Light
In this lesson we take a close look at side-, back- and front light and at how it affects your images.
7m
image
8
Compositions and Perspective
Now, we will take a look at composition and perspective. I will share with you some tips at how they can help you build a story!
5m
image
9
Lenses and Tips and Tricks
Let's talk about lenses. When is it better to use a wide angle, 50 mm and telephoto? What do they do to your images?
11m
image
10
Selecting and Tagging Images
In this lesson, we move to Adobe Lightroom Classic CC, where we will start with how to select images, tagging them with flags and rating them with stars.
17m
image
11
Data Management
You will look into how to create a workflow that works for you and will focus on how to organize and back up your files off and online.
9m
image
12
Editing and Delivering Images 1
In this lesson, we will focus on editing and how to create a cohesive look within a set of images using your own preset in Lightroom. Once they are ready we will look into exporting the images and a couple of tricks on how to deliver your images beautifully to clients.
10m
image
13
Editing and Delivering Images 2
During this second part of the lesson I will continue sharing my best tips and tricks about editing.
13m
image
14
How to Create an Appealing Portfolio
In this lesson, we will research why having a good portfolio to showcase your work is so important, not just for clients but also for yourself.
8m
image
15
Tips and Tricks on How to Reach Out to Client
I will share with you some do’s and don’ts on how to reach out to clients both on social media and email and the different tools I use.
9m
image
16
Instagram and Social Media
Lastly, we will explore how and why to use social media for showing your work to the world and I share with you some tips to enrich your Instagram game.
9m
image
1
What We Will Do in the Course?
This module is about the basic elements of preparing and shooting self-portraits. About developing a concept and finding a location that adds to your concept, or that sparks the idea for a concept in the first place. We will learn the basics of poses for a portrait and self-protrait, as well as understanding how to use natural light in portraits. Additionally, we will look at how to select your best image from a shoot and edit it in Lightroom and Photoshop as a final touch up.
10m
image
2
Where to Find Inspiration
In this lesson, I will show you how I search for inspiration on different online platforms (such as Pinterest and Instagram - which are free) and how I collect them on boards with different topics or themes. We will look into which keywords work best depending on each concept. This is important to find and define your style and to create an image-pool you can browse for future concepts.
11m
image
3
Two Ways of Finding Your Concept or How I Found the Concept for 6 of My Portfolio Images
The most important thing to say here is there is no guaranteed step-by-step plan to find a concept. Because there is no right or wrong. A concept is an idea. And an idea is a very abstract thing as we all know. When an idea becomes an idea? This is the difficulty and the beauty of it. In this lesson, I will show 6 of the most popular of my photographs and explain where the inspiration for them originates, how the concept came together, and how I executed them. And some fun stories around them.
13m
image
4
Scouting Locations
I will share some photos from locations I found directly around the house to show that it is possible. You will be to doing the same in your surroundings, as a practice task. Also, I will provide you with examples from my neighborhood that aim to inspire you to do the same in your neighborhood and look for the corners that have potential but are normally overlooked, like facades, plants, stairs, or special light situations.
14m
image
5
My Equipment
Now, you will see what’s in my bag - cameras (Sony A7rii + Sony A7iii), lenses (35mm 1.4 + 85mm 1.4 + 24-70mm 2.8), and accessories (various objects not related to photography; and how I use them). We will also go over my standard settings and technical details such as connecting the camera to a phone.
6m
image
6
Practice Self-Portrait Technique
I will show you the different technical set-ups to take a self-portrait. From just having a phone with a timer to having an advanced camera that uses a phone as a remote control to take the photo. You will see that any camera with a self-timer gives you the possibility to take a self-portrait.
7m
image
7
Practice Posing
In this lesson, I will show you how to practice and experiment posing by showing you how I experiment with posing. We do that because posing is the language of the body and even subtle changes make a big difference.
12m
image
8
Examine Lighting
We will learn how different natural light situations affect the object we are looking at. Then, we will learn which form of natural light to use best for what expected result. This will help you later on when you have to define which time of the day/ which weather to shoot your final project with to have the result you hope for.
15m
image
9
Examine Composition, Crop, and Ratio
Let's look at different compositions and crops of images and how they change the balance and the effect of an image. We will compare different crops and compositions using the same sample image to see what difference these make to the given image.
8m
image
10
Setting Up the Location
During this lesson, I will be covering all the things related to the location: an exploration of the venue, preparation, and equipment set up. In this case, I will be using a camera connected to a phone, which in turn will pose as the remote control to shoot with. Generally speaking, the chosen location is usually fine but sometimes it needs some work to be done to minimize the work we later have to do in editing.
3m
image
11
Test Photos - “Trial and Error”
Here, I will start shooting the first photos to test the light, the composition, the poses, and how the location works in-camera. Test shoots are important in order to get the basics right without ruining the outfit already, or become cold before the actual photos are done.
4m
image
12
The Final Photos
In this lesson, I will use the feedback gained in the previous lessons to shoot the final image. This time I will use the actual outfit and the practiced poses, paying attention to the light, the angle of the shot, and even experimenting with different views on the location.
8m
image
13
Lightroom - Selecting Images
It's time to show you how I review my images in Lightroom! We will select the best photos from the shoot by making the selection smaller and smaller and we talk about what makes them "the best".
13m
image
14
Lightroom - Basic Editing: Game of Trial and Error
In this lesson, we will look at the basic edit in Lightroom. We will look at the composition and potential of other crops. We will look at the contrast, the overall color, and the individual color tones. Lastly, we will export the image to Photoshop.
15m
image
15
Photoshop - Final Touches 1
In this lesson, divided into two parts, we will use Photoshop to give the final touches.
20m
image
16
Photoshop - Final Touches 2
It is all about details and visually ‘cleaning’ the image to make it more clear.
21m
  • 100% positive reviews (3)
  • 566 students
  • 92 lessons (14h 16m)
  • 92 additional resources (37 files)
  • Online and at your own pace
  • Audio: English, Spanish
  • English · Spanish · Portuguese · German · French · Italian · Polish · Dutch
  • Level: Beginner
  • Unlimited access forever

What is this course's project?

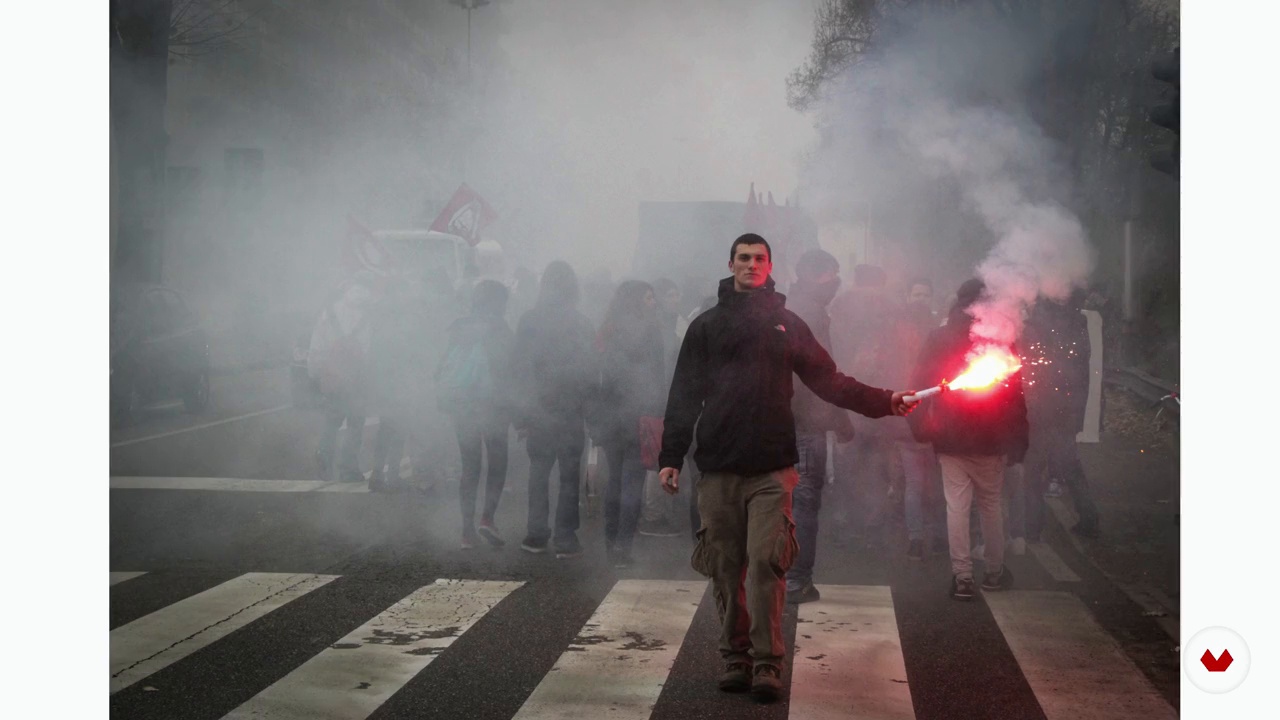
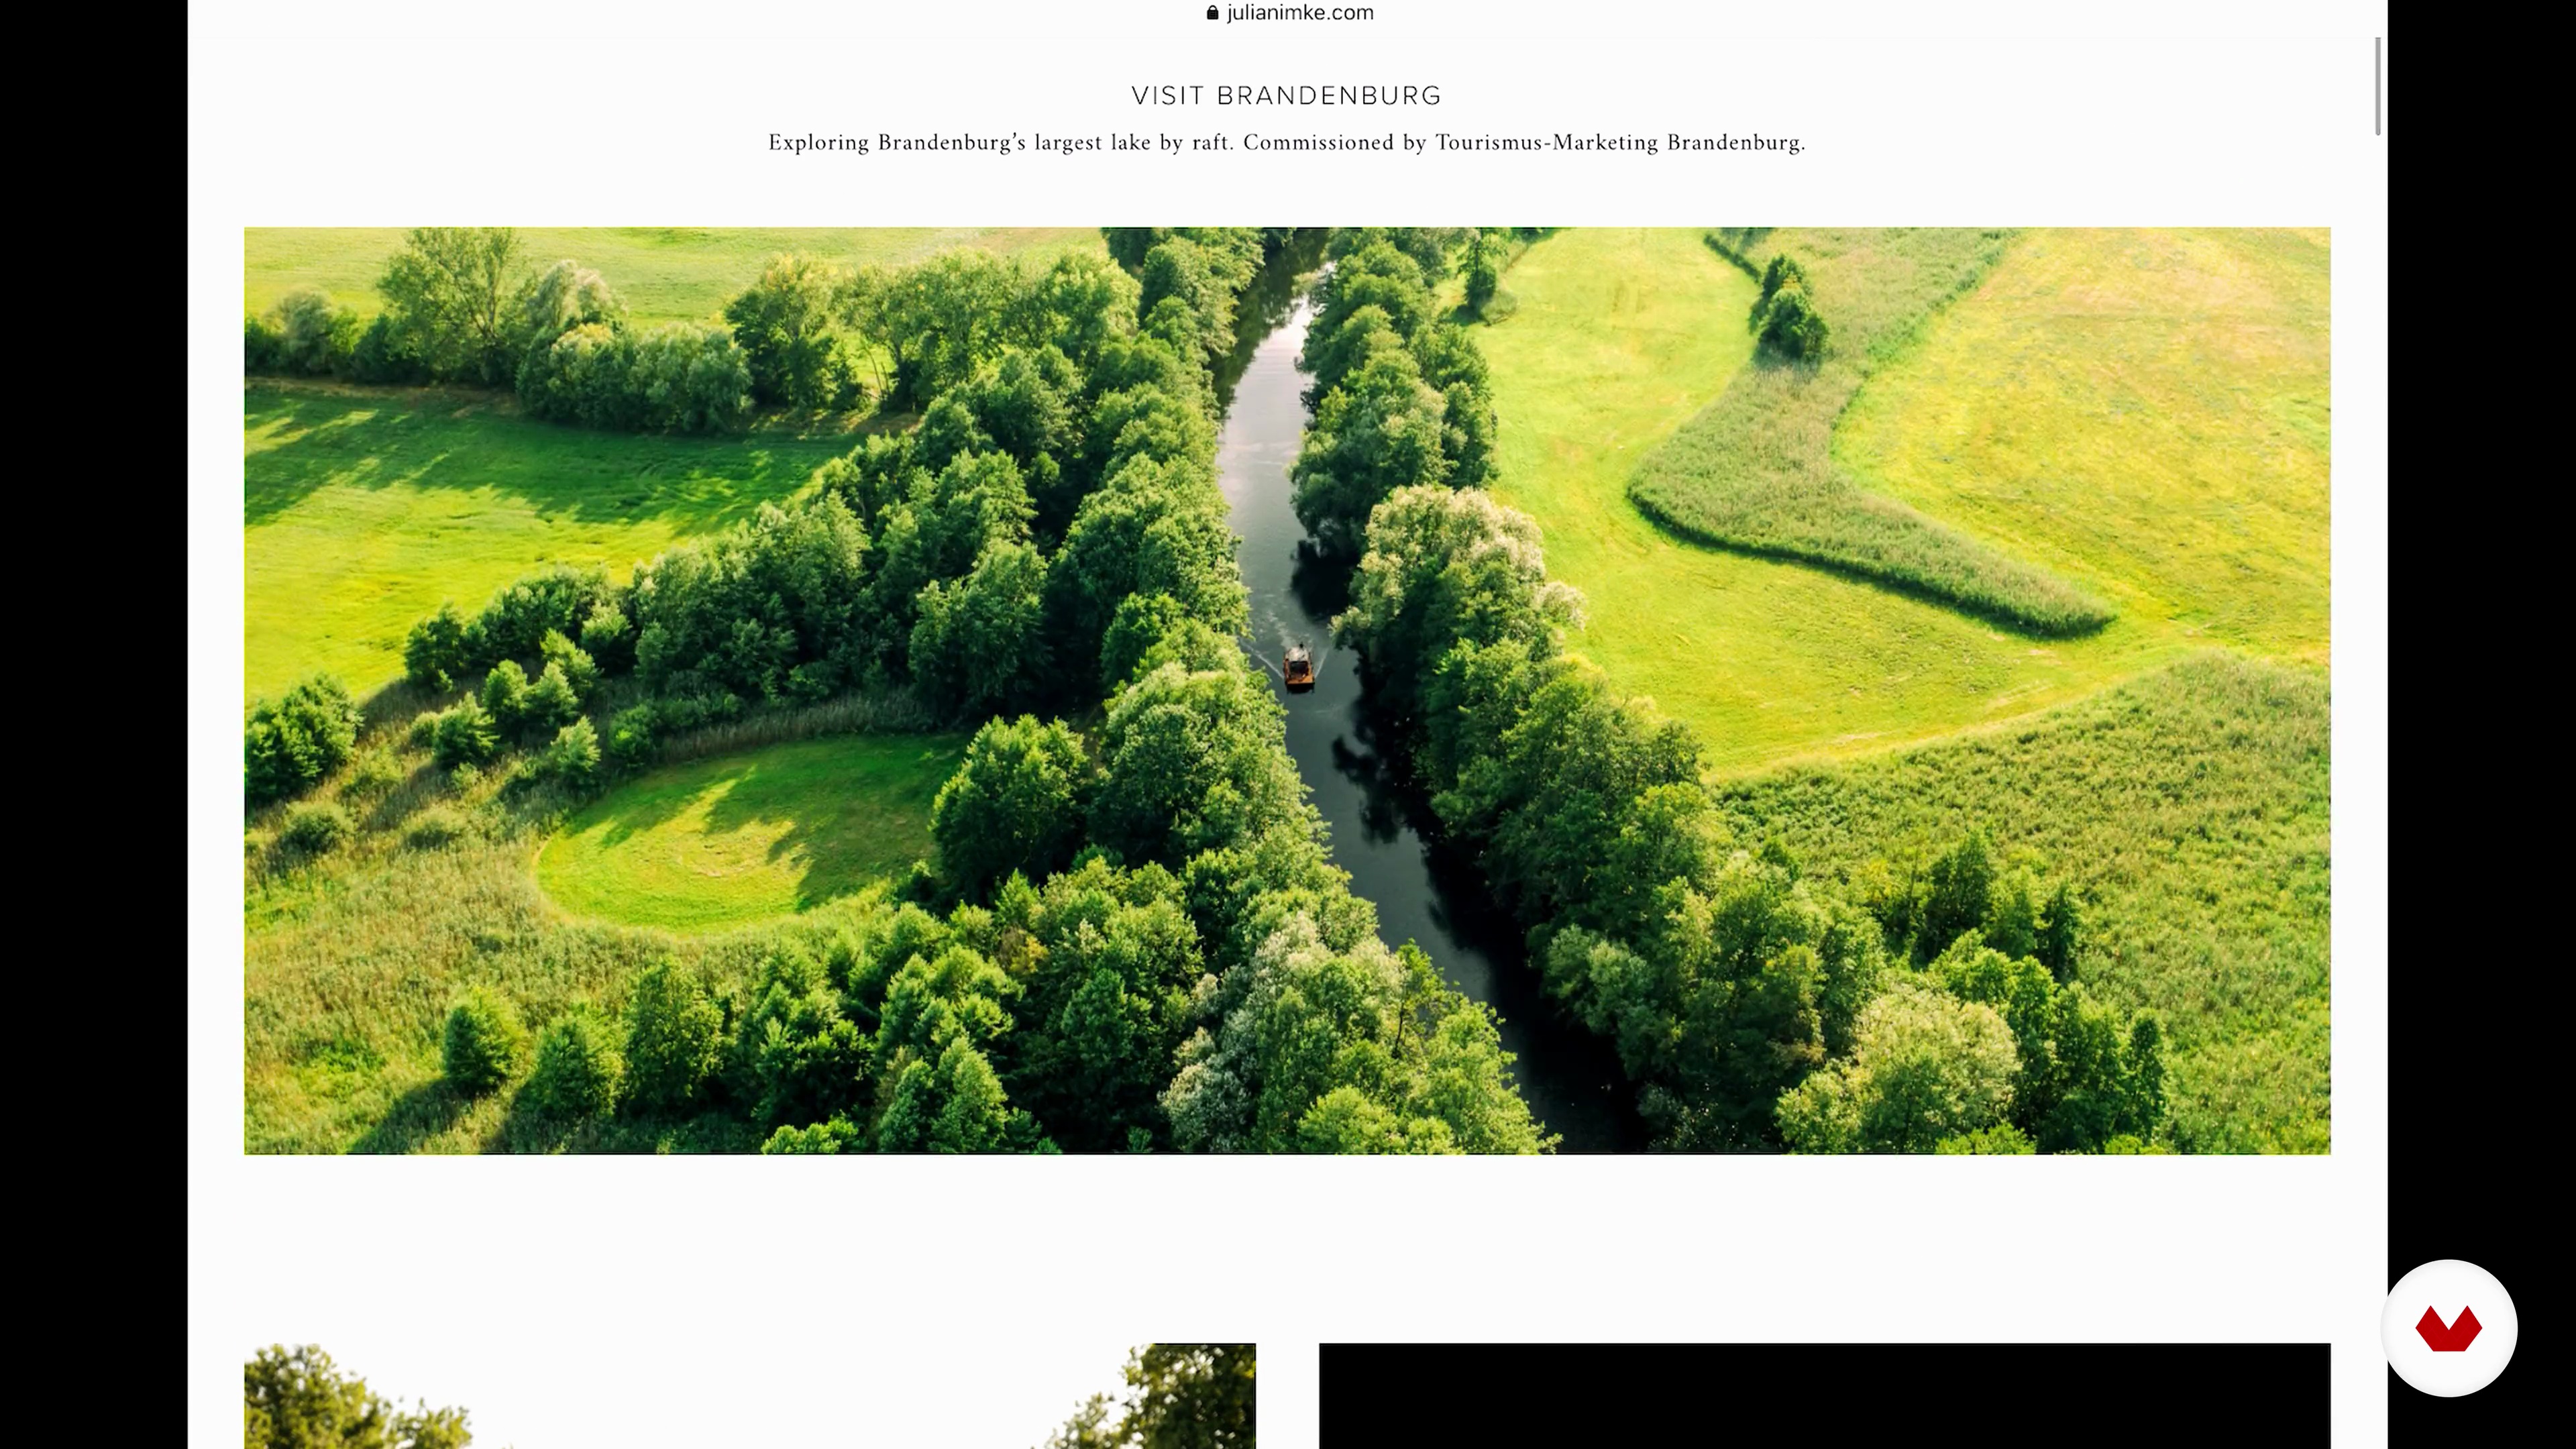
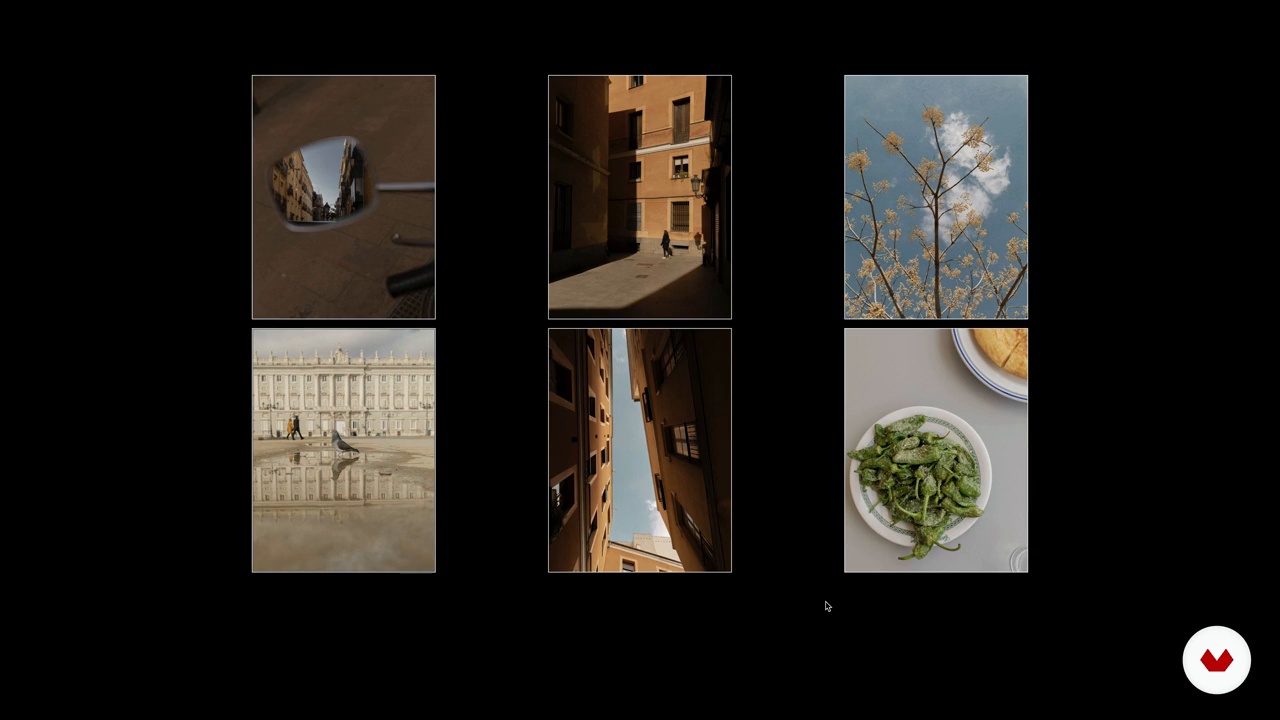
Create a photo reportage on a meaningful theme using learned theories and techniques, effectively telling your story through compelling images.

Who is this specialization for?

Aspiring photographers eager to explore digital camera techniques, color enthusiasts wanting to evoke emotion through imagery, portrait artists aiming to master lighting or capture authentic expressions, and travelers seeking to narrate stories through visuals will benefit from these courses.

Requirements and materials

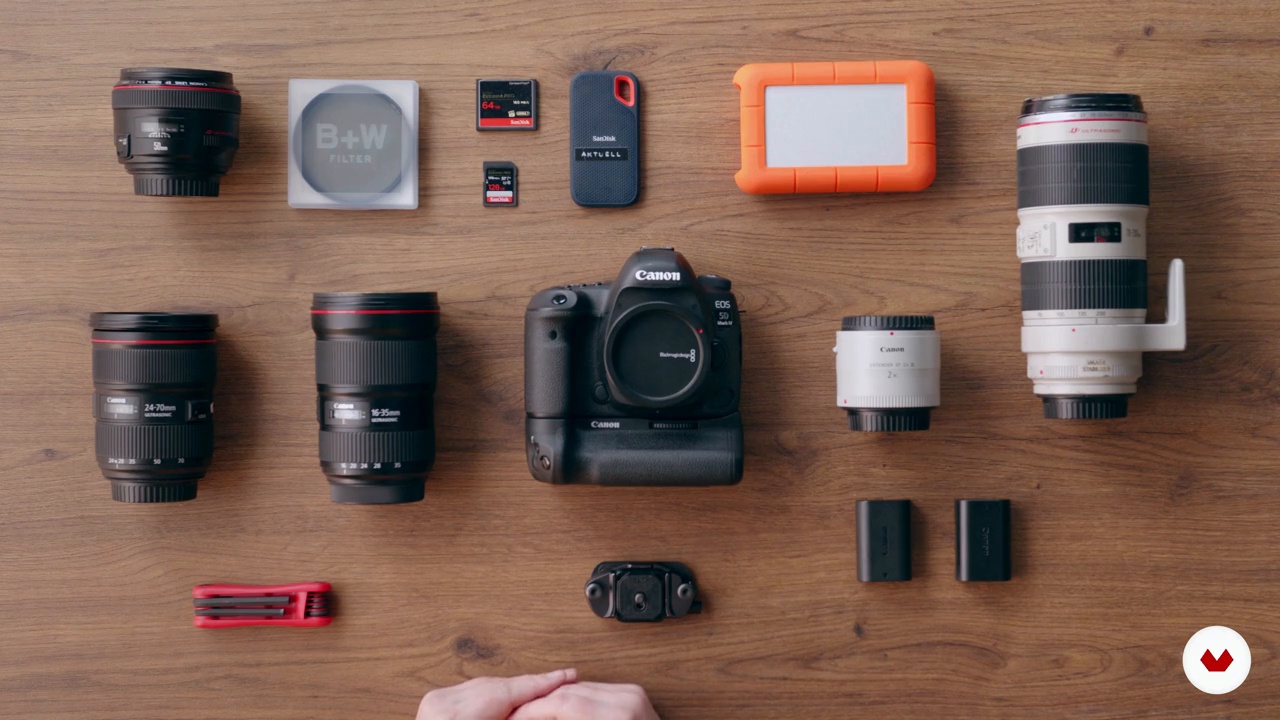
No extensive prior knowledge is needed. Students require a digital camera or smartphone with manual settings, basic photography skills, and access to editing software like Lightroom or Photoshop. Curiosity and willingness to explore photography concepts enhance the learning experience.

Select to get to know your teachers in this specialization course
Read more ↓

Reviews

566 Students
3 Reviews
100% Positive ratings


What to expect from this specialization course

  • Learn at your own pace

    Enjoy learning from home without a set schedule and with an easy-to-follow method. You set your own pace.

  • Learn from the best professionals

    Learn valuable methods and techniques explained by top experts in the creative sector.

  • Meet expert teachers

    Each expert teaches what they do best, with clear guidelines, true passion, and professional insight in every lesson.

  • Certificates
    Plus

    If you're a Plus member, get a custom certificate for every specialization course. Share it on your portfolio, social media, or wherever you like.

  • Get front-row seats

    Videos of the highest quality, so you don't miss a single detail. With unlimited access, you can watch them as many times as you need to perfect your technique.

  • Share knowledge and ideas

    Ask questions, request feedback, or offer solutions. Share your learning experience with other students in the community who are as passionate about creativity as you are.

  • Connect with a global creative community

    The community is home to millions of people from around the world who are curious and passionate about exploring and expressing their creativity.

  • Watch professionally produced courses

    Domestika curates its teacher roster and produces every course in-house to ensure a high-quality online learning experience.


FAQs

Domestika's specialization courses are online classes that provide you with the tools and skills you need to complete a specific project. Every step of the project combines video lessons with complementary instructional material, so you can learn by doing. Domestika's specializations also allow you to share your own projects with other students, creating a dynamic course community.

All specialization courses are 100% online, so once they're published, specialization courses start and finish whenever you want. You set the pace of the class. You can go back to review what interests you most and skip what you already know, ask questions, answer questions, share your projects, and more.

The specialization courses are divided into different modules. Each one includes lessons, informational text, tasks, and practice exercises to help you carry out your project step by step, with additional complementary resources and downloads. You'll also have access to an exclusive forum where you can interact with other students, as well as share your work and your final project, creating a community around the specialization course.

You can redeem the specialization course you received by accessing the redeeming page and entering your gift code.

If you're a Plus member, when you complete a course you've purchased, you'll instantly get your personalized certificate. You can see all your certificates in the Certificates section of your profile. You can download your certificates as PDFs and share the link online. Learn more about certificates.
Photography: Art and Techniques Specialization. Photography, and Video course by Domestika

Photography: Art and Techniques Specialization

A specialization by multiple teachers
Specialization Course. Berkeley, United States.
Joined April 2002
  • 100% positive reviews (3)
  • 566 students