Specialization

Interior Design Specialization: Materials, Lighting, and Color

5 Teachers

Learn Interior design: lighting, materials, color and creative concepts to transform unique and functional spaces

Learn Interior design: lighting, materials, color and creative concepts to transform unique and functional spaces

5 Teachers
Specialization · 6 modules

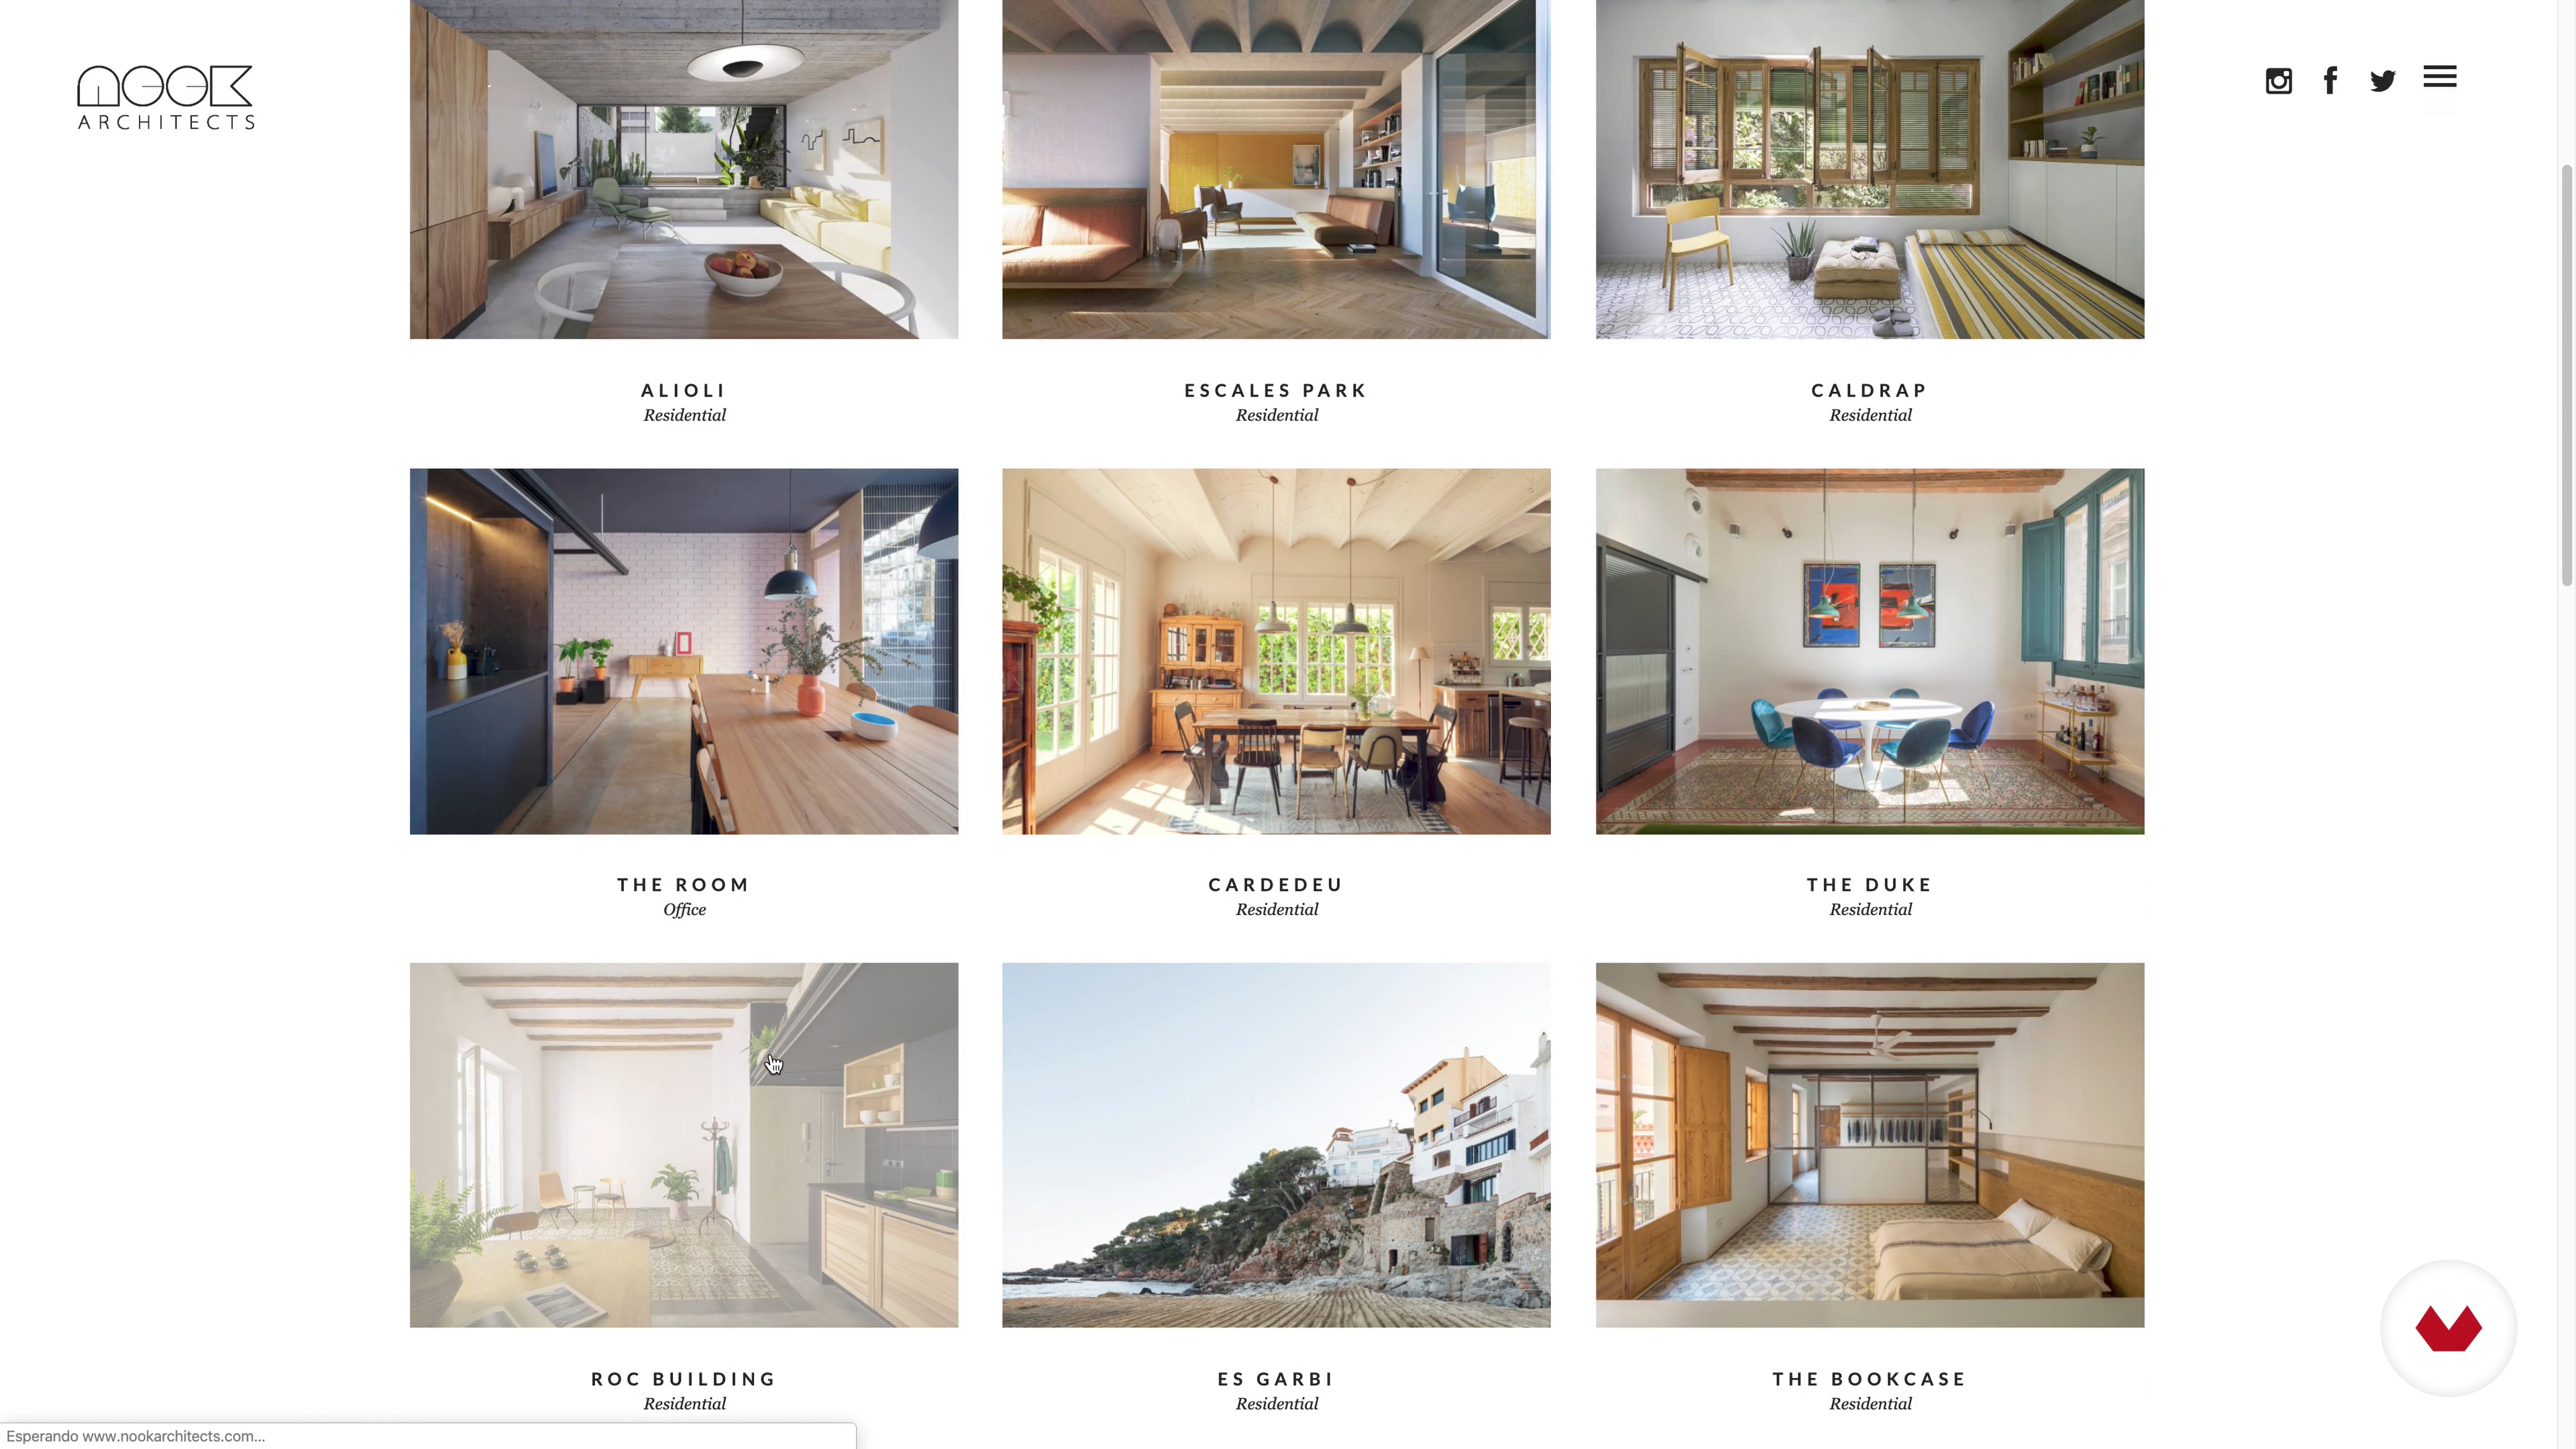
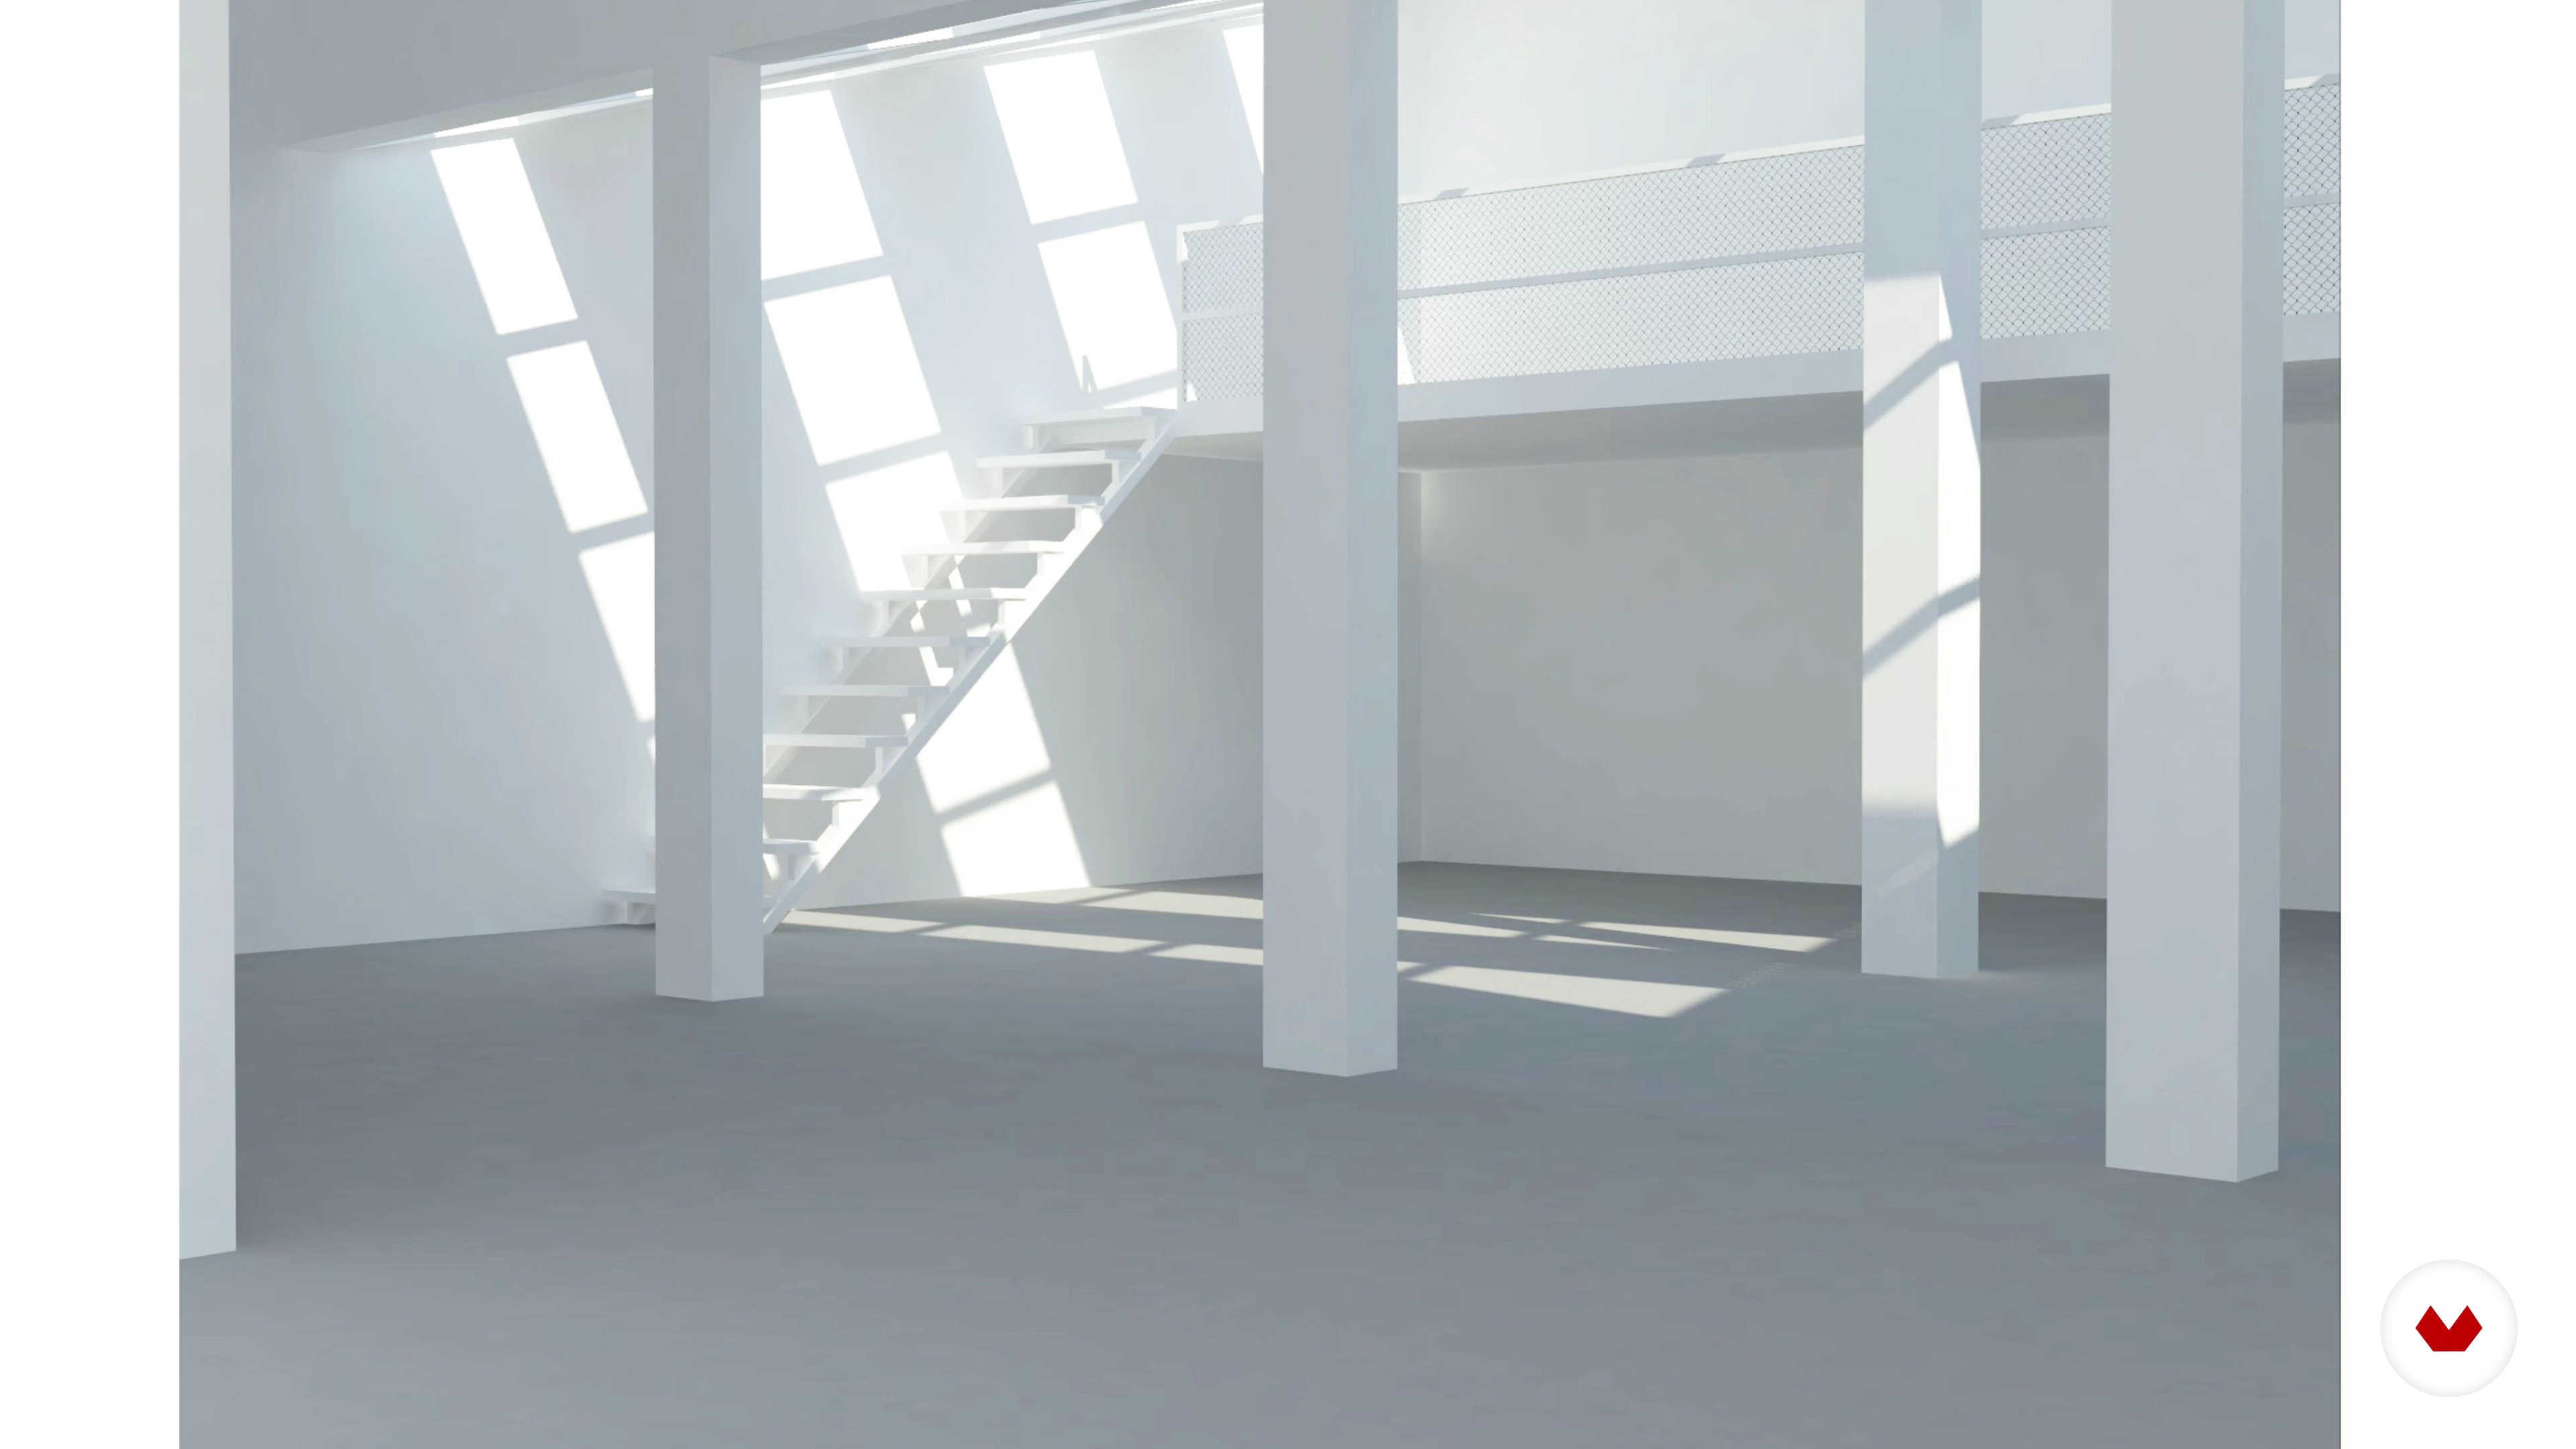
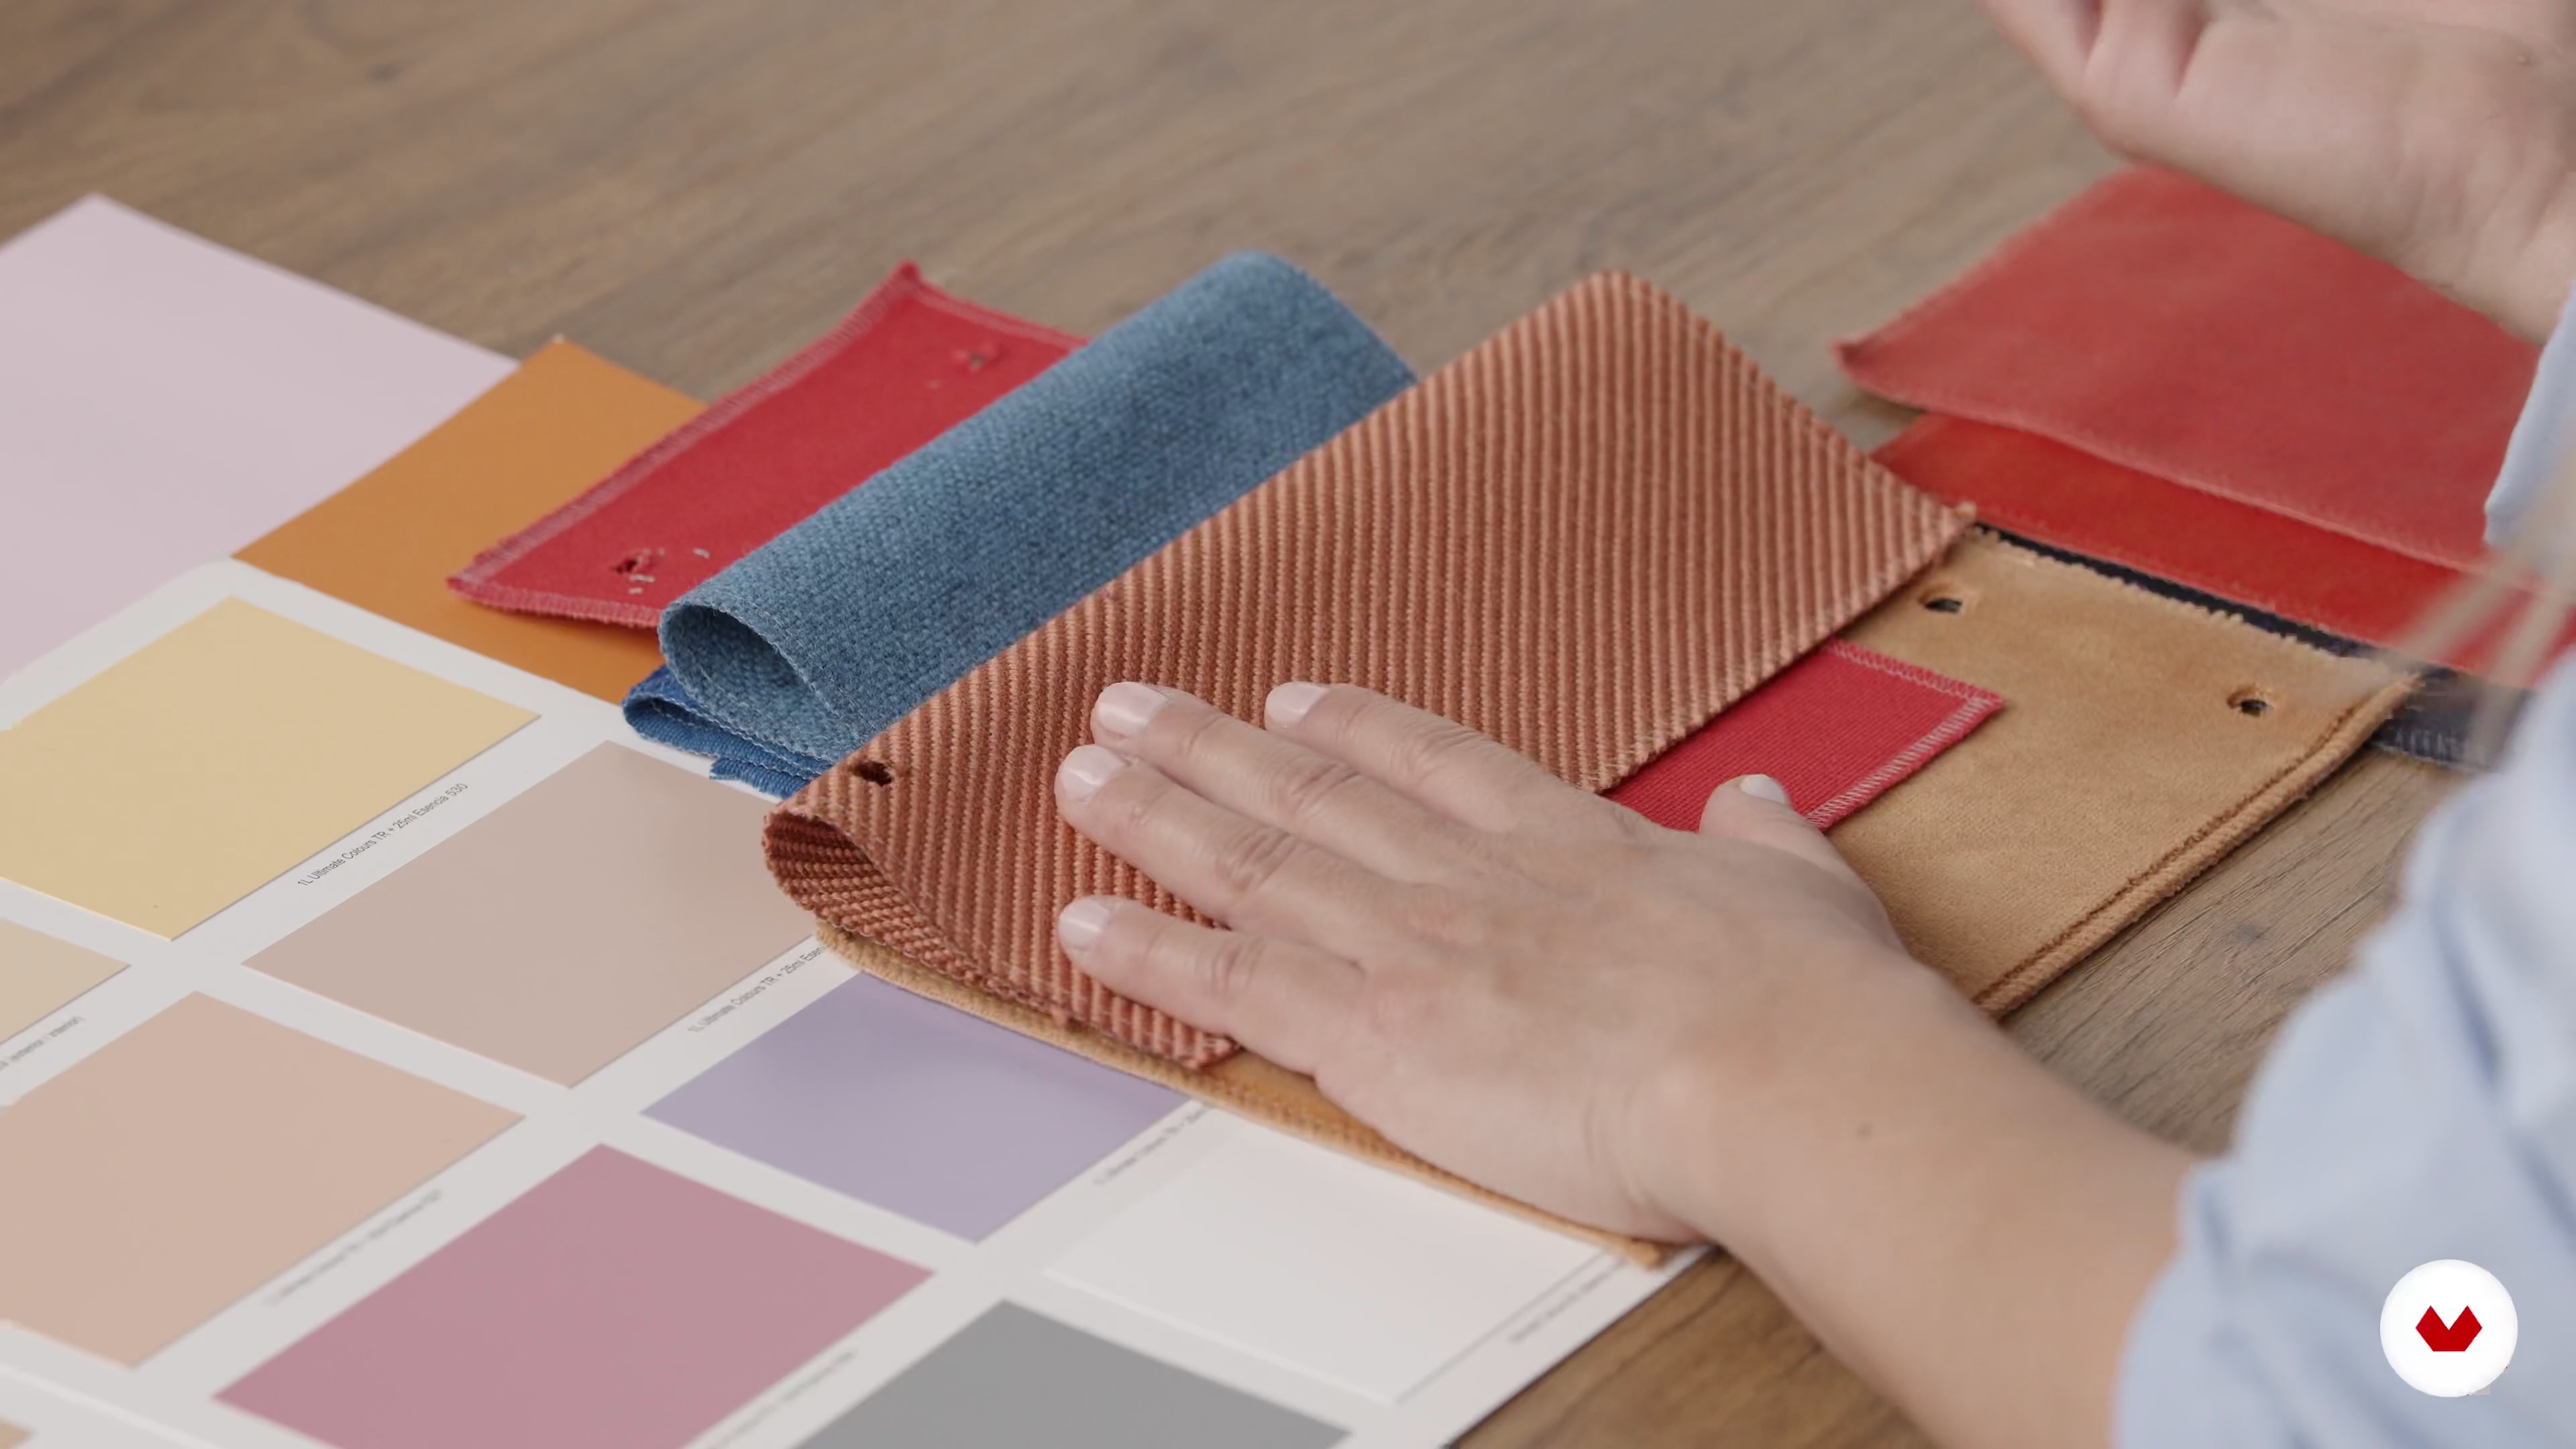
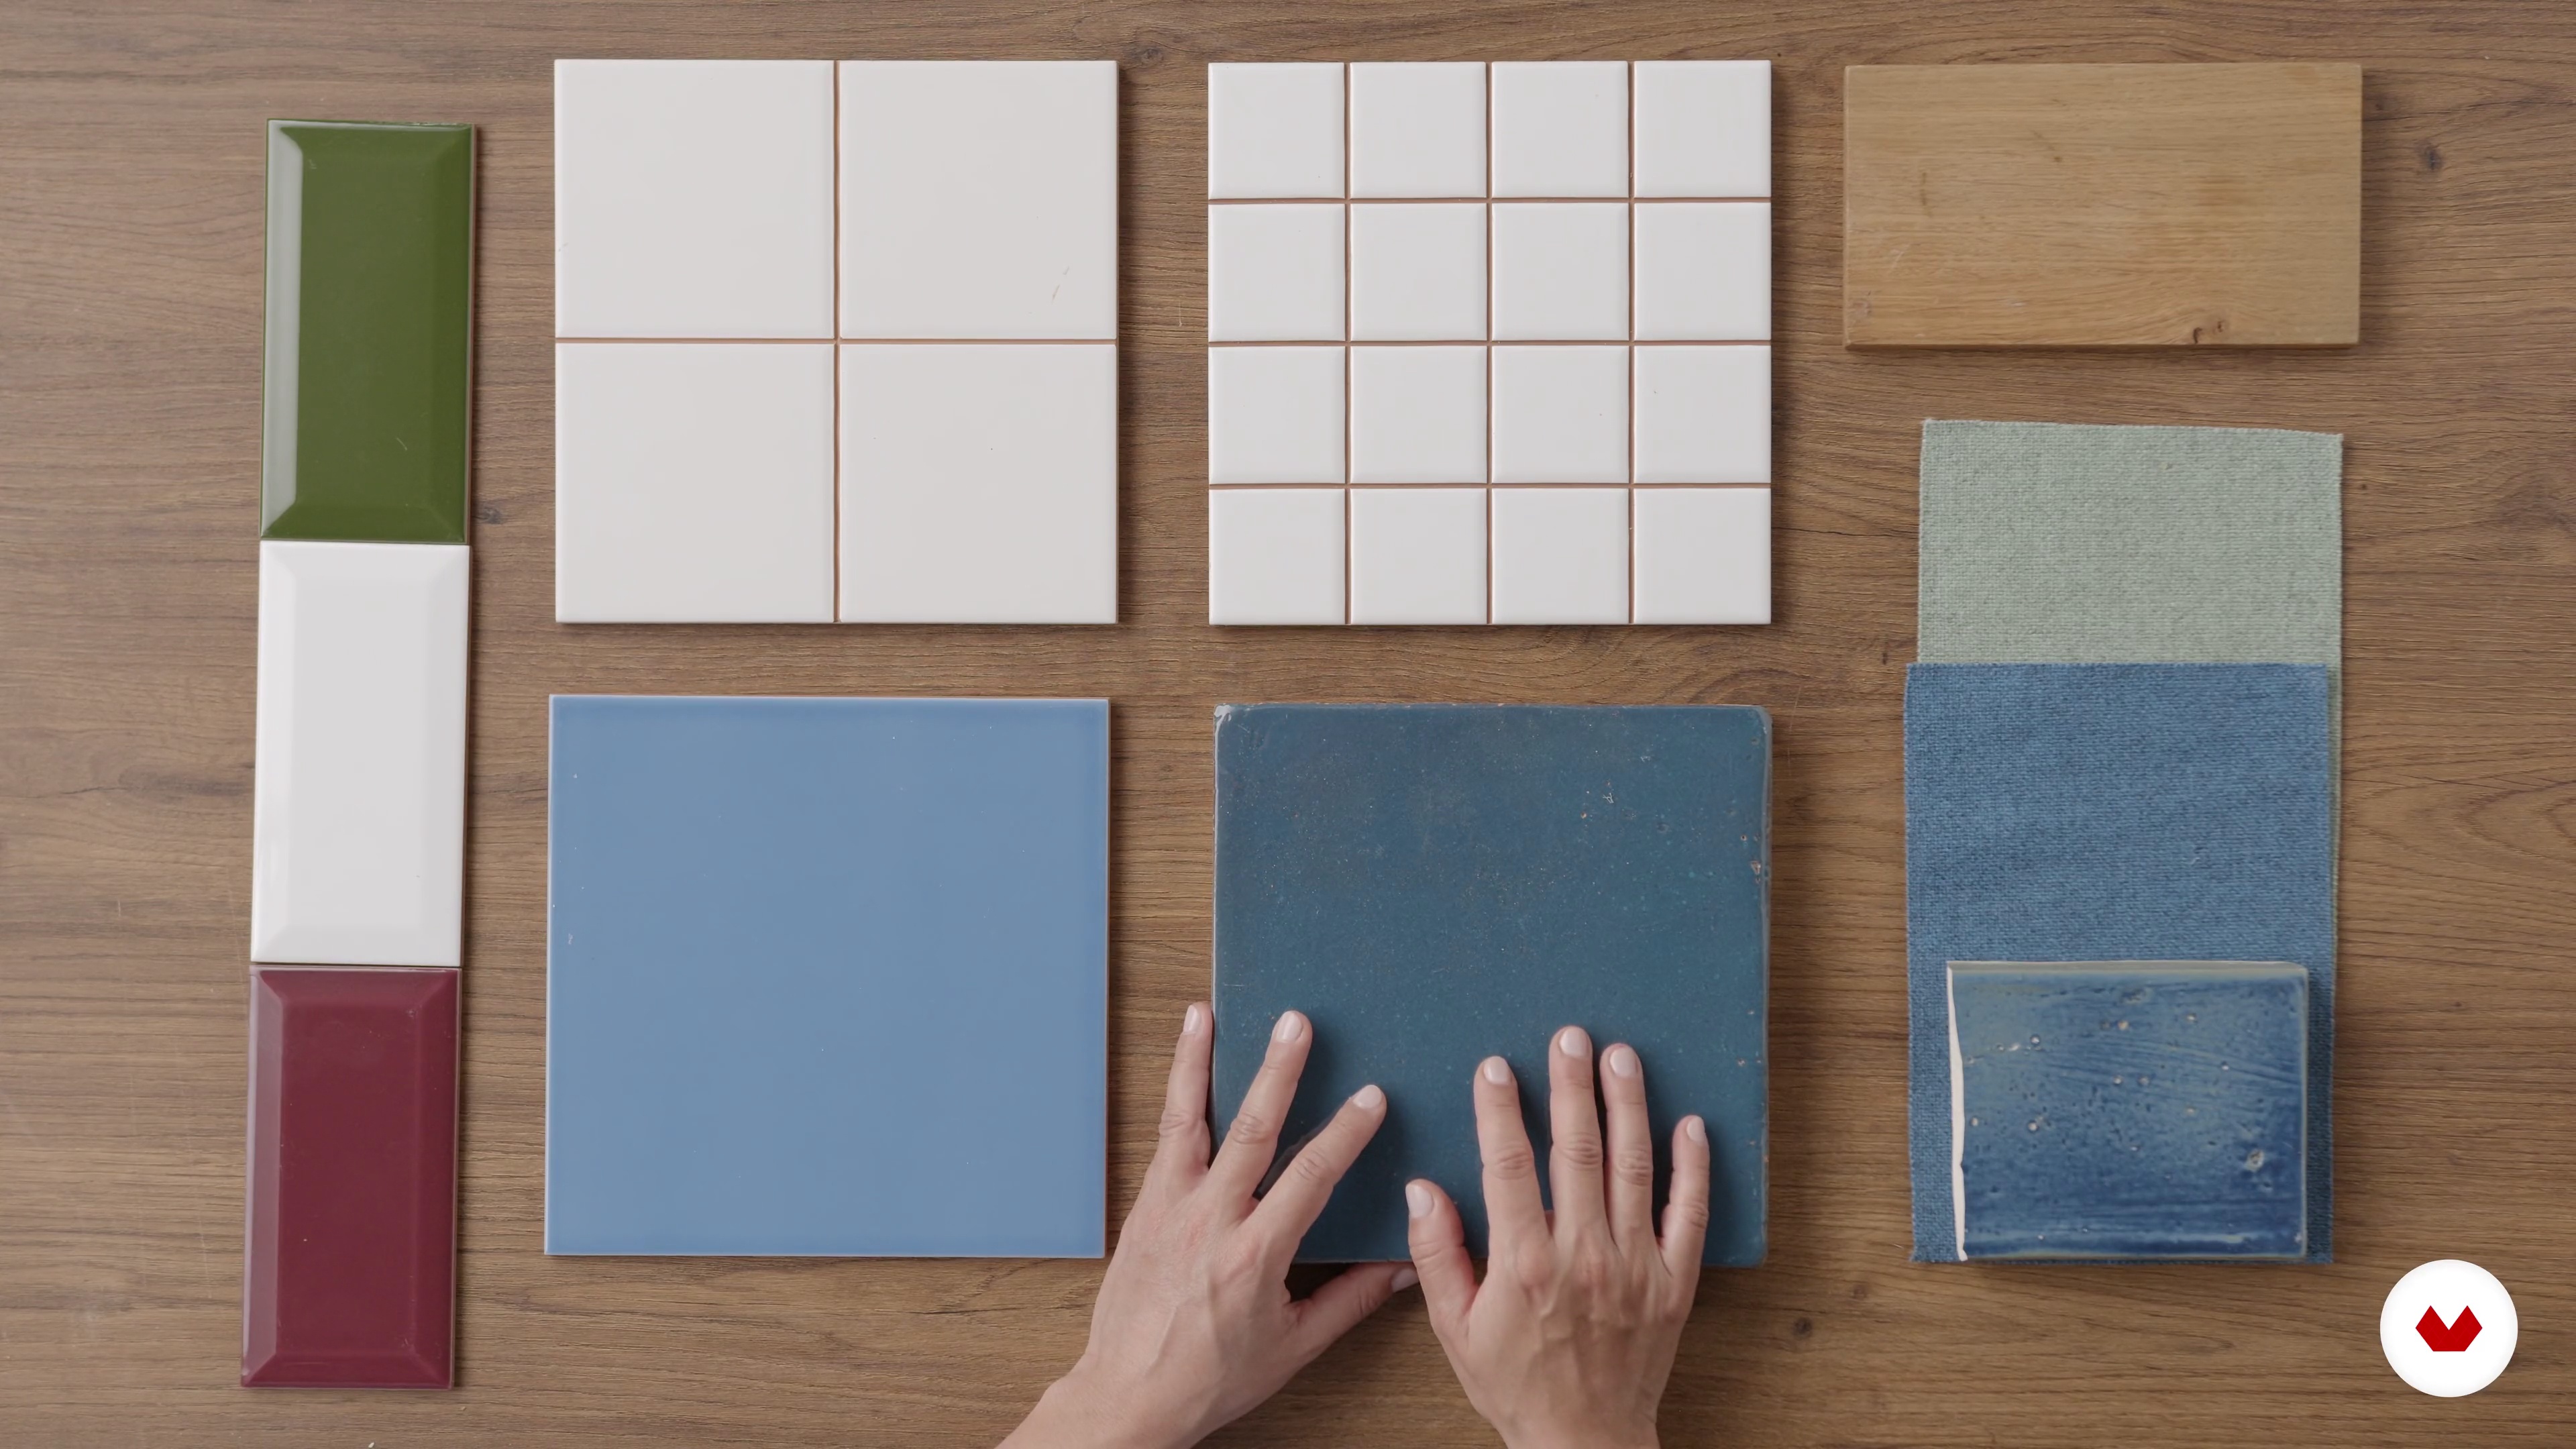
Immerse yourself in the world of interior design with this specialization that covers everything from the most basic concepts to the most advanced techniques. Start with Nook Architects, who will guide you through the entire renovation process, from conception to execution. Learn to create unique color palettes with Miriam Alía, who will show you how to harmonize any room and develop a unique style that reflects your personality.

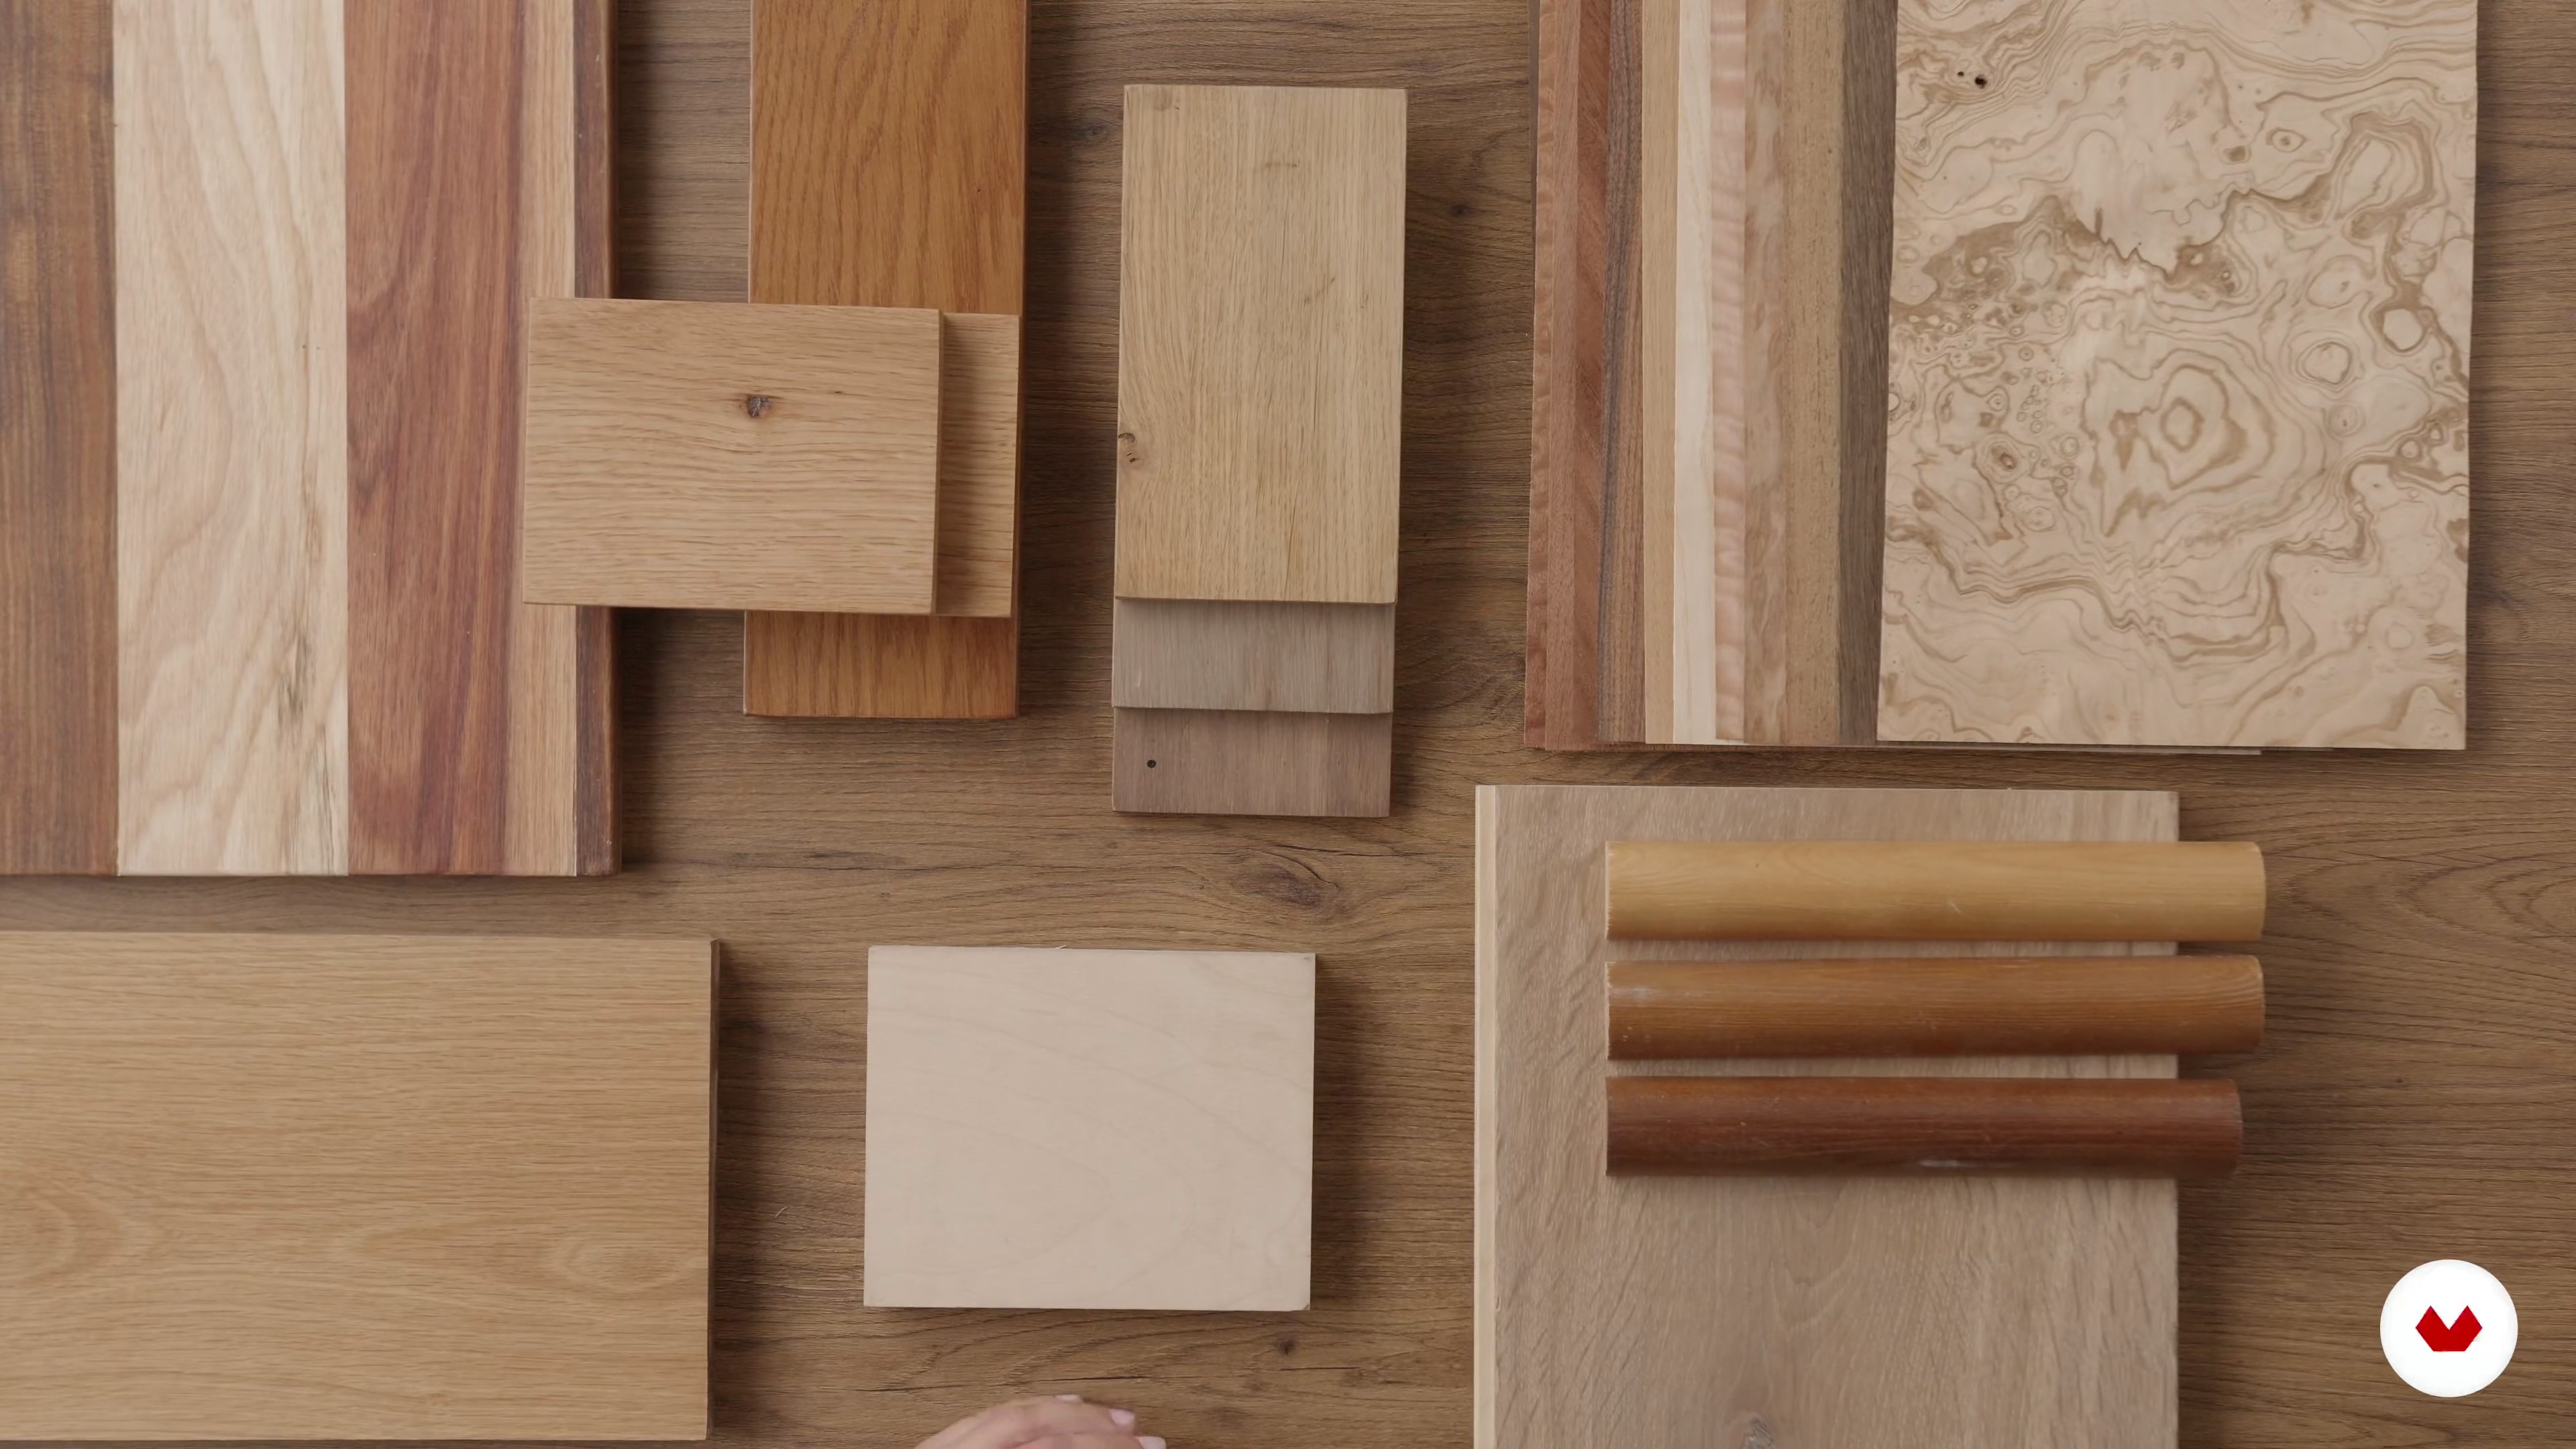
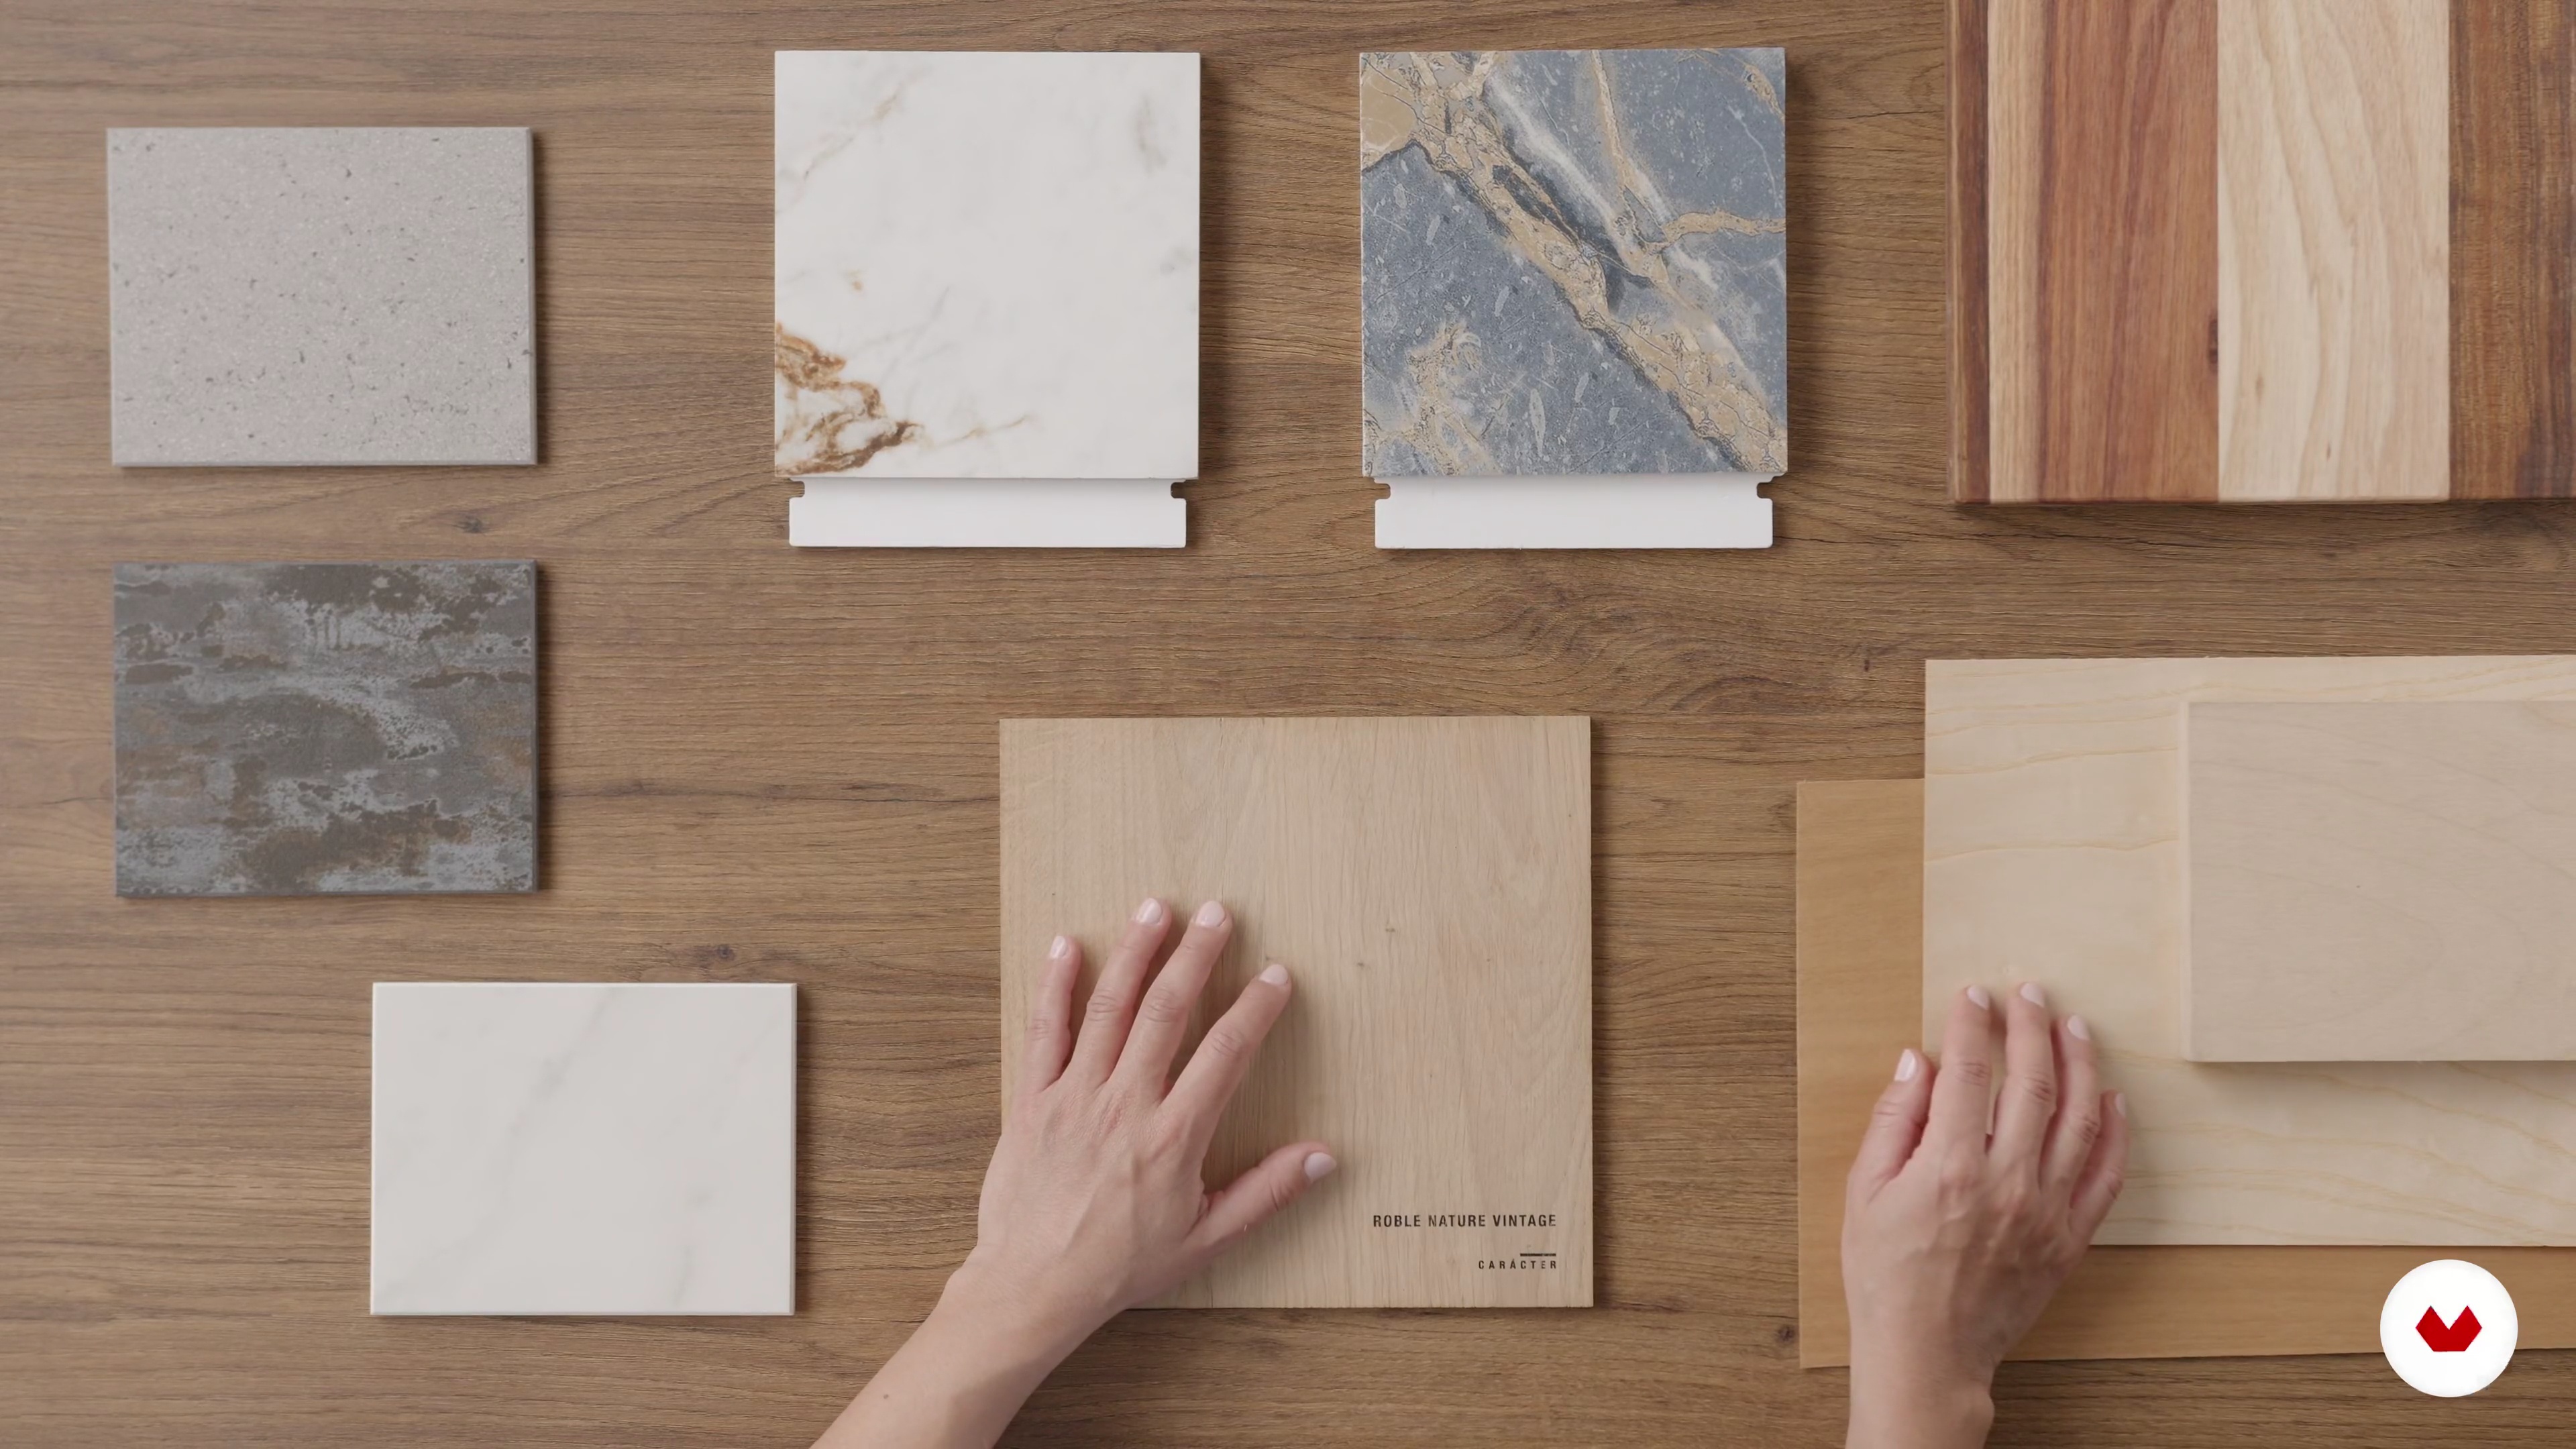
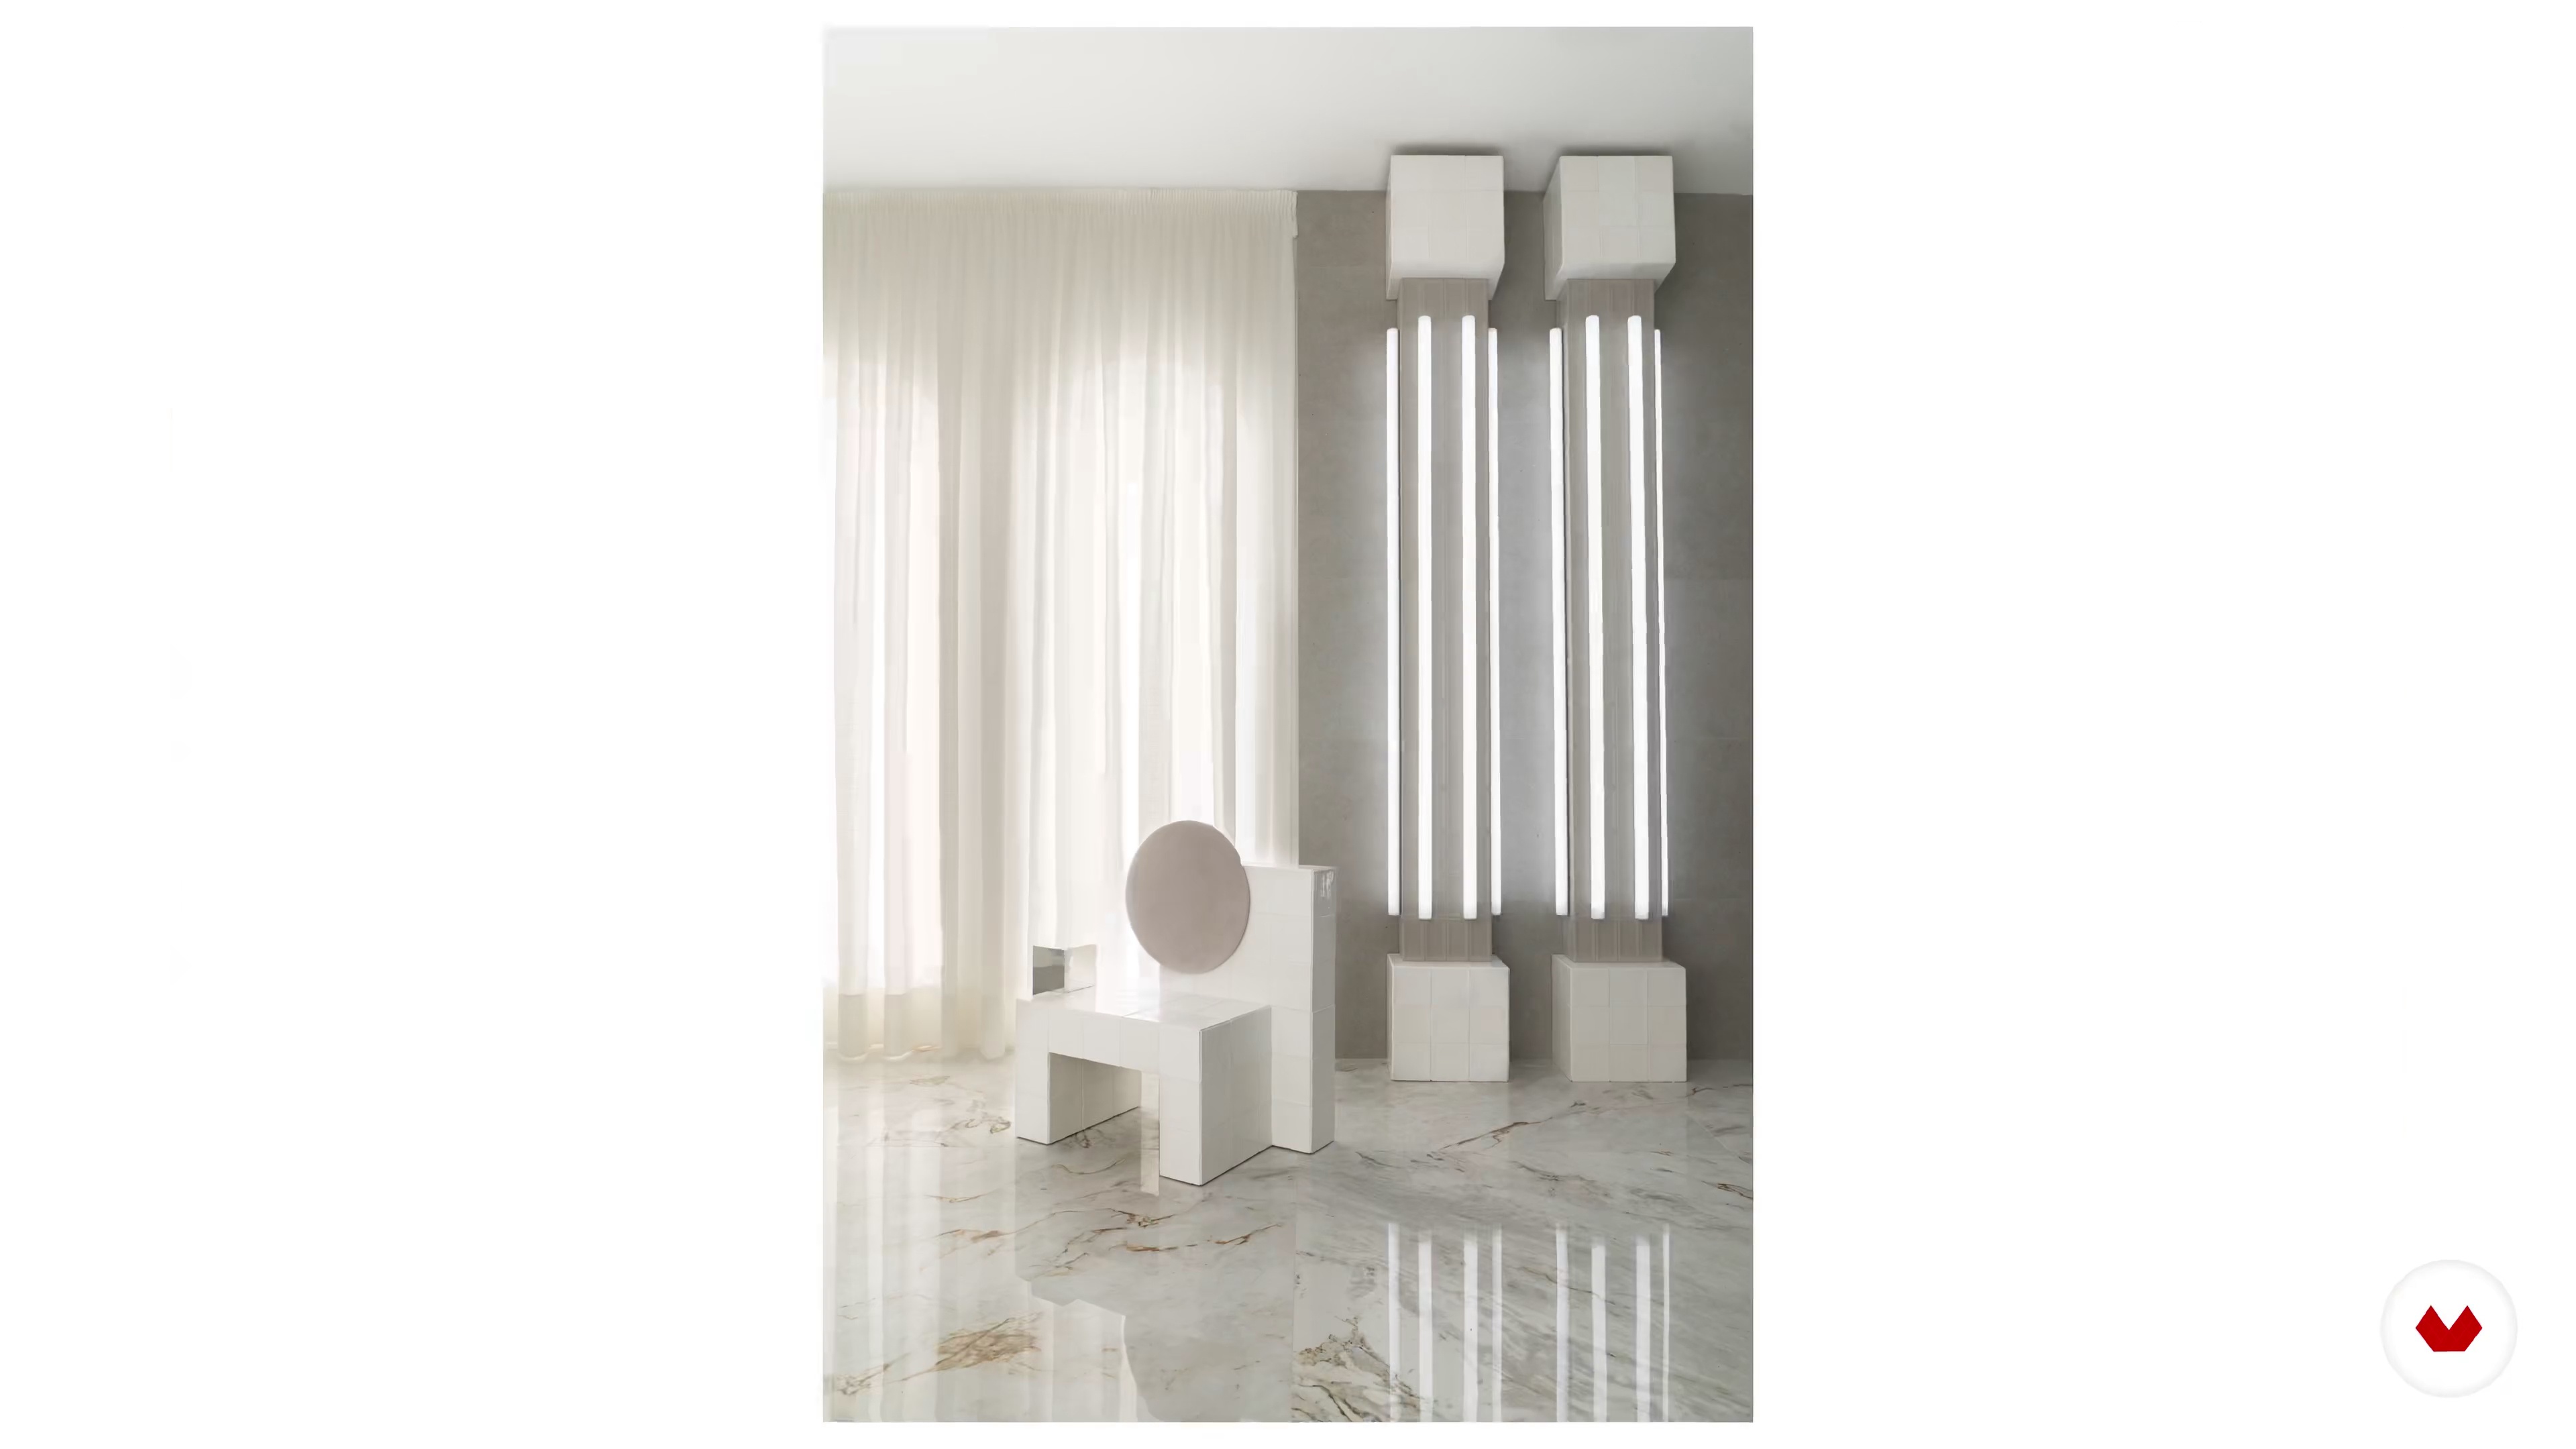
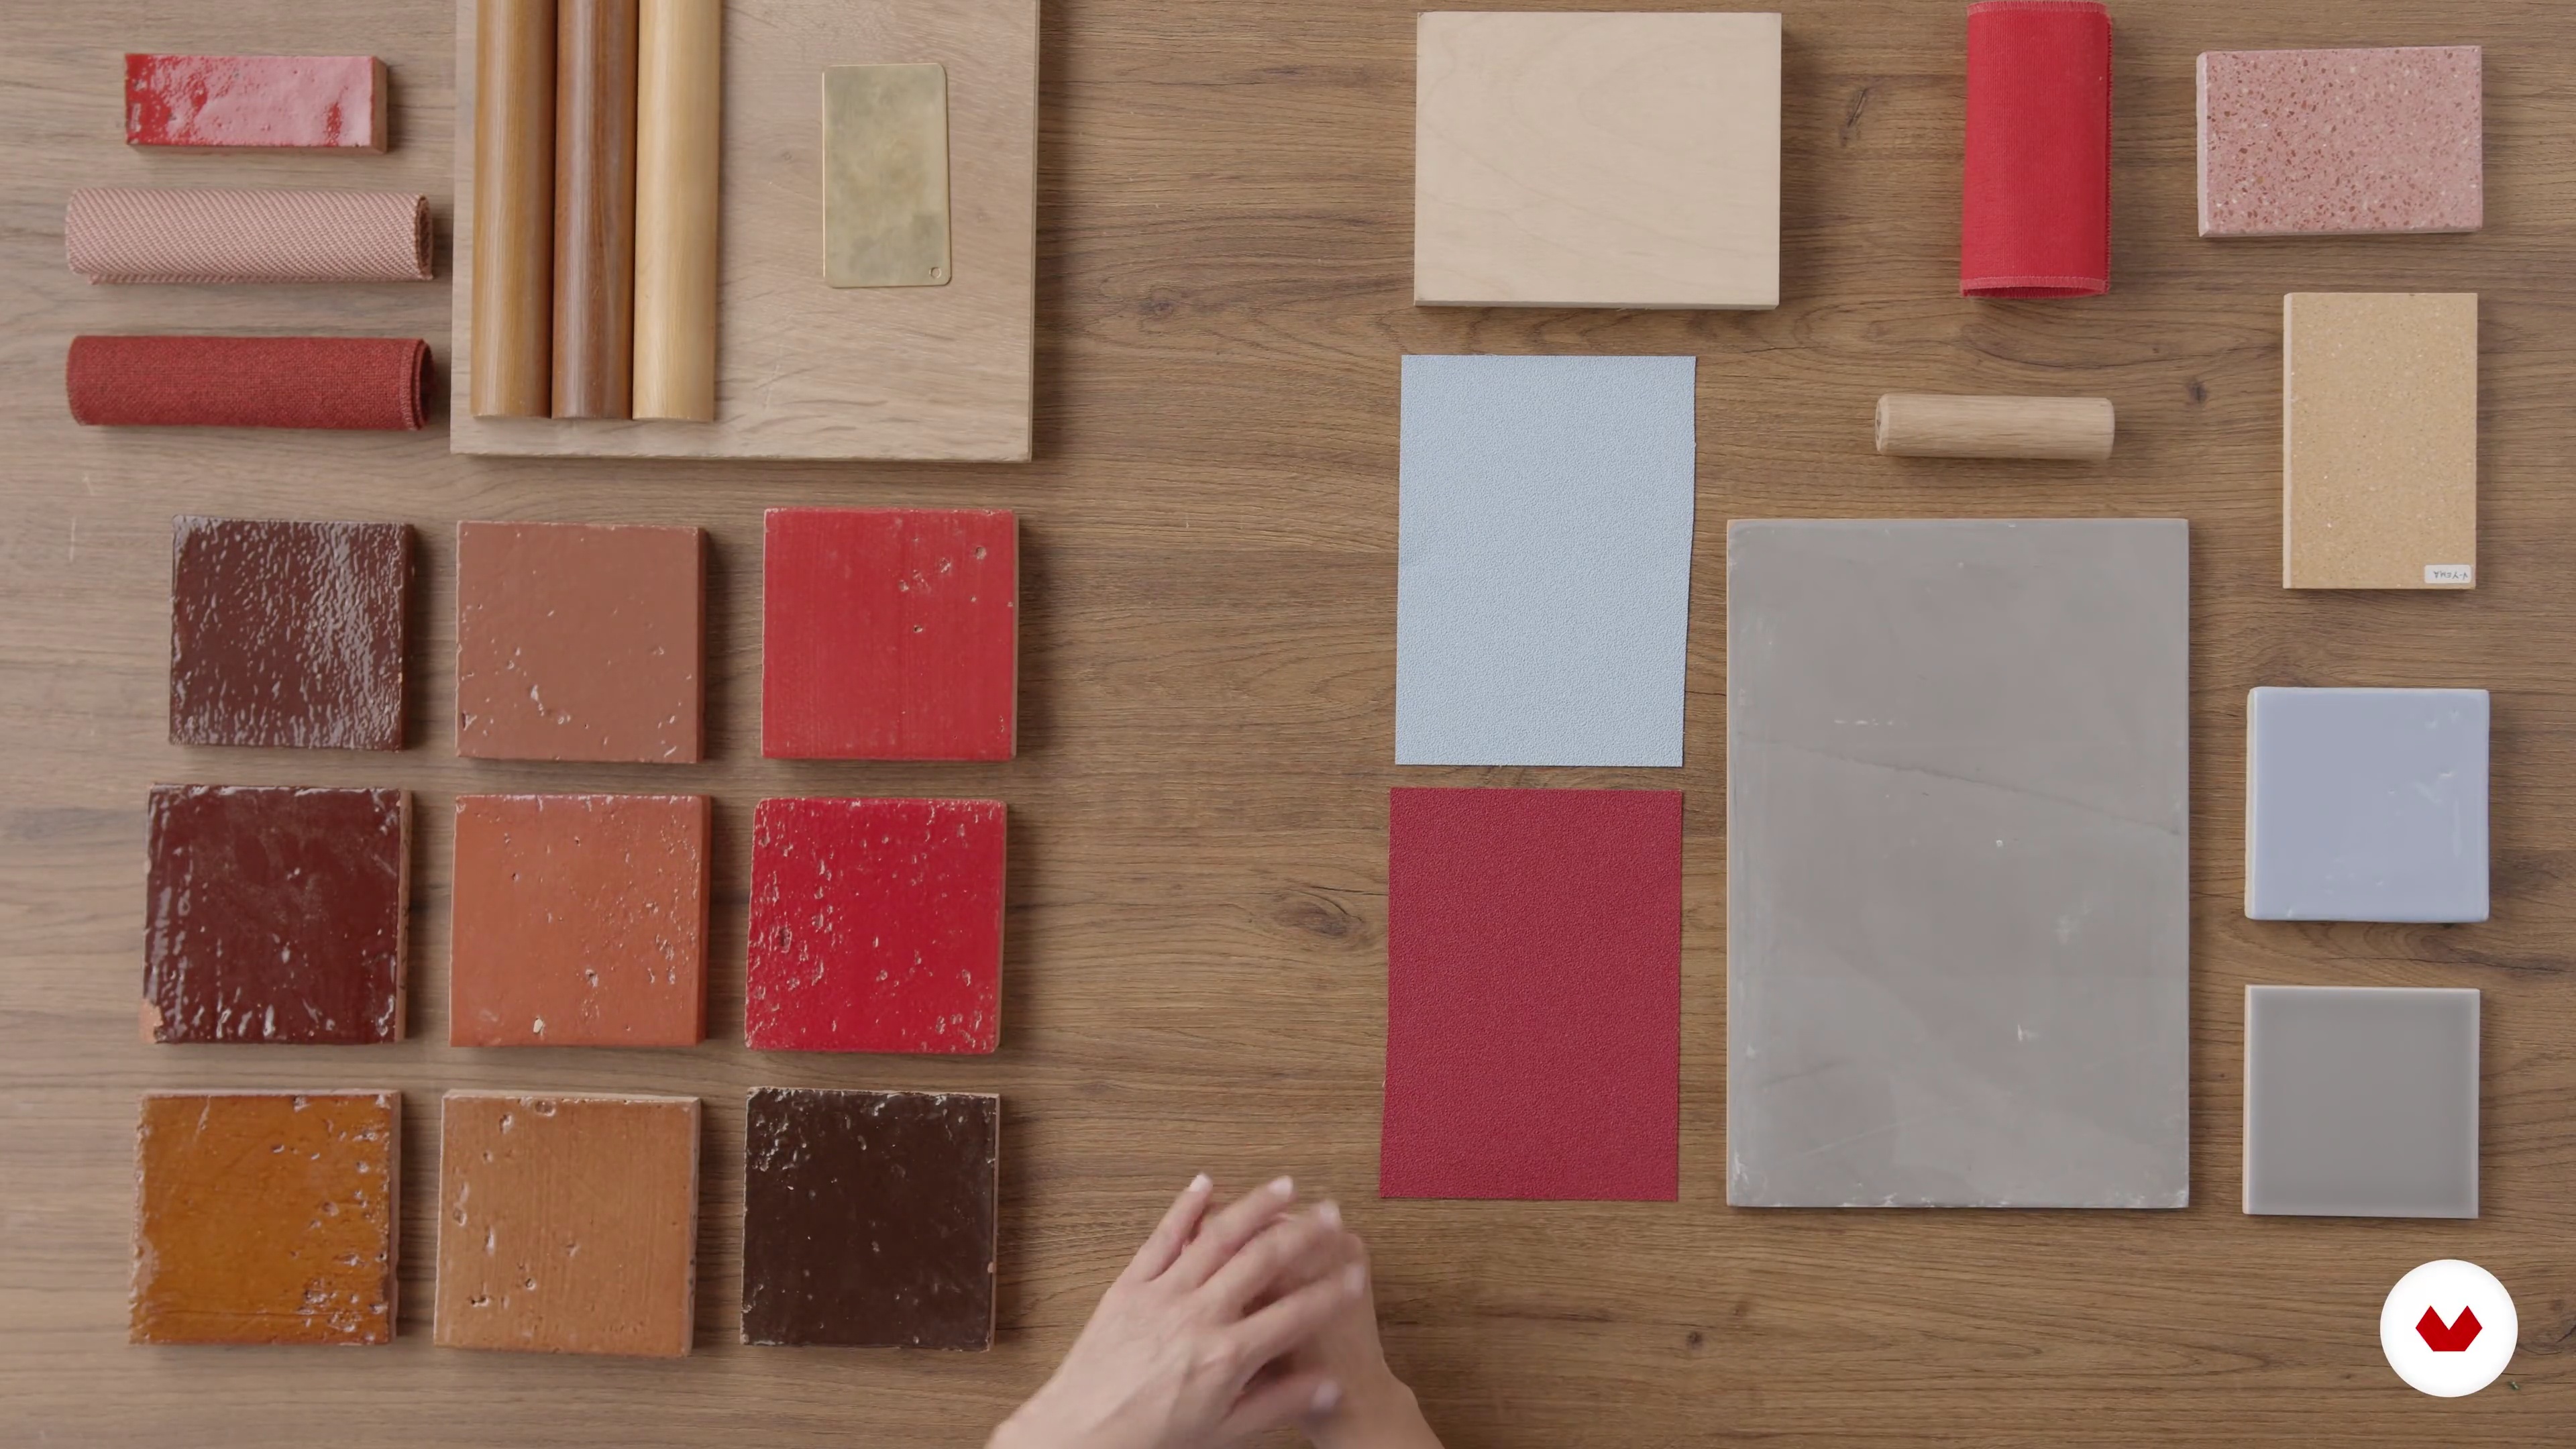
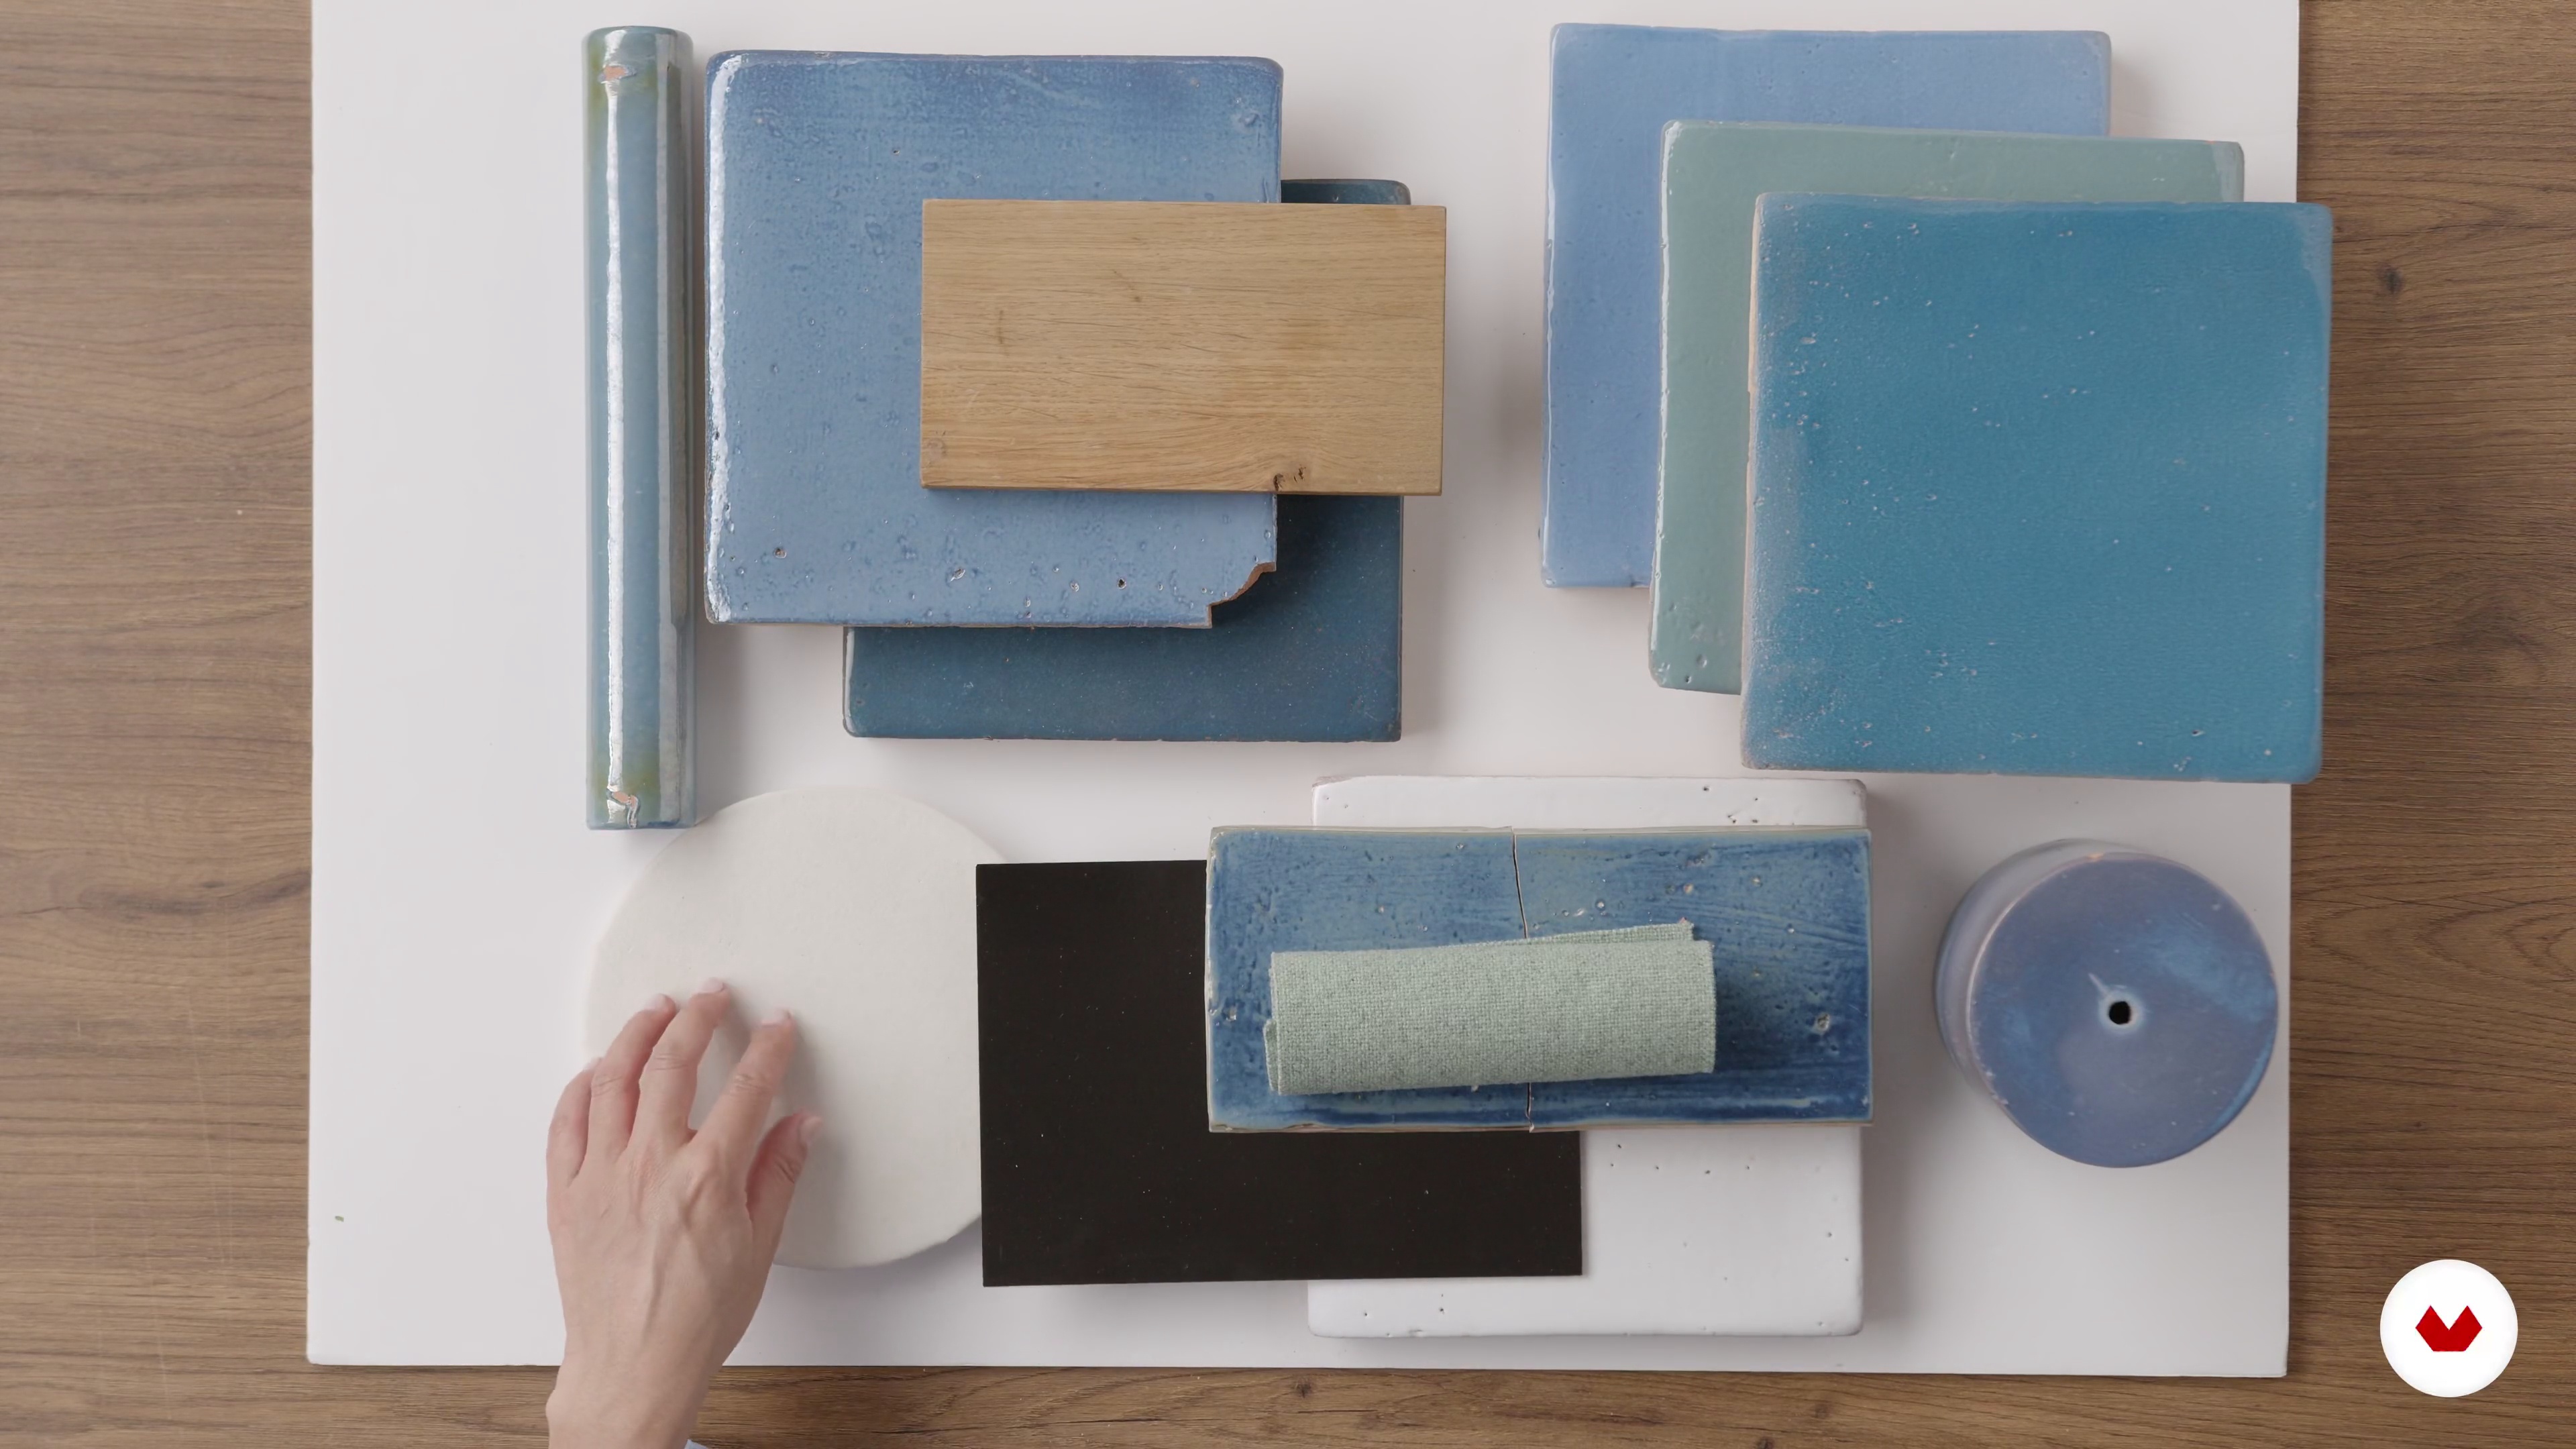
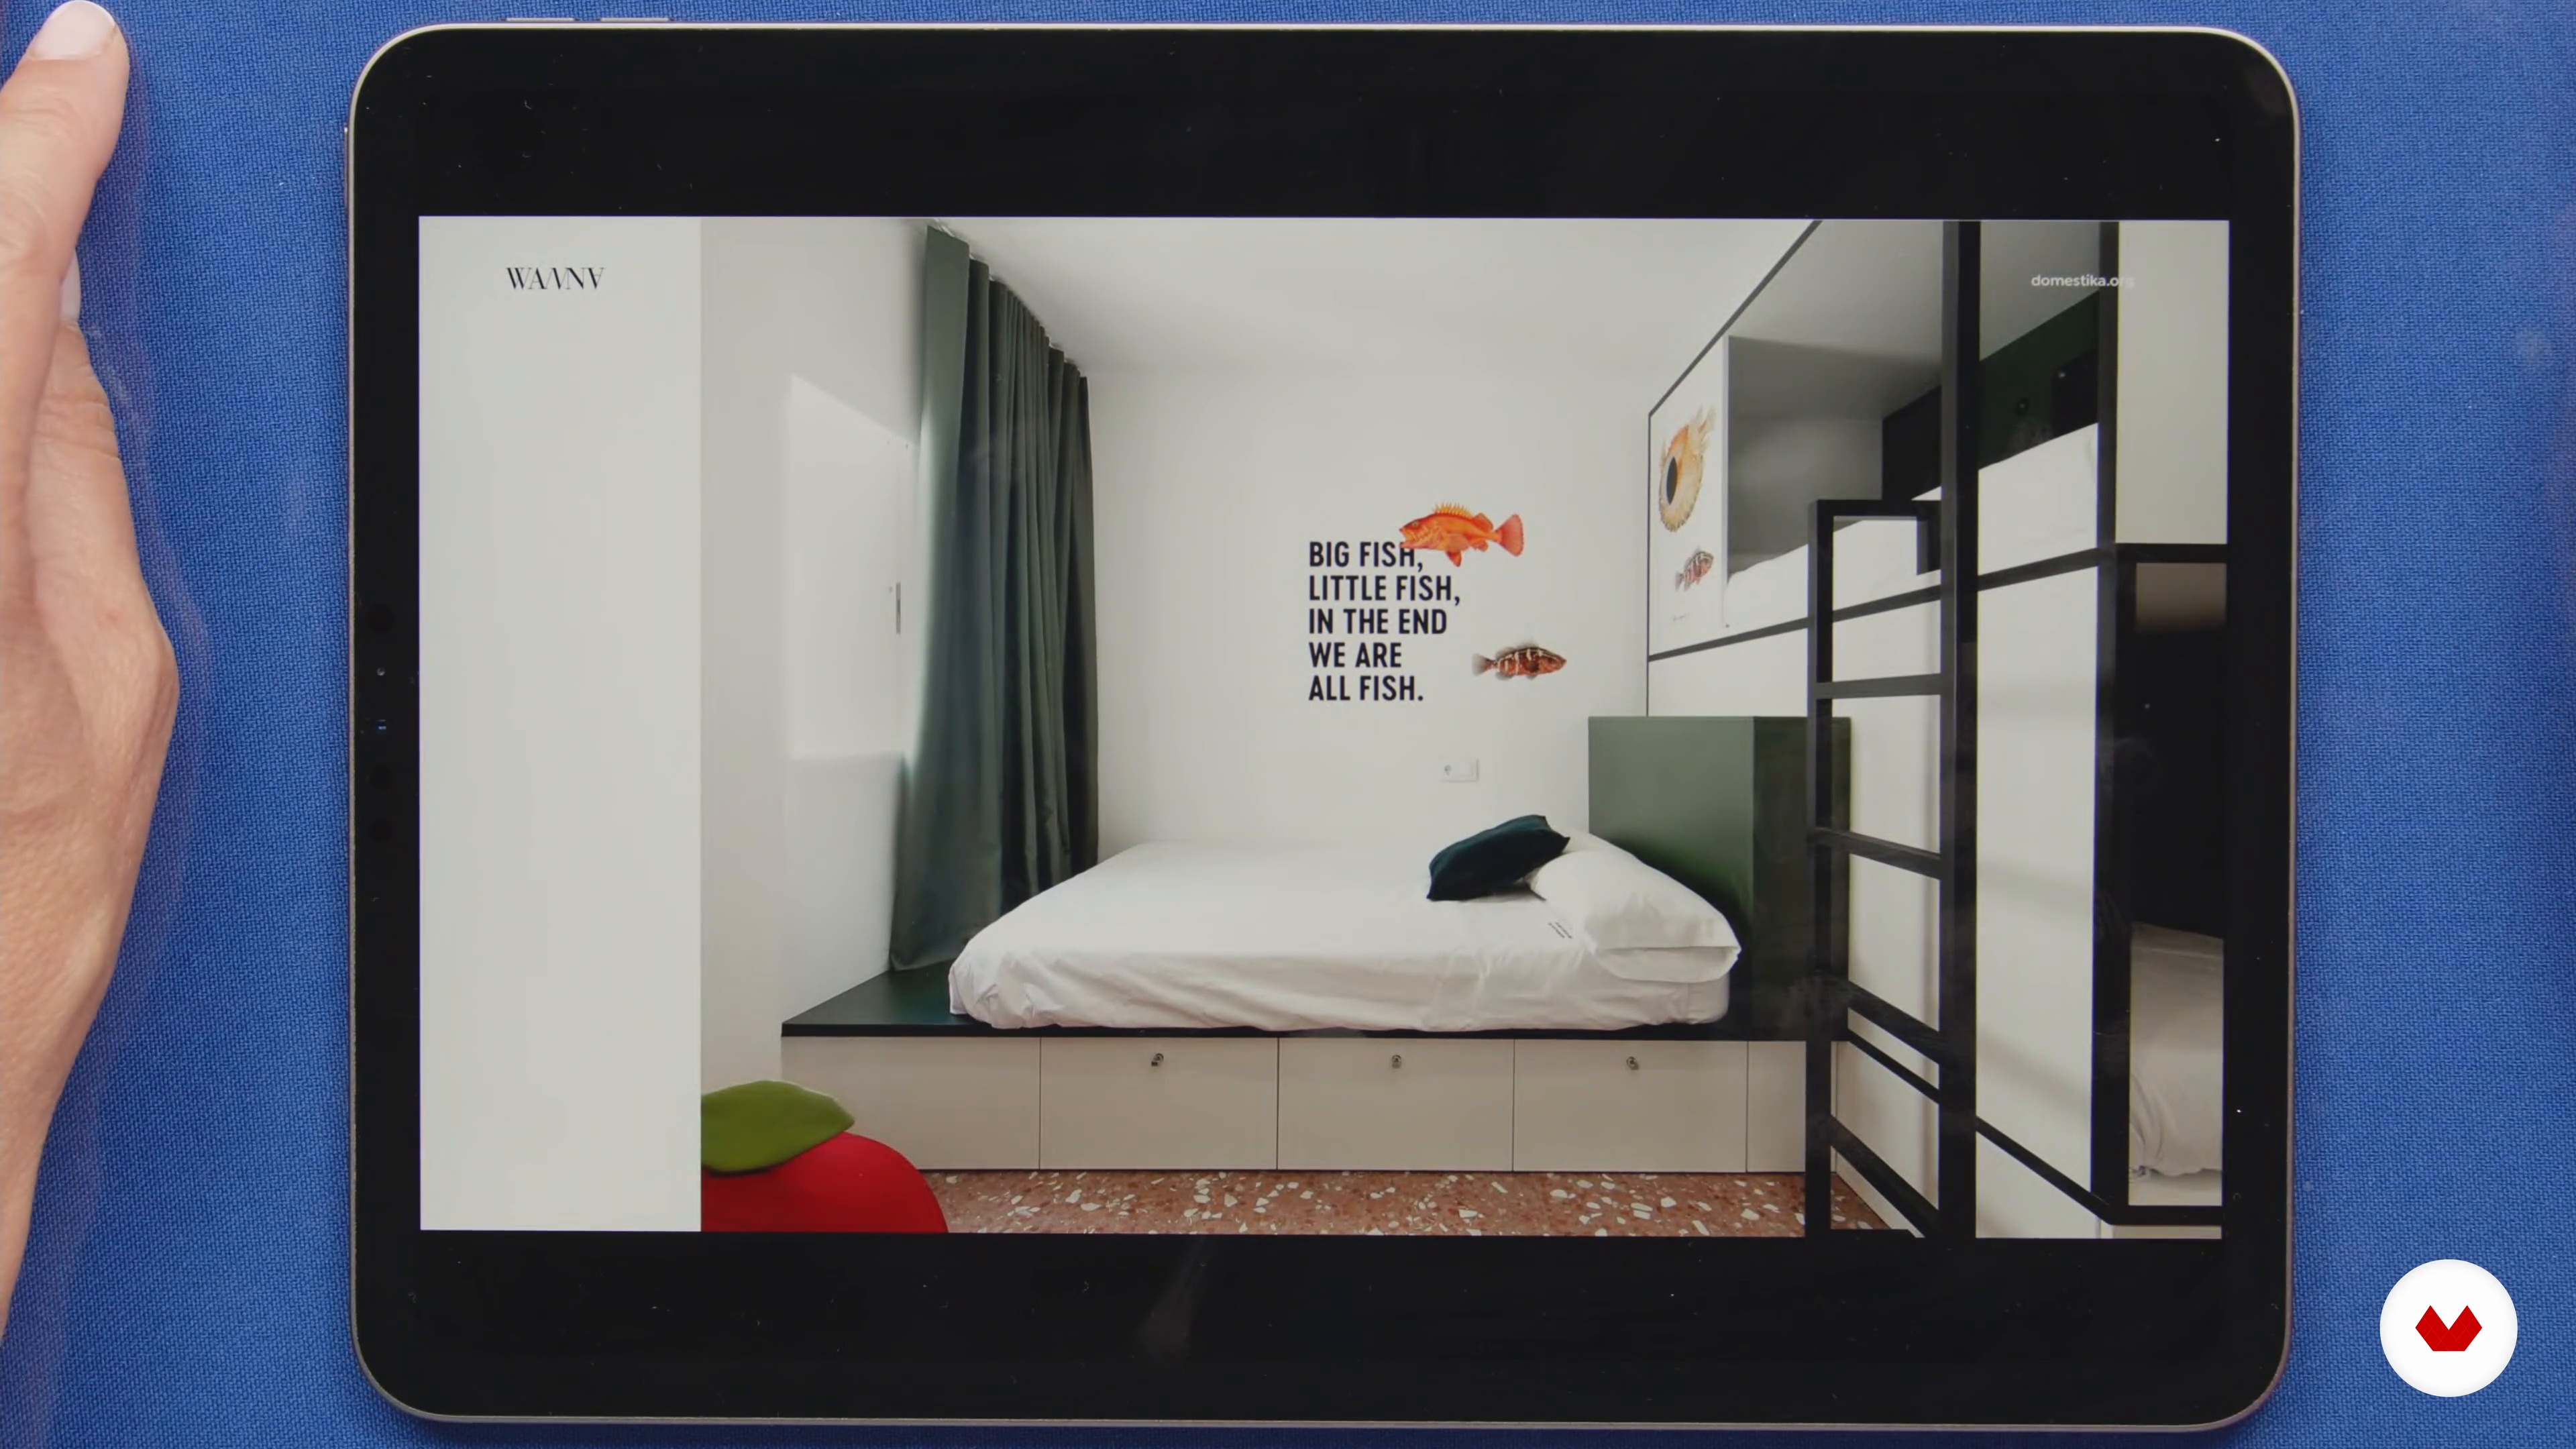
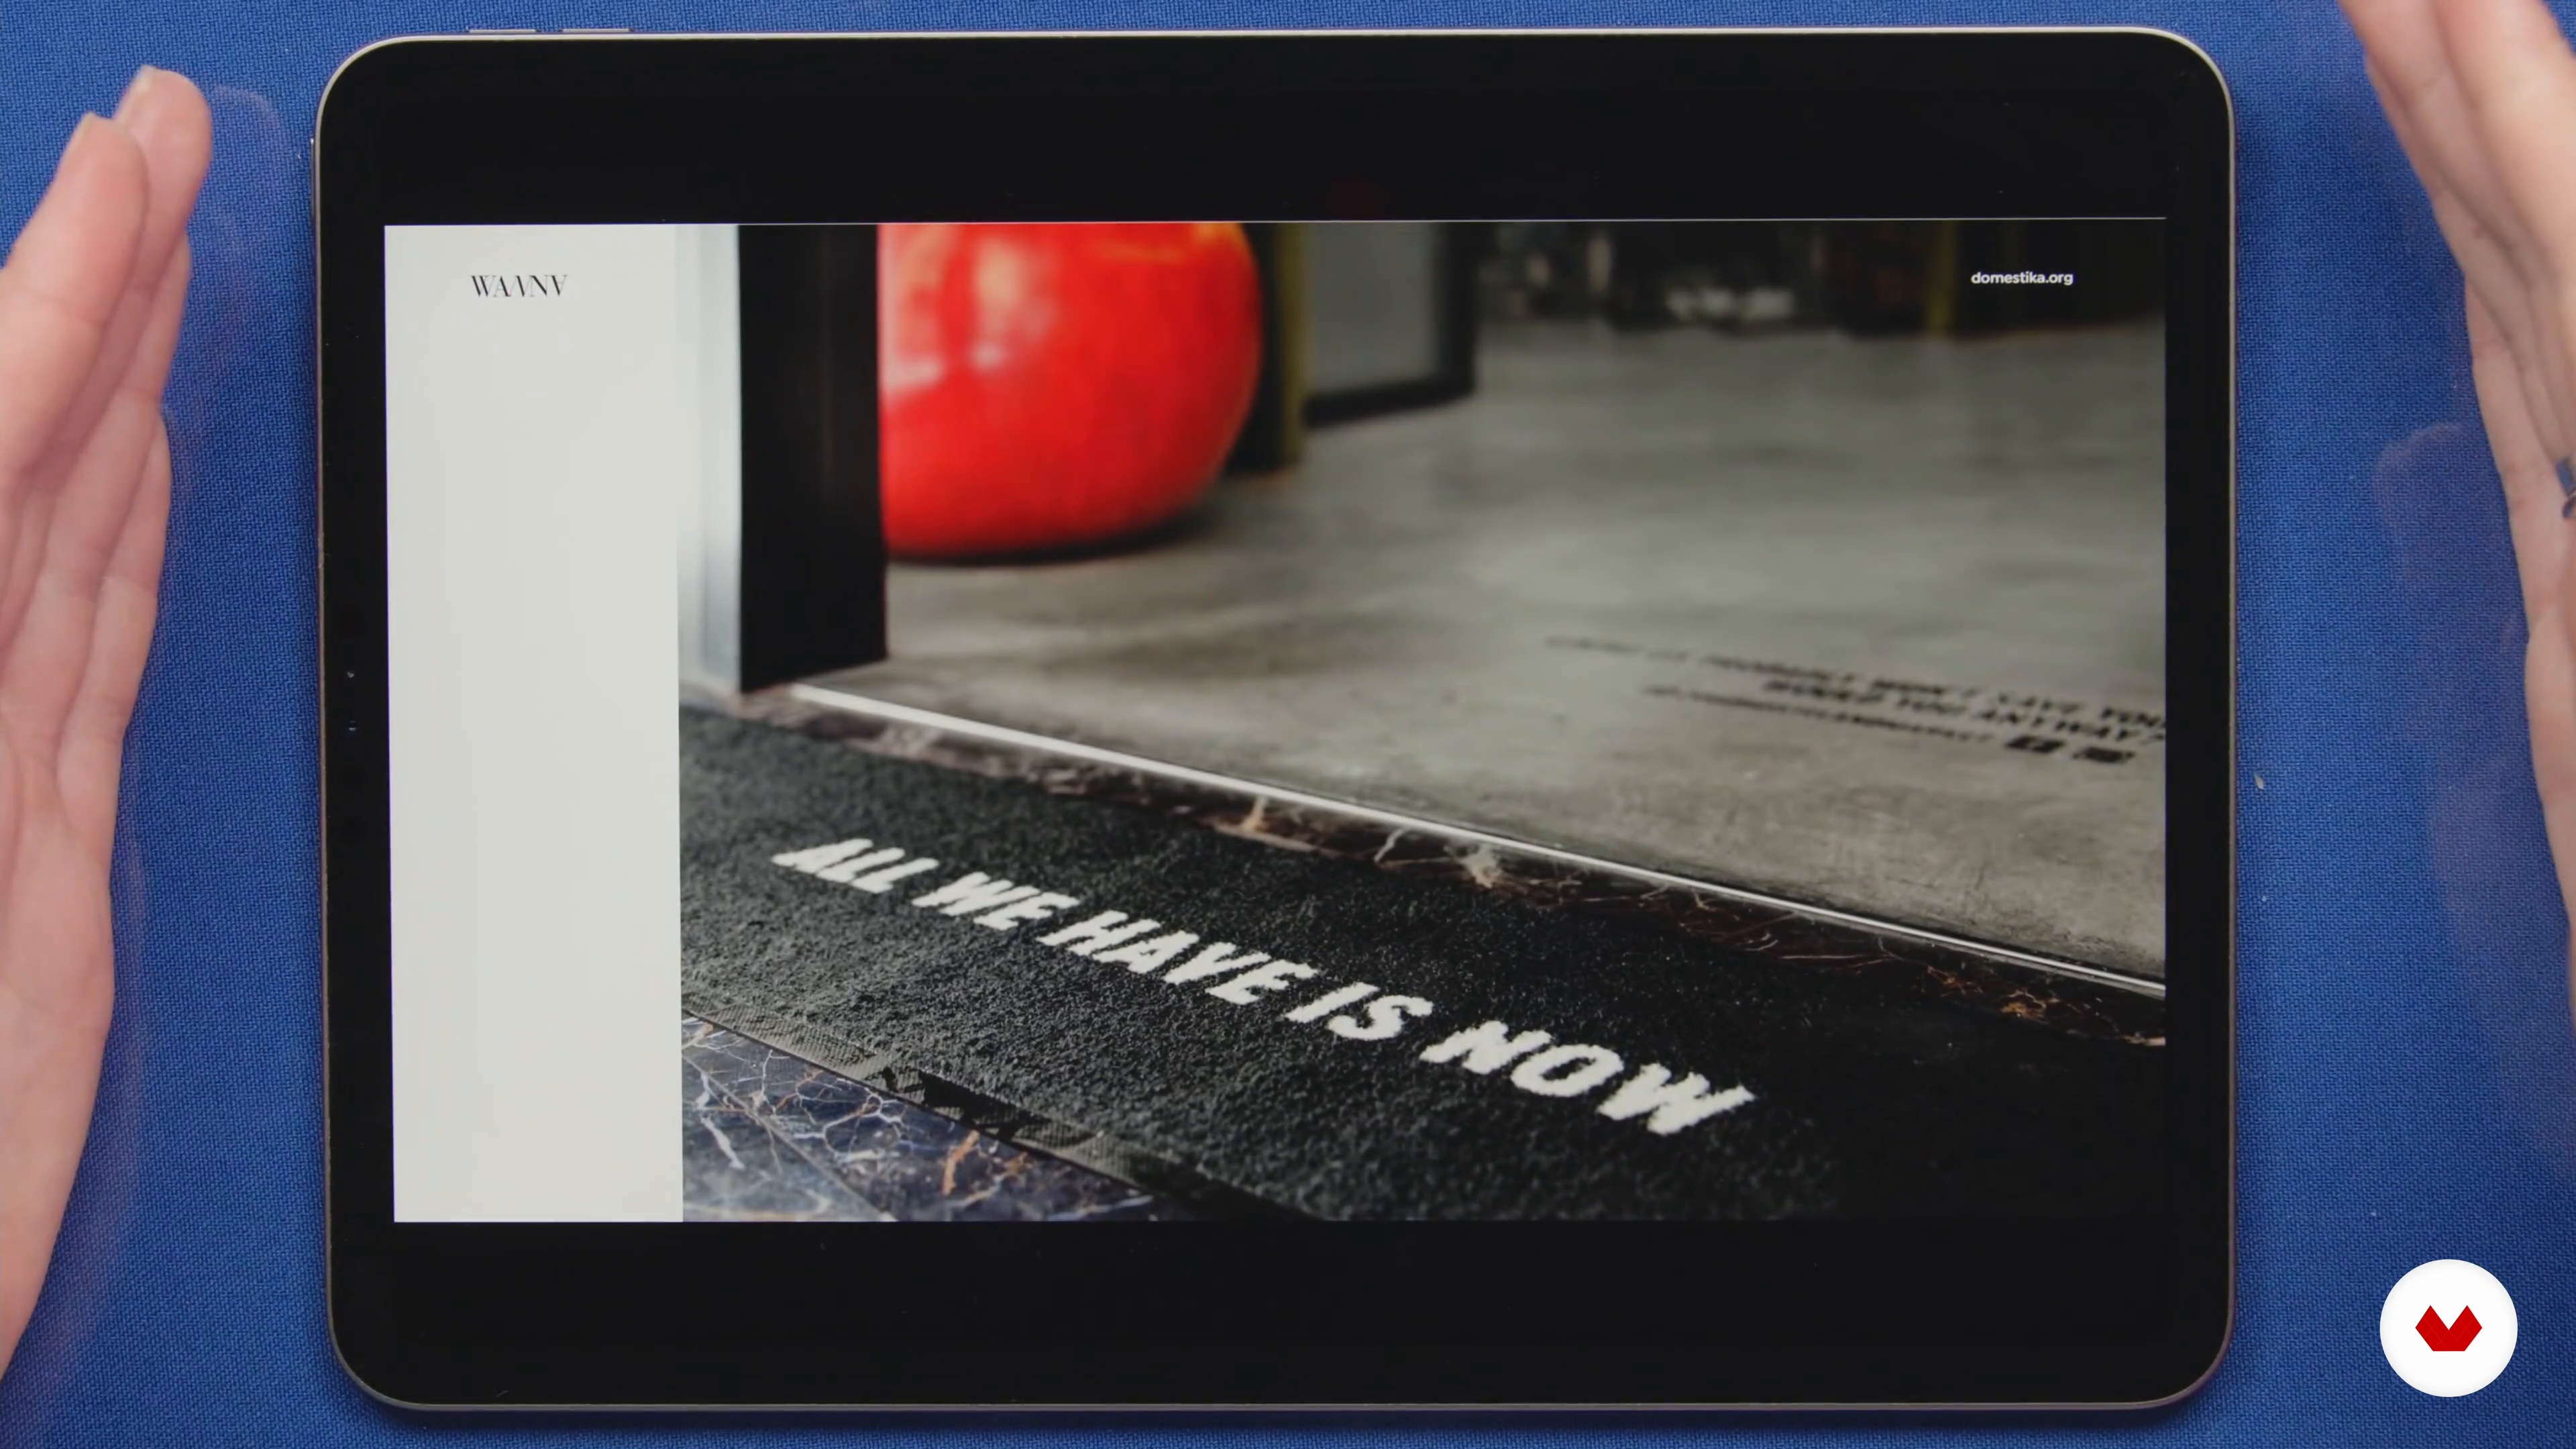
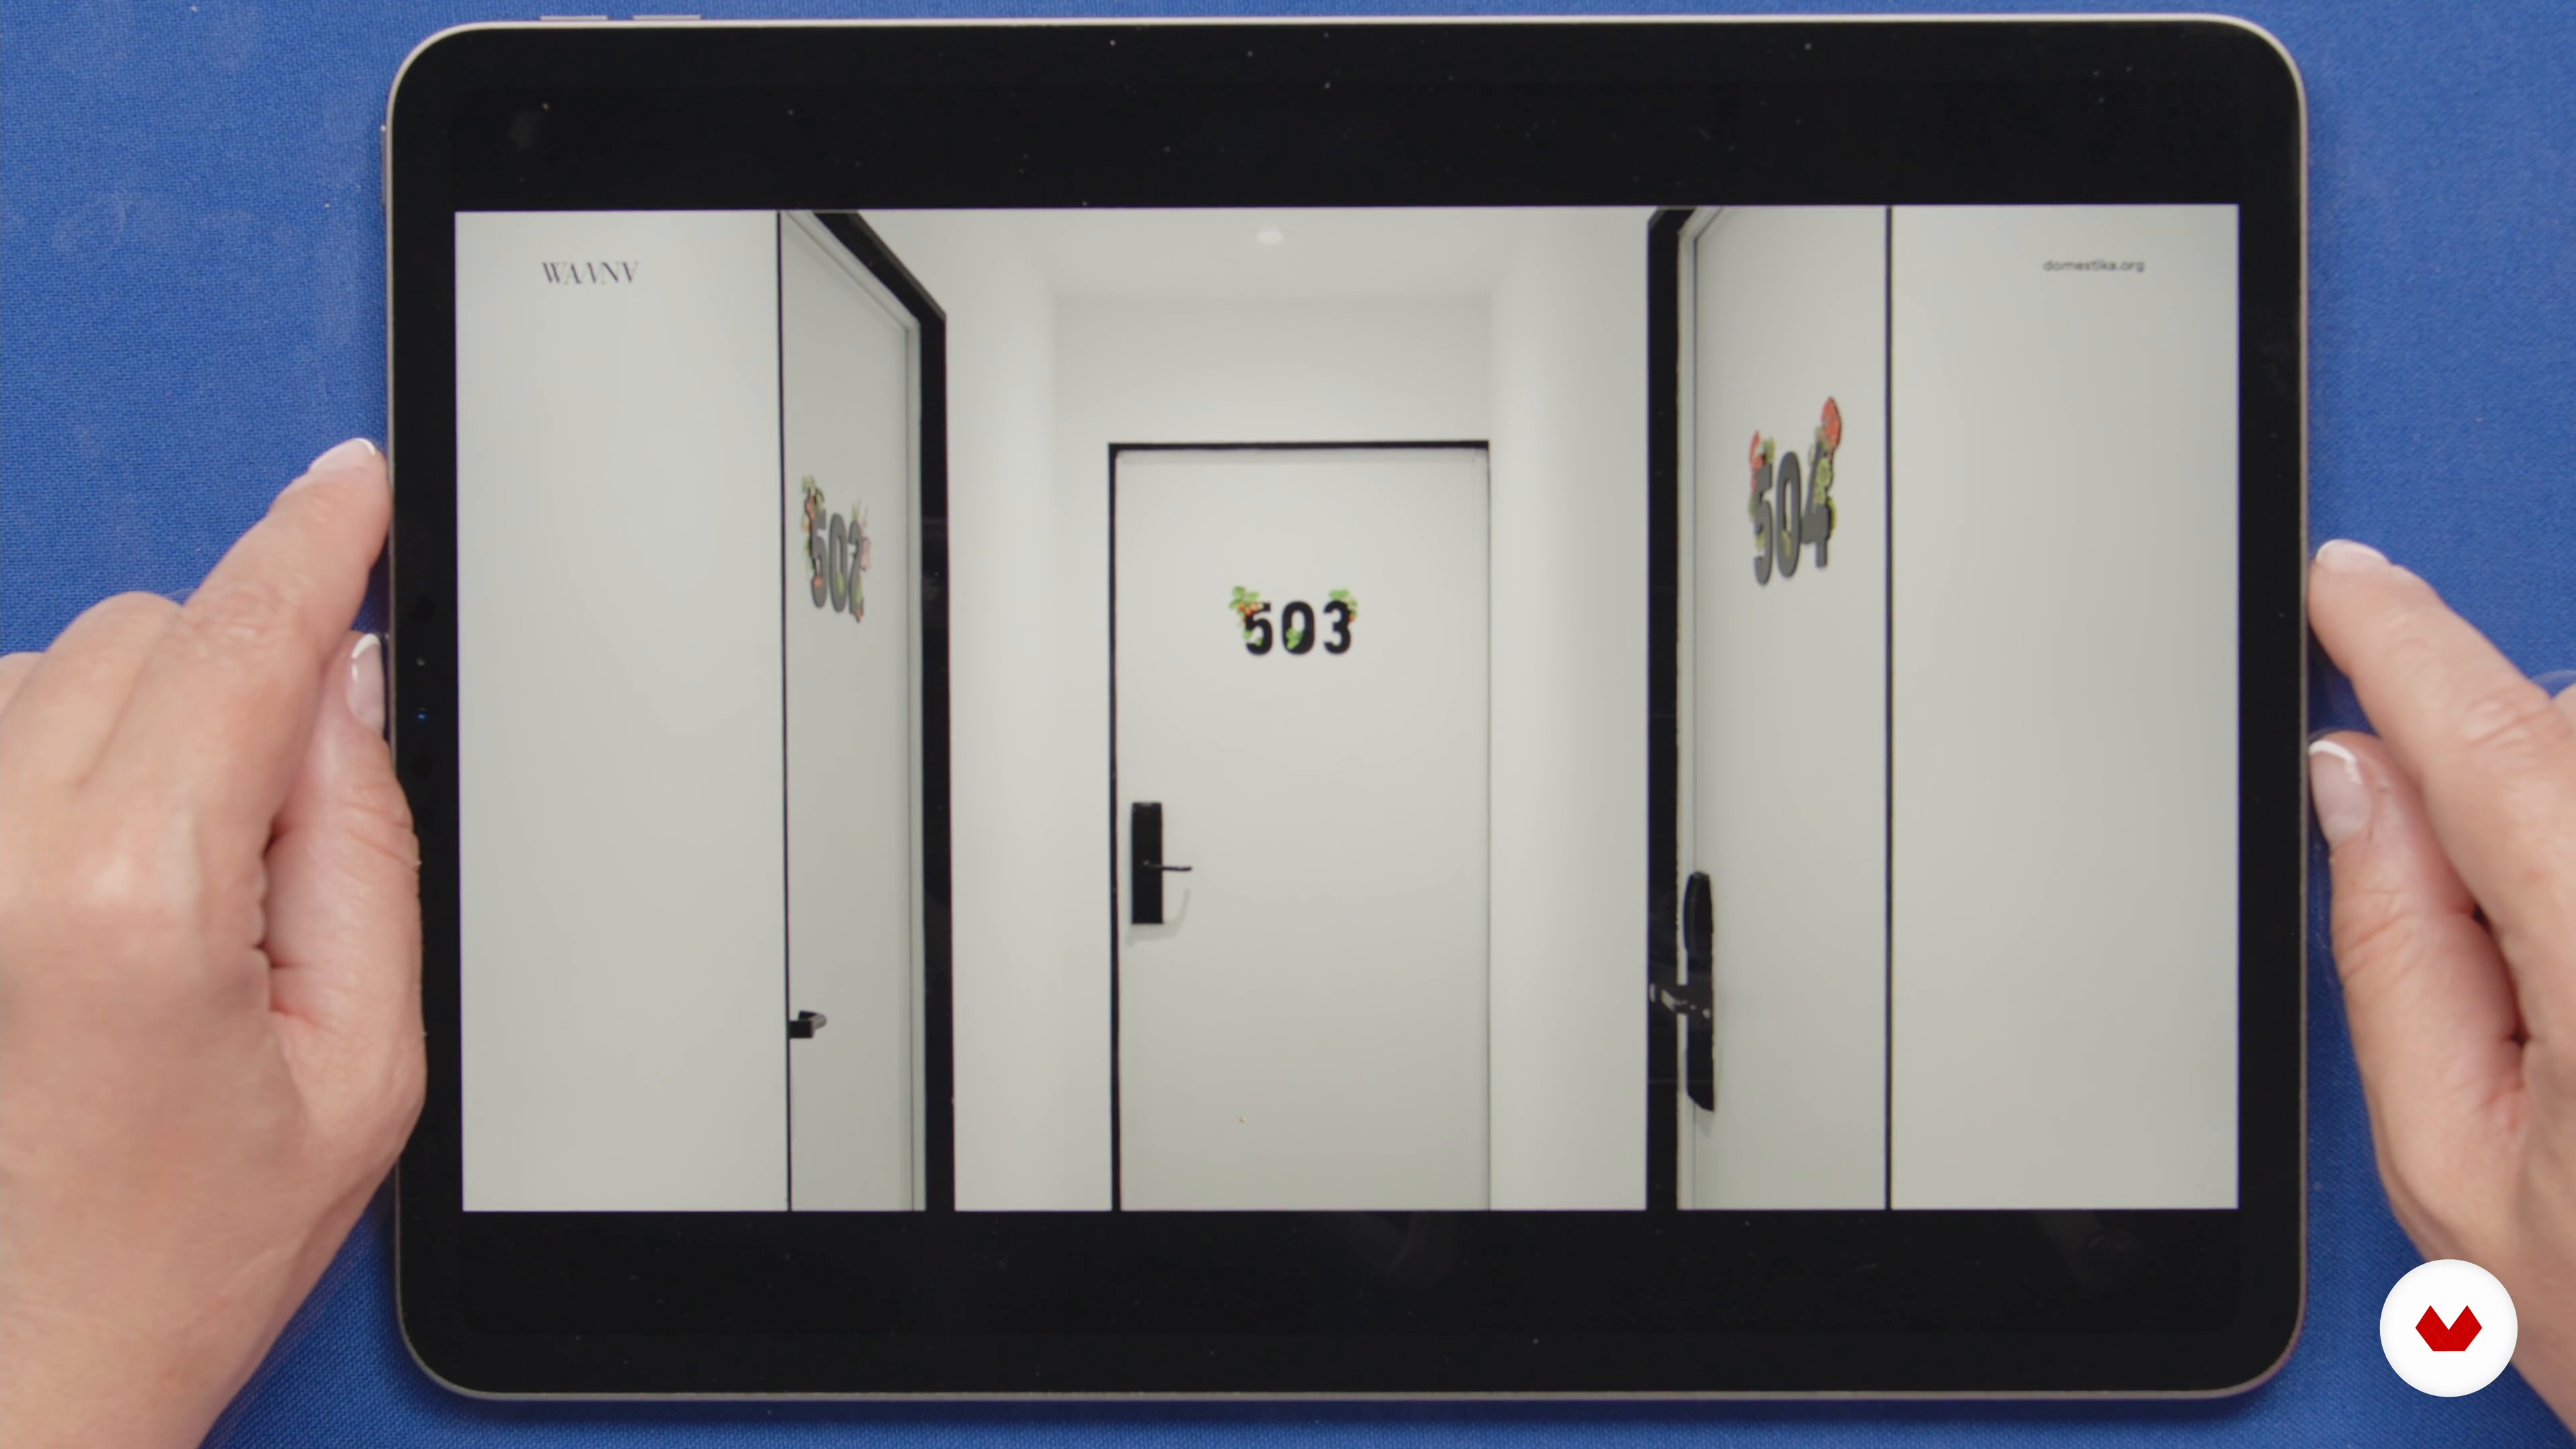
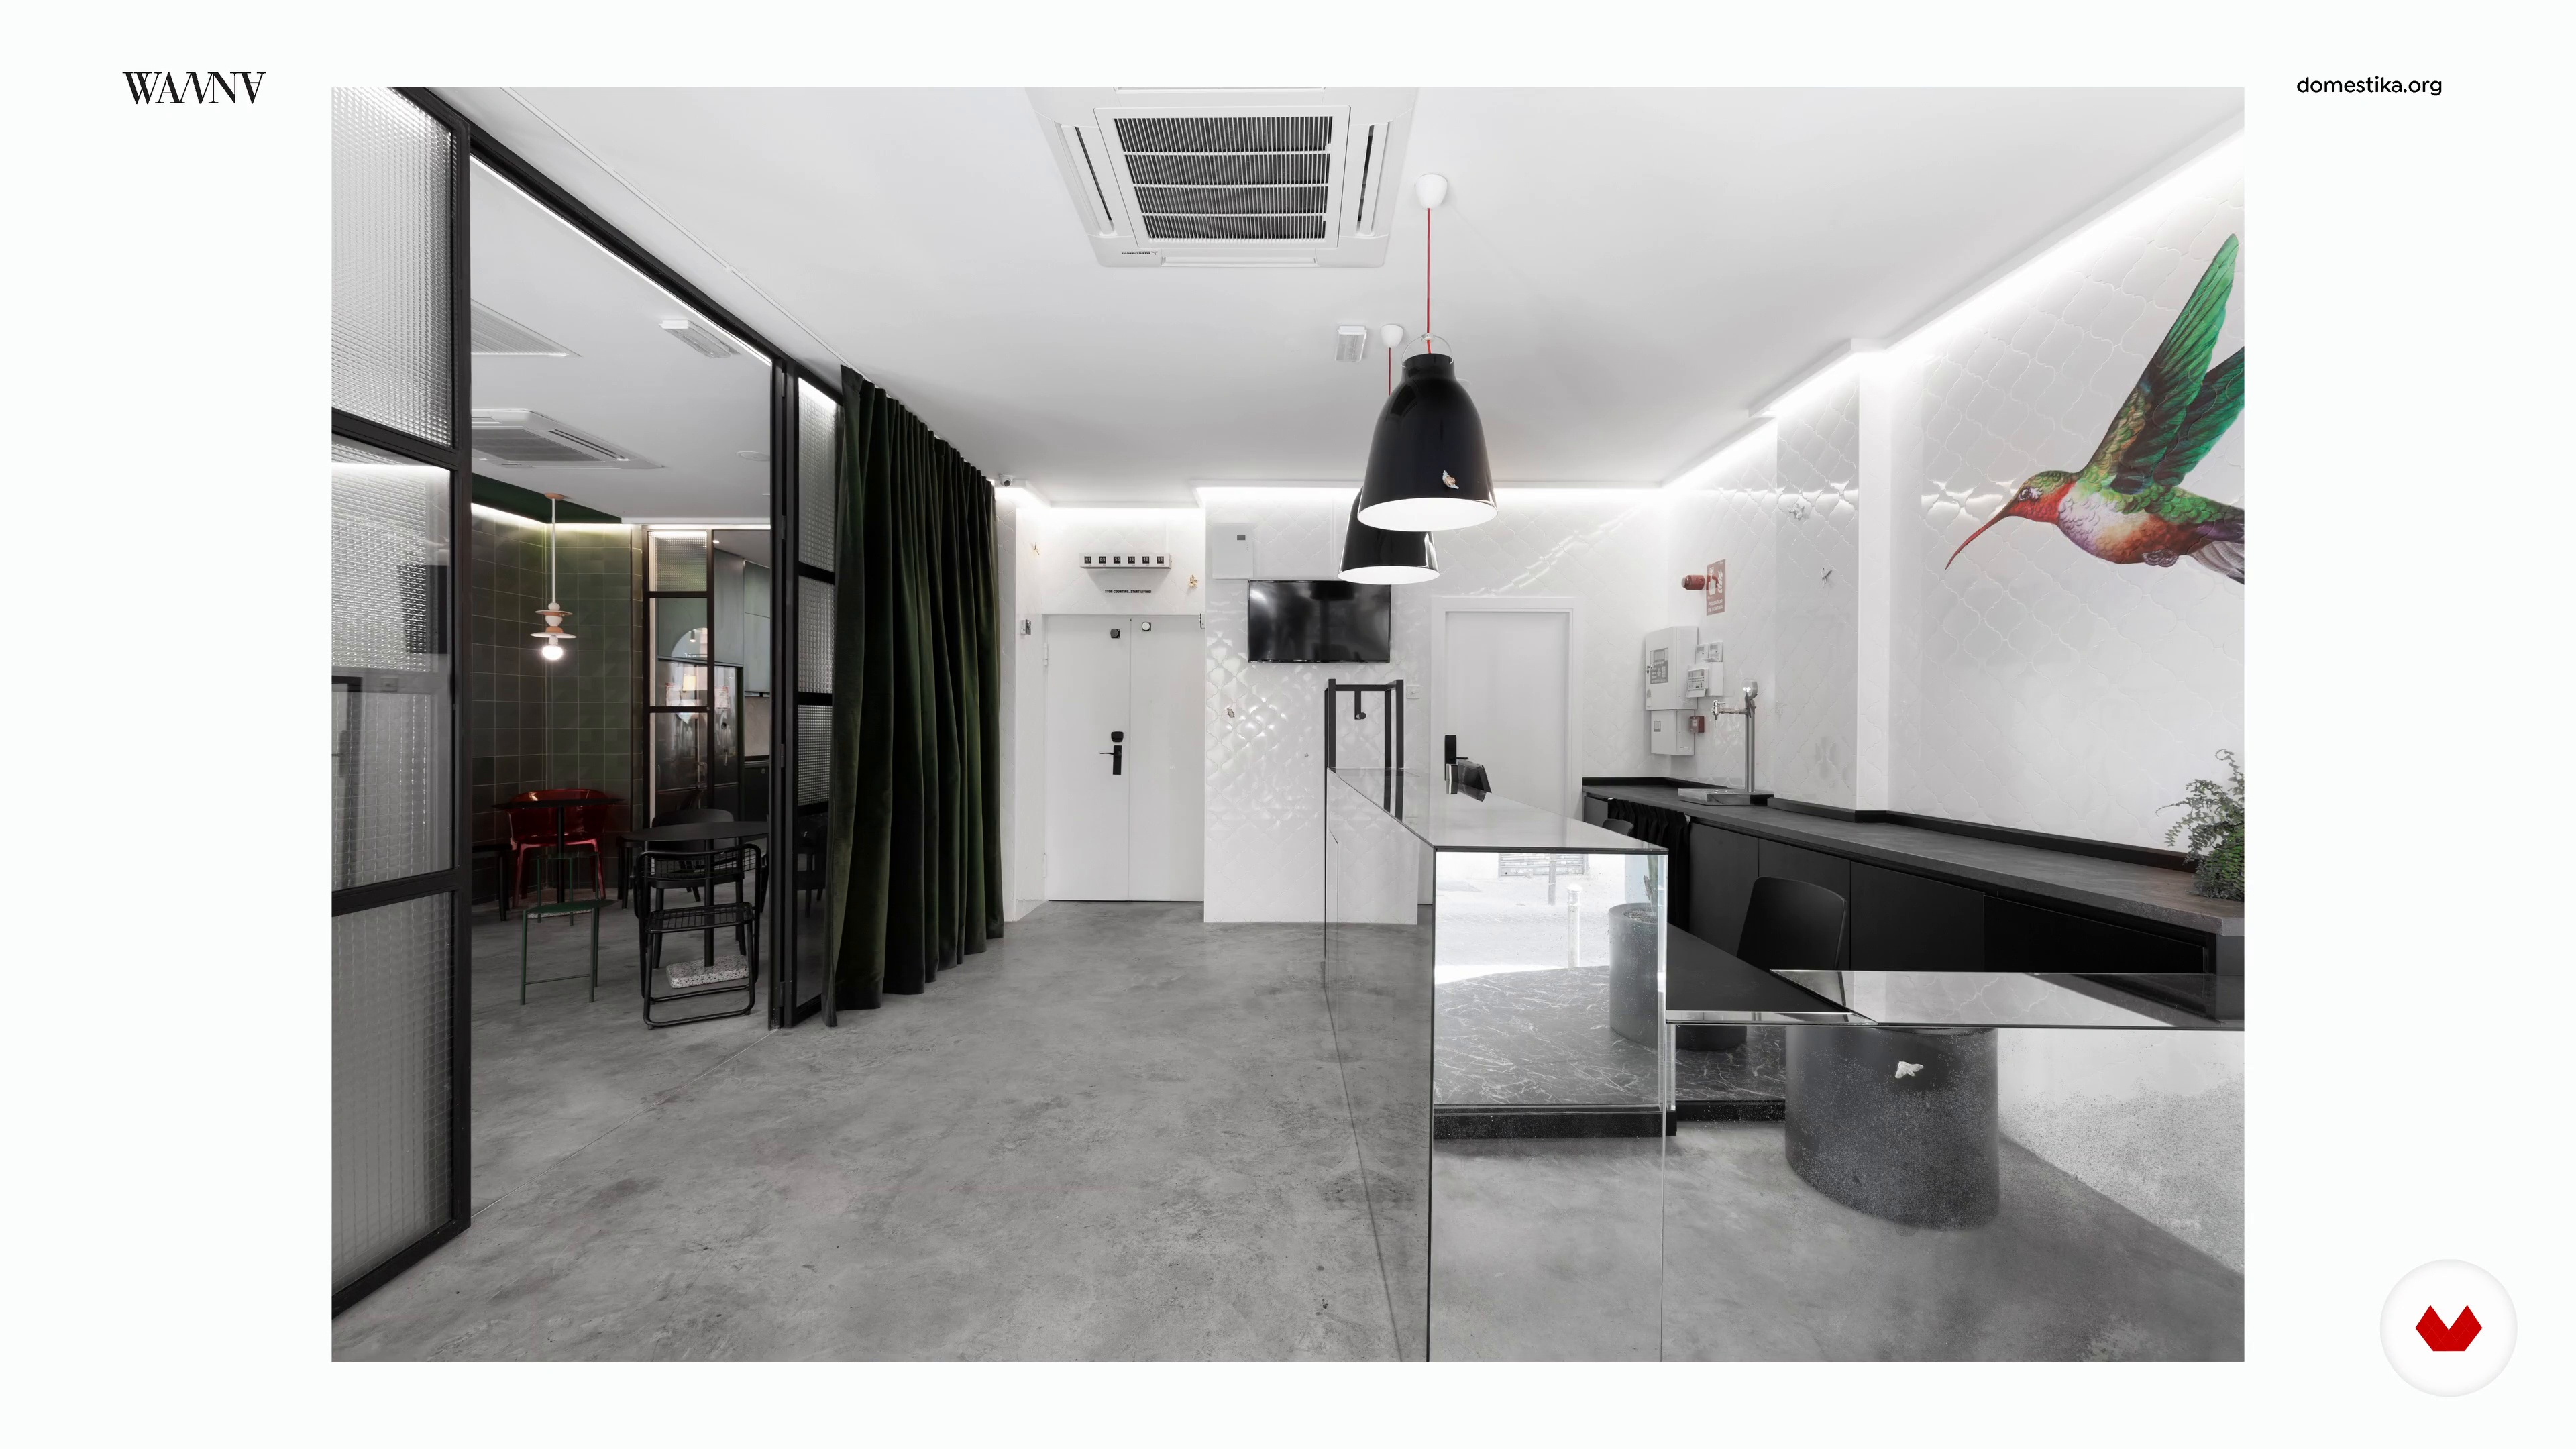
Explore the selection of ideal materials for your projects with Ana Hernández of Masquespacio, where you'll discover how colors and textures can transform a space. Delve into lighting techniques with Mónica Vega of LumLum, learning how to design lighting scenes that adapt to the needs of each environment. Finally, unleash your creativity with the WANNA team, who will teach you how to design interiors based on powerful concepts and tell stories through furniture, fabrics, and color palettes. With these tools, you'll be ready to create unique and memorable spaces.

Read more ↓

What will you learn in this specialization?
A total of 6 modules and 79 lessons
A total of 10h 1m of vídeo lessons
Taught by 5 selected expert teachers
image
1
Introduction
Let's talk about the fascinating world of interior design, an art that transforms spaces into stories. From pioneers like Frank Lloyd Wright to today's sustainable innovations, you'll learn how colors, materials, and compositions influence emotions. This lesson will show you how to bring your ideas to life with a structured method, making each space a unique universe.
1m
image
2
Inspiration / Ana García López
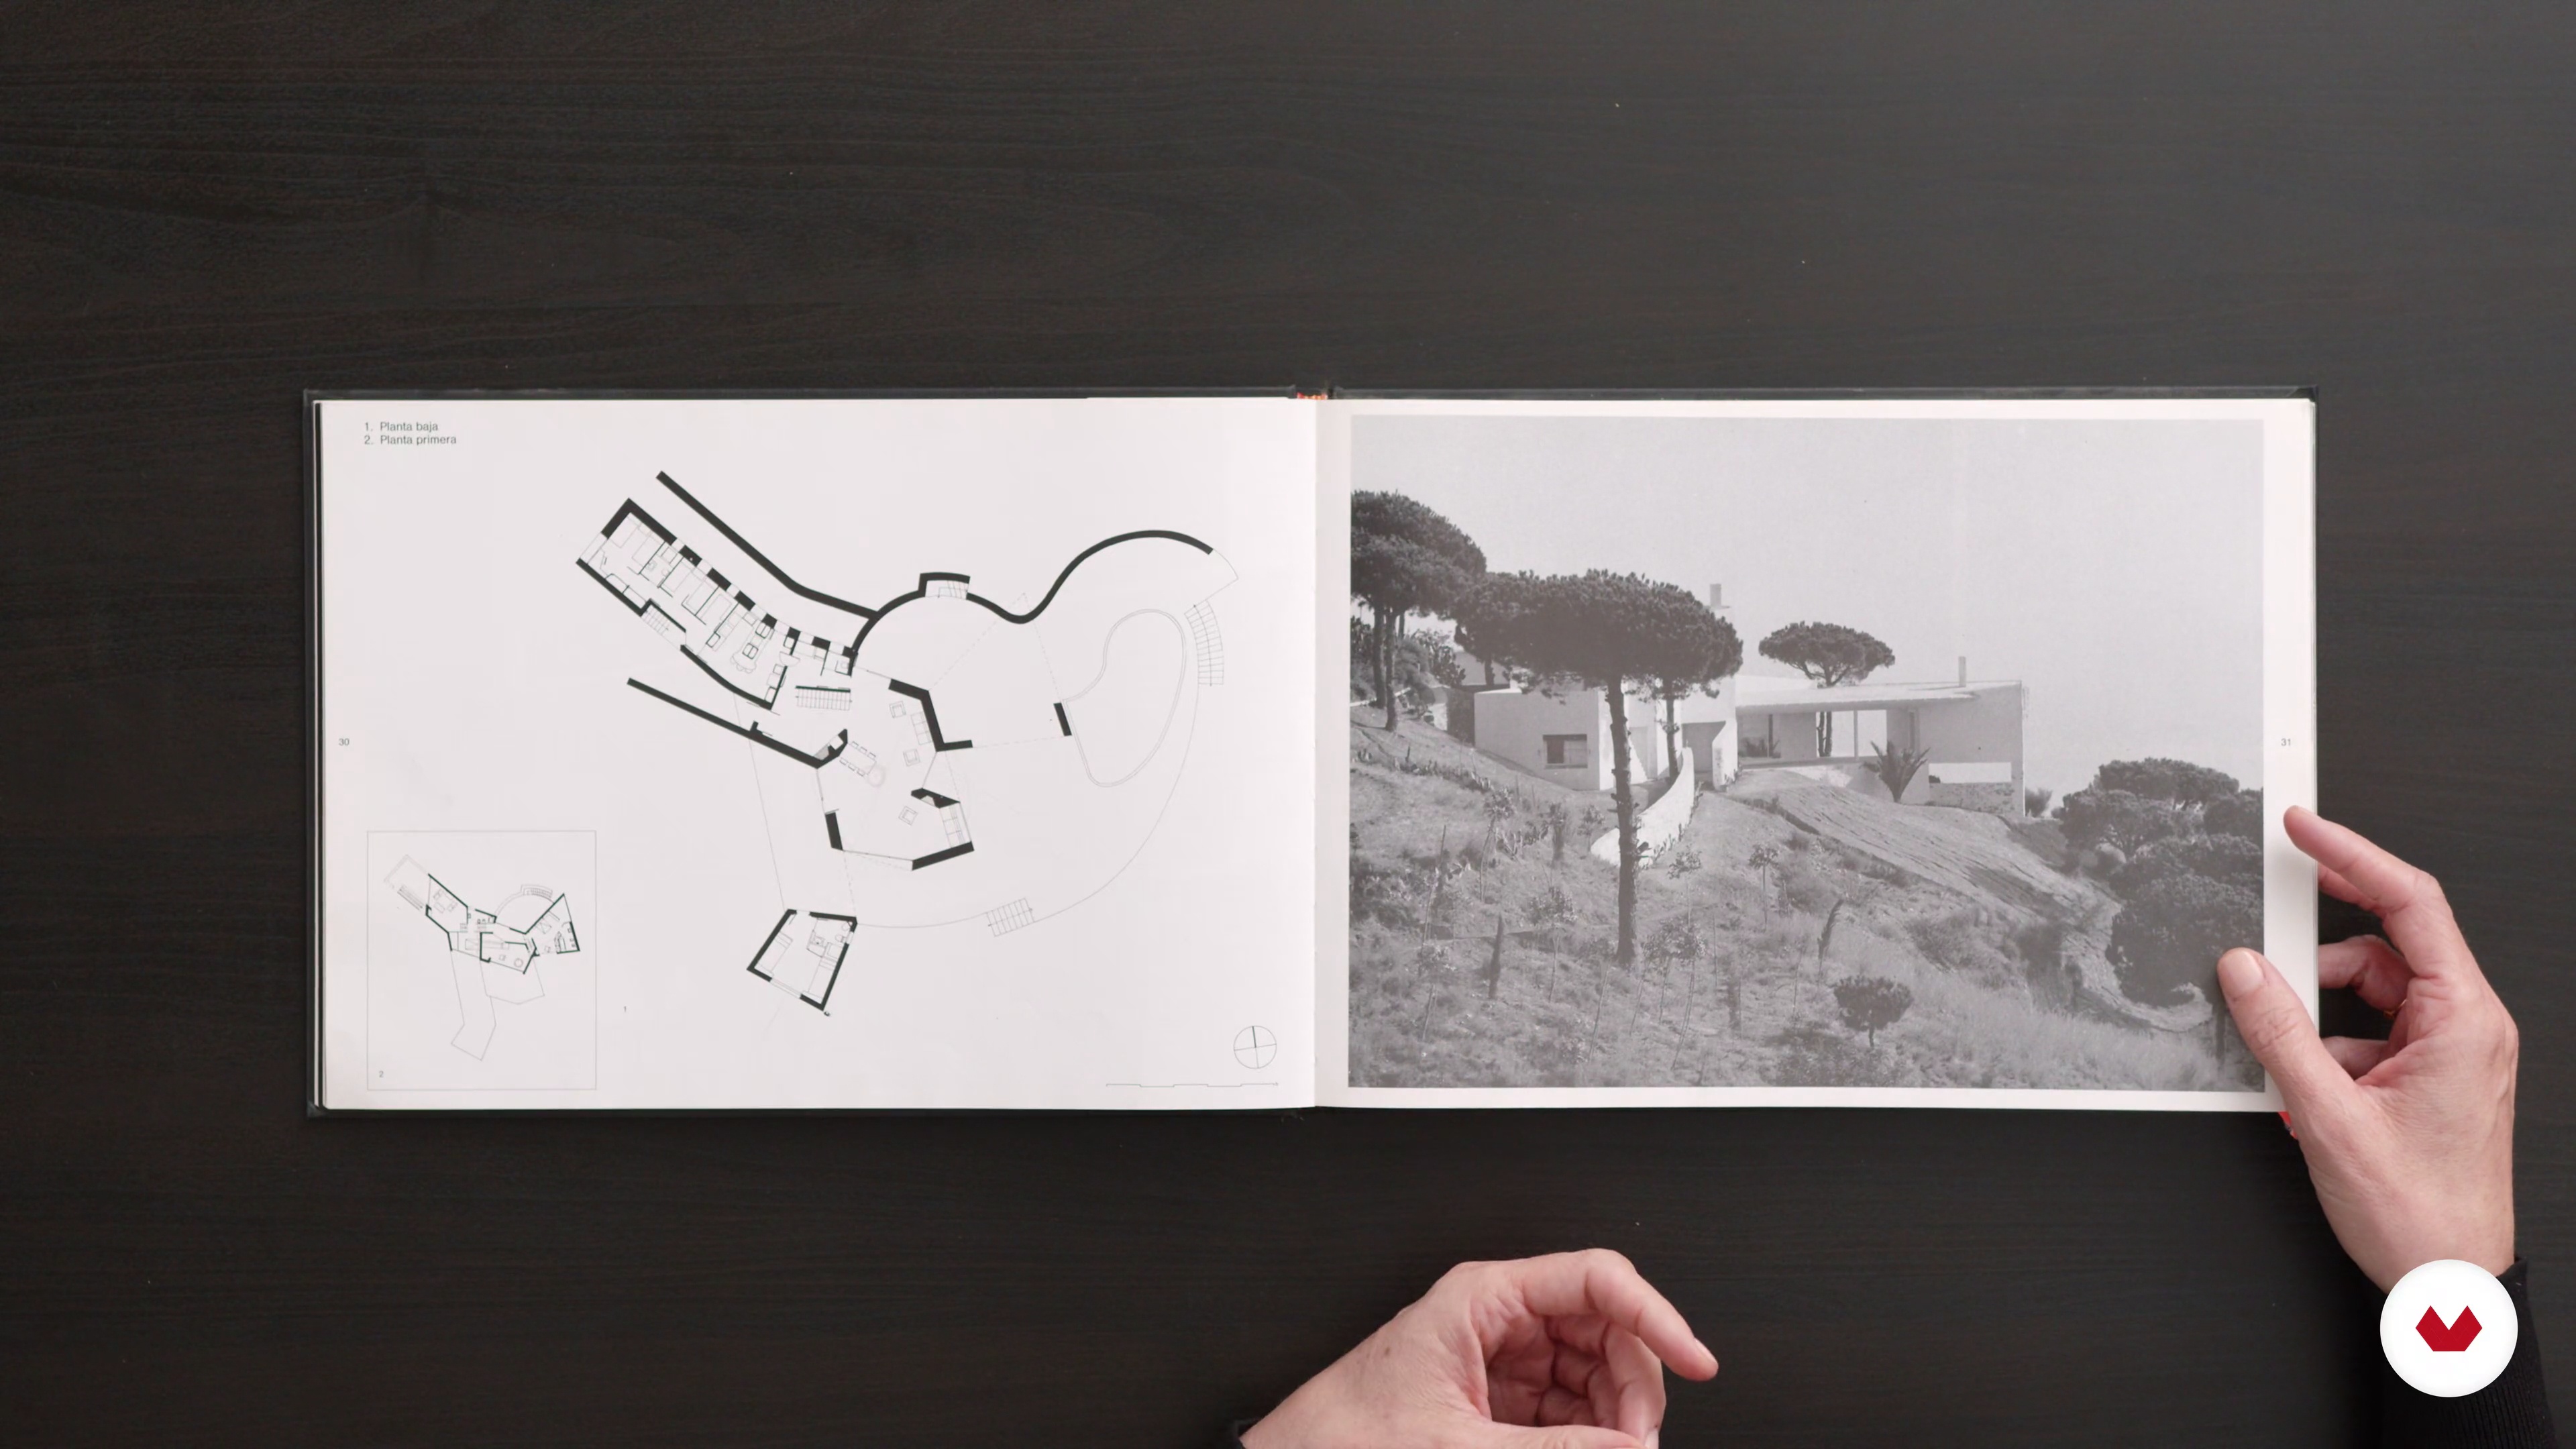
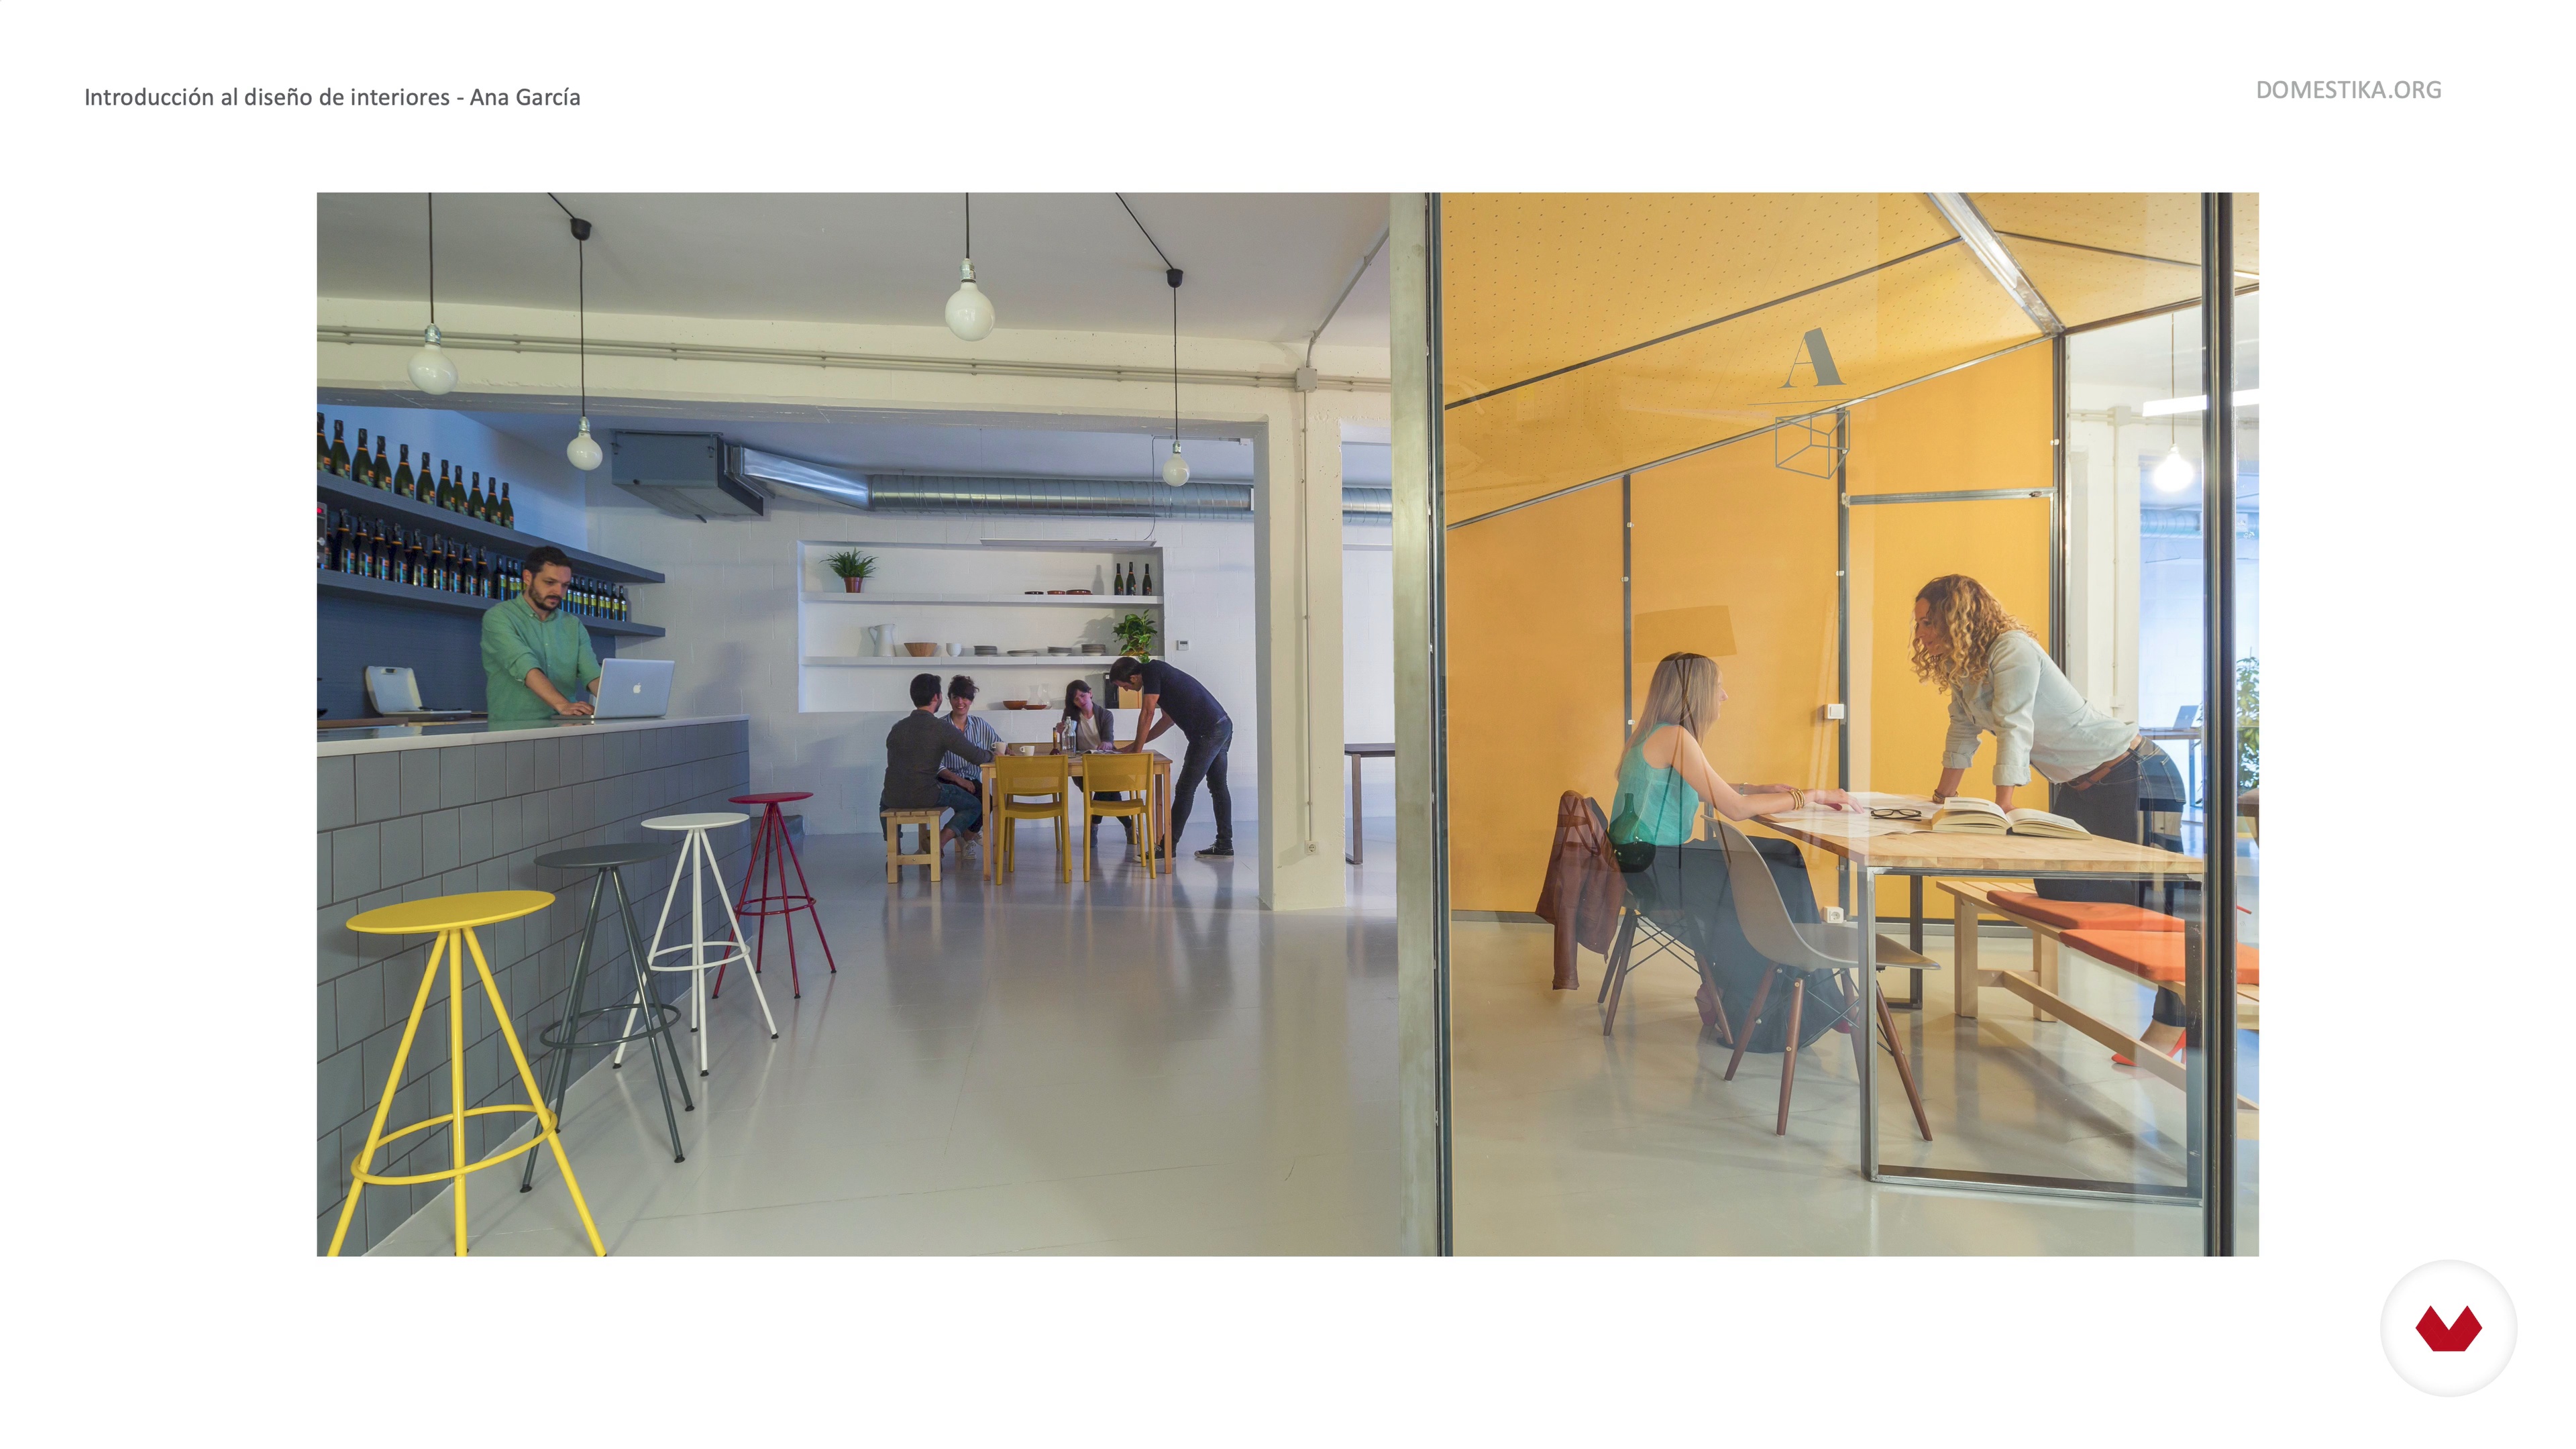
In this lesson, you'll explore the key influences on our architecture and interior design. Coderch is our greatest inspiration, thanks to his adaptability and rational design. We are also inspired by Enric Miralles, theater set design, cinema, and experimental architecture. We value the blend of the old and the new.
3m
image
3
Inspiration / Miriam Alía
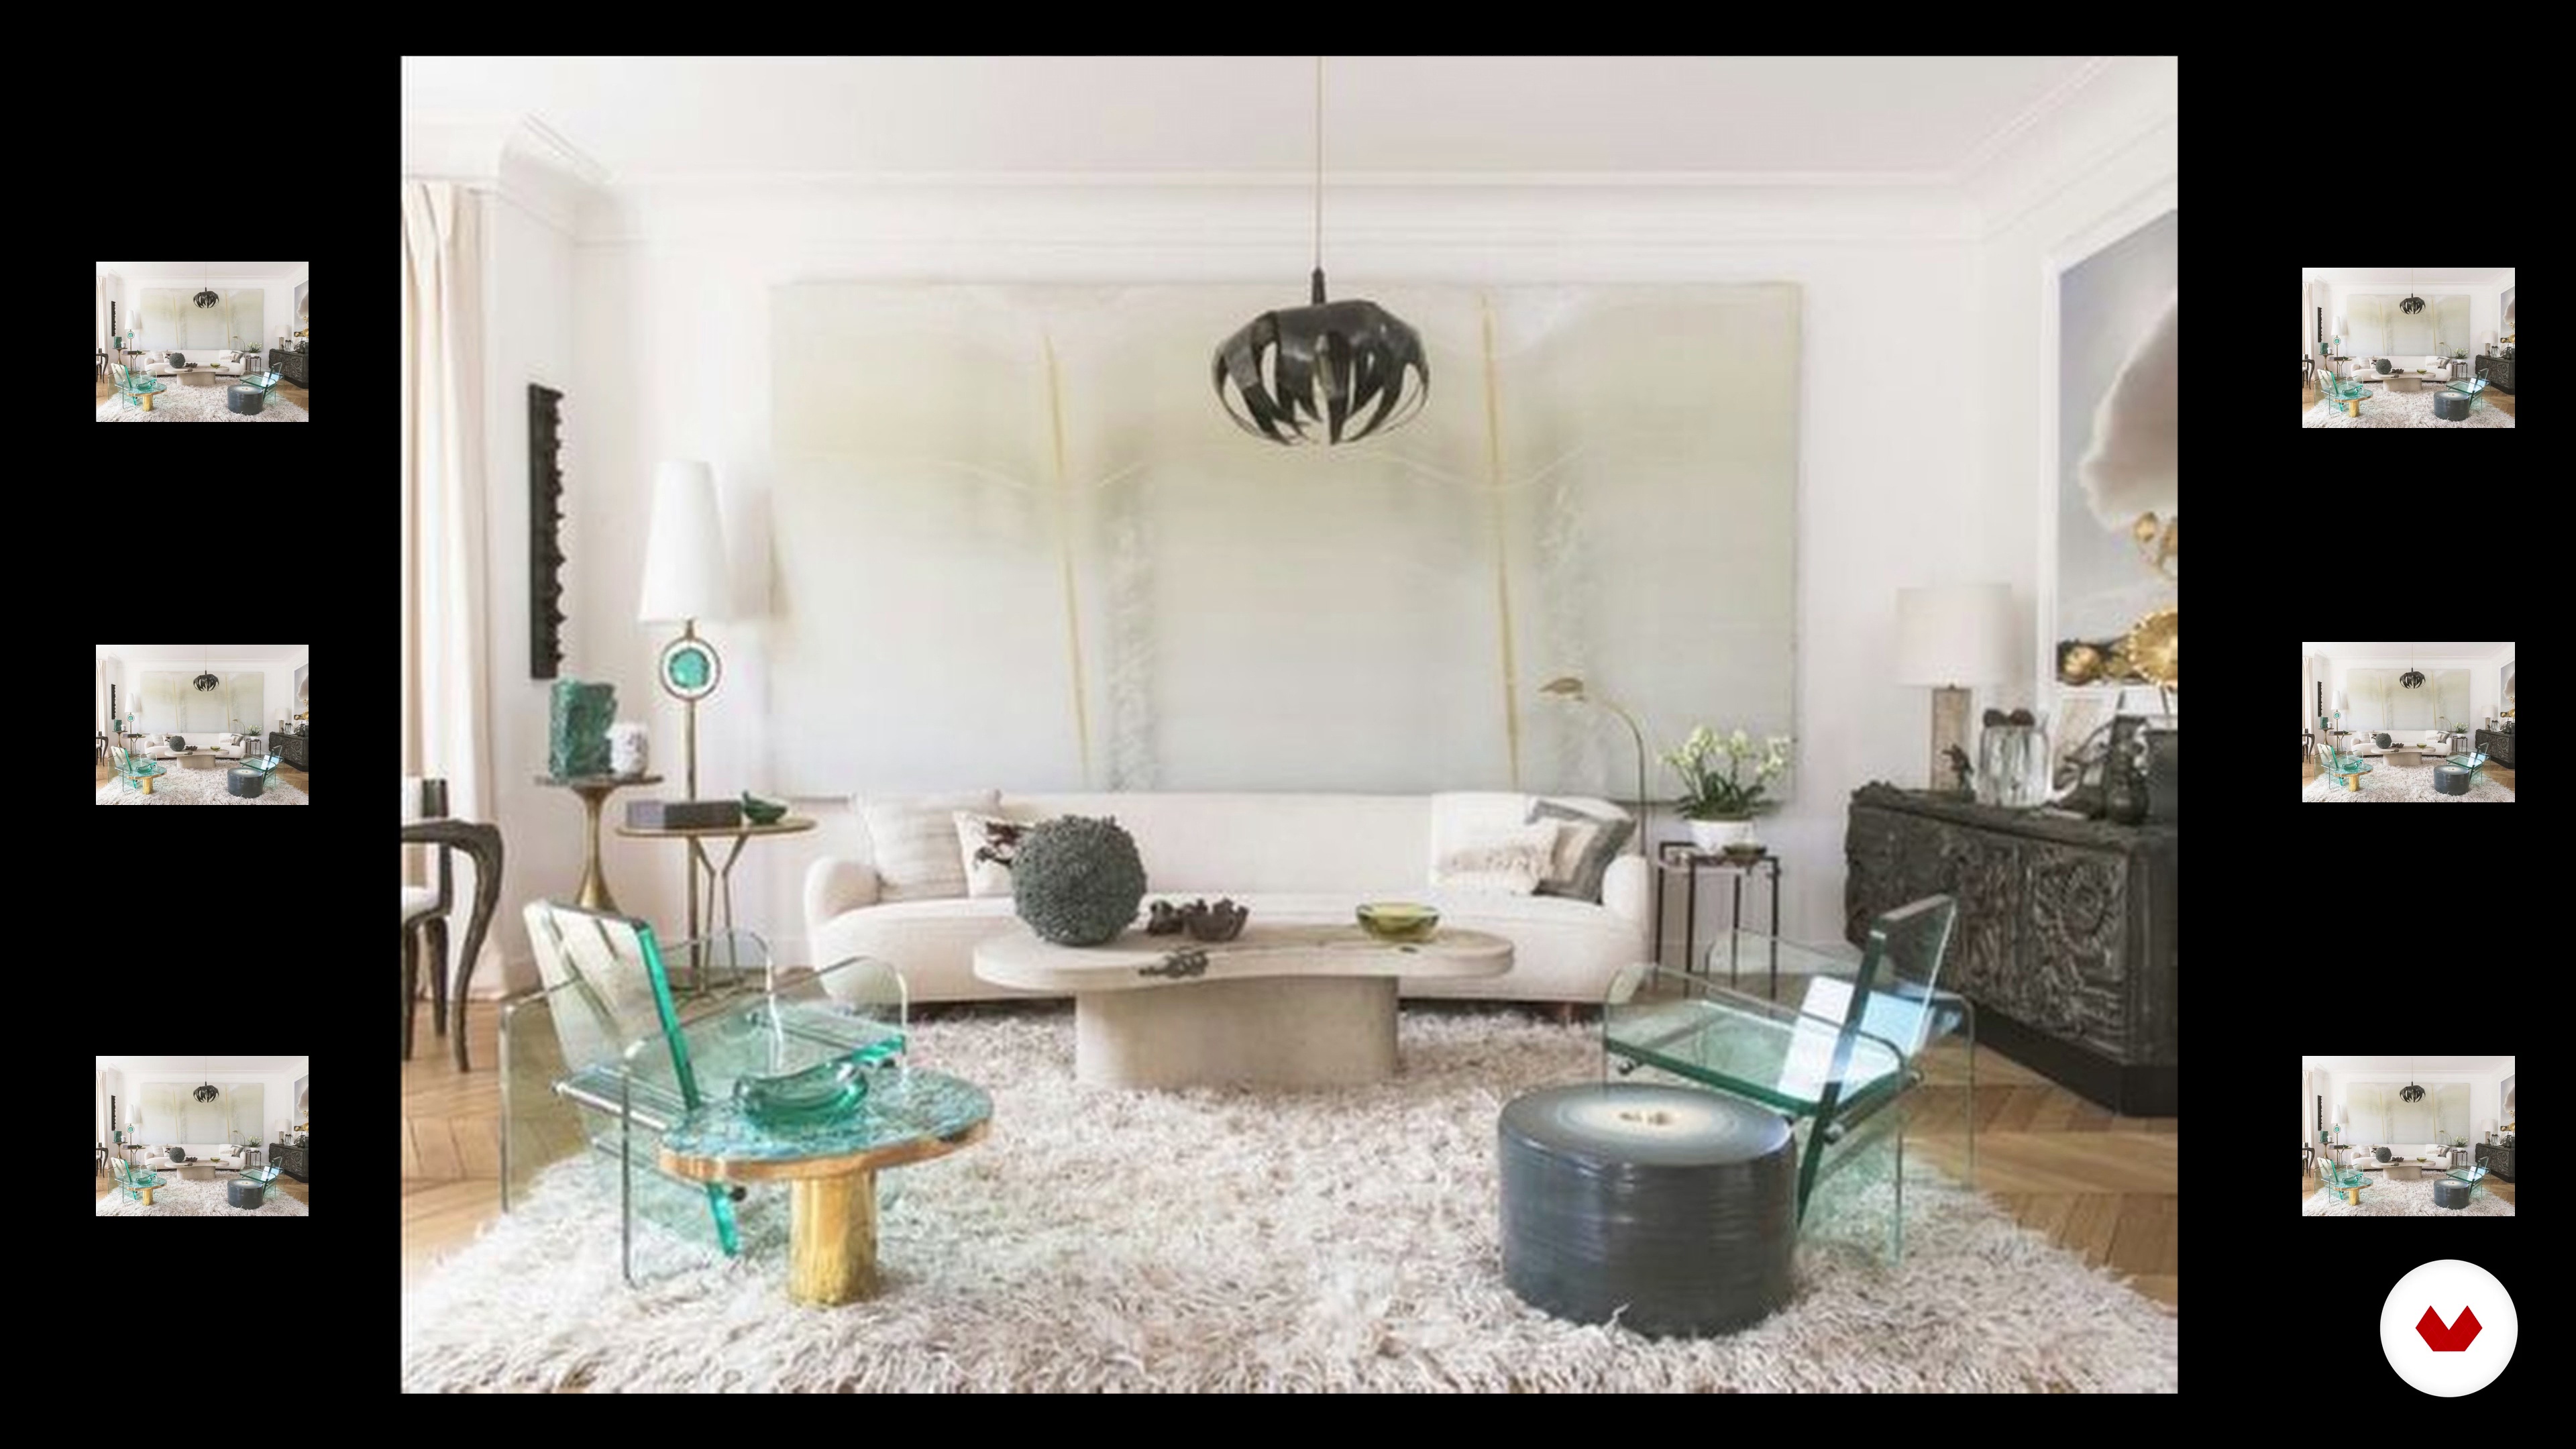
Get to know the artists who have influenced my approach to interior design. Kelly Wearstler taught me to design without rules, Chahan Minassian inspired me with his minimalist elegance, and Iris Apfel showed me the importance of color and expression. You'll learn to reference without copying and to design with freedom and curiosity.
3m
image
4
Inspiration / Masquespacio
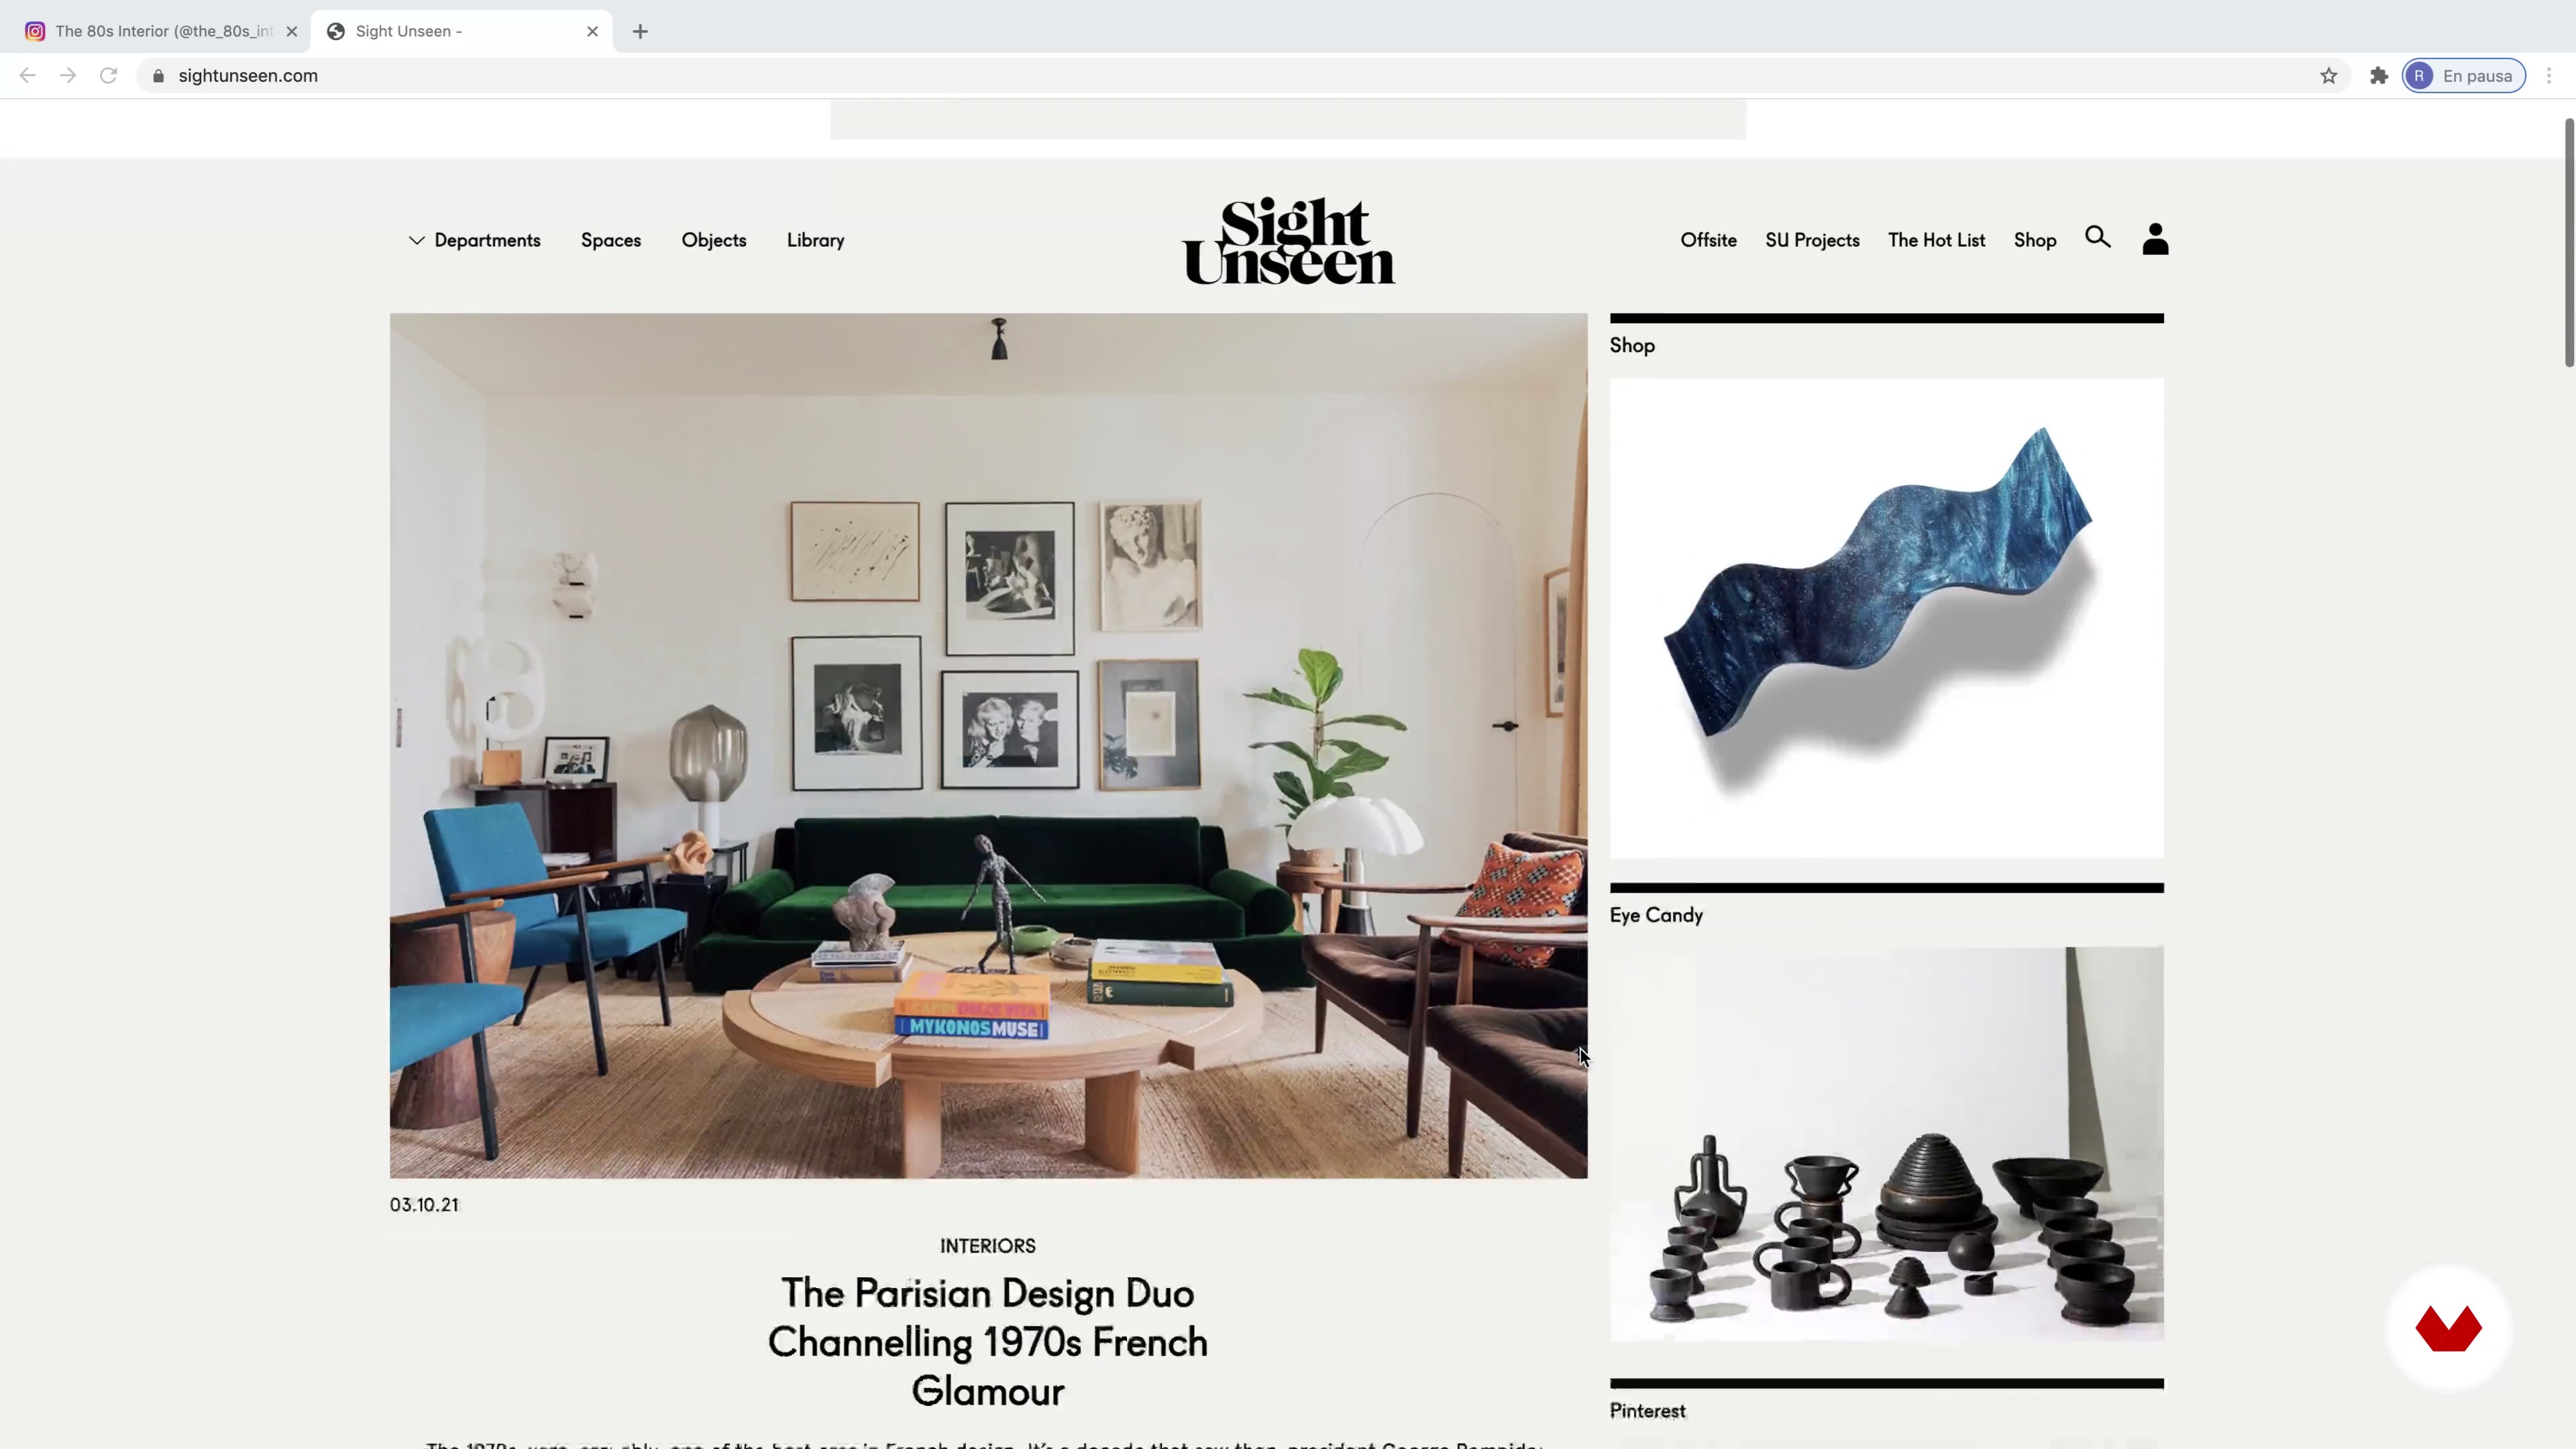
You'll learn about my key influences in design and architecture. Charlotte Taylor inspires me with her futuristic virtual spaces, Virgil Abloh for his ability to break rules in fashion and design, and Francis Kéré for his honest use of local materials. I also follow media outlets like Sight Unseen and The 80s Interior to stay up-to-date on innovative trends.
6m
image
5
Inspiration / Monica Vega
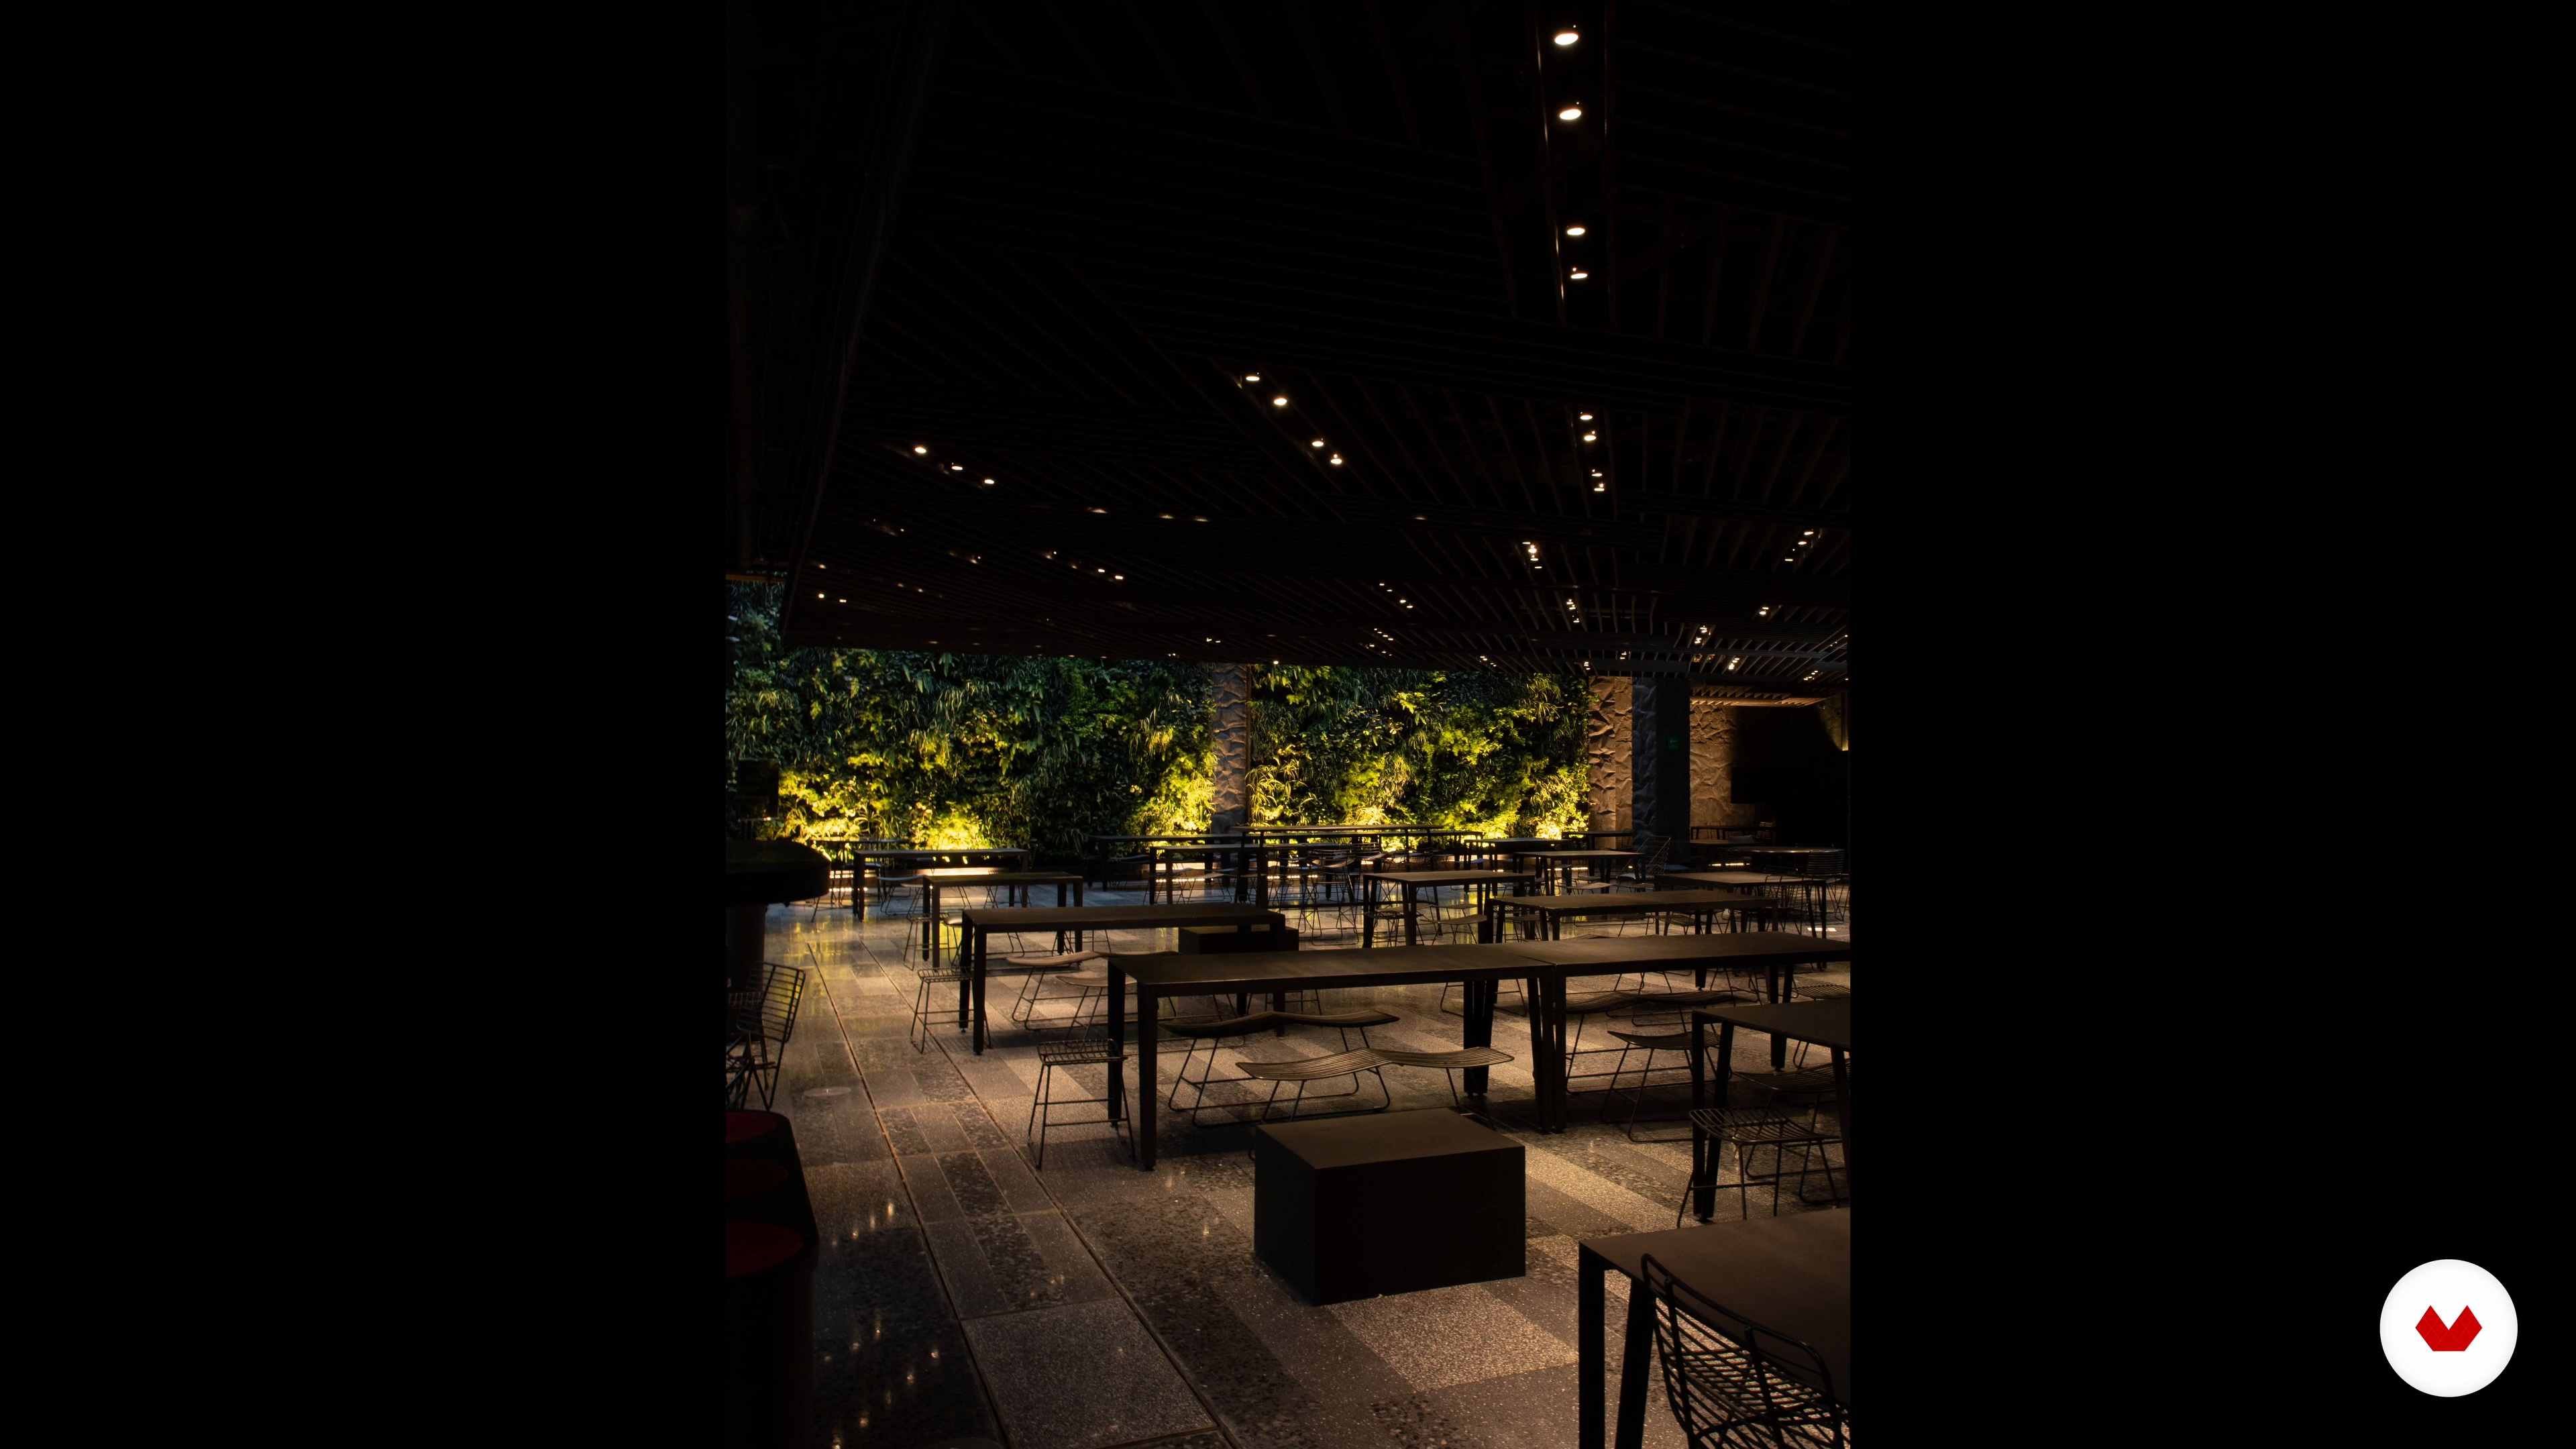
You'll explore how light and architecture influence design. From the emotional architecture of Luis Barragán to the Light and Space Movement, you'll discover how light shapes spaces. We'll analyze examples such as the Museo Jumex and artists like Ruth Asawa, highlighting their use of void and materials.
12m
image
6
Inspiration / Wanna
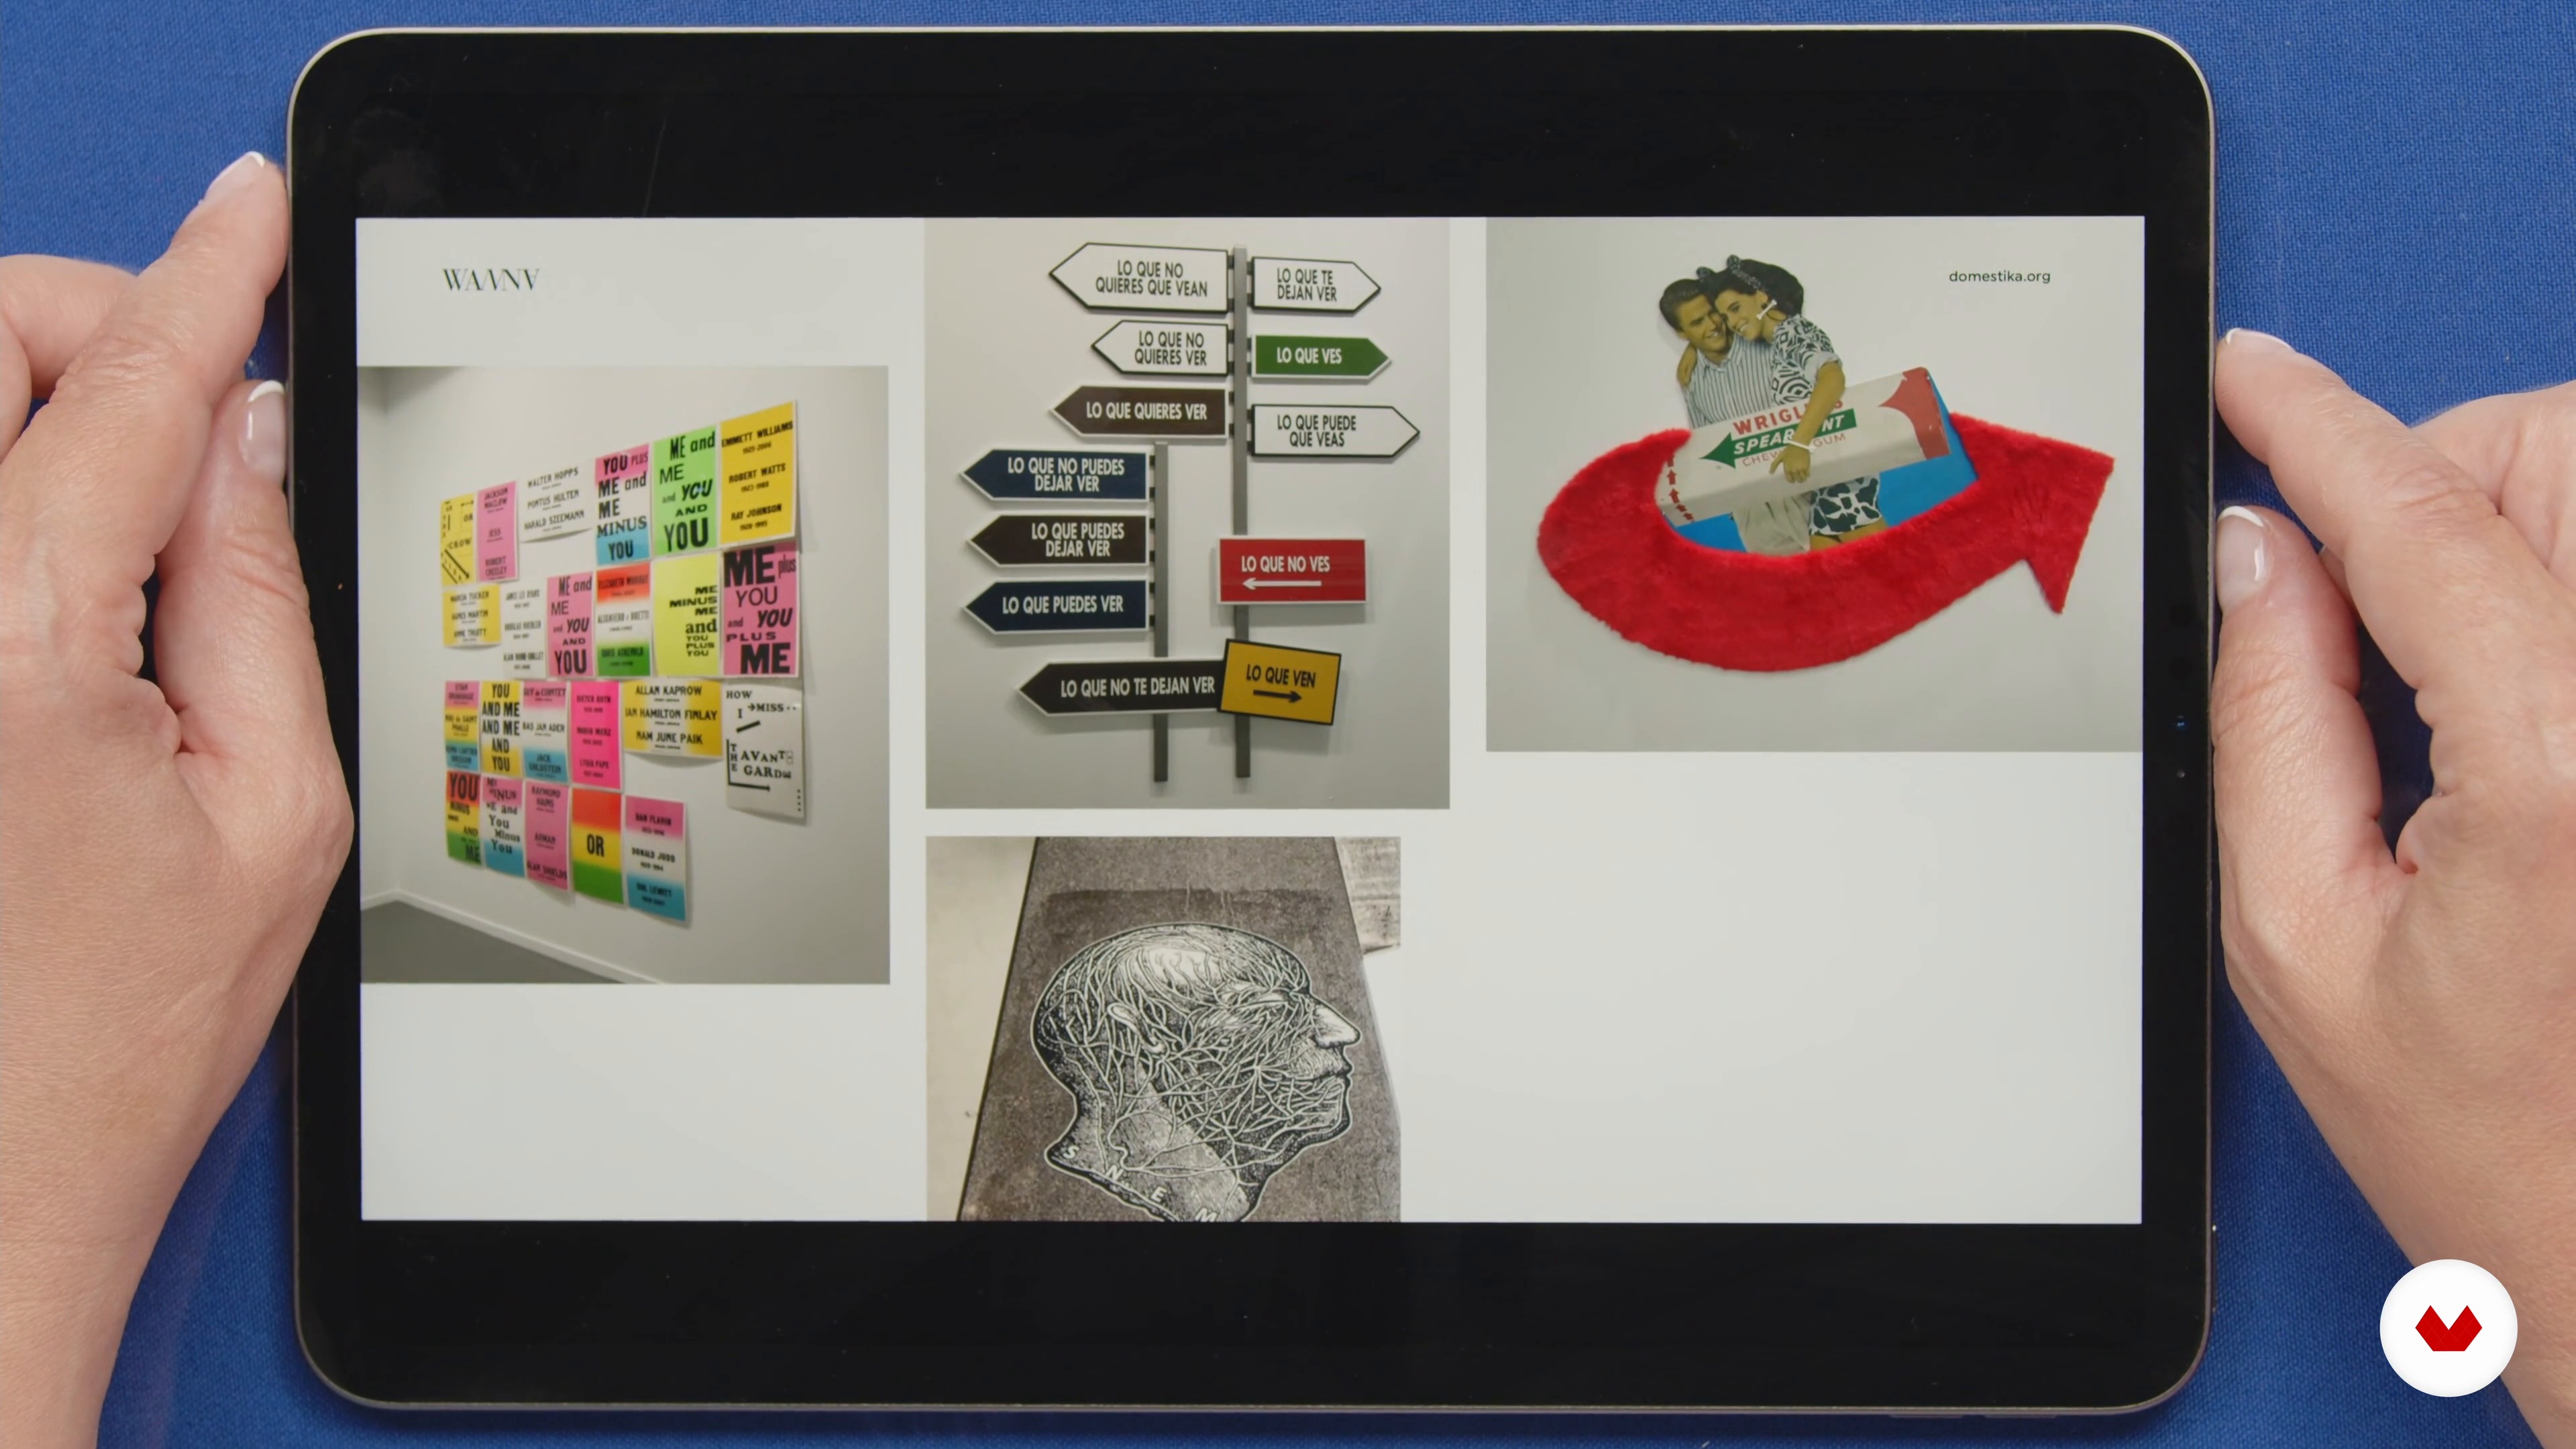
You'll discover our most recent influences. From the rebellious creative thinking of Think Punk to the visual inspiration of Brain Pickings, we explore sources that challenge the established. We also analyze the impact of light, art, and design on our process, as well as tools like Let's Flow to boost creativity in projects.
15m
image
1
What will we do in the module?
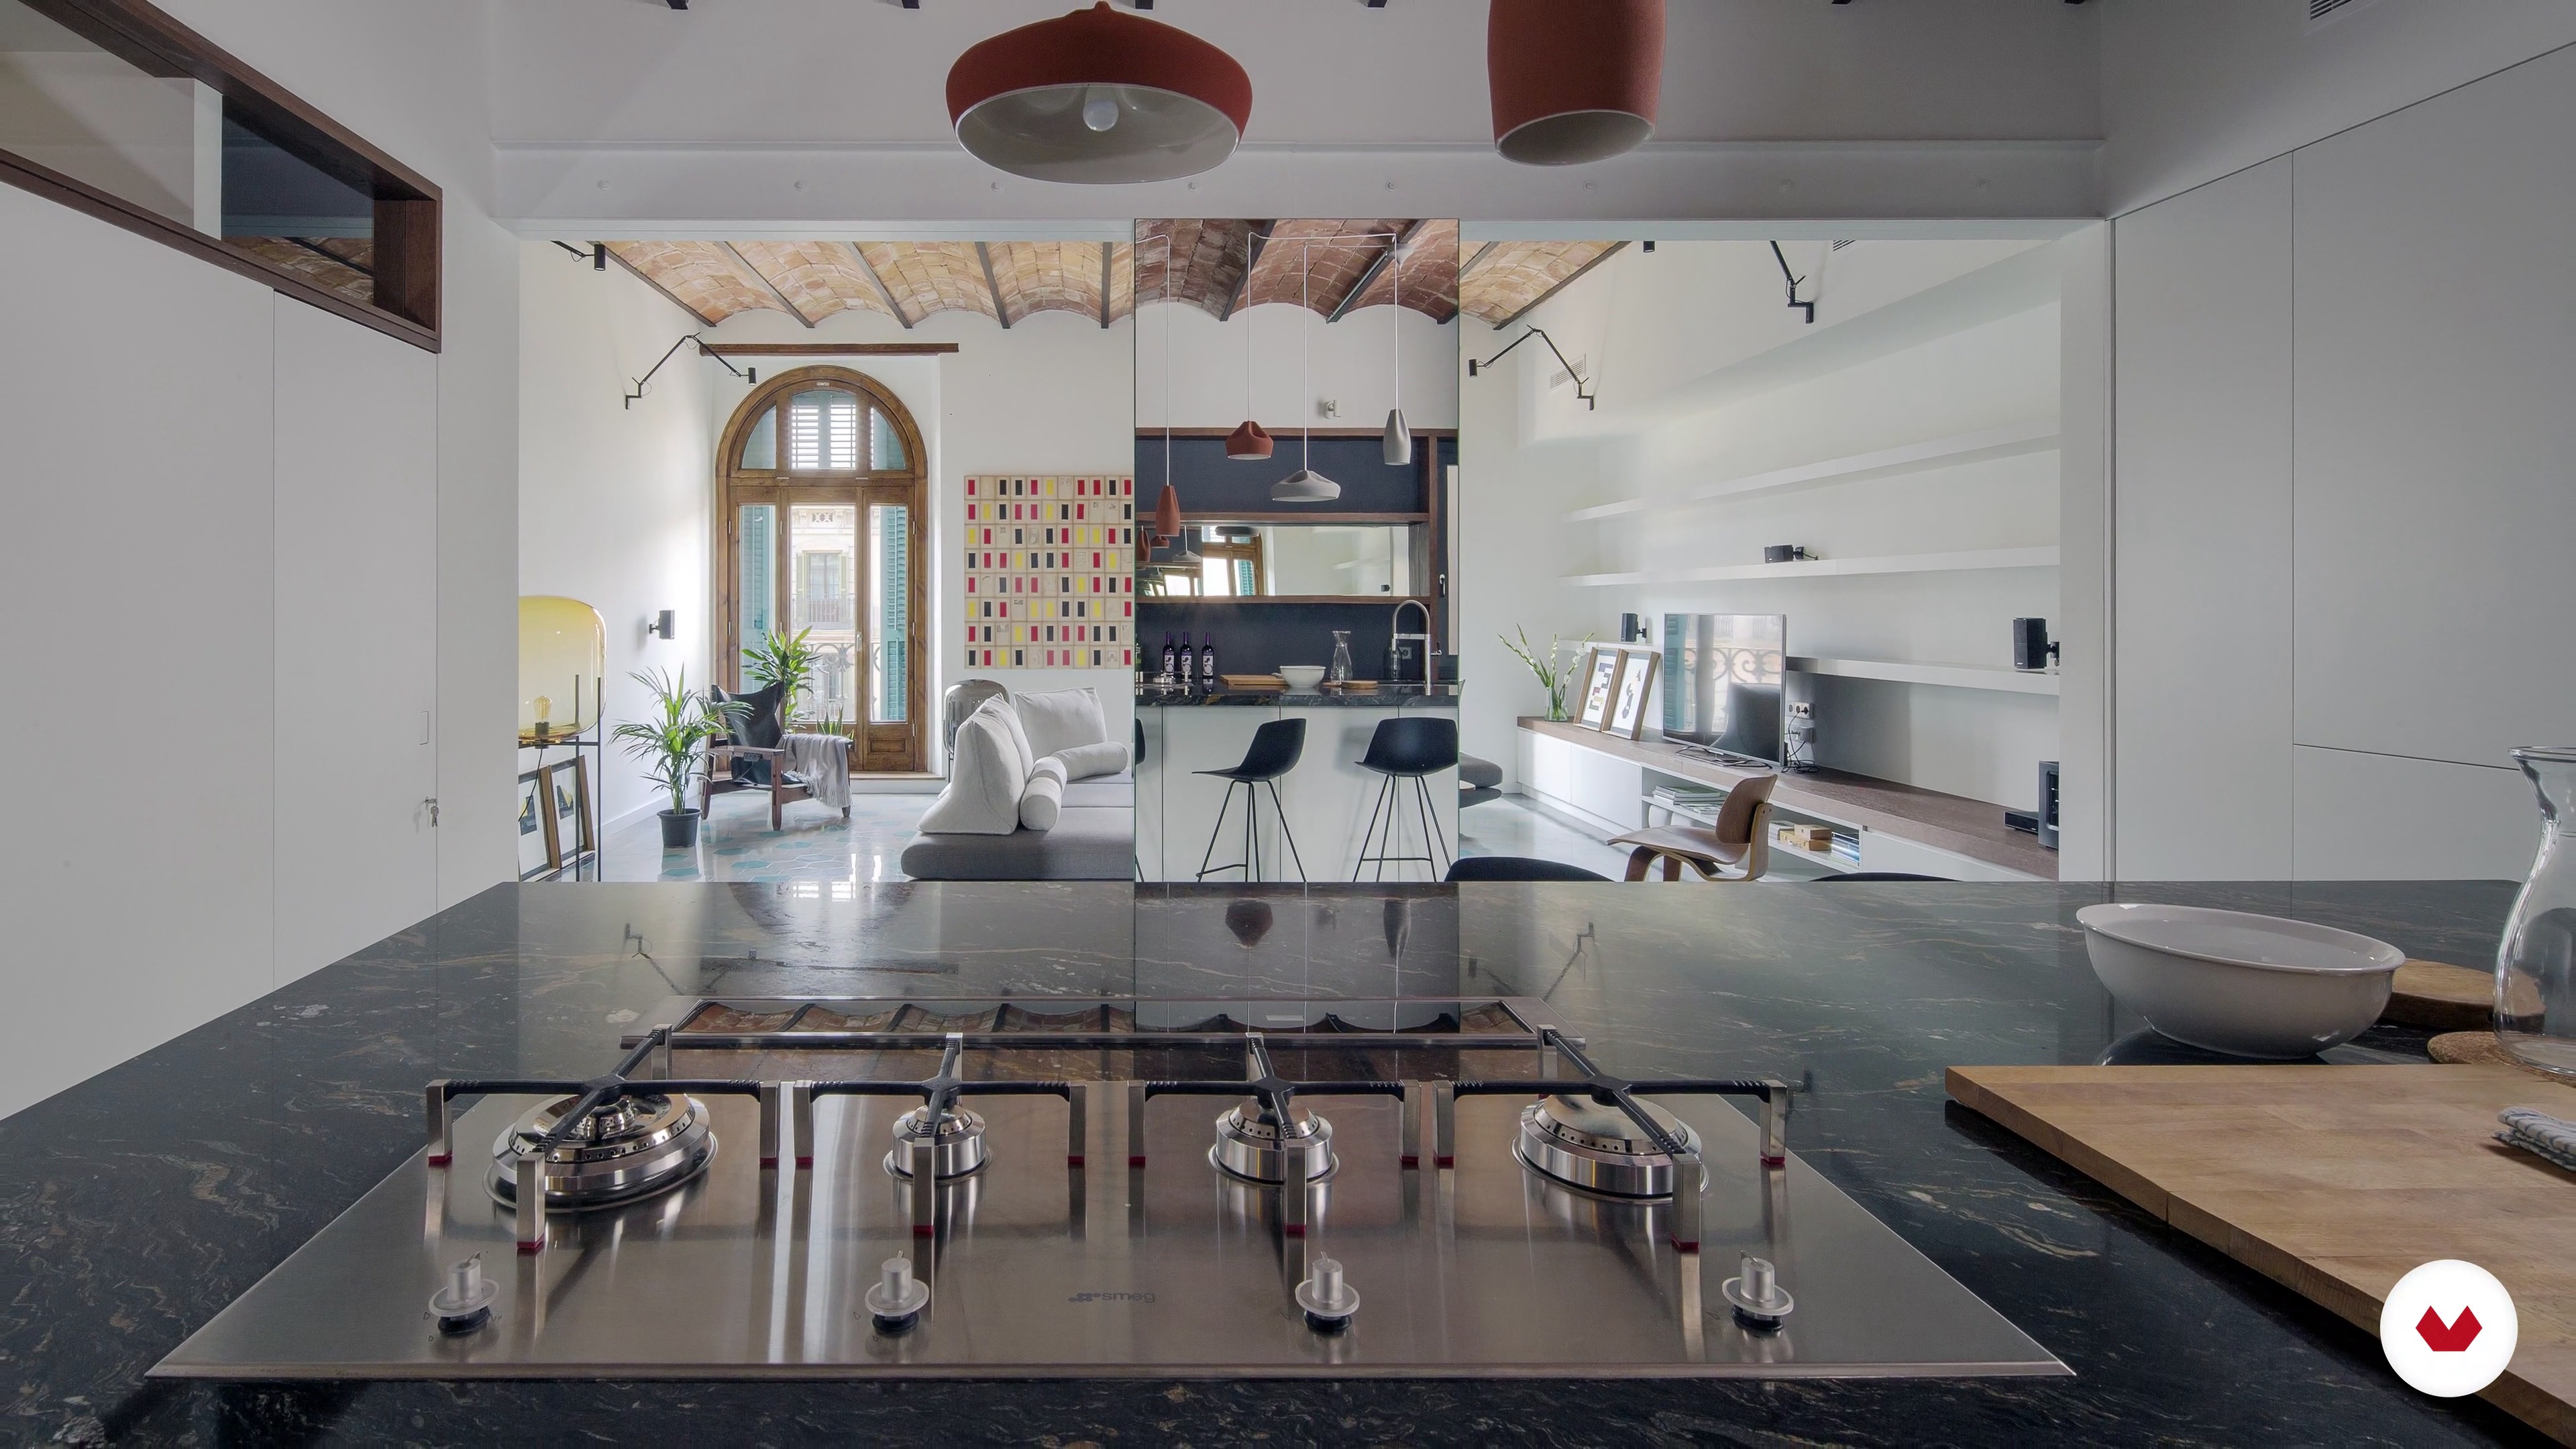
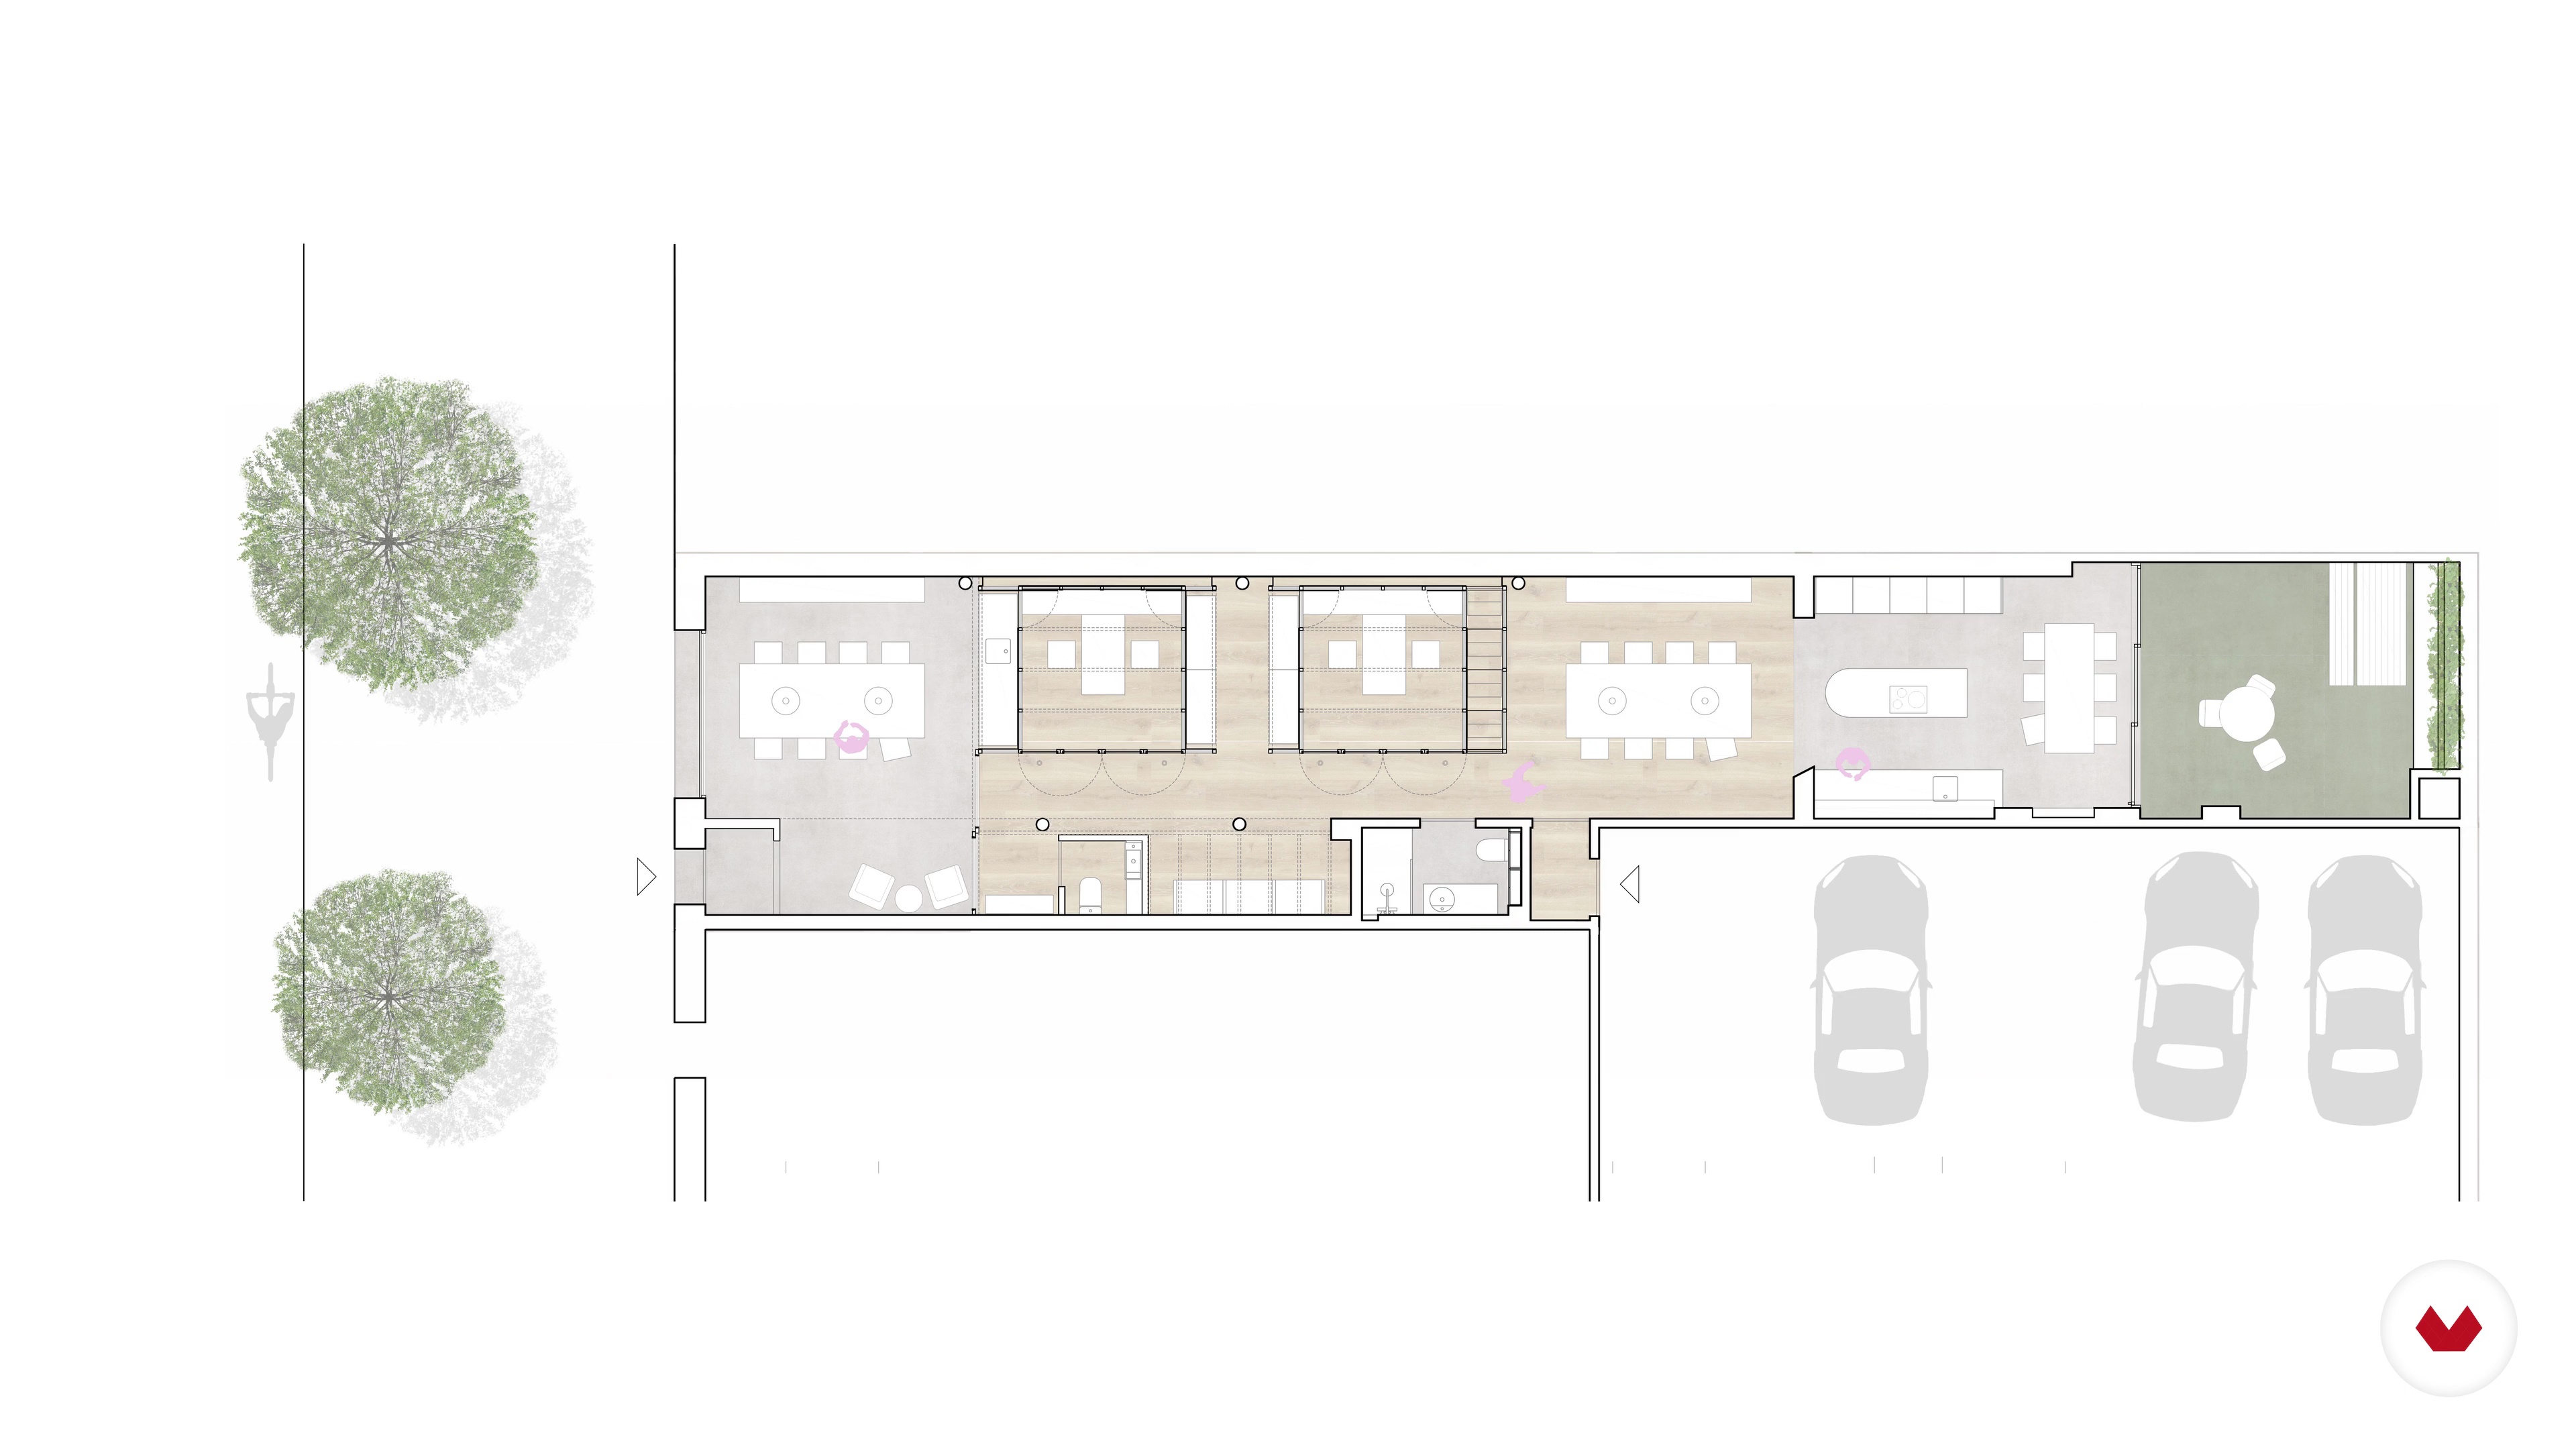
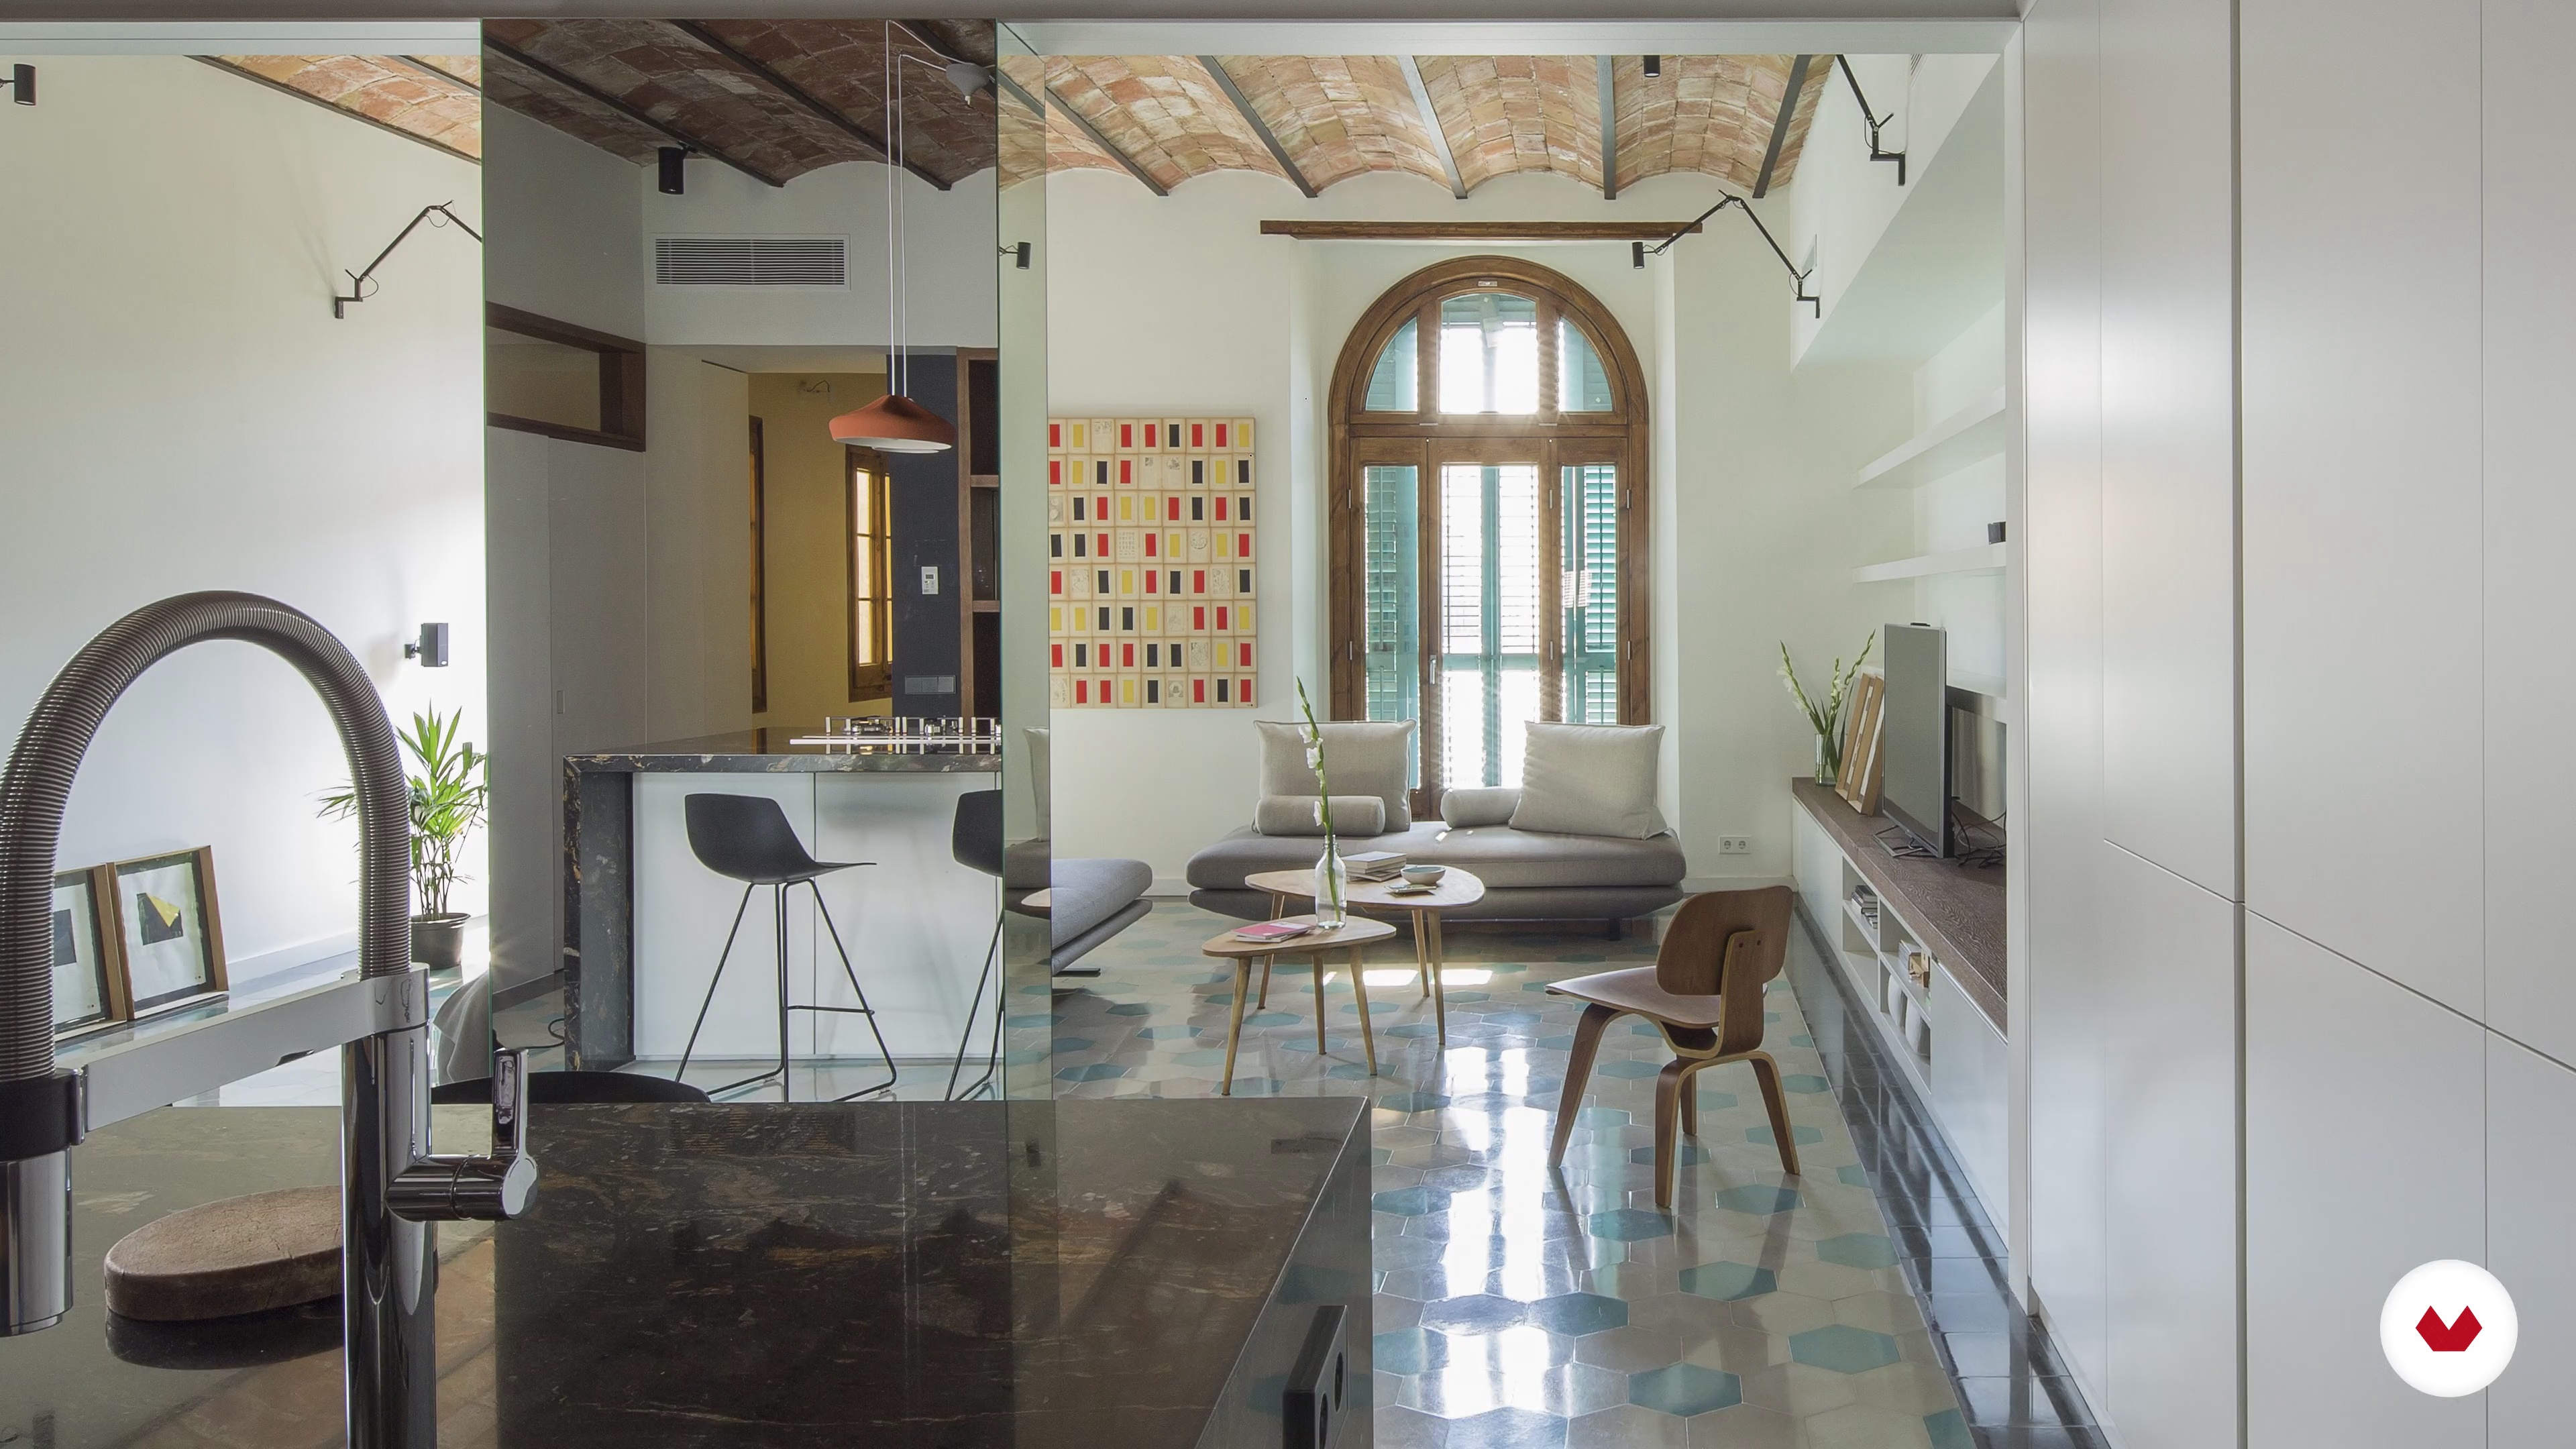
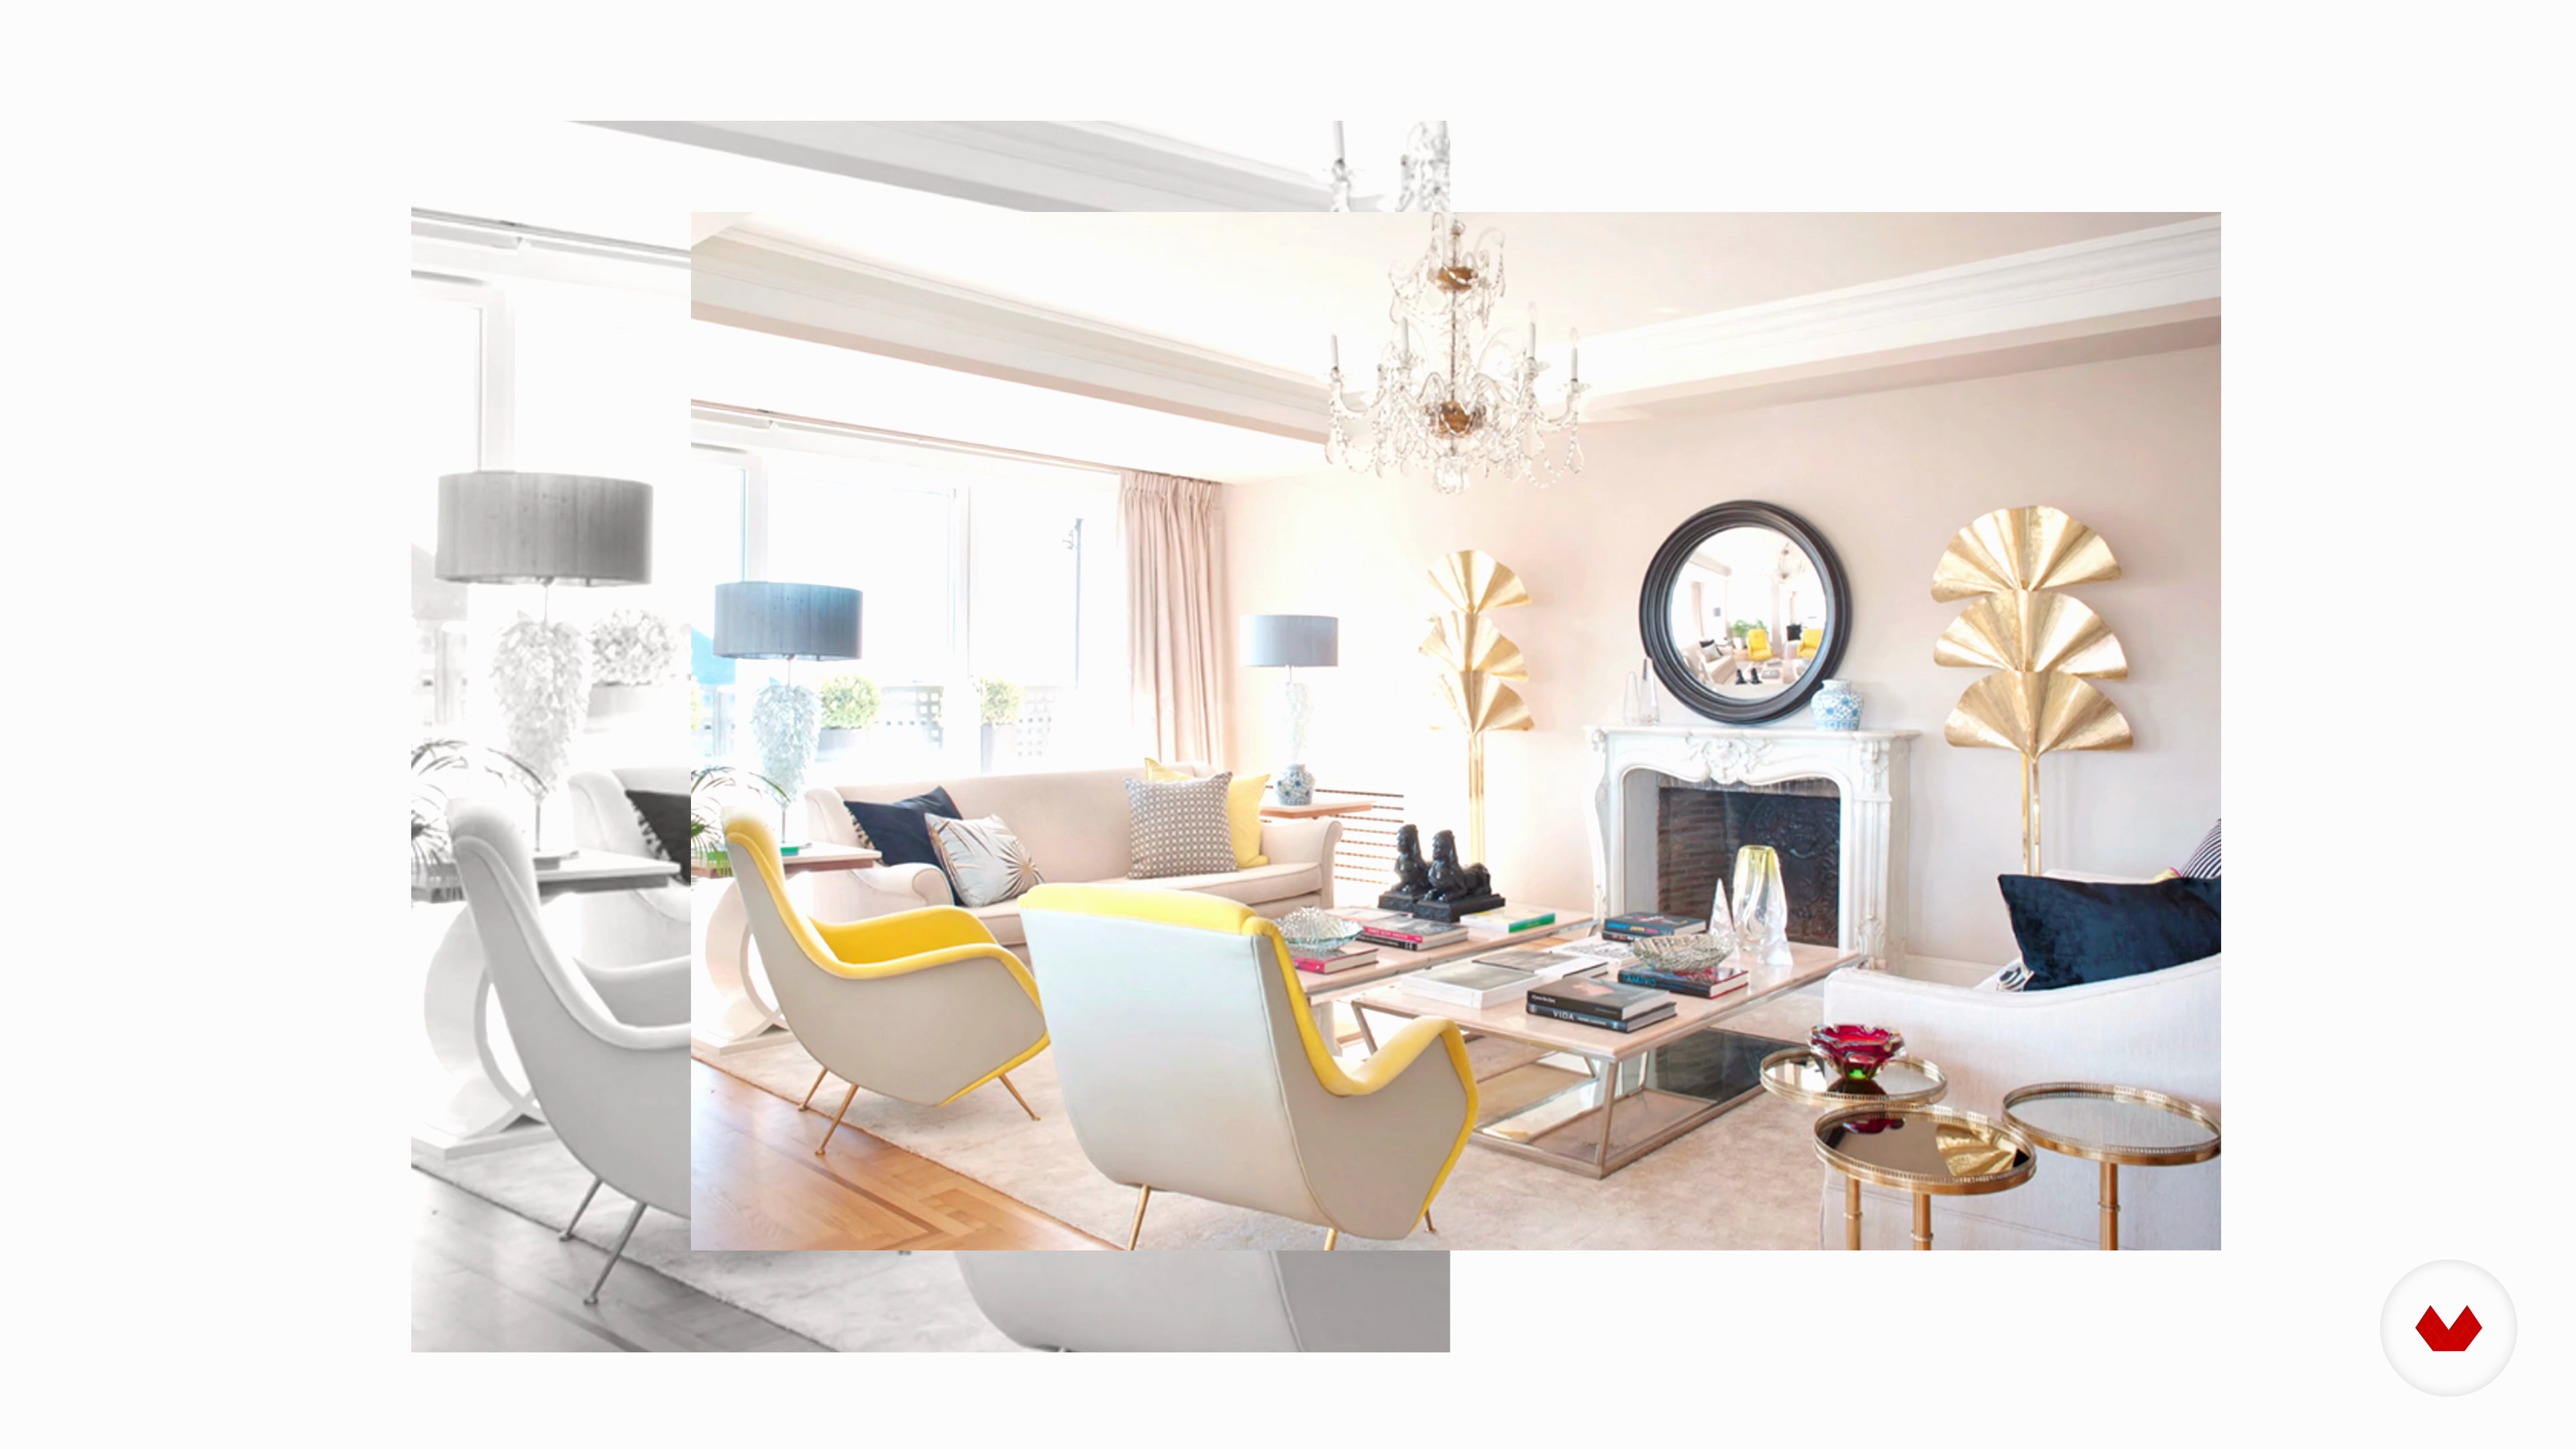
In this lesson, I'll explain the House of Mirrors project. We'll explore how we approached the renovation, starting with our first contact with the client and the space. I'll share our reflections on how social and technological changes affect the spaces we inhabit and how we've captured them in our work. Afterward, I'll show you the project development process and share our working documents. Finally, I'll encourage you to create your own renovation proposal for the home of your choice.
1m
image
2
Approach to interior design
In this lesson, I'll explain what interior design means to us, understanding it as an inseparable discipline from architecture.
3m
image
3
How social changes influence spaces
Let's analyze how social, family, and technological aspects are transforming the spaces we live in. I'll talk about the changes in housing over the past few decades and encourage you to blur the lines between work and leisure, office and home, and indoors and outdoors.
12m
image
4
Measurements and proportion
In this lesson, you'll learn about architectural dimensions. Rooms should be organized according to their intended uses. We'll see how the proportion of spaces should not only be conveyed in the floor plan, but also reflected in the use of heights.
2m
image
5
Materials
I'll explain the selection criteria for the main materials we use in our projects. I'll explain their basic characteristics so you can choose them based on the intended function or environment.
5m
image
6
Lightning
Let's learn some basic concepts about how to illuminate spaces according to their intended functions. You'll learn how to define and complete spaces with well-chosen lighting.
4m
image
7
Furniture
In this lesson, I'll emphasize the importance of choosing furniture from the initial stages of the project. You'll learn how to combine the most relevant pieces with the fixed cabinetry and small storage options you've proposed. We'll see how these objects shape the space, both materially and formally.
3m
image
8
Customer
During this lesson, I'll emphasize the importance of knowing the client. I'll explain how we approach the people for whom we'll design homes. I'll also provide you with a questionnaire that includes the questions you need to successfully complete the client's brief.
3m
image
9
Charge
After defining the client profile, I will emphasize the importance of understanding the nature of the assignment and the motivation behind it.
1m
image
10
Space
Here I'll explain the key points for approaching the space where the project will be carried out. I'll emphasize the importance of carefully analyzing the initial factors that may influence the decision-making process for the proposal.
4m
image
11
Sketches
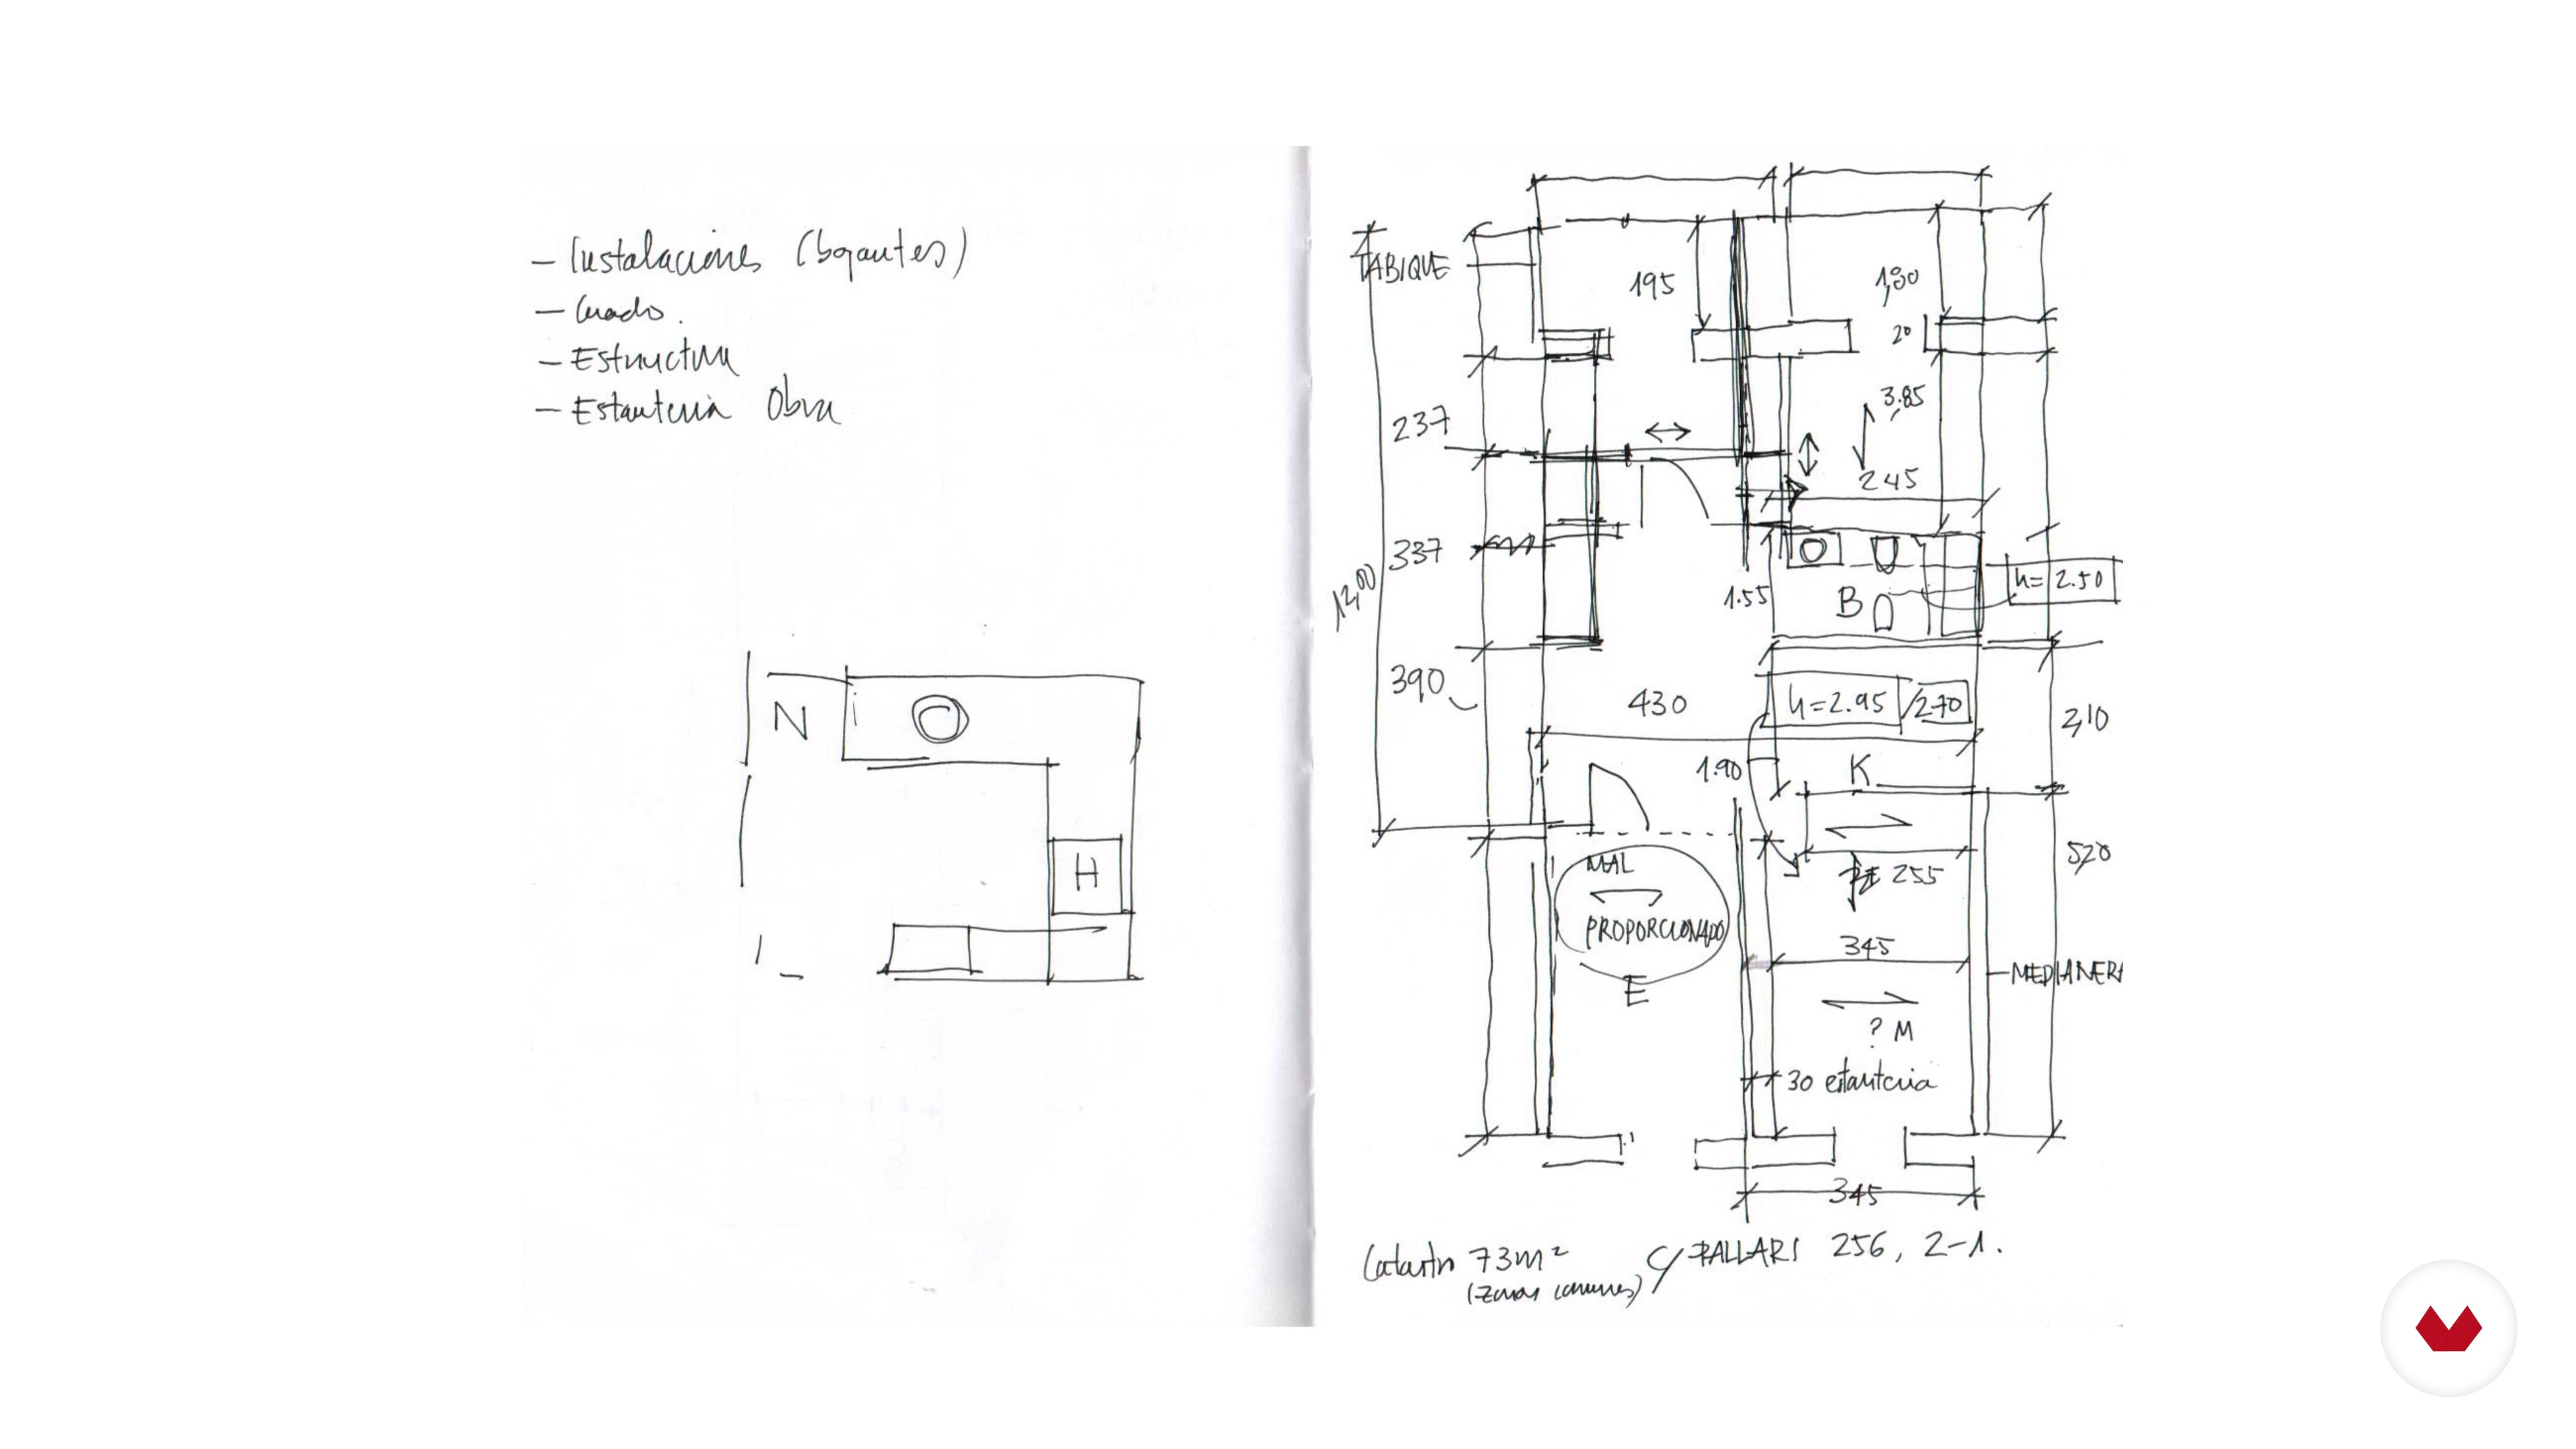
In this phase, I'll teach you how to interpret all the initial information we have and use it to develop your first ideas. I'll encourage you to develop your initial sketches using any medium you choose, from paper and pencil to 3D rendering software.
11m
image
12
Functional and spatial organization chart
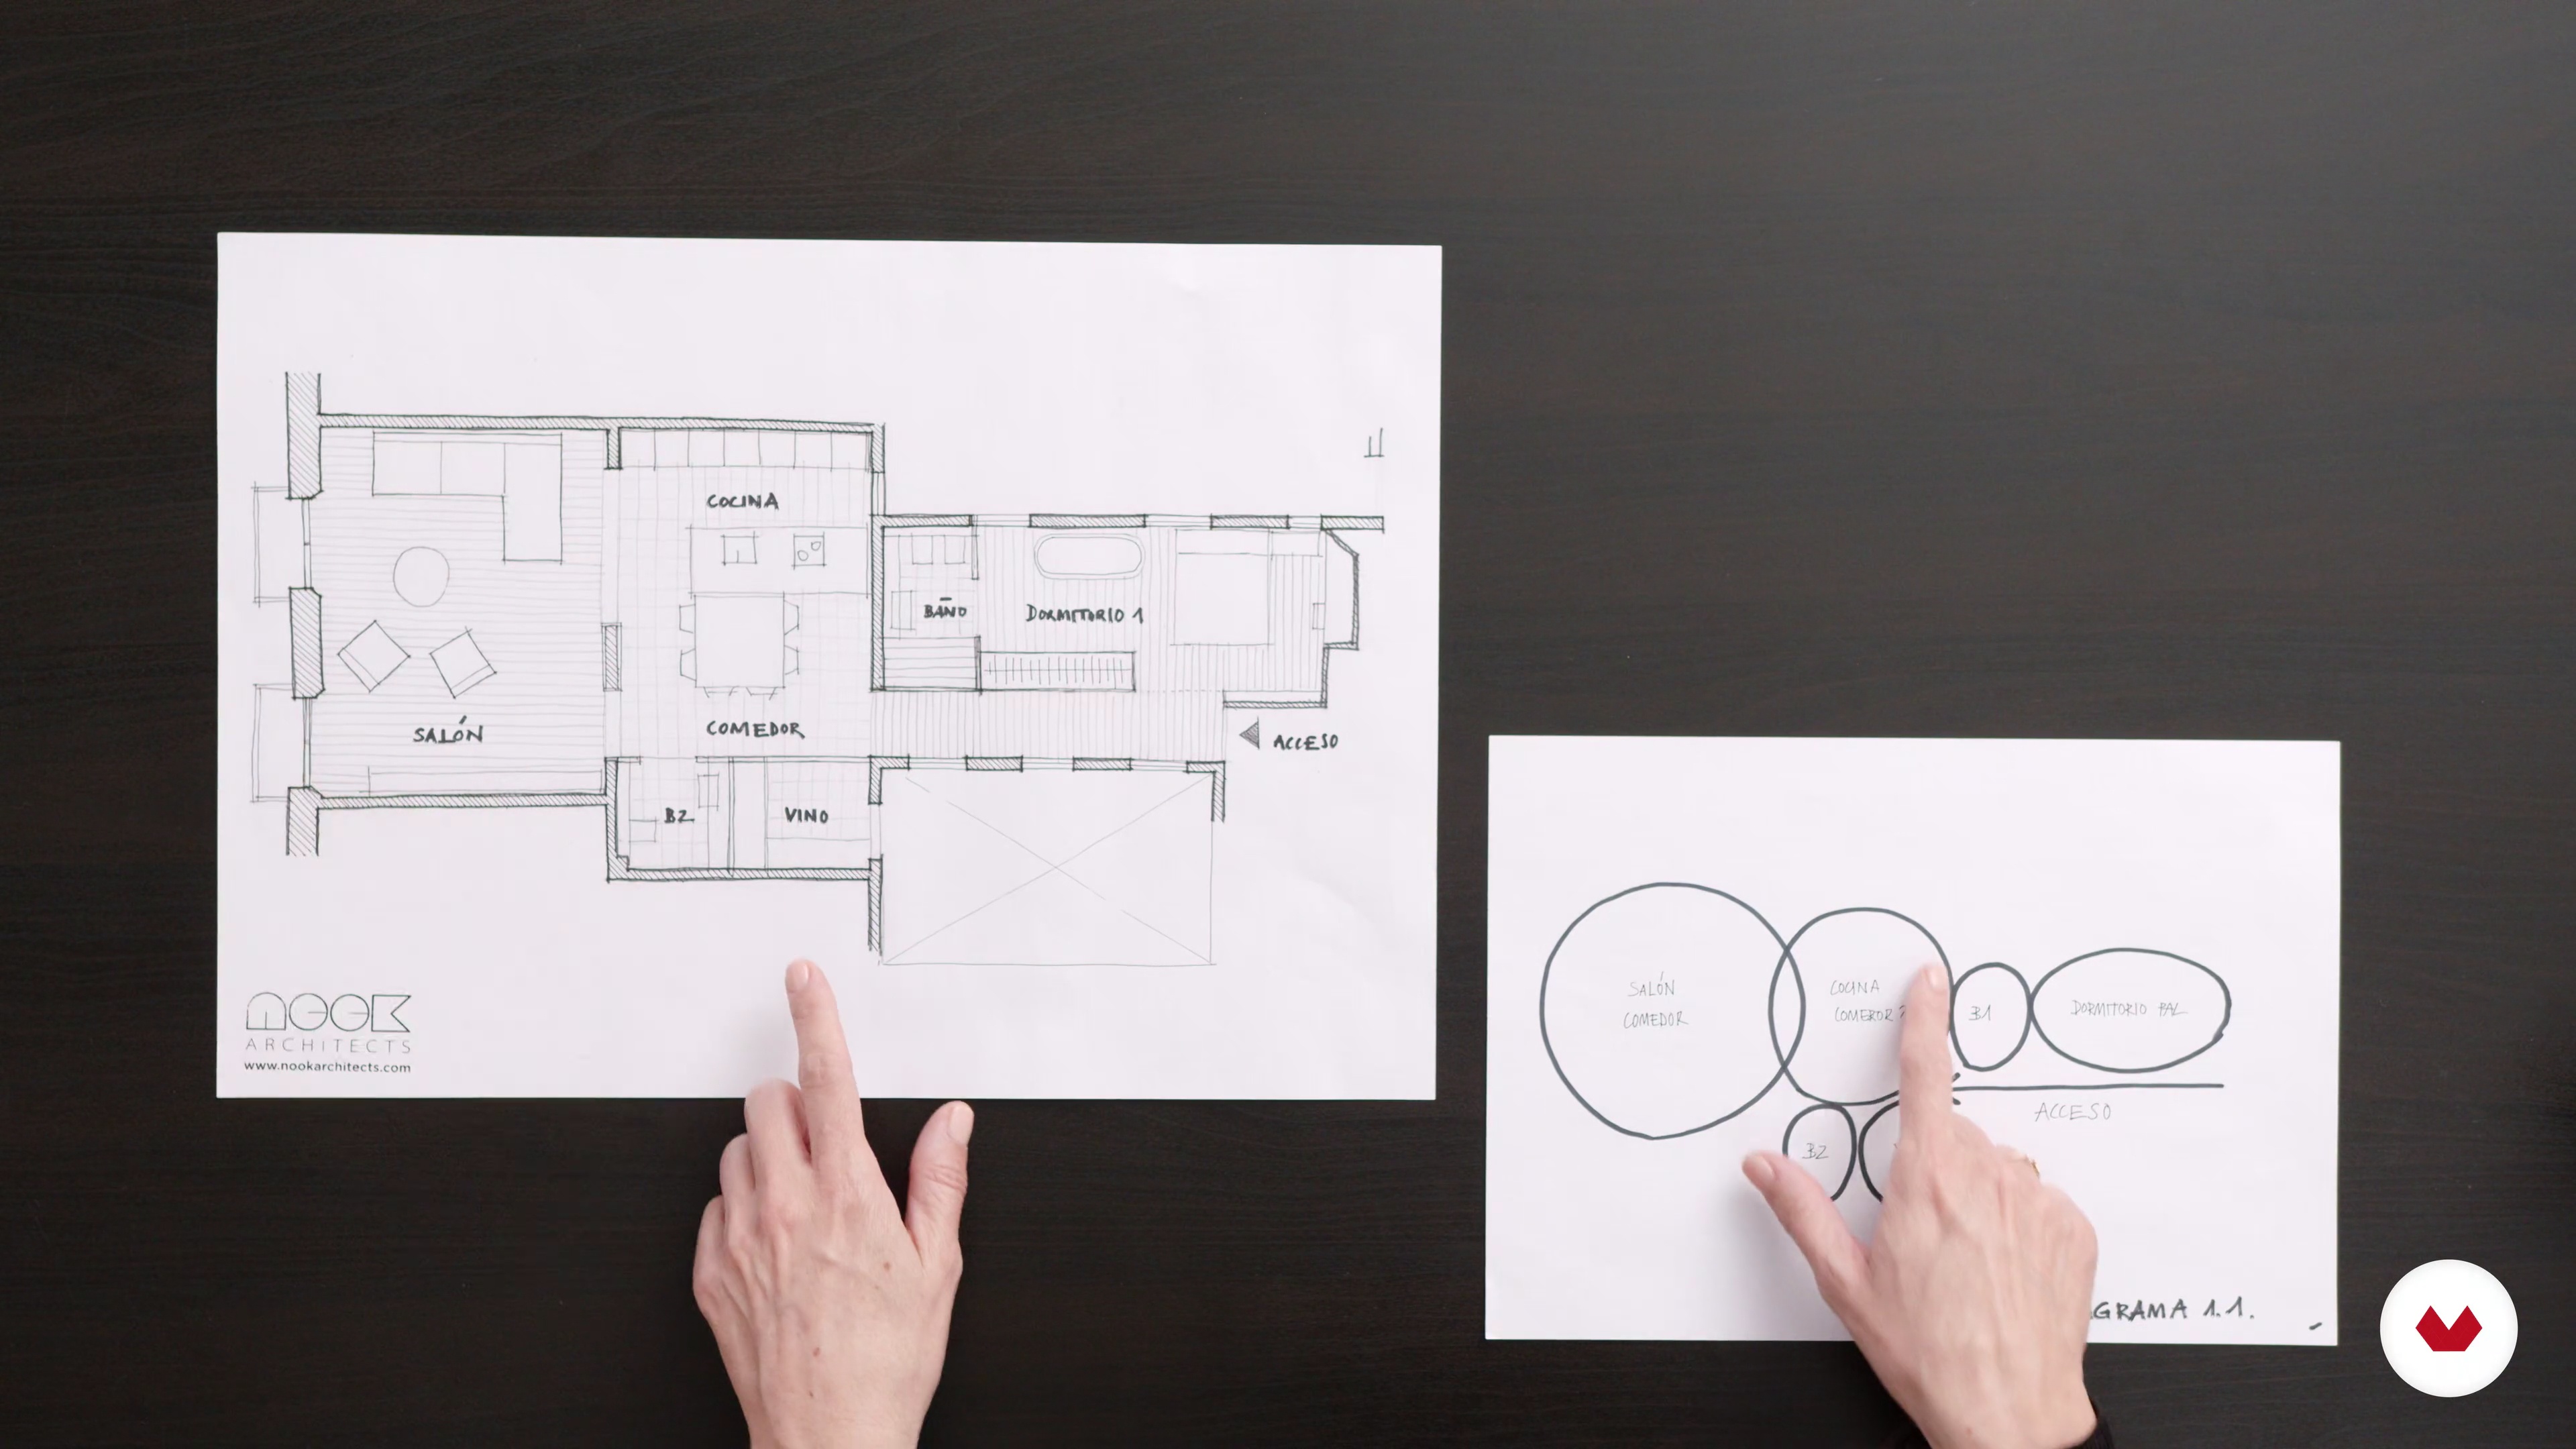
In this lesson, we'll outline an organizational chart of the spaces that will make up the new home, based on their hierarchy. From here, you'll see our initial layouts in the form of sketches and the various preliminary project proposals.
2m
image
13
Definition of the proposal
The objective of this lesson will be to capture all of the above in one or more proposals that will be presented to the client. We'll look at several examples of preliminary design options that were rejected in favor of the version the client chose to formalize their home.
2m
image
14
Materiality
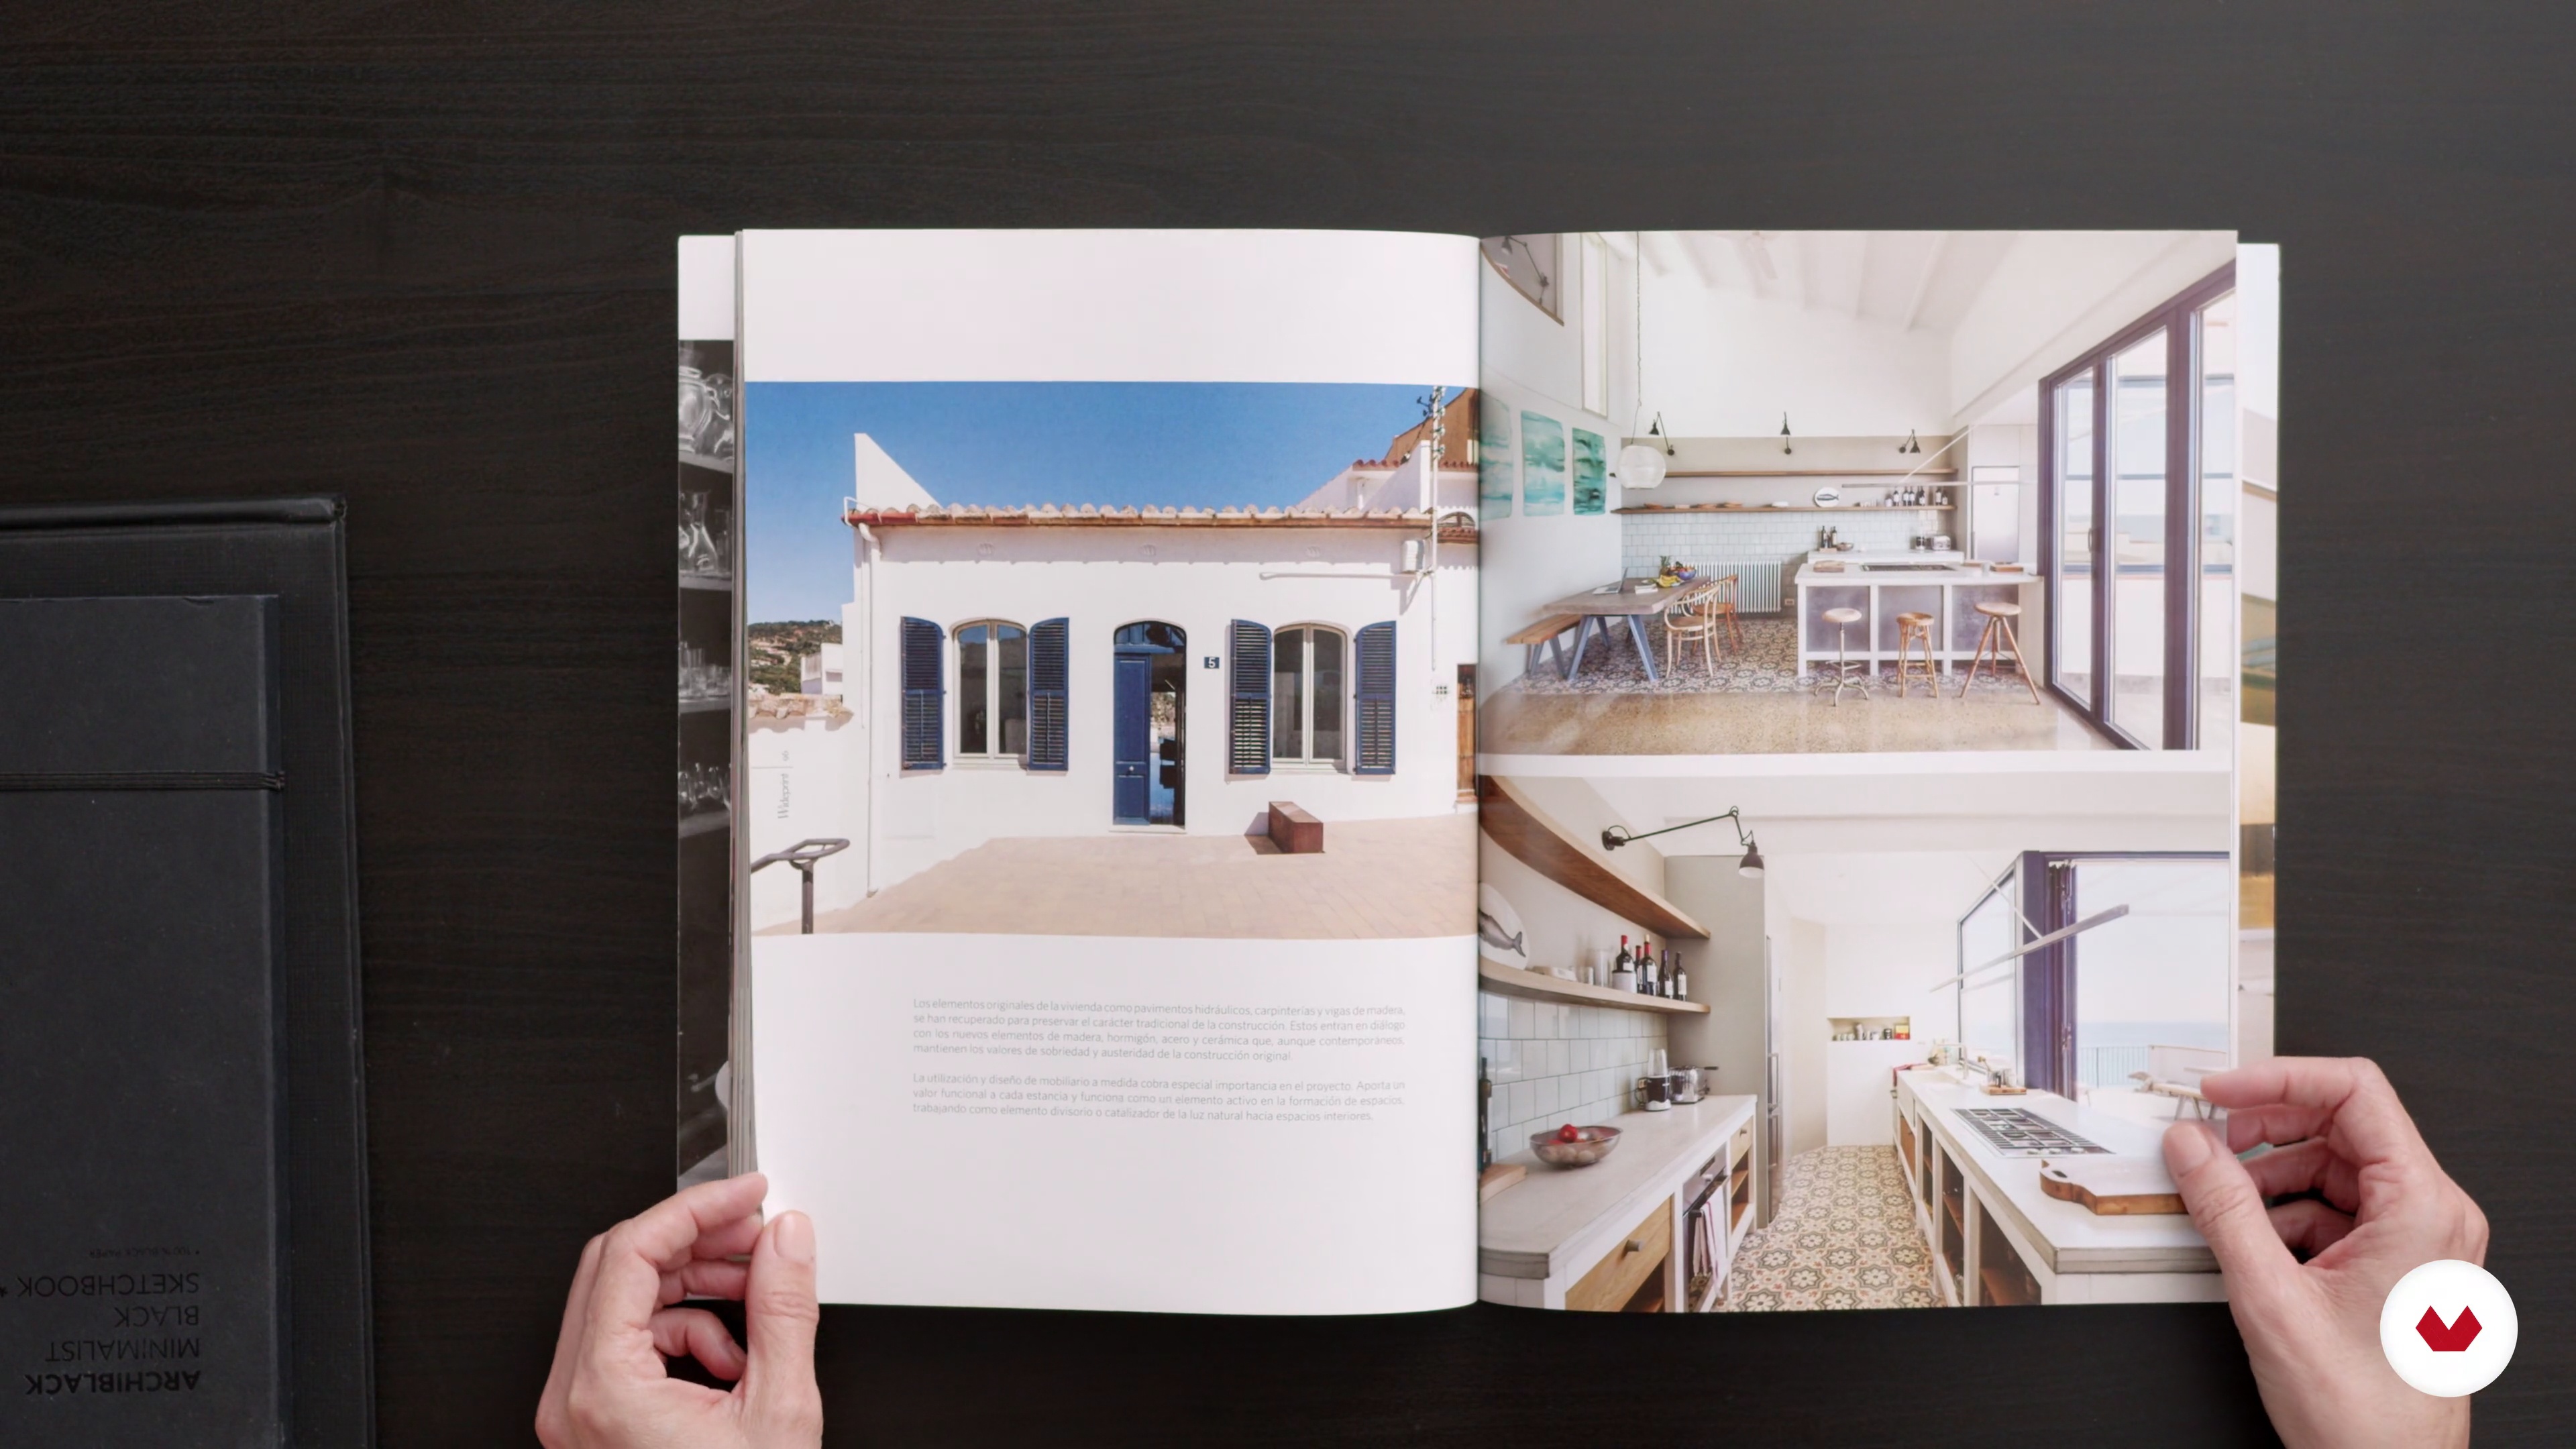
I'll explain how, from the initial phase, you should be clear about which elements will define the project's materiality. I'll show you examples where the preexisting features of the space we decided to retain interact with the new additions.
3m
image
15
Preparation of detailed plans
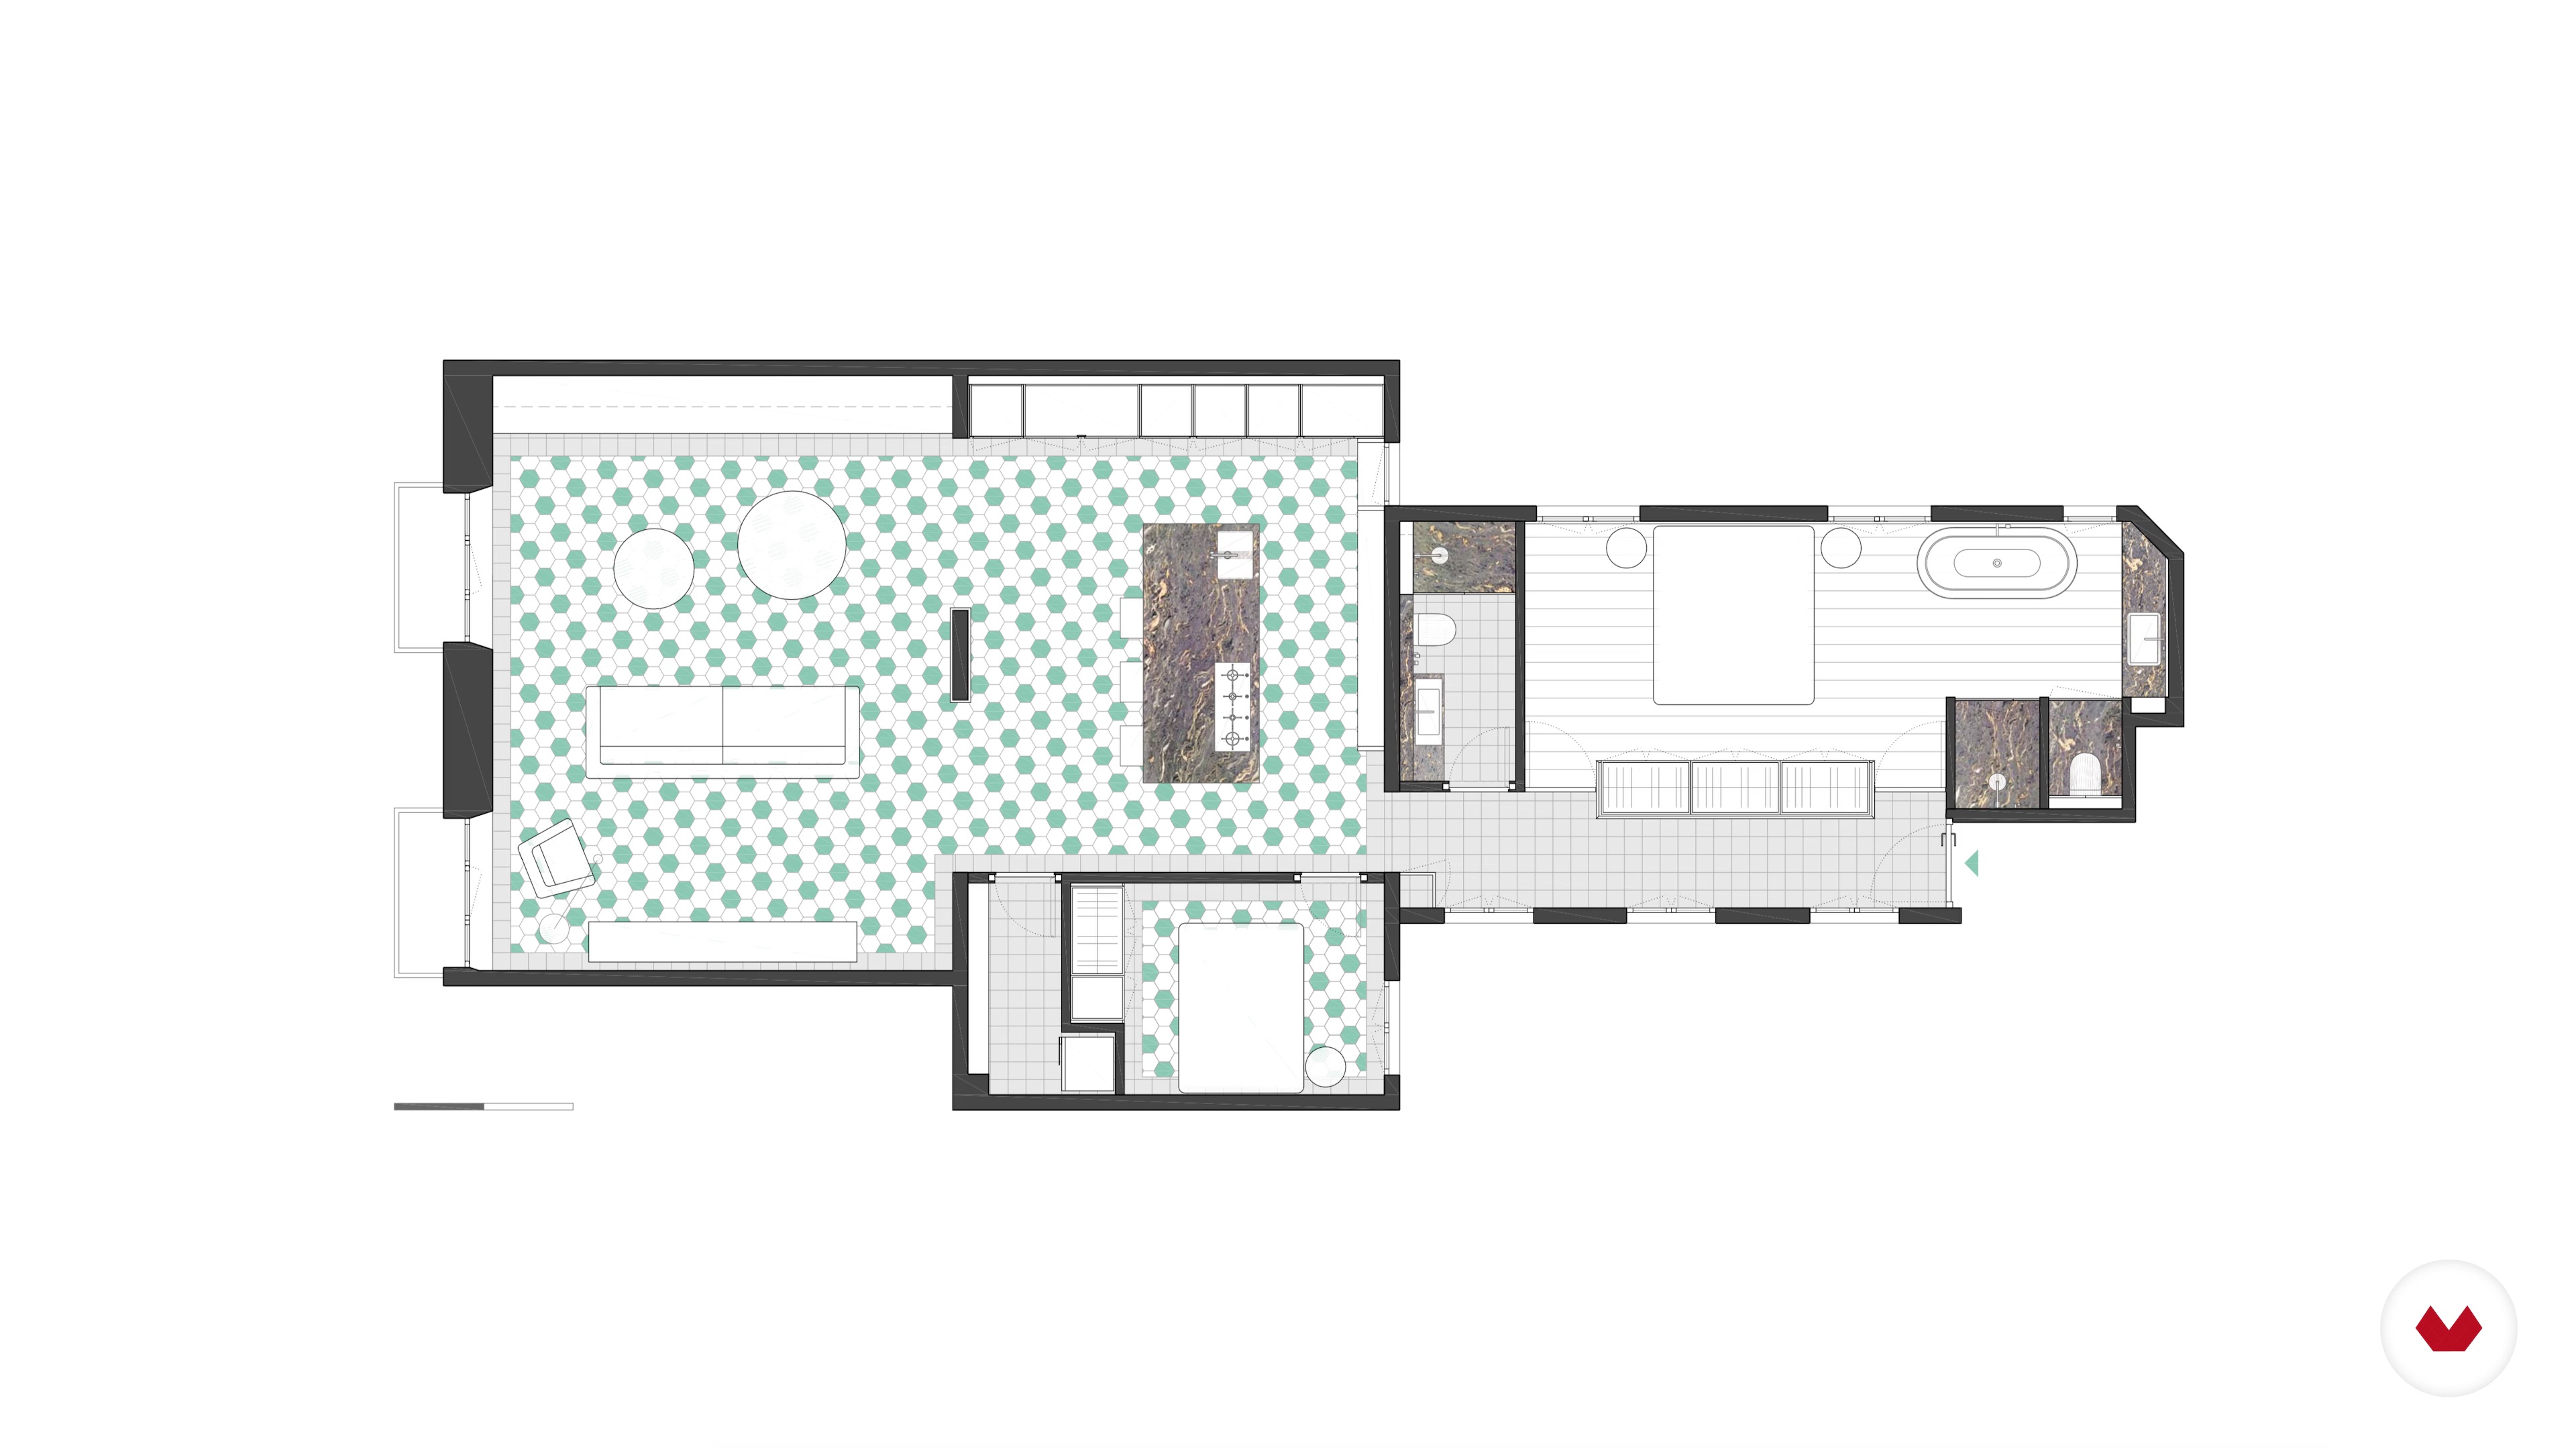
The client has already approved the preliminary design proposal. Next, I'll explain how to detail the project to obtain graphic documentation that will enable the execution of the work. We'll look at how to delve deeper into those rooms that require more precise materials and details, such as the bathrooms, kitchen, and custom furniture.
11m
image
16
Drafting budget items
In this lesson, we'll learn how to transfer information from graphic documents, plans, sketches, and 3D views into written chapters to create a controlled budget that allows you to carry out the project exactly as you imagined.
3m
image
17
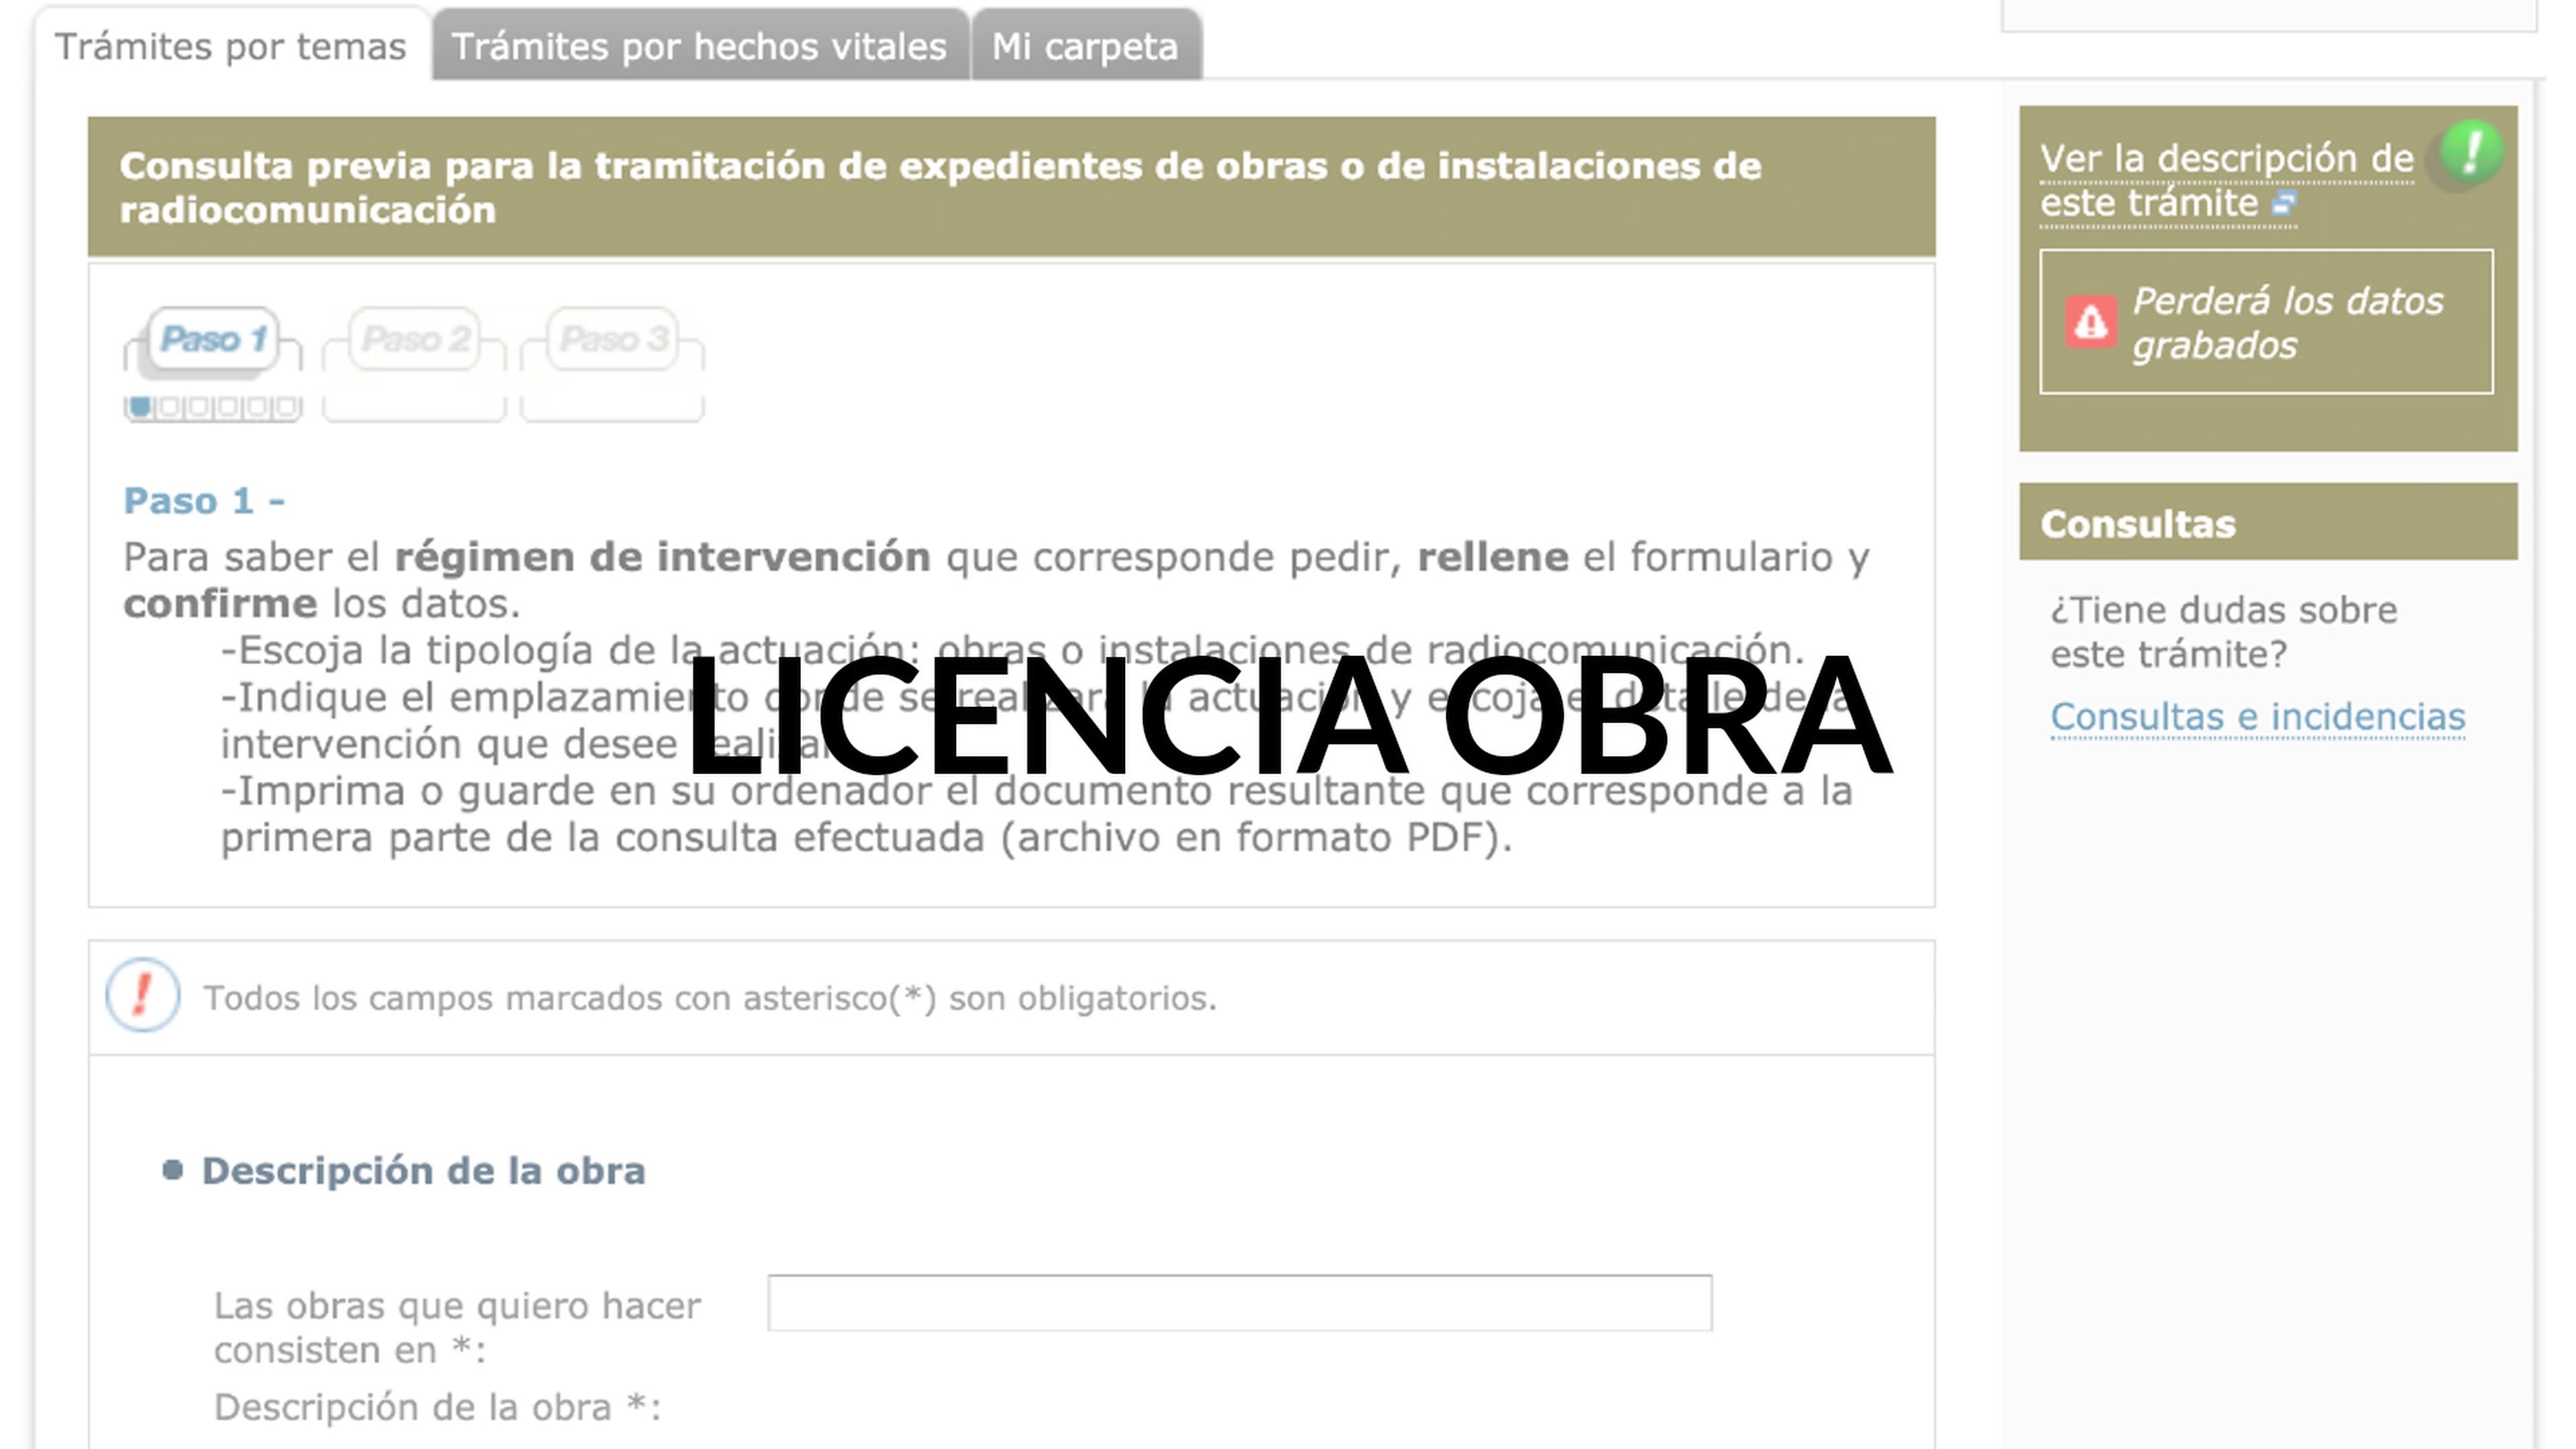
Processing of construction permits
I'll briefly explain how to determine which type of building permit you should apply for, depending on the level of intervention in the space and the authority responsible for each project. I'll give you some tips to ensure your proposed project is feasible.
1m
image
18
Construction process
In this lesson, I'll explain how to plan down to the last detail to avoid unforeseen events that could affect your schedule and budget. I'll also give you tips on how to handle some unforeseen events during a renovation and provide you with a project tracking template.
4m
image
19
Final and acceptance of the work
At this point, everything will be ready for the client to accept the project and manage its quality control. I'll explain how to carry out a thorough inspection to ensure everything is working properly.
2m
image
20
Project publication
Finally, I'll emphasize the importance of preparing a good promotional package for your completed work that conveys the essence of the project and is attractive to both distribution channels and potential clients. We'll share with you the making of some of our first events to showcase our work.
7m
image
1
What will we do in the module?
In this lesson, I'll tell you what we'll be doing in the module and introduce you to the world of interior design through color. We'll start with a bit of theory where I'll explain the psychology of color from my perspective and experience. I'll also introduce you to those moments and influences that have undoubtedly shaped my way of designing and understanding color and life.
1m
image
2
For tastes, primary, secondary and tertiary colors
In this lesson, I'll teach you how colors begin to form through primary colors—those that cannot be obtained by mixing other colors.
8m
image
3
Sometimes yes, sometimes no: color combination
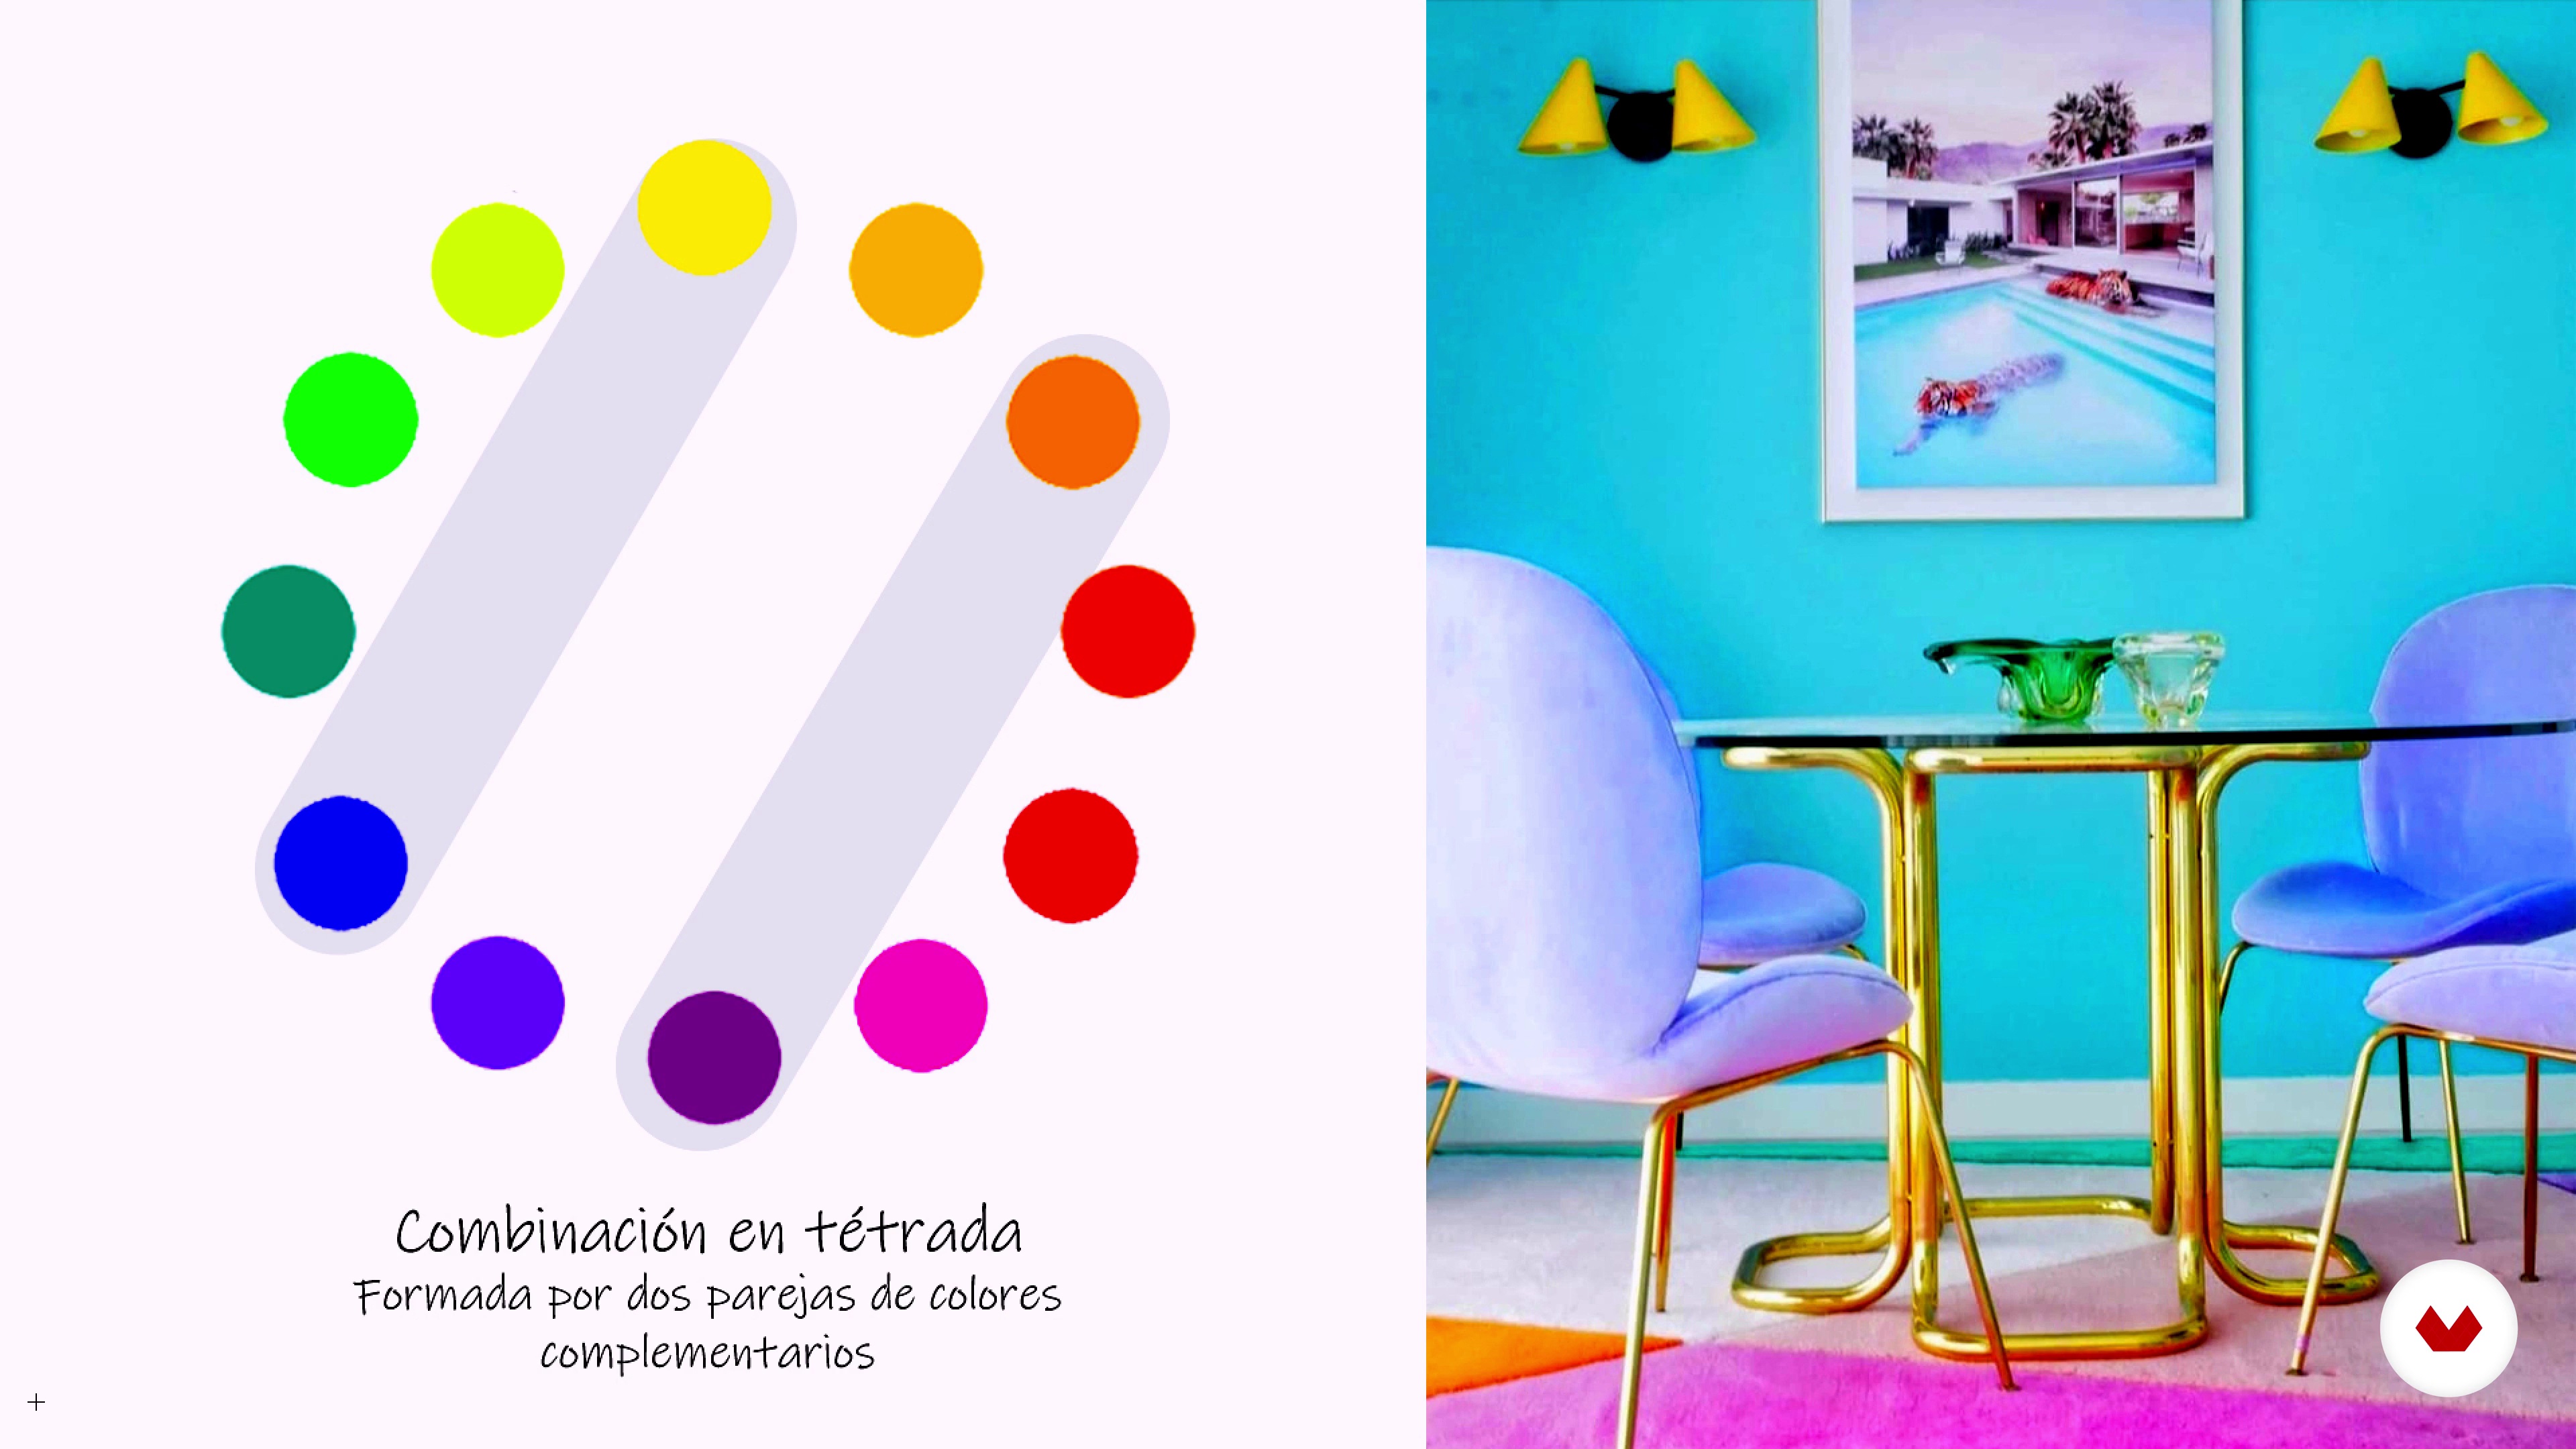
You'll learn how to creatively select and organize colors into harmonious combinations based on the color theory we've covered, and I'll give you tips on how to combine them.
7m
image
4
Color fever and its psychology
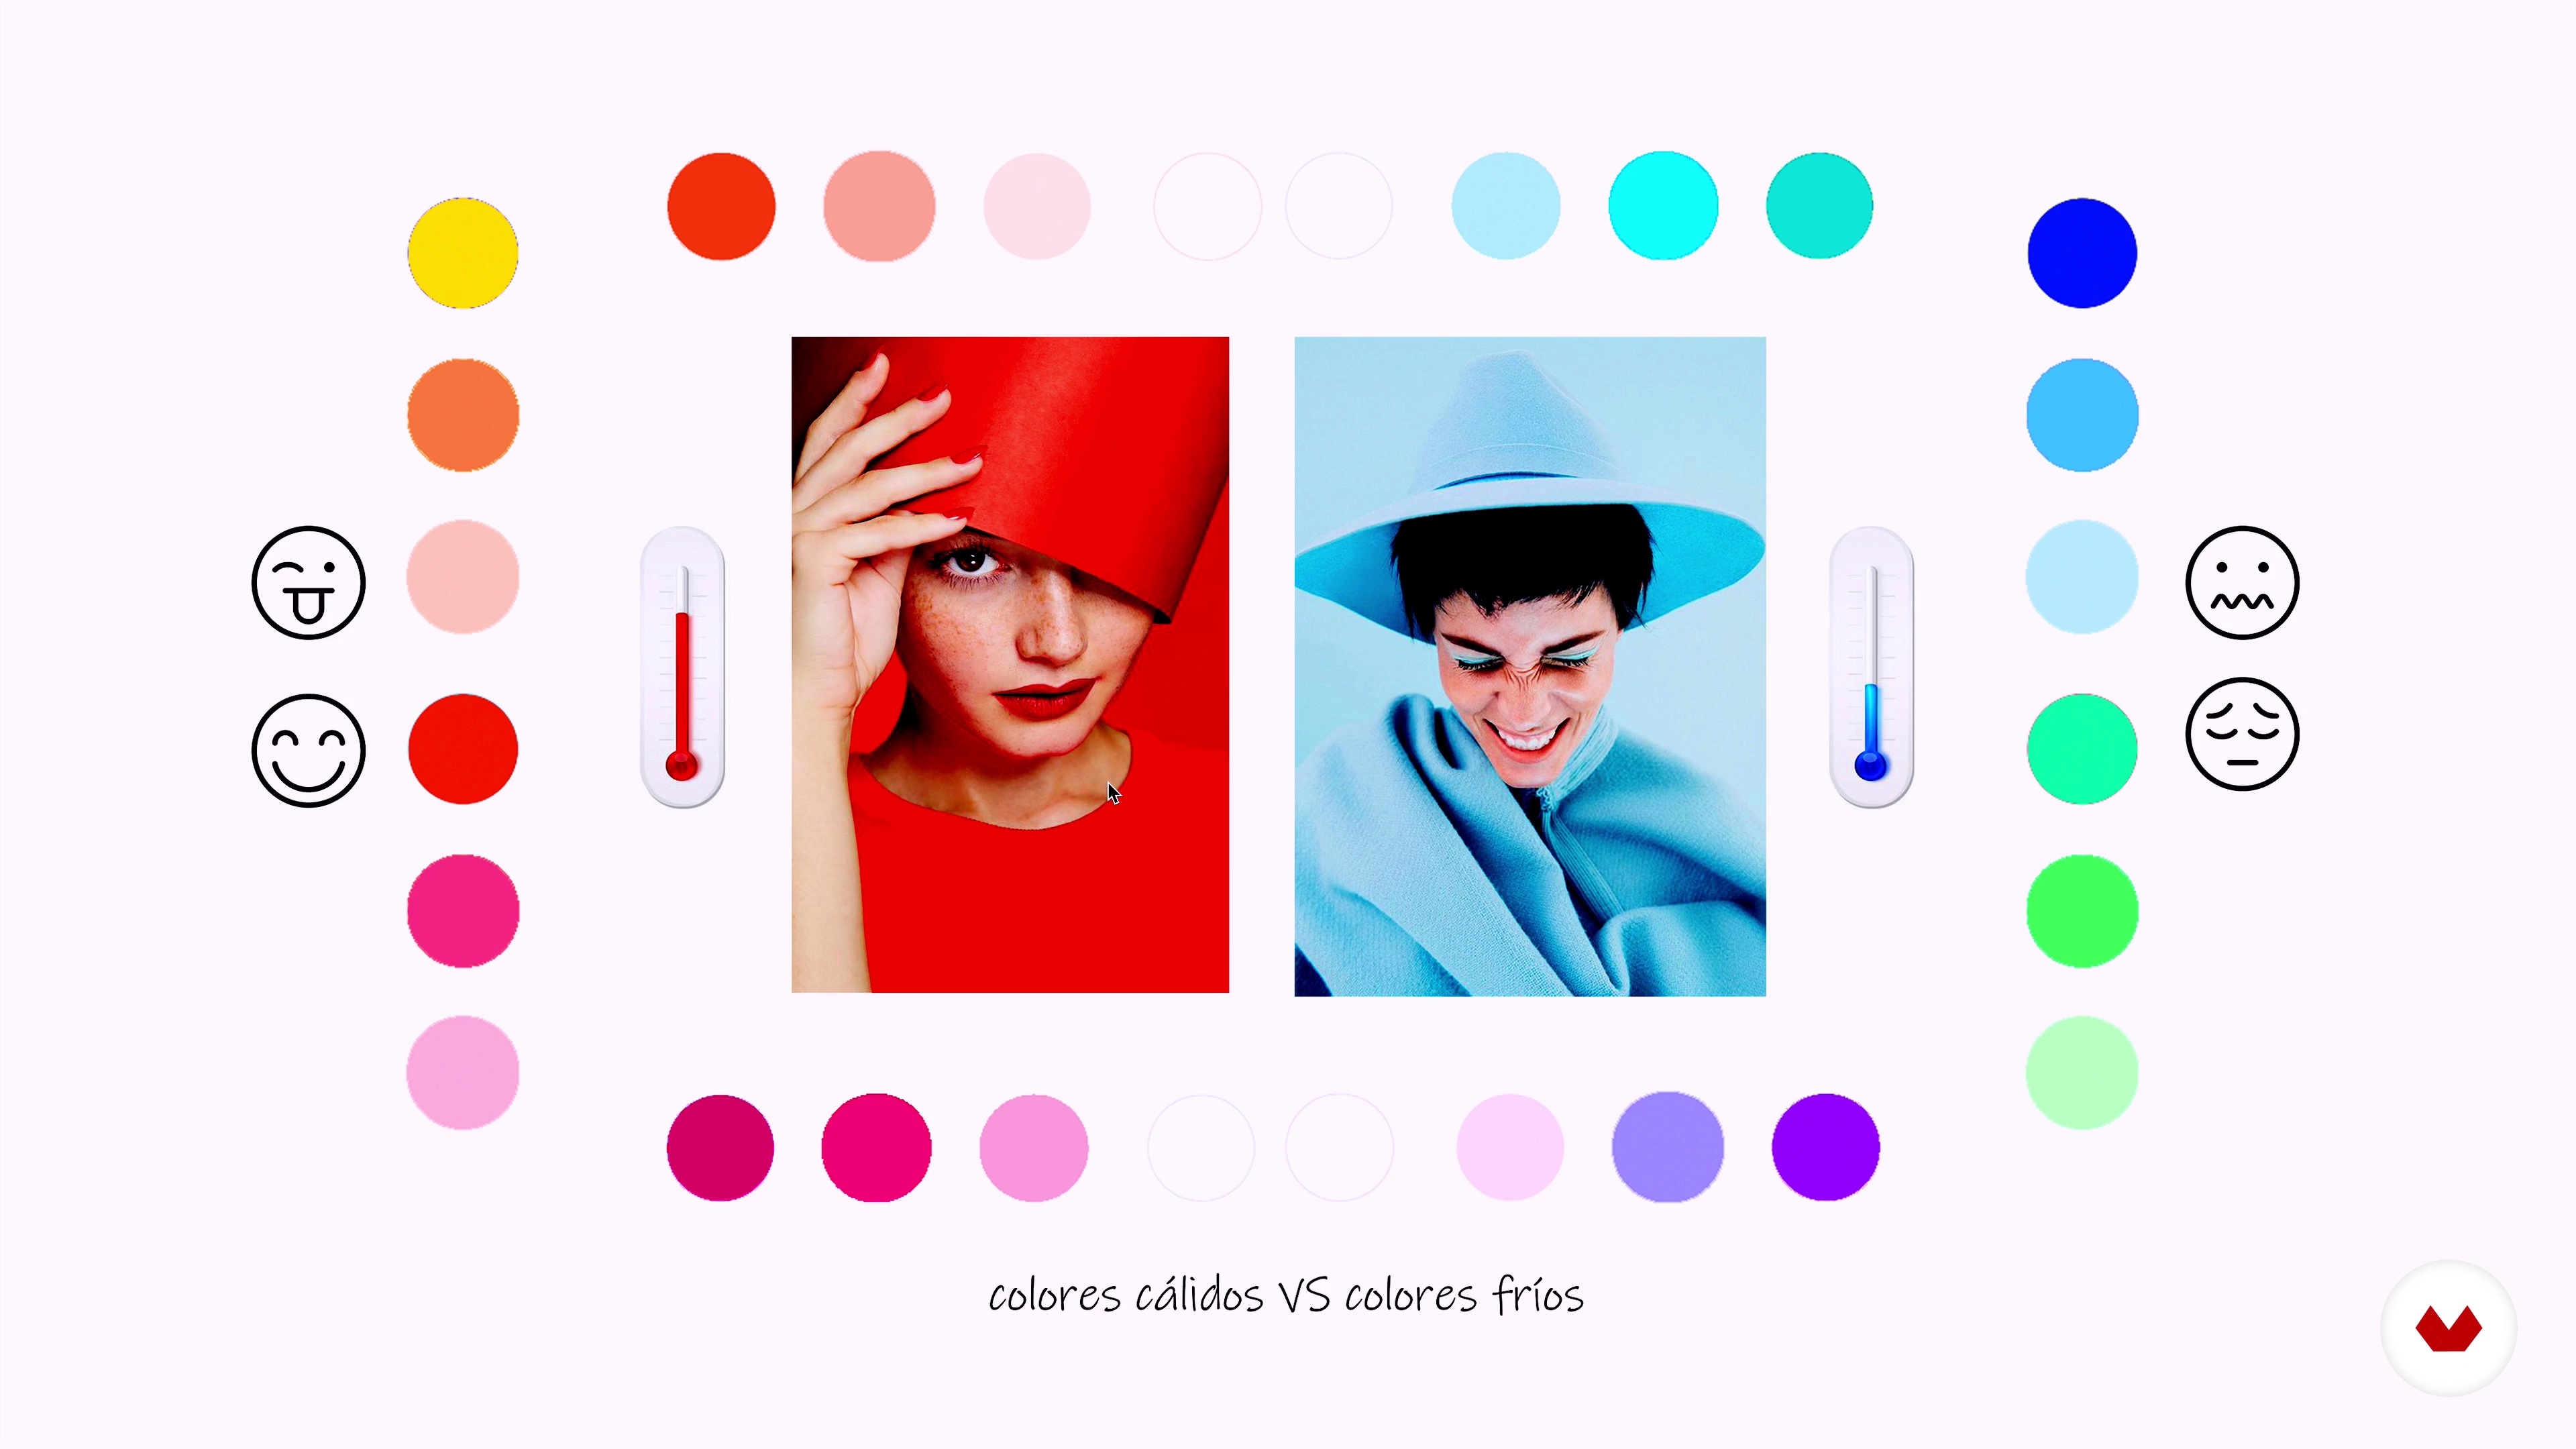
You'll see the classification of colors according to their temperature (warm, cool, and neutral). These groups of warm and cool colors, differentiated by their subjective temperature, are attributed a series of psychological associations and visual effects that contrast and complement each other.
12m
image
5
3D Color and Interior Design
In this lesson, you'll learn some guidelines to follow when applying color to an interior.
10m
image
6
Shaping ideas and emotions: mood boards
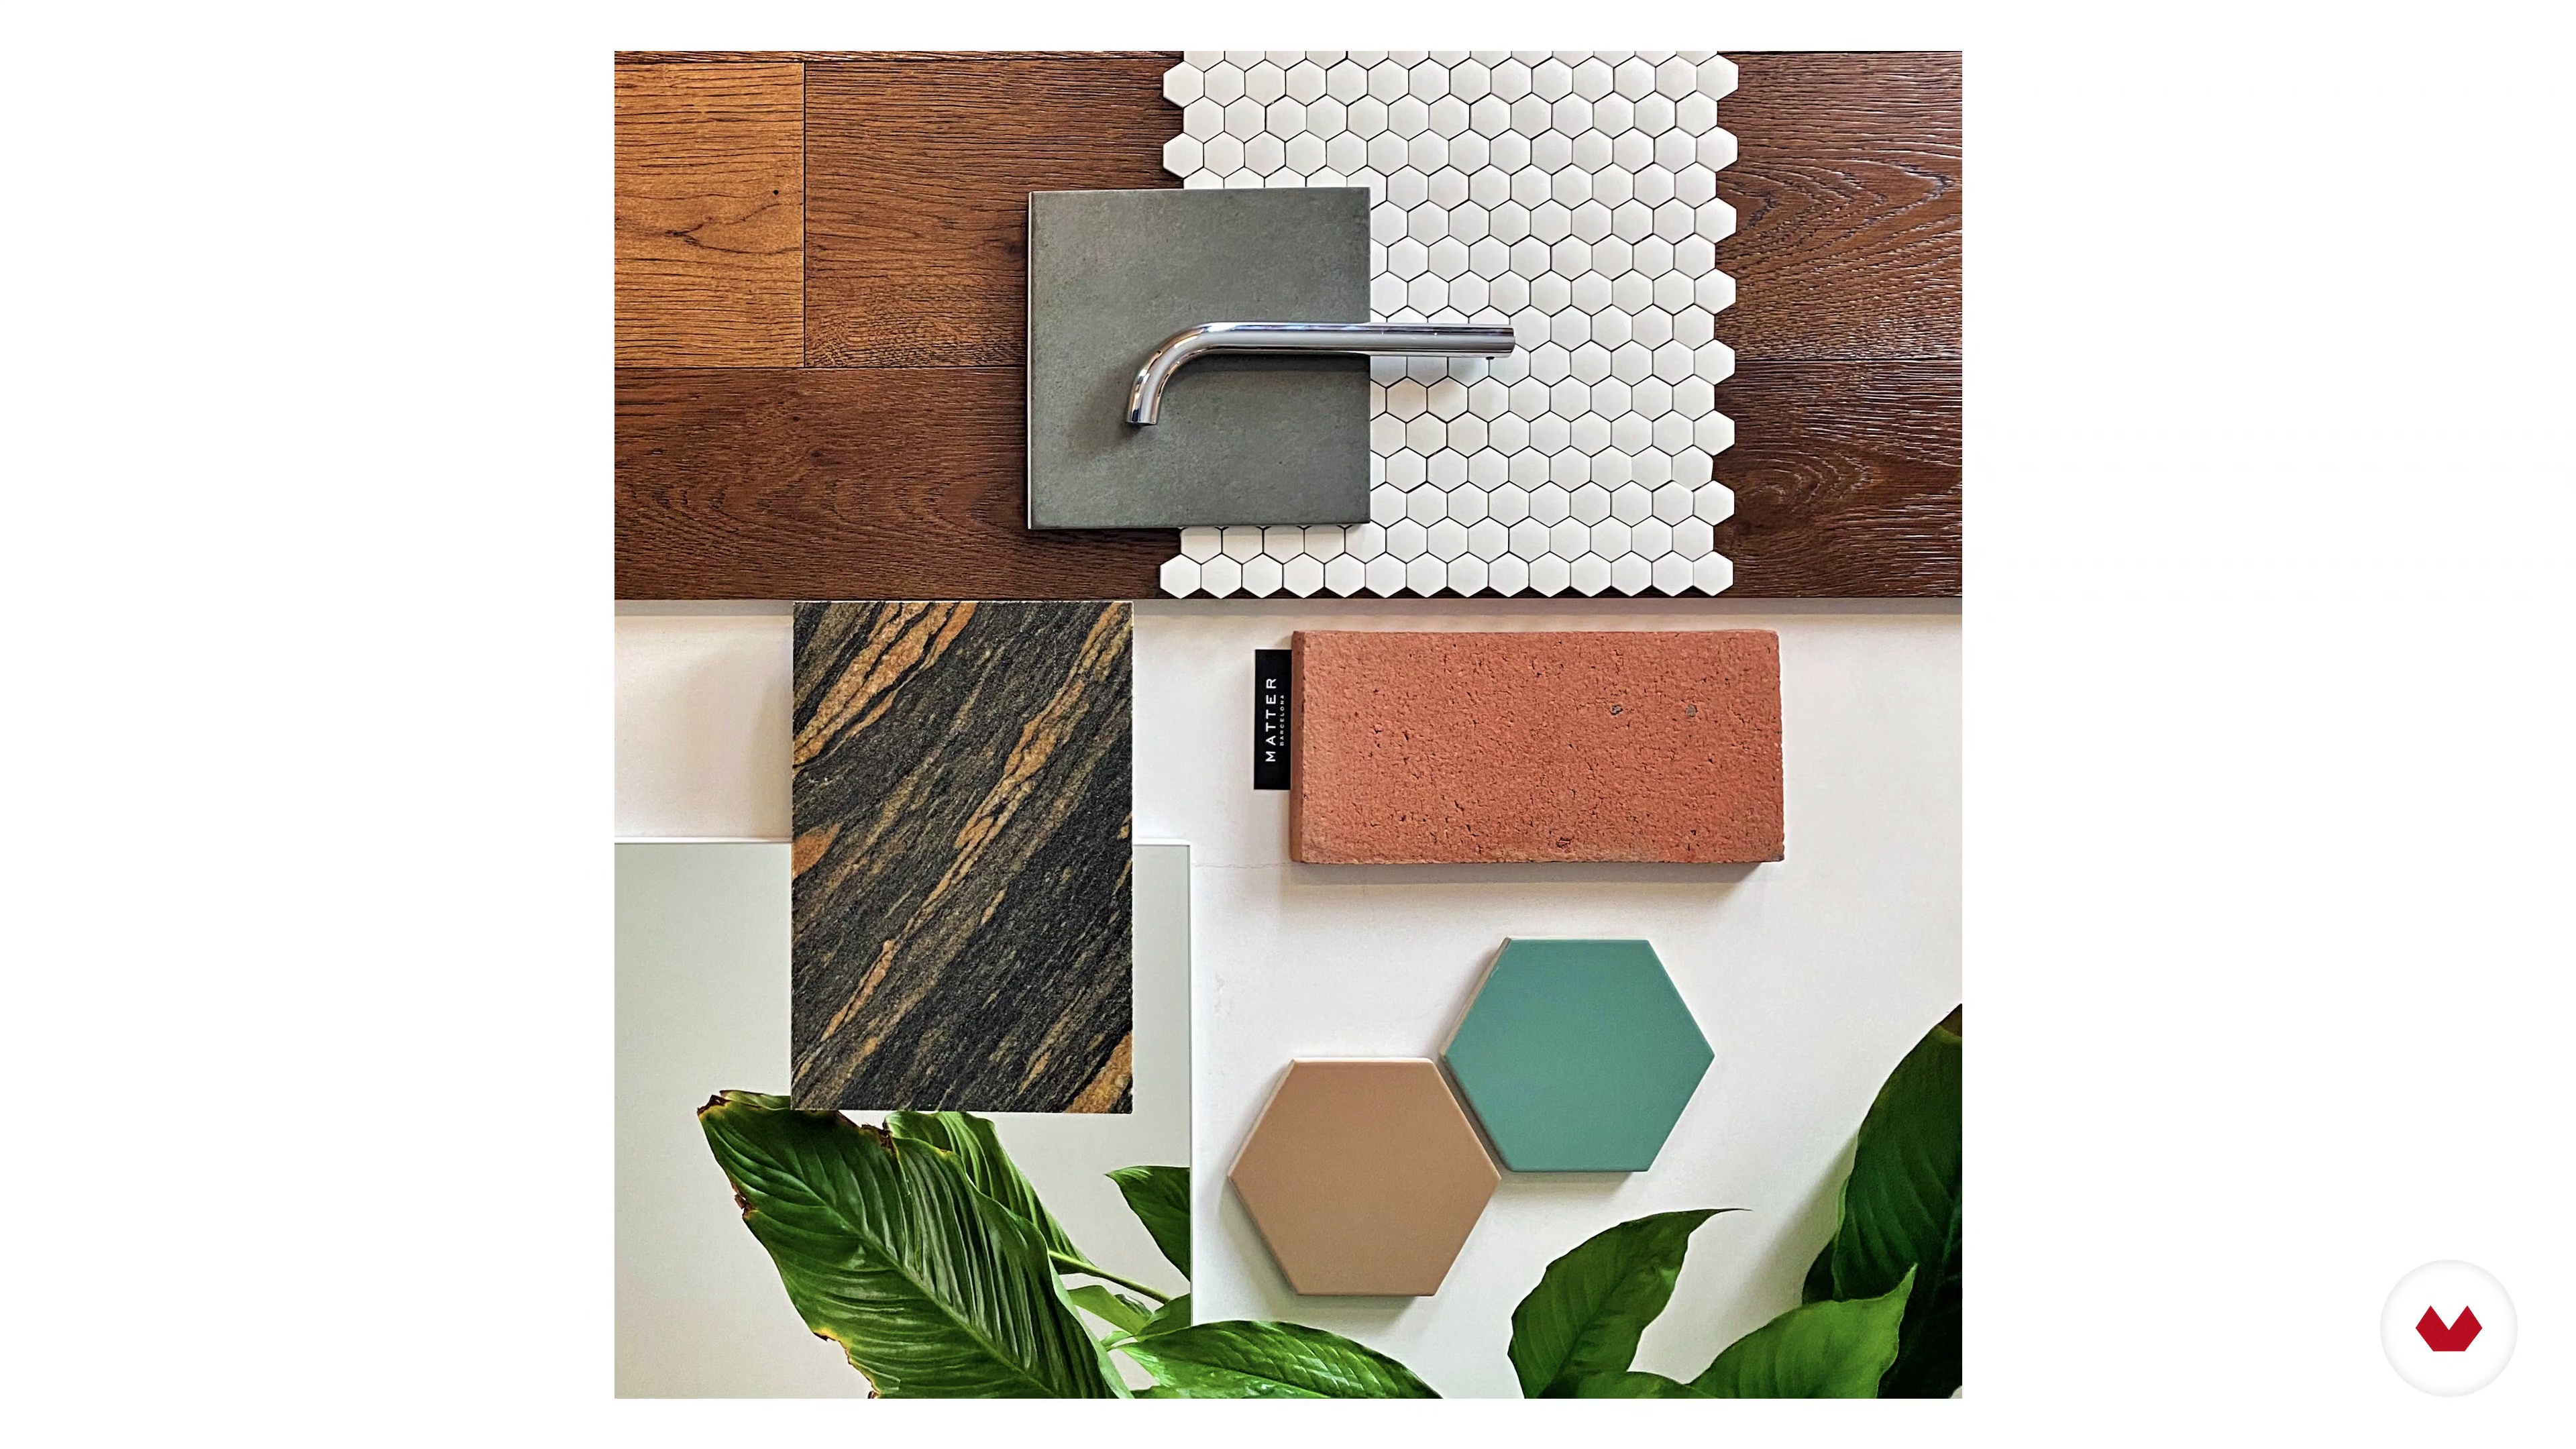
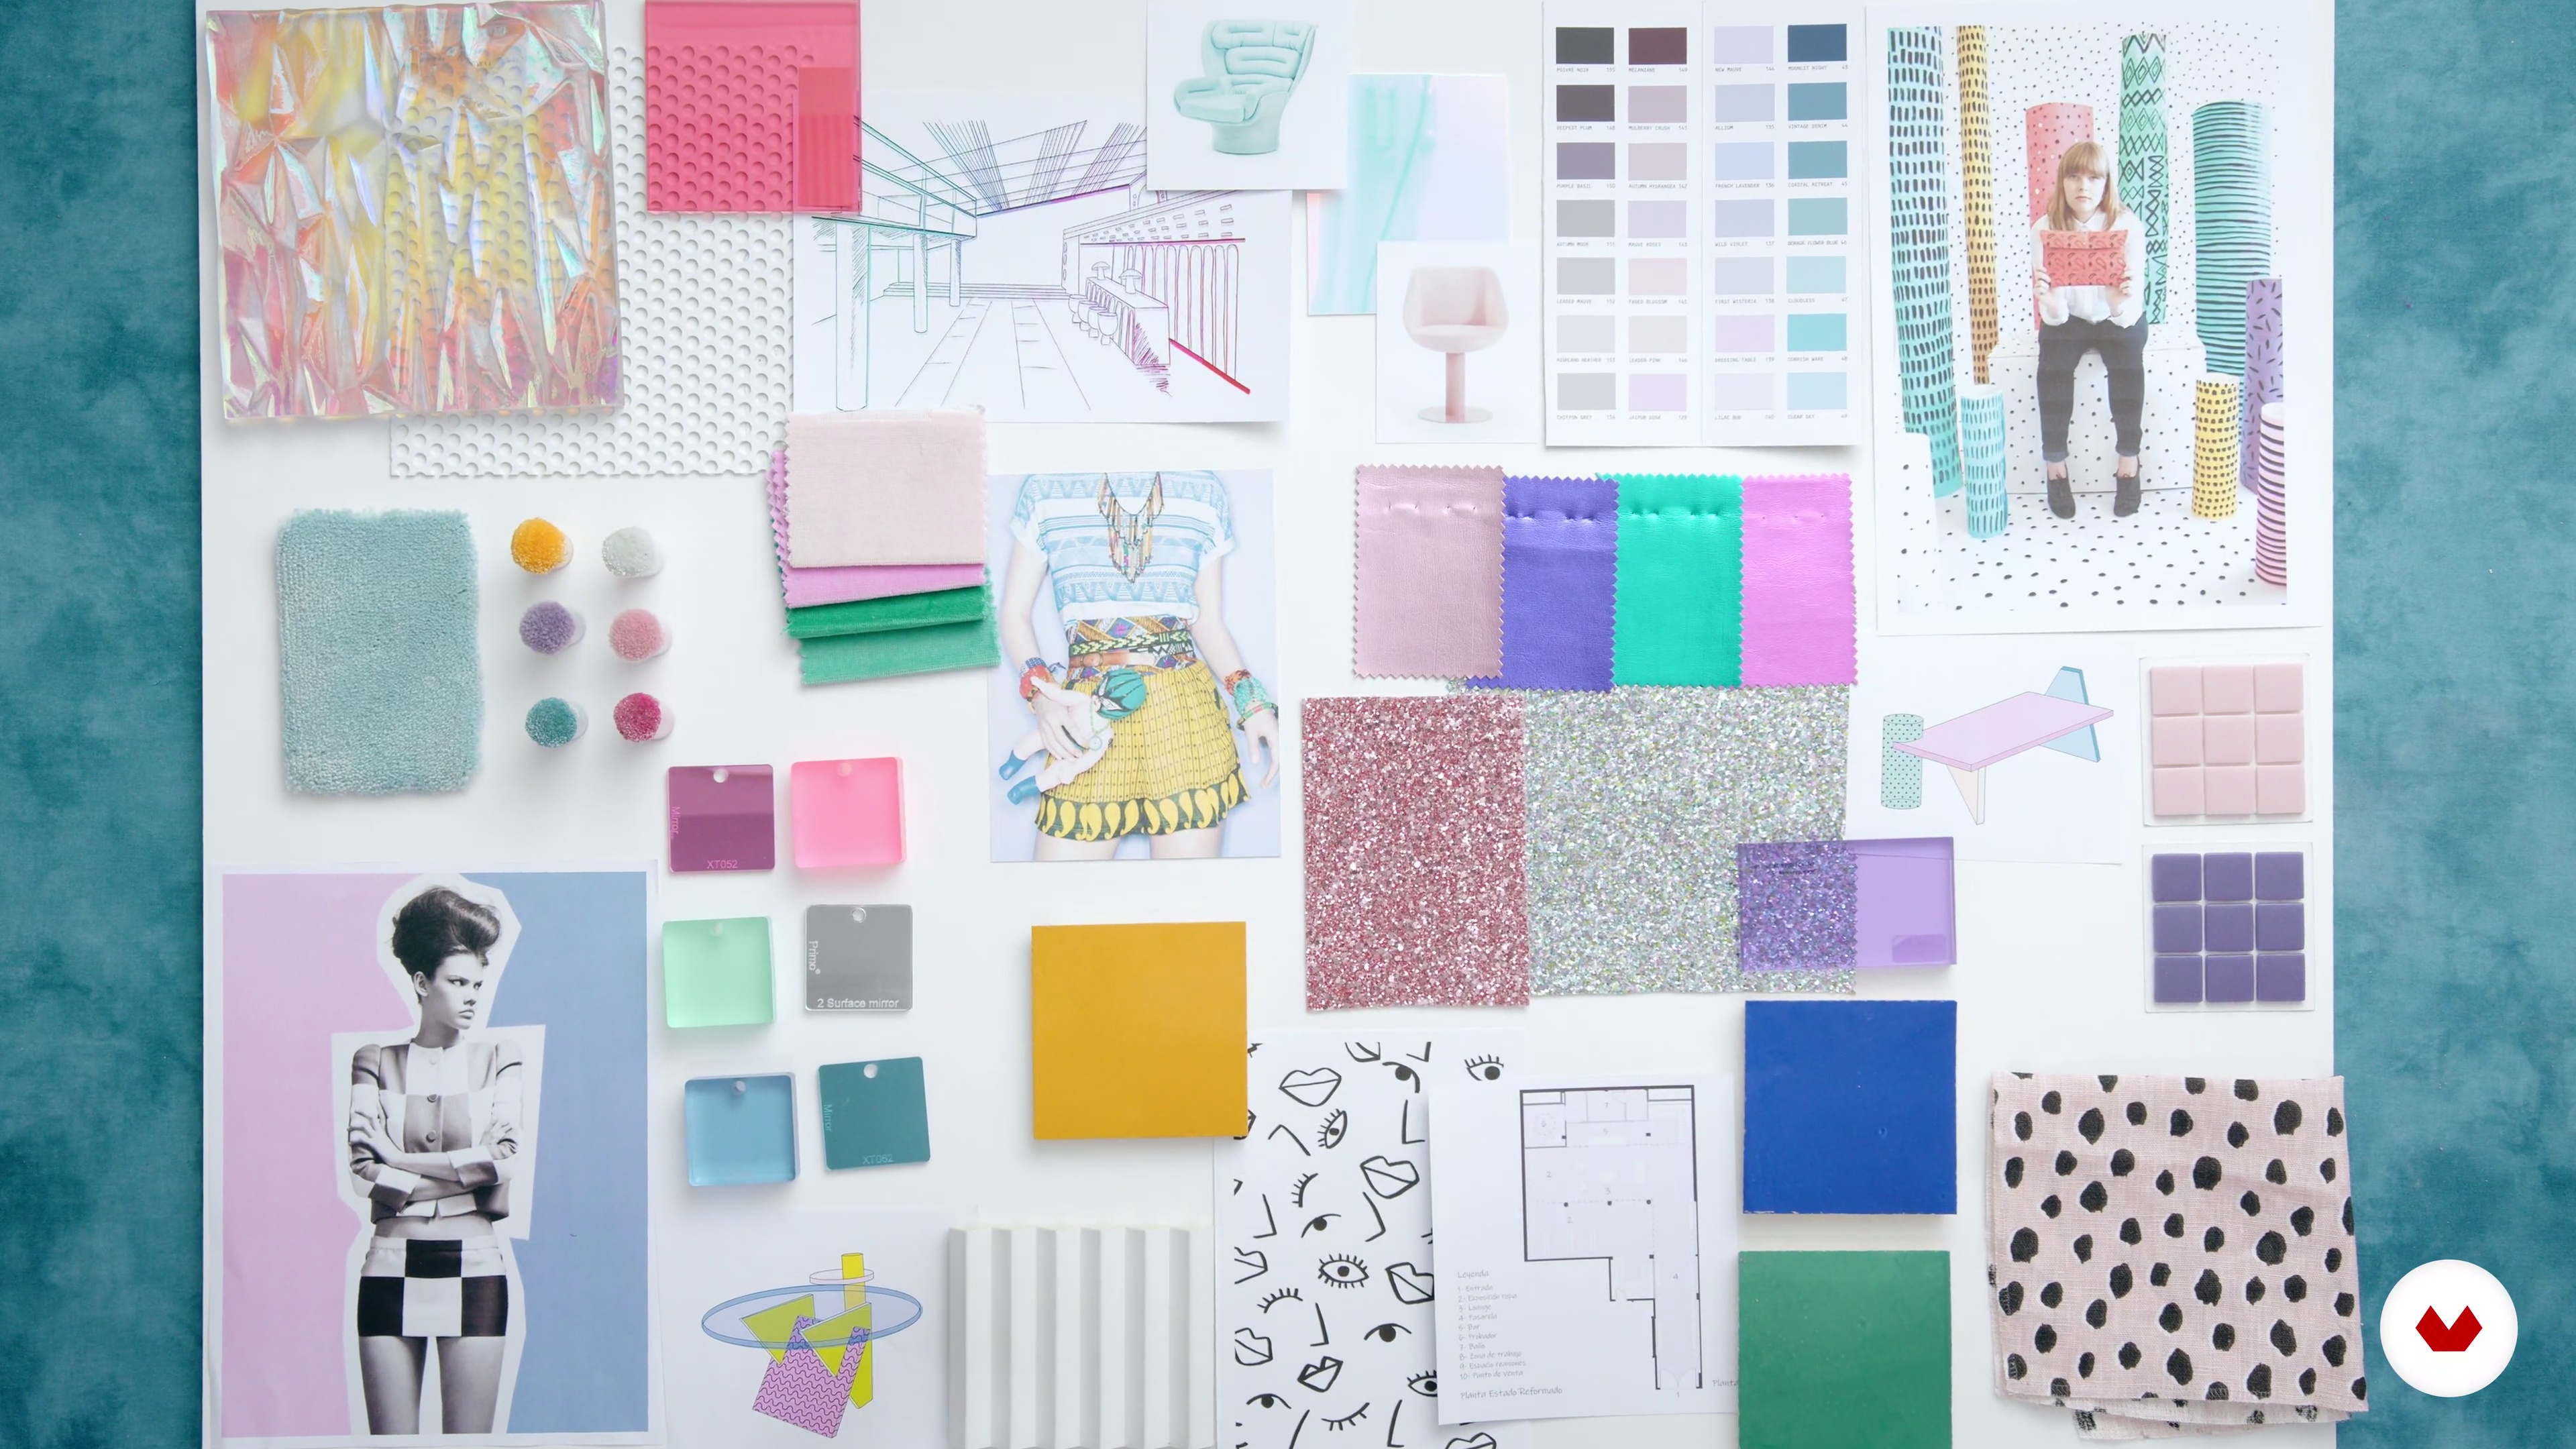
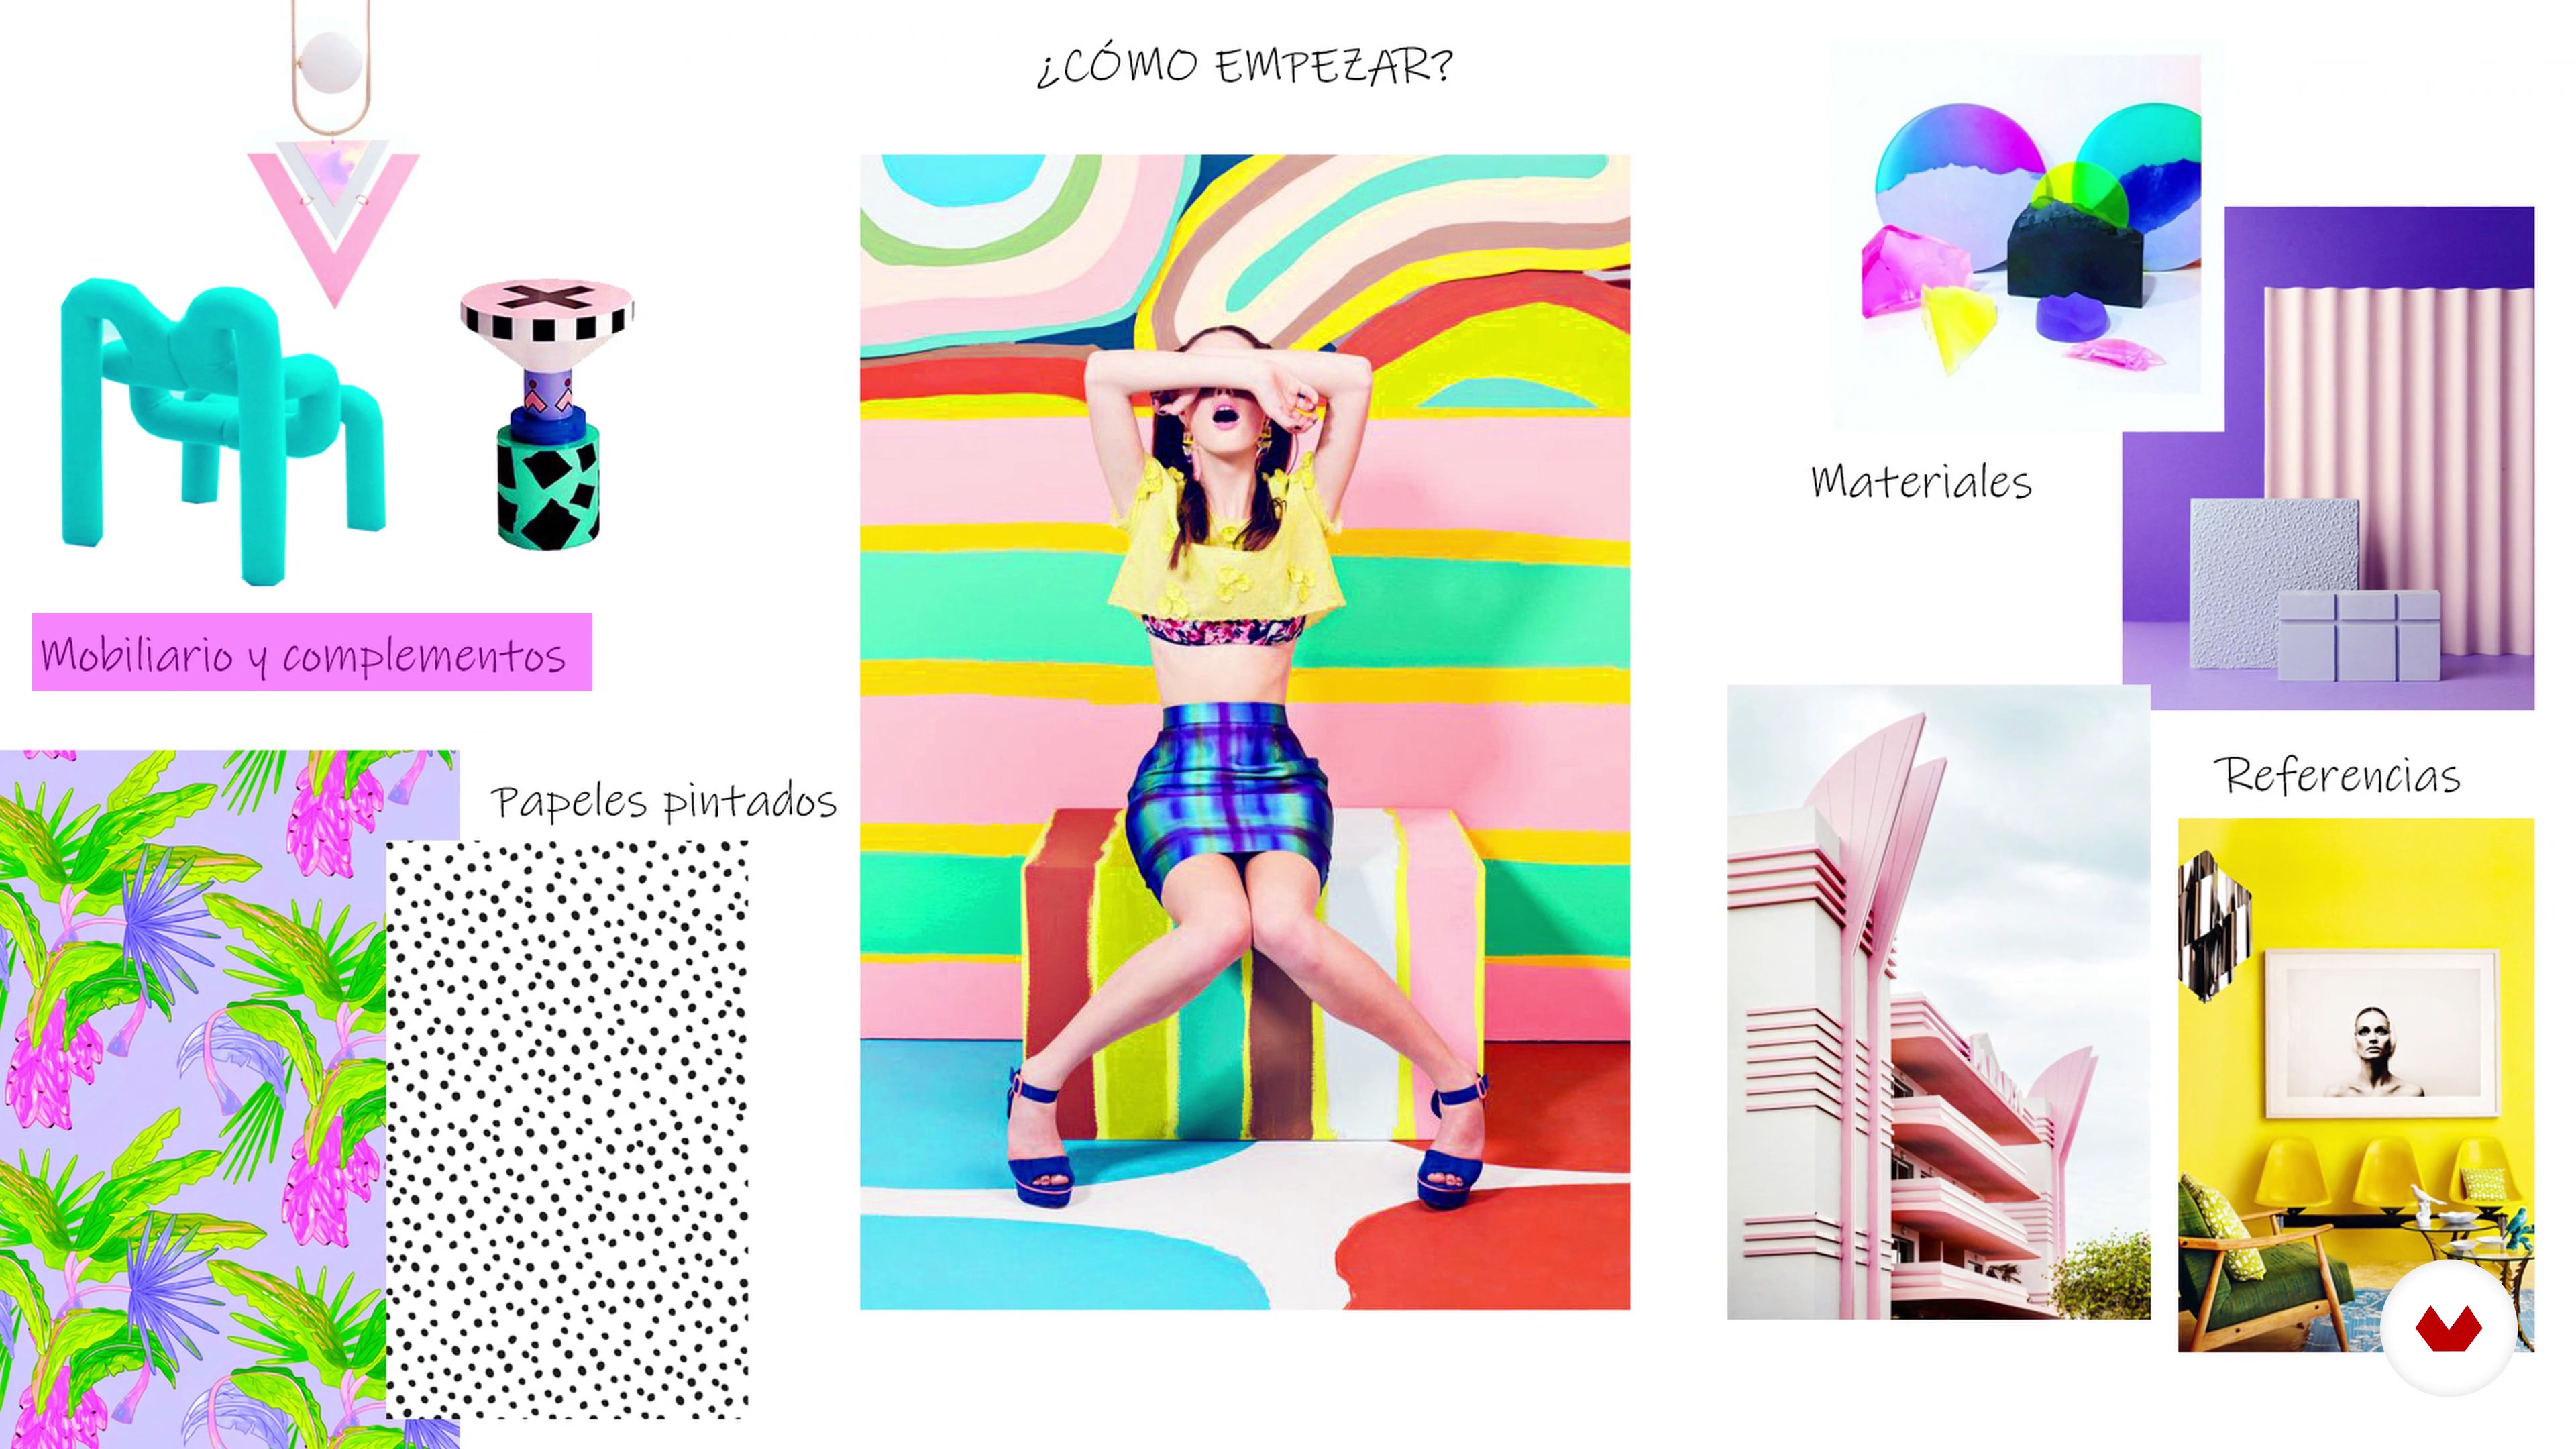
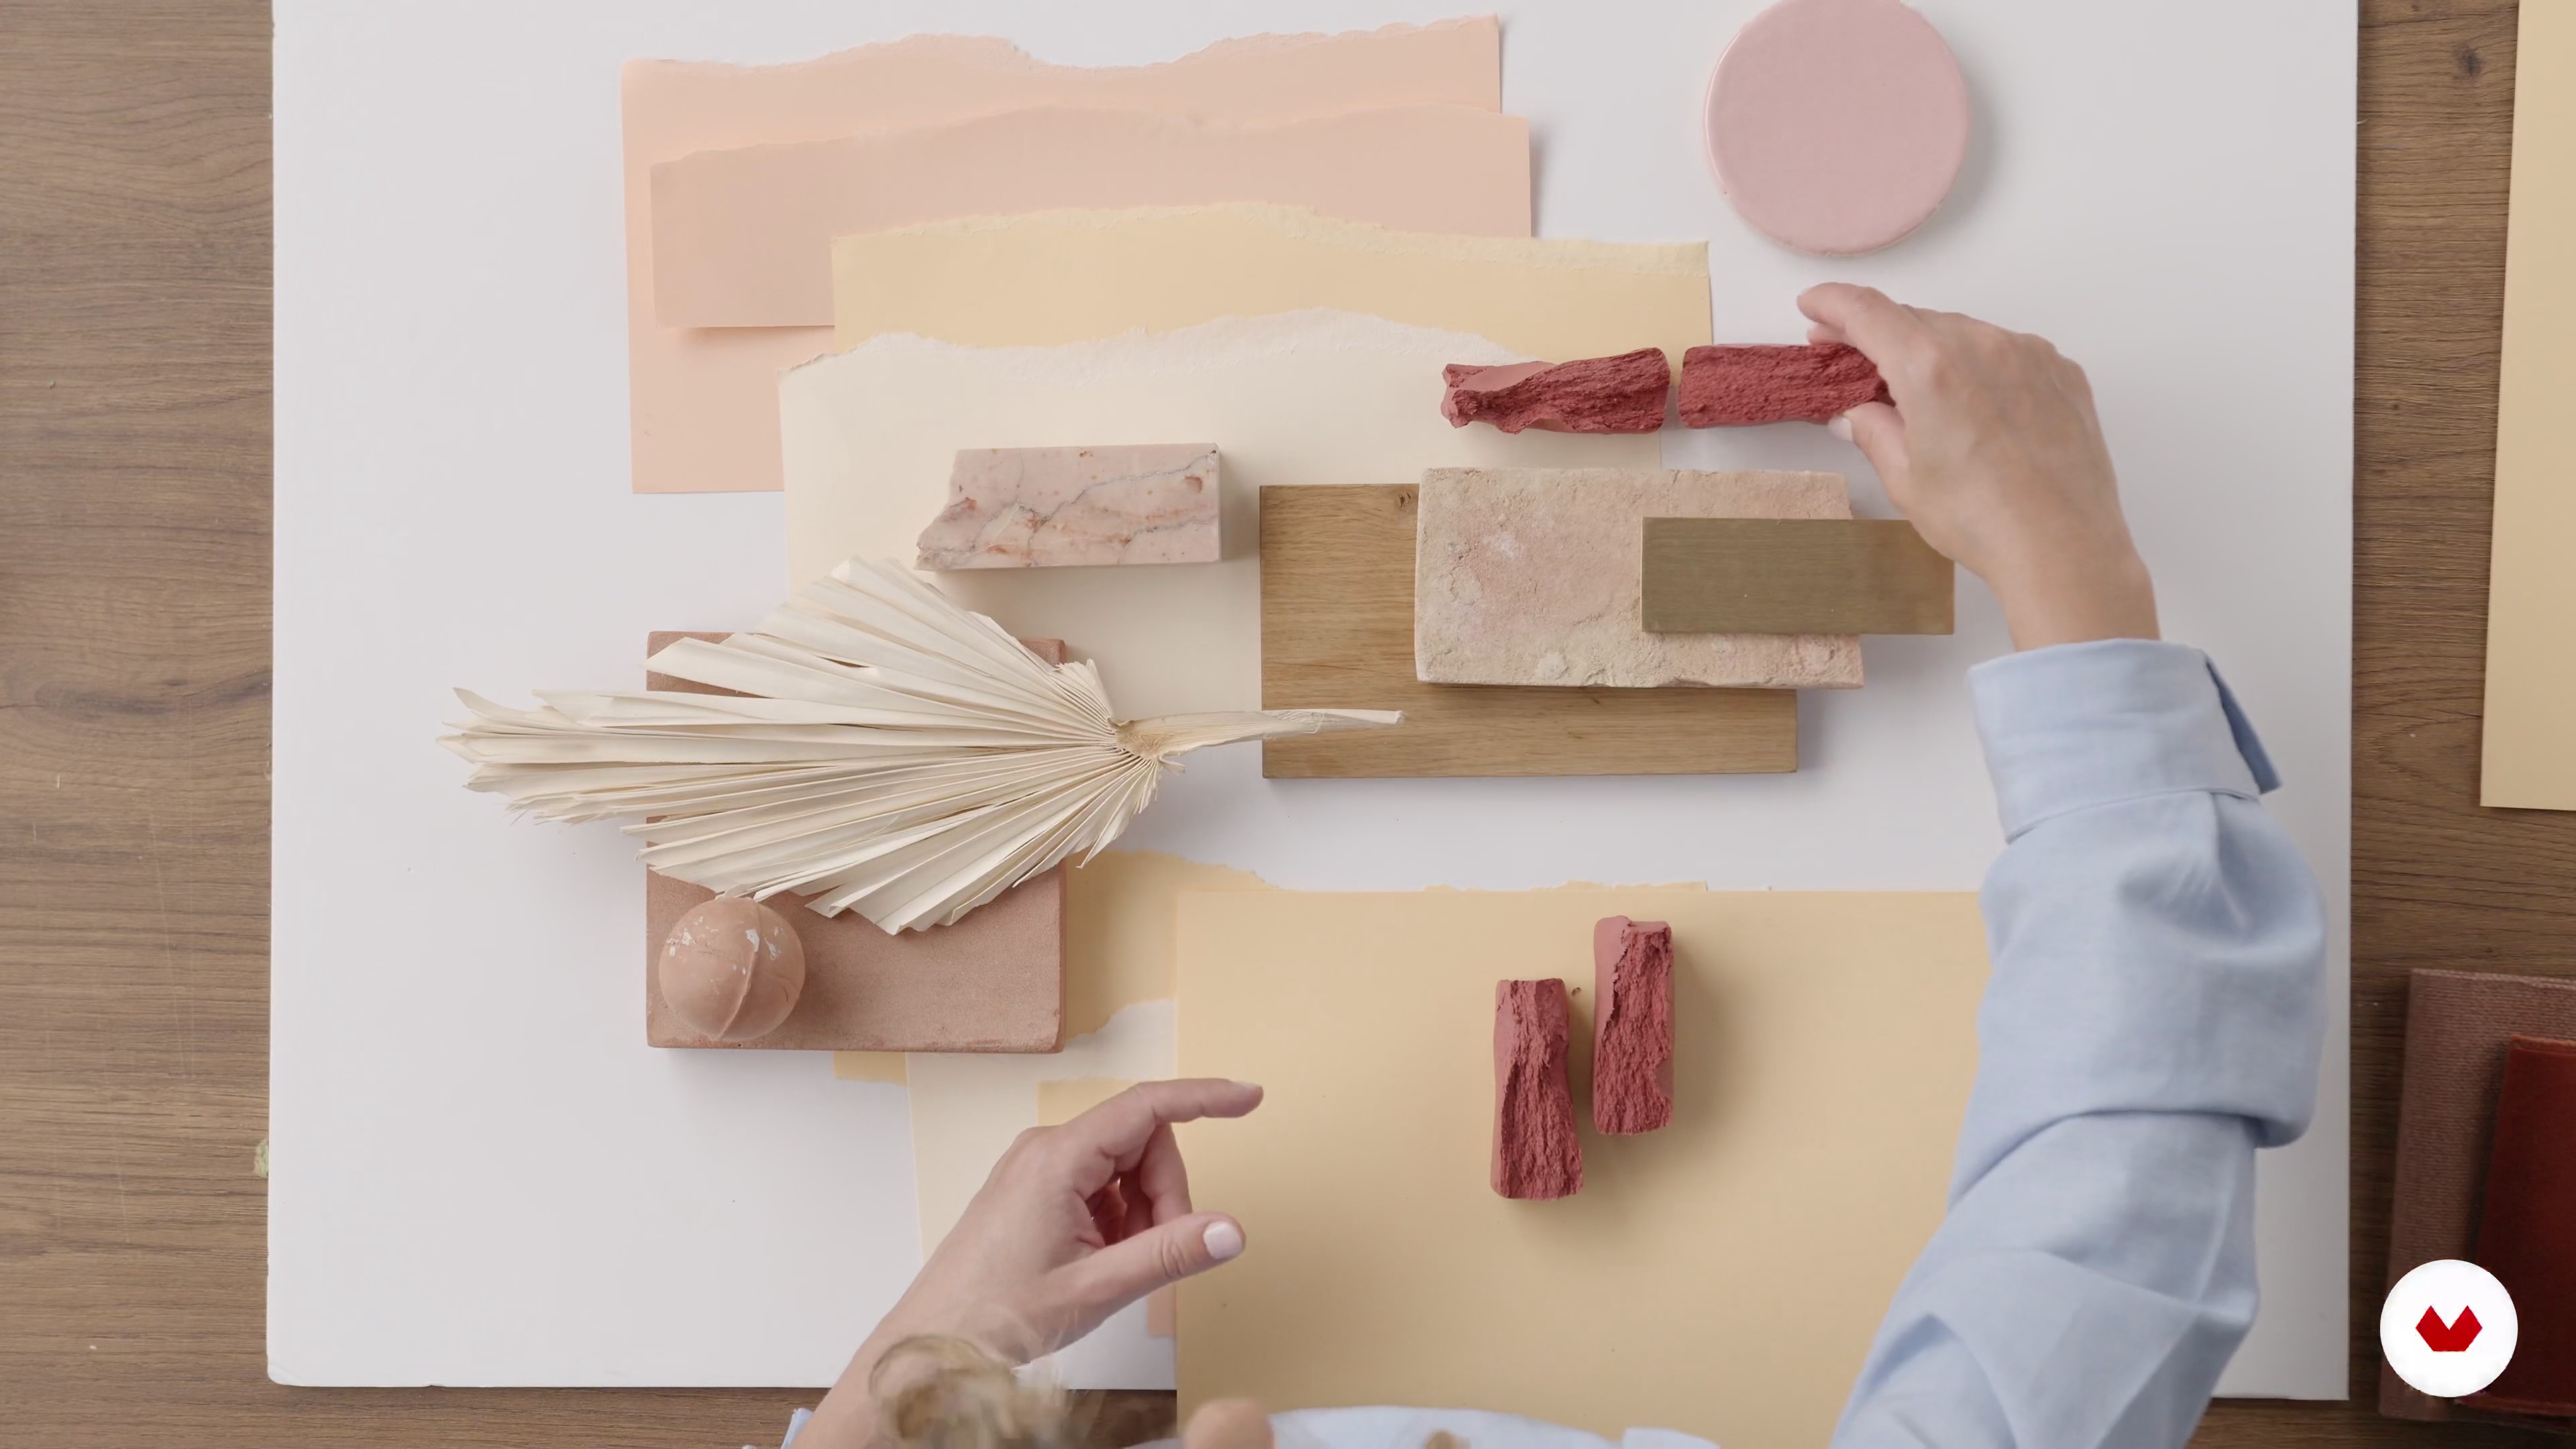
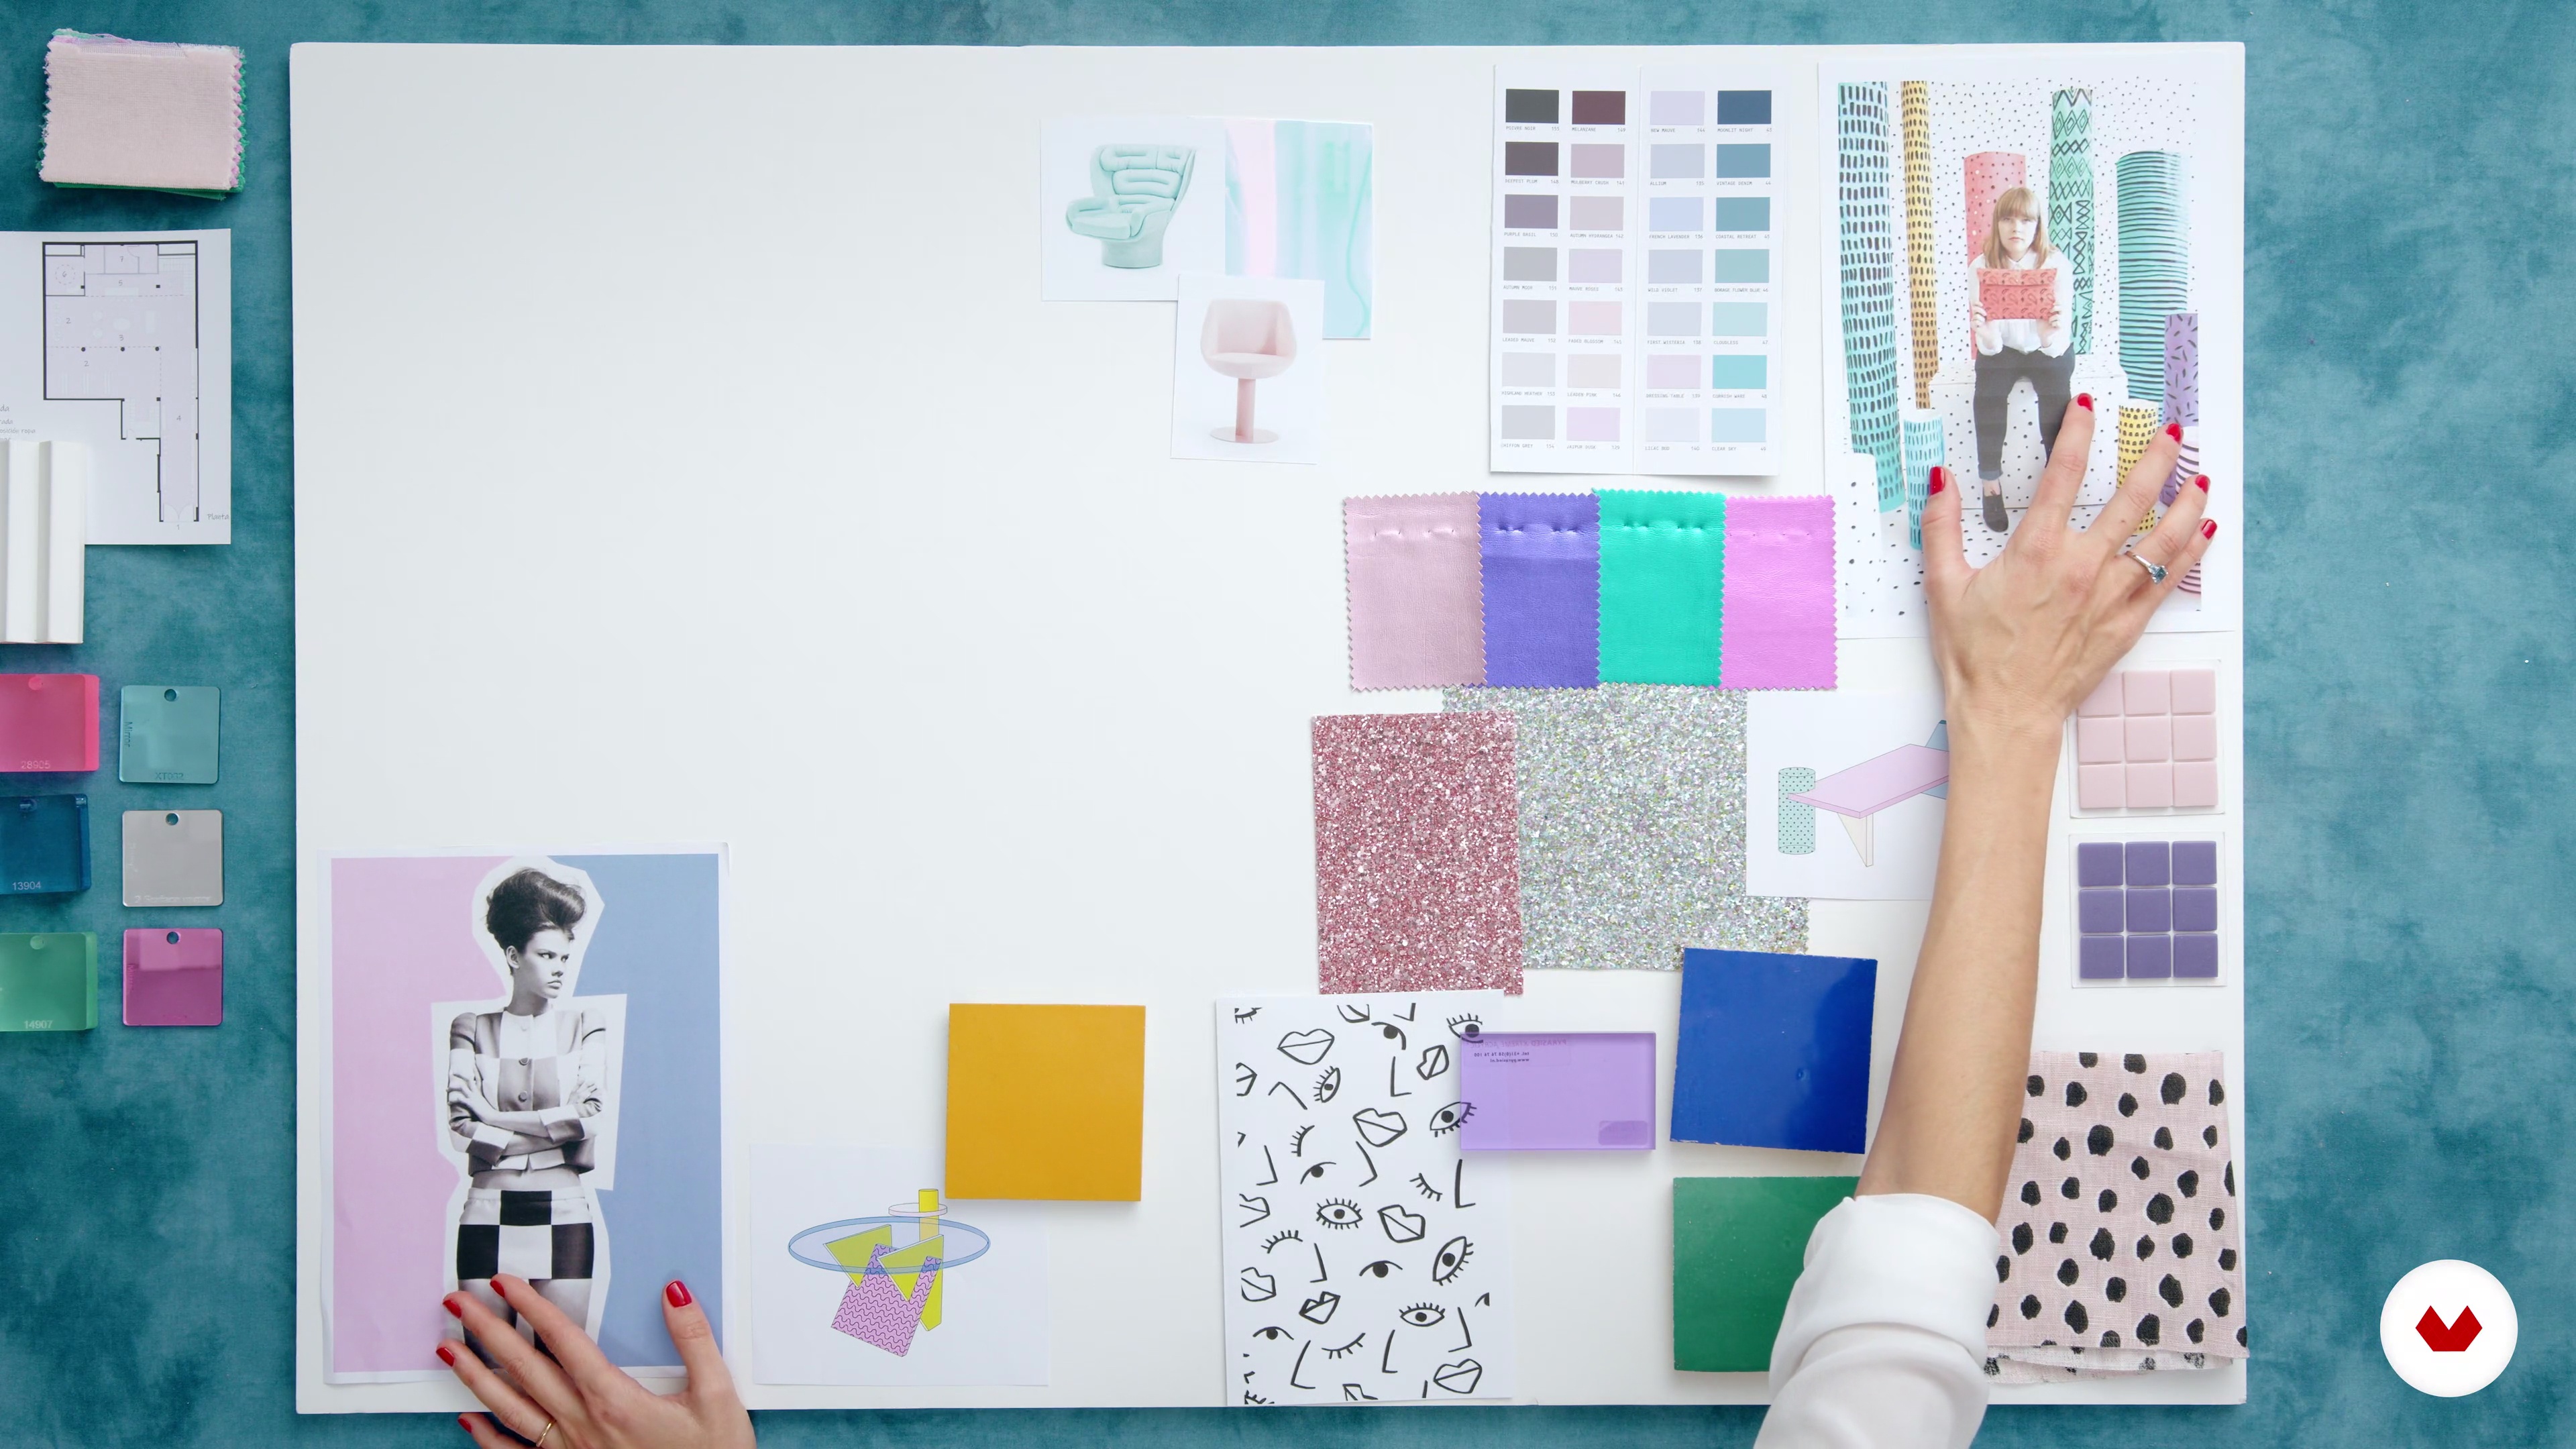
You'll learn how to organize your ideas, find references, and choose the right materials, colors, and textures that best fit your project, as well as special pieces. We'll use mood boards to do this.
2m
image
7
The importance of materials
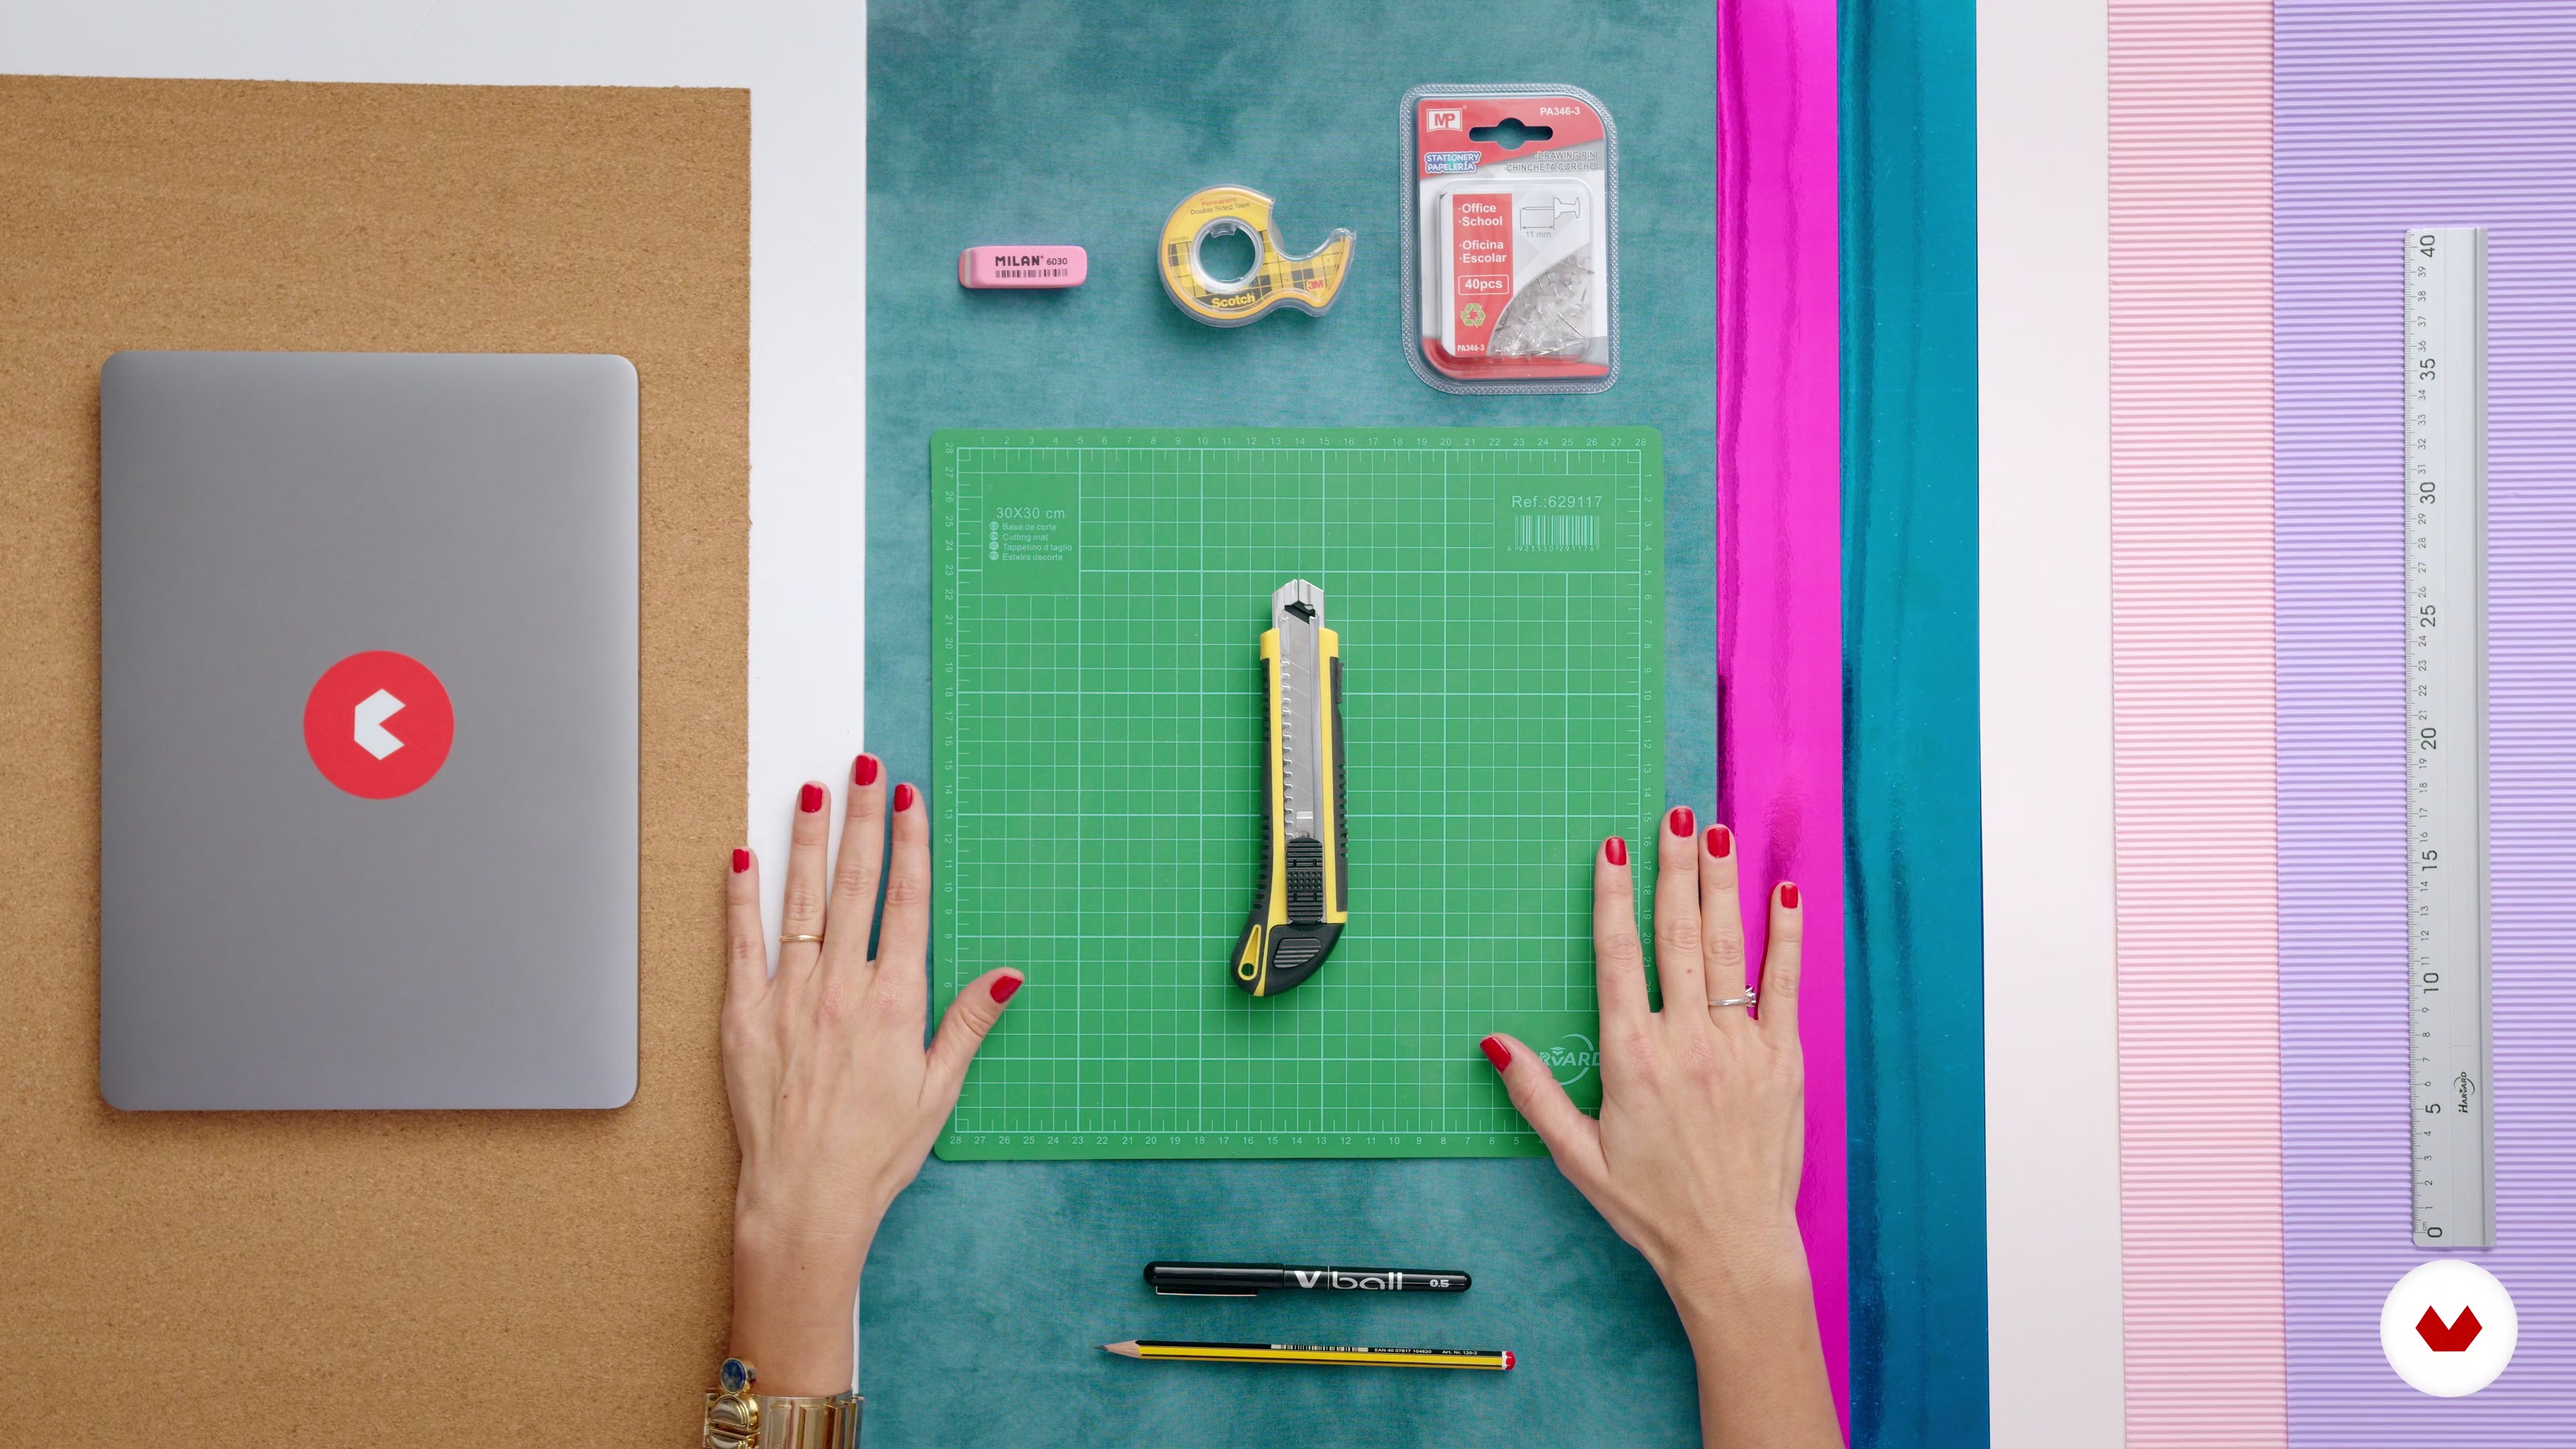
In this lesson, we'll review all the materials we'll need to create our mood board.
2m
image
8
To be able to create you have to know how to listen
In this lesson, I'll teach you all the points you need to emphasize and pay close attention to before you start designing.
9m
image
9
Know and connect with the space
We'll get to know the space, analyze its strengths and weaknesses, create a color palette based on everything we've learned (please remember that colors change with the light), and start looking for materials and special pieces.
11m
image
10
Inspiration and mood boards
Now that we've connected with the client, we know their tastes and needs, we've become familiar with the space and fallen in love with it, we've created the color palette and selected special pieces, we'll begin to capture and organize all this information on our mood board. LET'S GET TO WORK!
9m
image
1
Observe and understand your materials
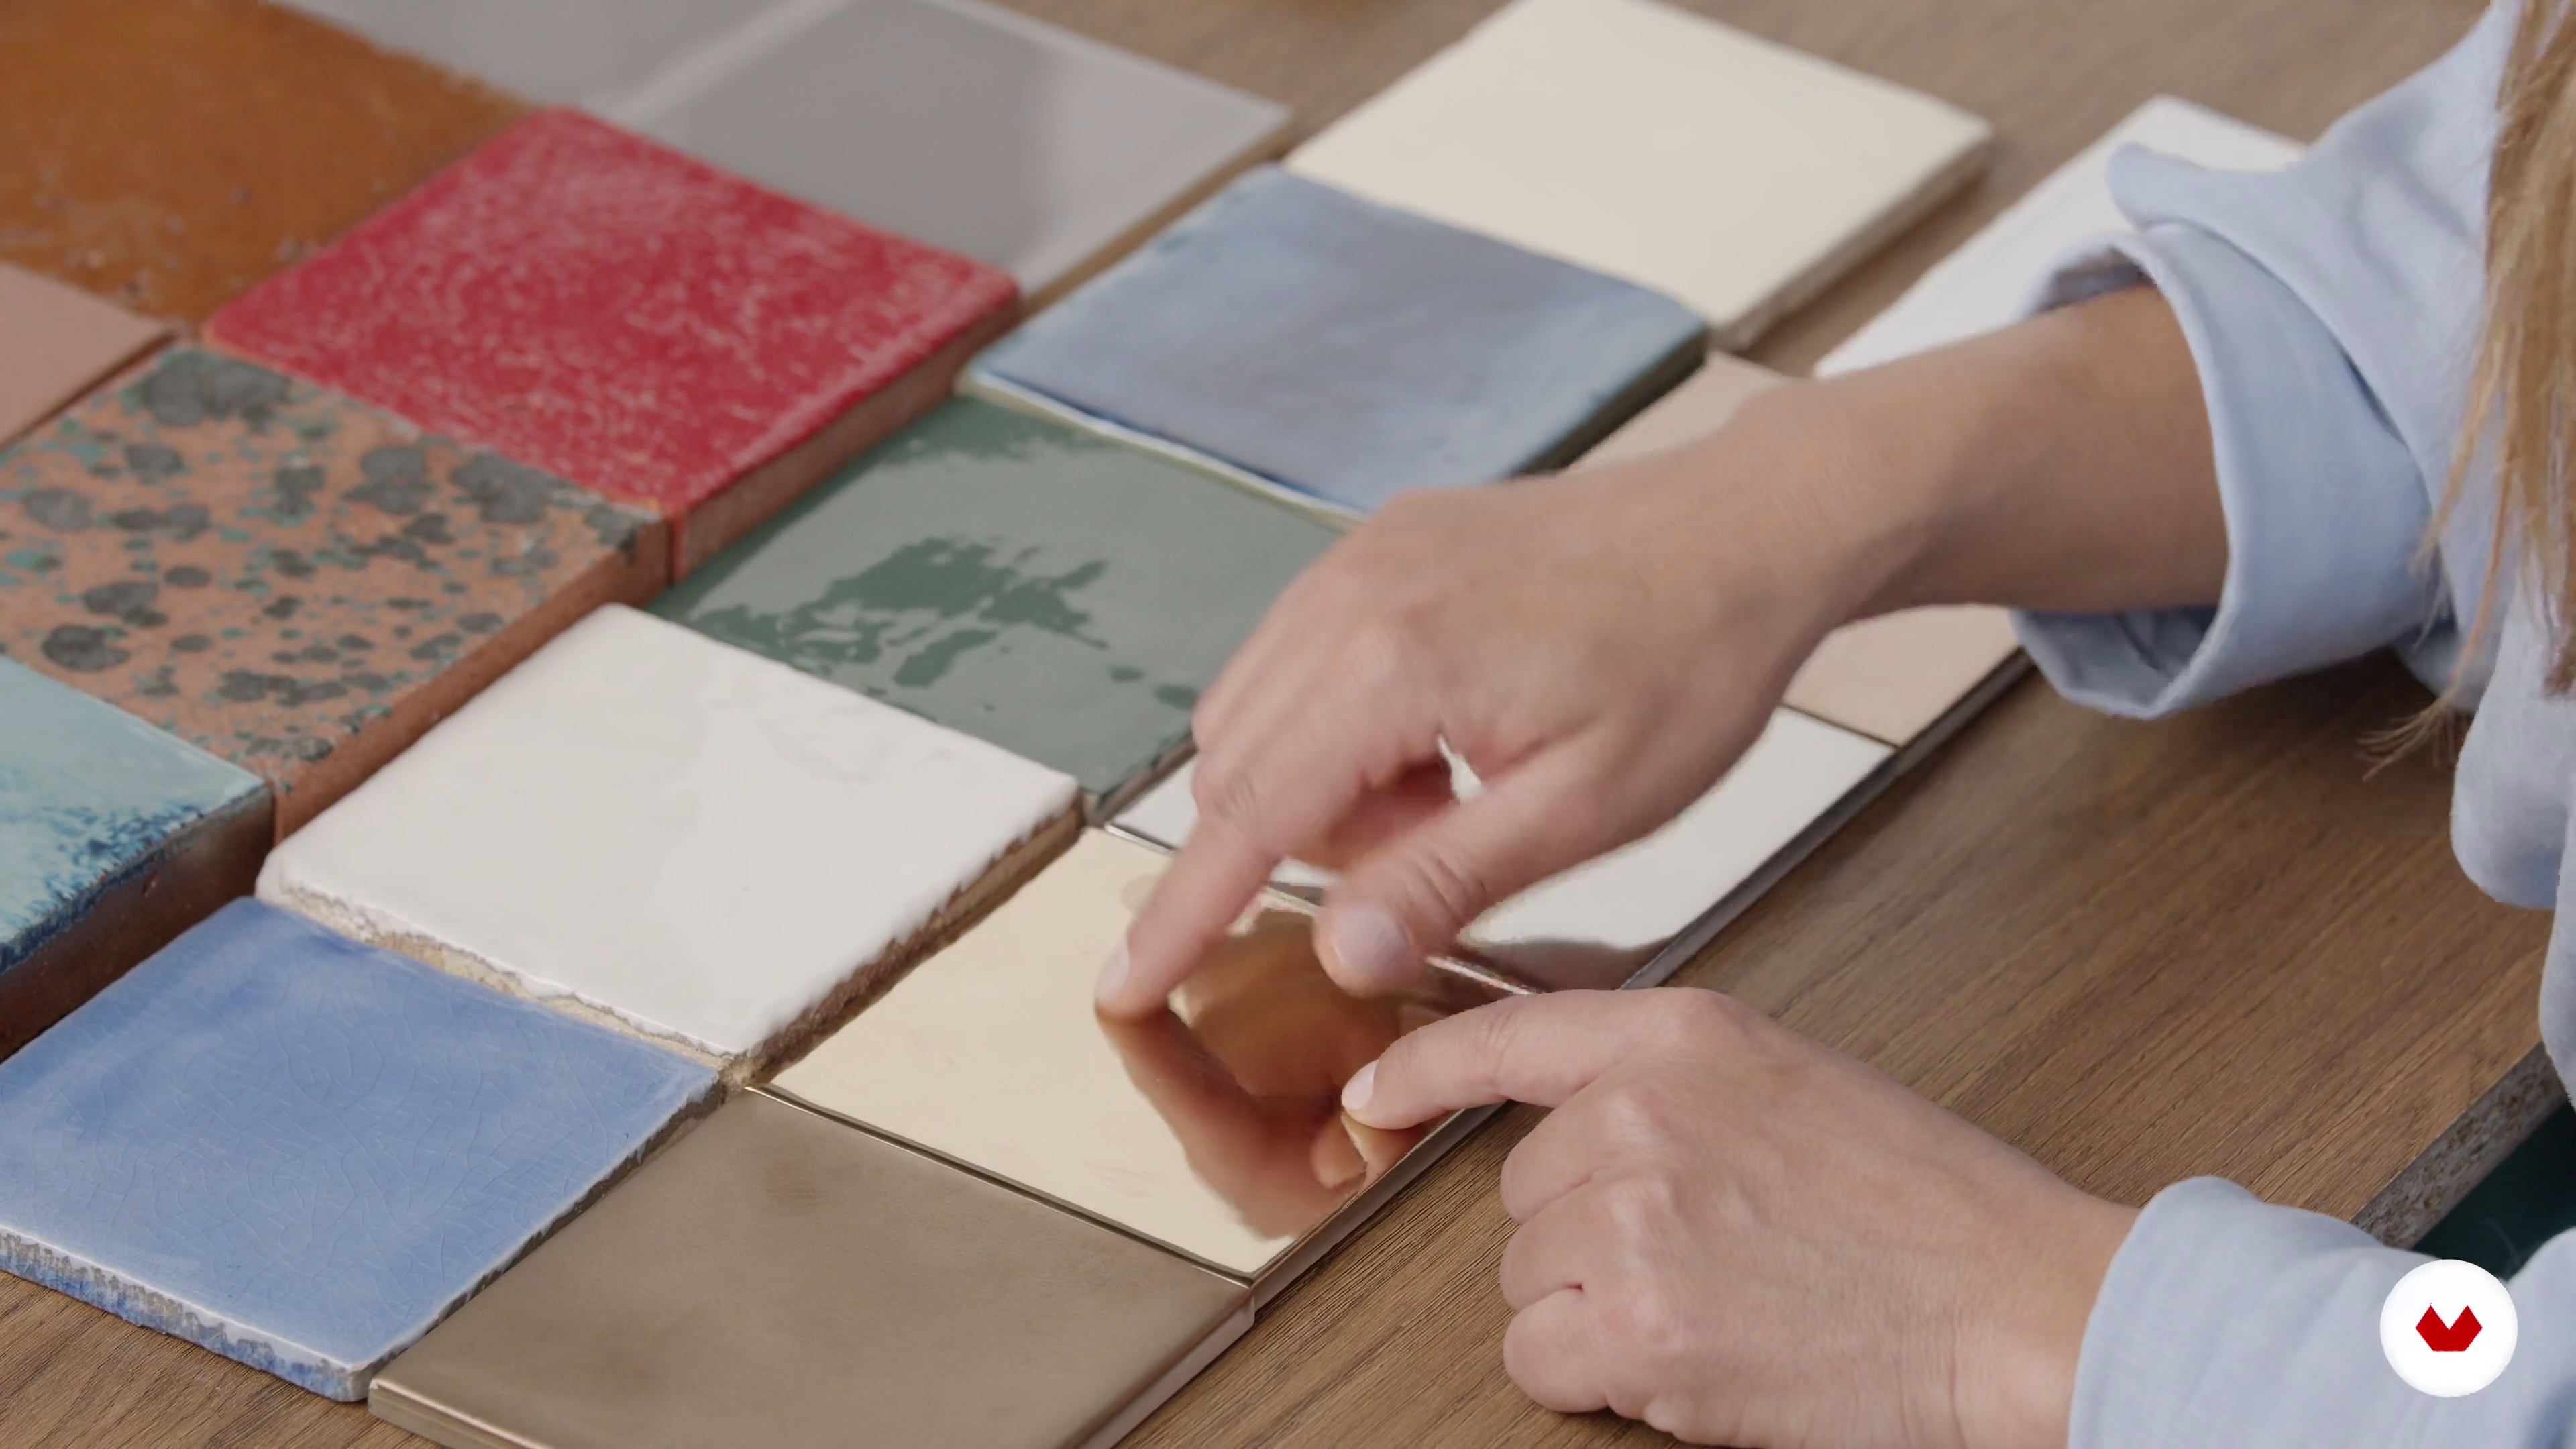
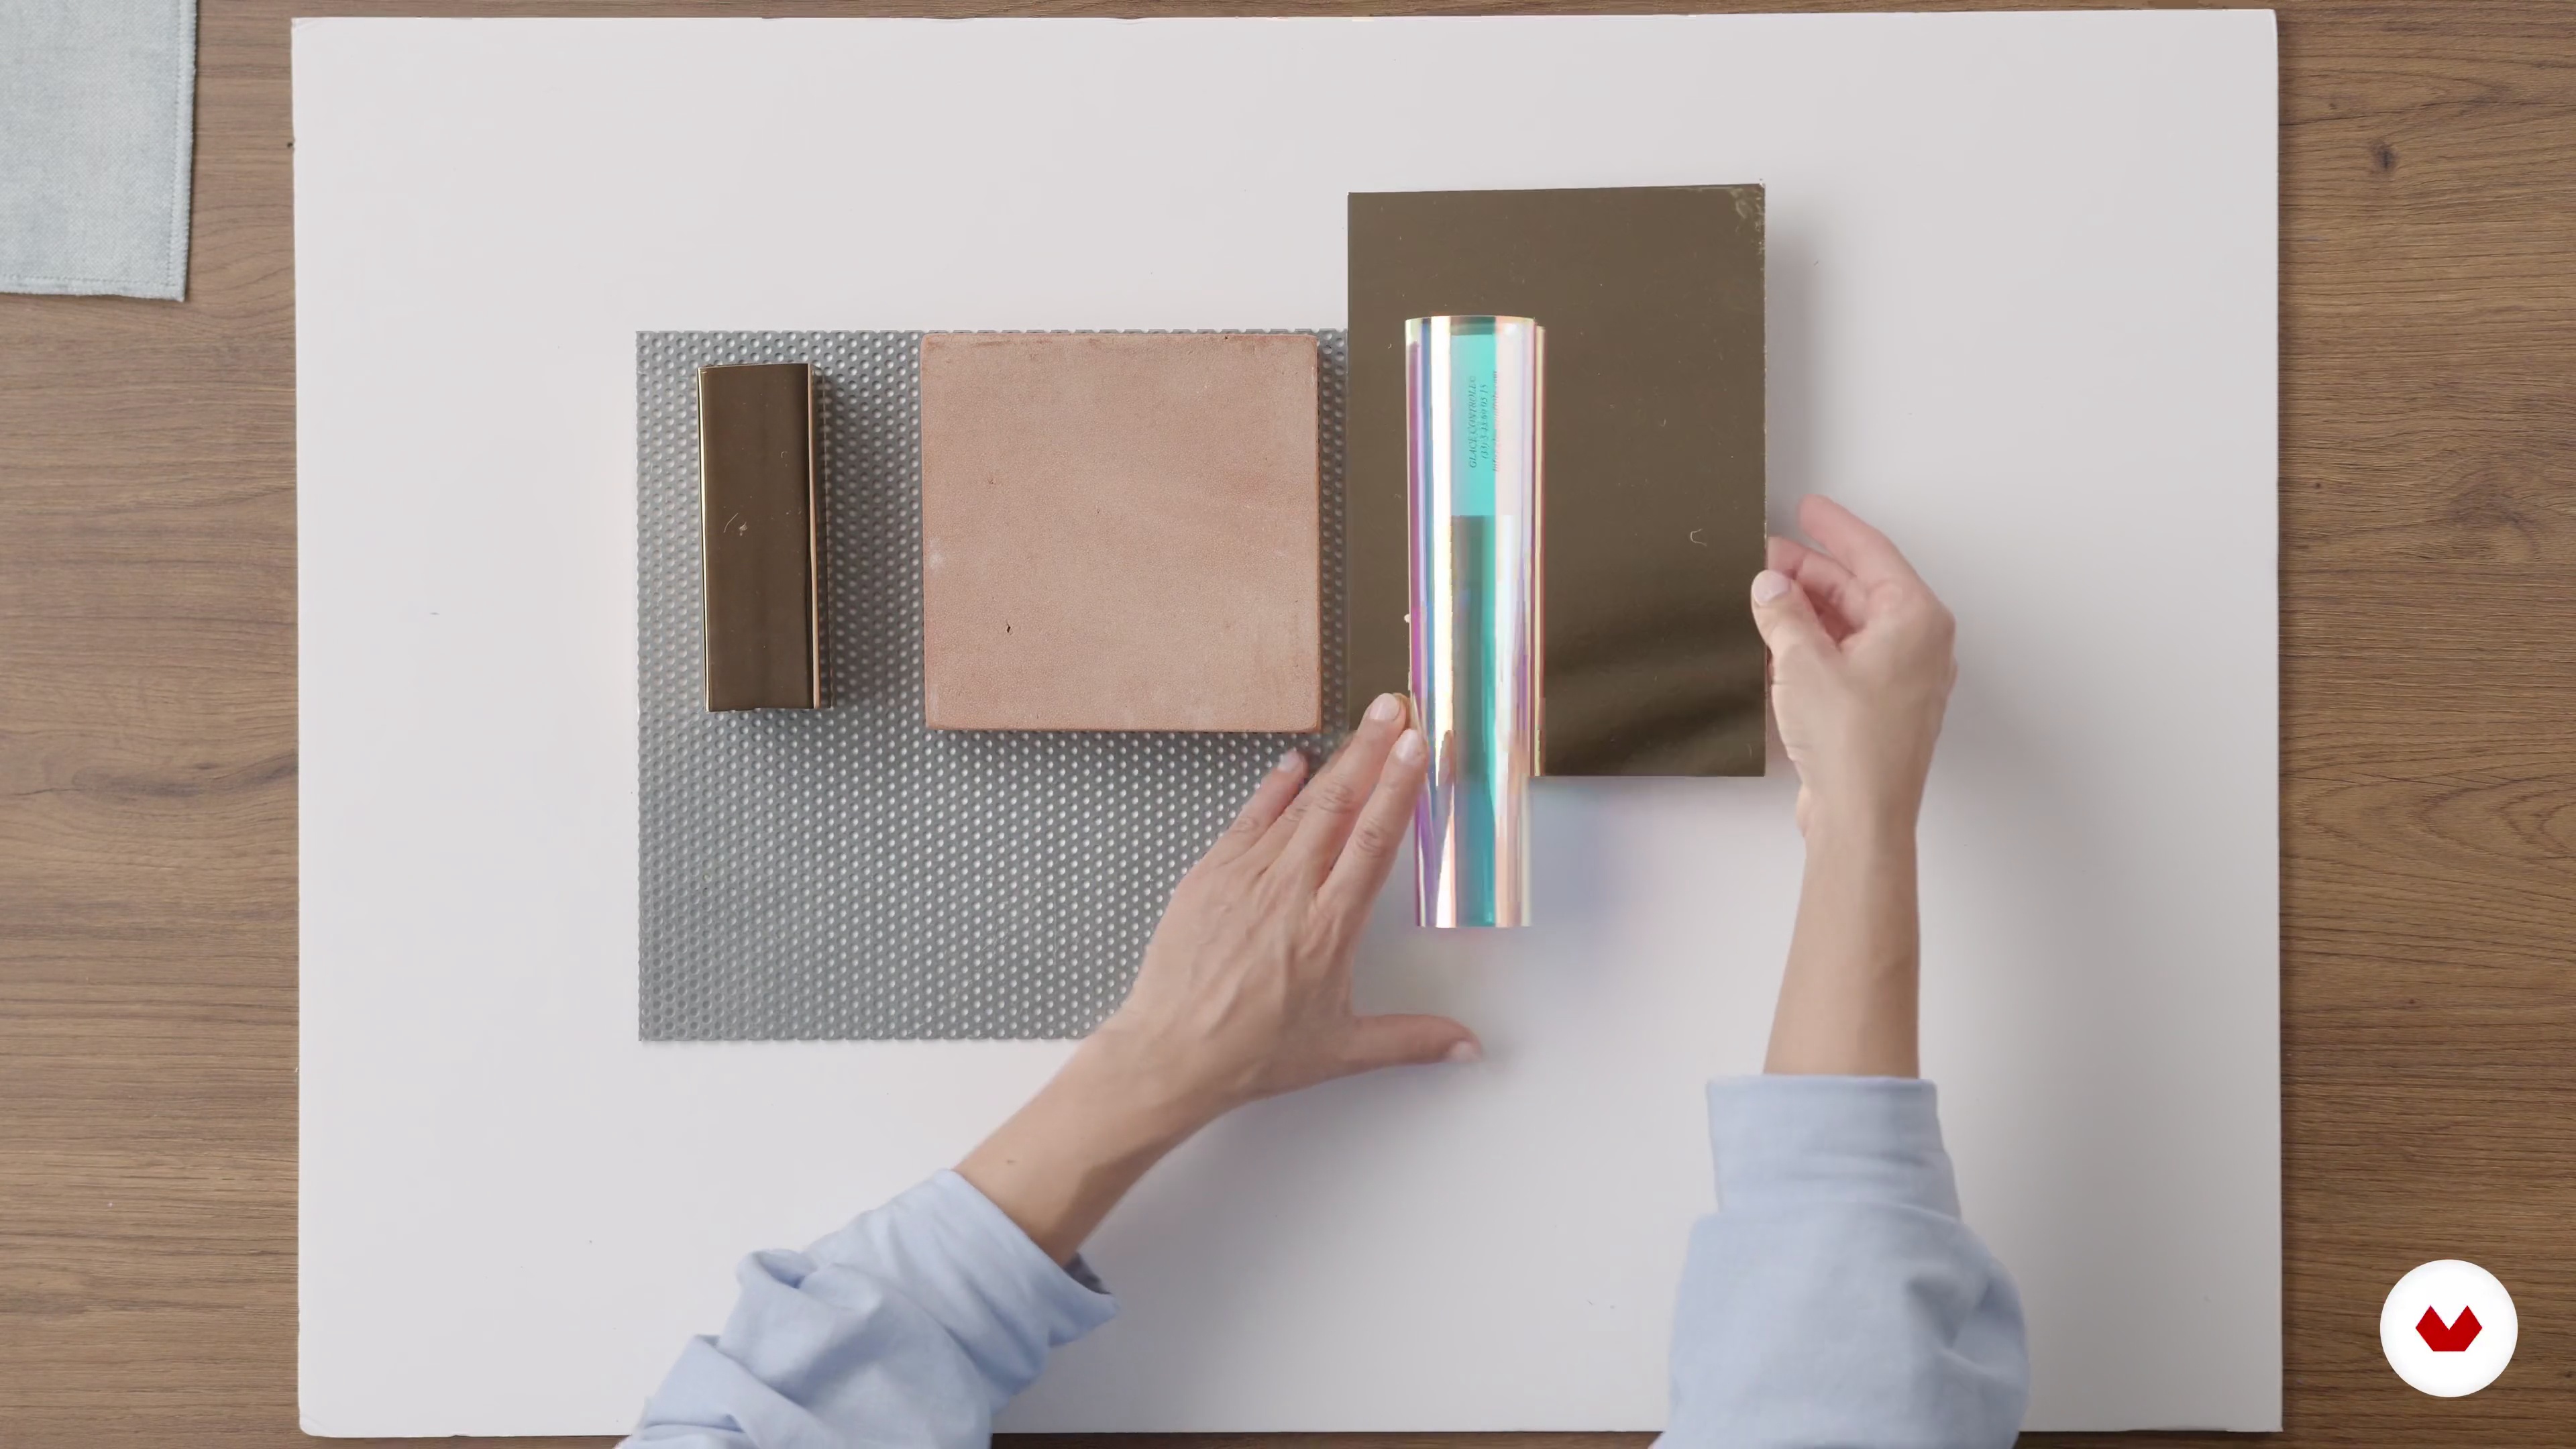
In this lesson, we'll look at different materials and explain what each one conveys. You'll learn to observe them, touch them, and understand their different uses and meanings to help you distinguish each one.
13m
image
2
Textures, shine and touch
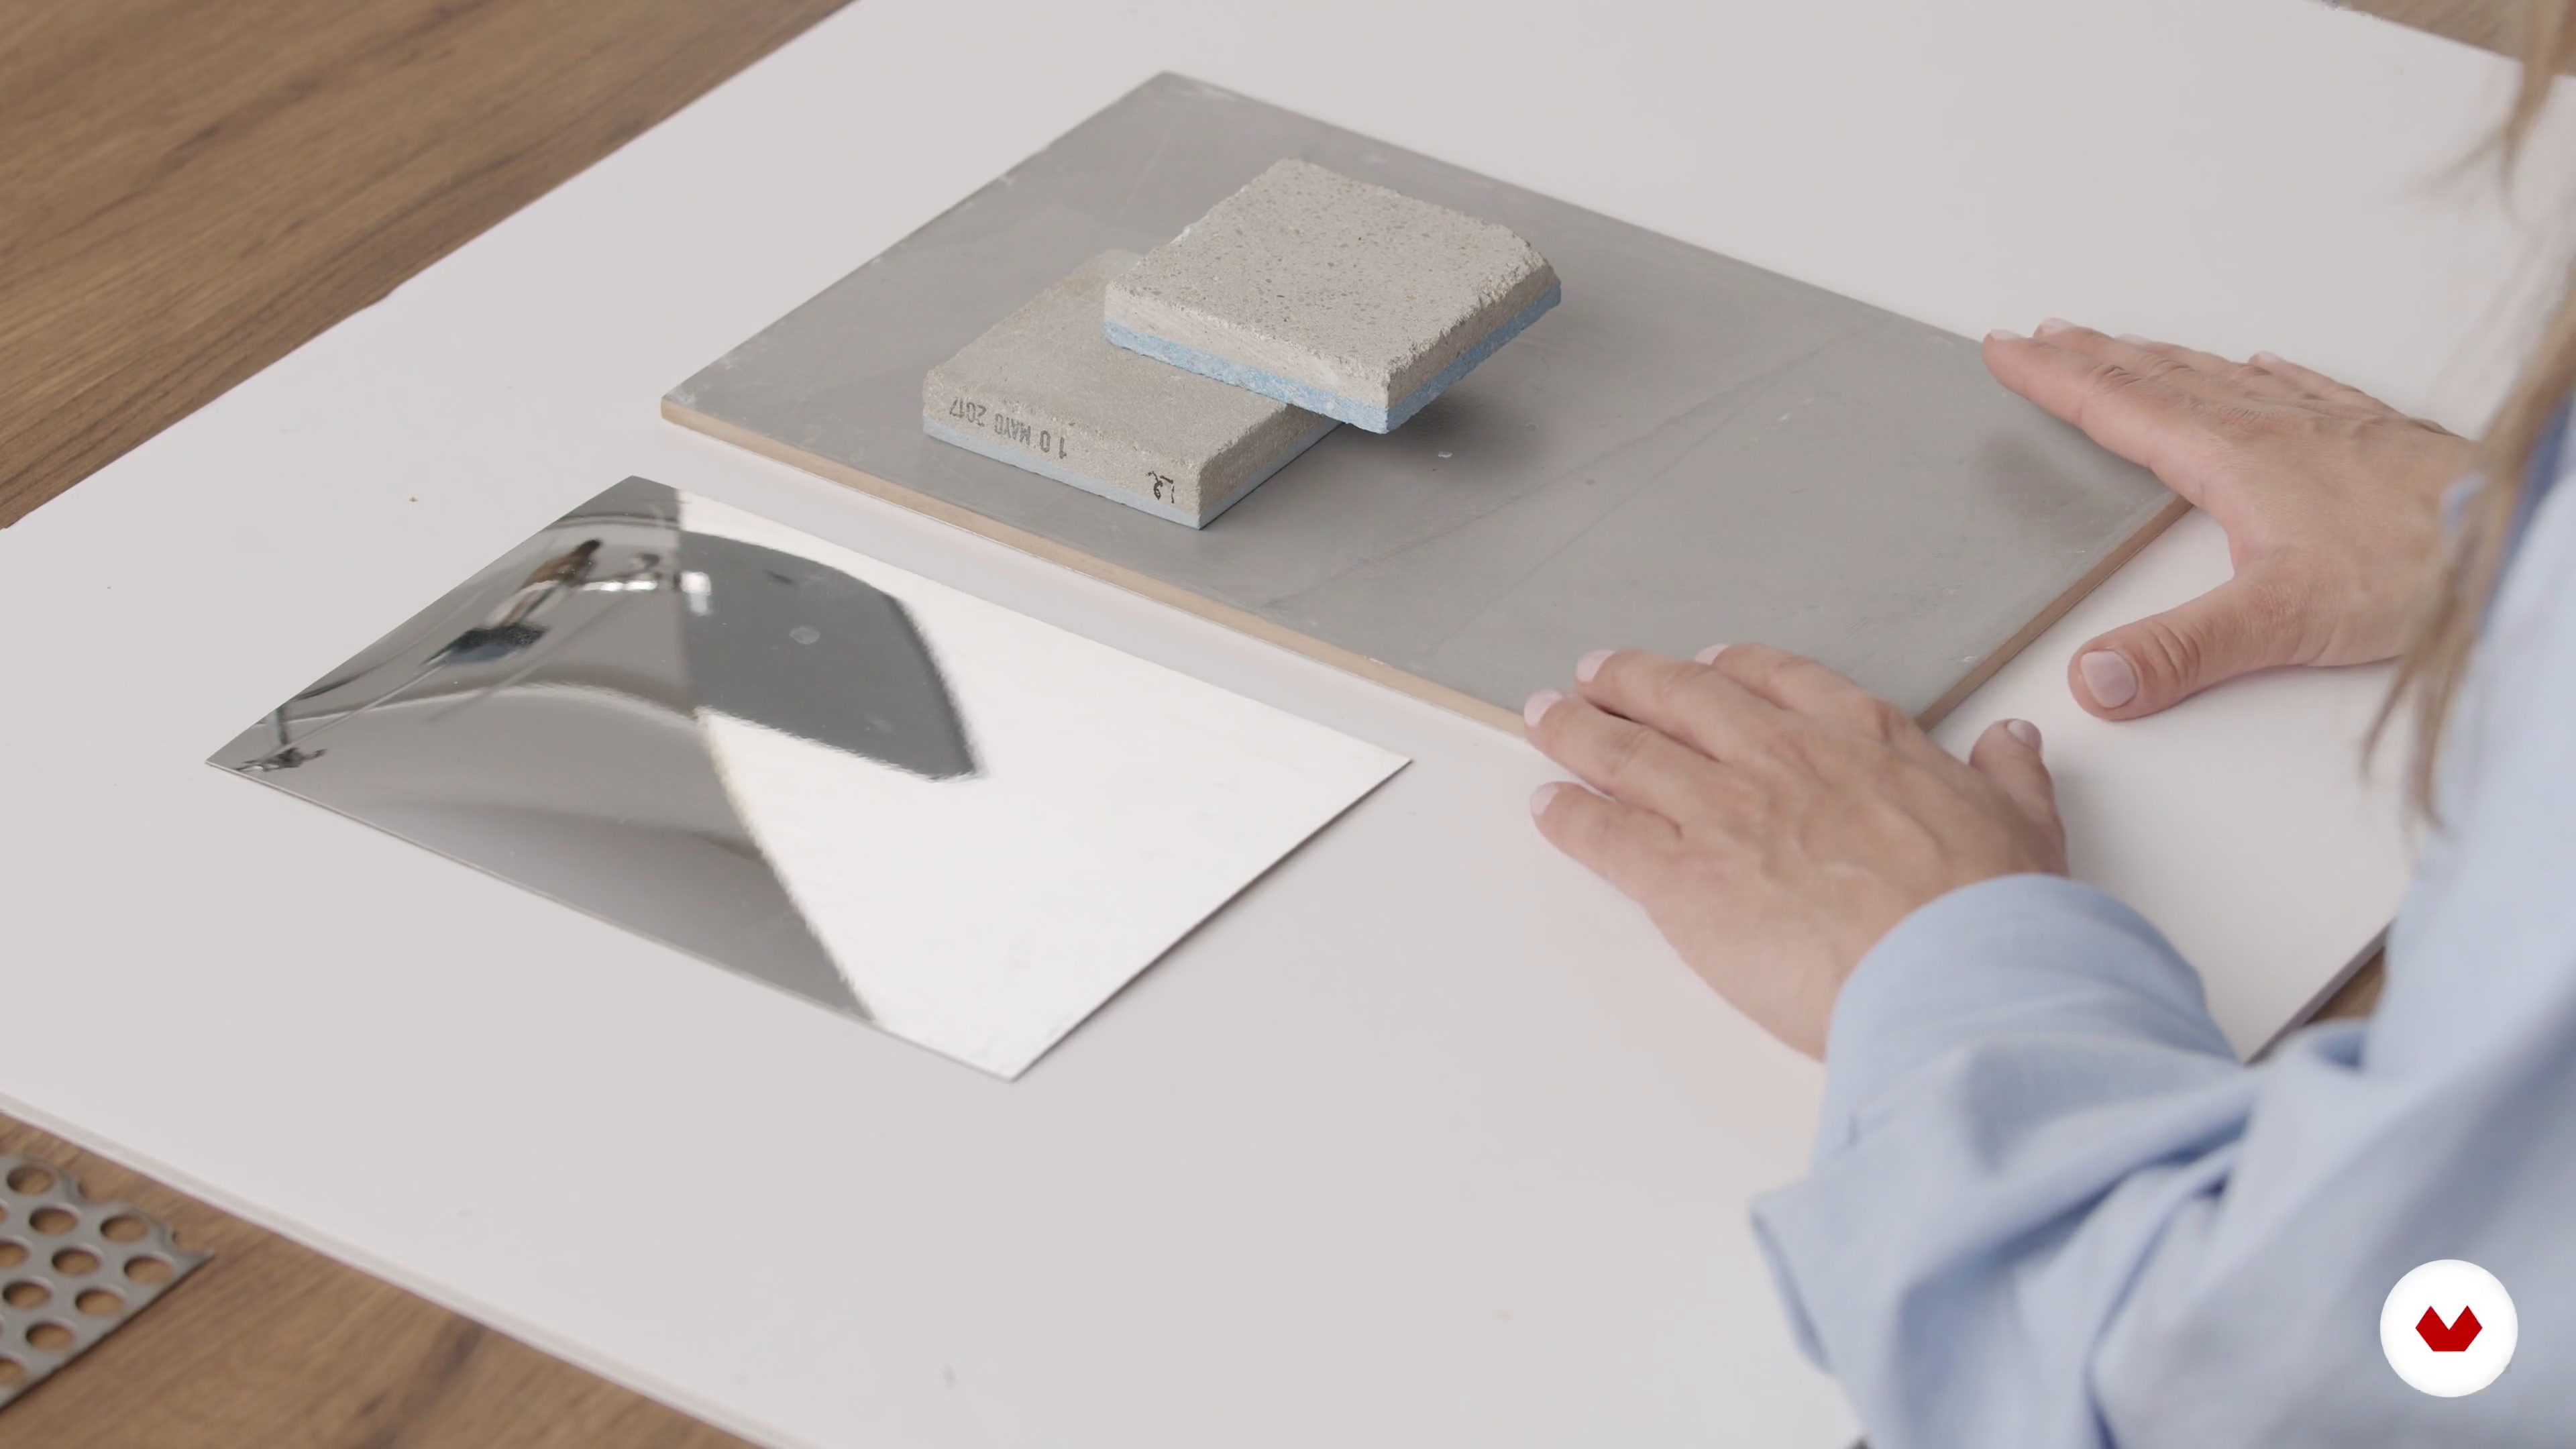
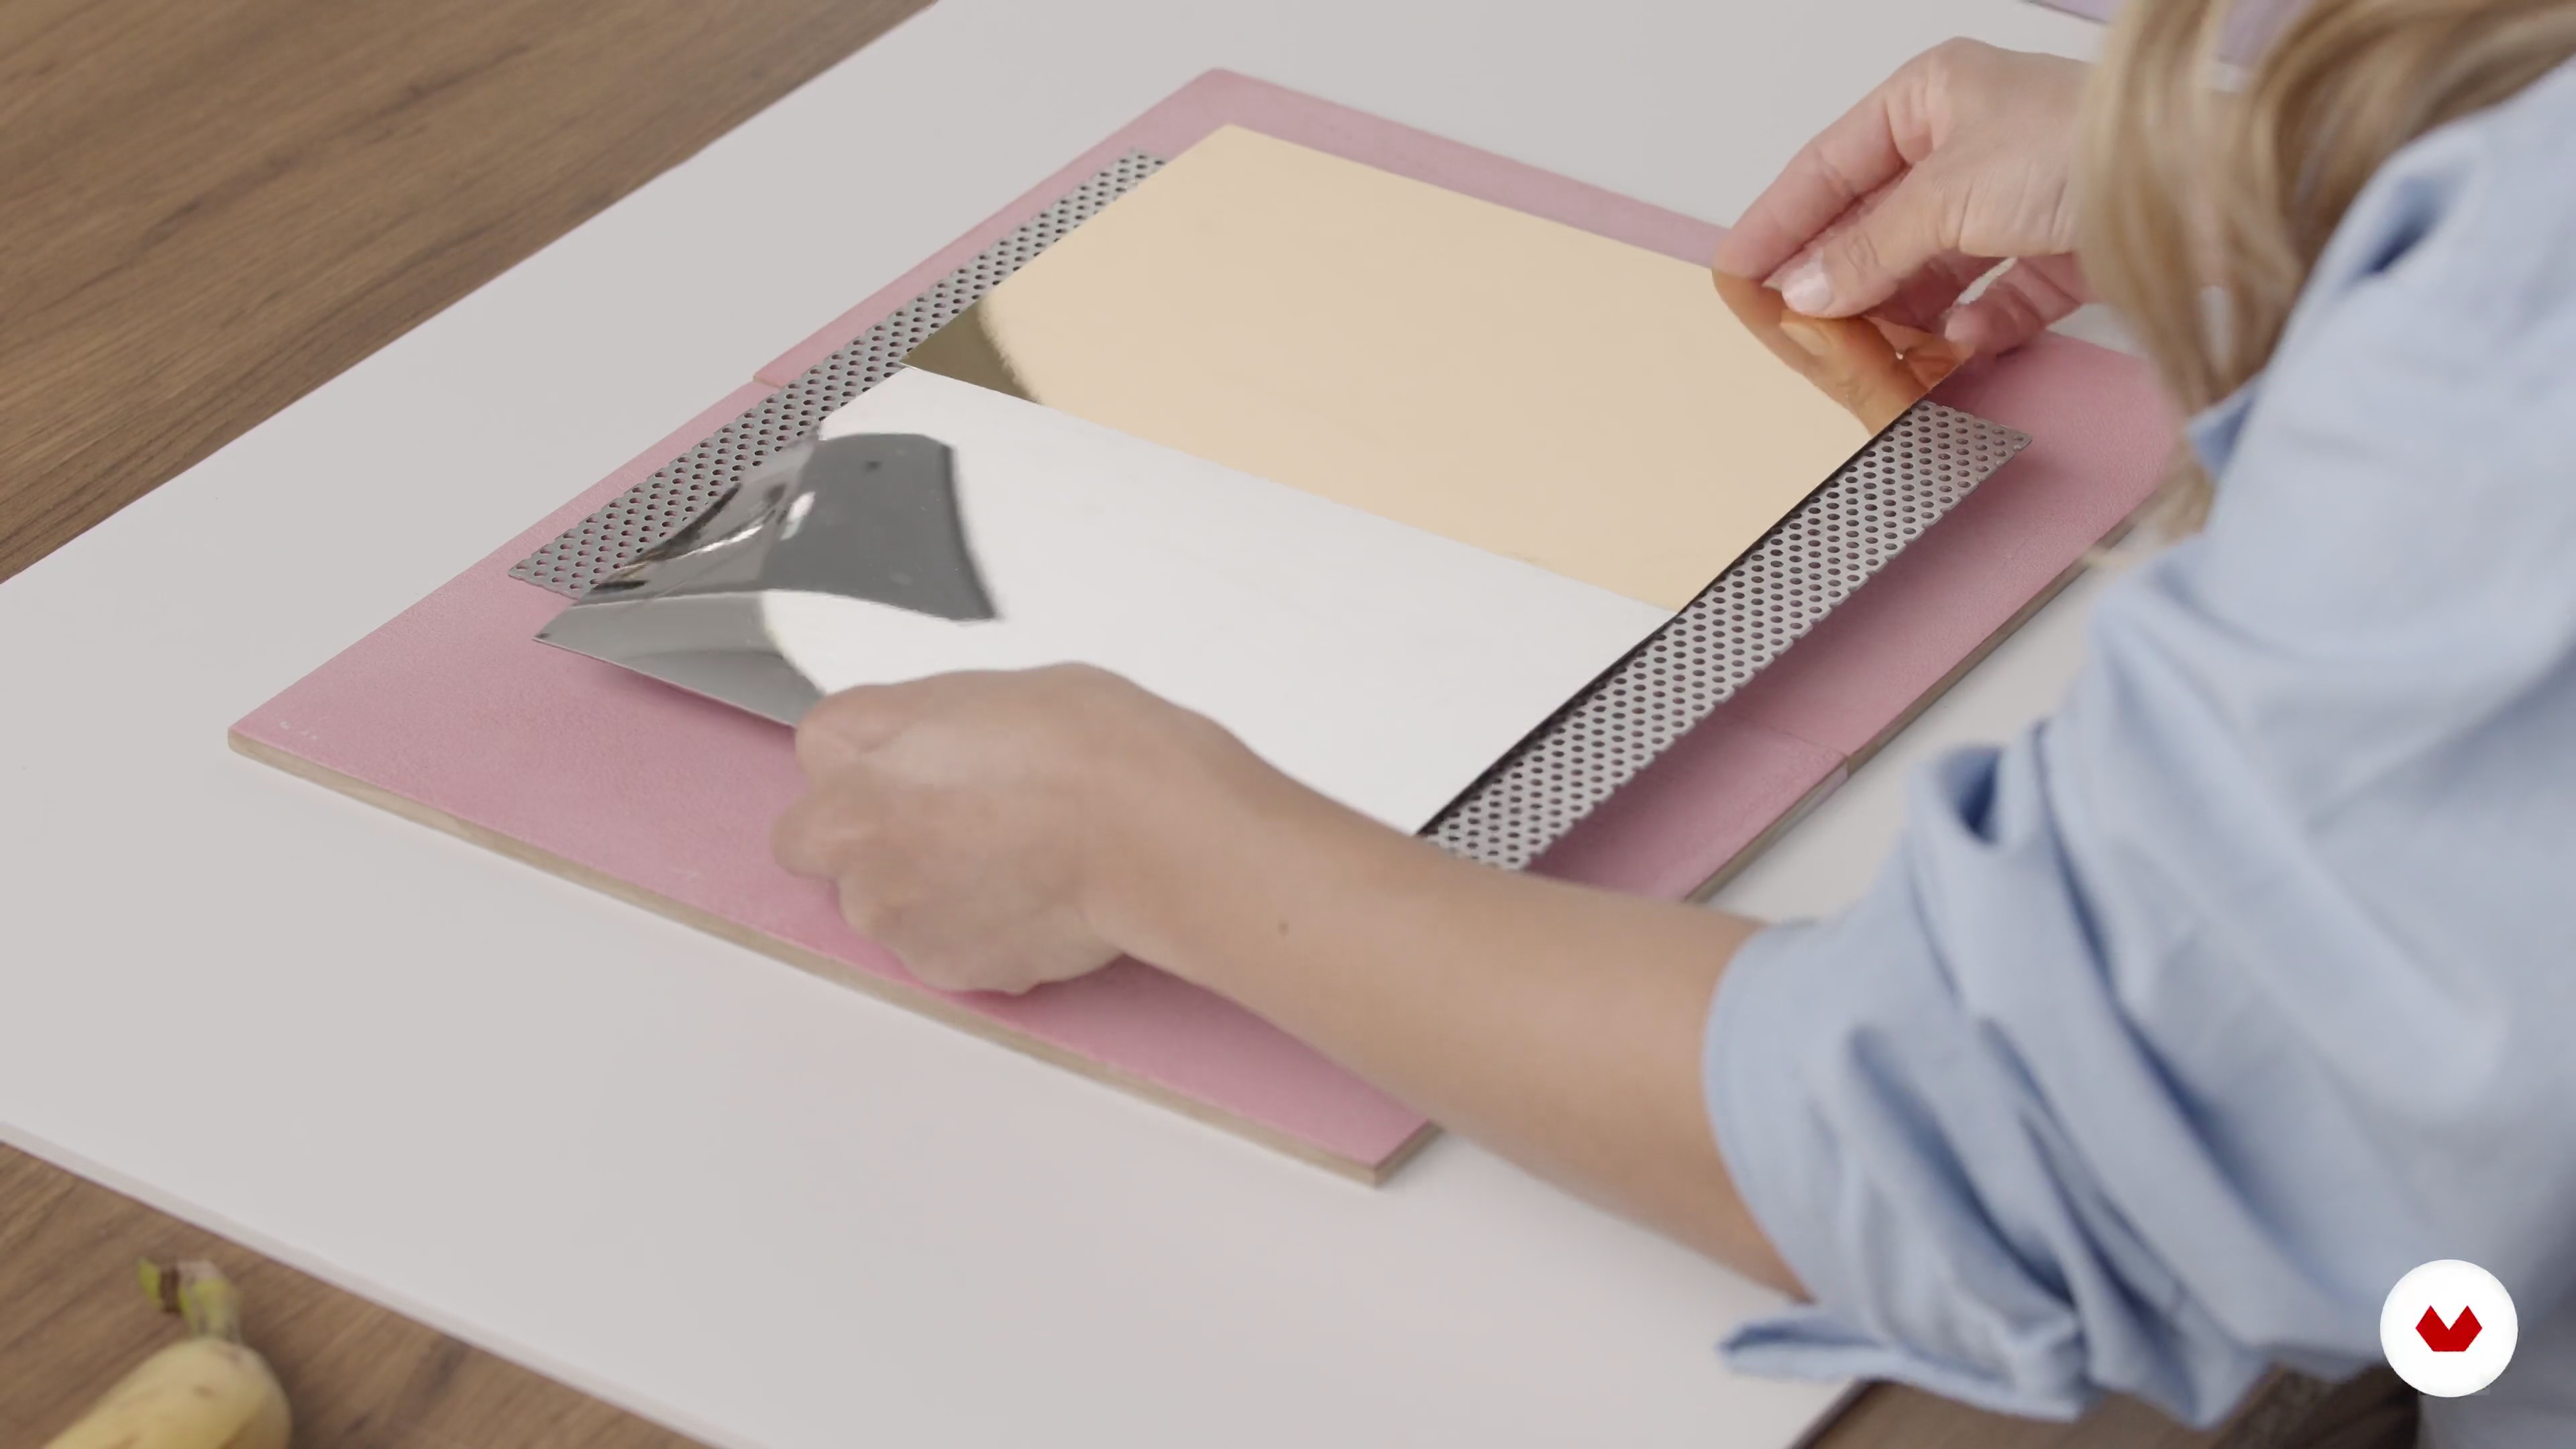
Now let's distinguish materials by their appearance. You'll see the different textures, shine, and feel of each one.
11m
image
3
Price, durability and maintenance
After understanding the significance of each material's aesthetic, I'll now present some examples of materials based on their price, durability, and maintenance. You'll learn to identify which material is best for each type of project, as each is unique.
13m
image
4
Industrial or artisan materials
Next, I'll tell you how to distinguish between industrial and artisanal materials. We'll also discuss when it's better to use industrial materials and when it's better to use artisanal materials, and we'll analyze the pros and cons of each.
12m
image
5
The color of the materials 1
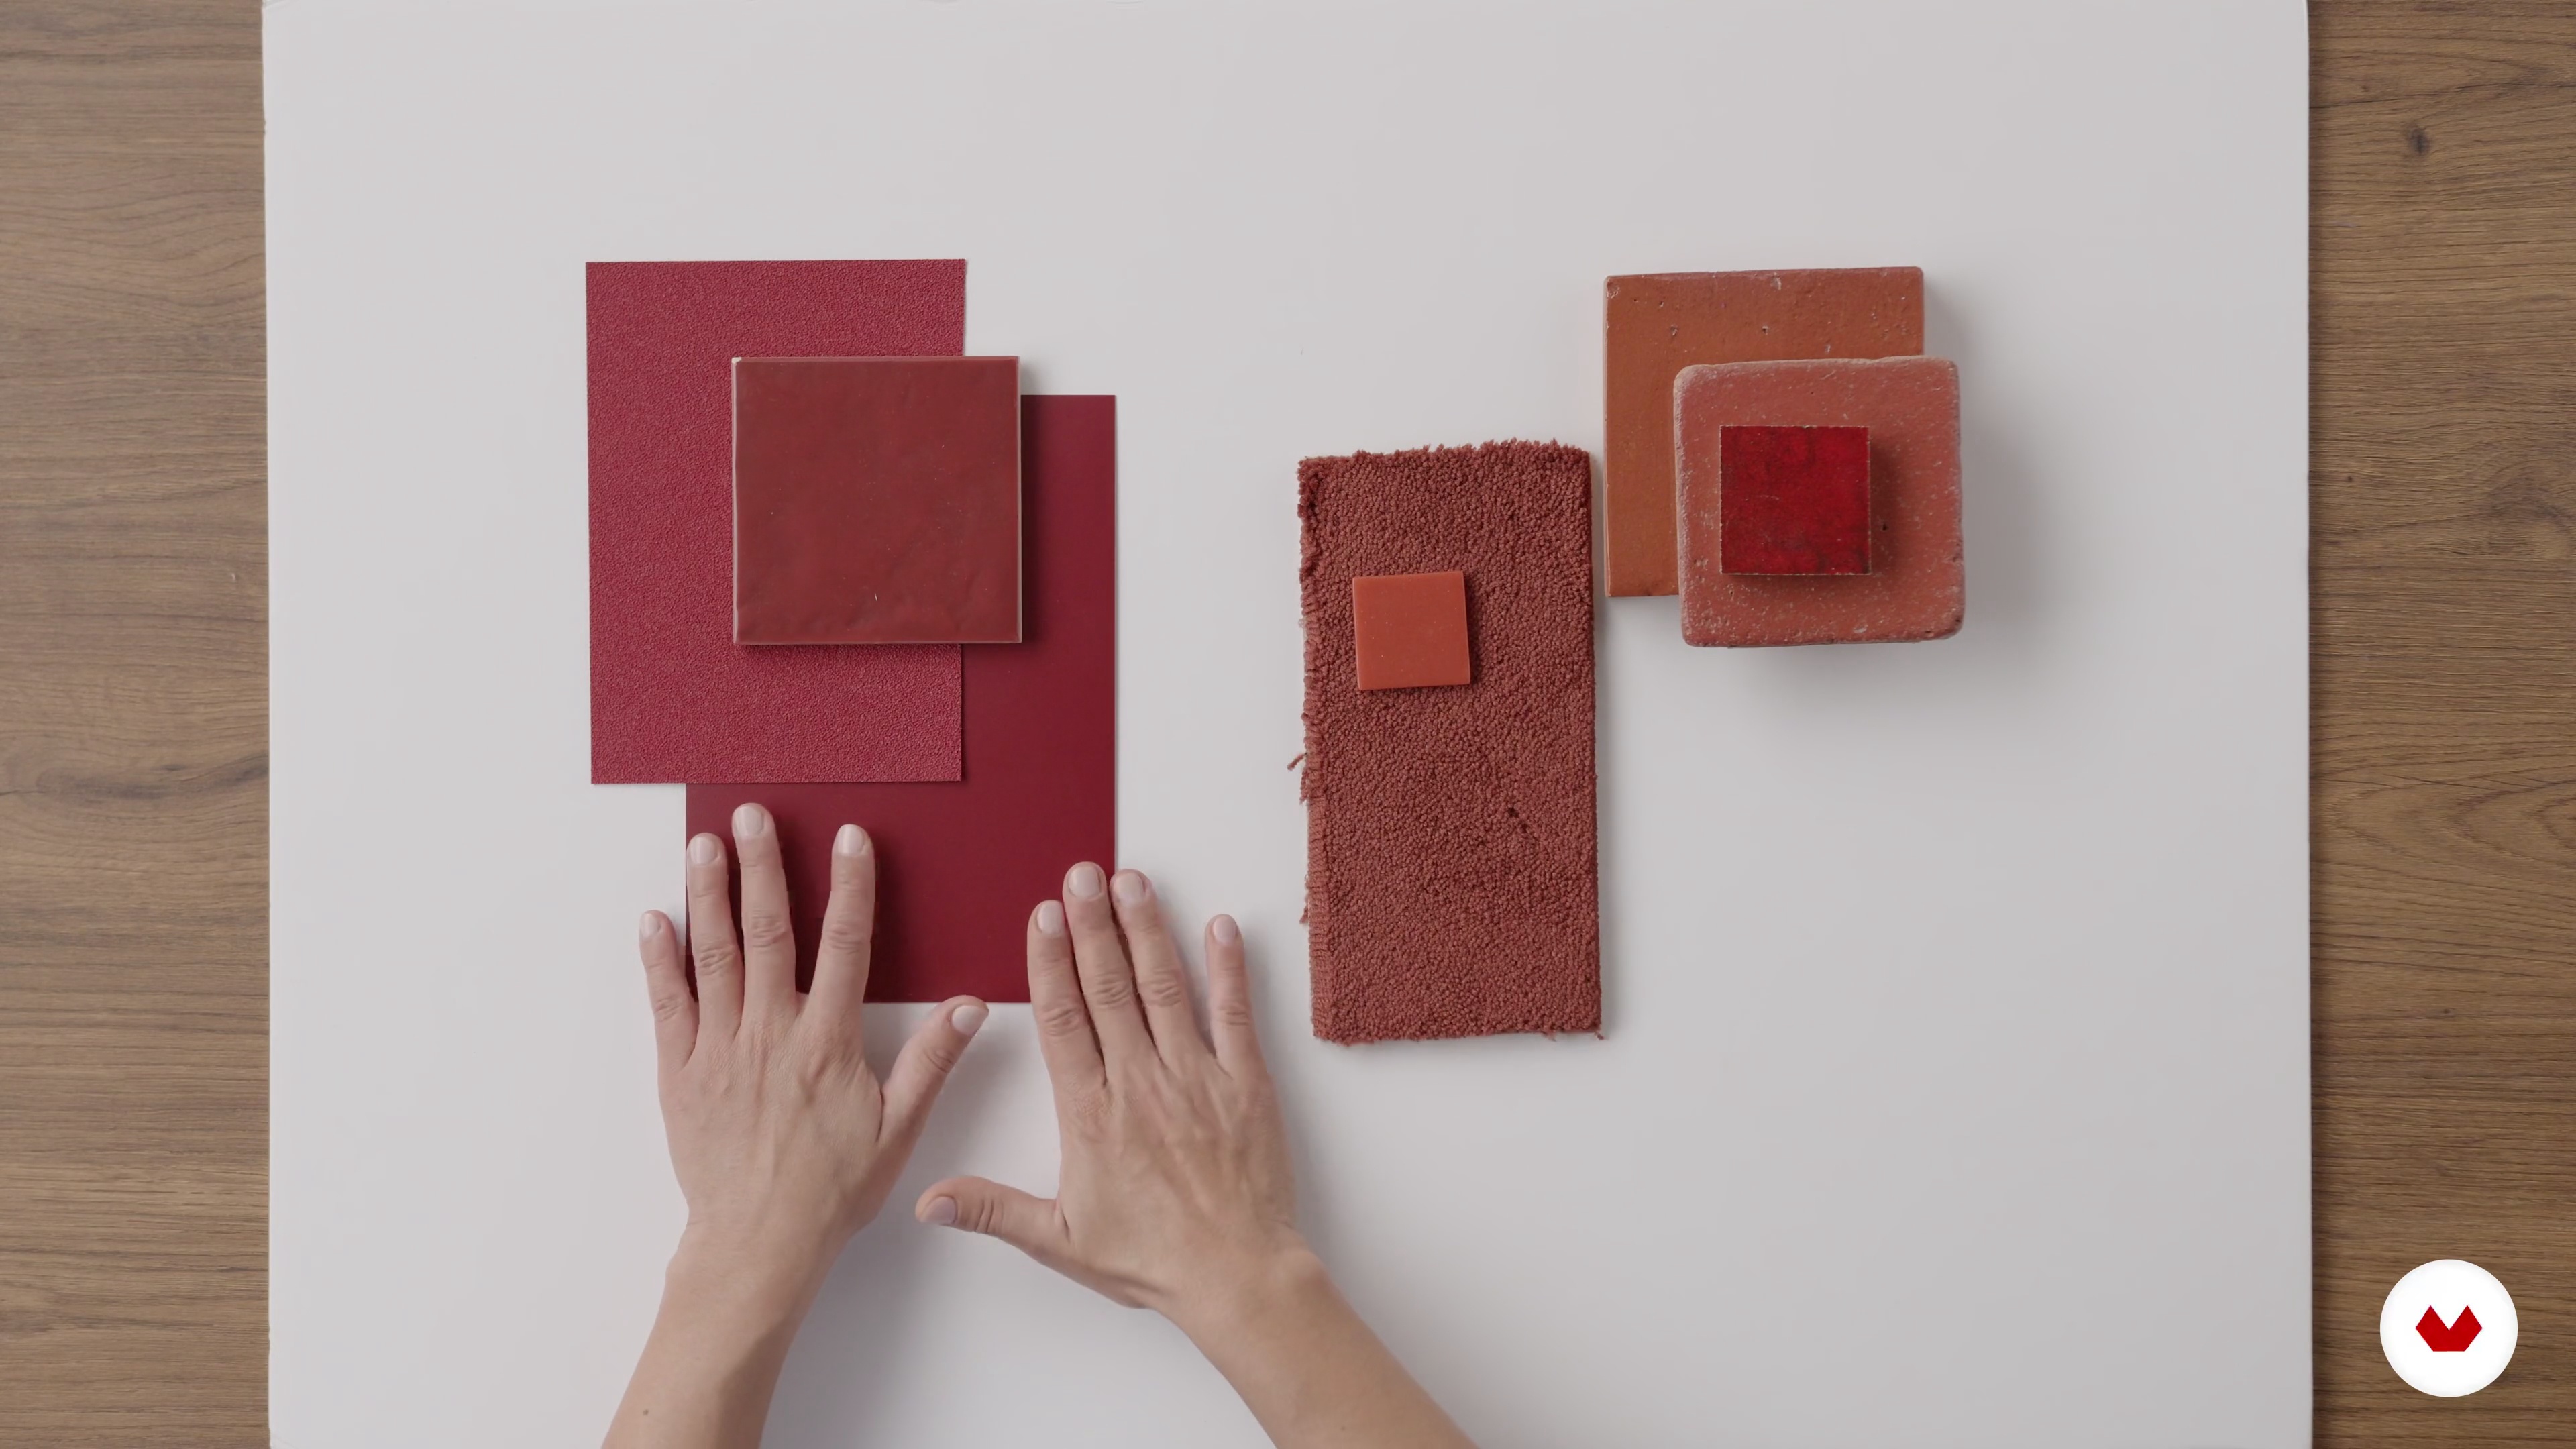
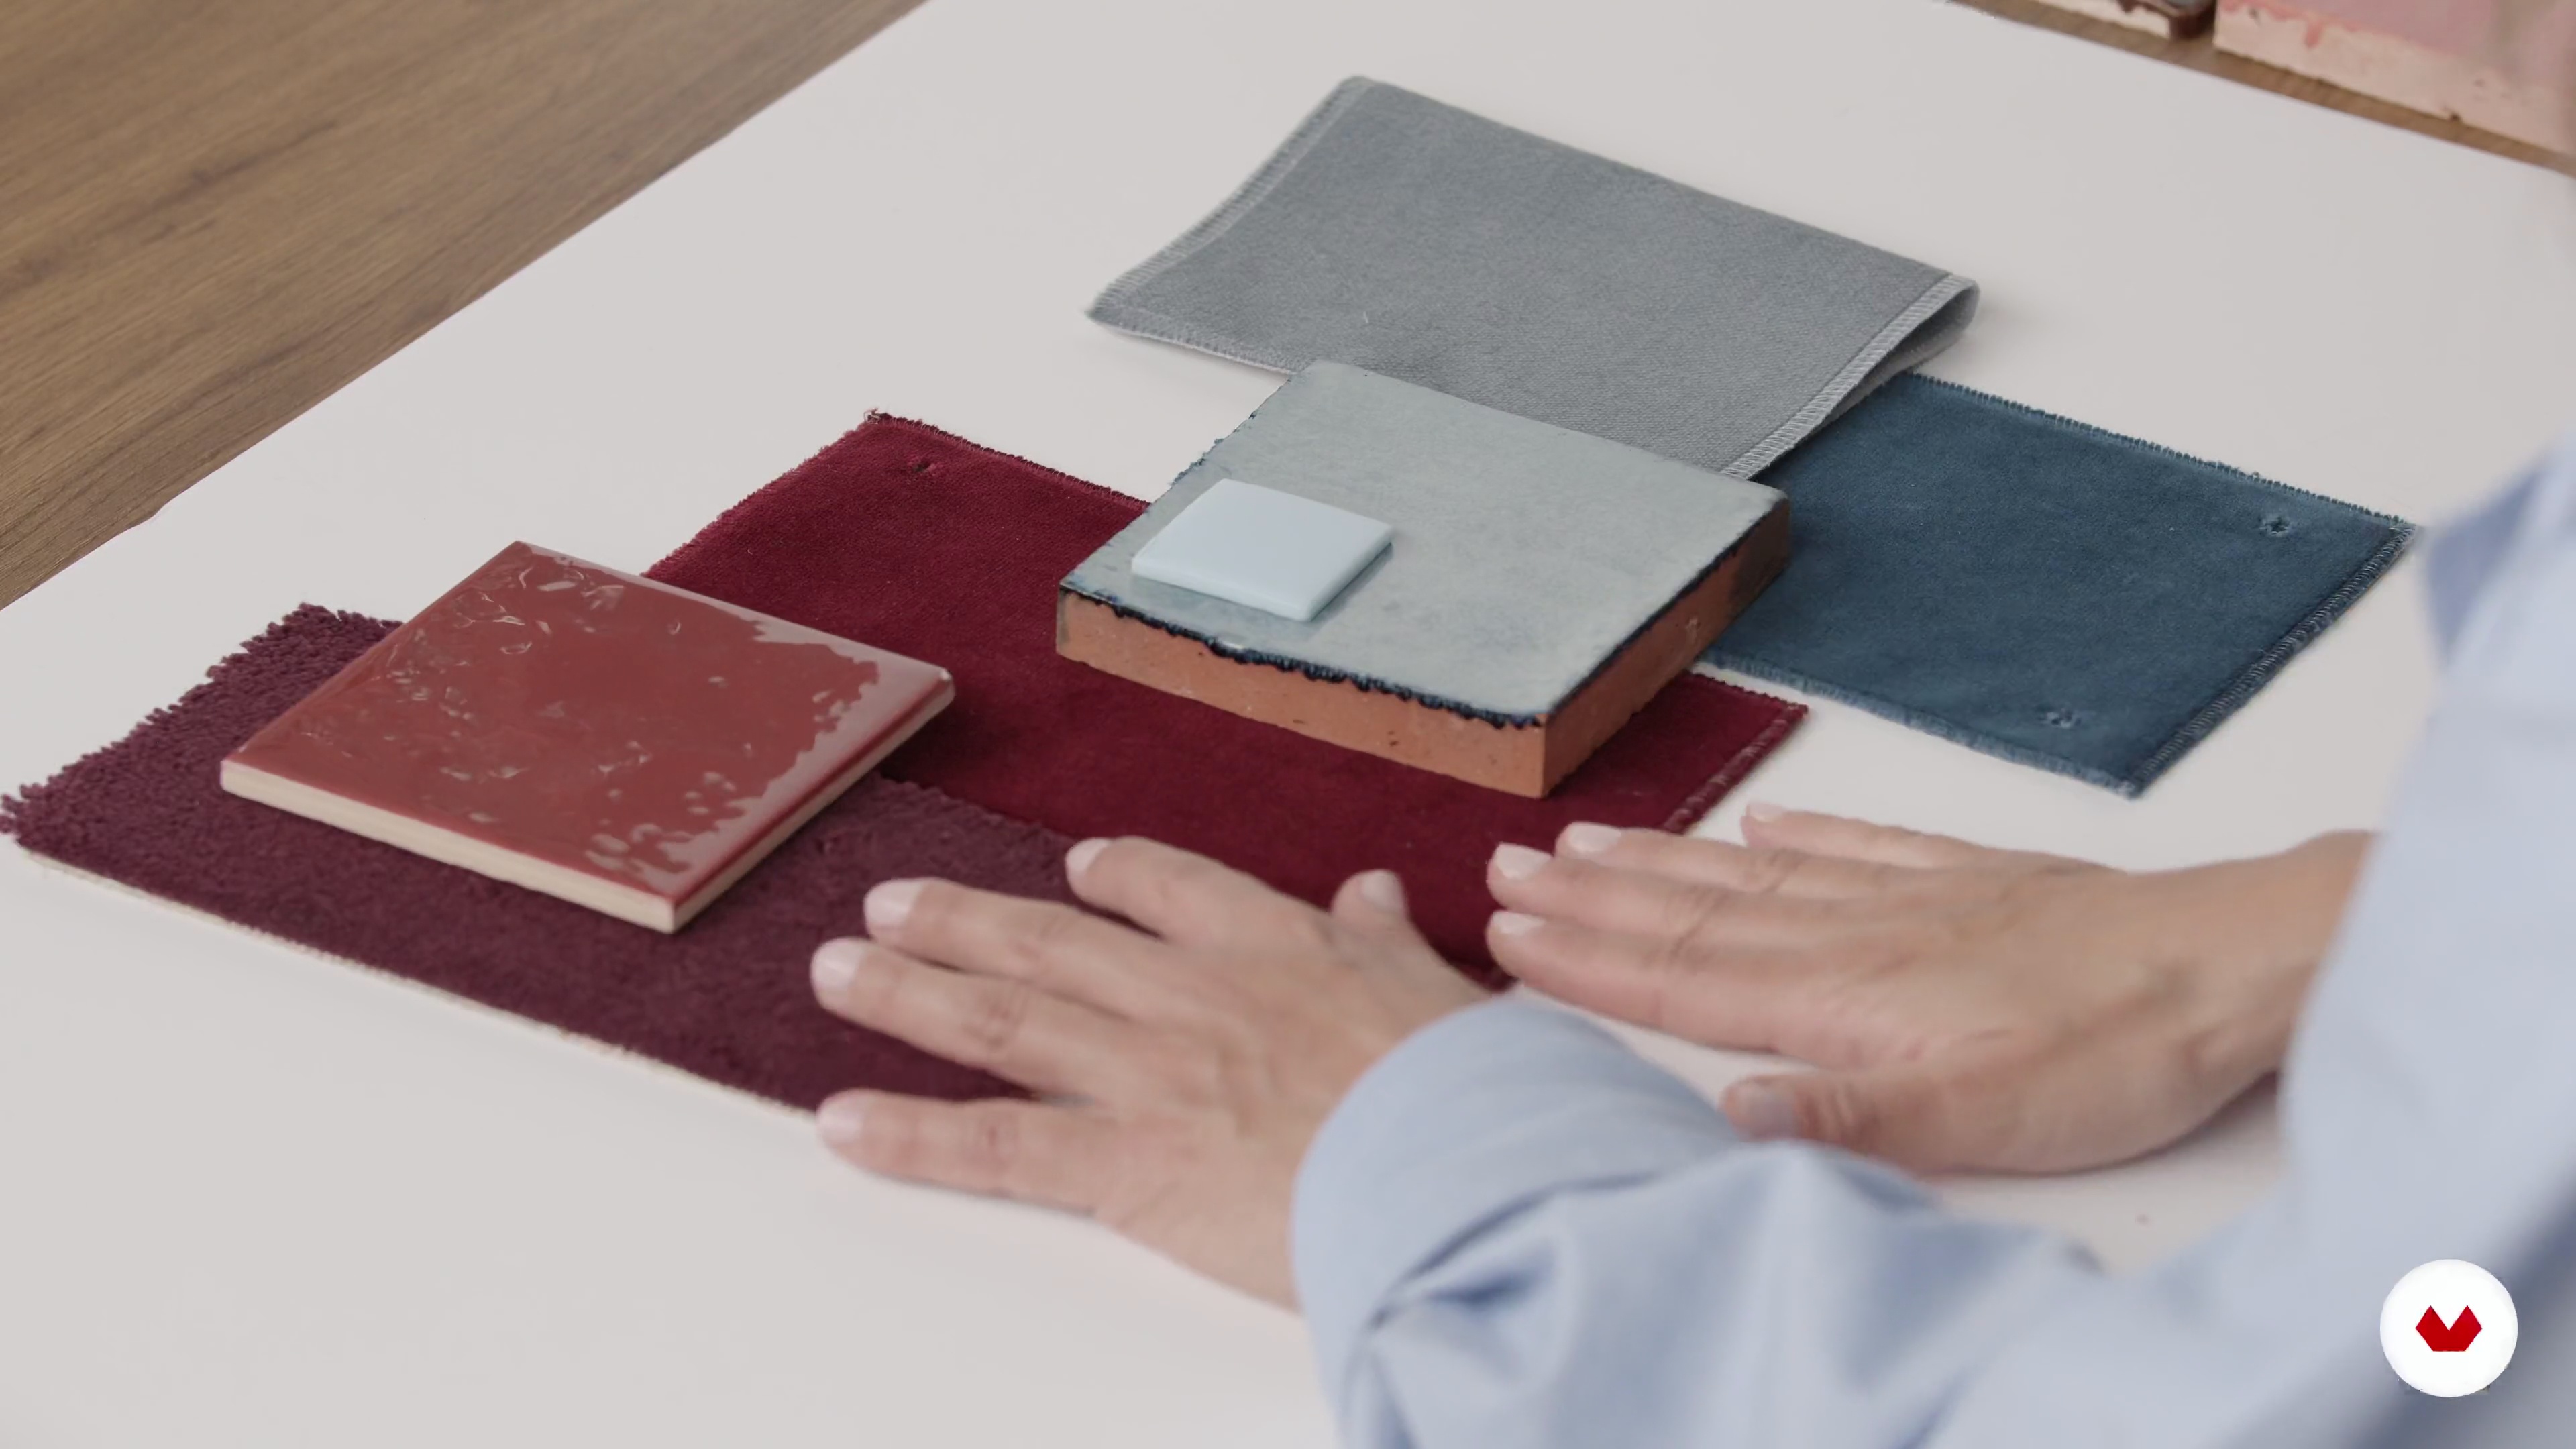
Color applied to different materials changes their tones and the messages they convey, as does the light they're projected with. In this lesson, you'll learn to understand the differences depending on where the color is applied.
12m
image
6
The color of materials 2
We continue to delve into the characteristics of materials based on their color.
11m
image
7
Transmit a message according to each combination
Have you ever considered that each combination can create a different aesthetic? Do you want to portray a luxurious image, a healthy image, or a transgressive one? In this lesson, I'll show you how each material goes from having an individual meaning to becoming part of an overall visual style. Combine them and create your own!
8m
image
8
Analysis of trends in material combinations
Now that you understand that combining materials conveys different messages, let's analyze different sources of inspiration in order to represent current trends.
10m
image
9
Future trends in material combinations
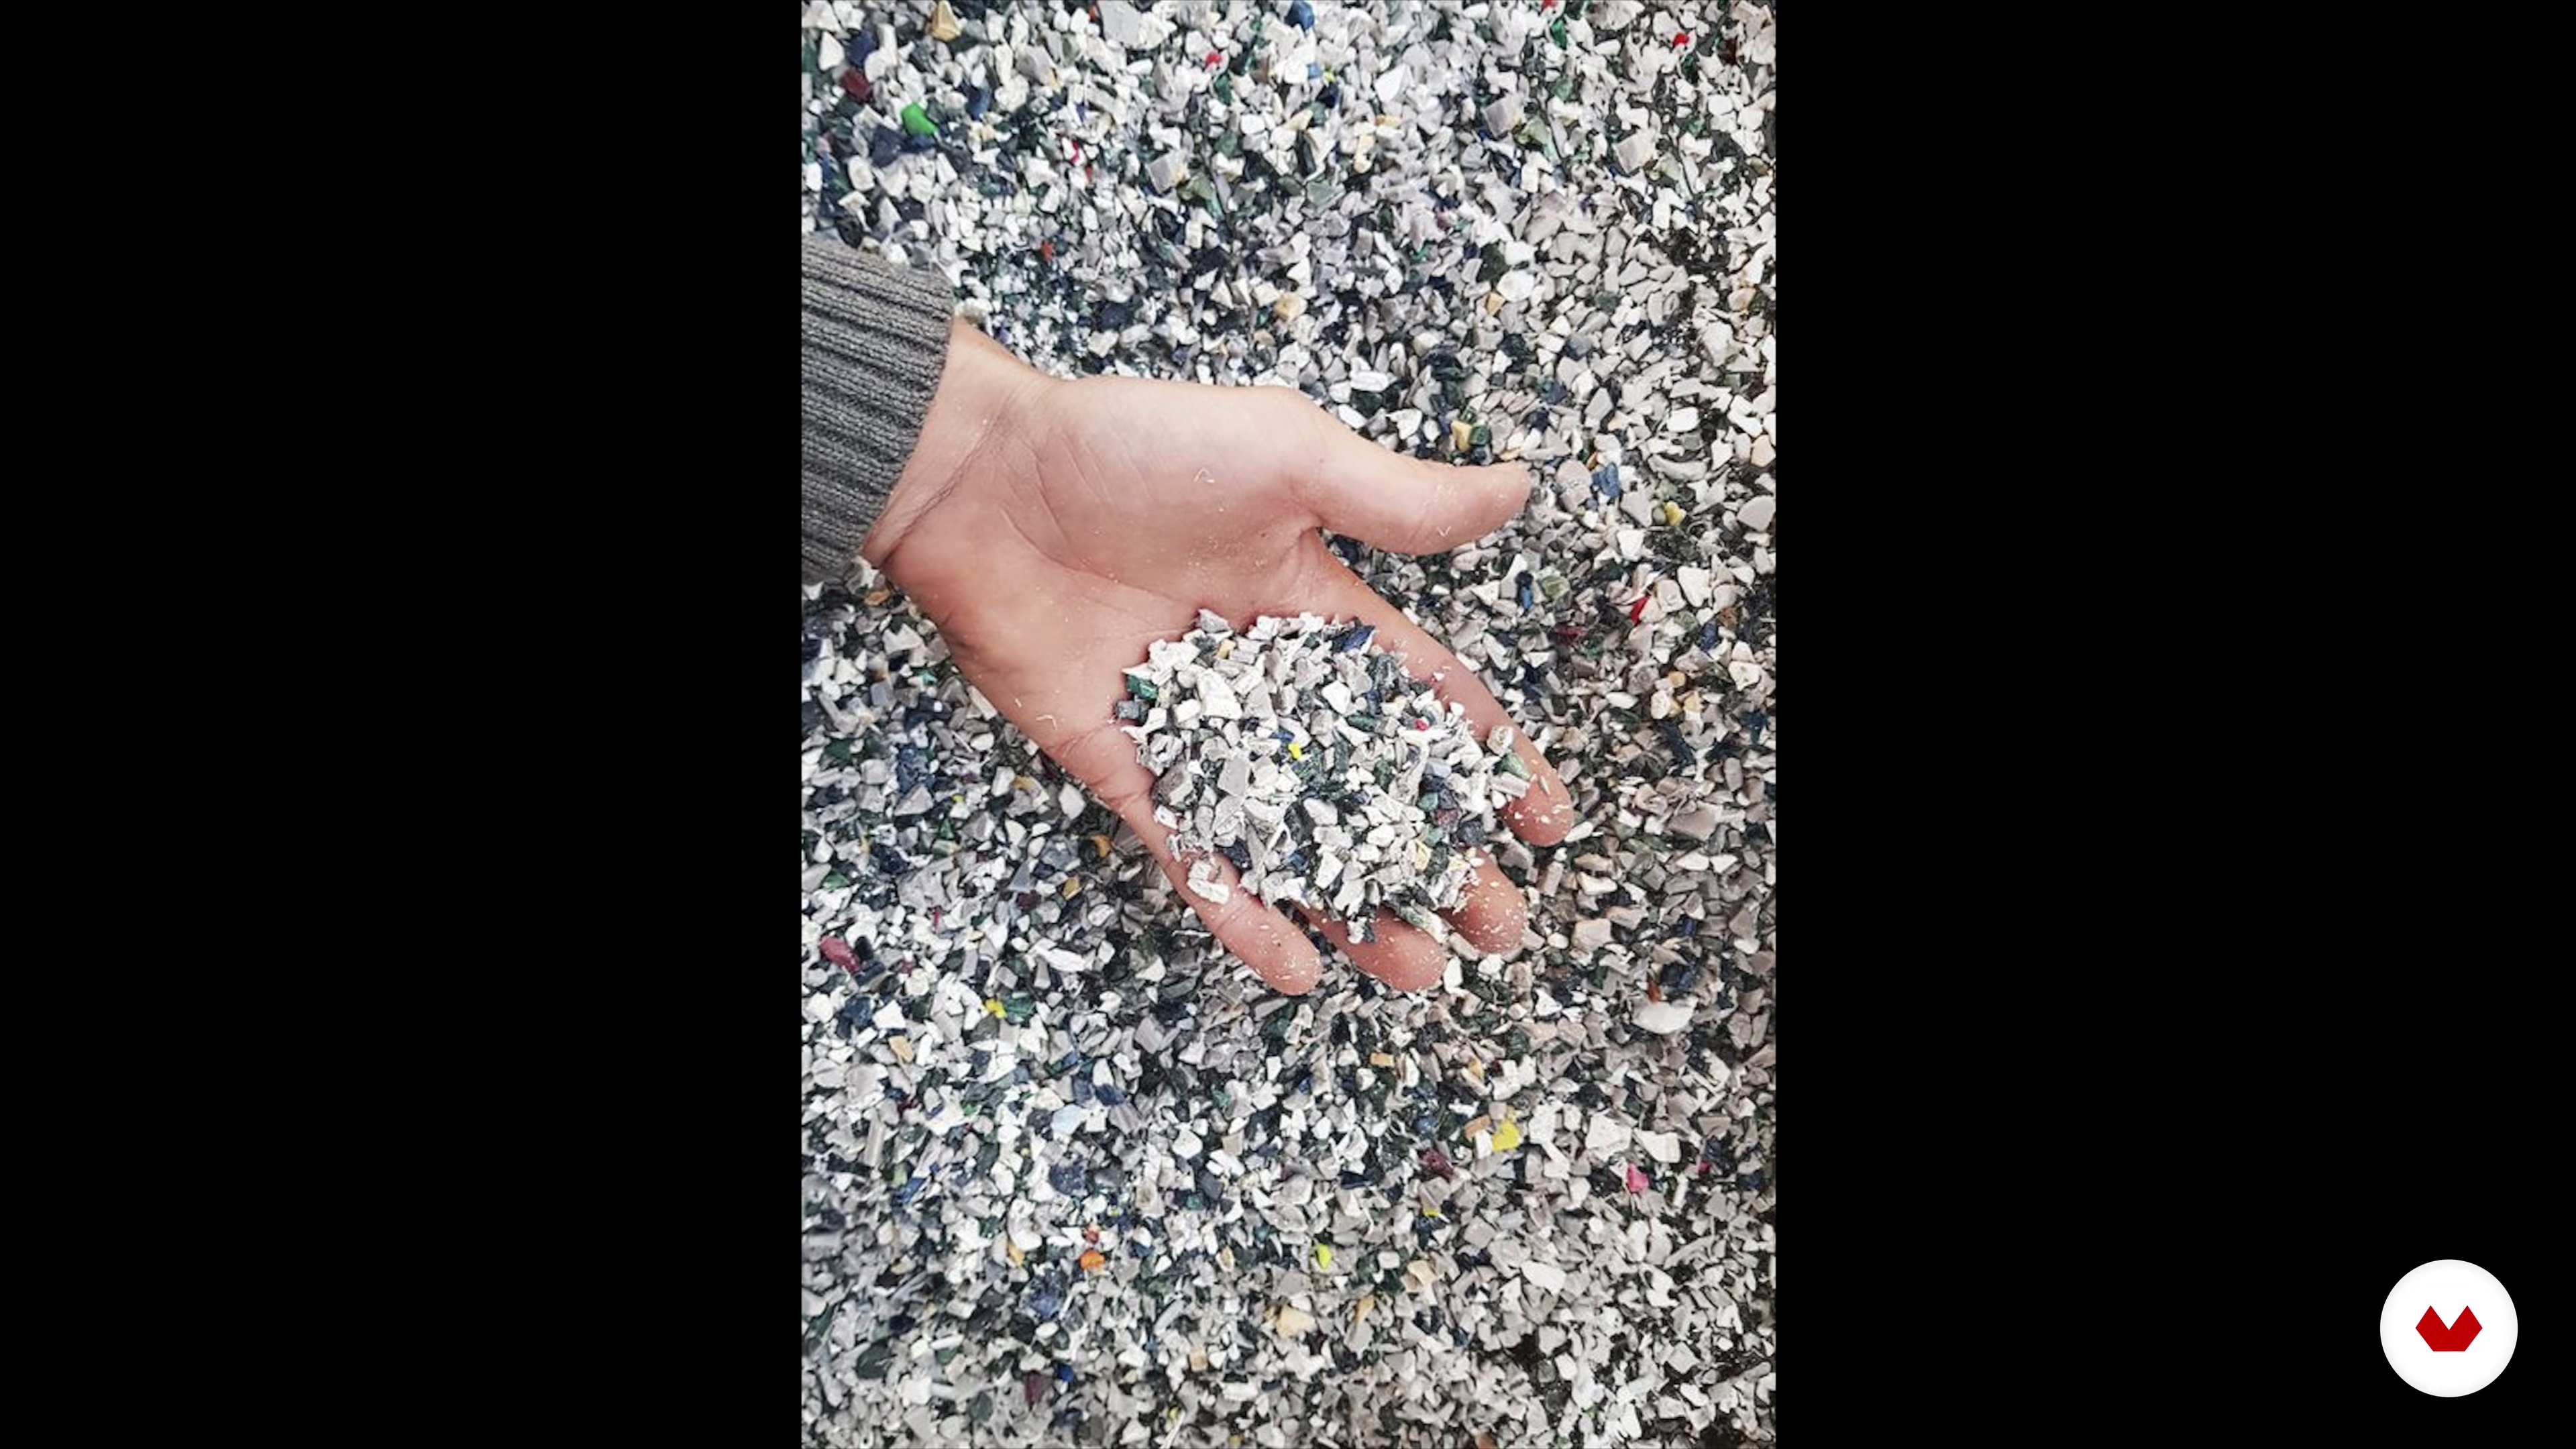
After exploring current trends, we'll look for sources of inspiration outside of general design. We'll explore nature and craftsmanship to help you create your own unique combinations.
4m
image
10
Techniques for setting up a mood board 1
Now we're going to look at three different ways to create a mood board, from the classic method to one that adds more details to the mood board to give the presentation more life.
19m
image
11
Techniques for setting up a mood board 2
We continue to look at different ways to create our mood board.
9m
image
12
Customer analysis
A new client has just joined us. During the first working session, we sat down with them to understand their needs and what elements we could find that connect with their project to create a concept. Now, we invite you to choose your project, either using a real client or choosing a personal space.
11m
image
13
Selected materials and possible combinations for the project
After understanding the client, we begin to evaluate different materials presented to us during our research in the first lesson of this unit. I'll explain why some materials are chosen or discarded.
11m
image
14
Strategy typology: according to emotions, storytelling or lifestyle
Now, through some real-life projects, I'll share strategies for selecting materials. This can range, for example, from a project where the objective is purely emotional to one where you want to represent a lifestyle.
6m
image
15
Strategy typology: according to economy or craftsmanship
We're going to do the same thing as in the previous lesson, but now we'll use a strategy based on a project with a limited budget and two others where craftsmanship is used.
7m
image
16
Mood board
It's time to create your final mood board. Here I show you how we applied the criteria above to arrive at our final mood board.
14m
image
17
Presentation of the mood board to the client
After learning how to create a materials mood board, it's now time to present it to the client. Here, you'll see how your mood board is the perfect tool to convince the client of your design.
6m
image
18
Future trends
We conclude with a brief review of the new materials that are coming to interior design projects.
2m
image
1
Direct light
Direct lighting is what we use for precision tasks. I'll start by explaining what it is and what we use it for.
2m
image
2
Indirect light
Indirect lighting brings life and softness to spaces, and it's usually diffused. Join me in this lesson to learn all about it.
3m
image
3
Architectural and decorative luminaires
Now I'll tell you what an architectural luminaire is, what type of lighting it's used for, and how to use it to achieve the results we want.
7m
image
4
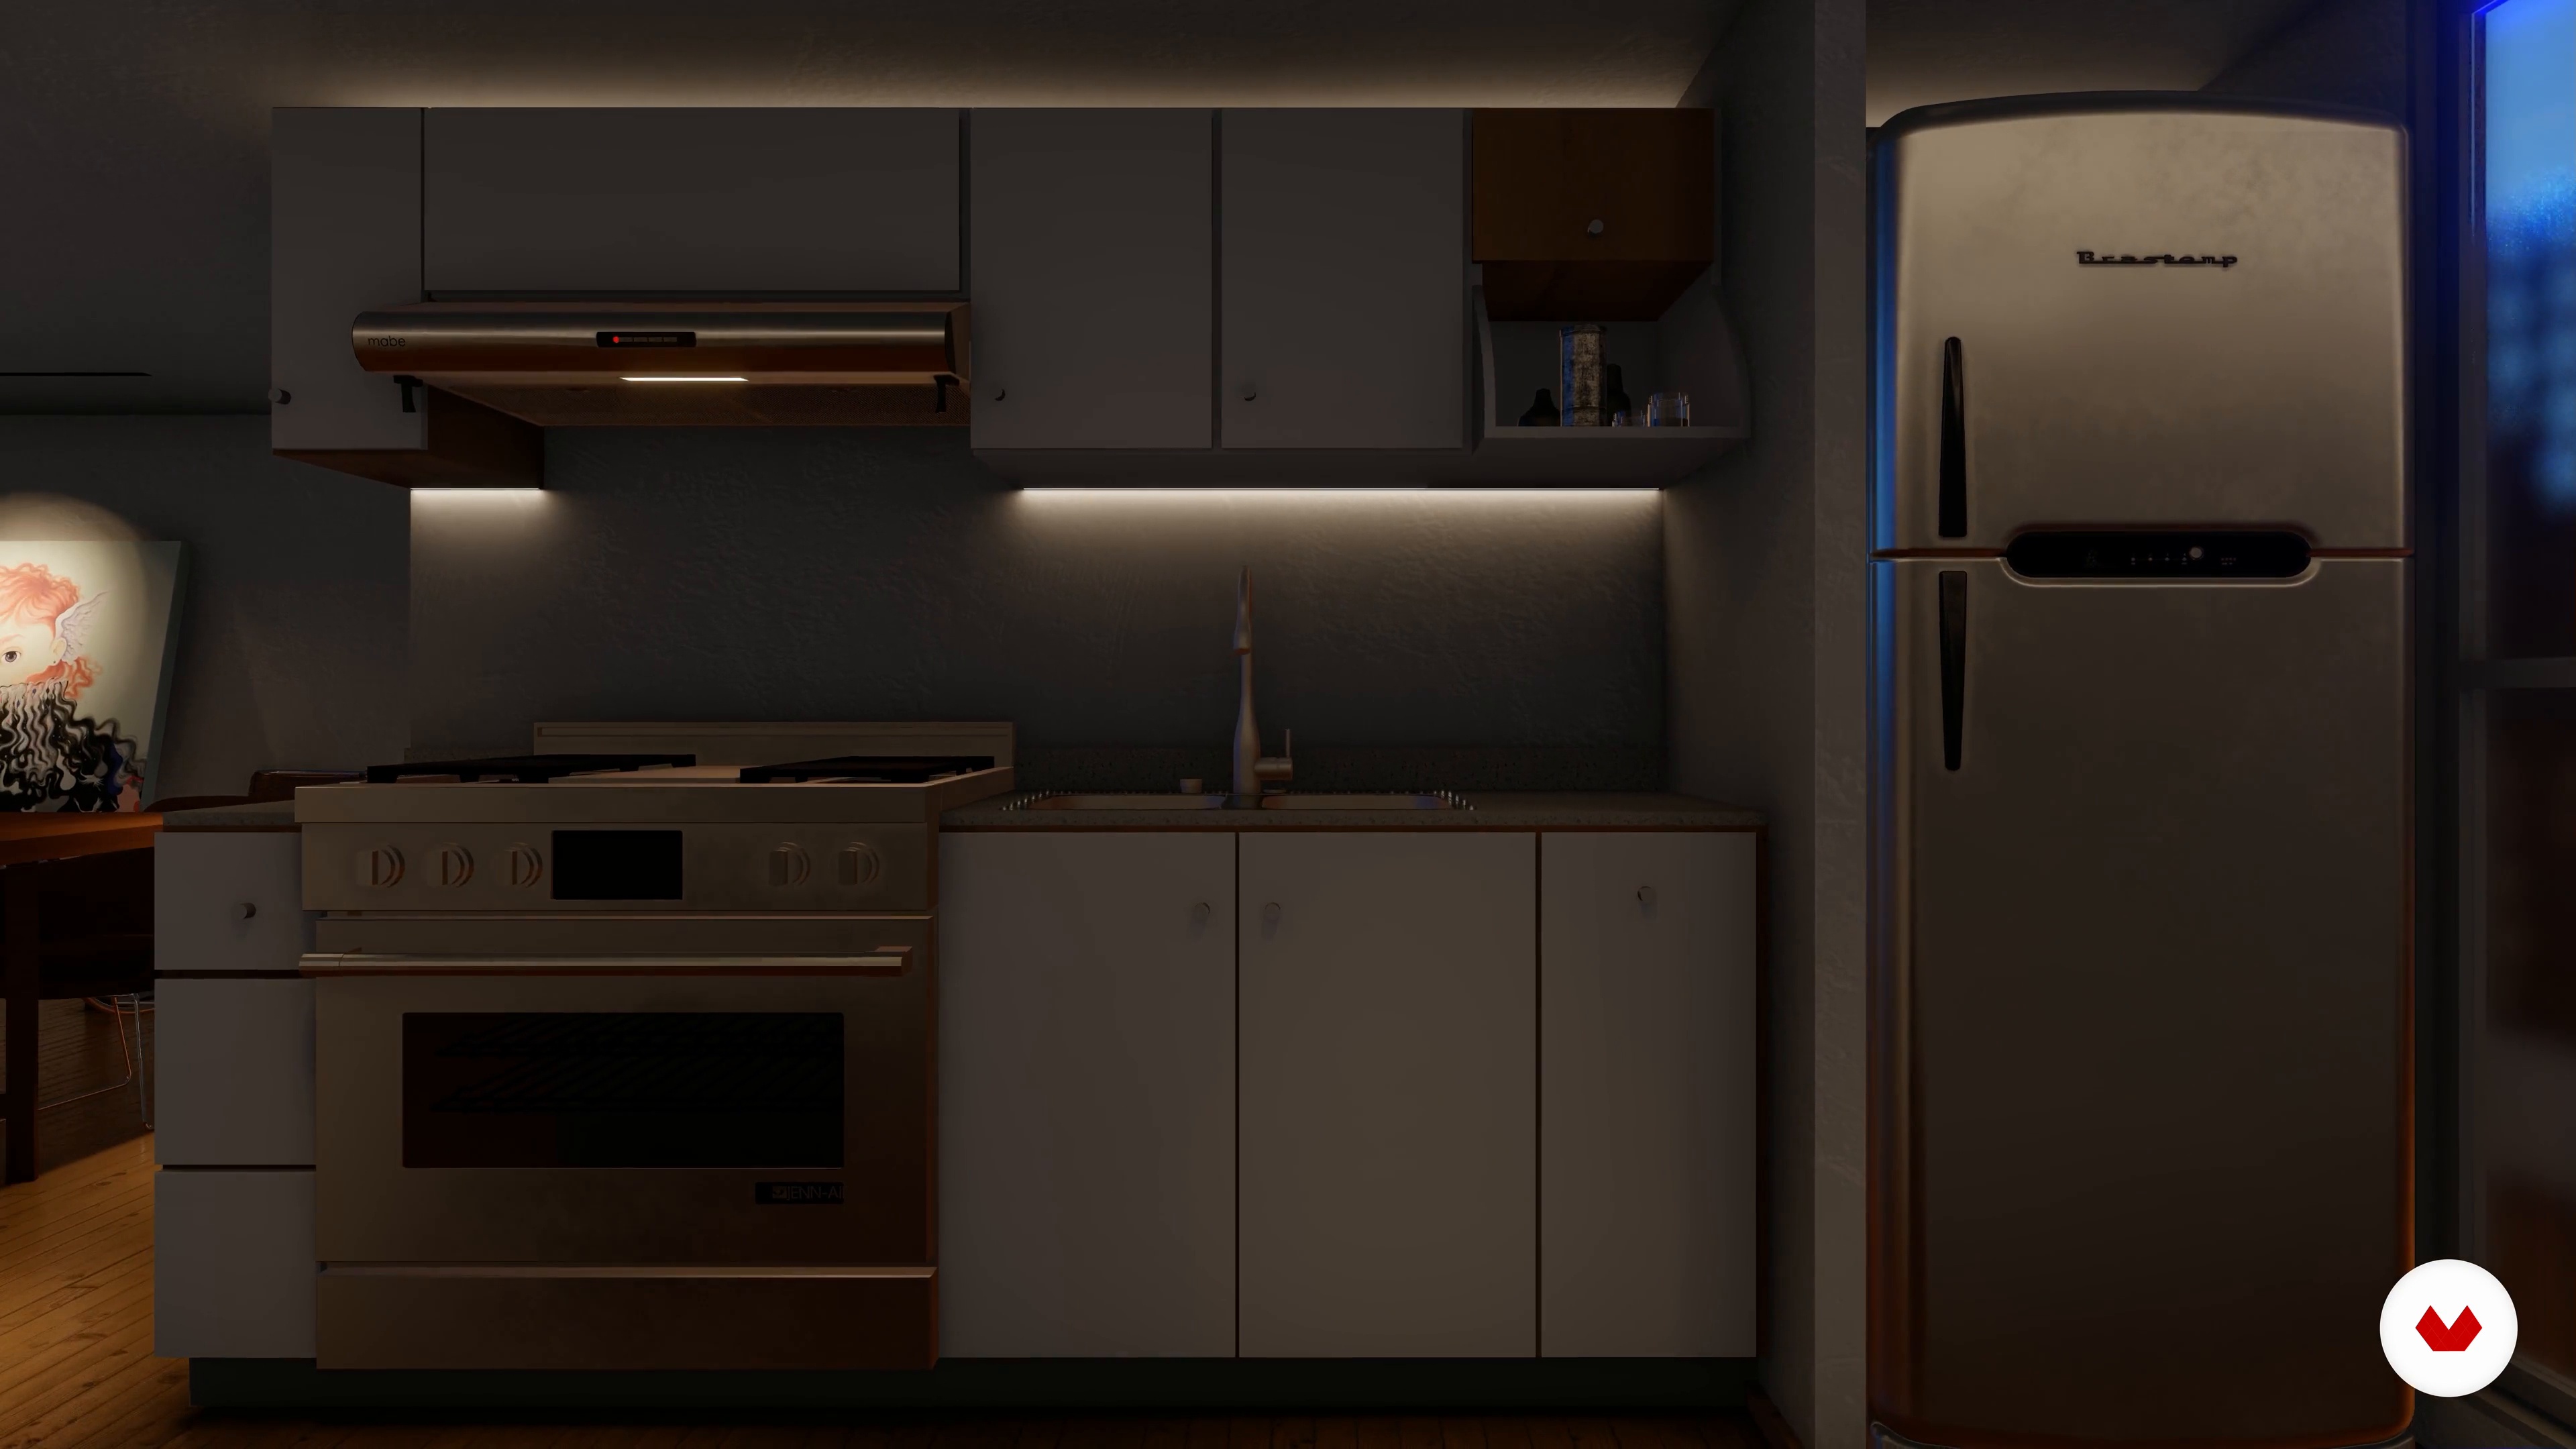
The kitchen: the heart of the home
I'll share my process for designing kitchen lighting. I'll also give you tips for creating beautiful lighting without sacrificing functionality.
7m
image
5
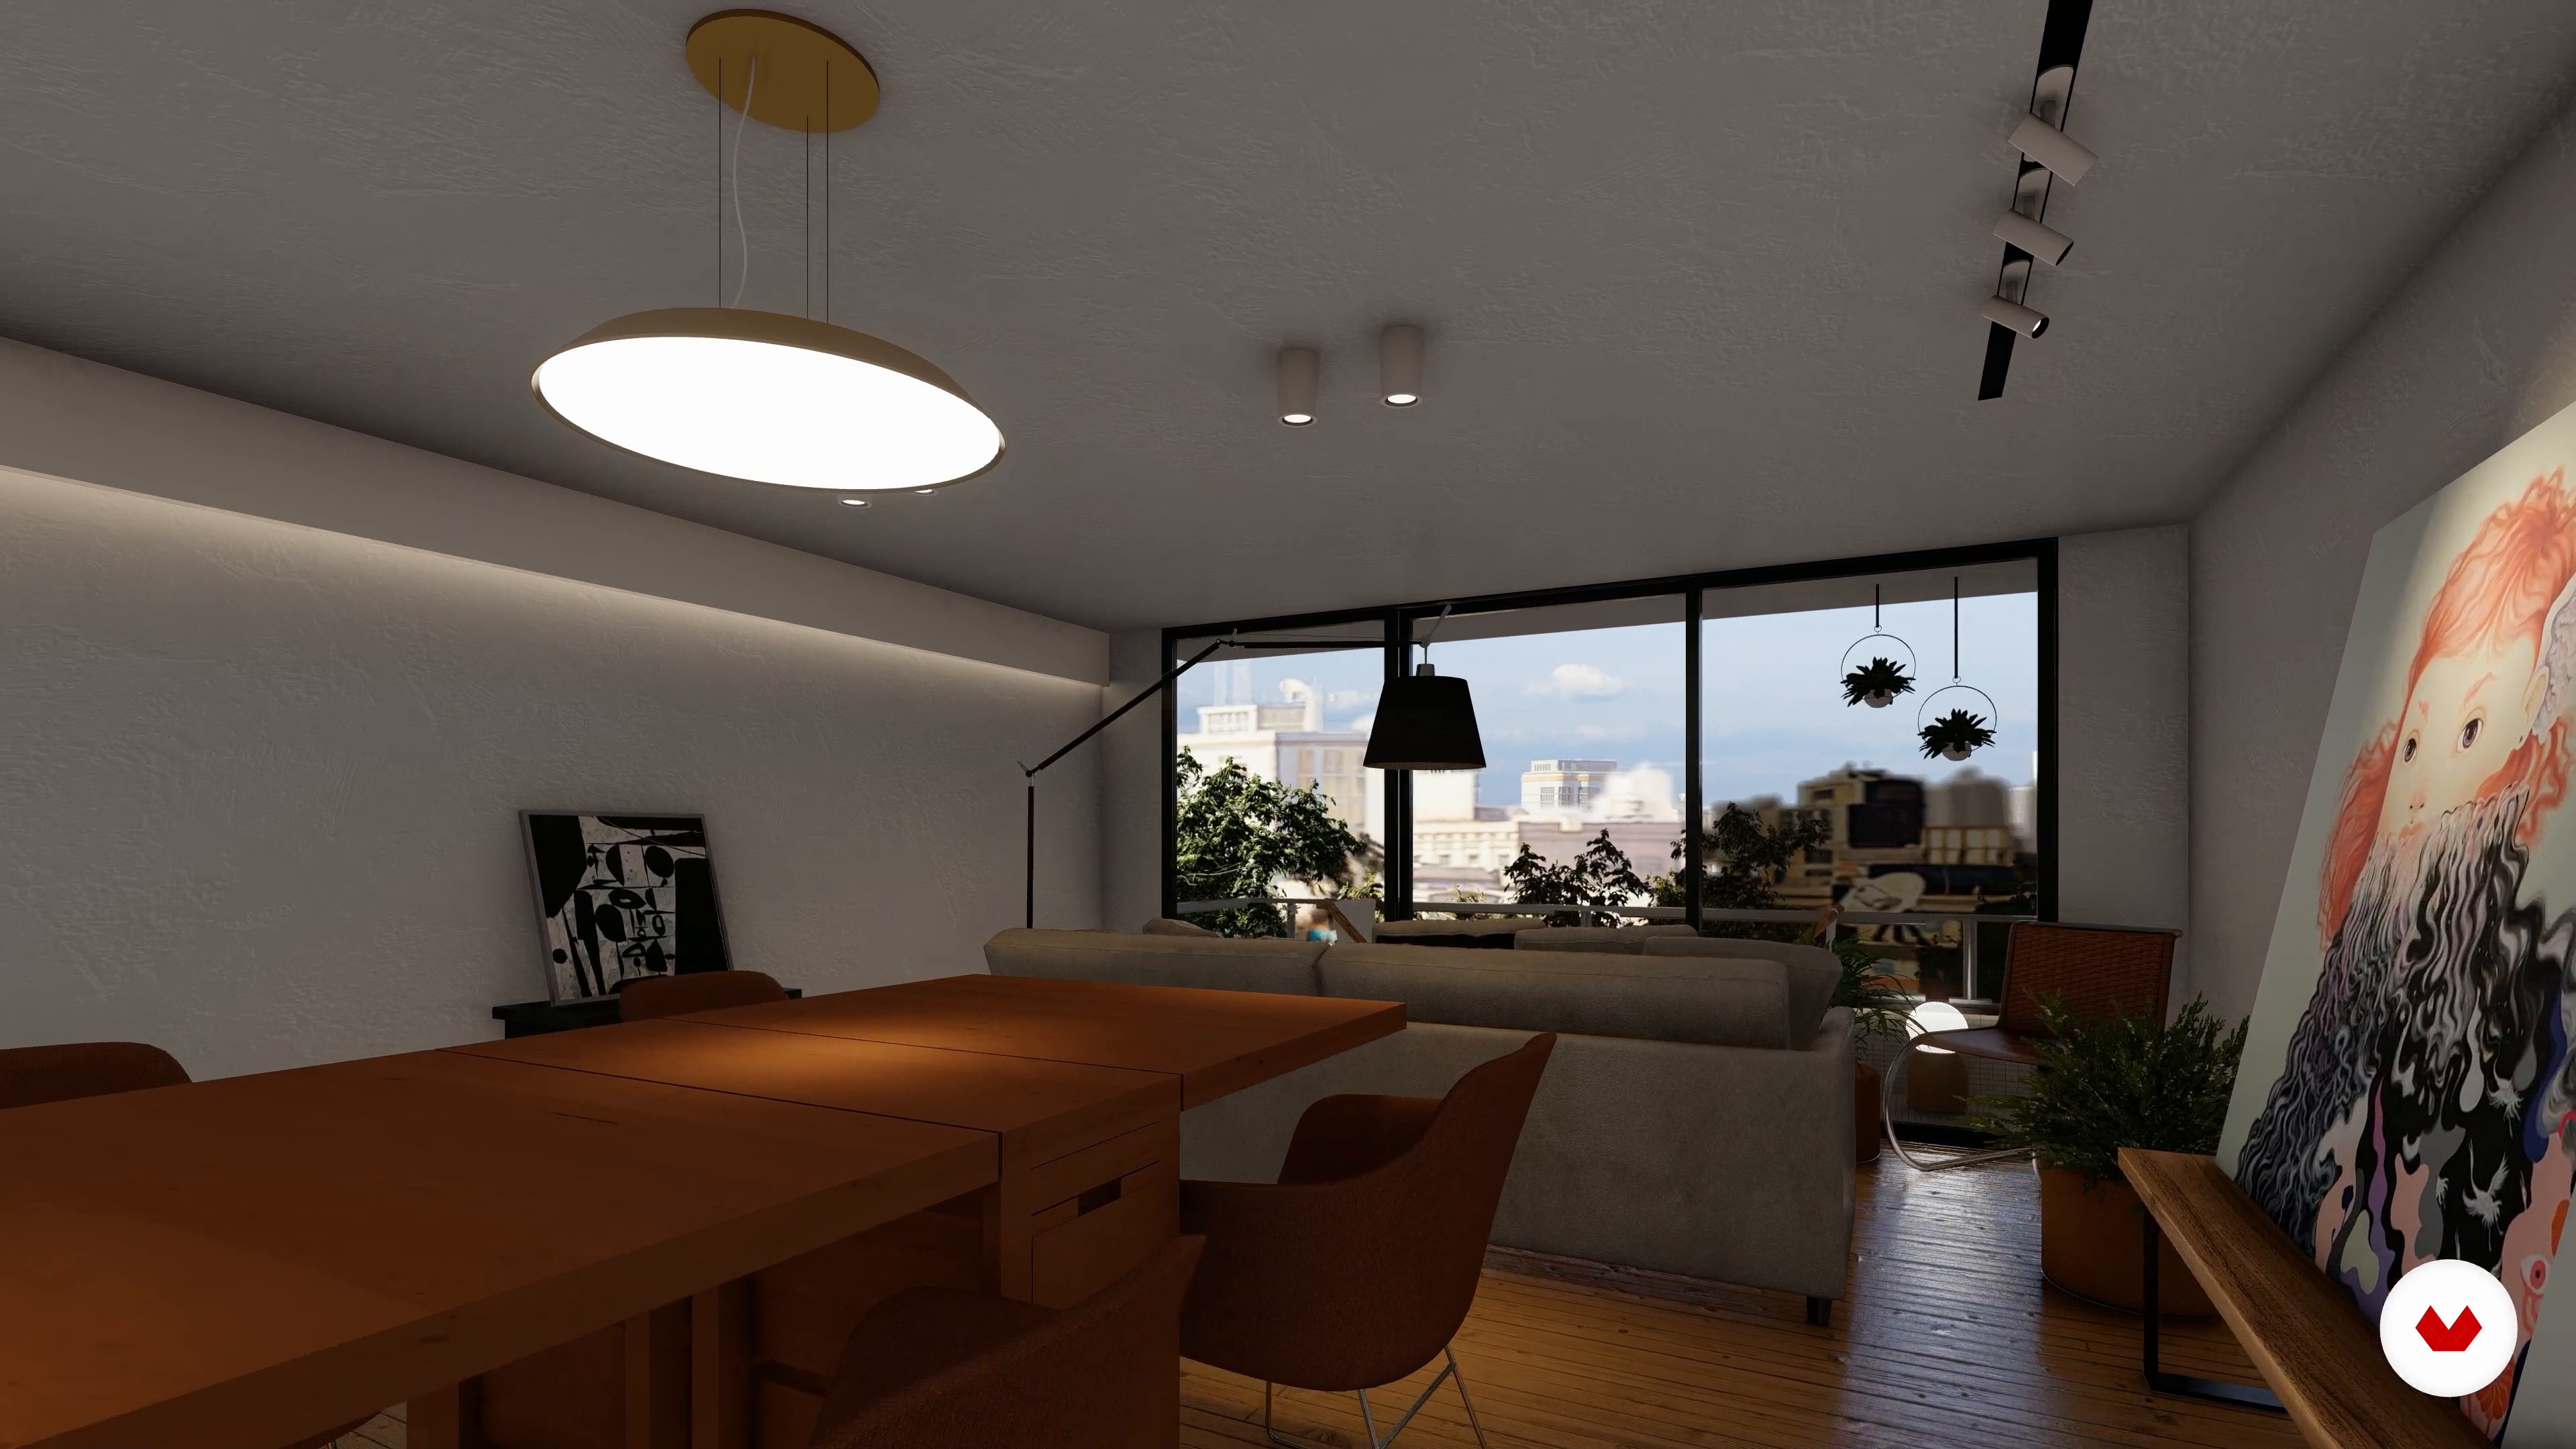
Lounge and dining room: many activities, one space
Now I'll share with you how we lit the living room area. In the project example, the kitchen and living room are part of the same space, so they should have continuity.
8m
image
6
Room: the rest area
Where do you spend the most time in your home? In this lesson, you'll learn how to illuminate the most important relaxation area: your bedroom.
12m
image
7
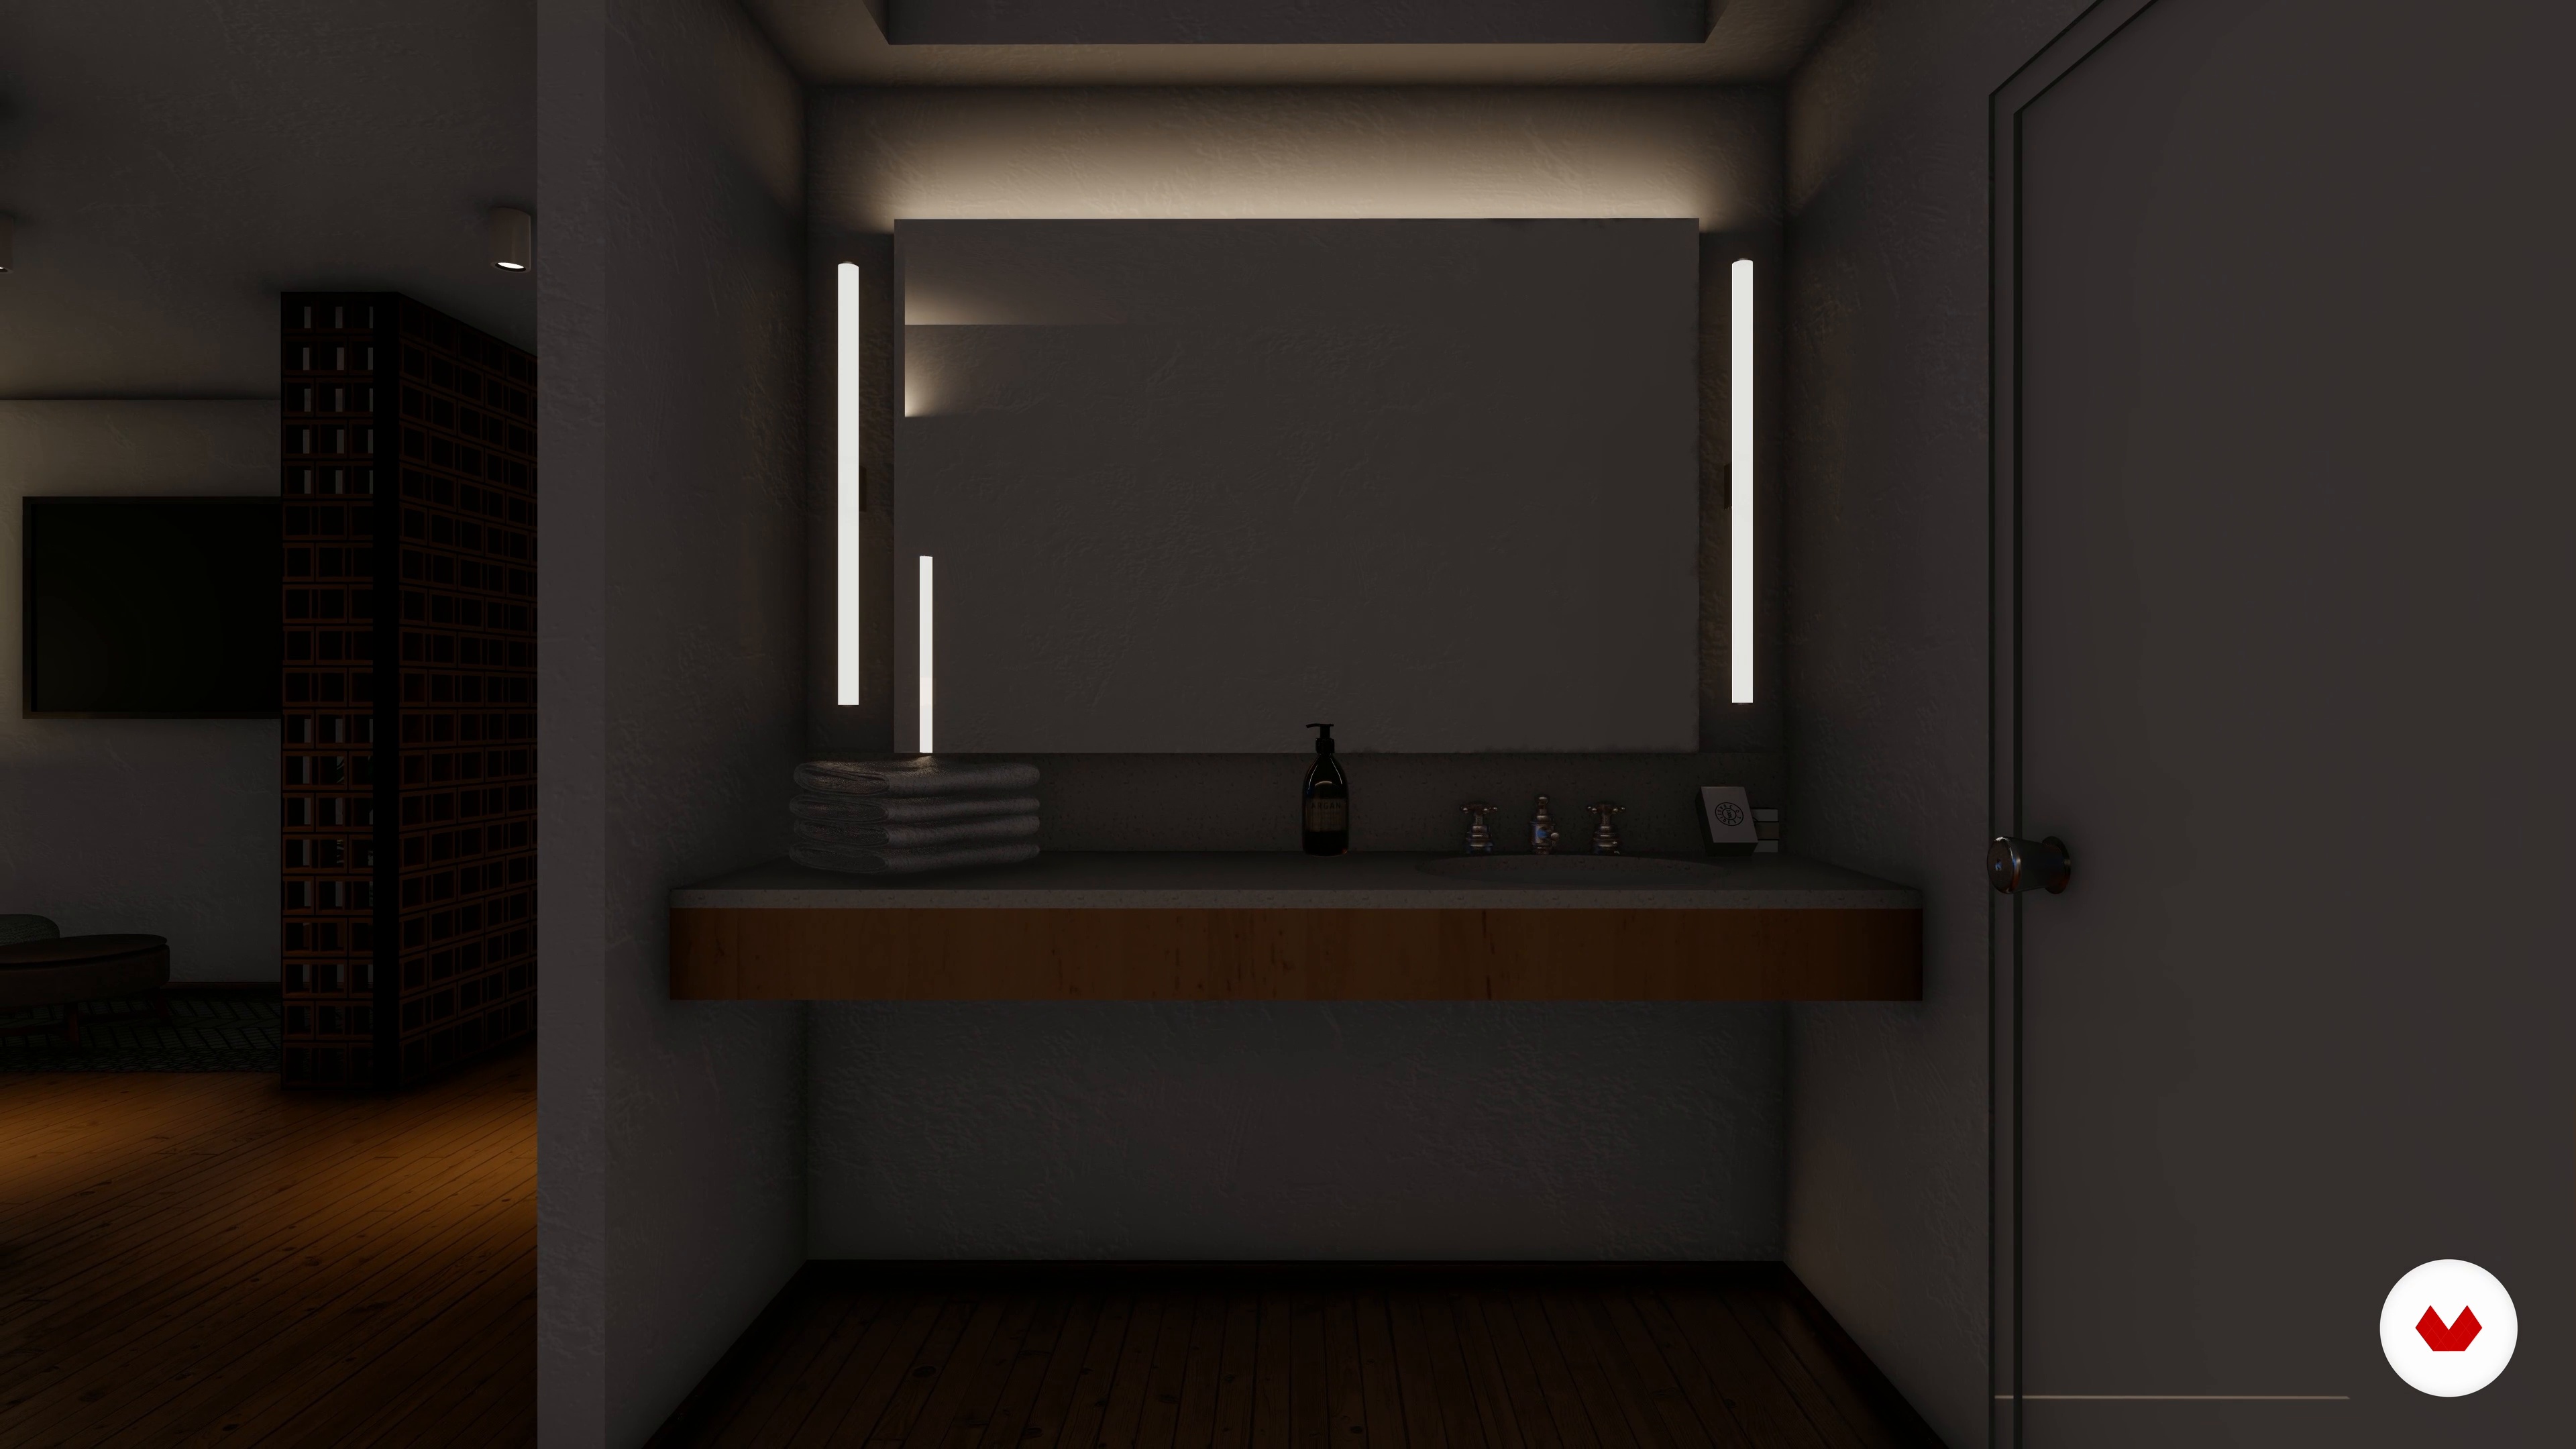
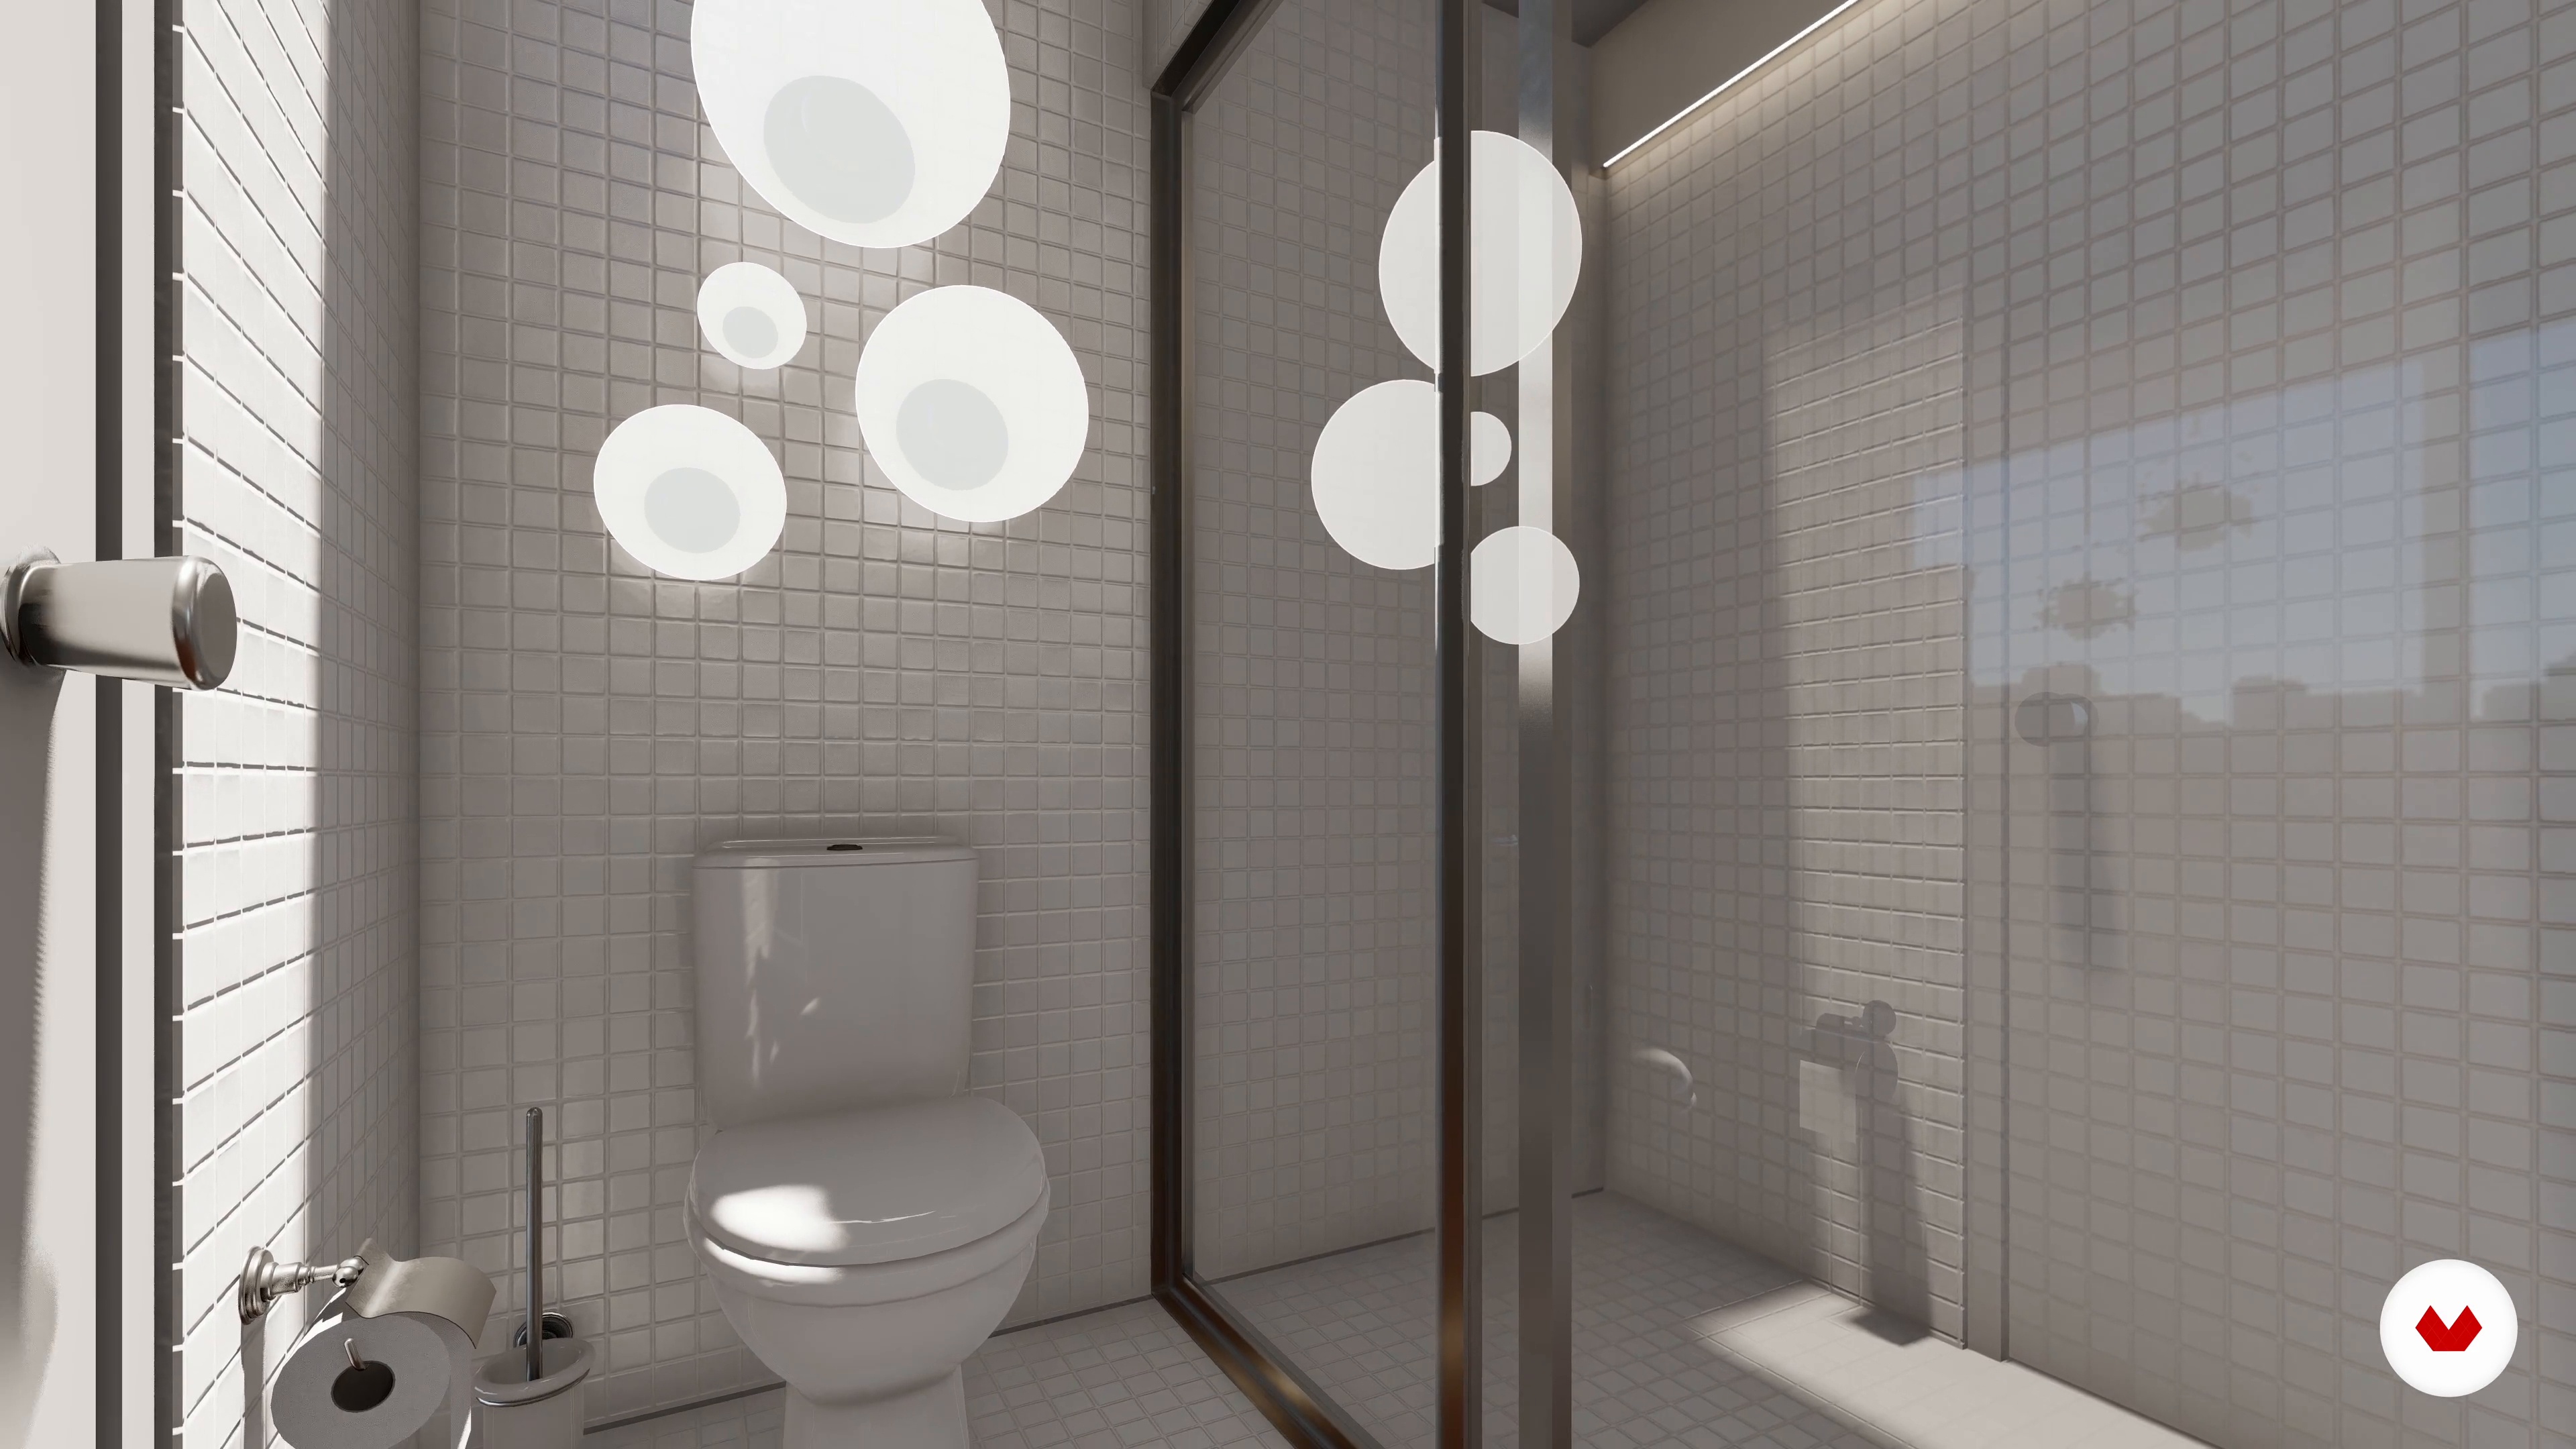
The toilet: the most intimate and least used area
You'll learn how to illuminate the bathroom, one of the areas where we relax and, typically, we give the least attention to when designing.
5m
image
8
What is a control system?
In this lesson, I'll teach you what a control system is and how we use it in lighting design. Remember, the most important thing is the lighting strategy we use.
6m
image
9
Creating a scene
To create a lighting scene, you must consider the activities to be carried out in each location. In this lesson, I'll work with the kitchen as an example.
10m
image
1
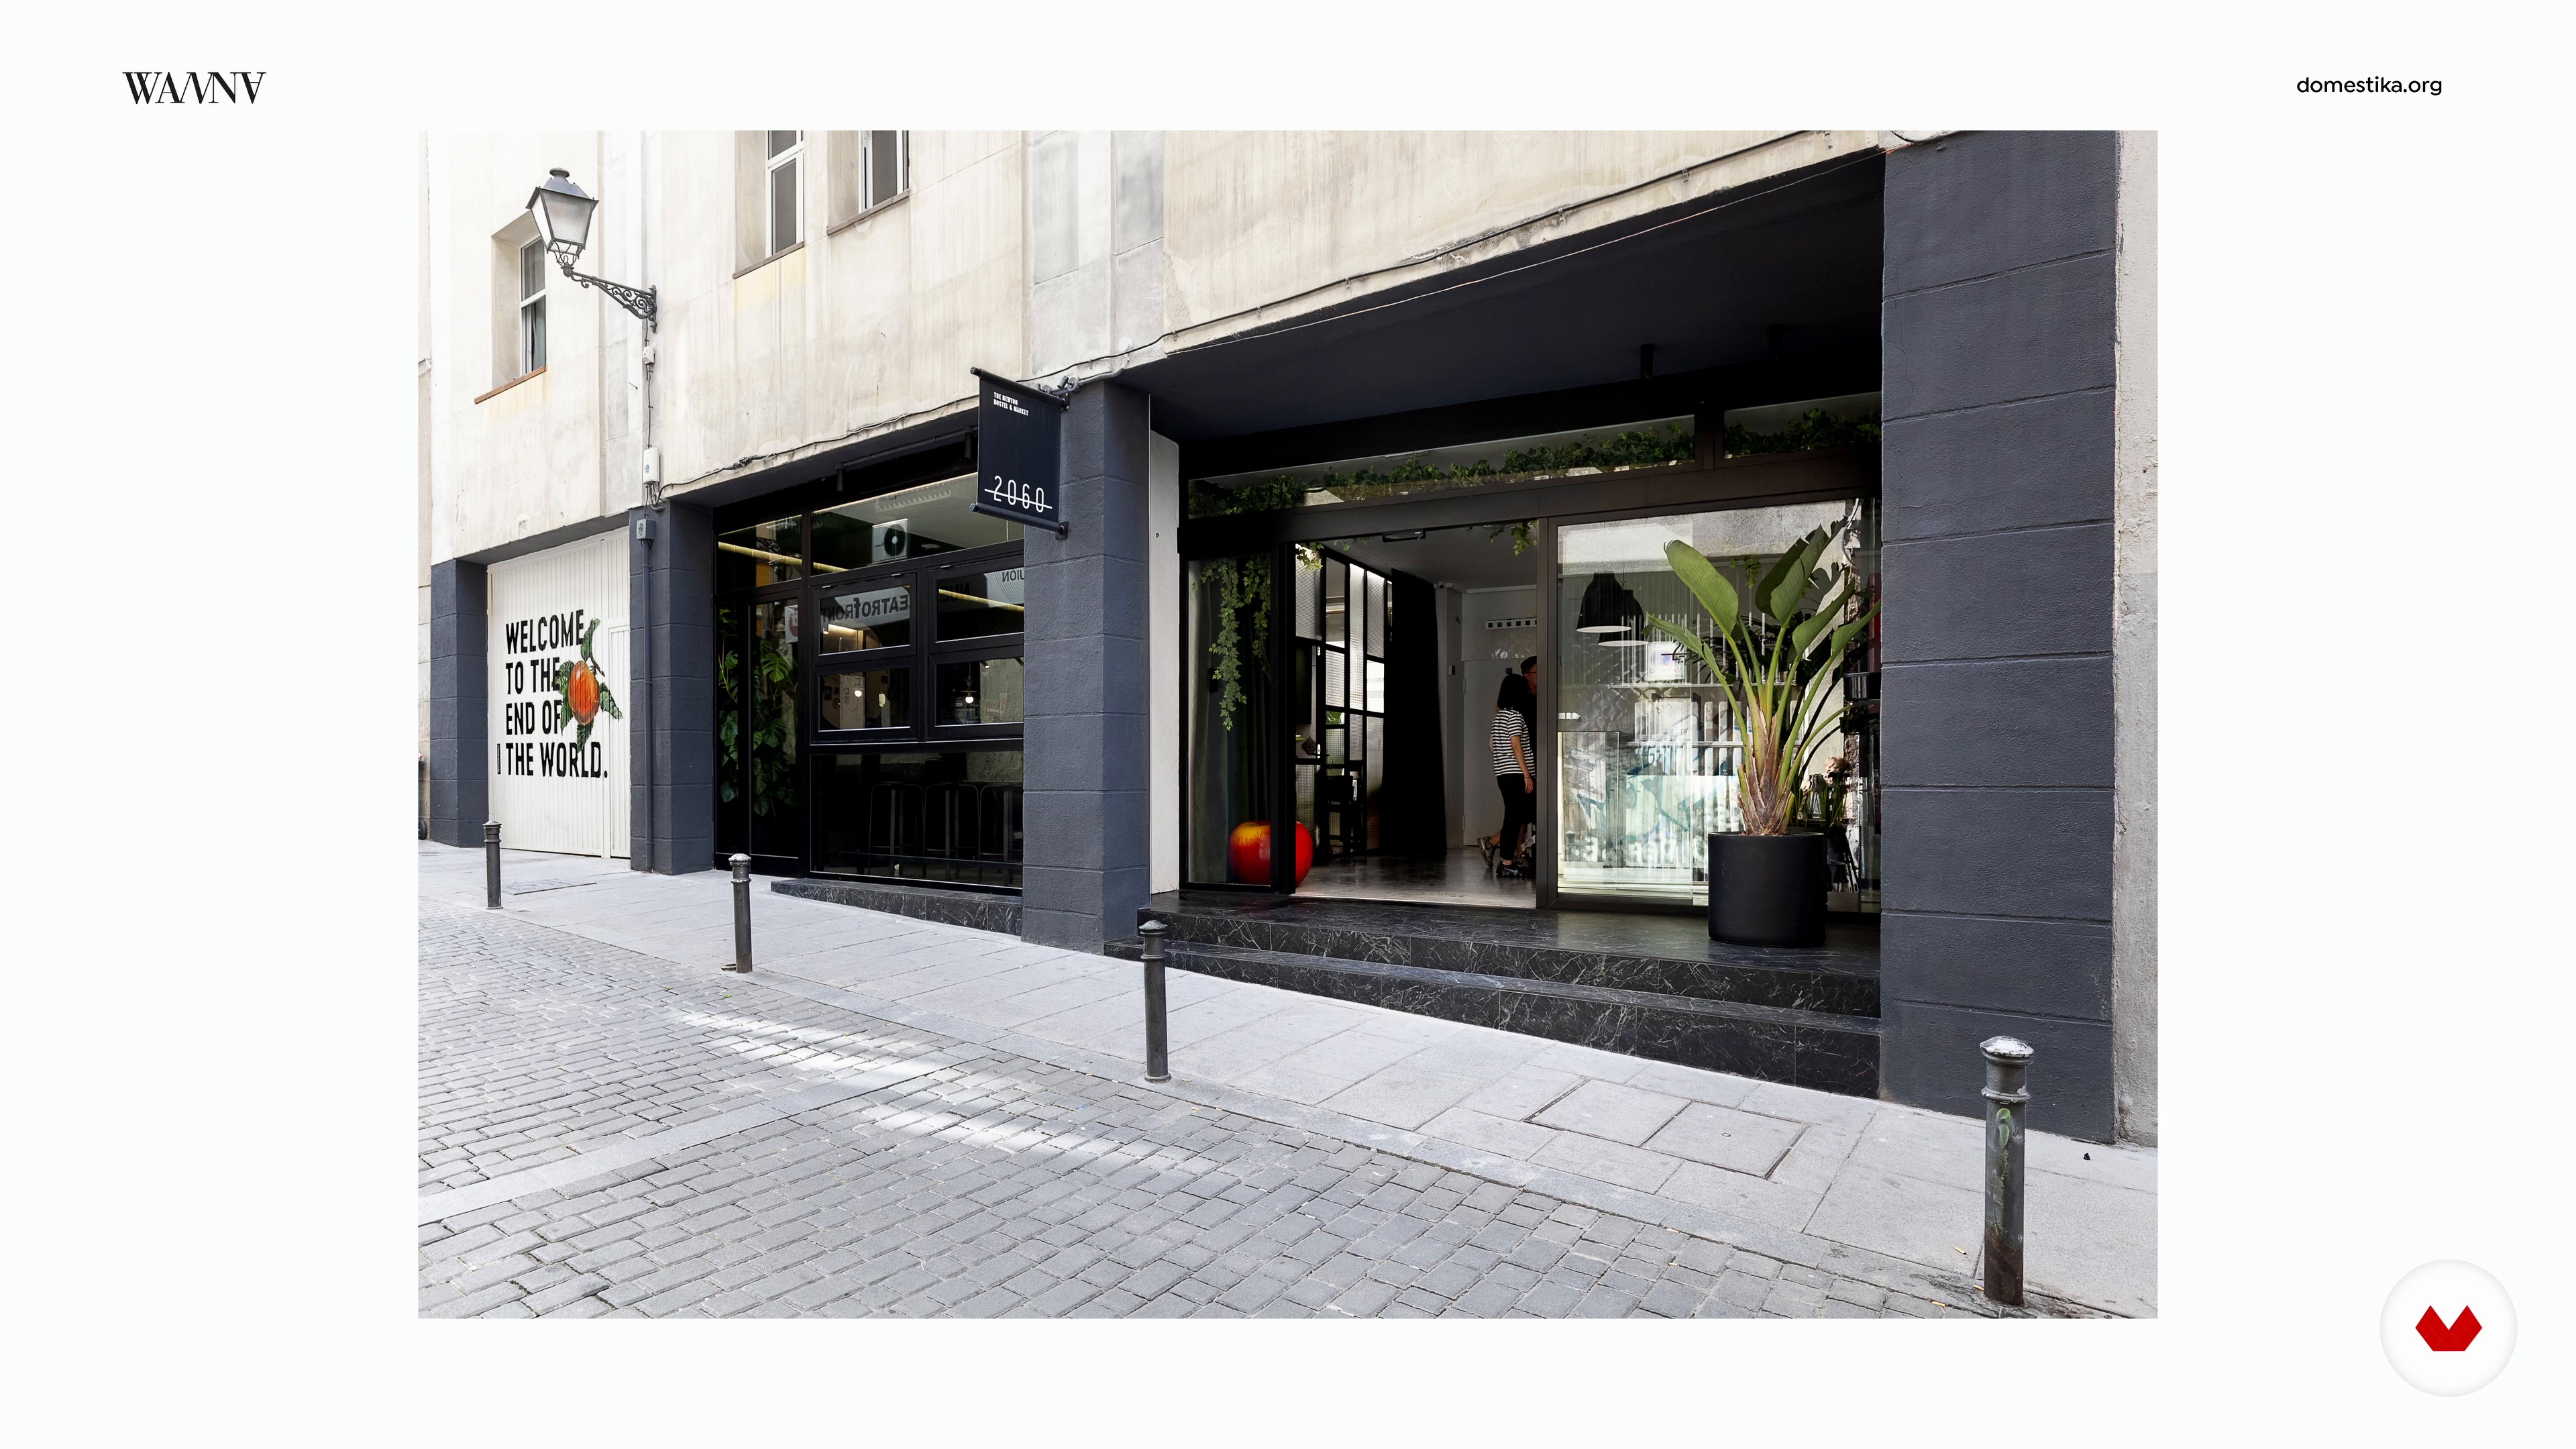
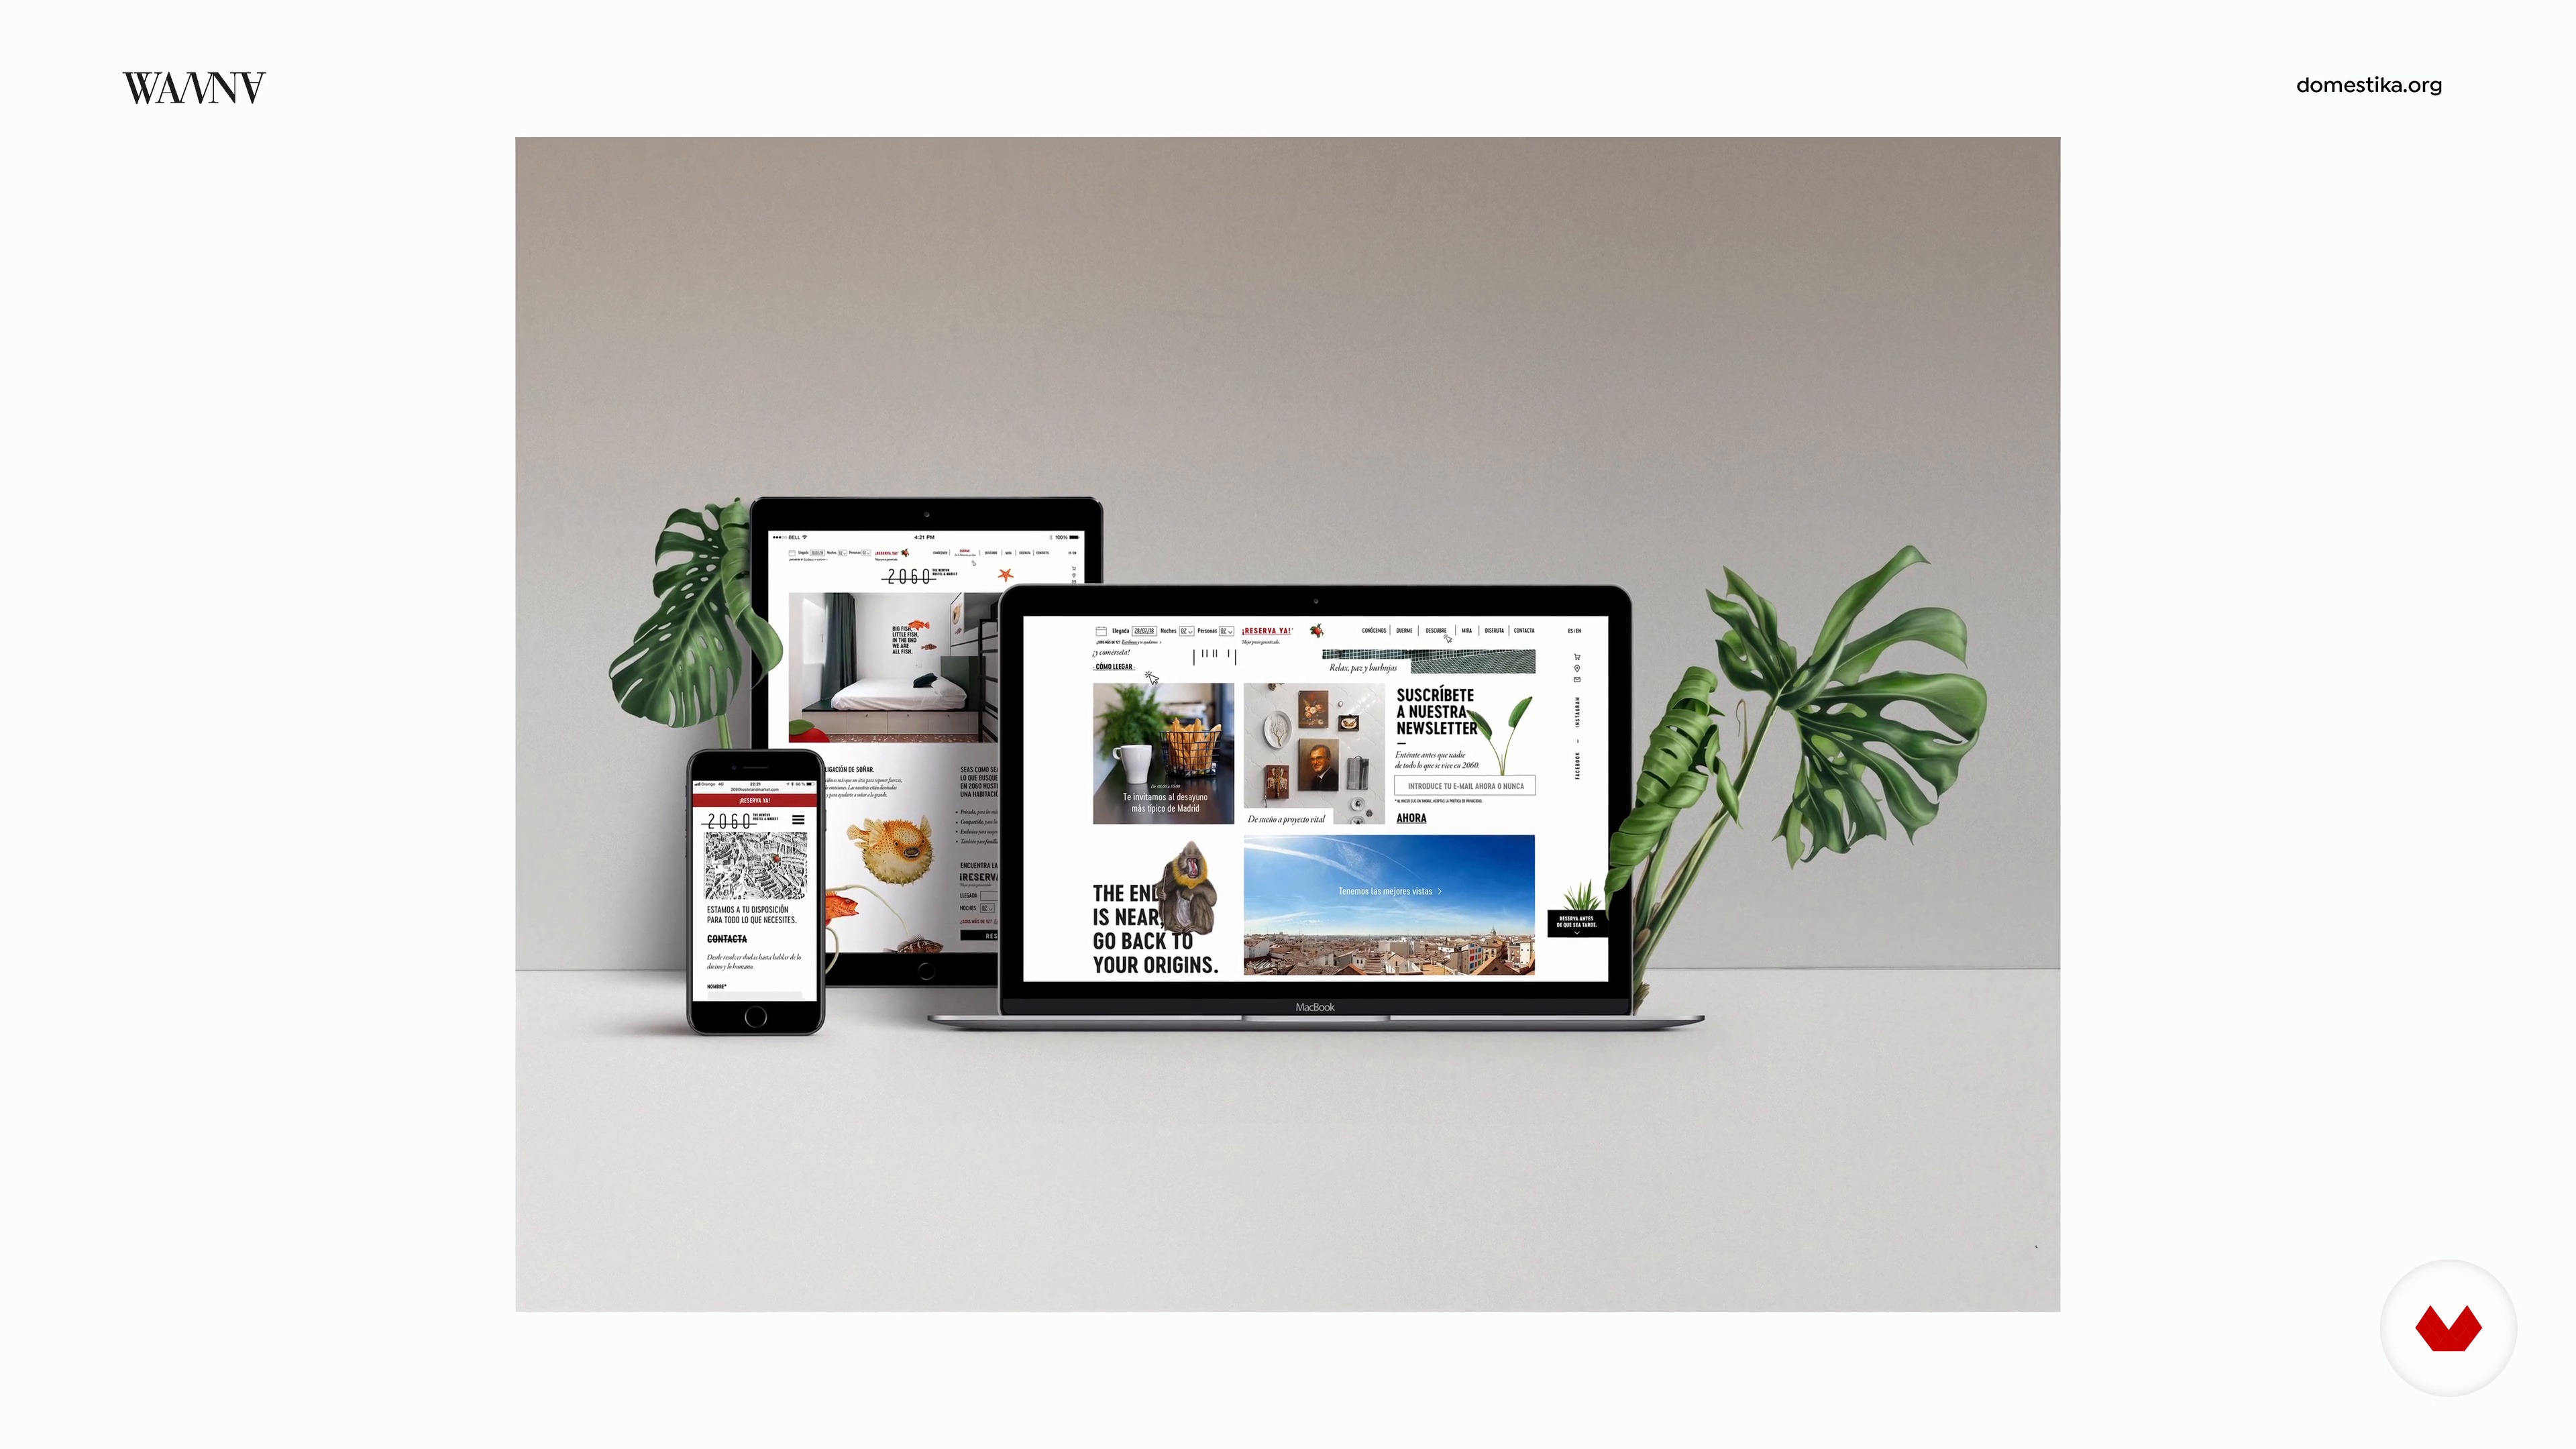
2060 The Newton Hostel
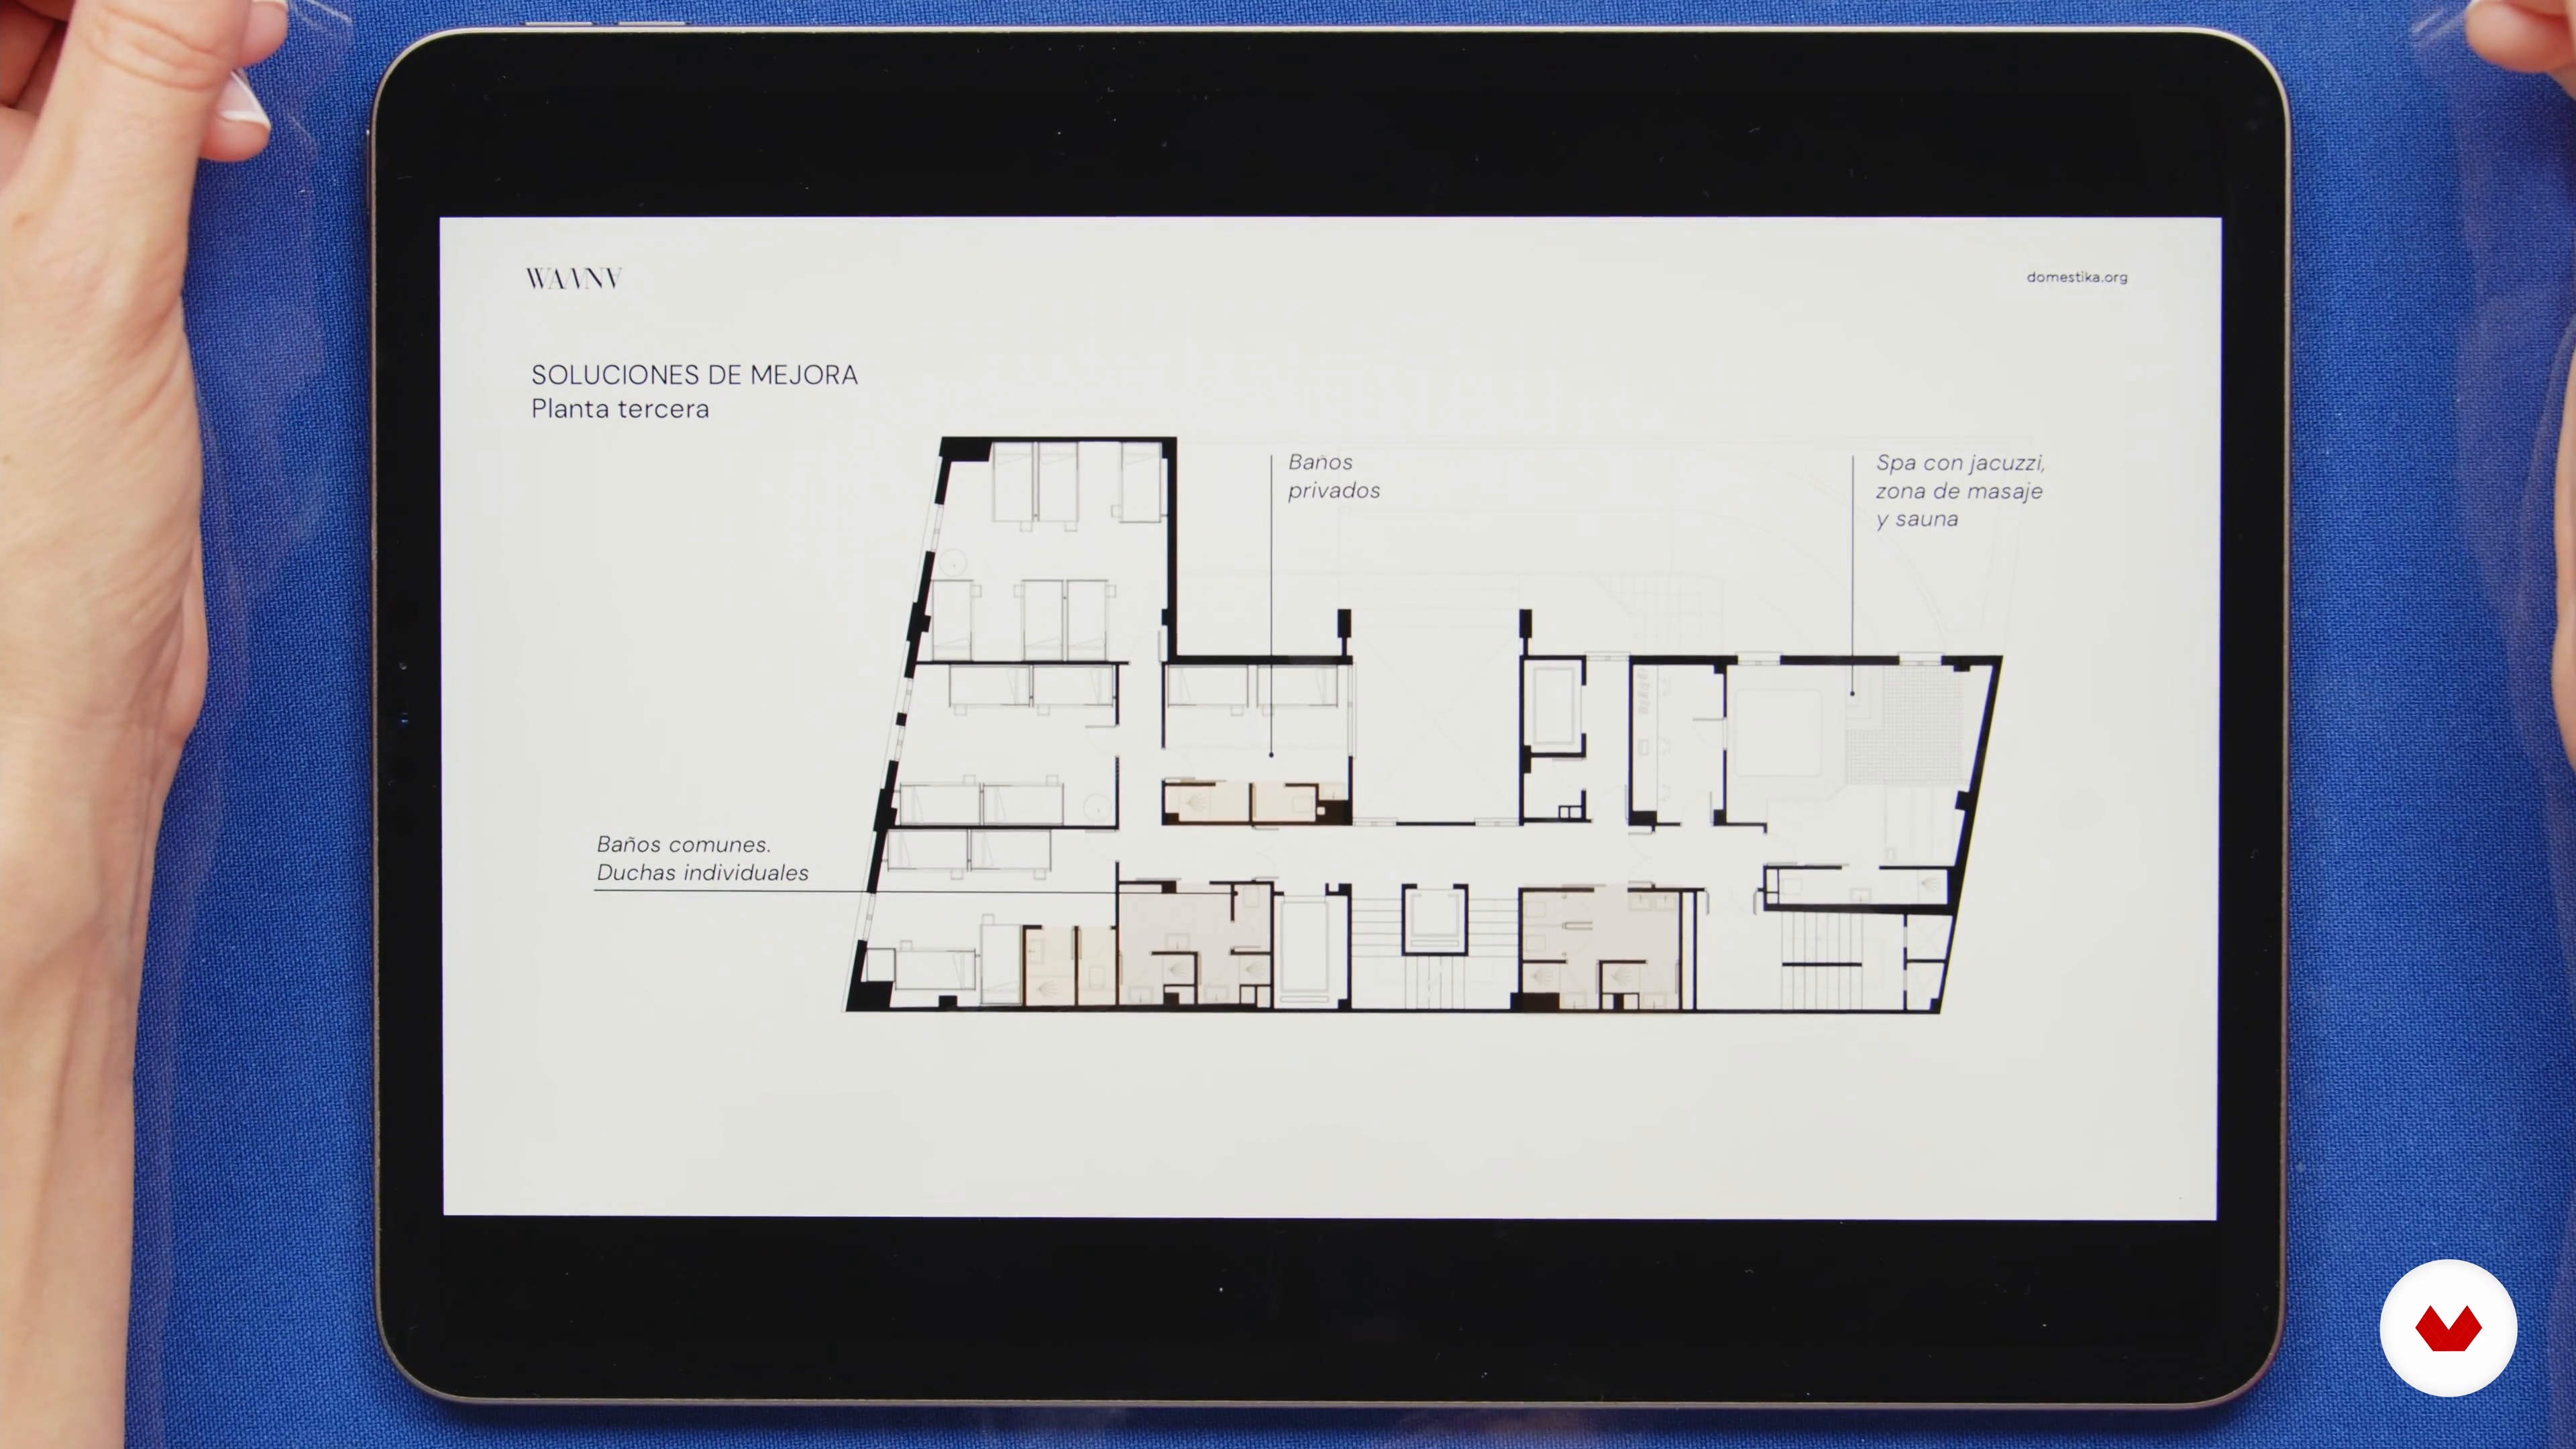
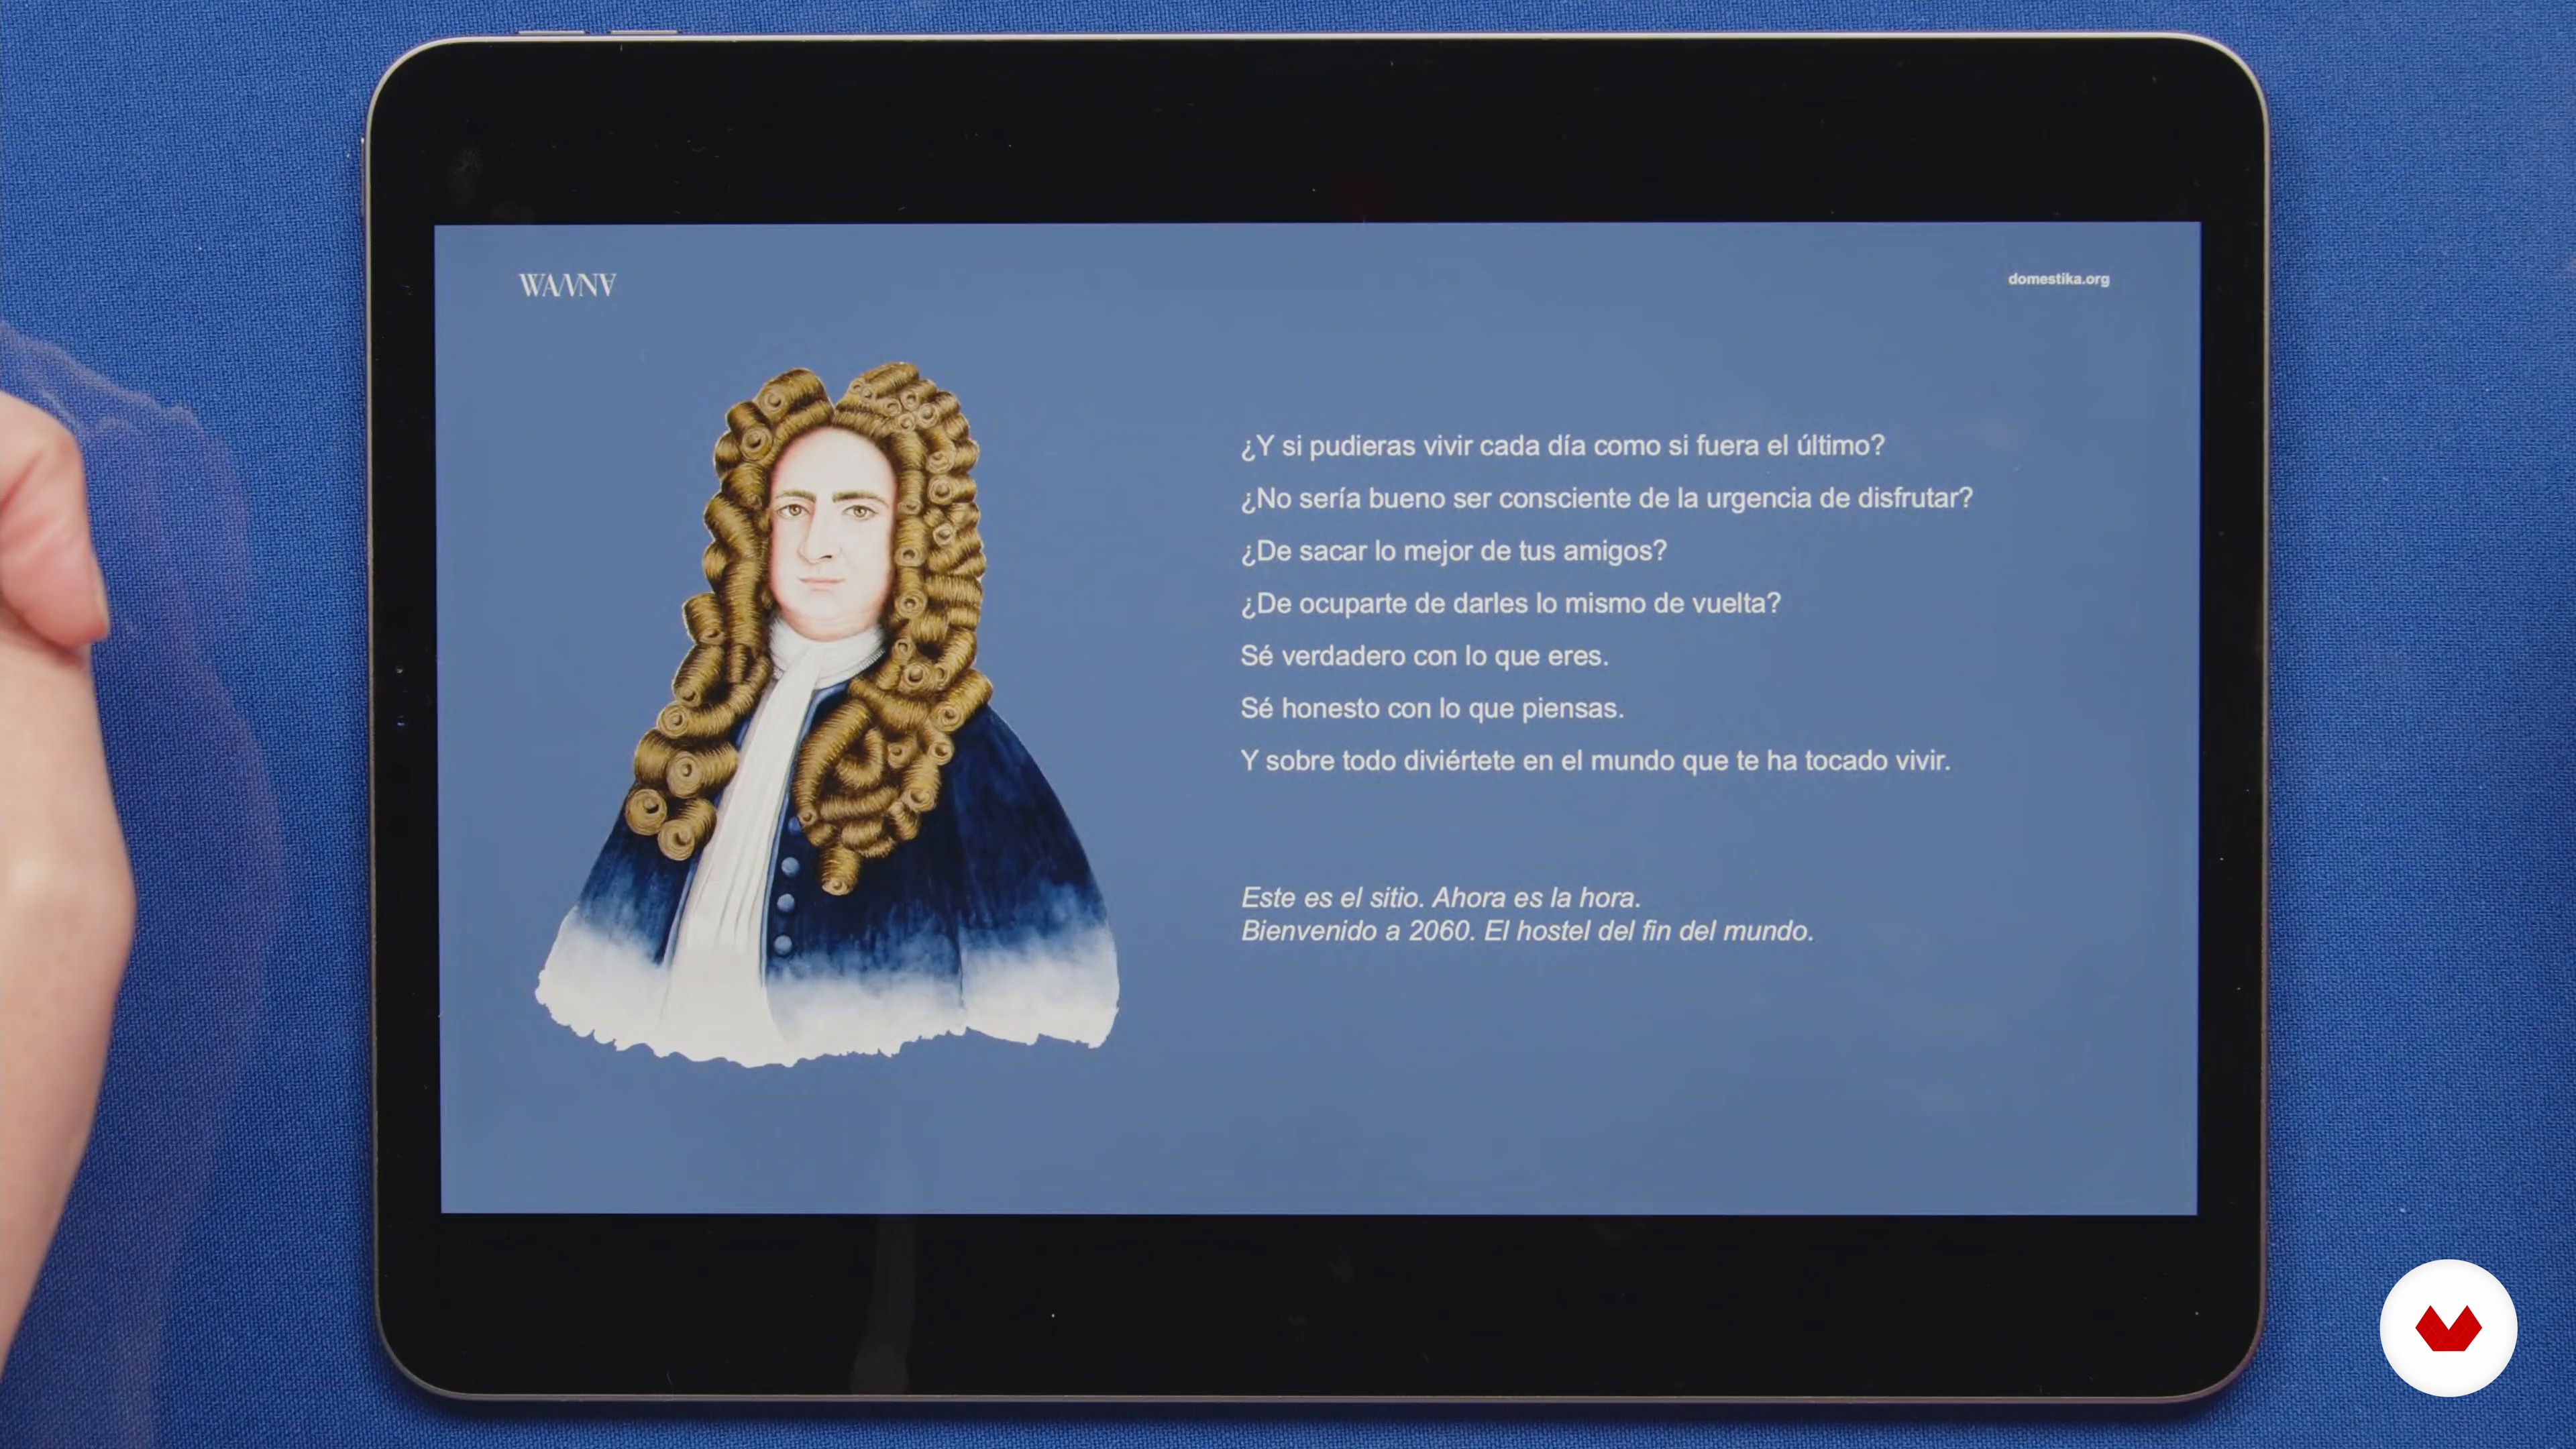
In this lesson, we'll talk about 2060 The Newton Hostel, the course's project guide, and introduce you to the final project you'll need to create.
4m
image
2
Brief: what it is and how to do it
Next, we'll reflect on the brief and the attitude we should have toward it as creatives. We'll share with you the keys to creating a brief that allows you to gather as much information as possible to develop your project.
7m
image
3
The debrief and its conclusions
Now we'll talk about the debrief and how to construct it with questions. We'll also give you some tips for successfully presenting your conclusions.
13m
image
4
What is a creative concept?
Every creative has their own definition of what a concept is. Let's review some of them and share our own definition with you.
11m
image
5
What is the purpose of the creative concept?
The creative concept applied to interior design allows you to create a unique, coherent, and powerful space, among other things. And that's what we'll cover in this lesson.
8m
image
6
How to create your creative concept?
Now we're going to share with you the keys to our creative conceptualization process starting with 2060 The Newton Hostel. We'll also tell you the questions you should ask yourself to determine if you're dealing with a powerful concept.
13m
image
7
From macro to micro
In this lesson, you'll discover why it's important to implement your creative concept in space and how to do it from the macro to the micro.
2m
image
8
The concept and the color
Next, we'll explain how you can define your color palette based on your creative concept.
10m
image
9
The concept and the materials
Now we'll tell you how you can select the materials for your space, always aligned with your creative concept.
9m
image
10
The concept and the lighting
Light accompanies us at all times. In this lesson, we'll teach you how to work lighting into your creative concept.
5m
image
11
The concept, the furniture and the decoration
Furniture and decorative objects can also enhance your creative ideas. In this lesson, we'll show you how to choose them.
13m
image
12
The conceptual sensory experience
The final step in implementing your concept in your space is to create an experience that appeals to the senses. We'll teach you how to use your senses to your advantage!
1m
image
13
The concept and the storytelling
In this lesson, you'll discover how you can bring your creative concept to life and explain it in your space through storytelling.
10m
image
14
The concept and the graphics
Now we'll explain how you can apply your creative concept to your space's graphics. We'll look at several examples to show you how graphic design and interior design are closely related.
7m
image
15
The concept and the signage
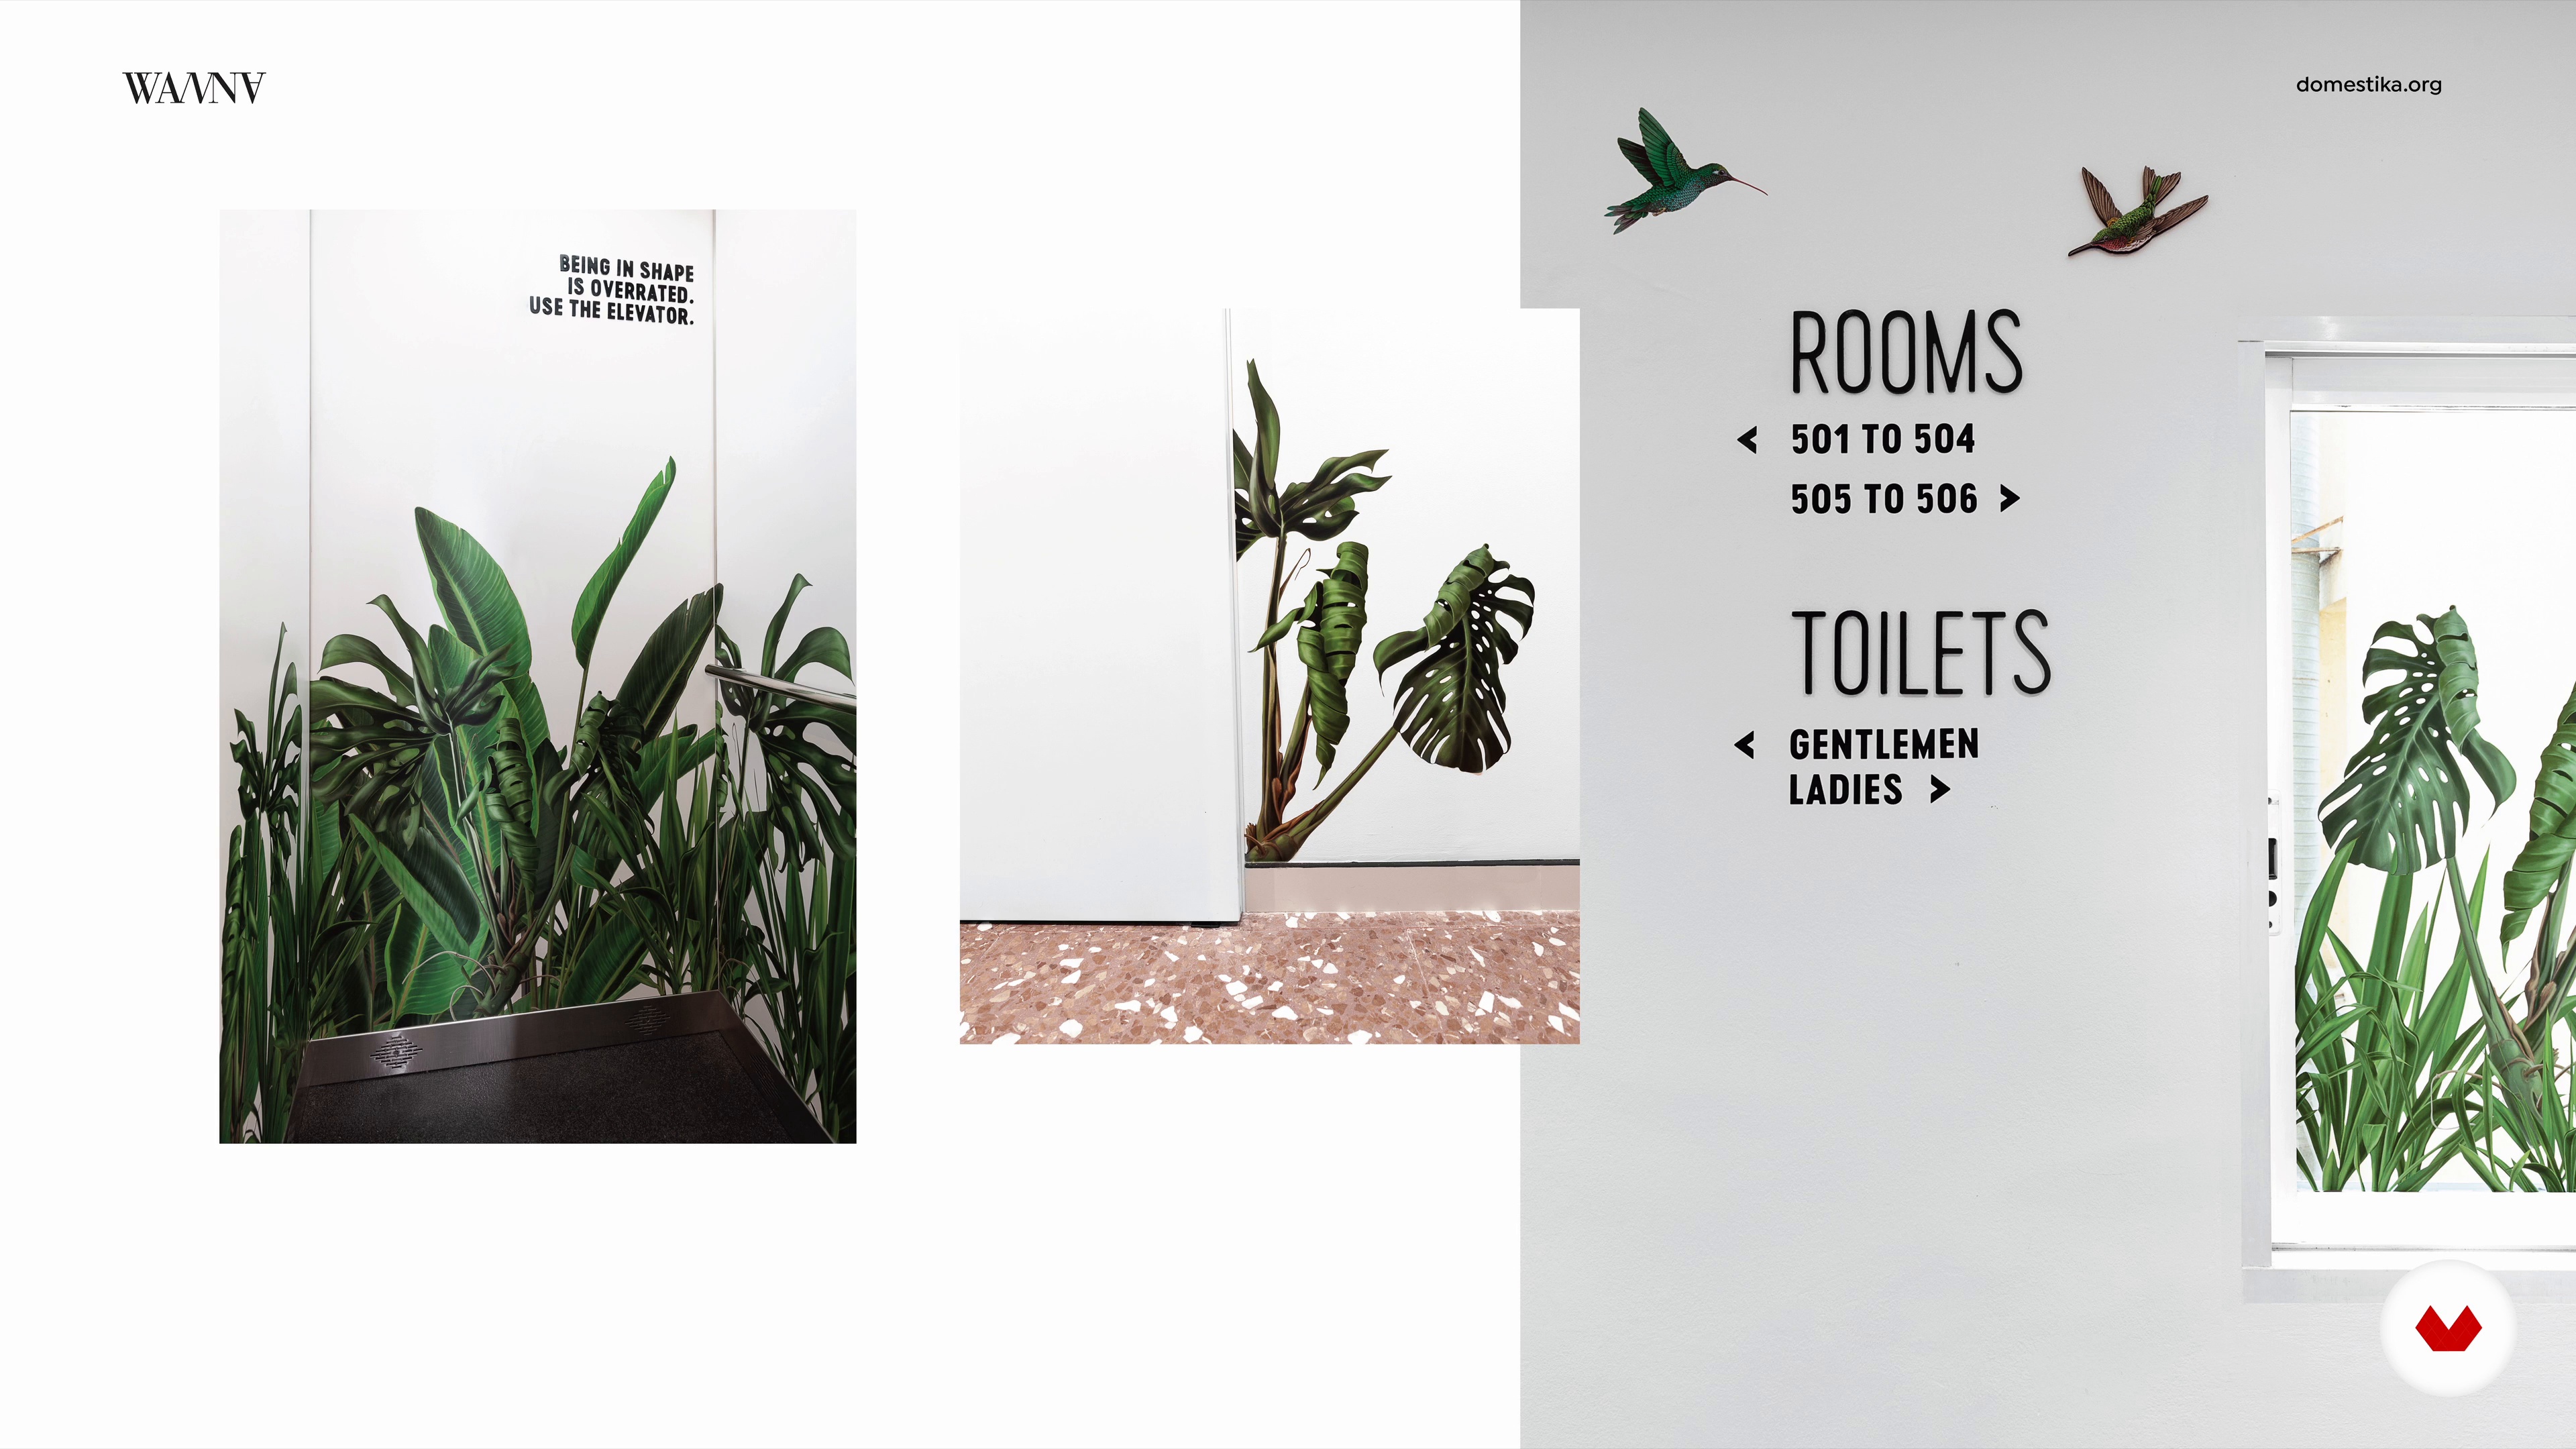
Signage connects people to the space. Now it's time to work on the signage for our project, once again applying the creative concept.
8m
image
16
Aroma and sounds in space
Finally, let's review how you can enhance your creative concept through aromas, music, and sounds.
7m
  • 100% positive reviews (1)
  • 215 students
  • 79 lessons (10h 1m)
  • 120 additional resources (76 files)
  • Online and at your own pace
  • Audio: Spanish, English
  • Spanish · English · Portuguese · German · French · Italian · Polish · Dutch
  • Level: Beginner
  • Unlimited access forever

What is this course's project?

Develop a creative concept for an interior space, translating it into a design that includes the selection of furniture, textiles, and color palette, thereby telling a coherent and personal story through the designed space.

Who is this specialization for?

This course is aimed at interior design enthusiasts who want to creatively transform spaces. It's ideal for those looking to improve their skills in selecting materials, colors, lighting, and creative concepts, creating unique and functional environments.

Requirements and materials

Extensive knowledge is not required, but an interest in interior design is necessary. Access to basic materials such as paper, colored pencils, and digital tools for creating mood boards and 3D models is recommended.

Select to get to know your teachers in this specialization course
Read more ↓

Reviews

215 Students
1 Reviews
100% Positive ratings


What to expect from this specialization course

  • Learn at your own pace

    Enjoy learning from home without a set schedule and with an easy-to-follow method. You set your own pace.

  • Learn from the best professionals

    Learn valuable methods and techniques explained by top experts in the creative sector.

  • Meet expert teachers

    Each expert teaches what they do best, with clear guidelines, true passion, and professional insight in every lesson.

  • Certificates
    Plus

    If you're a Plus member, get a custom certificate for every specialization course. Share it on your portfolio, social media, or wherever you like.

  • Get front-row seats

    Videos of the highest quality, so you don't miss a single detail. With unlimited access, you can watch them as many times as you need to perfect your technique.

  • Share knowledge and ideas

    Ask questions, request feedback, or offer solutions. Share your learning experience with other students in the community who are as passionate about creativity as you are.

  • Connect with a global creative community

    The community is home to millions of people from around the world who are curious and passionate about exploring and expressing their creativity.

  • Watch professionally produced courses

    Domestika curates its teacher roster and produces every course in-house to ensure a high-quality online learning experience.


FAQs

Domestika's specialization courses are online classes that provide you with the tools and skills you need to complete a specific project. Every step of the project combines video lessons with complementary instructional material, so you can learn by doing. Domestika's specializations also allow you to share your own projects with other students, creating a dynamic course community.

All specialization courses are 100% online, so once they're published, specialization courses start and finish whenever you want. You set the pace of the class. You can go back to review what interests you most and skip what you already know, ask questions, answer questions, share your projects, and more.

The specialization courses are divided into different modules. Each one includes lessons, informational text, tasks, and practice exercises to help you carry out your project step by step, with additional complementary resources and downloads. You'll also have access to an exclusive forum where you can interact with other students, as well as share your work and your final project, creating a community around the specialization course.

You can redeem the specialization course you received by accessing the redeeming page and entering your gift code.

If you're a Plus member, when you complete a course you've purchased, you'll instantly get your personalized certificate. You can see all your certificates in the Certificates section of your profile. You can download your certificates as PDFs and share the link online. Learn more about certificates.
Interior Design Specialization: Materials, Lighting, and Color. Architecture, and Spaces course by Domestika

Interior Design Specialization: Materials, Lighting, and Color

A specialization by multiple teachers
Specialization Course. Berkeley, United States.
Joined April 2002
  • 100% positive reviews (1)
  • 215 students