
Learn manual image transfer techniques on wood, fabric, ceramics and more for unique compositions.
Immerse yourself in the fascinating world of artisanal printing techniques with Fábrica de Texturas experts Noelia Tramullas and Juan Lara Hierro. Learn to manually transfer images onto wood, fabric, ceramics, and other materials, creating original and personalized compositions. Explore the world of photopolymer stamps, designing your own stamps and applying them to paper or textiles to give your creations a unique touch.
Discover the magic of cyanotype, a photographic technique that uses sunlight or ultraviolet light to generate images in blue tones. Master four-color photographic screen printing using the CMYK system, printing complex and detailed images. Experiment with photoengraving using photopolymer plates and delve into the gum bichromate technique to print artistic photographs with customized colors and textures. With this specialization, you'll open up to a world of creative possibilities, where each technique offers a universe of artistic expression.
What will you learn in this specialization?
 1
1Introduction
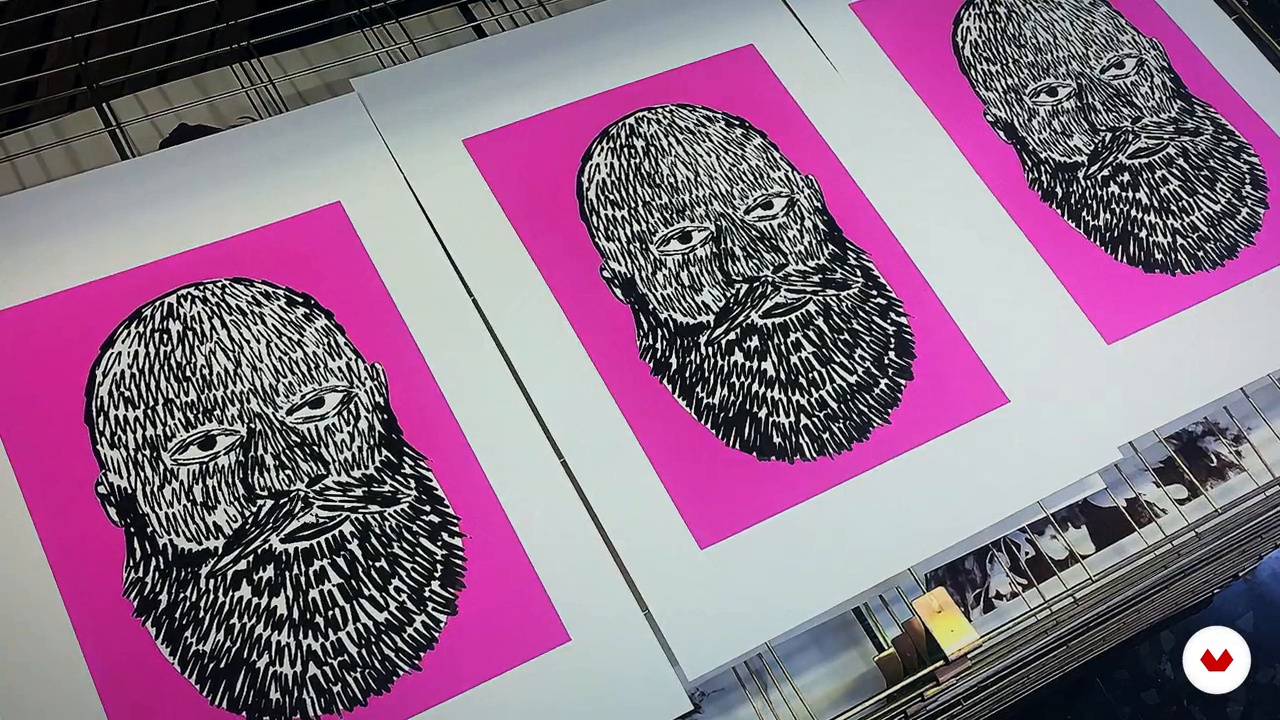
We'll give you a brief introduction to this journey through artistic and experimental printmaking, where patience, attention to detail, and direct contact with materials are essential. From early clay stamps to Warhol's silkscreen, you'll discover how graphic art has evolved and challenges the notion of originality. This lesson invites you to delve into handprinting as a response to mass production, exploring unique and unrepeatable images that bear your personal stamp.
1m
 2
2Inspiration / Texture Factory
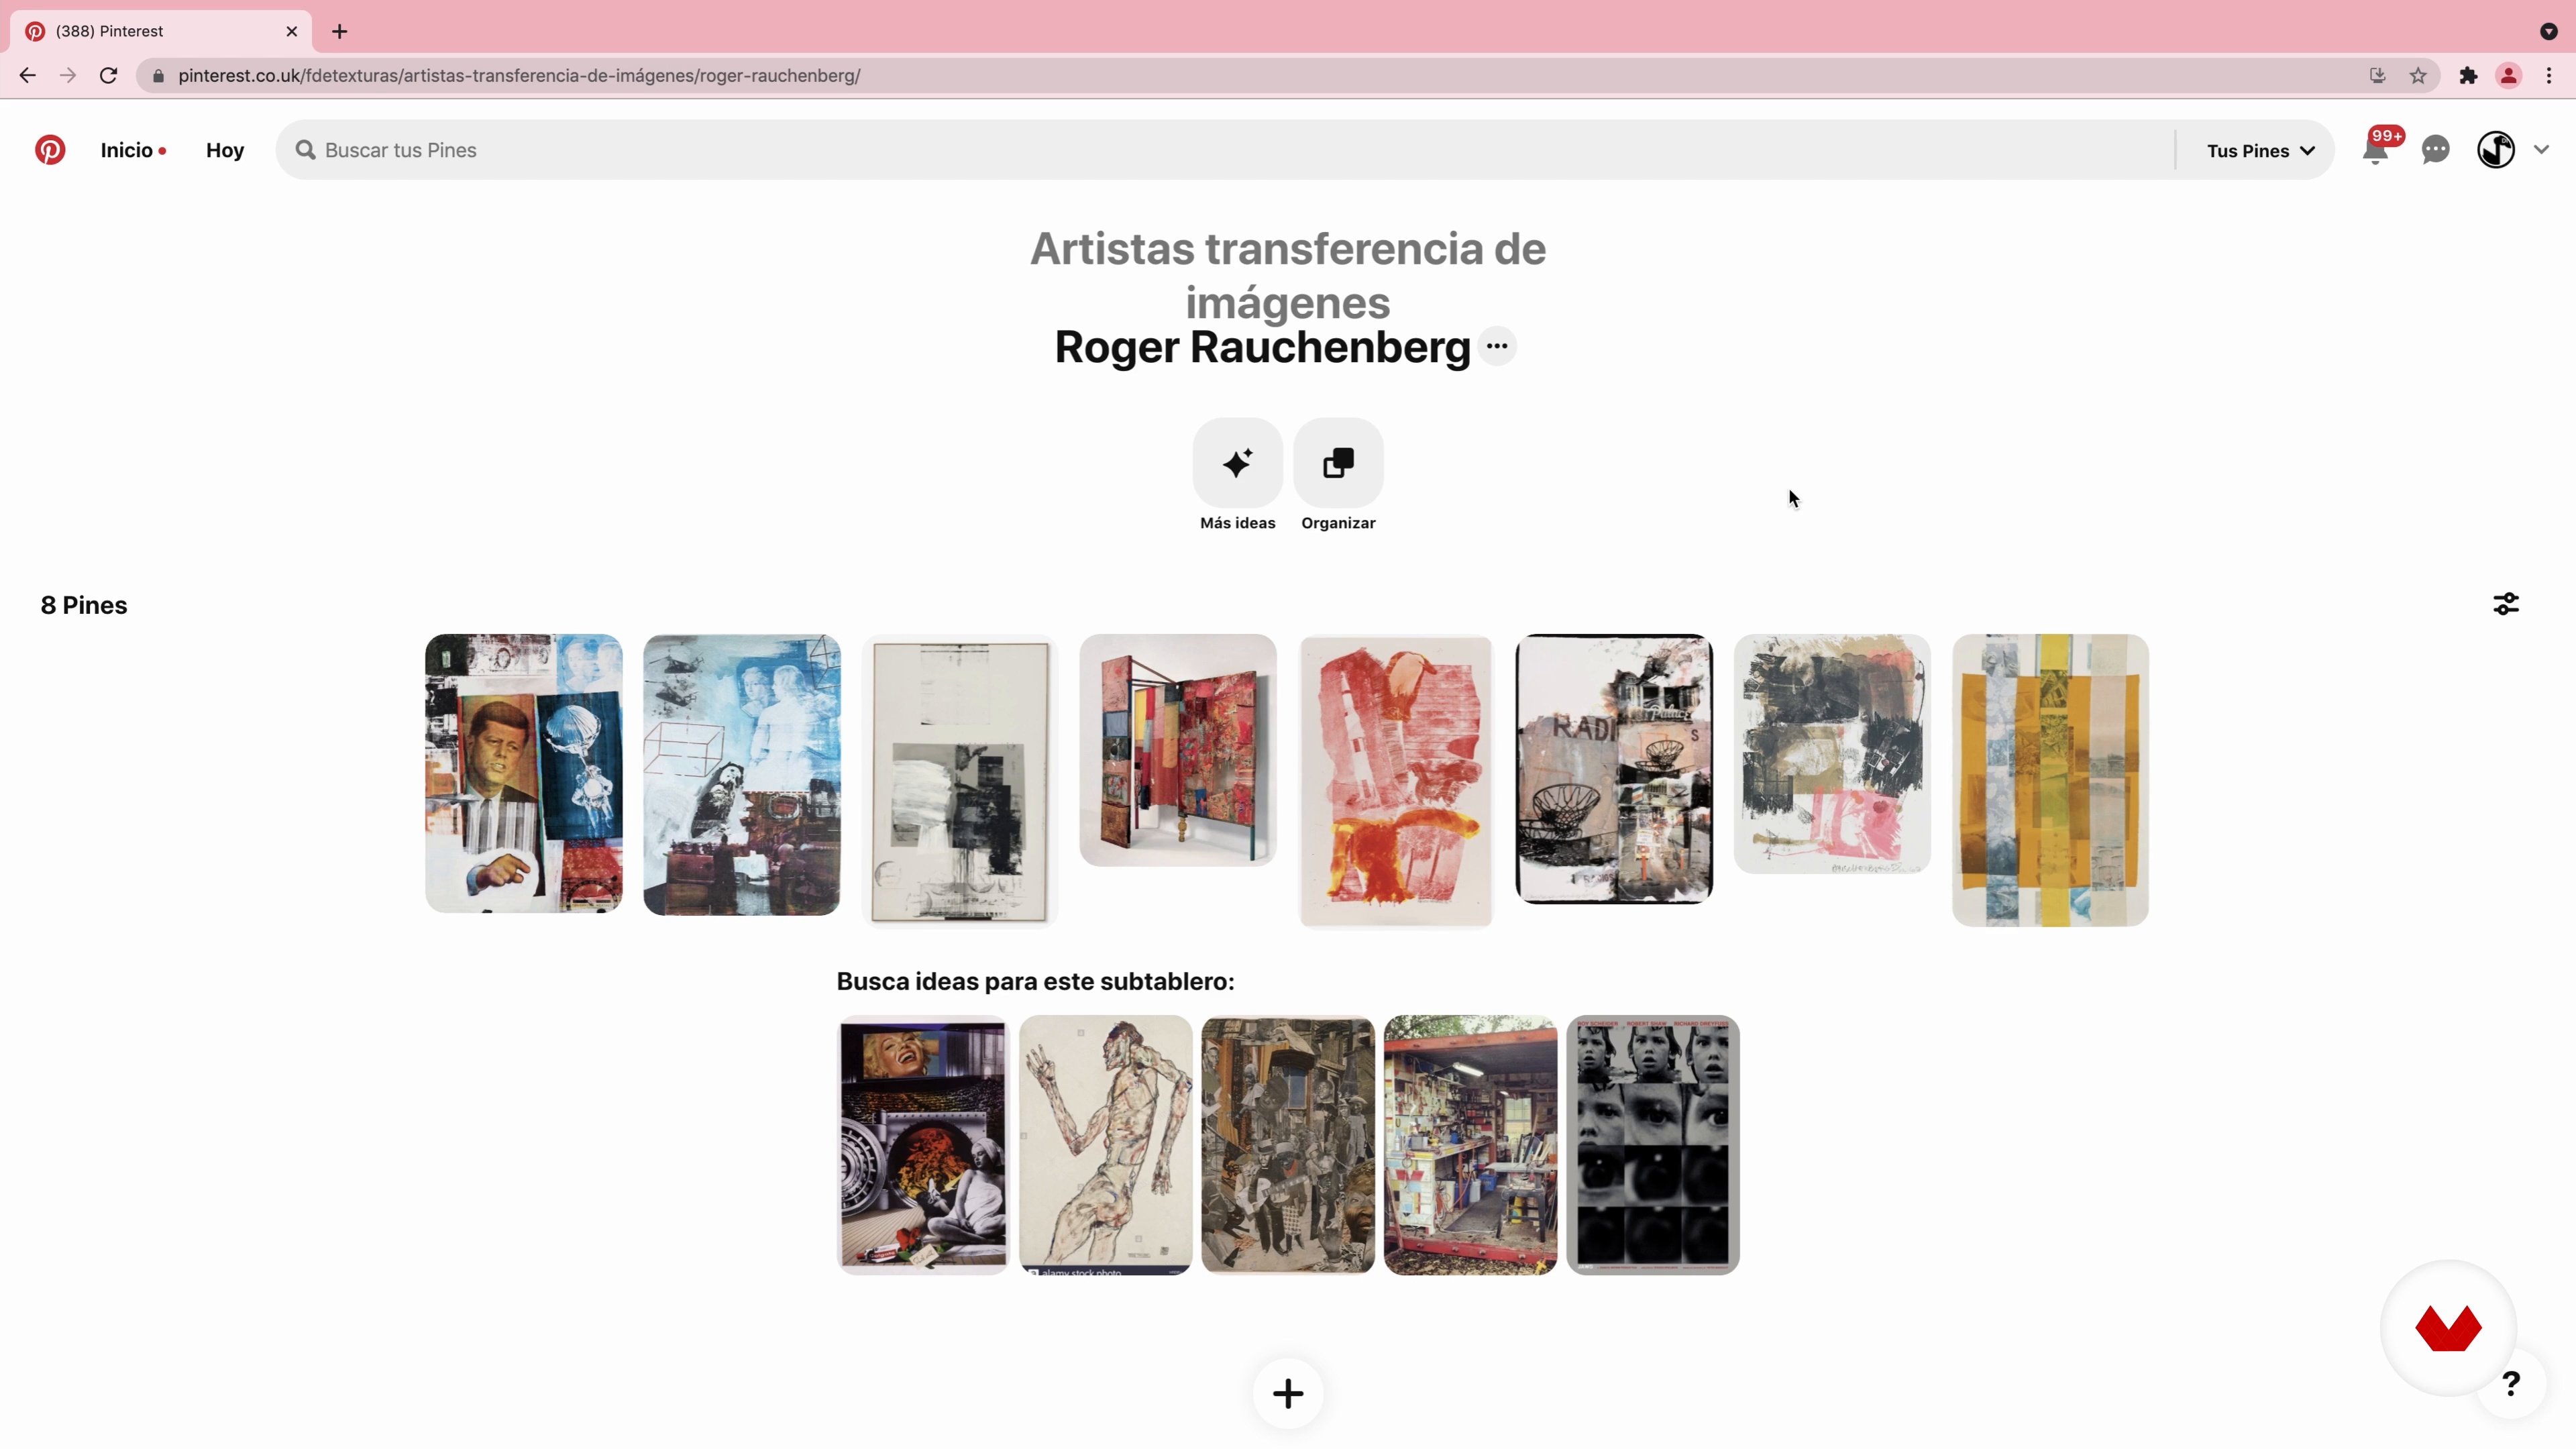
Next, we'll explain where the technique of image transfer originated. We'll also tell you about our favorite artists; the influences that have had the greatest impact on us.
7m
 3
3Inspiration / Texture Factory
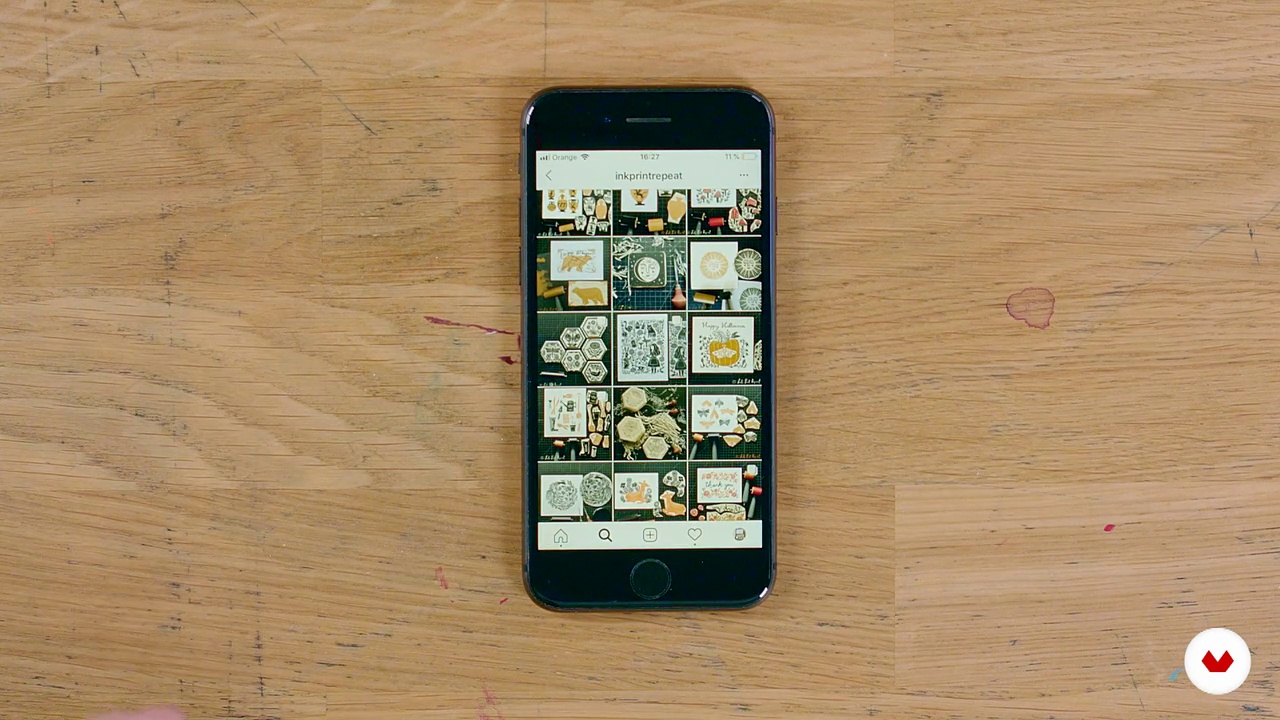
In this lesson, we'll talk about some artists and books that inspire us, and we invite you to use Pinterest to find other inspirations.
8m
 4
4Inspiration / Texture Factory
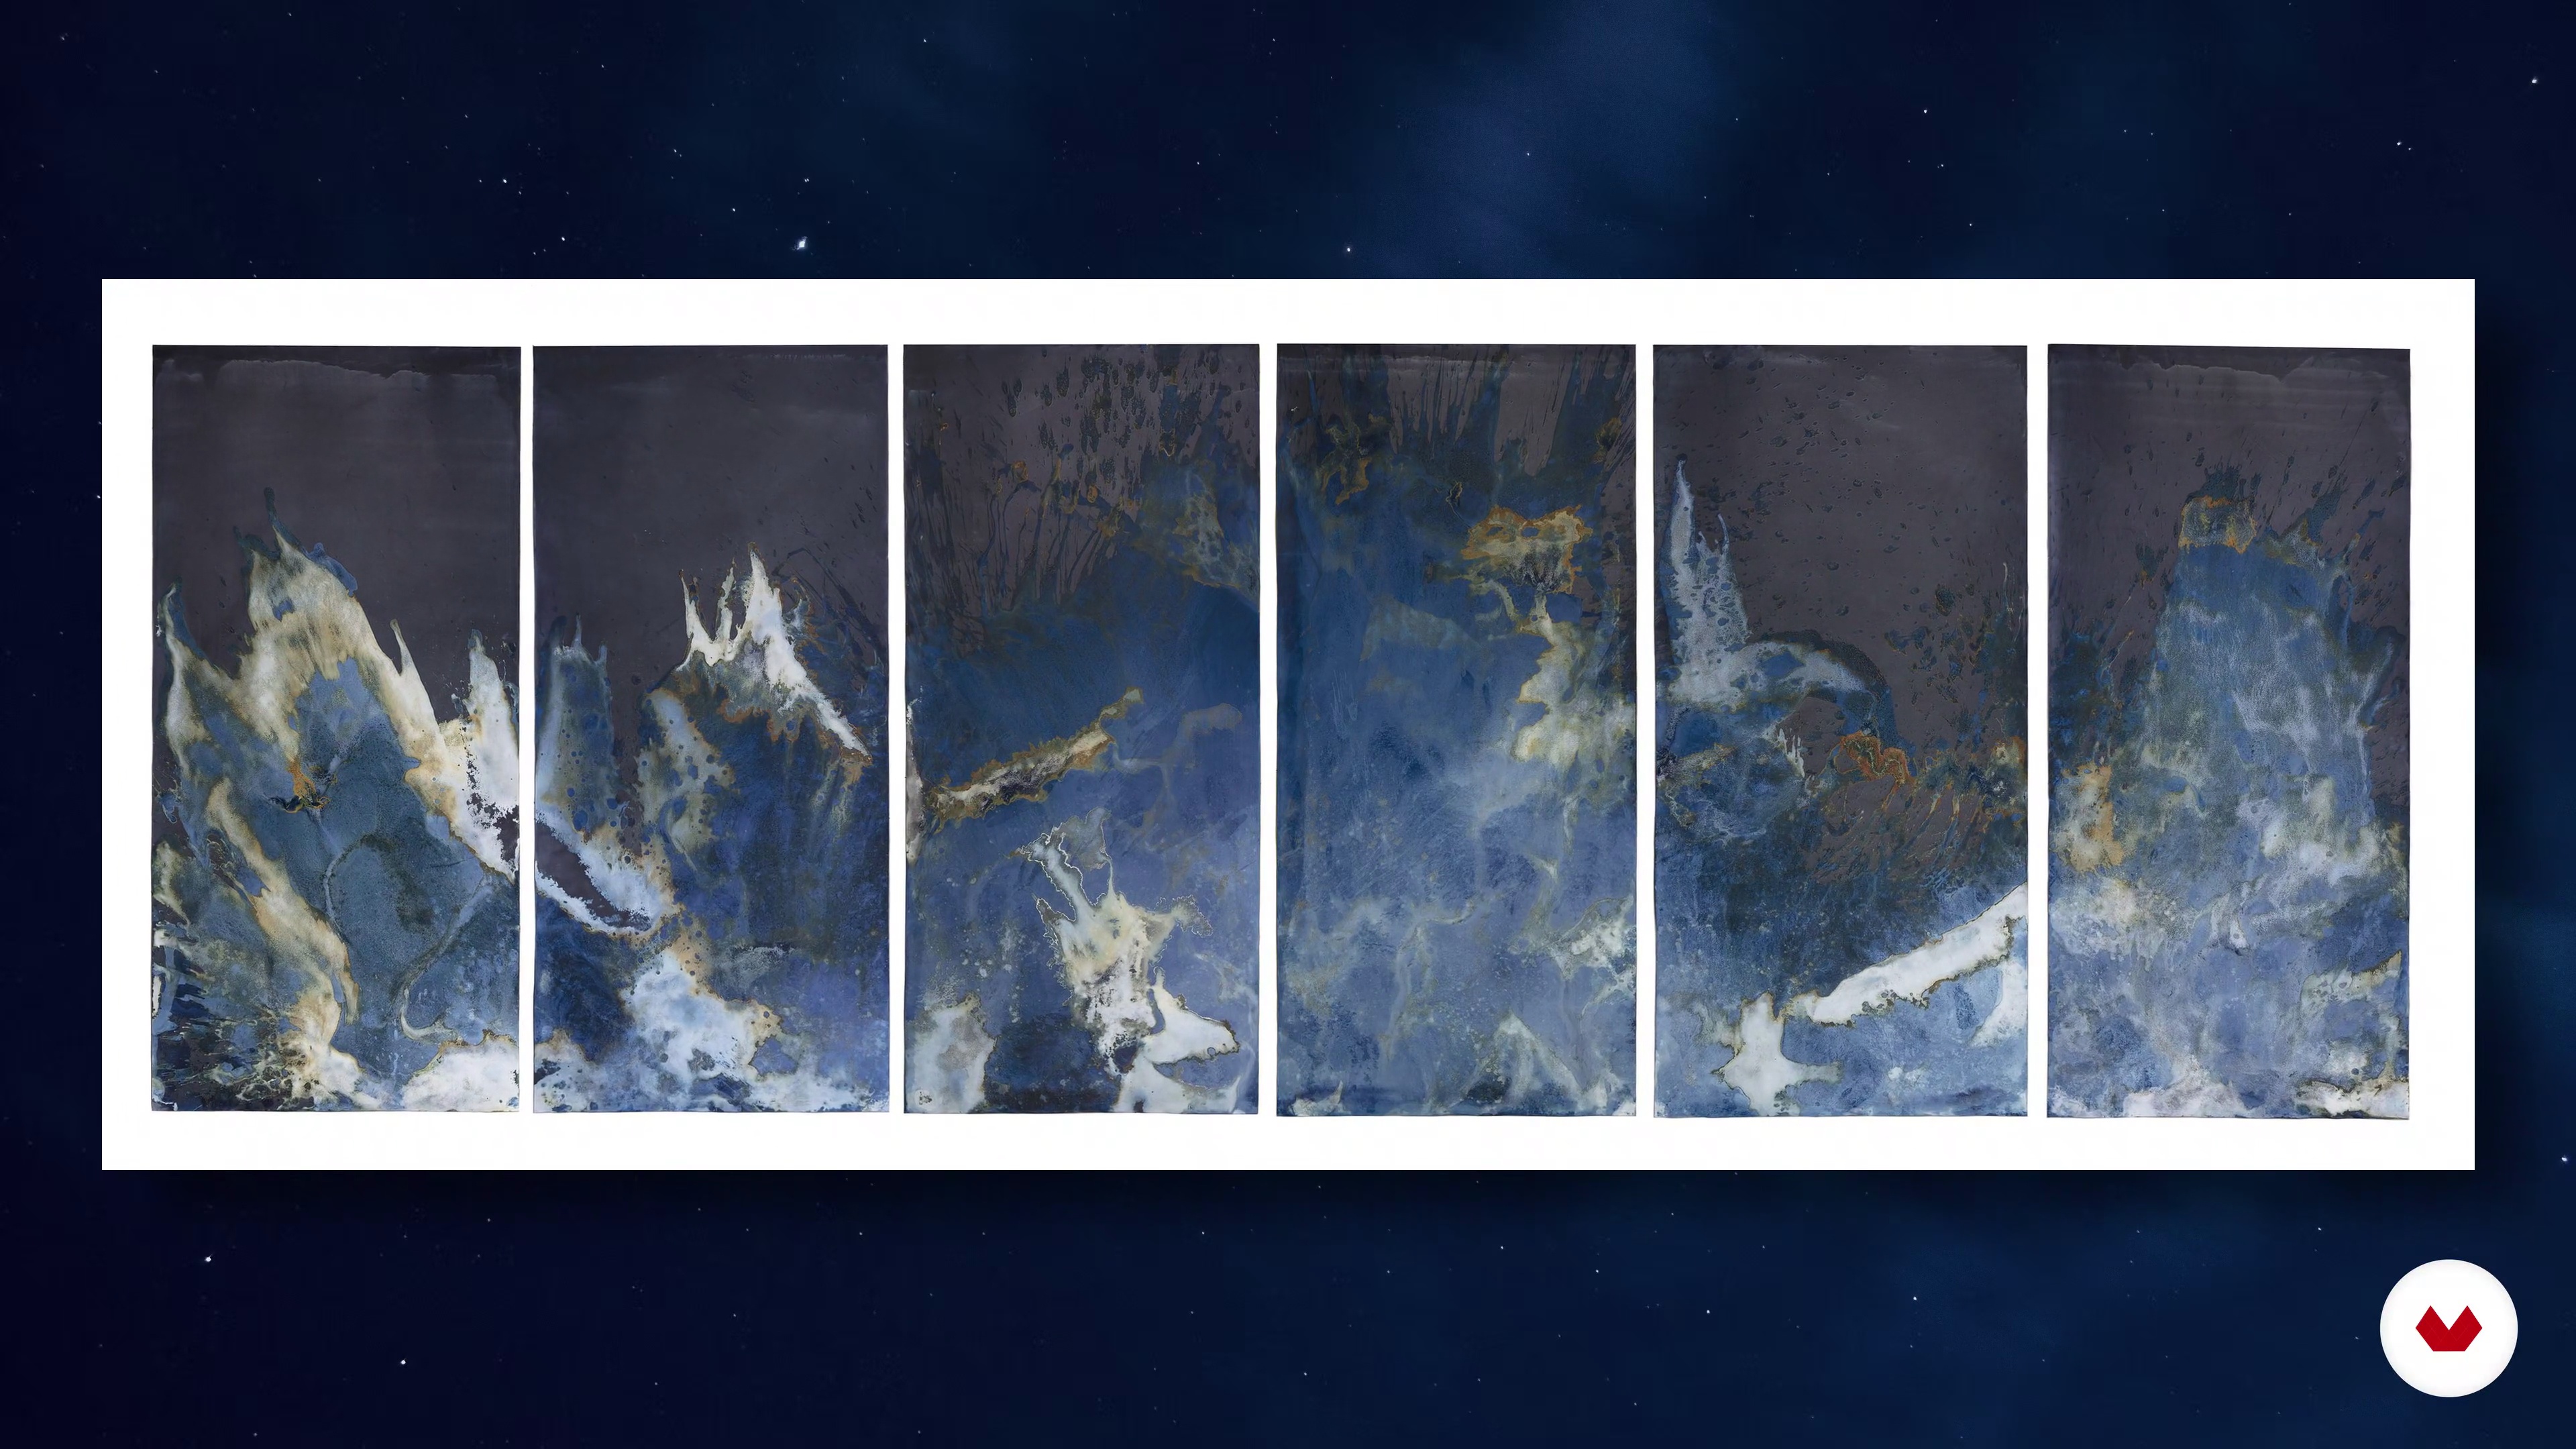
In this lesson, you'll learn the origins of this technique through its pioneers. We'll then show you contemporary examples and artists who apply this technique to different fields, such as fashion and photography, as well as more experimental and artistic applications.
3m
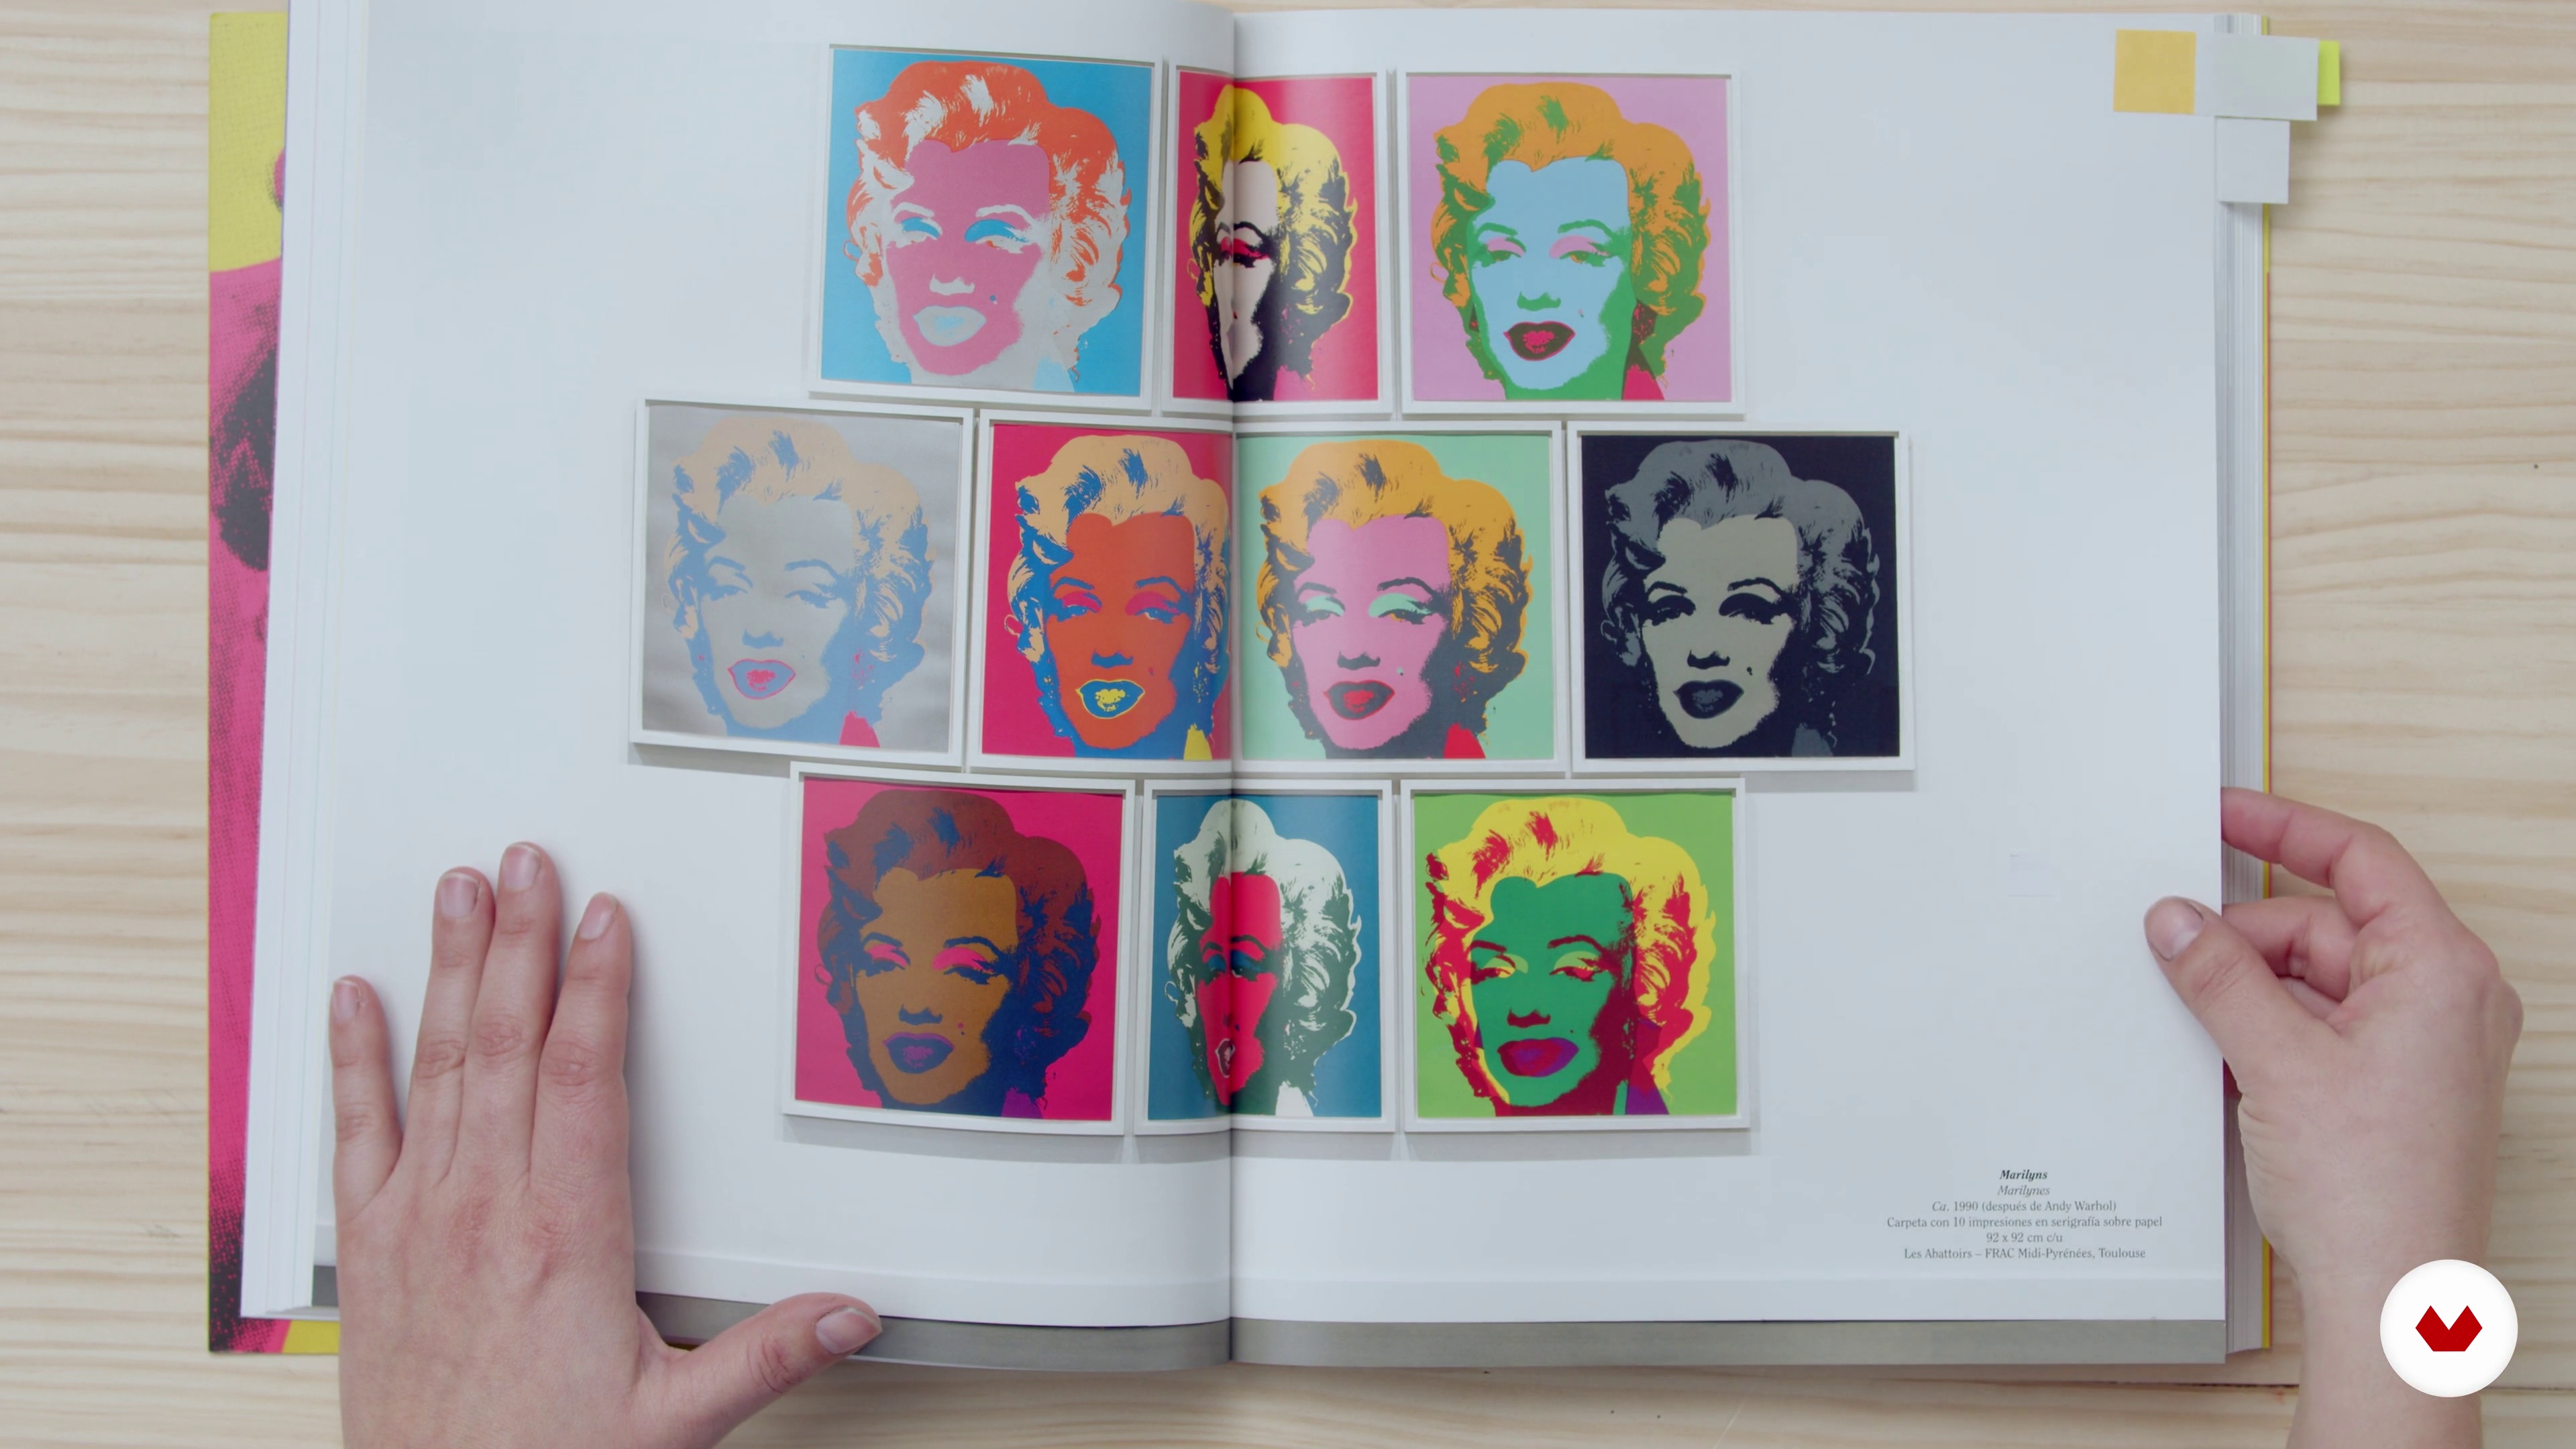 5
5Inspiration / Noelia Tramullas
Here, I'm going to tell you about some of the screen printing artists who have inspired me the most and continue to inspire my creative process.
7m
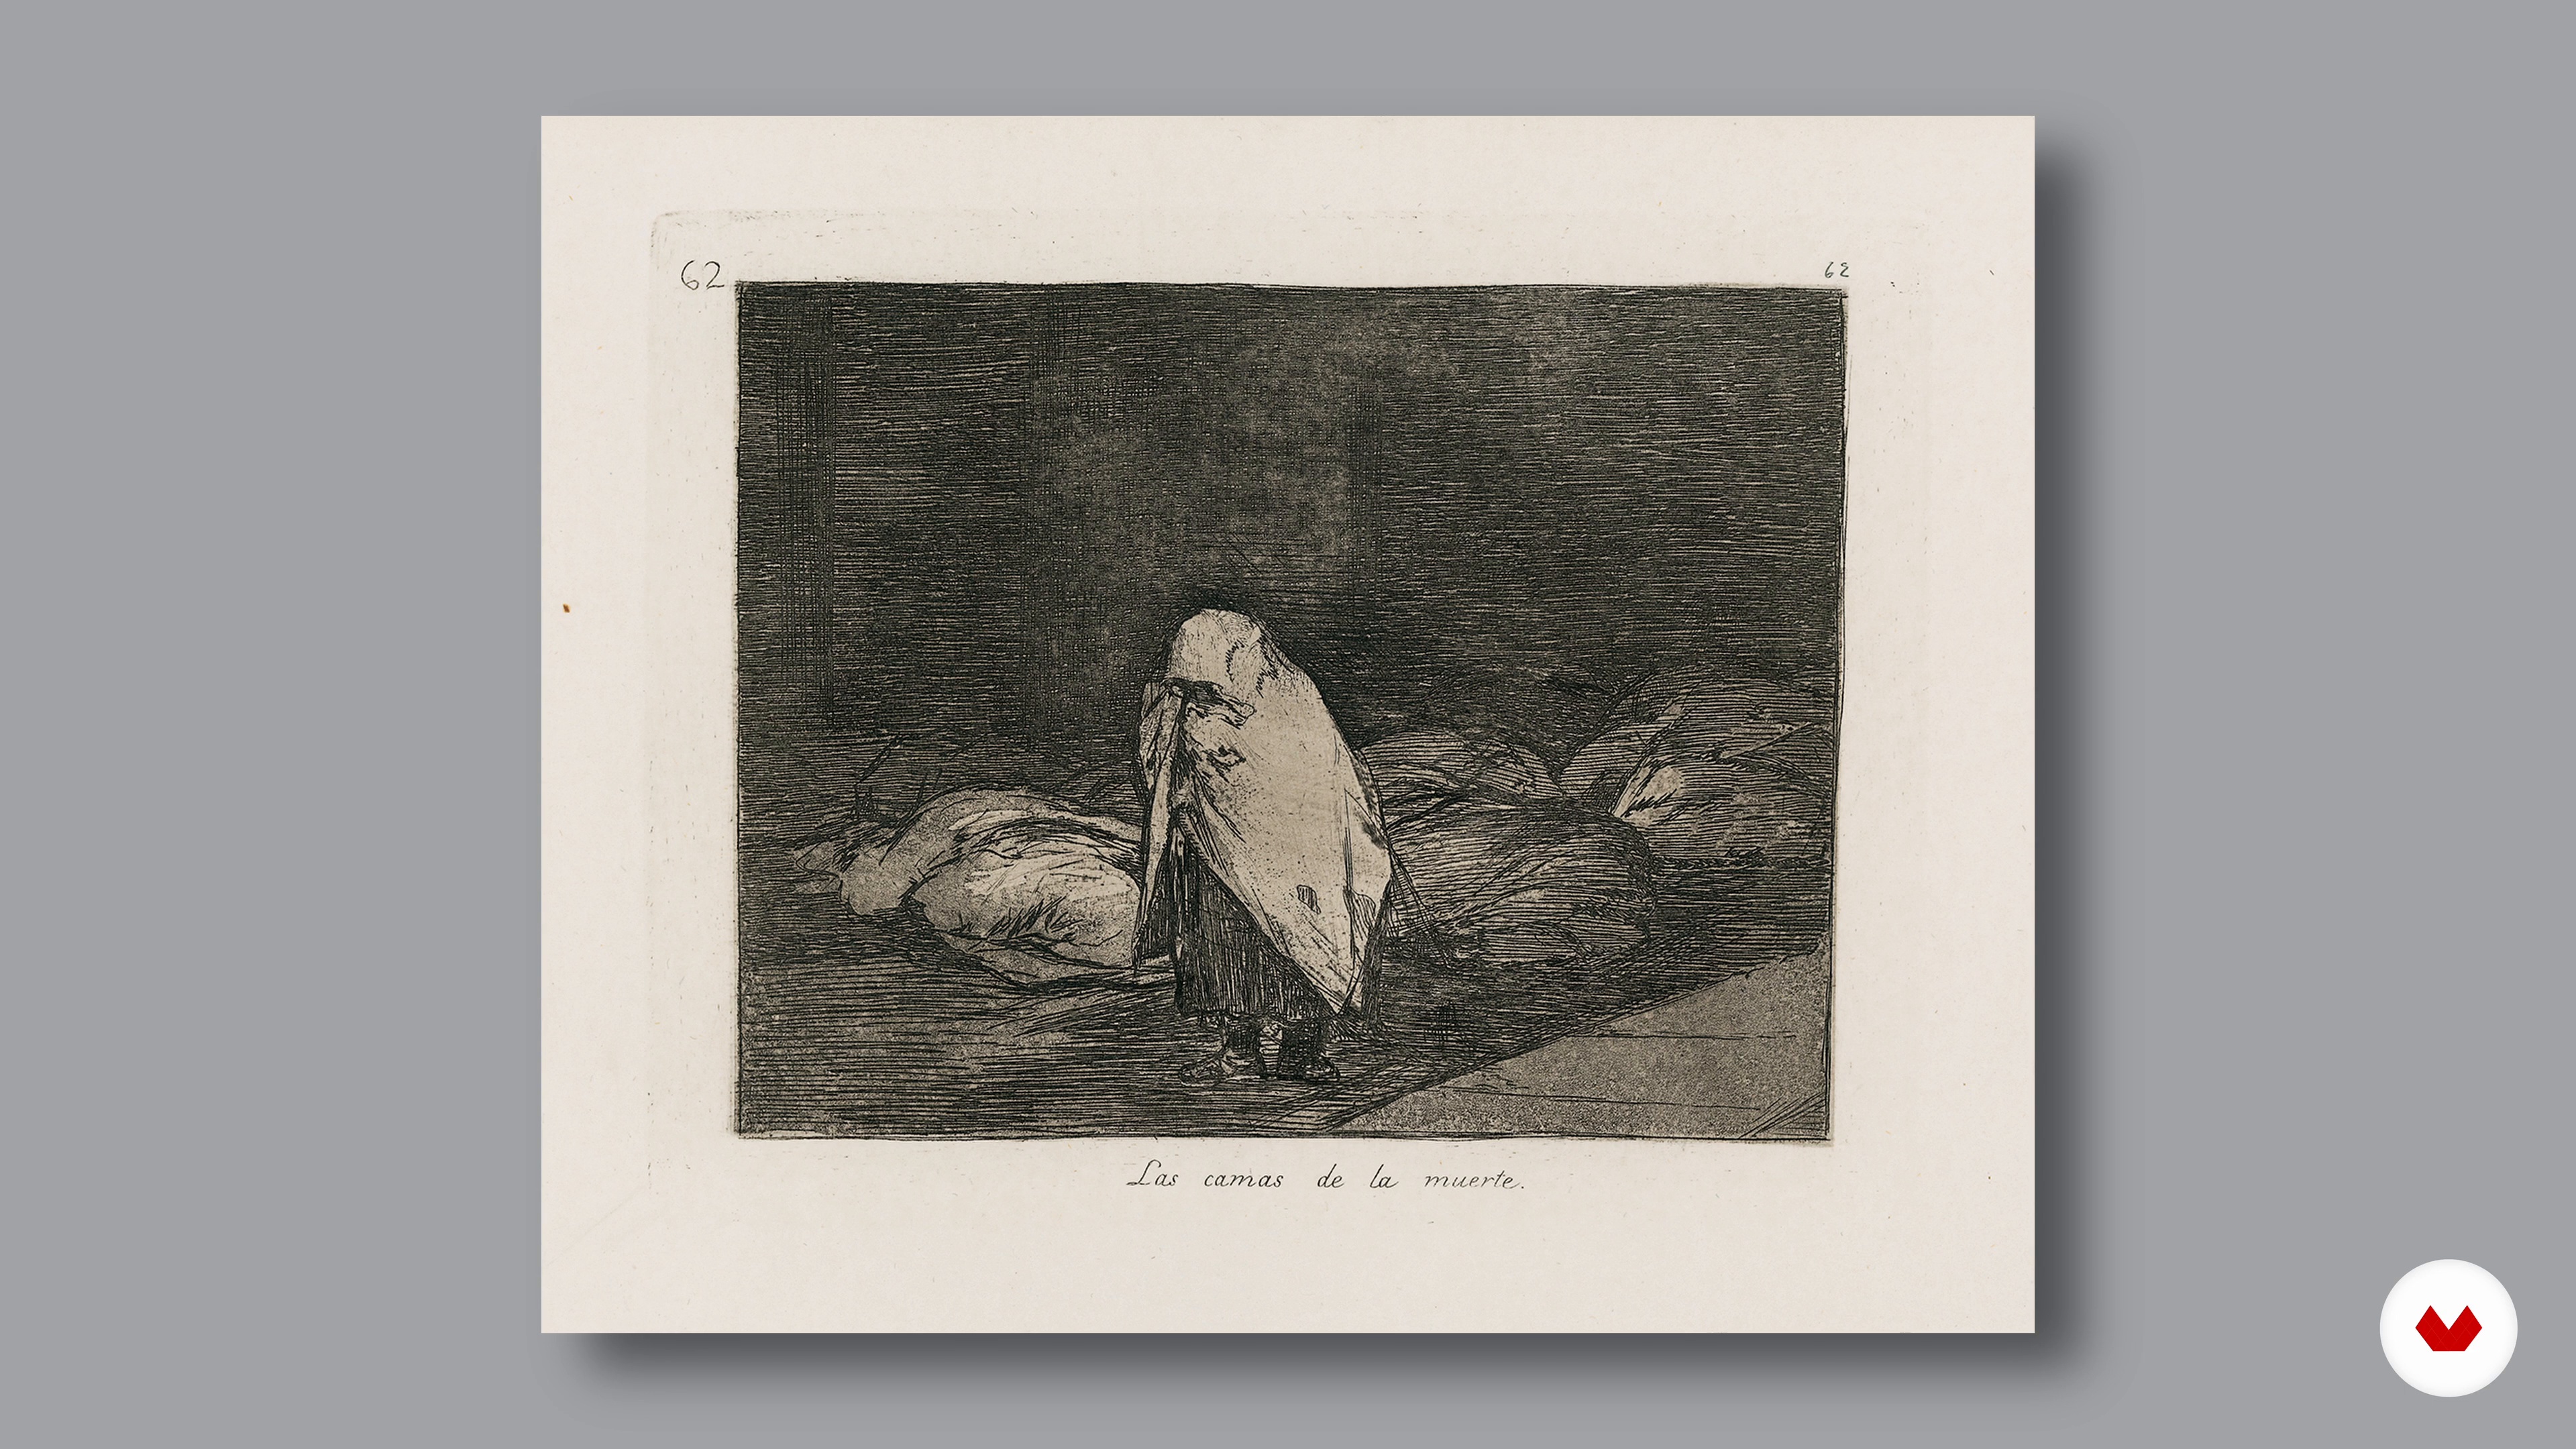 6
6Inspiration / Juan Lara Hierro
Now I'm going to share with you the people and artists who have influenced me throughout my professional career.
6m
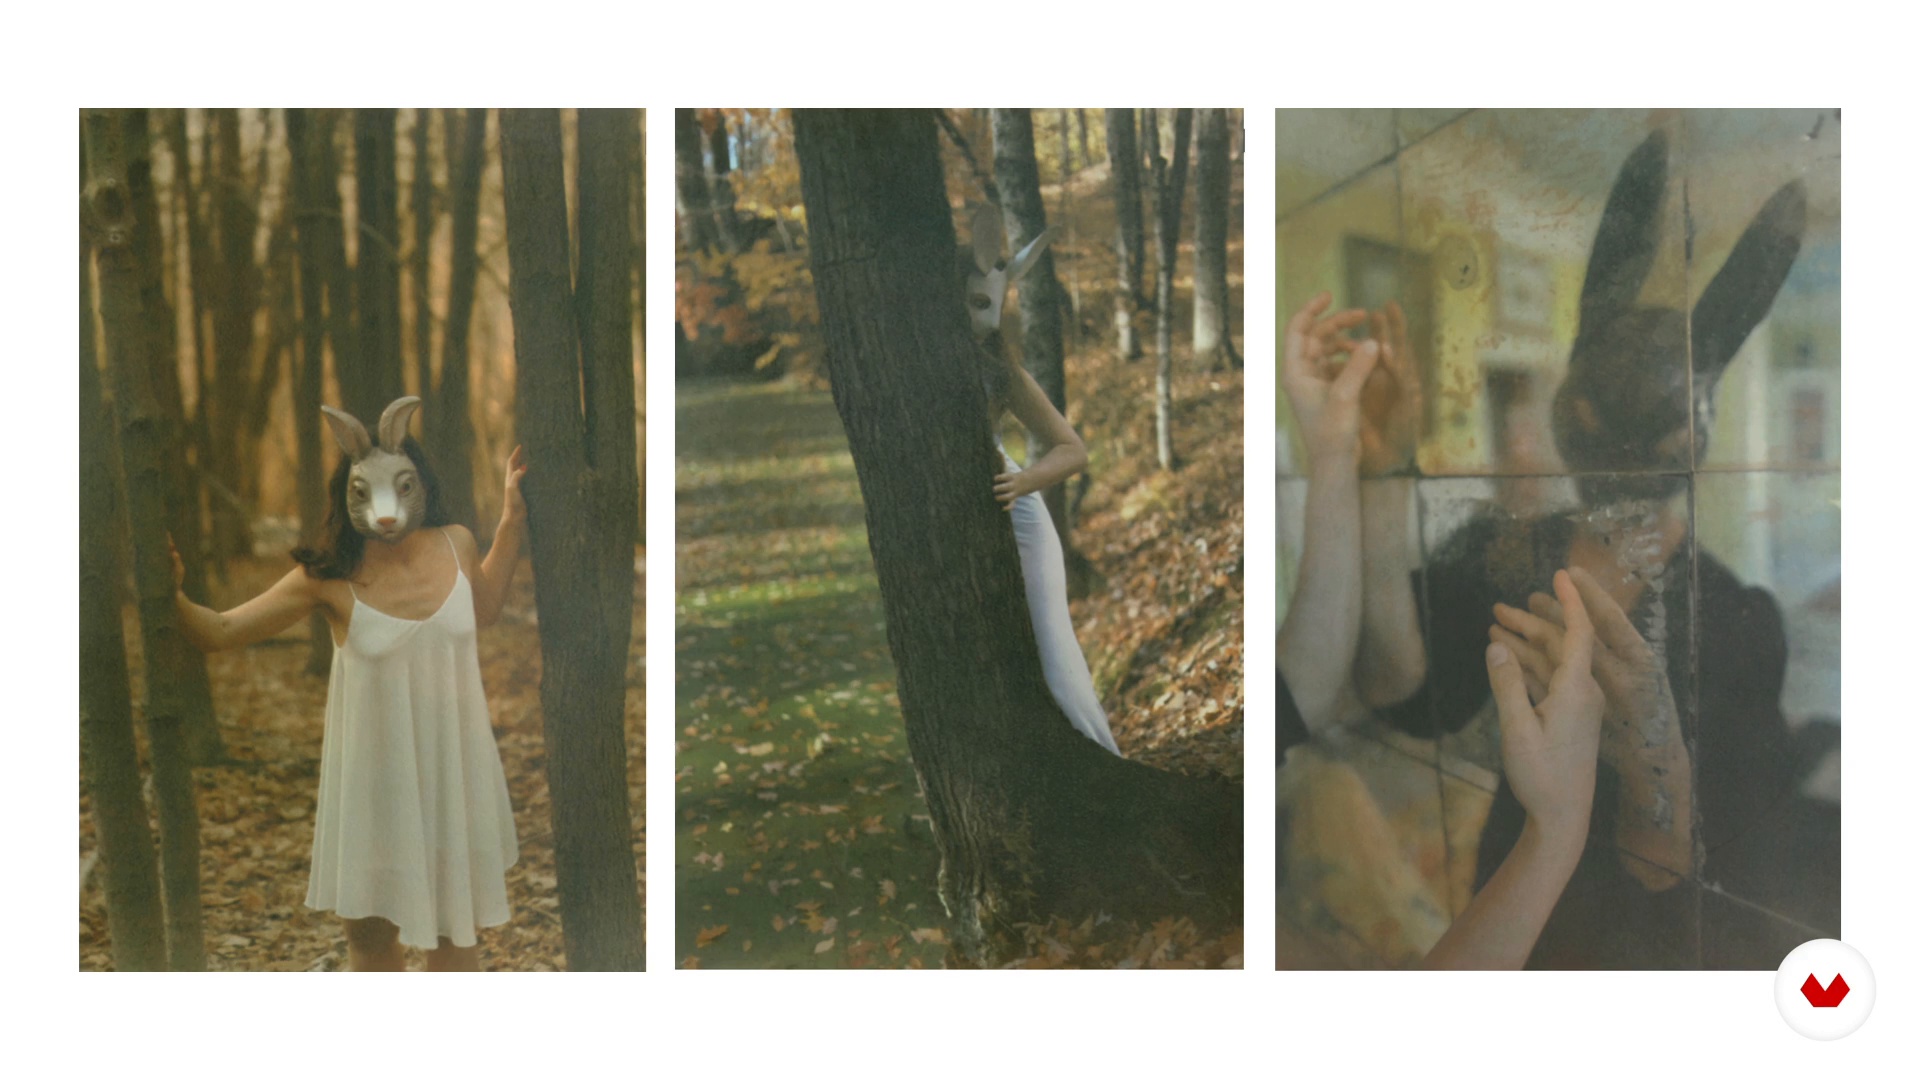 7
7Inspiration / Tipia Lab
In a photographic process that's more than a century old, there's much to learn and draw inspiration from. In this lesson, we'll share the work of several contemporary artists who continually expand the possibilities of what can be achieved with this process.
3m
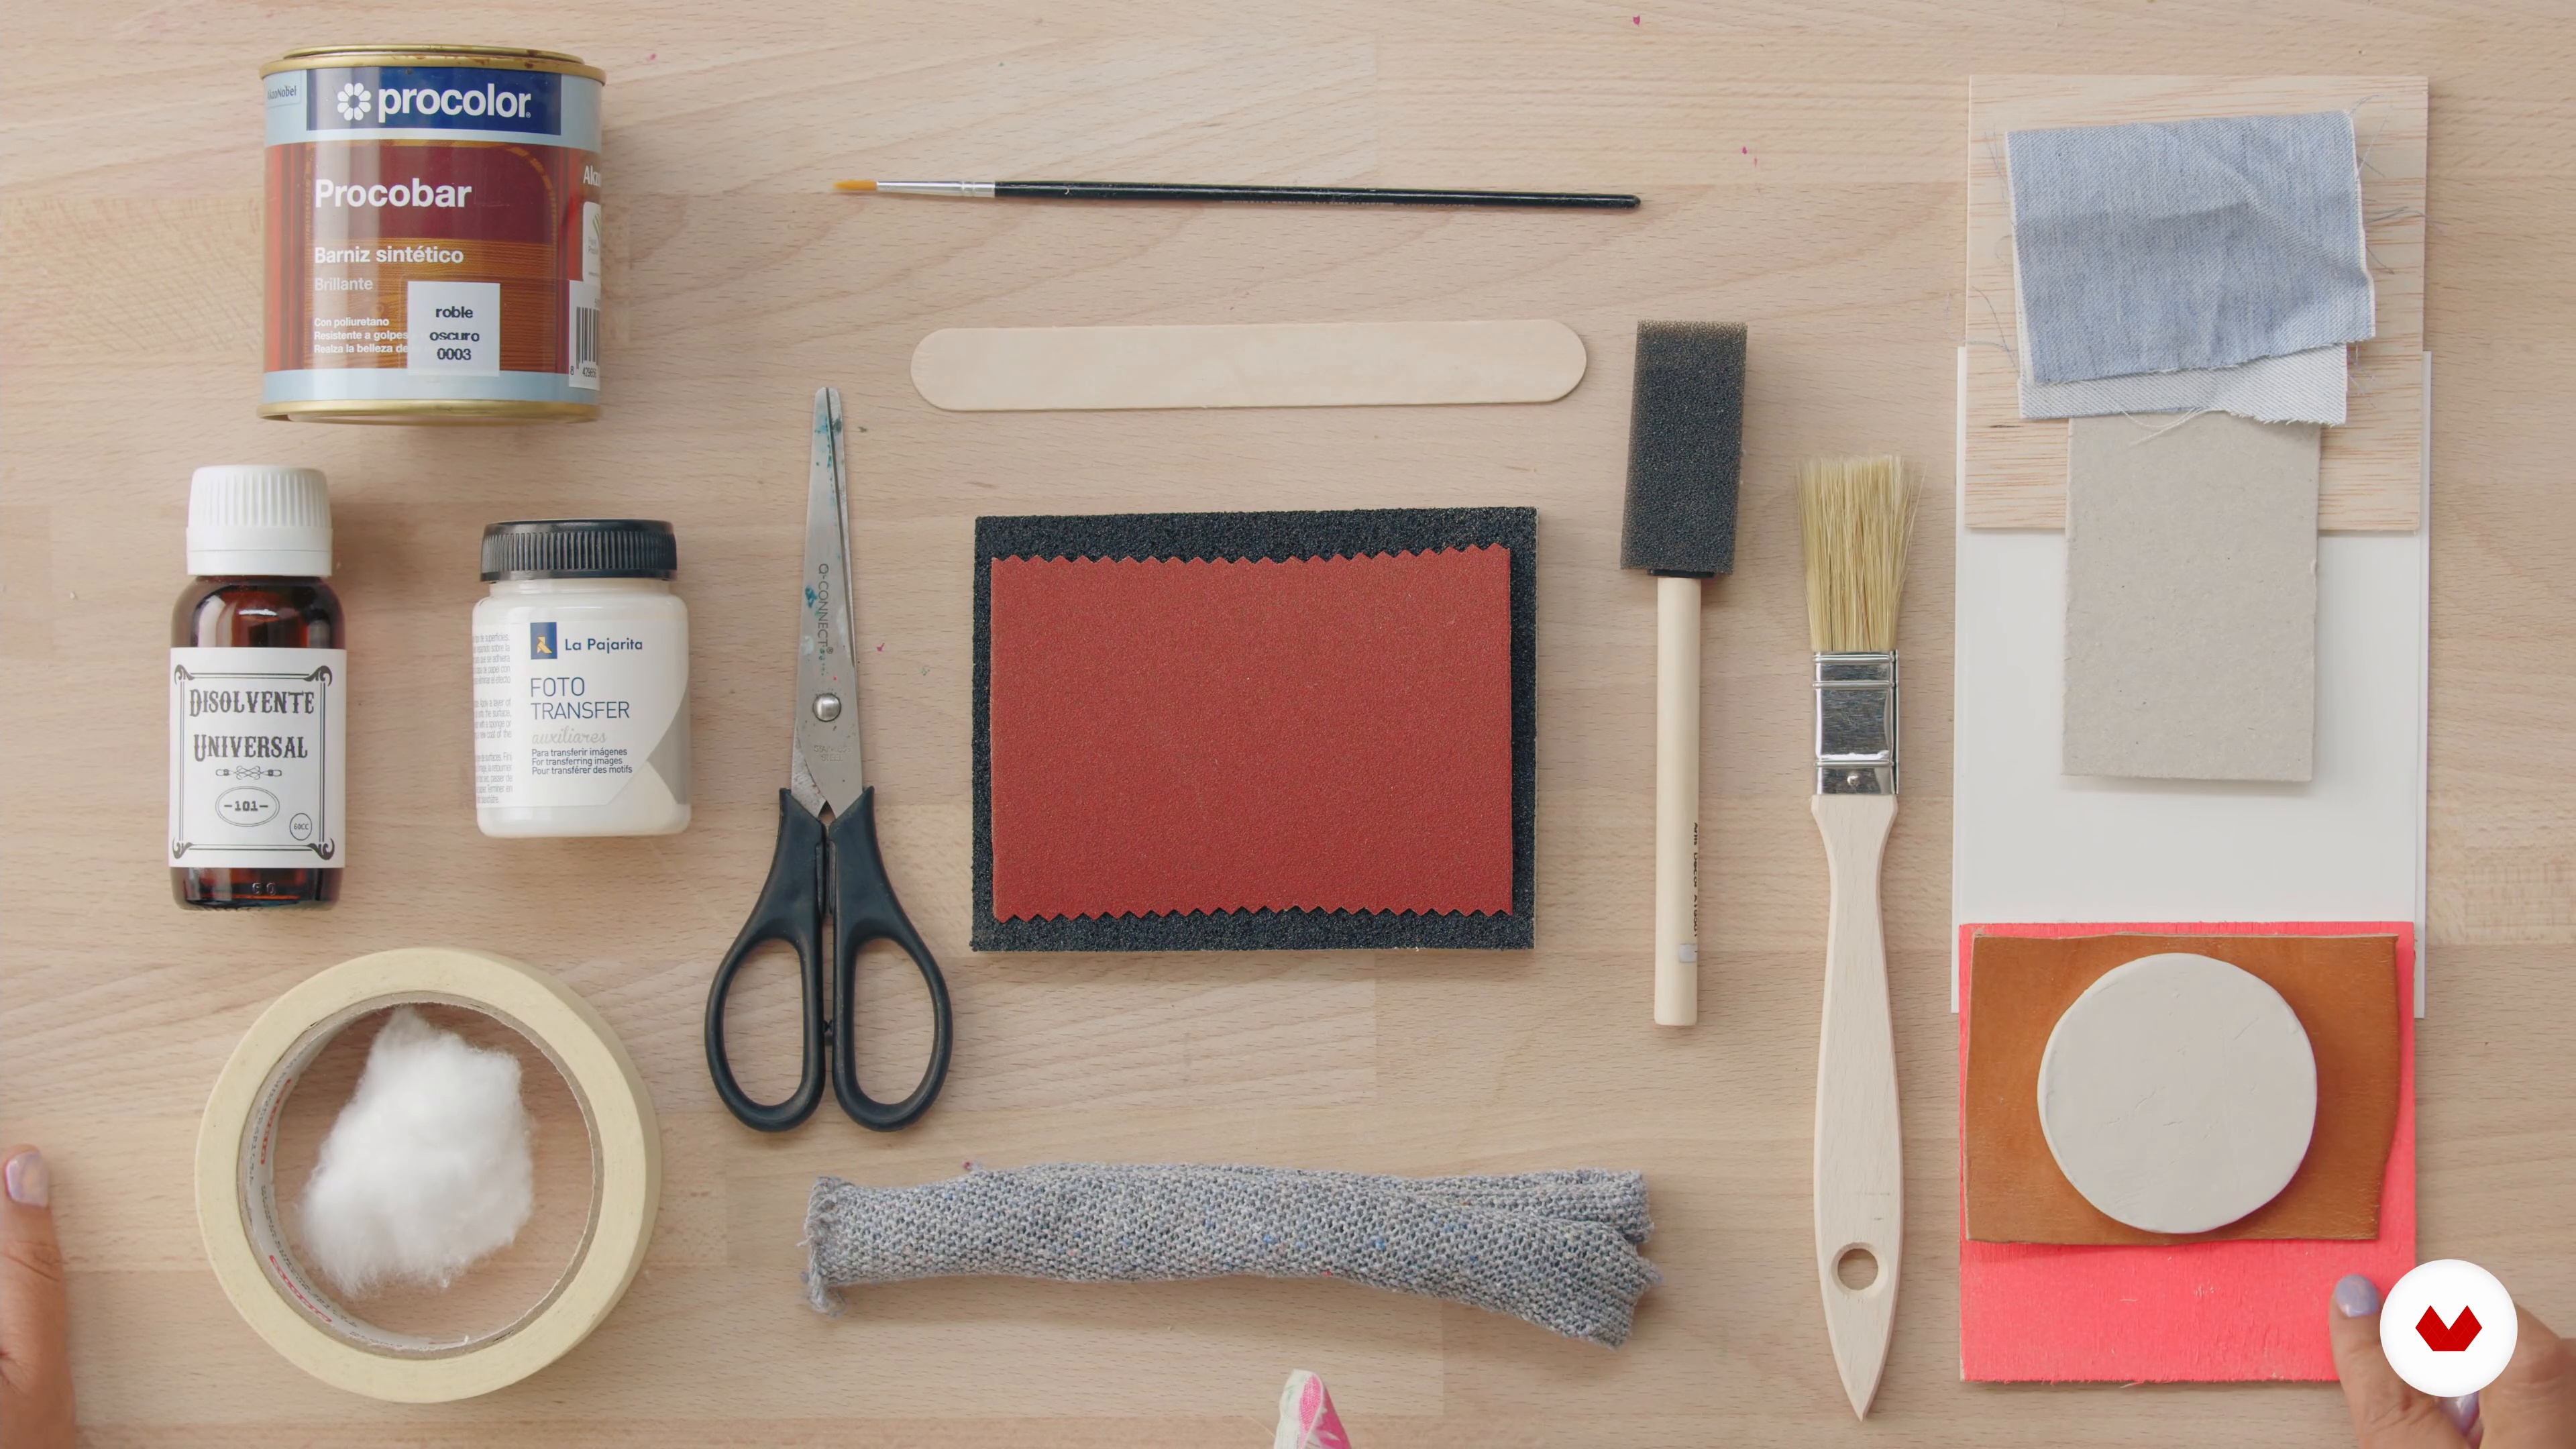 1
1Materials and tools
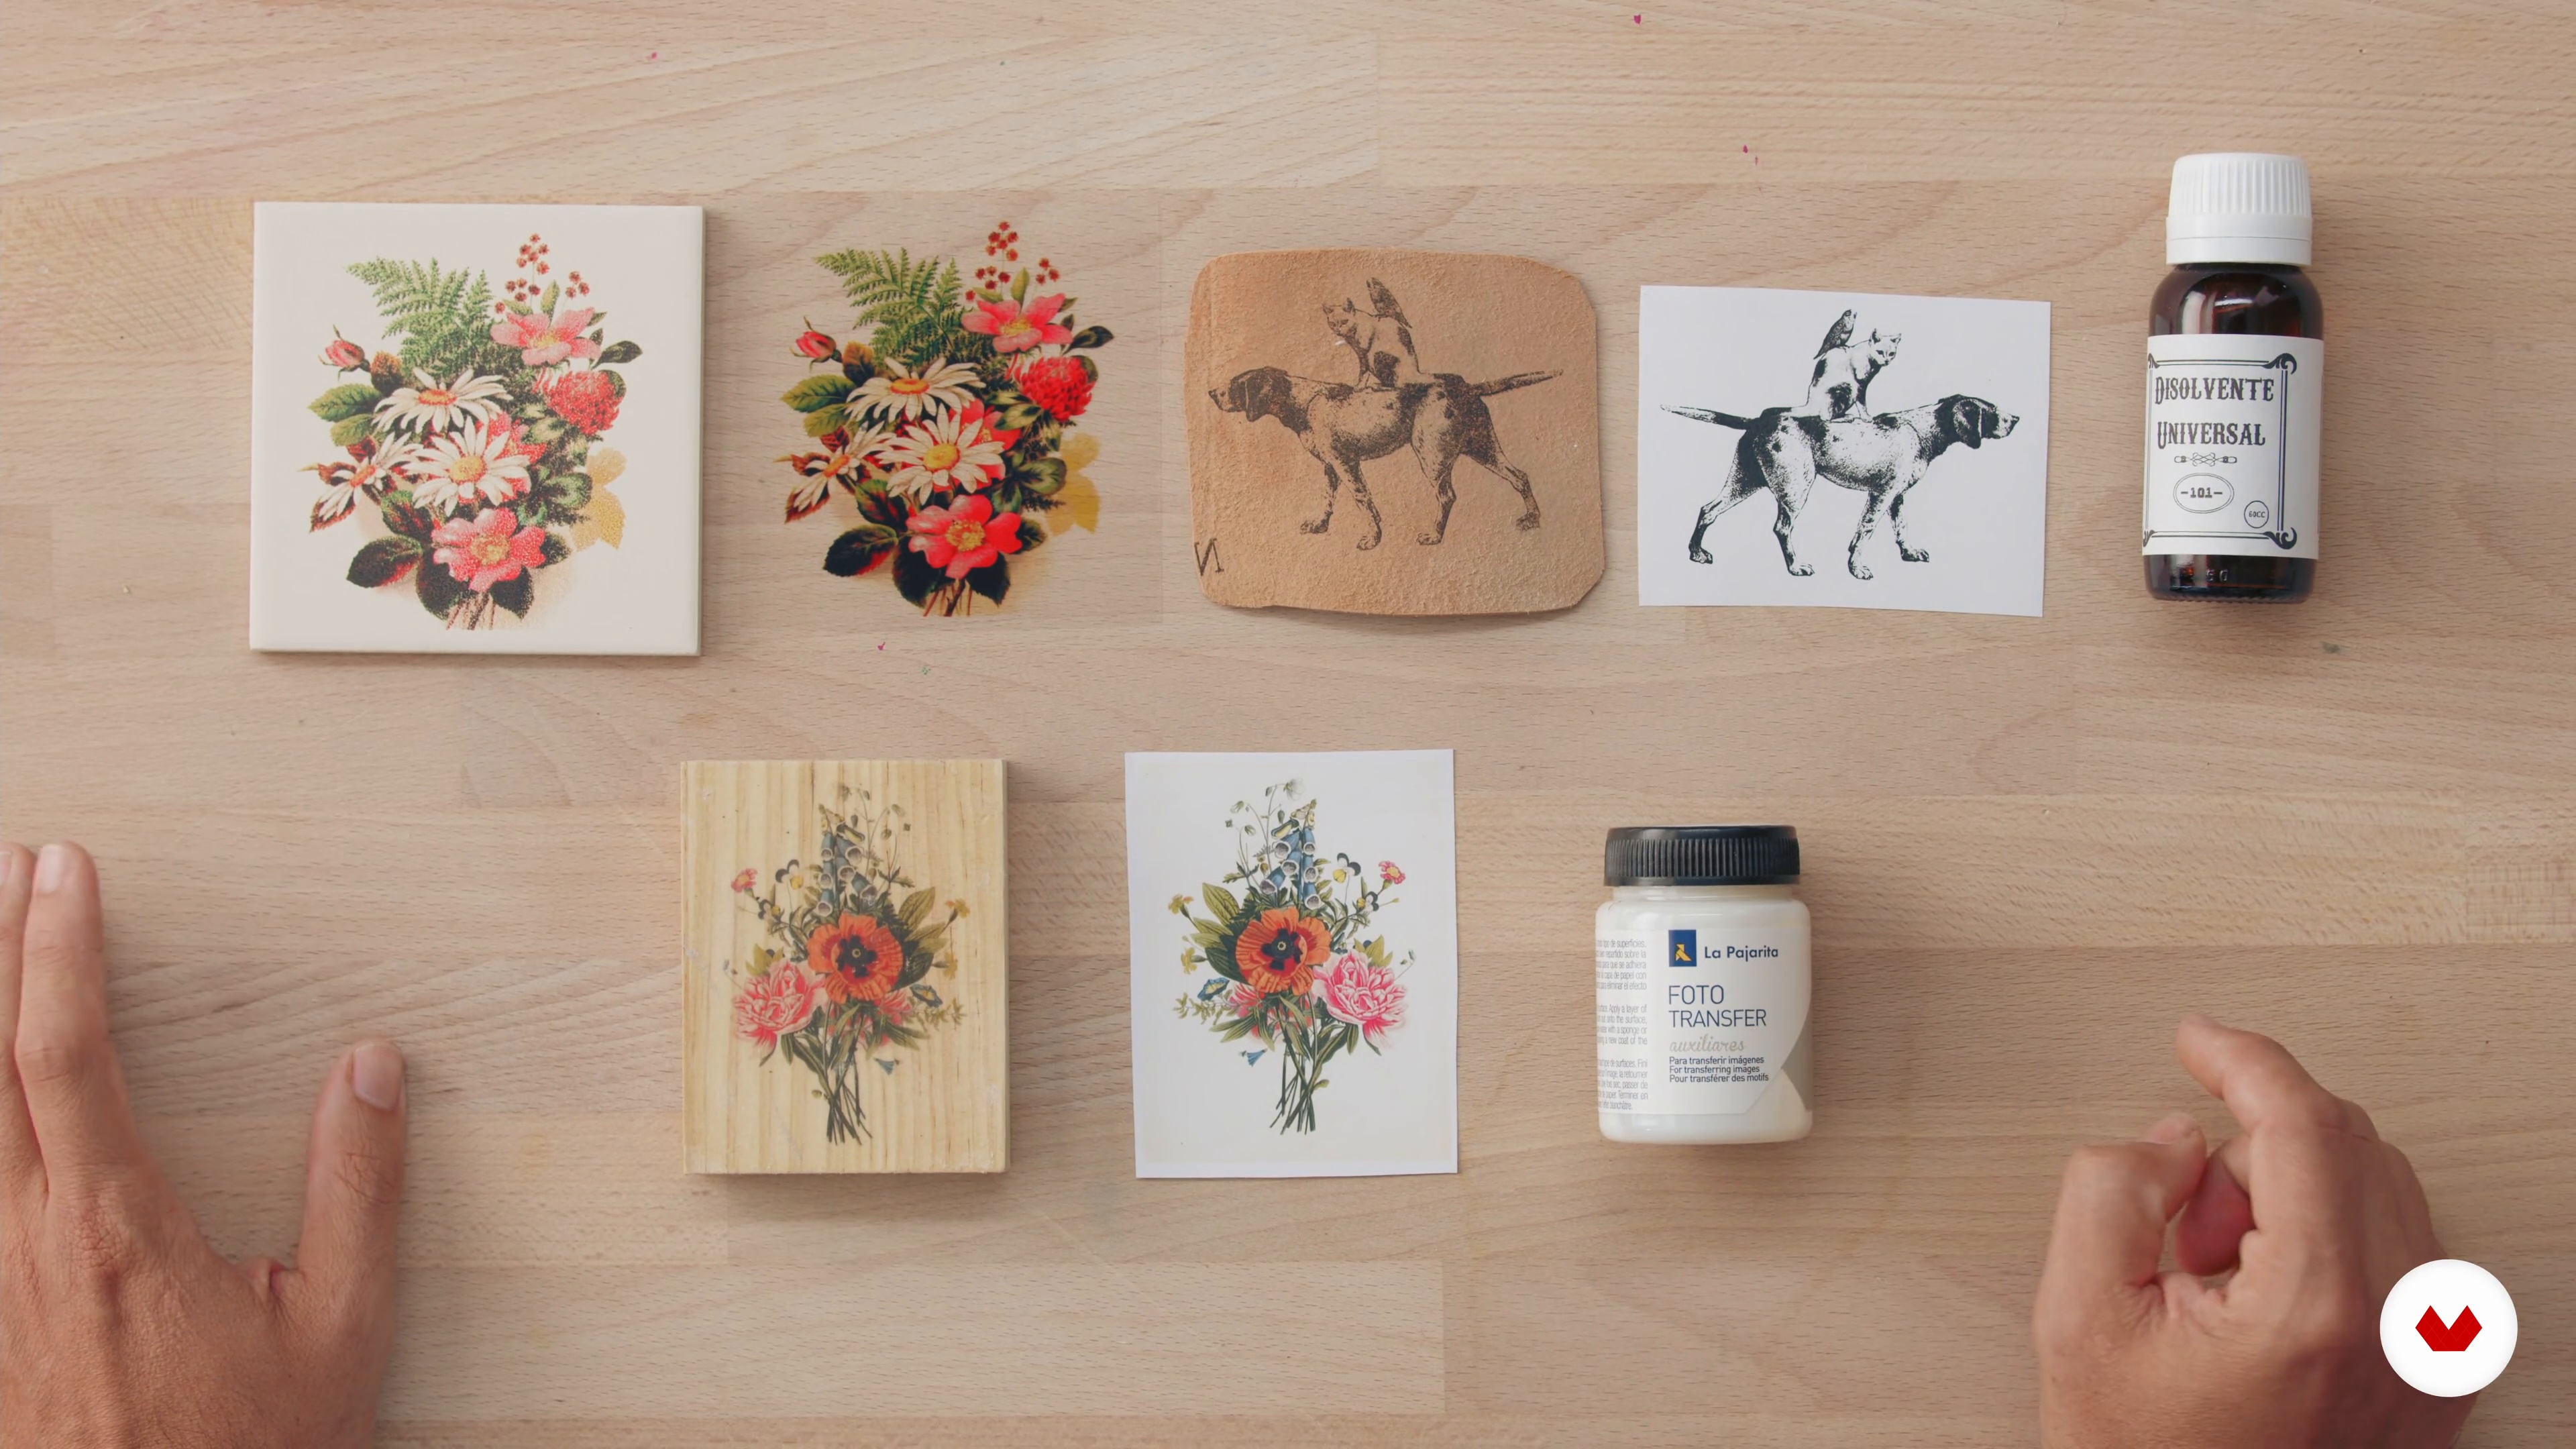
In this lesson, we will present and explain the materials and tools we will be working with throughout the module.
2m
 2
2The transfer technique
Next, we'll explain what the transfer technique consists of and what images you can use depending on the surface you're using.
4m
 3
3Inspiration and image sources
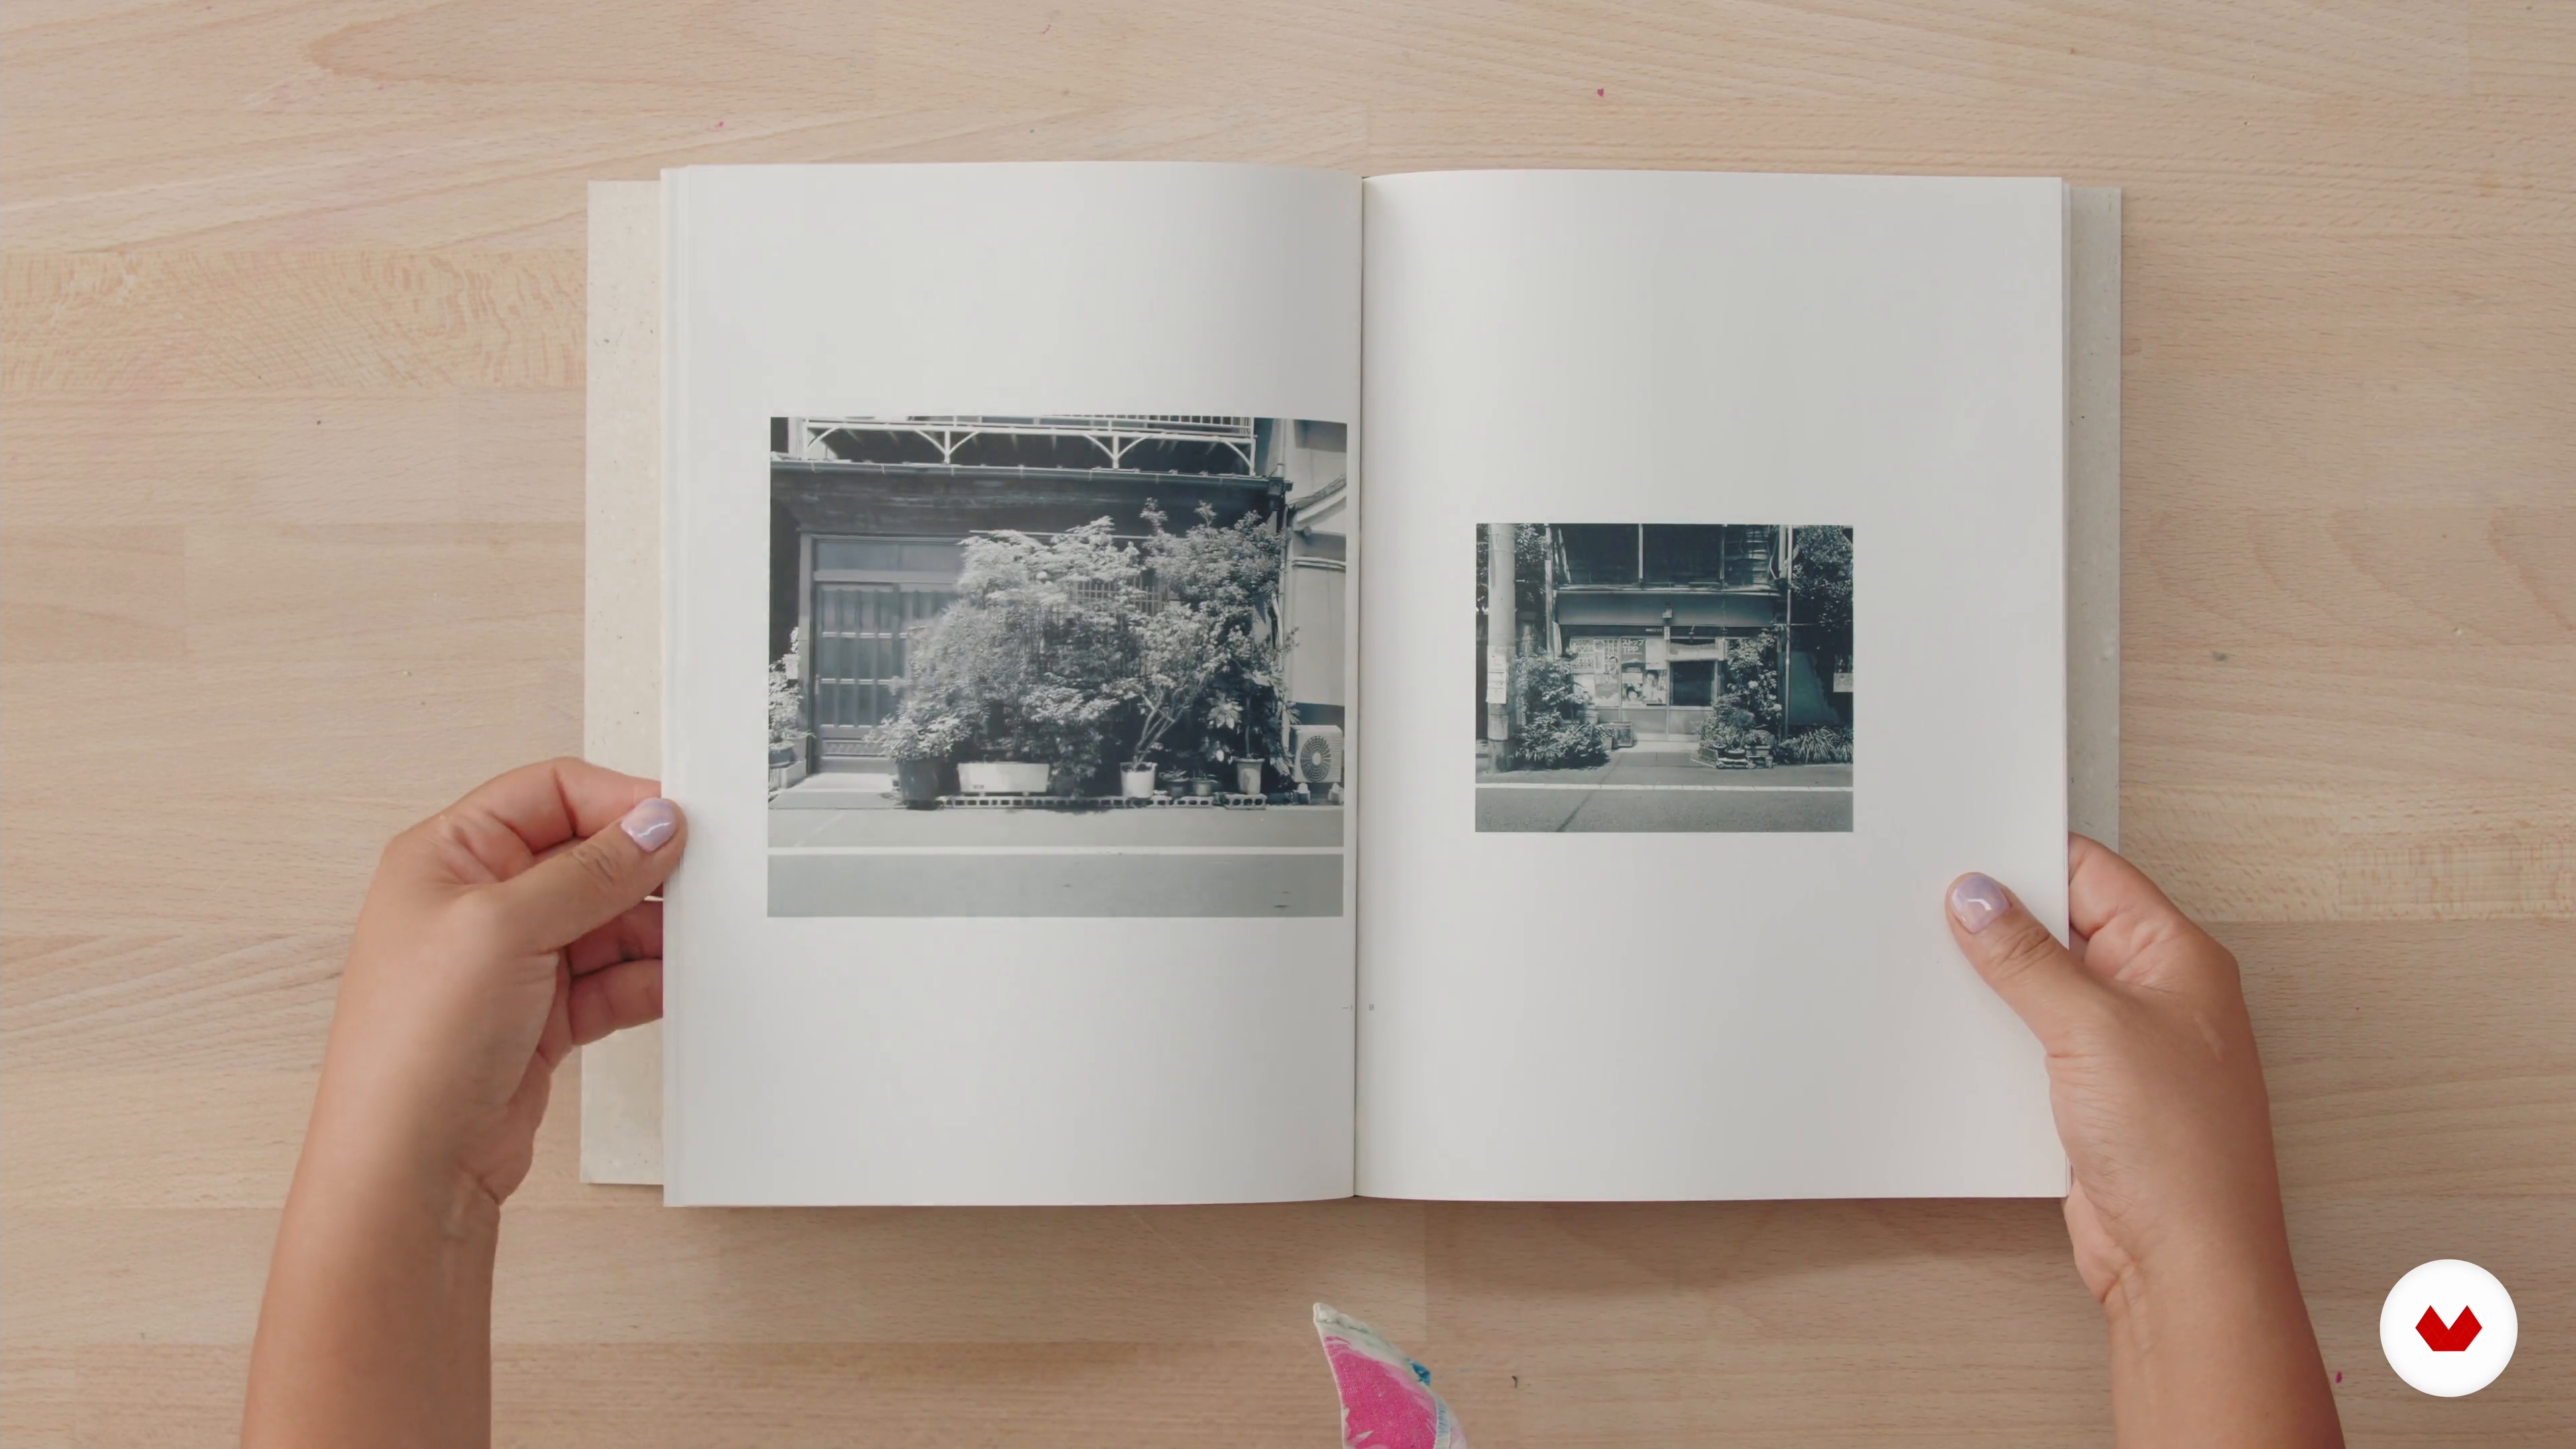
Now we'll show you where we get inspiration for images to transfer. We'll also advise you on which surfaces to transfer and what types of images are ideal for each technique.
10m
 4
4How to prepare your images for transfer
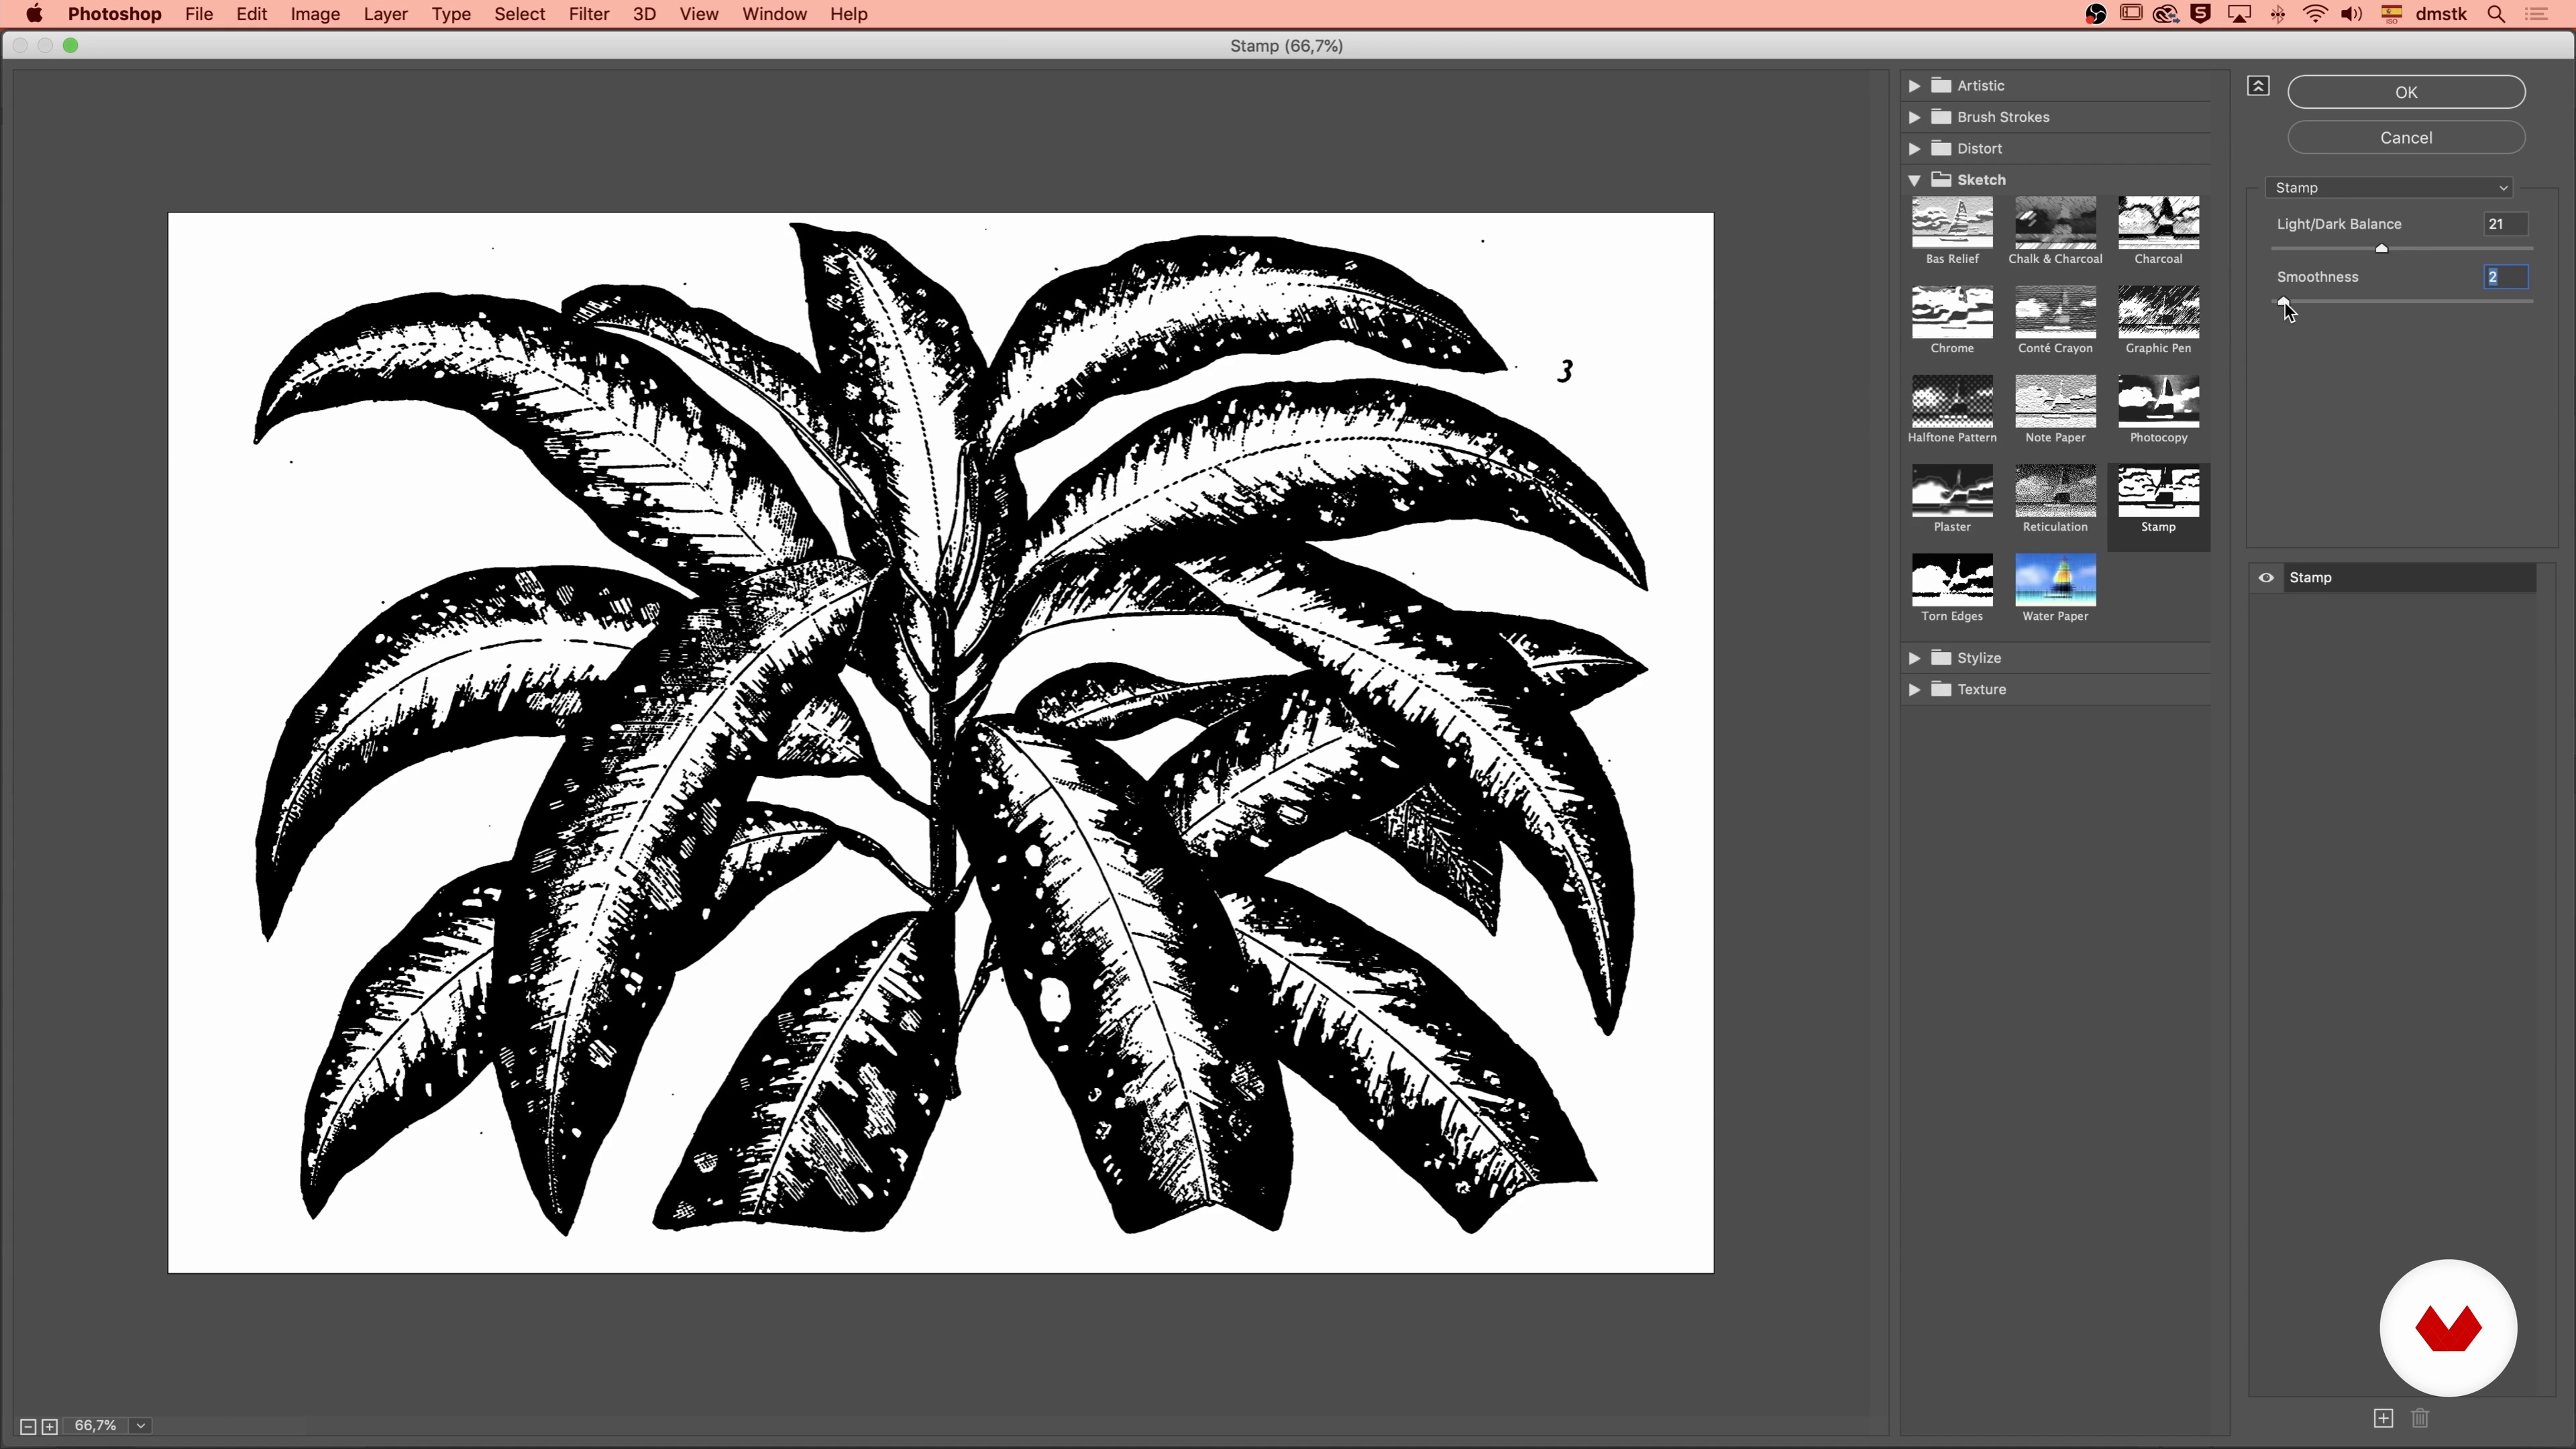
In this lesson, we'll look at how to process images to make the transfer process as easy as possible. We'll clean and edit them in Photoshop.
8m
 5
5Direct transfer 1
In this lesson, we'll show you how the direct transfer technique works. We'll teach you how to apply our drawings and illustrations directly to the desired surface and create an interesting composition with different elements.
16m
 6
6Direct transfer 2
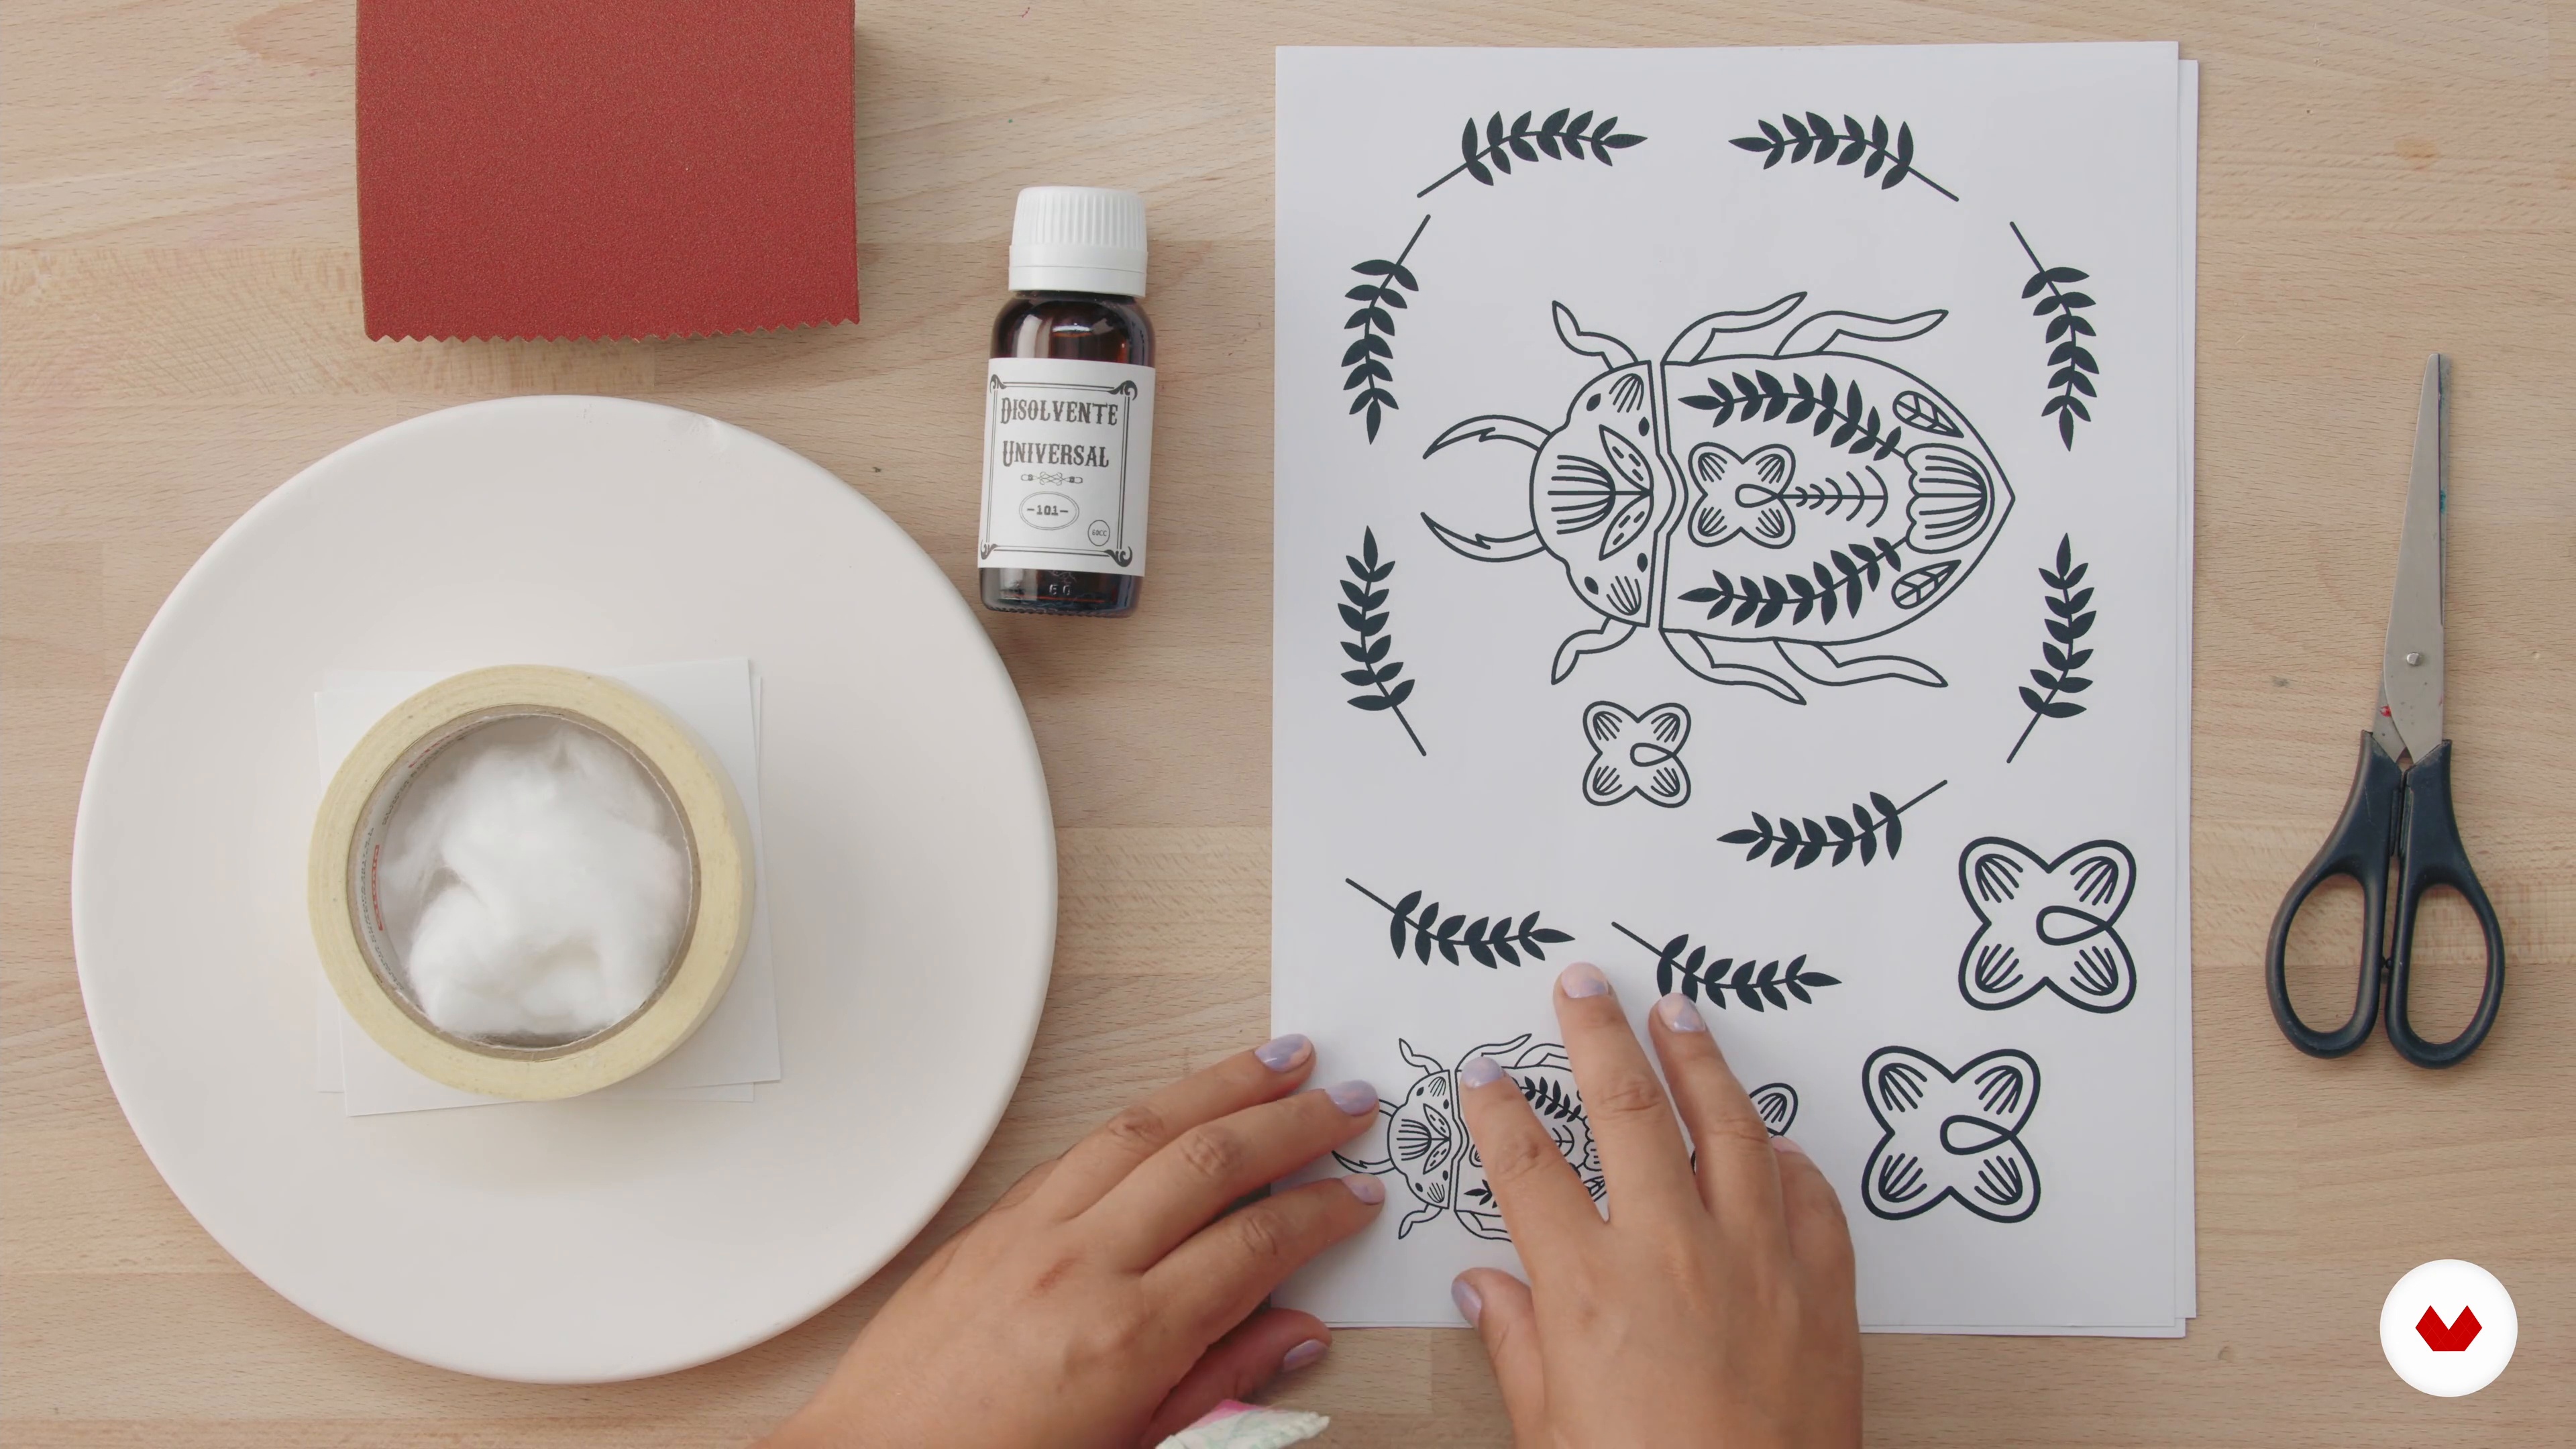
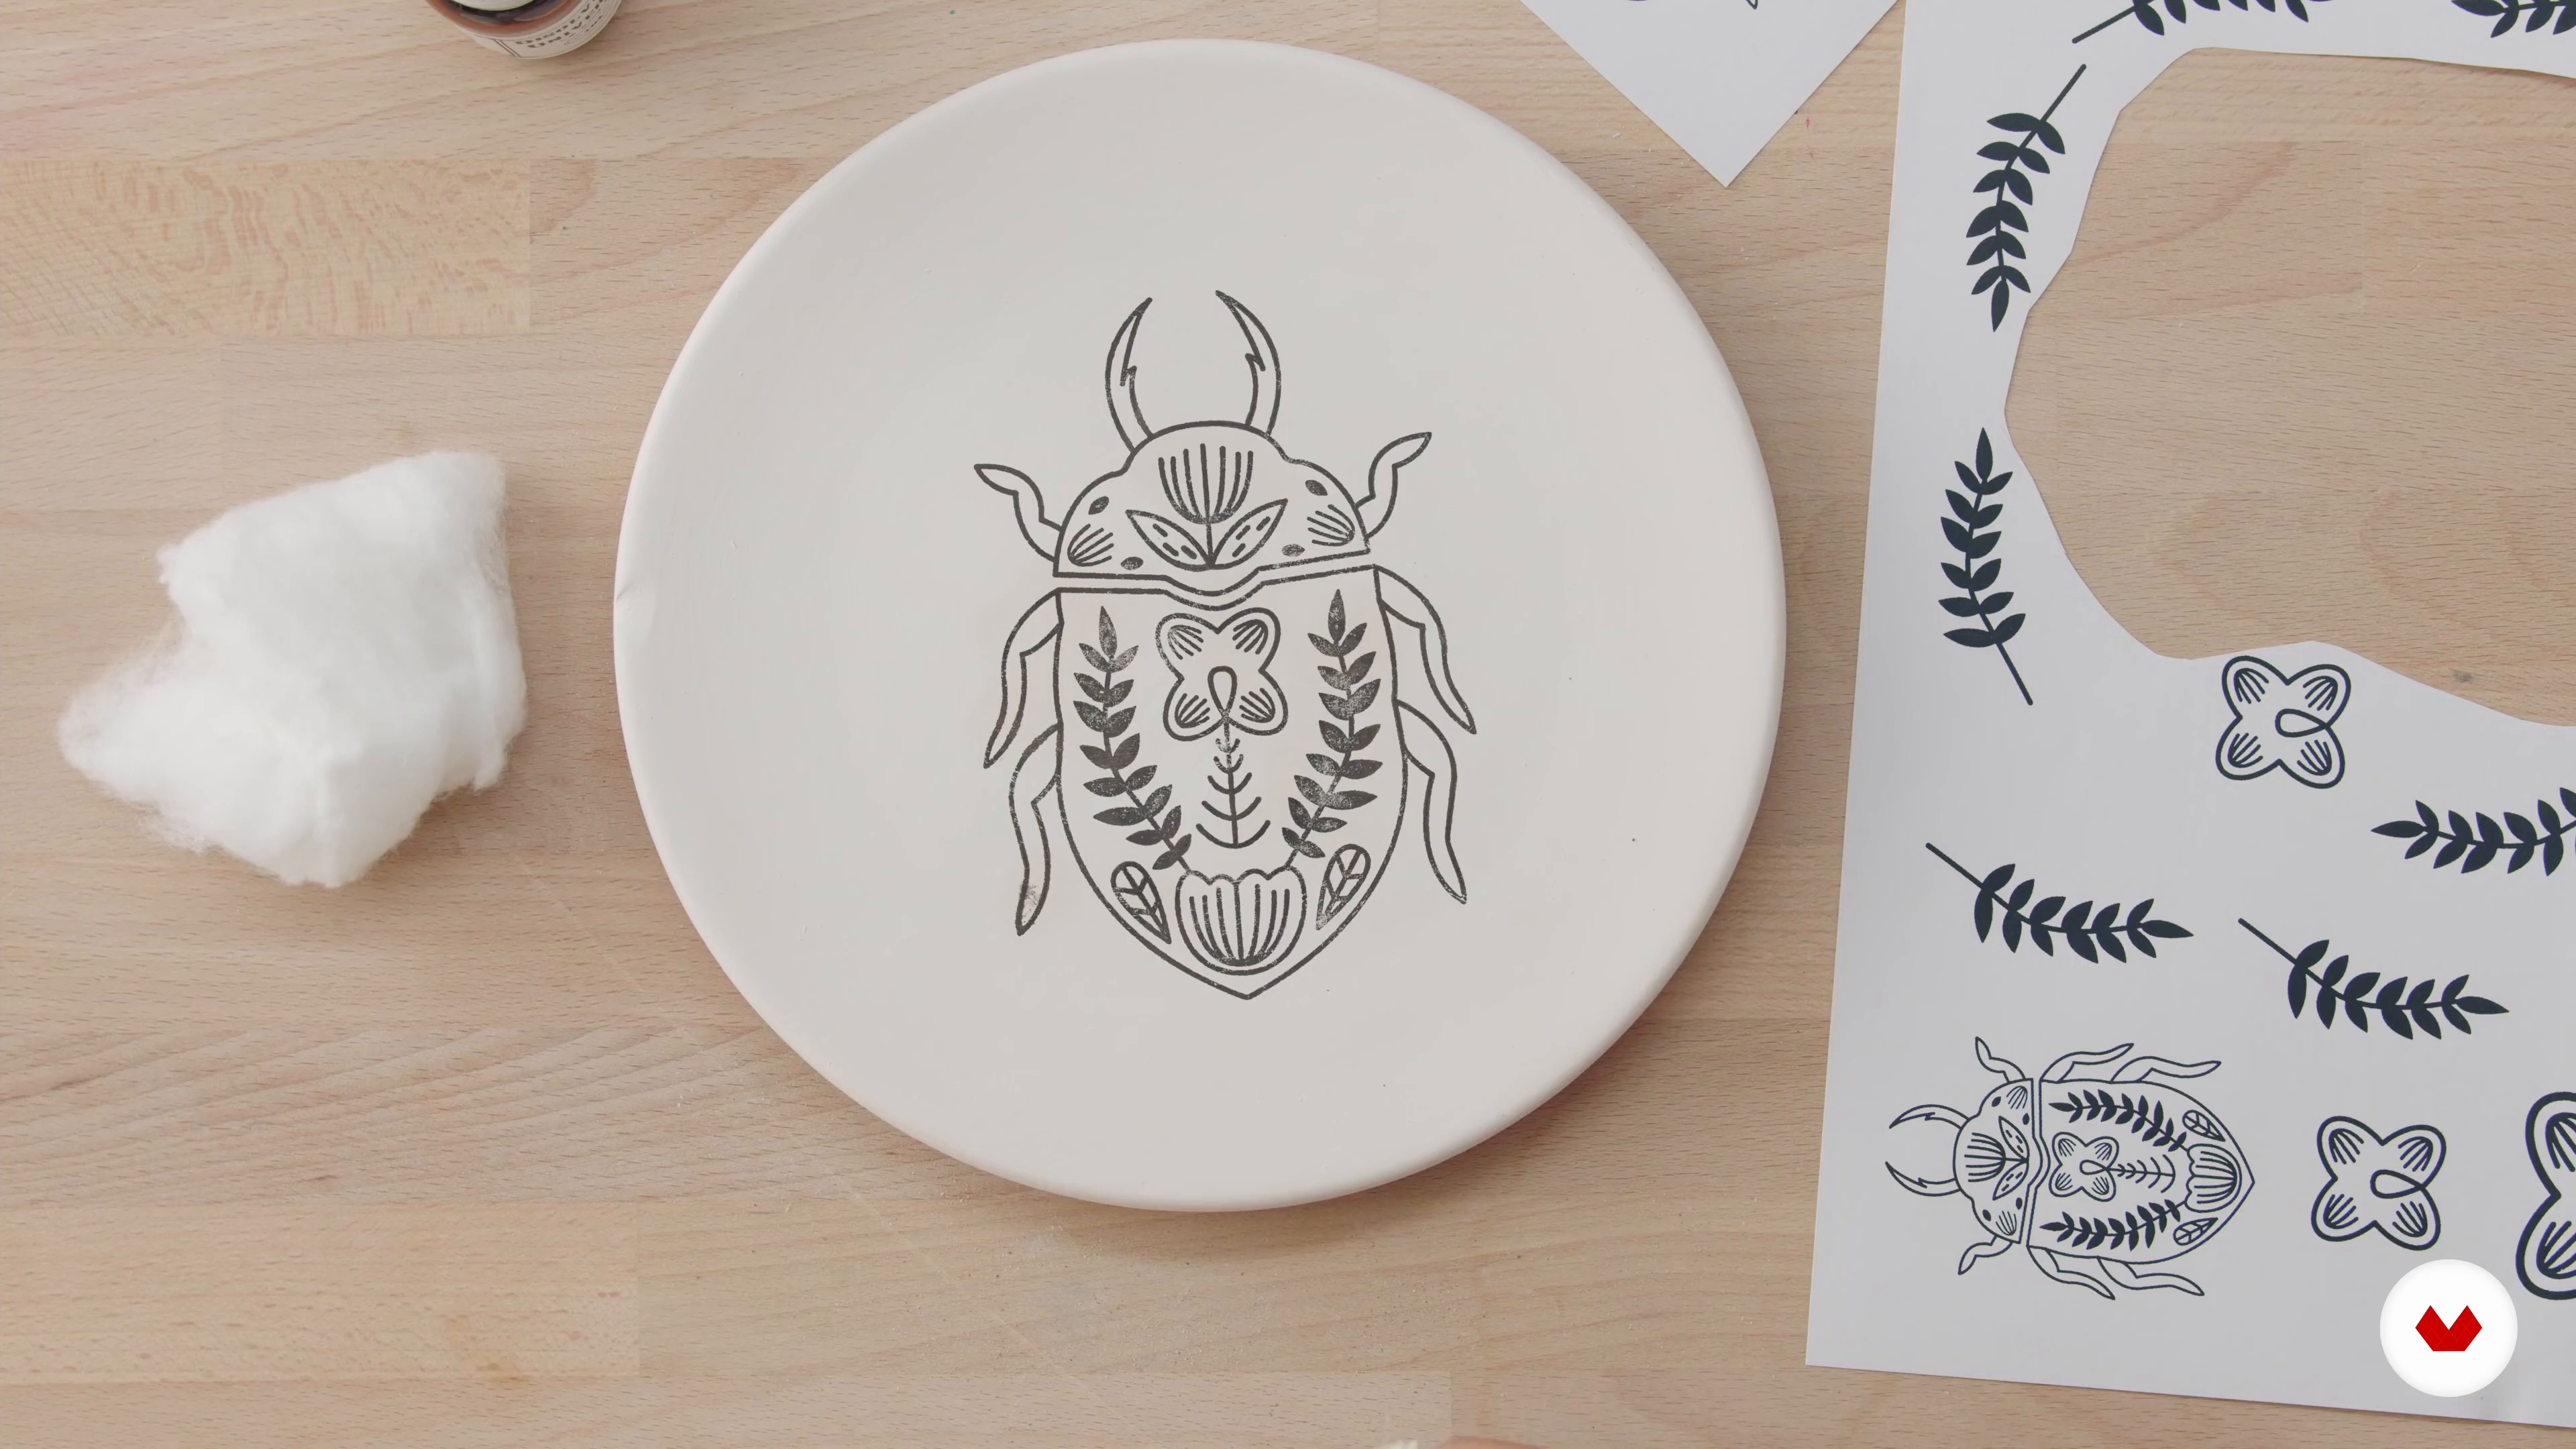
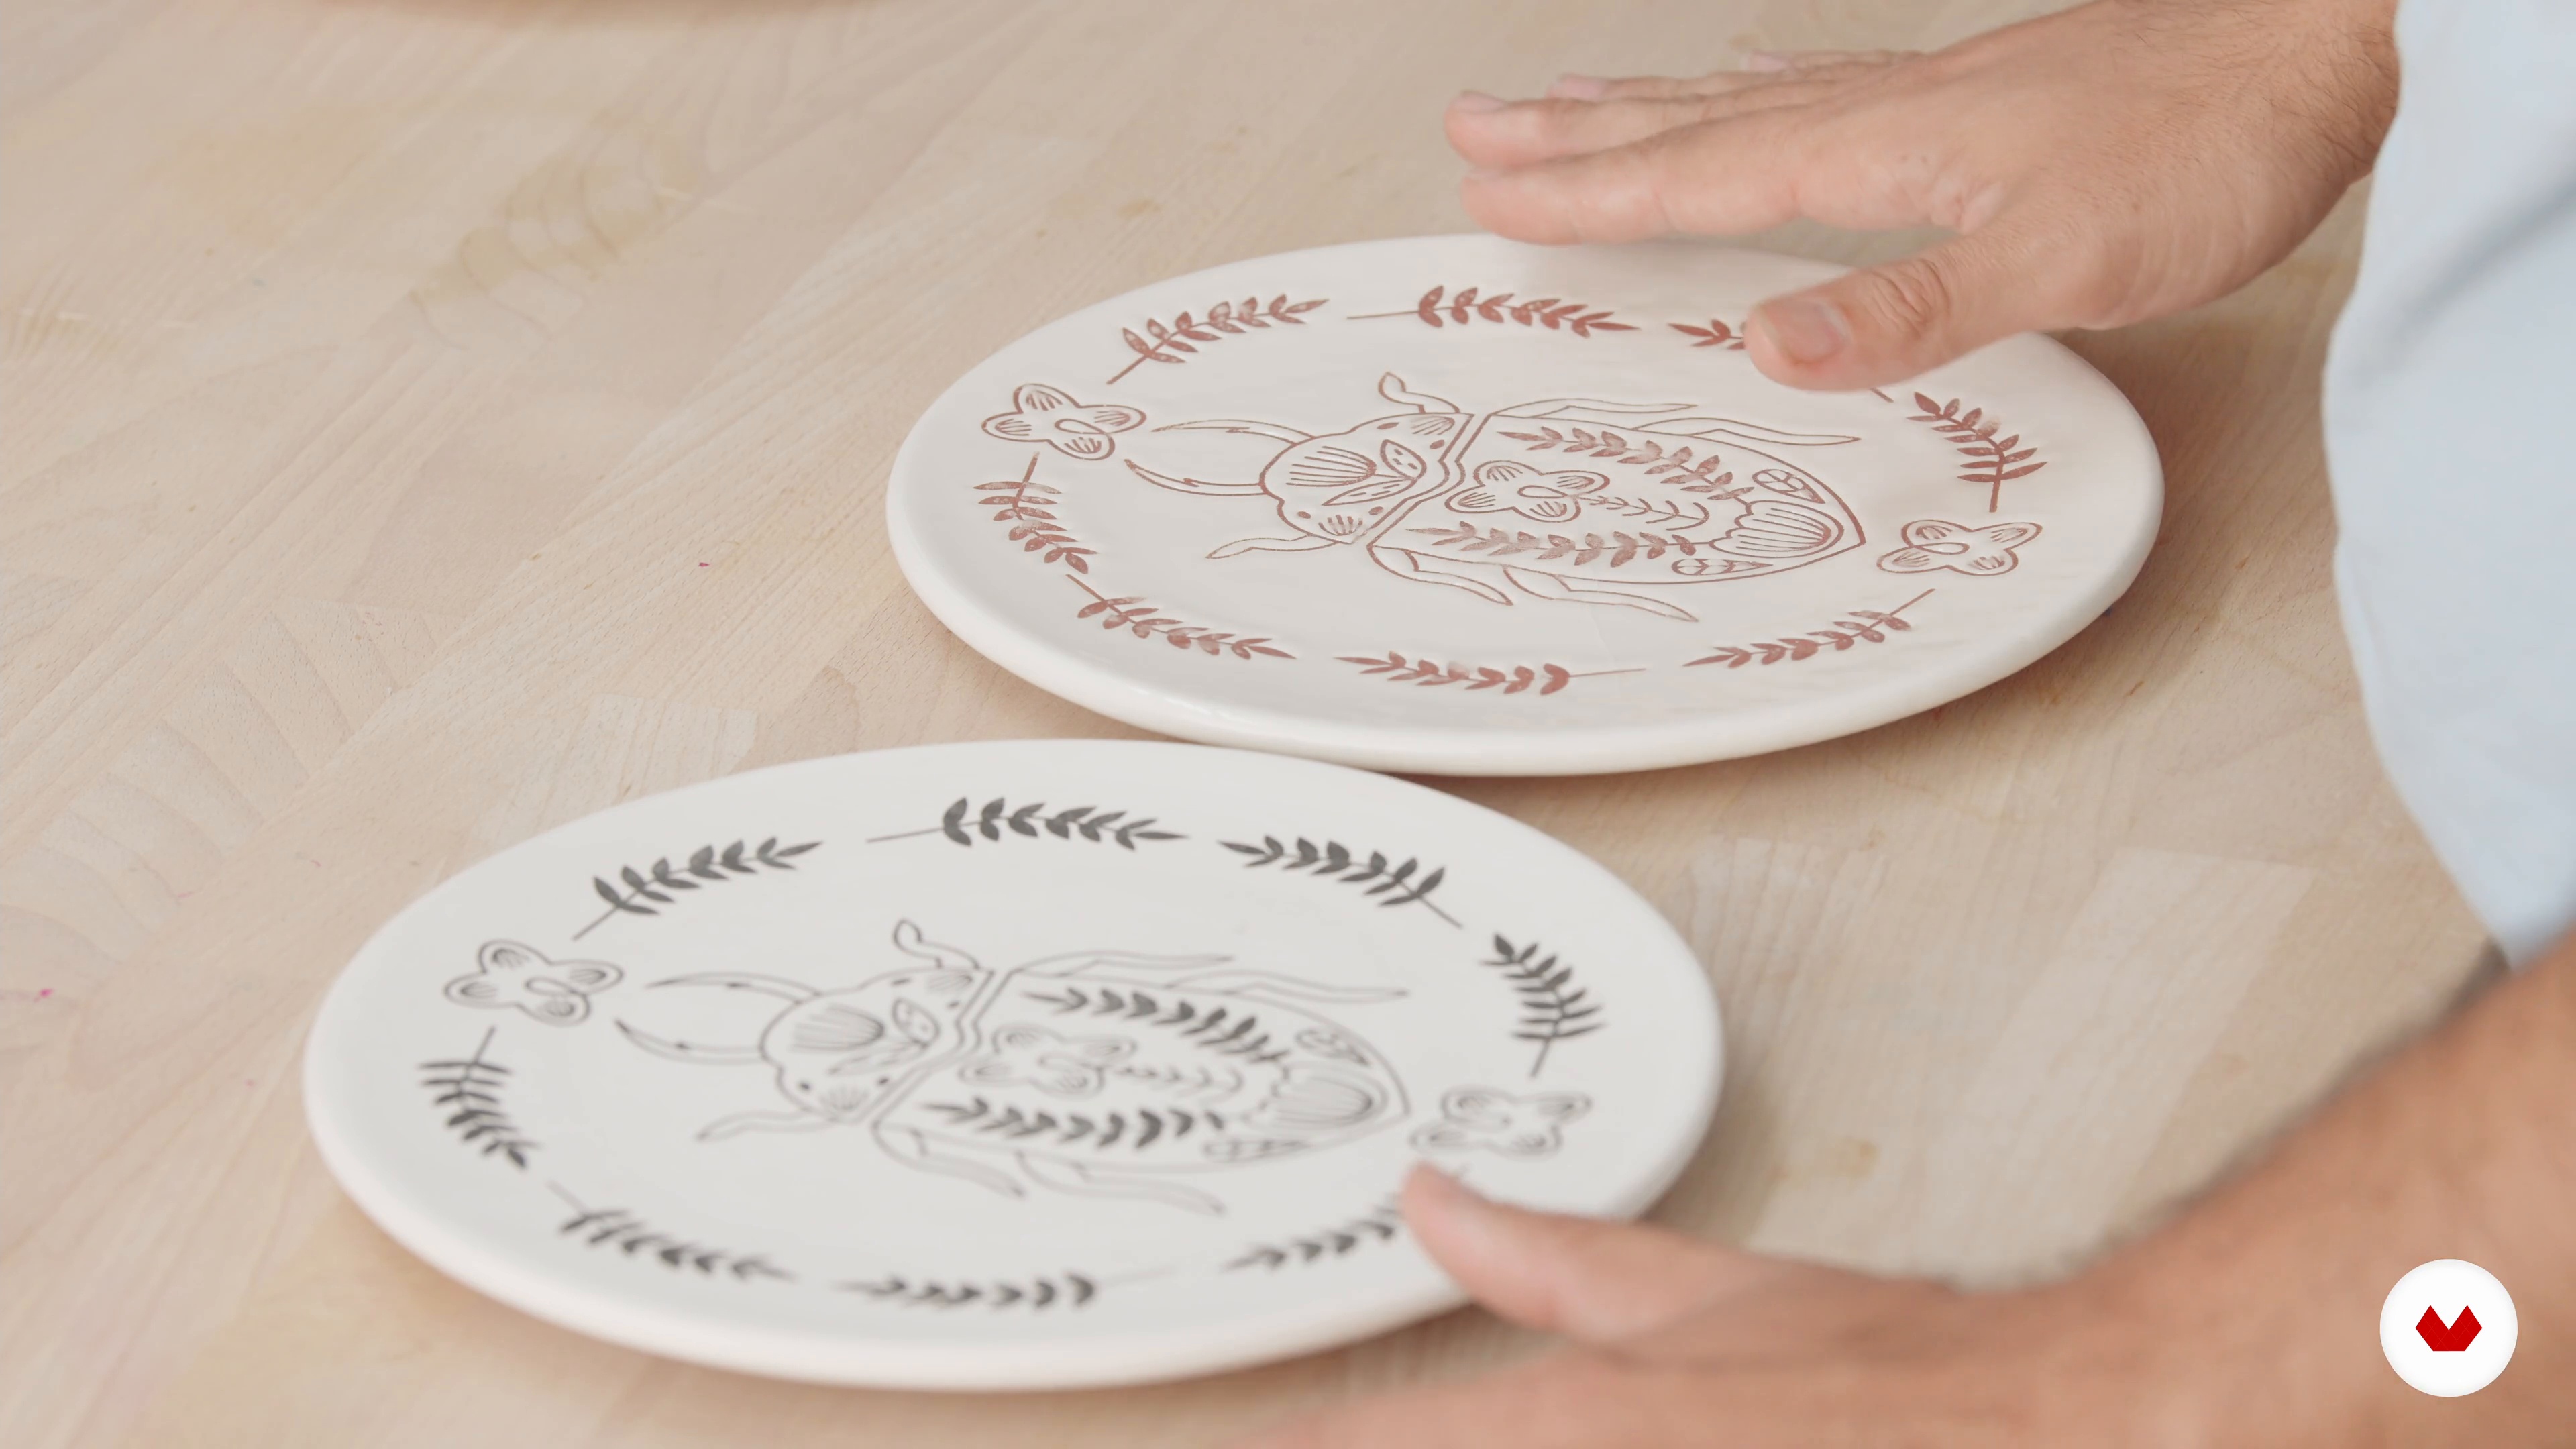
We continue to see how to make the direct transfer, in this case transferring the image of the beetle we have chosen onto a bisque ceramic plate.
17m
 7
7Photographic transfer 1
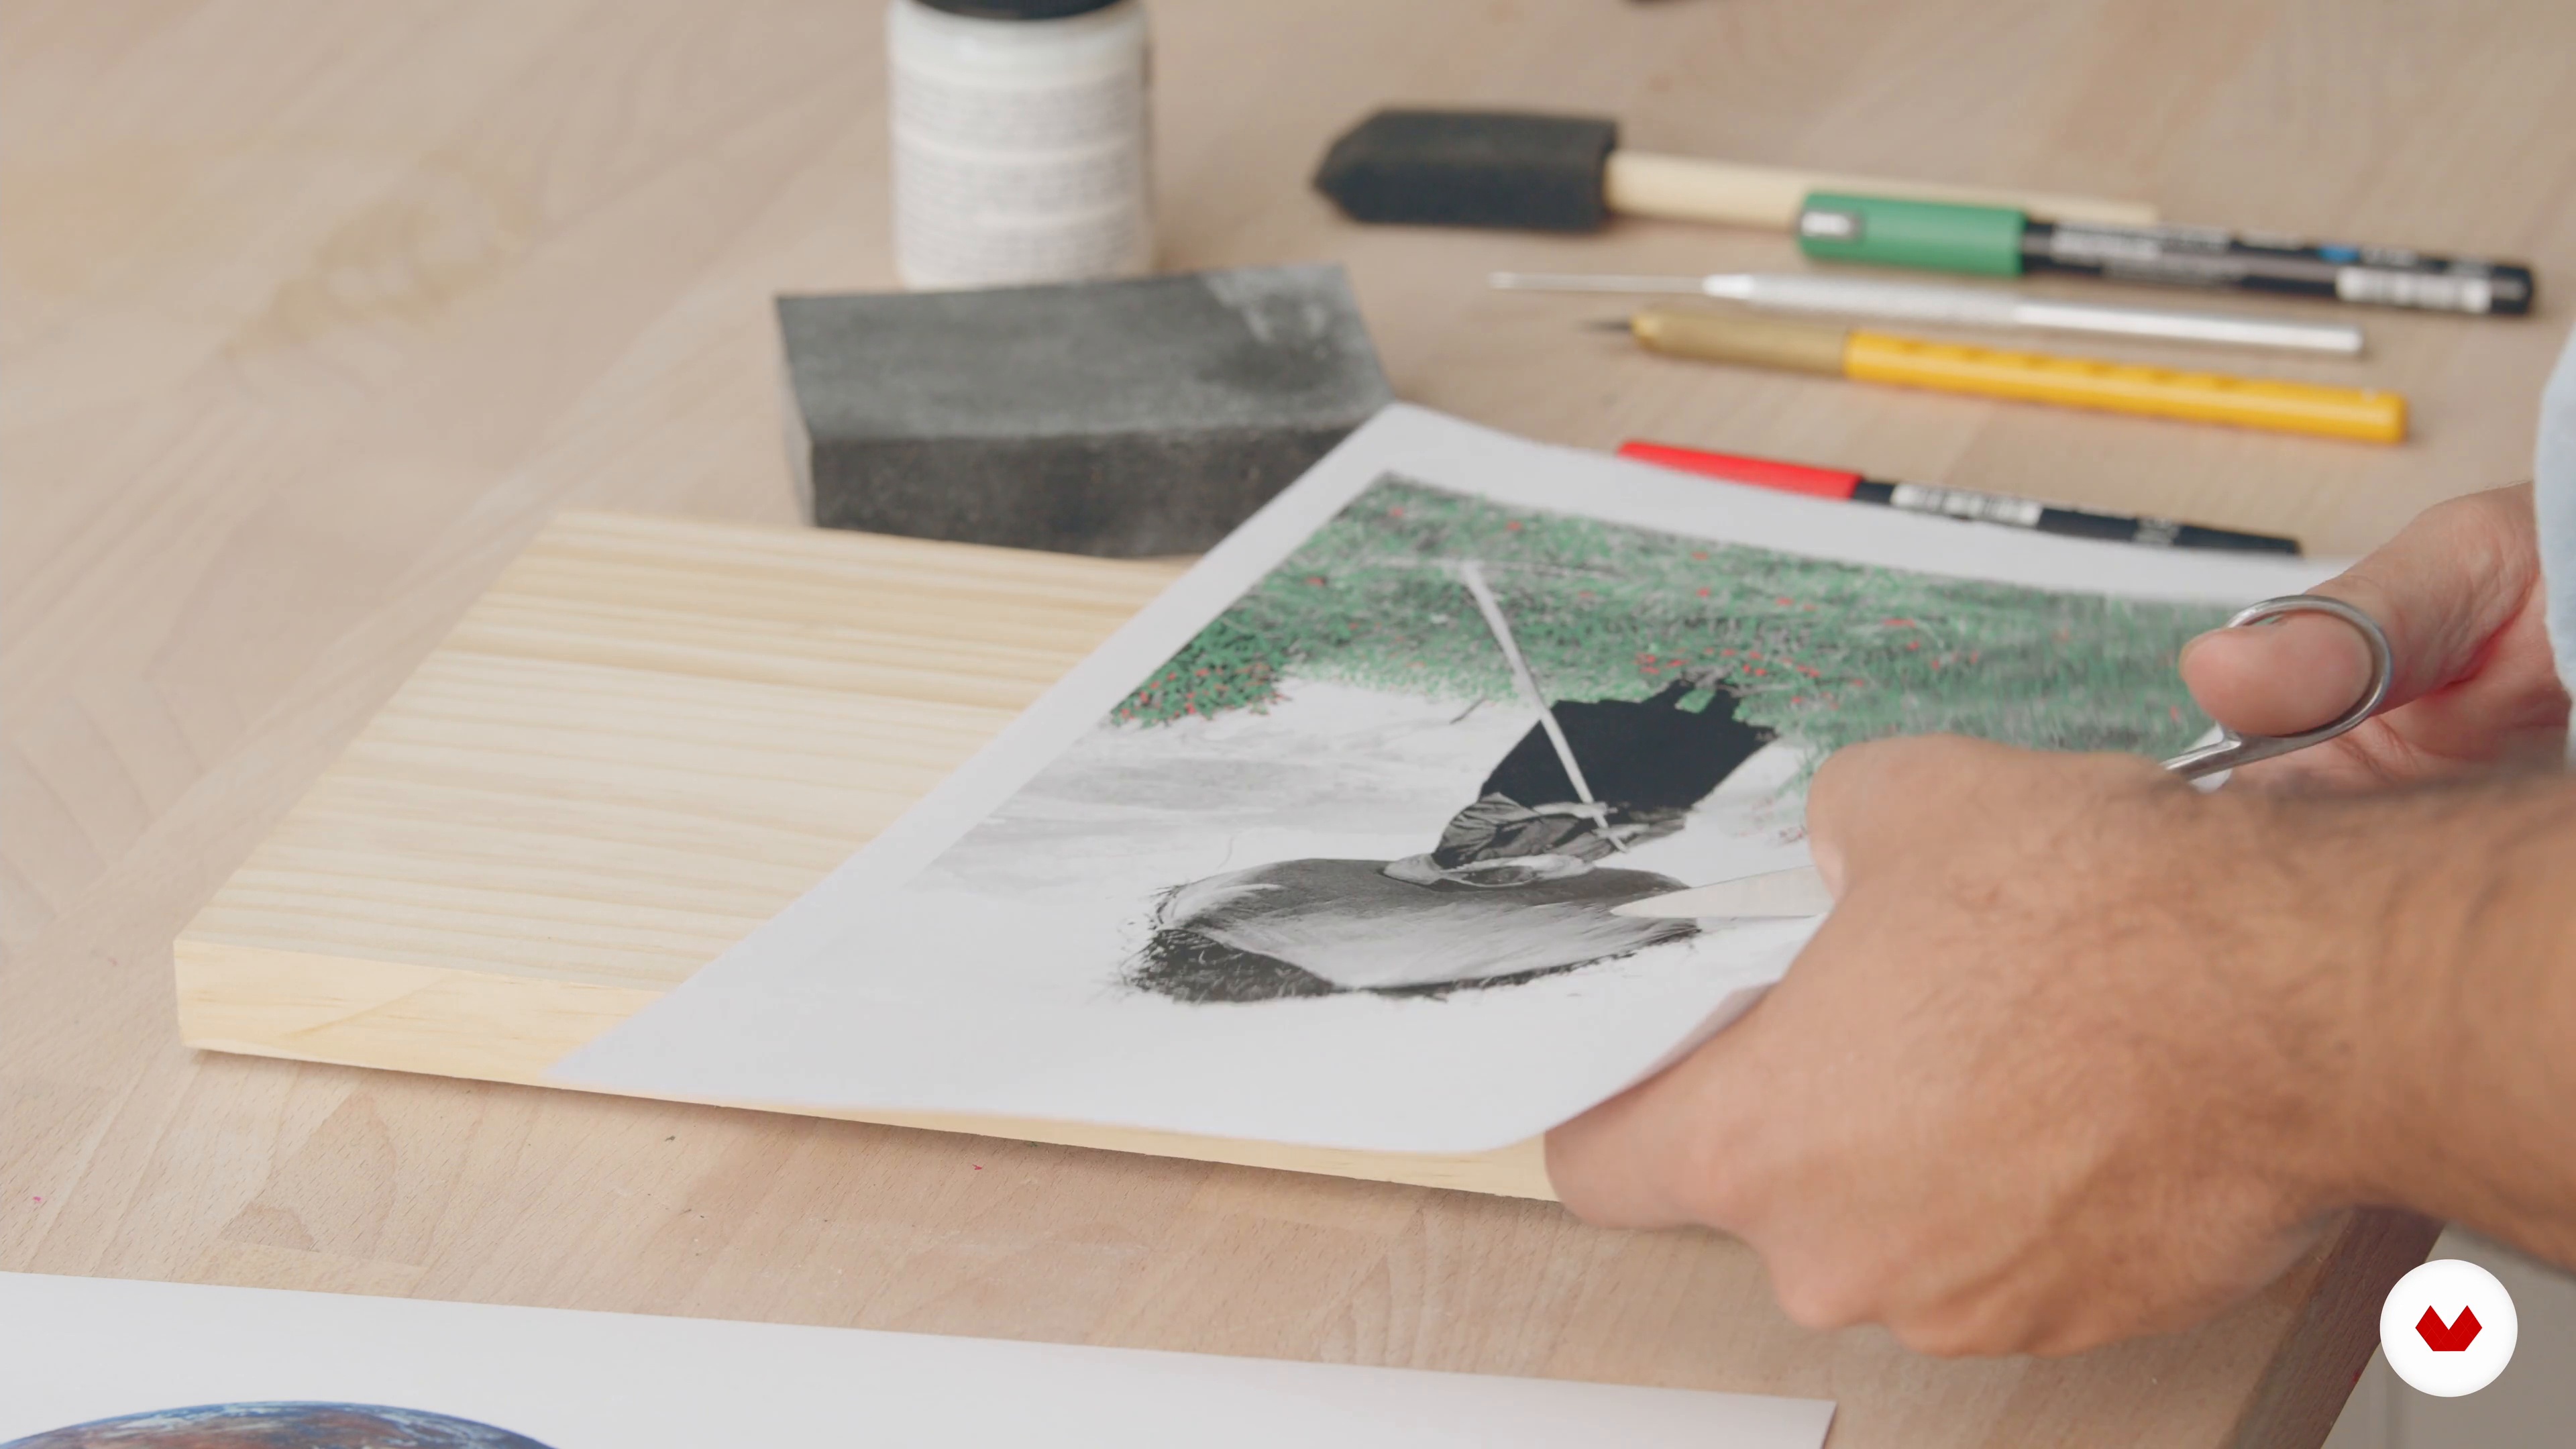
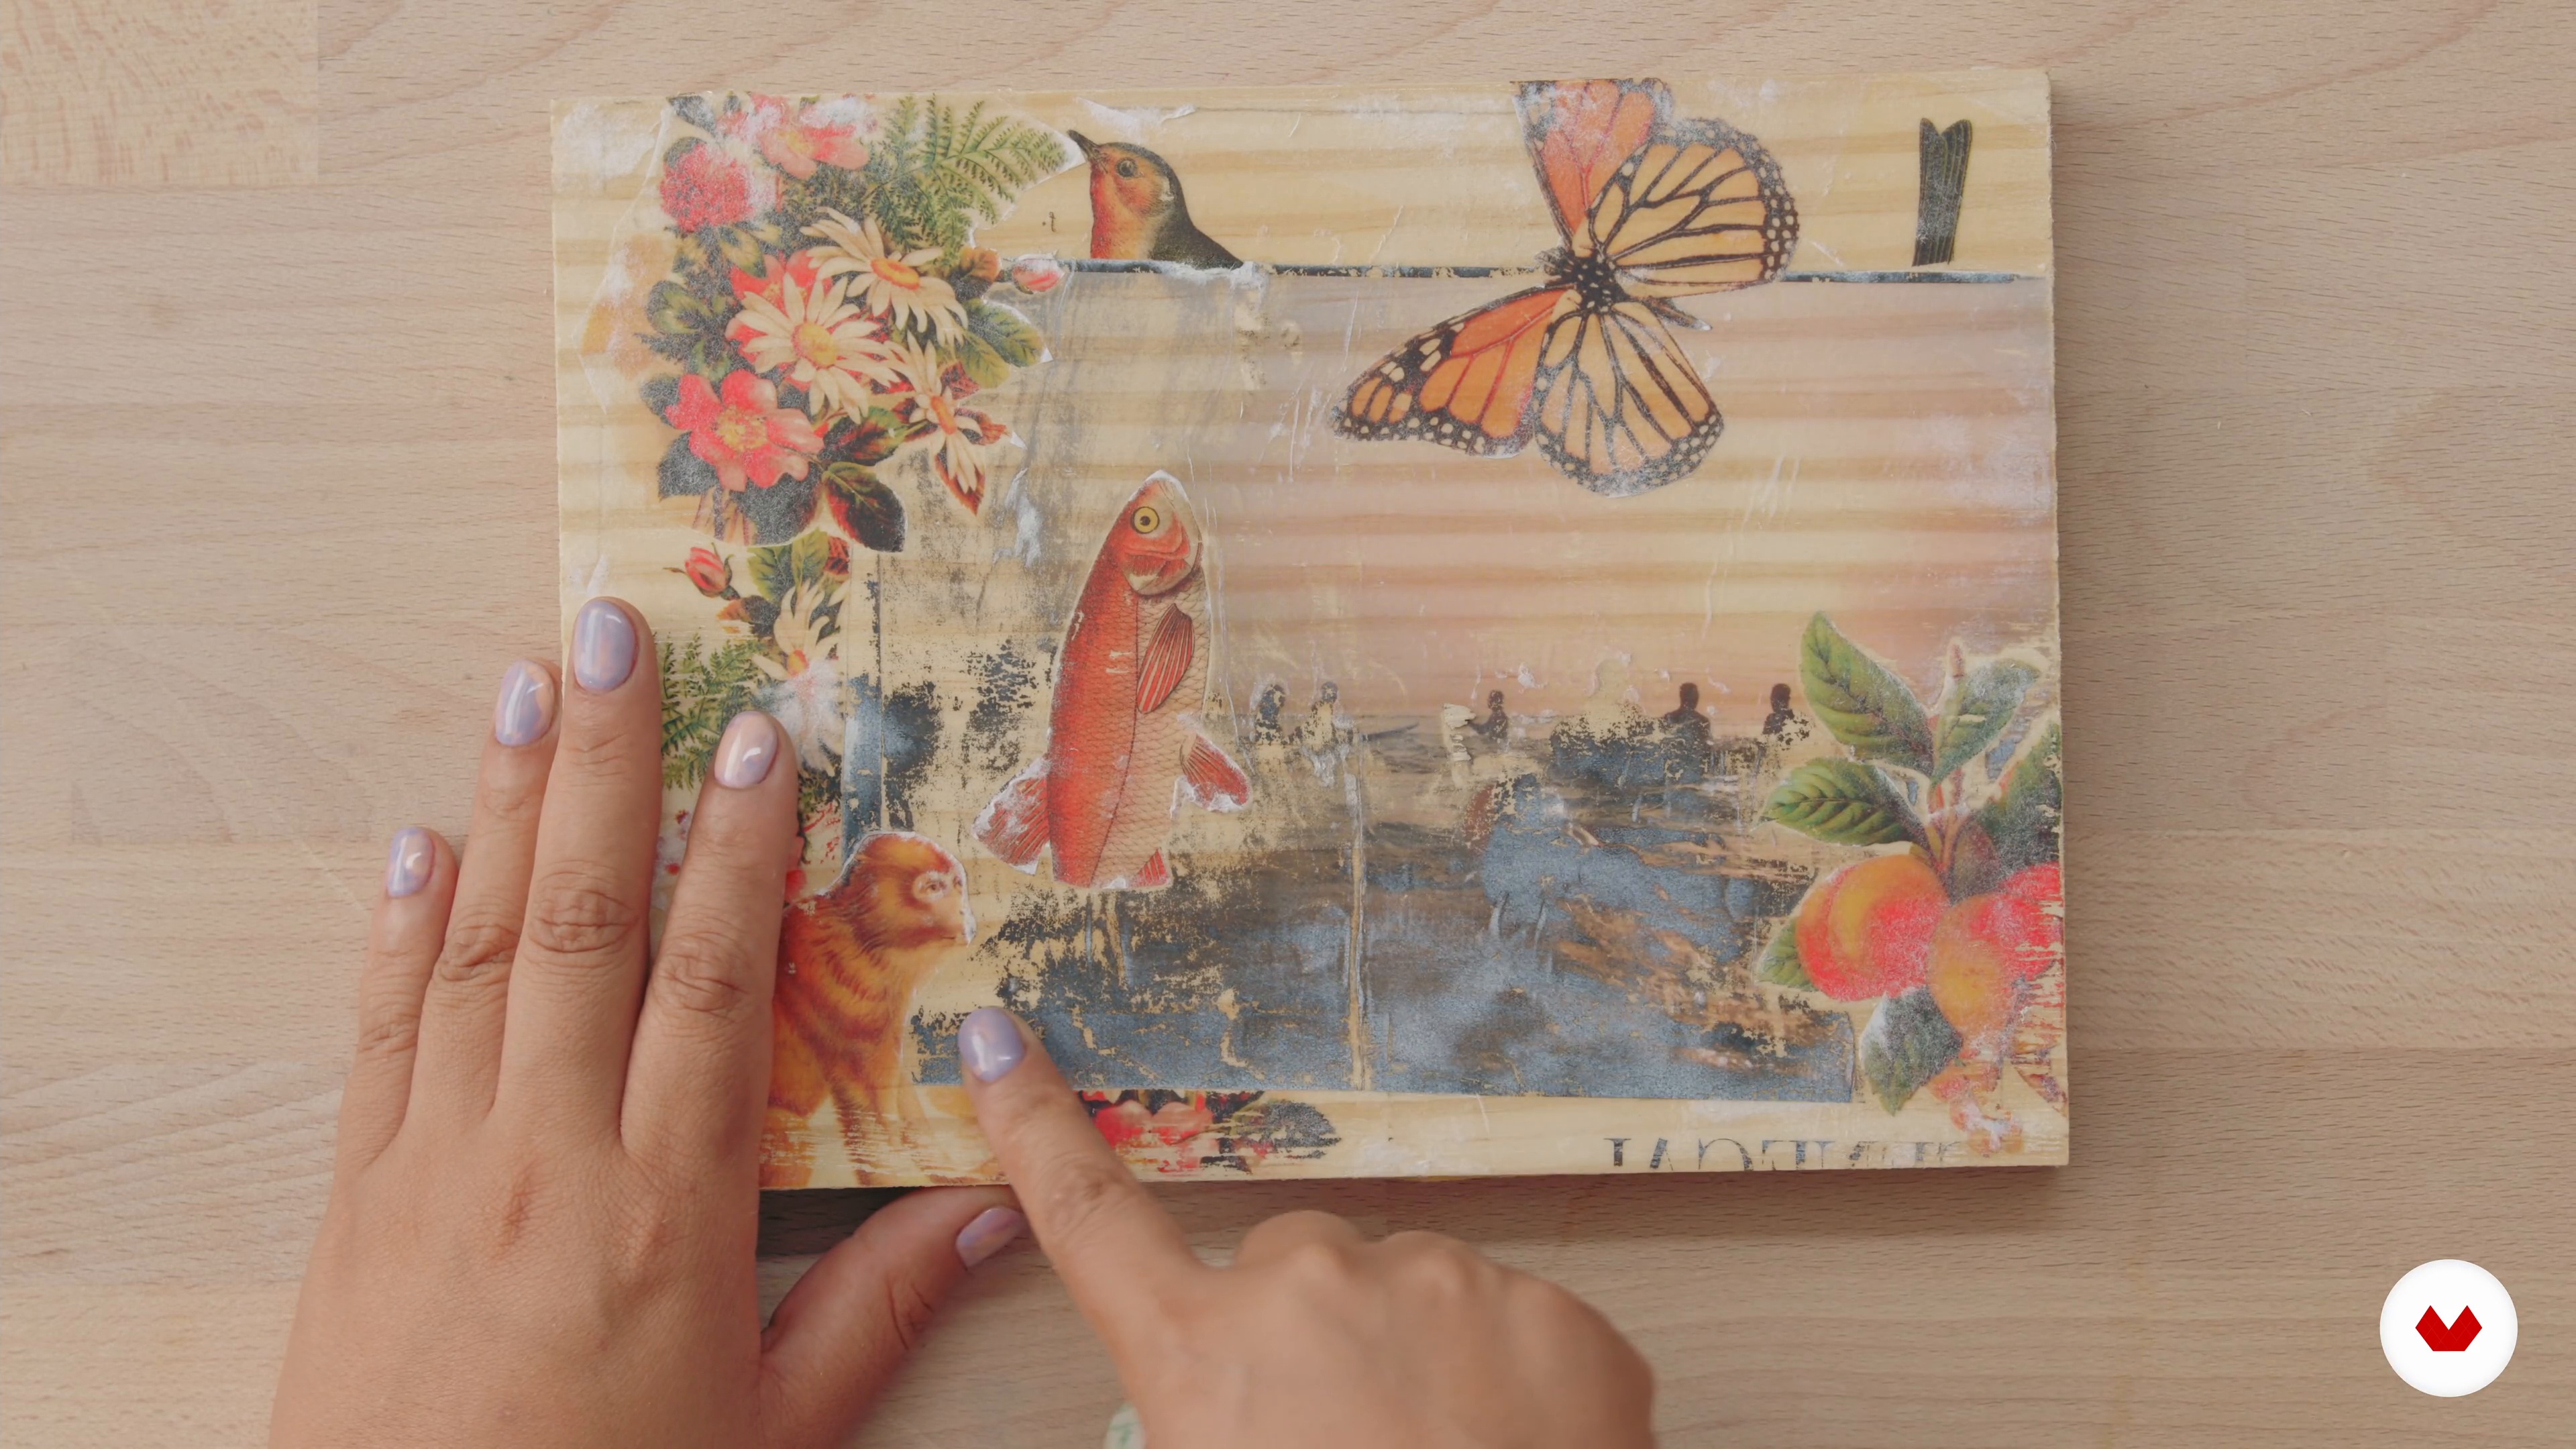
Next, we'll show you how to make a photo transfer. Using this technique, we'll create a collage.
12m
 8
8Photographic transfer 2
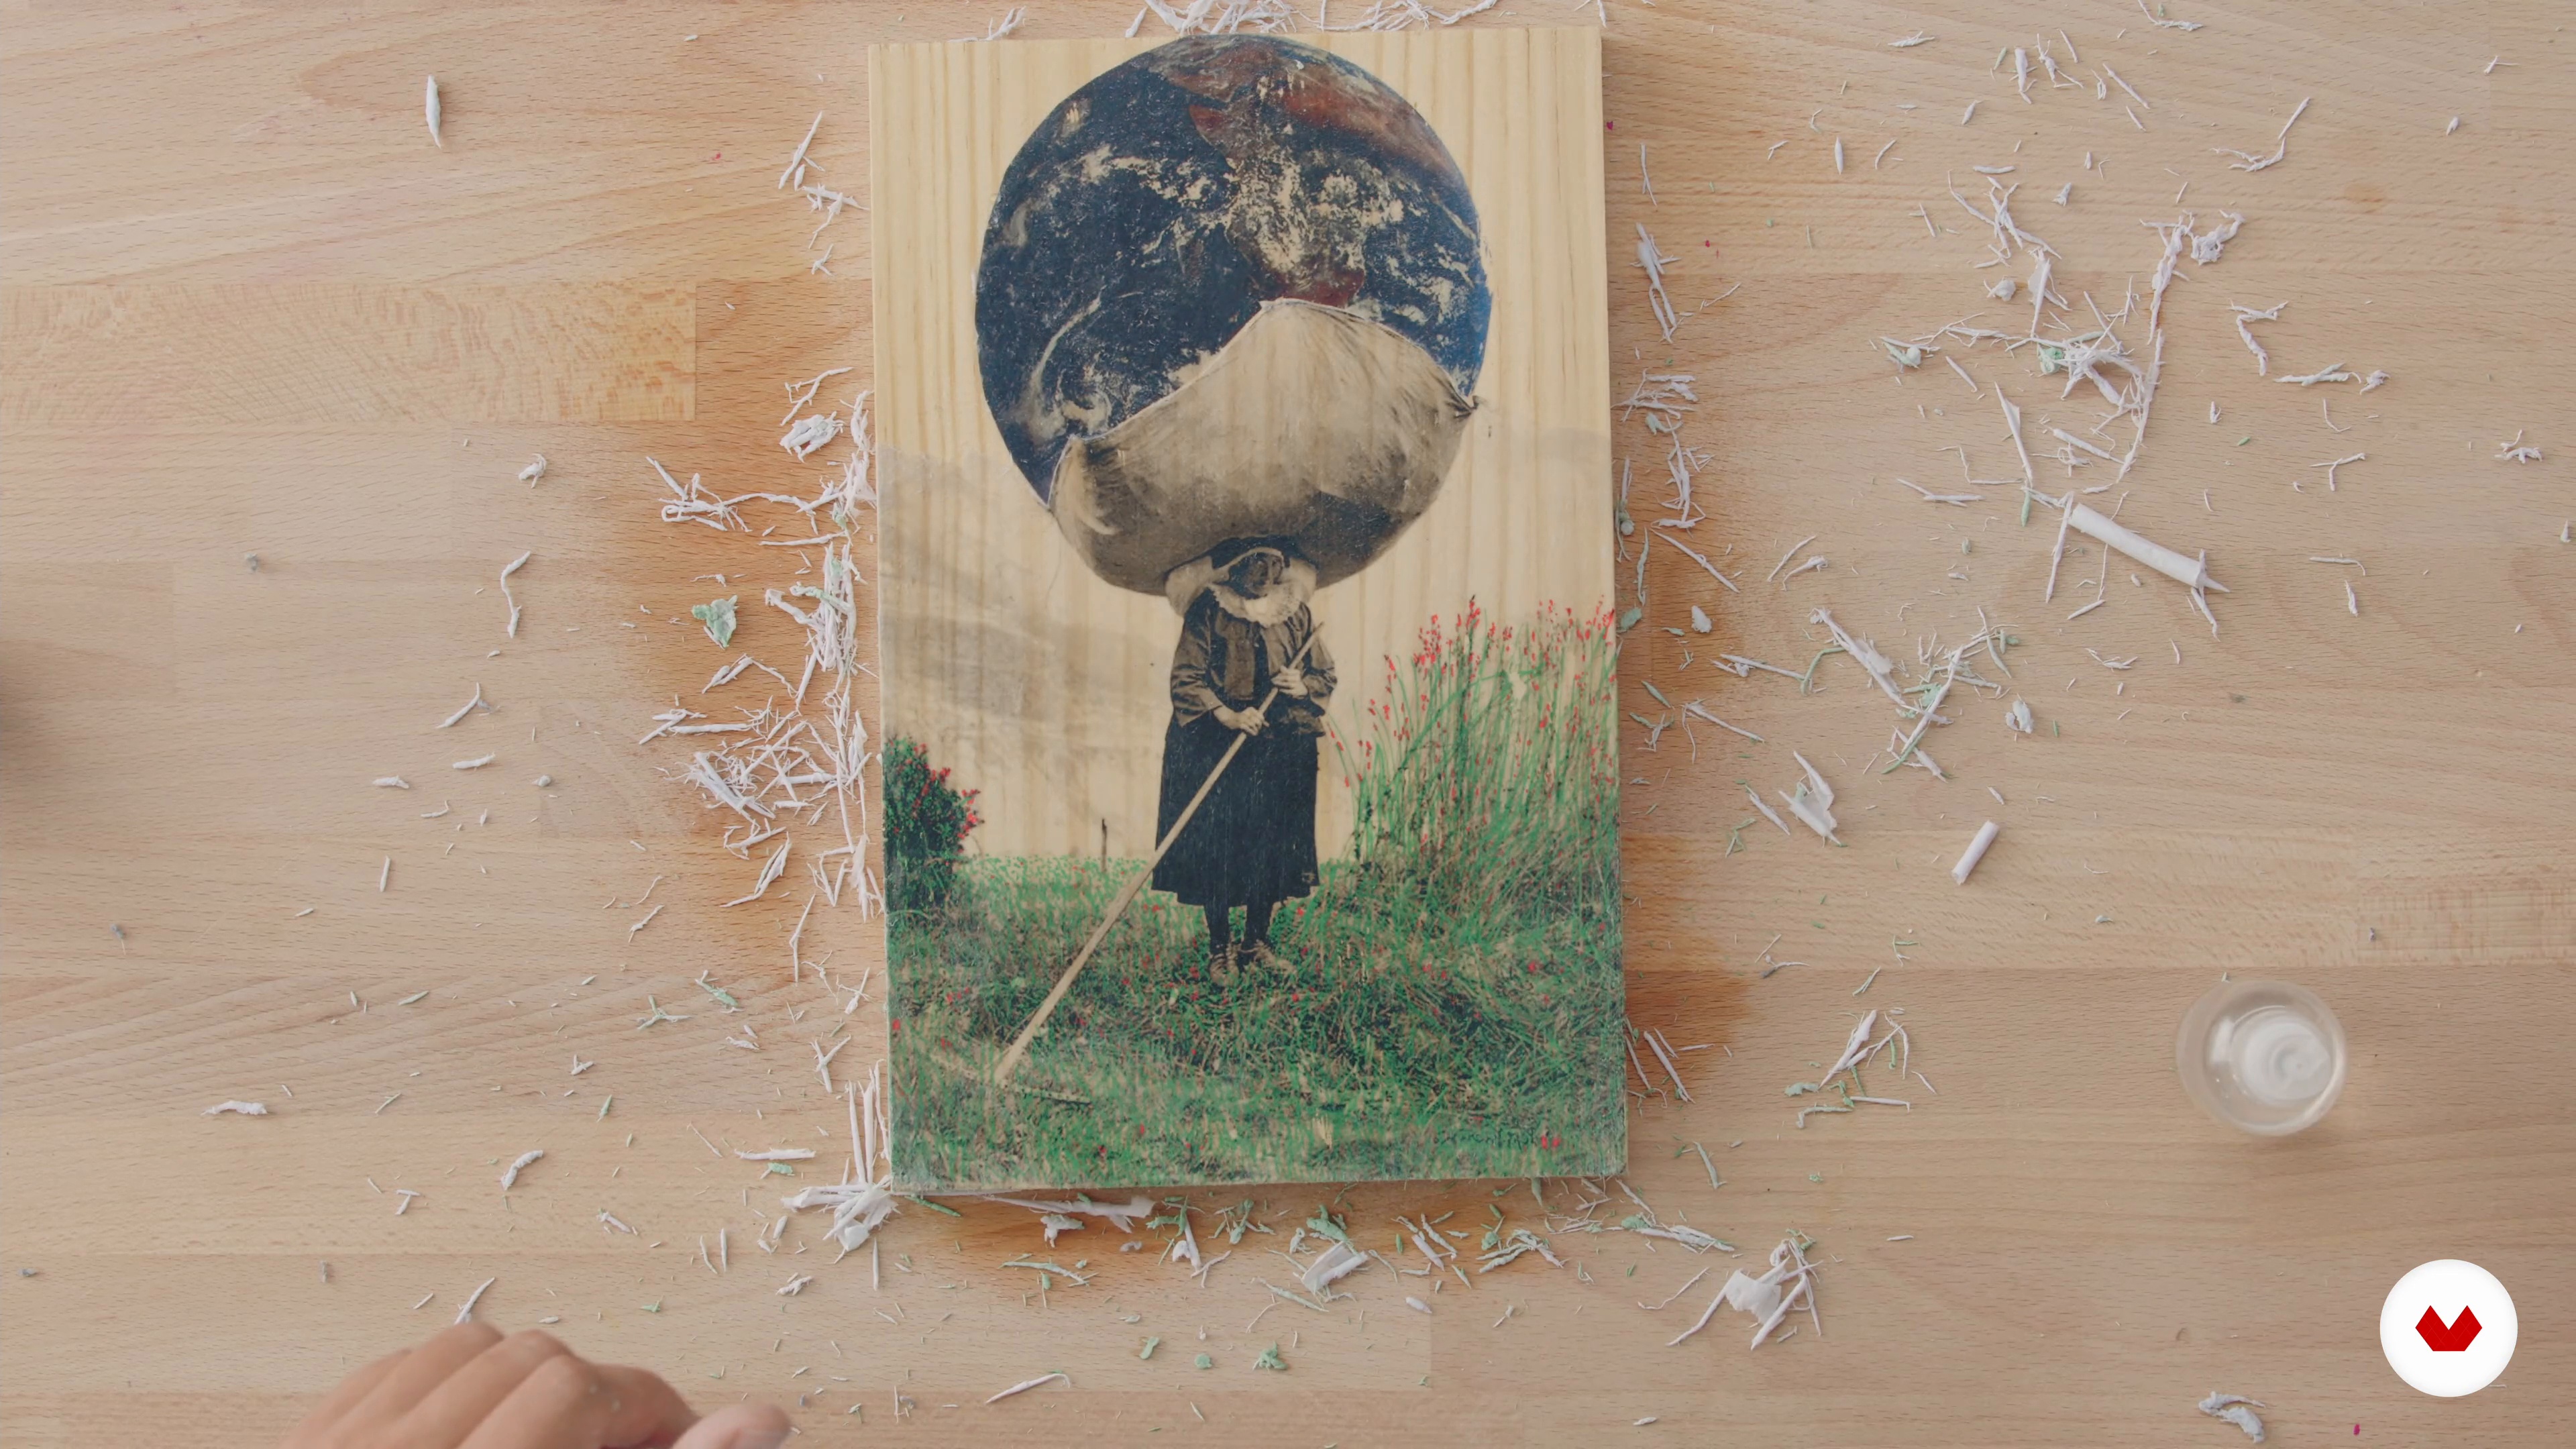
We continue to see the process of photo transfer little by little to complete the collage we started in the previous video.
10m
 9
9Acetate transfer
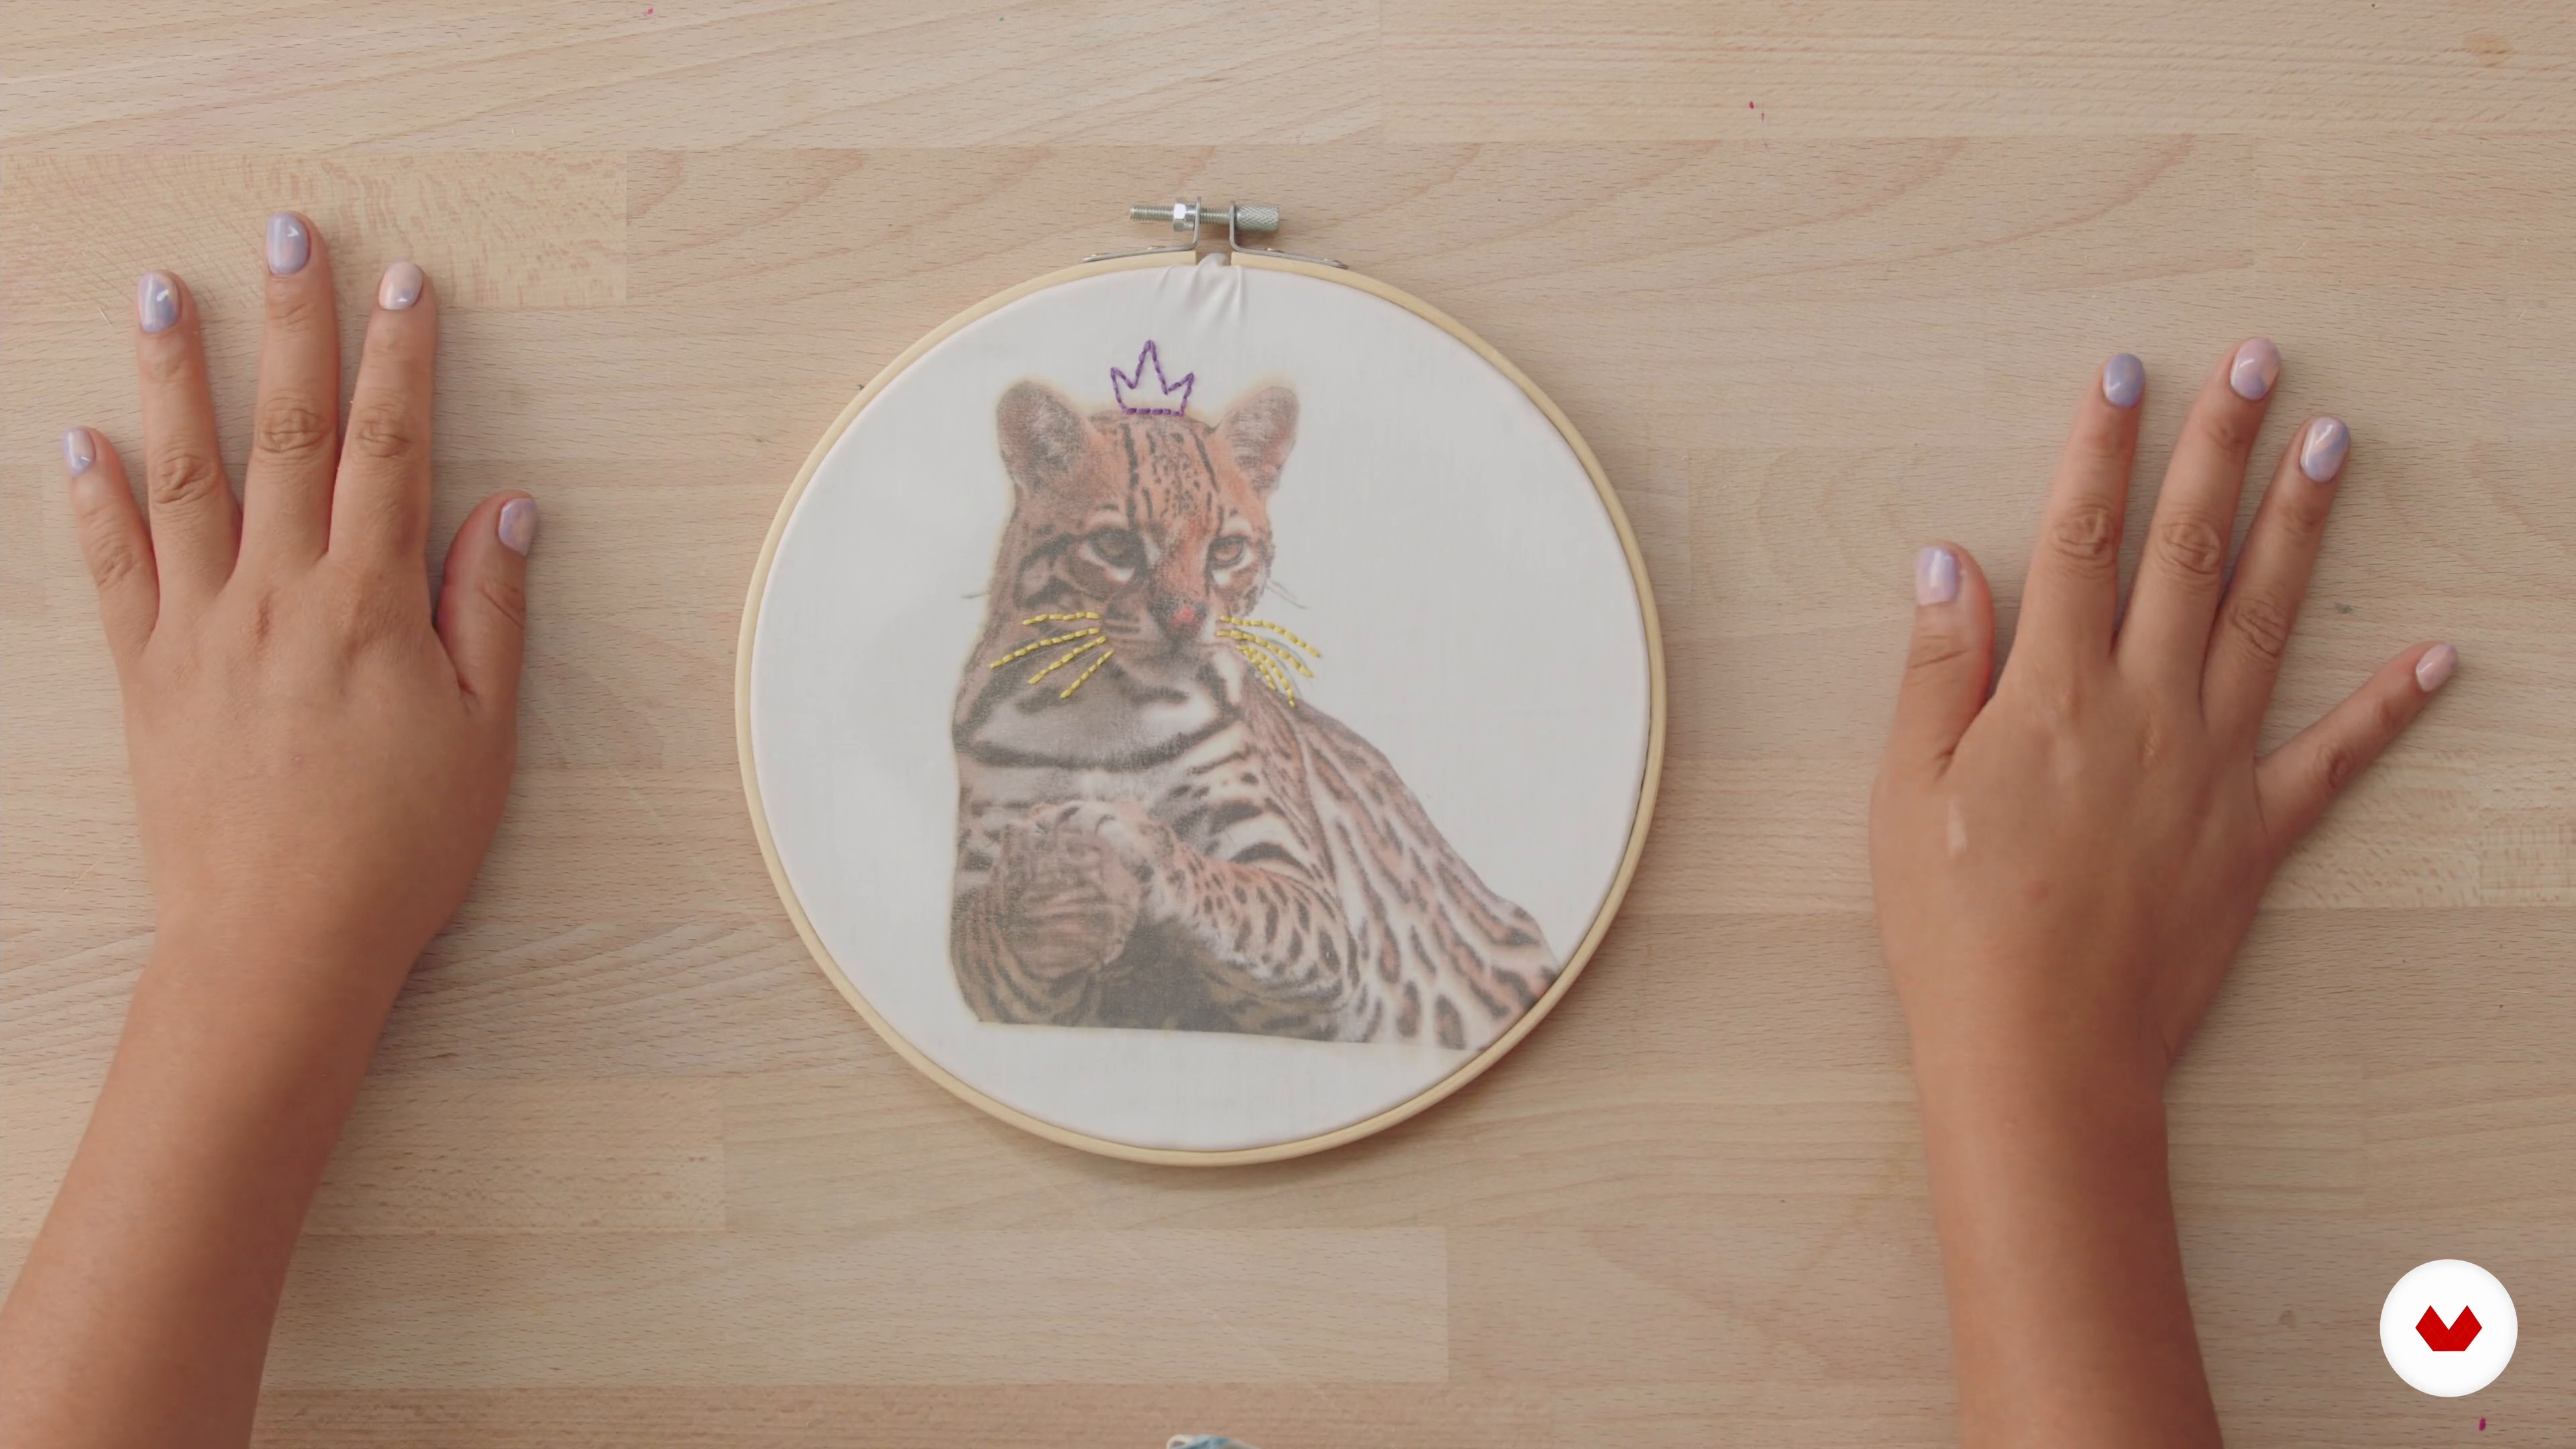
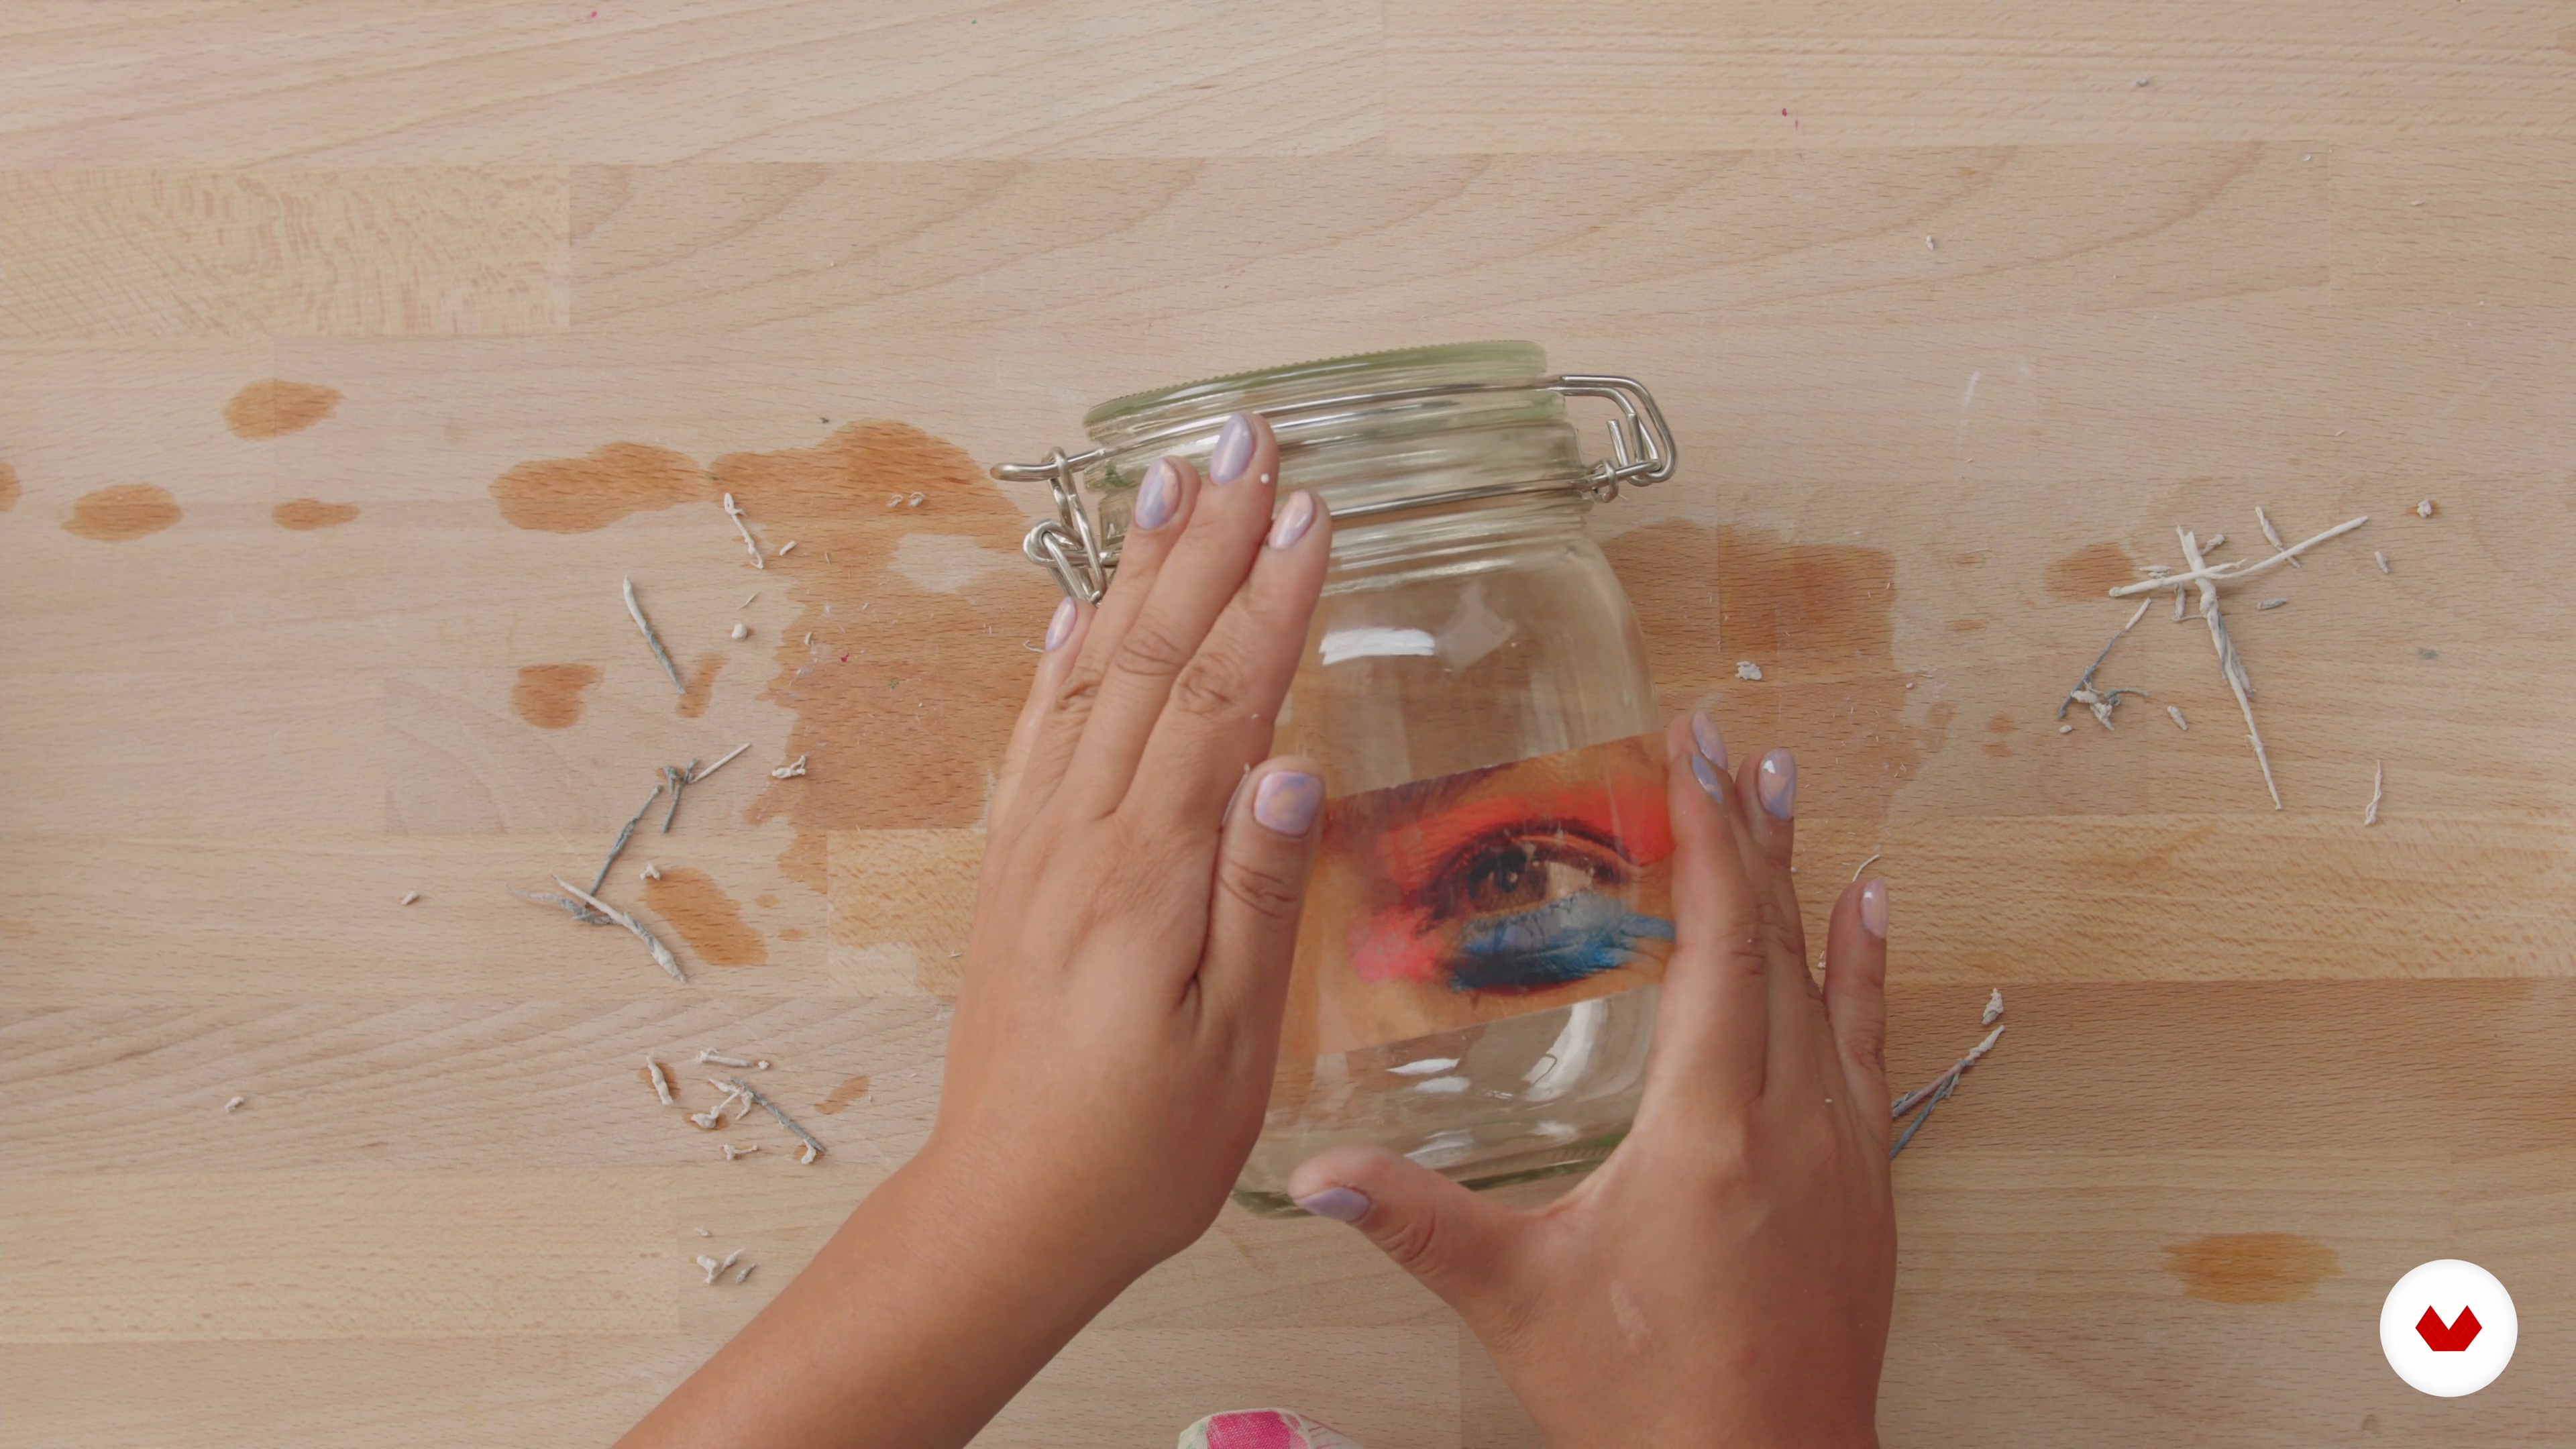
Now we'll show you how to transfer color images with acetates and explain all the options it offers.
15m
 10
10Protection and care
In this lesson, we want to share some tips and tricks with you to protect your pieces or transform them.
9m
 11
11Tips and troubleshooting
Let's review some of the most common errors we may encounter. We'll also discuss how to fix them, of course!
10m
 12
12Other applications
Finally, we'll show you other transfer apps. Some are simple, while others are a little more advanced.
13m
 1
1Manual printing systems
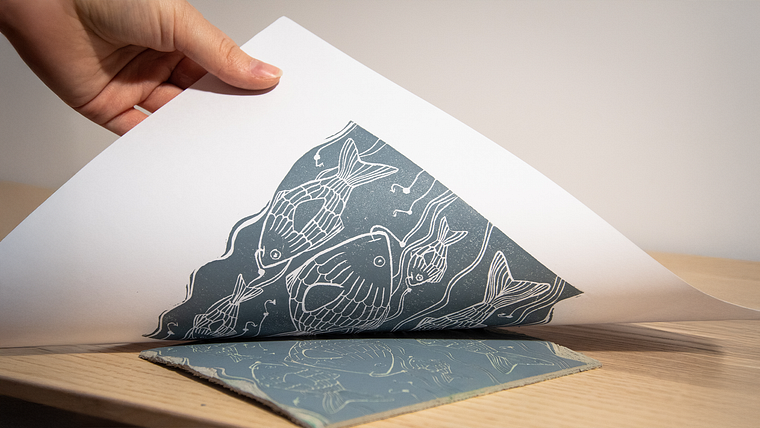
We'll briefly cover carving, screen printing, stencil printing, and block printing techniques, as well as their applications and tools. We'll also explain the advantages and disadvantages of each to put the photoengraving technique used throughout the course into context. This more comprehensive explanation aims to demonstrate the opportunities offered by photoengraving and the types of work it is suitable for.
3m
 2
2Engraving and photoengraving
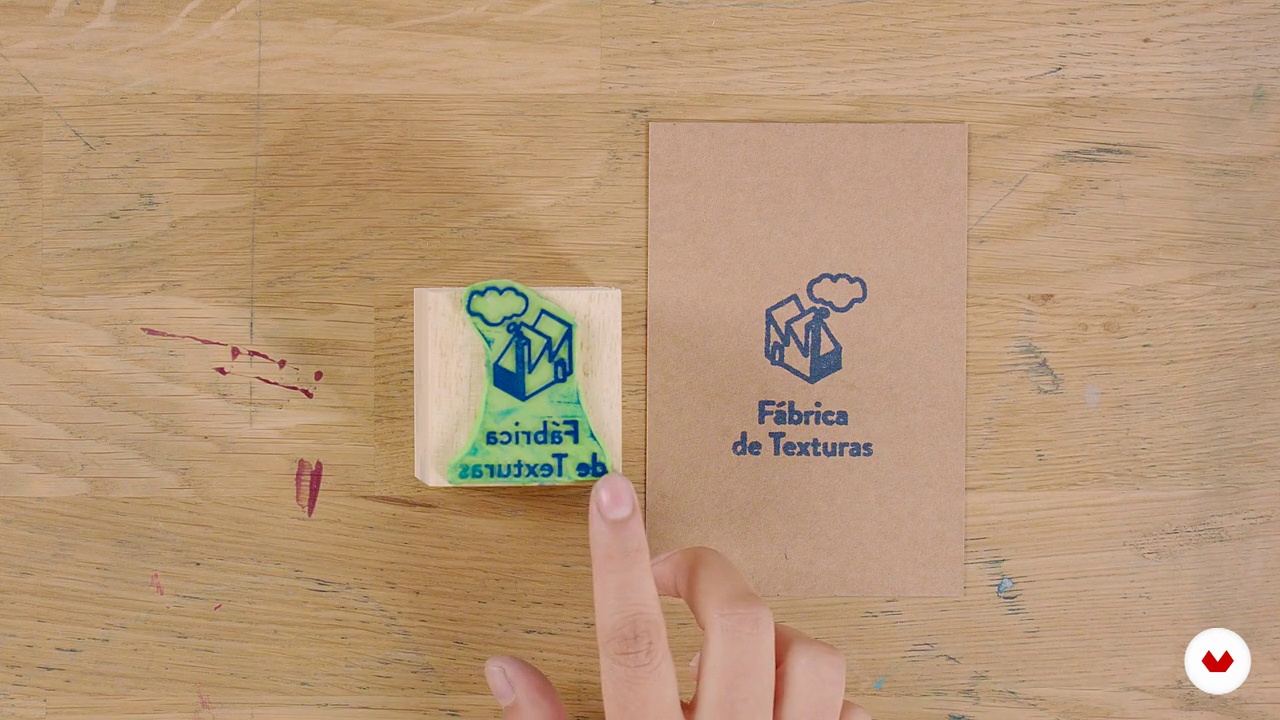
This lesson introduces the printmaking technique we'll use throughout the course. We'll begin by demonstrating different types of stamps and printing with them. We'll discuss printmaking as a classic fine art technique and how to adapt it to a more immediate and domestic application within the non-toxic photoengraving movement. We'll present the non-toxic polymer photoengraving technique.
2m
 3
3Materials and tools
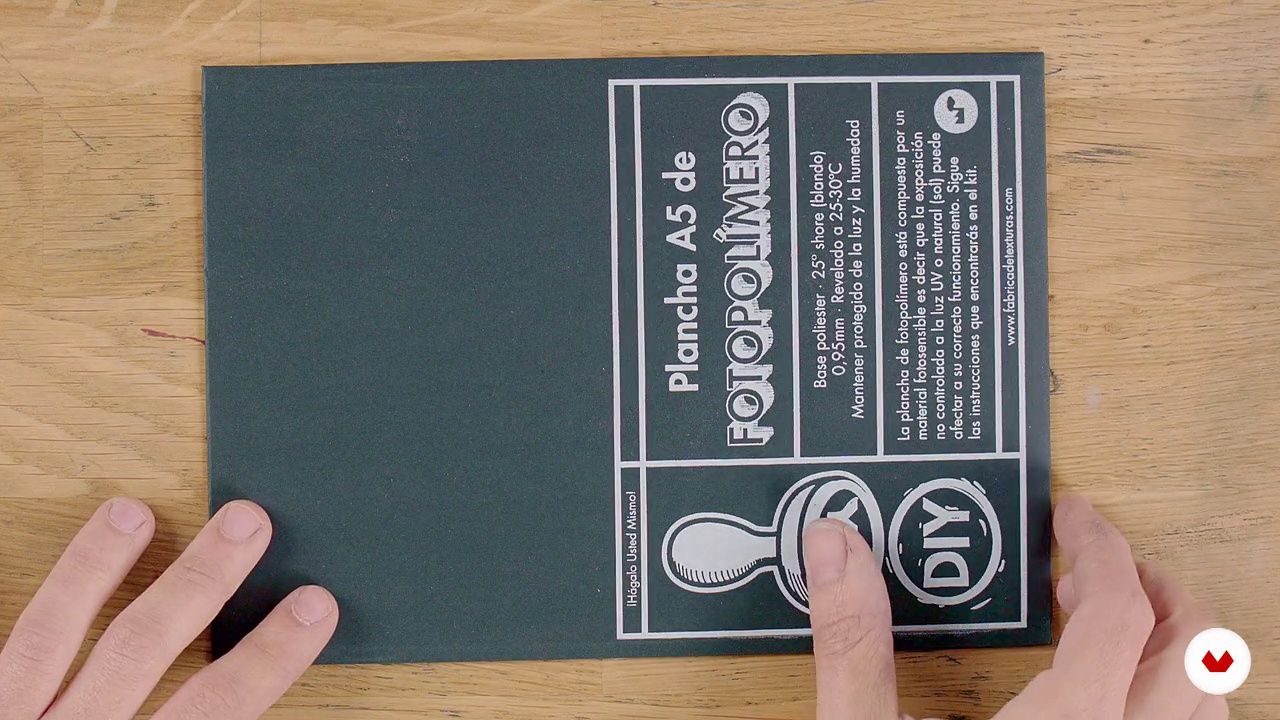
You'll see the materials we'll use during the course. We'll also show you the tools and some "home" alternatives you can use and are sure to have on hand. We'll explain in detail the course's core materials: photopolymer plates, the only specialized item needed.
3m
 4
4Step by step
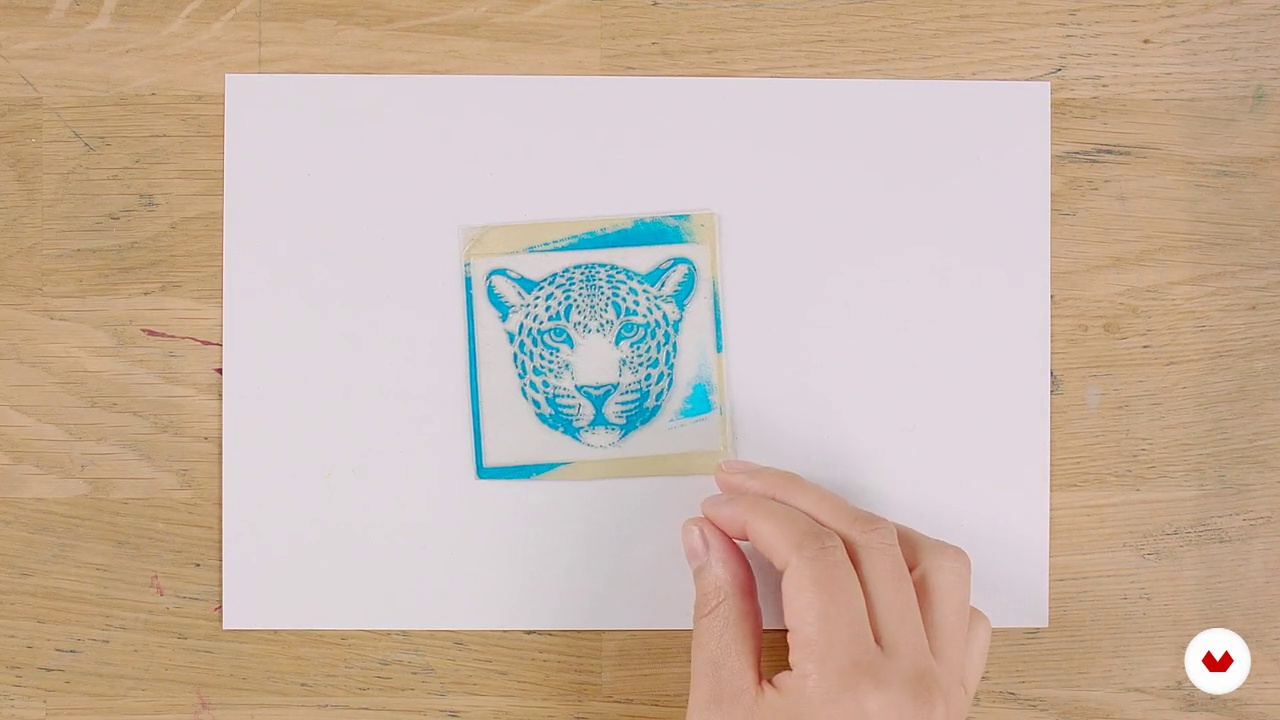
You'll be able to see how to make a stamp by cutting the necessary amount of plate, preparing it and the photolithography for exposure to light. During the exposure process, the light will harden the design you want to engrave on the plate, and you can then develop it with water. Using a brush, we'll remove the remaining photopolymer, leaving only the relief that forms our stamp with the chosen design or image. Once dry, we'll have the "matrix" with which we can stamp our image as many times as we like.
8m
 5
5Negative Preparation 1
We'll show you different options for preparing your images and producing the negatives to create your stamps. From simpler options that require no prior knowledge to more complex options like creating a photo stamp with Photoshop.
11m
 6
6Negative Preparation 2
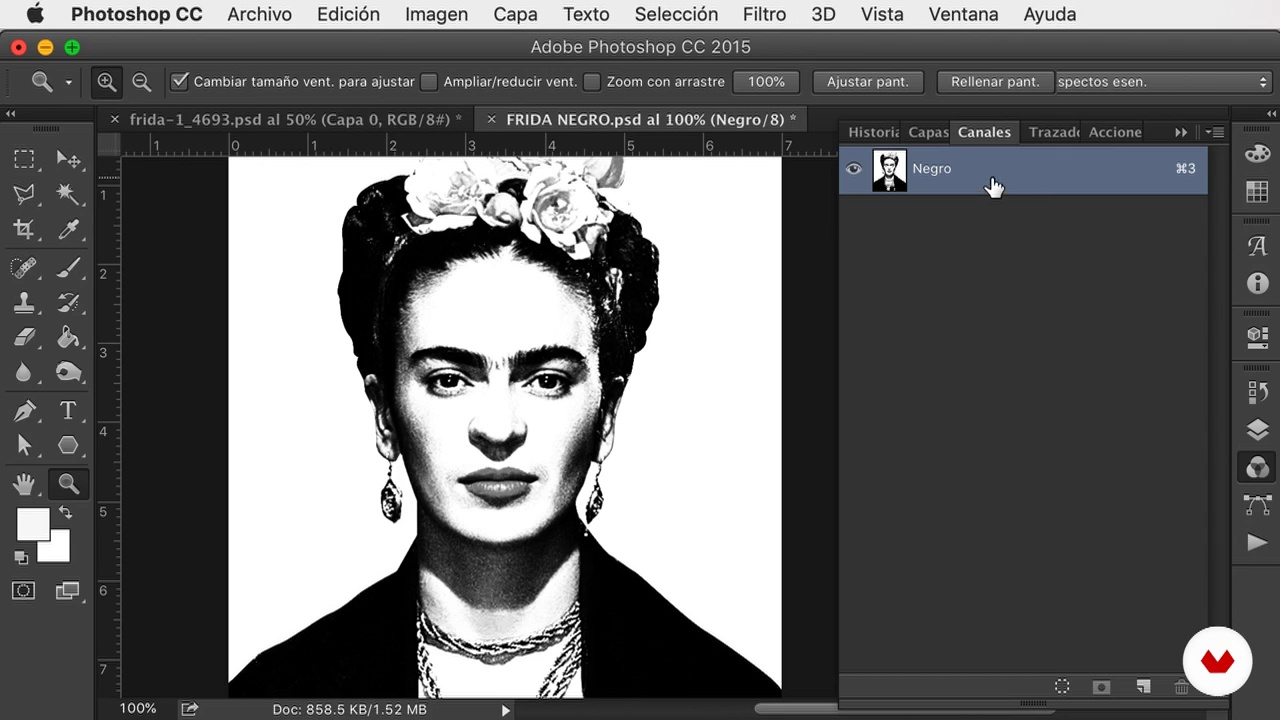
We'll work with grayscale images using halftone in Photoshop. We'll adjust the line width to avoid moiré and improve the polymer's exposure. Then, we'll create a duotone by separating colors into channels, generating two negatives. Finally, we'll print on transparency for UV exposure in the next lesson.
15m
 7
7Insolation options
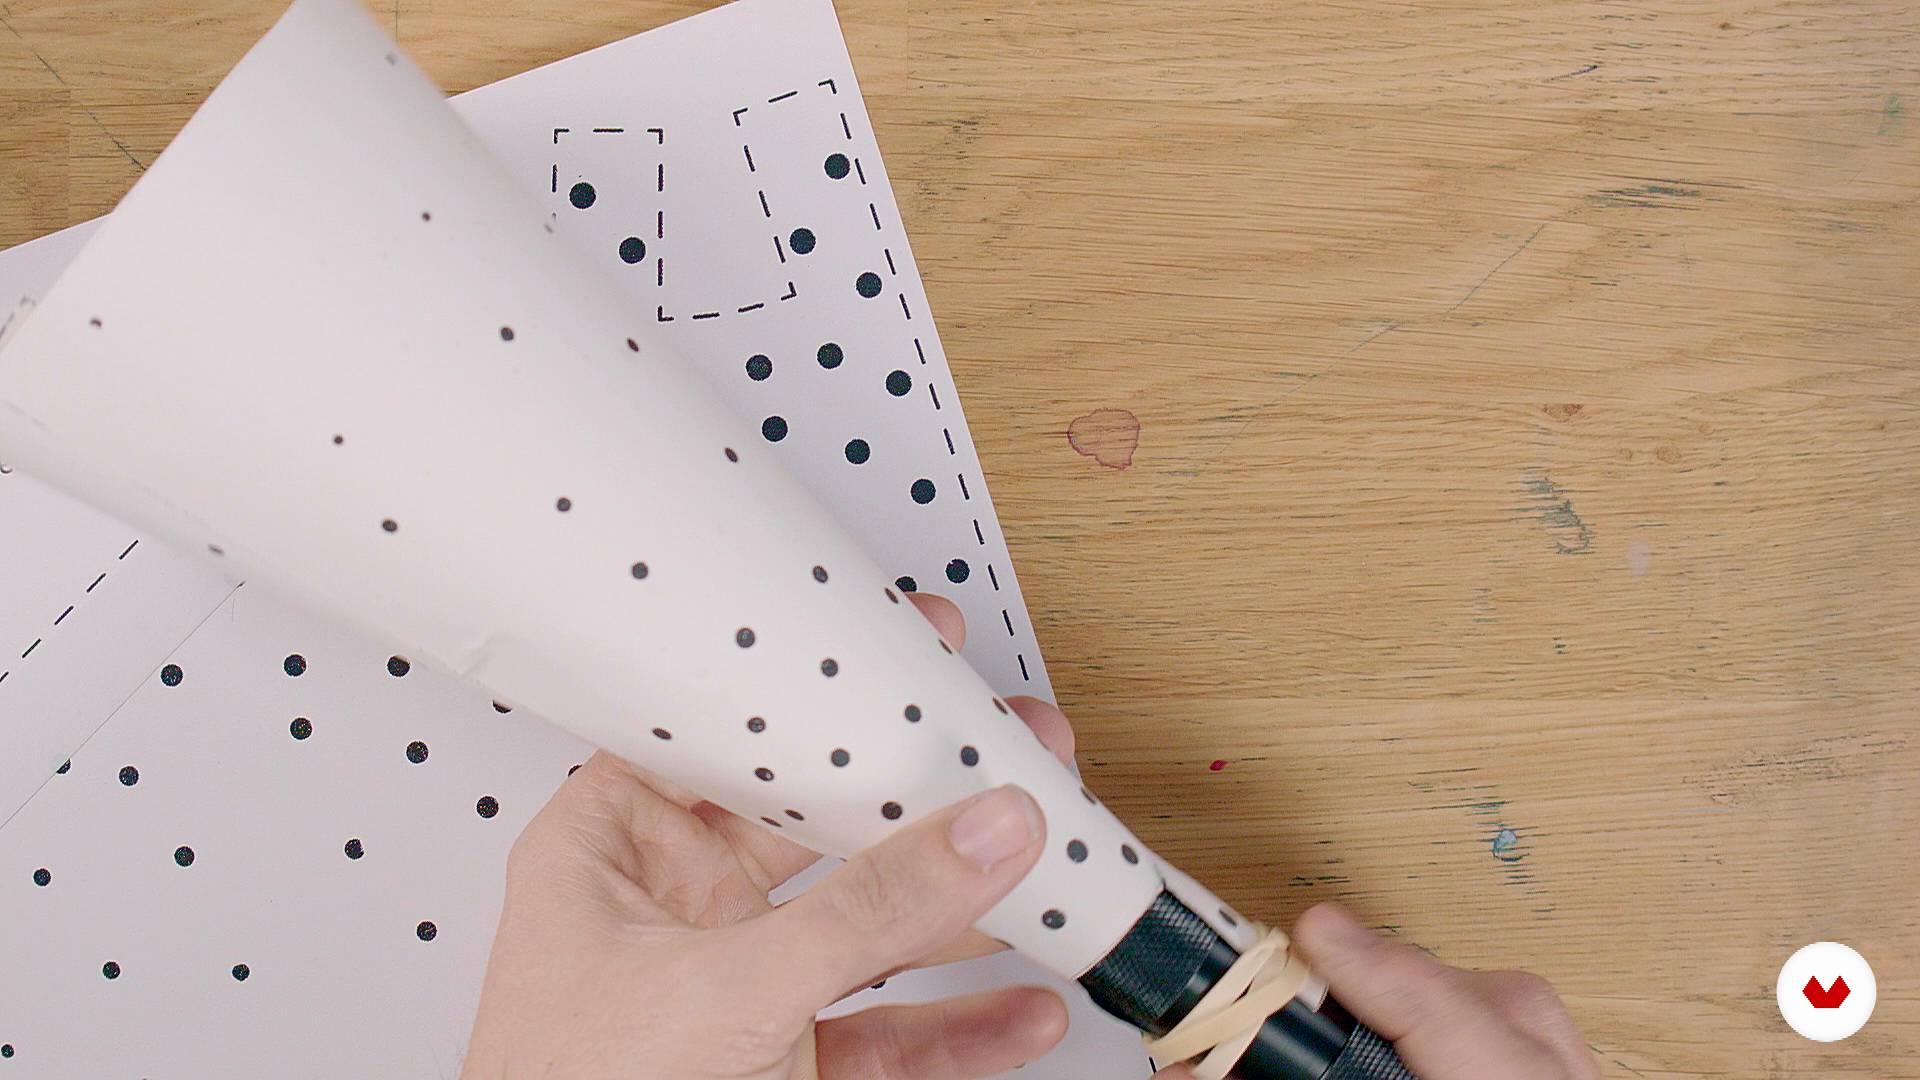
We'll show you the types of UV light sources you can use to create your stamp, from sunlight itself to other household and accessible resources for making your stamps at home.
3m
 8
8Tips and FAQs
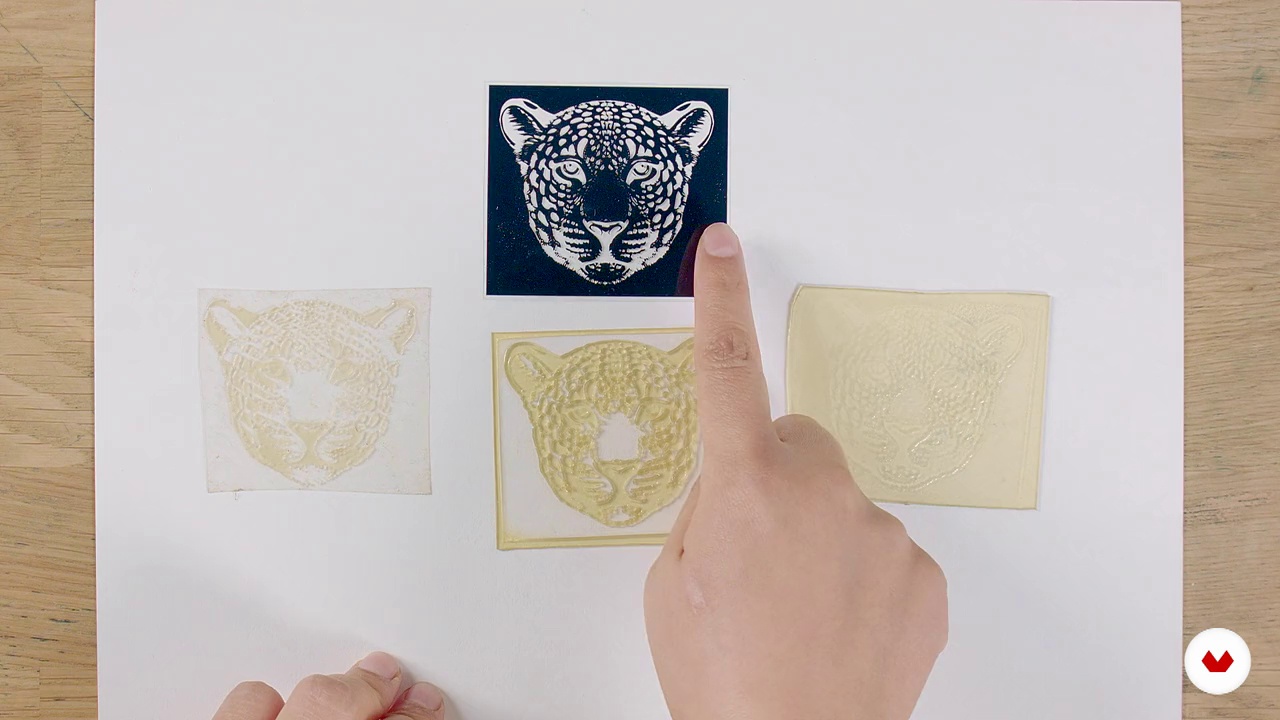
In this lesson, we'll address questions and potential errors in the stamp creation process. We'll also show you three failed cases and how we resolved them.
4m
 9
9Mounting the stamp and stamping
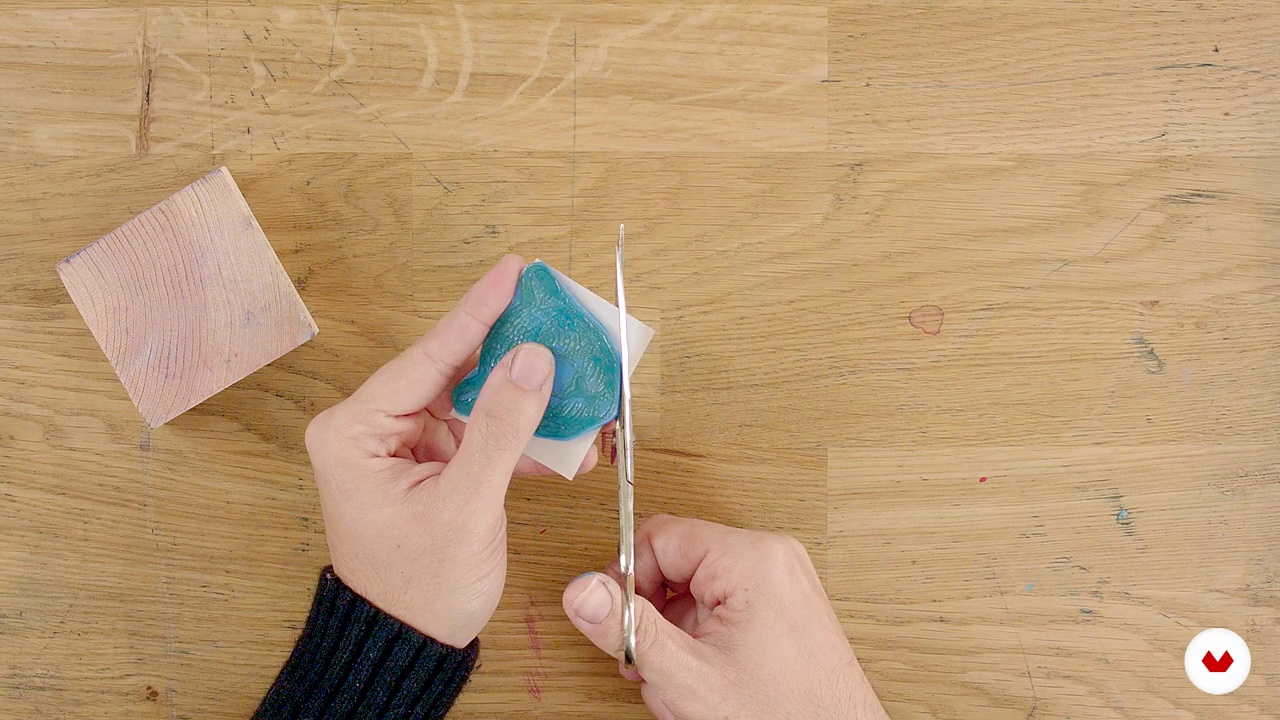
Let's assemble our stamp so we can stamp with it. We'll look at the stamping options and pressure tools available; transparent bases, grips, moldings, and their advantages and disadvantages. Finally, we'll walk through a step-by-step guide on how to assemble your stamps so you can stamp comfortably.
7m
 10
10Inks, finishes and textures
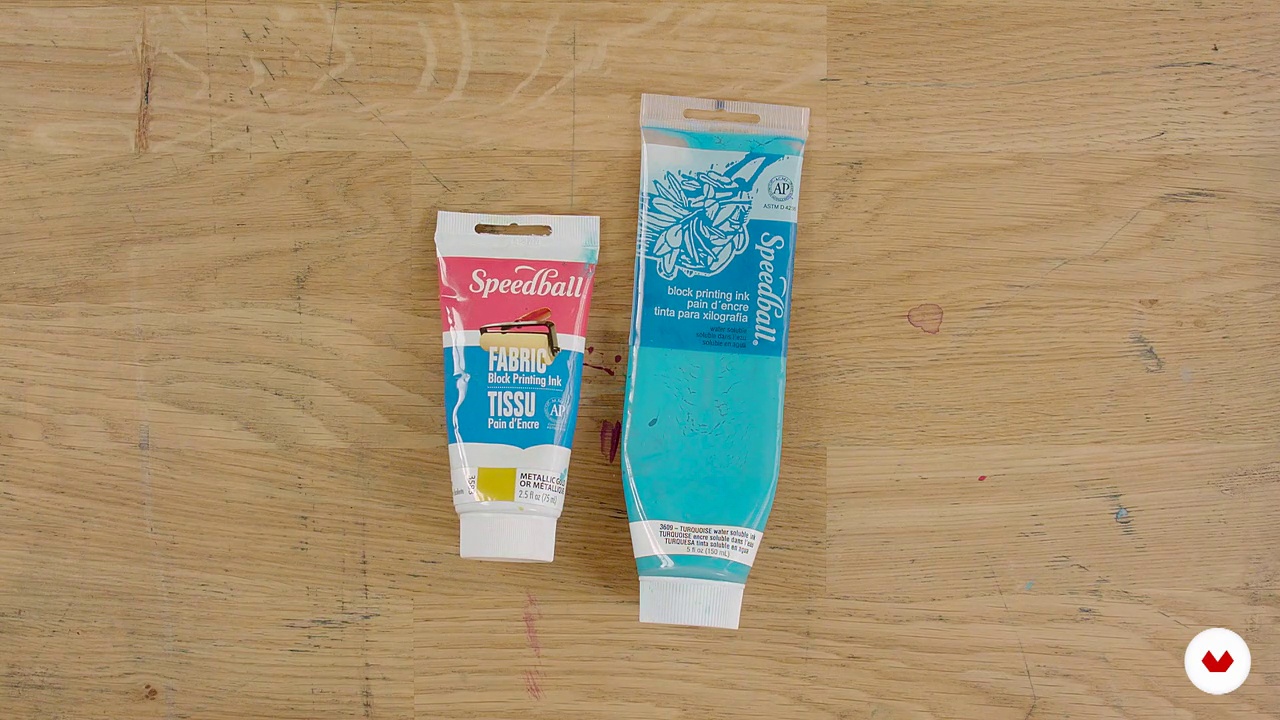
Photopolymer stamps are very versatile and can be used with almost any ink. We'll show you the most common and affordable ones for use in a small workshop or at home: stamp pads, water-based paints, and oil-based etching paints. We'll cover how to apply each one and what tools you'll need for each technique.
12m
 11
11Manual stamping
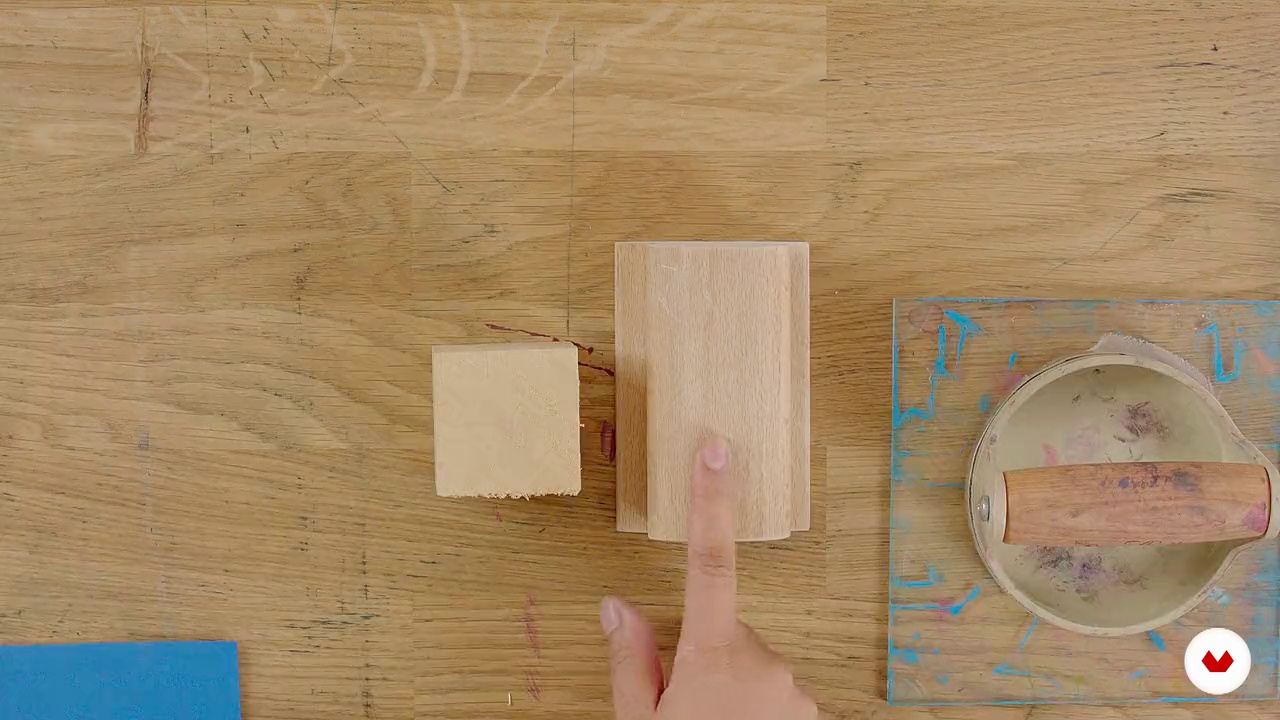
In this lesson, we'll show you manual pressure printing systems. We'll provide tips and tricks to improve printing, as well as demonstrate various defective printing and how to resolve it. Printing on various surfaces: special papers, textiles, or packaging.
4m
 12
12Registration marks
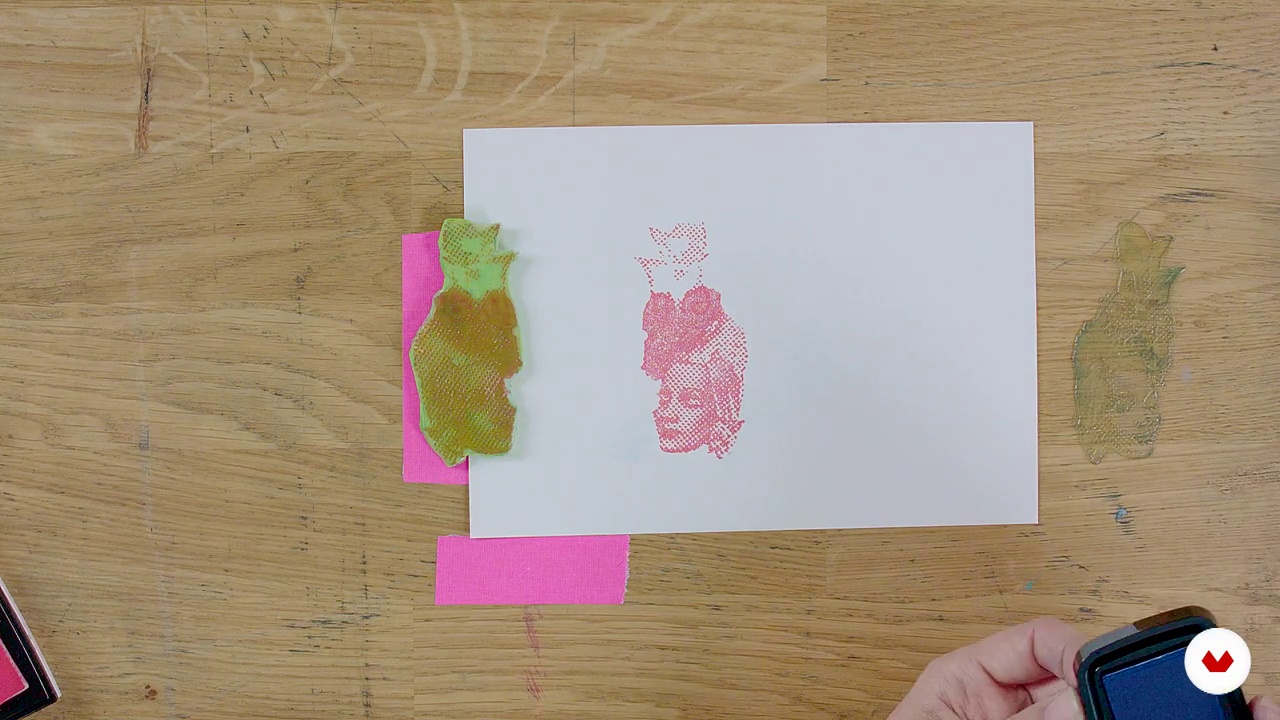
We'll show you how to print with multiple layers of color on a stamp, along with registration tricks using multiple colors. More complex prints with multiple colors and repeating elements.
14m
 13
13Different types of printing
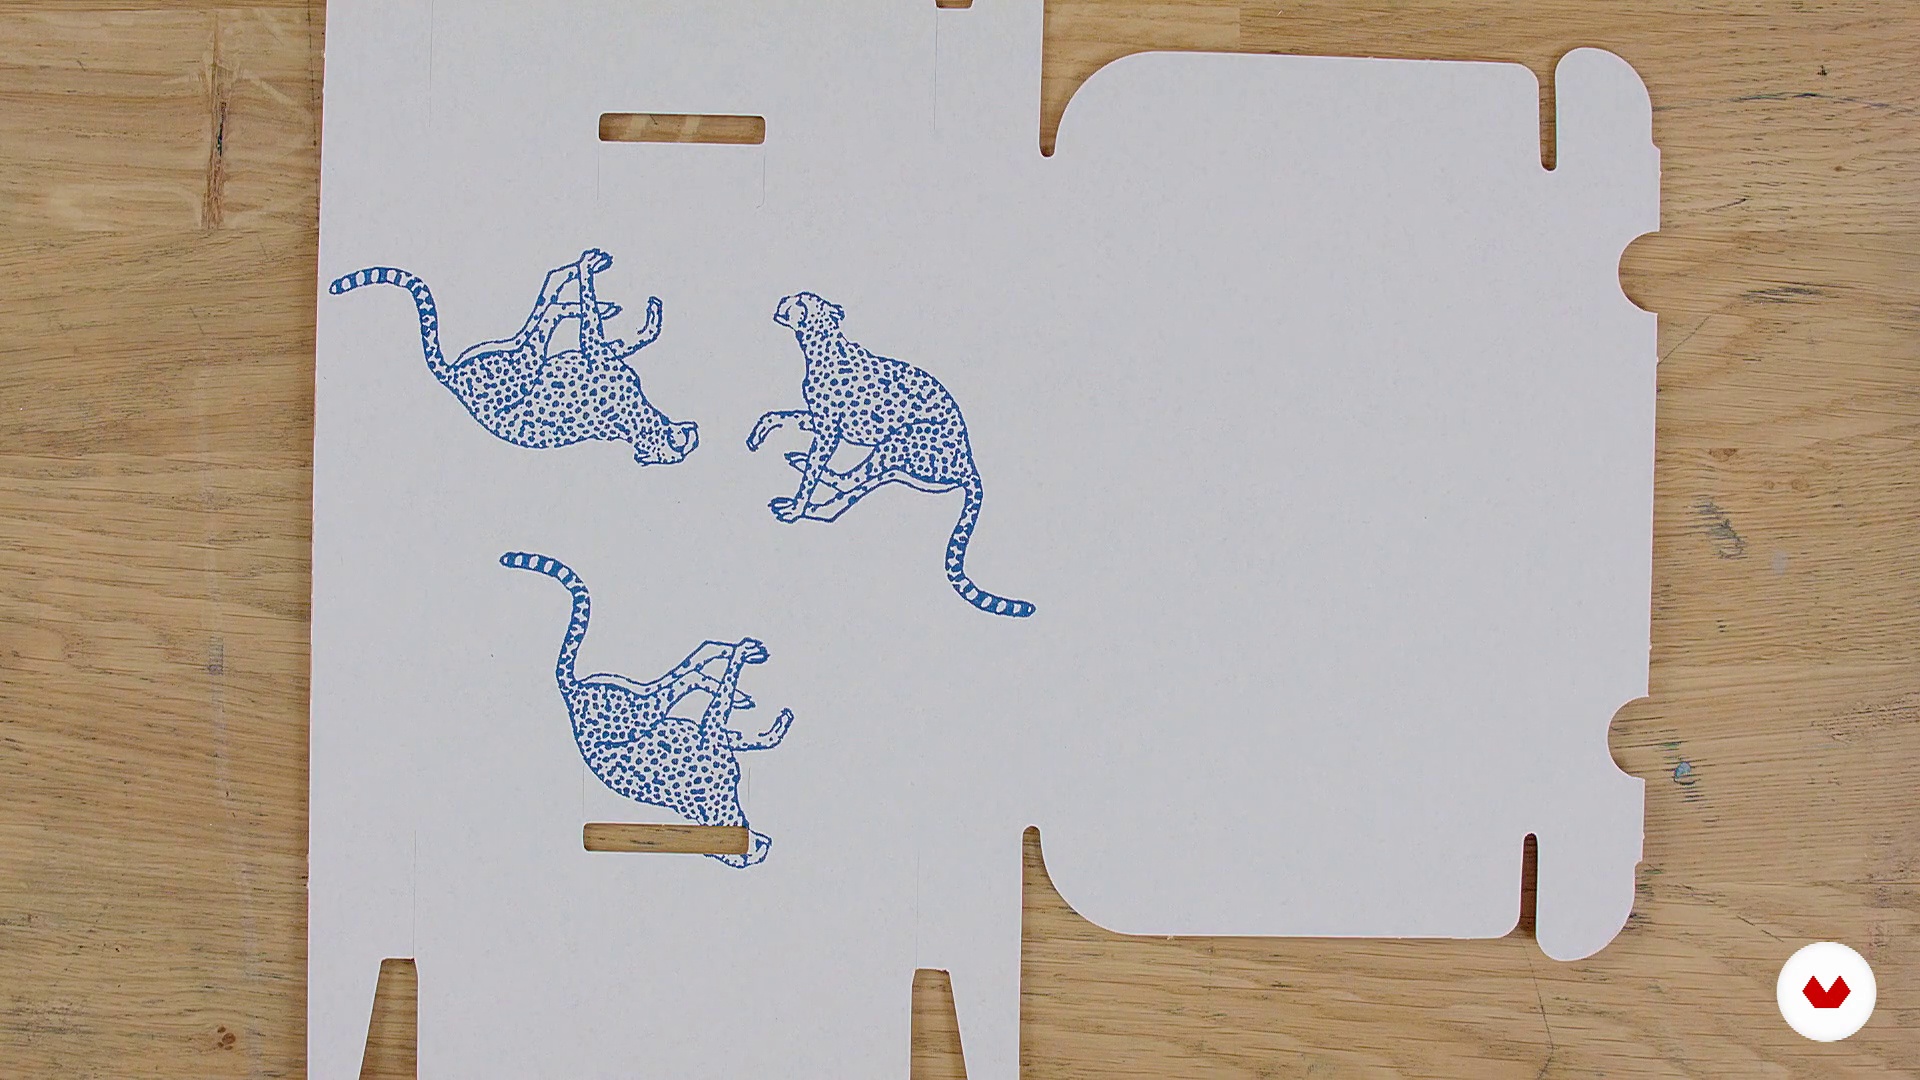
In this lesson, we'll look at some examples of stamping using some of the inks we've seen before applied to different surfaces, such as a pattern on a box, an overlay on a t-shirt, or a fabric with a repeating motif. We'll cover tips and tricks for each, and how to create amazing prints with your stamps.
15m
 1
1What will we do in the module?
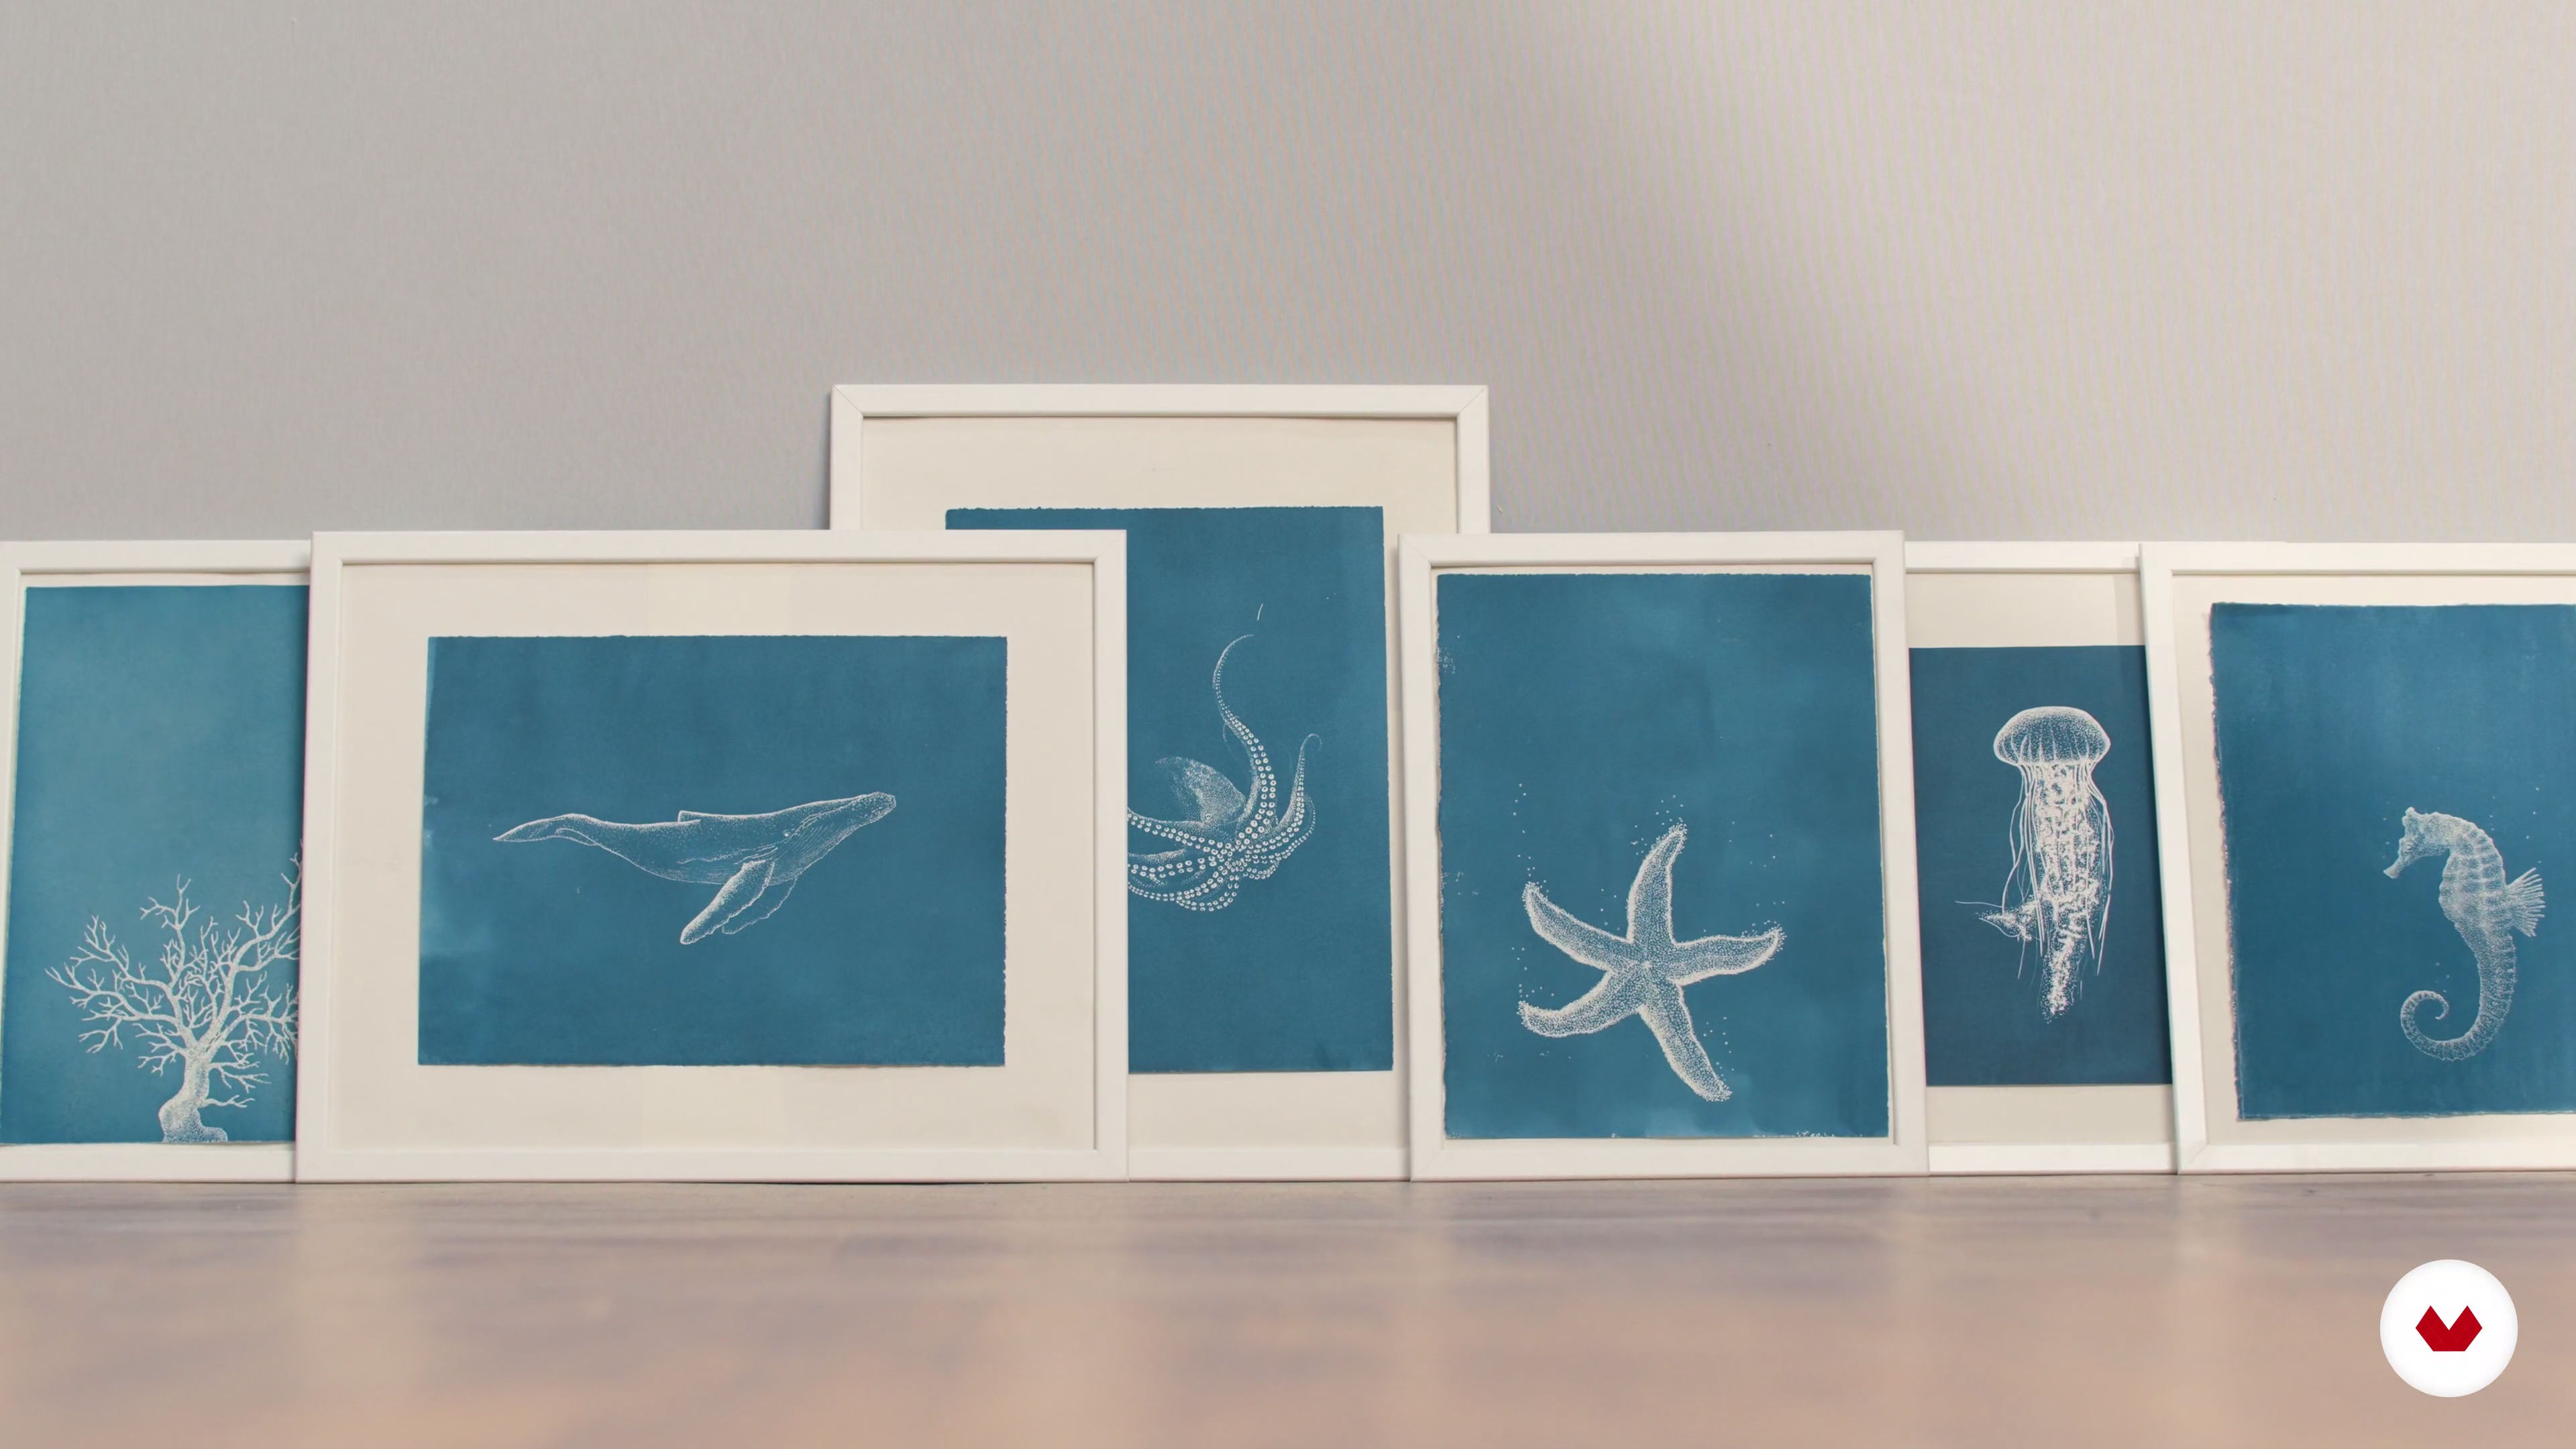
This lesson will give you an overview of the technique. You'll see some print samples and different applications so you can understand the variety of options the course offers, from cyanotype applied to photography to illustration, including botanical cyanotype, and more.
1m
 2
2Materials and tools
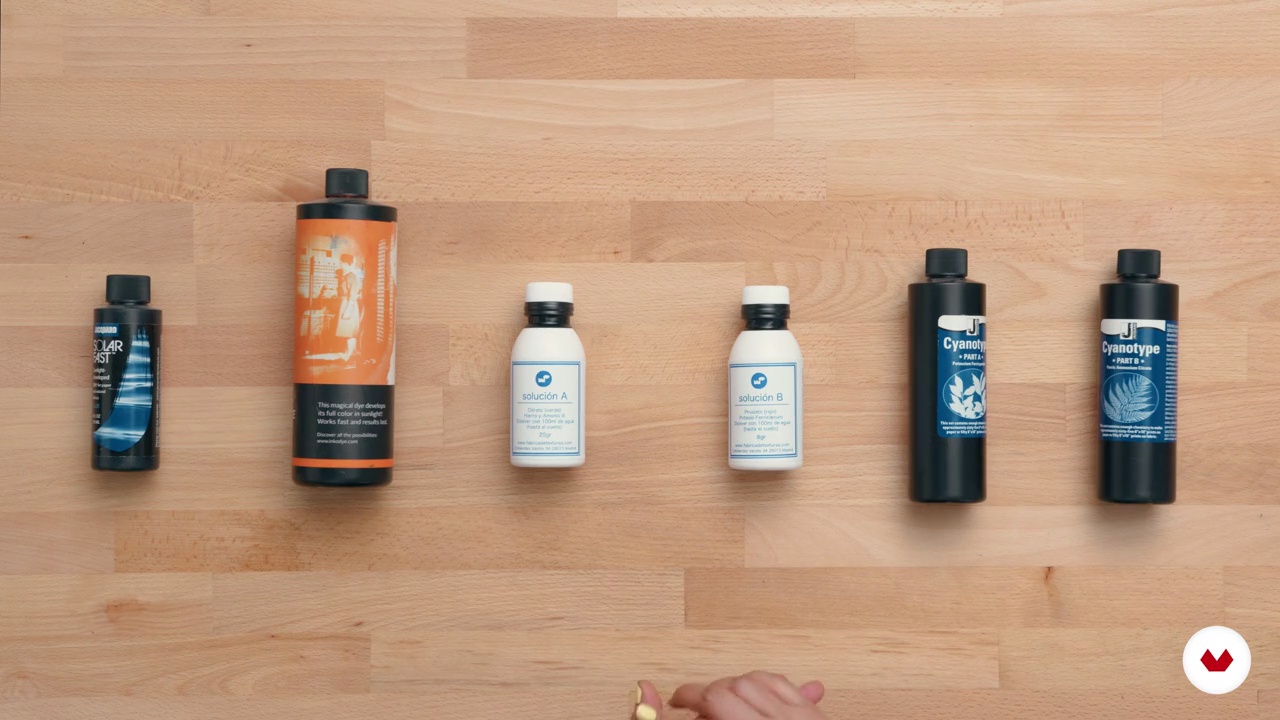
We'll show you all the materials needed to produce a cyanotype, including more home-based and more professional alternatives. We'll help you get your home cyanotype studio up and running and help you find alternatives to some tools and materials.
5m
 3
3Preparation of solutions and application
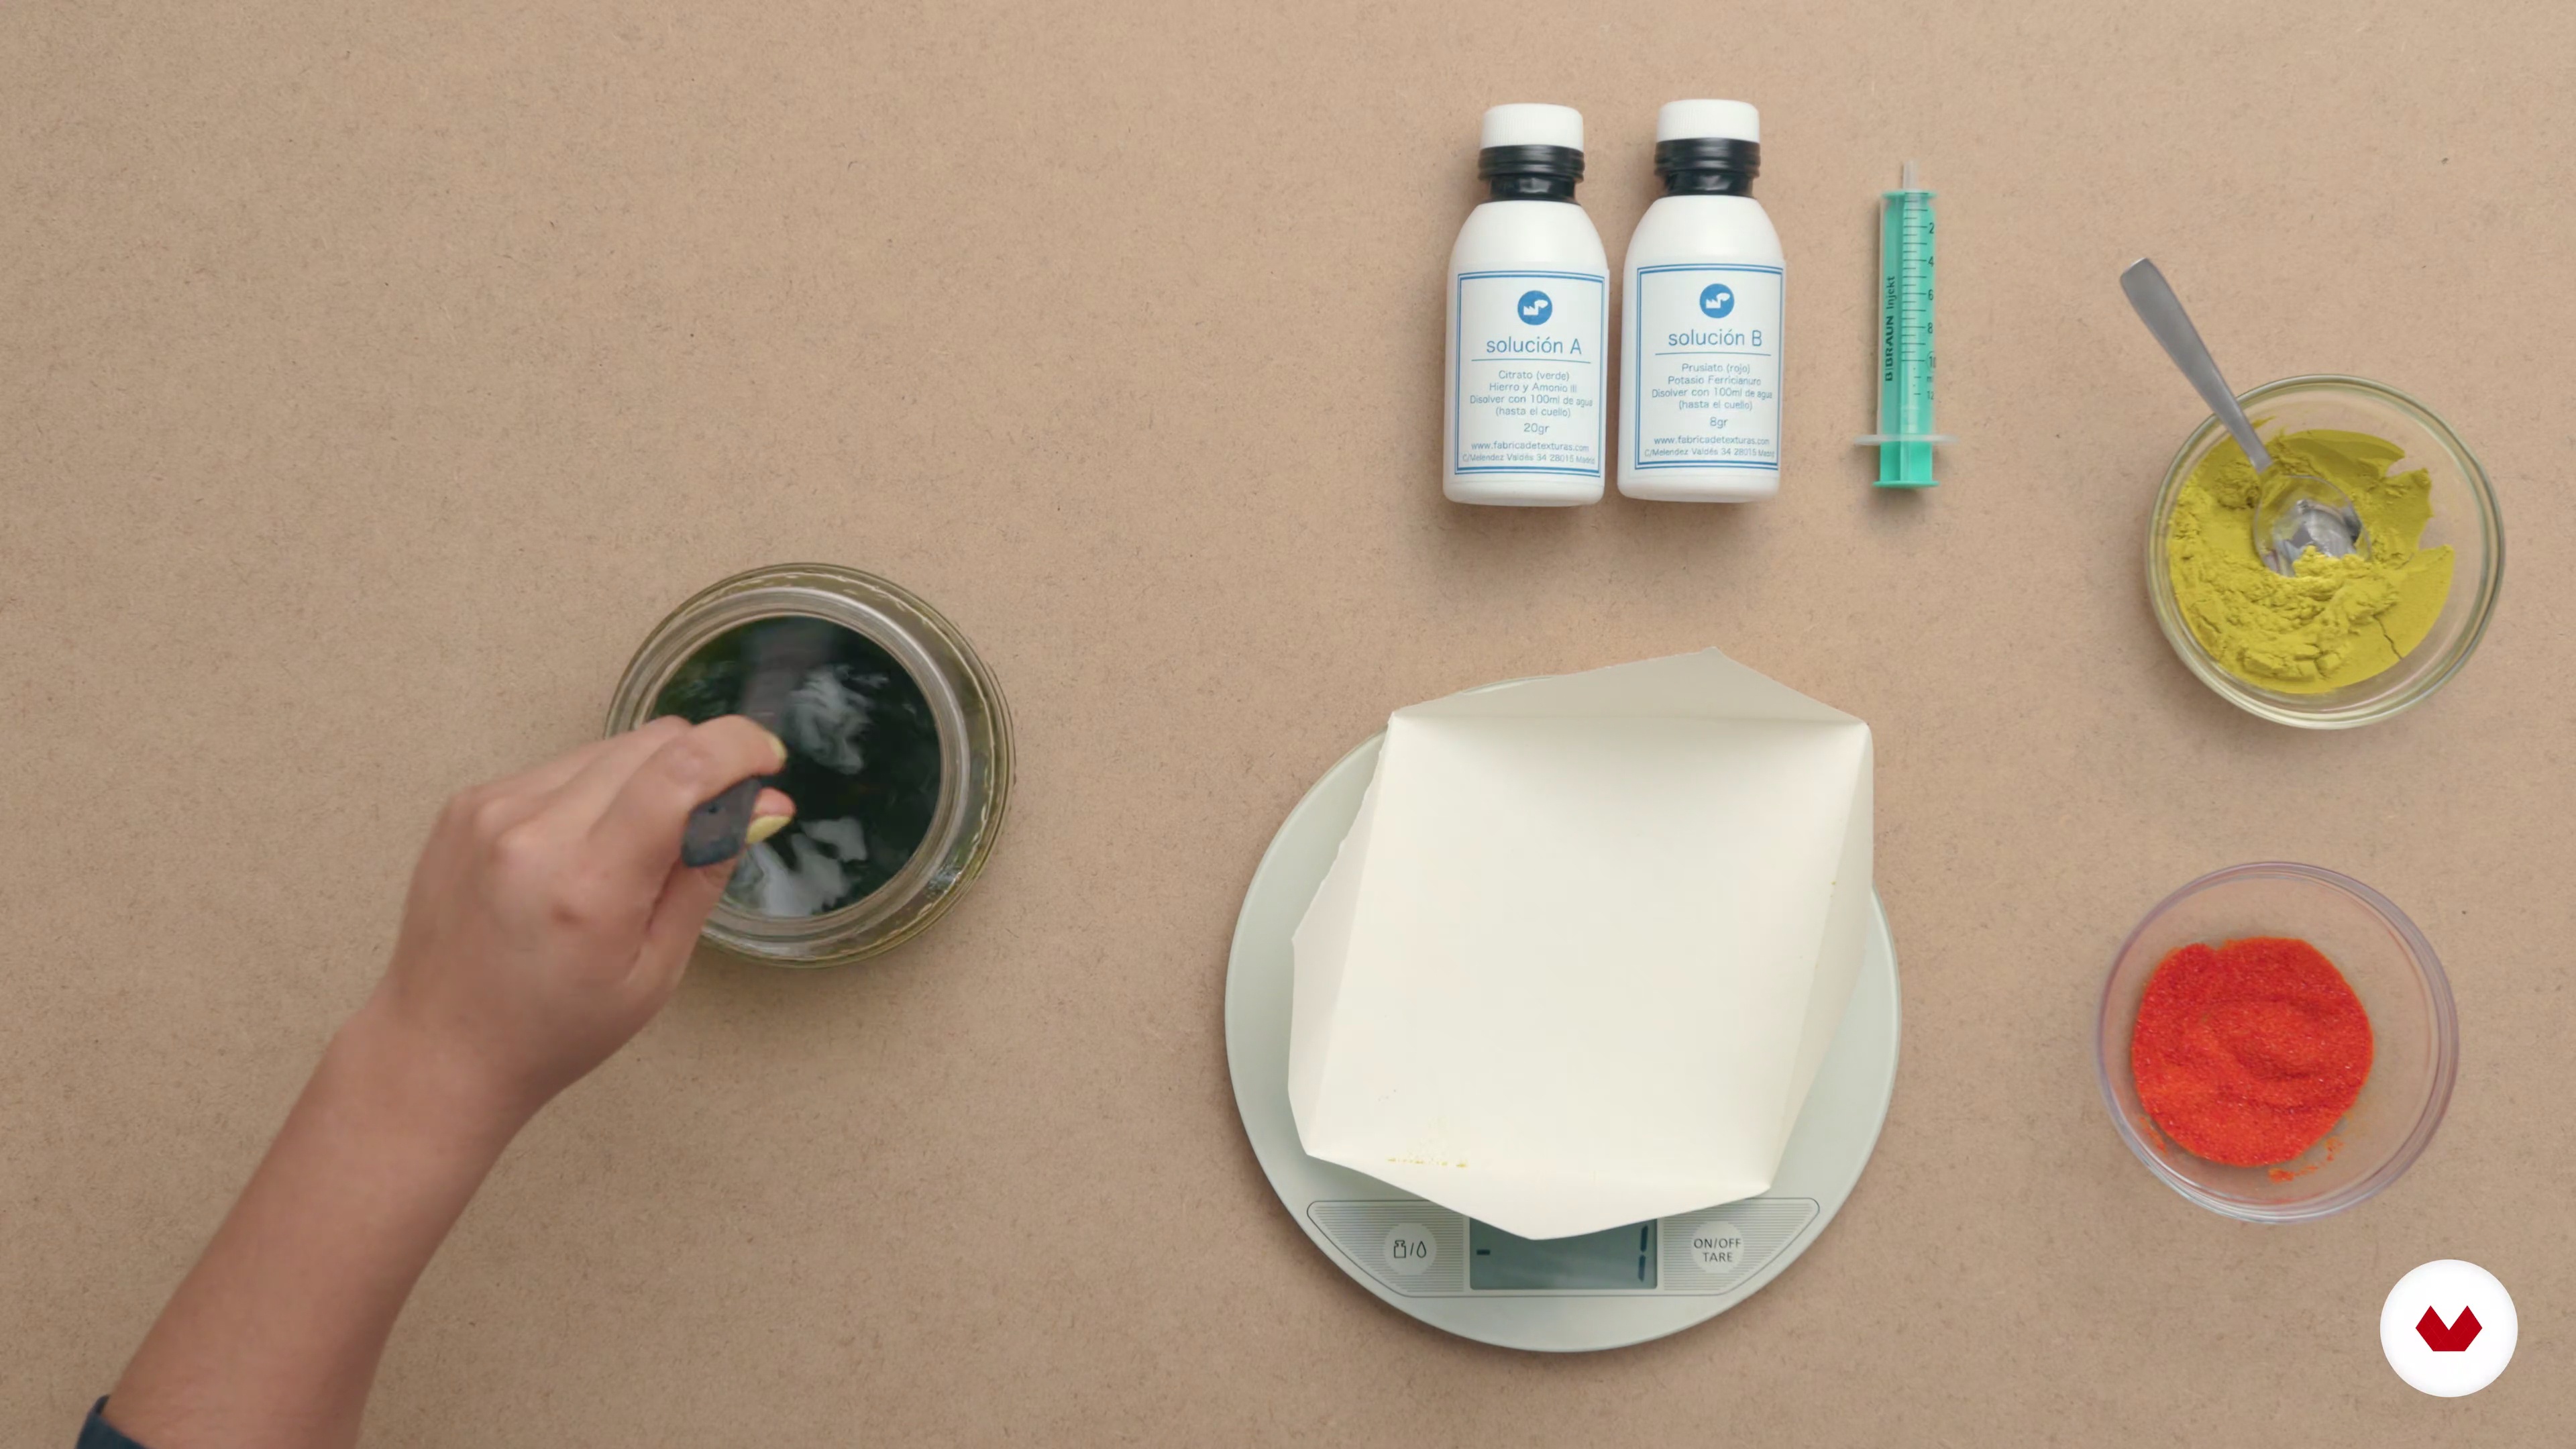
In this lesson, we'll teach you how to choose surfaces for cyanotype printing. We'll also show you different compositions and give you some tips on purchasing materials.
11m
 4
4Insolation tests
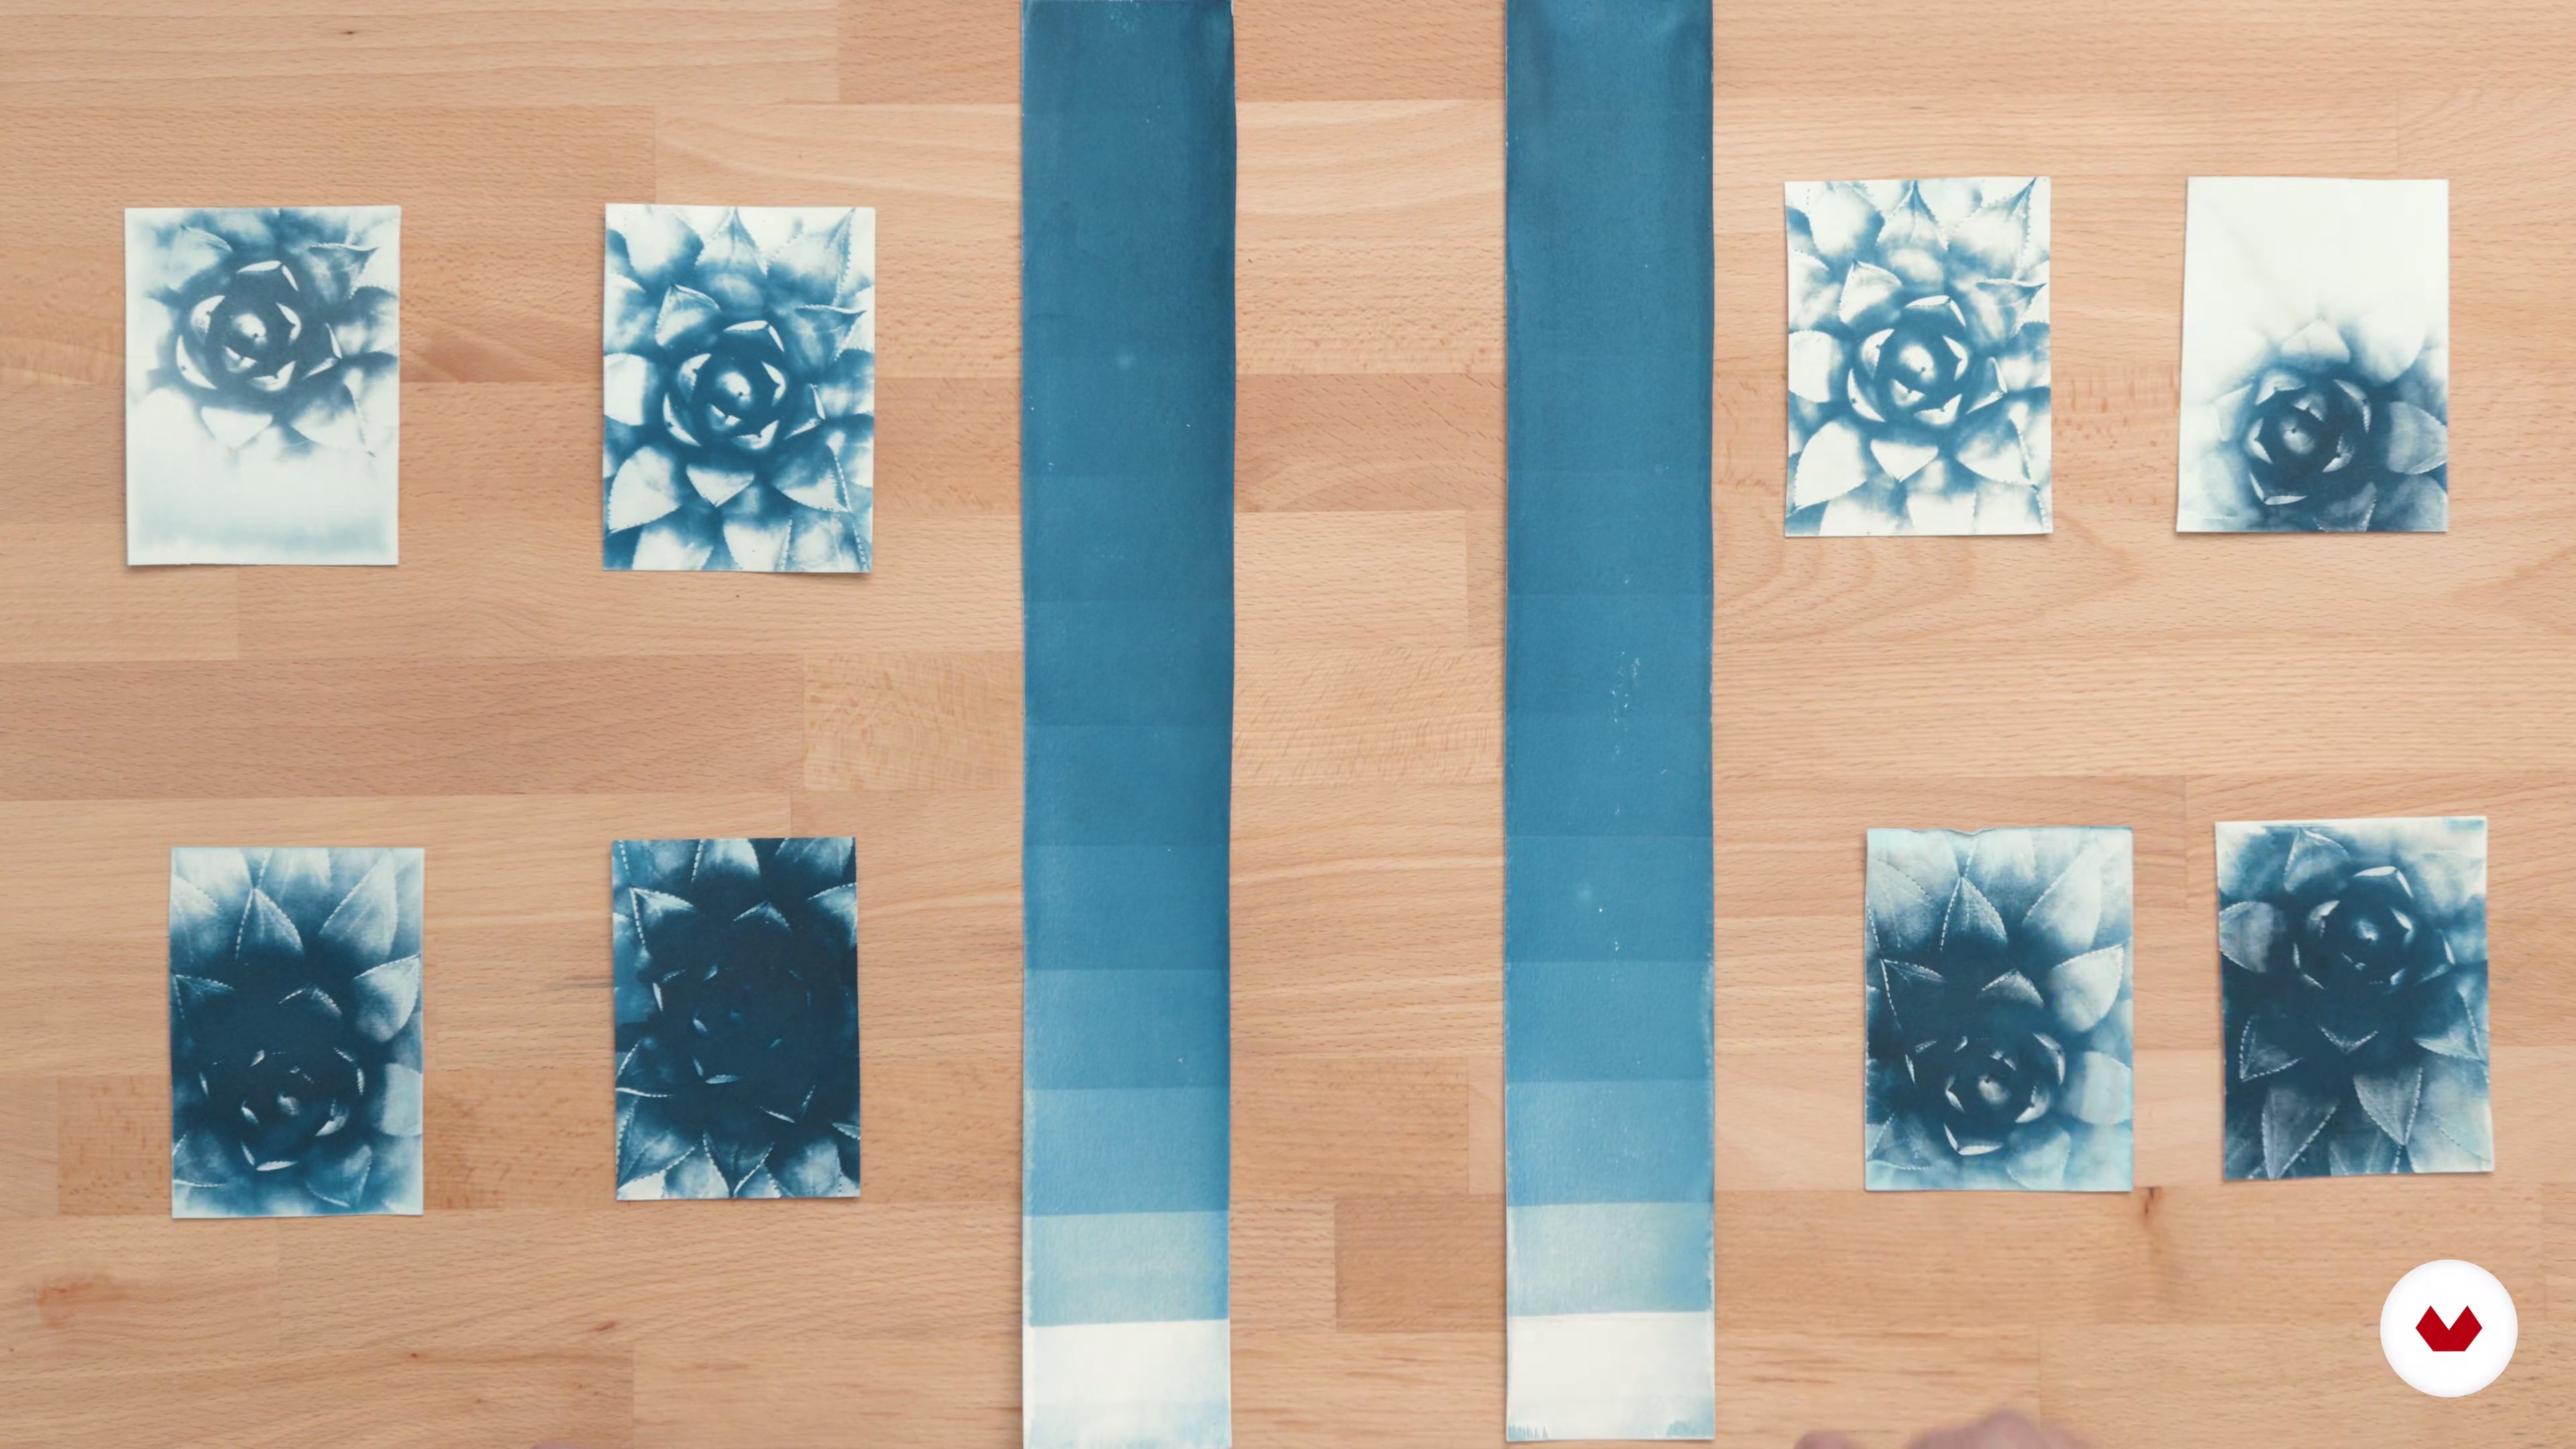
For the exposure process, we'll need to use a UV light source. In this lesson, we'll show you different alternatives and how to work with our favorite source: the sun.
4m
 5
5Preparation of digital and manual negatives
In this lesson, you'll learn how to prepare the negatives you'll use to make your cyanotype prints. We'll create digital negatives for printing photographs and manual negatives for printing illustrations.
8m
 6
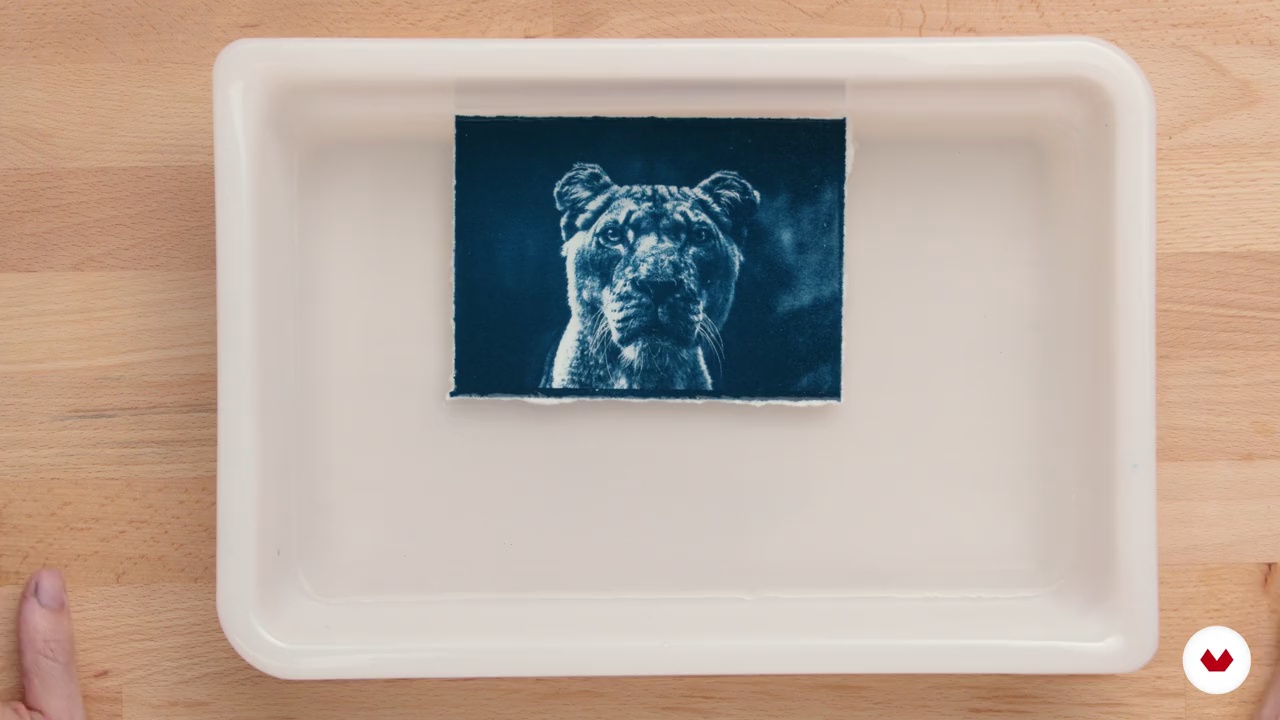
6Exposure and development of photographs and illustrations
During this lesson you will learn how to create blue prints from the negatives created in the previous lesson.
7m
 7
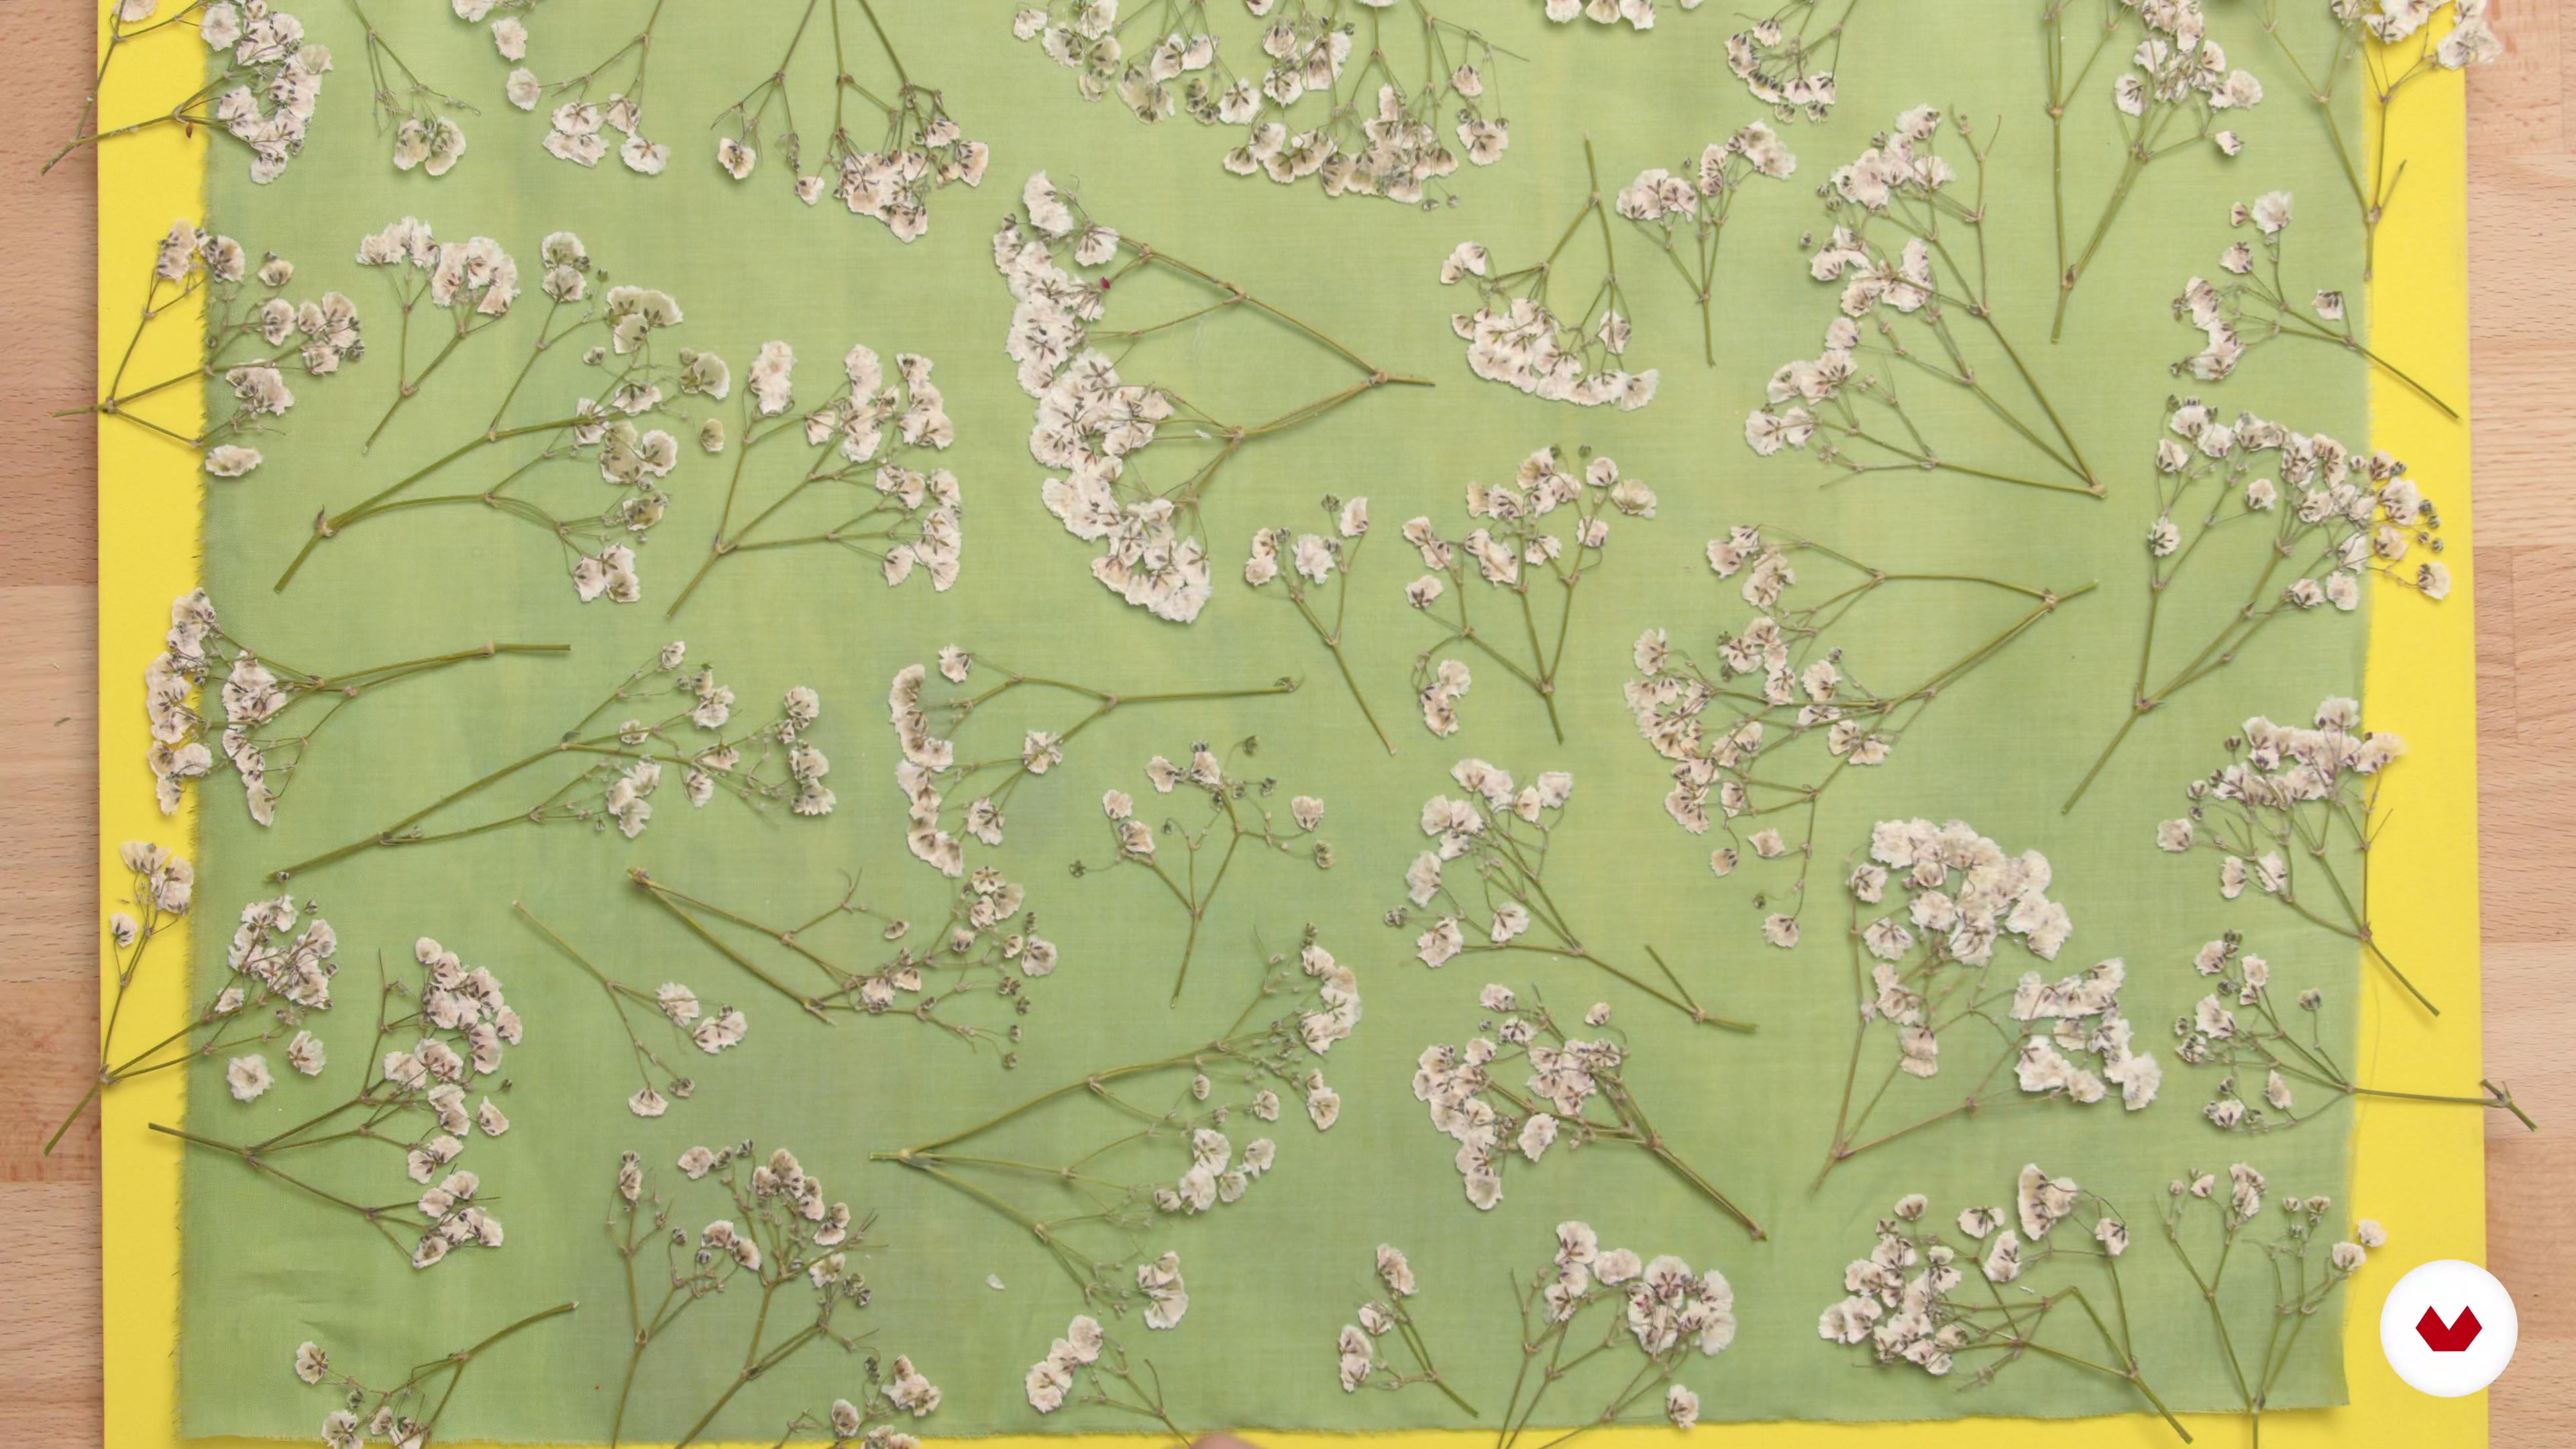
7Botany and physiograms
Now you will learn how to use both plants and other objects (physiograms) to create paper records.
19m
 8
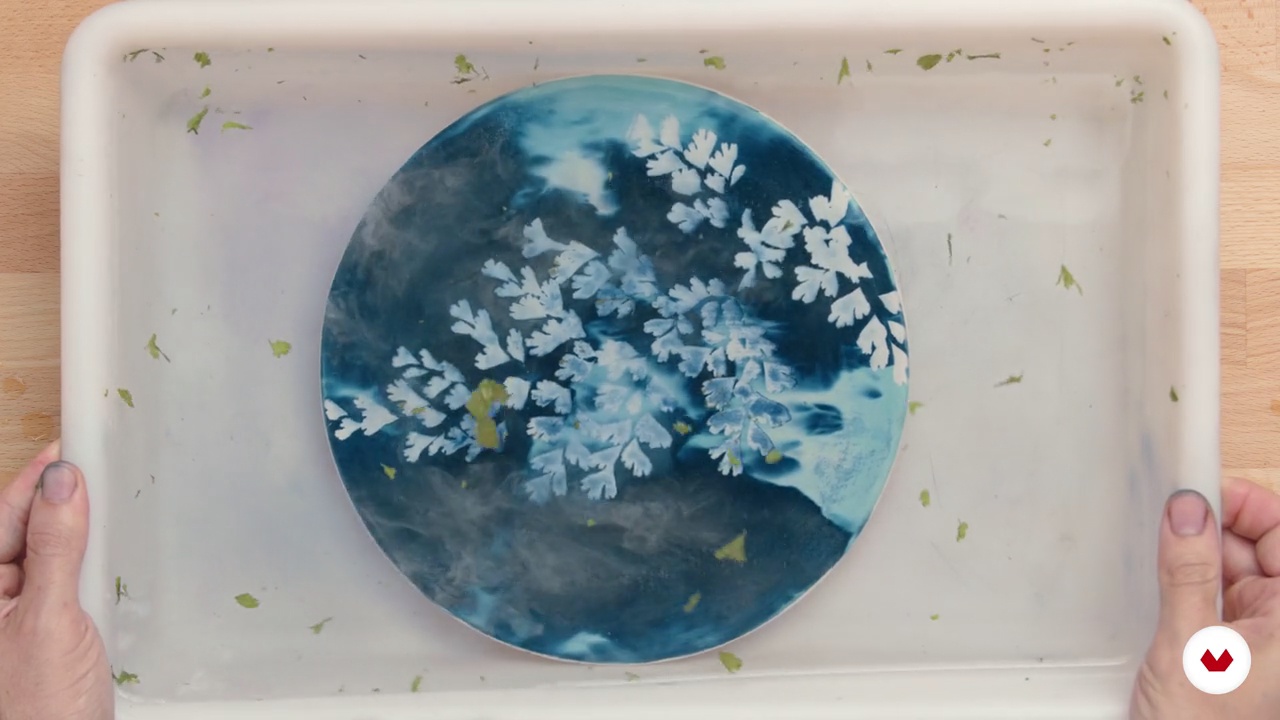
8Other porous surfaces
In this lesson, we'll show you how to adapt the process for printing on other porous surfaces.
6m
 9
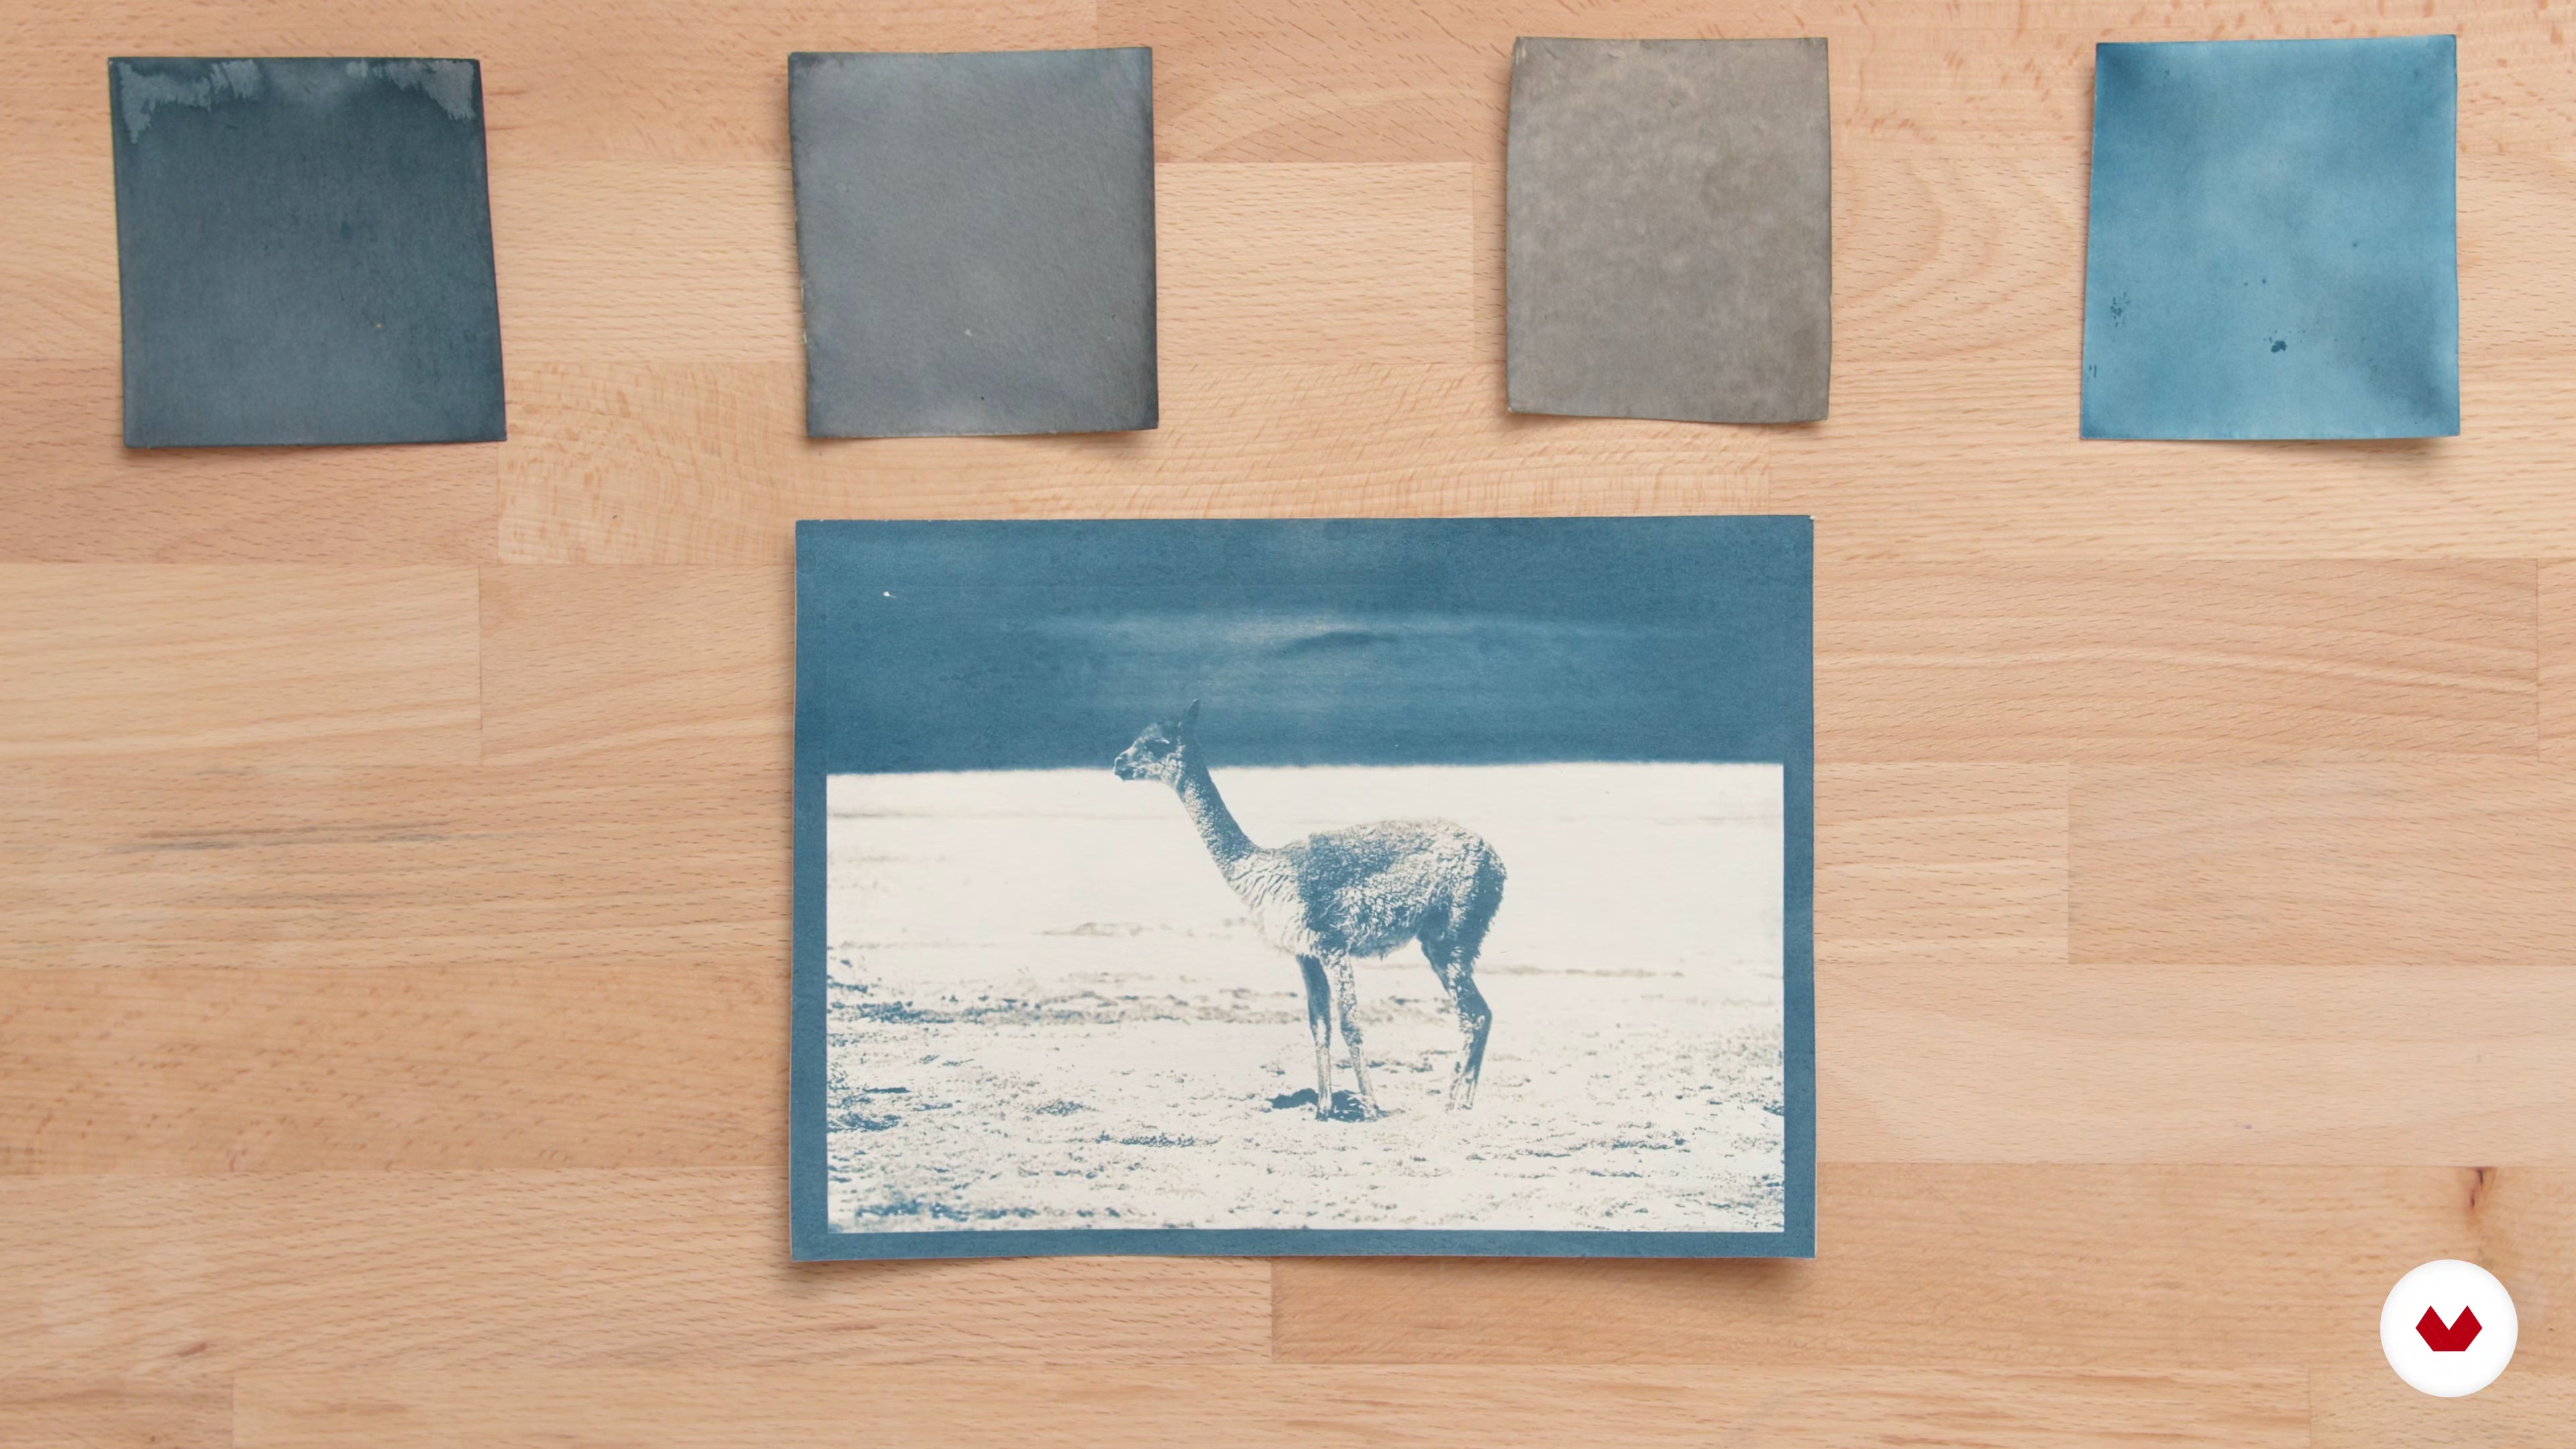
9Whitening and toning
Once the process is complete, there are several options to modify or tone the result. In this lesson, you'll learn how to alter the tone of your cyanotype with natural elements and some chemicals.
9m
 10
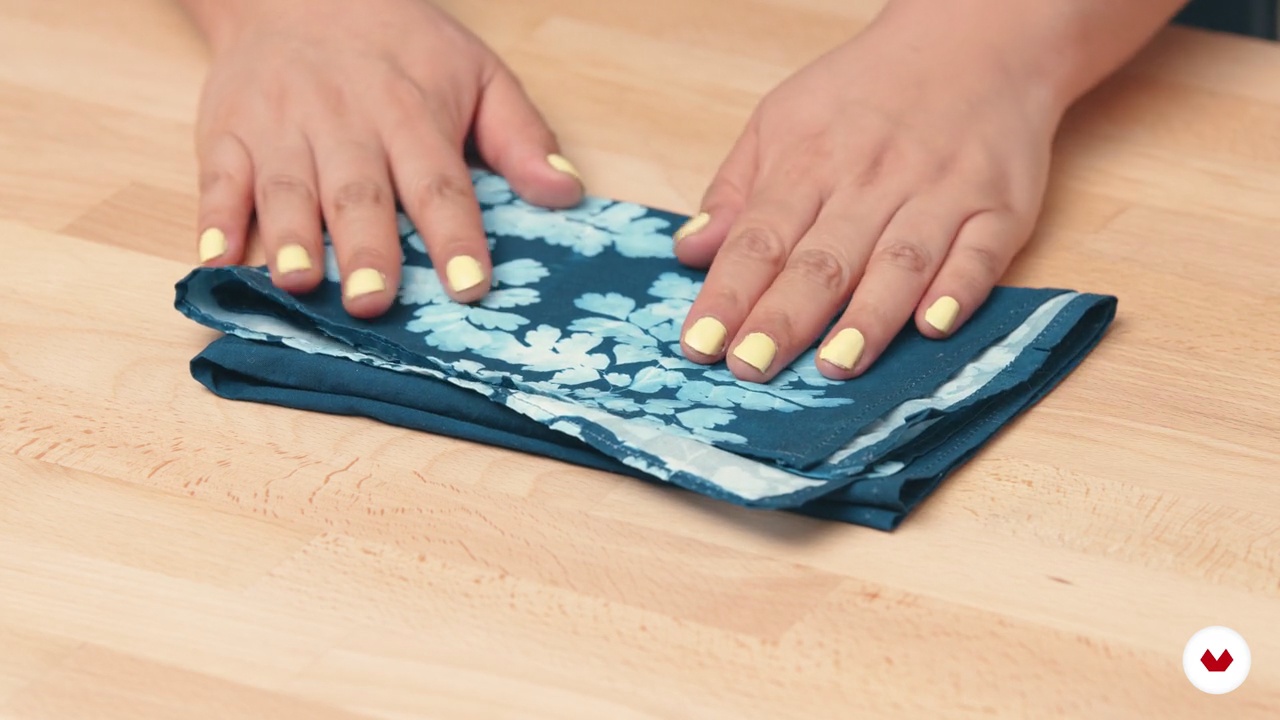
10Frequently Asked Questions
After several years teaching this technique, we know the most common questions and the most useful tips to get you started. In this lesson, we share them with you.
7m
 1
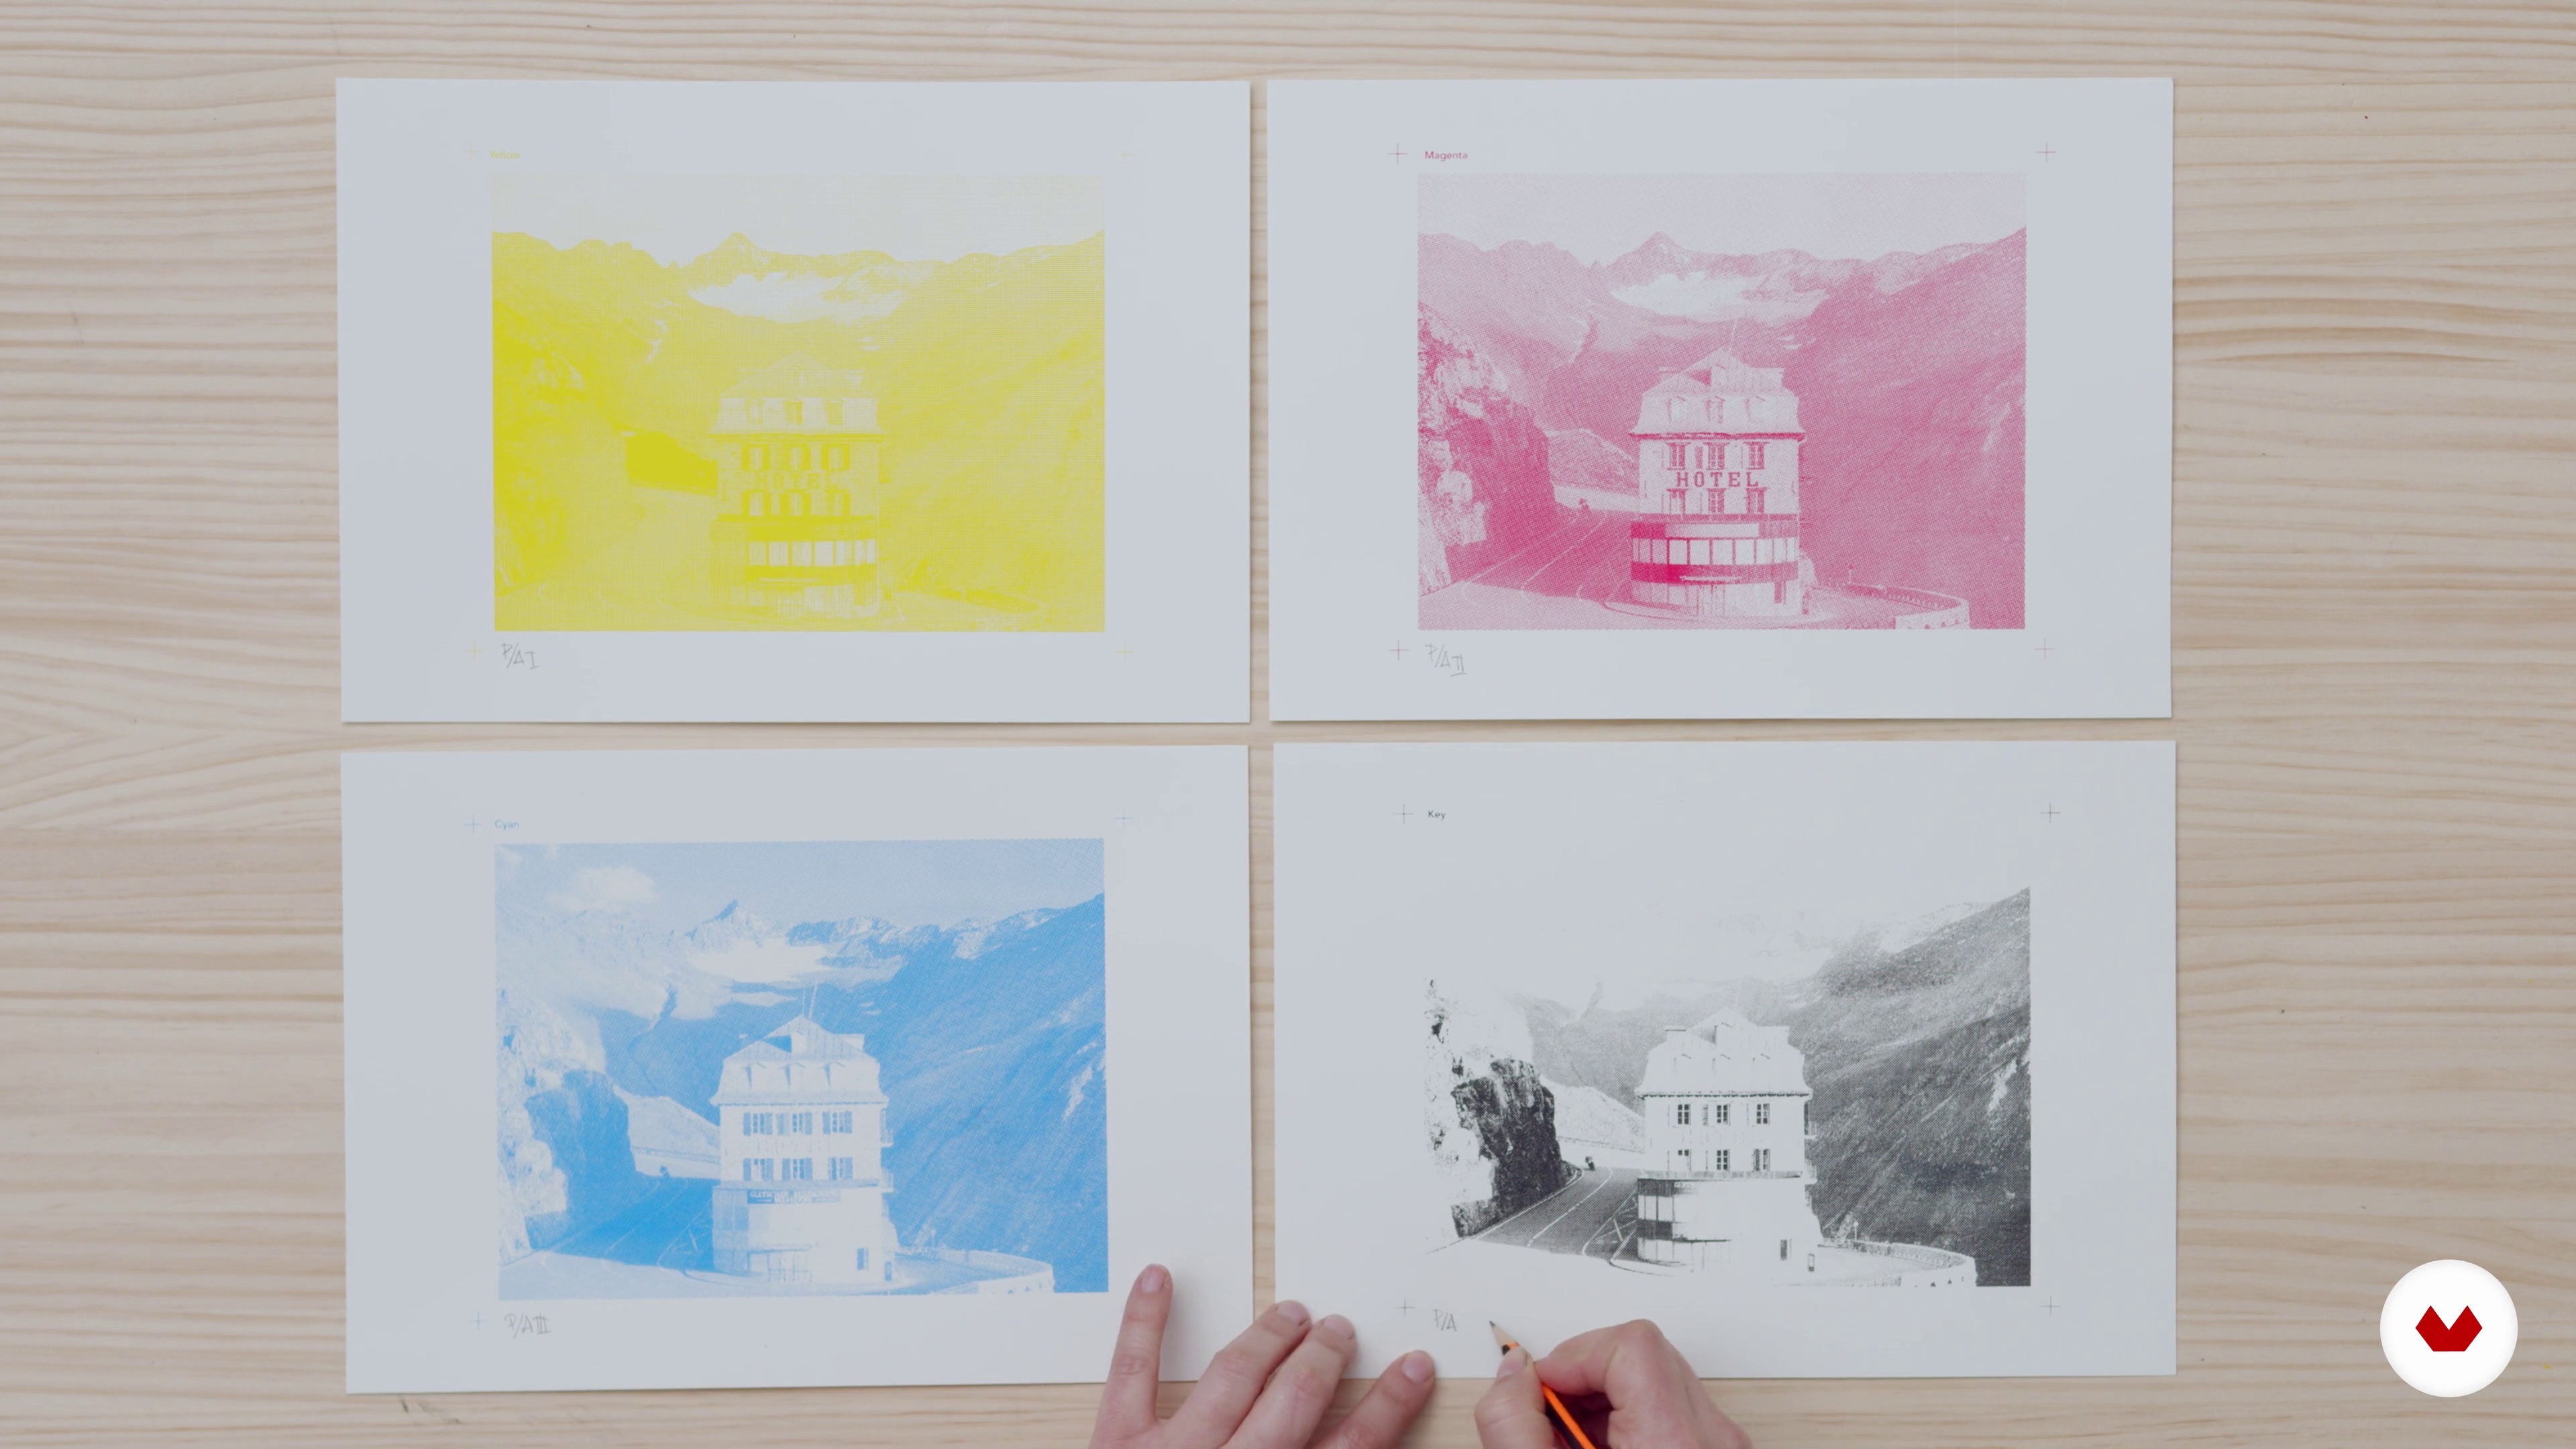
1What will we do in the module?
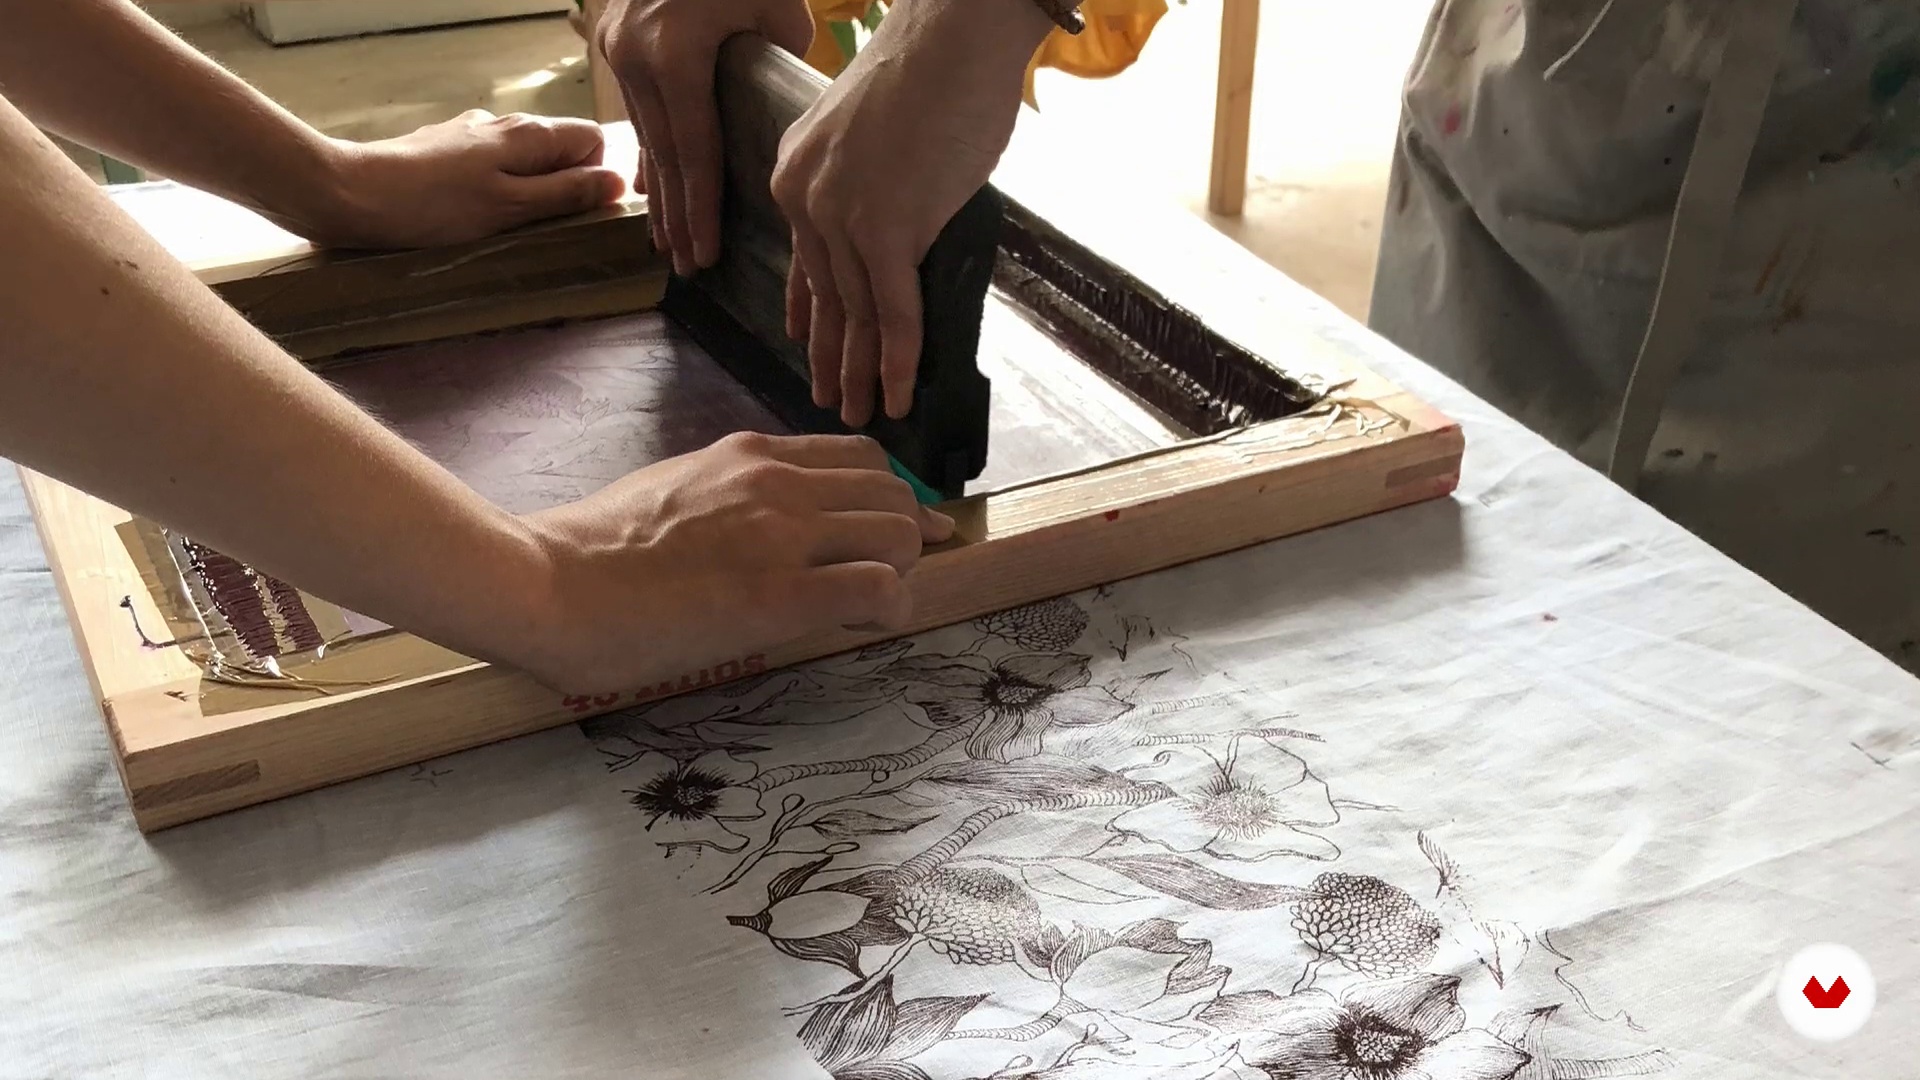
I'm going to tell you everything we'll learn in this course. Our final project will be a small collection of four-color silkscreen prints, meticulously selected to form a complete artistic project, either for sale, exhibition, or promotion.
2m
 2
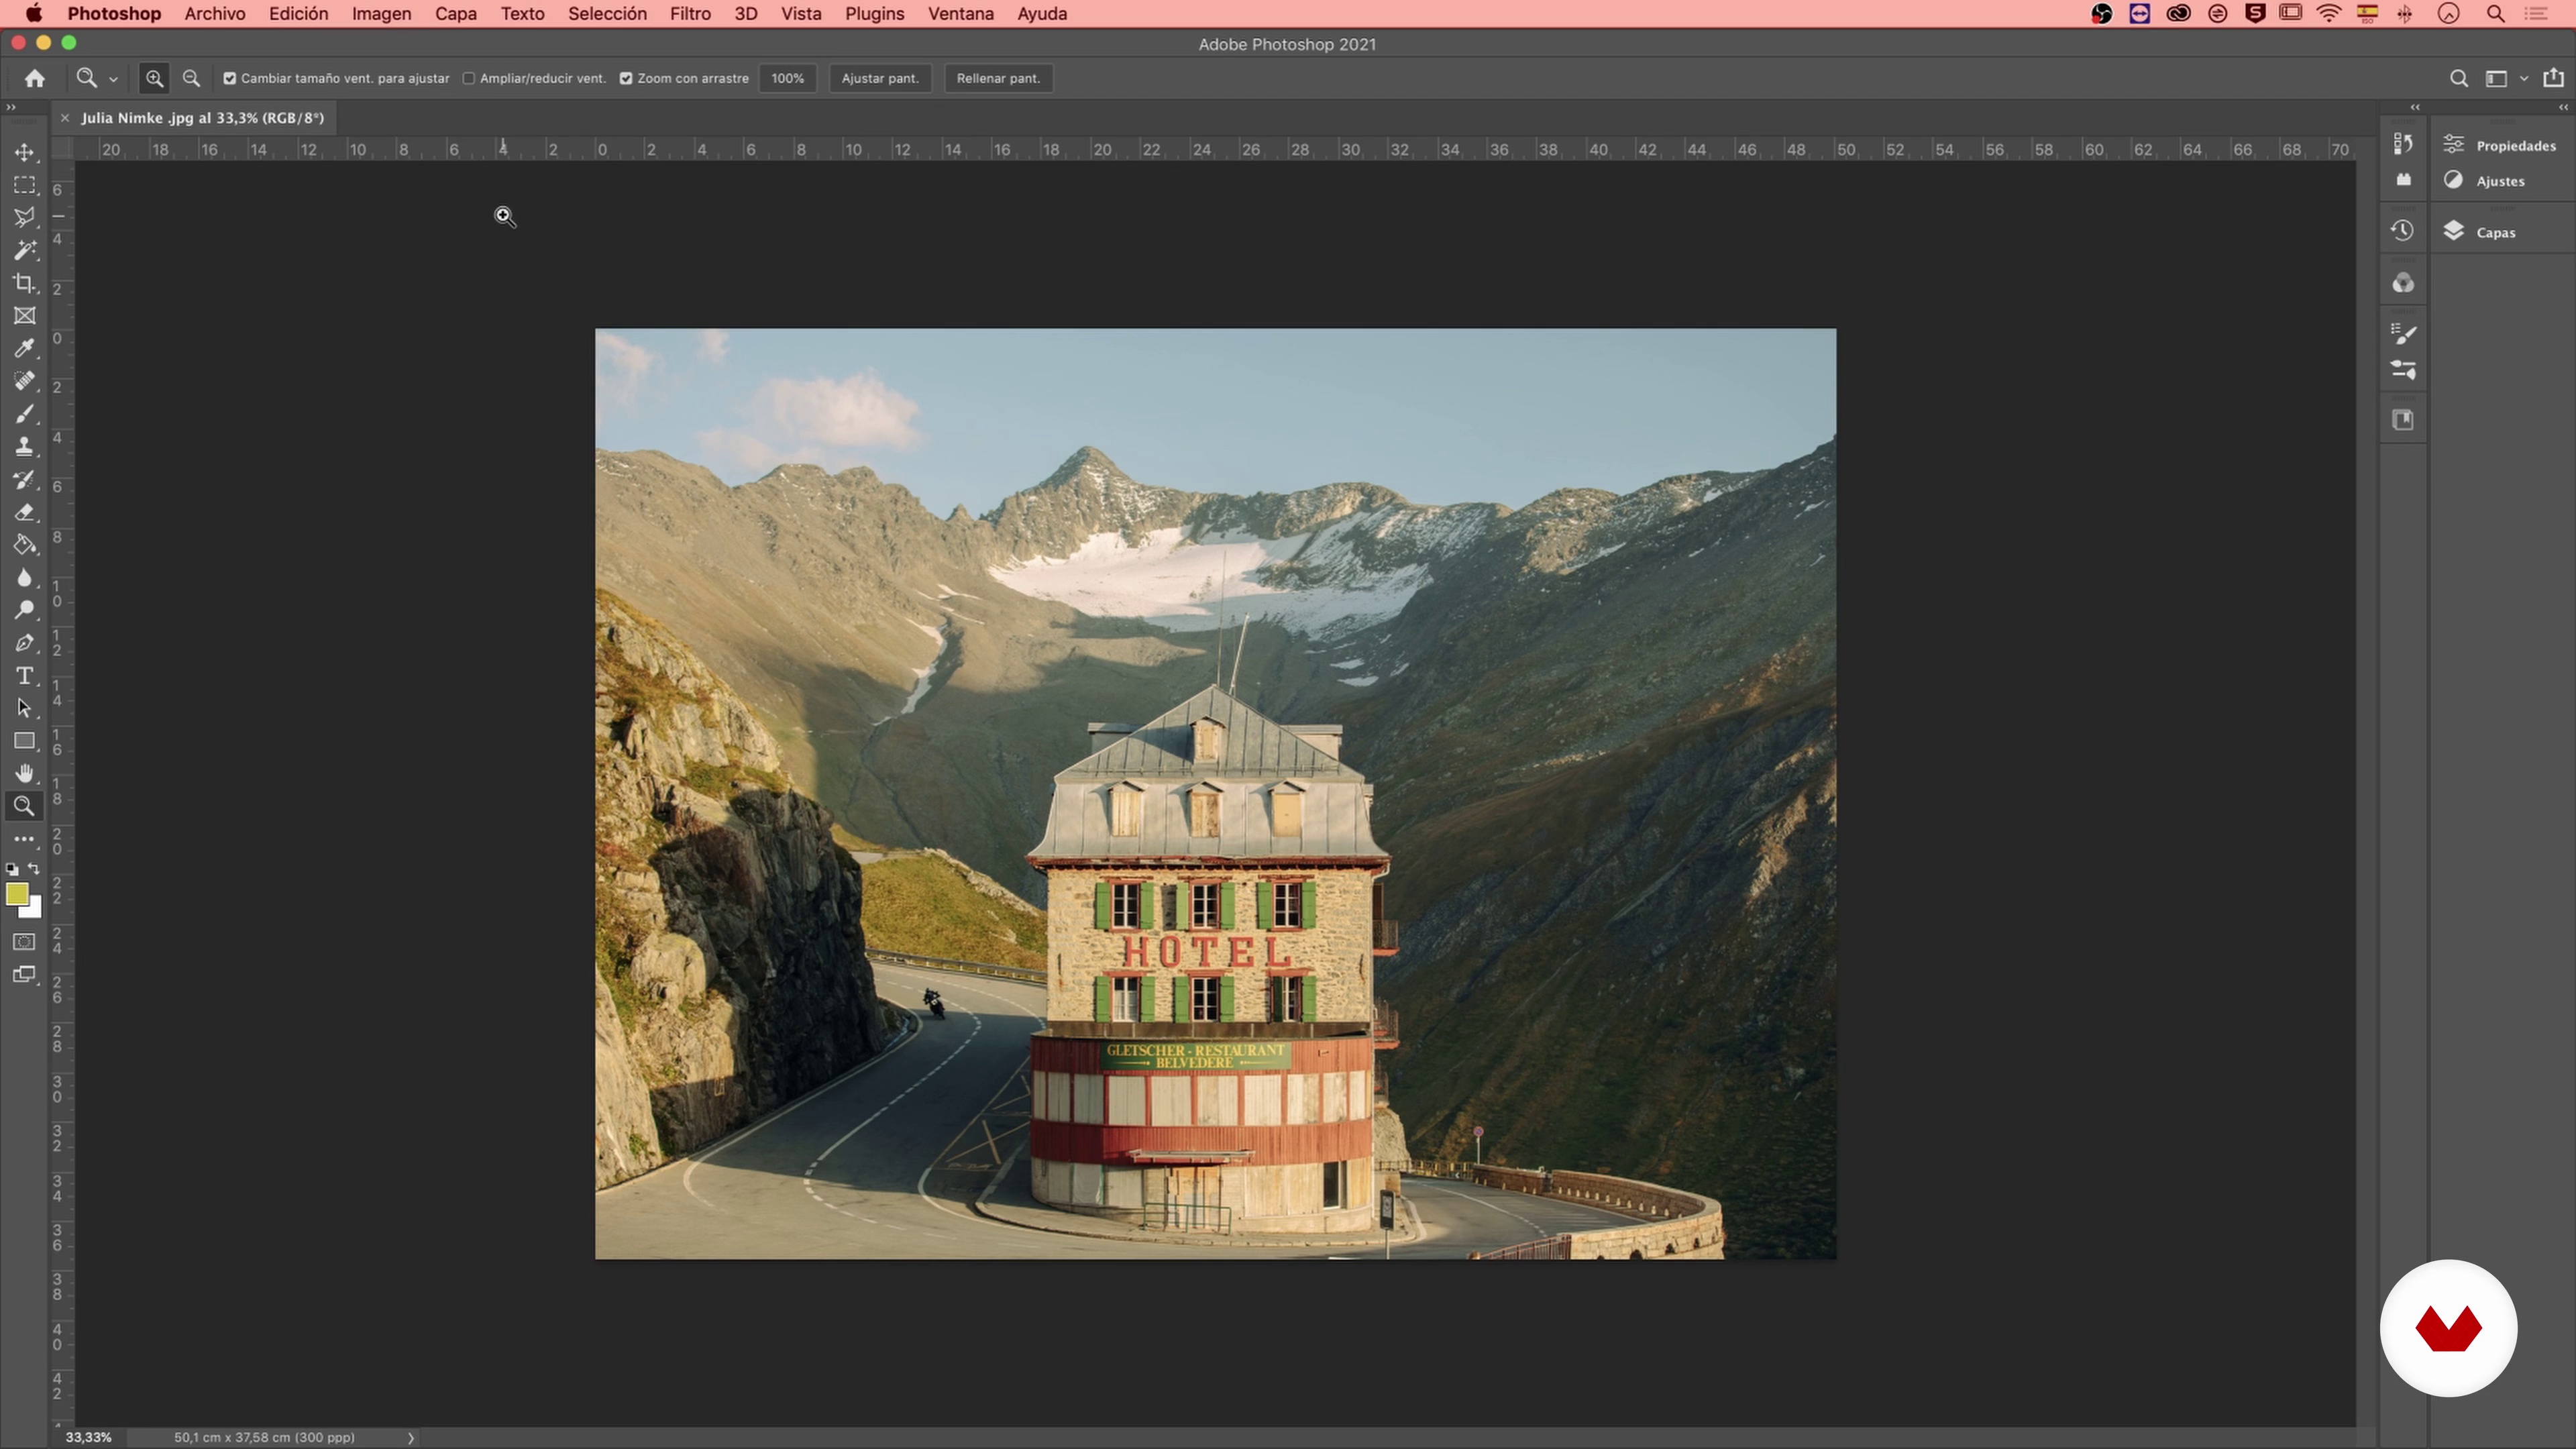
2Photography
We'll start by selecting the most suitable photograph for screen printing. To reproduce a full-color photograph using screen printing, we need to keep certain important things in mind; I'll explain them in this lesson.
14m
 3
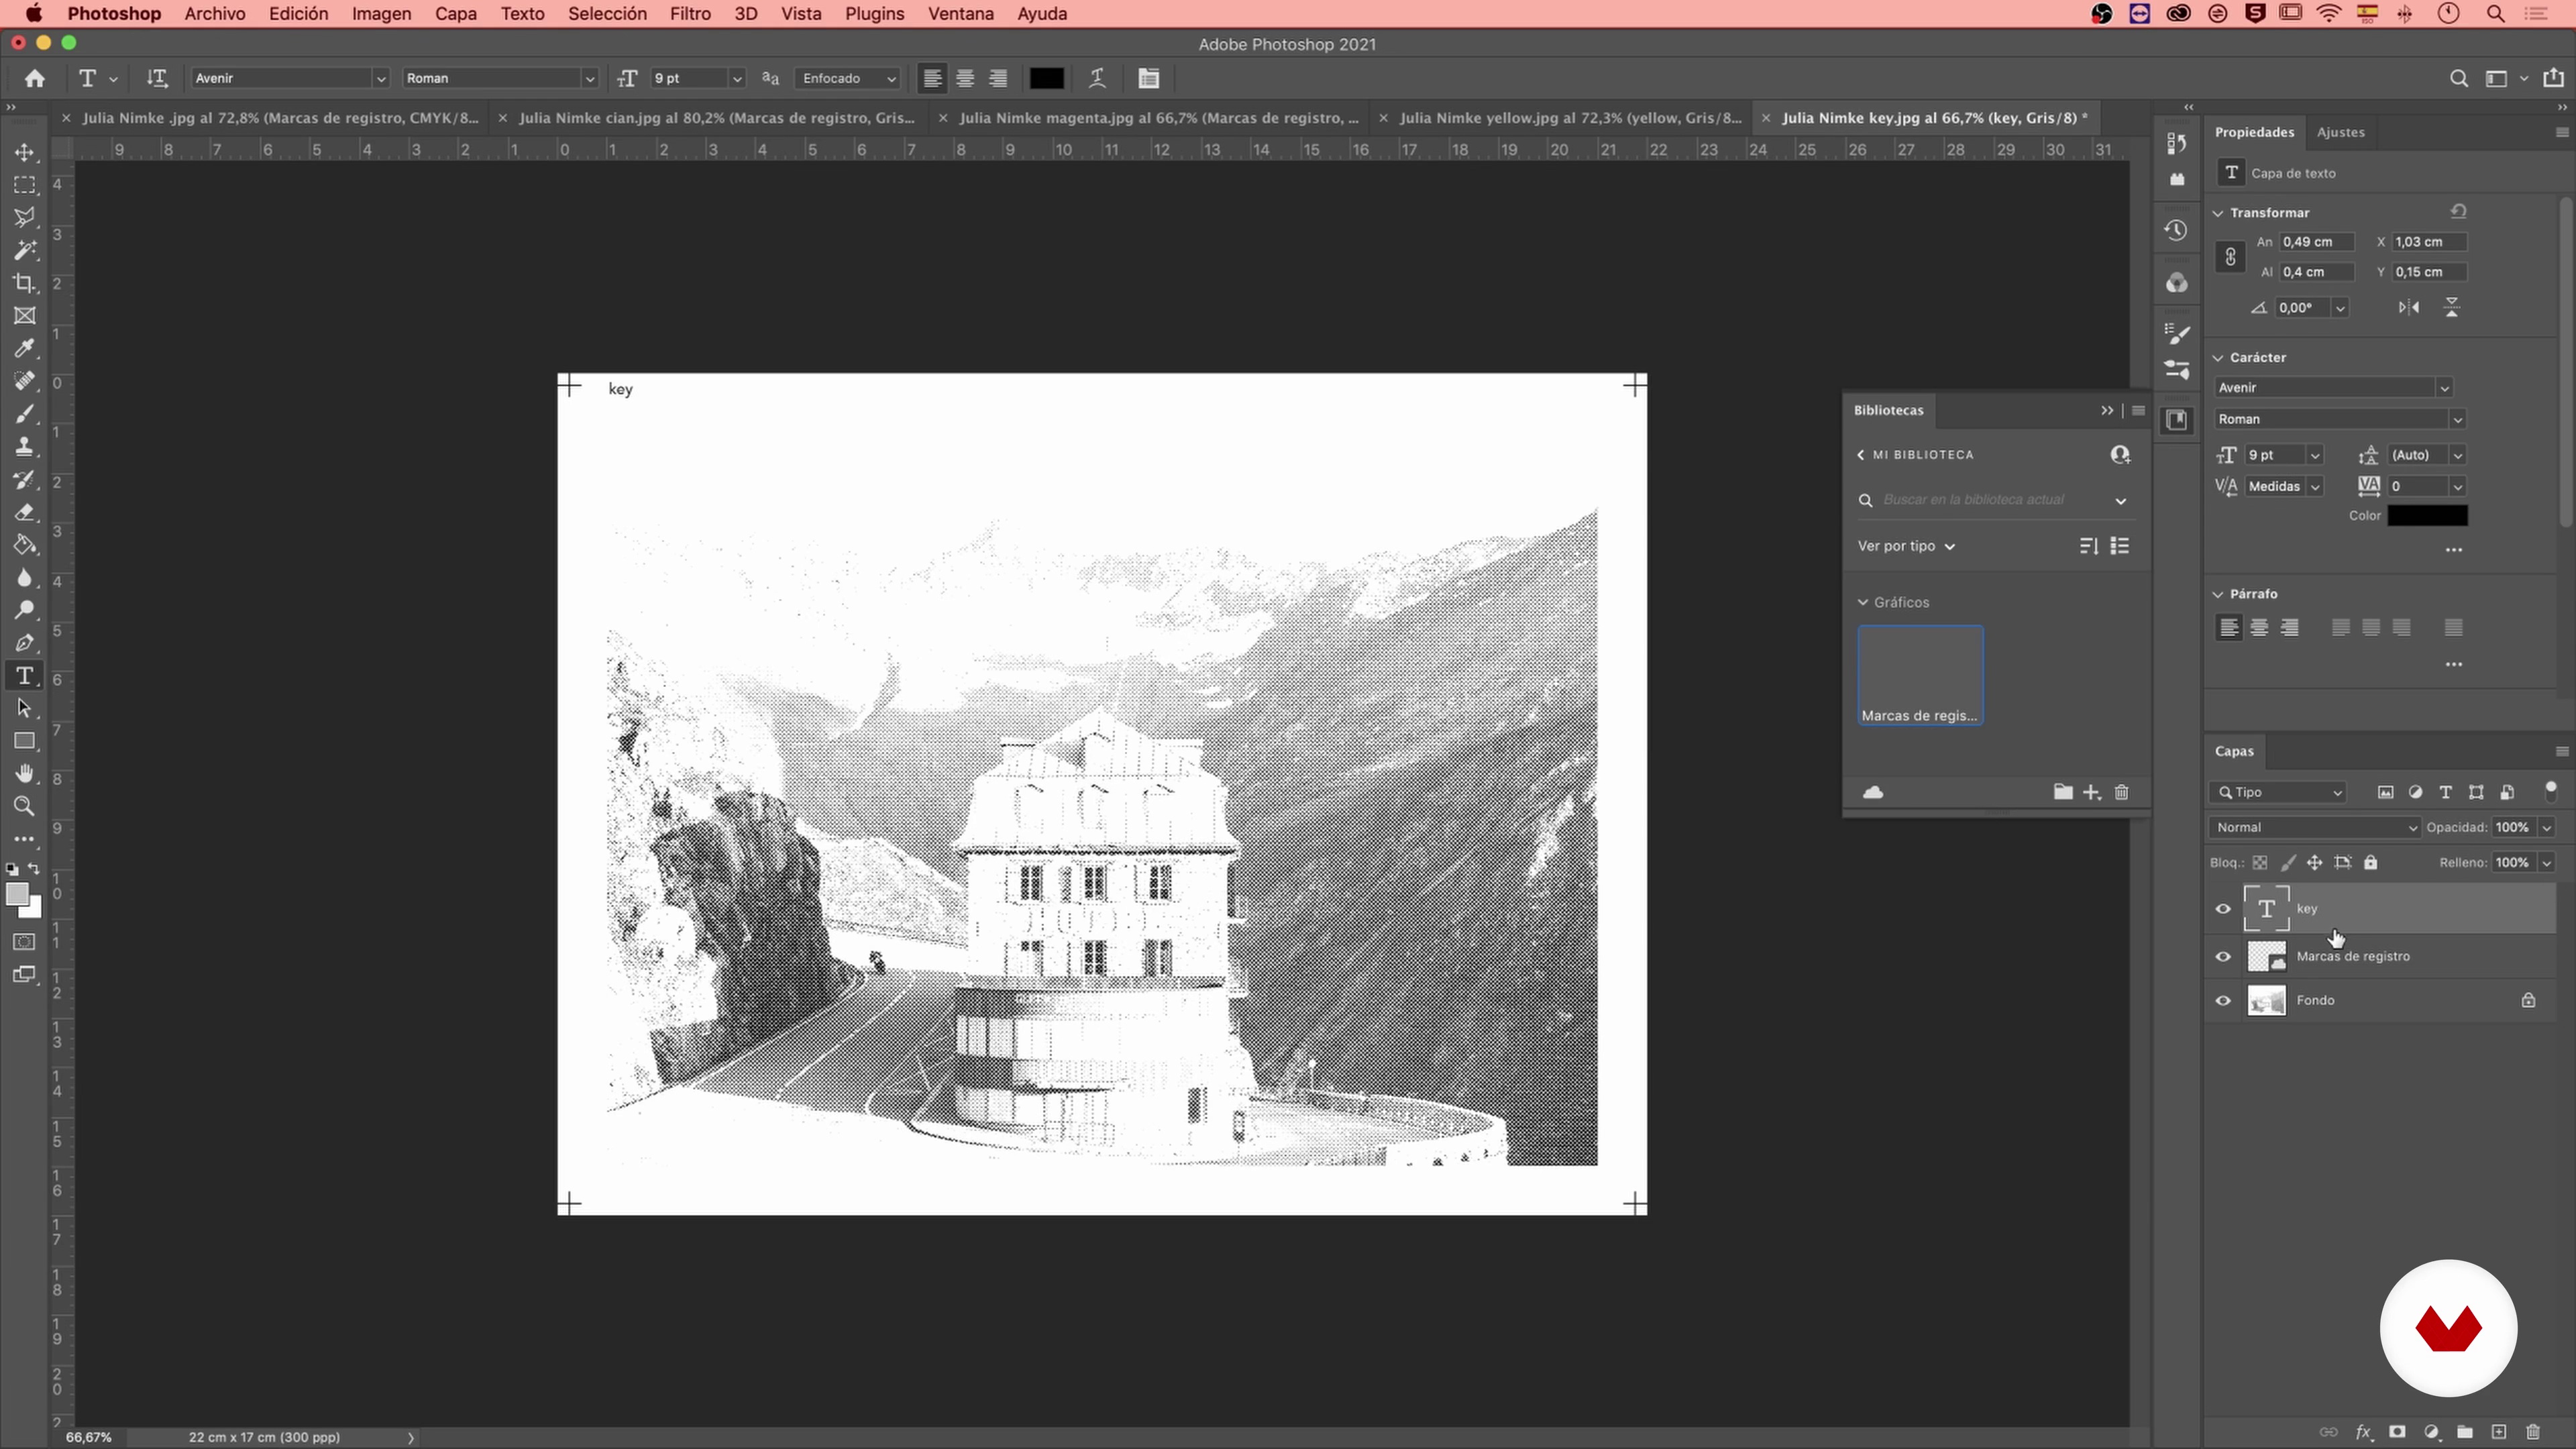
3Color separation
Next, I'll show you how to create CMYK photolithography and add registration marks to each one for more accurate registration.
12m
 4
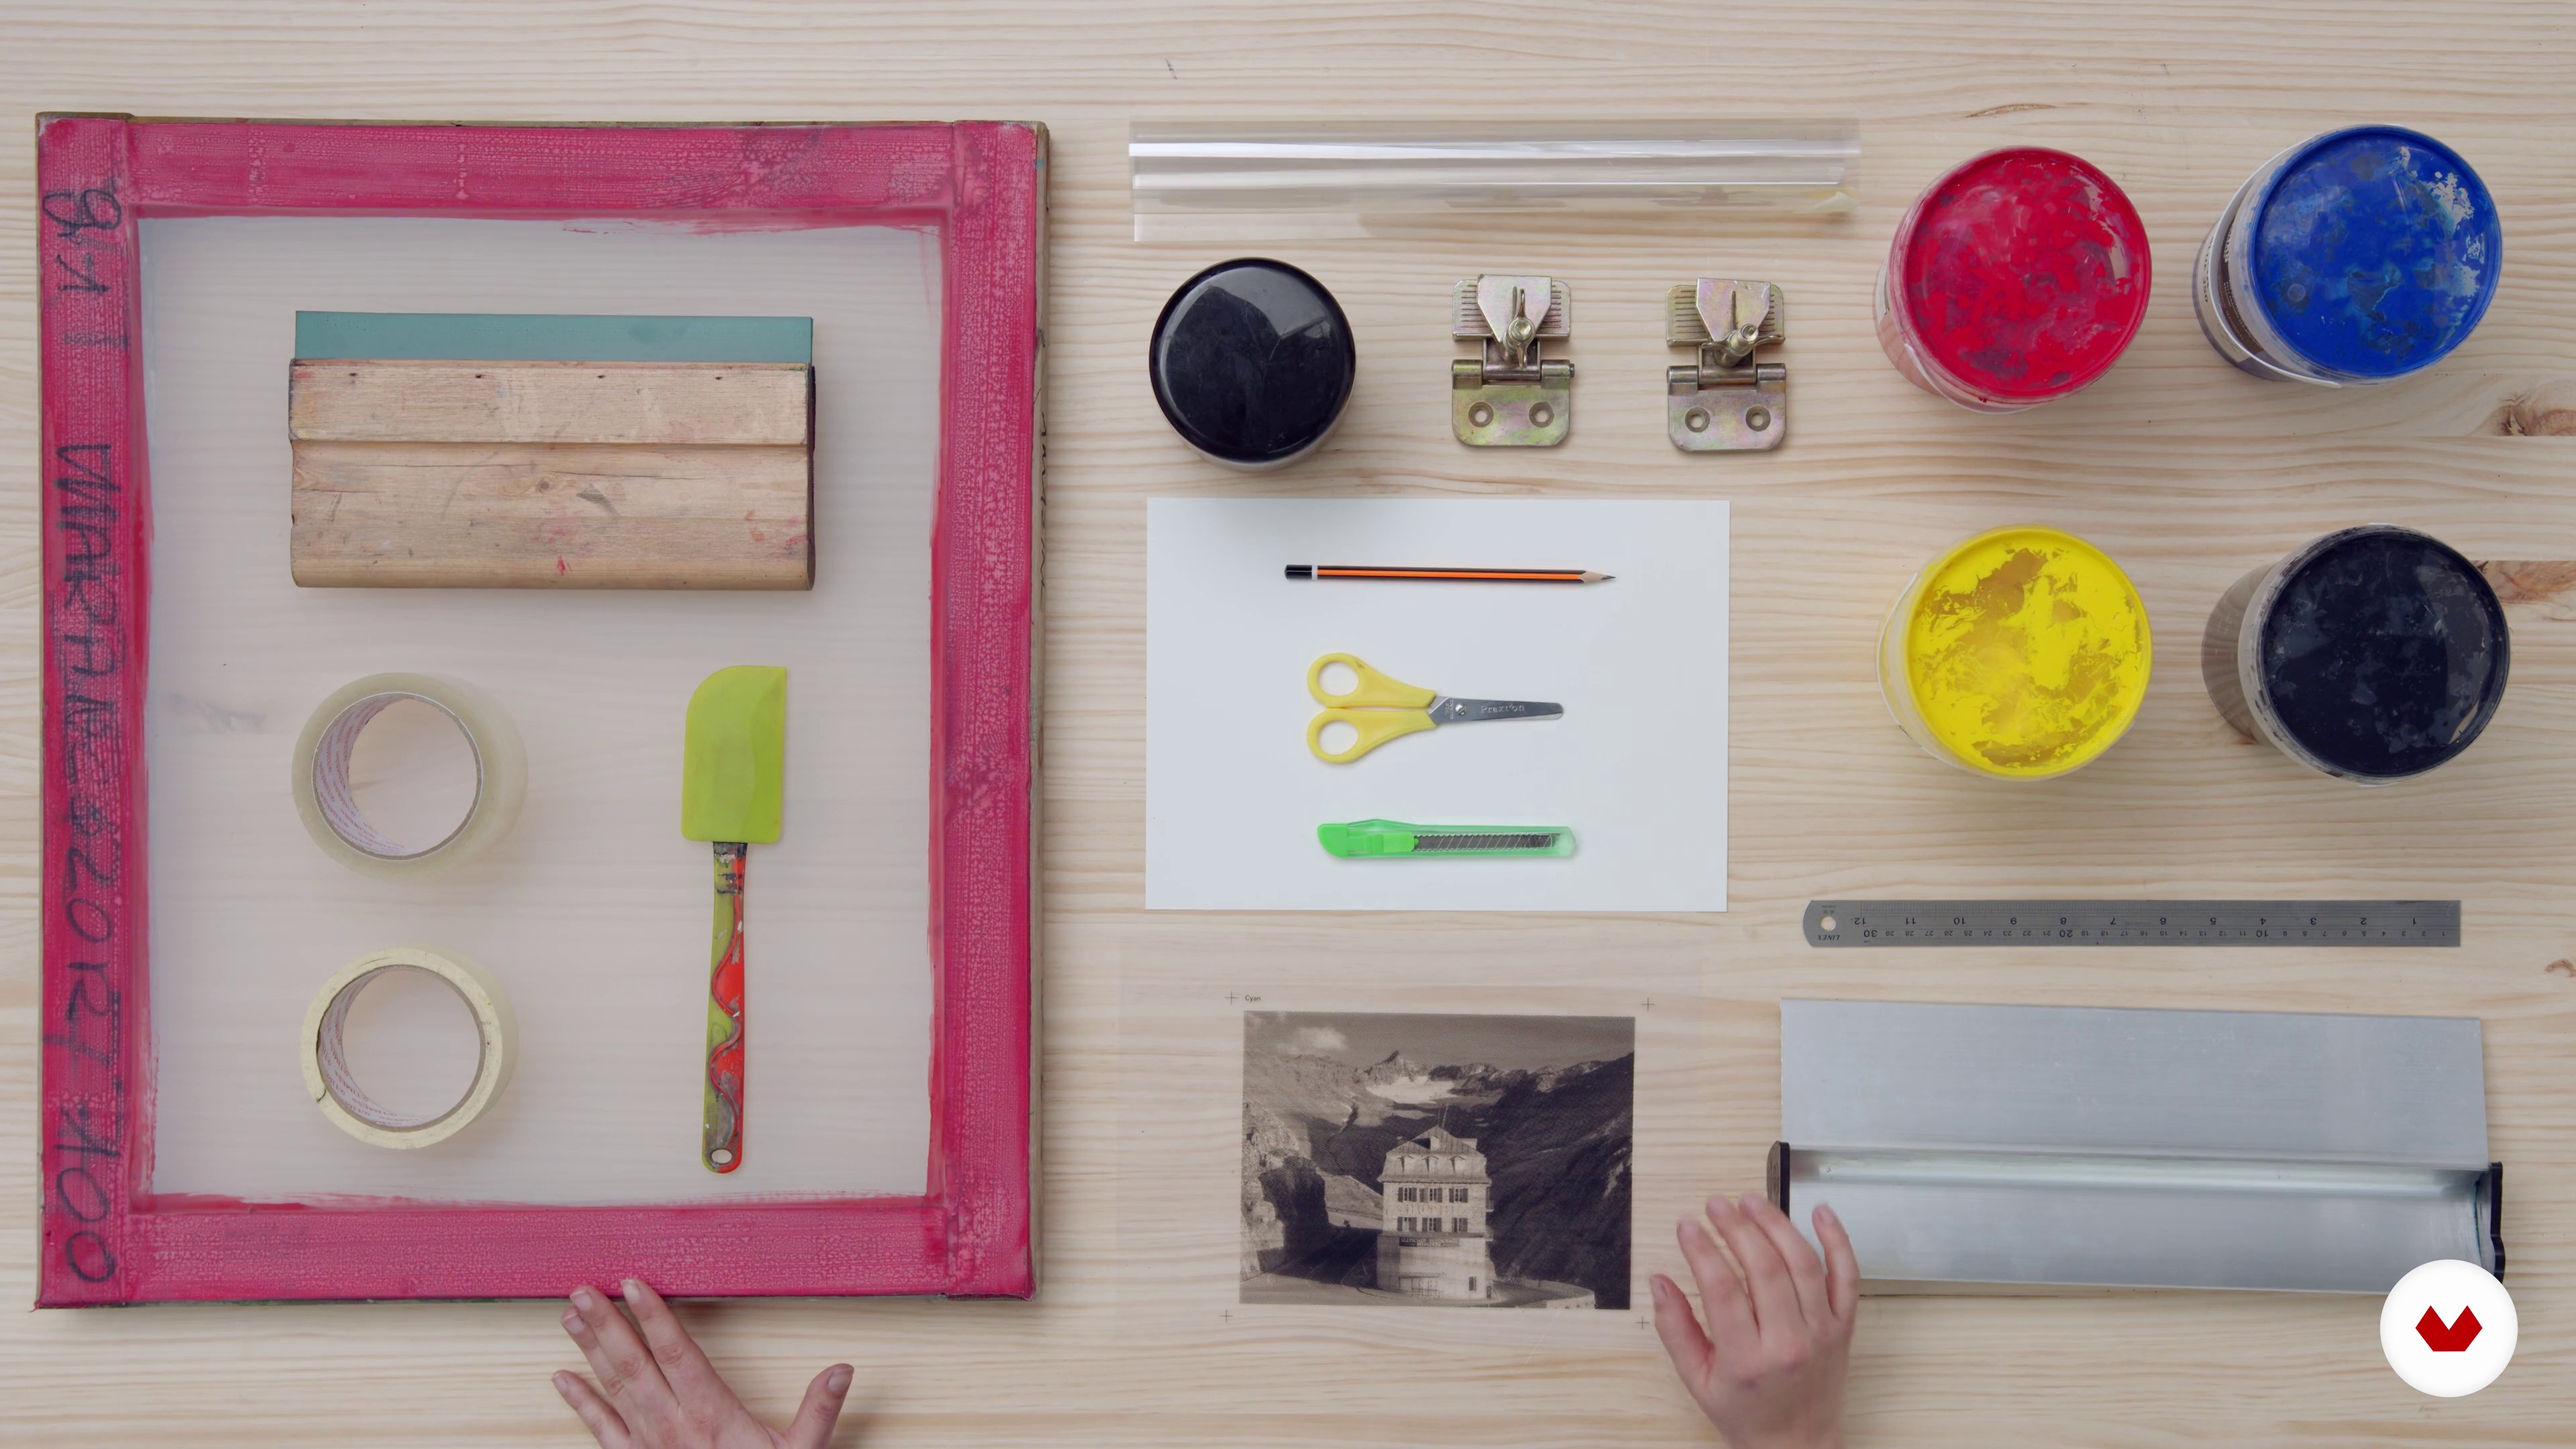
4Materials
In this lesson, I'll explain the materials needed for screen printing and what you'll need in your workspace.
3m
 5
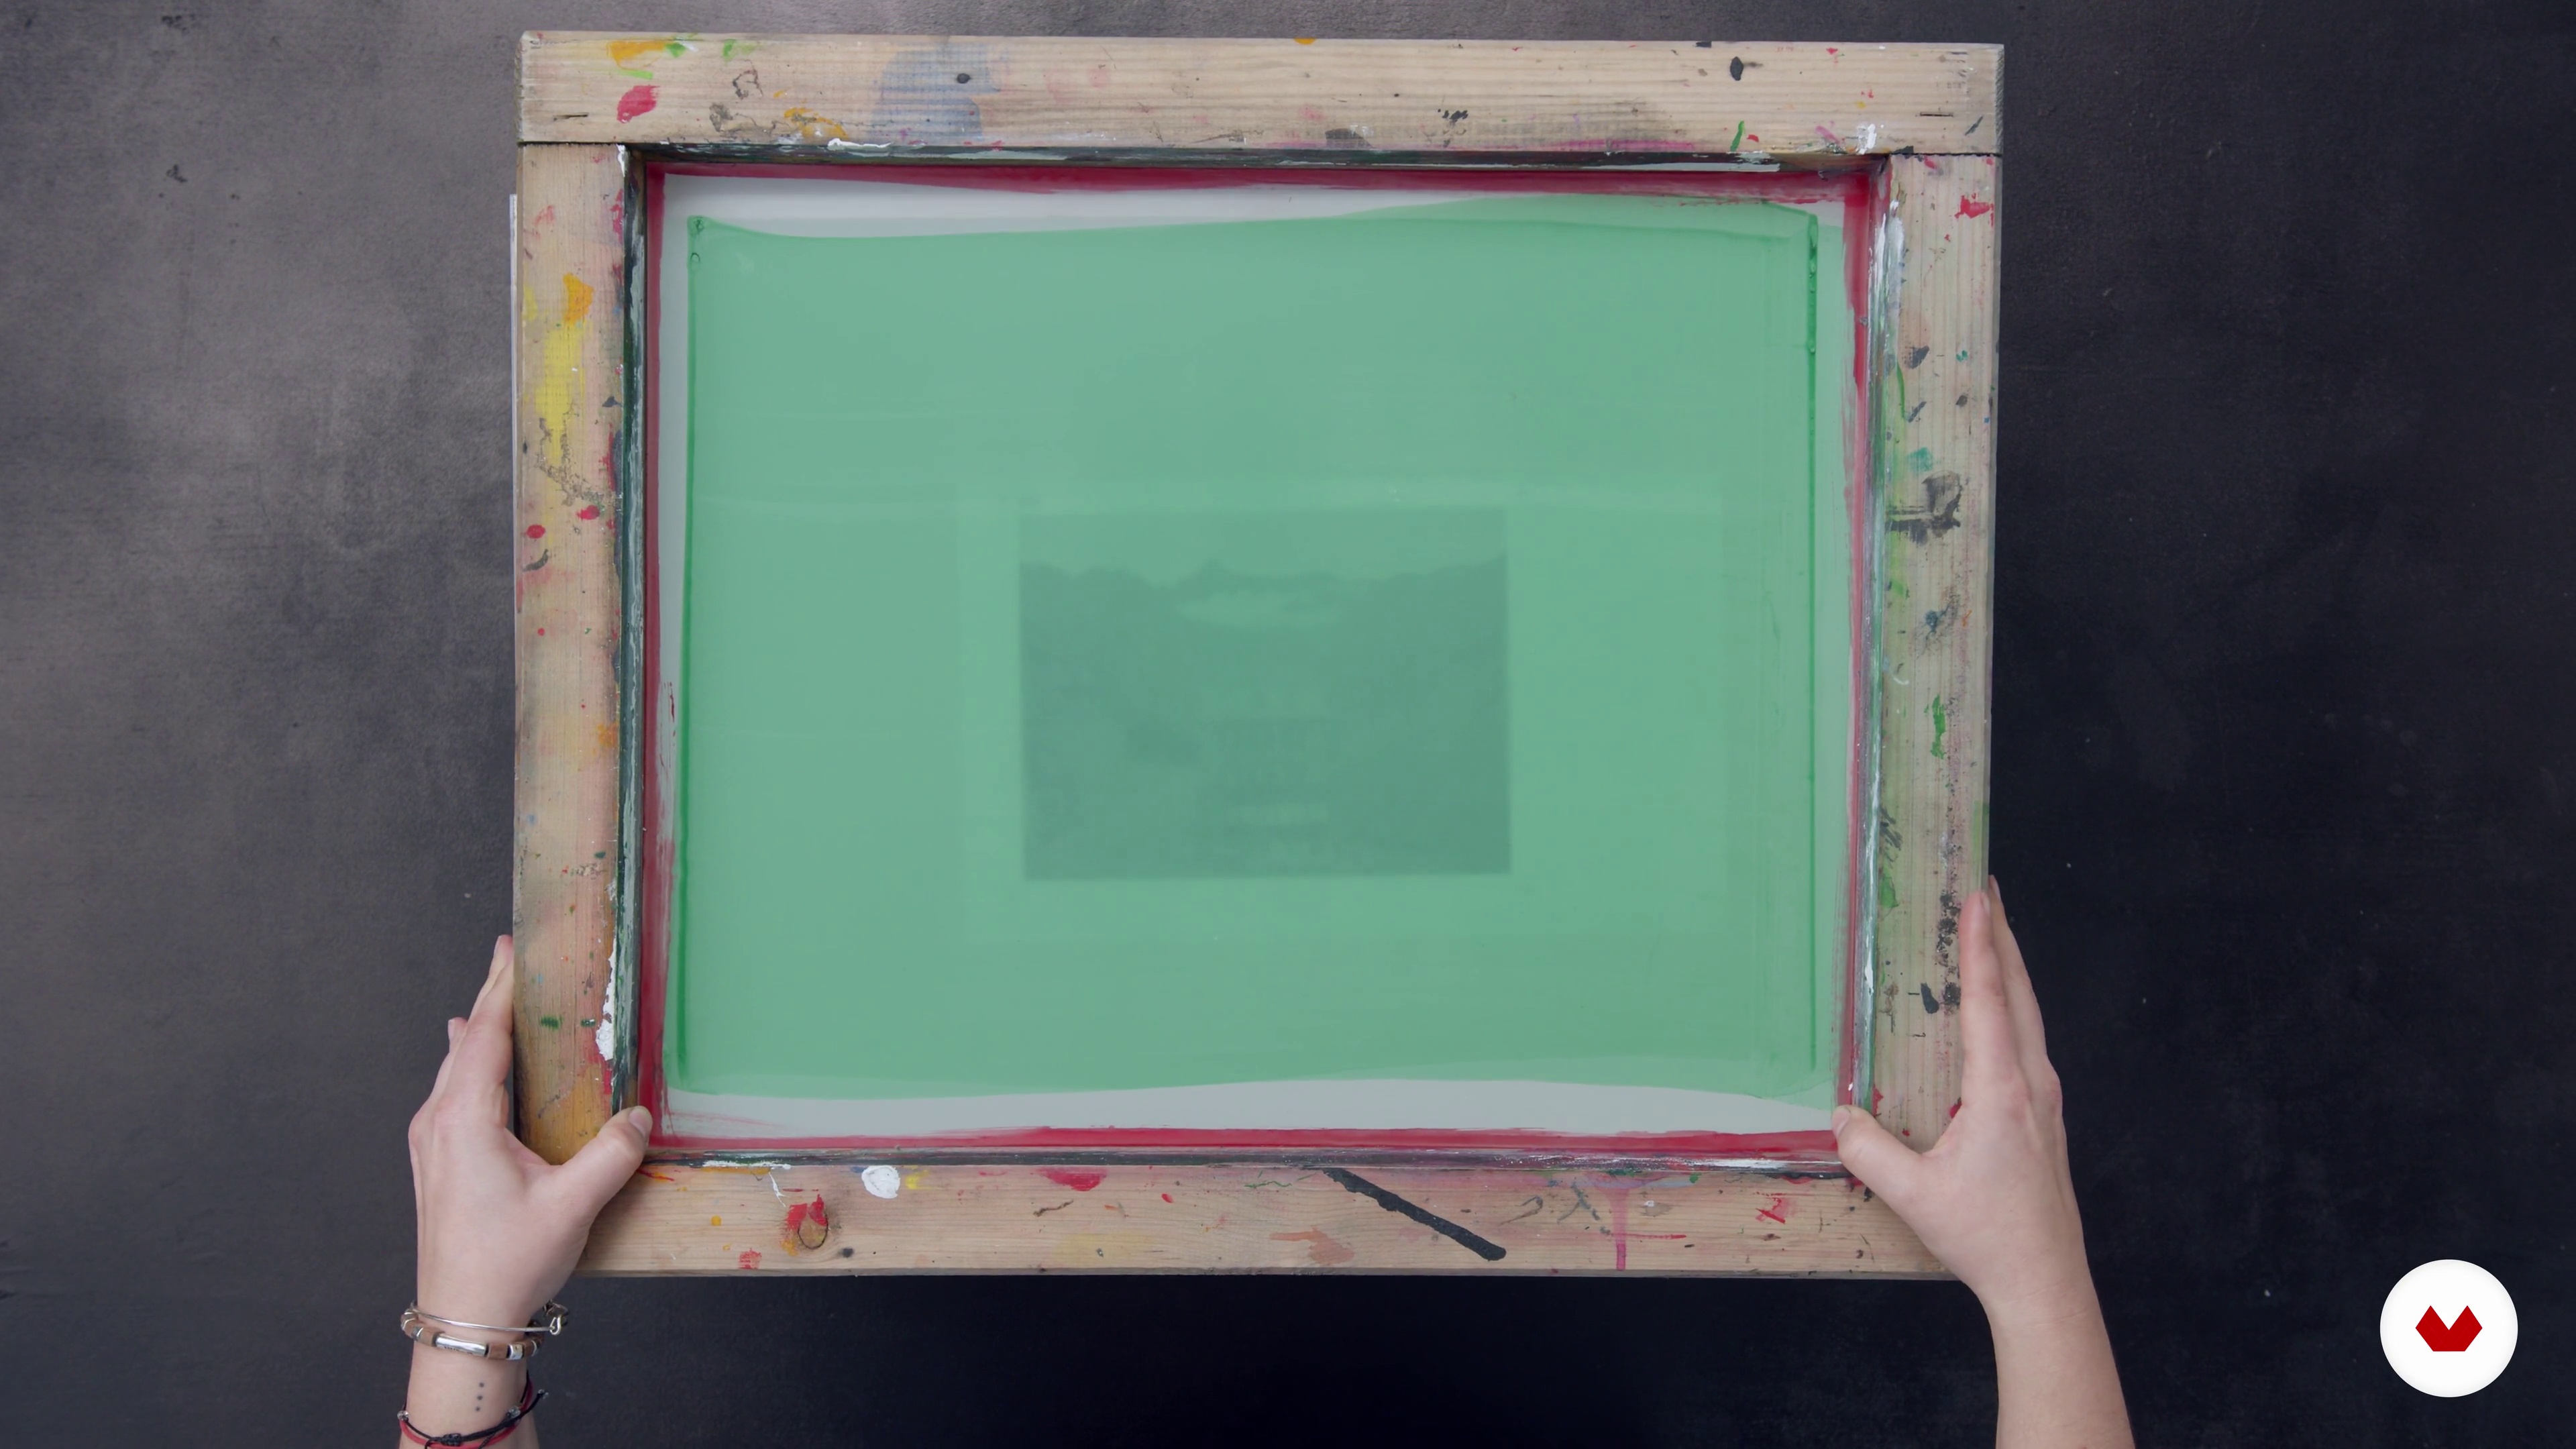
5Screen preparation
In this lesson, I'll teach you how to optimally set up your screen and explain some tips for getting better results.
11m
 6
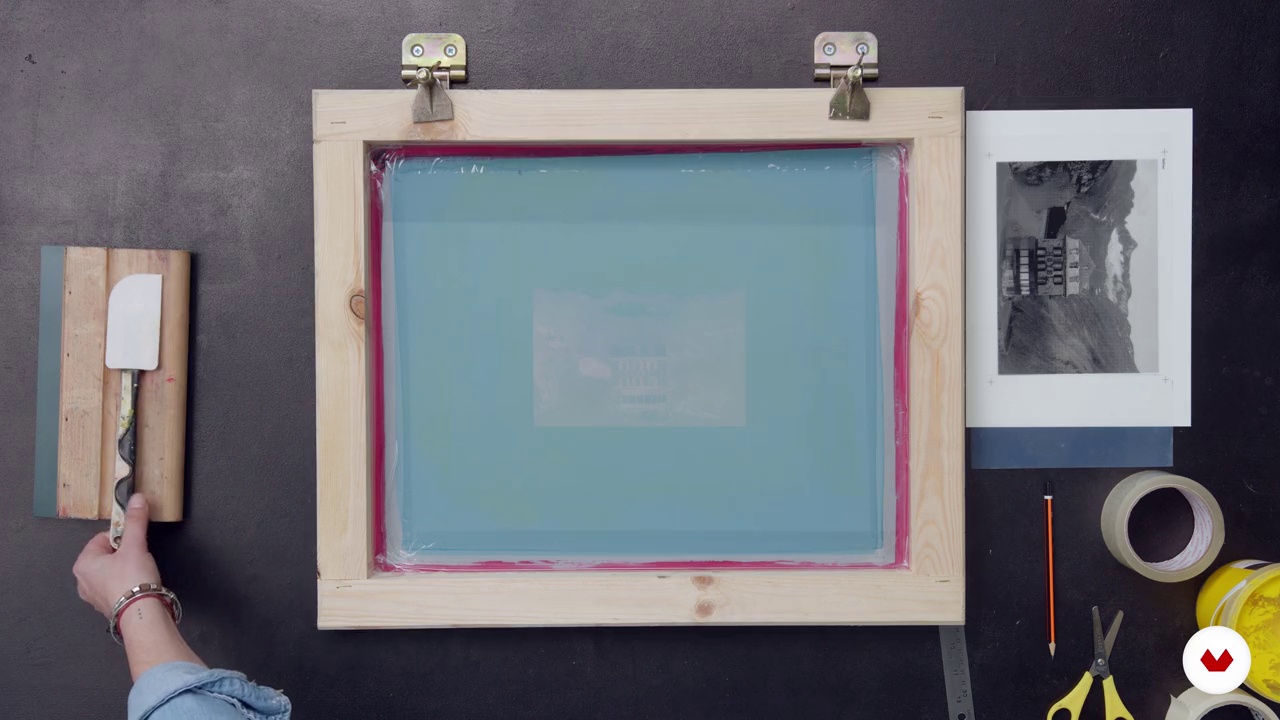
6Workspace
Next, we'll prepare our workspace with all the materials needed to achieve a clean and precise production.
5m
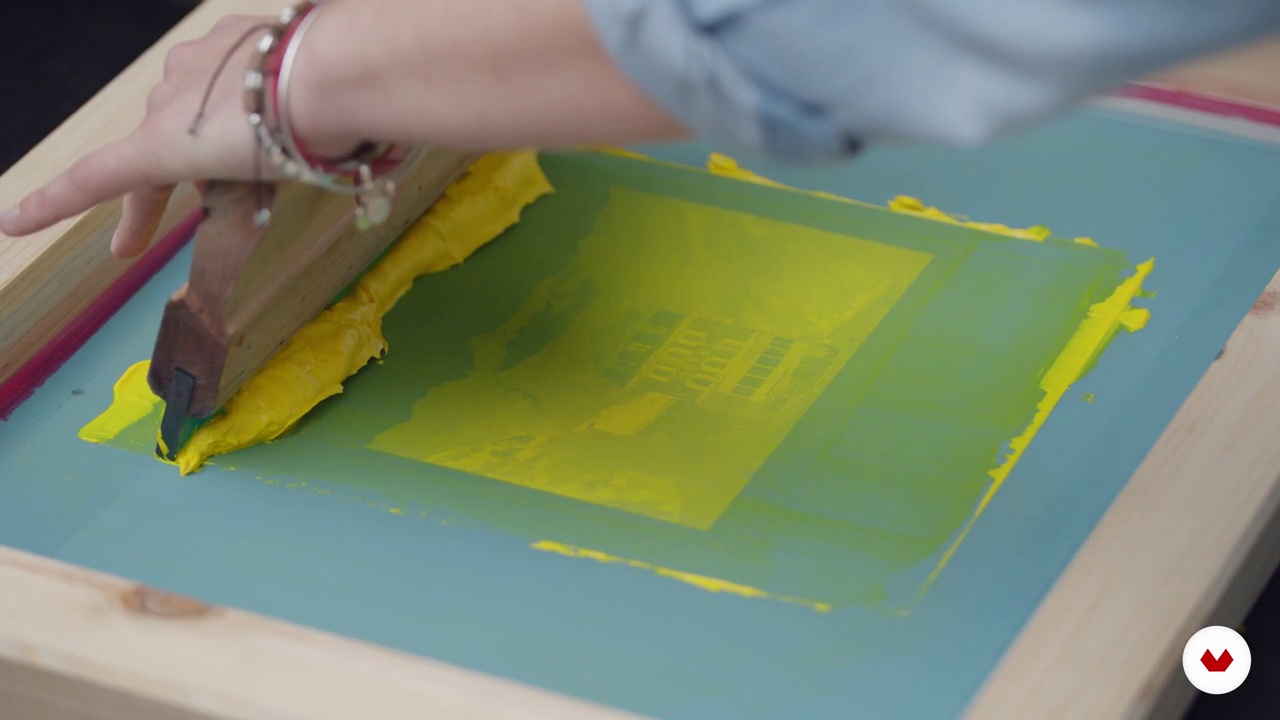 7
7Stamping process 1
Now we print the four colors of the four-color process with their respective registers.
10m
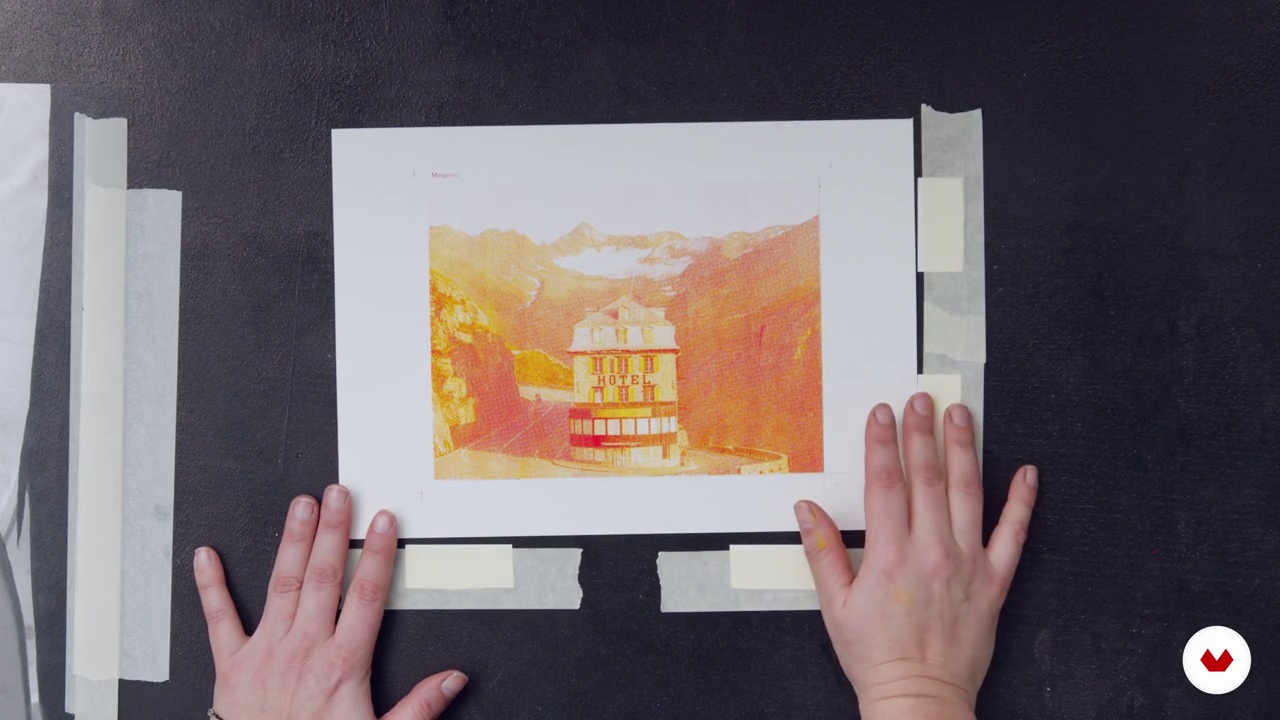 8
8Stamping process 2
We continue the printing process step by step. After printing the yellow, it's time for the rest of the colors.
14m
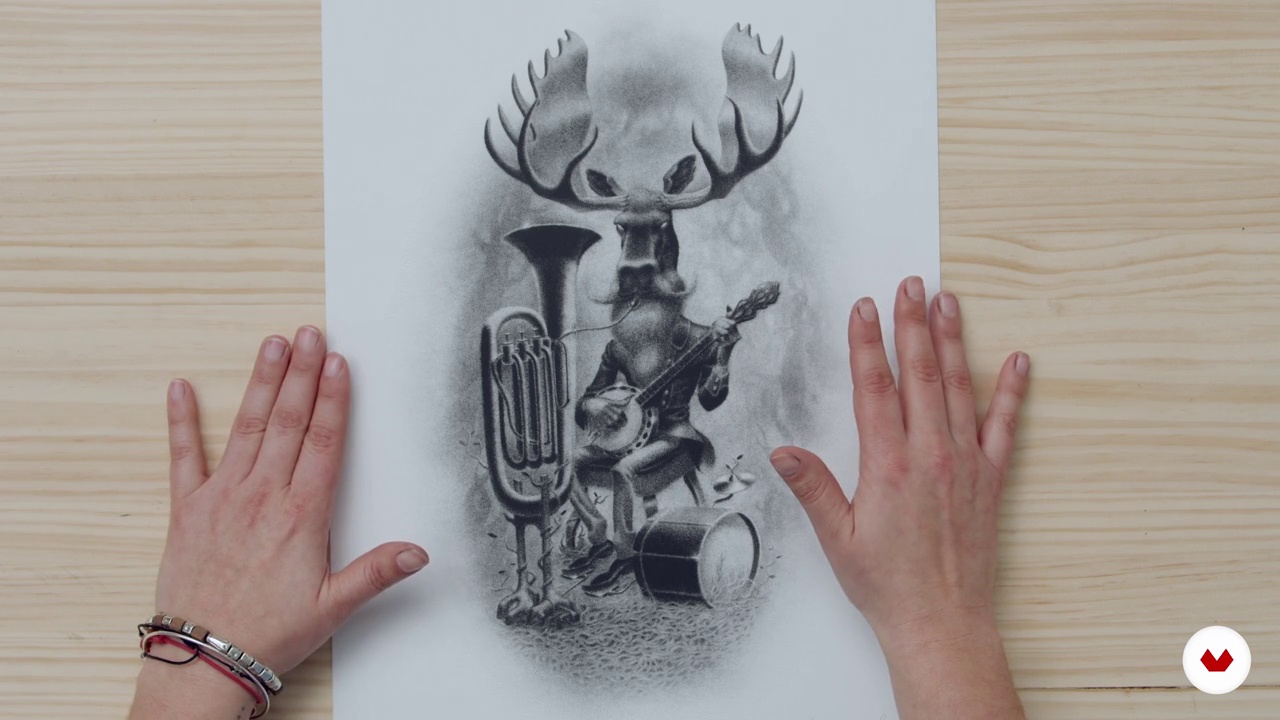 9
9Other ways to use photography in screen printing
In this lesson, I want to show you other ways to use photography in screen printing. From the most common, such as black and white photography, to mixed media, combining photography, photography and collage, photography and post-printing plastic techniques. We'll also look at other types of screen printing, such as stochastic and color variations.
6m
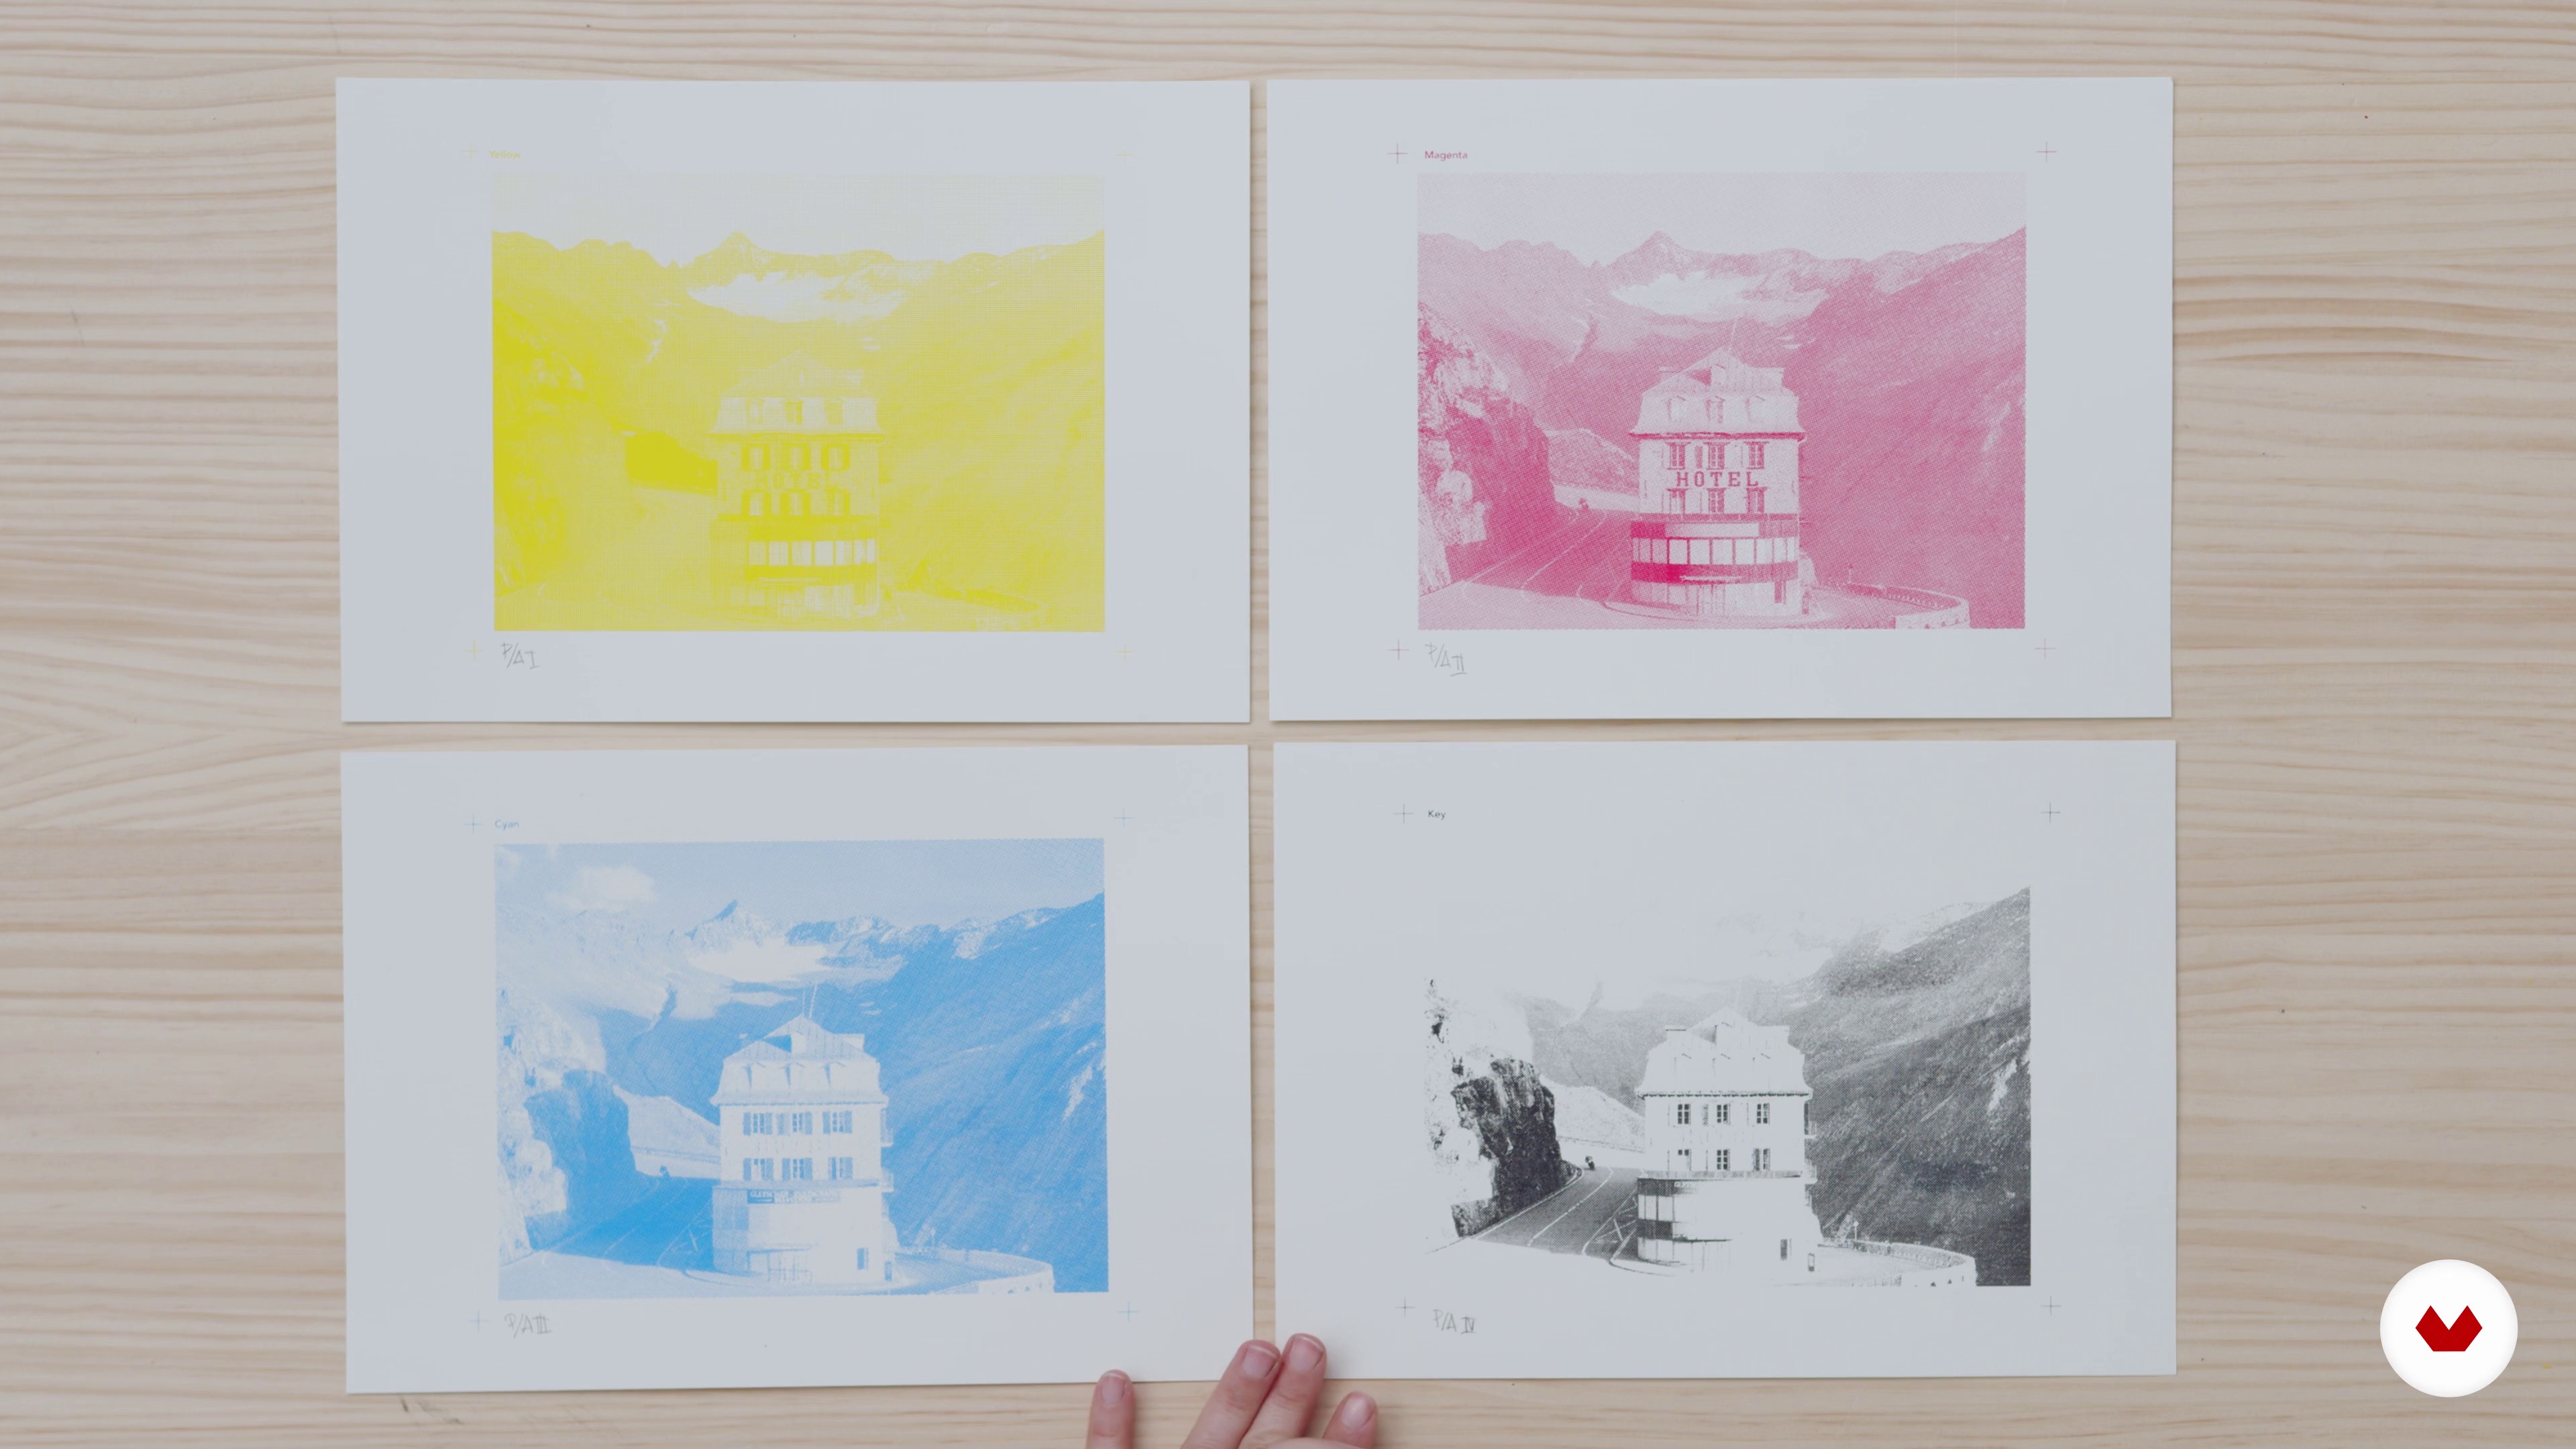 10
10The limited edition screen print
Now, I'll tell you about the value of a limited edition and why it's important to sign and number each piece, so you can sell it as unique and authentic.
5m
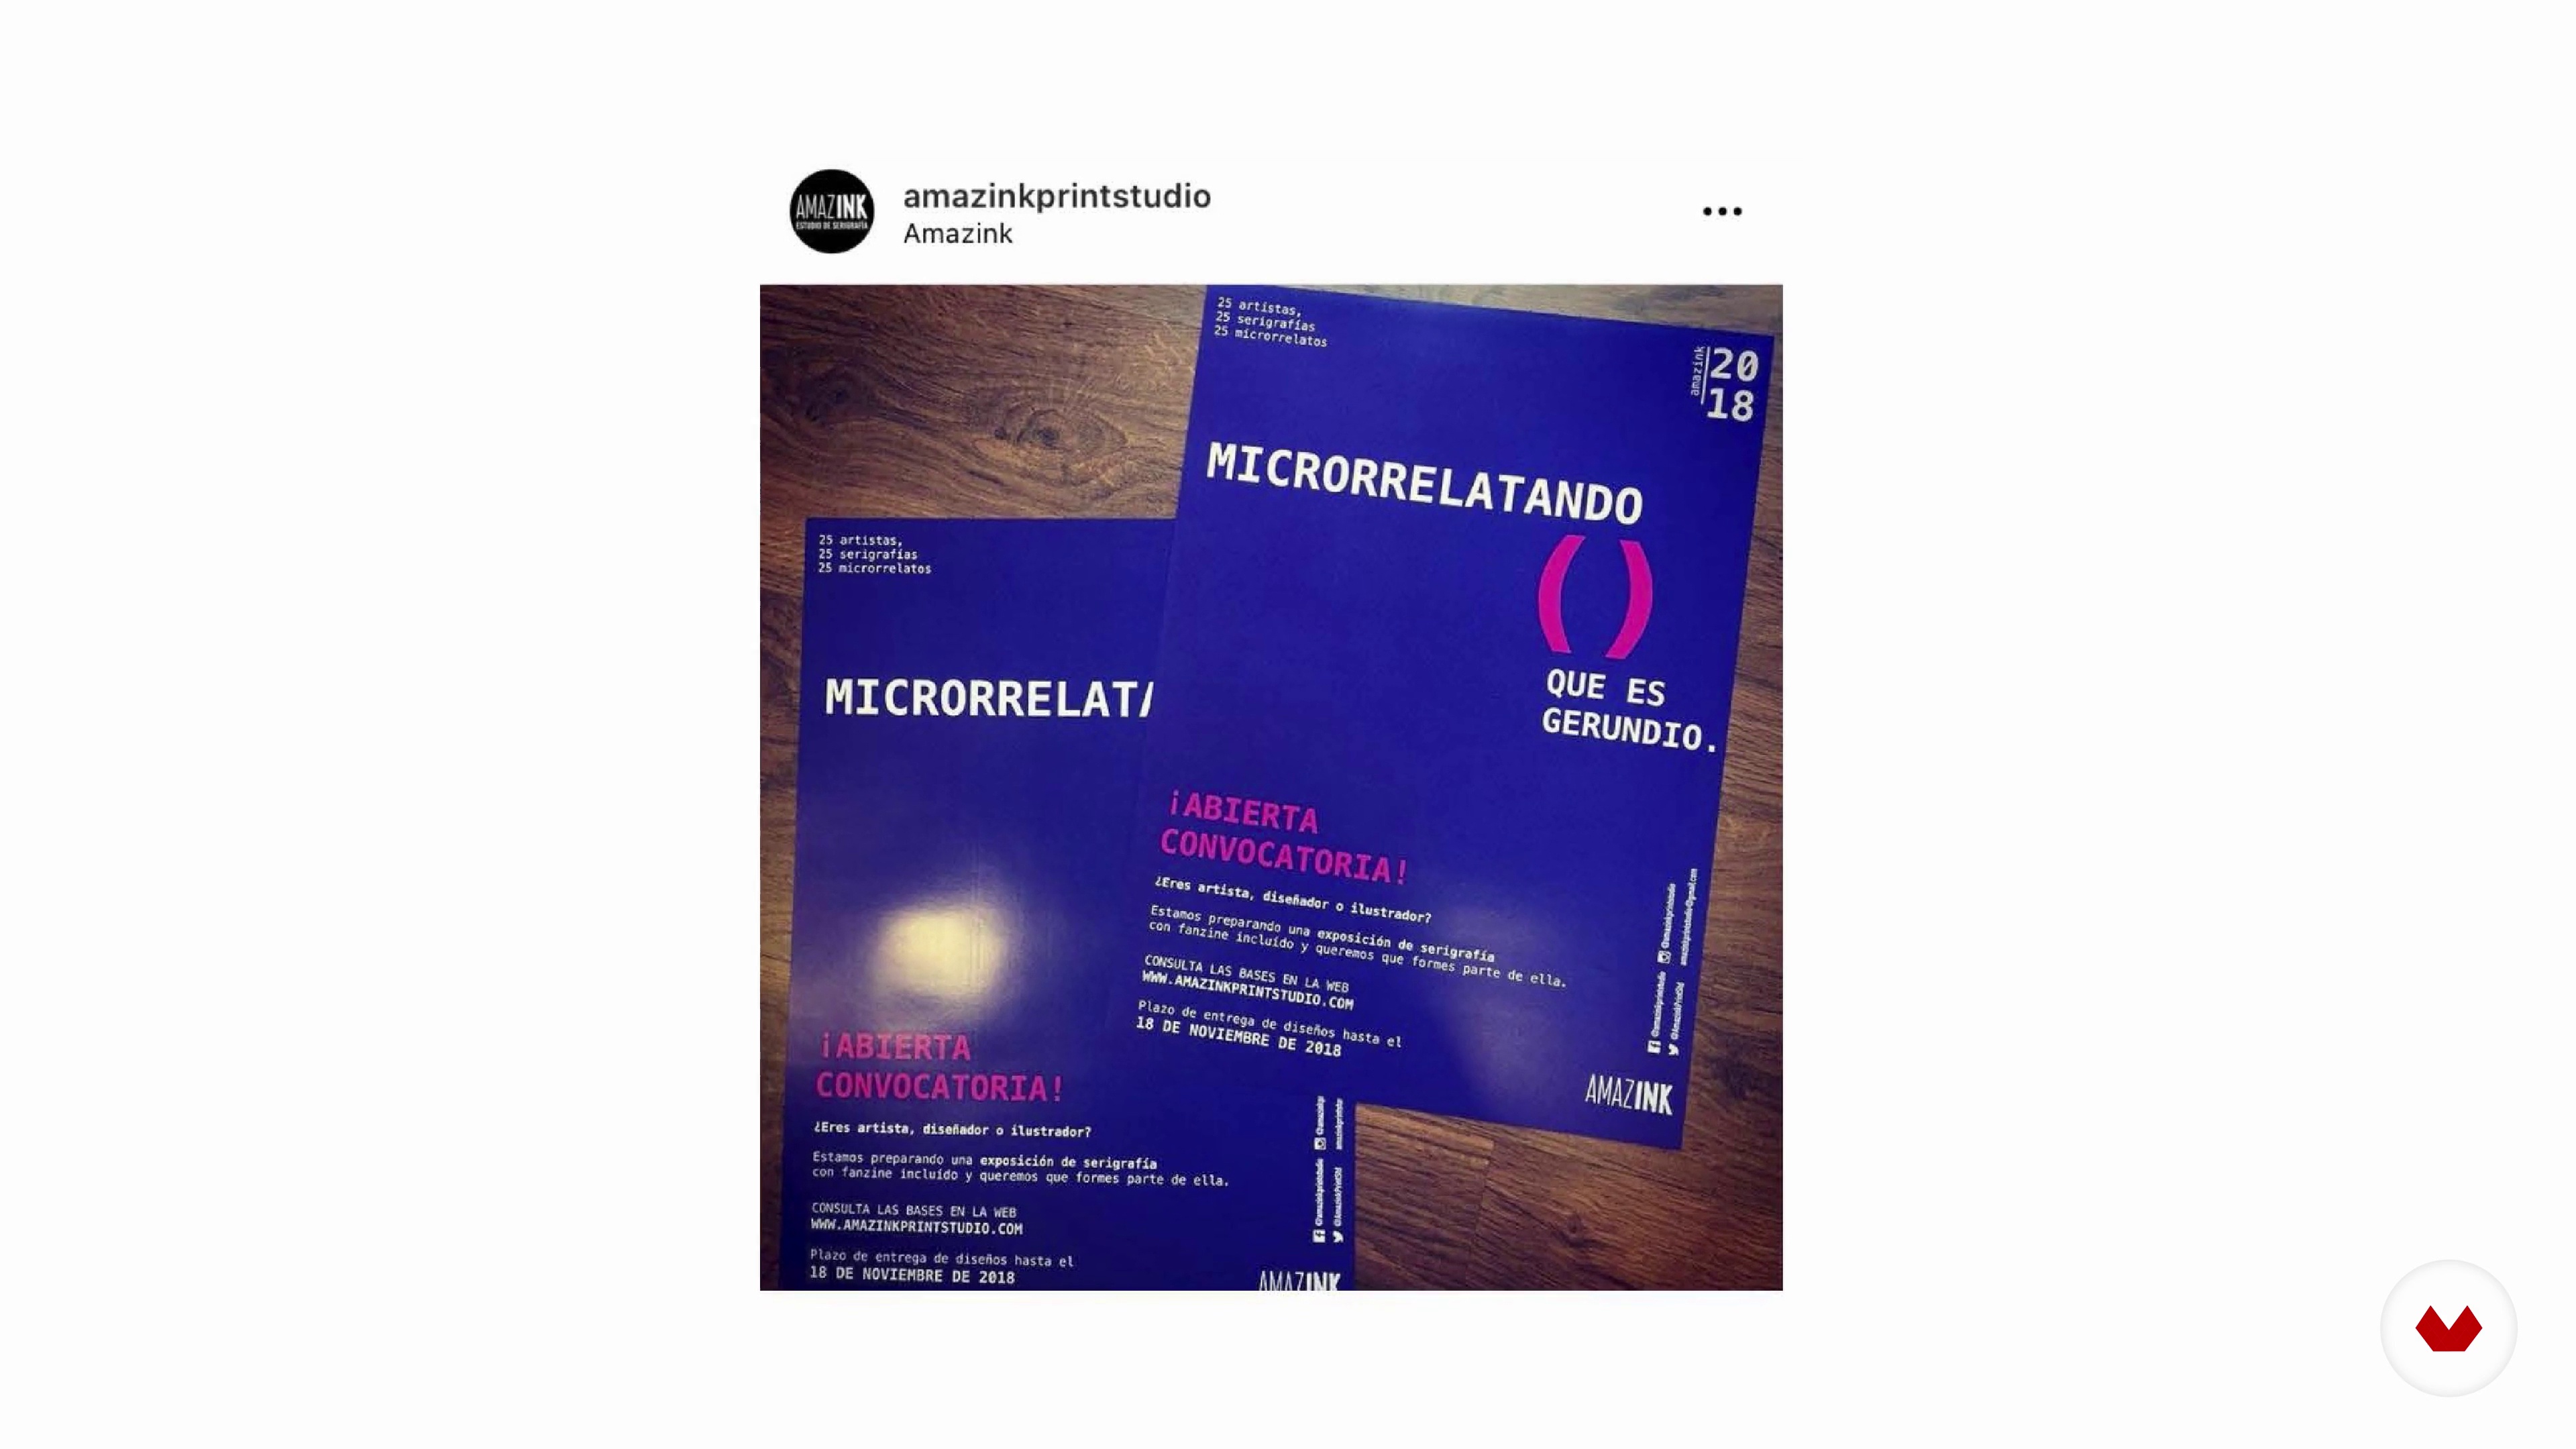 11
11How to promote your work
Finally, I'll tell you how to promote your work. We'll discuss pricing, group exhibitions, and much more.
10m
 1
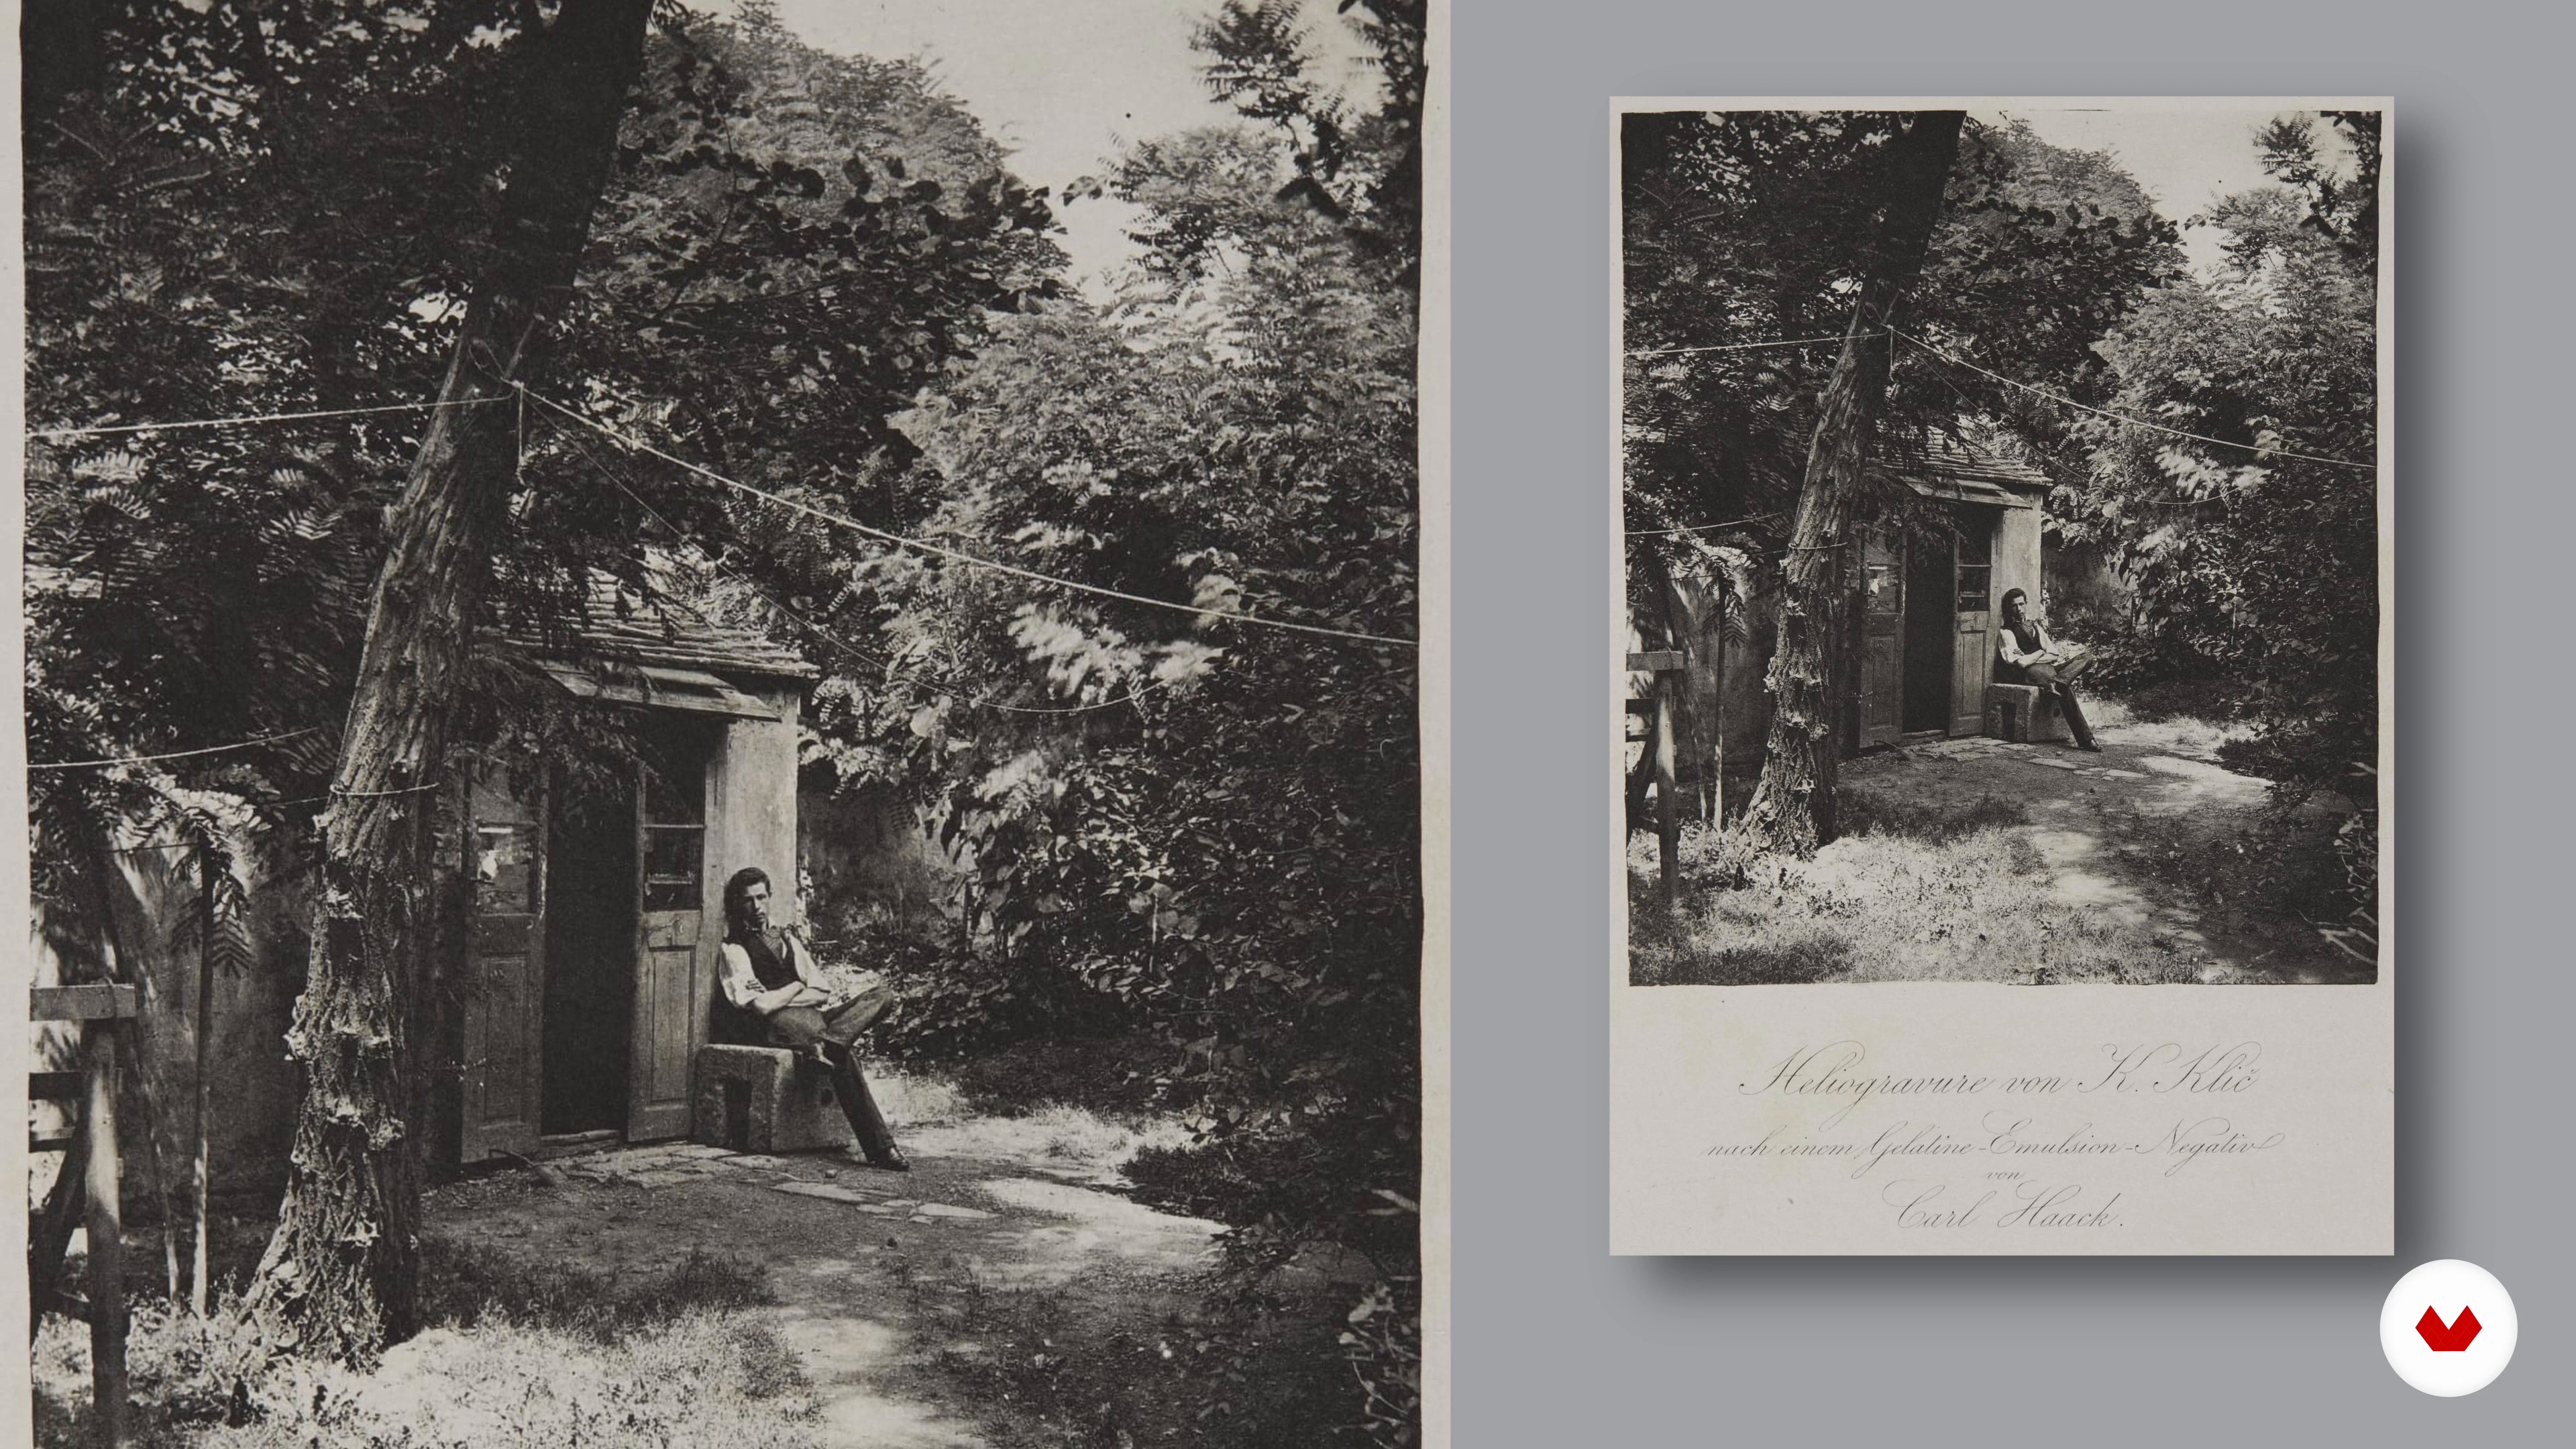
1History of photoengraving
Let's take a journey through the history and evolution of photoengraving. I'll tell you how it all began and where we've come from.
3m
 2
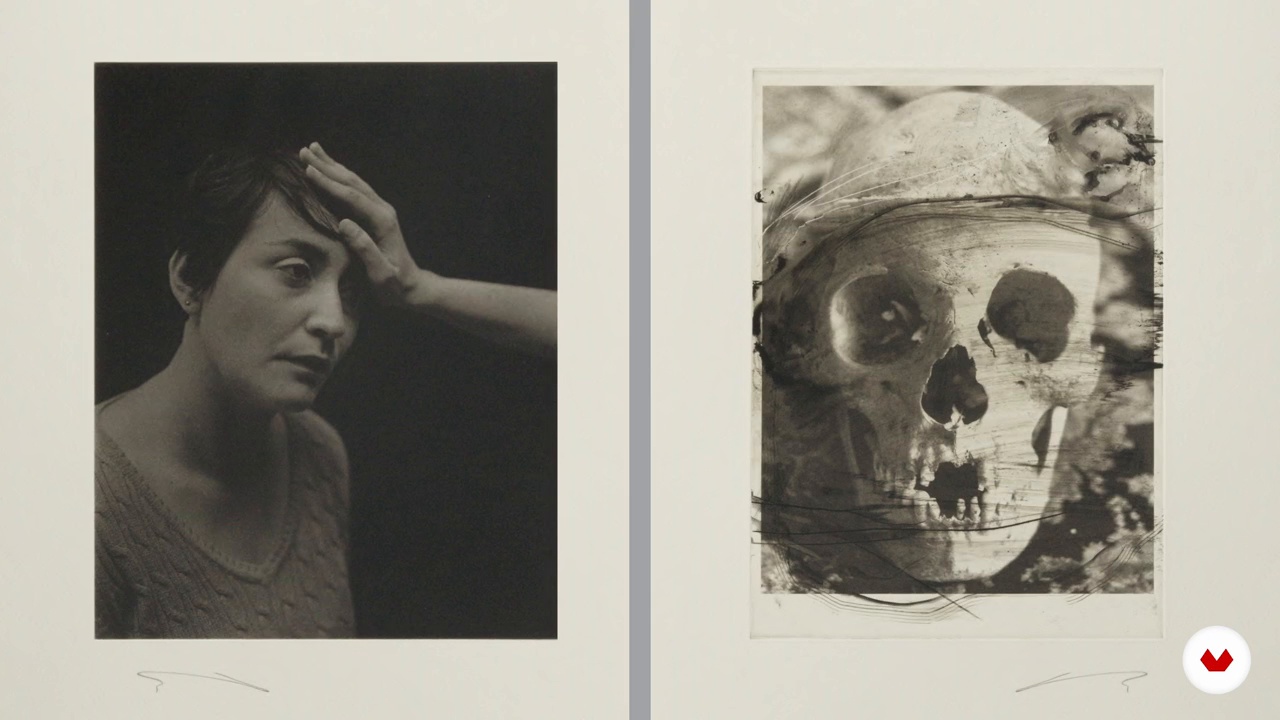
2The photopolymer
Photopolymer is the technique that has revolutionized the world of printmaking in the 21st century. In this lesson, I'll discuss the possibilities this technique offers.
3m
 3
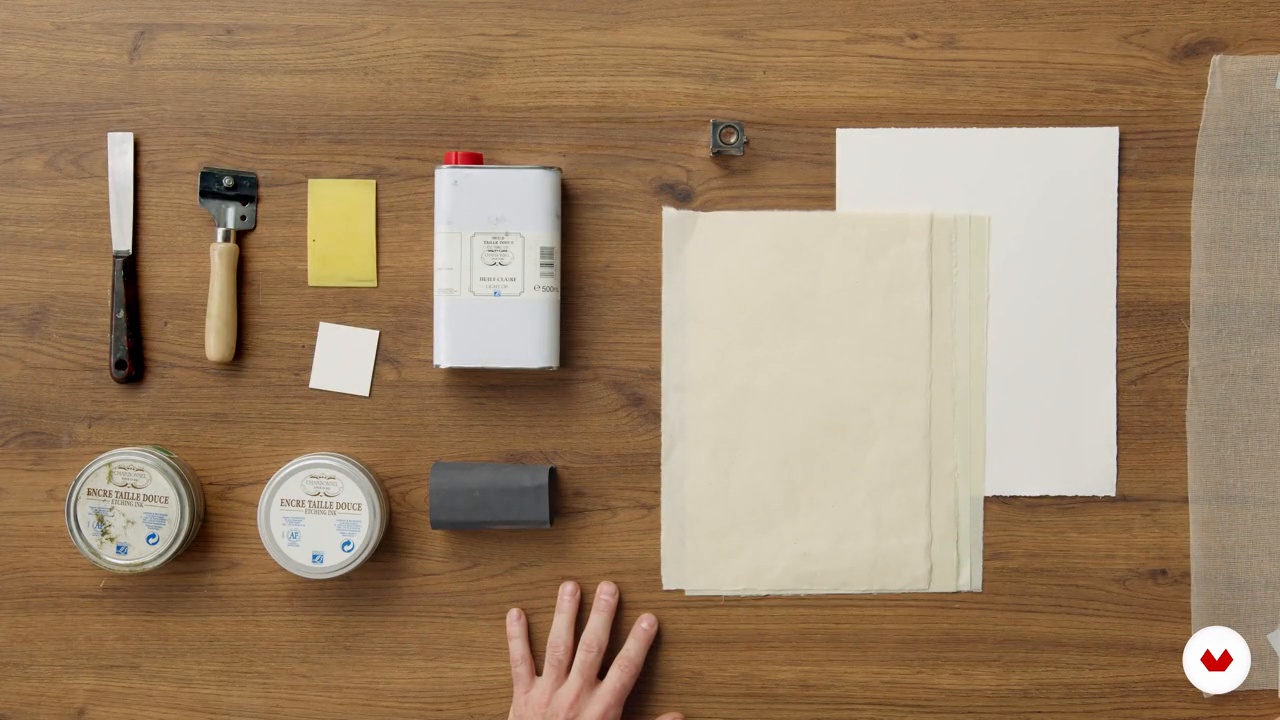
3Materials needed to work with photopolymers
You don't need a large infrastructure to work with this technique. In this lesson, I'll tell you what materials we'll need during the course.
8m
 4
4The plot
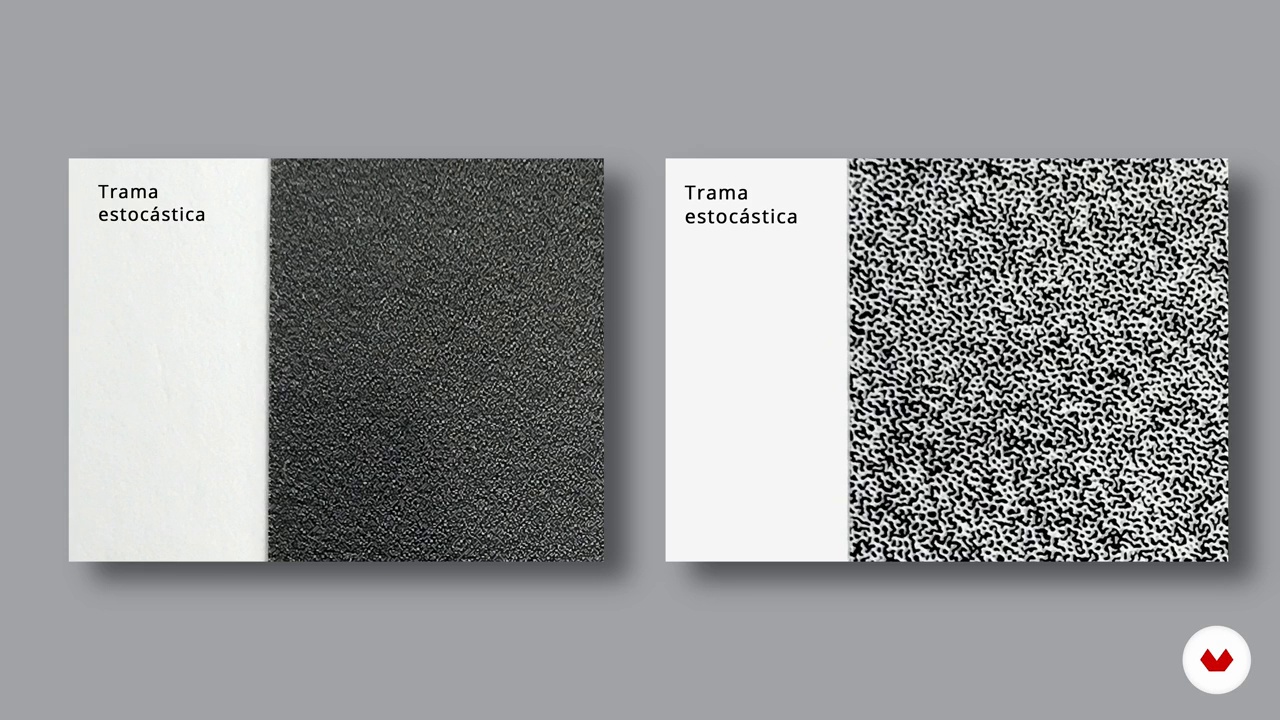
In this lesson, I'll explain what screens are, their characteristics, and the different uses they can have in creating photoengravings.
4m
 5
5Insolate frames
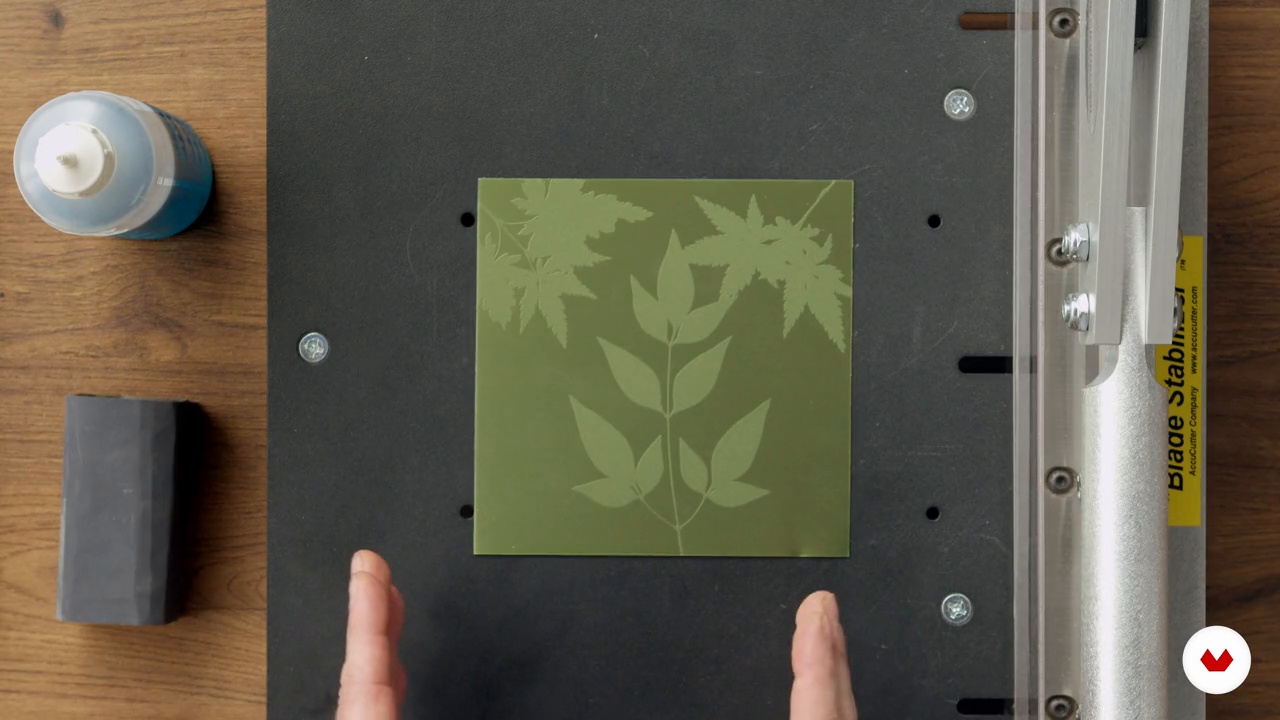
Now I'm going to suggest an exercise. We're going to make a photogram using a photopolymer plate, a frame, and ultraviolet light. We'll have everything ready to print the result.
13m
 6
6Inking and stamping
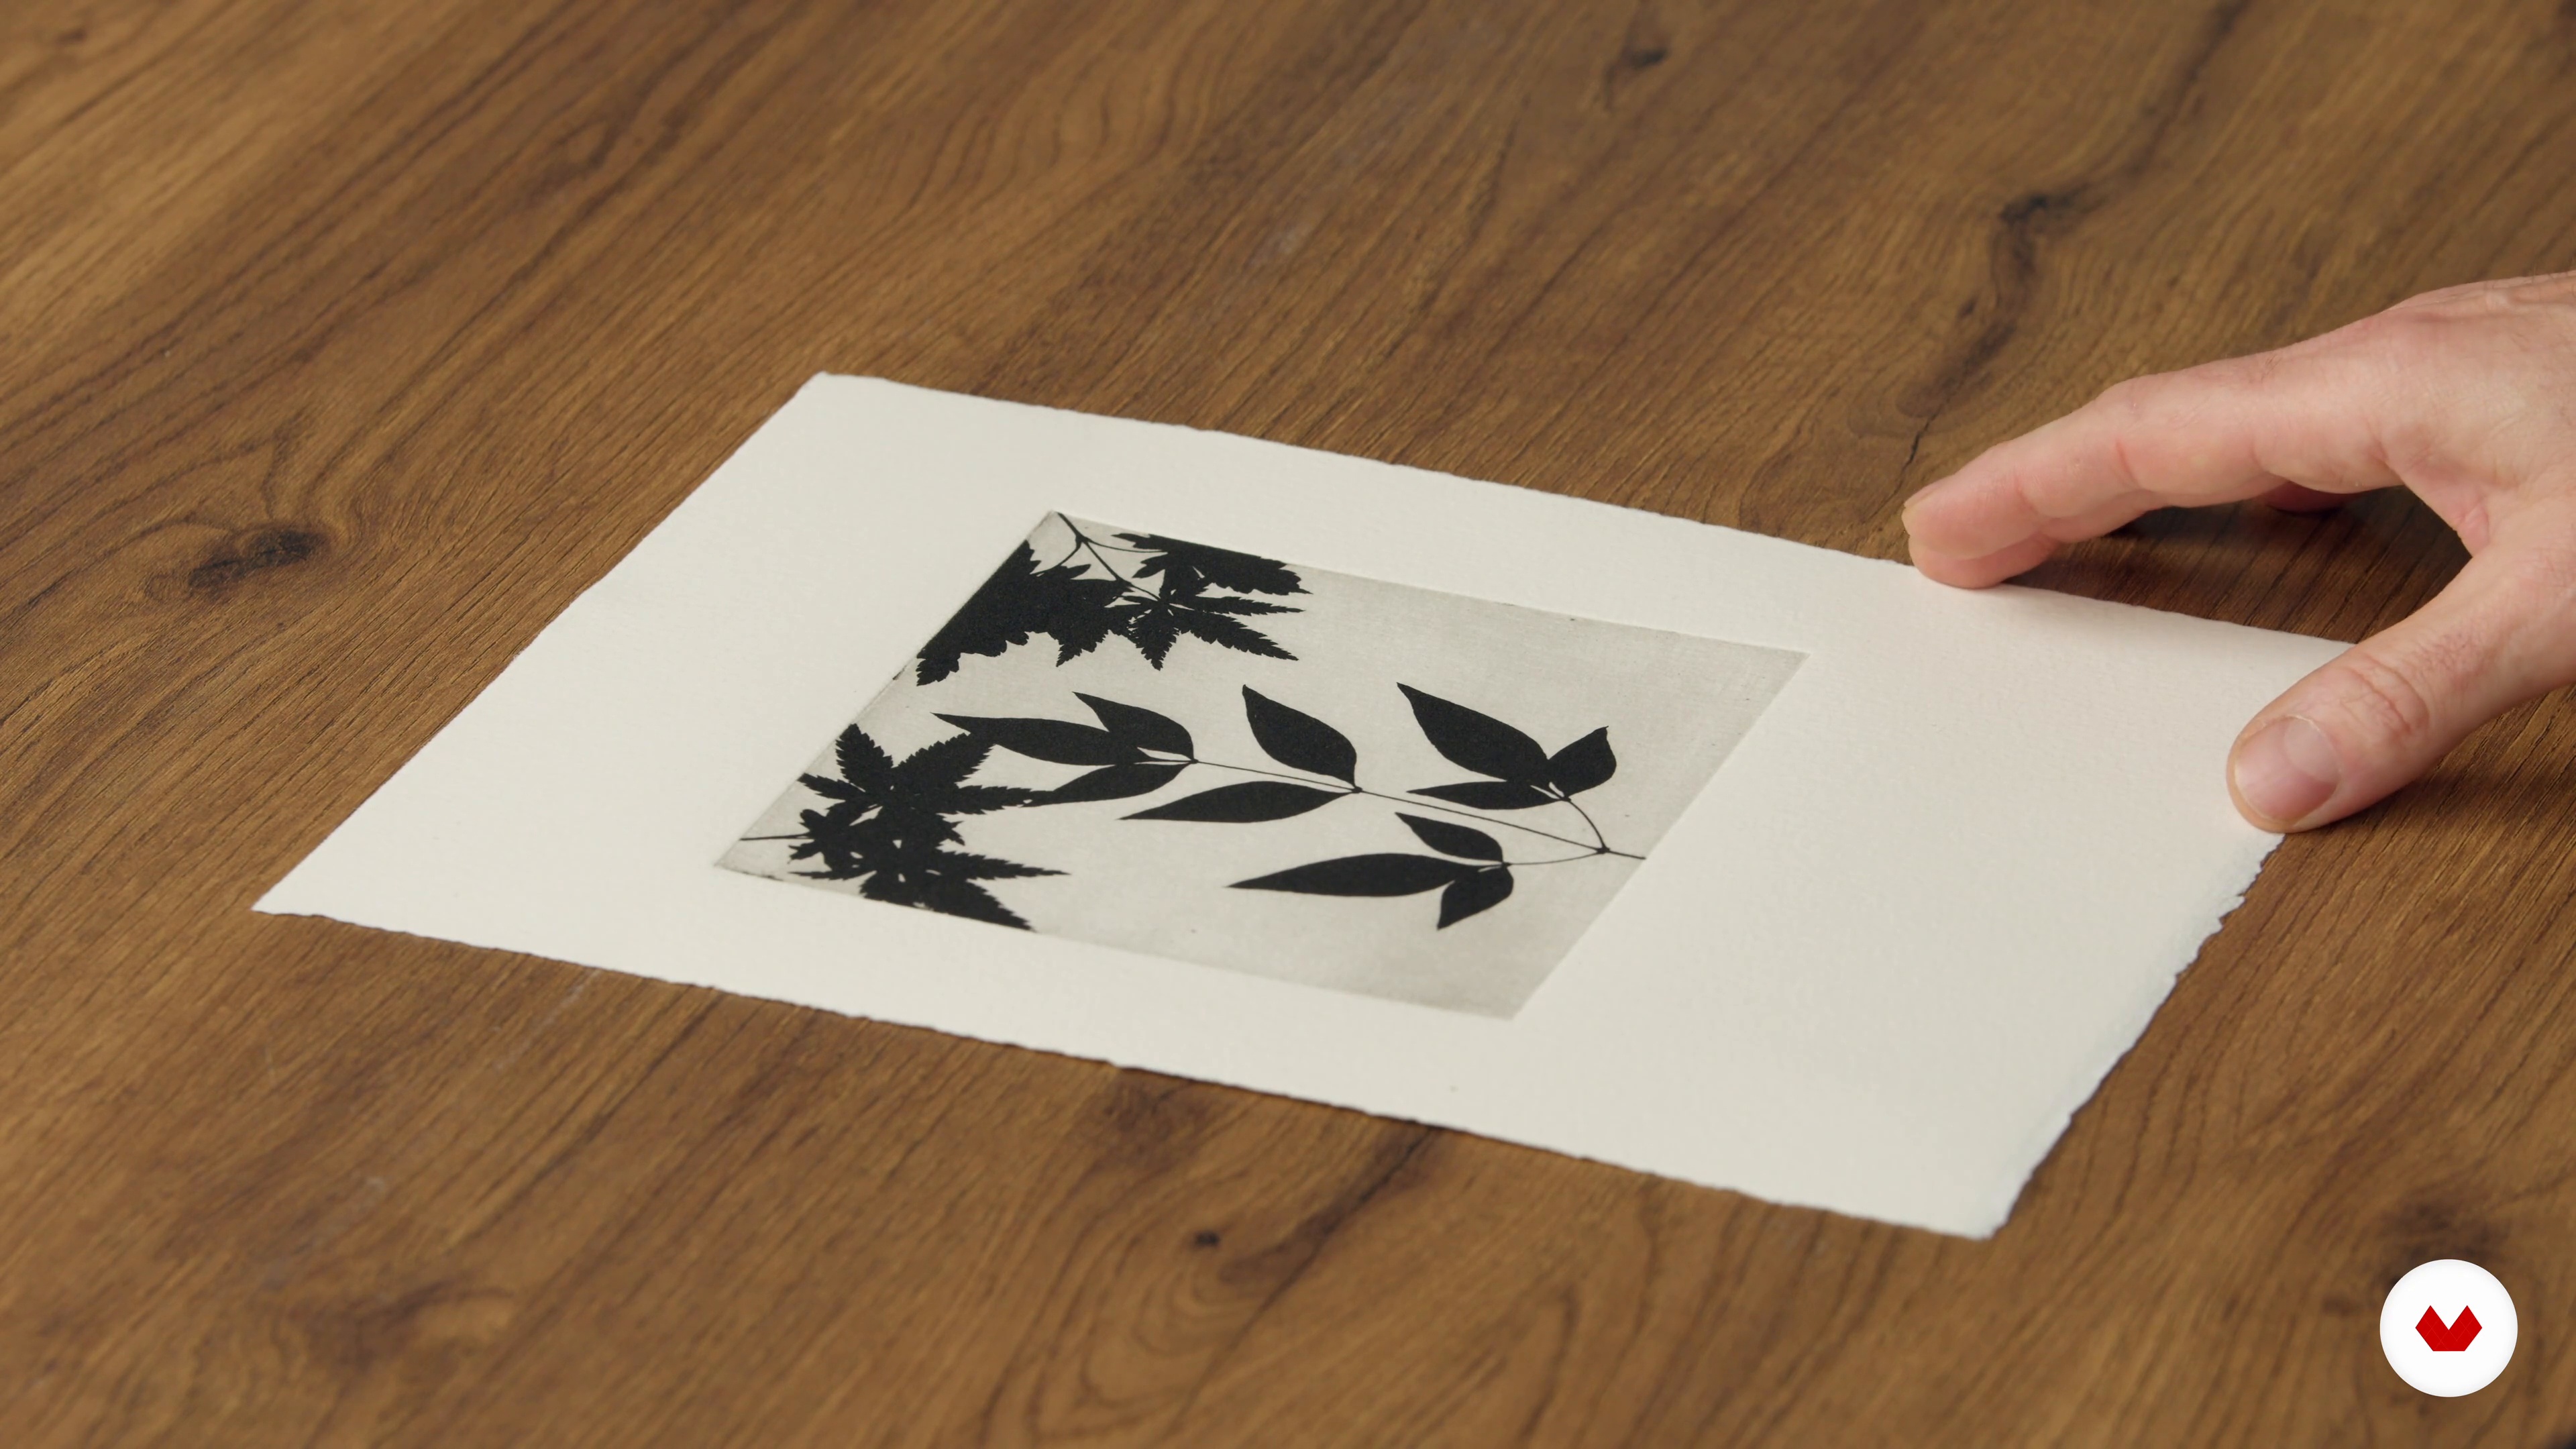
Now, I'm going to explain what inking is and how to use it with photopolymer. Then I'll explain everything about the printing process.
16m
 7
7The image on the screen
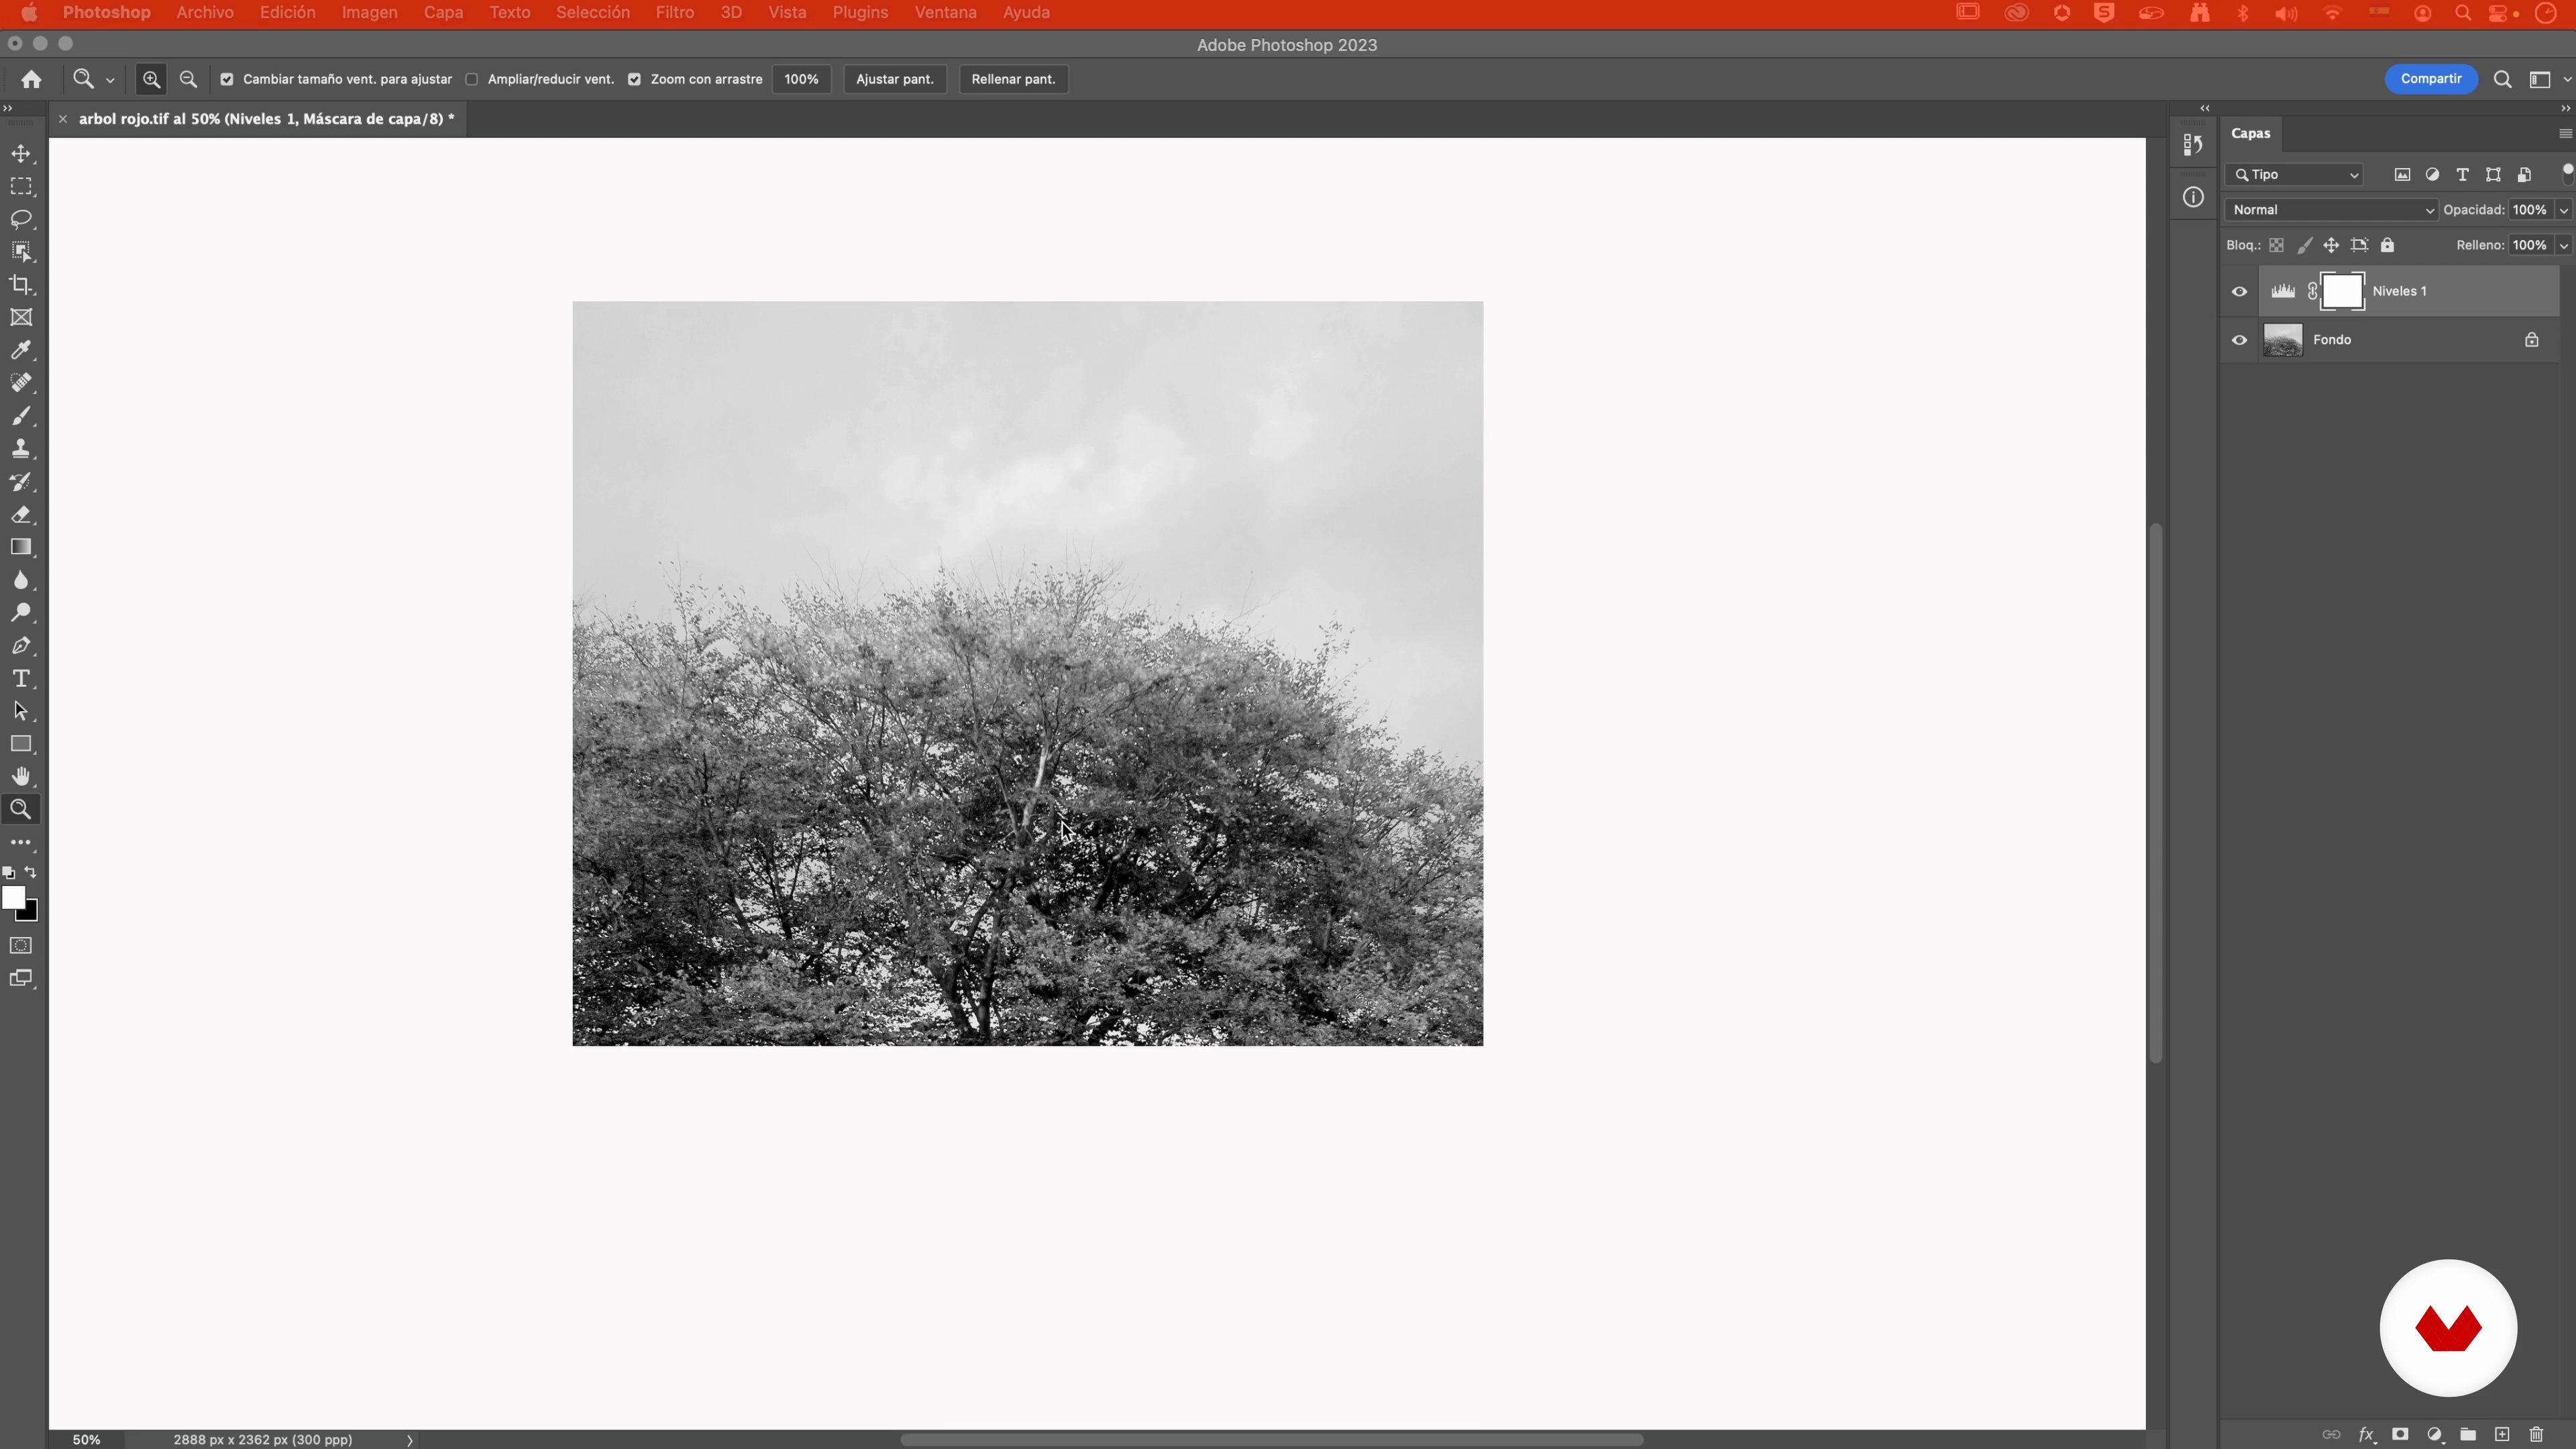
In this lesson, I'll explain the necessary monitor settings and how to use Photoshop to manage the image we're working with.
12m
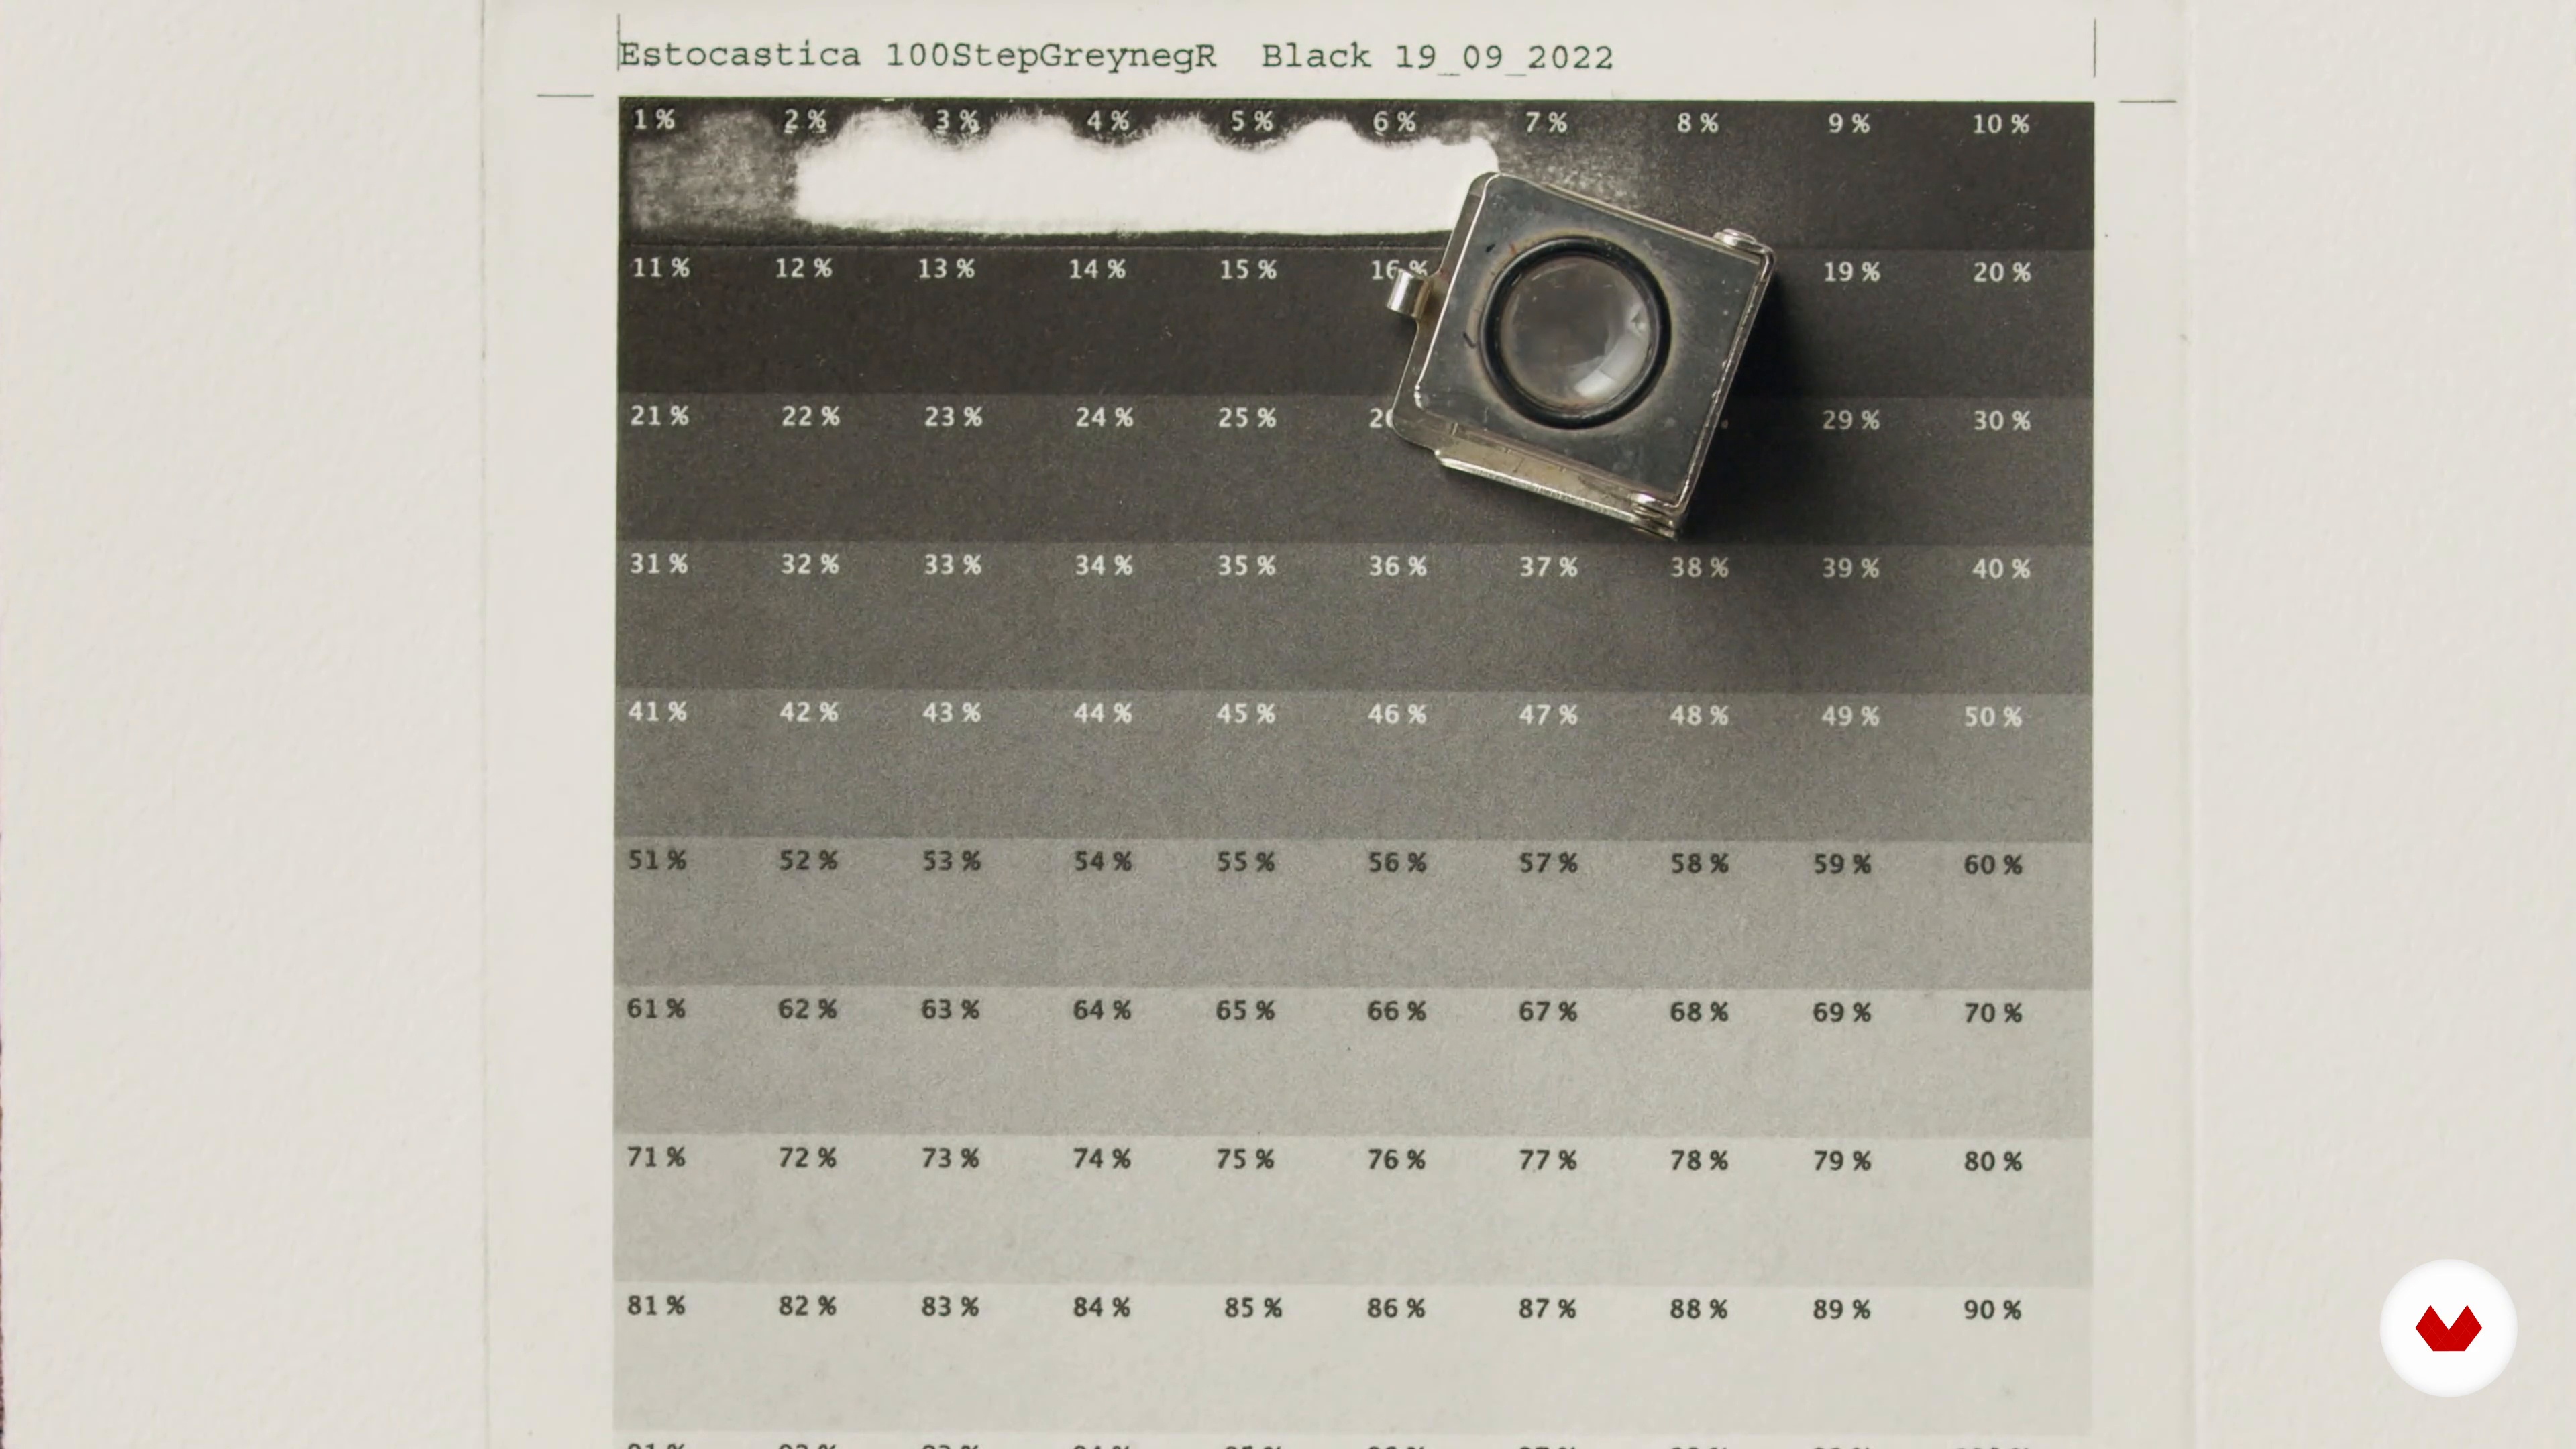 8
8Scale processing and stamping
Now I'm going to explain how to process the grayscale that we previously printed with the printer.
5m
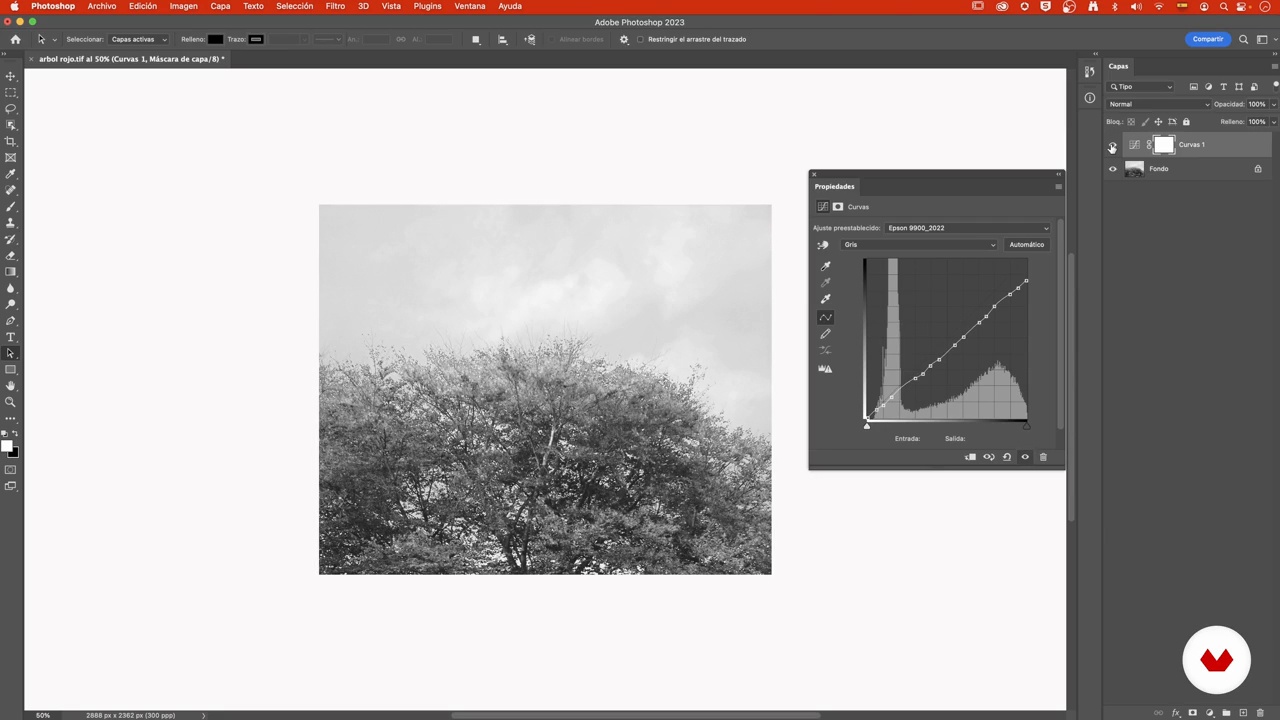 9
9Create an exit curve
Next, we'll create an output curve from the test results. To do this, we'll use the scale we've printed.
10m
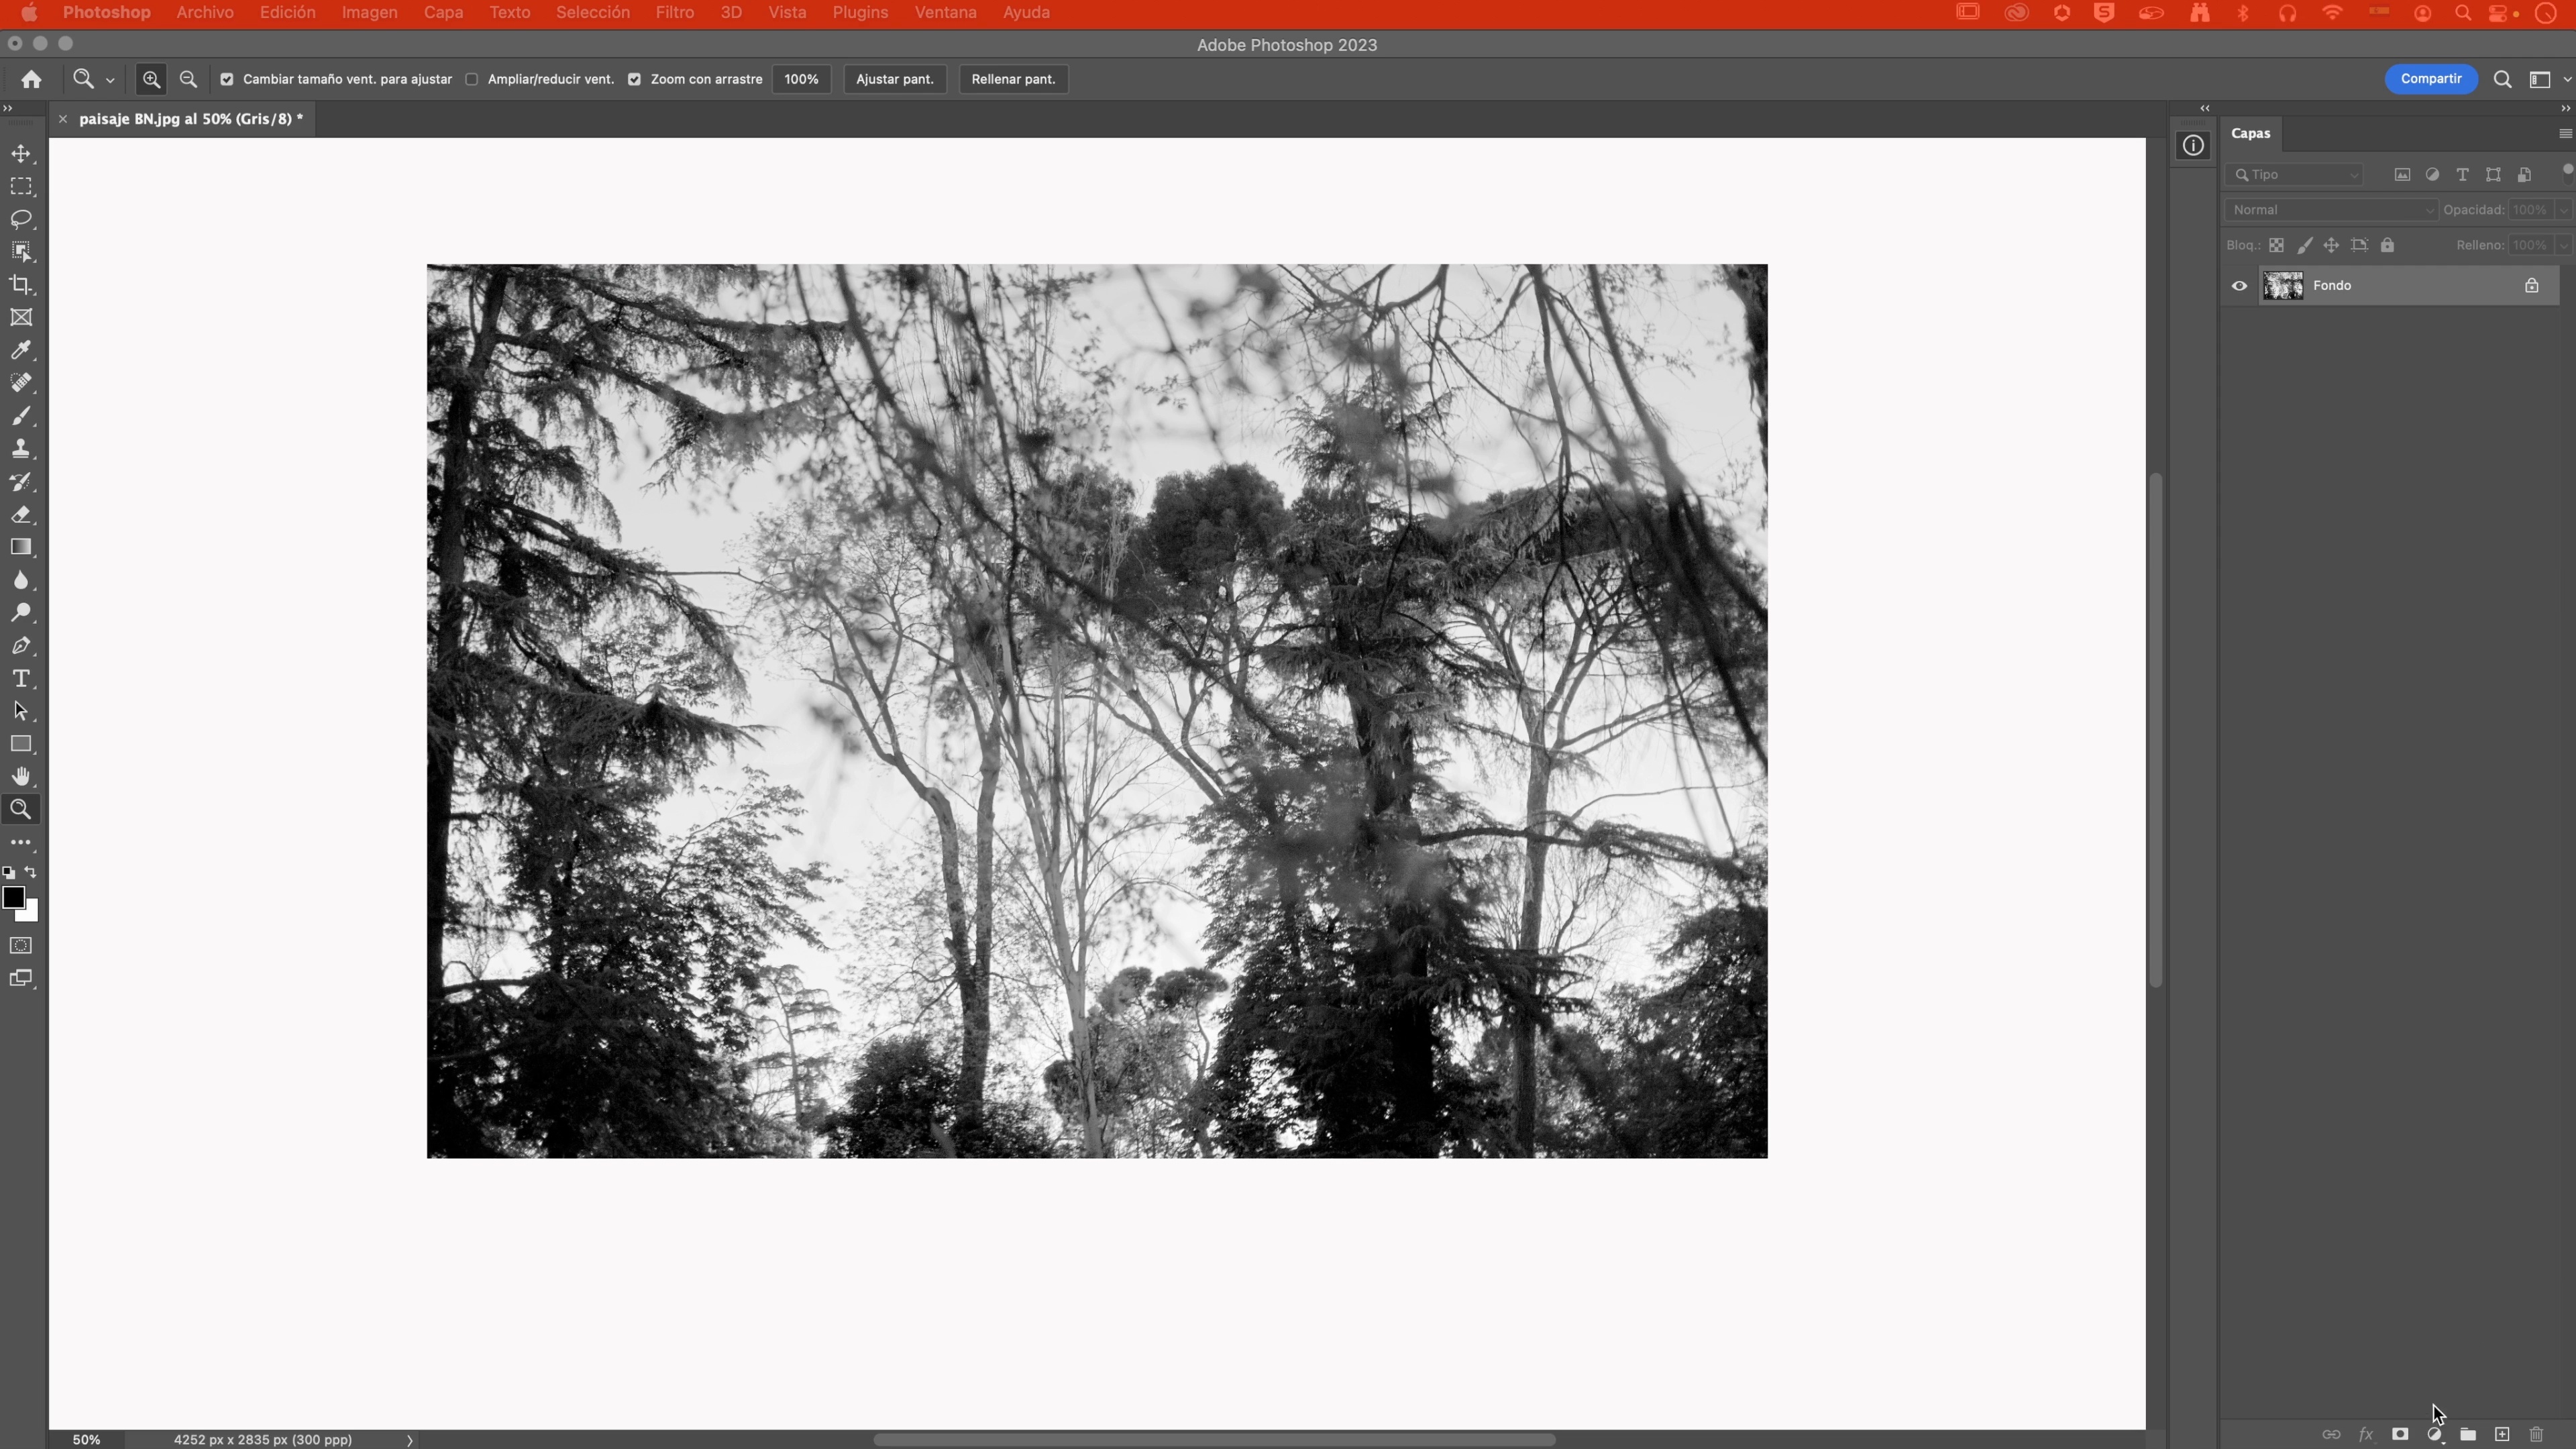 10
10Image management in PHS
Let's start working on the course project by preparing the image and configuring it using Photoshop.
6m
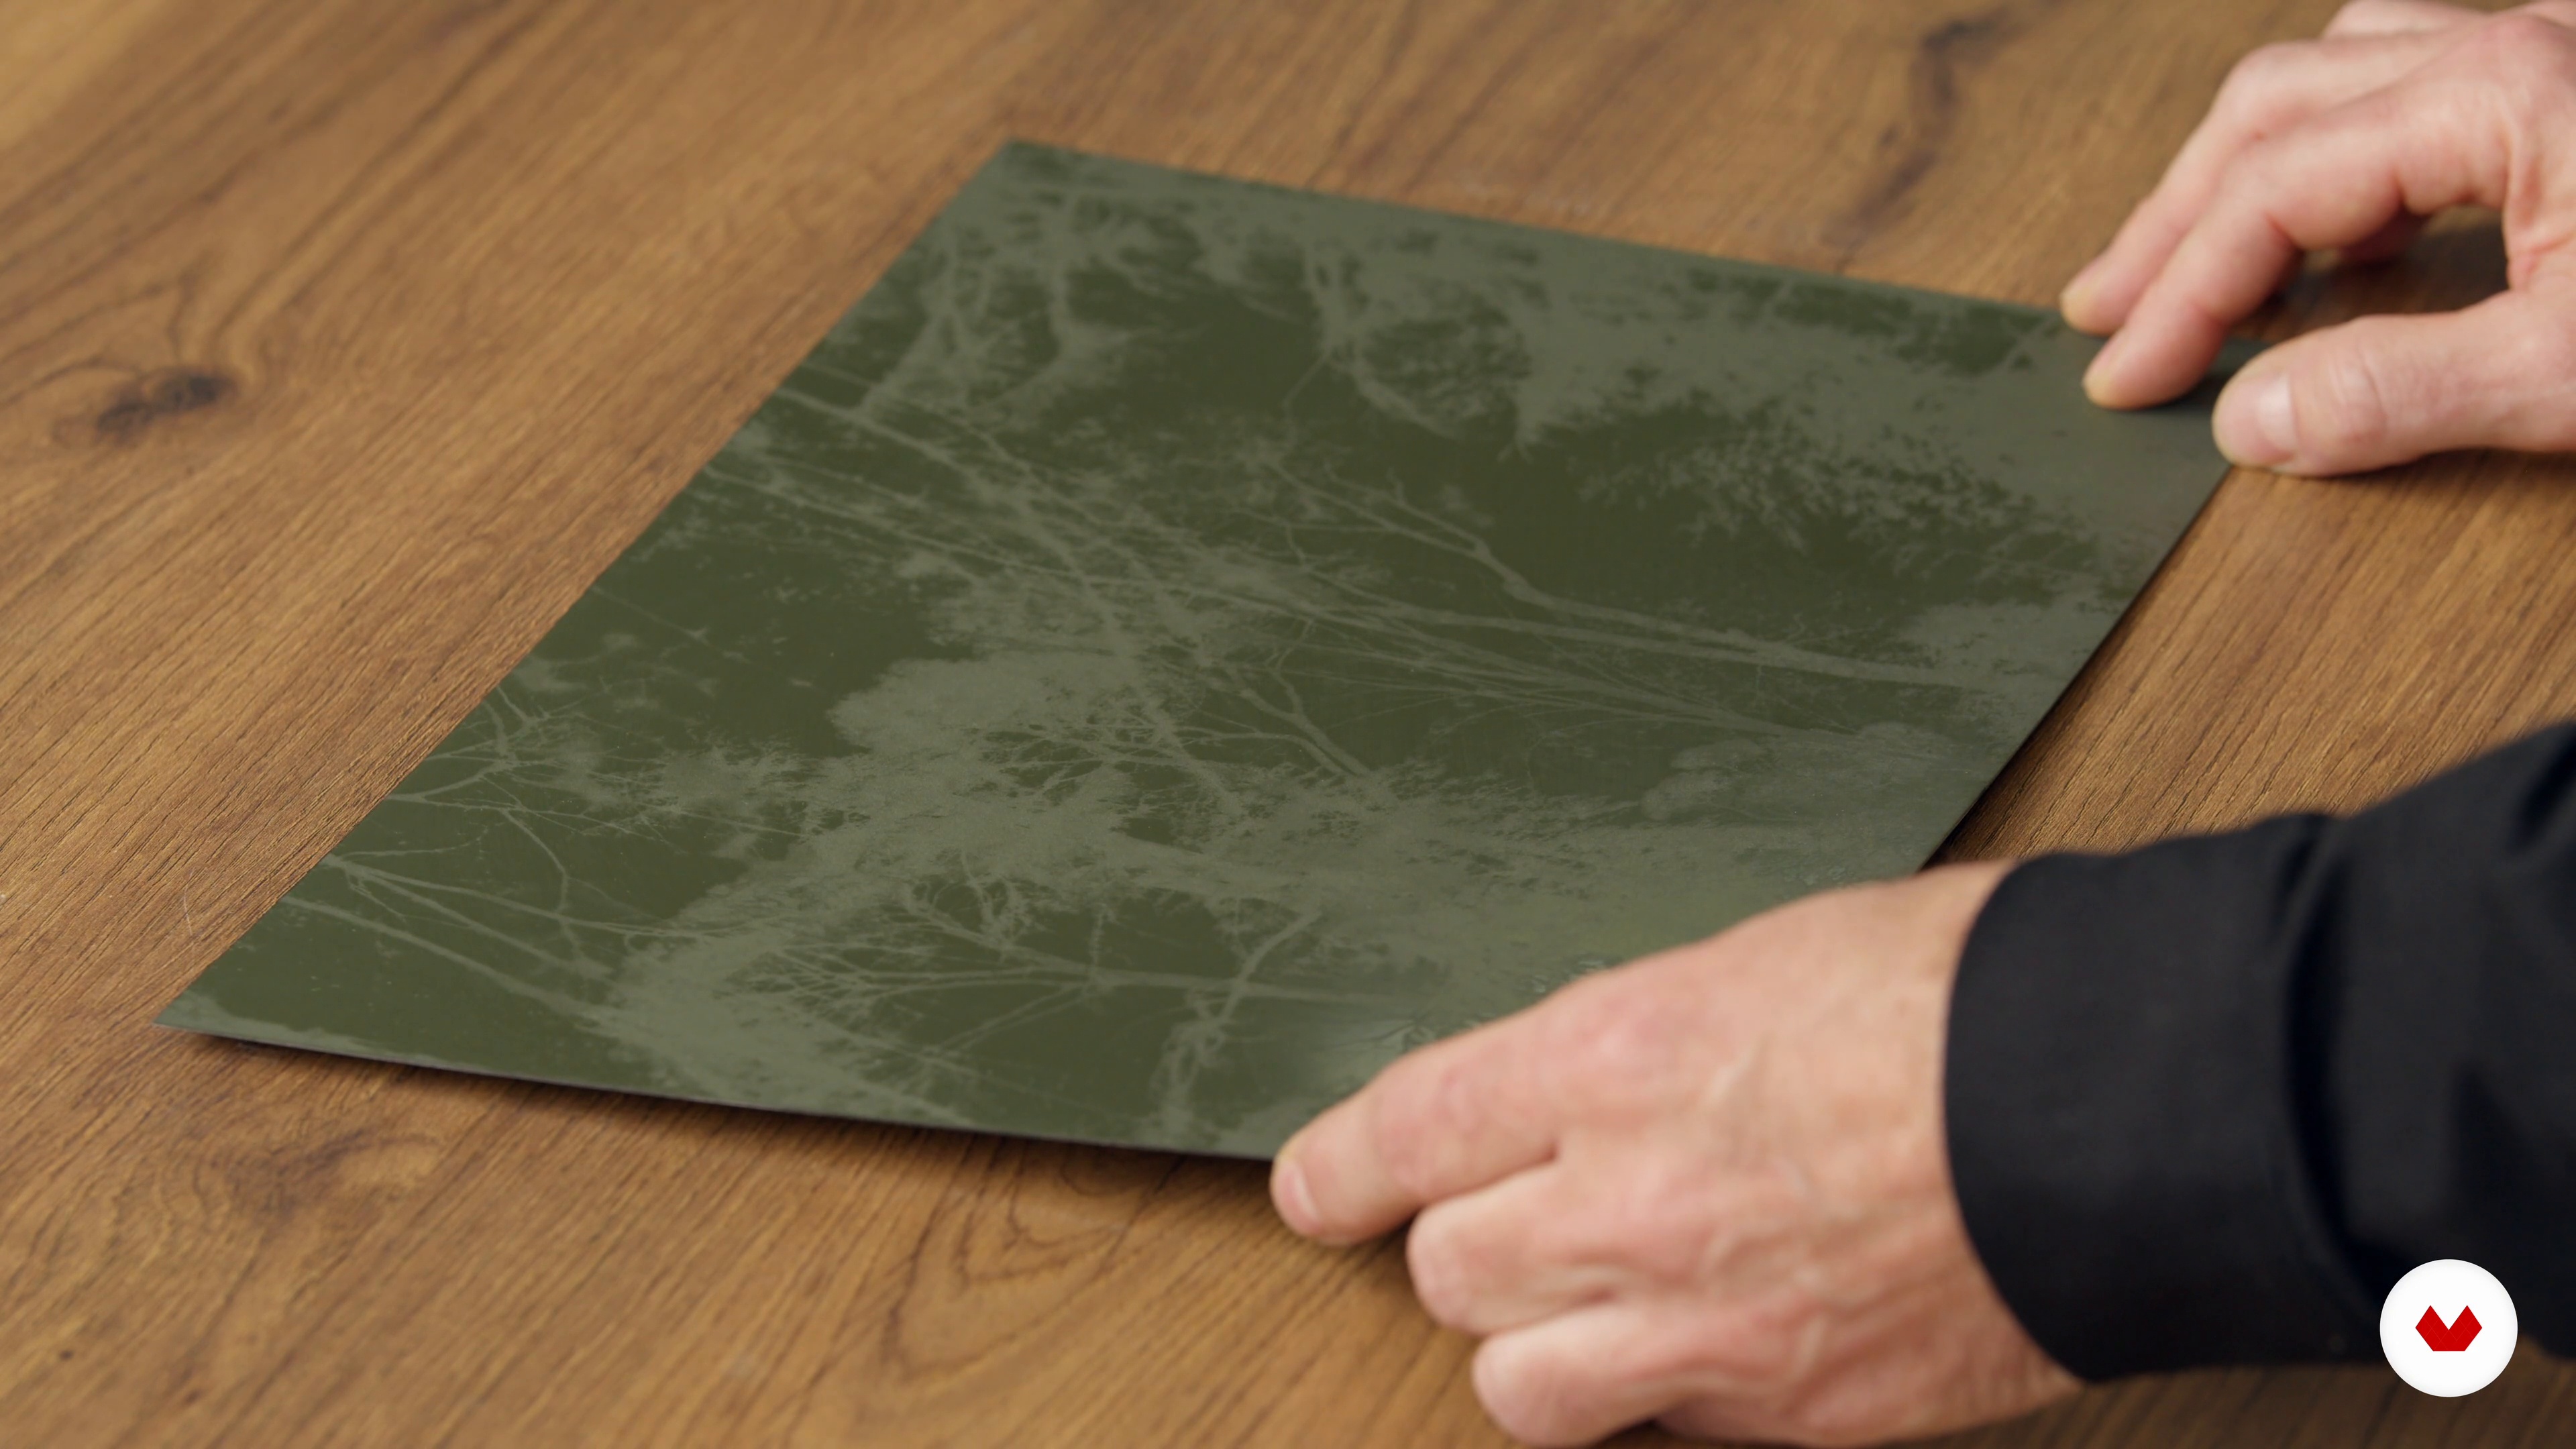 11
11Iron processing
Now we're going to apply the knowledge acquired in the previous units to process the plate and obtain the best possible result.
3m
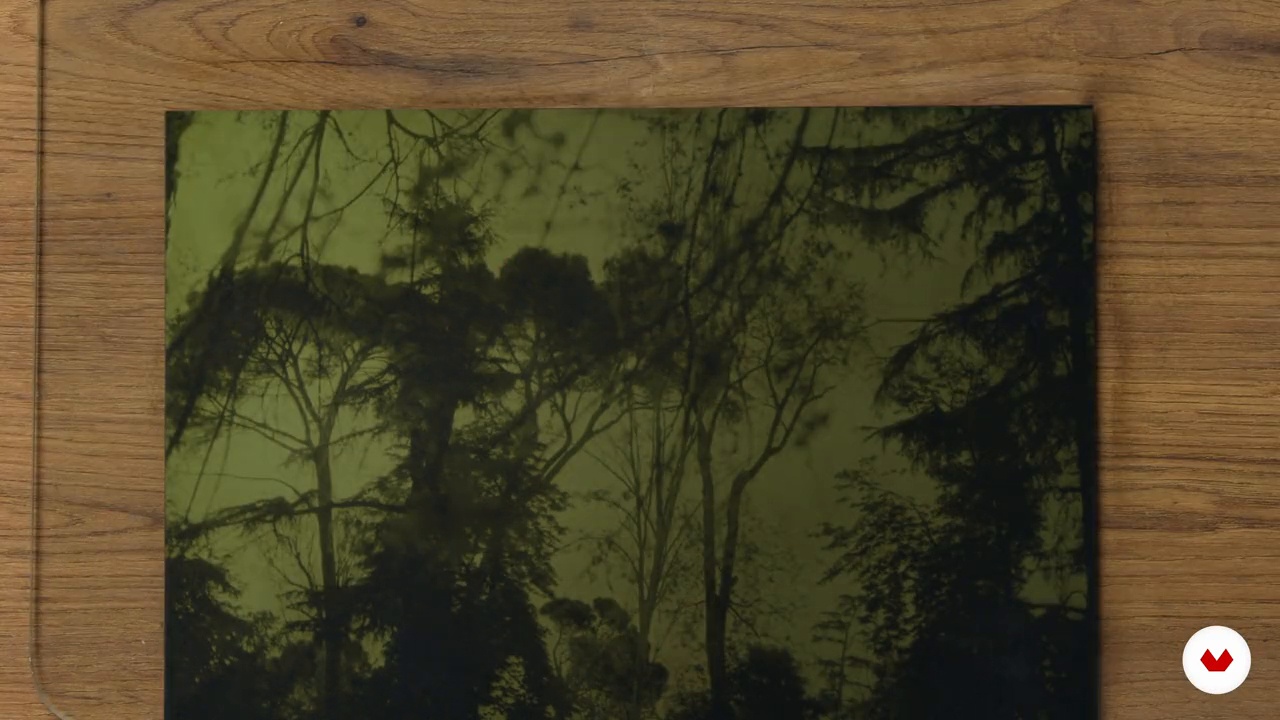 12
12Artistic printing 1
In this lesson, we'll focus on stamping, one of the most exciting stages of the process, where we'll reveal the results of the process.
15m
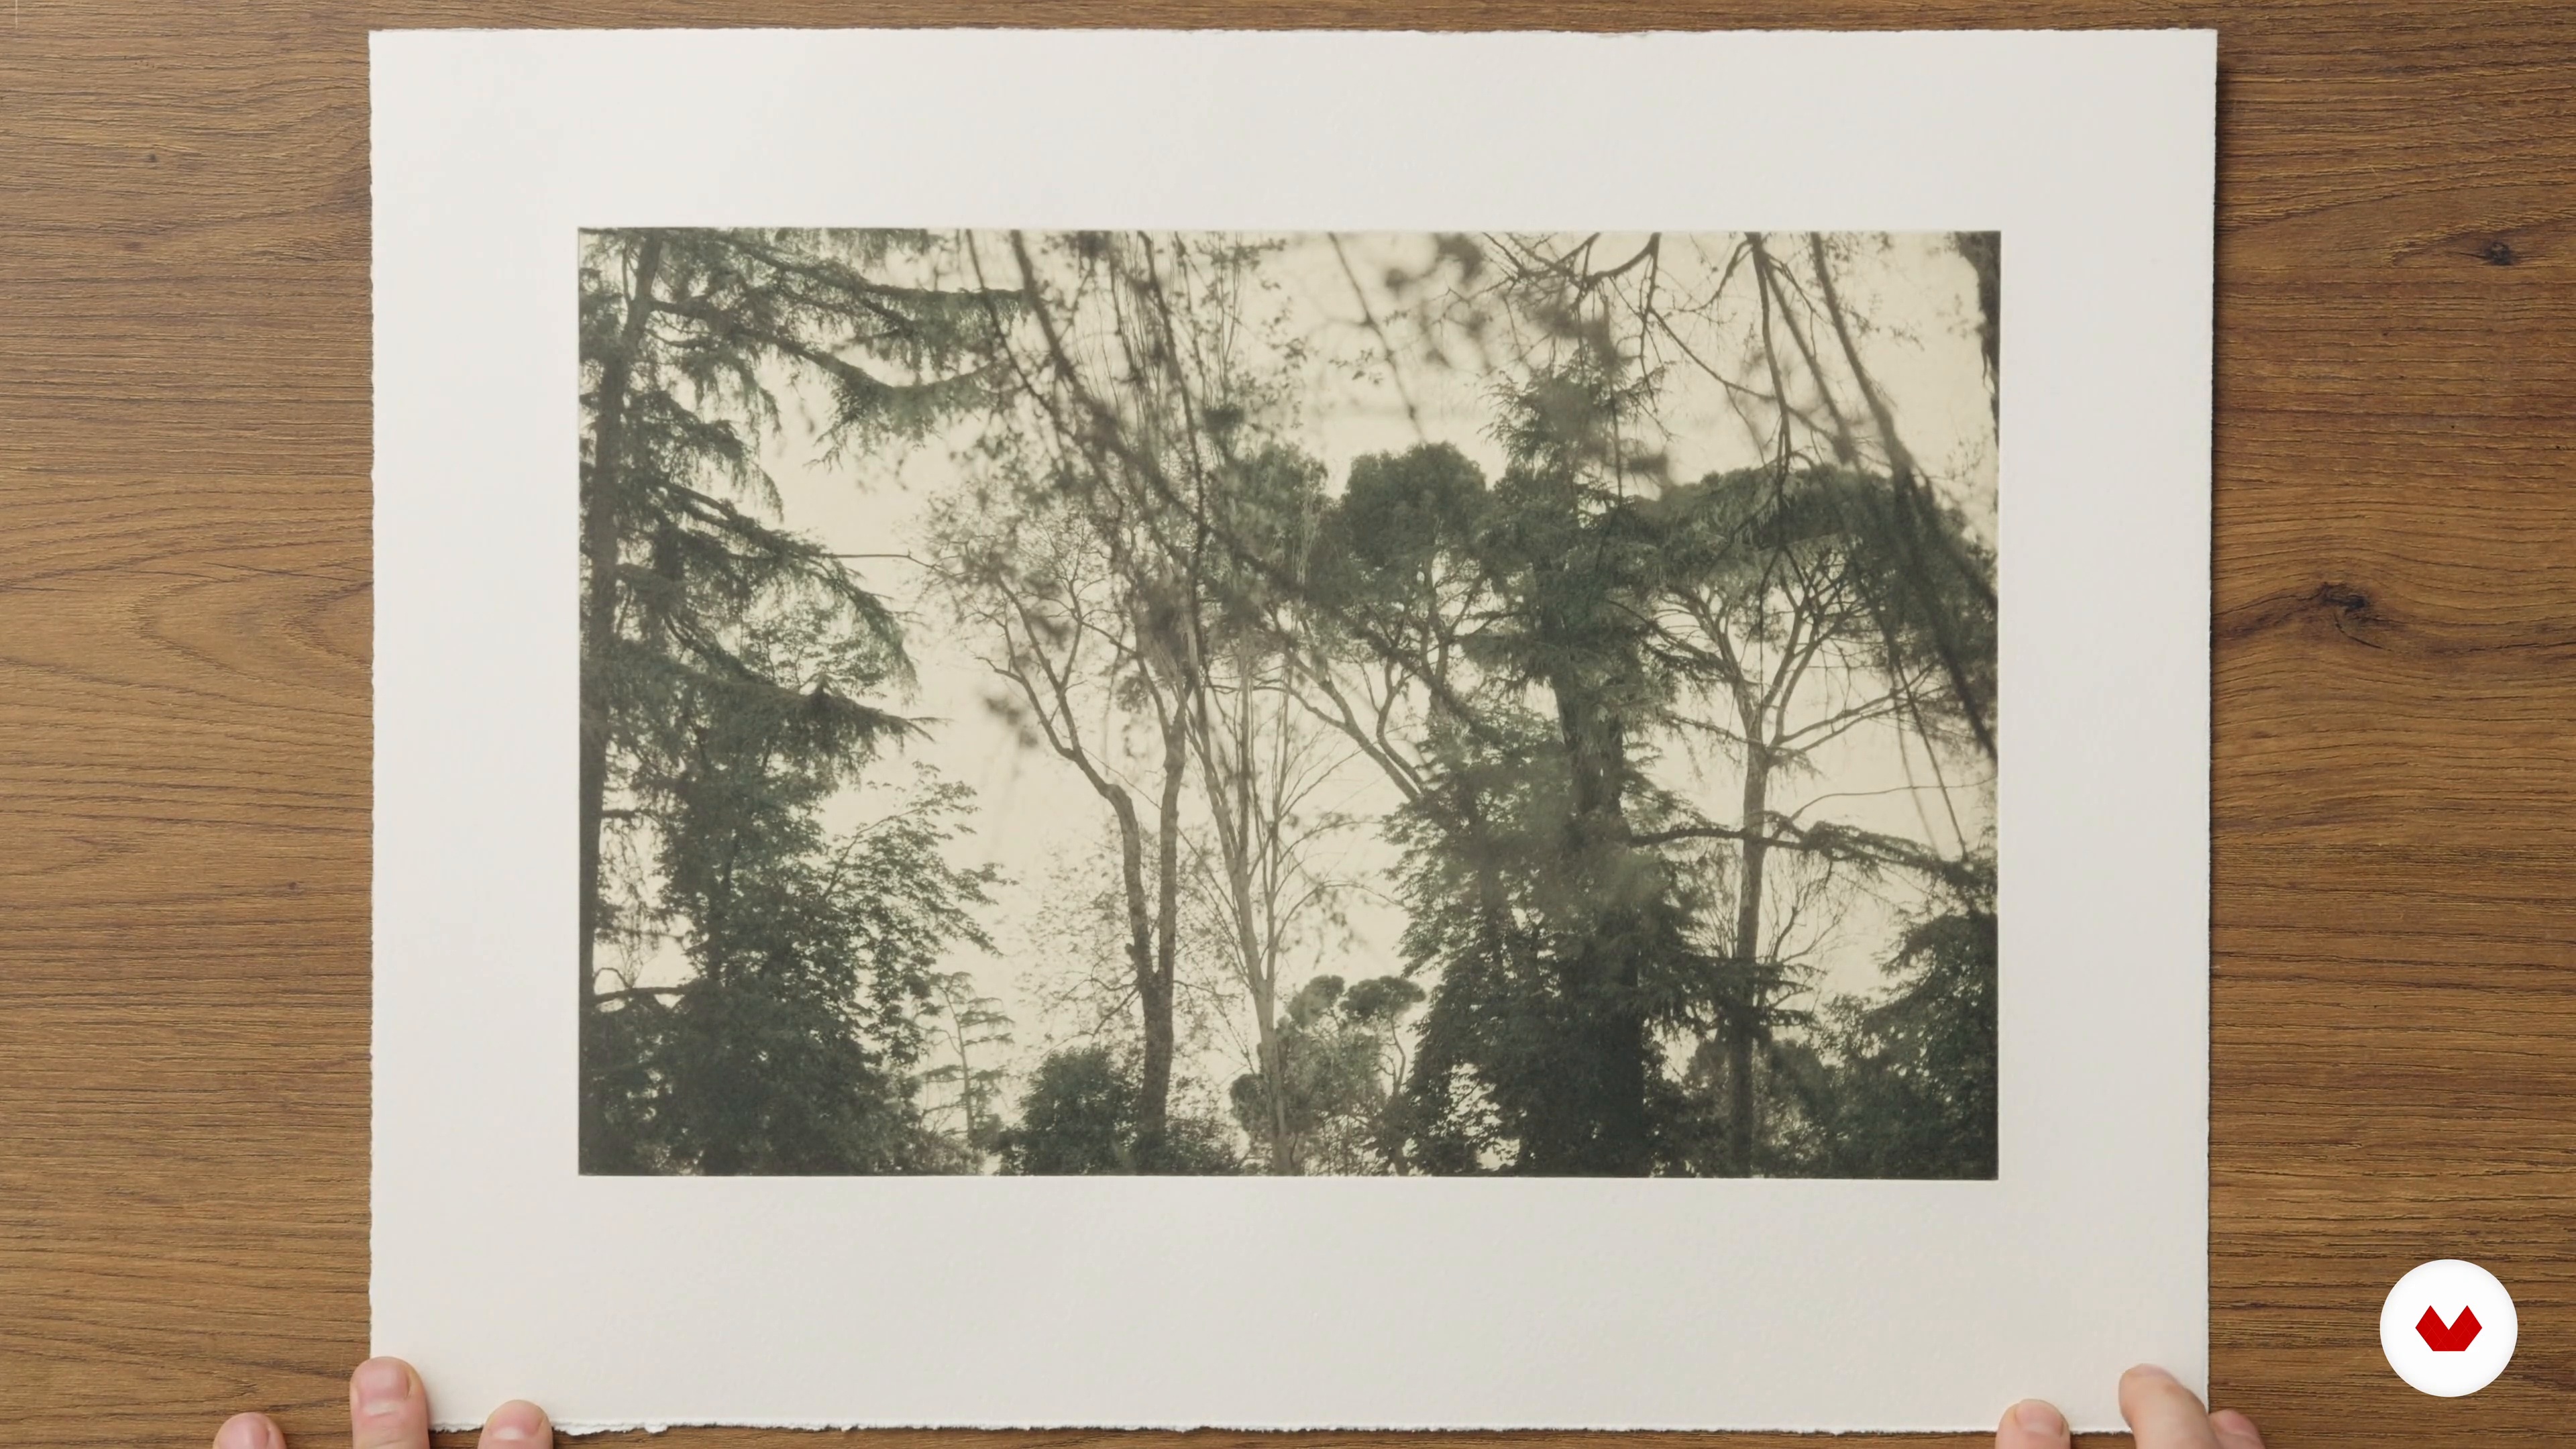 13
13Artistic printing 2
Now I'm going to do a slightly more creative print than the previous ones. The process will be similar, but I also want to use green ink.
6m
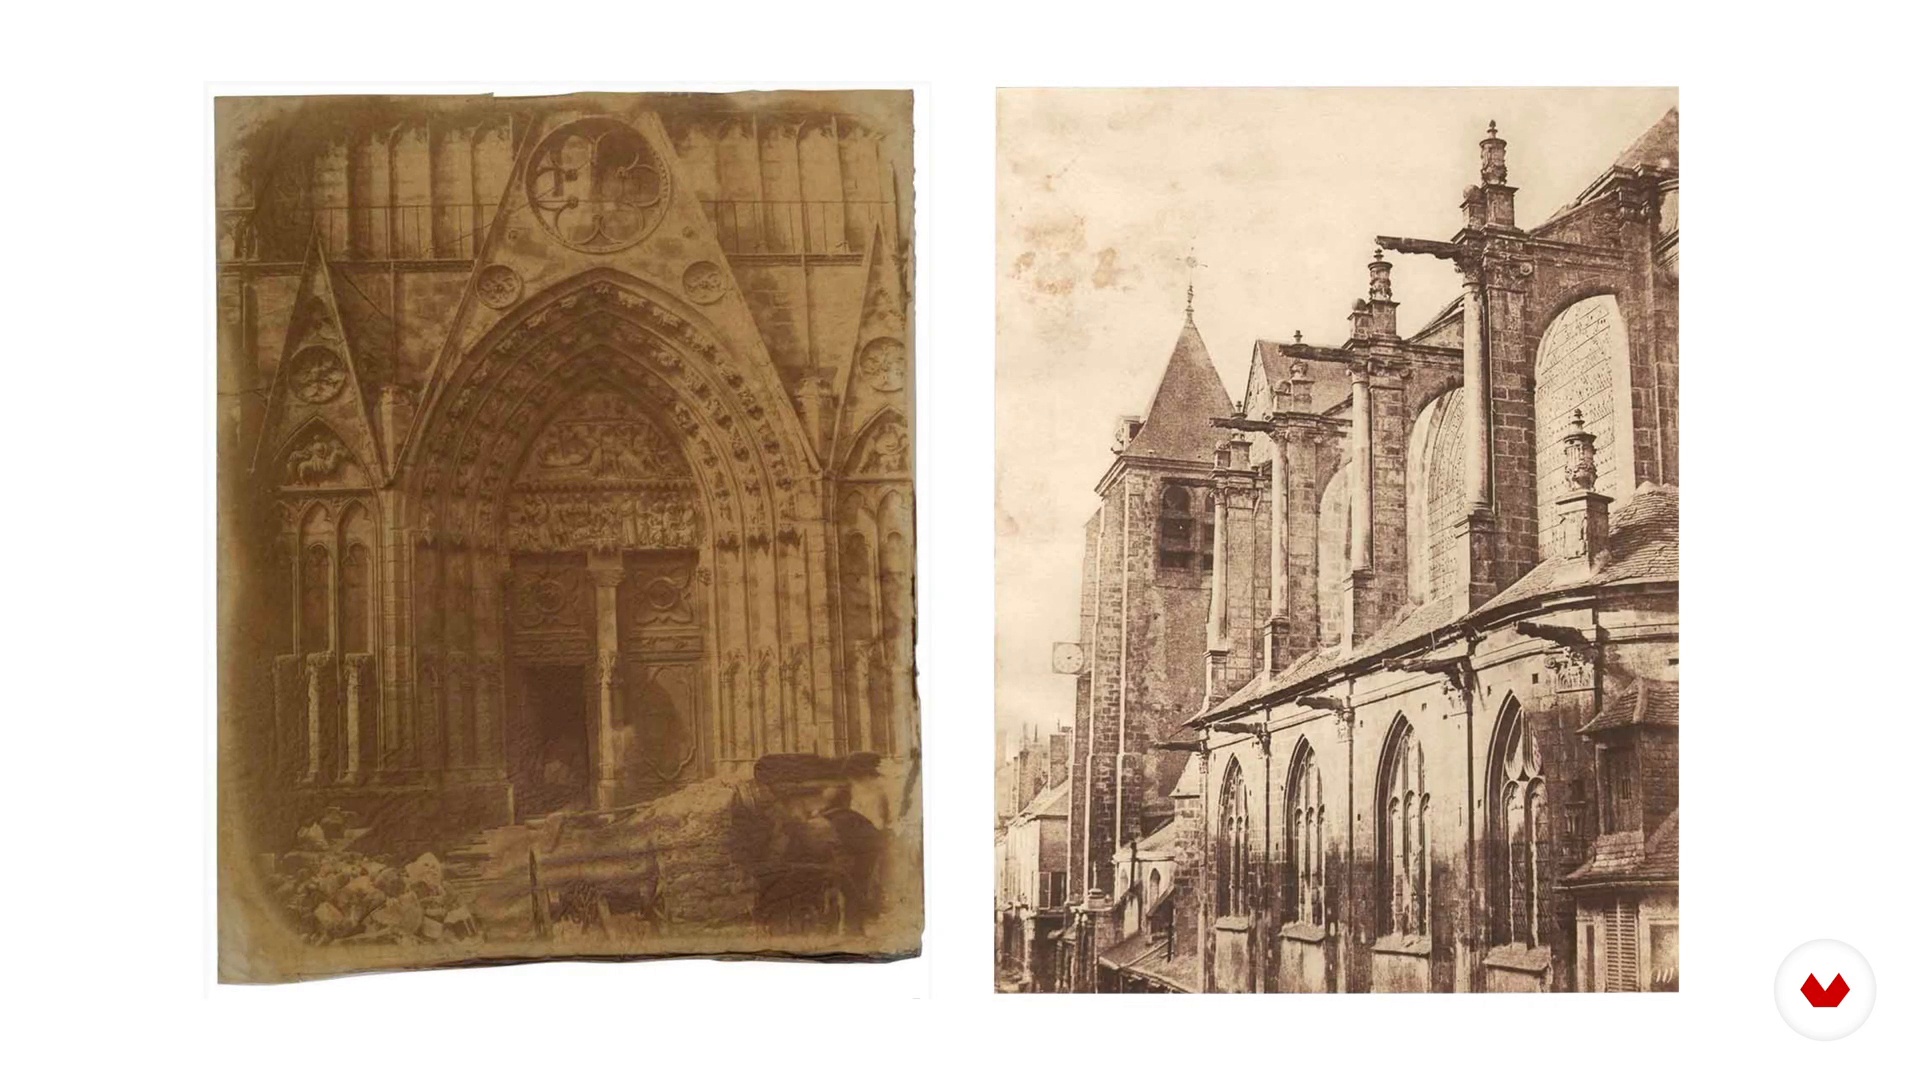 1
1Gum bichromate: featured artists and works
We'll take a brief look at the history and origins of this wonderful process so you can understand what it's all about. We'll also talk about some prominent artists and explain the module project.
7m
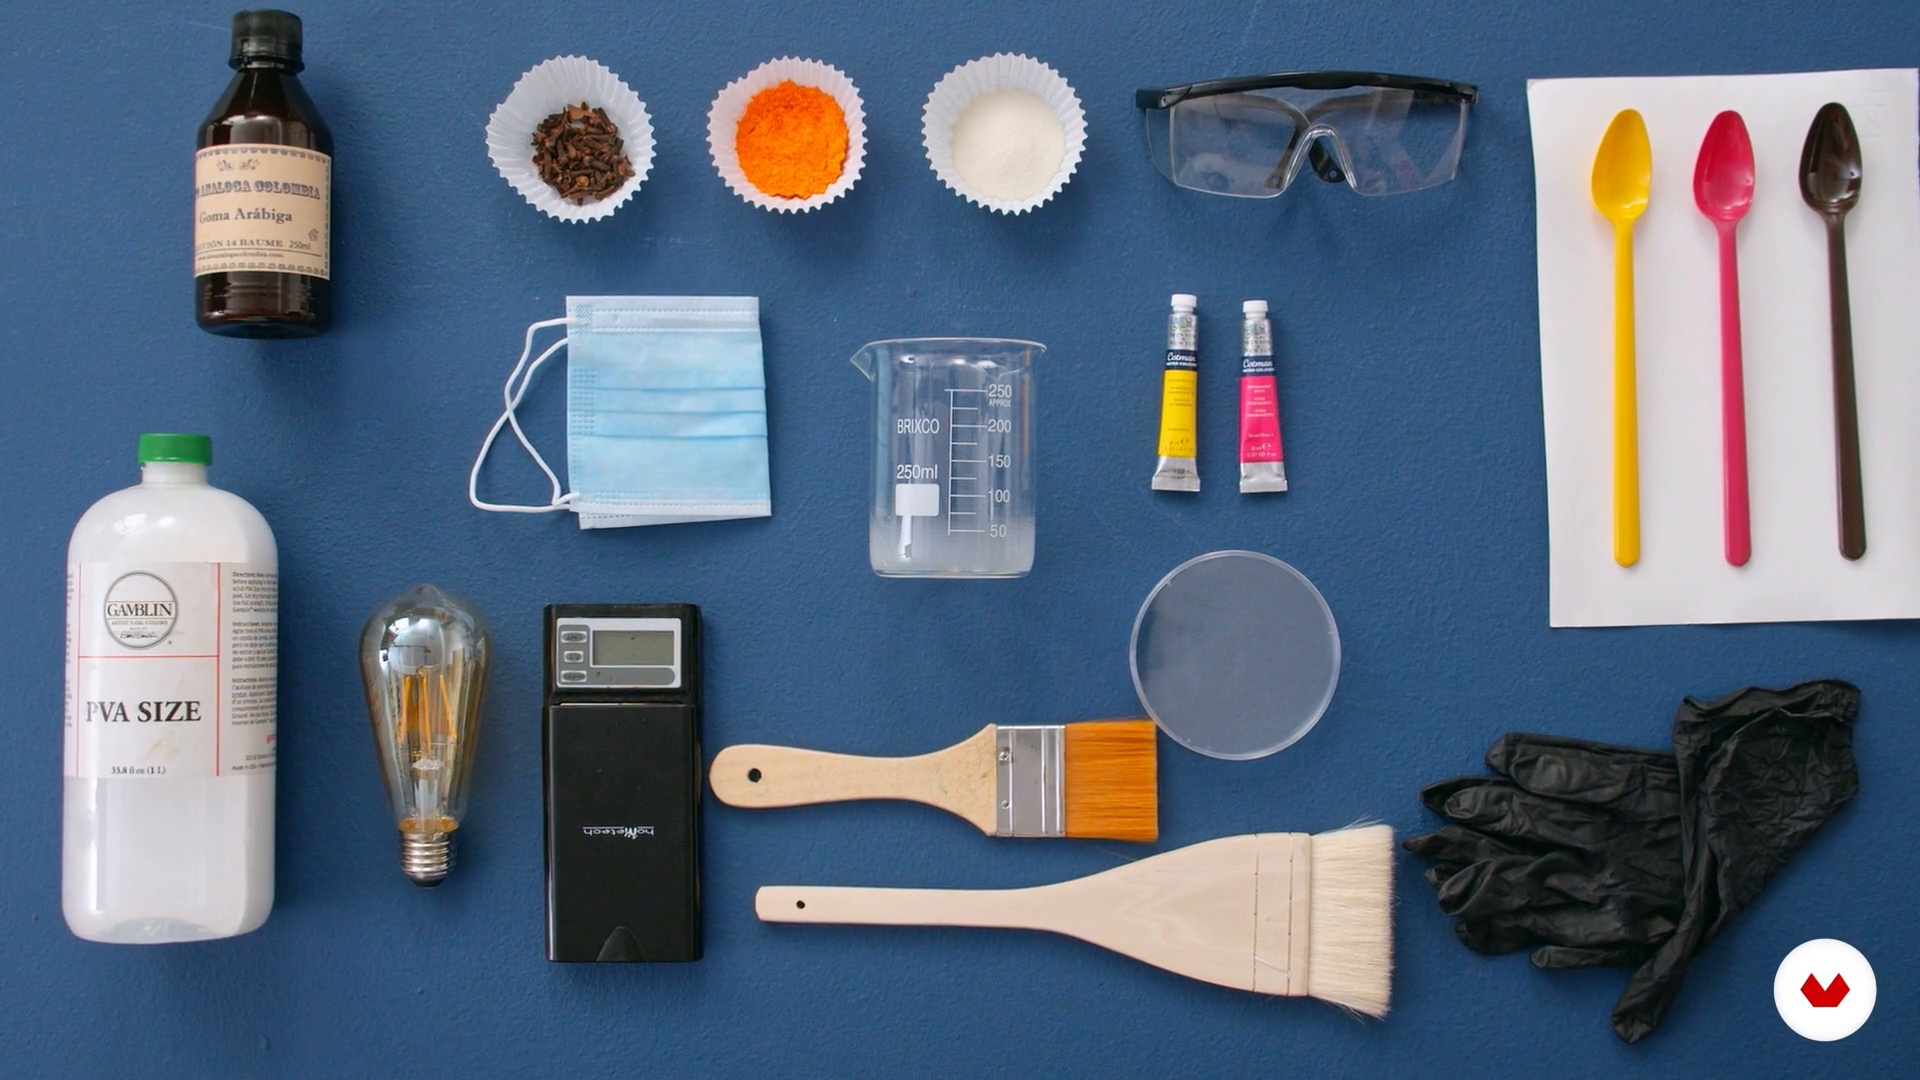 2
2The materials
In this lesson, we'll show you all the materials you'll need to make gum bichromate.
4m
 3
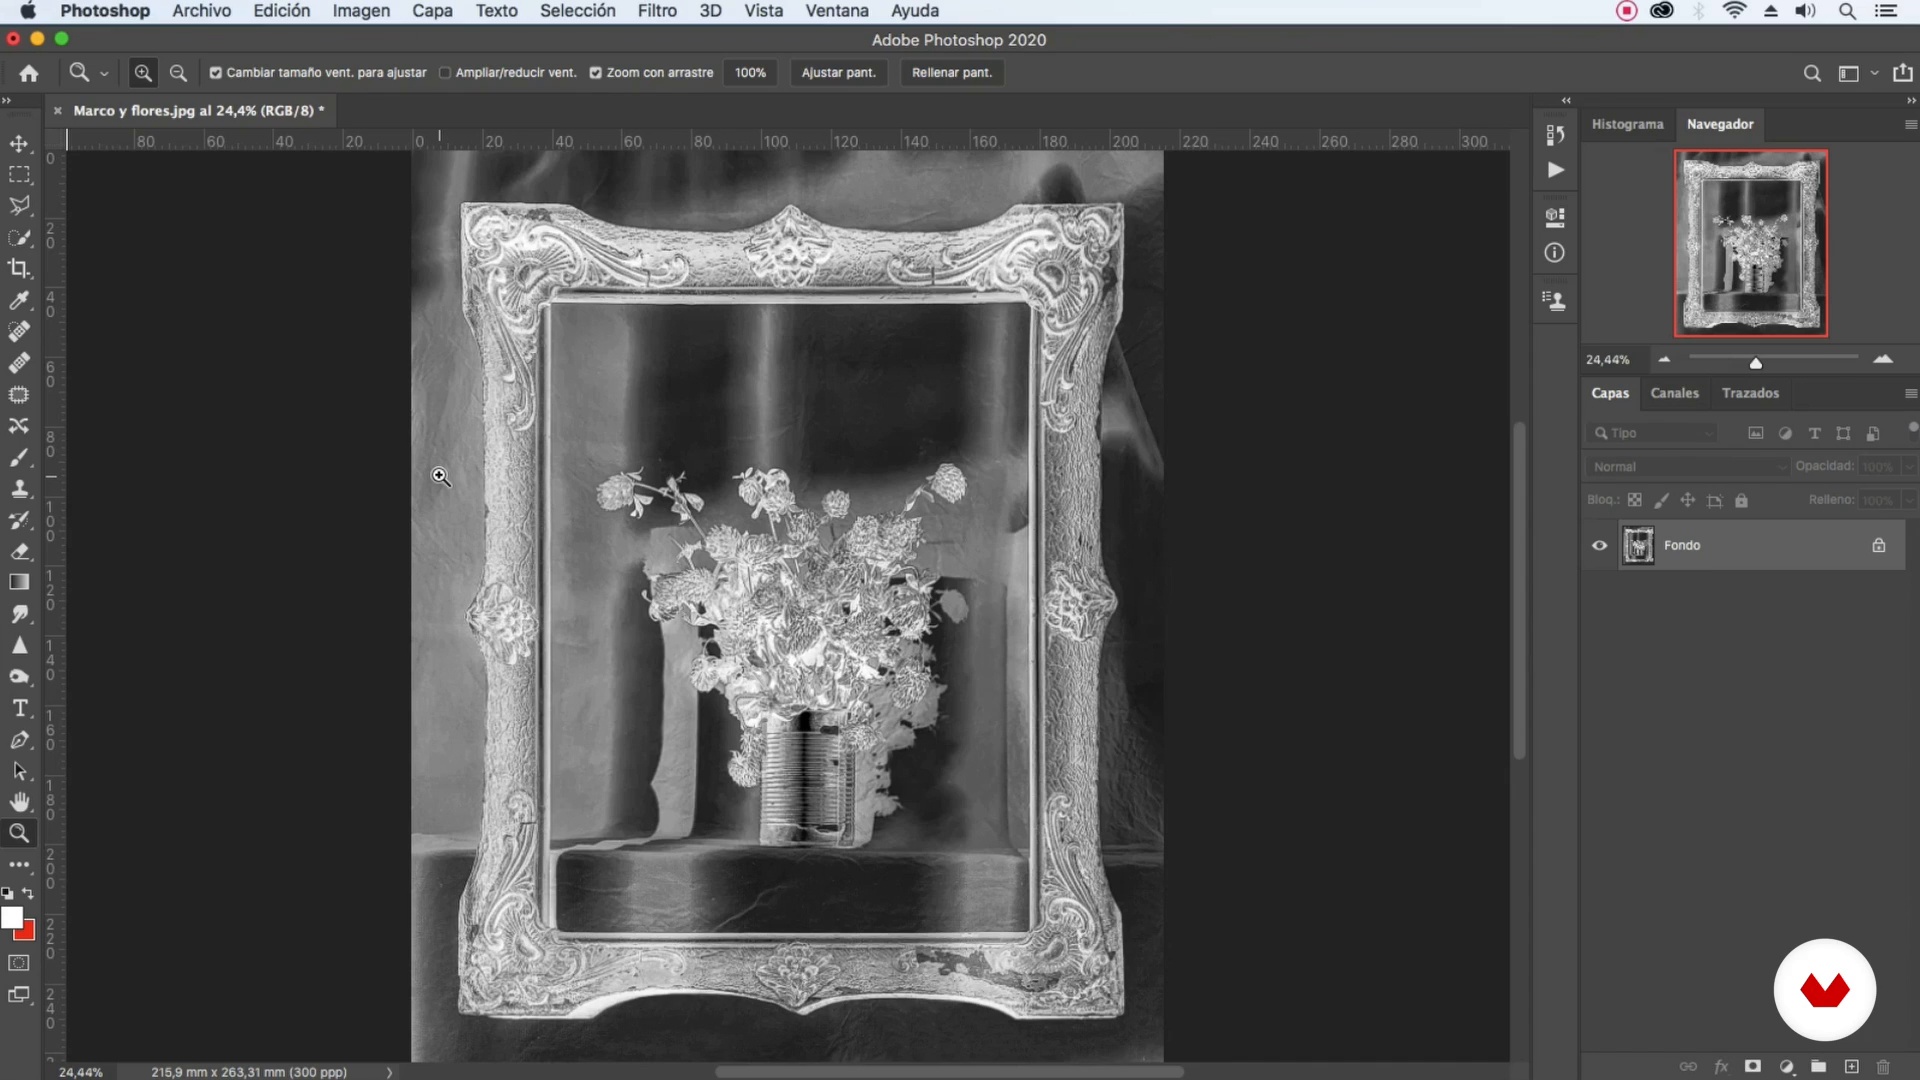
3Prepare your photograph
It's time to prepare your image, whether it's a photograph or a drawing. We'll give you some tips and recommendations and explain how to perform basic image processing in Photoshop to create your digital negative.
15m
 4
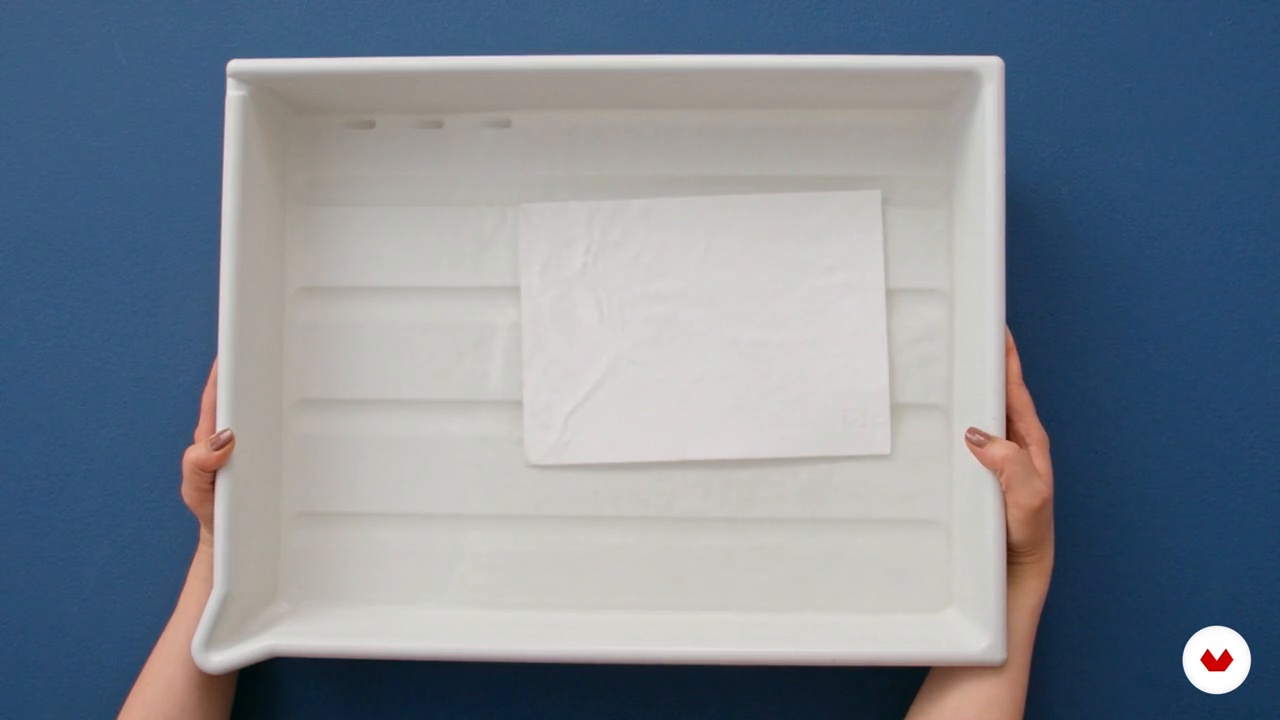
4Prepare the paper
Let's begin by explaining the different types of papers suitable for this technique and their subsequent preparation. We'll cover both classic and contemporary paper preparation techniques.
9m
 5
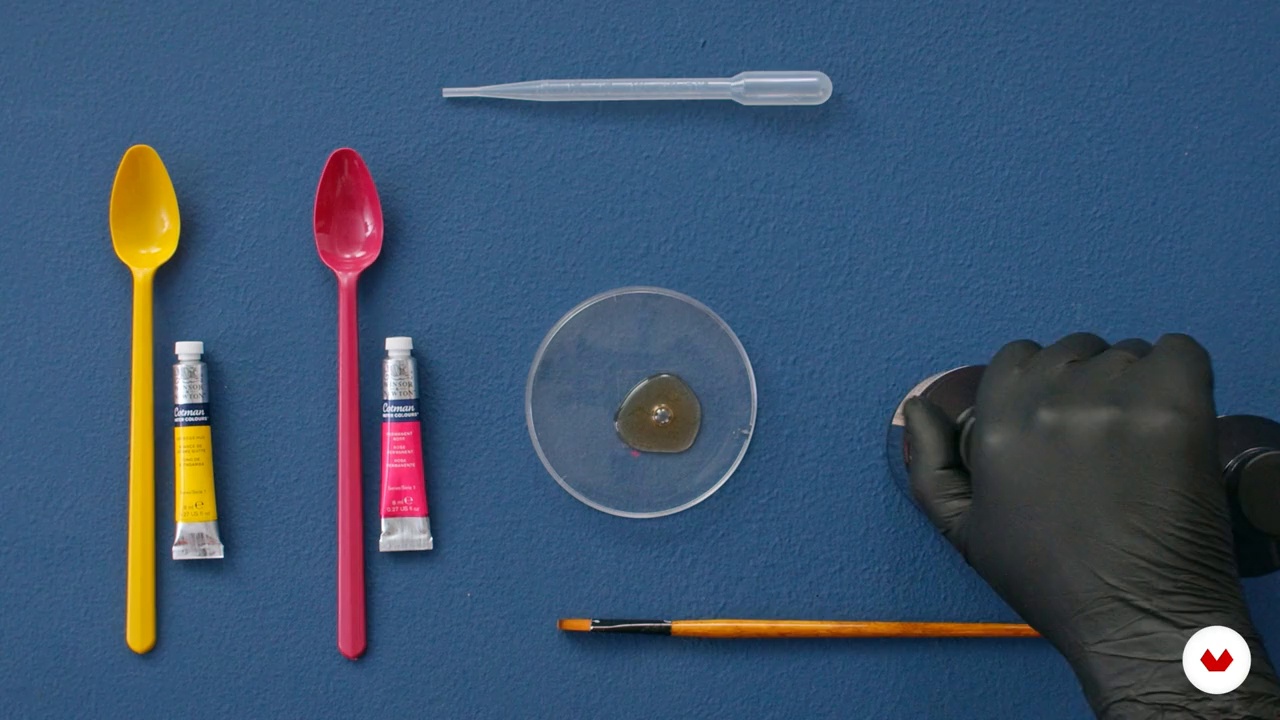
5Prepare the emulsion
In this lesson, we'll teach you how to mix the components. We'll also teach you how to prepare the gum arabic solution, the dichromate (potassium/ammonium) solution, and then mix it with pigments.
11m
 6
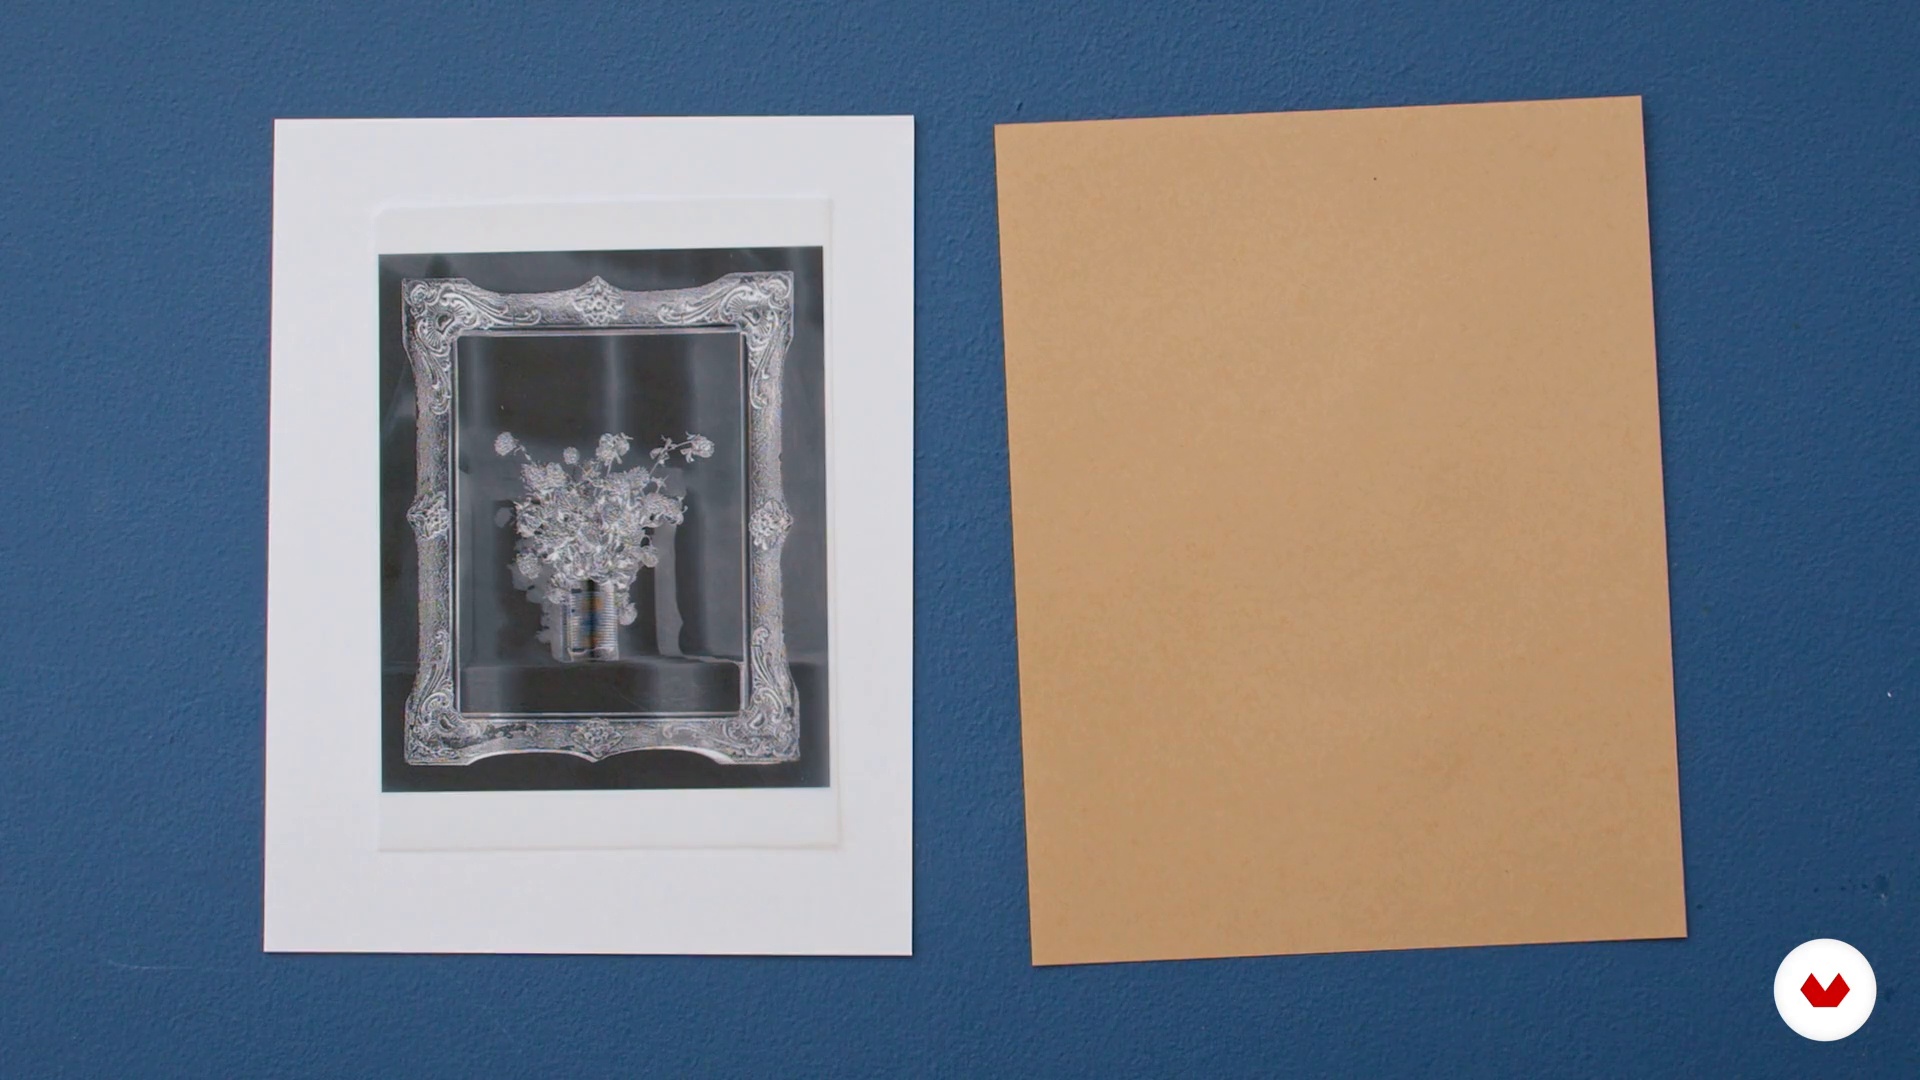
6Print the digital negatives
Below, we'll give you essential tips and recommendations for printing your negatives on different types of acetate.
2m
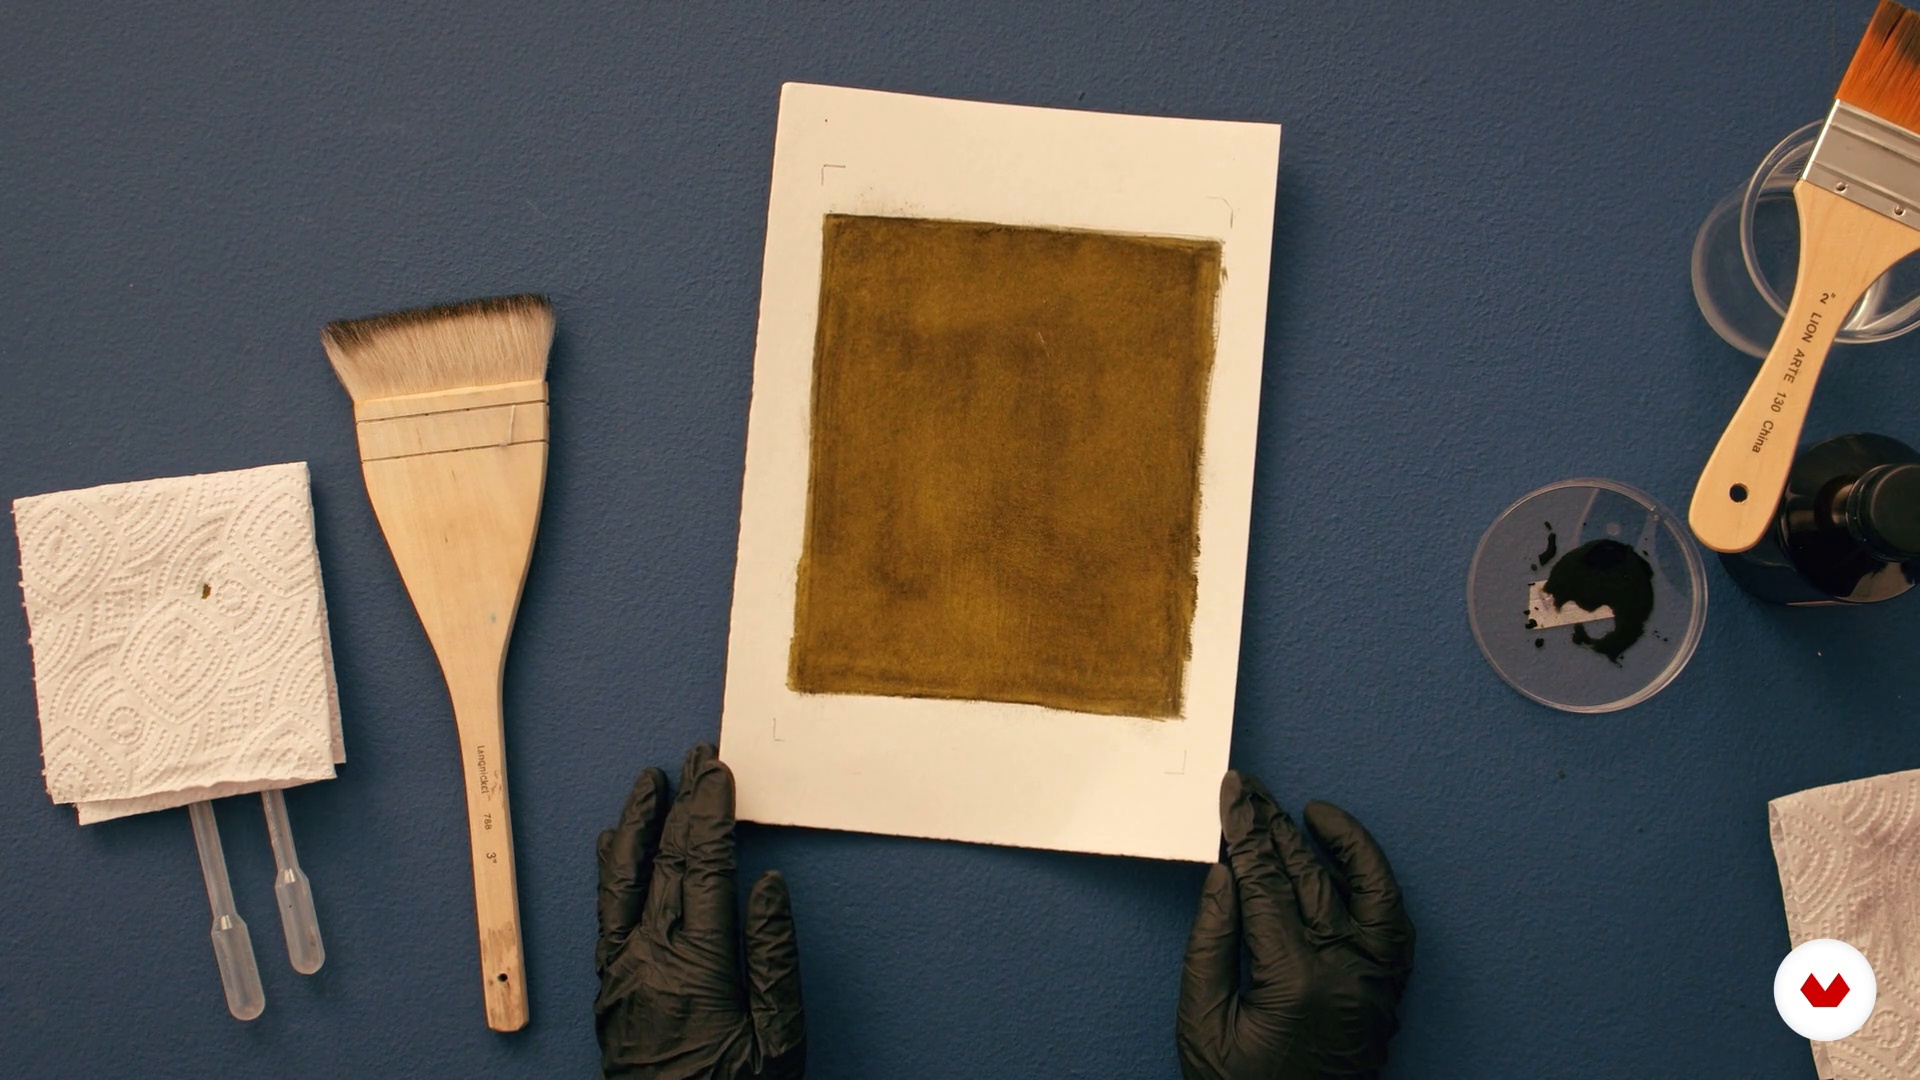 7
7First emulsification session
We've reached the point in the course where you'll learn the technique for applying the first layer of rubber and how to combine this technique with other alternative photography techniques.
11m
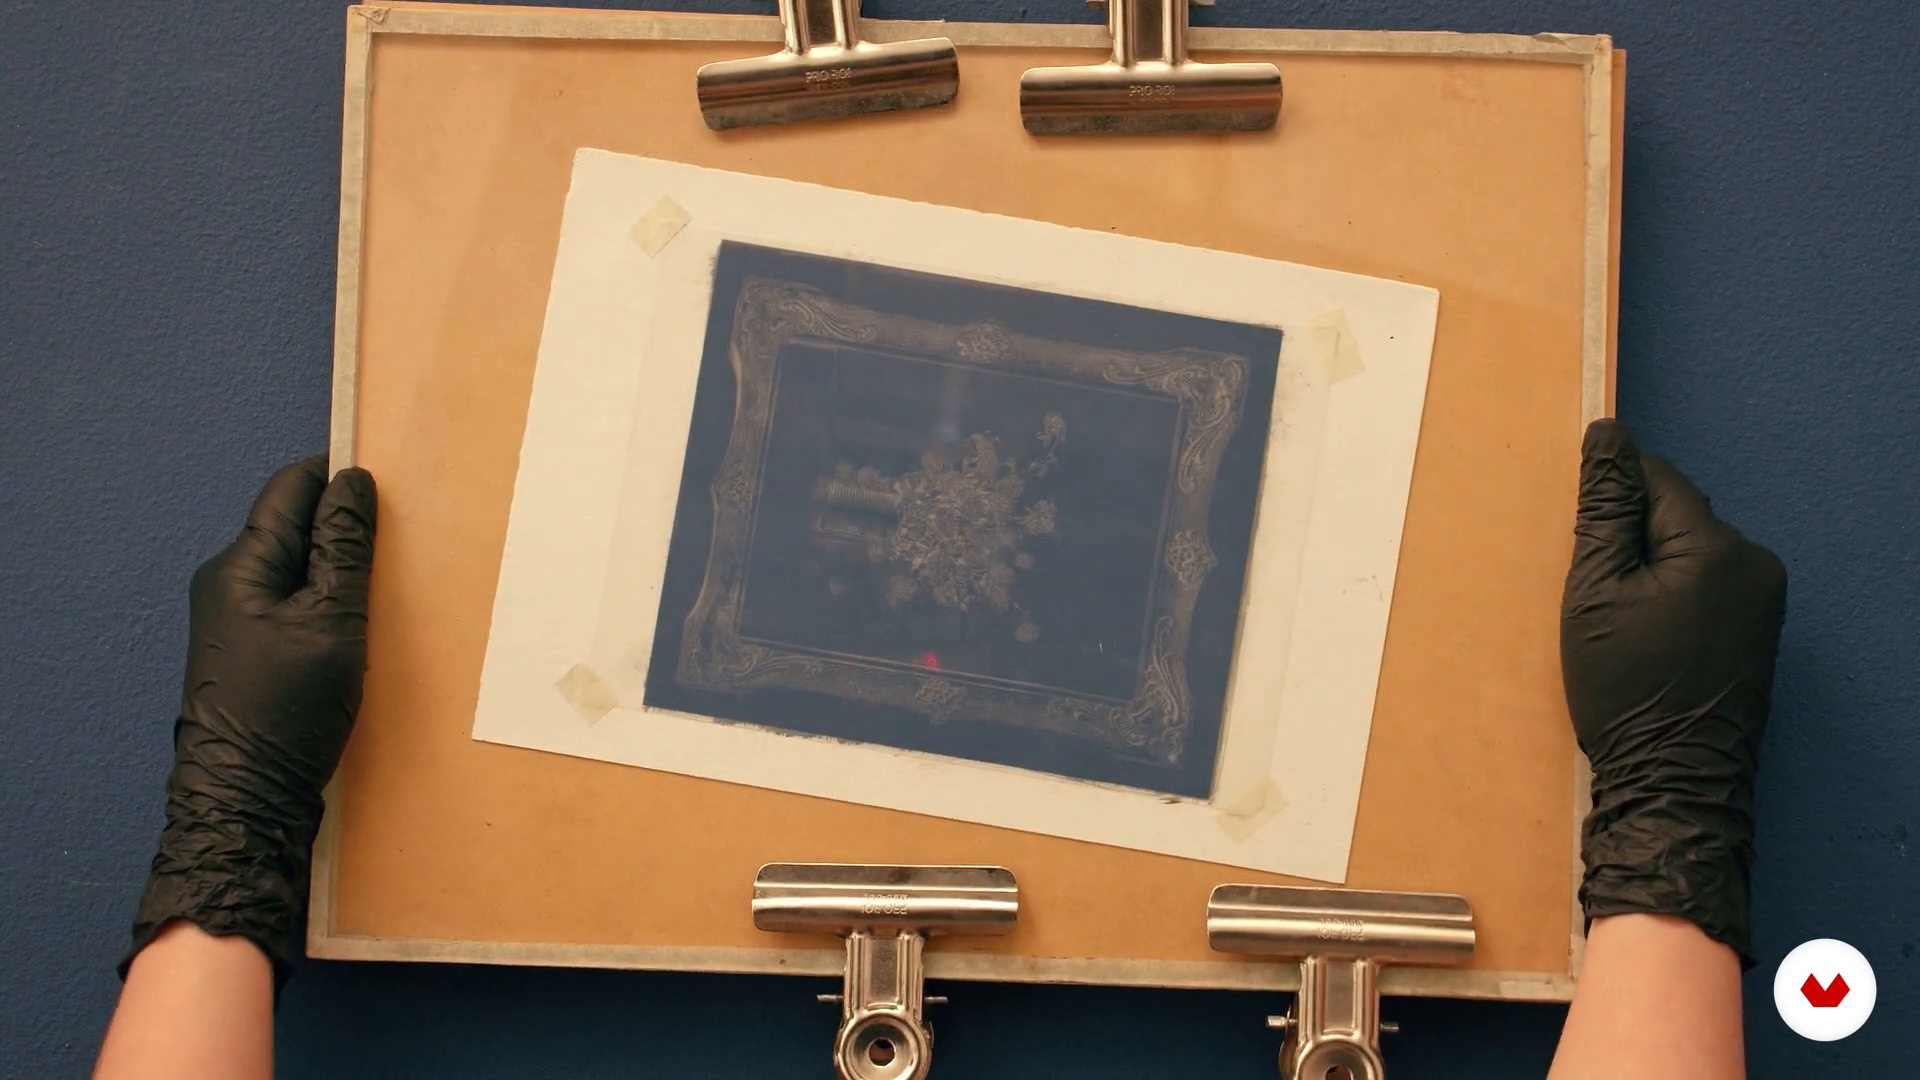 8
8UV exposure
Now we'll give you a series of tips and recommendations for proper exposure to ultraviolet light, and we'll explain how to align your negative.
2m
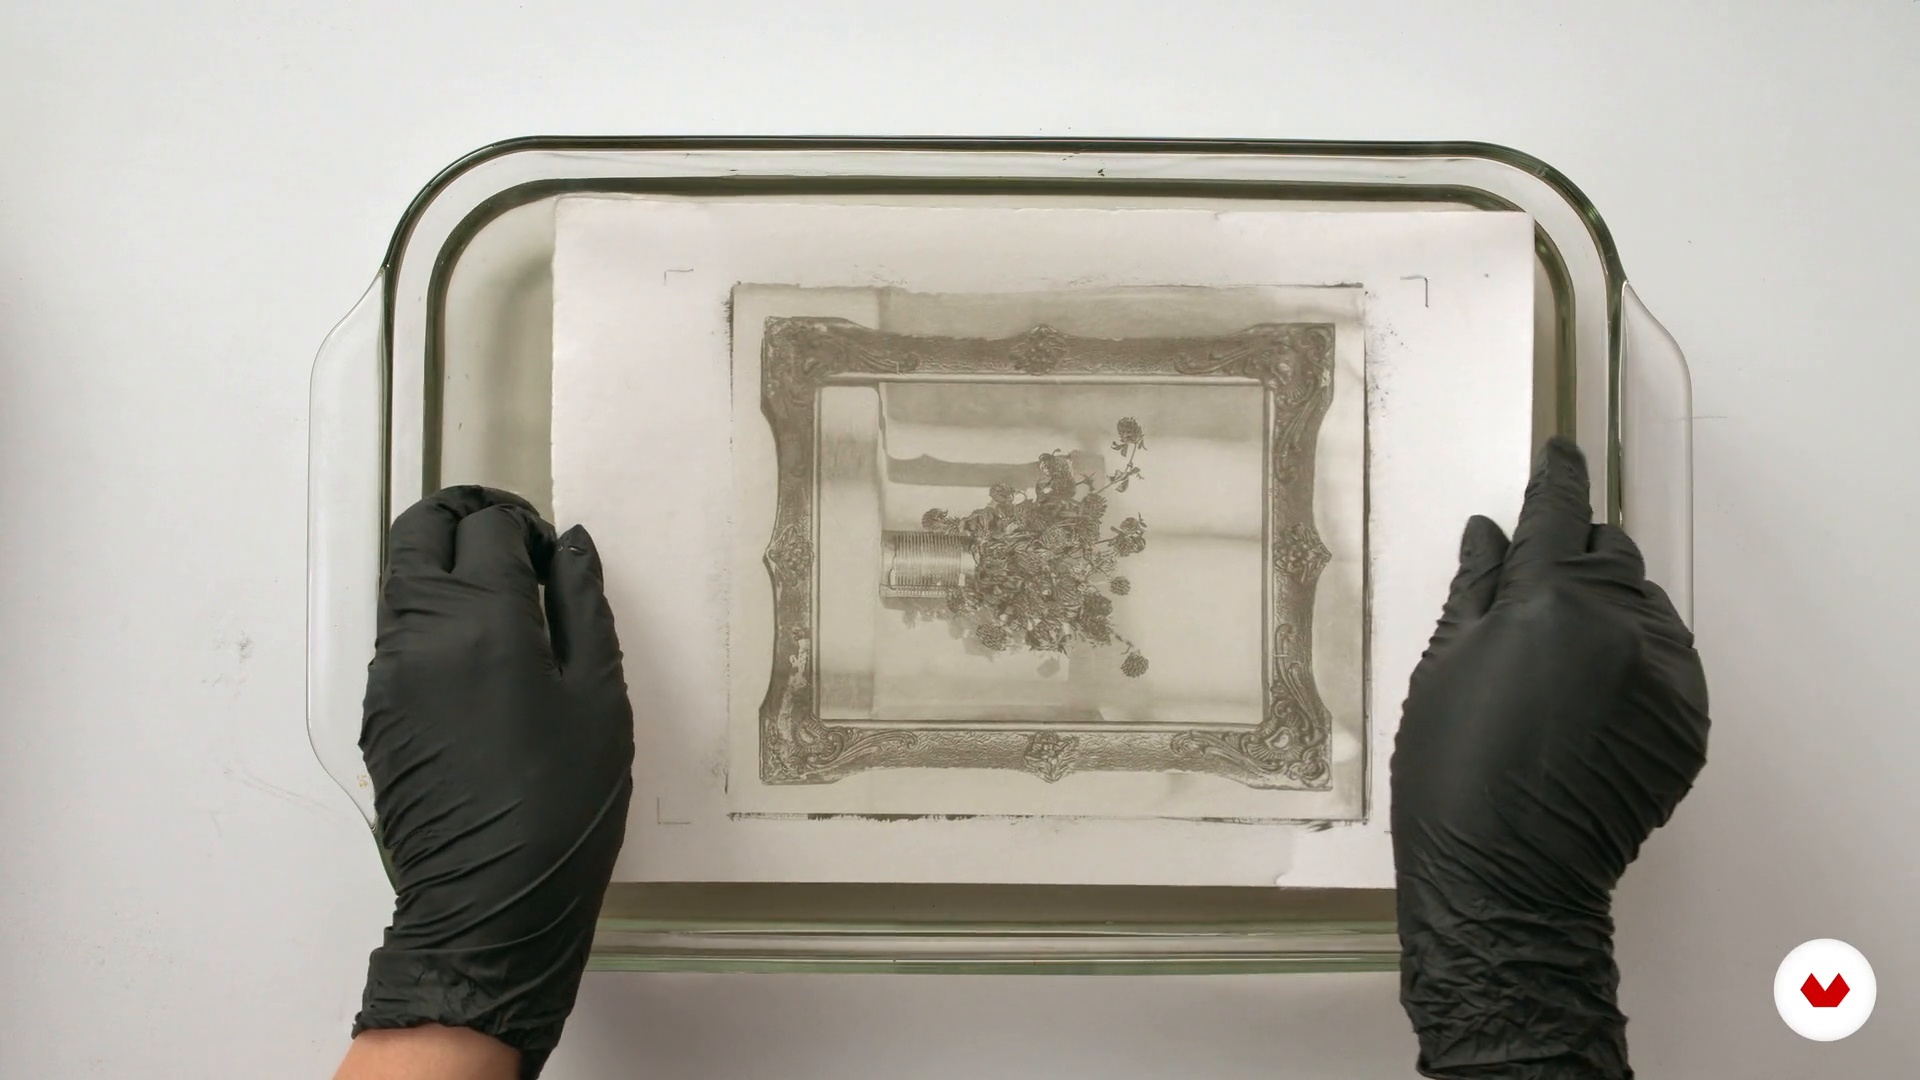 9
9The revealed
In this lesson, we'll walk through the process of developing the exposed layer. We'll explain how to do it step by step.
9m
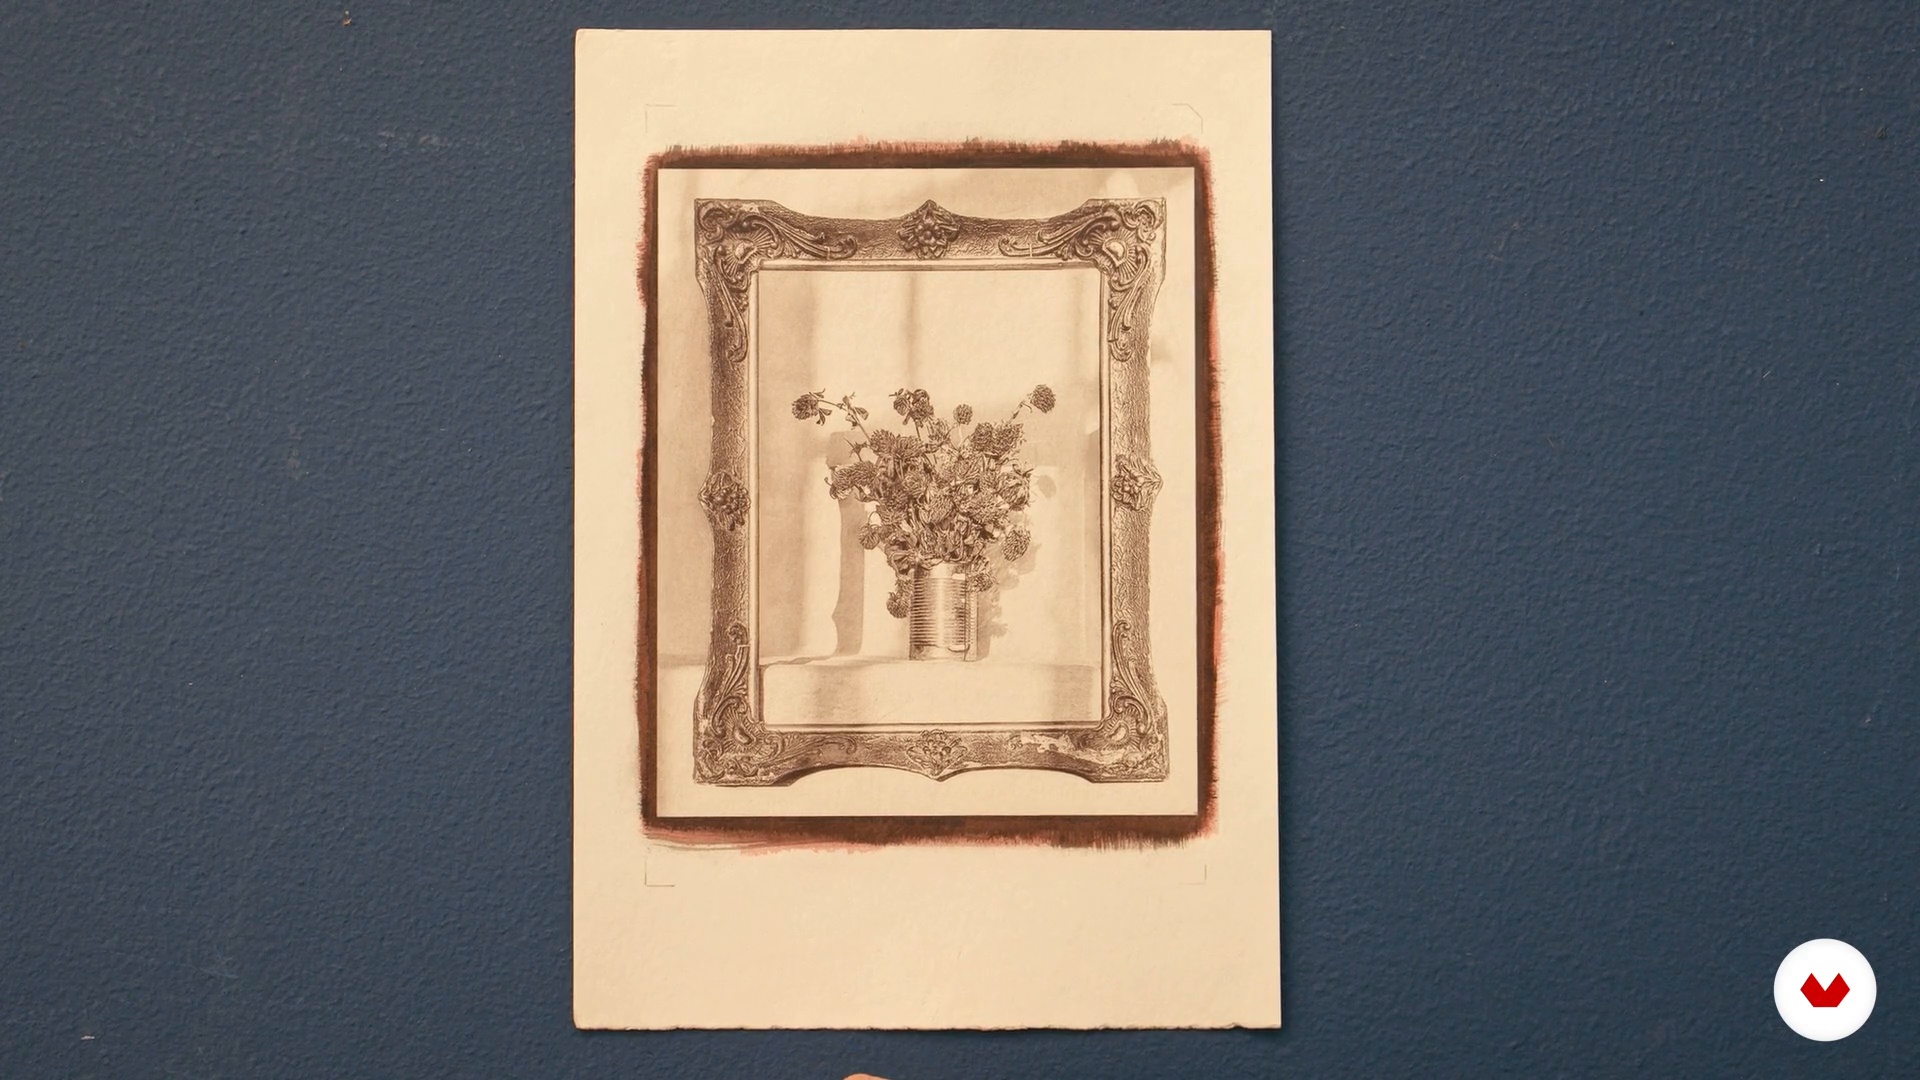 10
10Second layer
Once we've made our gum bichromate with the first layer of color, we need to apply the second layer. In this lesson, we'll teach you how to apply it correctly without negatively altering the initial result.
11m
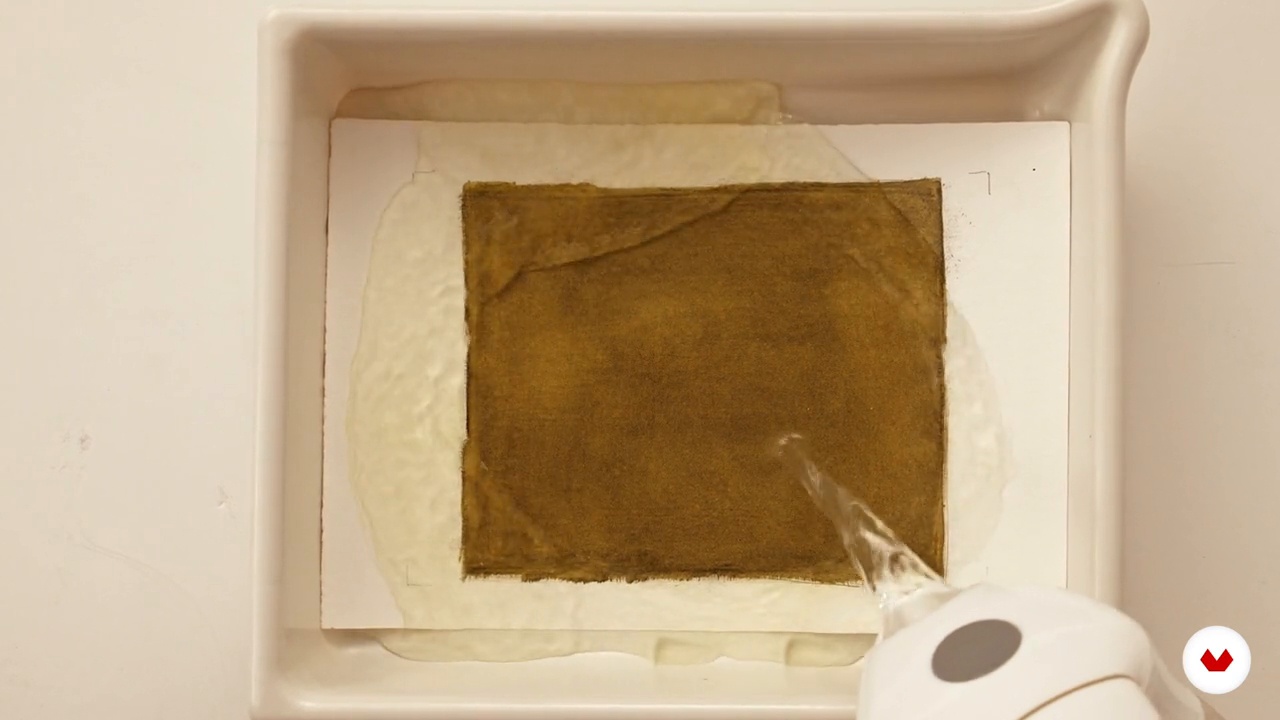
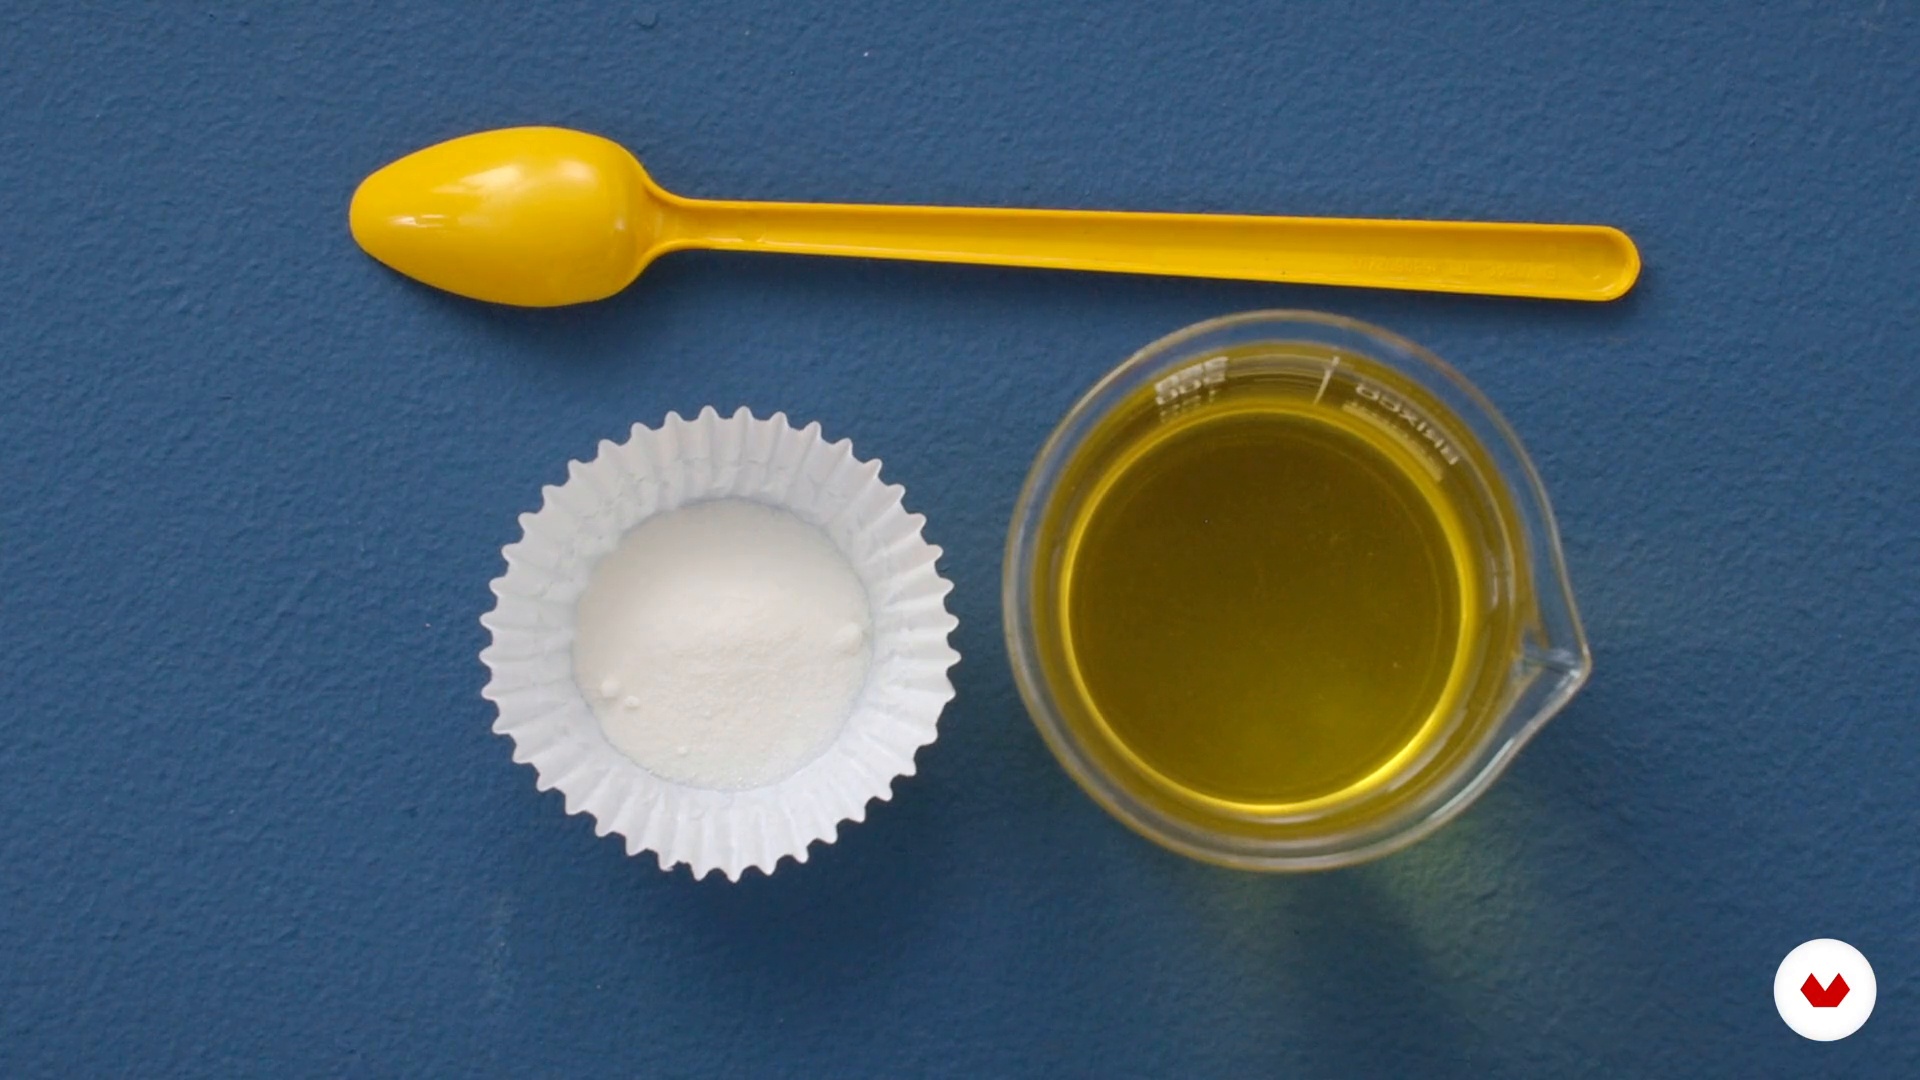 11
11Completion of copying and neutralization of waste
After completing the development process, we must properly dispose of our waste and any remaining dichromate residue on our print. In this lesson, we'll show you how.
4m
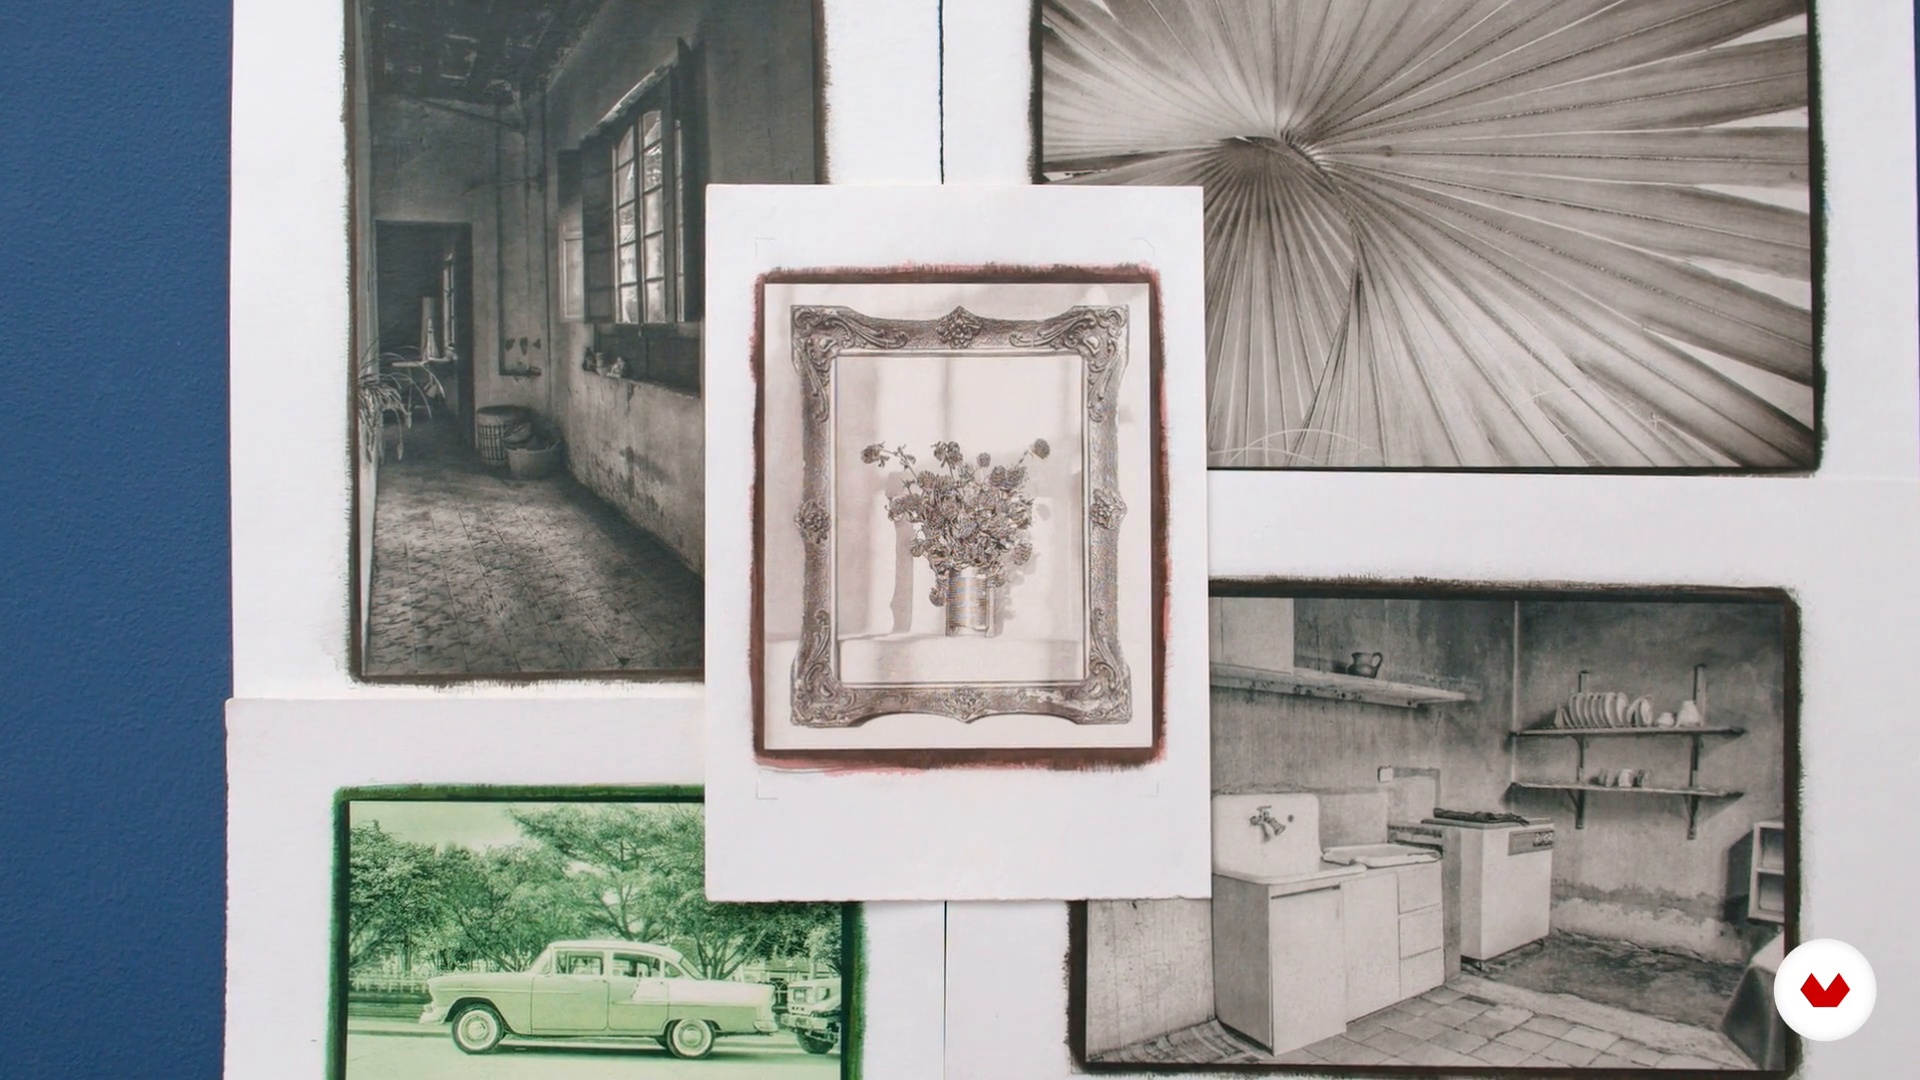 12
12Archiving and conservation of gum bichromate
Now we'll give you guidelines for properly storing and preserving your artwork. Do you know what to keep in mind when framing it?
4m
 13
13Troubleshooting
We'll give you tips and guides to help you identify and correct any issues you may encounter during the process.
5m
What is this course's project?
You'll create a personalized composition by applying image transfer techniques to the surface of your choice, exploring materials such as wood, fabric, and ceramics to develop unique projects. You'll learn to master the versatility of manual techniques.
Who is this specialization for?
This course is aimed at artists, designers, and print enthusiasts interested in exploring artisanal transfer and stamping techniques. It's ideal for those looking to personalize creative projects, experiment with new methods, and expand their artistic and visual skills.
Requirements and materials
No extensive prior knowledge is required. You'll need access to basic materials based on your chosen handcrafted printing technique, such as paper, fabrics, photosensitive products, hand-printing tools, and surfaces to experiment and create your compositions.
Reviews
- 7 months ago
Love this brand ❣️
- 8 months ago
Excellent course for the beginner. It covers all aspects of printing and provides a number of additional resources. The course is easy to follow and put the techniques into use.
- 9 months ago
Está bien para iniciarse.
- 10 months ago
Me está encantando
- 1 year ago
A very useful course for creating your own art projects and learning new art techniques.
Select to get to know your teachers in this specialization course


What to expect from this specialization course
Learn at your own pace
Enjoy learning from home without a set schedule and with an easy-to-follow method. You set your own pace.
Learn from the best professionals
Learn valuable methods and techniques explained by top experts in the creative sector.
Meet expert teachers
Each expert teaches what they do best, with clear guidelines, true passion, and professional insight in every lesson.
Certificates
PLUSIf you're a Plus member, get a custom certificate for every specialization course. Share it on your portfolio, social media, or wherever you like.
Get front-row seats
Videos of the highest quality, so you don't miss a single detail. With unlimited access, you can watch them as many times as you need to perfect your technique.
Share knowledge and ideas
Ask questions, request feedback, or offer solutions. Share your learning experience with other students in the community who are as passionate about creativity as you are.
Connect with a global creative community
The community is home to millions of people from around the world who are curious and passionate about exploring and expressing their creativity.
Watch professionally produced courses
Domestika curates its teacher roster and produces every course in-house to ensure a high-quality online learning experience.
FAQs
You’ll learn solvent transfer, acrylic Medium transfer, acetate techniques, and mixed methods applied to wood, paper, ceramics, and fabric—combining collage, painting, and contemporary approaches.
This is an intermediate-level course, perfect for those with basic graphic technique knowledge who want to deepen their skills in transfer, collage, and stamping.
You’ll need printed images, solvents, acrylic Medium, surfaces like wood, paper, or fabric, acetate, stamps, inks, brushes, sponges, plus protective gear like gloves and a mask.
You’ll be able to apply various transfer methods, blend mixed techniques into your artwork, create custom stamps, and experiment with manual printing and cyanotype in creative projects.
Transferring images onto wood lets you move printed images onto porous surfaces, creating unique textures that combine photography and painting to enrich your art.
Acrylic Medium is applied over both the surface and the image, helping the ink stick after drying and paper removal, resulting in a professional, long-lasting finish.
Solvent transfer works faster but is less durable, great for textured effects, while Medium transfer produces sharper, more lasting images ideal for finished pieces.