
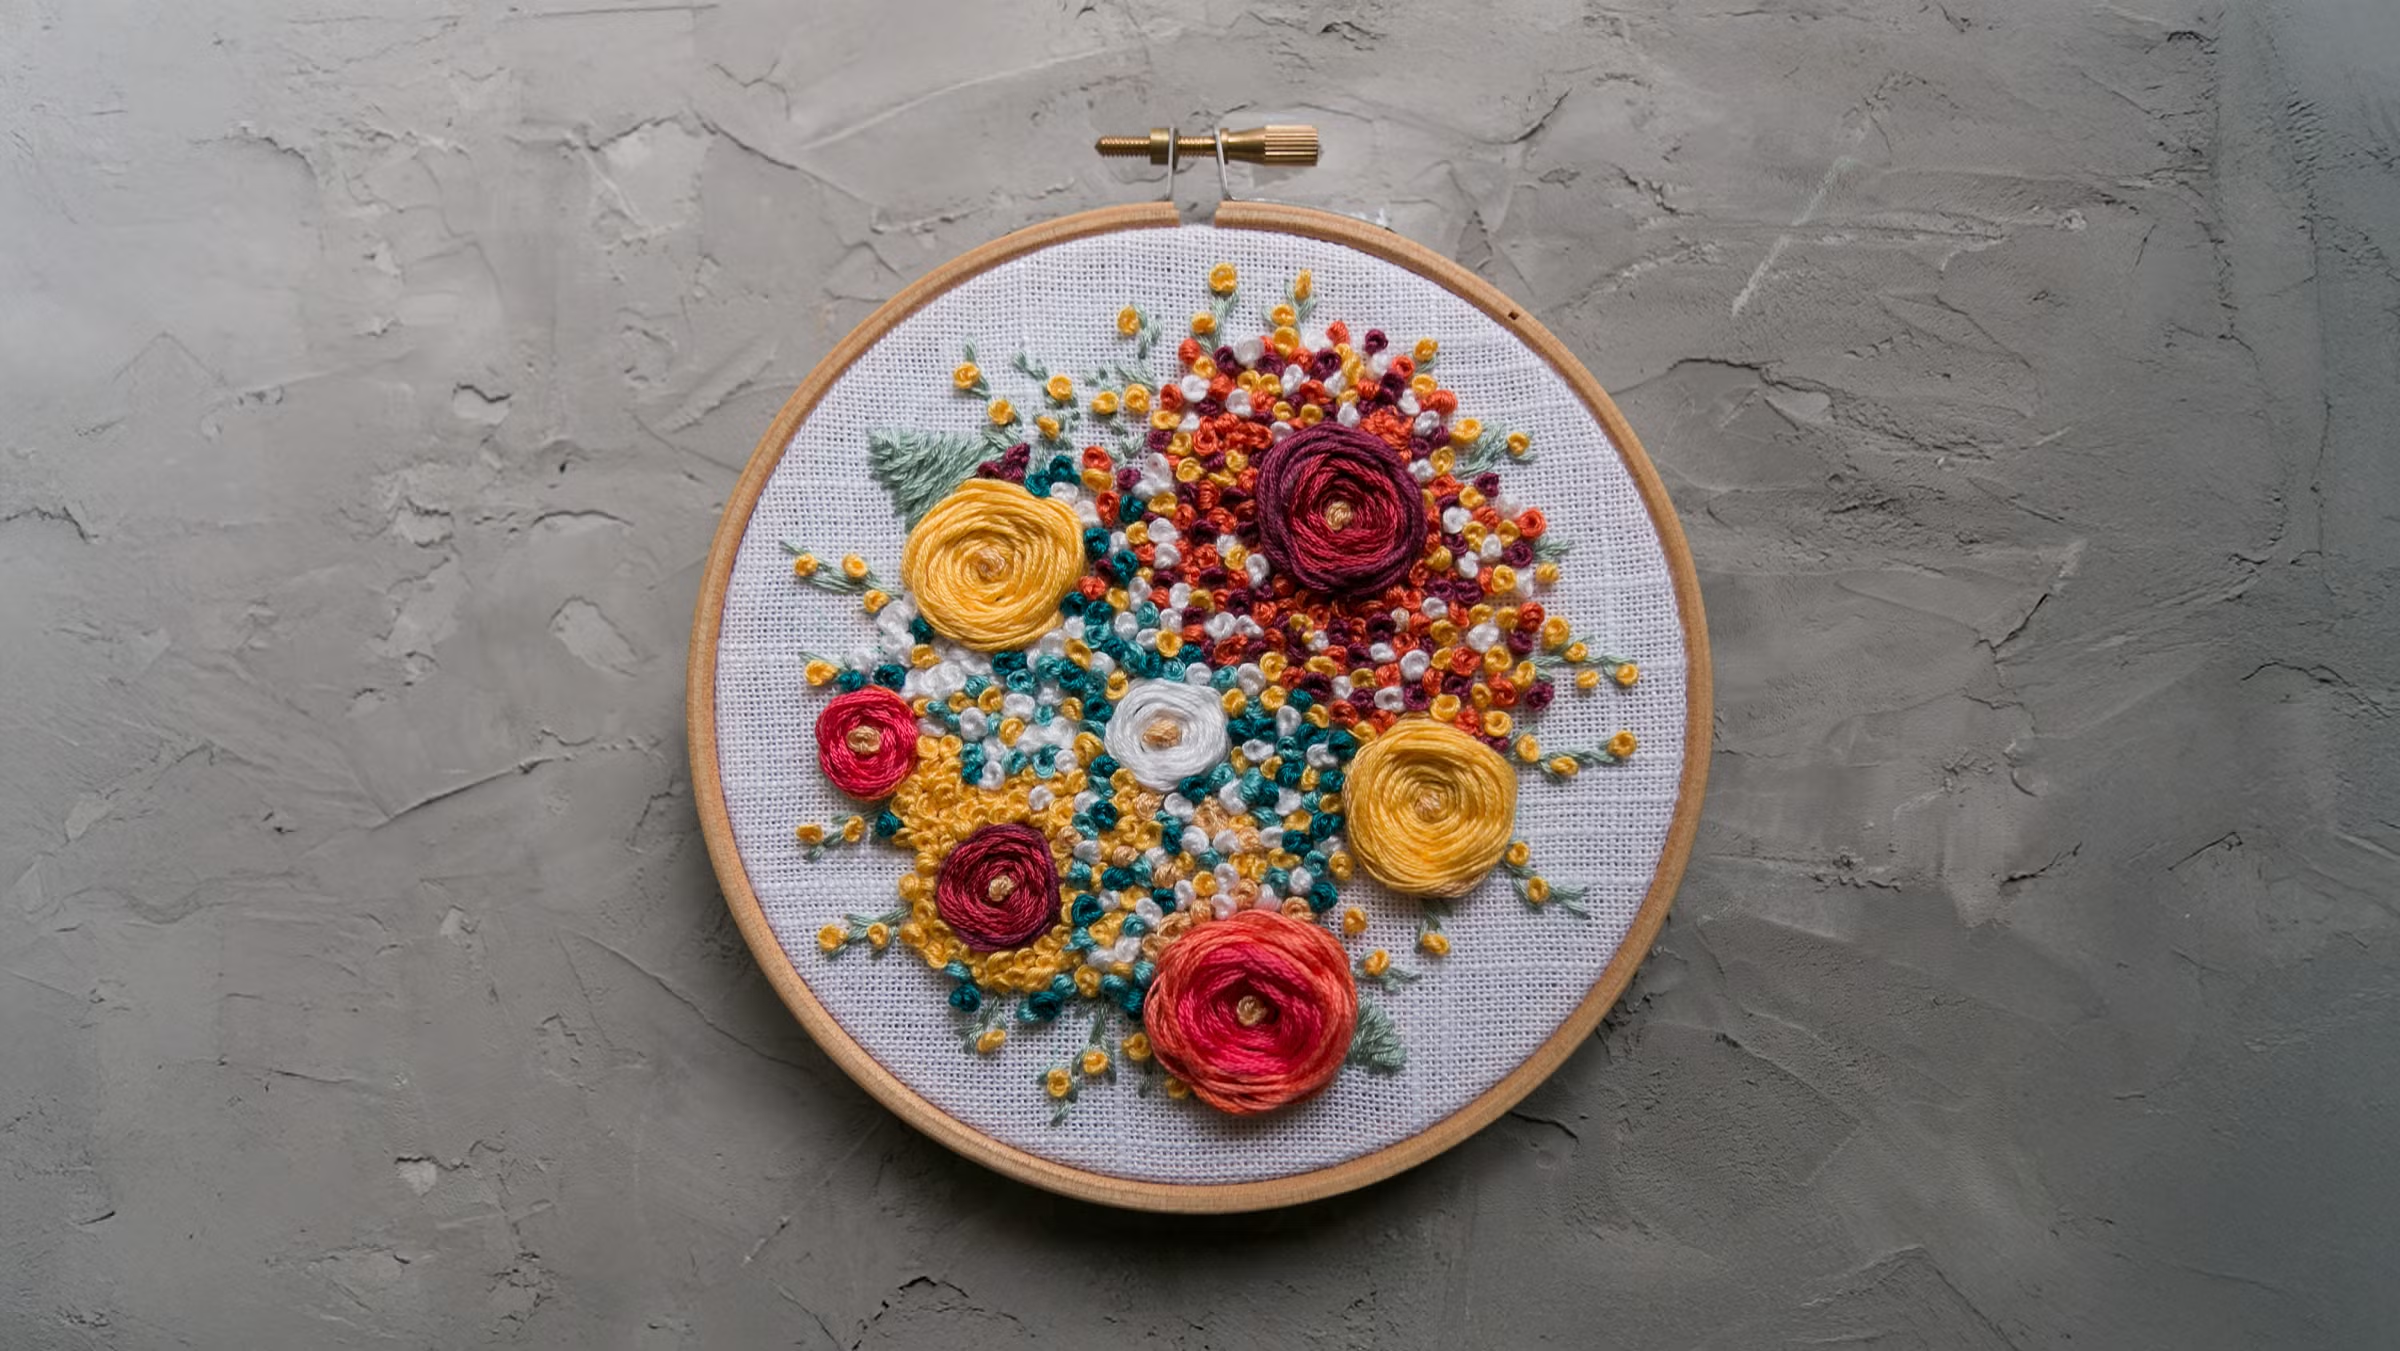
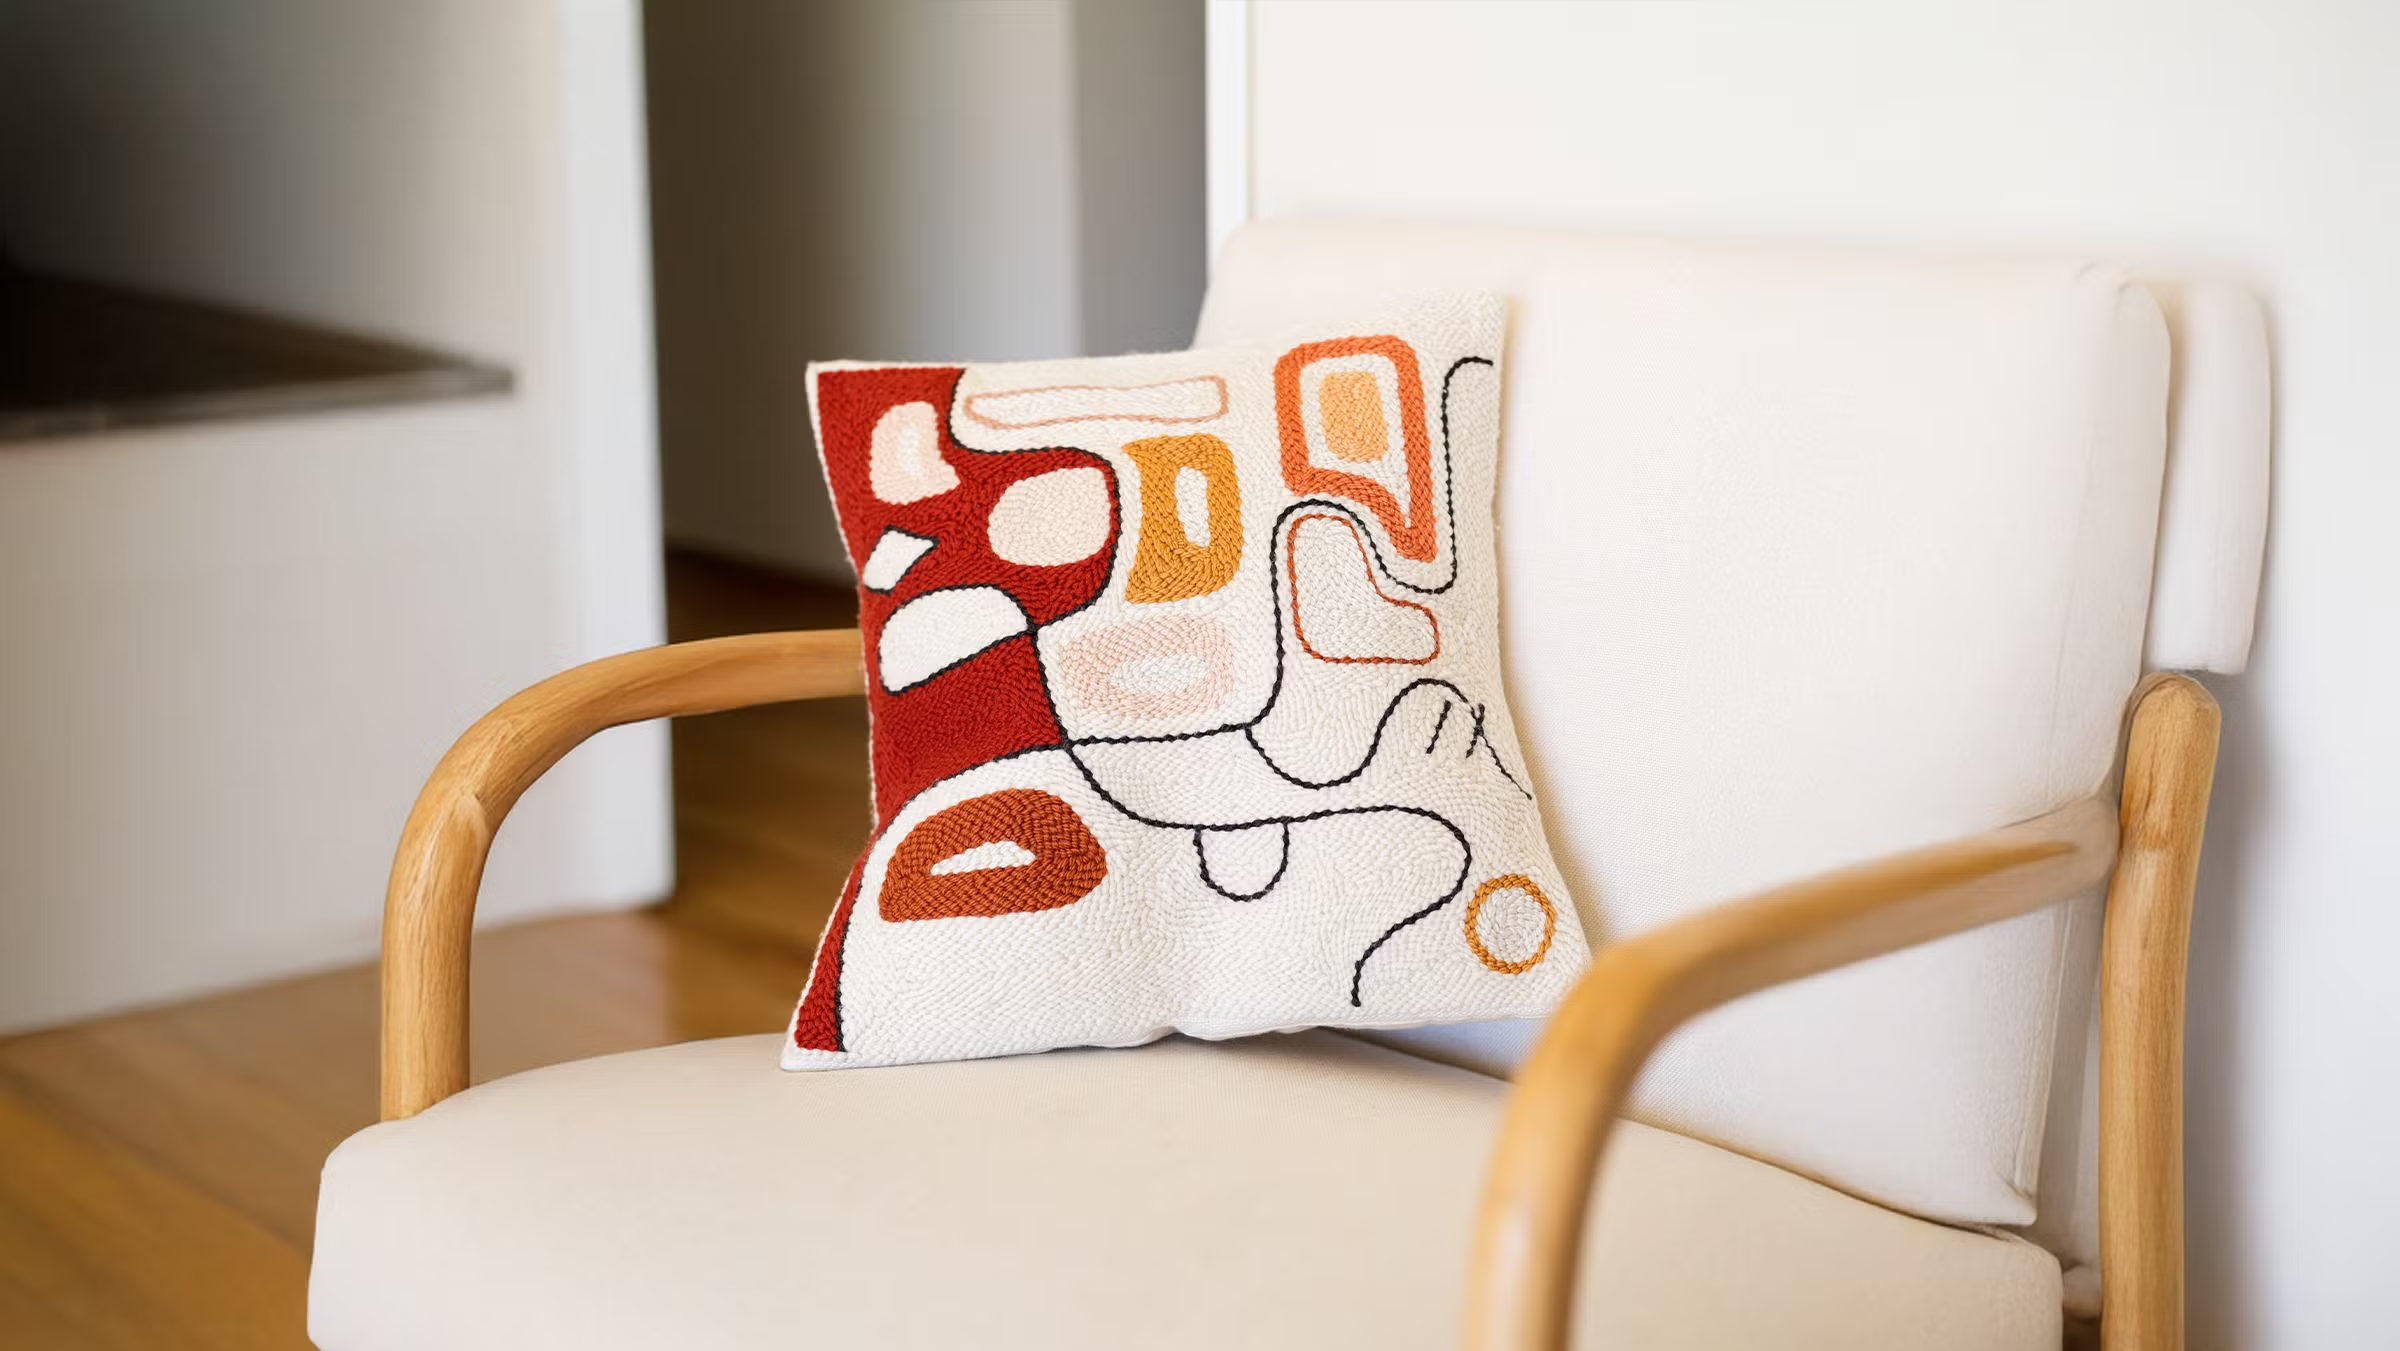
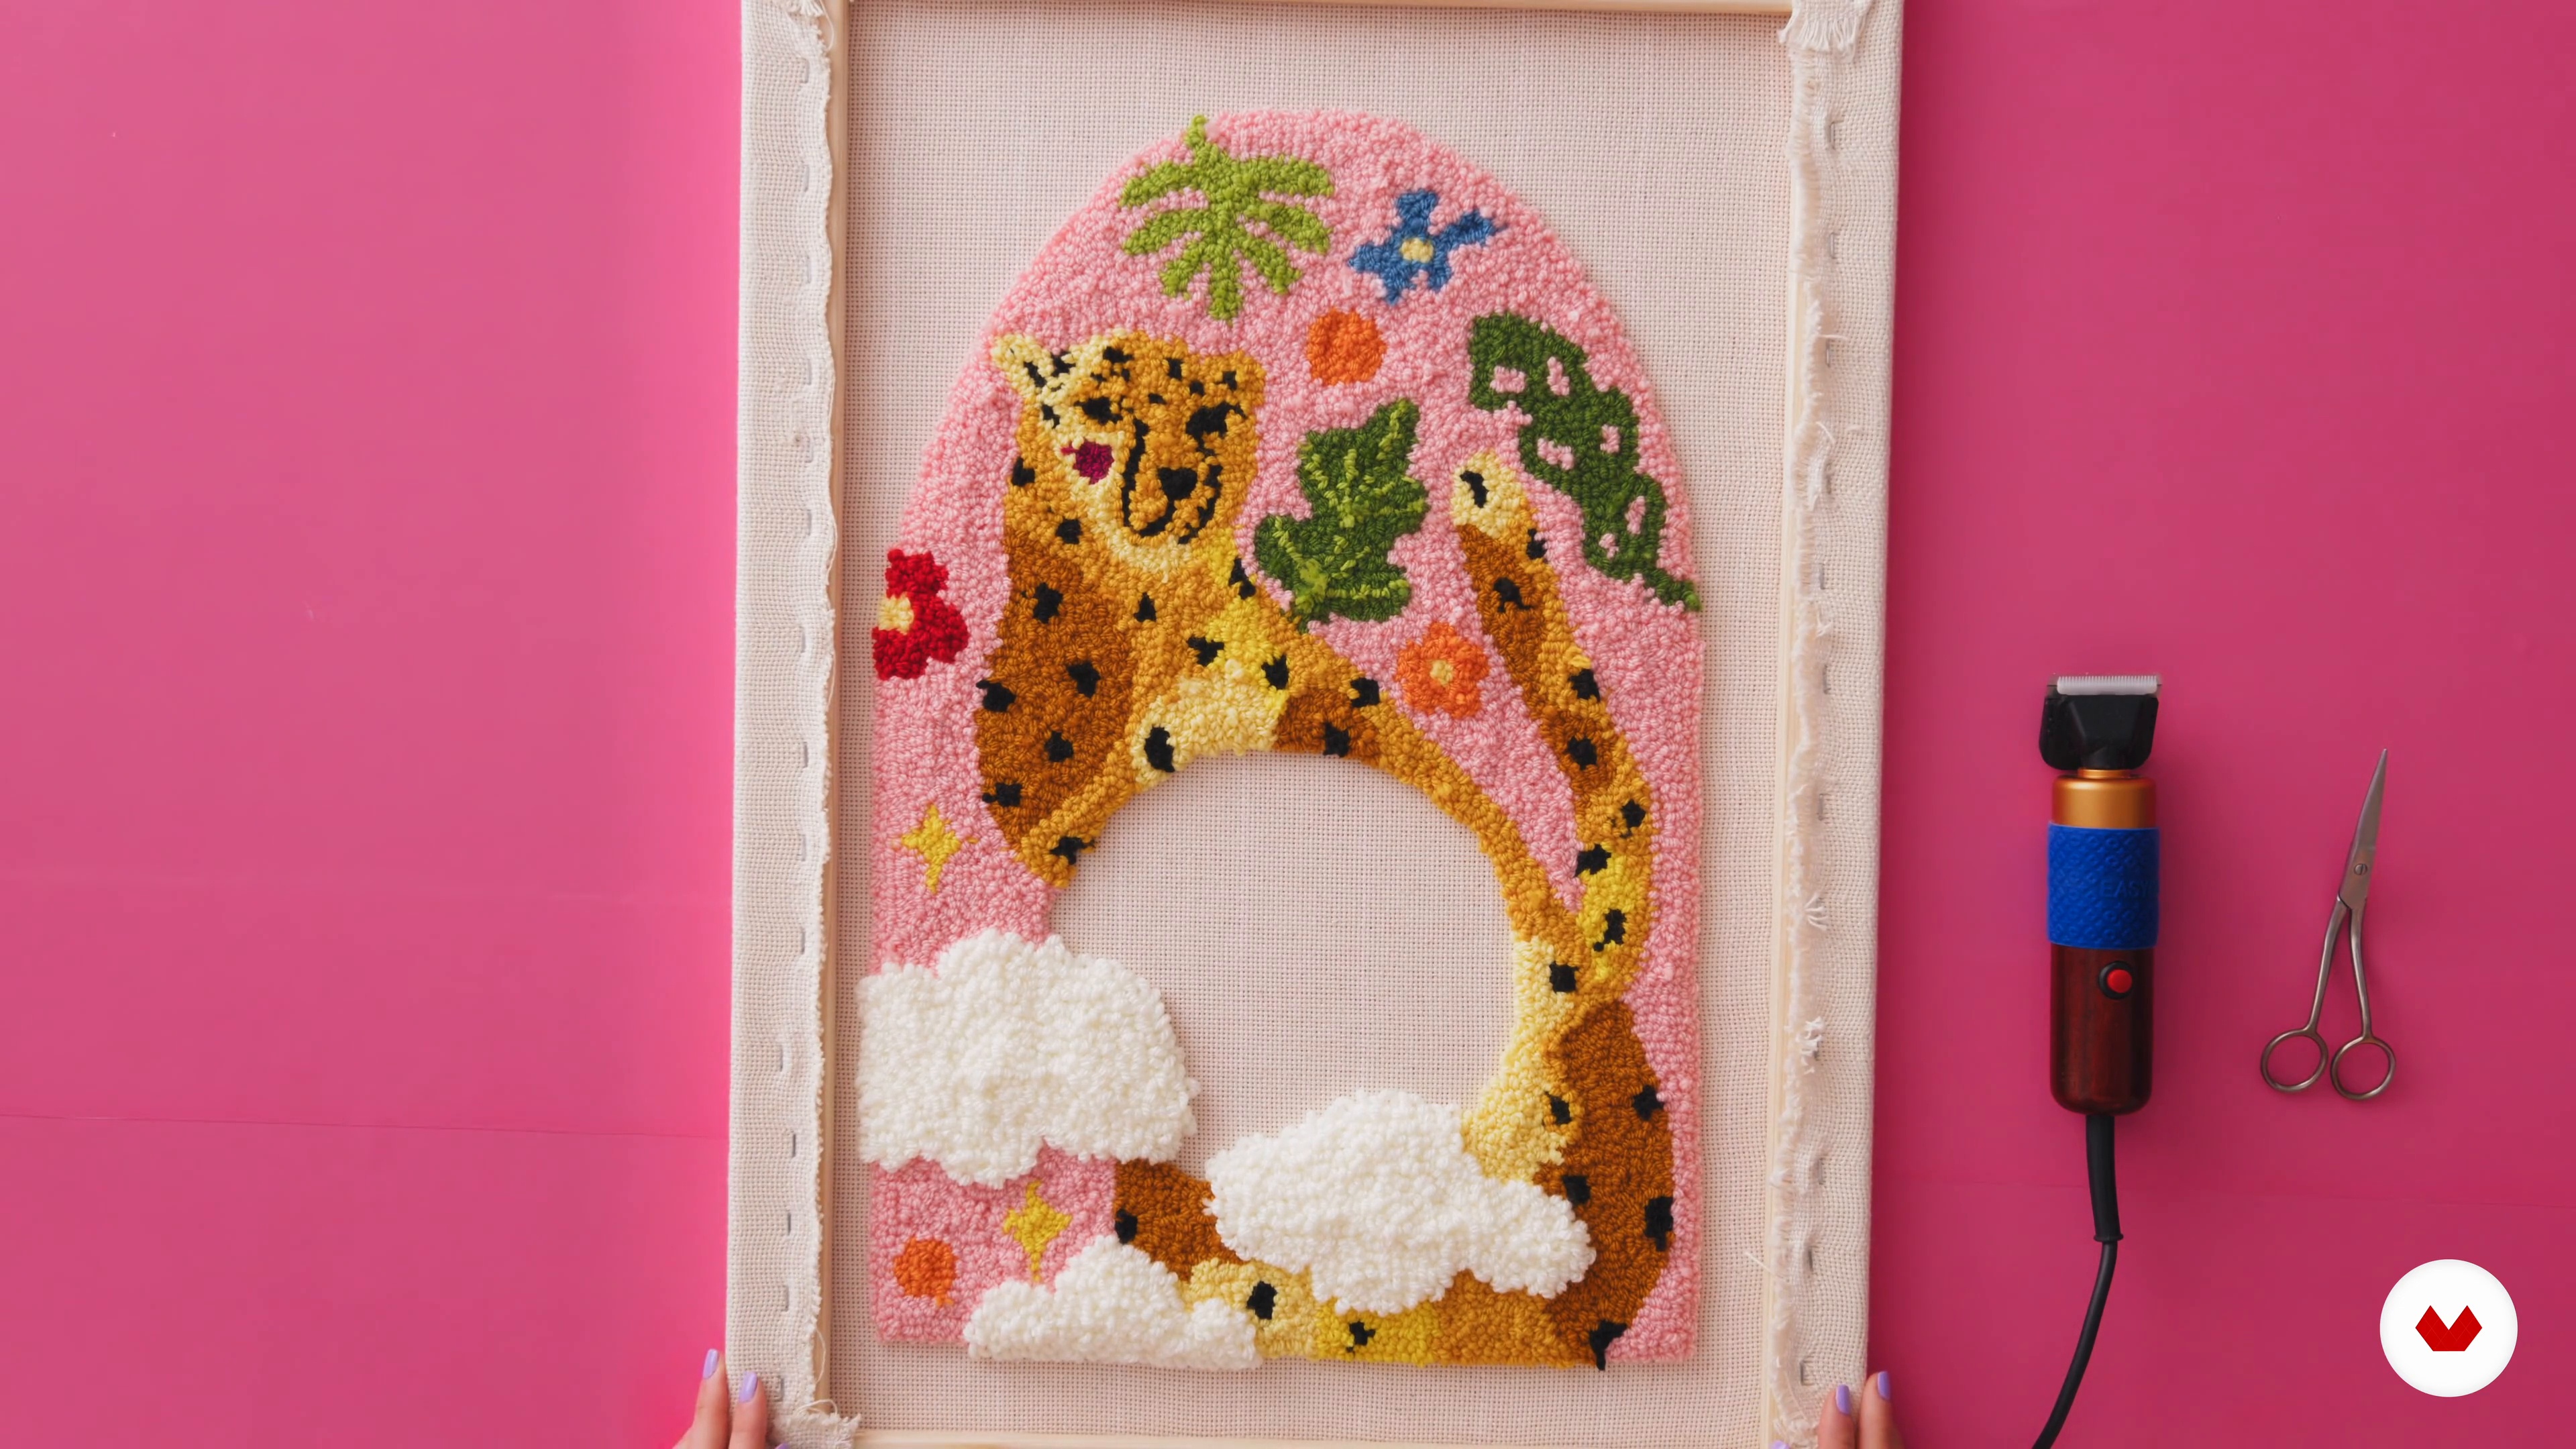
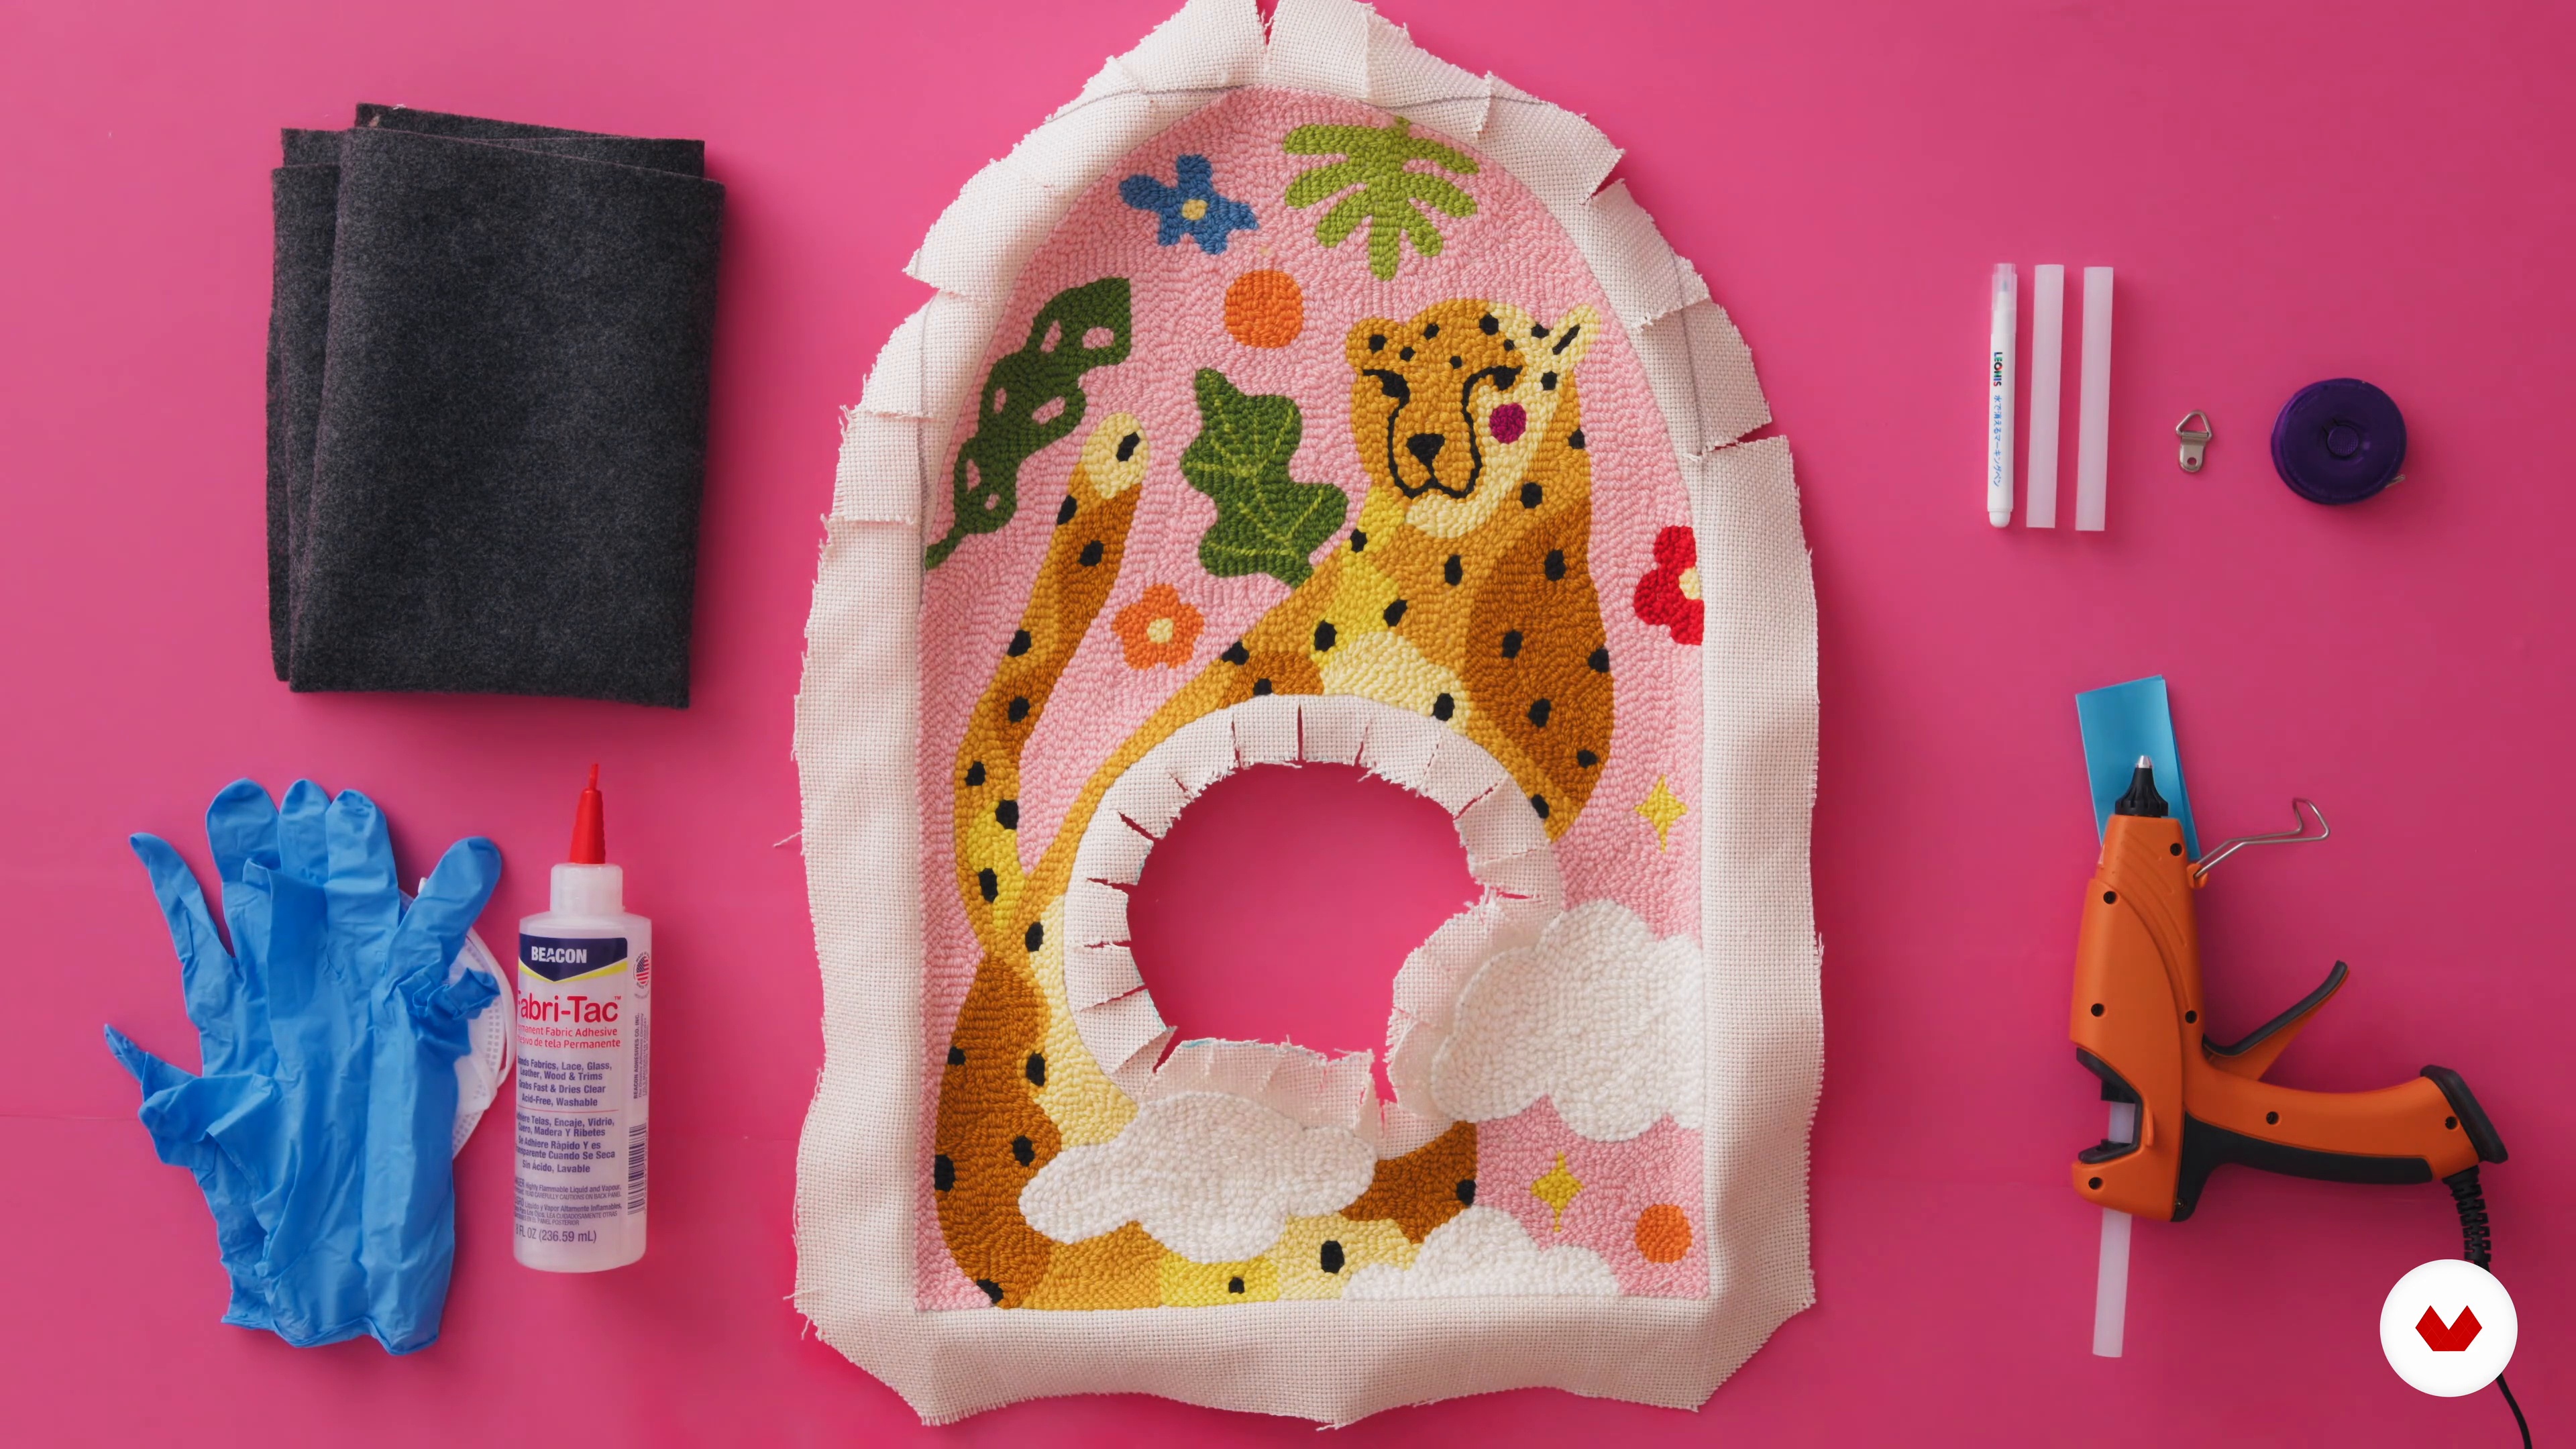
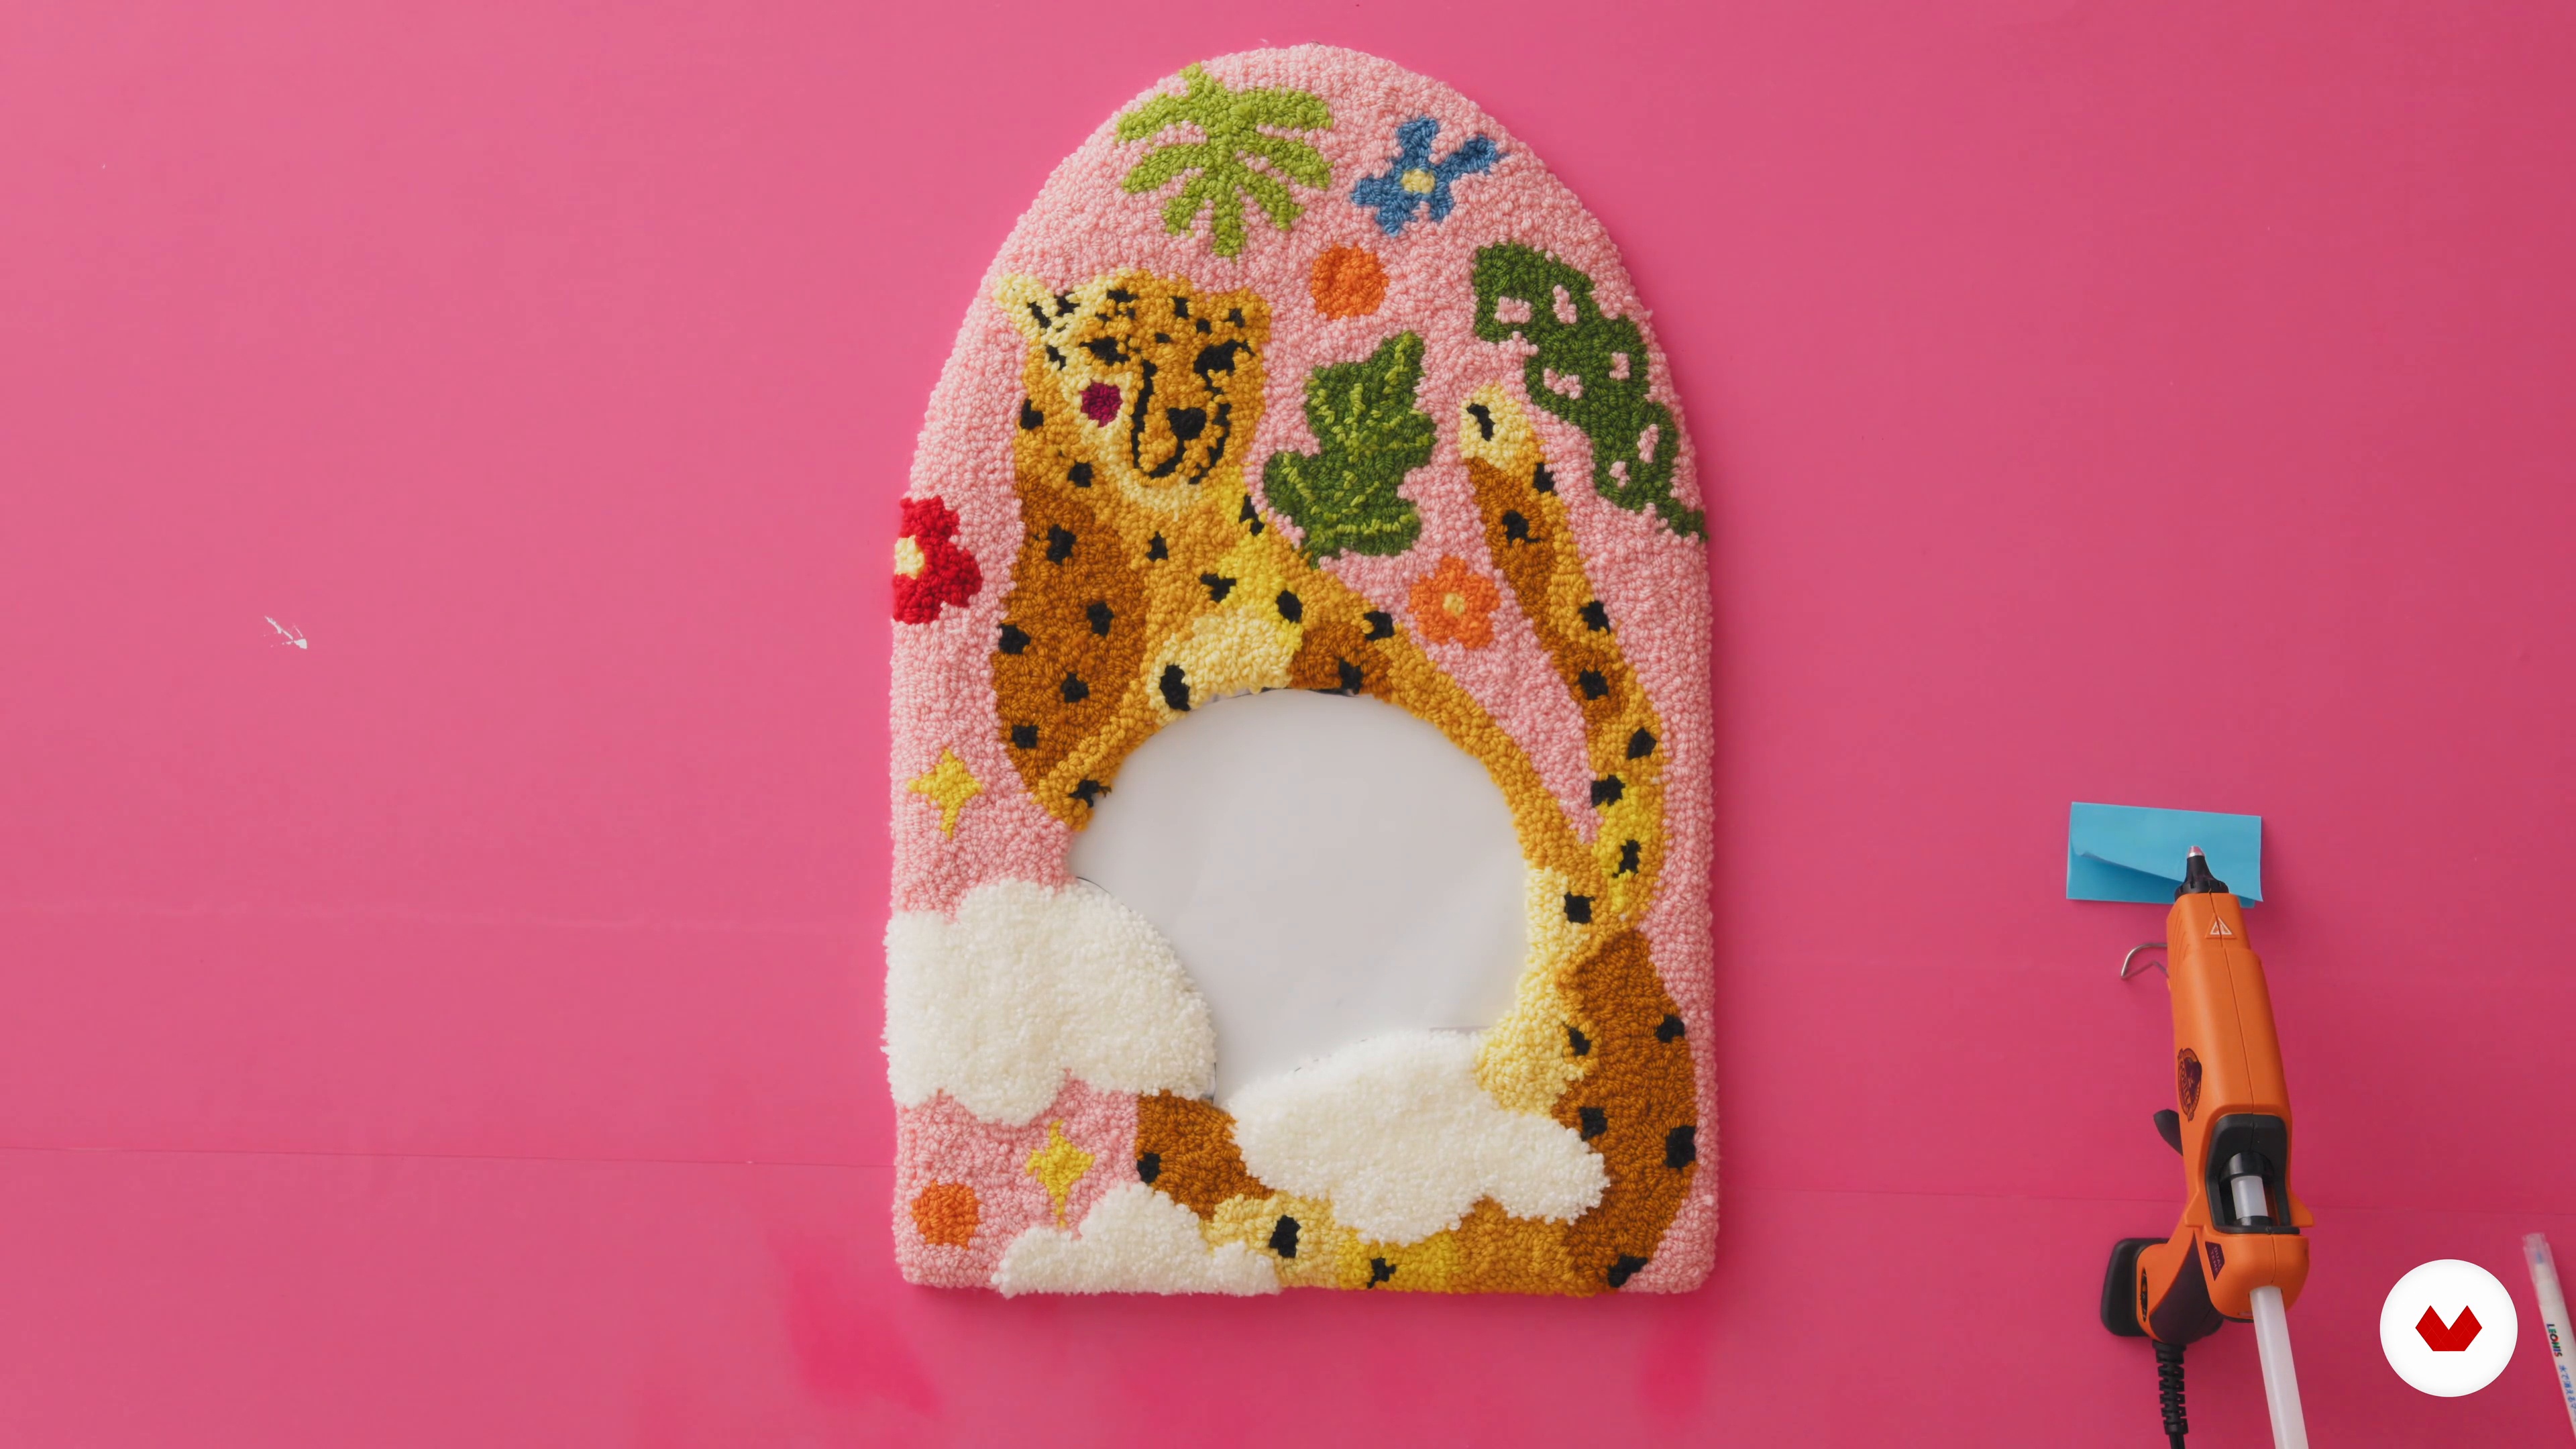
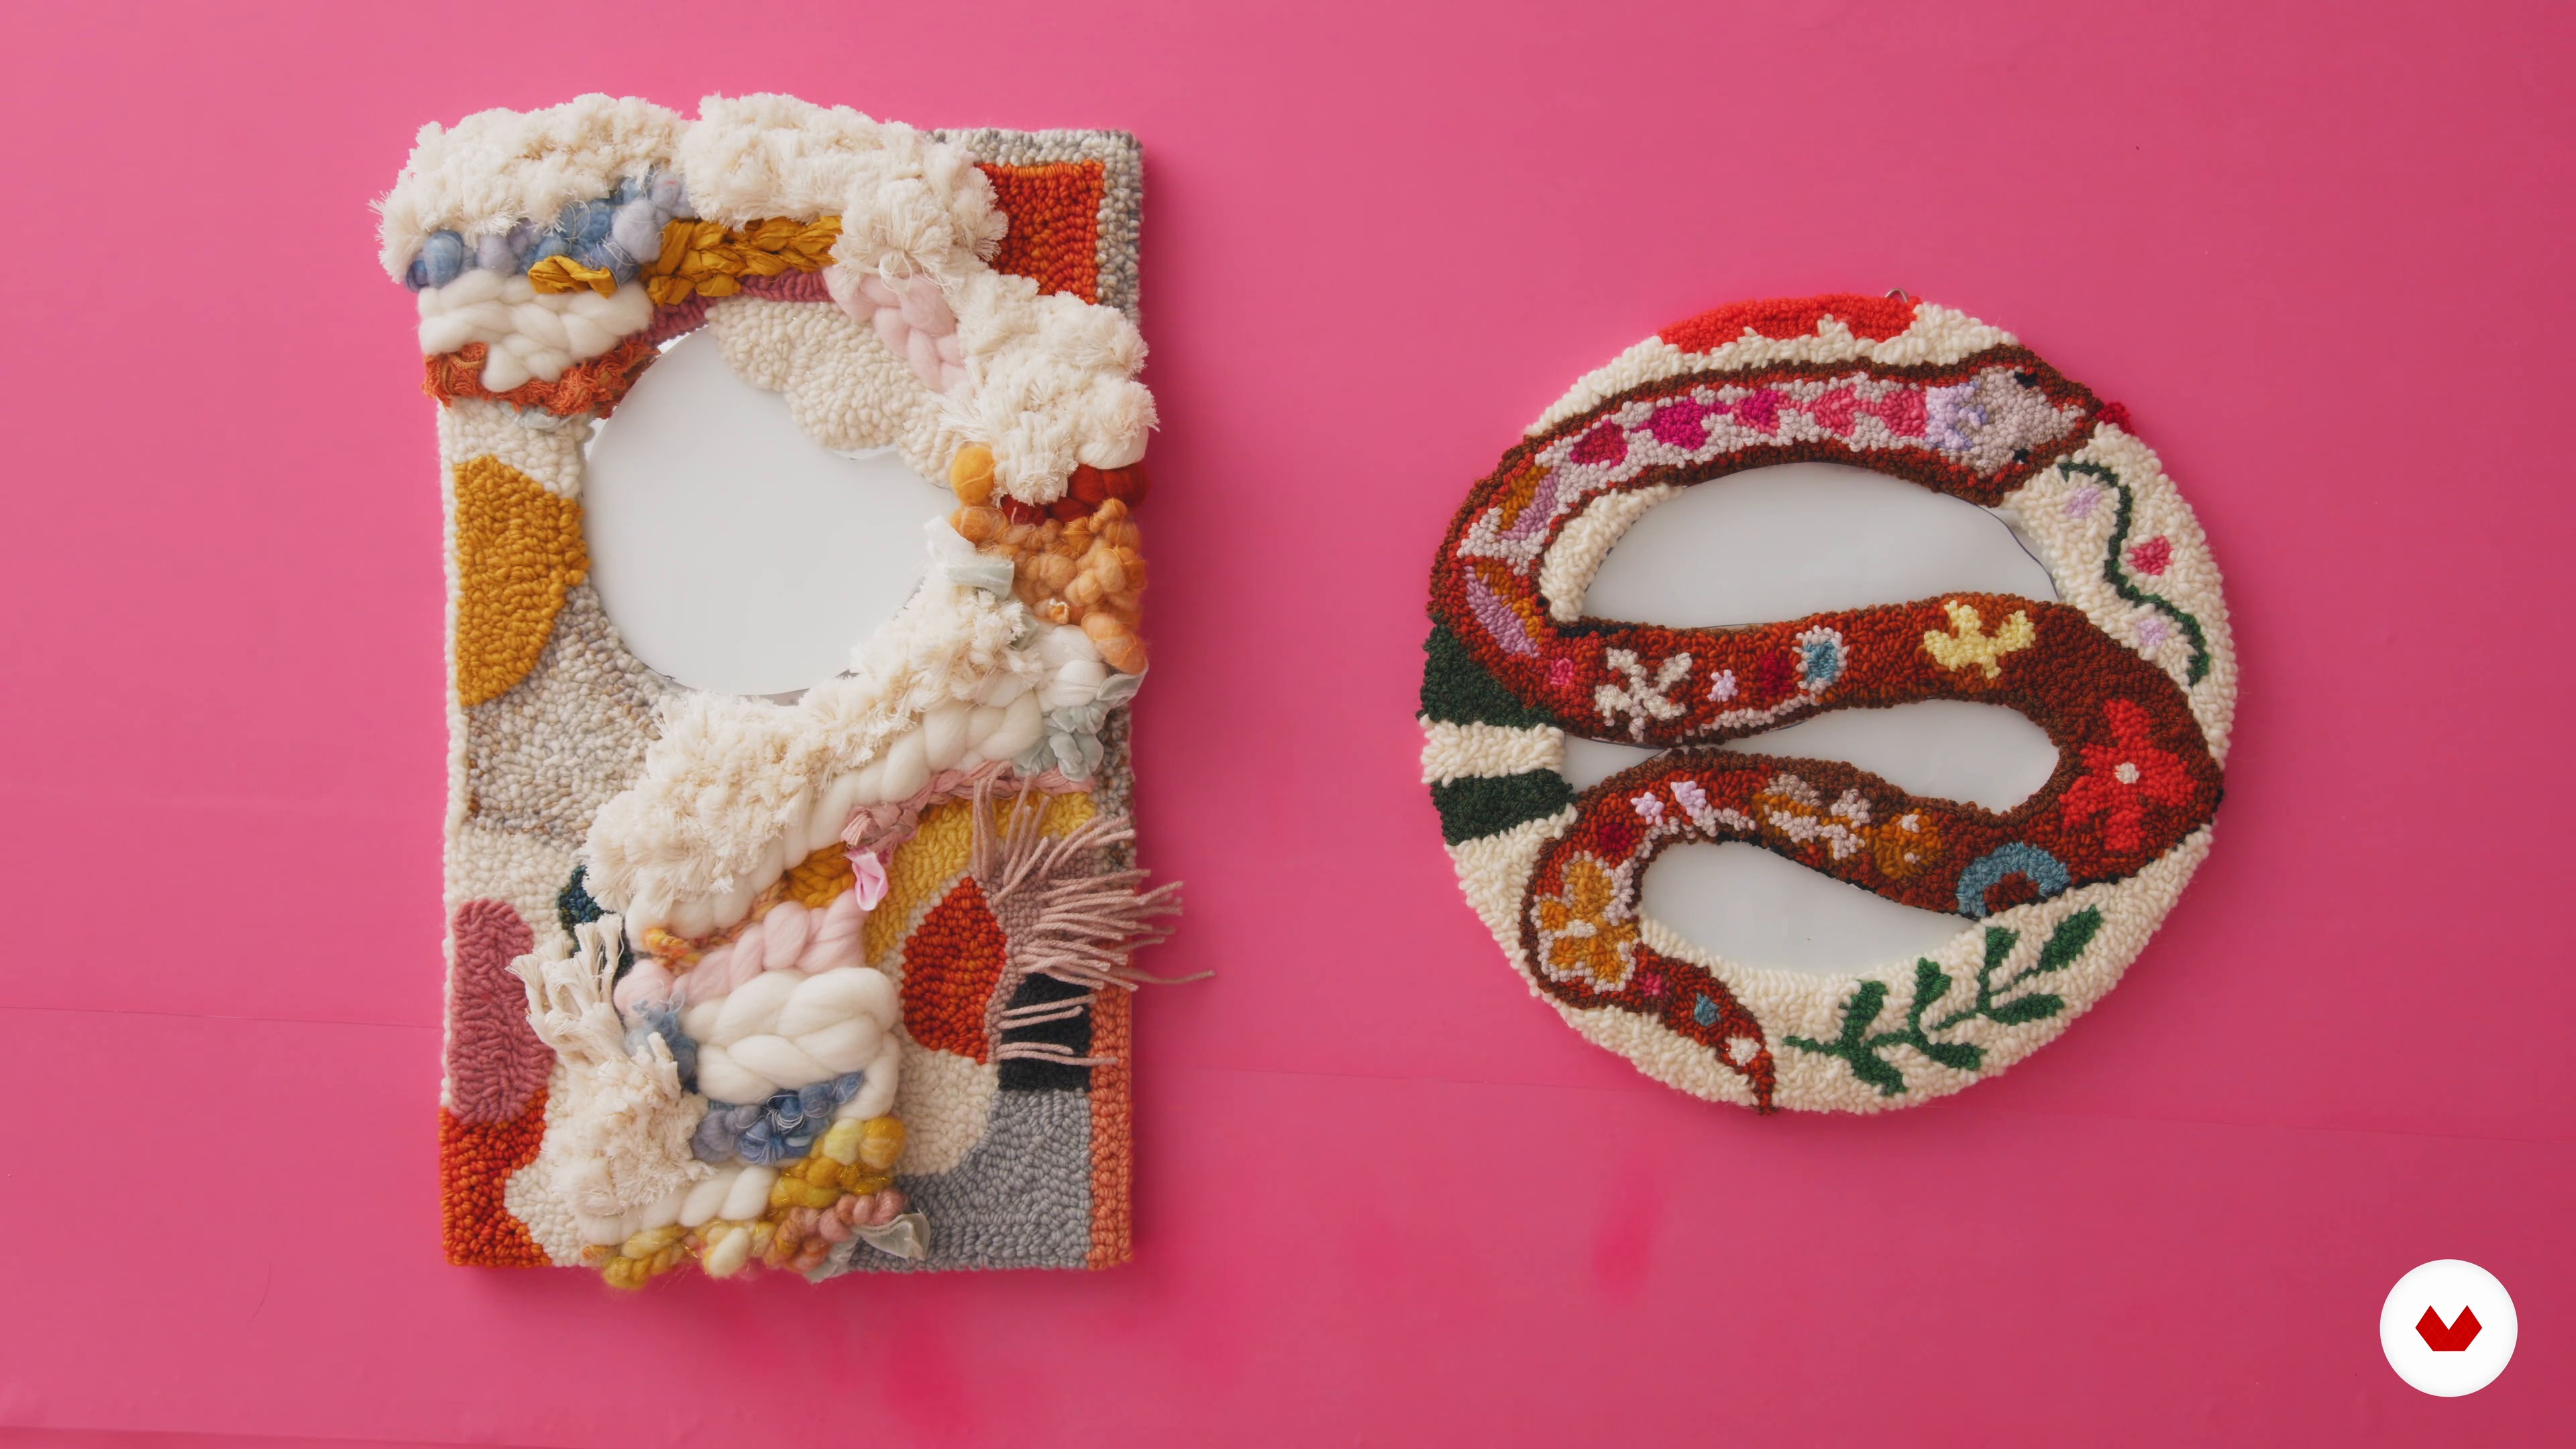
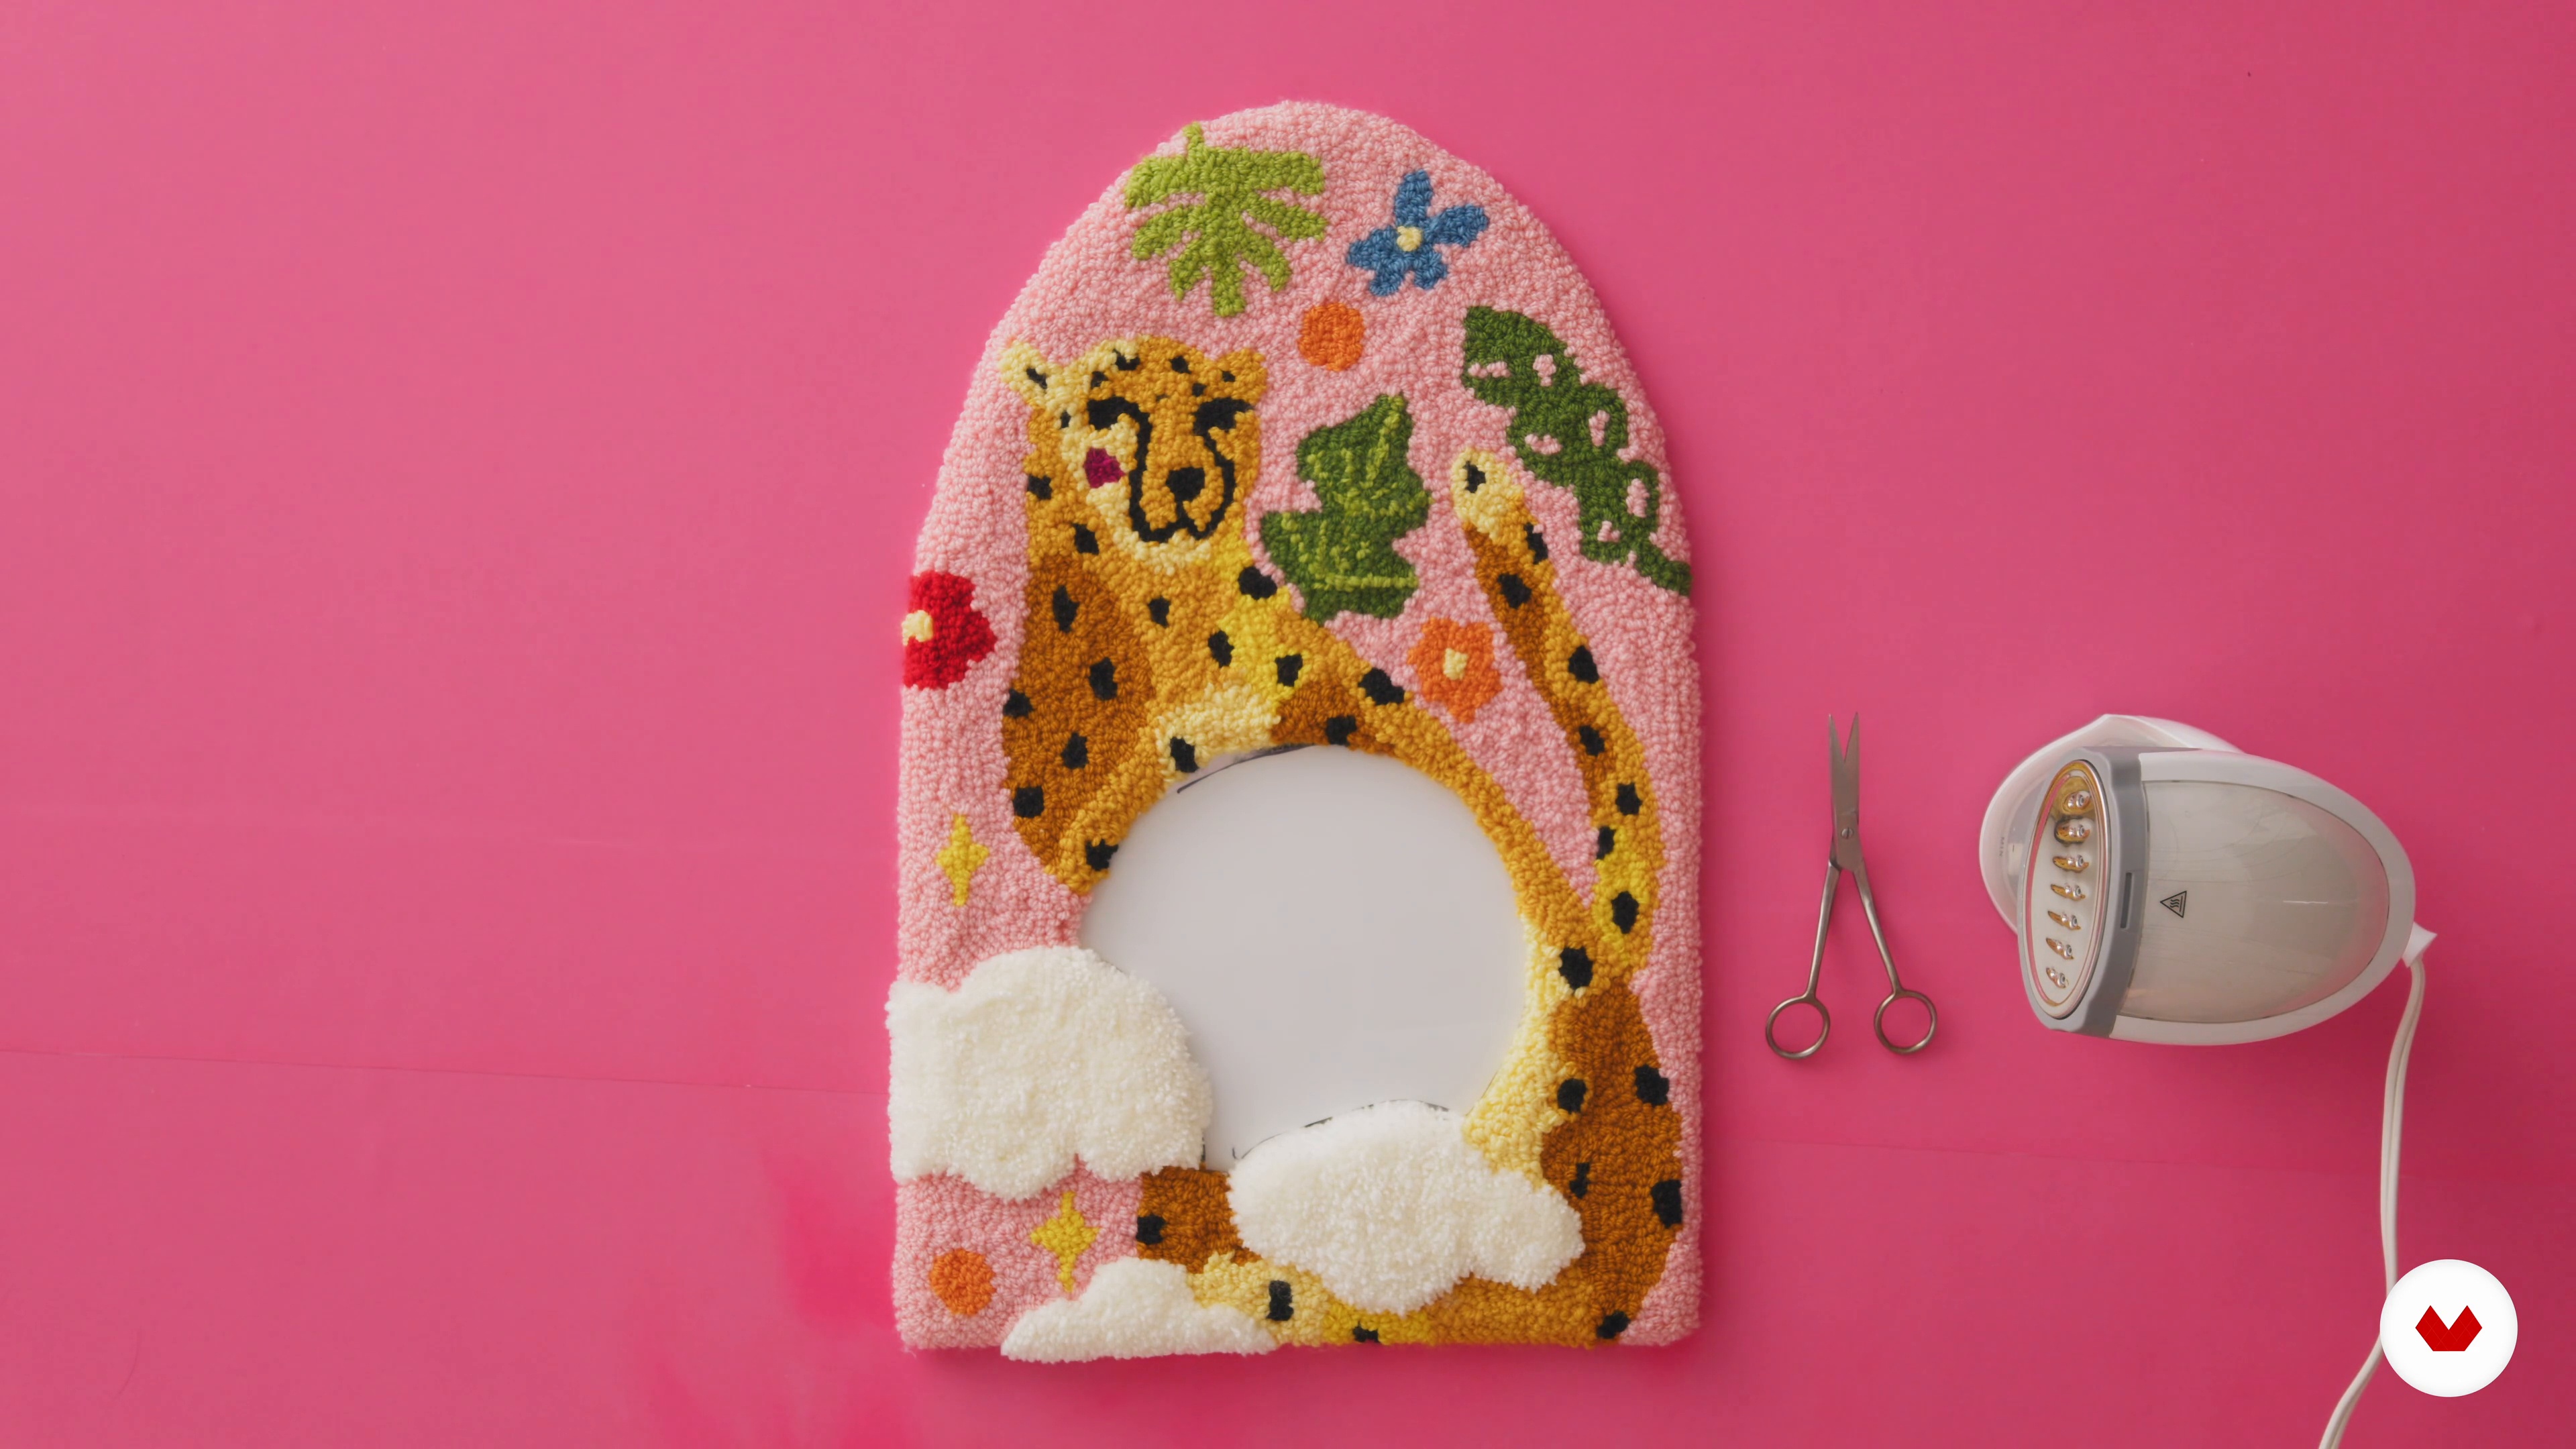
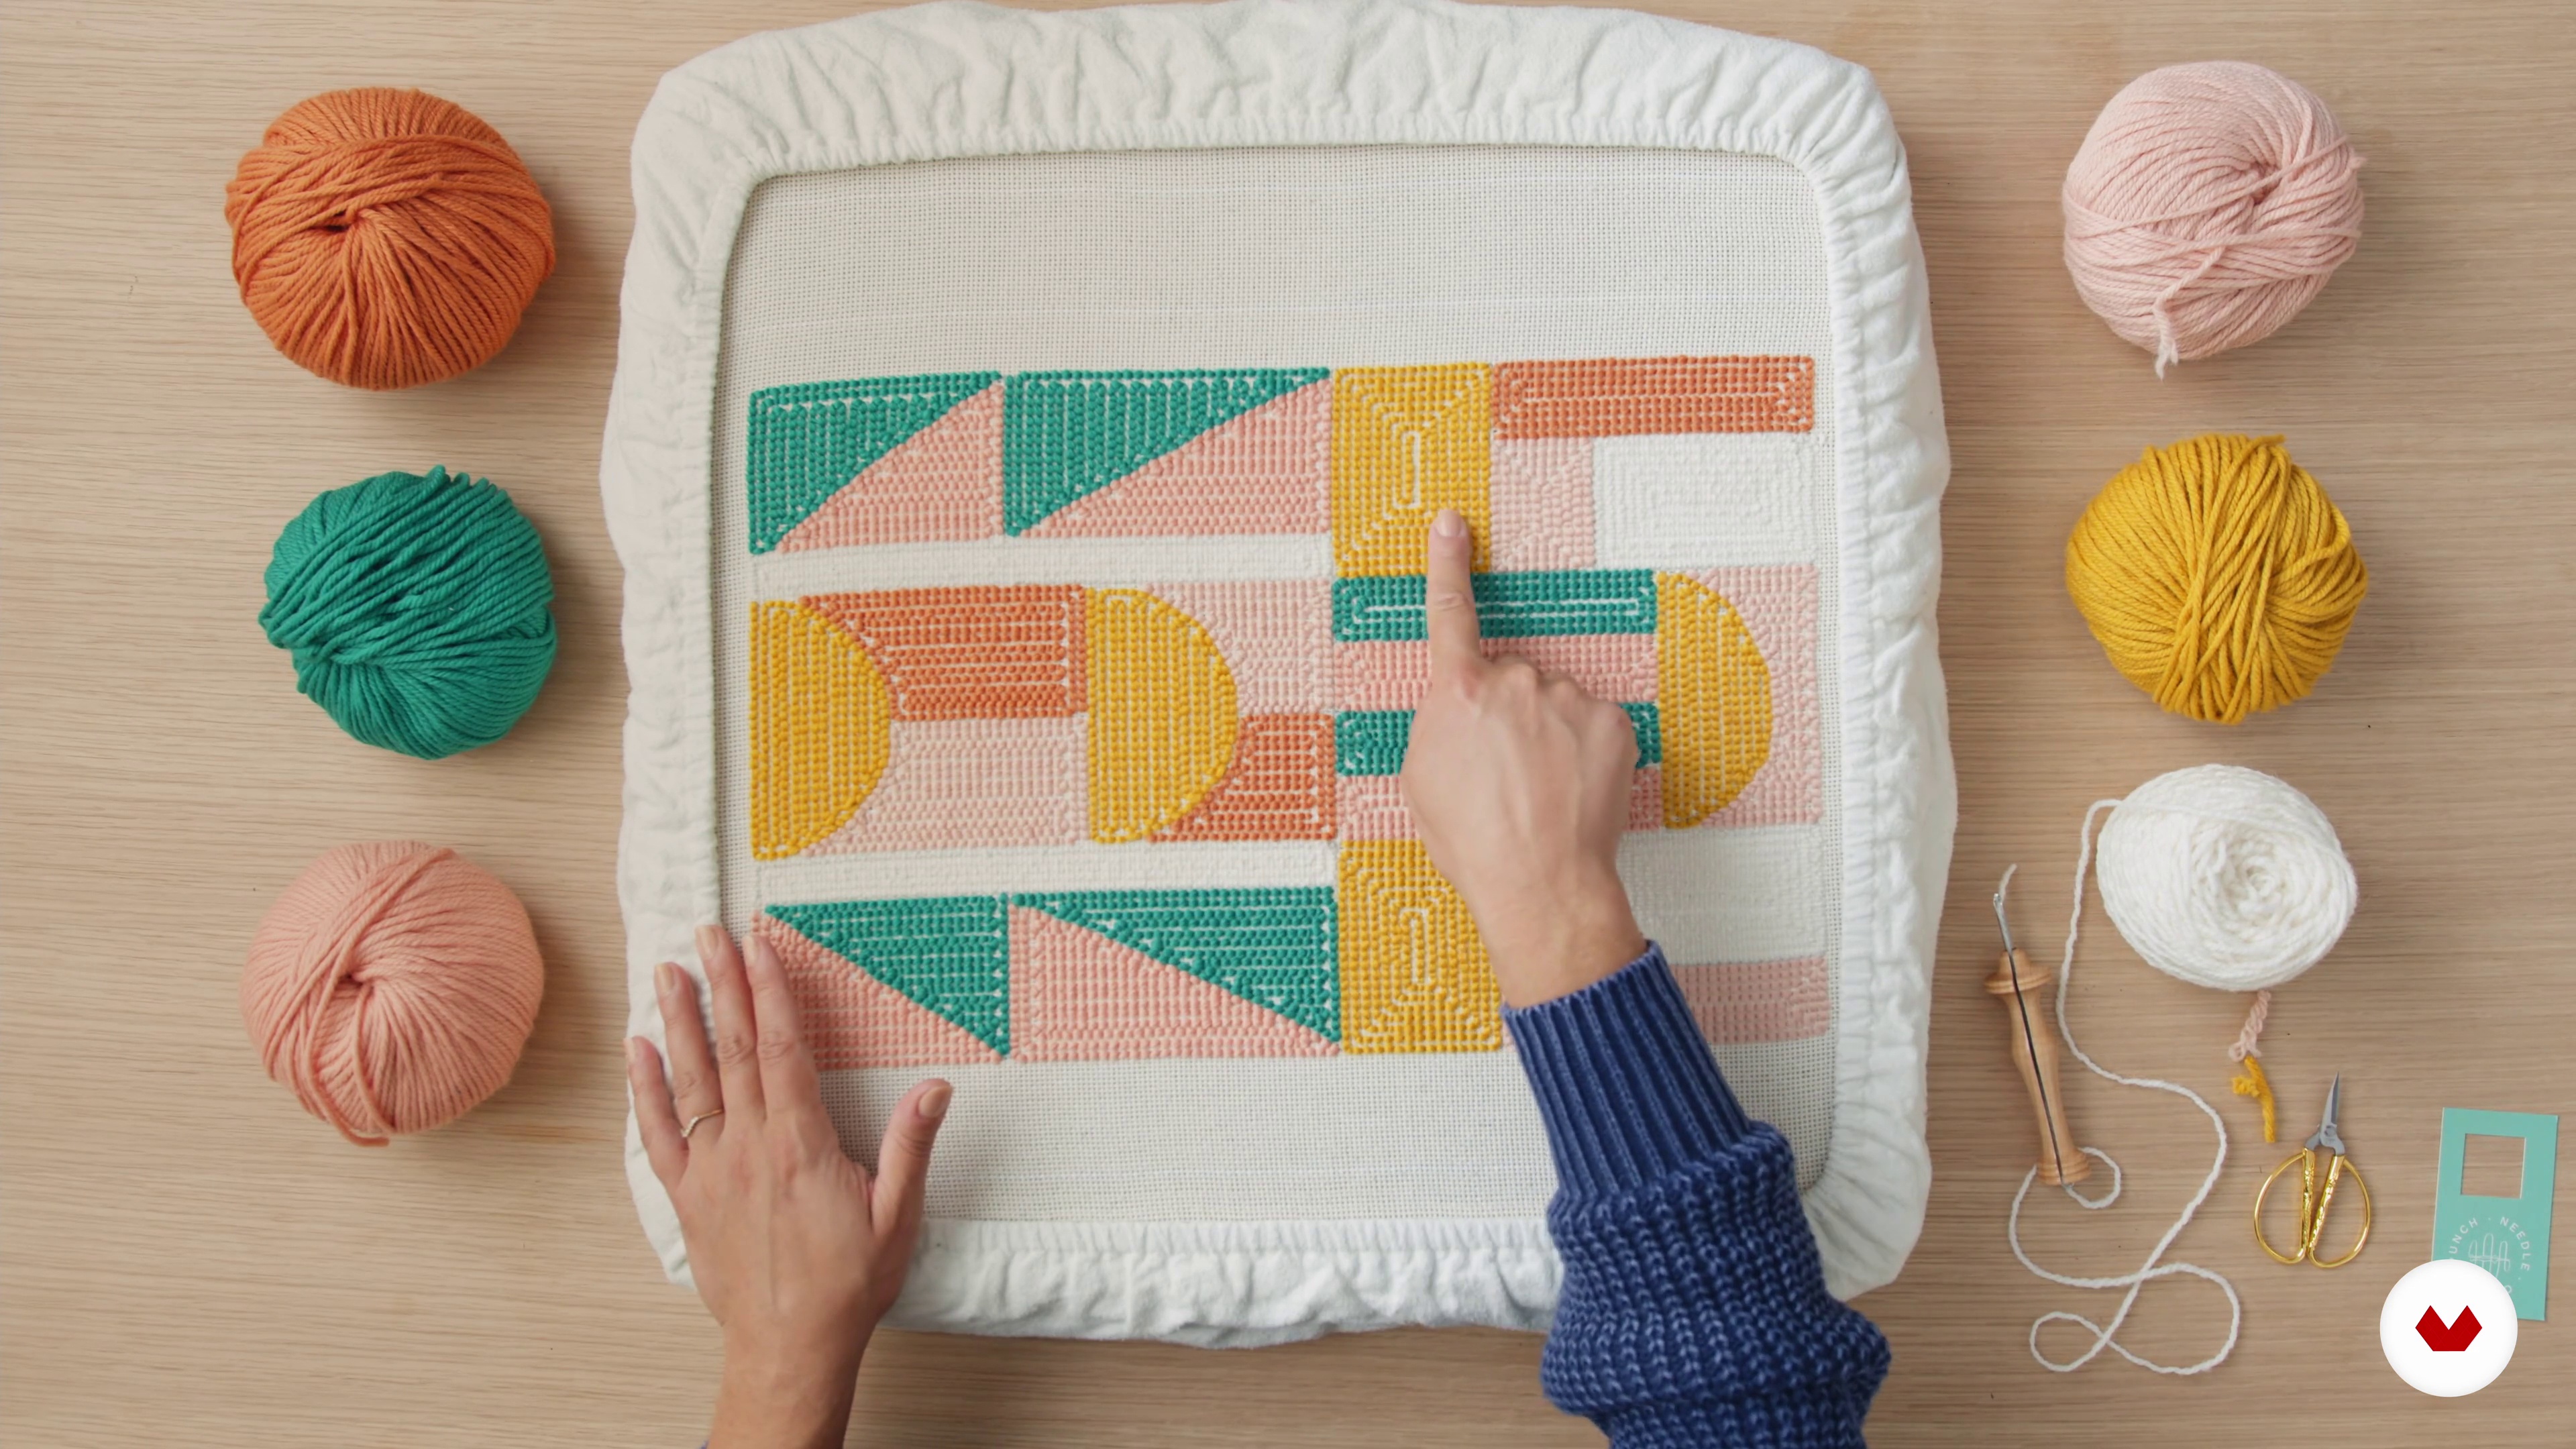
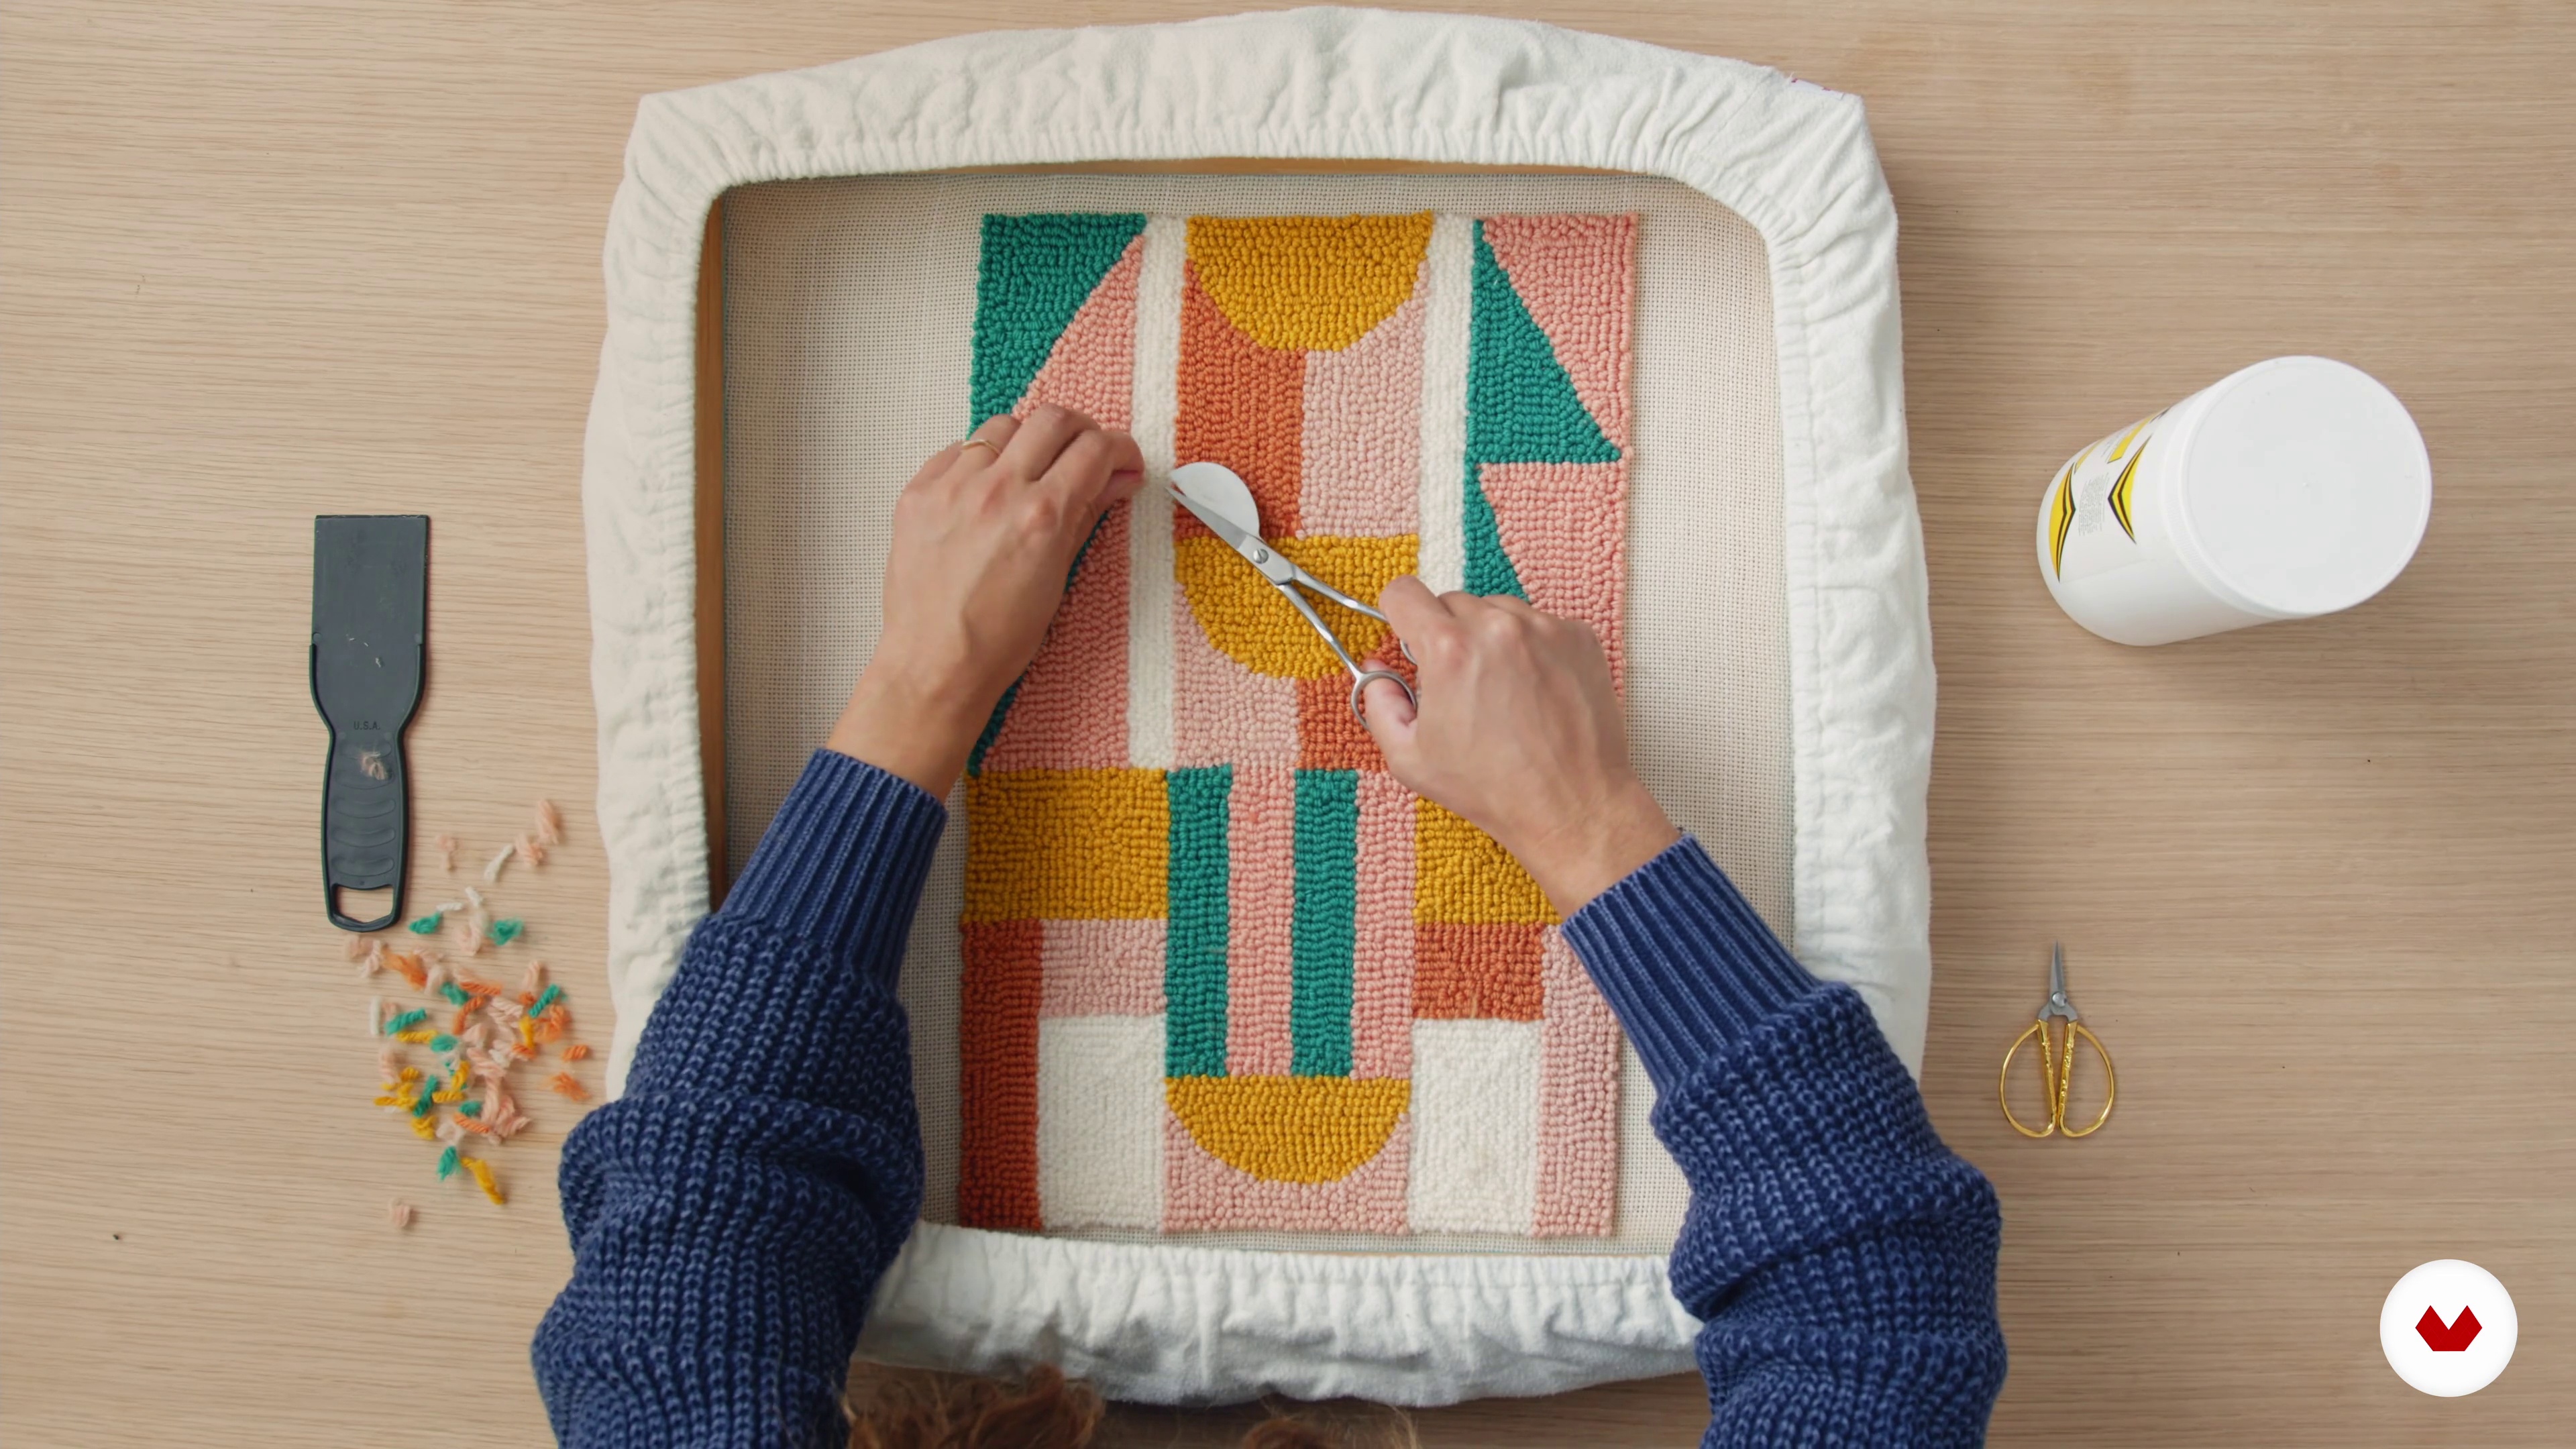
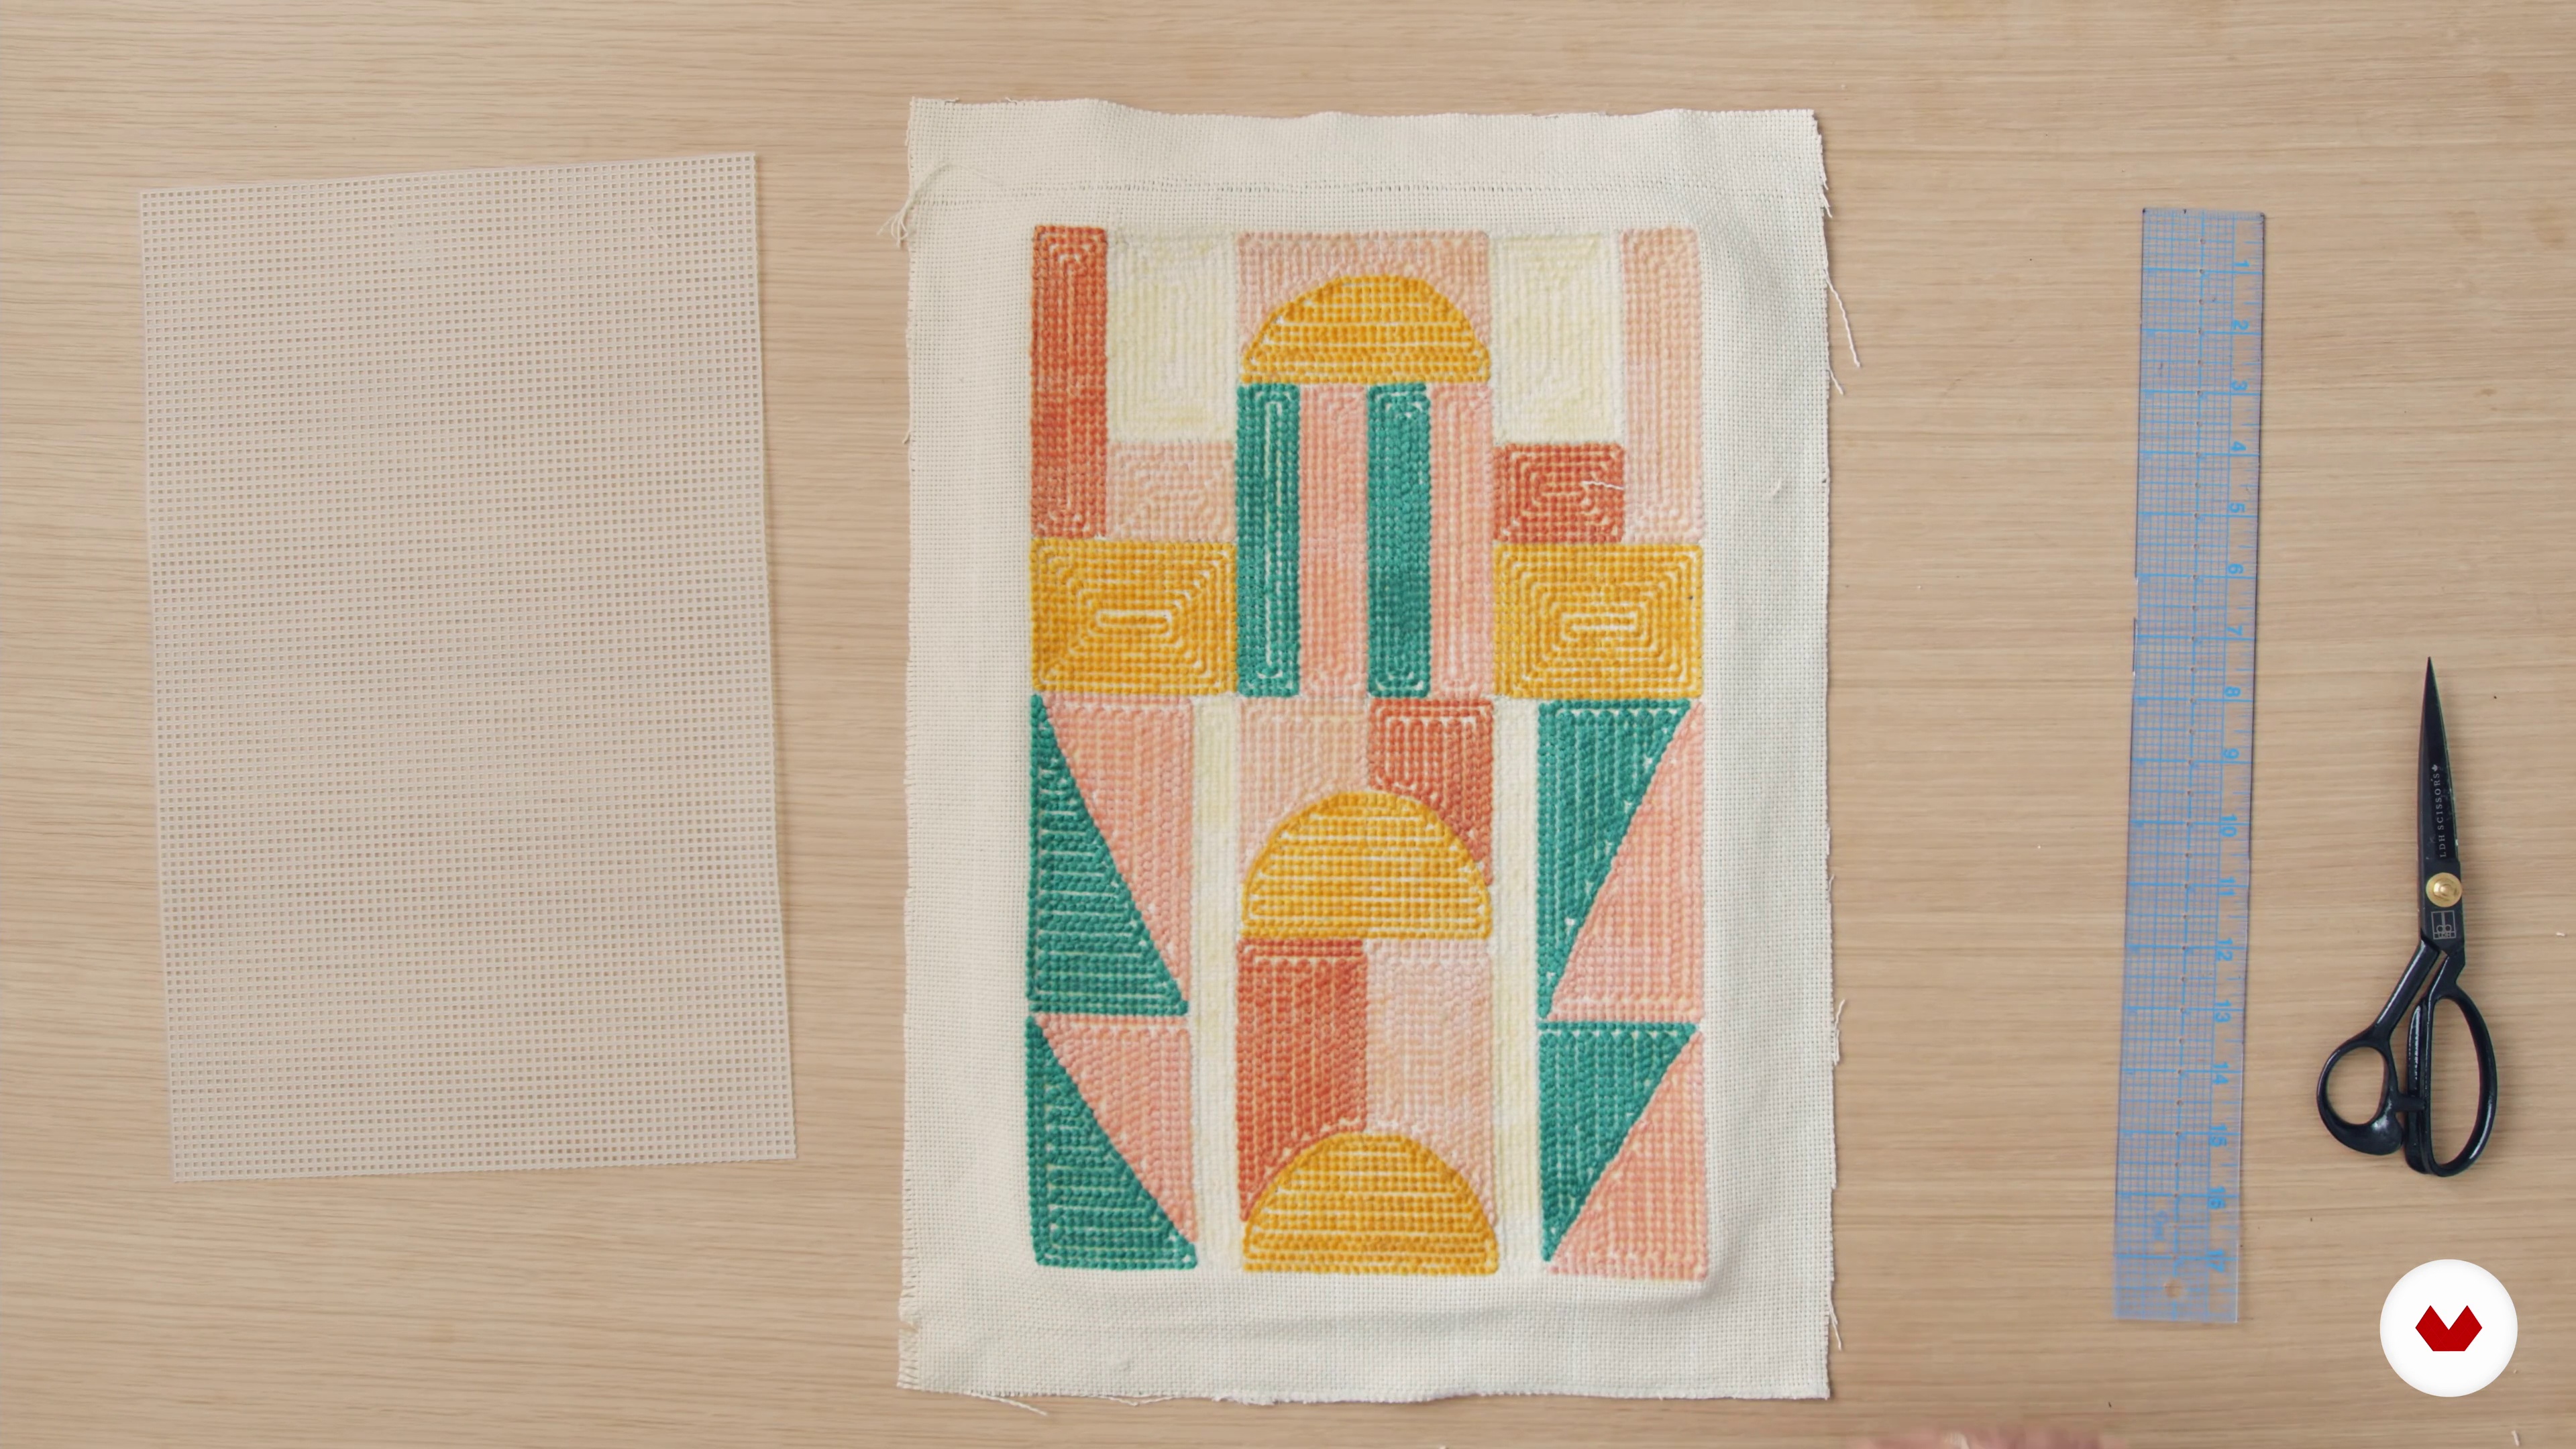
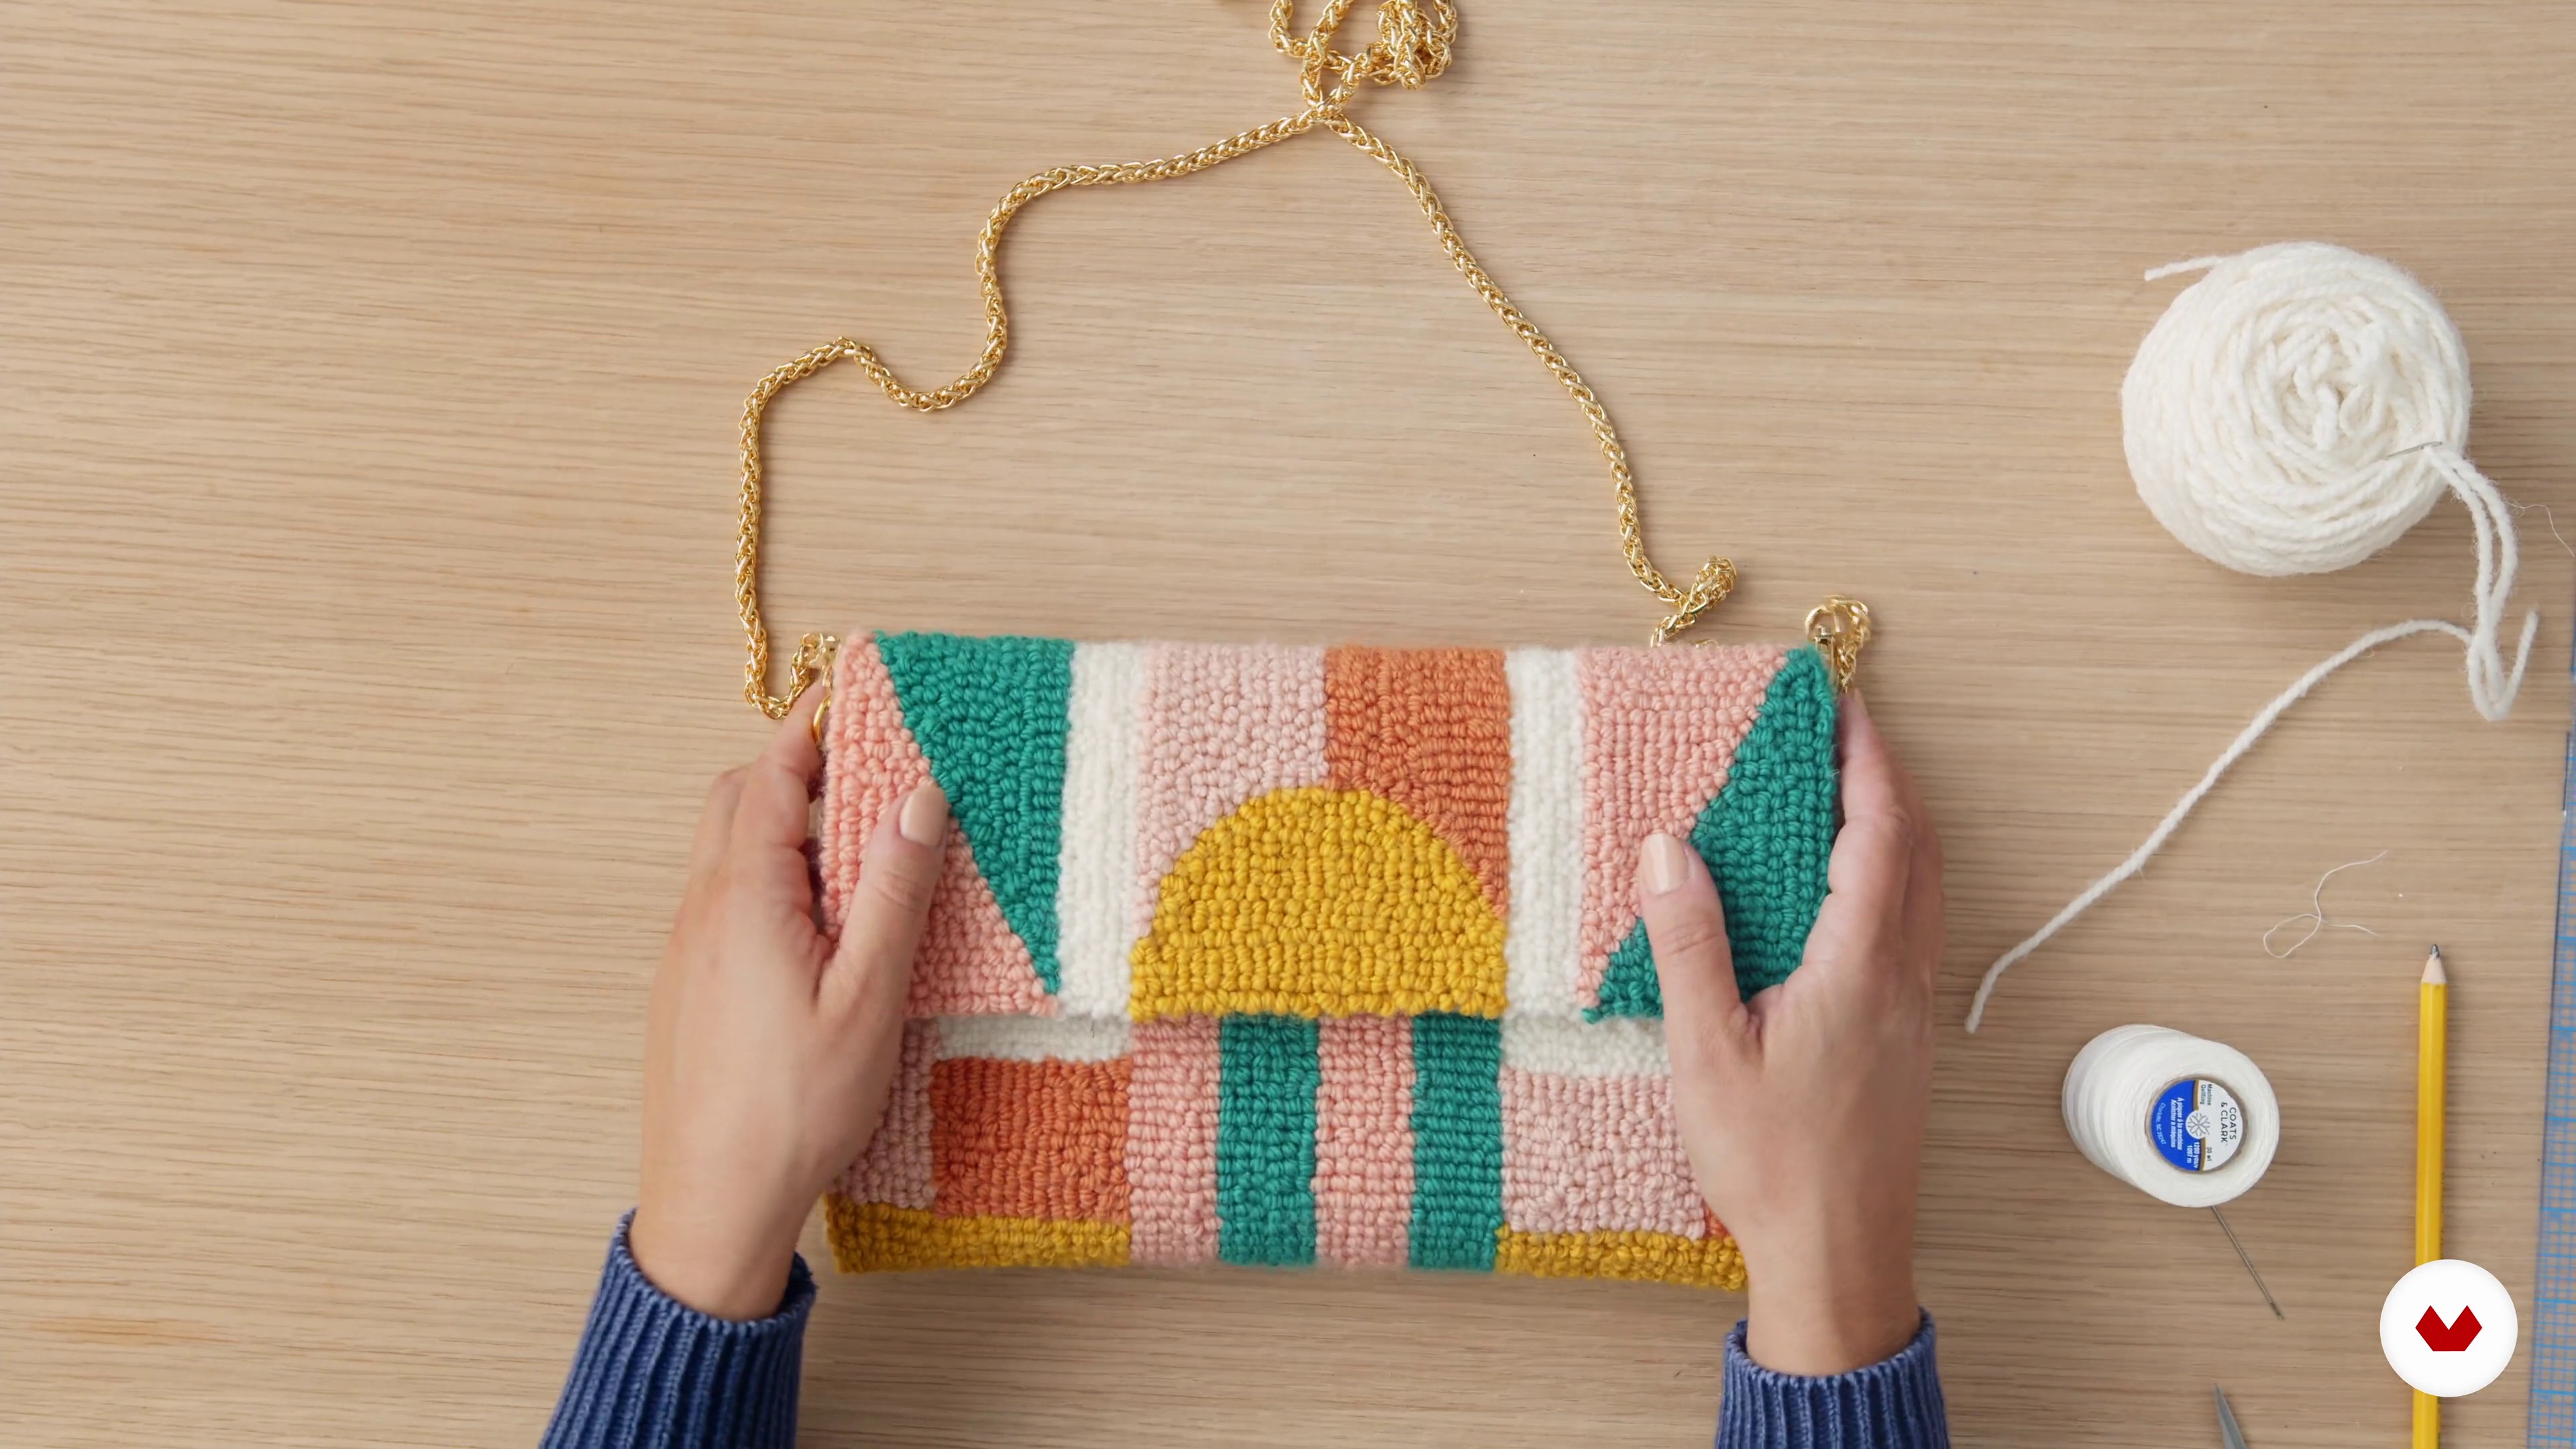
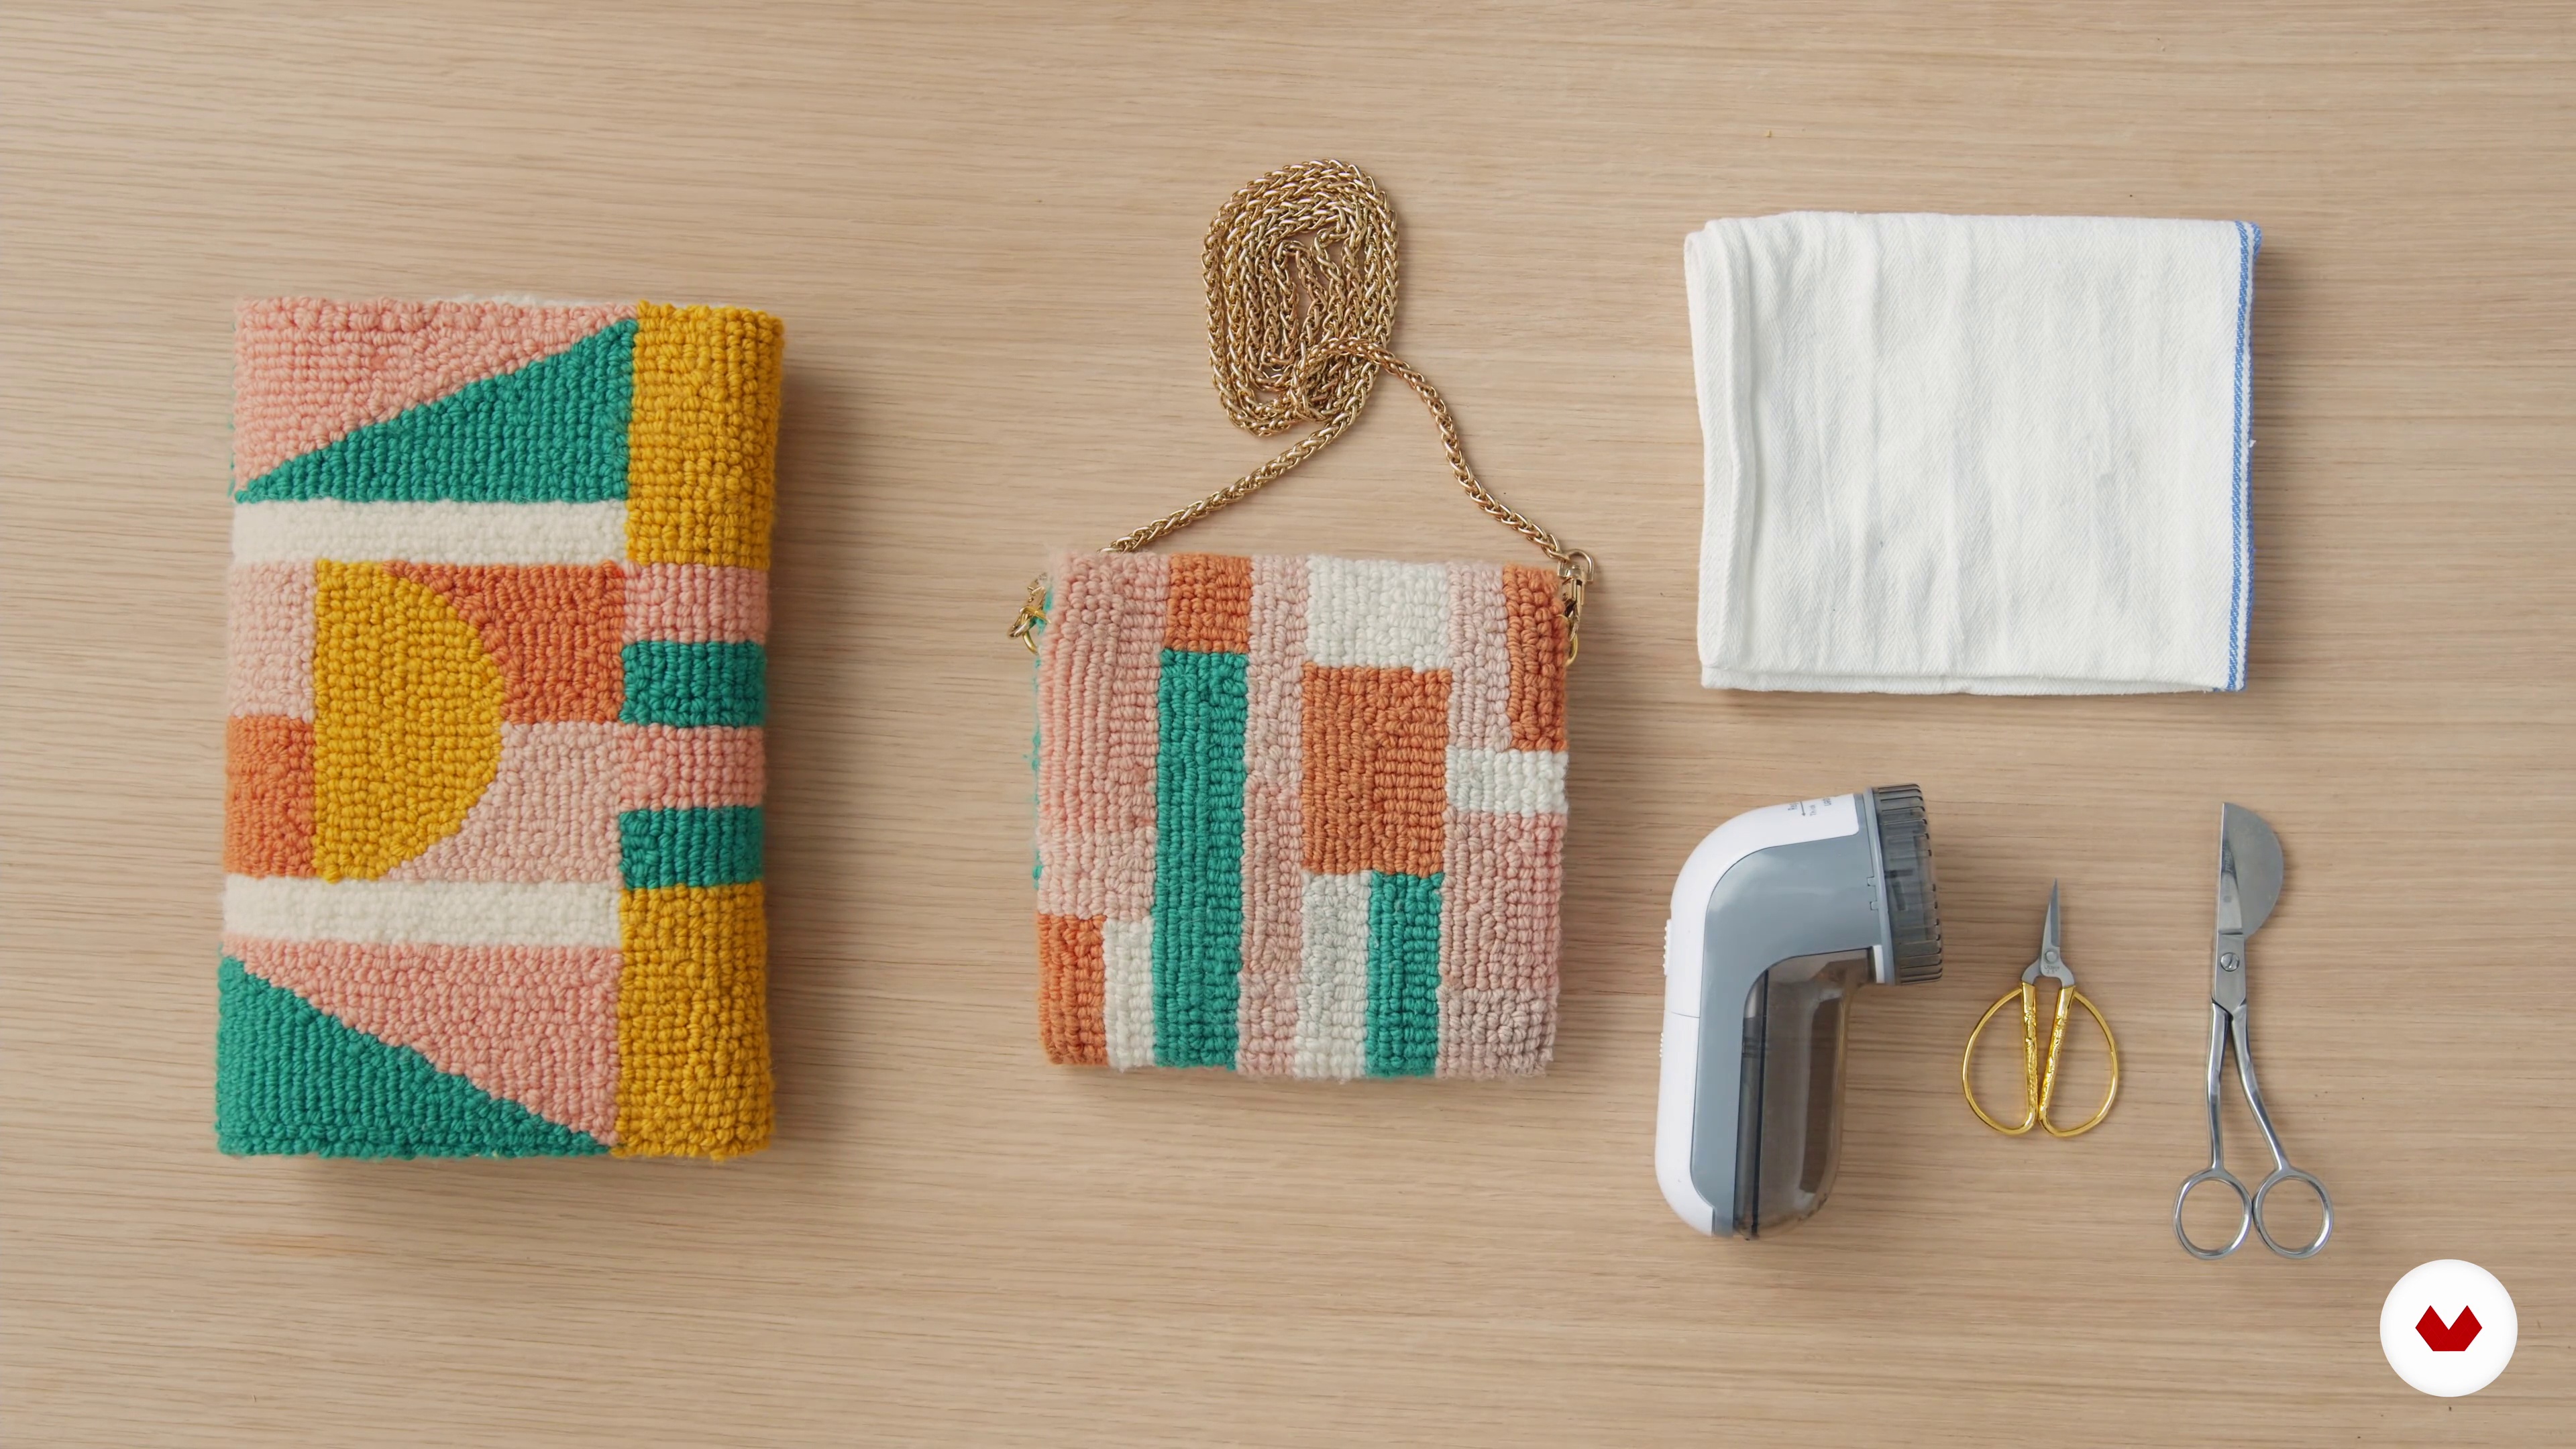
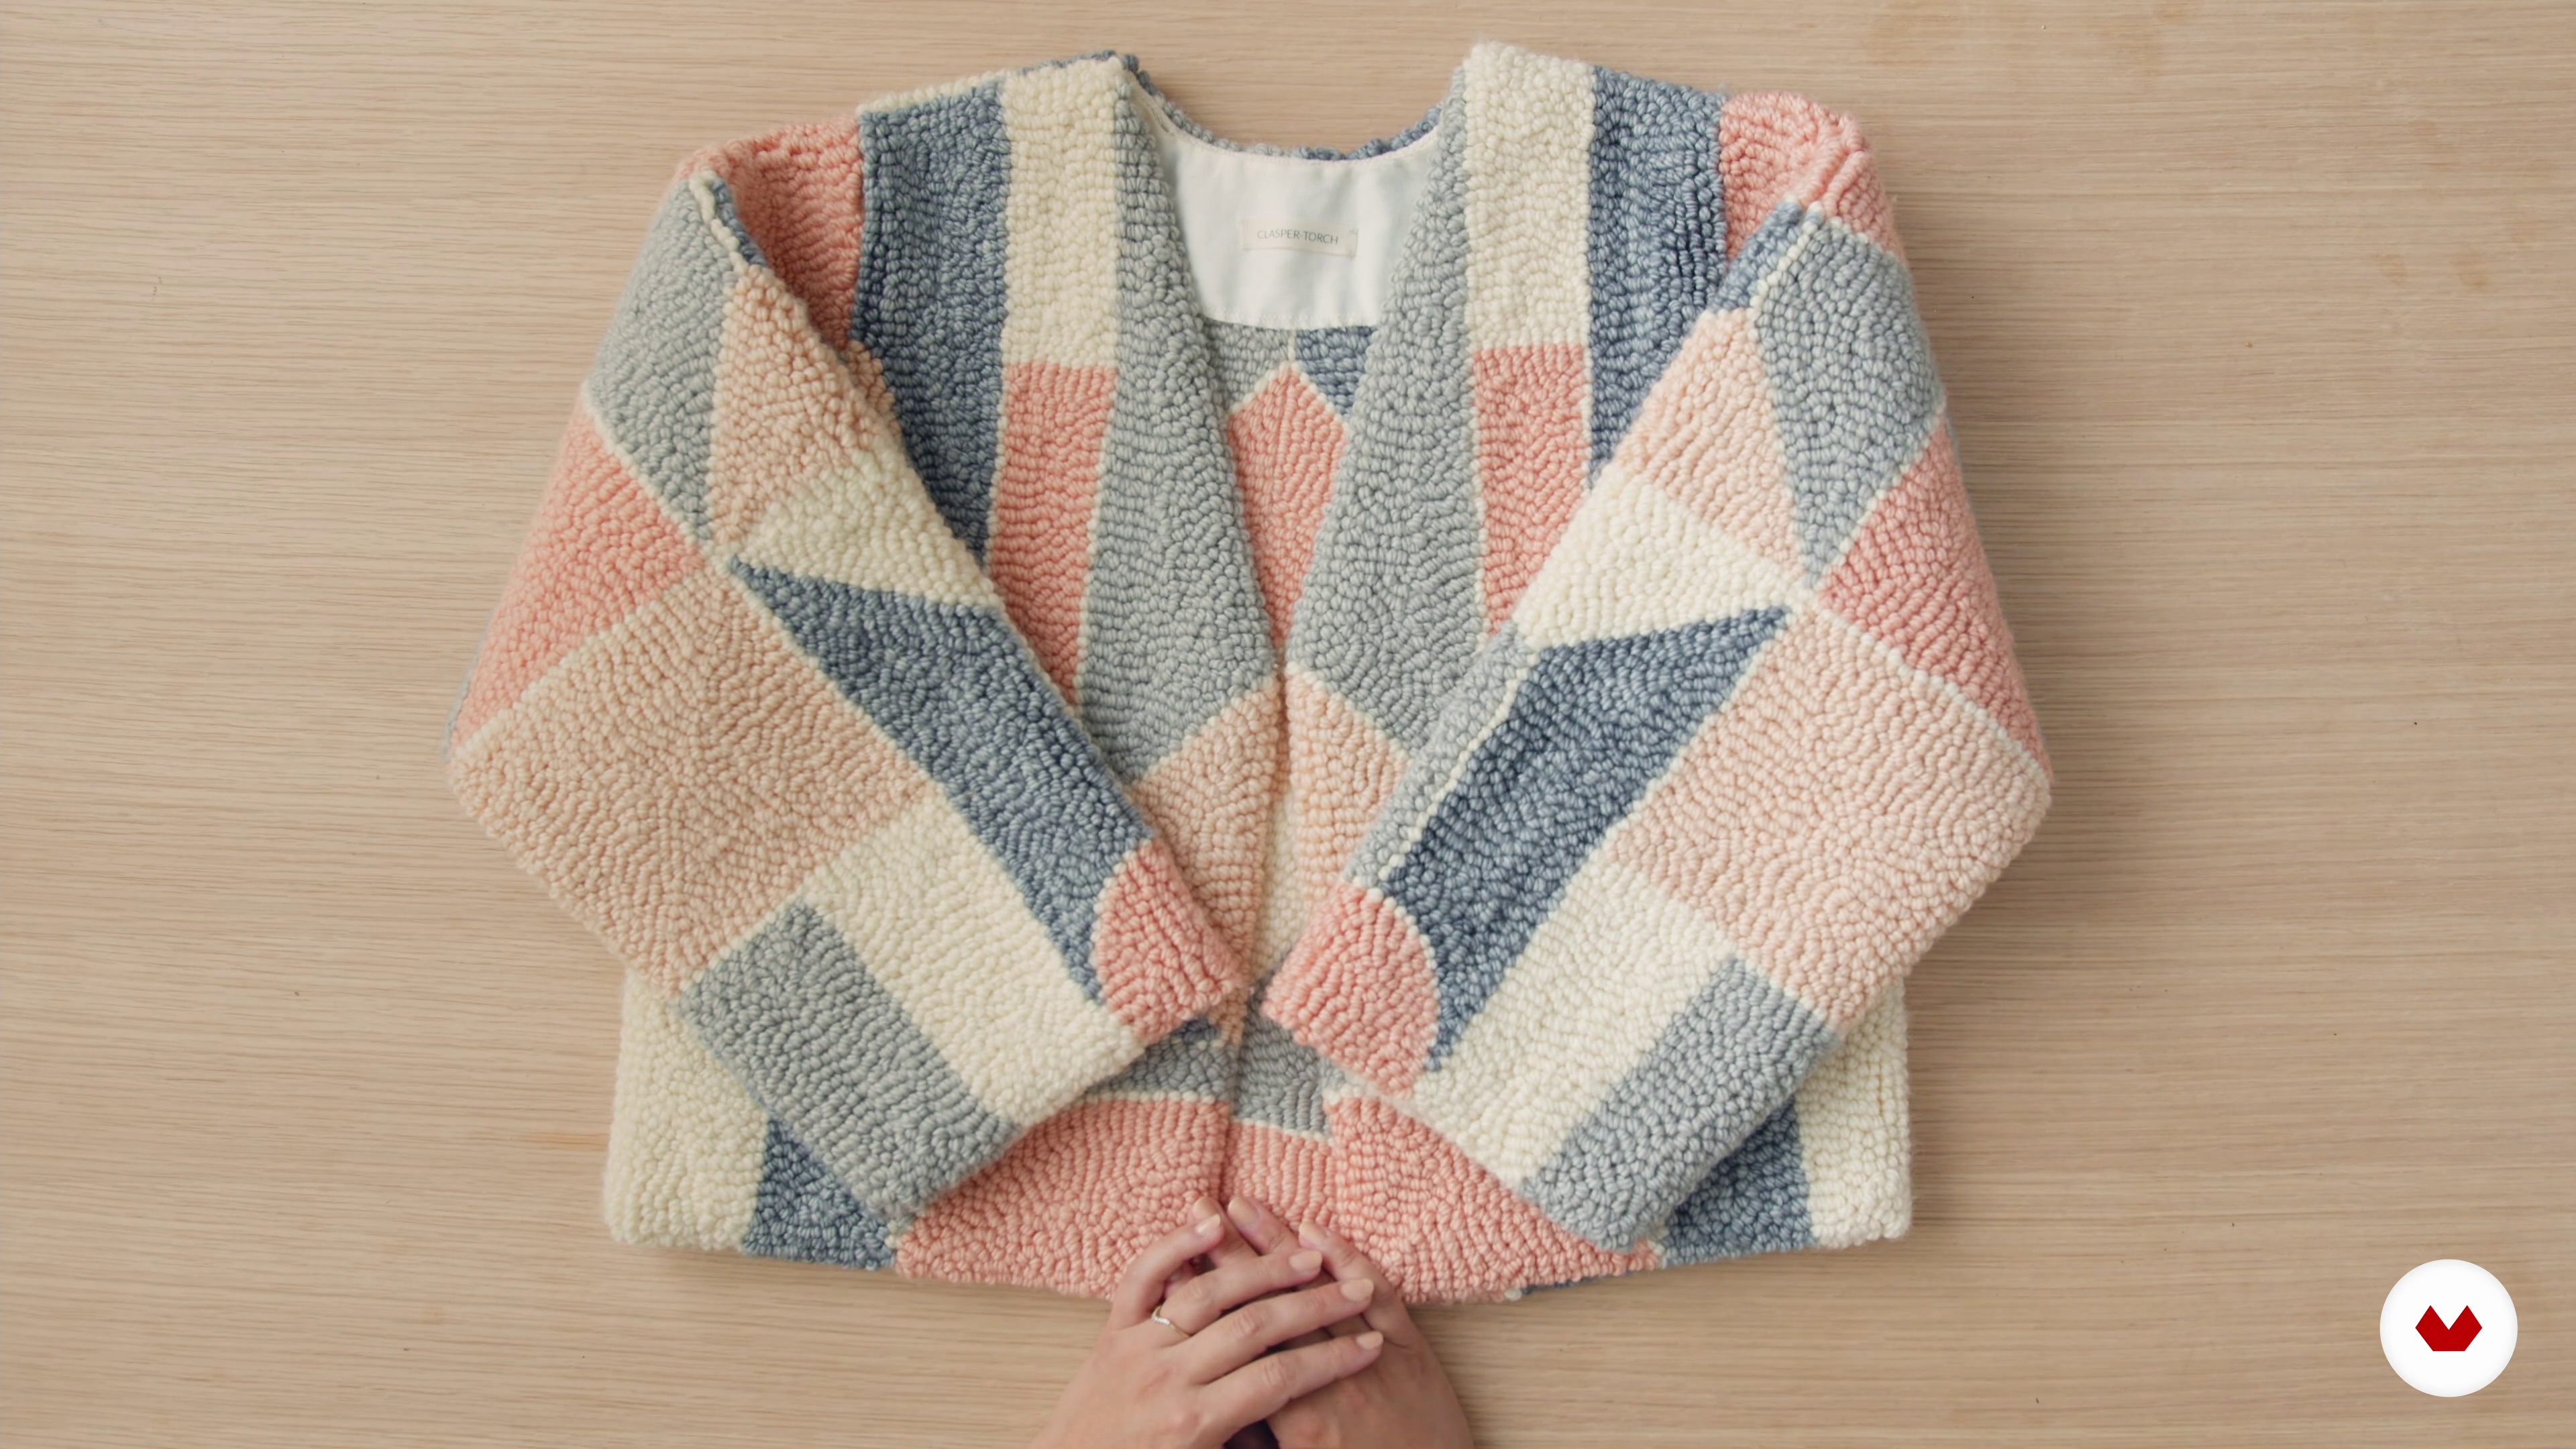
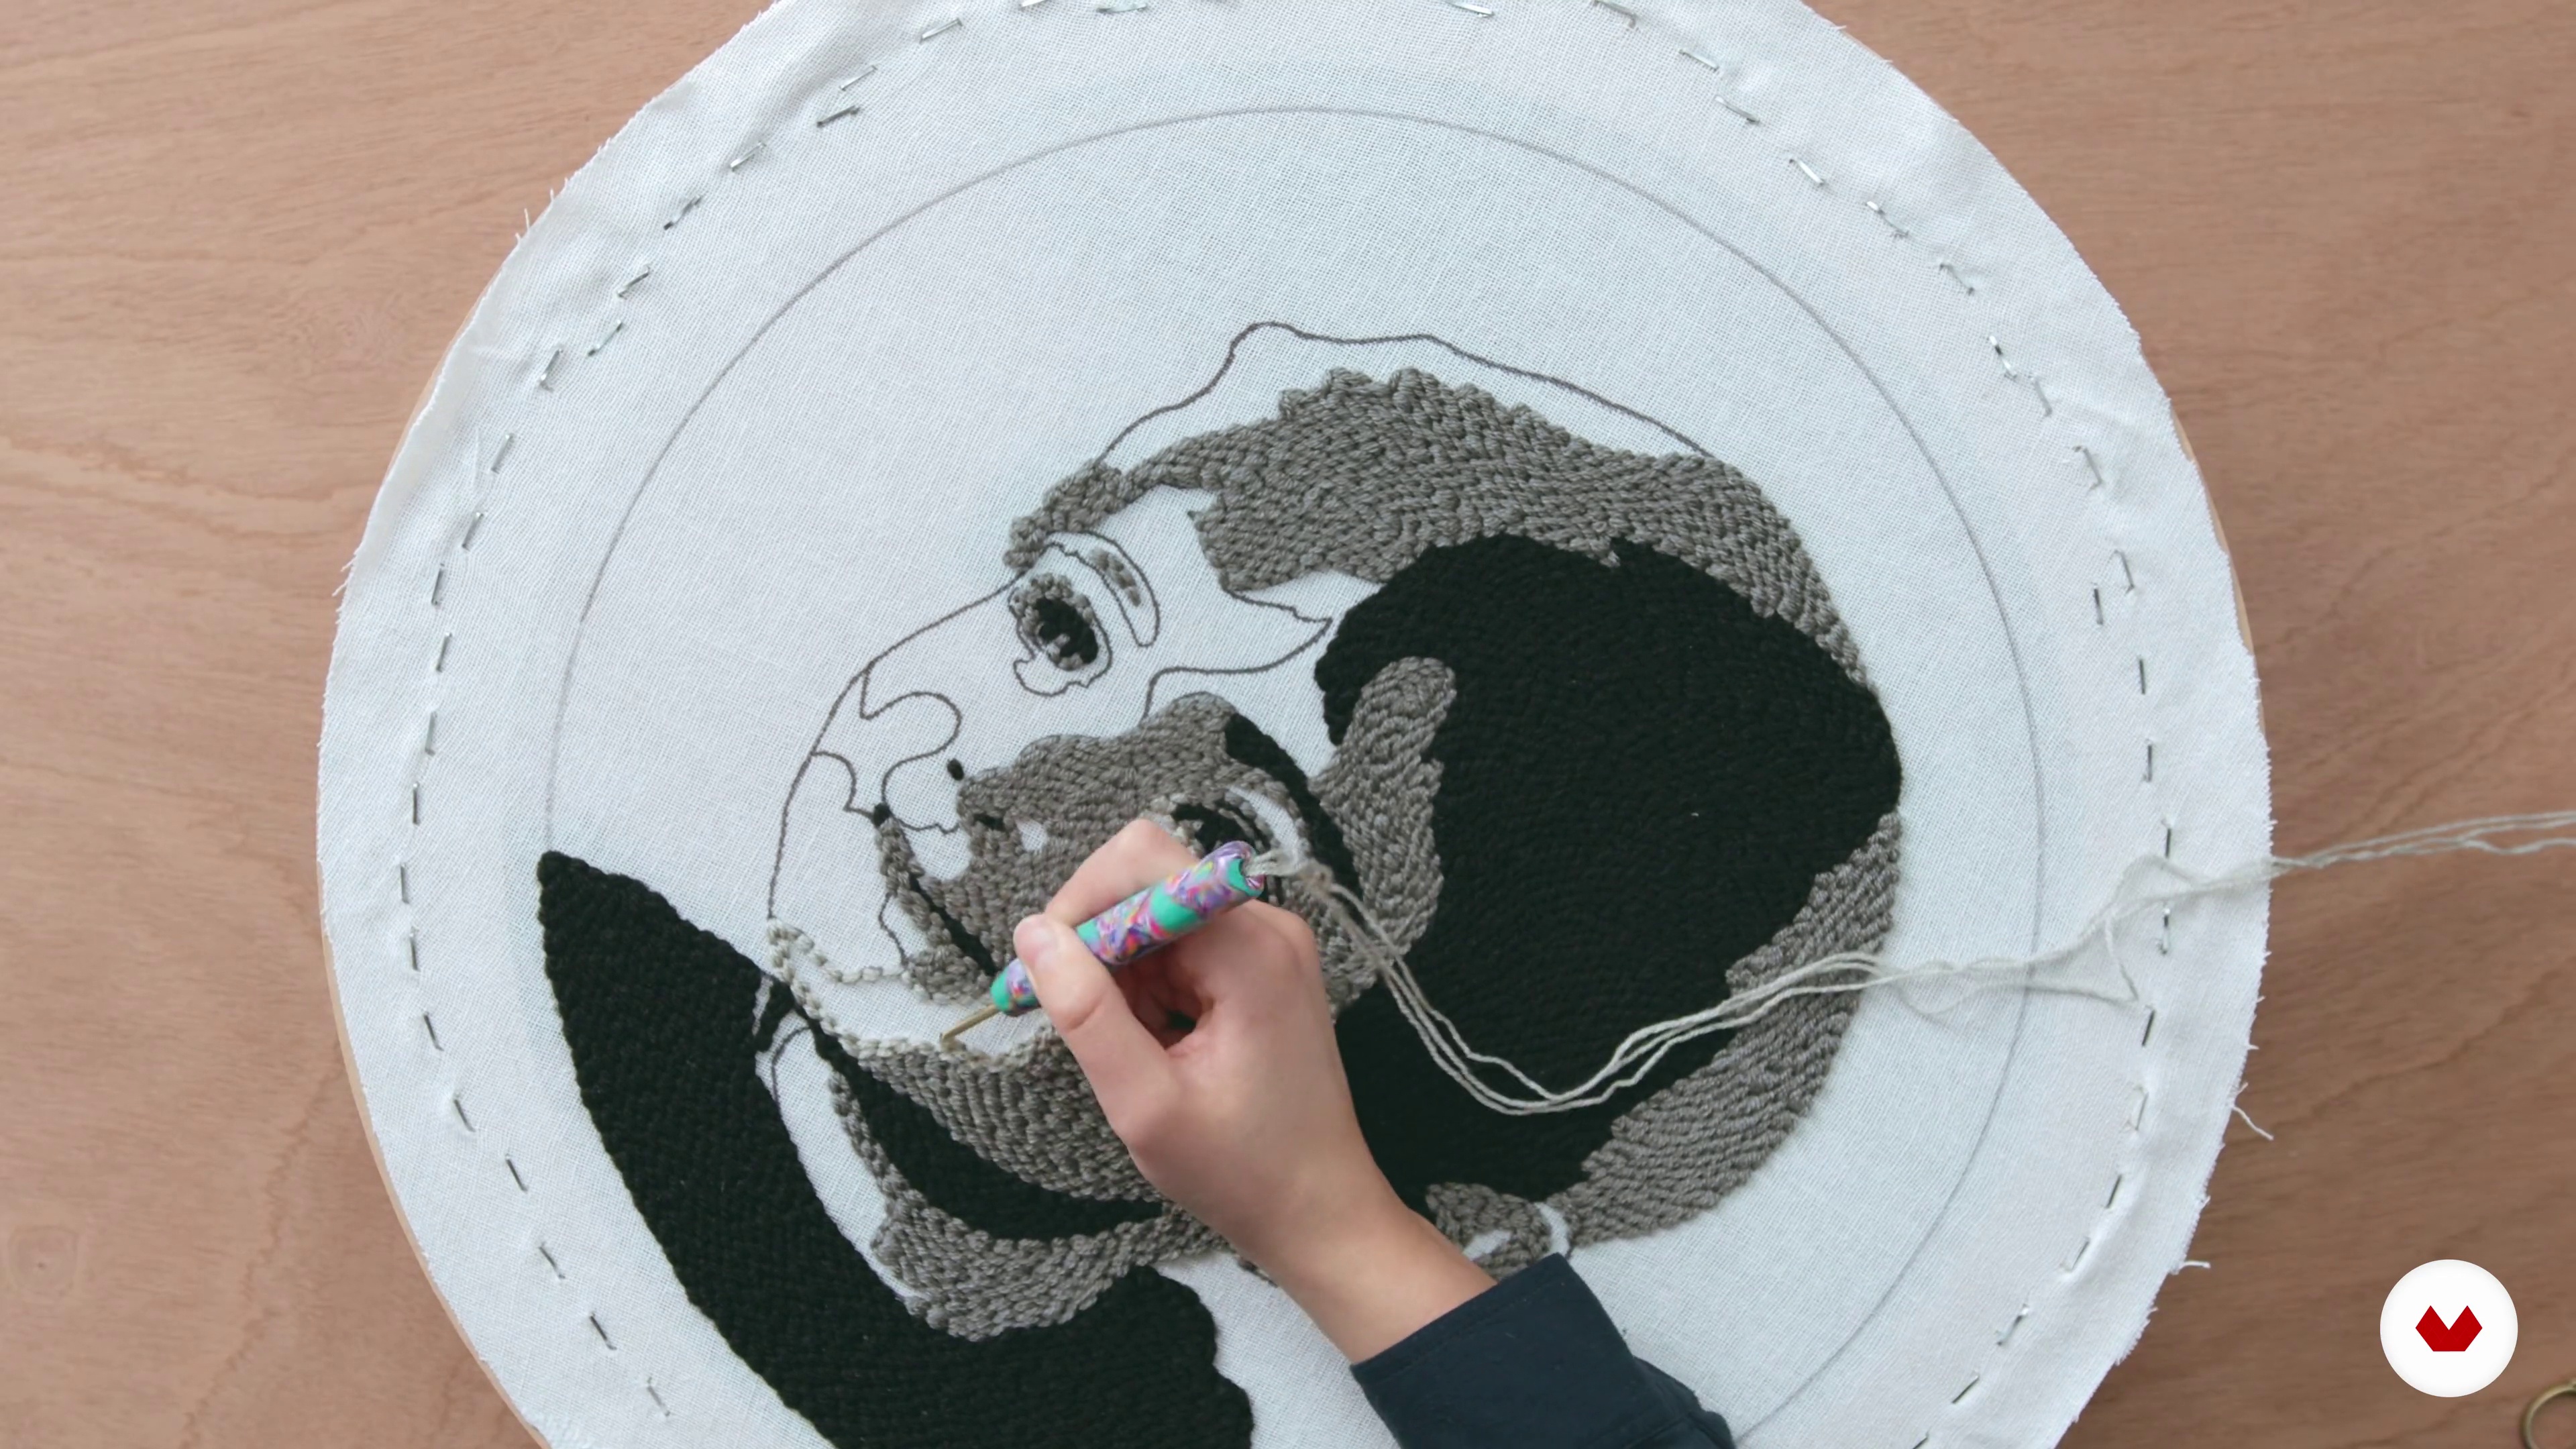
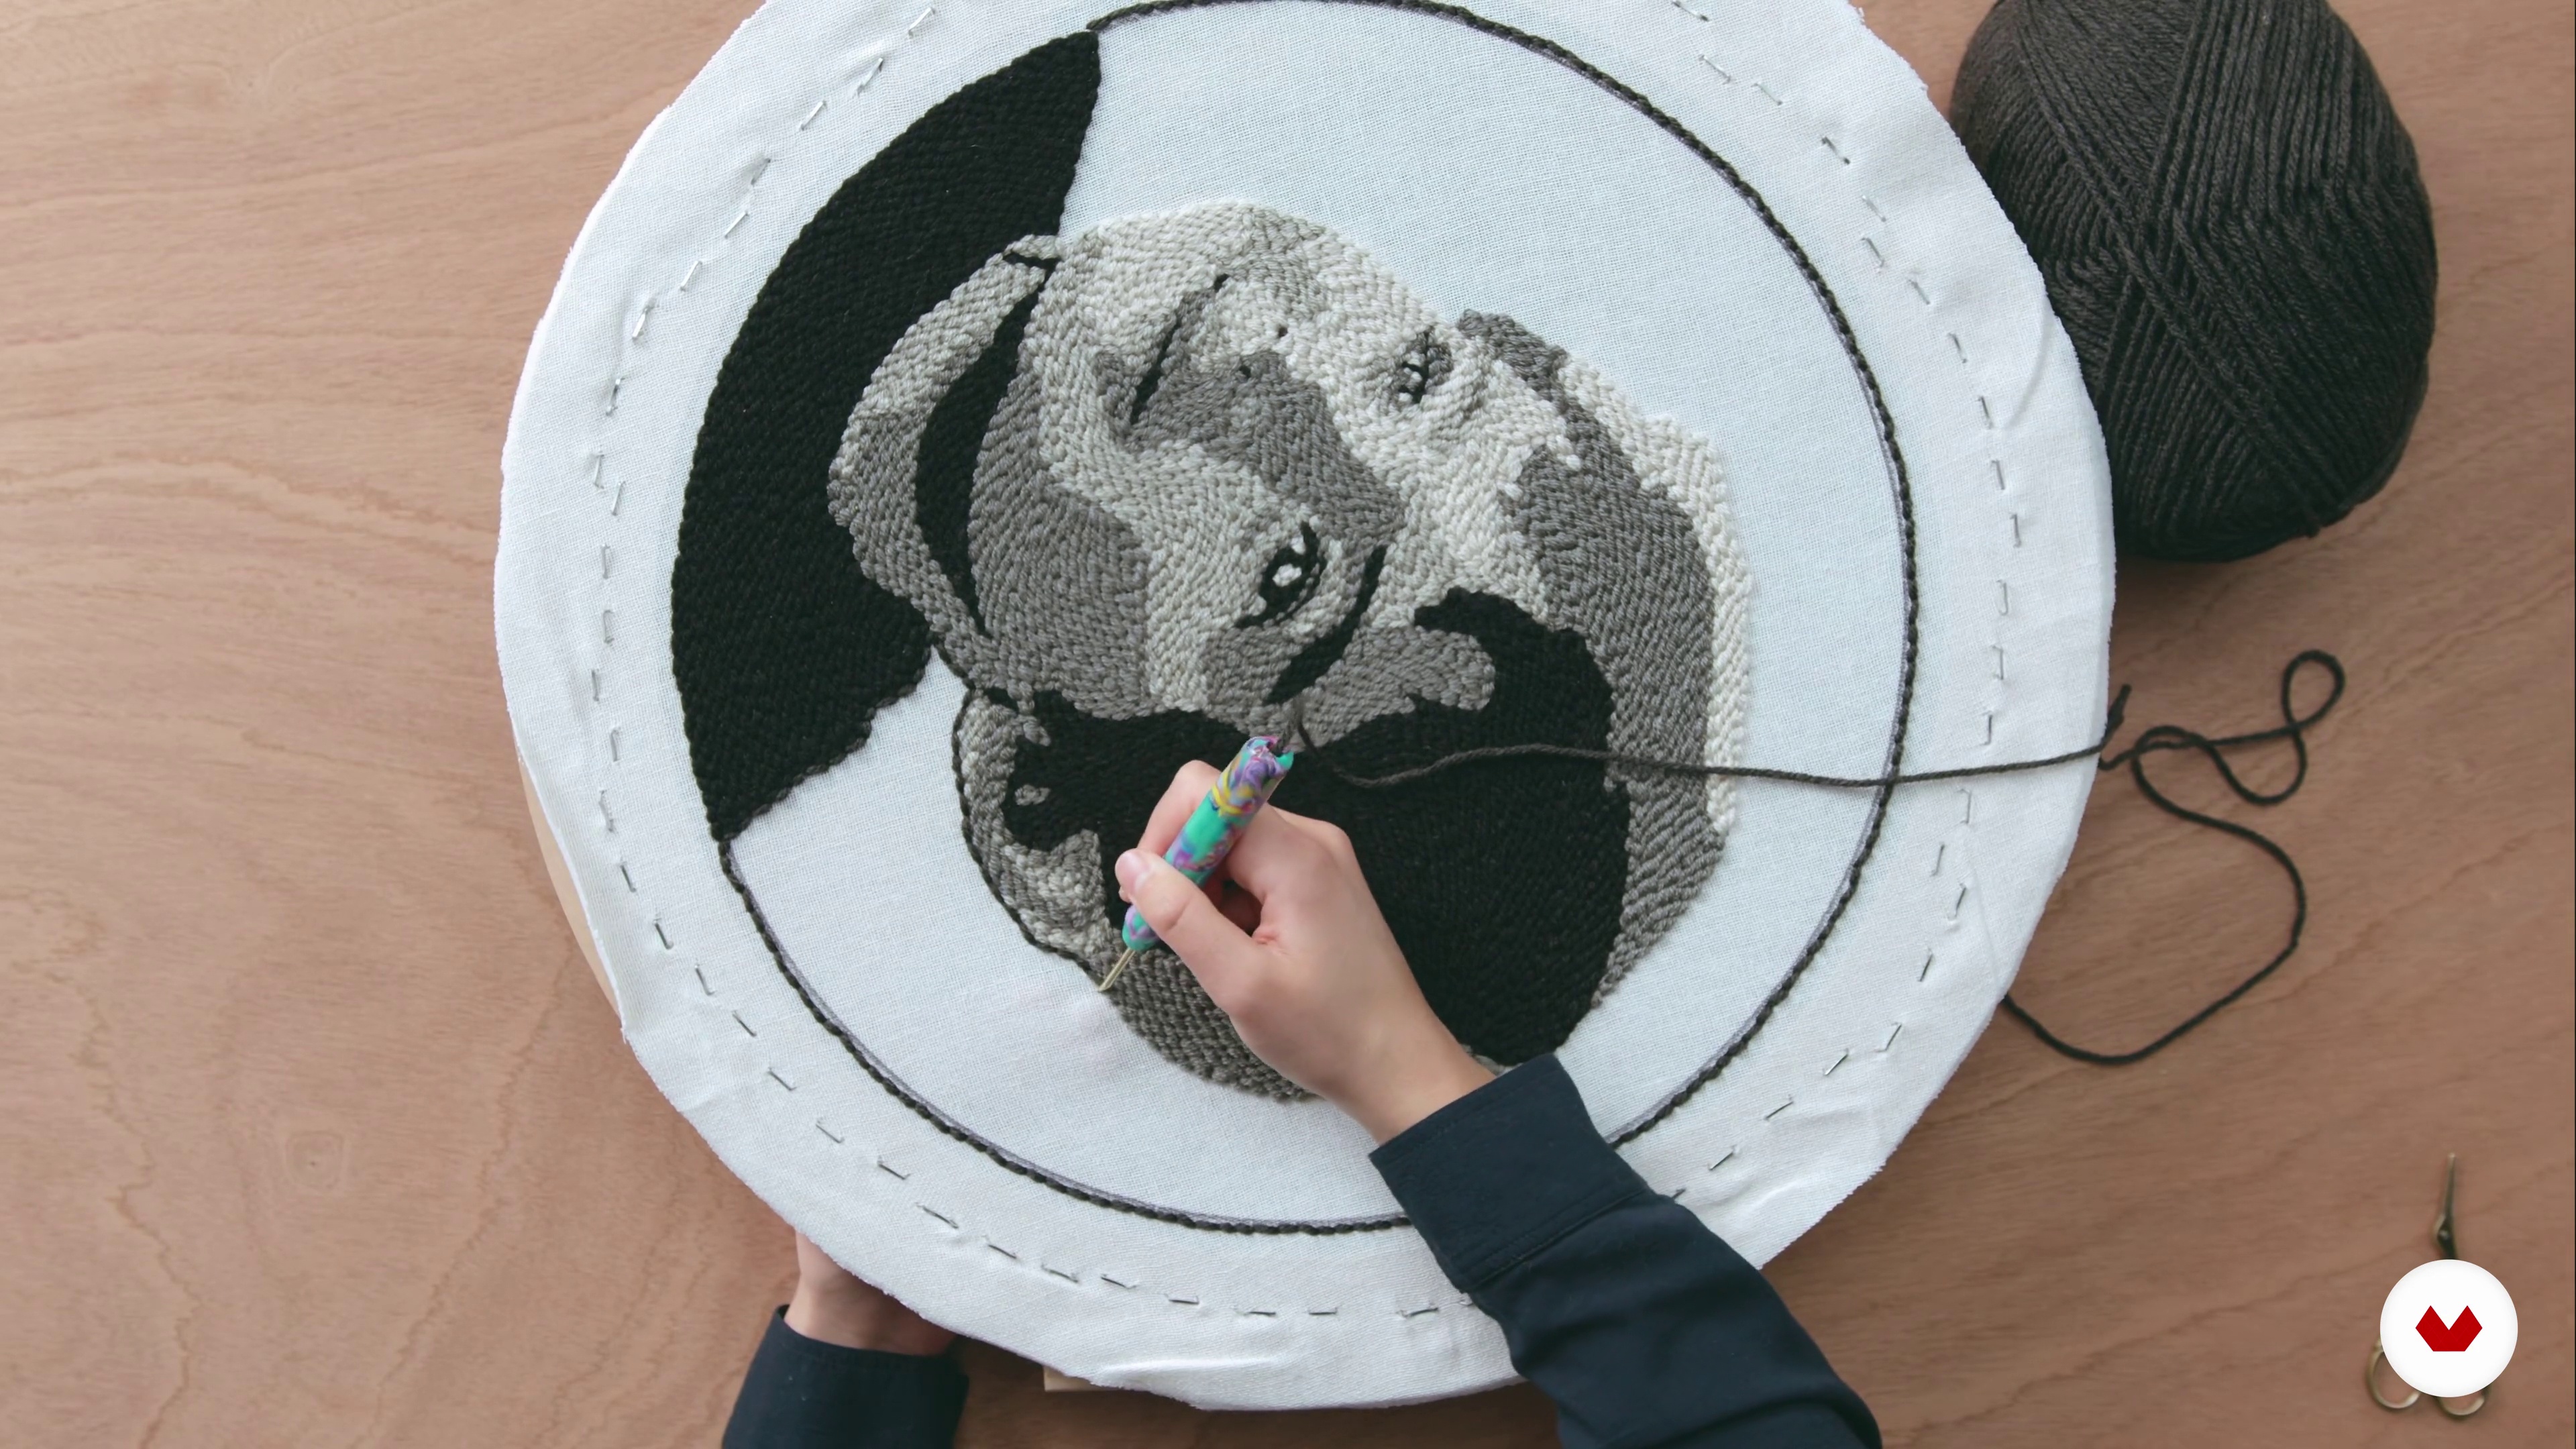
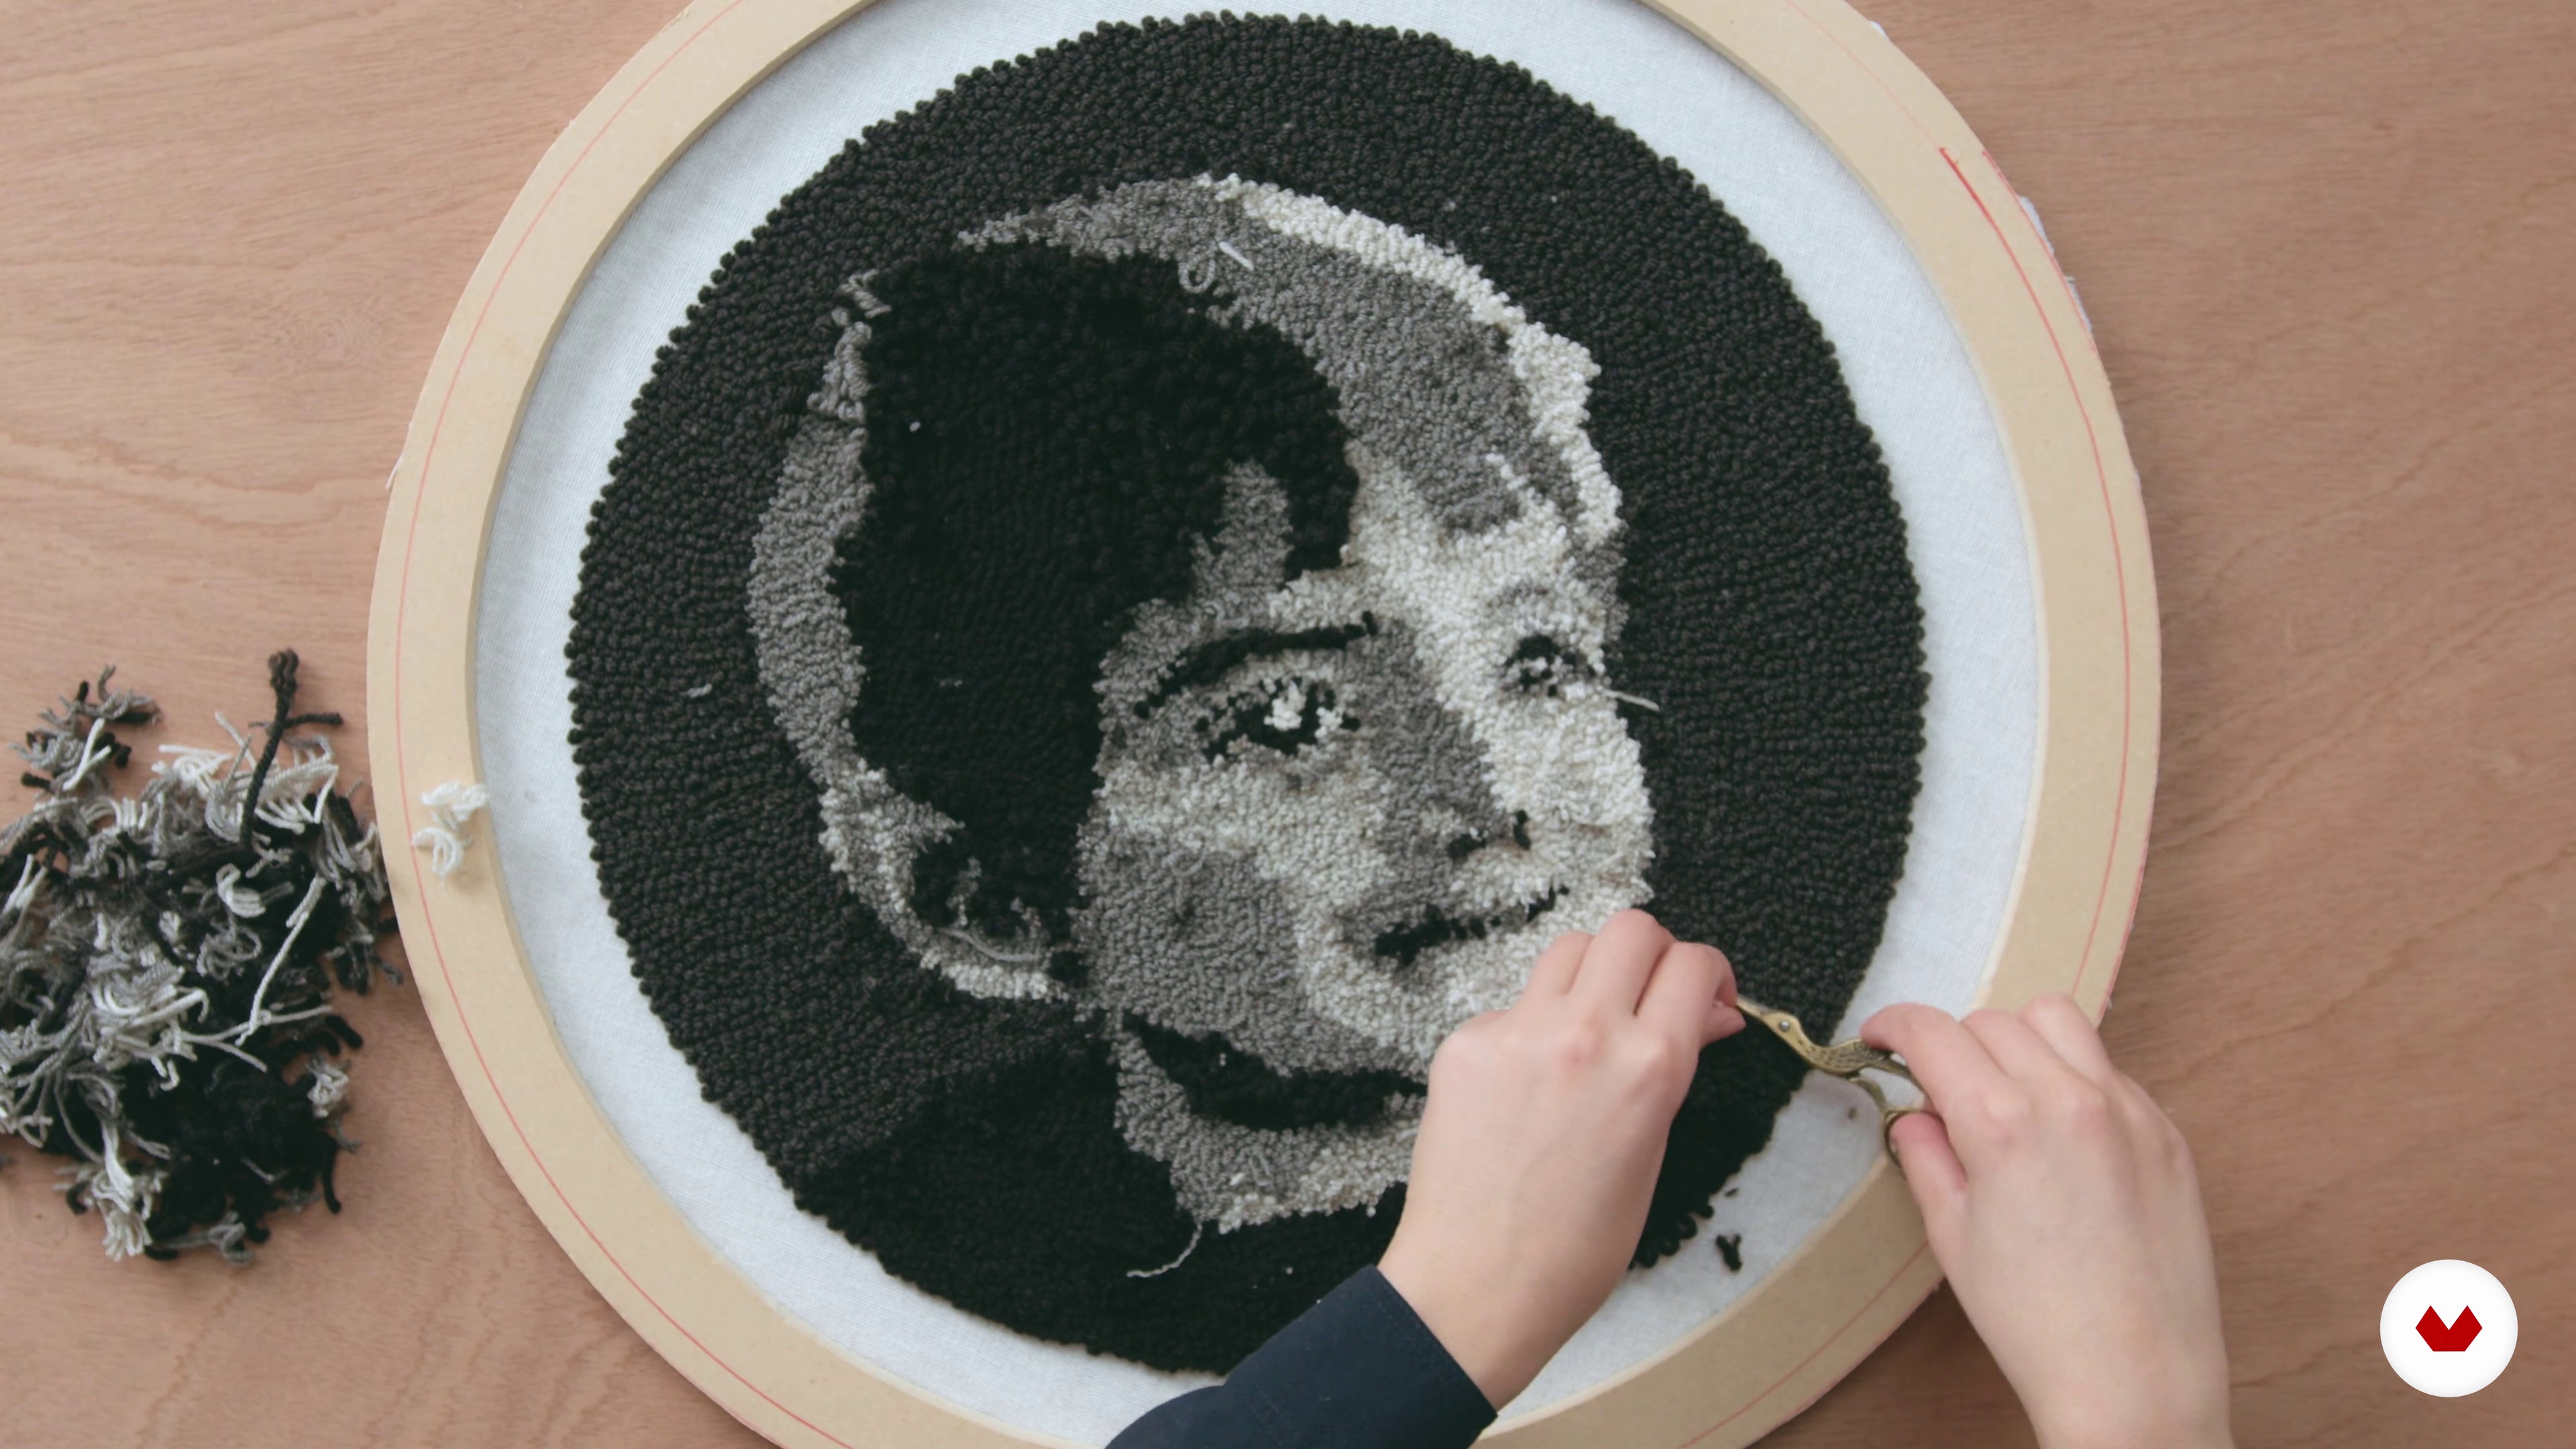
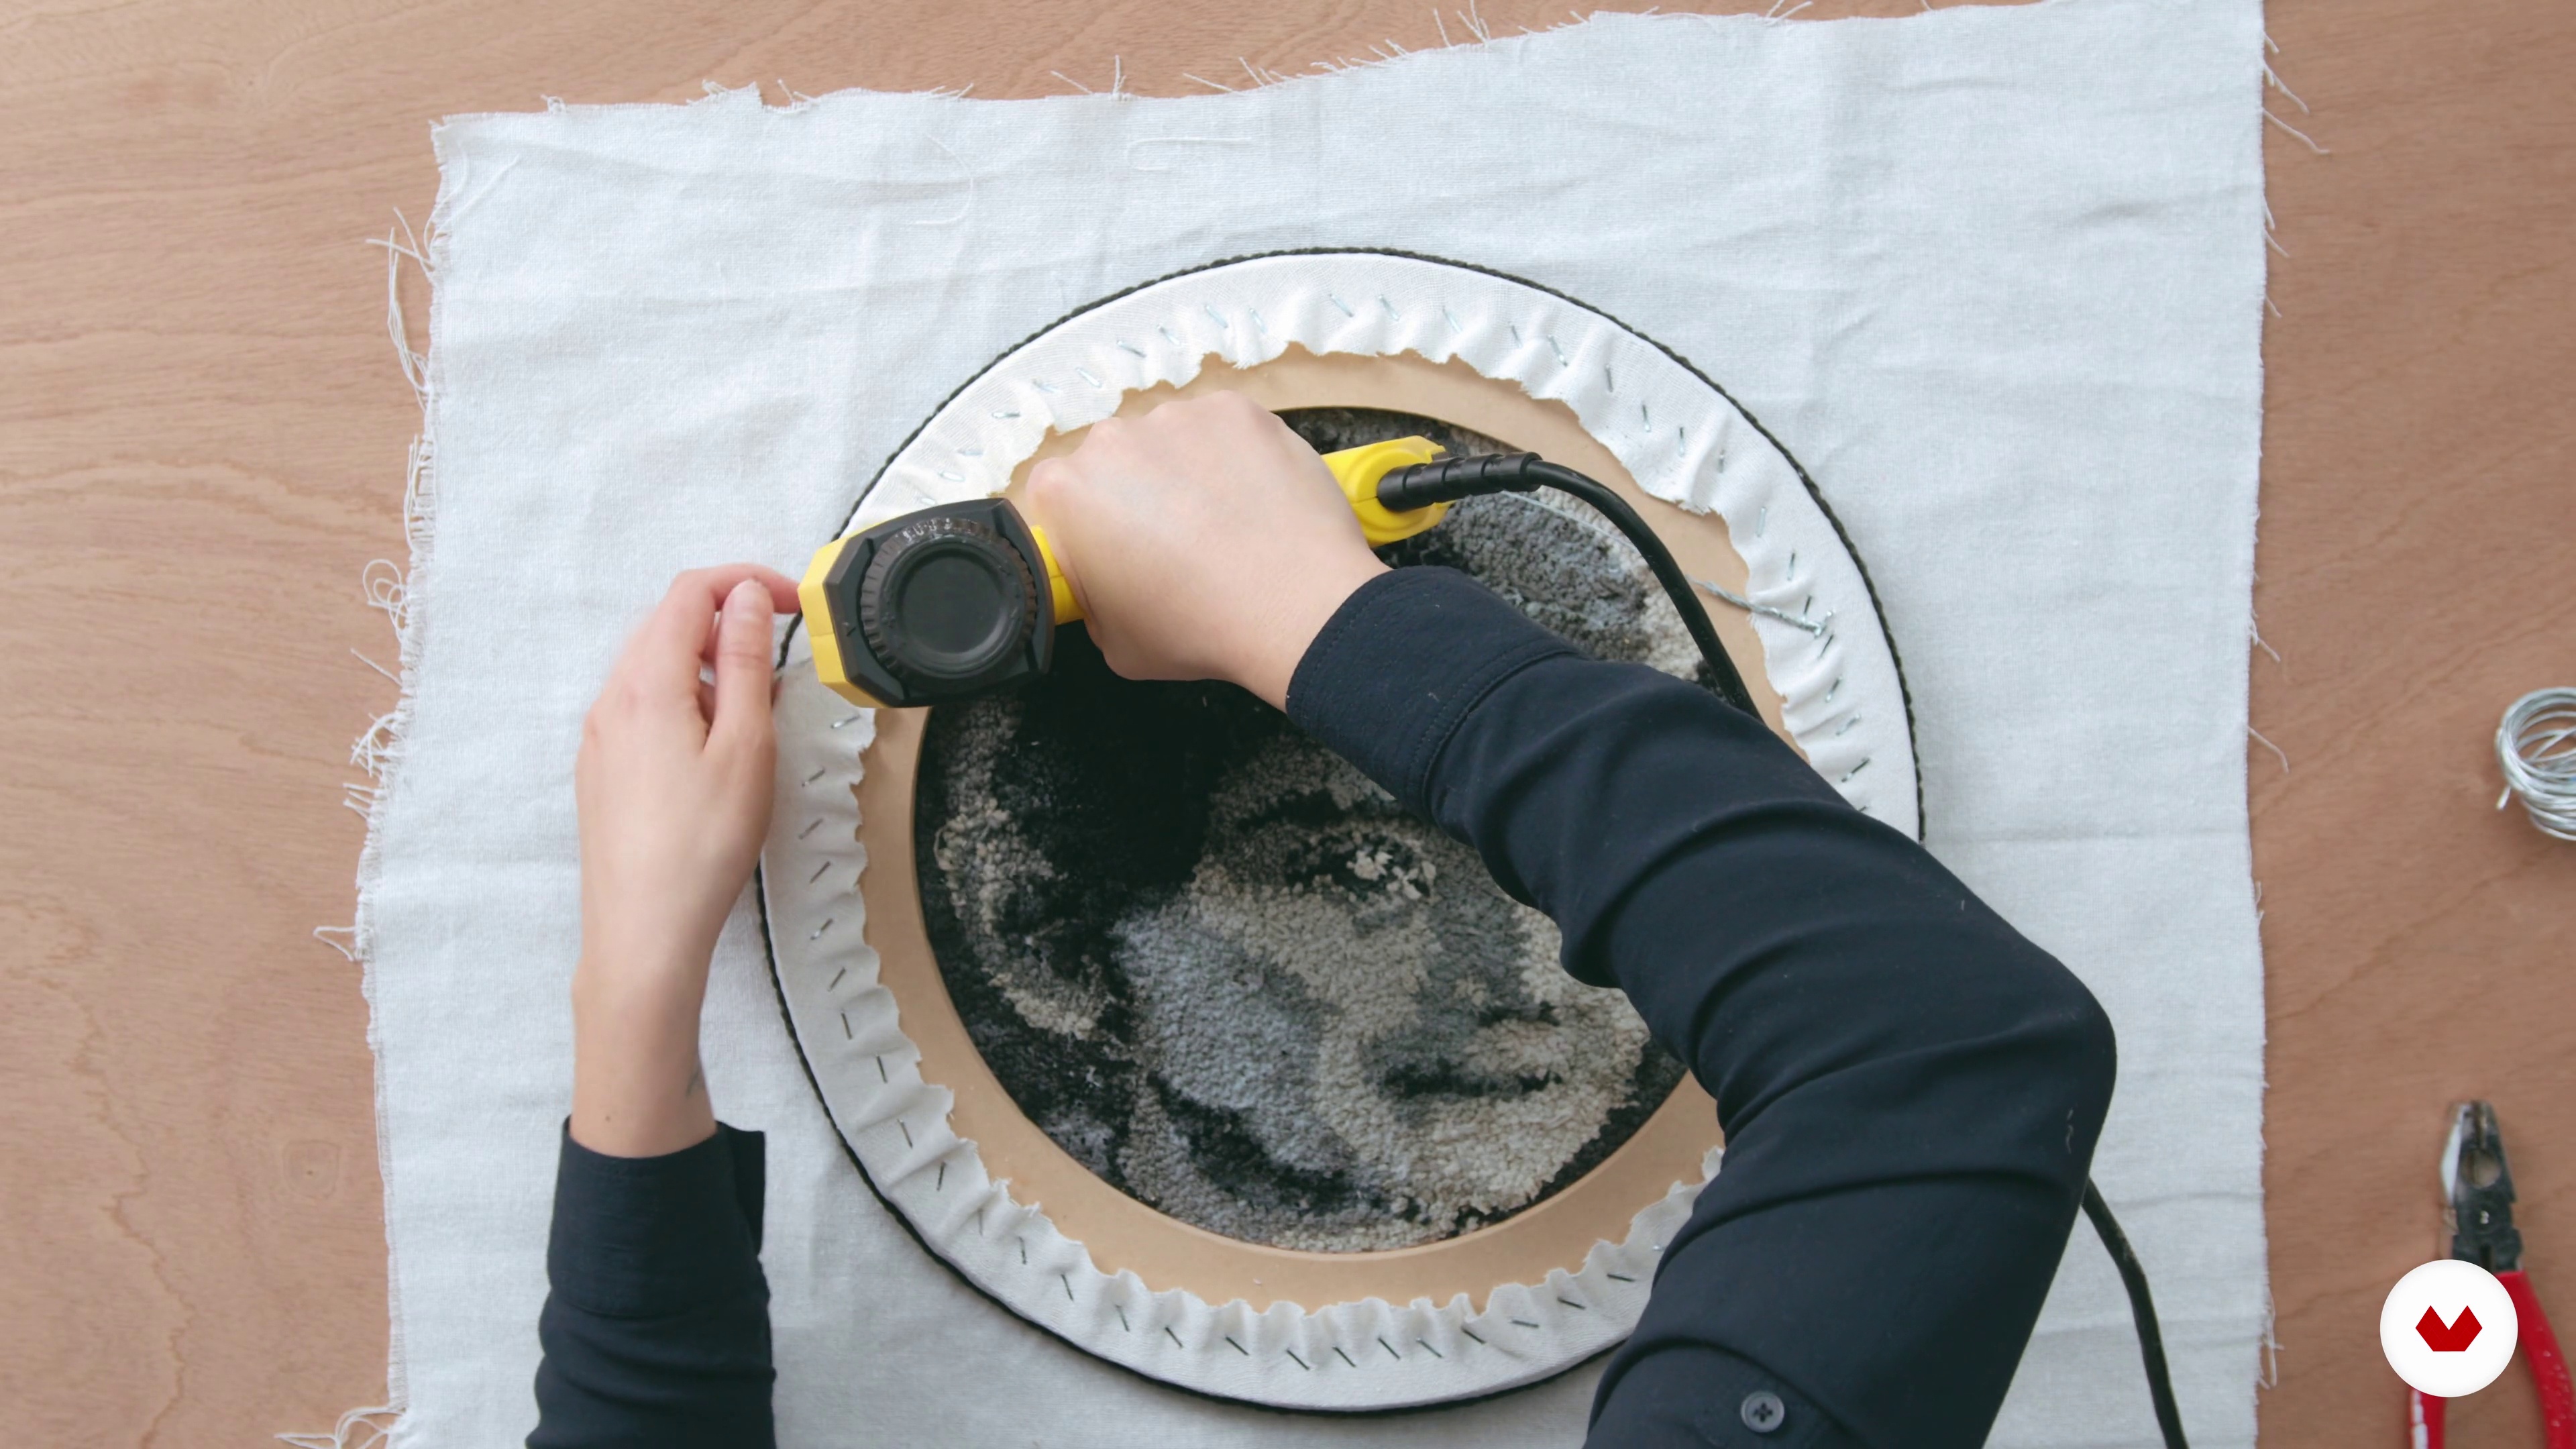
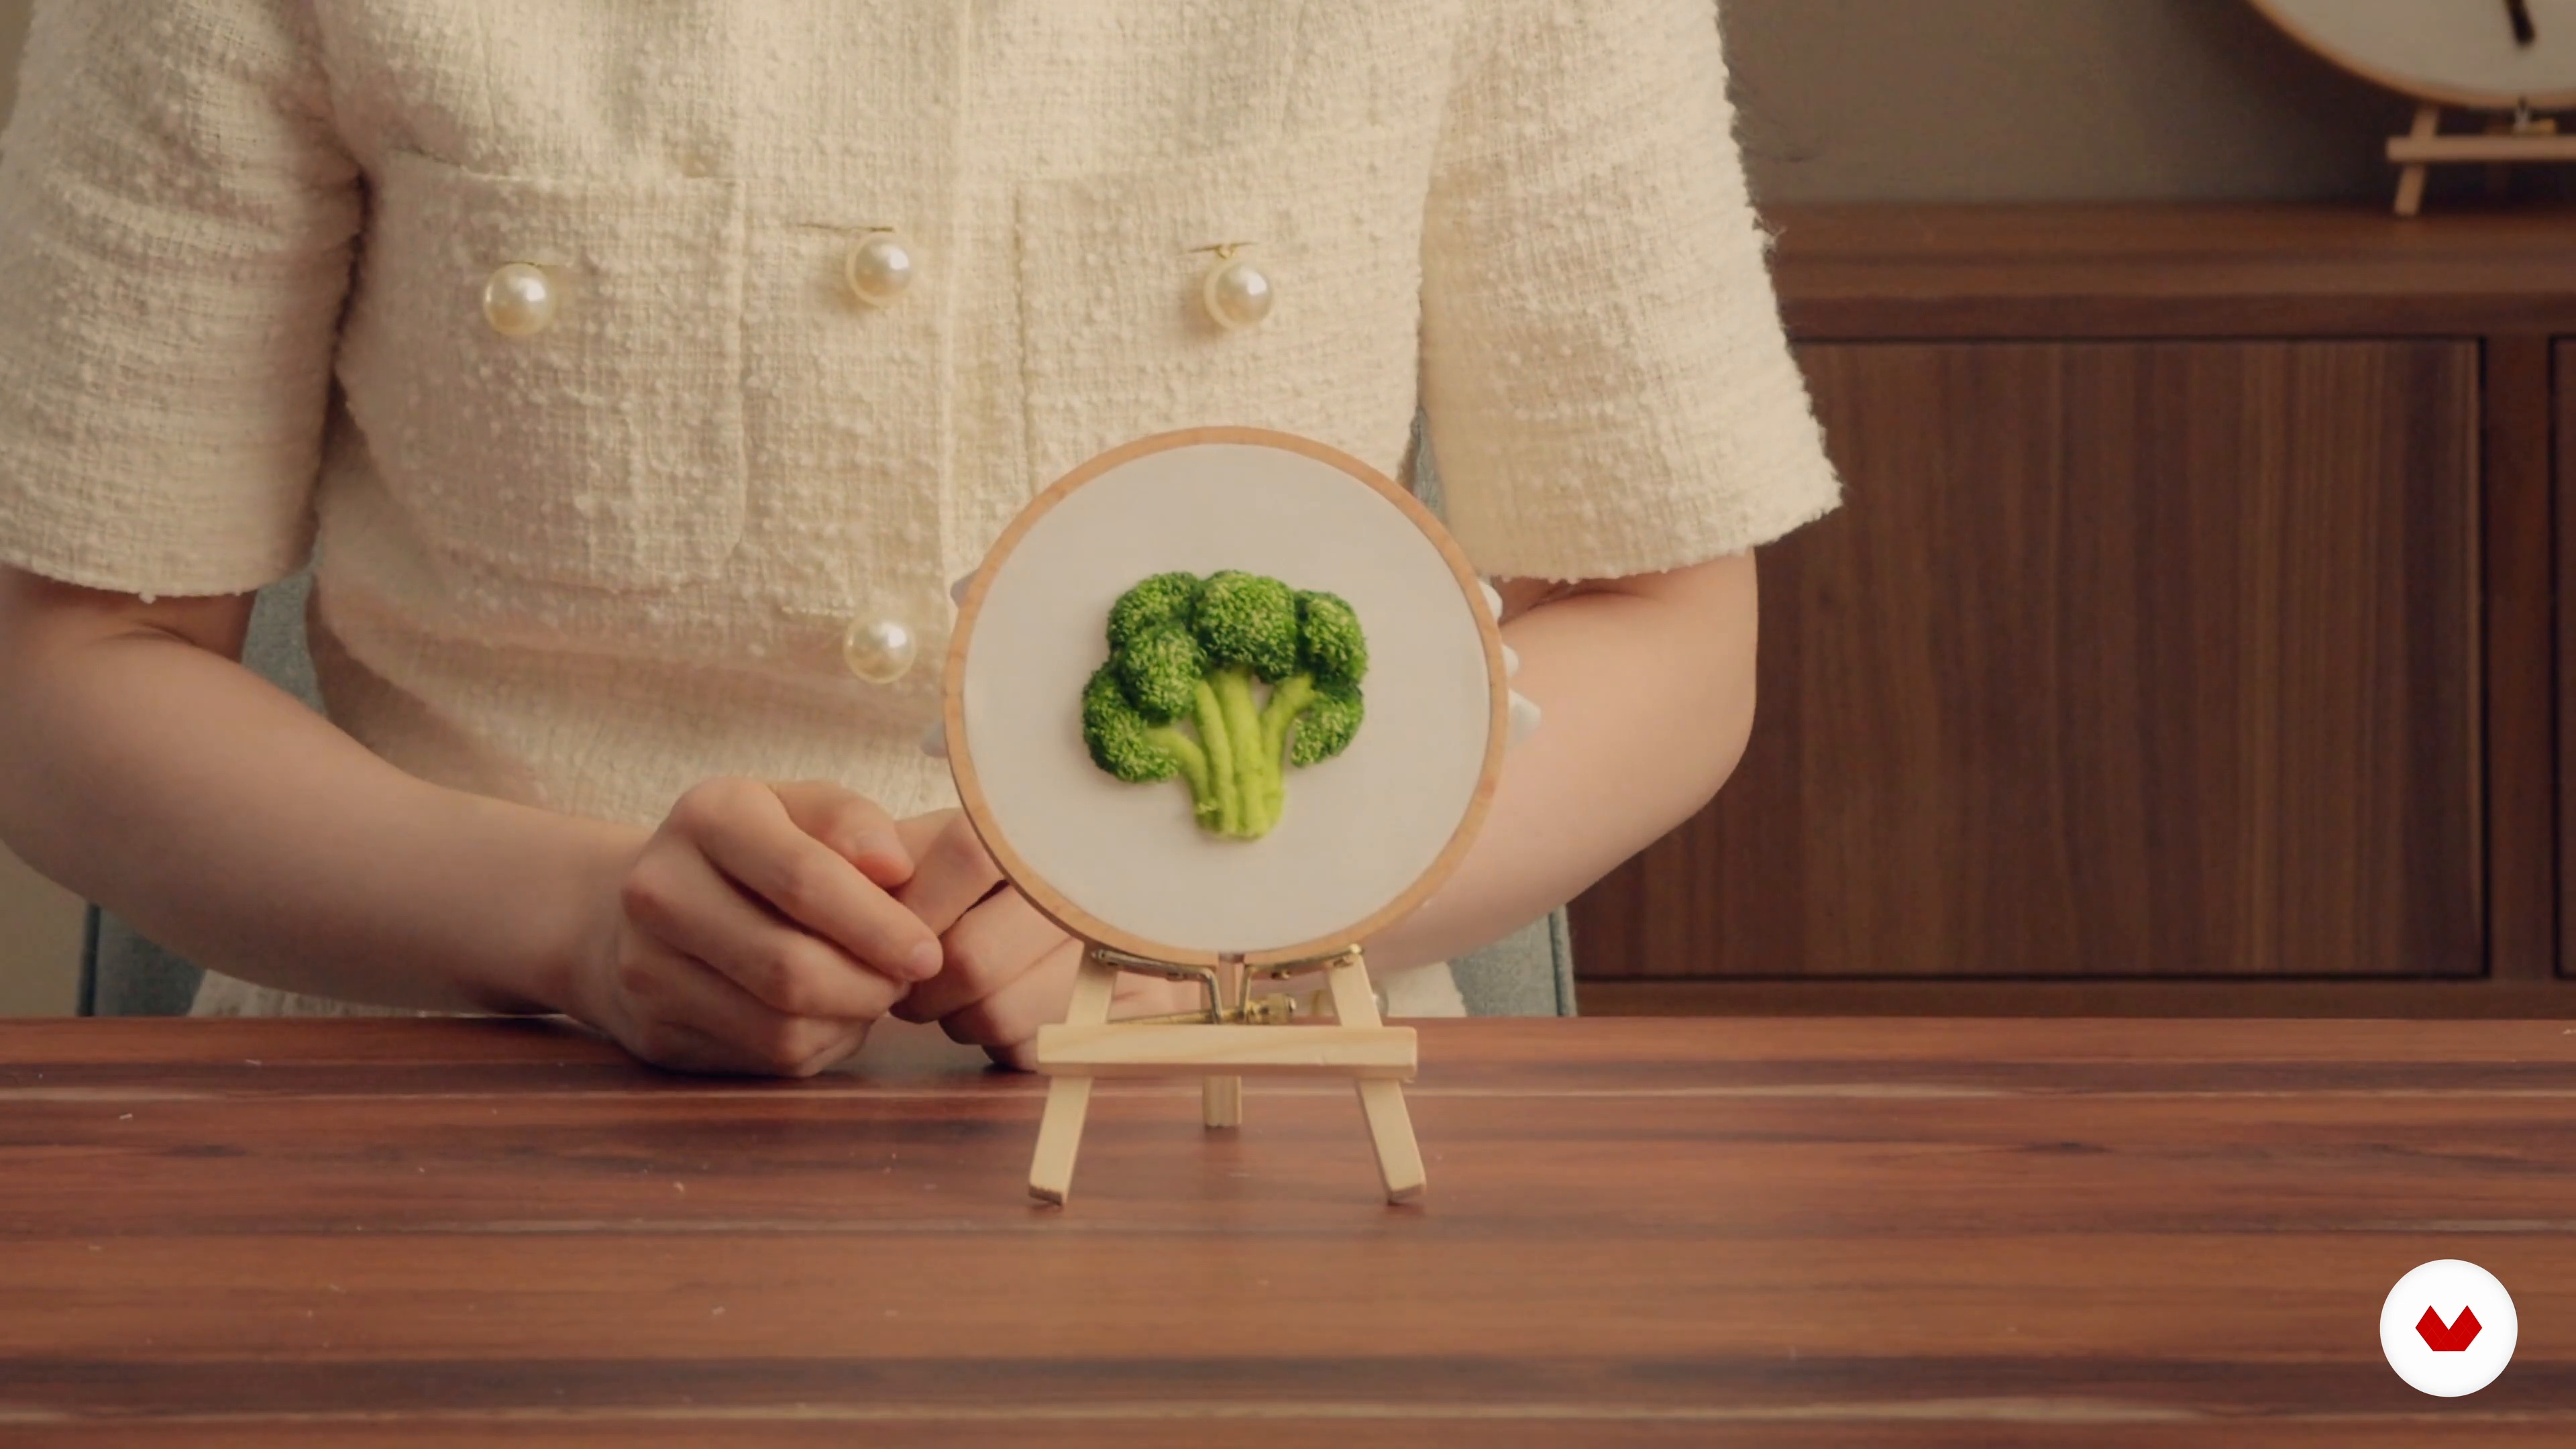
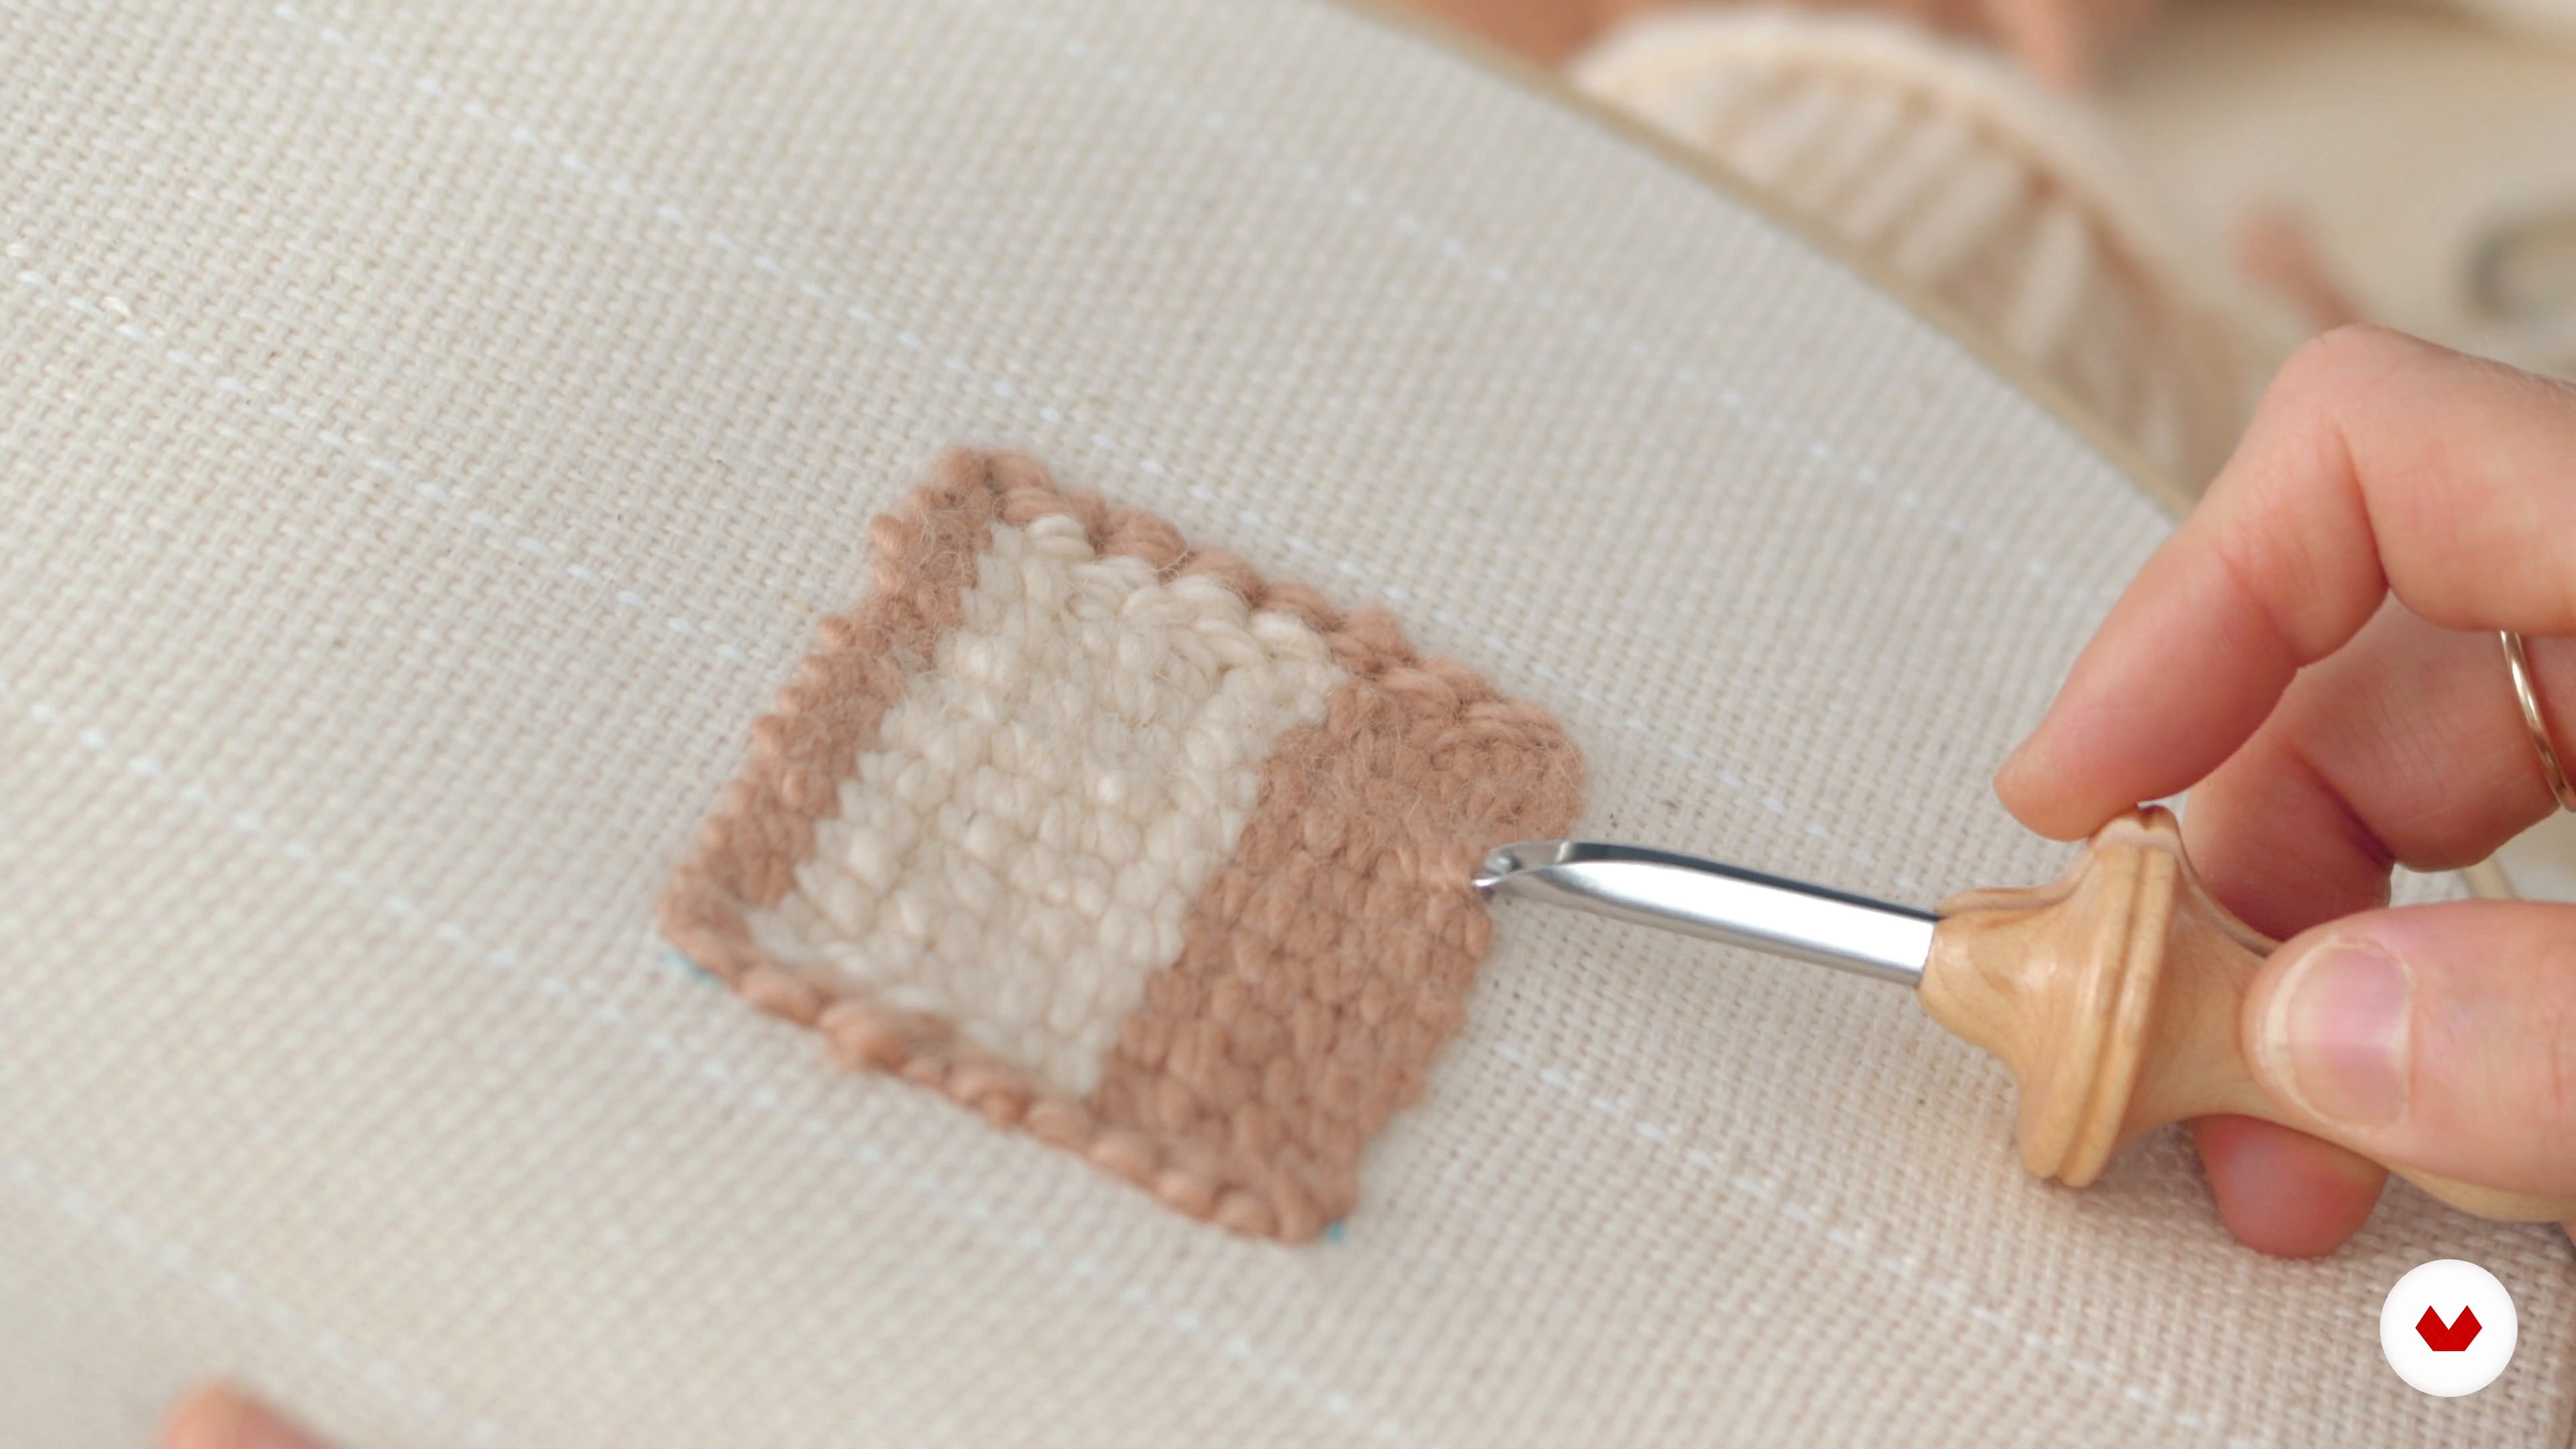
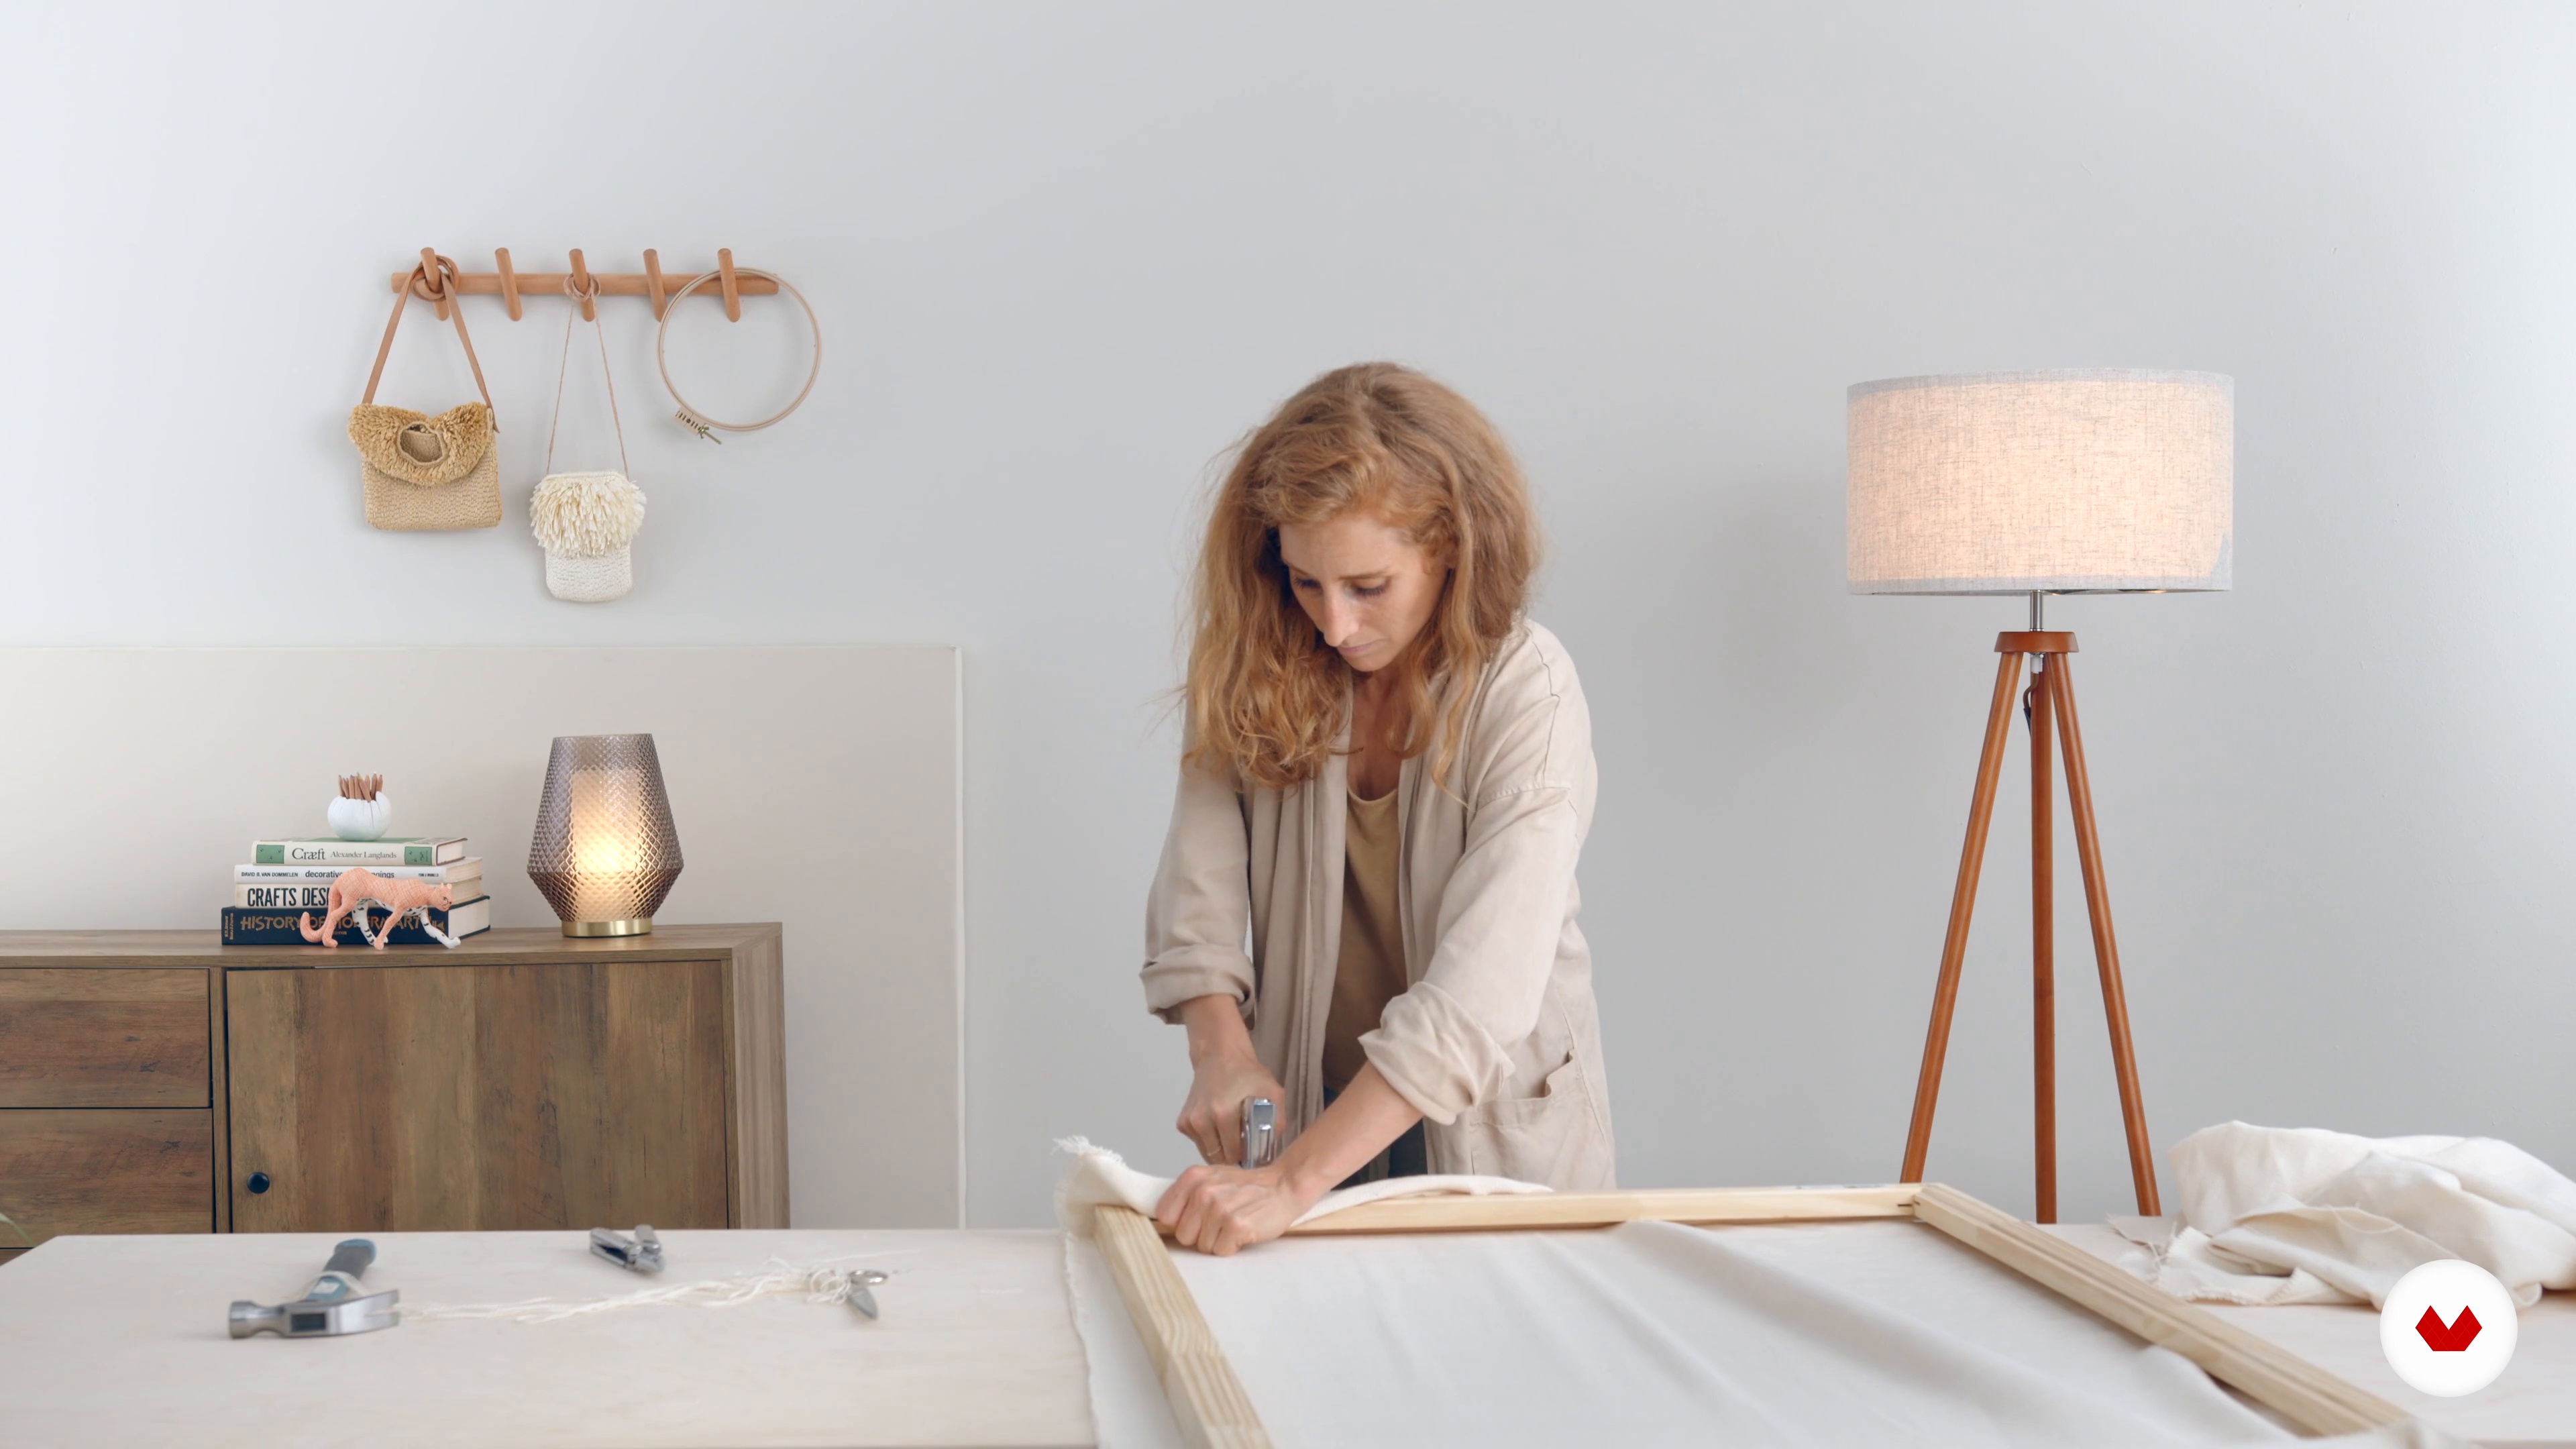
Create vibrant home decor with punch needle techniques, crafting textured tapestries and decorative mirrors to modernize spaces
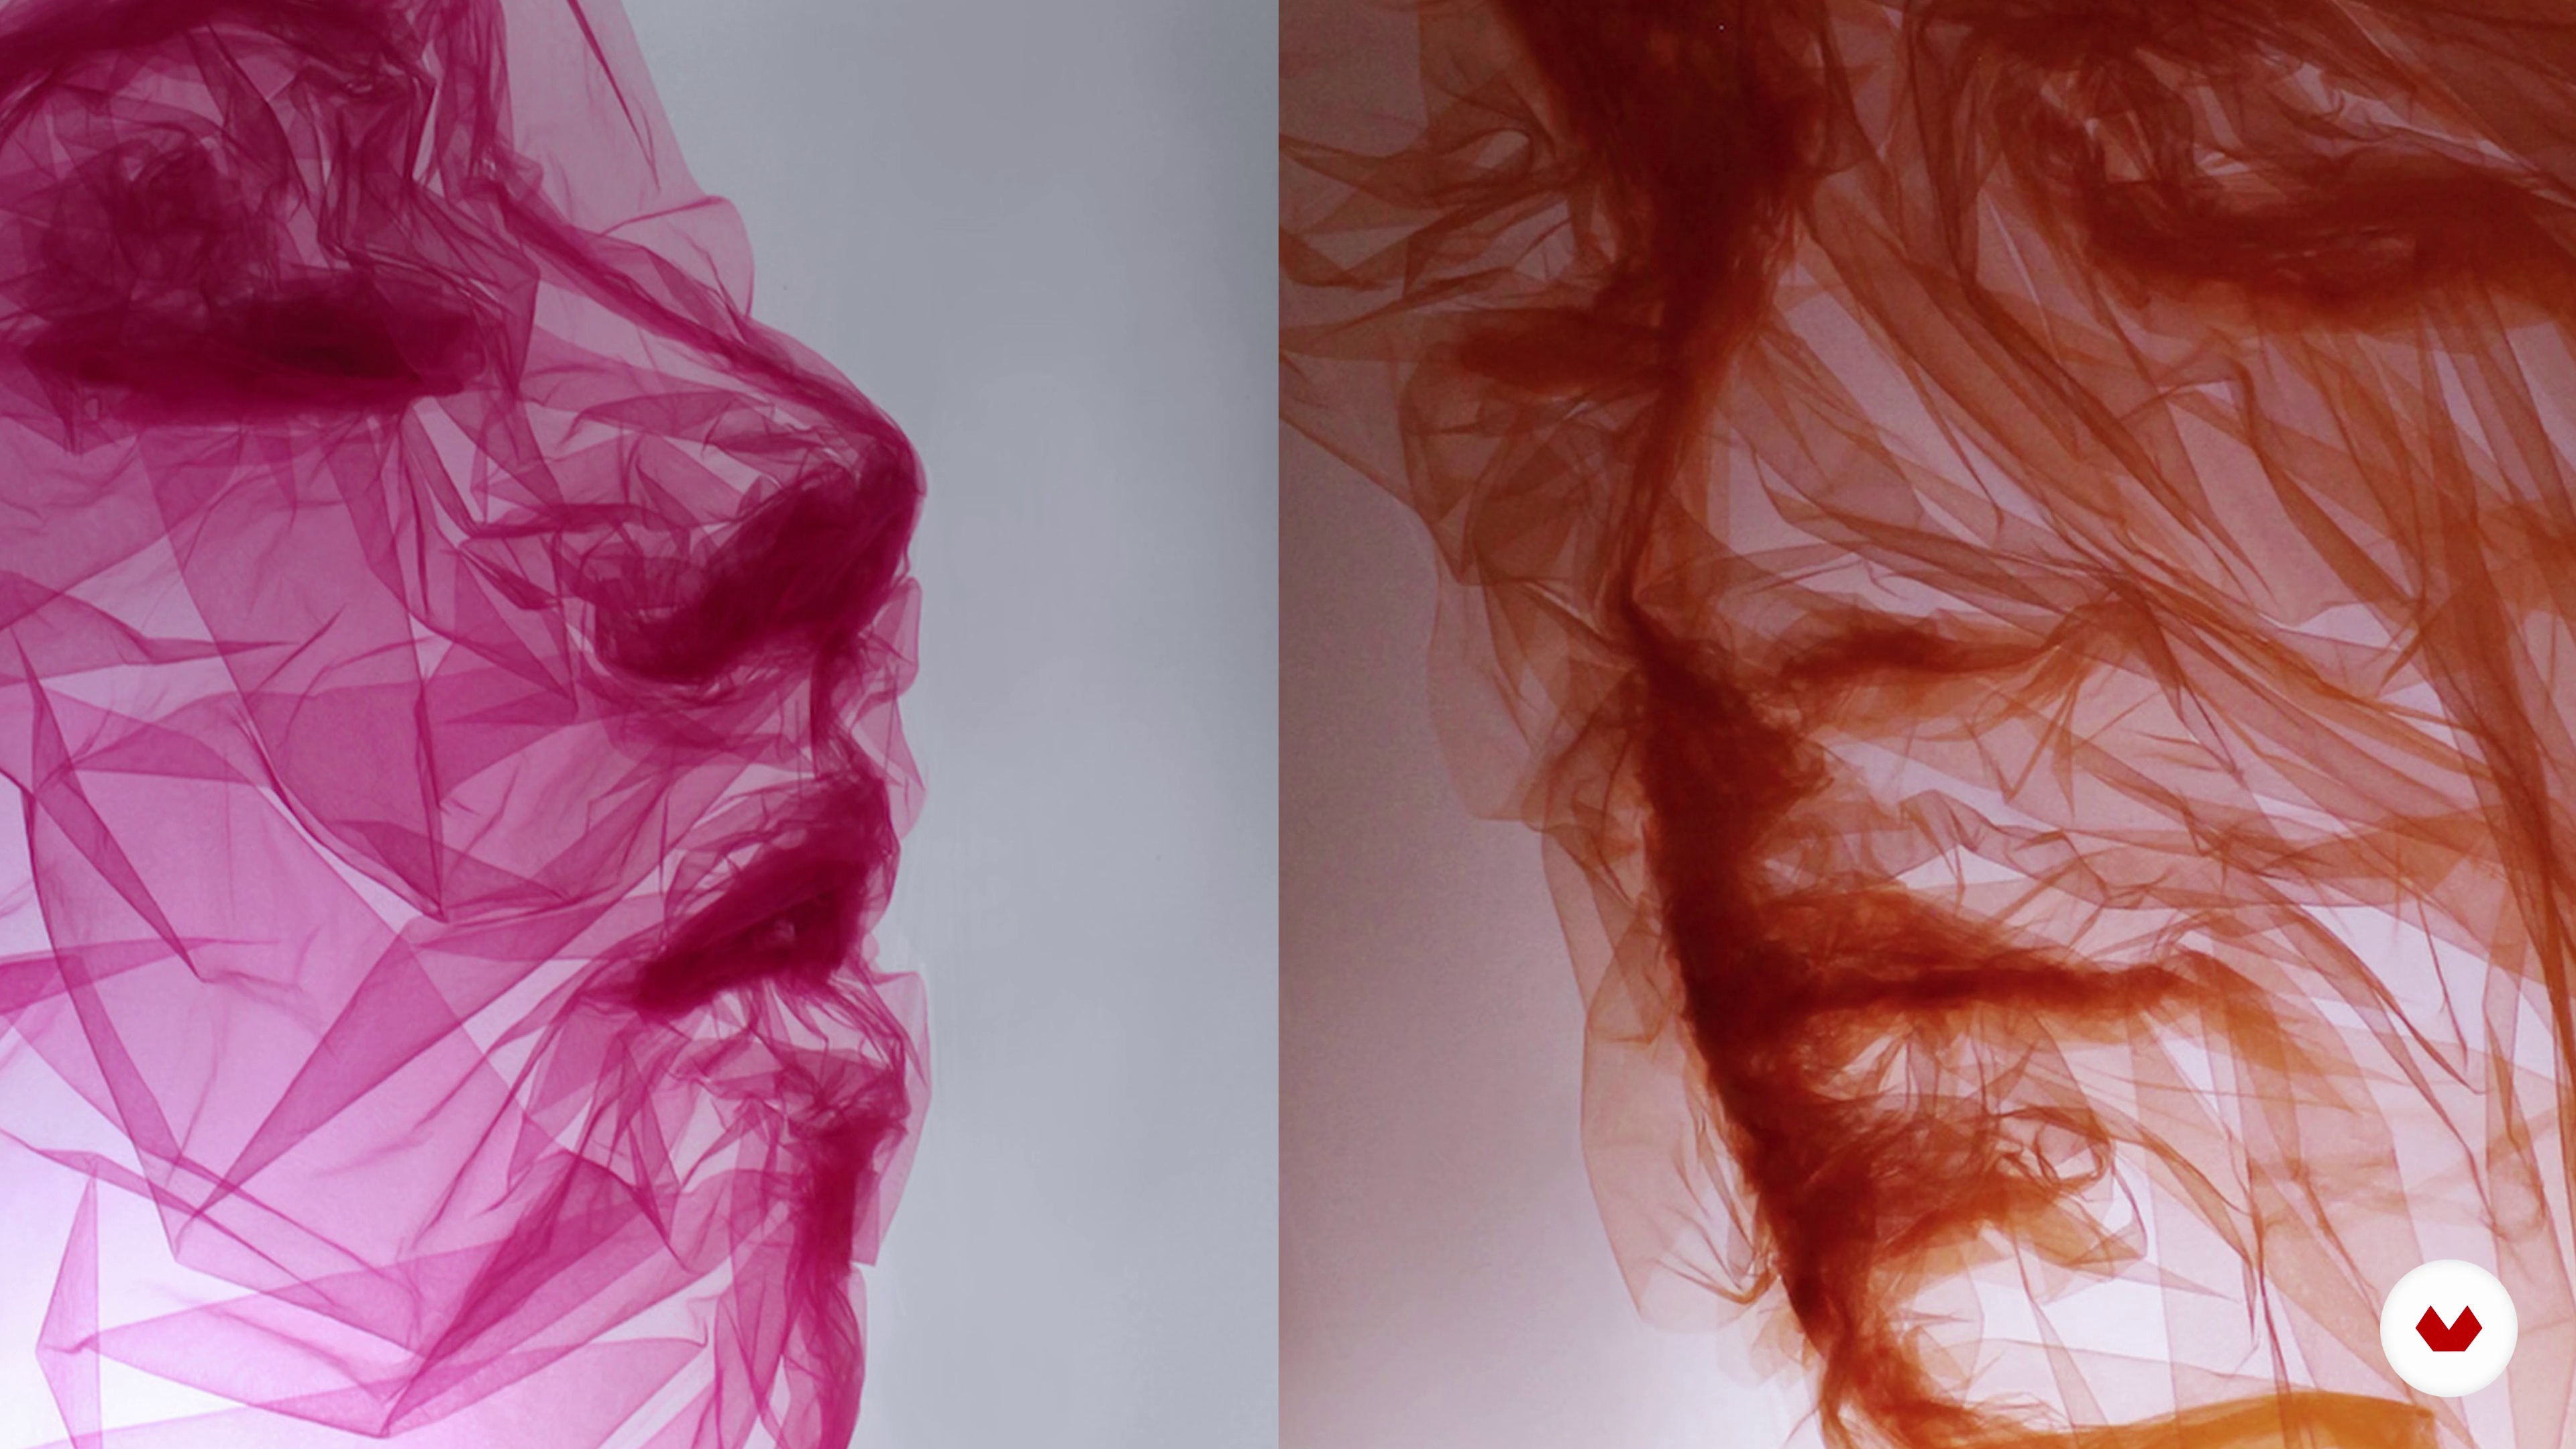
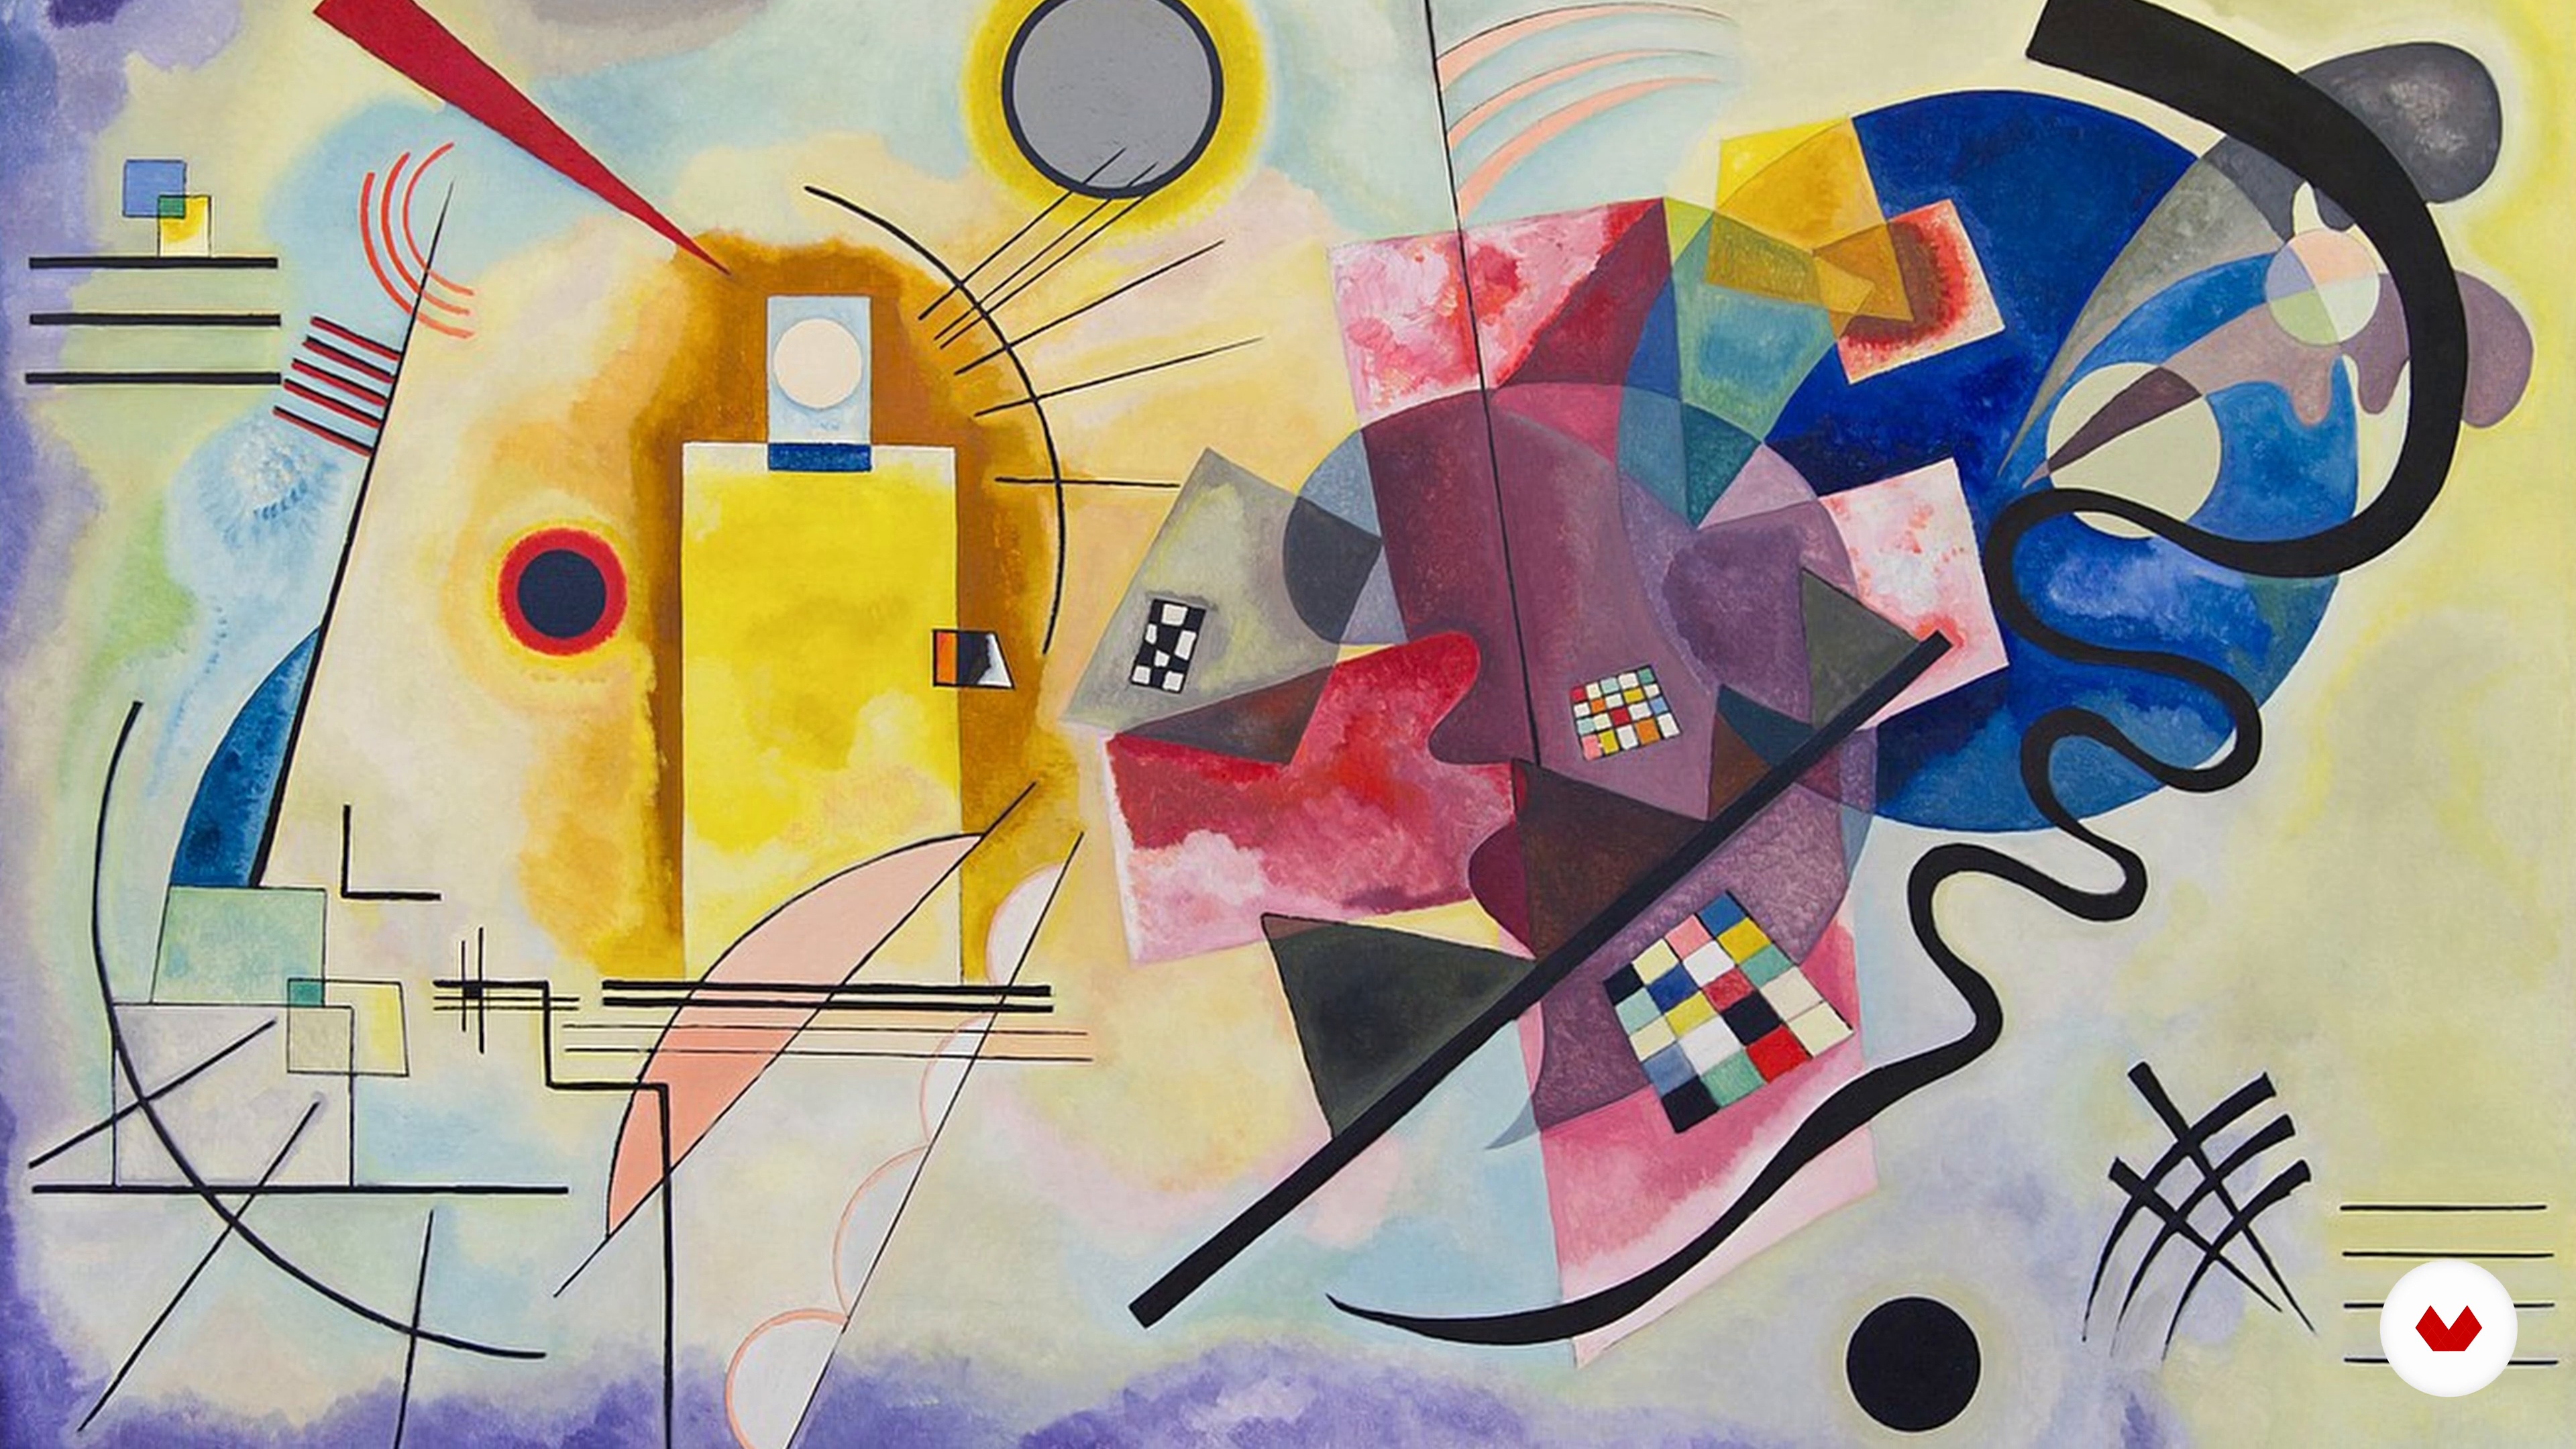
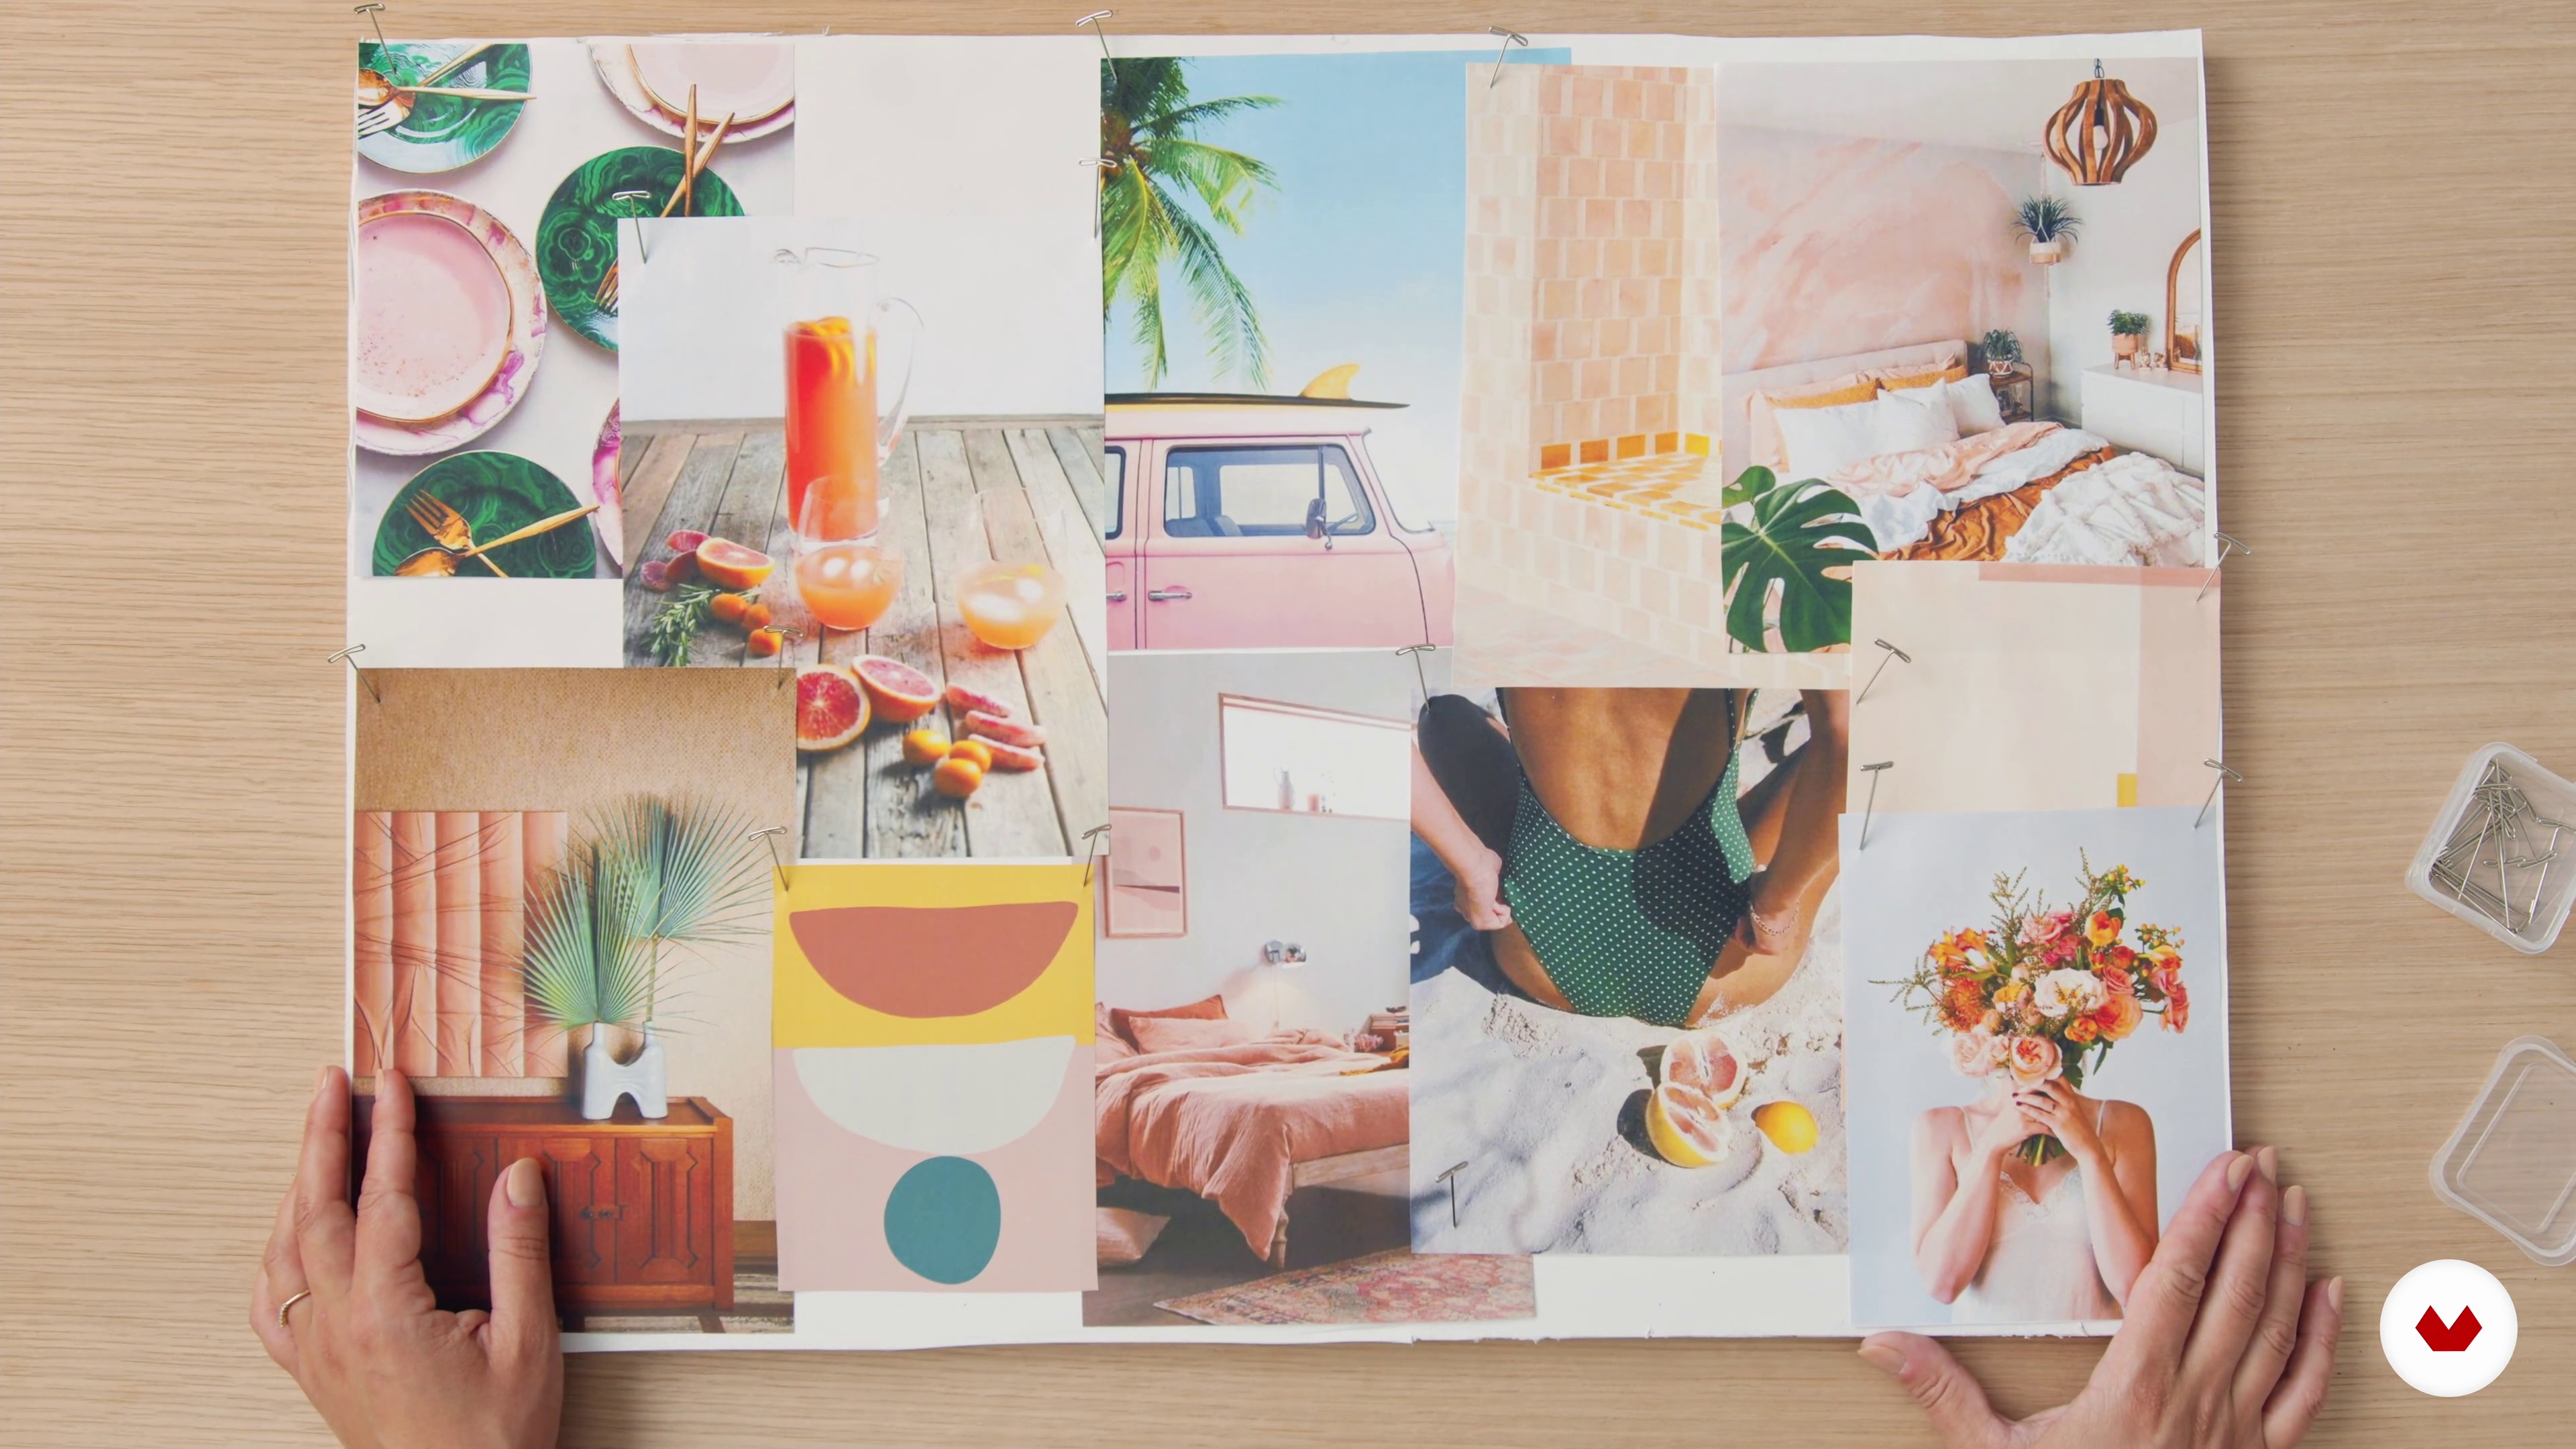
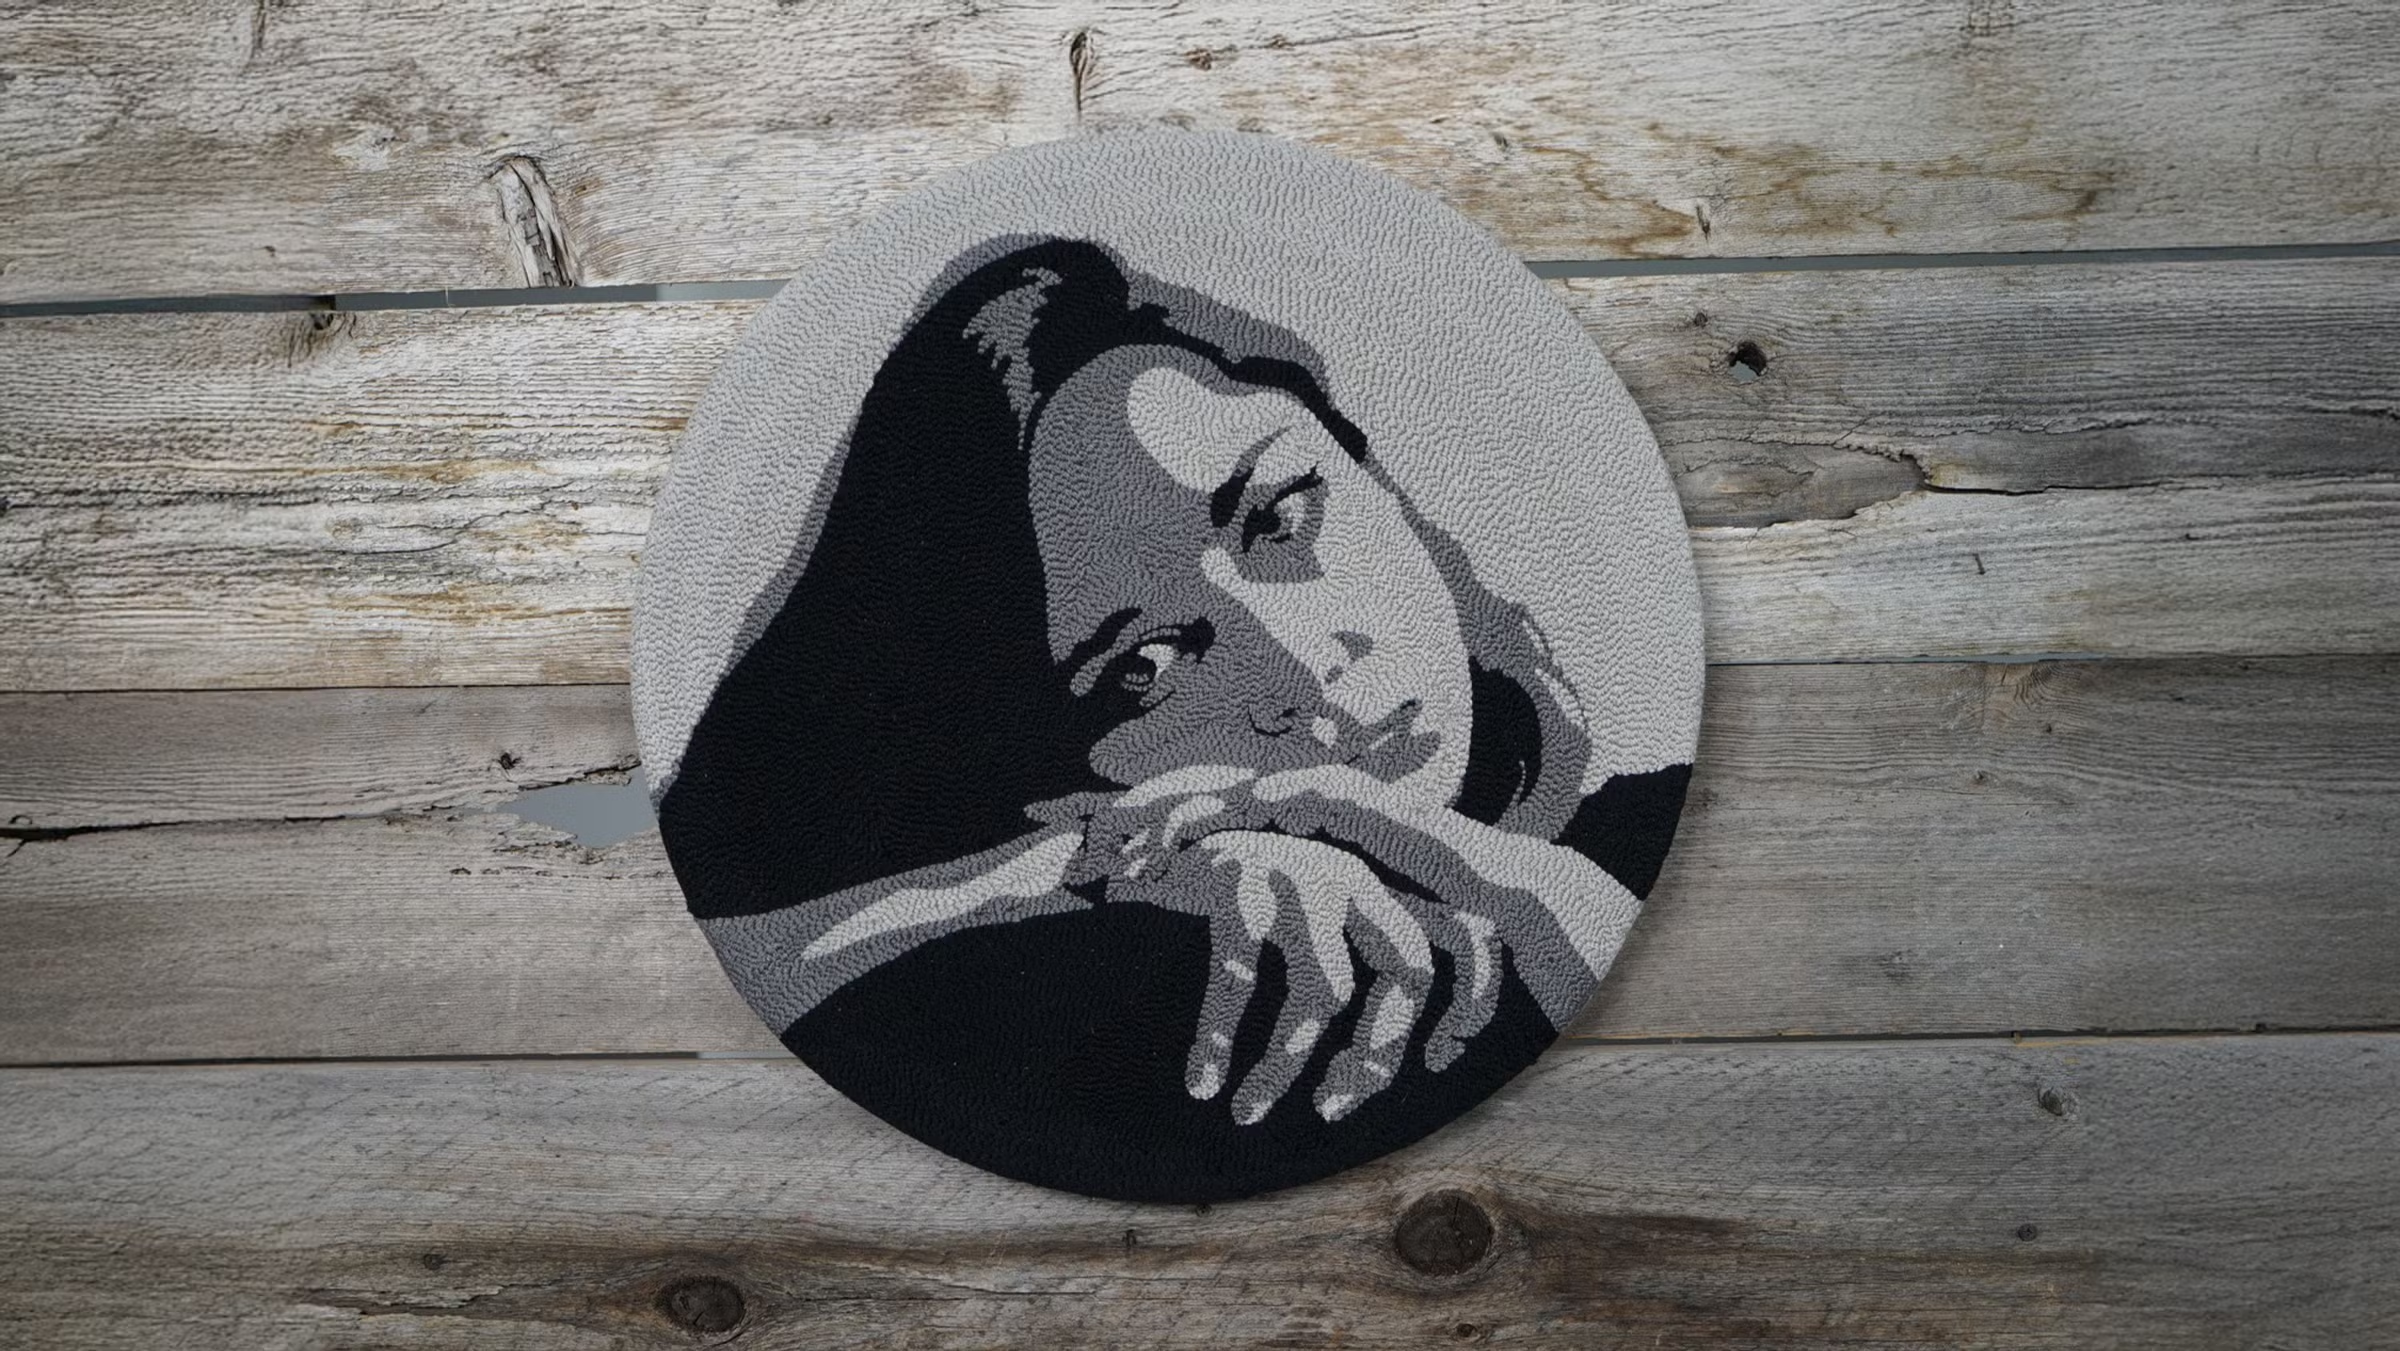
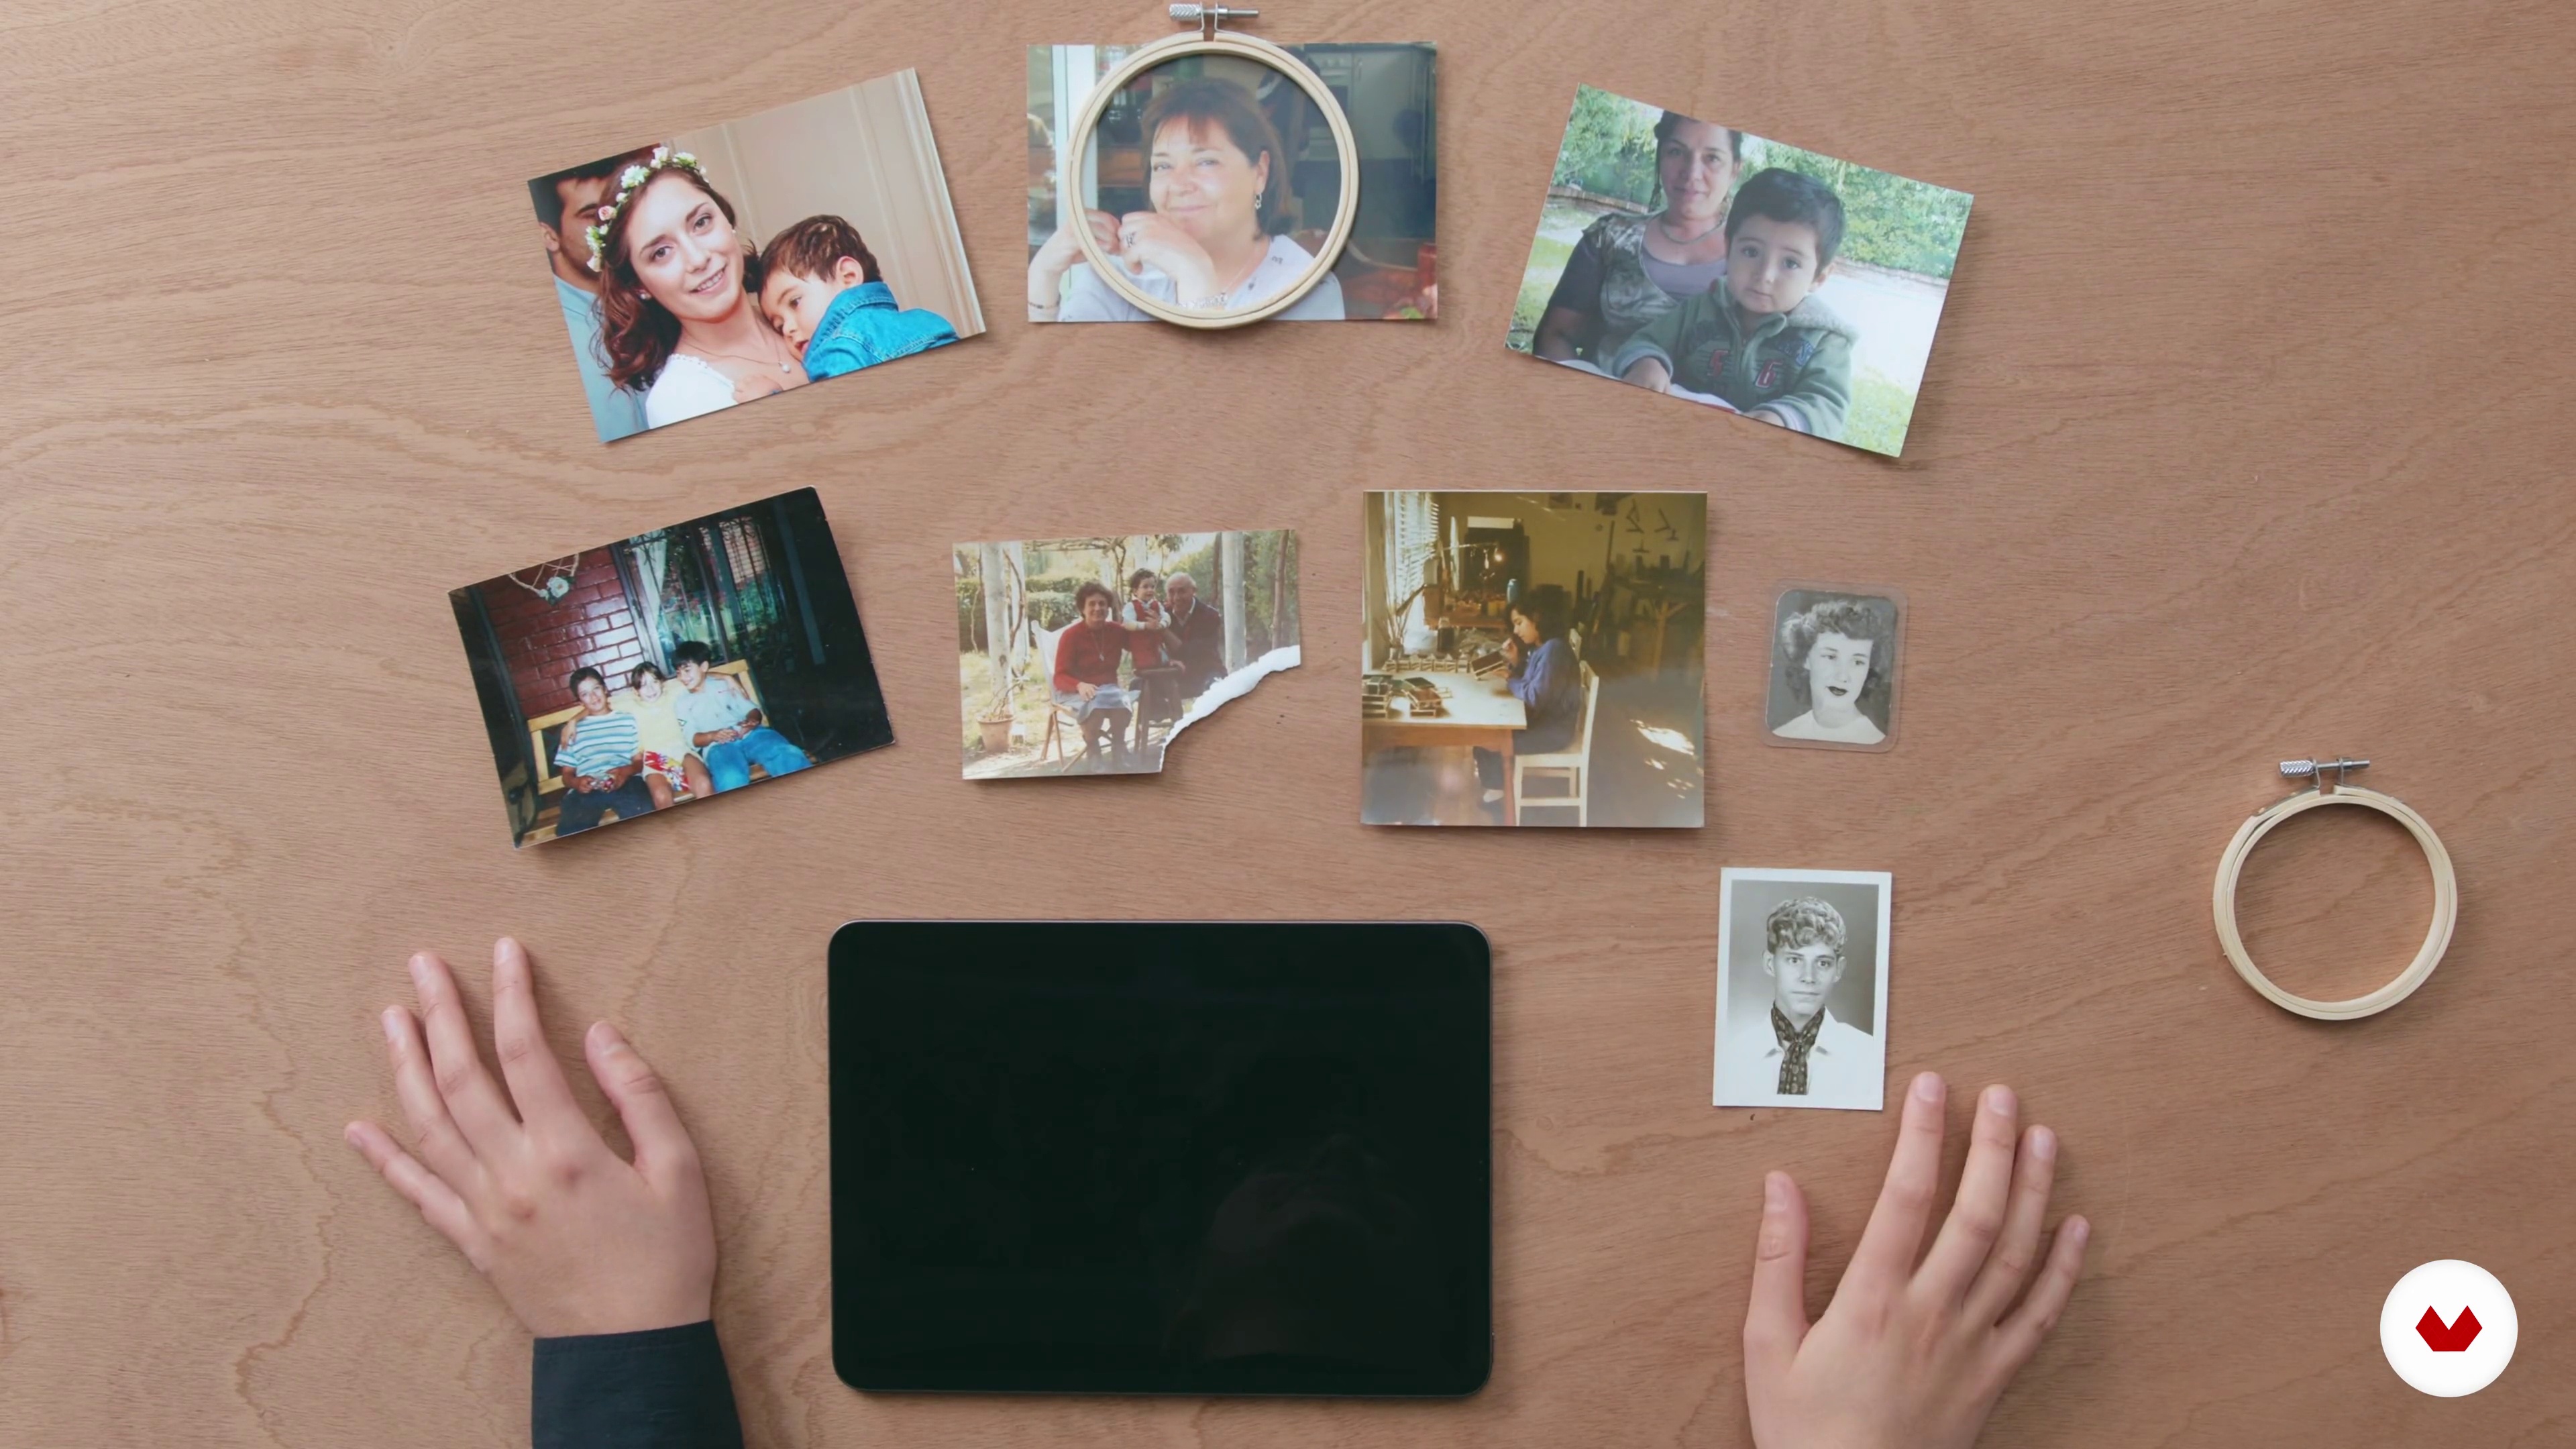
Dive into the vibrant world of punch needle artistry with our comprehensive specialization. This engaging series of courses invites you to explore a variety of punch needle techniques, perfect for those looking to infuse their creative projects with texture and color. From crafting unique home decorations to designing personalized accessories, each module offers a new avenue for artistic expression. Whether you're intrigued by the idea of creating expressive textile portraits or fascinated by the concept of 3D embroidery, you'll find something to spark your imagination.
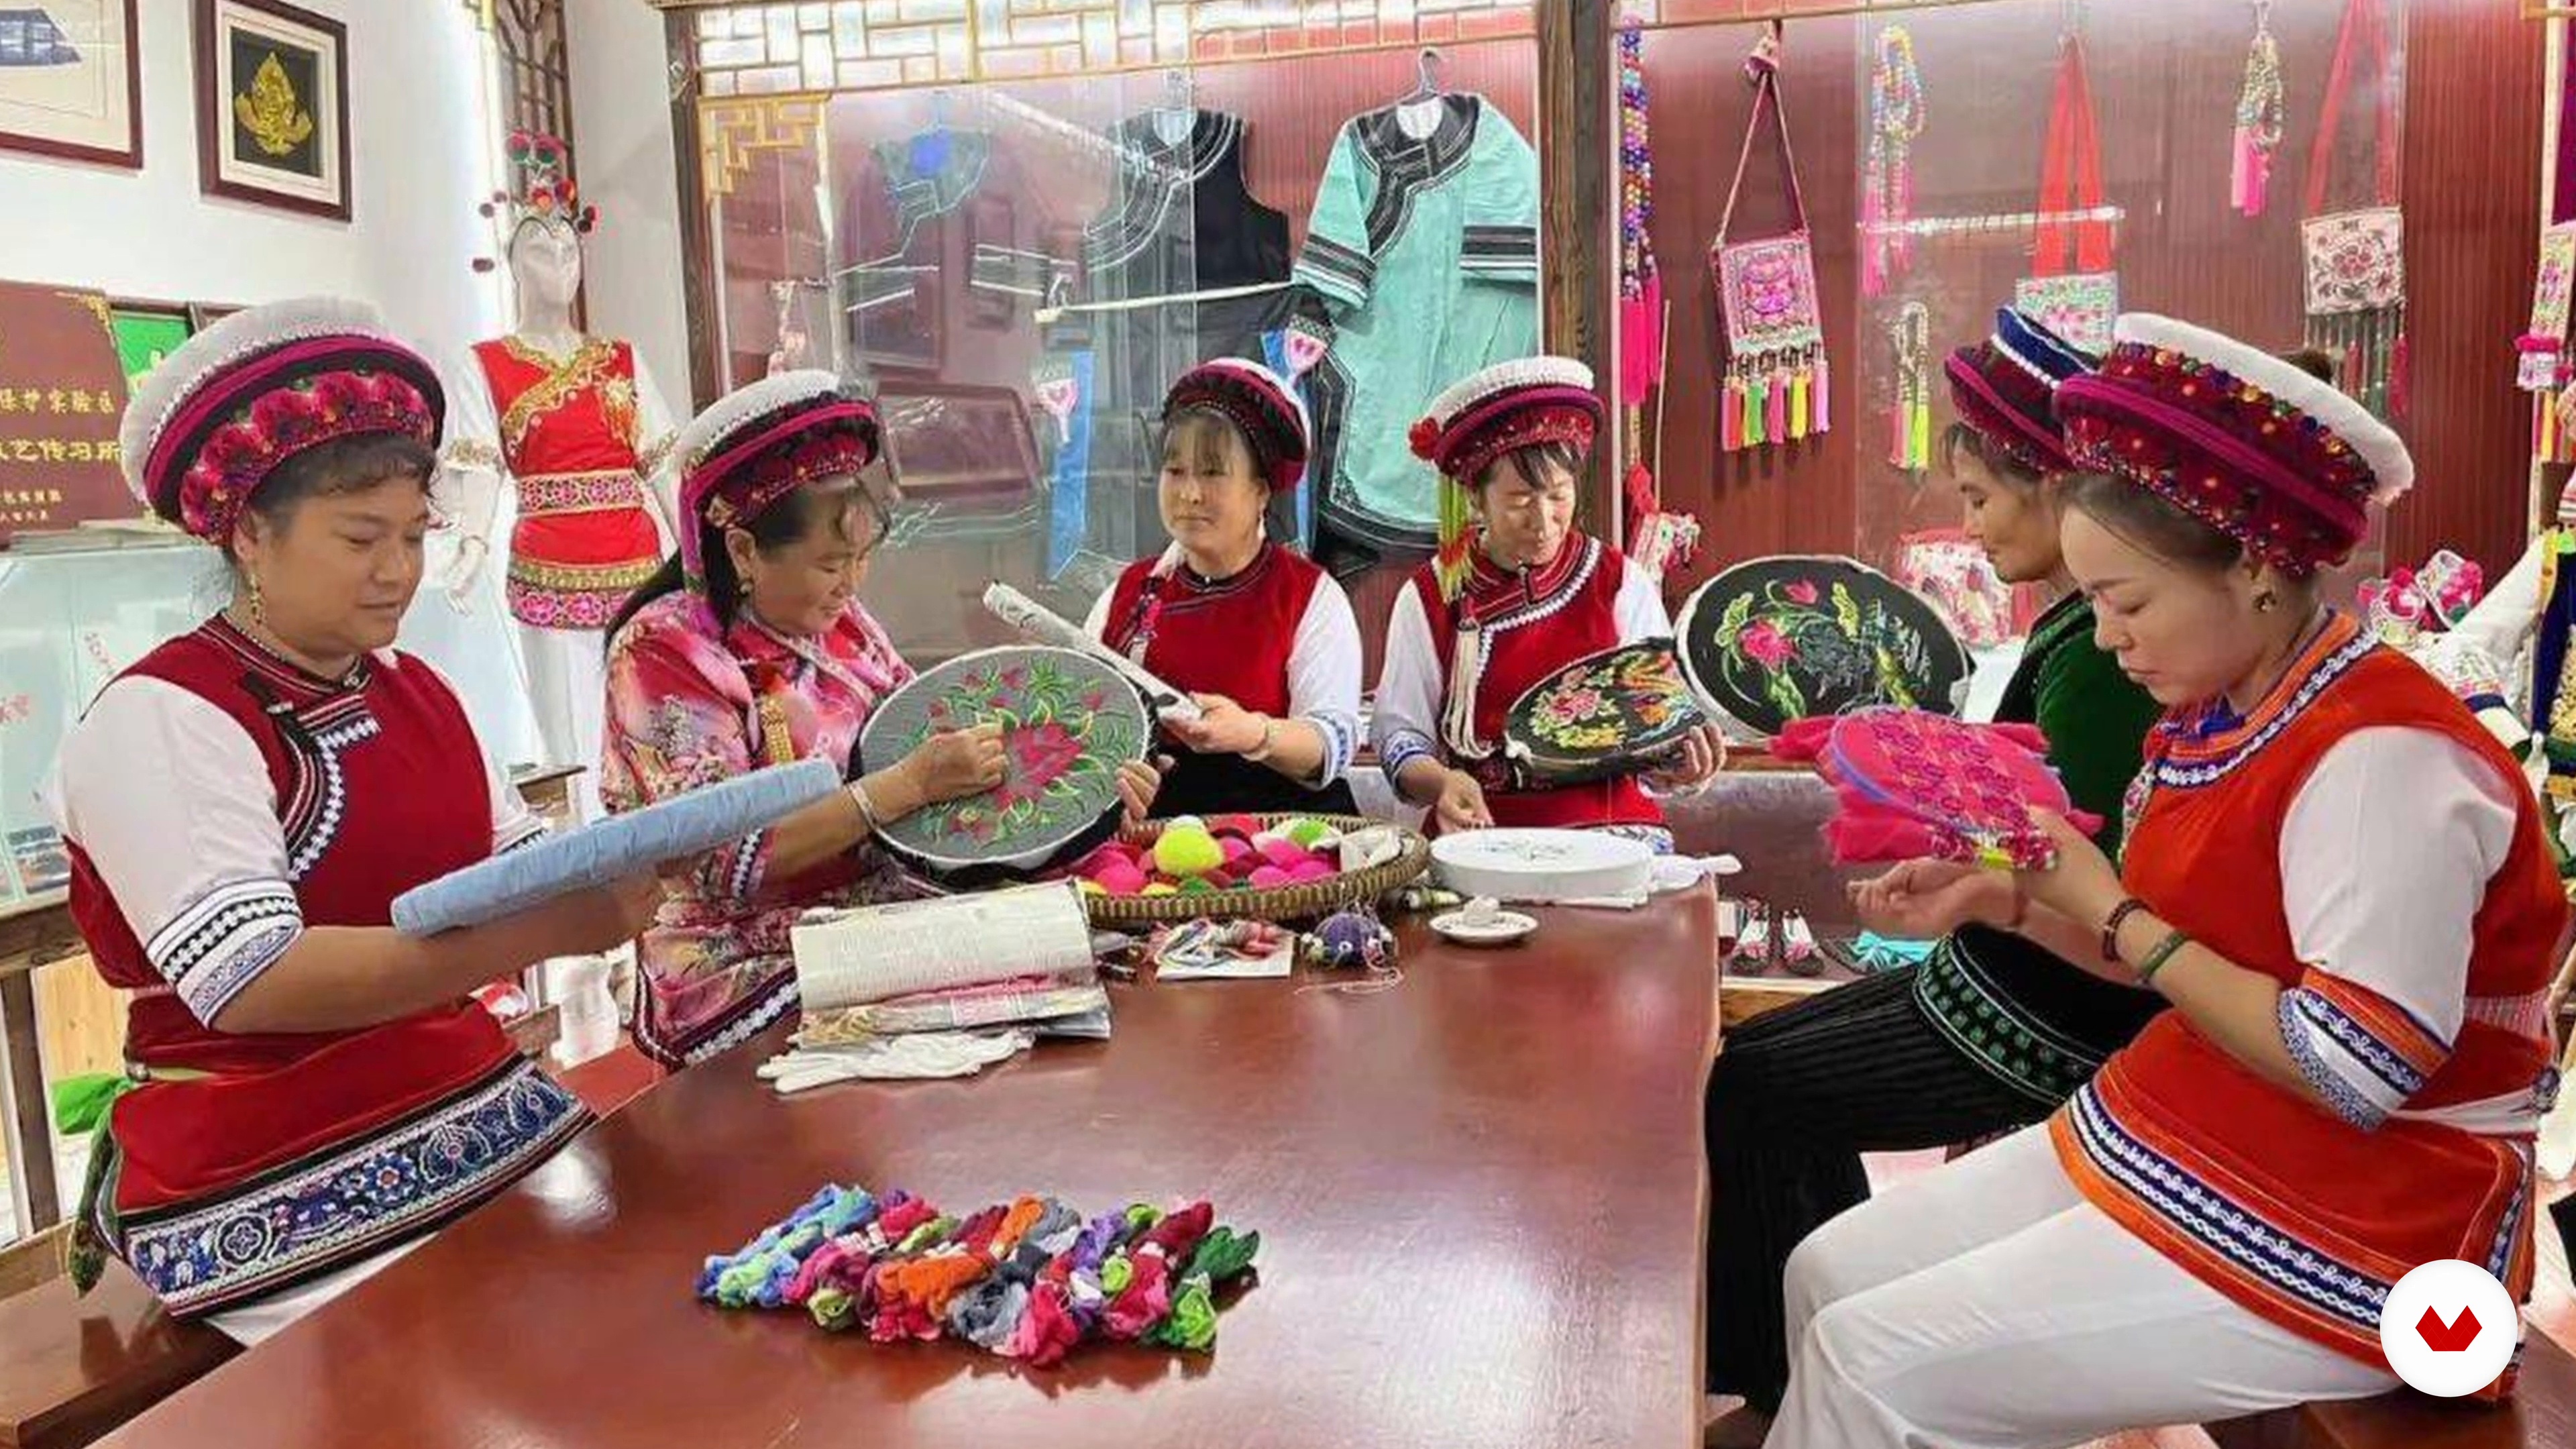
Guided by expert textile artists Adeline Wang, Micah Clasper-Torch, Sara Luna, Youmeng Liu, and Rose Pearlman, you'll develop skills ranging from traditional rug hooking to advanced 3D techniques. Learn to create stunning tapestries, mirrors, and custom rugs, all while honing your personal style. This specialization not only teaches you the technical aspects but also inspires you to push the boundaries of punch needle art. Embrace the opportunity to transform ordinary threads into extraordinary masterpieces, and discover a fulfilling new hobby or even a potential career path in textile design.
What will you learn in this specialization?


- 100% positive reviews (14)
- 1,076 students
- 71 lessons (10h 33m)
- 84 additional resources (31 files)
- Online and at your own pace
- Audio: English, Spanish
- English · Spanish · Portuguese · German · French · Italian · Polish · Dutch · Turkish · Romanian · Indonesian
- Level: Beginner
- Unlimited access forever
What is this course's project?
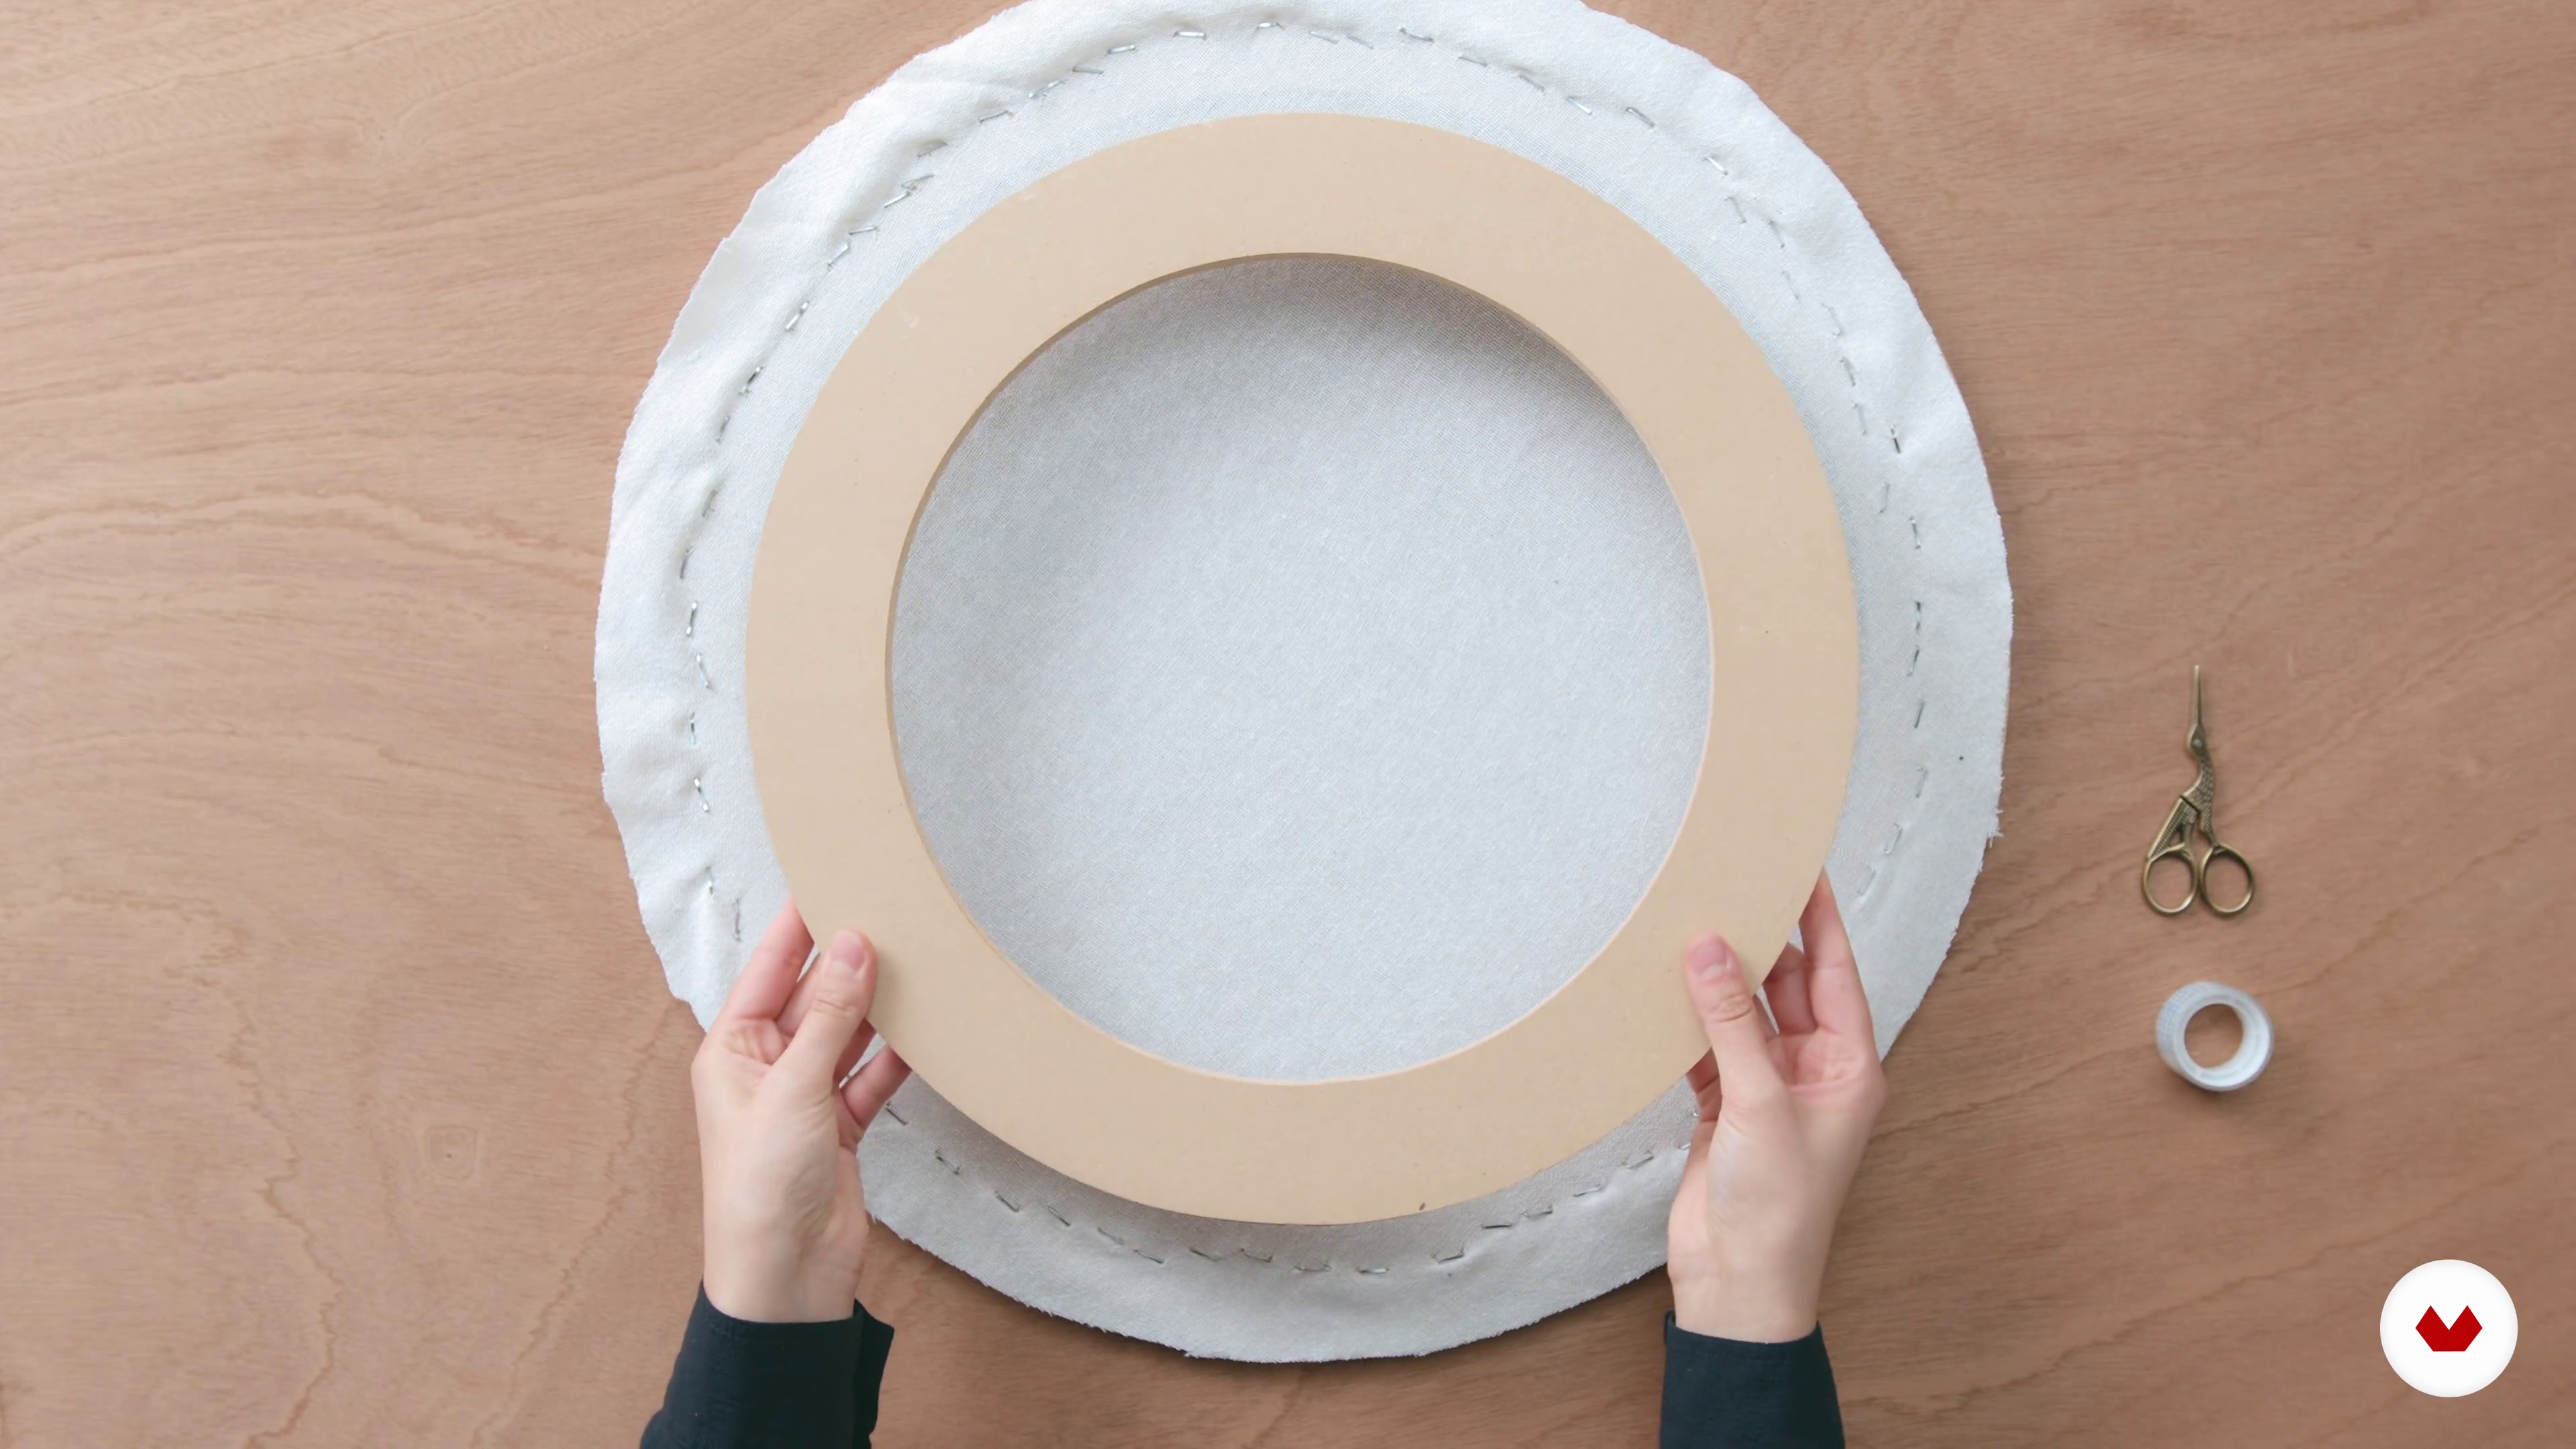
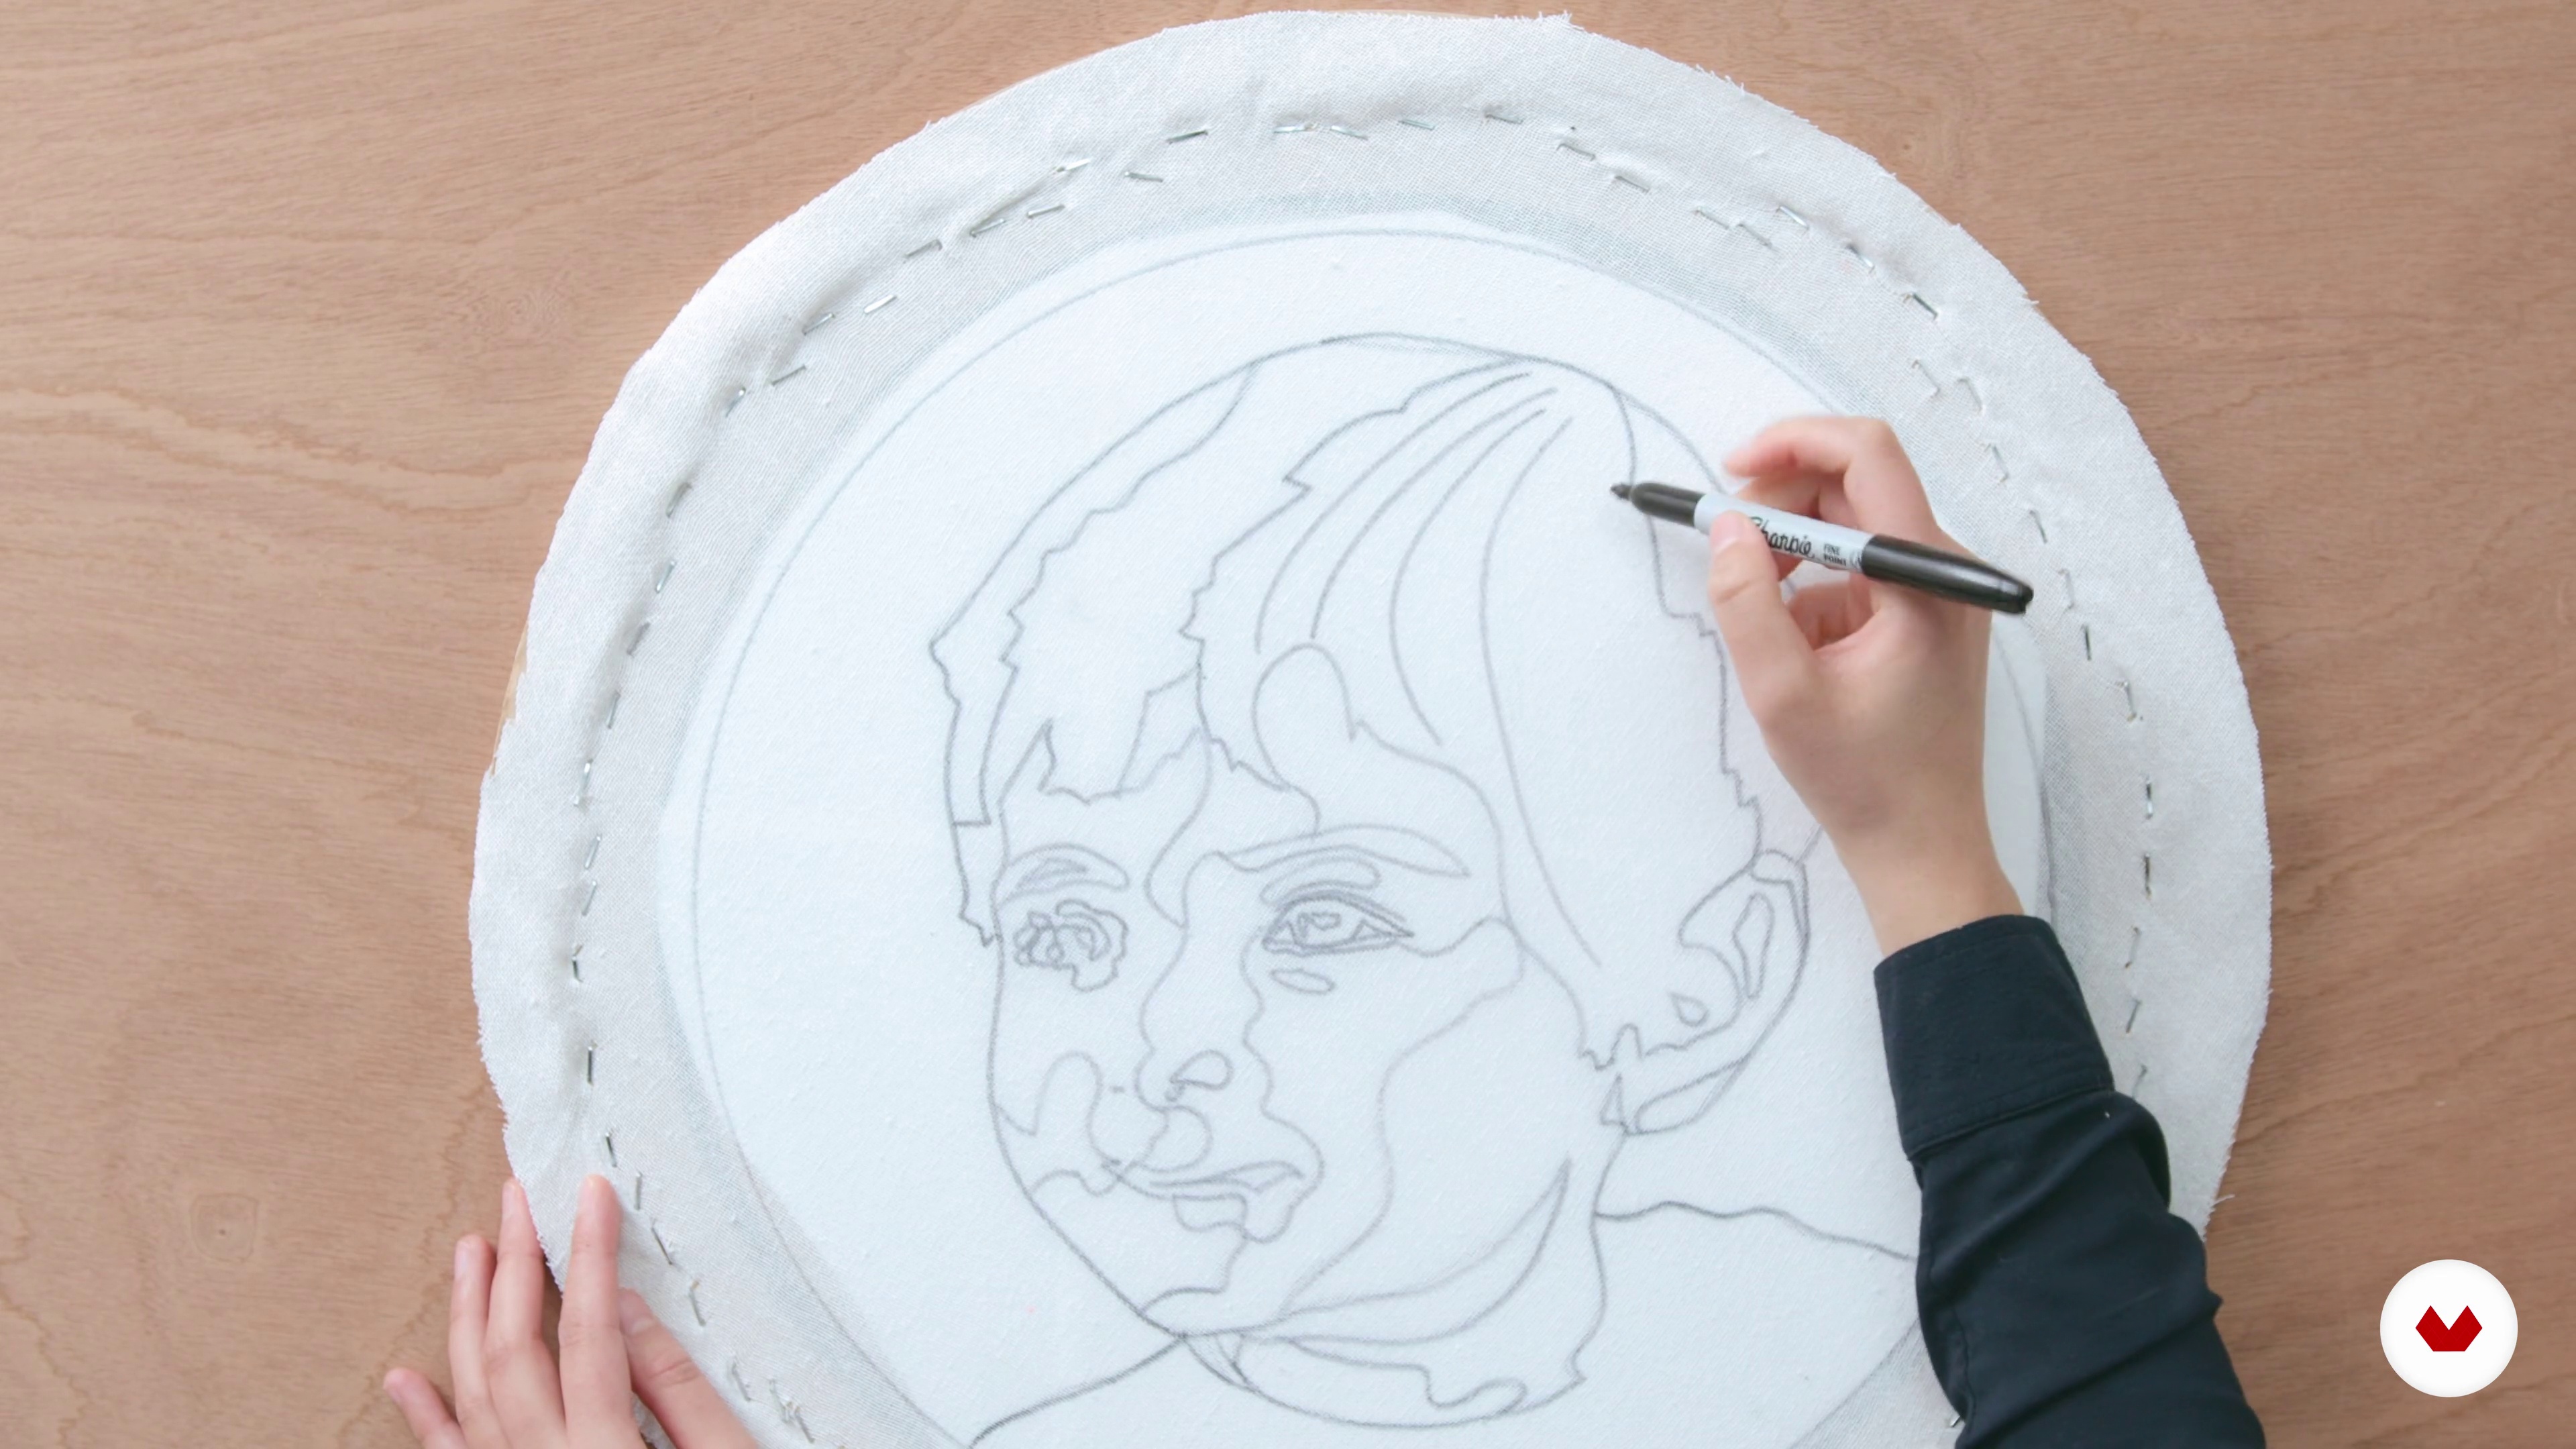
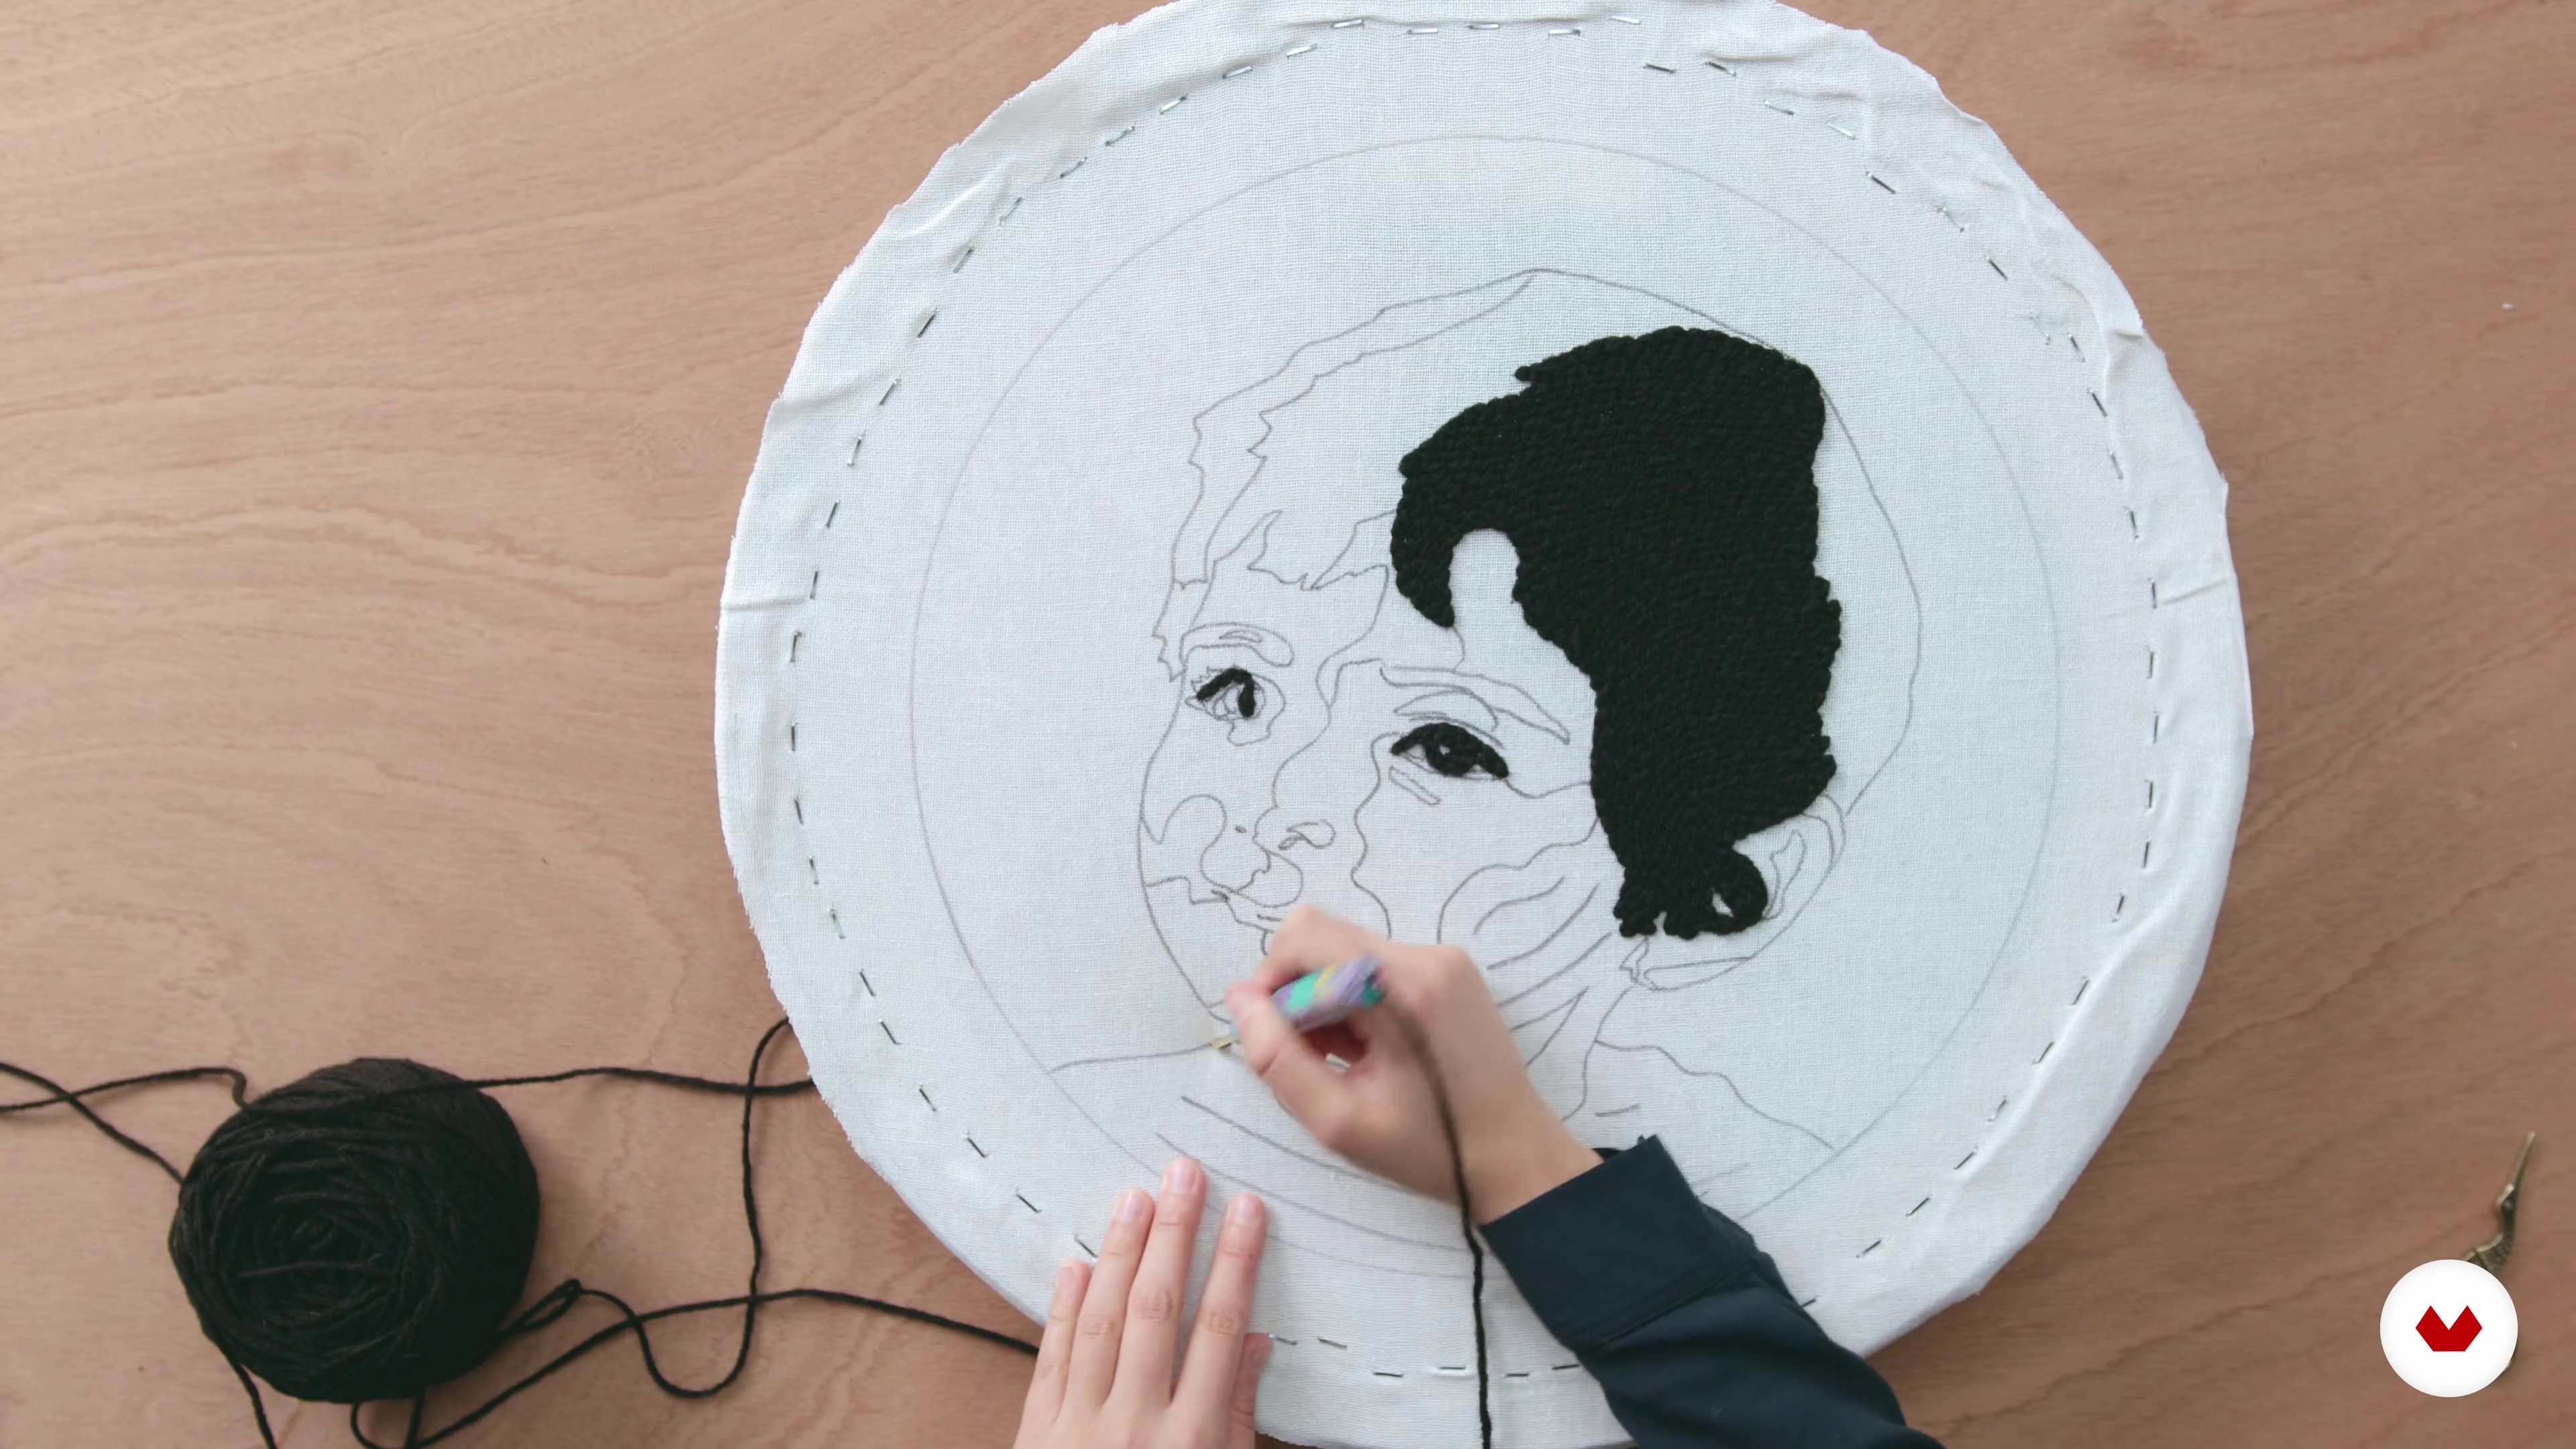
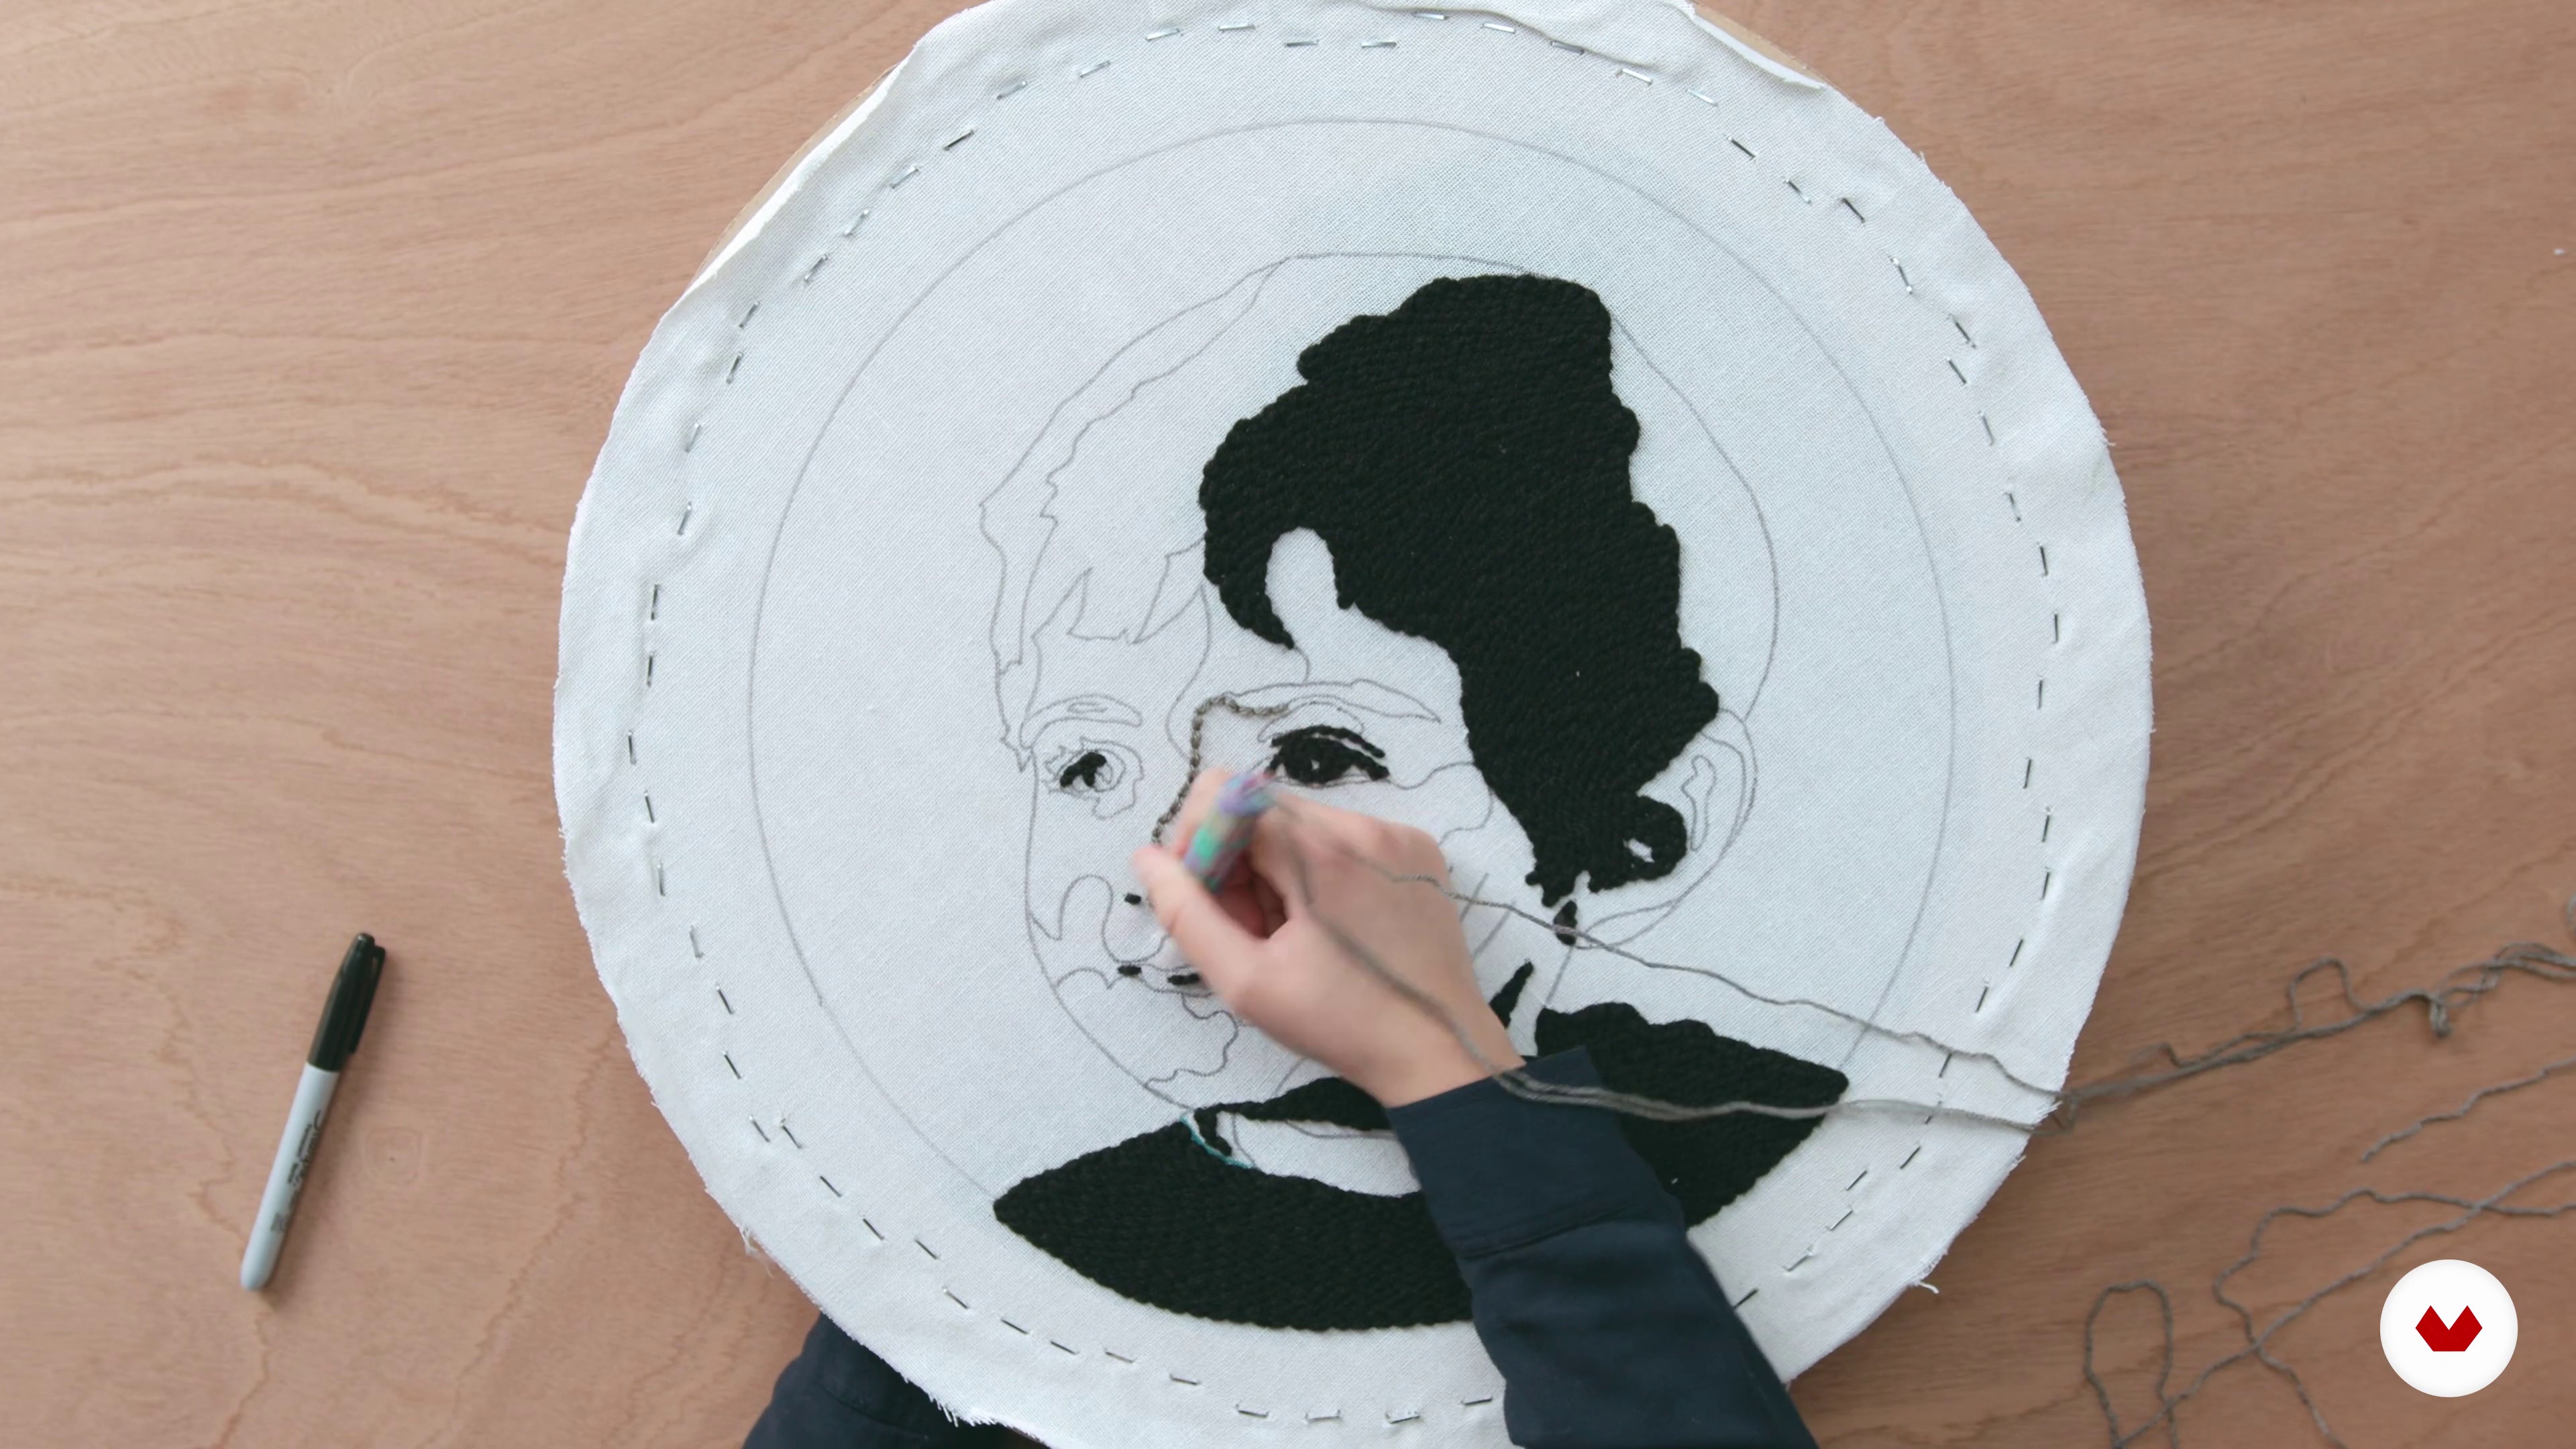
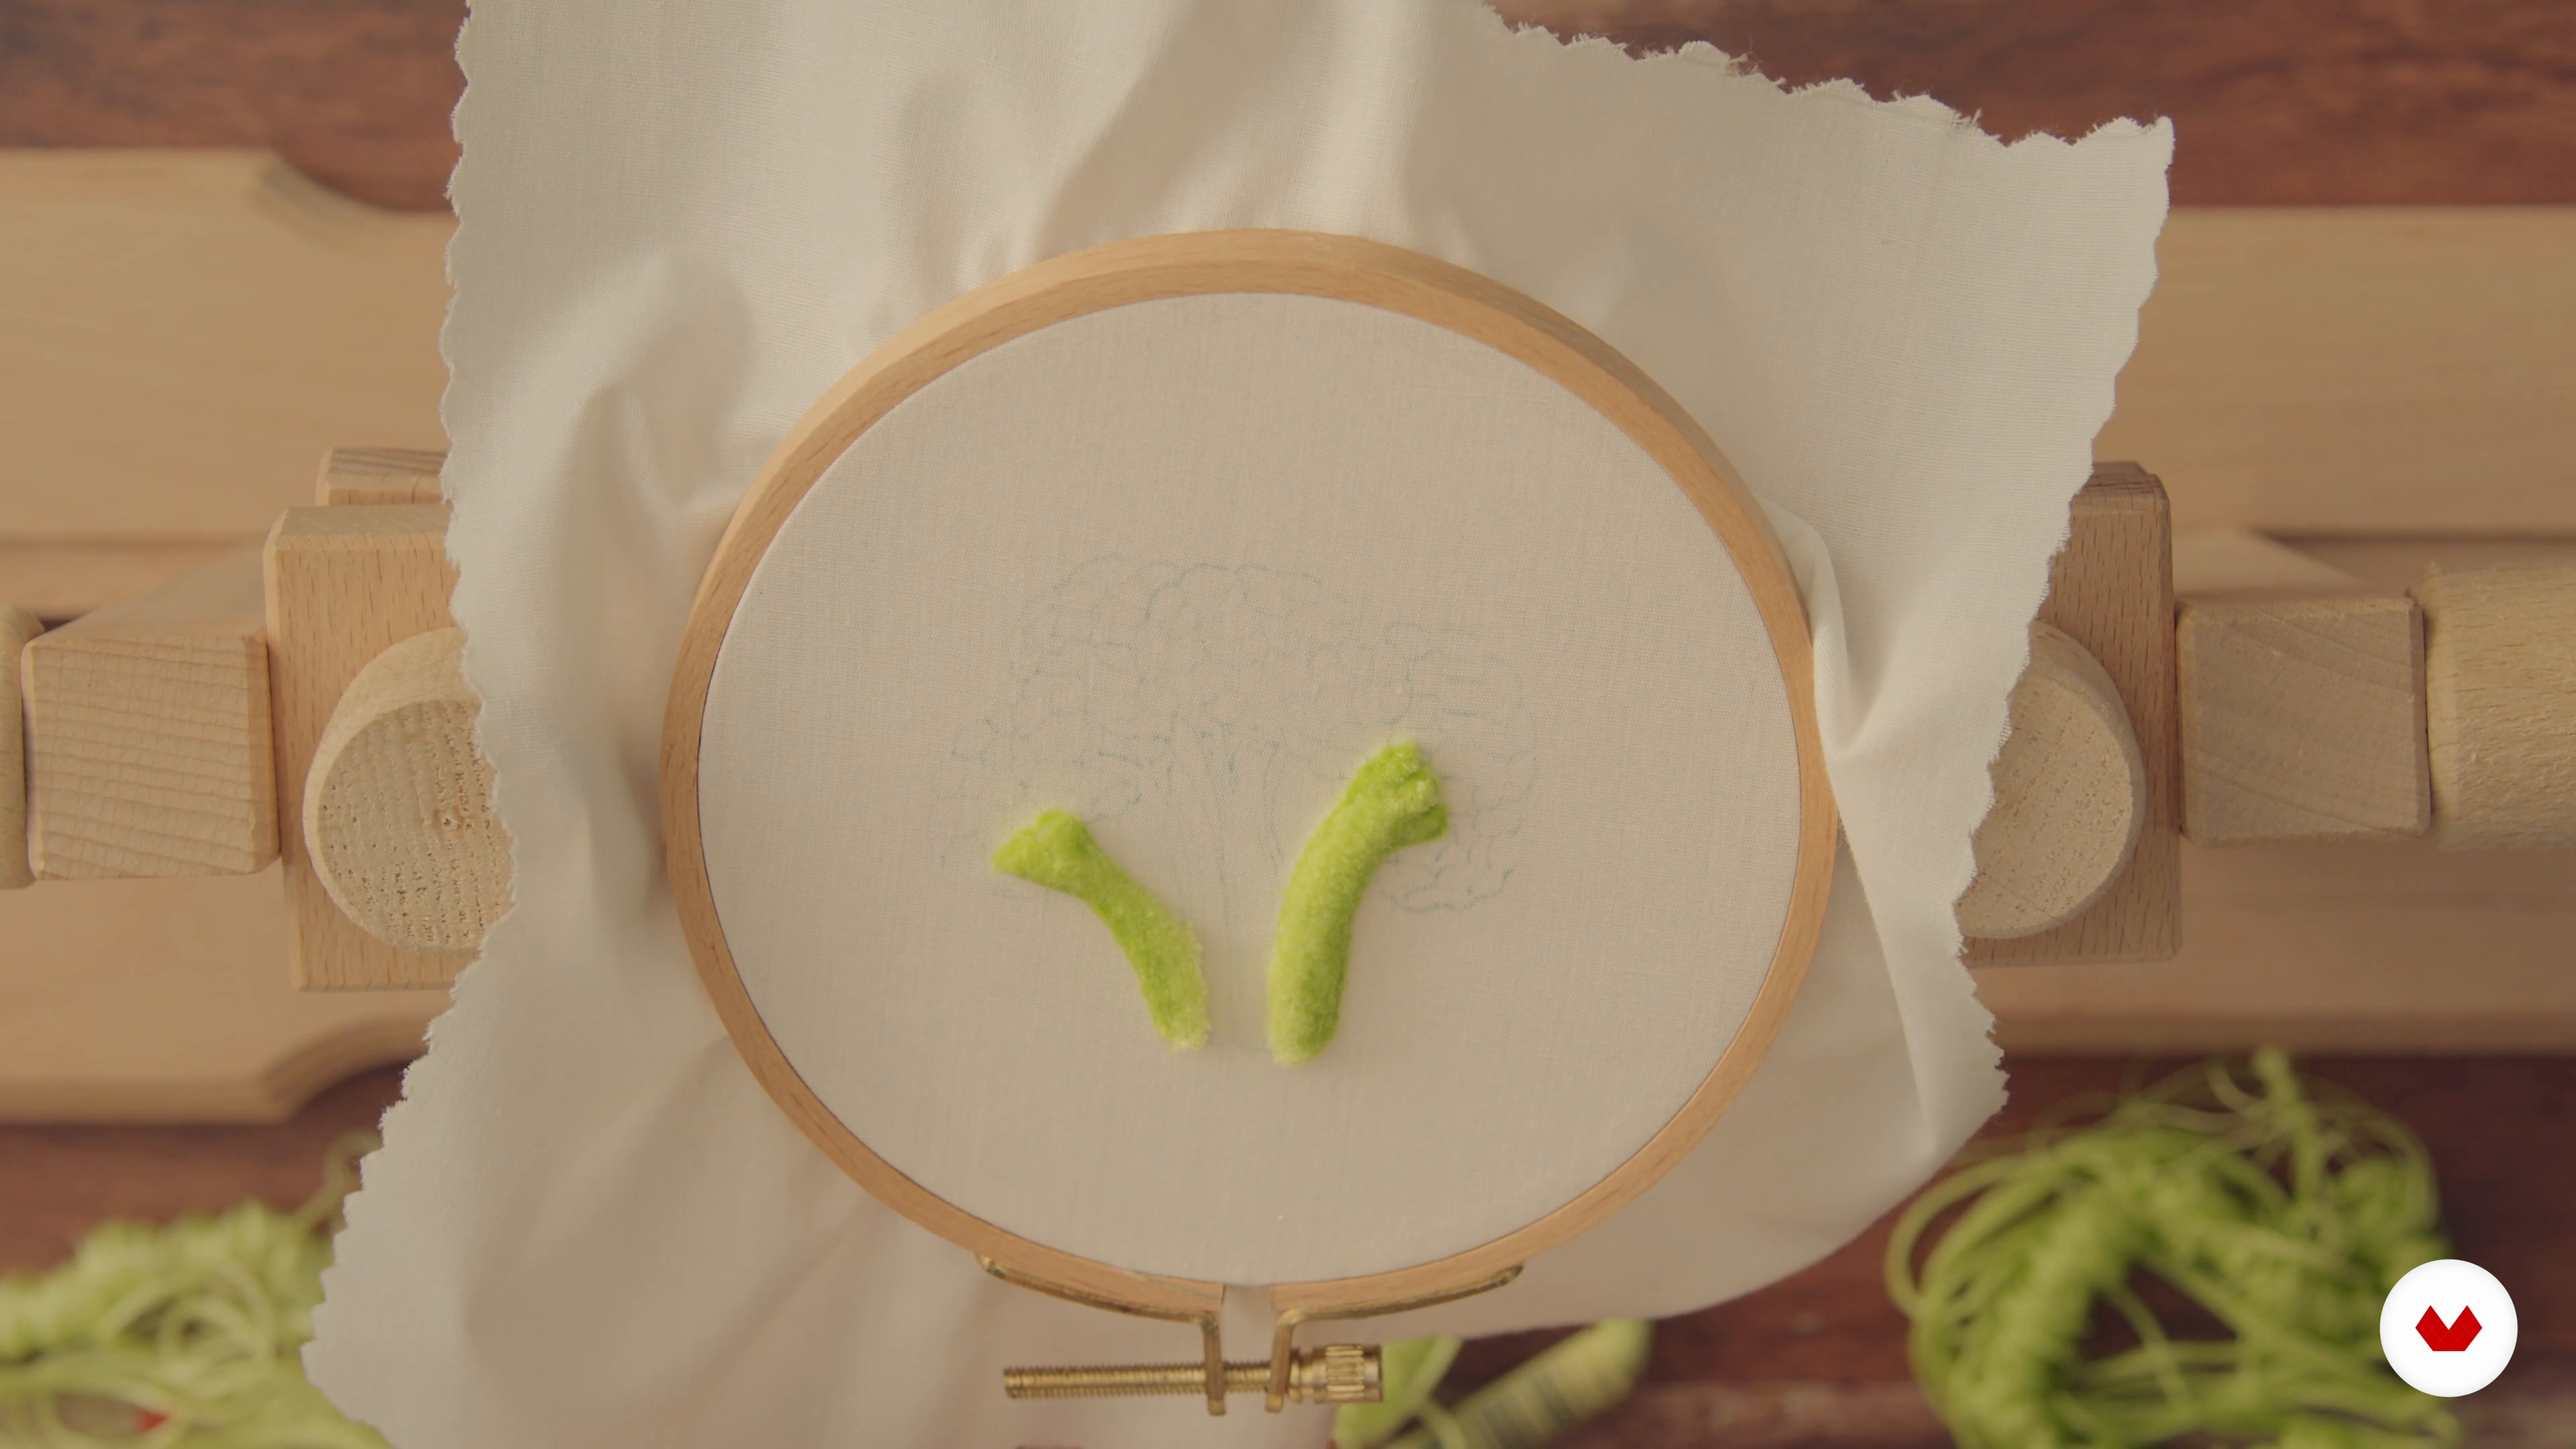
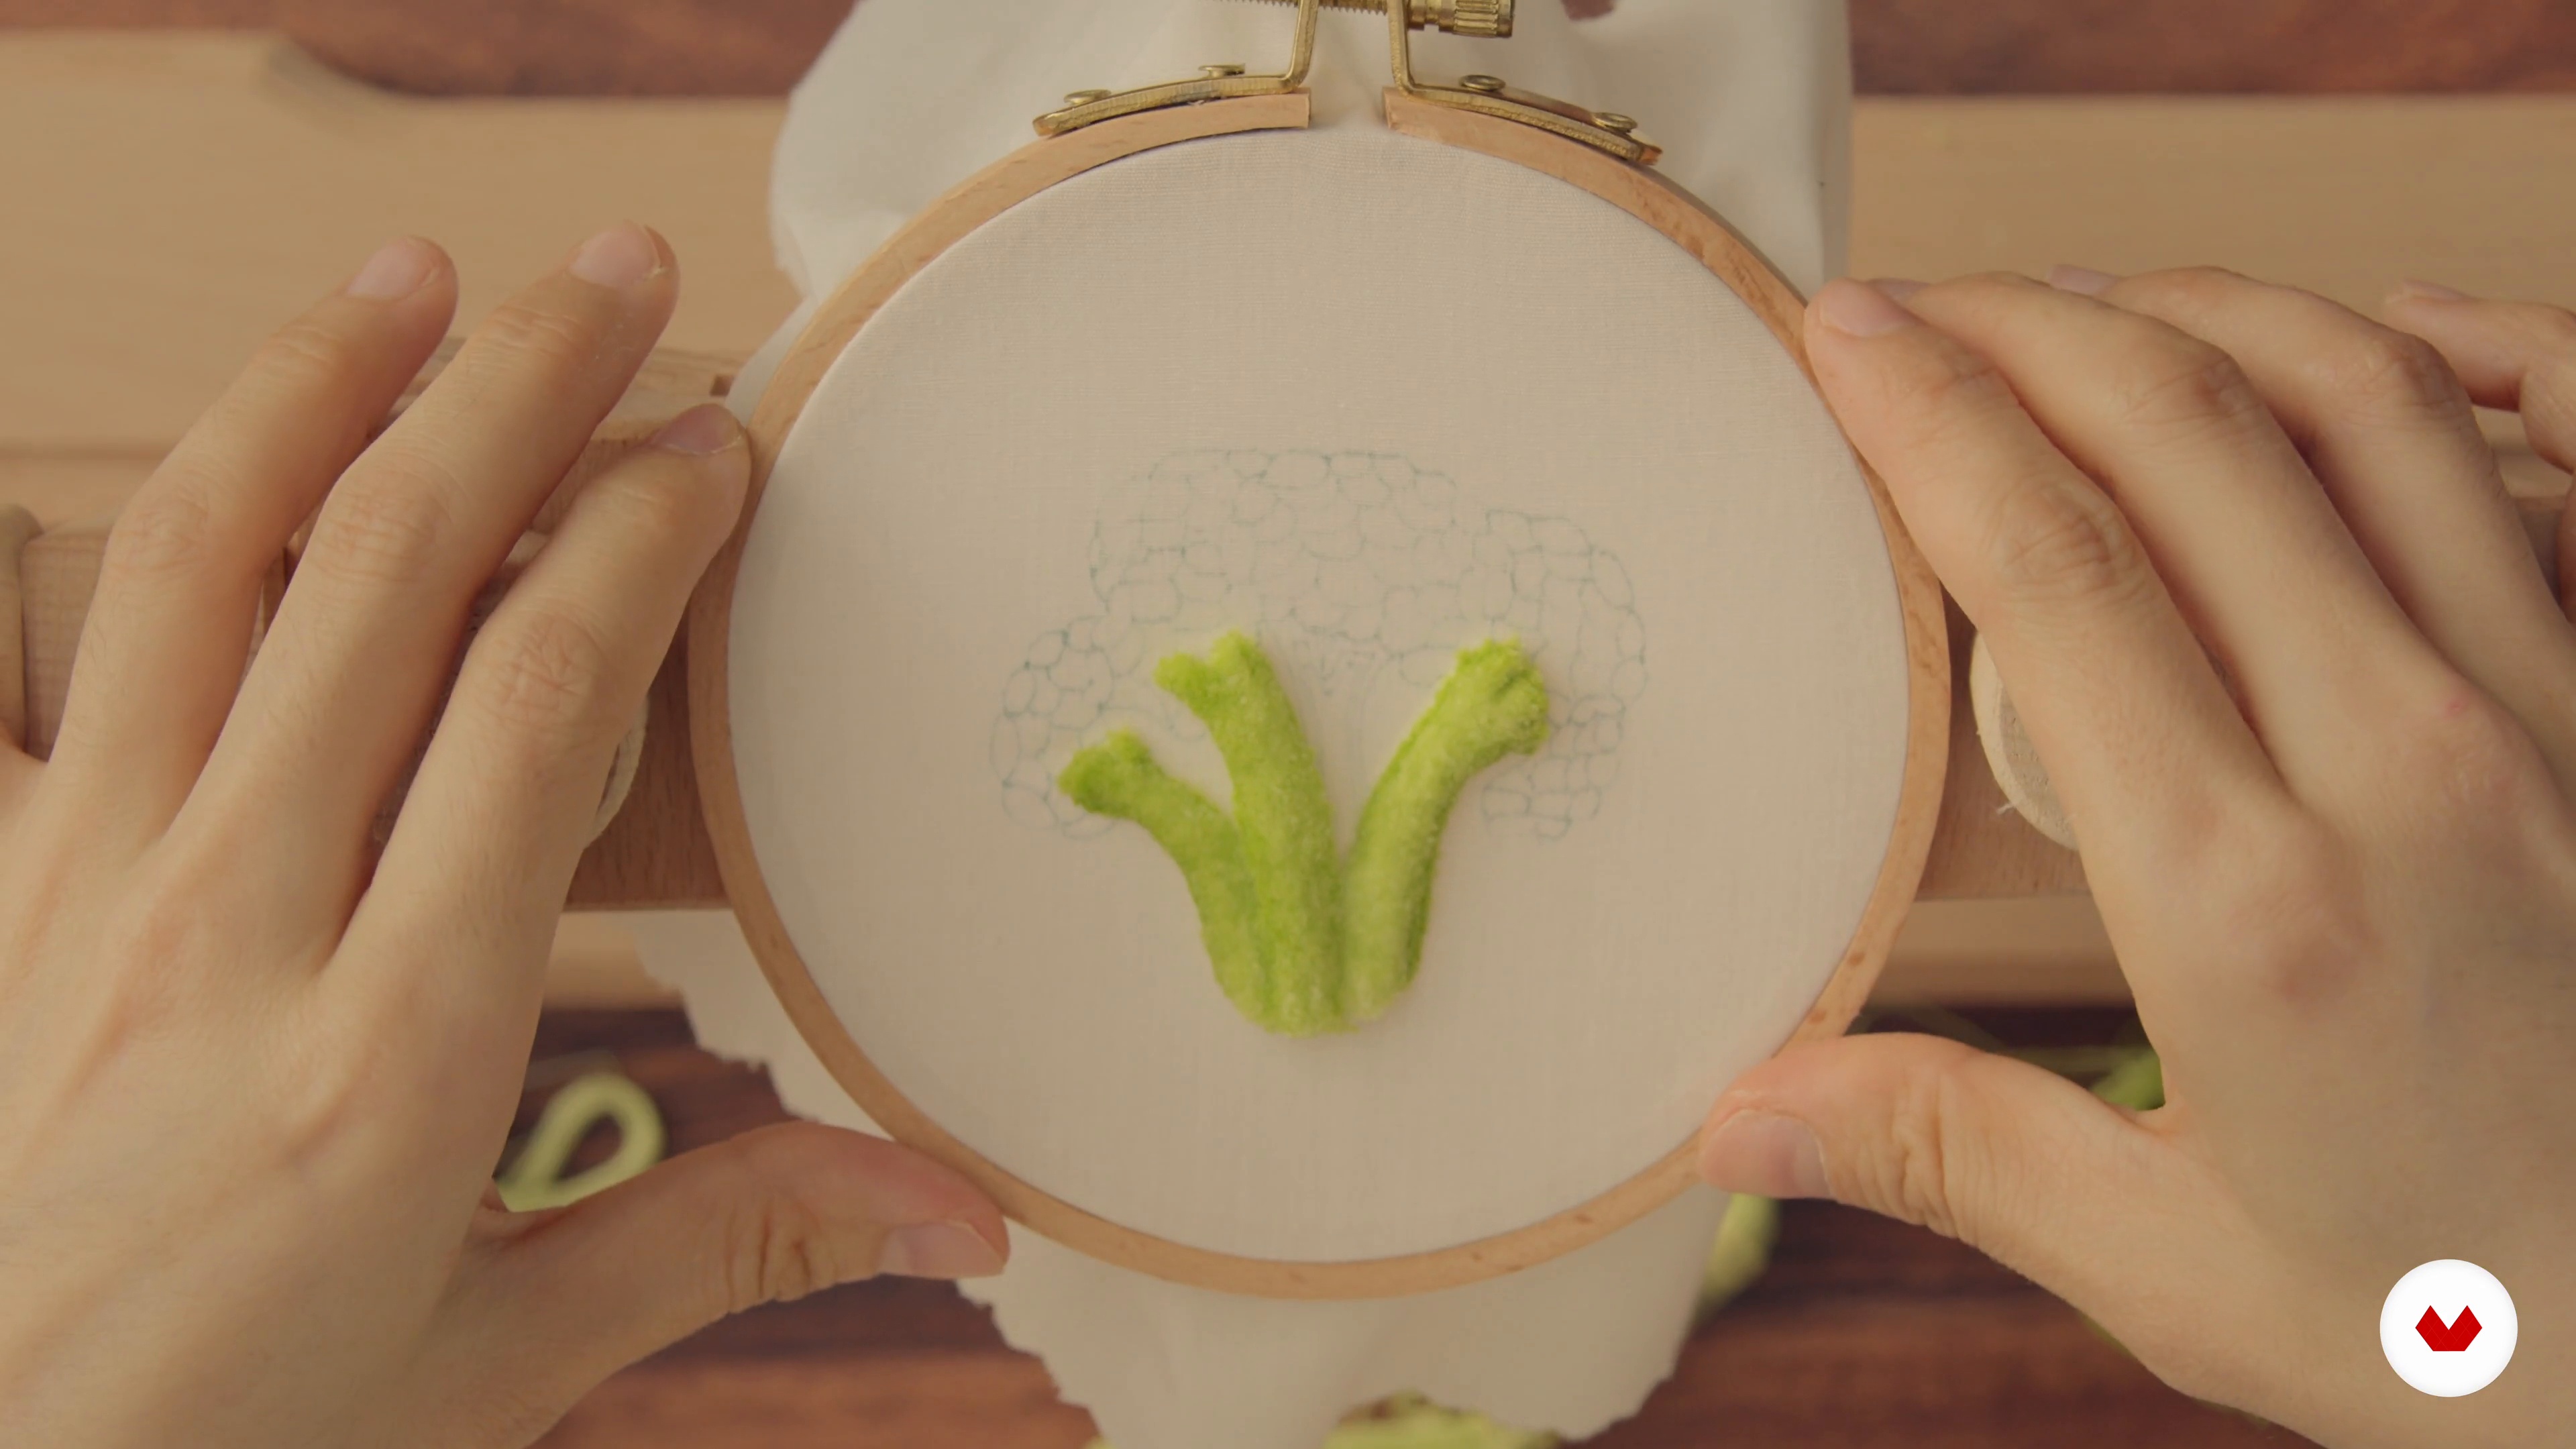
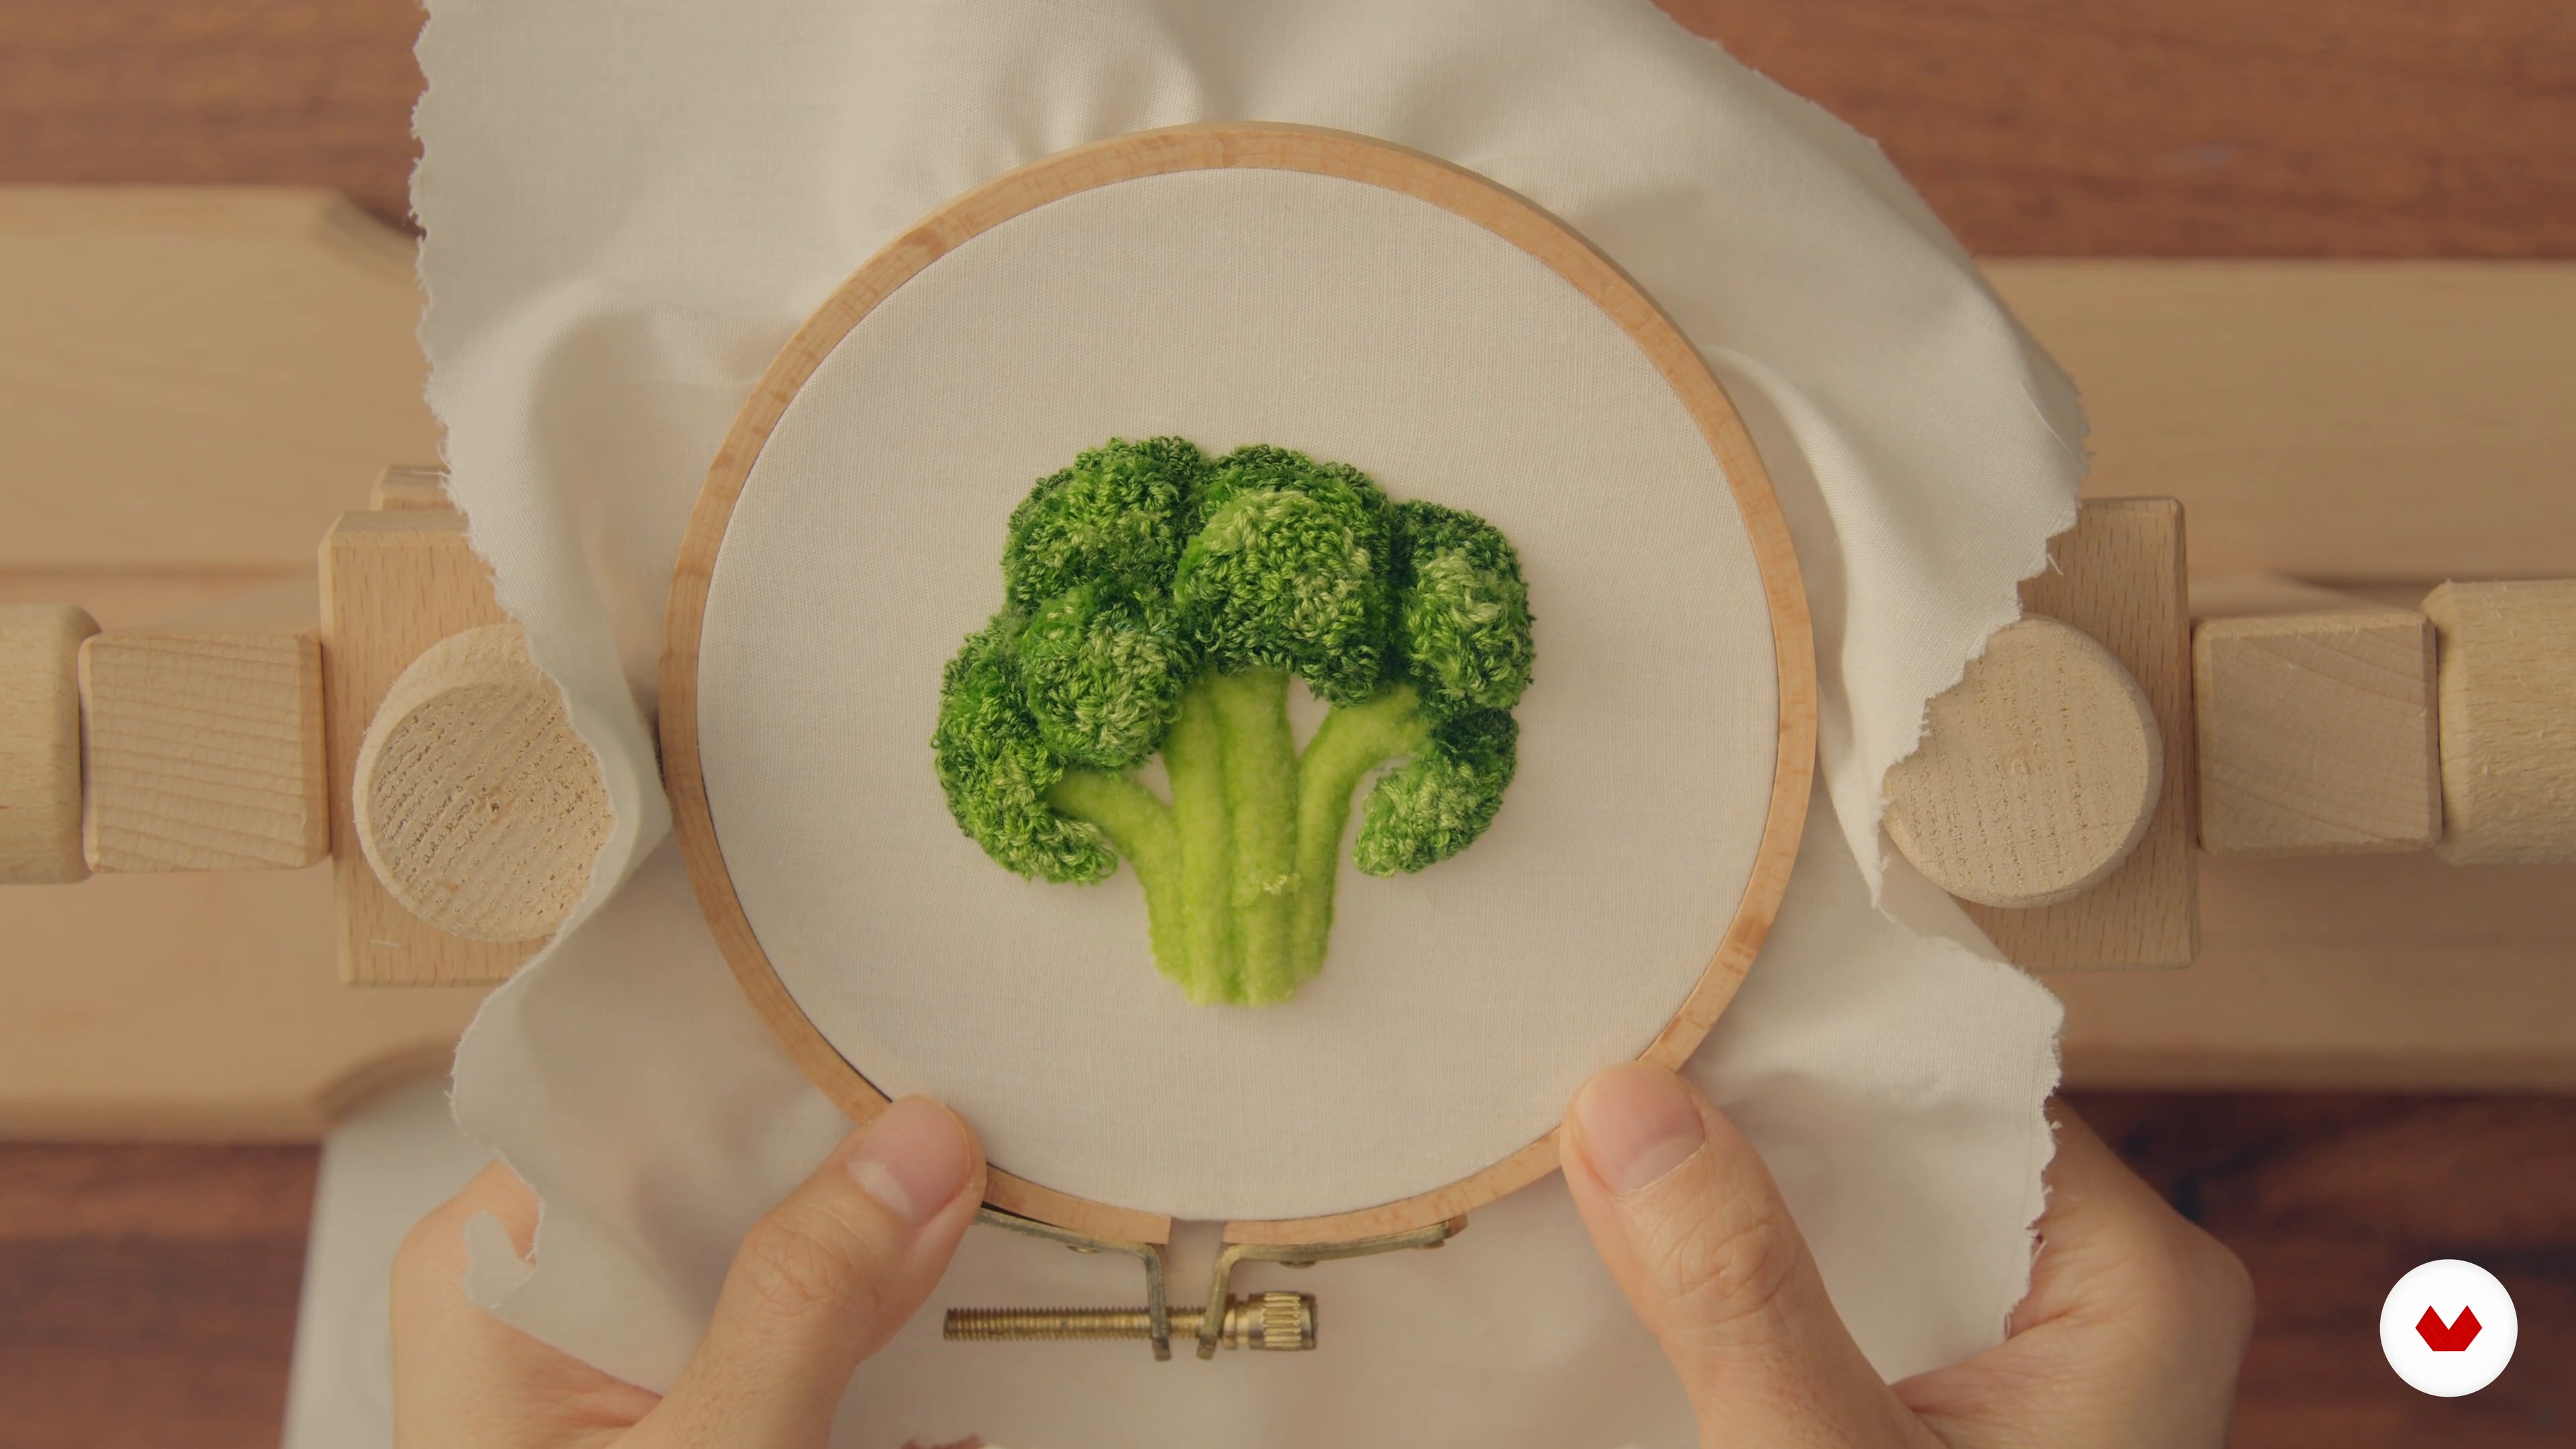
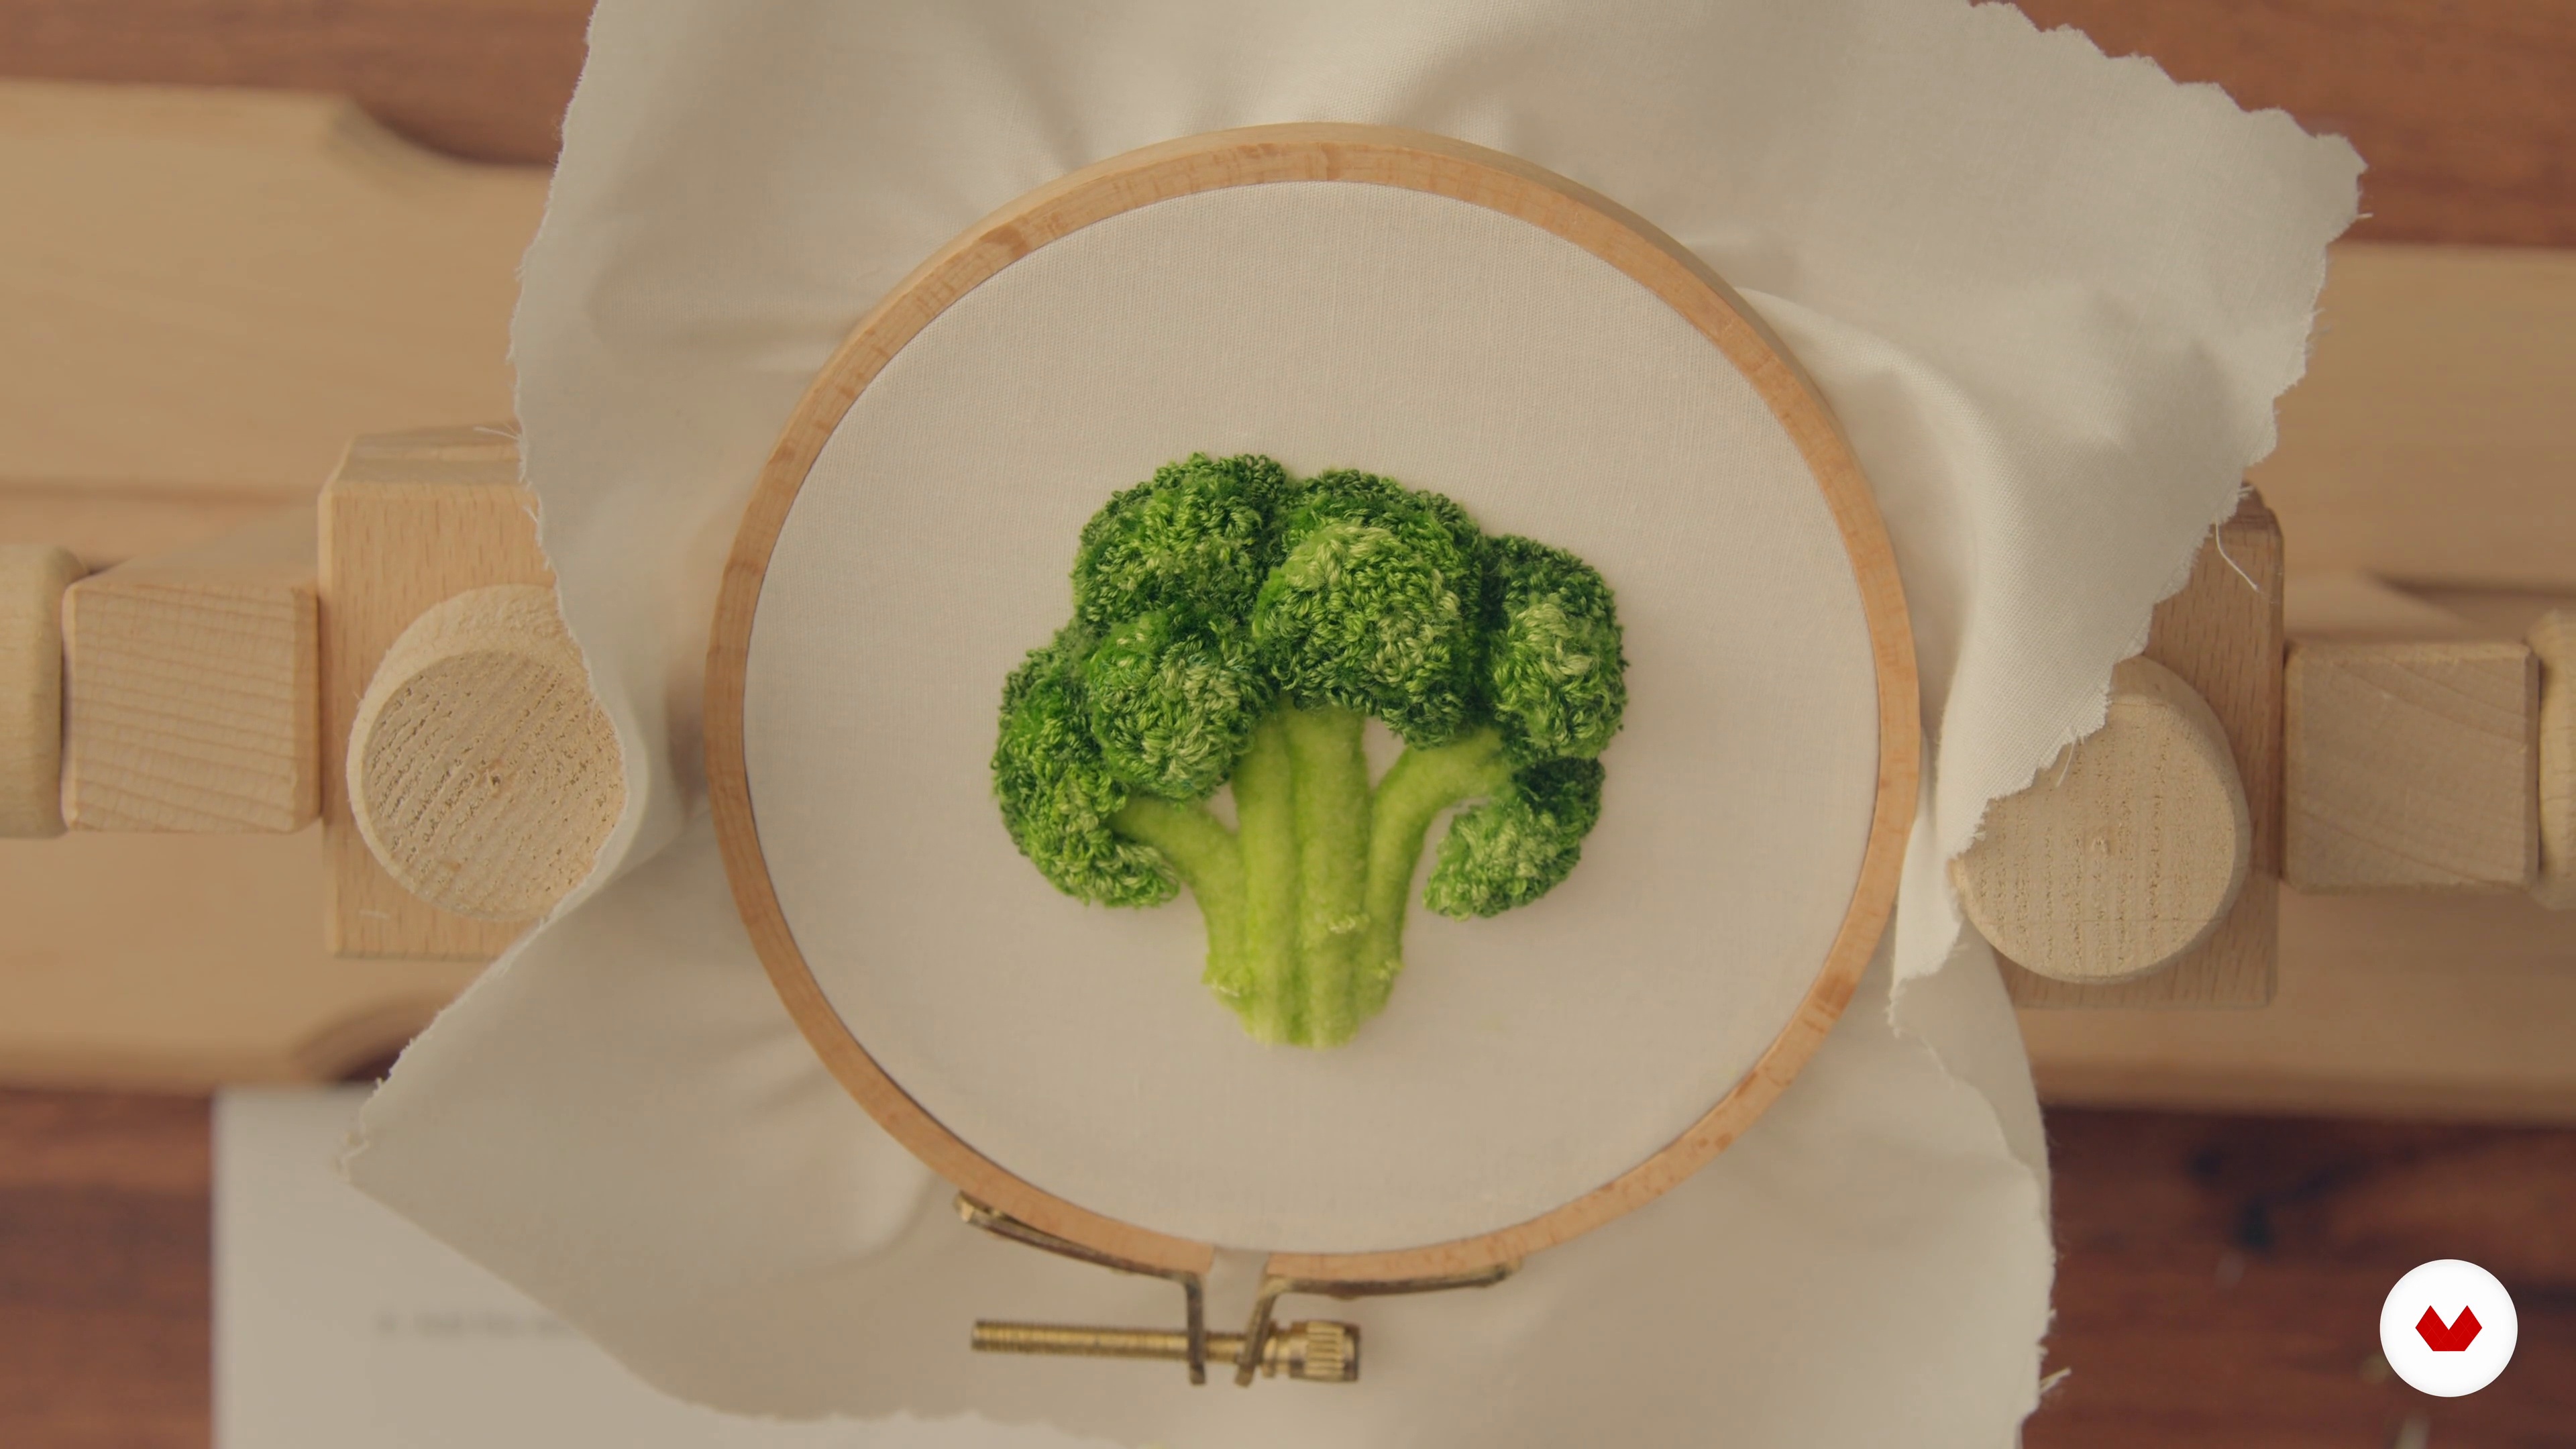
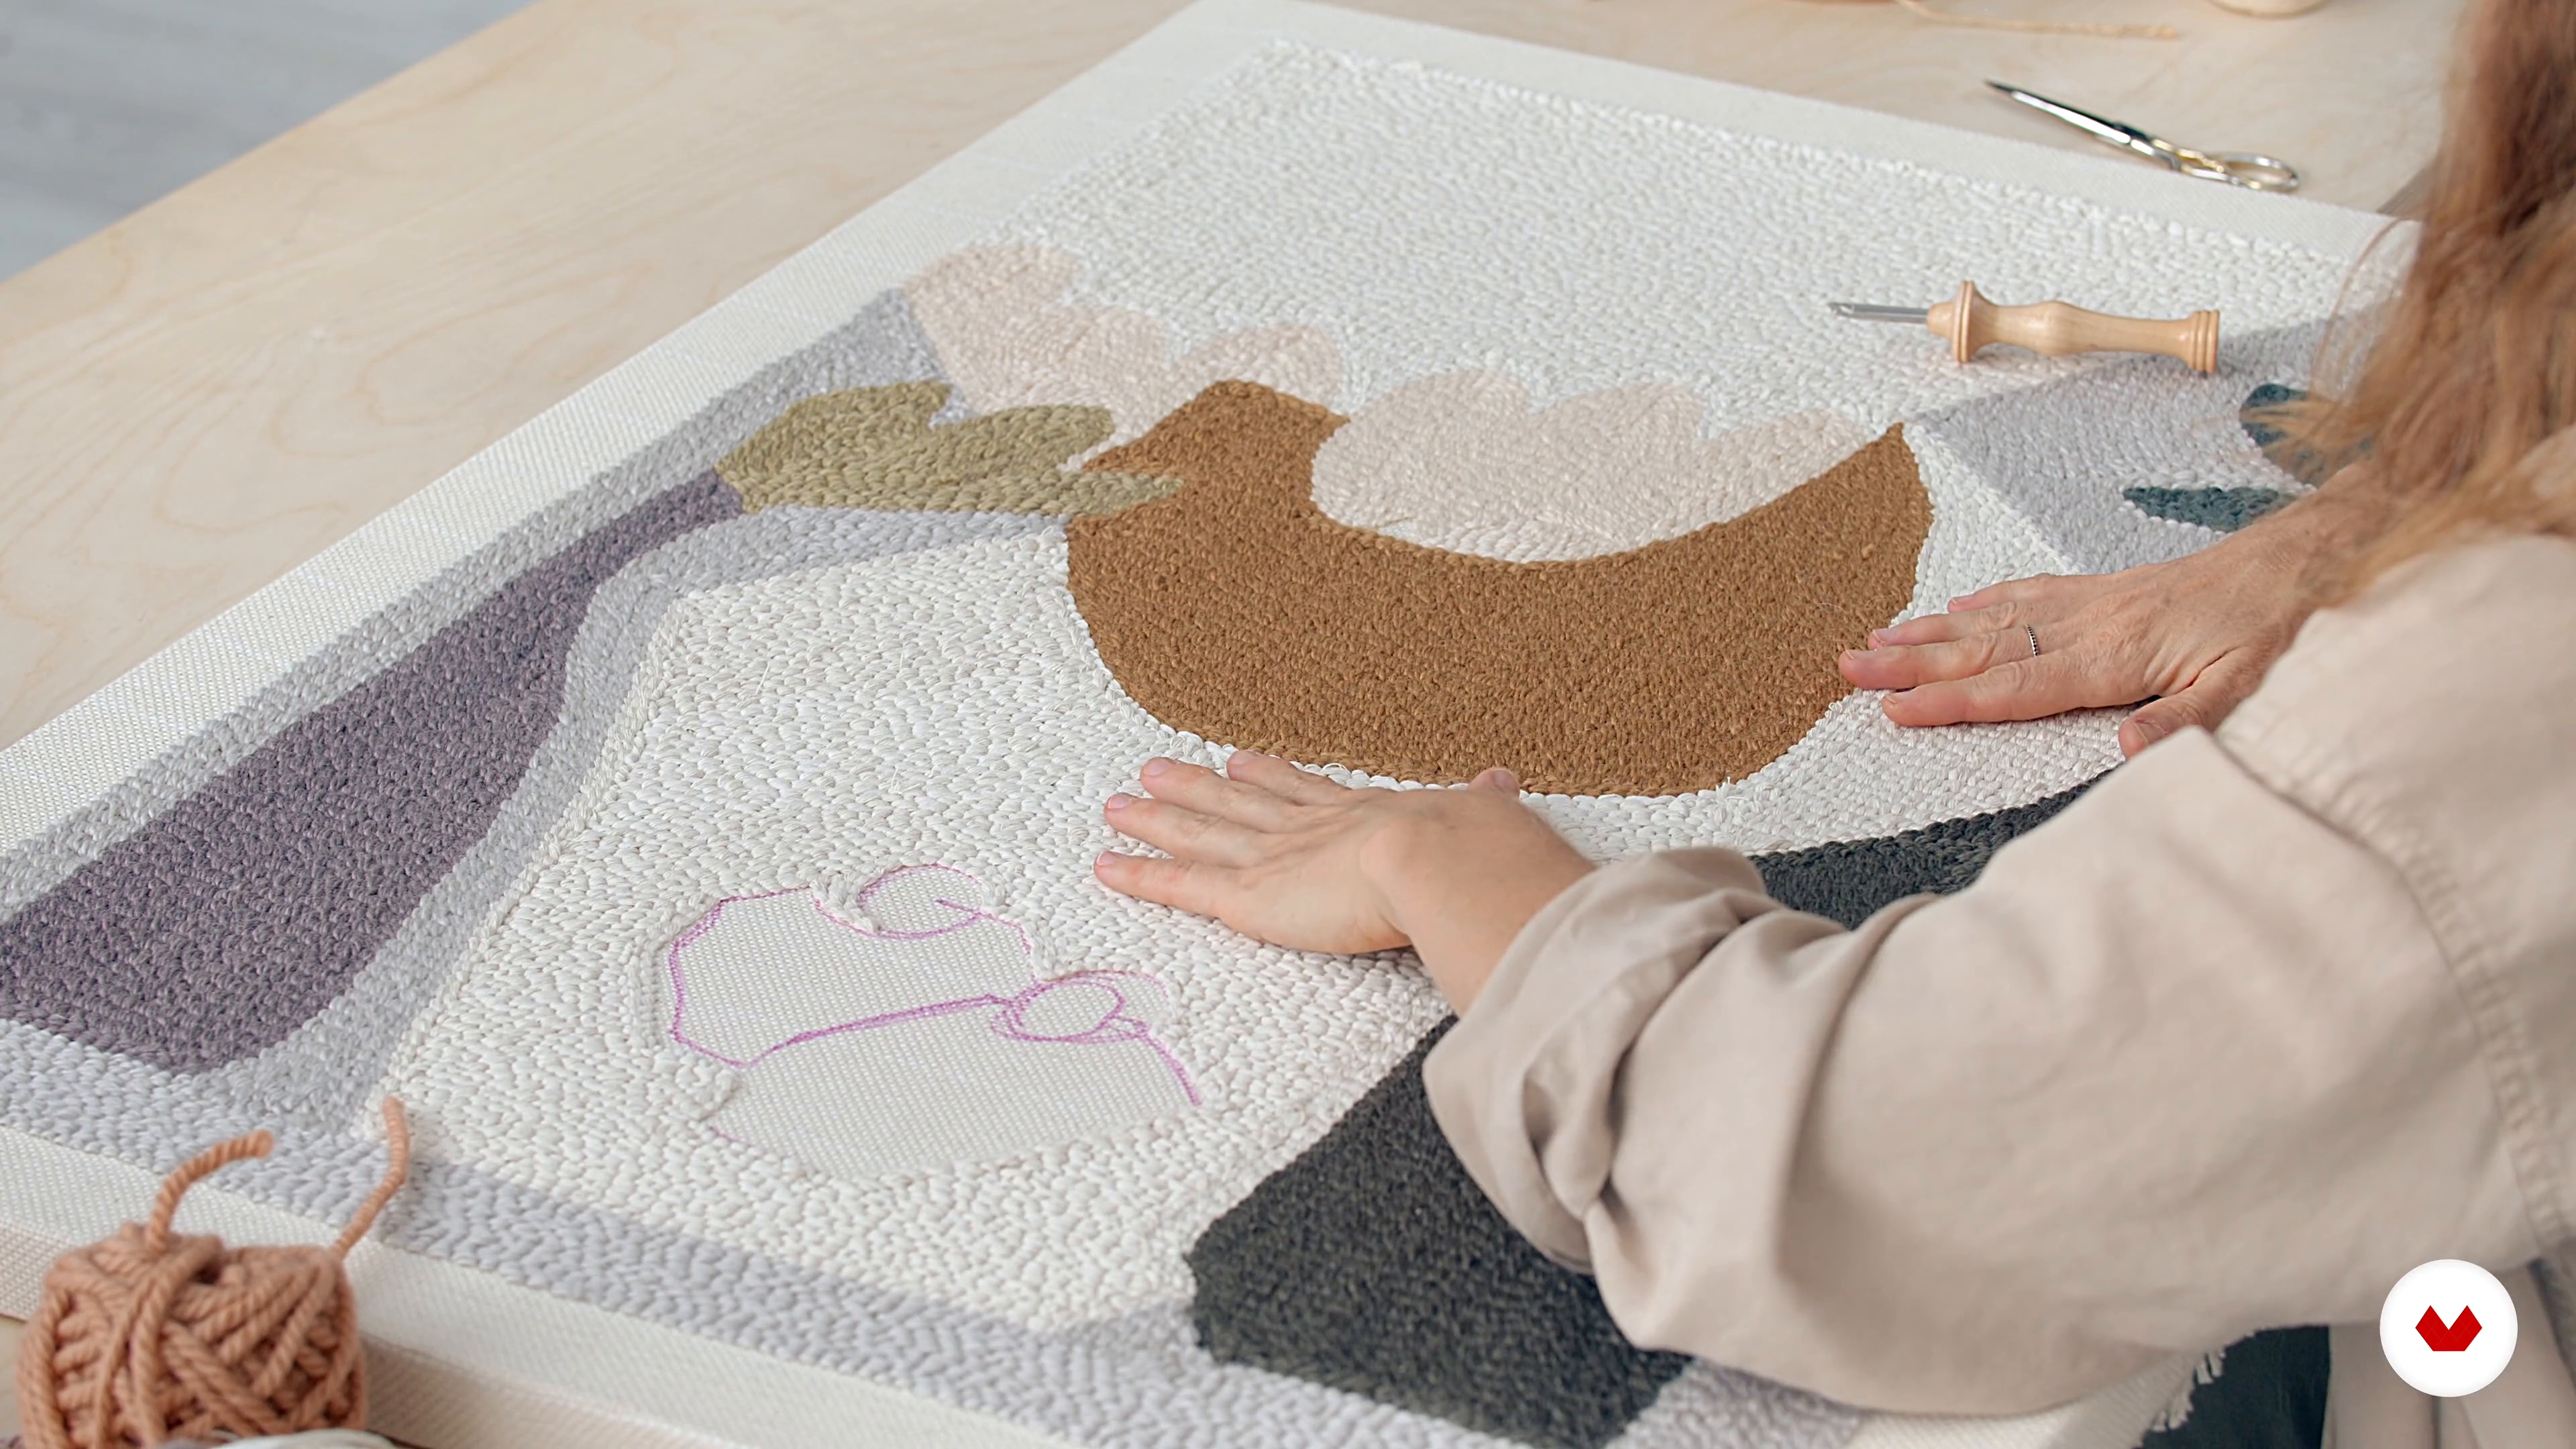
Design and create a personalized decorative piece for your home by mastering punch needle techniques. Craft unique tapestries and decorative mirrors that bring a modern flair to traditional craftsmanship, showcasing your individual style and creativity.
Who is this specialization for?
Creative enthusiasts eager to explore punch needle techniques will find immense value, whether you're a beginner excited to craft unique home decor, accessories, or rugs, or a seasoned textile artist ready to add new dimensions and depth to your designs.
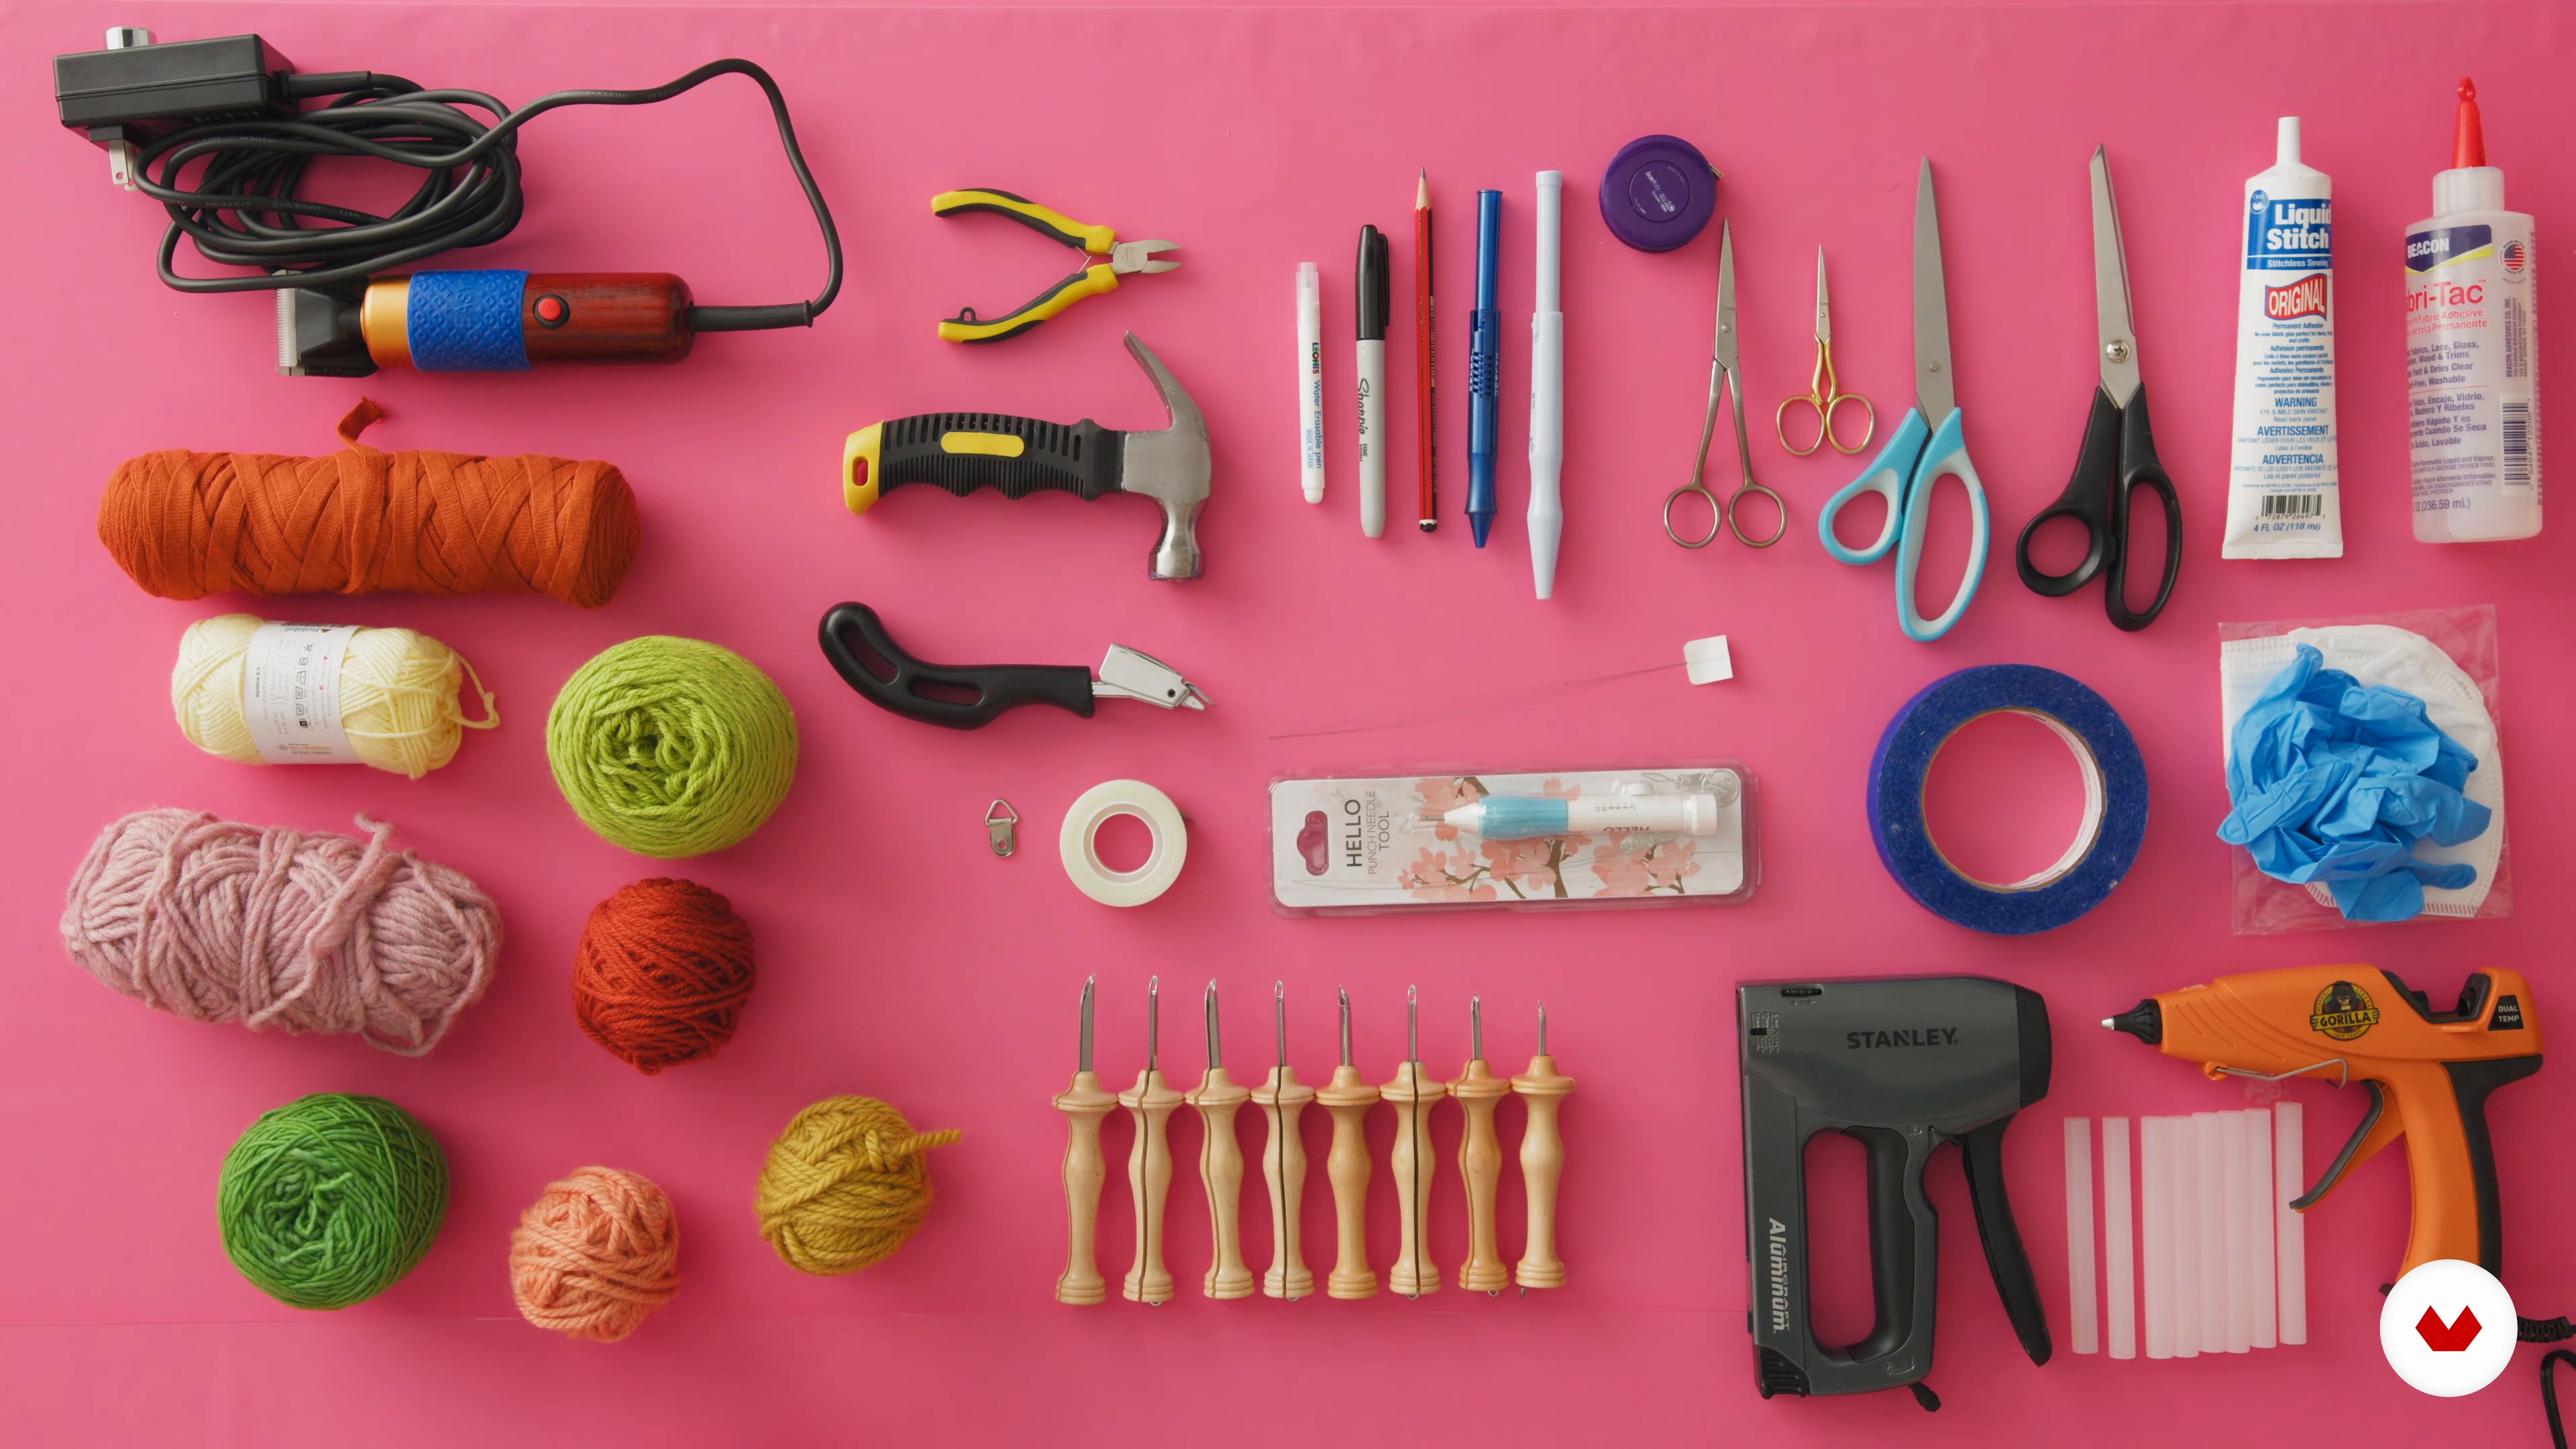
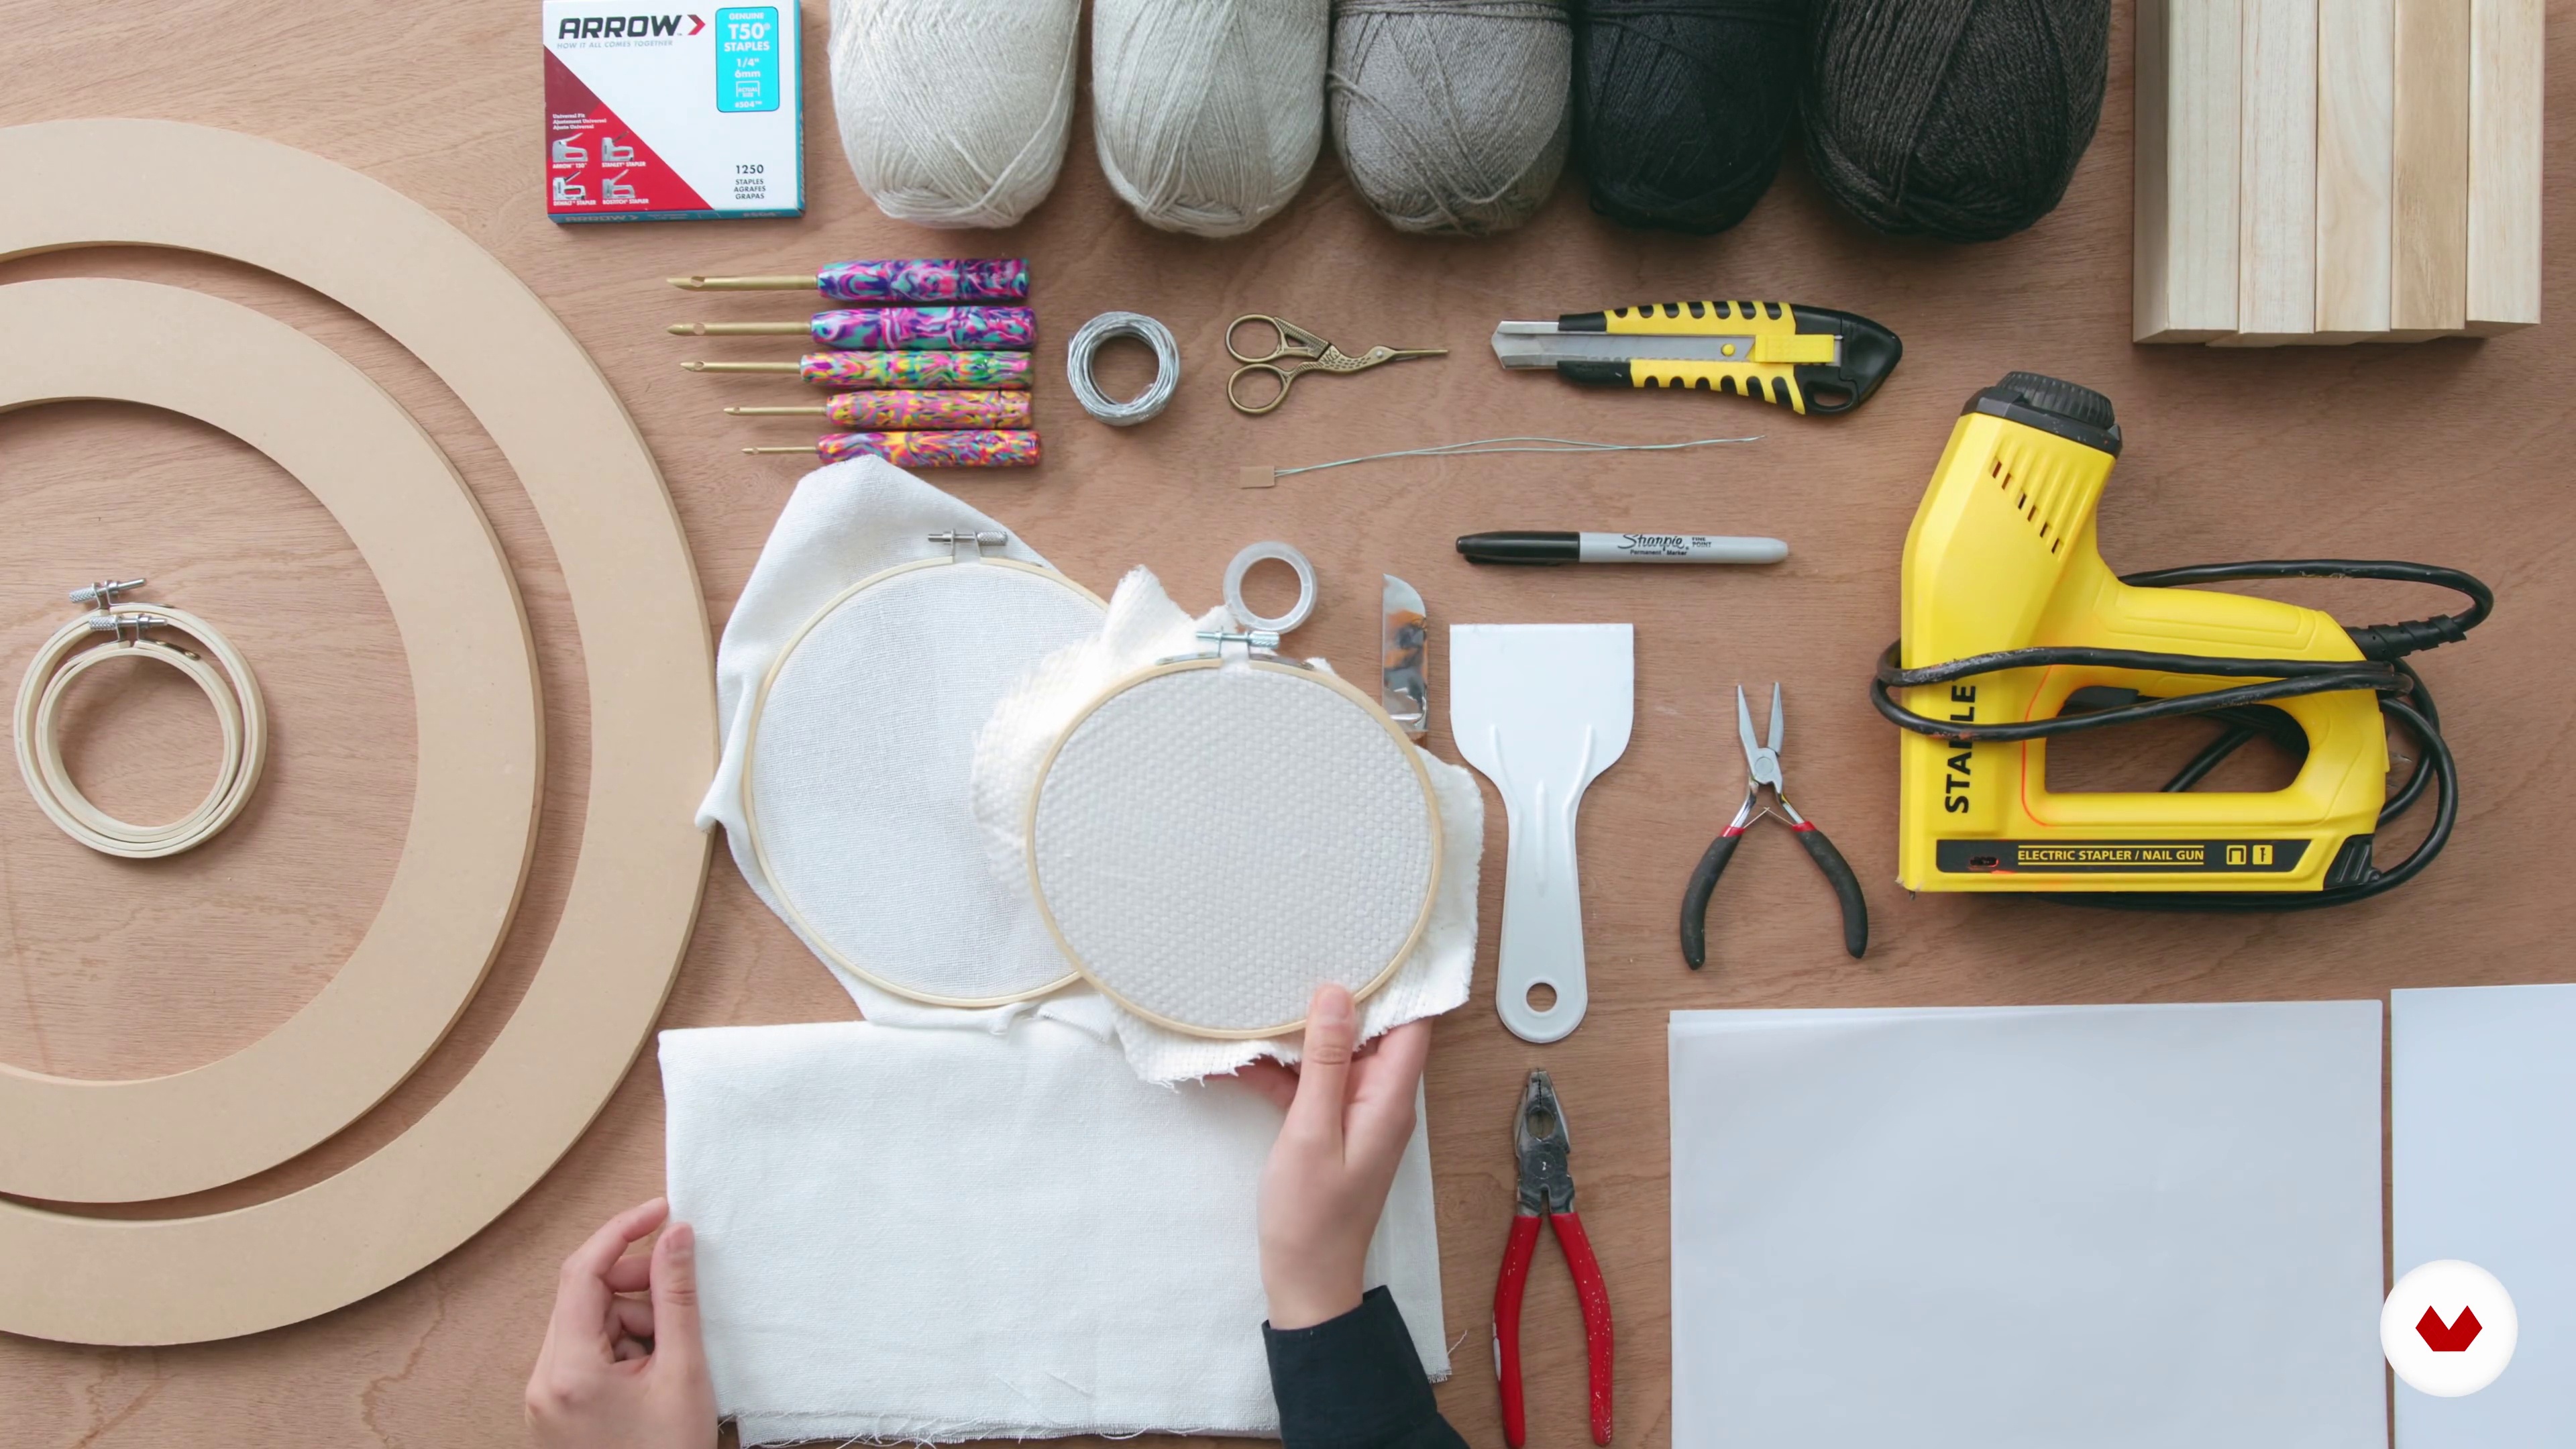
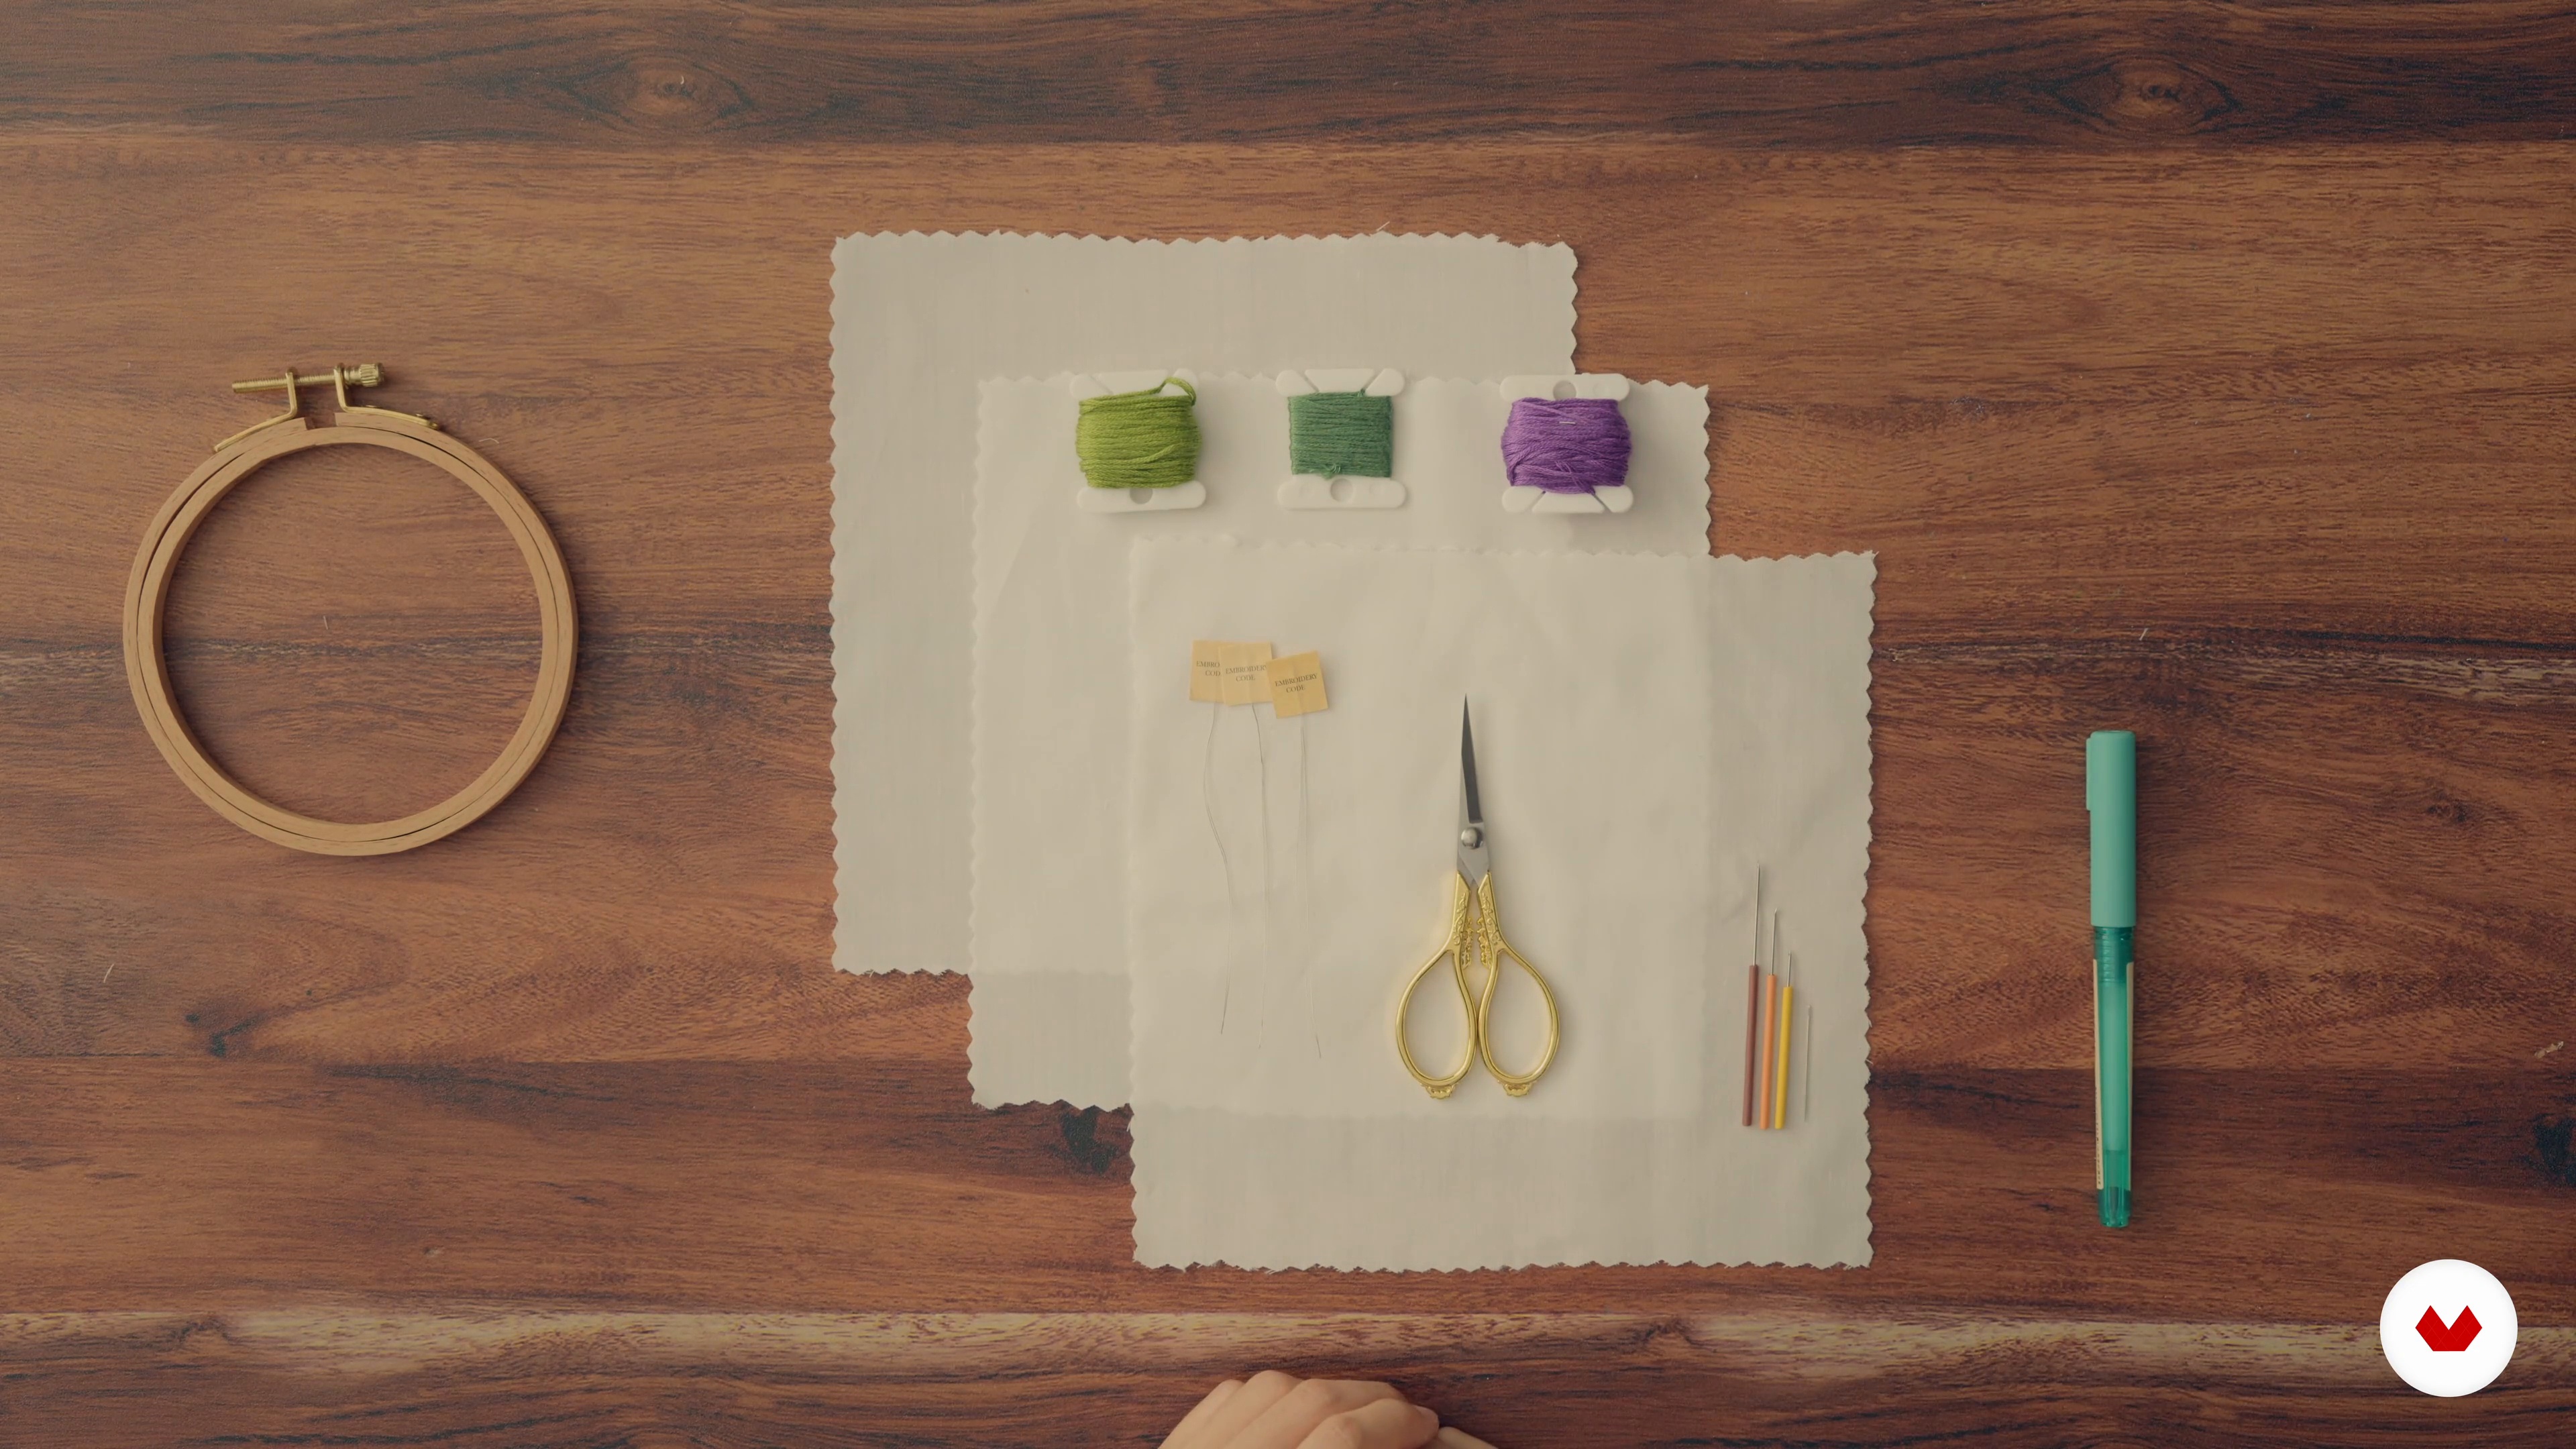
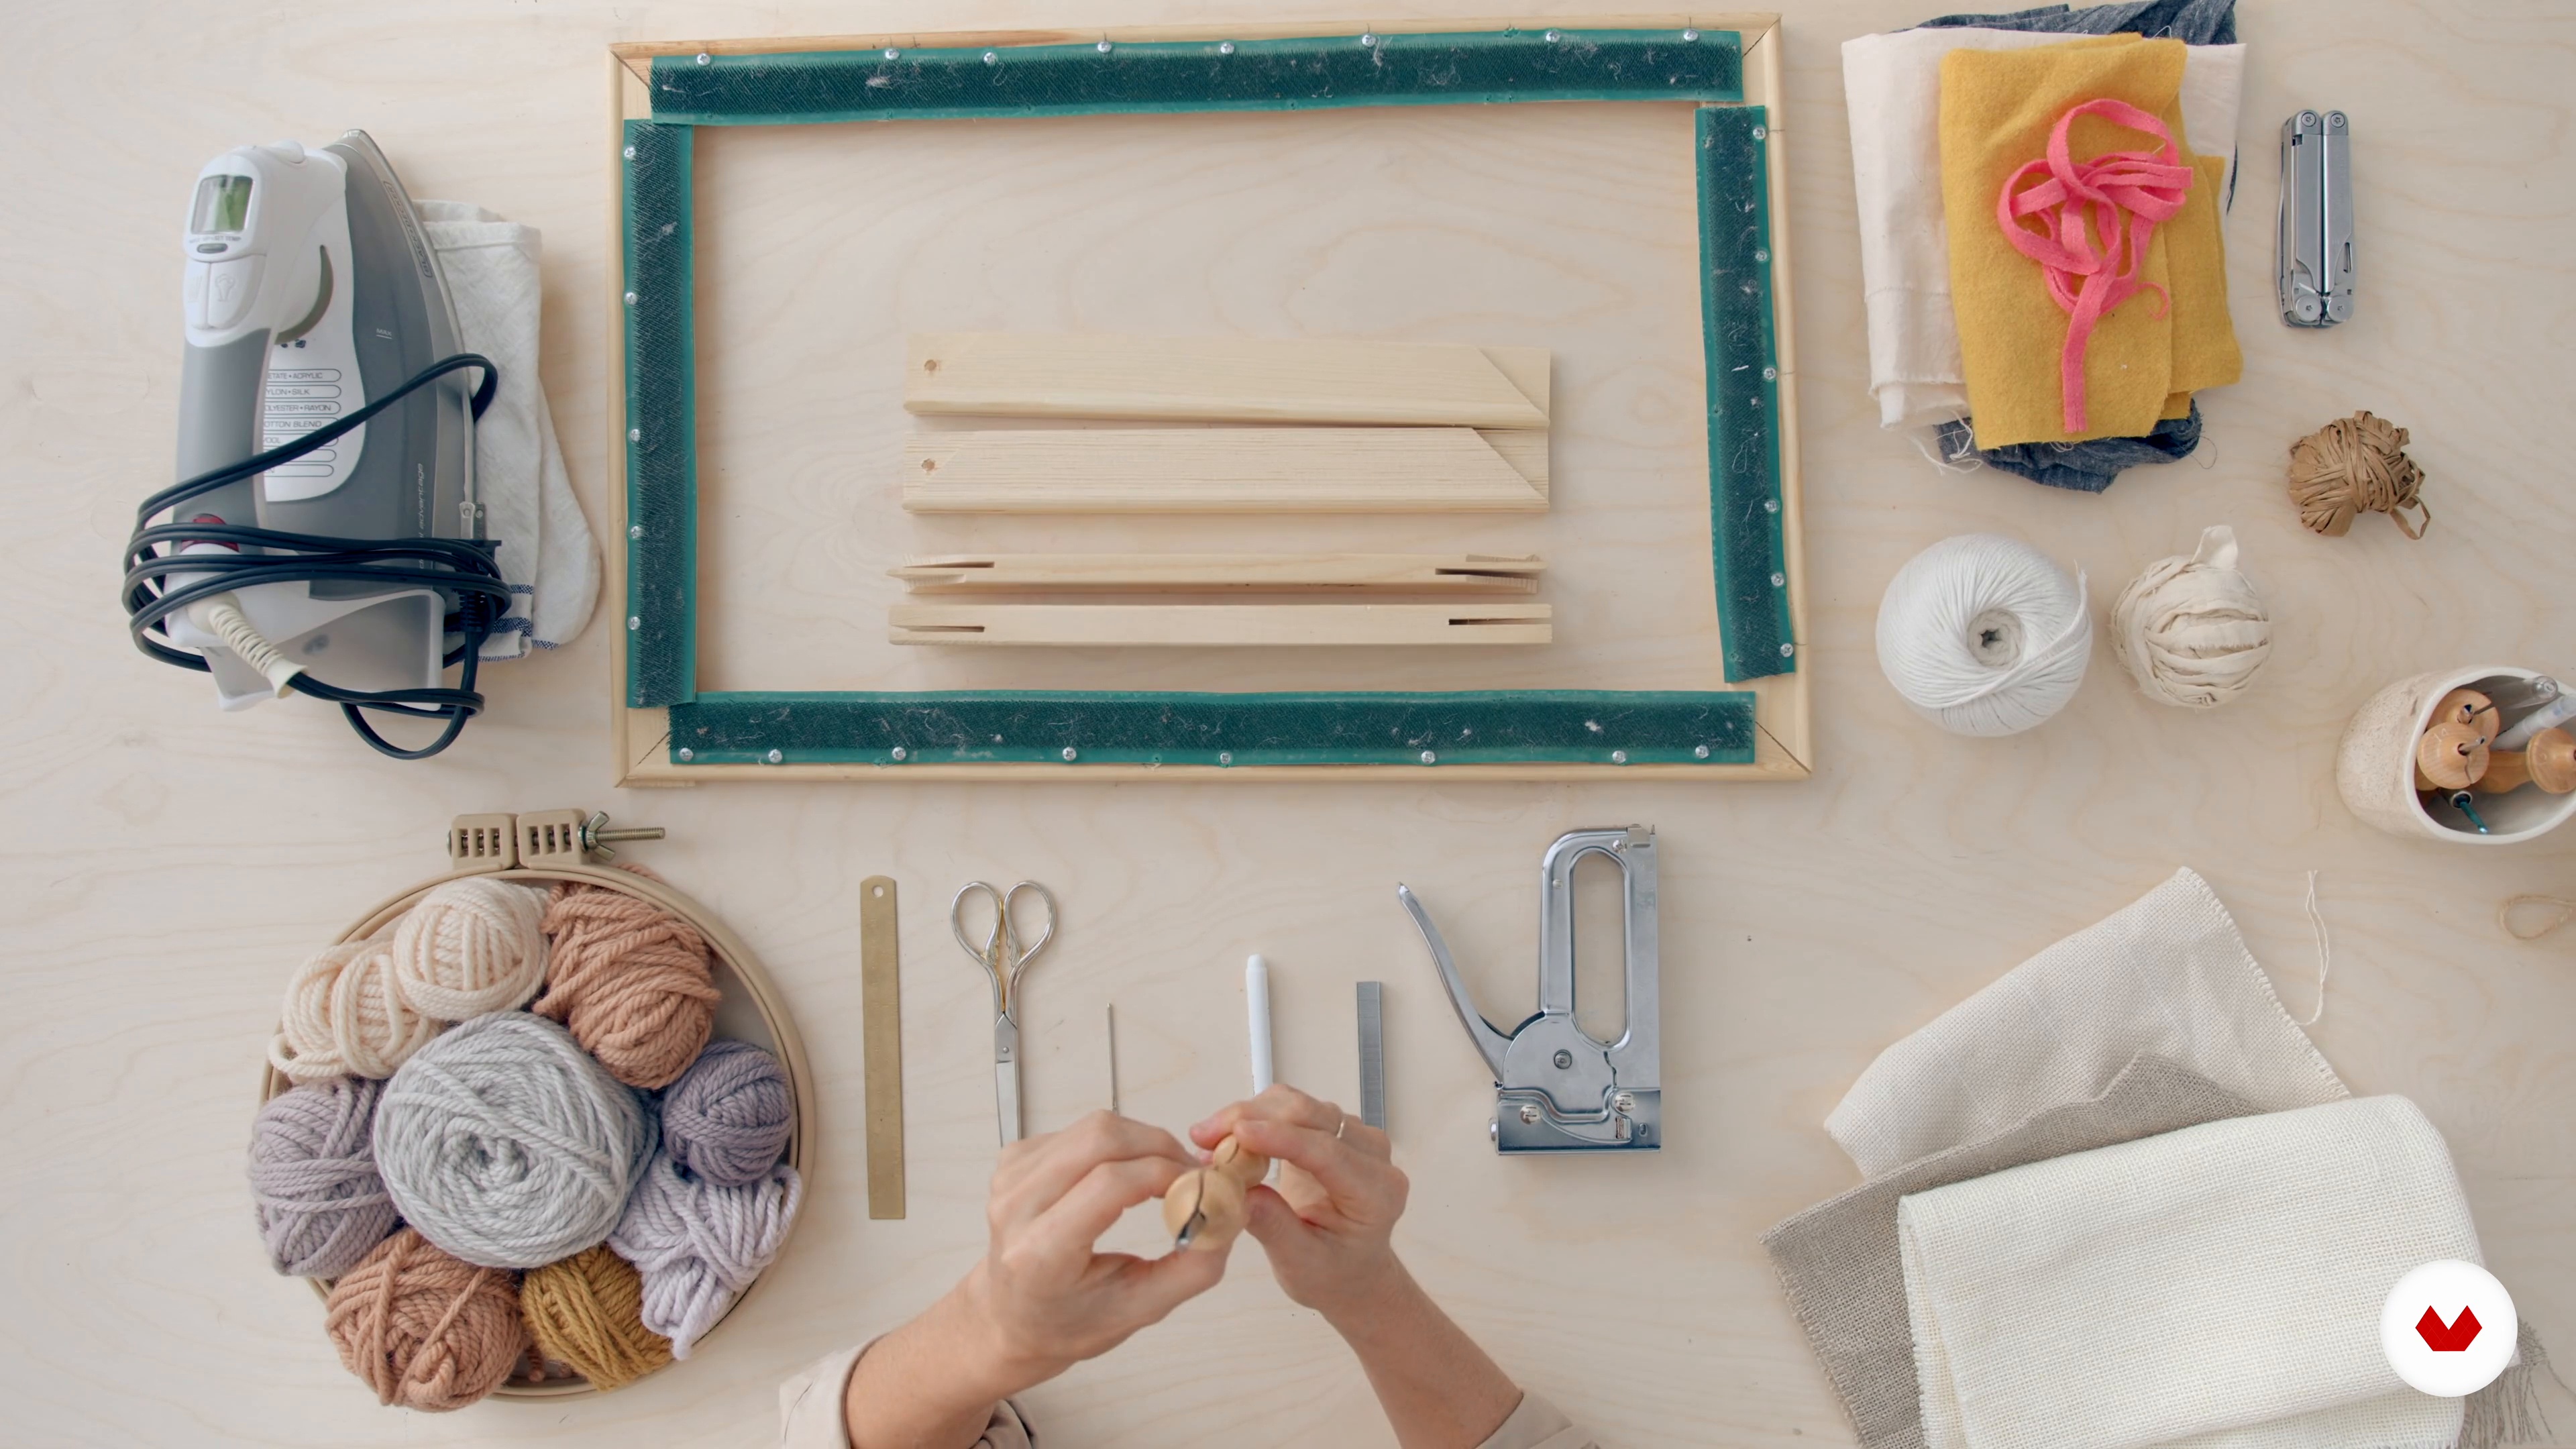
Requirements and materials
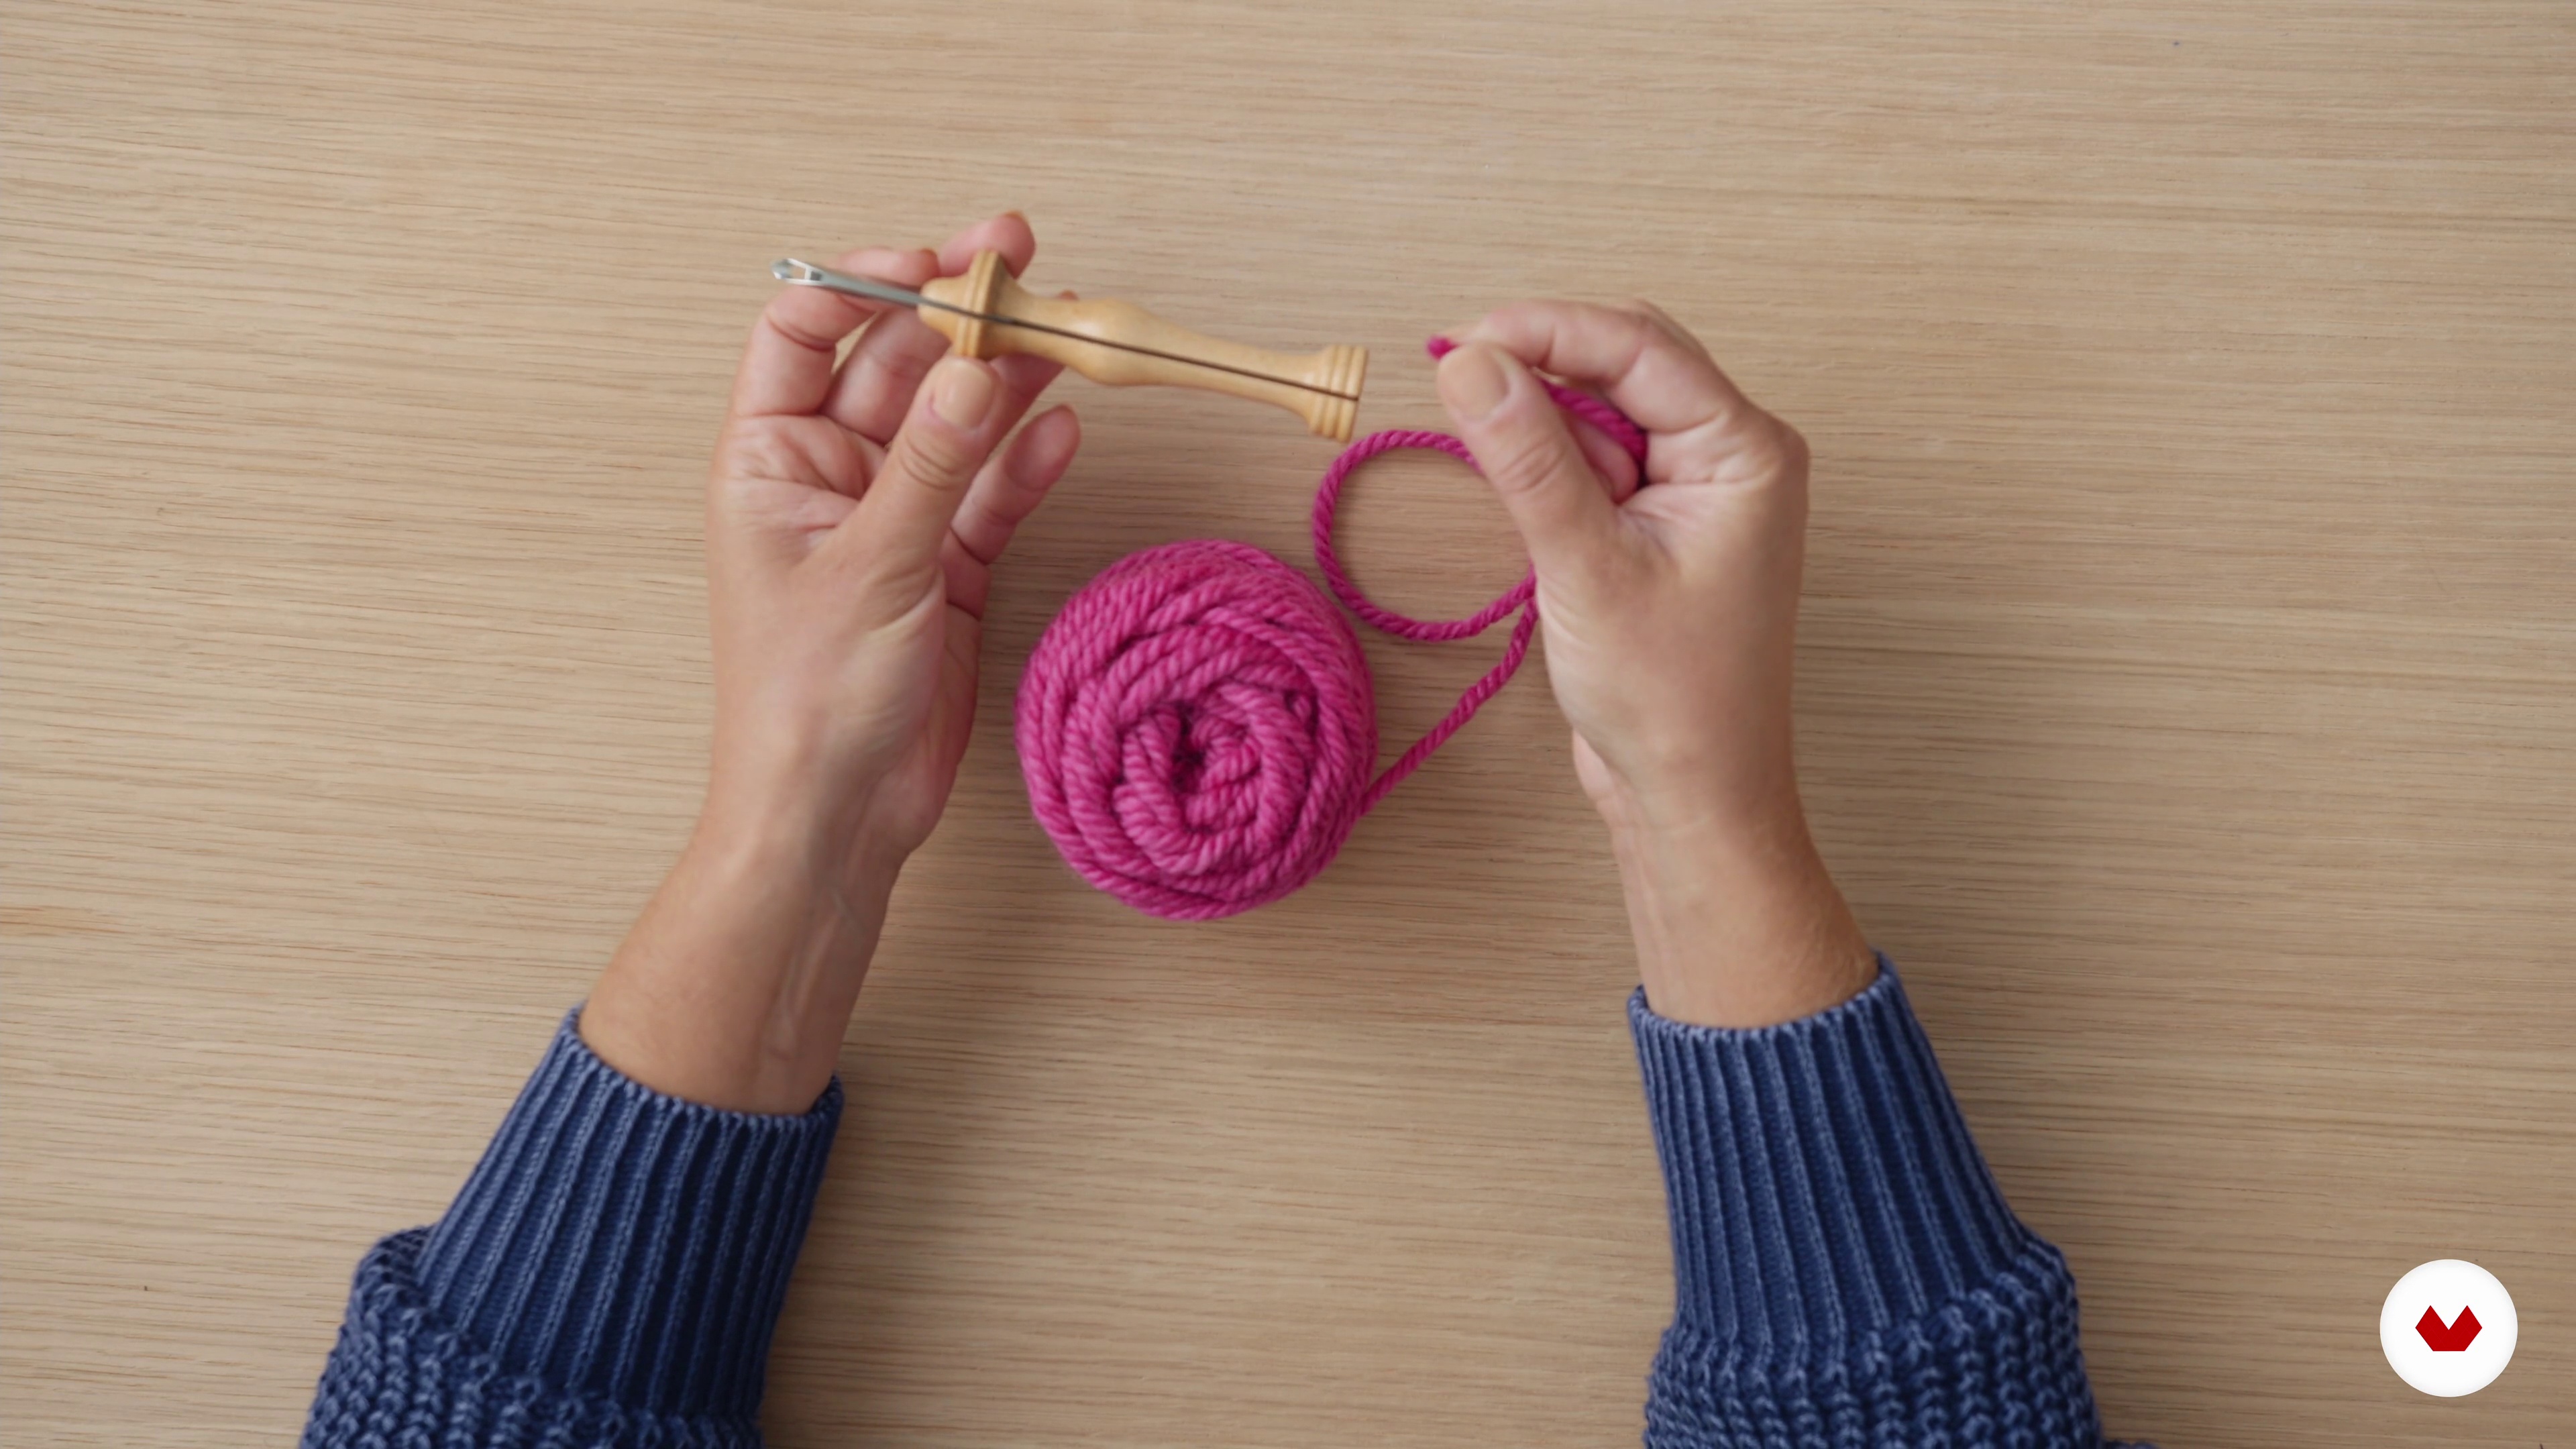
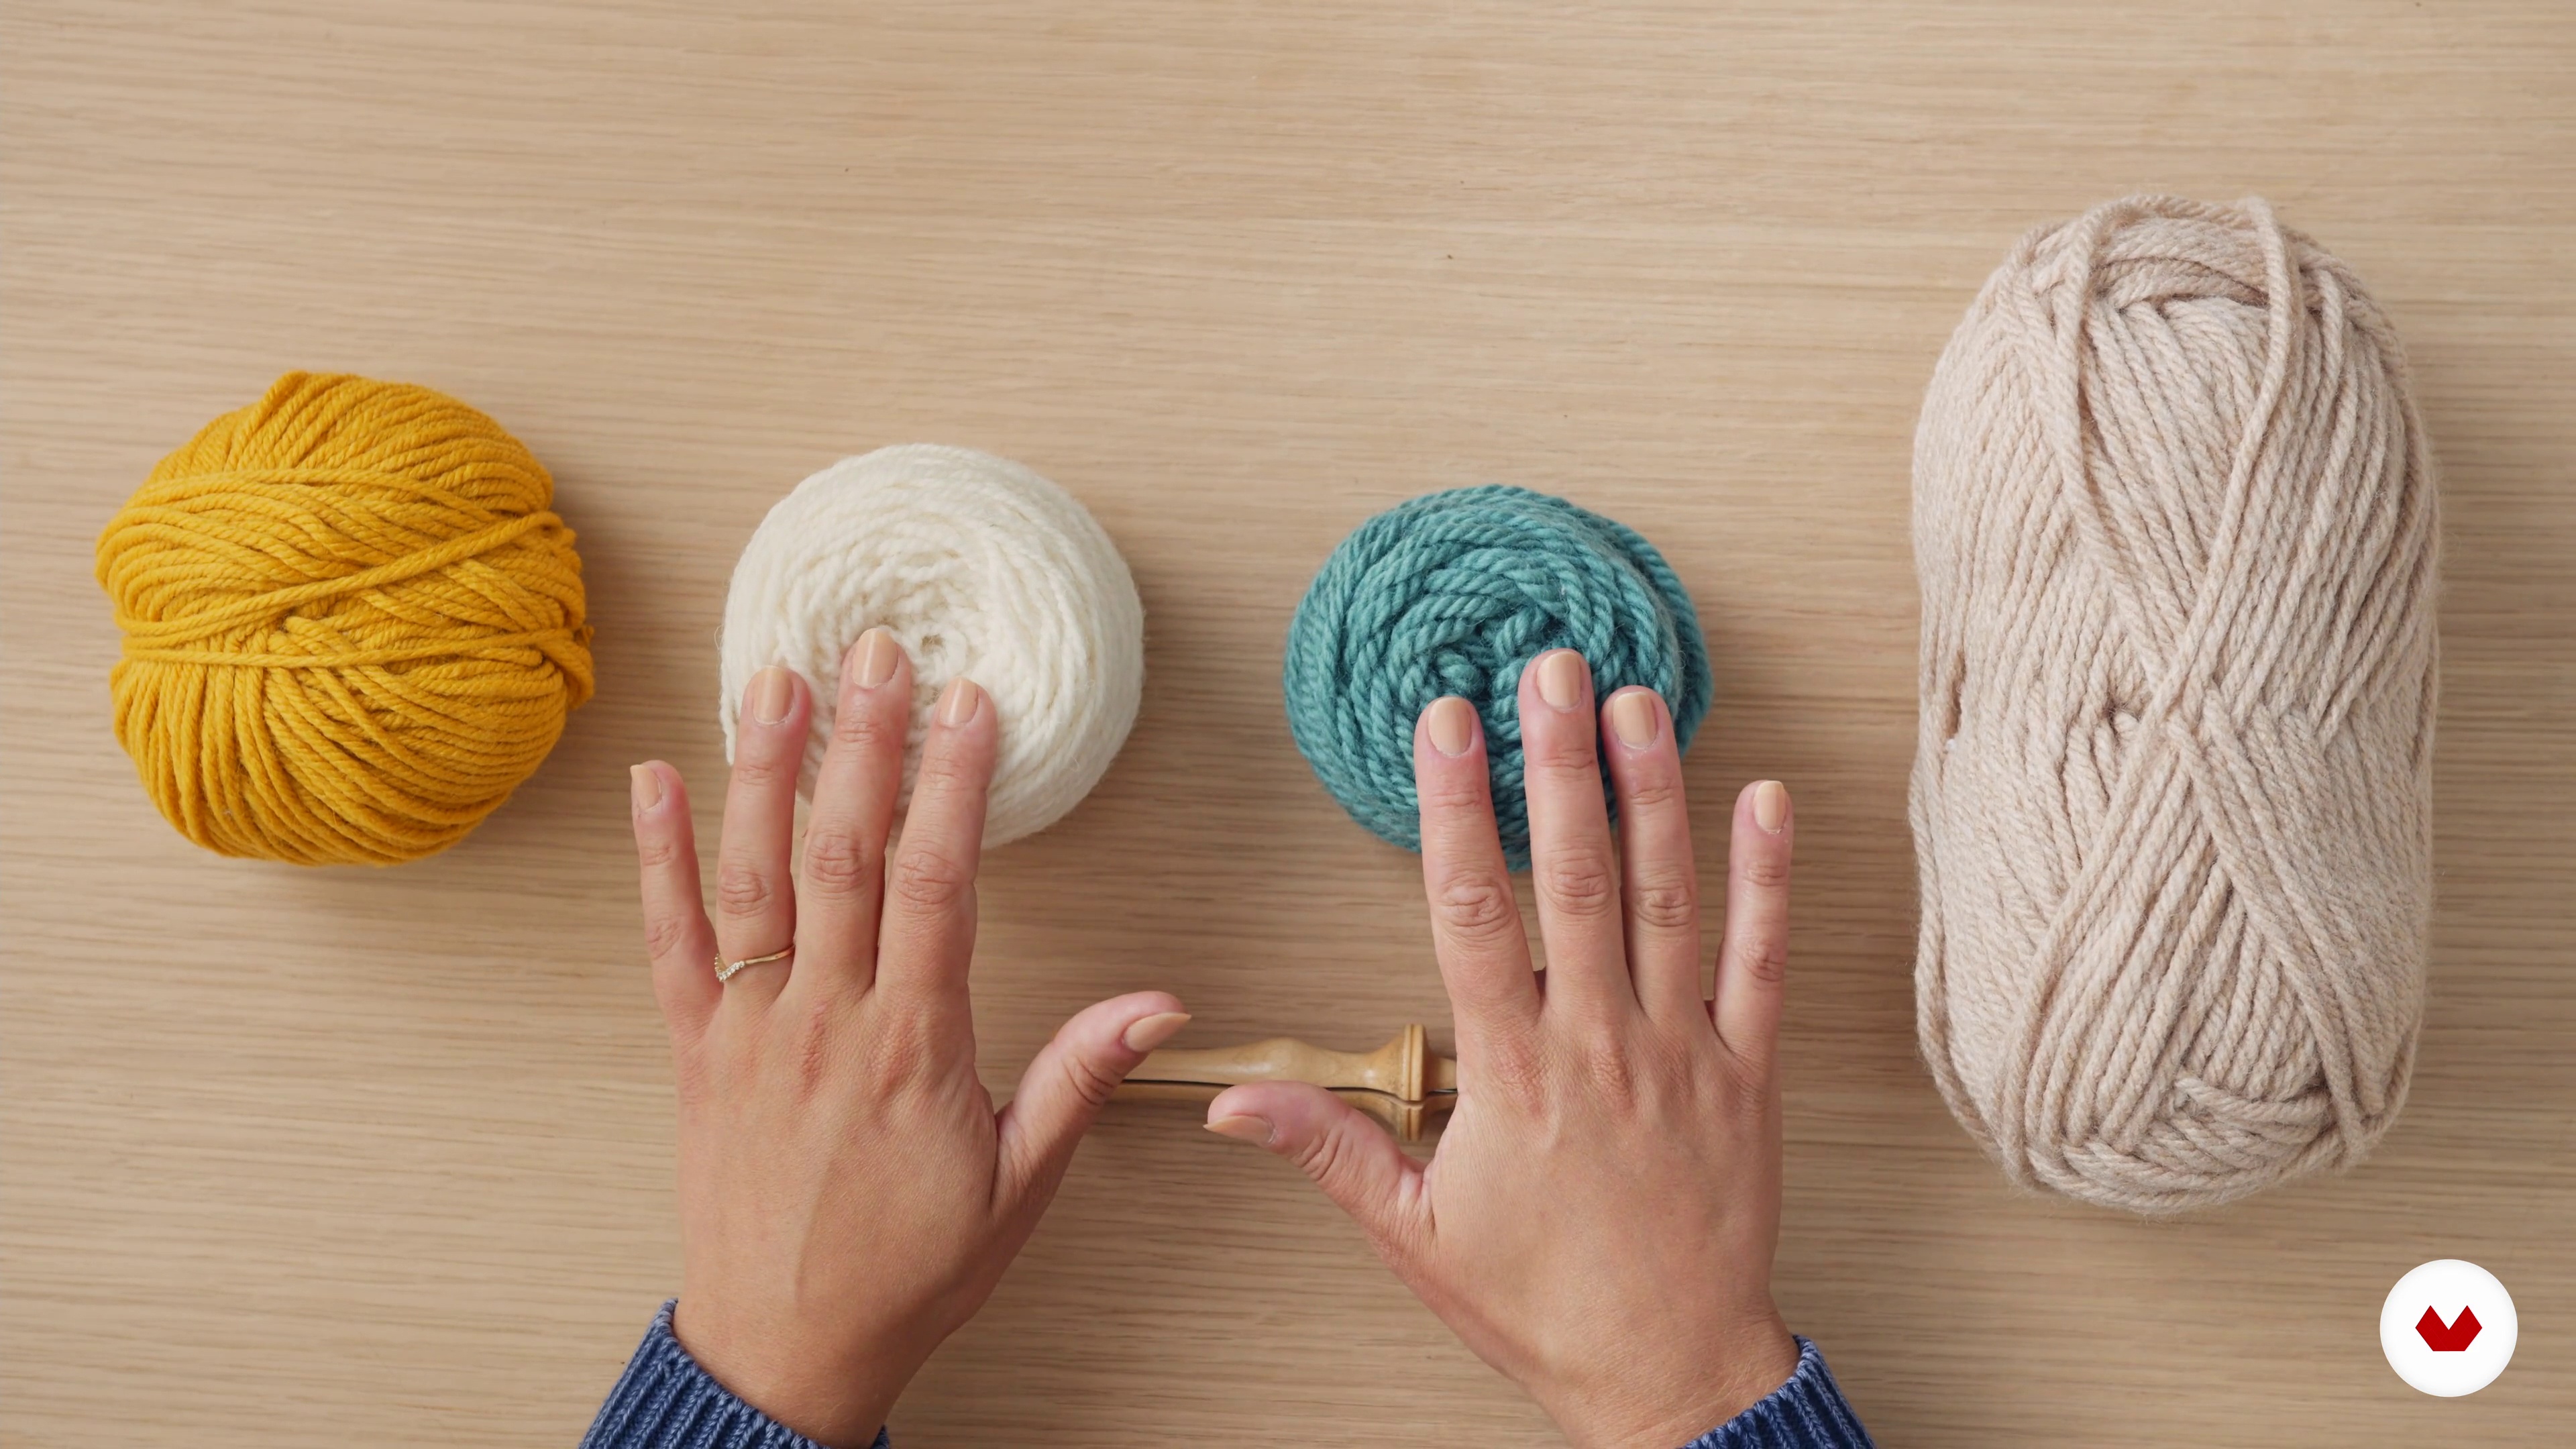
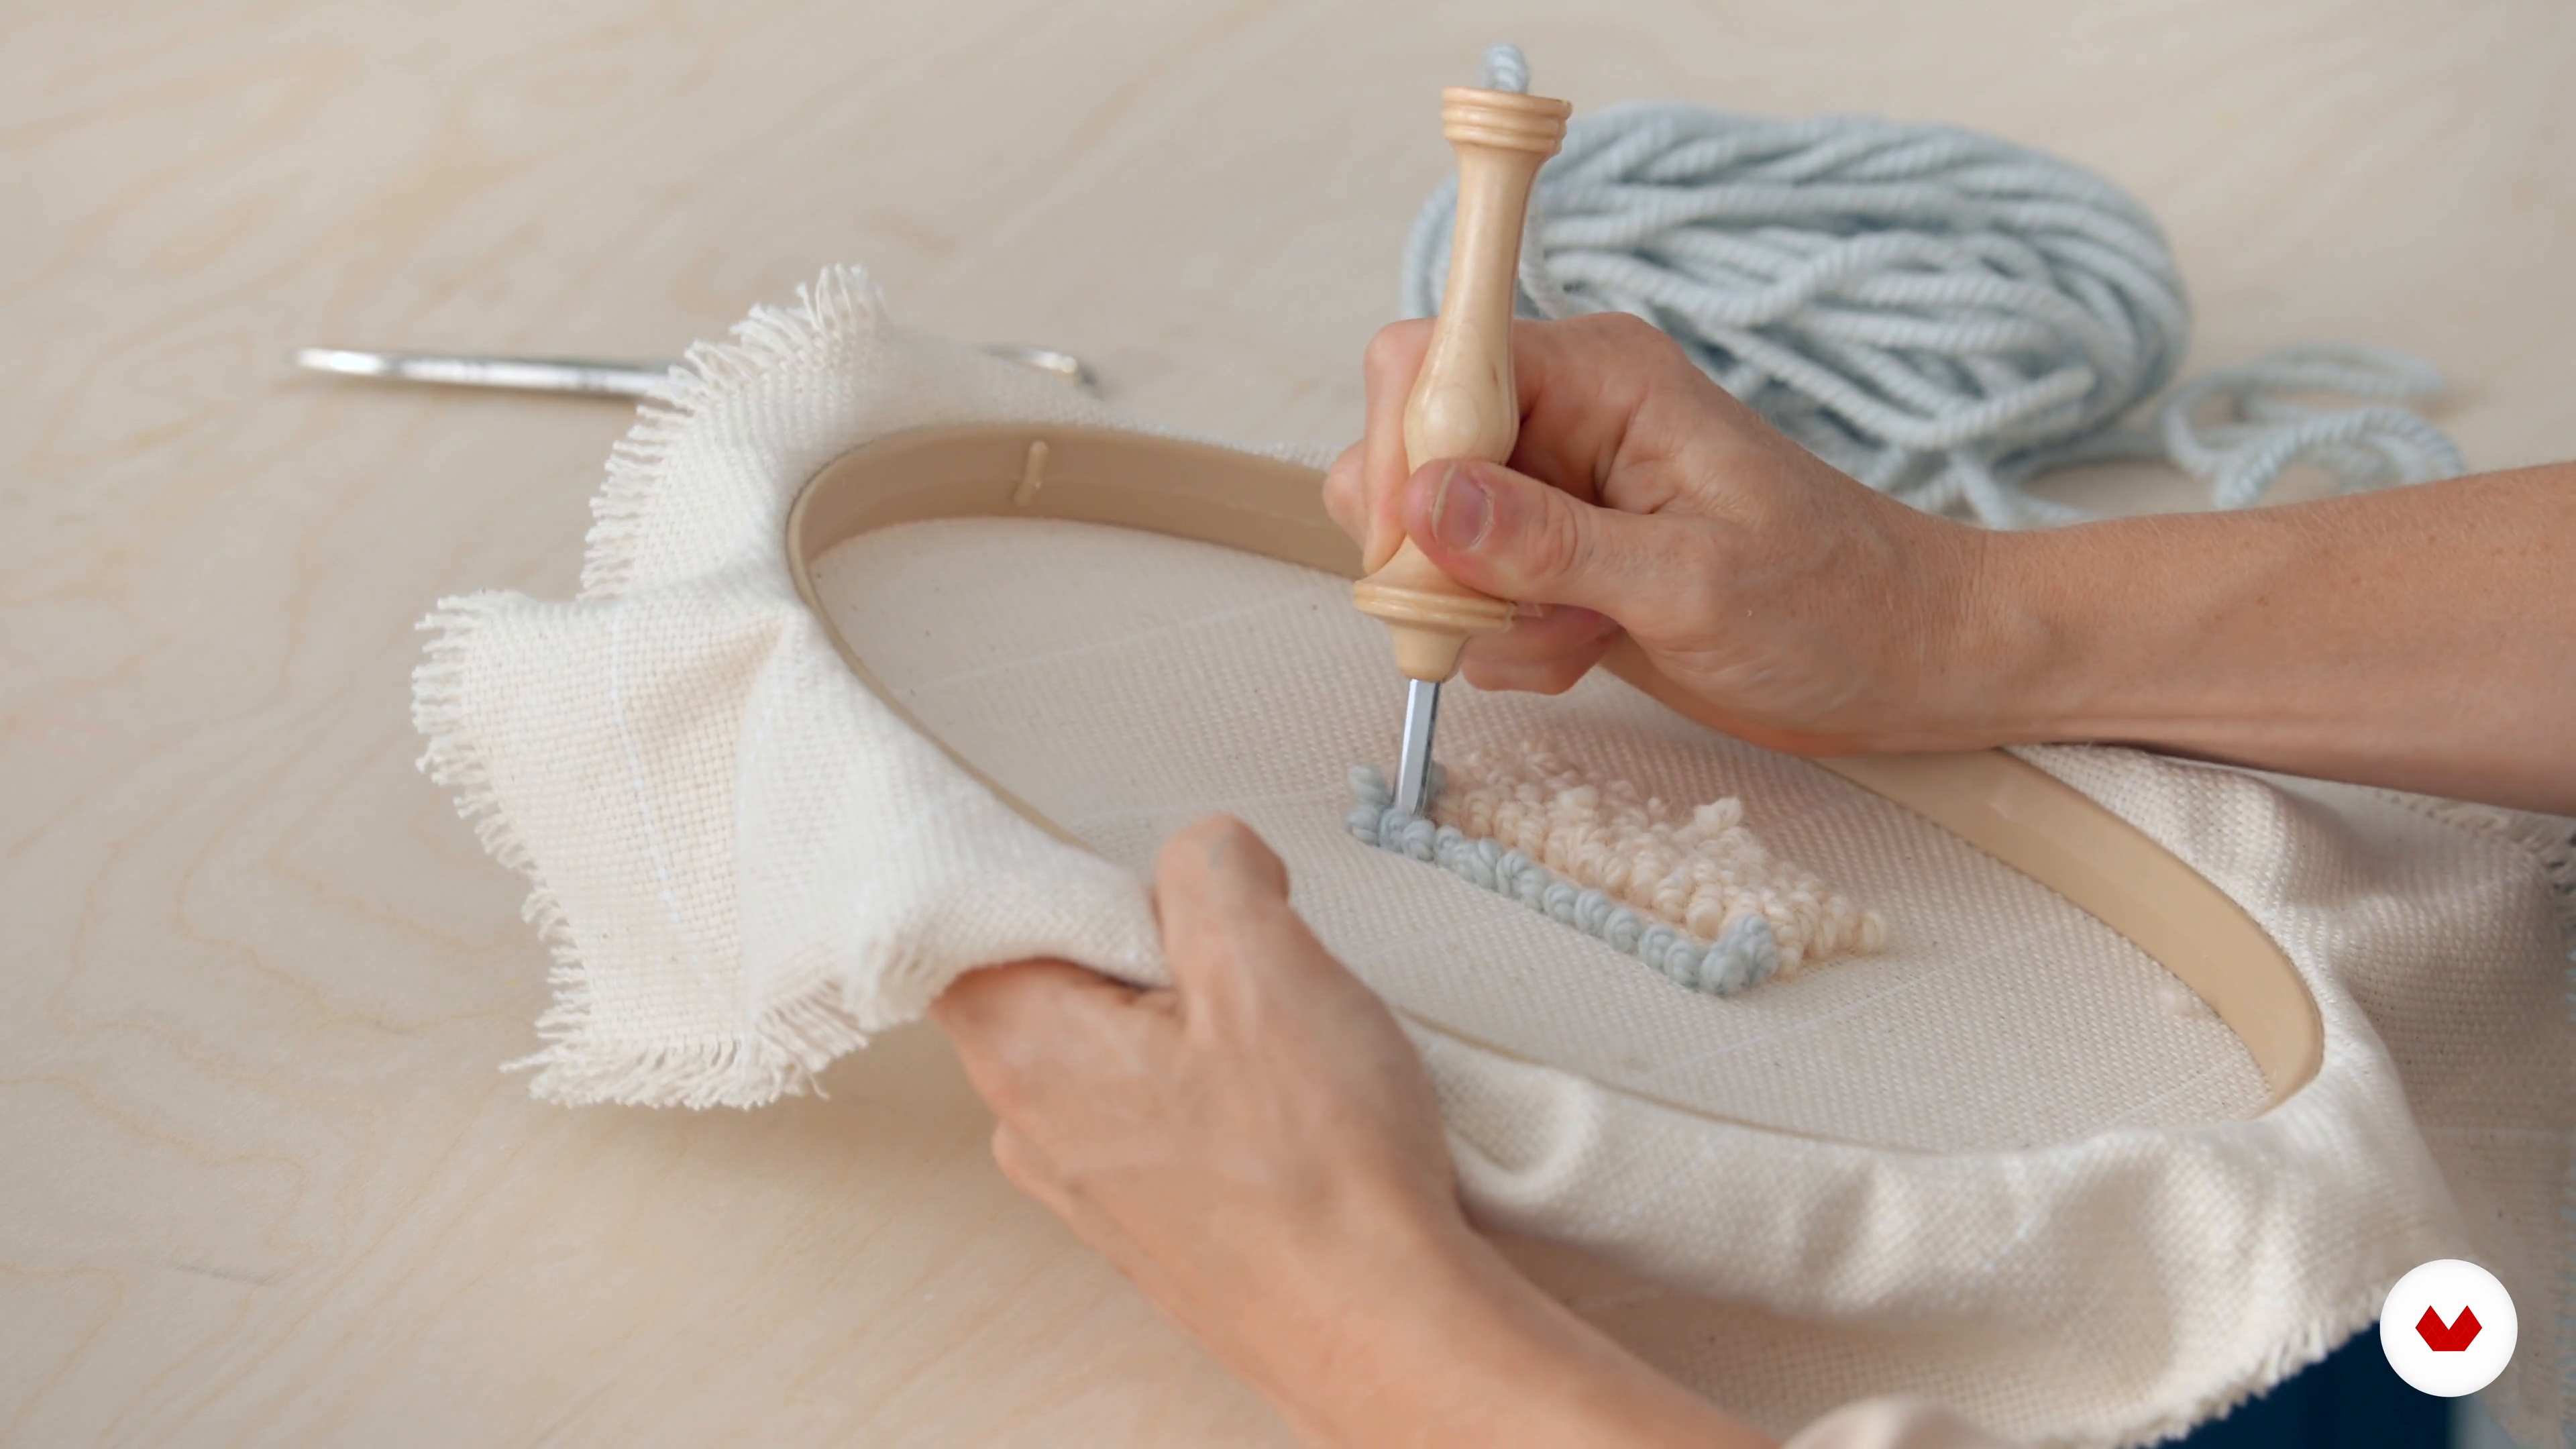
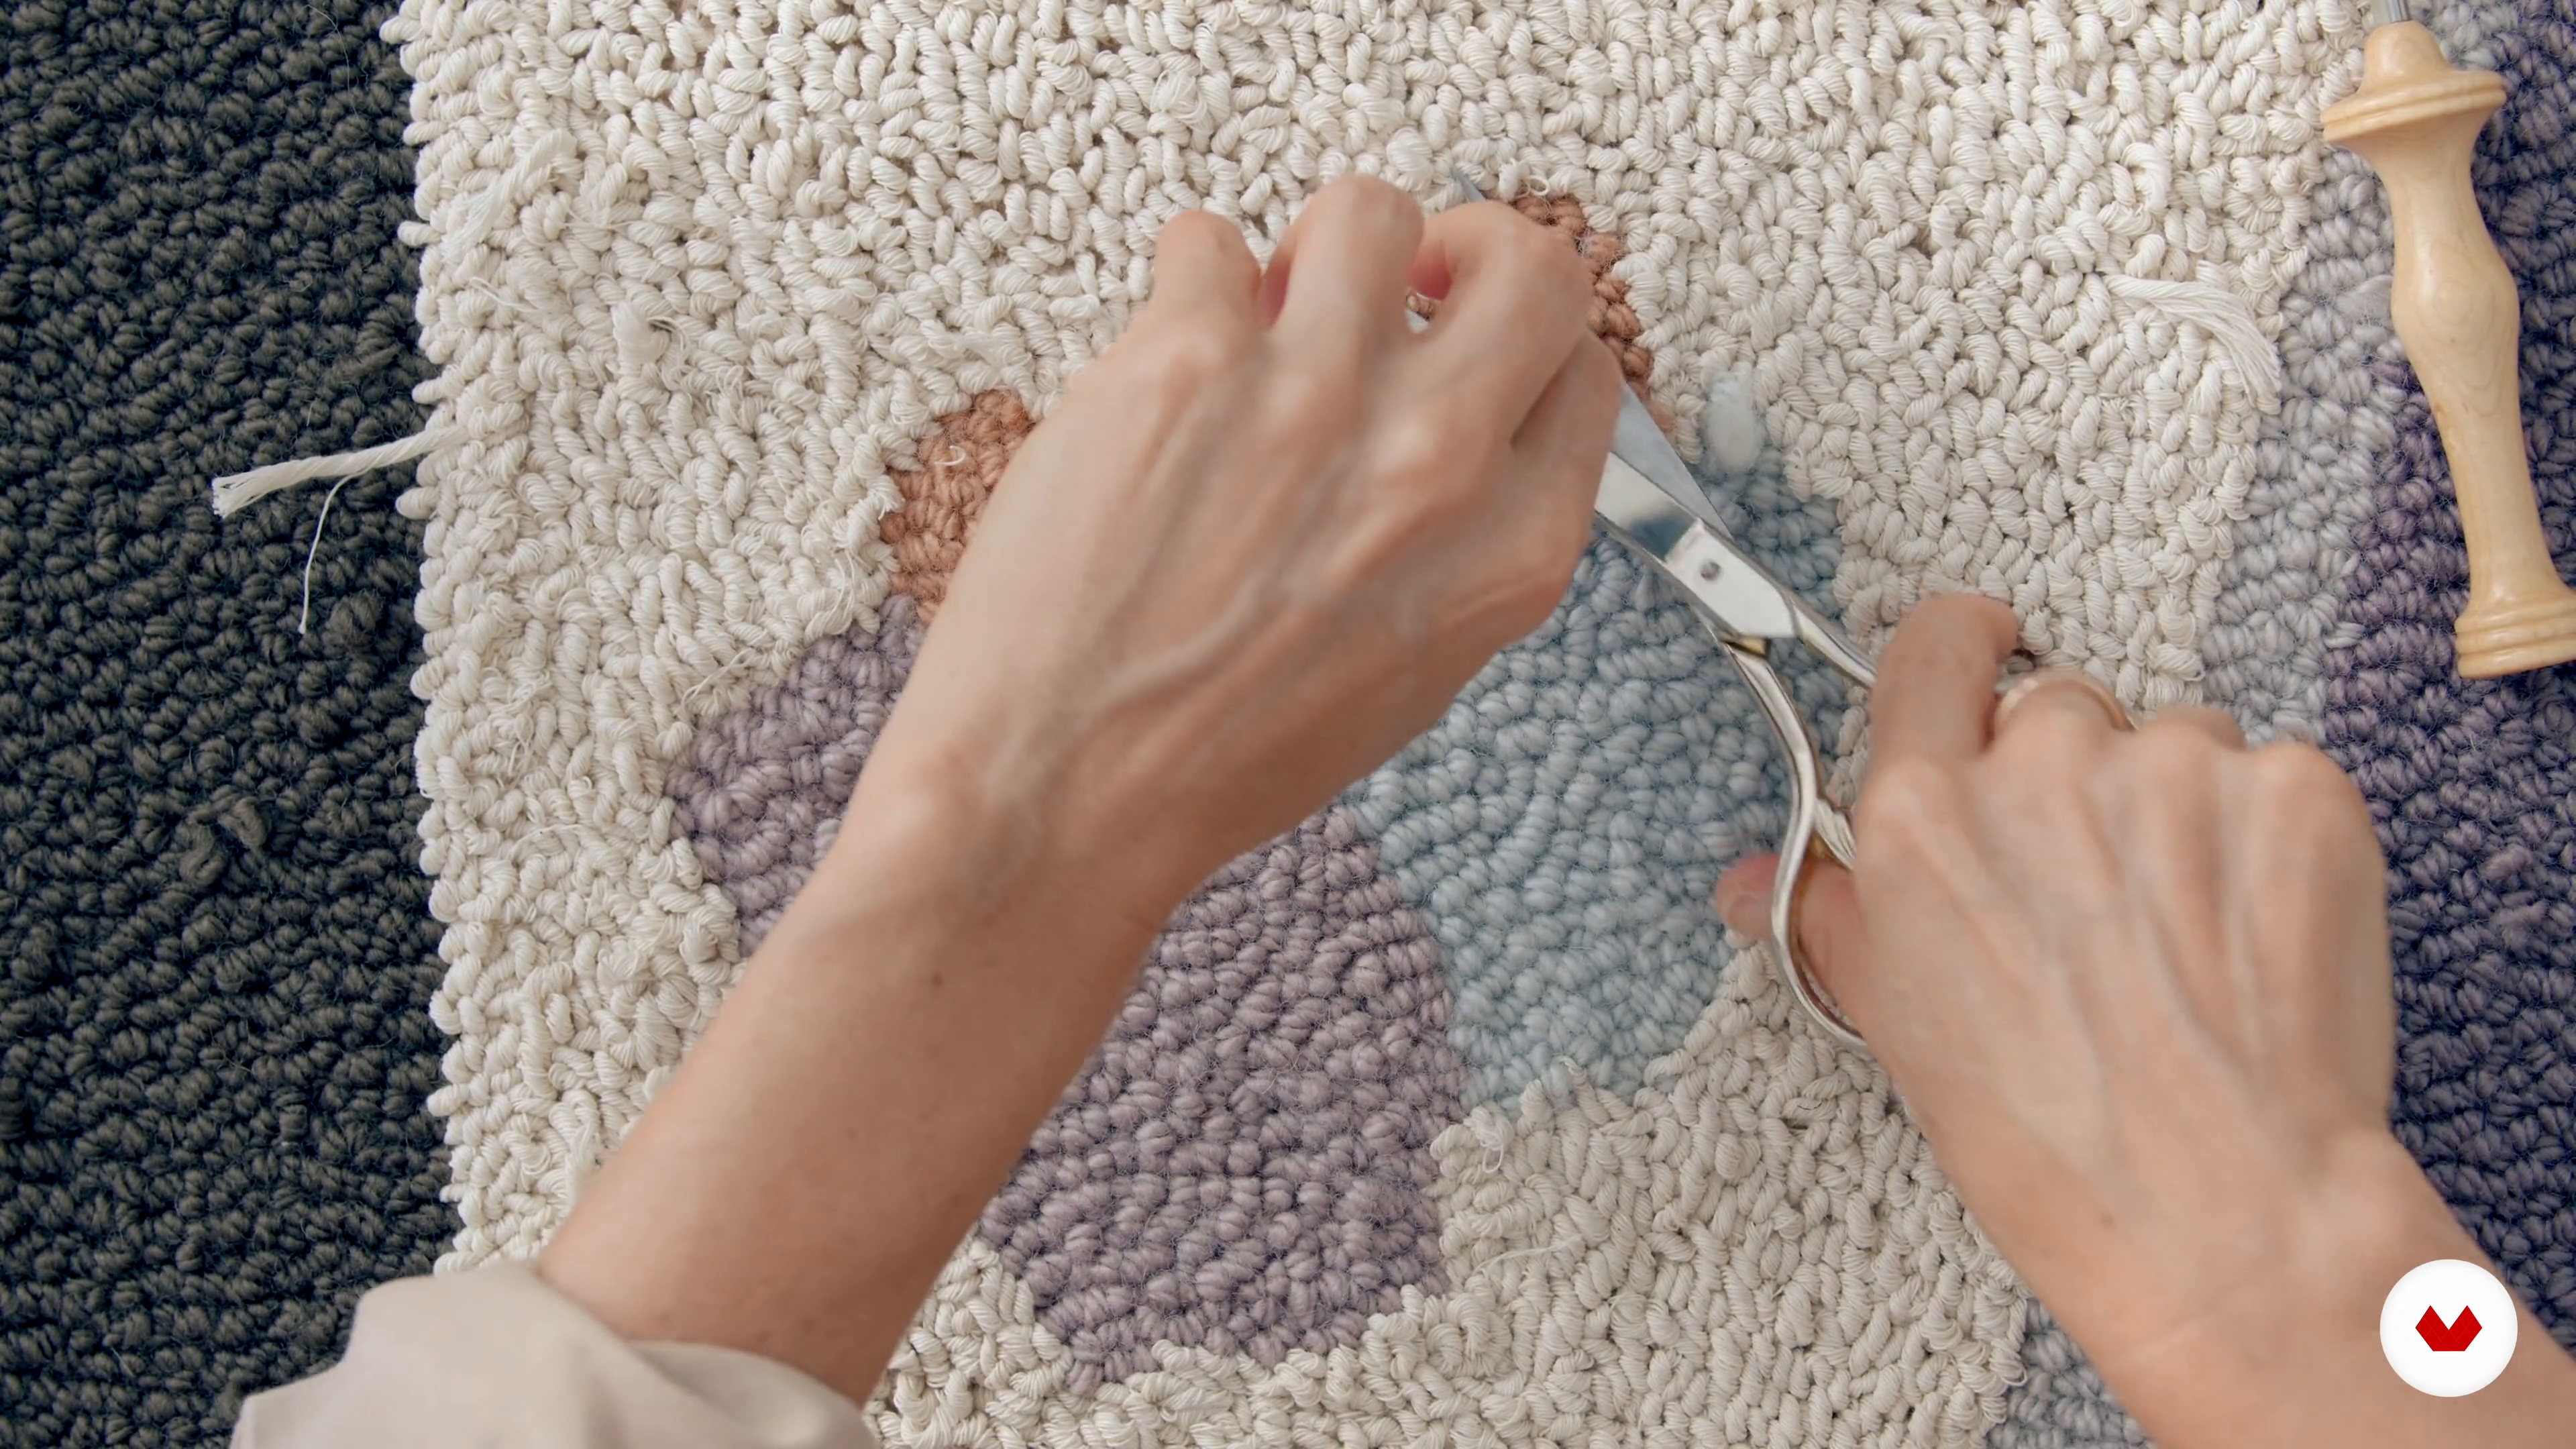
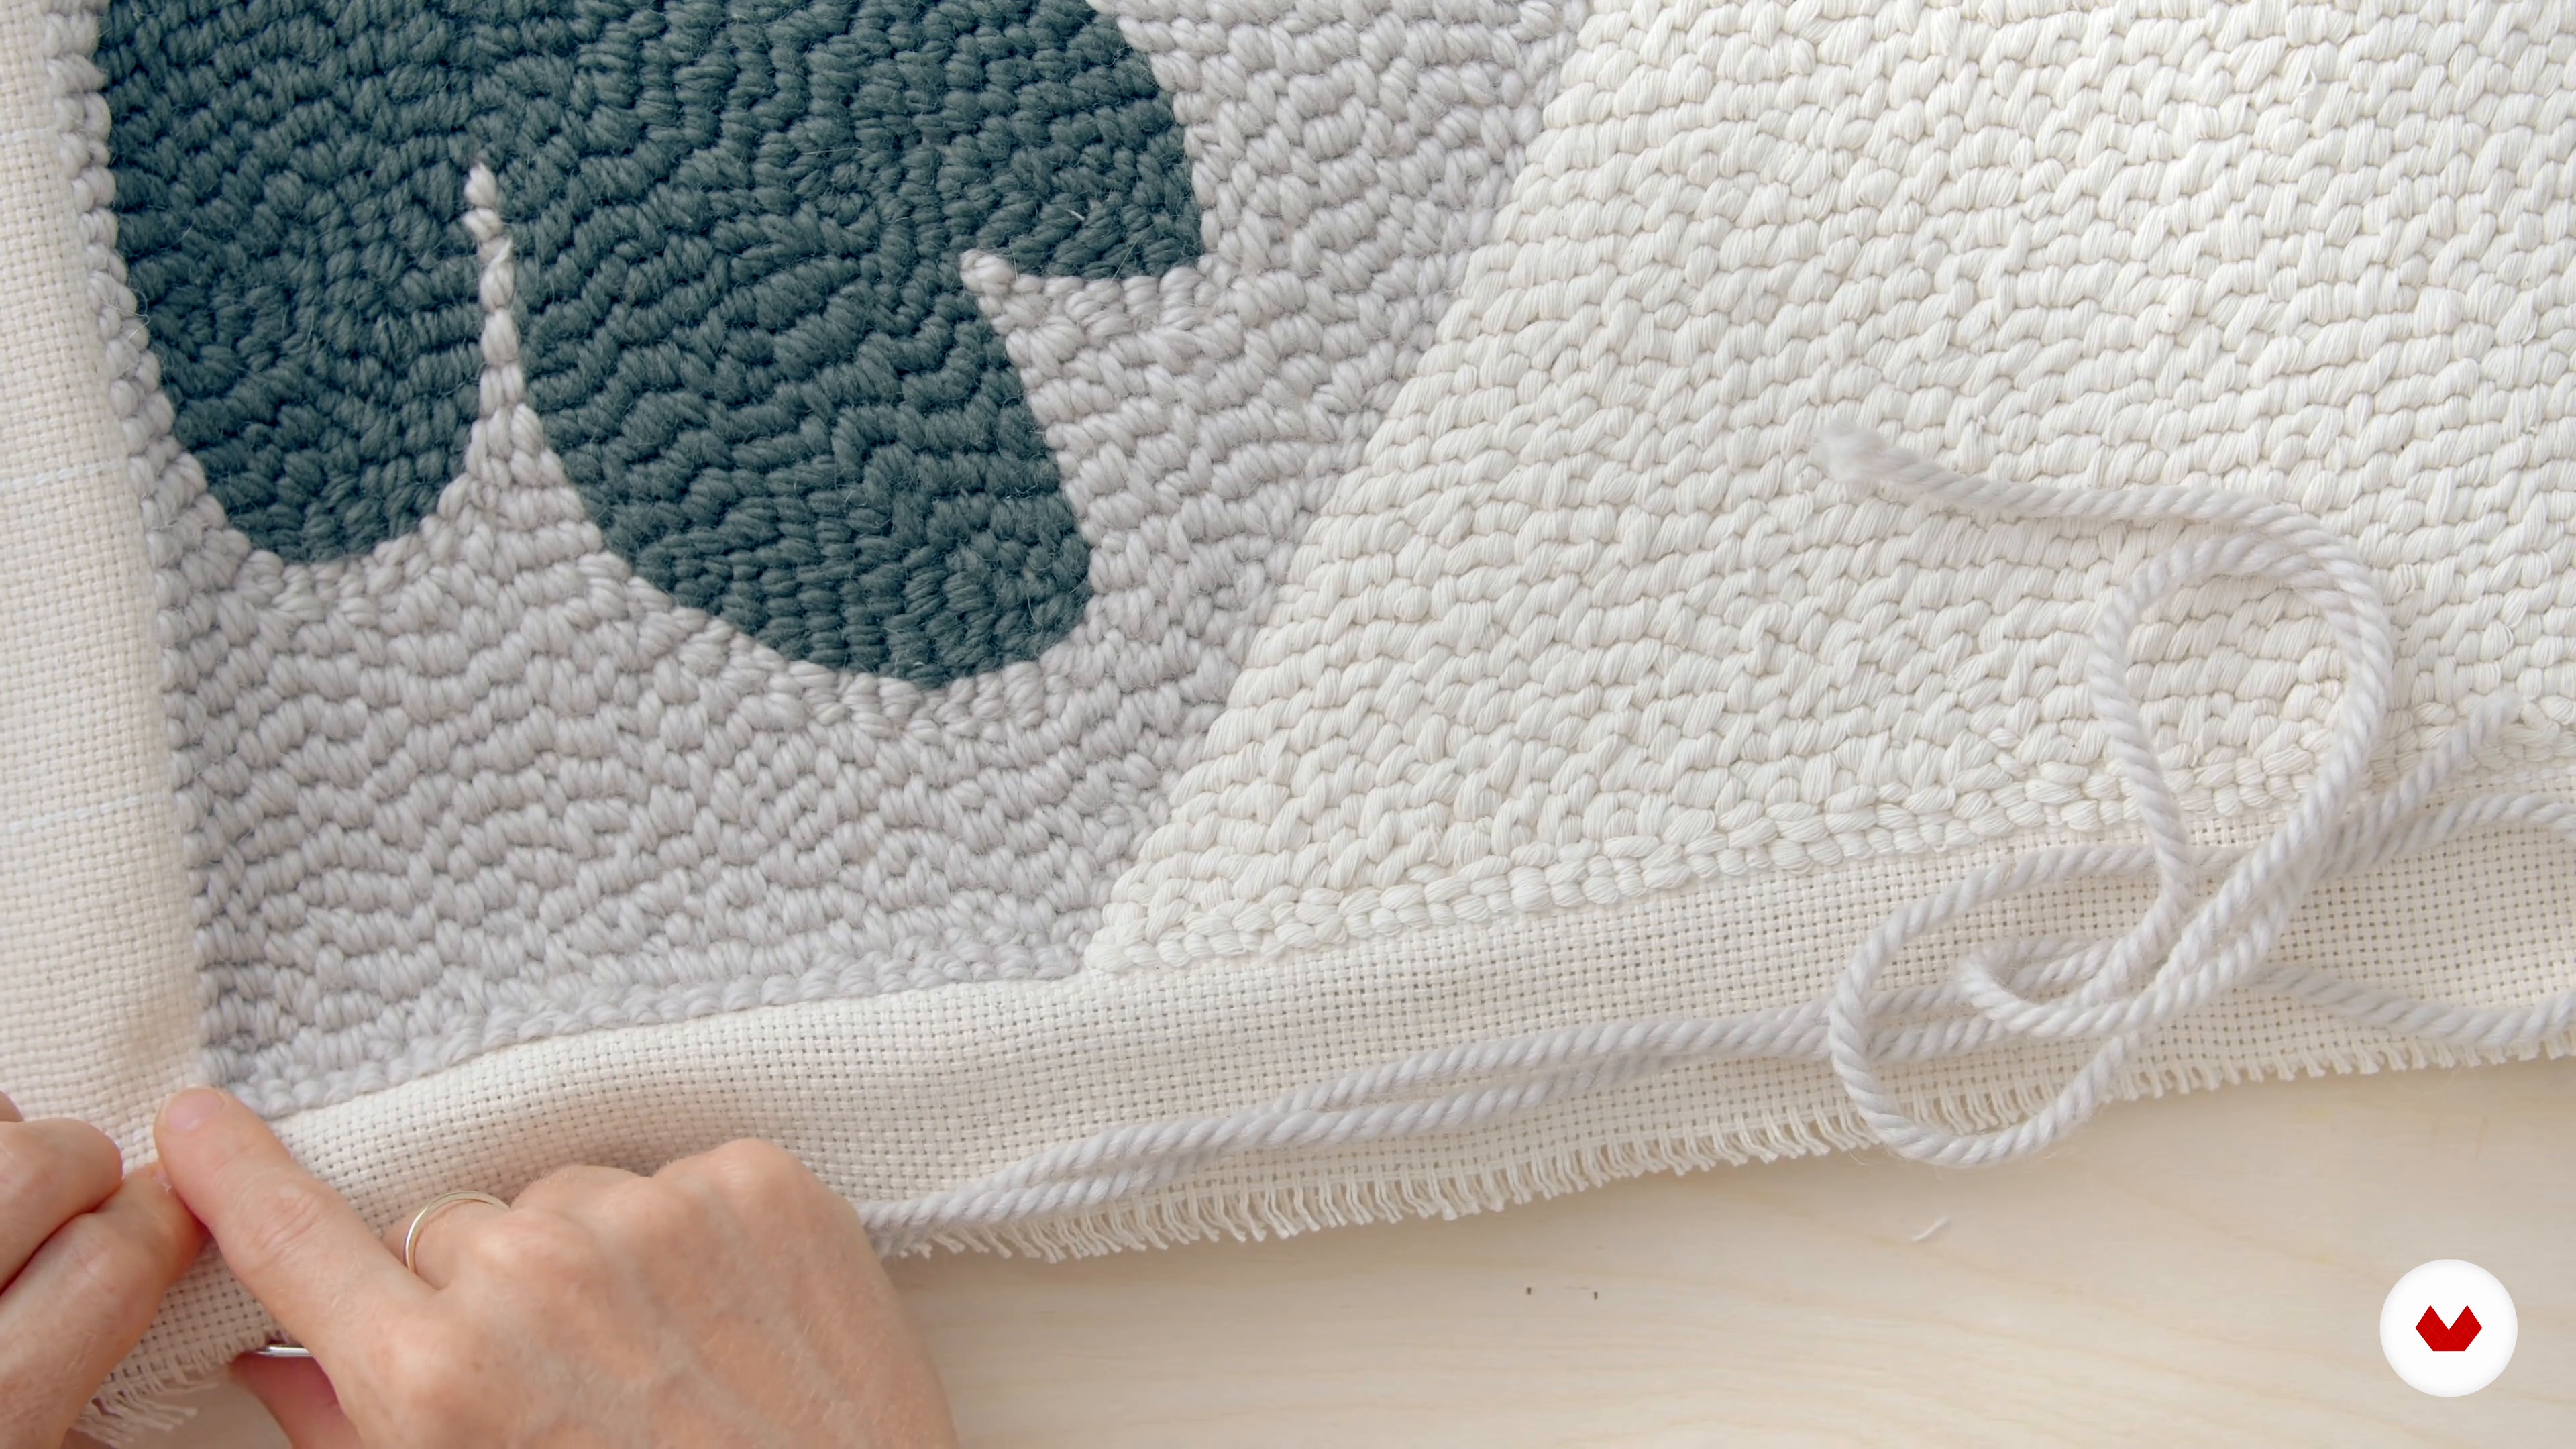
No extensive prior knowledge needed, but gather basic materials like punch needles, fabric, embroidery hoops, yarn, and scissors. Familiarize yourself with simple embroidery techniques, maintain enthusiasm, and enjoy experimenting with colors and patterns for your personalized projects.


Reviews
What to expect from this specialization course
-
Learn at your own pace
Enjoy learning from home without a set schedule and with an easy-to-follow method. You set your own pace.
-
Learn from the best professionals
Learn valuable methods and techniques explained by top experts in the creative sector.
-
Meet expert teachers
Each expert teaches what they do best, with clear guidelines, true passion, and professional insight in every lesson.
-
Certificates
PlusIf you're a Plus member, get a custom certificate for every specialization course. Share it on your portfolio, social media, or wherever you like.
-
Get front-row seats
Videos of the highest quality, so you don't miss a single detail. With unlimited access, you can watch them as many times as you need to perfect your technique.
-
Share knowledge and ideas
Ask questions, request feedback, or offer solutions. Share your learning experience with other students in the community who are as passionate about creativity as you are.
-
Connect with a global creative community
The community is home to millions of people from around the world who are curious and passionate about exploring and expressing their creativity.
-
Watch professionally produced courses
Domestika curates its teacher roster and produces every course in-house to ensure a high-quality online learning experience.
FAQs
Yes, this course is designed for beginners and covers all the essentials of punch needle techniques, materials, and setup.
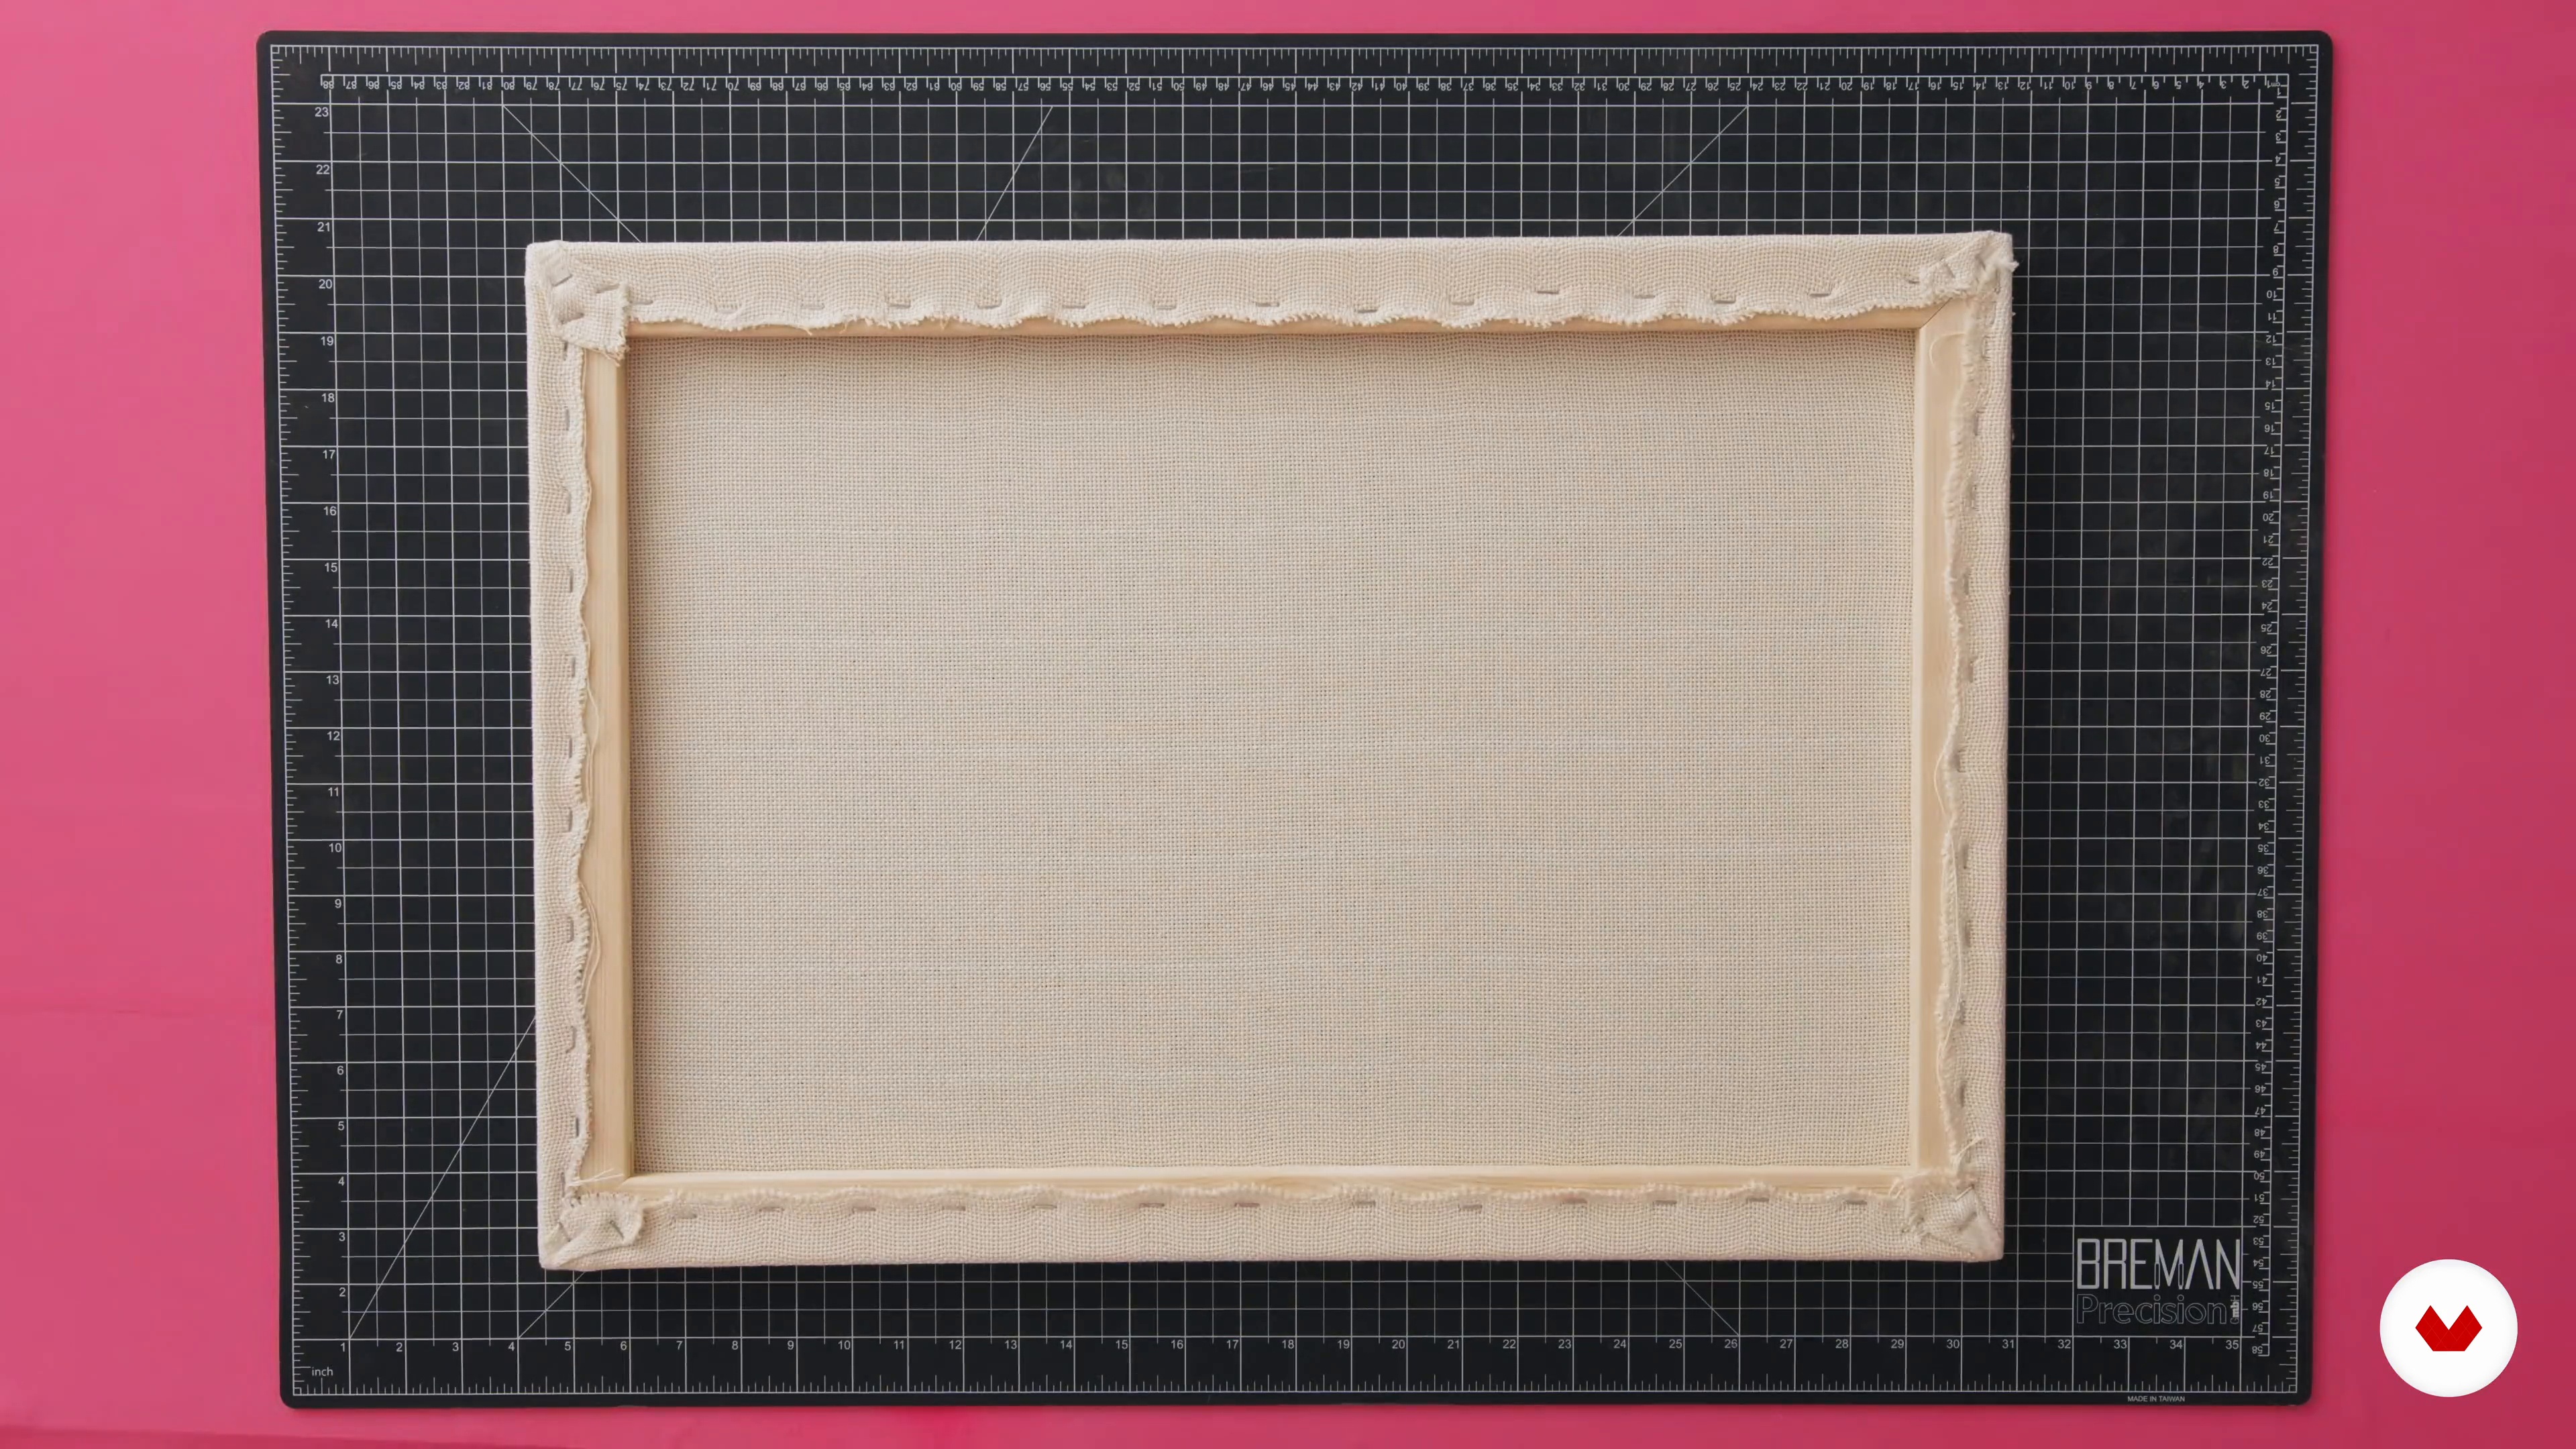
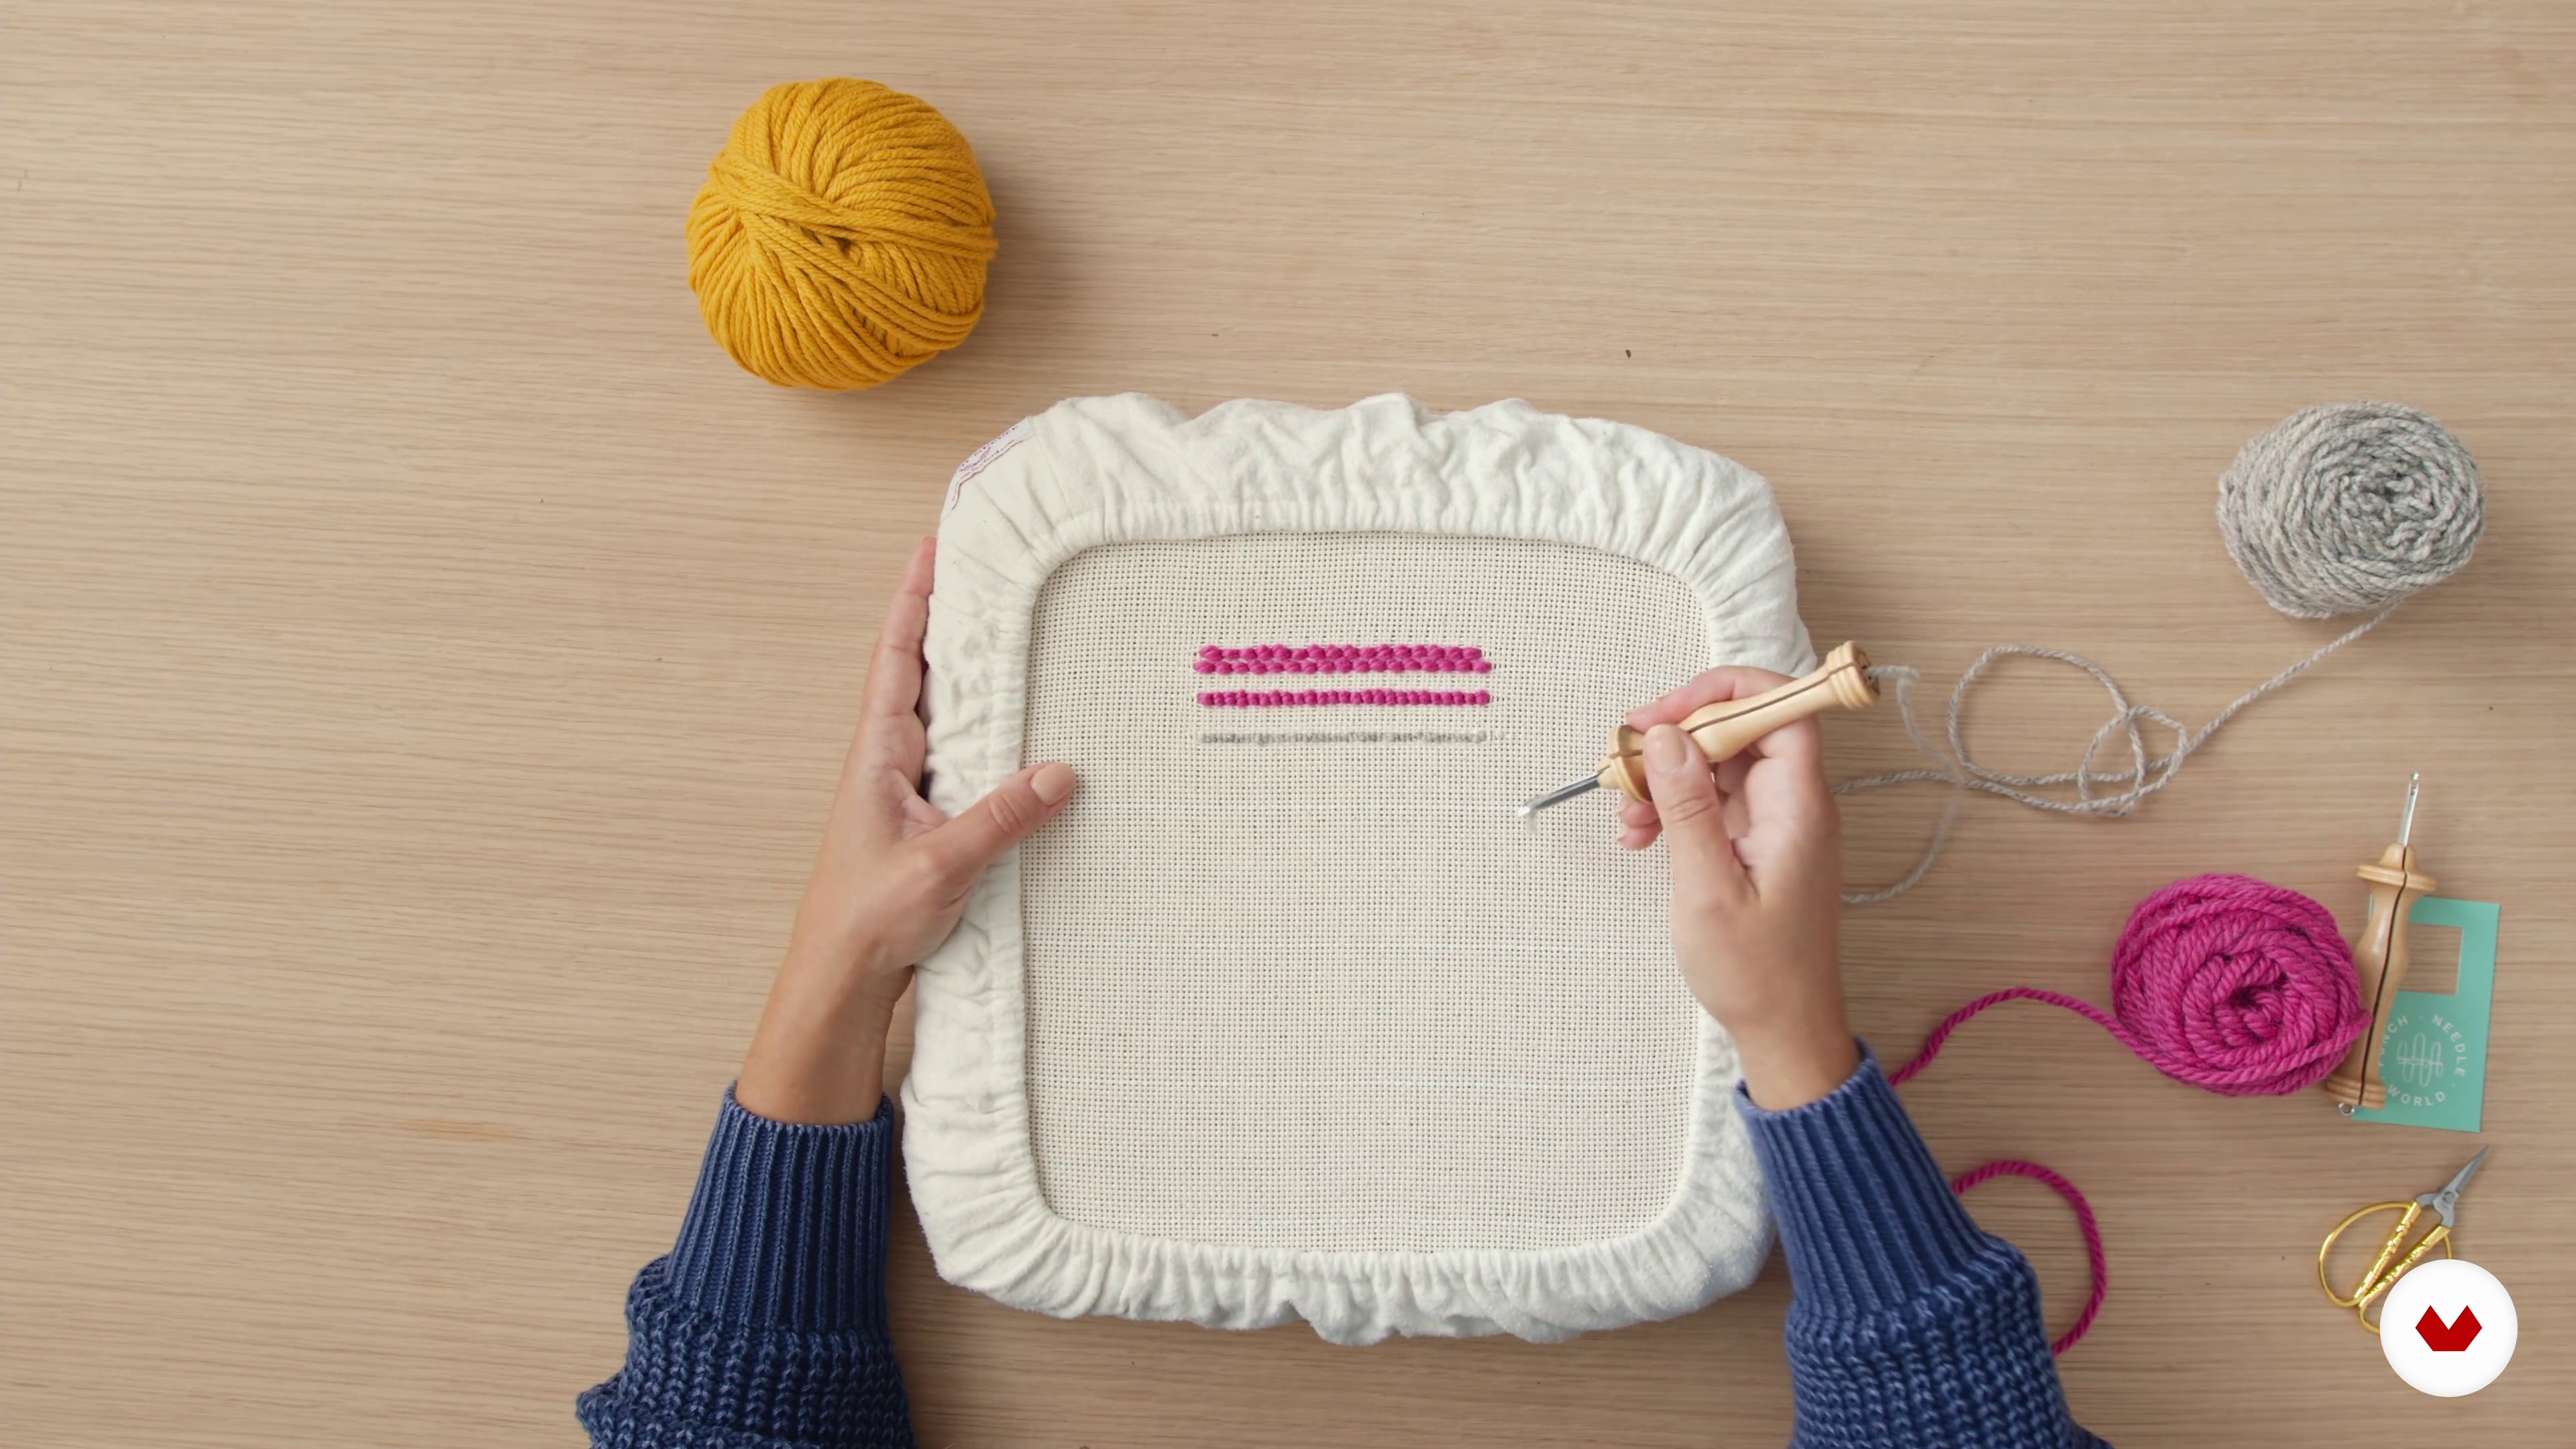
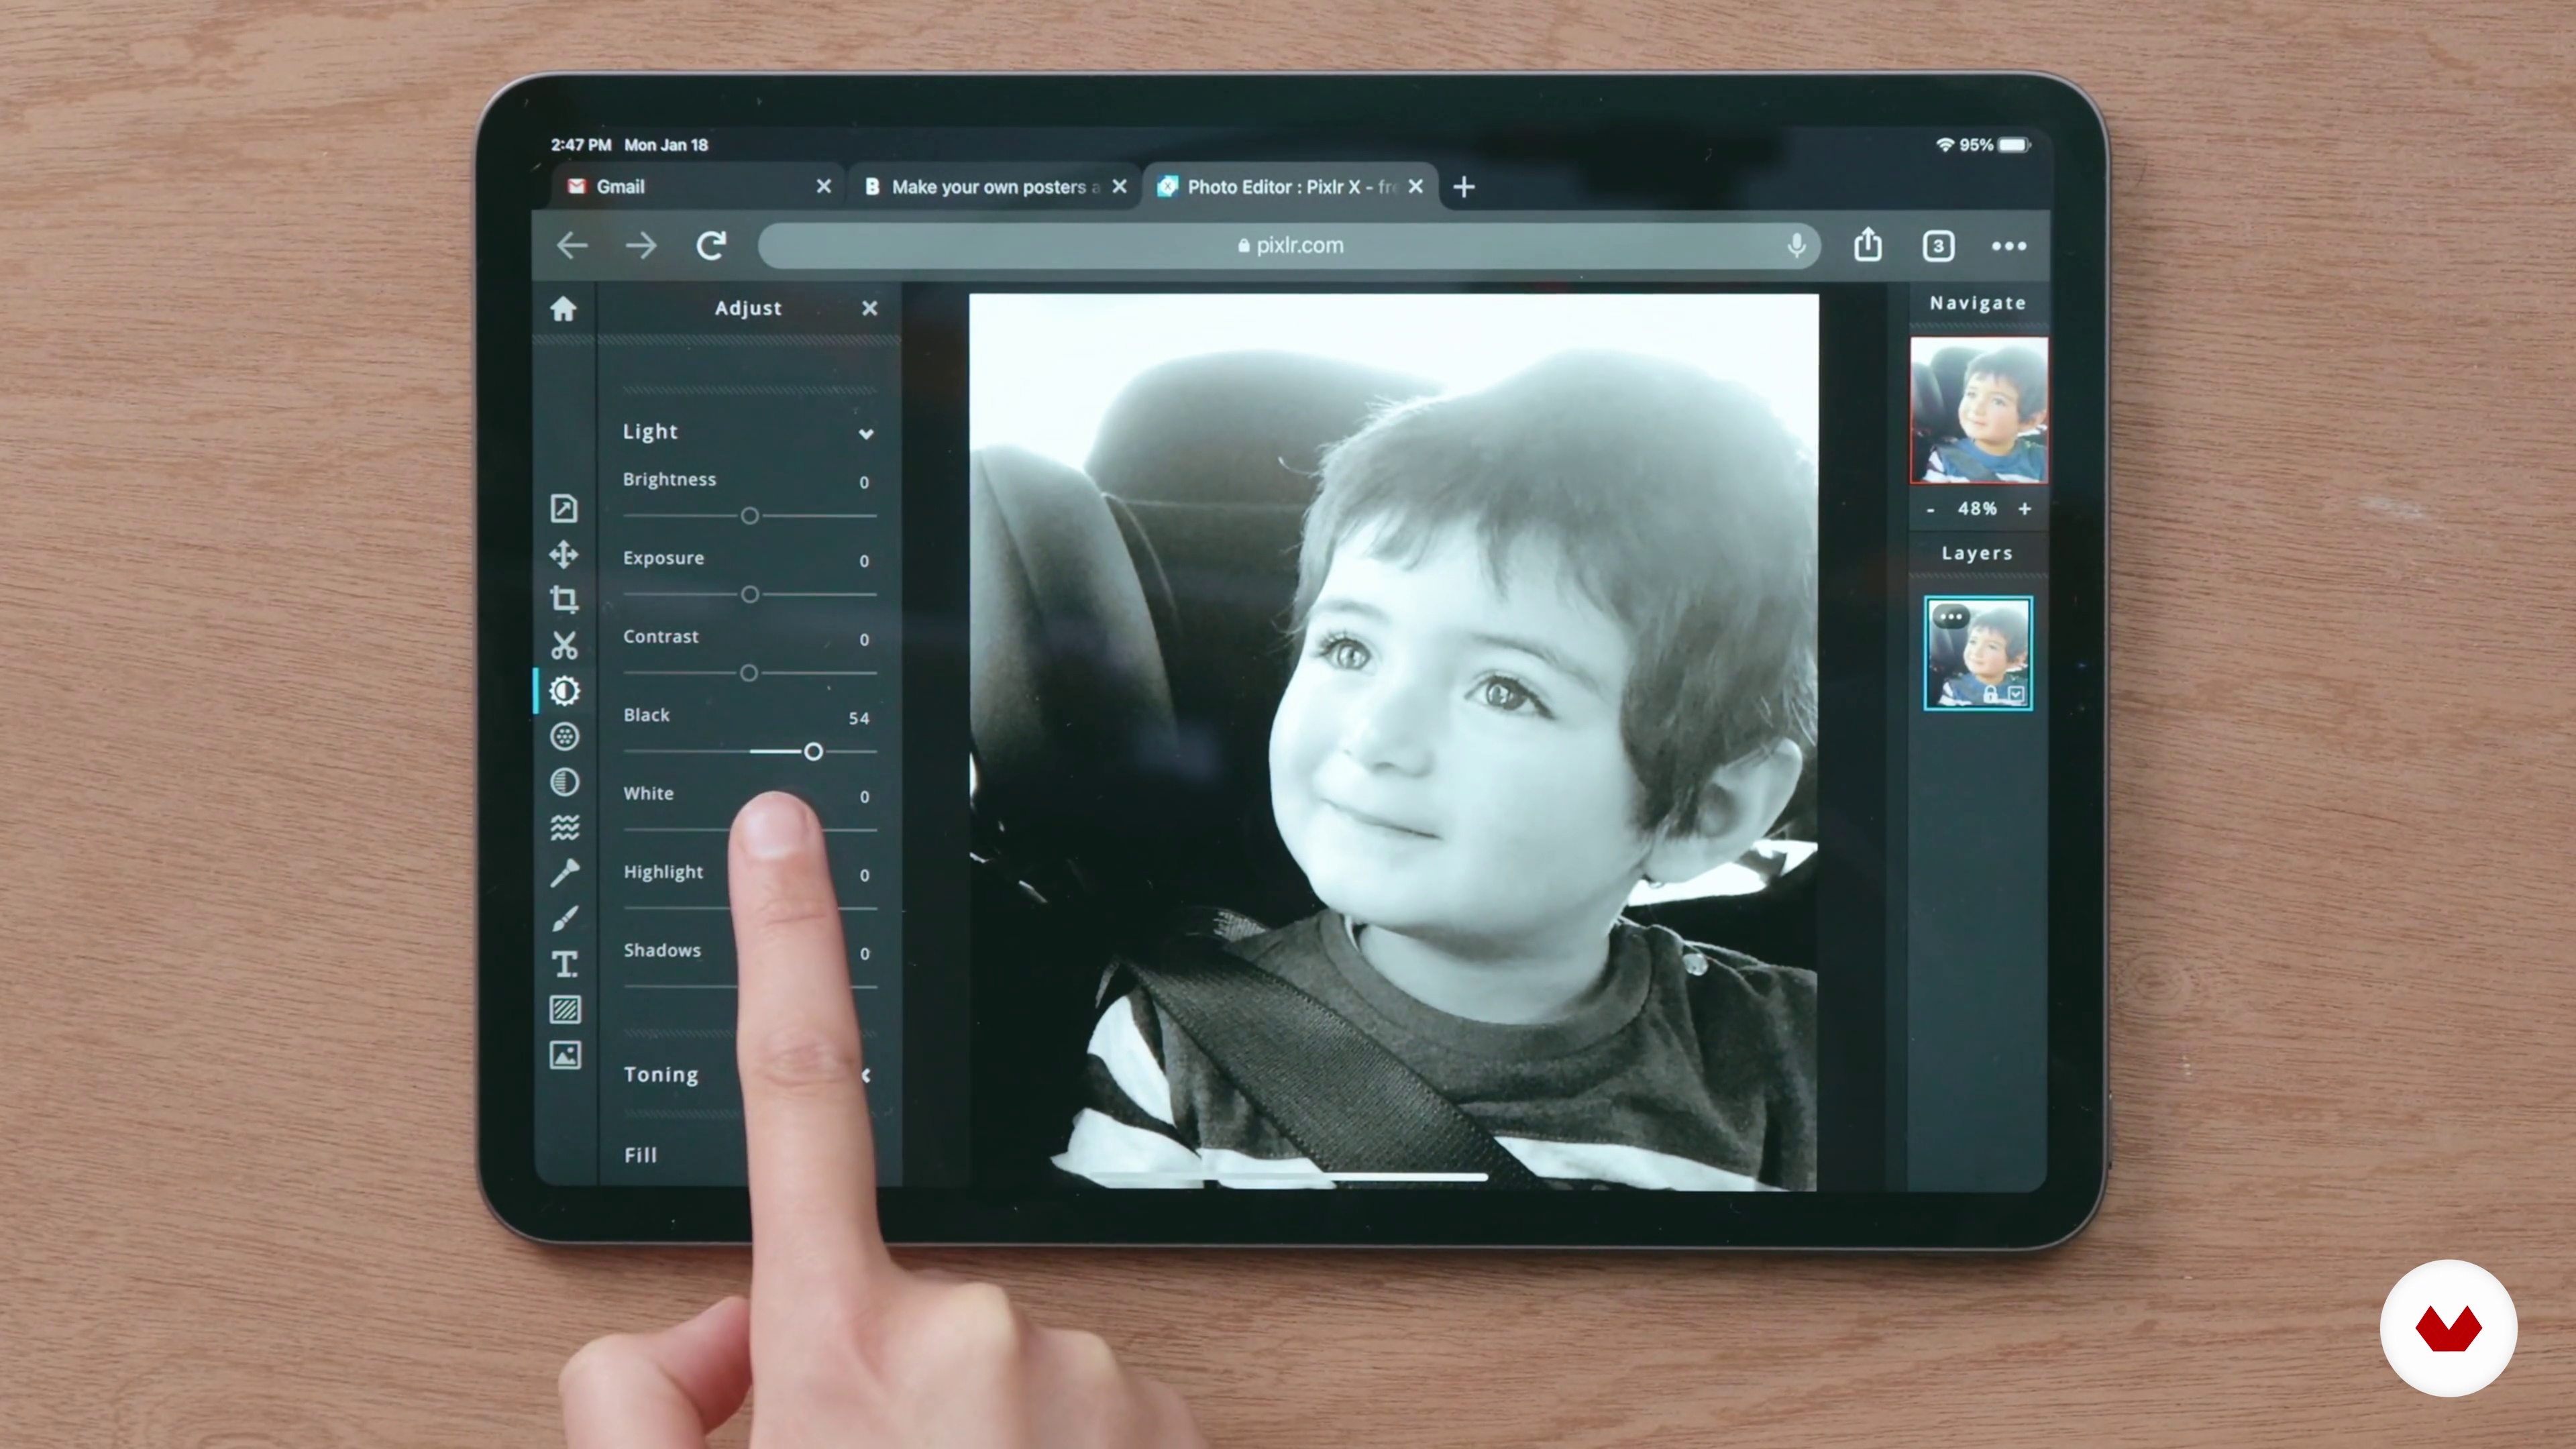
You'll need monk's cloth, acrylic or wool yarn, an Oxford or adjustable punch needle, a wooden frame, fabric glue, scissors, and optional digital tools like Adobe Fresco and Illustrator.
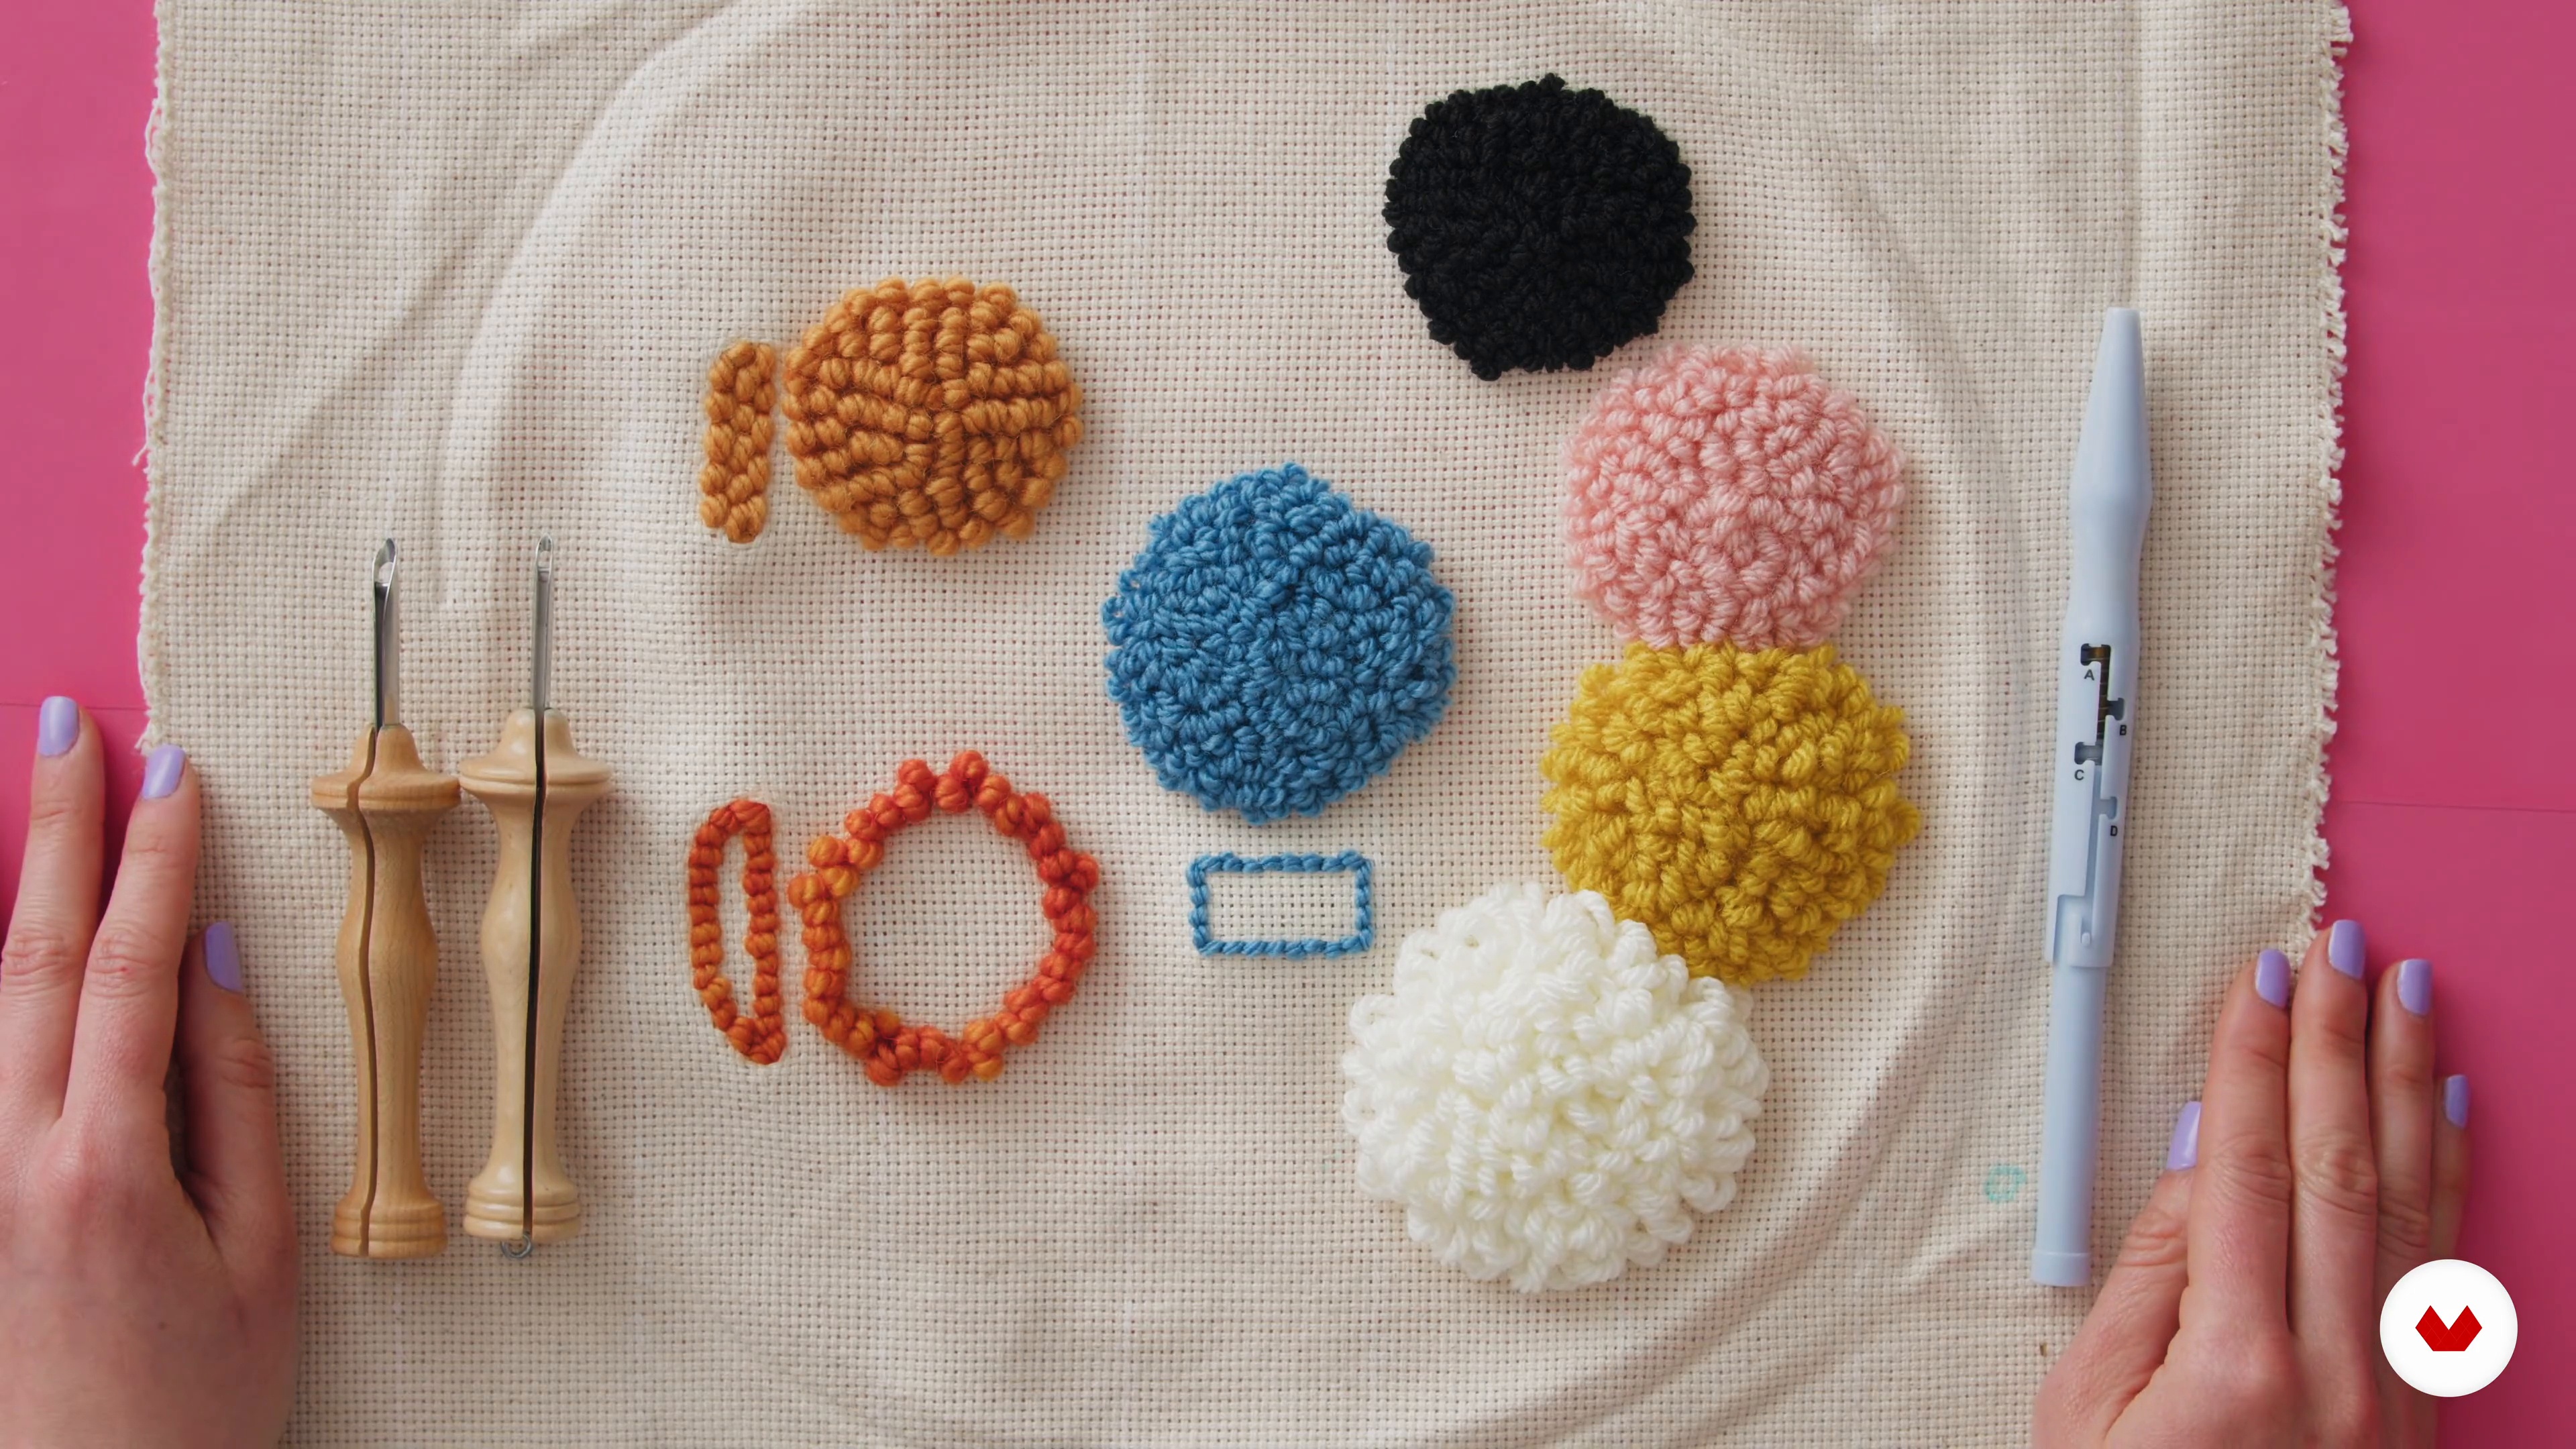
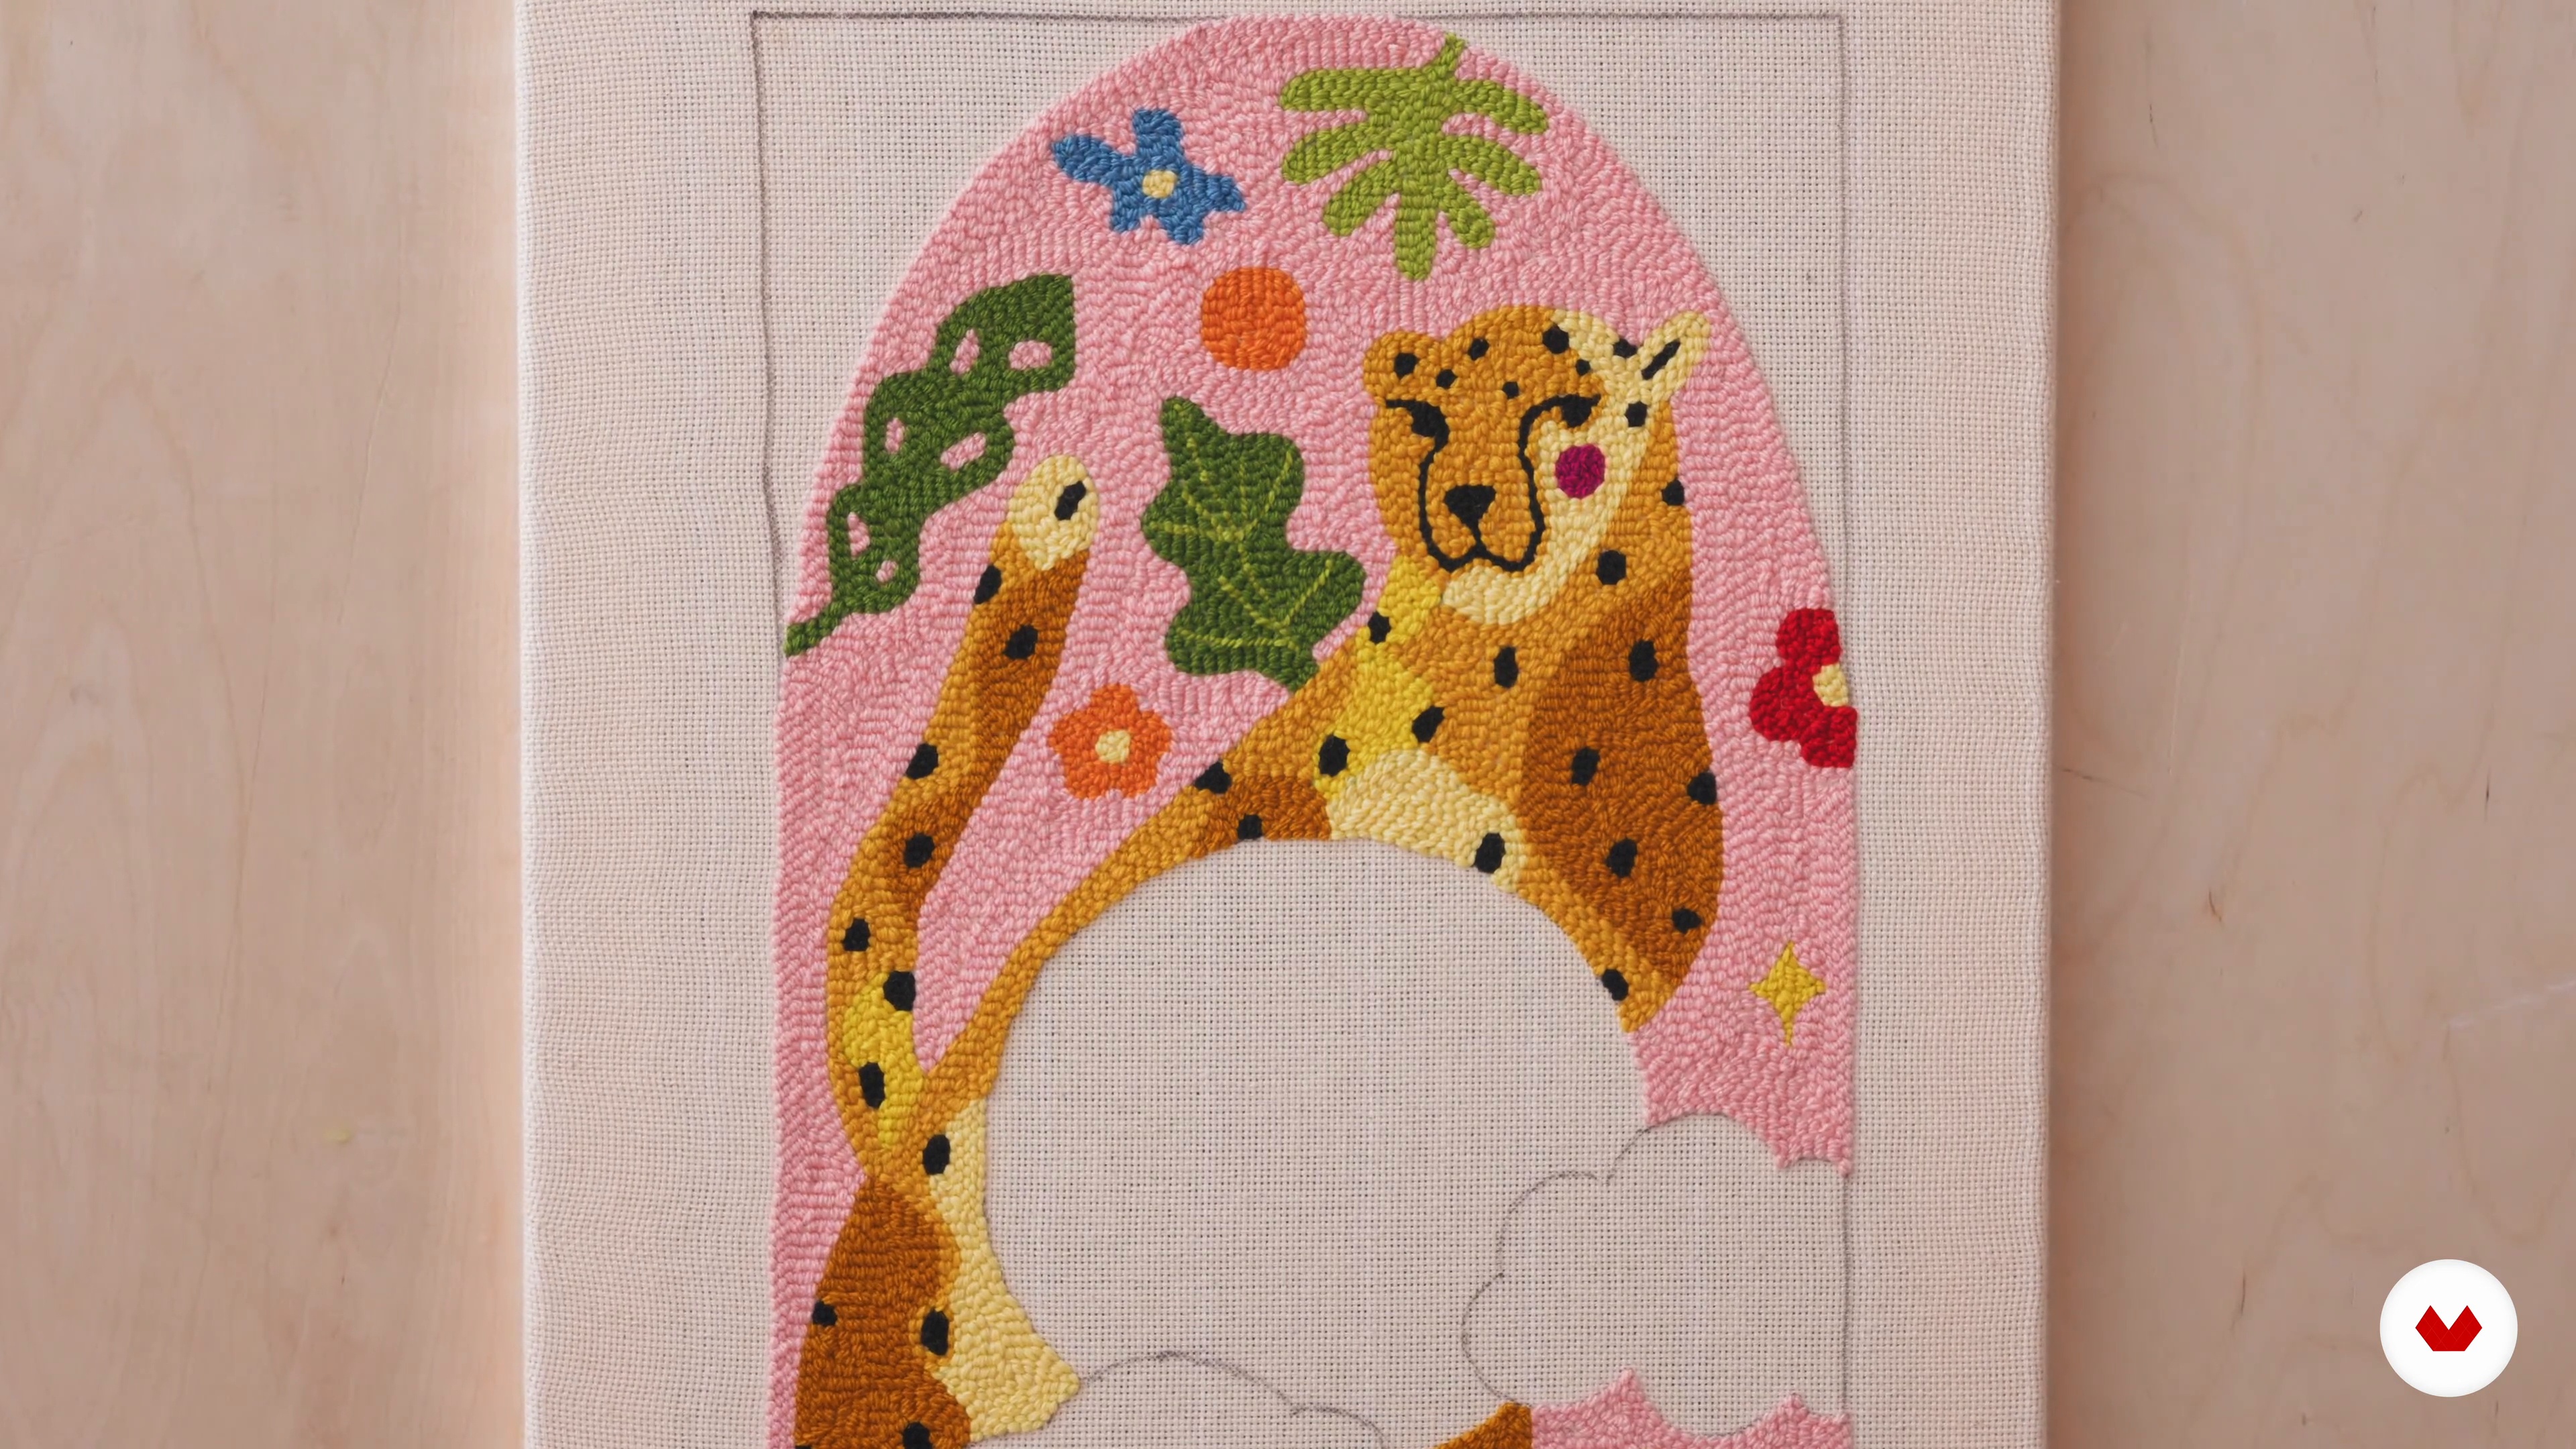
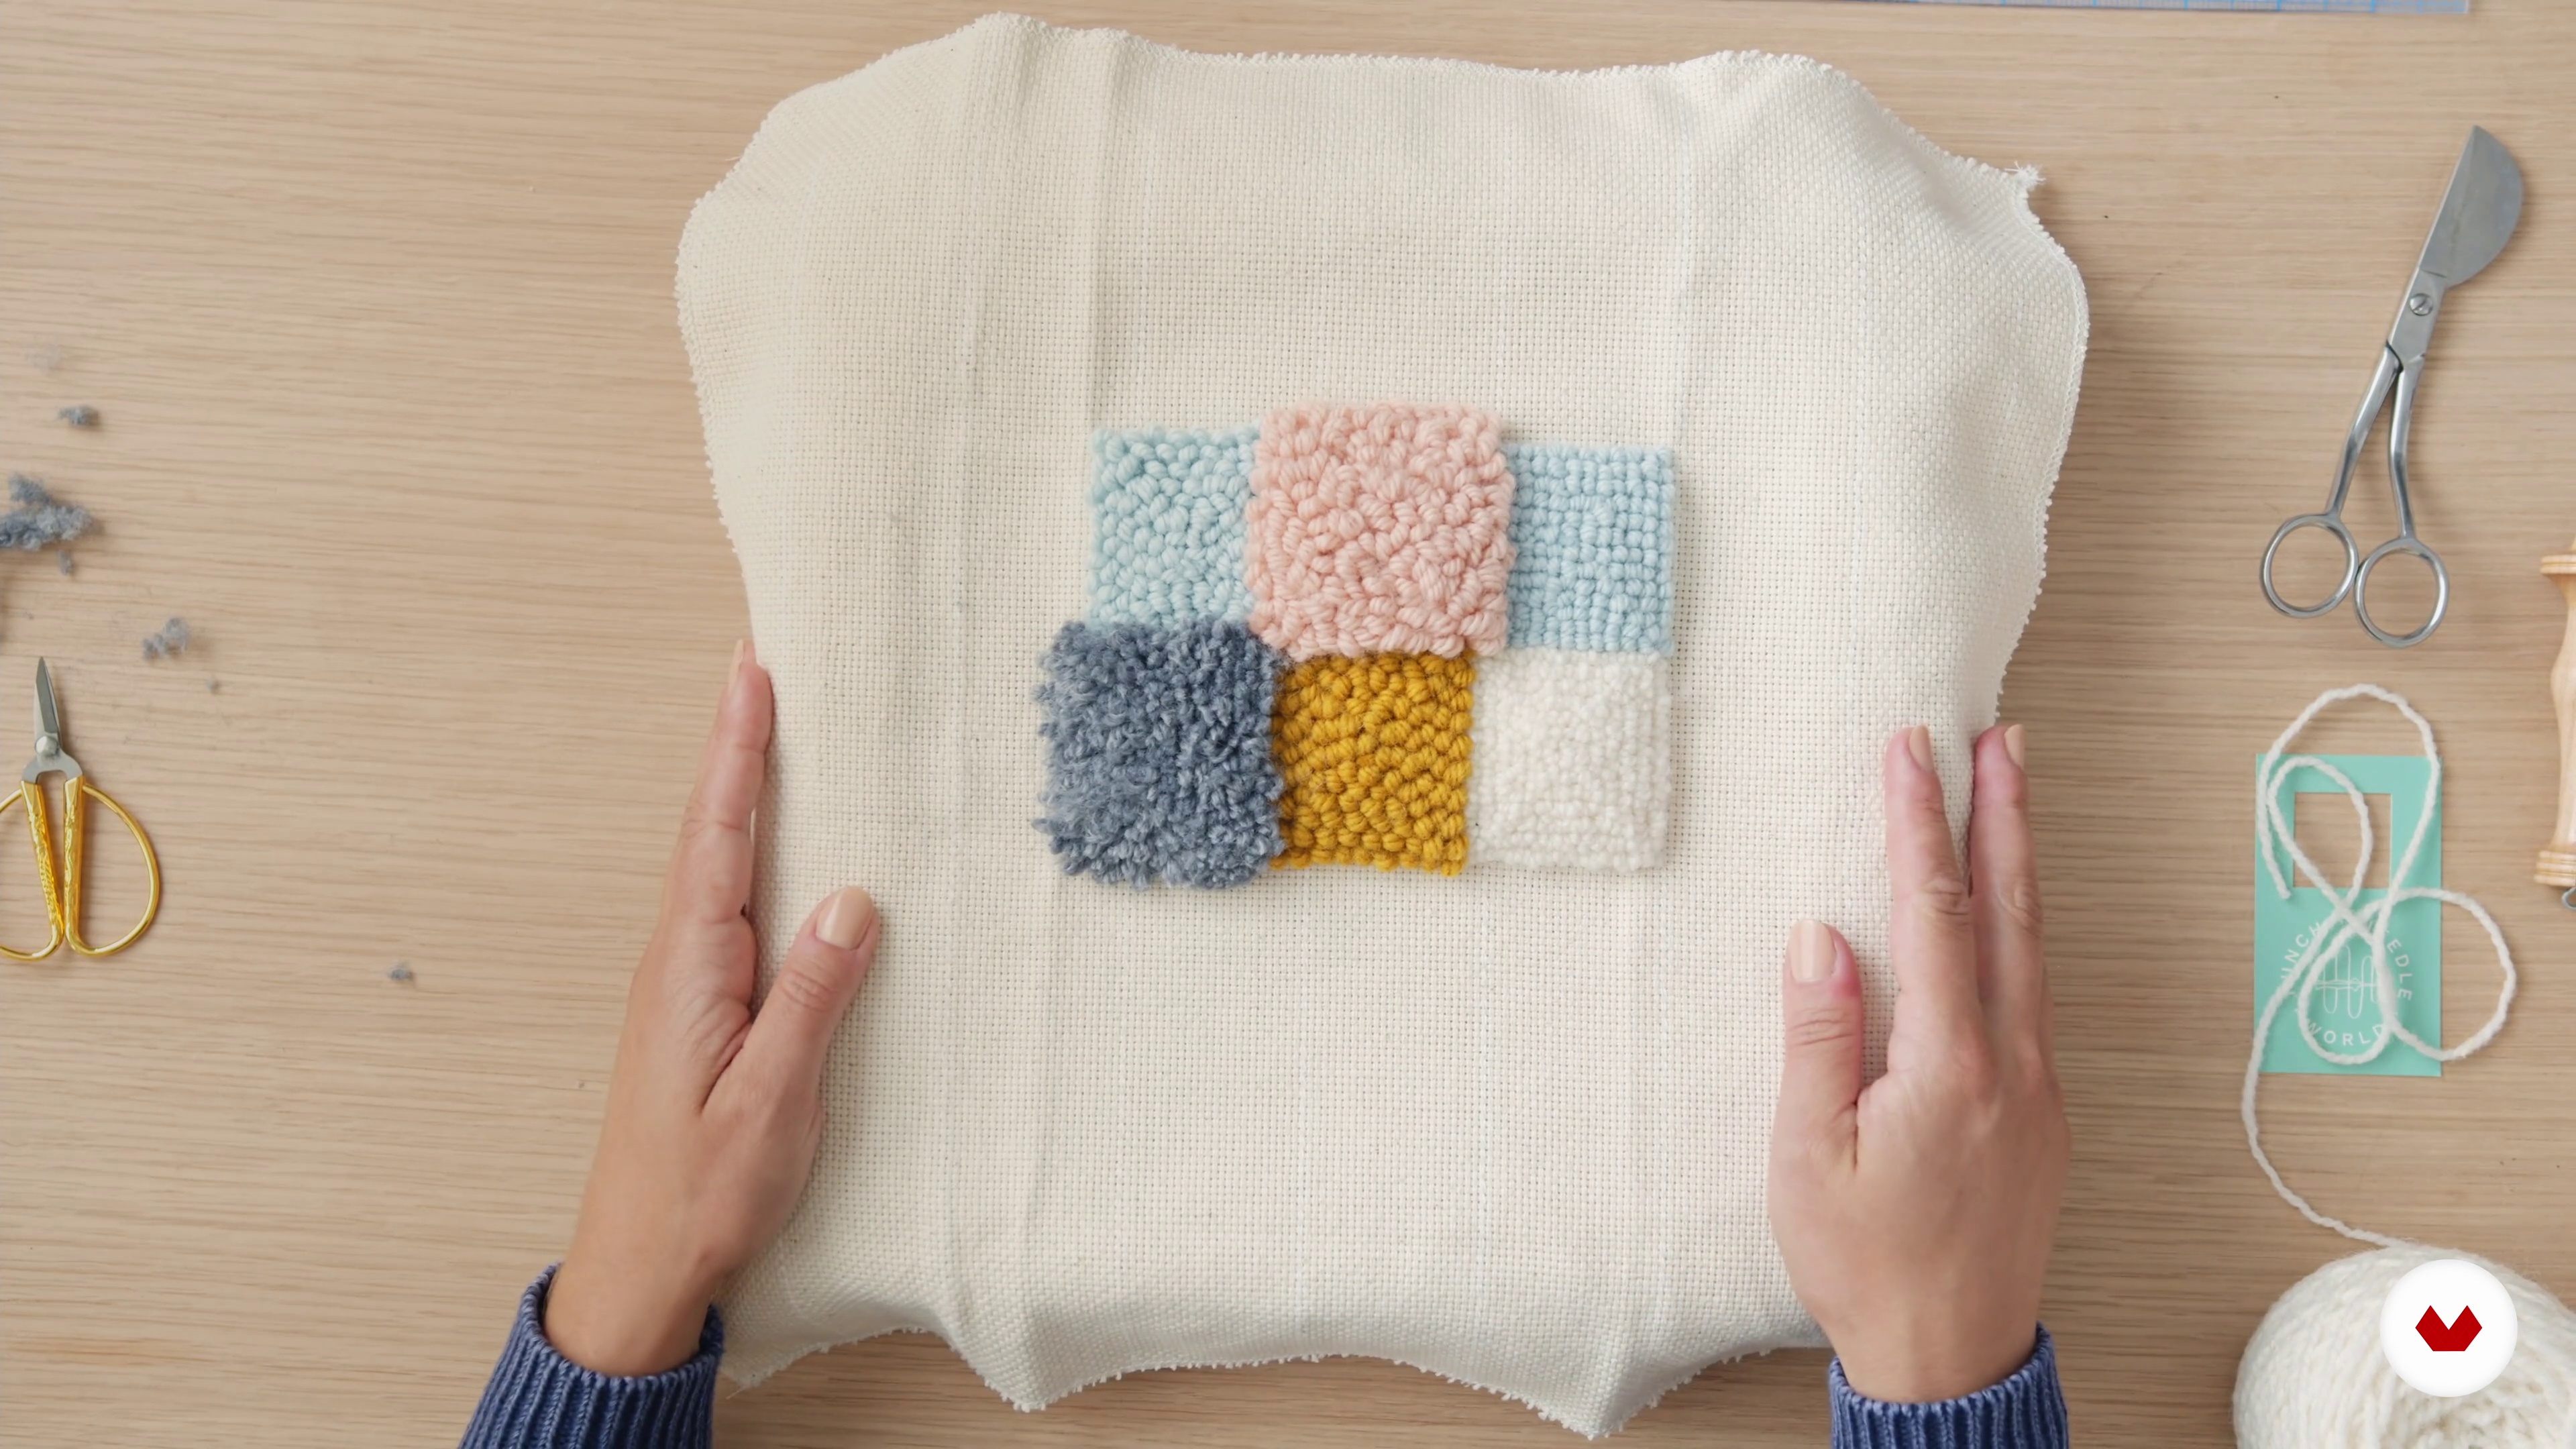
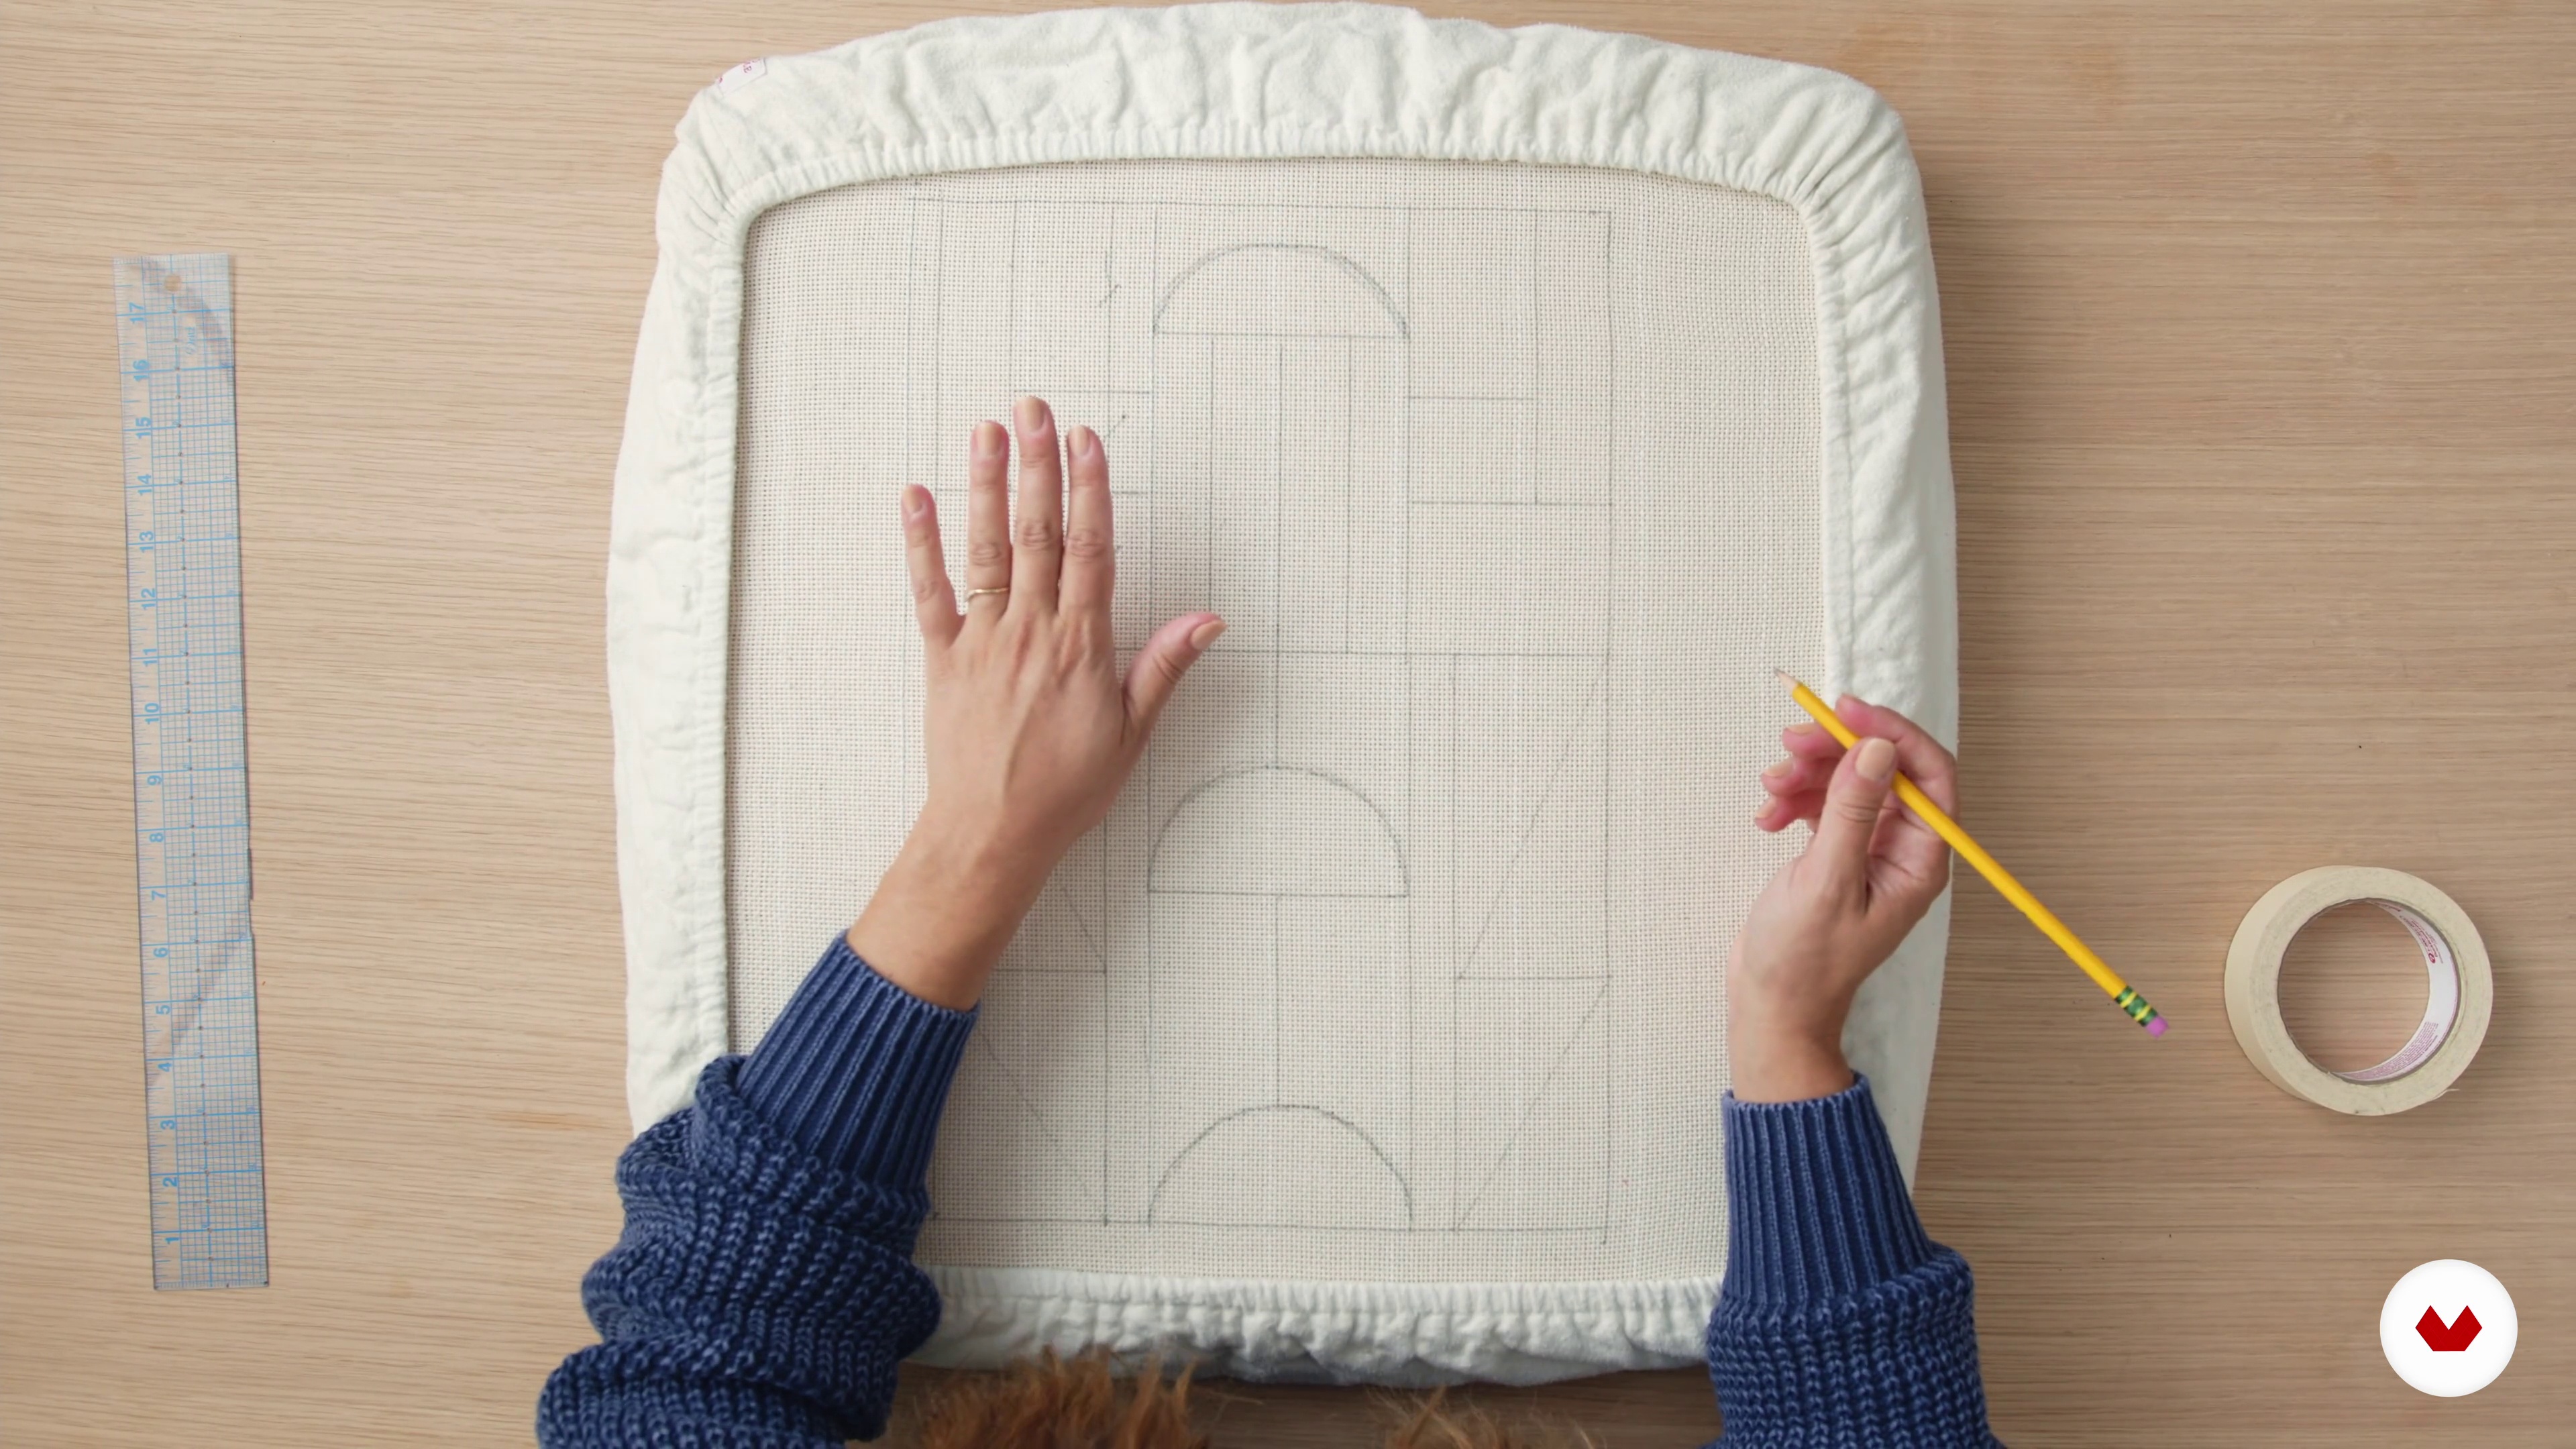
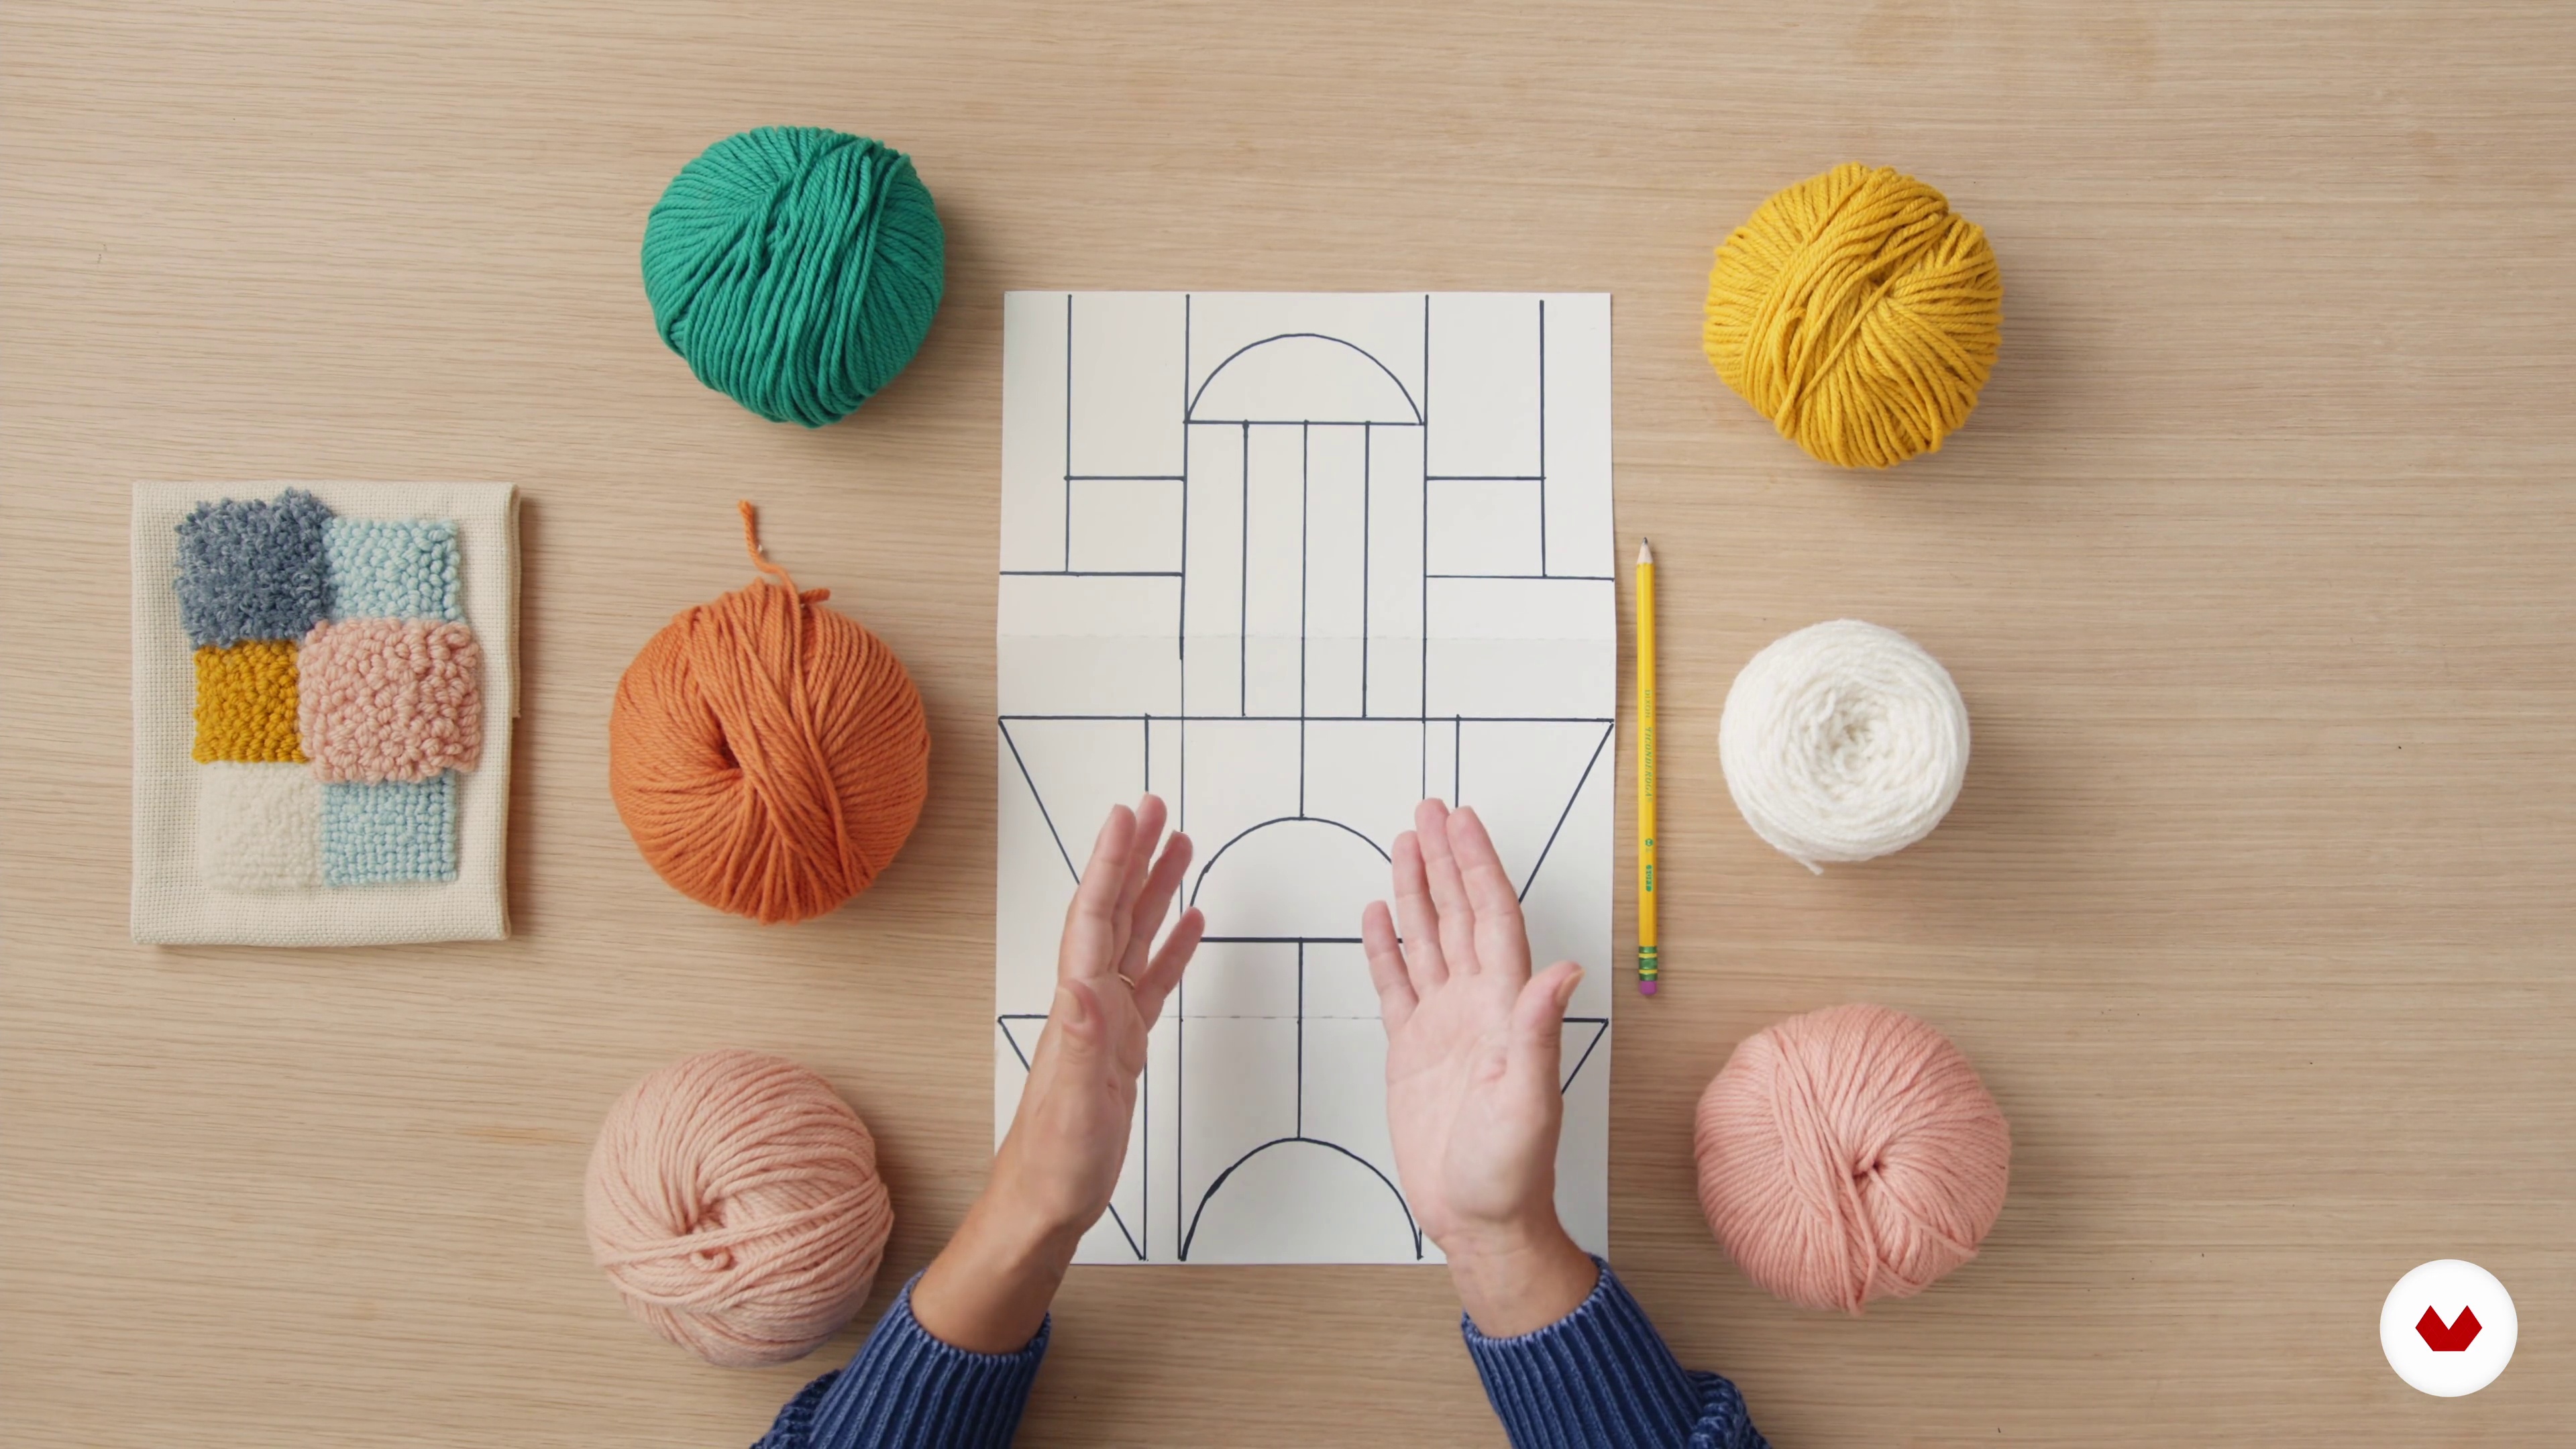
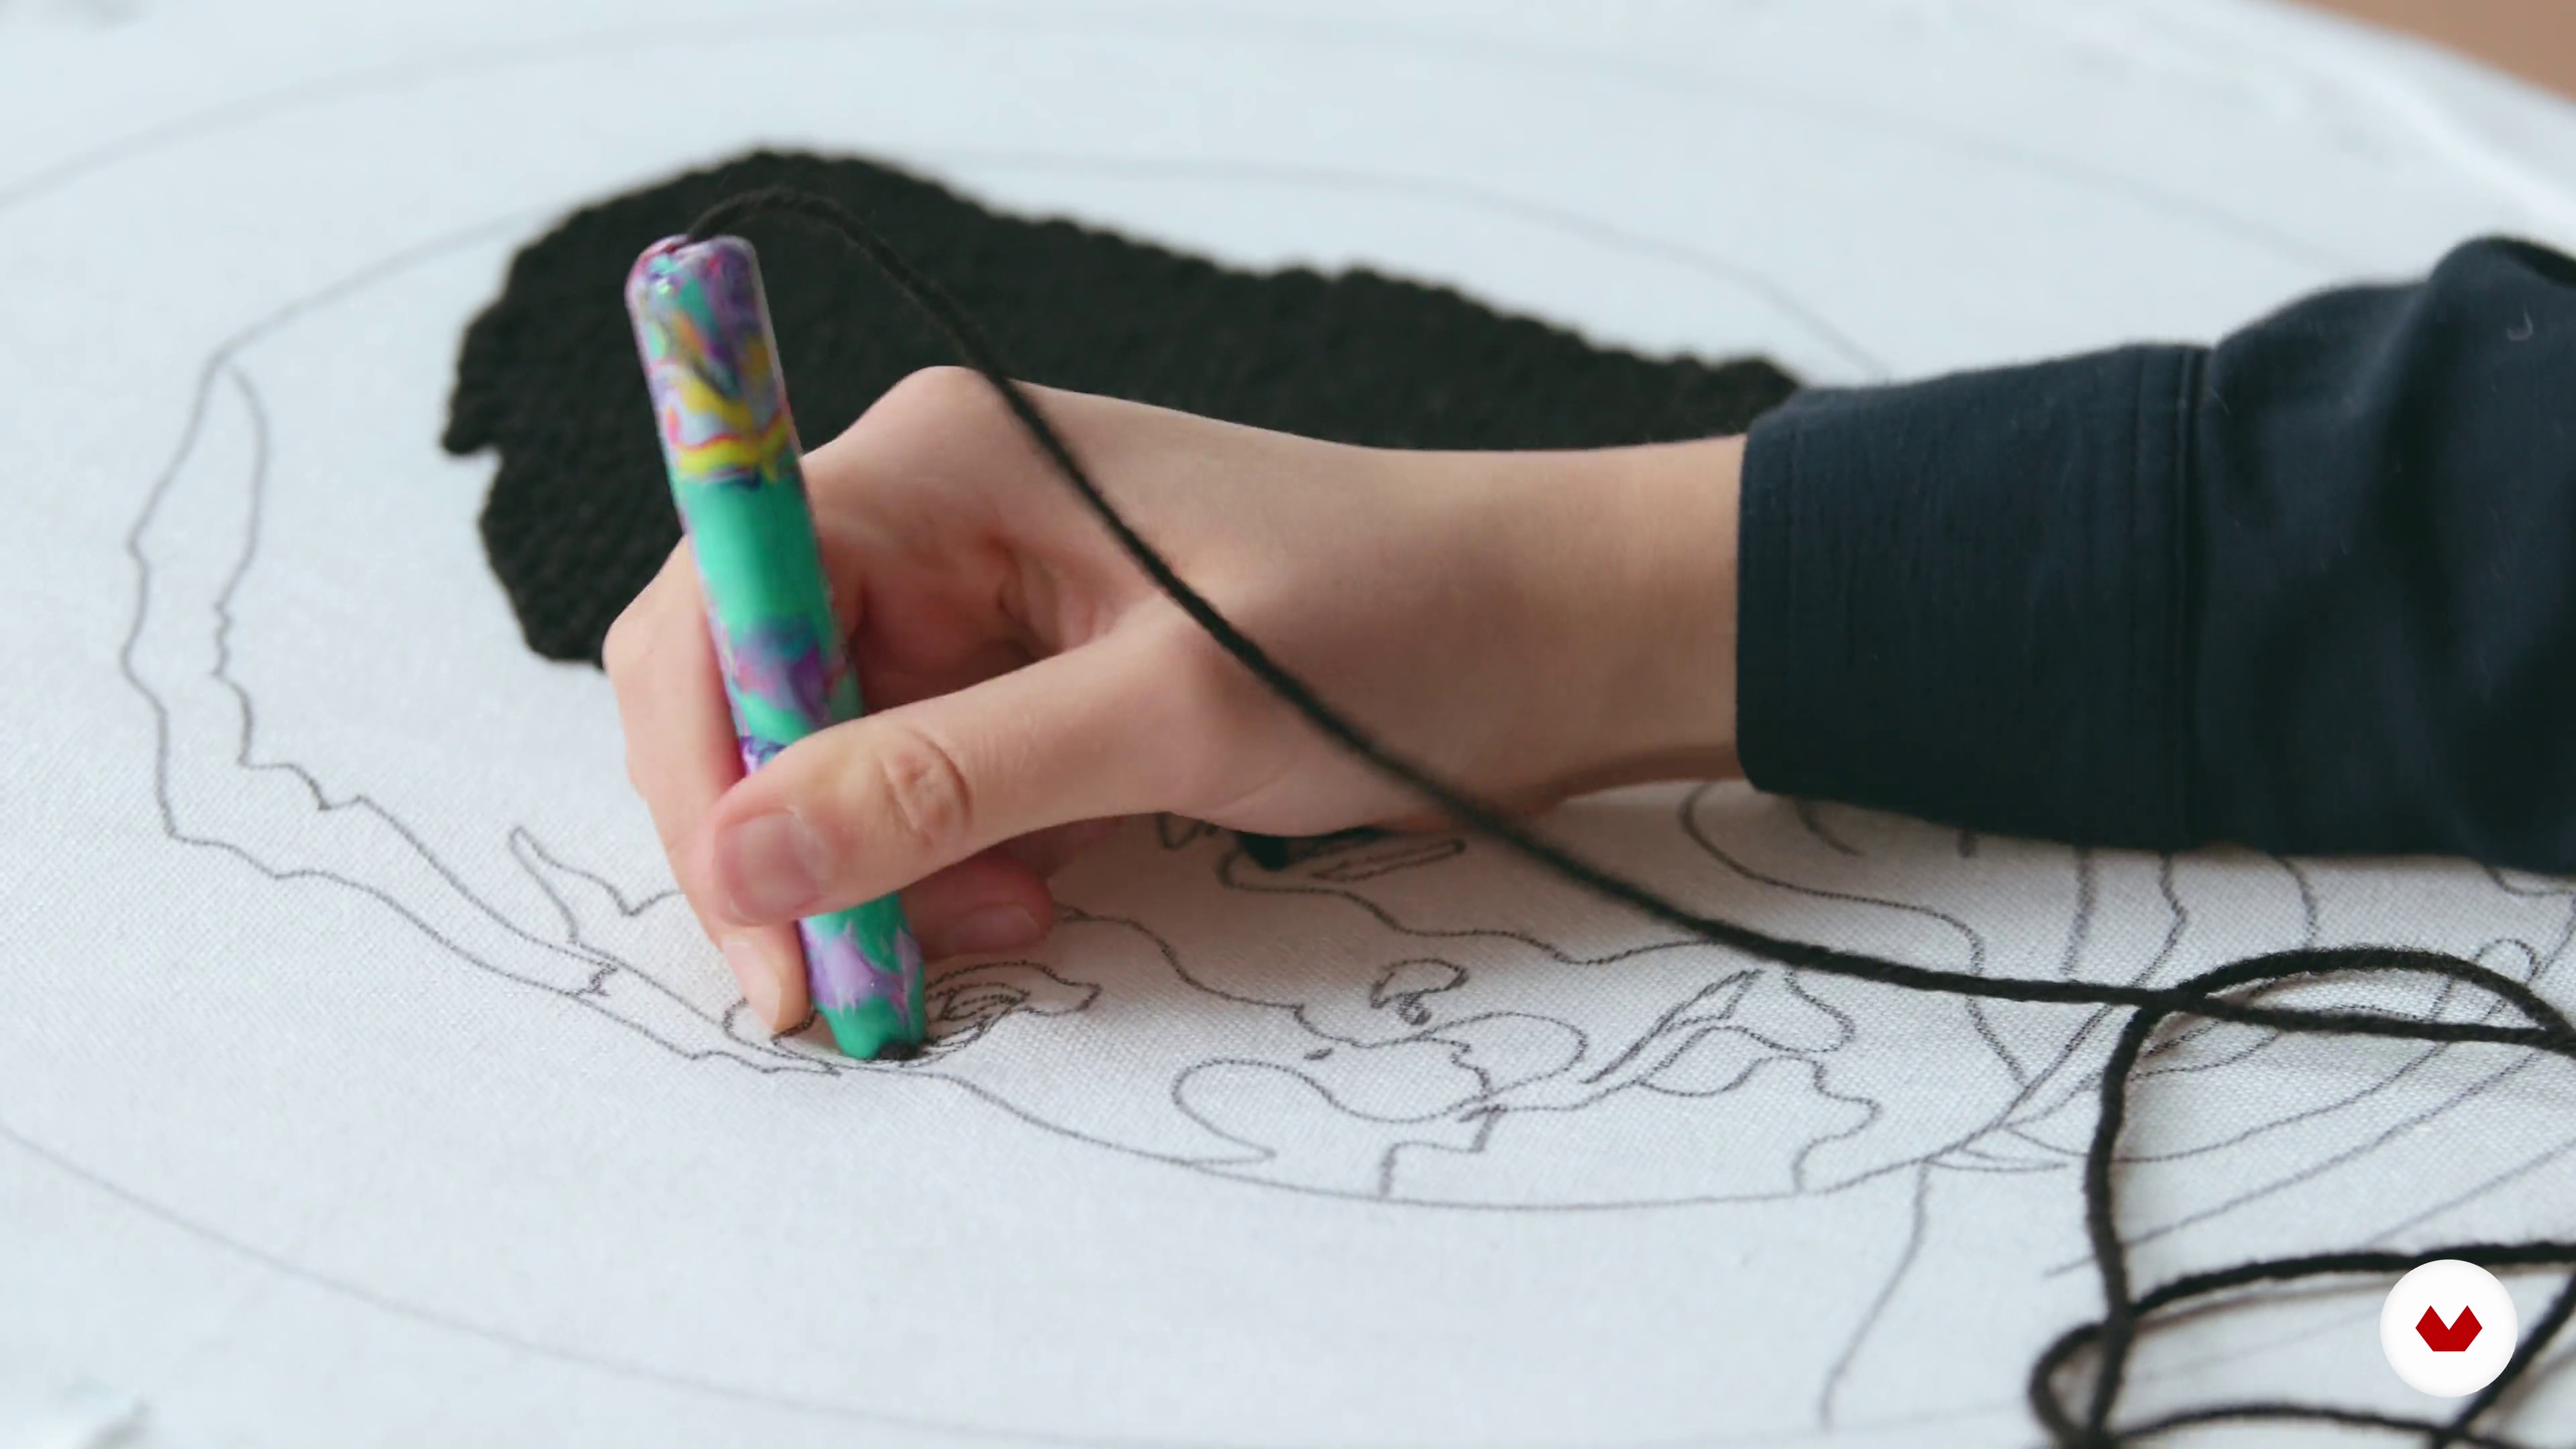
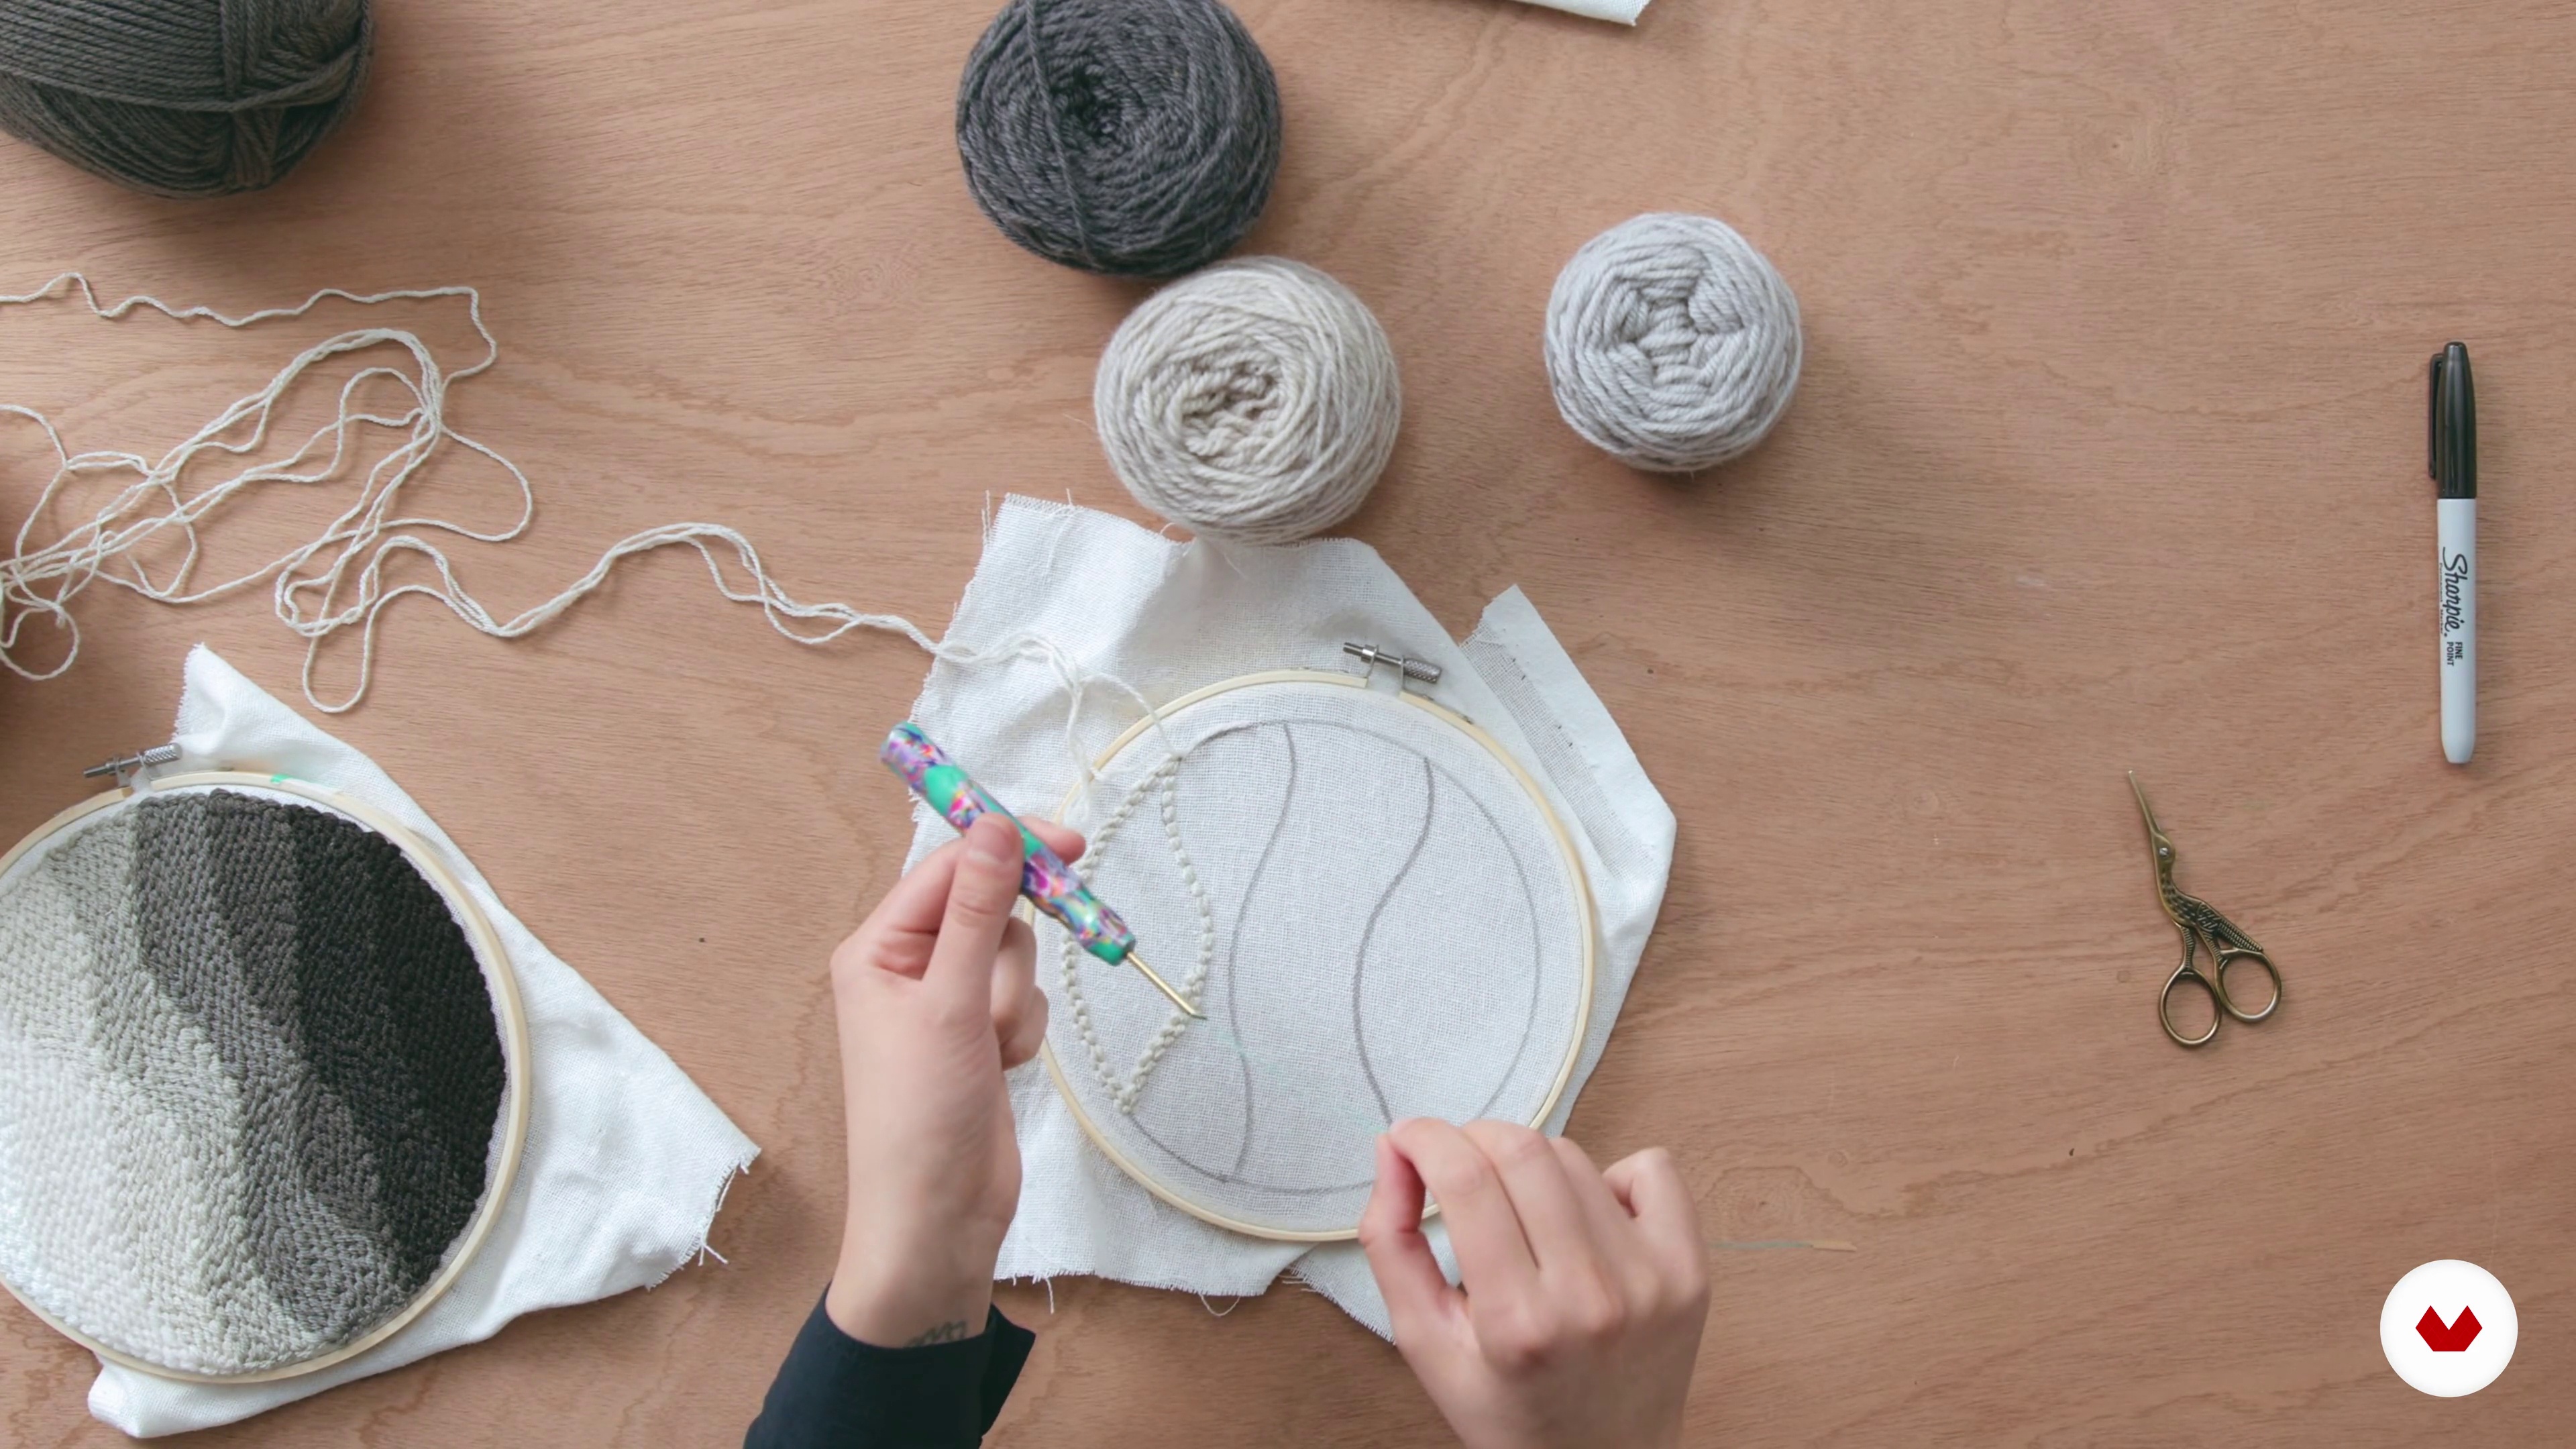
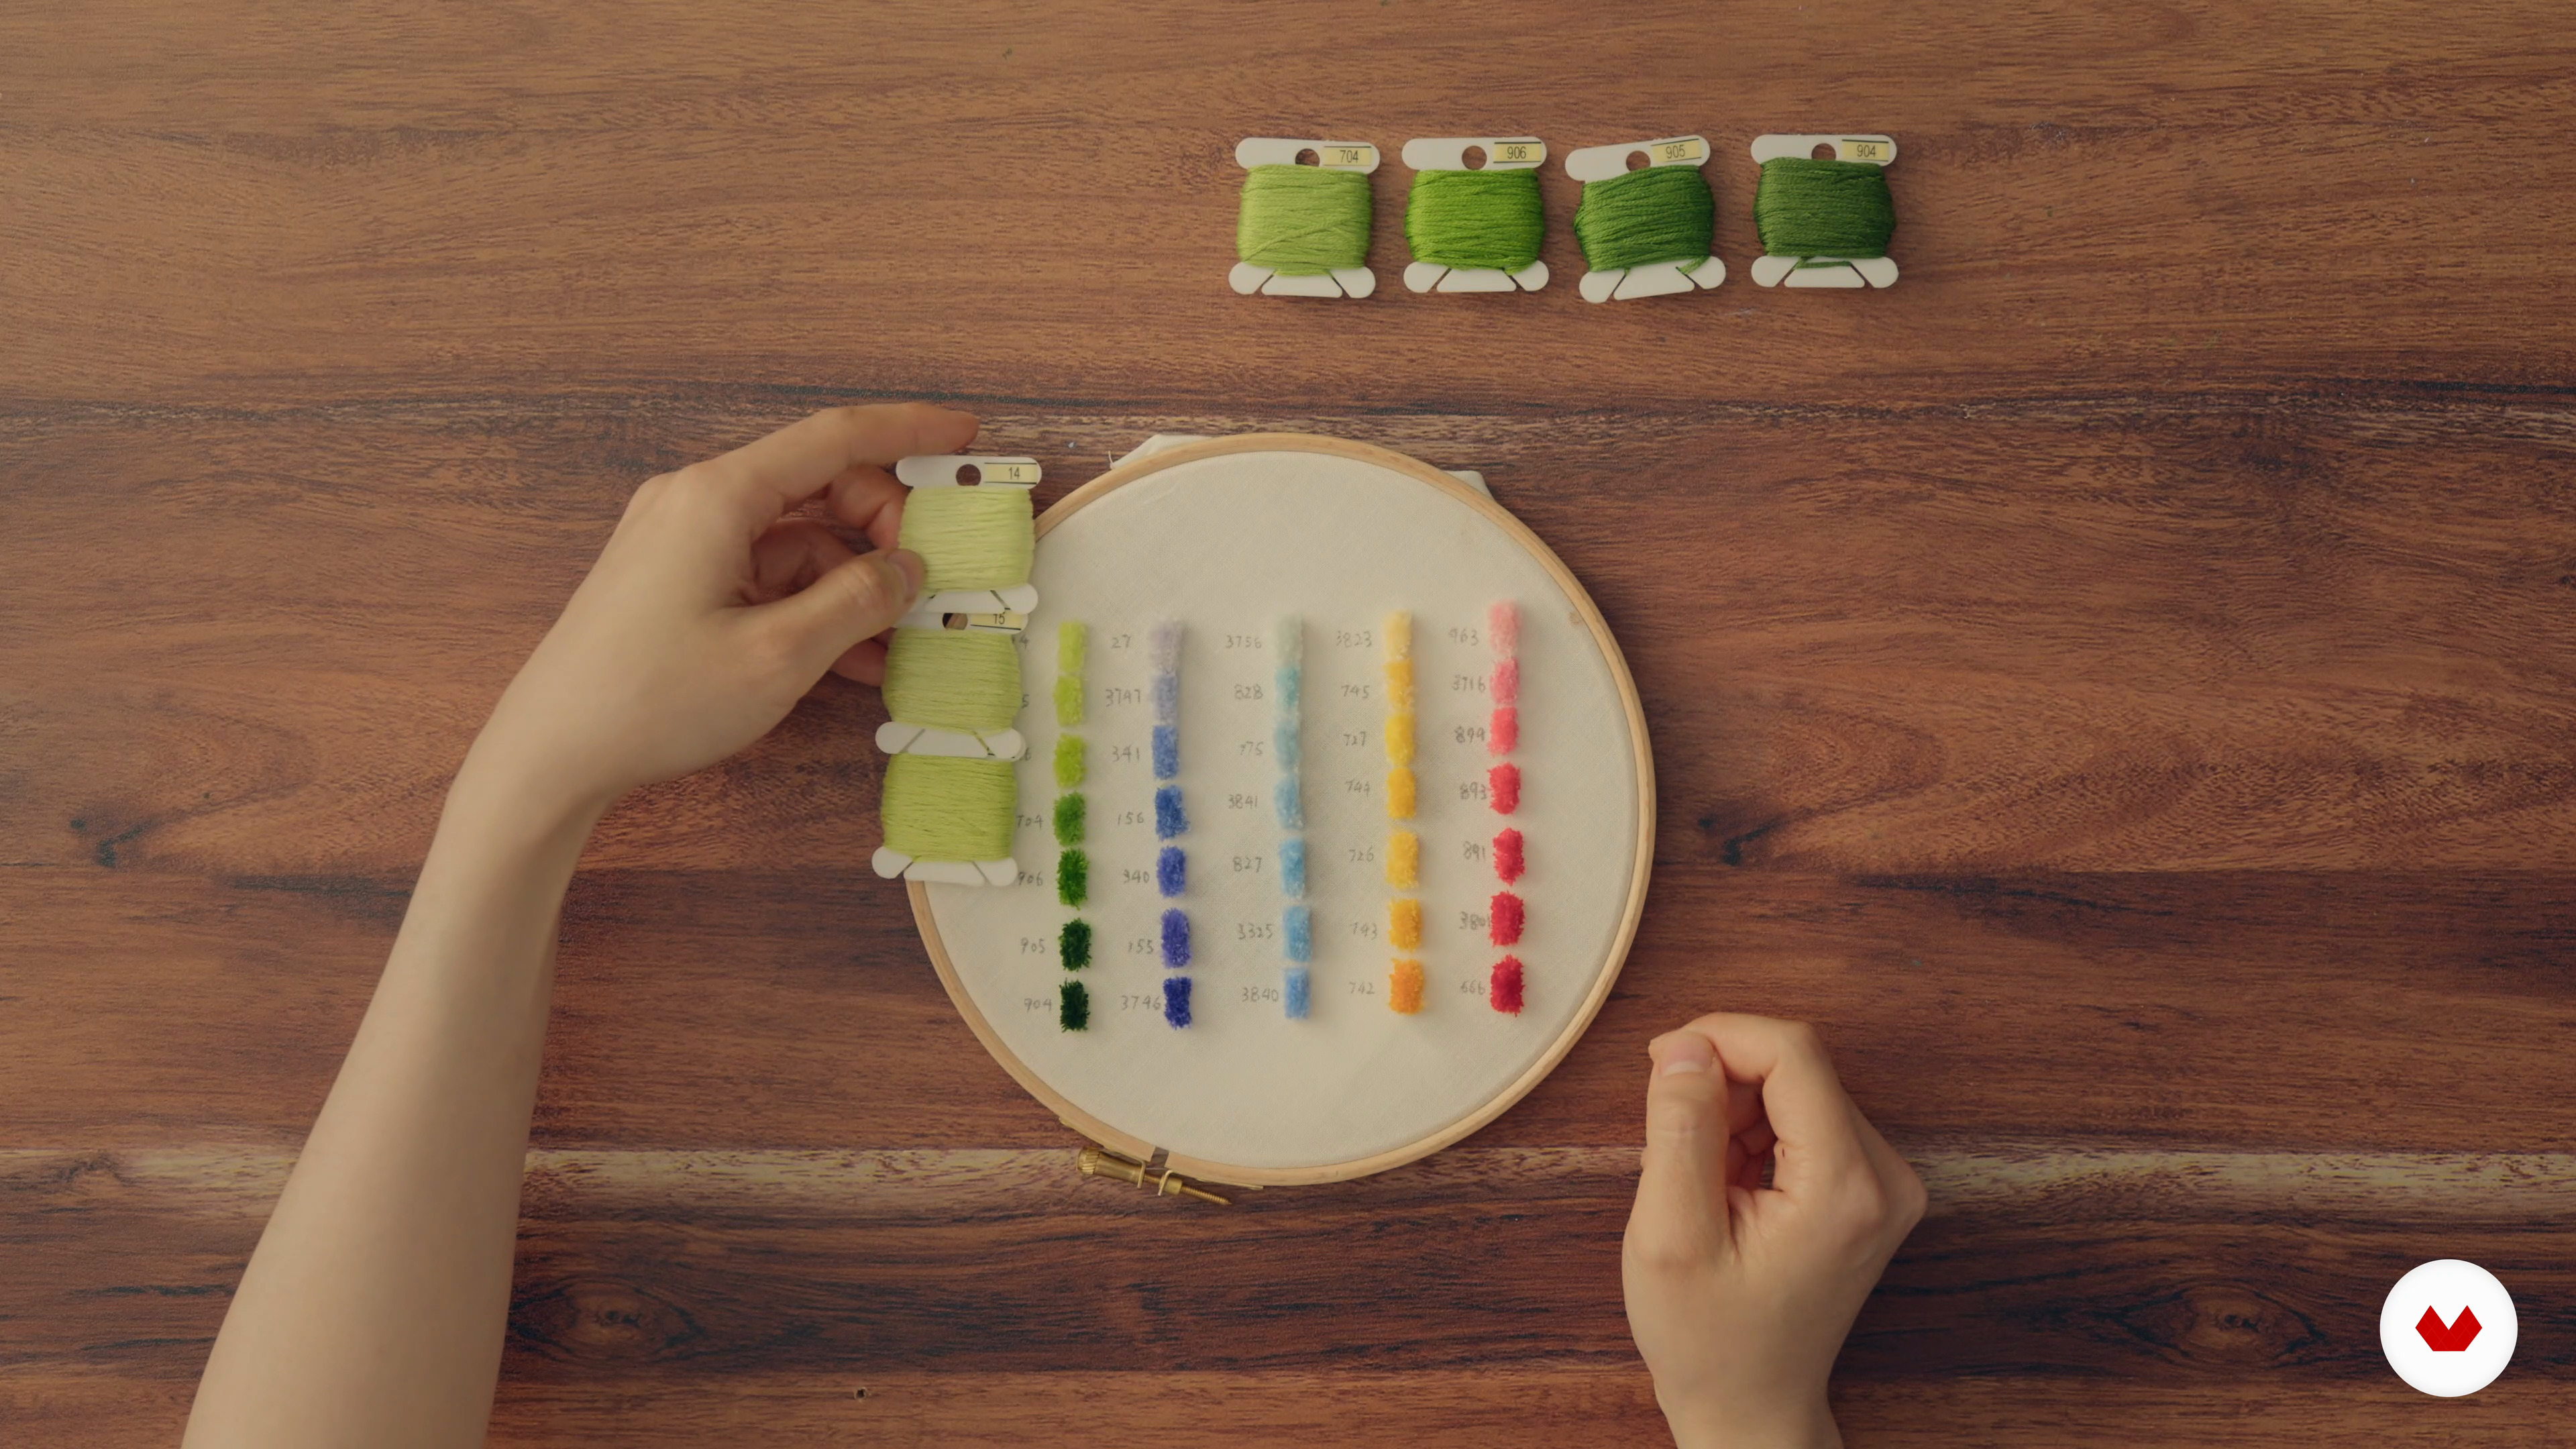
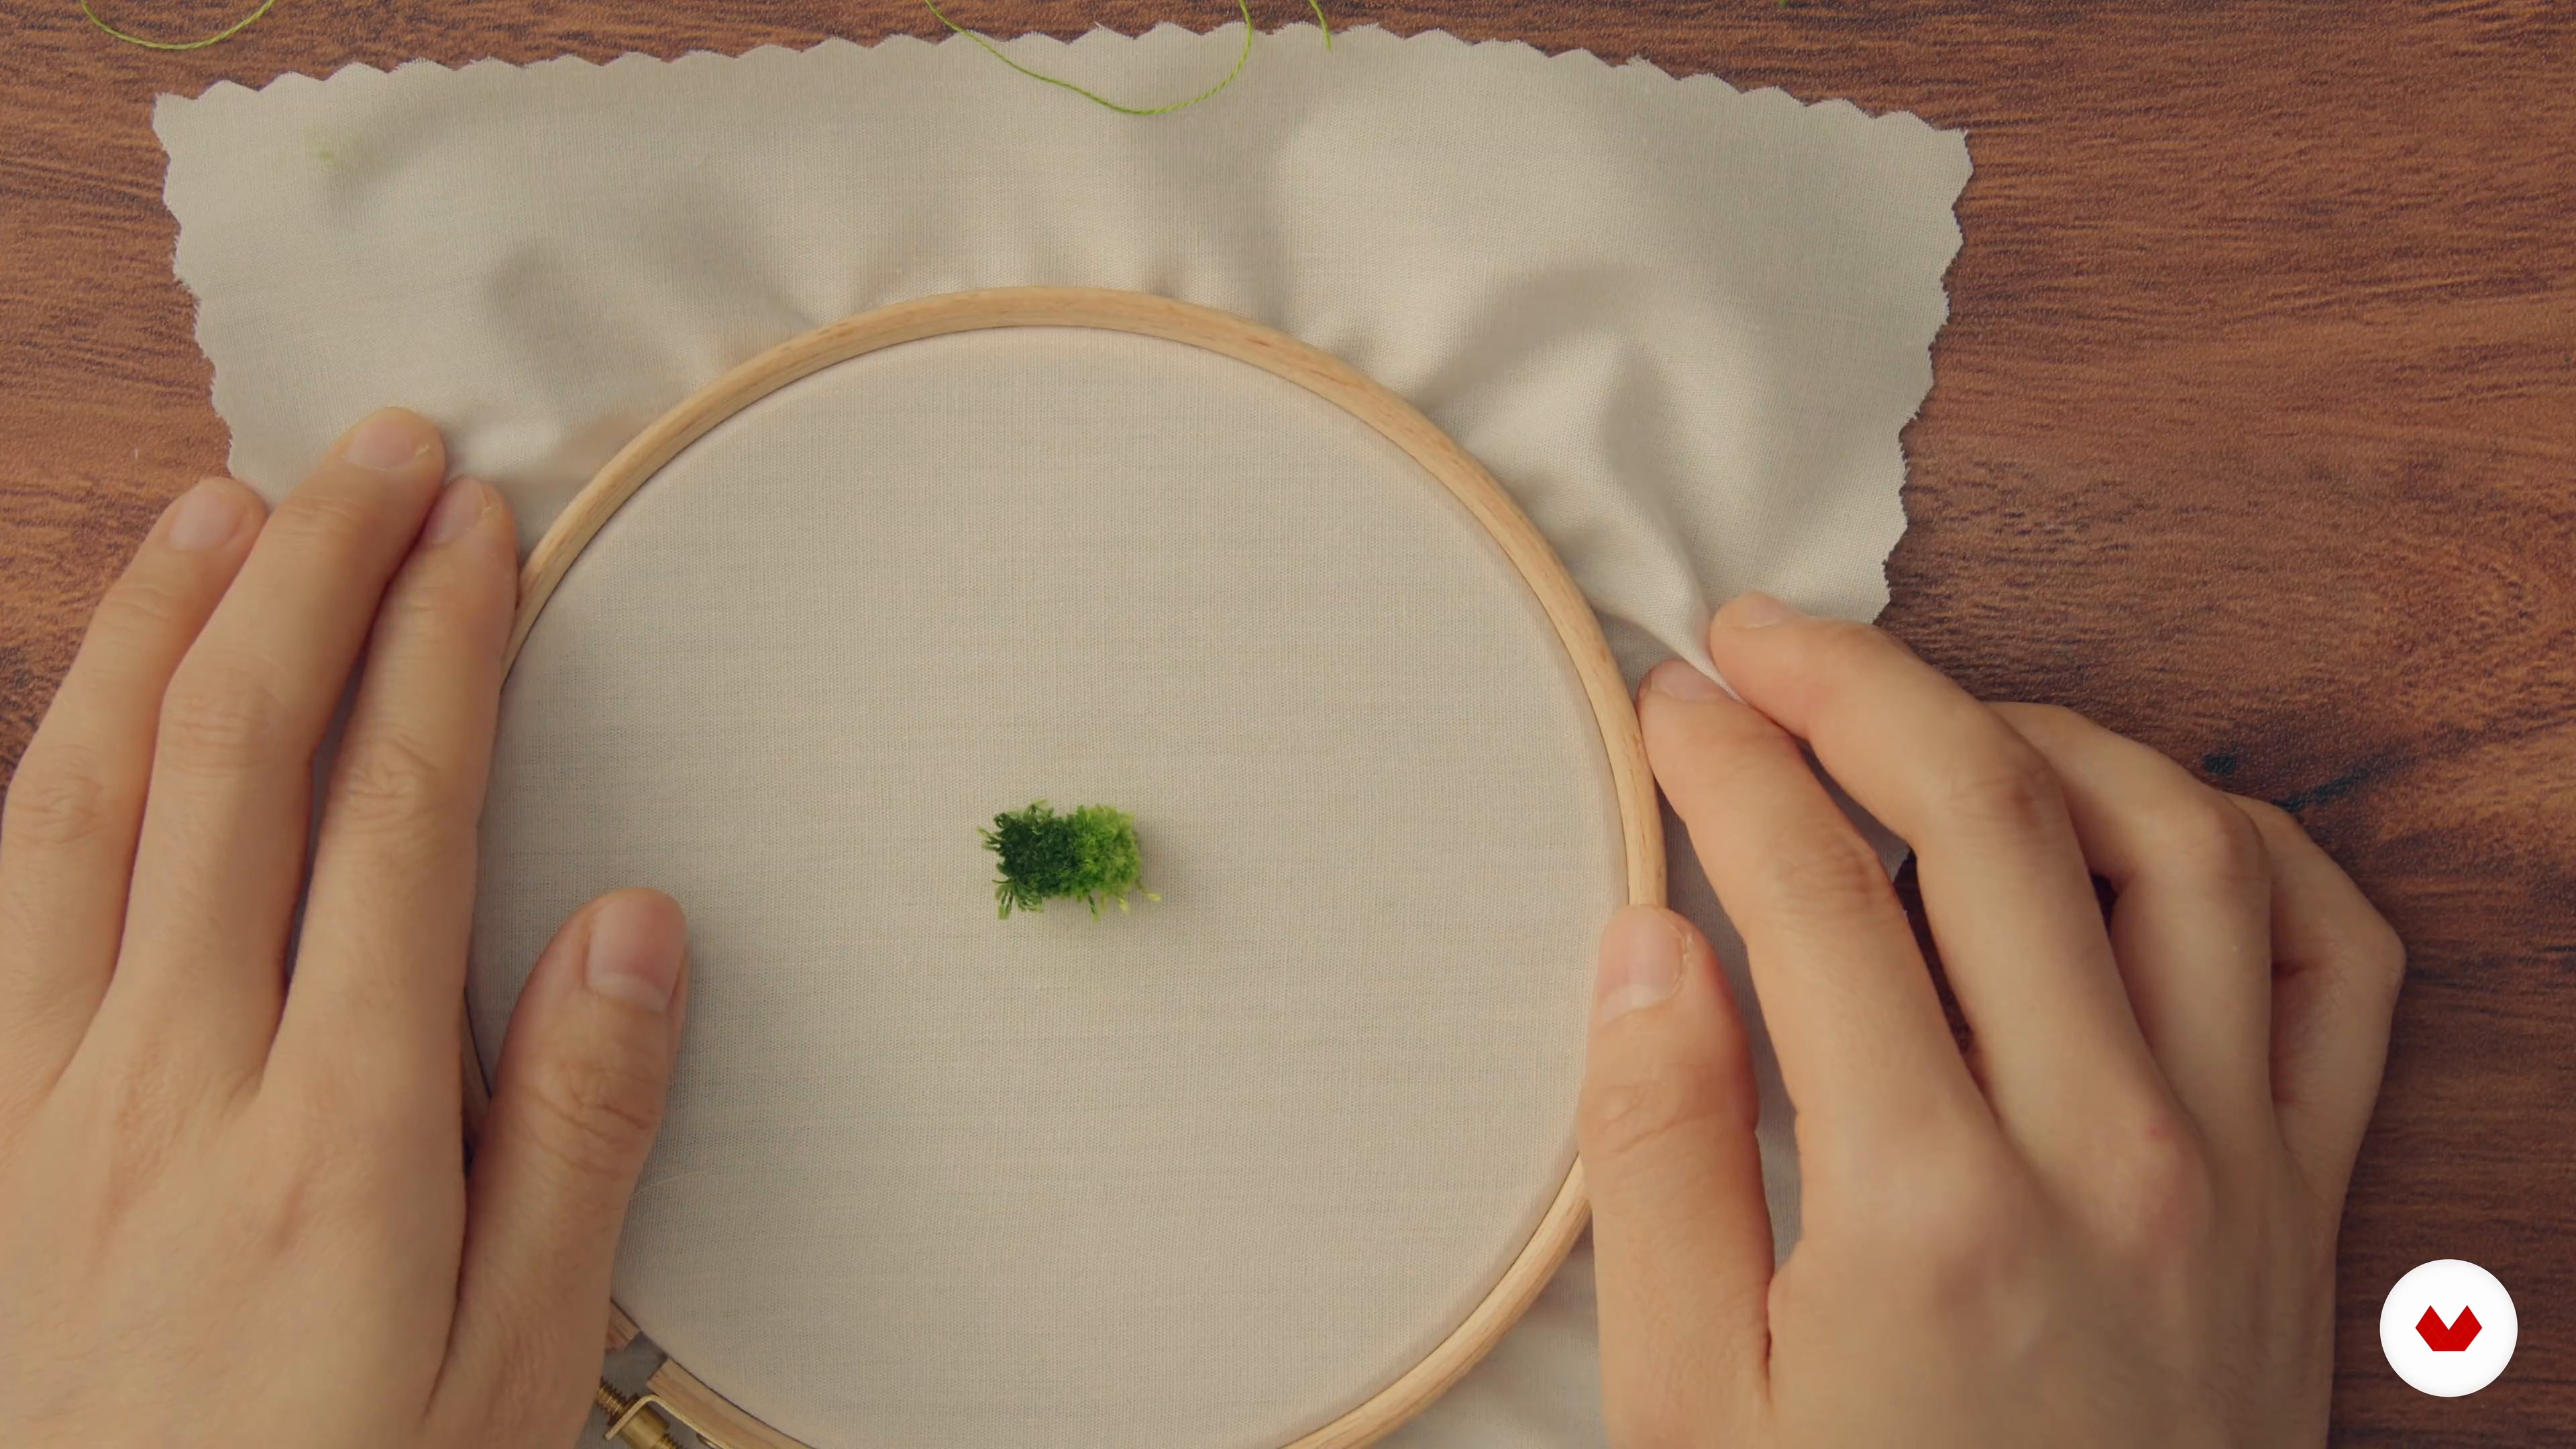
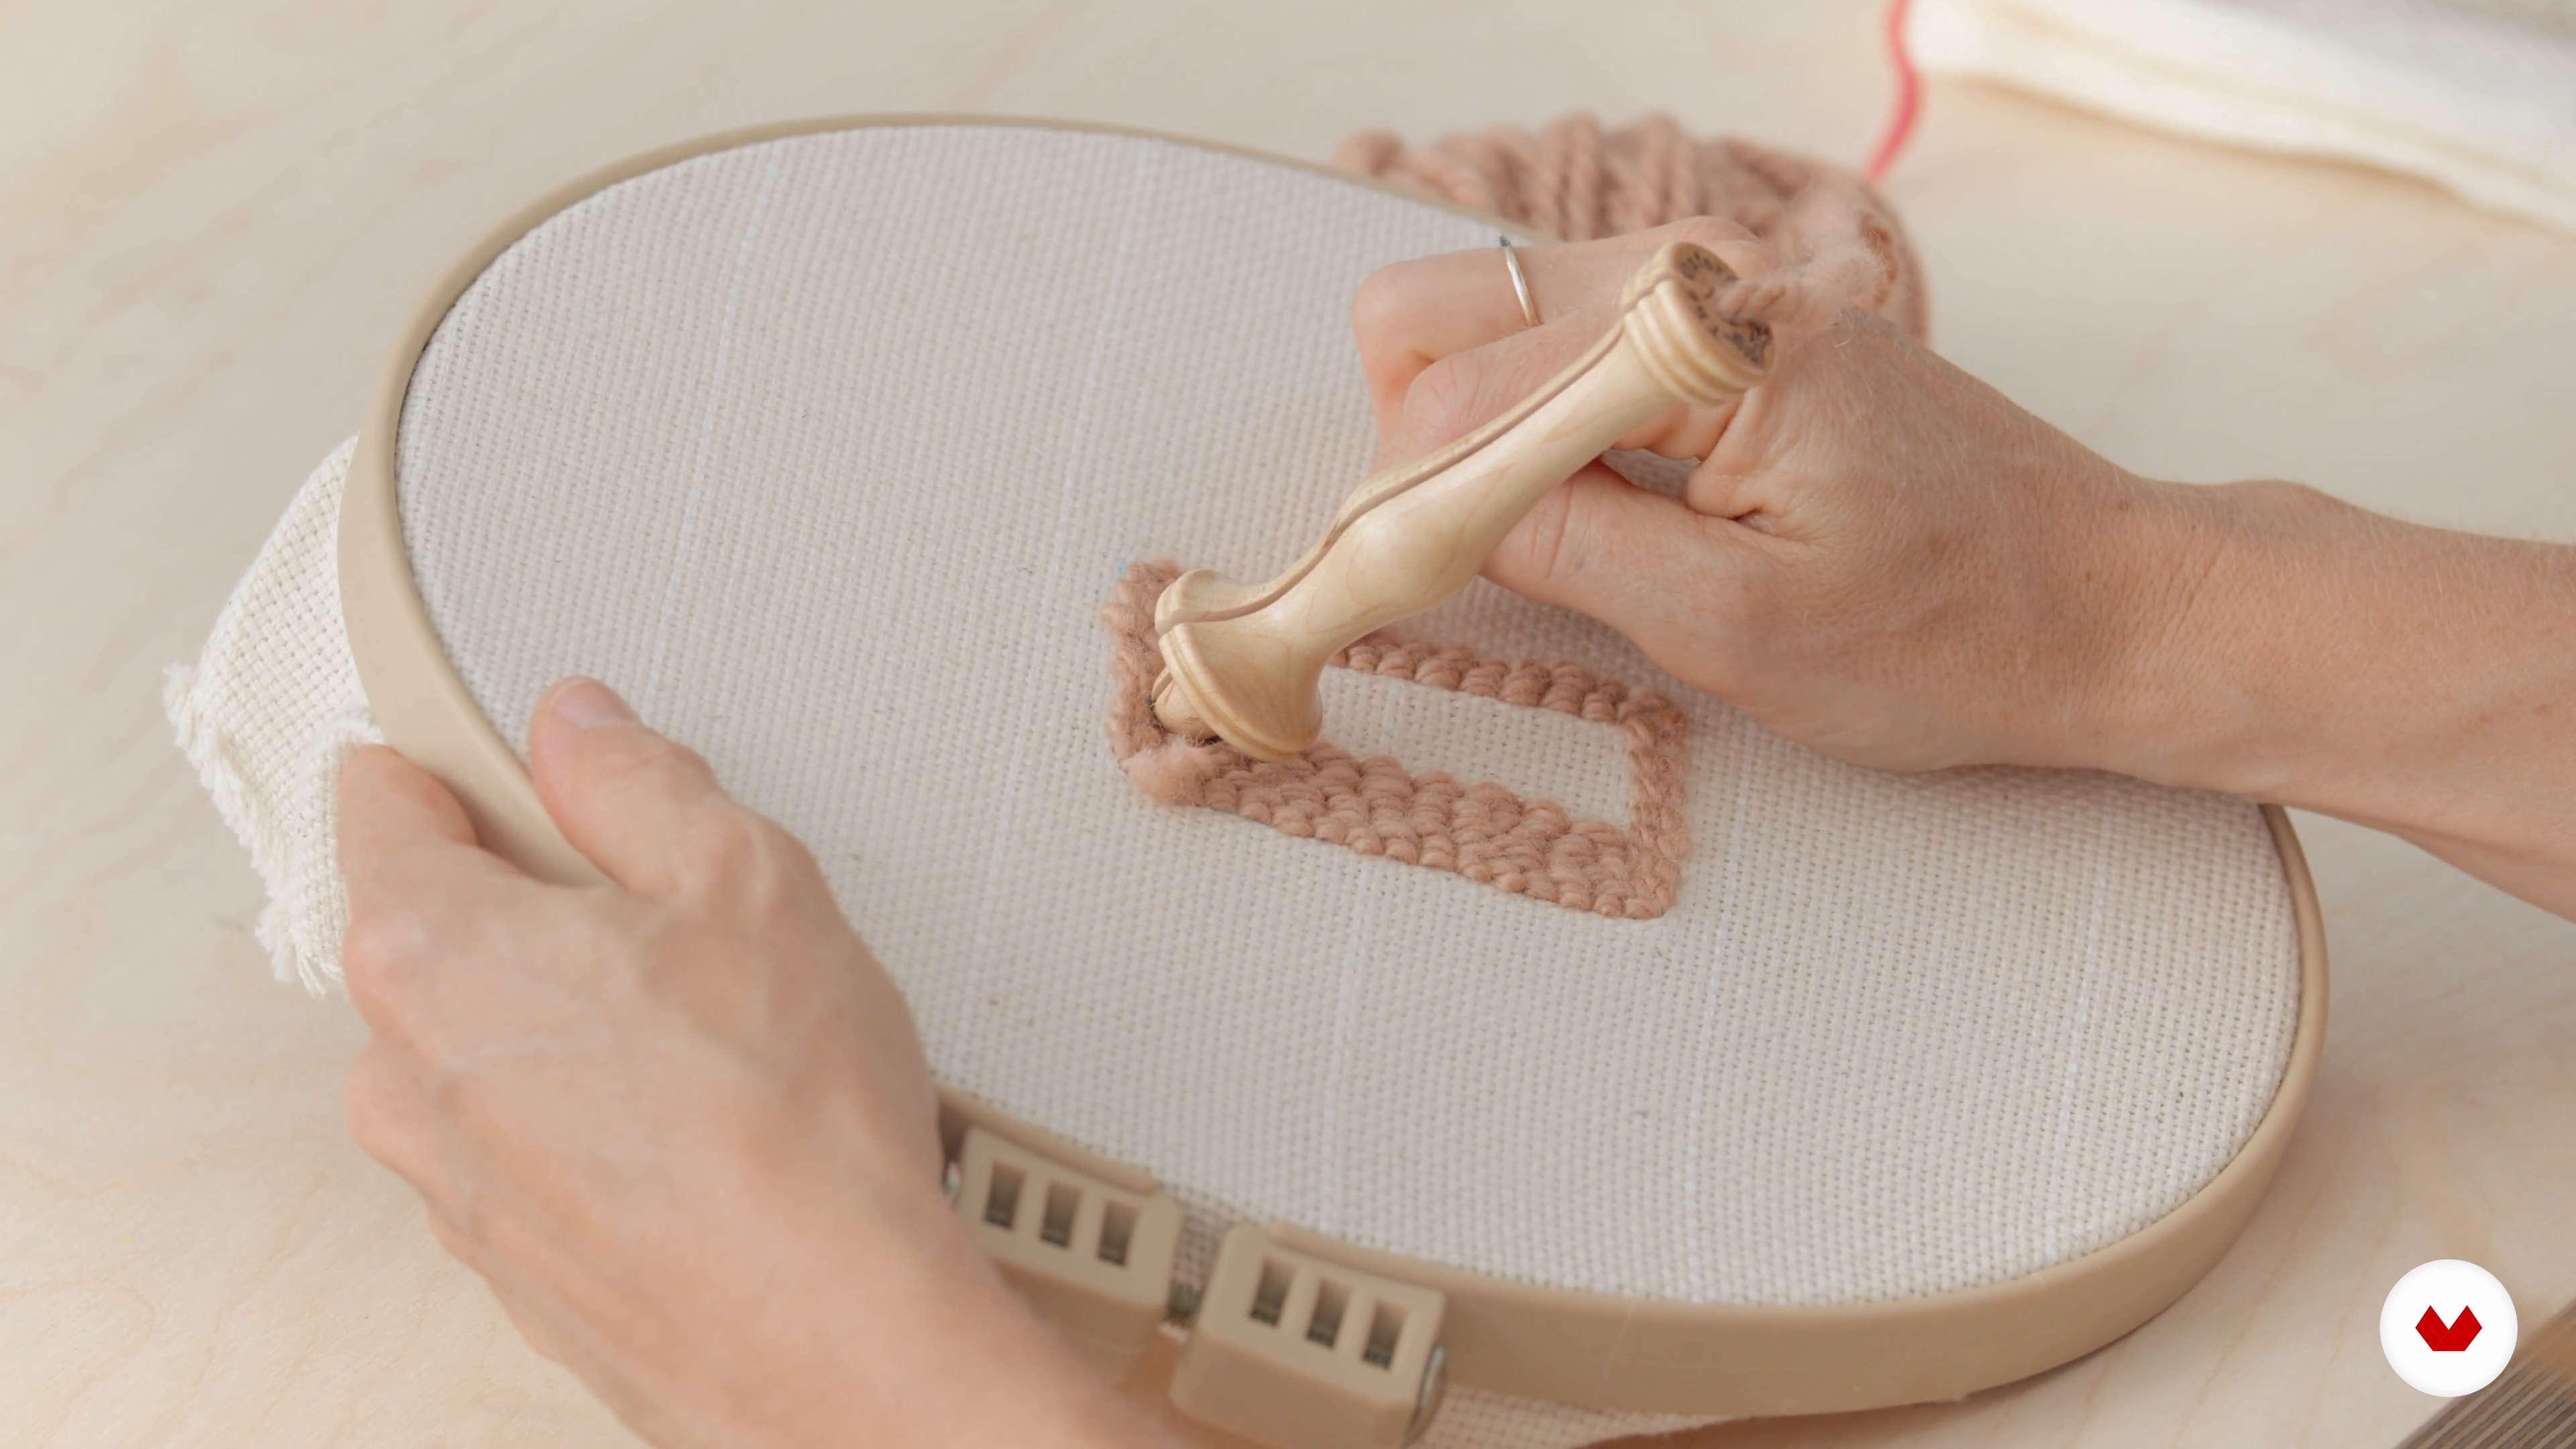
You’ll learn how to choose materials, stretch fabric, transfer patterns, use different punch needles, apply color theory, and professionally finish textile projects.
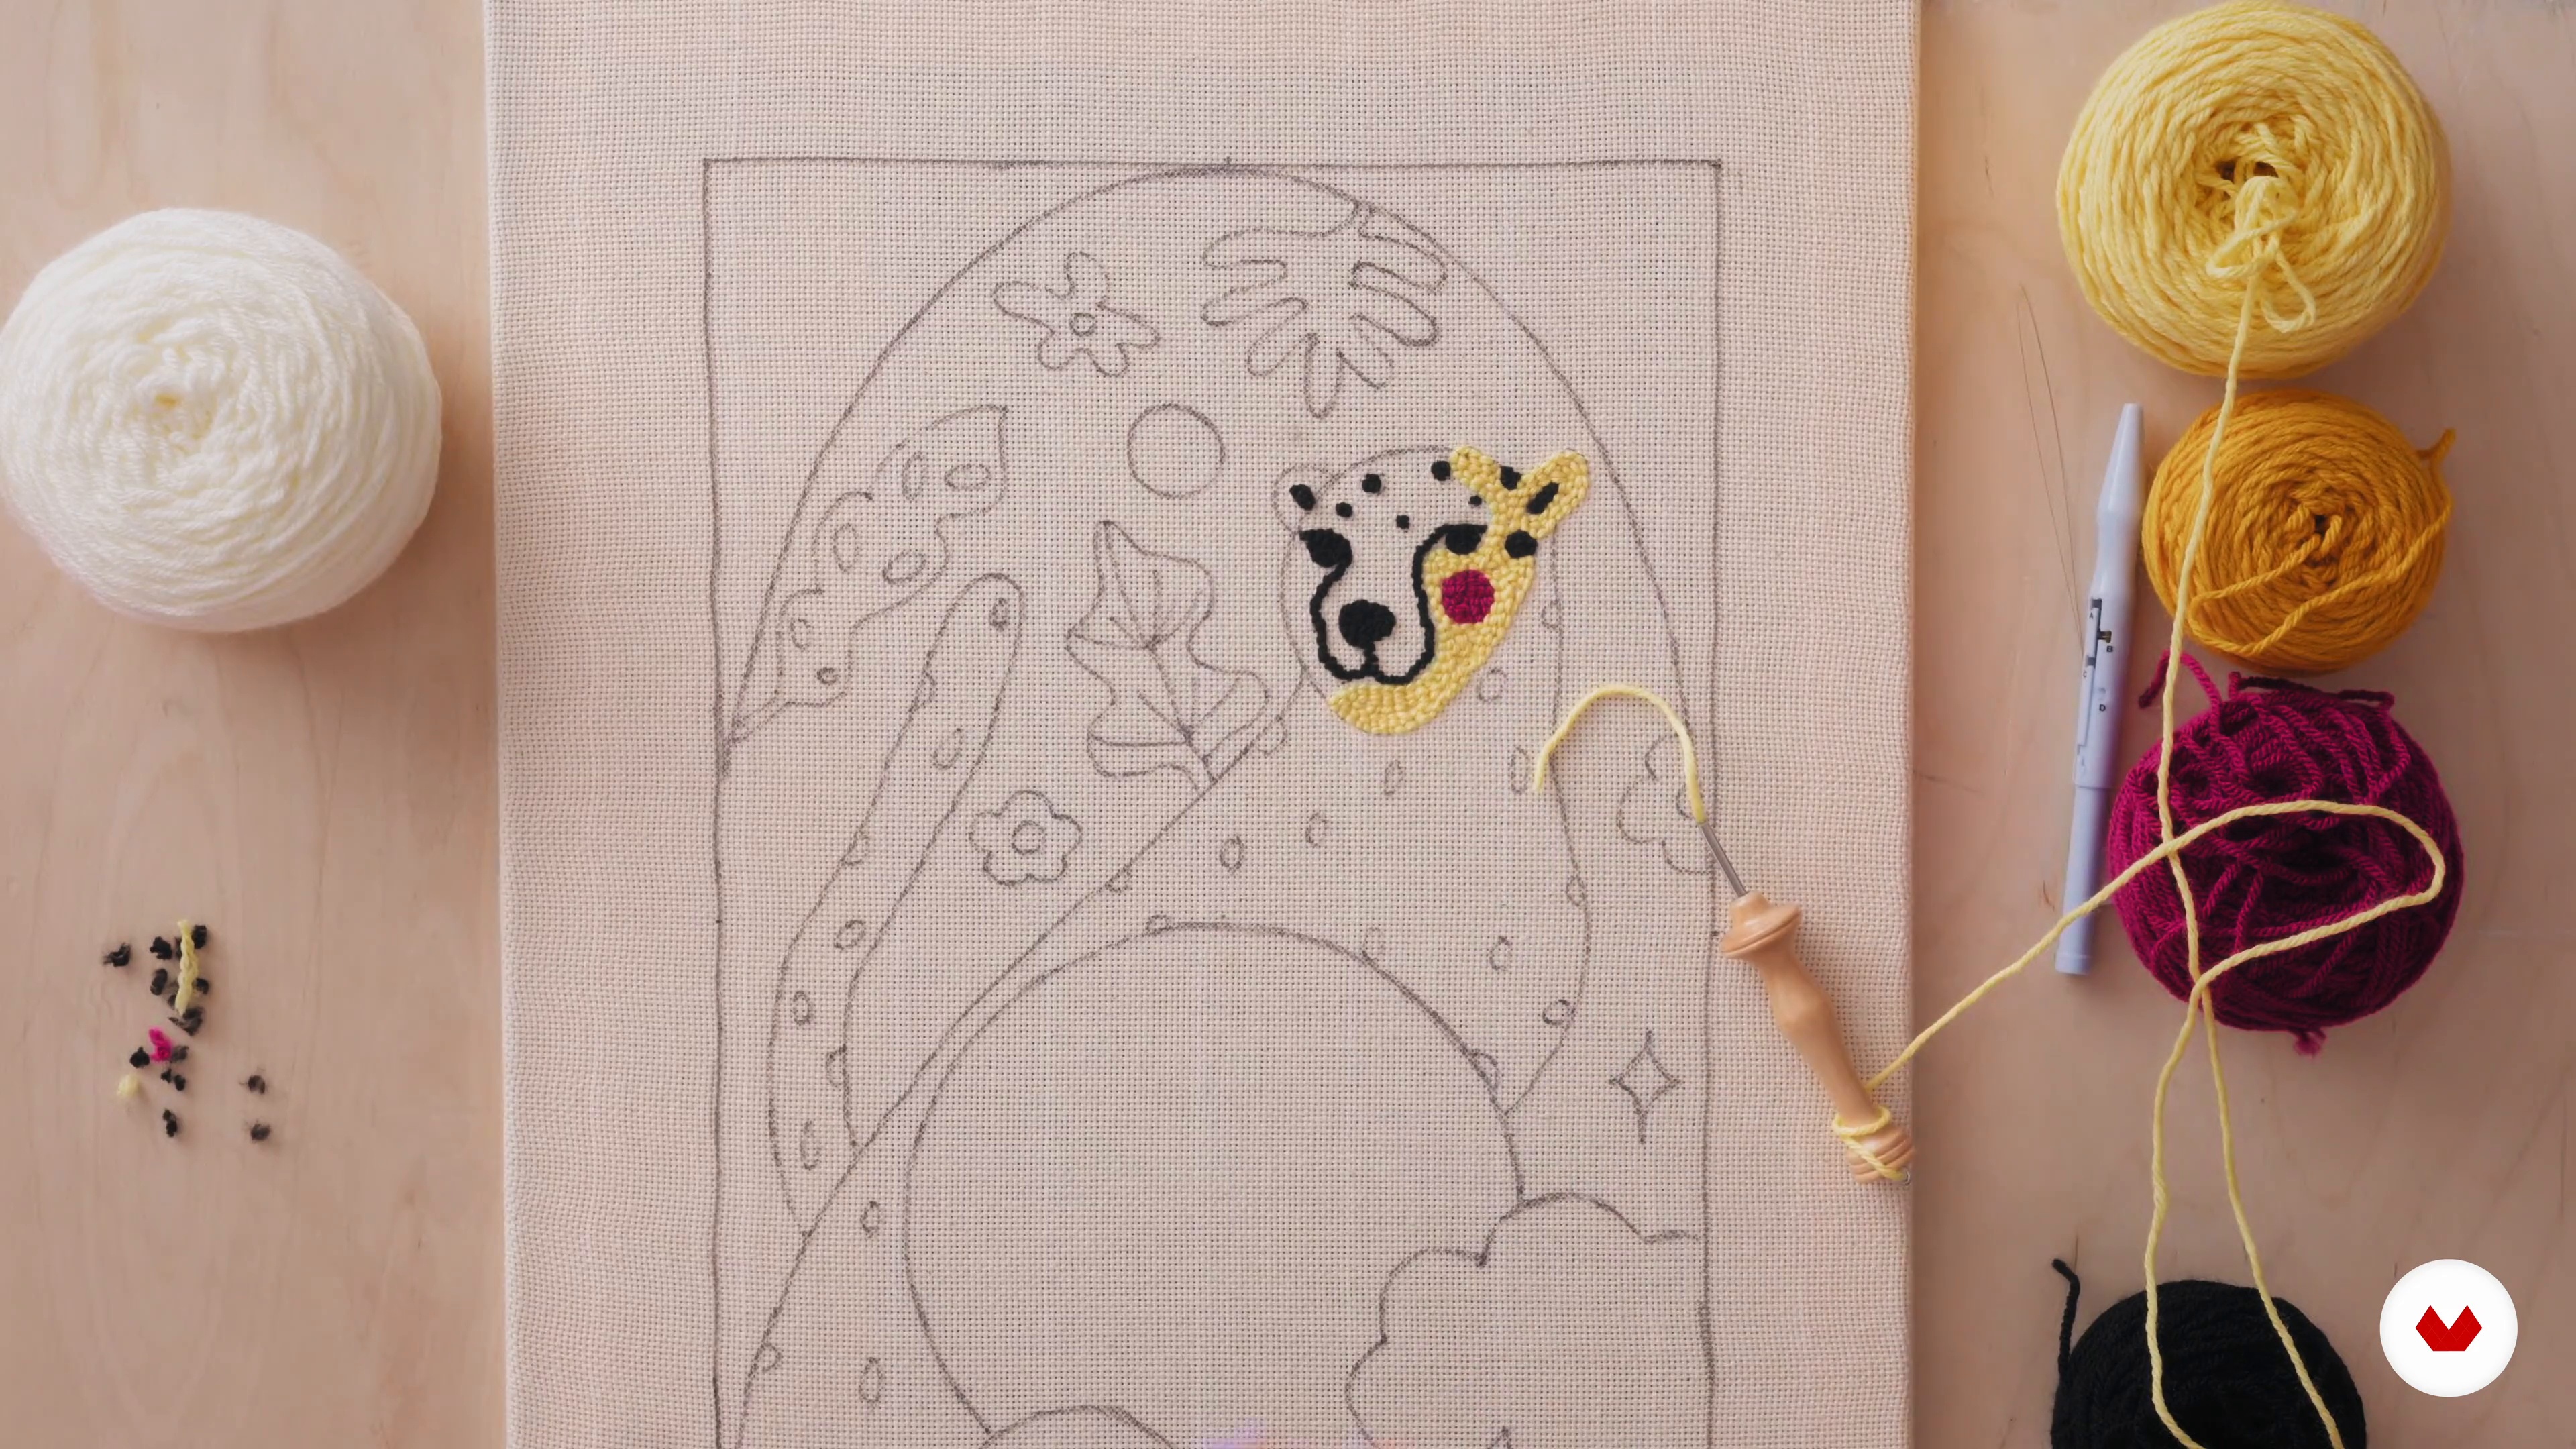
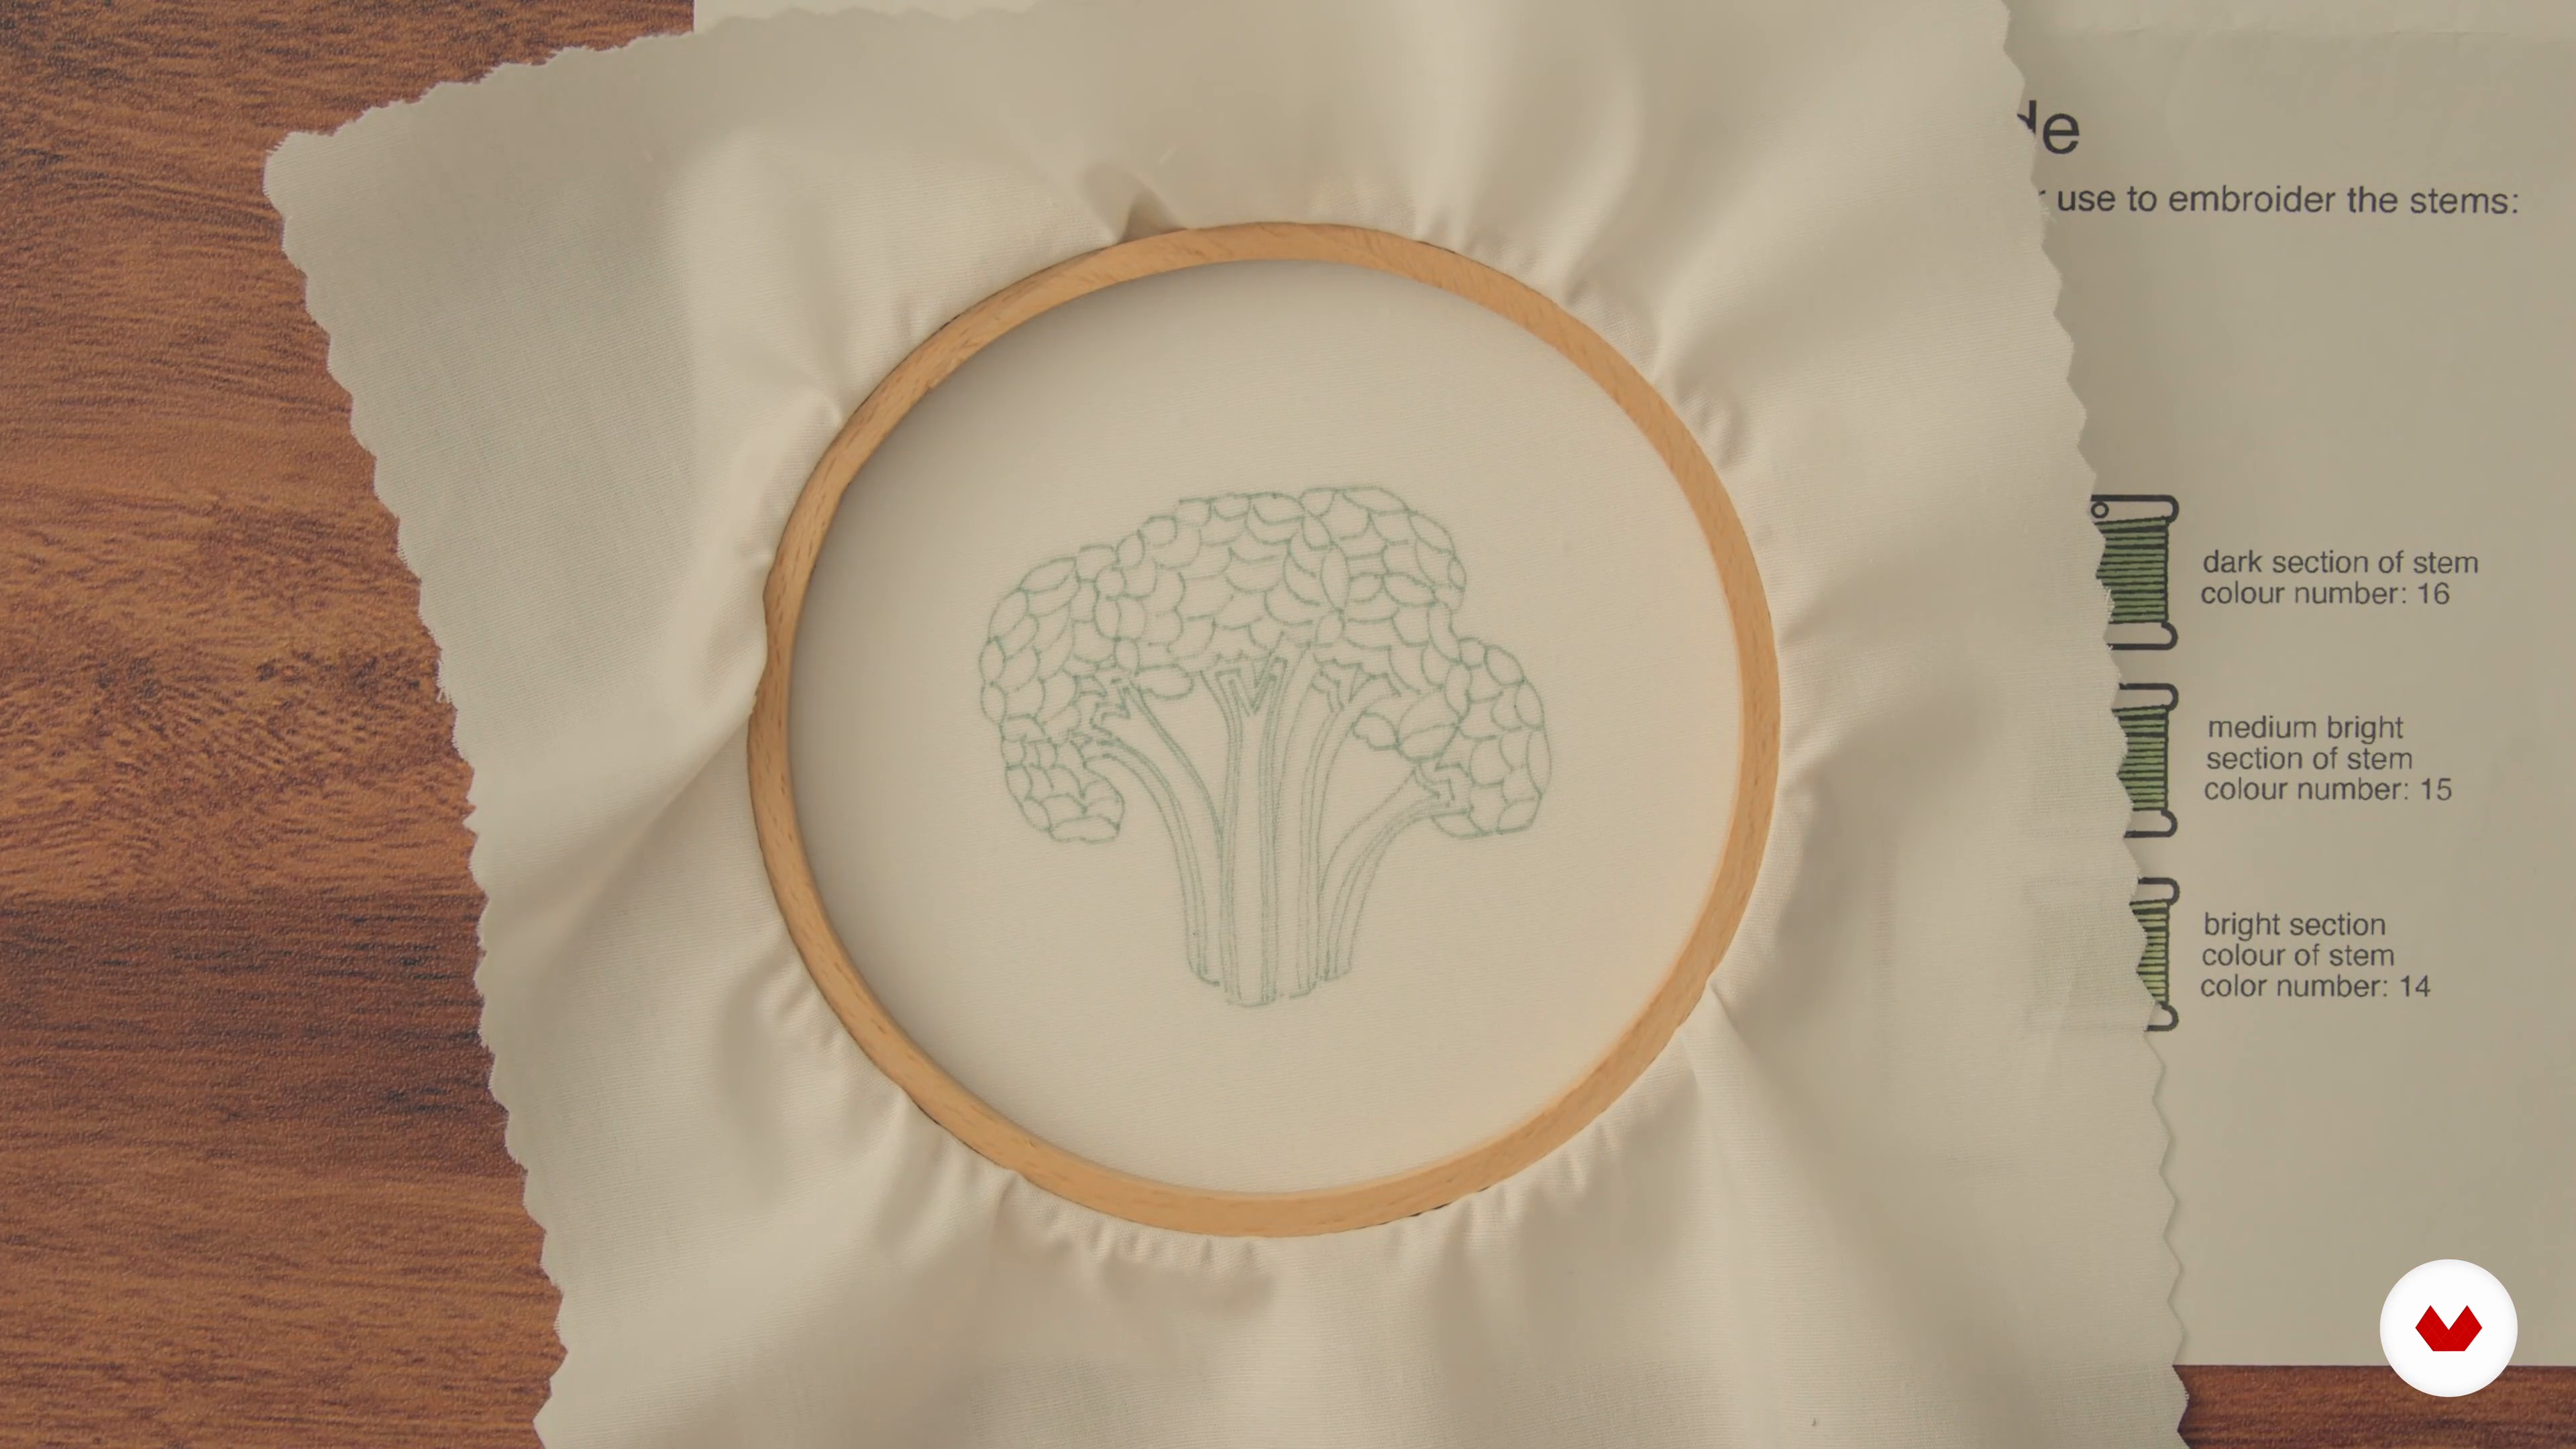
You'll learn to match needle size to yarn thickness, select between Oxford and adjustable needles, and test combinations for best results.
Oxford needles have a fixed loop height and are easy to thread, while adjustable needles let you change loop height for varied textures.
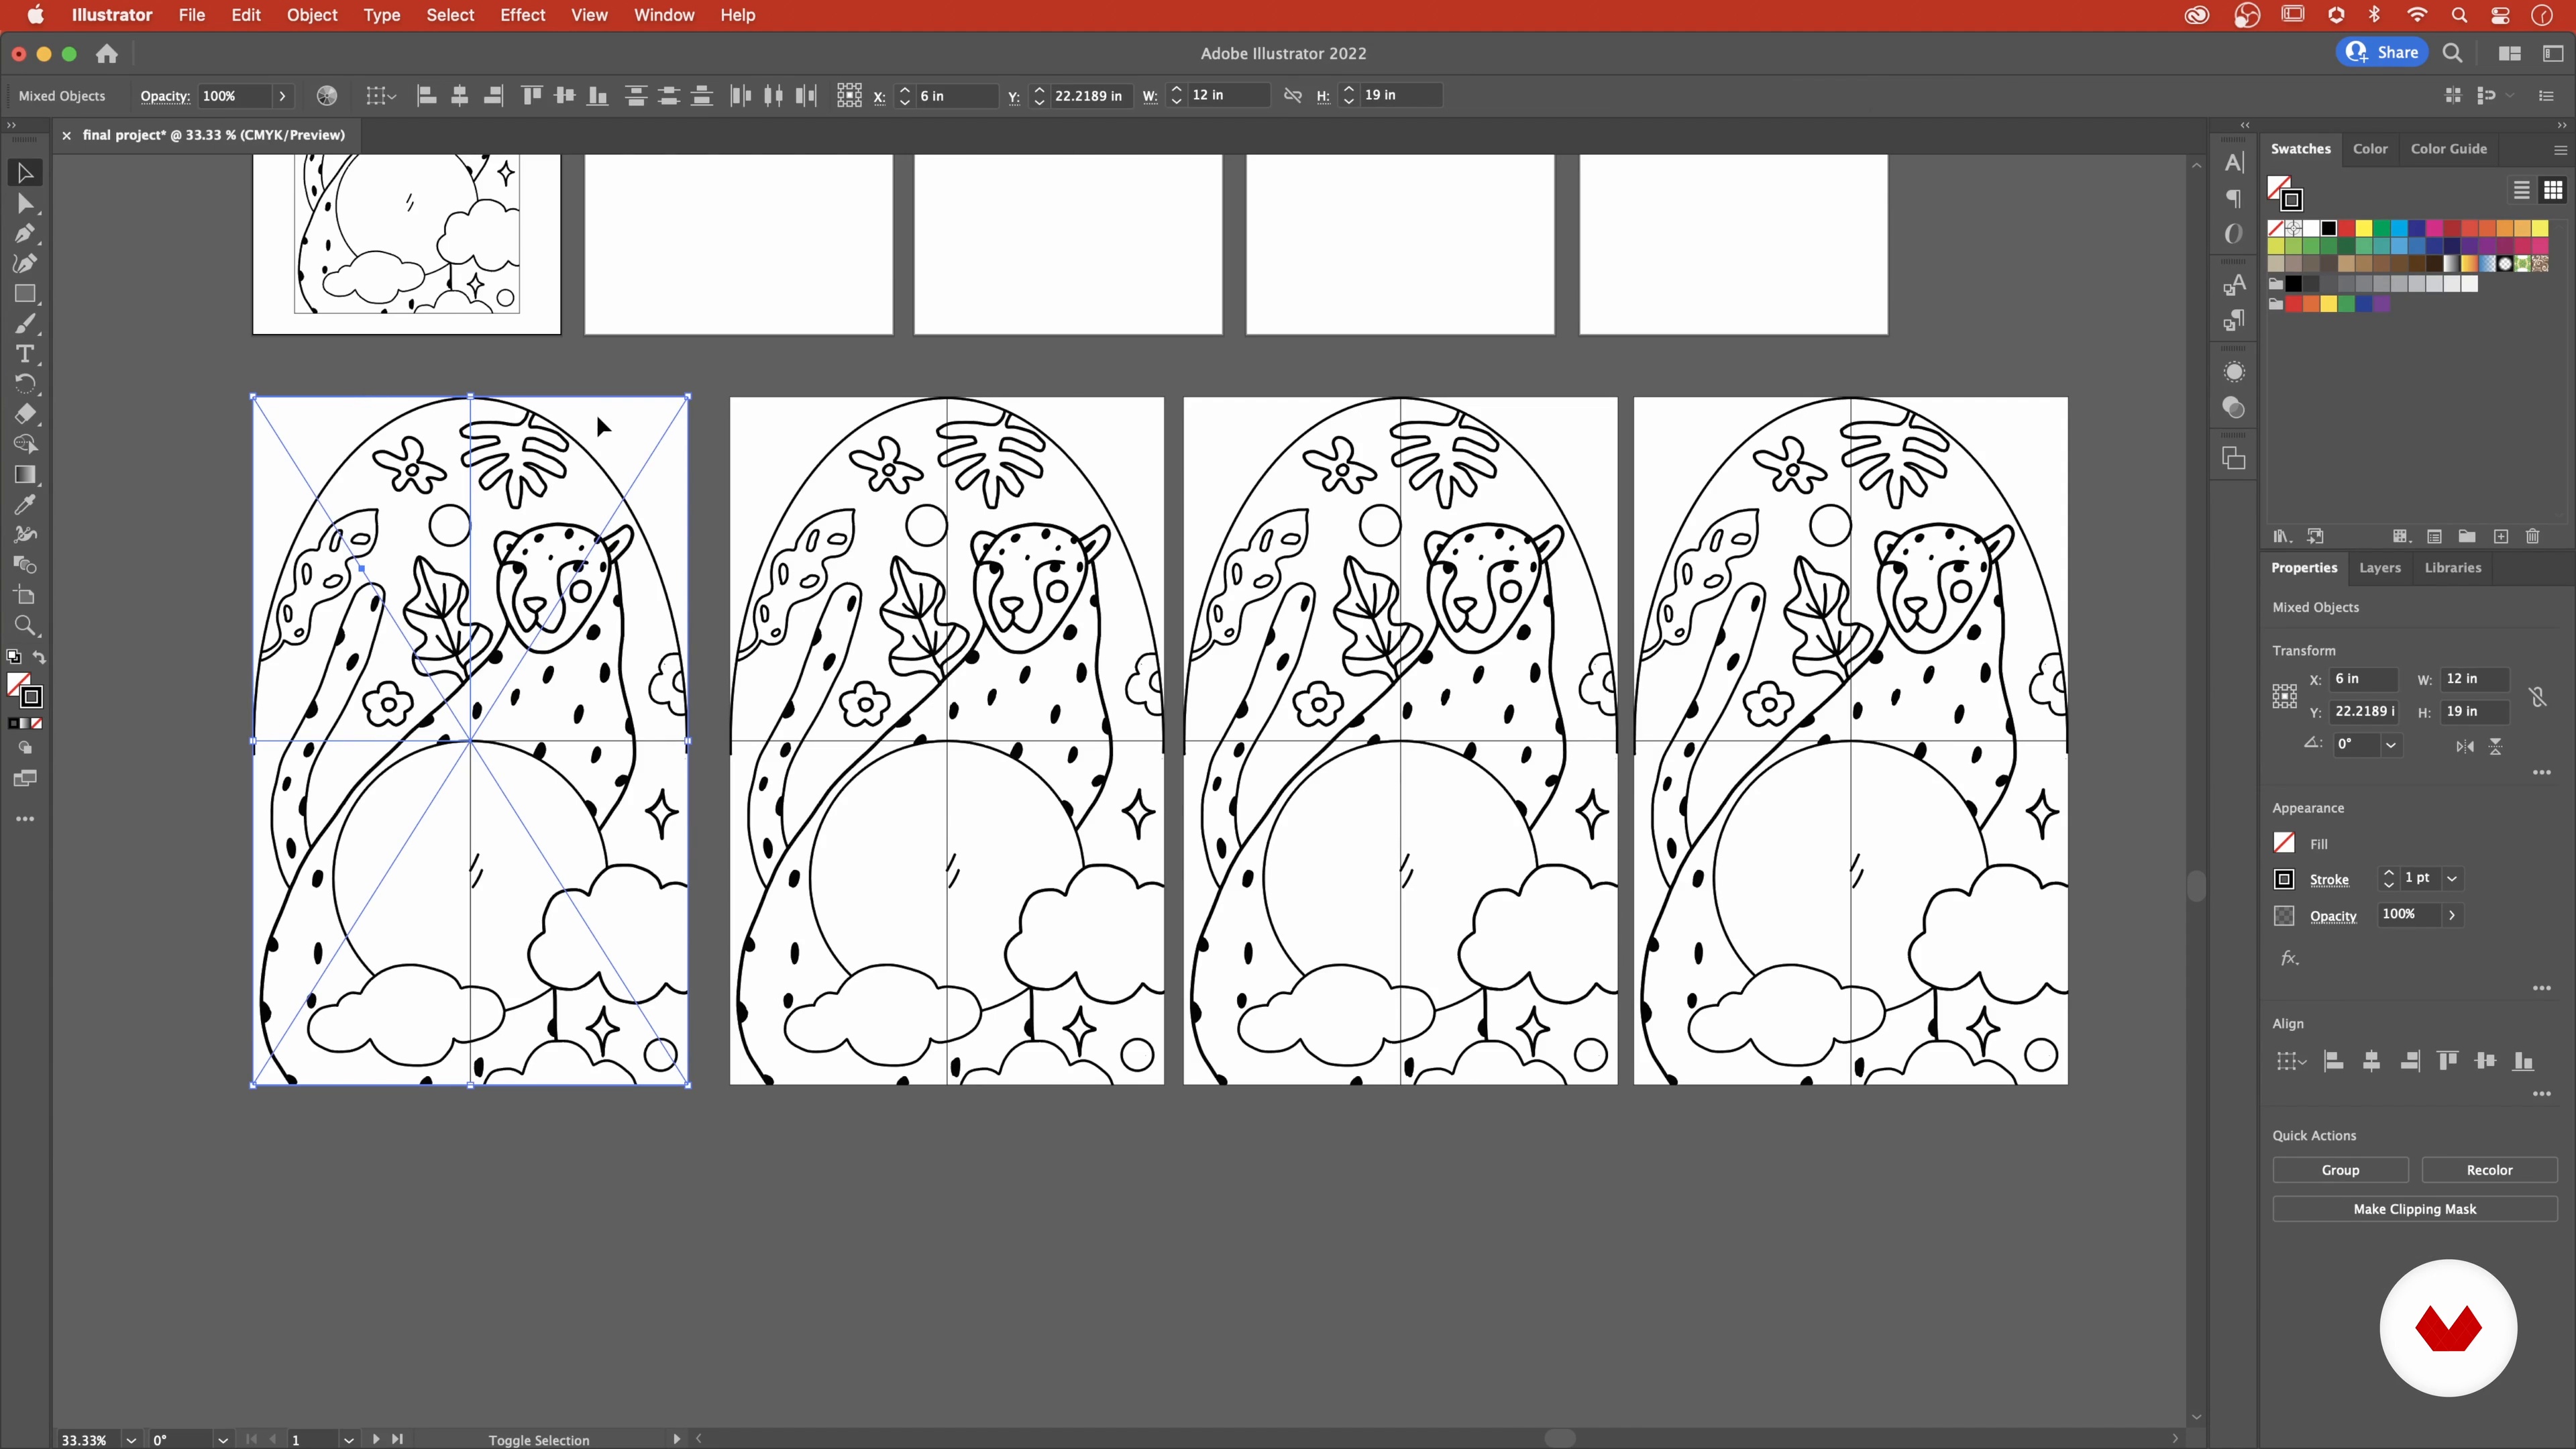
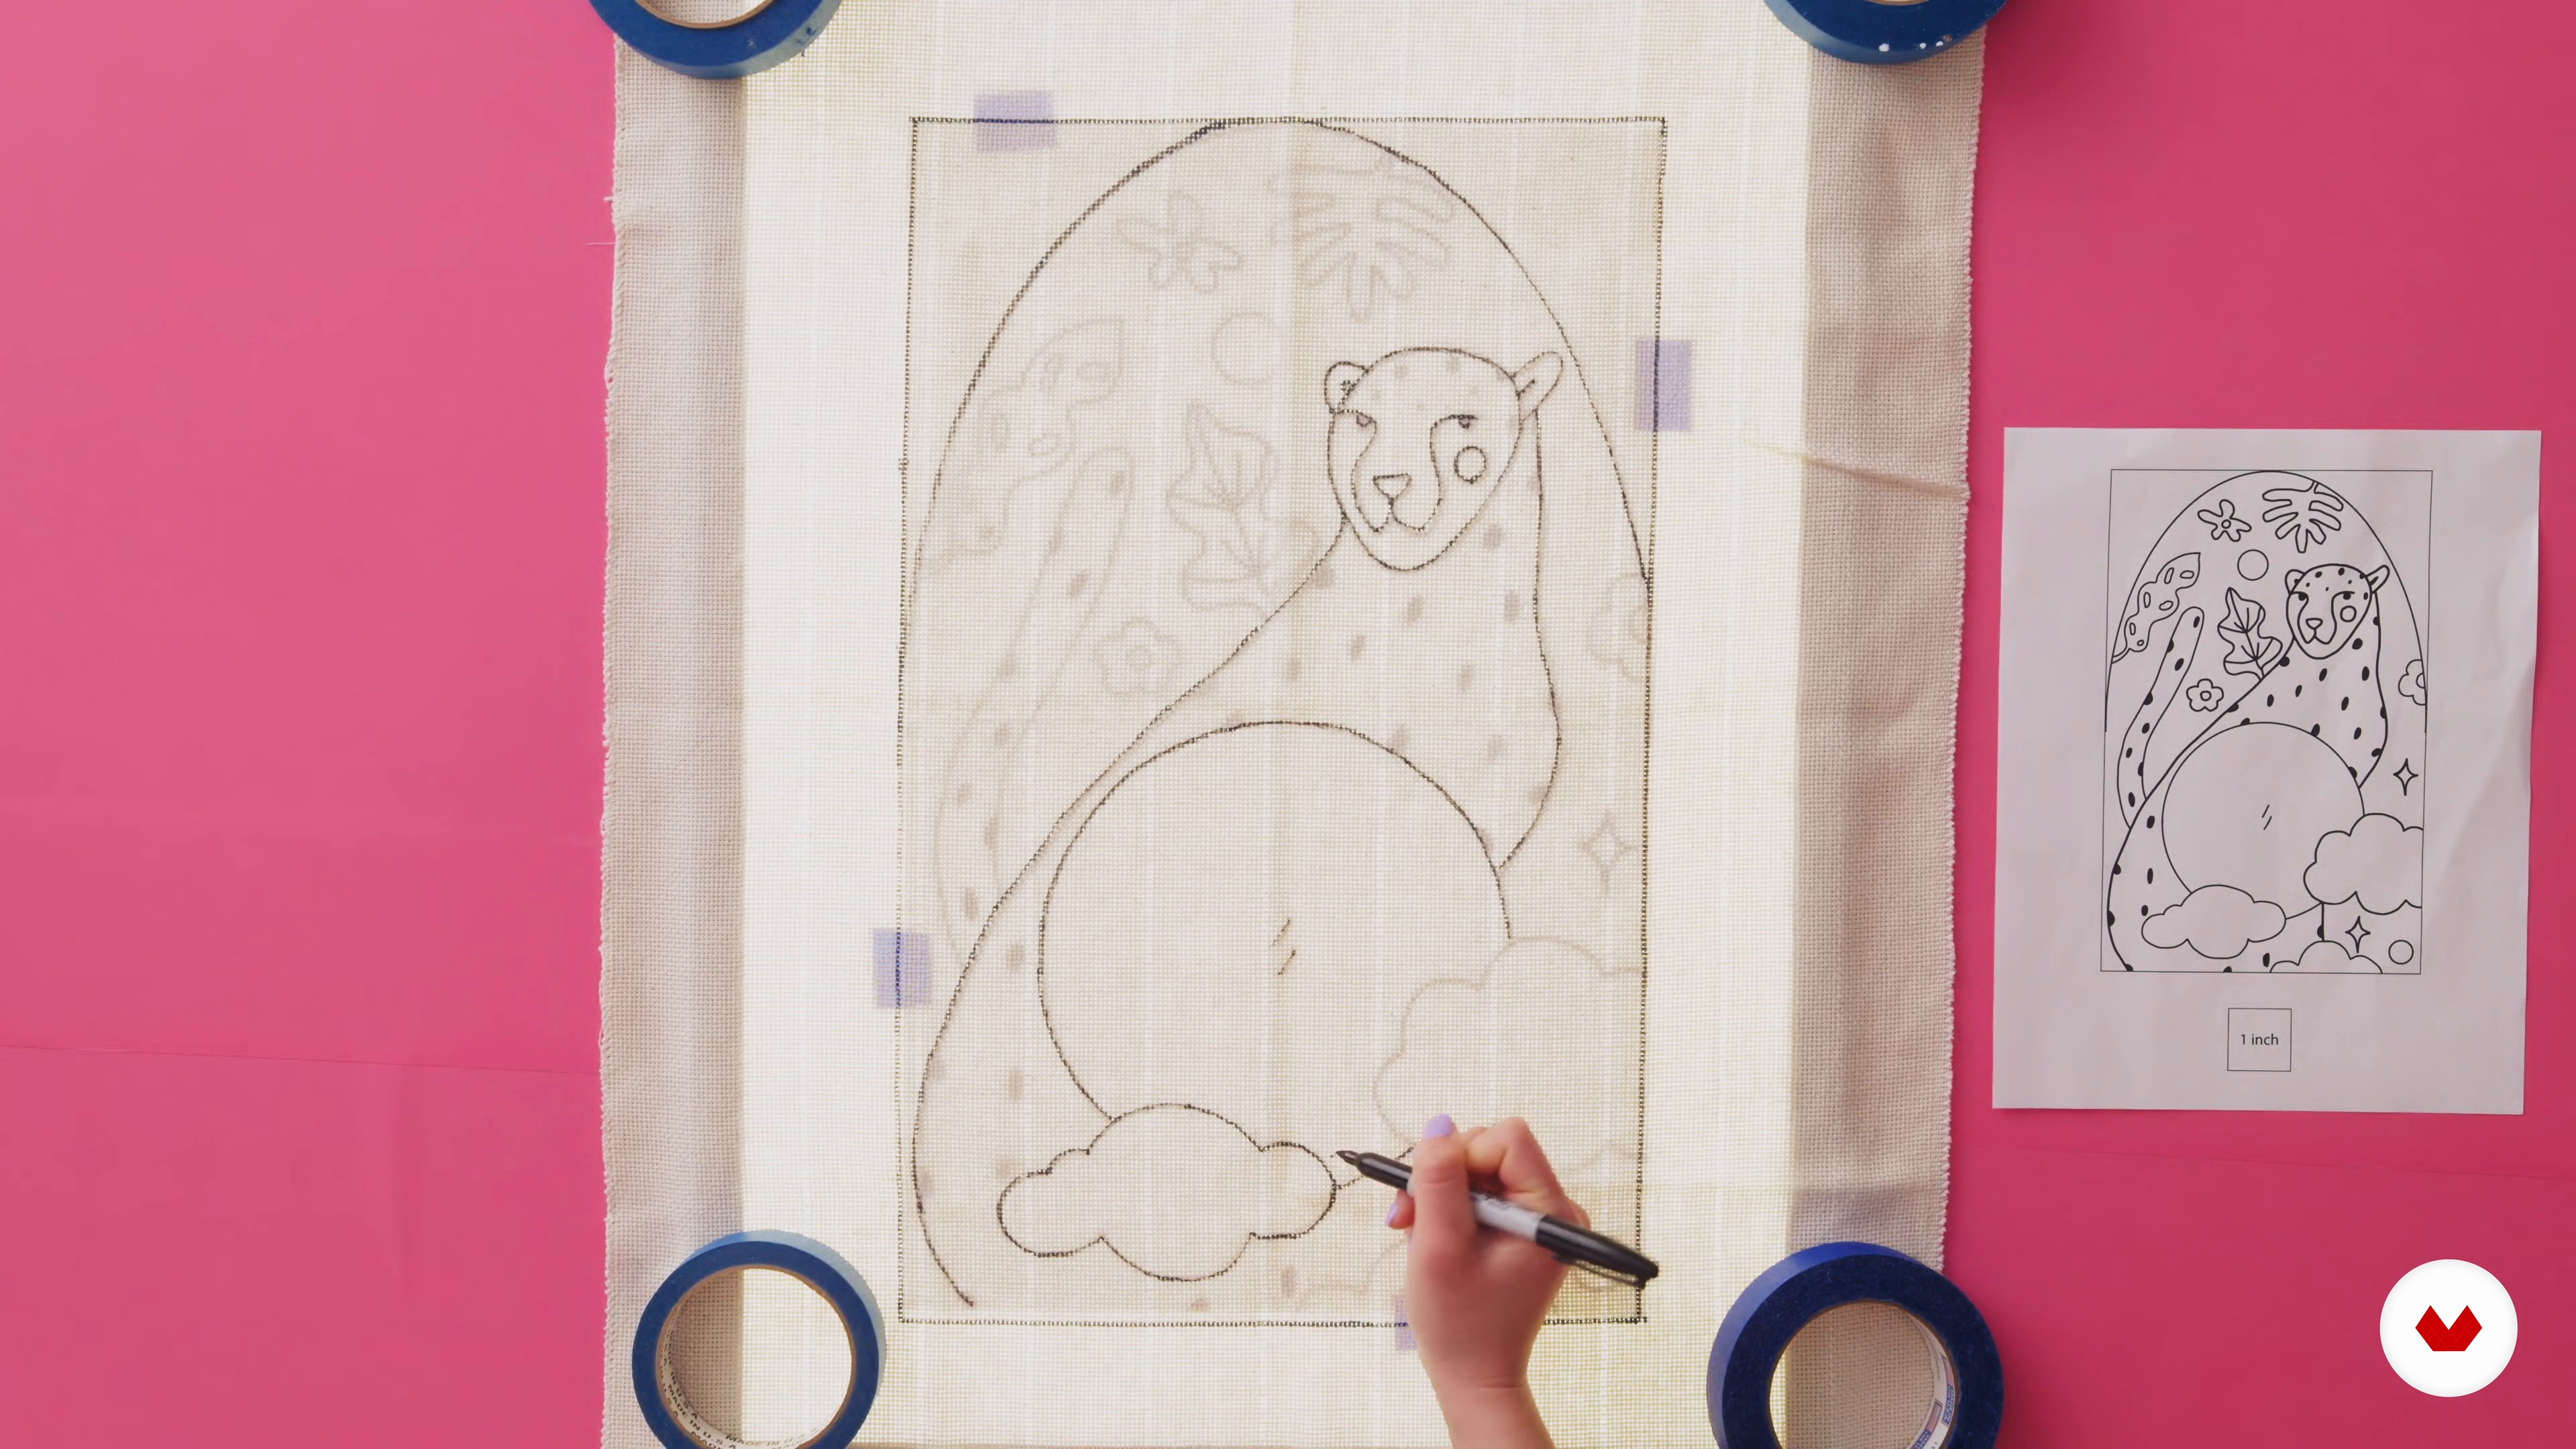
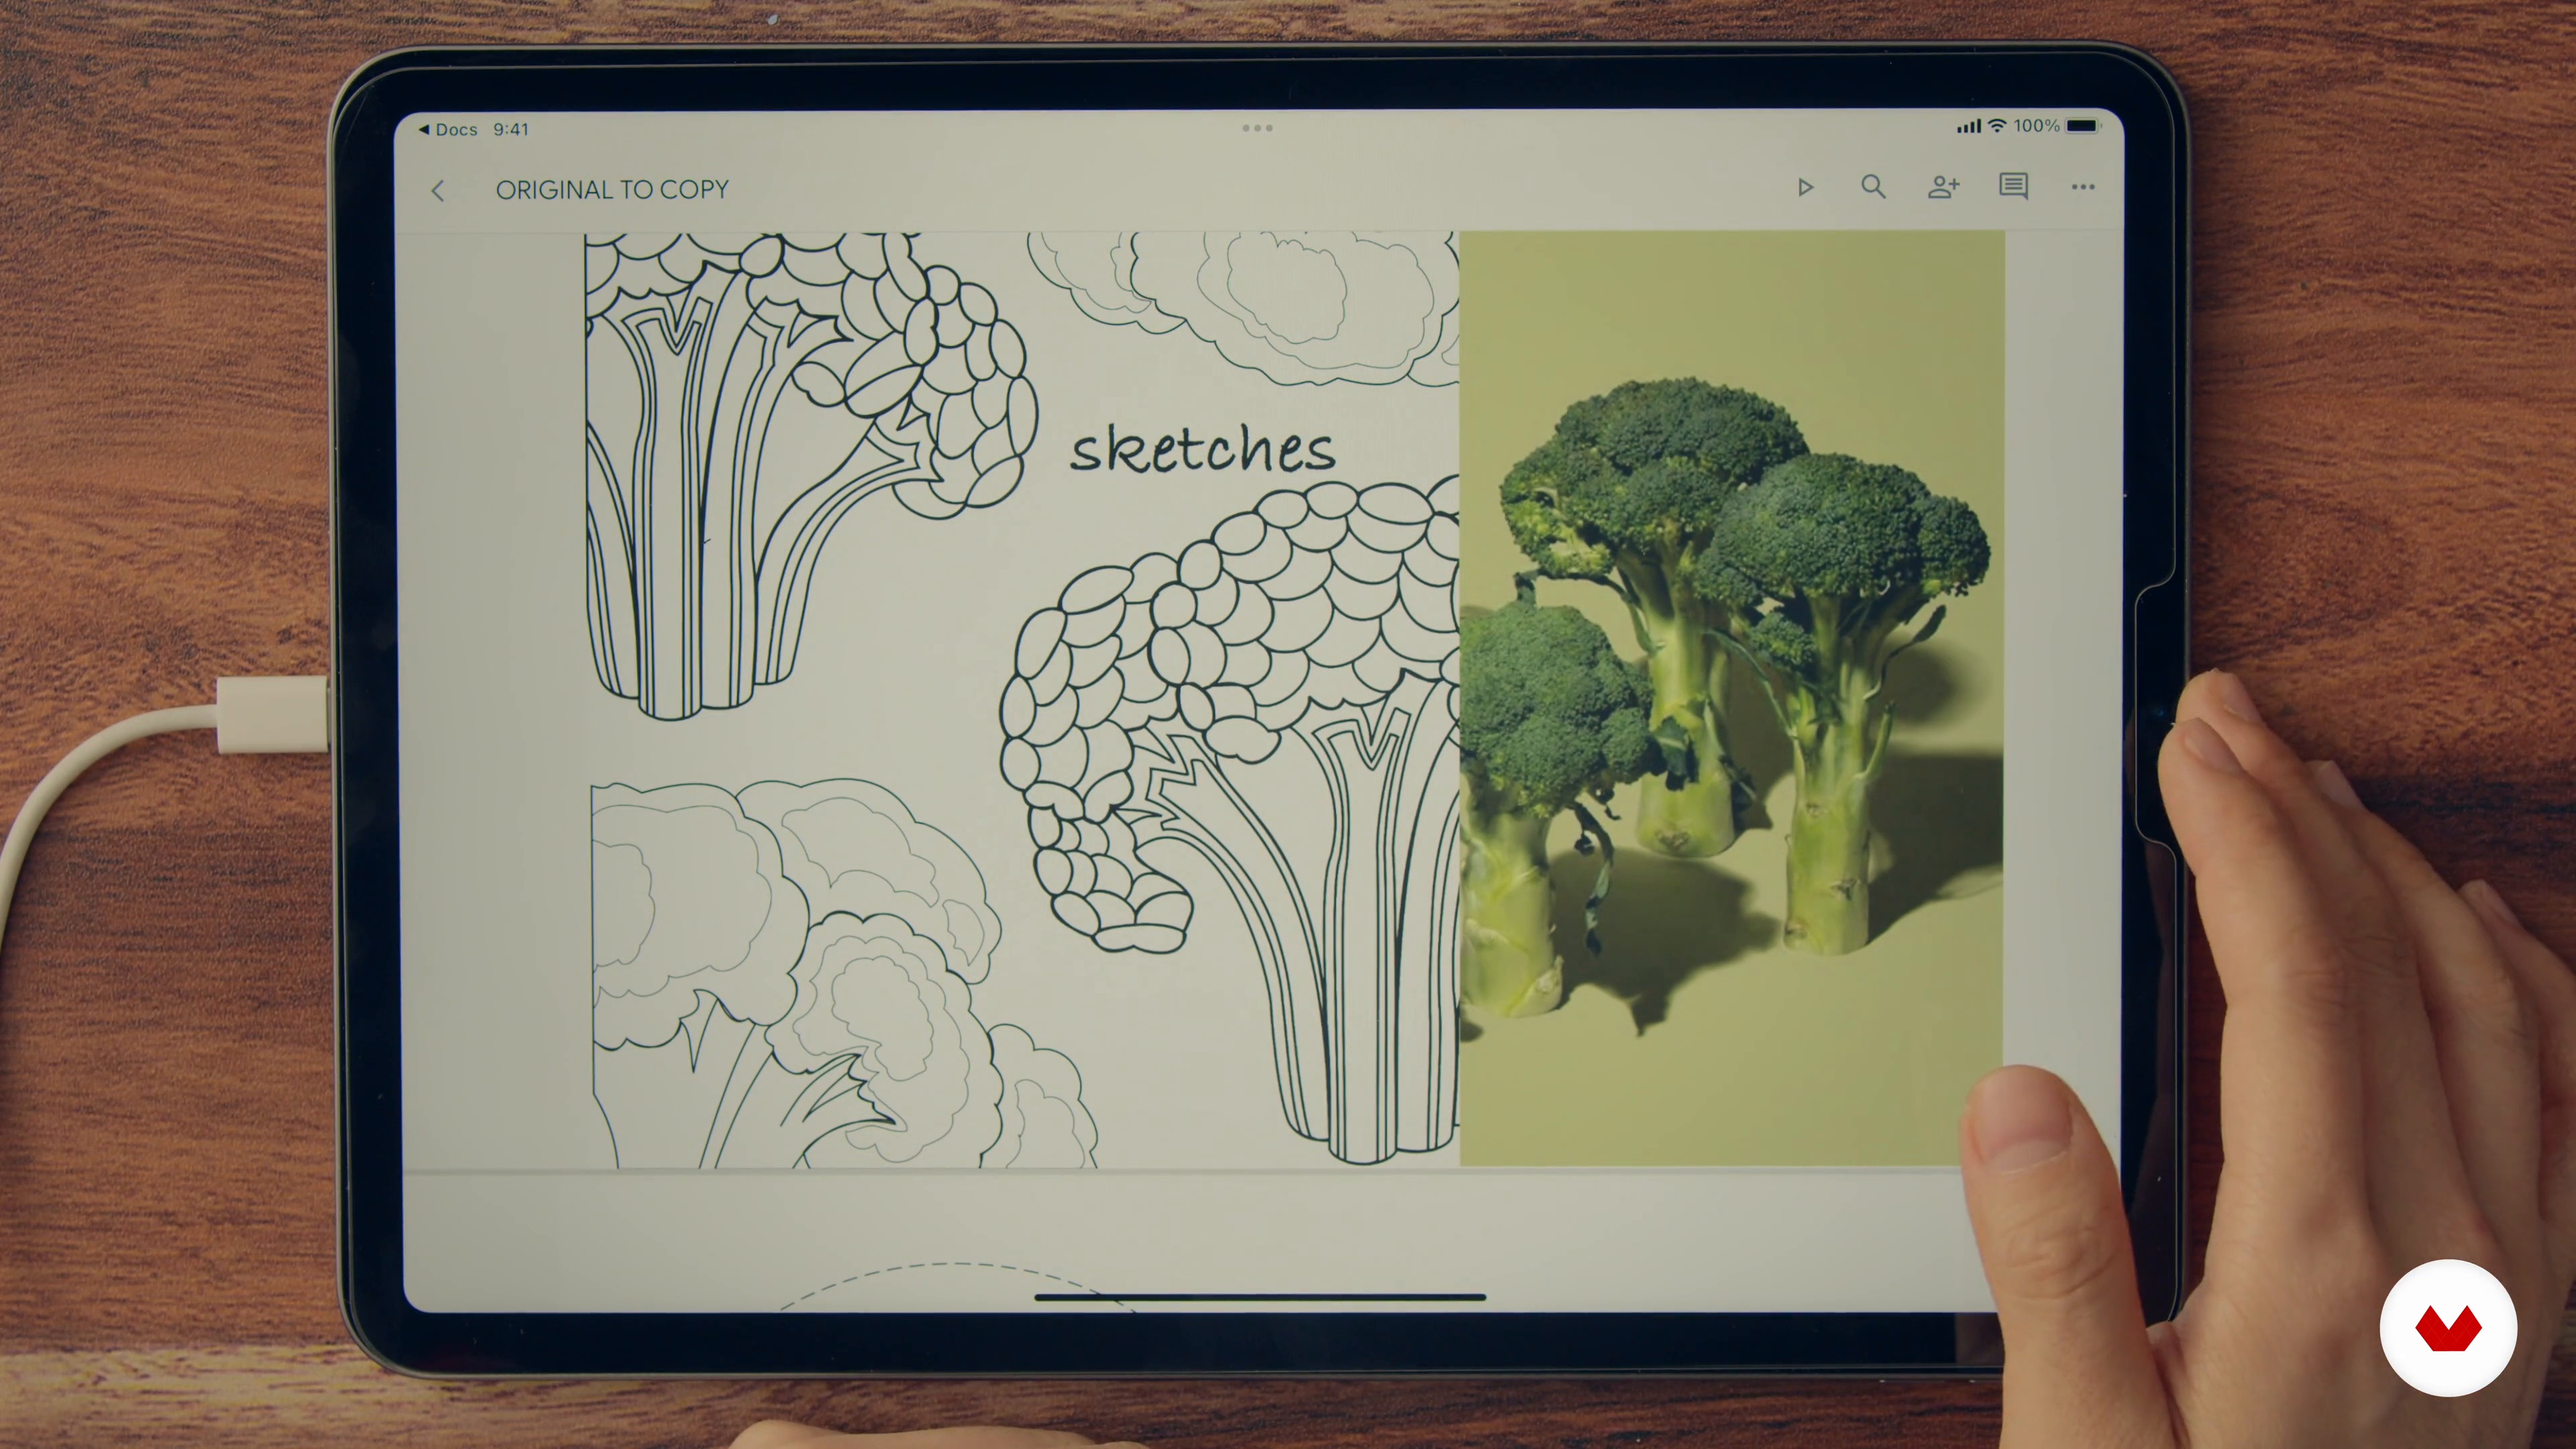
You’ll use a light board or tracing methods to accurately transfer patterns onto monk's cloth, ensuring proper alignment for punching.
No prior experience is required. The course guides you step-by-step through creating, exporting, and prepping vector designs using these tools.


Wow, esto está genial
excellent lots of info
Hola, me alegra mucho haber terminado todo el curso, me gusto mucho cada técnica y el estilo de trabajo de cada instructora, permitanme felicitarlas por la claridad de la información, y todos los tips que dio cada una. Es un curso muy completo donde se entienden las diferentes técnicas de trabajo y el aprovechamiento de materiales diversos, tambien me gusto mucho. Dios las bendiga
Maravilloso curso, tienes toda la información necesaria y la inspiración para crear. Gracias
Excelente curso, tiene mucha info de valor y es muy fácil de seguir