Specialization

Ceramic Arts: Specialization: Traditional Techniques

6 Teachers

Create unique ceramic vessels at home, learn clay molding, design, firing, and glaze techniques for decorative pieces

Create unique ceramic vessels at home, learn clay molding, design, firing, and glaze techniques for decorative pieces

6 Teachers
Specialization · 7 modules

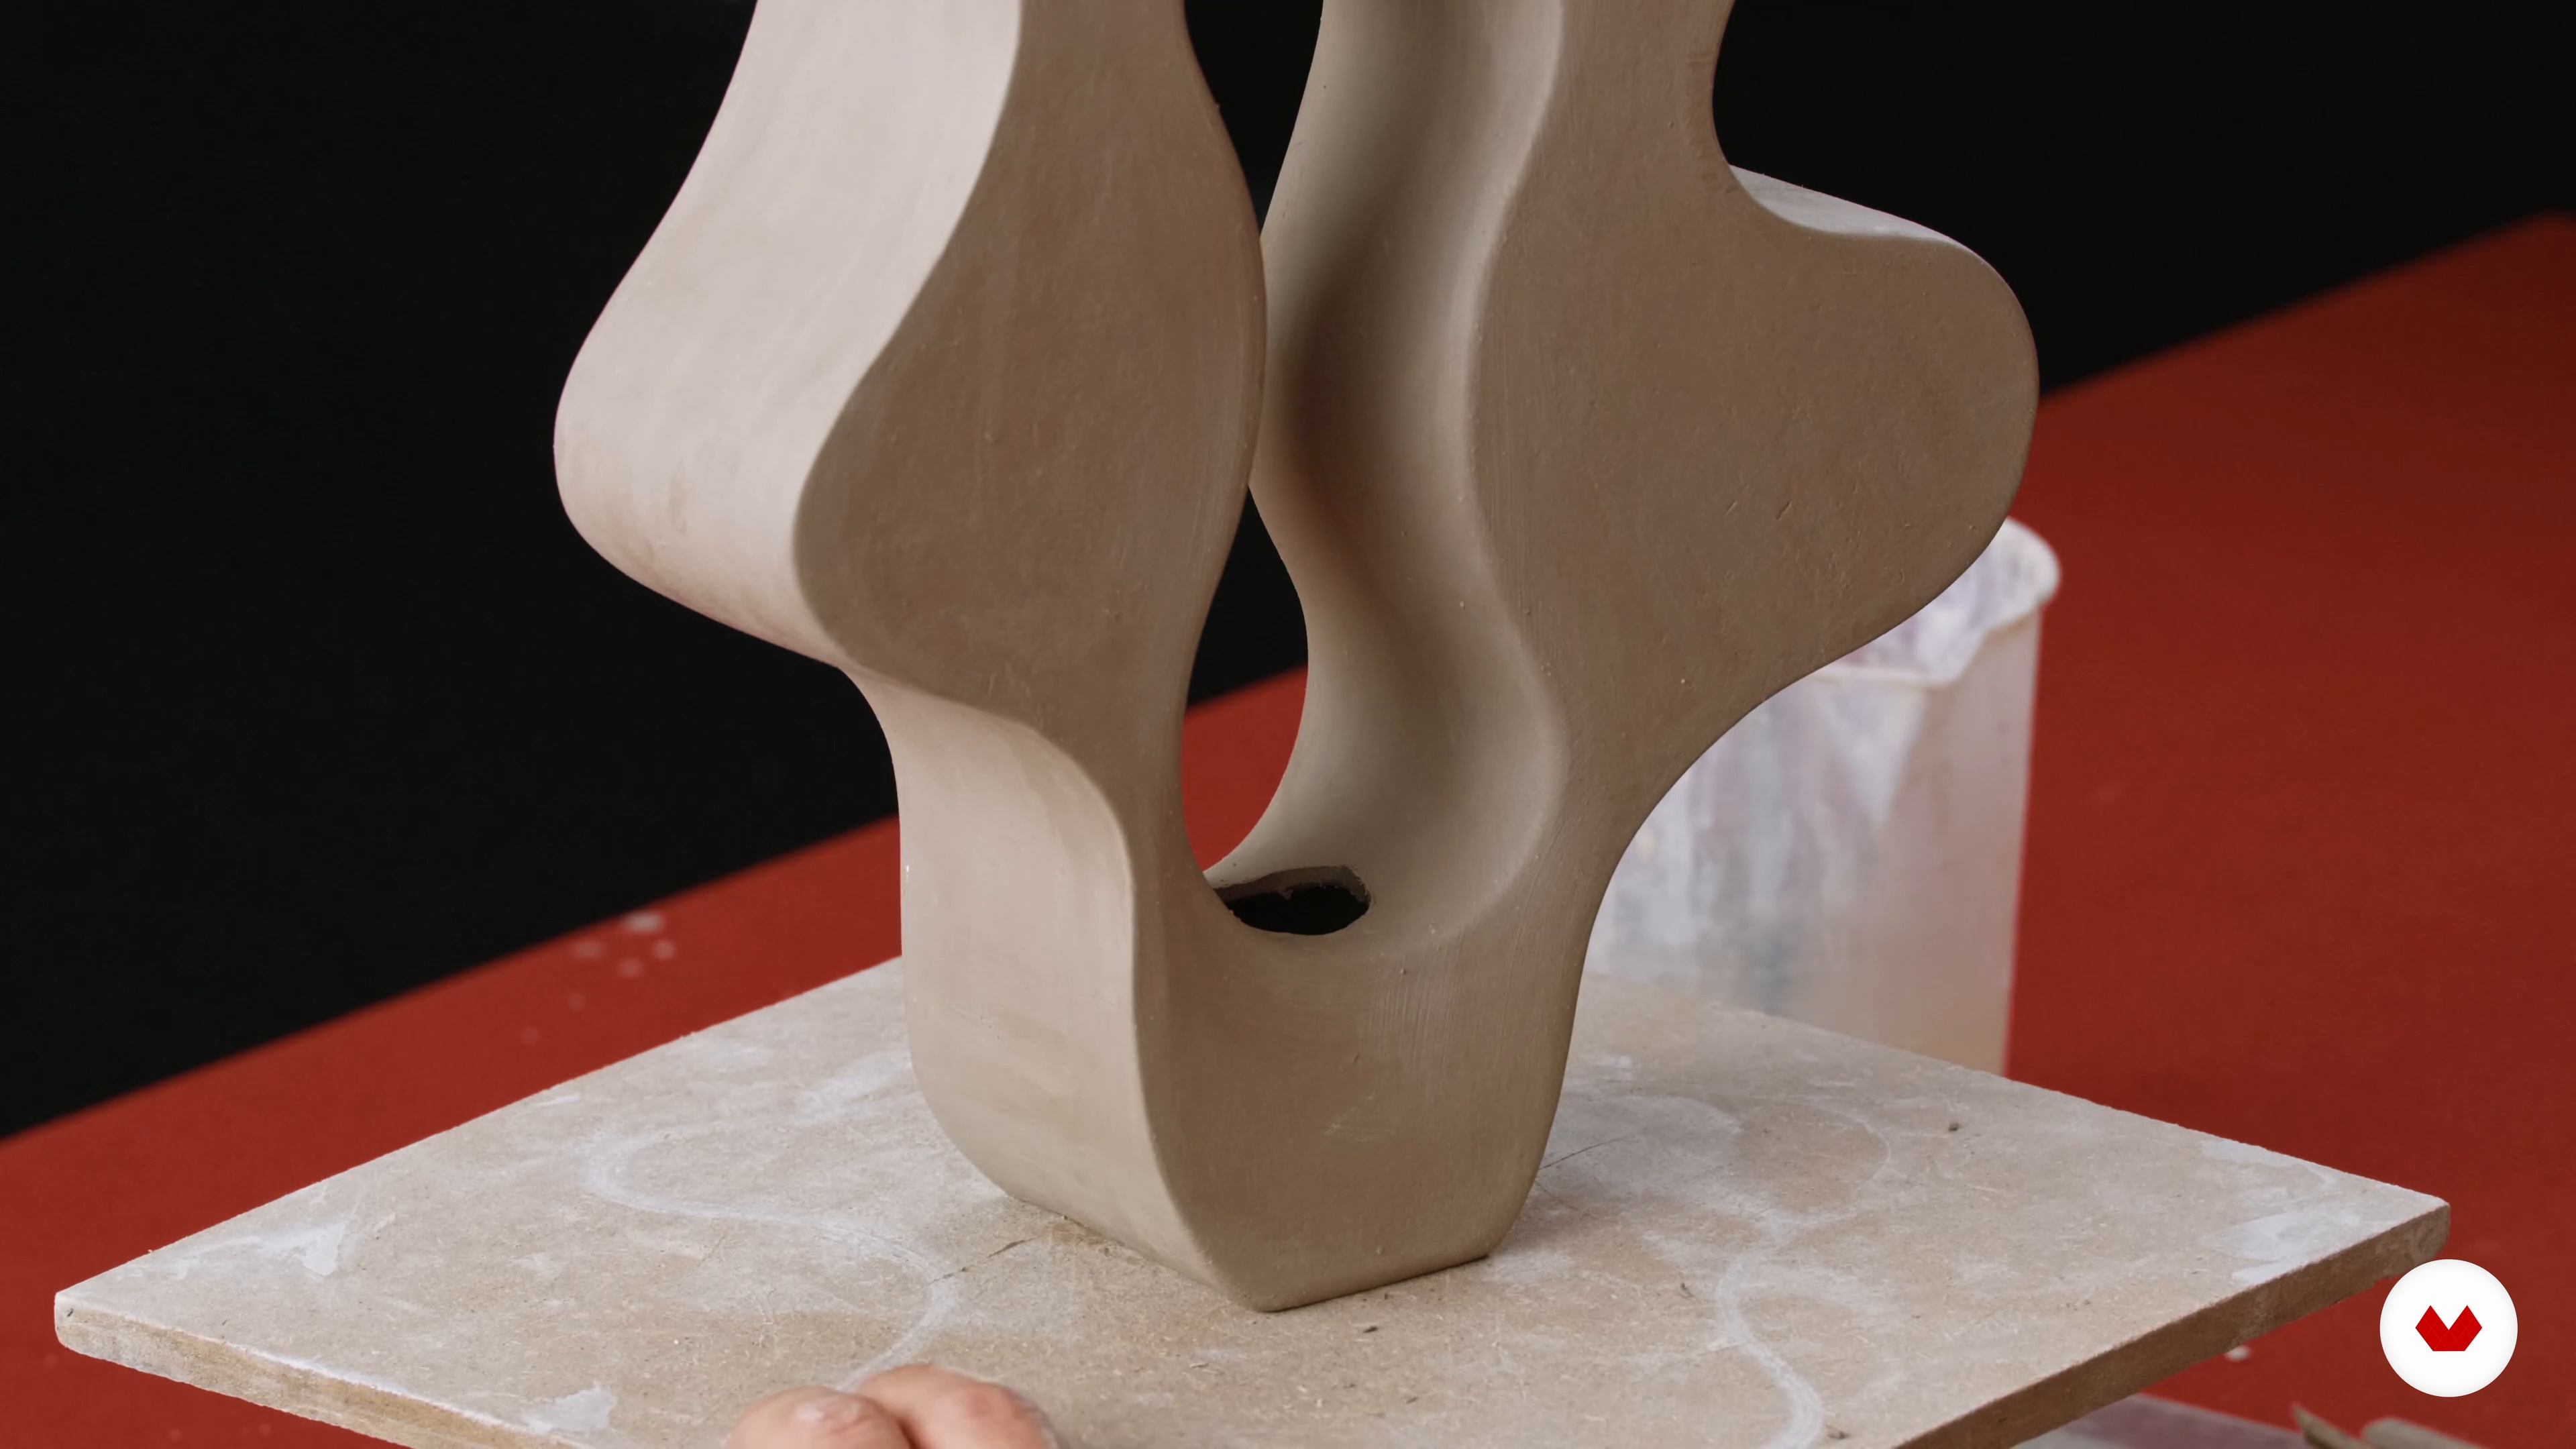
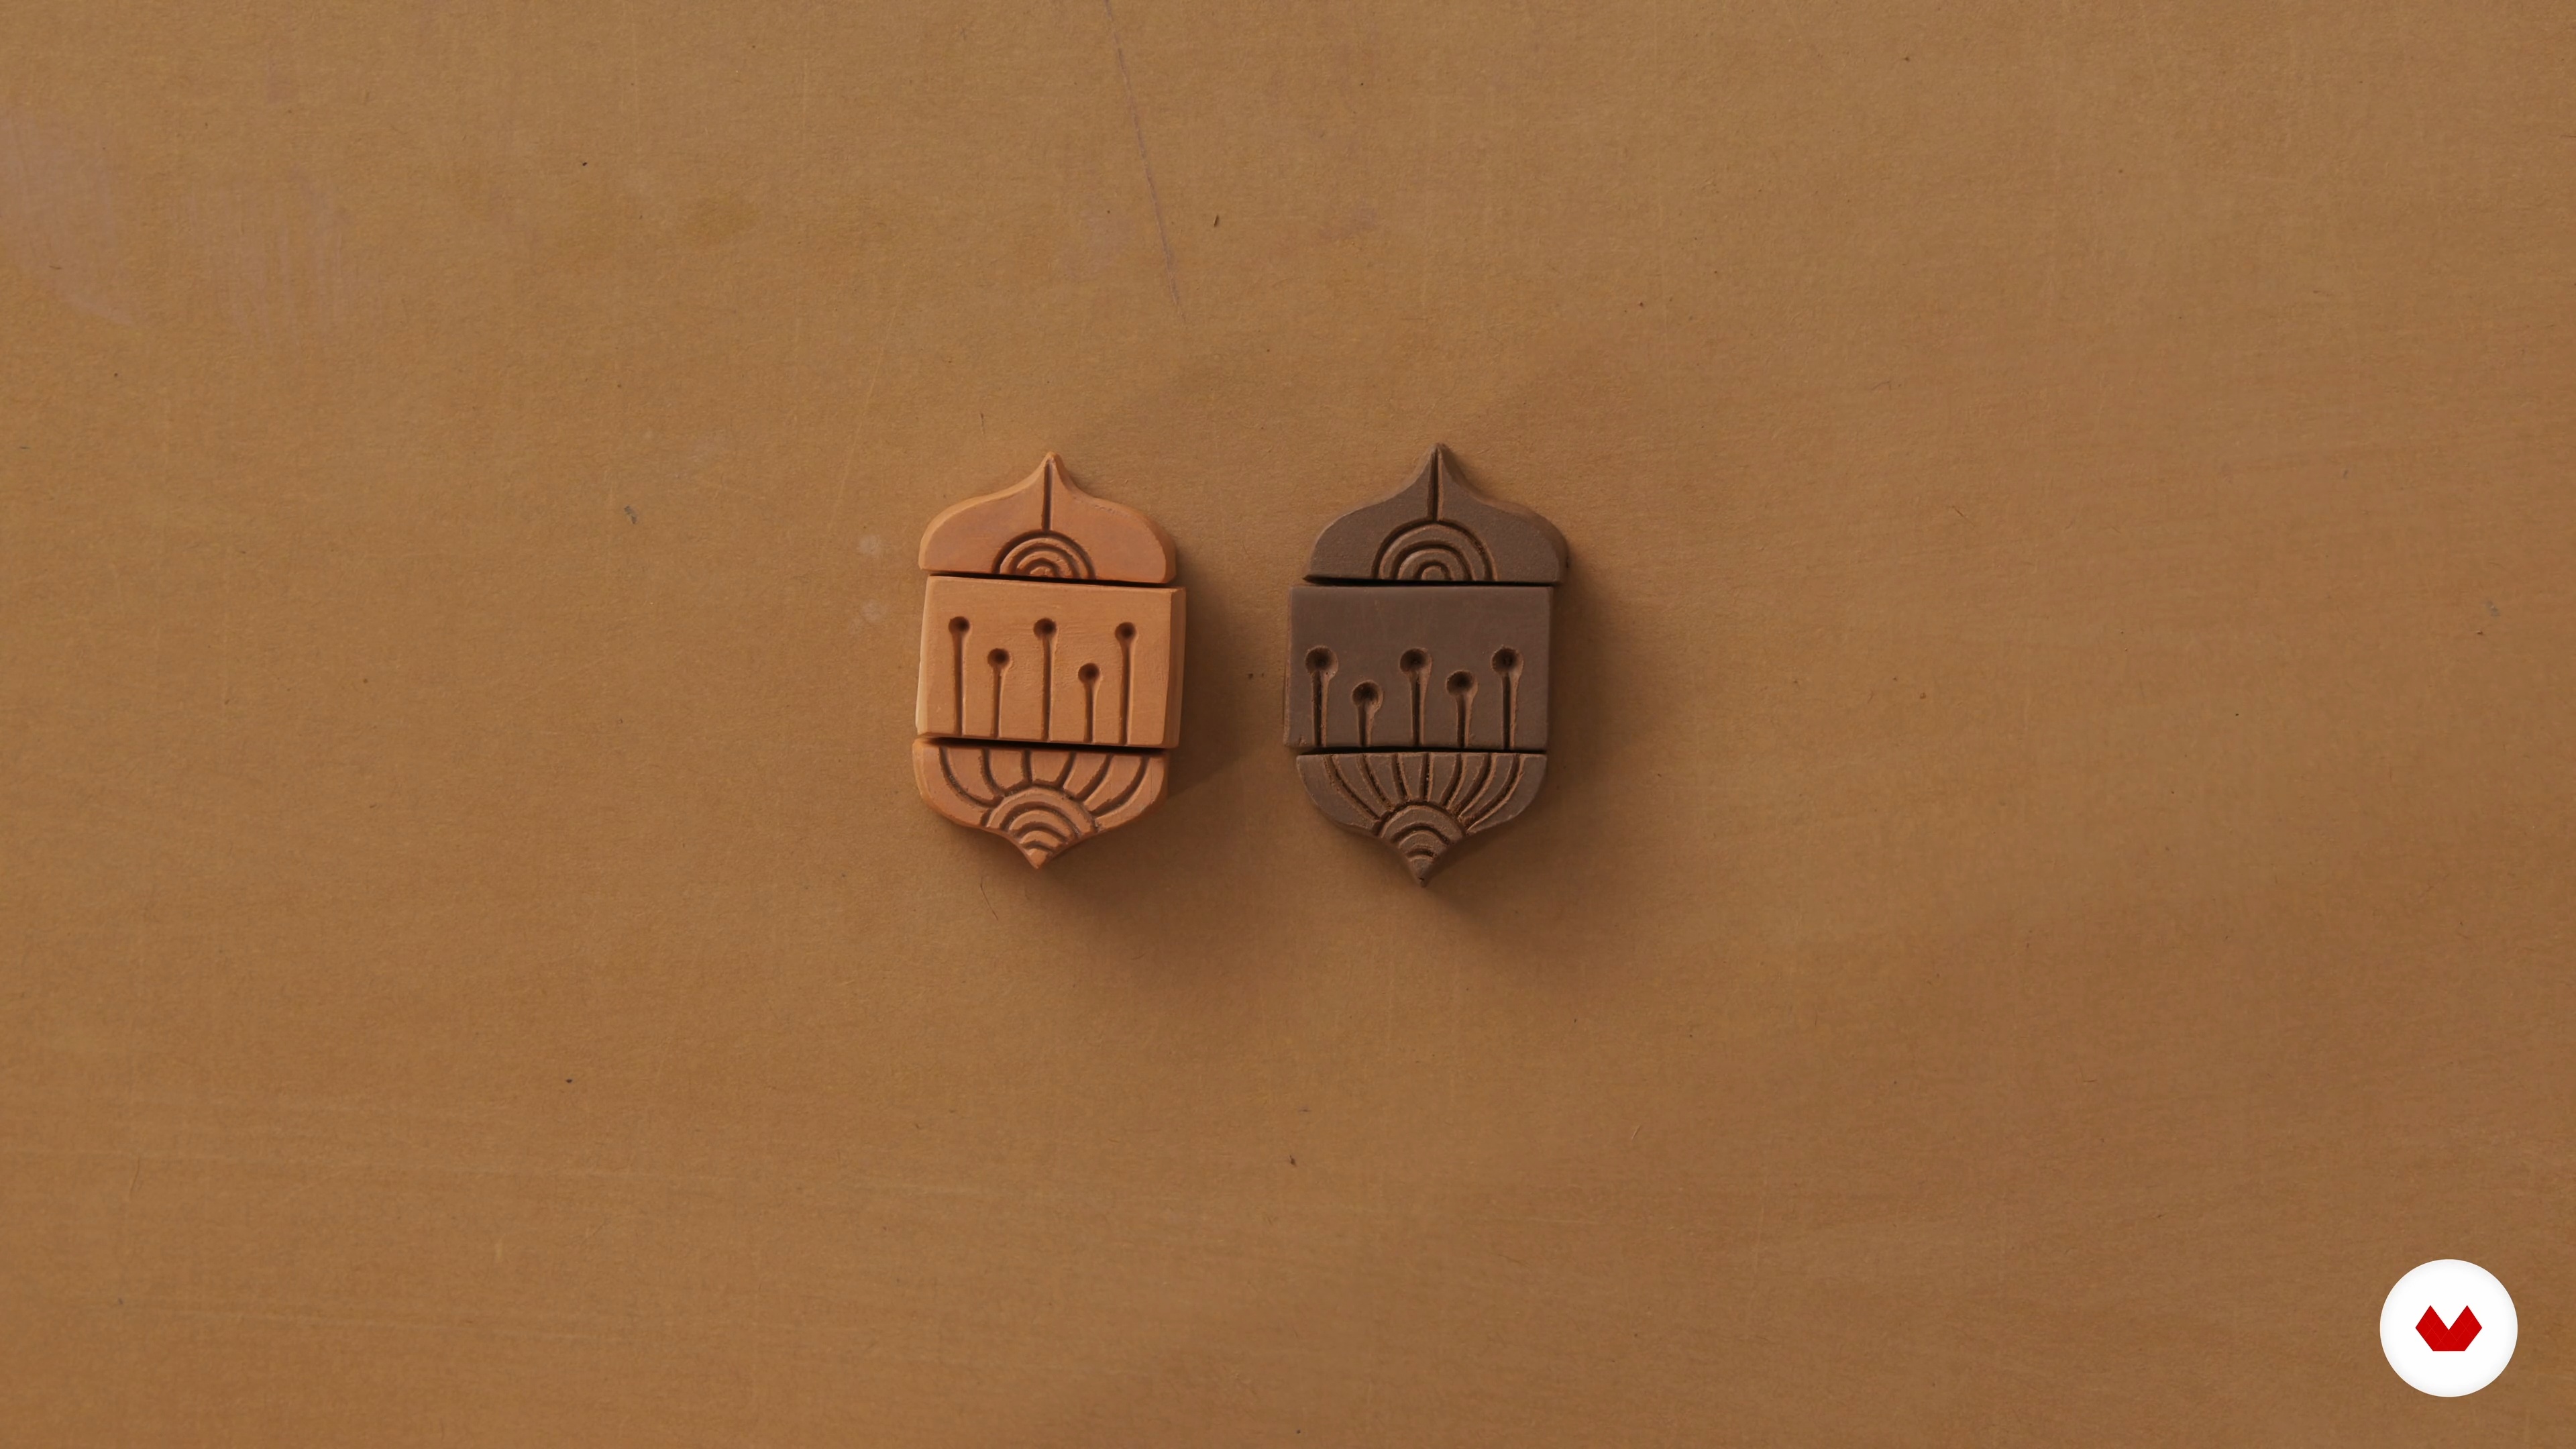
Embark on a creative journey through the world of ceramics with a diverse lineup of expert instructors. Start by learning the fundamentals of working with clay at home, from initial design to glazing, as guided by Lilly Maetzig. Delve into the slab technique with Jeremy Bellina, crafting ceramic pieces featuring clean lines and geometric shapes. Discover the art of stamp making for pottery with Sarah Pike, who will help you add personalized textures to your creations.

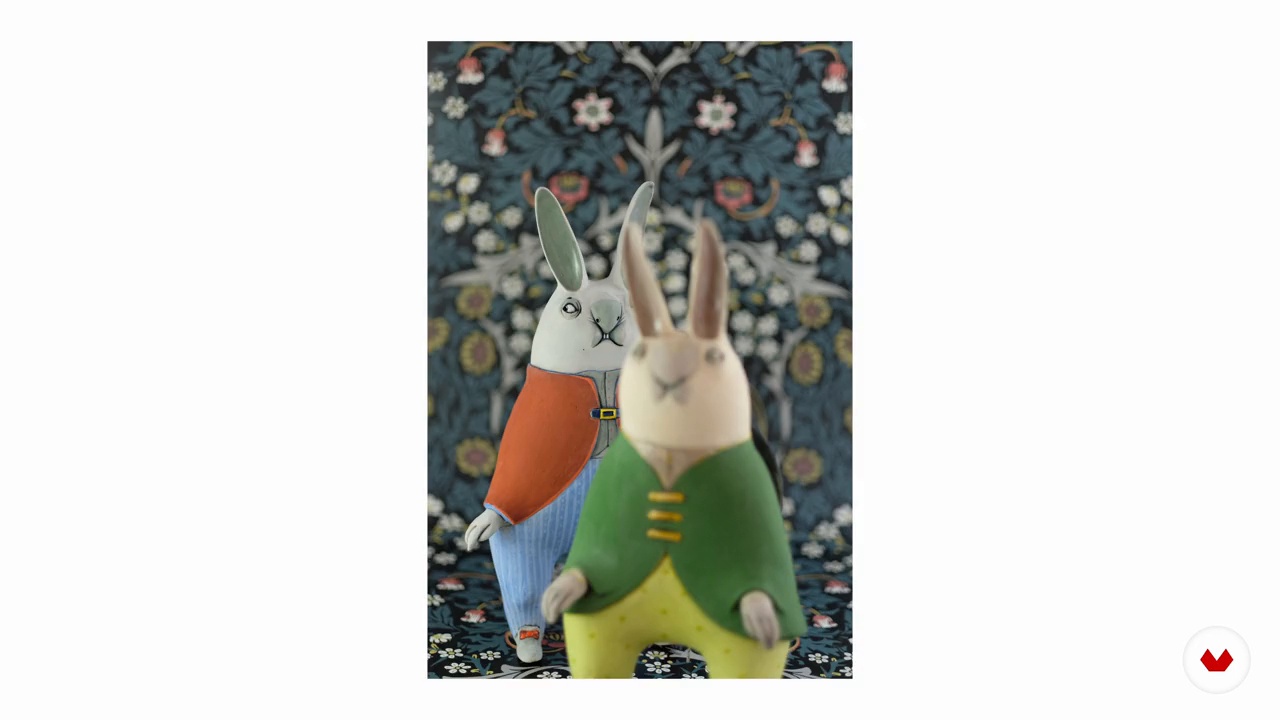
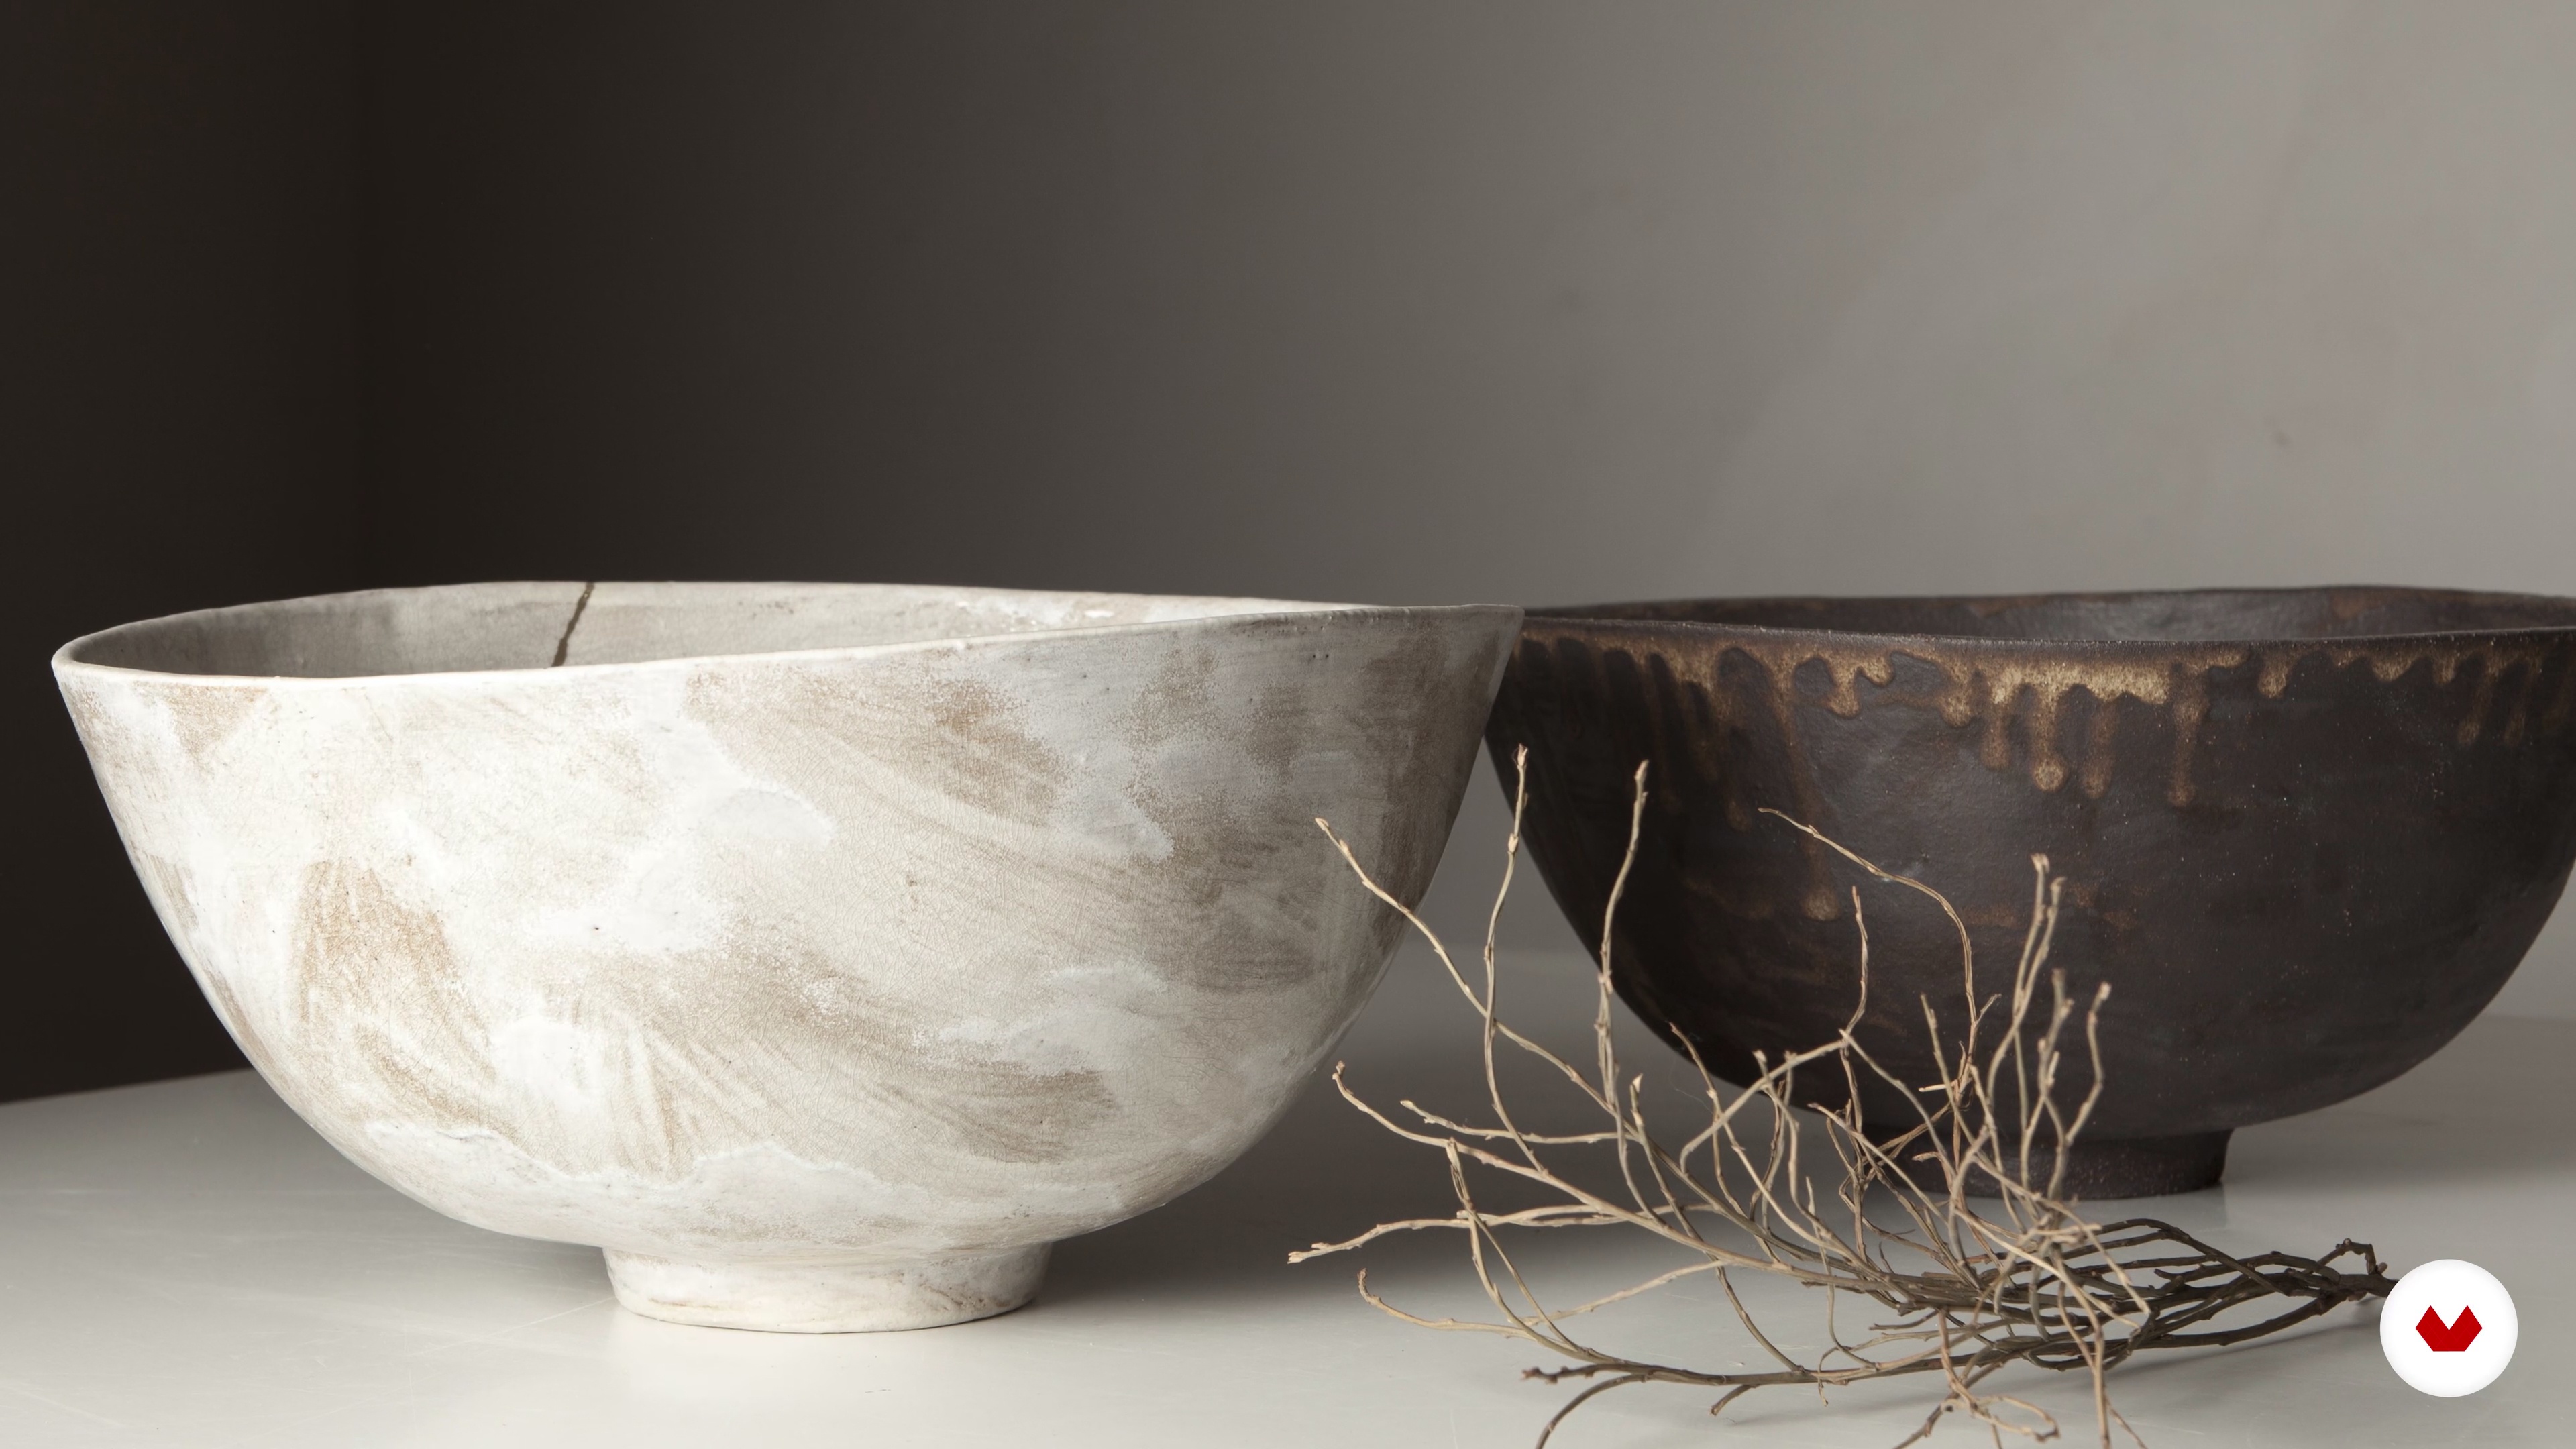
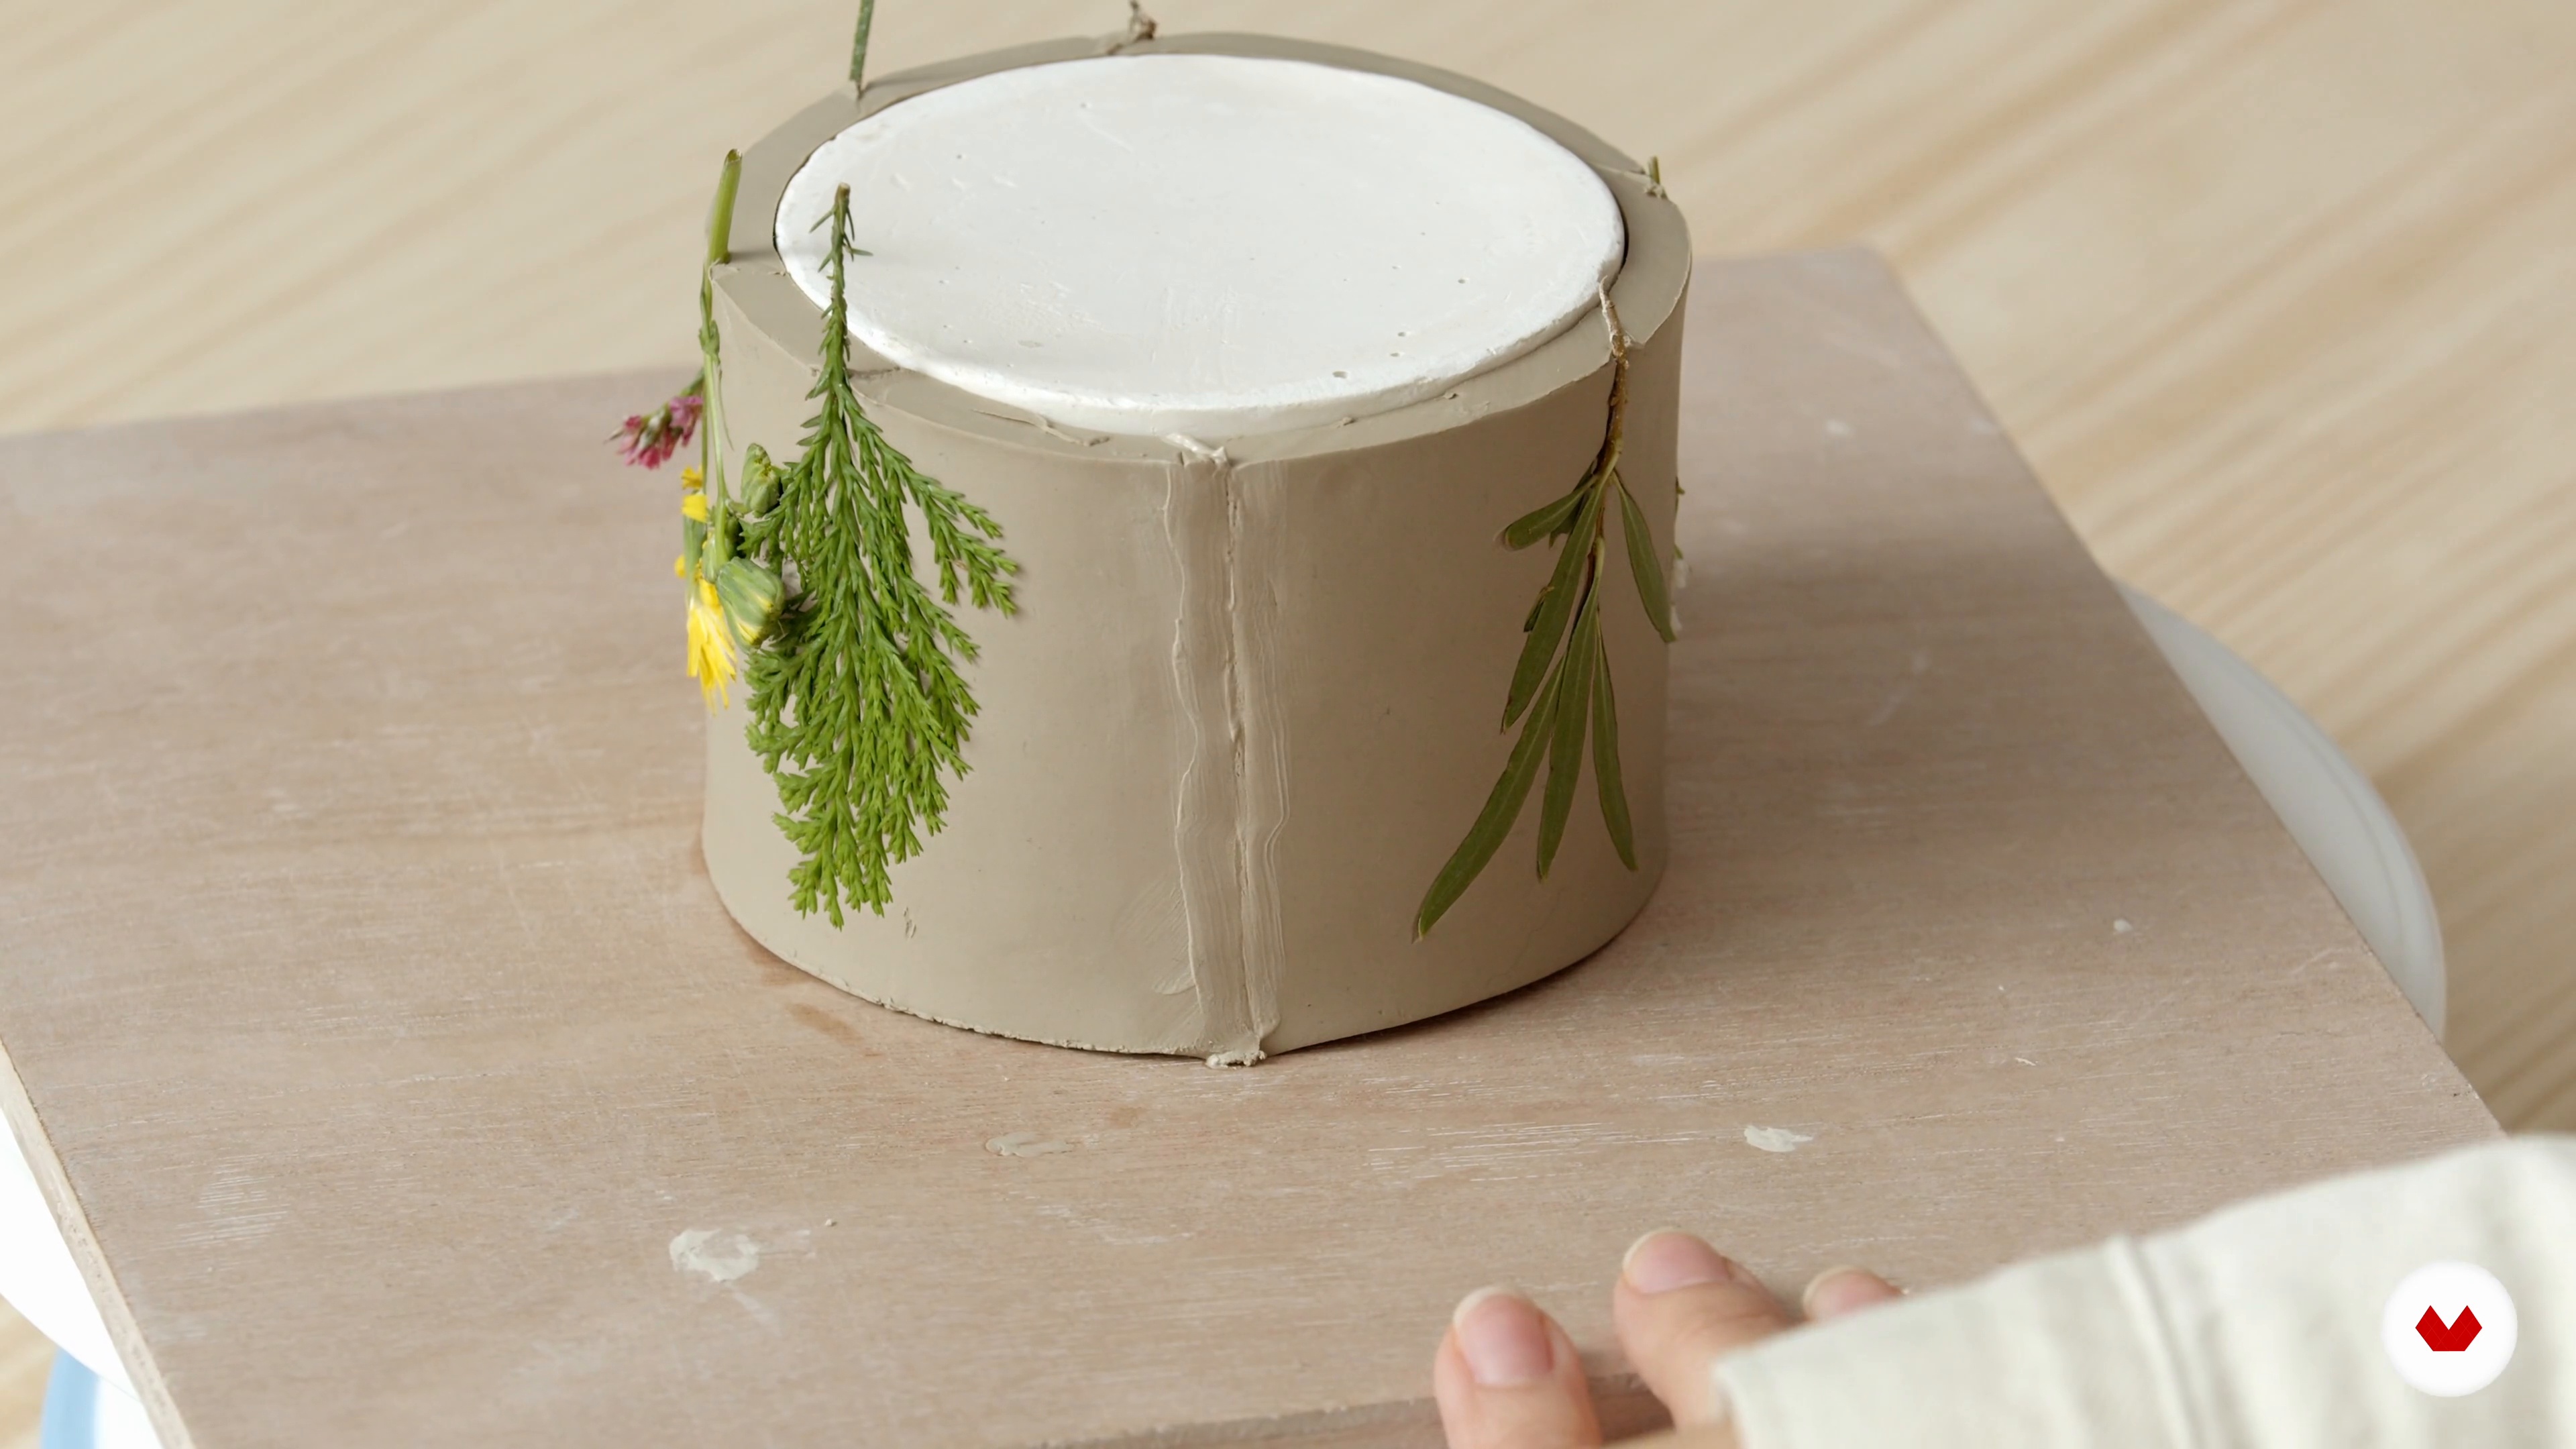
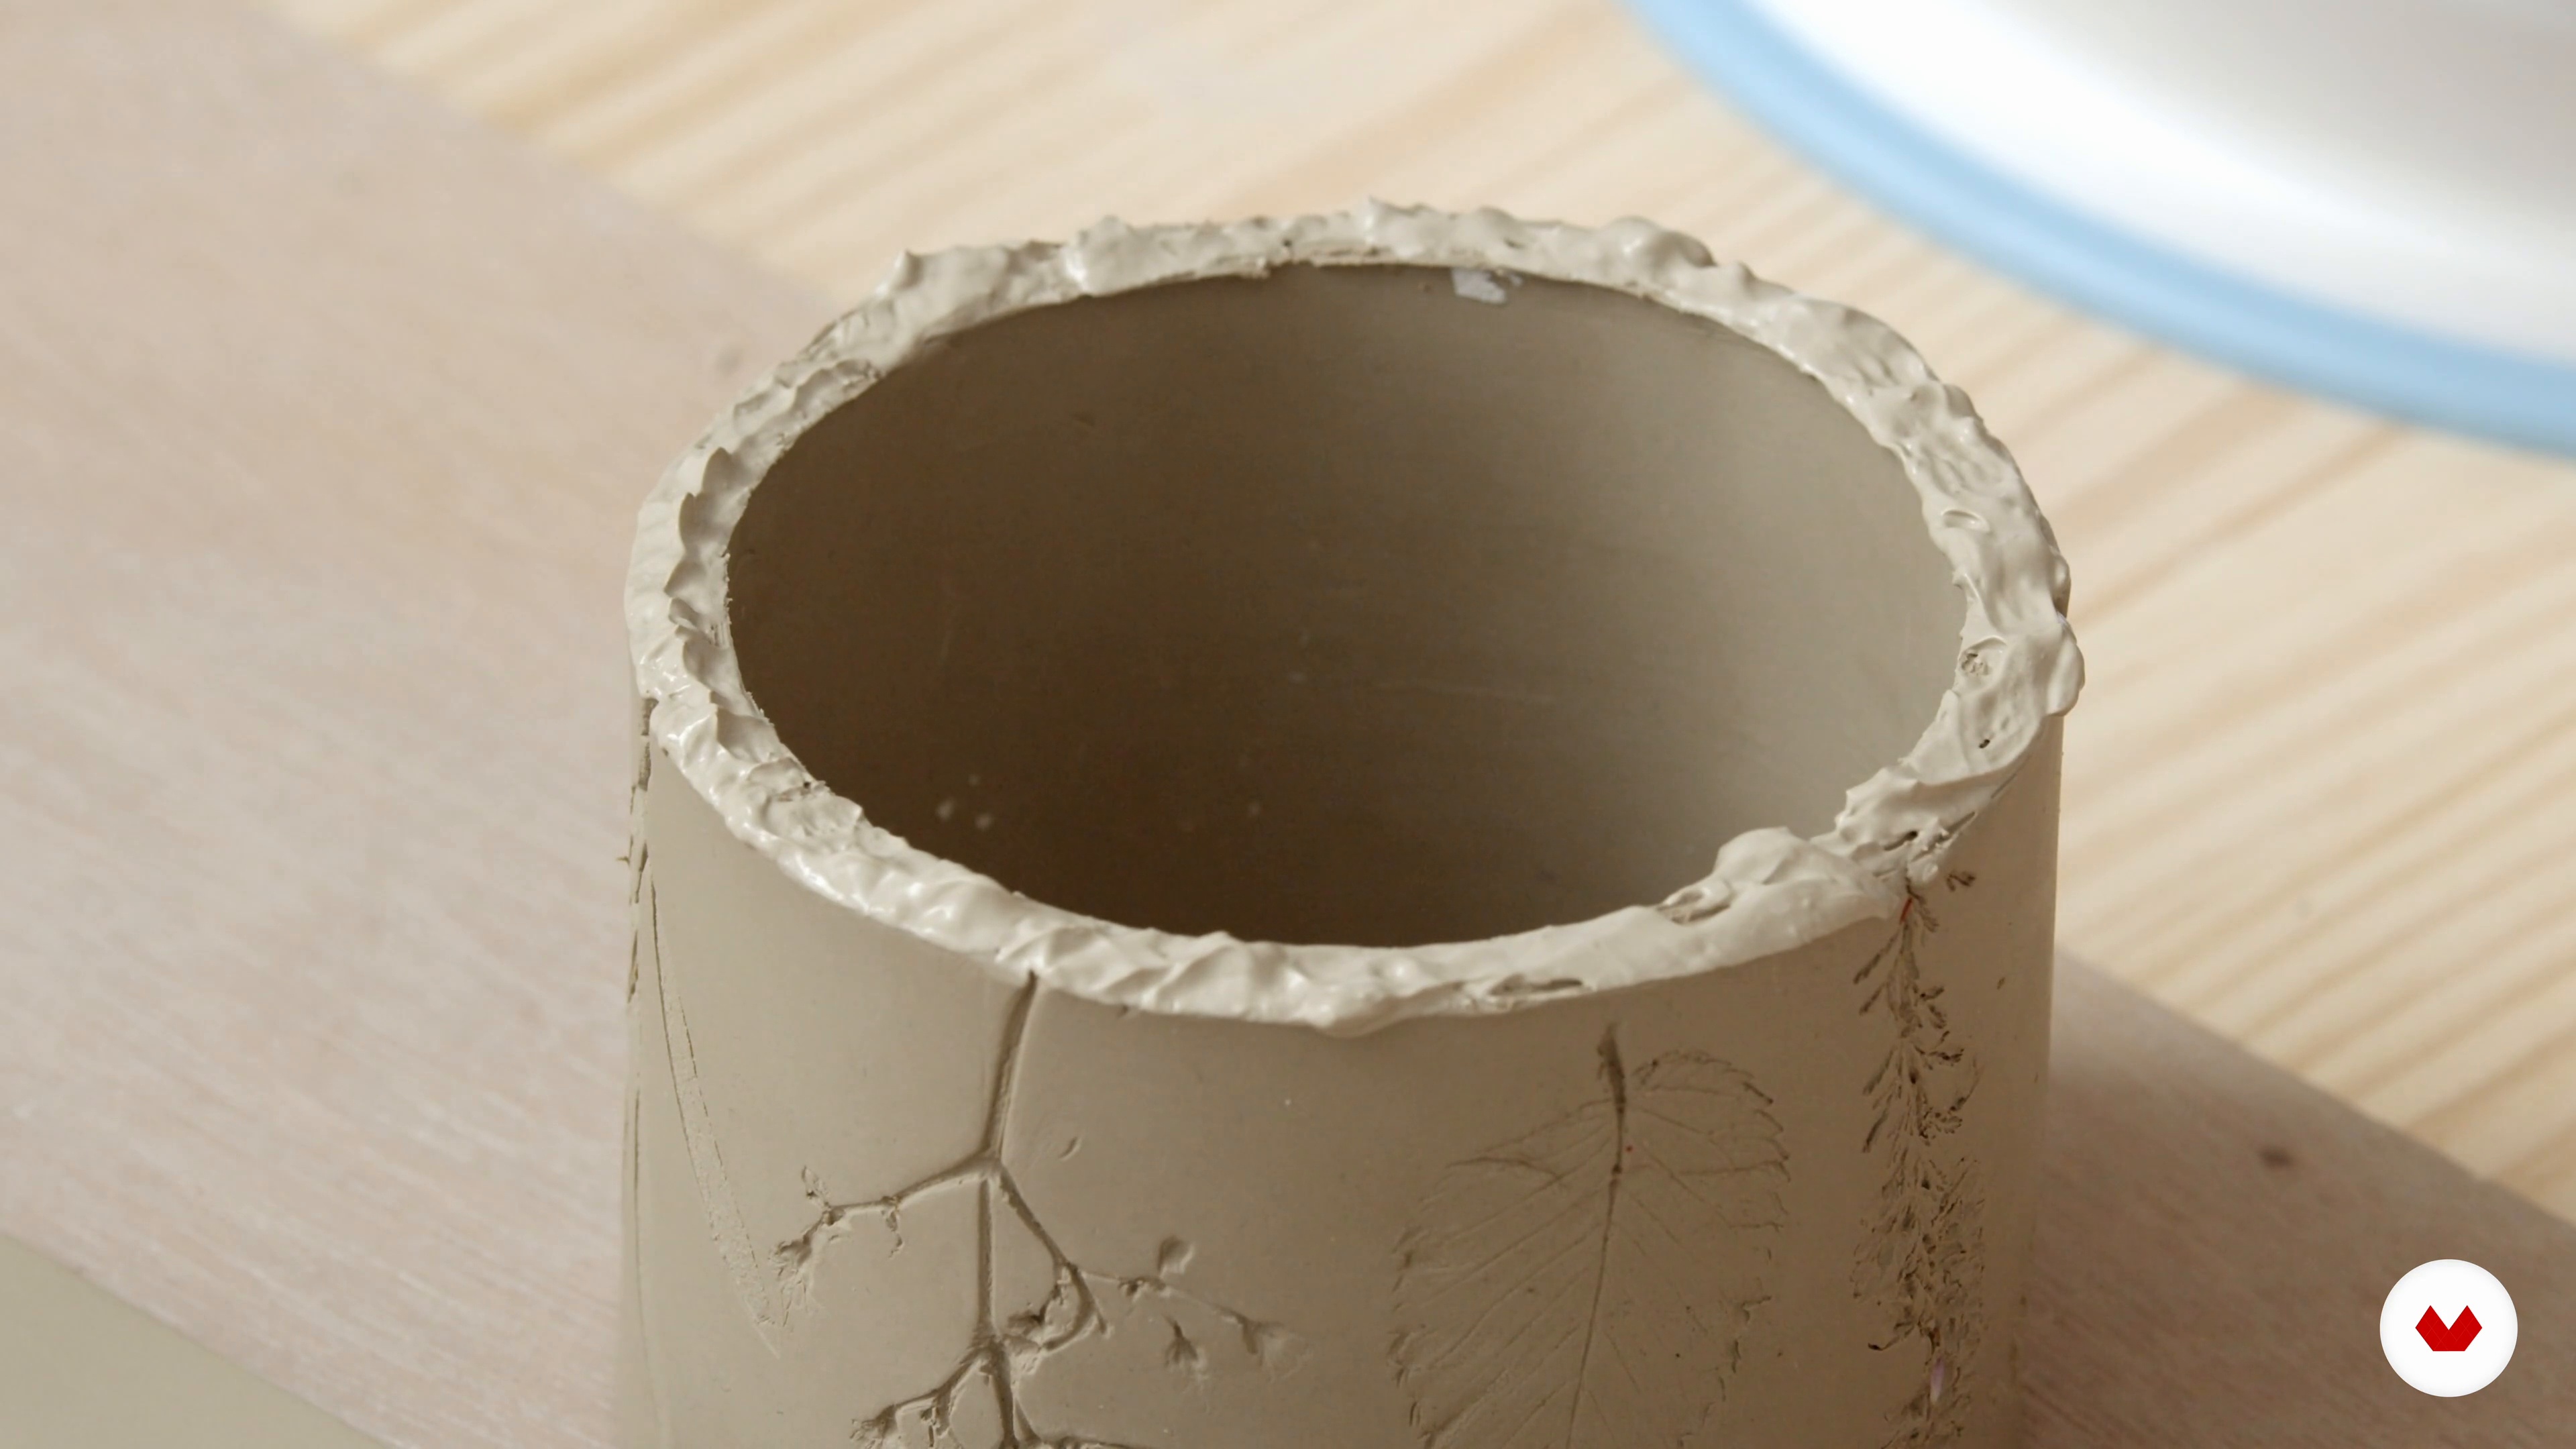
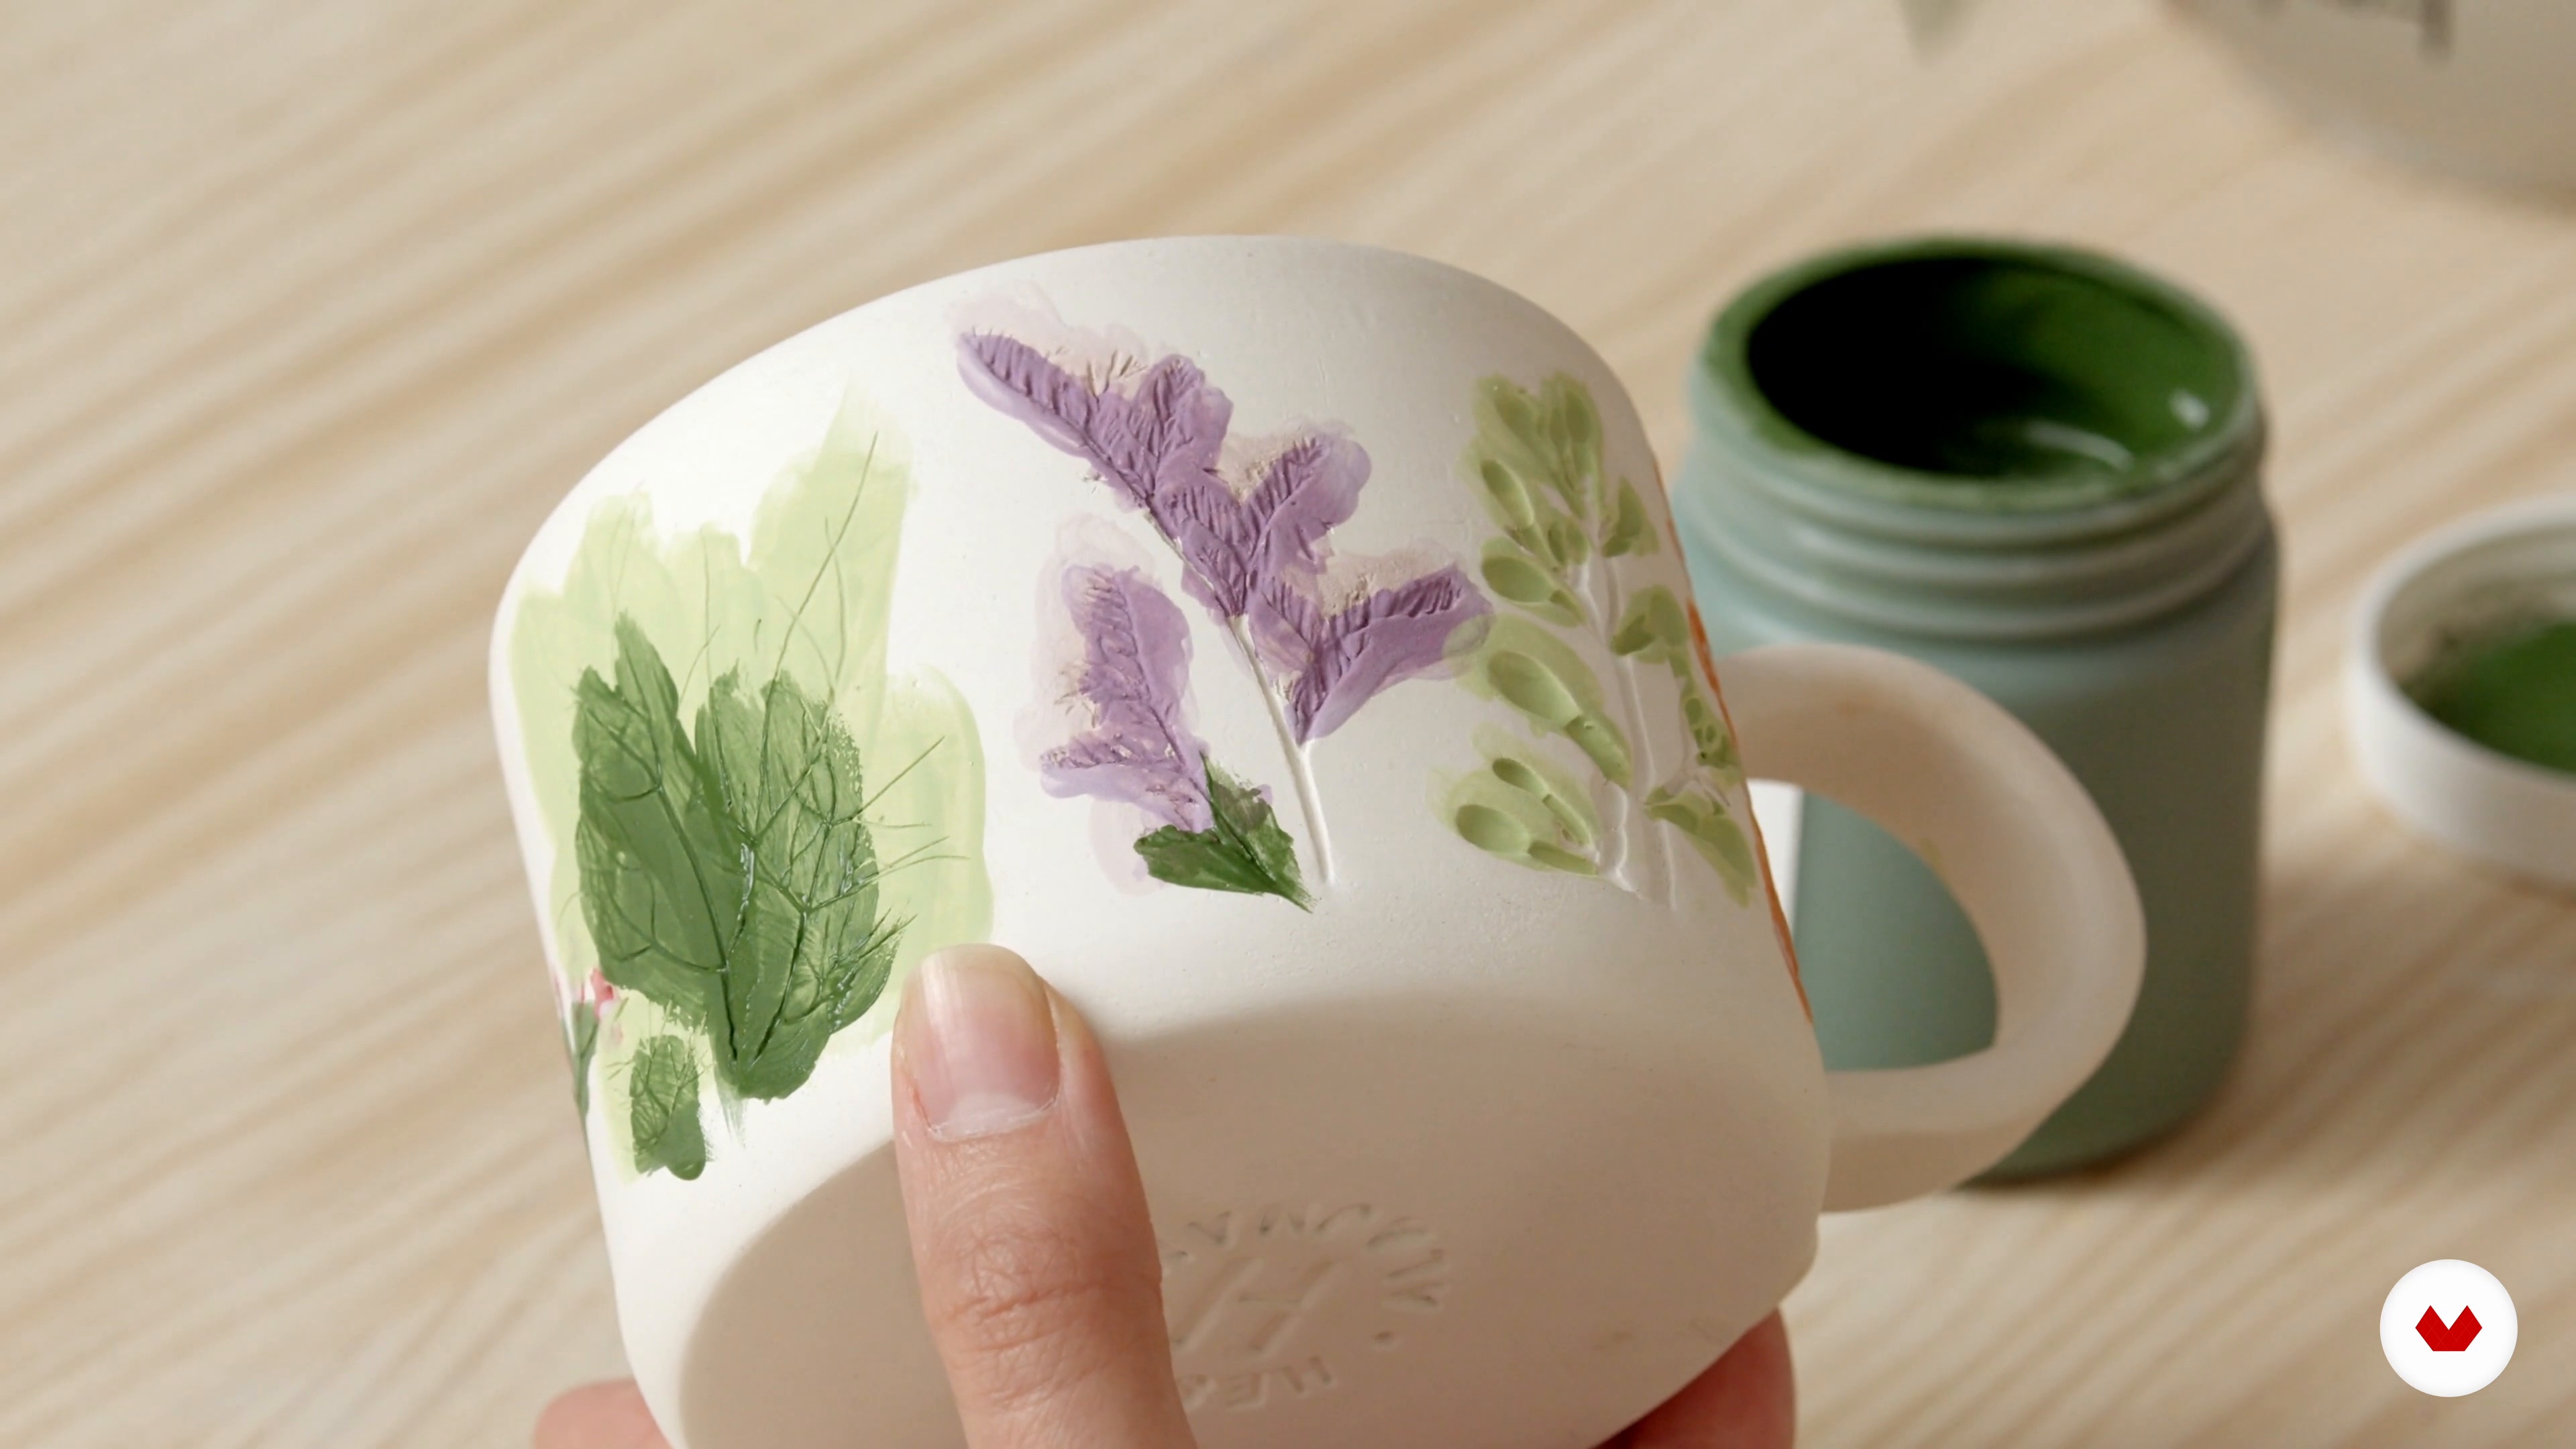
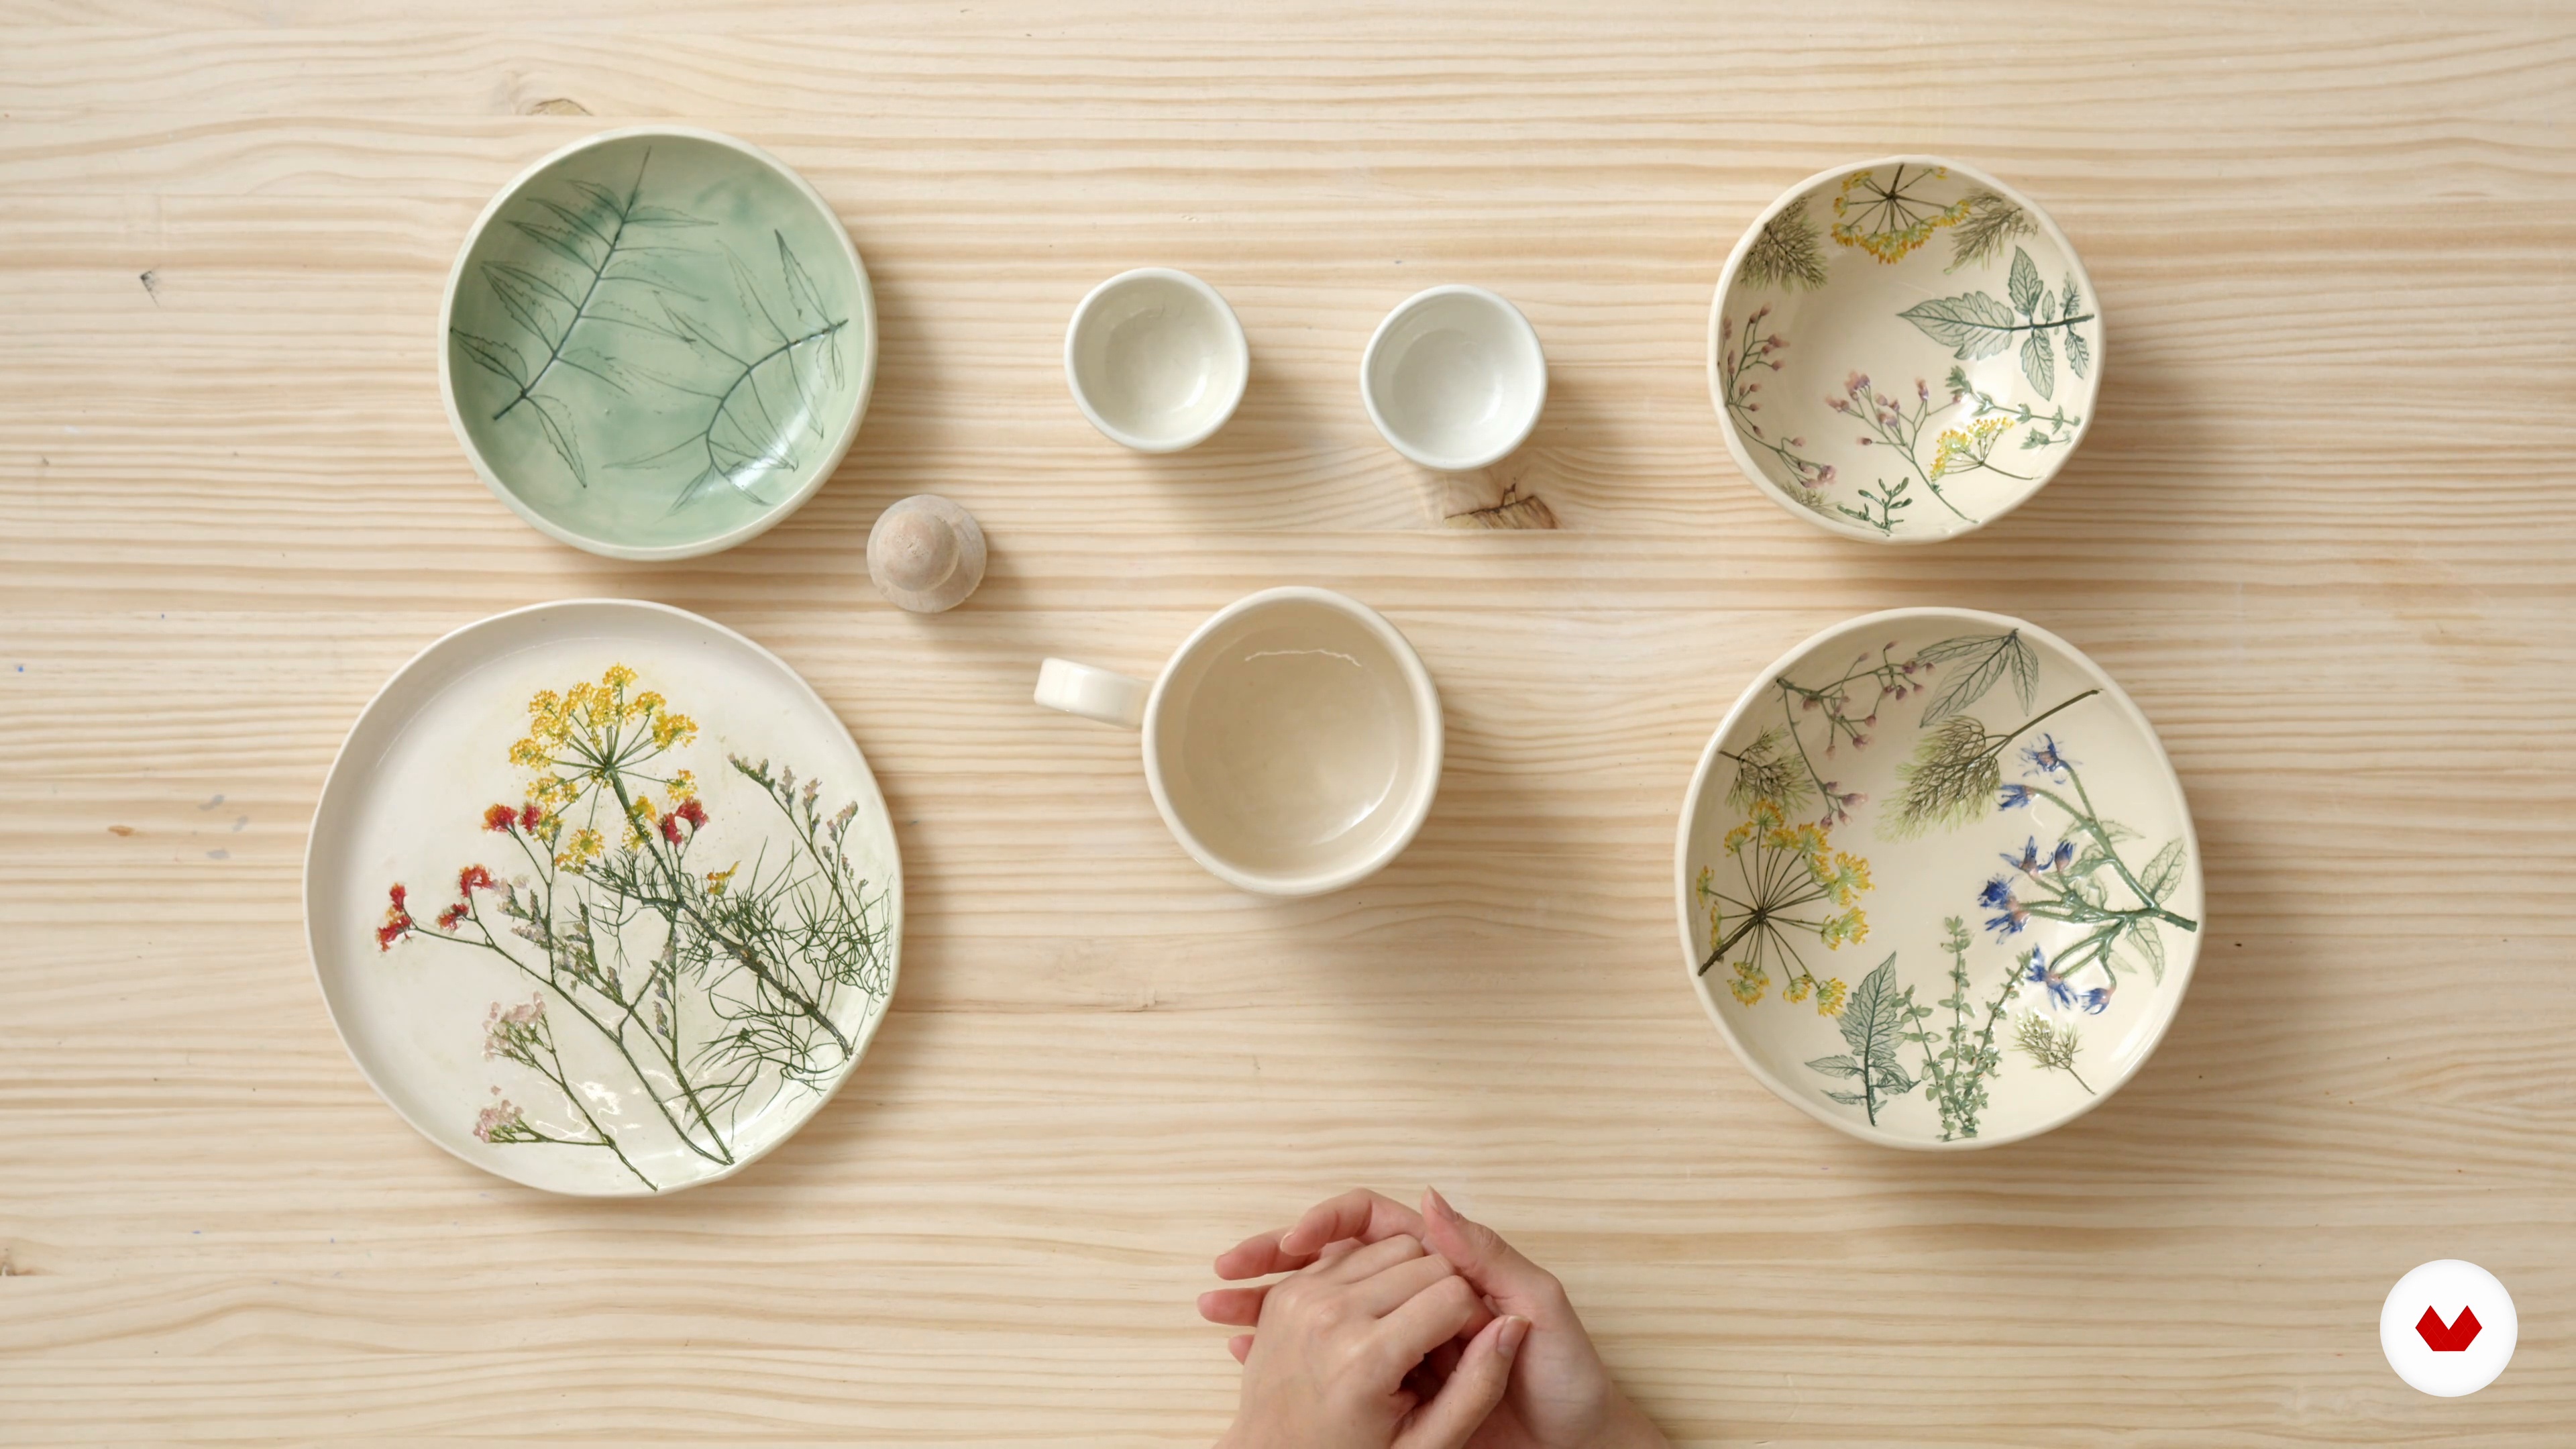
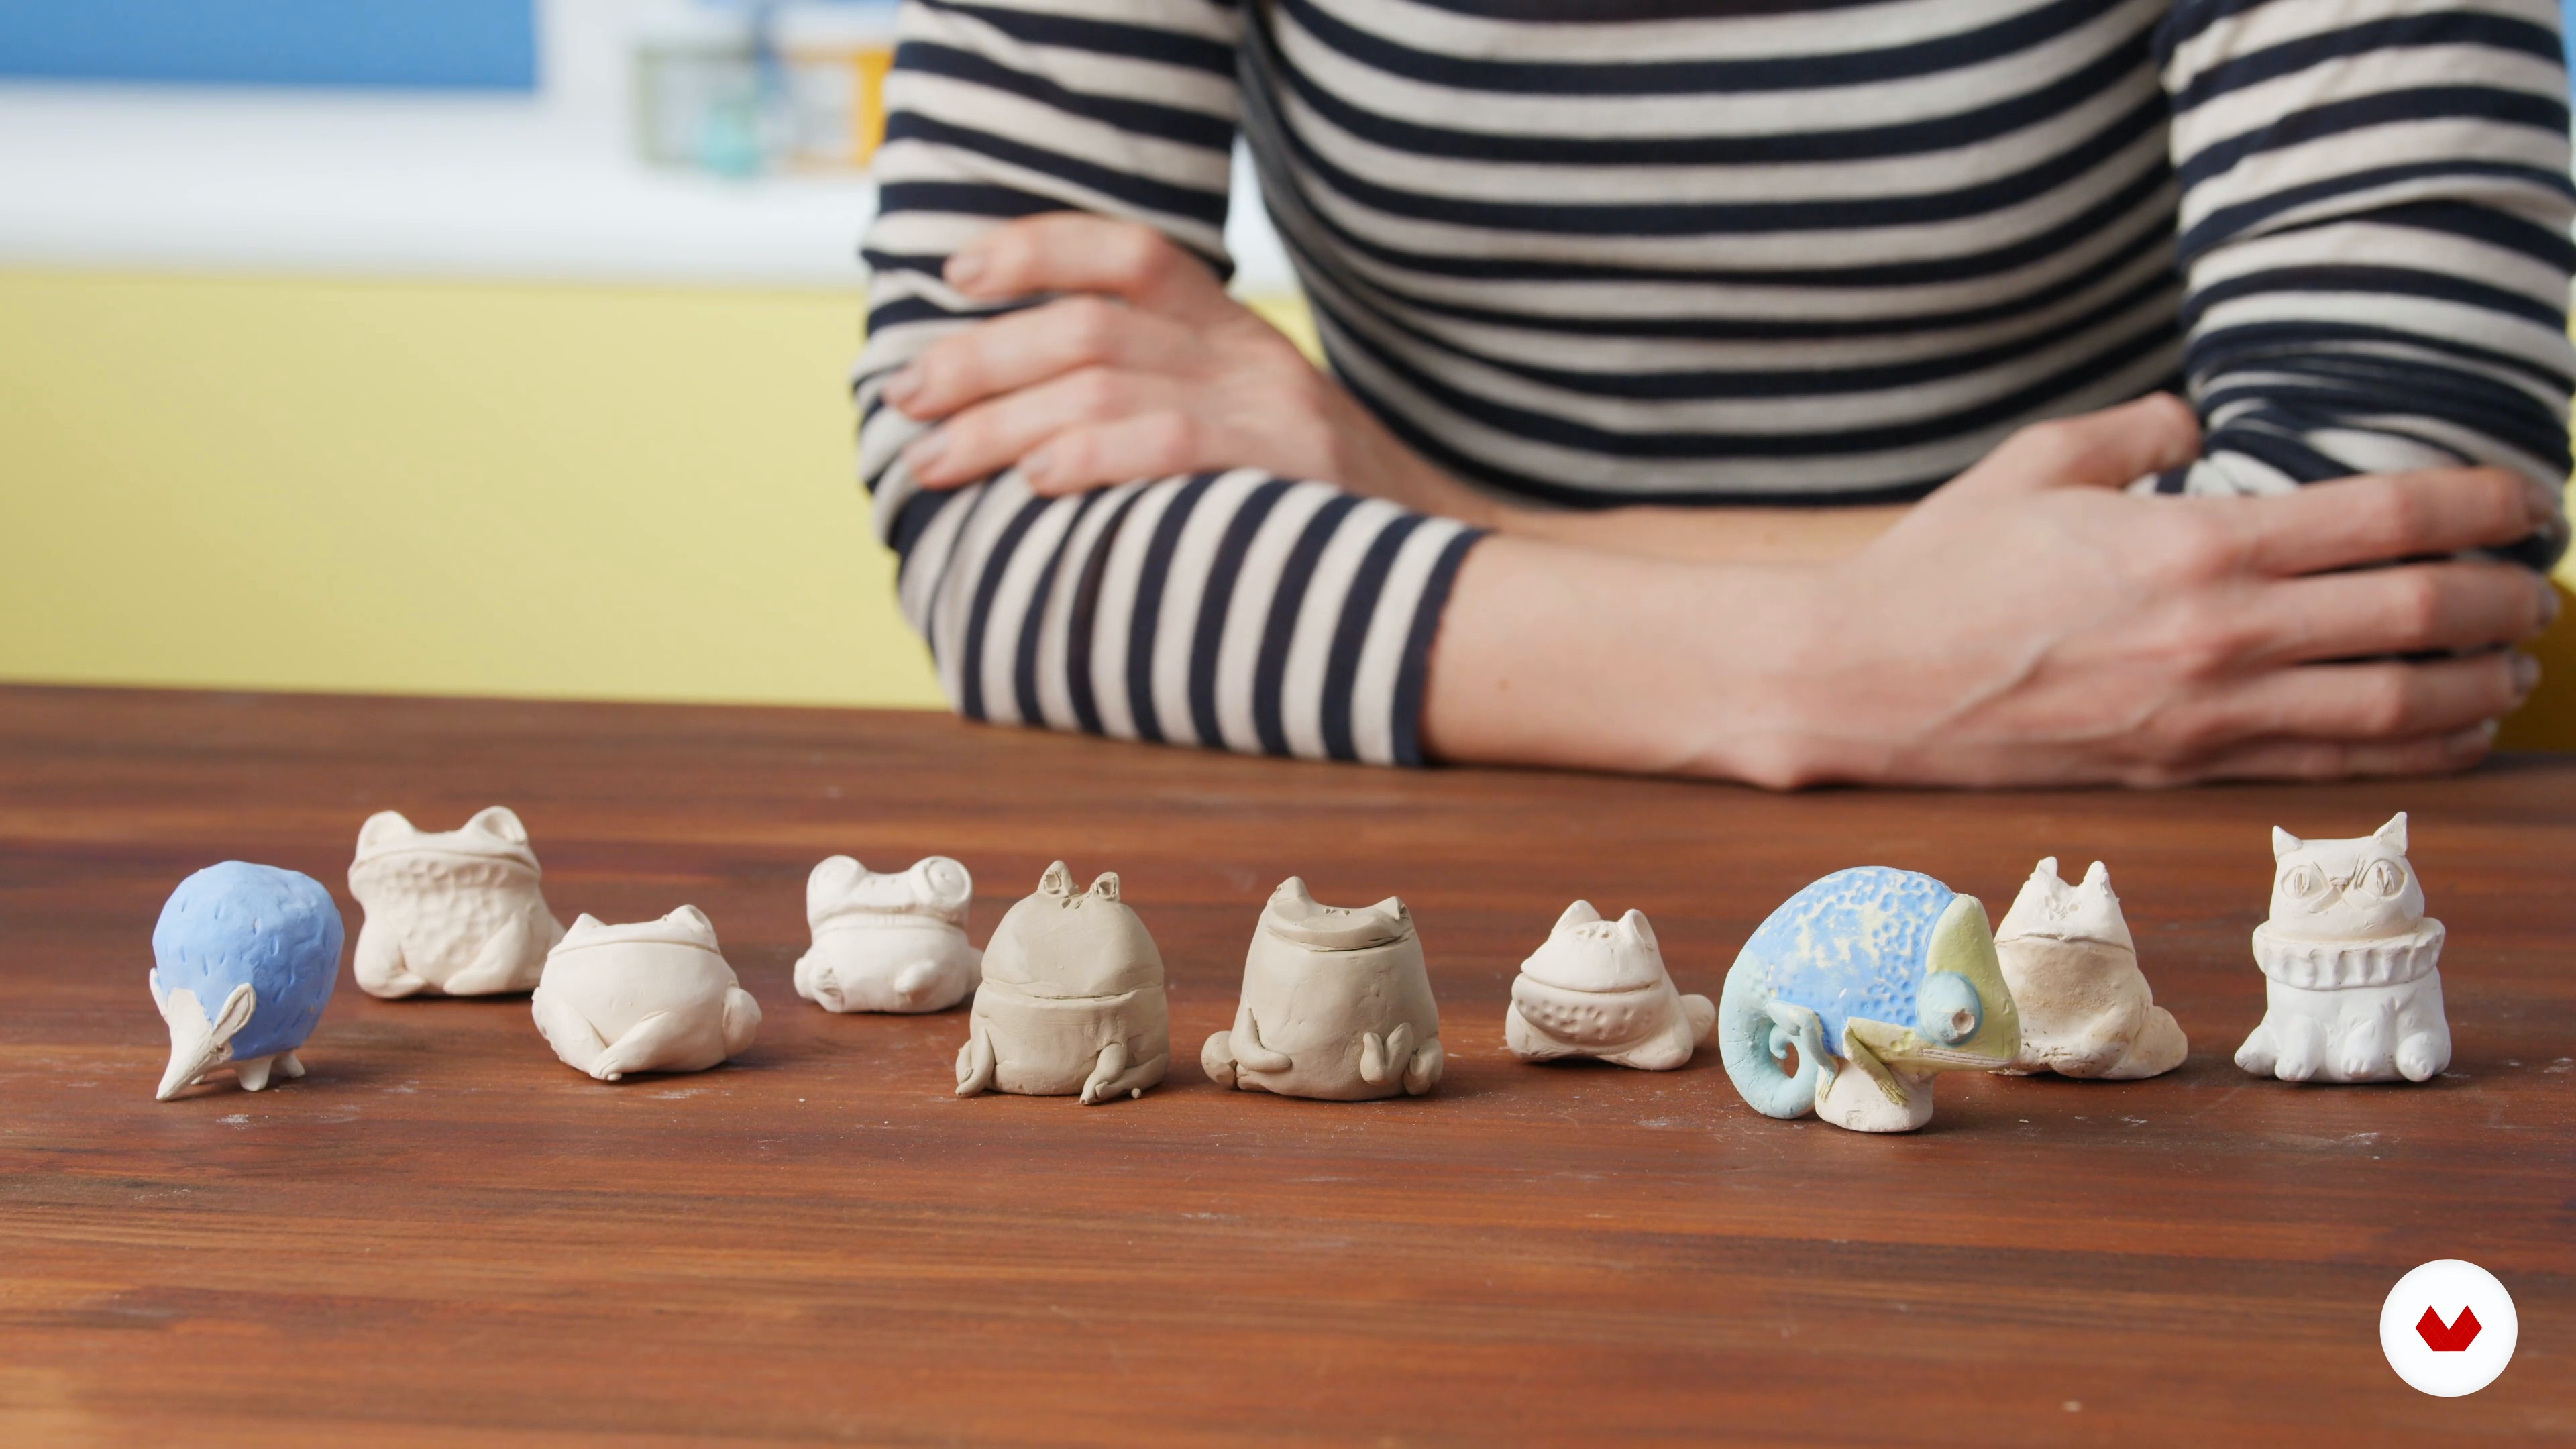
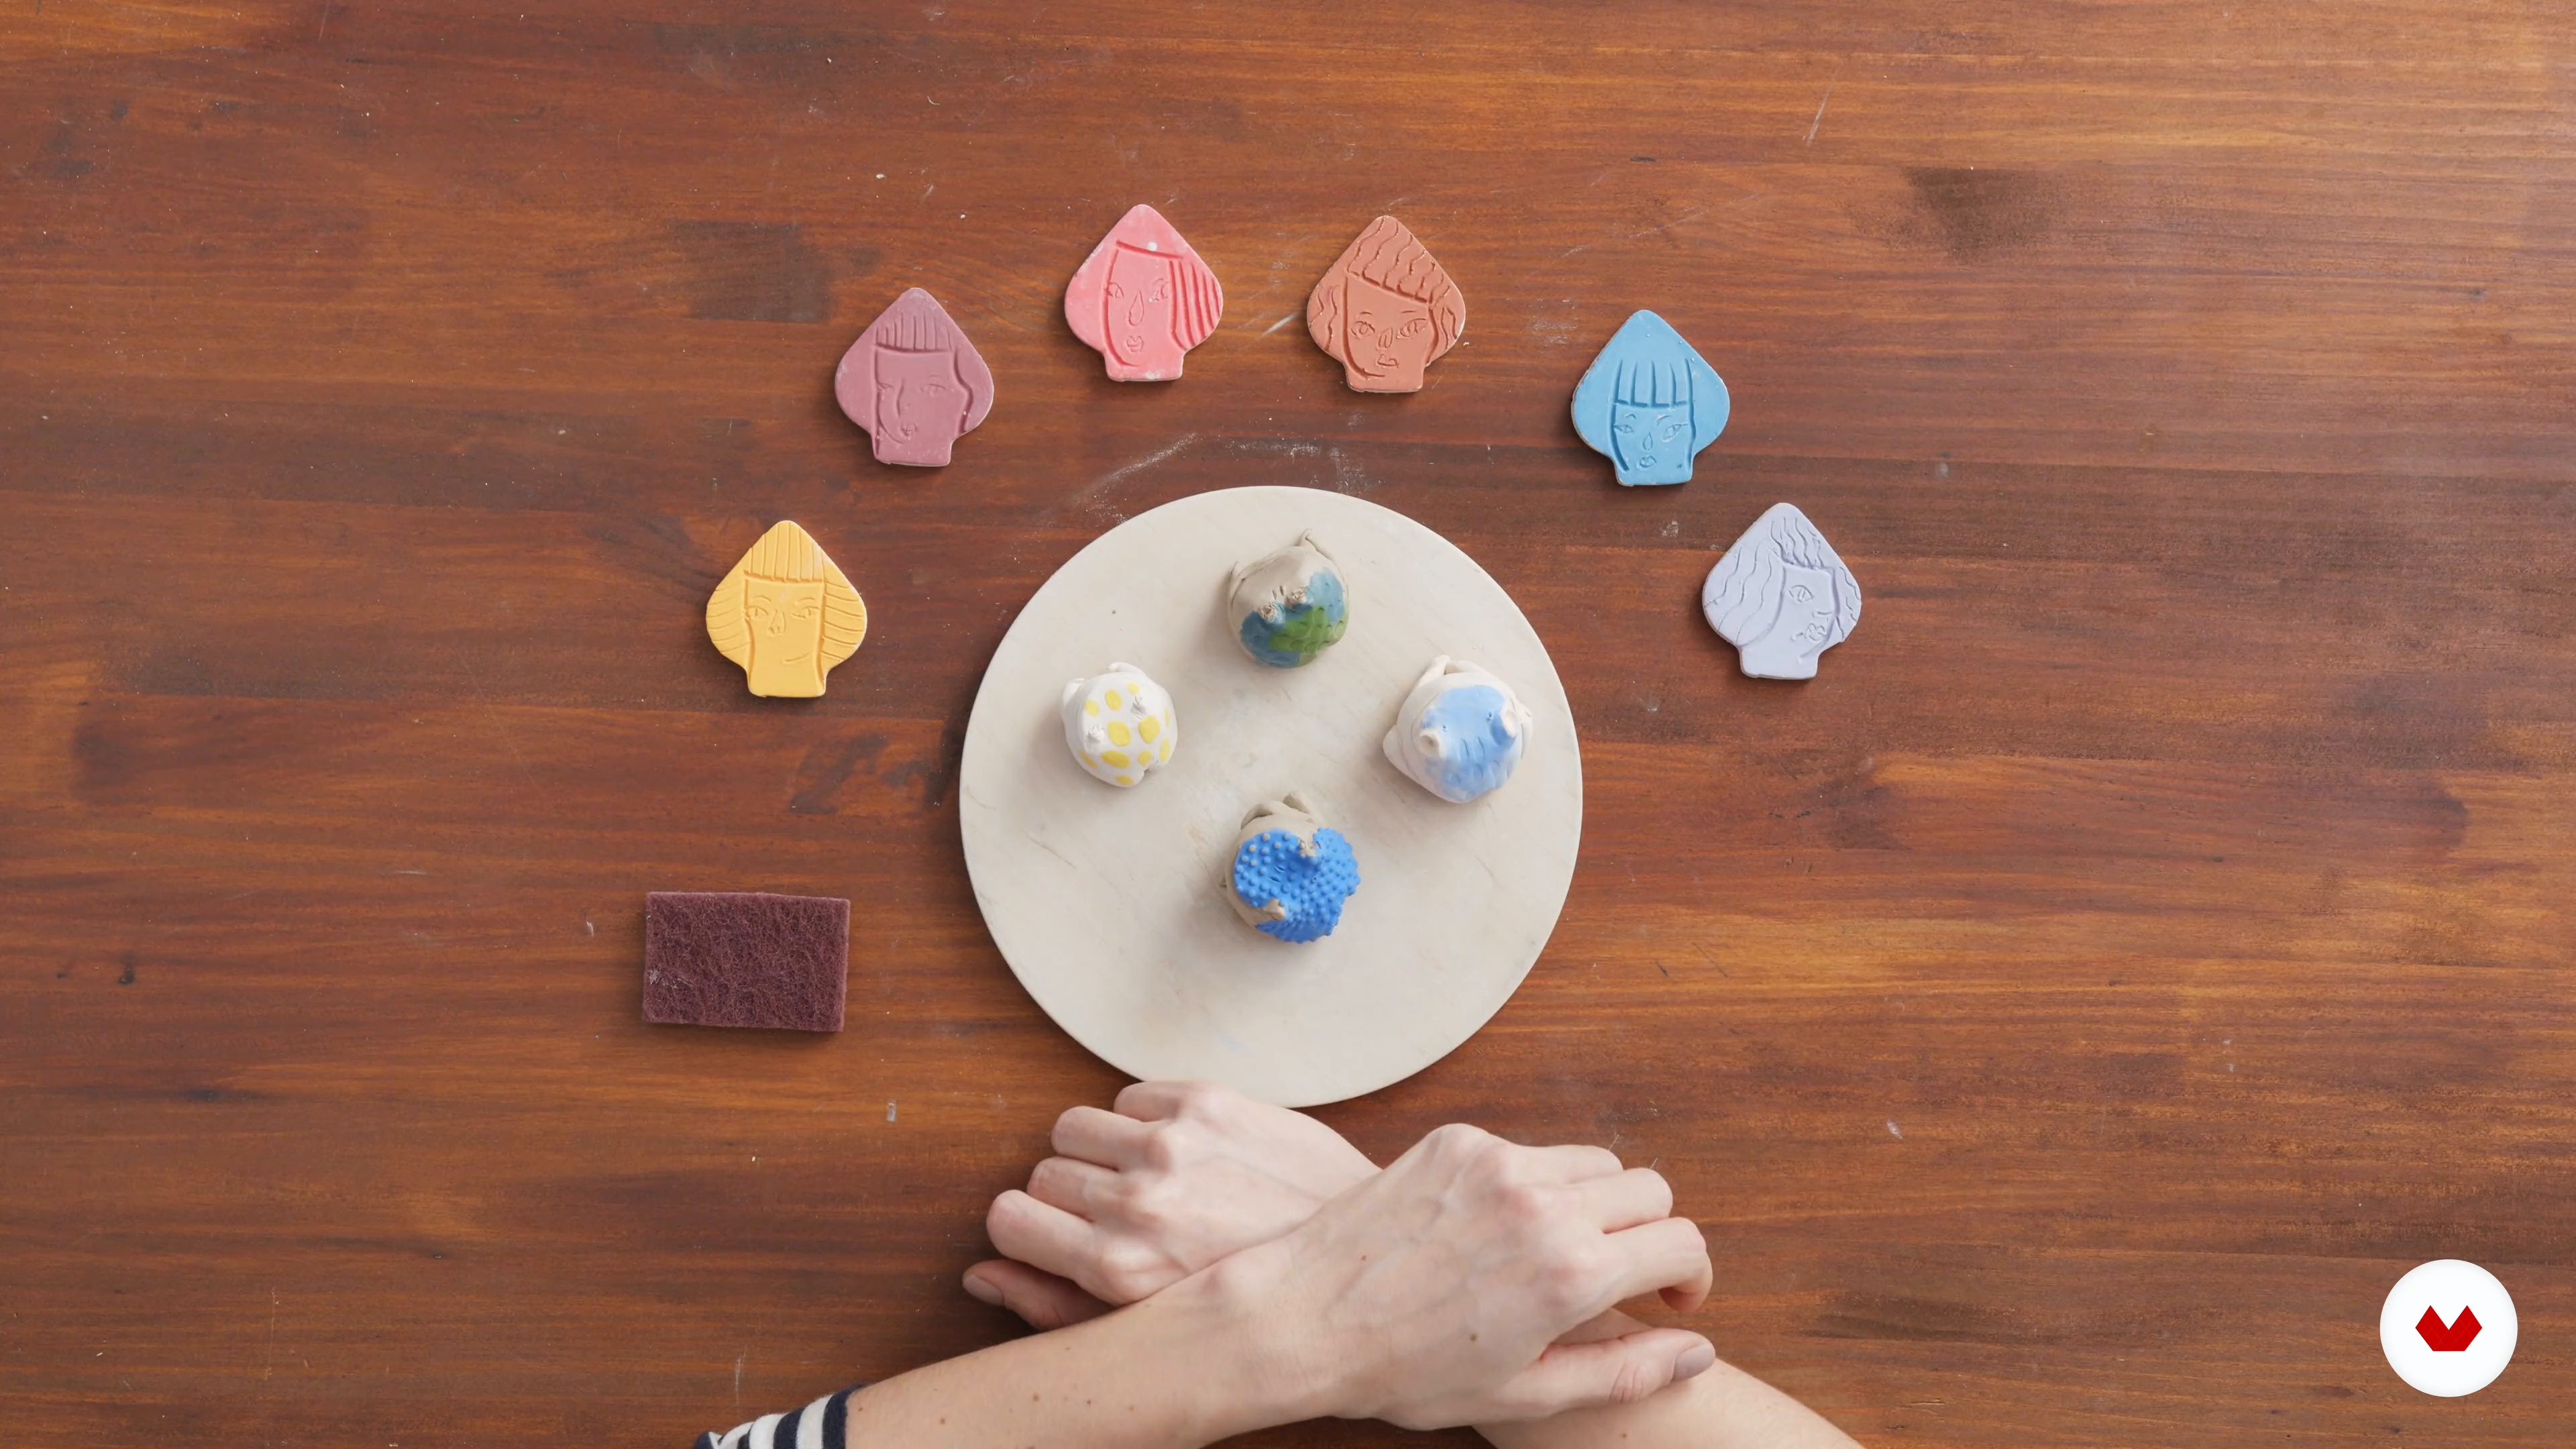
Hessa Al Ajmani introduces the beauty of floral imprints on ceramic tableware, incorporating real botanical elements for unique designs. Nastia Calaca takes you into the realm of character design, where colors and textures breathe life into whimsical clay characters. Finally, explore the ancient Japanese art of Kintsugi with Clara Graziolino, learning to repair broken pottery with gold. These courses collectively offer a rich exploration of traditional ceramic techniques, providing a comprehensive skill set to create stunning and personal ceramic art.

Read more ↓

What will you learn in this specialization?

A total of 7 modules and 101 lessons
A total of 17h 58m of vídeo lessons
Taught by 6 selected expert teachers
image
1
Introduction
To start with, you will explore the rich history and evolution of ceramics, from ancient hand-formed pottery to modern innovations like 3D-printed clay. You will learn how different cultures have shaped this timeless craft and how contemporary artists merge tradition with technology. Through hands-on experimentation, you will see how clay transforms into a medium for storytelling, design, and artistic expression.
2m
image
2
Inspiration / Lilly Maetzig
First of, I’m going to talk a little bit about what inspires and influences me. It depends on the project that I’m working on for the goals of what I want to achieve in terms of look, and for this type of hand-building project I am inspired by the following. Of course, there are overarching inspirations for me, such as the texture, colour and form of my finished pieces.
11m
image
3
Inspiration / Jeremy Bellina
Having never studied art or design, I entered this field as a blank slate. I still struggle to pinpoint as many references as my creative counterparts. Of course, I definitely look up to fellow members of the ceramic community, and many have influenced my style and practice. Fundamentally, however, I am inspired by the retro-futuristic aesthetic.
7m
image
4
Inspiration / Sarah Pike
Let me show you now my major influences. I will explain why they have been important to me and how my style has developed.
3m
image
5
Inspiration / Hessa Al Ajmani
I will tell you about the things and people that inspire me most, whether that's due to the way they've developed their practices or because they sparked my curiosity to explore and experiment with my own practice.
11m
image
6
Inspiration / Nastia Calaca
I will share with you my go-to spots and some tips; how and where I boost my creativity and look for inspiration.
4m
image
7
Inspiration / Clara Graziolino
In this lesson, I am going to tell you about a book that, in my opinion, is very important to understand the spirit of kintsugi. I will also talk to you about artists and references that inspire me when I create my sculptures.
8m
image
1
What Will We Do in This Module?
In this lesson, we will cover exactly what I’ll be showing you in the upcoming lessons and the things that we’ll be making.
3m
image
2
Setting Up
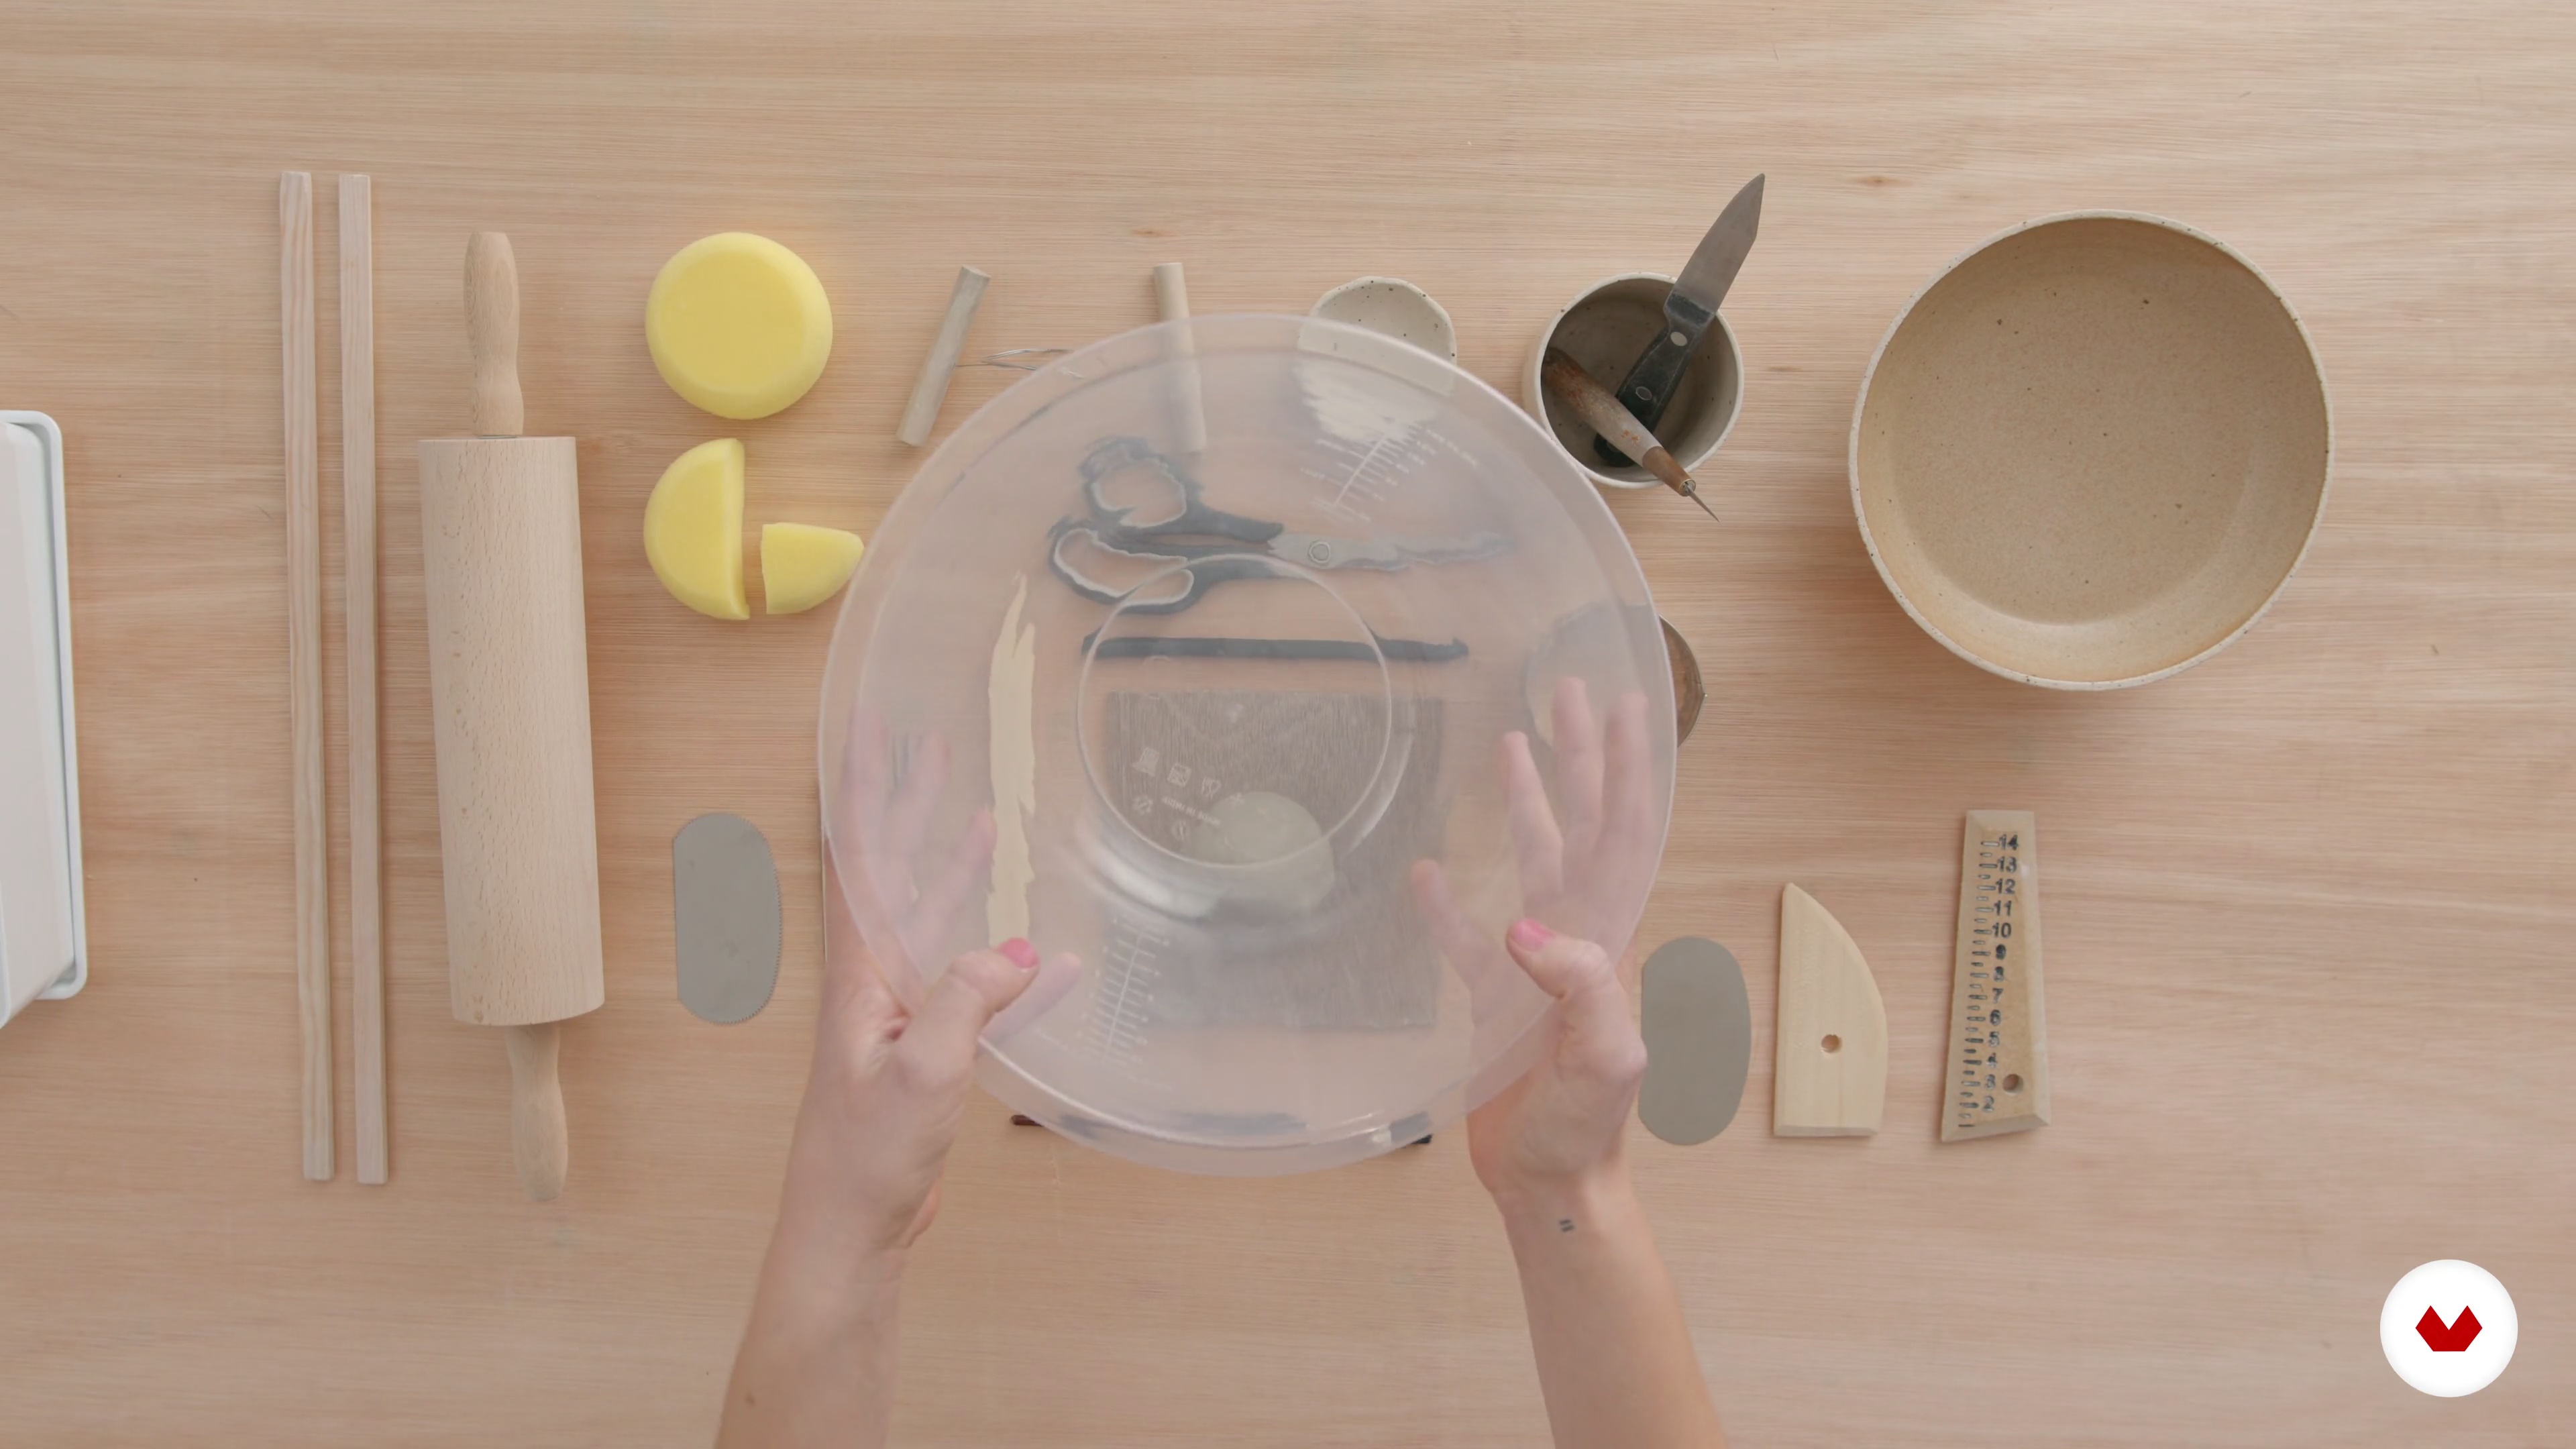
You are about to learn some basic skills of hand-building forms with clay. But first, I am going to show you how to set up a workspace for yourself at home.
6m
image
3
Introduction to Clay and Ceramics
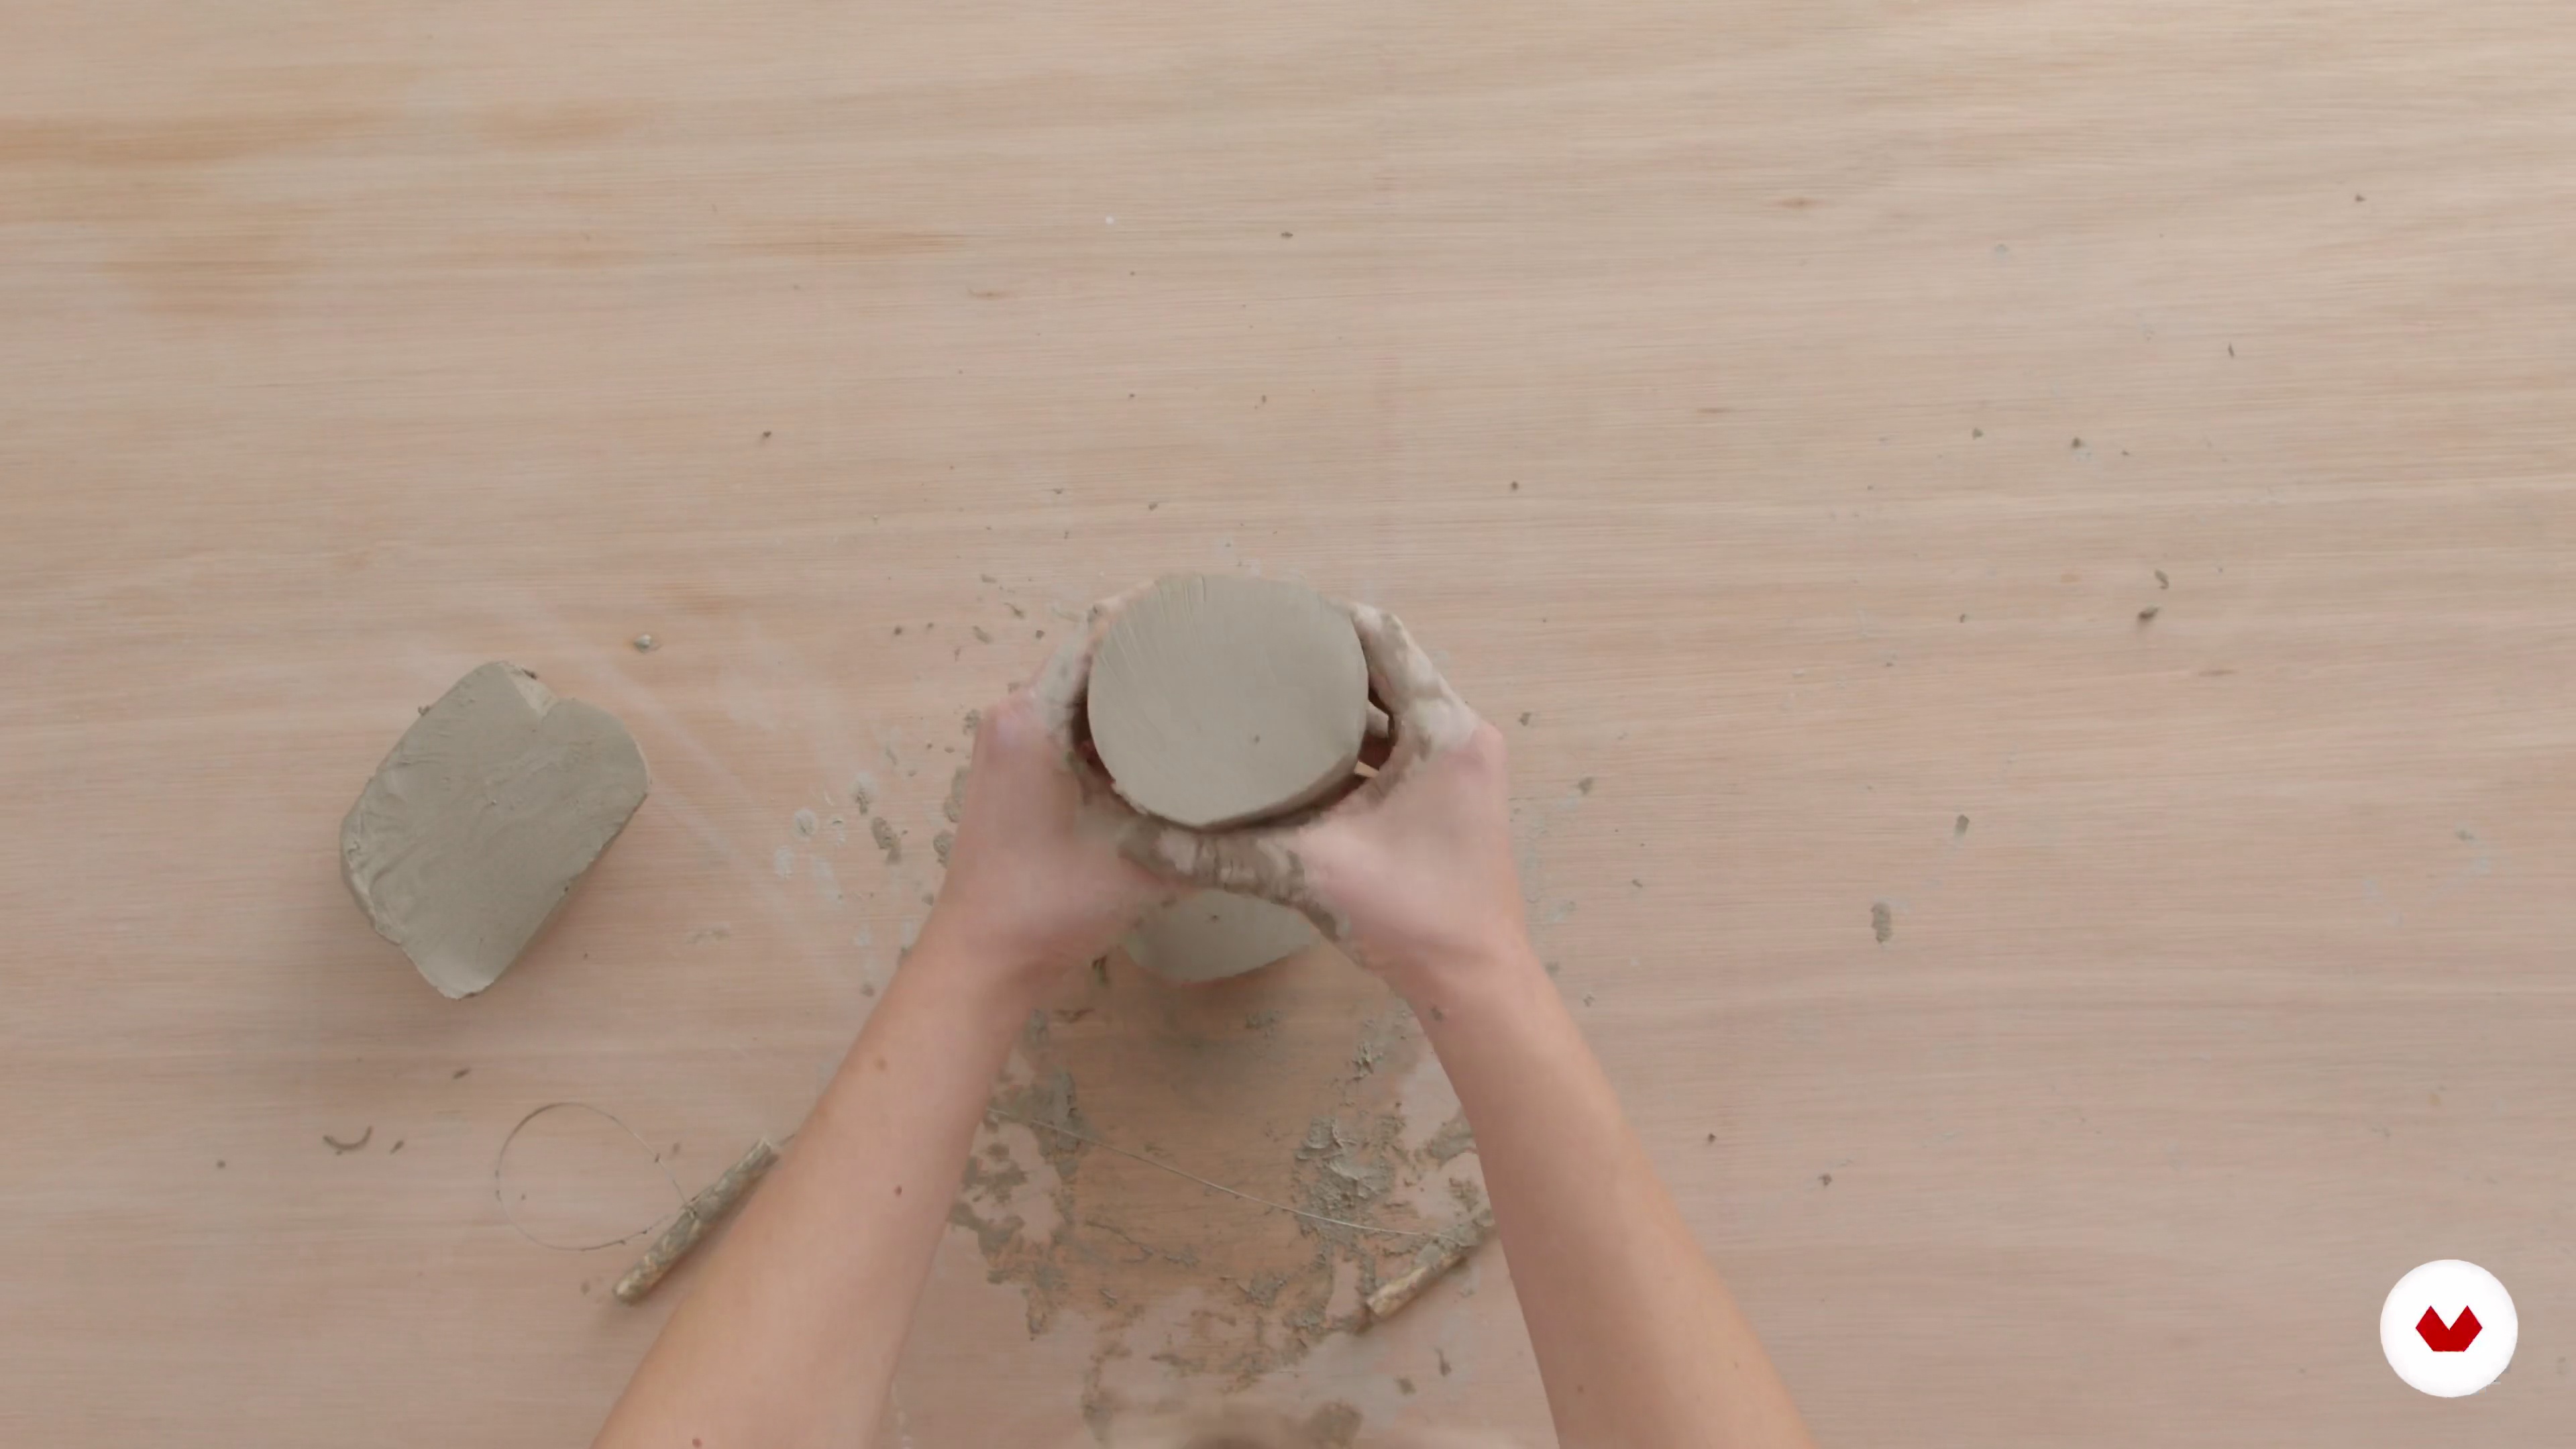
In this lesson, I’ll explain to you the main types of clay that are used in ceramics and what their uses are and a little bit about air-drying clay. I will also show you how to prepare clay to begin working with it.
5m
image
4
Pinch Pots
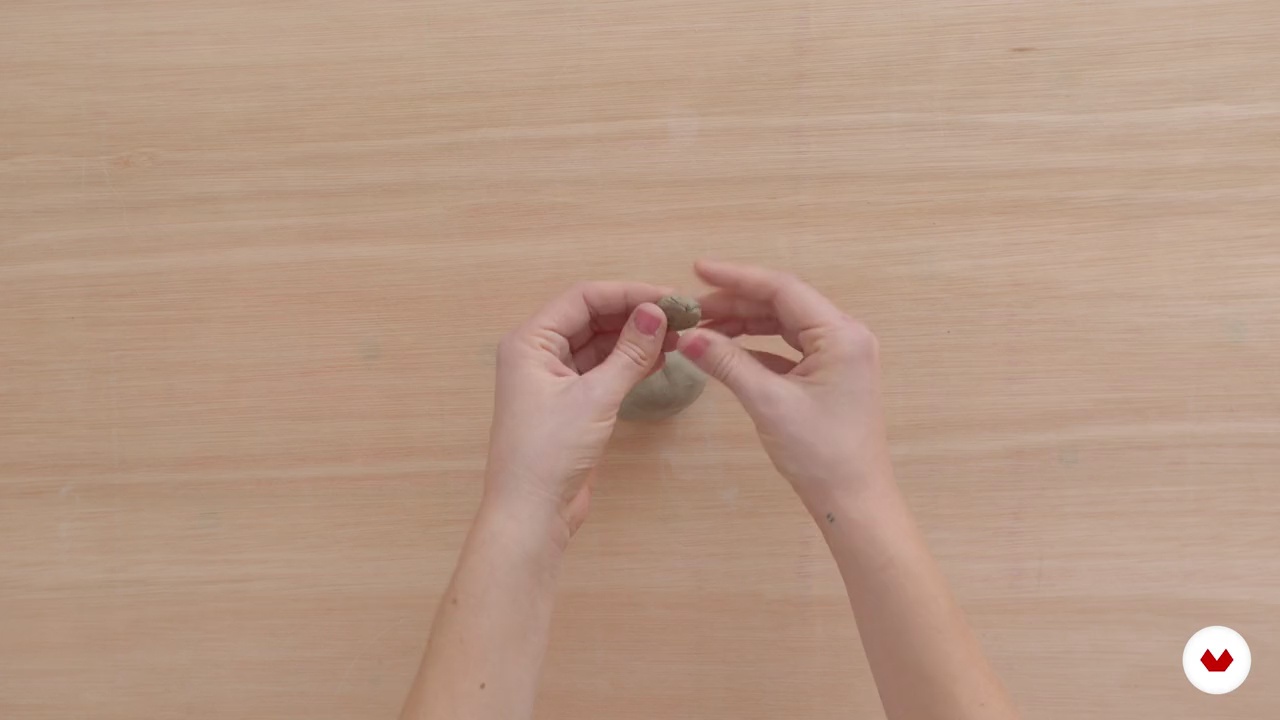
Let me show you how to make a pinch pot. Pinch pots are a really basic but beautiful way to begin understanding clay and how to make pots.
11m
image
5
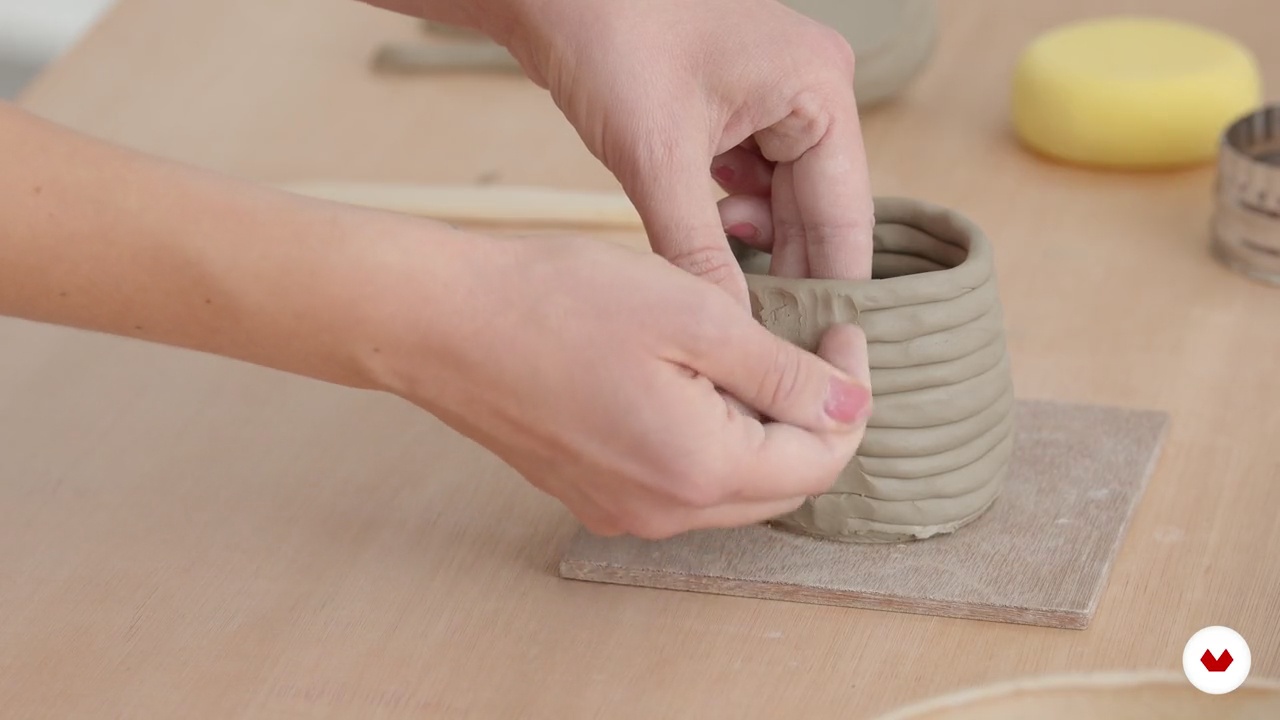
Coil Pots 1
Now, we’ll take our understanding of clay to the next step as I’ll show you how to make a coil pot.
11m
image
6
Coil Pots 2
Now it is time to attach the coils to the base, I'll share my best tips and tricks to make it.
13m
image
7
Slab Pots 1
Here, we’ll take our understanding even further by learning construction skills by making a slab pot. I’ll also show you how to make and attach a handle in this lesson.
5m
image
8
Slab Pots 2
Once that the slab is all smooth and ready, we are going to use it to create the components of the vase.
20m
image
9
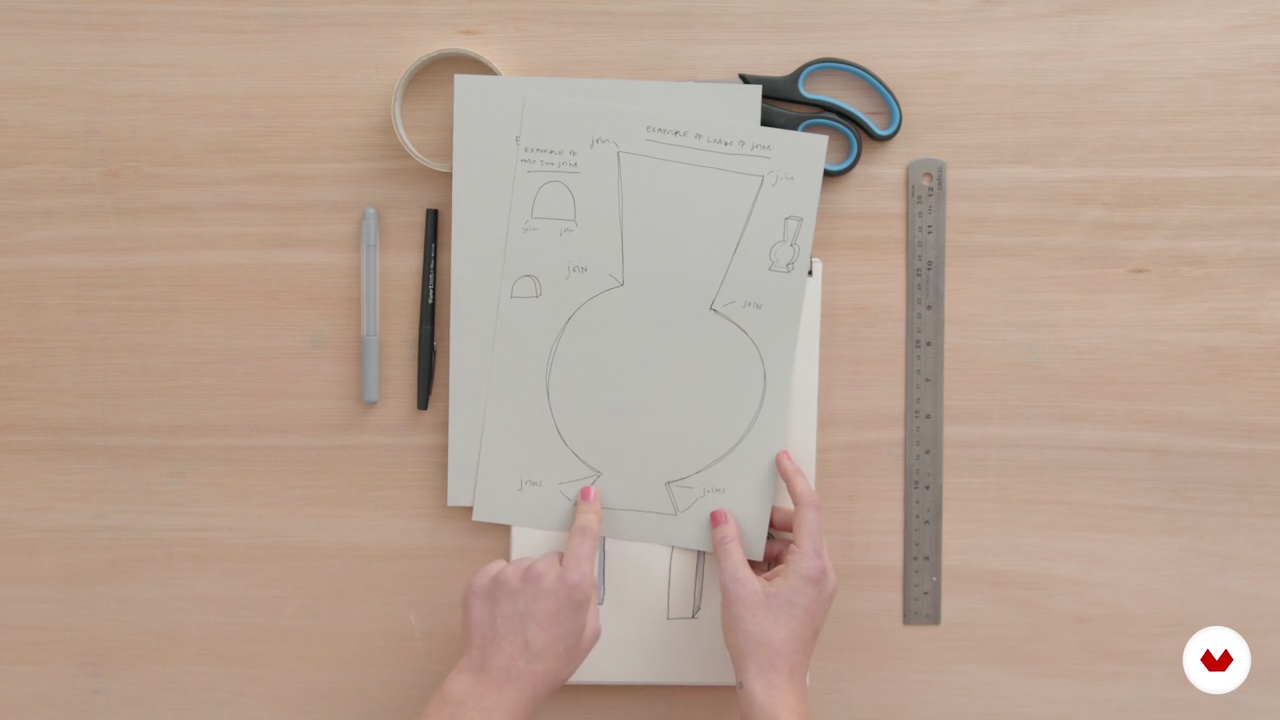
Designing
Let's draw some shapes to decide what to make for our larger object. Once we’re happy with our drawings, I’ll show you how to translate it into something larger to cut out and make into a template.
15m
image
10
Getting Slabs Ready
In this lesson, I’ll go over the skills learnt in the previous unit to make a few large slabs to use for the project.
6m
image
11
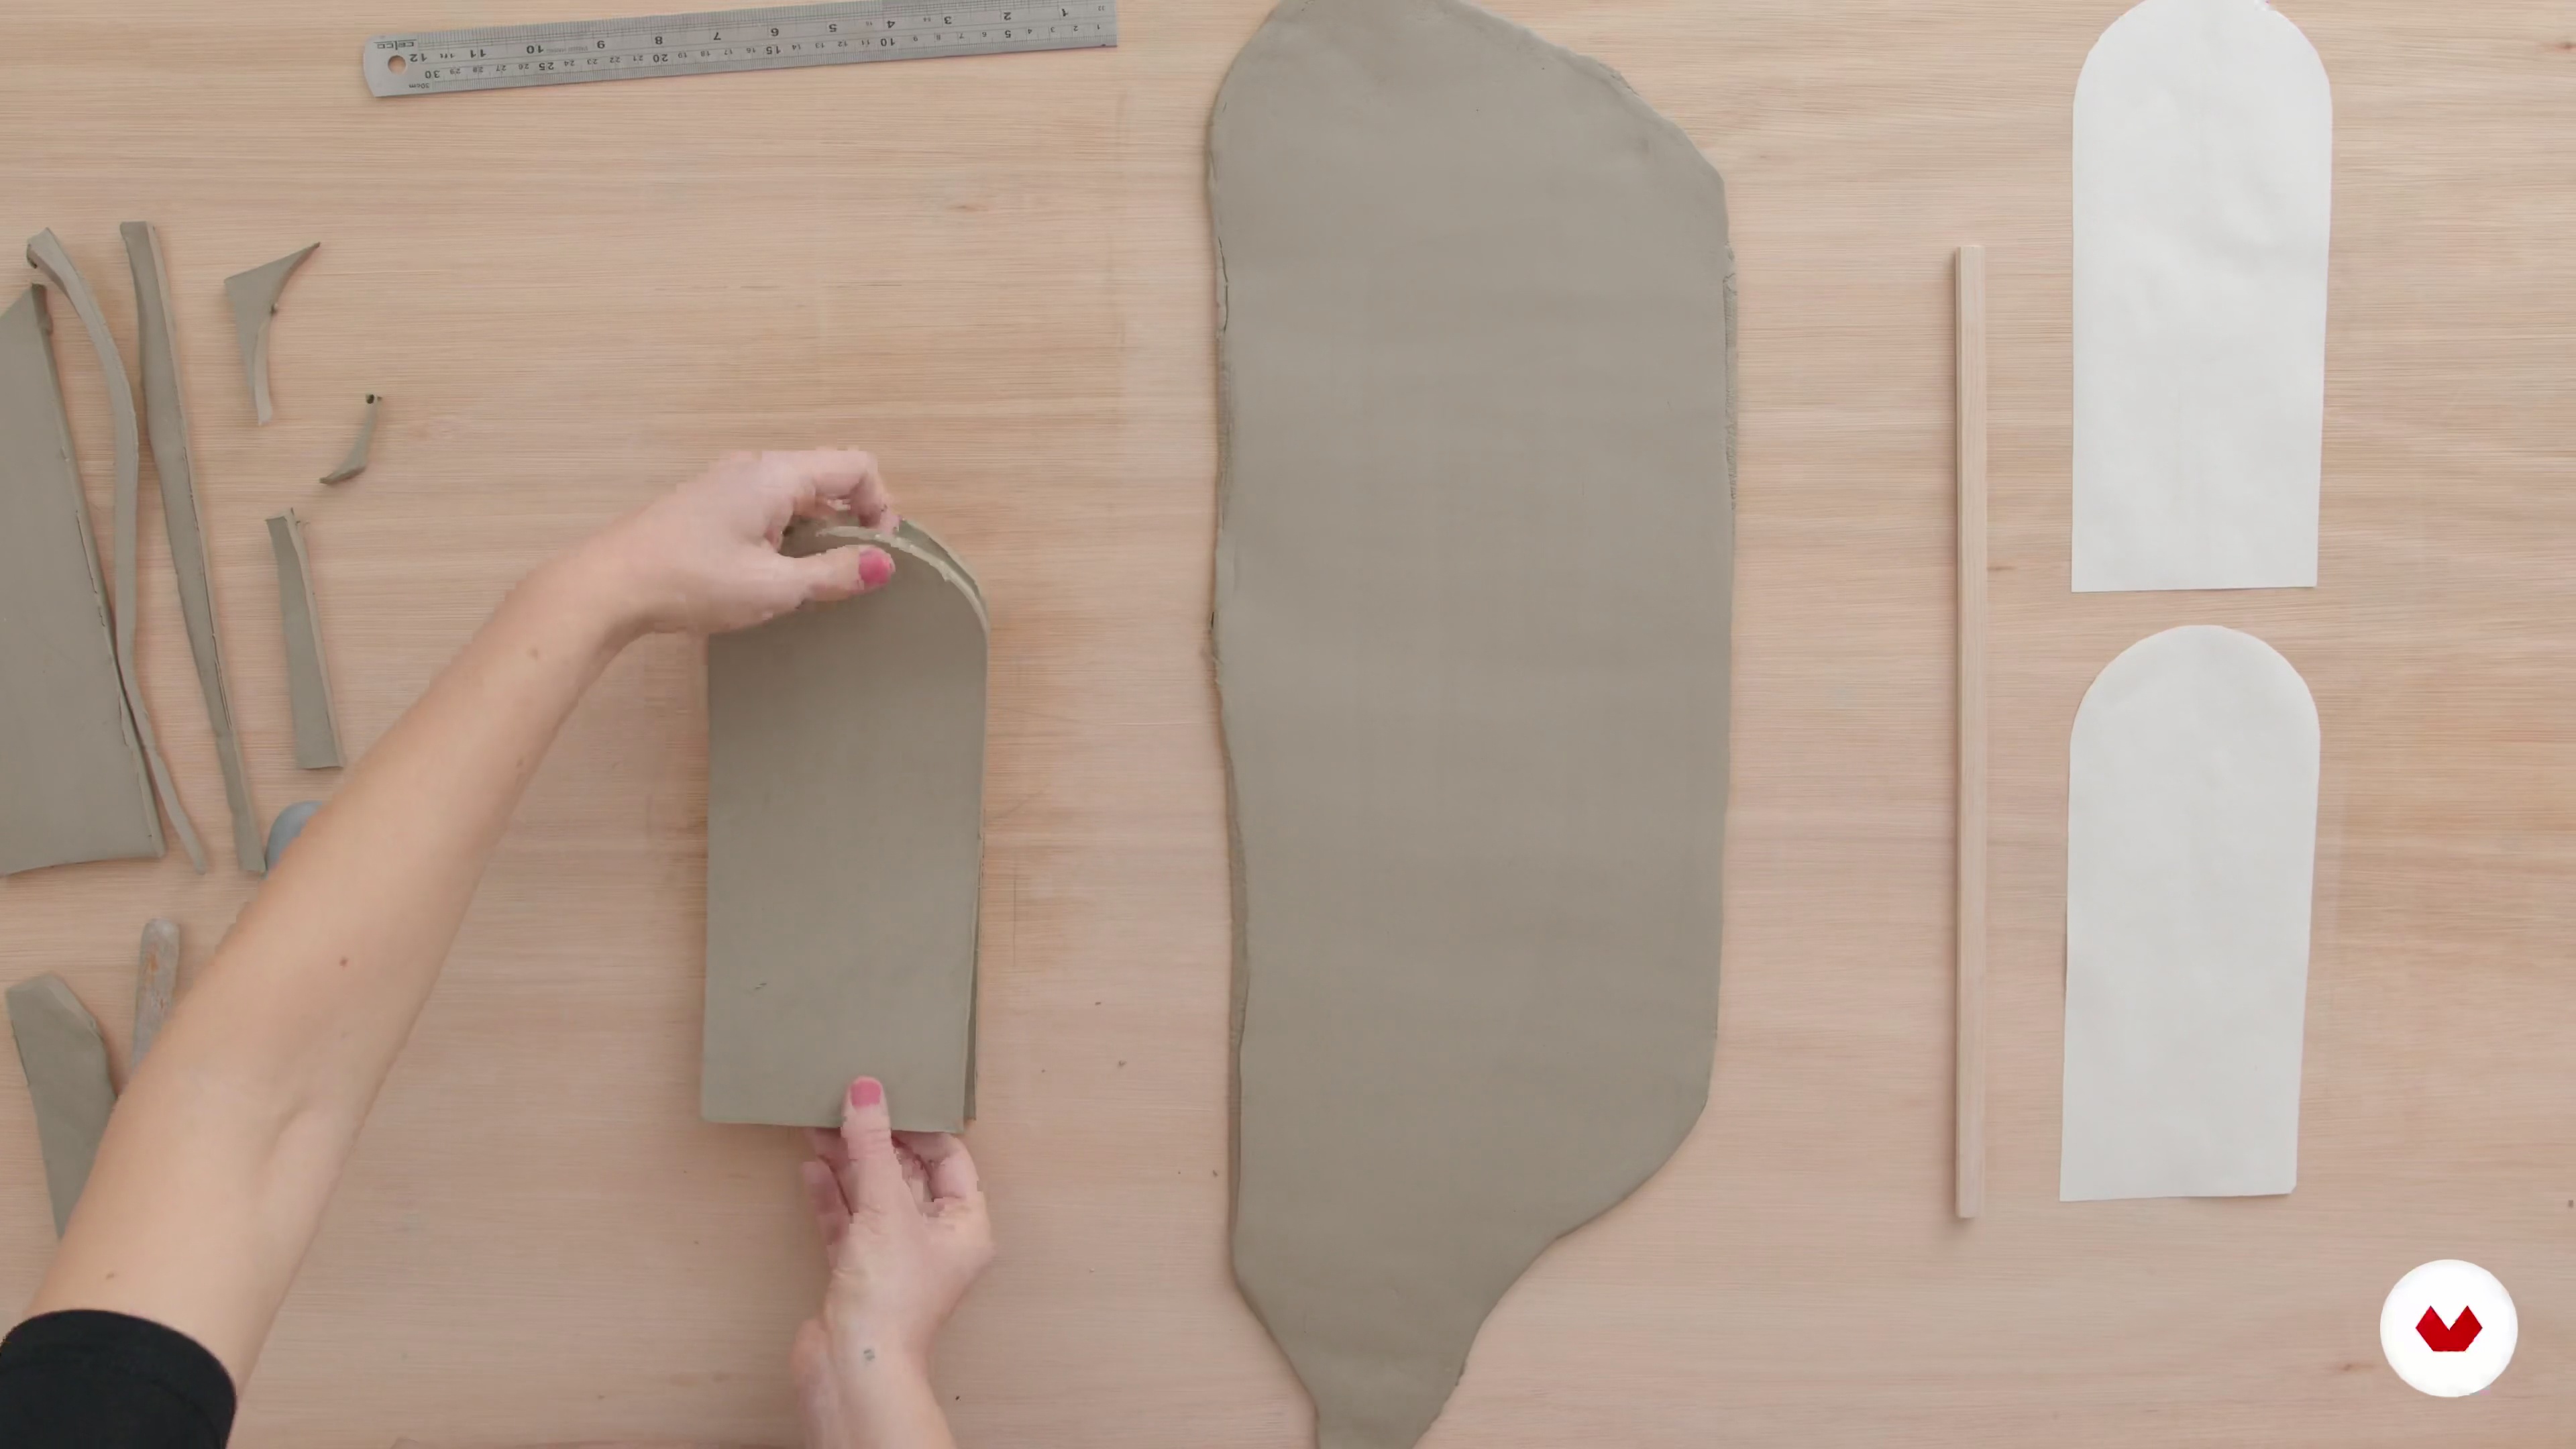
Cutting
I will show you how to take our templates from lesson one, and transfer them onto the clay. Then we’ll cut the shapes out to be used as the elements to build our vessel from.
13m
image
12
Assembling Vessel 1
We will get a little bit more technical as I show you how to take your prepared slabs and construct them into a vessel. This lesson requires slow movement and patience with yourself and the clay as you construct a larger piece.
16m
image
13
Assembling Vessel 2
During this second part of the lesson, we are going to finish the assembly of the vessel.
13m
image
14
Adding Adornments 1
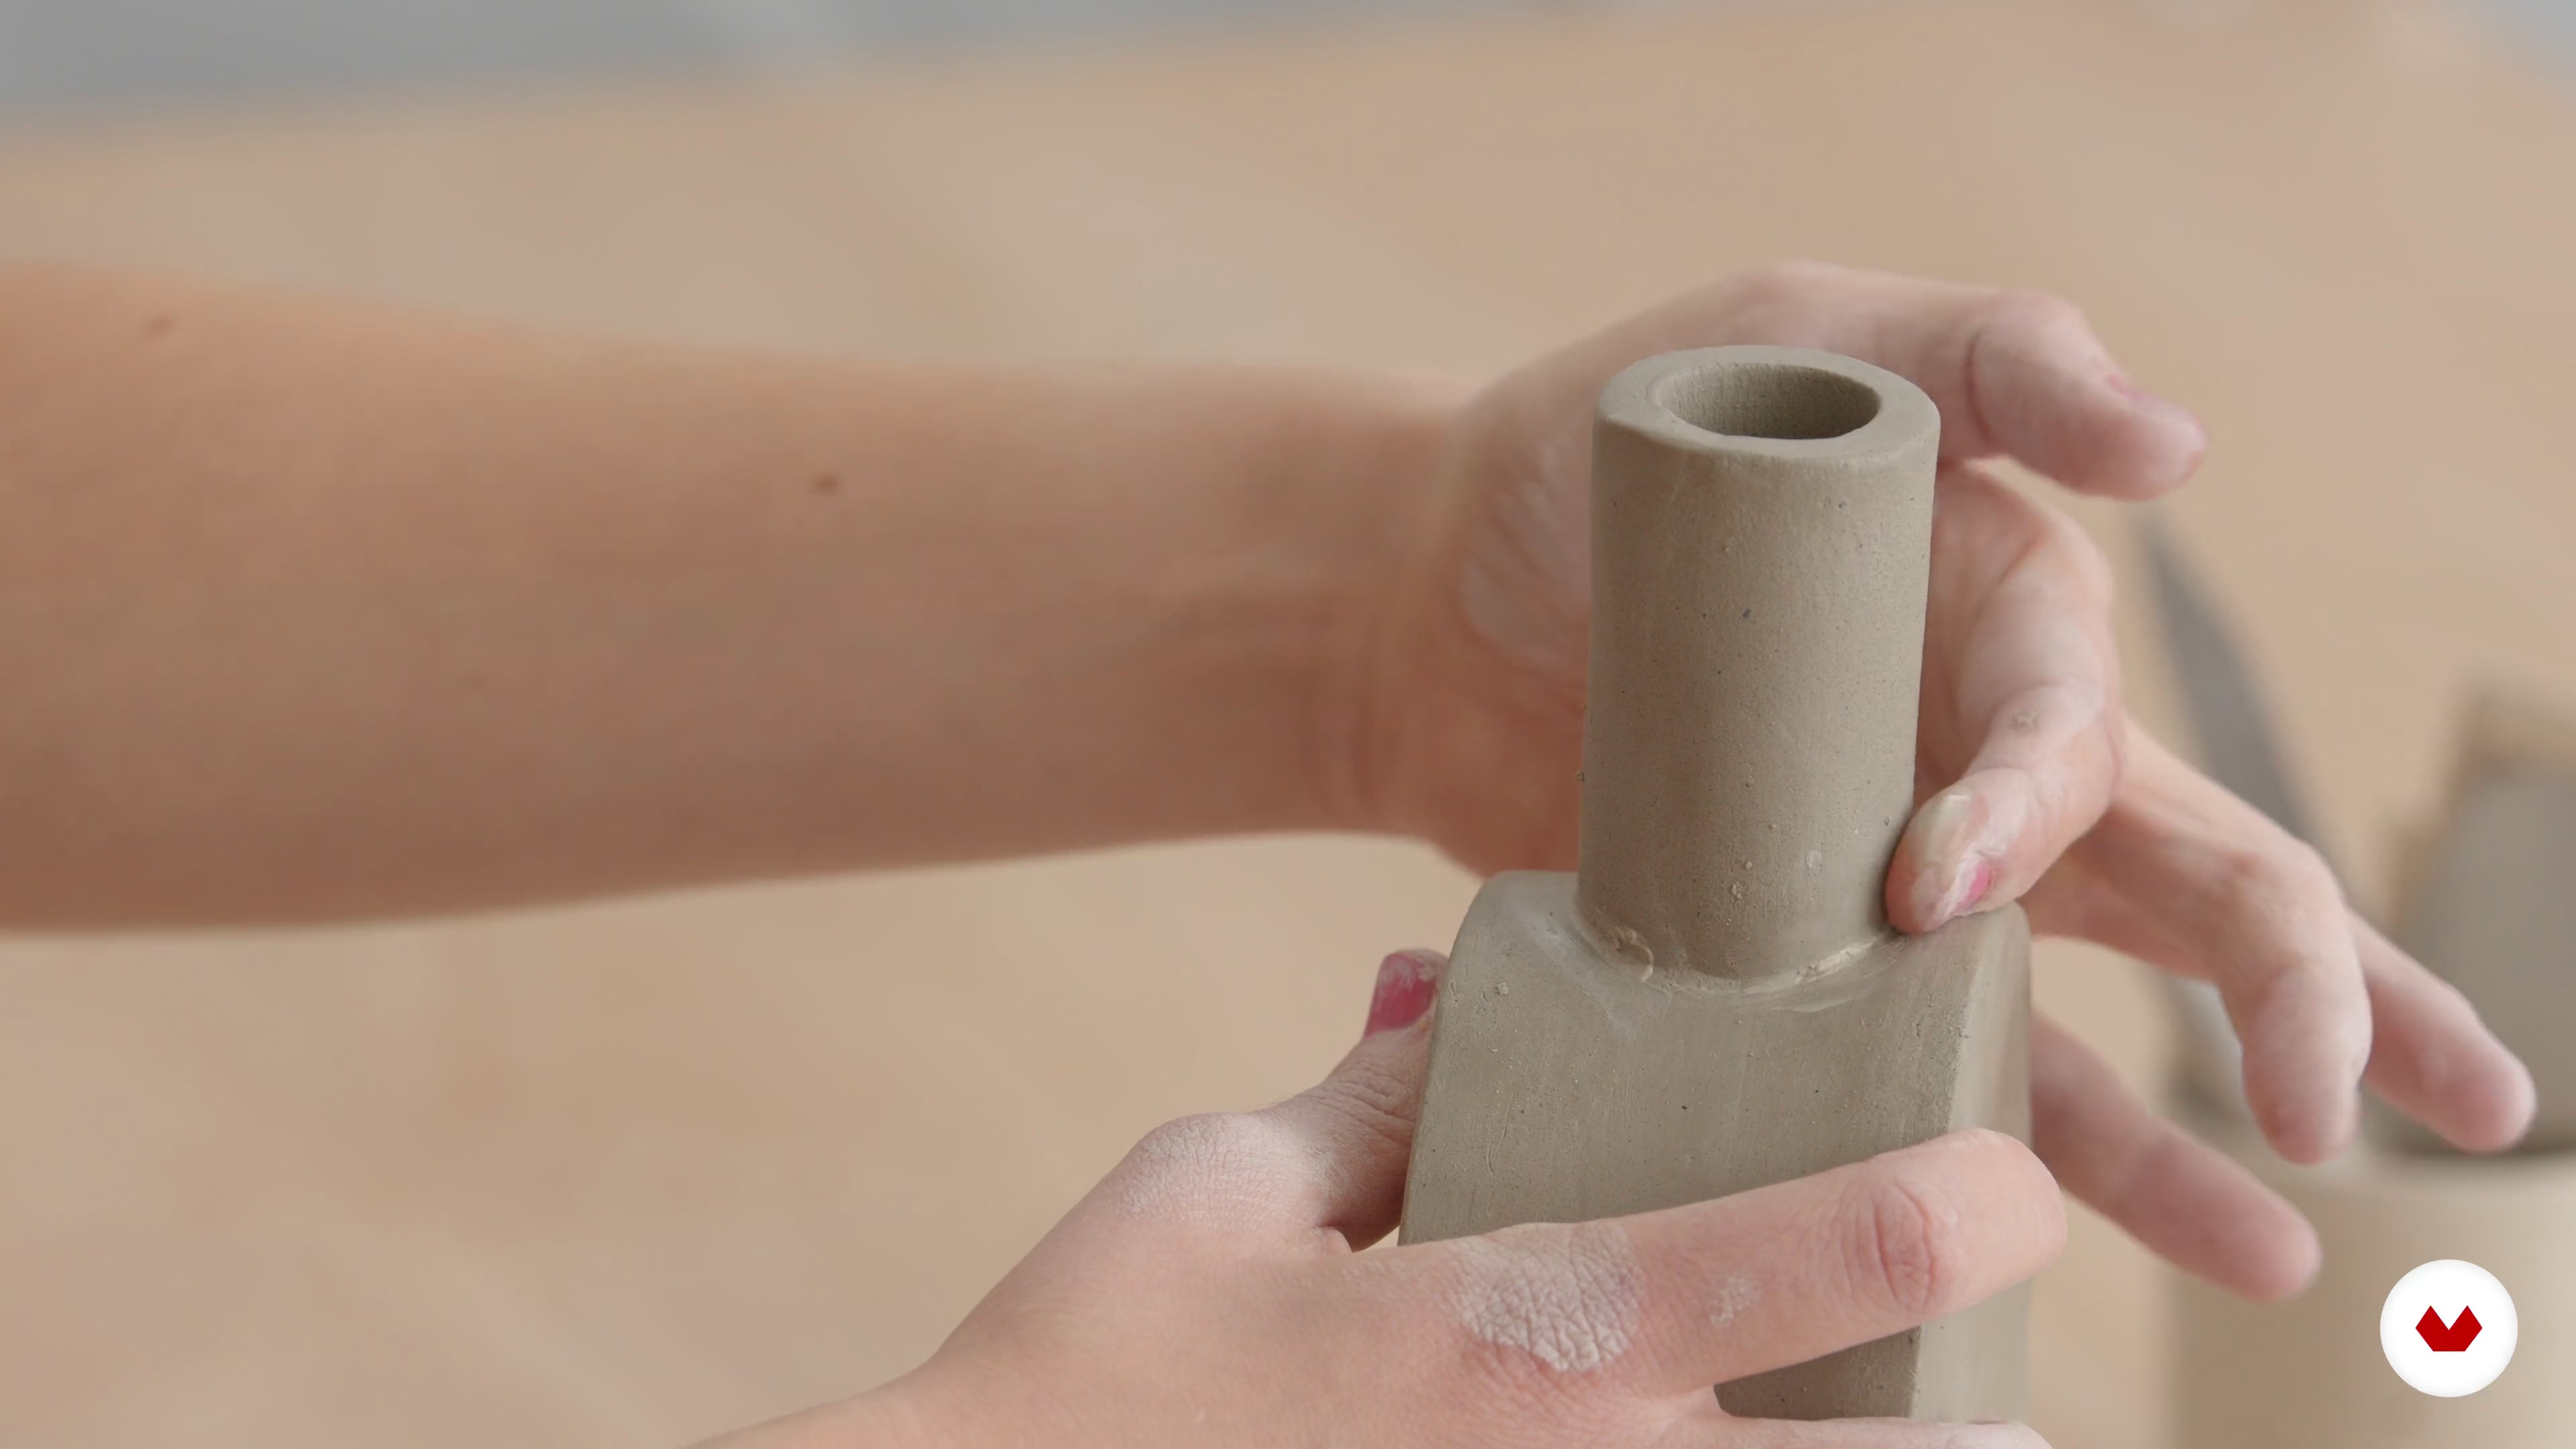
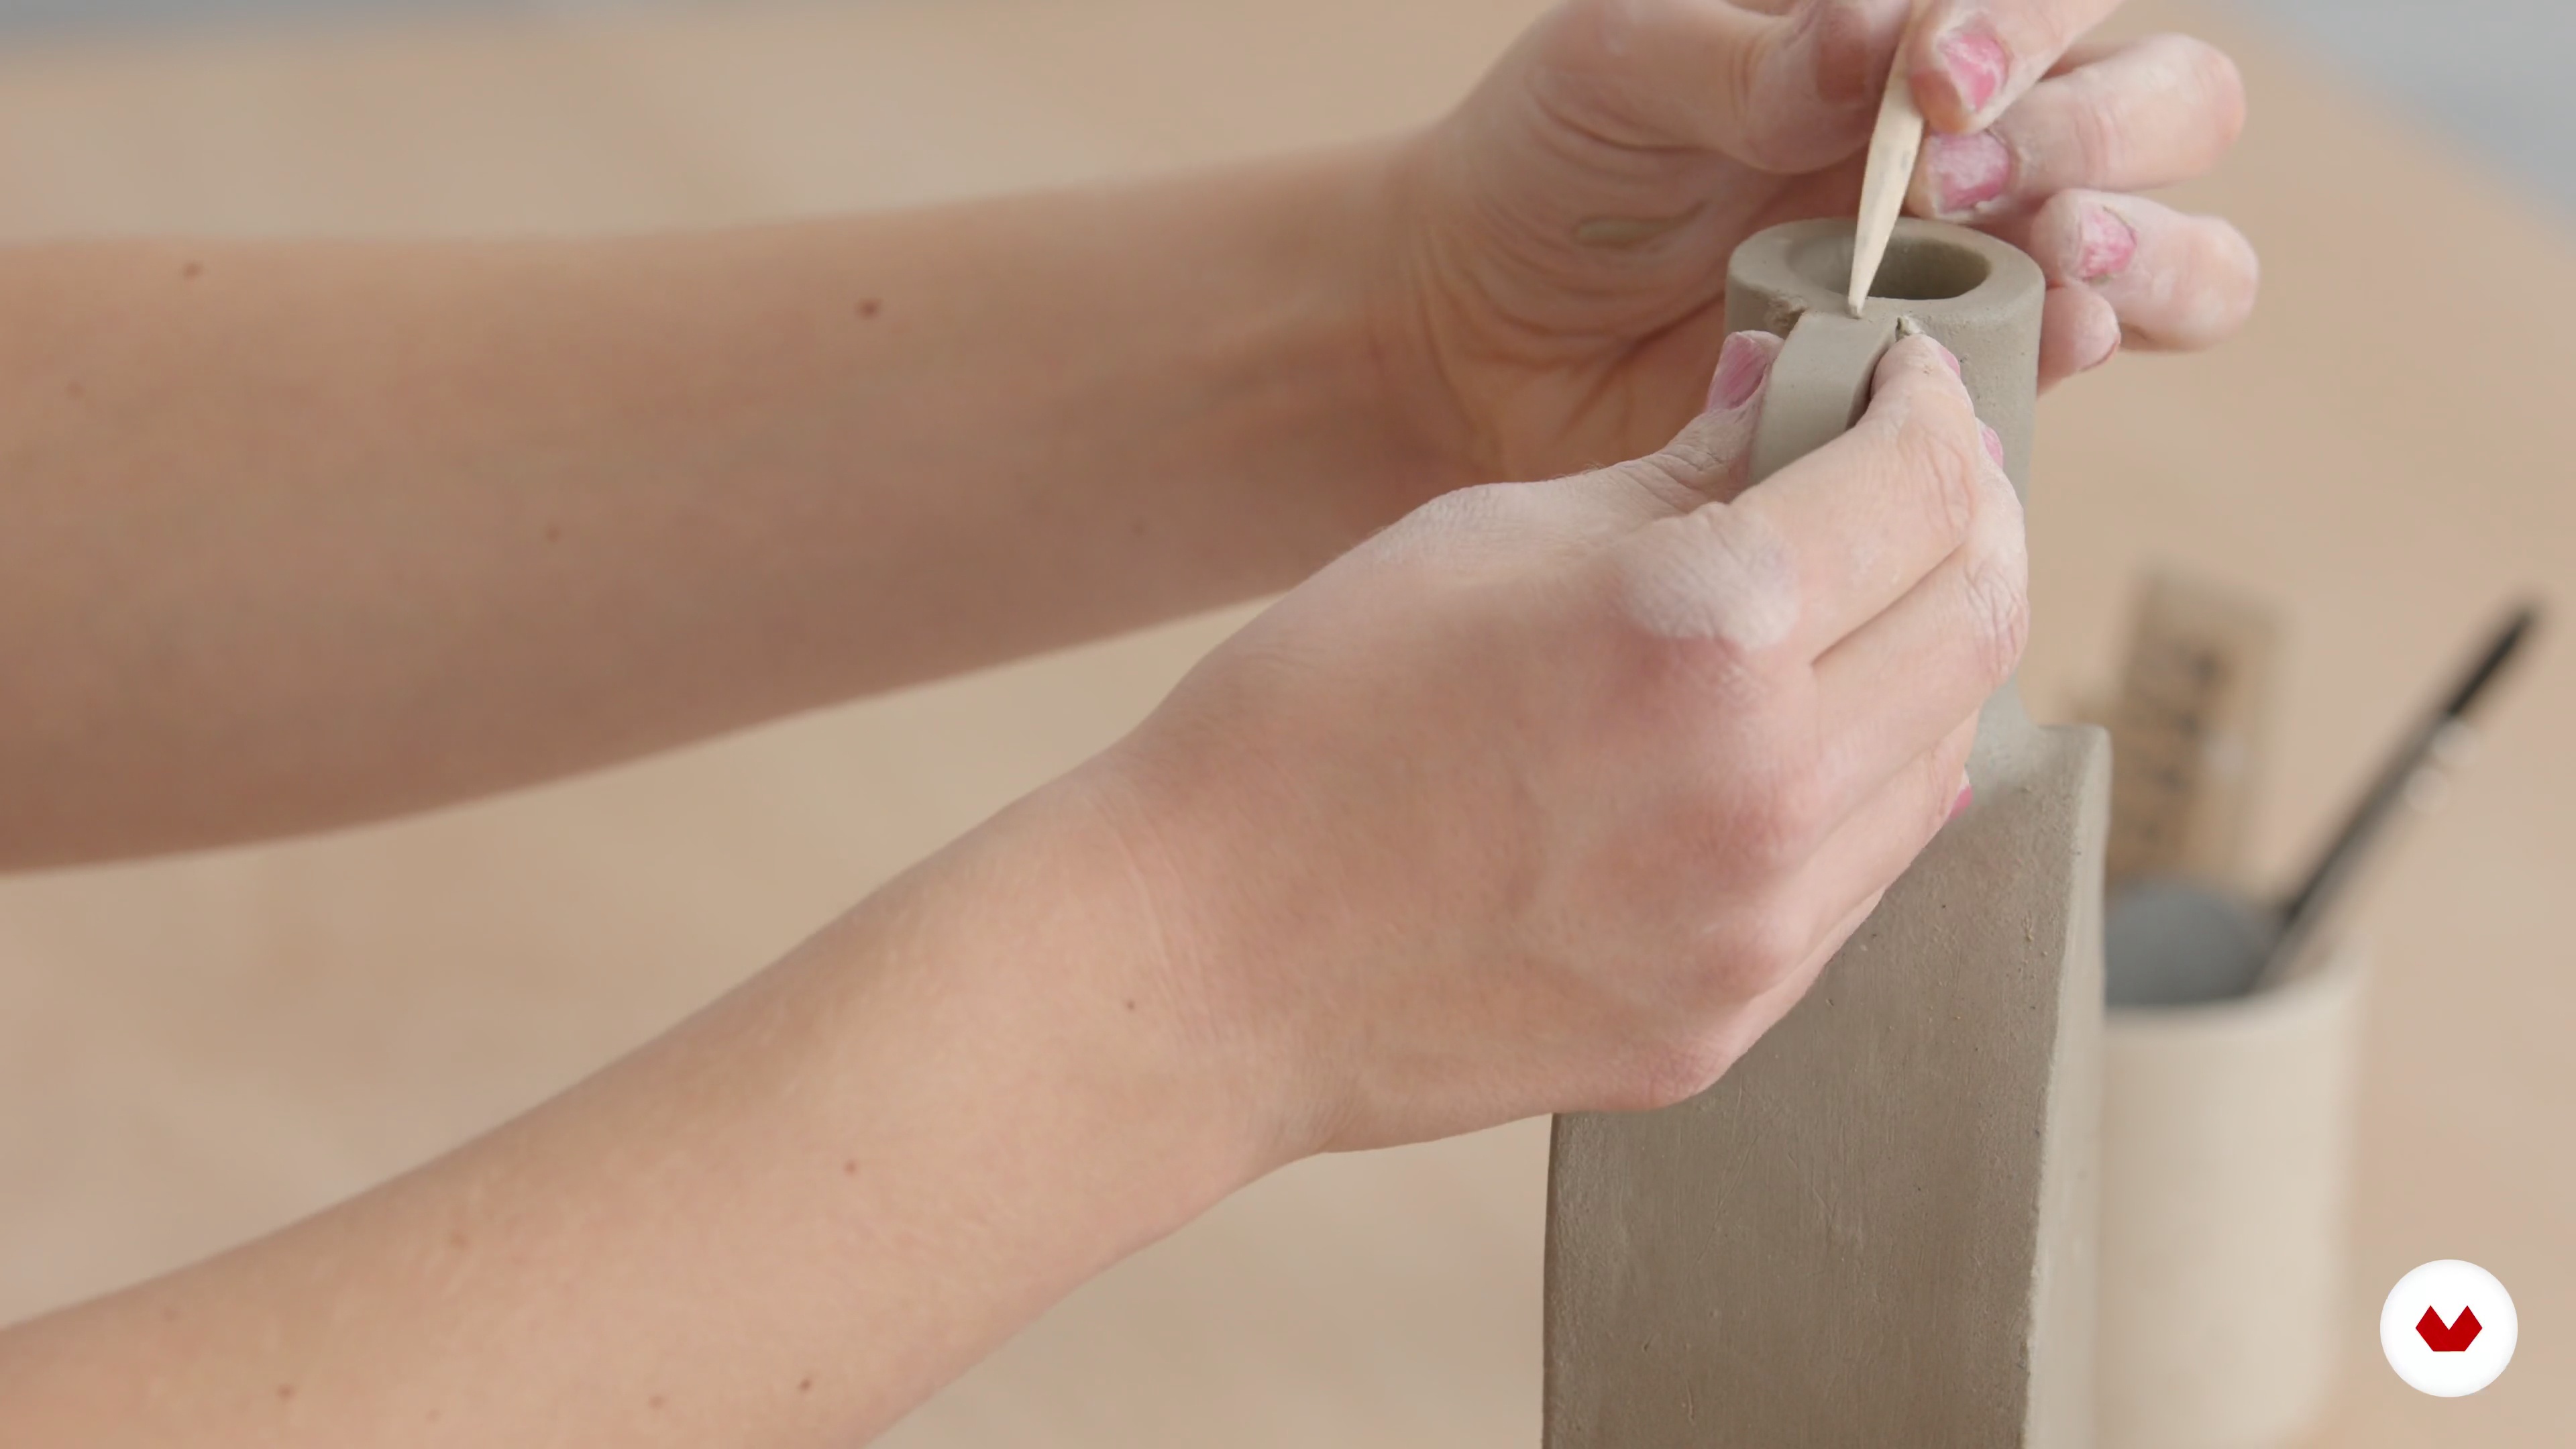
In this lesson, I’ll show you how to add a little bit of character and personality to your vessel by adding adornments. I’ll cover making a bottleneck and attaching a handle.
16m
image
15
Adding Adornments 2
Let me show you in detail how to build and add a handle!
6m
image
16
Finishing and Transporting
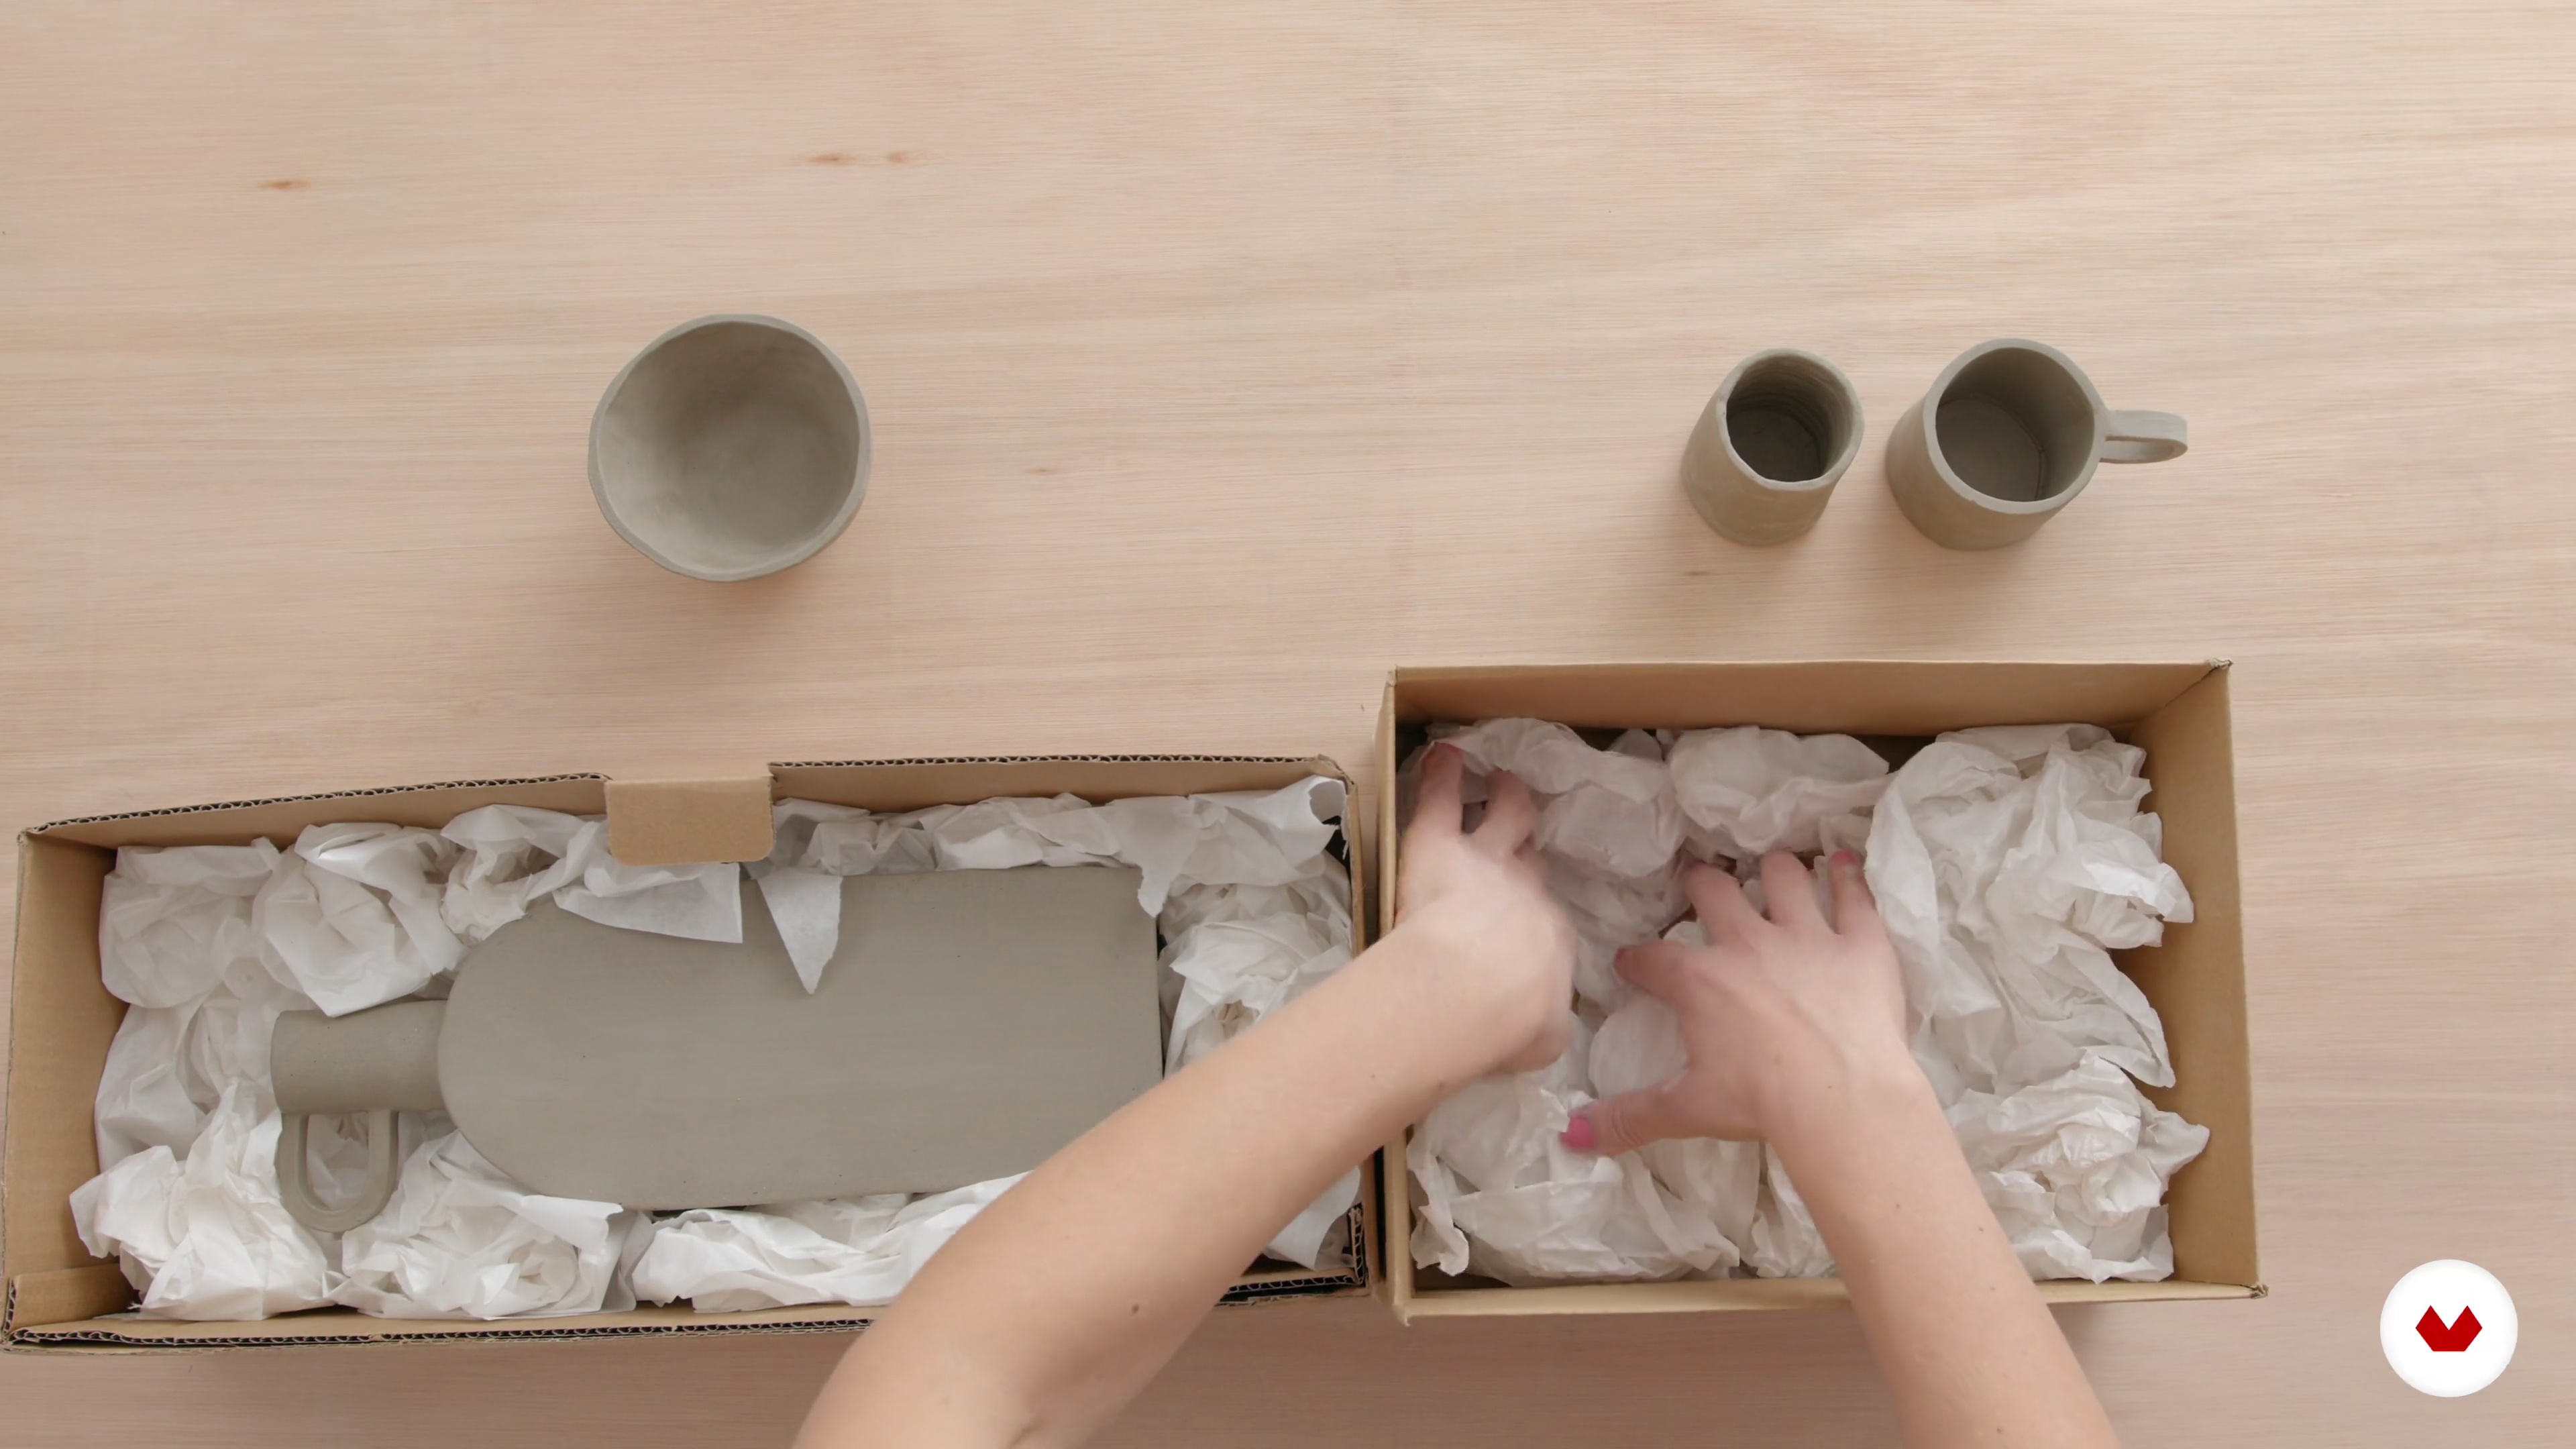
I’ll show you how to box up your finished piece in the safest way possible, ready for transporting it to the studio where it’ll be fired.
8m
image
17
Firing
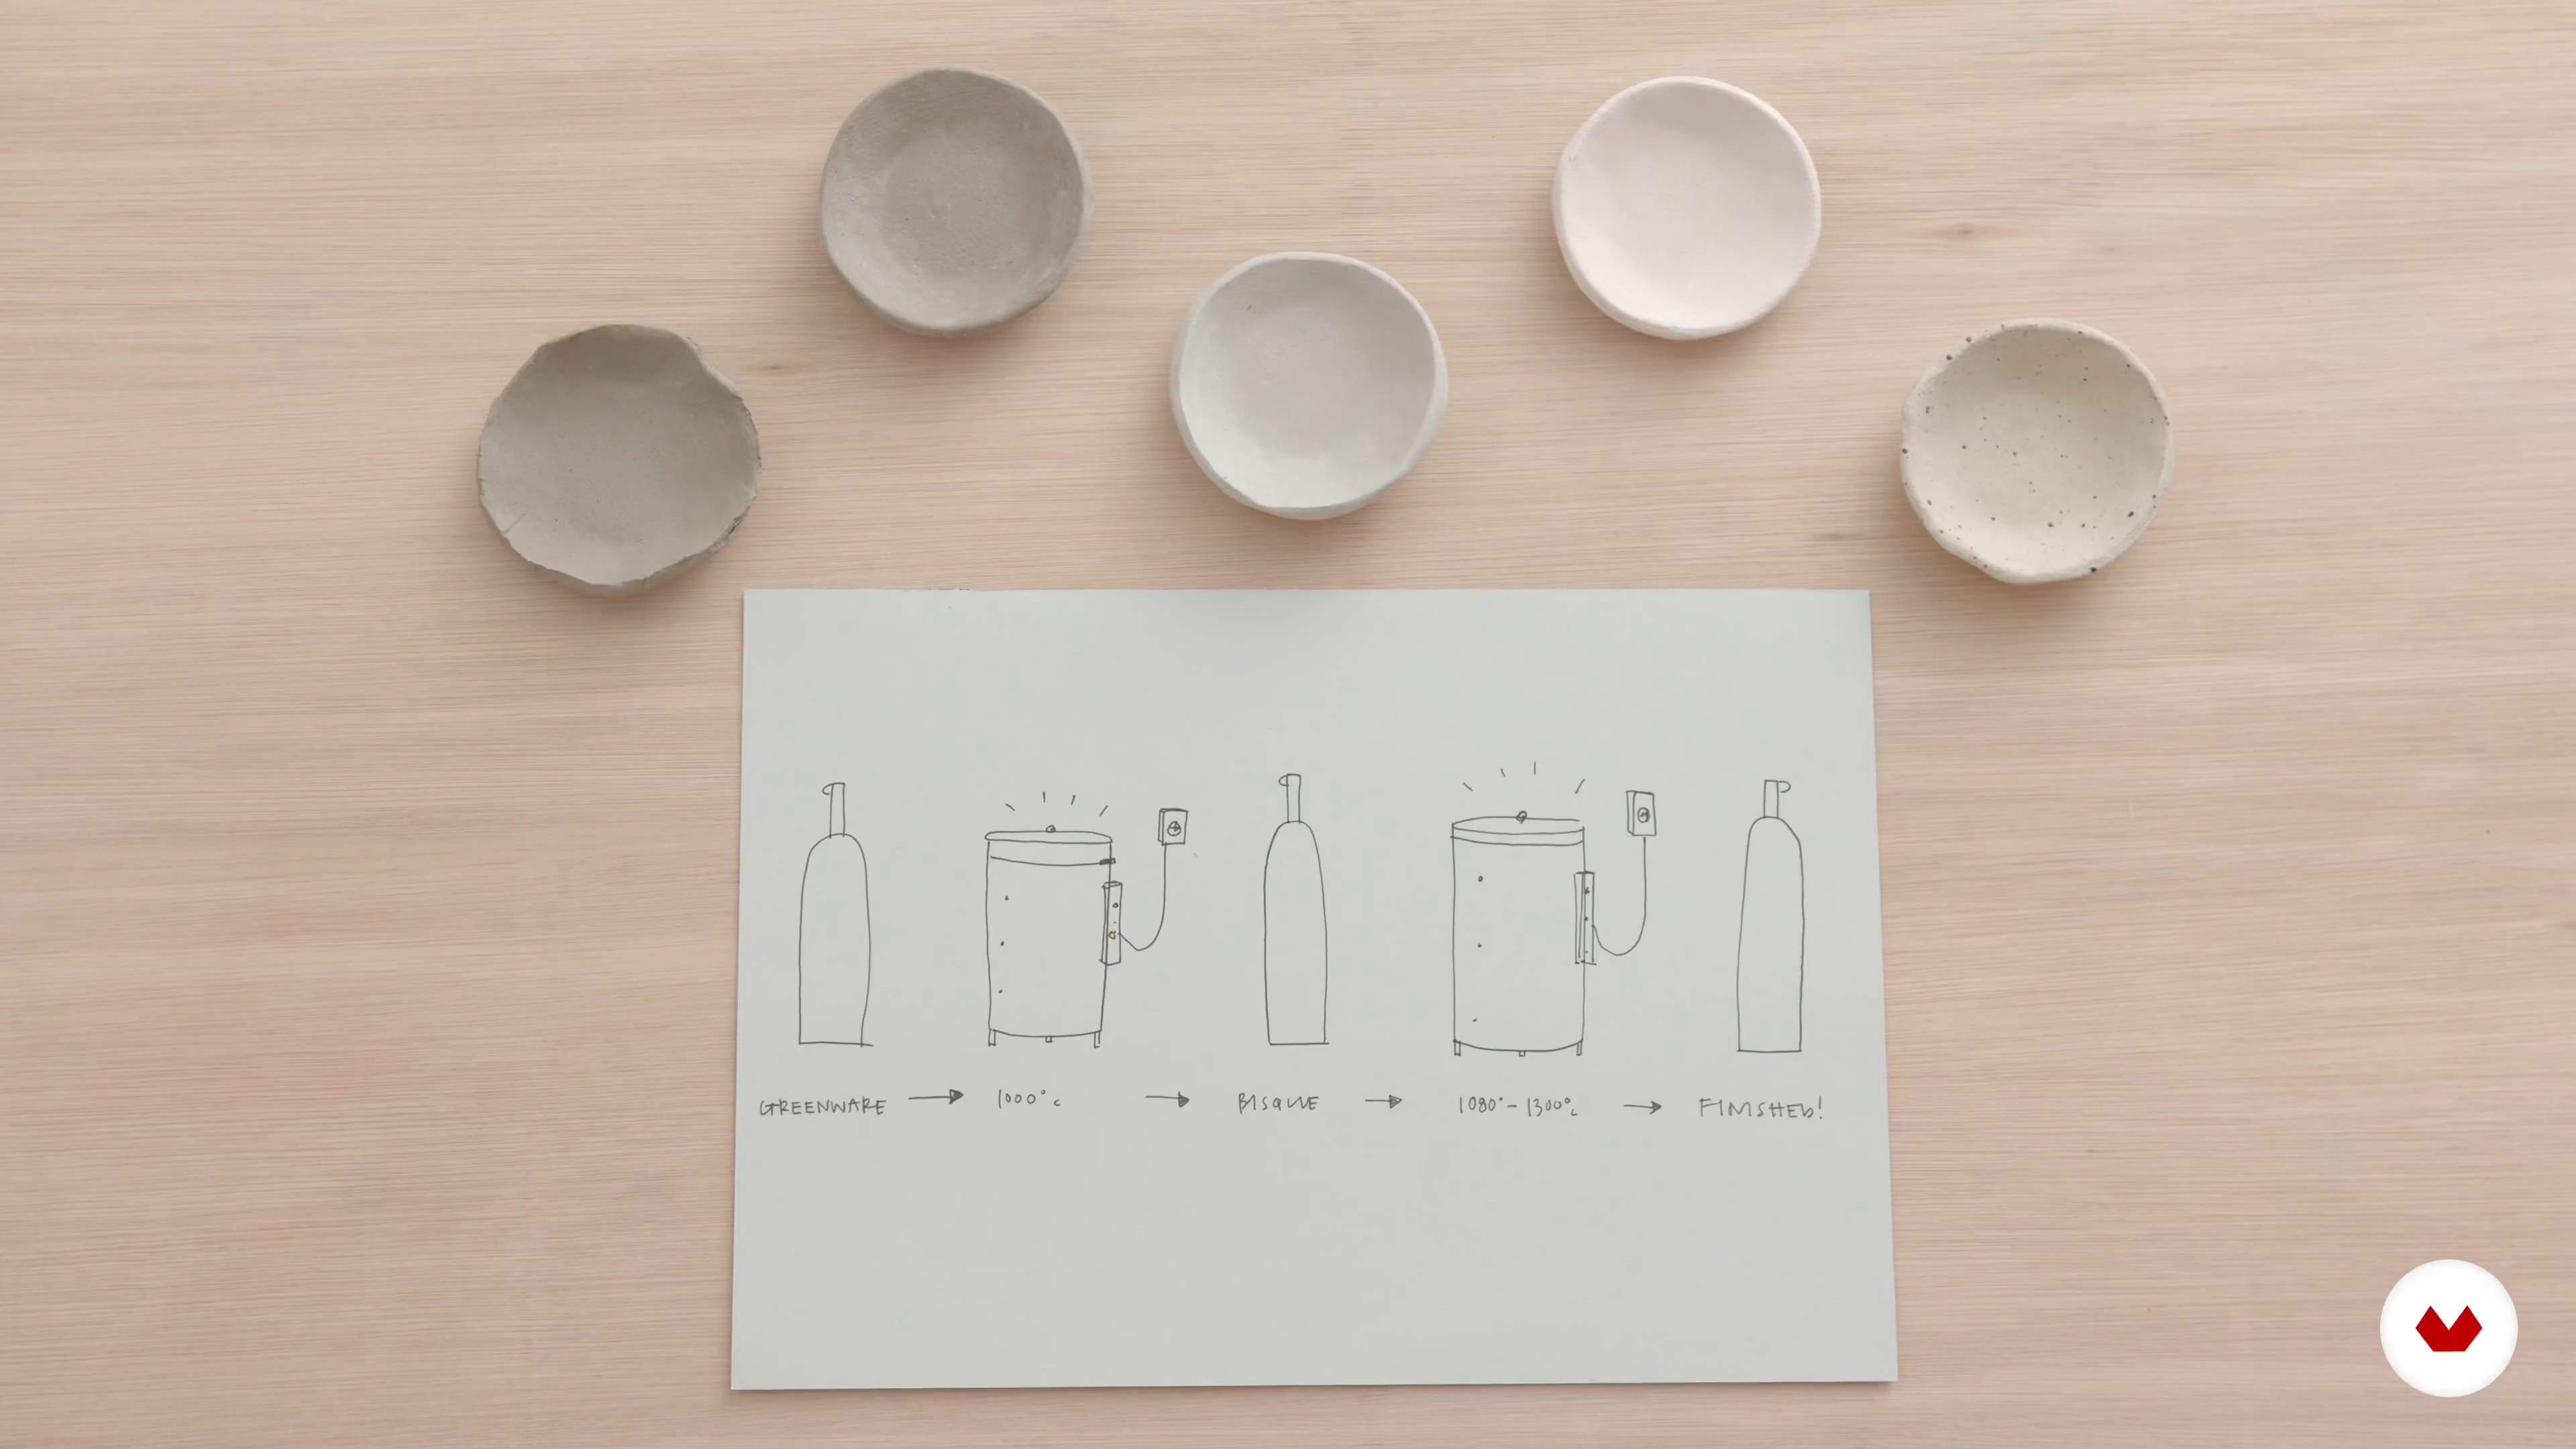
Now, I will take you through all of the changes that clay goes through on its journey to becoming ceramic, as well as a little bit of information about the kiln firing process itself.
5m
image
18
Glazing
In this lesson, I will briefly explain glazing, and what glaze is. I will then demonstrate how to glaze your bisque vessel, ready for it to be fired again.
10m
image
19
Workspace Clean up and Clay Scraps
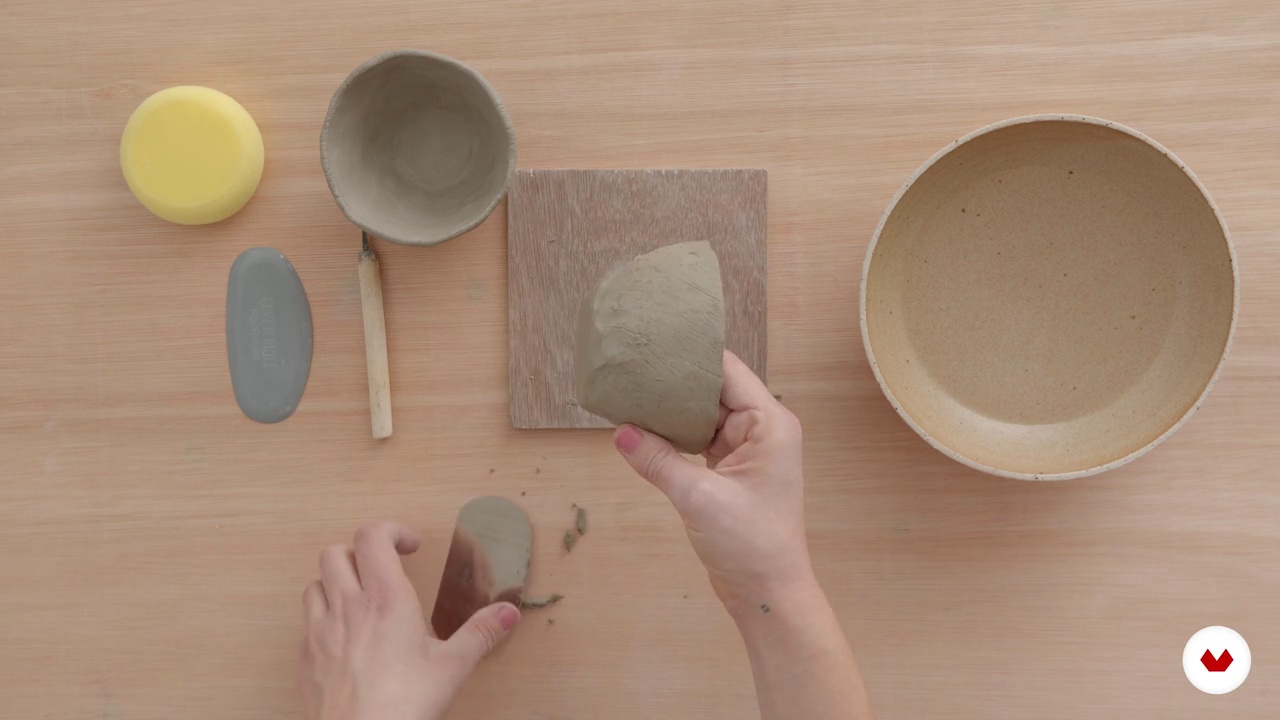
Last, but not least, I will show you how to wedge your clay scraps up, ready to be used to make loads more pots!
9m
image
1
Introduction to the Tools and Materials
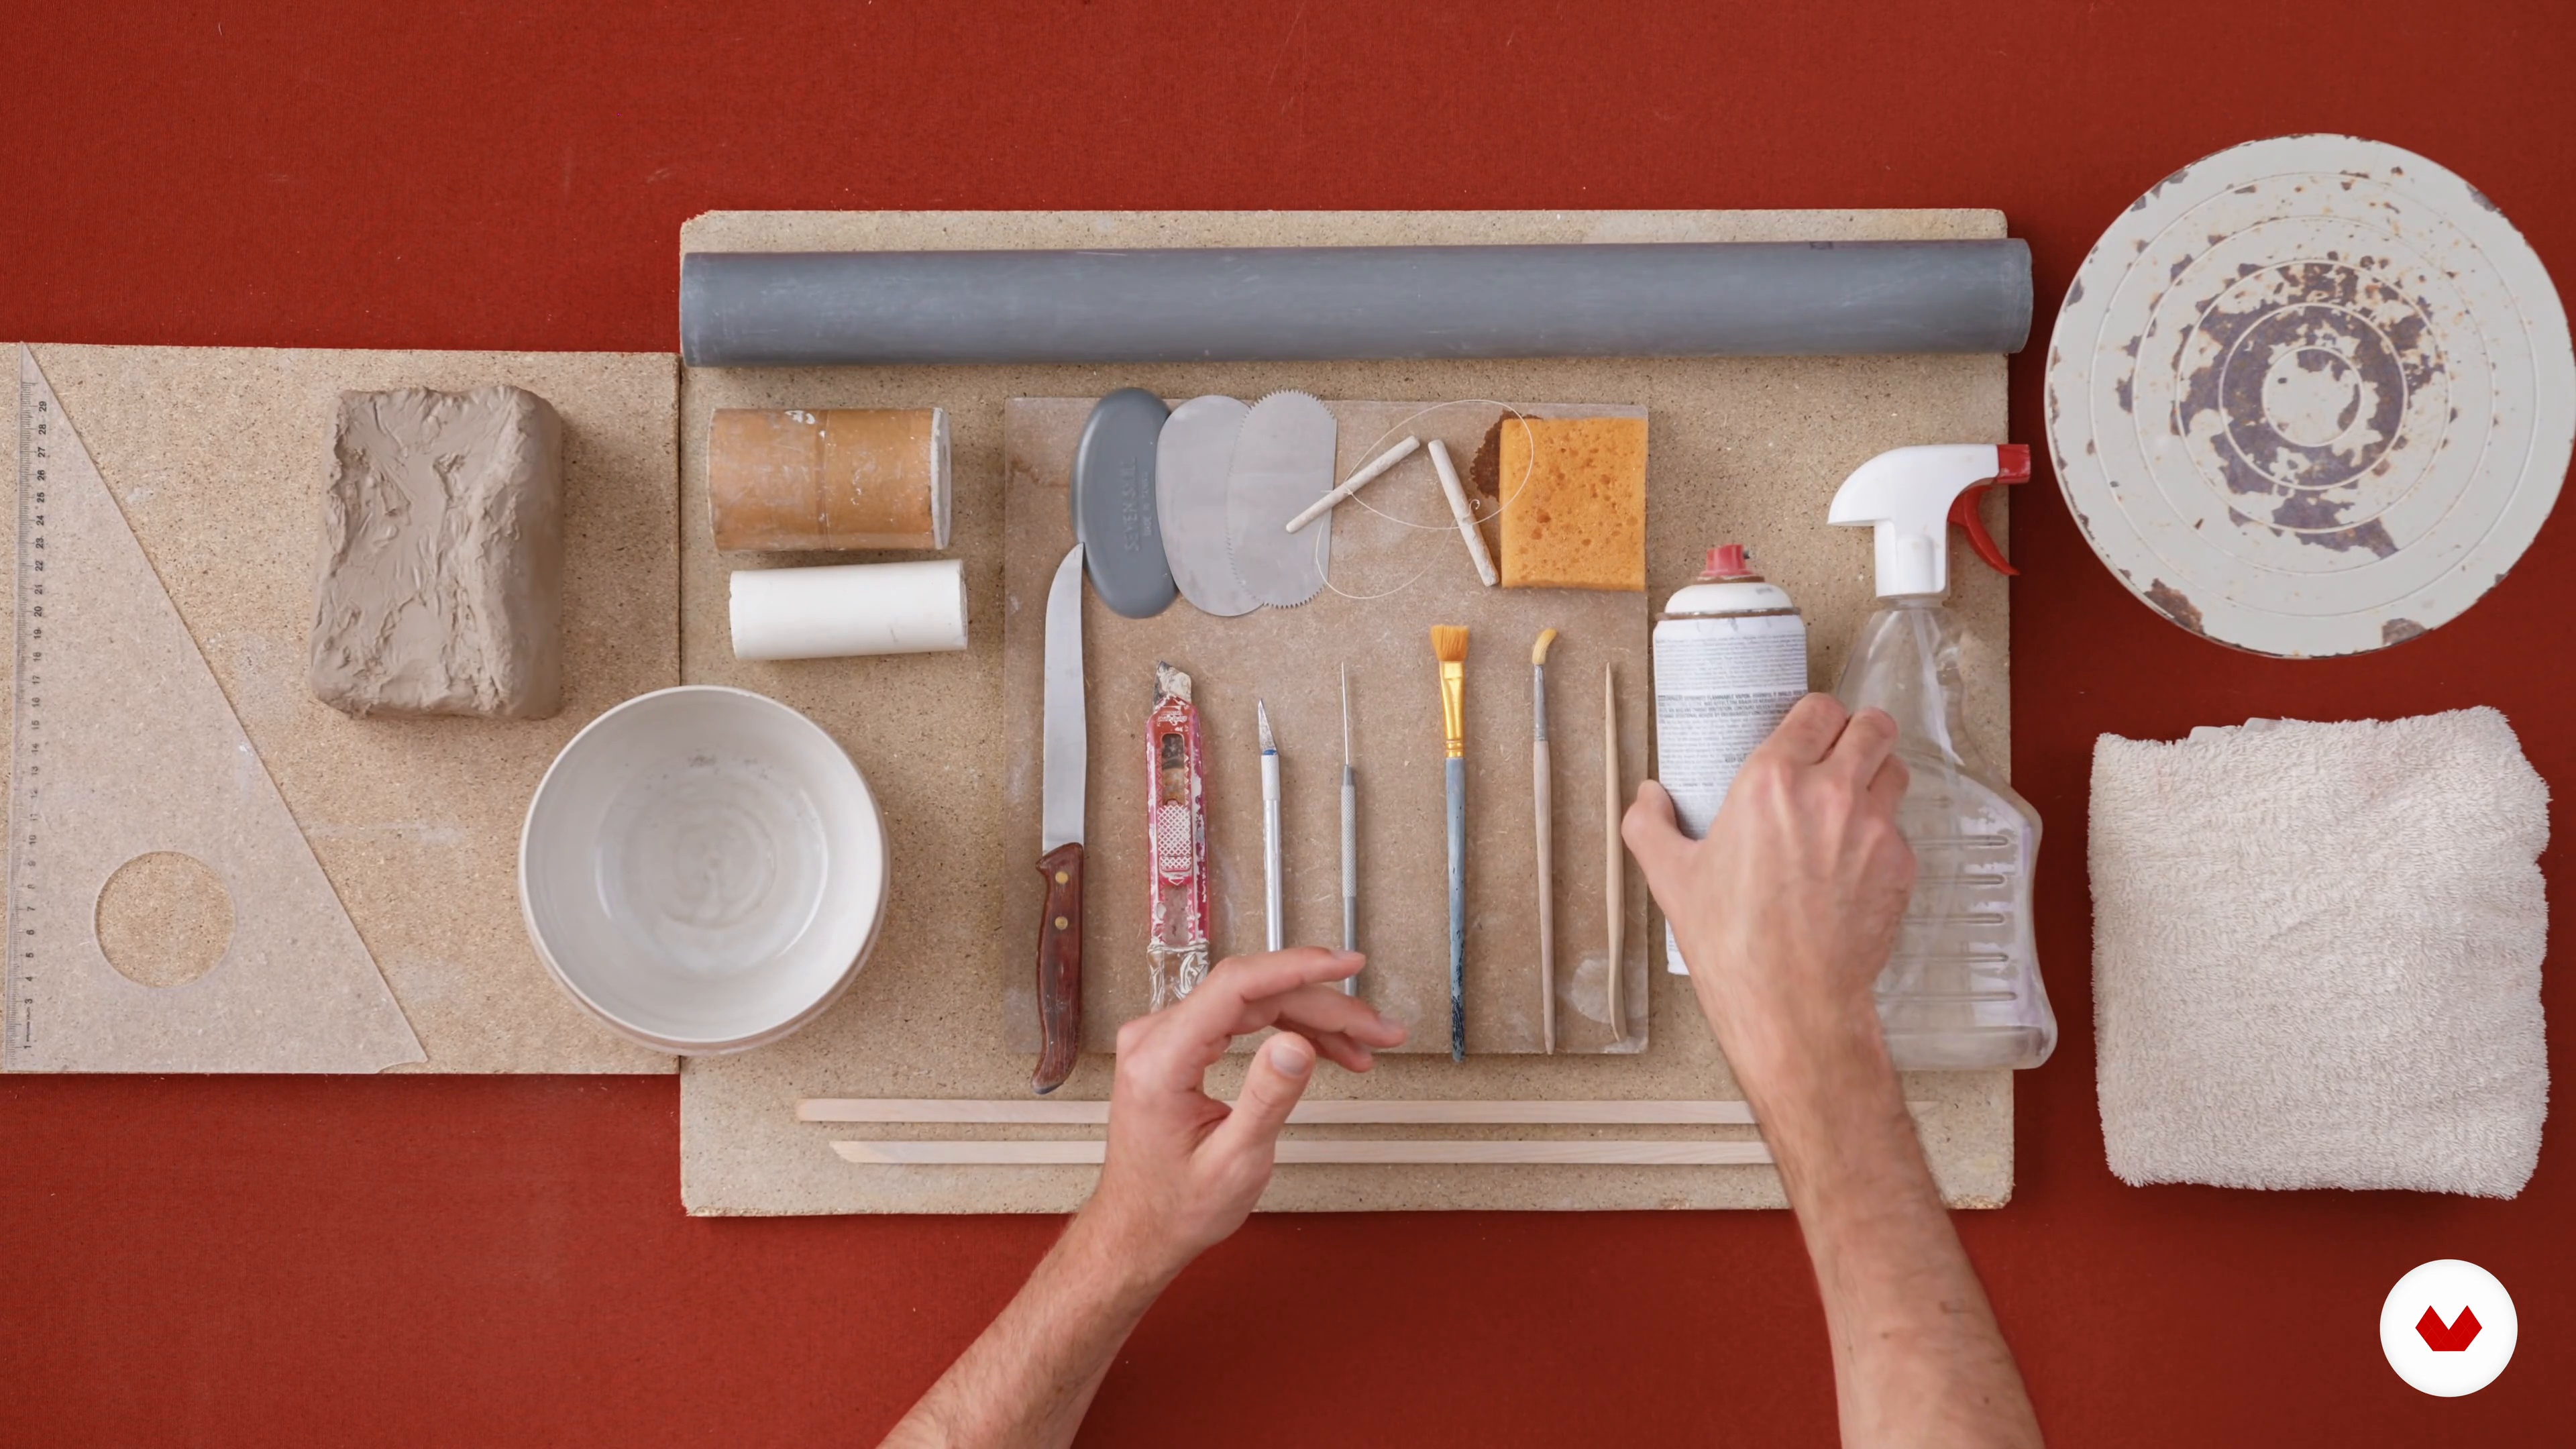
To begin with, you will learn how to find the right clay and the essential tools. I will also teach you how to repurpose some items already in your house, so that you have the skills to be resourceful.
7m
image
2
Understanding How Clay Behaves
From wet to bone-dry, I will teach you how to identify what leather-hard clay is. You will learn four types of clay at different levels of dryness.
5m
image
3
Making Your Own Slip
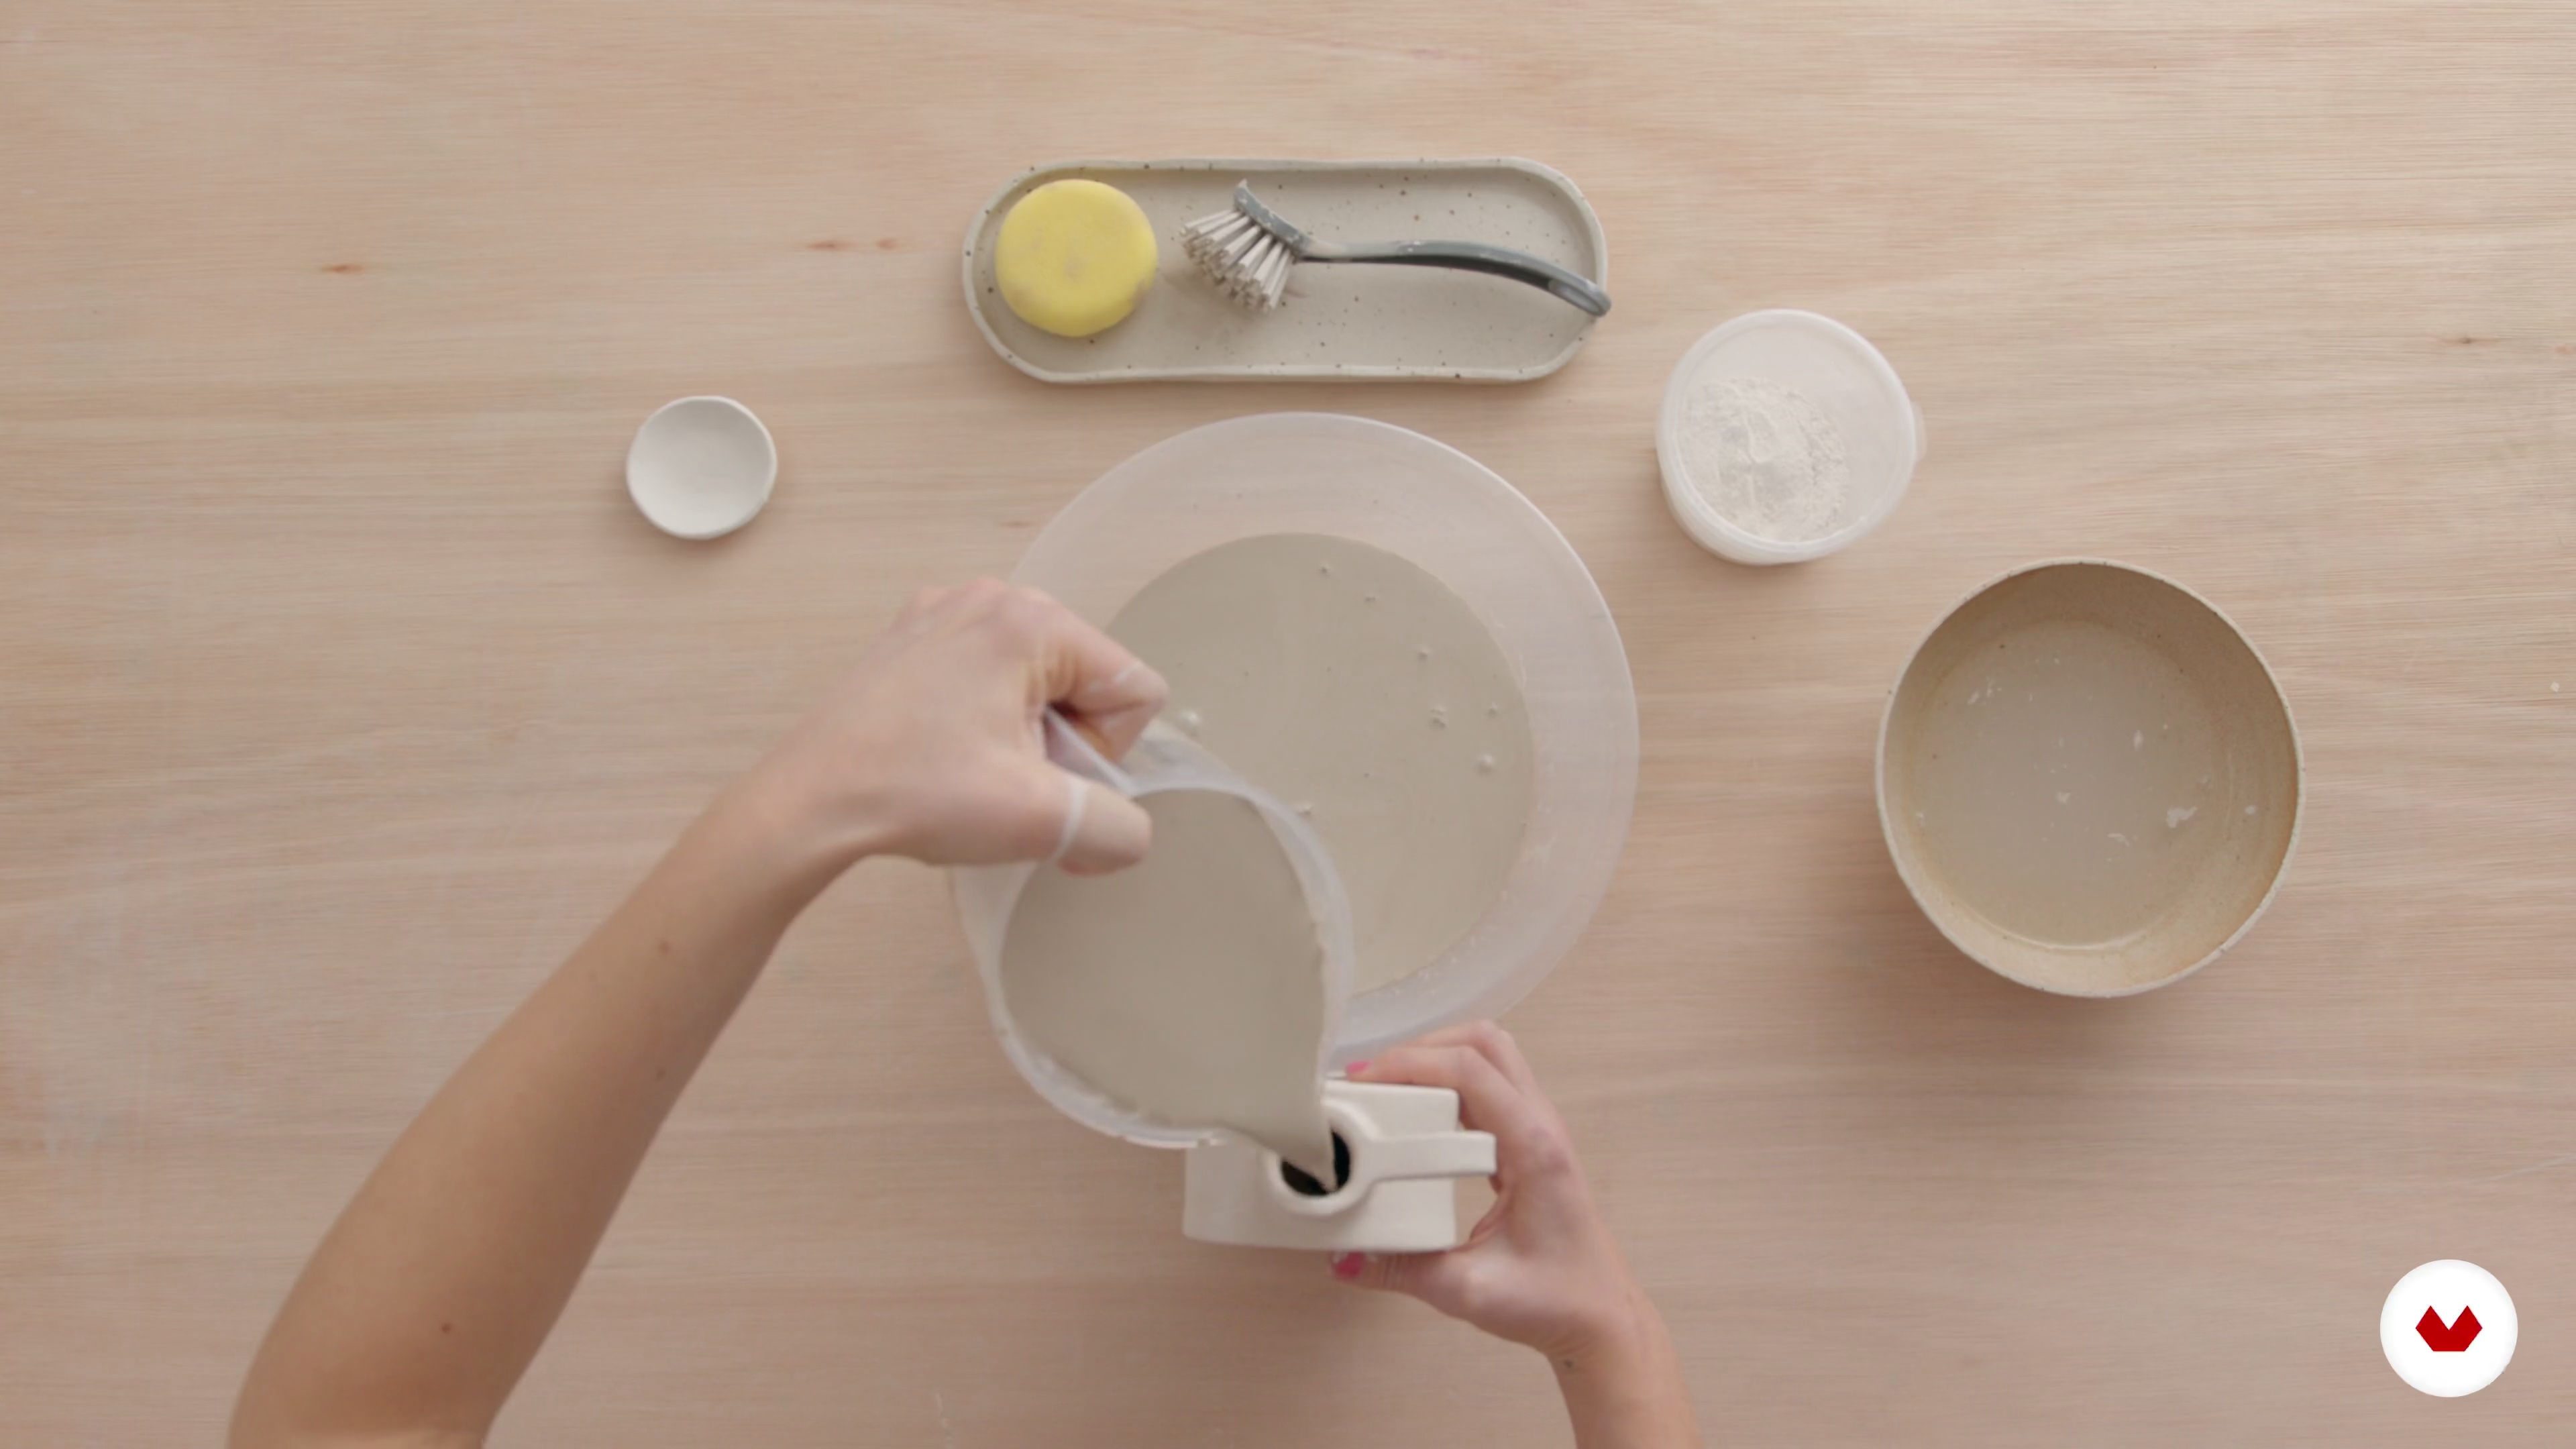
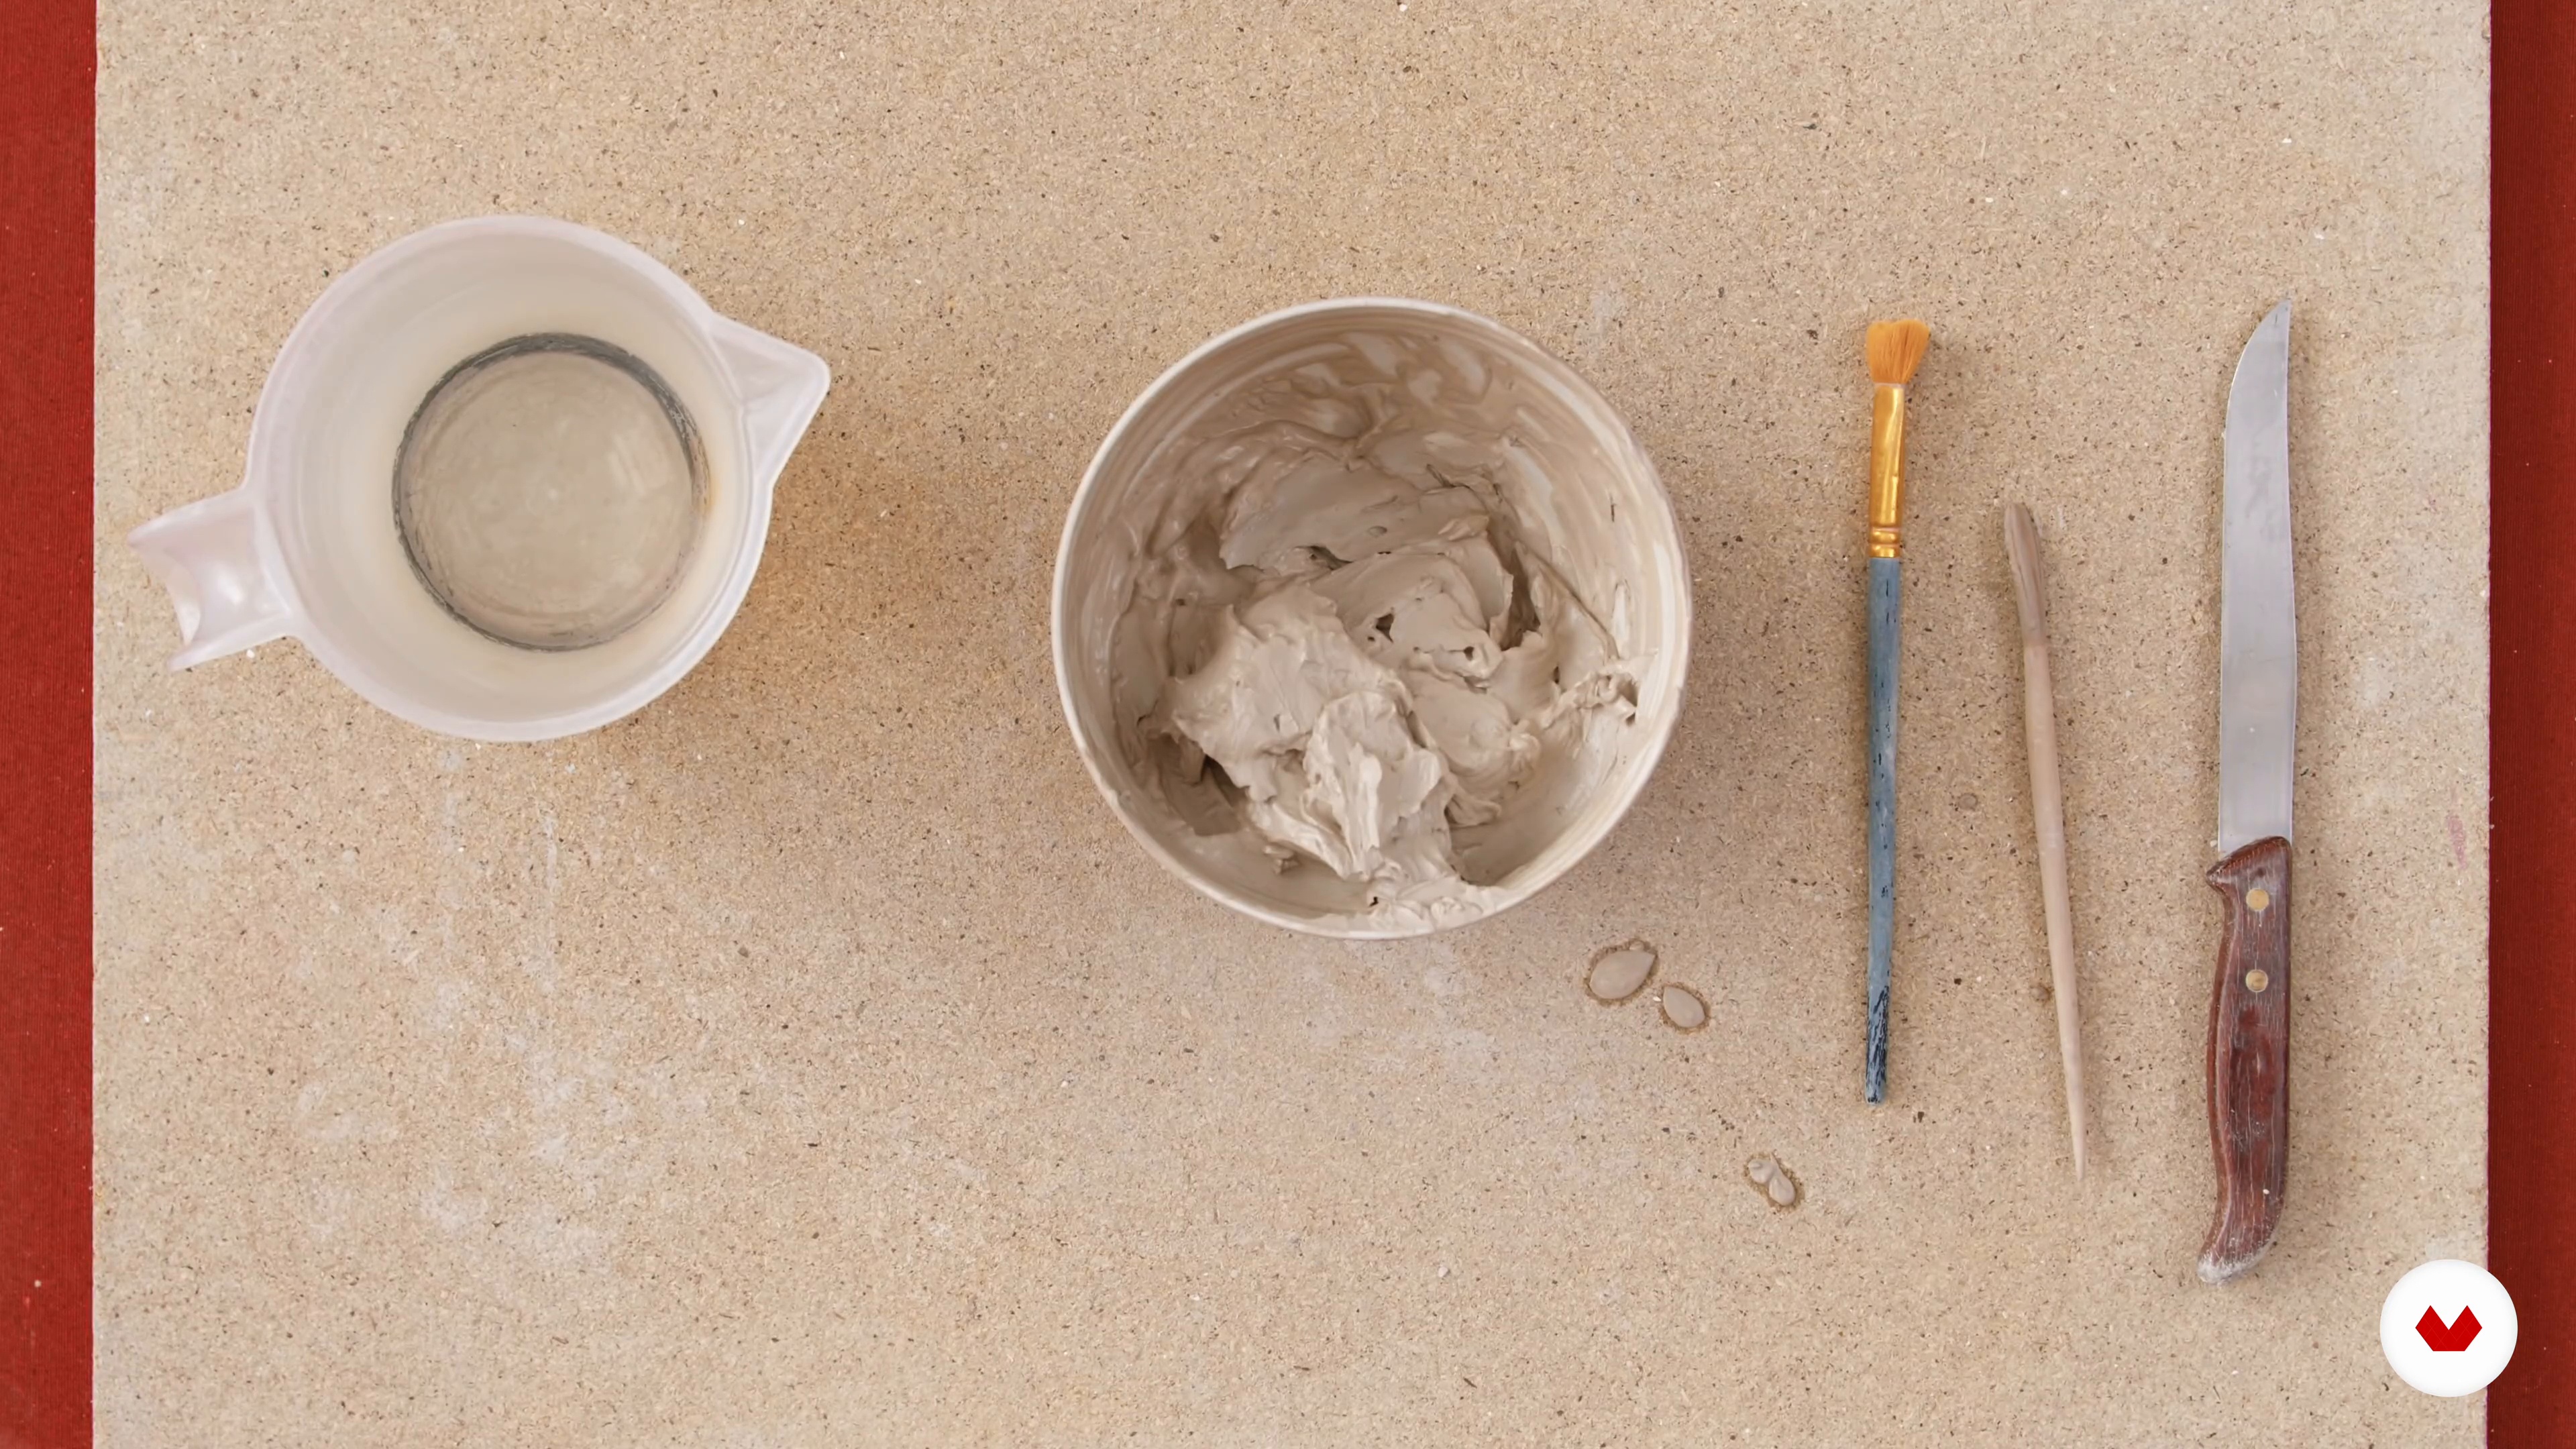
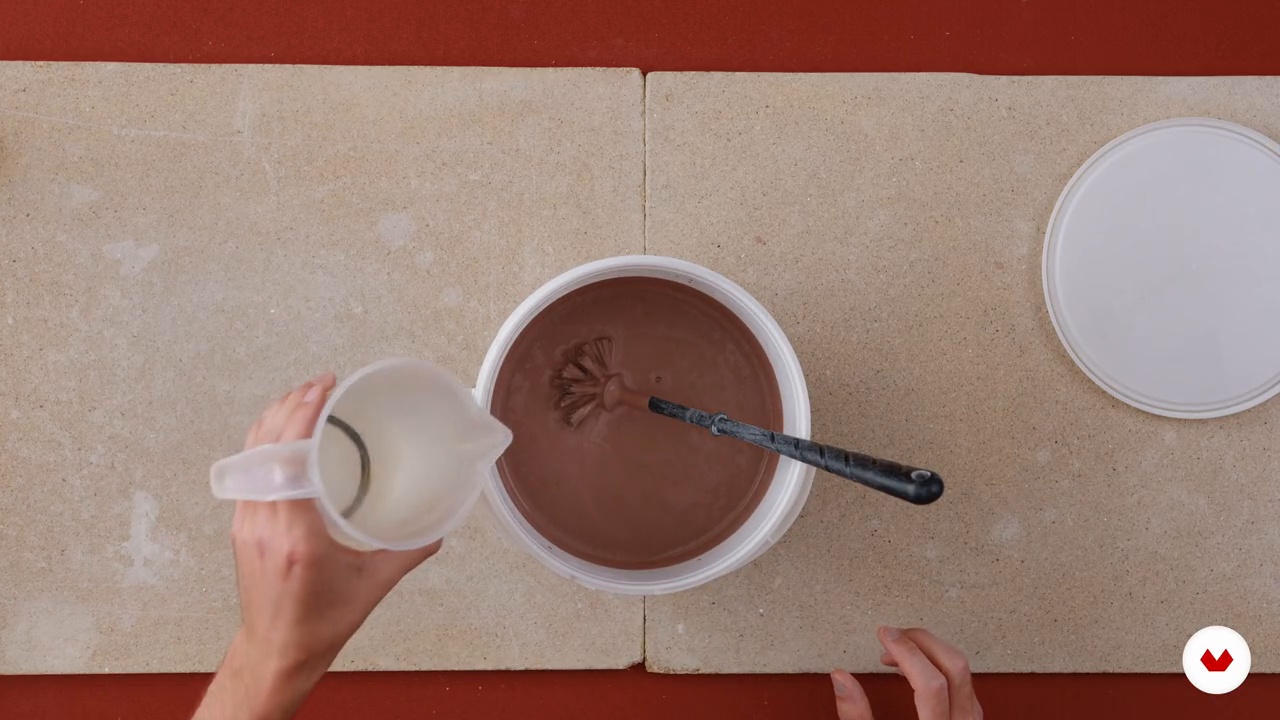
By gently adding water to bone-dry clay, I will now teach you how to make your own slip. Slip is a very gooey kind of glue made from clay. It's important to take your time with this process—if too much water is added, you will achieve the wrong consistency.
4m
image
4
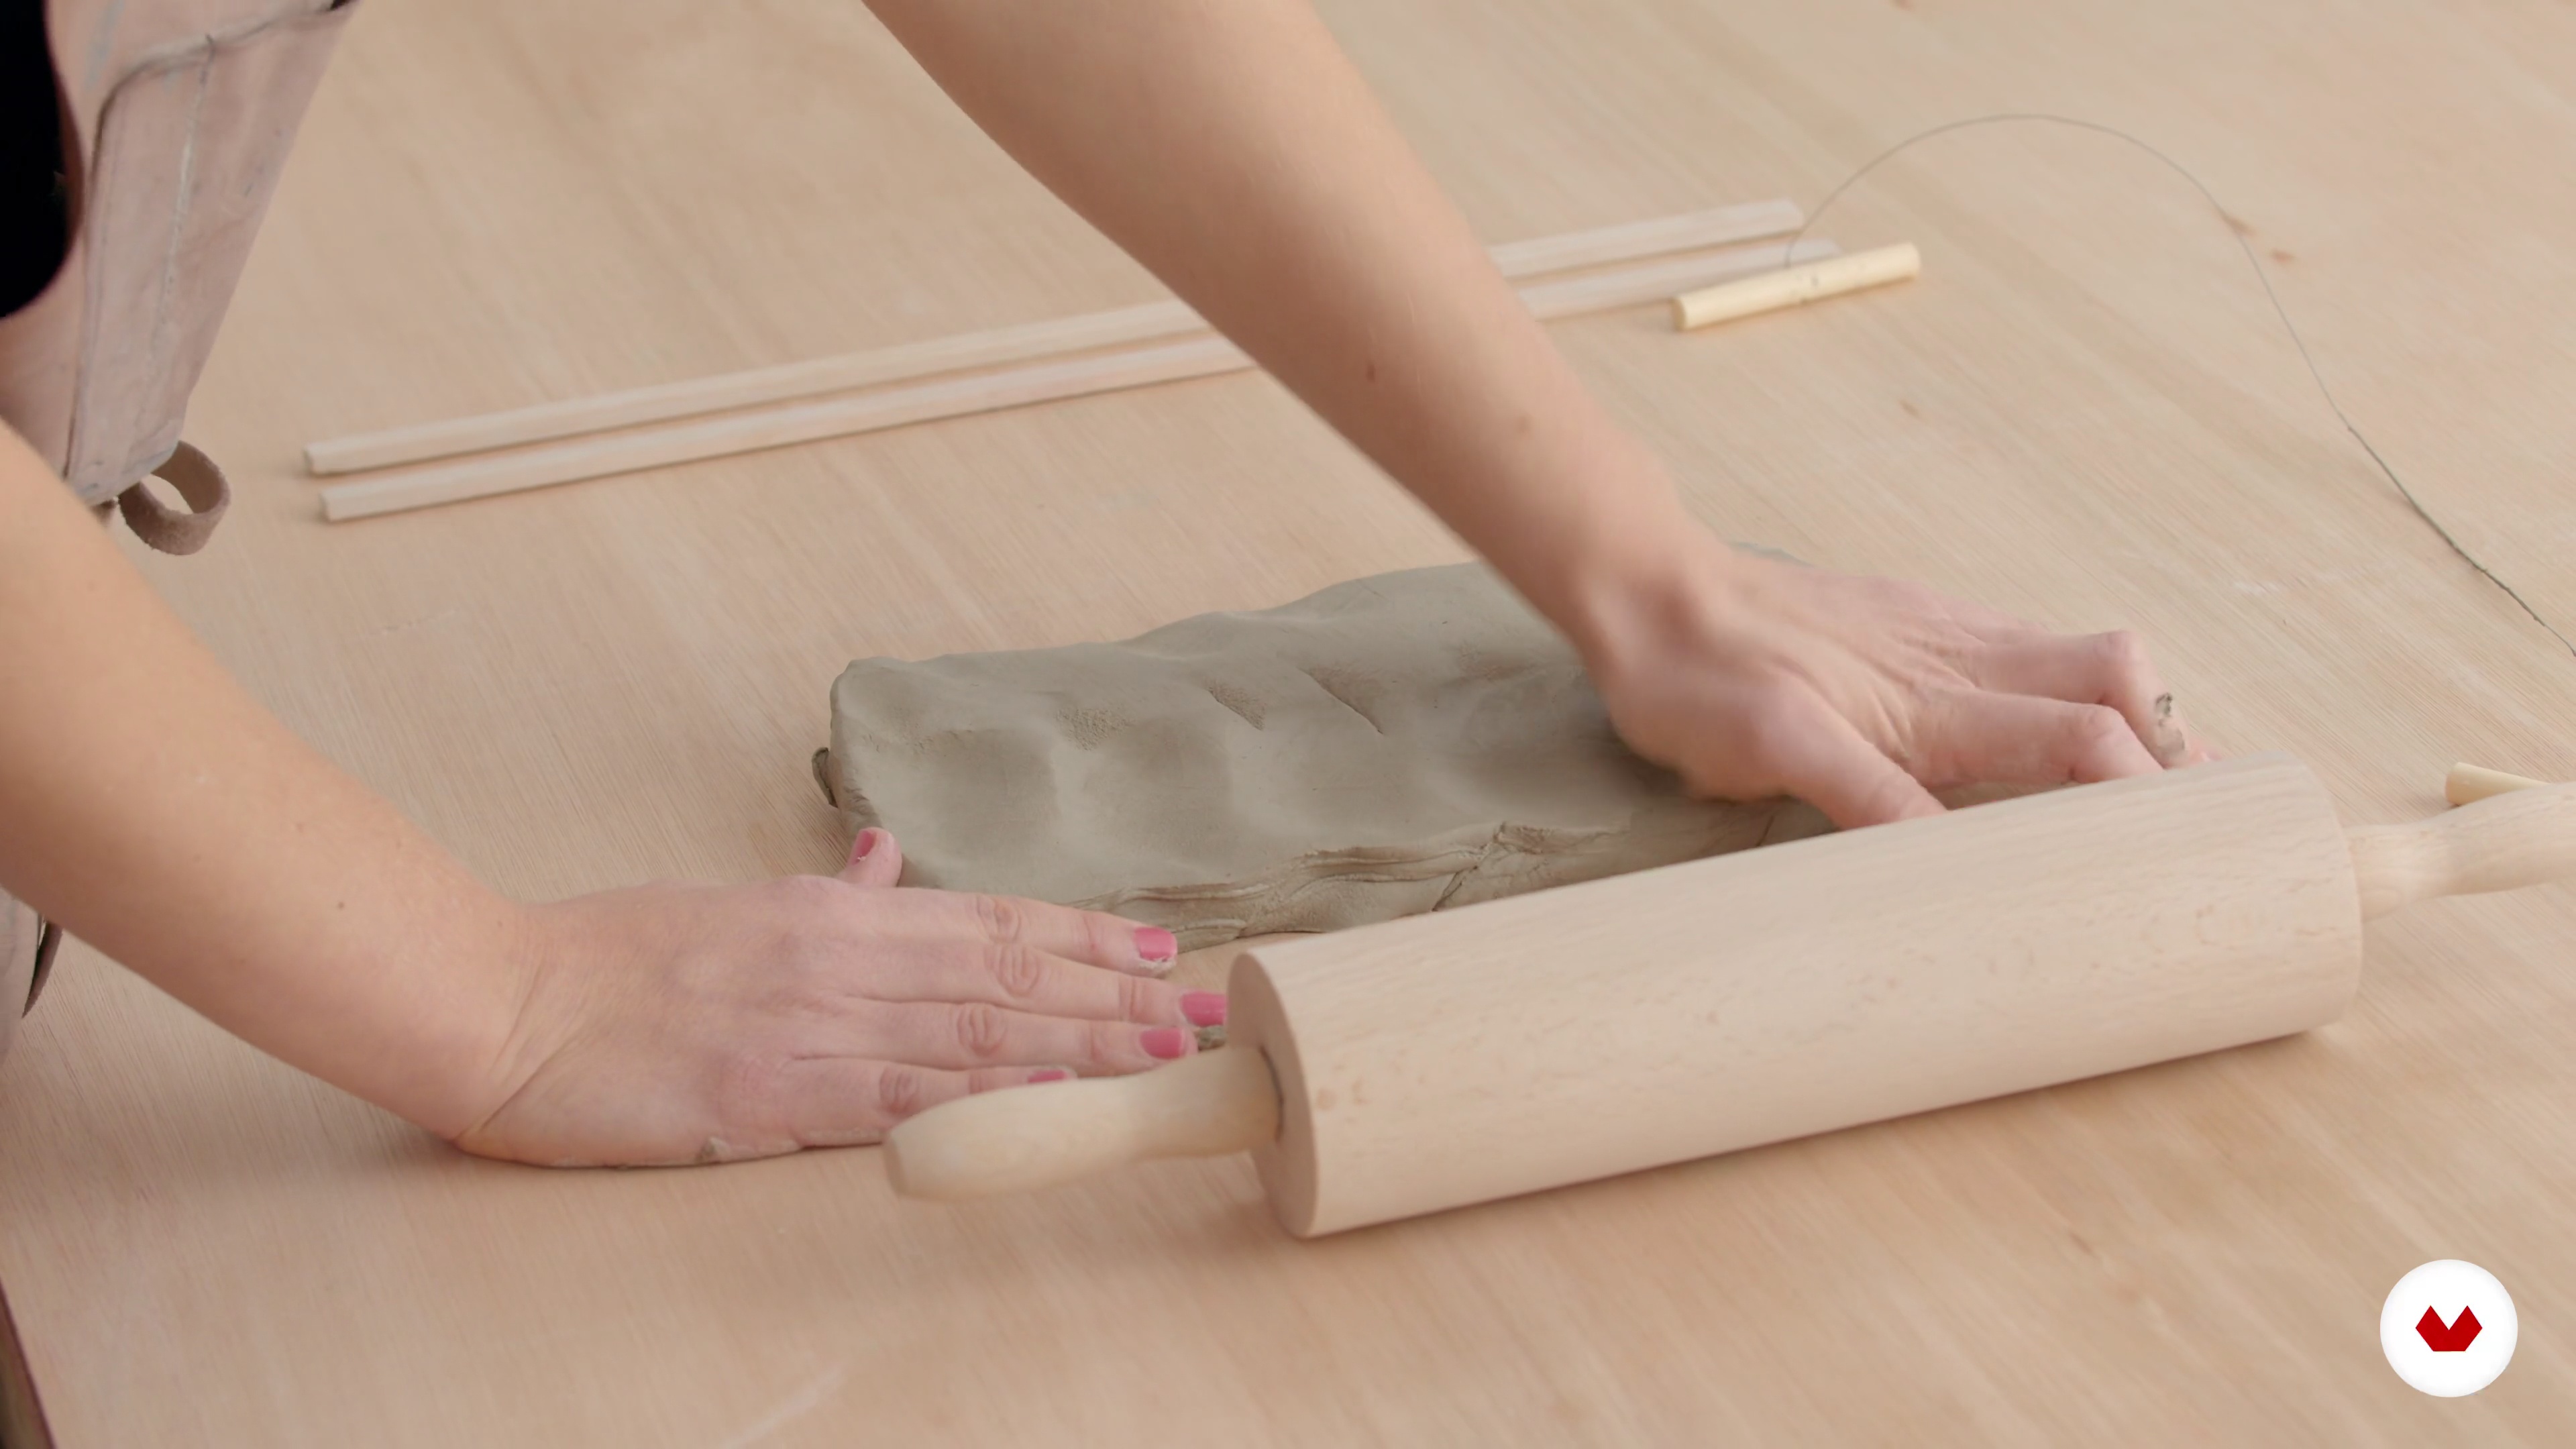
Rolling the Clay into Slabs
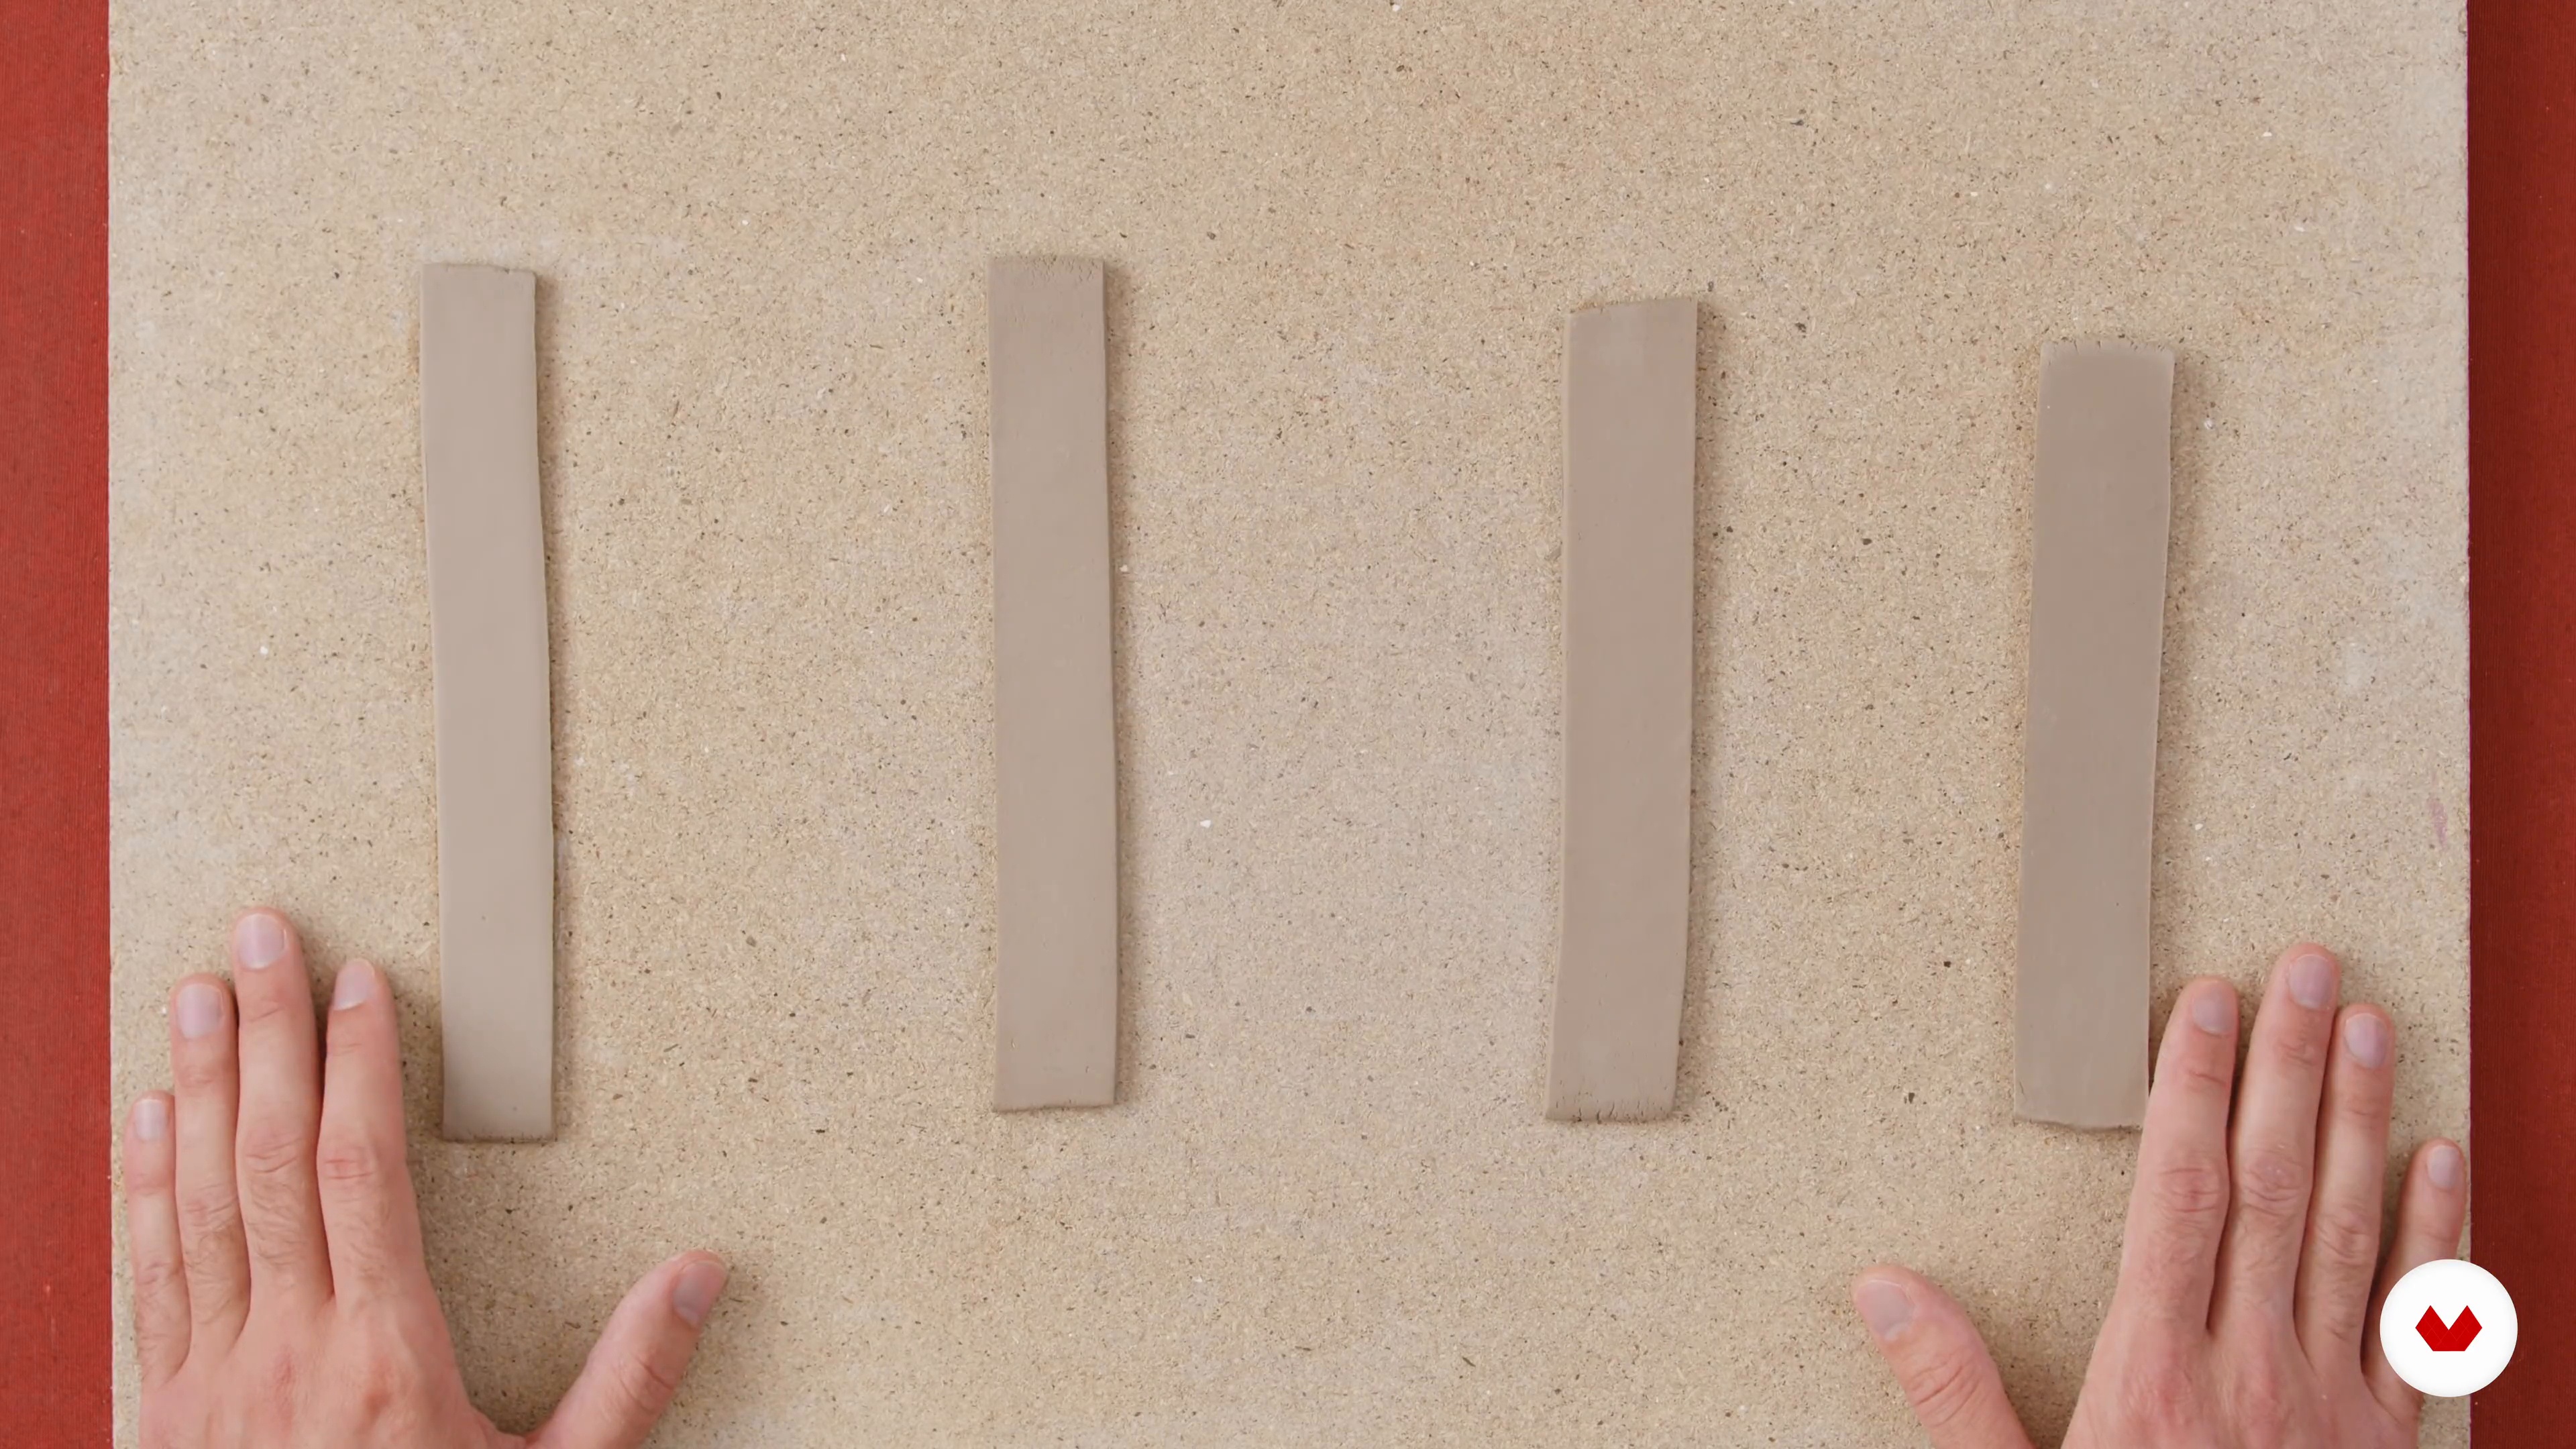
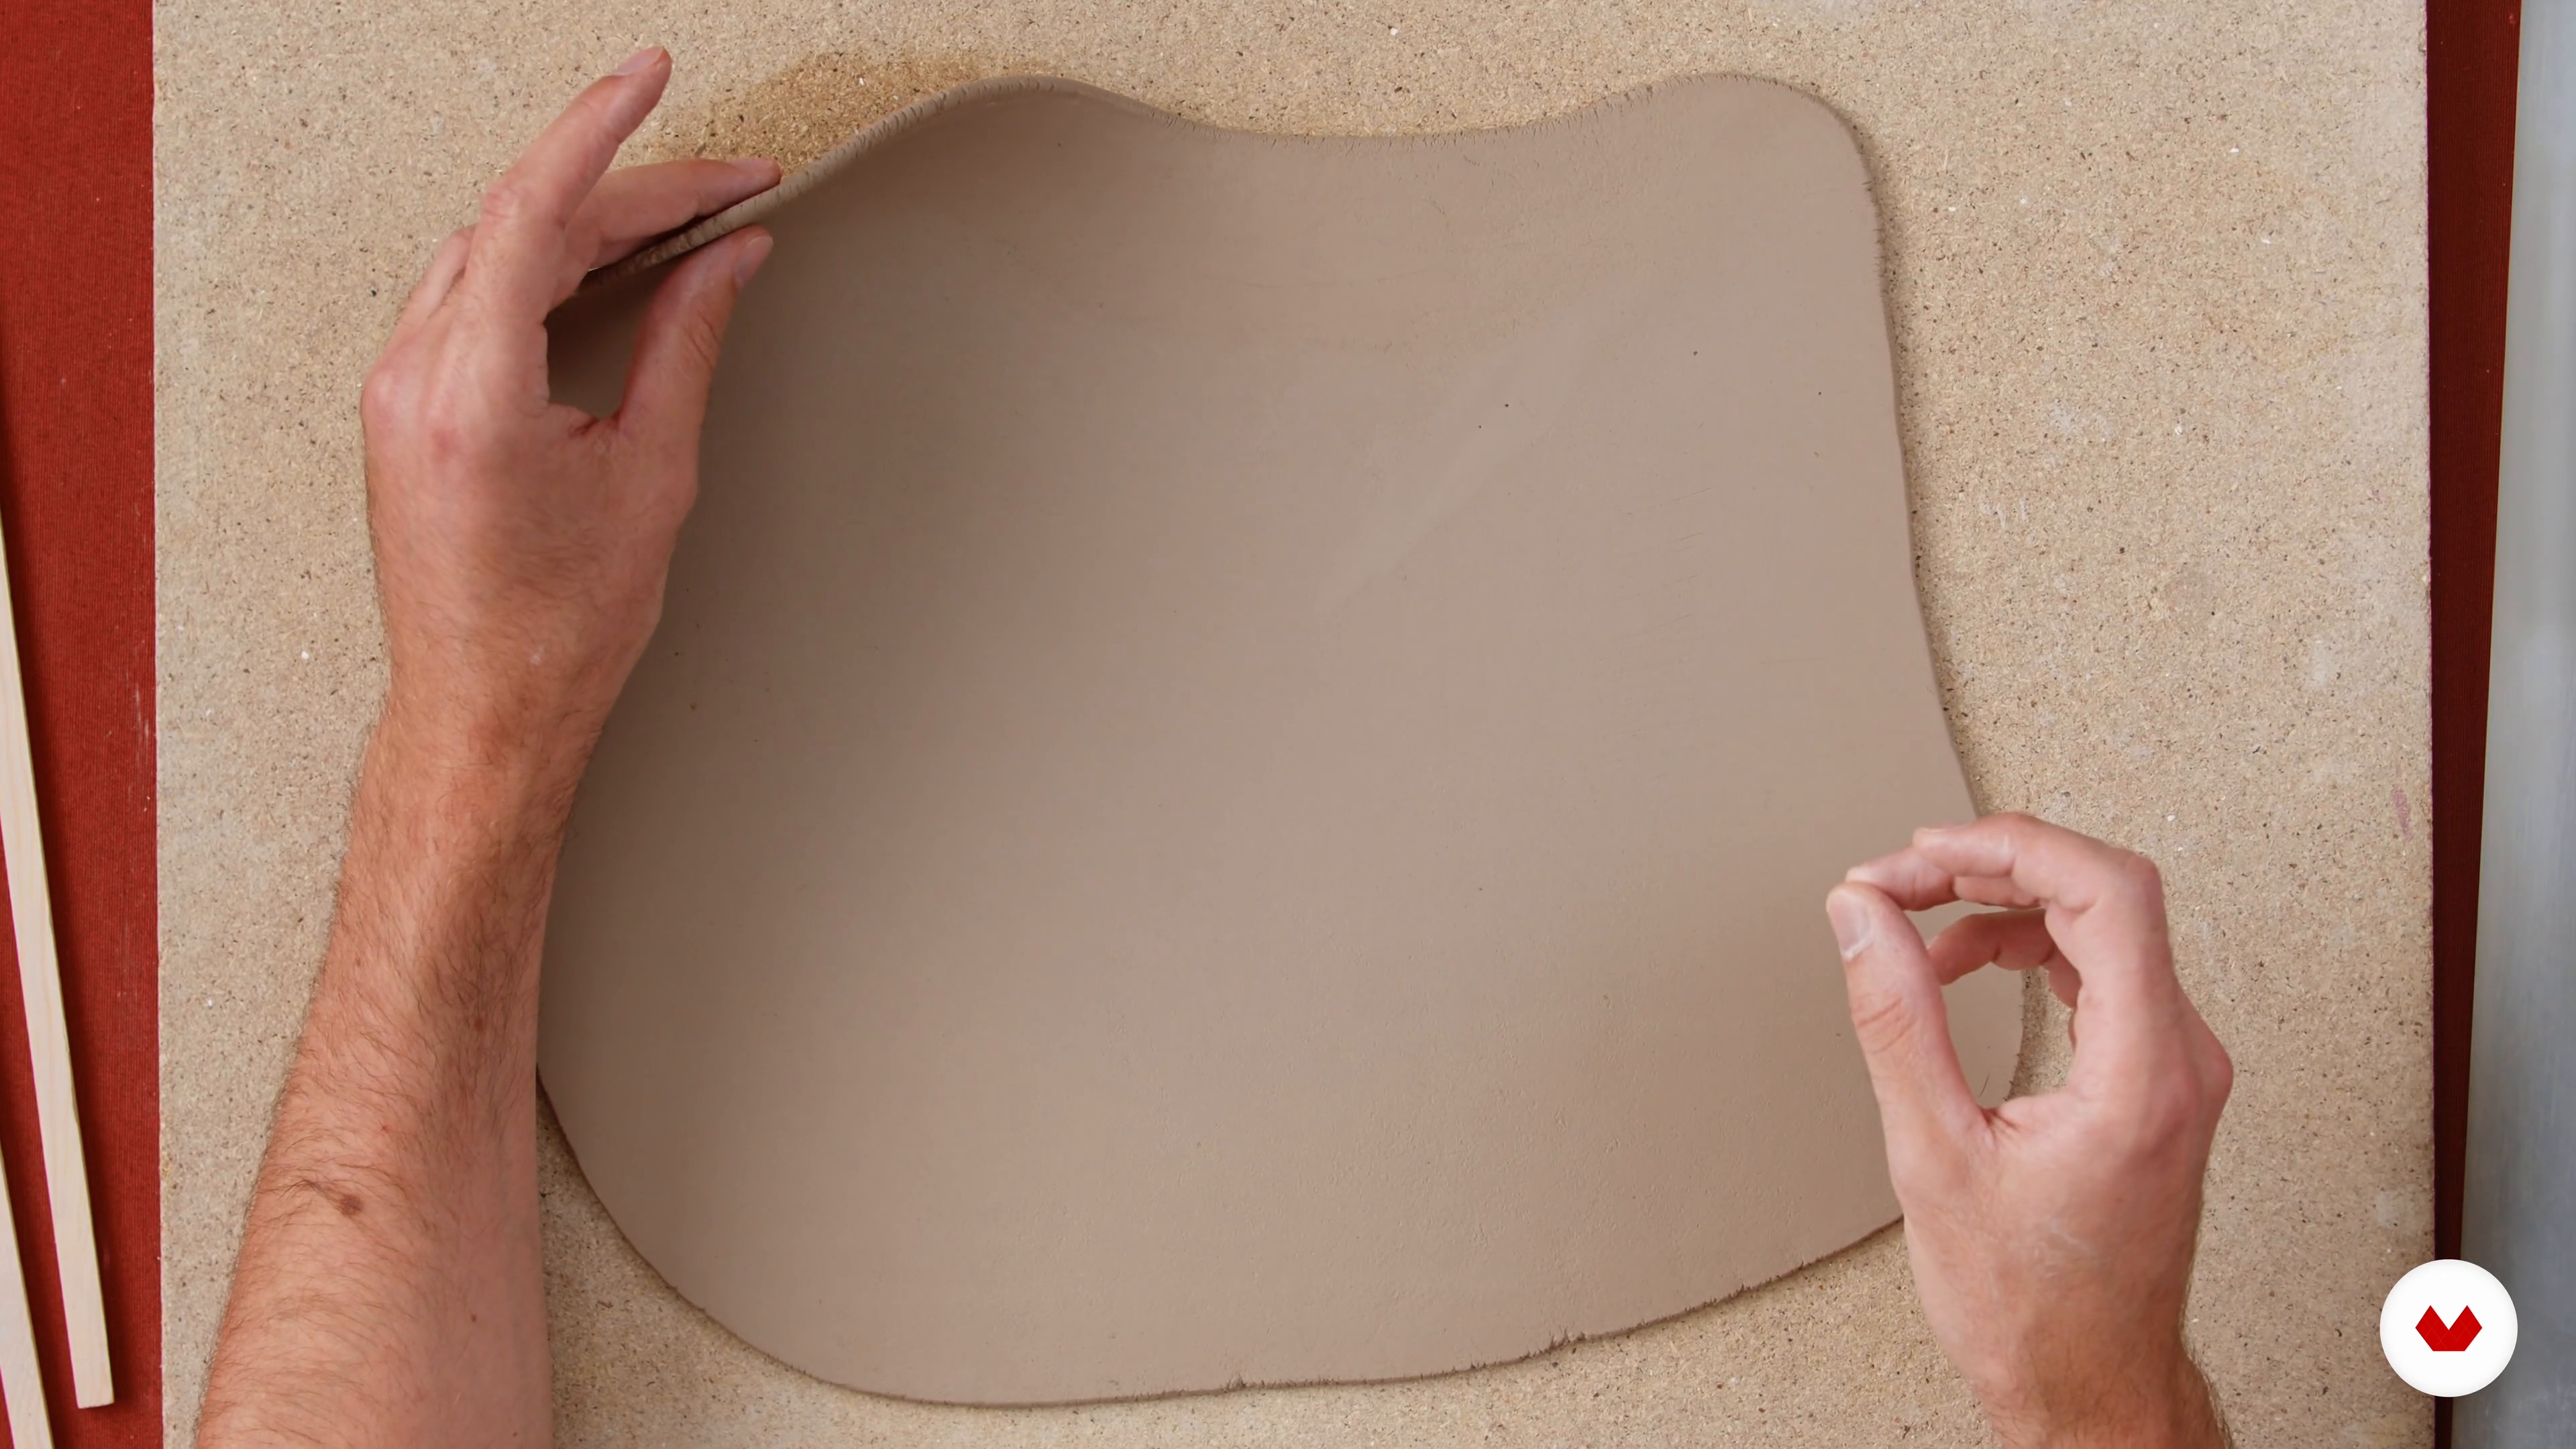
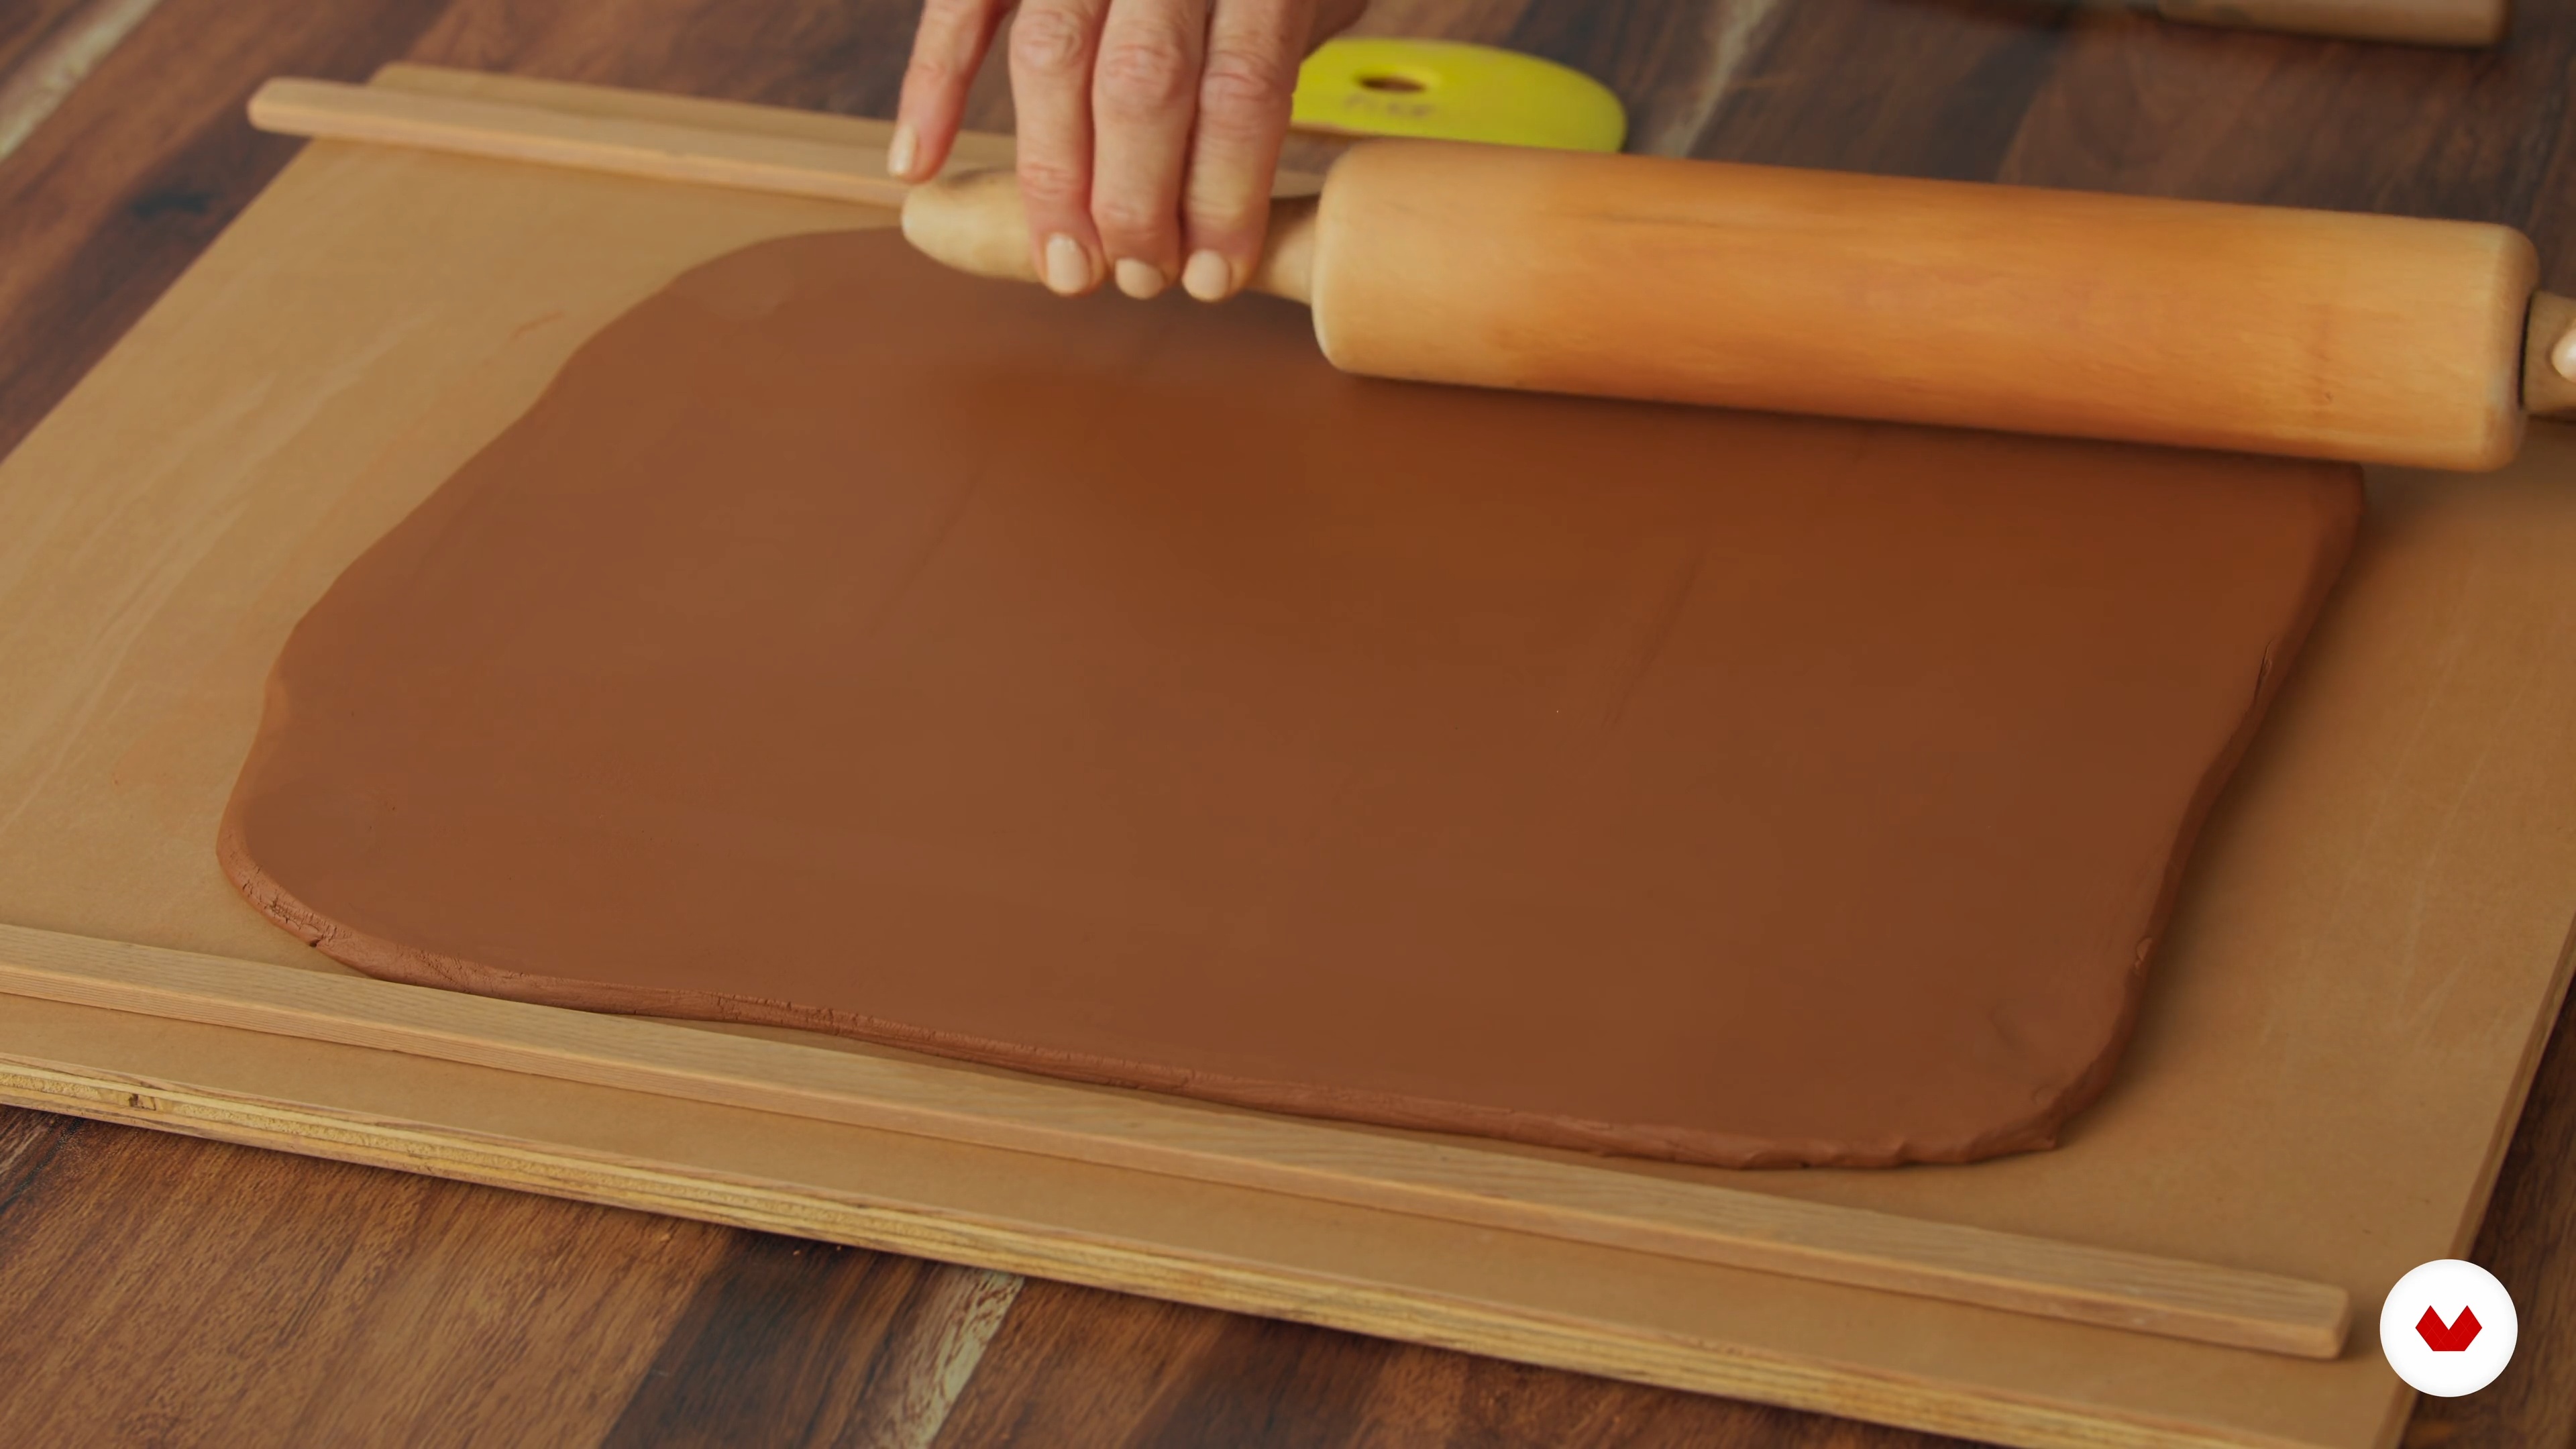
An essential skill in pottery is making clay slabs. In this lesson, I will demonstrate how to create multiple flat slabs to cut out and use as templates for the bowl walls and floor.
8m
image
5
Assembling the Mold and Creating the Walls
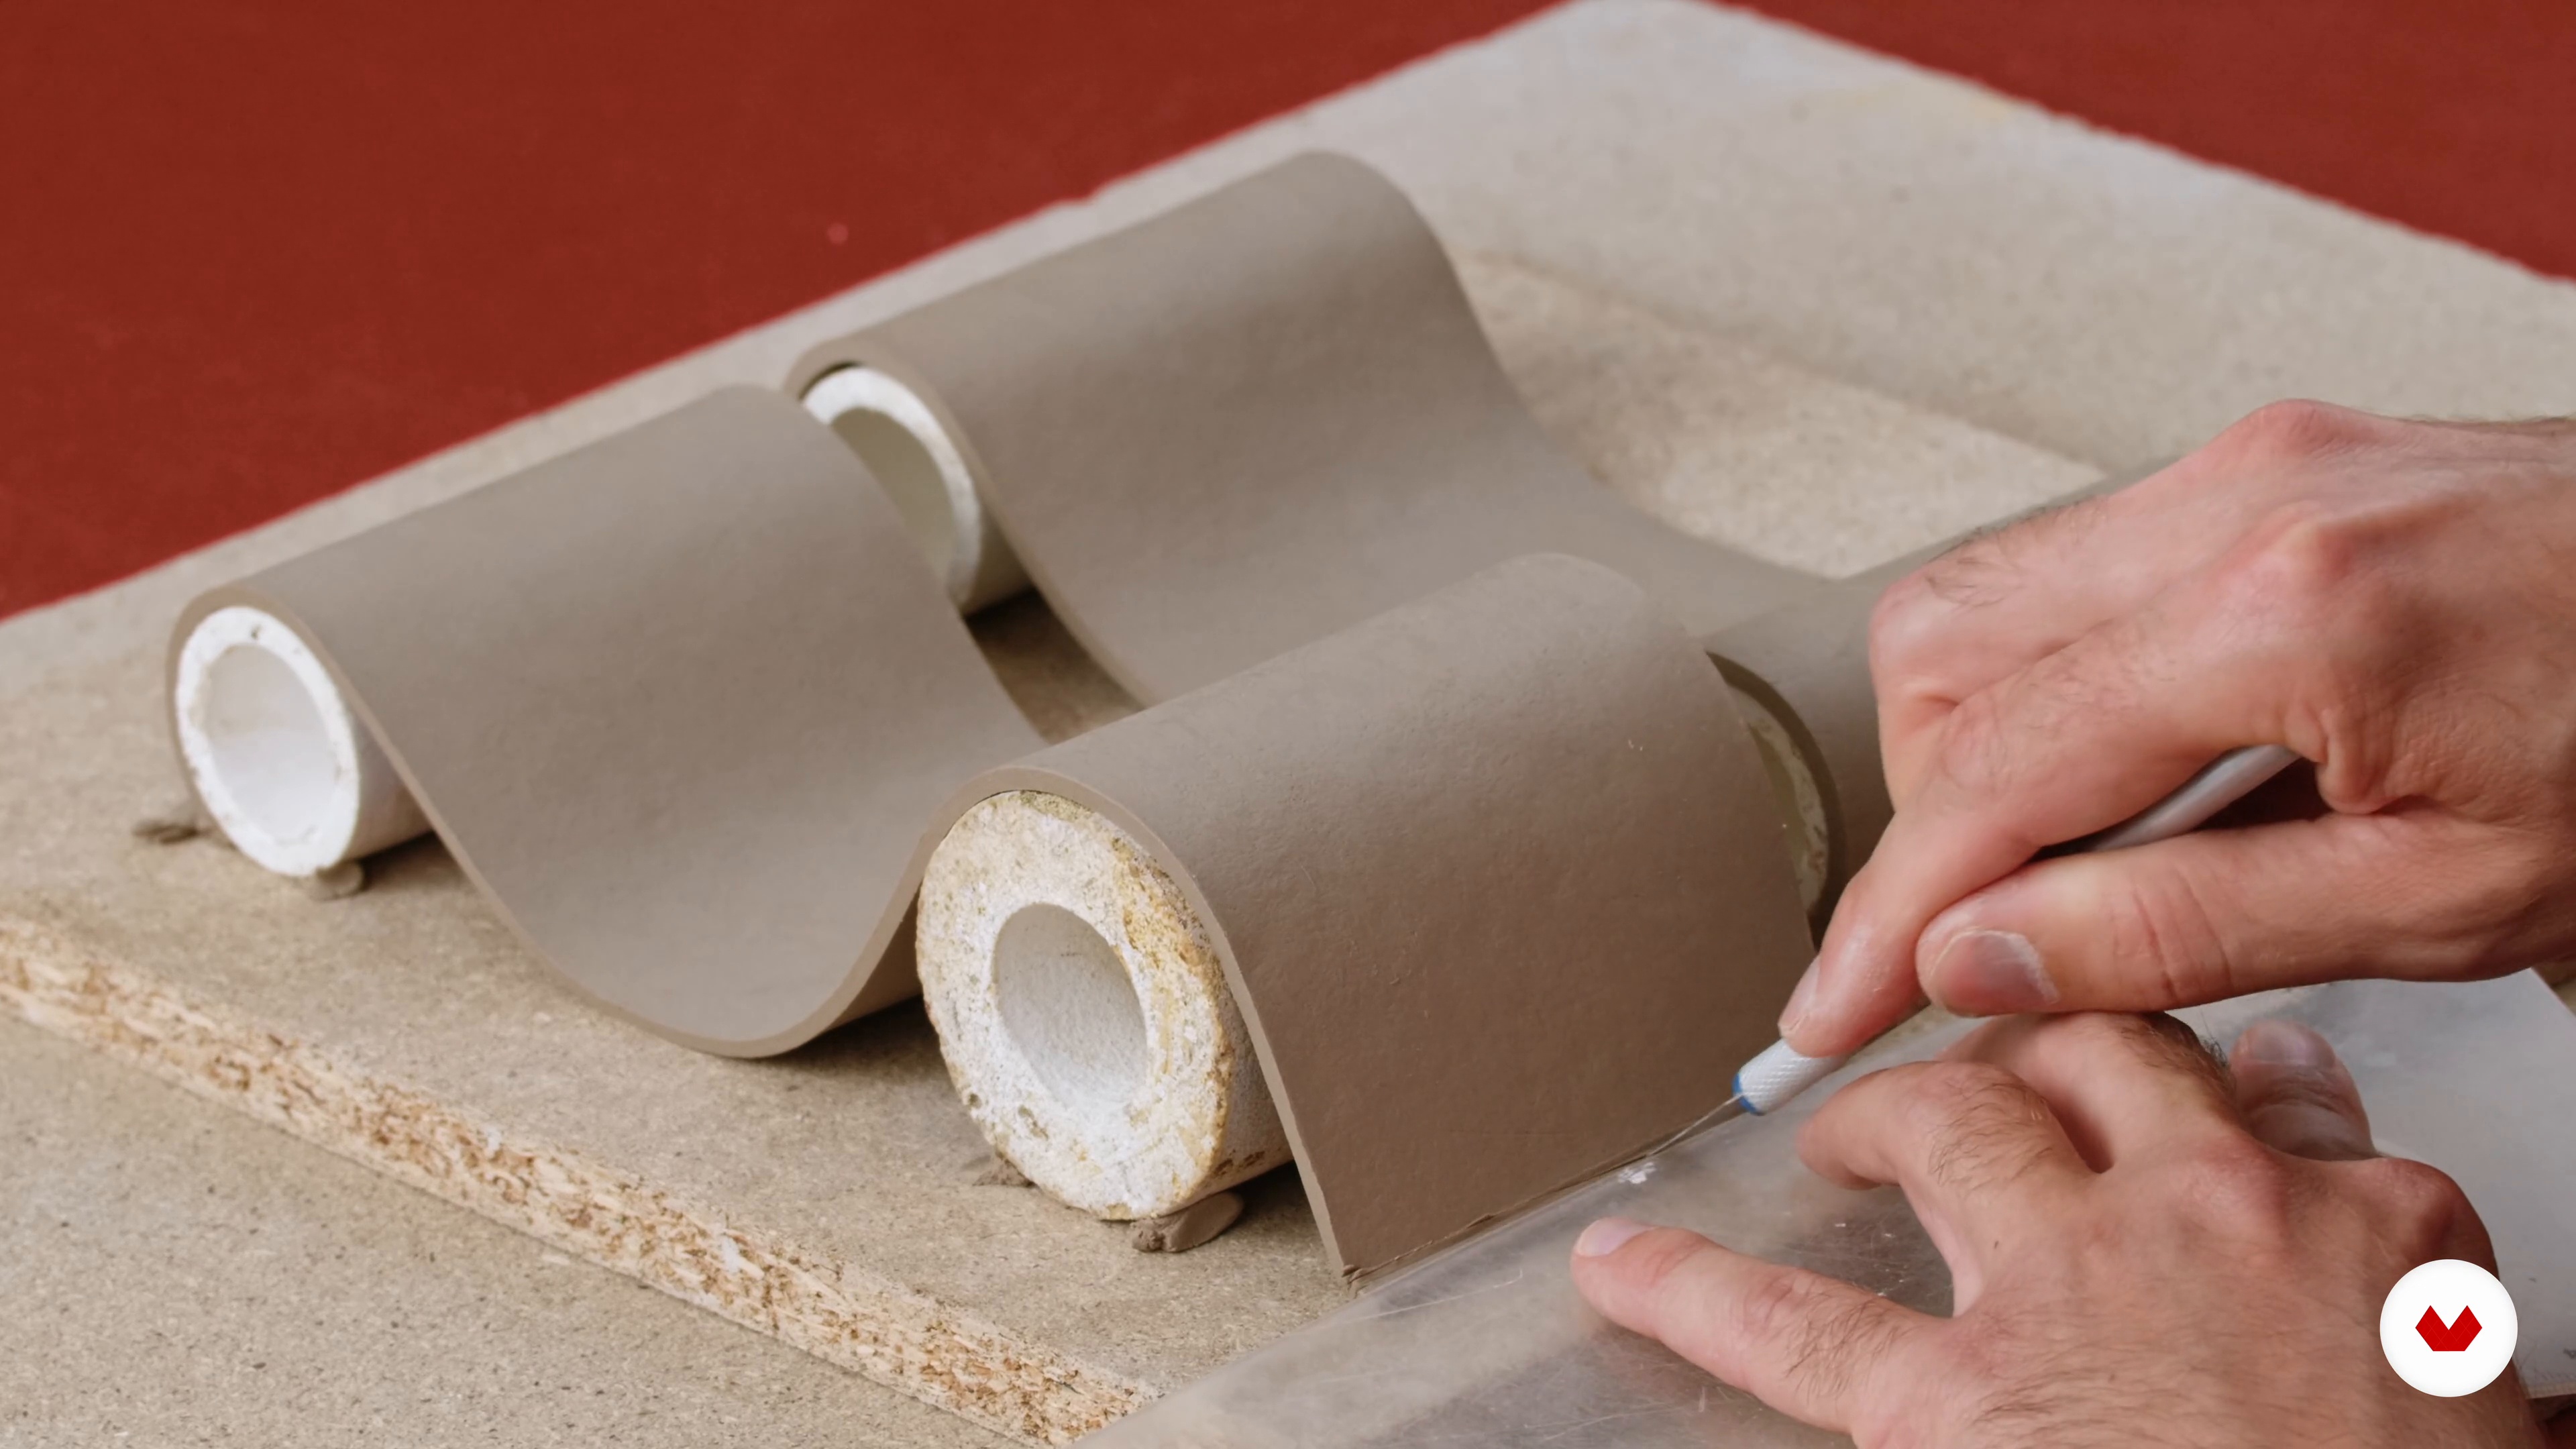
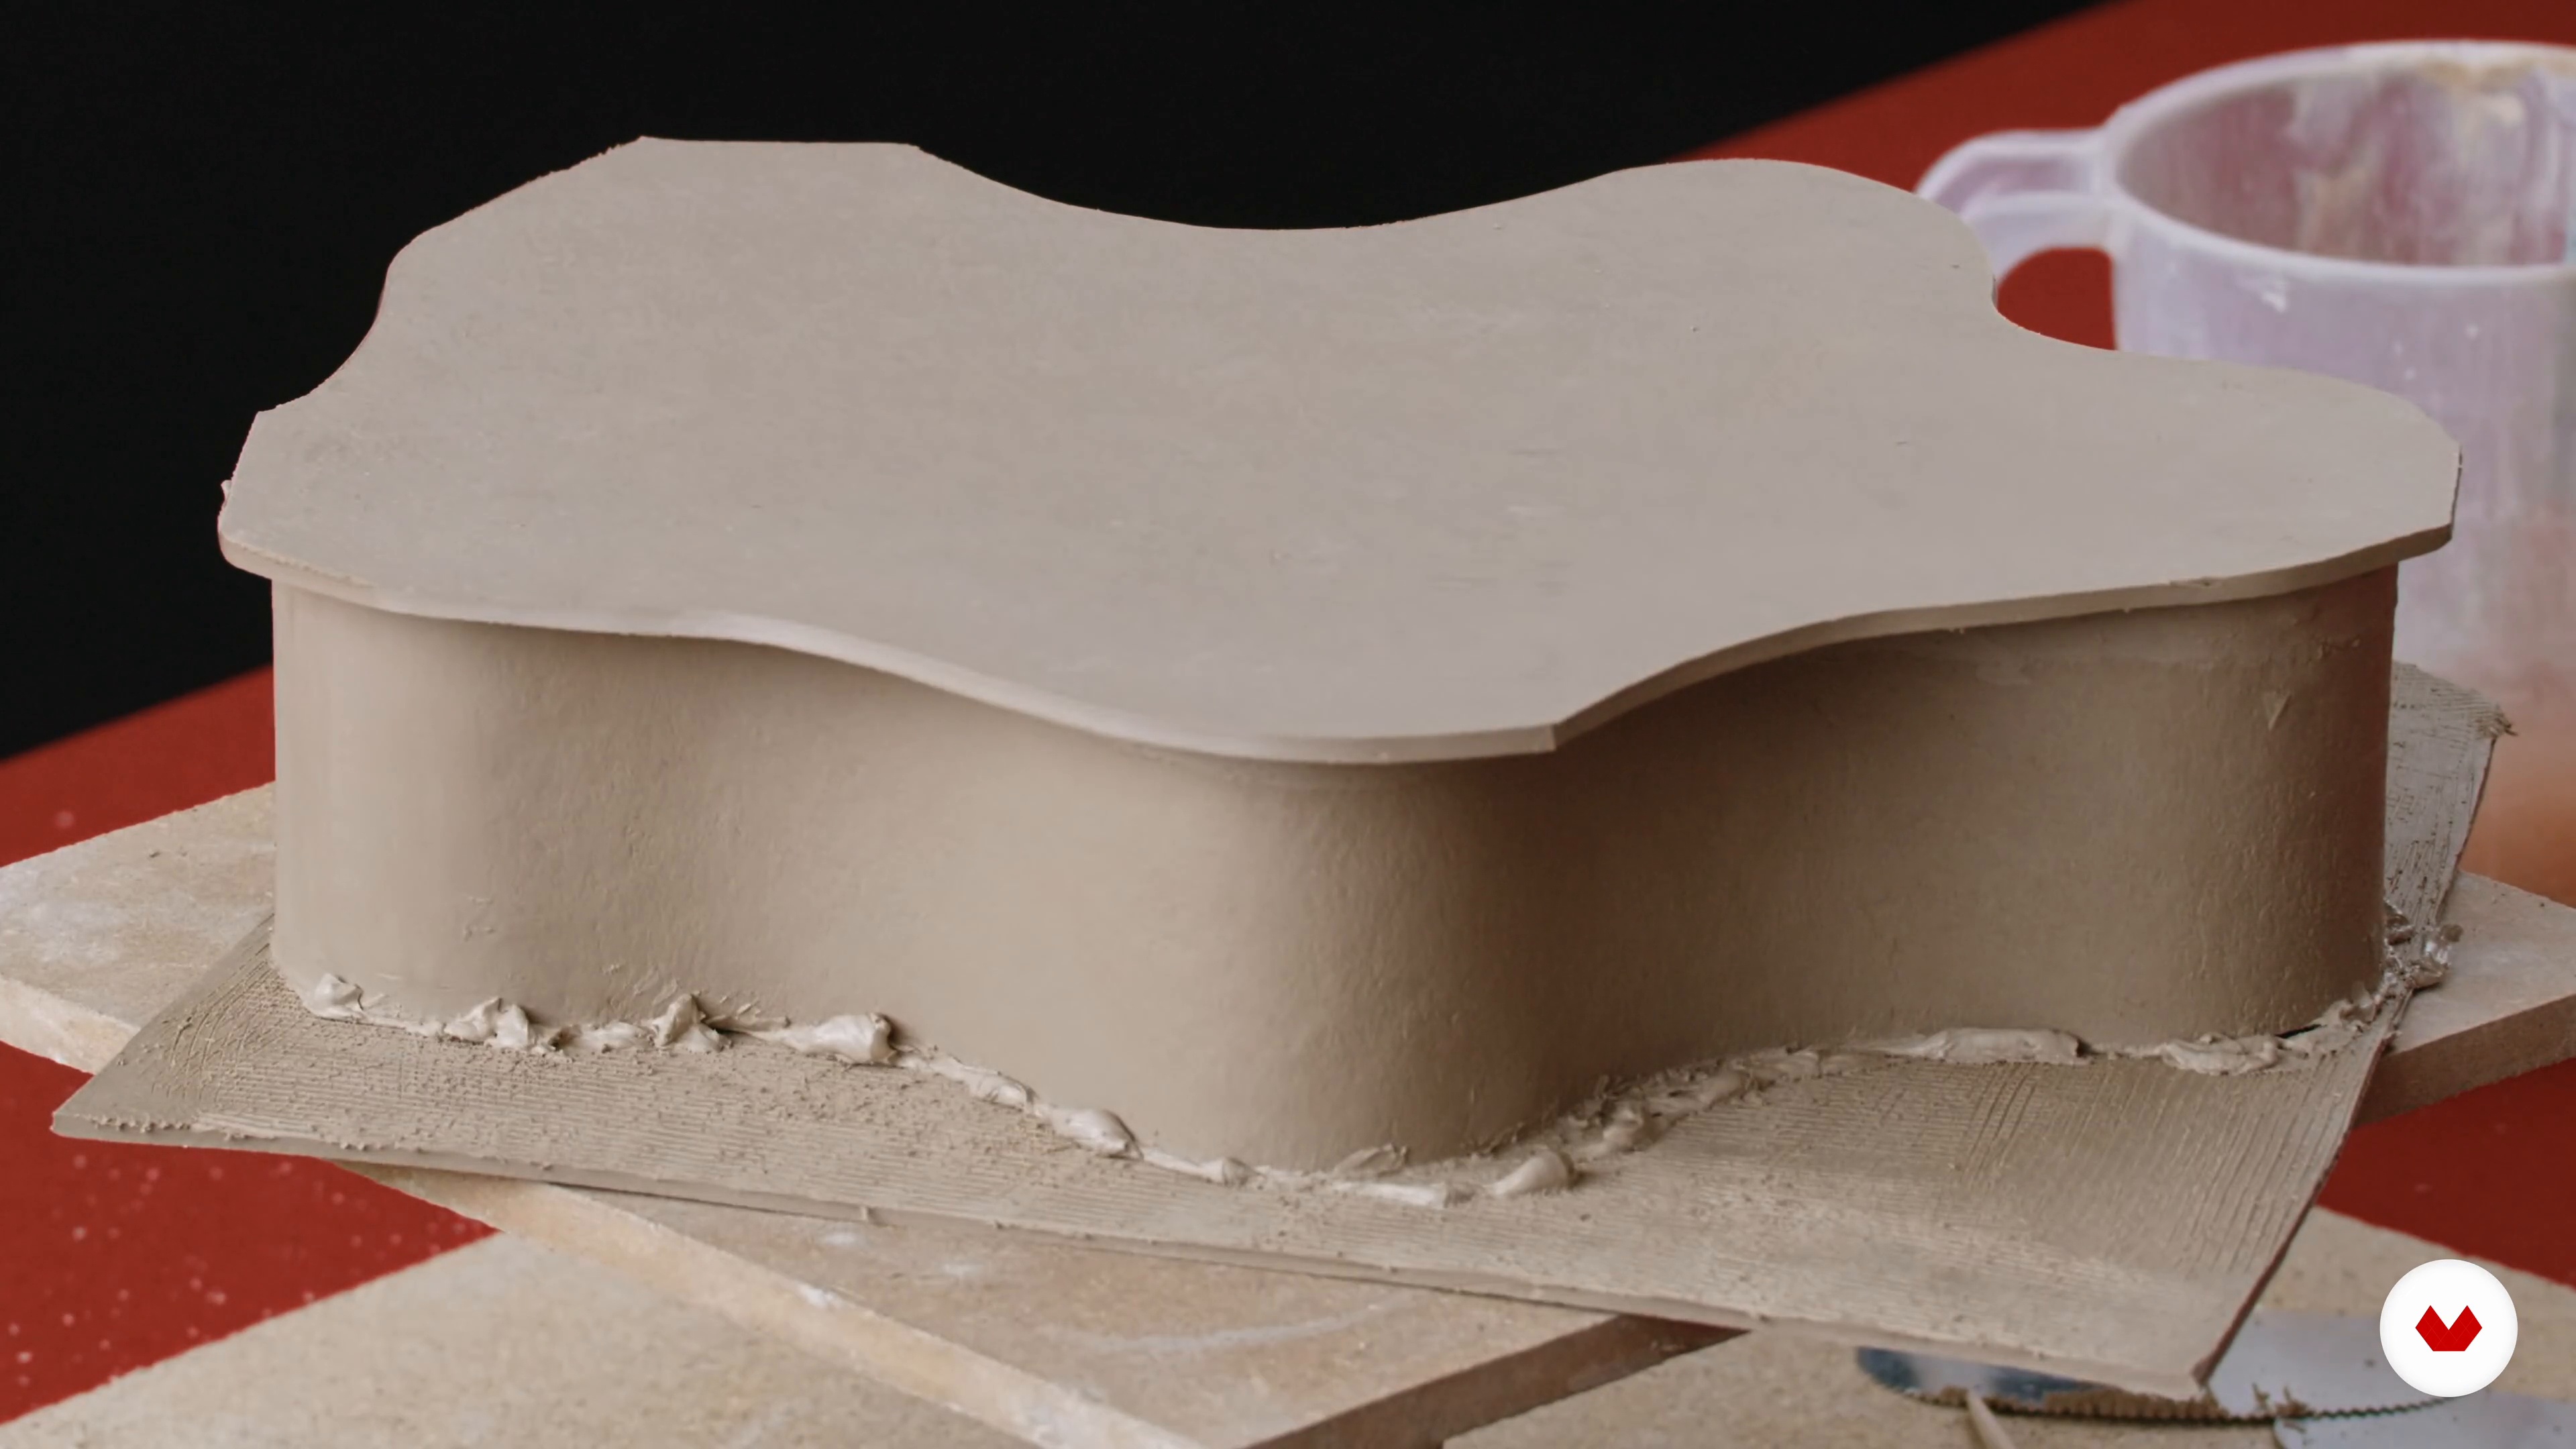
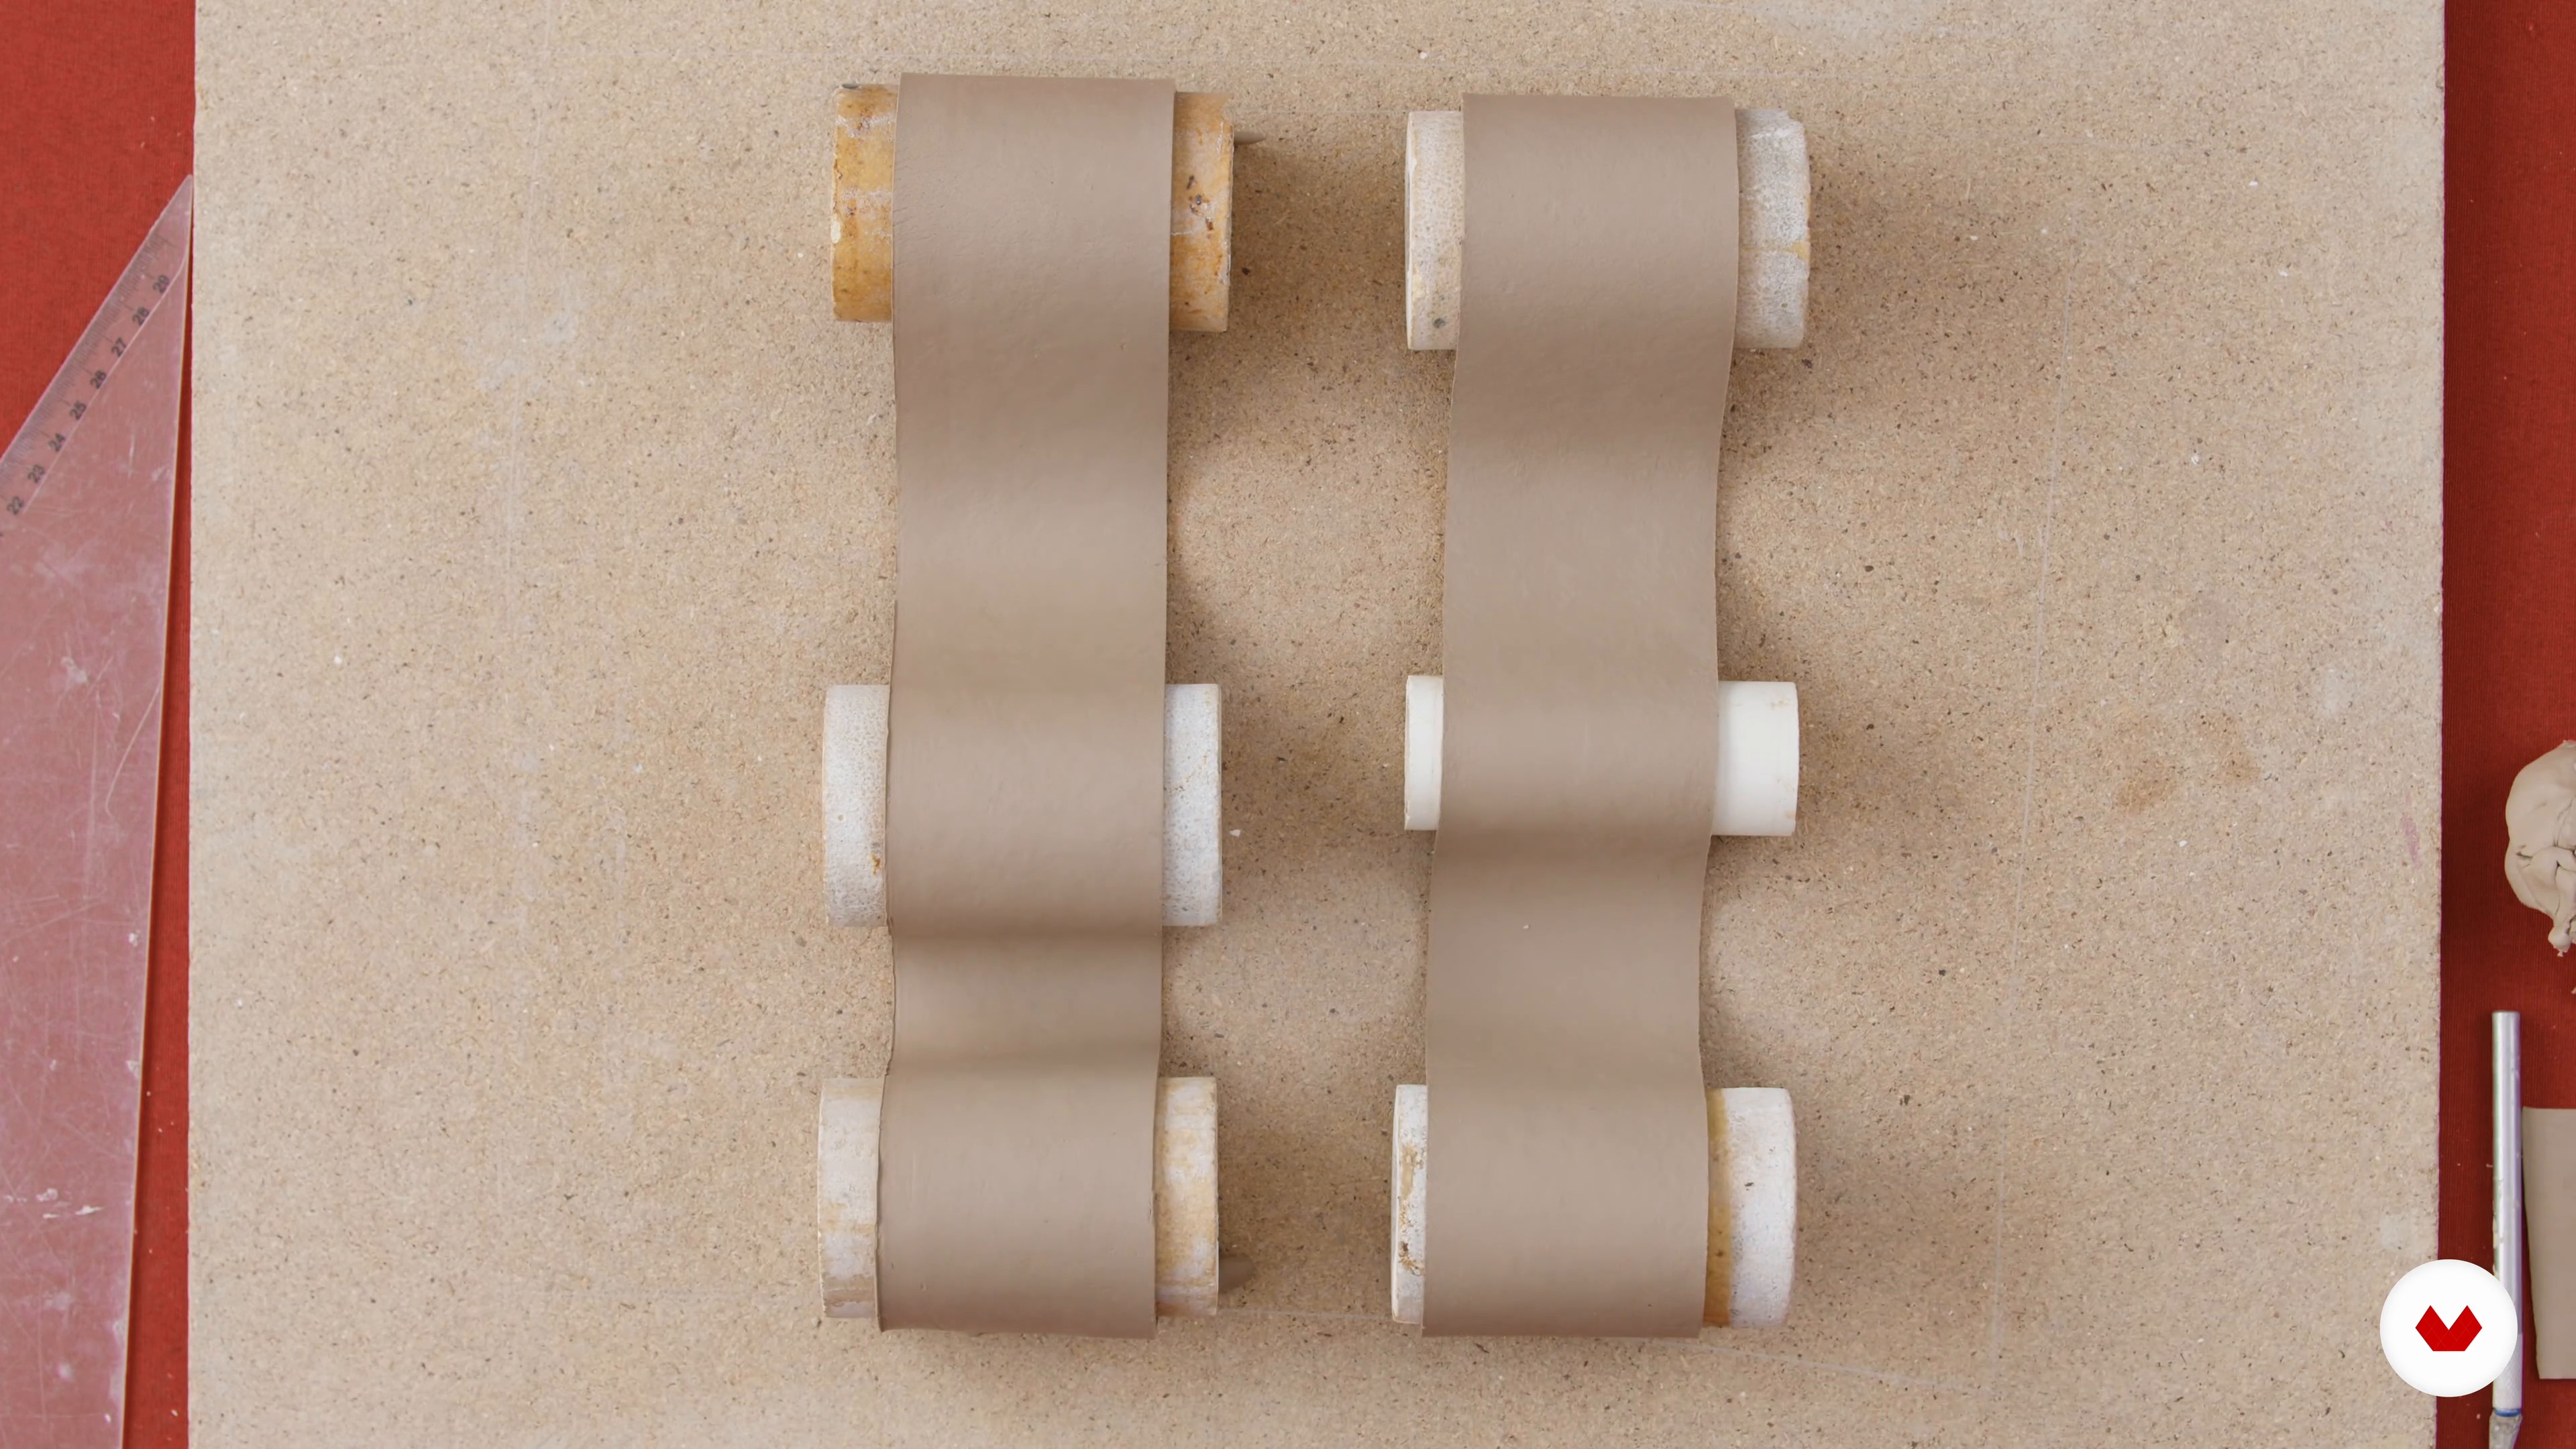
Next, I will show you how to make a wavy mold using the cylindrical shapes at your disposal. Then, I will lay the templates according to the corresponding future walls.
11m
image
6
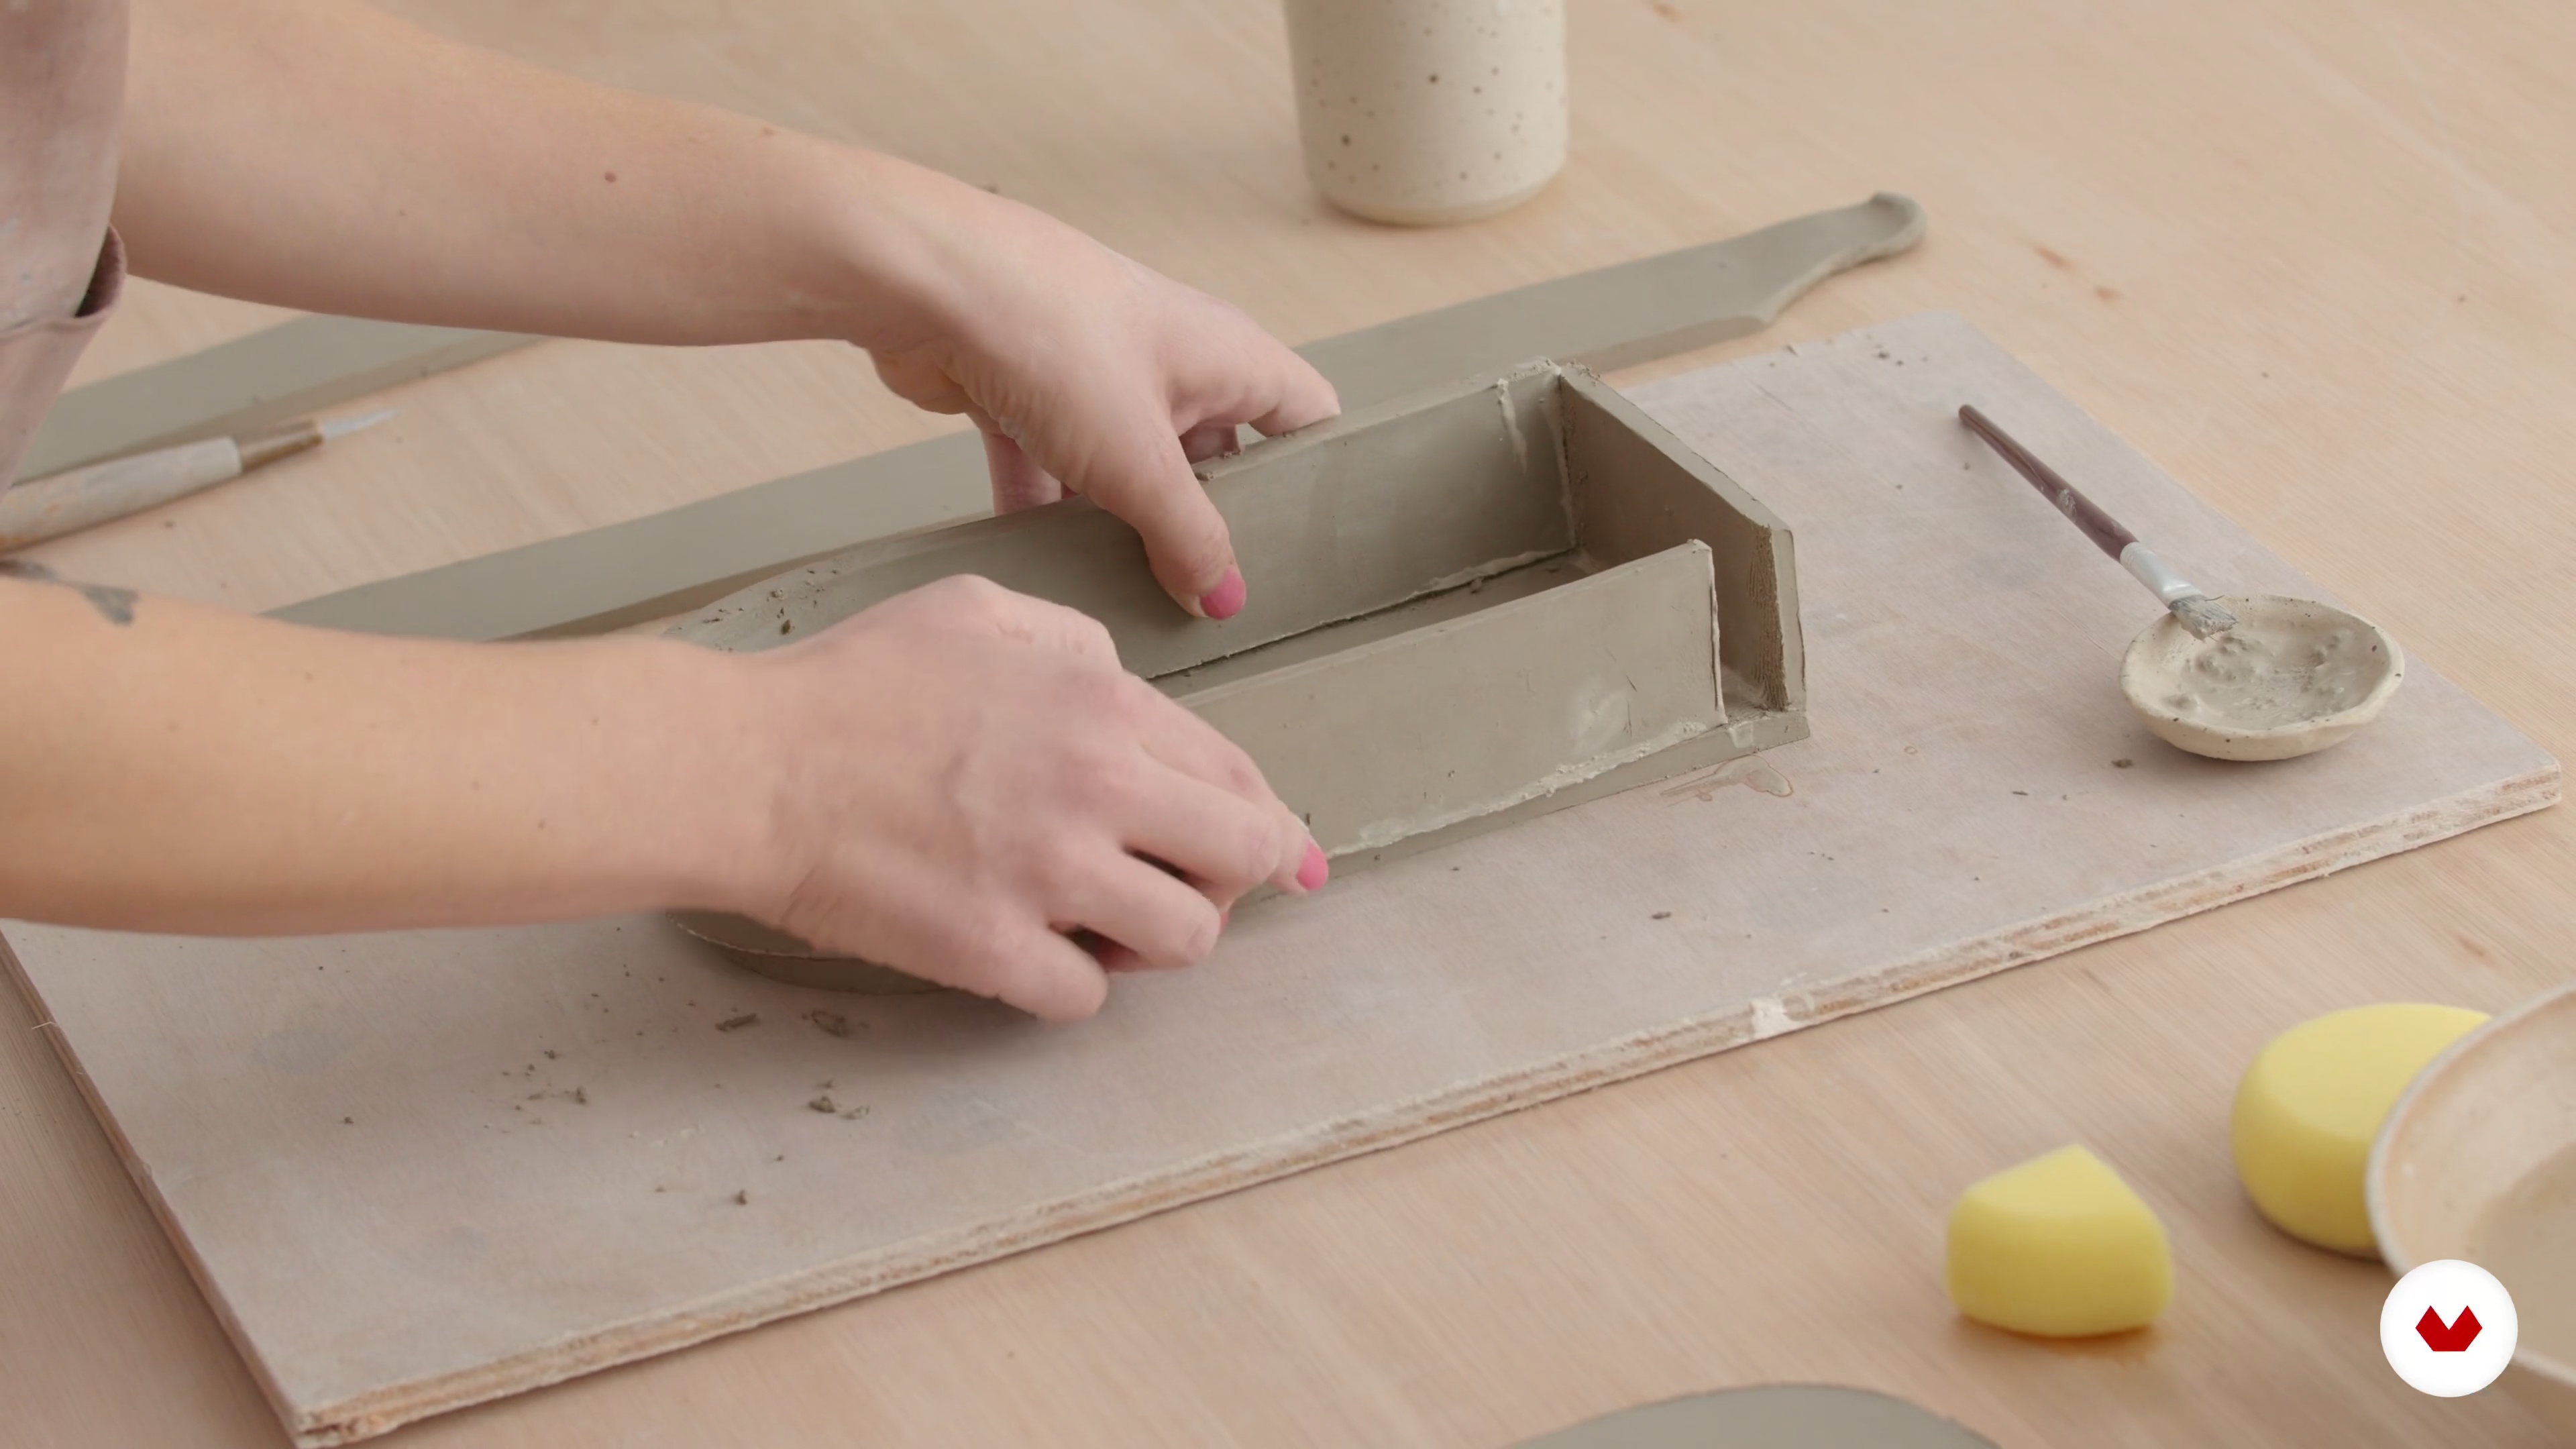
Connecting the Walls
After a half-hour wait, the leather-hard wall ribbons should be dry. Then, it's time to start assembling! I will teach you how to connect all the walls together, ready to attach the bowl floor to the walls.
18m
image
7
Flooring, Cleaning, and Detailing
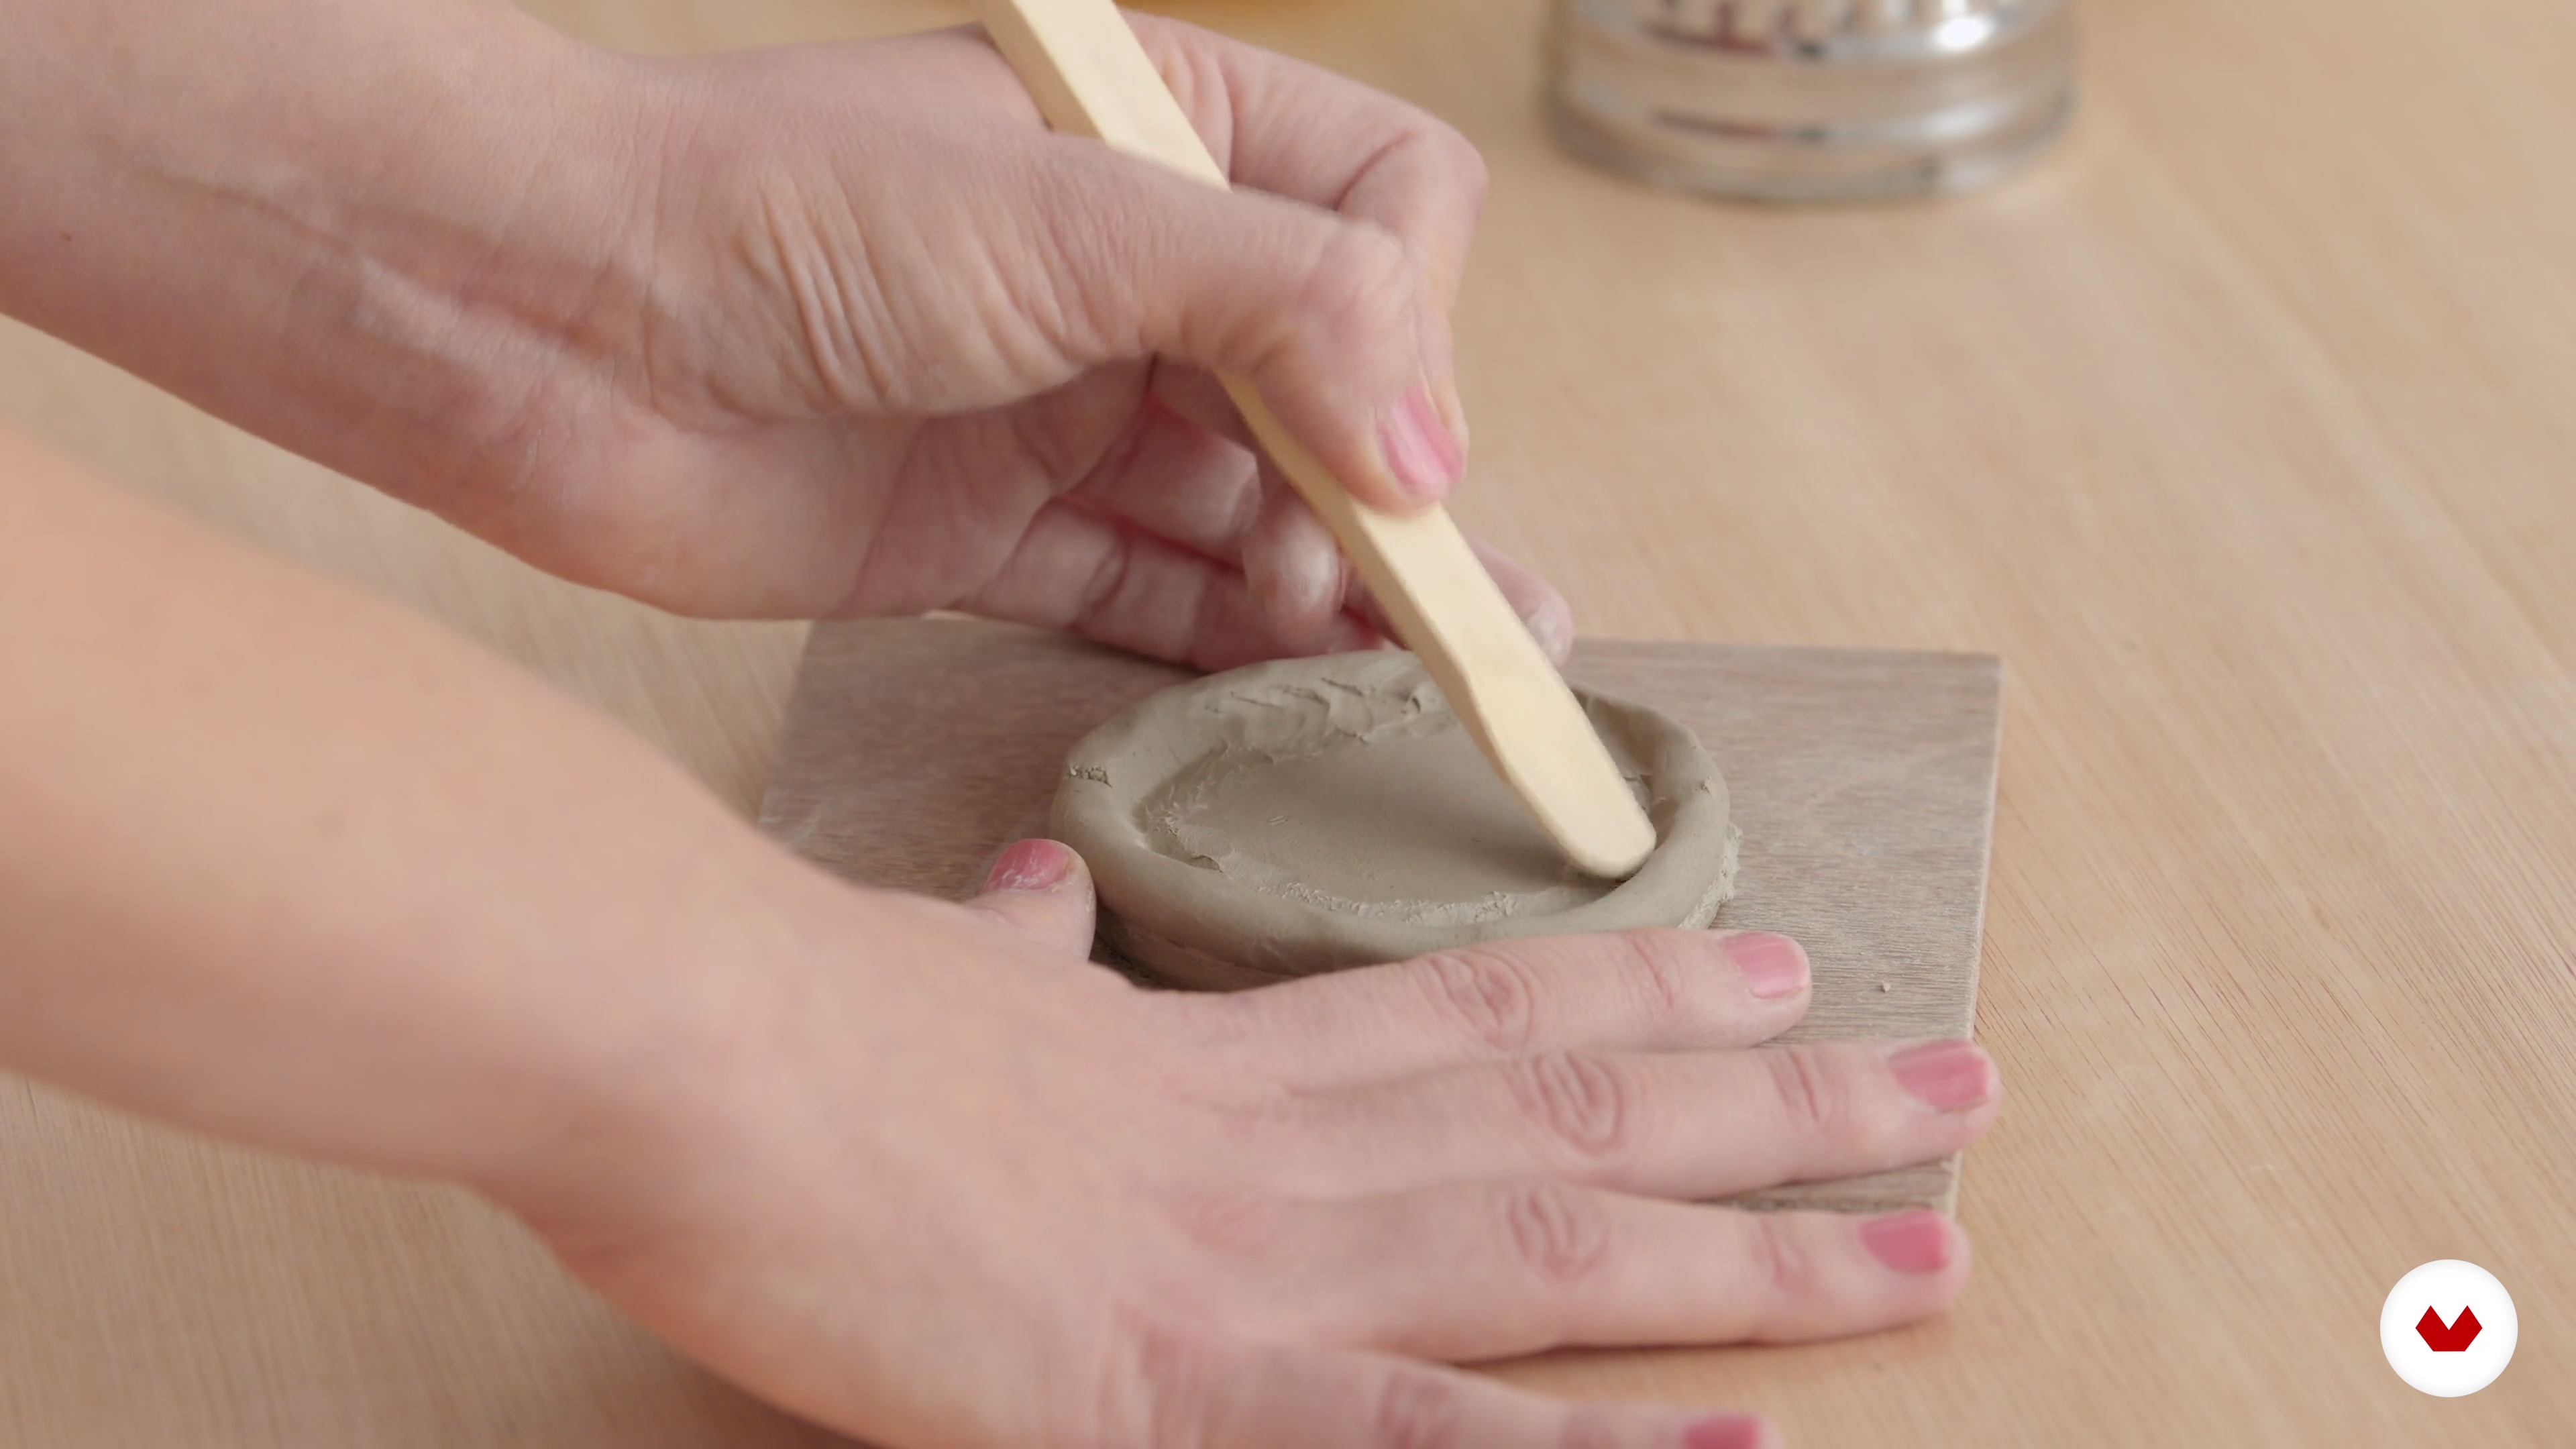
To bring the wavy bowl to a strong finish, I will show you how to connect the floor of the bowl, cut off any excess clay with a surgical knife, smoothen out the clay with a wooden modeling tool, and add any final details.
19m
image
8
Sketching the Silhouette
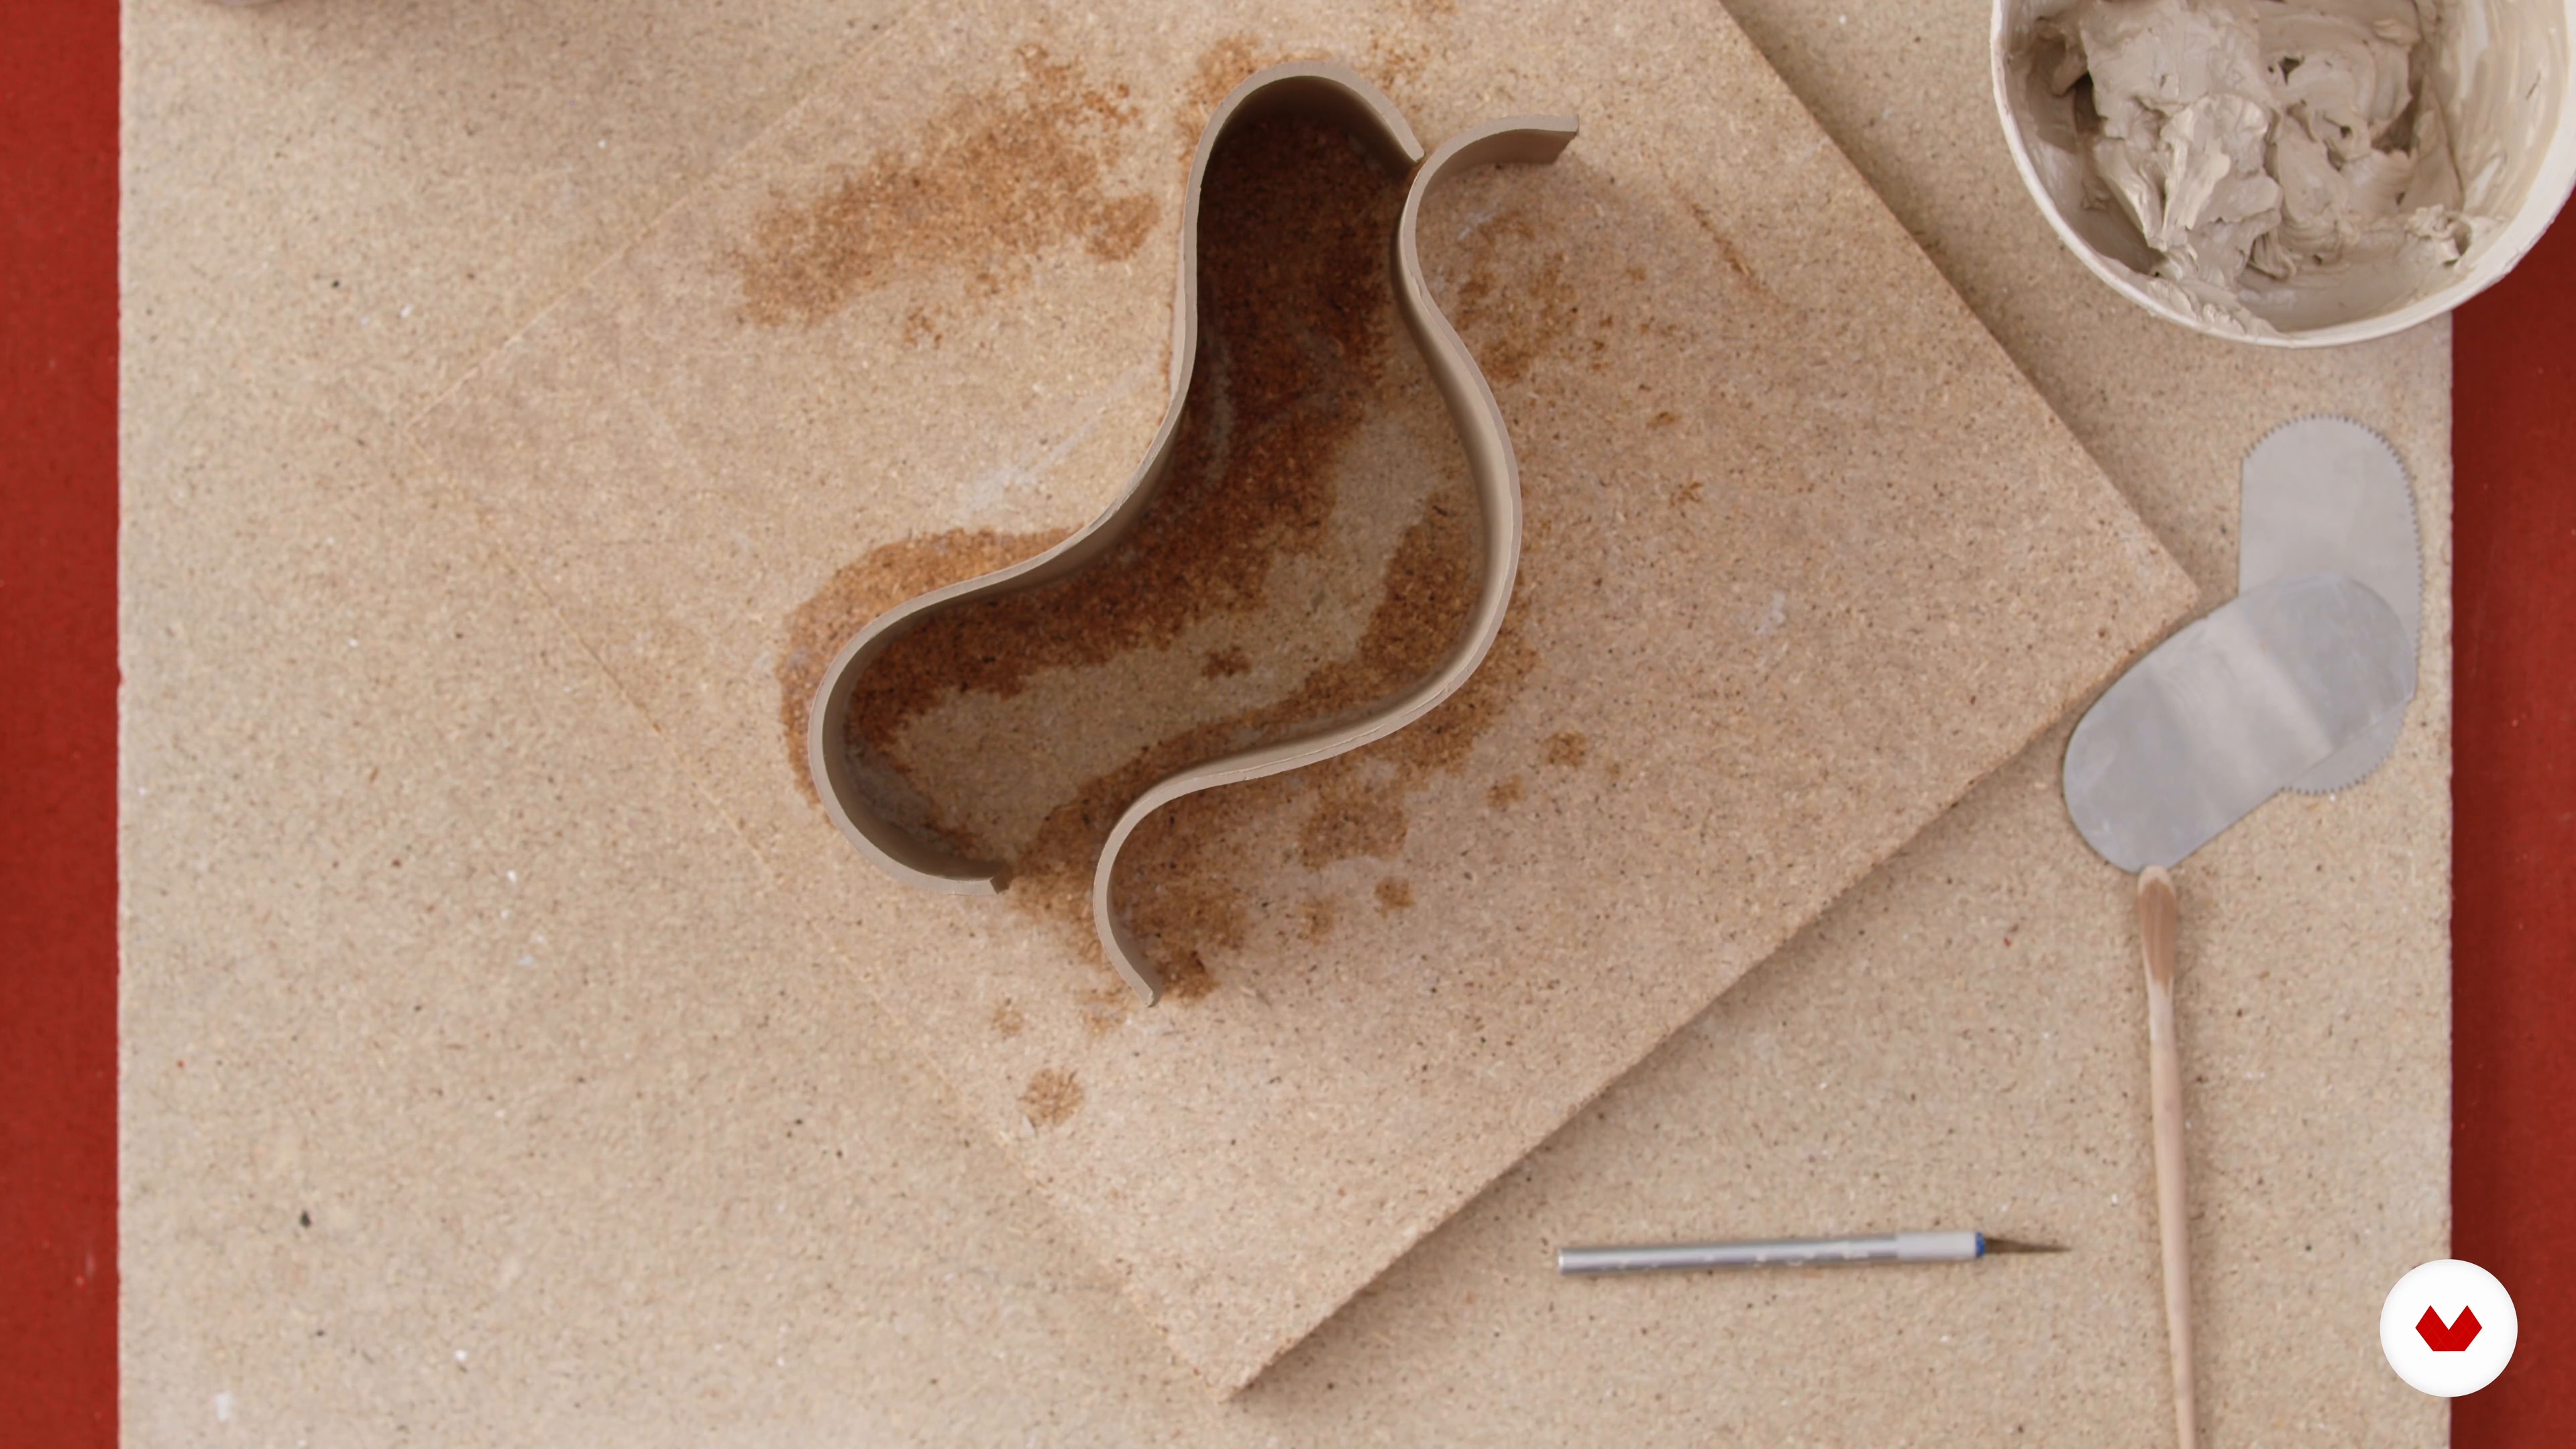
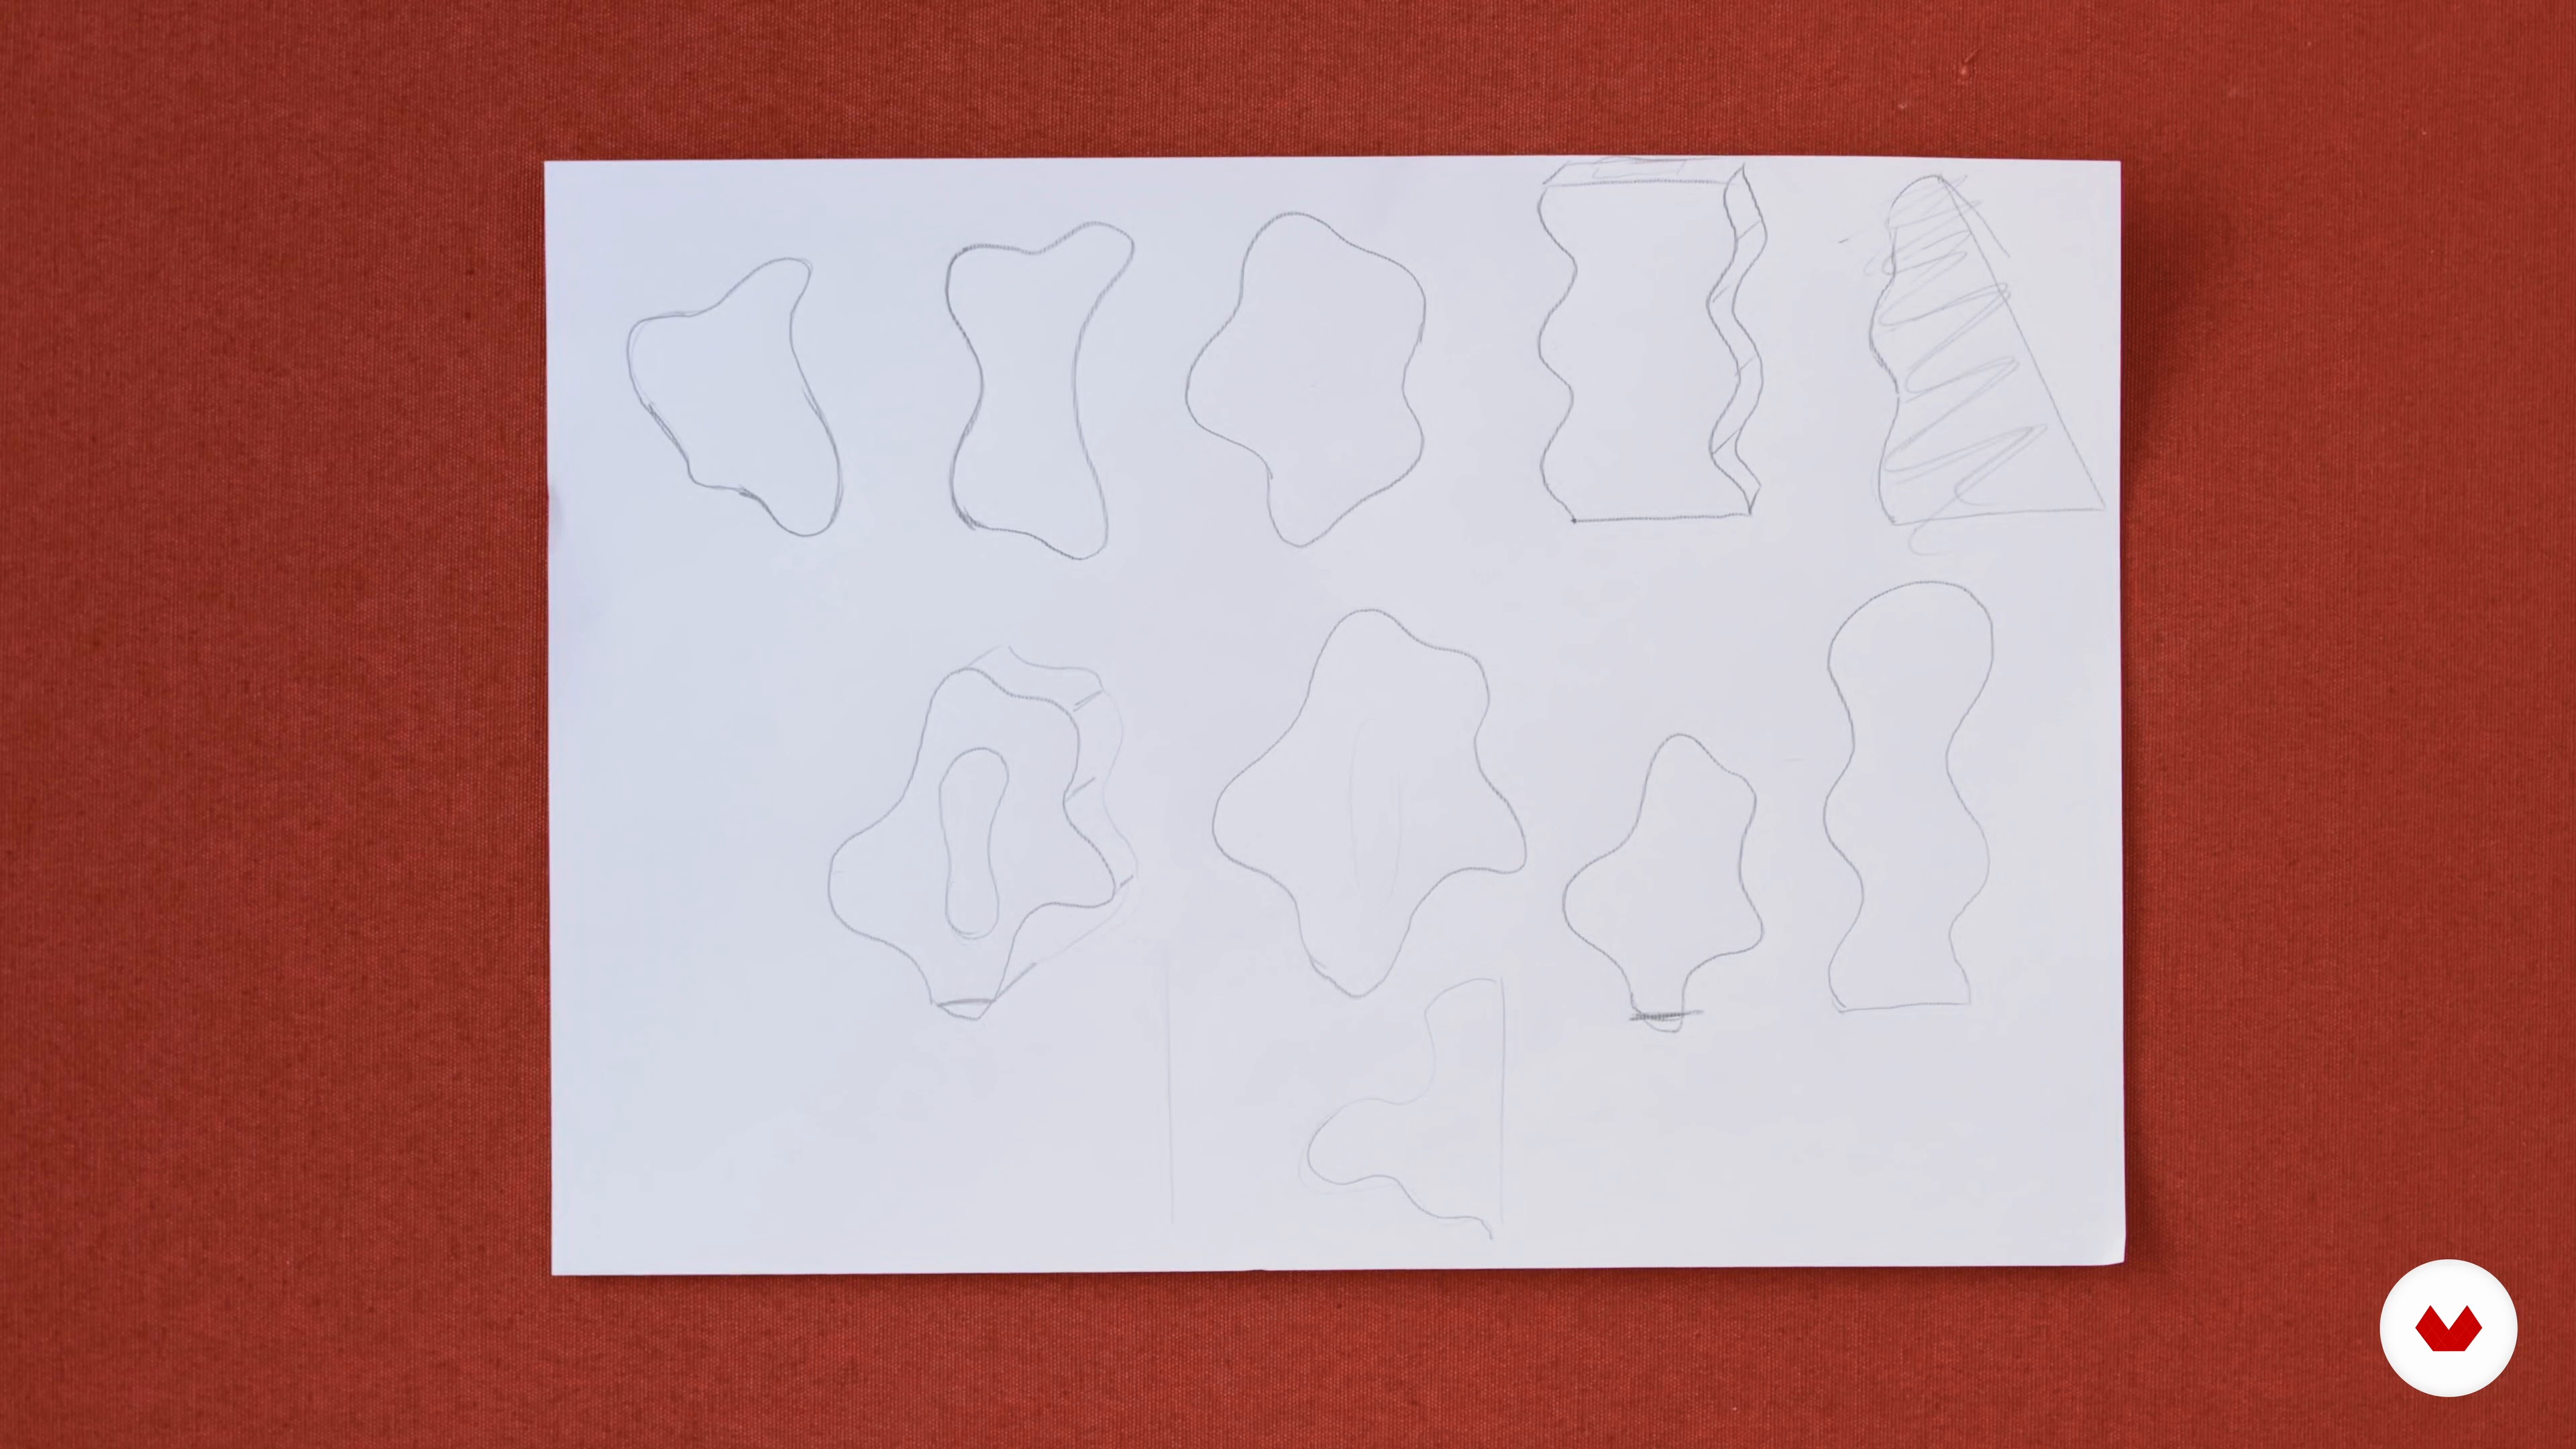
Let's draw some wavy ghost-looking silhouettes until you identify what pleases your eye! How many waves will you add? How deep will those be? These are some of the aspects that I will help you to define. However, while listening to my advice, remember that the objective of your course project is to freestyle a little. You don't have to stick to my personal plan.
10m
image
9
Rolling the Slab
To create the hollow vase, we will follow a similar process to that of the wavy bowl. First, I will guide you in making multiple flat slabs. You will cut these and use them as templates for the vase walls and floor. After, I will show you how to make a wavy mold using cylindrical shapes and then lay the templates (as before).
7m
image
10
Laying the Walls
Once again, the time to assemble has come! Let's reveal the silhouette by creating the ribbons of the inner and outer walls.
11m
image
11
Connecting and Gluing the Walls to the Faces 1
When you have all the walls ready, the next step is to connect them and assemble both faces of the vase. In this lesson, I will show you how to do this. At this stage, your vase will come to life and start to resemble the initial sketch you created.
12m
image
12
Connecting and Gluing the Walls to the Faces 2
Now that I'm happy with the shape of my walls, I will demonstrate how to prepare and attach the faces. Remember to imitate my process as quickly as you can to avoid the clay drying out.
13m
image
13
Cutting and Inserting the Inner Hole 1
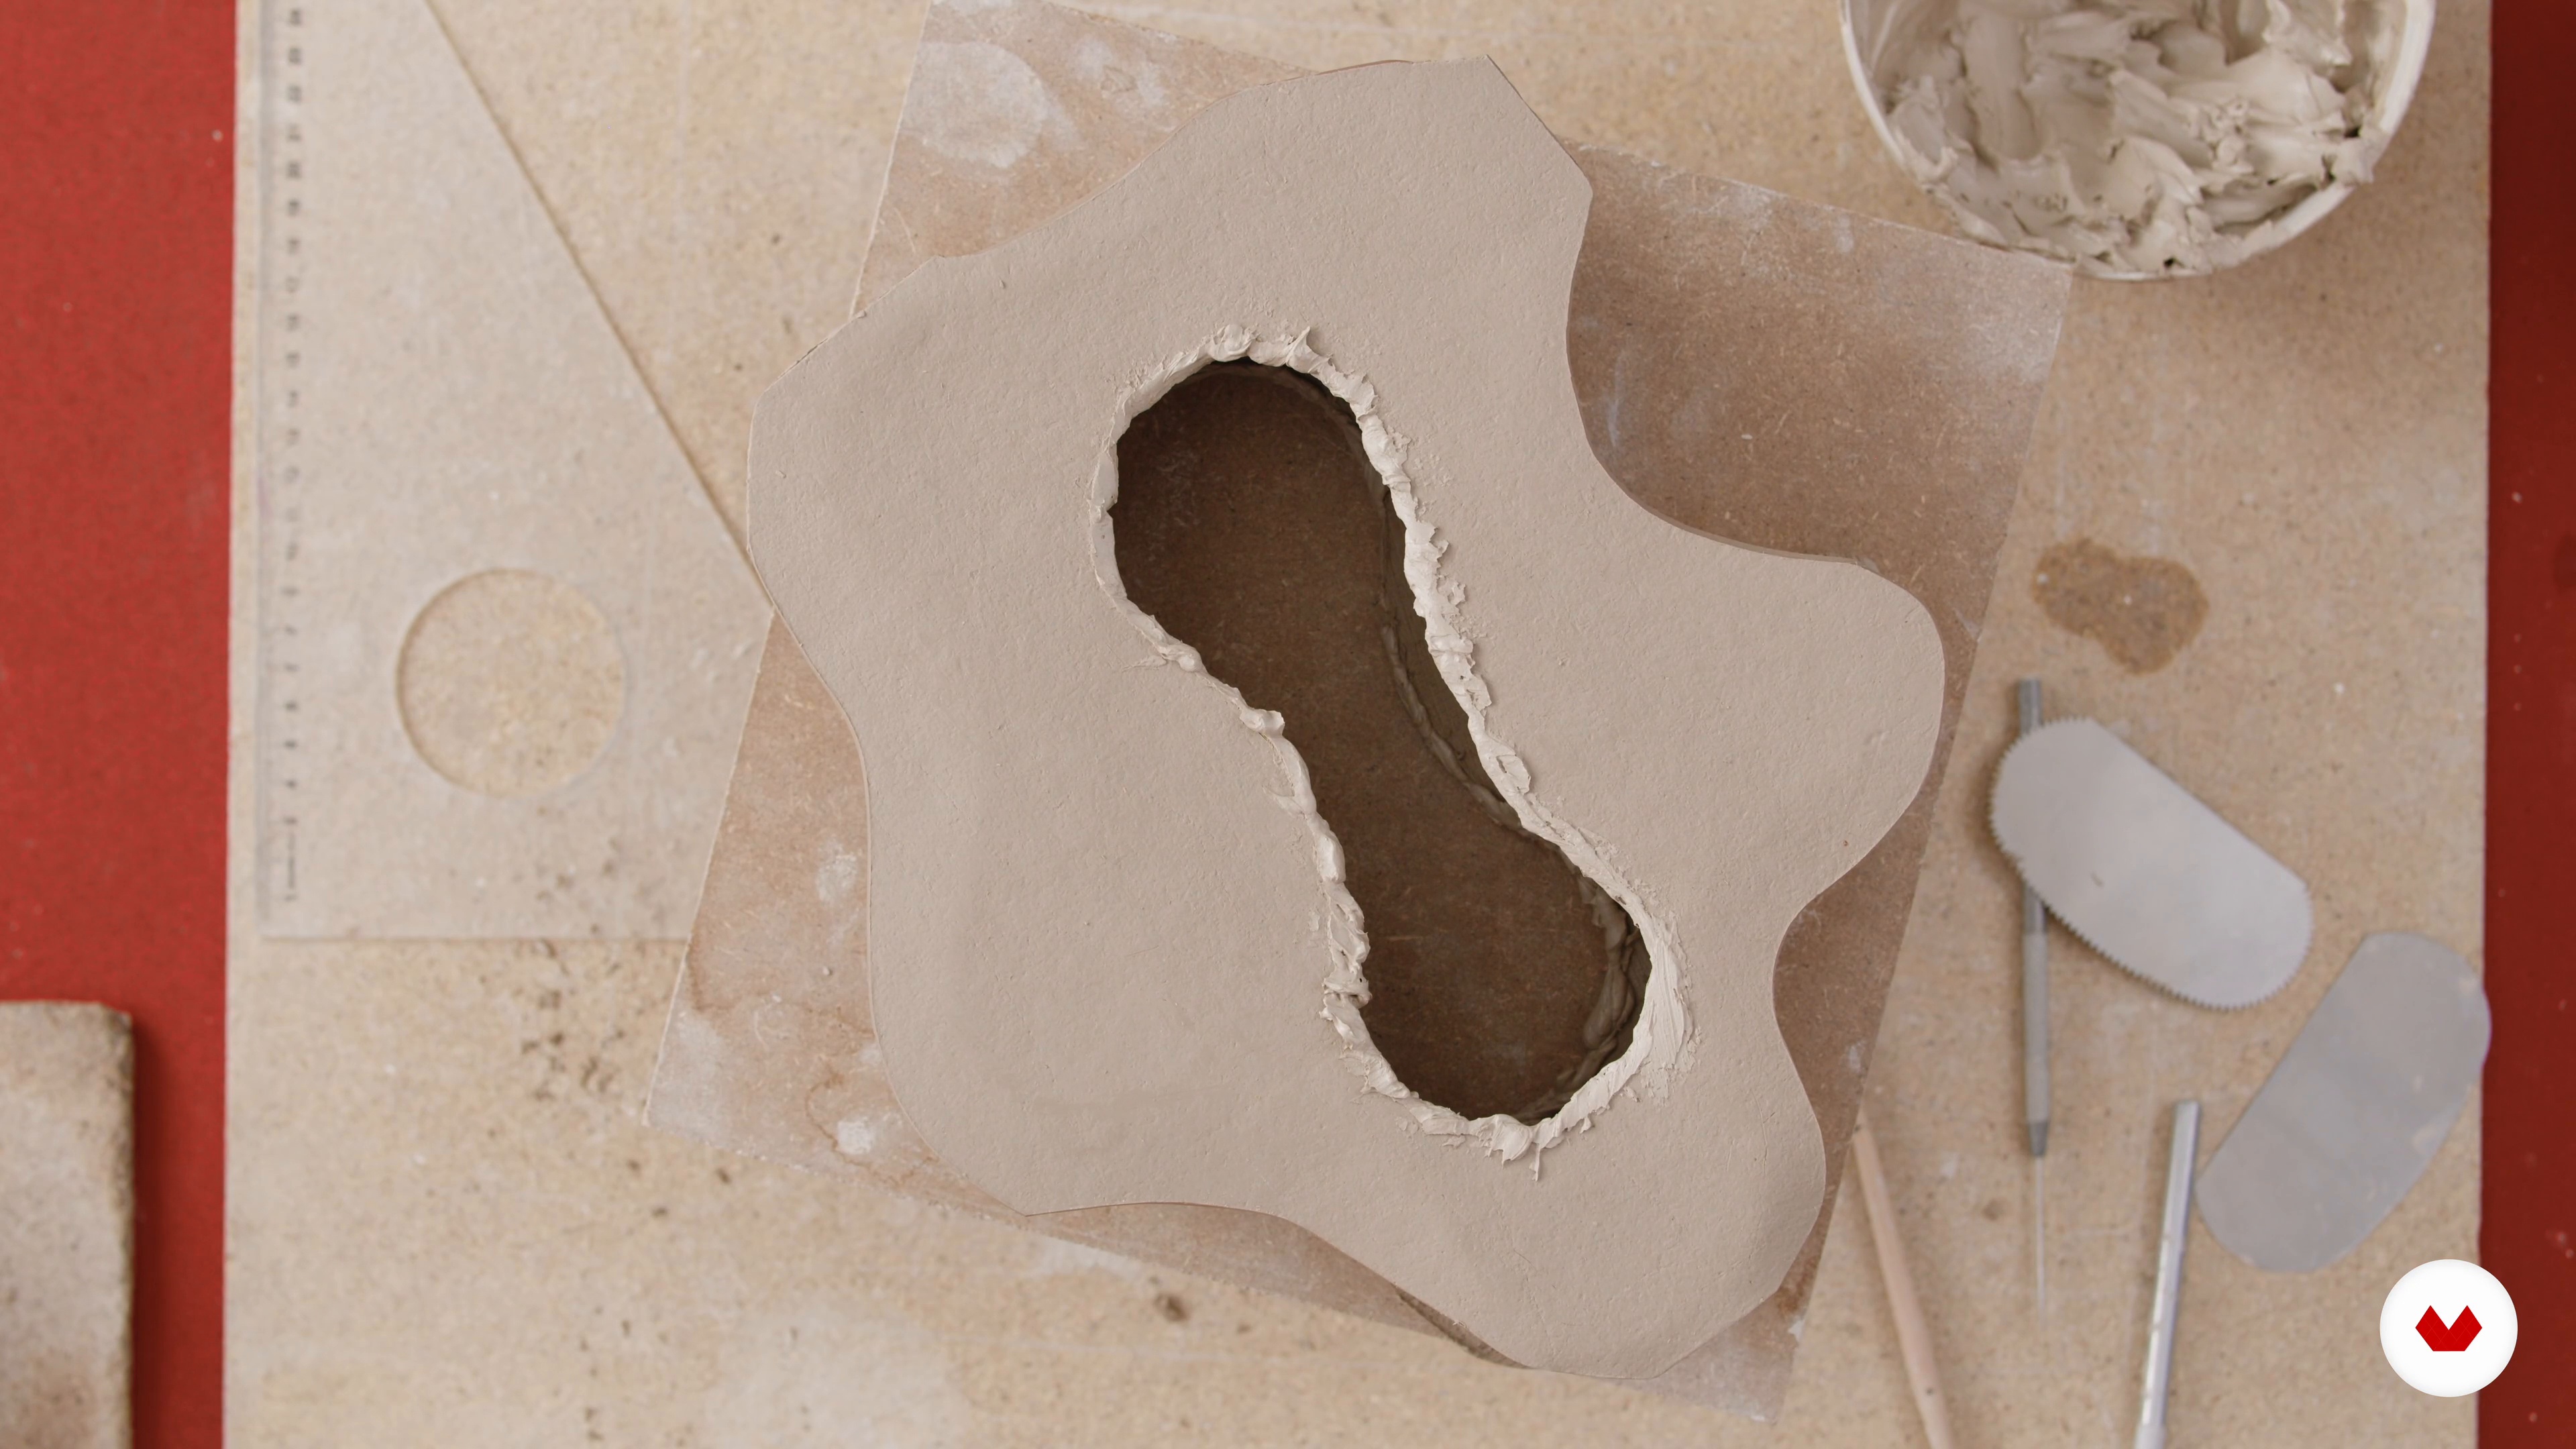
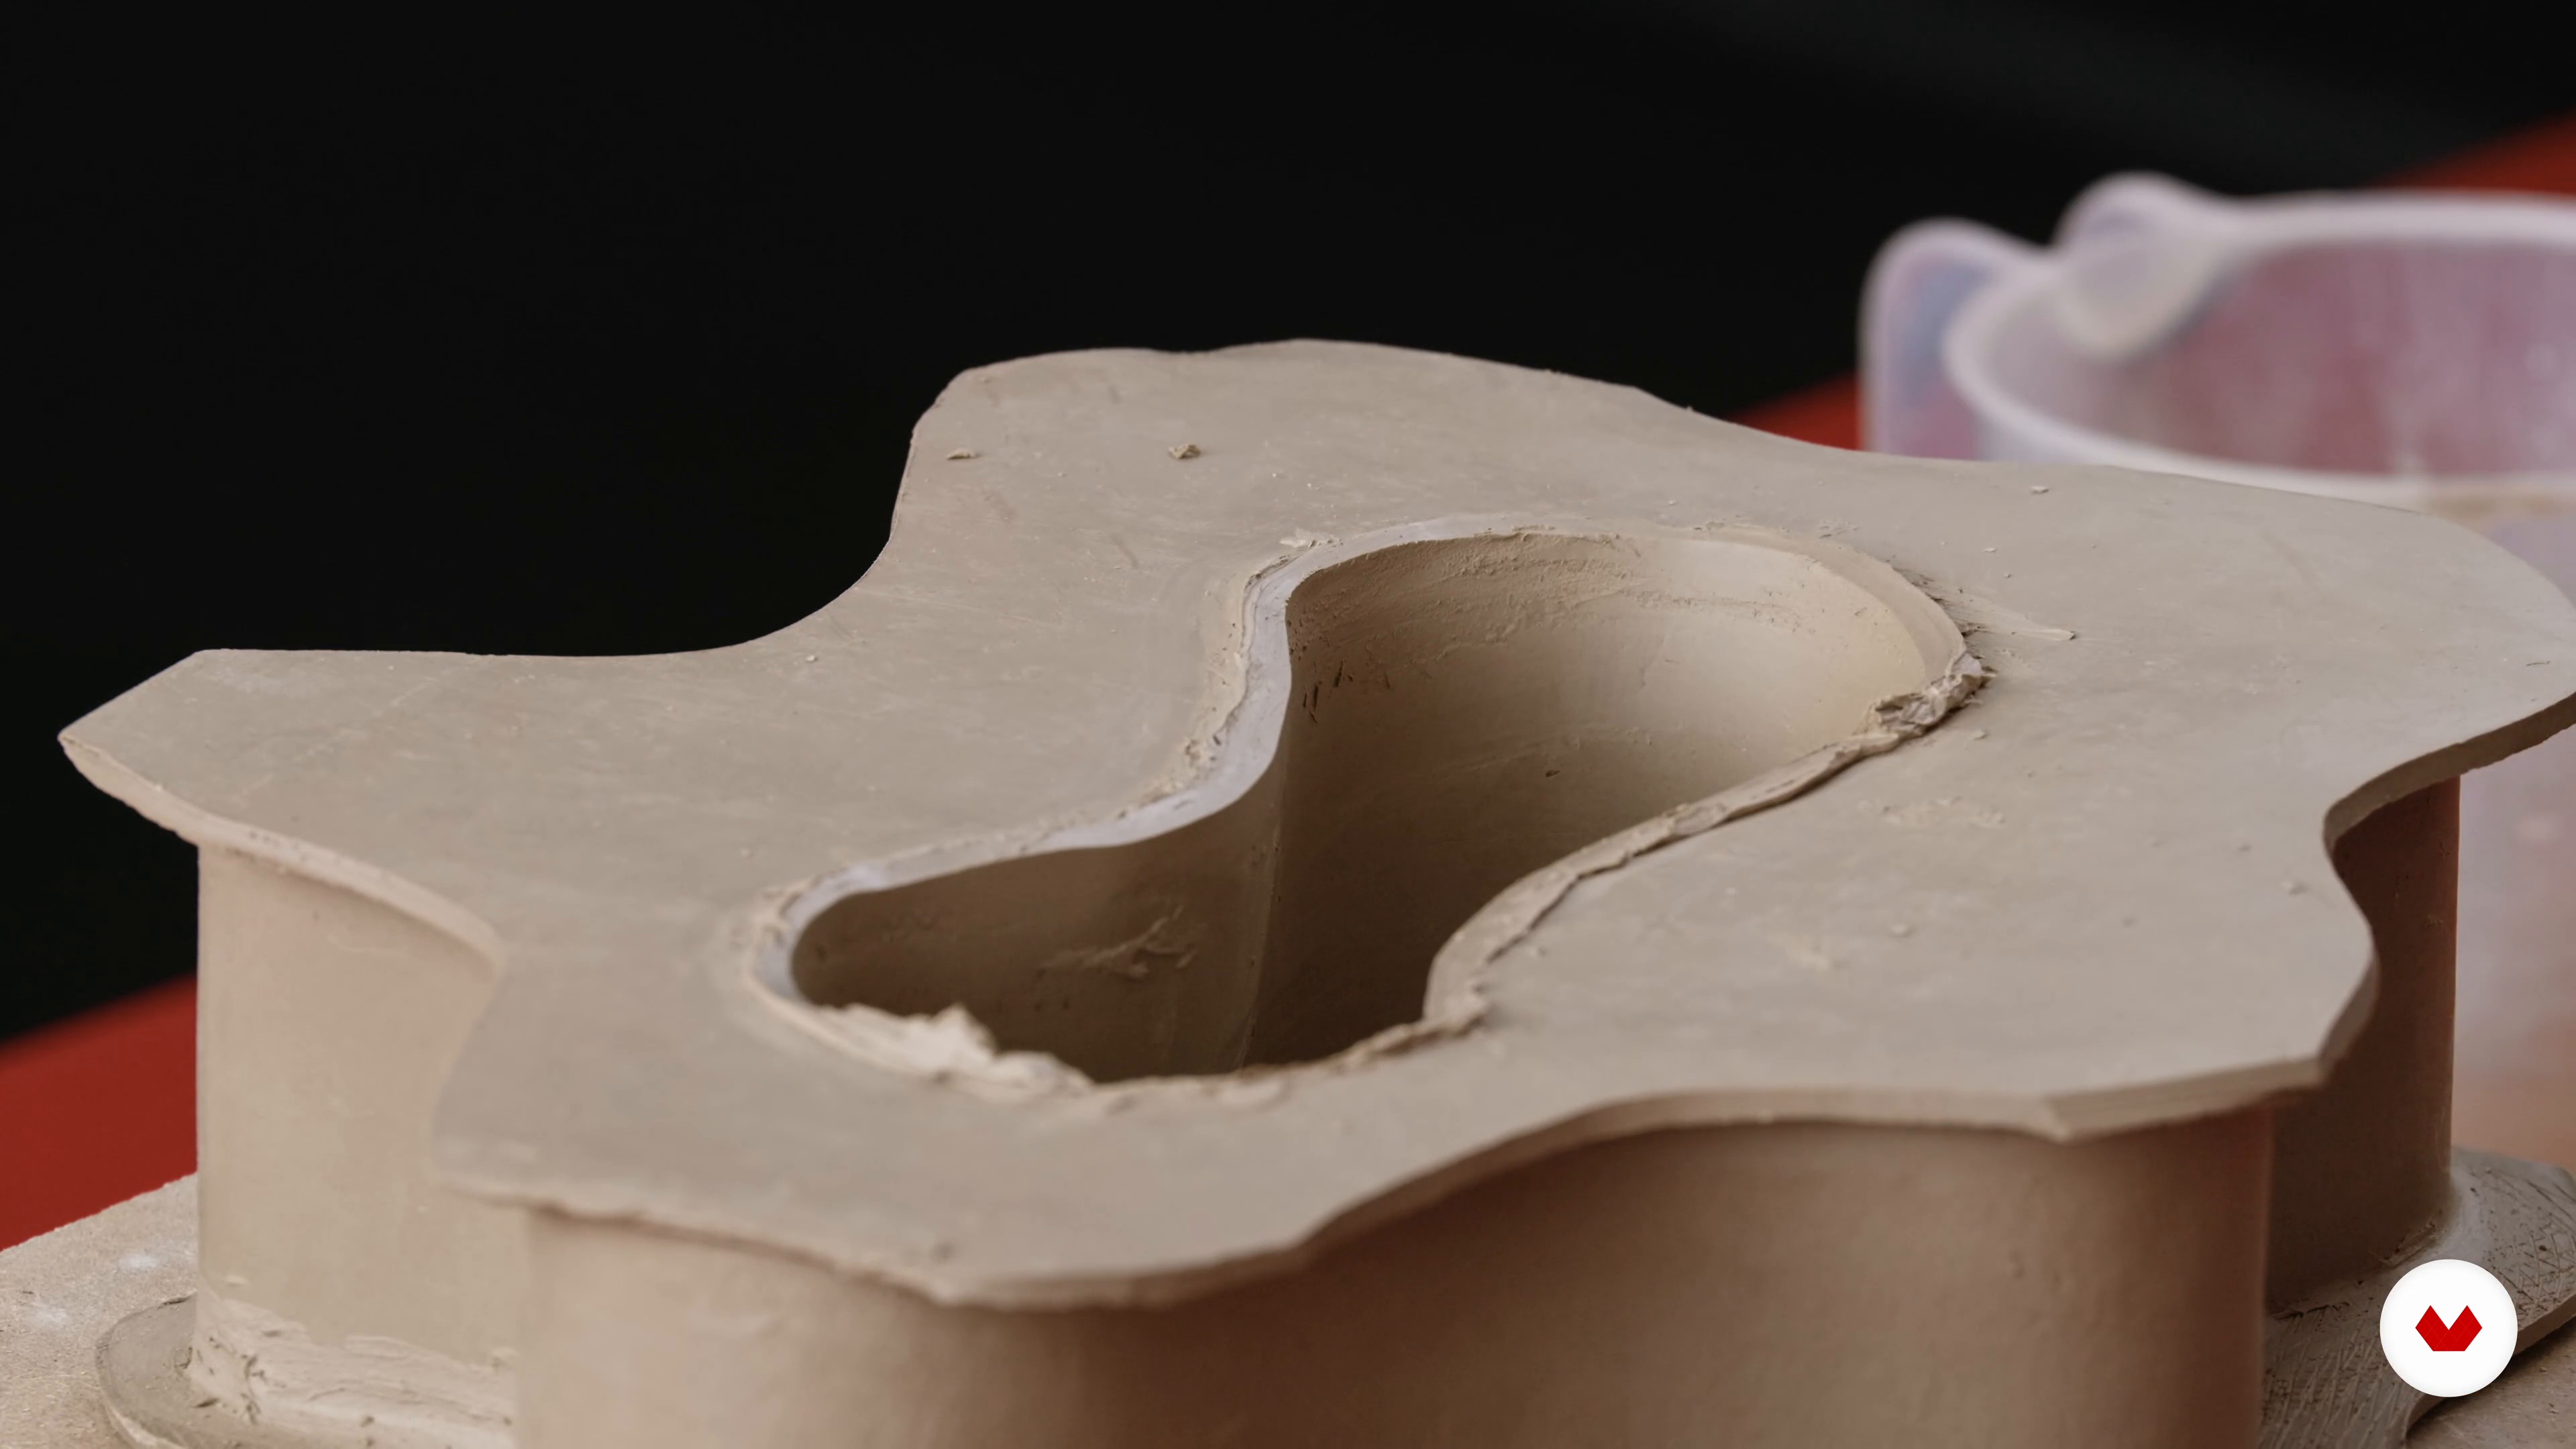
Let's take it one step further. I will now demonstrate how to cut the center of the vase to insert the inner wall we made in the lesson "Laying the Walls". This is the most challenging step, so if you've been struggling with the process so far and feel happy with what you've already achieved, it's possible to skip this step and jump to the finishing touches. But, if you can, I encourage you to rise to the challenge!
13m
image
14
Cutting and Inserting the Inner Hole 2
As with all challenging steps, this part of the process requires a little more time and guidance. In the second part of this lesson, I will put my bean-shaped structure into place so that it's touching the base of my vase, before gently pushing it toward the slip and filling in the cavities.
12m
image
15
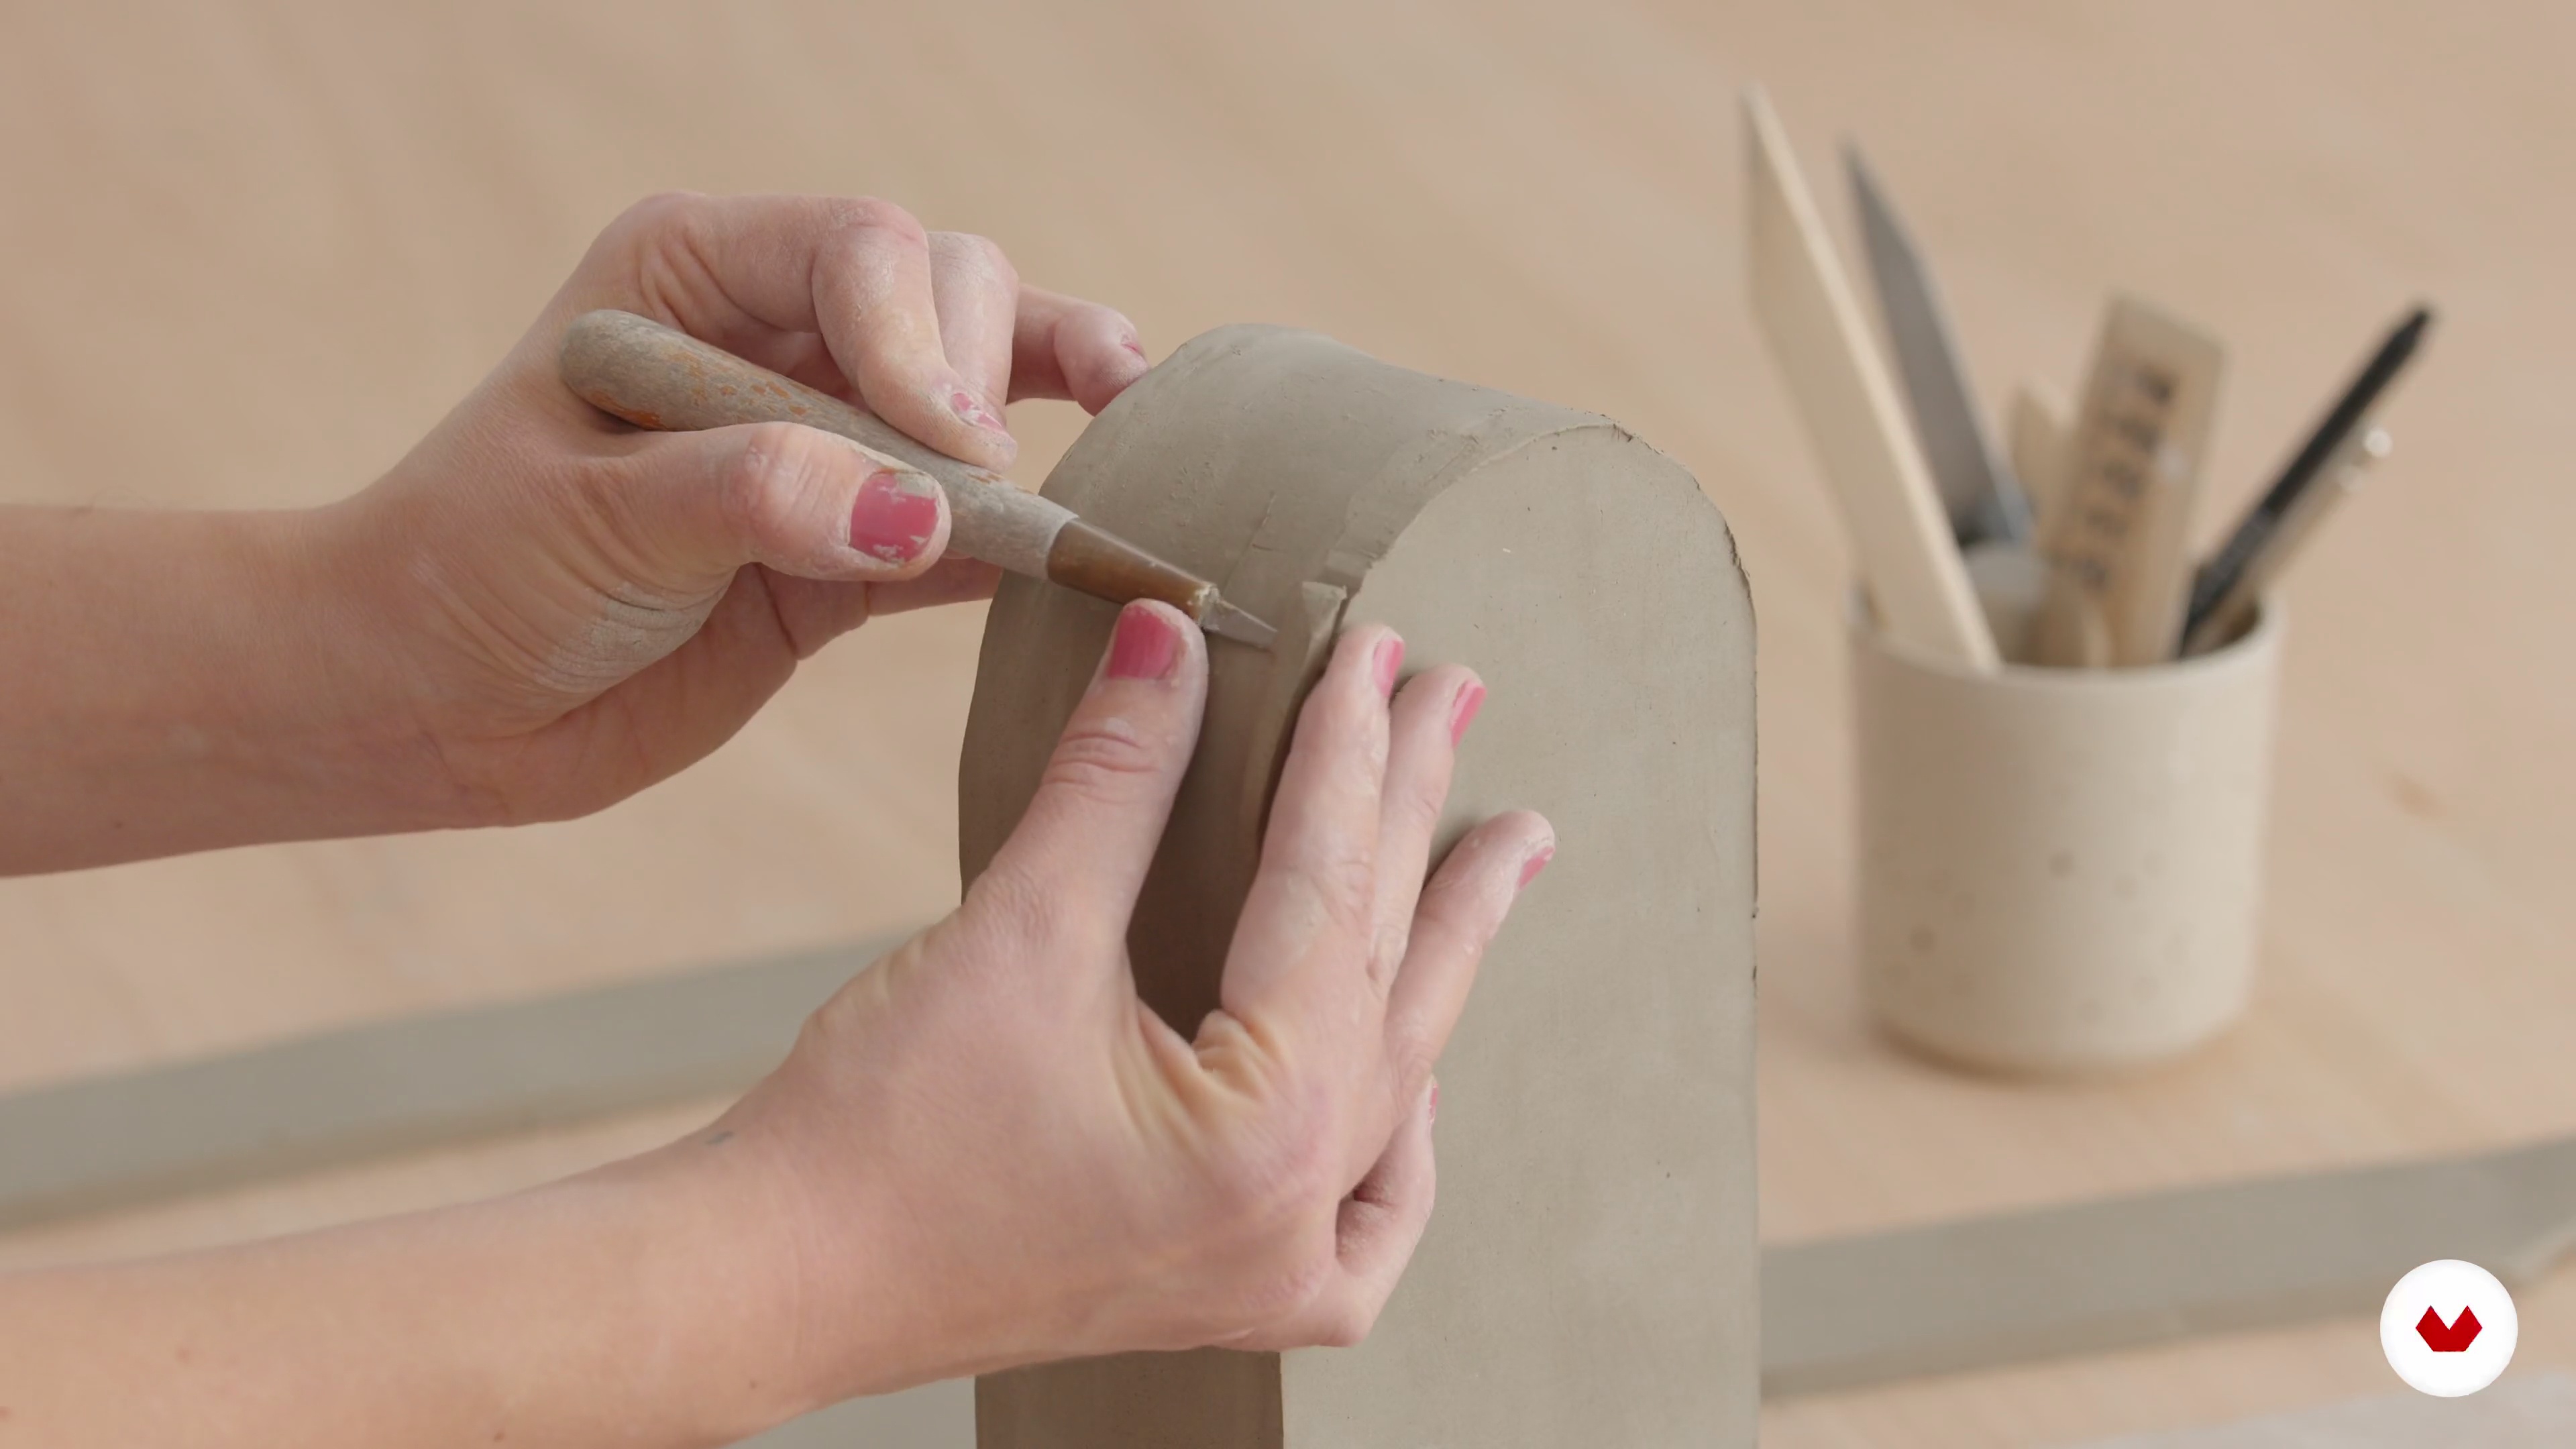
The Finishing Touches 1
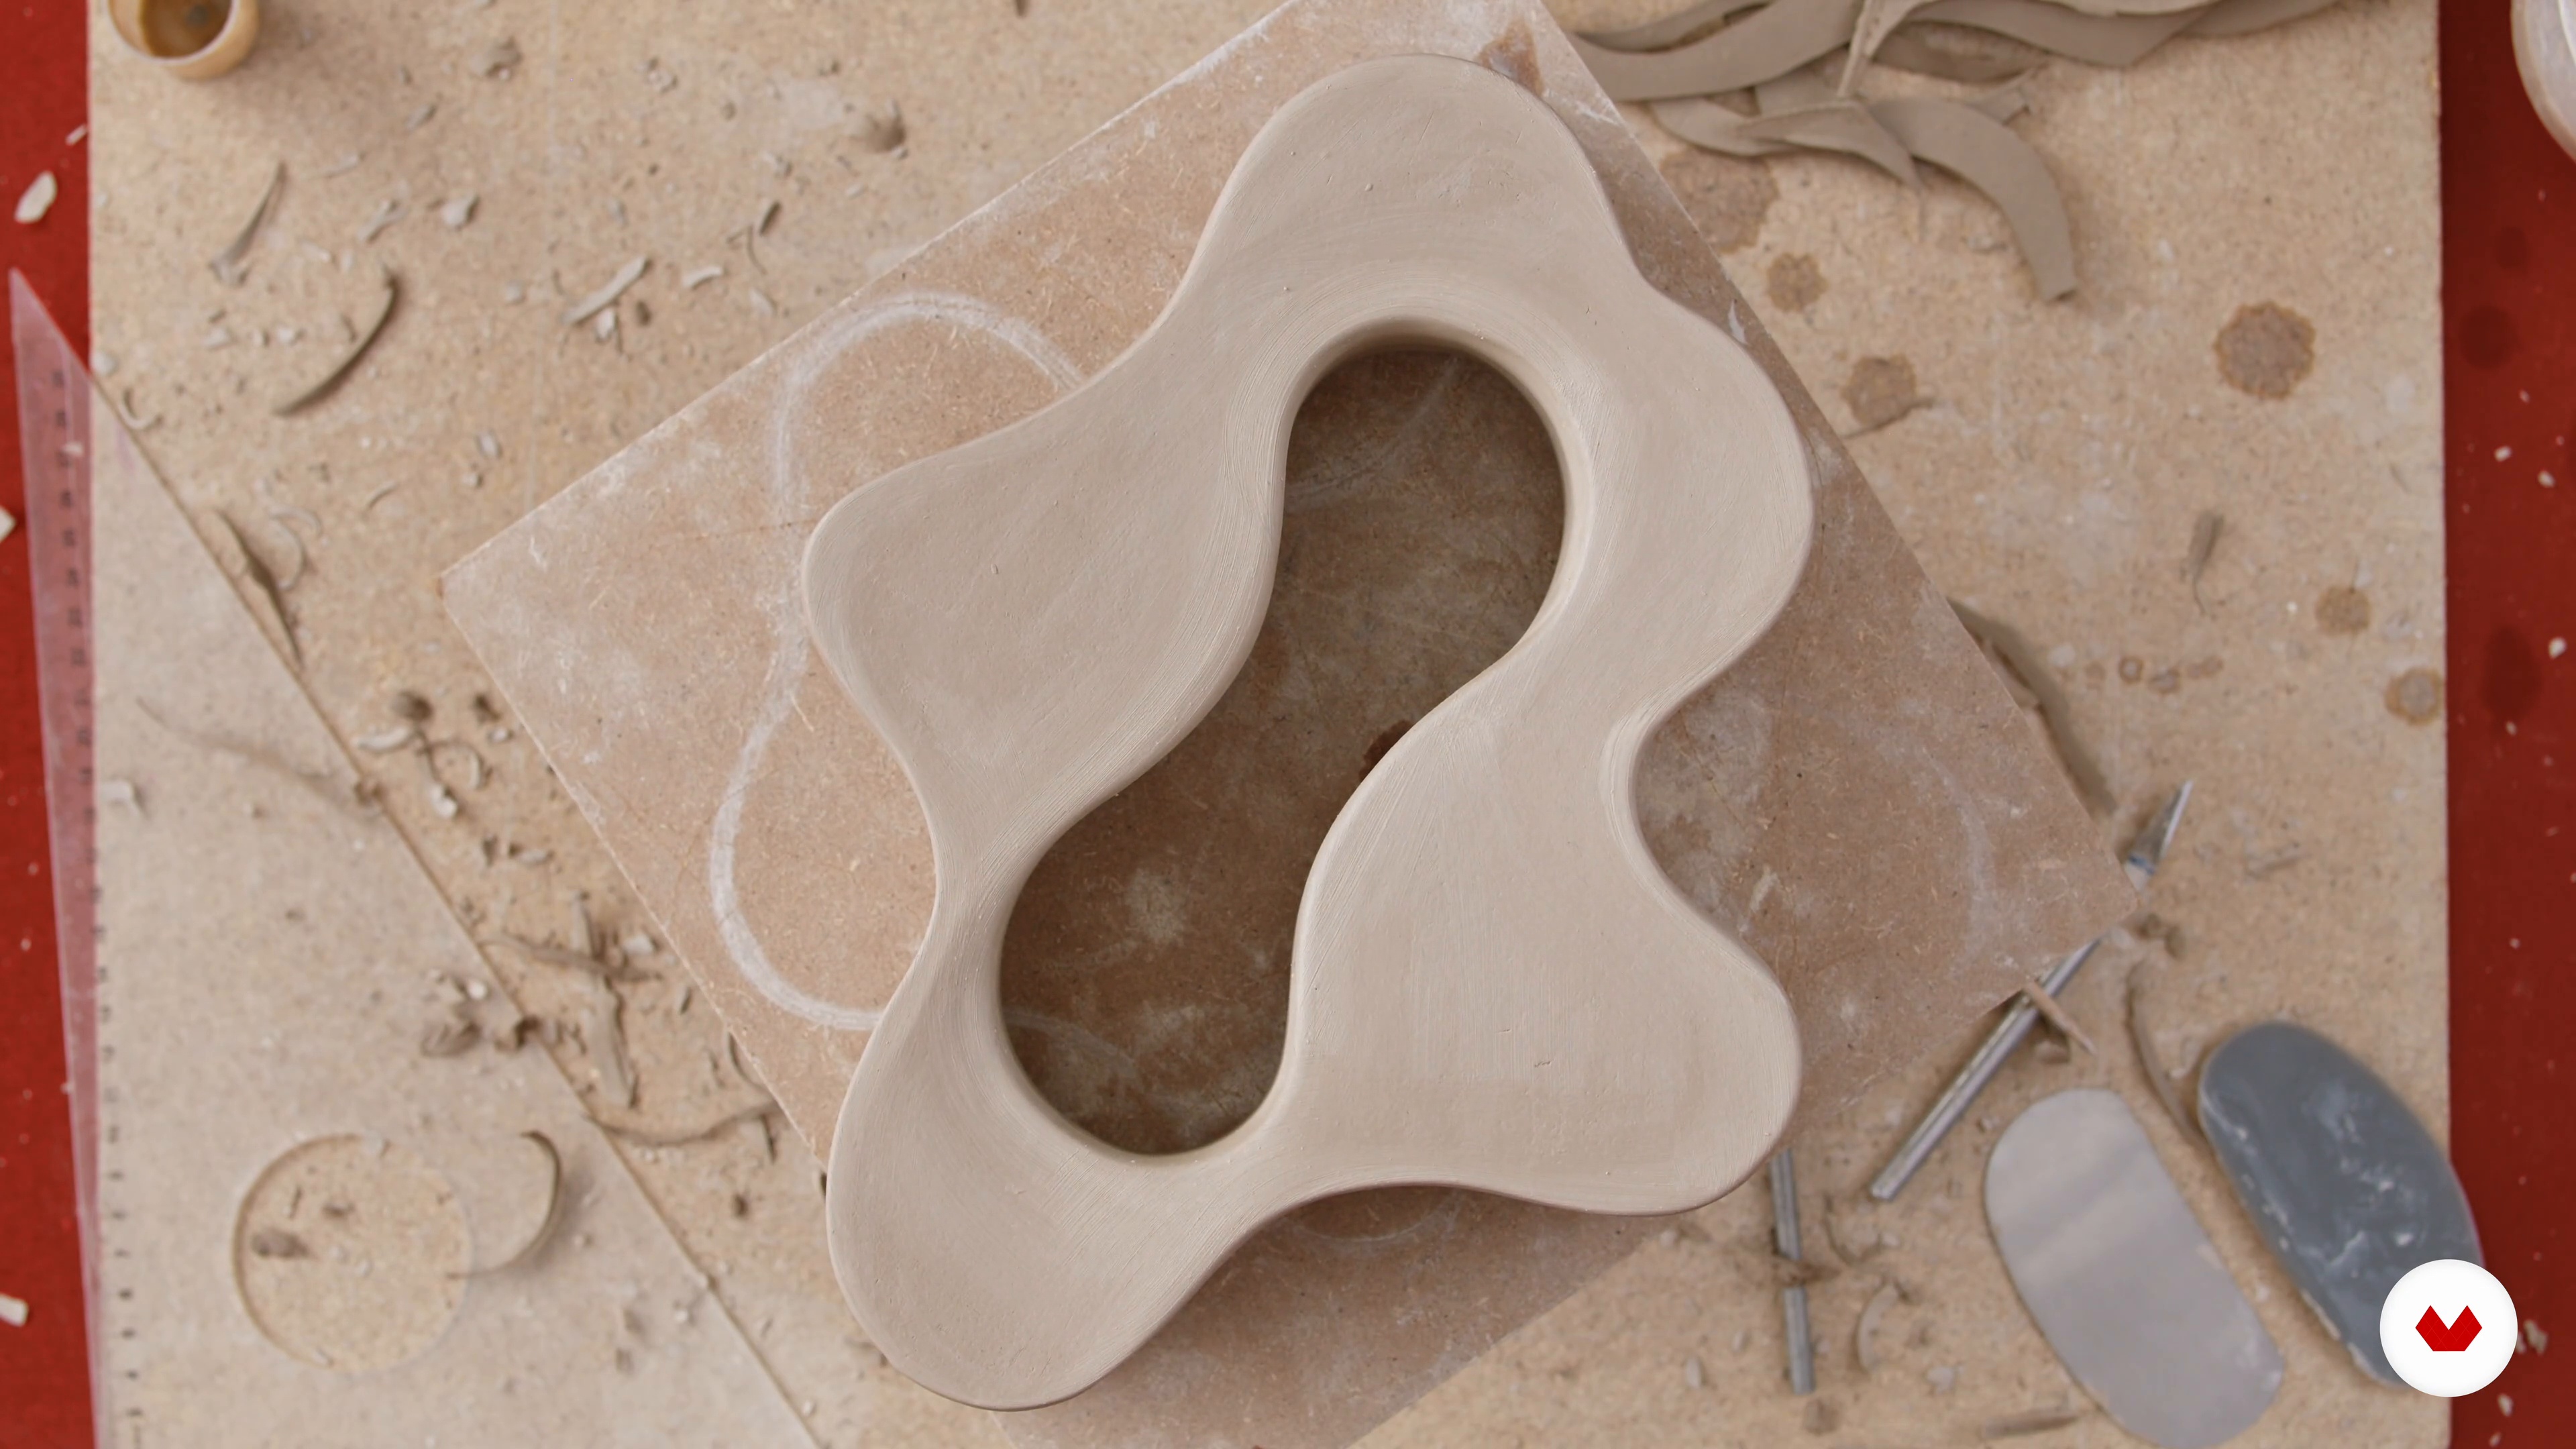
To finish it, I will show you how to smoothen out the rough edges of the piece and cut off any excess clay with a surgical knife. Over the course of this lesson, you will see the importance of approaching this stage with caution and precision.
16m
image
16
The Finishing Touches 2
Now that the walls and faces are smooth with clean edges, I will turn my attention to the base of the vase. You will learn how to patch up the floor with some flat slabs following the scratch, slip, and patch procedure. By the end, the vase will be able to stand.
15m
image
17
Recycling the Leftover Clay
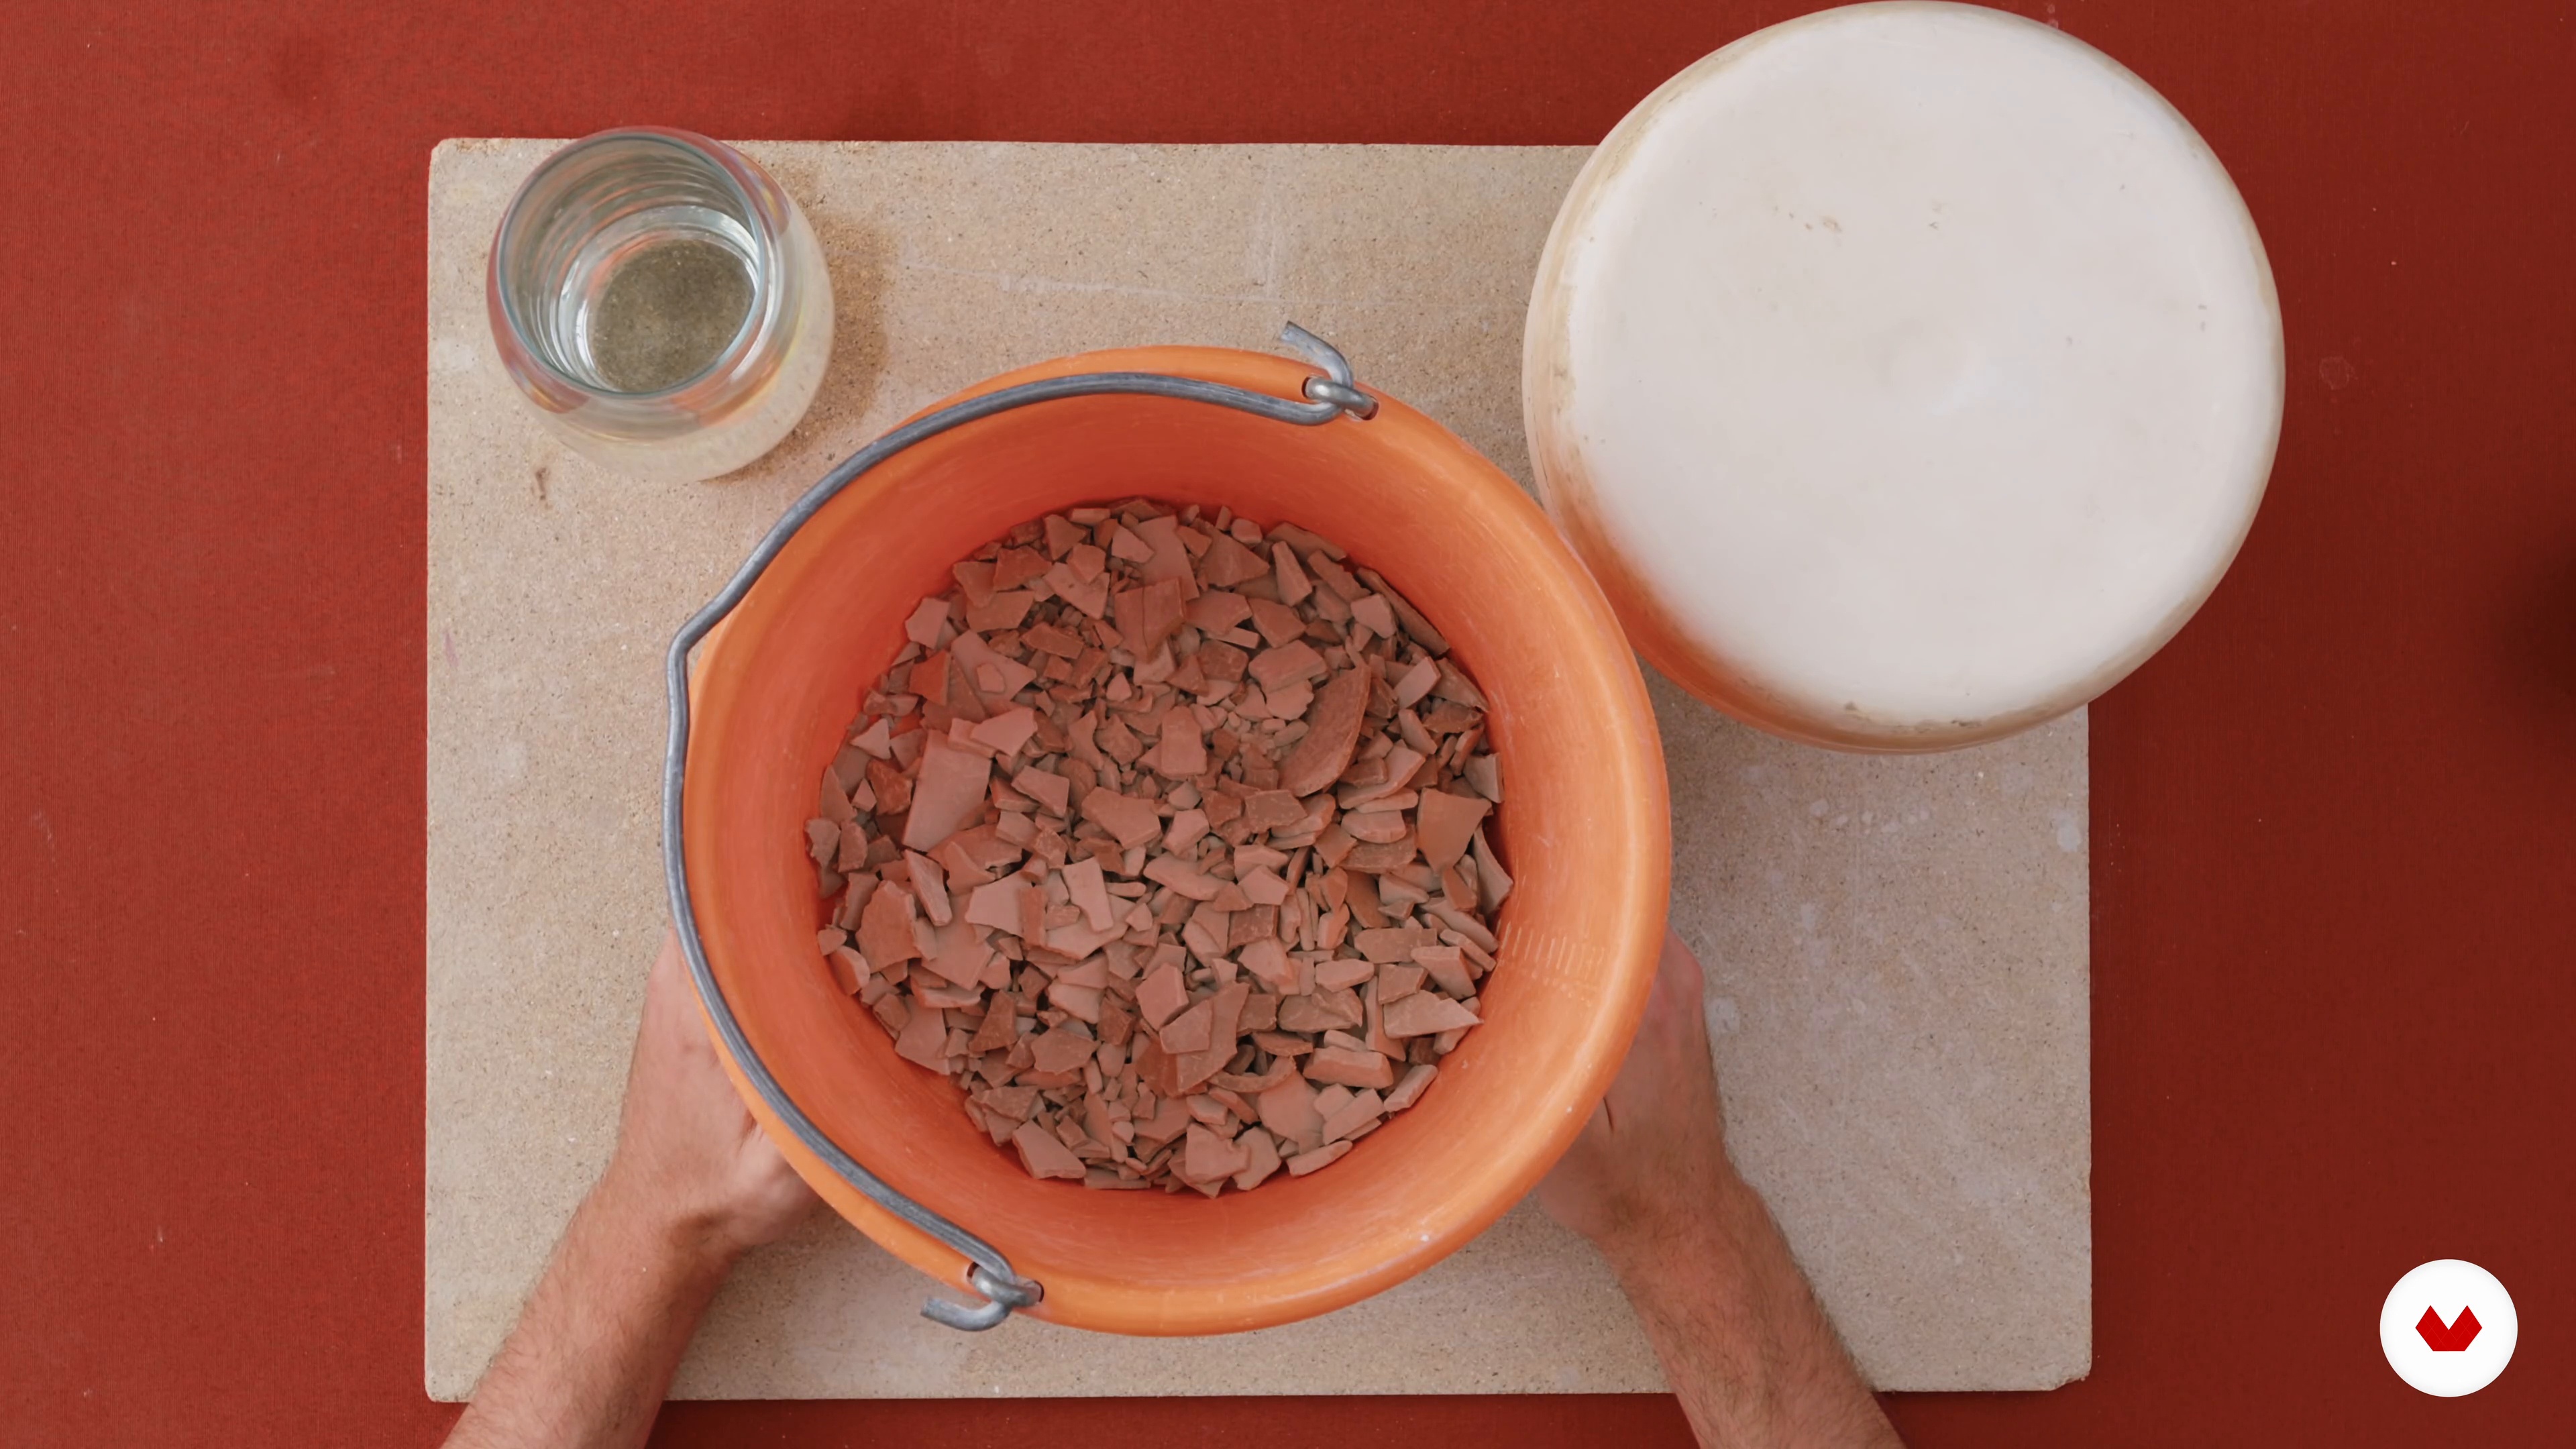
When it comes to clay, there is no waste. As long as it hasn't been fired, your dry leftover clay can still be restored to its fresh-out-the-bag status. All it needs is a little rehydration and some time.
8m
image
18
Preparing the Glaze
To prepare for this step, your creation will need to be fired. My vase has been fired already, so it's now ready to get glazed. Before showing you how to apply your glaze with the pouring technique, I will demonstrate the preparation and mixing process.
9m
image
19
Pouring the Glaze
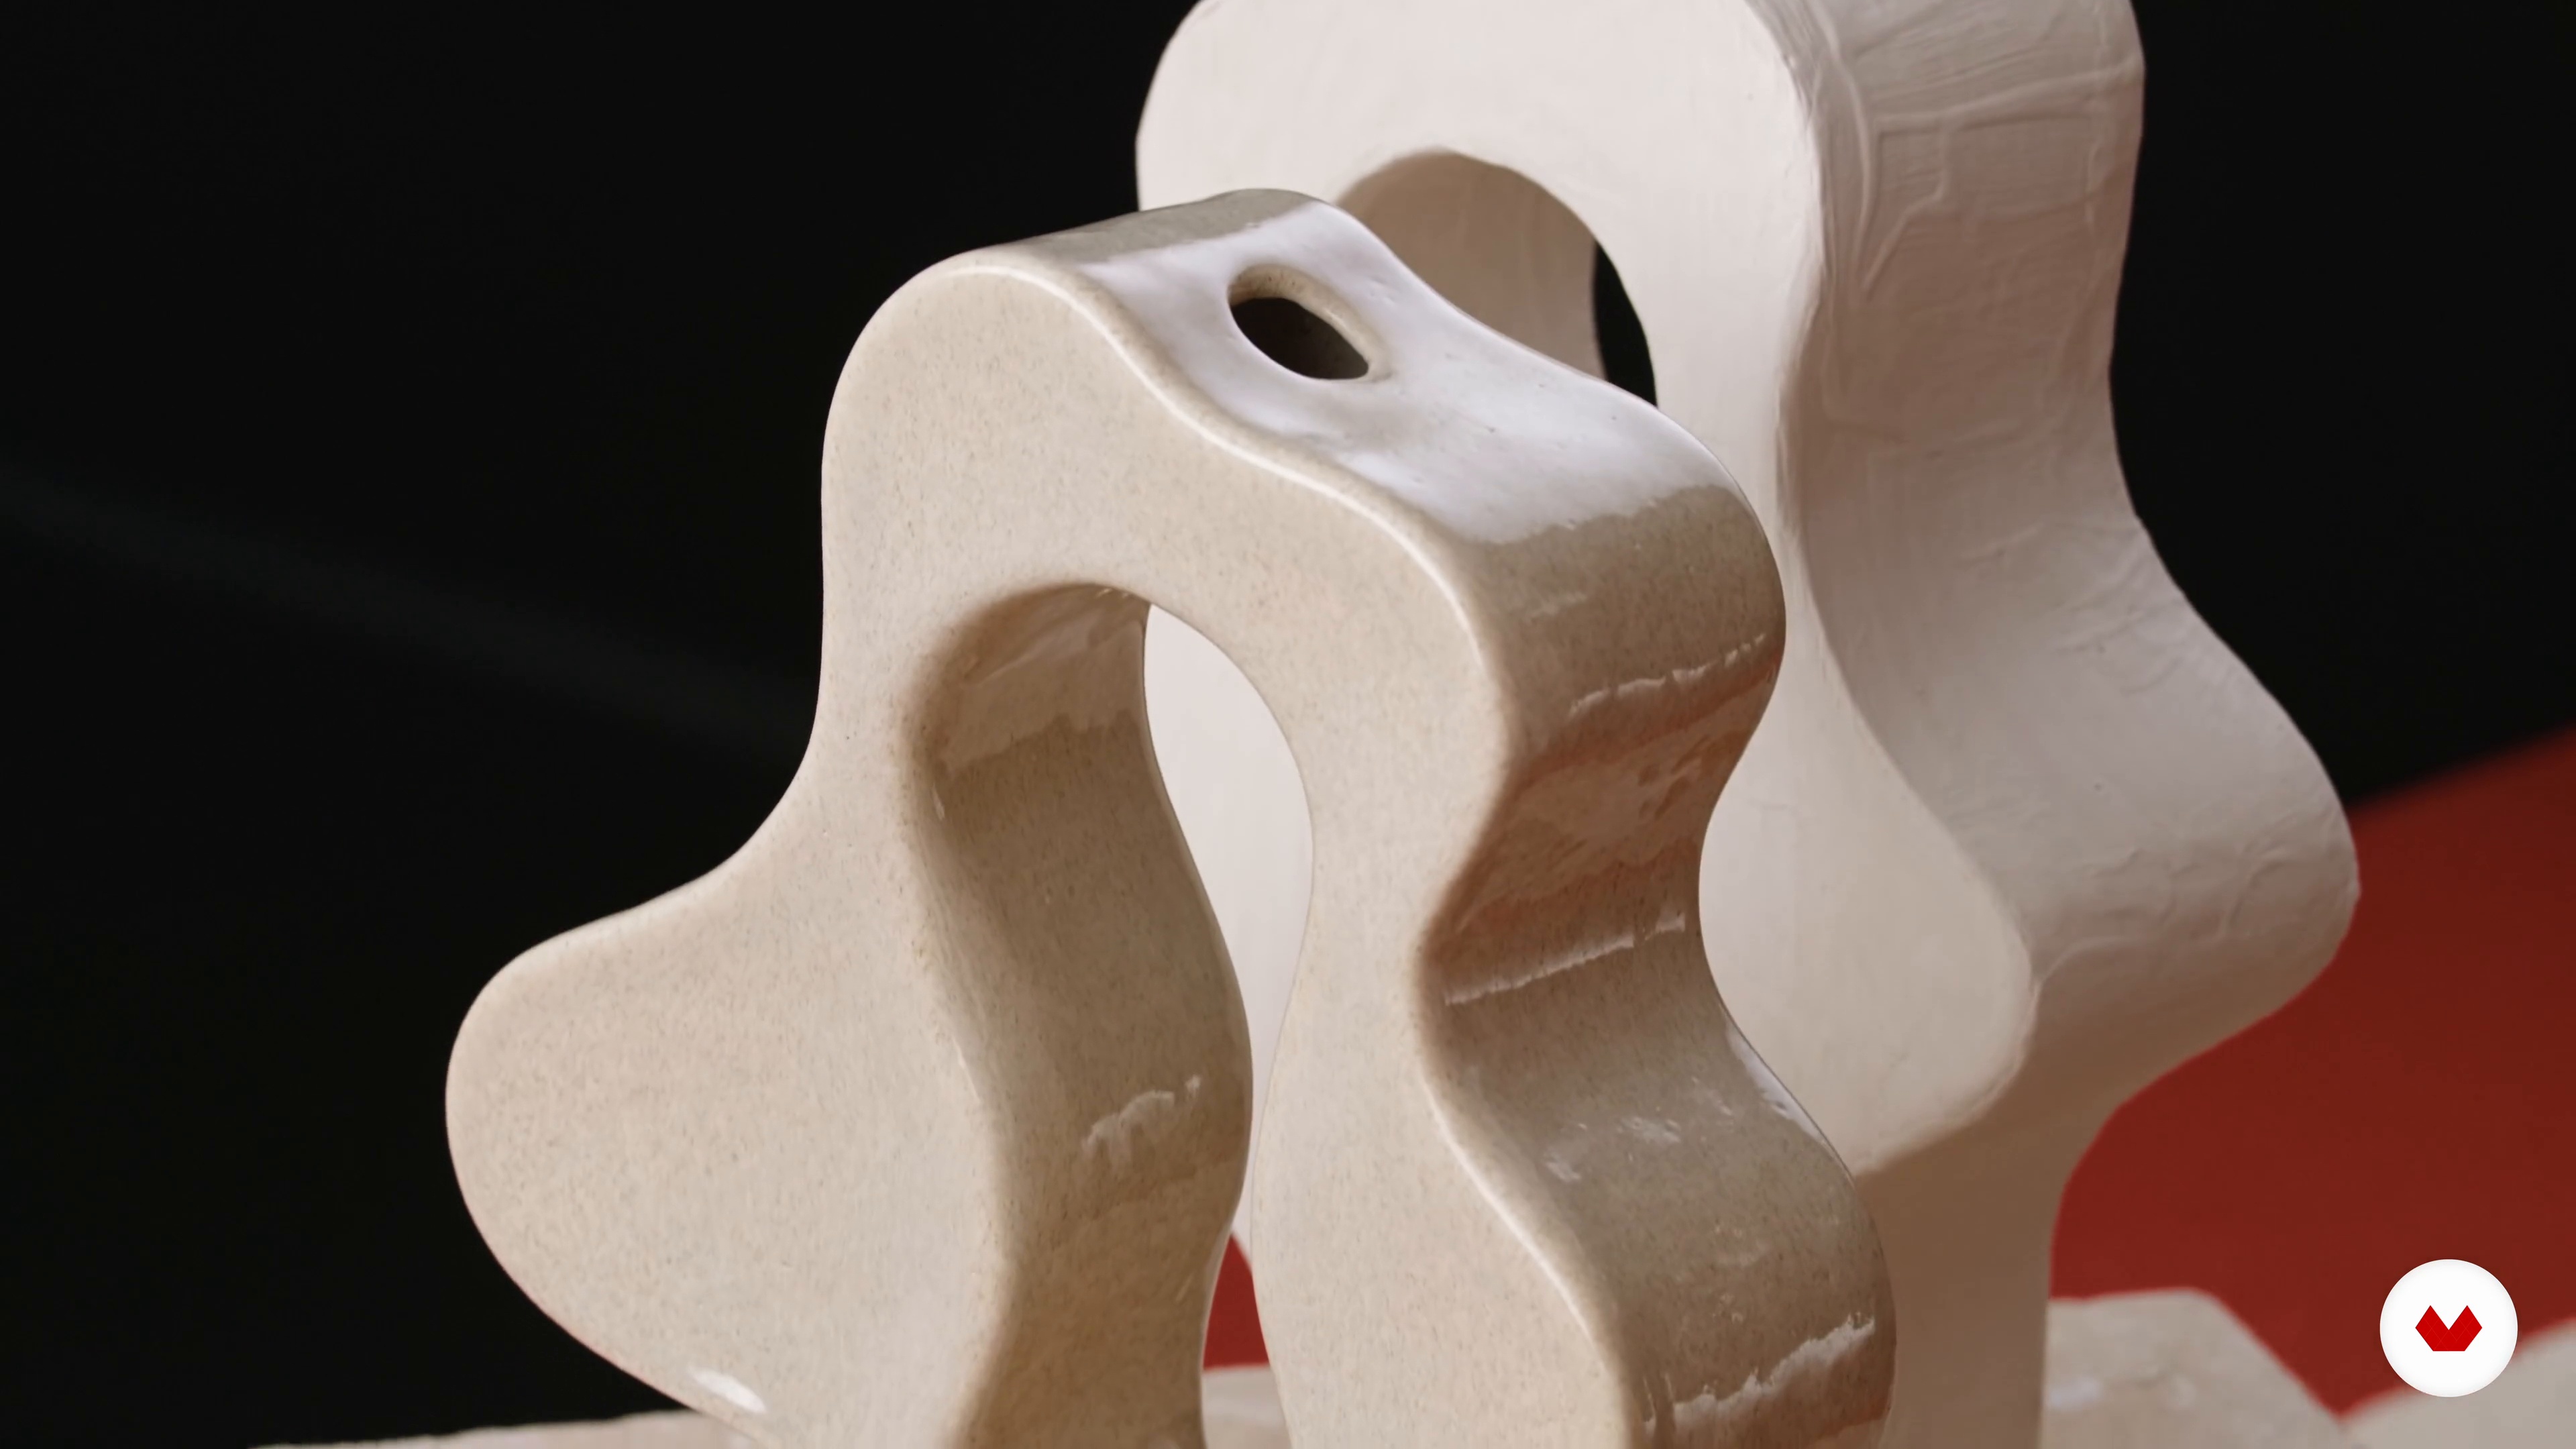
It's finally time to glaze the vase using the pouring technique and the freshly-made glaze! Let's bring our creations to a strong finish.
19m
image
20
An Alternative Glazing Method
Glazing a big piece can be tricky. Brushing the glaze is the most straightforward method. For a more refined finish, spraying the glaze in a glazing booth is ideal (but you probably don't have access to this). Dipping the pieces isn't always an option. But luckily, there's the pouring method. In this clip, I do just that! I will show you how to pour the glaze onto both faces of your piece, making sure that no spot is left nude. Once the glaze is dry, if you feel like you applied too much or don't like the drips, you can gently remove the top layer with a blade. Be careful not to remove too much, or the stone will show. Please note that this tutorial doesn't contain any dialogue.
2m
image
1
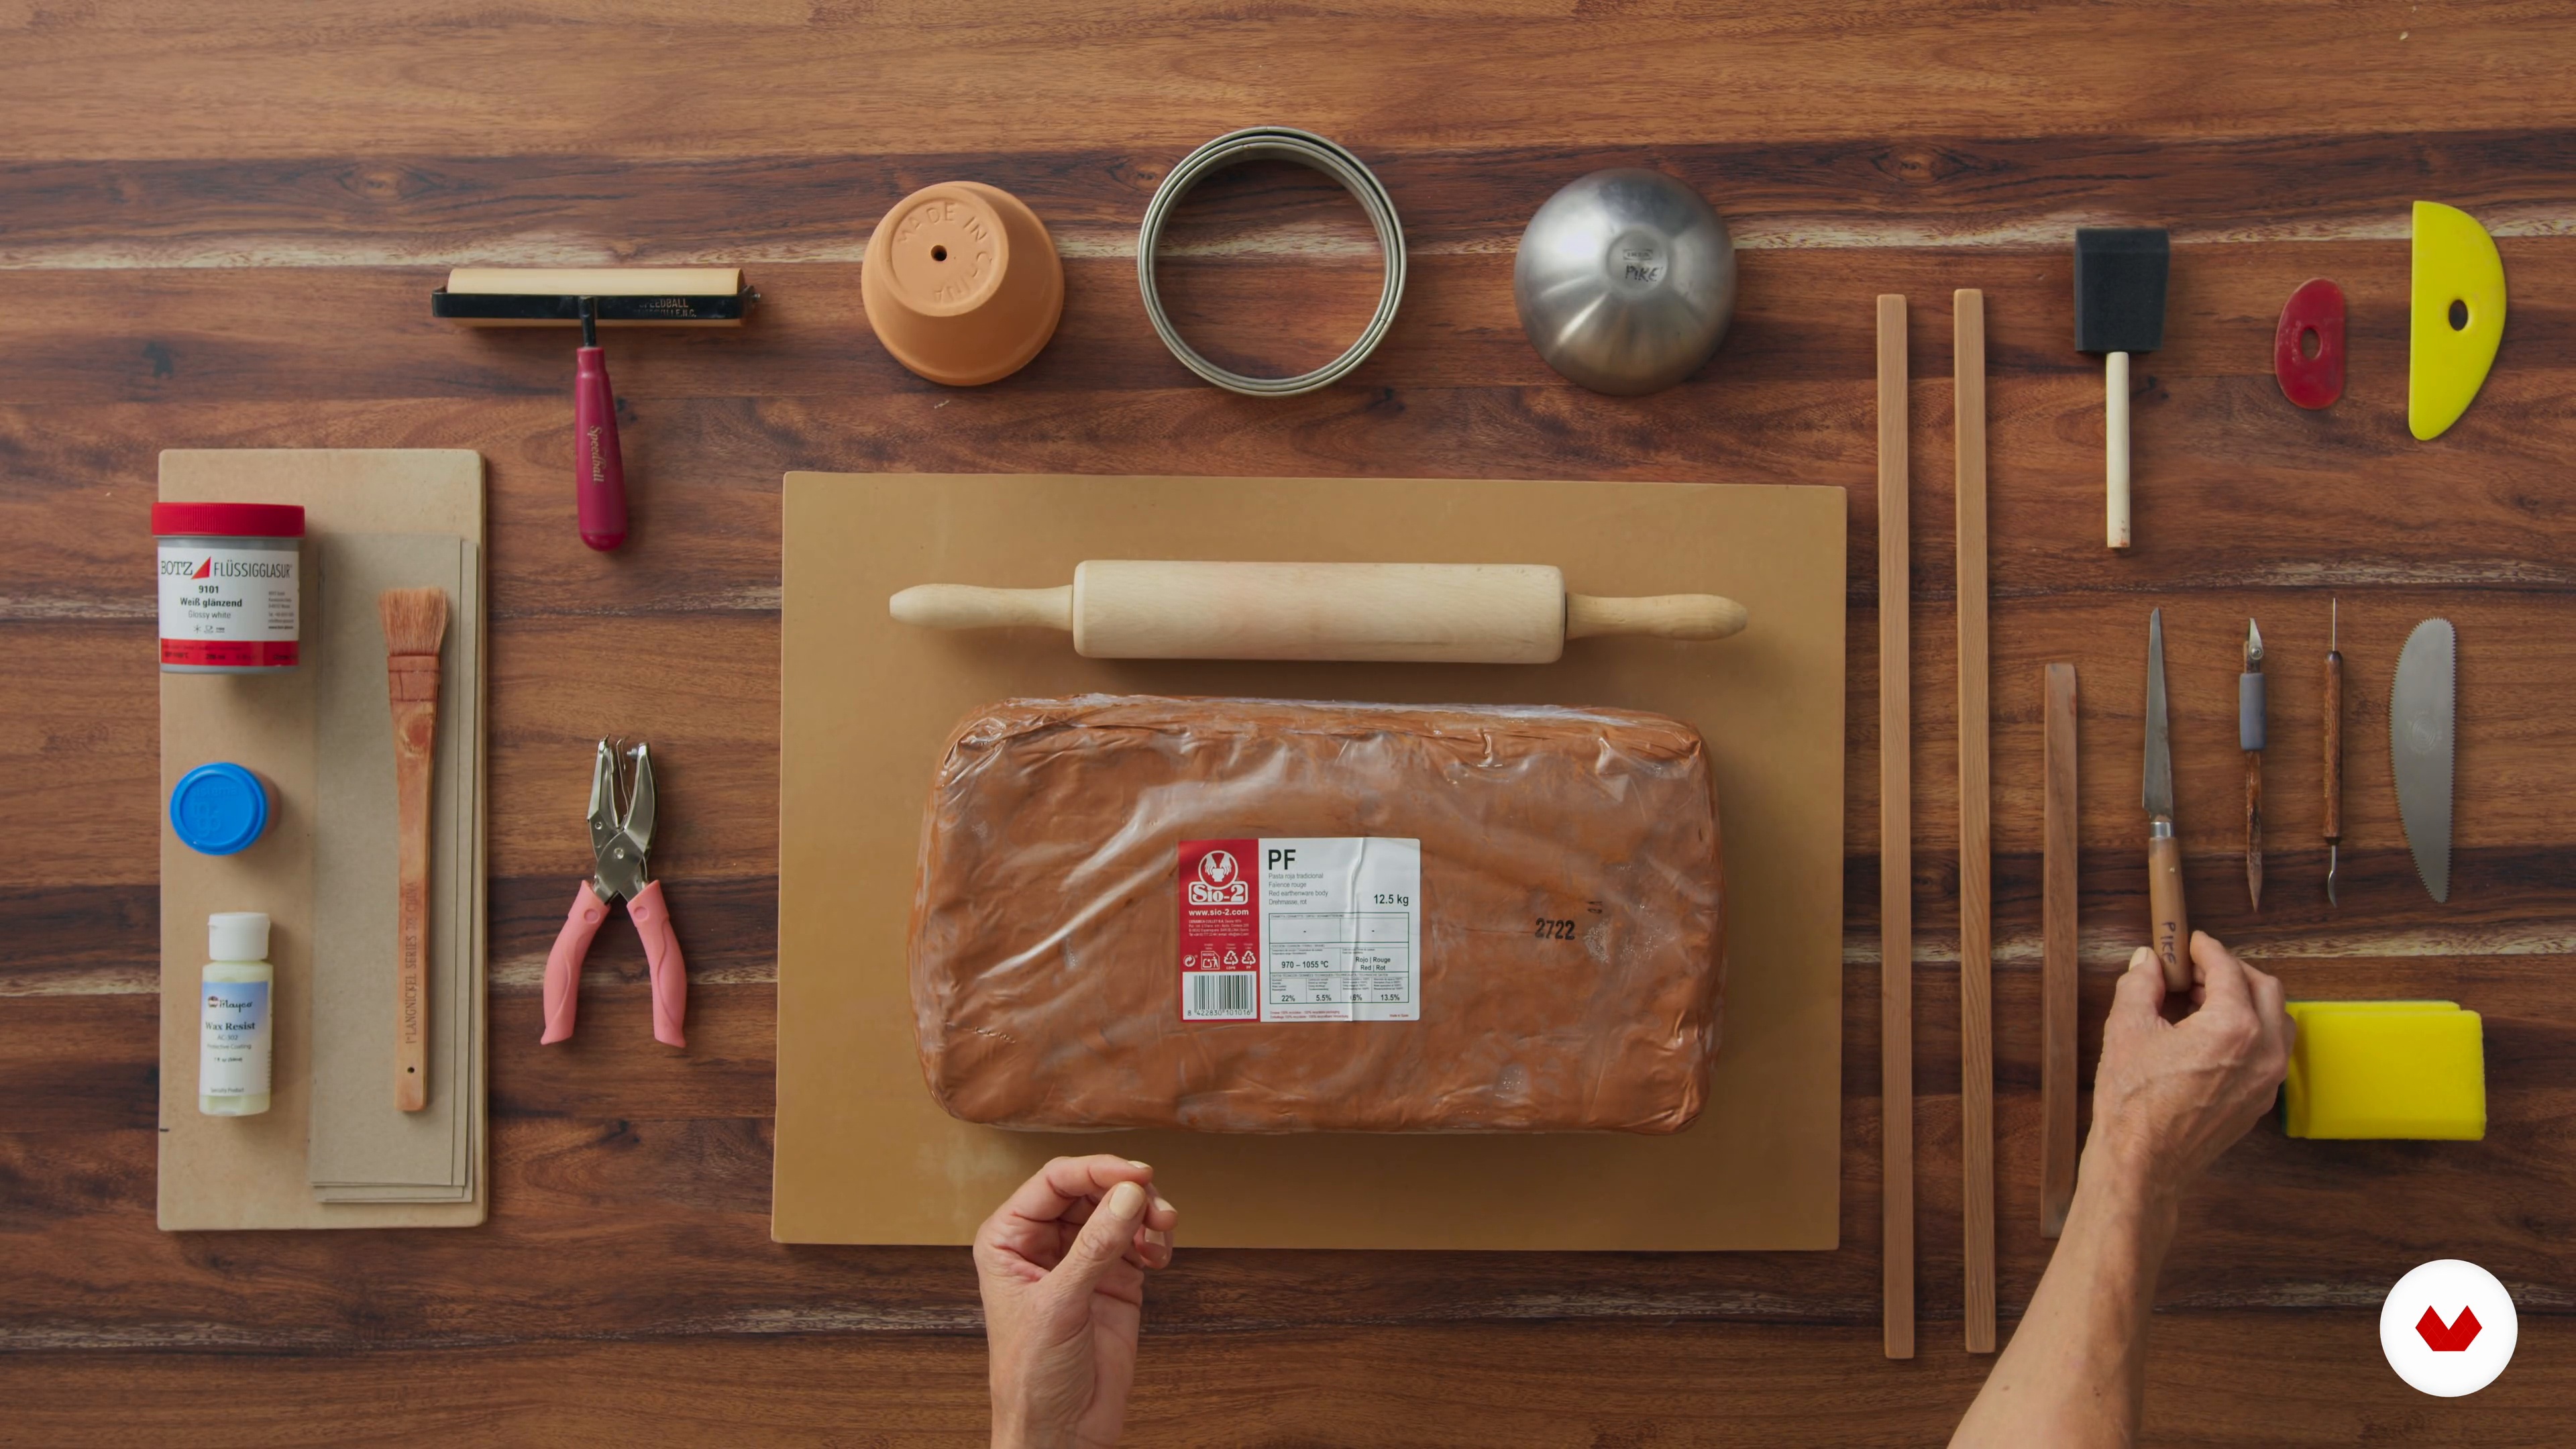
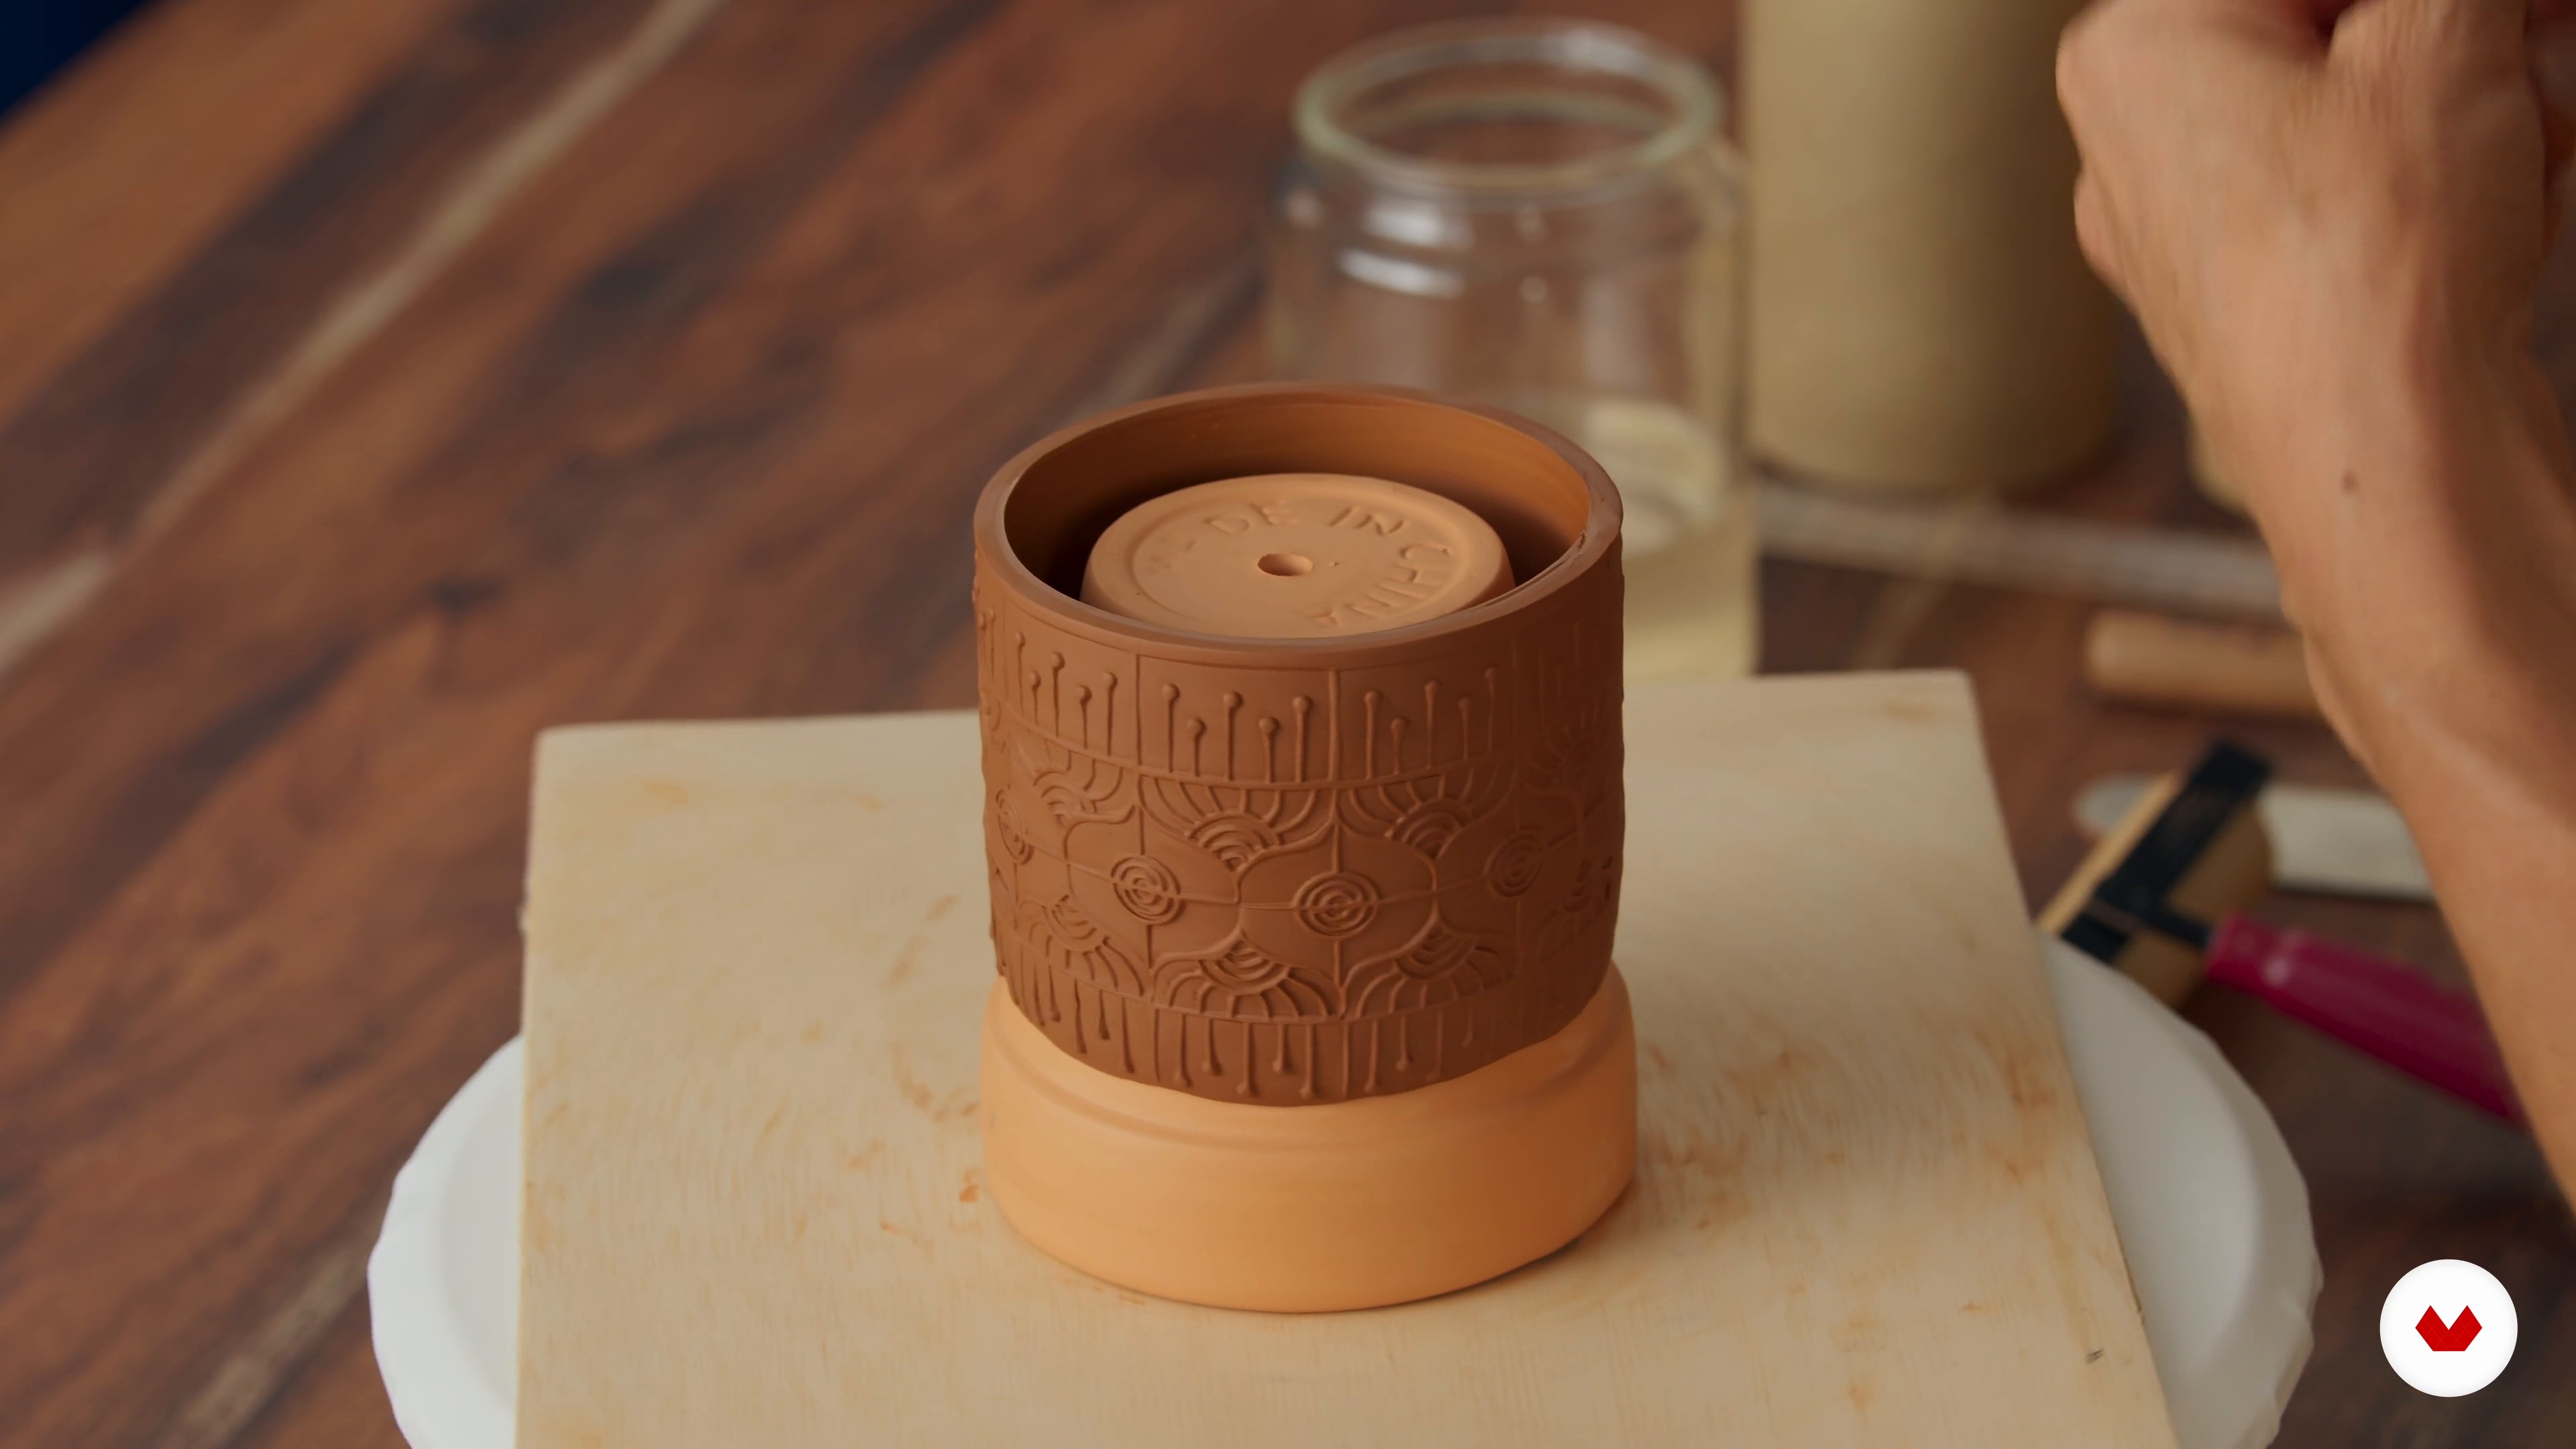
Tools and Materials
Let's first take a look at the materials and tools you will need to make your slab-built pLet's first take a look at the materials and tools you will need to make your slab-built project.
7m
image
2
Making Texture Tools Out of Non-clay Objects
In this lesson, I will show you how to make textures with handmade cutouts. Think about what inspires you and what you love. How can you use these techniques to create cutouts based on your interests?
15m
image
3
Learning about Repeated Patterns with Clay Stamps
Now, we will explore repeating shapes. We will look at the versatility of five basic shapes, and you will learn how to create your own unique patterns using these shapes.
19m
image
4
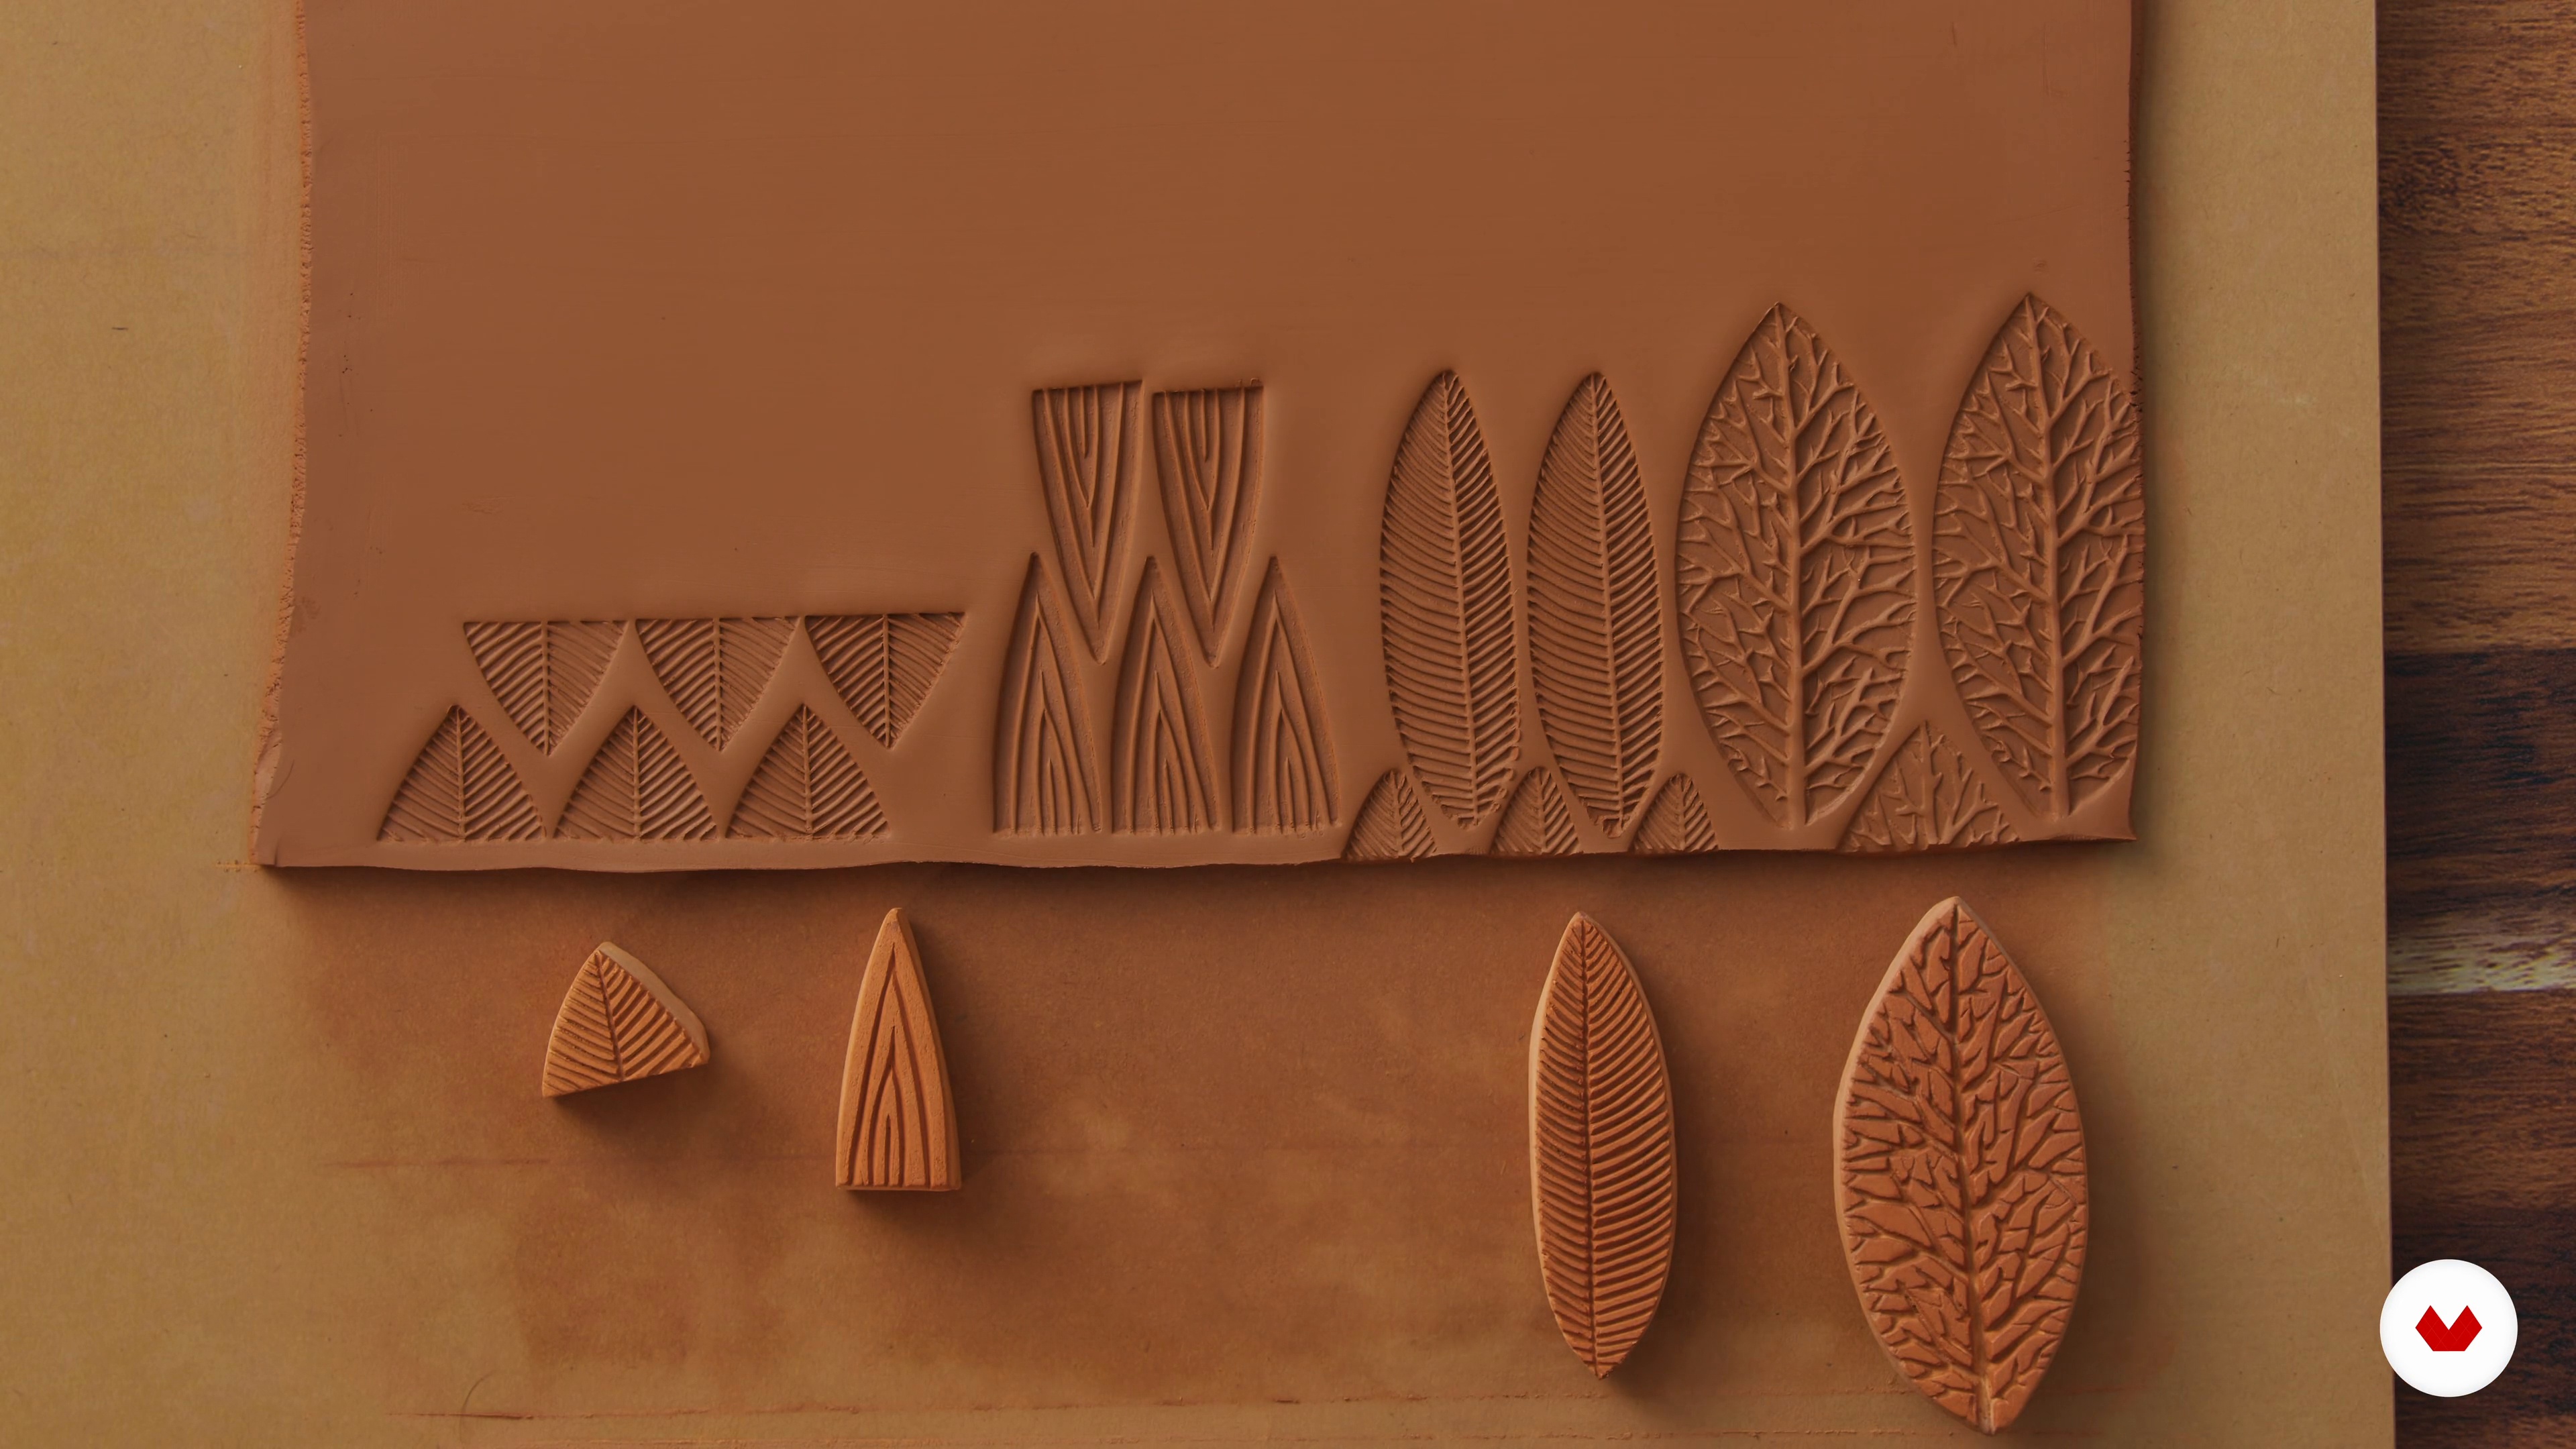
Making Clay Stamps
Next, I want to show you how to carve clay stamps. The advantage of clay stamps is the detail you can achieve and the ability to smooth an area and start again!
20m
image
5
Rolling and Cutting the Slab for the Mug
In this lesson, you will learn how to roll the perfect clay slab with simple tools and how to cut and prepare the slab for the best results.
14m
image
6
Playing with the Stamps for Different Patterns
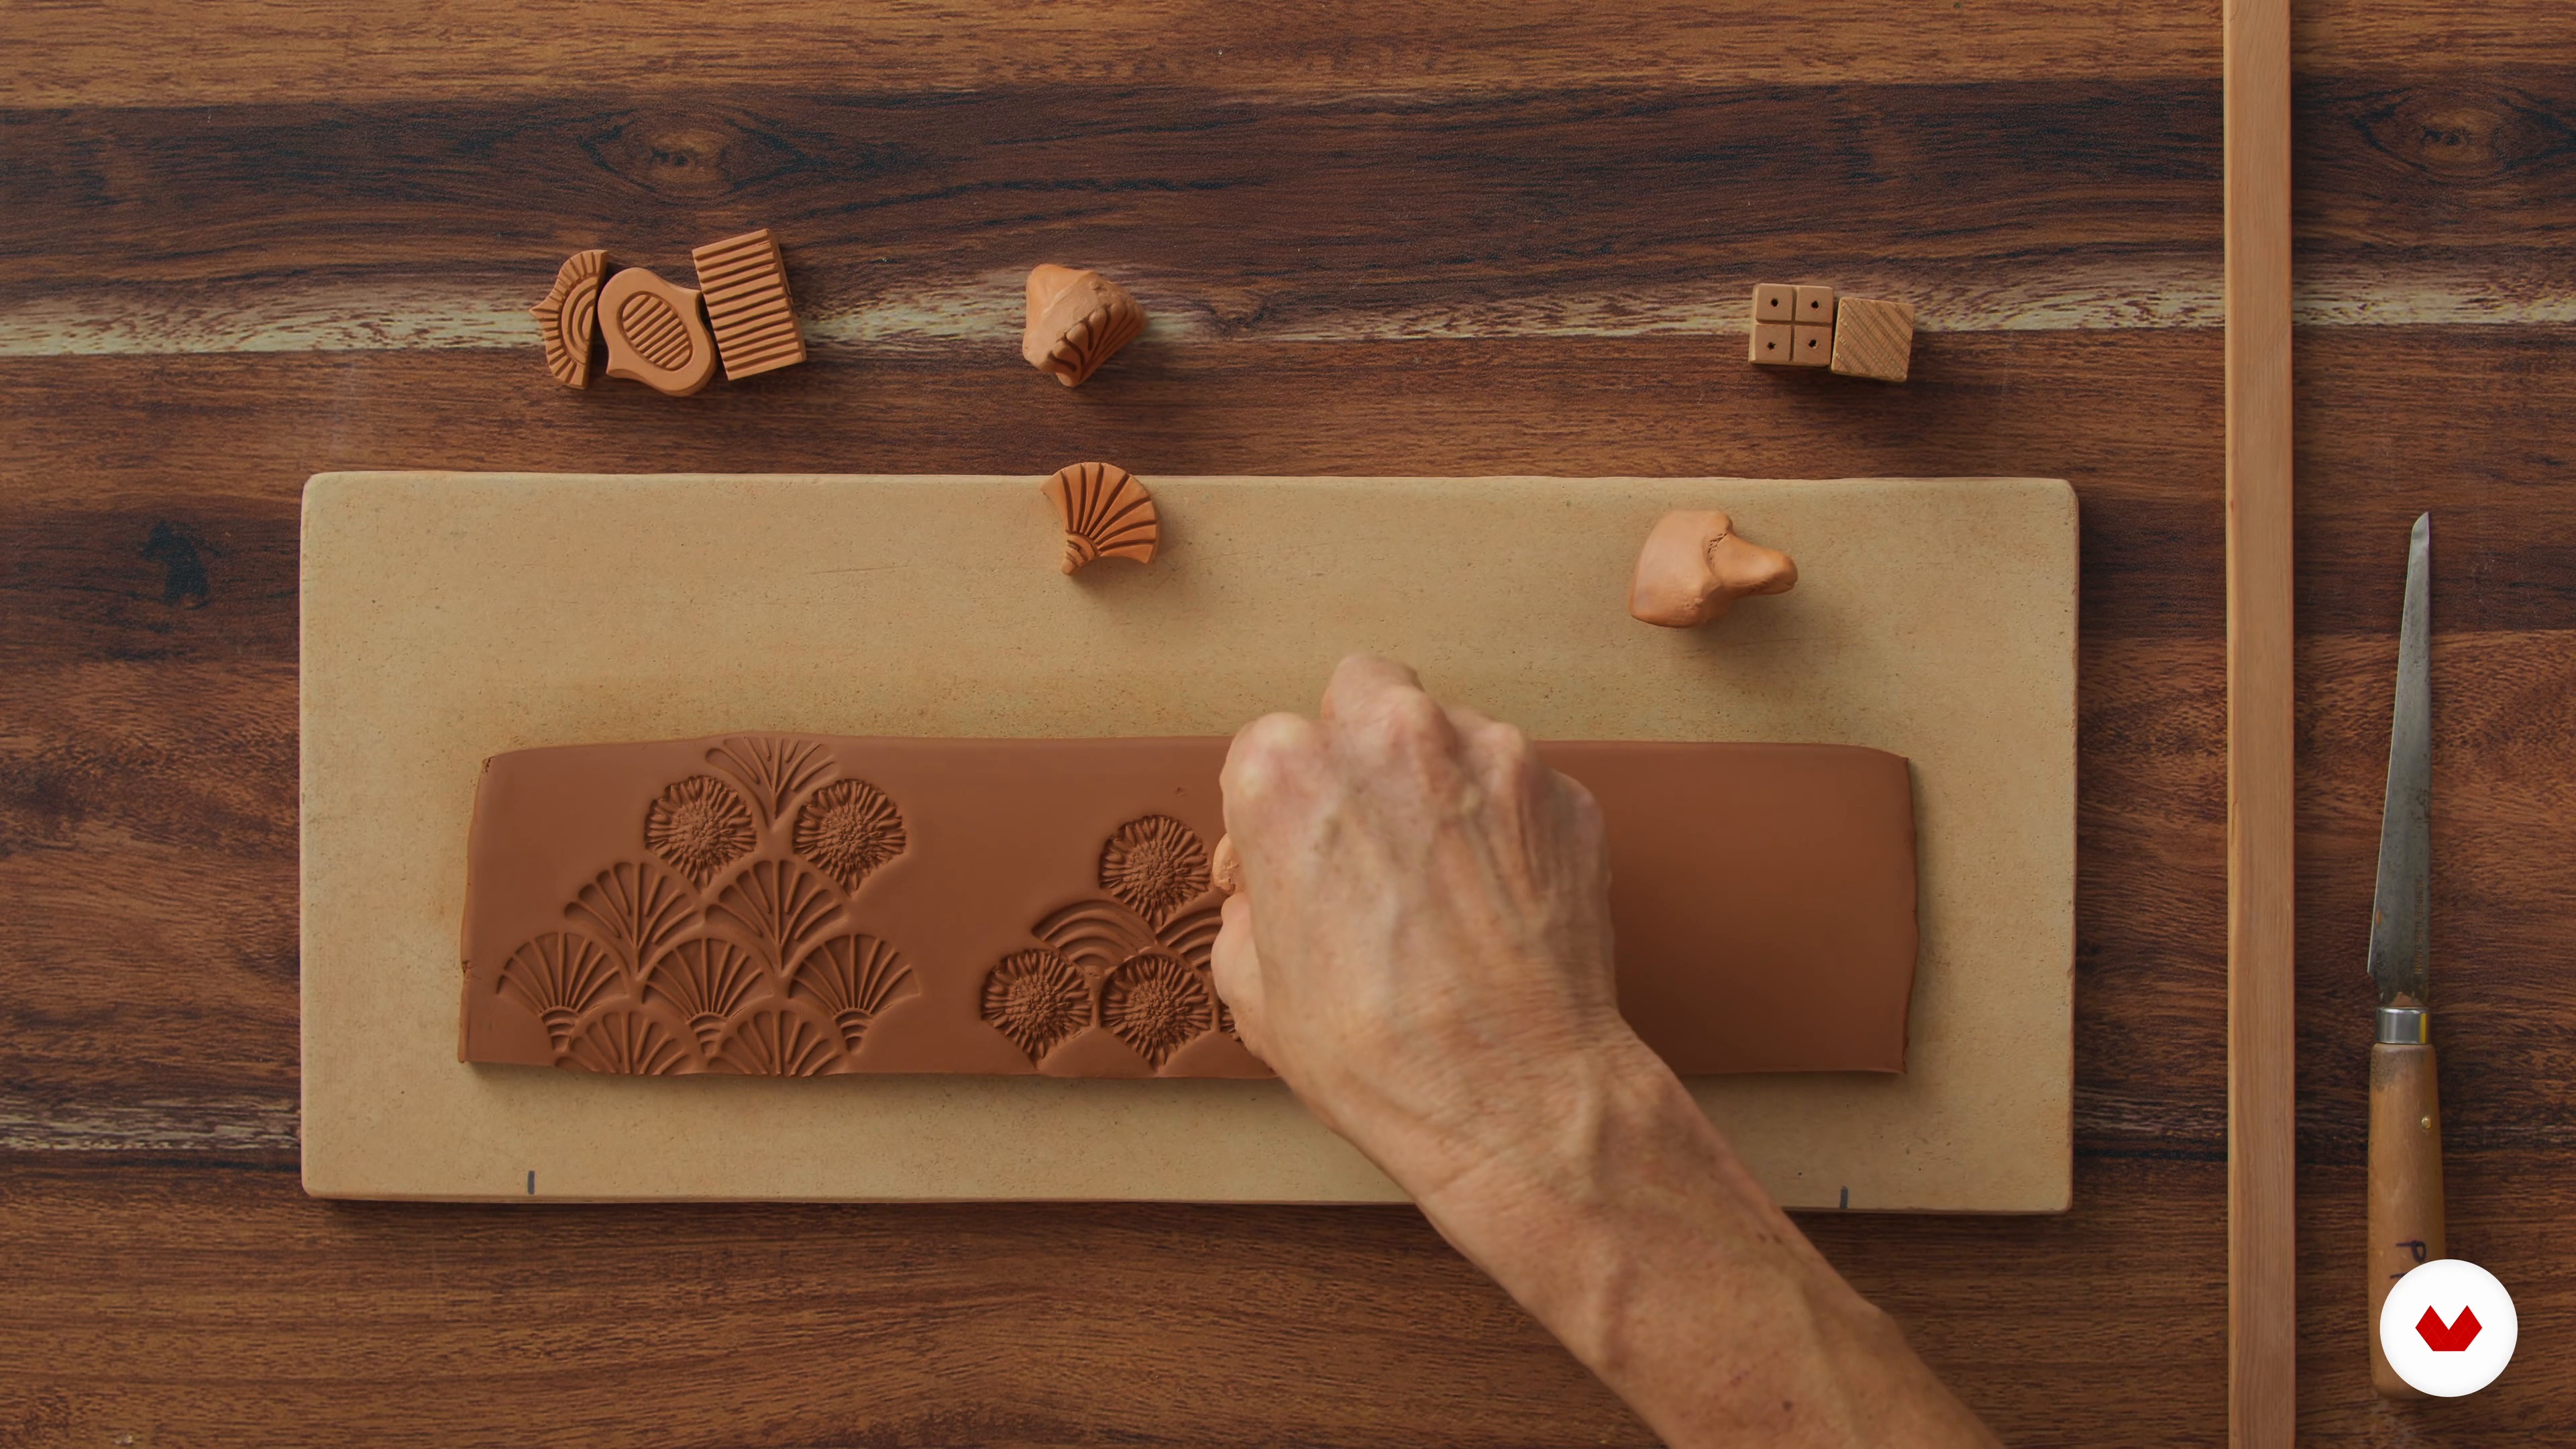
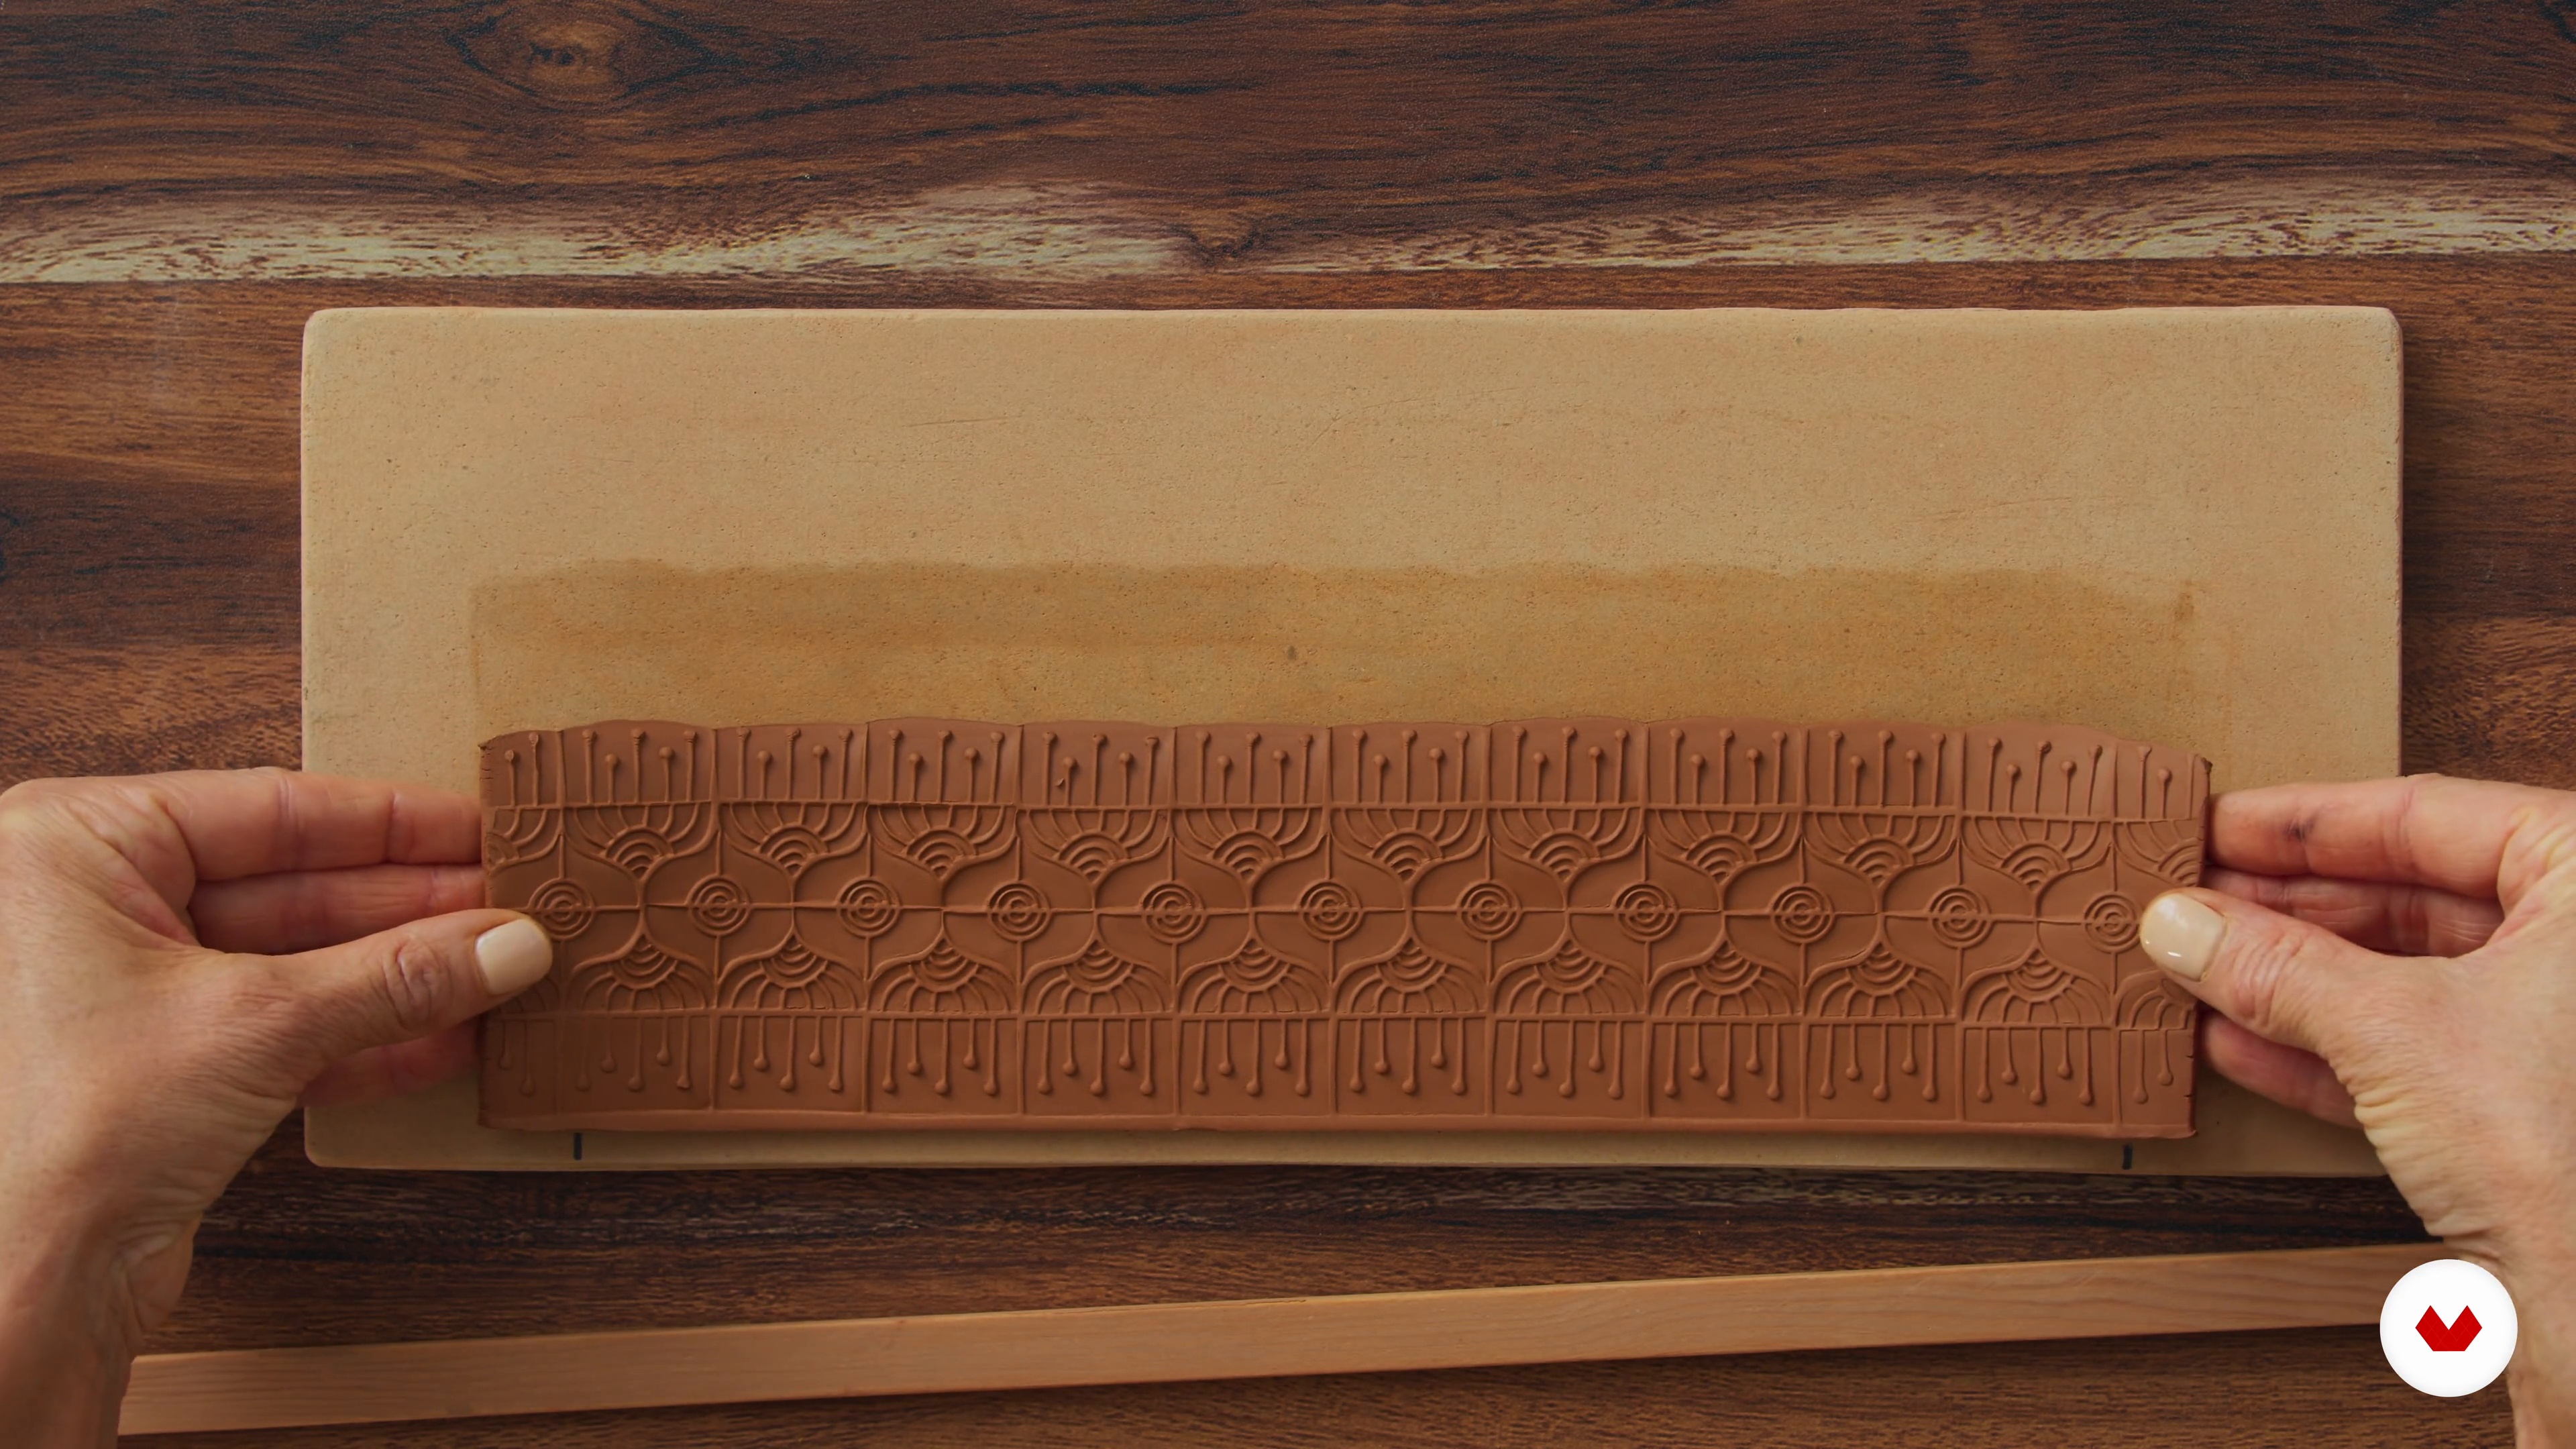
Here, you will see how just a few stamps of various shapes can create an endless variety of patterns. Through trial and error and creative play, we will explore patterns in preparation for the final mug.
14m
image
7
Texturing the Slab for the Mug
After exploring some patterns, I will start working on my mug. I will show you how I texture and cut my slab prior to building the form.
11m
image
8
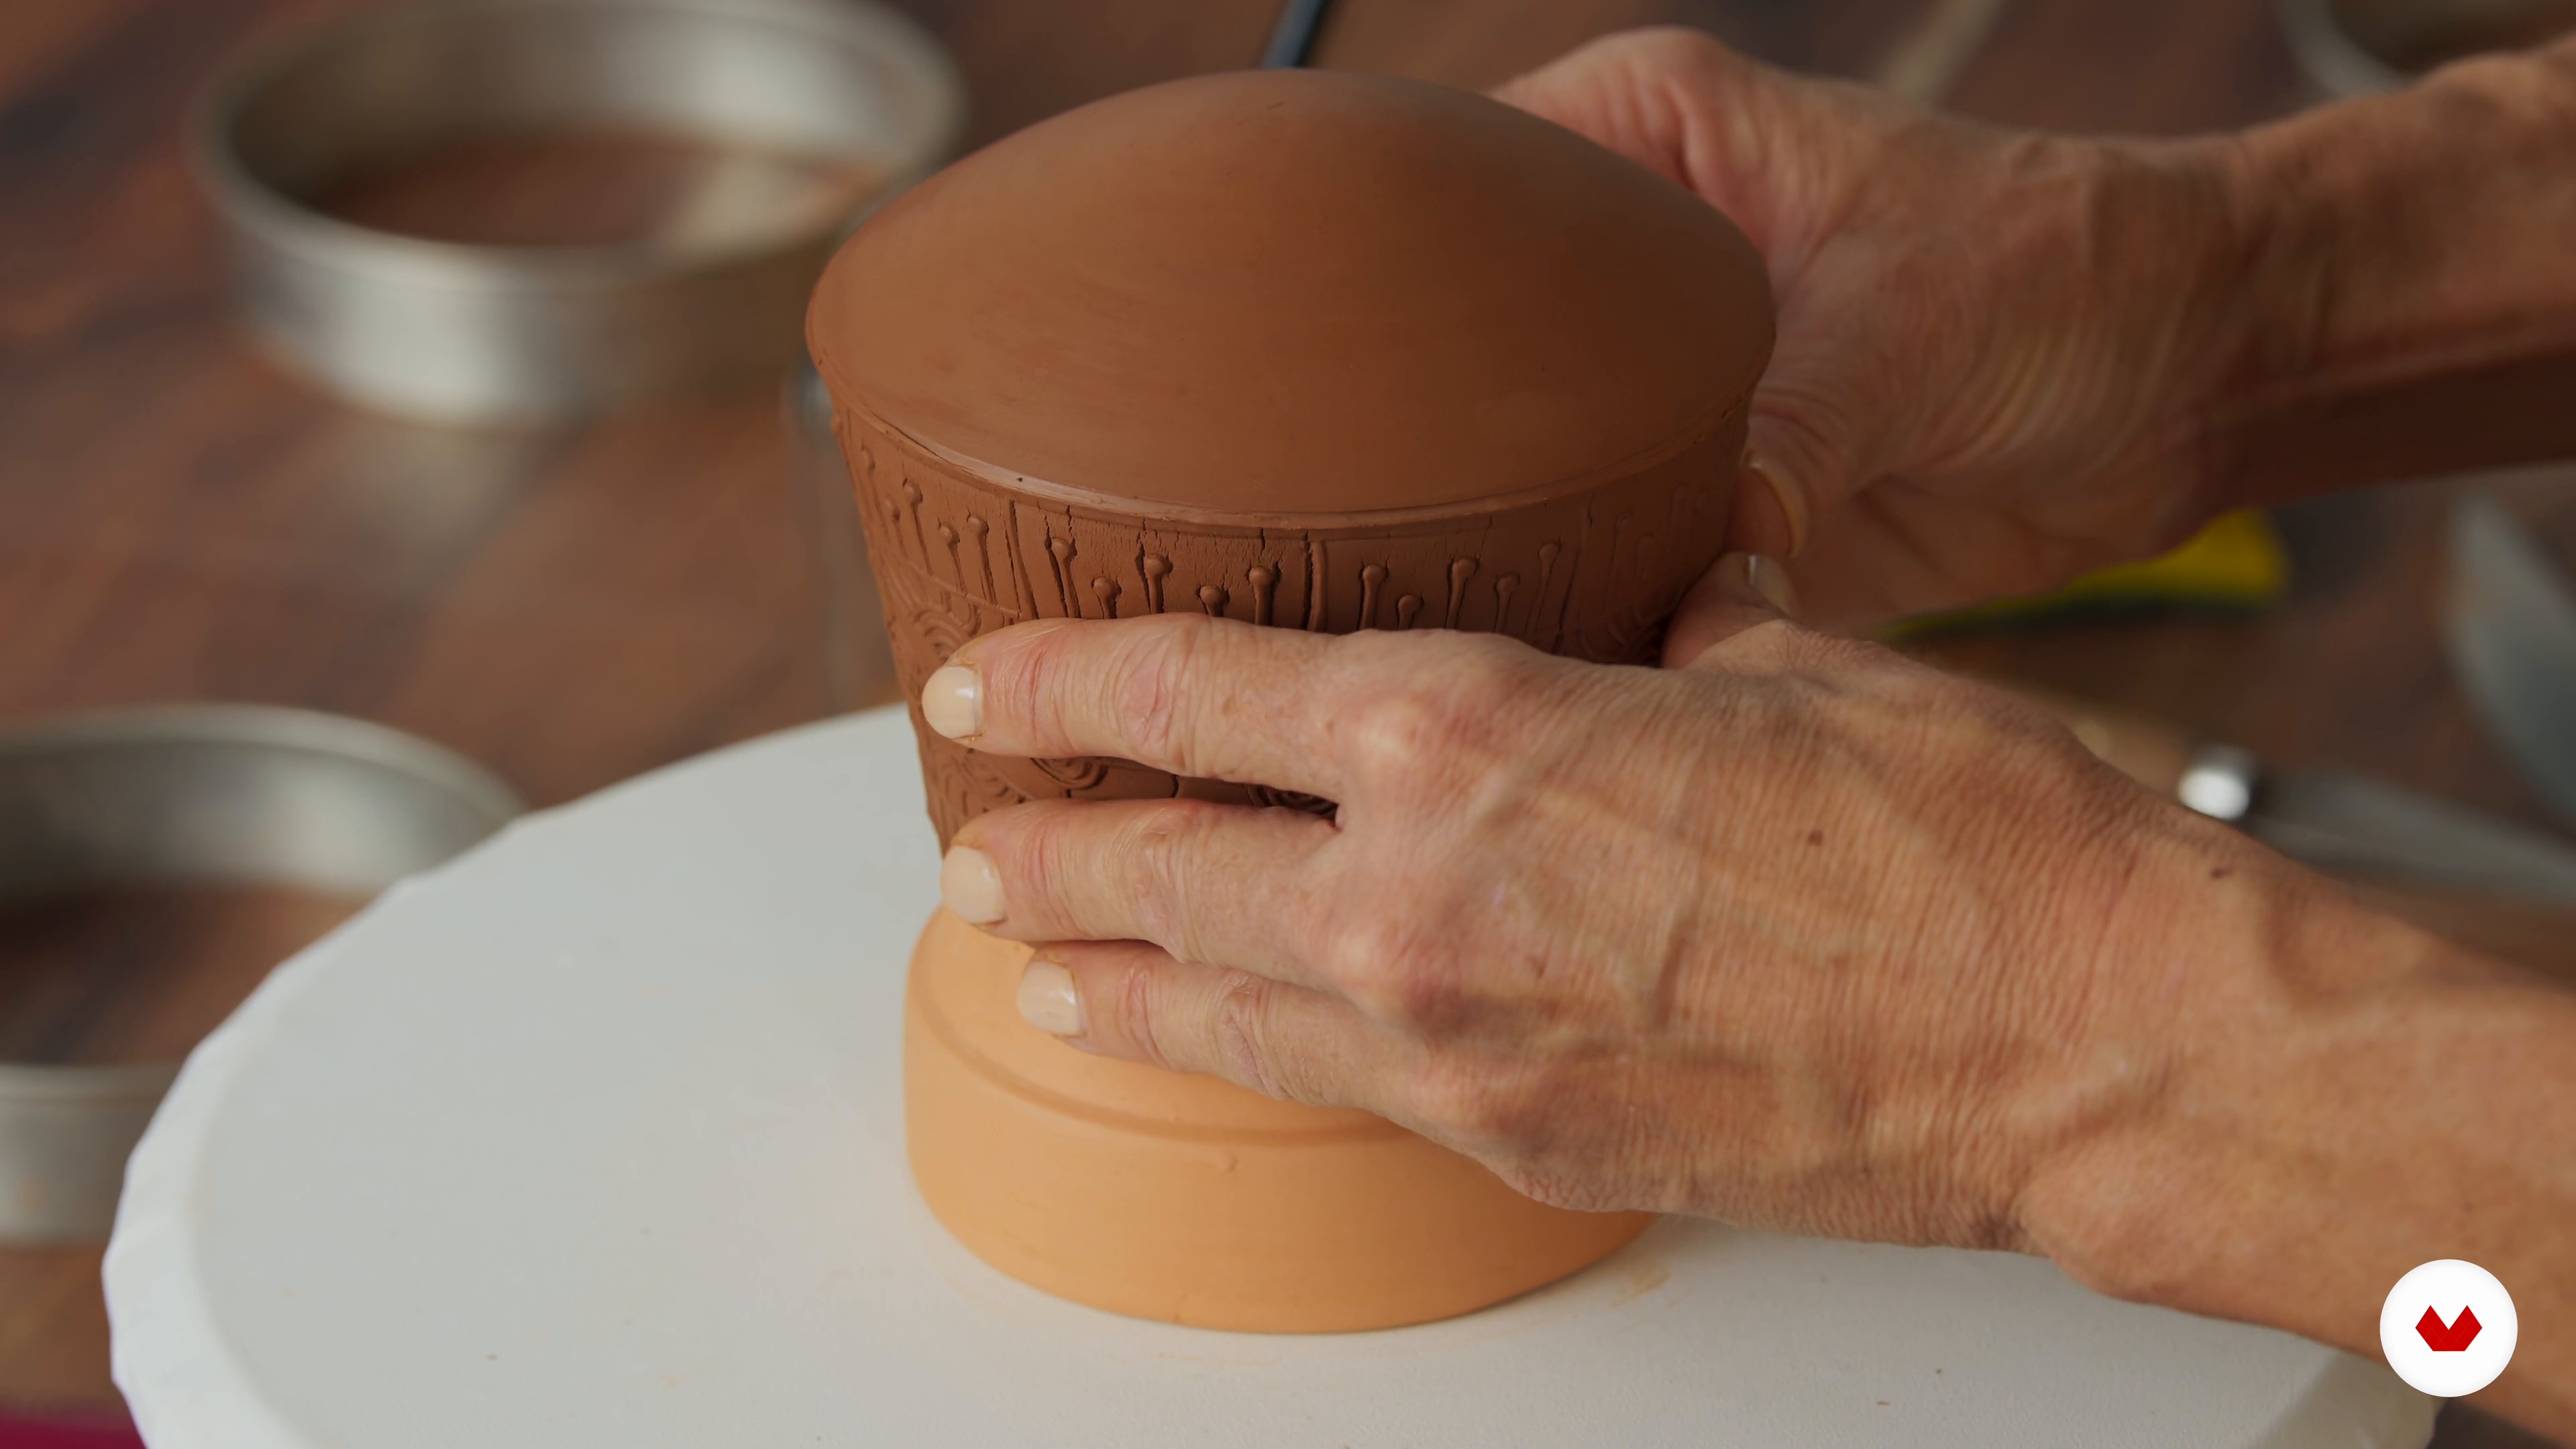
Joining the Slab and Adding Volume
In this lesson, you will learn how to form and join your slab to make a cylinder. You will then learn how to flare and stretch the cylinder to add volume and alter the profile of the form.
12m
image
9
Adding the Bottom
Once the cylinder is formed, we will add the bottom. For my mug, I will make a flared bottom, but you can use the same technique to make a flat bottom. Just place the circular base slab on a non-stick flat surface and then attach it in the same way.
12m
image
10
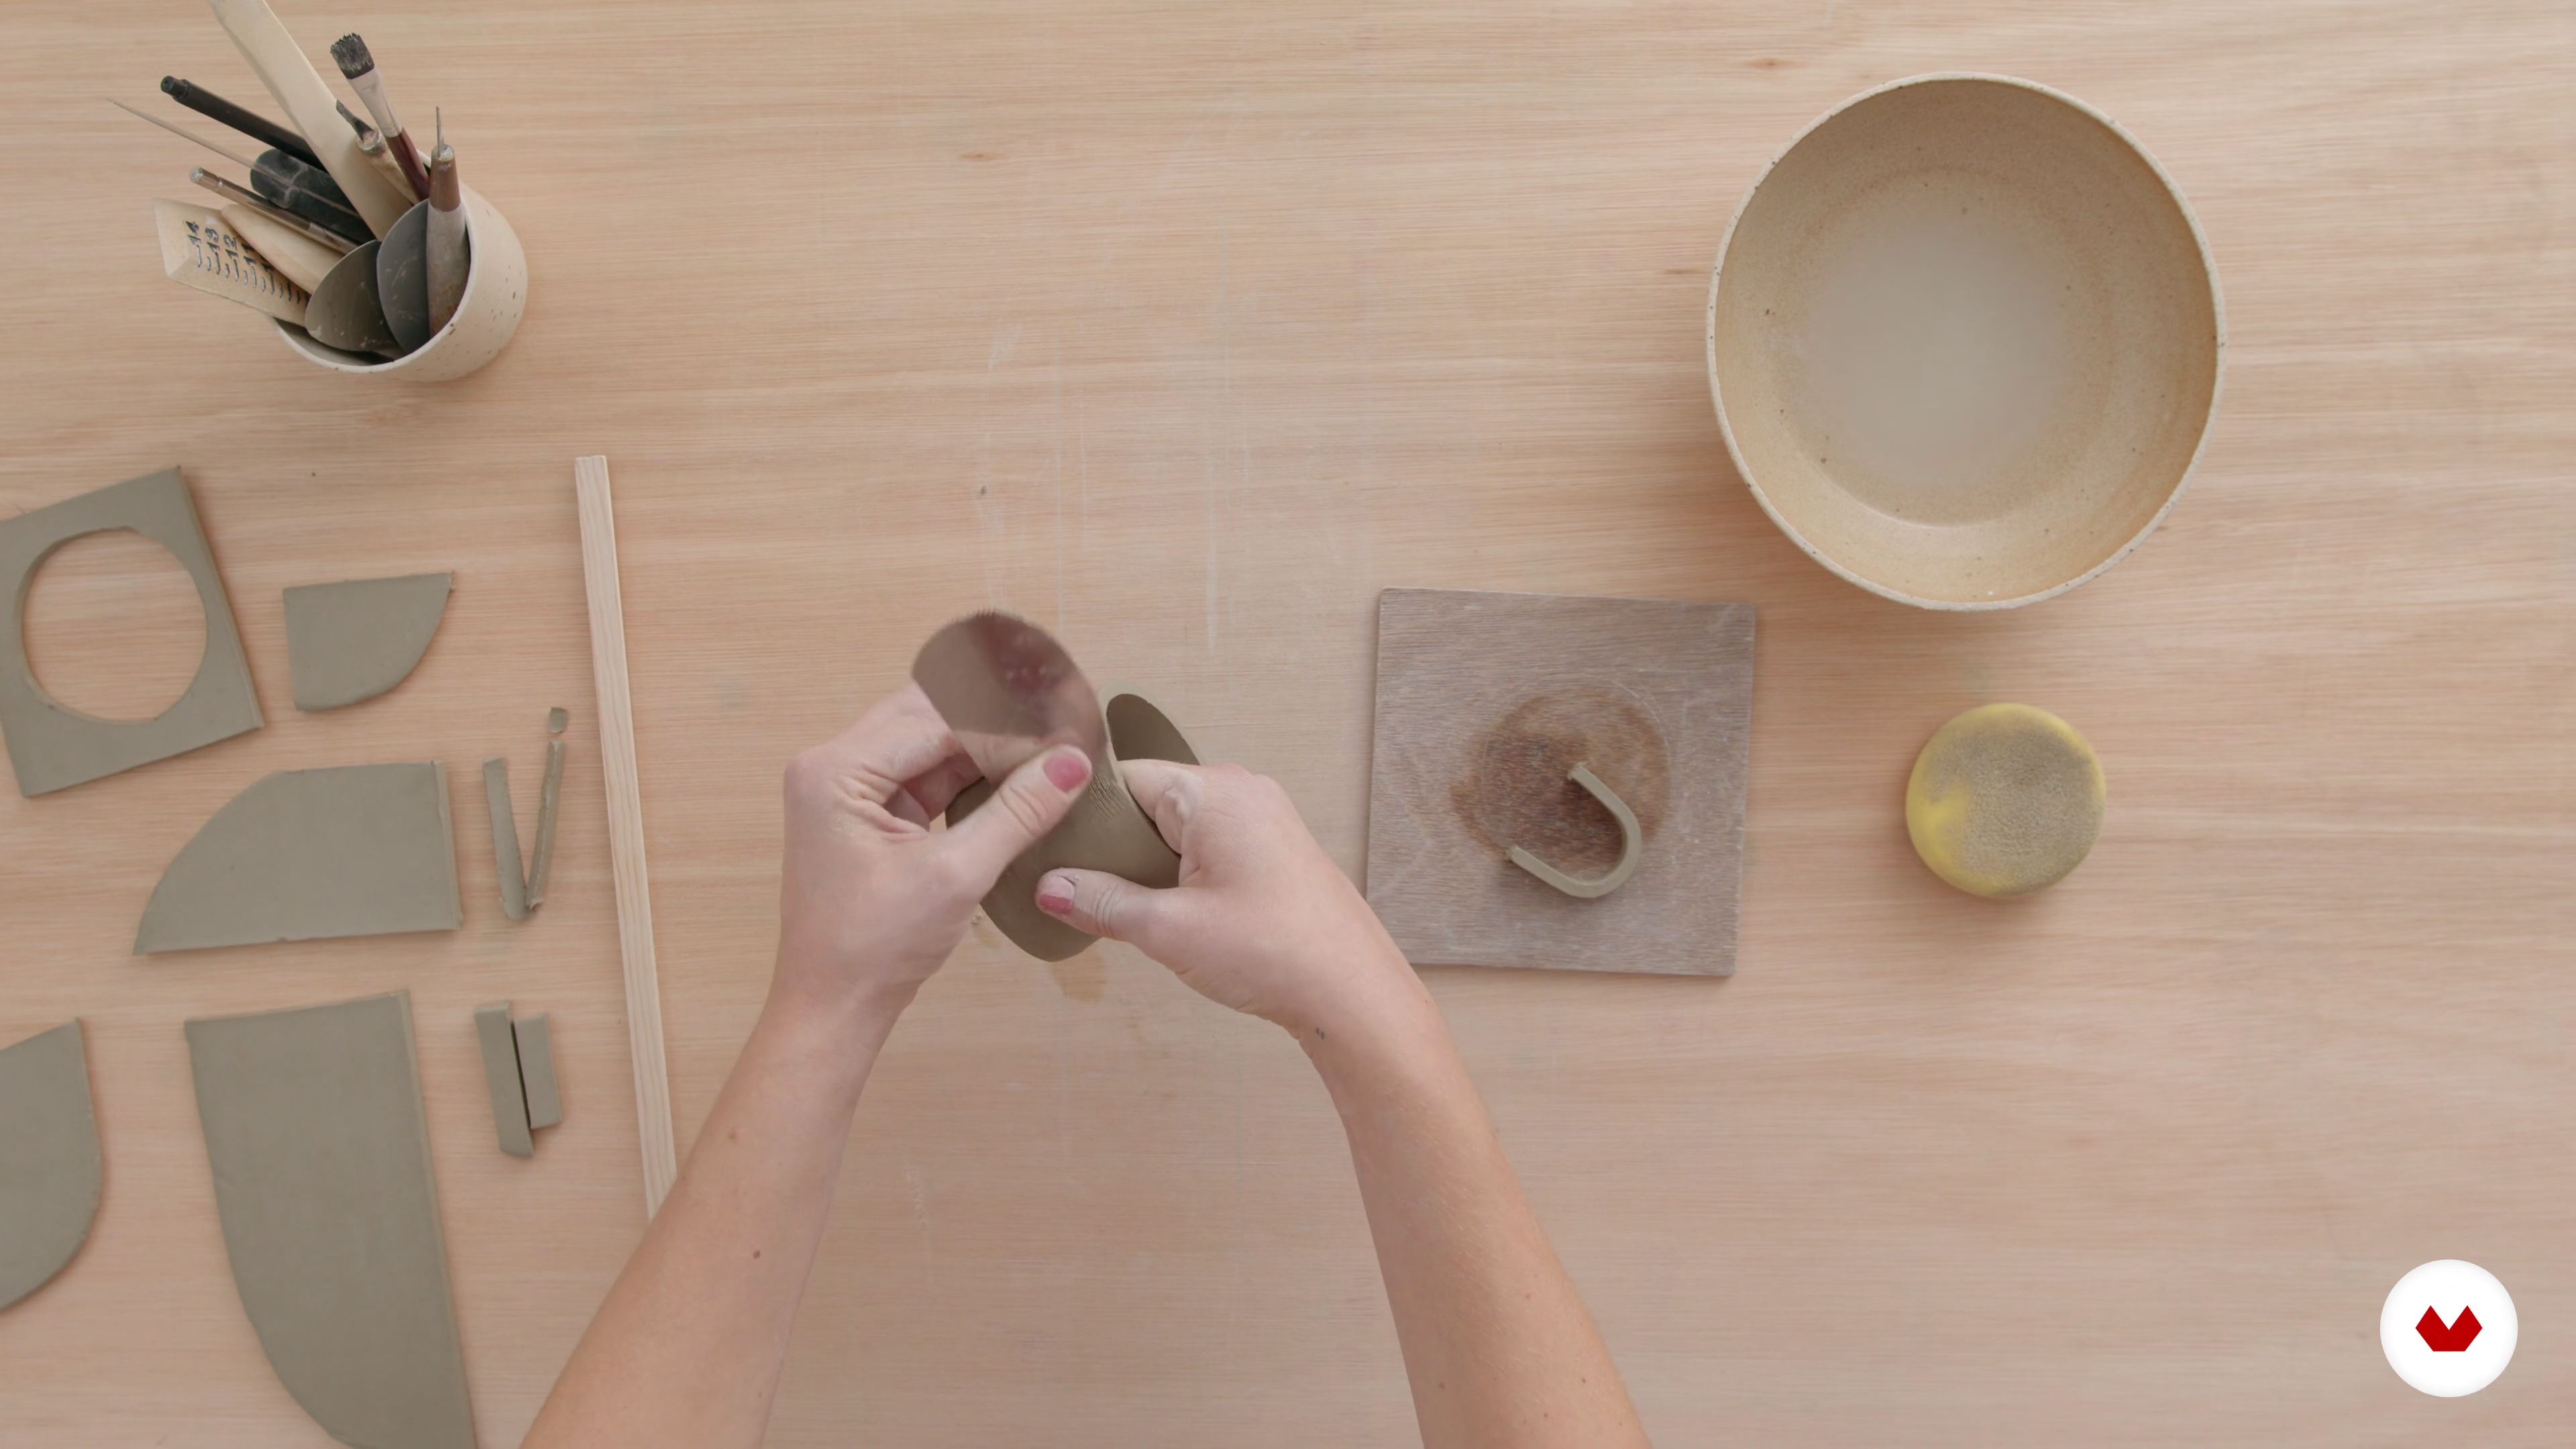
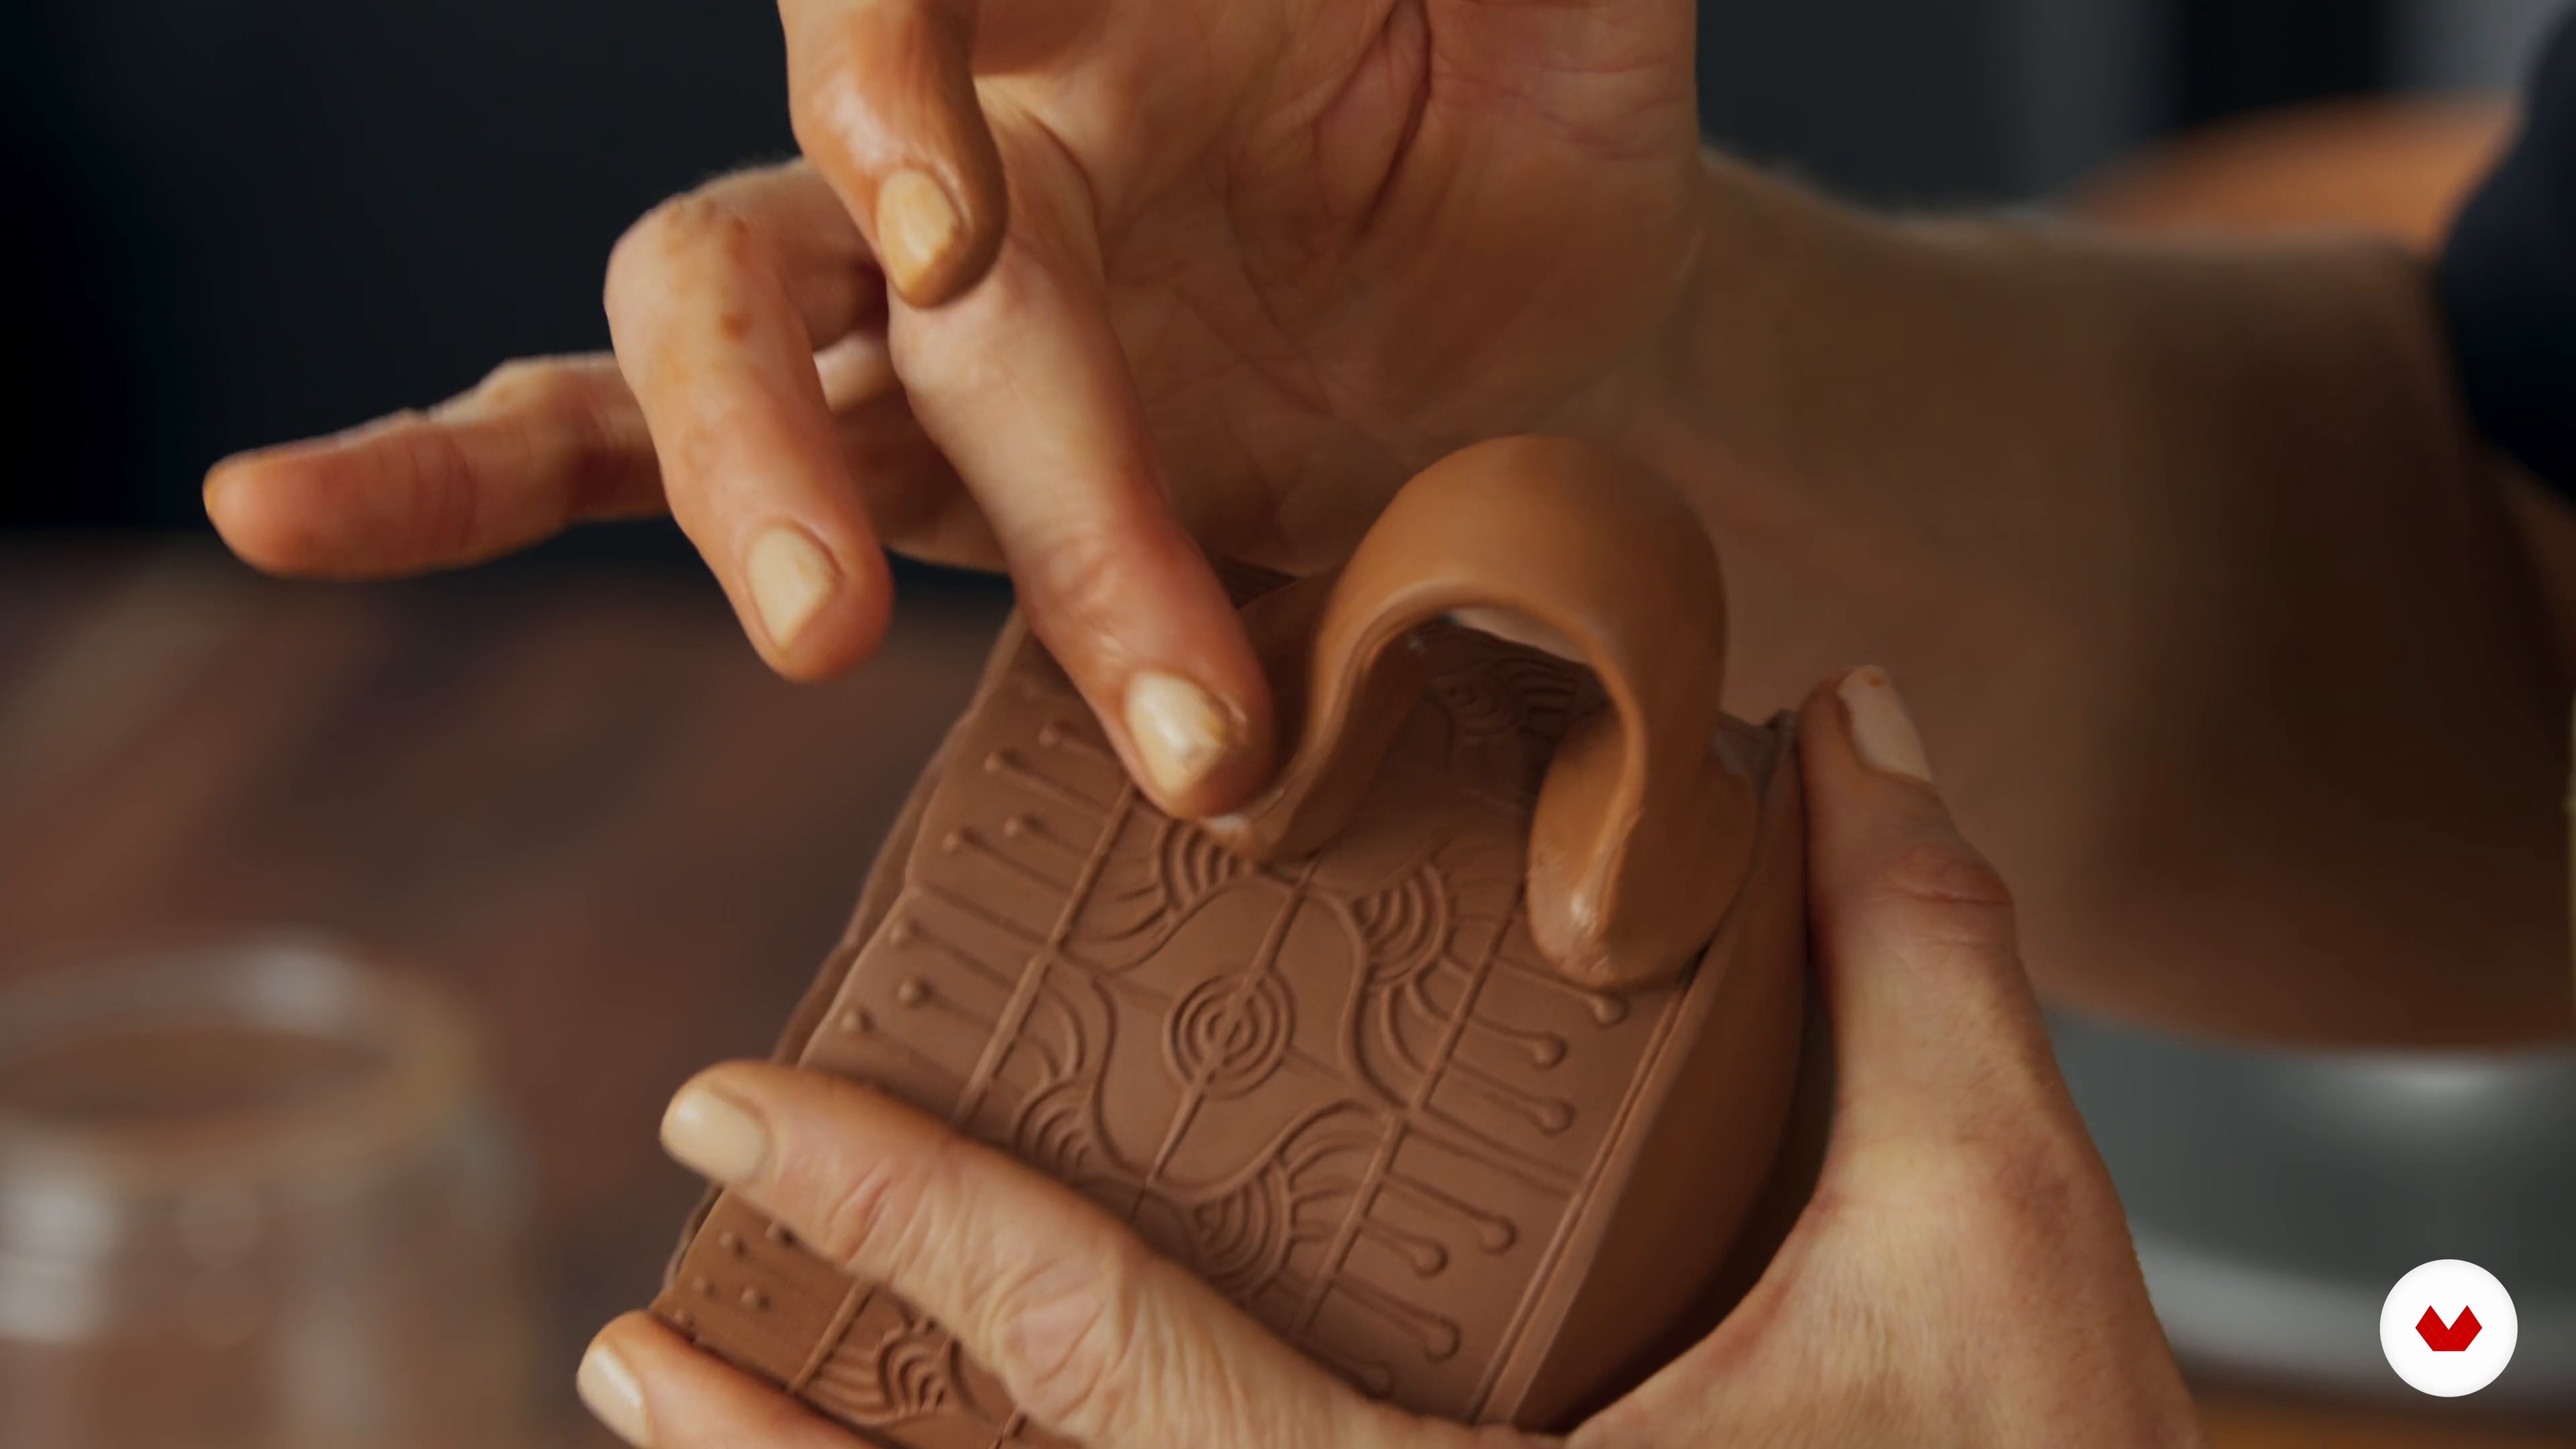
Refinements and Making a Handle
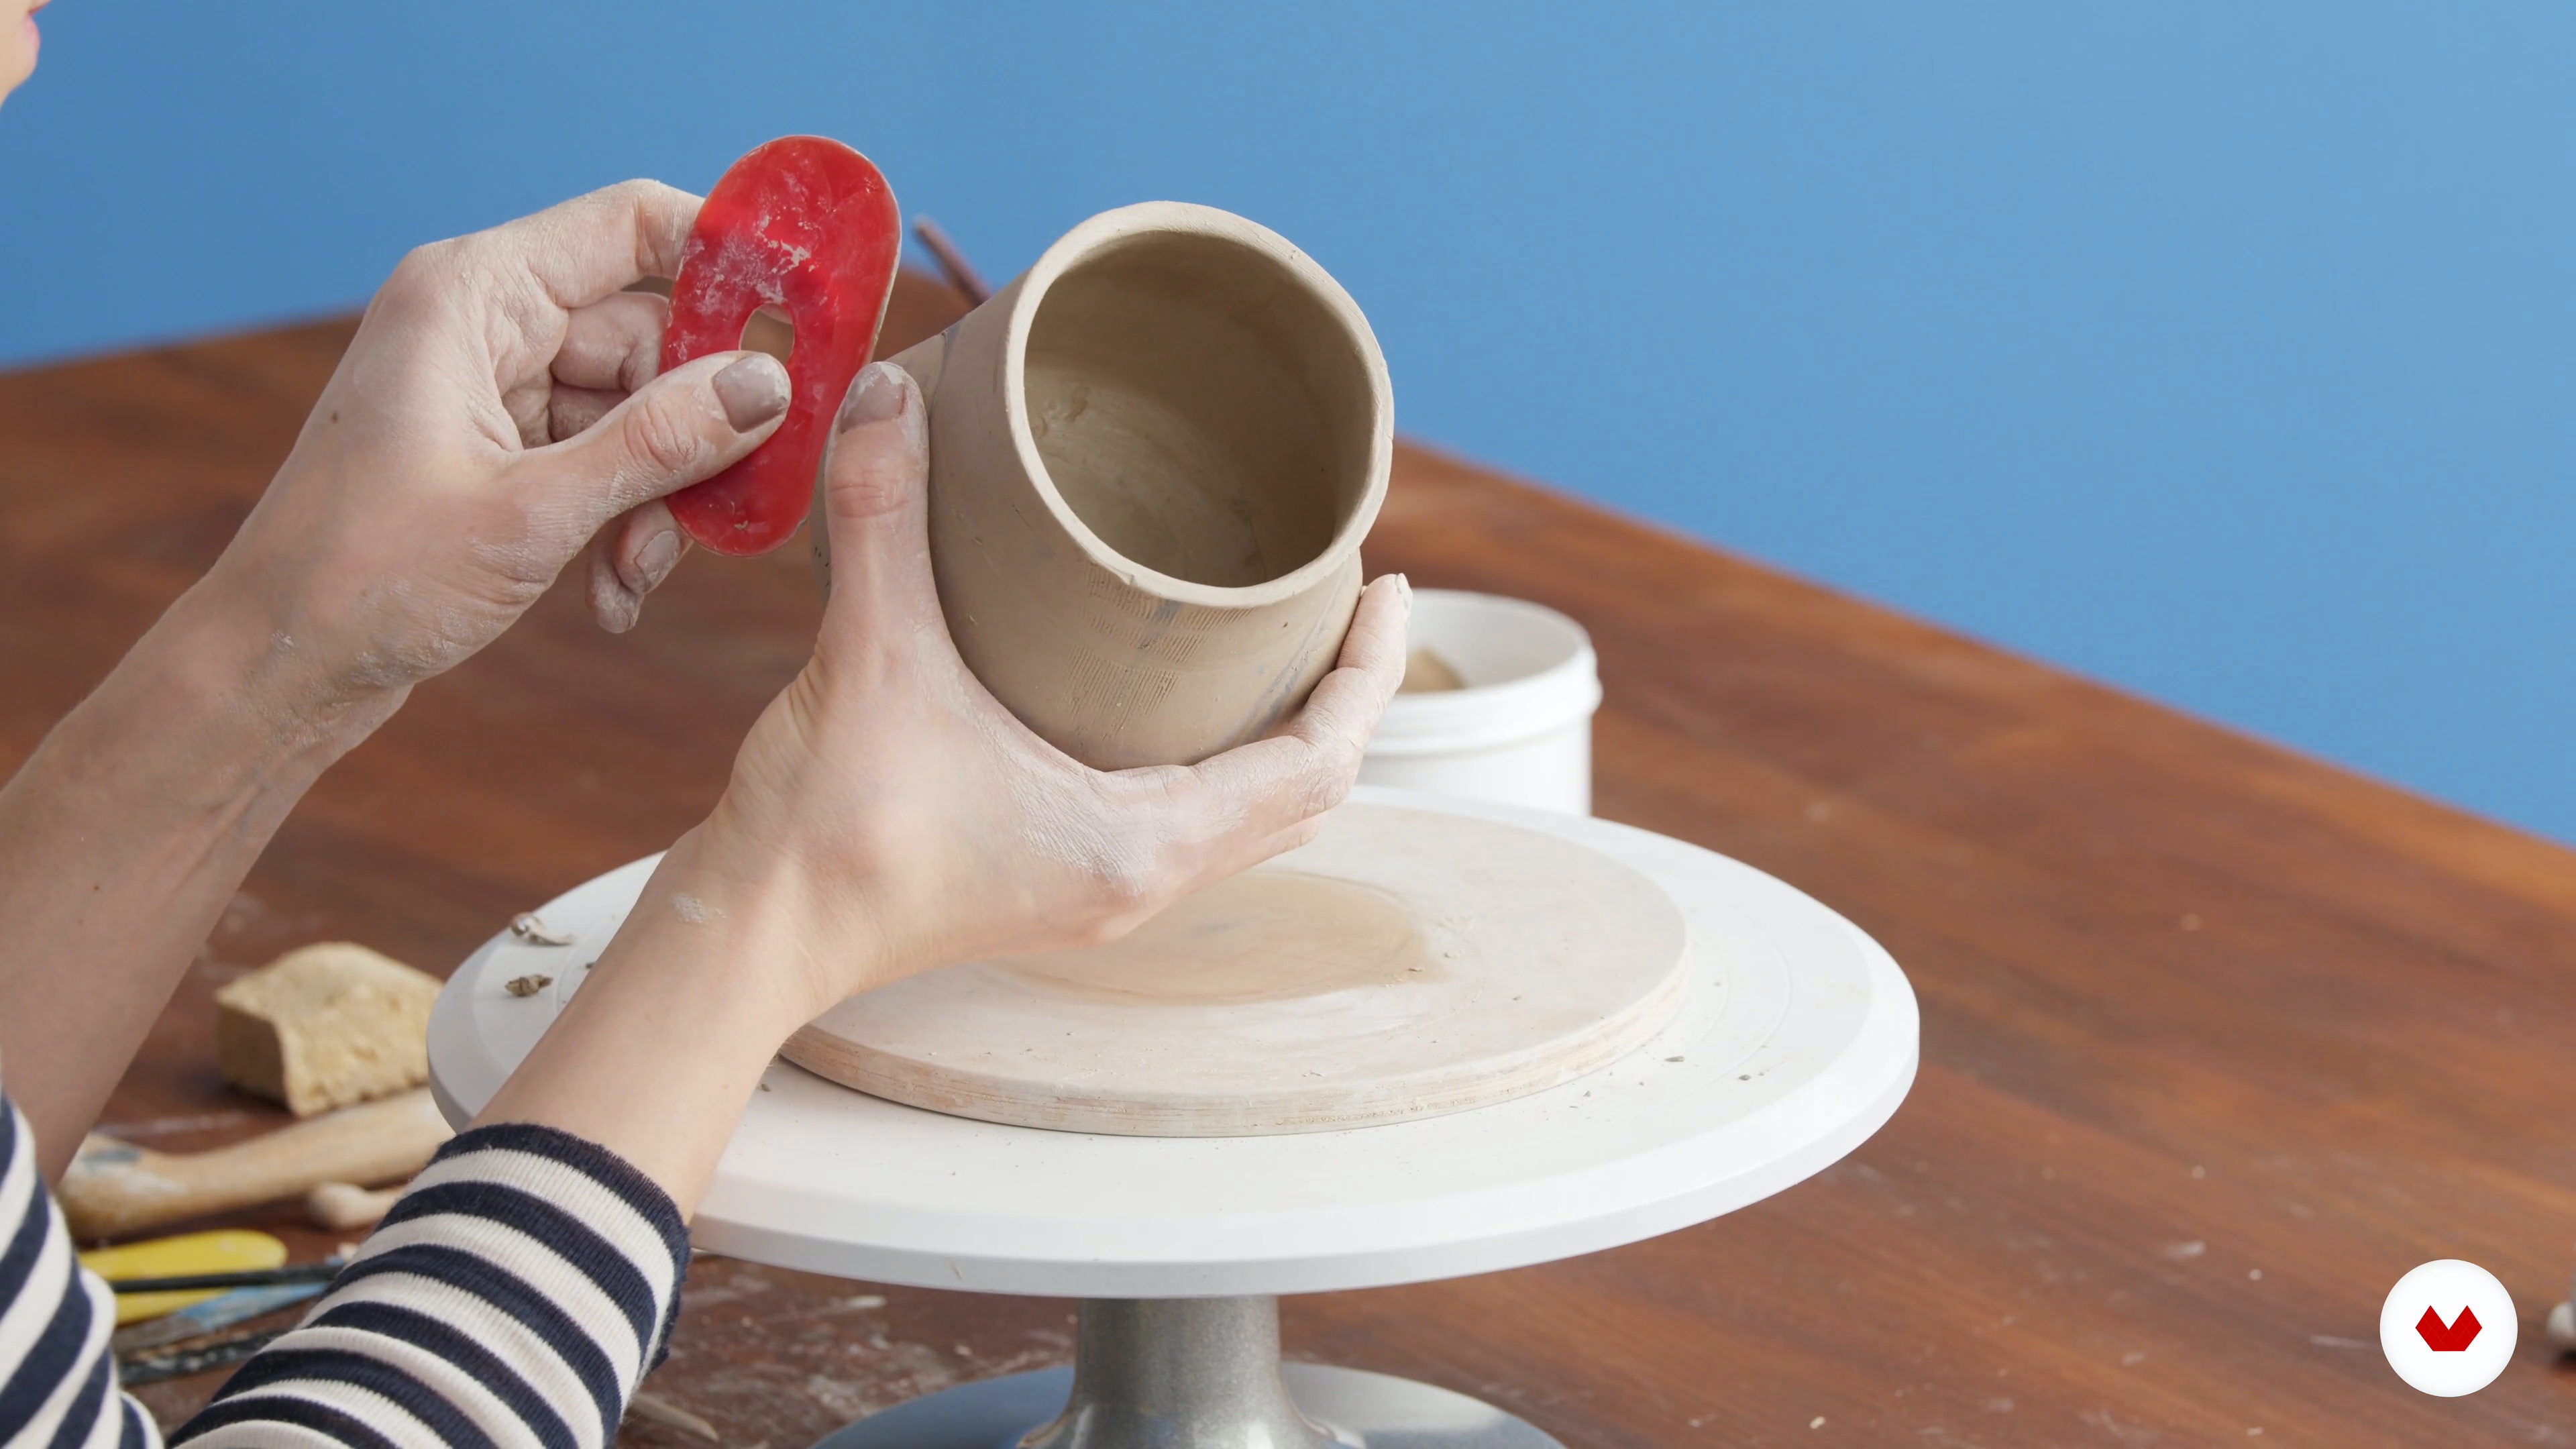
The mug isn't quite finished! Let's make sure it's circular and refined. In this lesson, you will learn different ways to make handles and how to attach your favourite to your pot.
20m
image
11
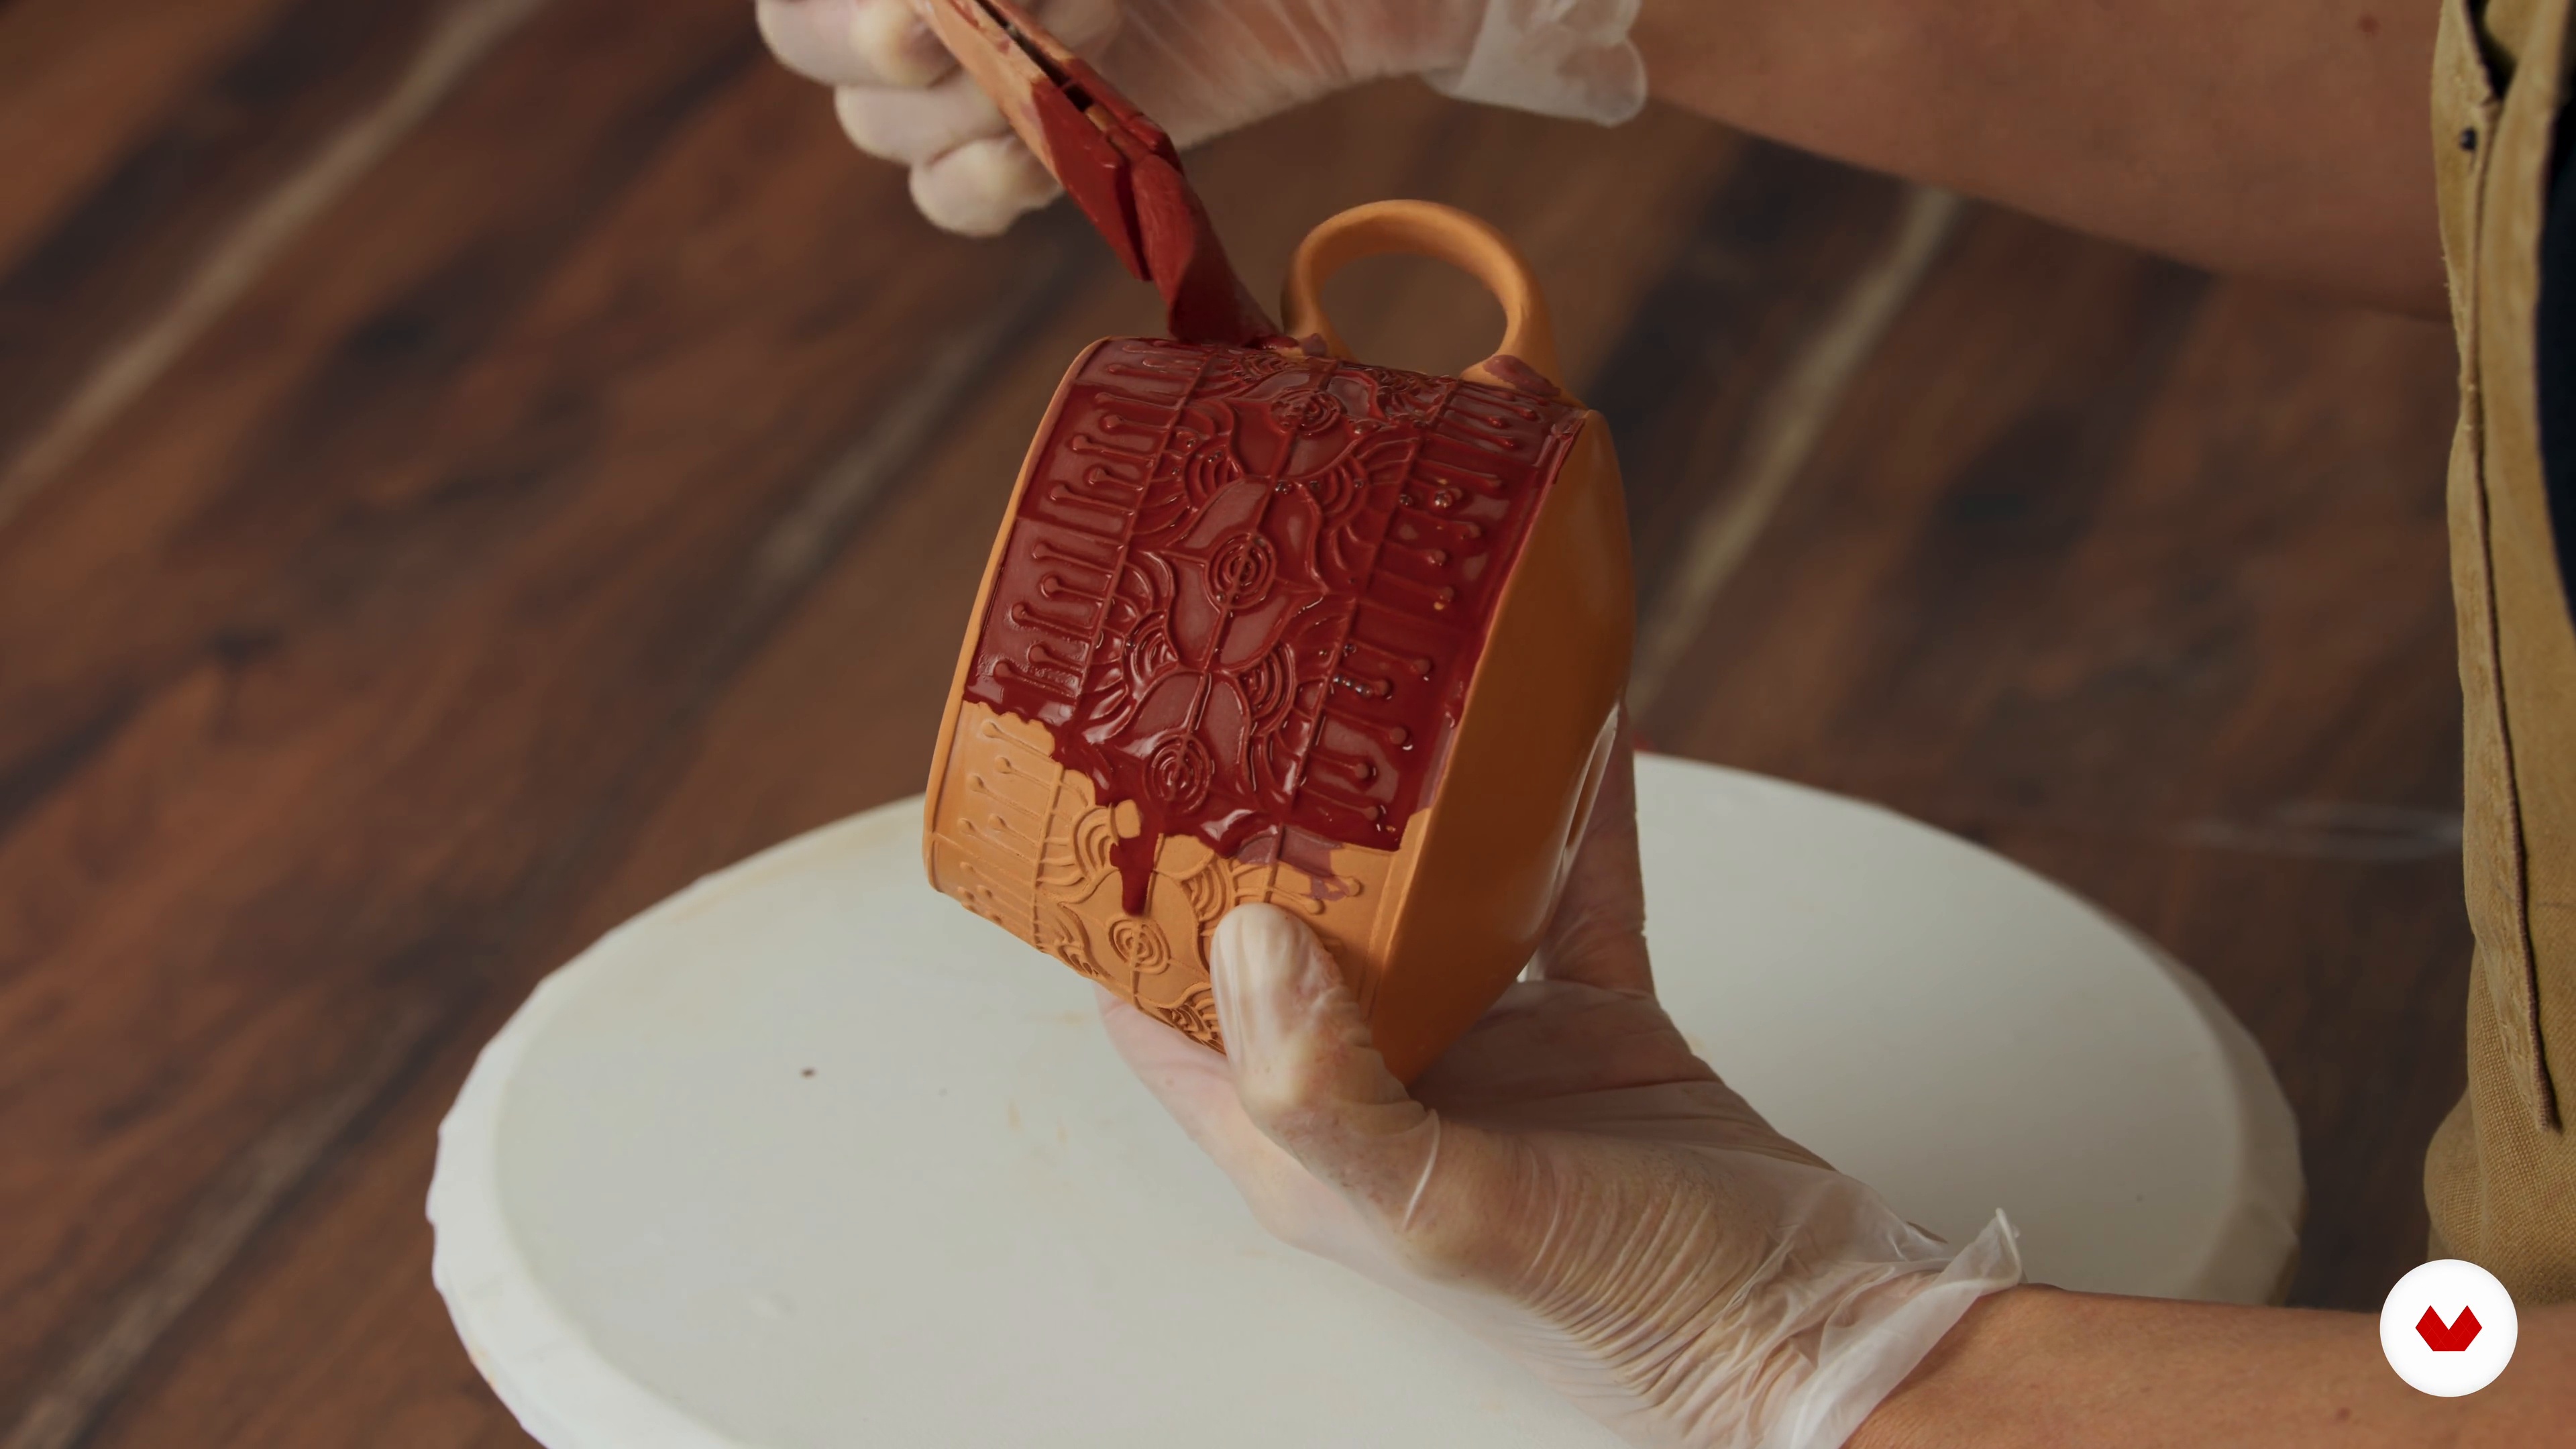
Glazing and Firing
To show you how to wax and glaze your mug and prepare it for the final firing, I will use my already bisque-fired mug. But first, let me tell you a bit about the firing process.
13m
image
12
Creating Other Mug Forms 1
In this lesson, you will learn some supplemental techniques to help you design your own mug form. I will demonstrate three different mug shapes.
20m
image
13
Creating Other Mug Forms 2
Considering the various forms and techniques I show you, think about different styles and variations and imagine how you could create your own designs.
8m
image
1
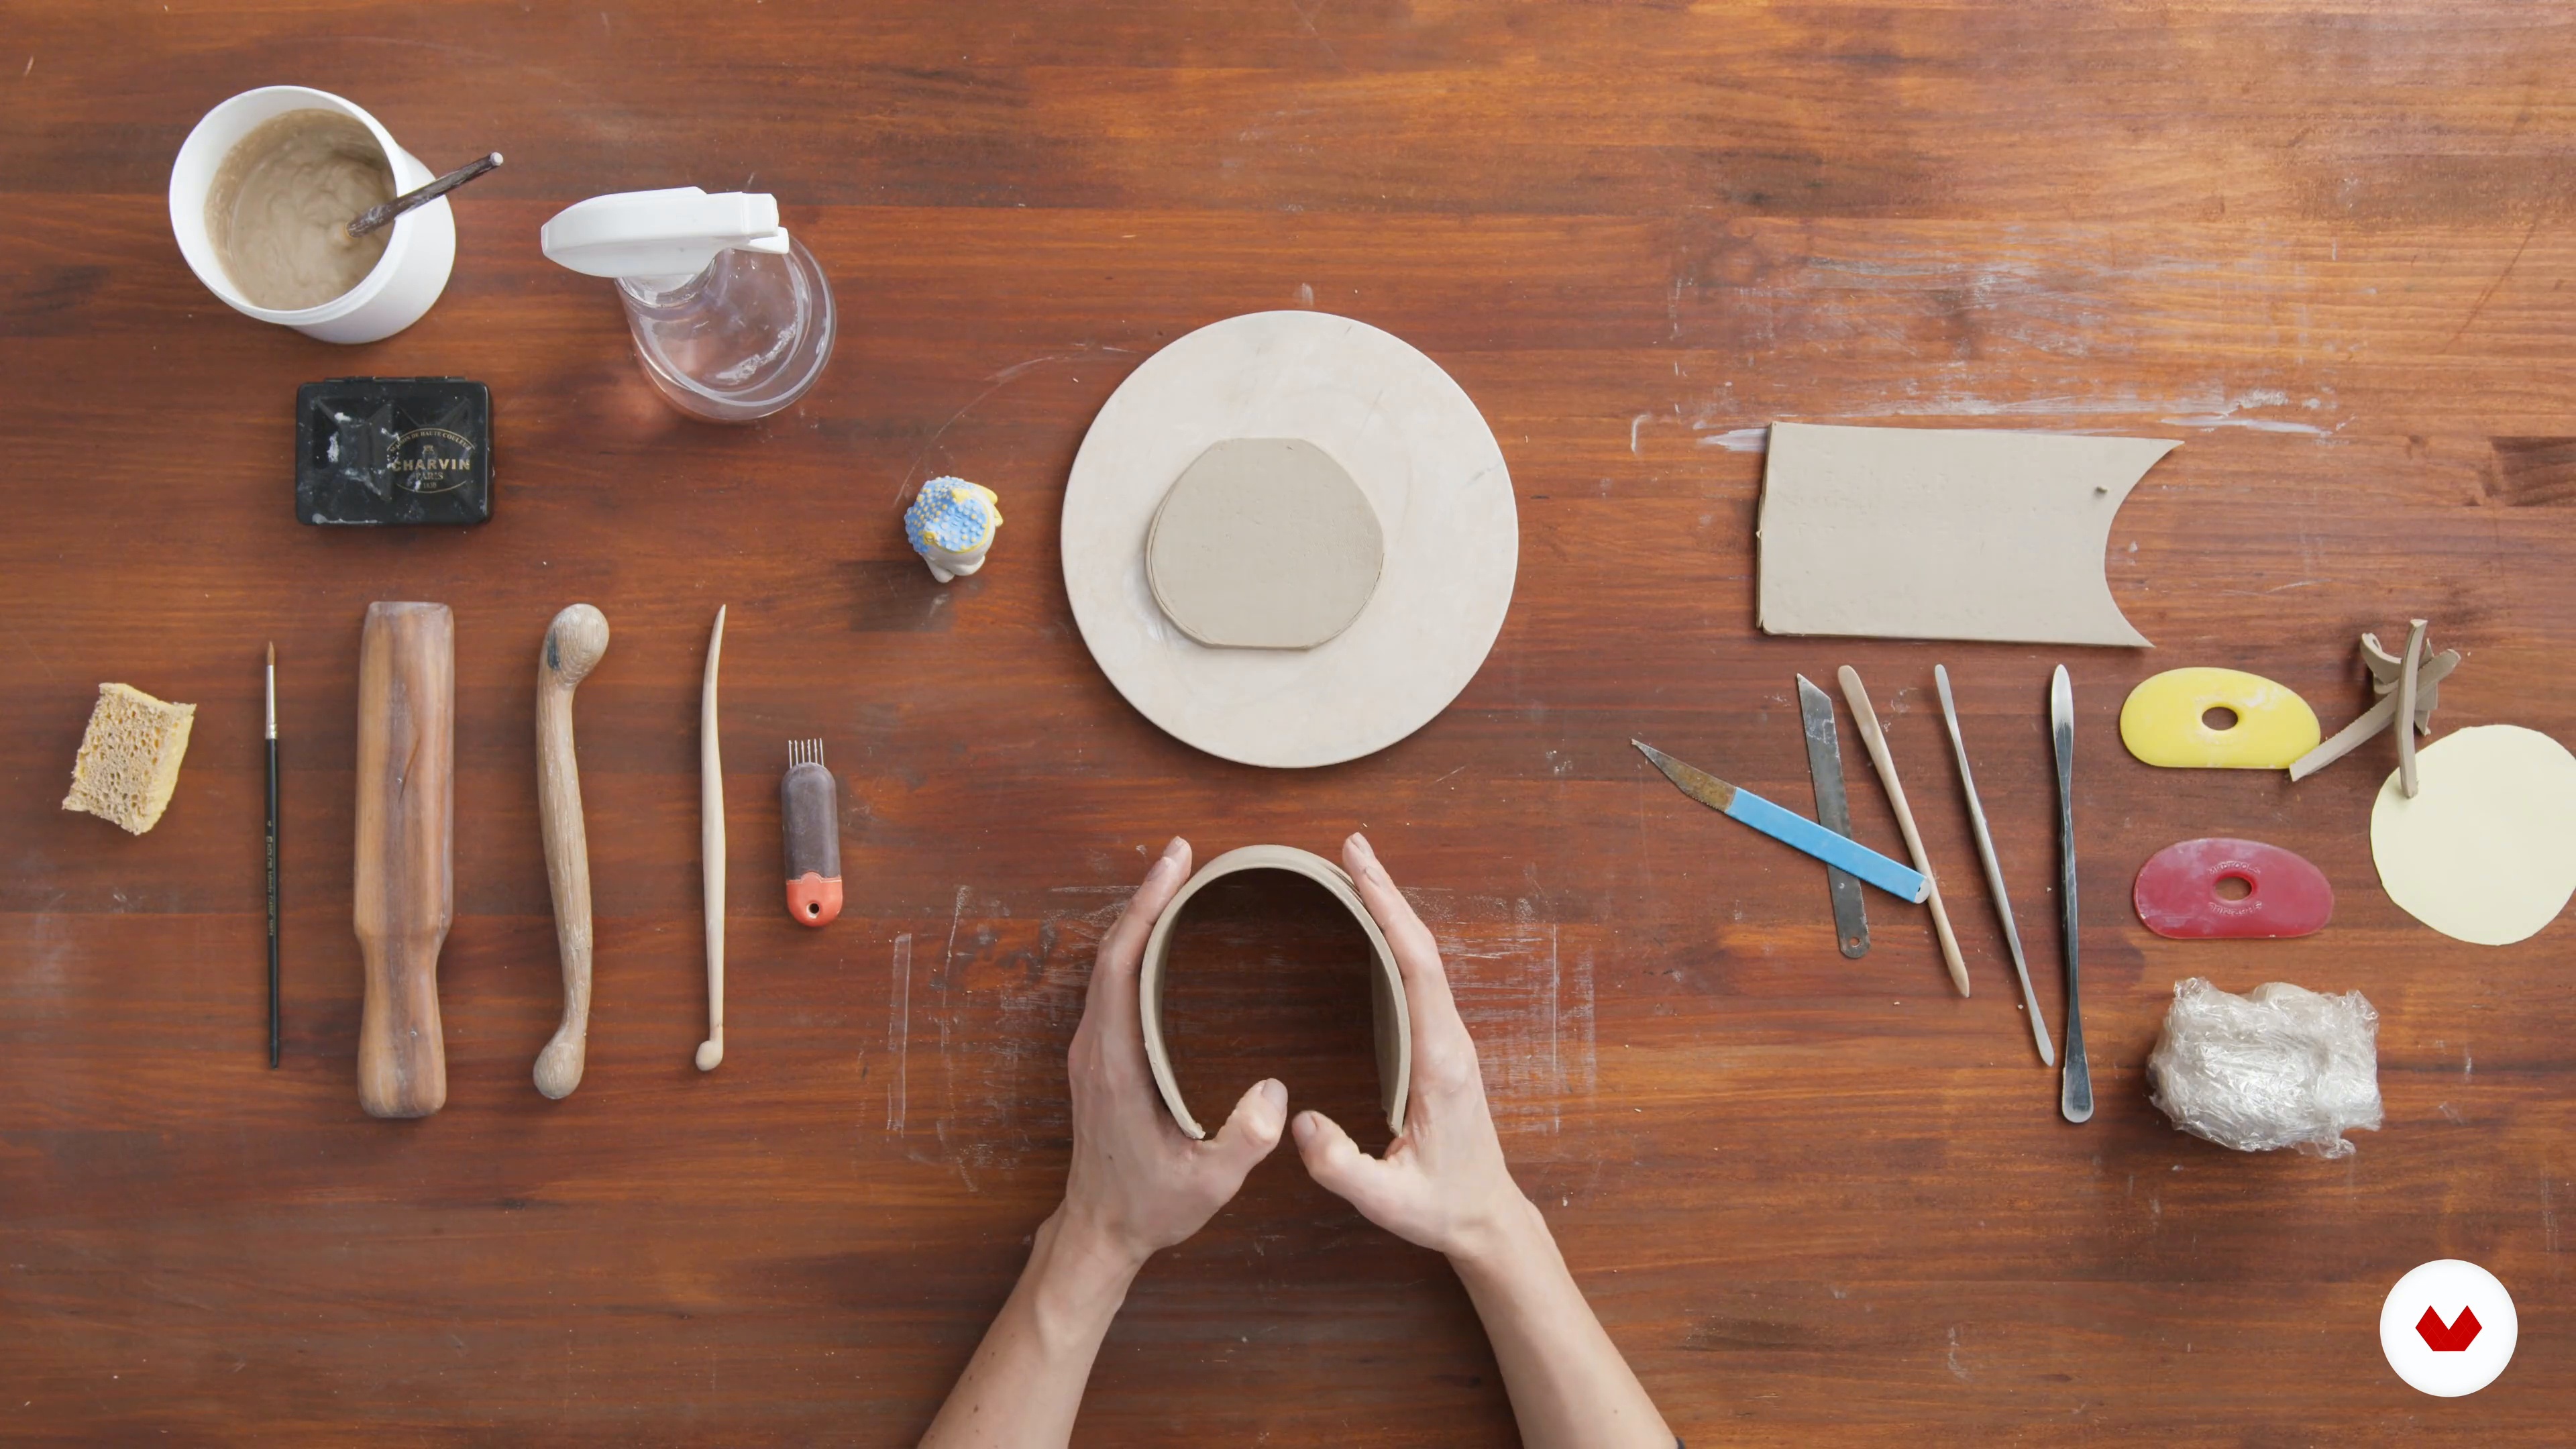
Tools and Materials
In this lesson, I will go over all the tools and materials you will need for this course and explain what they will be used for.
11m
image
2
Technique Foundations and Making a Product Food Safe
Now, you will be introduced to the basic hand-building techniques. With these foundational techniques, you will be able to create various forms and objects with clay, including the floral mugs that will become the main focus later on in this course. Before diving into the production process of your ceramic mug, let’s take a moment to go over some important food safety and functional design elements that can help to improve the durability and functionality of the piece.
18m
image
3
Plaster Mold-Making
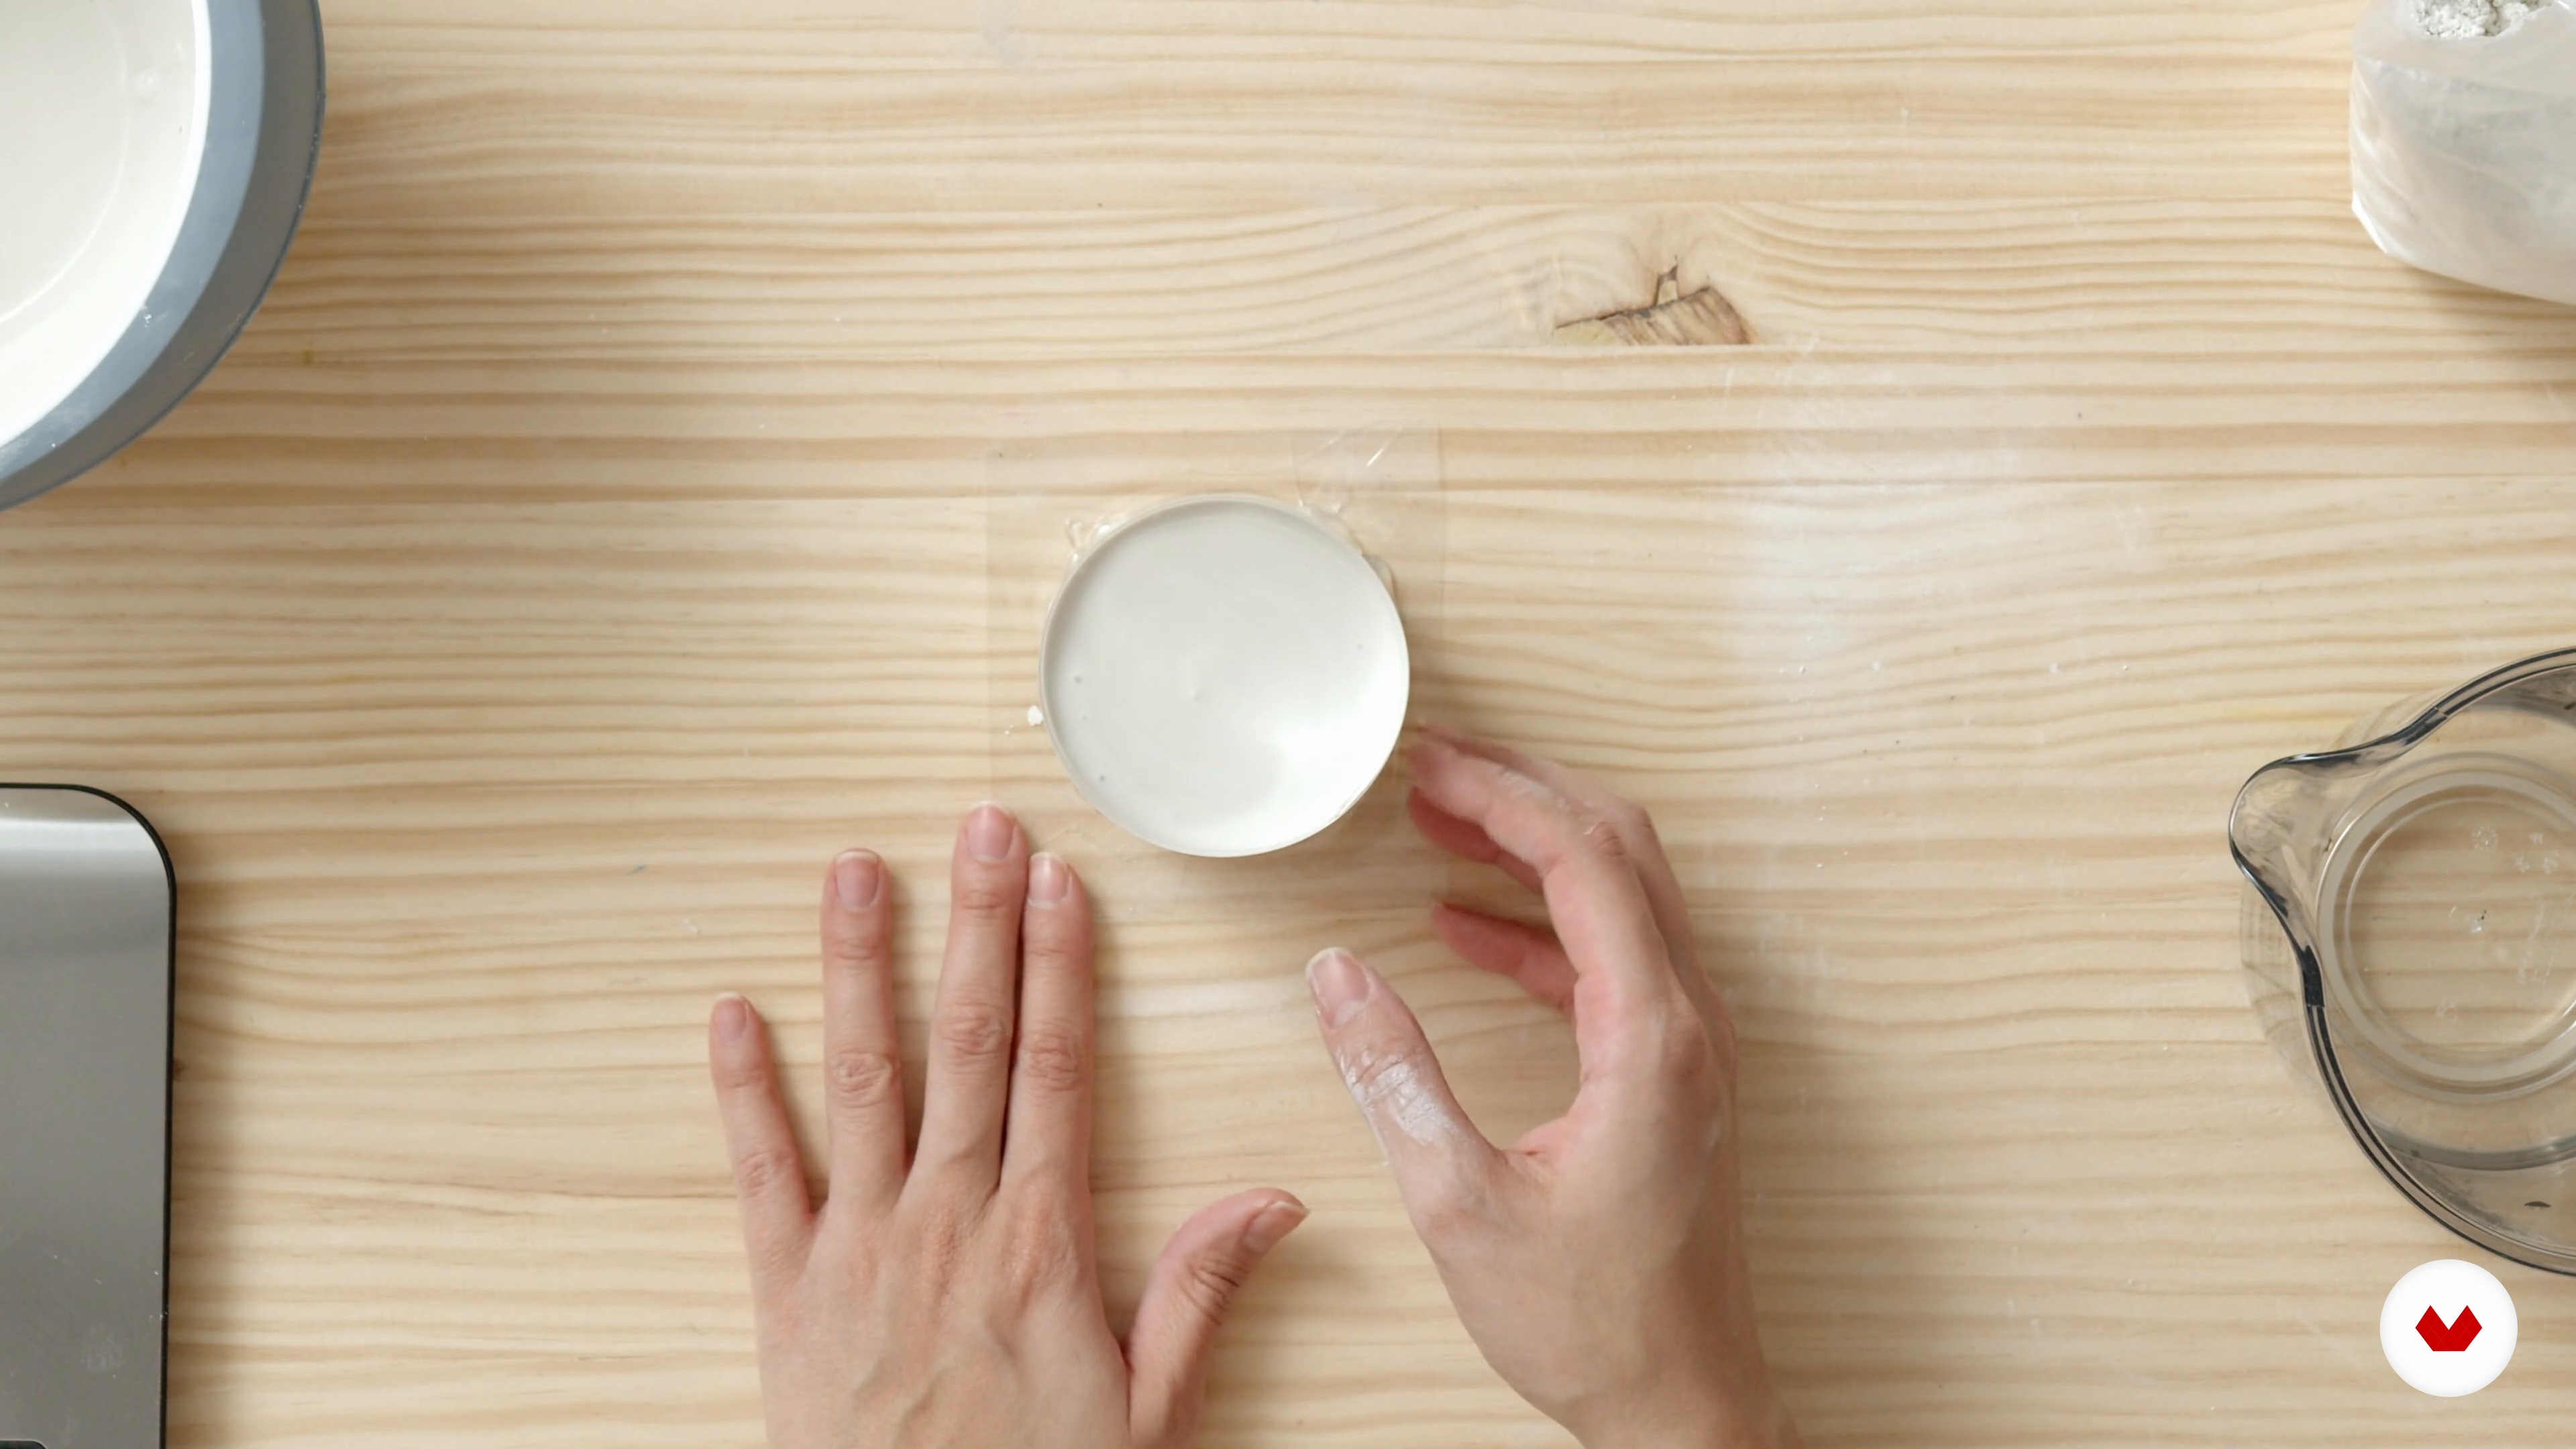
Let's take a look at the simple process to create your own plaster molds using just two ingredients and other objects you can easily find at home.
7m
image
4
Finding Your Flowers and Plants
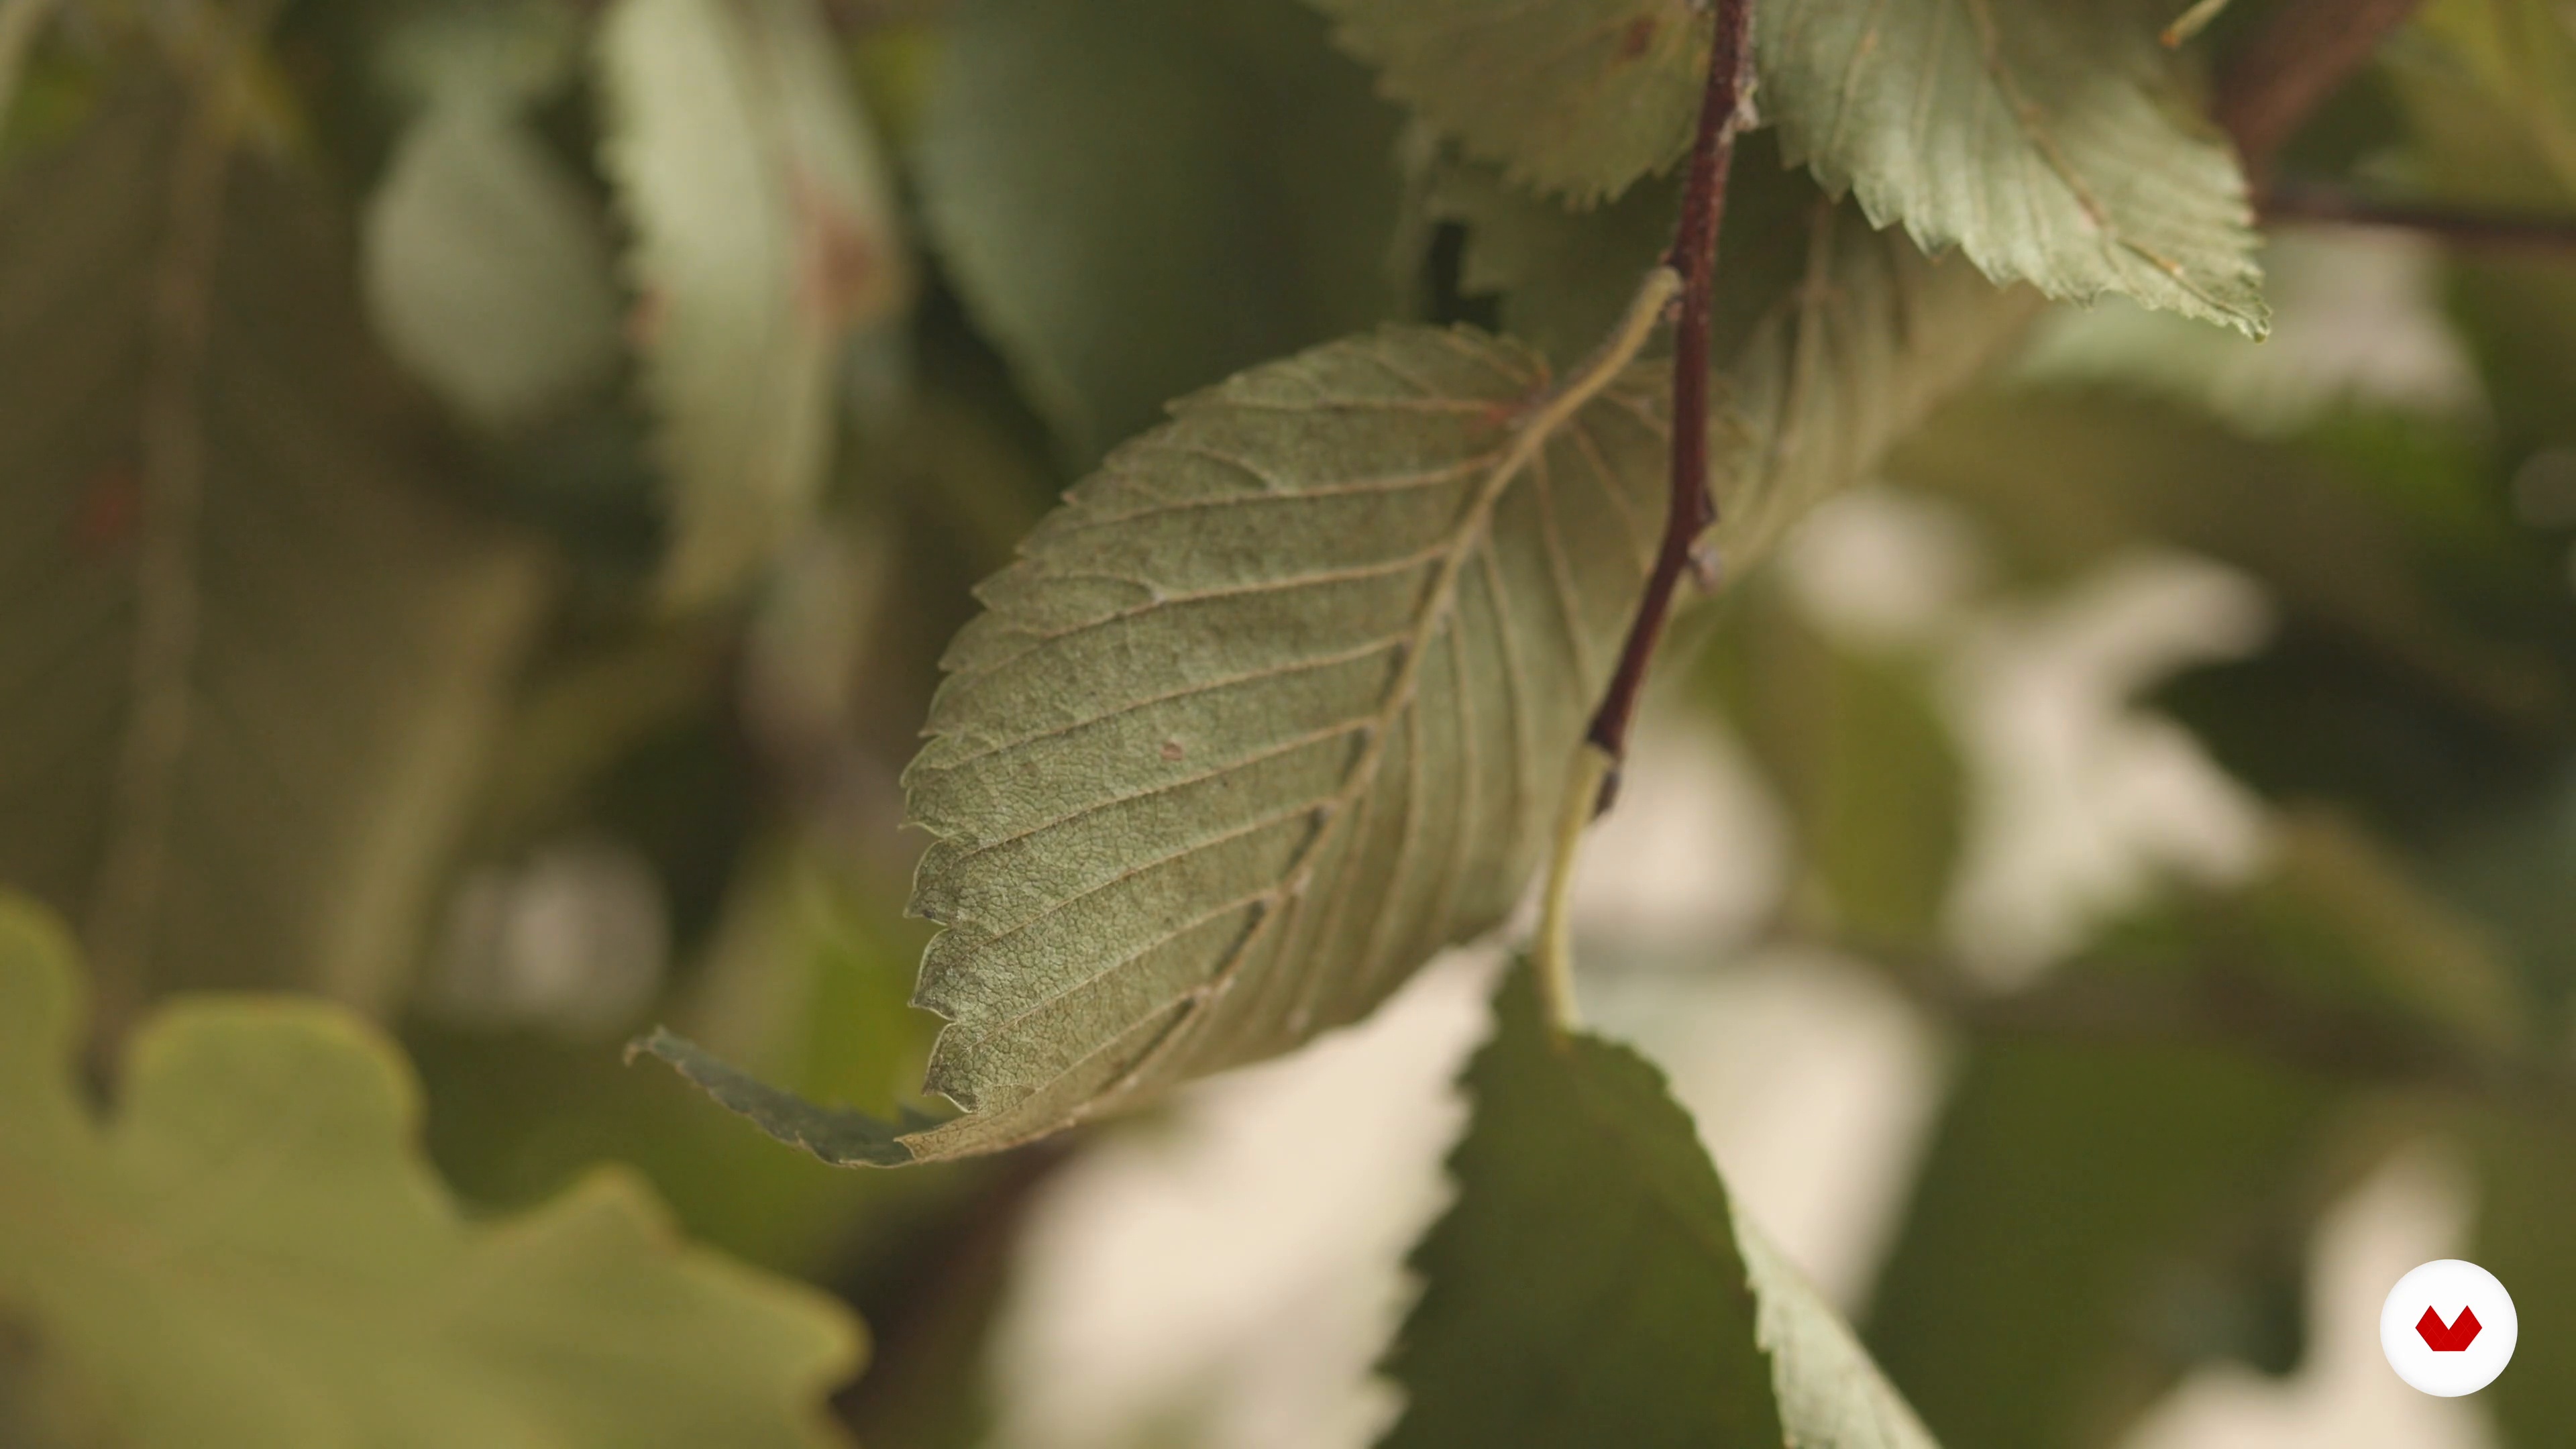
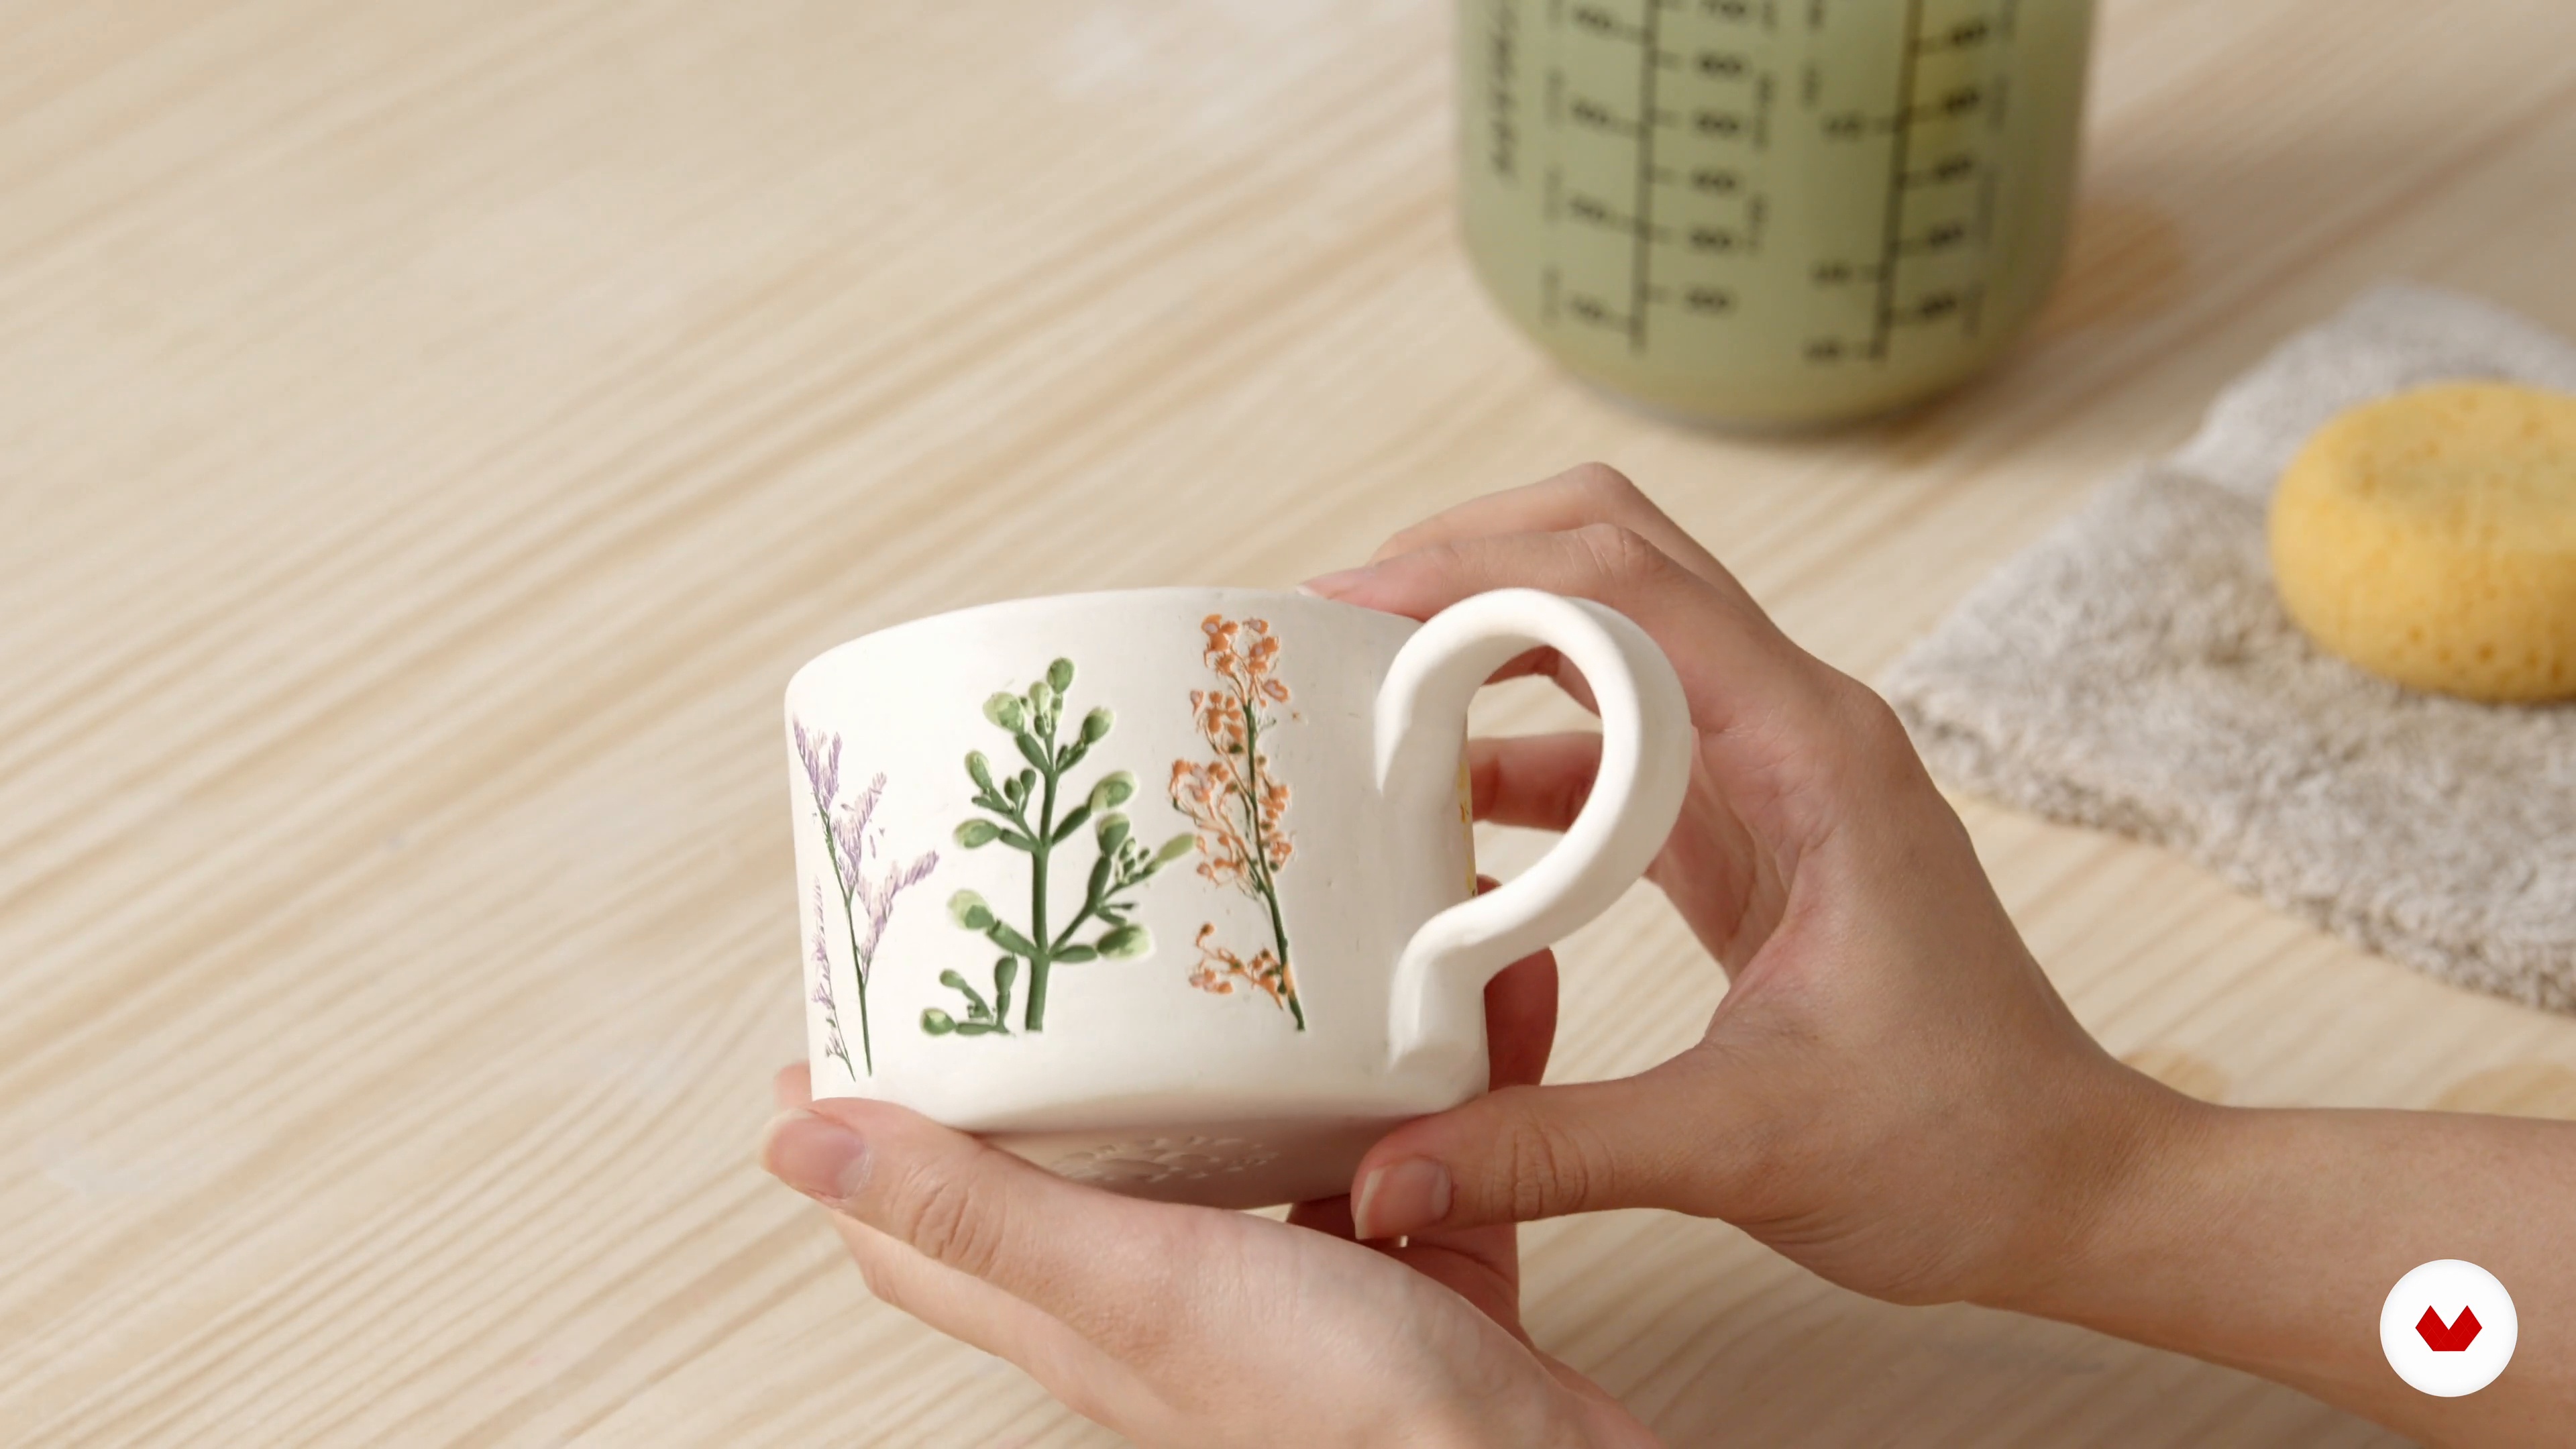
It's now time to talk about what types of leaves and wildflowers are best for imprinting on clay, and how to collect them from the wild in a way that is sustainable and respectful to nature. I will then discuss how to clean the cuttings and prepare the arrangement or design that you would like to see on your ceramic mug.
4m
image
5
Cutting the Slab
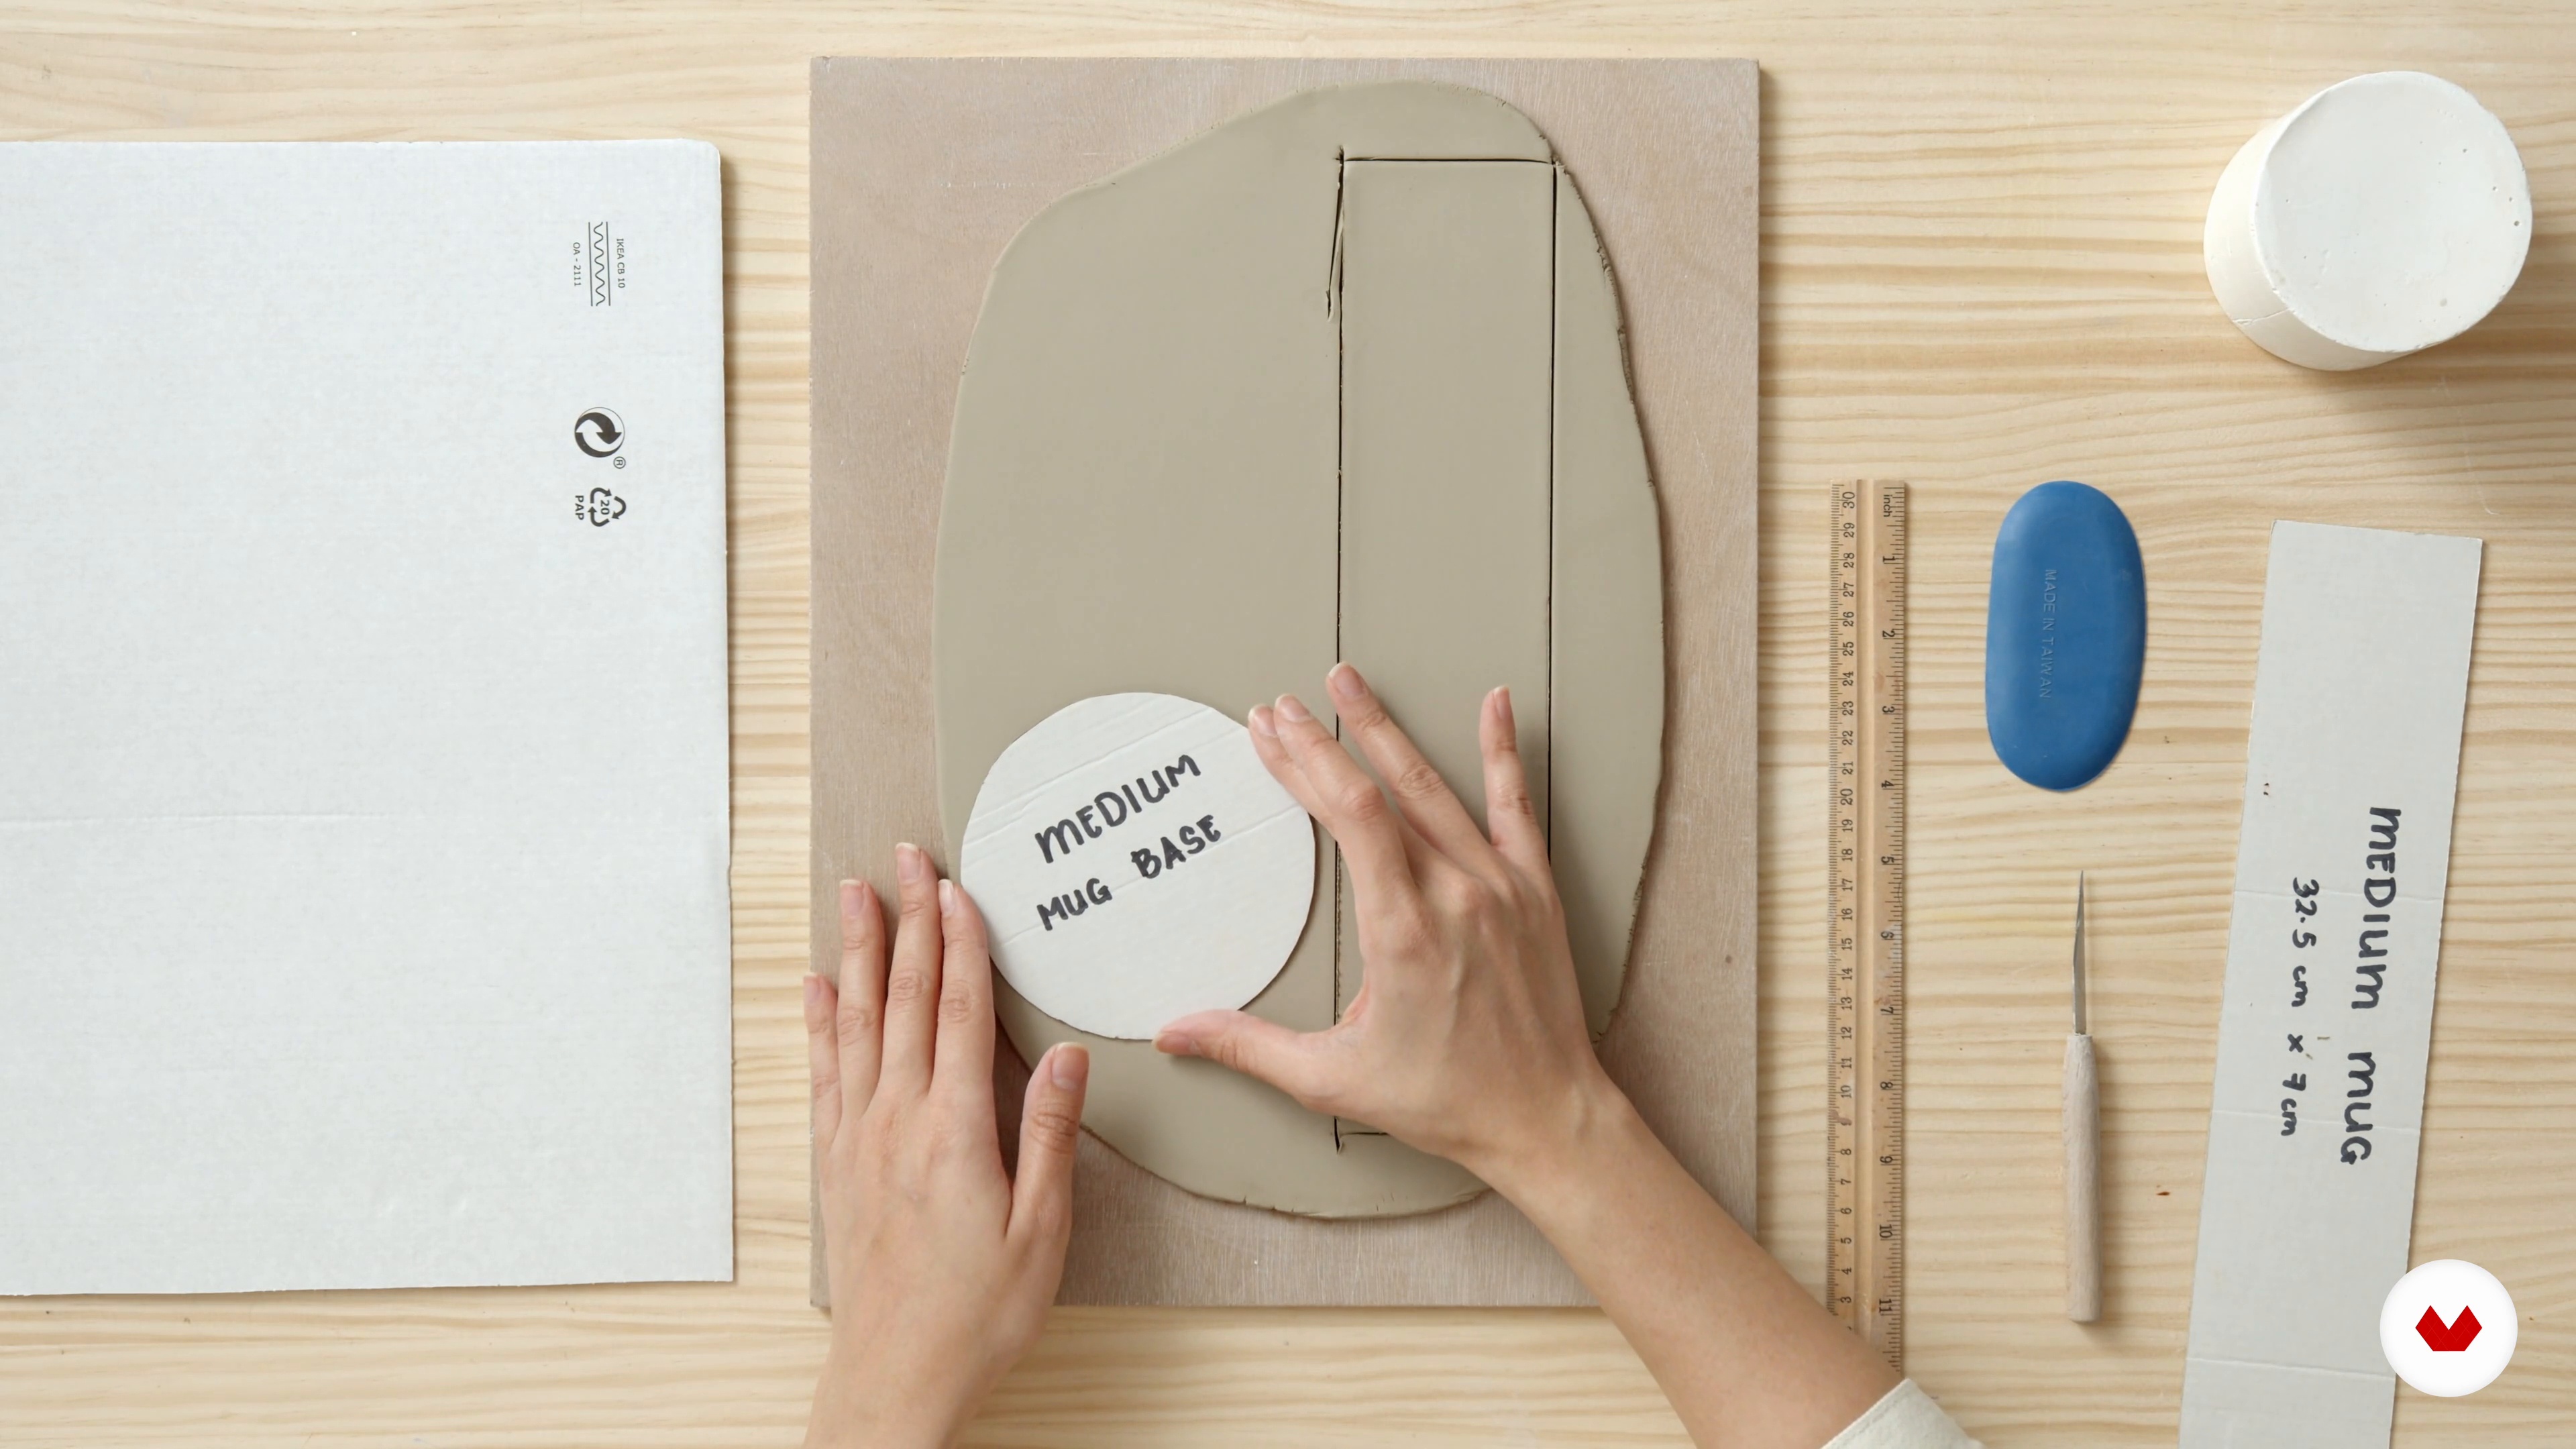
In this lesson, I will model how to roll out the clay into a flat sheet called the "slab", from which I will cut the wall, base, and handle of the mug using templates.
8m
image
6
Imprinting Flowers
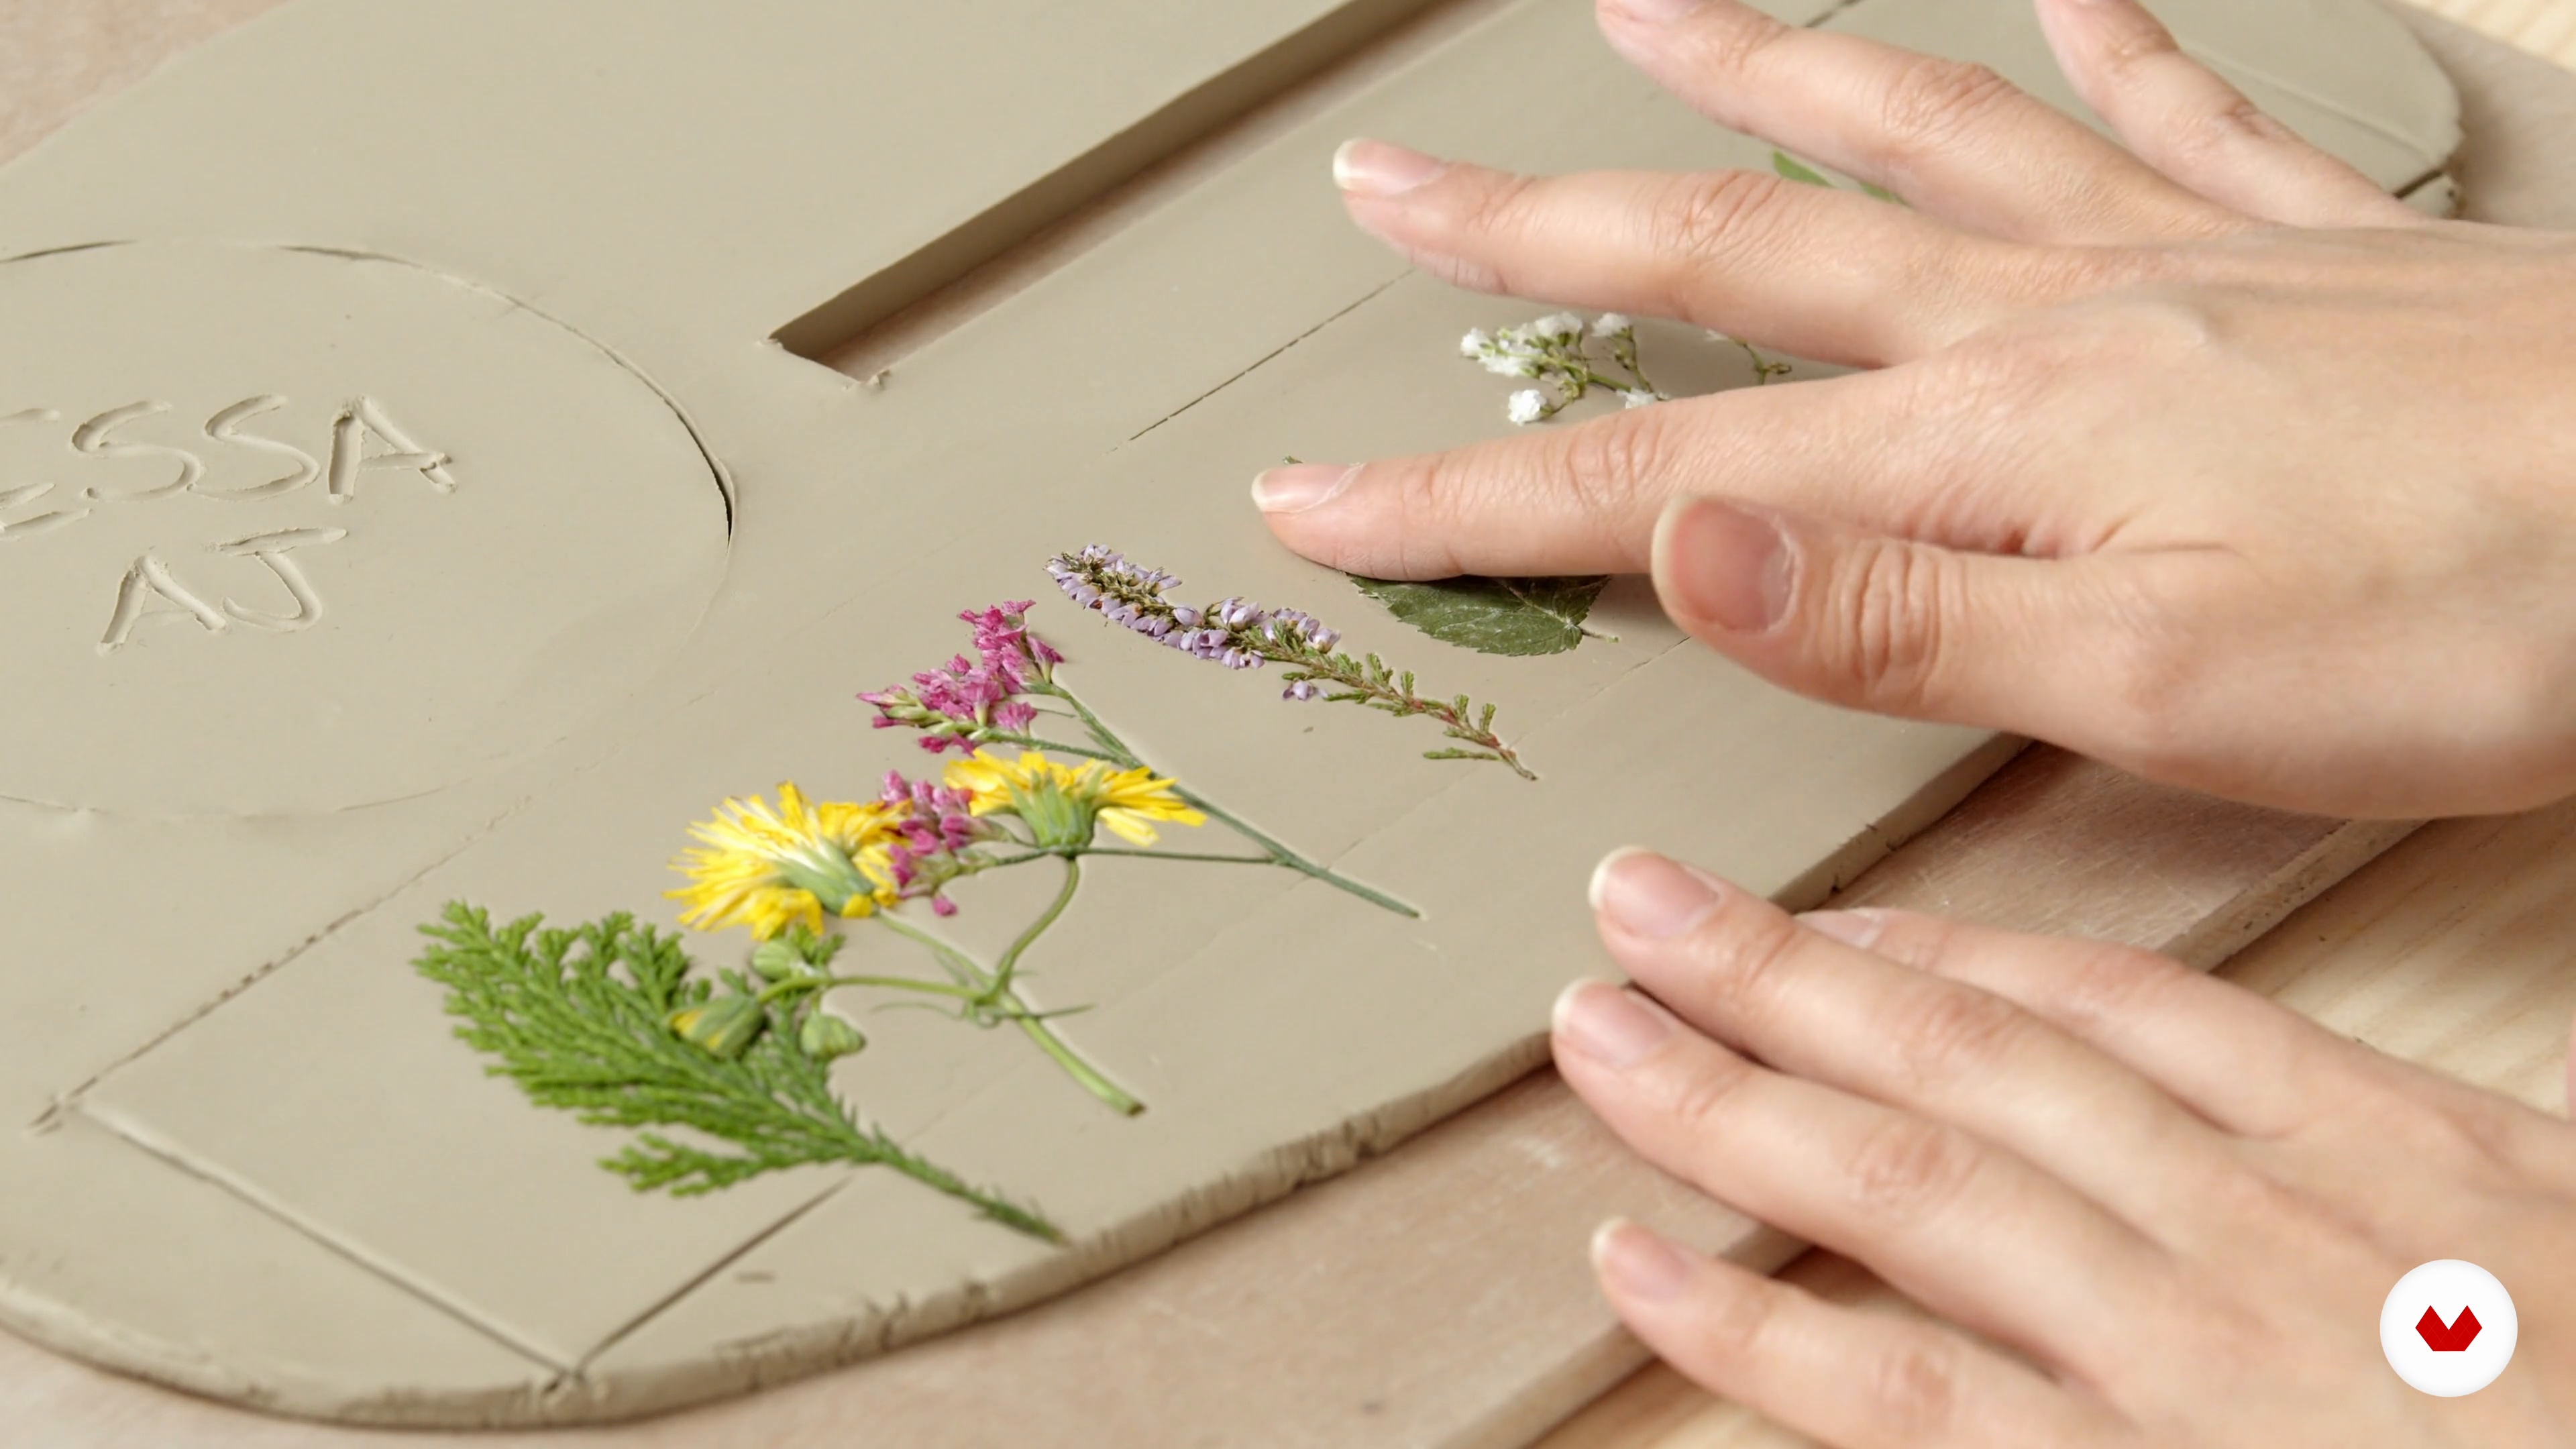
Now, I will imprint the flowers and leaves that I prepared earlier onto the clay to create the botanical design.
5m
image
7
Creating the Form
Next, let's form the wall of the mug by wrapping the clay slab around the plaster cylinder mold.
8m
image
8
Attaching the Components, Finishing Touches, and Firing
I will demonstrate how to assemble the components you prepared, using the score-and-slip technique, to create the mug. Then, I will briefly cover the essential step of bisque firing and how you can work with your own local pottery studios to do this.
13m
image
9
Preparing the Bisqueware
In this lesson, I will show you how to prepare your bisque for glazing by first sanding it down and cleaning it, then testing the glazes.
5m
image
10
Underglazing
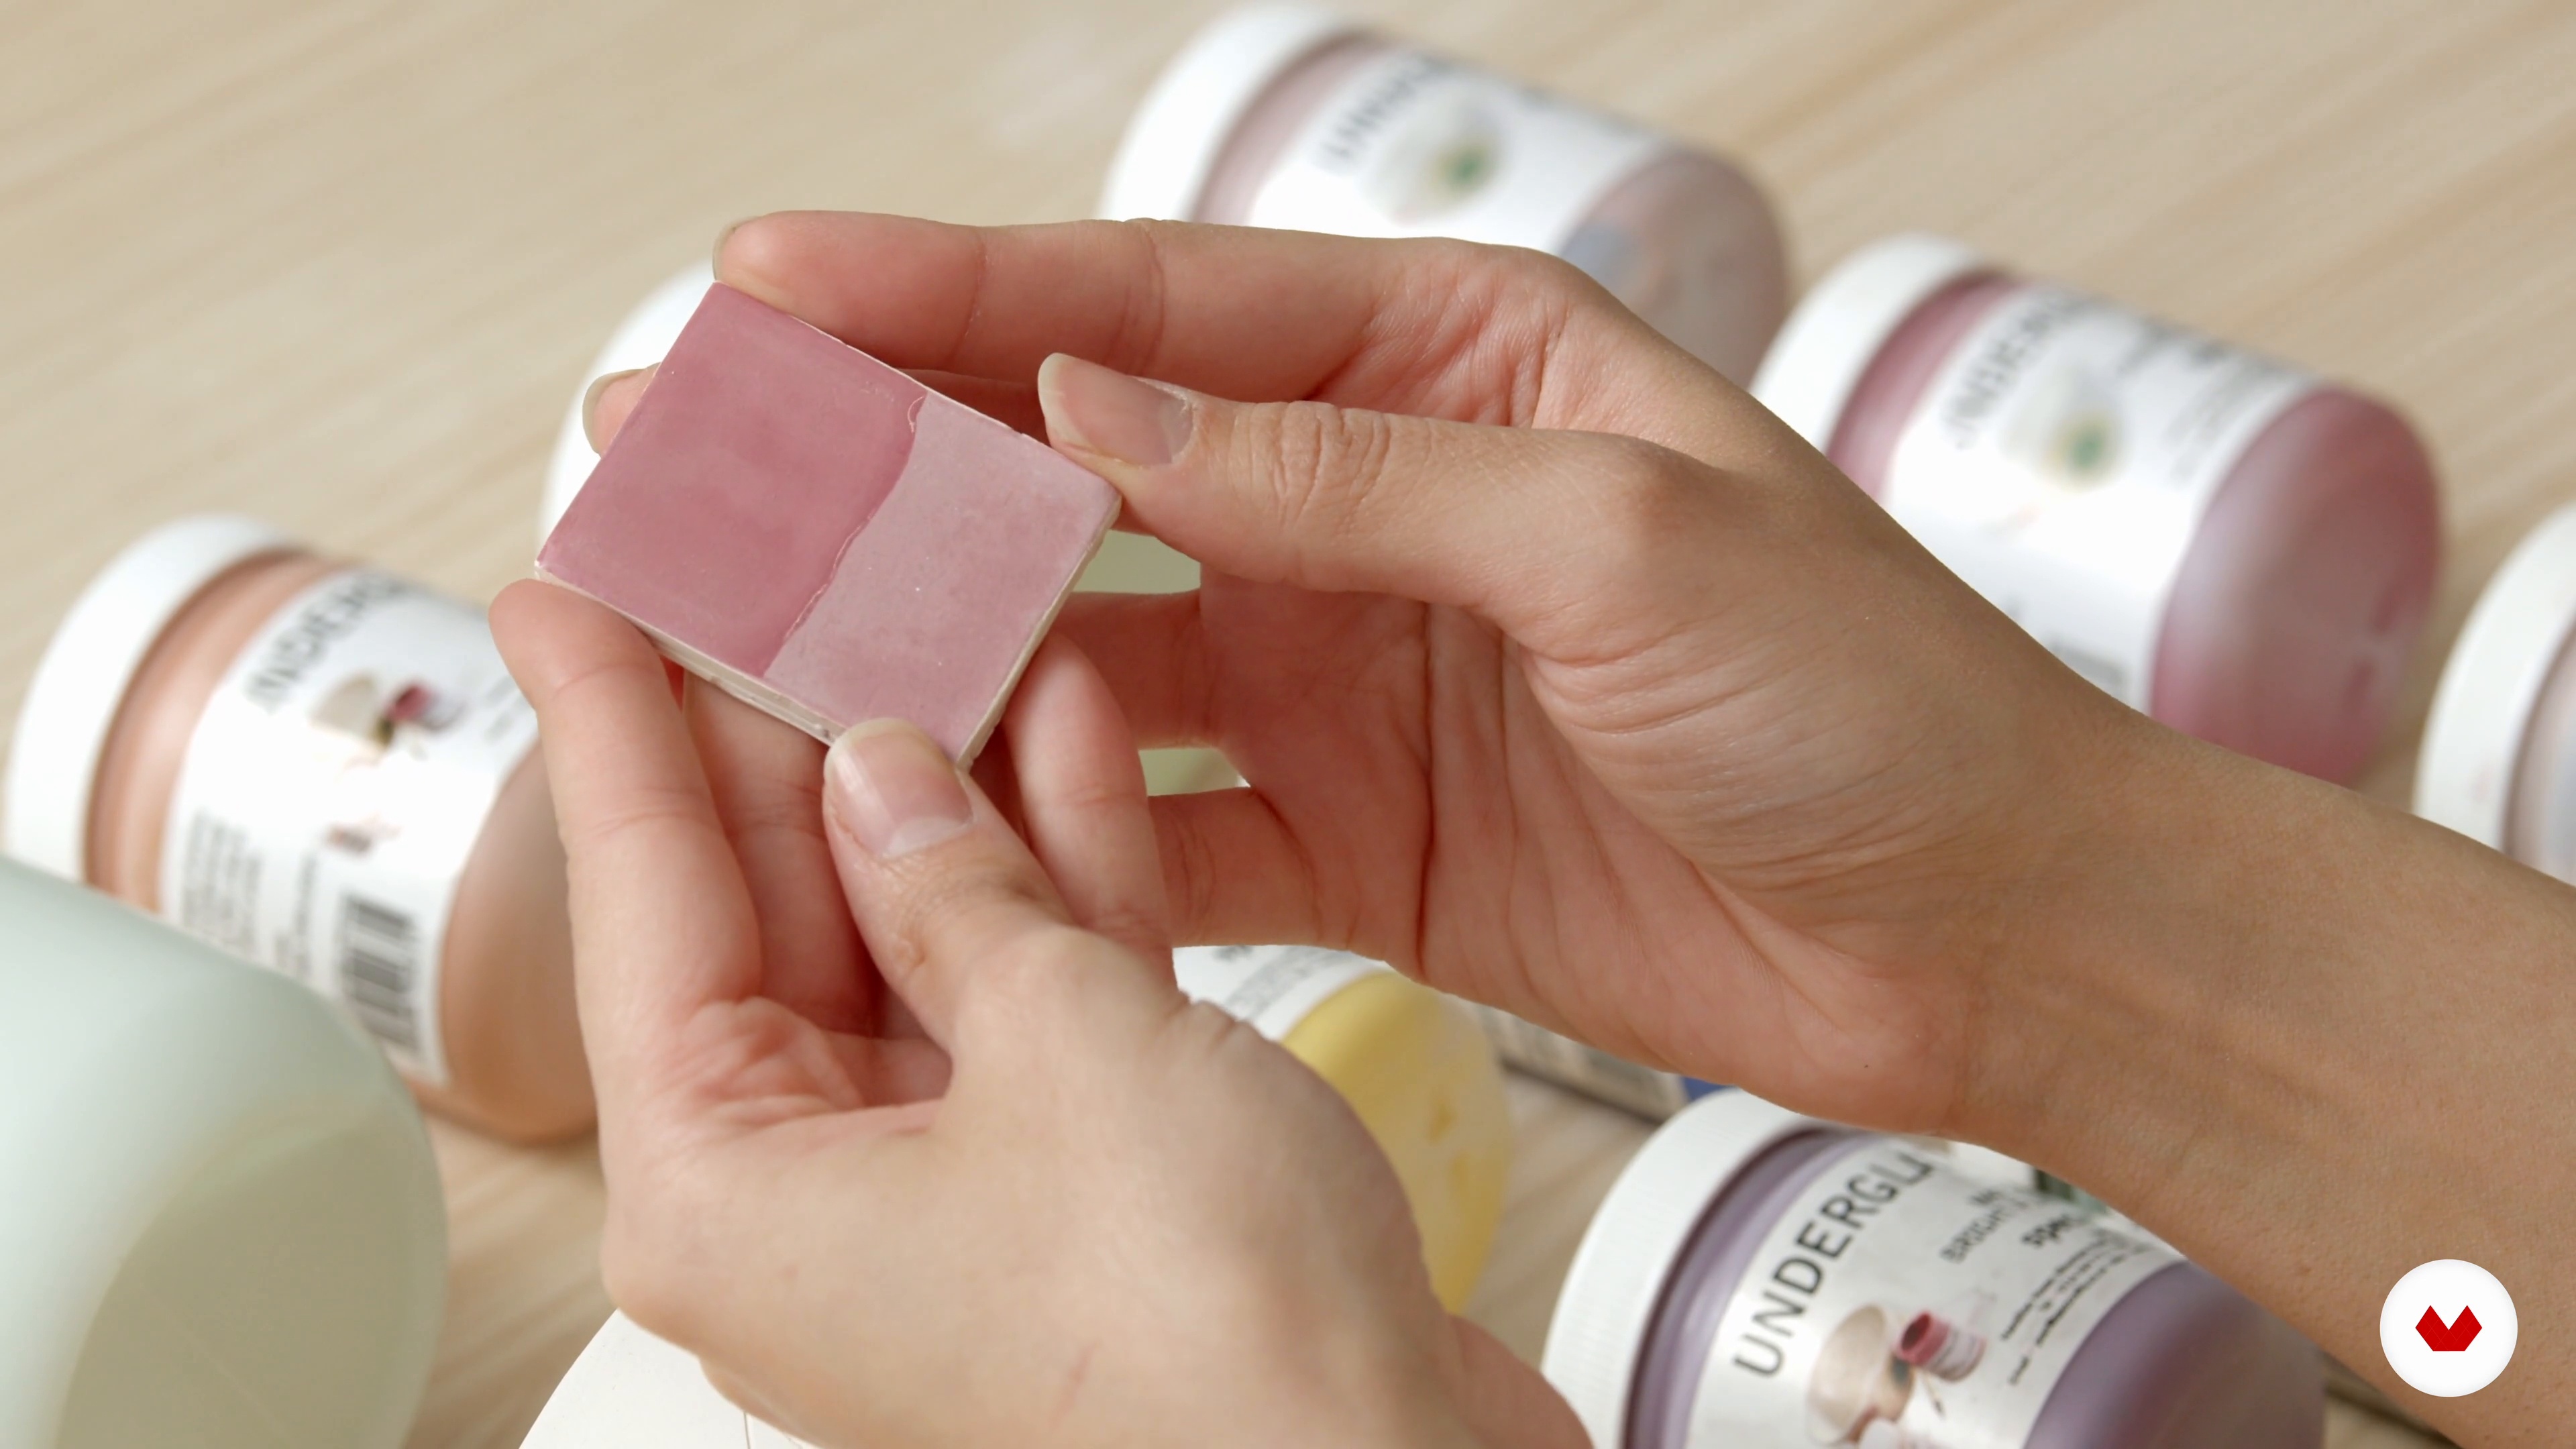
Now, you will see how to mix underglazes to create different shades of color to make the flowers look more realistic.
14m
image
11
Cleaning the Excess
It's time to clean the excess underglaze to reveal the lines of the imprints. Let's see how it turns out!
4m
image
12
Clear Glazing and Glaze Firing
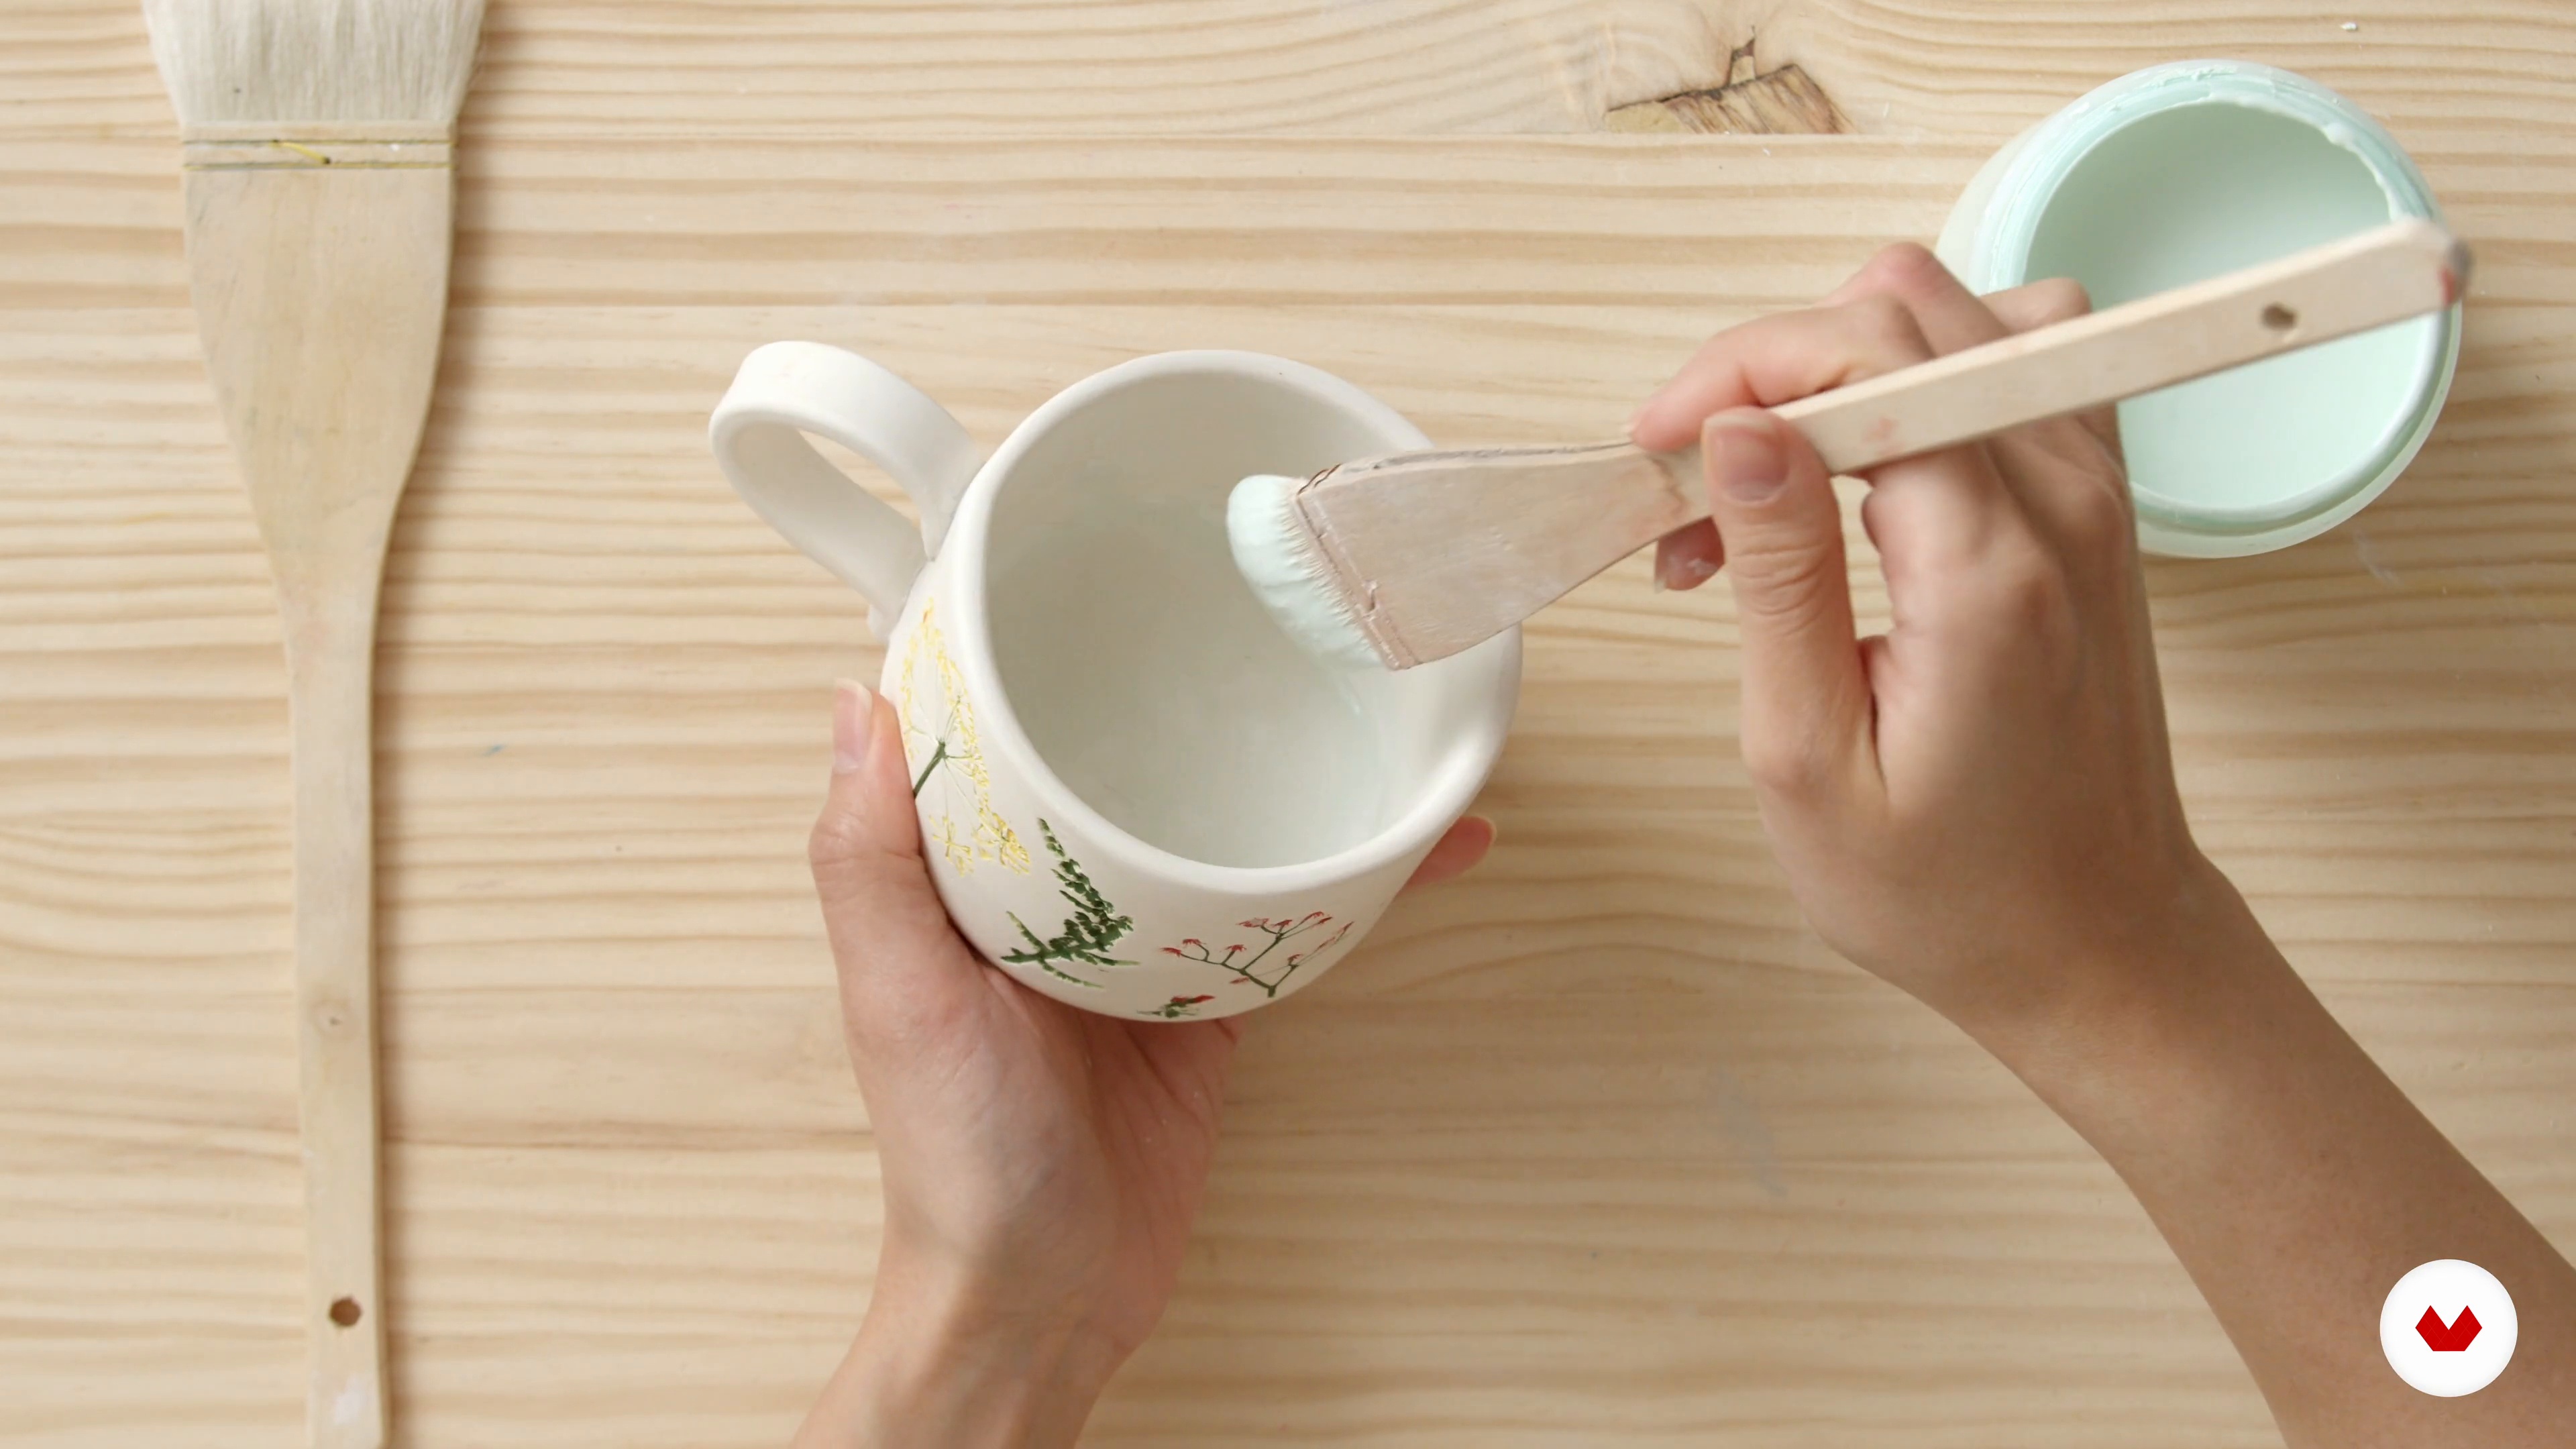
In this lesson, I will clear glaze the piece to seal it and make it food safe. I will discuss different approaches to this. Then, I will briefly go over the process of glaze firing. This step will produce a finished ceramic piece.
10m
image
13
Accessorizing and Applications
In this lesson, I will show you some alternative applications whereby the same process and technique can be used to create different functional ceramic ware. I will also talk about some additional decorative elements you can add to your piece to personalize it with your own style.
2m
image
14
Care Tips and Packaging
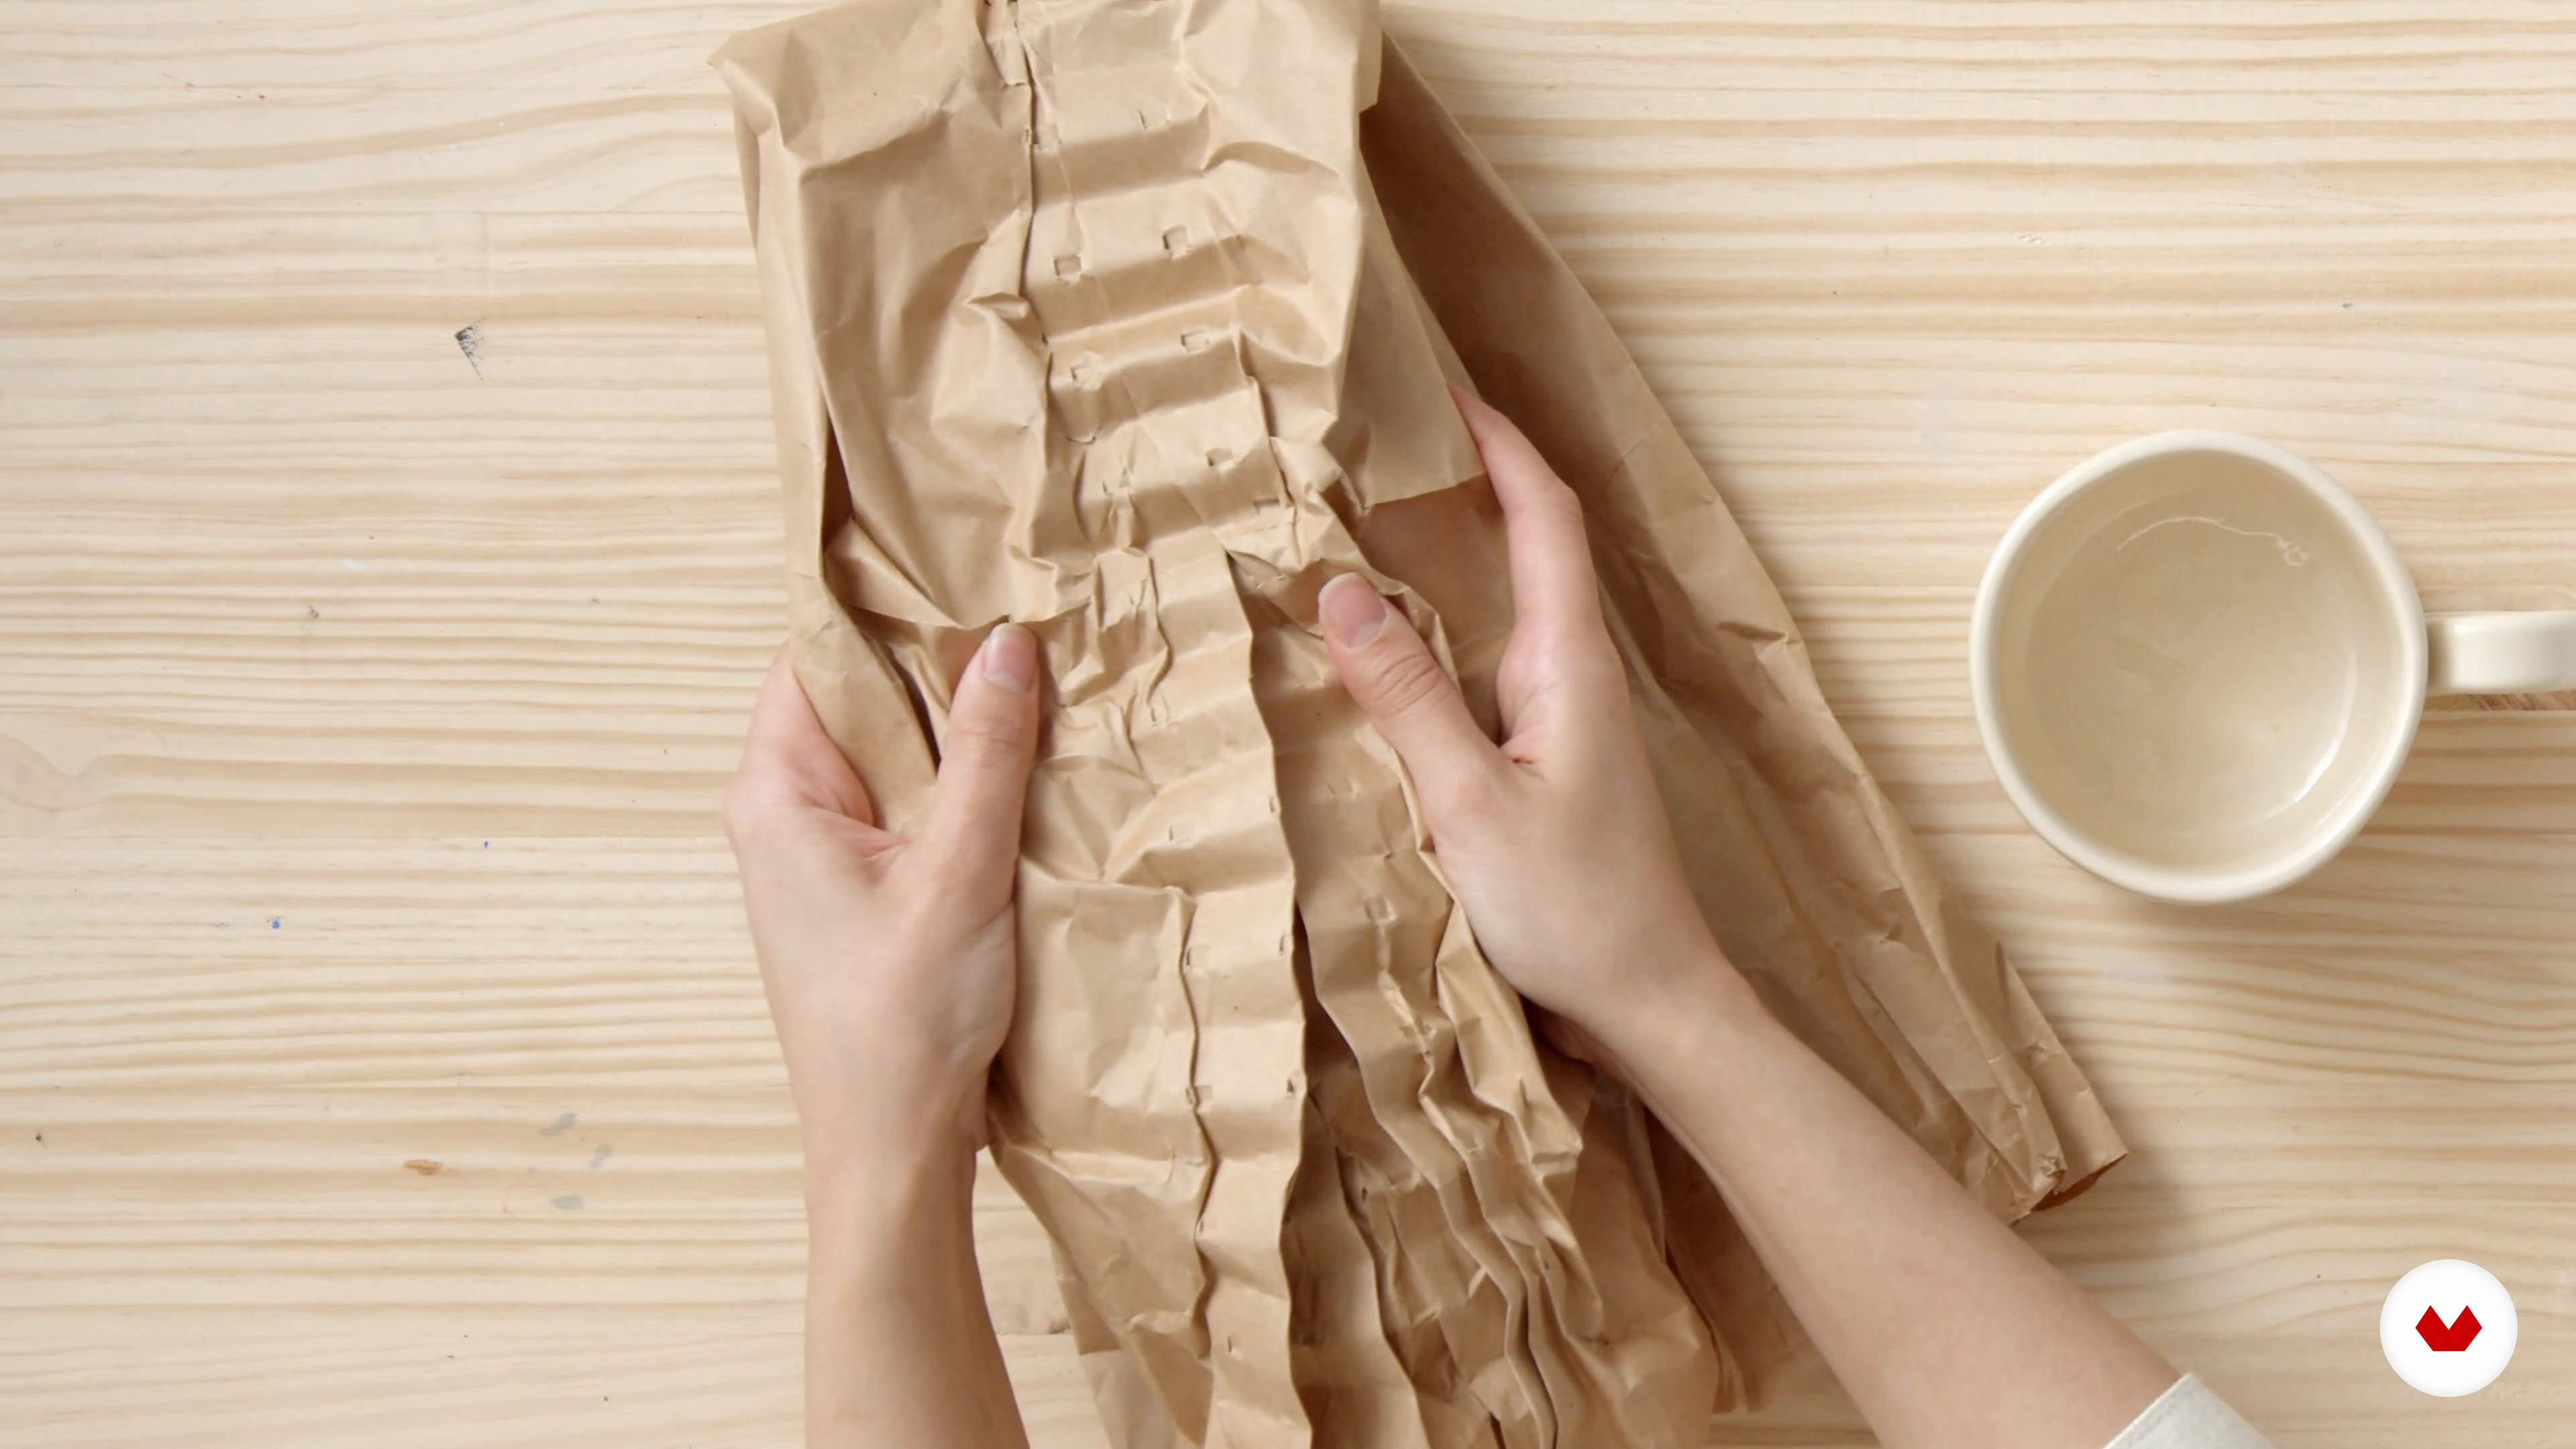
Now, I will discuss how to care for your piece in the long run with some extra packaging and storage tips.
2m
image
1
Materials
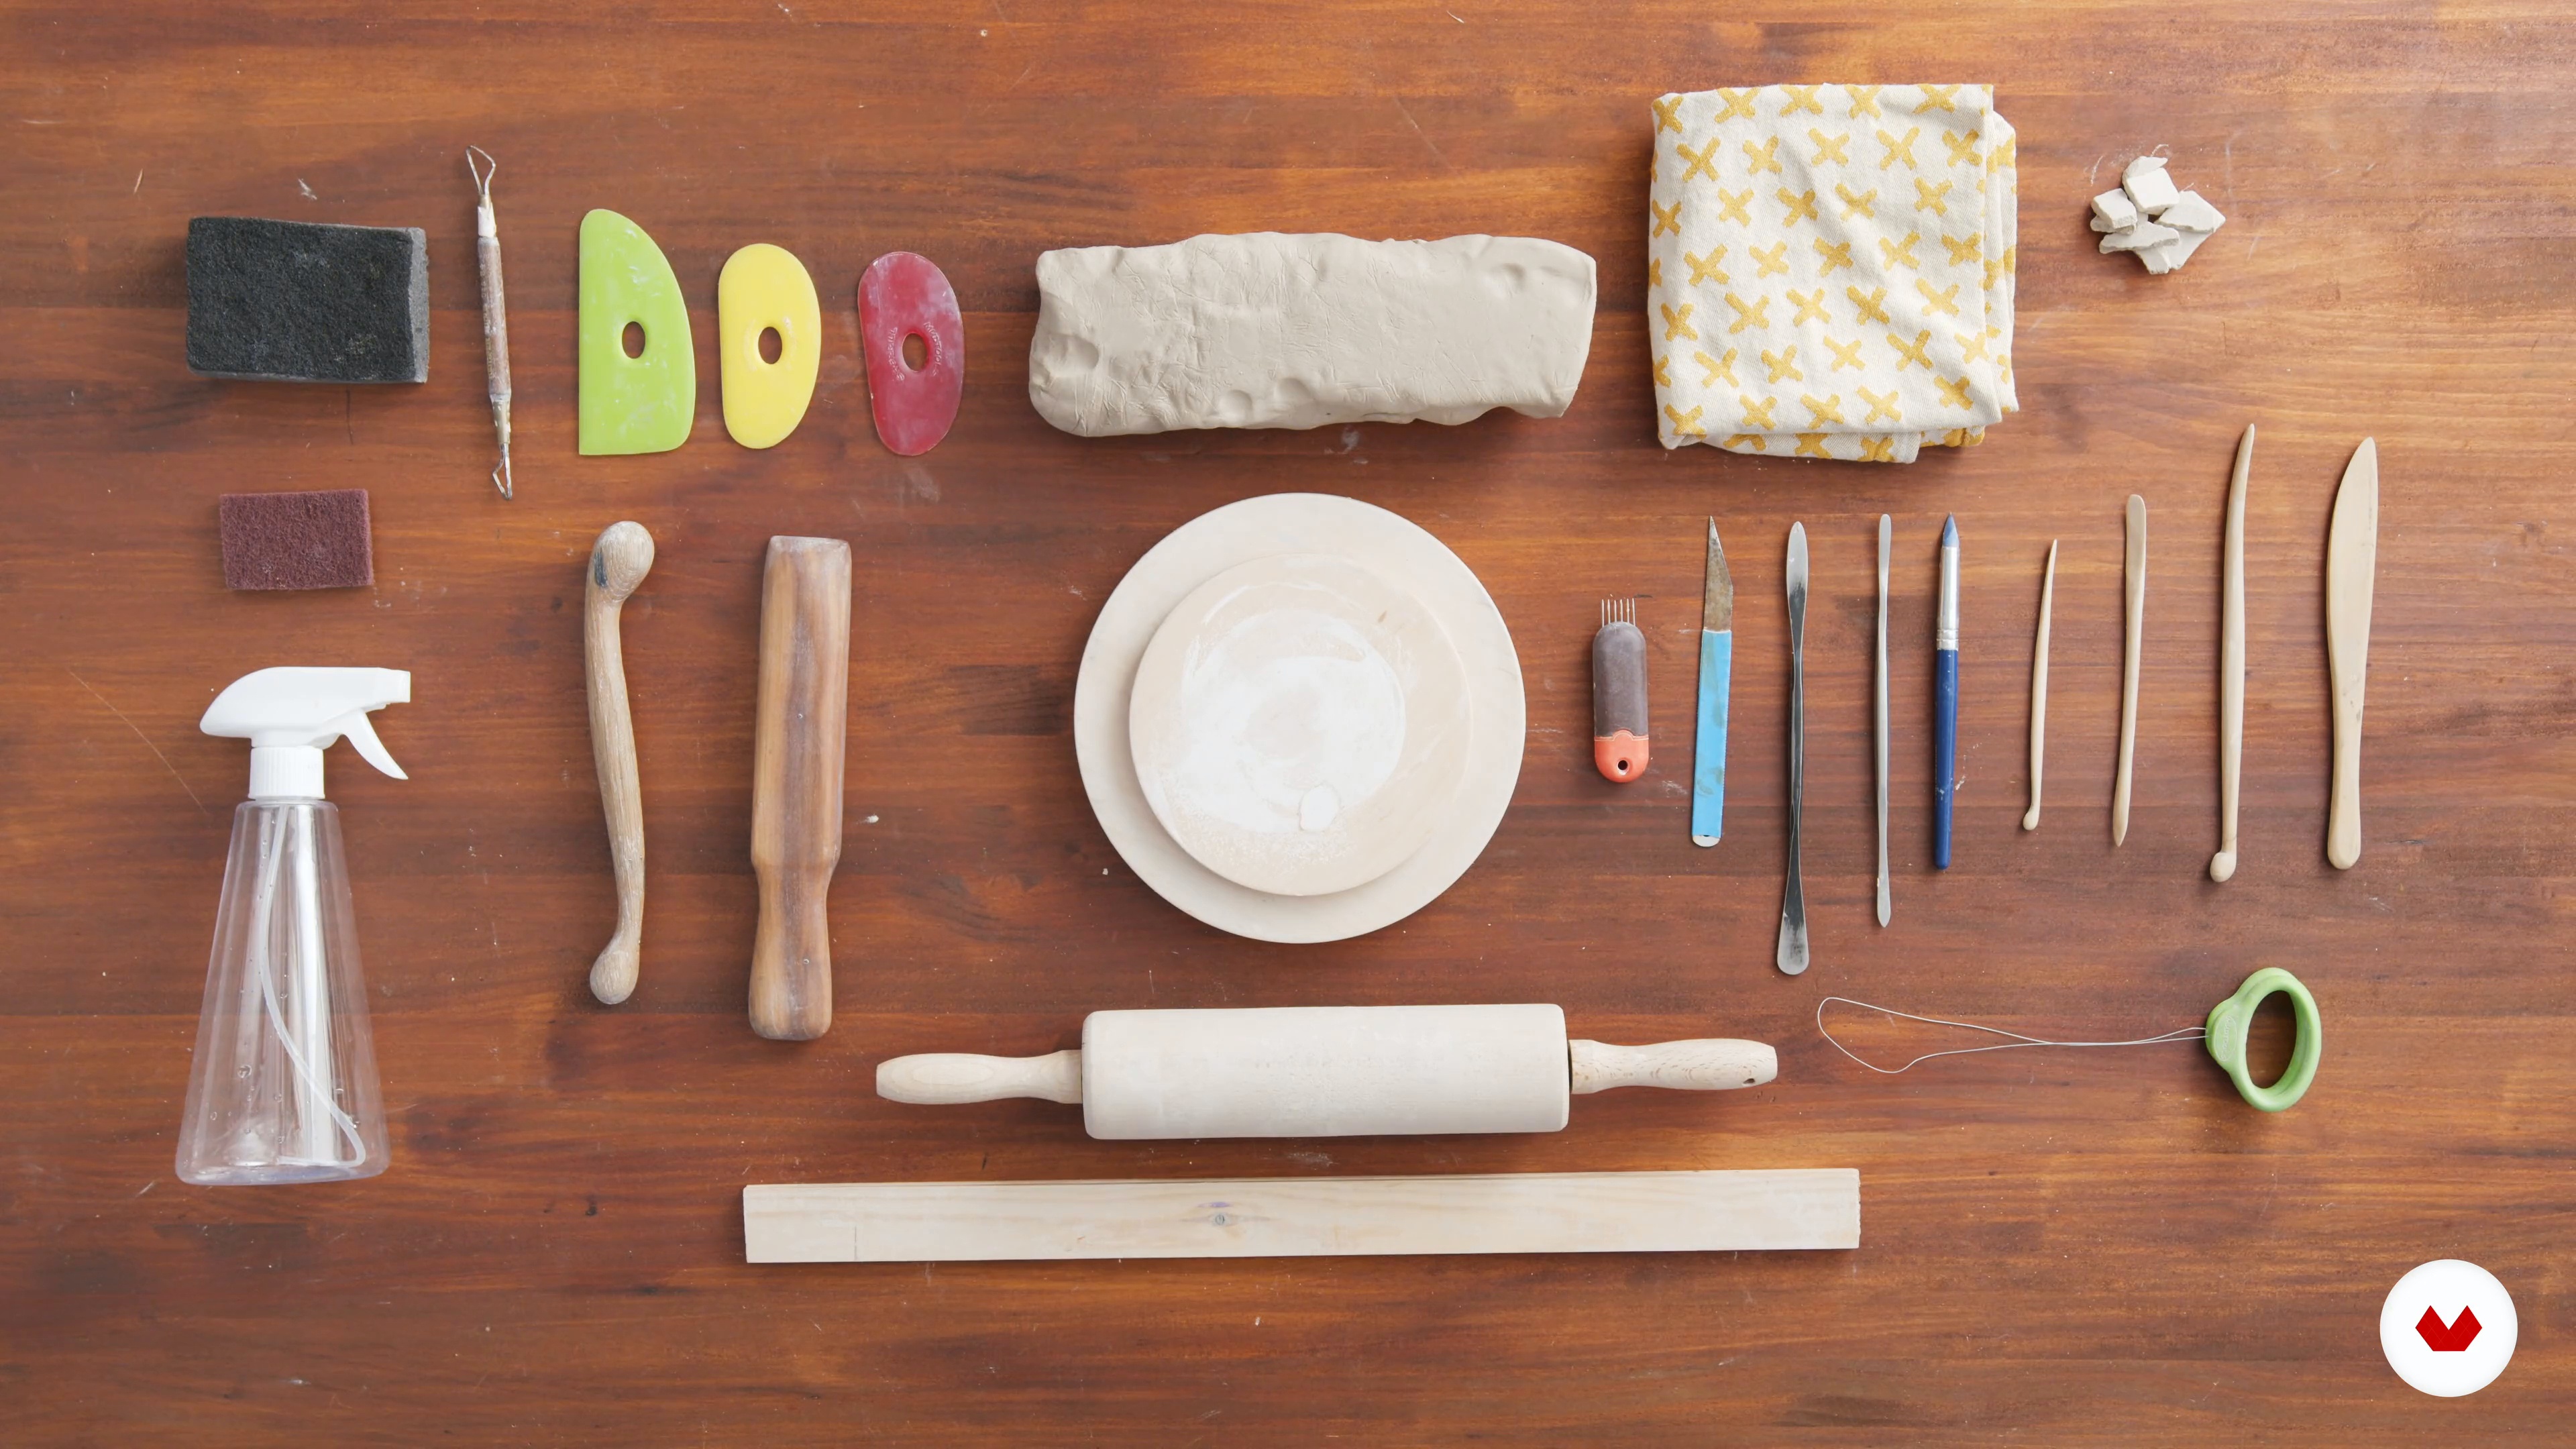
In this lesson, I will show my favorite tools and briefly explain how to work with each of them. I will also suggest alternatives and talk about where you can find them.
6m
image
2
Inspiration and Sketching 1
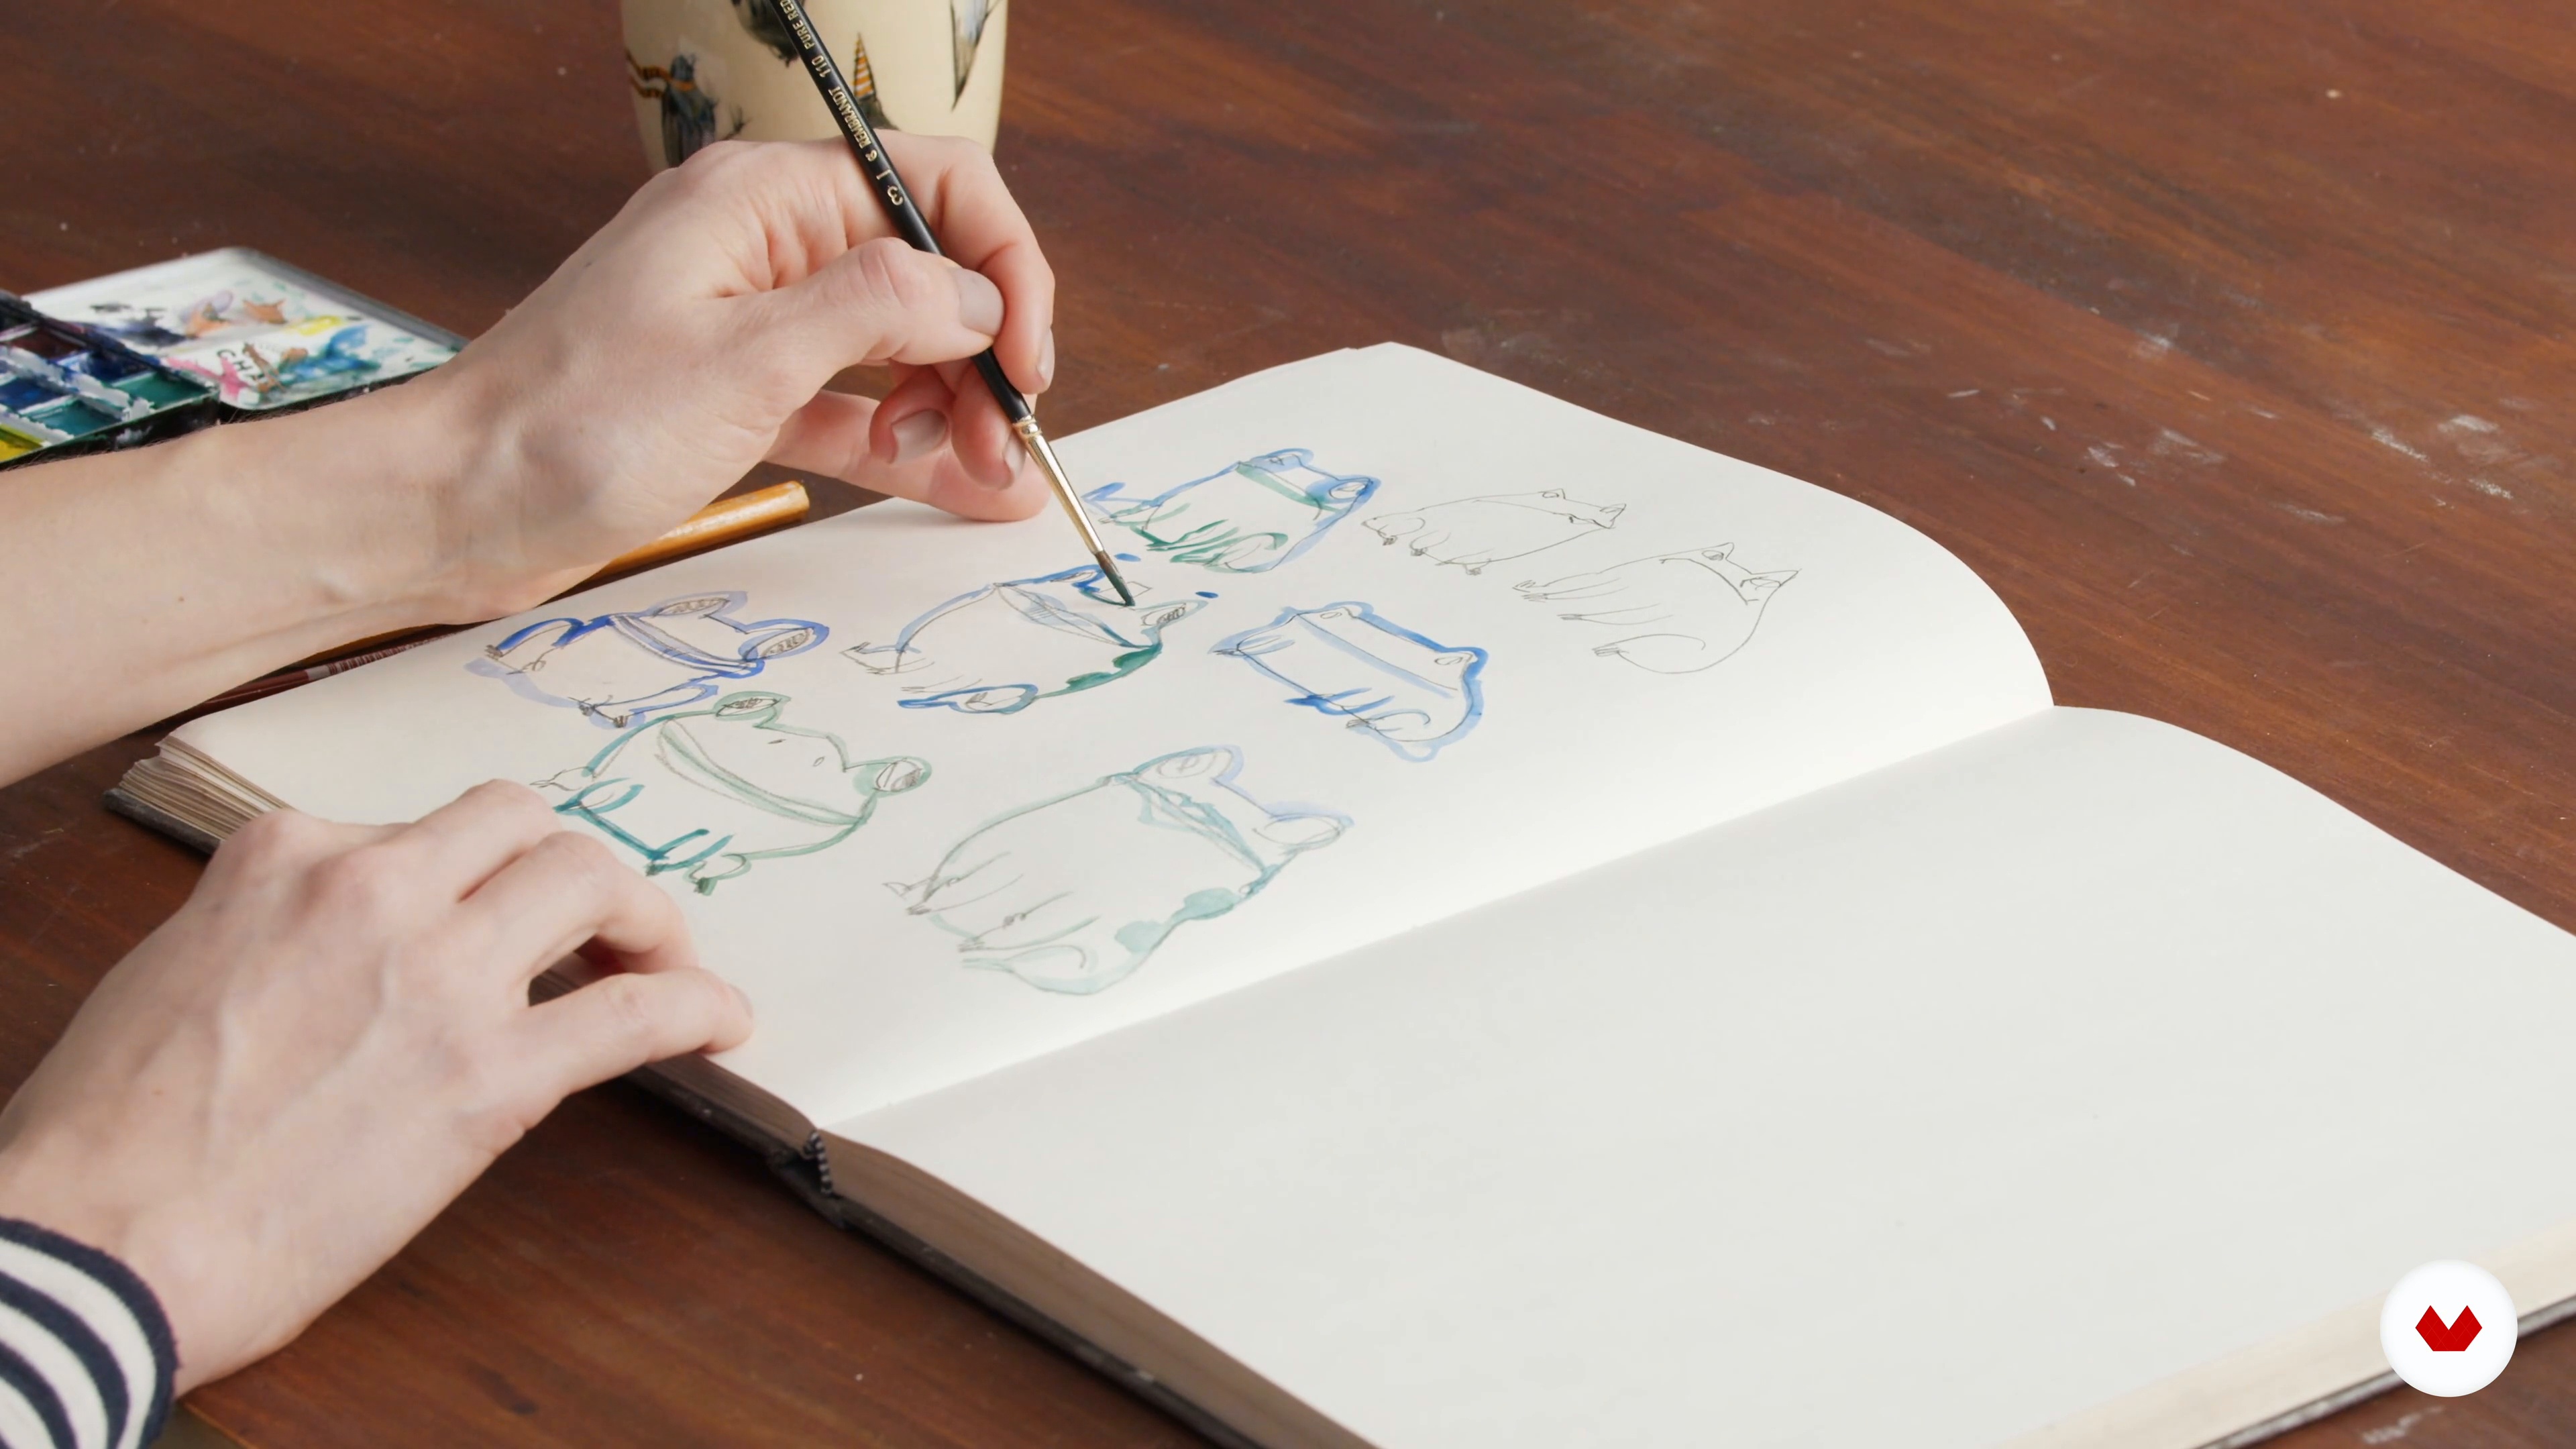
This is the most exciting part and, honestly, my favorite: developing the character design. This stage involves hours of guiltless surfing online for various references on Pinterest, sketching on paper and clay, then creating a small miniature for a better understanding of proportion.
17m
image
3
Inspiration and Sketching 2
In this lesson, I will continue to model how to create your small miniatures.
6m
image
4
Working with Clay
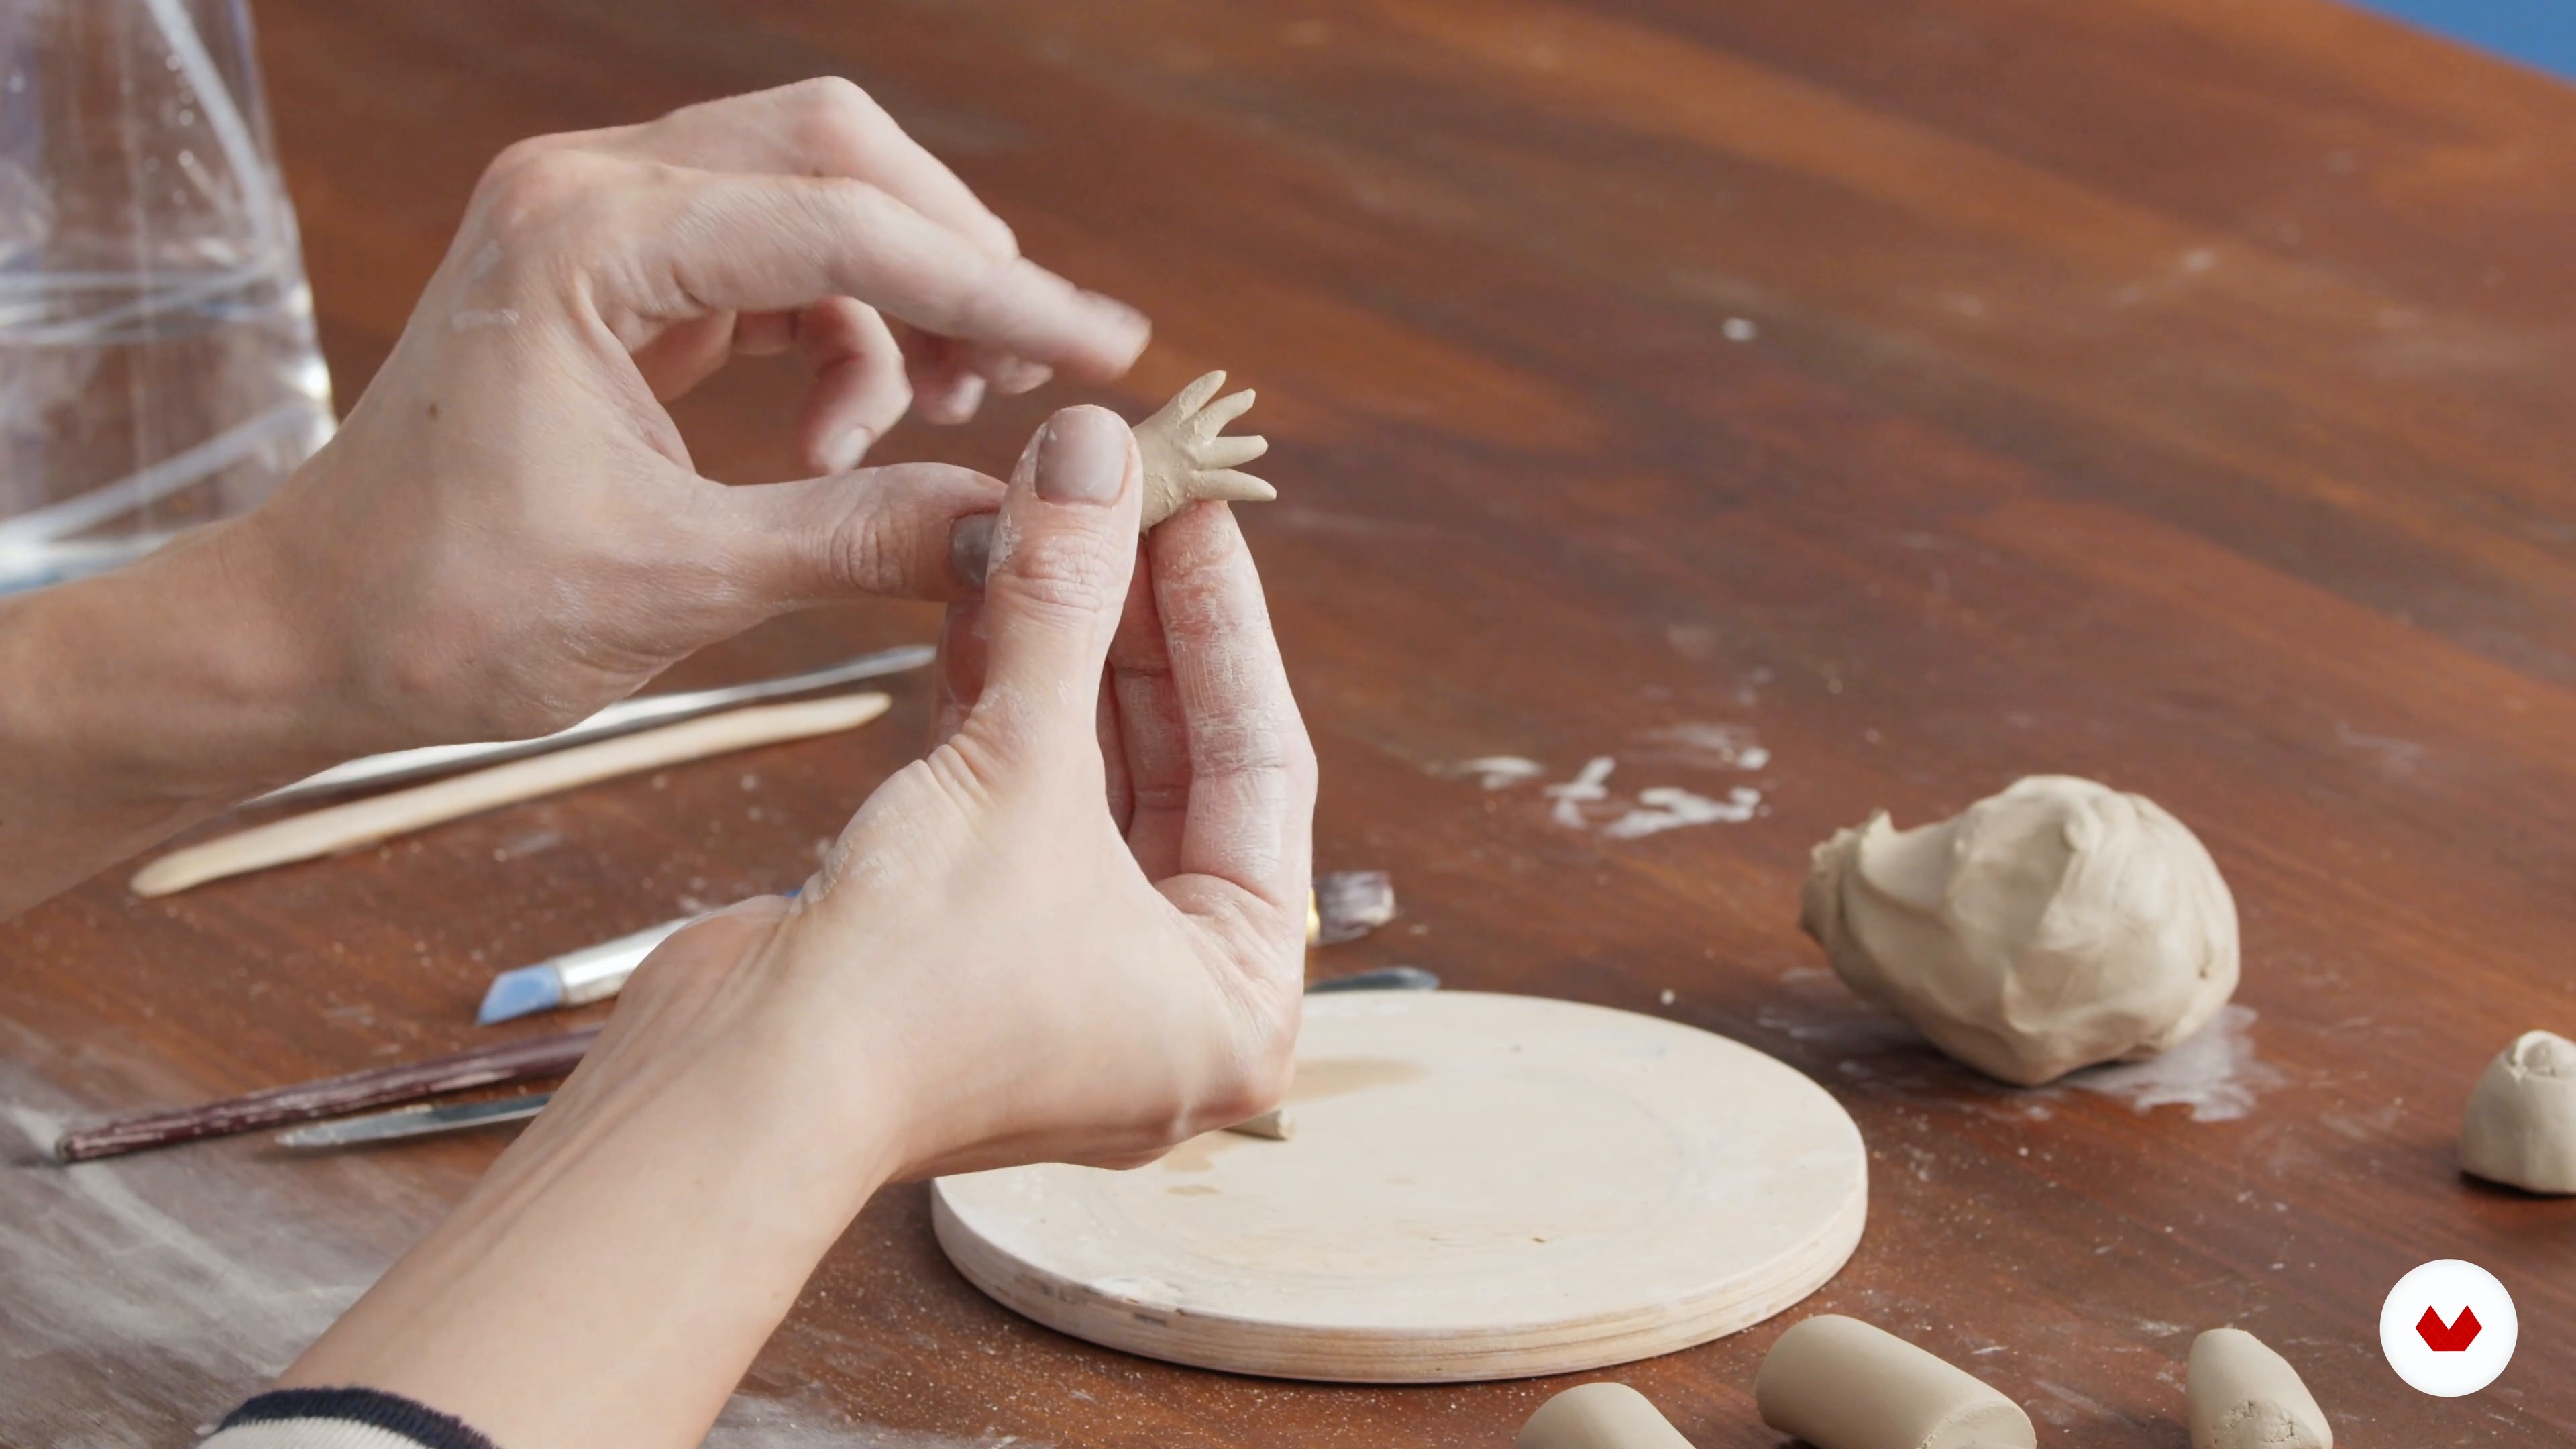
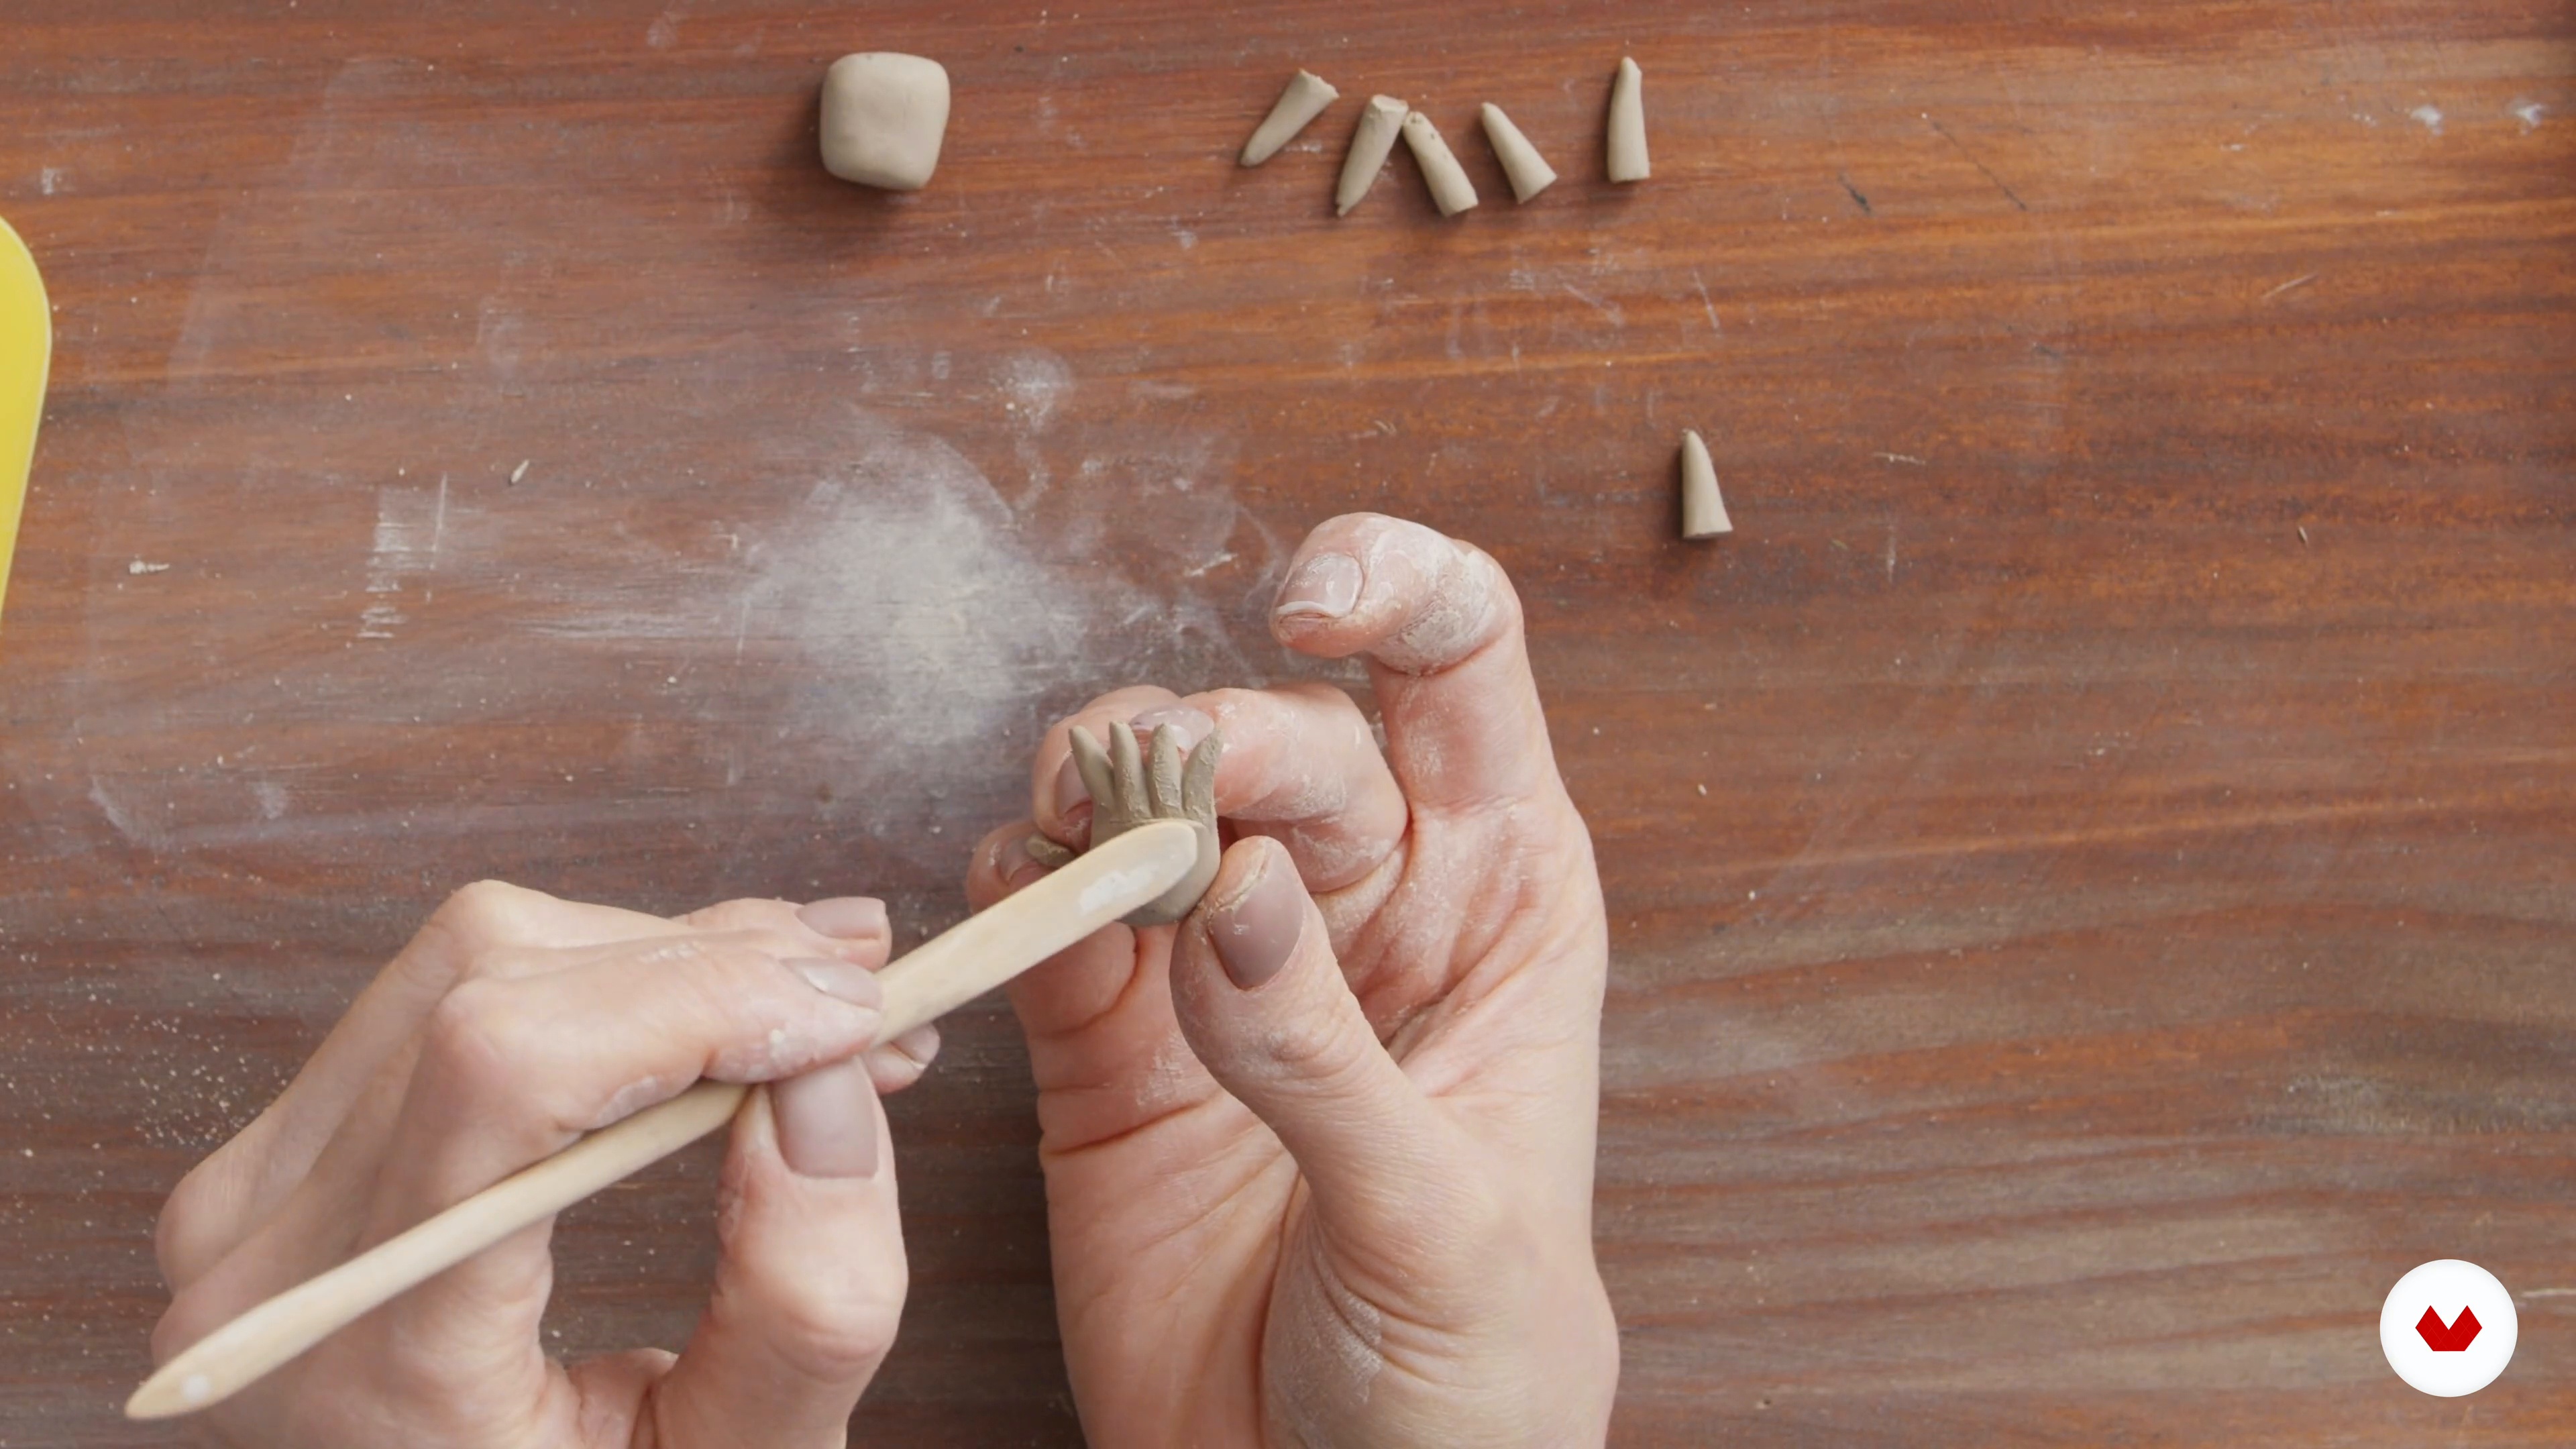
Never has a task been so exciting! Next, we are going to focus on those precious details. Before starting to work on your project, you will need to warm up a little by experimenting with different shaped eyes, fingers, claws, legs, and paws. Let me show you how to do this!
17m
image
5
Decorative Techniques
Now that you're becoming more familiar with the skills of this craft, it's time to move on to the next phase: finalizing all the required preparations. Next, I will guide you in developing a color palette and trying new decorative techniques to breathe more life into your magical creature.
14m
image
6
The Body 1
Let's work and shape the sculpture with slabs. I will explain how to transform simple basic shapes into a lively and lovely creature.
19m
image
7
The Body 2
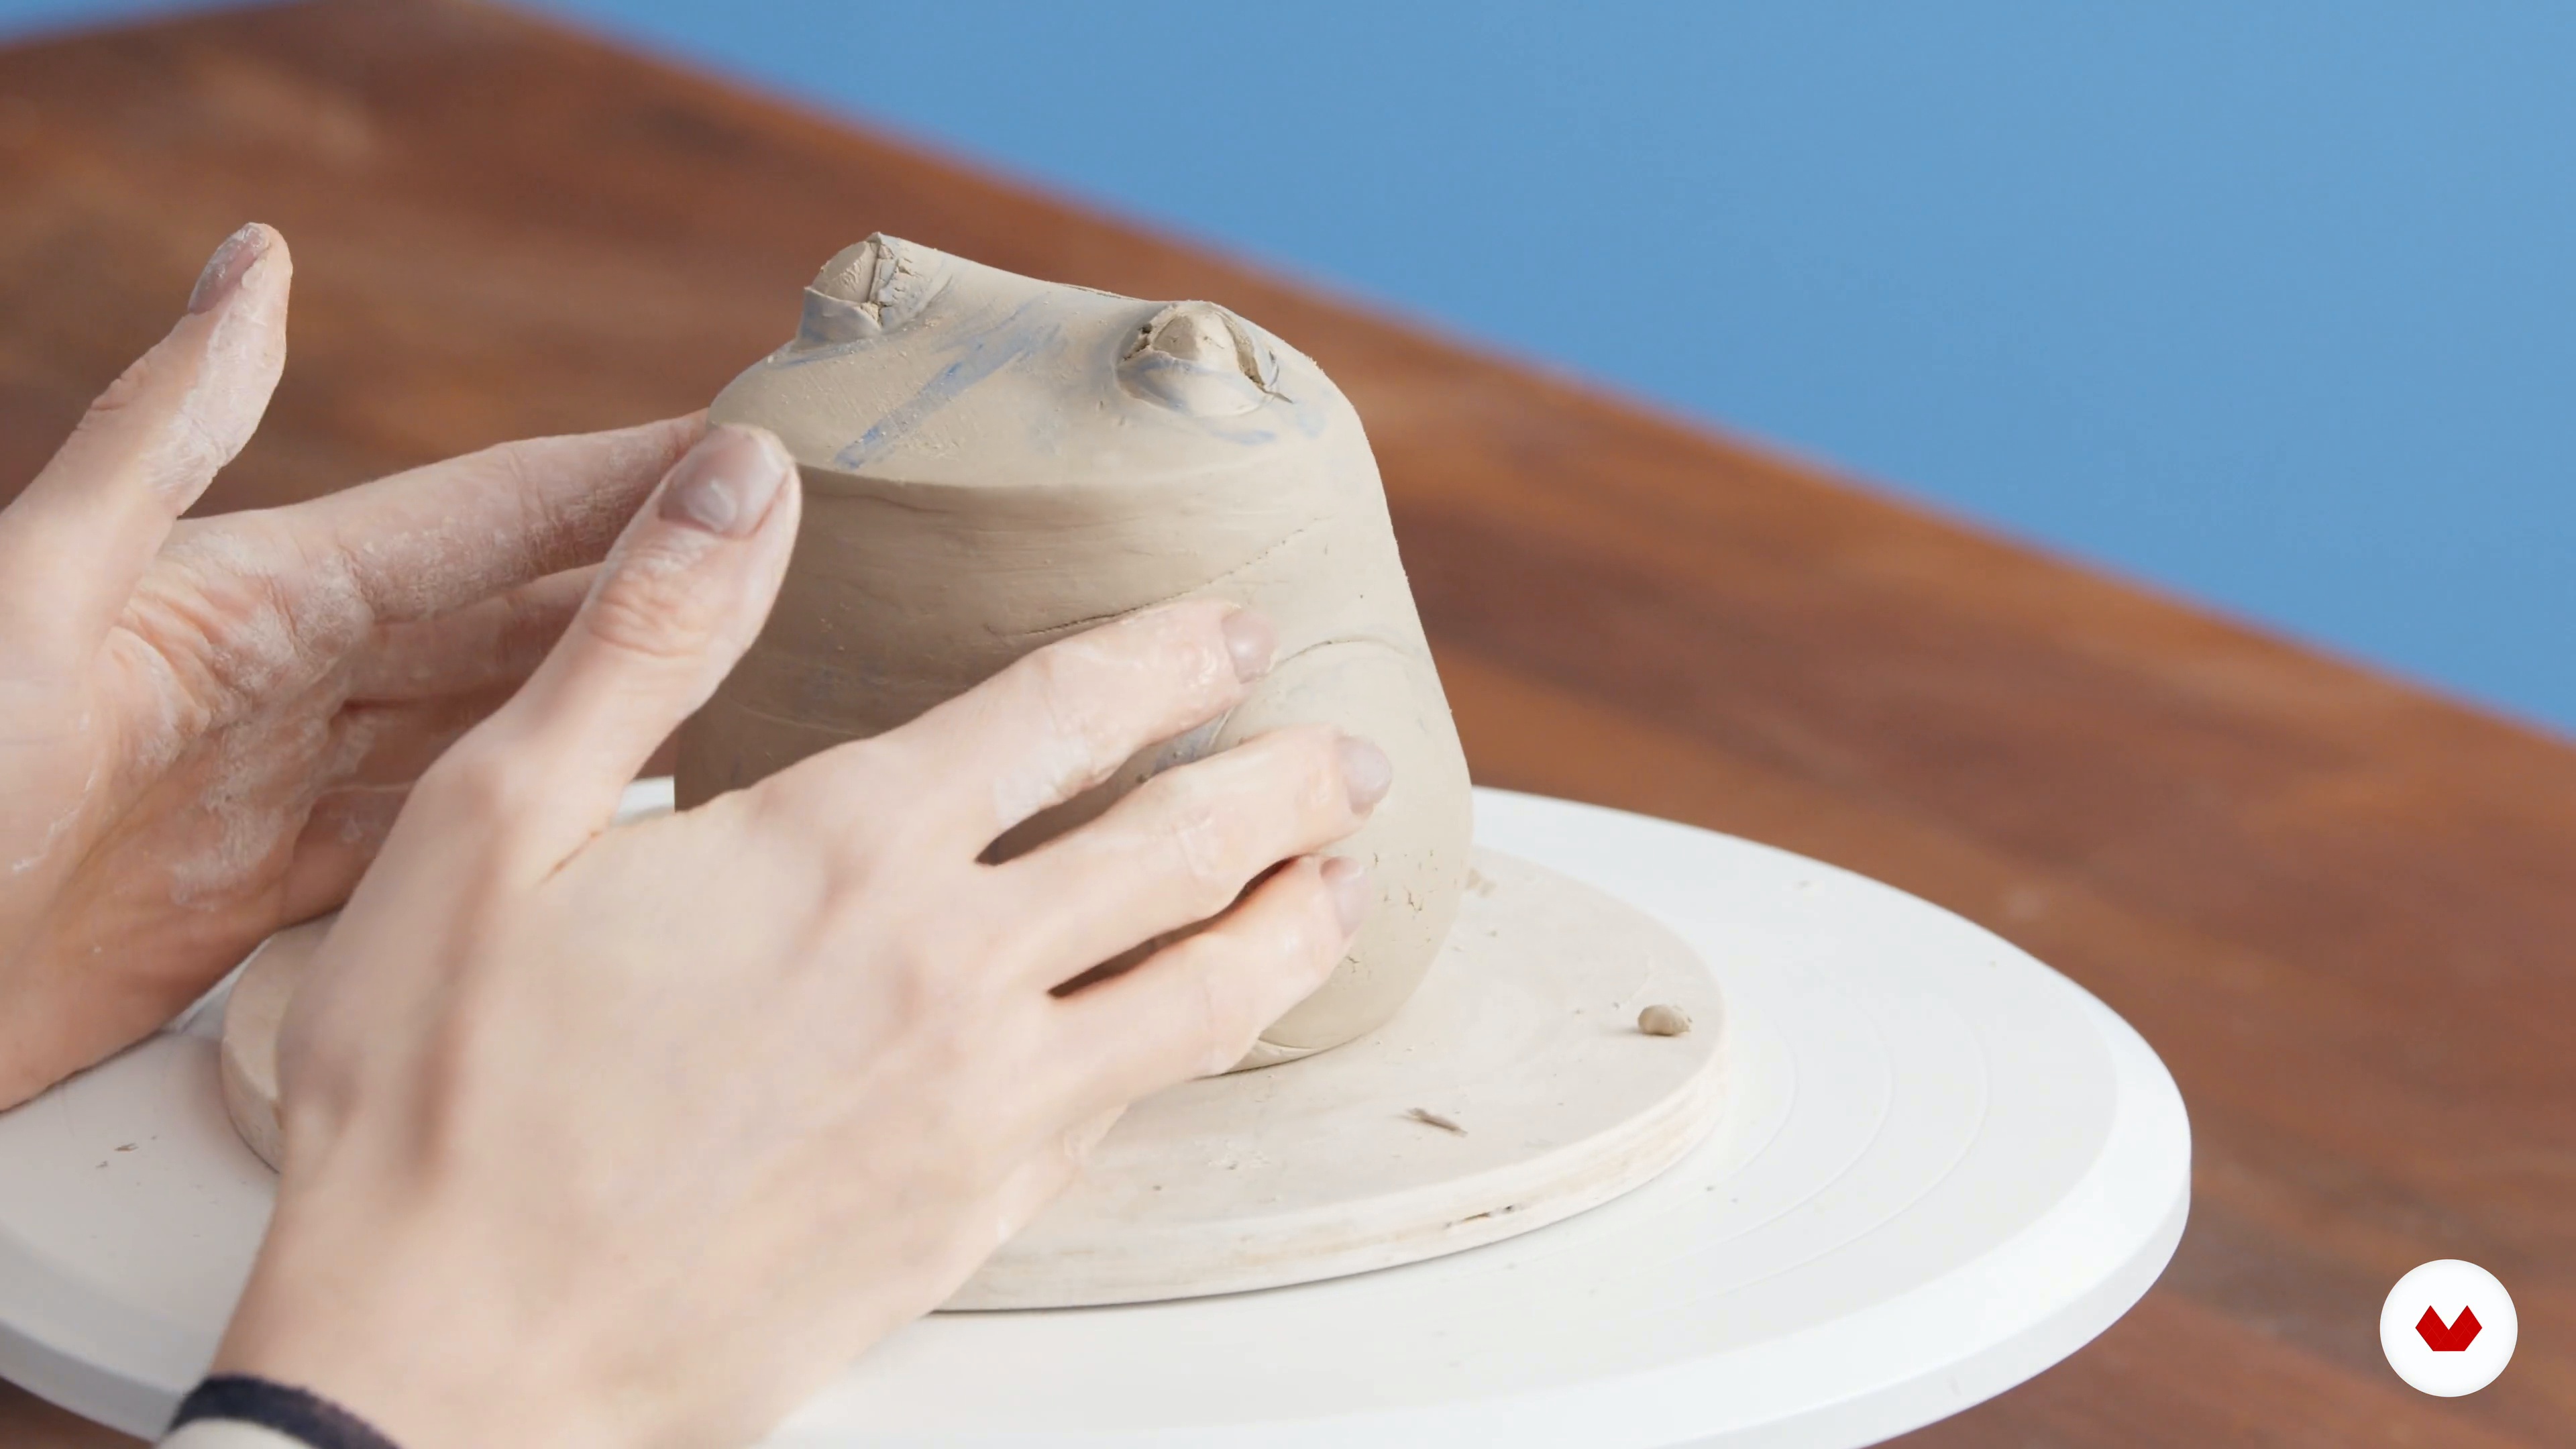
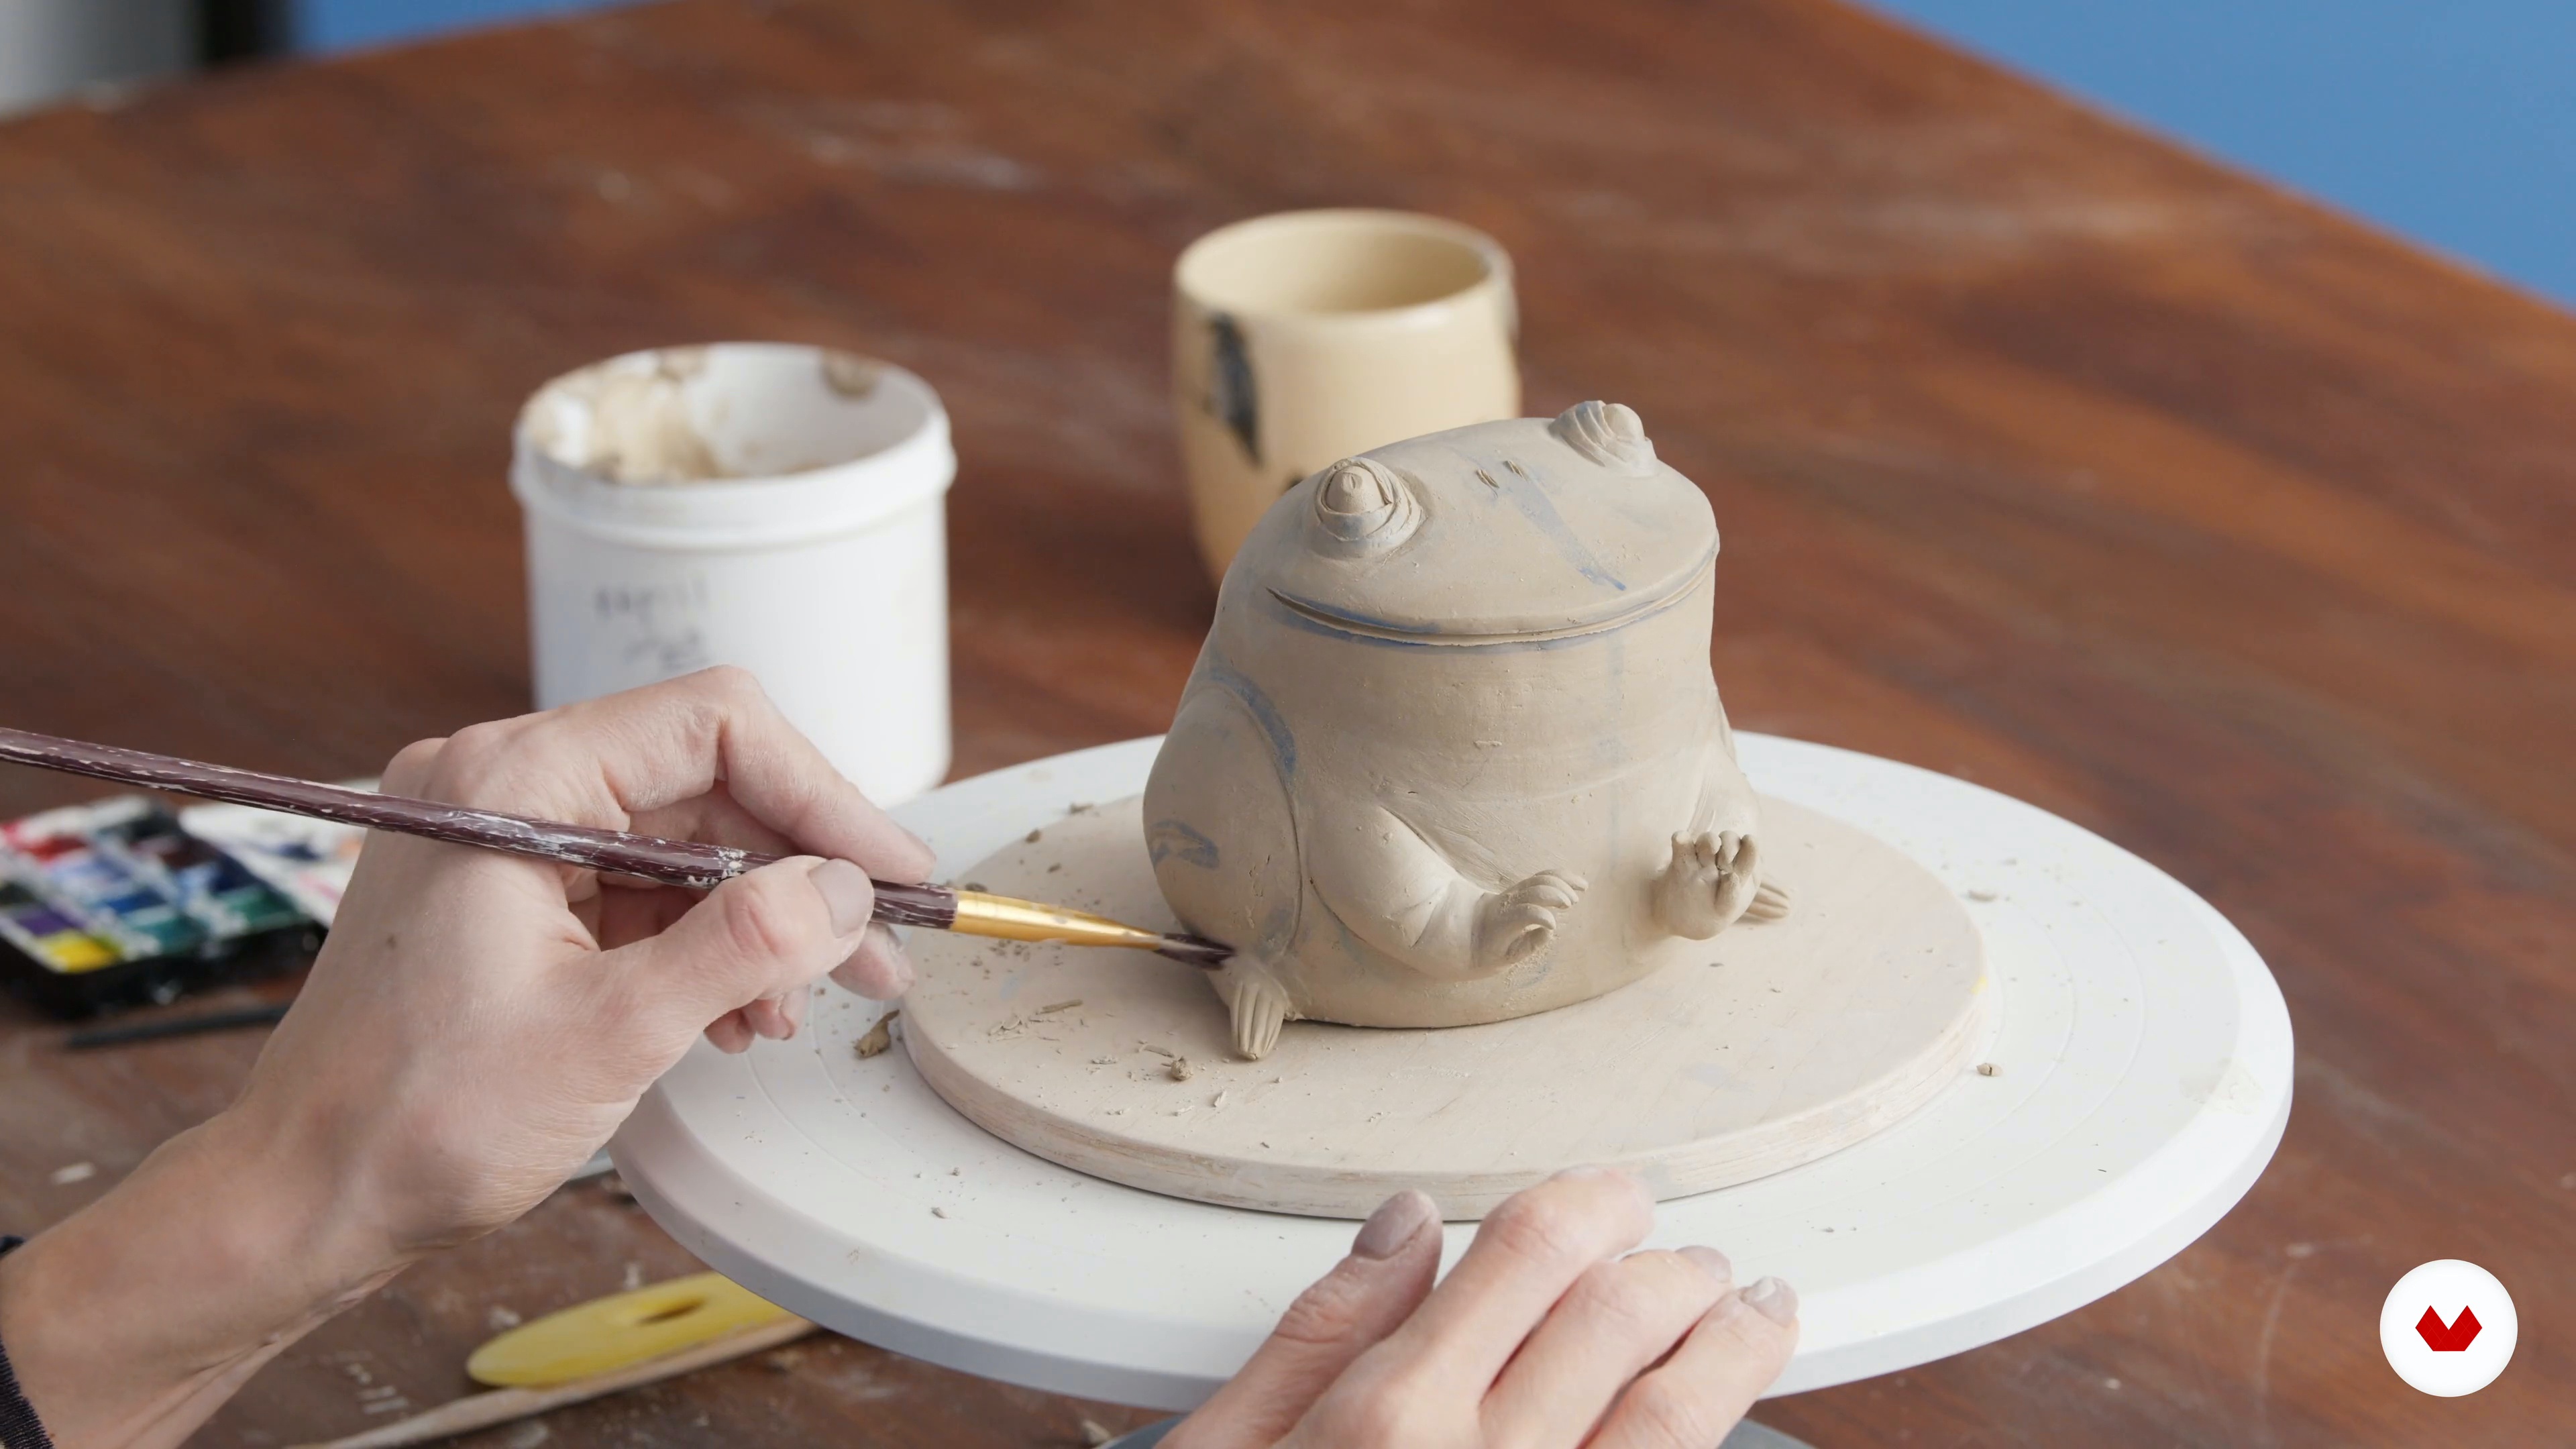
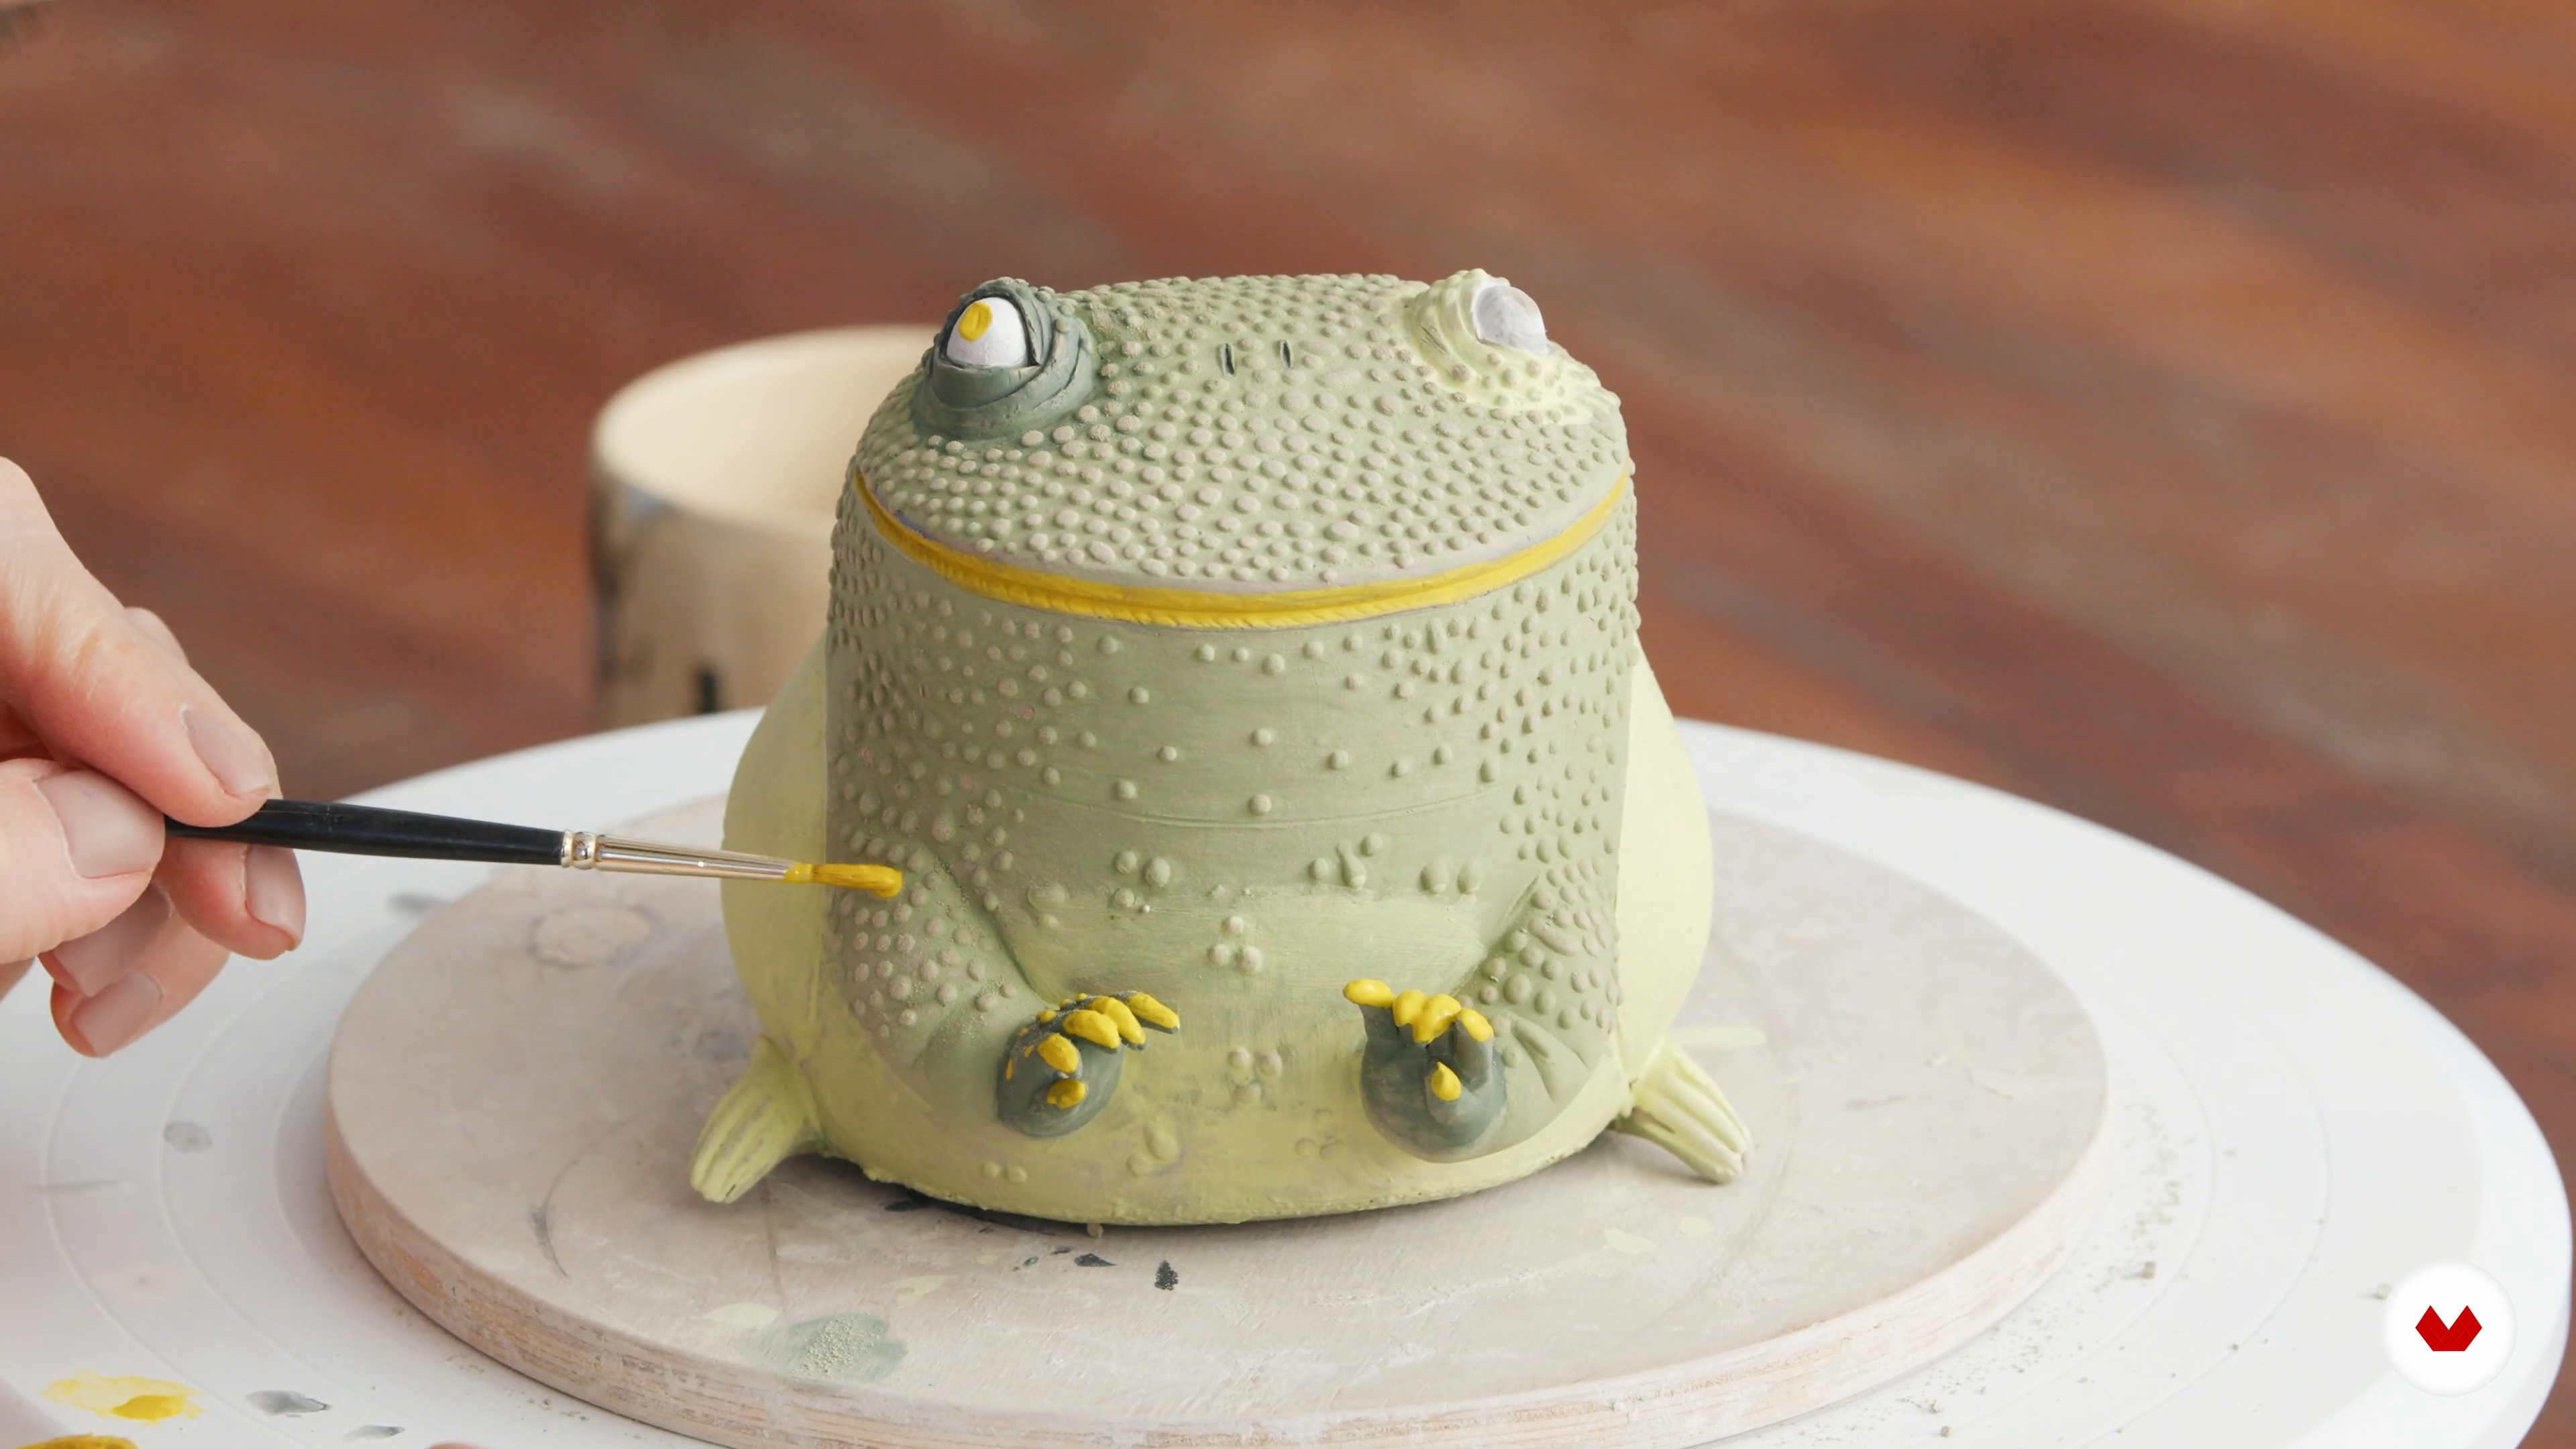
Here, I will continue to work on the body. I will smoothen, stretch, and shape my cylinder until it looks more like a toad.
18m
image
8
The Eyes
With the body complete, it's time to move on to the eyes. Are you ready?
8m
image
9
Incorporating Elements and Details into the Body 1
At this stage, you should have finished the toad's basic shape, making it already recognizable. Next, I will show you how to add all the details that will bring your piece to life.
18m
image
10
Incorporating Elements and Details into the Body 2
In this lesson, I will finish putting the details into place according to their marked indications, making sure that they are well-blended.
7m
image
11
Texture and Finishing
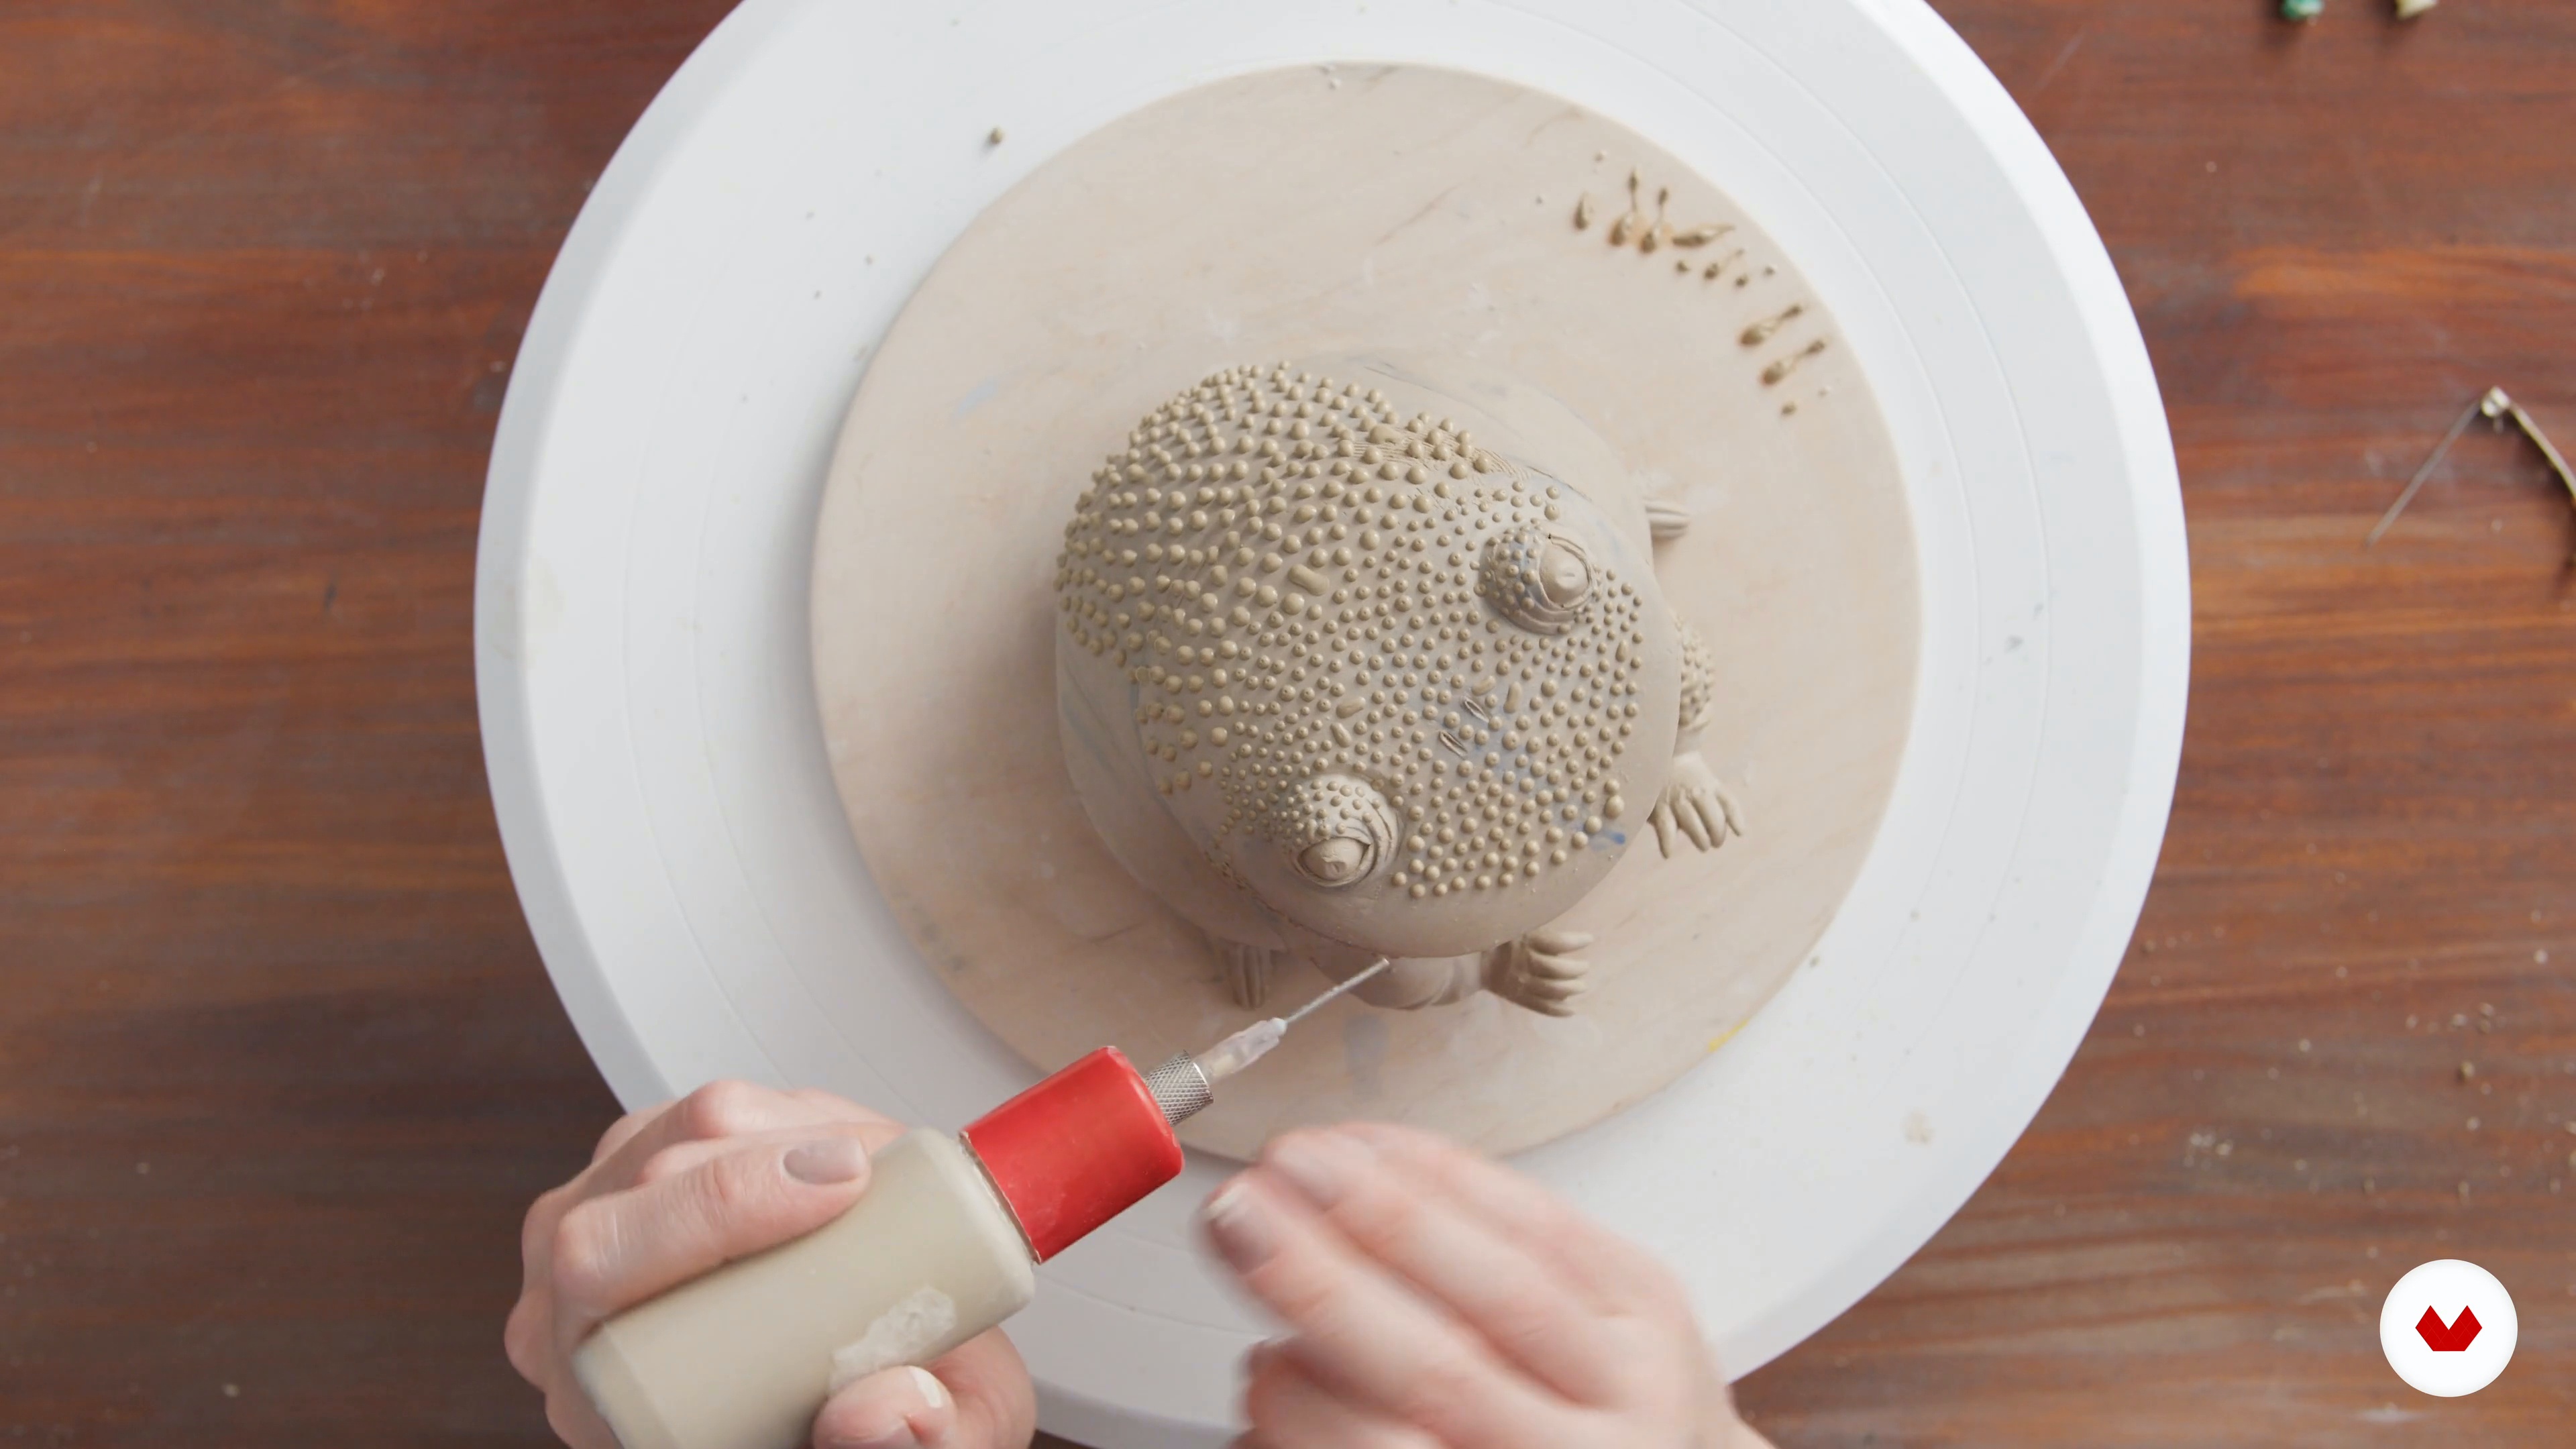
In this lesson, I will show you how to decorate the sculpture with slips, adding a beautiful texture. In the previous unit, you can find a useful resource about how to make this material. Take a look if you haven't already. This step will also enhance the tactility, add depth and character to the surface, and breathe more life into the creature.
8m
image
12
Adding Color and Glazing 1
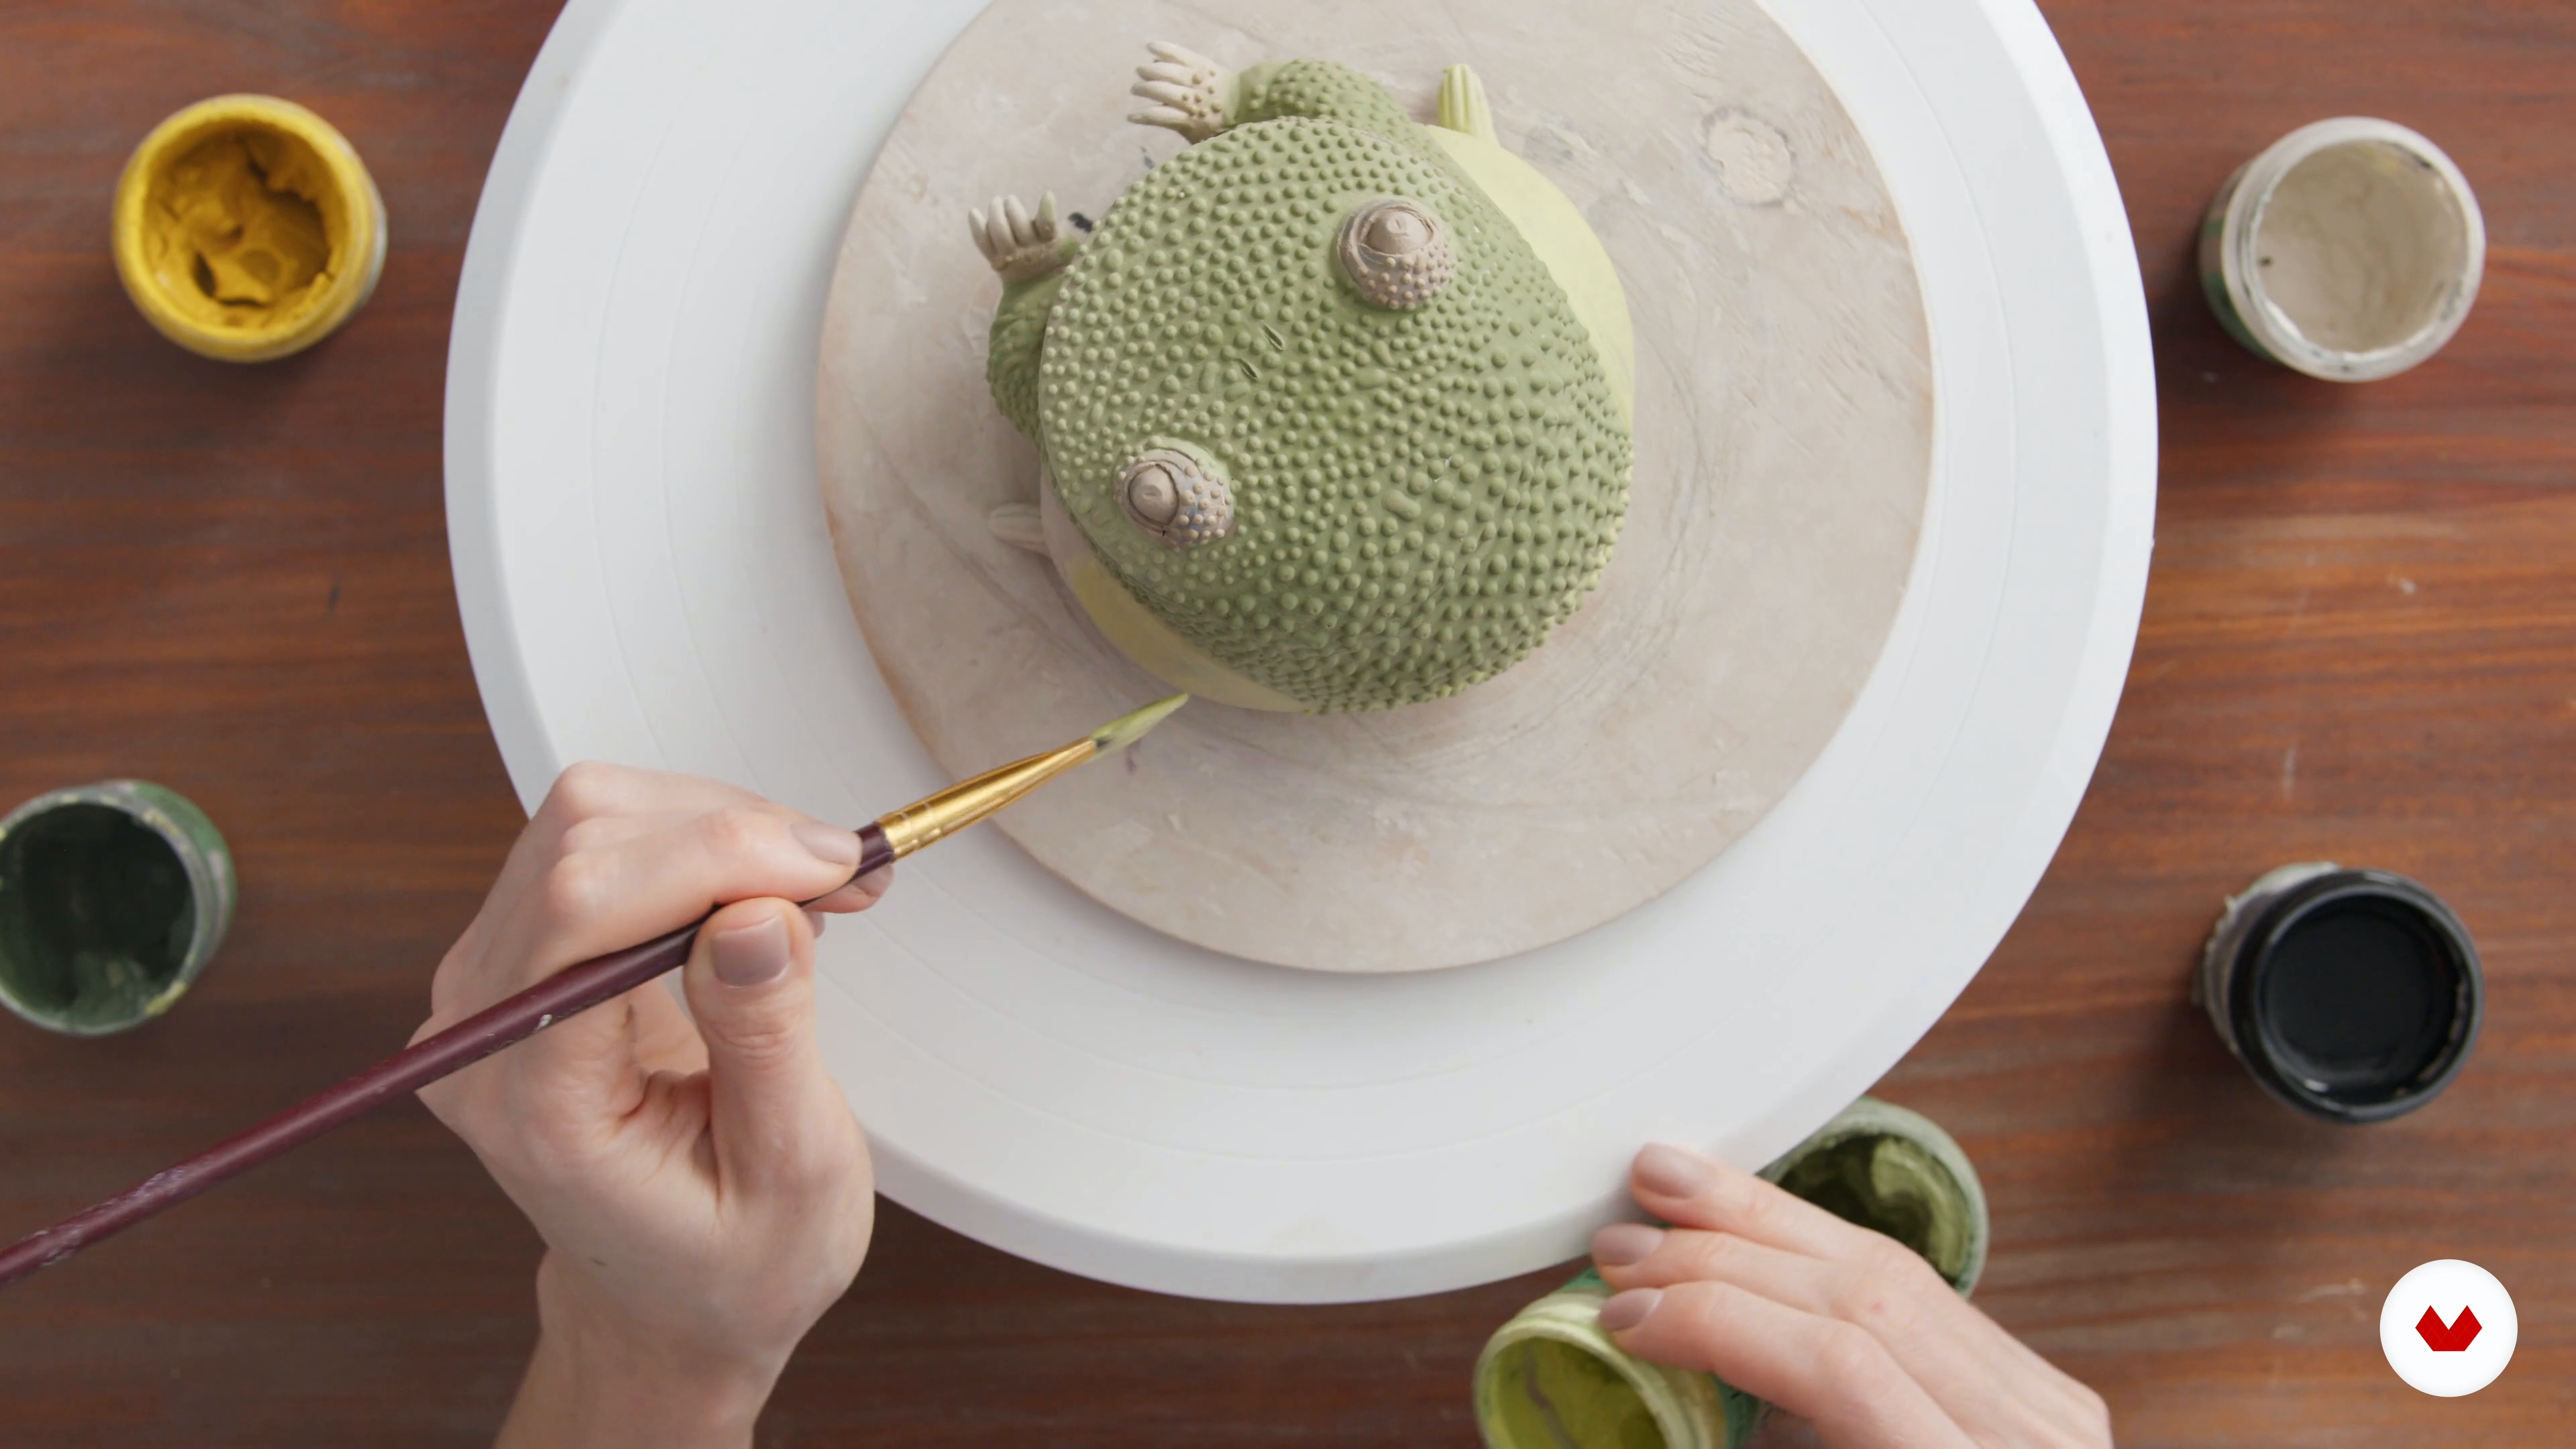
Finally, let's paint! I will demonstrate how to glaze your toad, using a color palette and test tiles.
19m
image
13
Adding Color and Glazing 2
In this lesson, I will continue to apply the underglaze, progressing to the smaller details and shading.
20m
image
14
Packaging
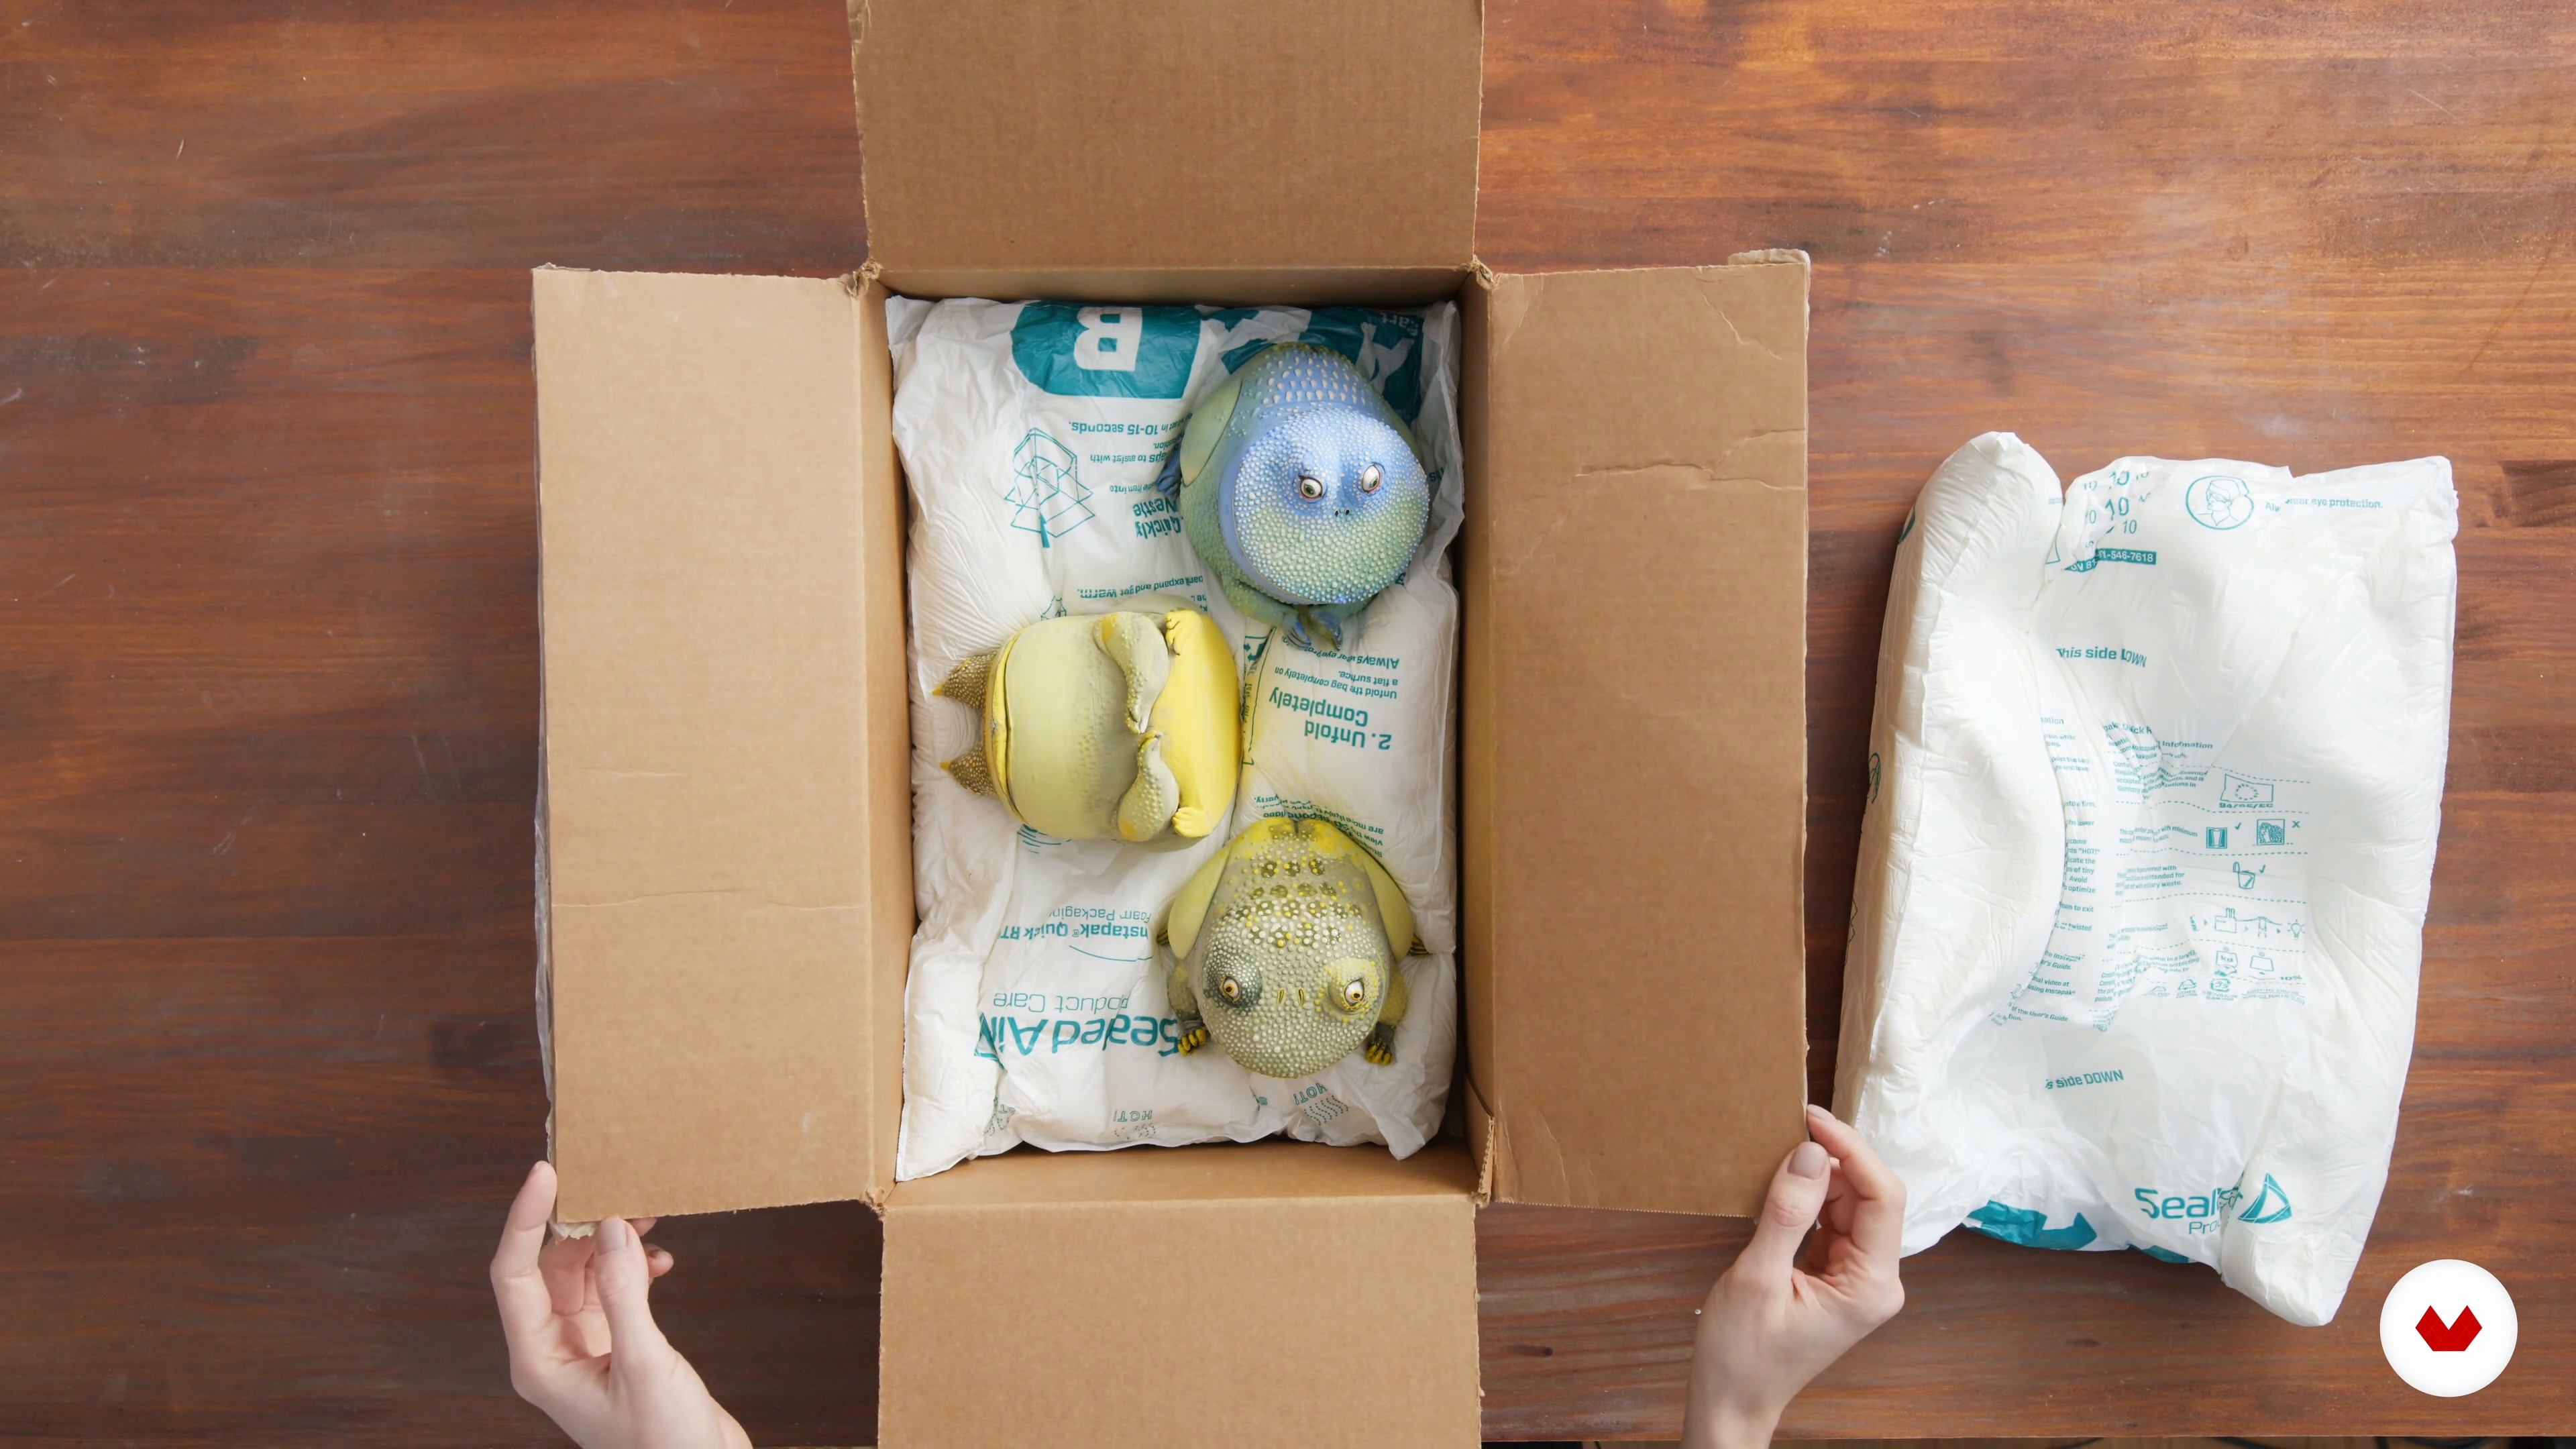
Selling and sending my ceramics worldwide, from Japan to Canada, has shown me the importance of packing my work well. Even if the distance is short, protecting your ceramics is a must. In this lesson, I will teach you the skill of packing. This will come in handy should you want to move house and need to protect your art while on the road.
3m
image
15
Other Applications
Before throwing away your test color palette or miniature 3D sketch, let's explore other alternatives. In this lesson, I will show you how to make a plate or coaster out of the palette and a planter pot totem from the small sculpture. As I said before, once the clay is fired it becomes ceramics, so it will live for hundreds of years. Why not make another masterpiece out of a simple tile?
2m
image
1
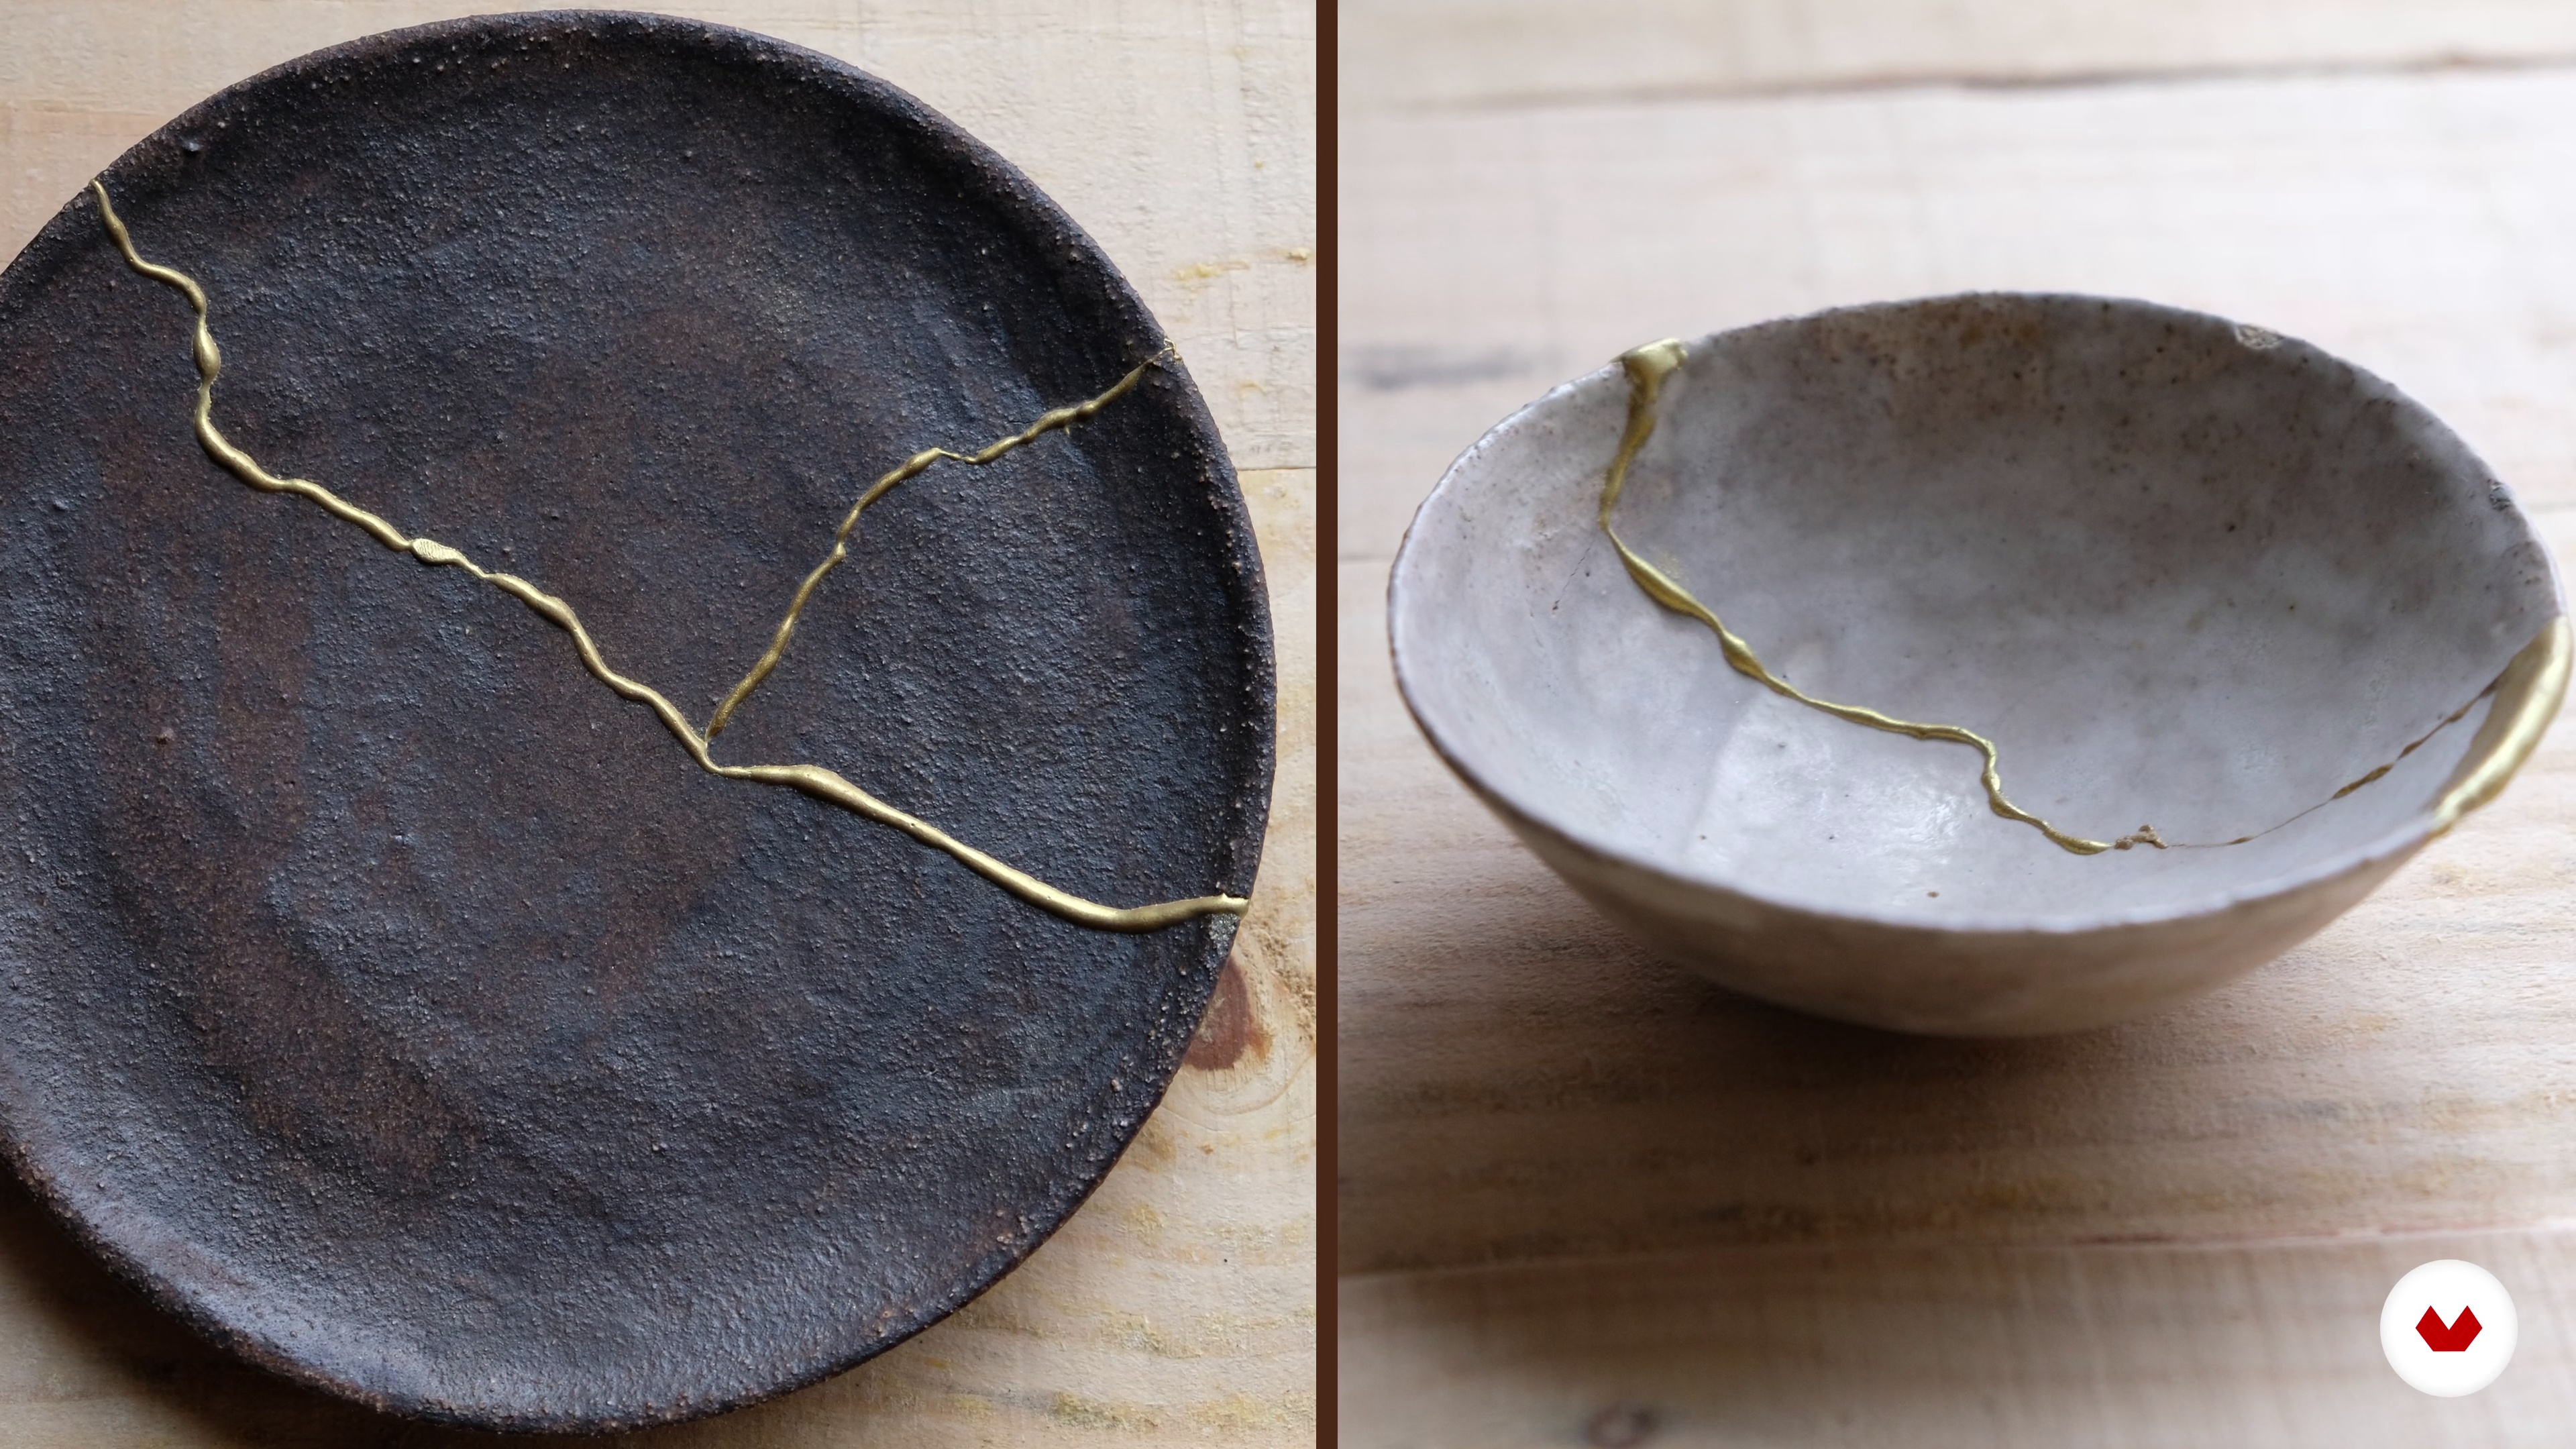
What Is Kintsugi?
In this lesson, I am going to briefly tell you about the history and philosophy of kintsugi.
6m
image
2
Knowing the Materials
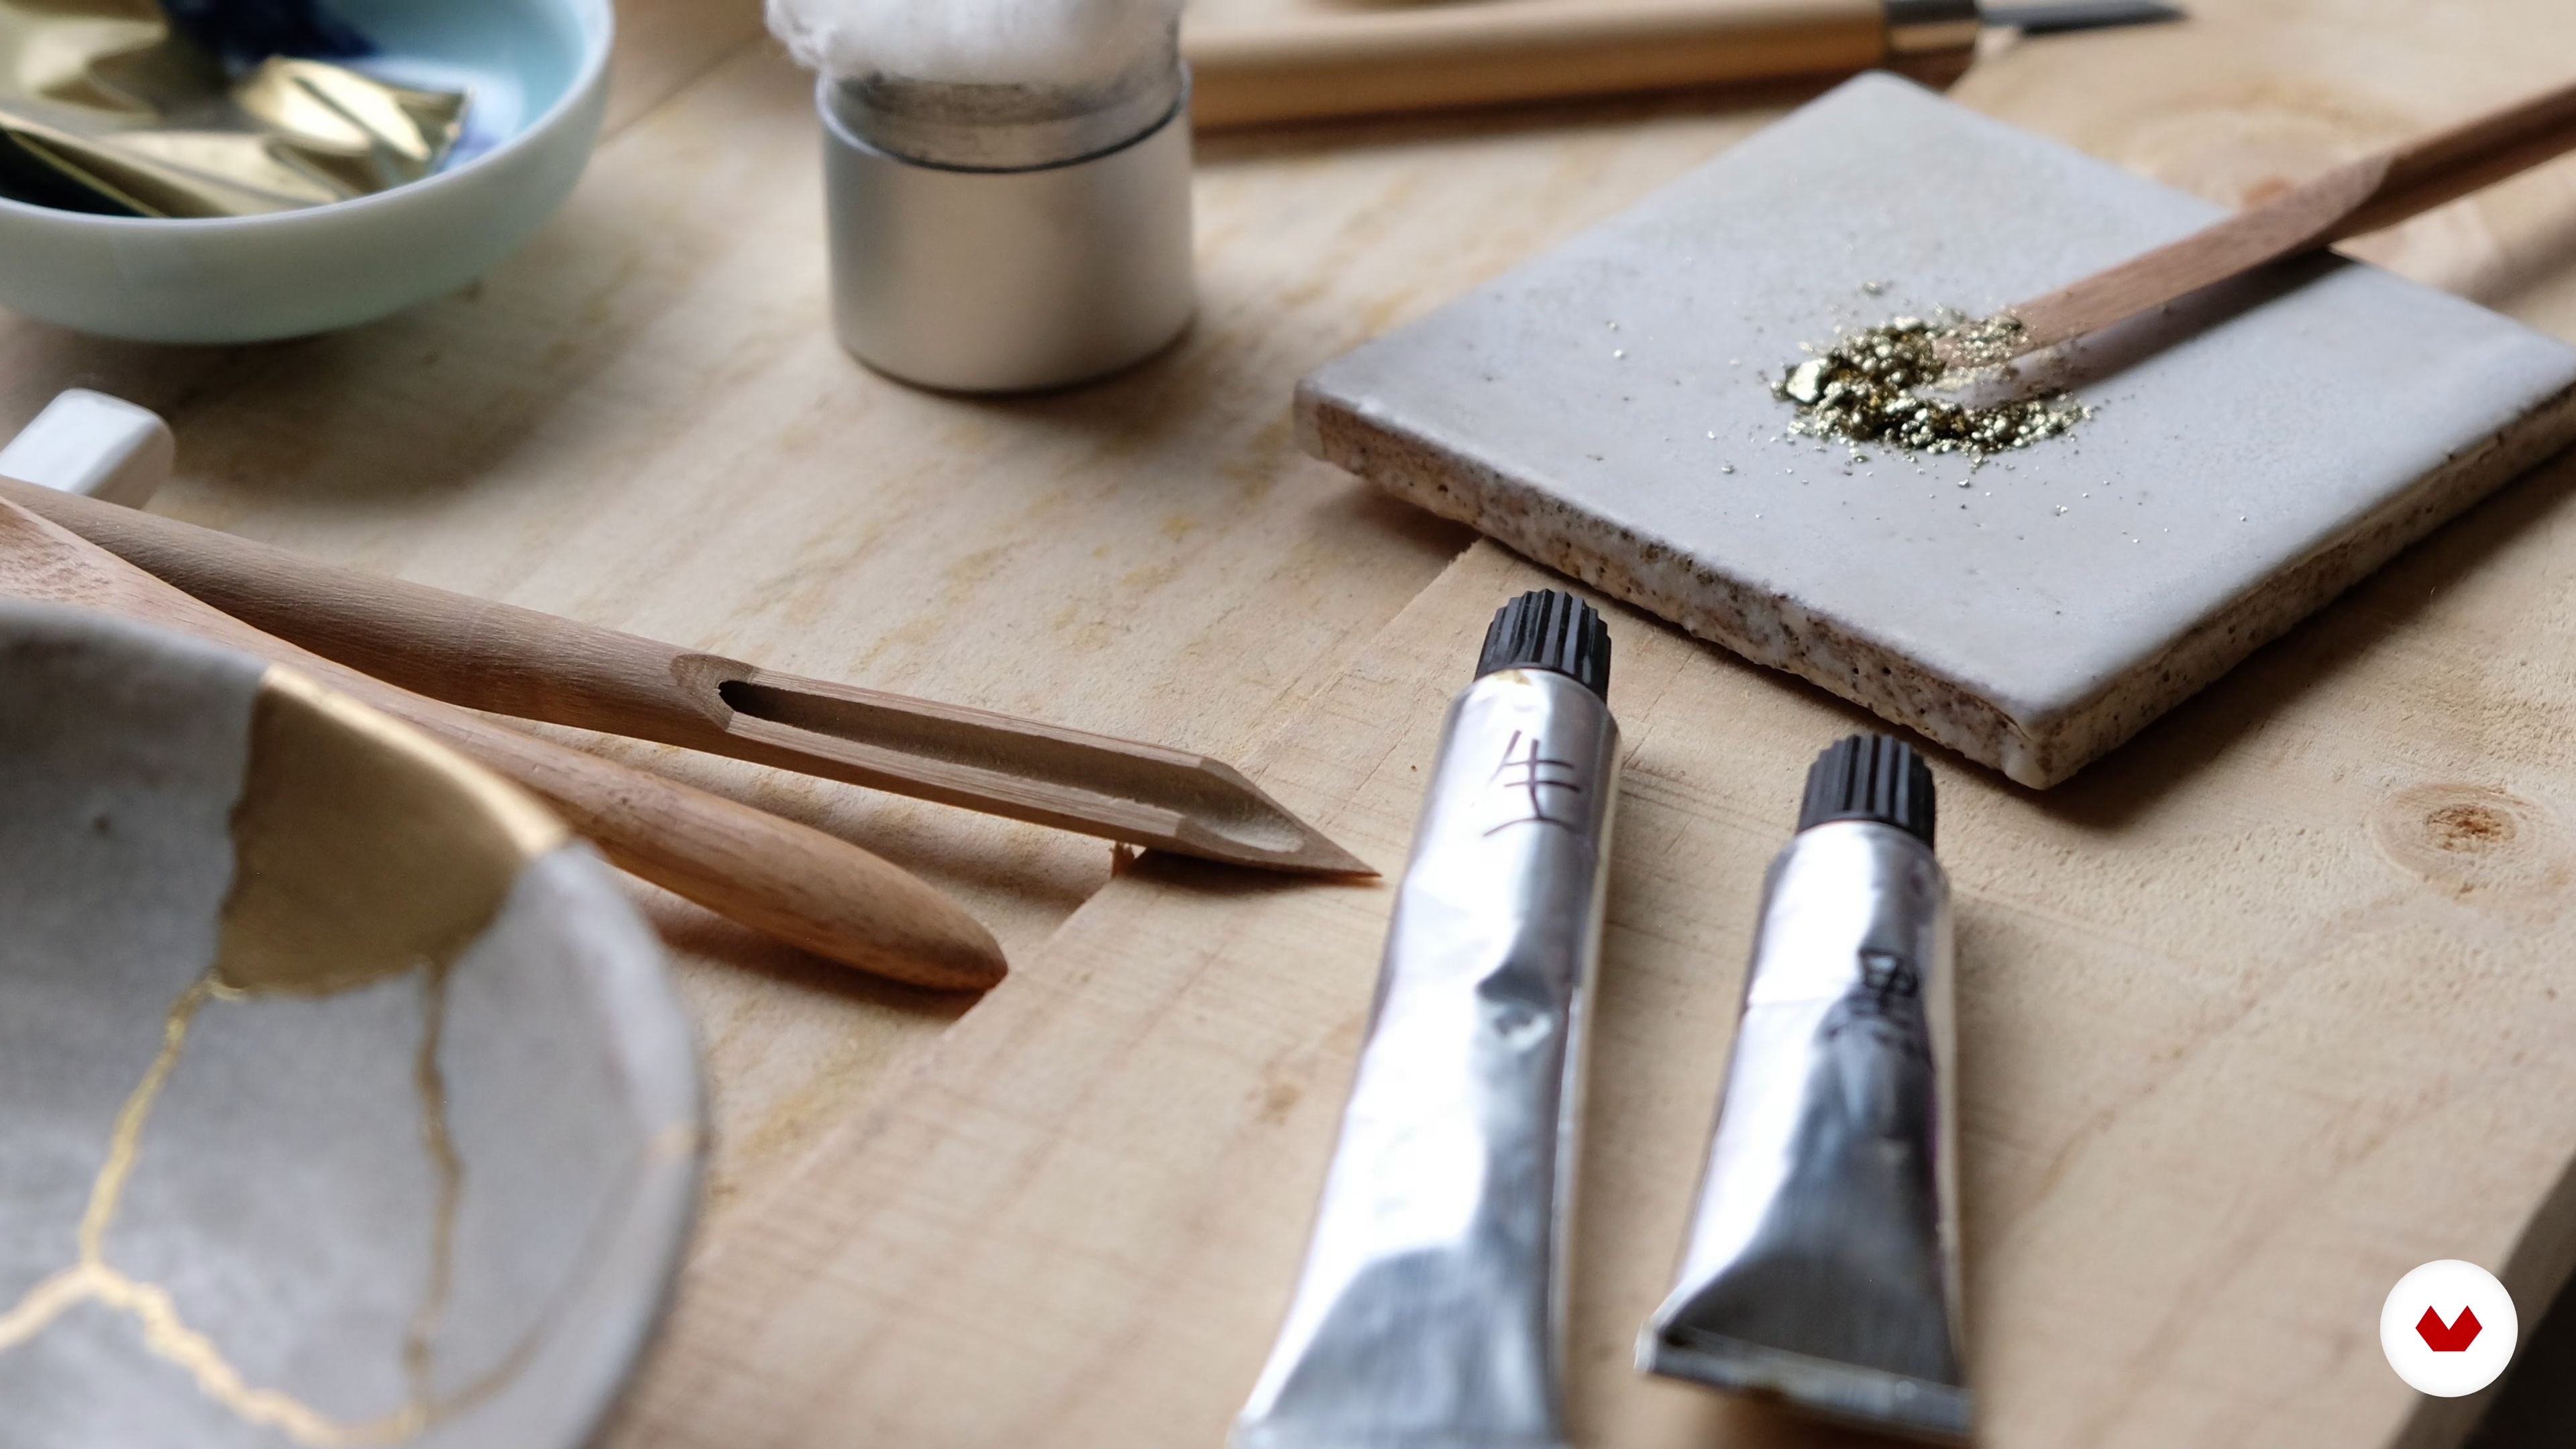
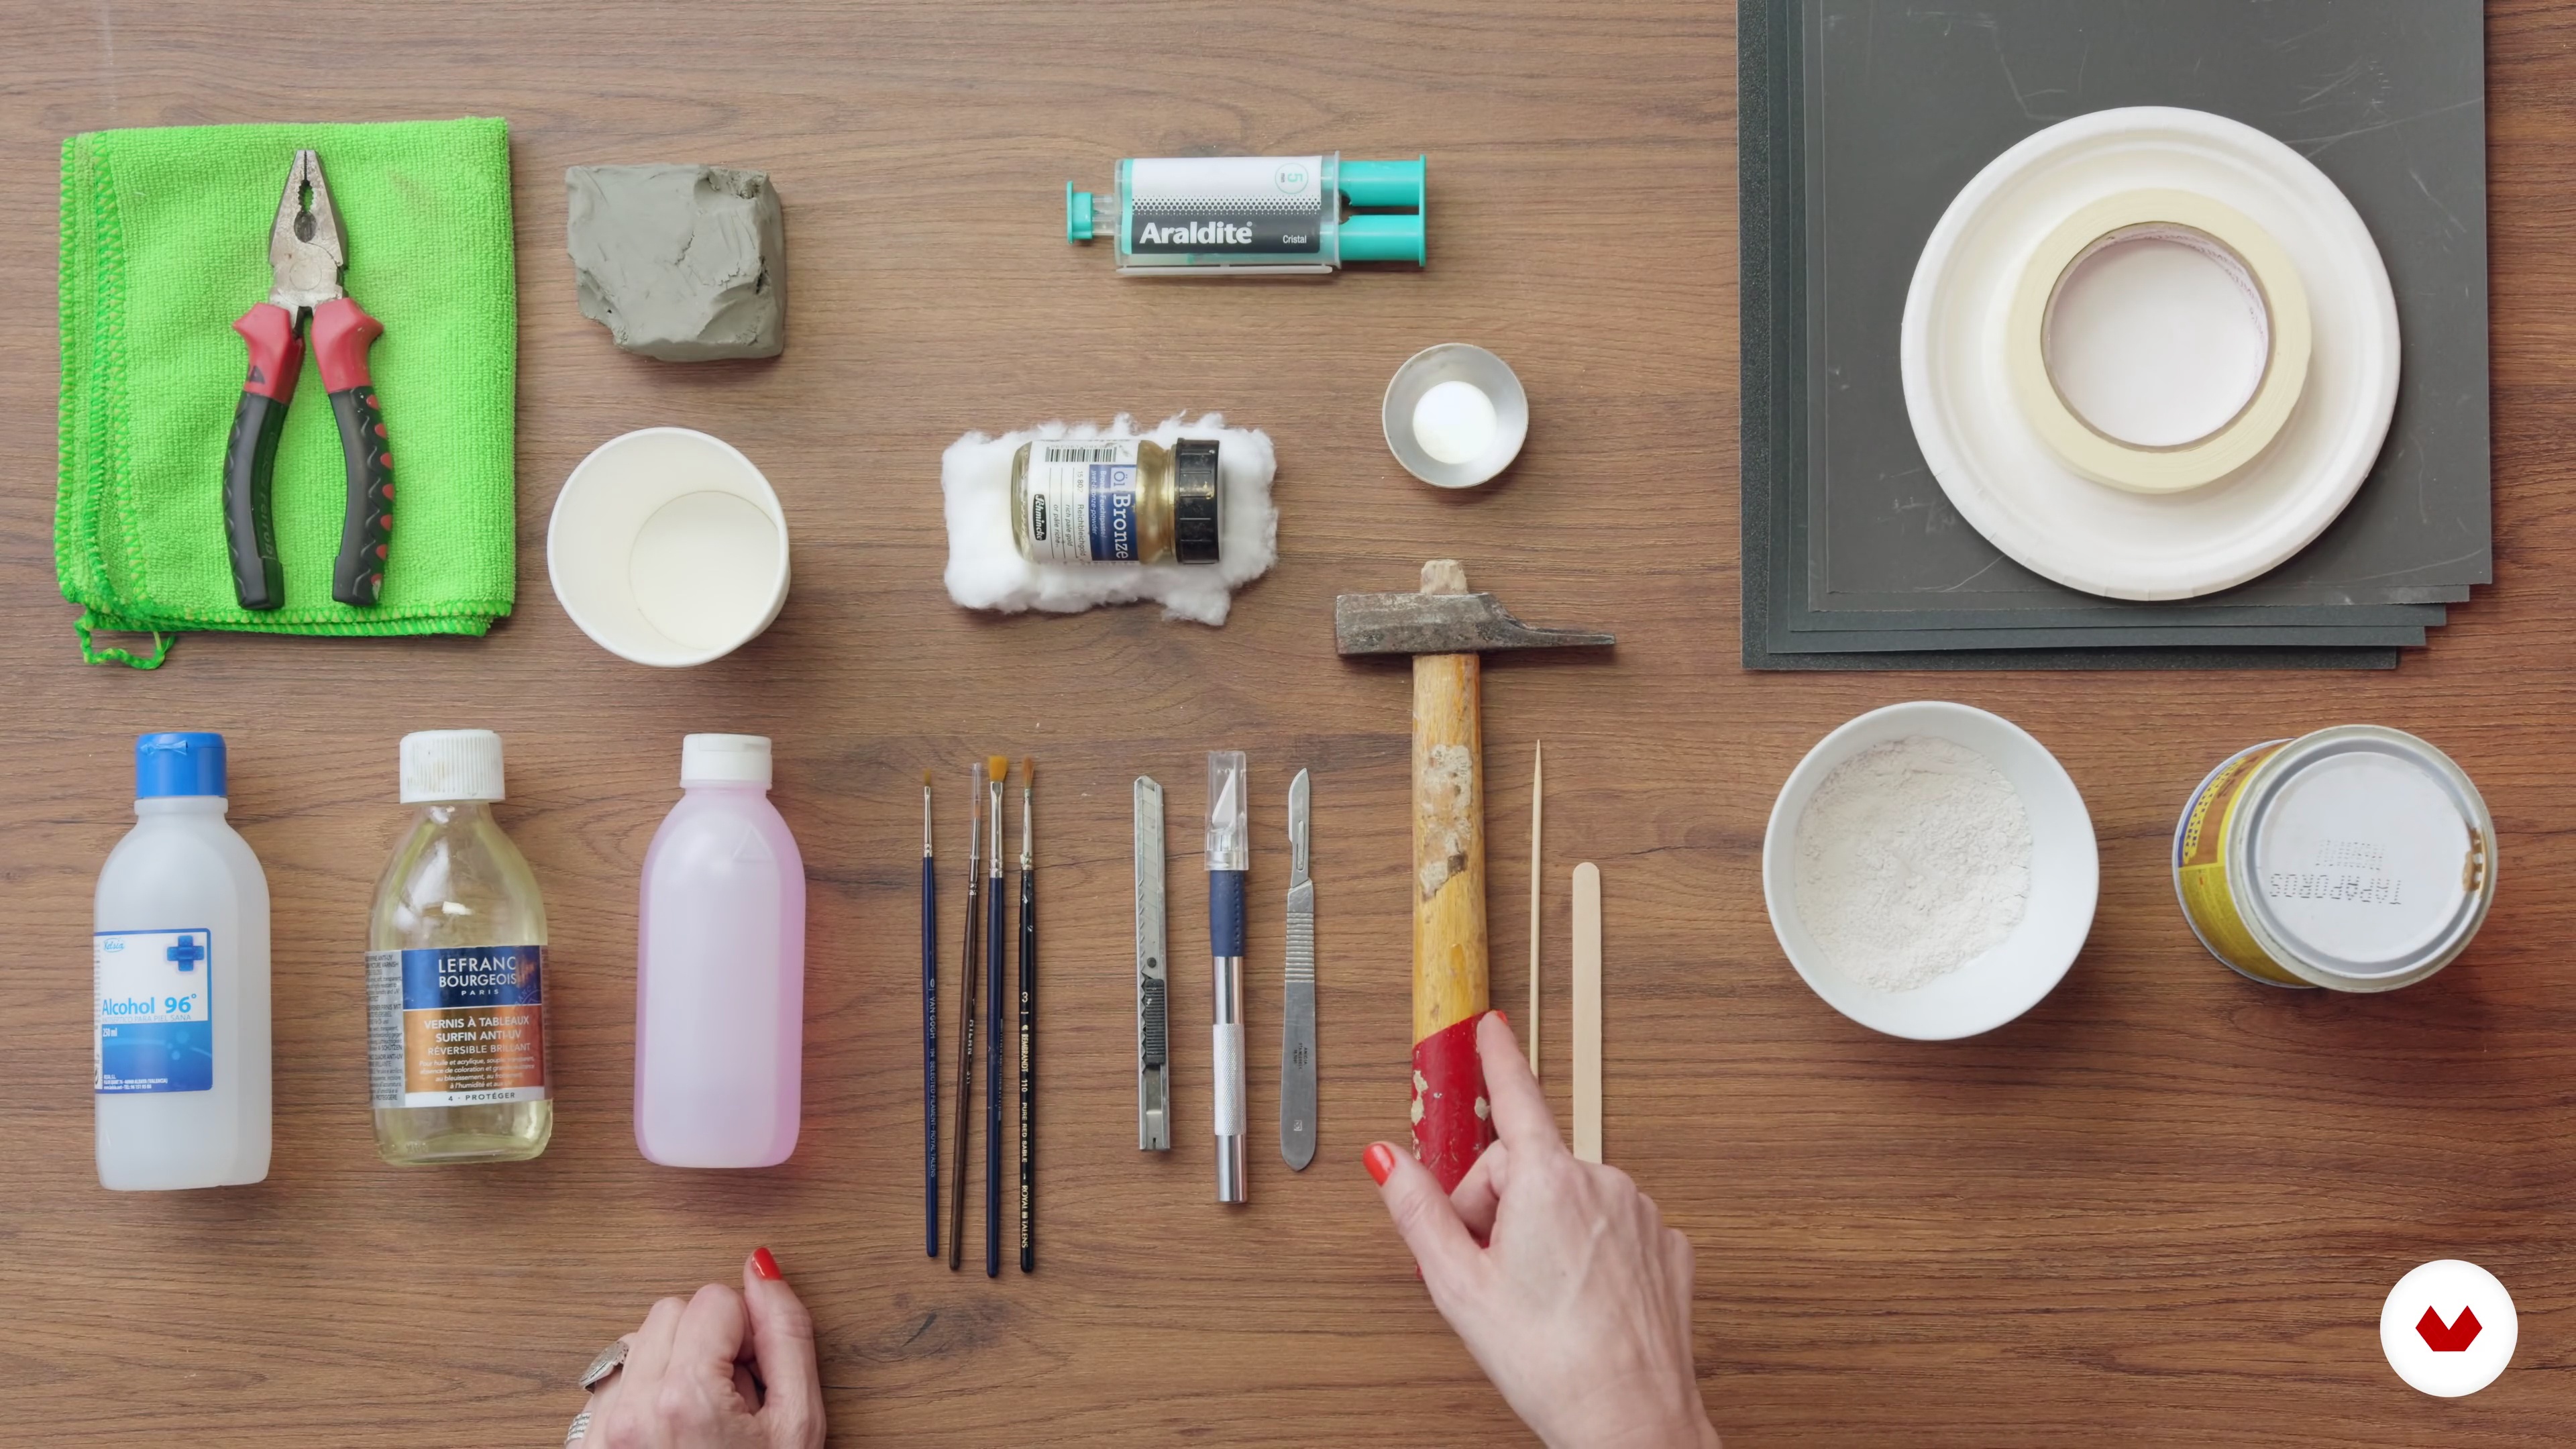
Here, I am going to show you all the materials that you will need to complete your kintsugi project and I’ll also explain to you where to buy them.
5m
image
3
How to Choose the Bowls for Your Kintsugi Project
Now, I am going to explain what kind of bowls you will need for your project.
5m
image
4
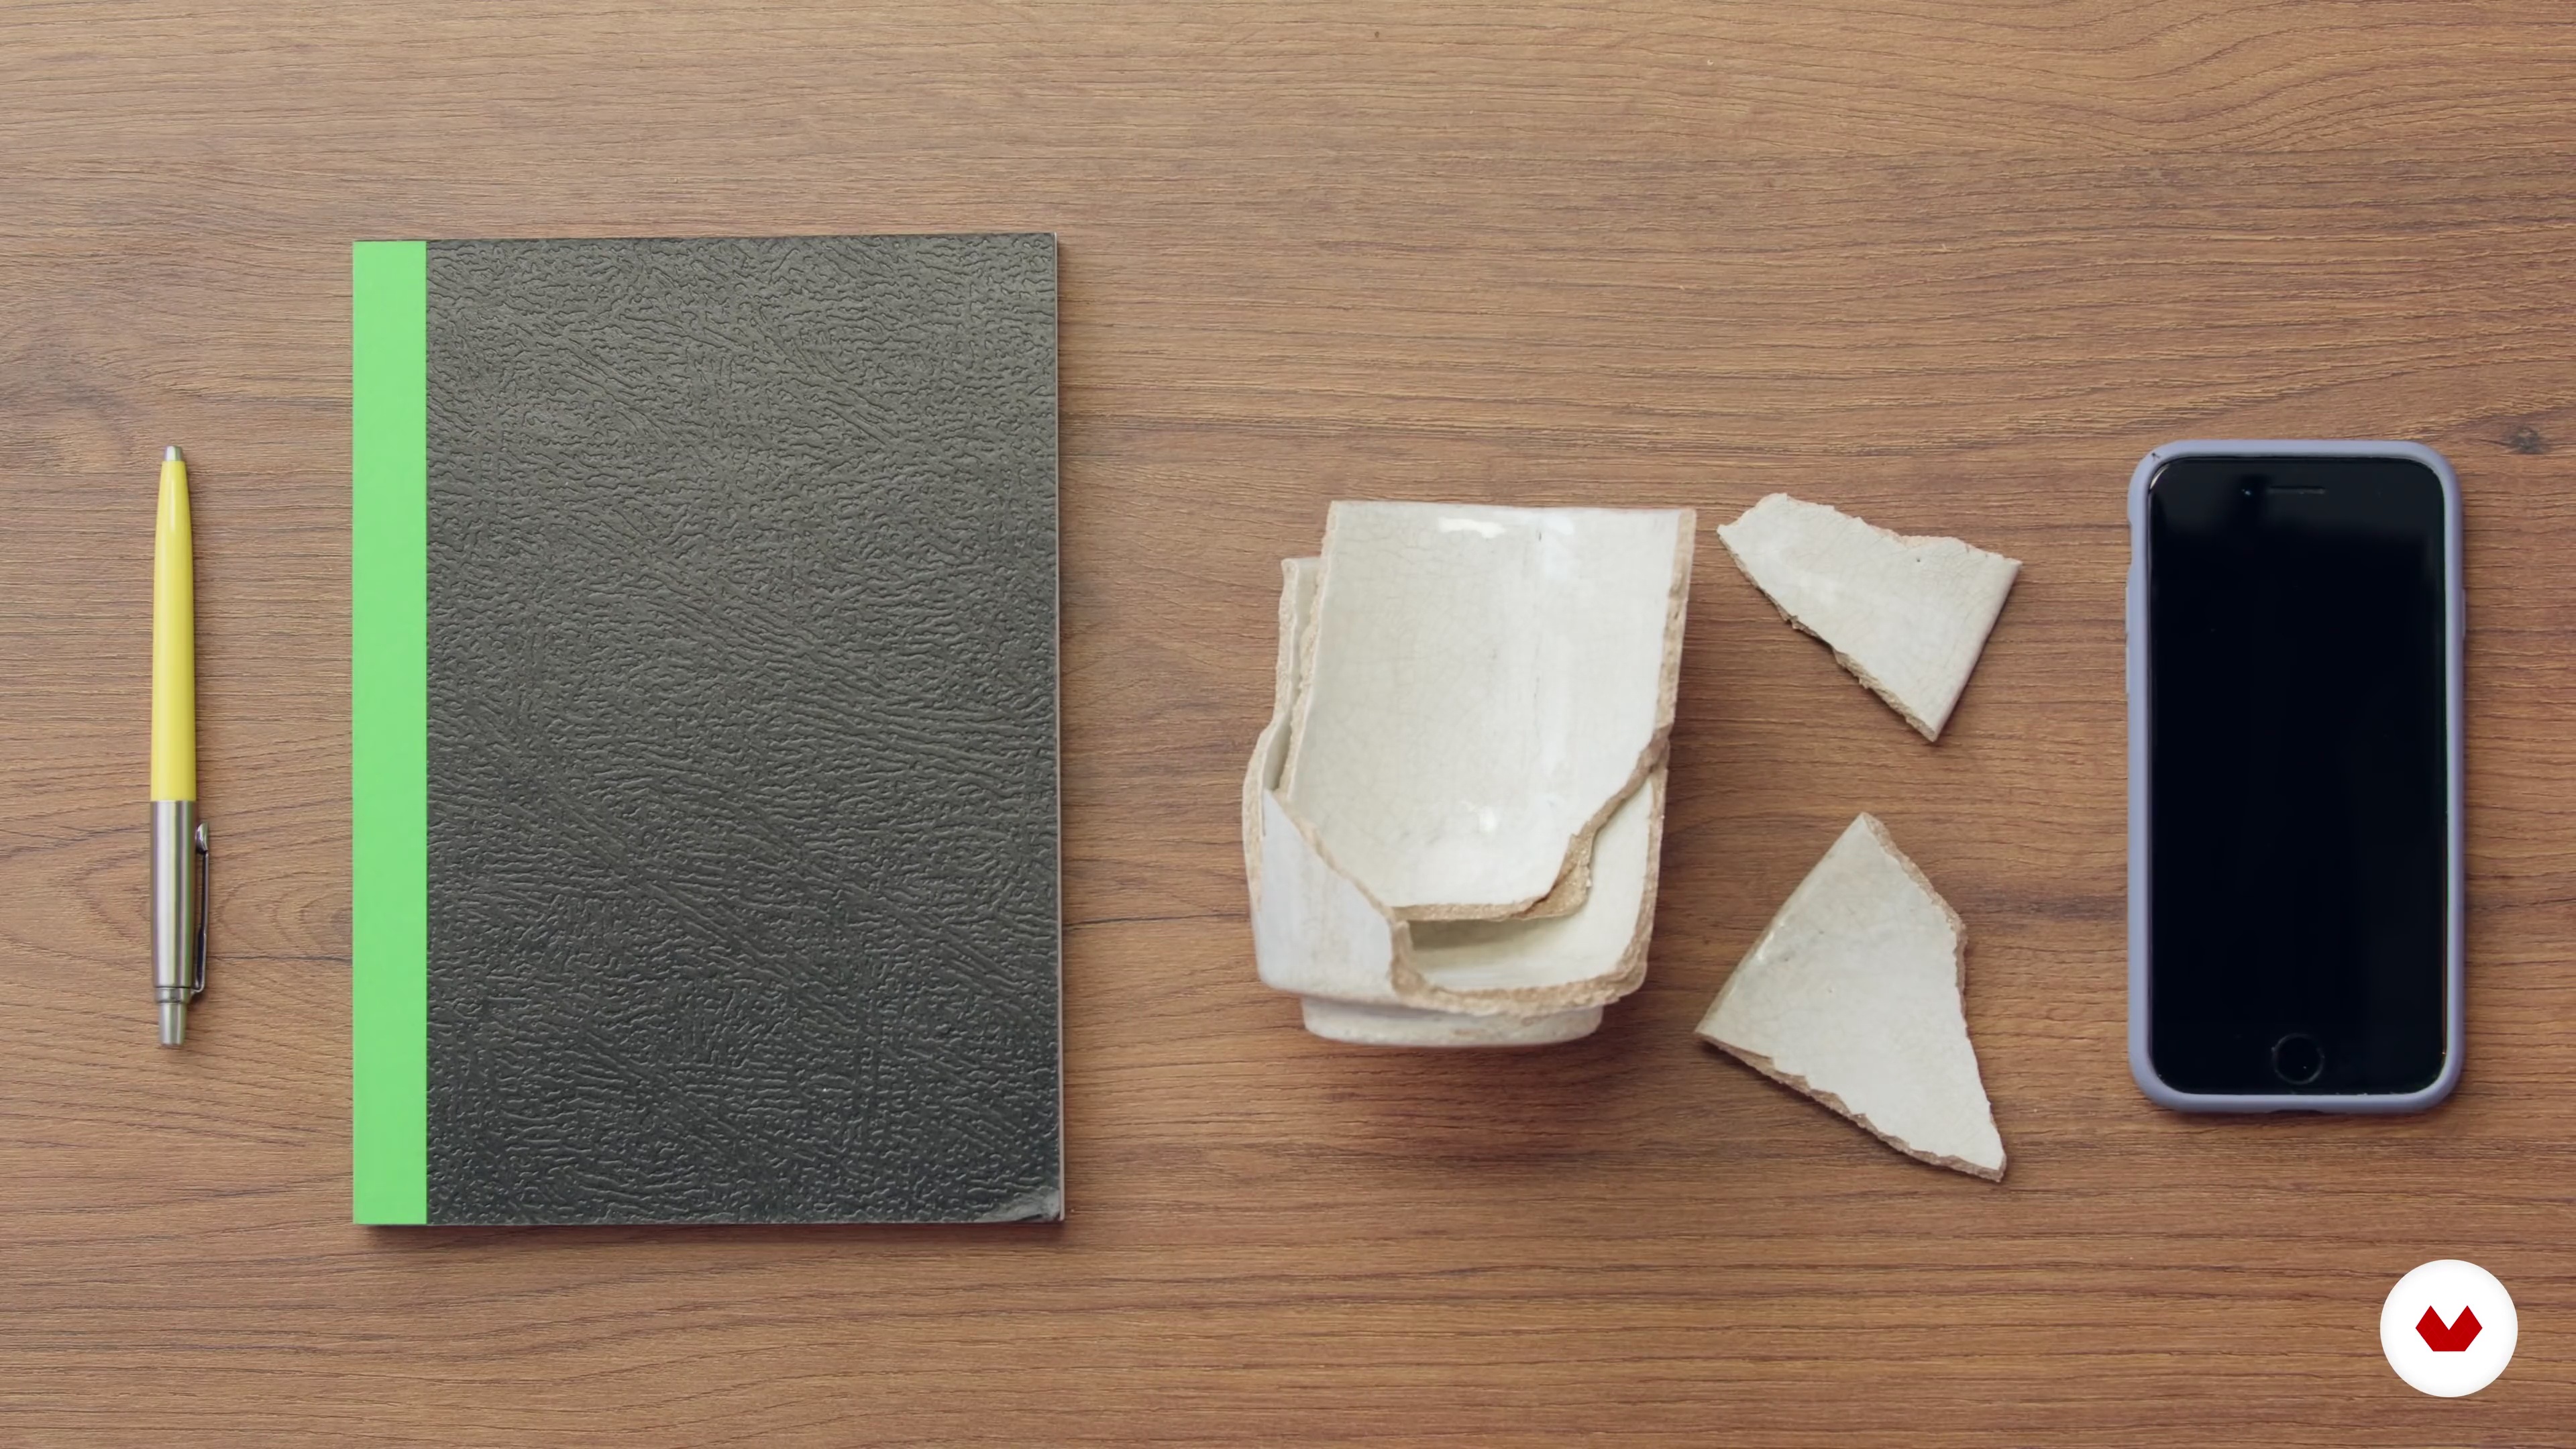
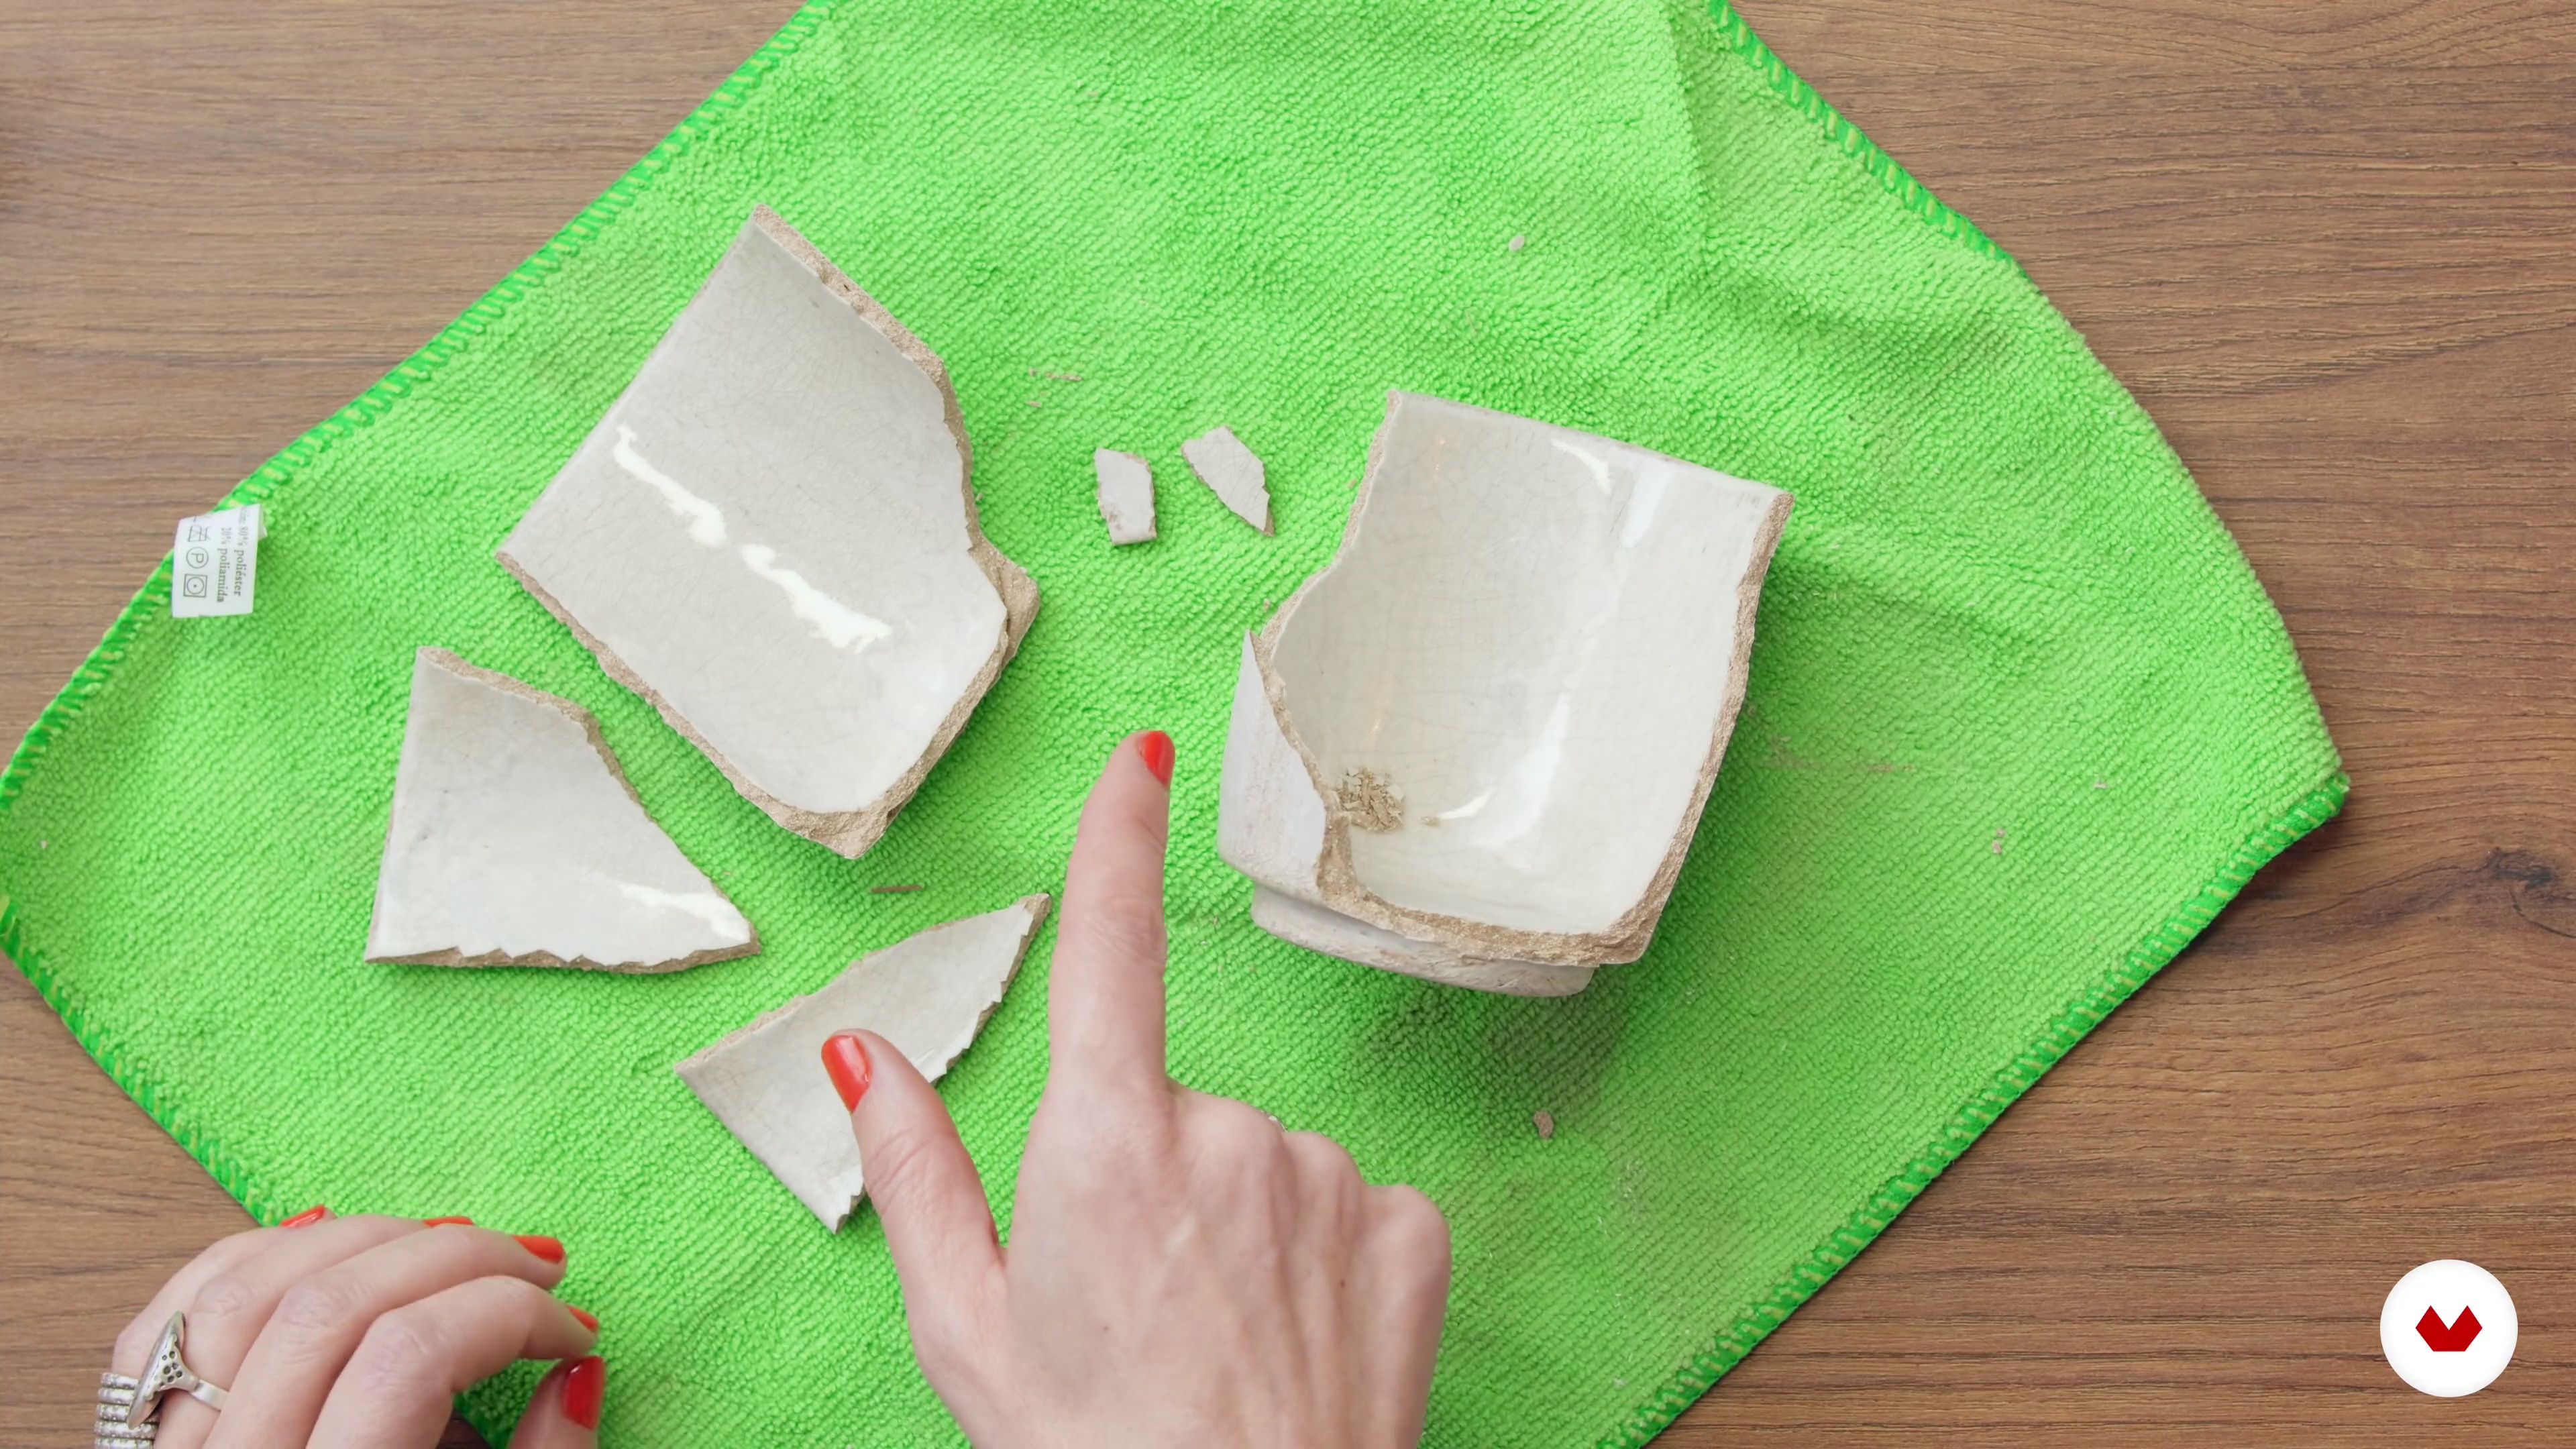
How to Break the Bowls
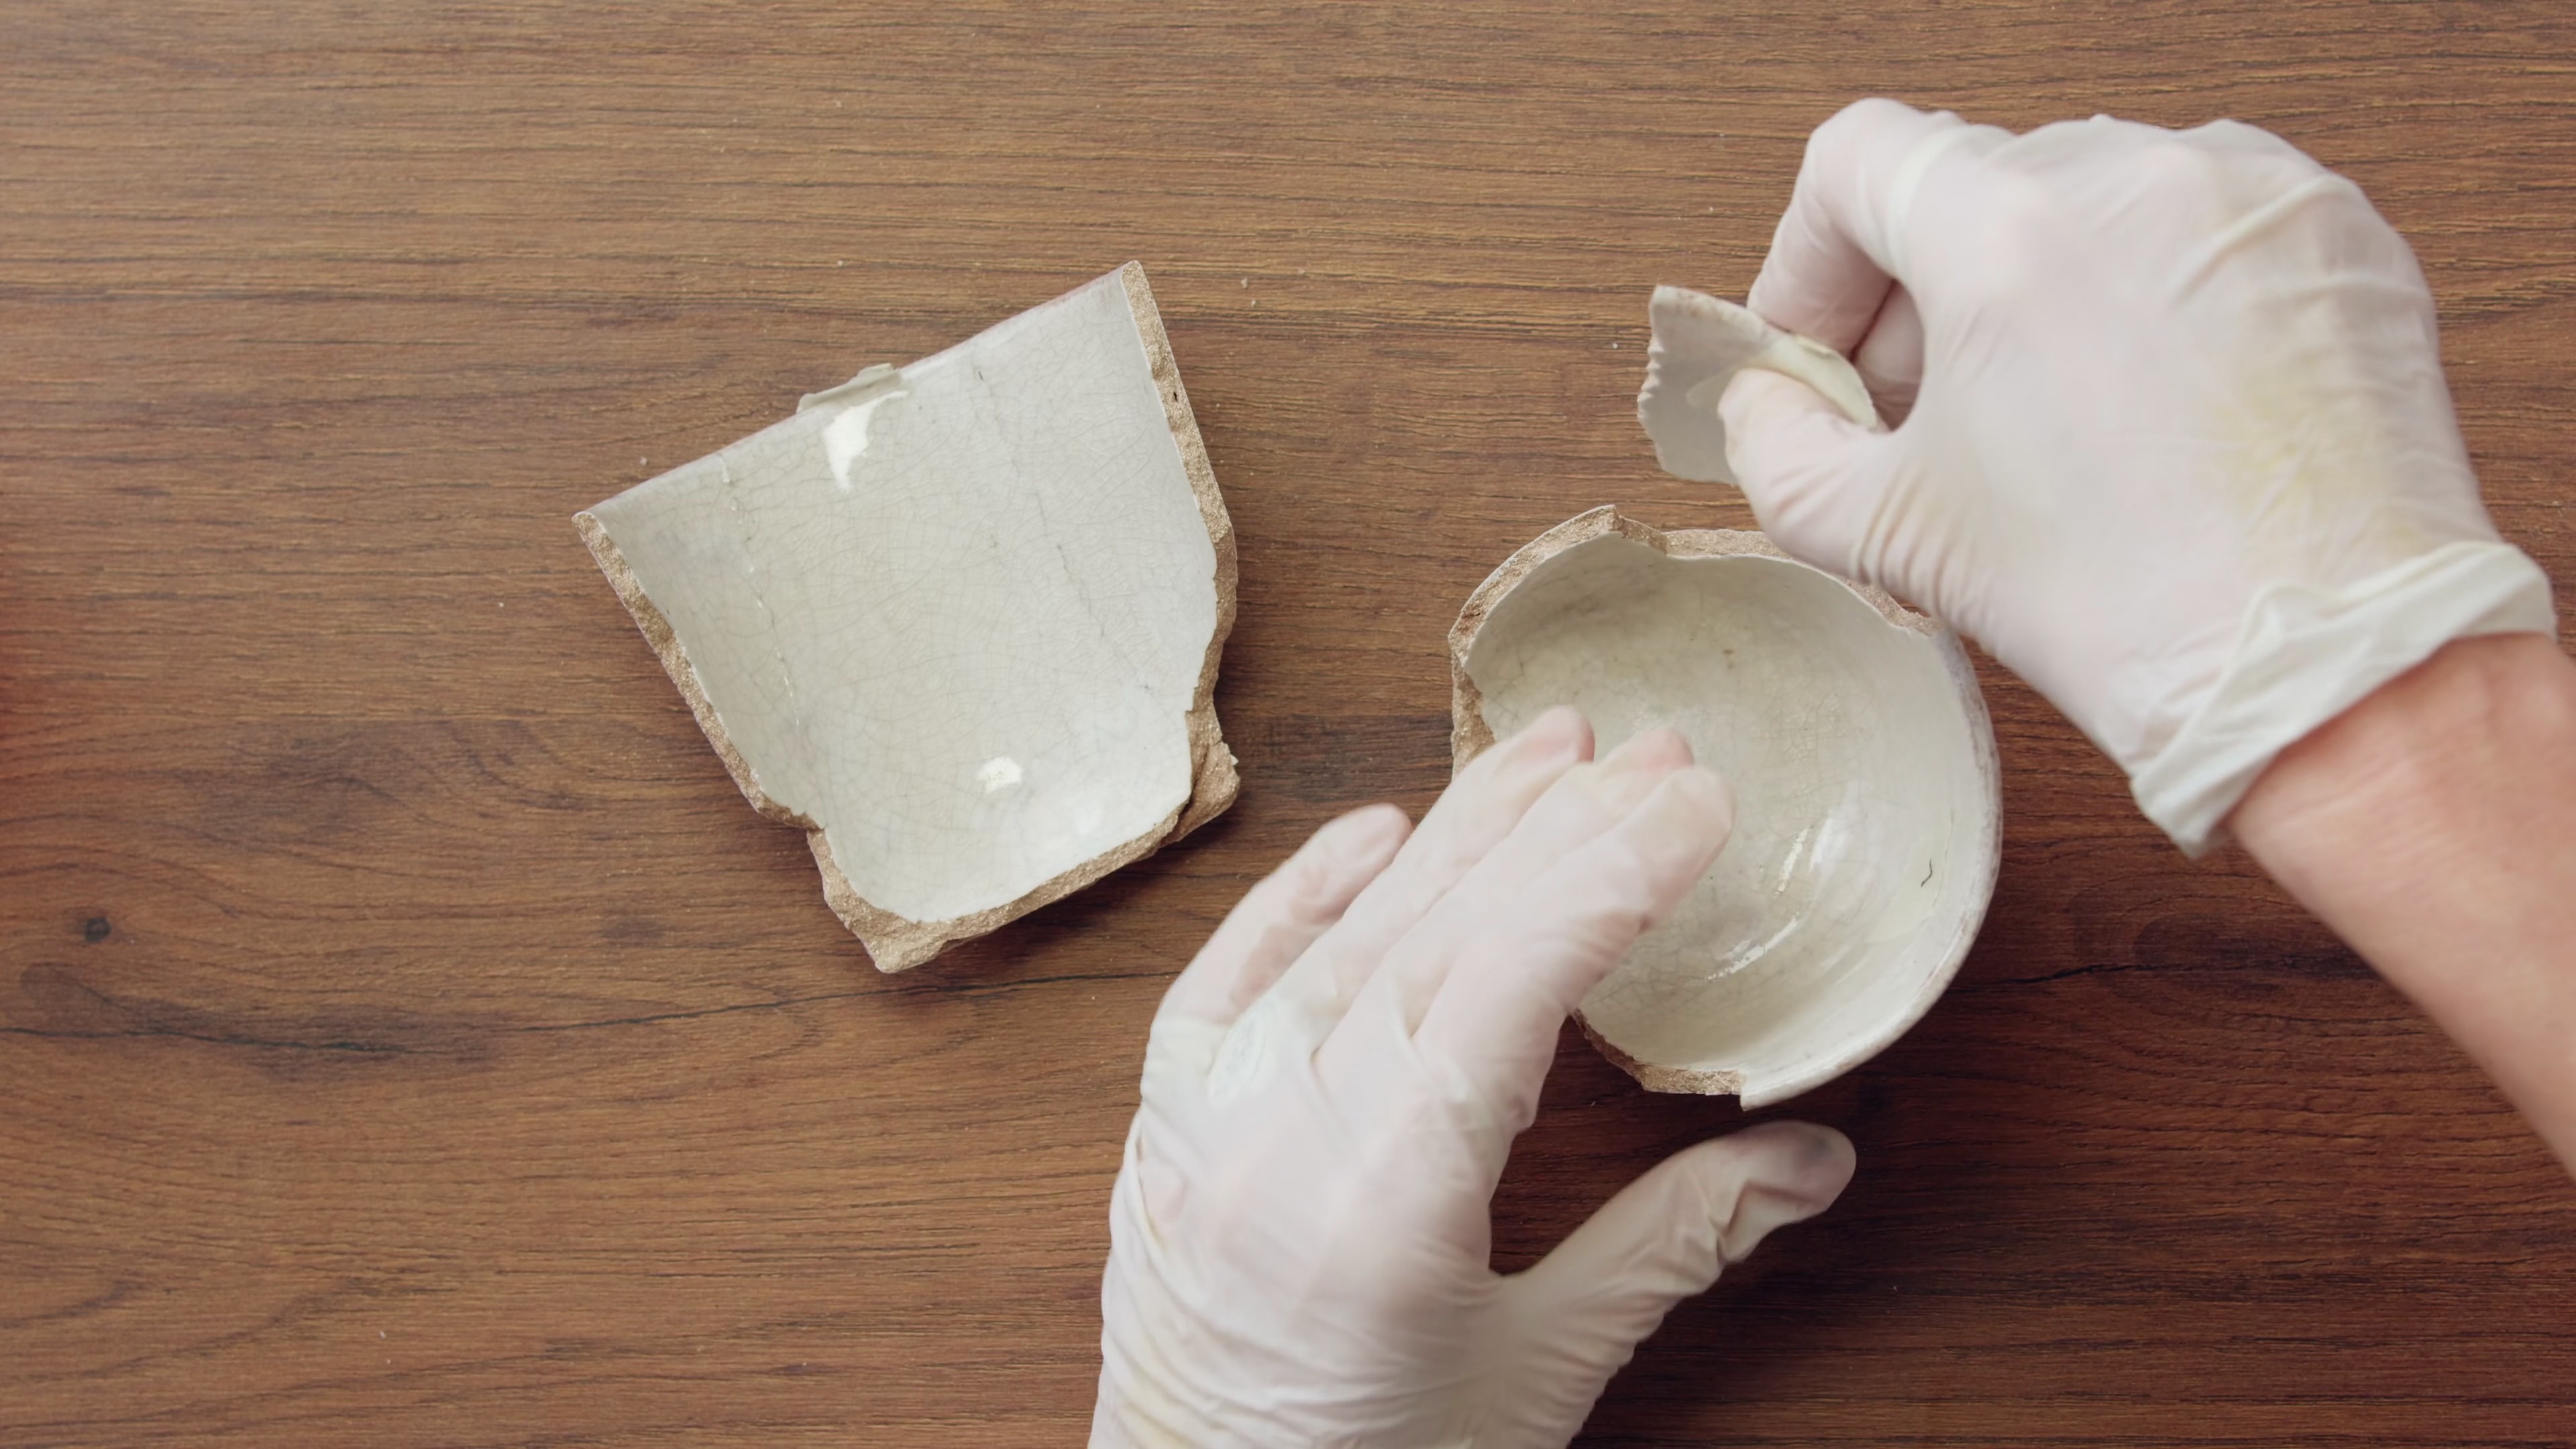
Now that you have all the materials to get started, we just need to break the bowls that you have chosen for your project. In this lesson, I will explain to you how to break the bowls before getting to work.
7m
image
5
The Kintsugi Diary
In this lesson, I am going to teach you how to keep a kintsugi diary by taking notes and photos. In doing so, you will be able to remember the steps when you practice on your own.
3m
image
6
Joining the Broken Pieces
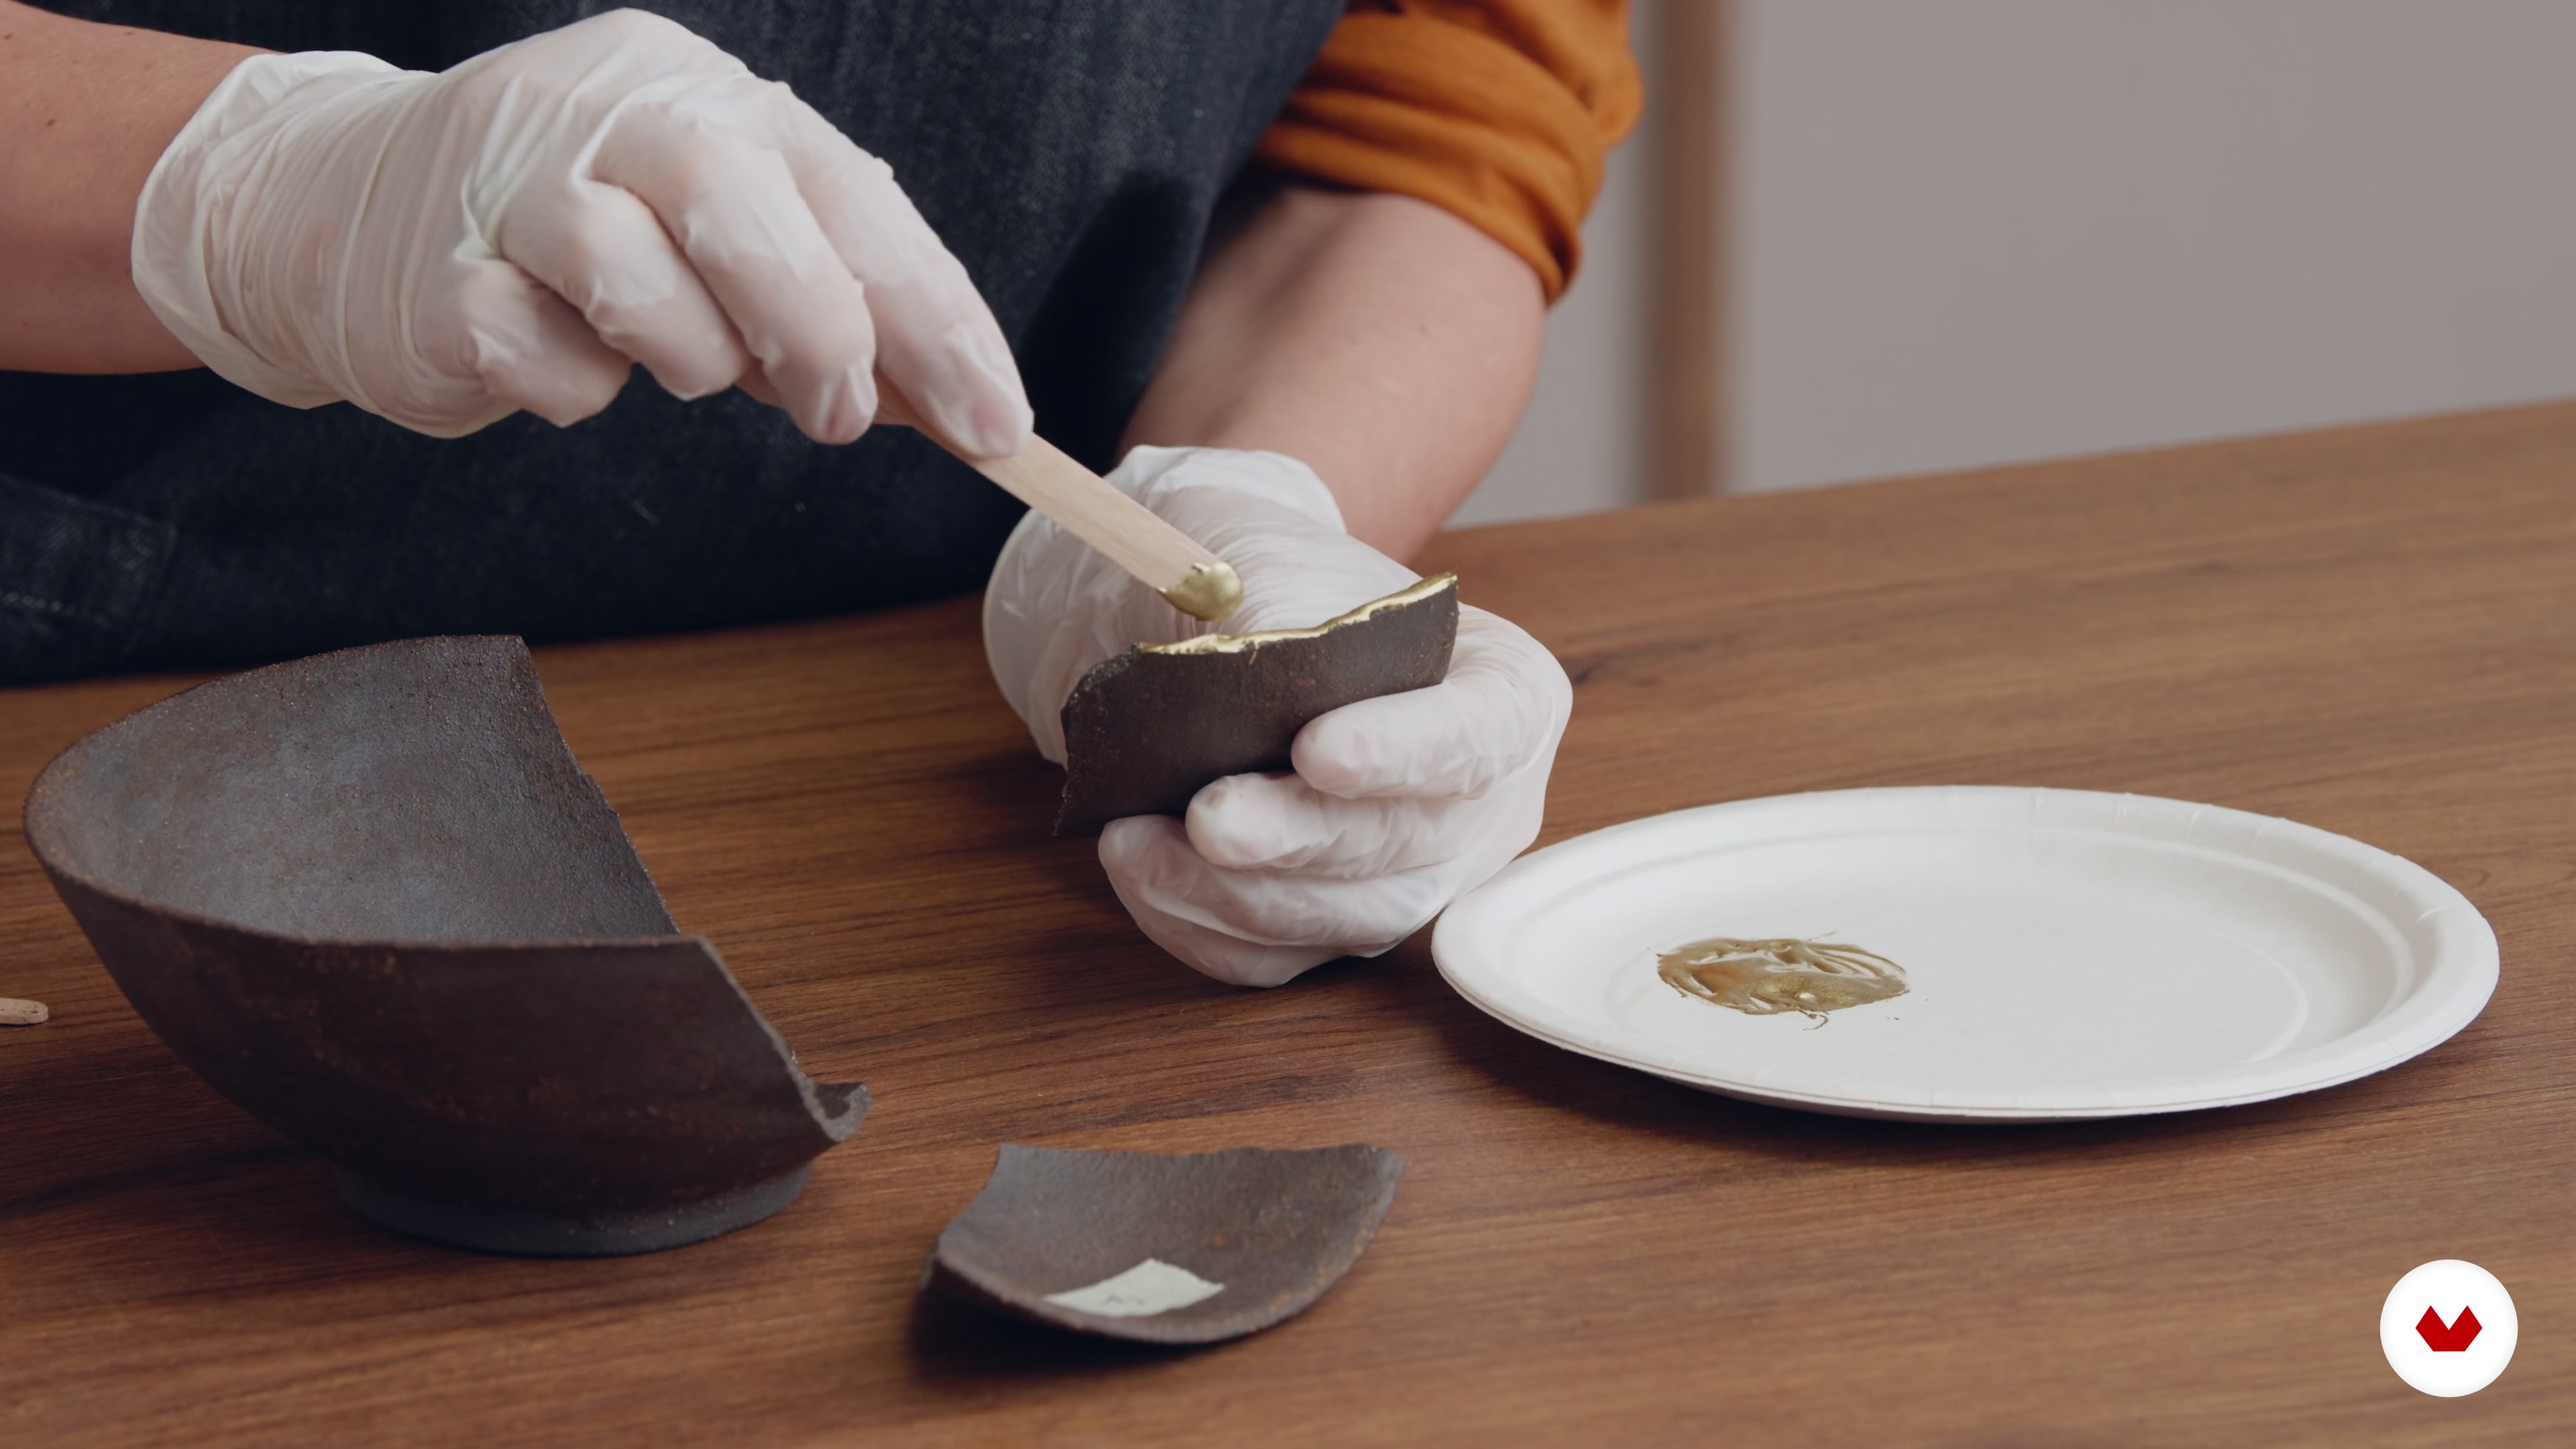
During this lesson, I am going to show you how to prepare the glue to join the broken pieces.
15m
image
7
Final Touches
I am going to show you how to give your piece the finishing touches to make it shine. To finish your first kintsugi project, you are going to give it the final touch to make the gold lines shinier.
6m
image
8
Joining the Broken Pieces with Glue Flush
In this lesson, I am going to show you how to join the broken pieces without leaving excess glue.
15m
image
9
Rebuilding the Gaps
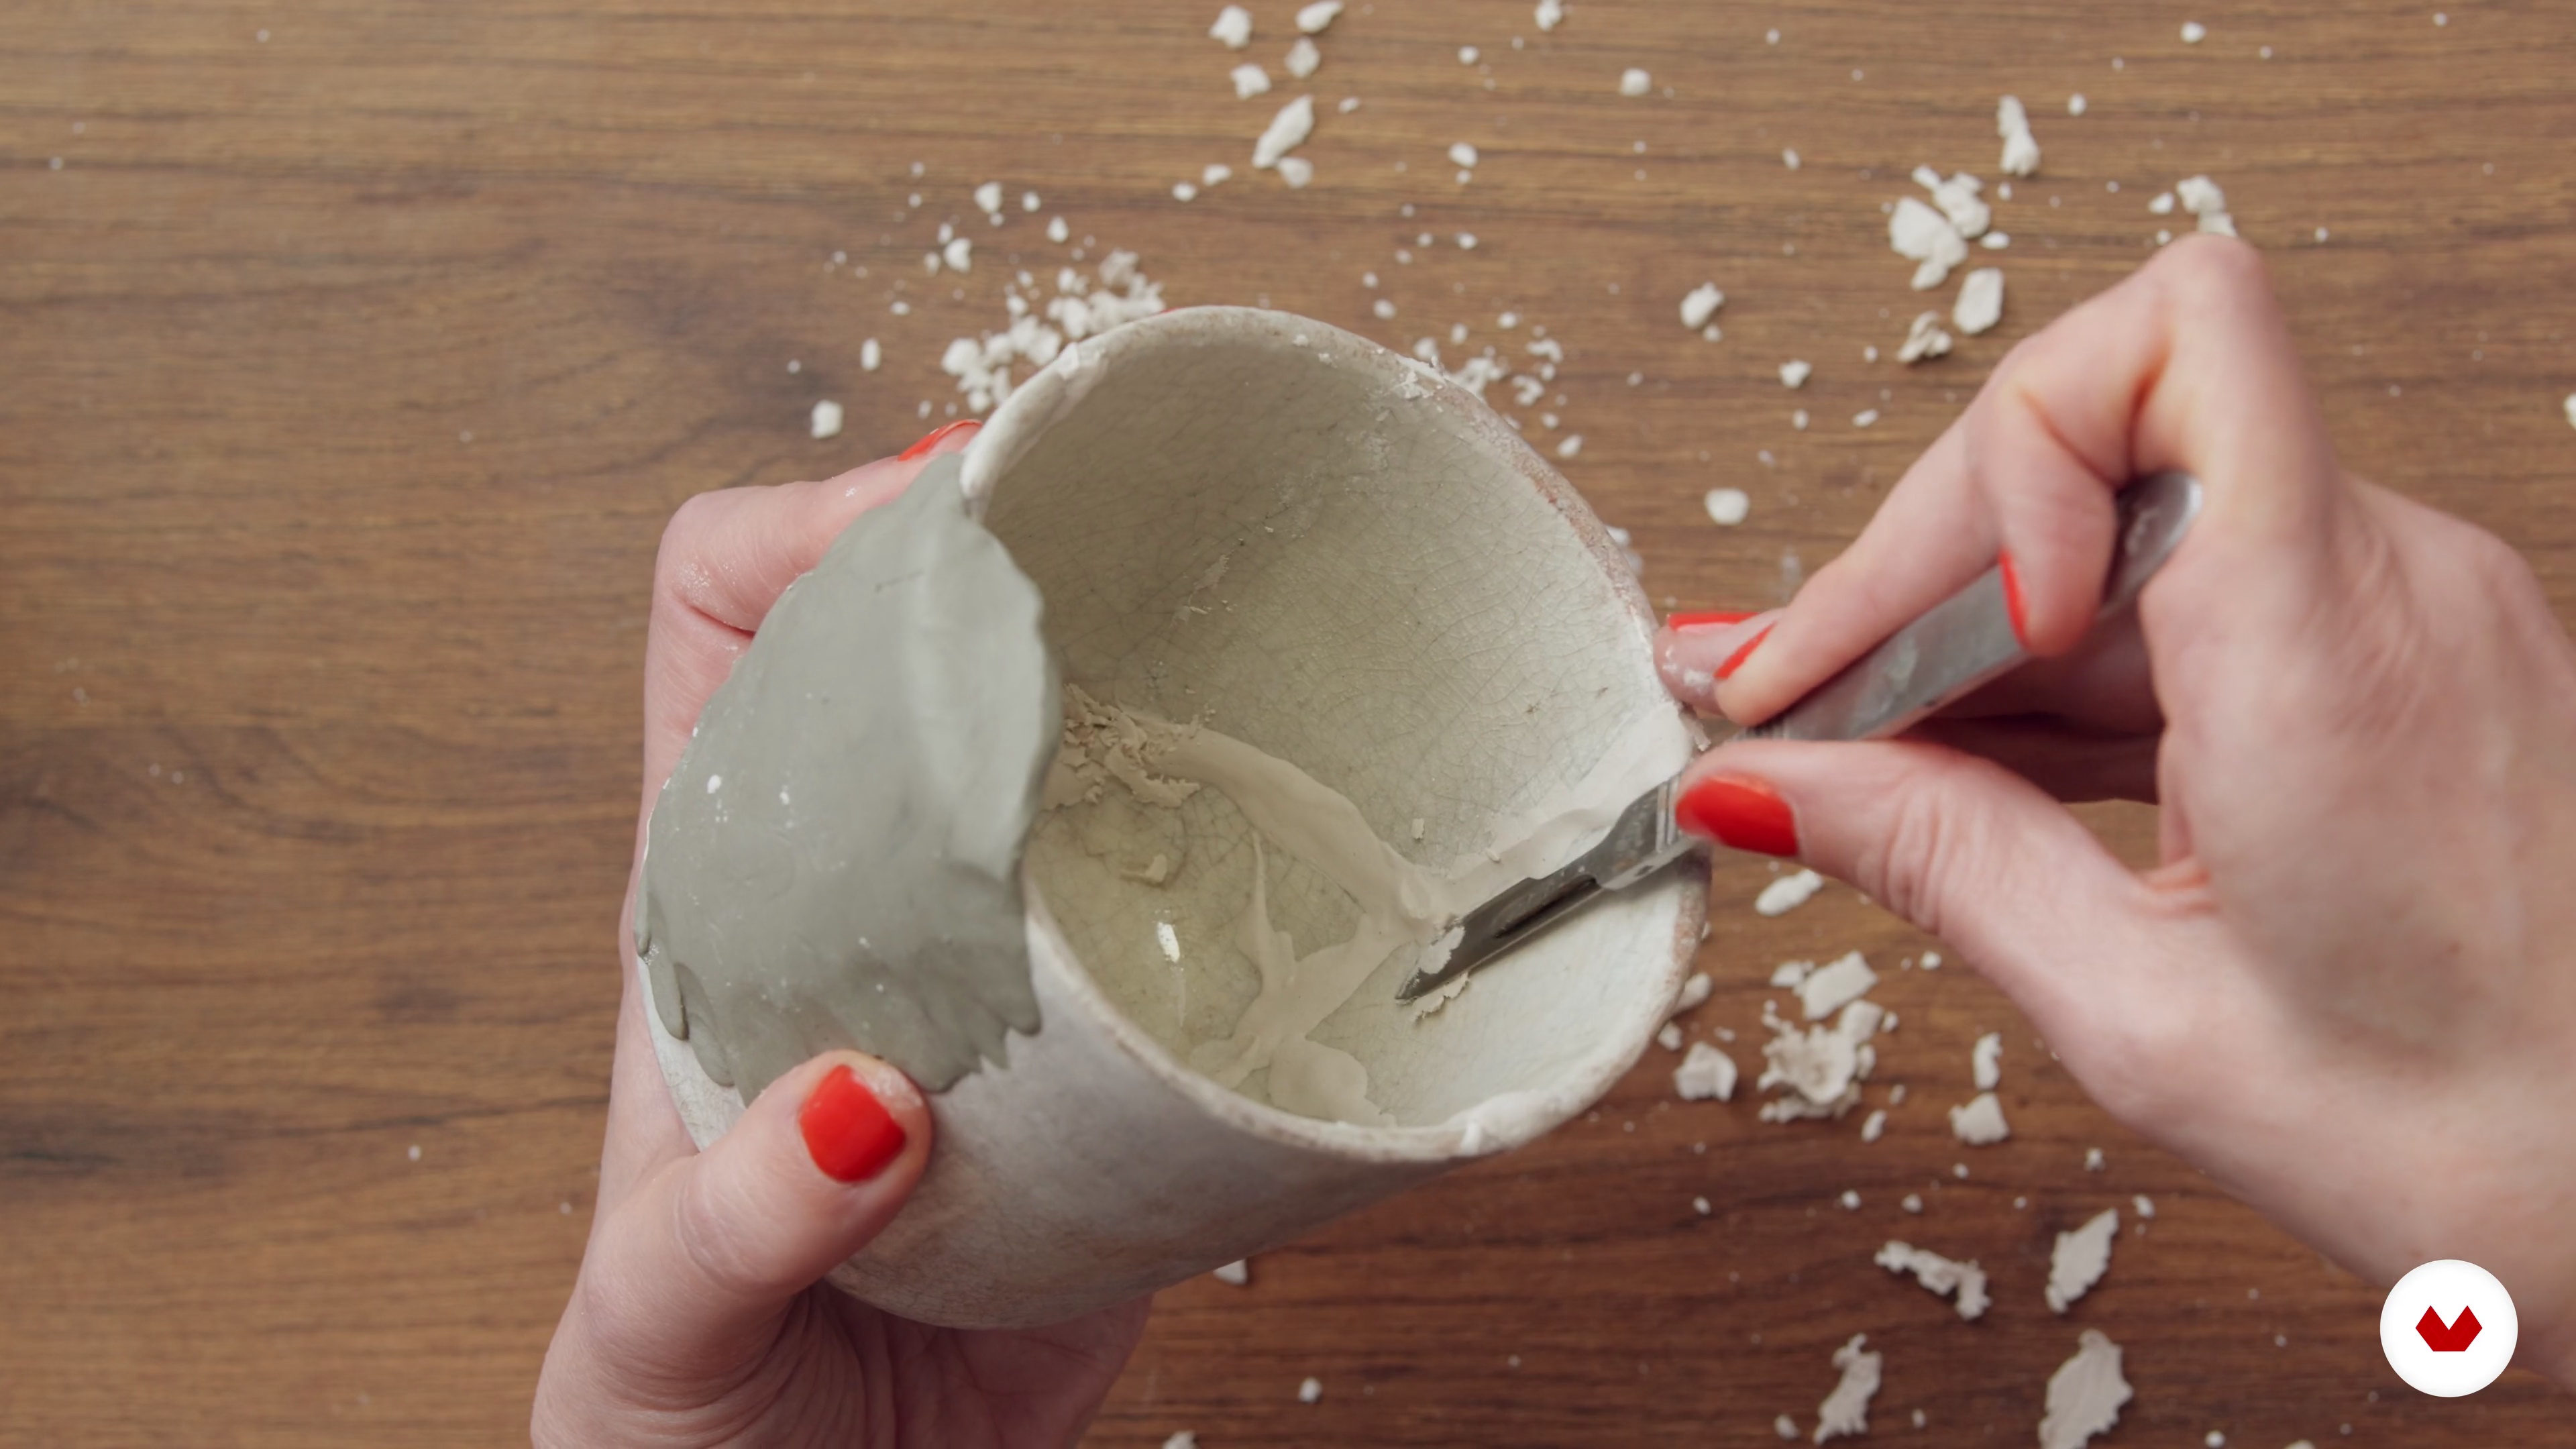
I'm going to show you how to rebuild the missing part of your bowl. What we are going to do is to fill in all the small gaps, lines, and fissures using Paris plaster.
11m
image
10
Sanding the Rebuilt Parts
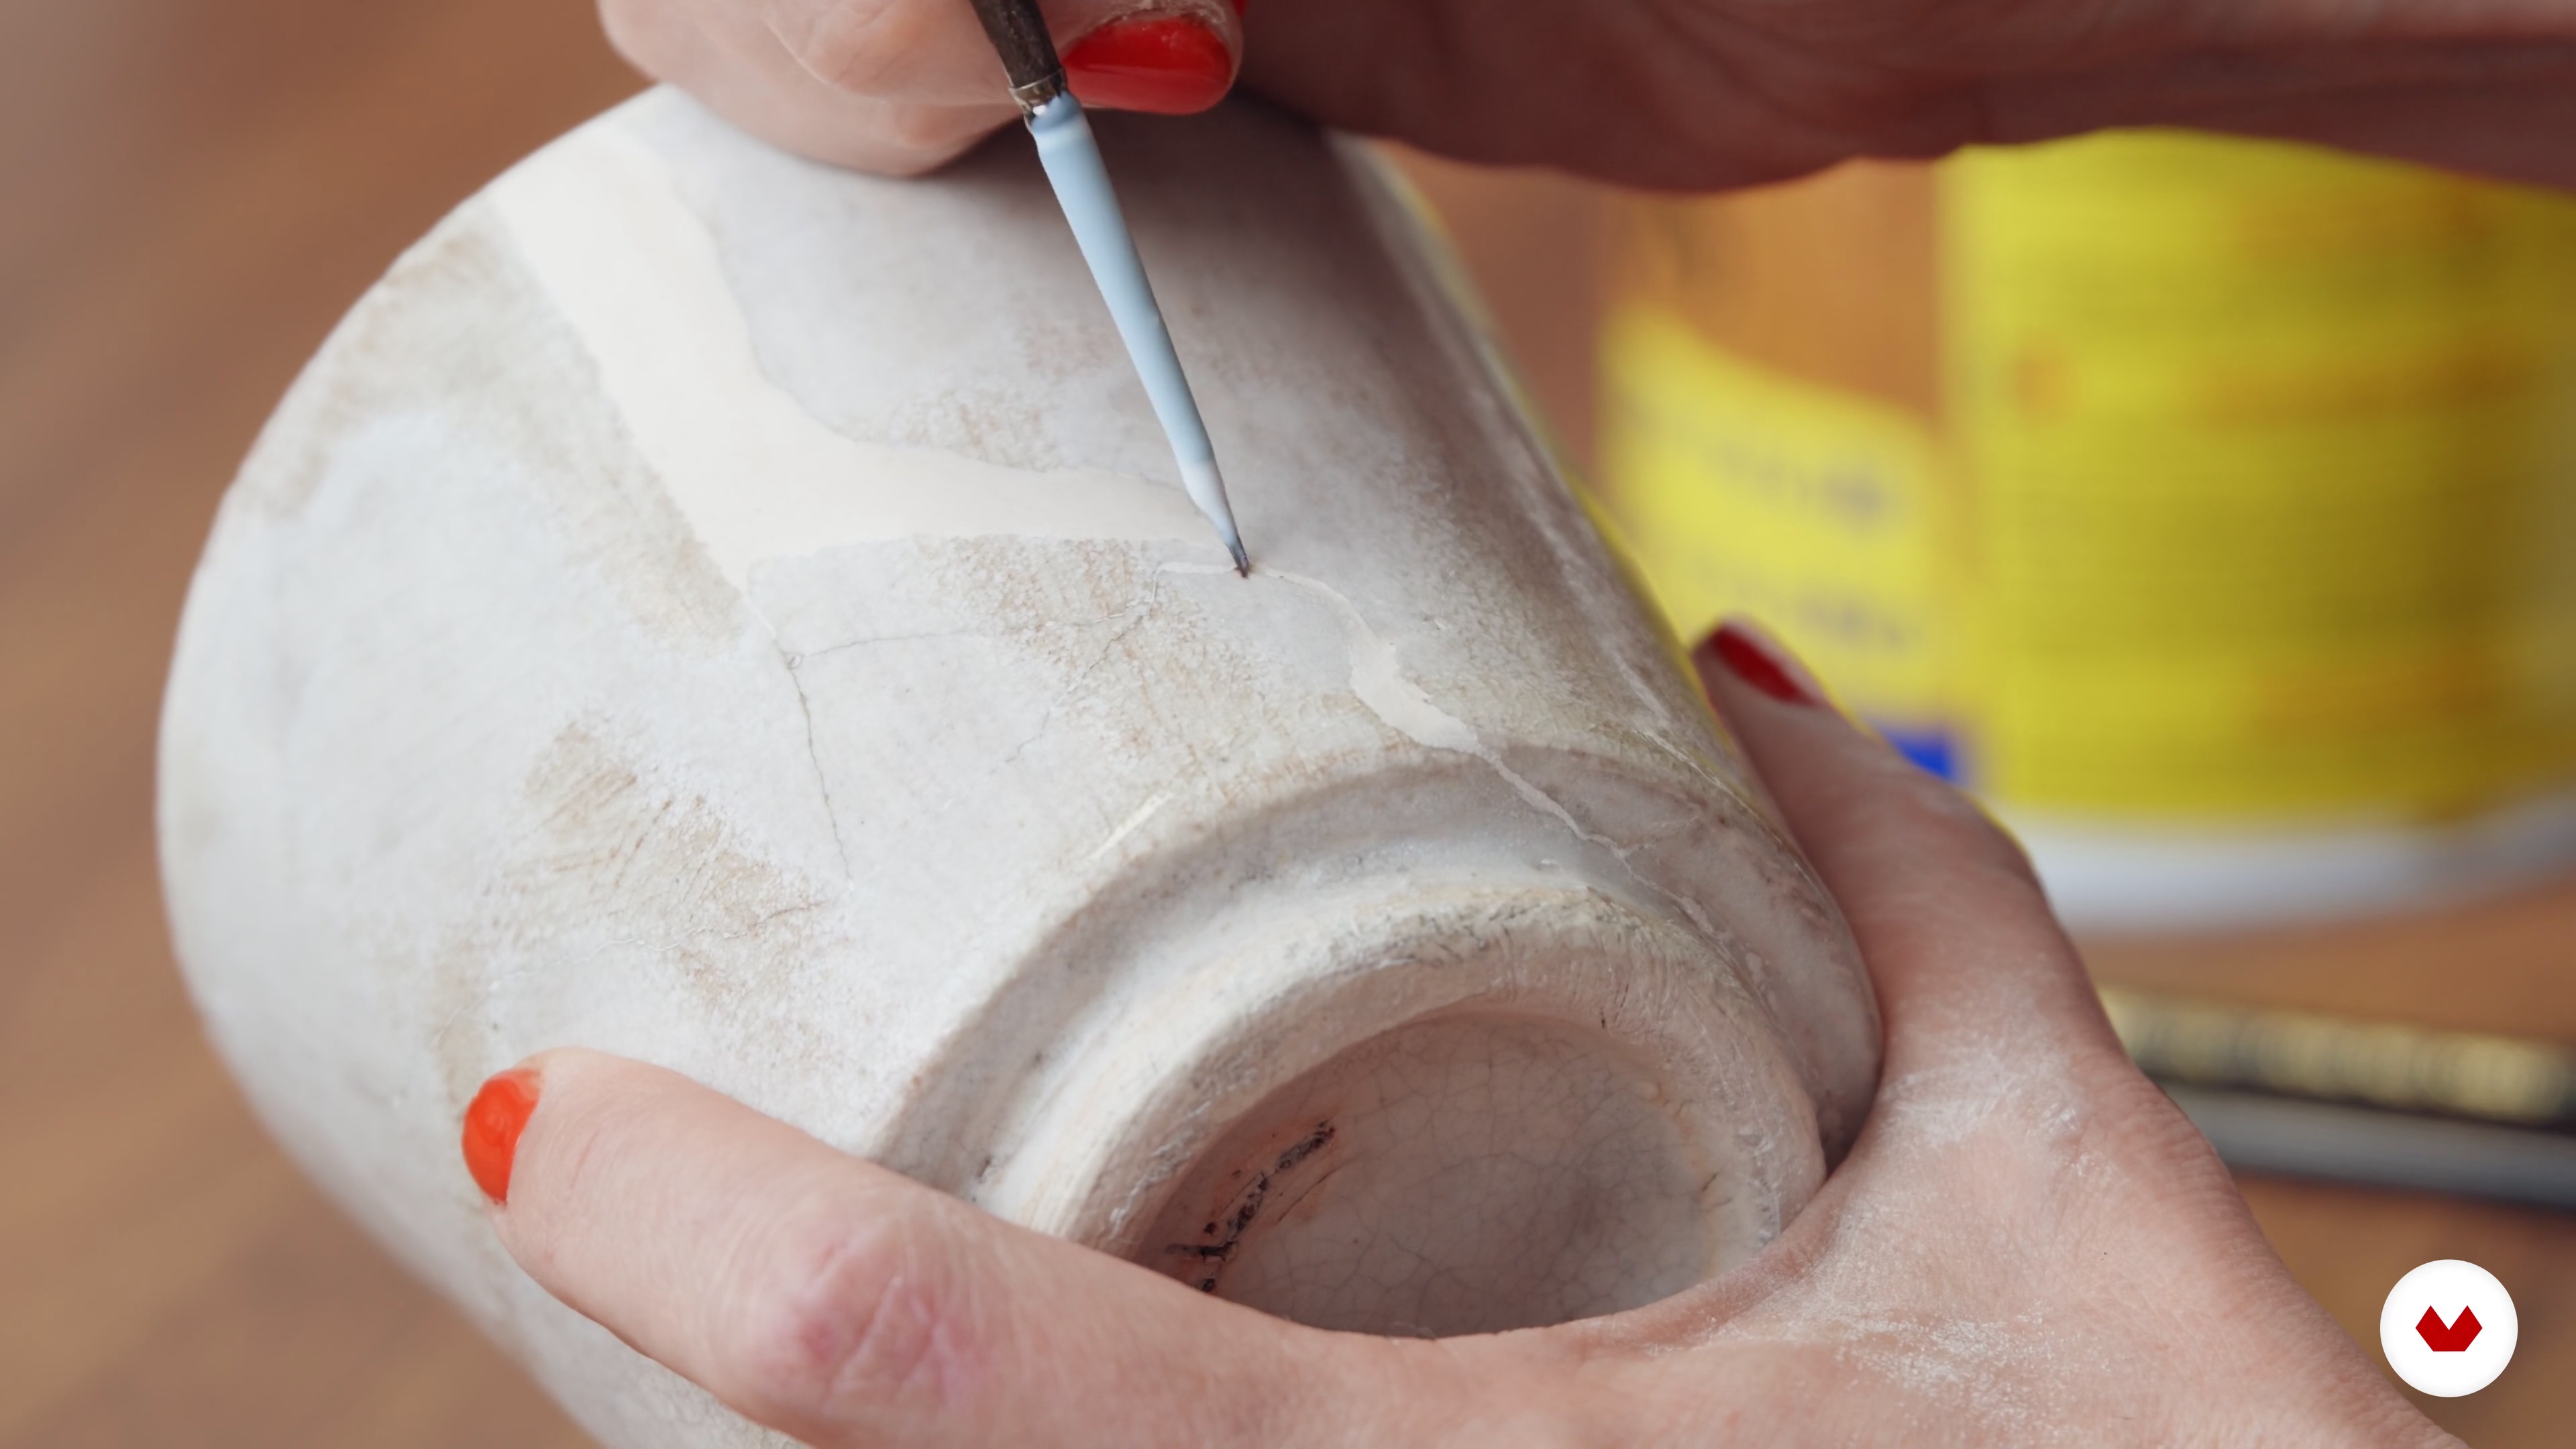
It's time to go a bit further. Therefore, I'm going to teach you how to sand and seal all the rebuilt parts of your bowl.
6m
image
11
The Gold Paint
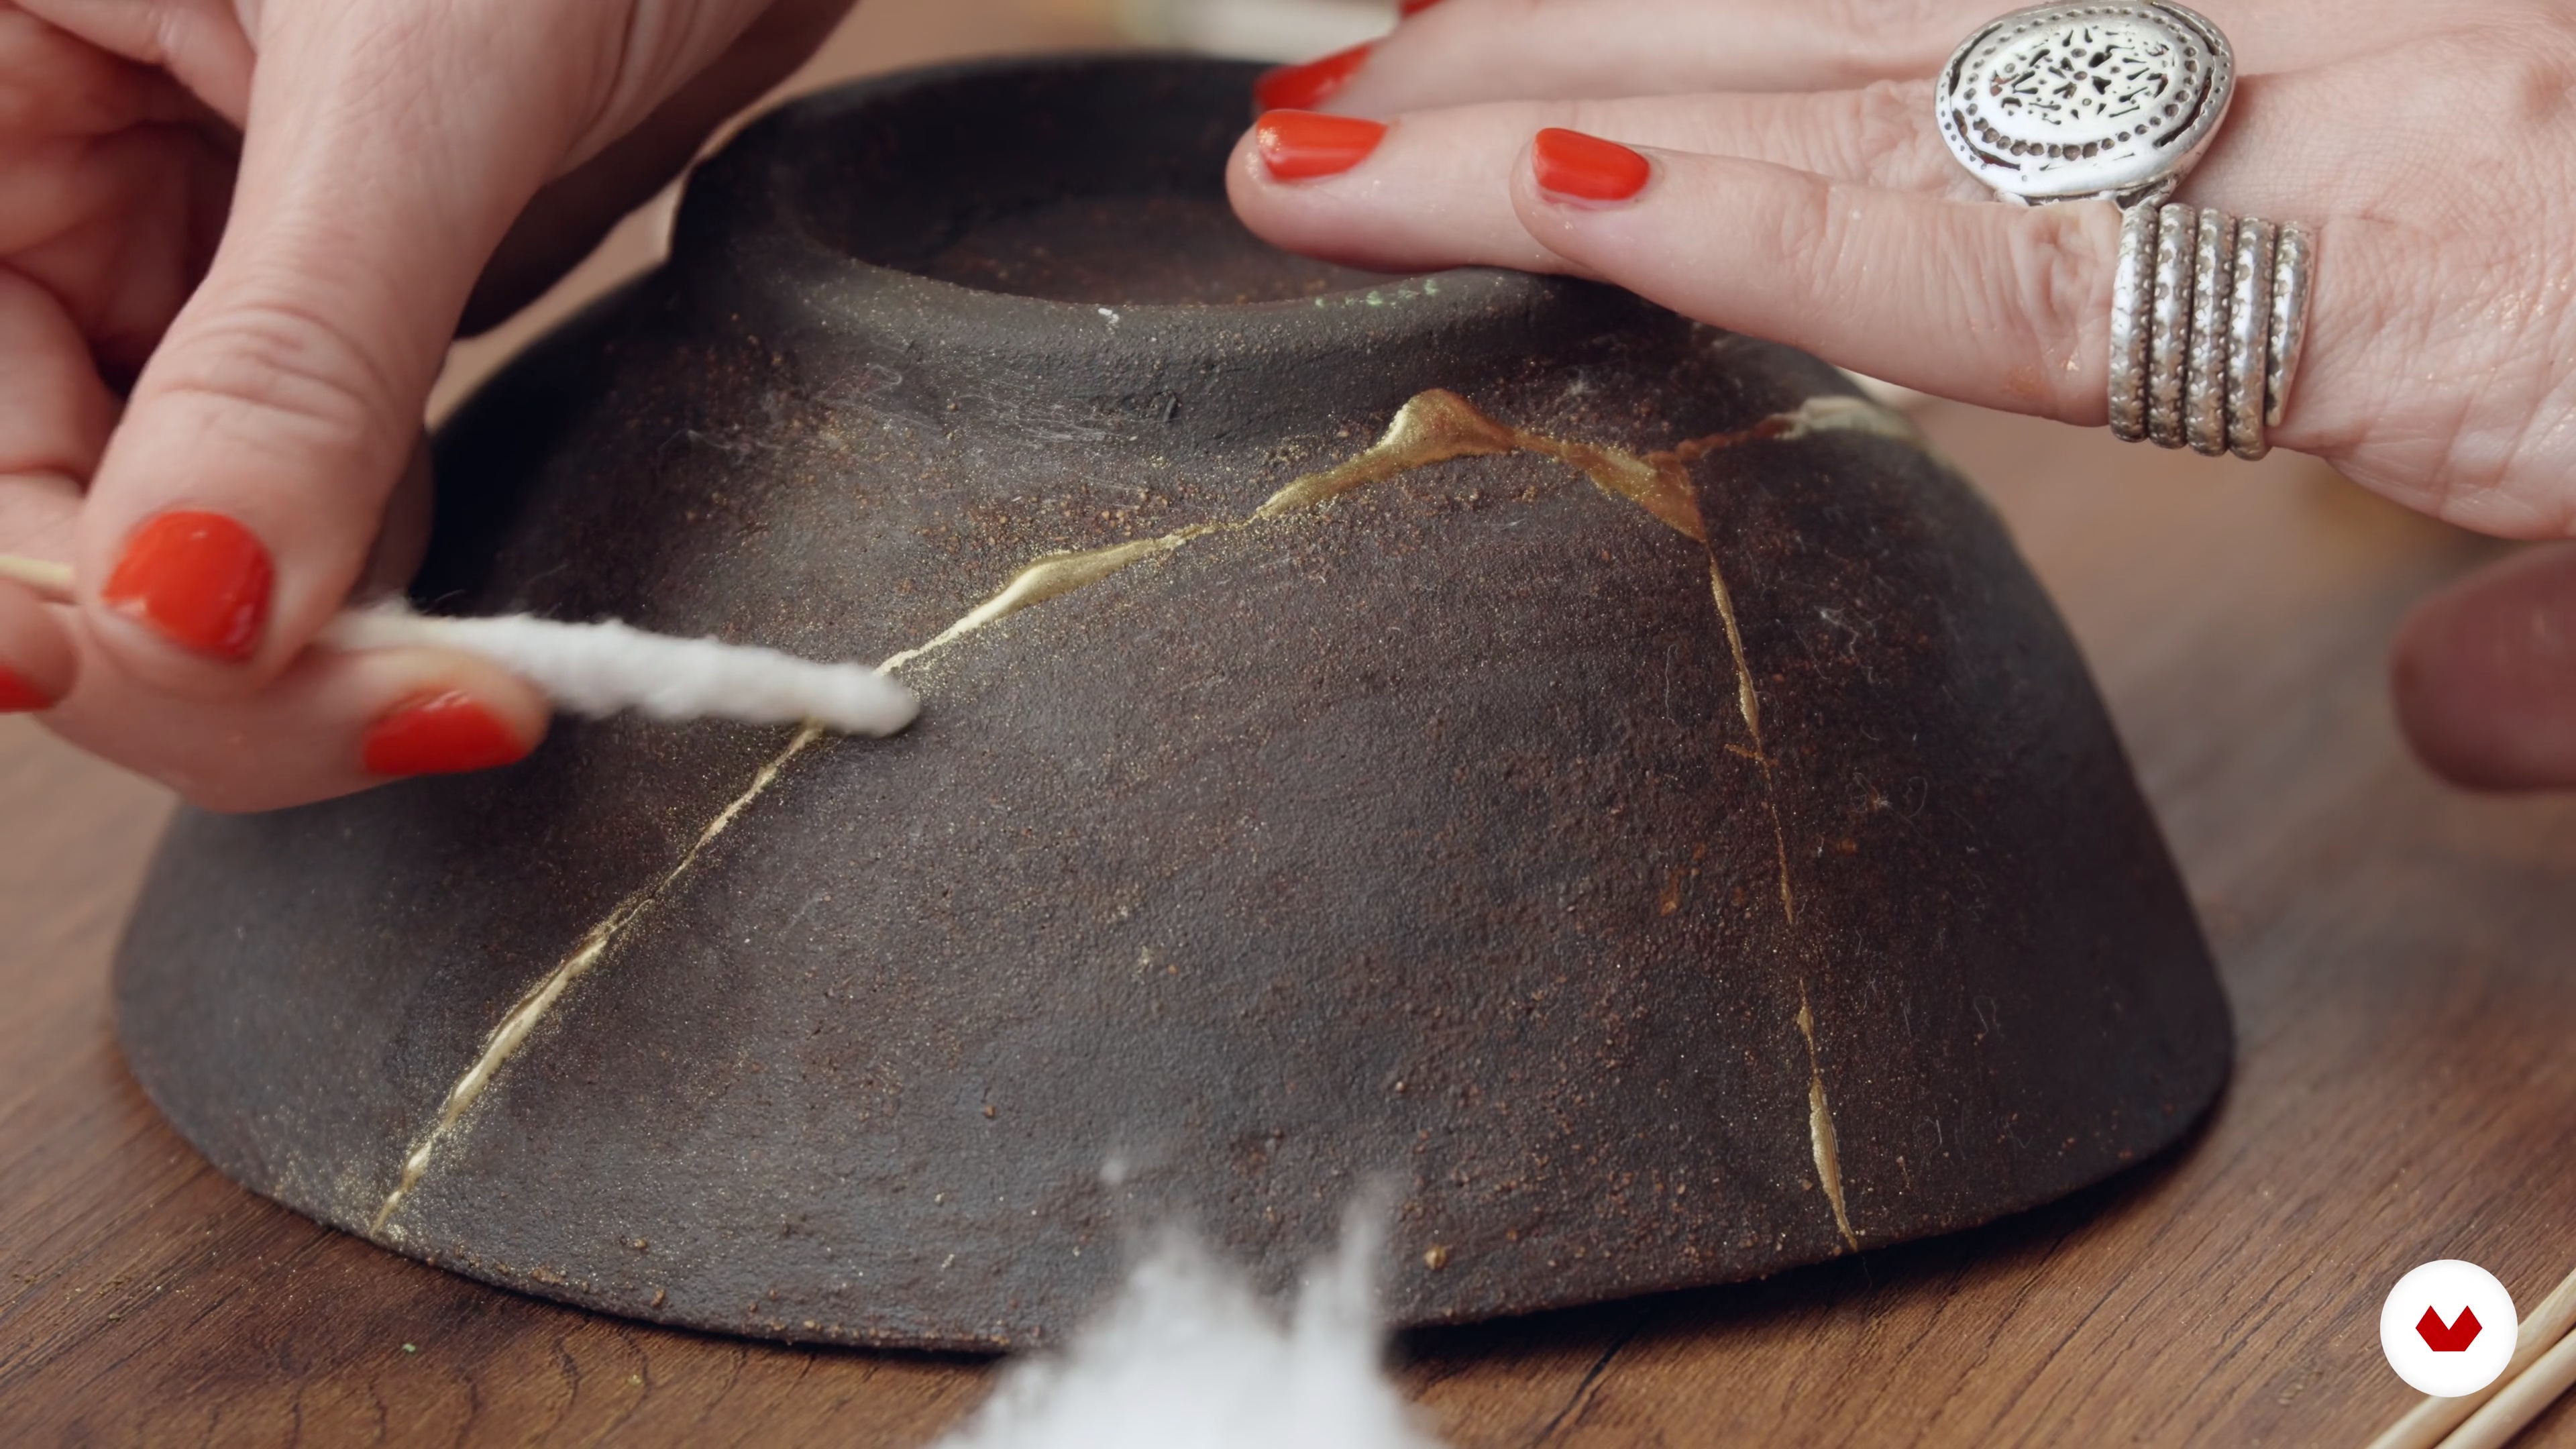
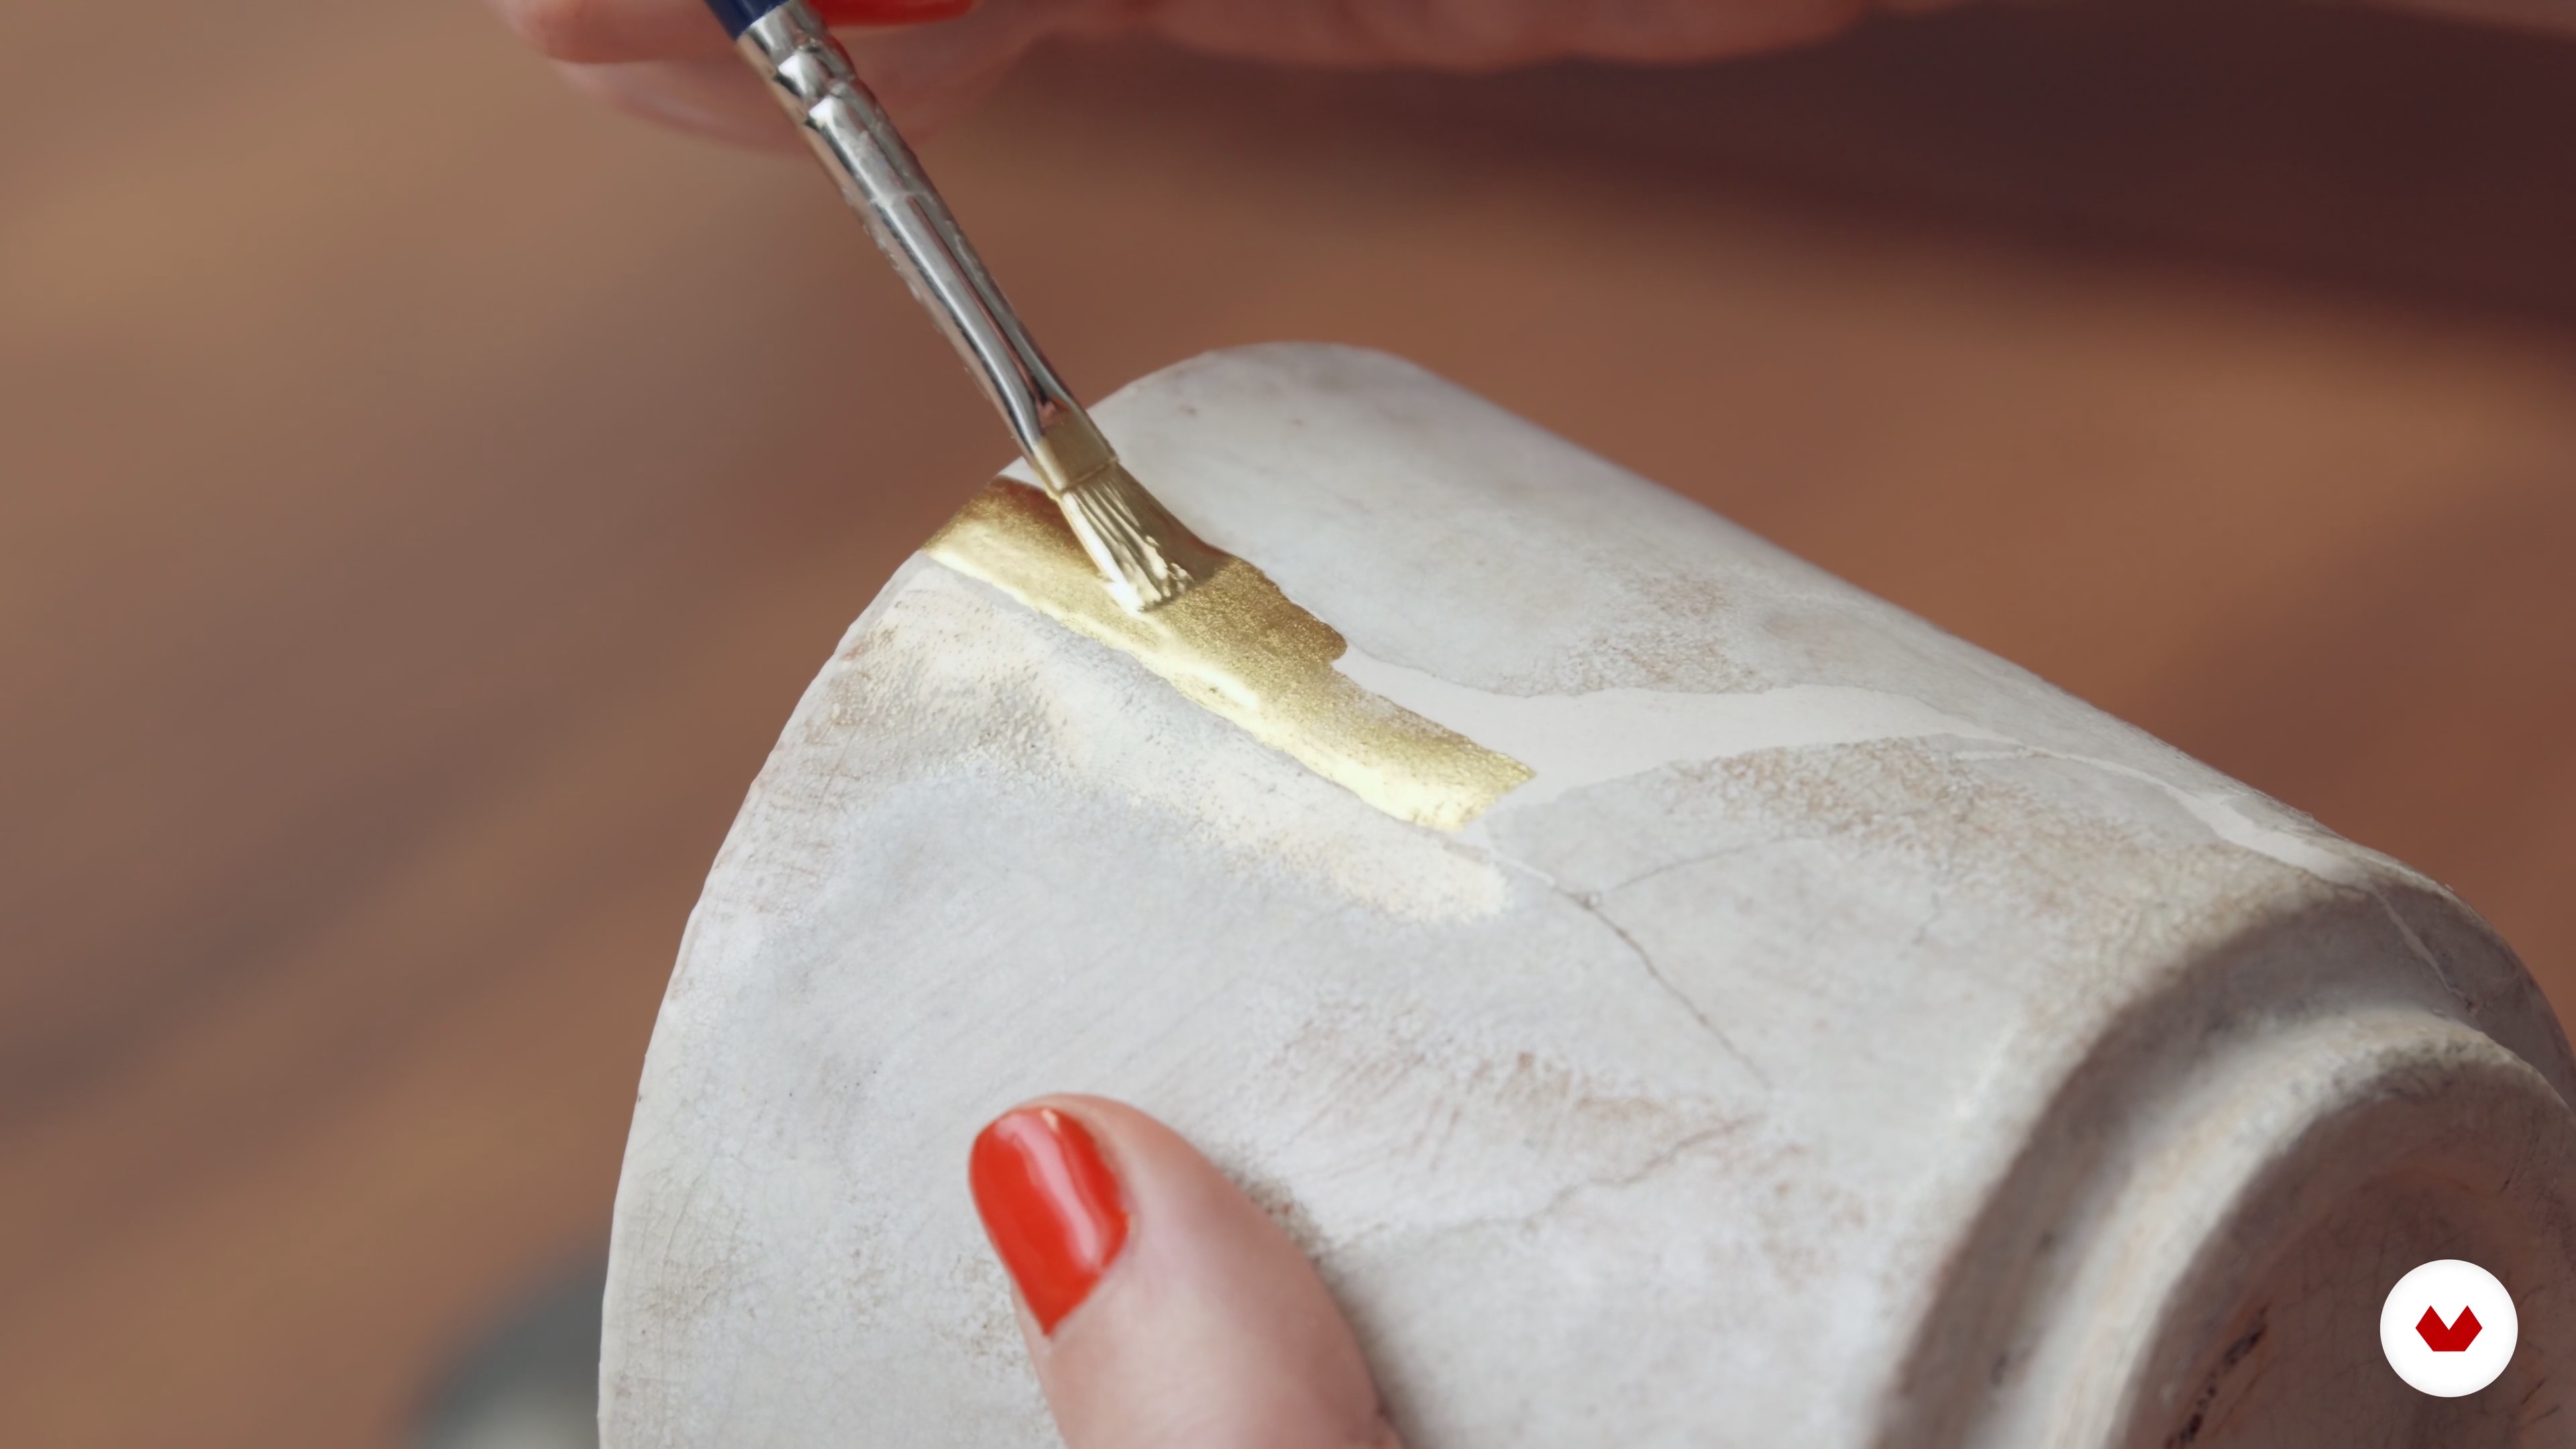
In this lesson, I am going to teach you how to finally paint with gold the rebuilt parts of your bowl and the fracture lines.
11m
image
12
Conservation and Possible Uses of Your Kintsugi Pieces
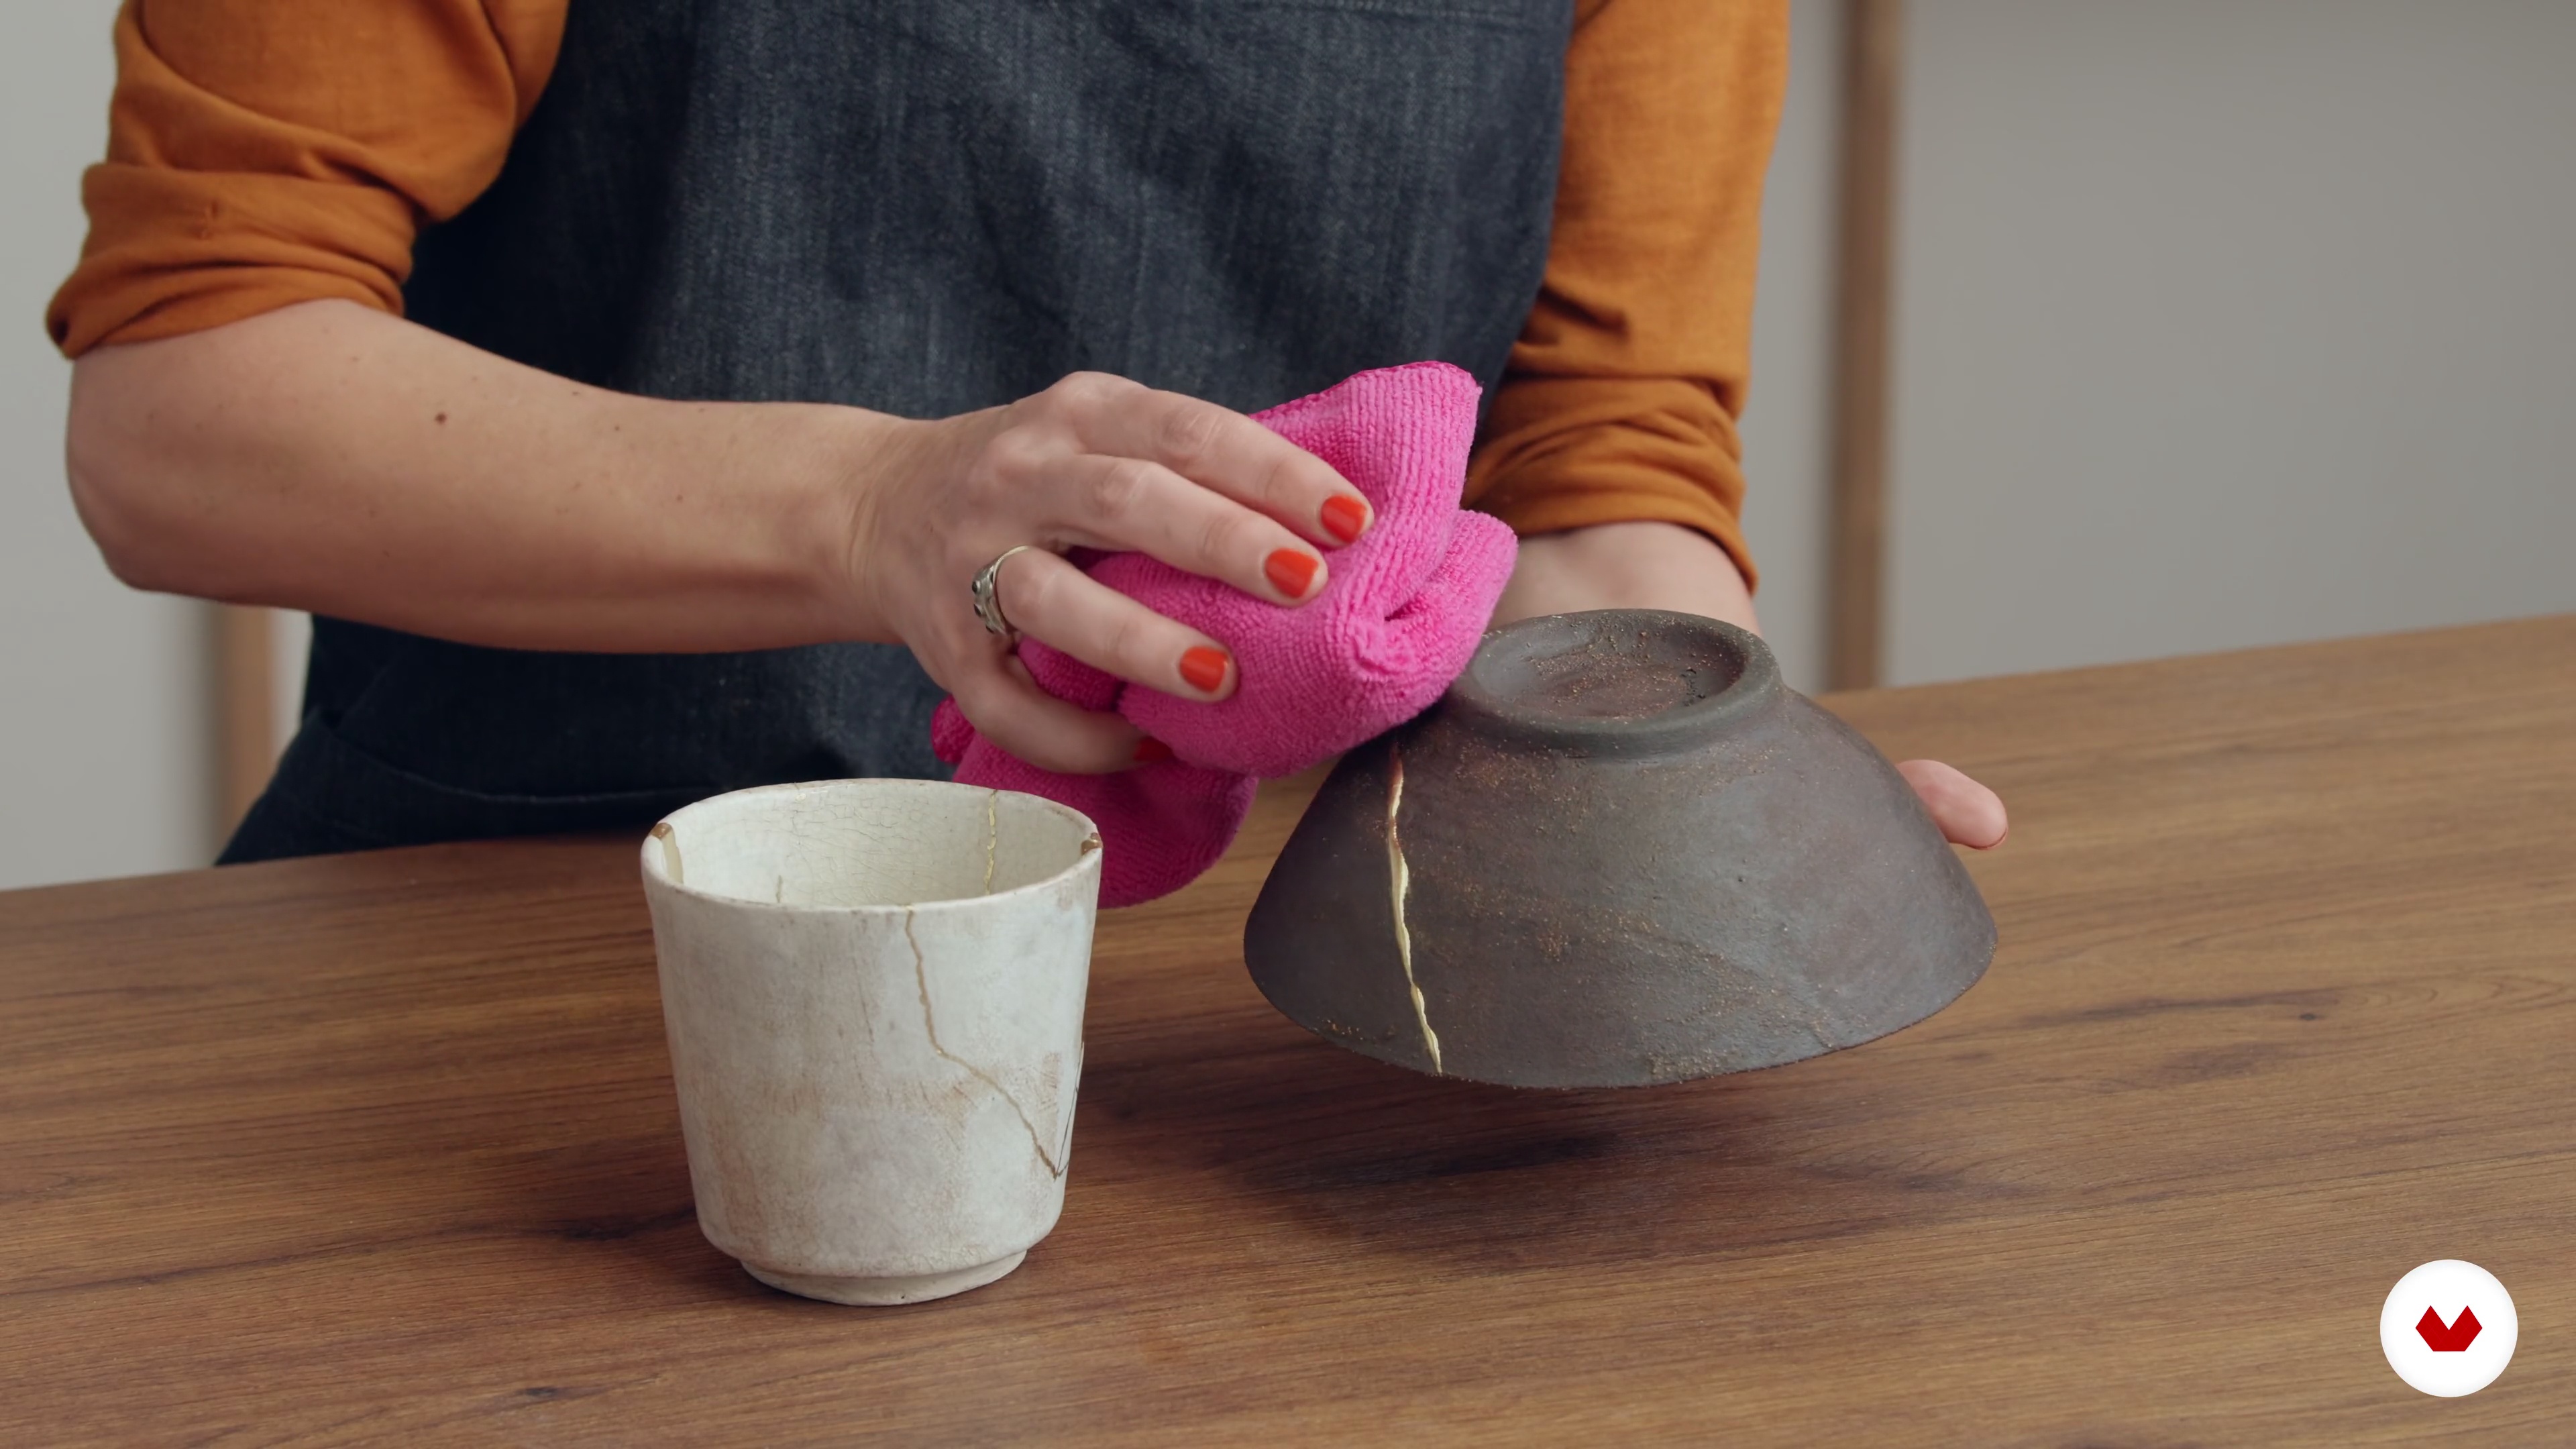
Now, I am going to give you some tips on the possible uses of your restored kintsugi bowls and also on how to keep them as good as new.
4m
image
13
How to Pack Your Kintsugi Ceramics
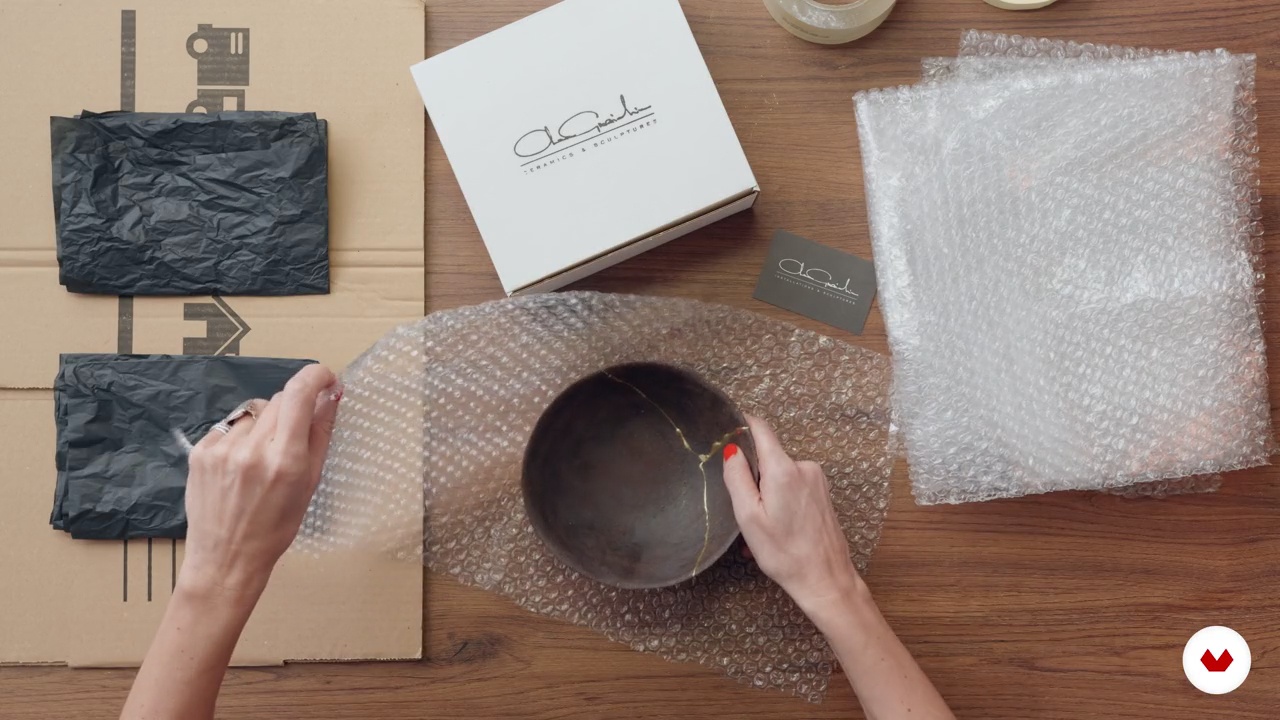
Lastly, I am going to give you some tips on how to pack your restored bowls for shipping.
6m
  • 100% positive reviews (4)
  • 841 students
  • 101 lessons (17h 58m)
  • 82 additional resources (31 files)
  • Online and at your own pace
  • Audio: English, Spanish
  • English · Spanish · Portuguese · German · French · Italian · Polish · Dutch
  • Level: Beginner
  • Unlimited access forever

What is this course's project?

Create a flat-slab ceramic vessel or vase, mastering molding, tool usage, and unique designs. Explore the firing process and glazing to decorate your home with handmade pieces. Achieve clean lines and a well-thought-out design using the slab technique.

Who is this specialization for?

Aspiring ceramists eager to explore traditional techniques and creative expressions will find these courses enriching. Ideal for beginners and enthusiasts seeking hands-on projects, from slab techniques to character design, and anyone passionate about crafting unique ceramic art.

Requirements and materials

No extensive prior knowledge is required, but having basic clay and pottery tools, clay, and access to a kiln is essential. Familiarity with creative processes and a willingness to experiment enhance the learning experience. Enthusiasm for crafting is a plus.

Select to get to know your teachers in this specialization course
Read more ↓

Reviews

841 Students
4 Reviews
100% Positive ratings


What to expect from this specialization course

  • Learn at your own pace

    Enjoy learning from home without a set schedule and with an easy-to-follow method. You set your own pace.

  • Learn from the best professionals

    Learn valuable methods and techniques explained by top experts in the creative sector.

  • Meet expert teachers

    Each expert teaches what they do best, with clear guidelines, true passion, and professional insight in every lesson.

  • Certificates
    Plus

    If you're a Plus member, get a custom certificate for every specialization course. Share it on your portfolio, social media, or wherever you like.

  • Get front-row seats

    Videos of the highest quality, so you don't miss a single detail. With unlimited access, you can watch them as many times as you need to perfect your technique.

  • Share knowledge and ideas

    Ask questions, request feedback, or offer solutions. Share your learning experience with other students in the community who are as passionate about creativity as you are.

  • Connect with a global creative community

    The community is home to millions of people from around the world who are curious and passionate about exploring and expressing their creativity.

  • Watch professionally produced courses

    Domestika curates its teacher roster and produces every course in-house to ensure a high-quality online learning experience.


FAQs

Domestika's specialization courses are online classes that provide you with the tools and skills you need to complete a specific project. Every step of the project combines video lessons with complementary instructional material, so you can learn by doing. Domestika's specializations also allow you to share your own projects with other students, creating a dynamic course community.

All specialization courses are 100% online, so once they're published, specialization courses start and finish whenever you want. You set the pace of the class. You can go back to review what interests you most and skip what you already know, ask questions, answer questions, share your projects, and more.

The specialization courses are divided into different modules. Each one includes lessons, informational text, tasks, and practice exercises to help you carry out your project step by step, with additional complementary resources and downloads. You'll also have access to an exclusive forum where you can interact with other students, as well as share your work and your final project, creating a community around the specialization course.

You can redeem the specialization course you received by accessing the redeeming page and entering your gift code.

If you're a Plus member, when you complete a course you've purchased, you'll instantly get your personalized certificate. You can see all your certificates in the Certificates section of your profile. You can download your certificates as PDFs and share the link online. Learn more about certificates.
Ceramic Arts: Specialization: Traditional Techniques. Craft course by Domestika

Ceramic Arts: Specialization: Traditional Techniques

A specialization by multiple teachers
Specialization Course. Berkeley, United States.
Joined April 2002
  • 100% positive reviews (4)
  • 841 students