Specialization

Watercolor Specialization: From Beginners Sketches to Compelling Artworks

Learn watercolor sketching basics, explore techniques for expressive art, and discover creative compositions with vibrant colors

Learn watercolor sketching basics, explore techniques for expressive art, and discover creative compositions with vibrant colors

Specialization · 12 modules

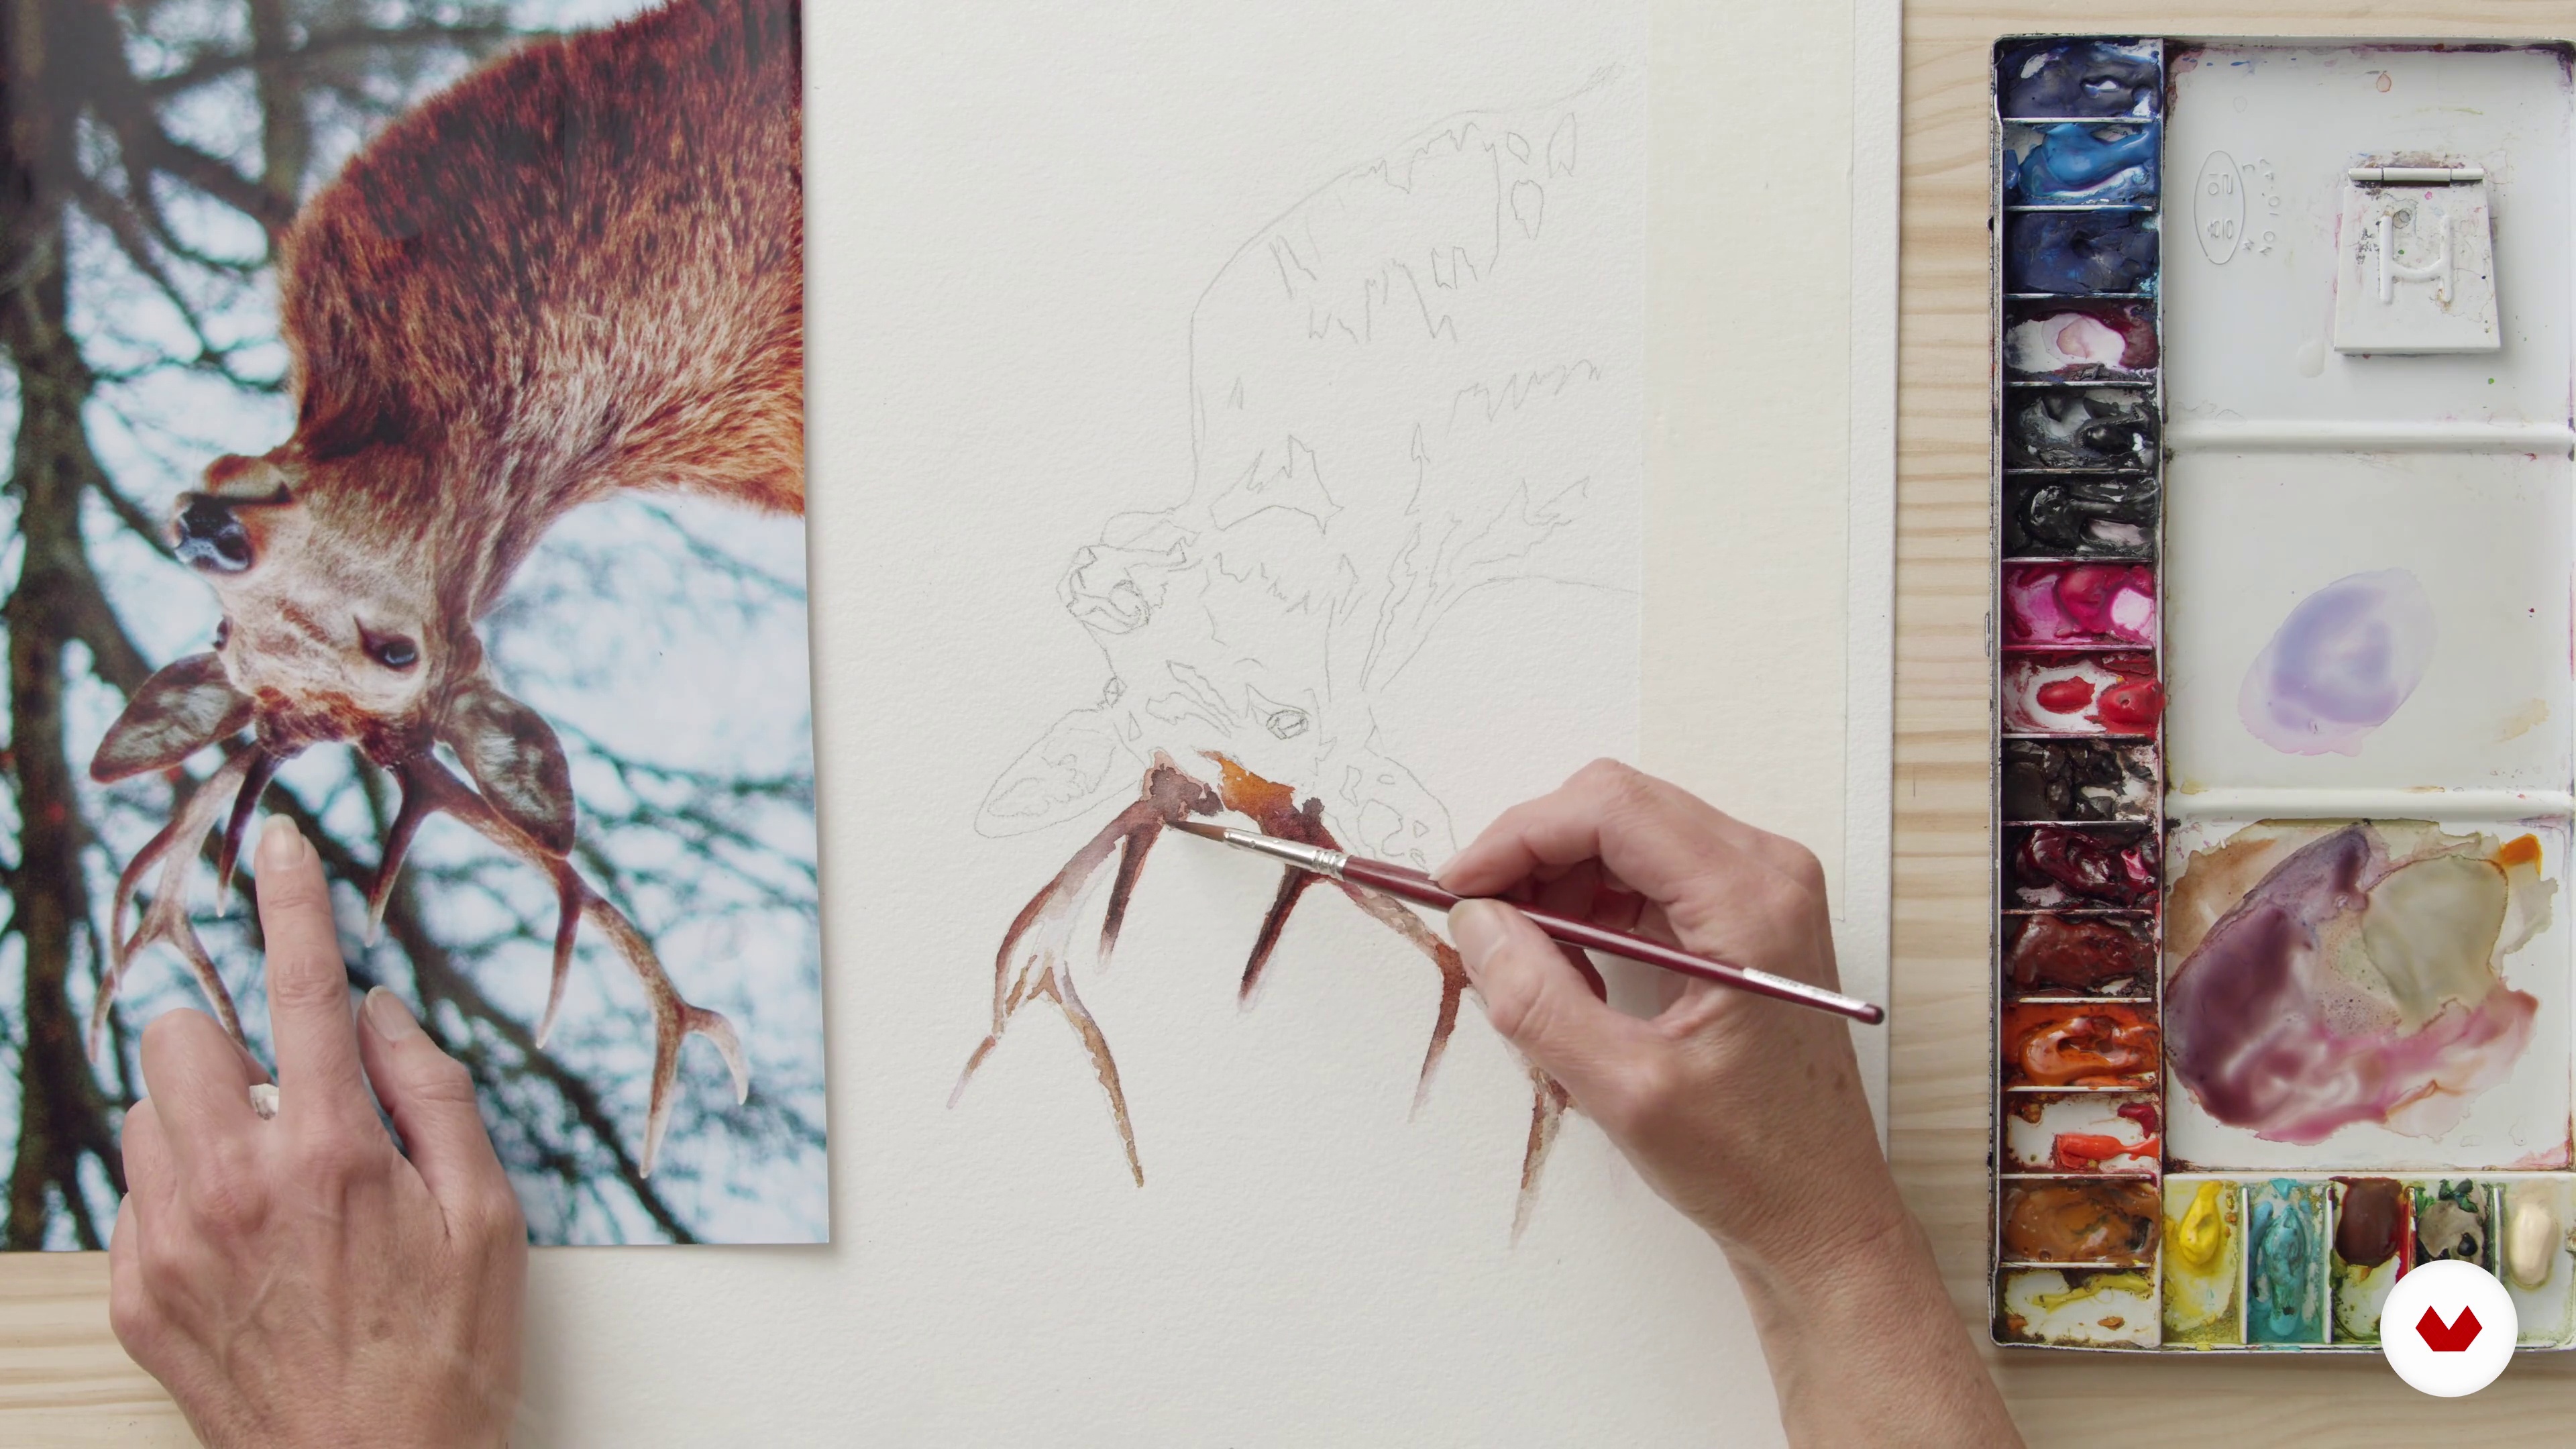
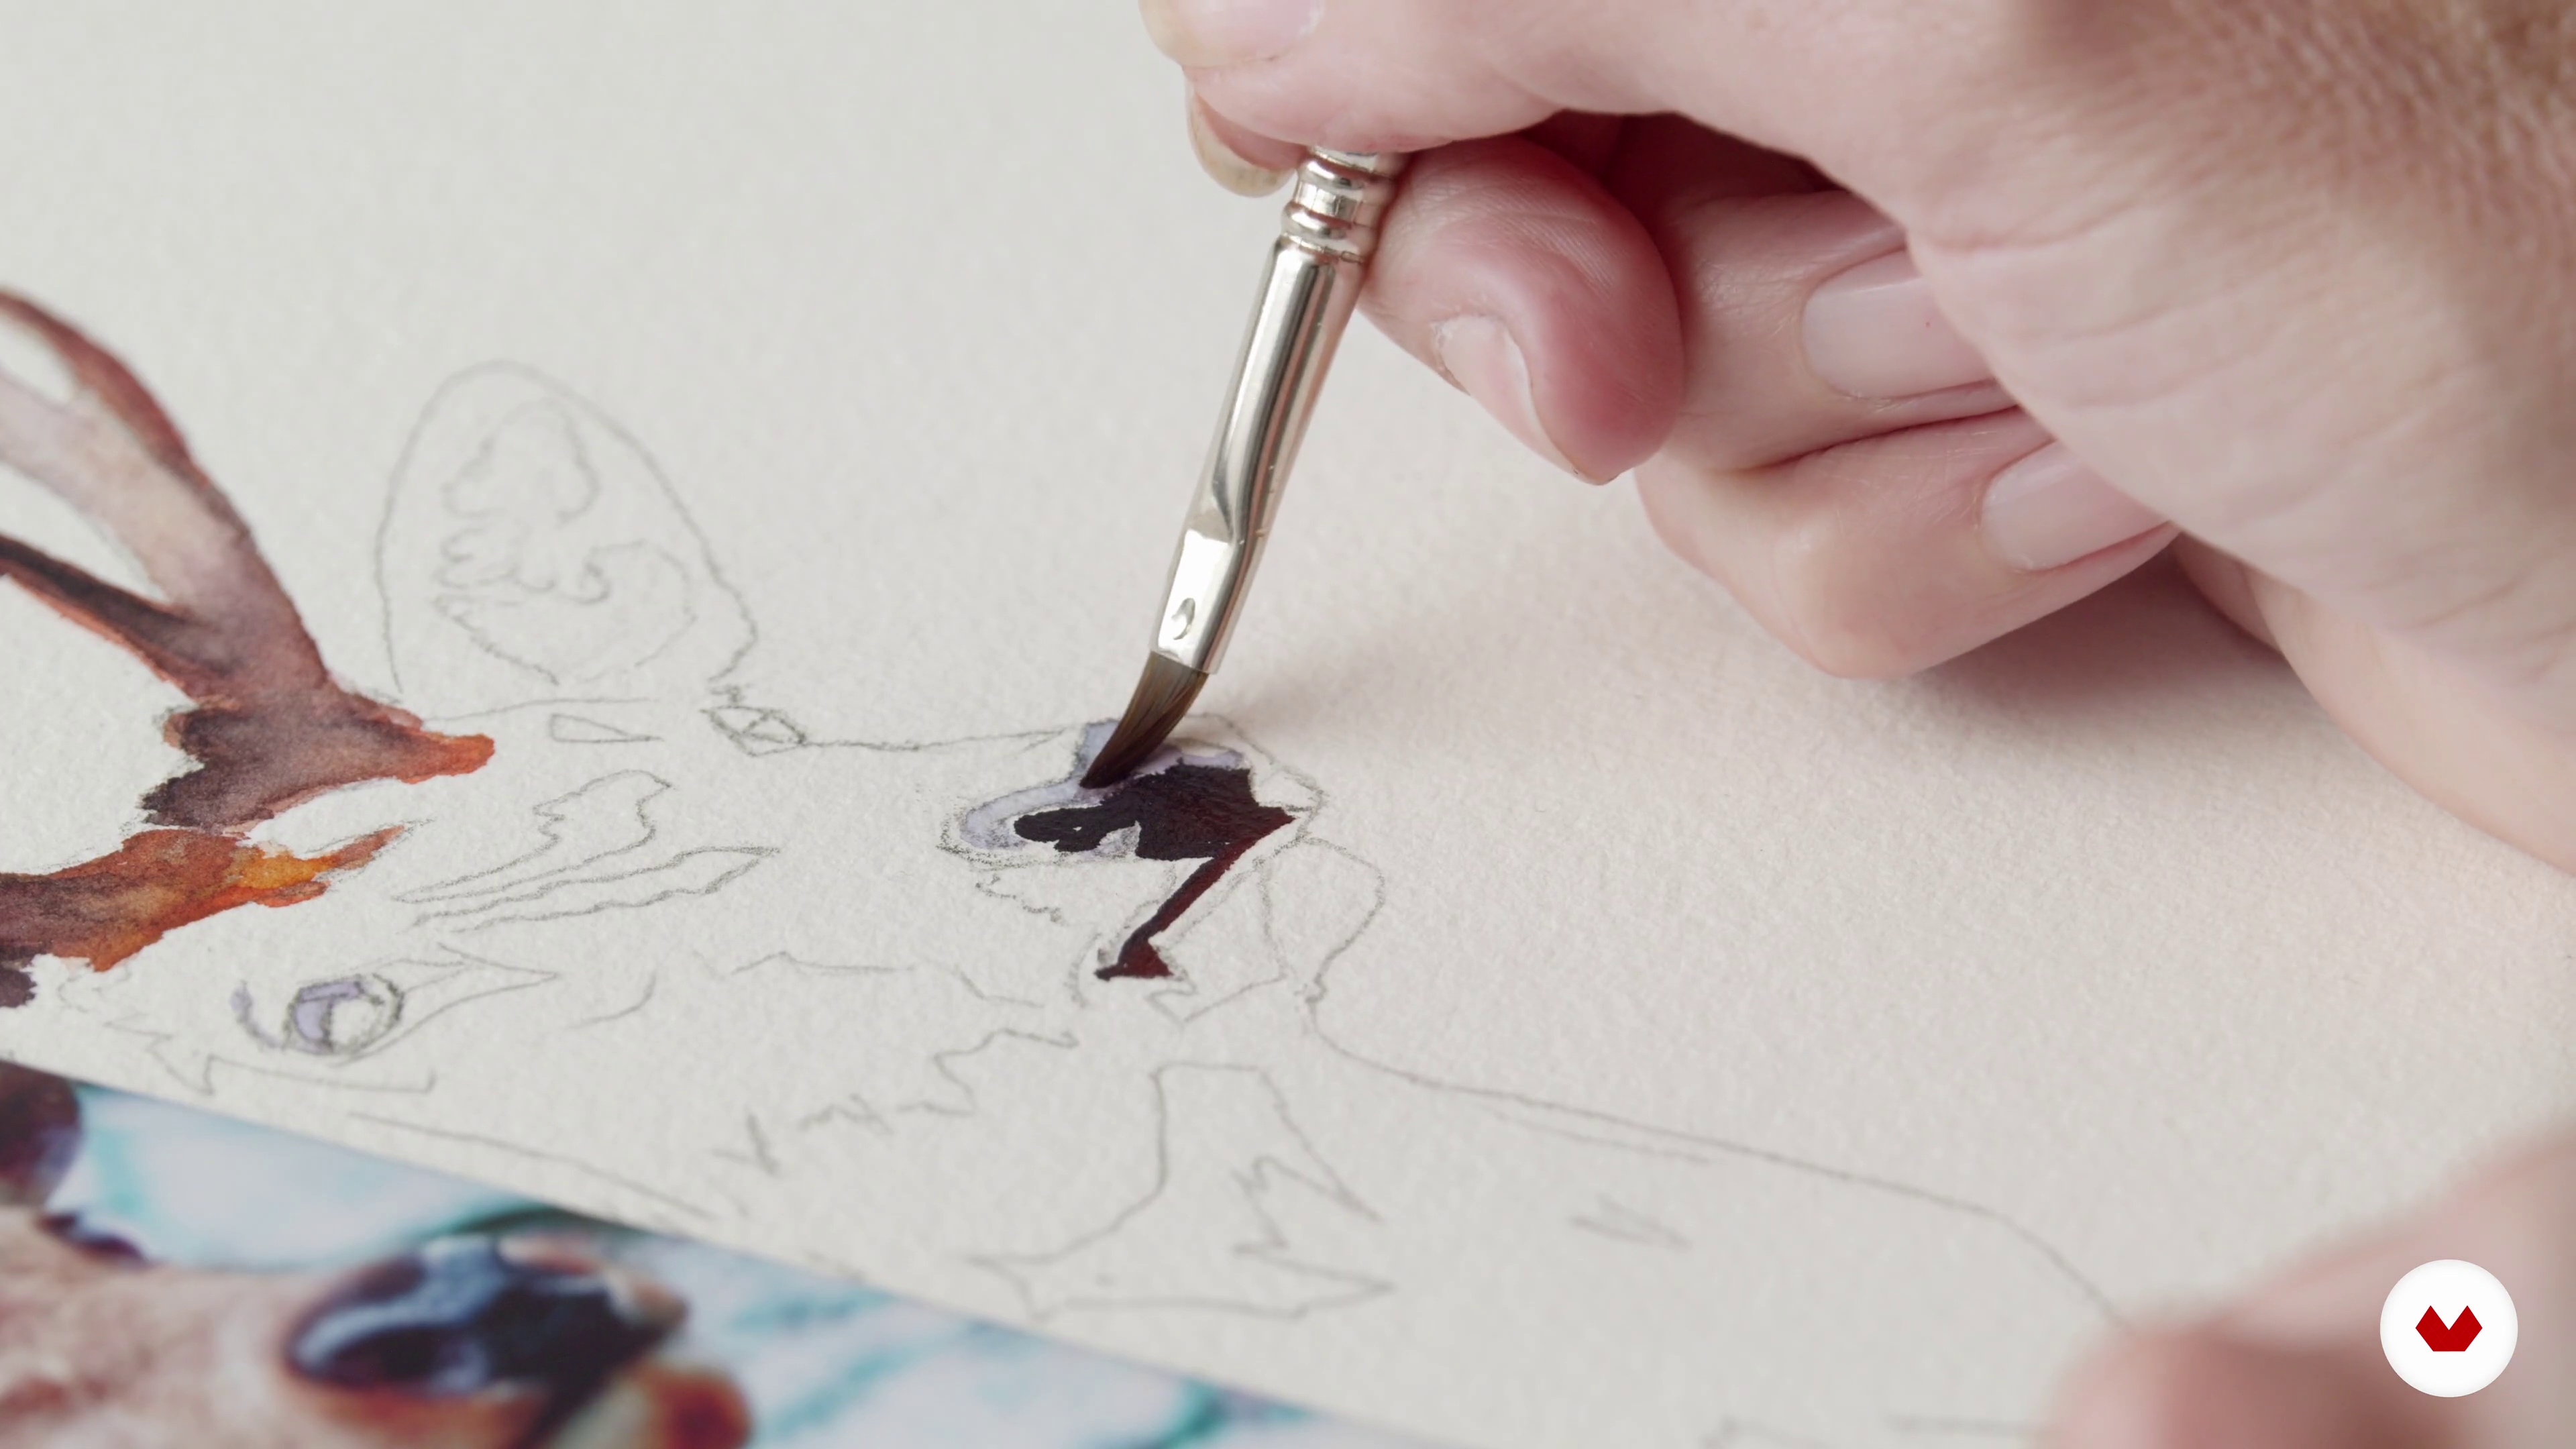
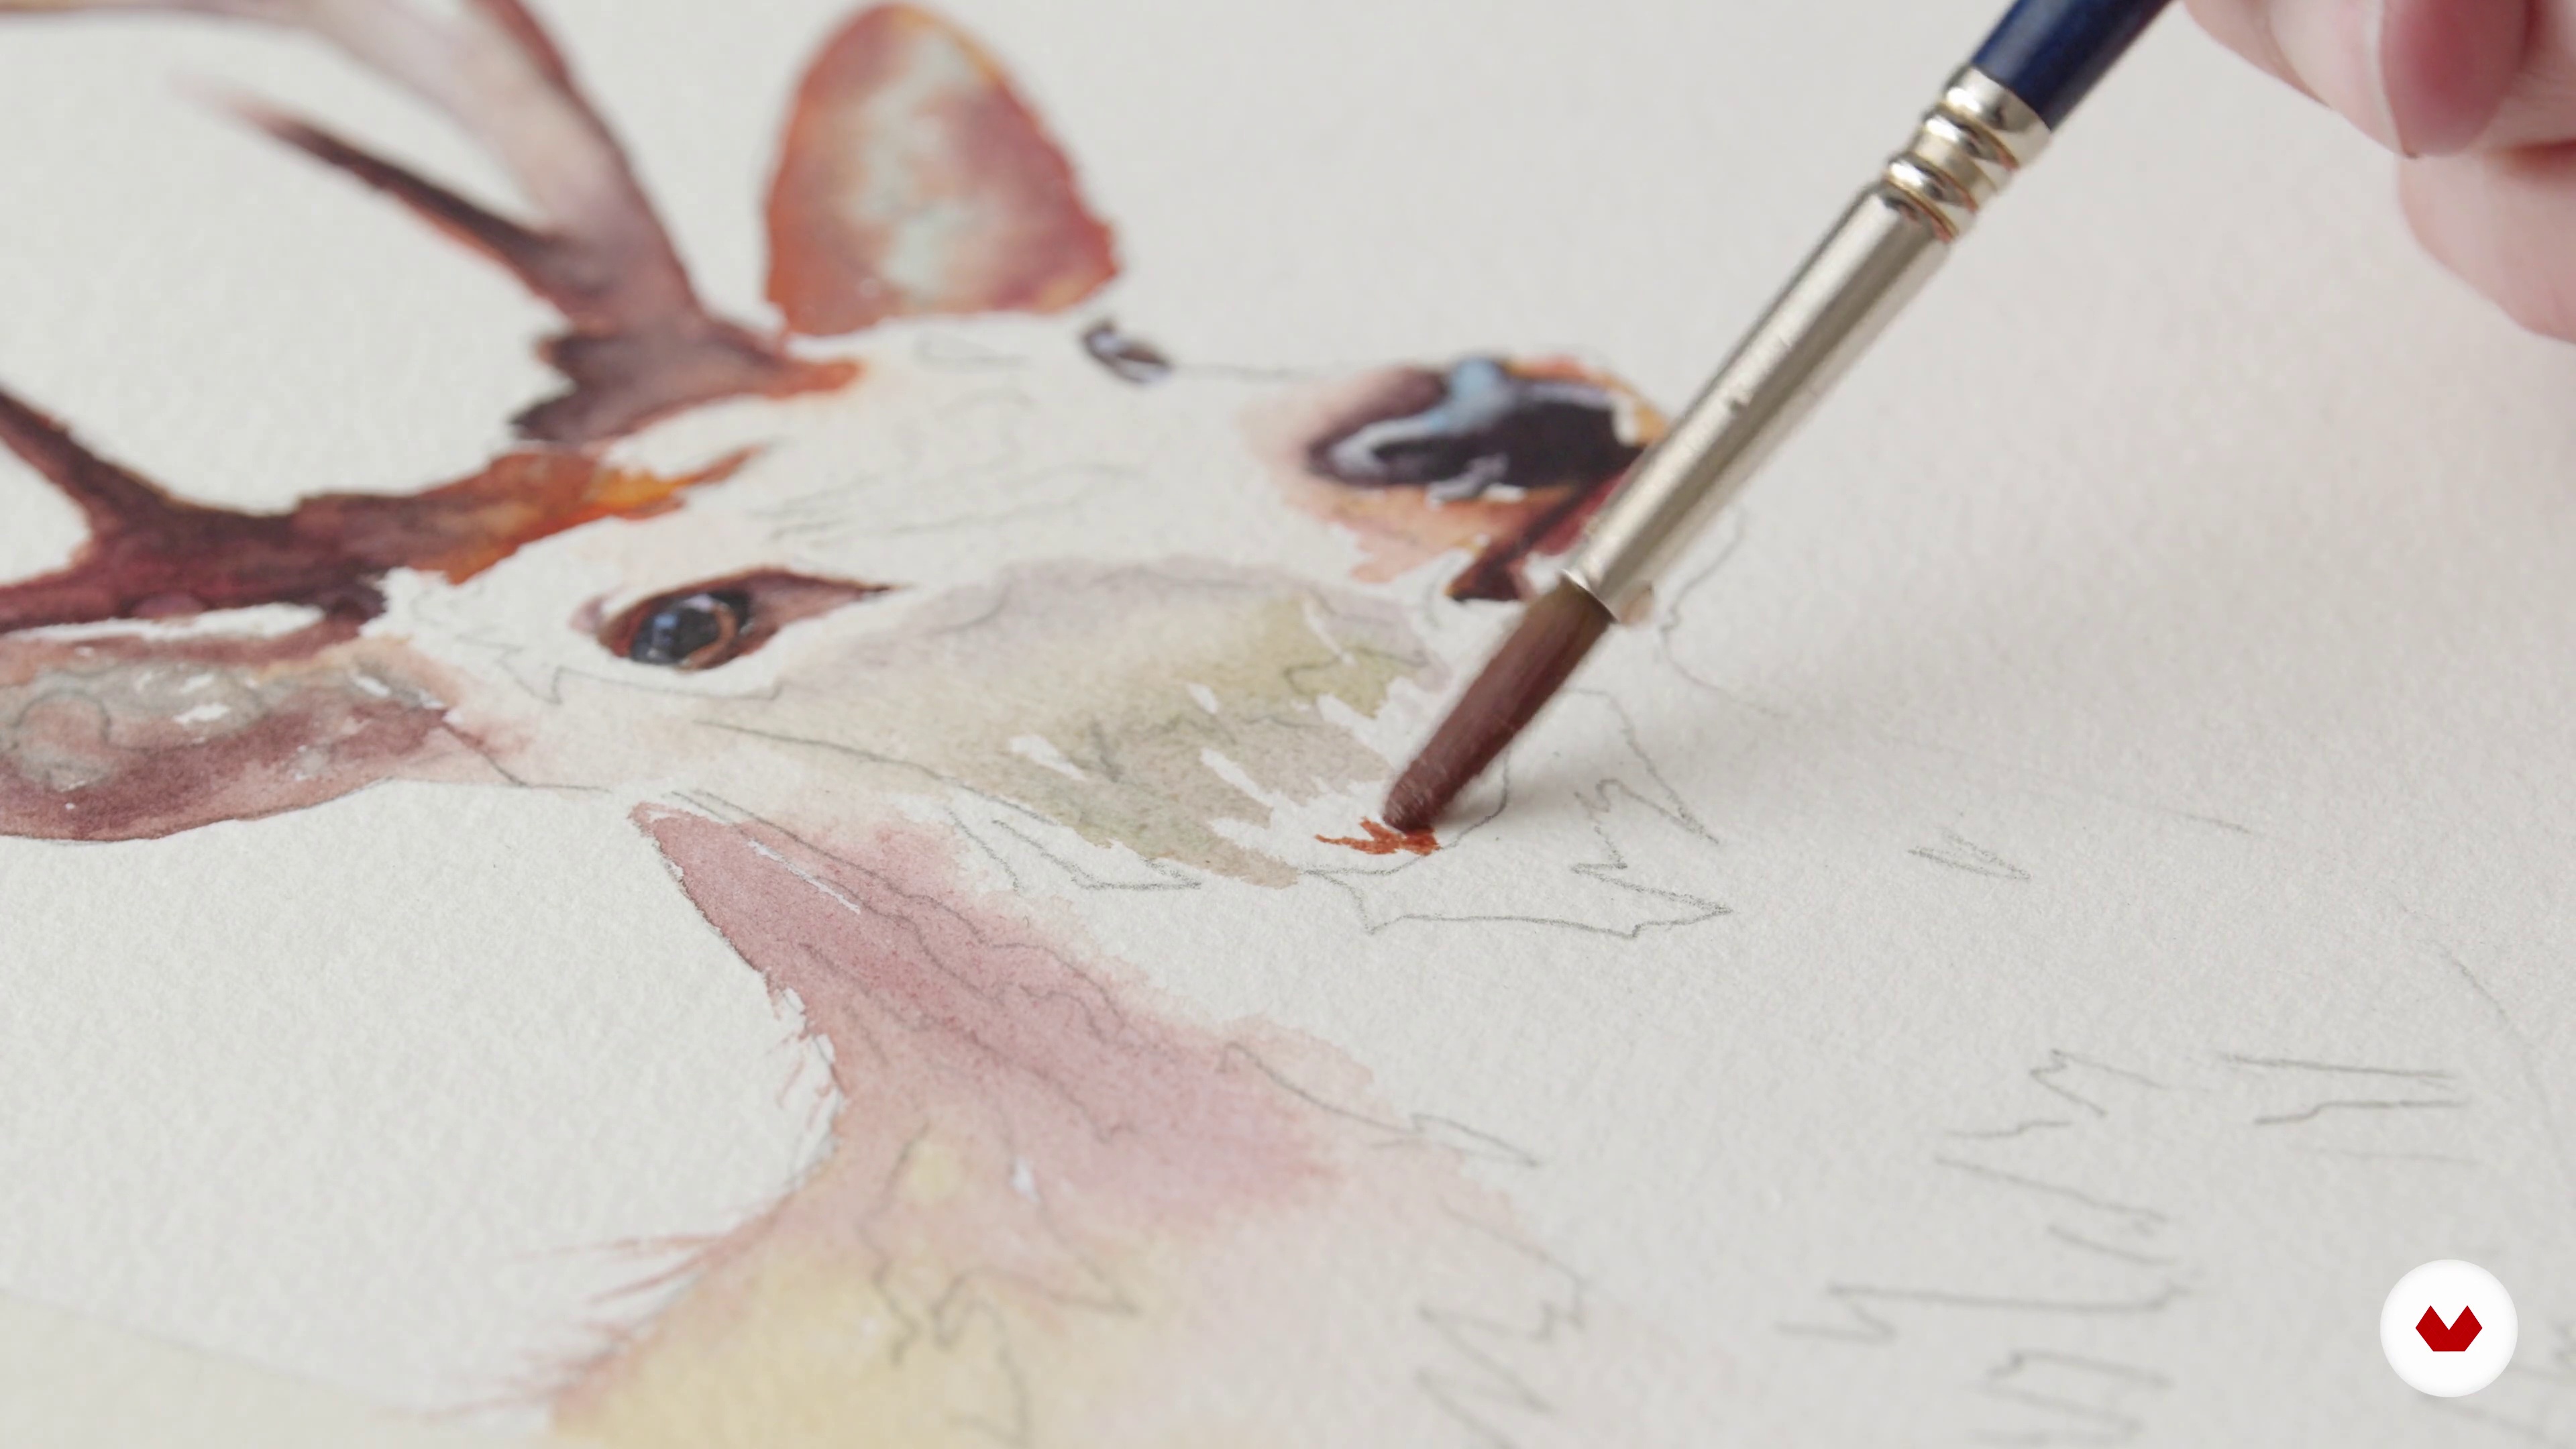
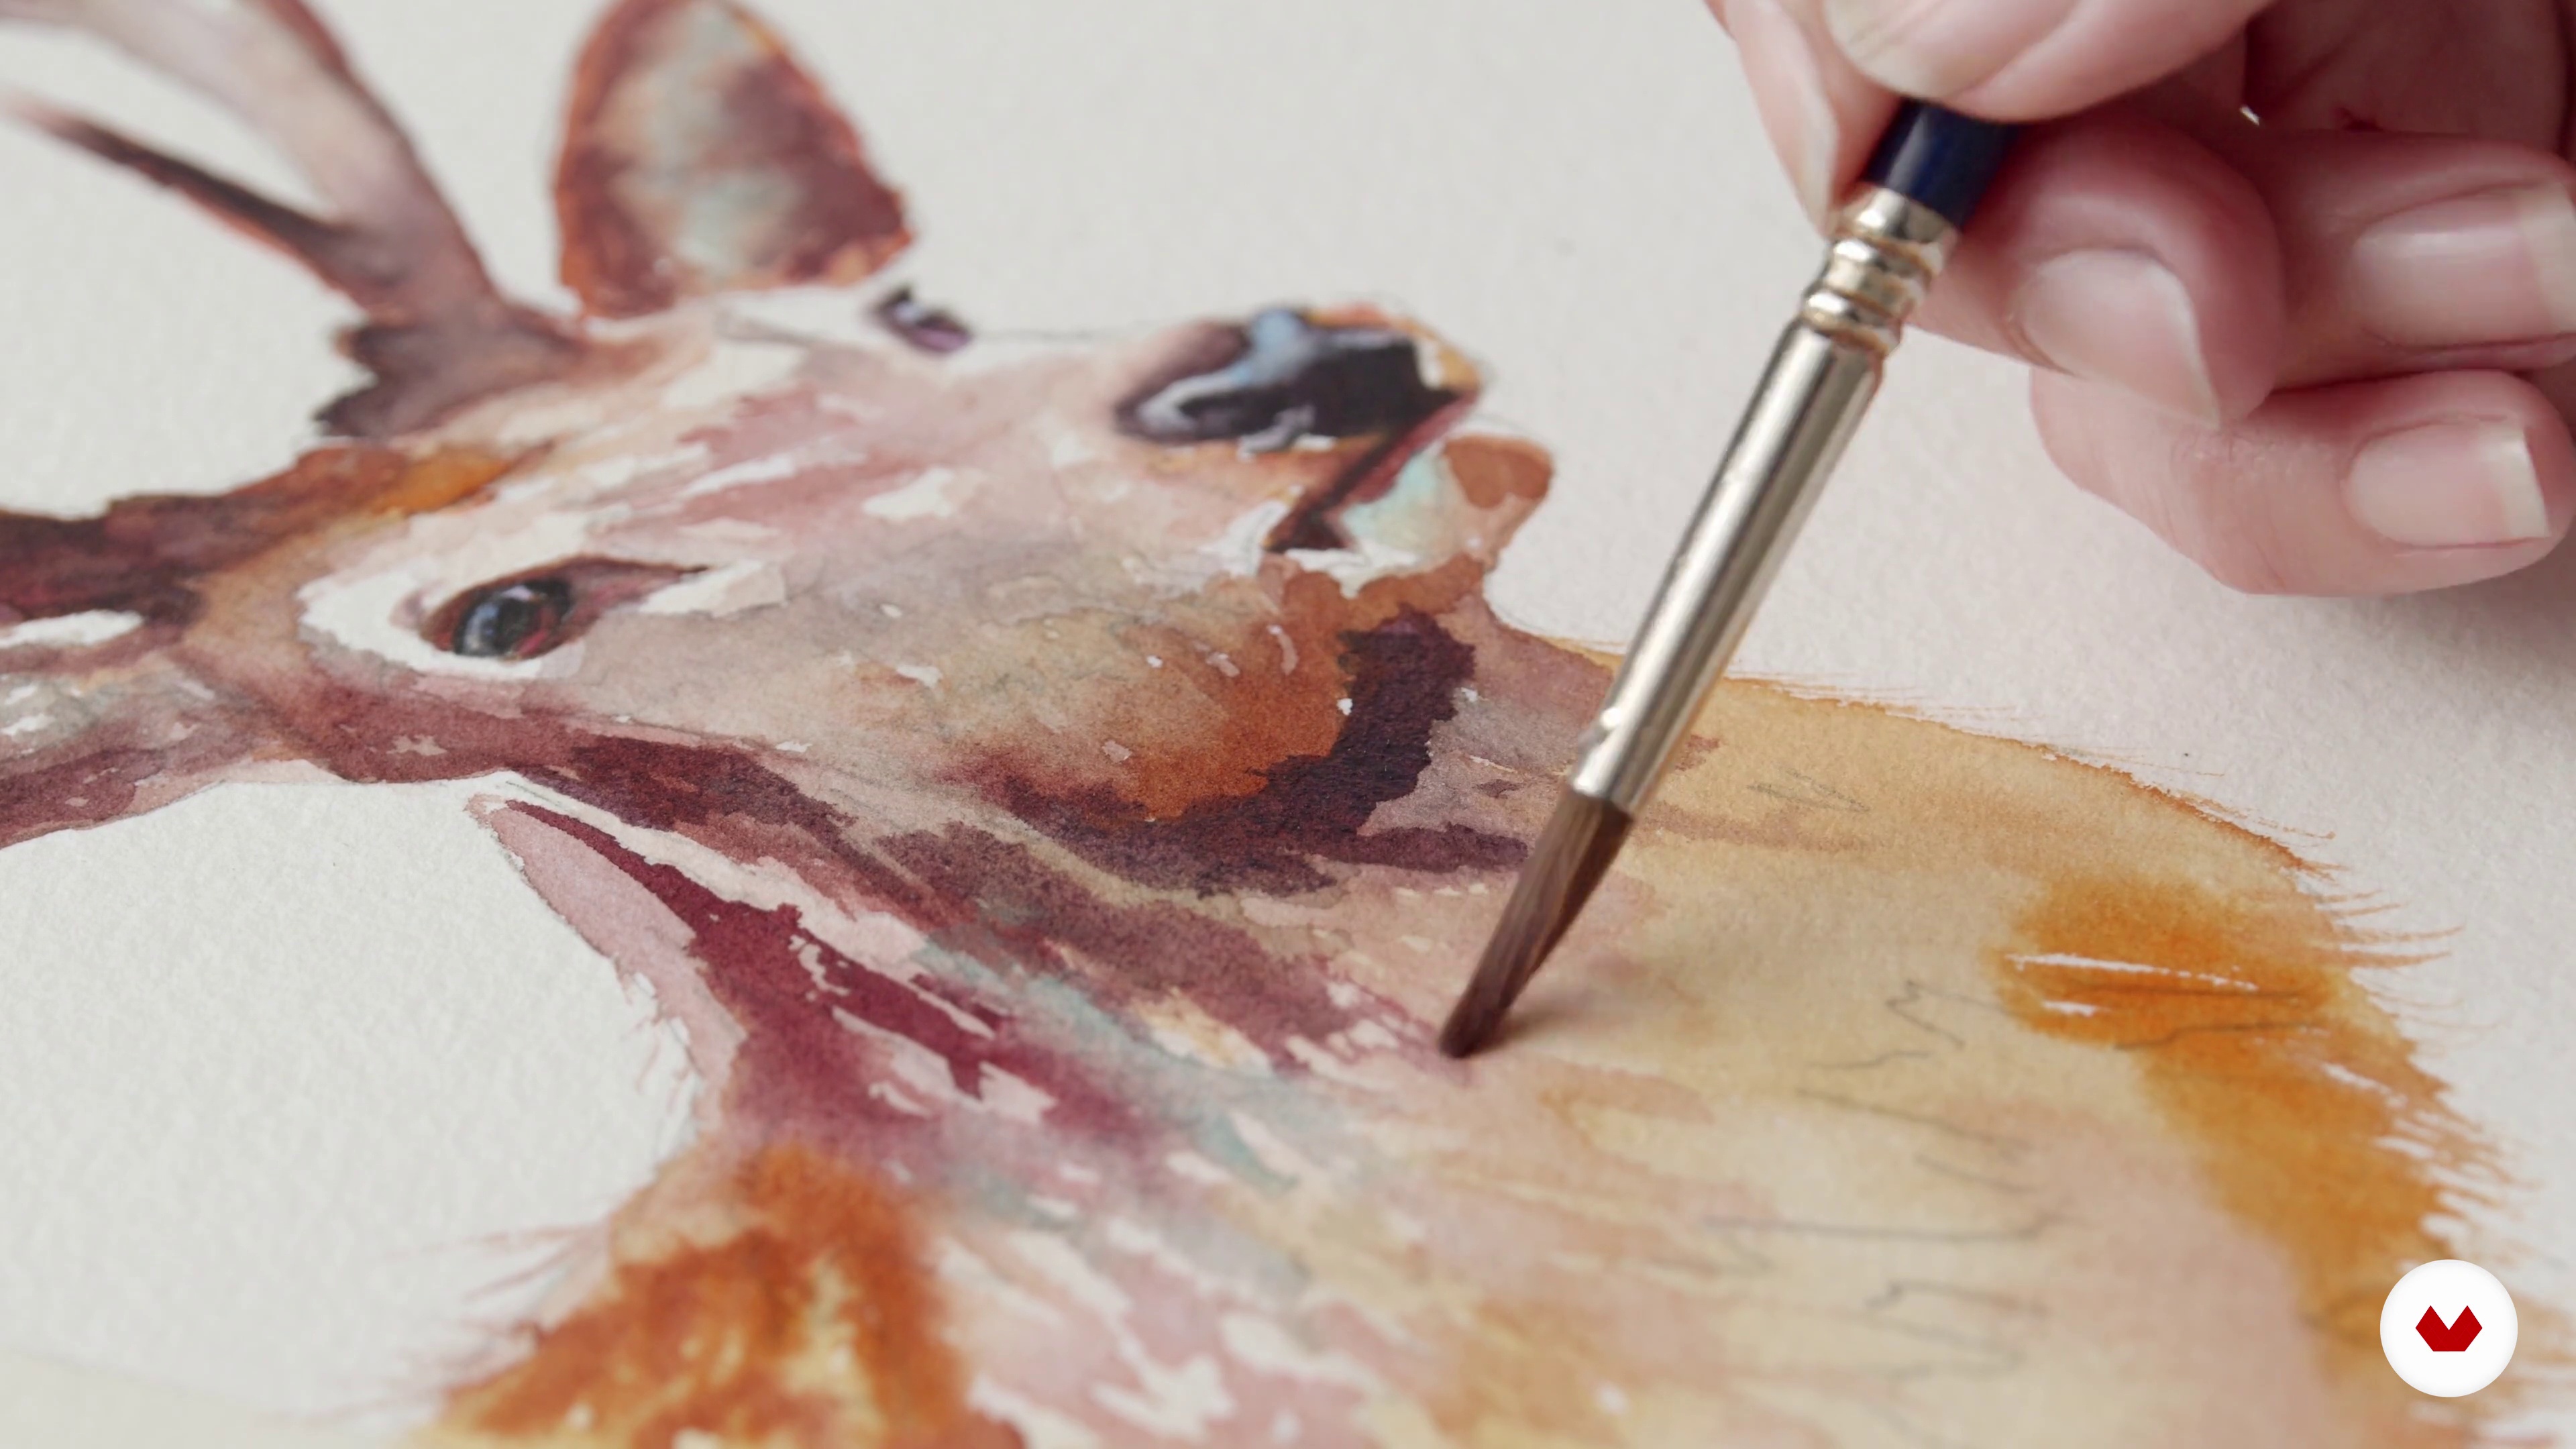
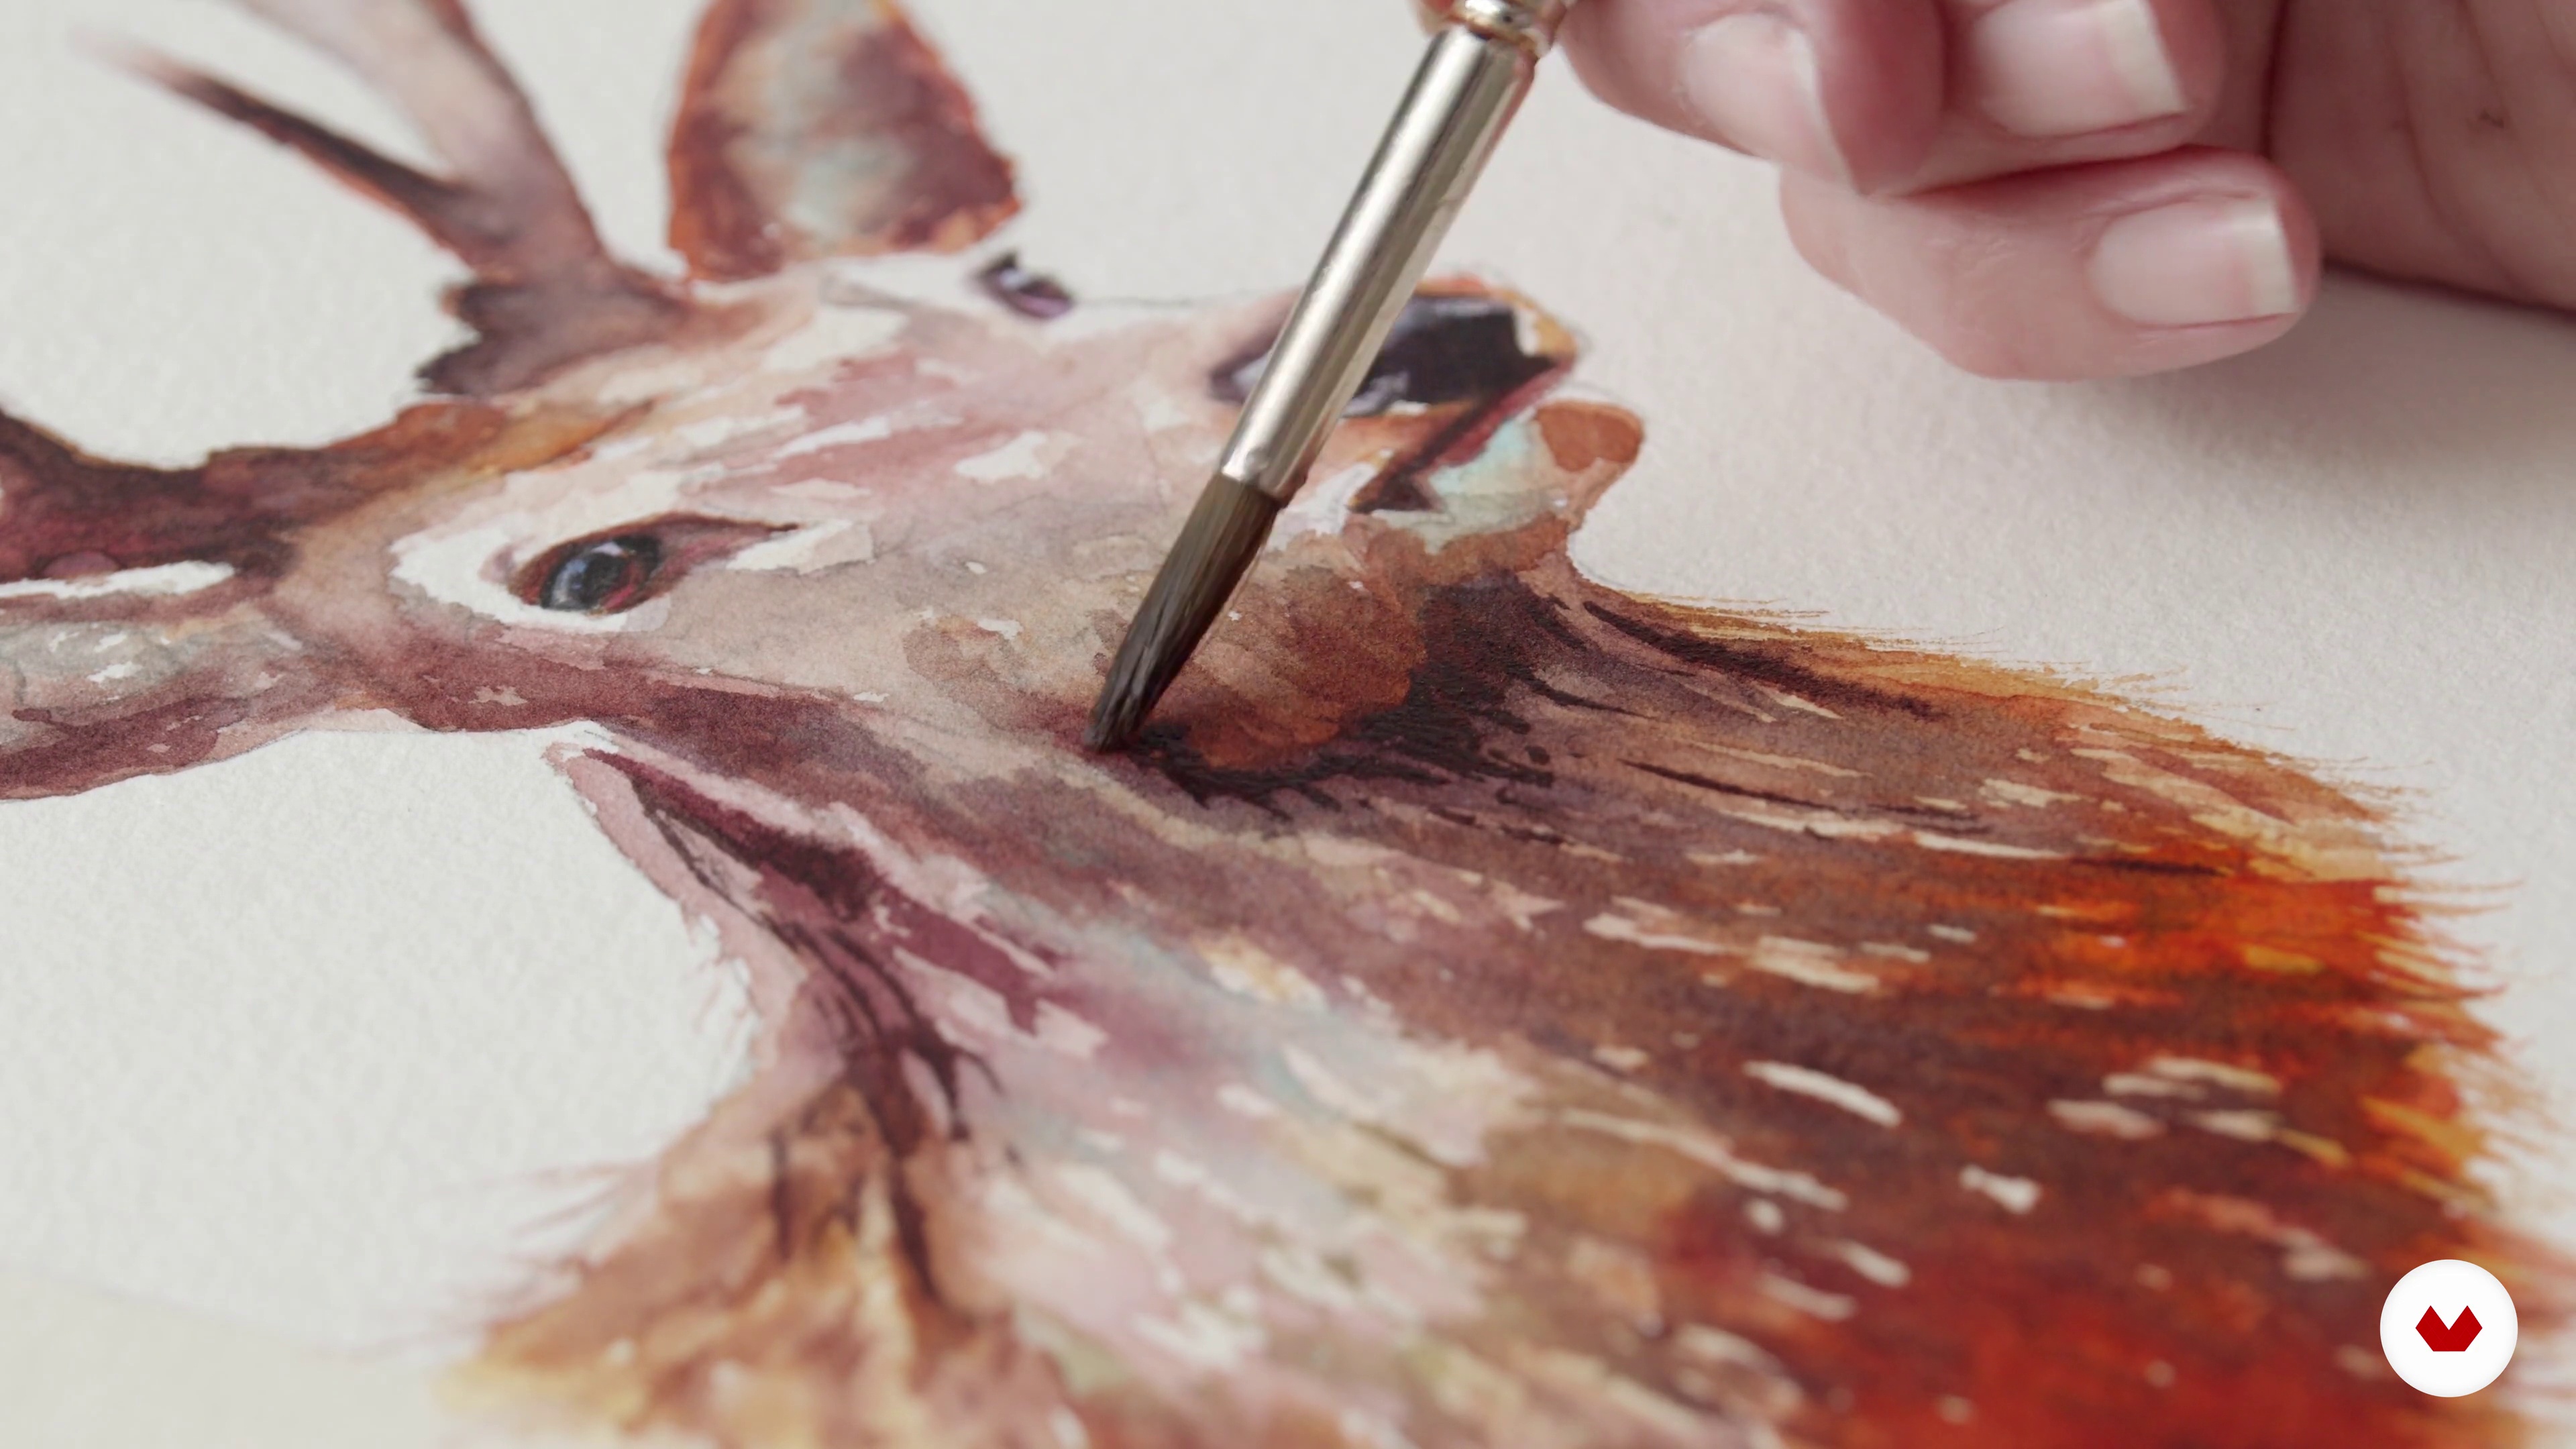
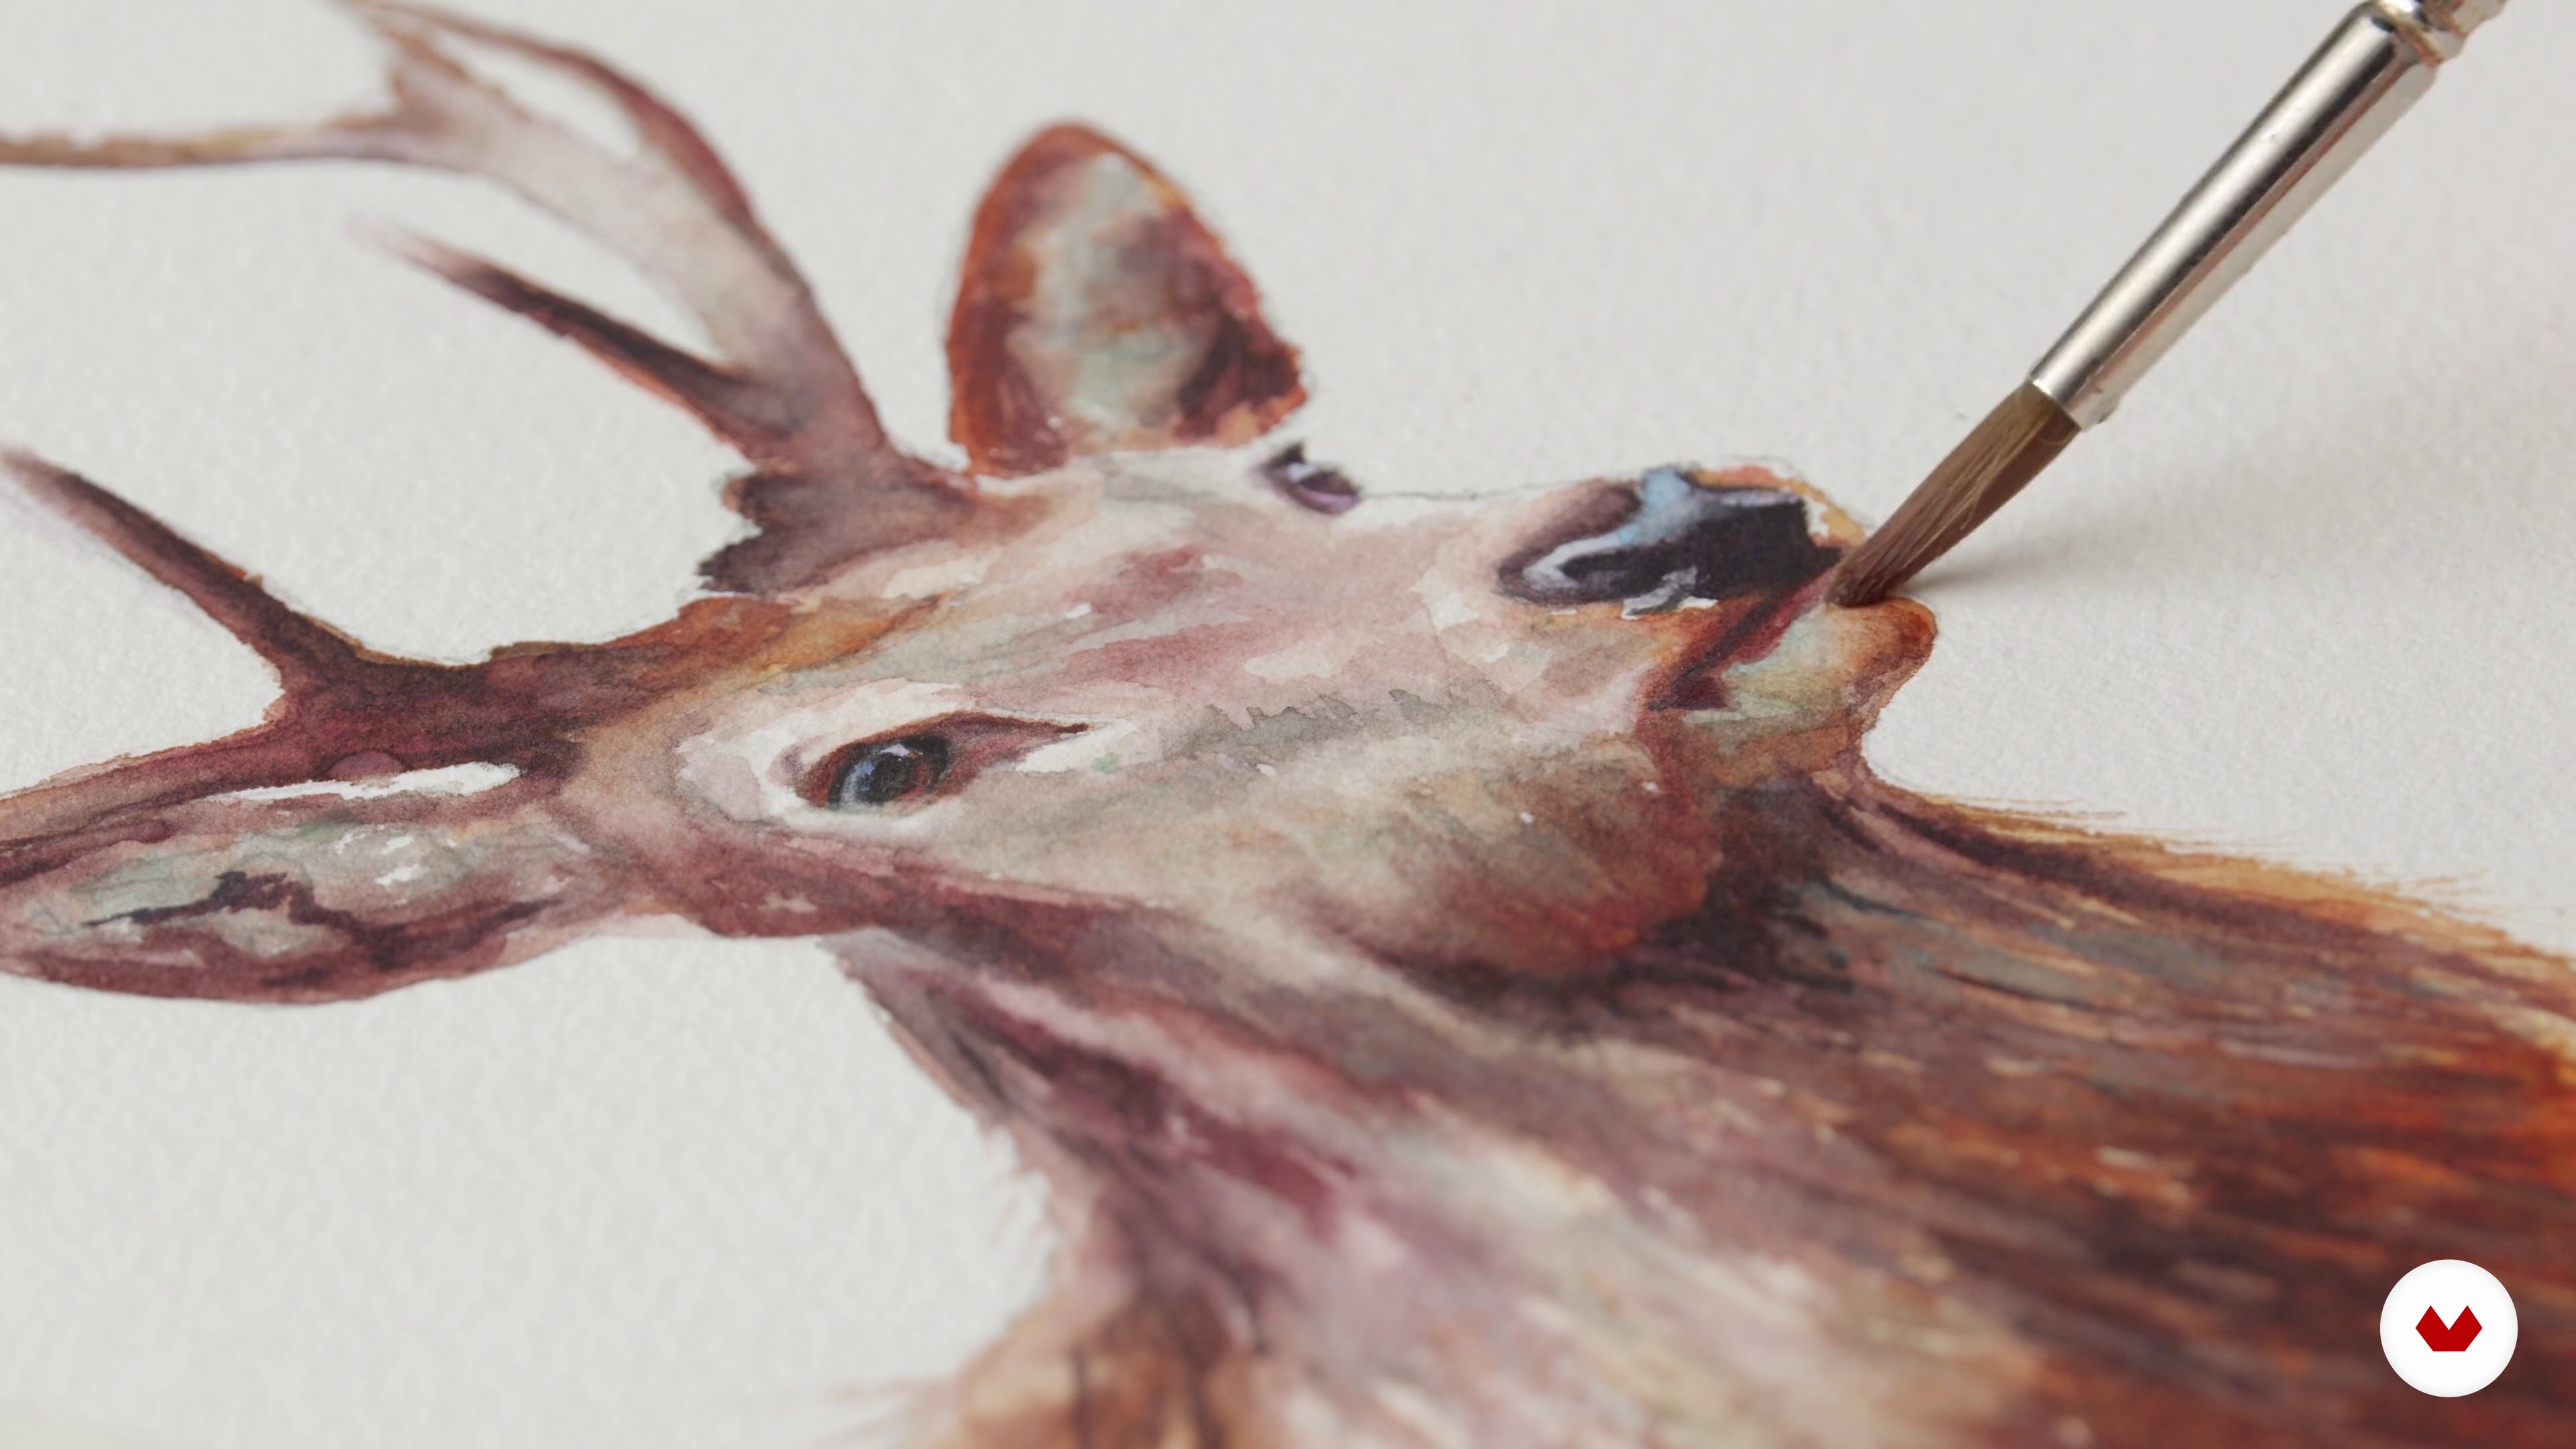
Discover the vibrant world of watercolor with our comprehensive specialization program, designed to transform beginners into skilled artists. Start your journey with Laura McKendry, who guides you through the essentials of watercolor sketching, exploring basic techniques and creative expression. Delve into the intricate art of botanical illustration with Julia Trickey, where you'll learn to depict plants with precision and artistry, capturing their natural beauty. Sarah Stokes takes you on a journey to create expressive animal portraits, teaching you to capture the essence and character of your subjects with lifelike texture and color.

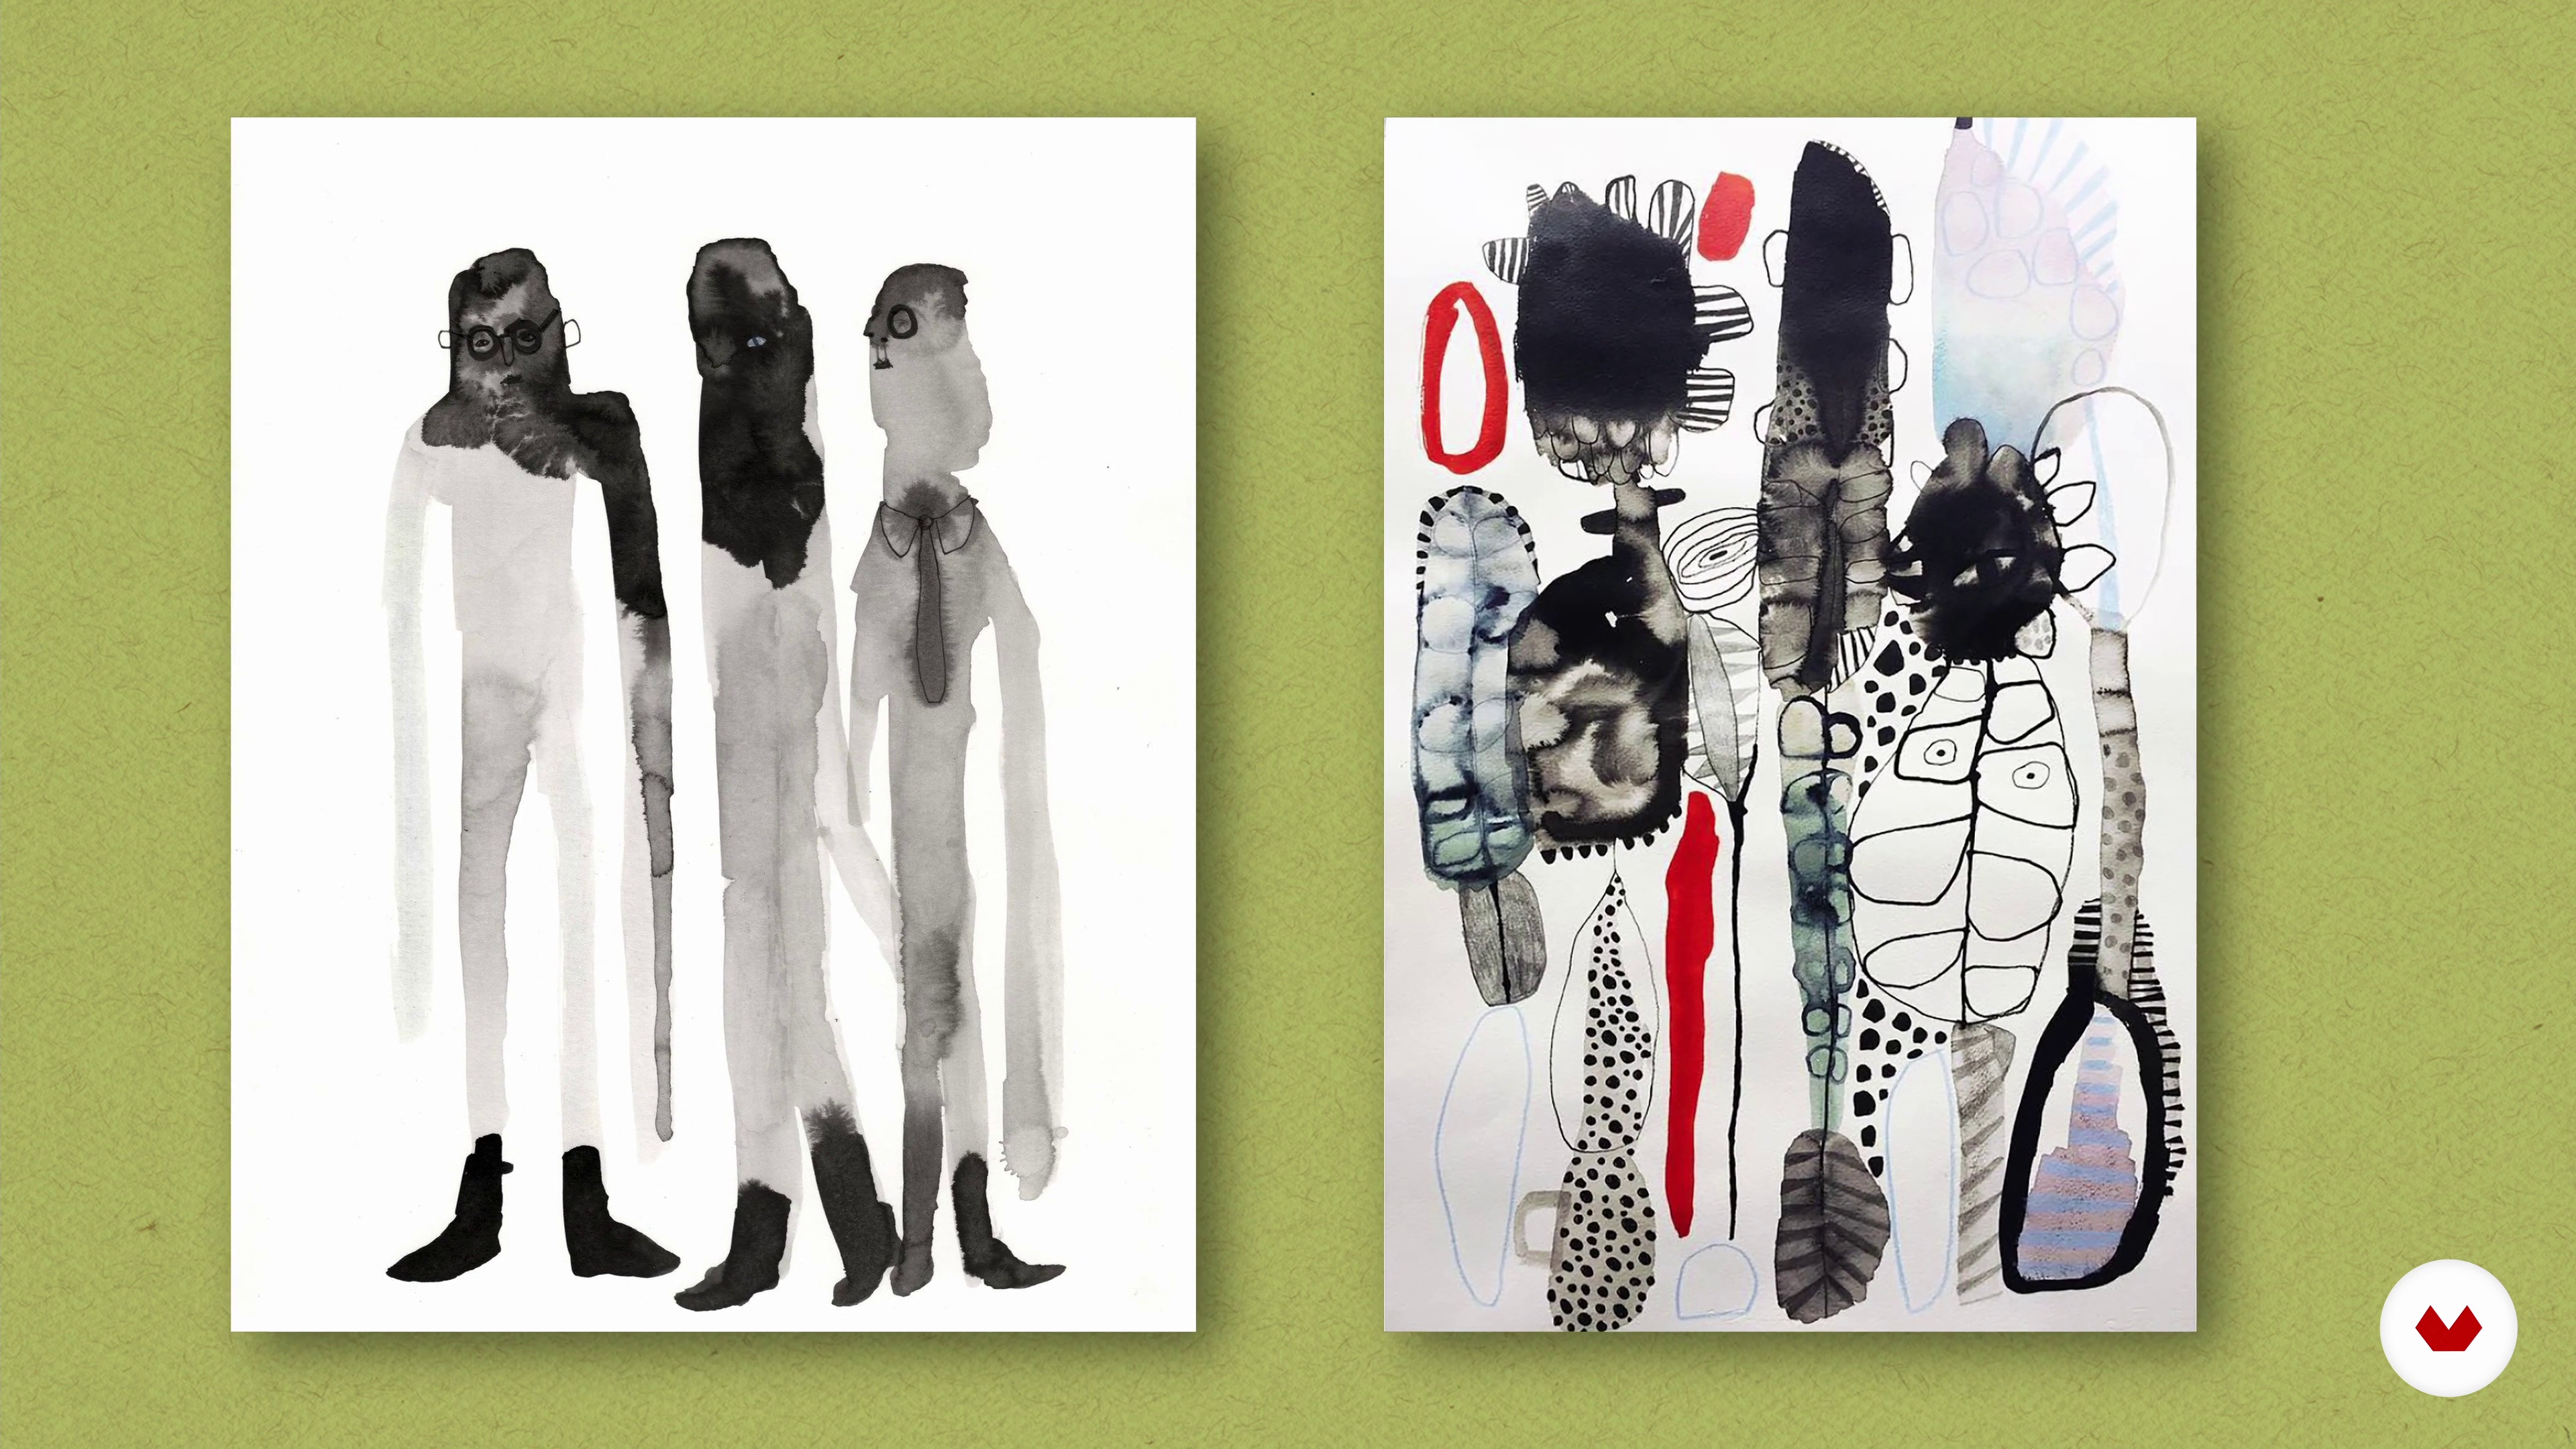
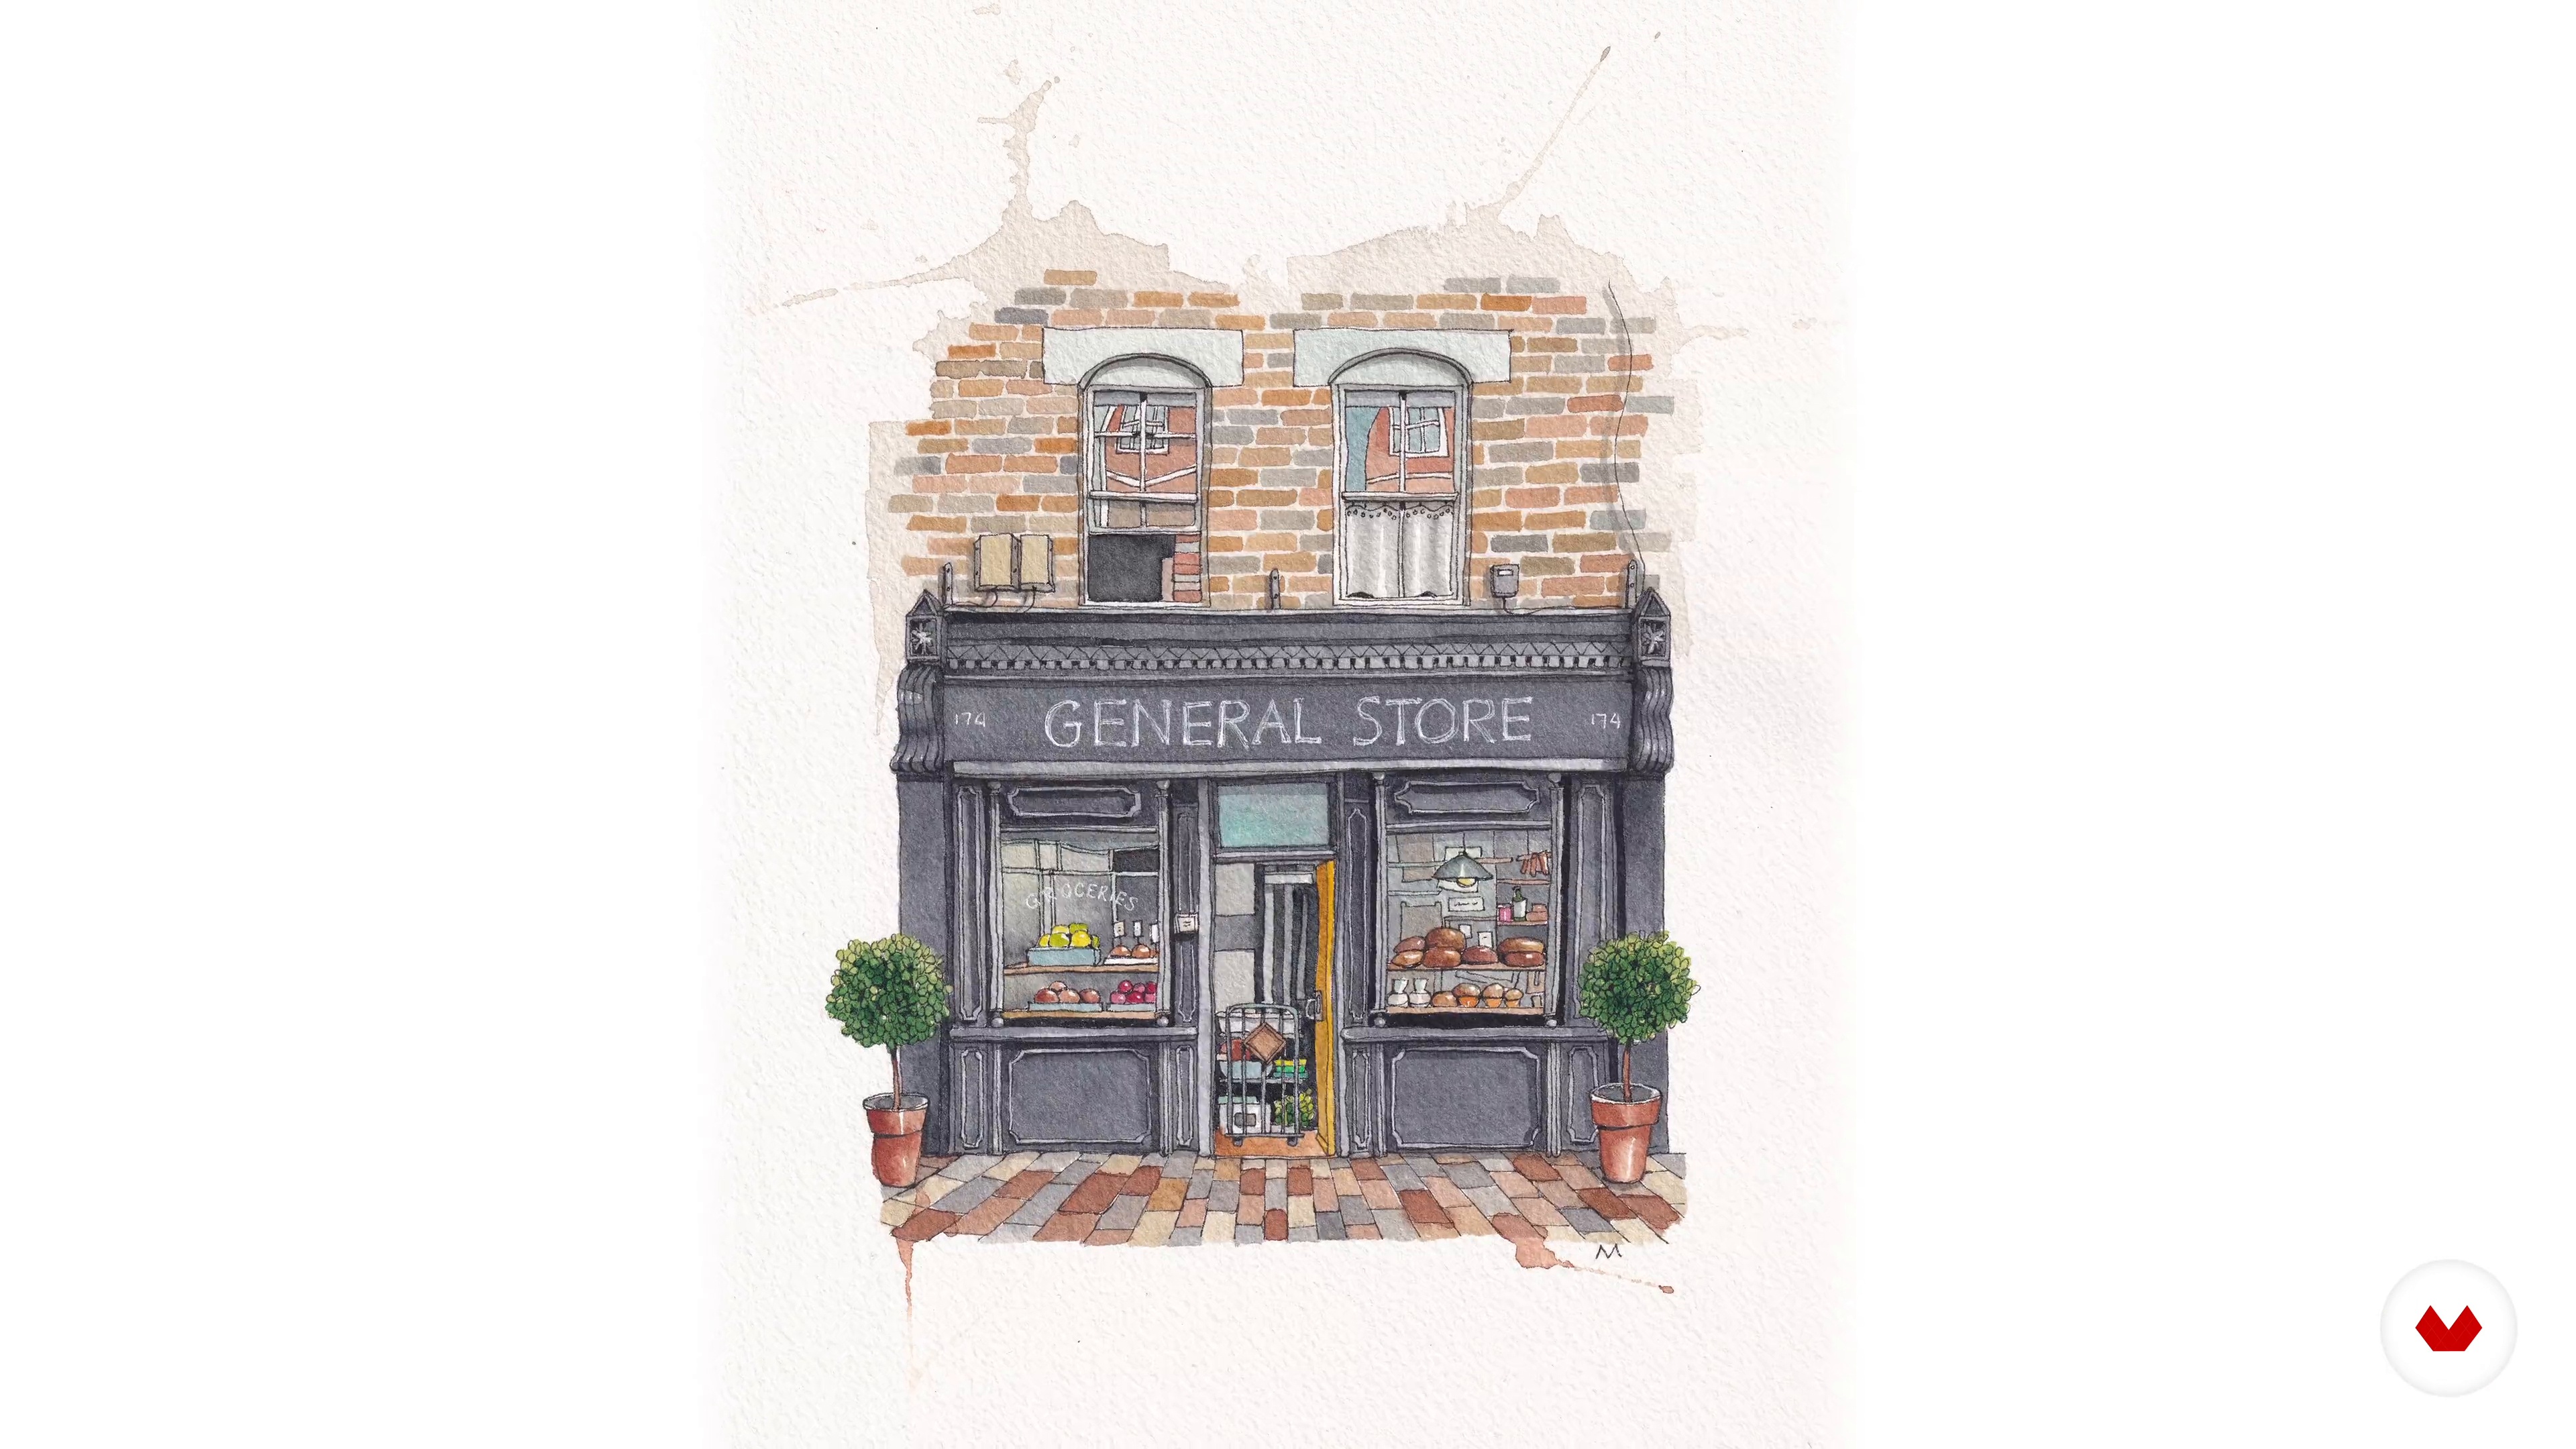
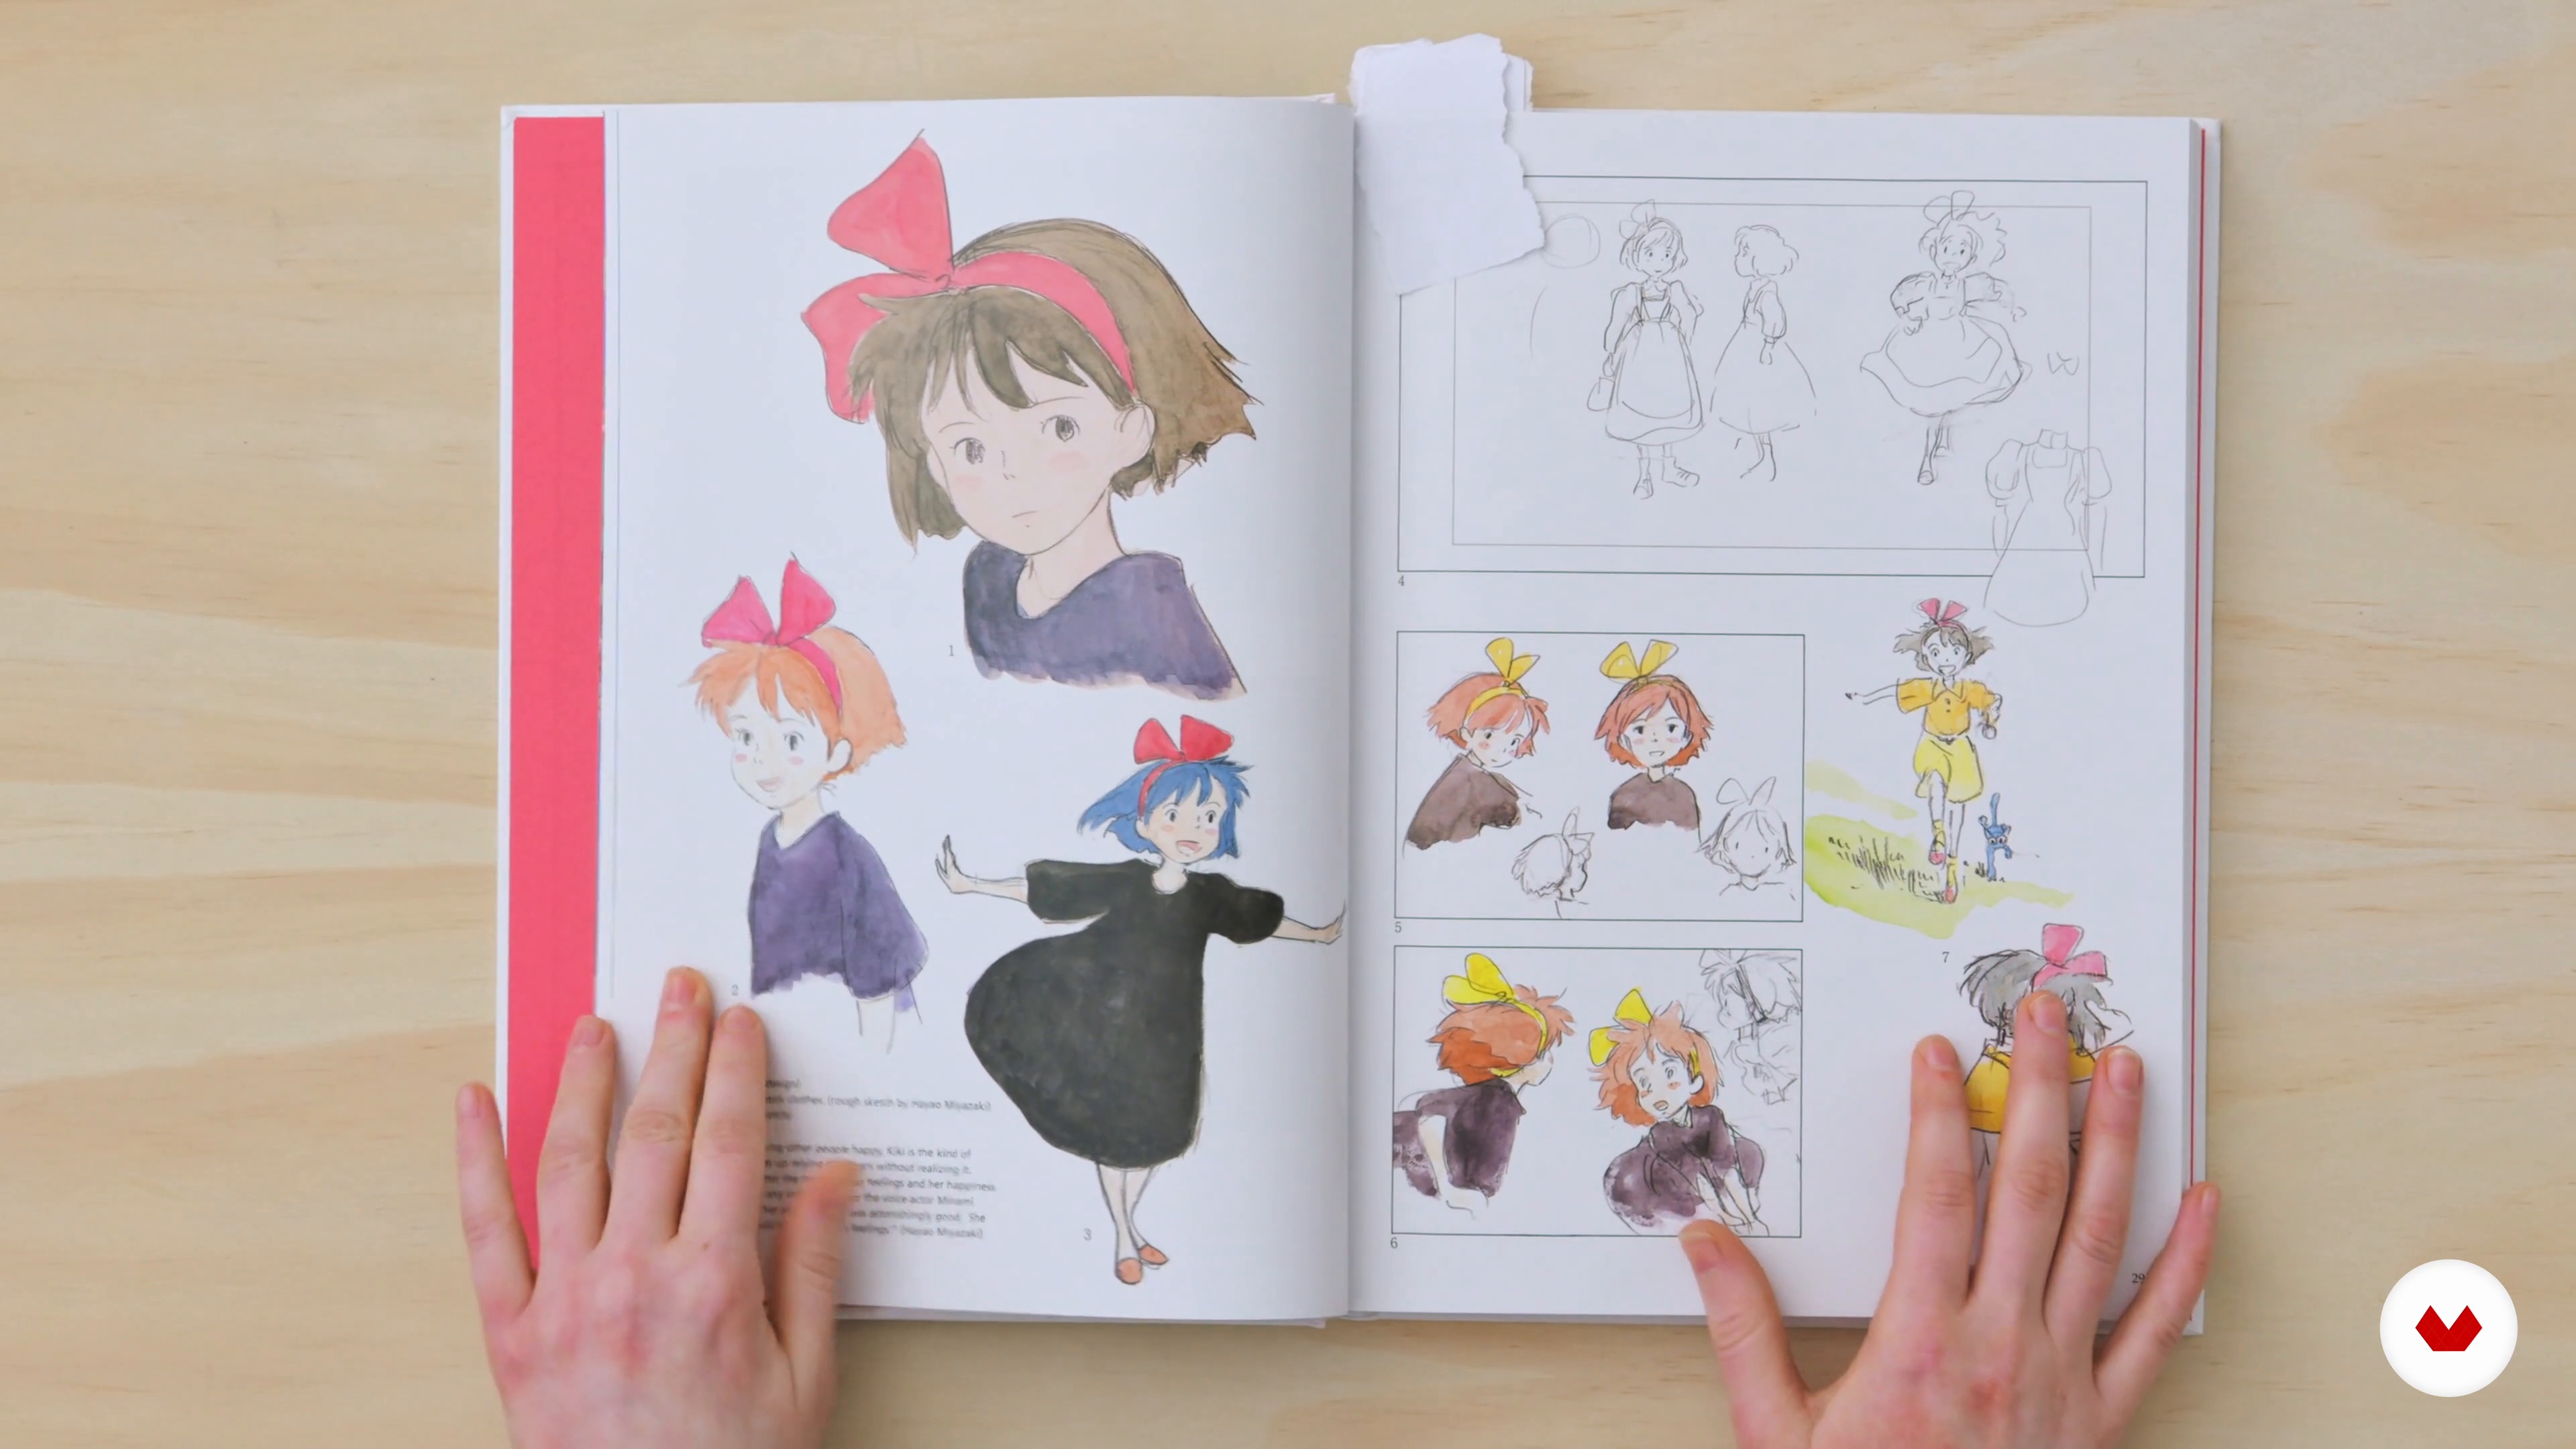
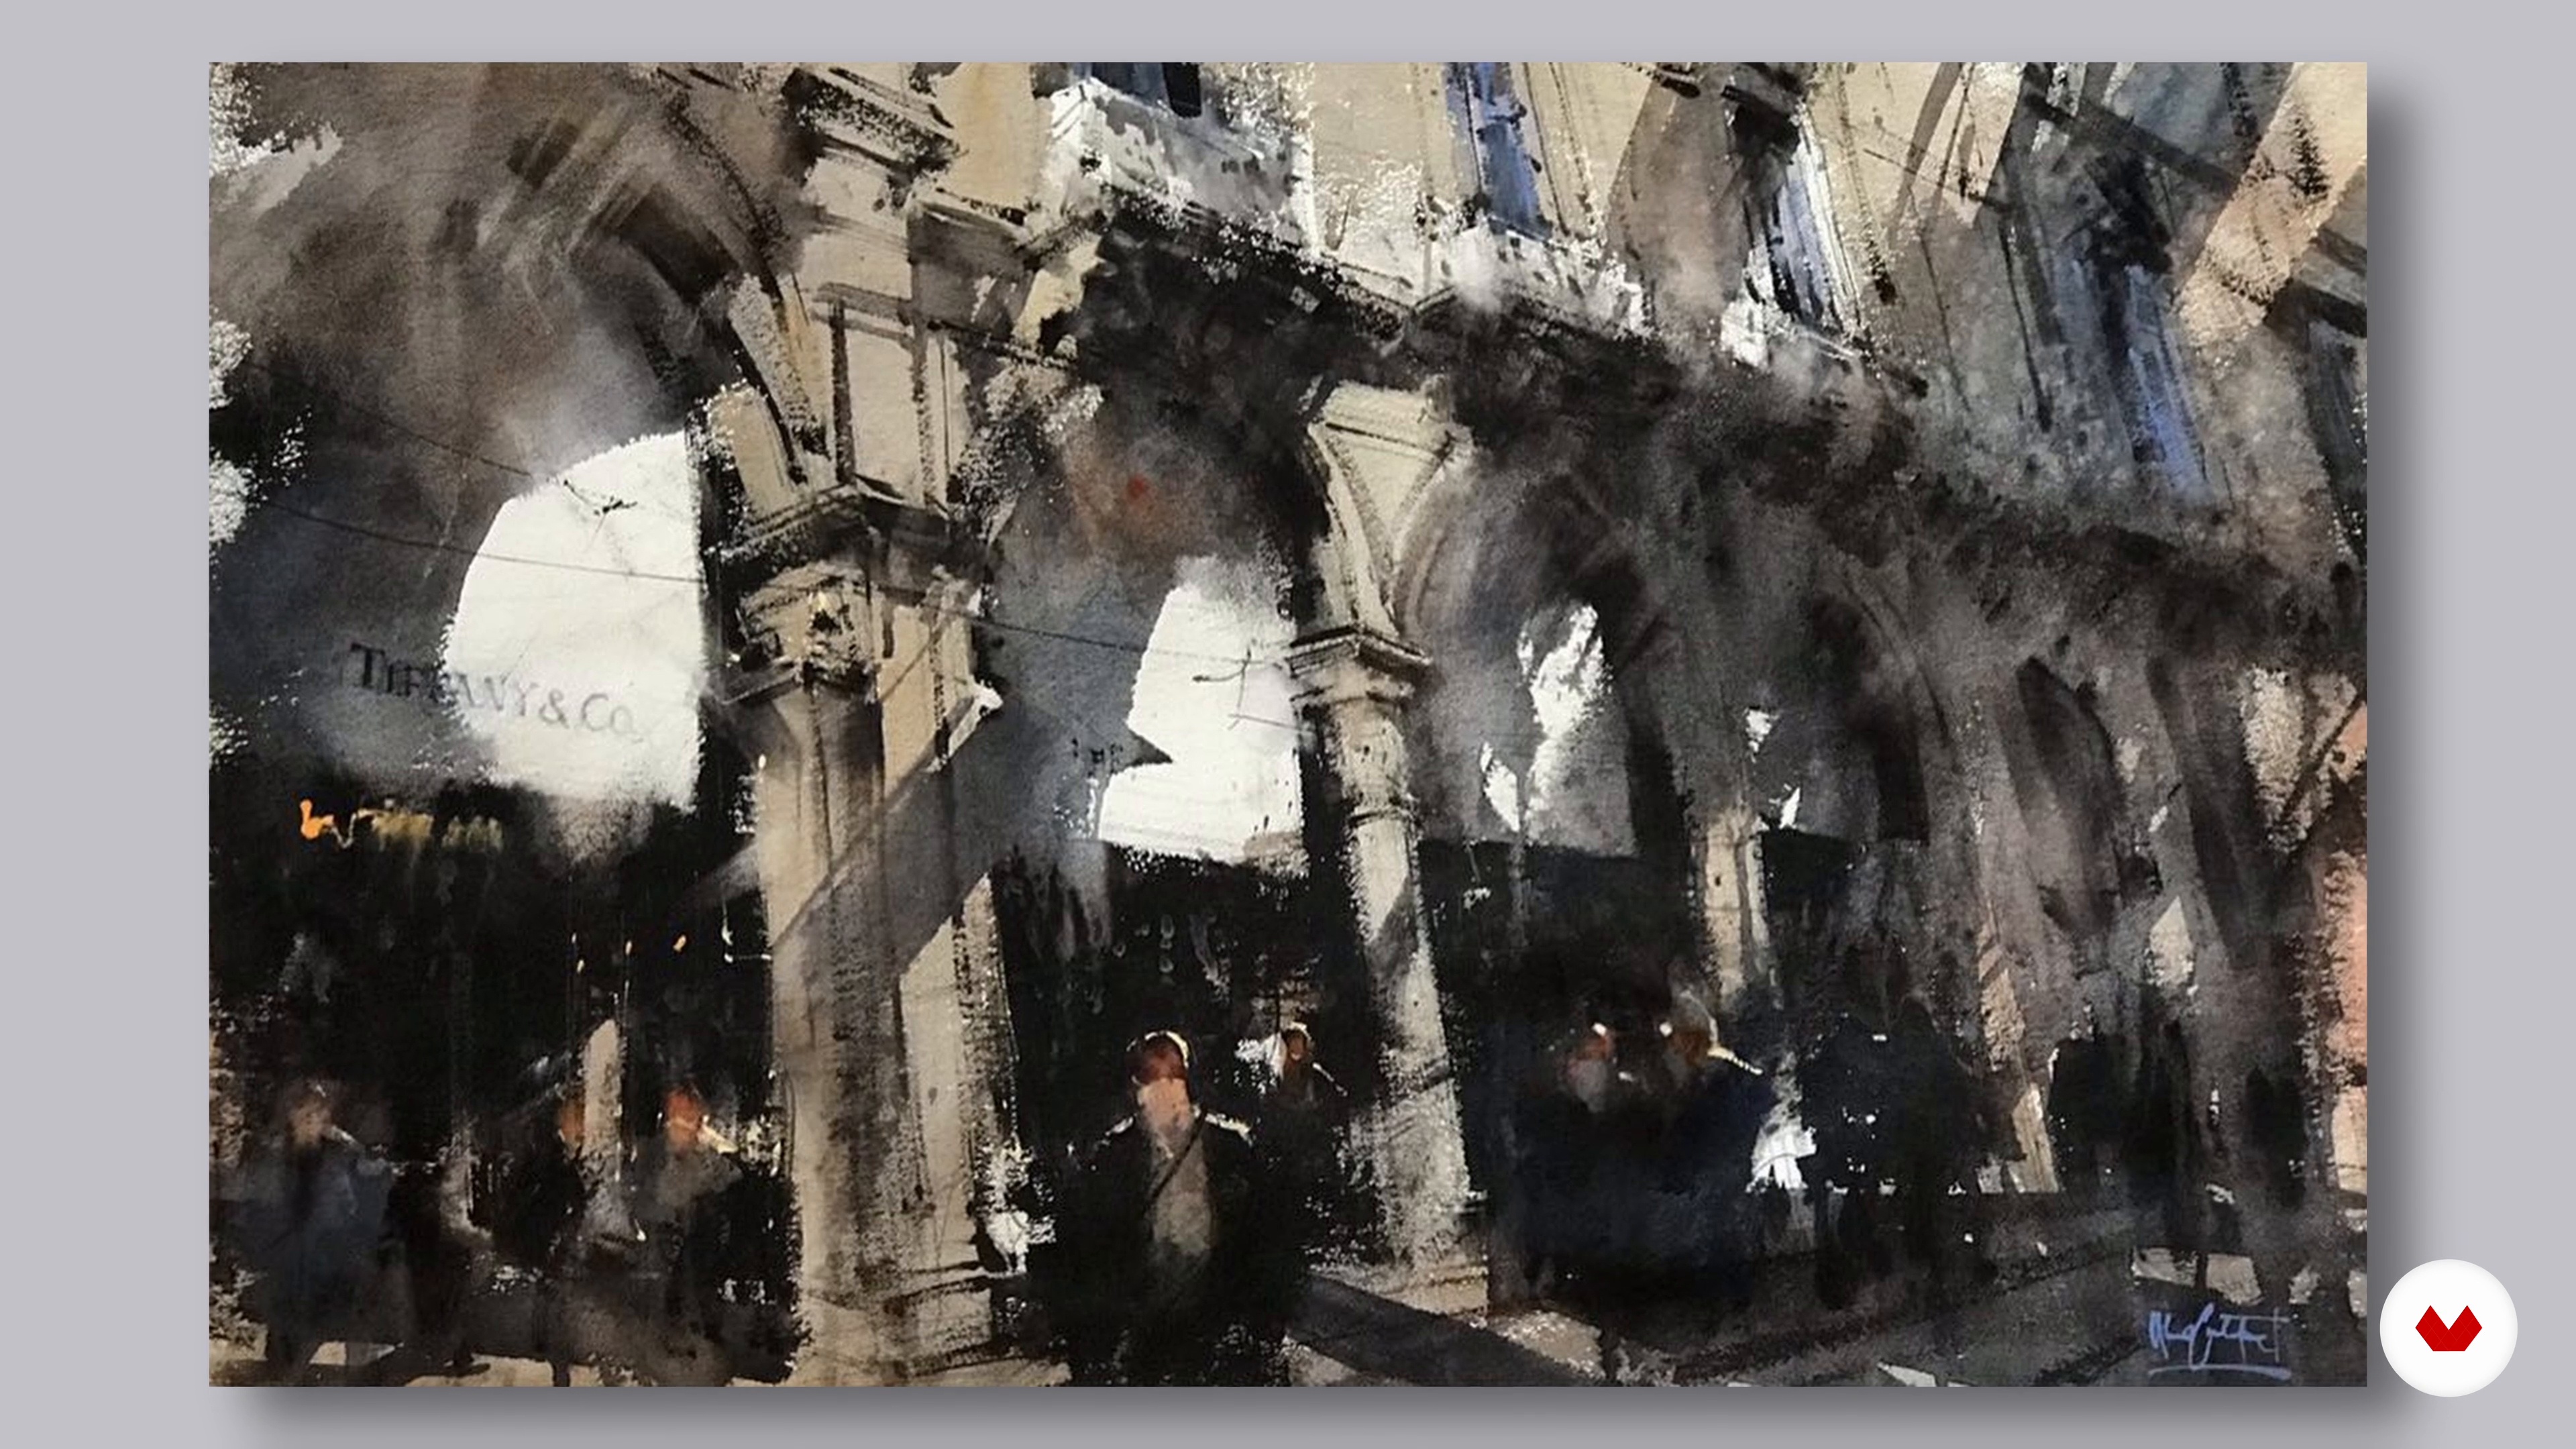
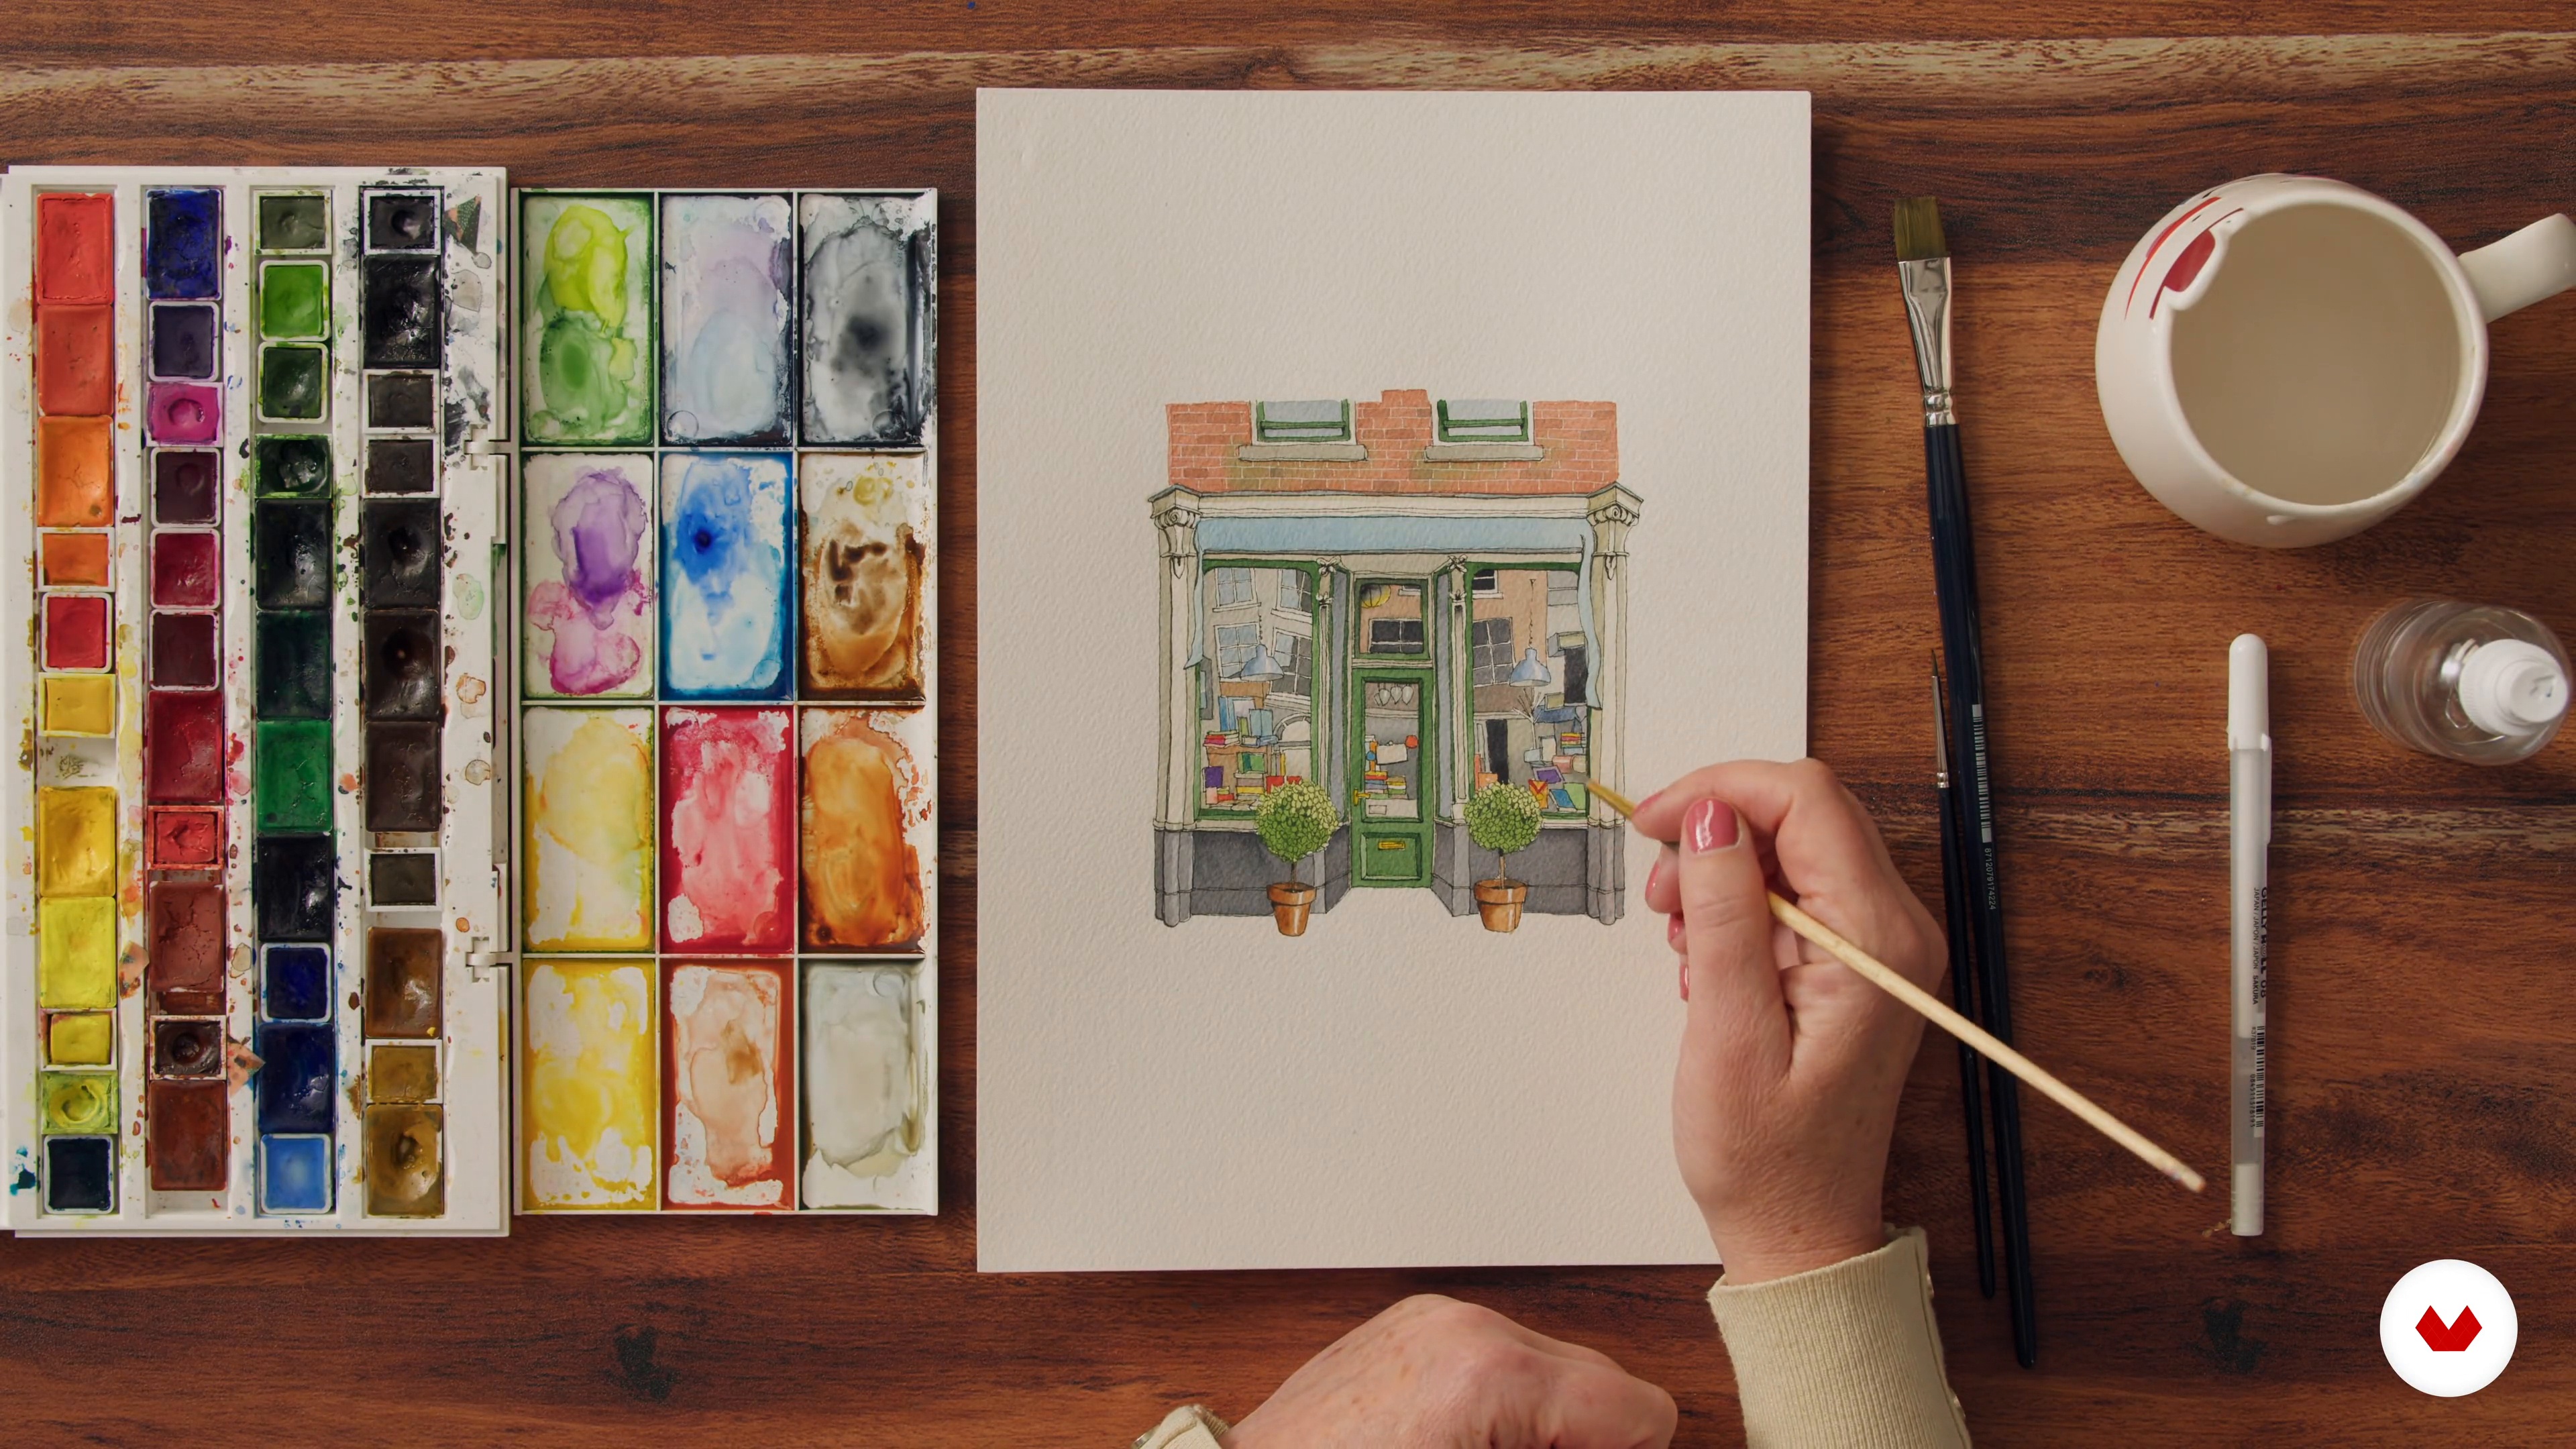
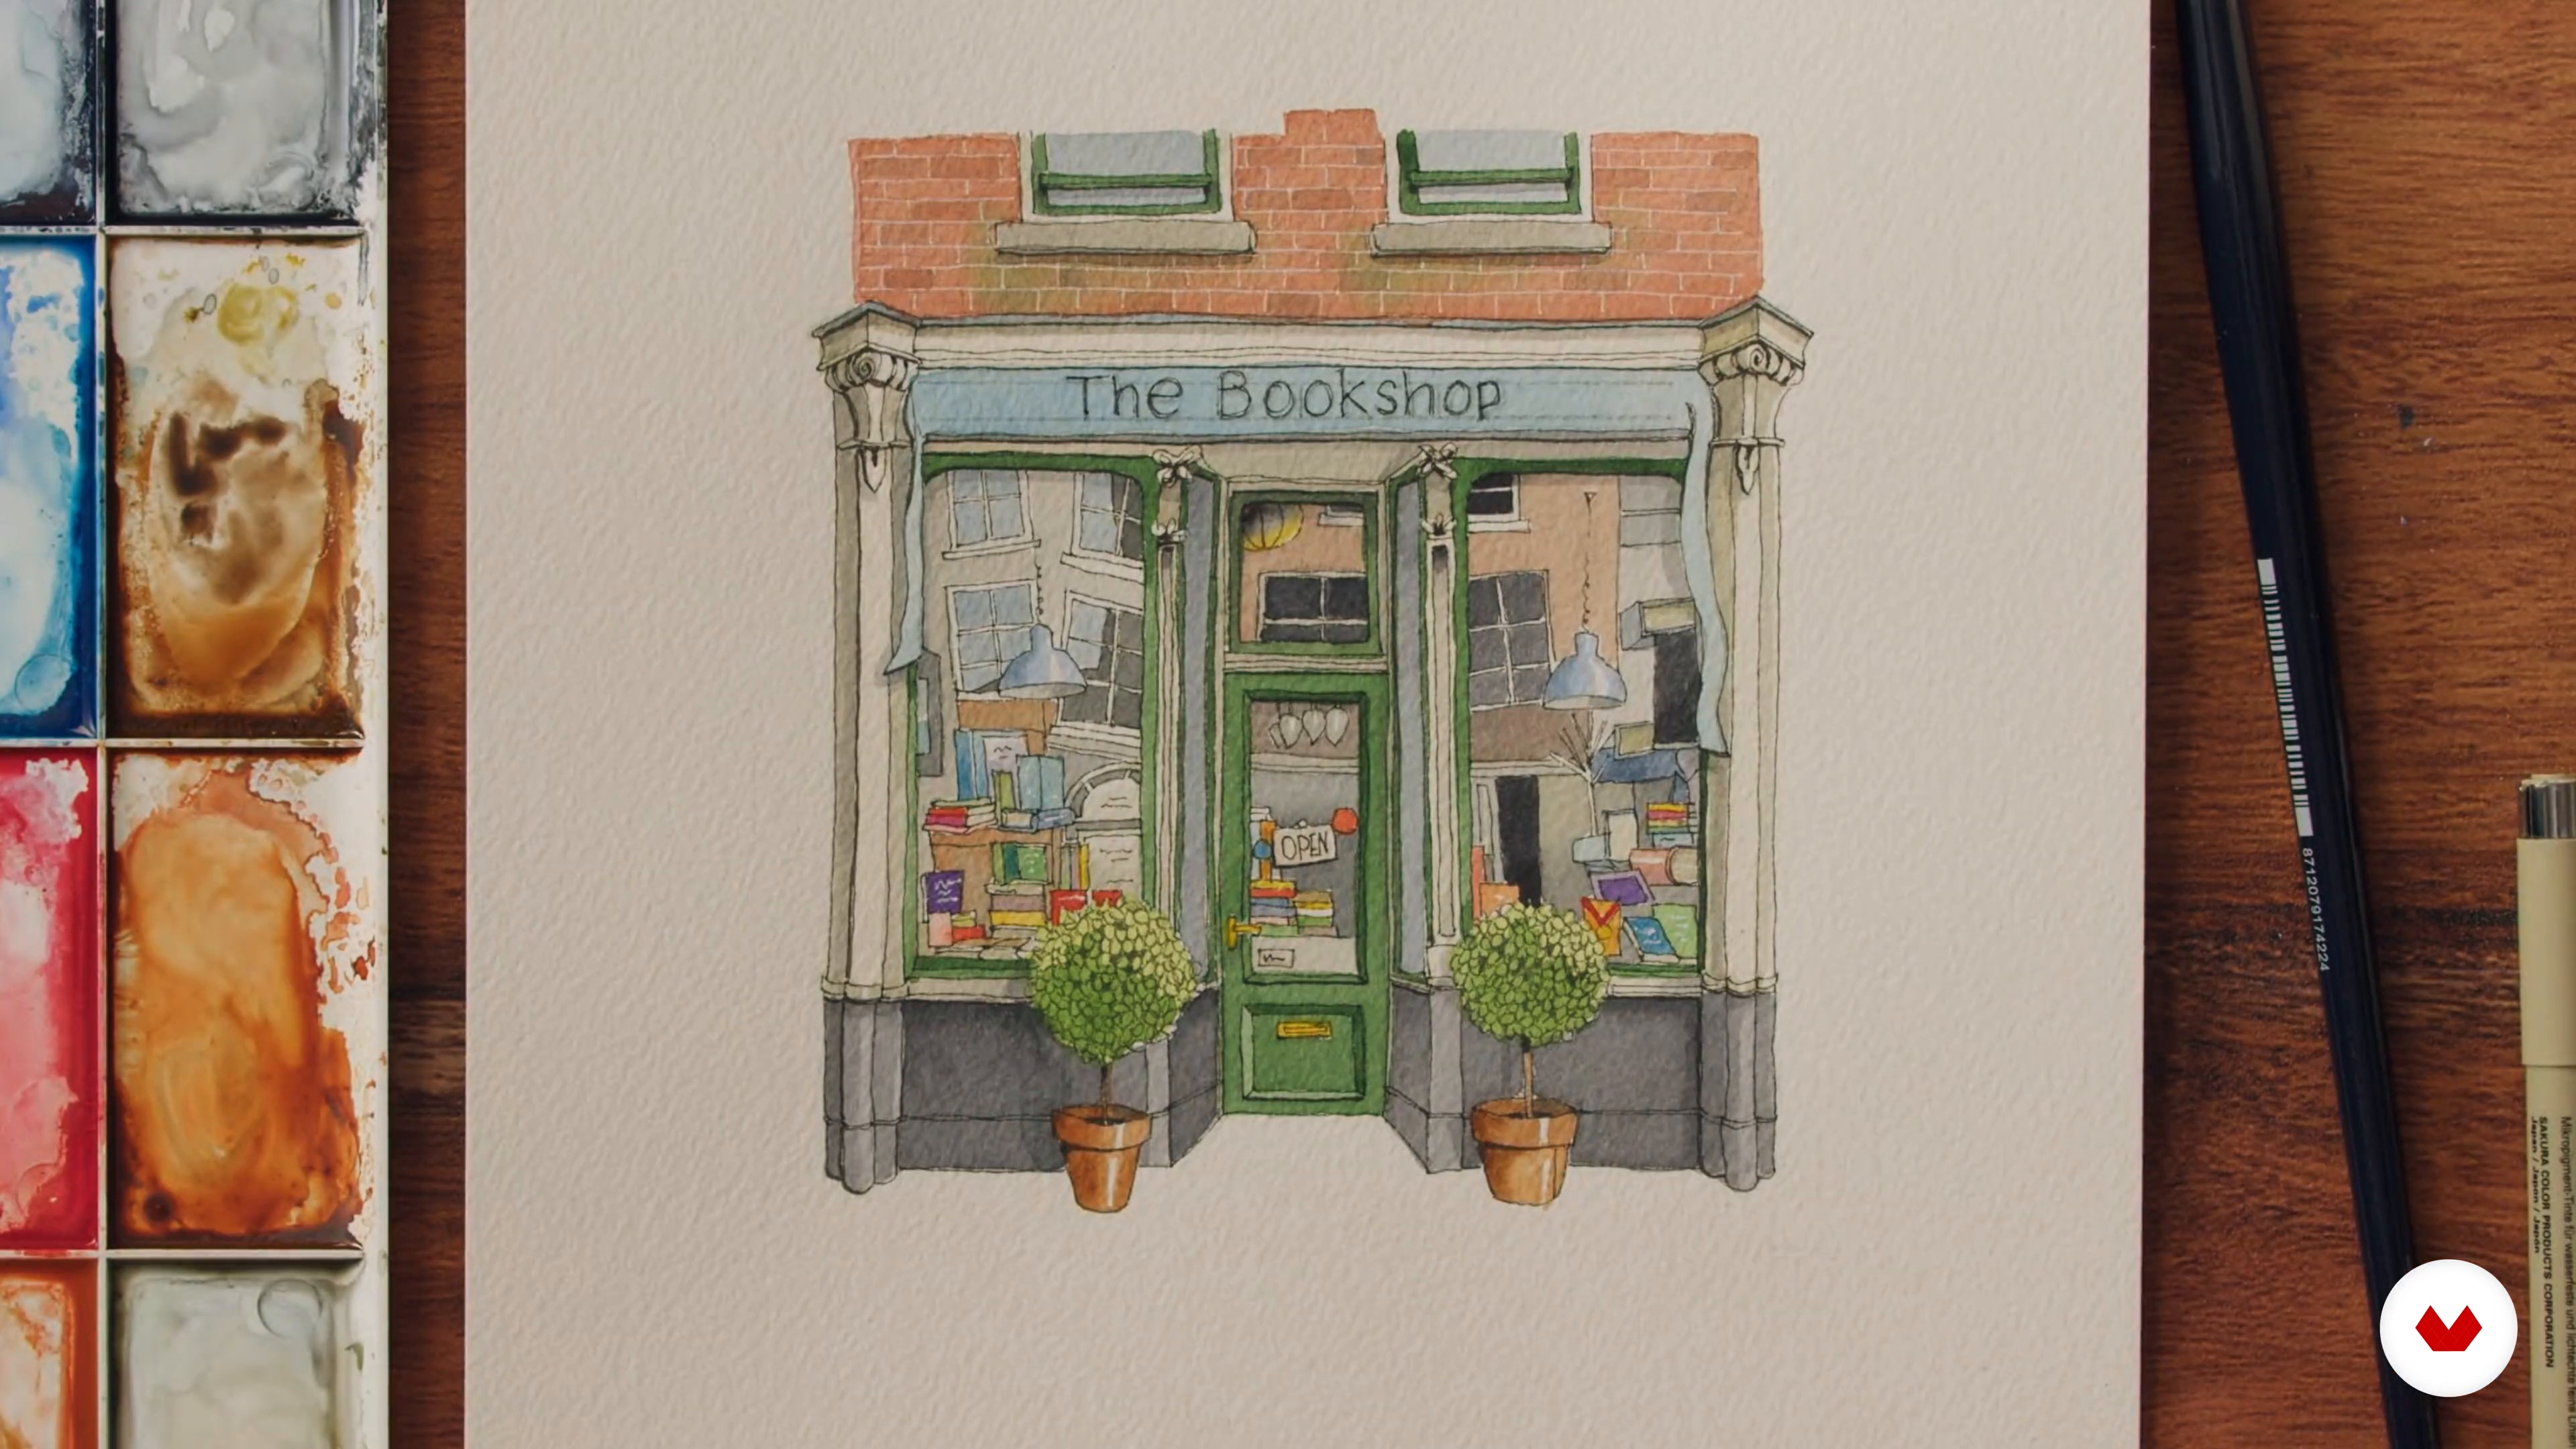
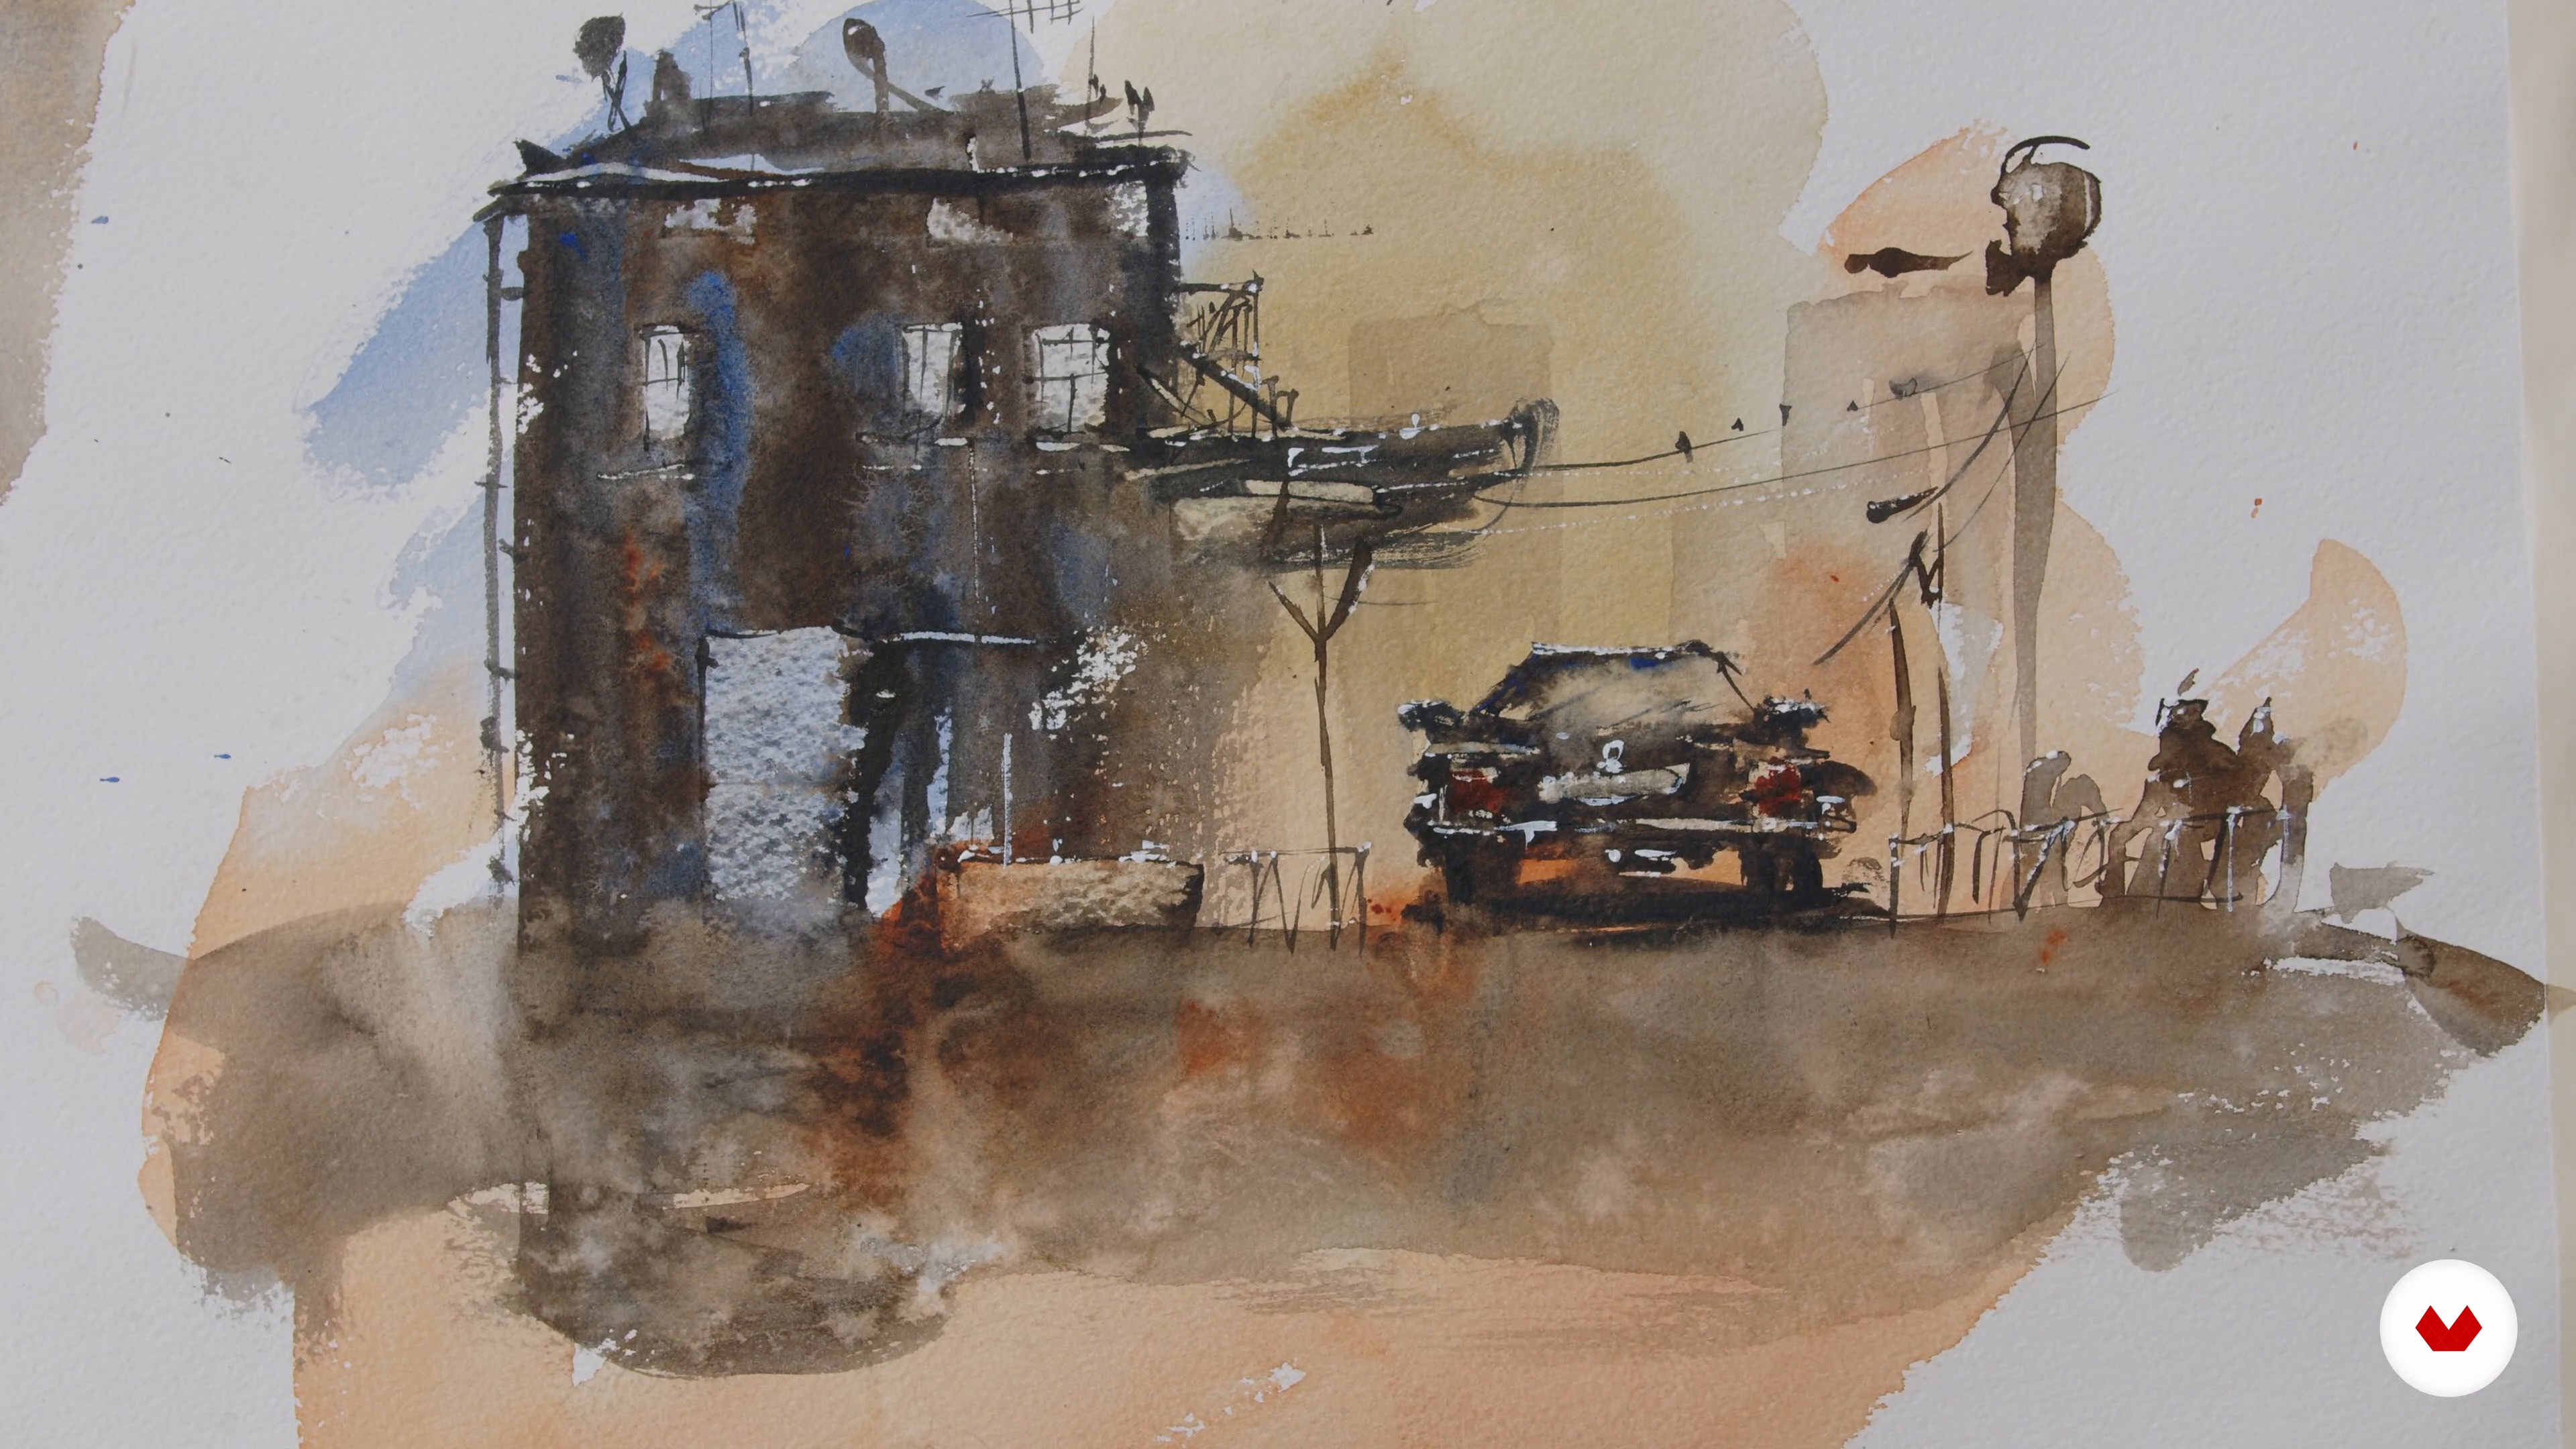
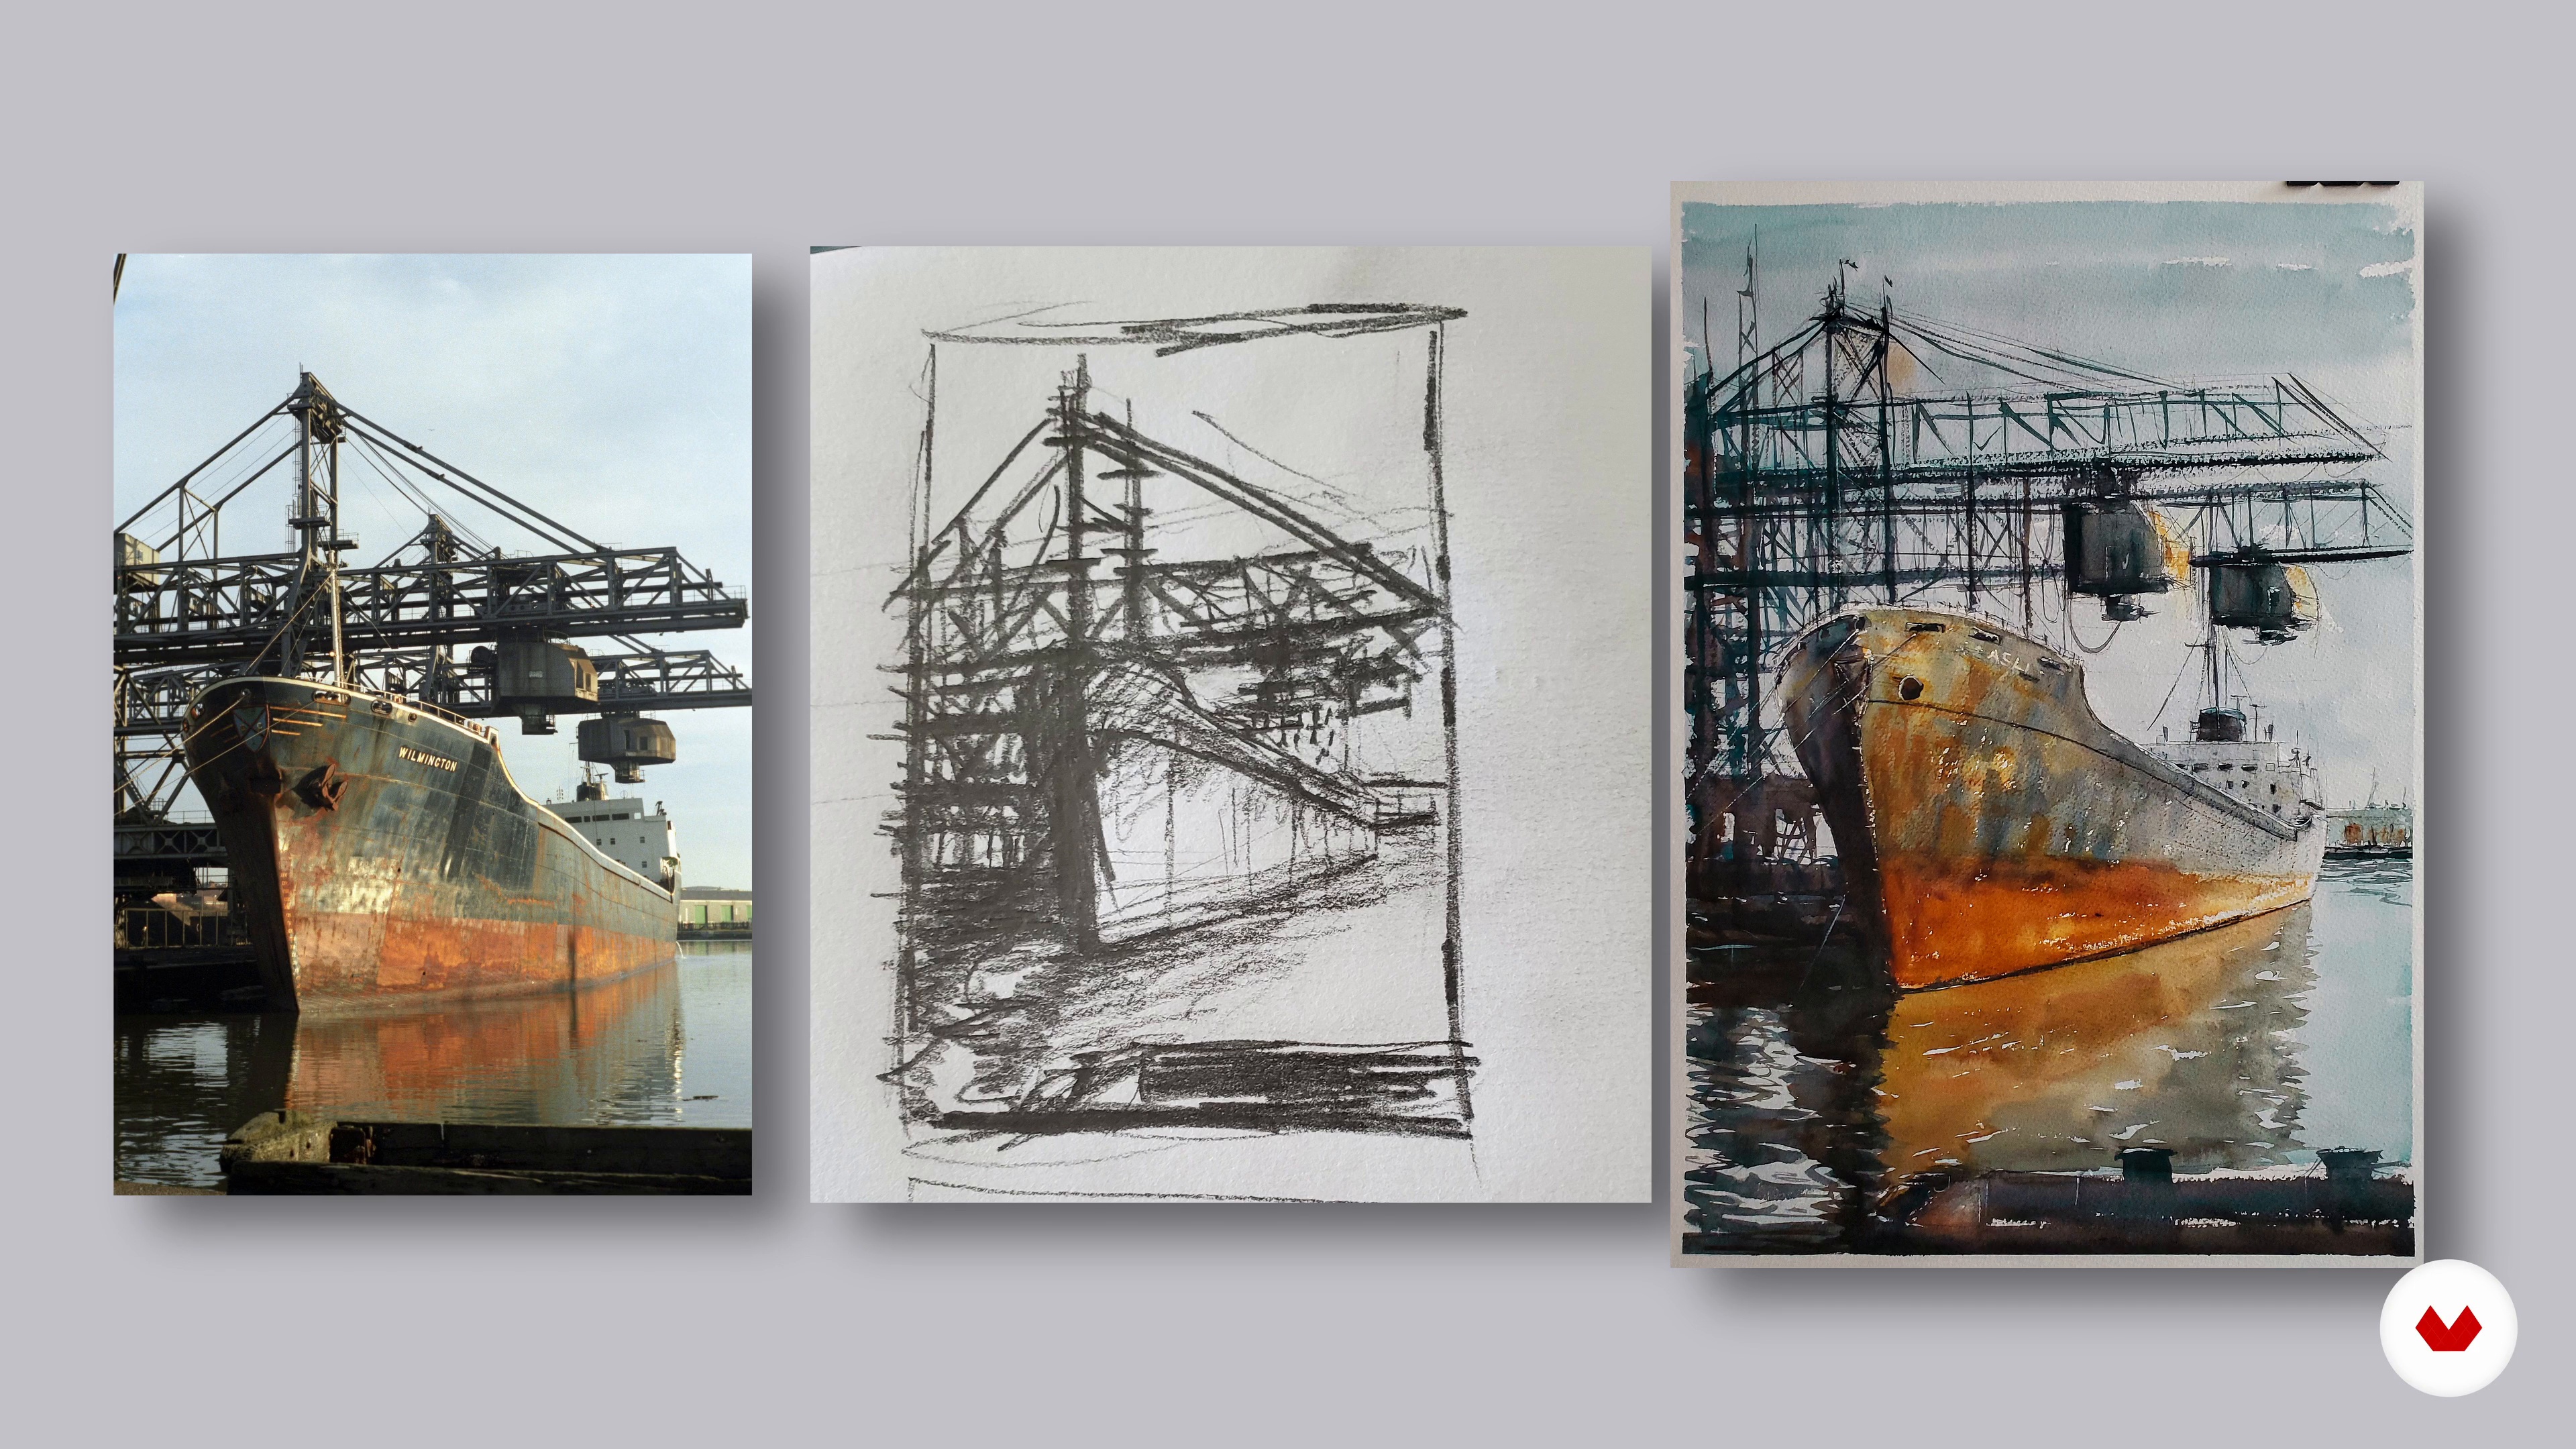
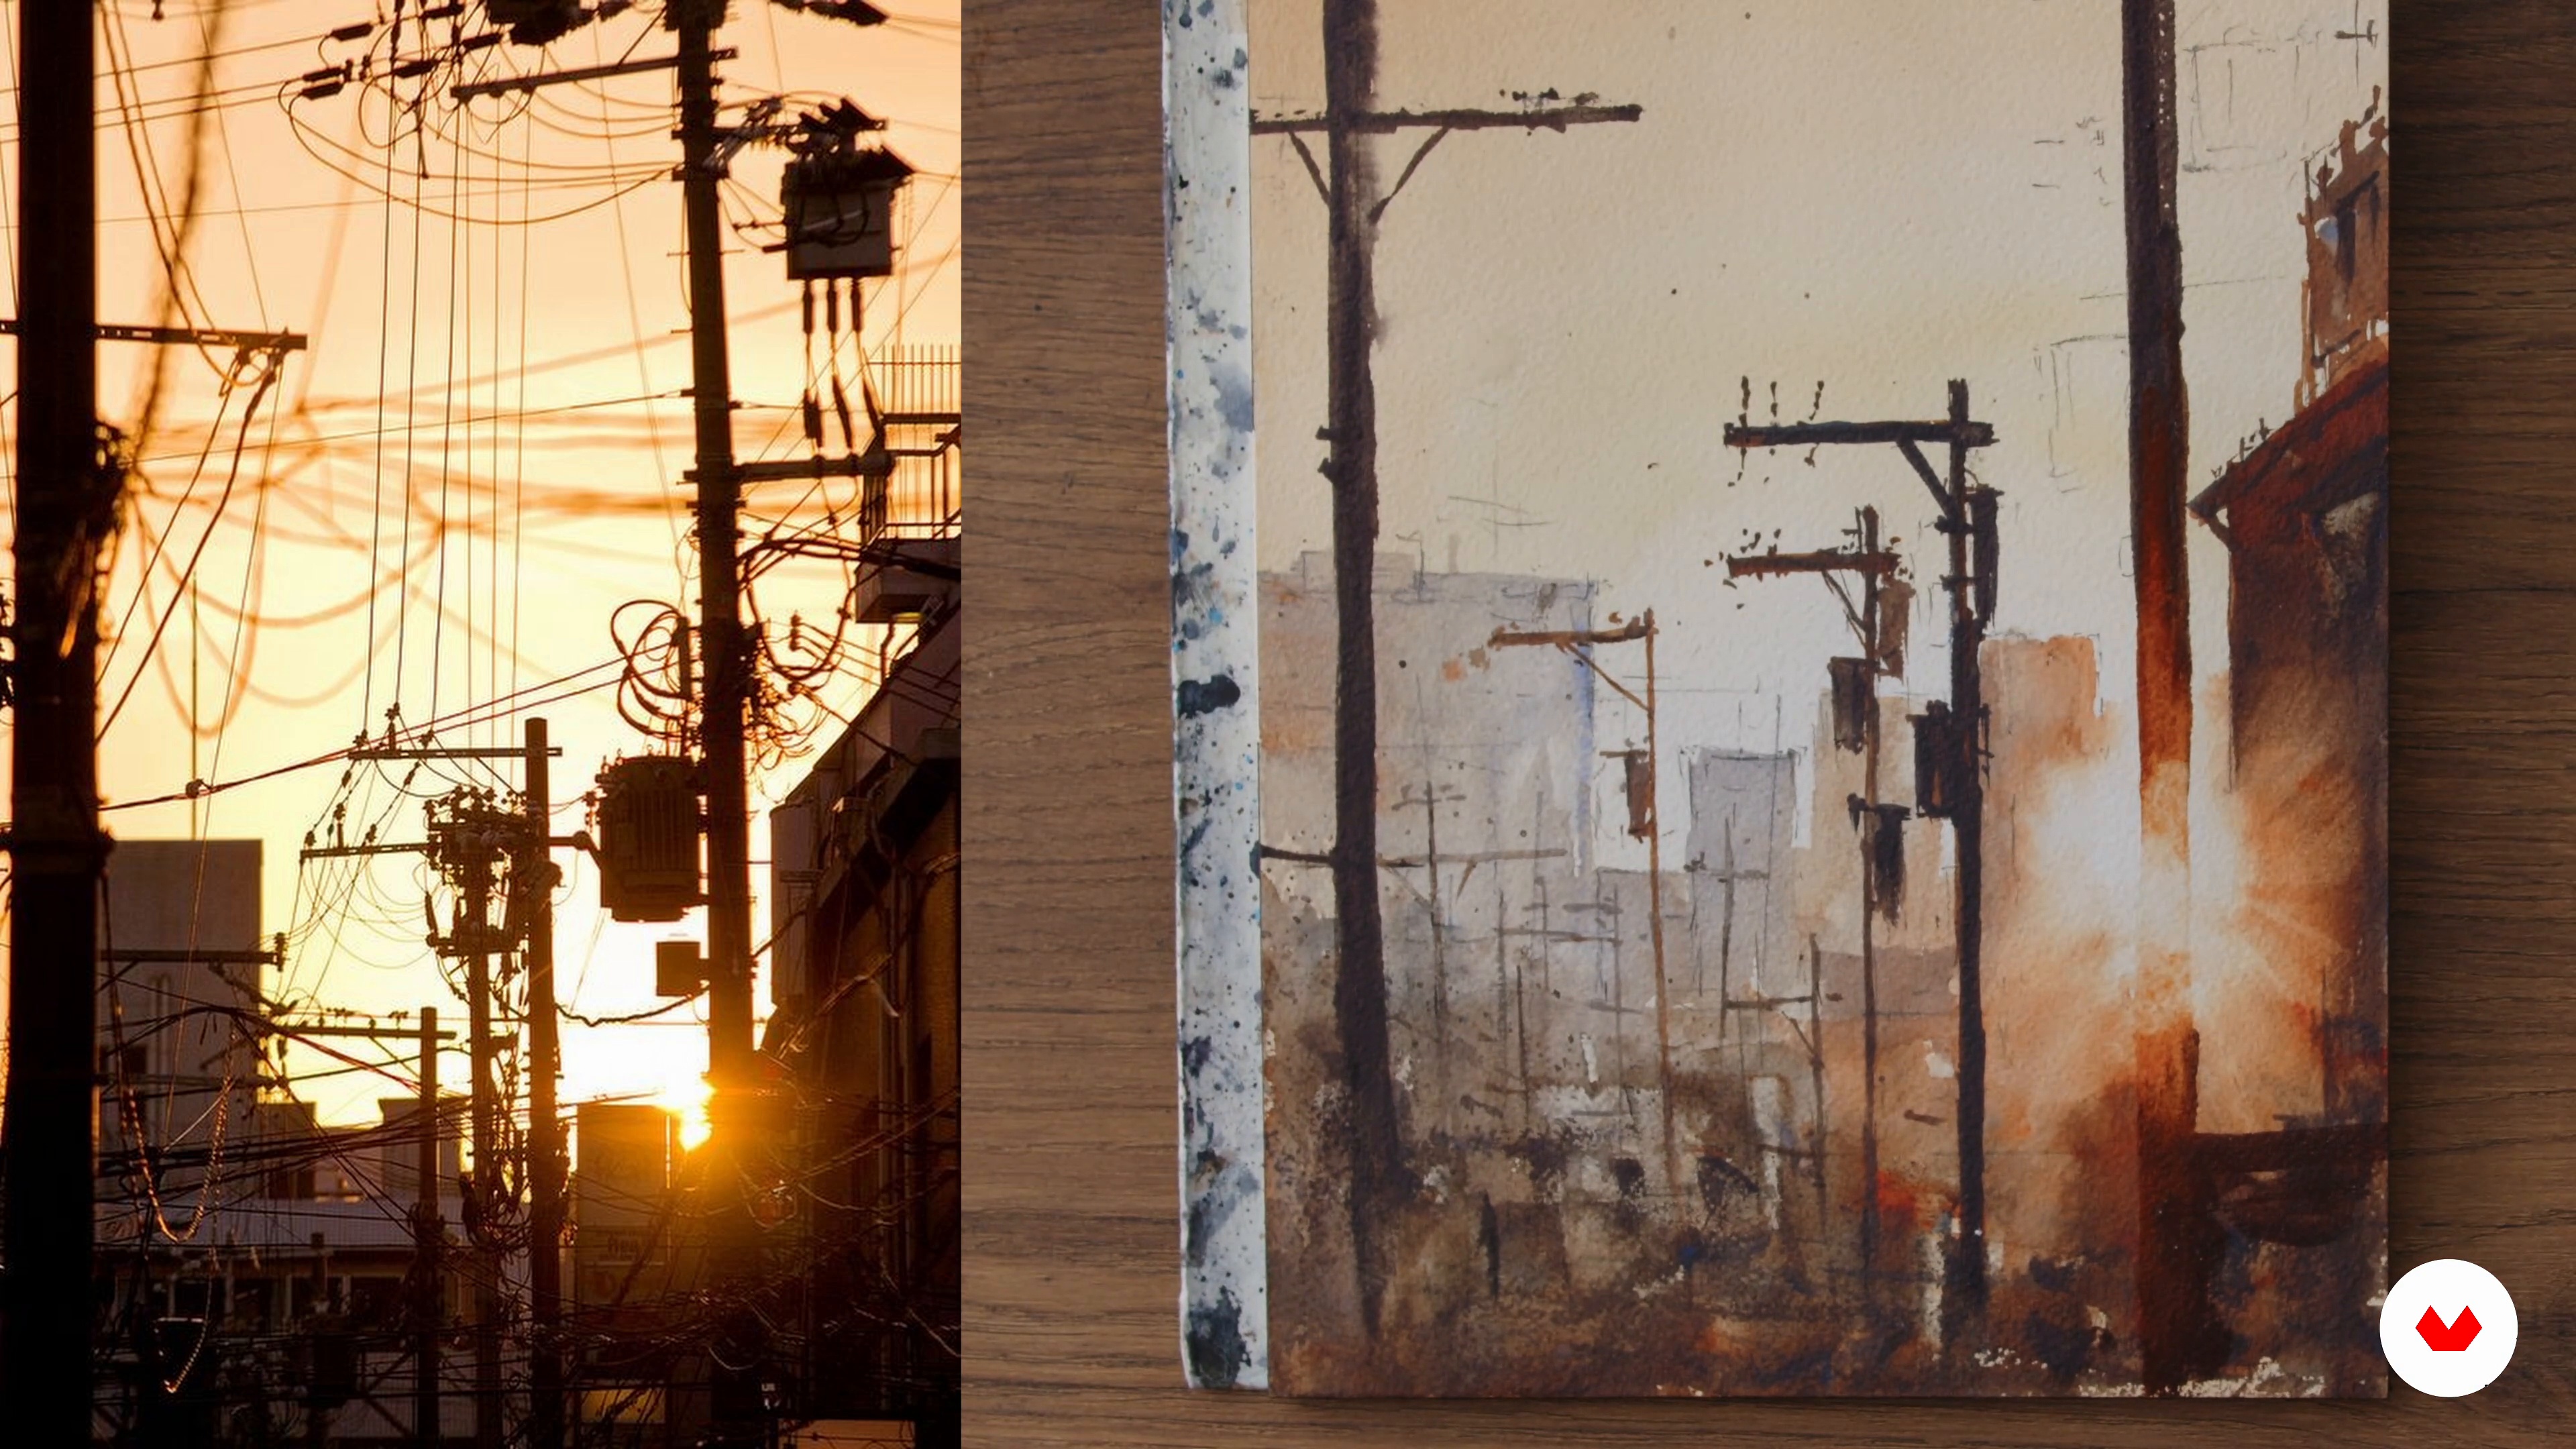
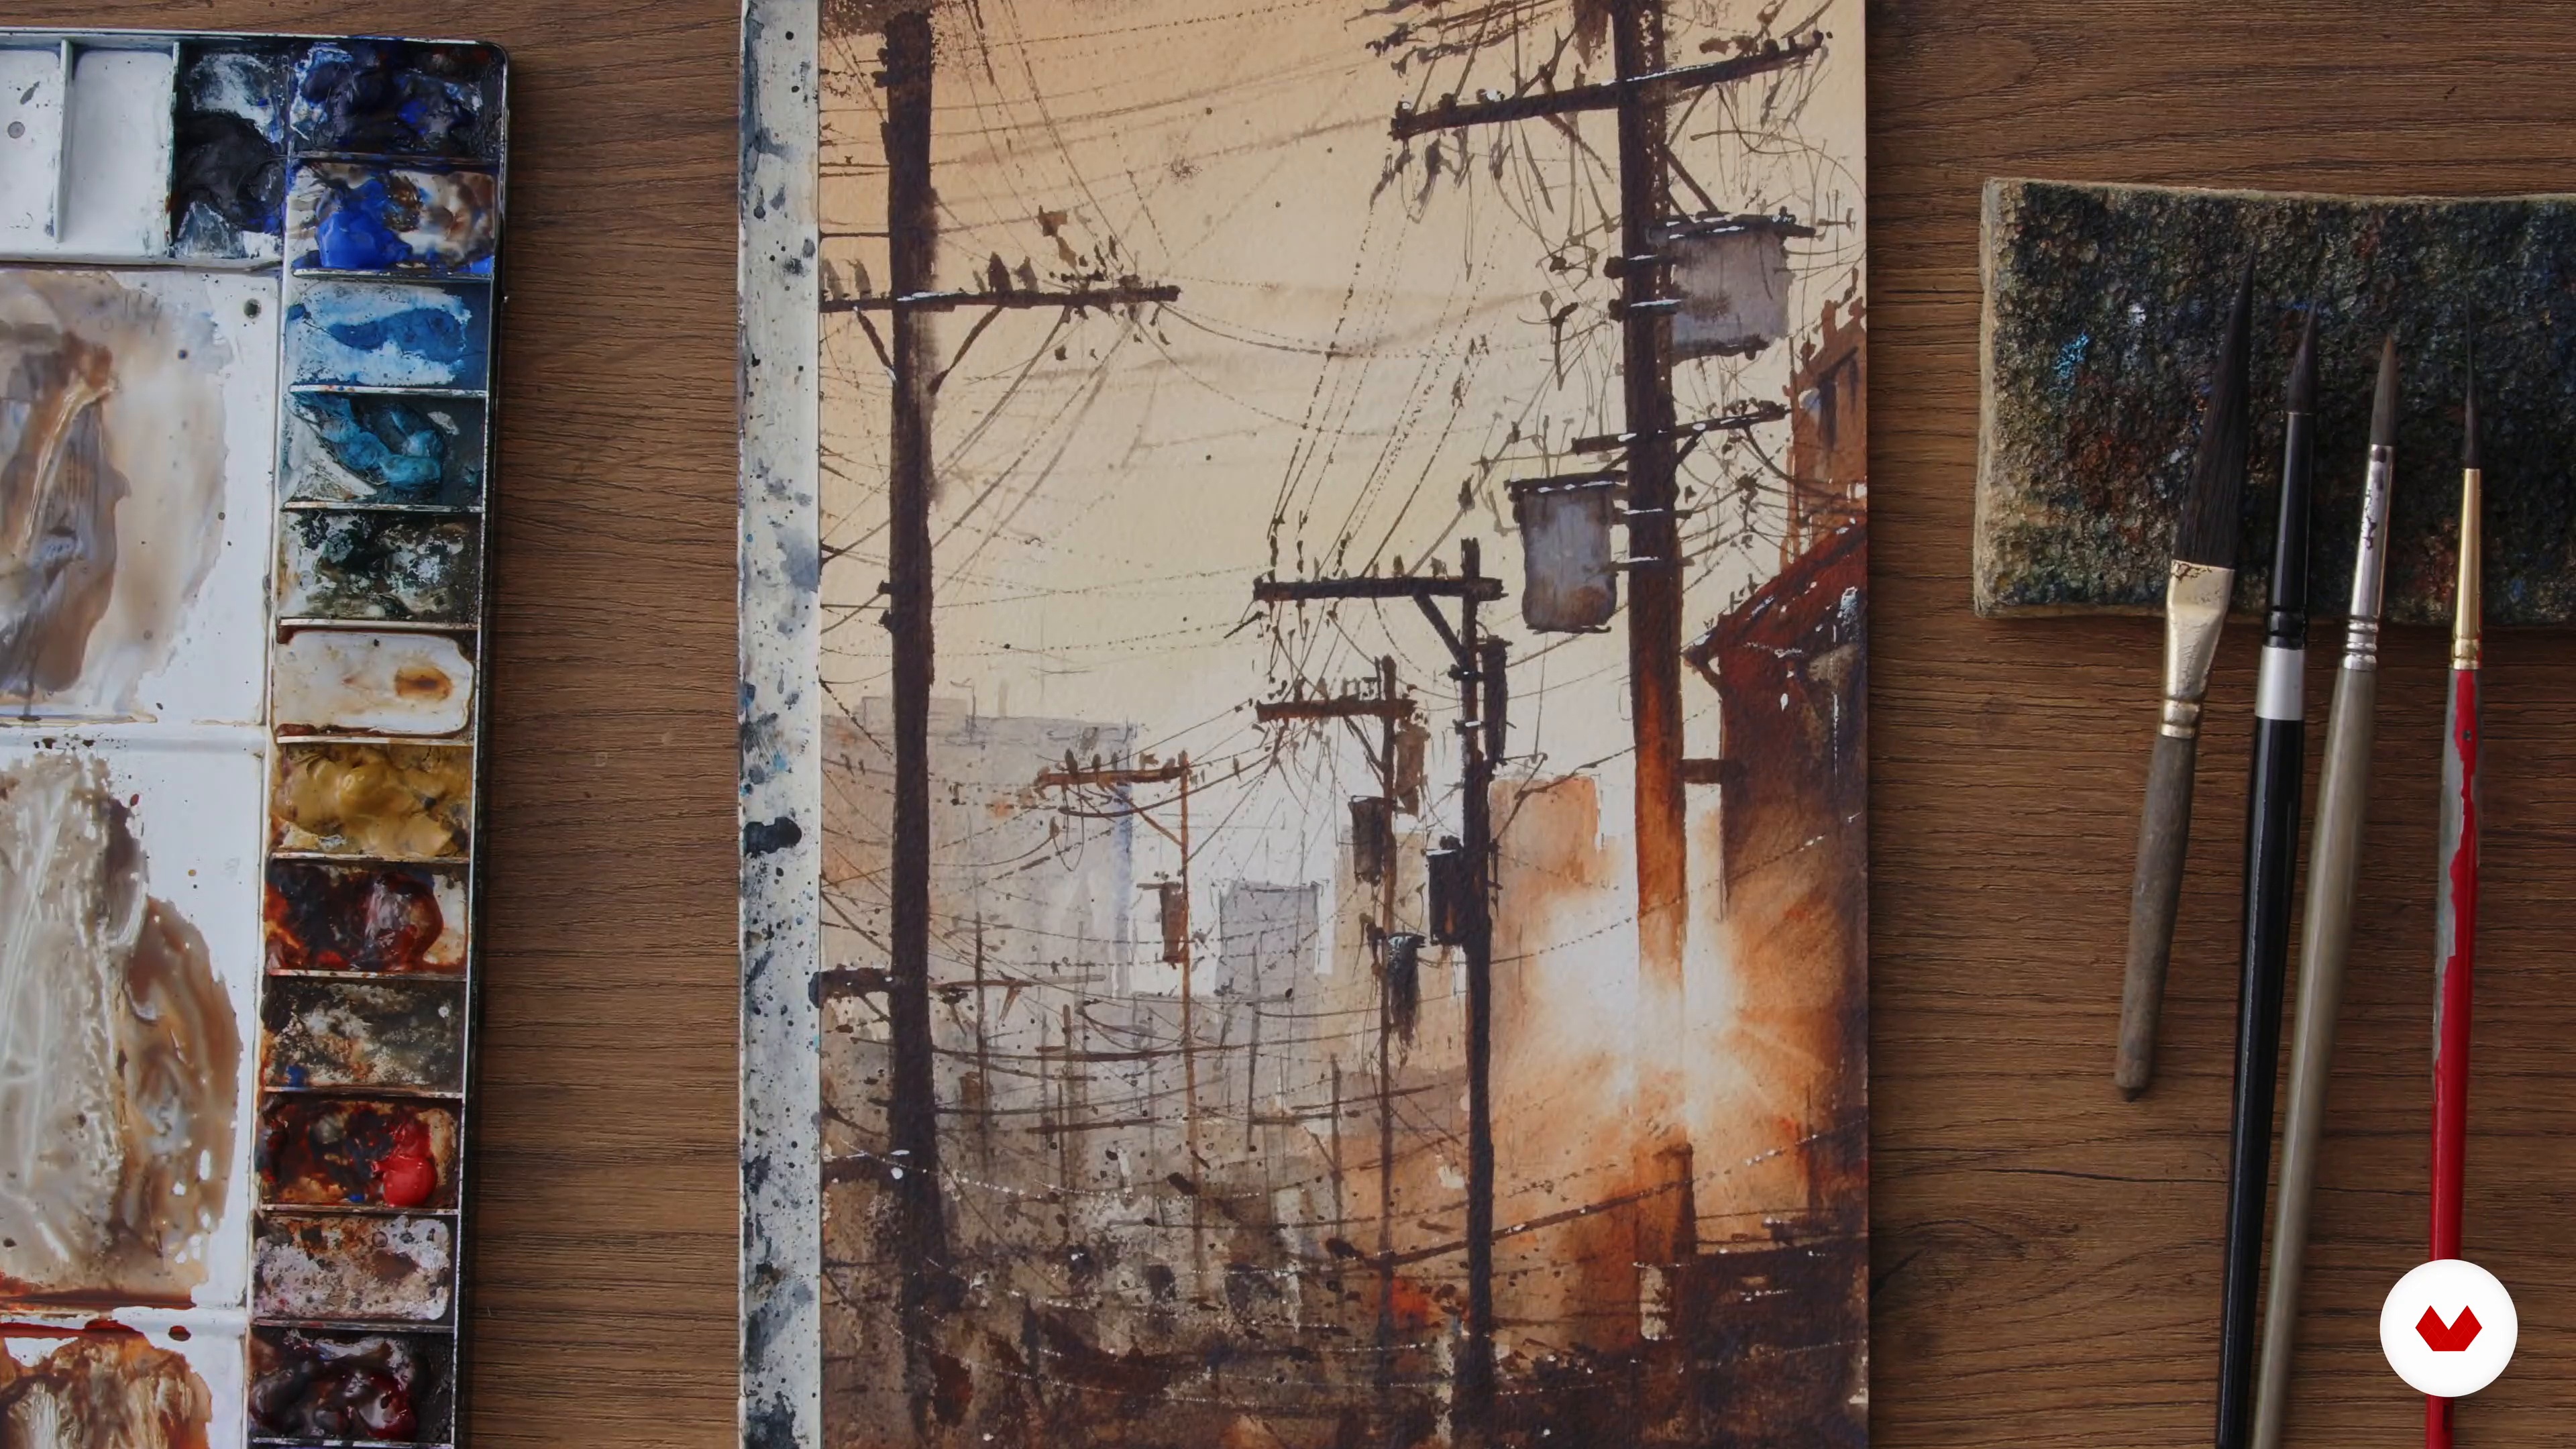
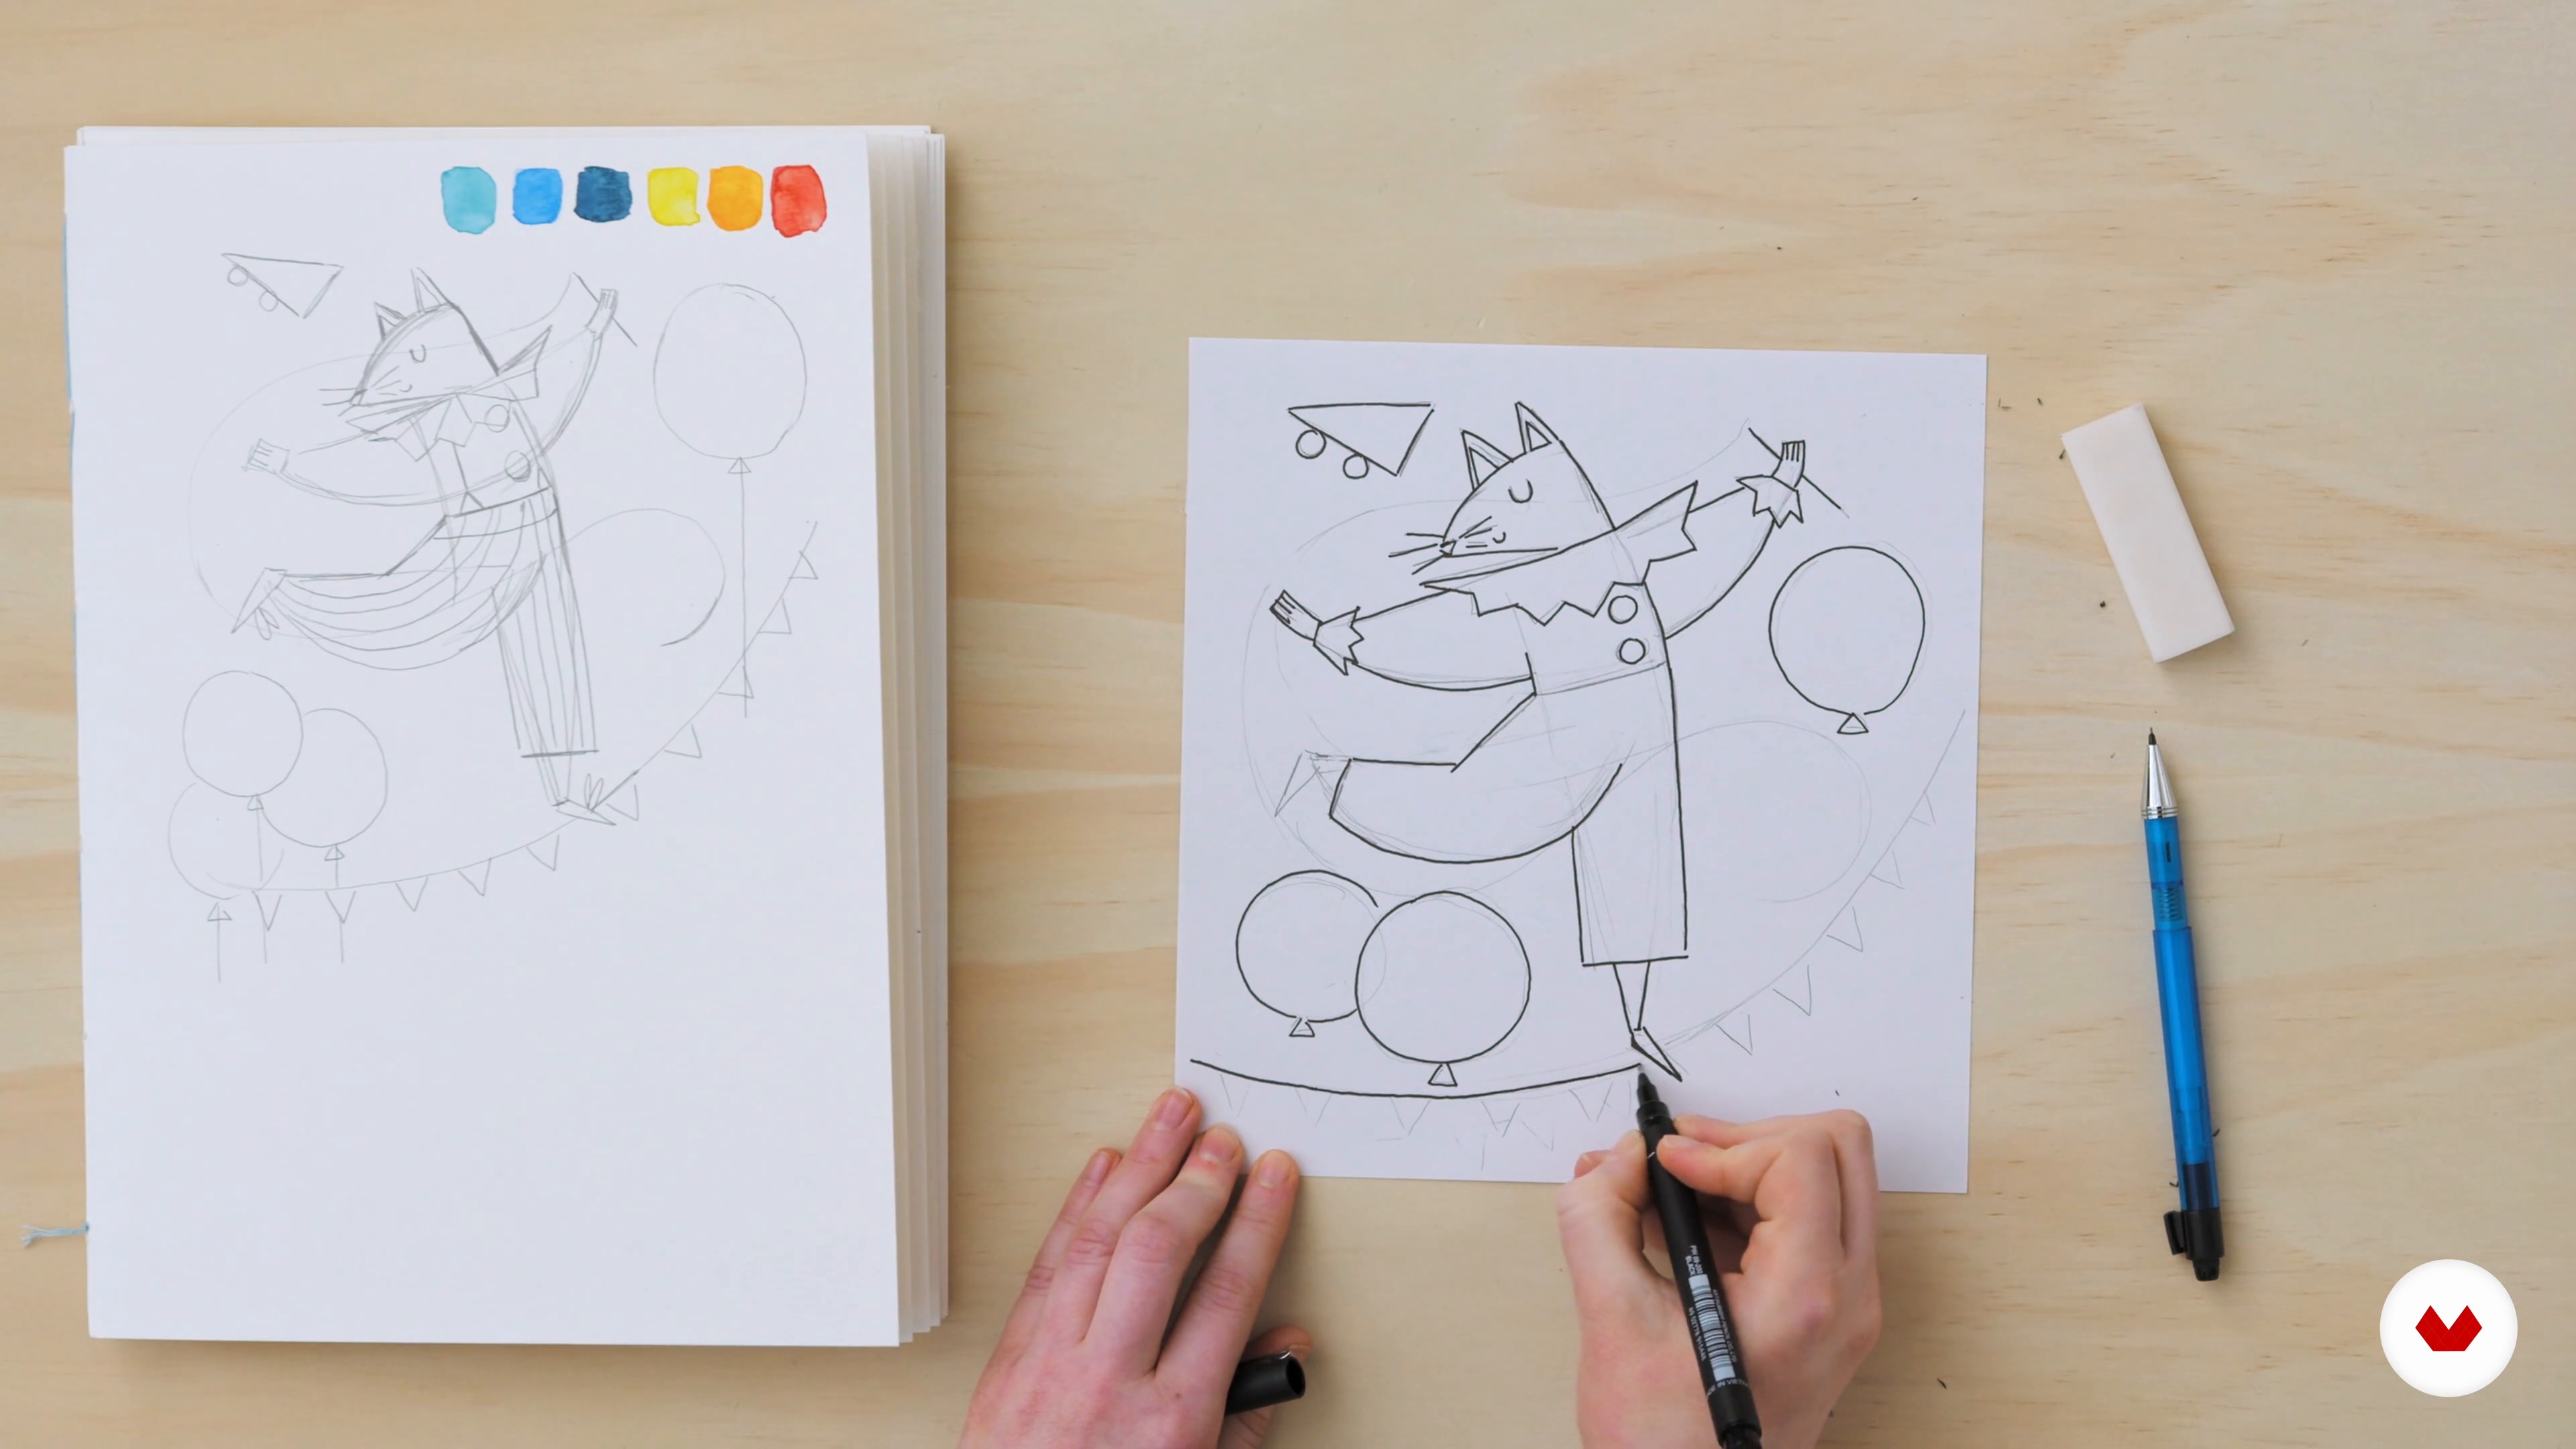
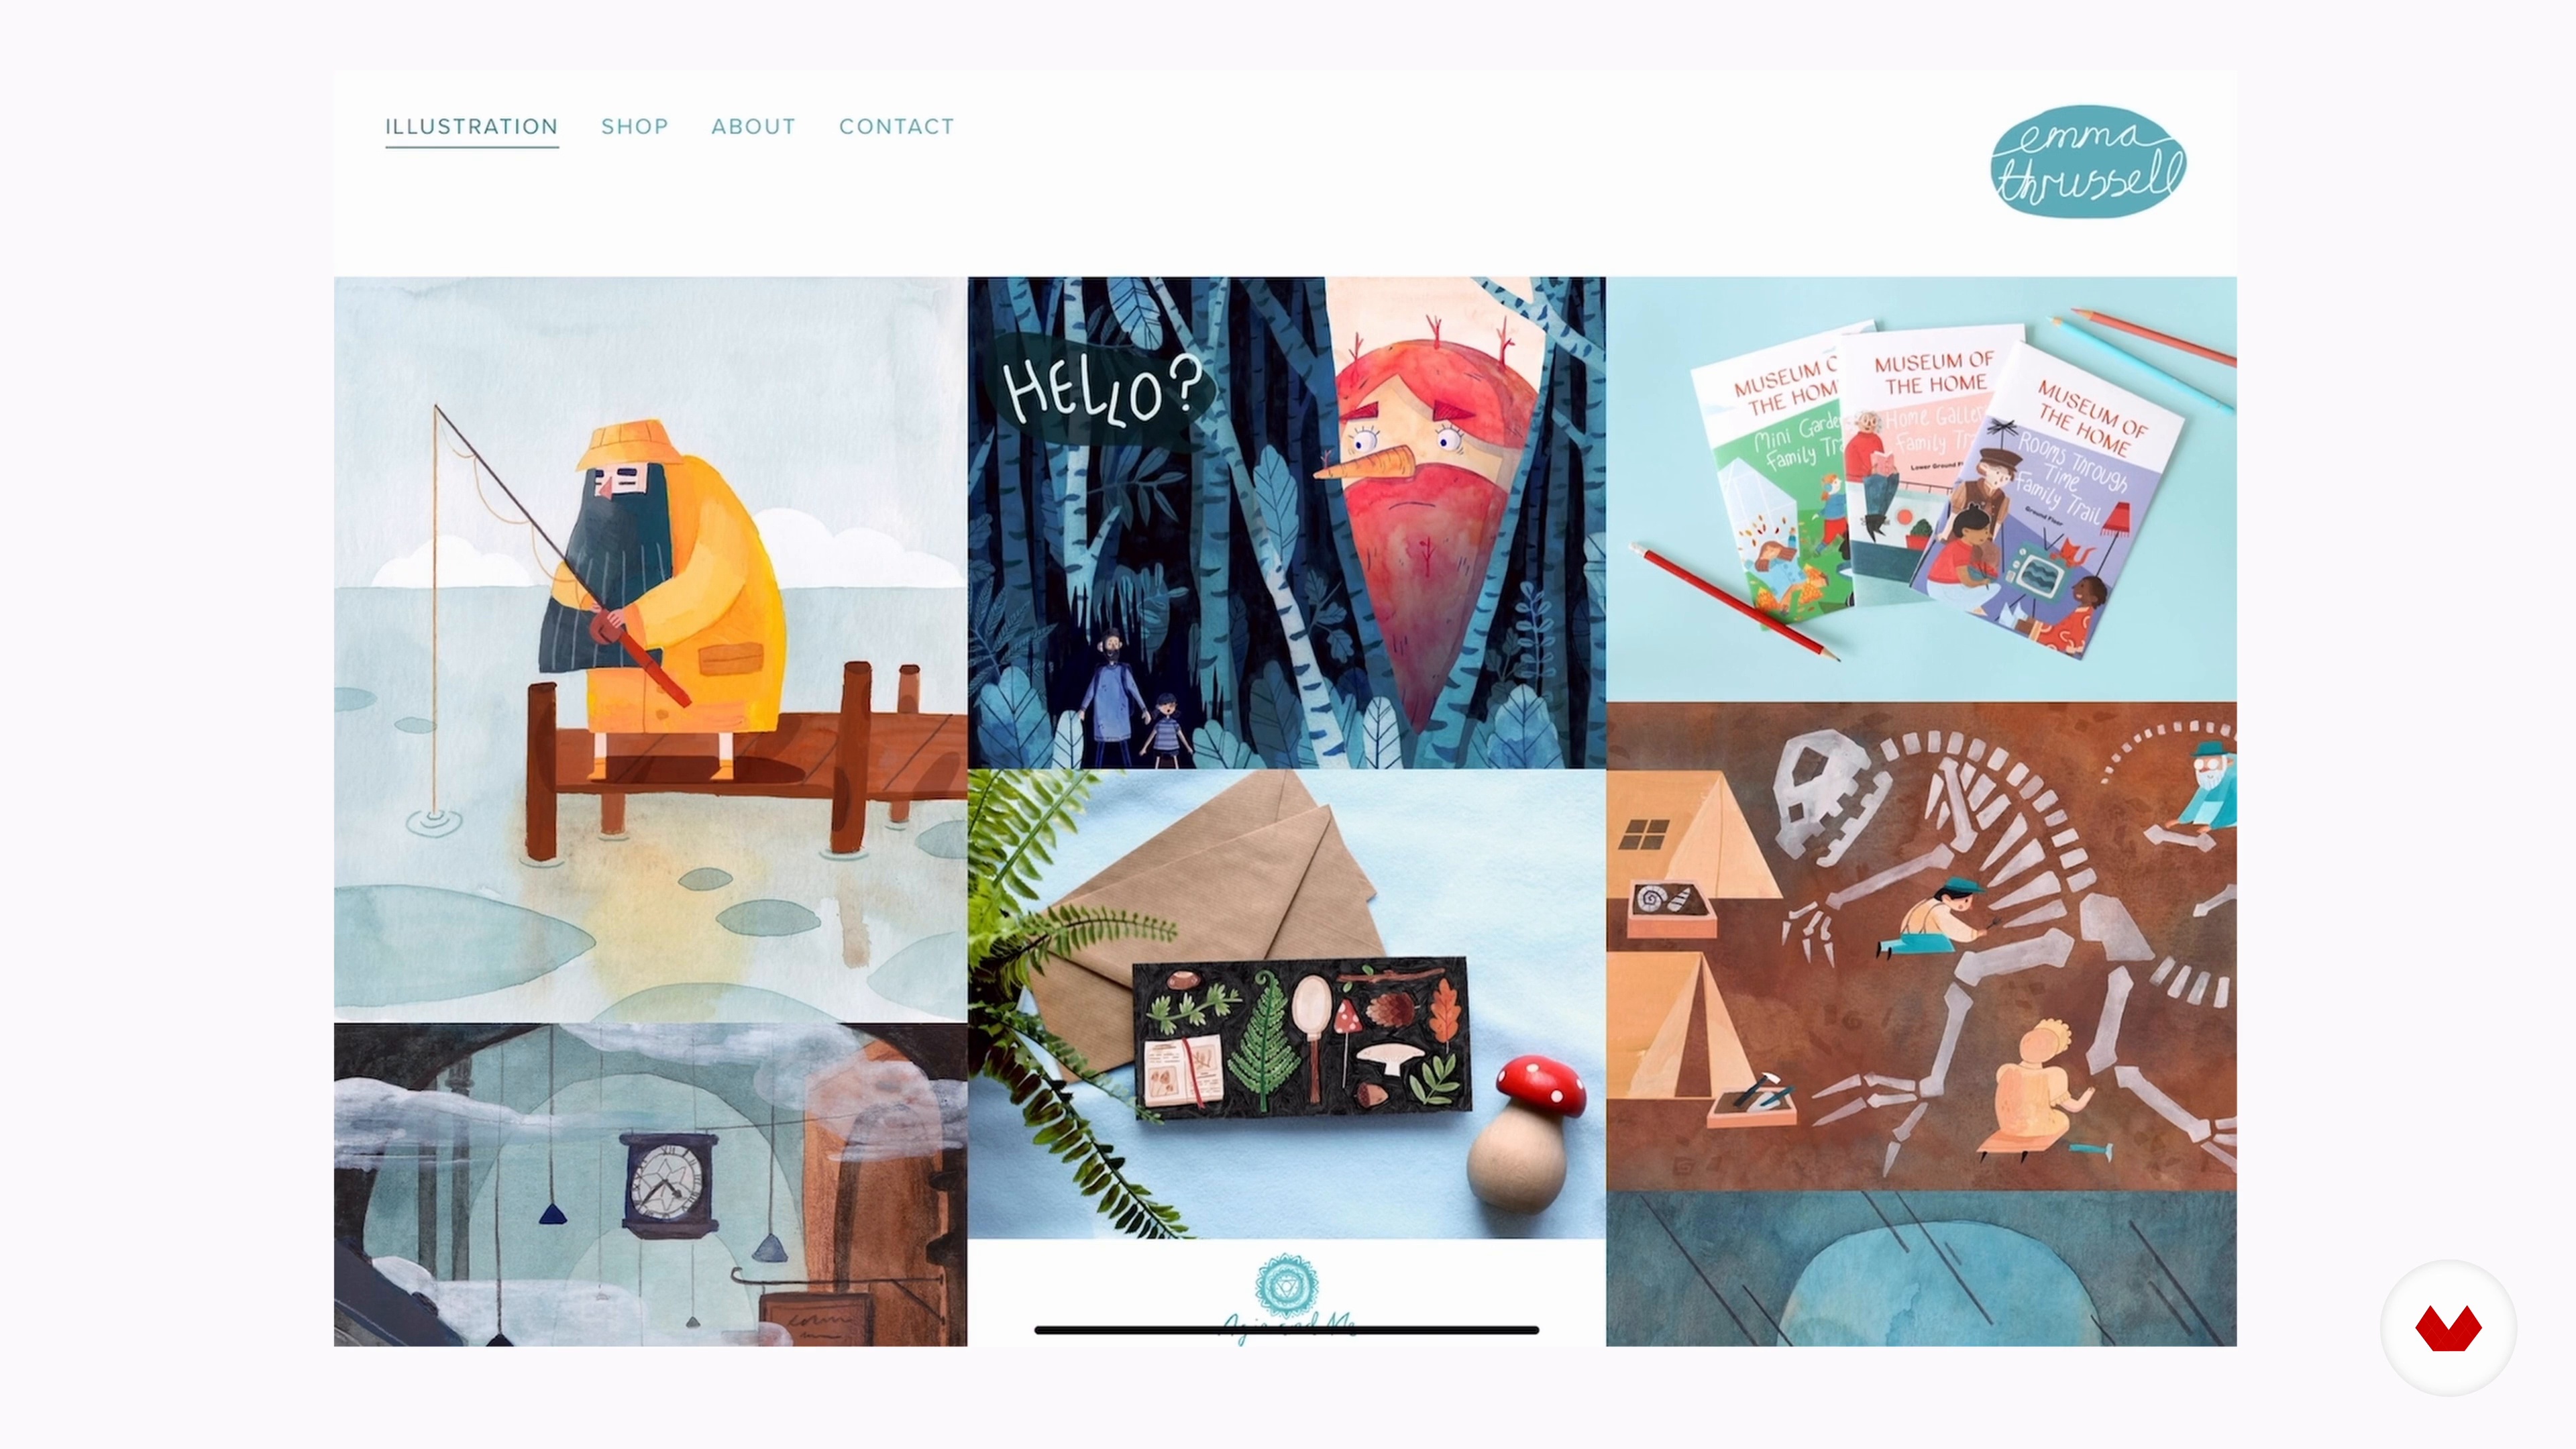
Expand your skills with Urban Anna, as you explore urban landscapes, capturing the unique atmosphere of your city with dynamic compositions and perspective. Emma Thrussell will help you bring imaginative characters to life, blending storytelling with watercolor techniques. Finally, Reha Sakar introduces you to advanced expressive watercolor painting, encouraging you to experiment and create compelling illustrations with strong visual narratives. This program offers a rich tapestry of experiences and techniques, enabling you to develop your personal style and artistic voice.

Read more ↓

What will you learn in this specialization?

A total of 12 modules and 80 lessons
A total of 17h 7m of vídeo lessons
Taught by 6 selected expert teachers
image
1
Introduction
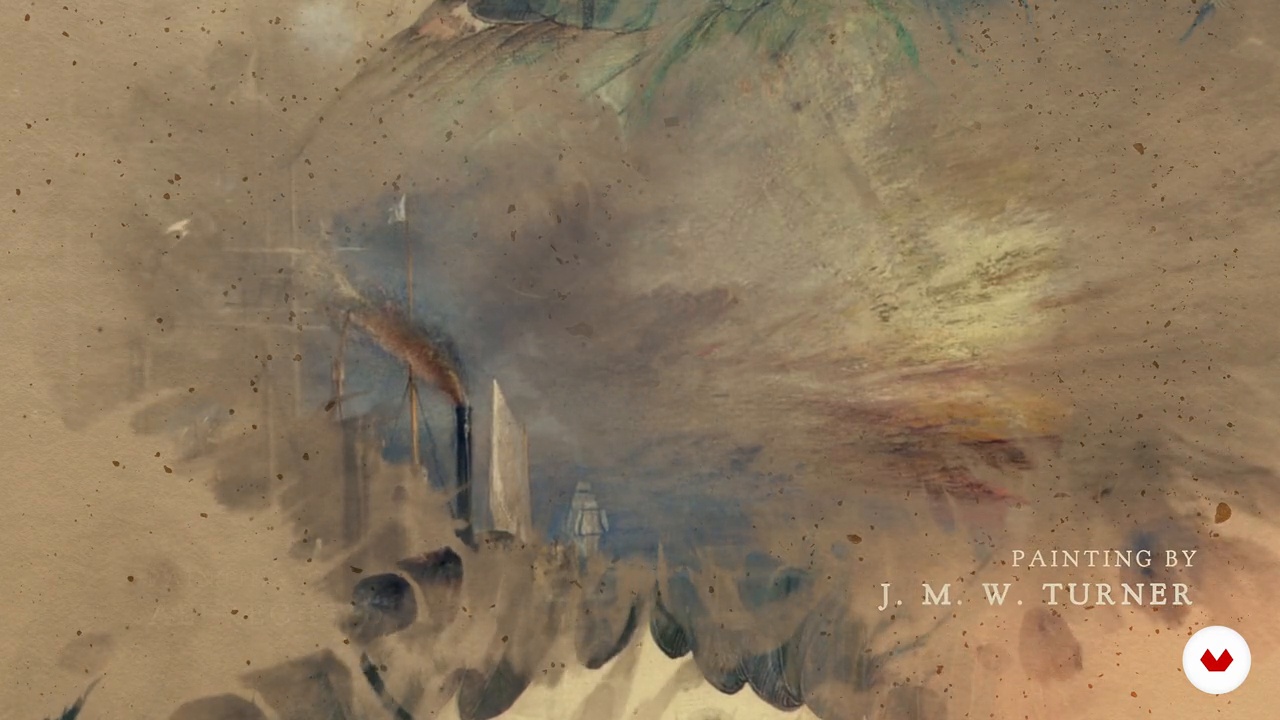
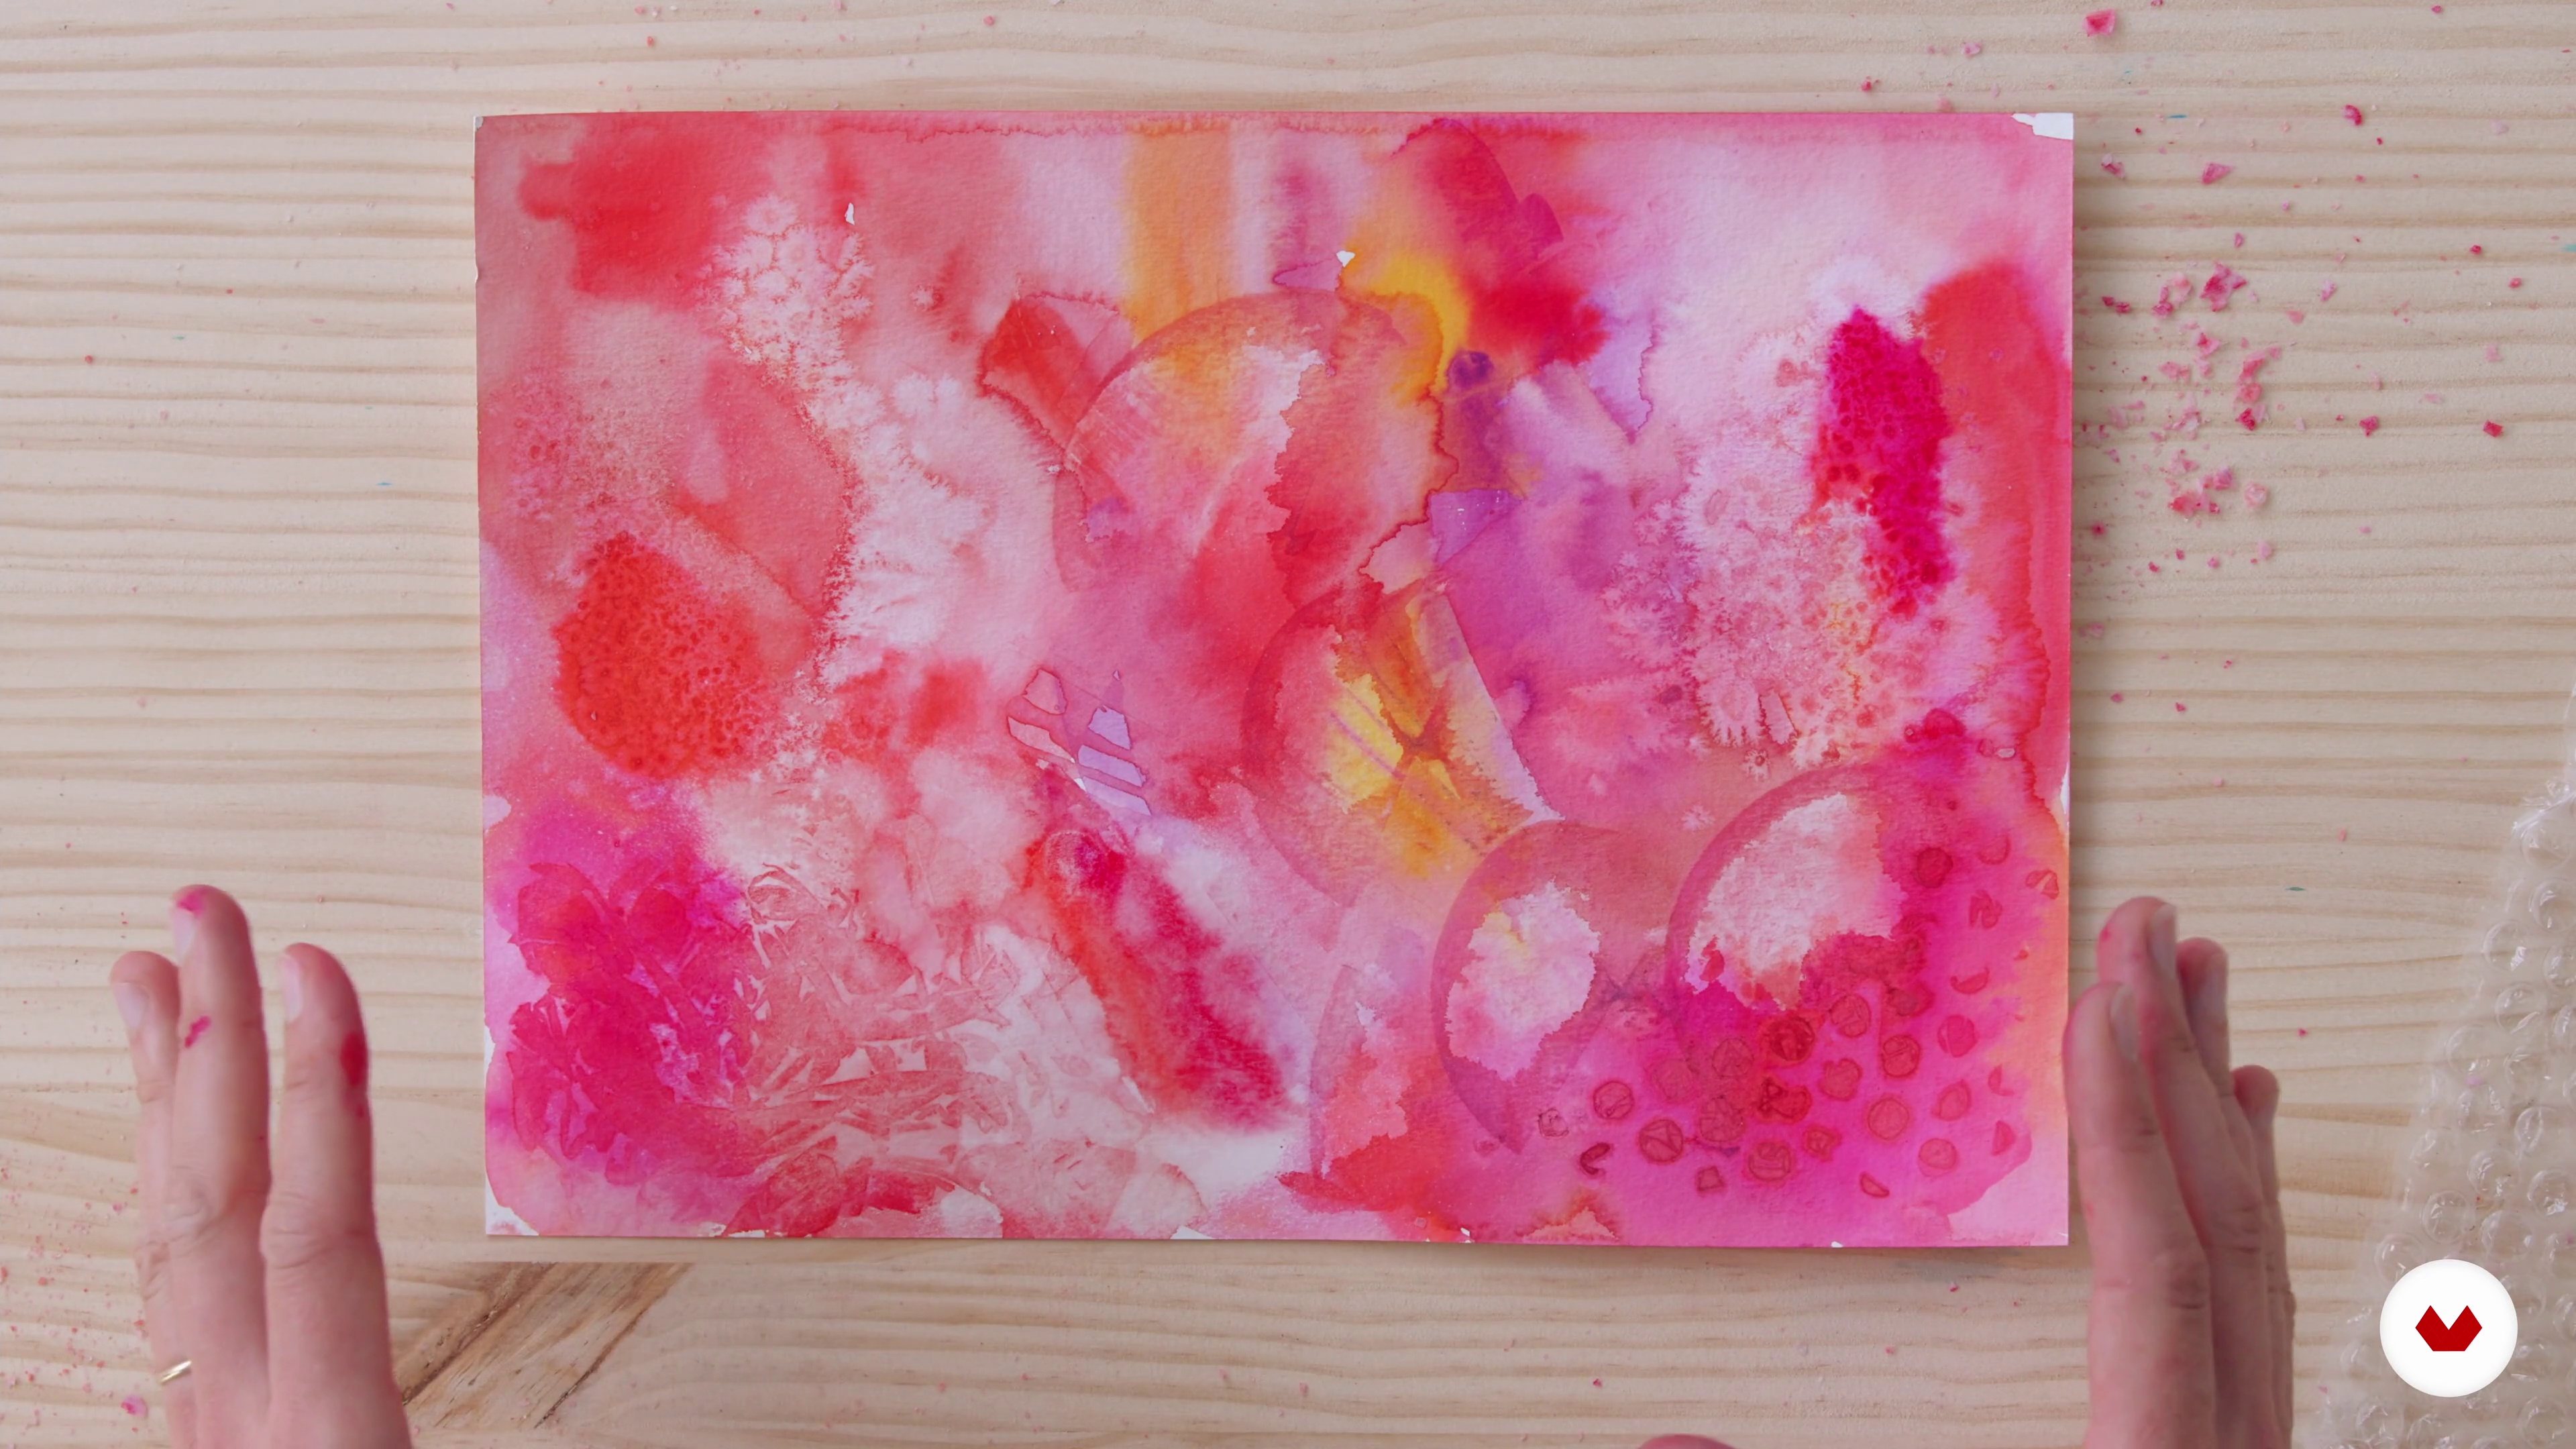
Watercolor is a dynamic and expressive medium, blending tradition with spontaneity. You will explore its rich history, from ancient manuscripts to modern artistry, and learn how transparency, layering, and natural forces shape each piece. Embrace both control and unpredictability, using watercolor to transform simple subjects into vibrant, personal works of art.
1m
image
2
Inspiration / Laura McKendry
In this lesson I’ll share some of the other artists and creatives whose work inspires me - and I hope will inspire you too!
10m
image
3
Inspiration / Julia Trickey
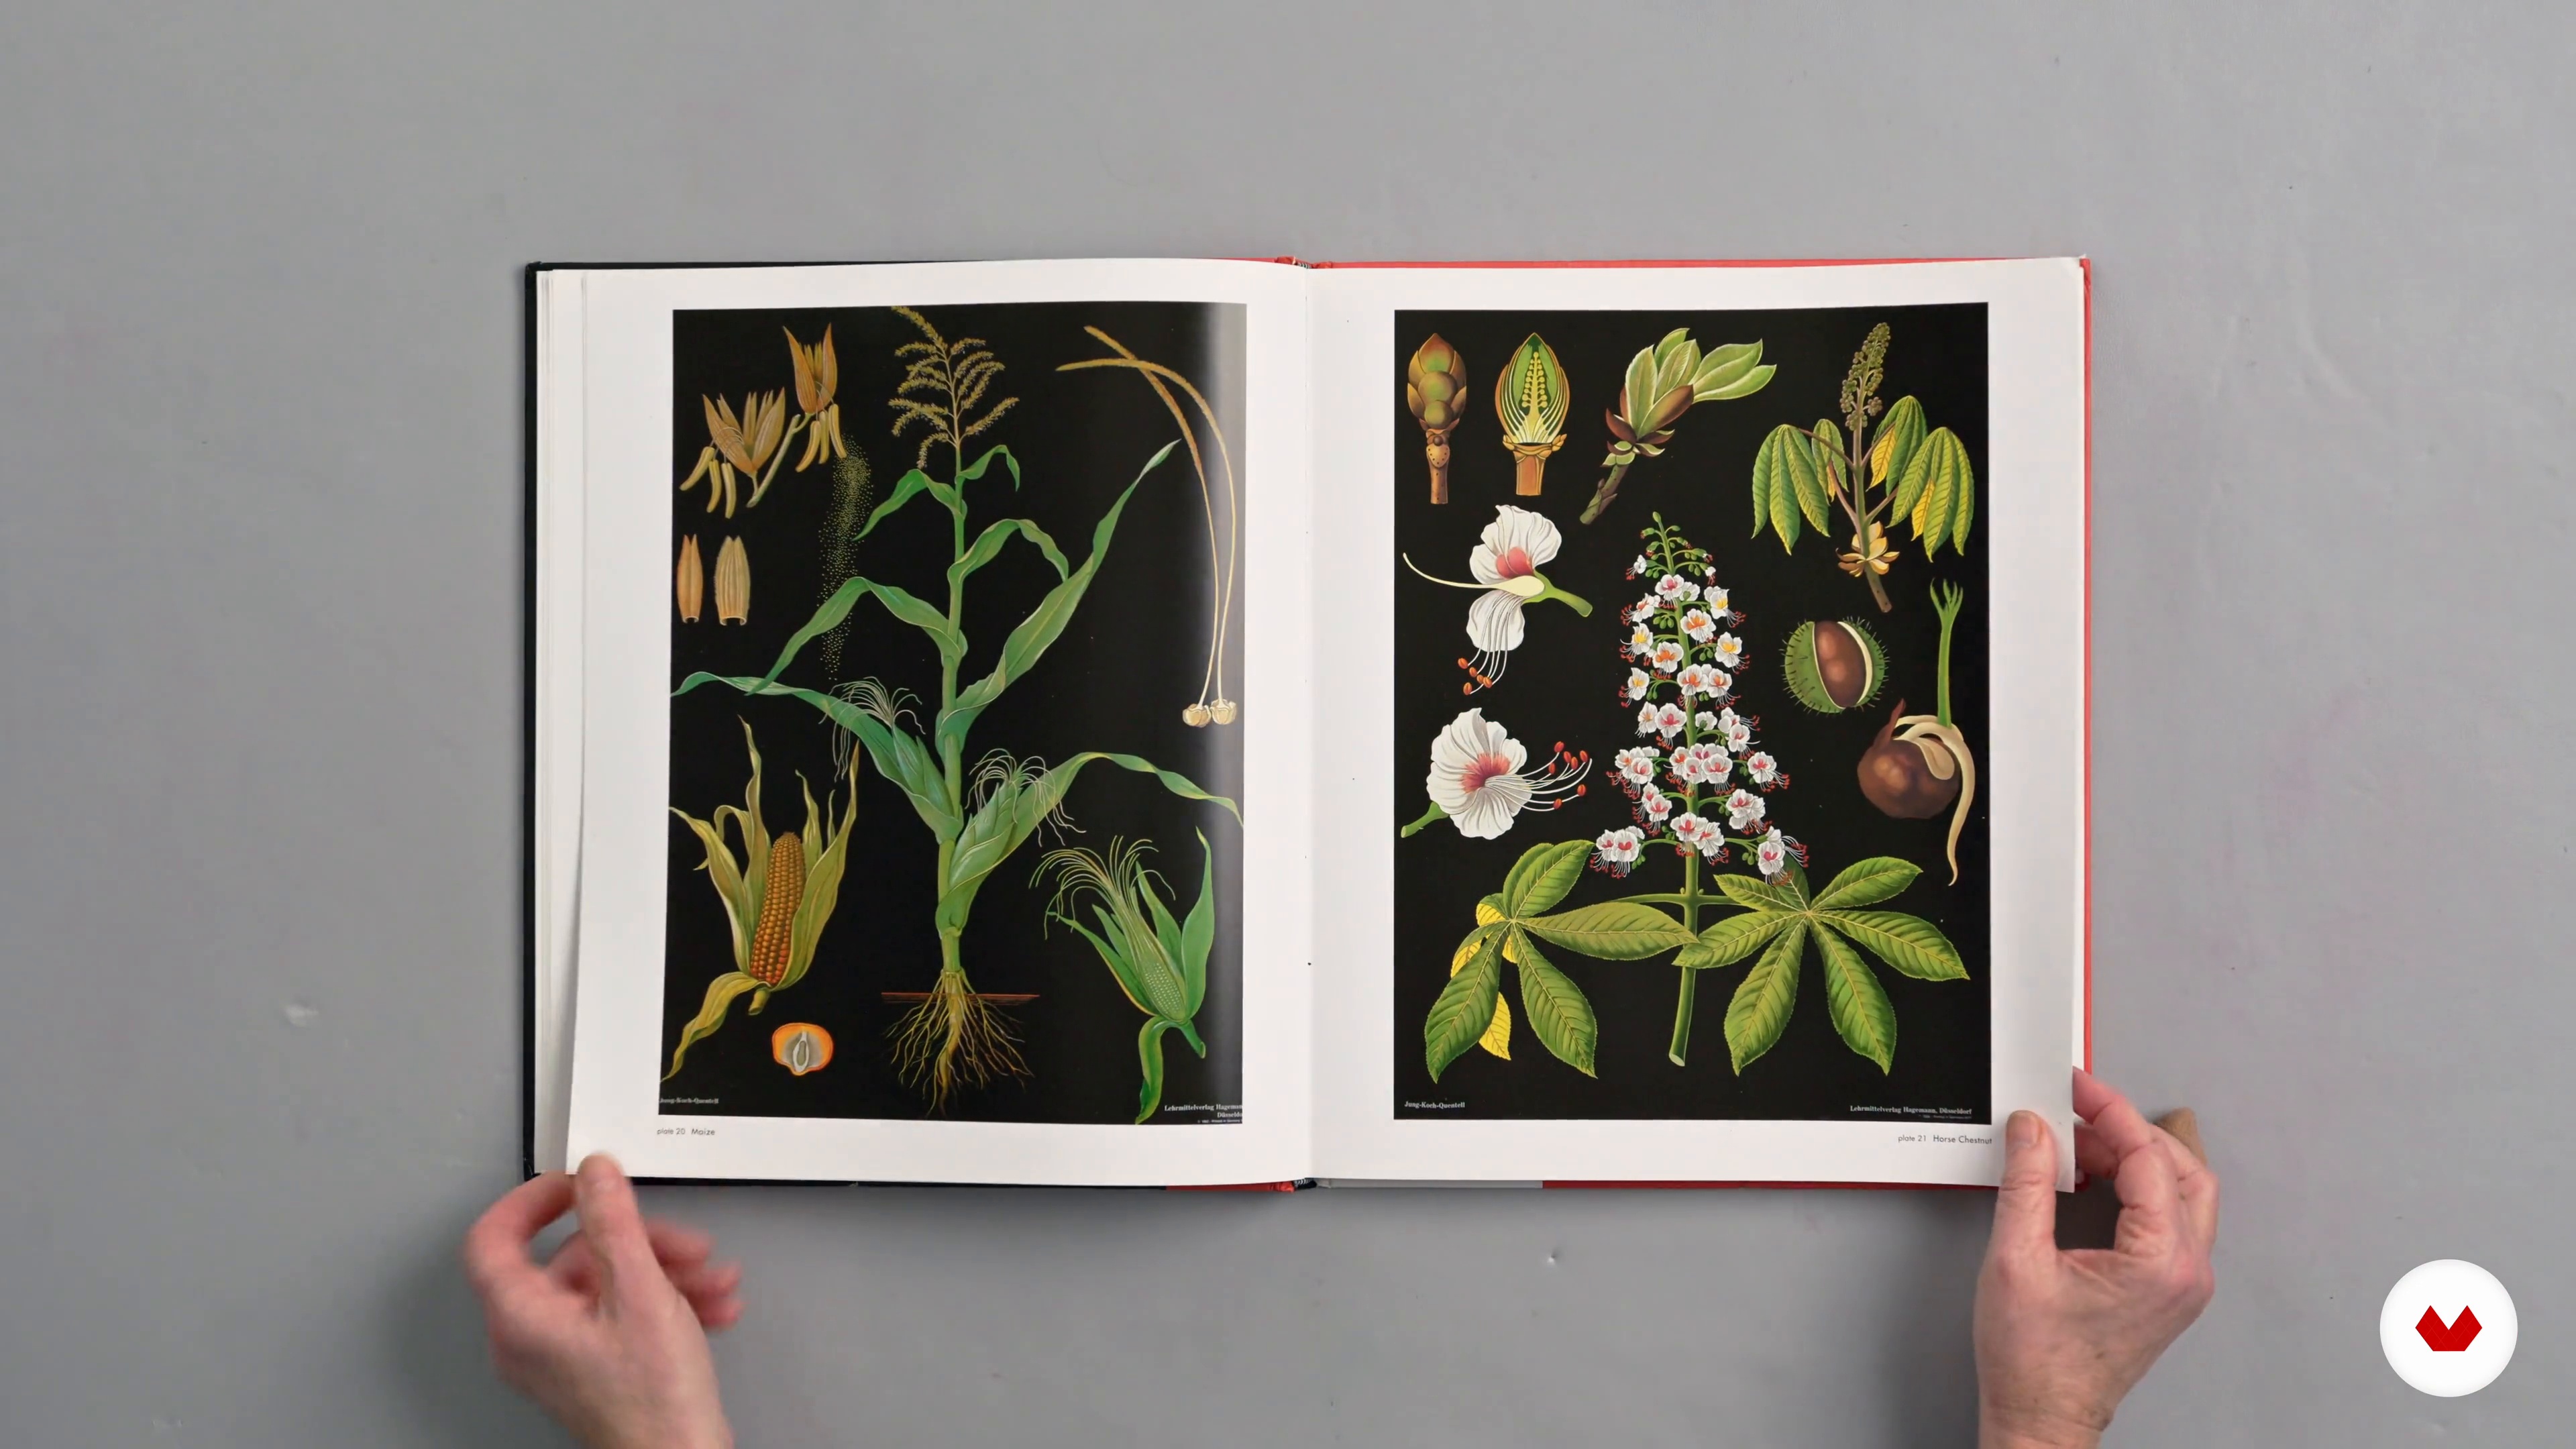
There has always been a demand for accurate portrayals of plants to aid identification, given their use for medicinal purposes and for dyeing fabrics. Although Botanical Art as an art form goes back hundreds of years, there are many contemporary botanical artists still painting in this realistic style. Here I will introduce you to some of my favourites and explain what I admire about their work.
7m
image
4
Inspiration / Sarah Stokes
In this lesson, I will share some of the artists and conservationists that have influenced my work.
9m
image
5
Inspiration / Urban Anna
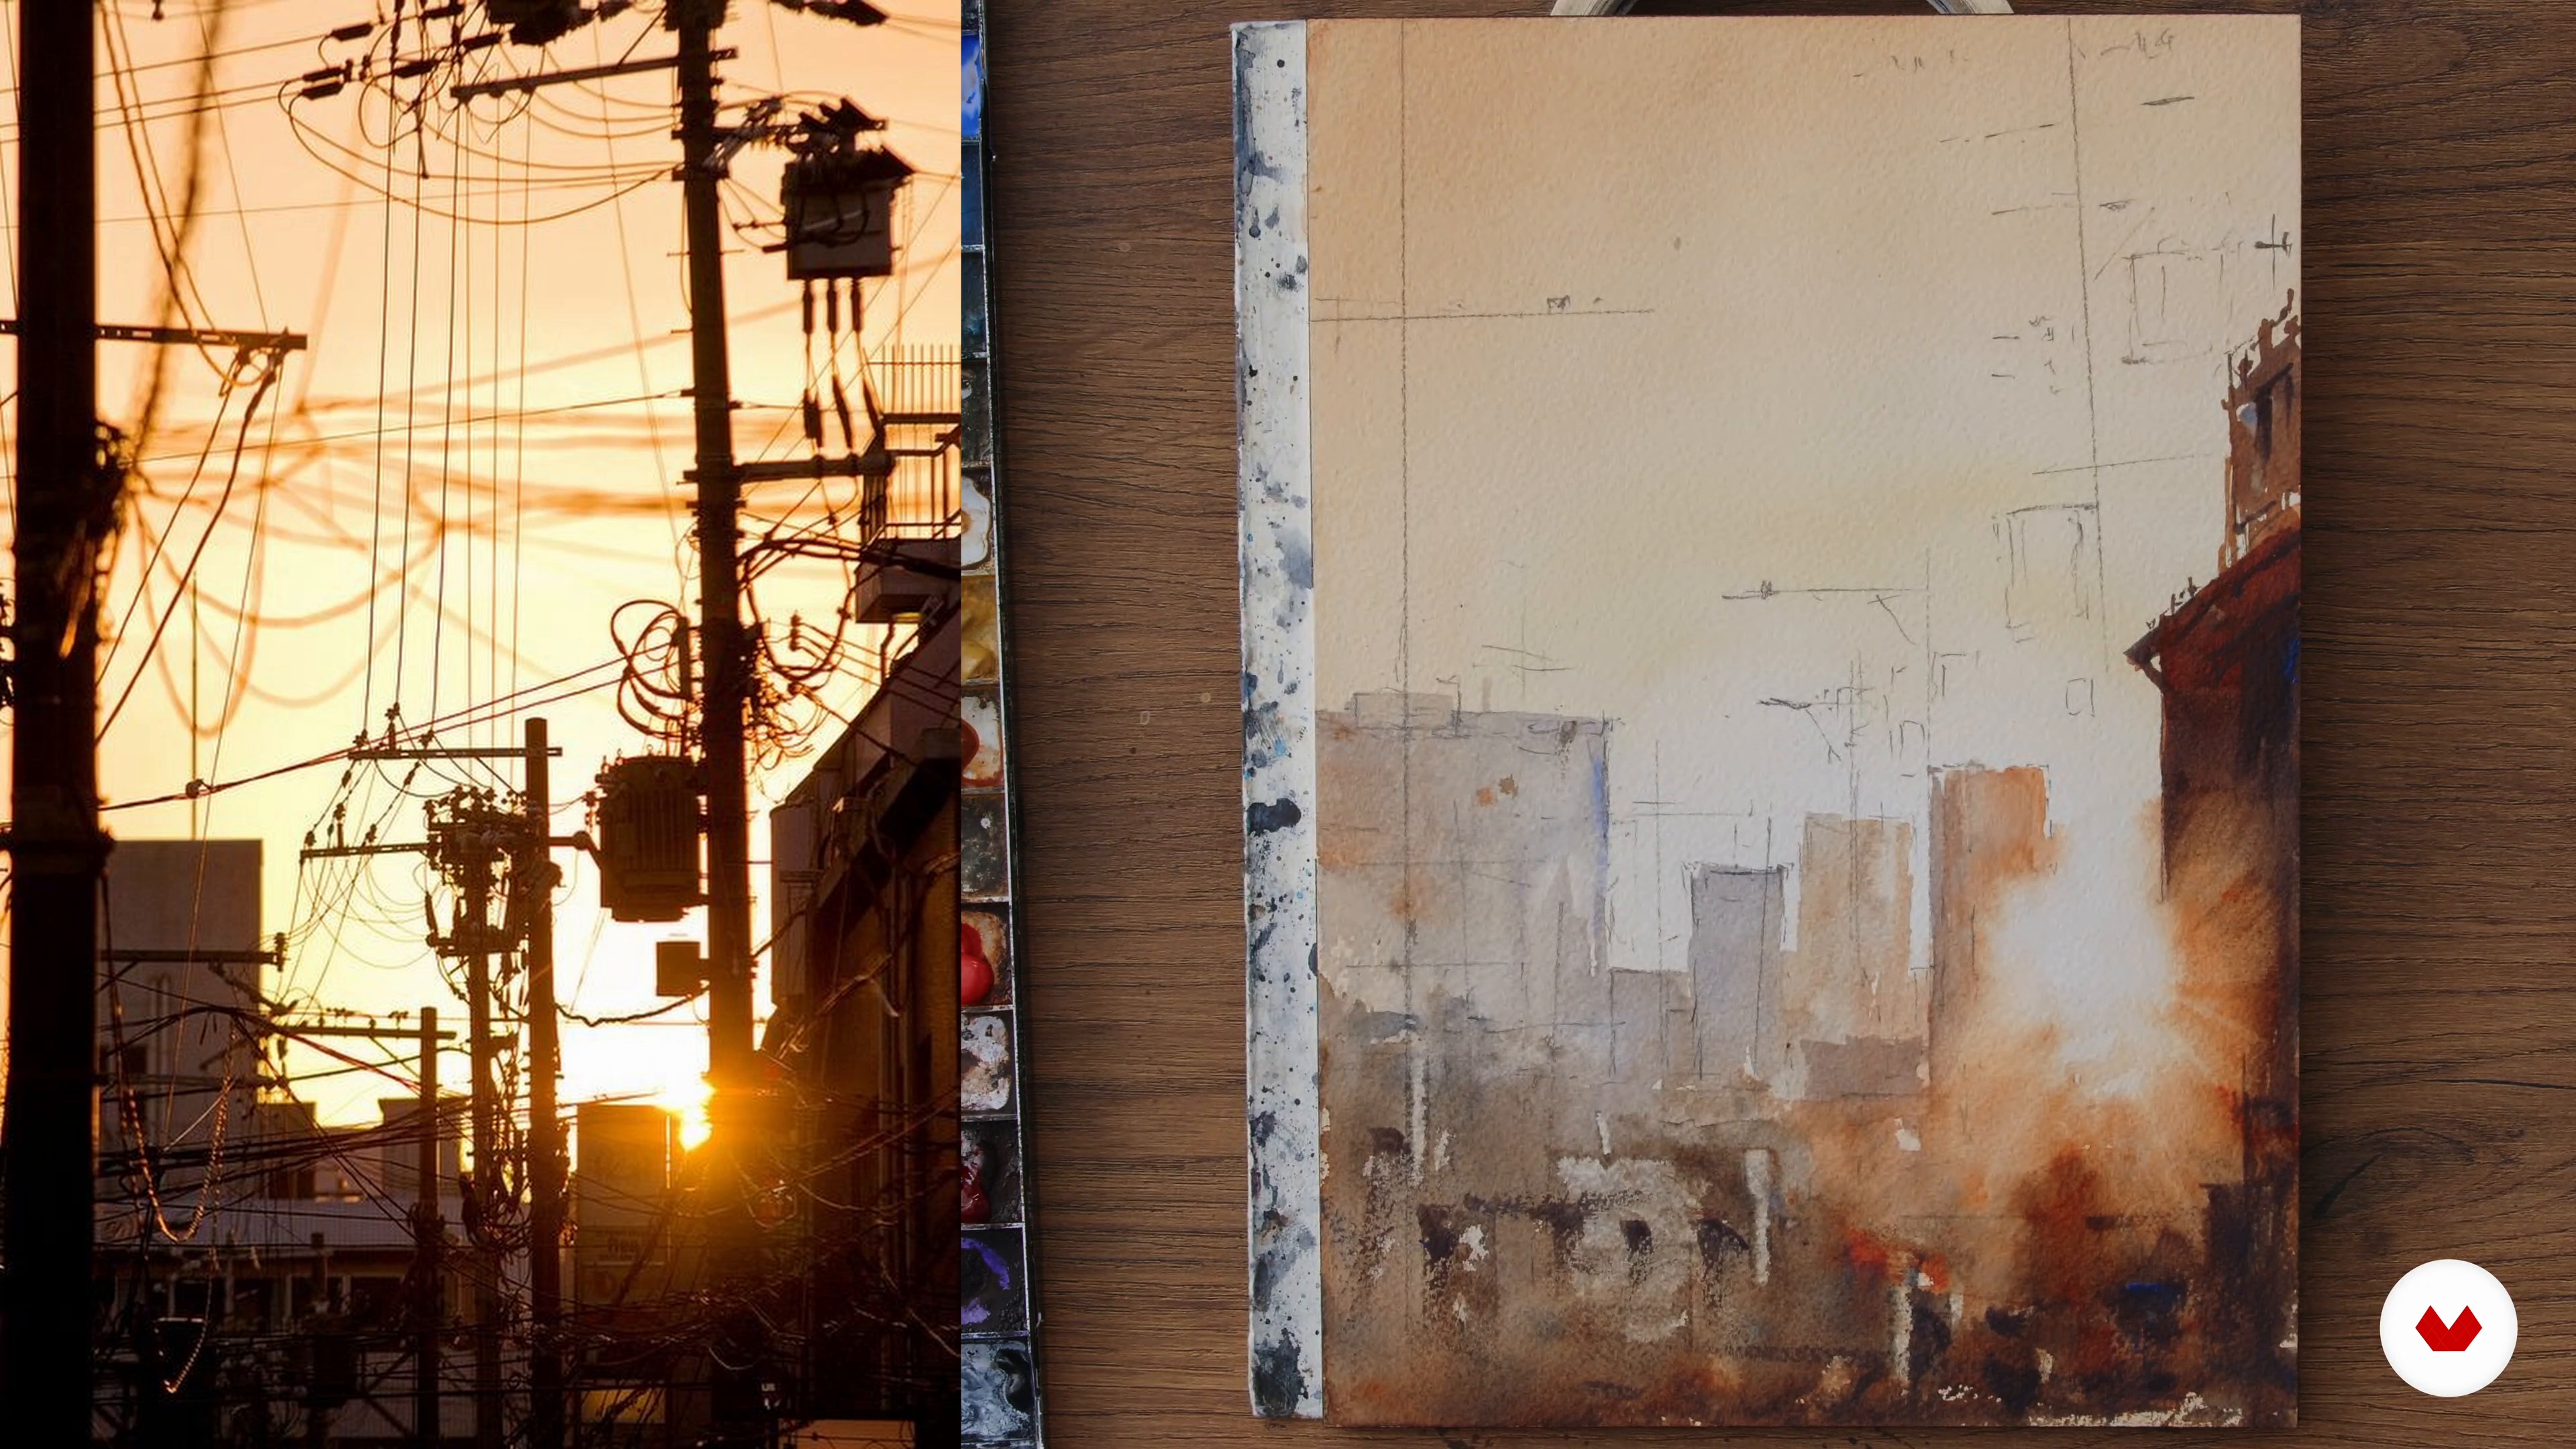
I will share my main sources of inspiration. A couple of artists influenced my work, and I have learned from others. There are inspiring countries and cities I visited, but also online sources that filled my head with ideas.
2m
image
6
Inspiration / Emma Thrussell
Next, I will share with you some of the main artists and works that have resonated with me and inspired me through the years.
9m
image
7
Inspiration / Reha Sakar
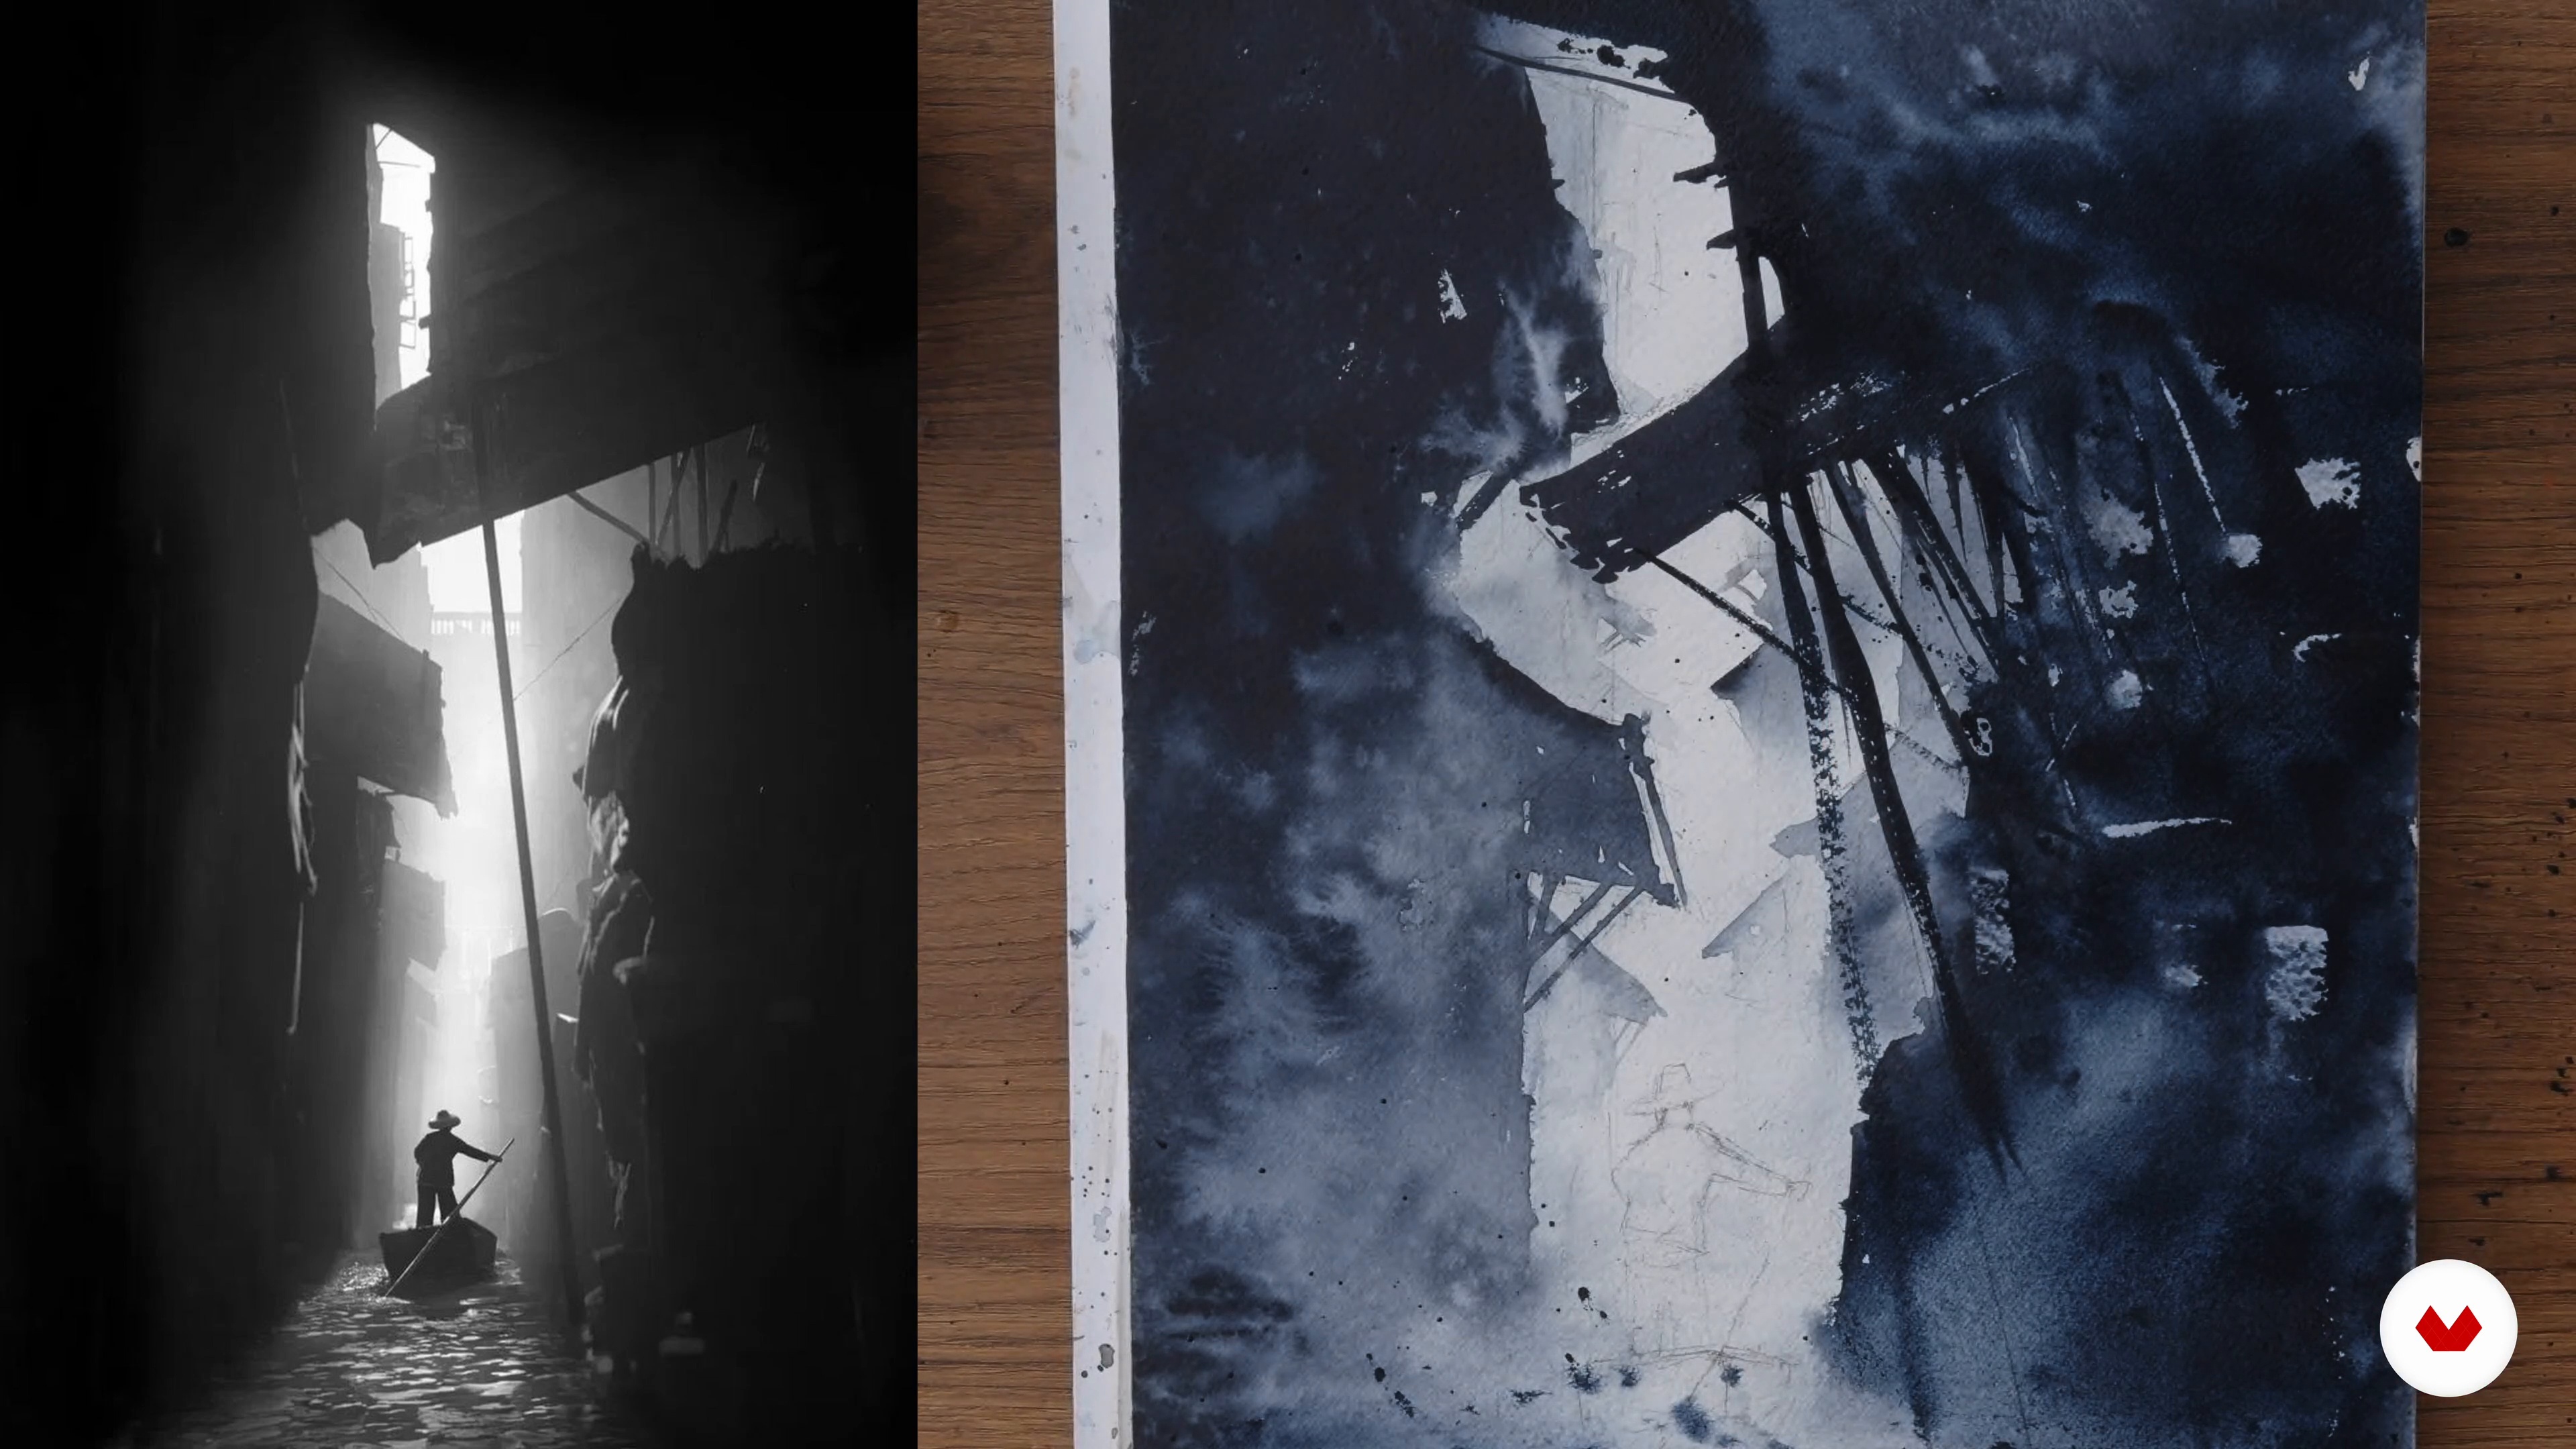
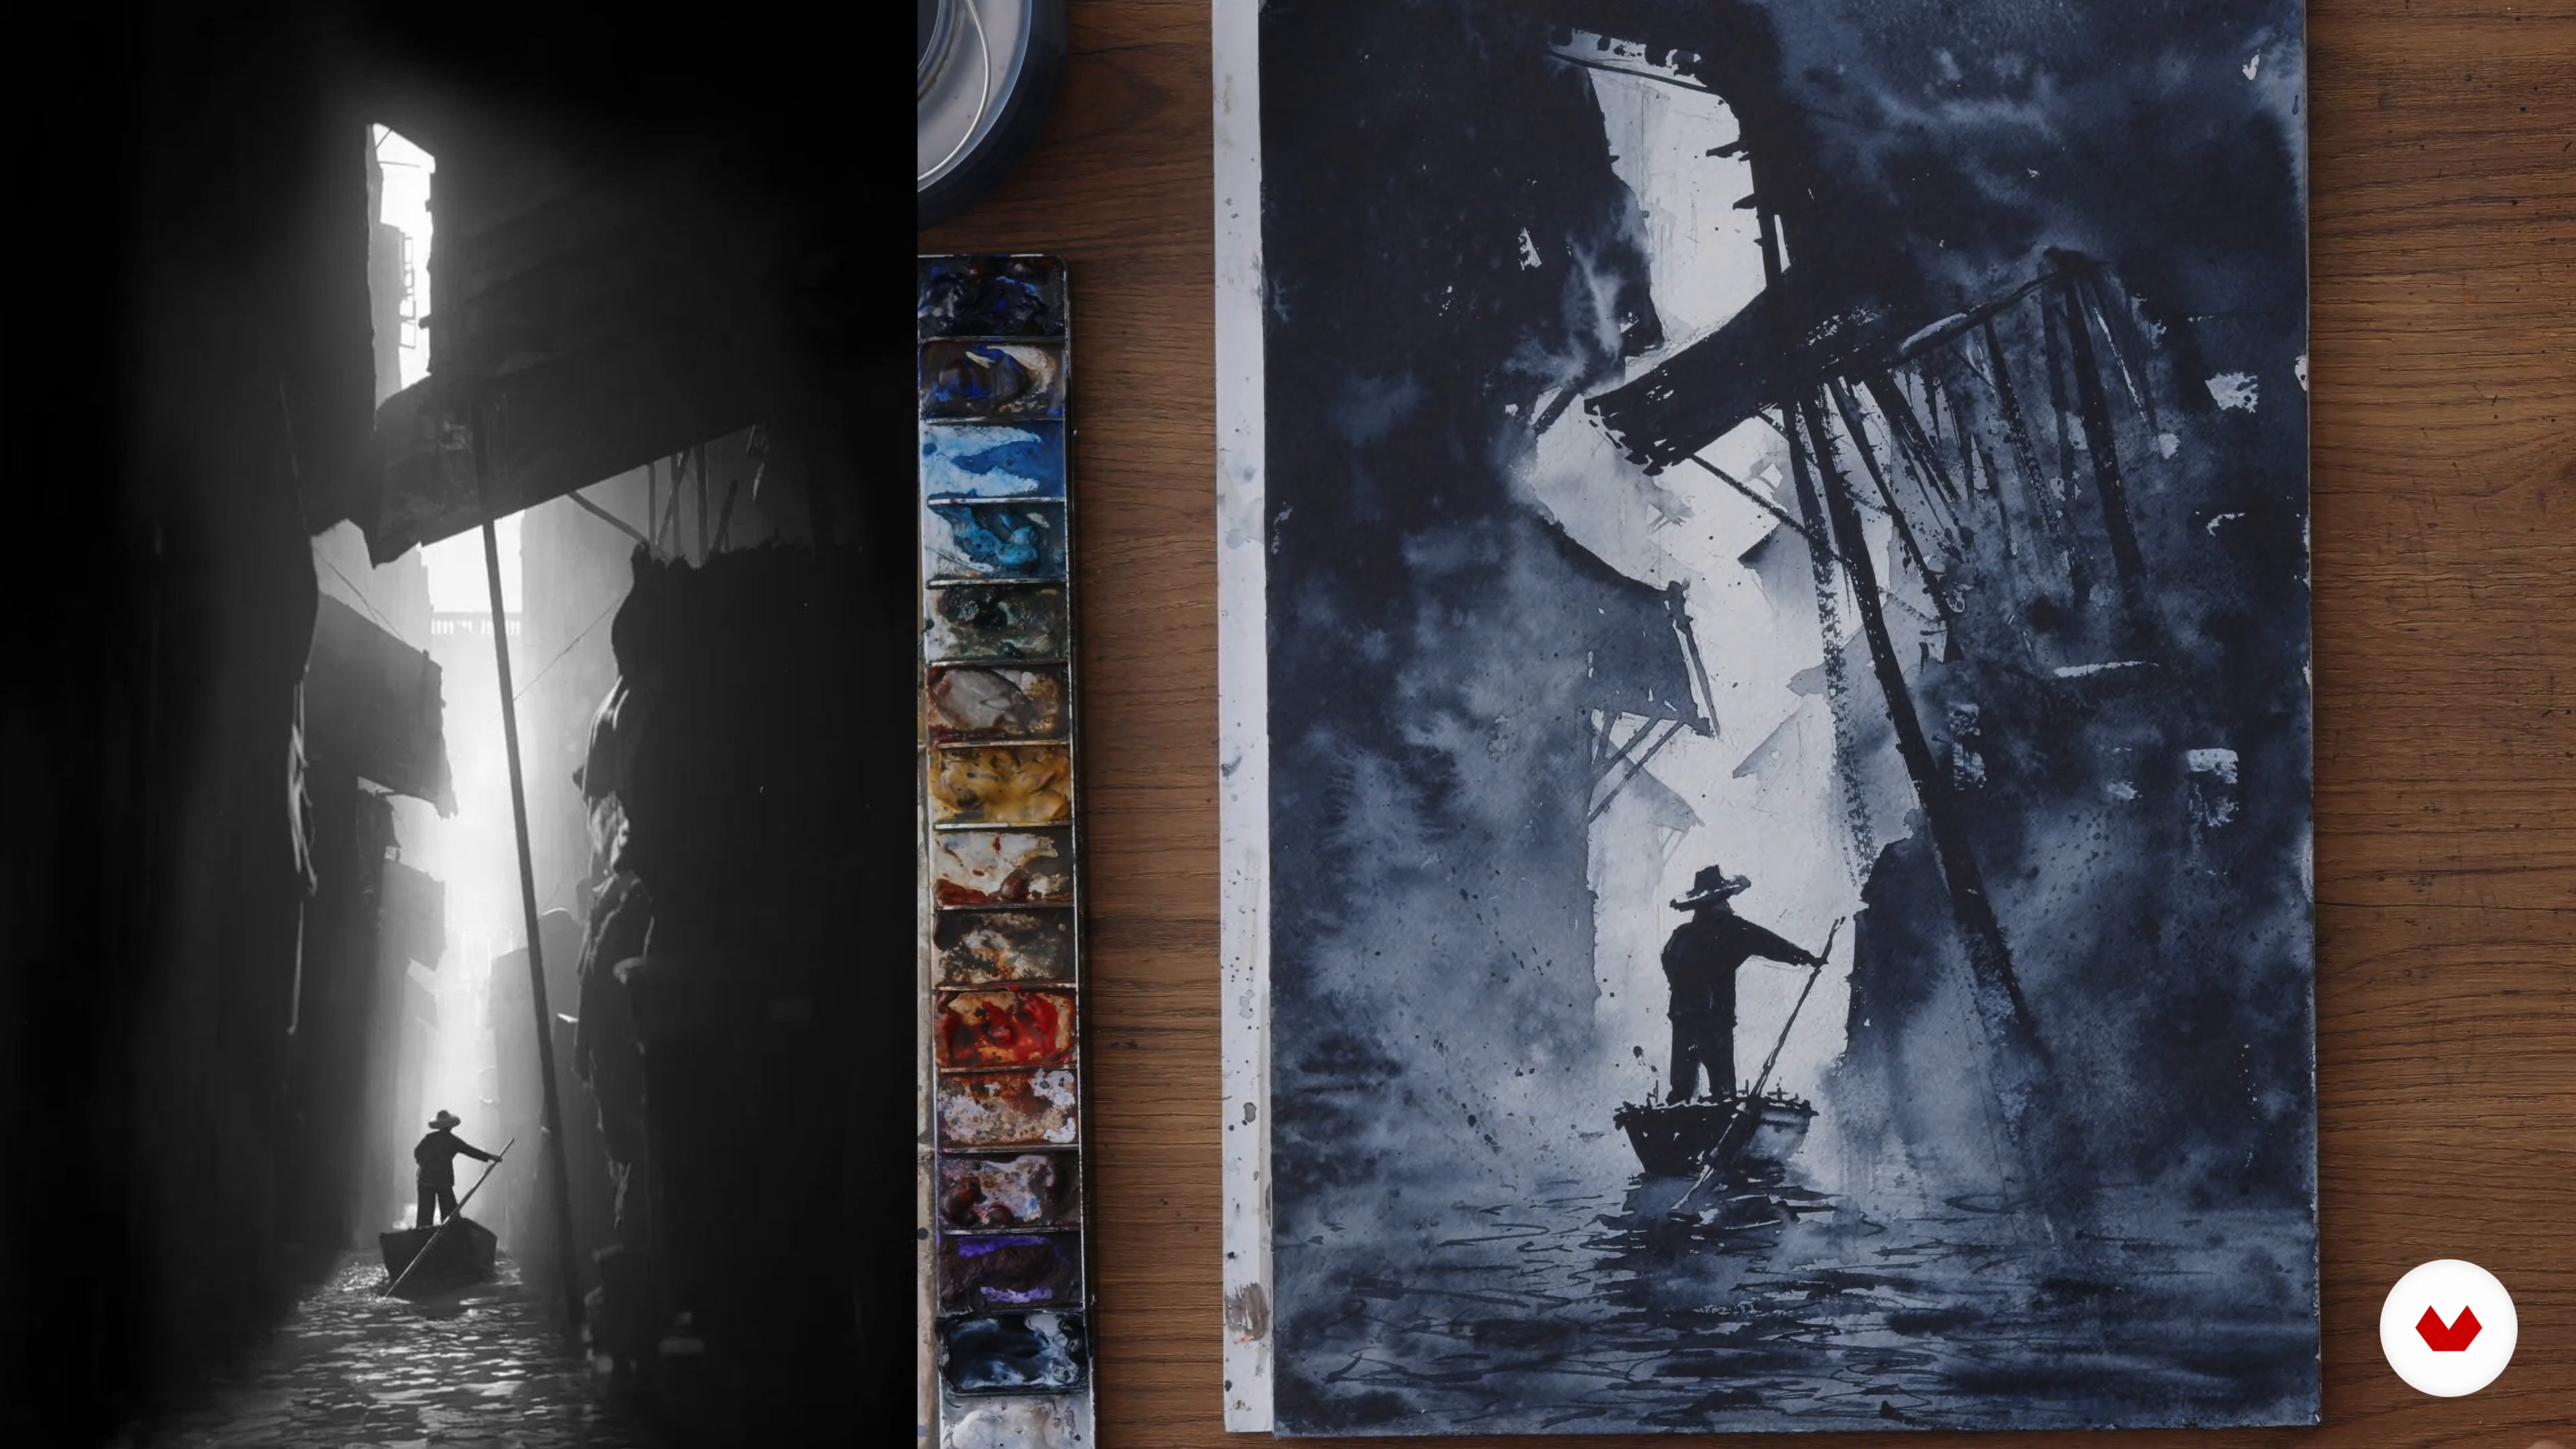
Lastly, I'll tell you how I get inspired for my watercolor paintings. In addition, I will show you who and what helped me to develop my style and workflow.
4m
image
1
Art Fundamentals and Visual Language
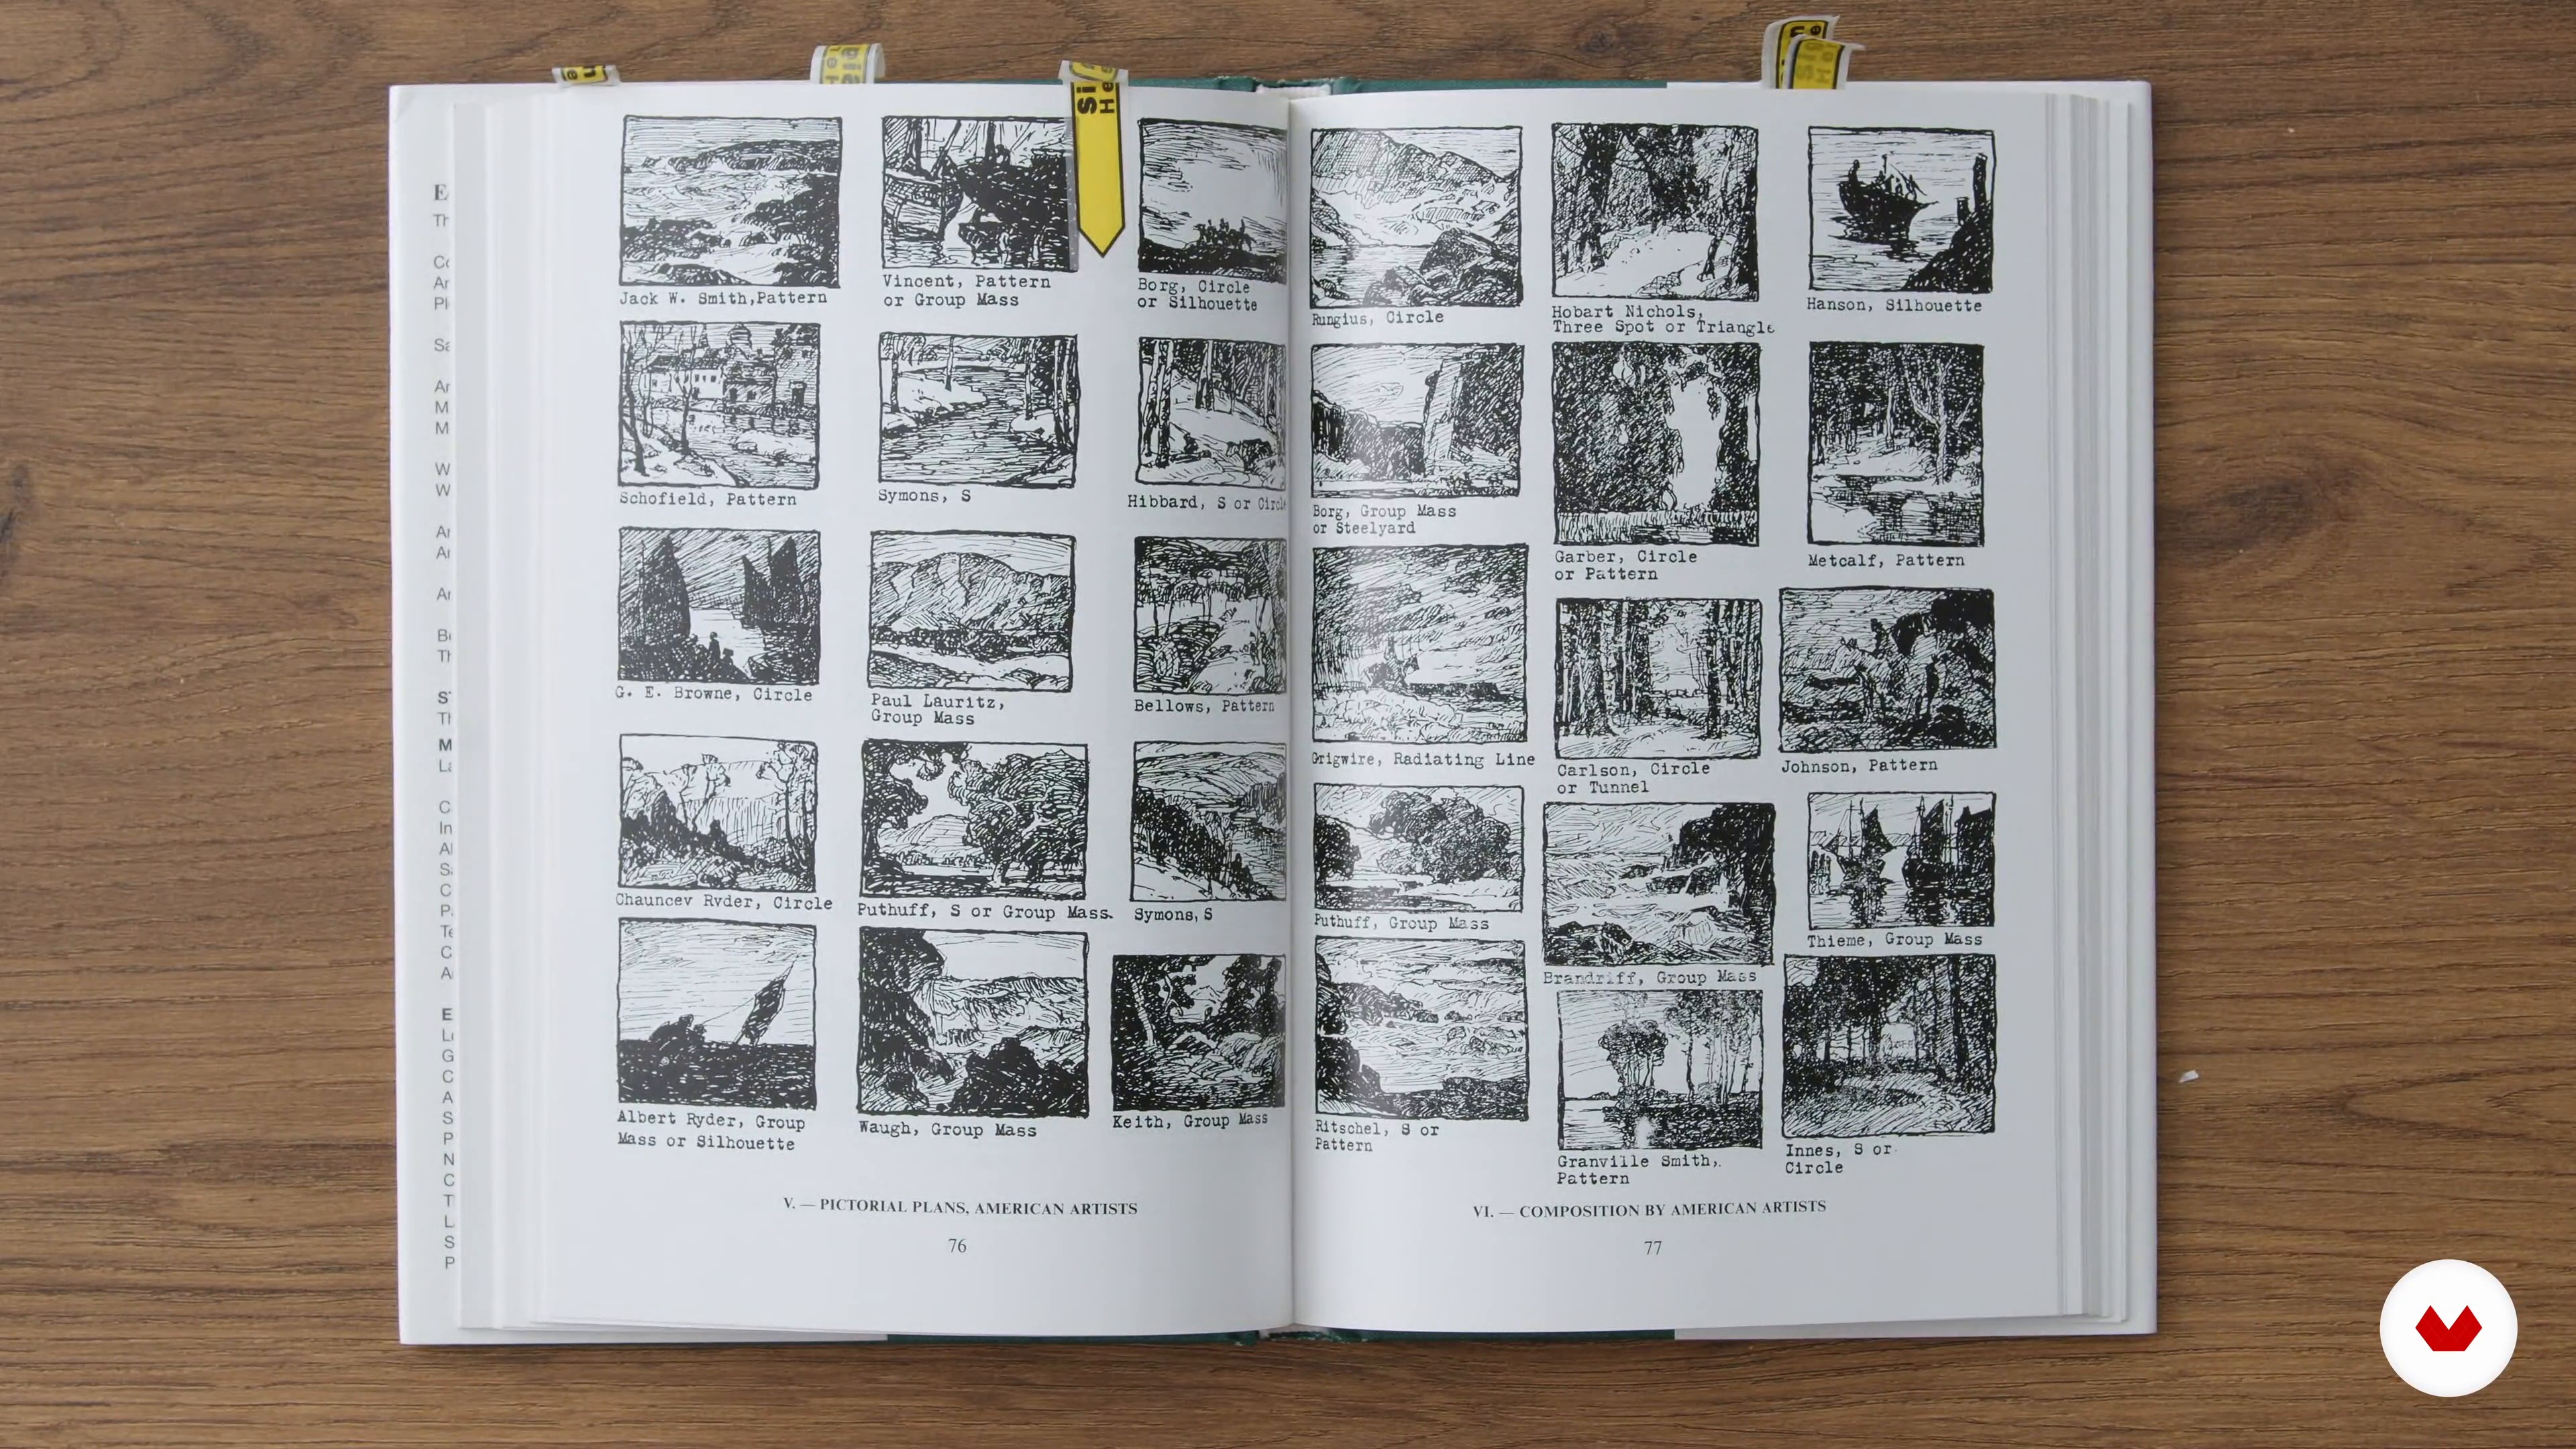
Now, I will talk about art fundamentals and visual language. Then, I will explain my principles and approach to watercolors. I will also show you some examples of compositions. It is very important that you always work on your composition fundamentals!
6m
image
2
Introducing the Materials
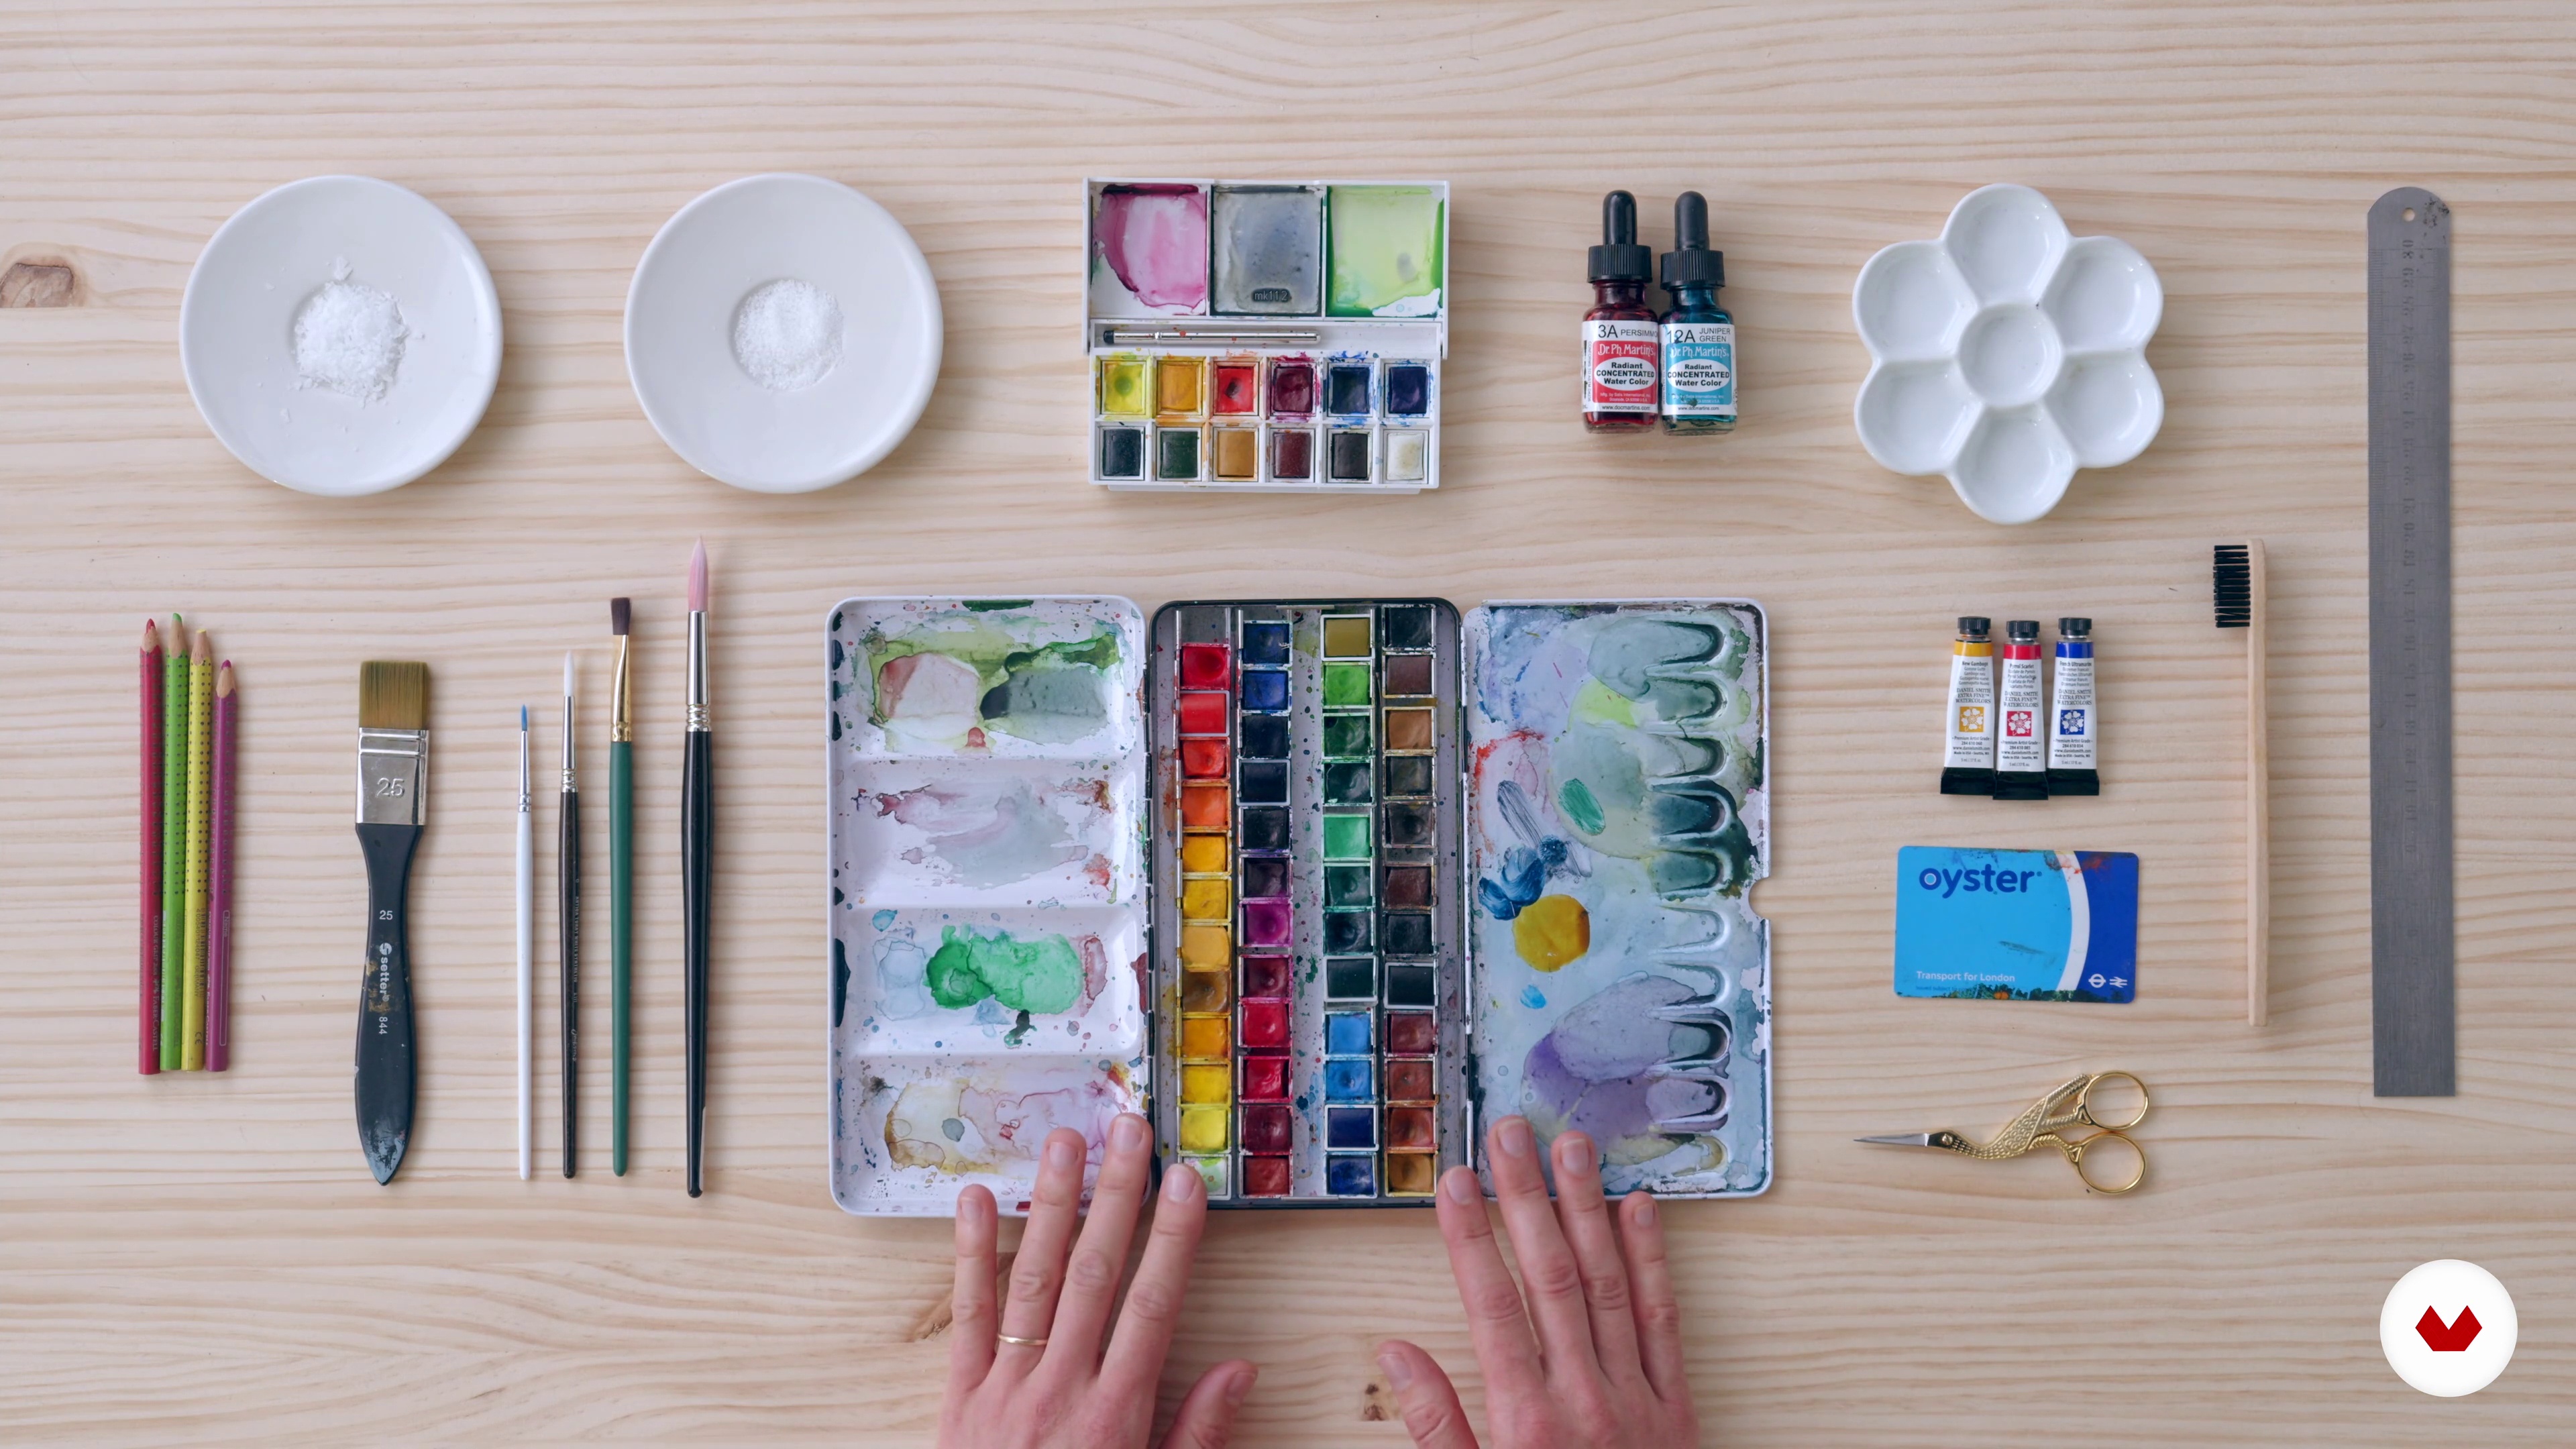
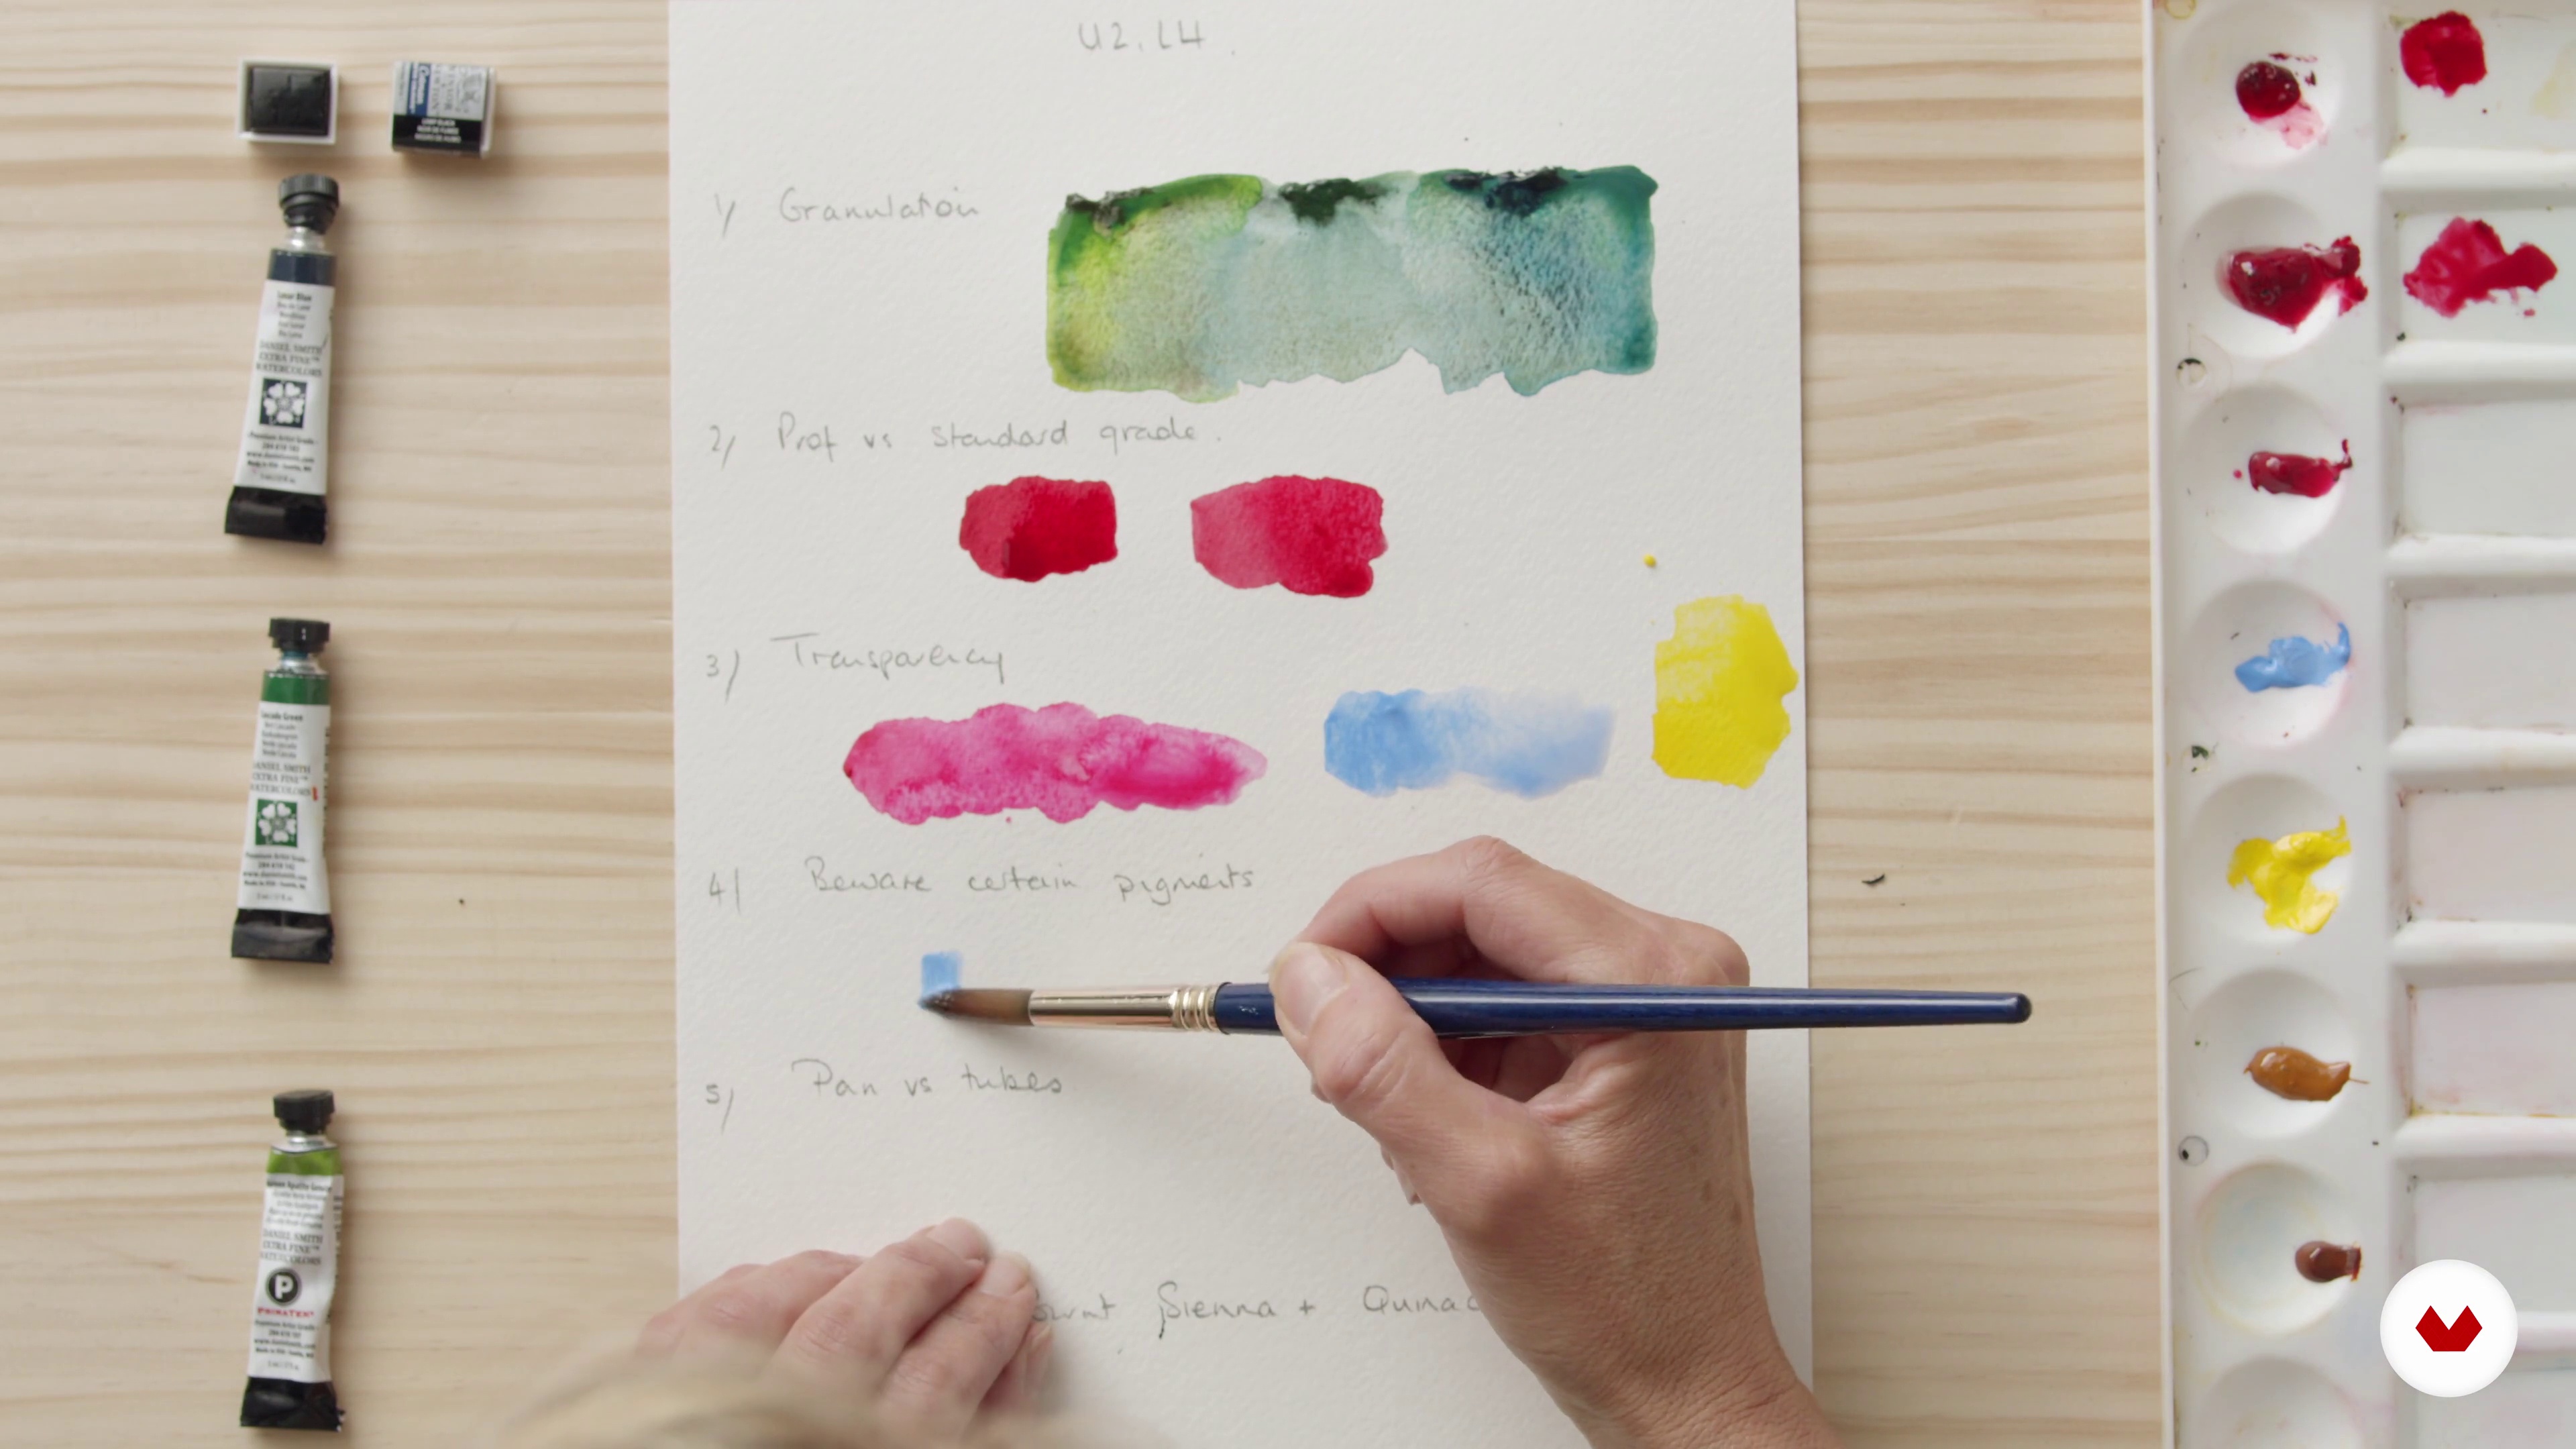
I’ll start this lesson by introducing you to the materials you’ll need on this course. It can be hard to know what to look for when you’re starting out with watercolour, so I’ll talk you through what to consider when choosing sketchbooks, watercolour paint and brushes.
13m
image
3
Dancing with Your Brushes
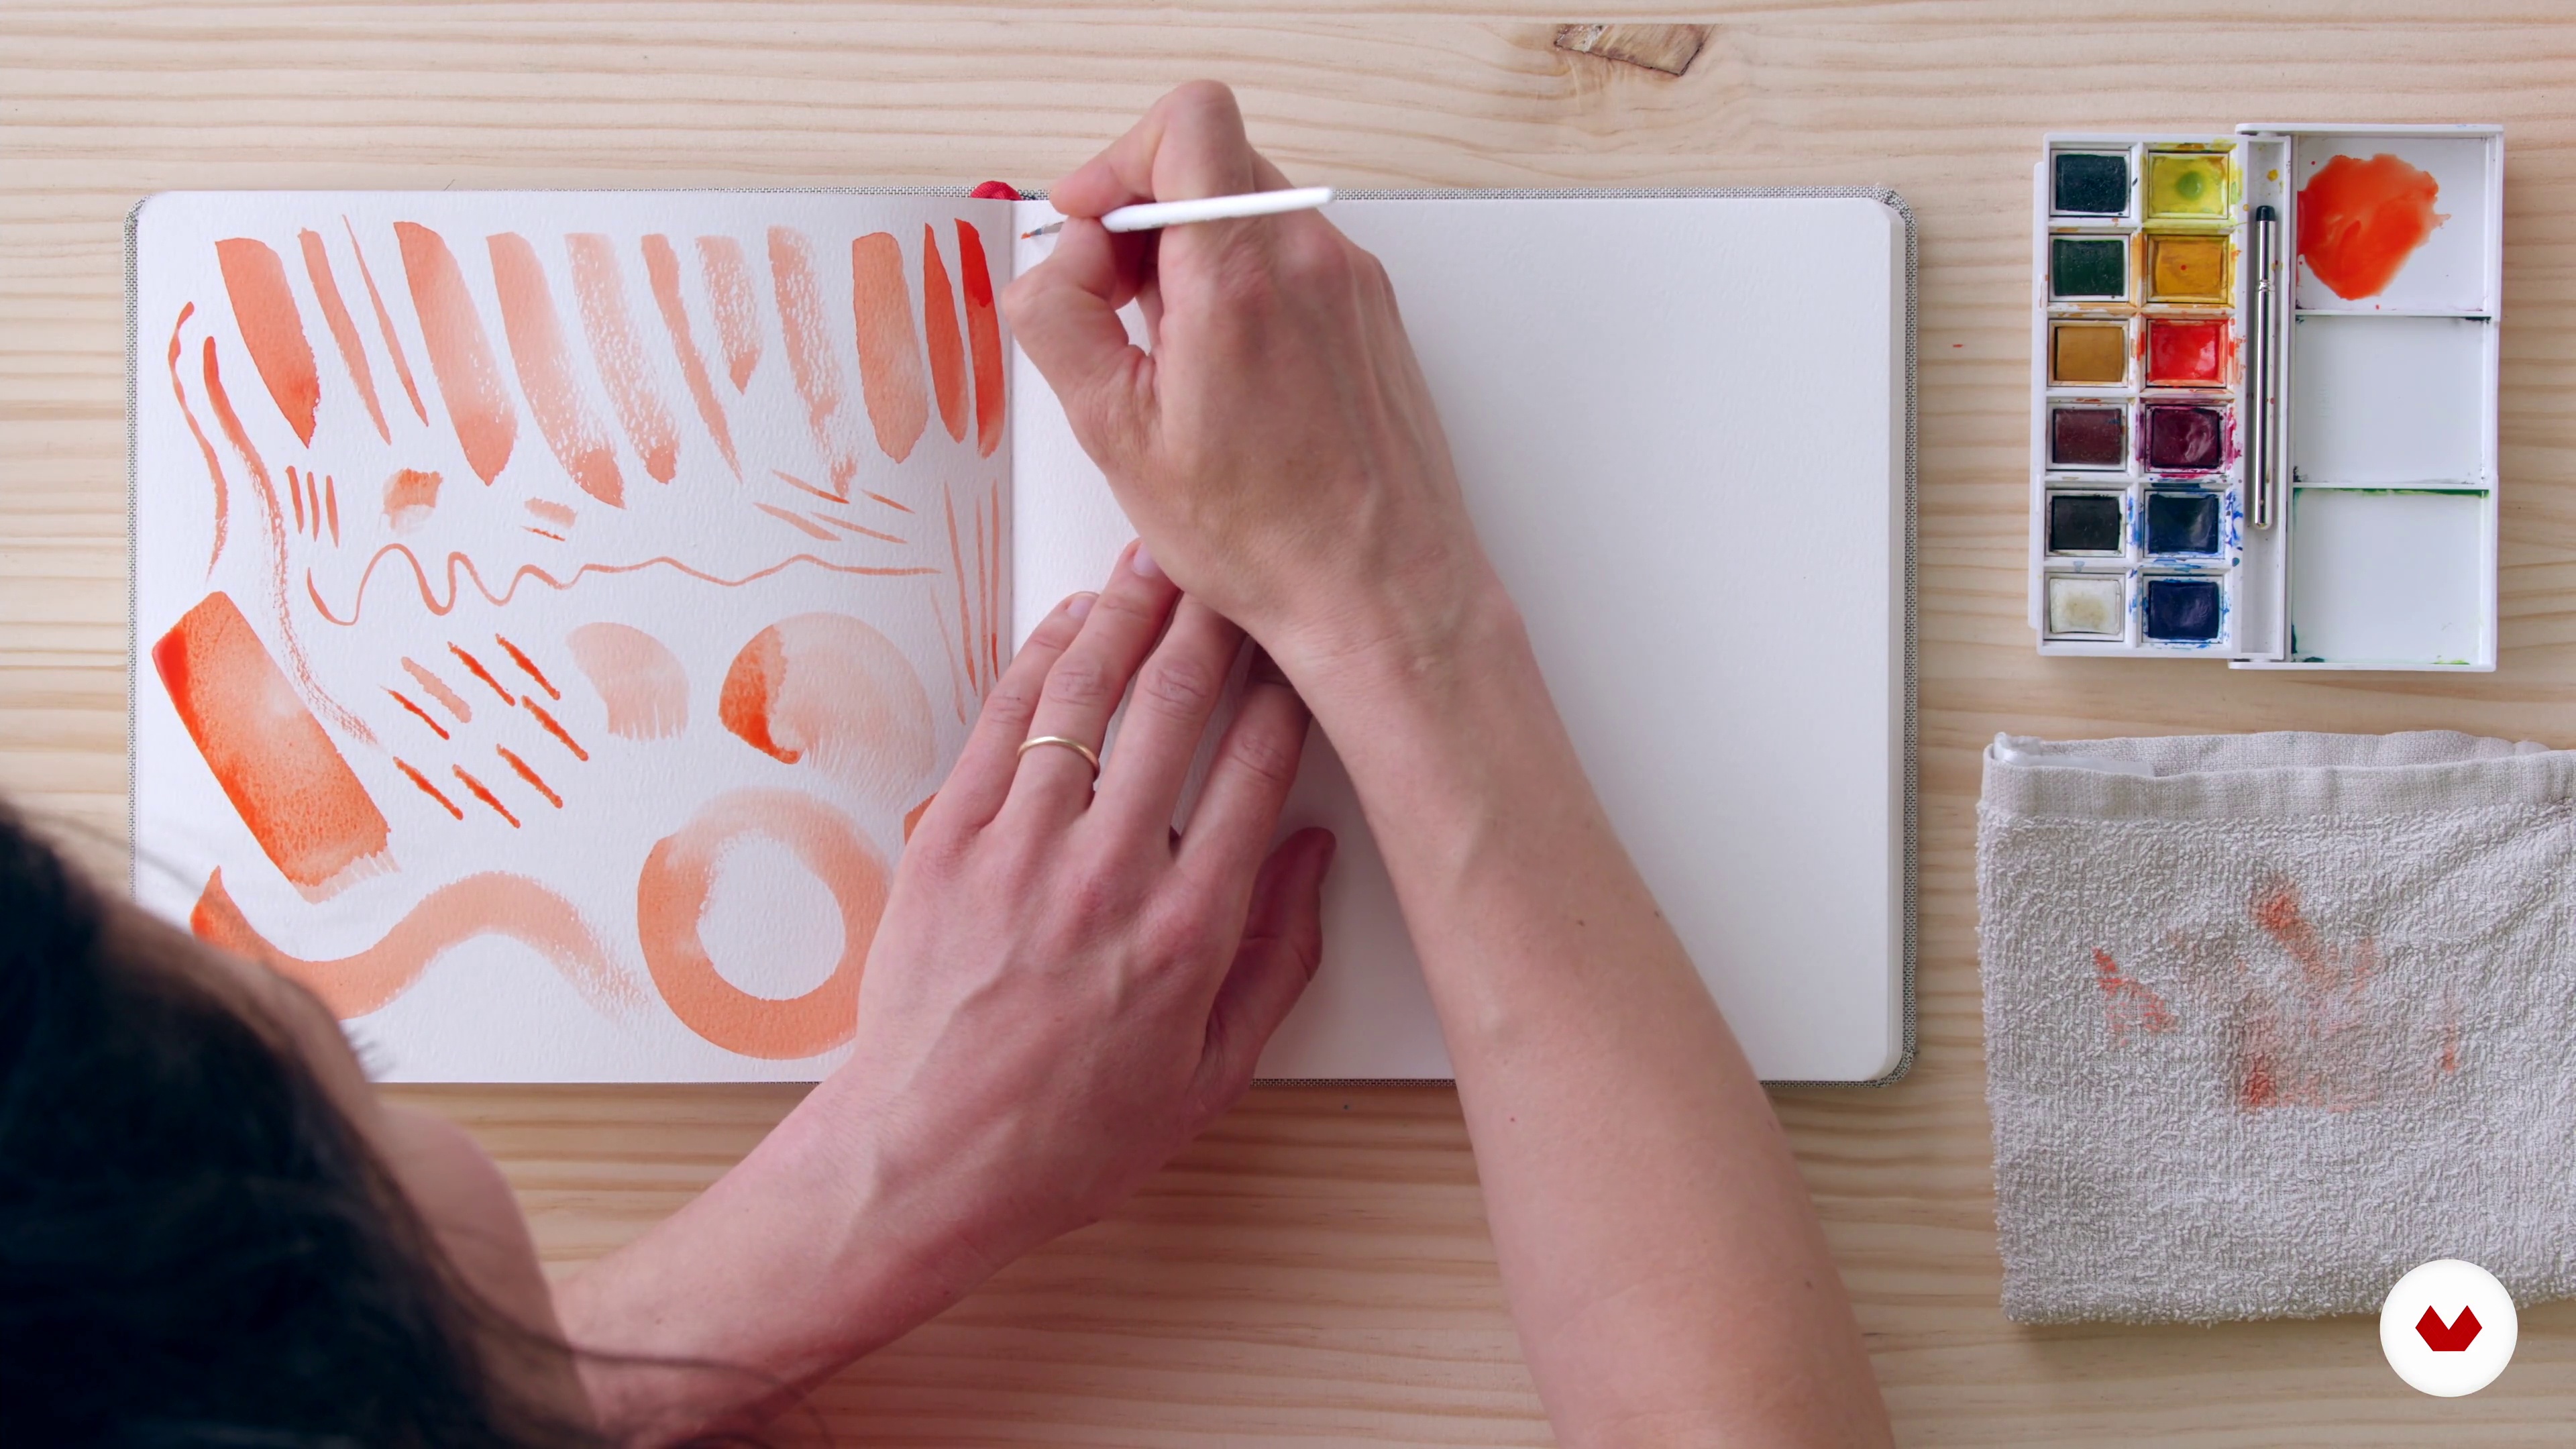
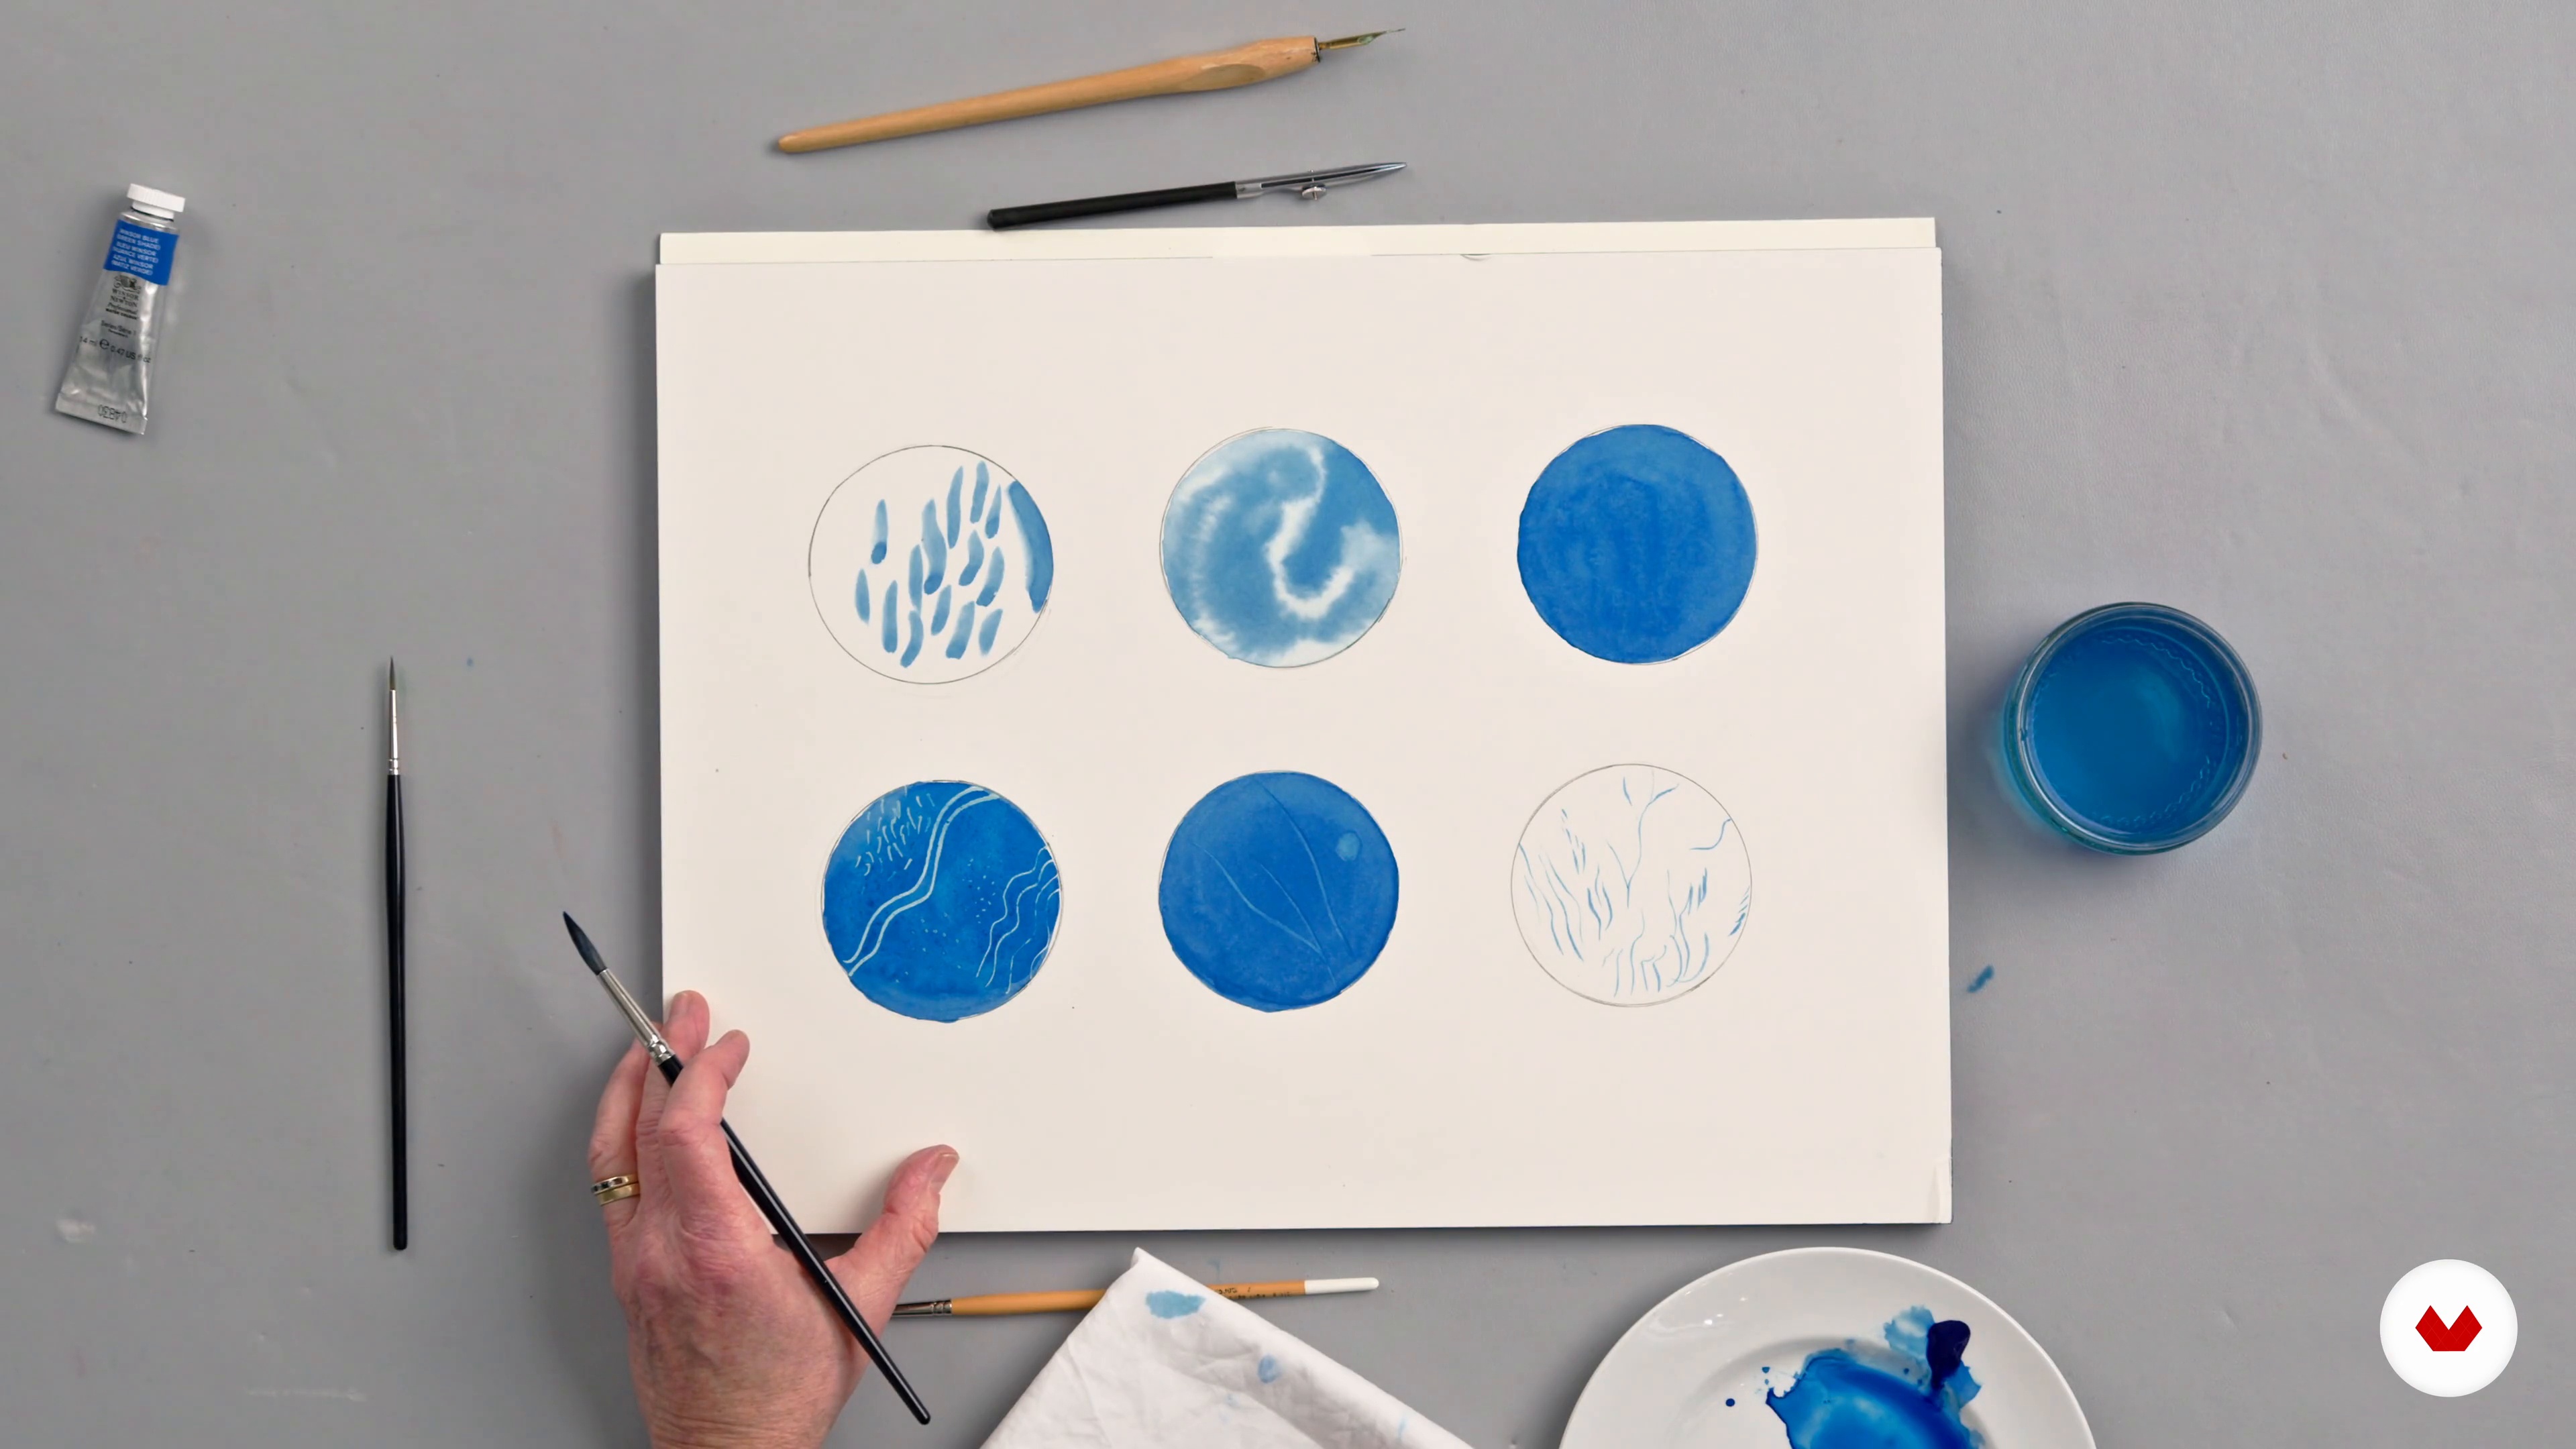
And now we will start to make marks! I’ll show you how to begin, how to familiarise yourself with your brushes and warm up your hands.
11m
image
4
Taking Your Paintbrush for a Walk
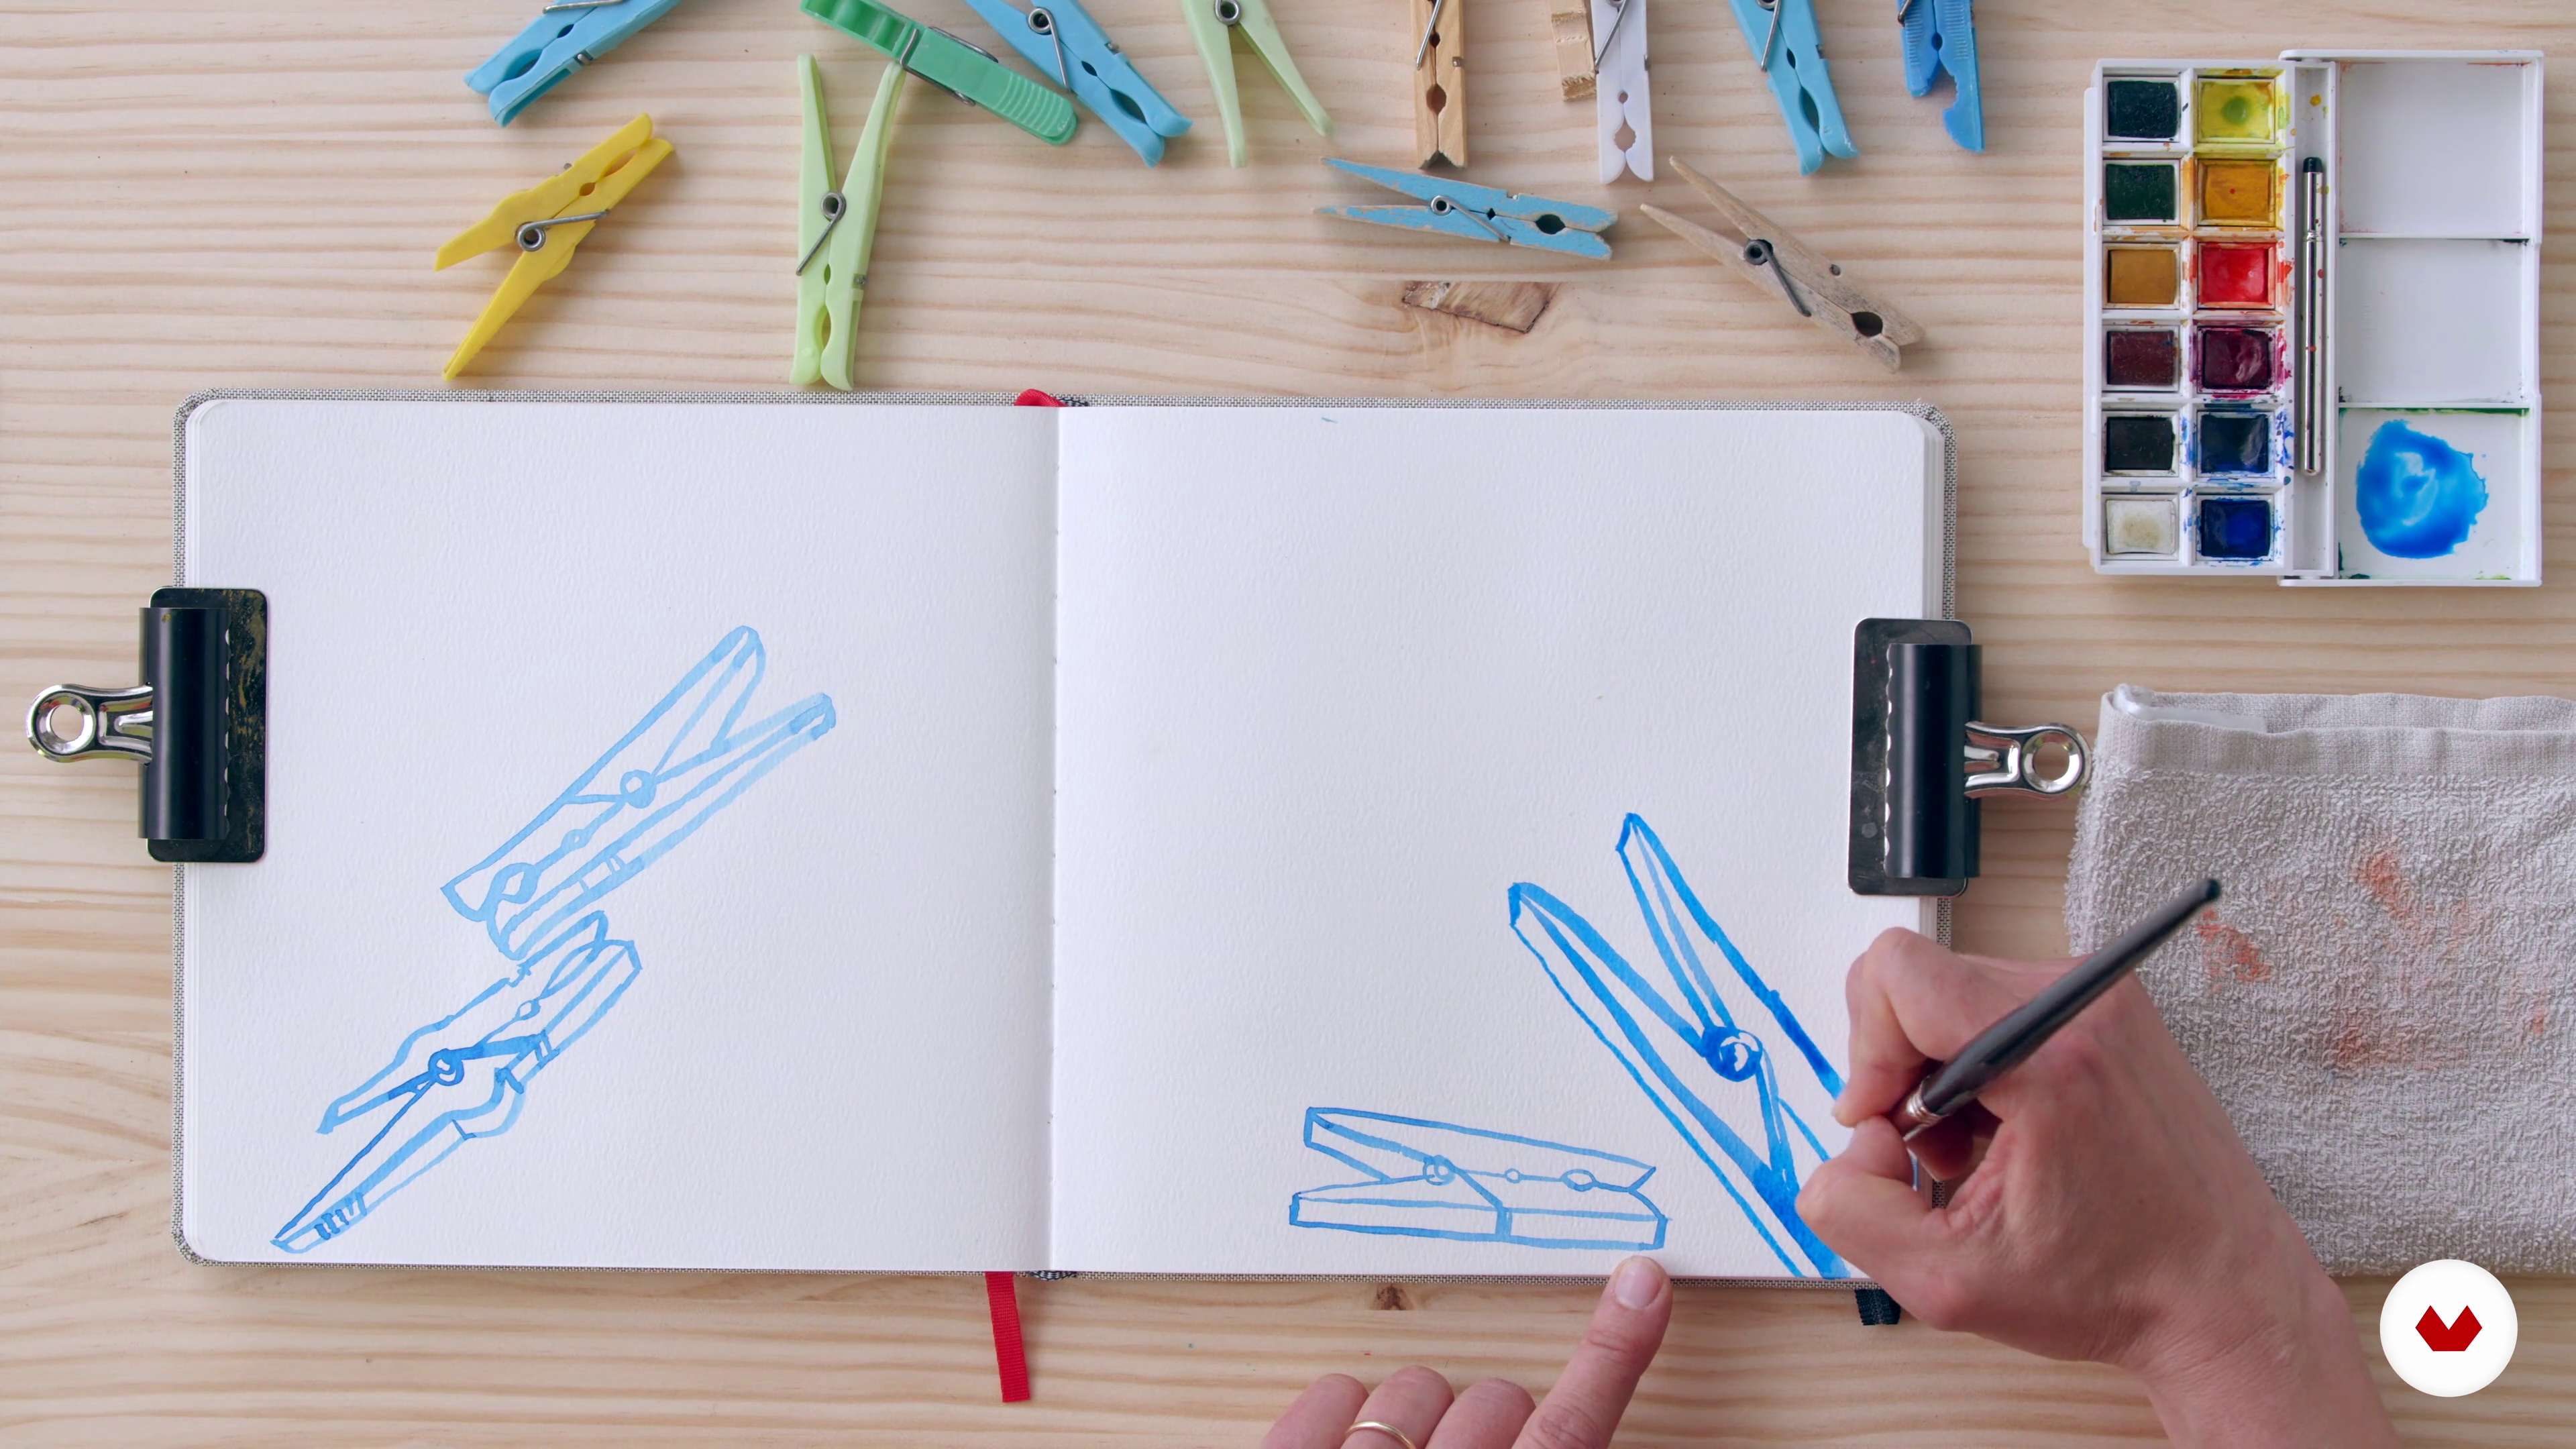
Painting with a single line, we’re going to use our brush to explore a collection of objects - and discover playful ways of working in our sketchbooks!
13m
image
5
Flurry Burry
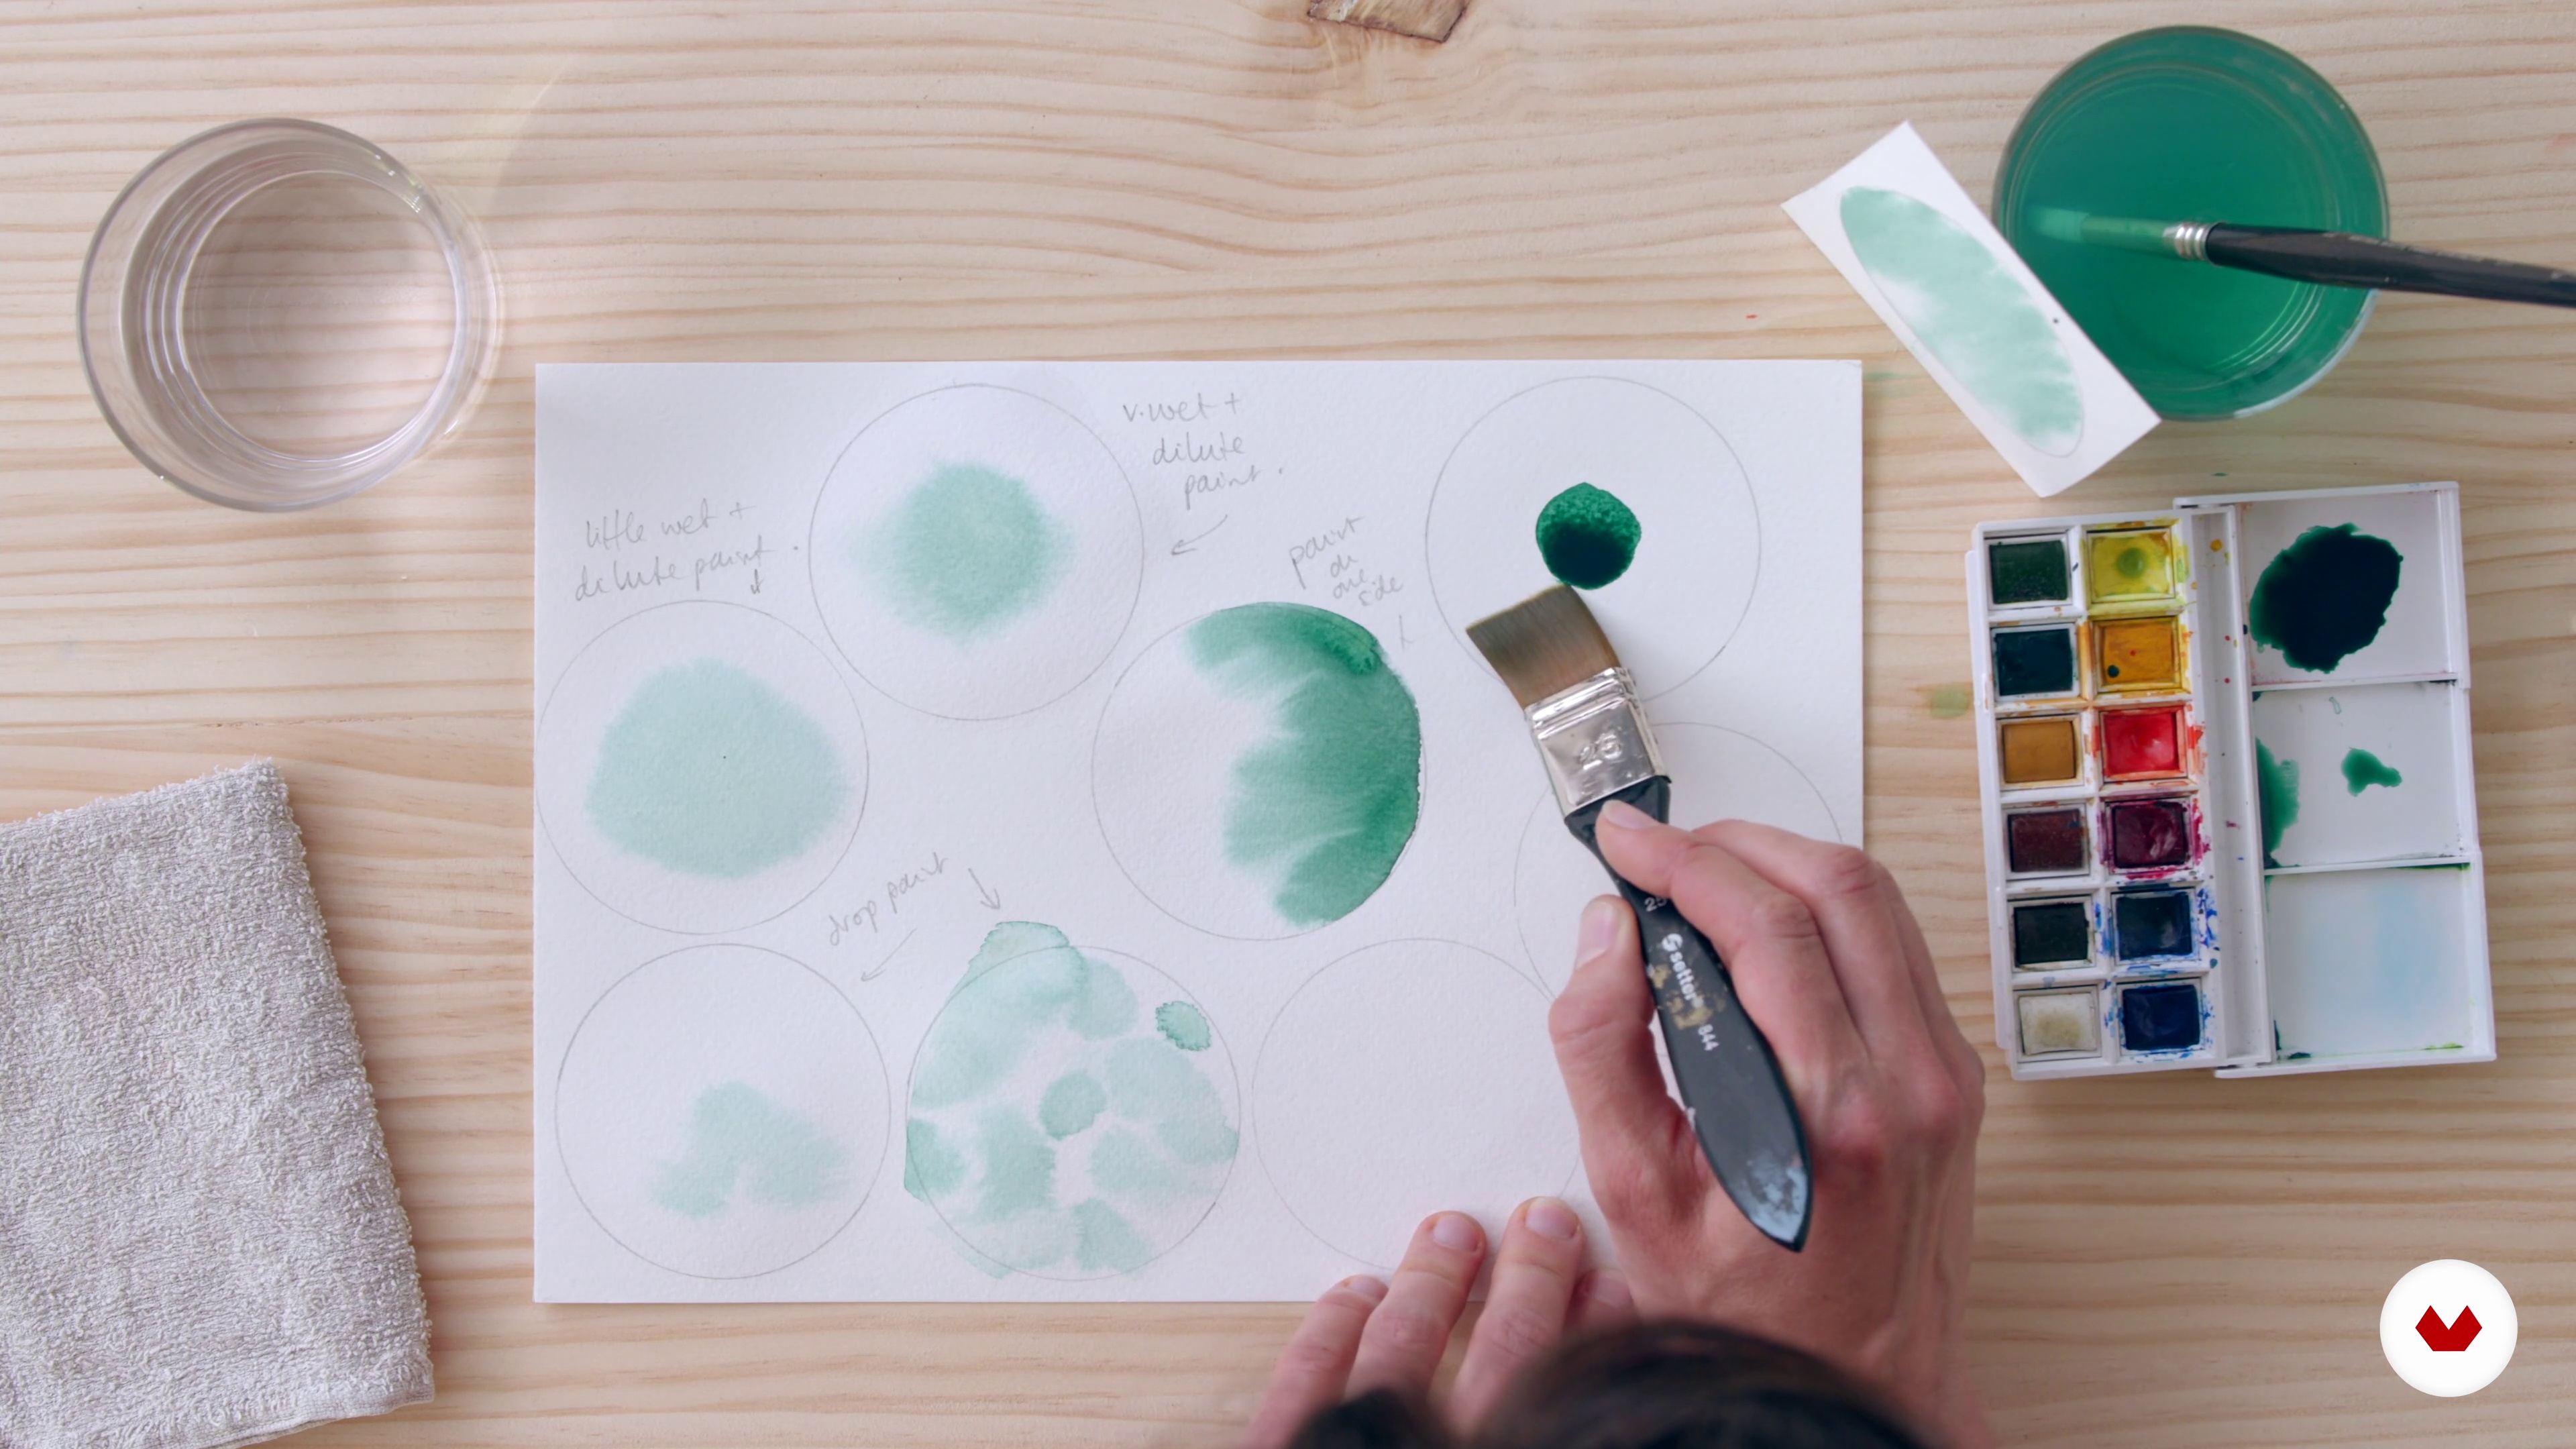
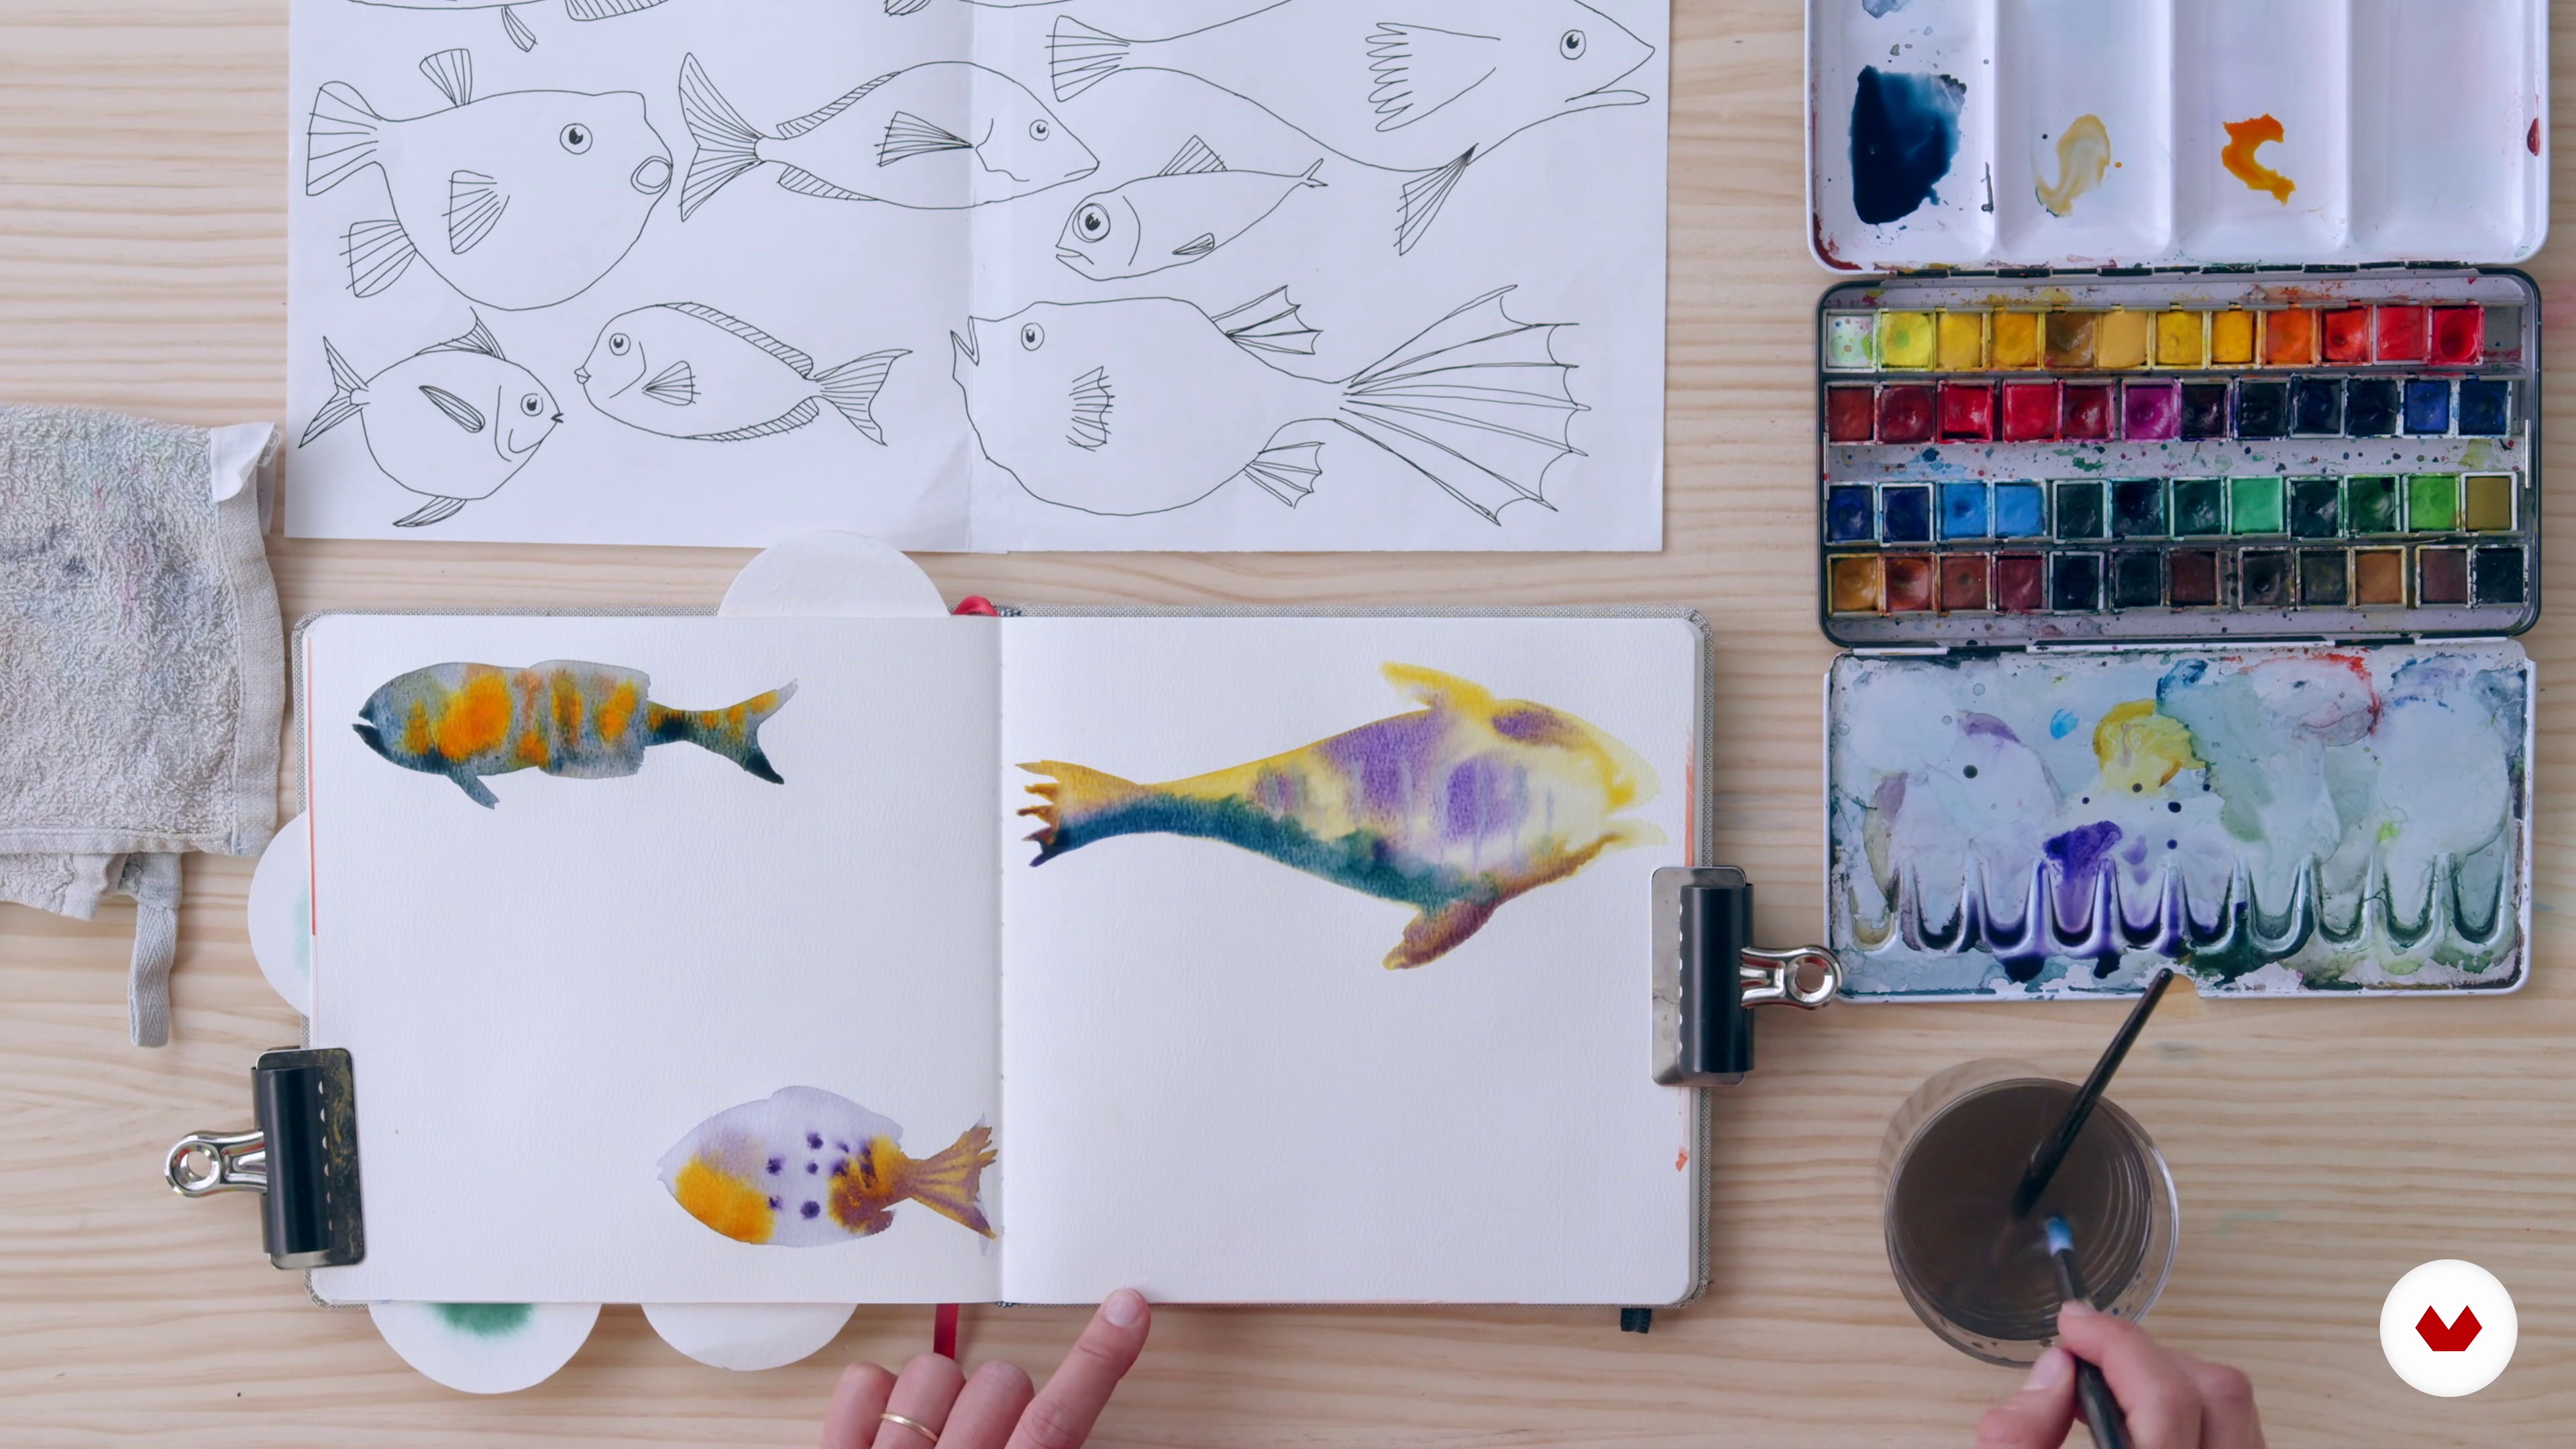
In this lesson we’re going to let go of control and explore what happens when we add paint to wet paper. Expect the unexpected!
20m
image
6
Watercolor Techniques
Here you will see me demonstrate a range of watercolour techniques using the key elements of water and colour. By varying the amount and proportions of these elements on your brush, you can create different effects and textures used for botanical painting.
17m
image
7
Mixing and Matching Colours
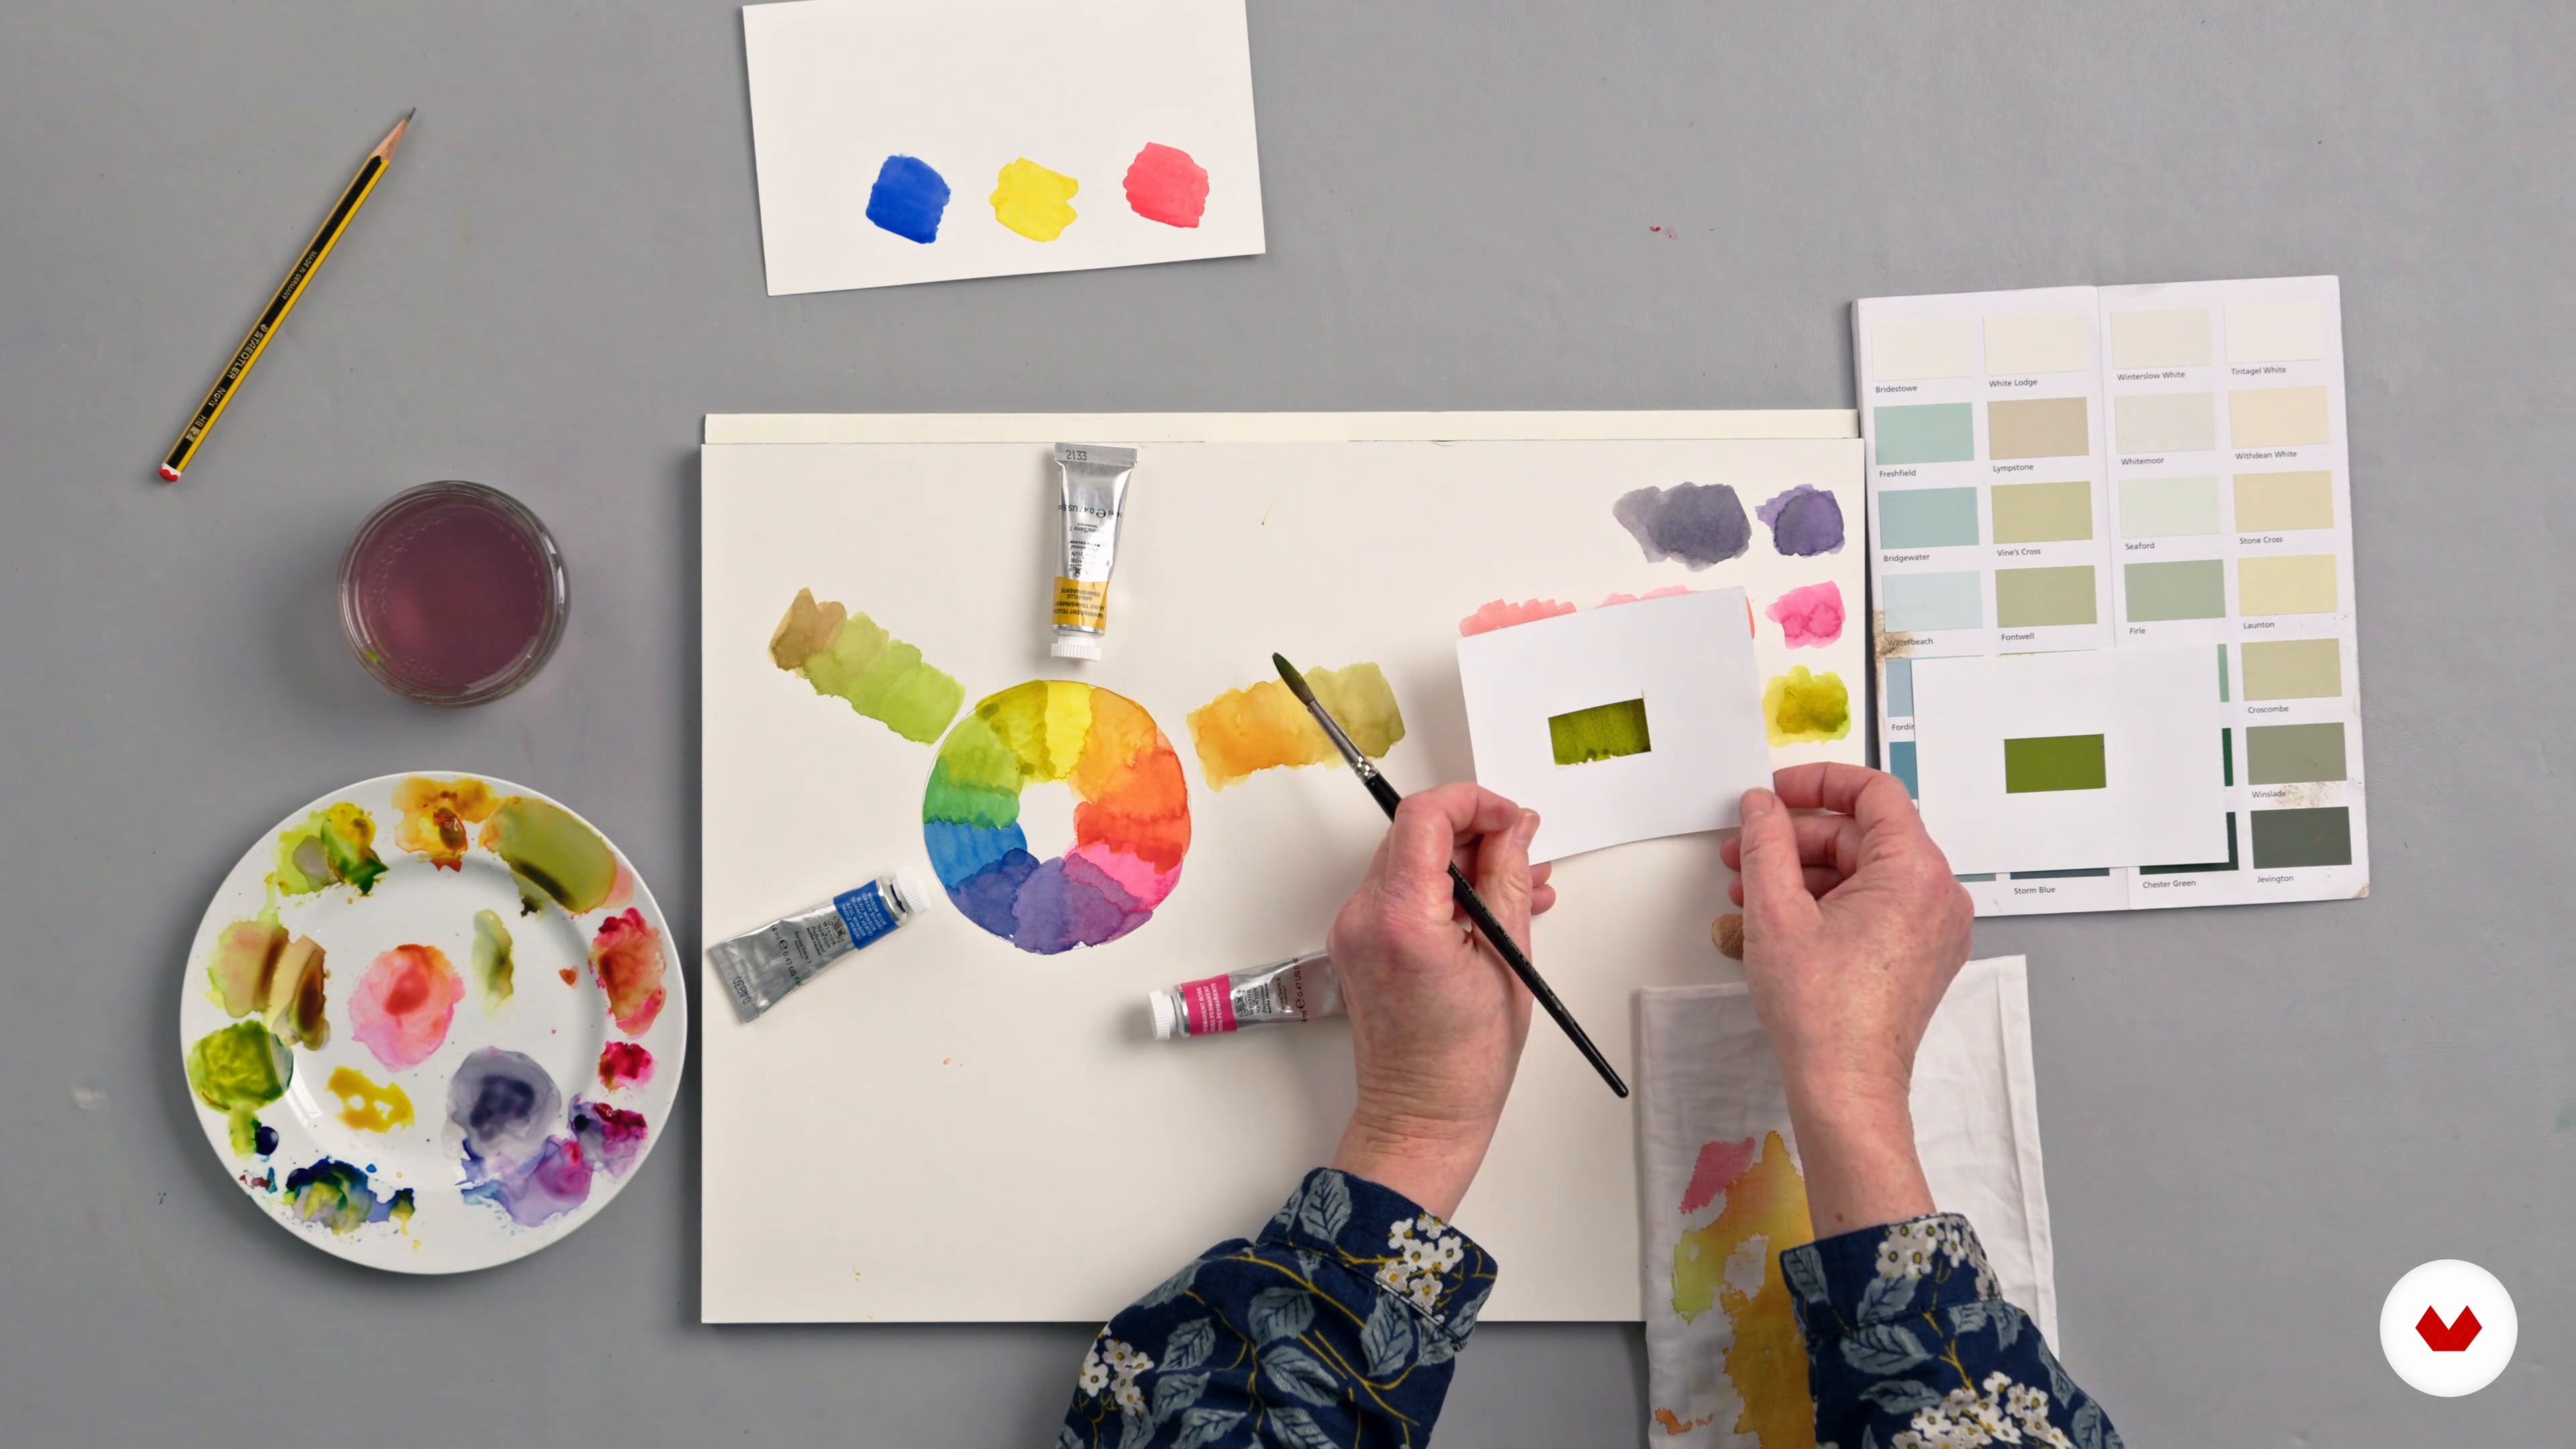
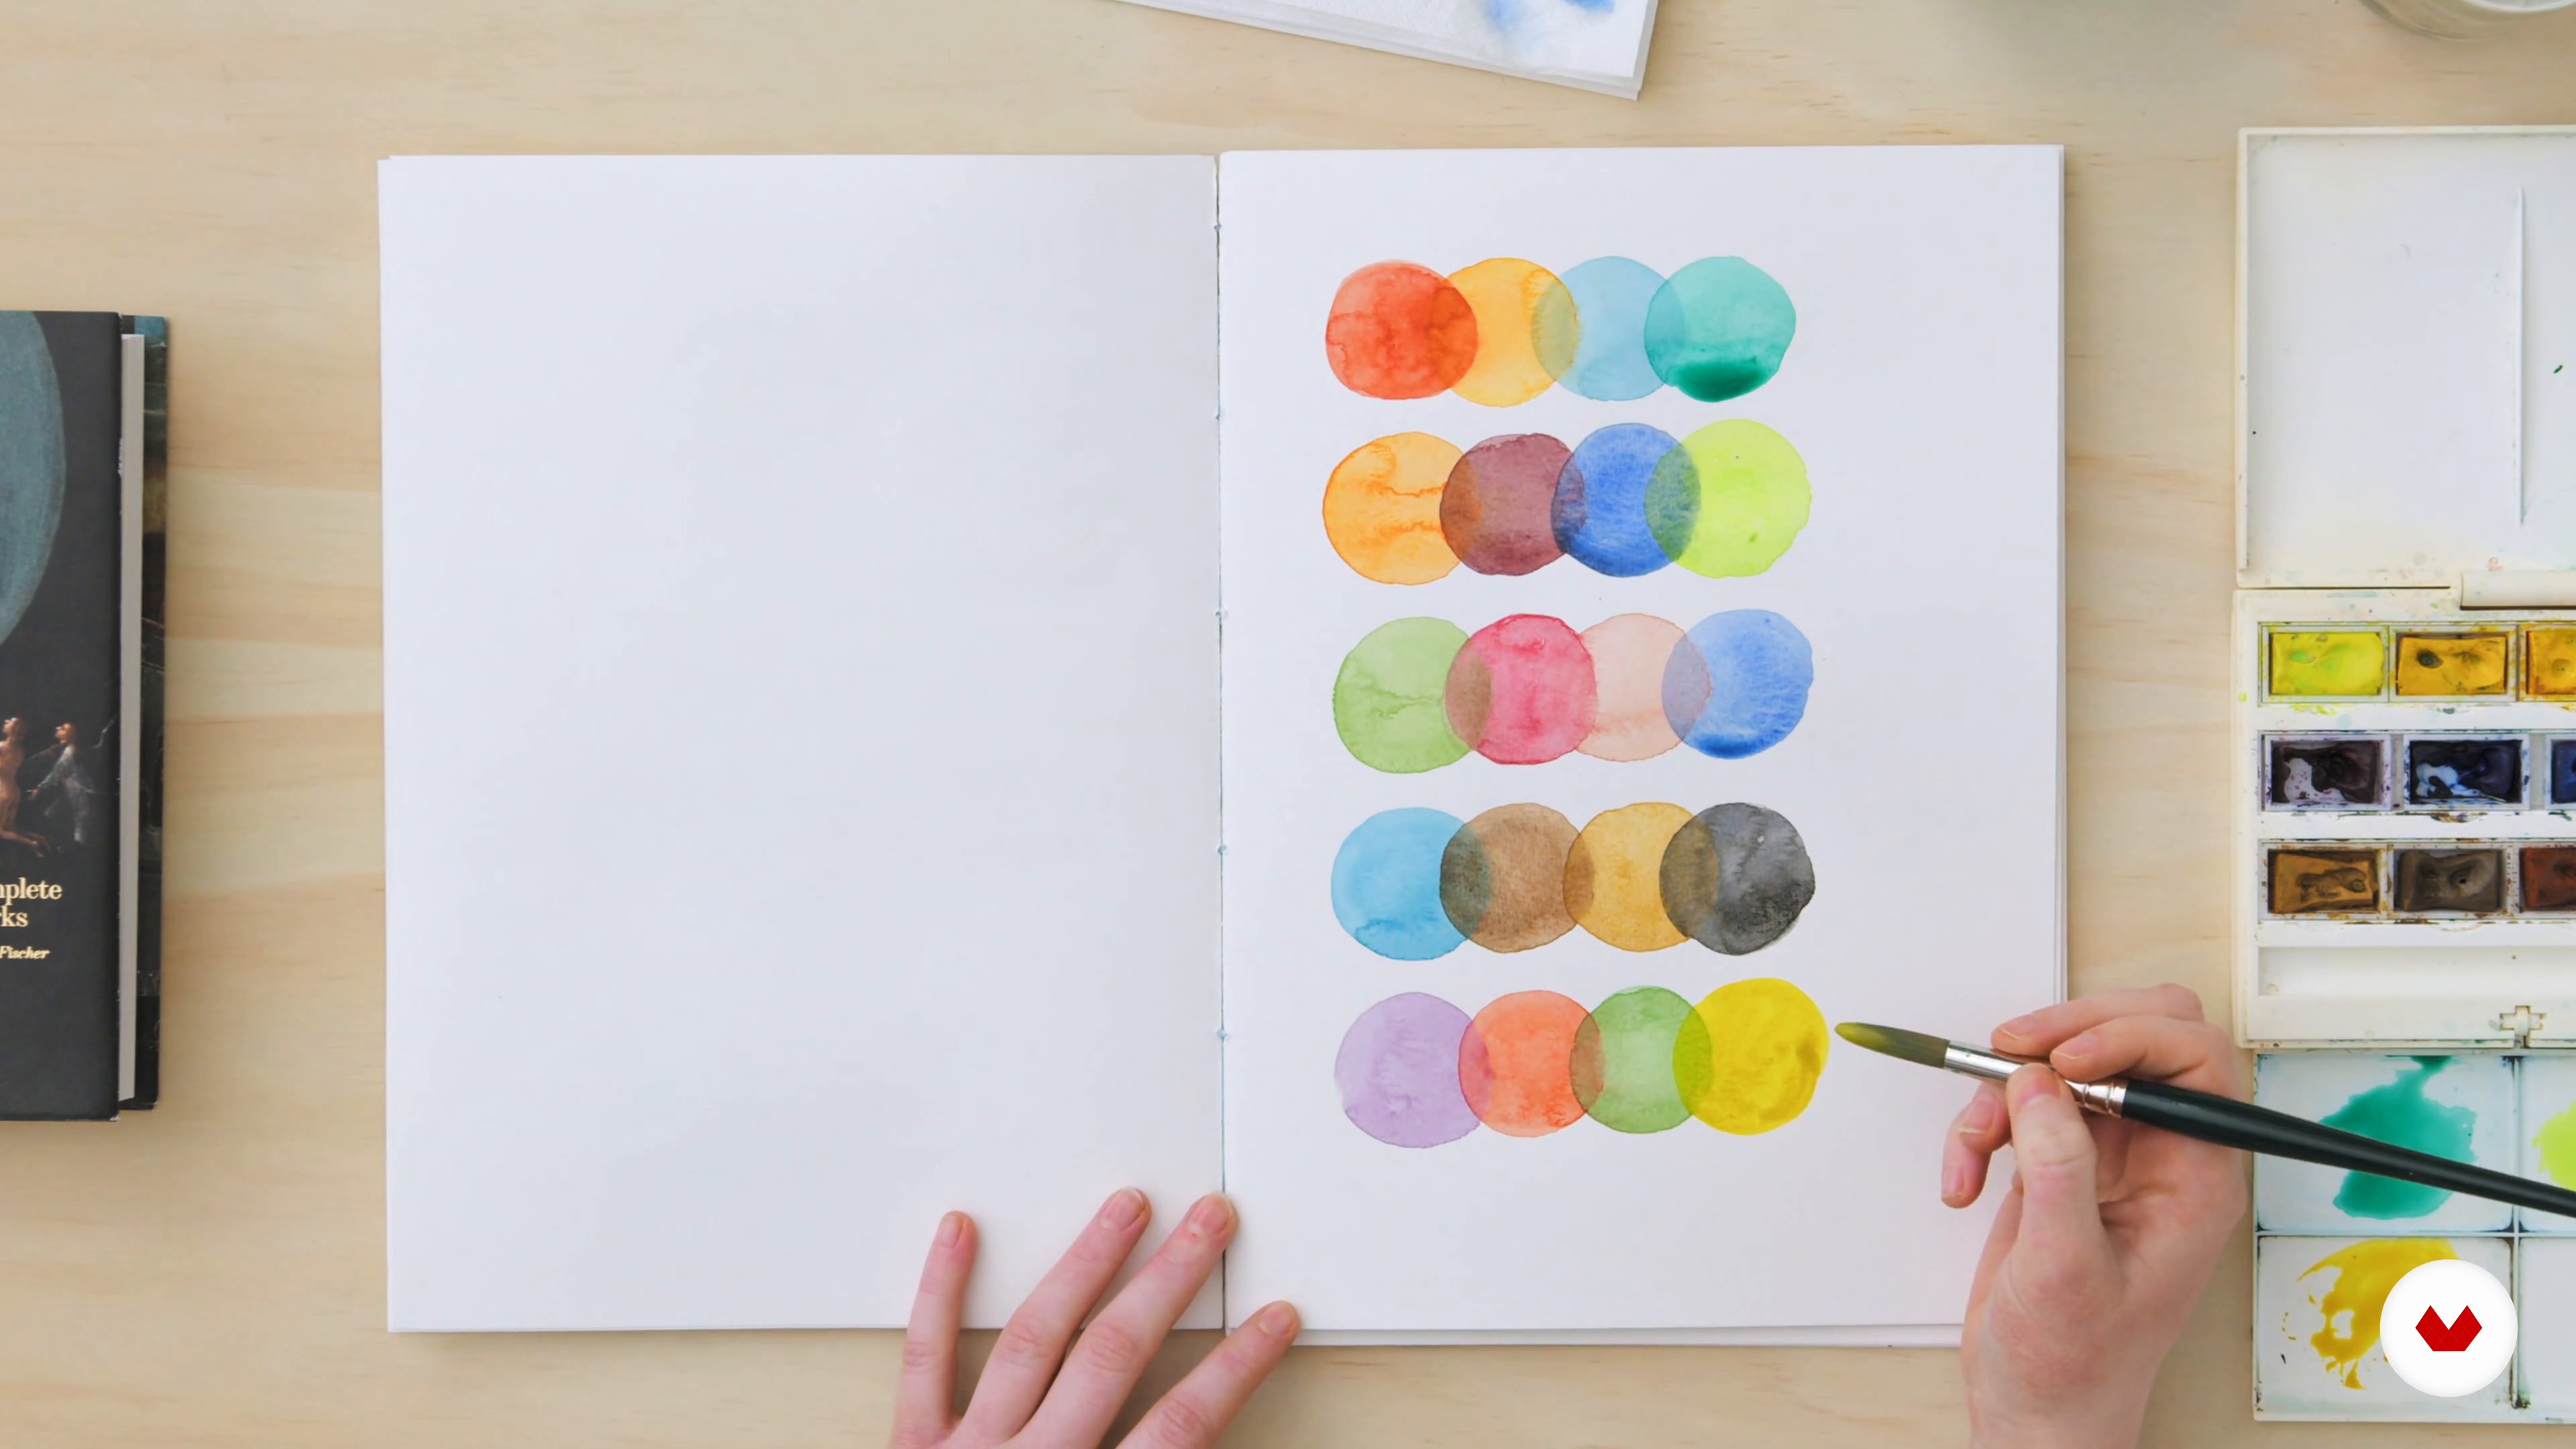
Now, I will show you how to mix and match any colour, starting with just three paints. I will explain my version of the traditional colour wheel and discuss the character of watercolour paints. I will demonstrate how to recreate bright and muted colours using a limited palette. You can add other colours to your paint box, but having a basic understanding of how to mix any colour you need, starting with a limited selection, will help you navigate the choice of paints on offer.
17m
image
8
Painting Textures
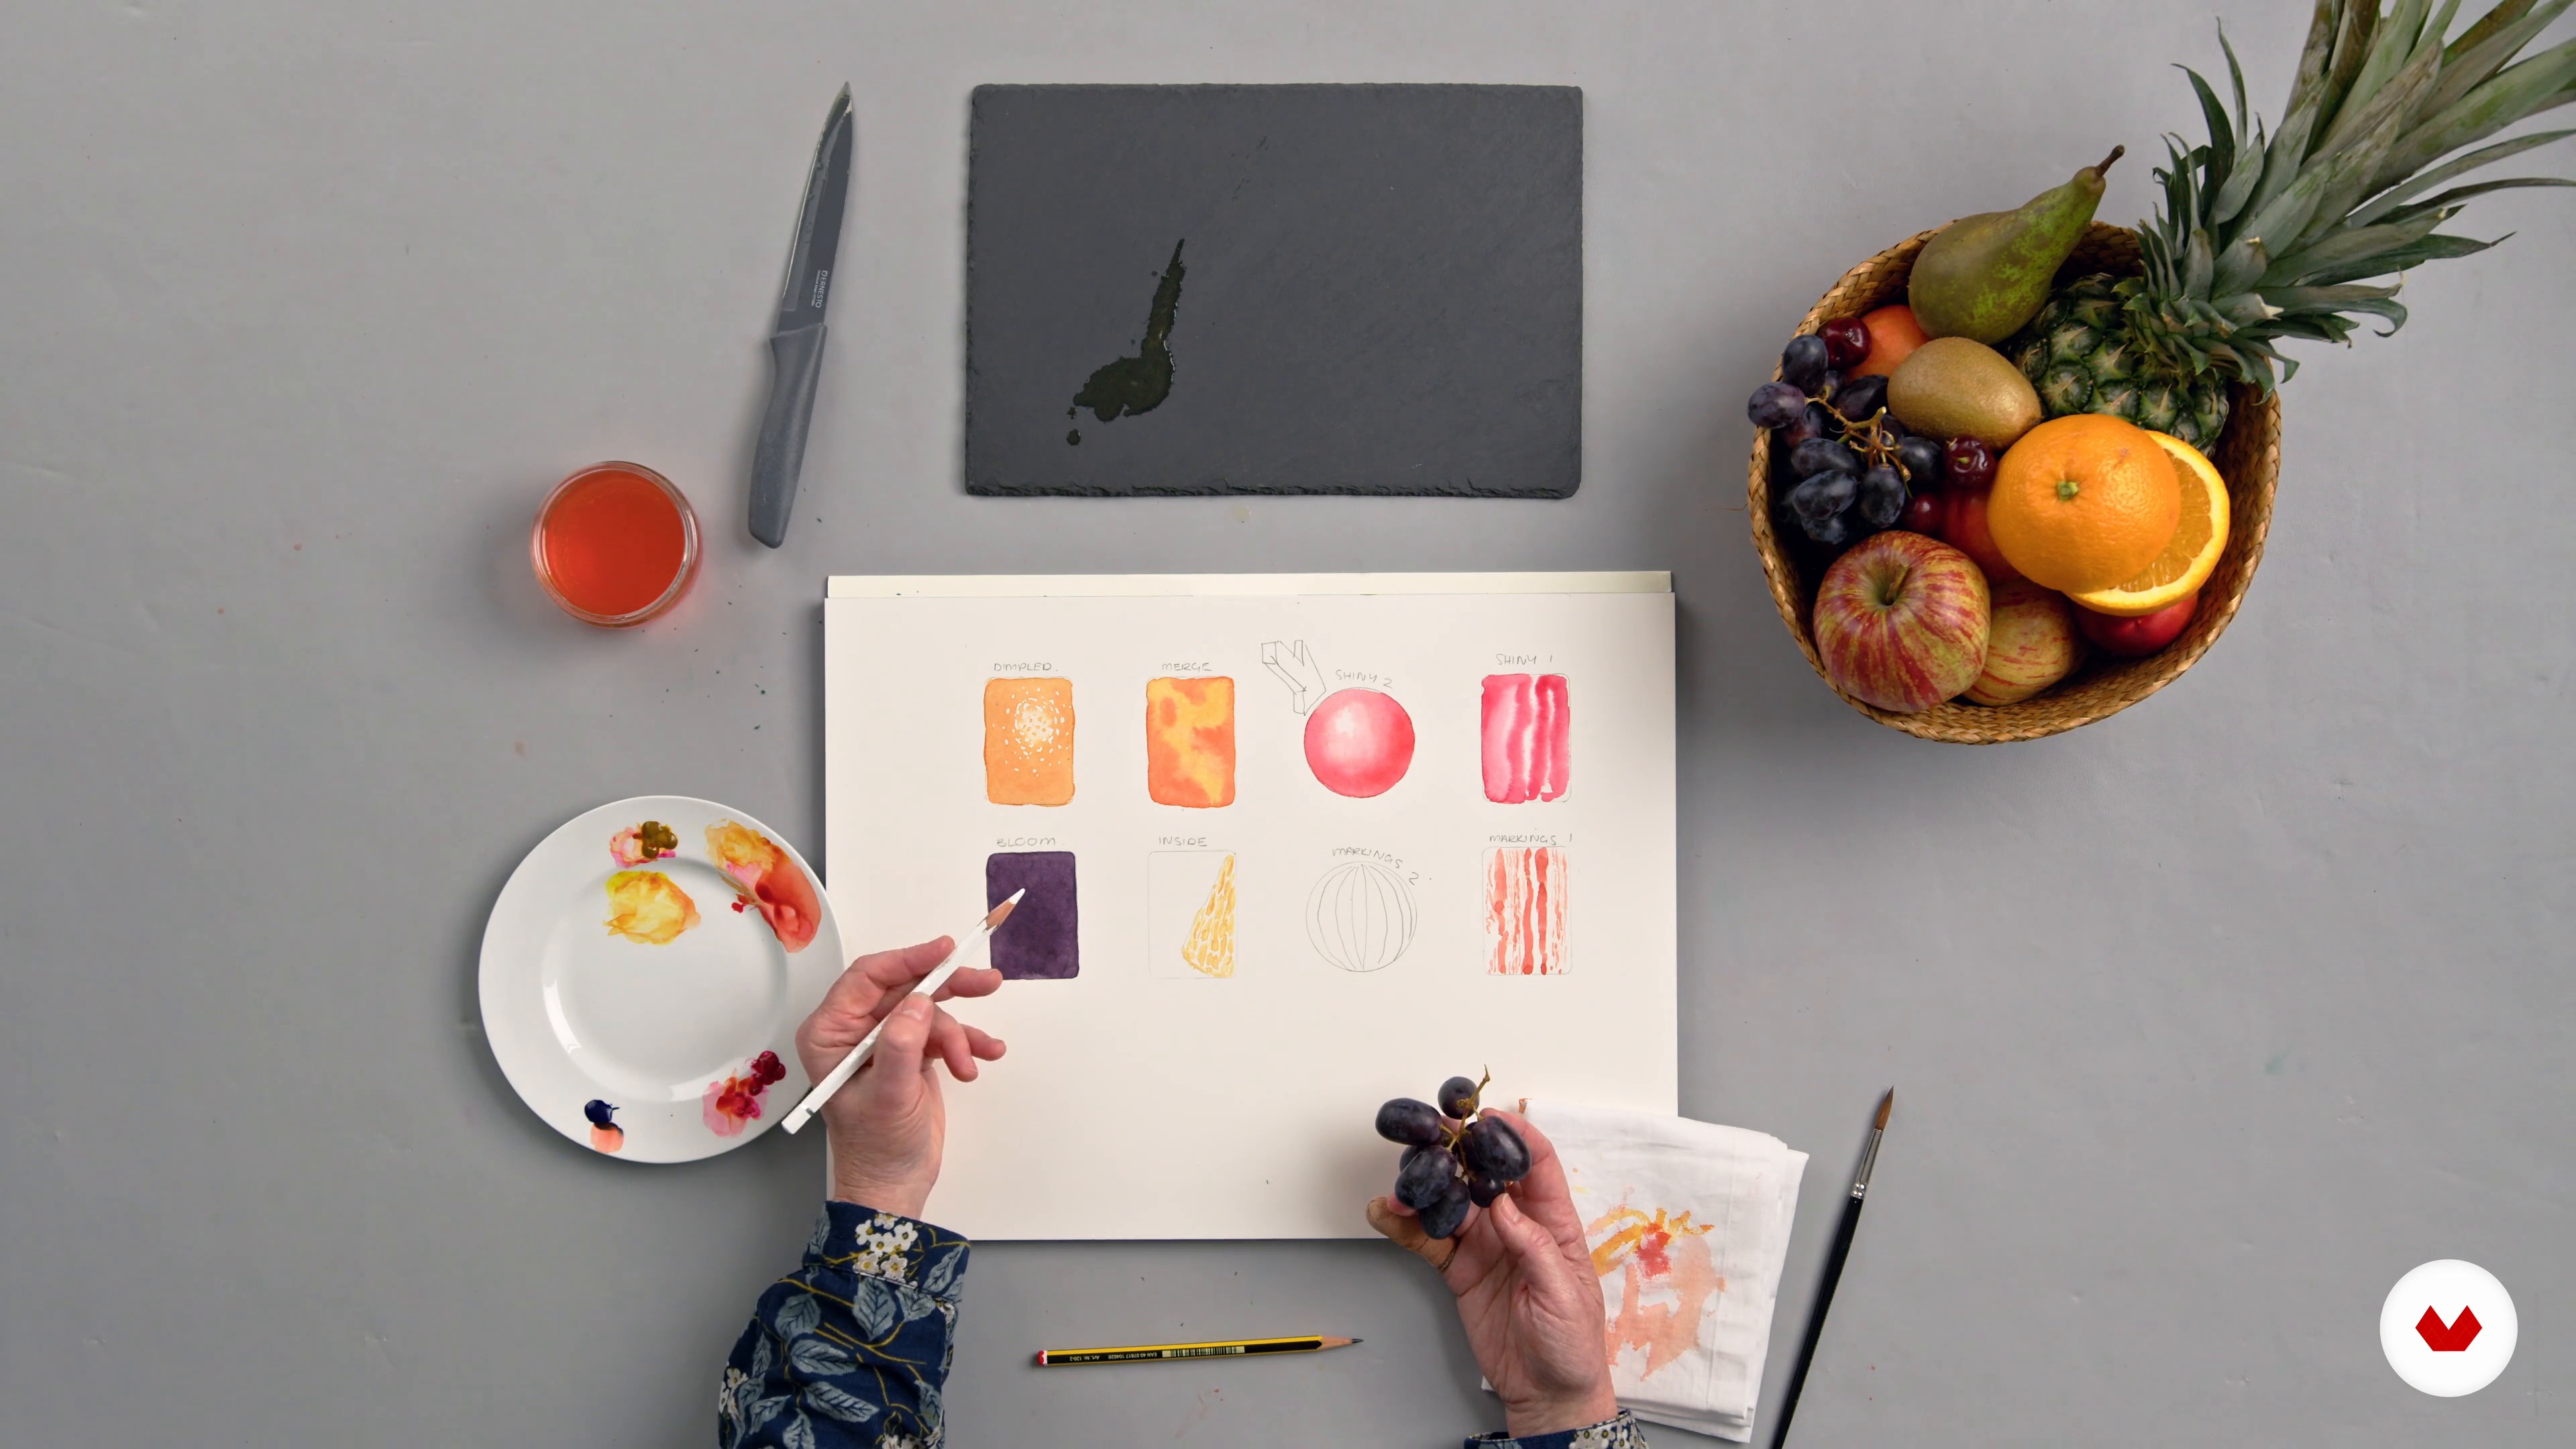
Fruit can be shiny, juicy, stripy, dimpled, and incredibly varied. In this lesson, I will show you how to use different watercolour techniques to replicate some of these textures.
19m
image
9
Values and Layering
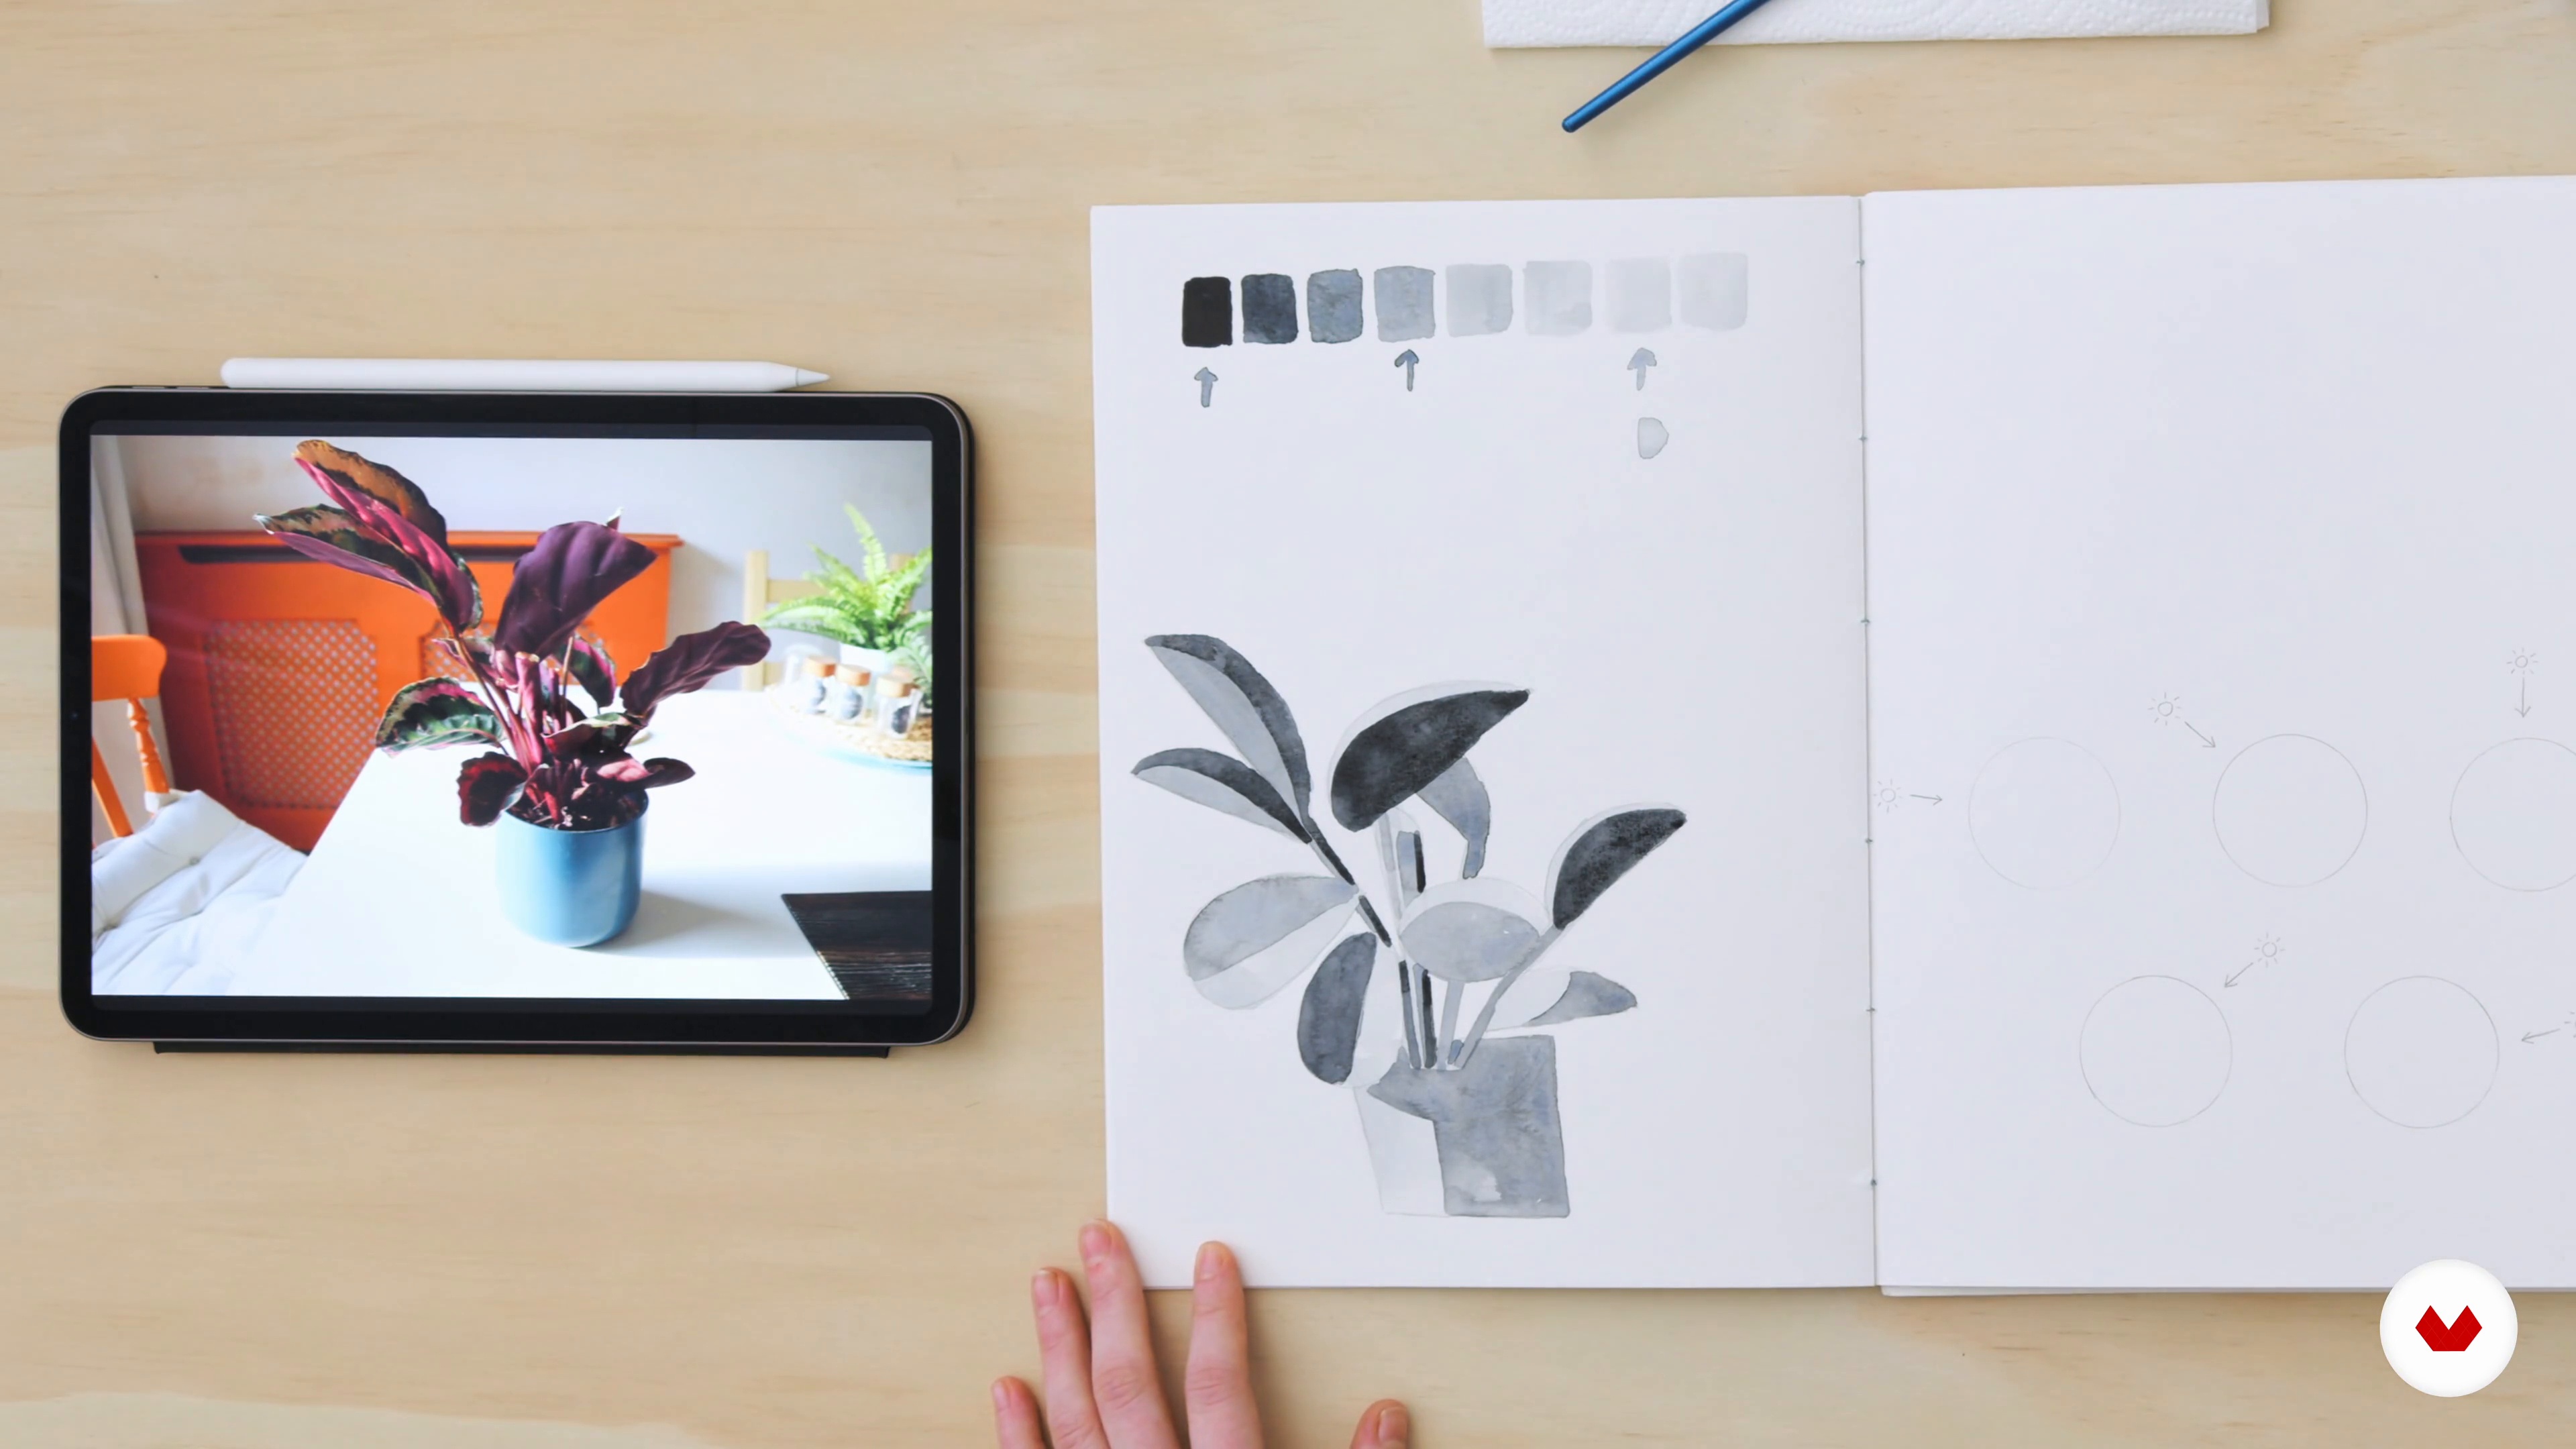
The first notion I will teach you is how to make a value scale and how to layer up your watercolour paints. This will allow you to create a sense of depth.
20m
image
10
Gradients and Lighting
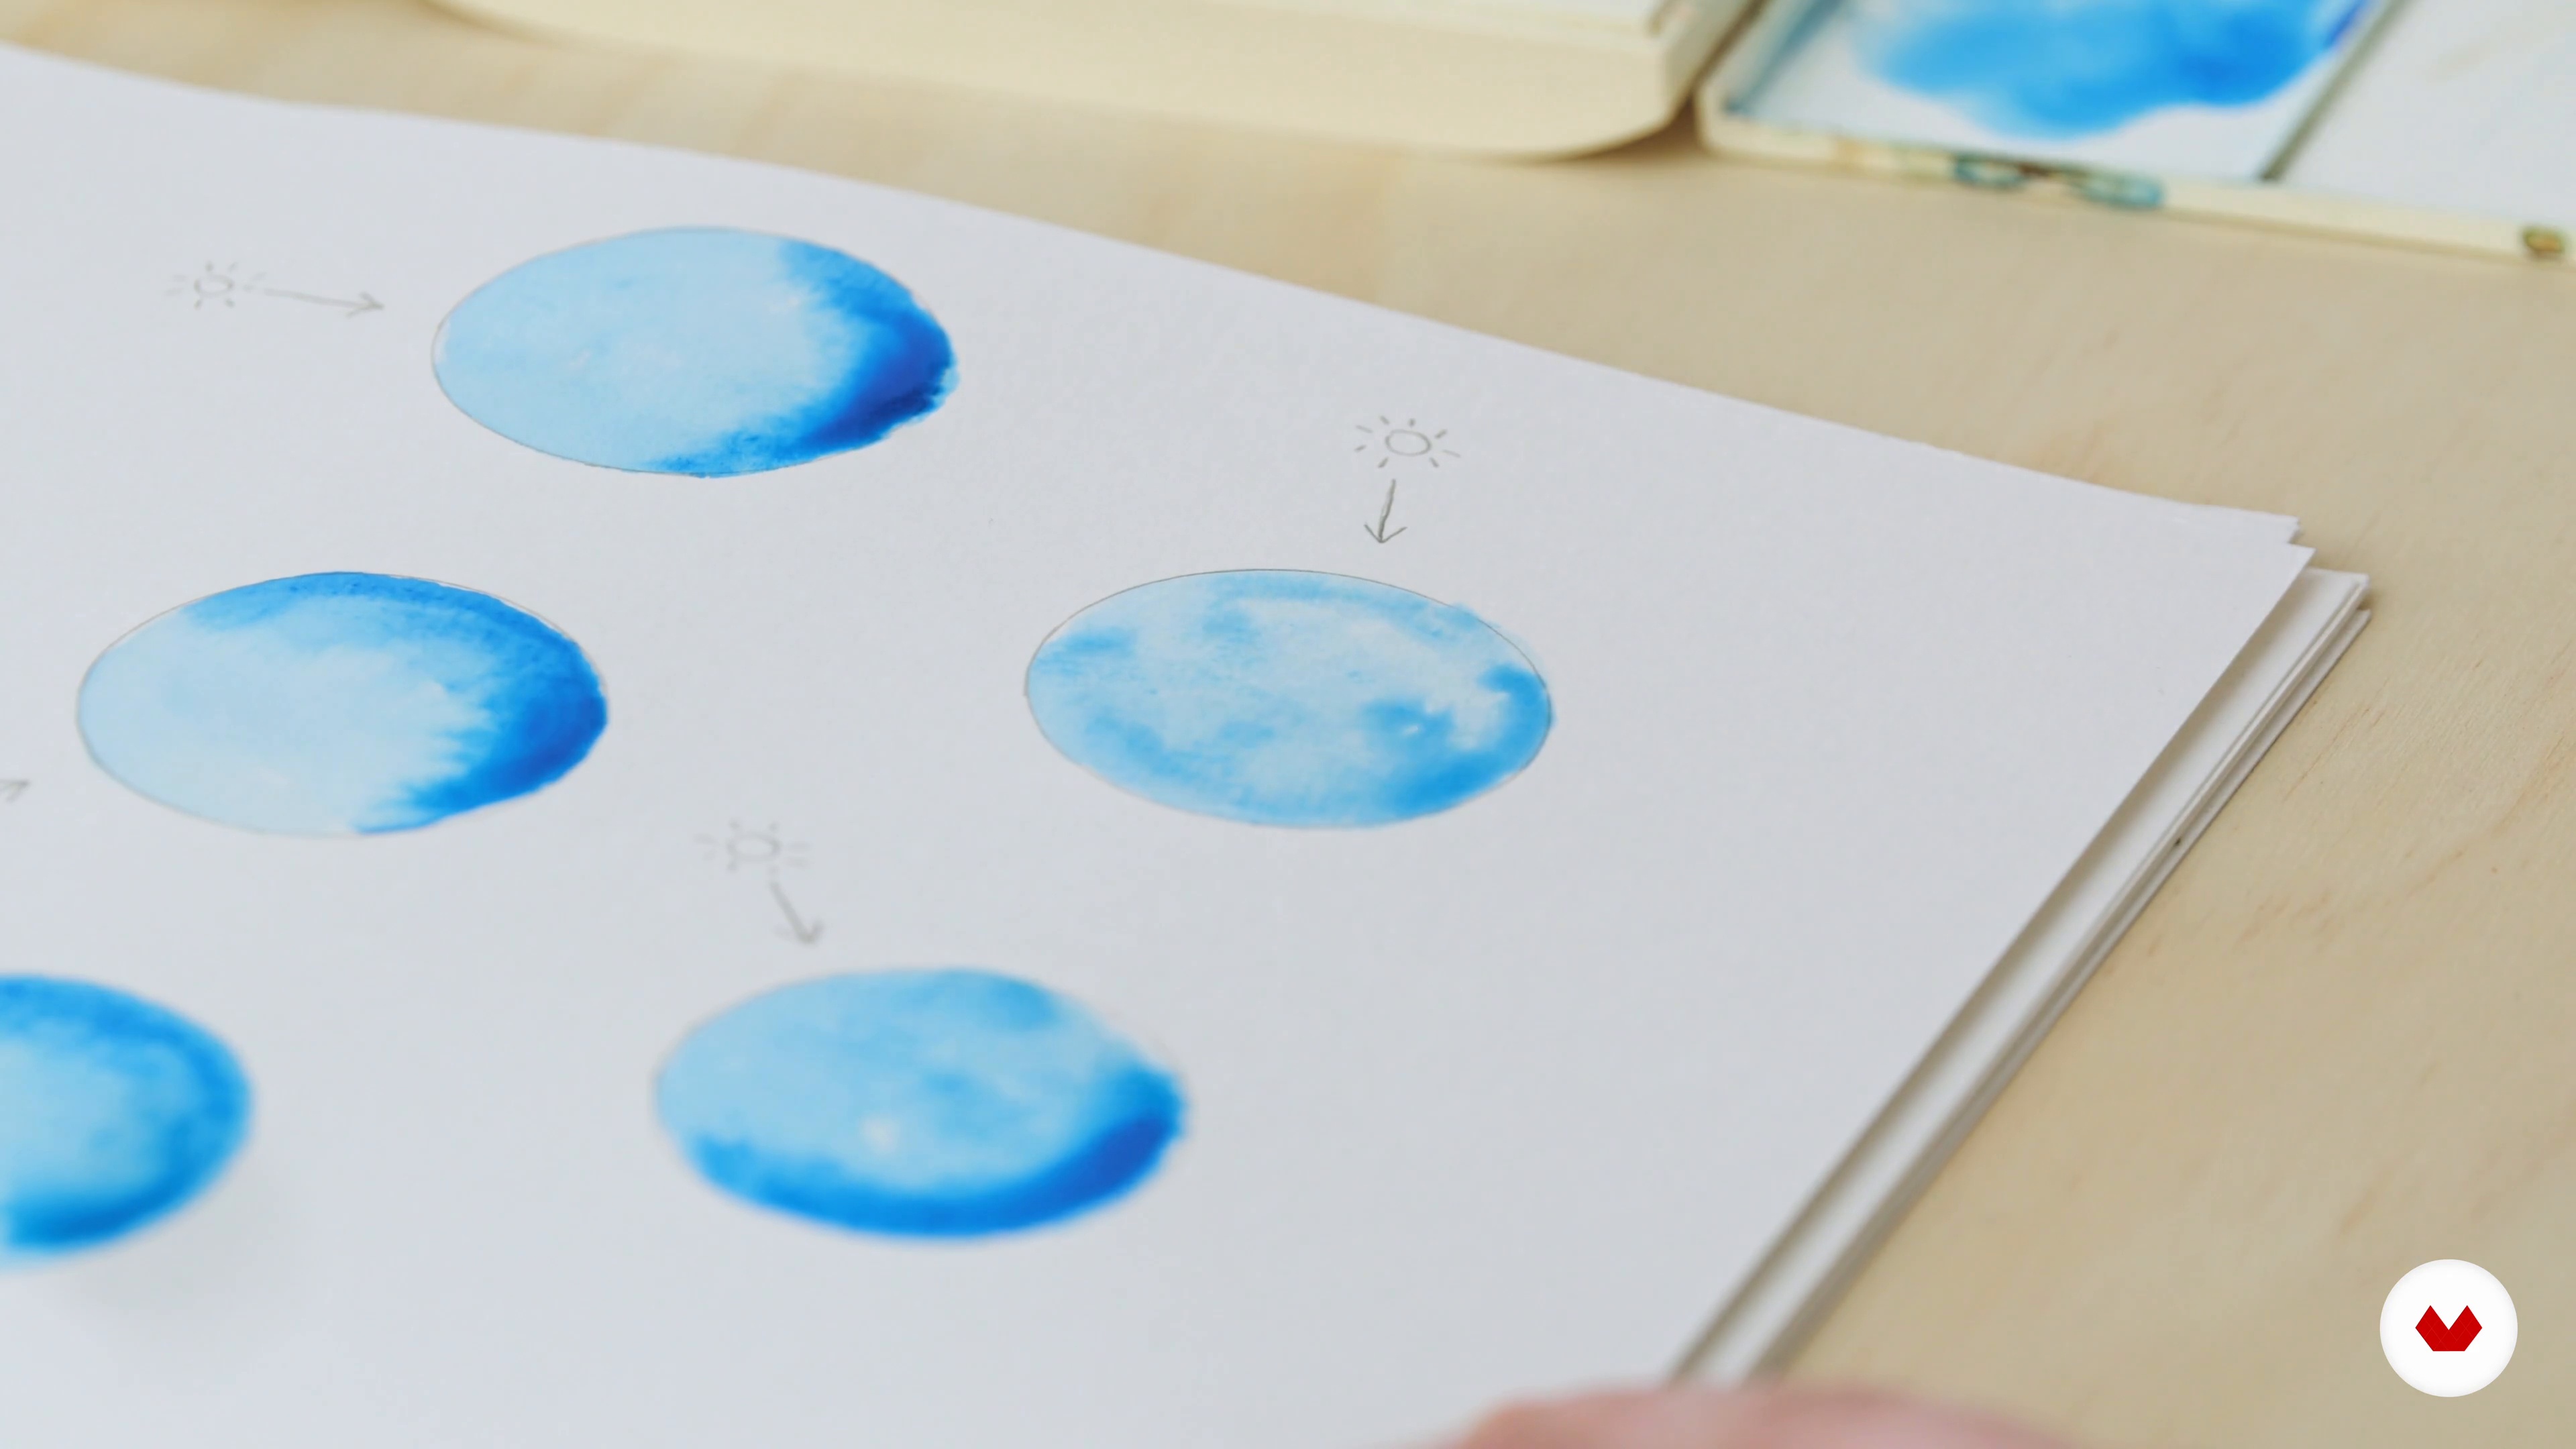
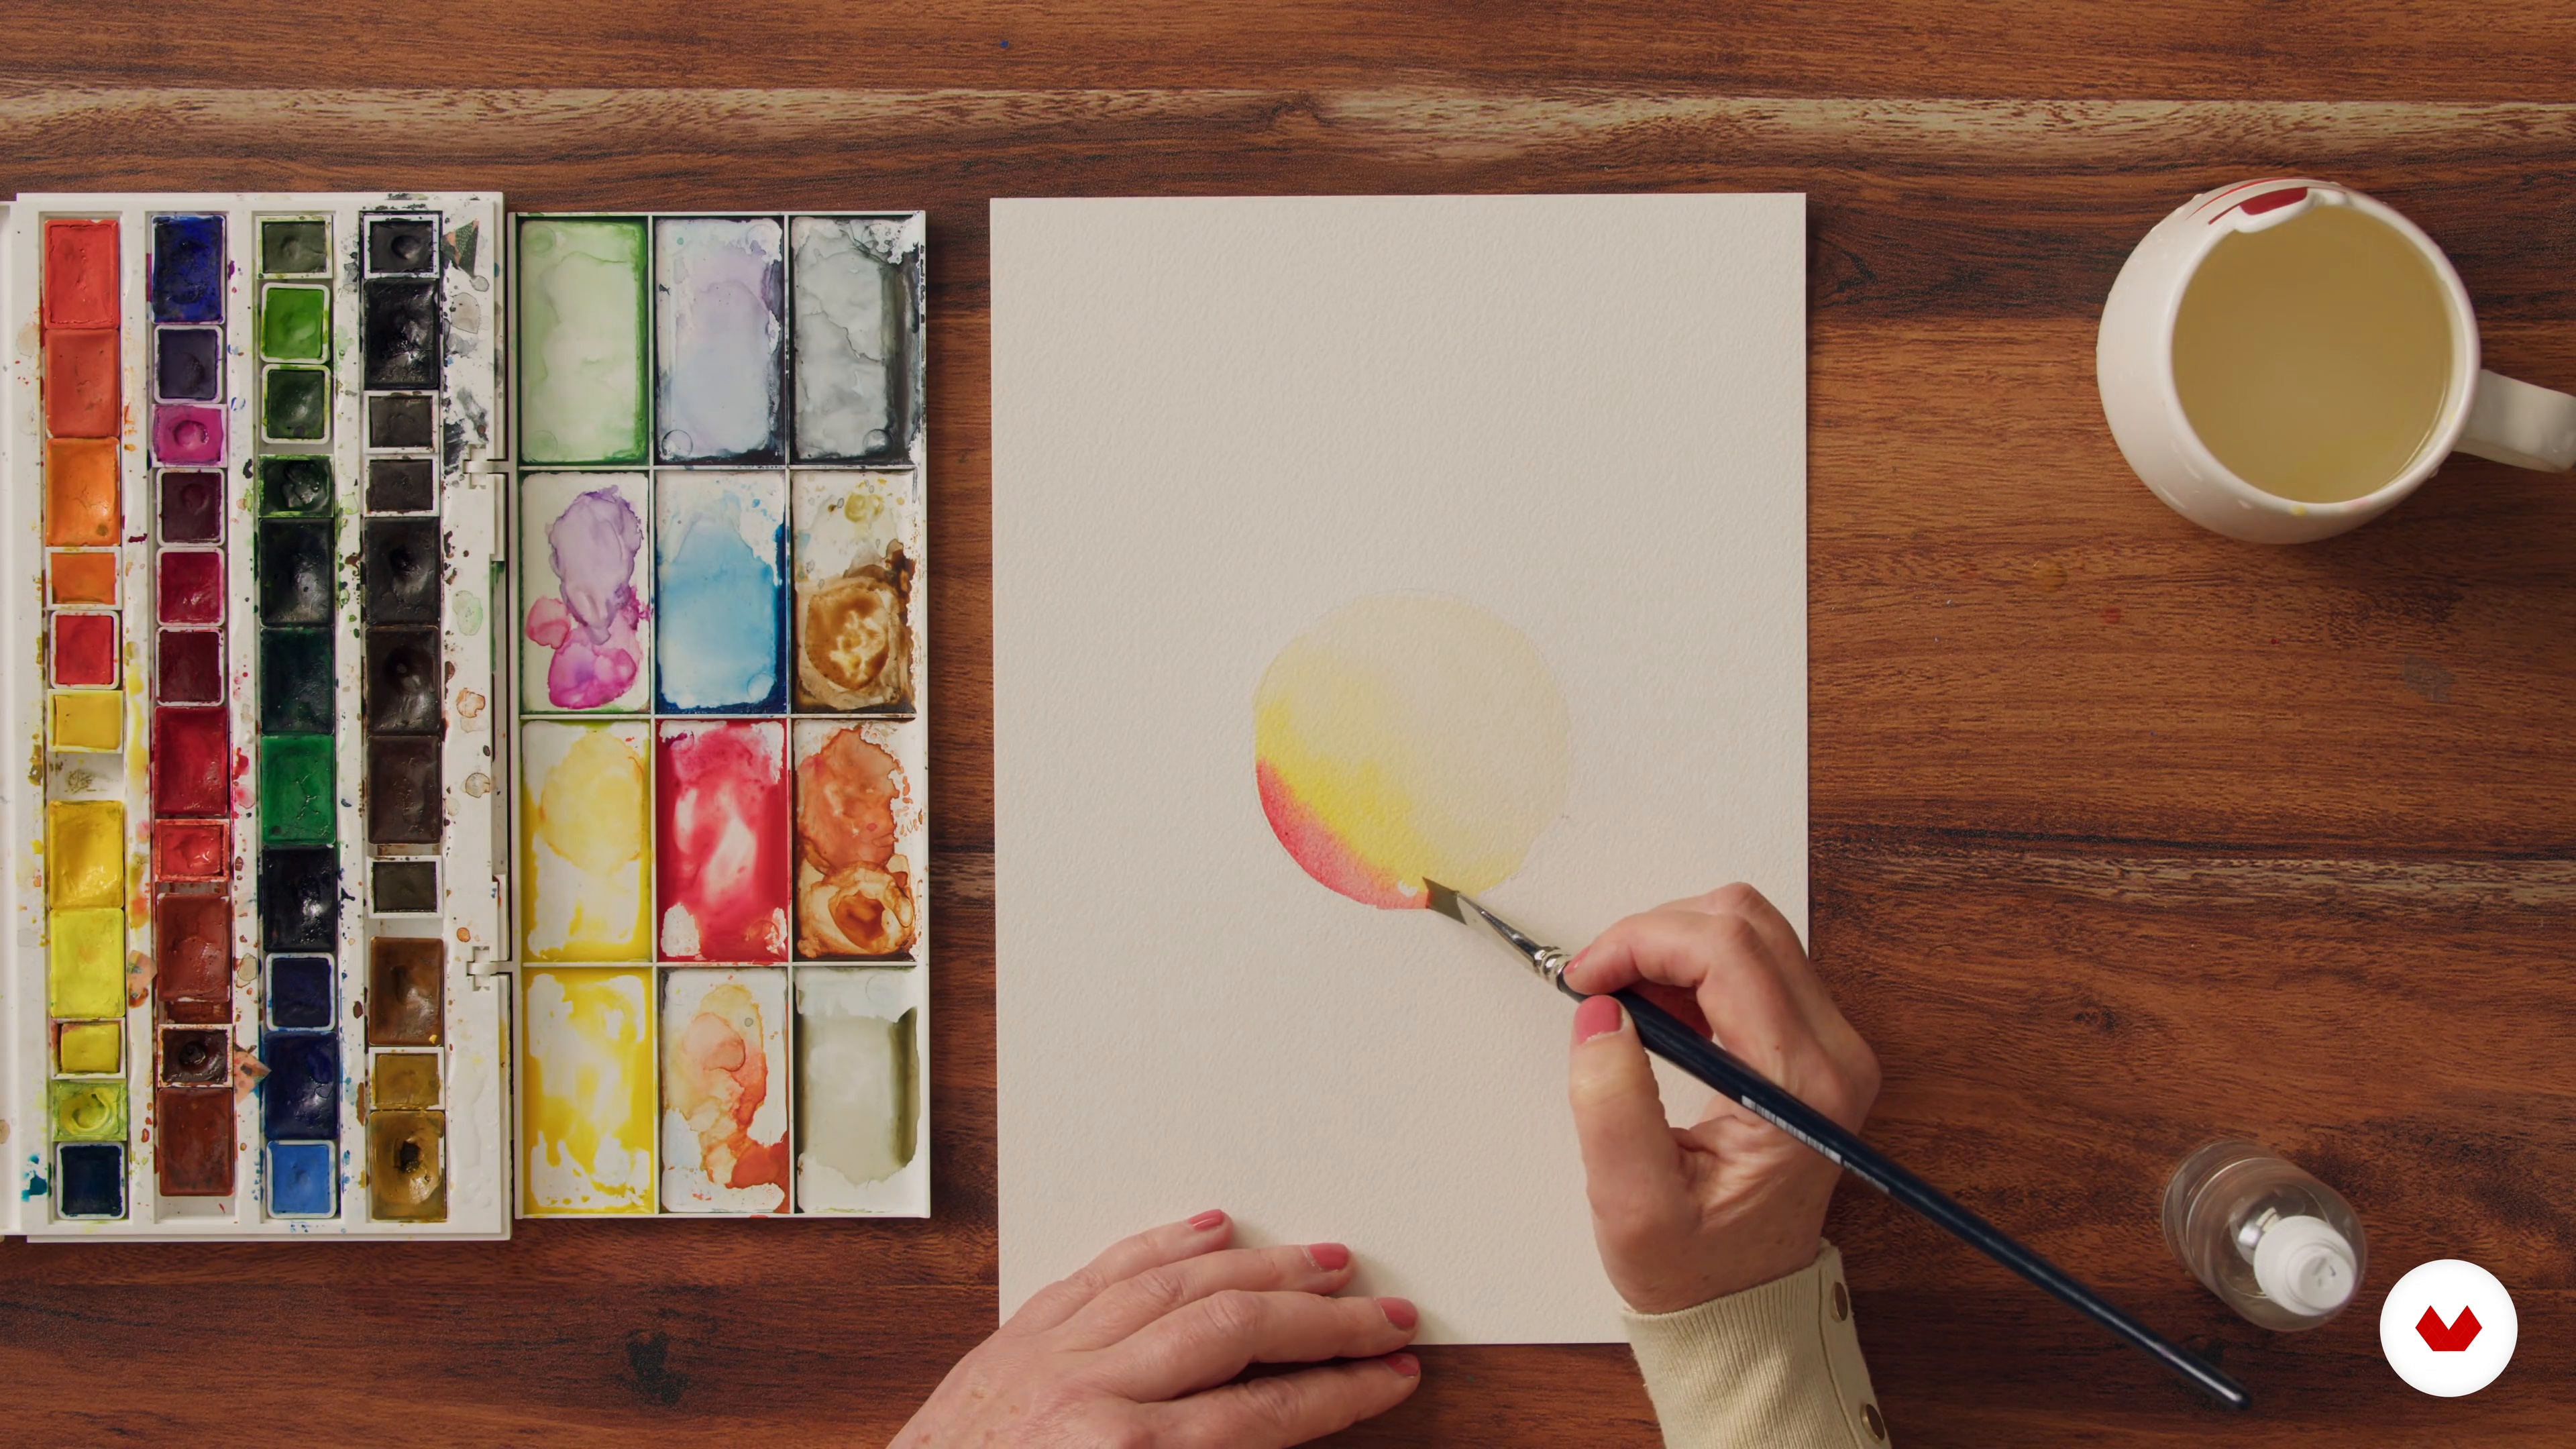
Next, I will show you how to create gradients and lighting with your watercolour palette. These can not only add texture to your piece but also create an extra layer of realism.
14m
image
11
Color Palettes
Limited colour palettes are a great way to show your own style in your art. Here I will explain ways you can build your own palette with colours that work for you and bring you joy. You will then use these for your project.
8m
image
1
The Materials
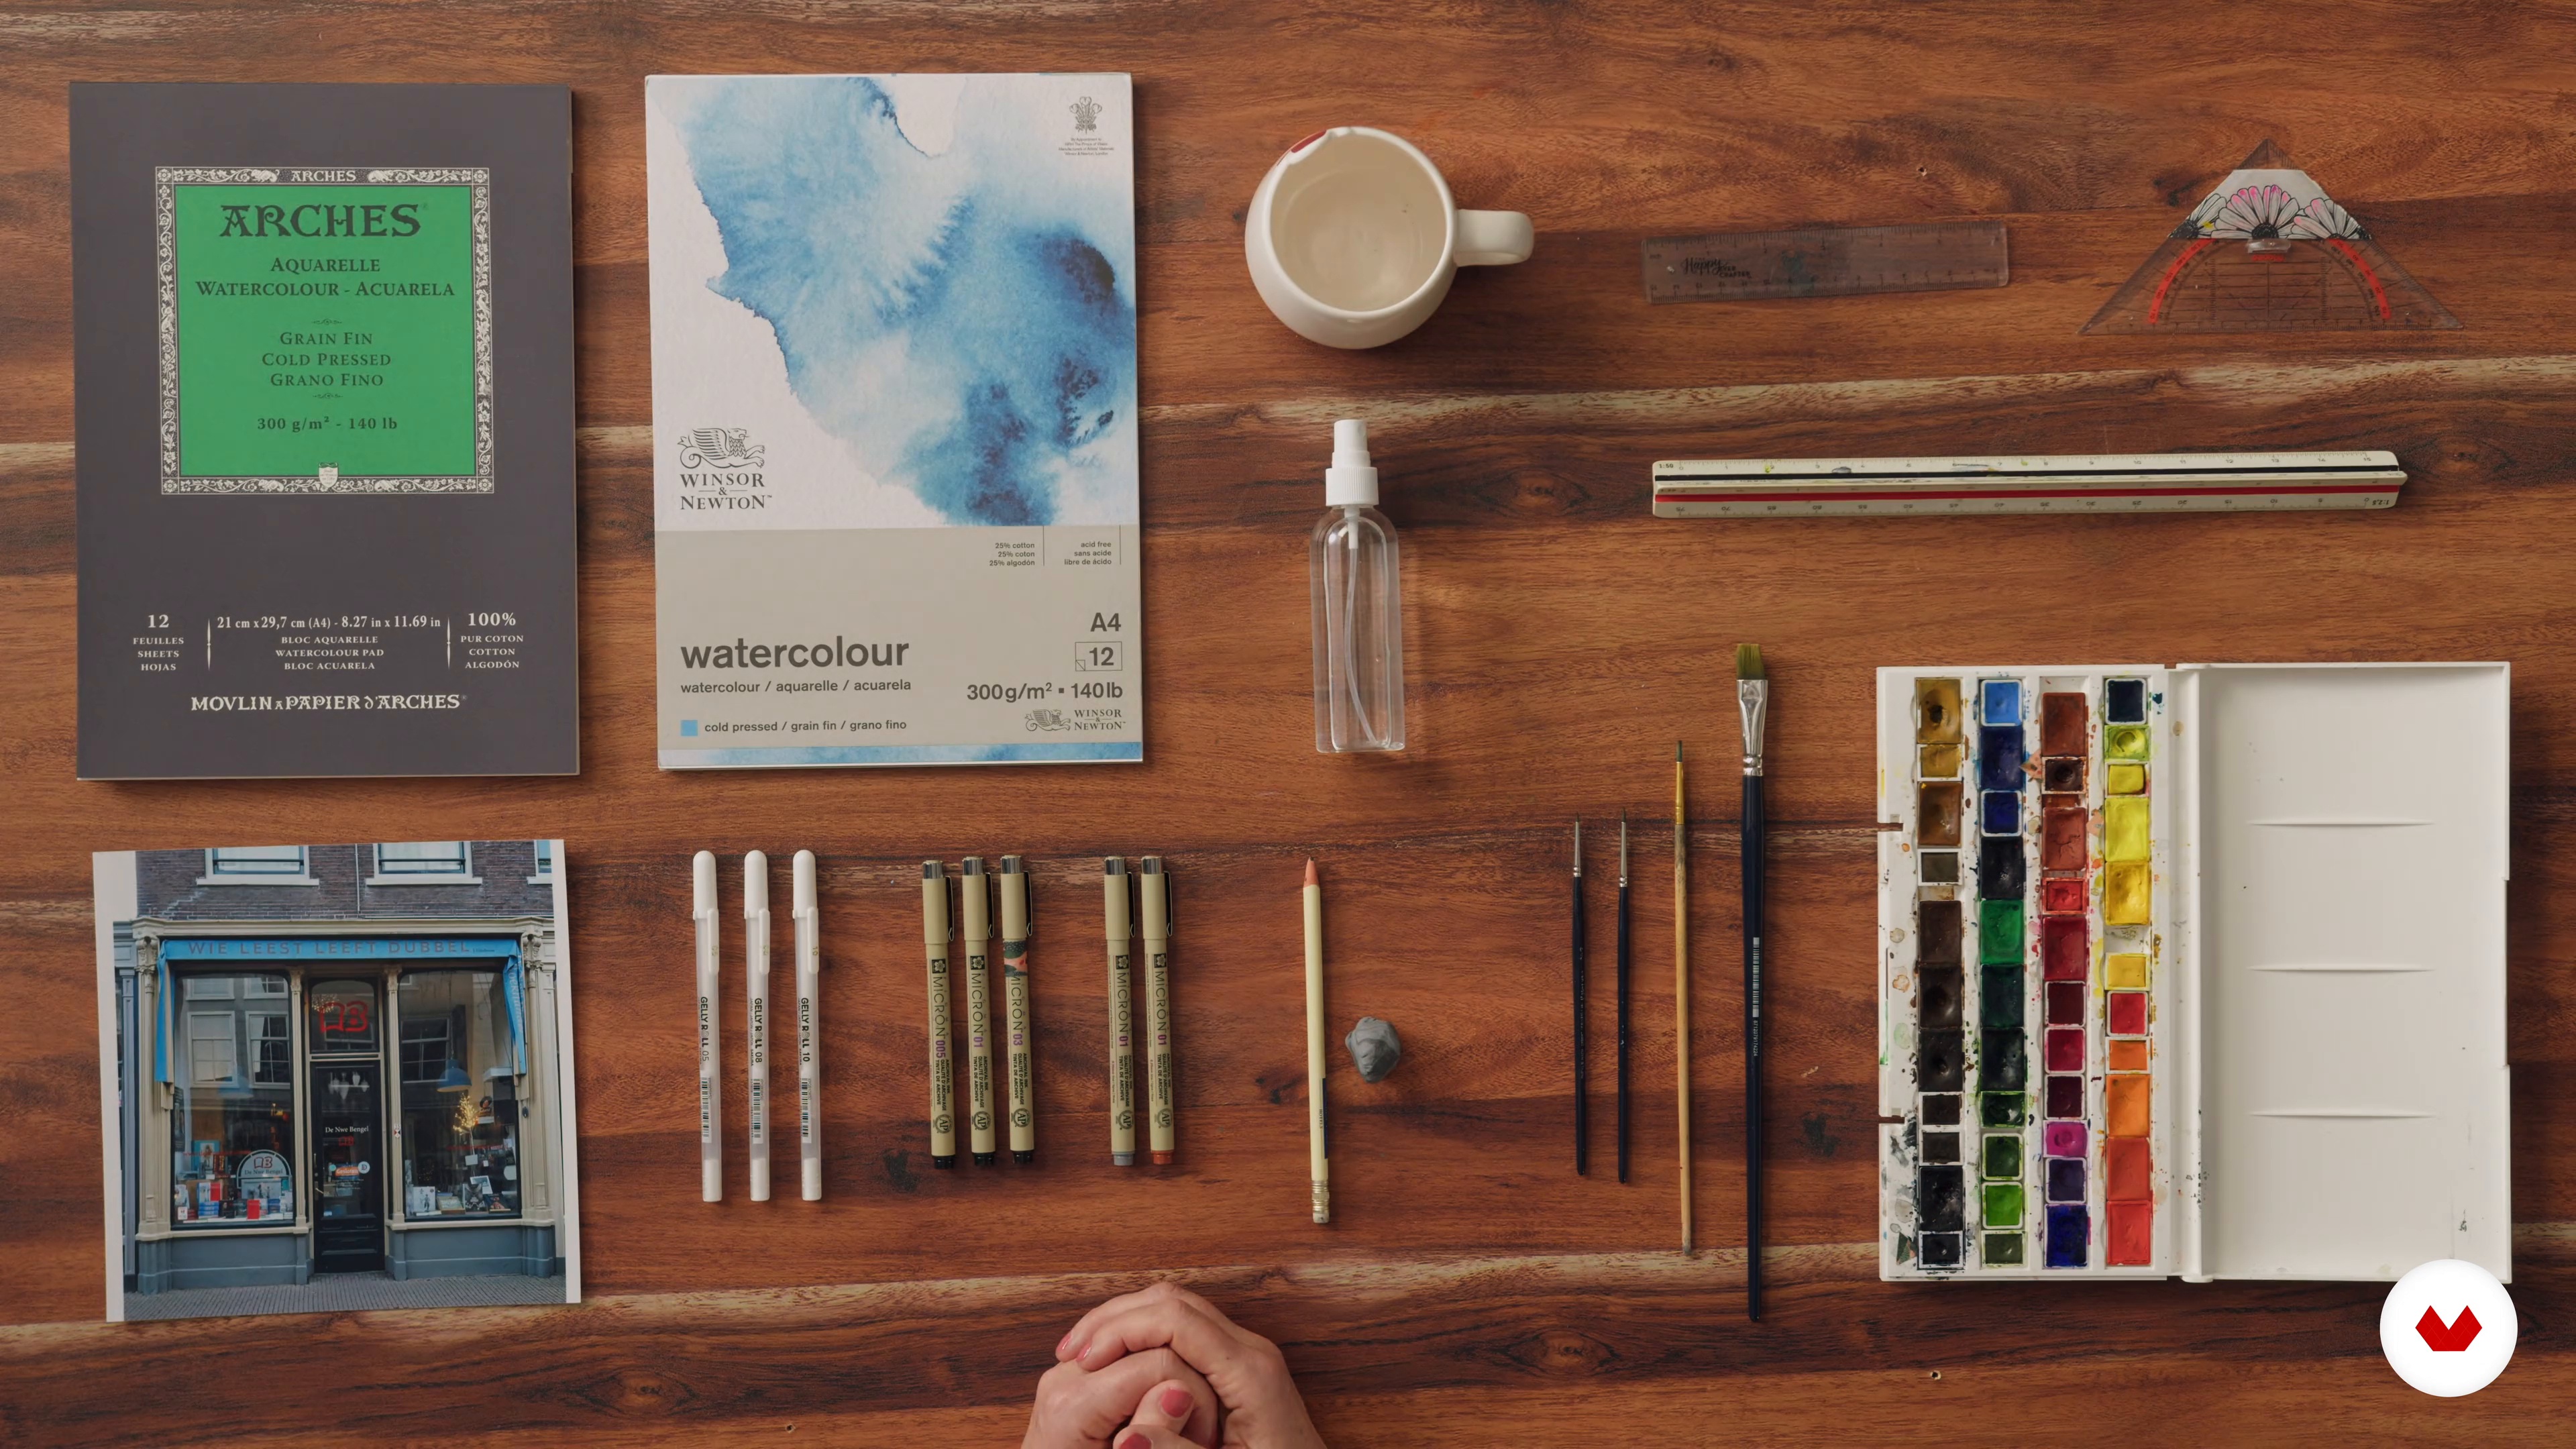
To start with, I will show all the materials you will be using in this course. I will show my favorite tools and talk about how you are going to use them.
5m
image
2
Why Urban Illustration Never Gets Boring
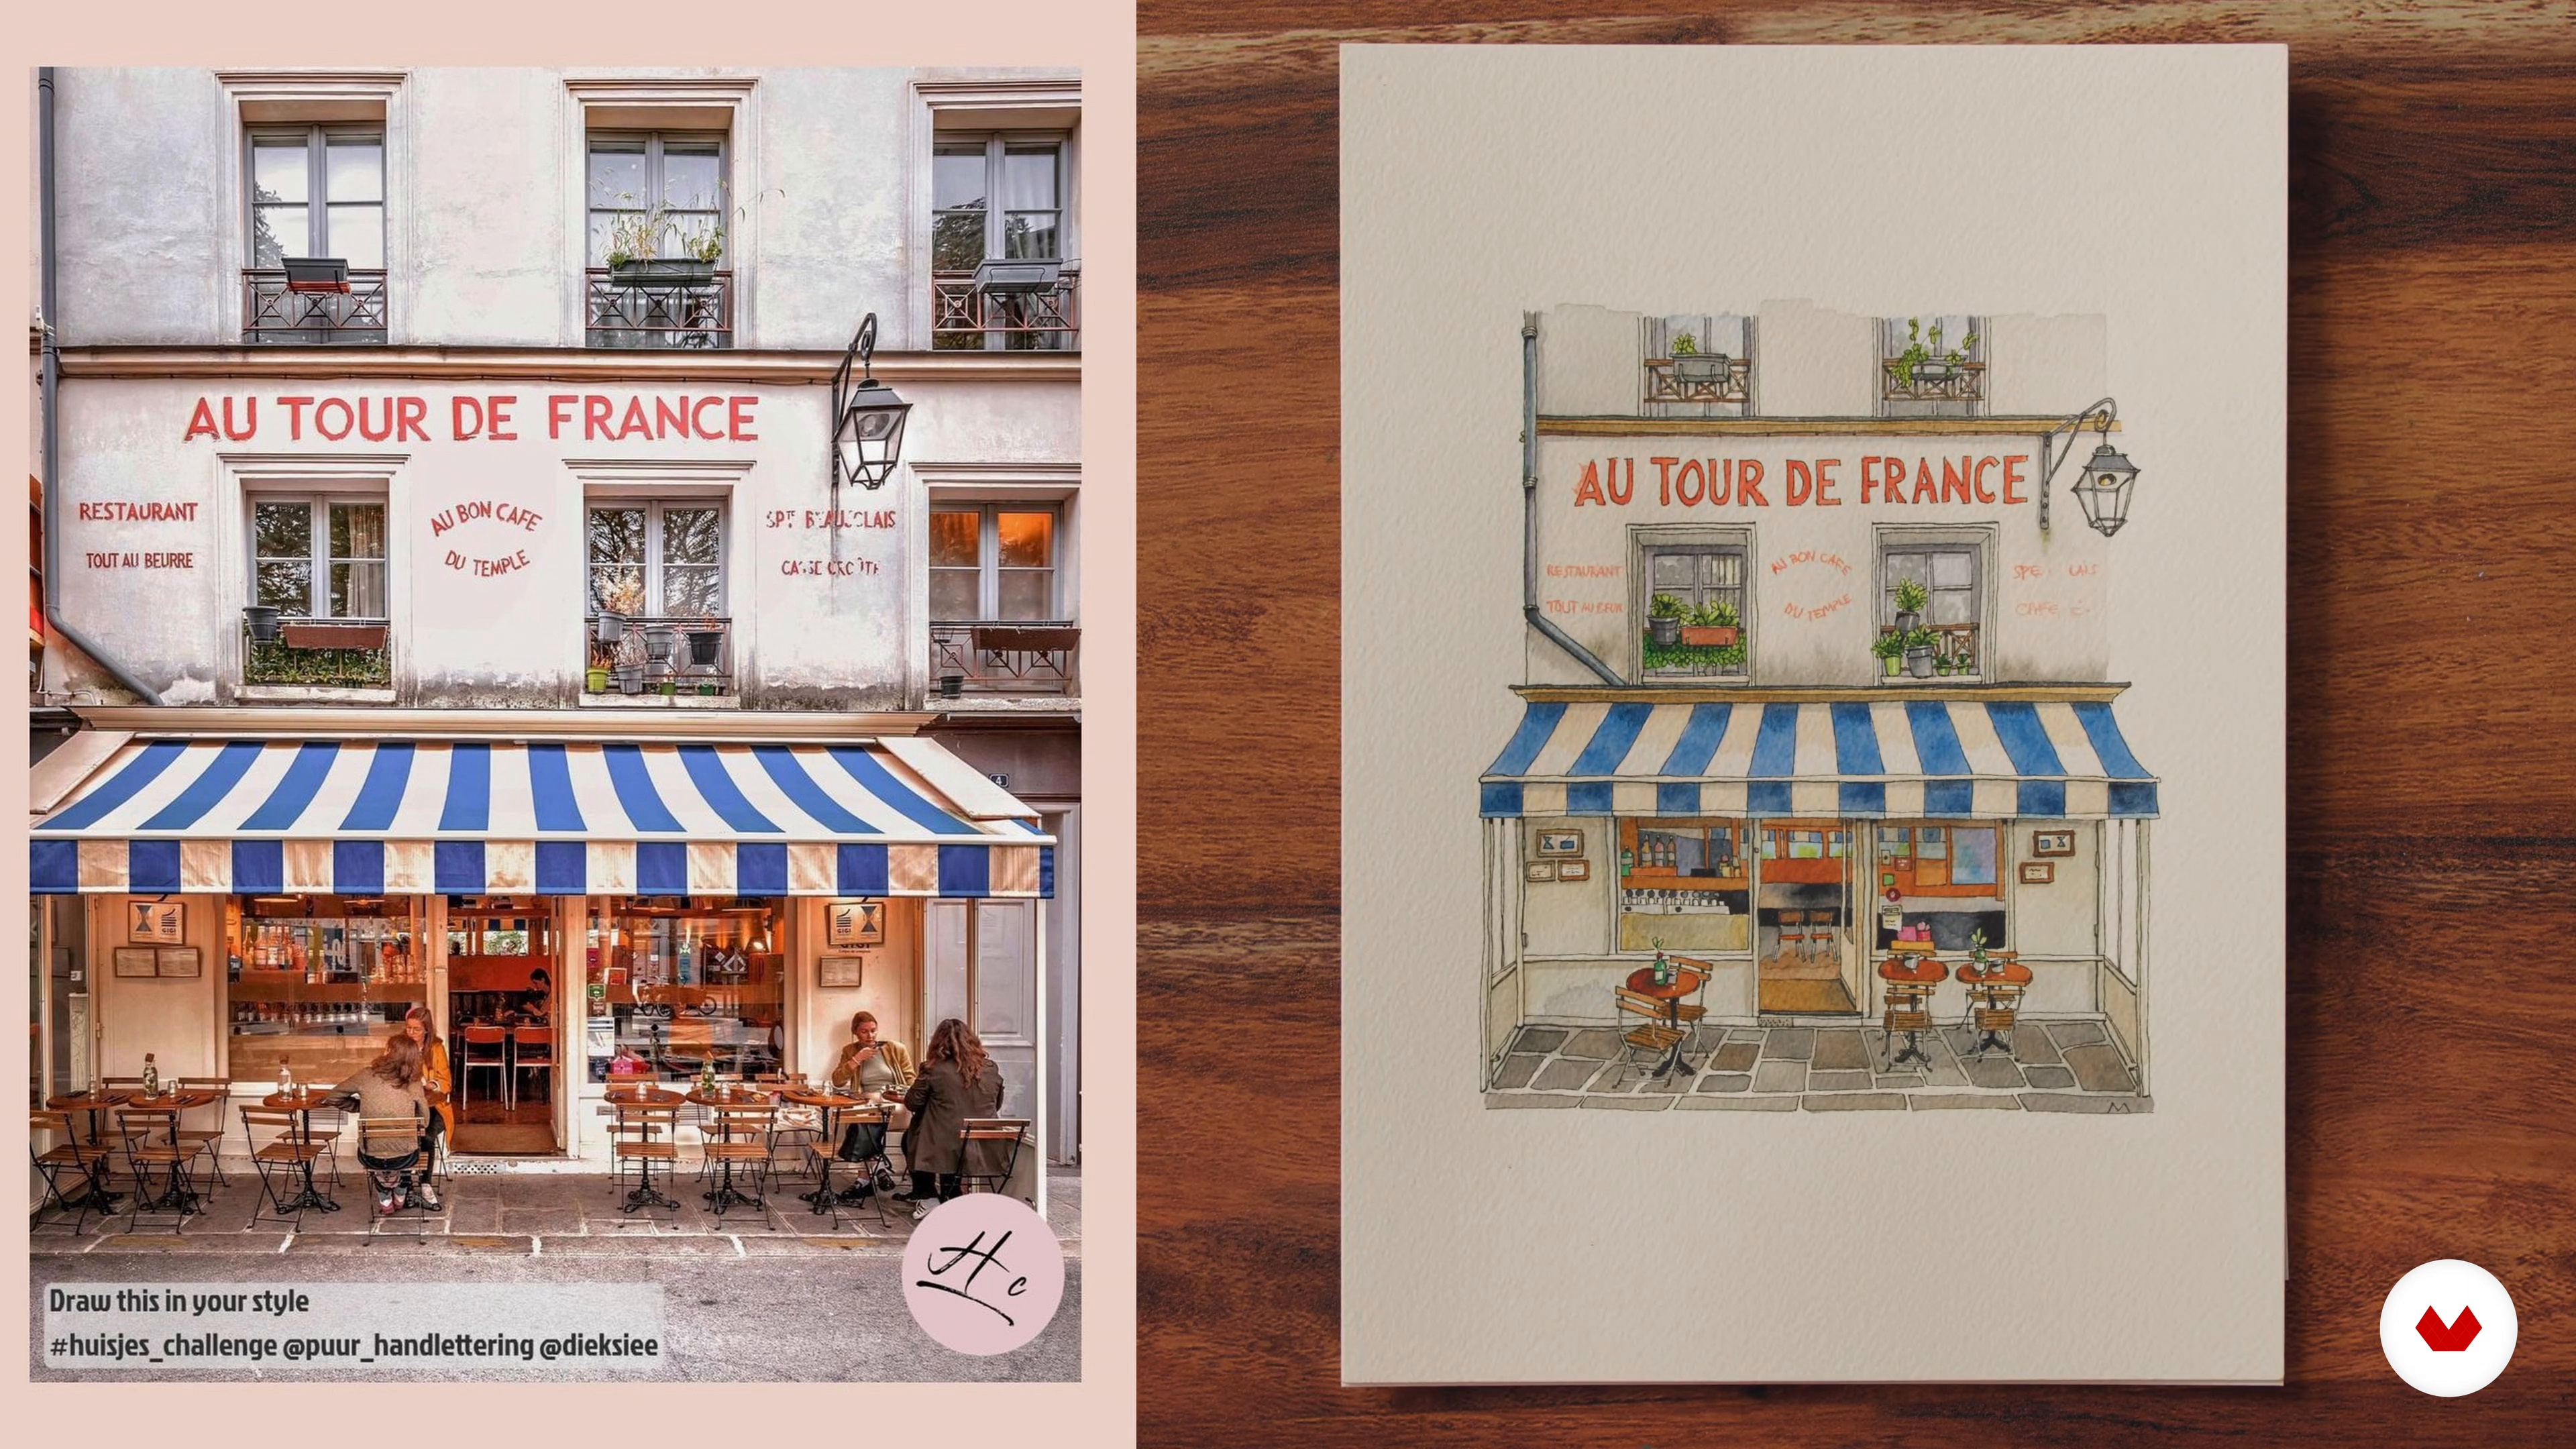
People often ask me, don’t you want to paint something other than buildings? My answer is no; it never gets boring. In this lesson, I will tell you more about the possibilities and show you different ways to spice up a reference picture. Not one facade looks the same, and if the reference doesn’t meet your expectations, add extras like color or texture.
2m
image
3
Perspective and Shading
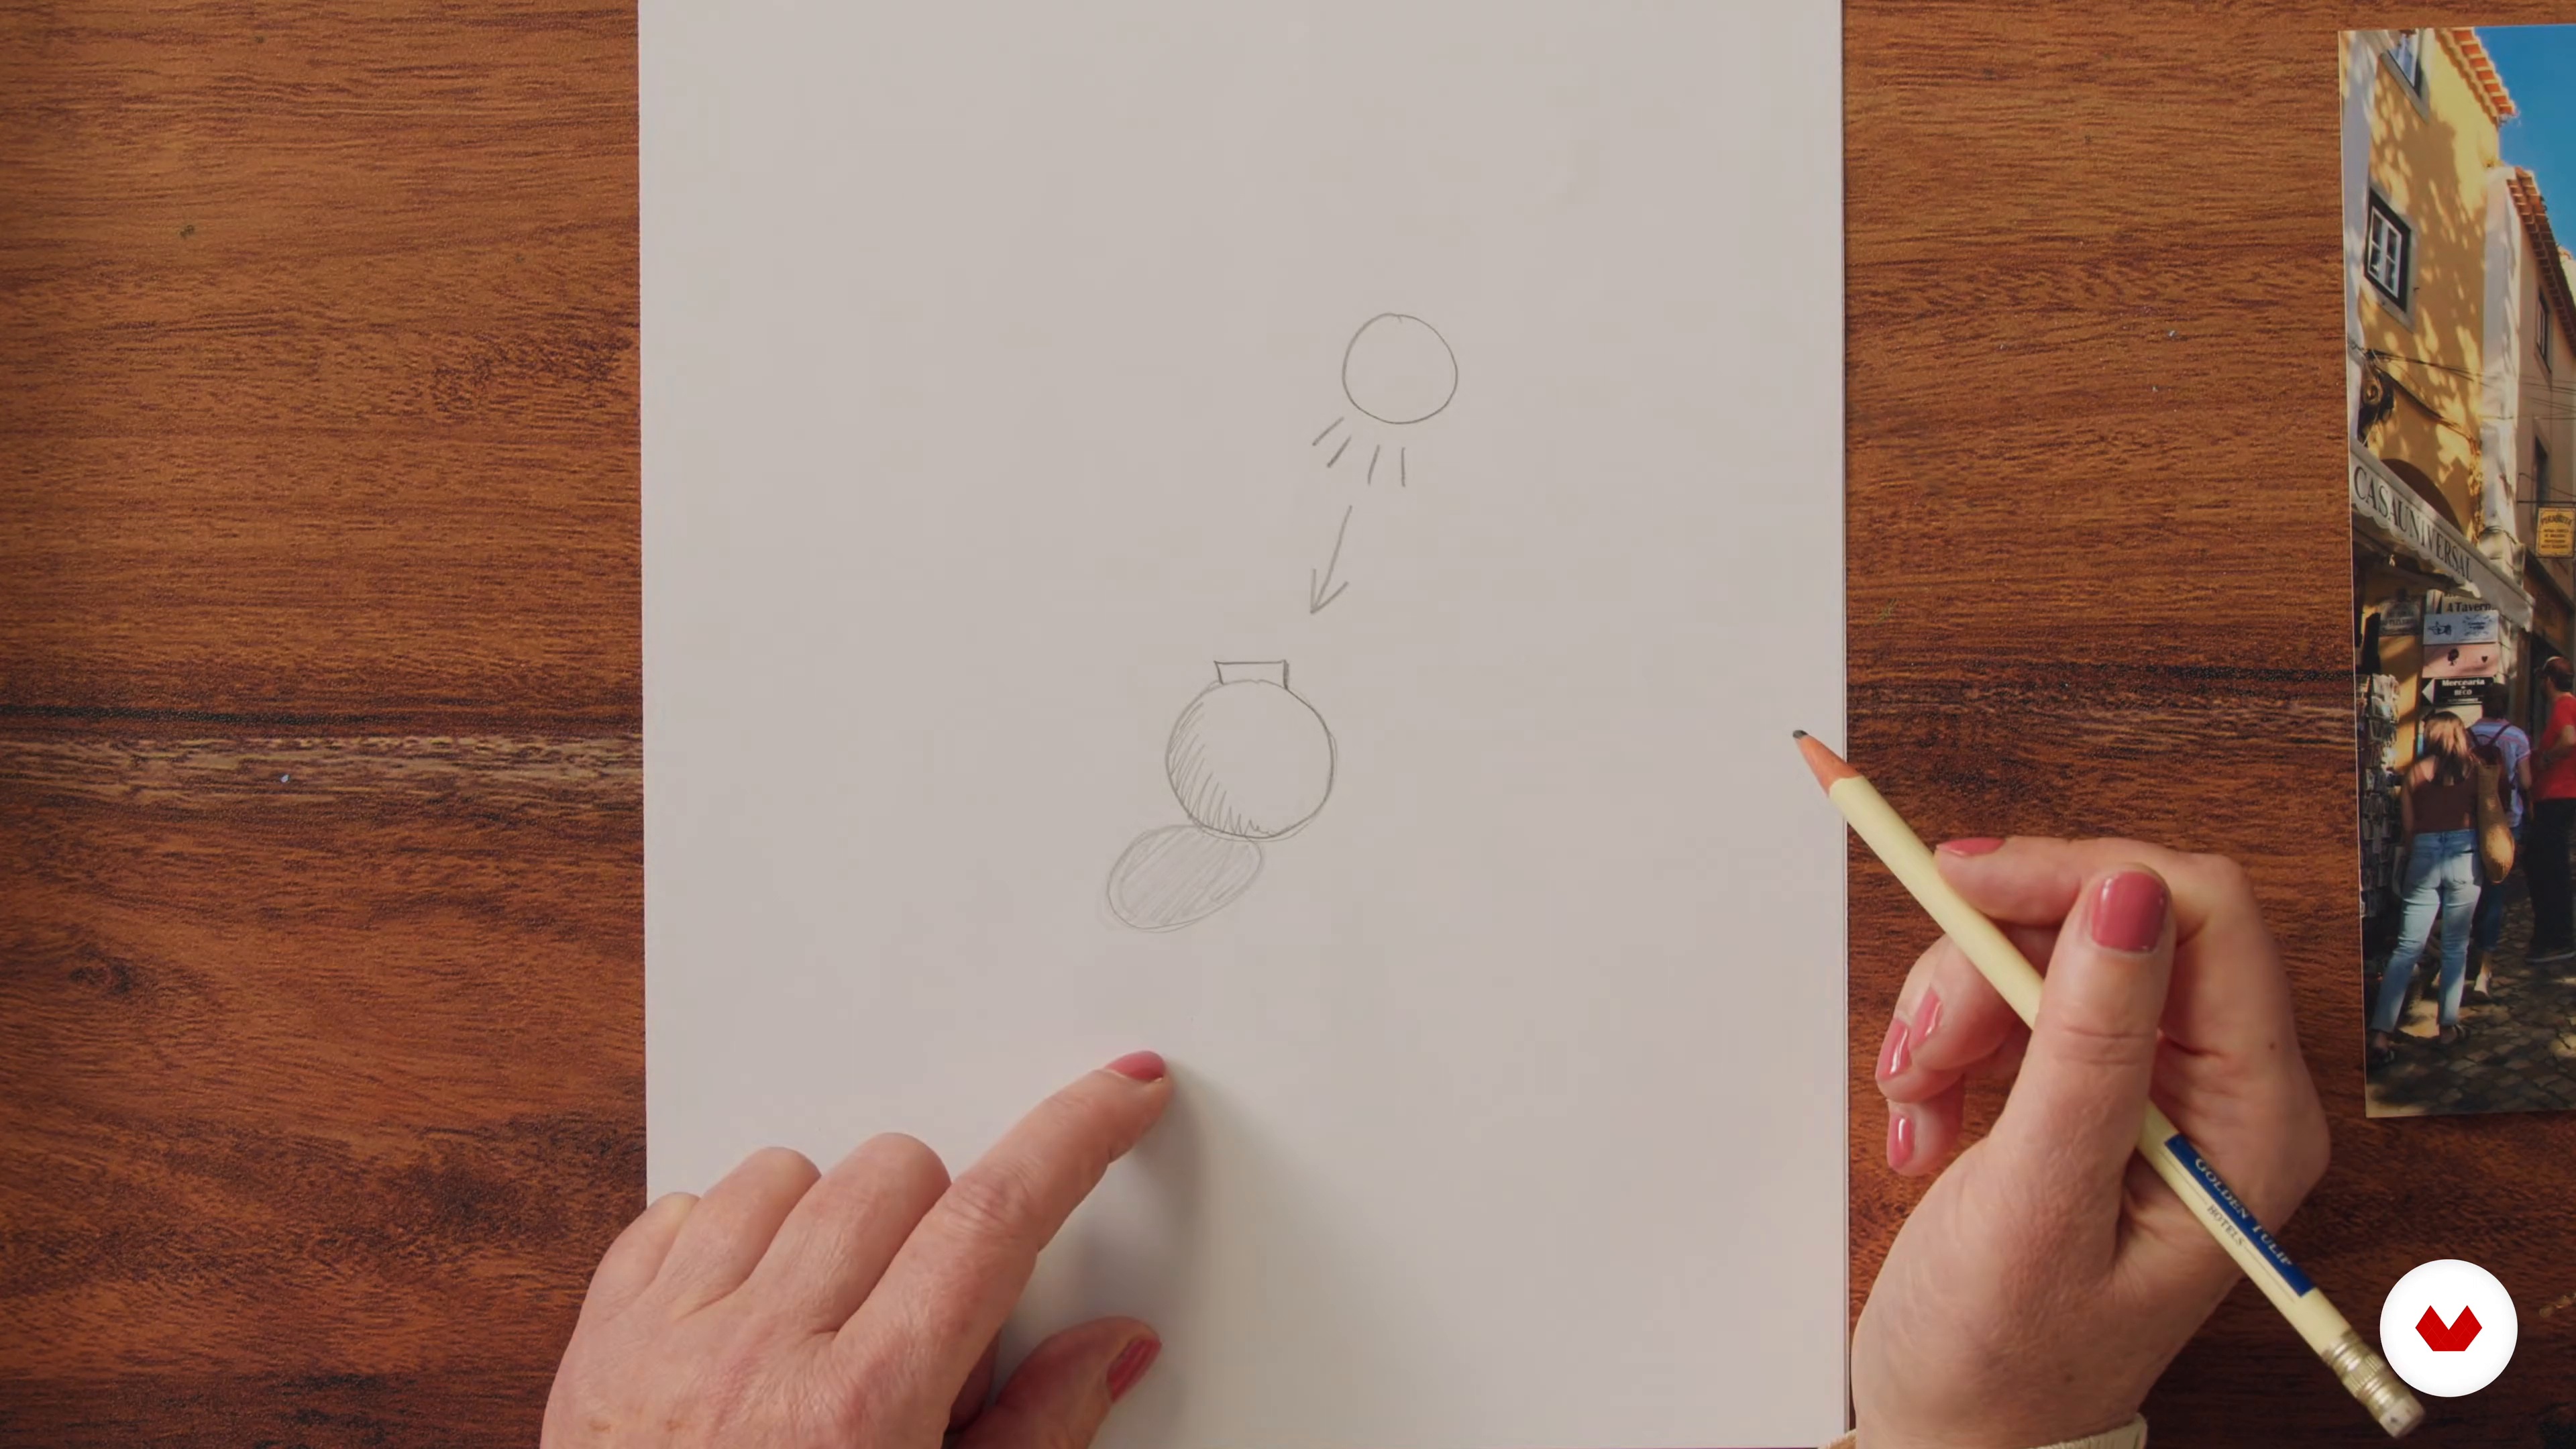
I will tell you more about the one-point perspective and shading in this lesson. These two matters are crucial to making your artwork look three-dimensional and realistic.
9m
image
4
Working with Watercolor
Now, I’ll show three ways to paint with watercolor and mix colors. I will show the different qualities you can achieve while mixing watercolor paints with water and with each other using two colors.
13m
image
5
Painting Brickwork and Pavement
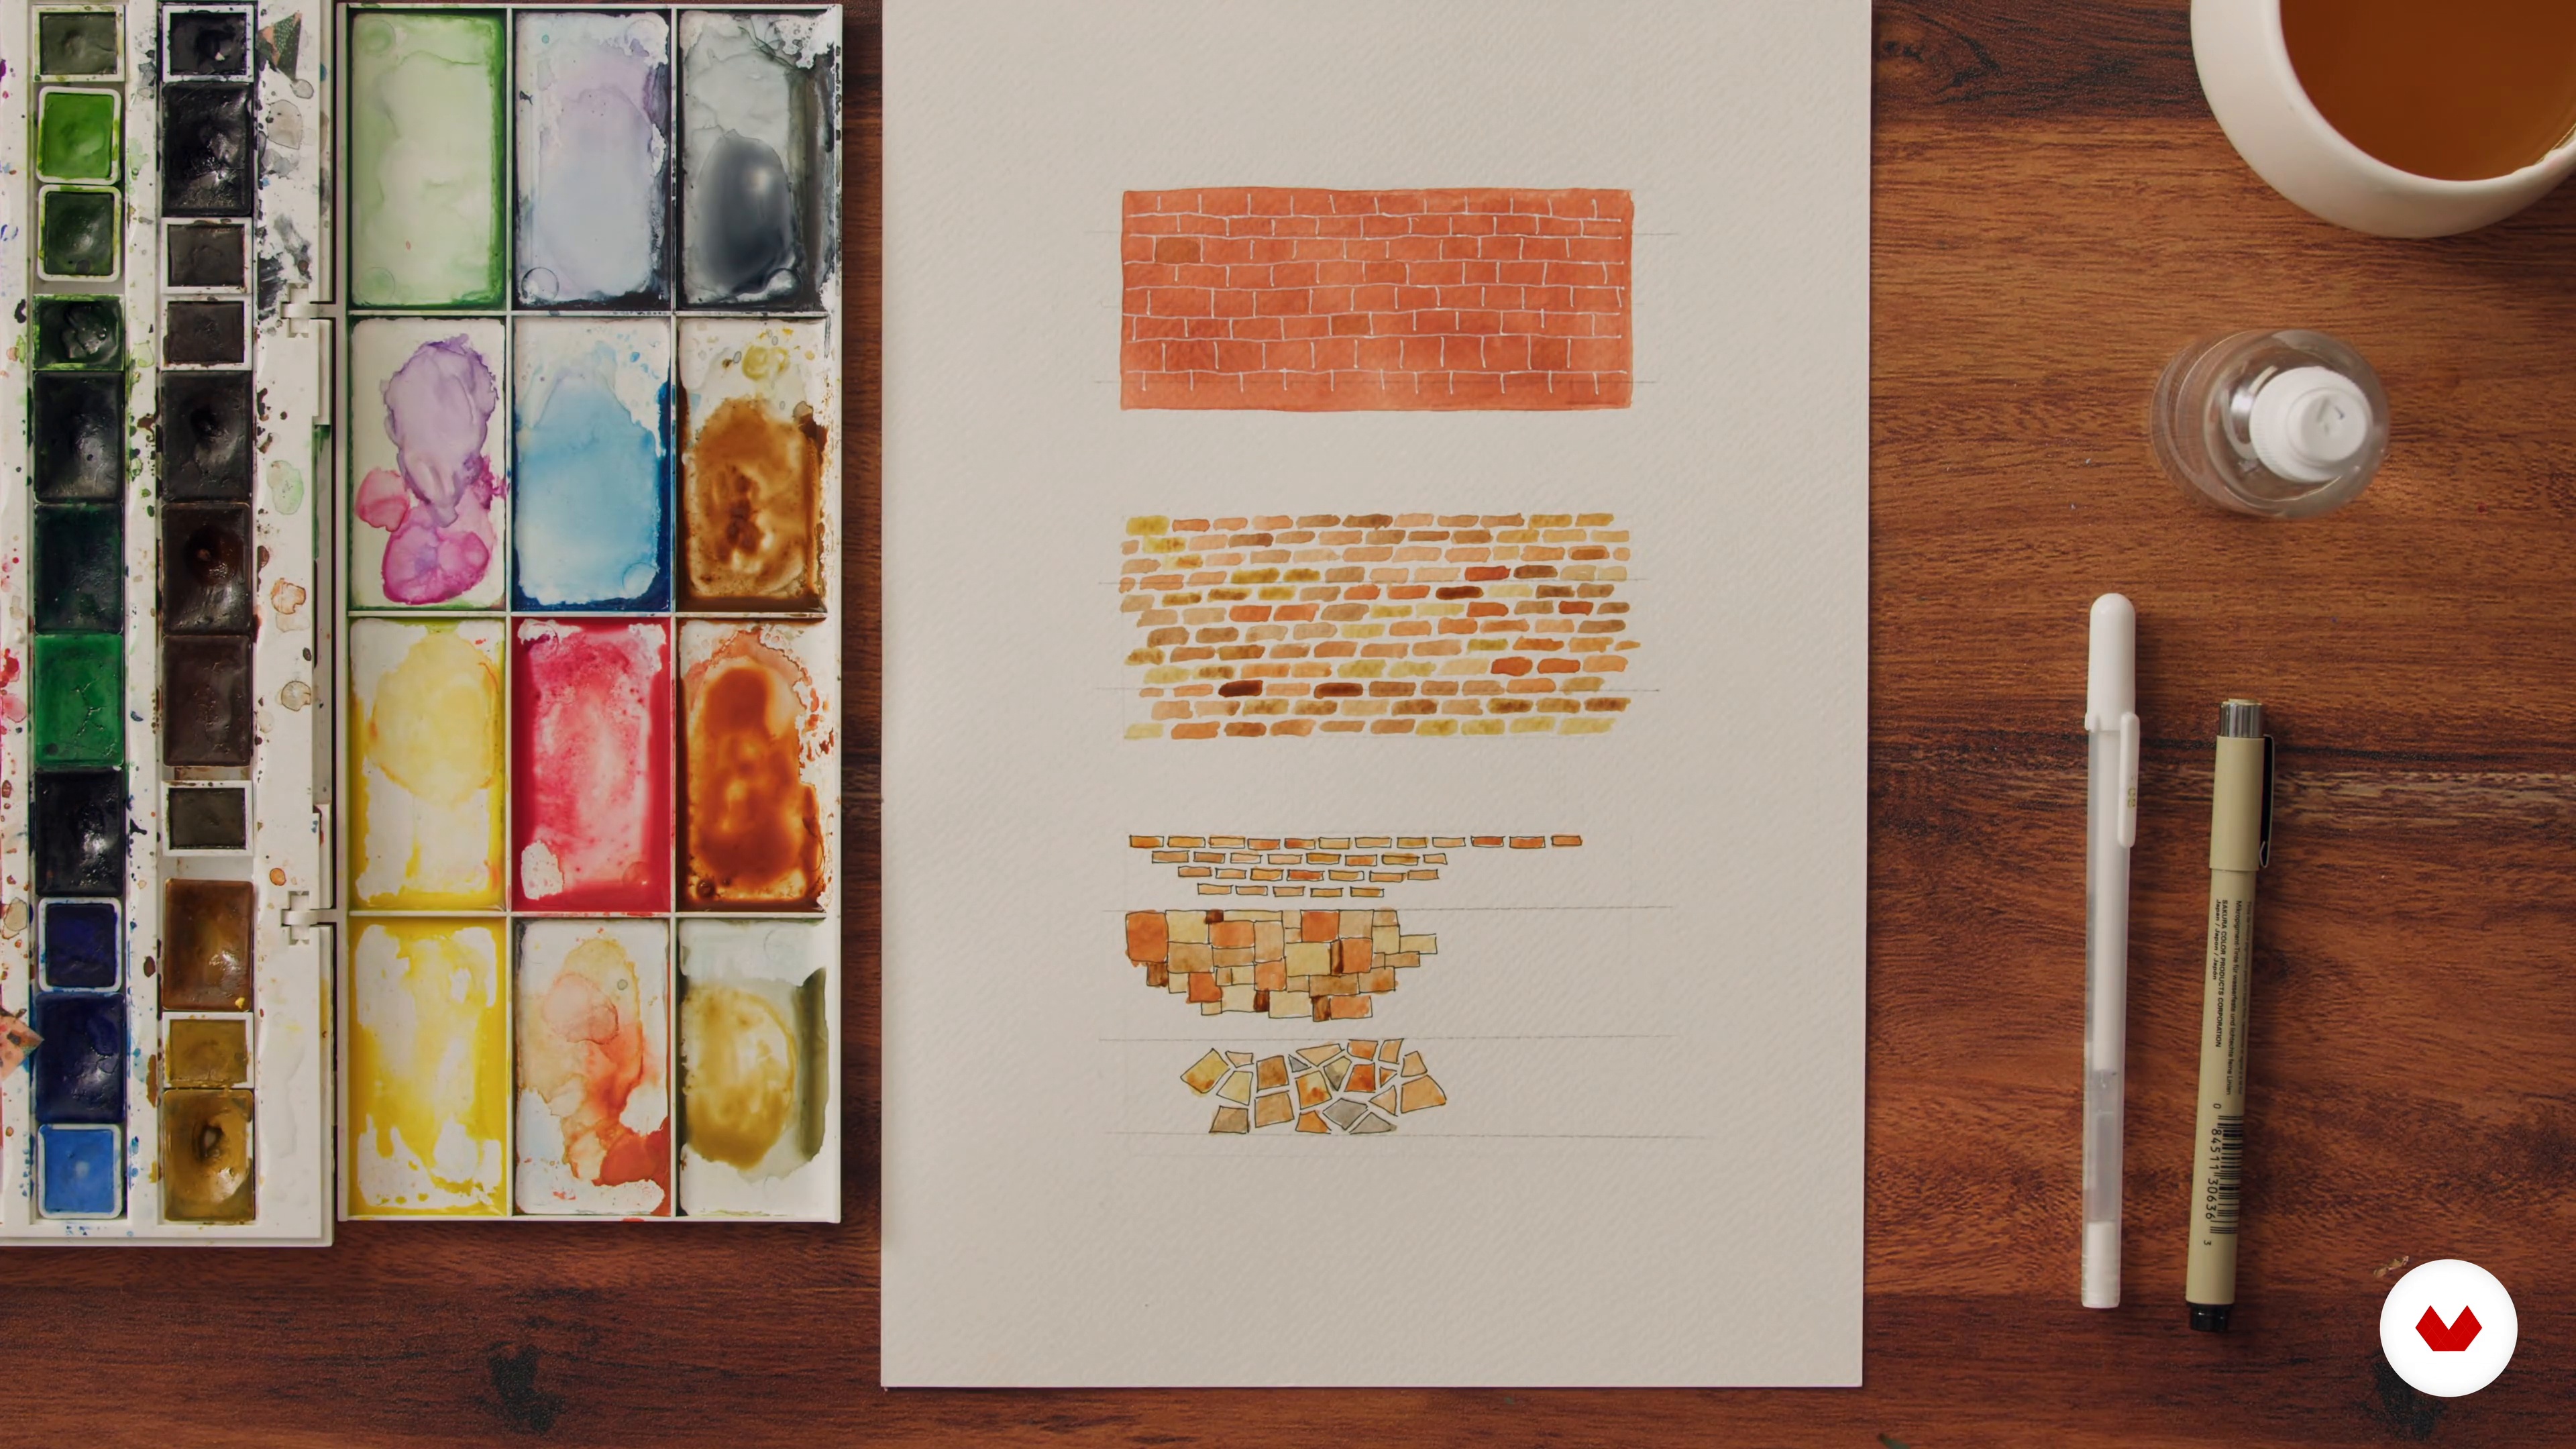
For an architectural illustrator, painting brick walls is an essential part of the process. There are several ways to paint bricks, and in this lesson, I will tell you more about this.
19m
image
6
Choosing a Shopfront
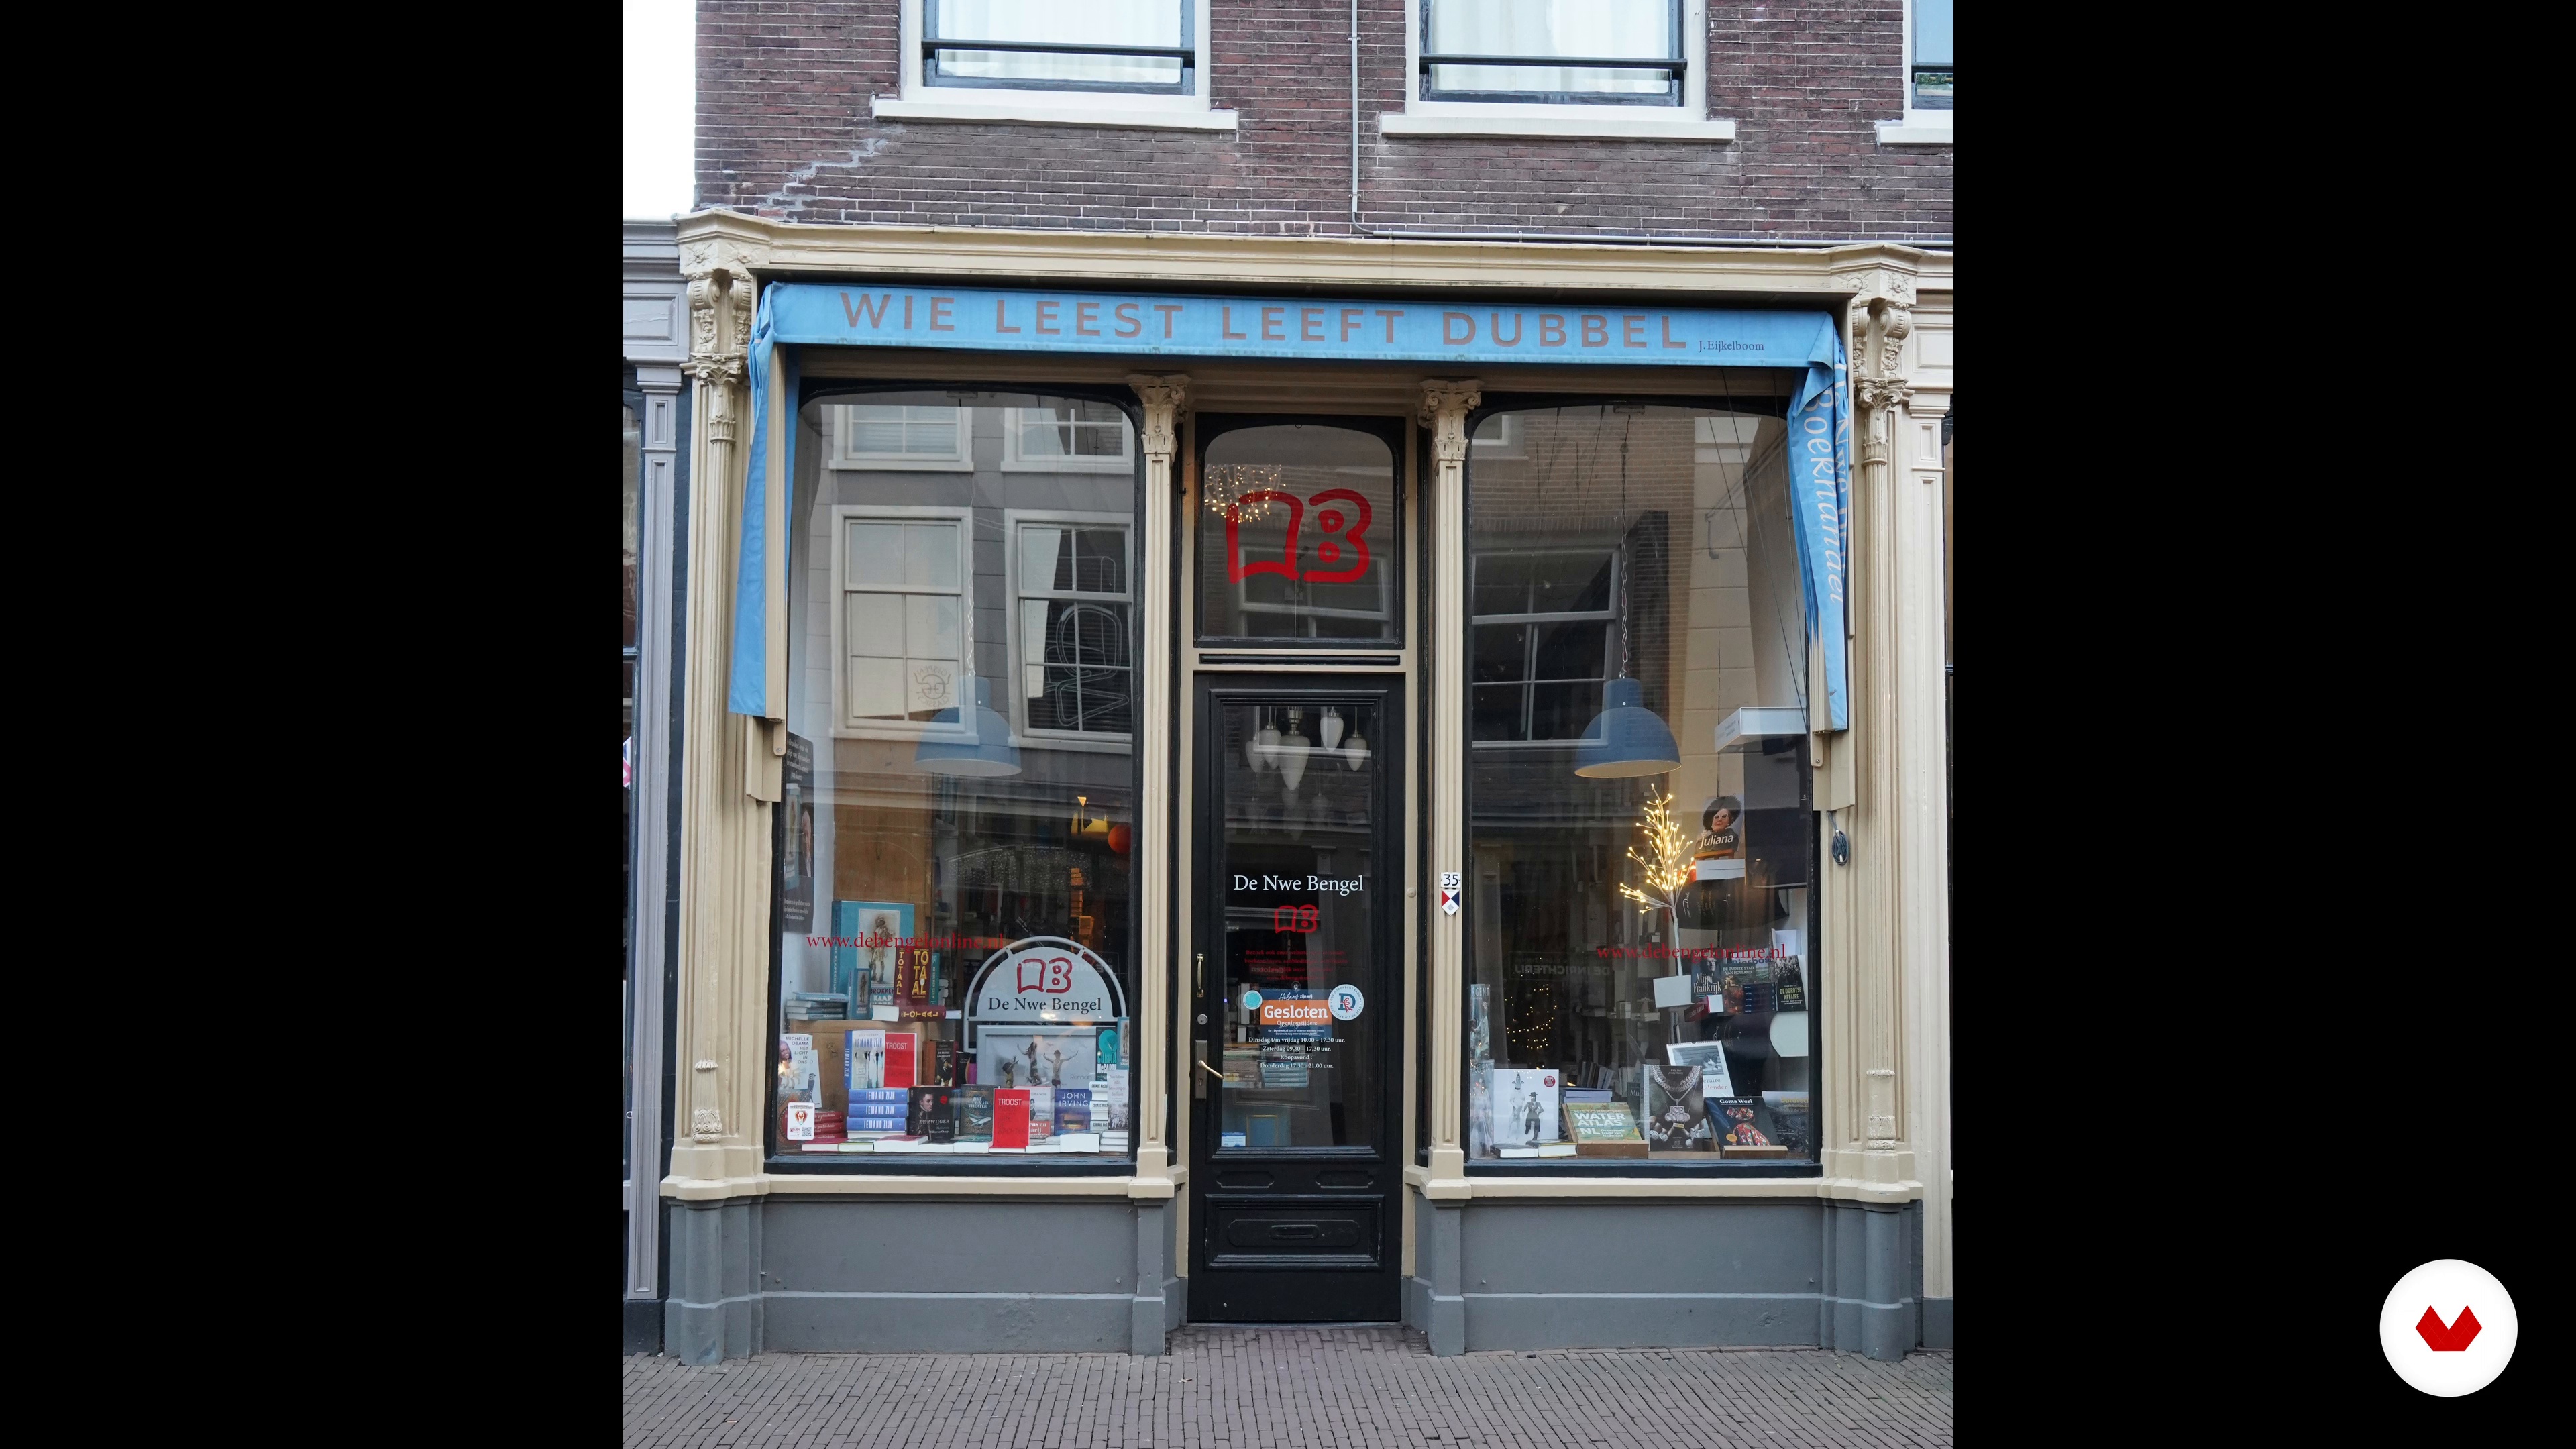
In the first step, I’ll show you why a particular building and its reference photo make the perfect subject to paint.
1m
image
7
The Sketch Phase
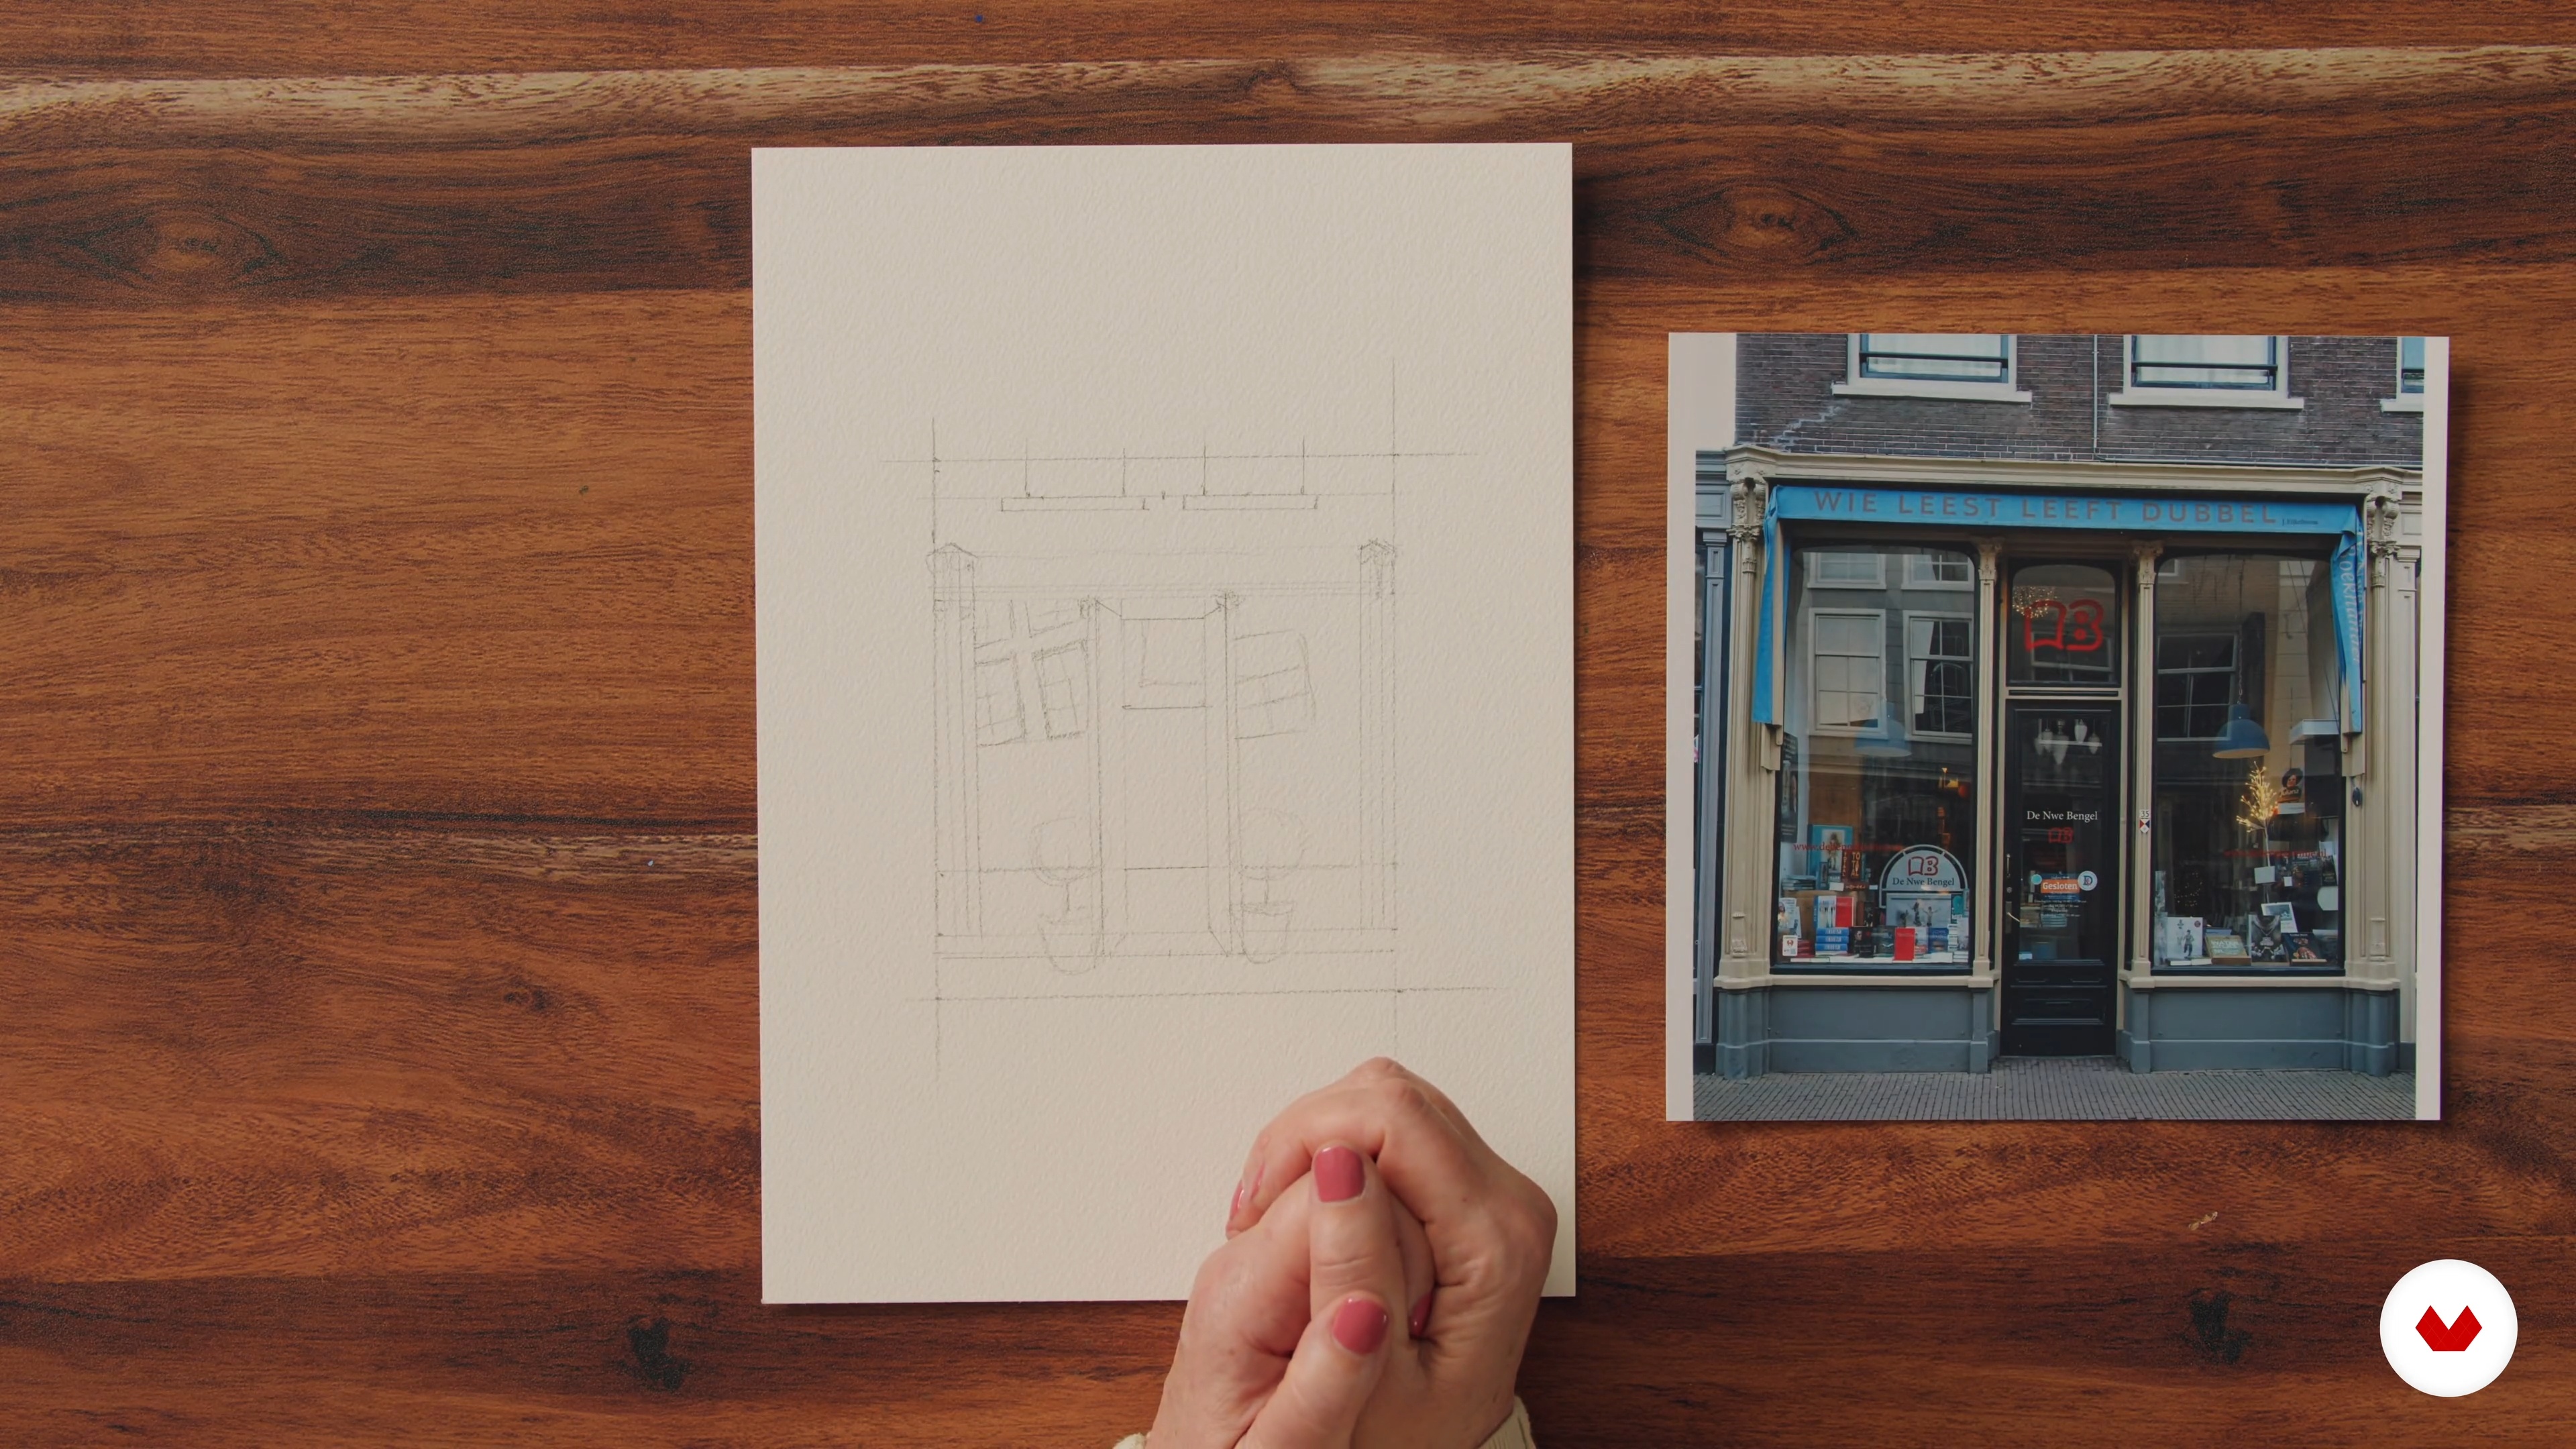
In this lesson, you'll learn to sketch out the composition using the reference photo of the bookstore. In this stage, you will create the framework for your artwork with a pencil.
13m
image
8
Drawing with Fineliner
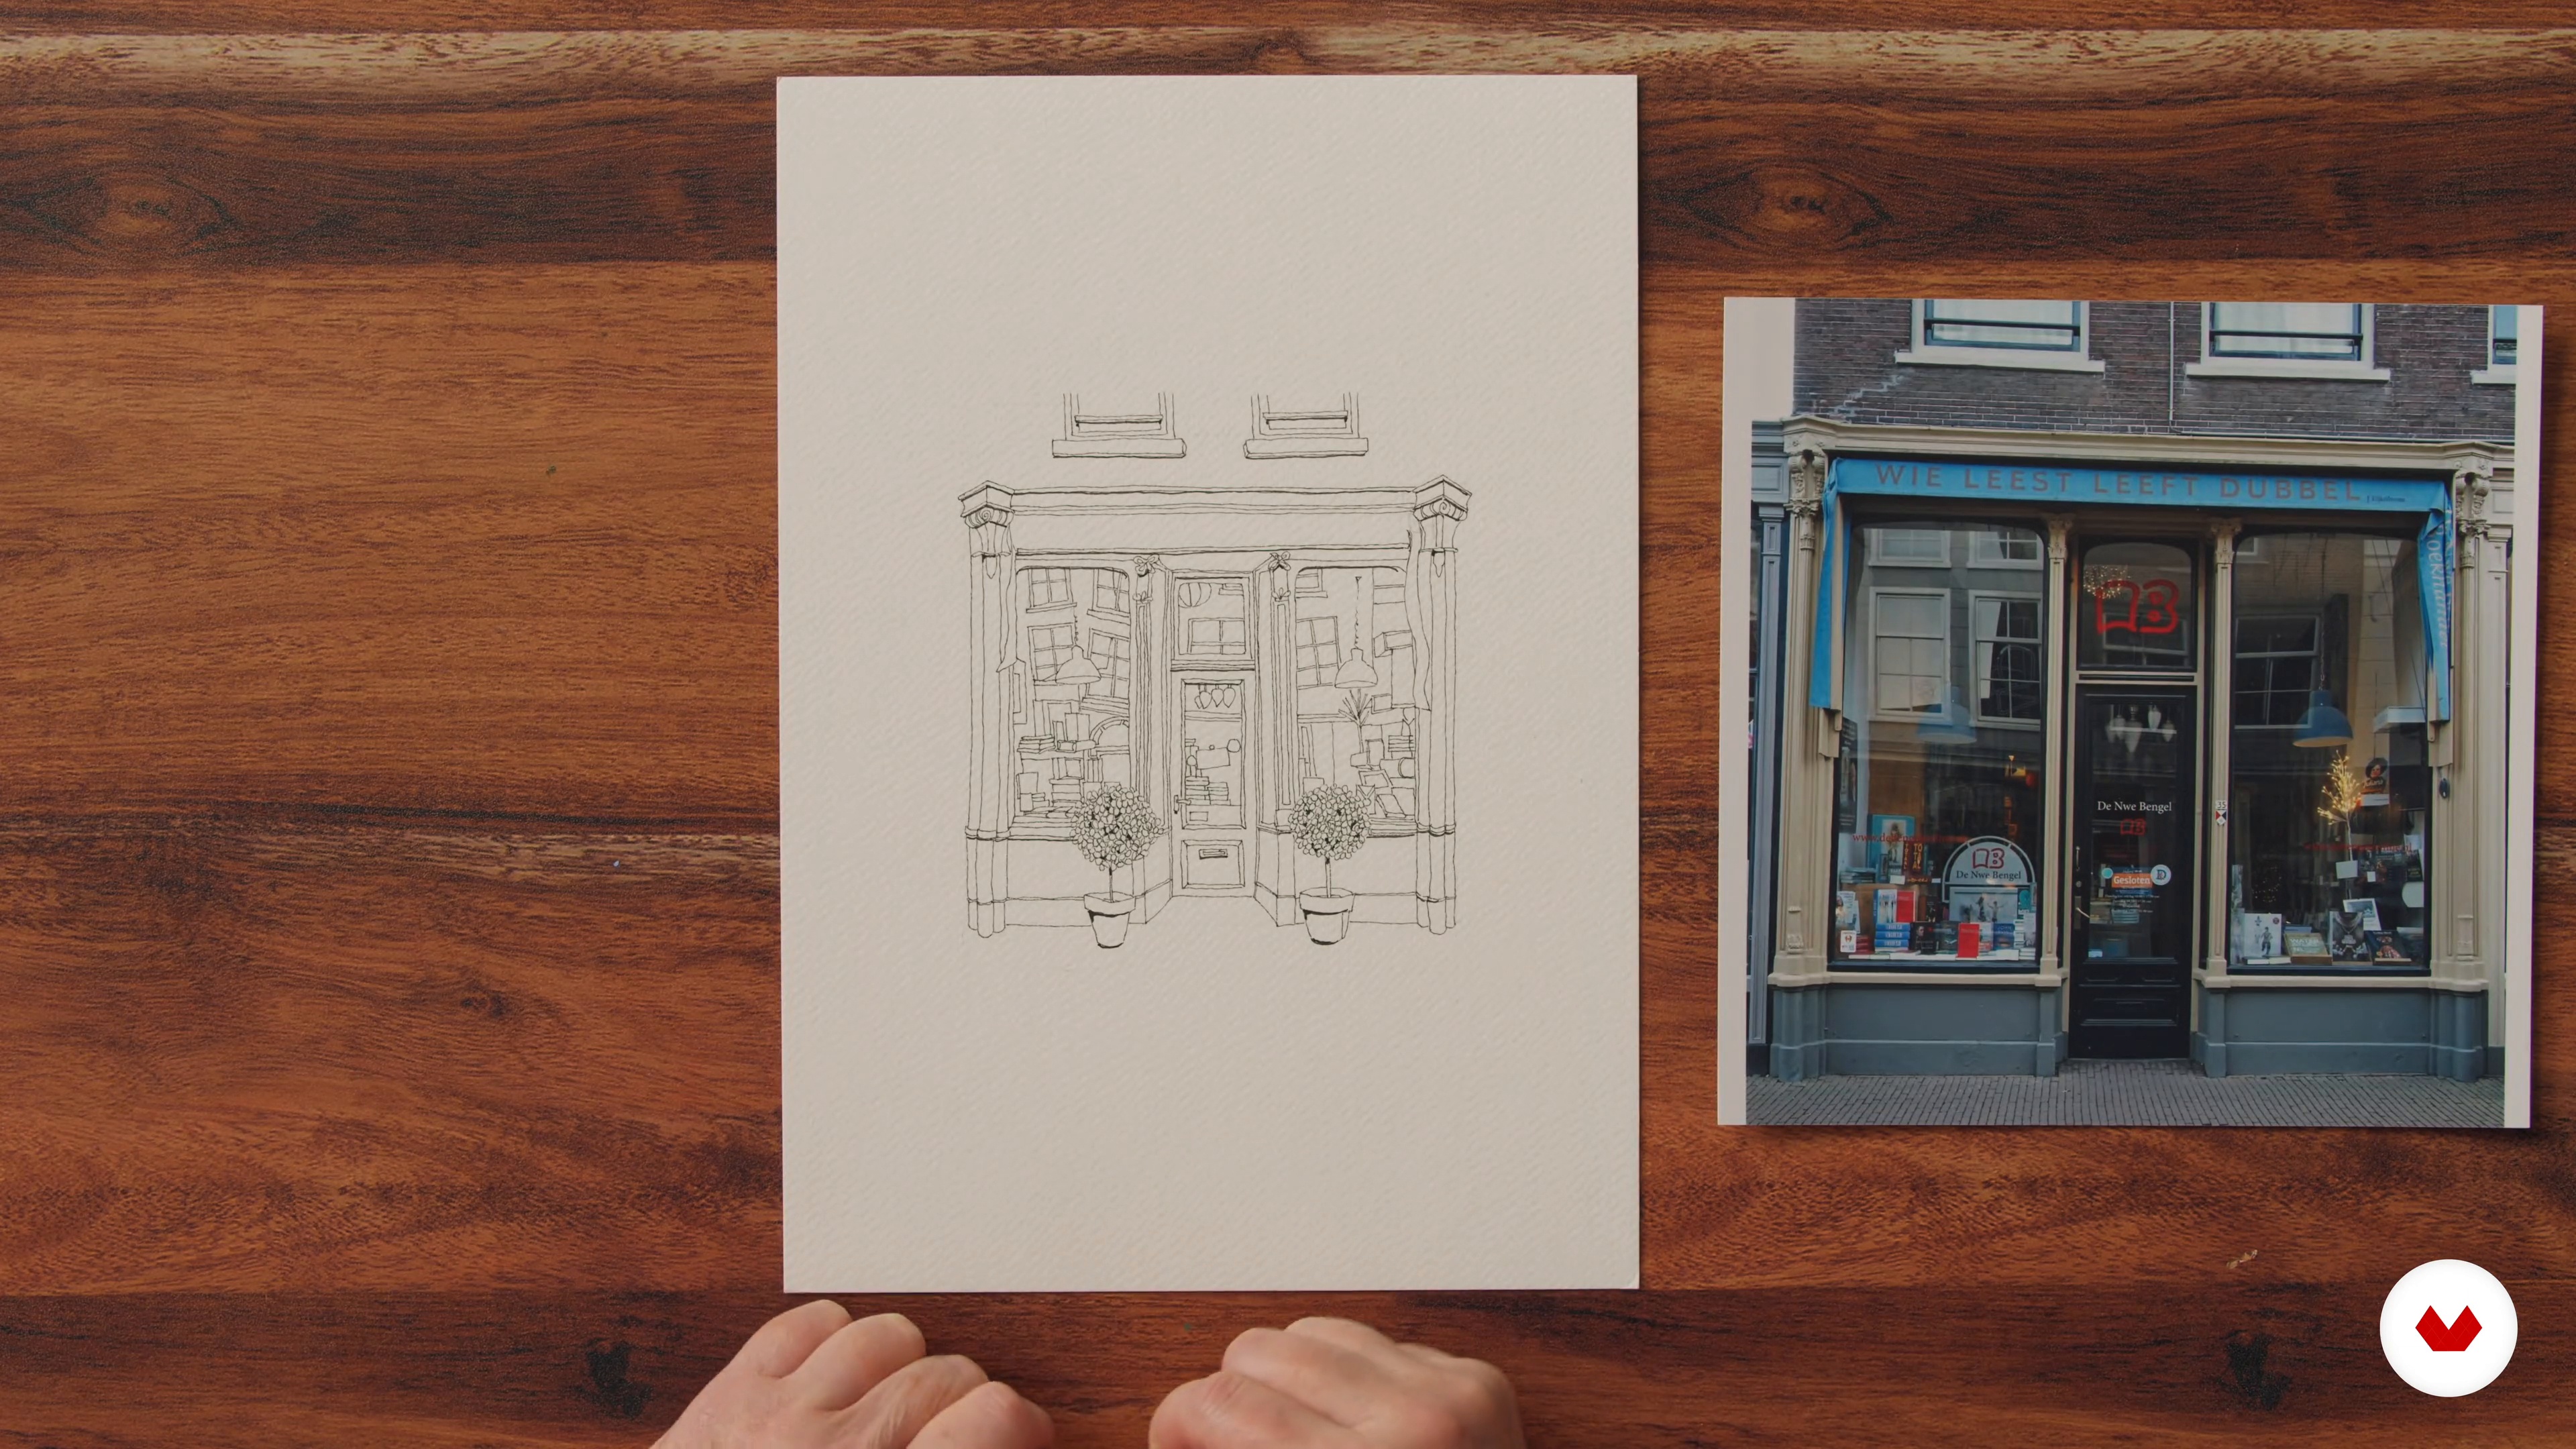
Now, you are getting started with your masterpiece. In this lesson, you will learn how to draw a shopfront with a fine liner. I will teach you how to draw the basic composition and add as much detail as possible.
20m
image
9
The Coloring Stage: Layering and Larger Surfaces 1
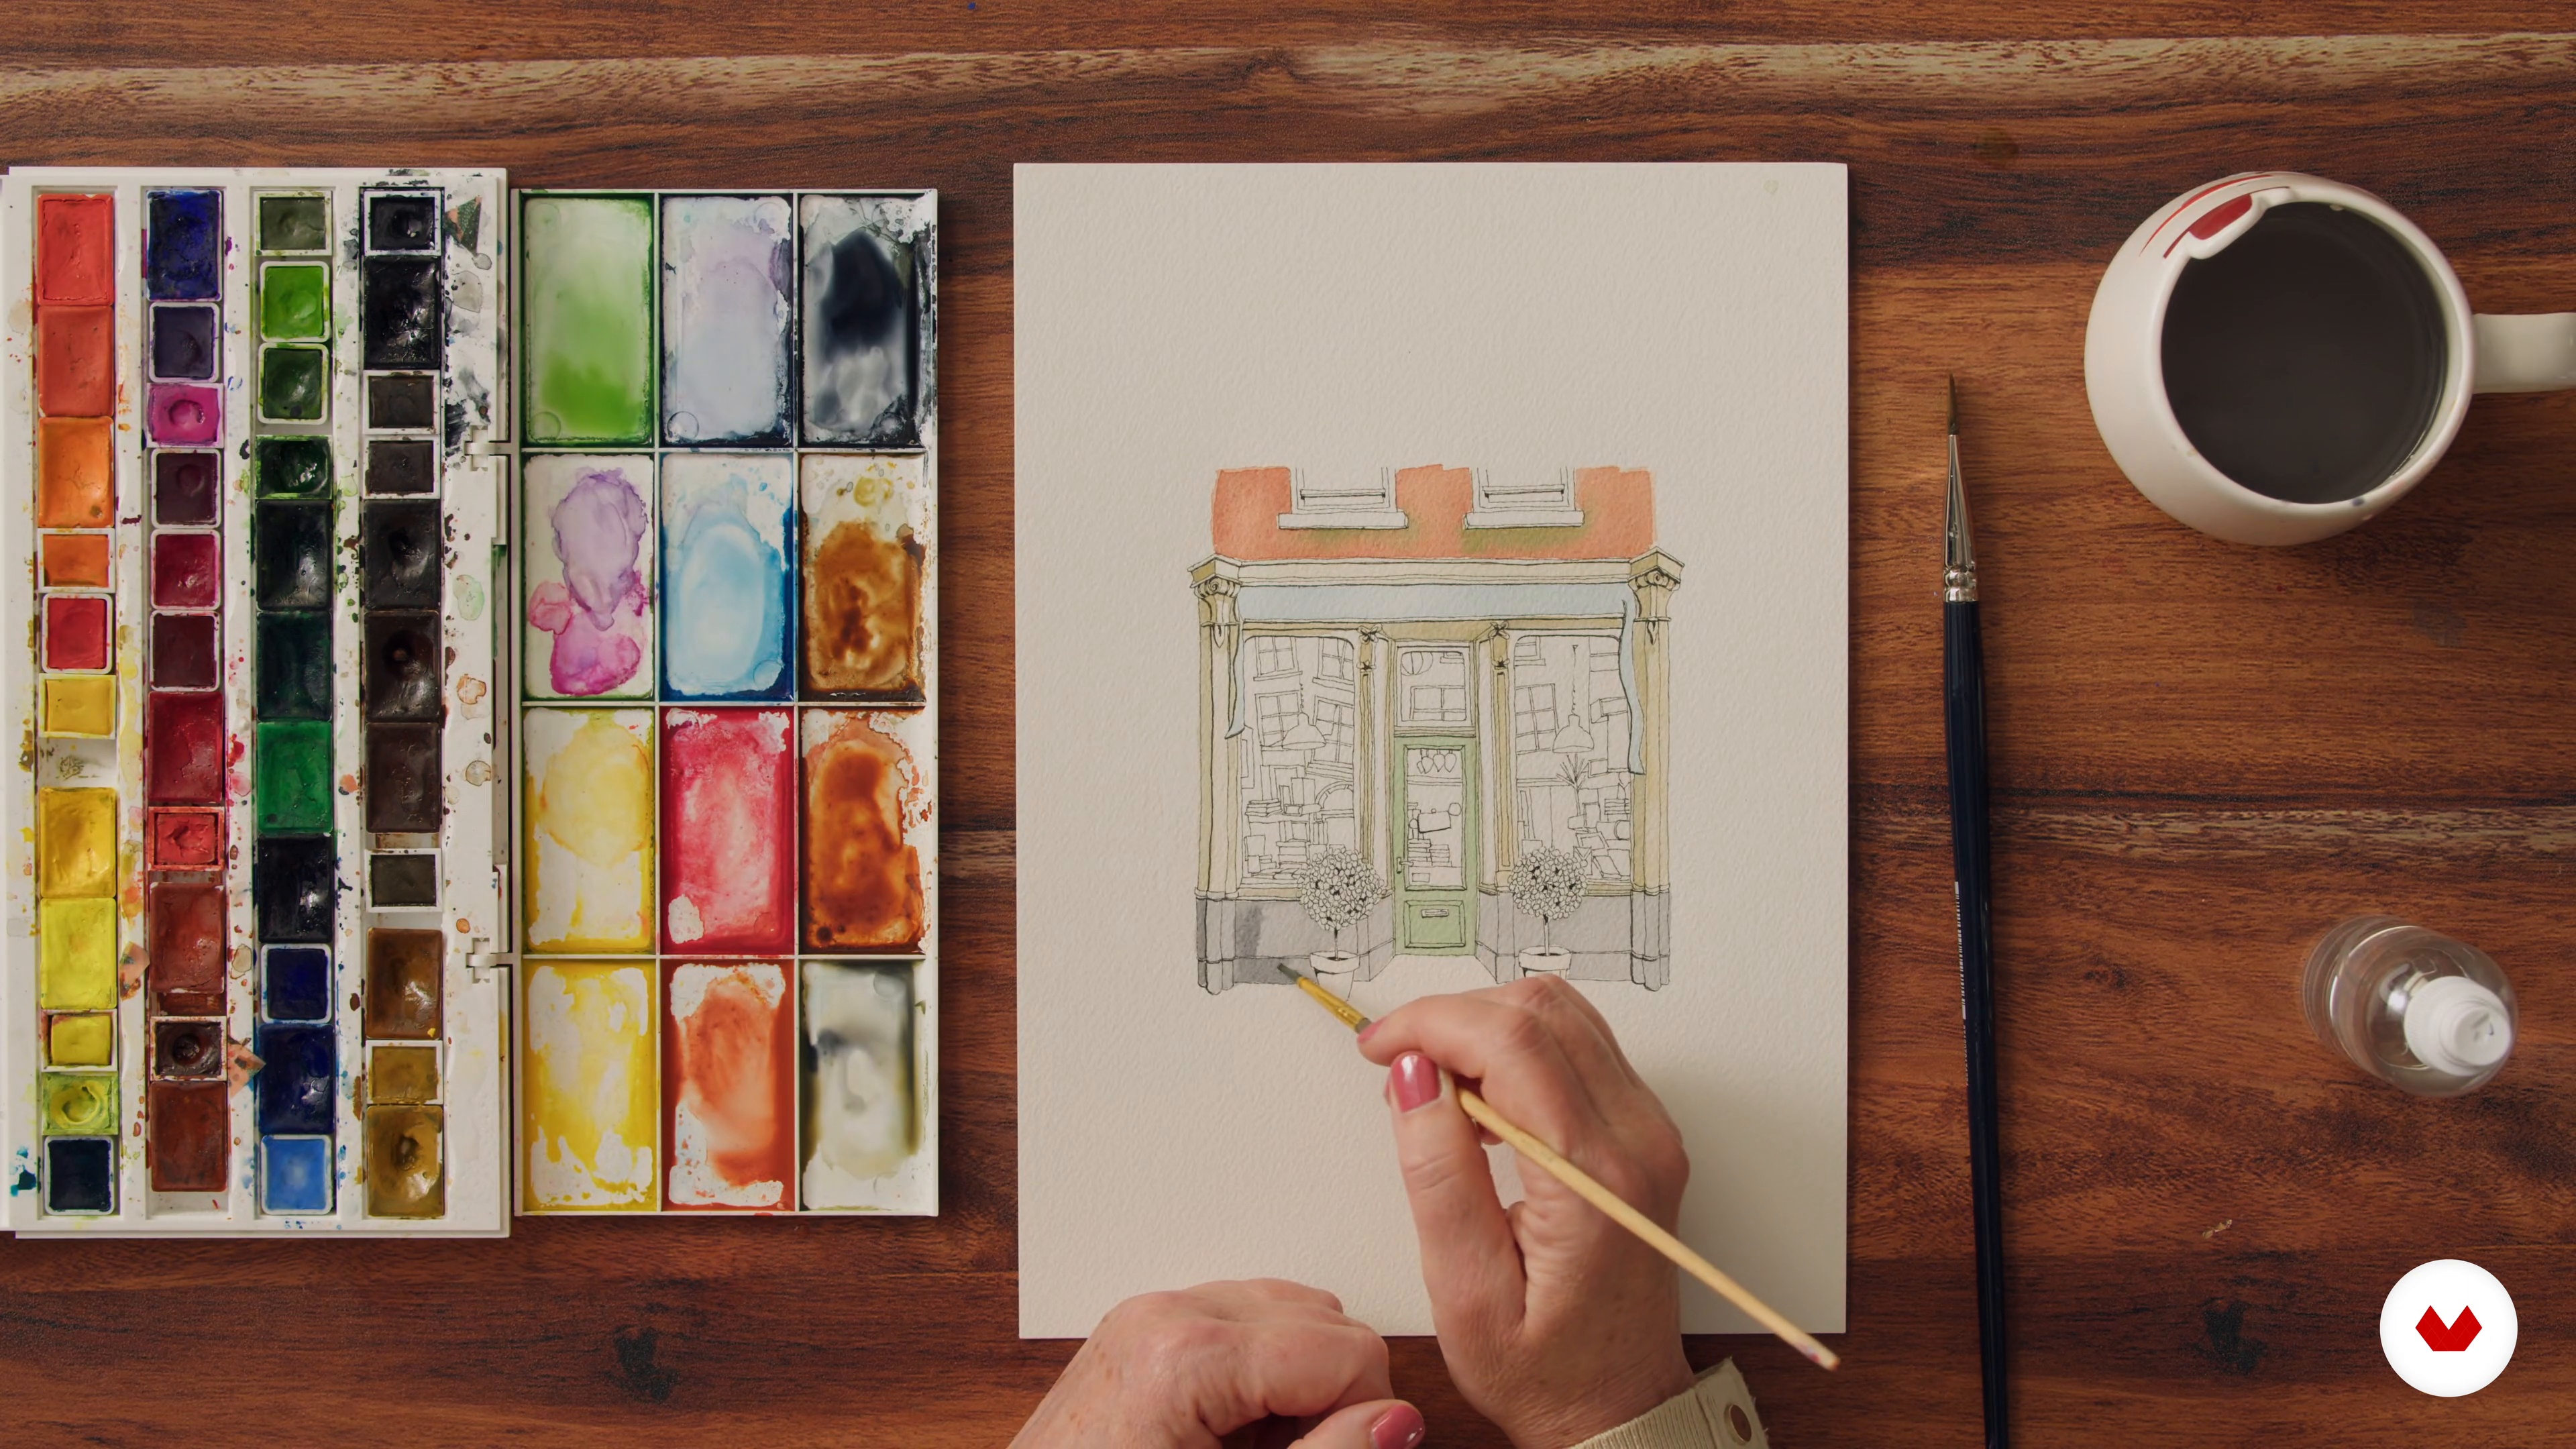
Coloring the drawing takes a kind of strategy; you have to think before you start to paint. In this lesson, I will show you which parts of the drawing to paint first and why.
19m
image
10
The Coloring Stage: Layering and Larger Surfaces 2
I will continue showing you how to color your artwork. Here, I will share my best tips and tricks to achieve an incredible piece of art!
18m
image
11
The Coloring Stage: Brickwall and Details
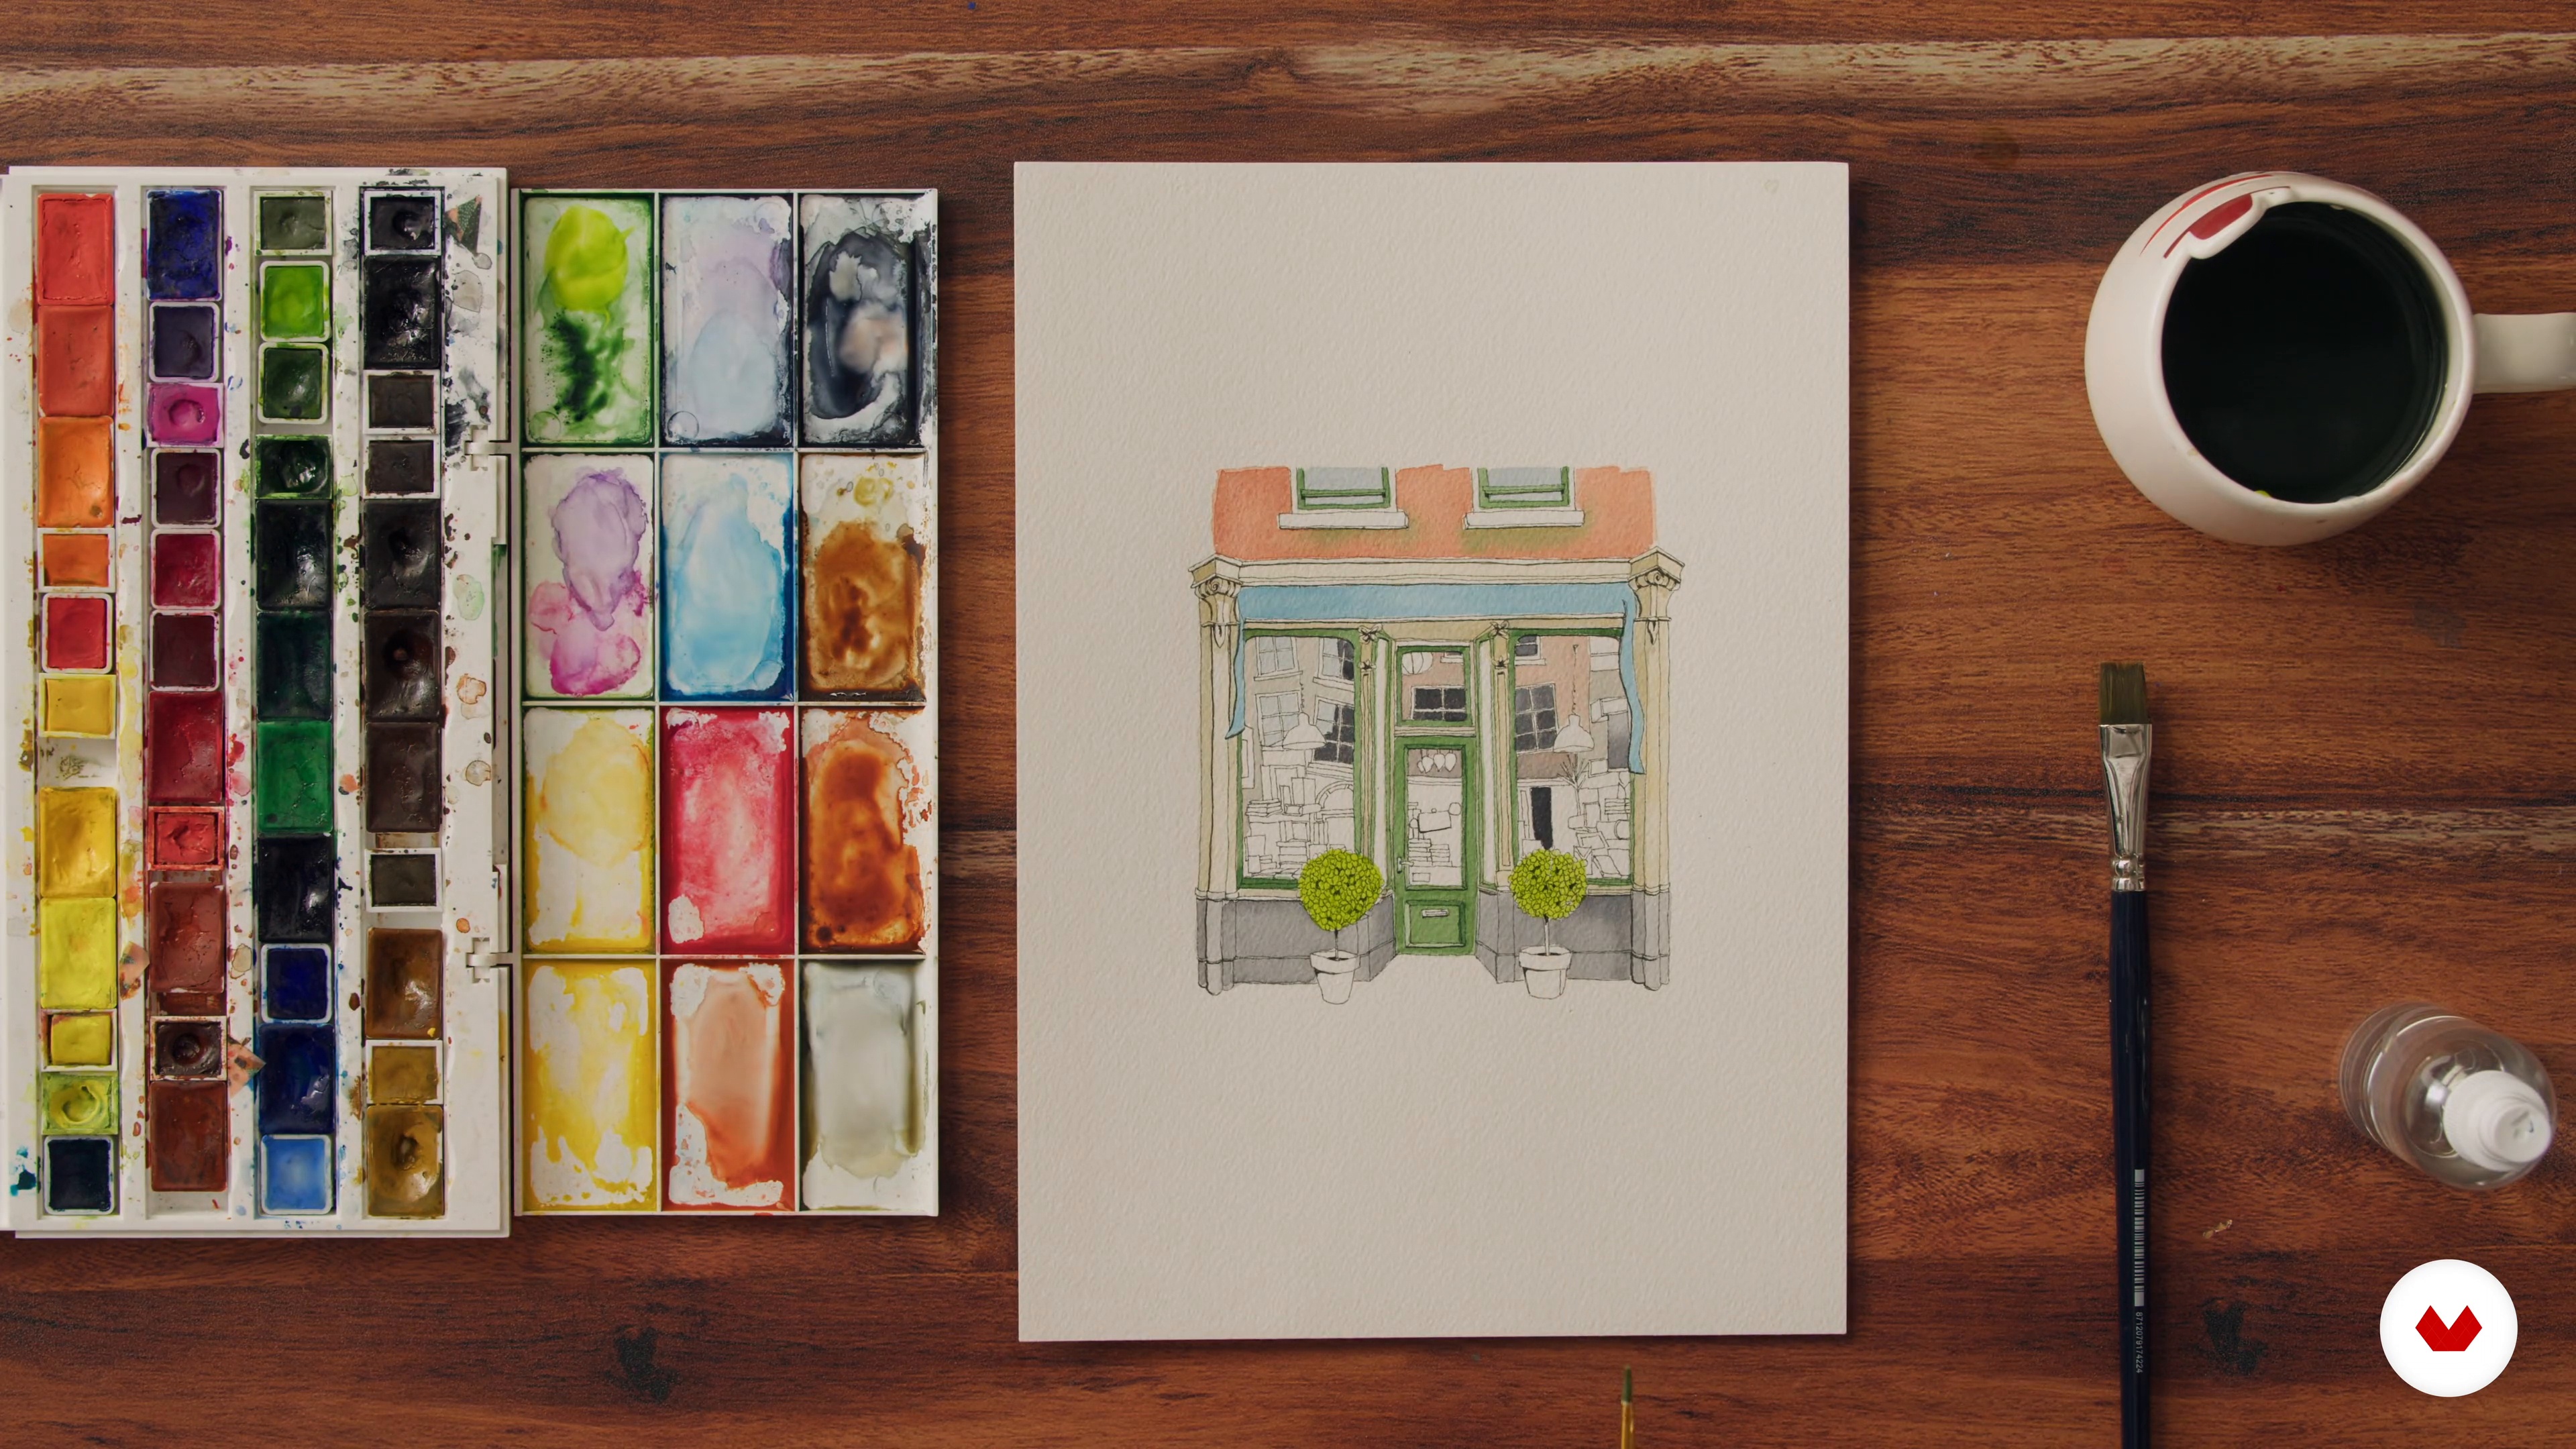
The final part of the coloring is very time-consuming and sometimes needs a steady hand. In this second part of the coloring stage, I will show you how I paint the brick wall and color the rest of the illustration.
18m
image
12
Finishing Touches
You have come to your illustration project's final and most satisfying stage, bringing the painting to life. In this lesson, I will show you that using a single shading stroke makes a lot of difference.
12m
image
1
Observational Drawing
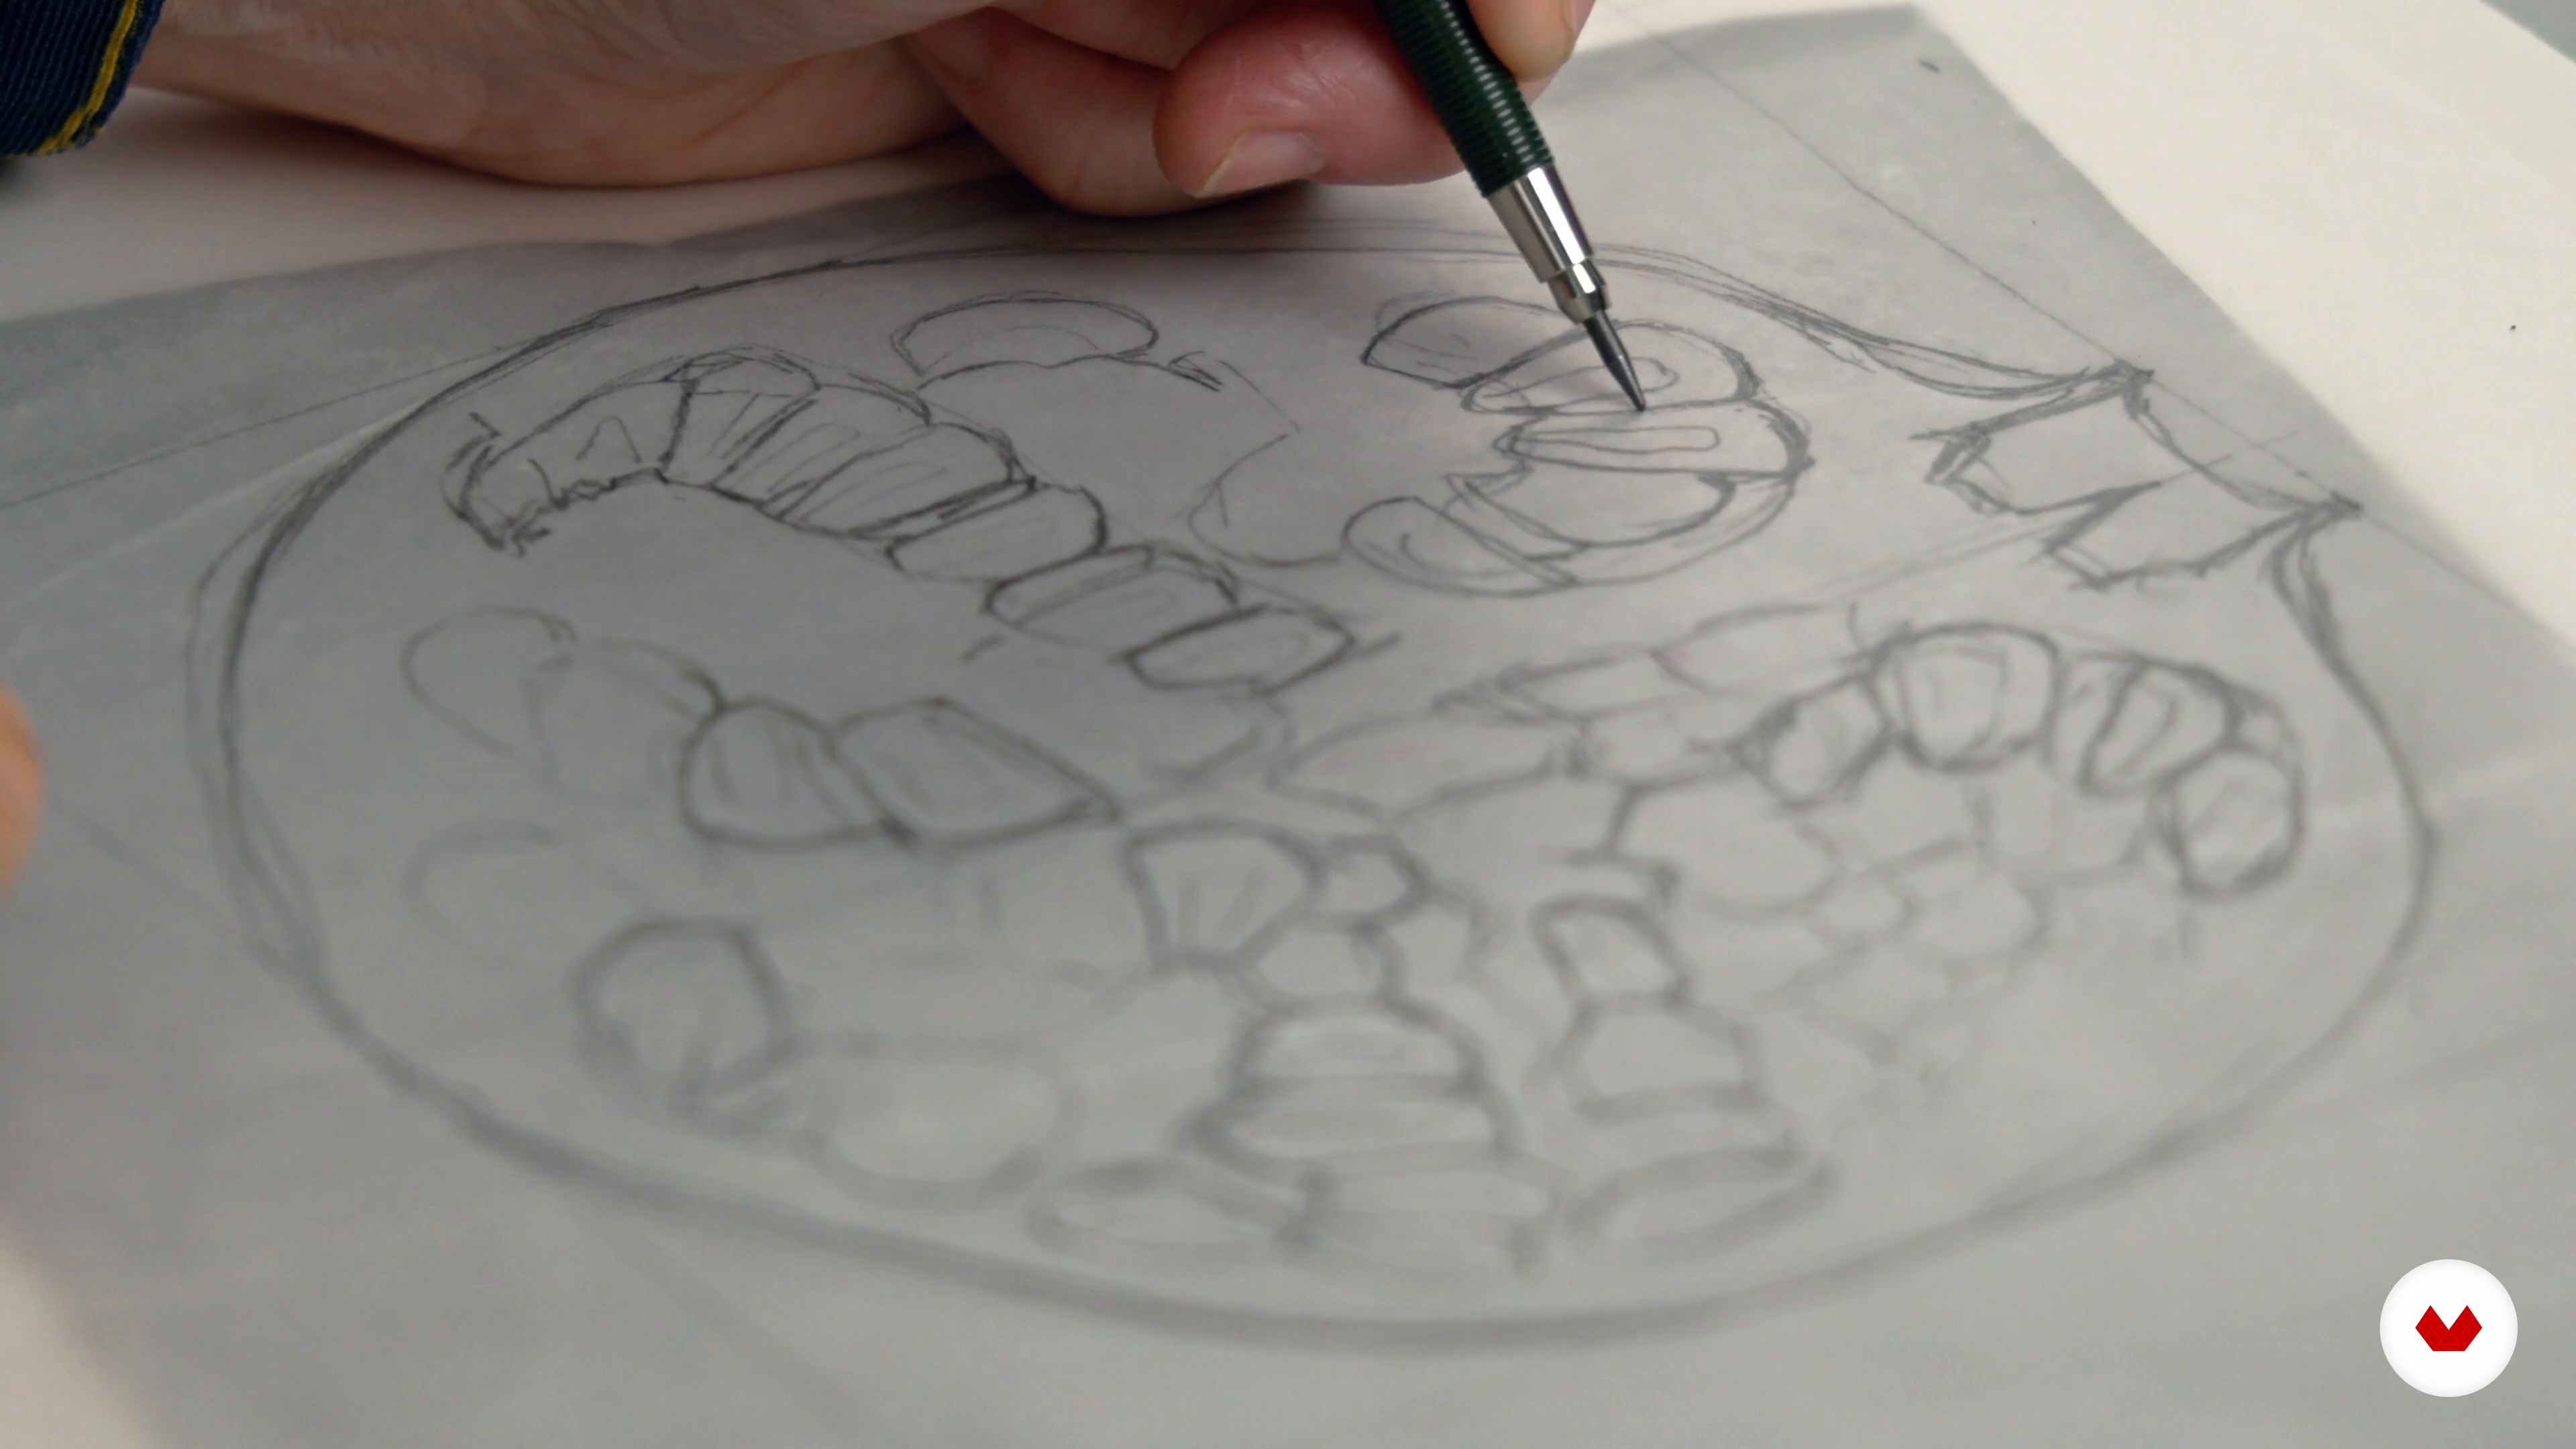
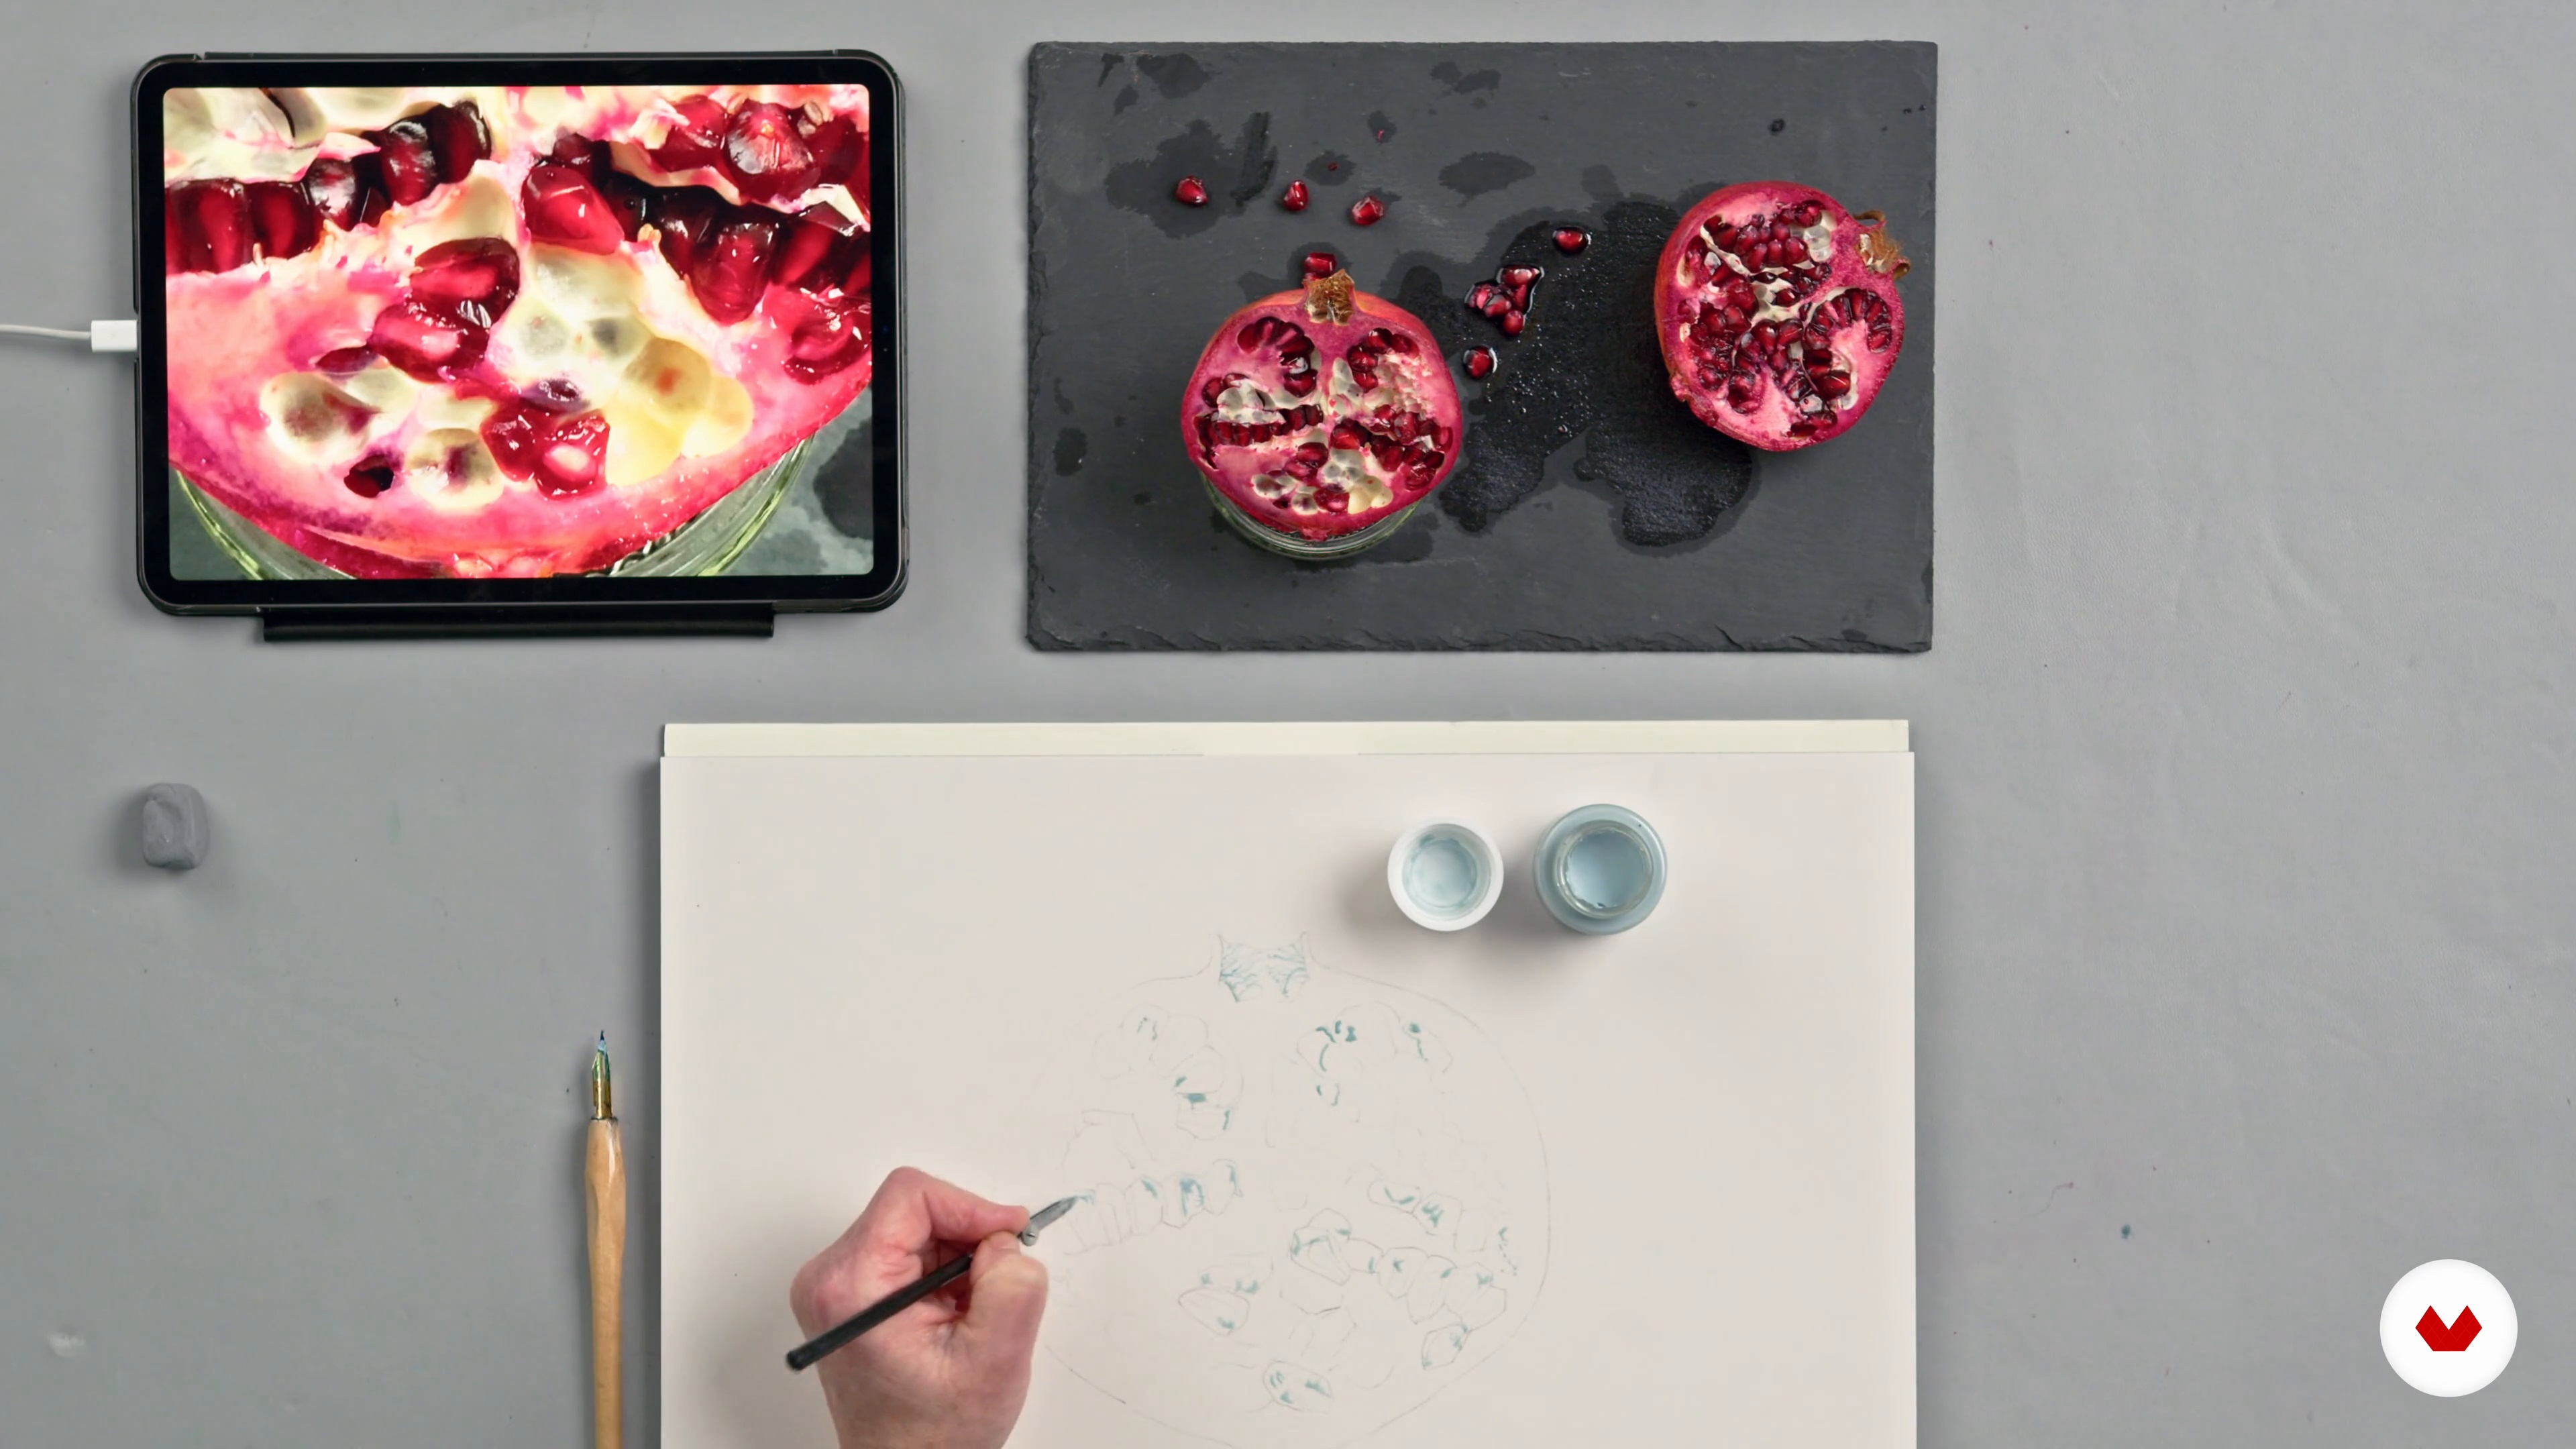
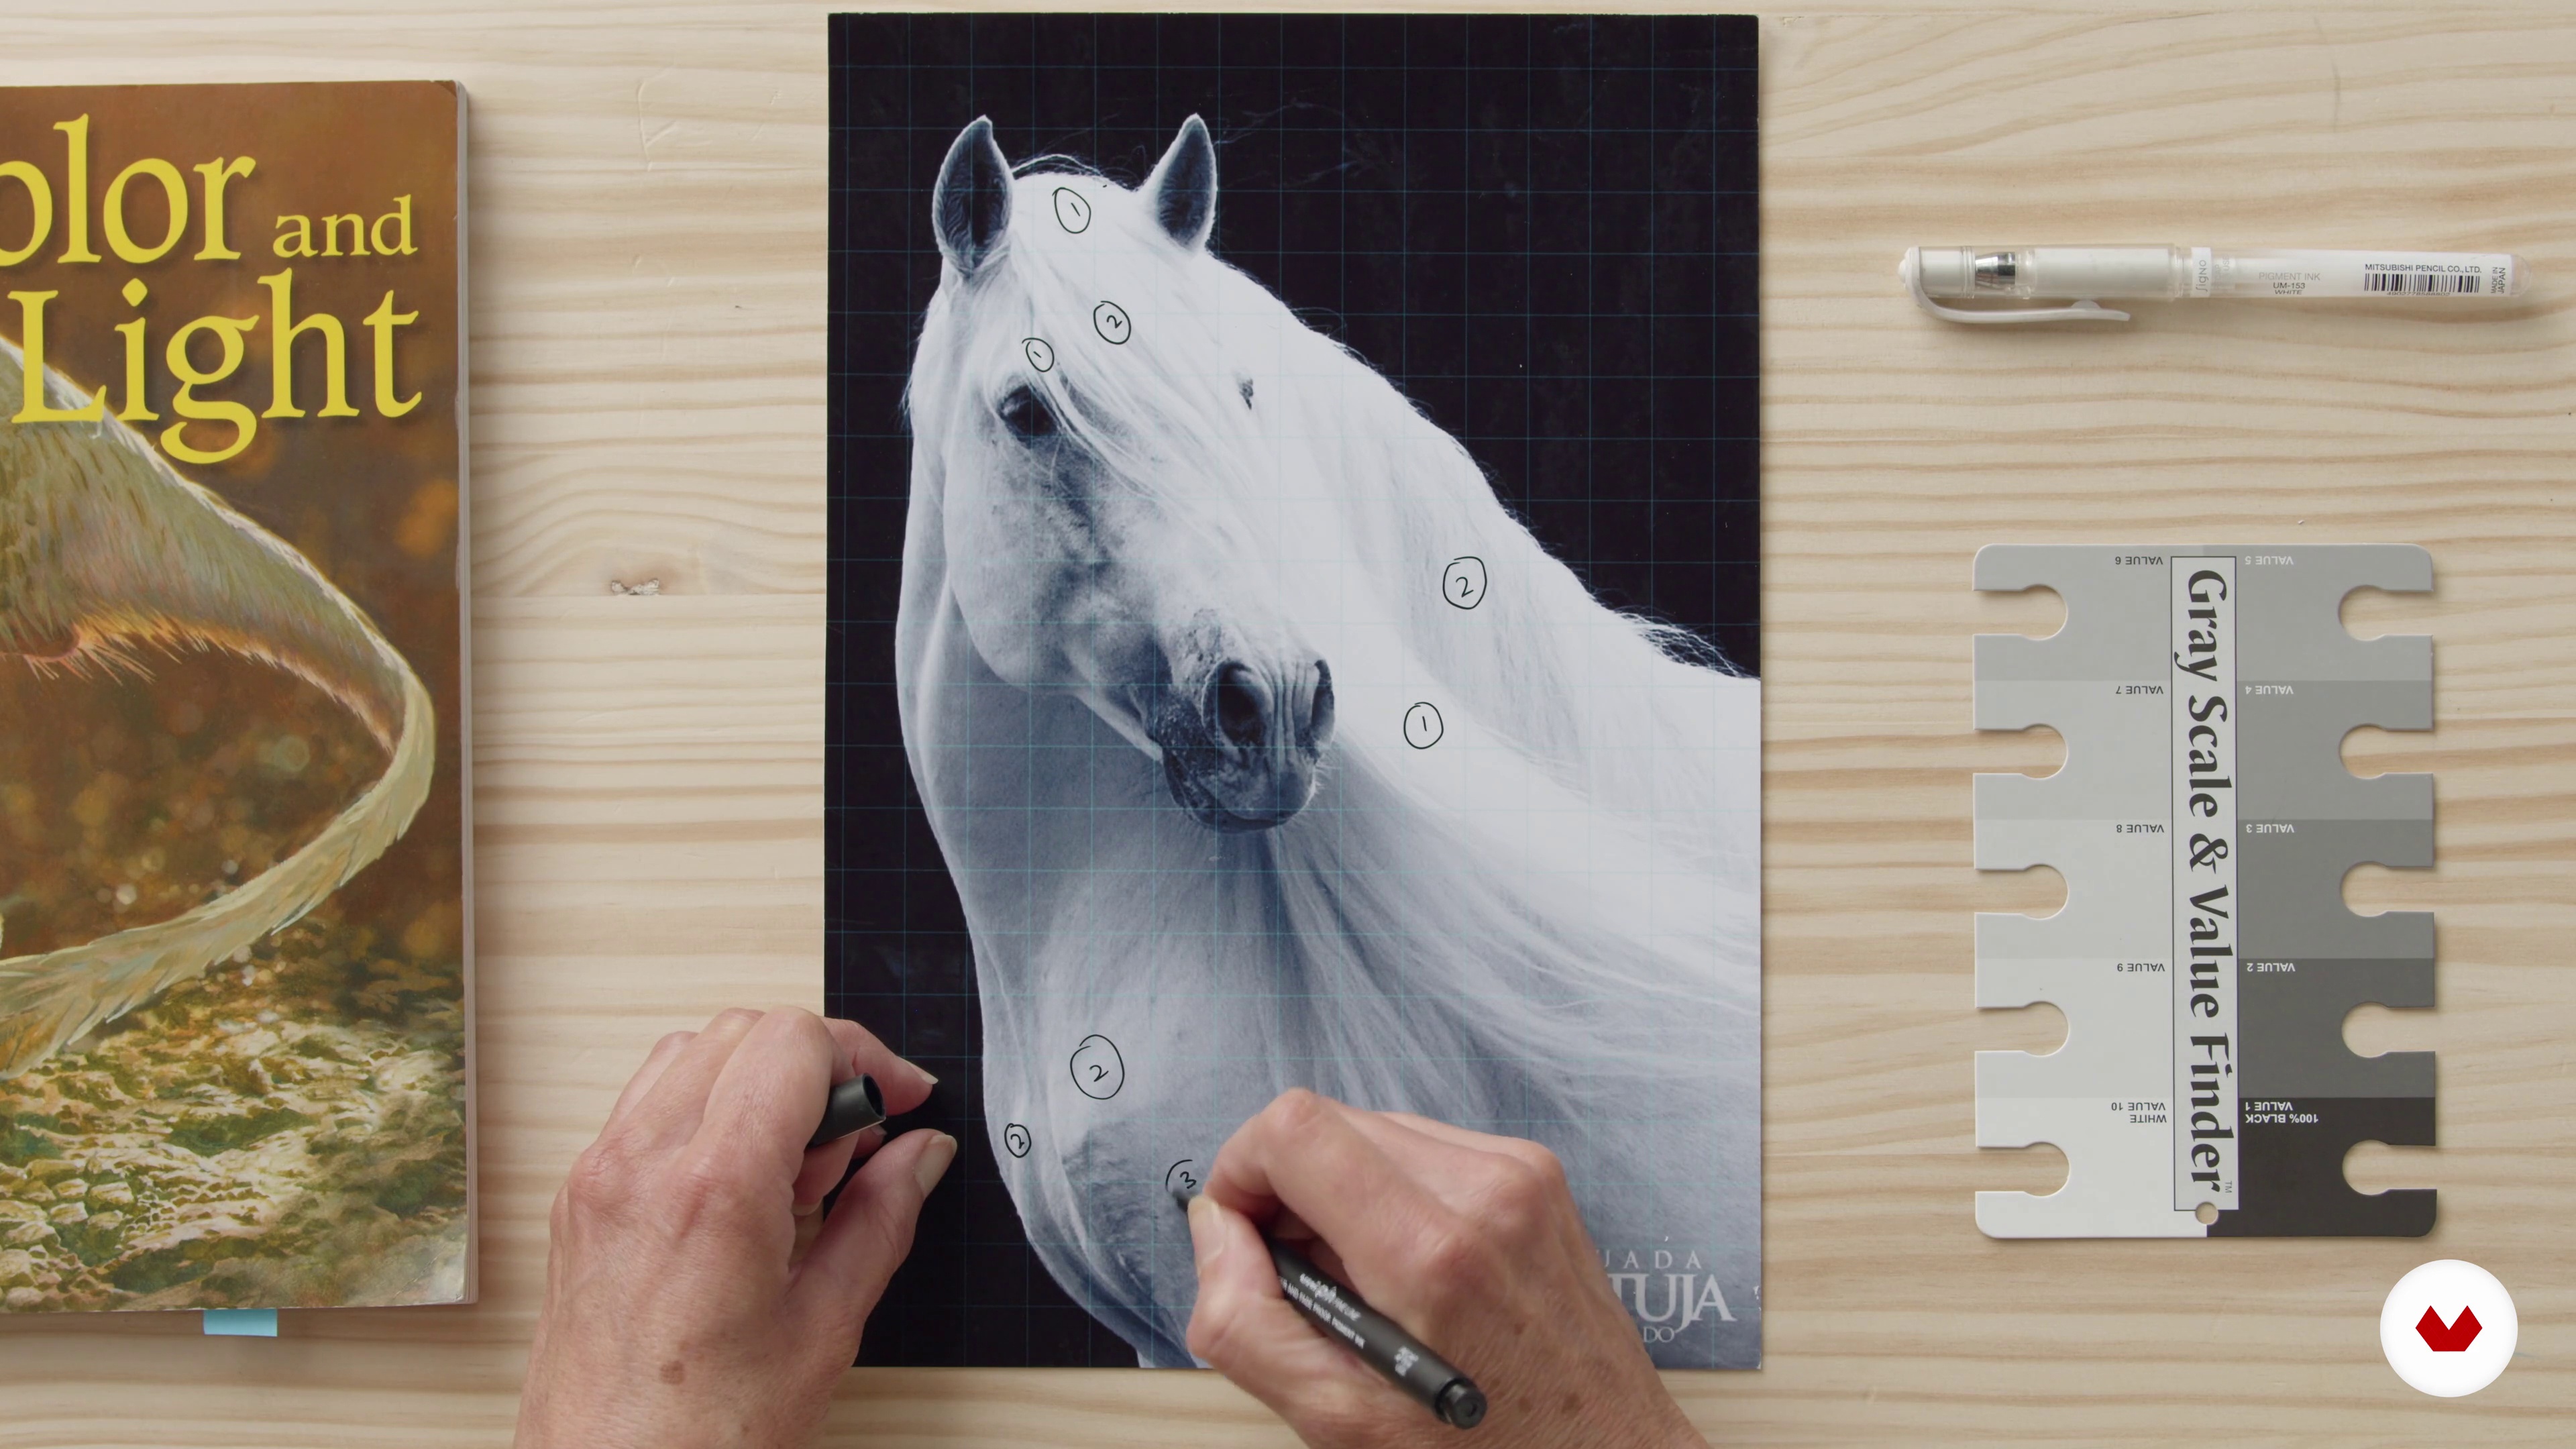
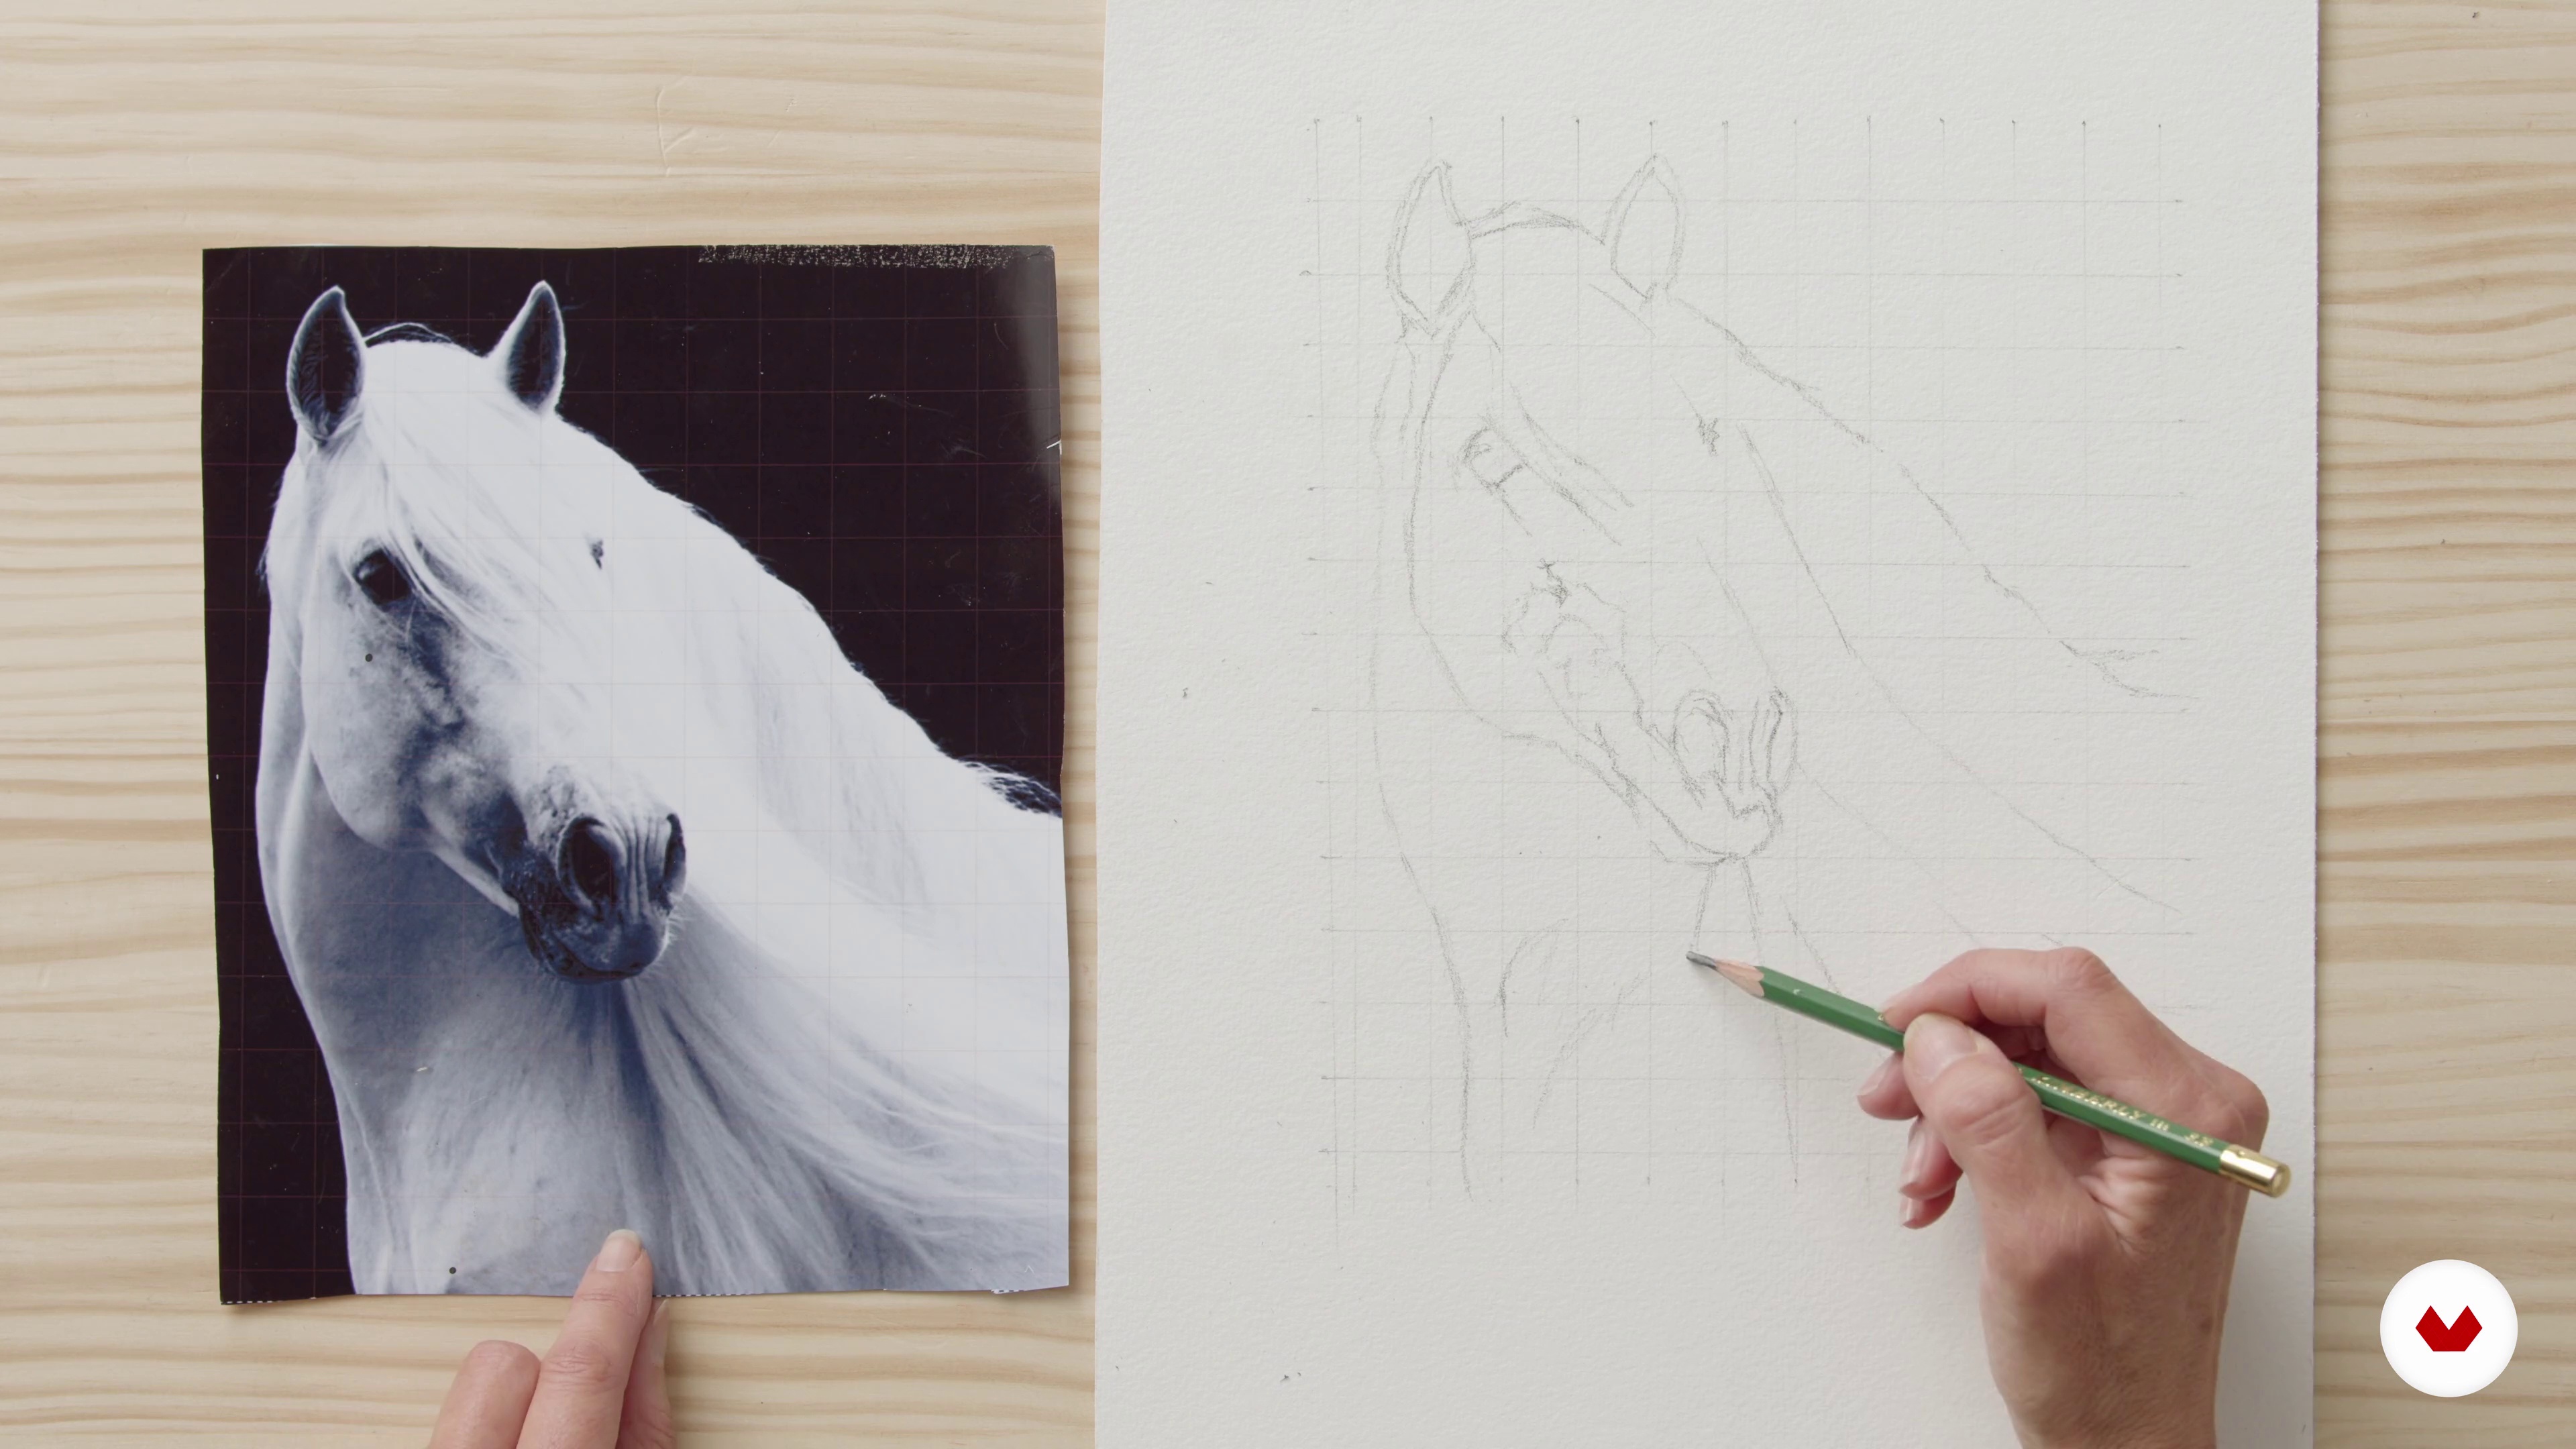
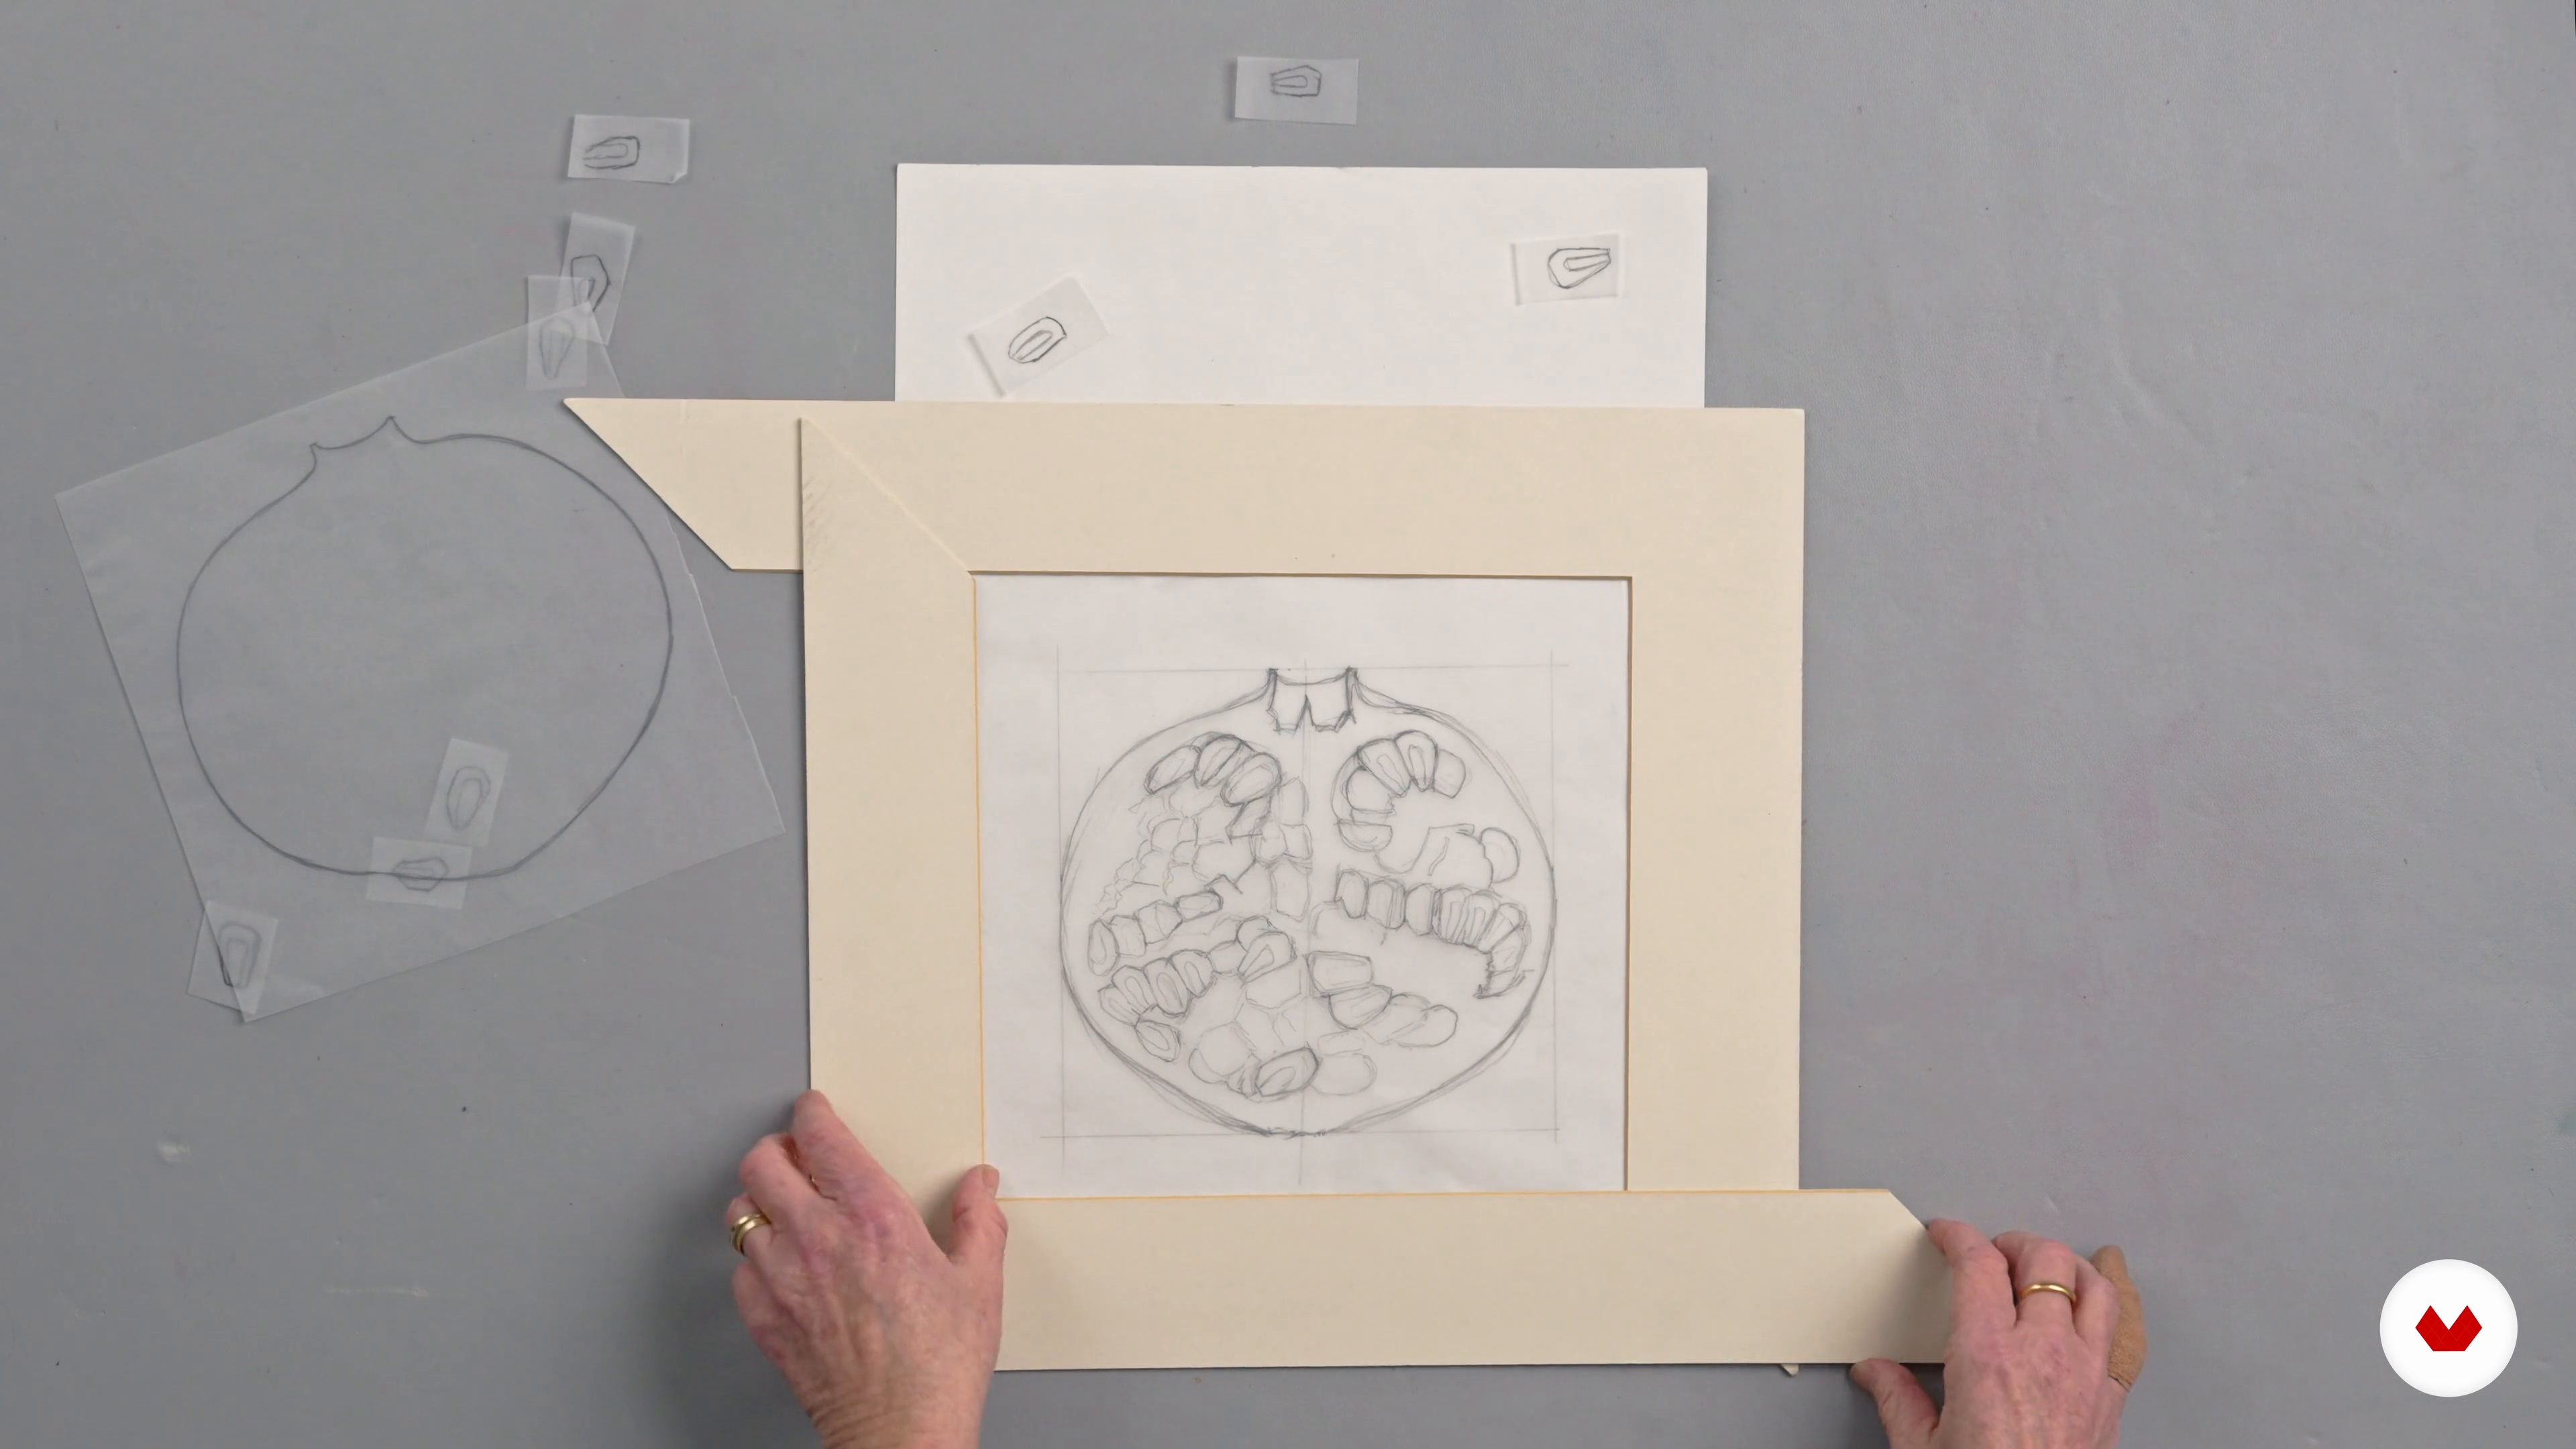
In this lesson, I will explain how to create a realistic drawing of our subject from life and from photographs. I will show you how to draw larger than life accurately and how to transfer the drawing onto watercolour paper.
12m
image
2
Masking Fluid
If your subject has tiny white highlights, pale veins, or a dimpled surface, you might consider using masking fluid to protect these areas before painting initial washes. In this lesson, I will show you when and how to use masking fluid at the start of any botanical painting.
4m
image
3
Initial Layers 1
Now, I will show you how to paint the initial layers of your picture and discuss how to choose which watercolour techniques to use.
13m
image
4
Initial Layers 2
Here, I will continue showing you how to work on the first layers.
8m
image
5
Adding Textures
It's time for you to look at how to build up the colours of your subject and which techniques to use to introduce appropriate surface texture and character.
15m
image
6
Finishing Touches
Using a full range of tonal values brings any study like this to life, and adding even the smallest touches of dark colour can make a huge difference.
19m
image
7
Adding the Background and Adjustments
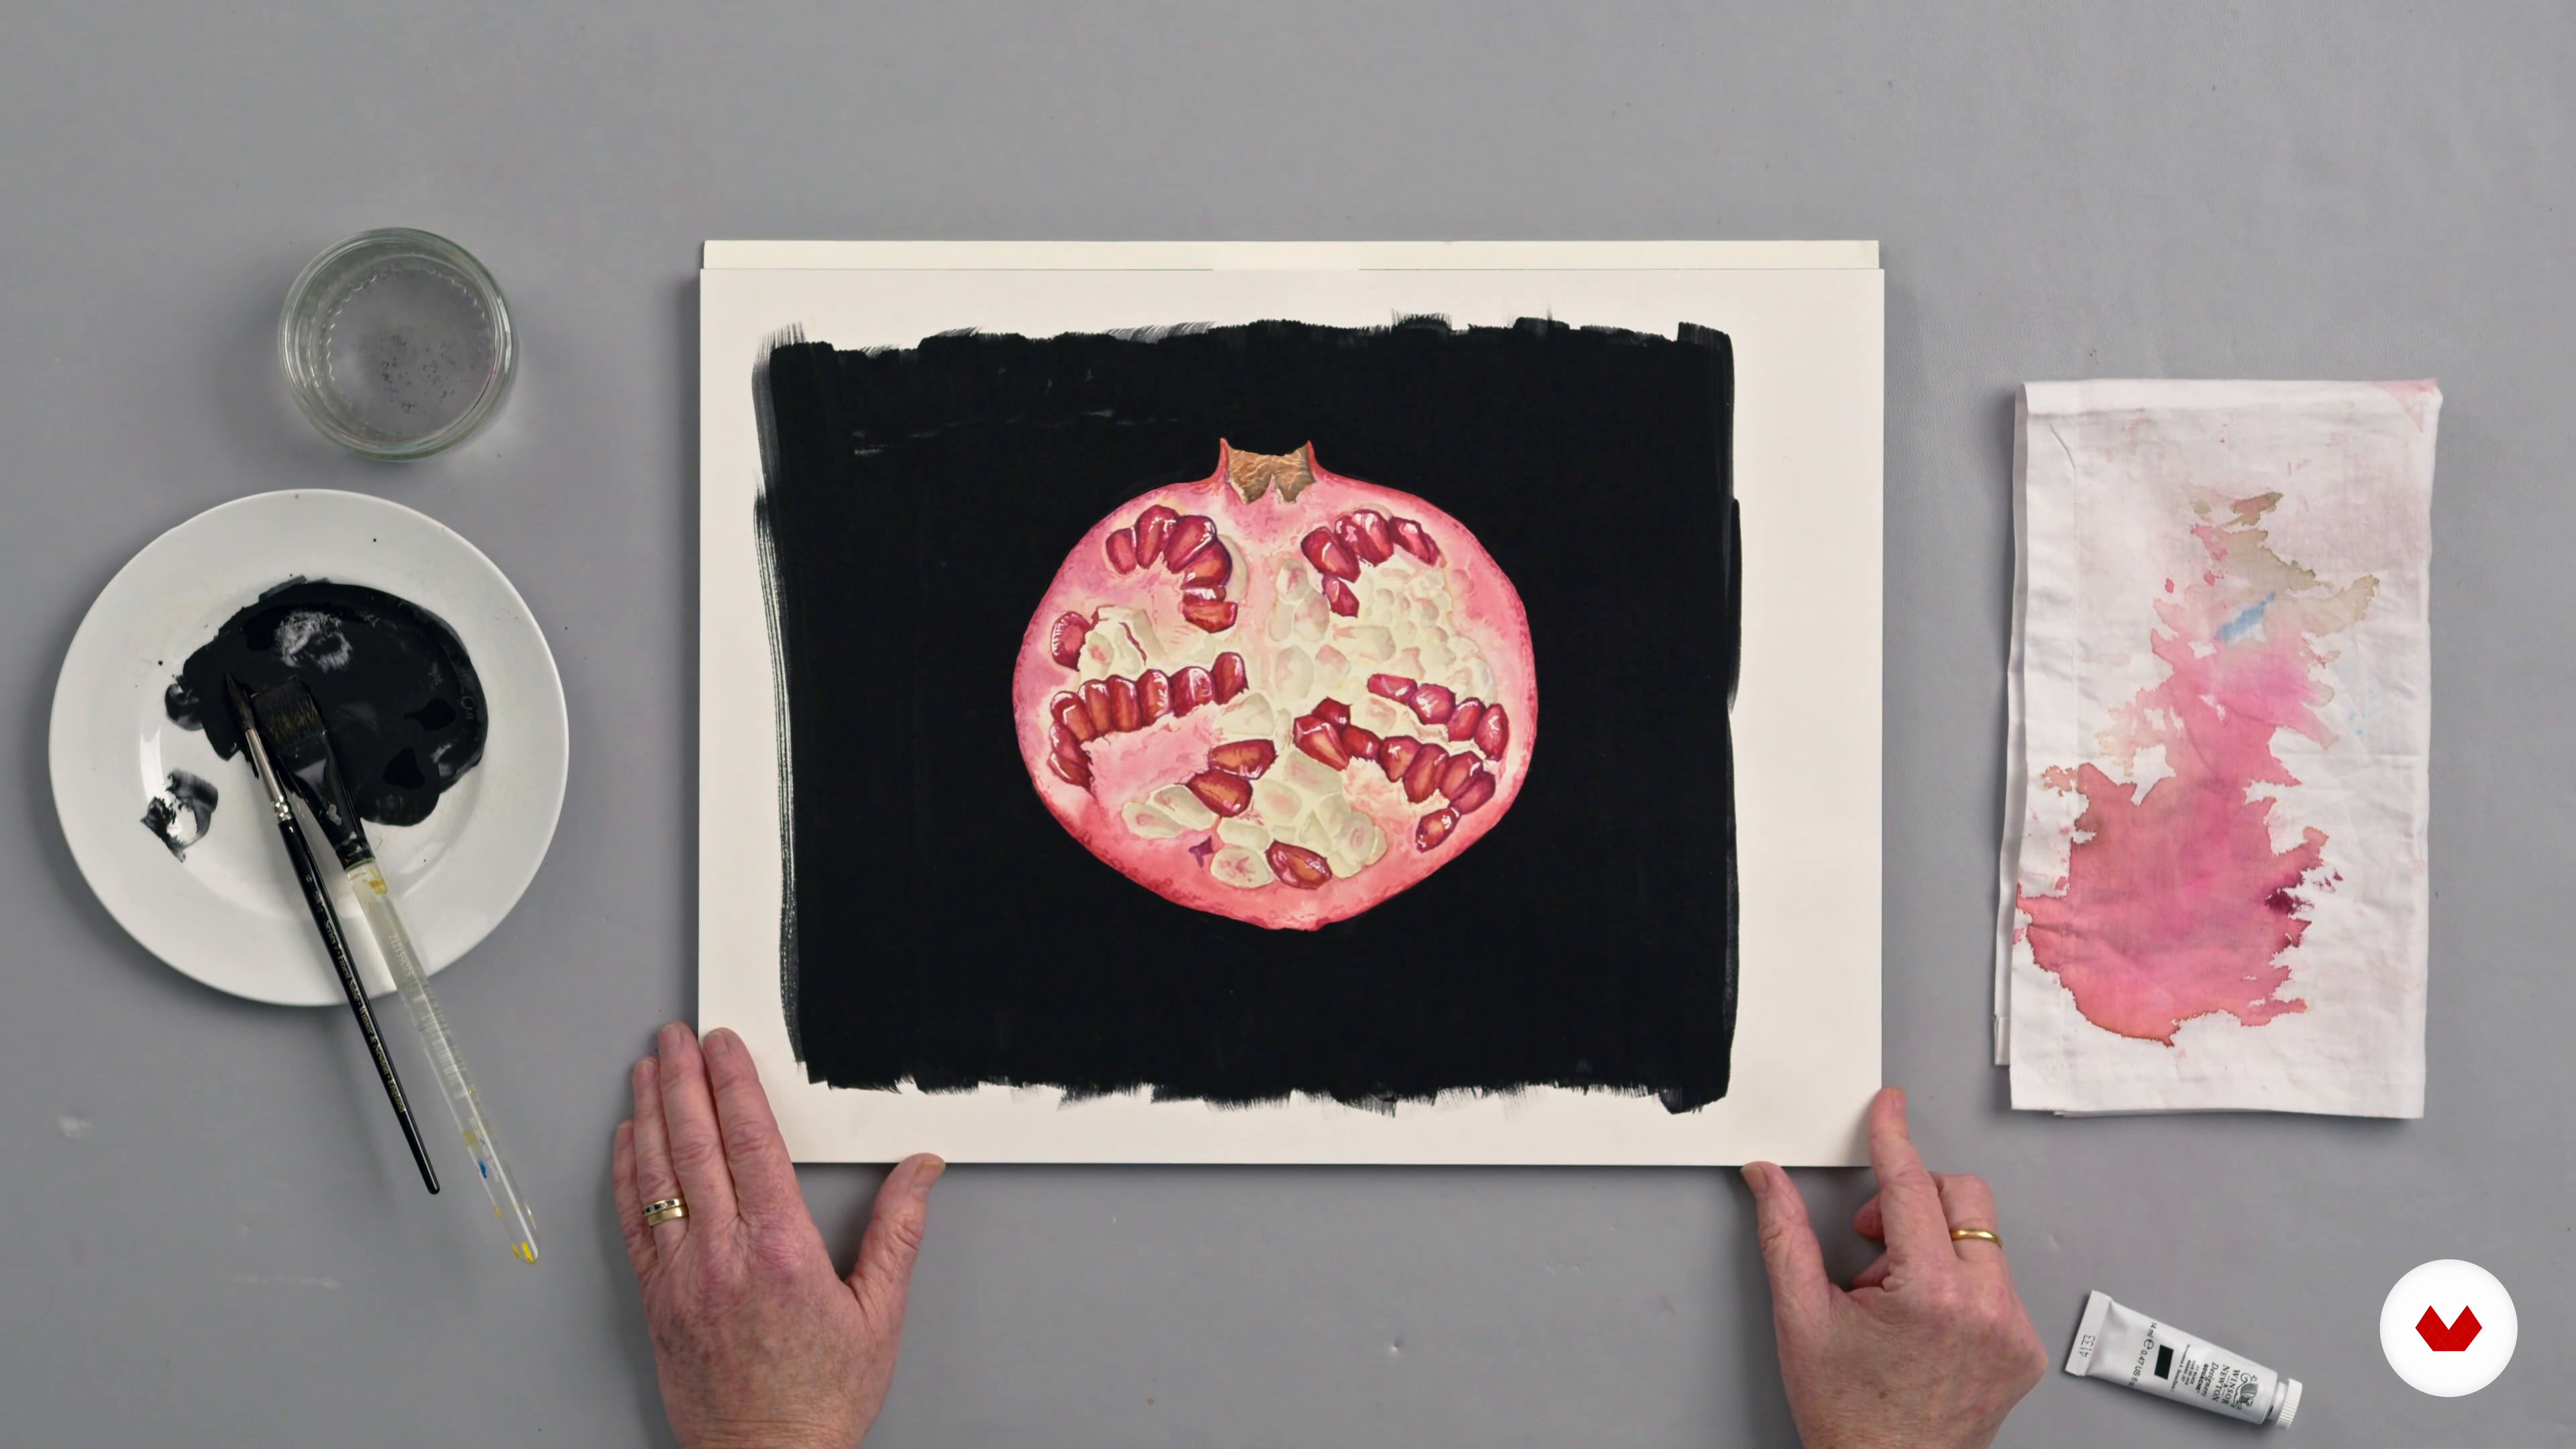
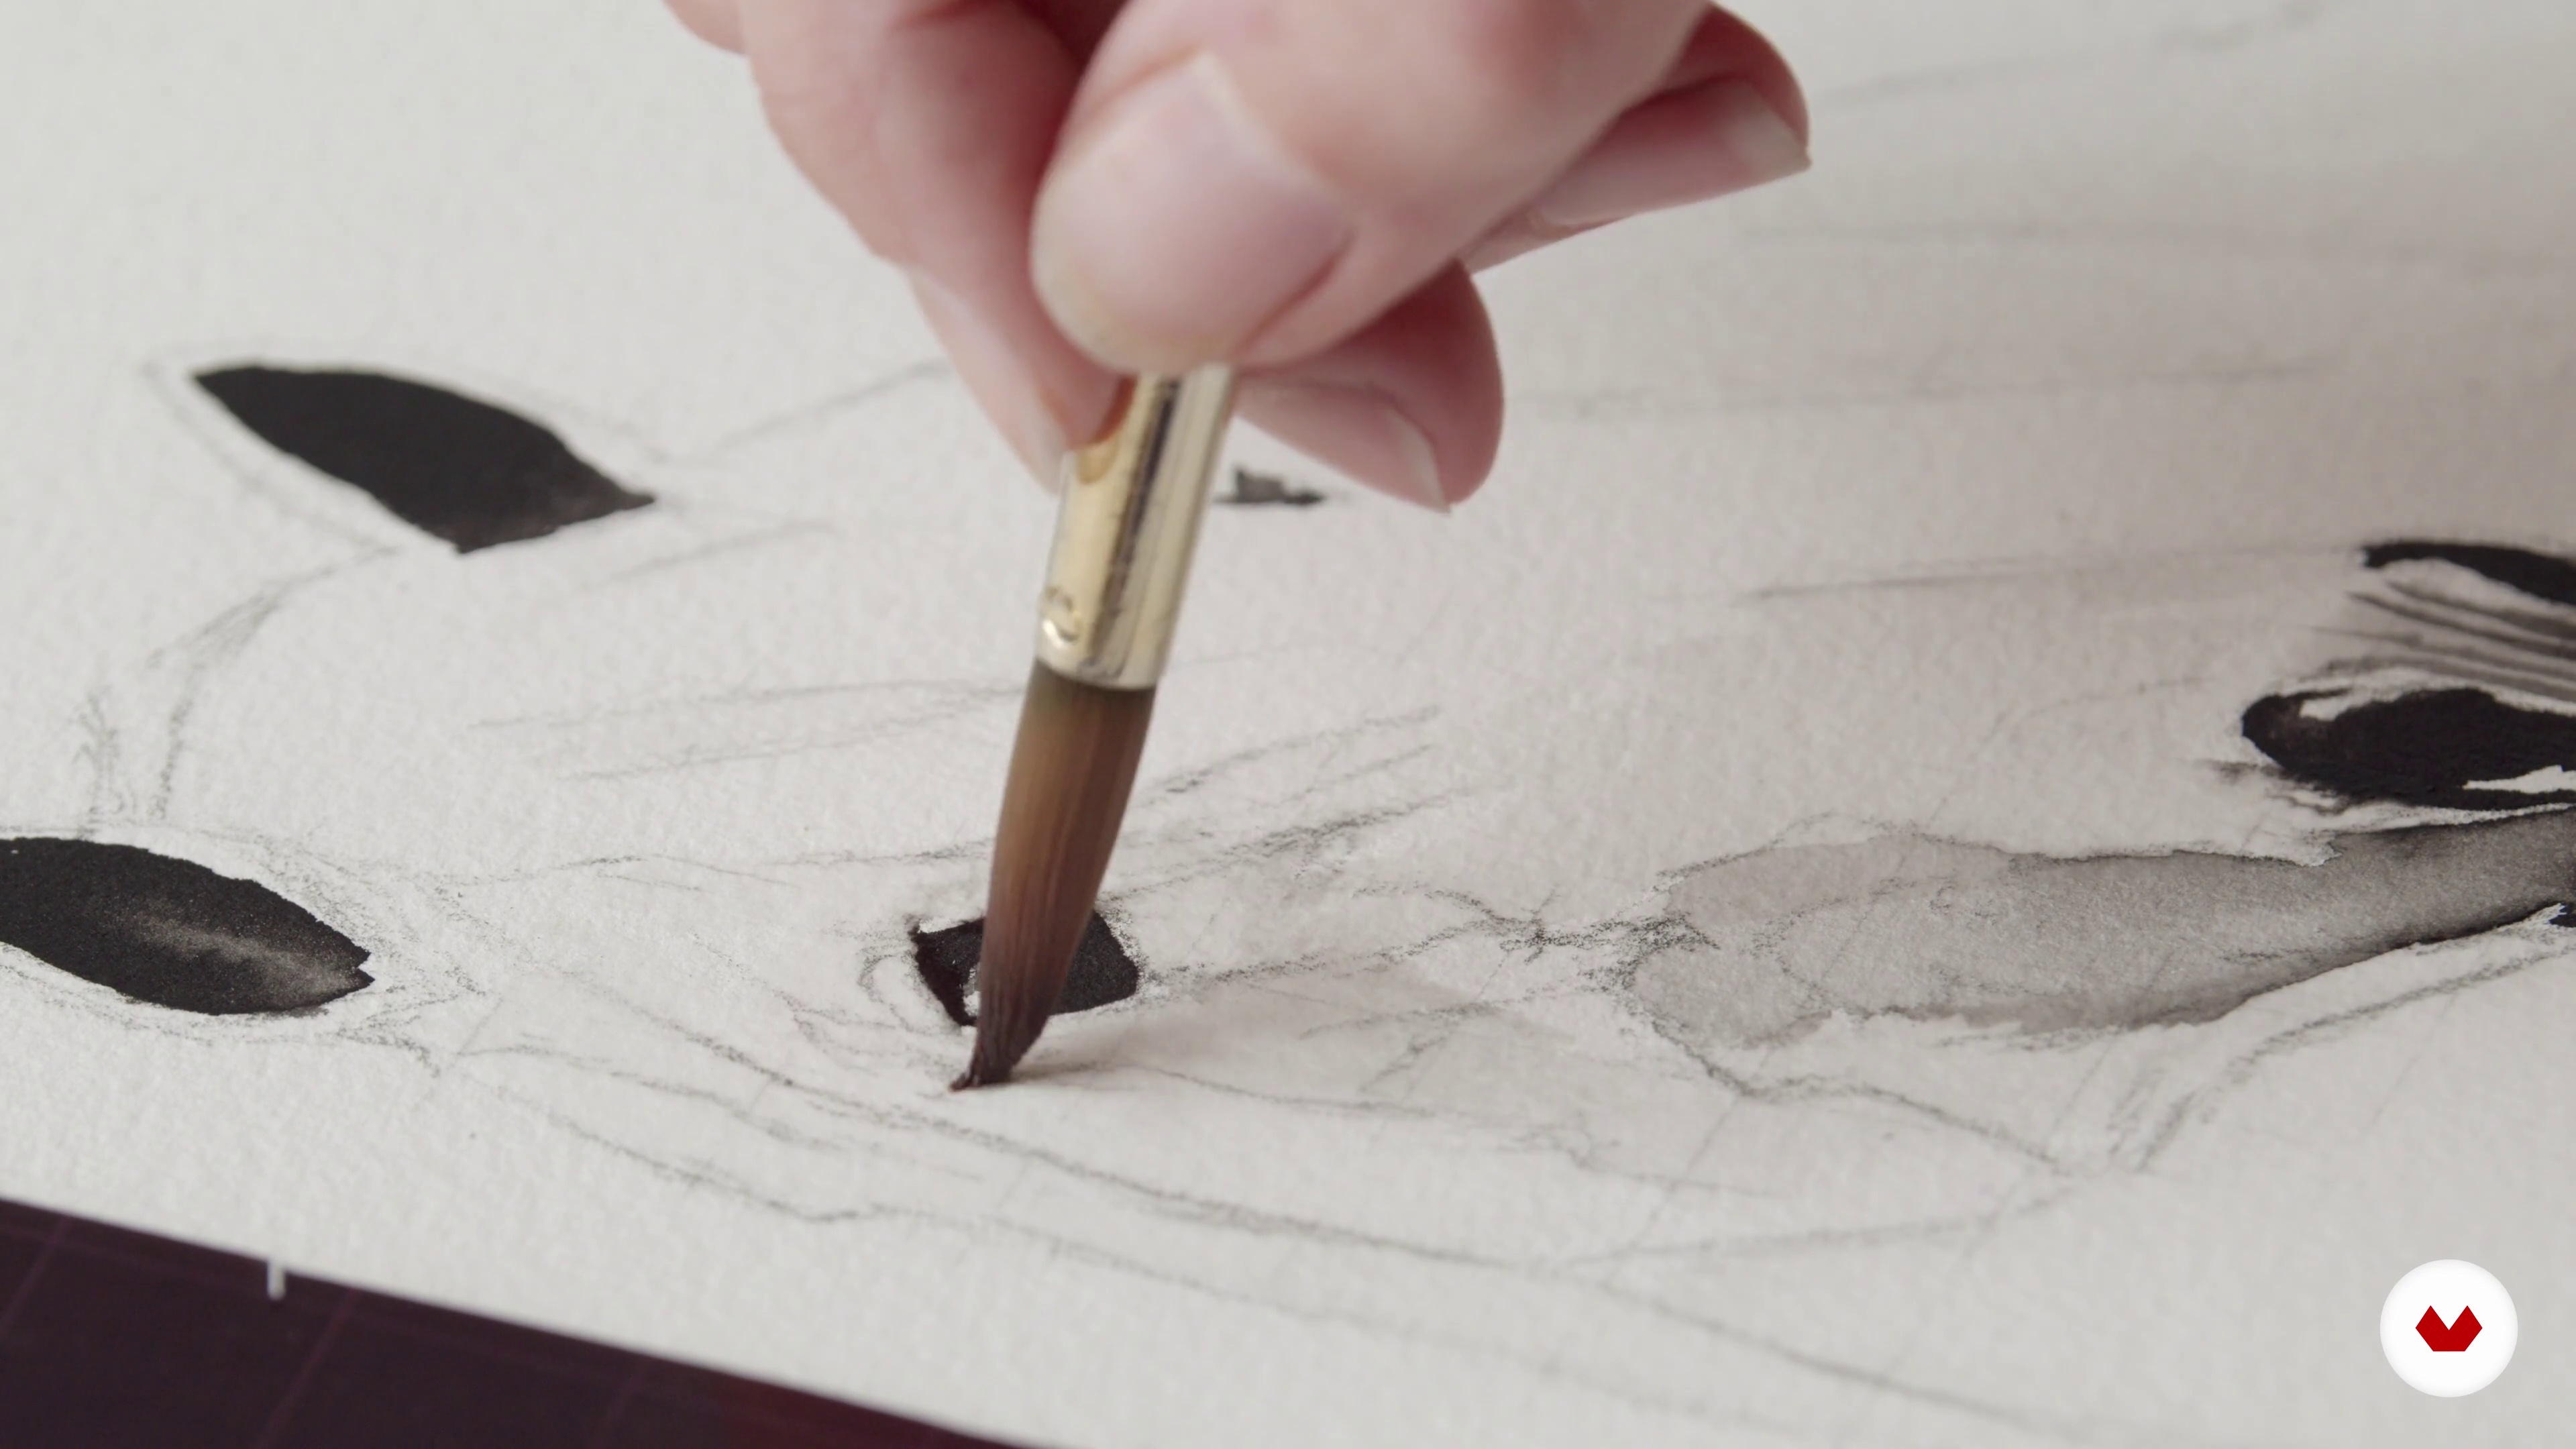
A black background can add drama to a painting, so in this lesson I will demonstrate how to create this with gouache, how to mix the correct consistency and how to apply this to your painting. As such a dark background is a huge contrast to the original white paper, the study often needs some final adjustments, which I will also explain here.
7m
image
1
First Approach to Colour 1
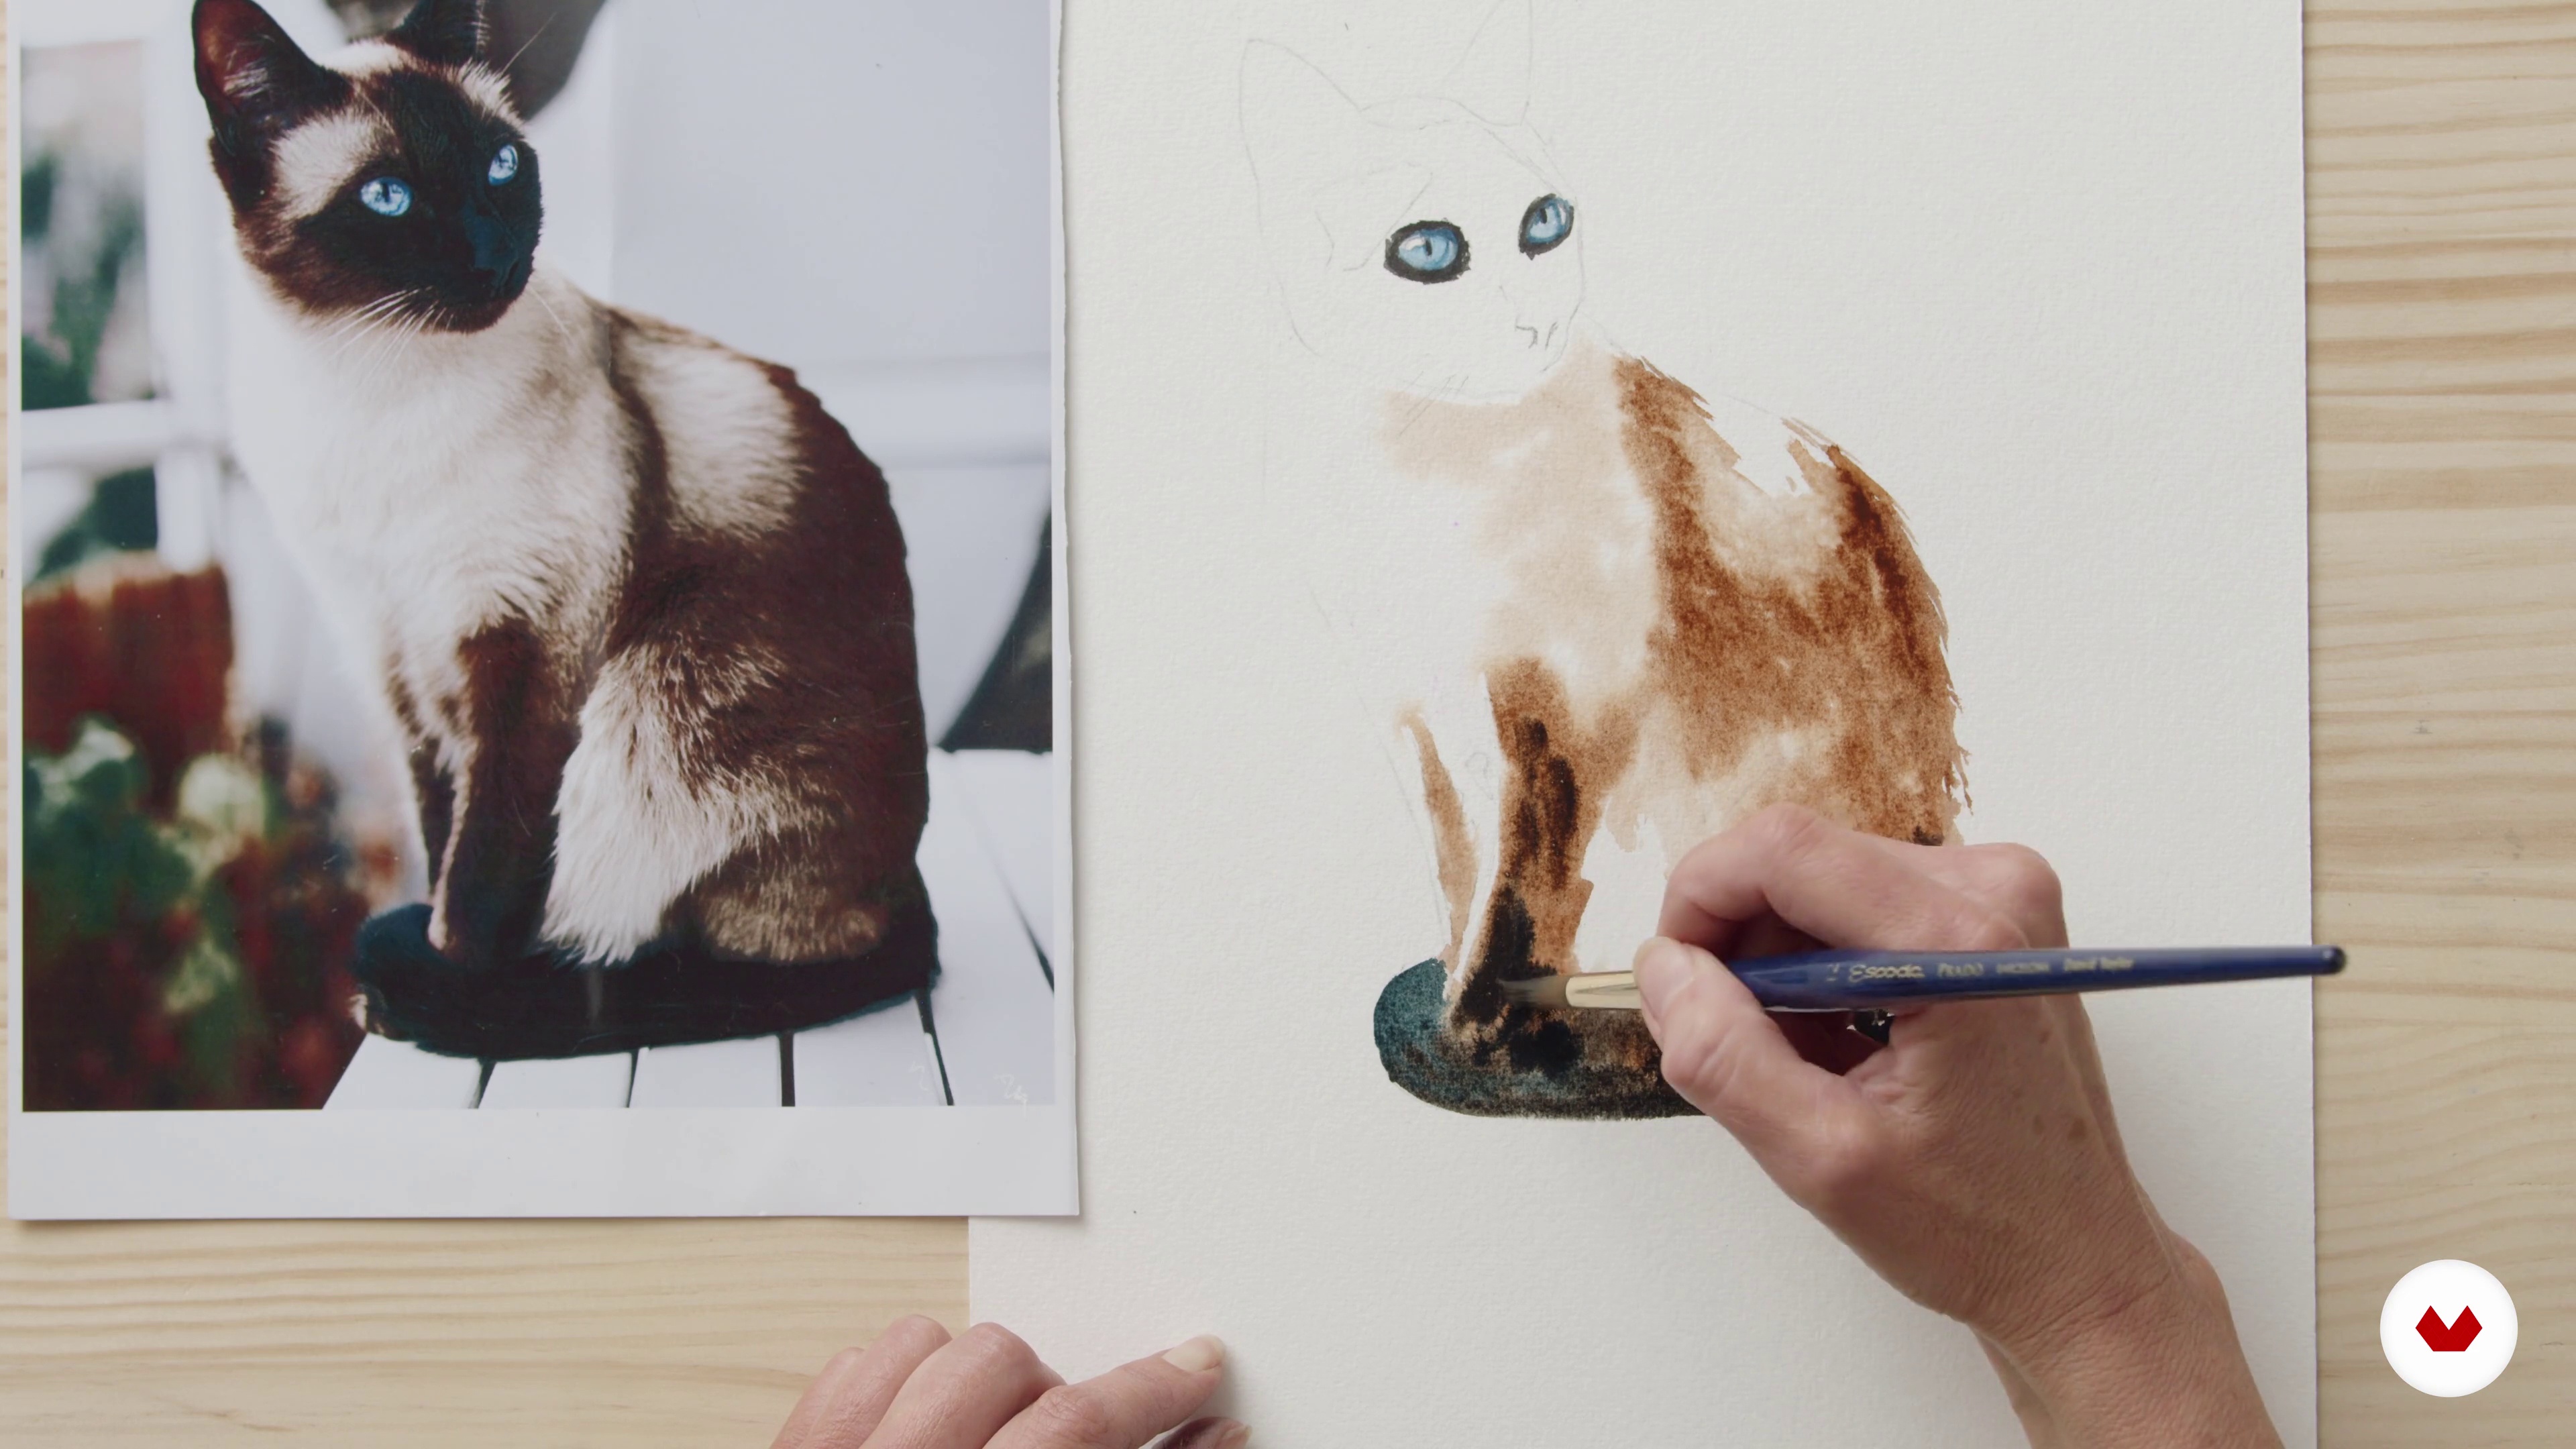
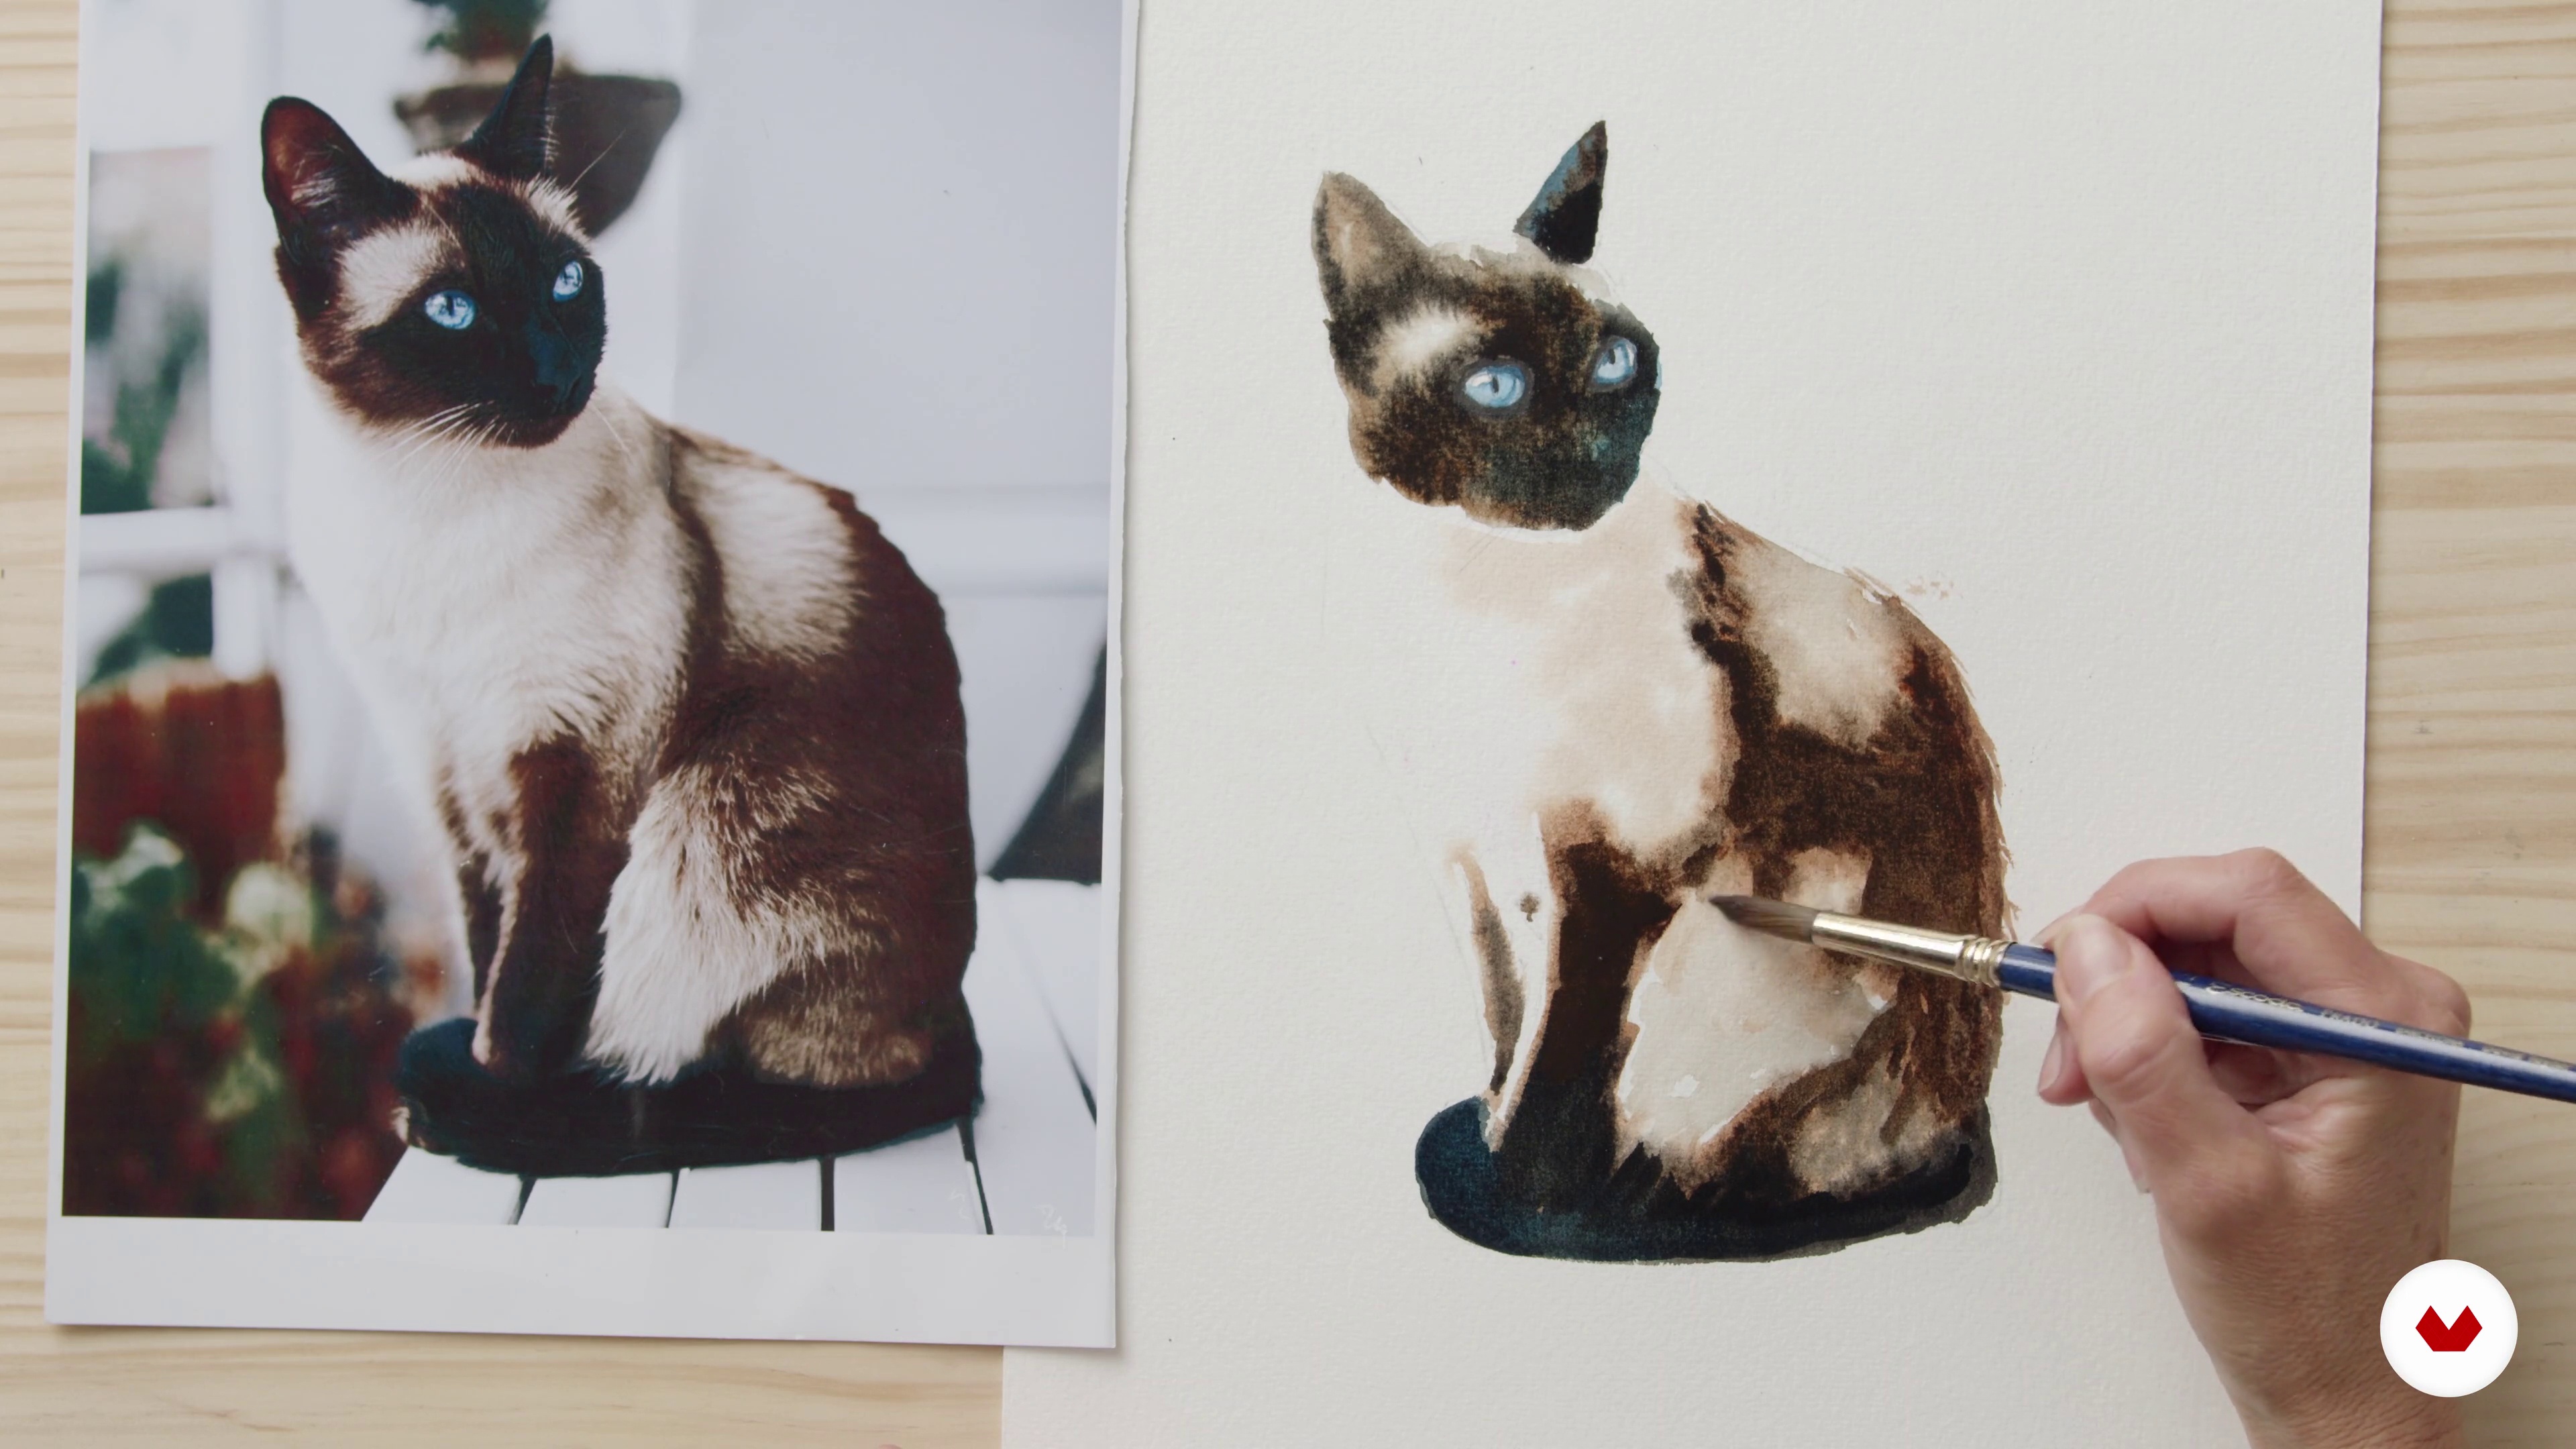
In this lesson, we will be working with just four colours from the tube and allowing them to mix on the paper to create a painting of a Siamese cat.
17m
image
2
First Approach to Colour 2
You will learn how to mix the colours without concentrating them too much so you can get better tones and textures. You will see how to darken some places so your painting could look more realistic. We will bring this cat to life by working on its face, but sometimes watercolors are not enough for that, you will see how you can make some extra fine details with a pen.
14m
image
3
Painting a Loose Colourful Study
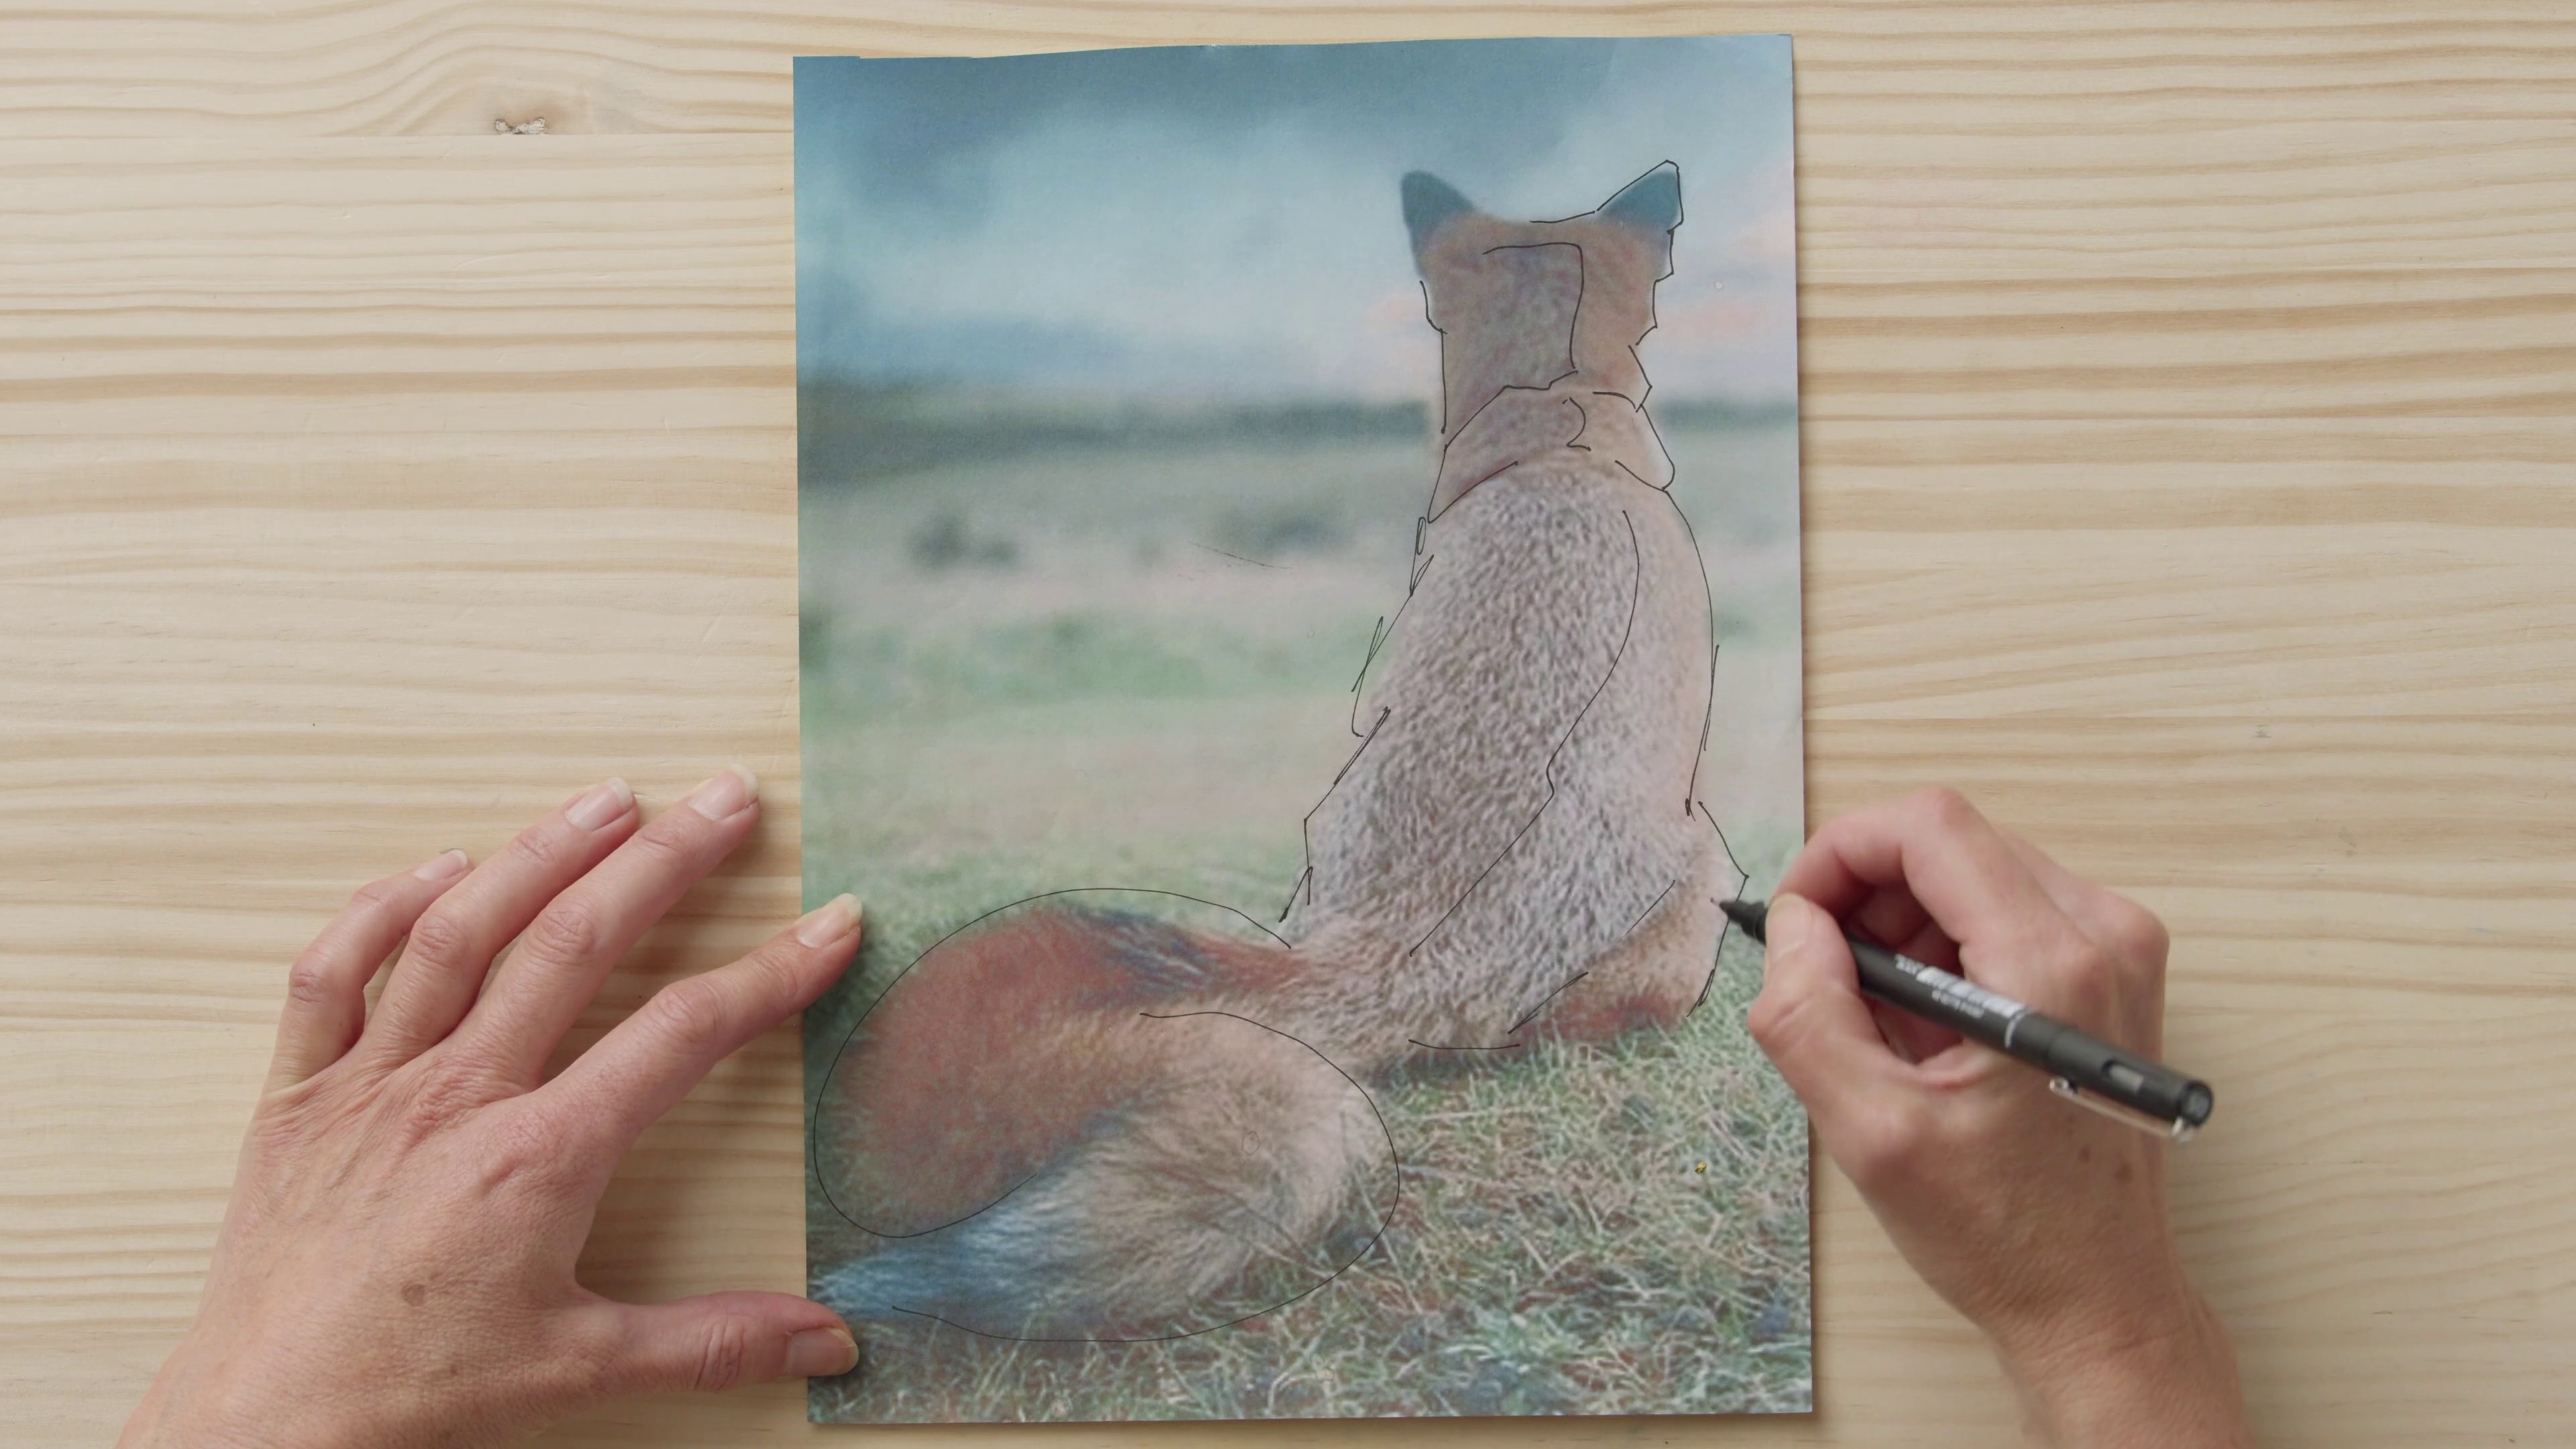
We will now explore how to create a loose watercolour study from a photograph using five colours.
10m
image
4
Painting the Fox
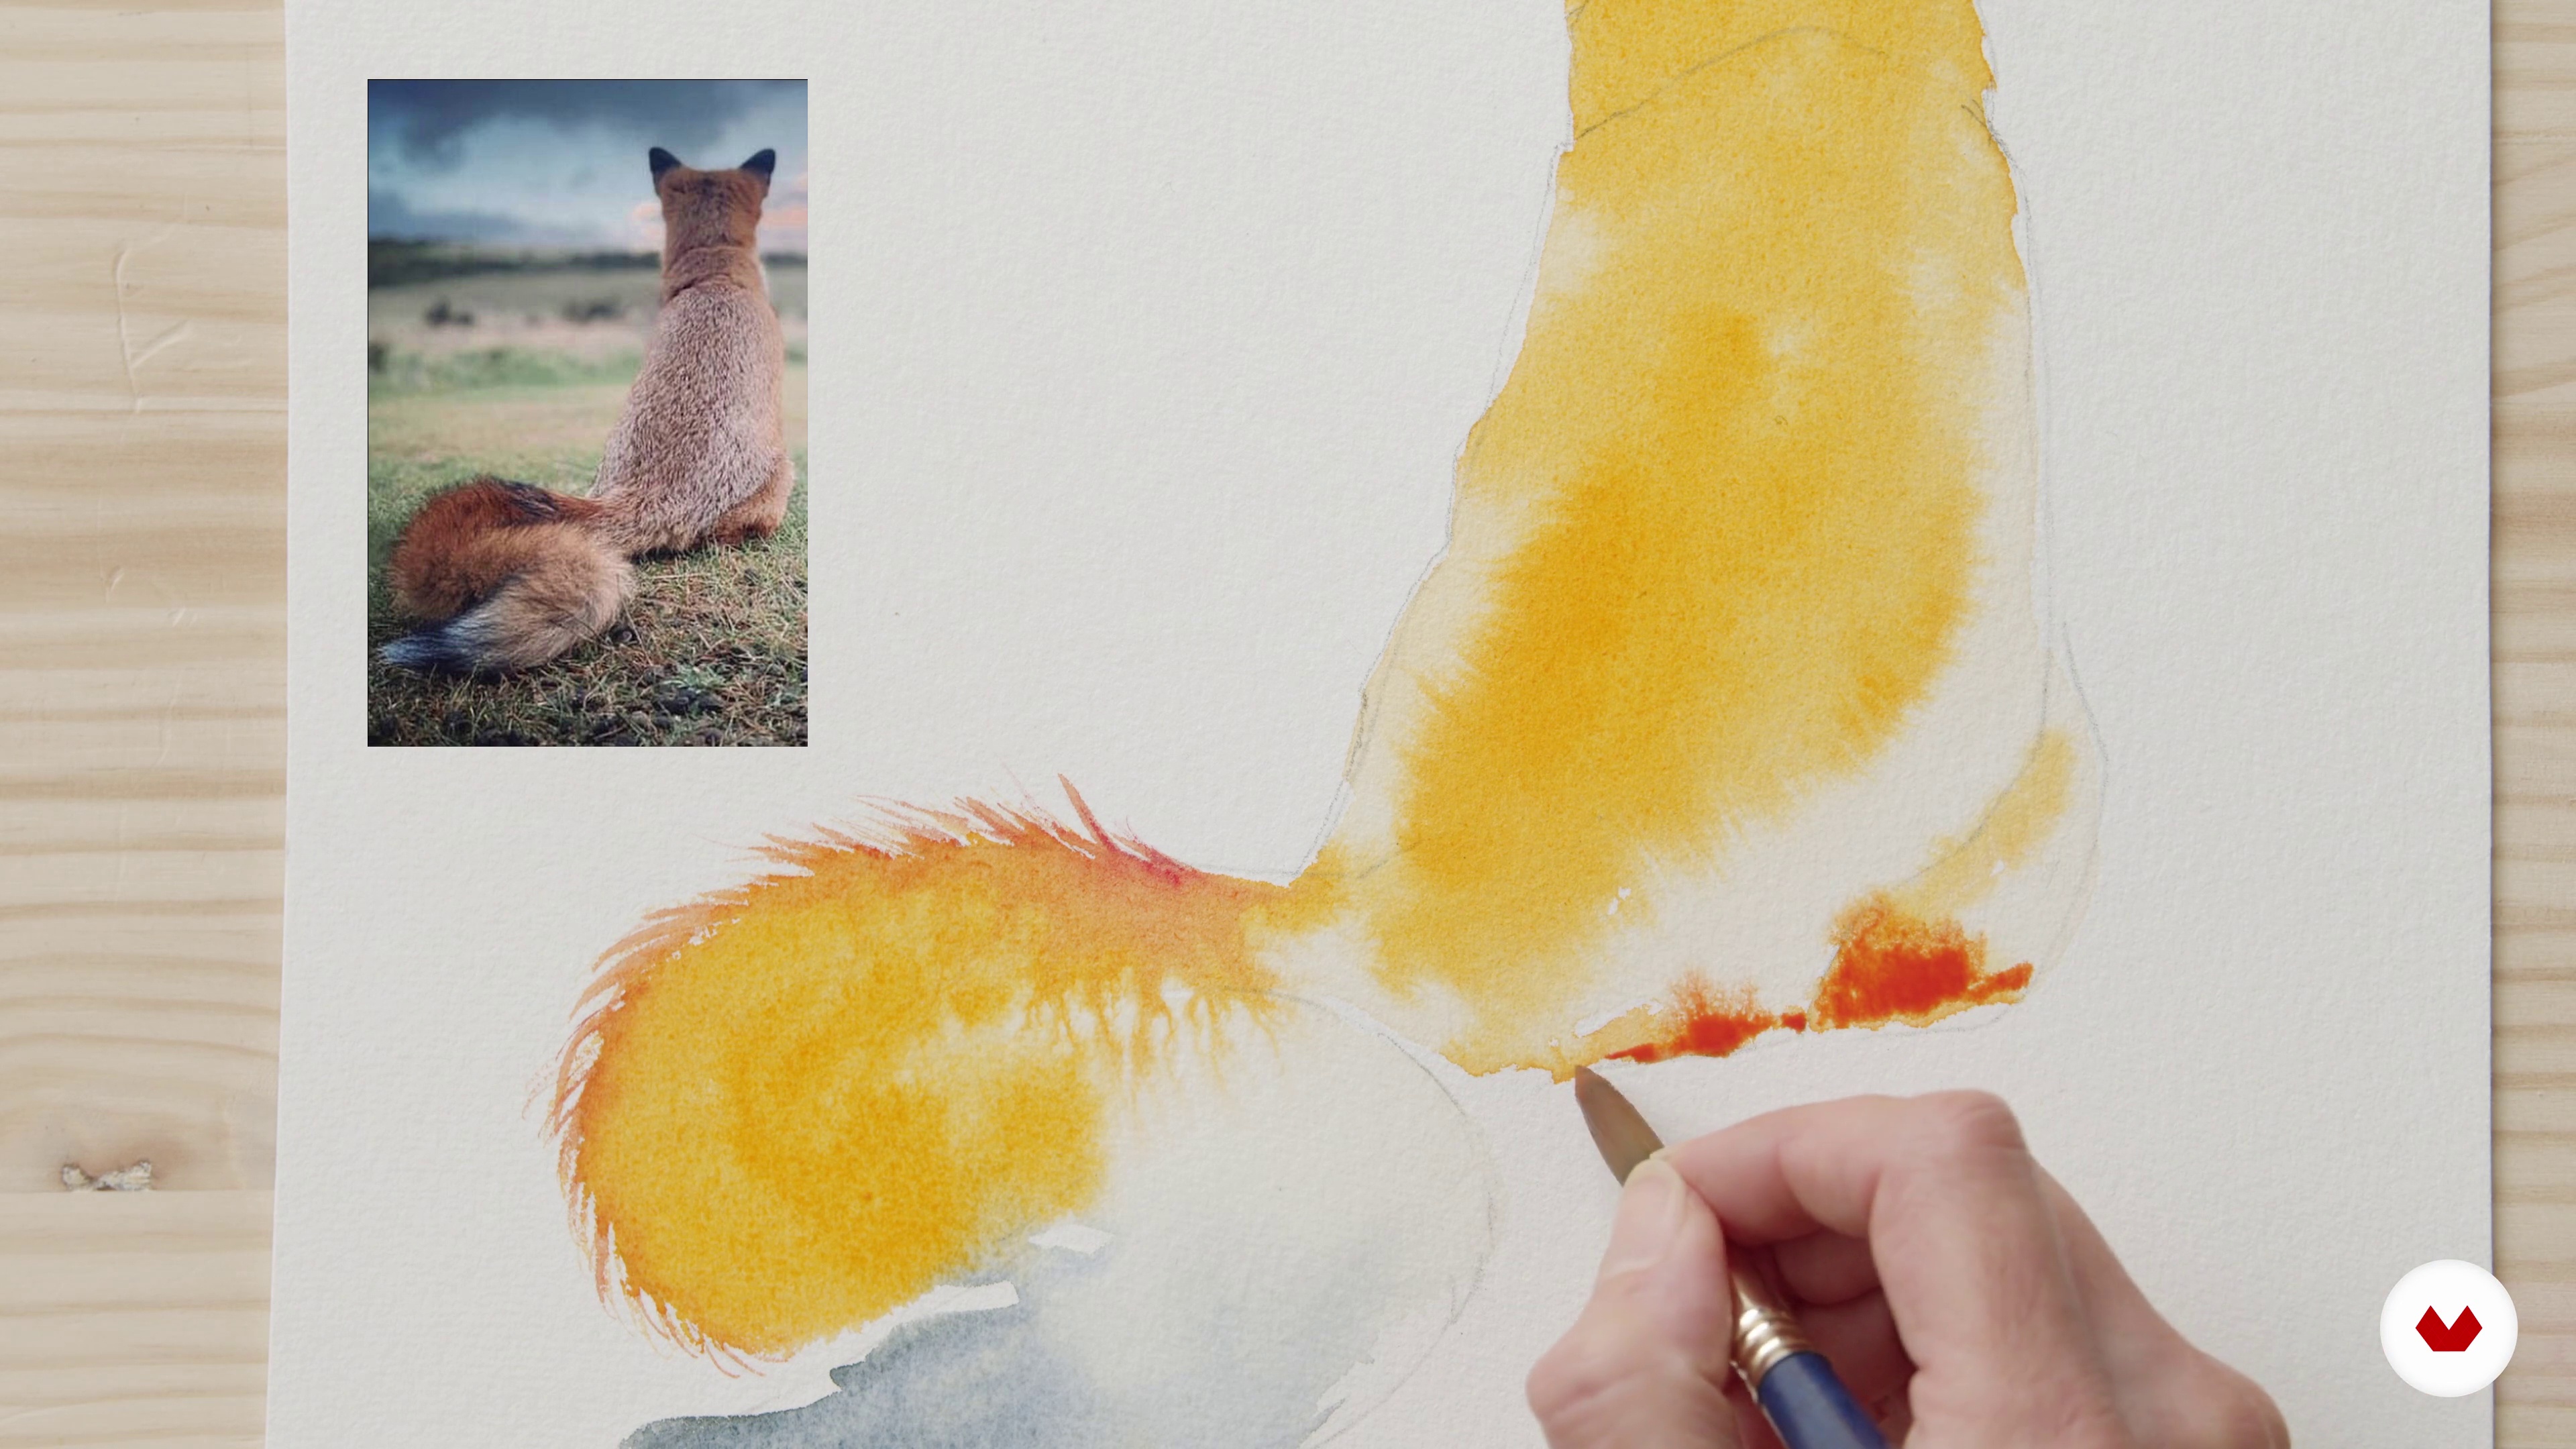
Let's now apply the first two layers of paint to the fox.
19m
image
5
Colour Mixing
In this lesson you will learn basic colour theory and how this can help you paint animals more successfully.
11m
image
6
Full Colour Palette
You will then go on to paint a colourful eye with a full palette of colours.
16m
image
7
Masterclass in Texture and Shadow 1
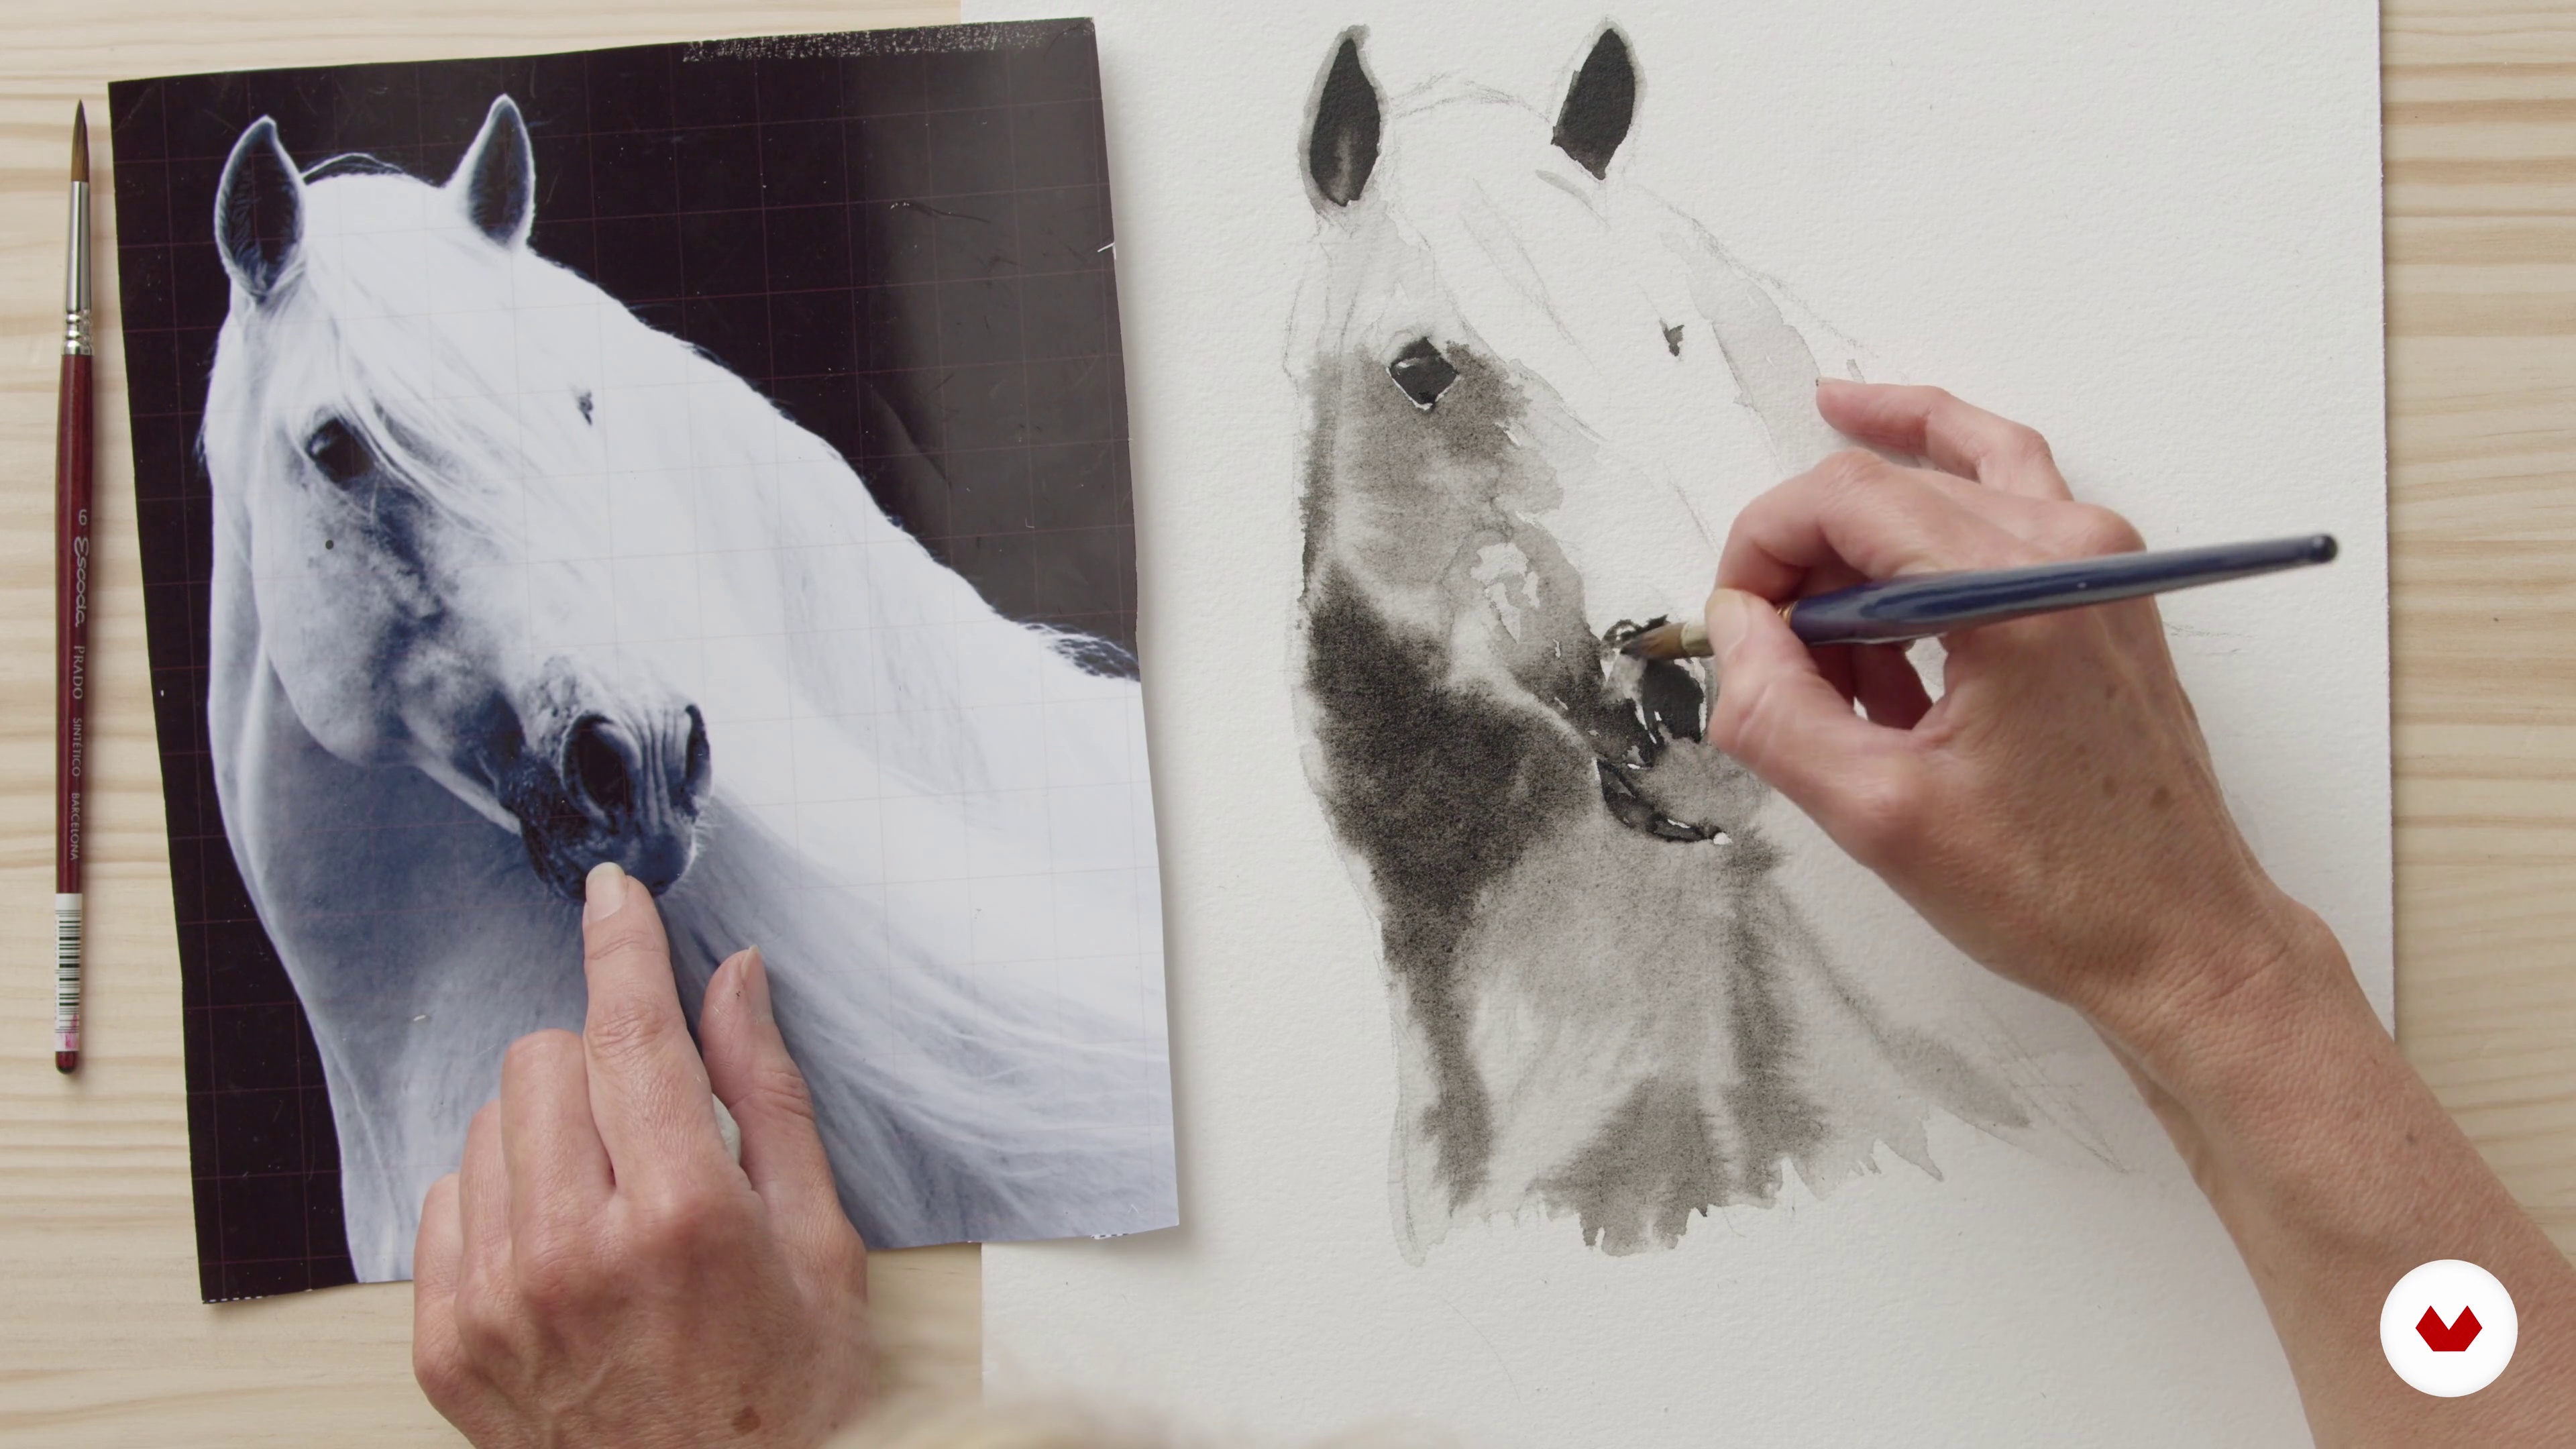
In this lesson, you will learn how to render particularly difficult areas of an animal portrait such as antlers, horns, fur and complex multi layered areas such as chins.
19m
image
8
Masterclass in Texture and Shadow 2
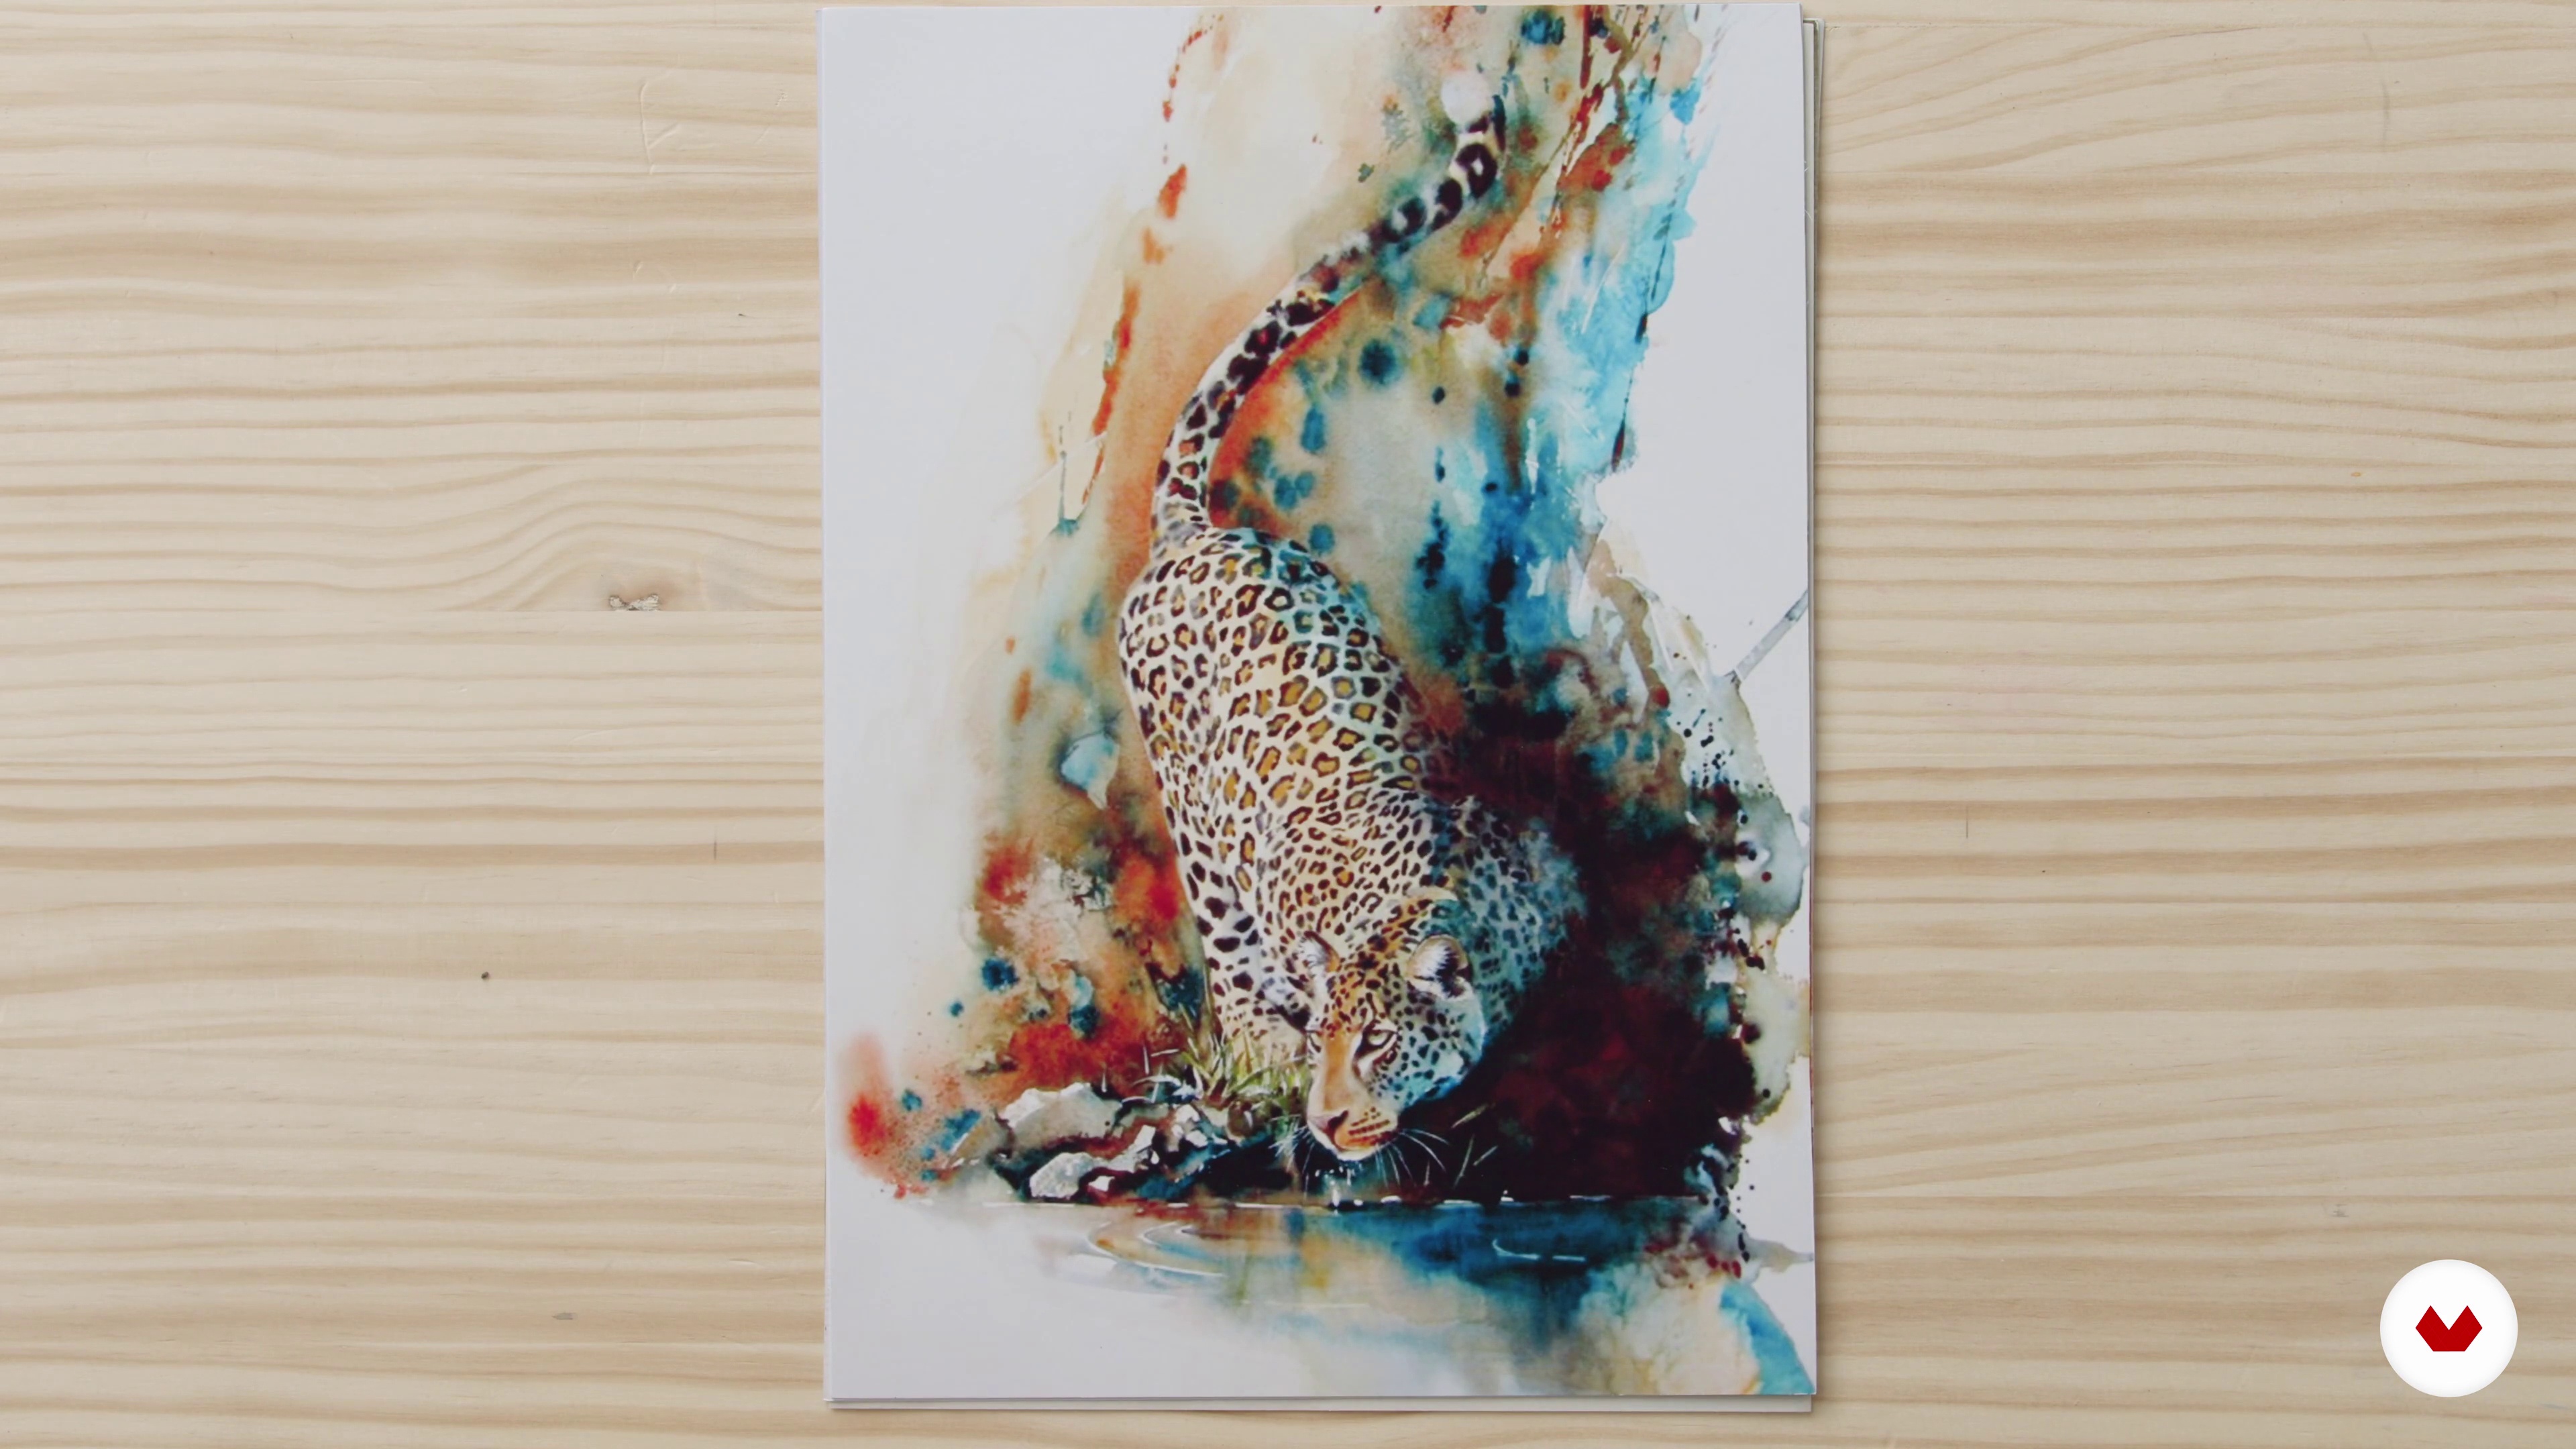
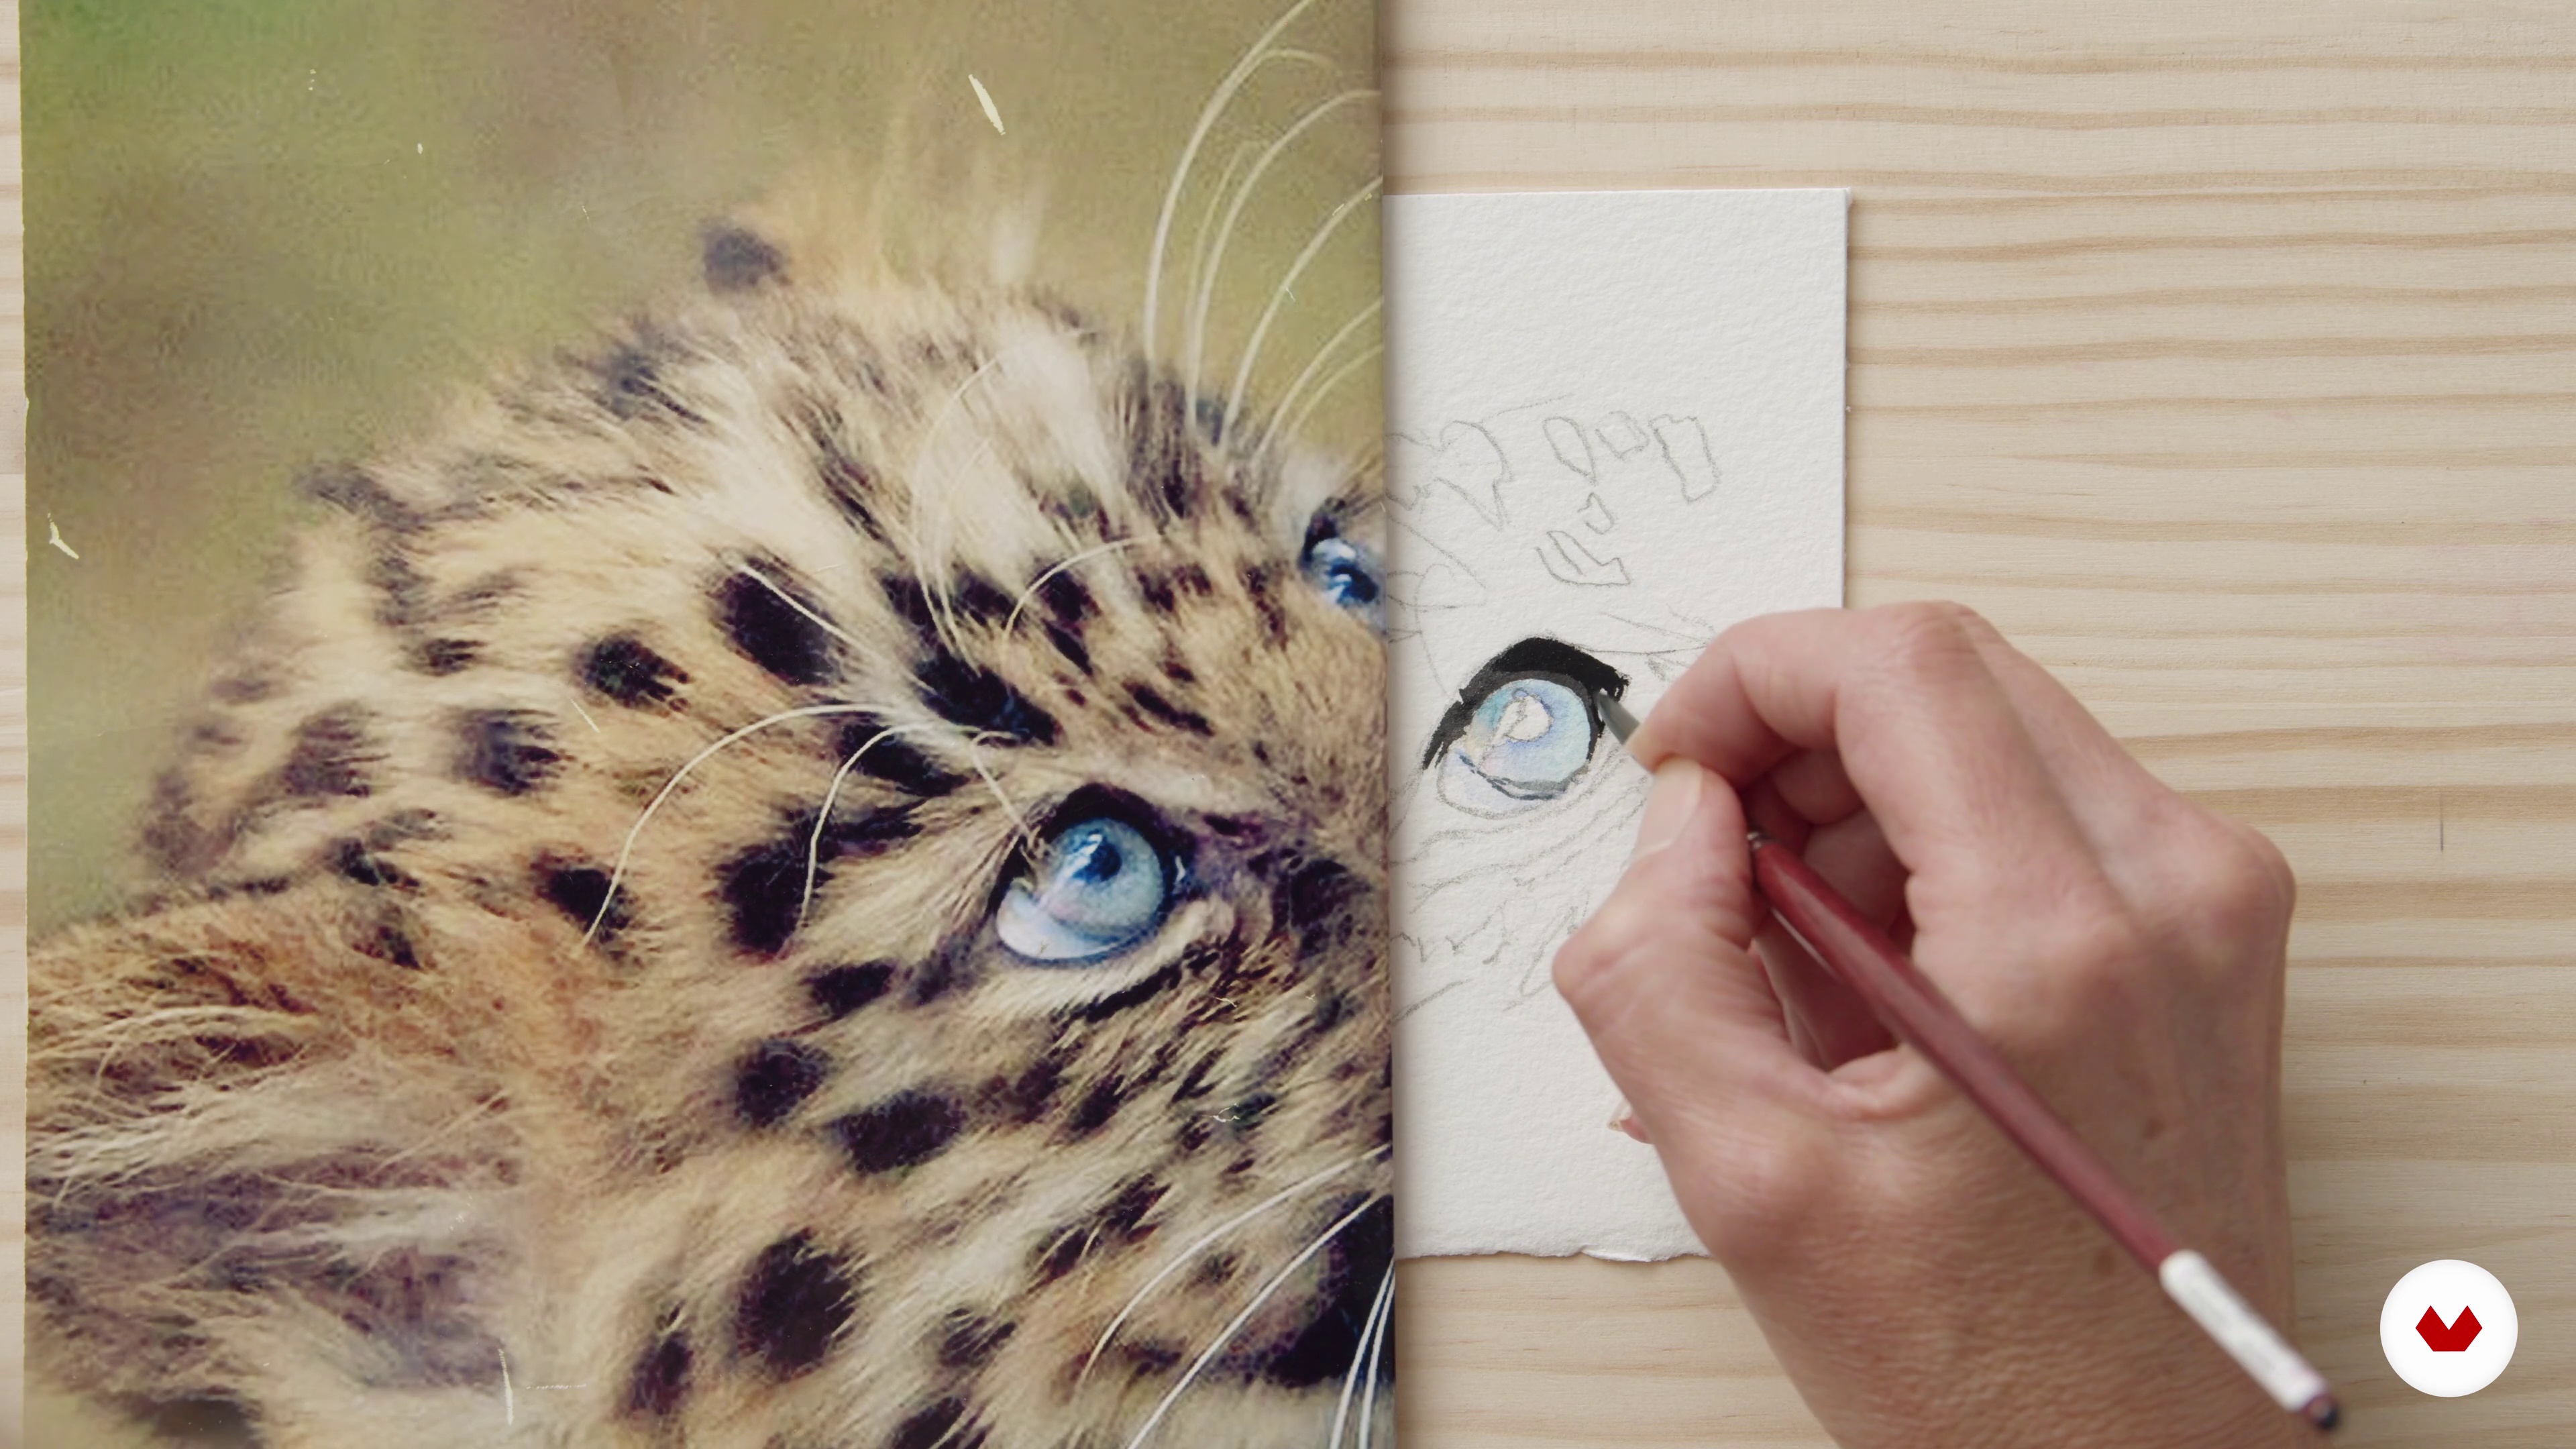
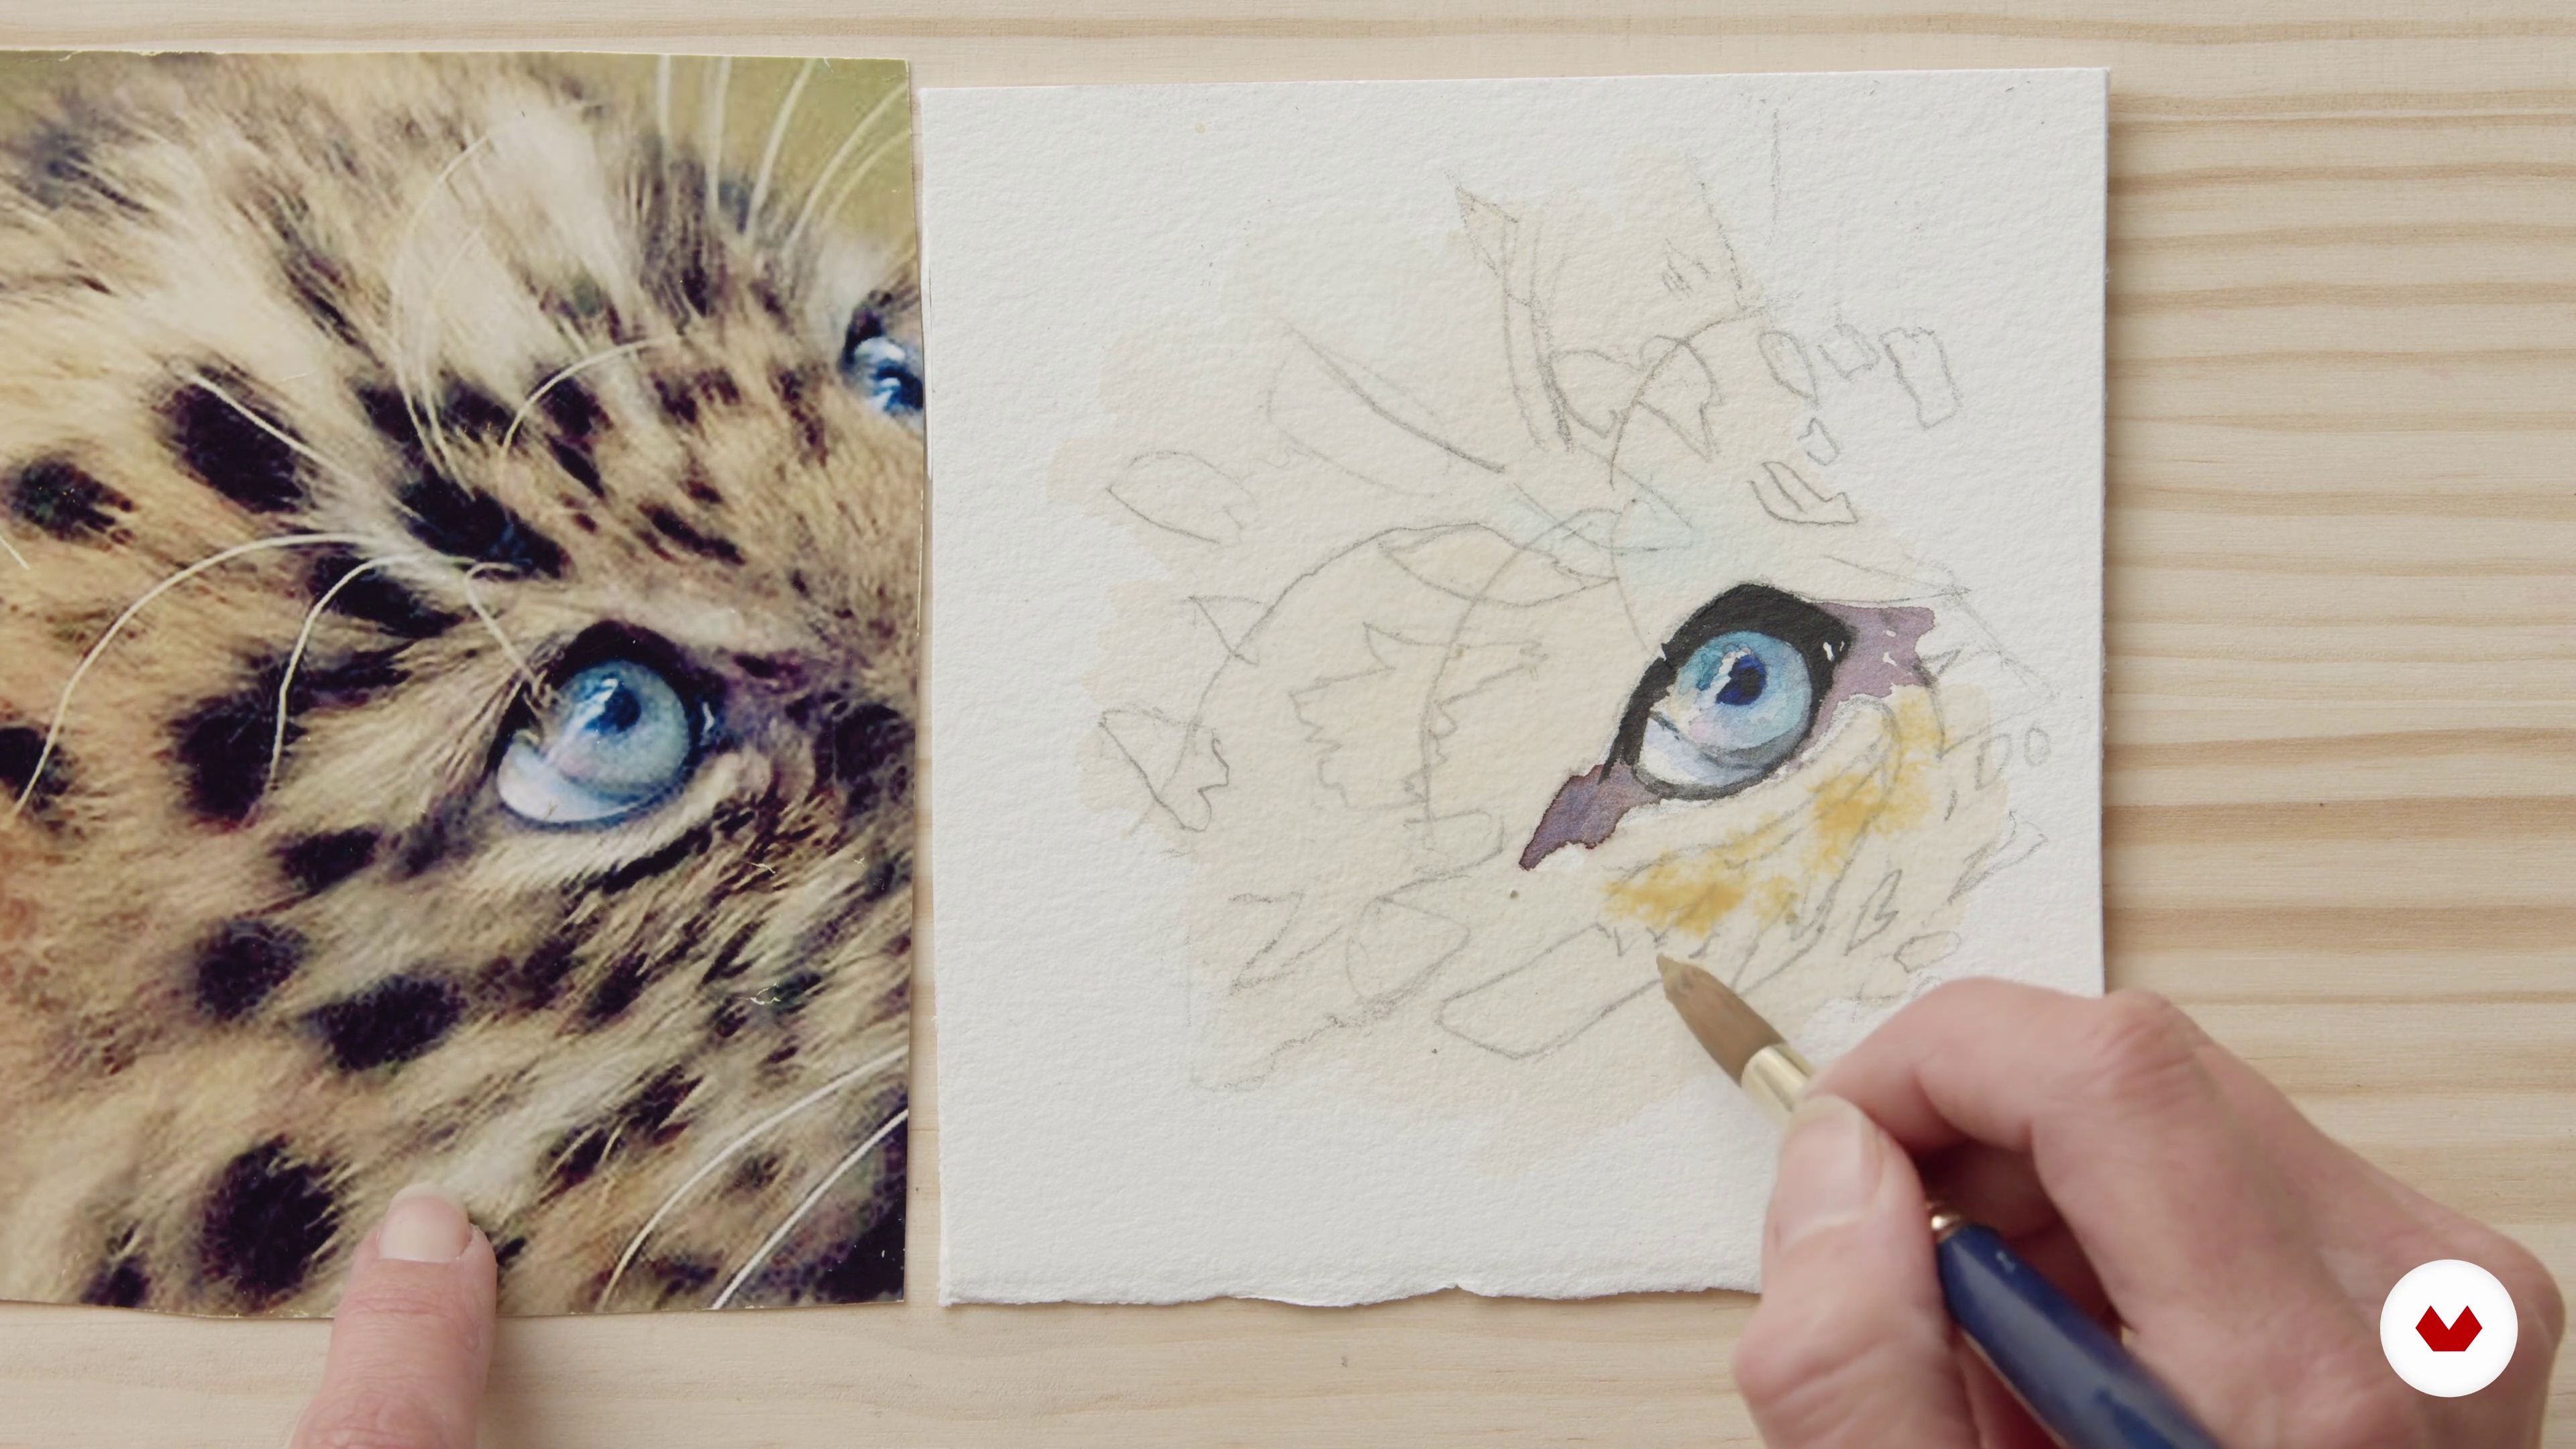
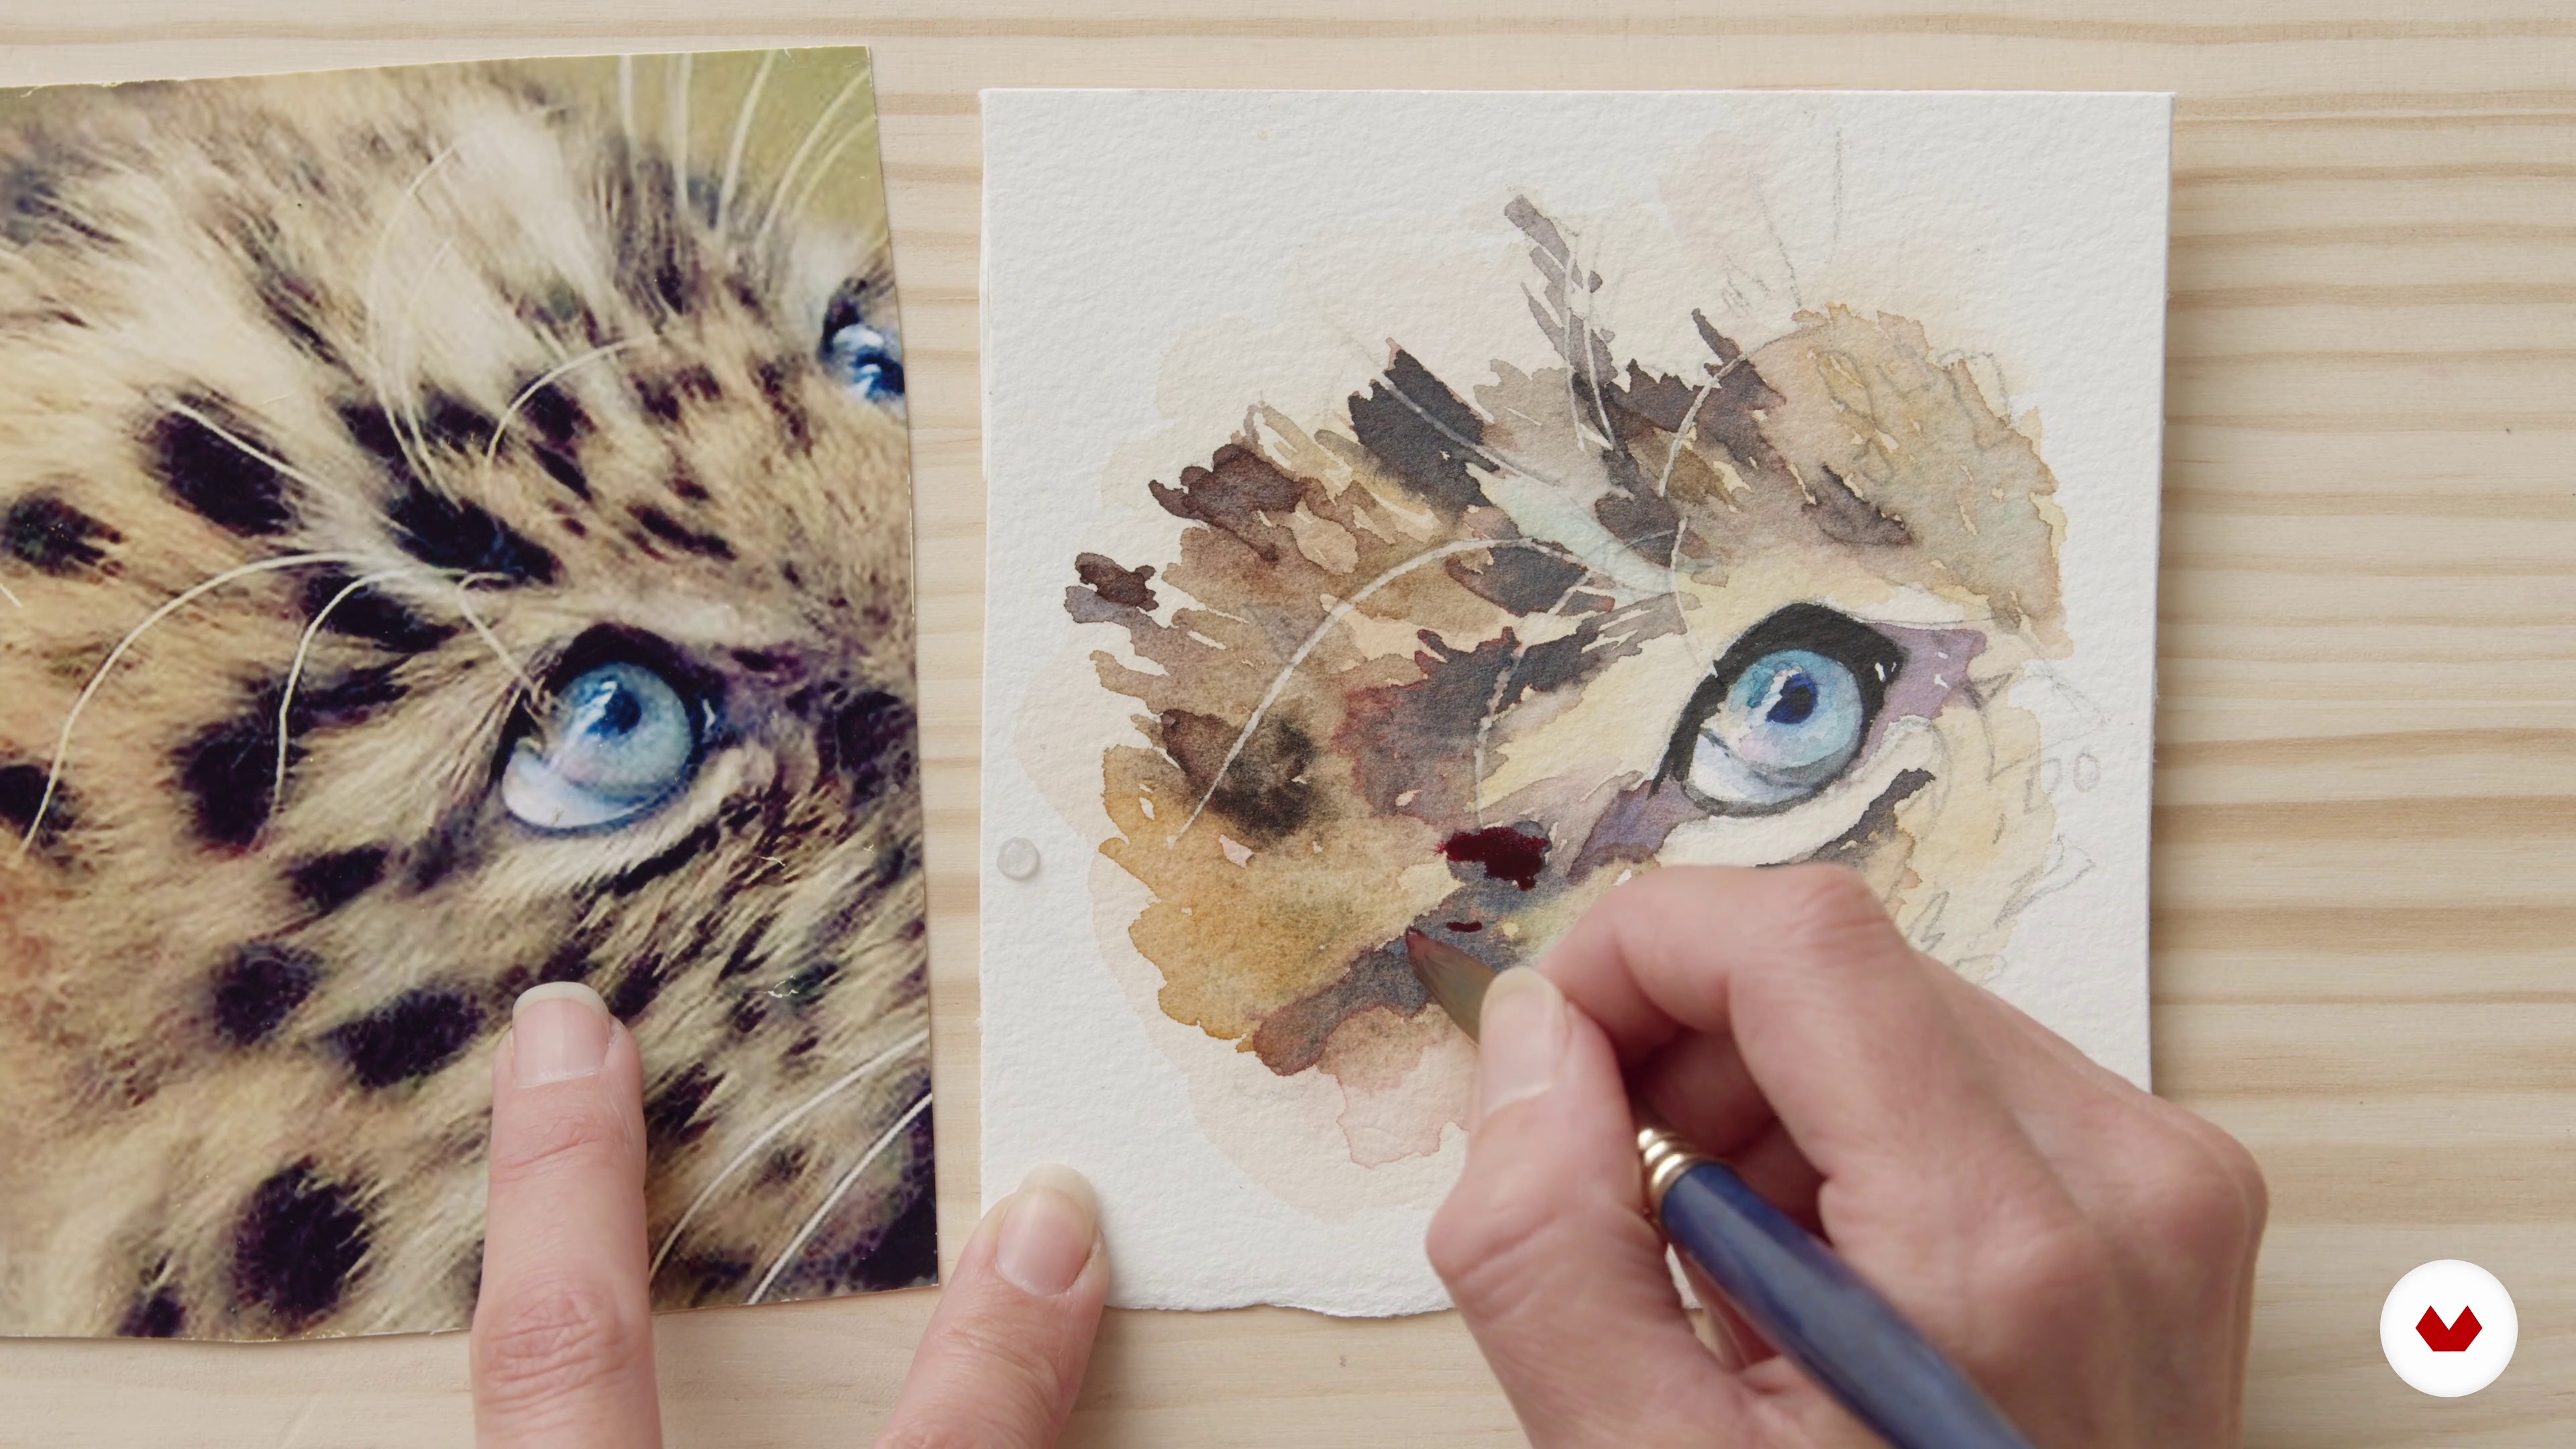
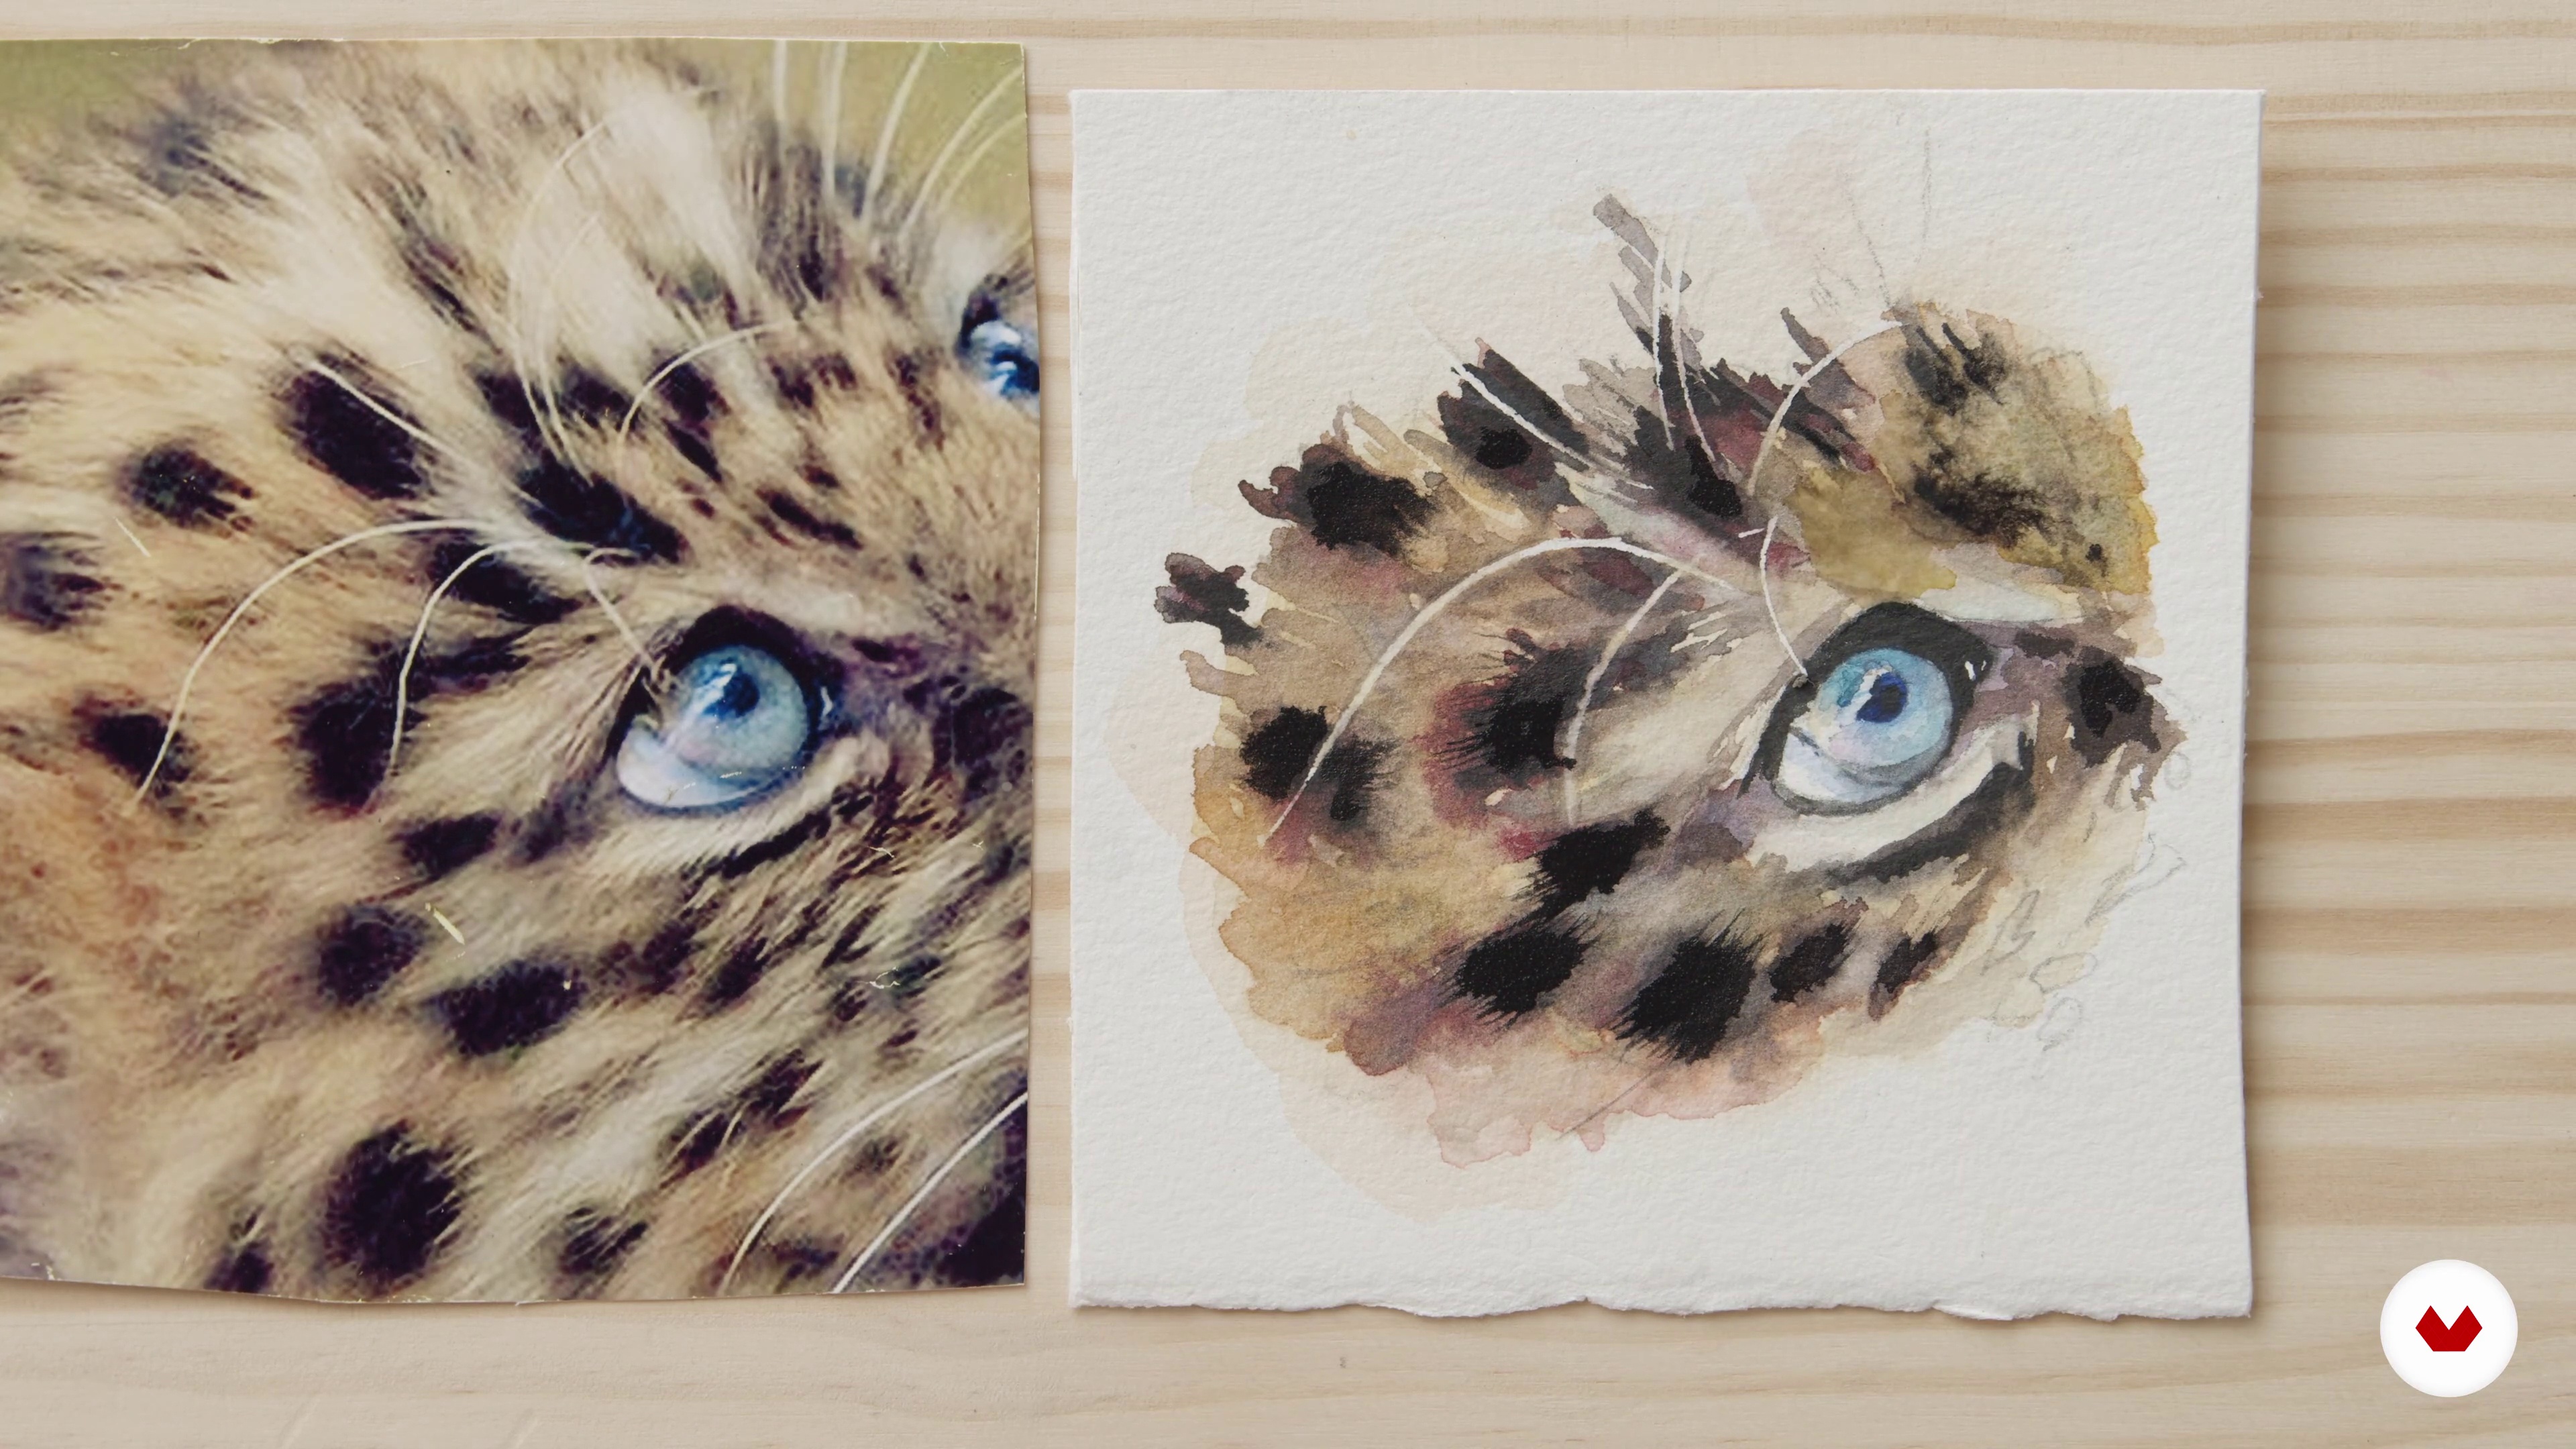
Leopard spots can be difficult to work because if you don't do it right they would look just like a spot in there. I will teach you how to blend those spots and how to apply the middle tones so you can get the textures and colours you need. Then, you will learn how to work in darker zones. The most important part of this lesson is you see how mixing colours and using different brushes will help you make a very realistic painting.
13m
image
9
Masterclass in Texture and Shadow 3
Sometimes I like to give my paintings a wash off a colour that I think it's needed. Also, I will teach you how to apply the last details by using your fingers and a very thin brush. Finally, I will show you another example to work shadows and get some texture. You will learn how to paint the antlers. Remember, most of the time when you work on getting the right textures and tonal values it's about looking for the right colours and applying them correctly.
18m
image
10
Masterclass in Texture and Shadow 4
Working with animals that have some kind of horns is going to take you some time because those required a lot of it. I will finish the example with the antipole. You will learn how to check all the tonal values, when to stop to make sure that everything is making sense, and how to blend the color to achieve the middle tones so you can get the textures and colours you need.
12m
  • 128 students
  • 80 lessons (17h 7m)
  • 68 additional resources (33 files)
  • Online and at your own pace
  • Audio: English, Spanish
  • English · Spanish · Portuguese · German · French · Italian · Polish · Dutch
  • Level: Beginner
  • Unlimited access forever

What is this course's project?

Students will create a series of watercolor sketches incorporating basic techniques in color, composition, and texture, ultimately producing a cohesive and vibrant collection showcasing their newfound skills and artistic expression.

Who is this specialization for?

Aspiring watercolor artists eager to explore creative techniques, beginners seeking to enhance sketching skills, and individuals interested in botanical illustration, urban landscapes, animal portraits, and imaginative character creation will find this course ideal for unlocking their artistic potential.

Requirements and materials

No extensive prior knowledge is needed. Basic necessities include watercolor paints, brushes, paper, and a palette. Access to a comfortable workspace enhances creativity. Open-mindedness and enthusiasm for experimenting with colors and techniques are encouraged for a rewarding experience.

Select to get to know your teachers in this specialization course
Read more ↓

What to expect from this specialization course

  • Learn at your own pace

    Enjoy learning from home without a set schedule and with an easy-to-follow method. You set your own pace.

  • Learn from the best professionals

    Learn valuable methods and techniques explained by top experts in the creative sector.

  • Meet expert teachers

    Each expert teaches what they do best, with clear guidelines, true passion, and professional insight in every lesson.

  • Certificates
    Plus

    If you're a Plus member, get a custom certificate for every specialization course. Share it on your portfolio, social media, or wherever you like.

  • Get front-row seats

    Videos of the highest quality, so you don't miss a single detail. With unlimited access, you can watch them as many times as you need to perfect your technique.

  • Share knowledge and ideas

    Ask questions, request feedback, or offer solutions. Share your learning experience with other students in the community who are as passionate about creativity as you are.

  • Connect with a global creative community

    The community is home to millions of people from around the world who are curious and passionate about exploring and expressing their creativity.

  • Watch professionally produced courses

    Domestika curates its teacher roster and produces every course in-house to ensure a high-quality online learning experience.


FAQs

Domestika's specialization courses are online classes that provide you with the tools and skills you need to complete a specific project. Every step of the project combines video lessons with complementary instructional material, so you can learn by doing. Domestika's specializations also allow you to share your own projects with other students, creating a dynamic course community.

All specialization courses are 100% online, so once they're published, specialization courses start and finish whenever you want. You set the pace of the class. You can go back to review what interests you most and skip what you already know, ask questions, answer questions, share your projects, and more.

The specialization courses are divided into different modules. Each one includes lessons, informational text, tasks, and practice exercises to help you carry out your project step by step, with additional complementary resources and downloads. You'll also have access to an exclusive forum where you can interact with other students, as well as share your work and your final project, creating a community around the specialization course.

You can redeem the specialization course you received by accessing the redeeming page and entering your gift code.

If you're a Plus member, when you complete a course you've purchased, you'll instantly get your personalized certificate. You can see all your certificates in the Certificates section of your profile. You can download your certificates as PDFs and share the link online. Learn more about certificates.
Watercolor Specialization: From Beginners Sketches to Compelling Artworks . Illustration course by Domestika

Watercolor Specialization: From Beginners Sketches to Compelling Artworks

A specialization by multiple teachers
Specialization Course. Berkeley, United States.
Joined April 2002
  • 128 students