Specialization

UX/UI Design Specialization: From Research to Accessibility

Create engaging digital experiences with UX design through research, methodology, and strategy for your portfolio

Specialization · 6 modules

Immerse yourself in the world of UX/UI design with our comprehensive specialization, tailored for those eager to master the art of crafting memorable digital experiences. Begin your journey with the fundamentals of UX design, uncovering strategies and methodologies that ensure your creations resonate with users. Dive into the realm of UX research with Patricia Reiners, where you'll unravel the mysteries of research methods, enabling you to tackle real-world challenges.

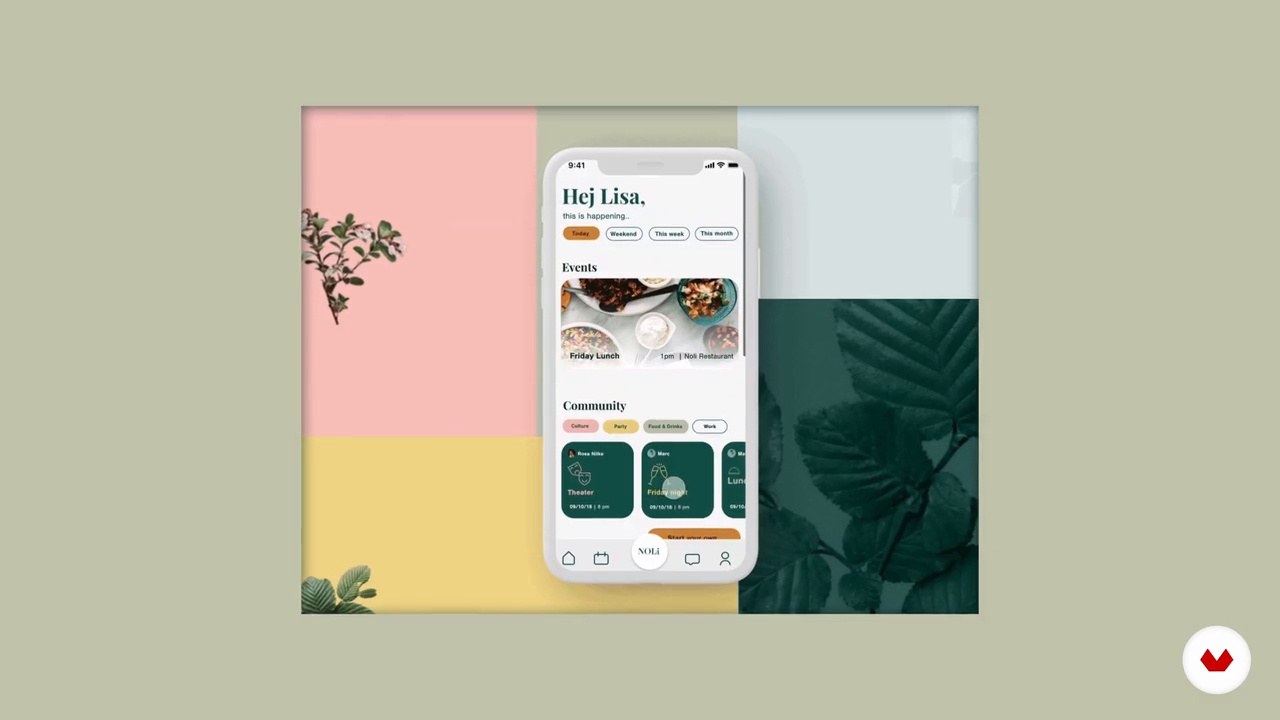
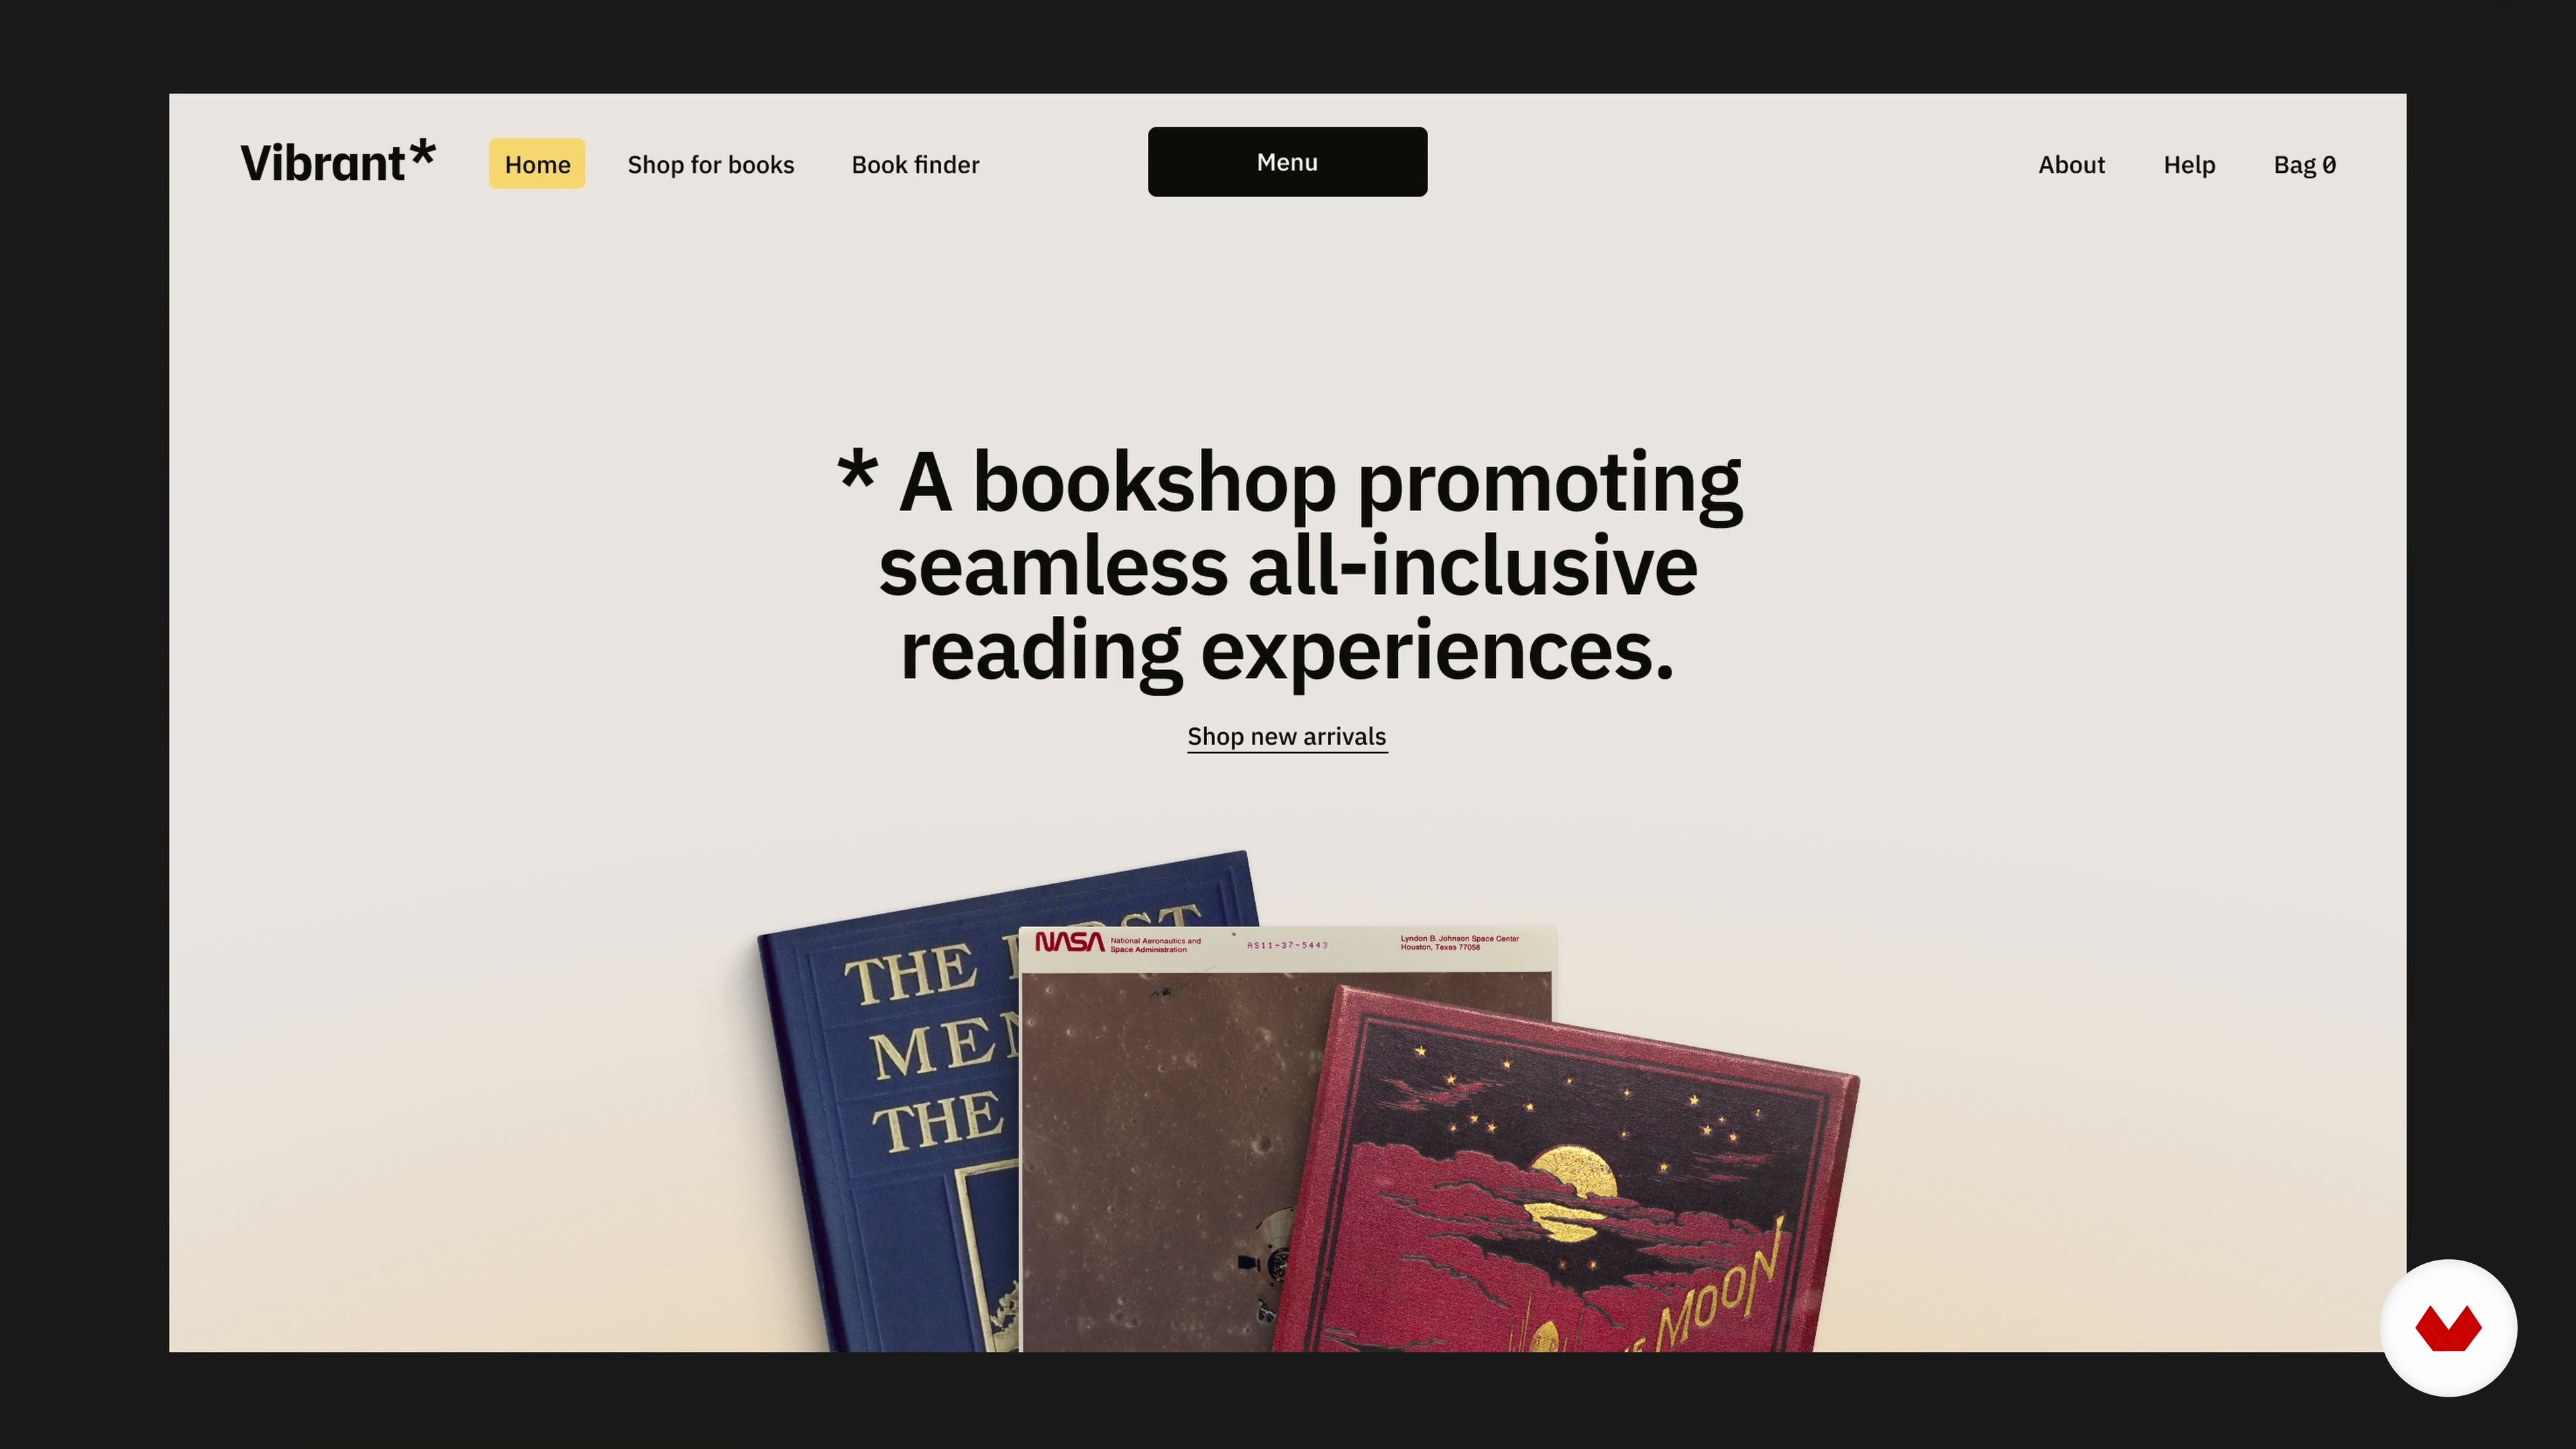
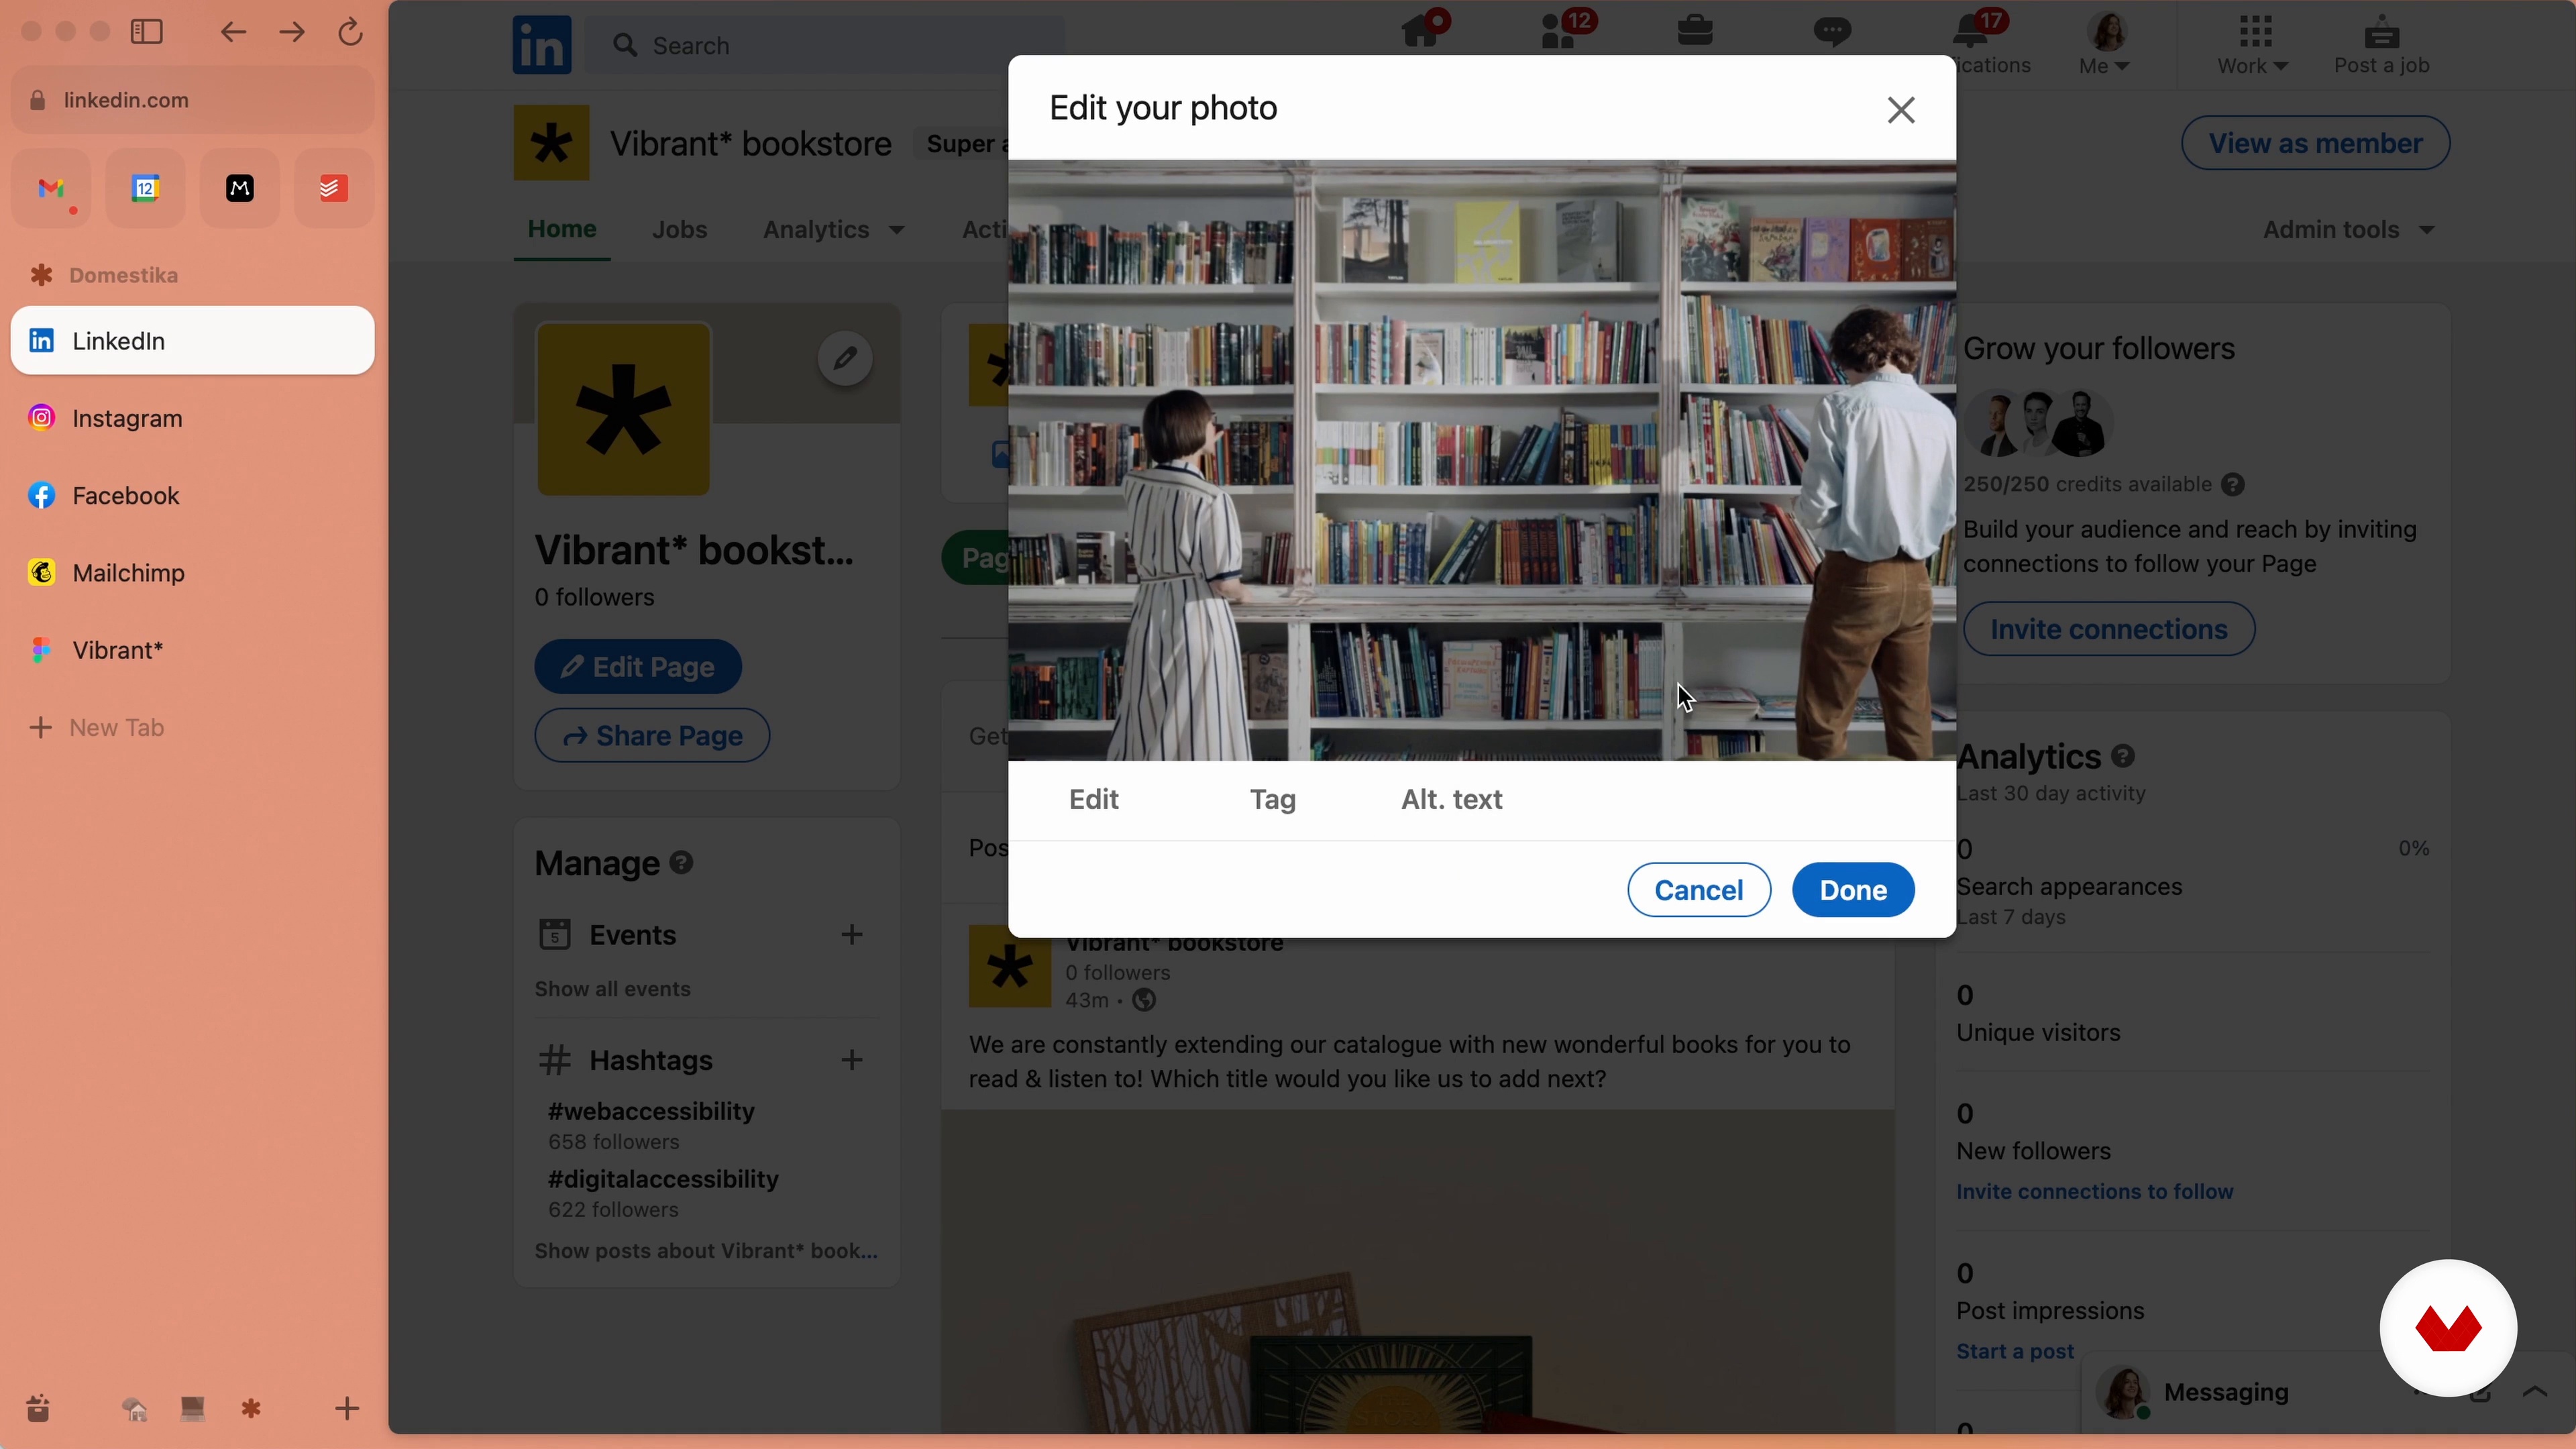
Elevate your design skills with Pablo Stanley as you explore visual design principles using Figma to craft striking web compositions. Chiara Aliotta guides you through the power of storytelling, teaching you to weave engaging narratives into your designs to forge emotional connections with users. Round off your learning with Margot Gabel's insights into digital accessibility, empowering you to create inclusive experiences for all users. This specialization offers a holistic approach, blending theory, practice, and innovation to equip you with the skills needed to excel in the ever-evolving landscape of UX/UI design.

Read more ↓

What will you learn in this specialization?

A total of 6 modules and 81 lessons
A total of 12h 1m of vídeo lessons
Taught by 5 selected expert teachers
image
1
What Is UX?
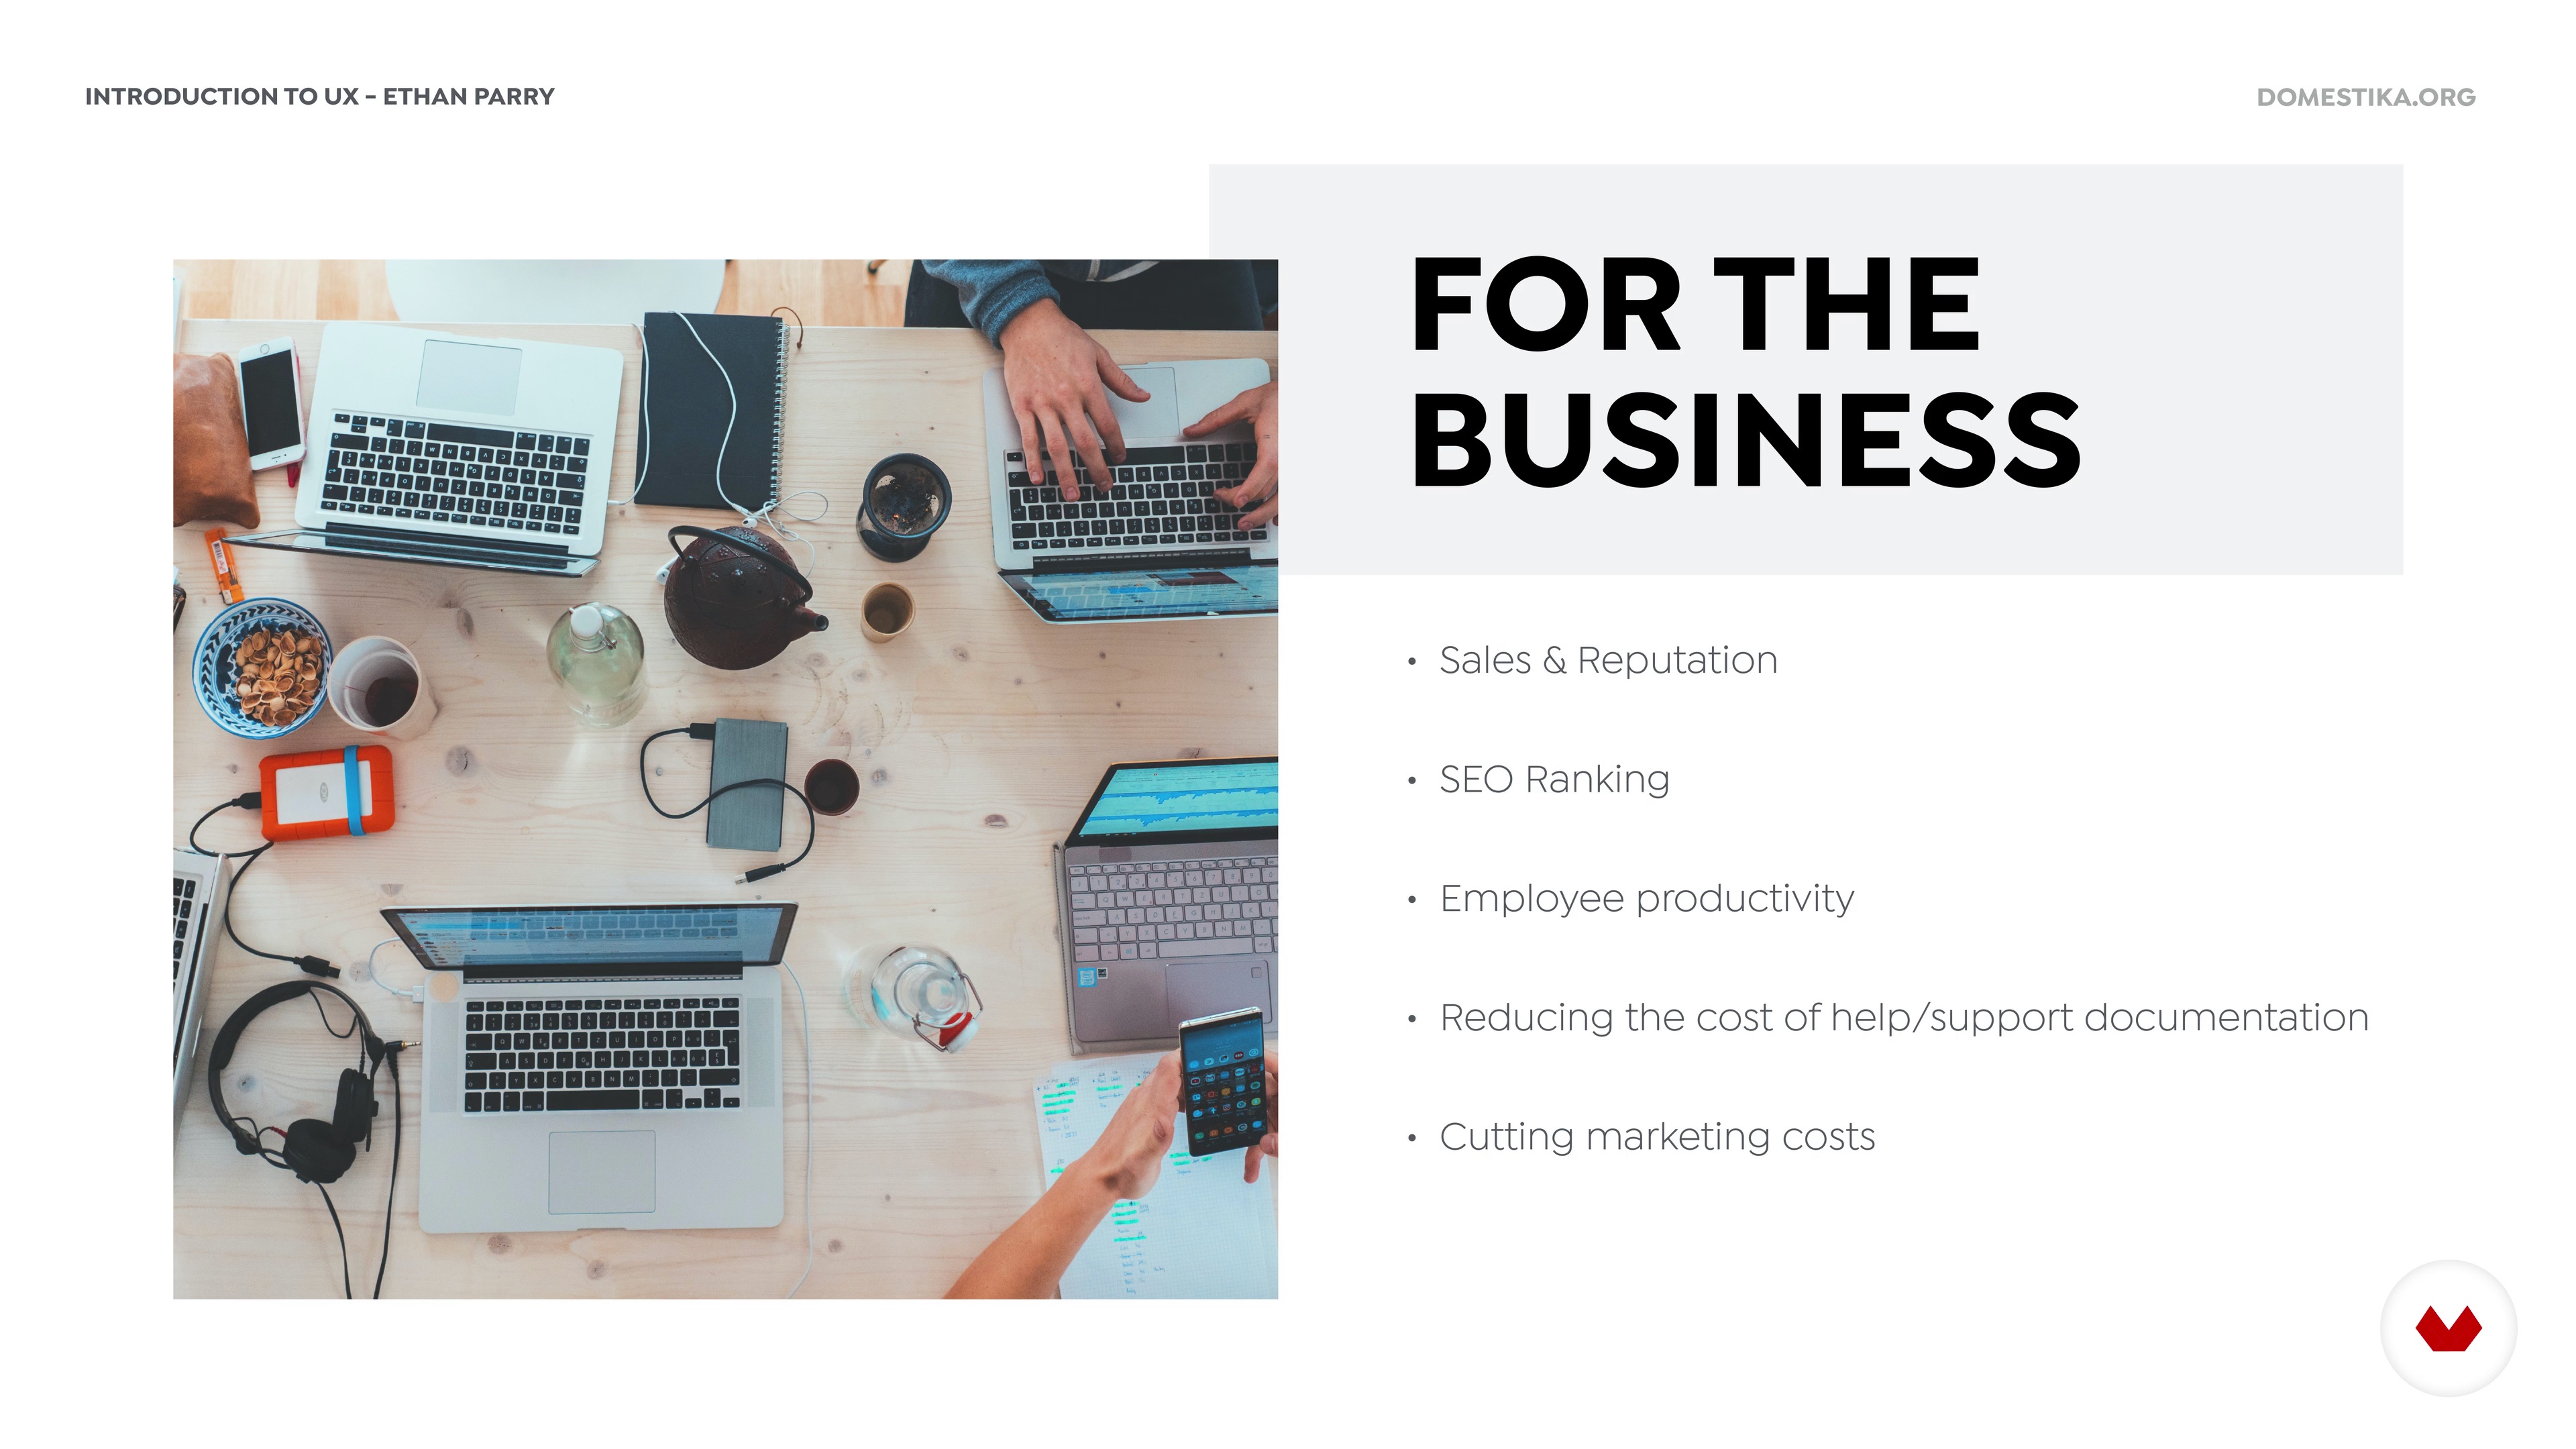
In this lesson, you will learn about the fundamentals of UX and human-centered design. You will also learn about the many different roles that are a part of UX Design. Lastly, we will talk about the business value of UX and why companies should take it seriously.
14m
image
2
A Brief History of UX
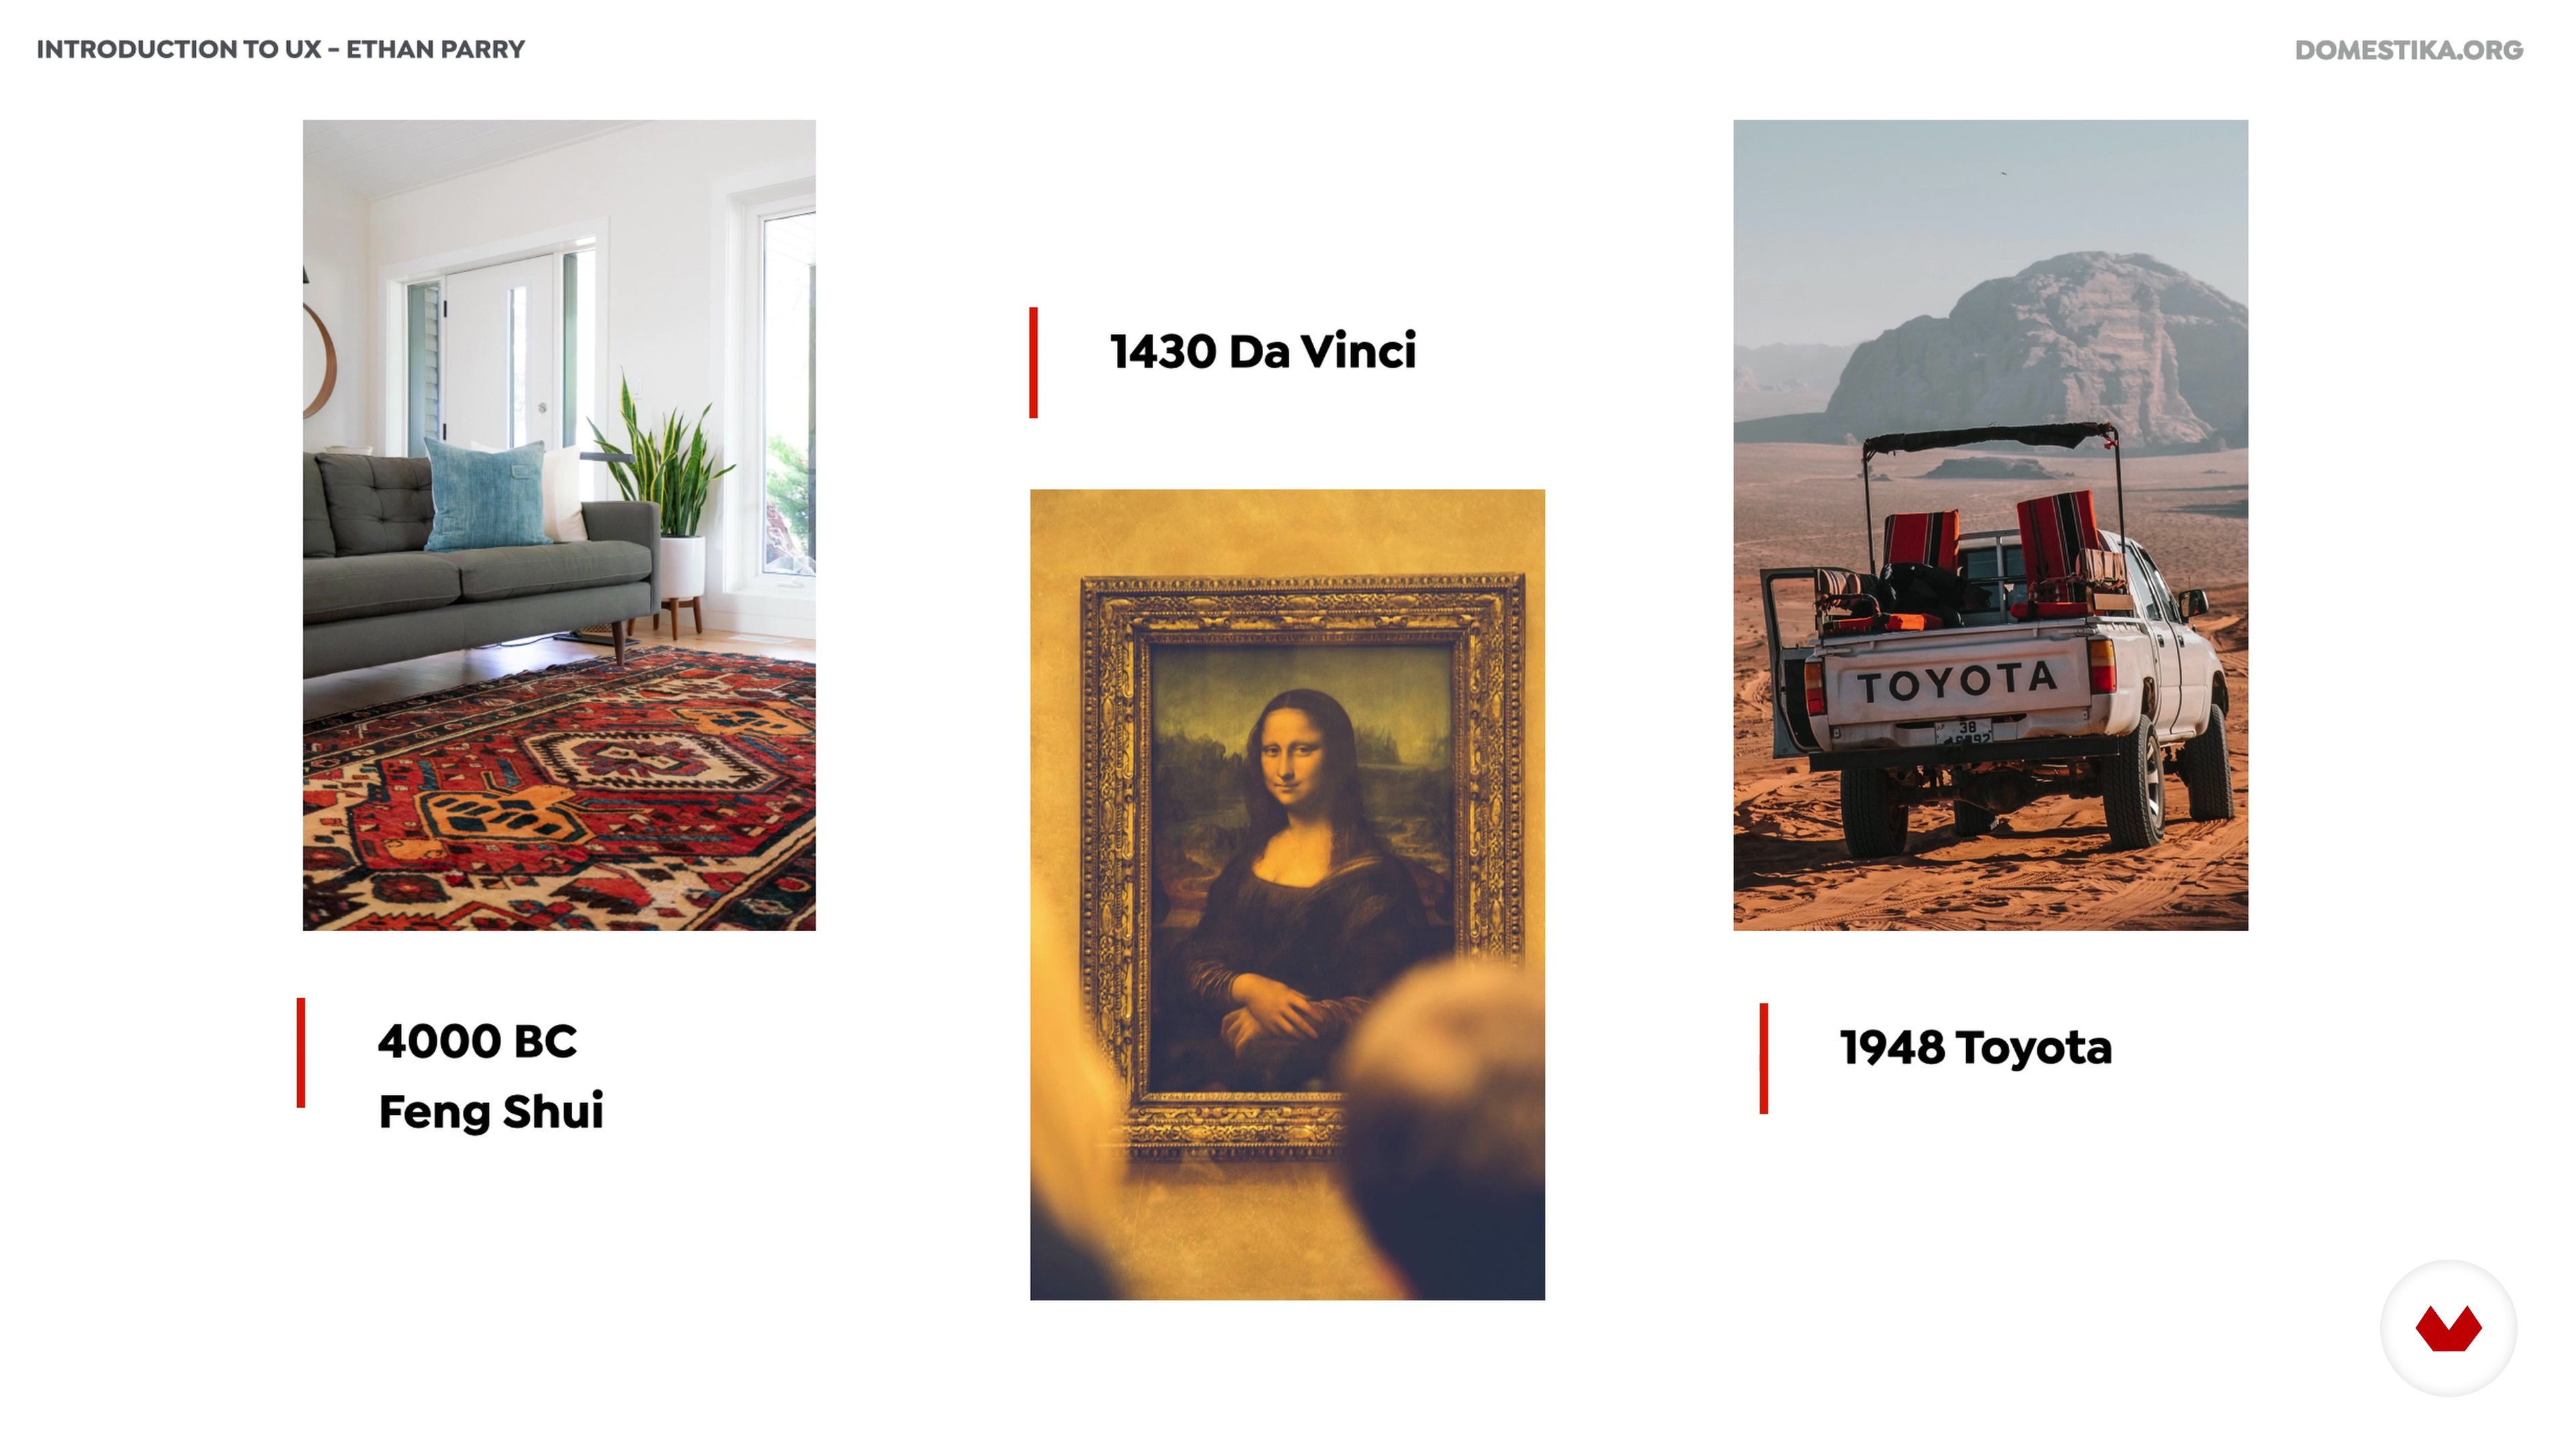
In this lesson, I will share with you the origins of UX. We will talk about Feng Shui in 4000 BC, Walt Disney, and his desire to create perfect magical experiences, and Don Norman, the man who coined the term “user experience.” I will also share with you where I feel the industry is headed.
5m
image
3
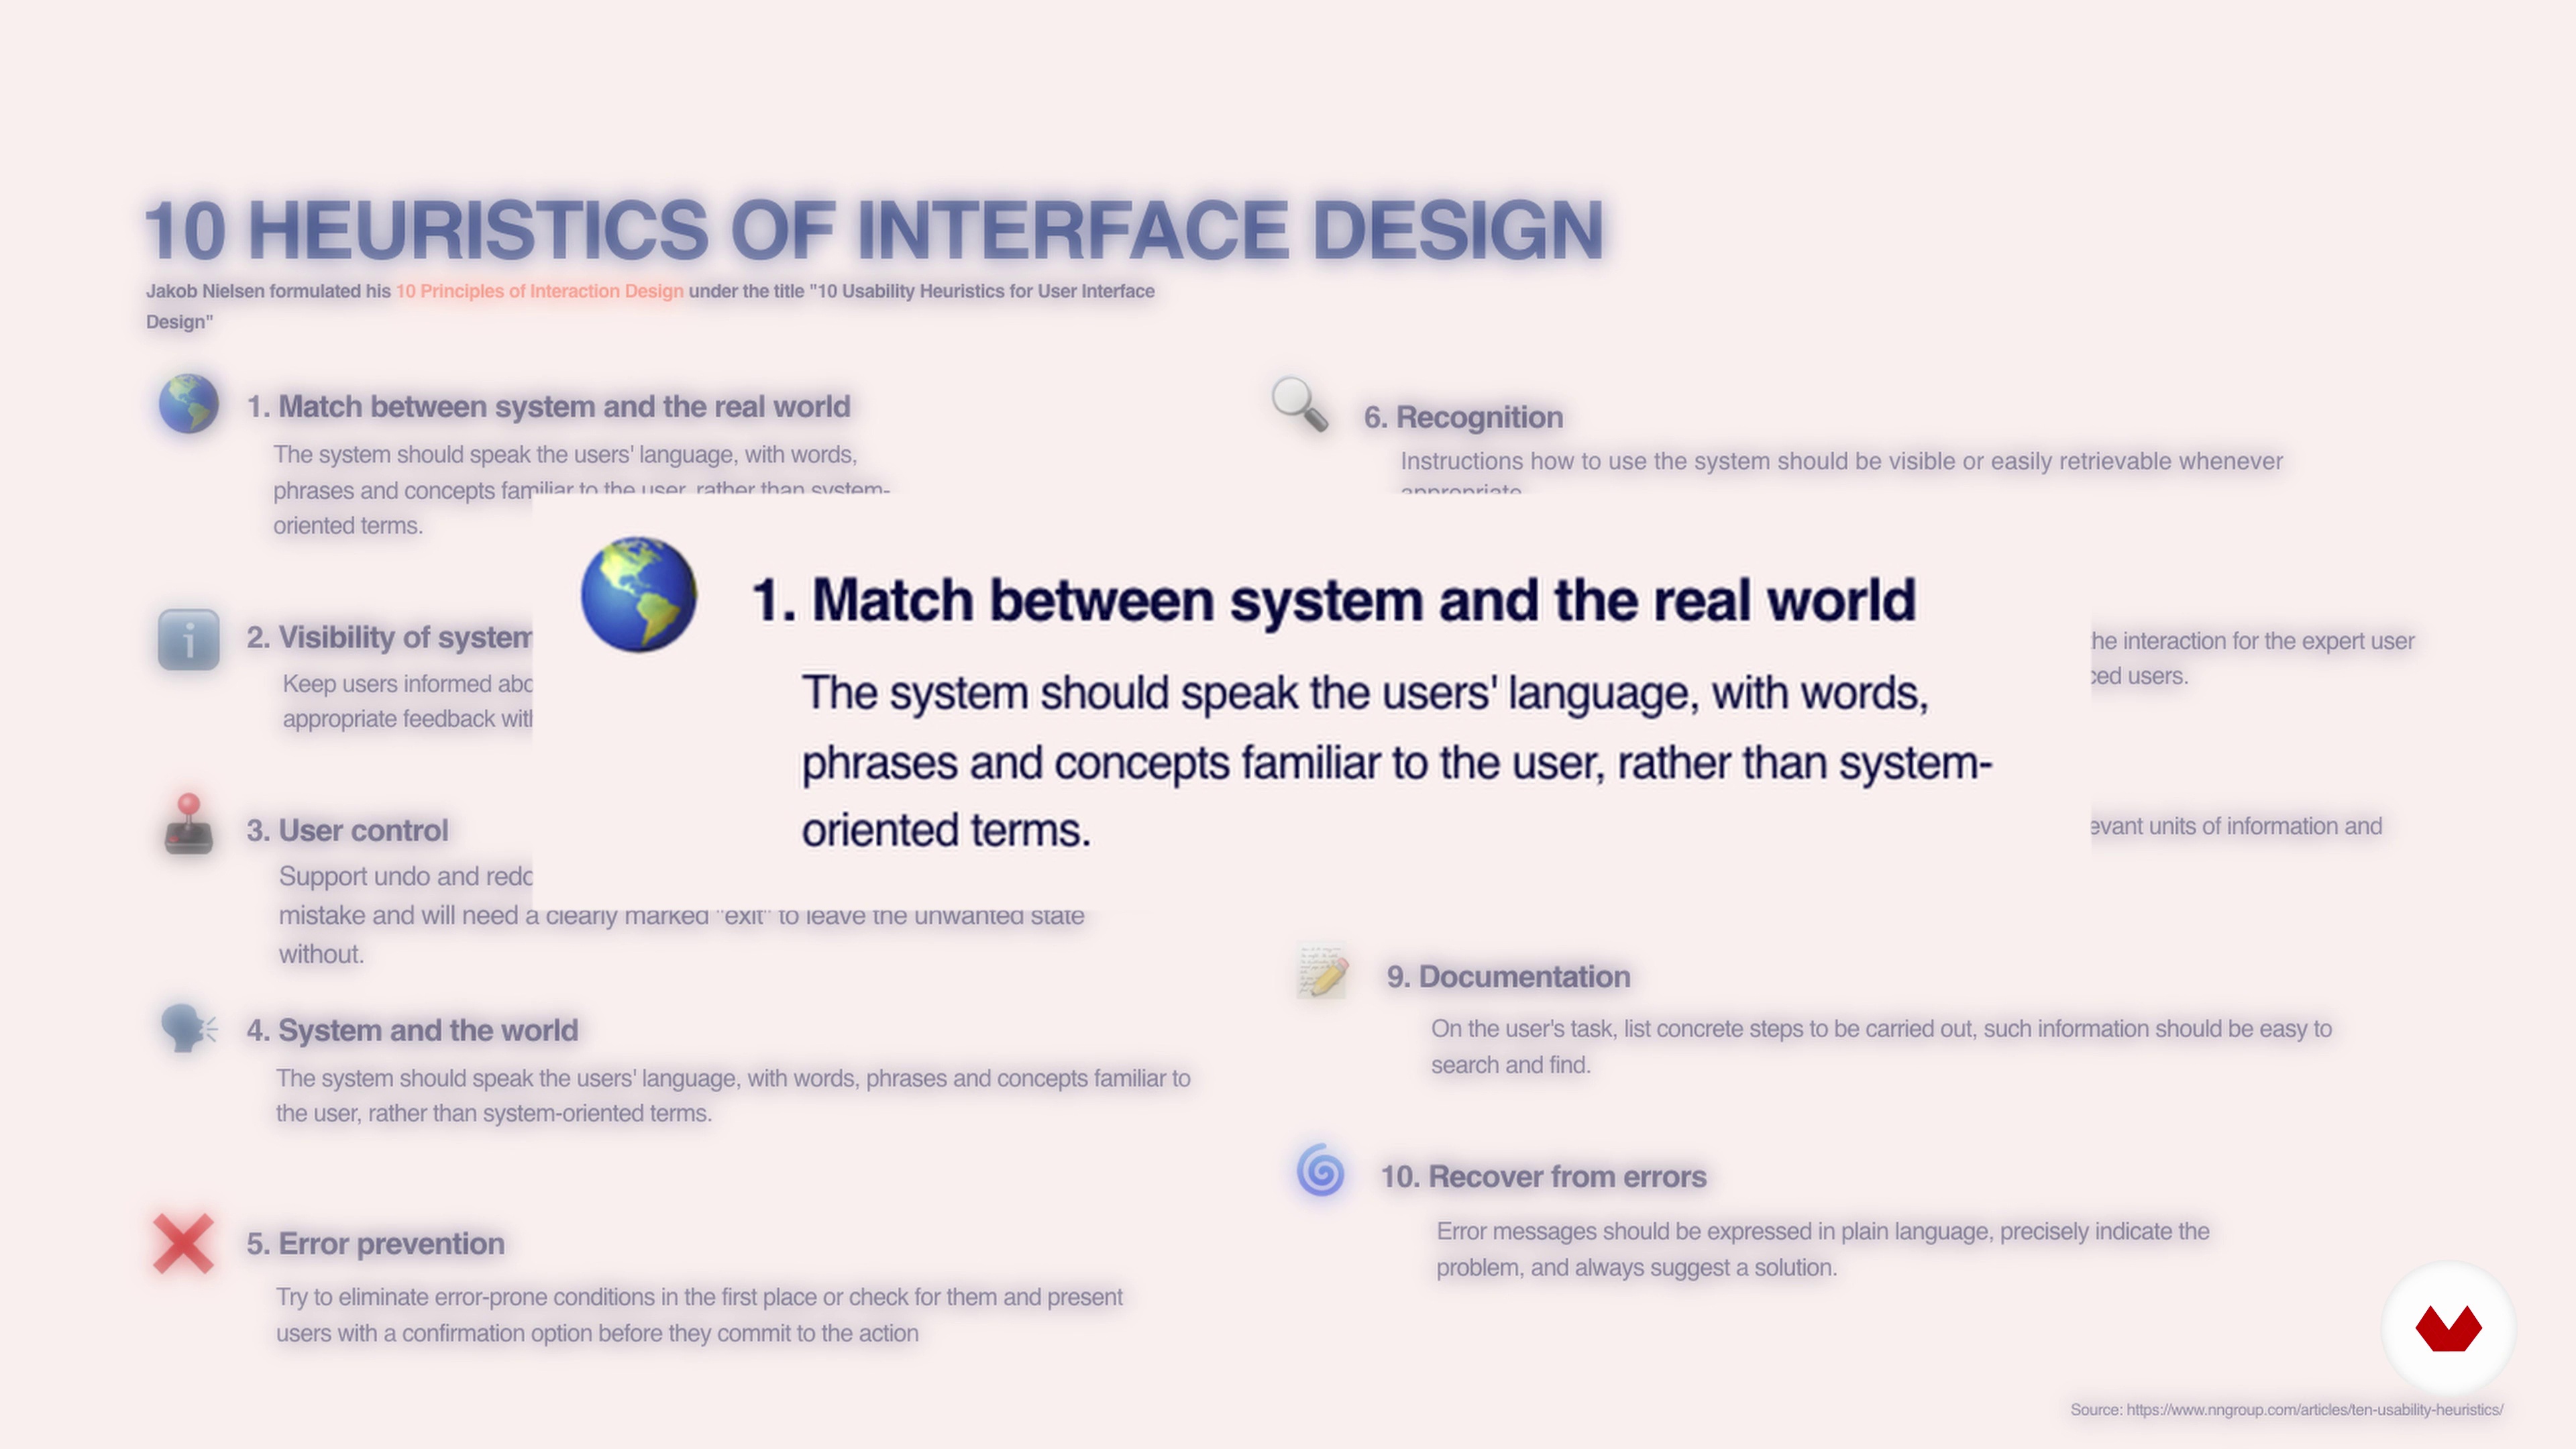
Principles of Accessibility and Heuristics
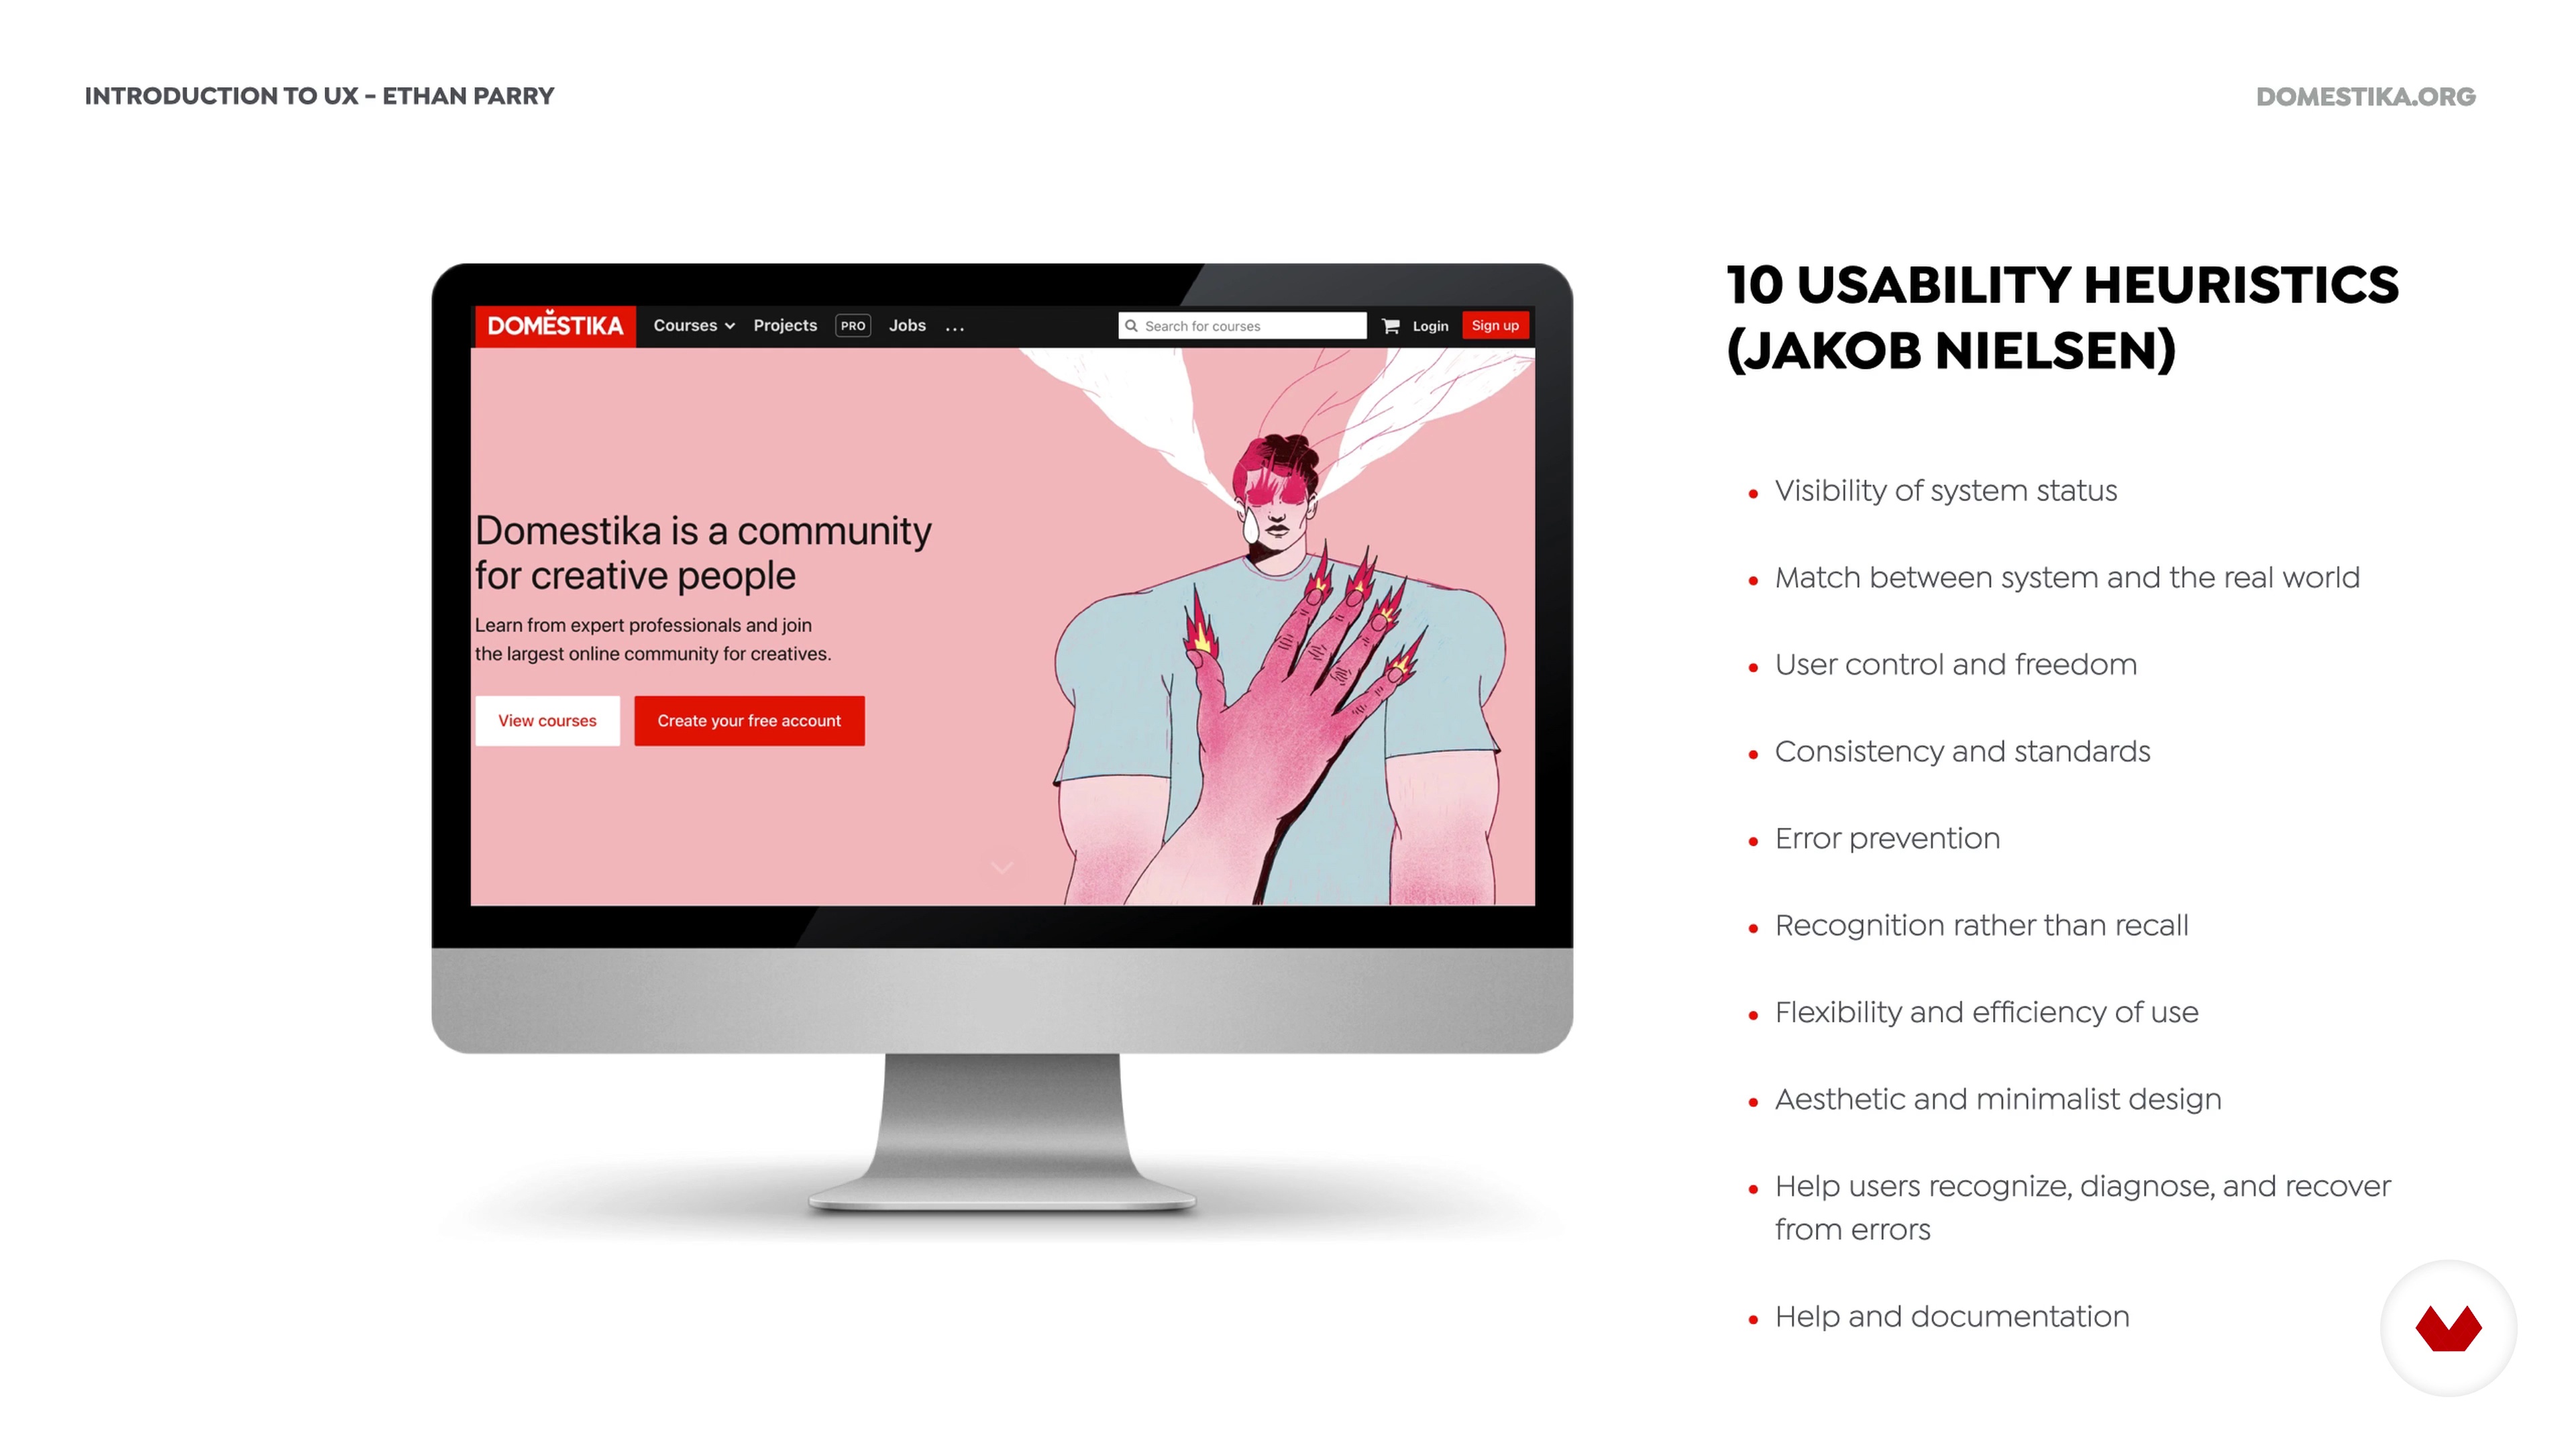
In this lesson, you will receive an introduction to the world of inclusive design and learn about how you can make your products and services more accessible. I will also teach you about other best practices, also known as heuristics when it comes to designing user interfaces.
8m
image
4
Introduction to UX Process
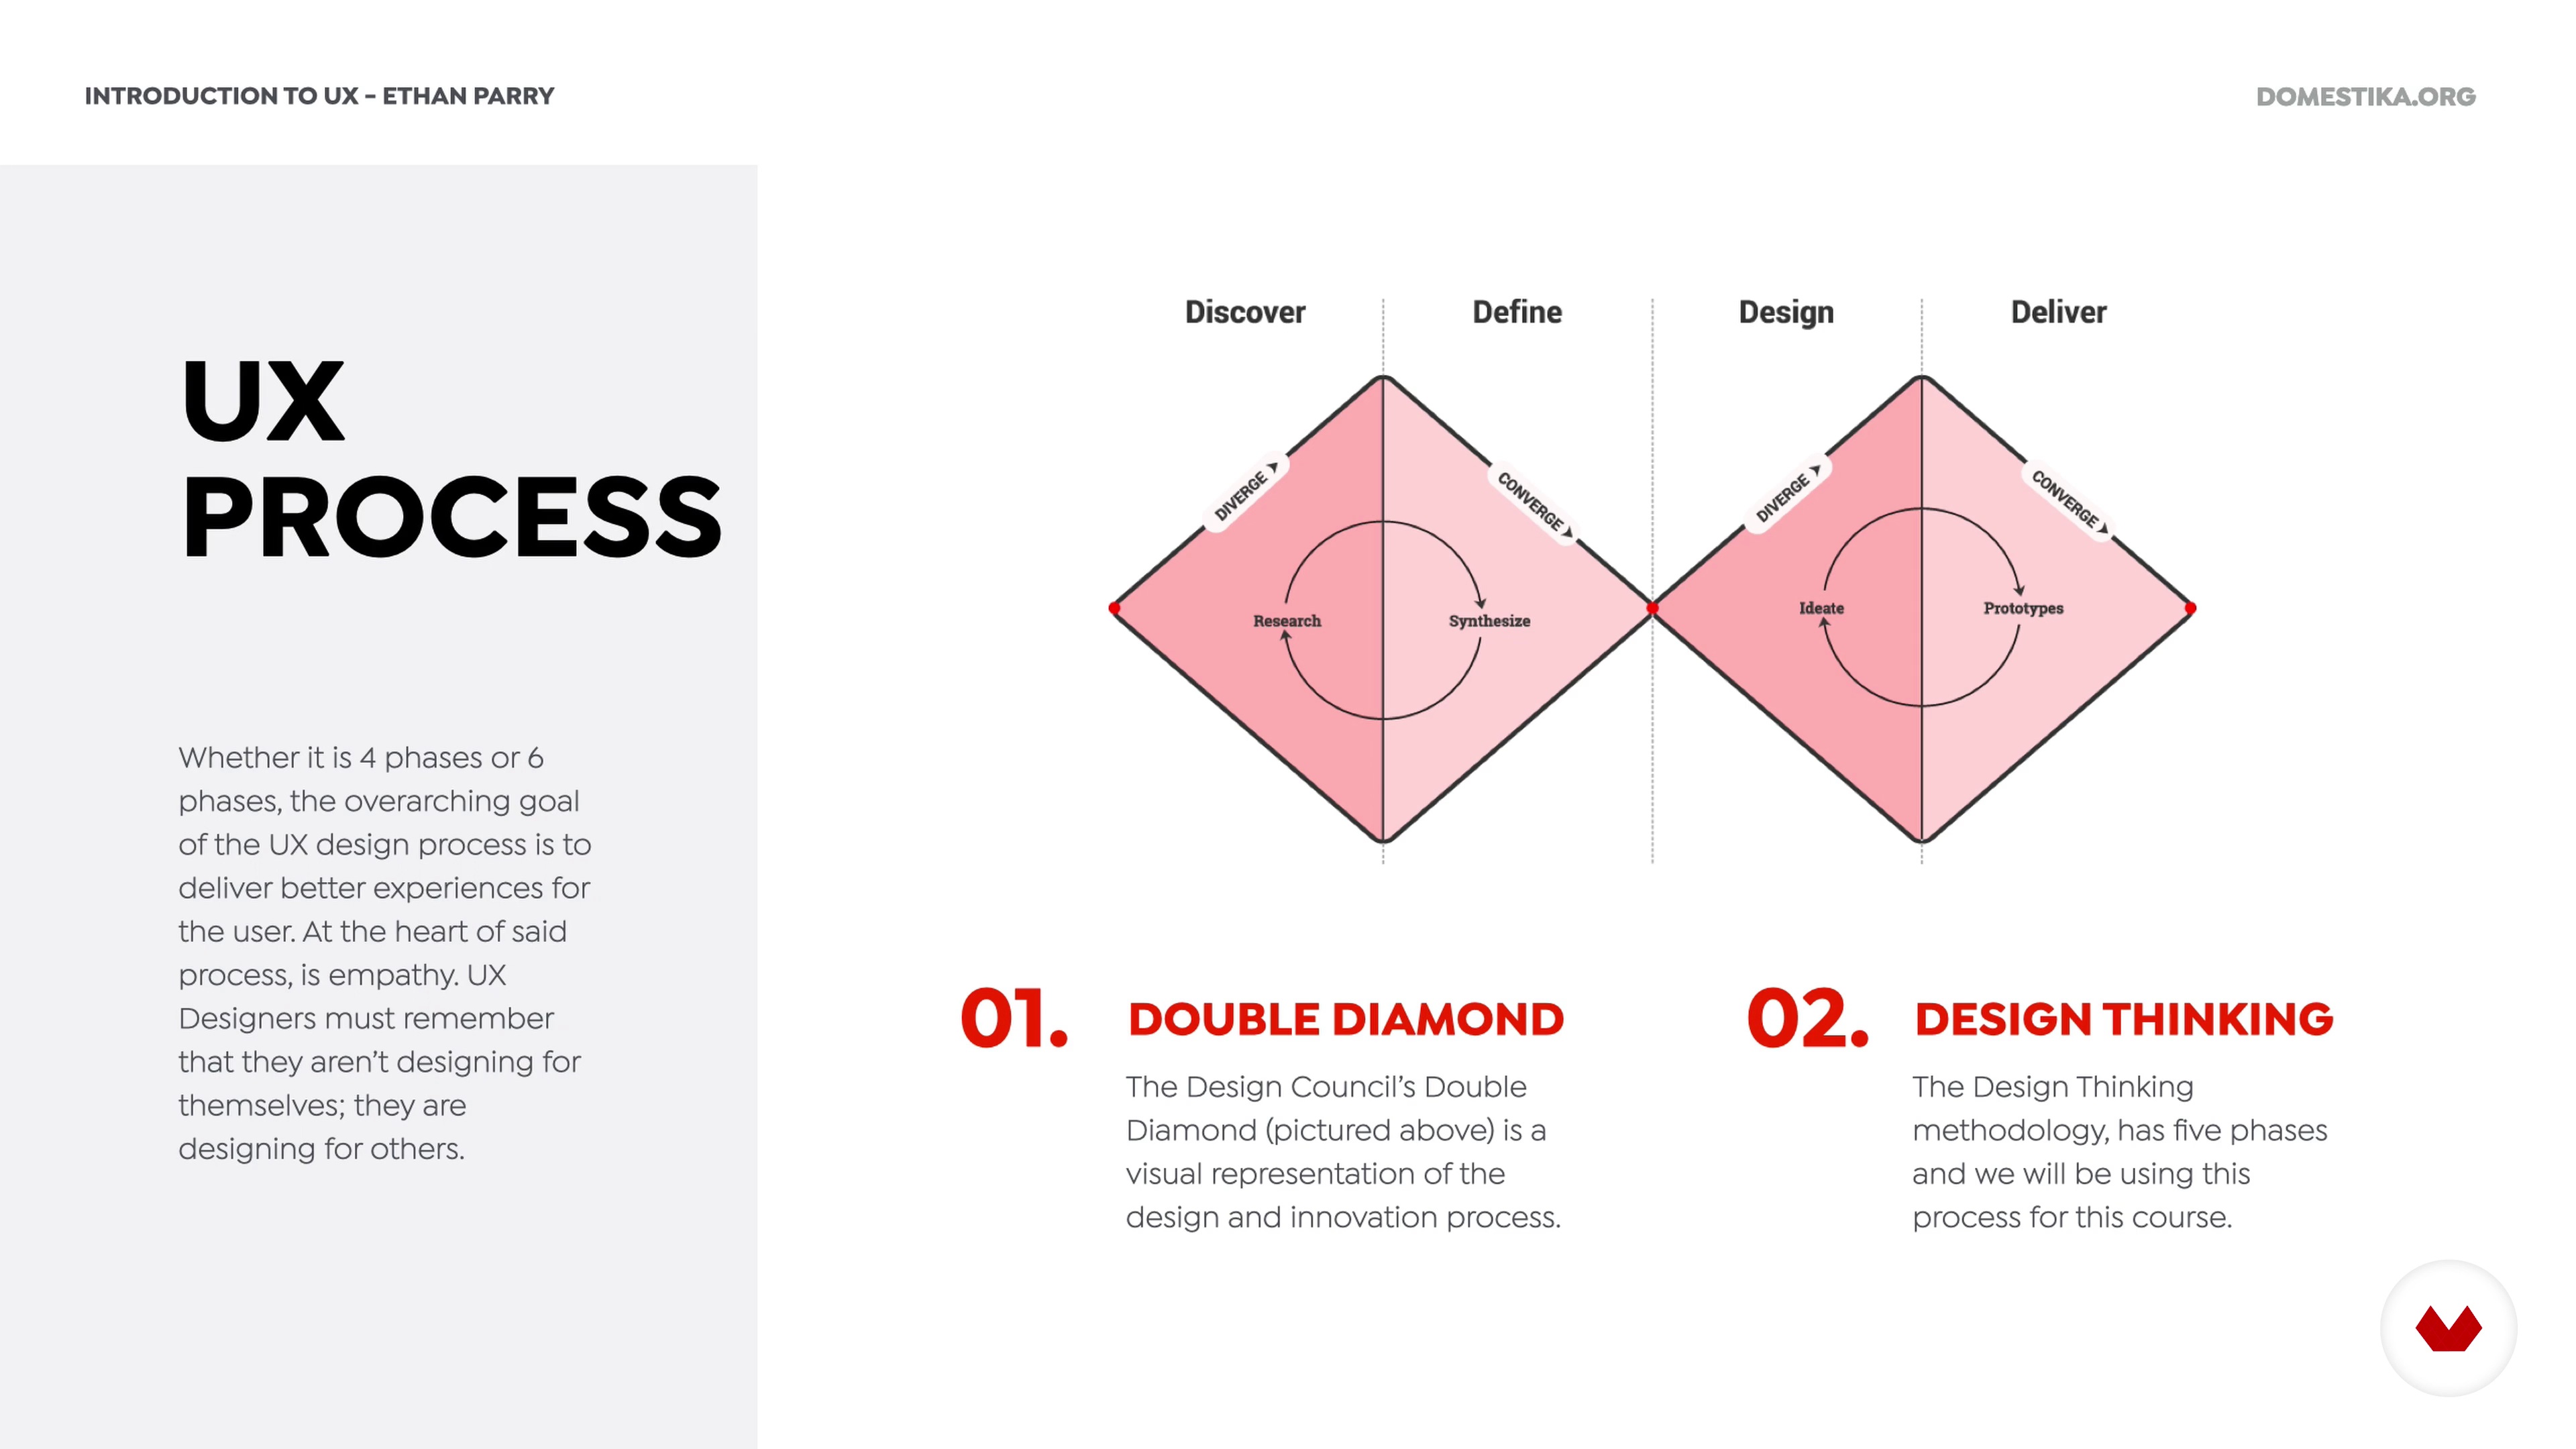
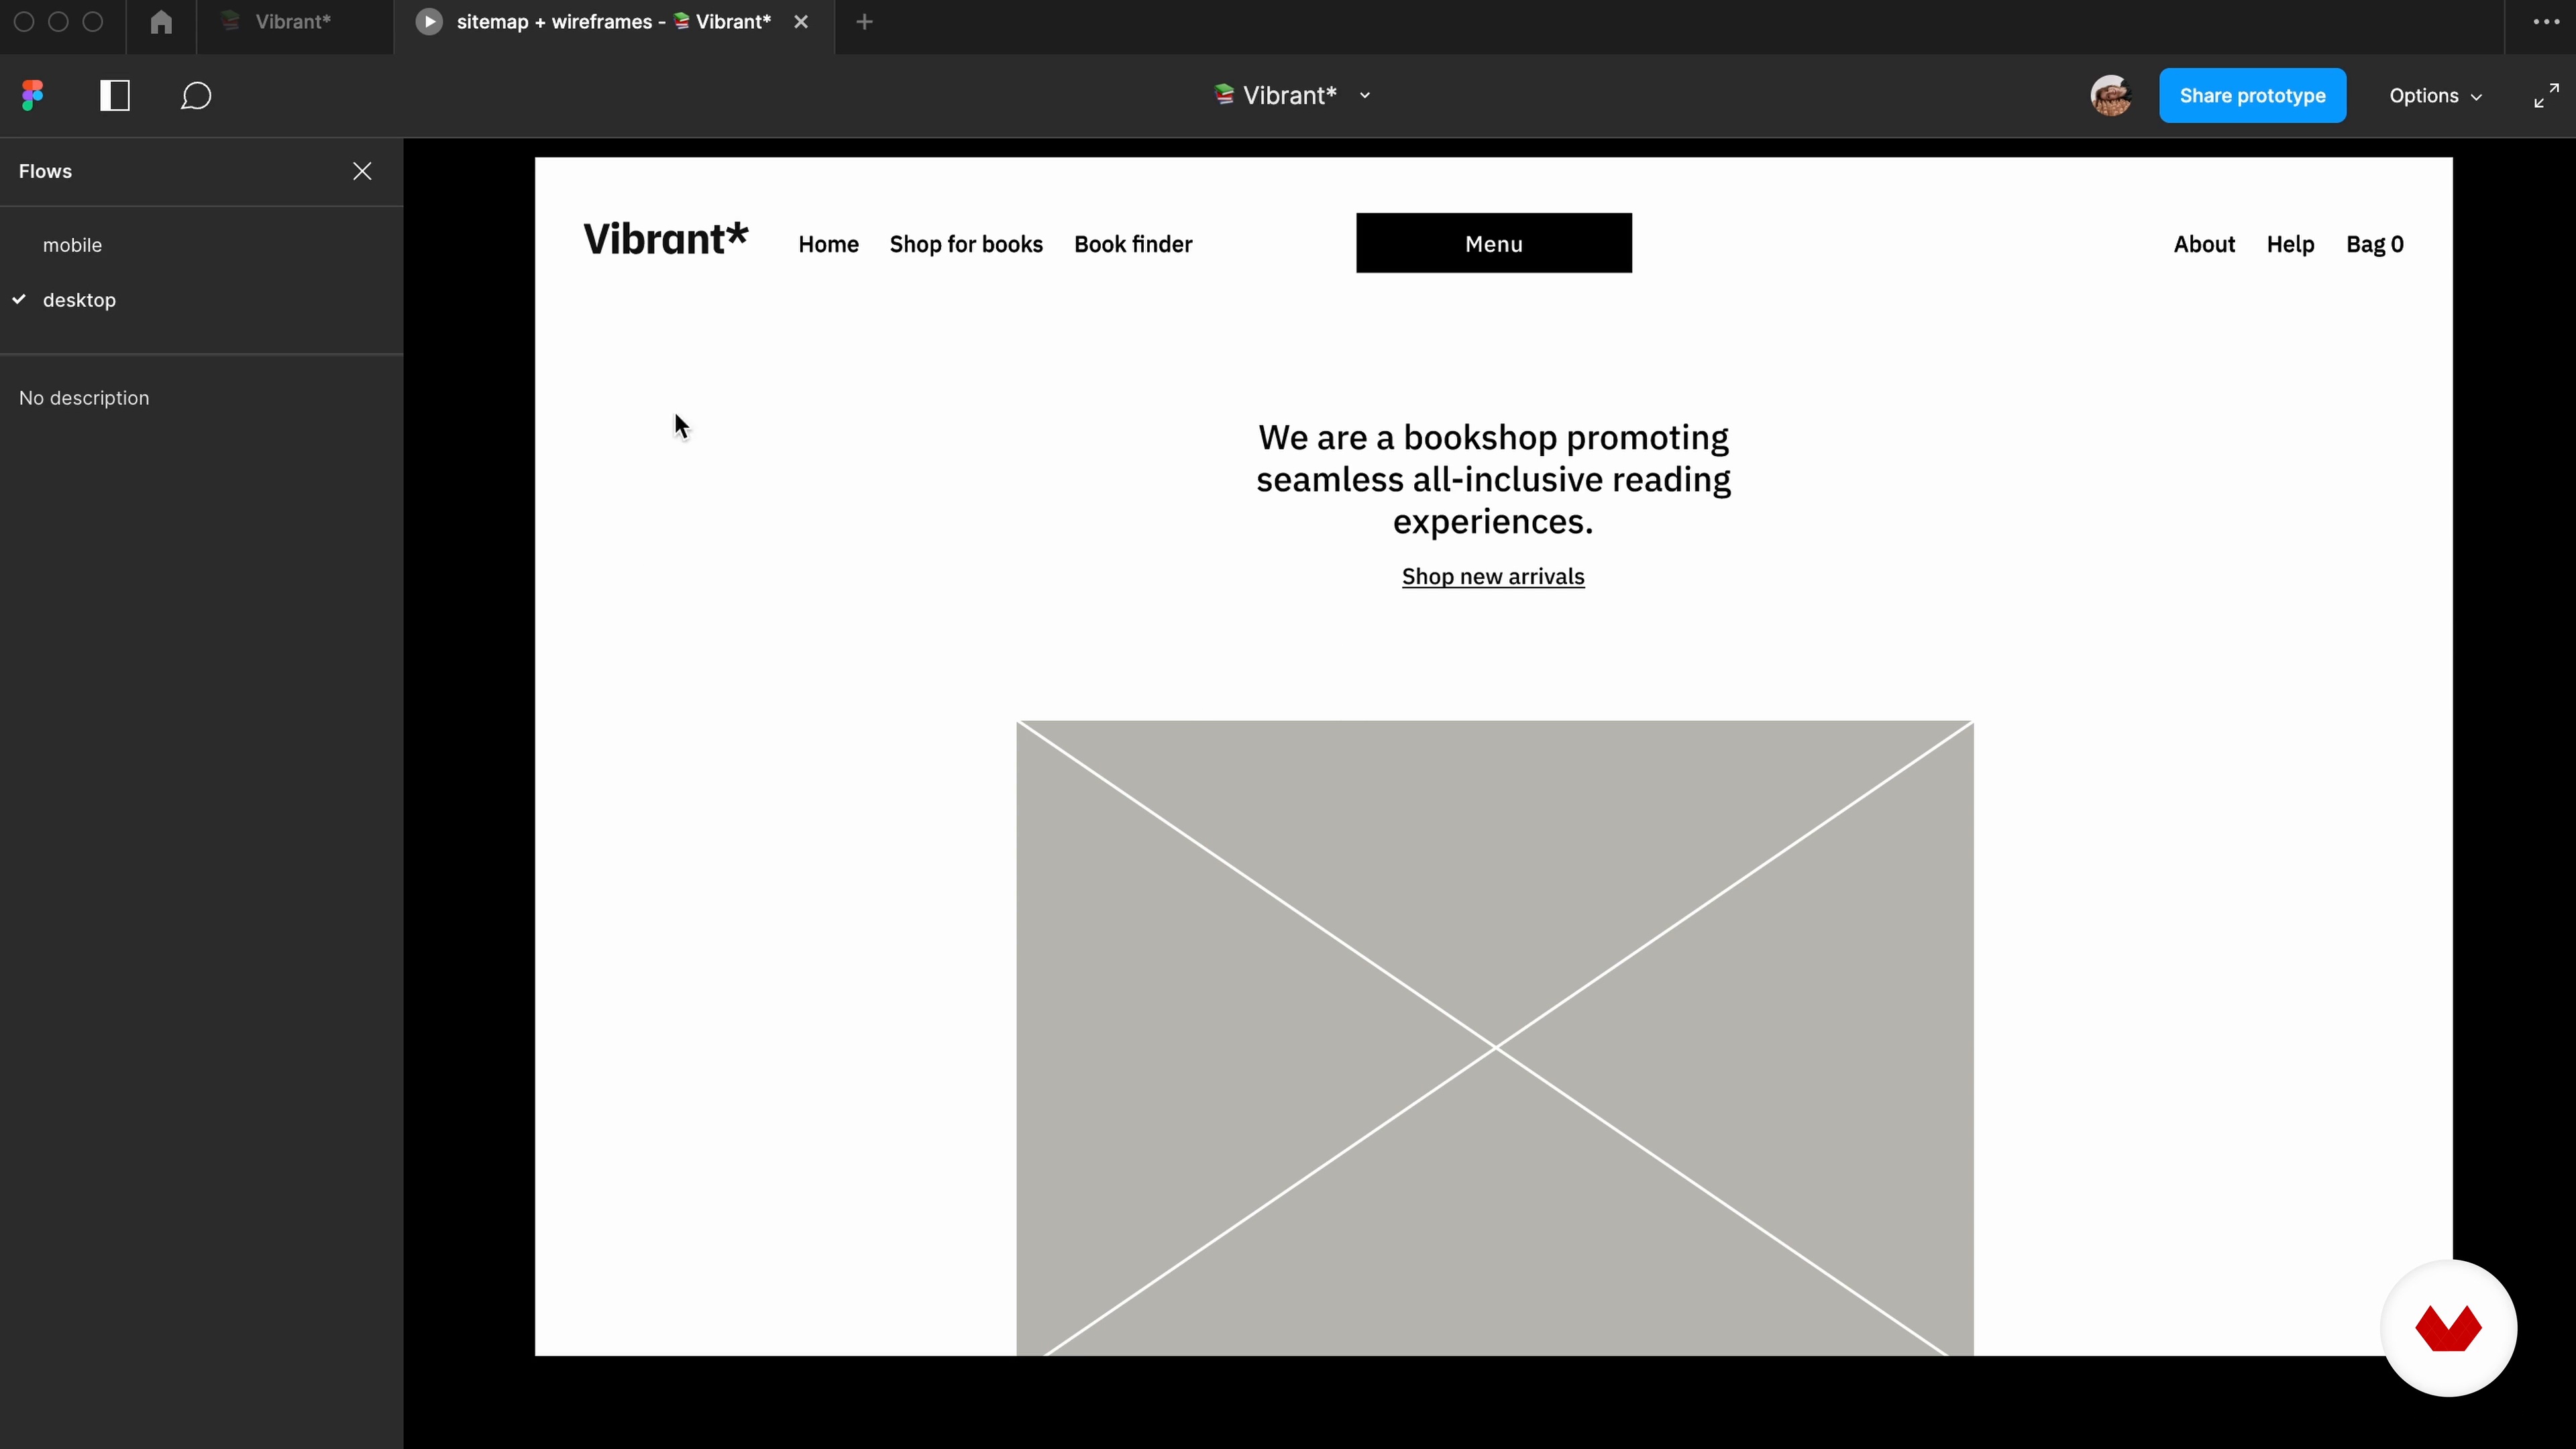
In this lesson, you will be introduced to the UX design process. I will introduce you to the two most common representations: the double diamond model and design thinking. The UX Design process consists of 5 main steps: Empathize, Define, Ideate, Prototype, and Test.
6m
image
5
Intro to UX Research
In this lesson, I will teach you about the value of UX research and what can go wrong if you don’t do it at all. You will also learn about the difference between methods that are “Attitudinal vs. Behavioral” and “Qualitative vs. Quantitative”.
8m
image
6
Desk Research, Benchmark, Interviews
In this lesson, we will focus on the primary three methods that any UX Designer, researcher or not, should know: desk research, benchmark, and interviews. You will learn about when to use these methods and best practices for each one.
11m
image
7
Detecting and Defining the Problem
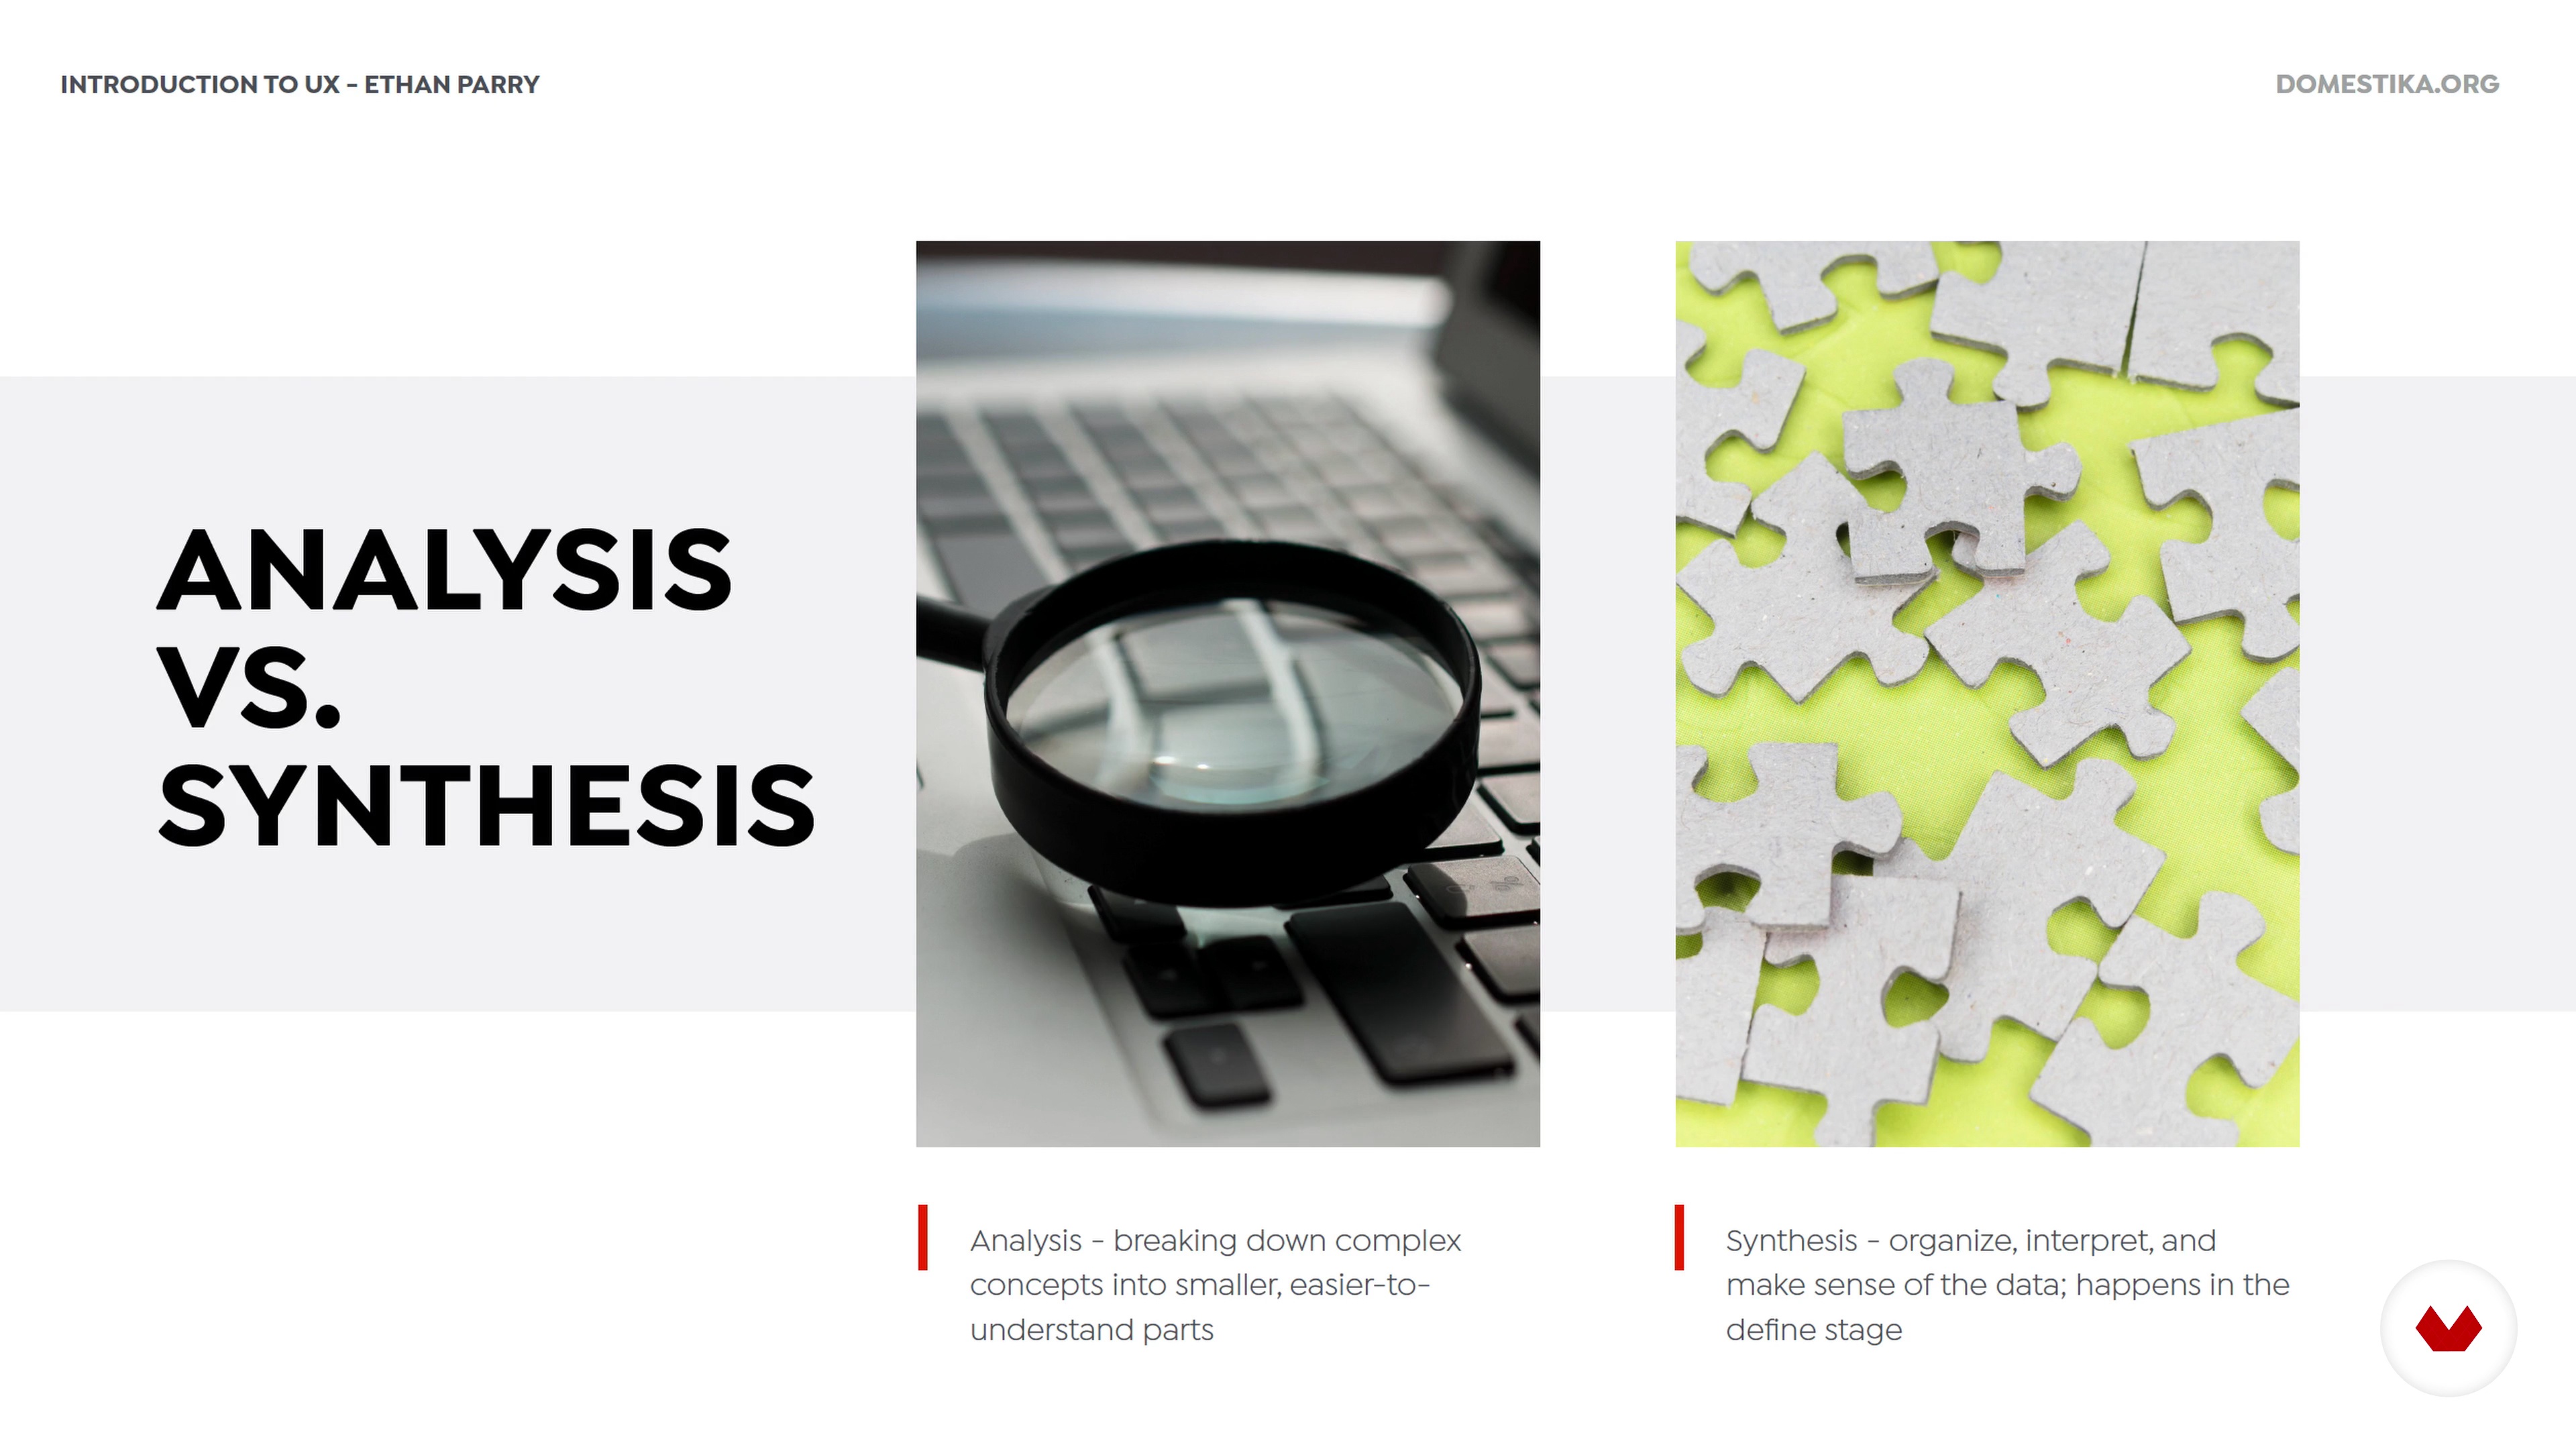
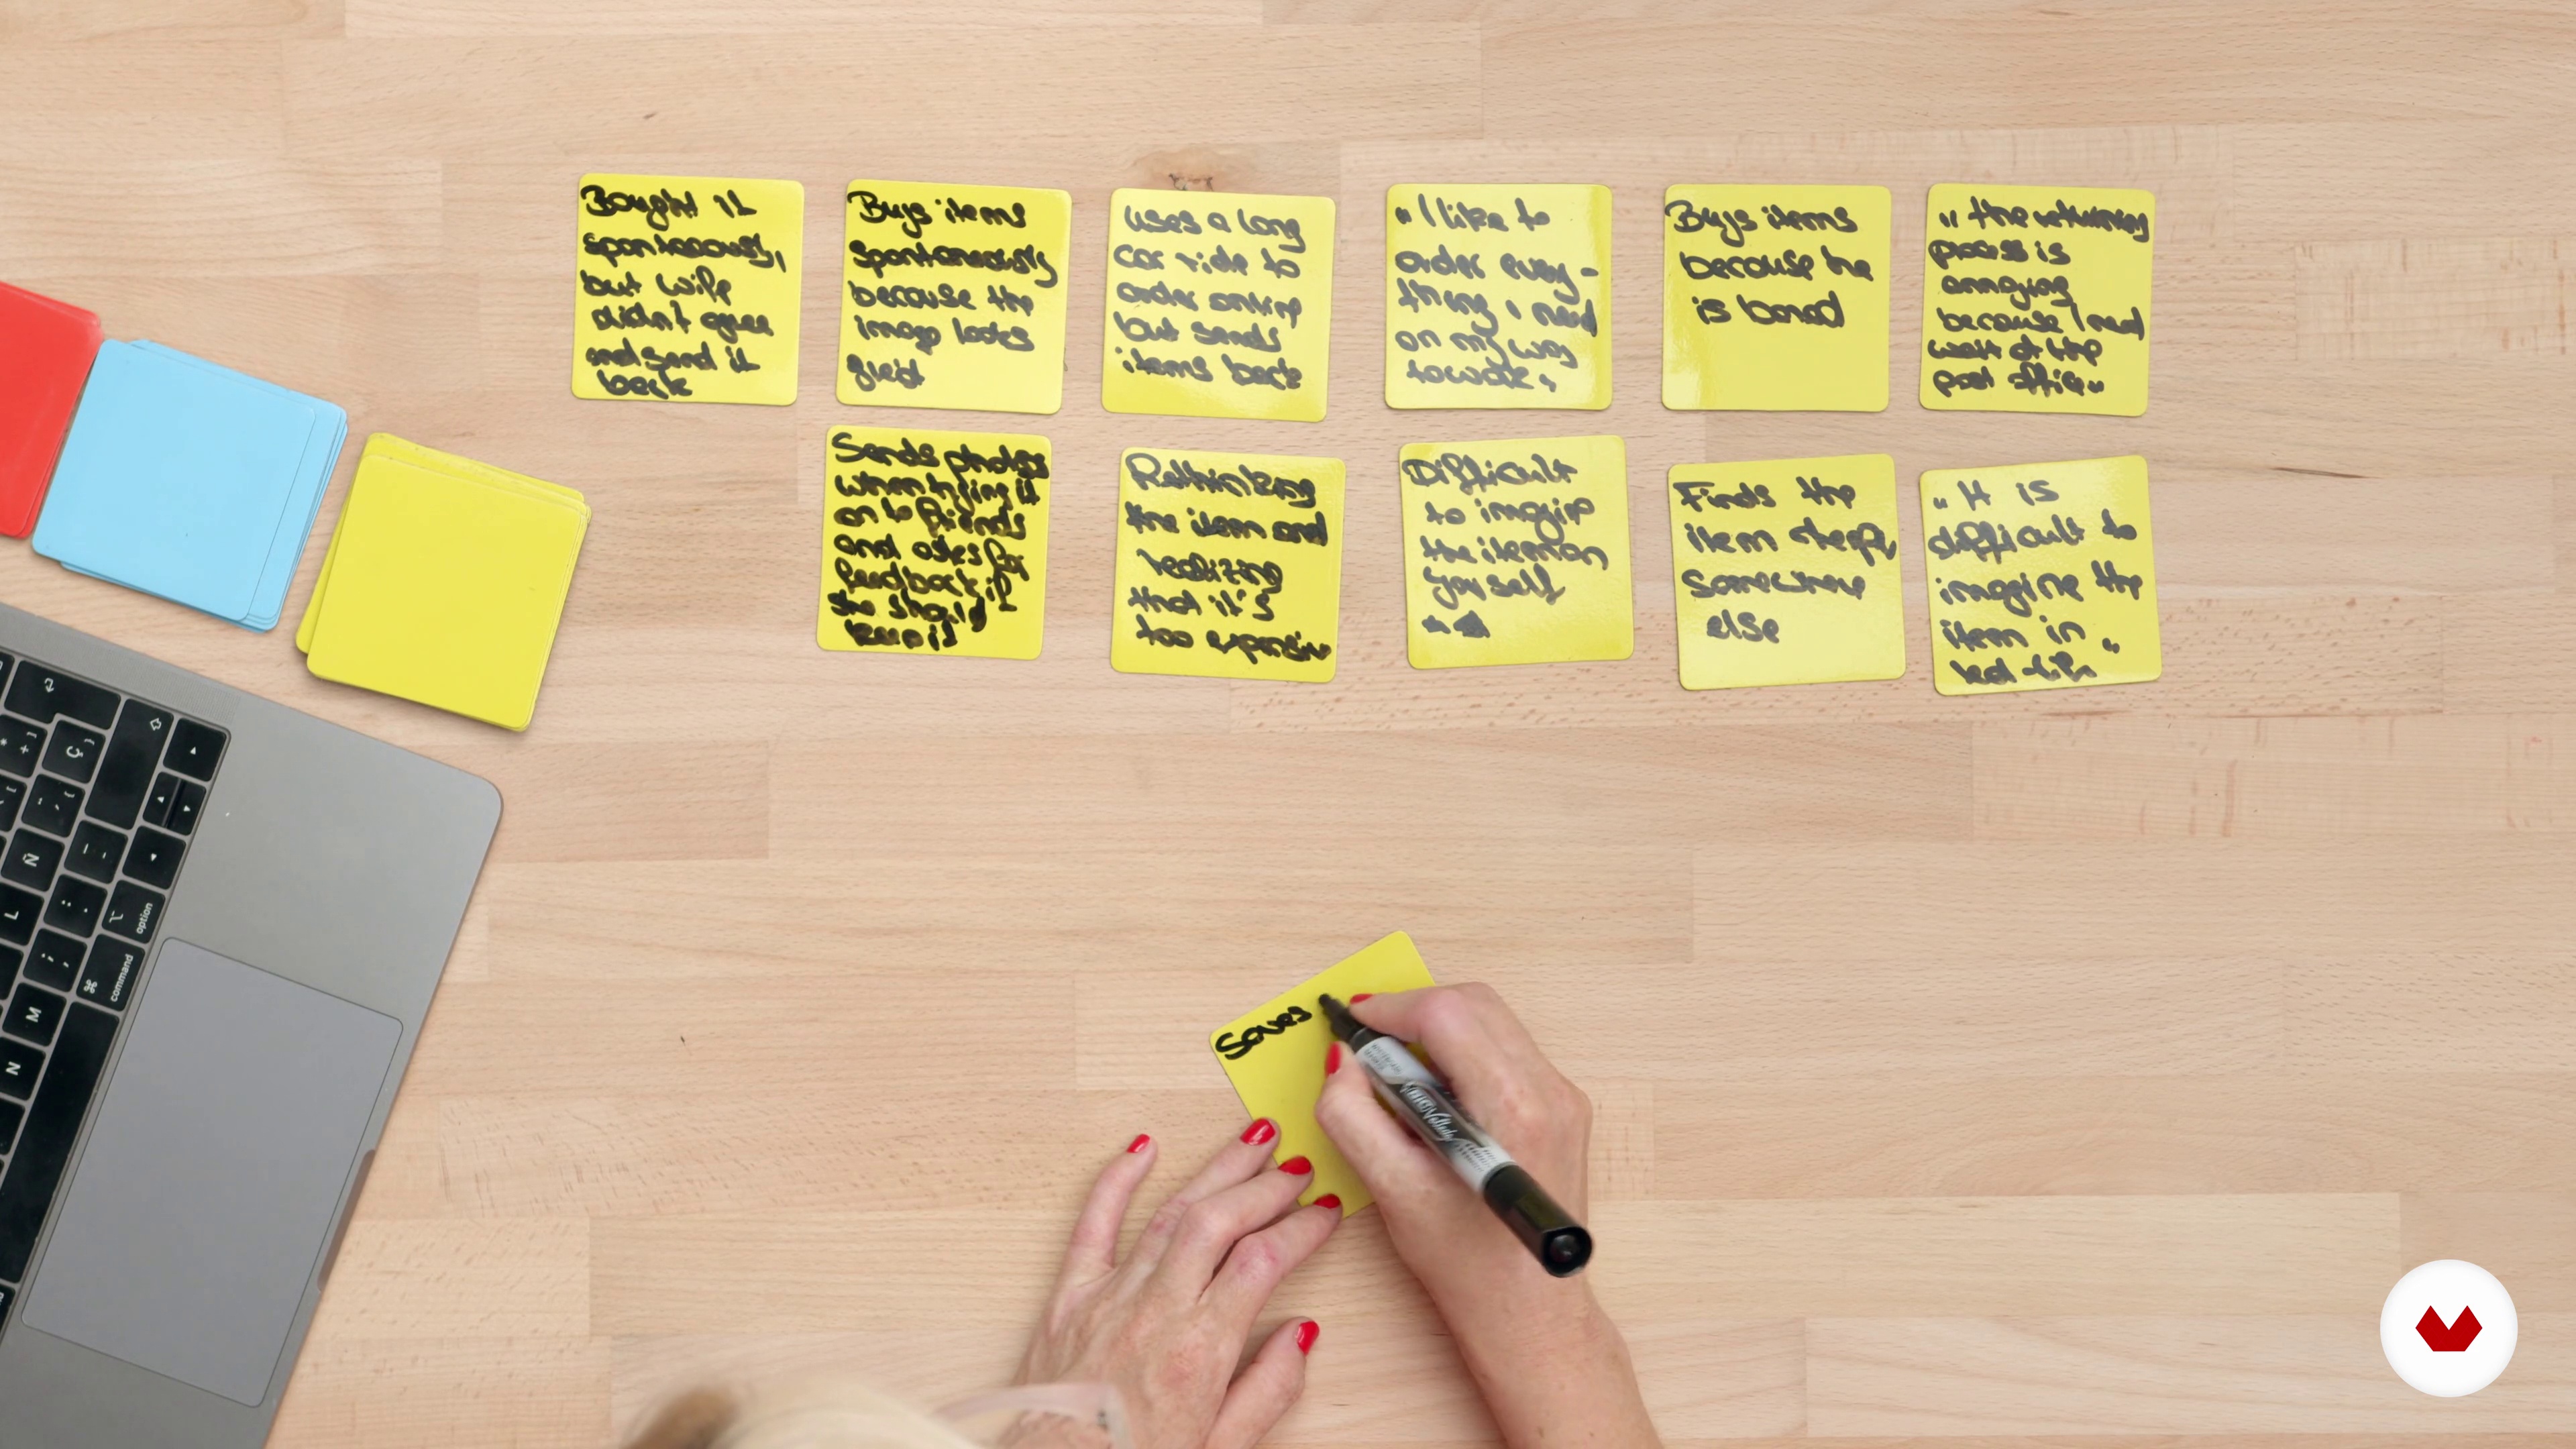
One of the key skills of a UX Designer is the ability to be a problem spotter. In this lesson, you will learn how to take your findings and use techniques such as affinity mapping to help you further define the problem that you are trying to solve.
7m
image
8
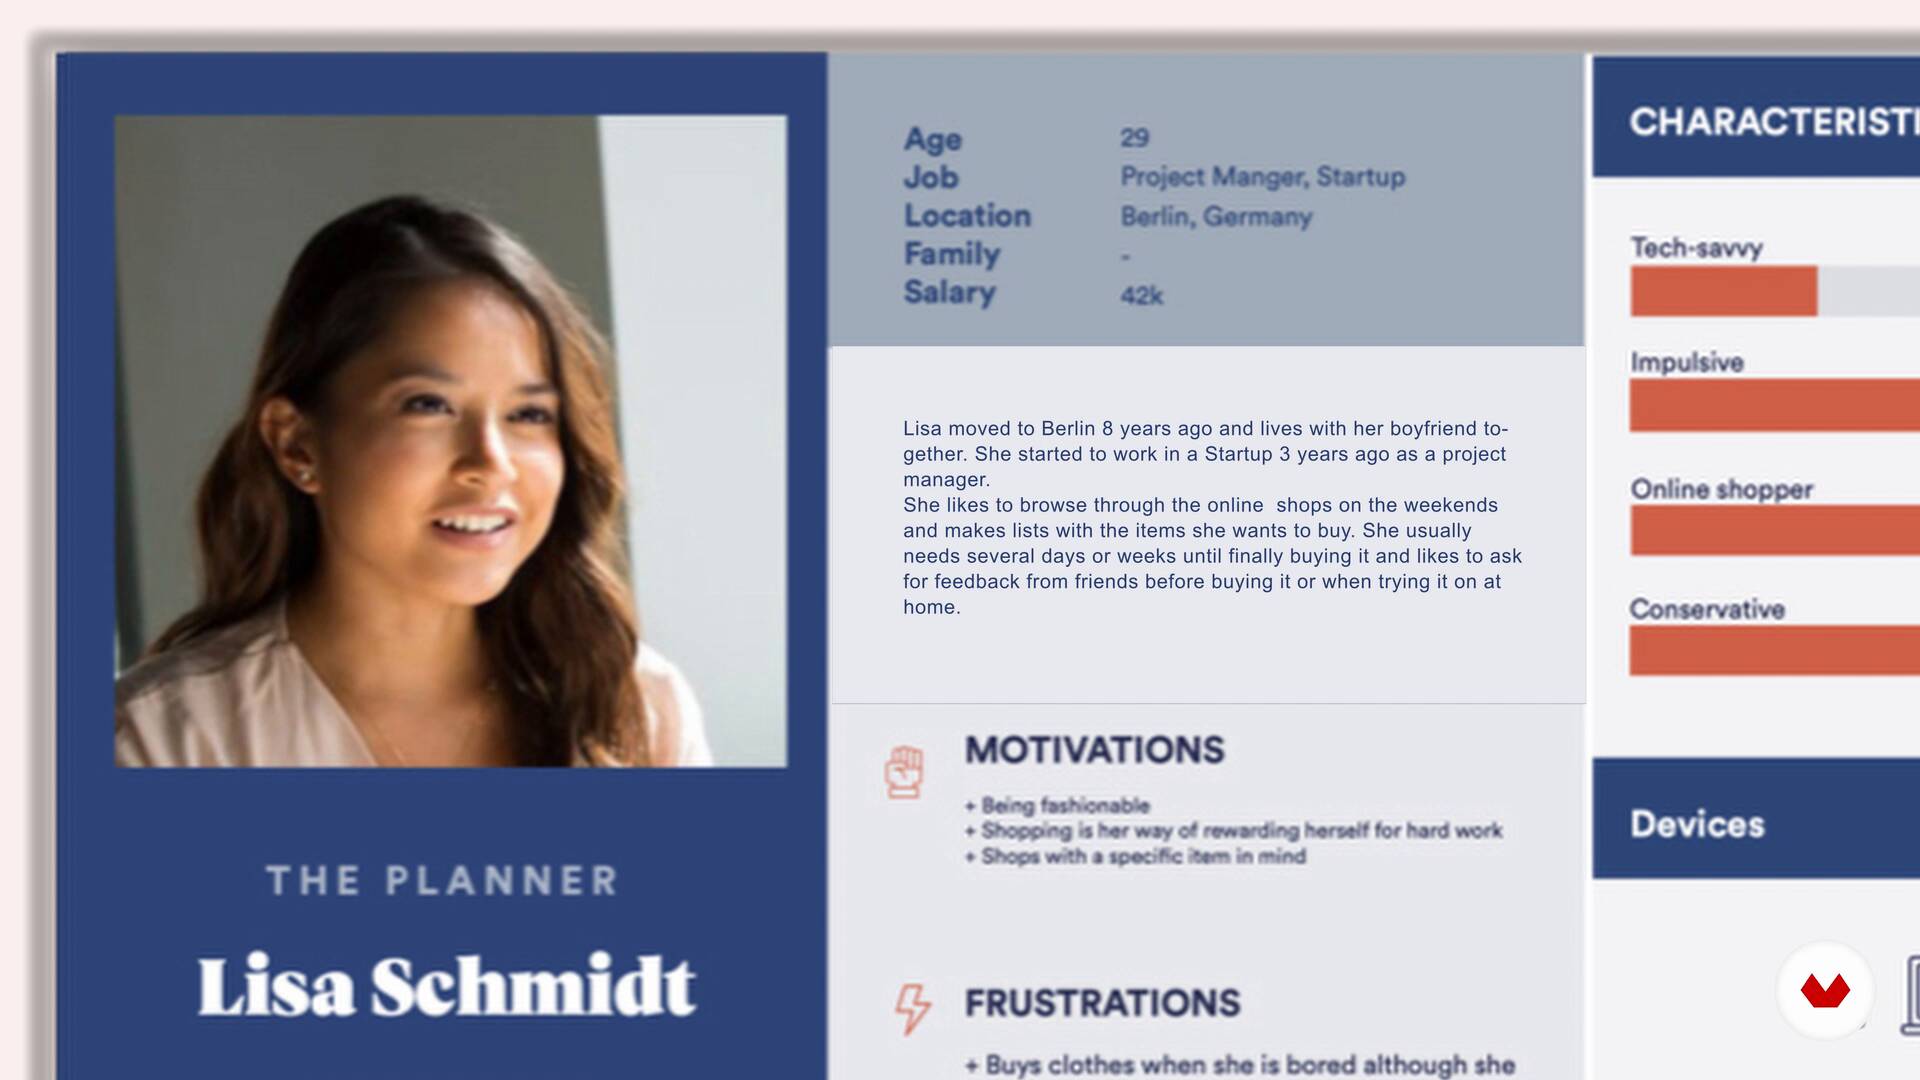
Persona Creation
Personas are a commonly used tool in UX. In this lesson, you will learn about why they are important, the characteristics of a good persona, how to create one, and when in the UX design process they are used.
12m
image
9
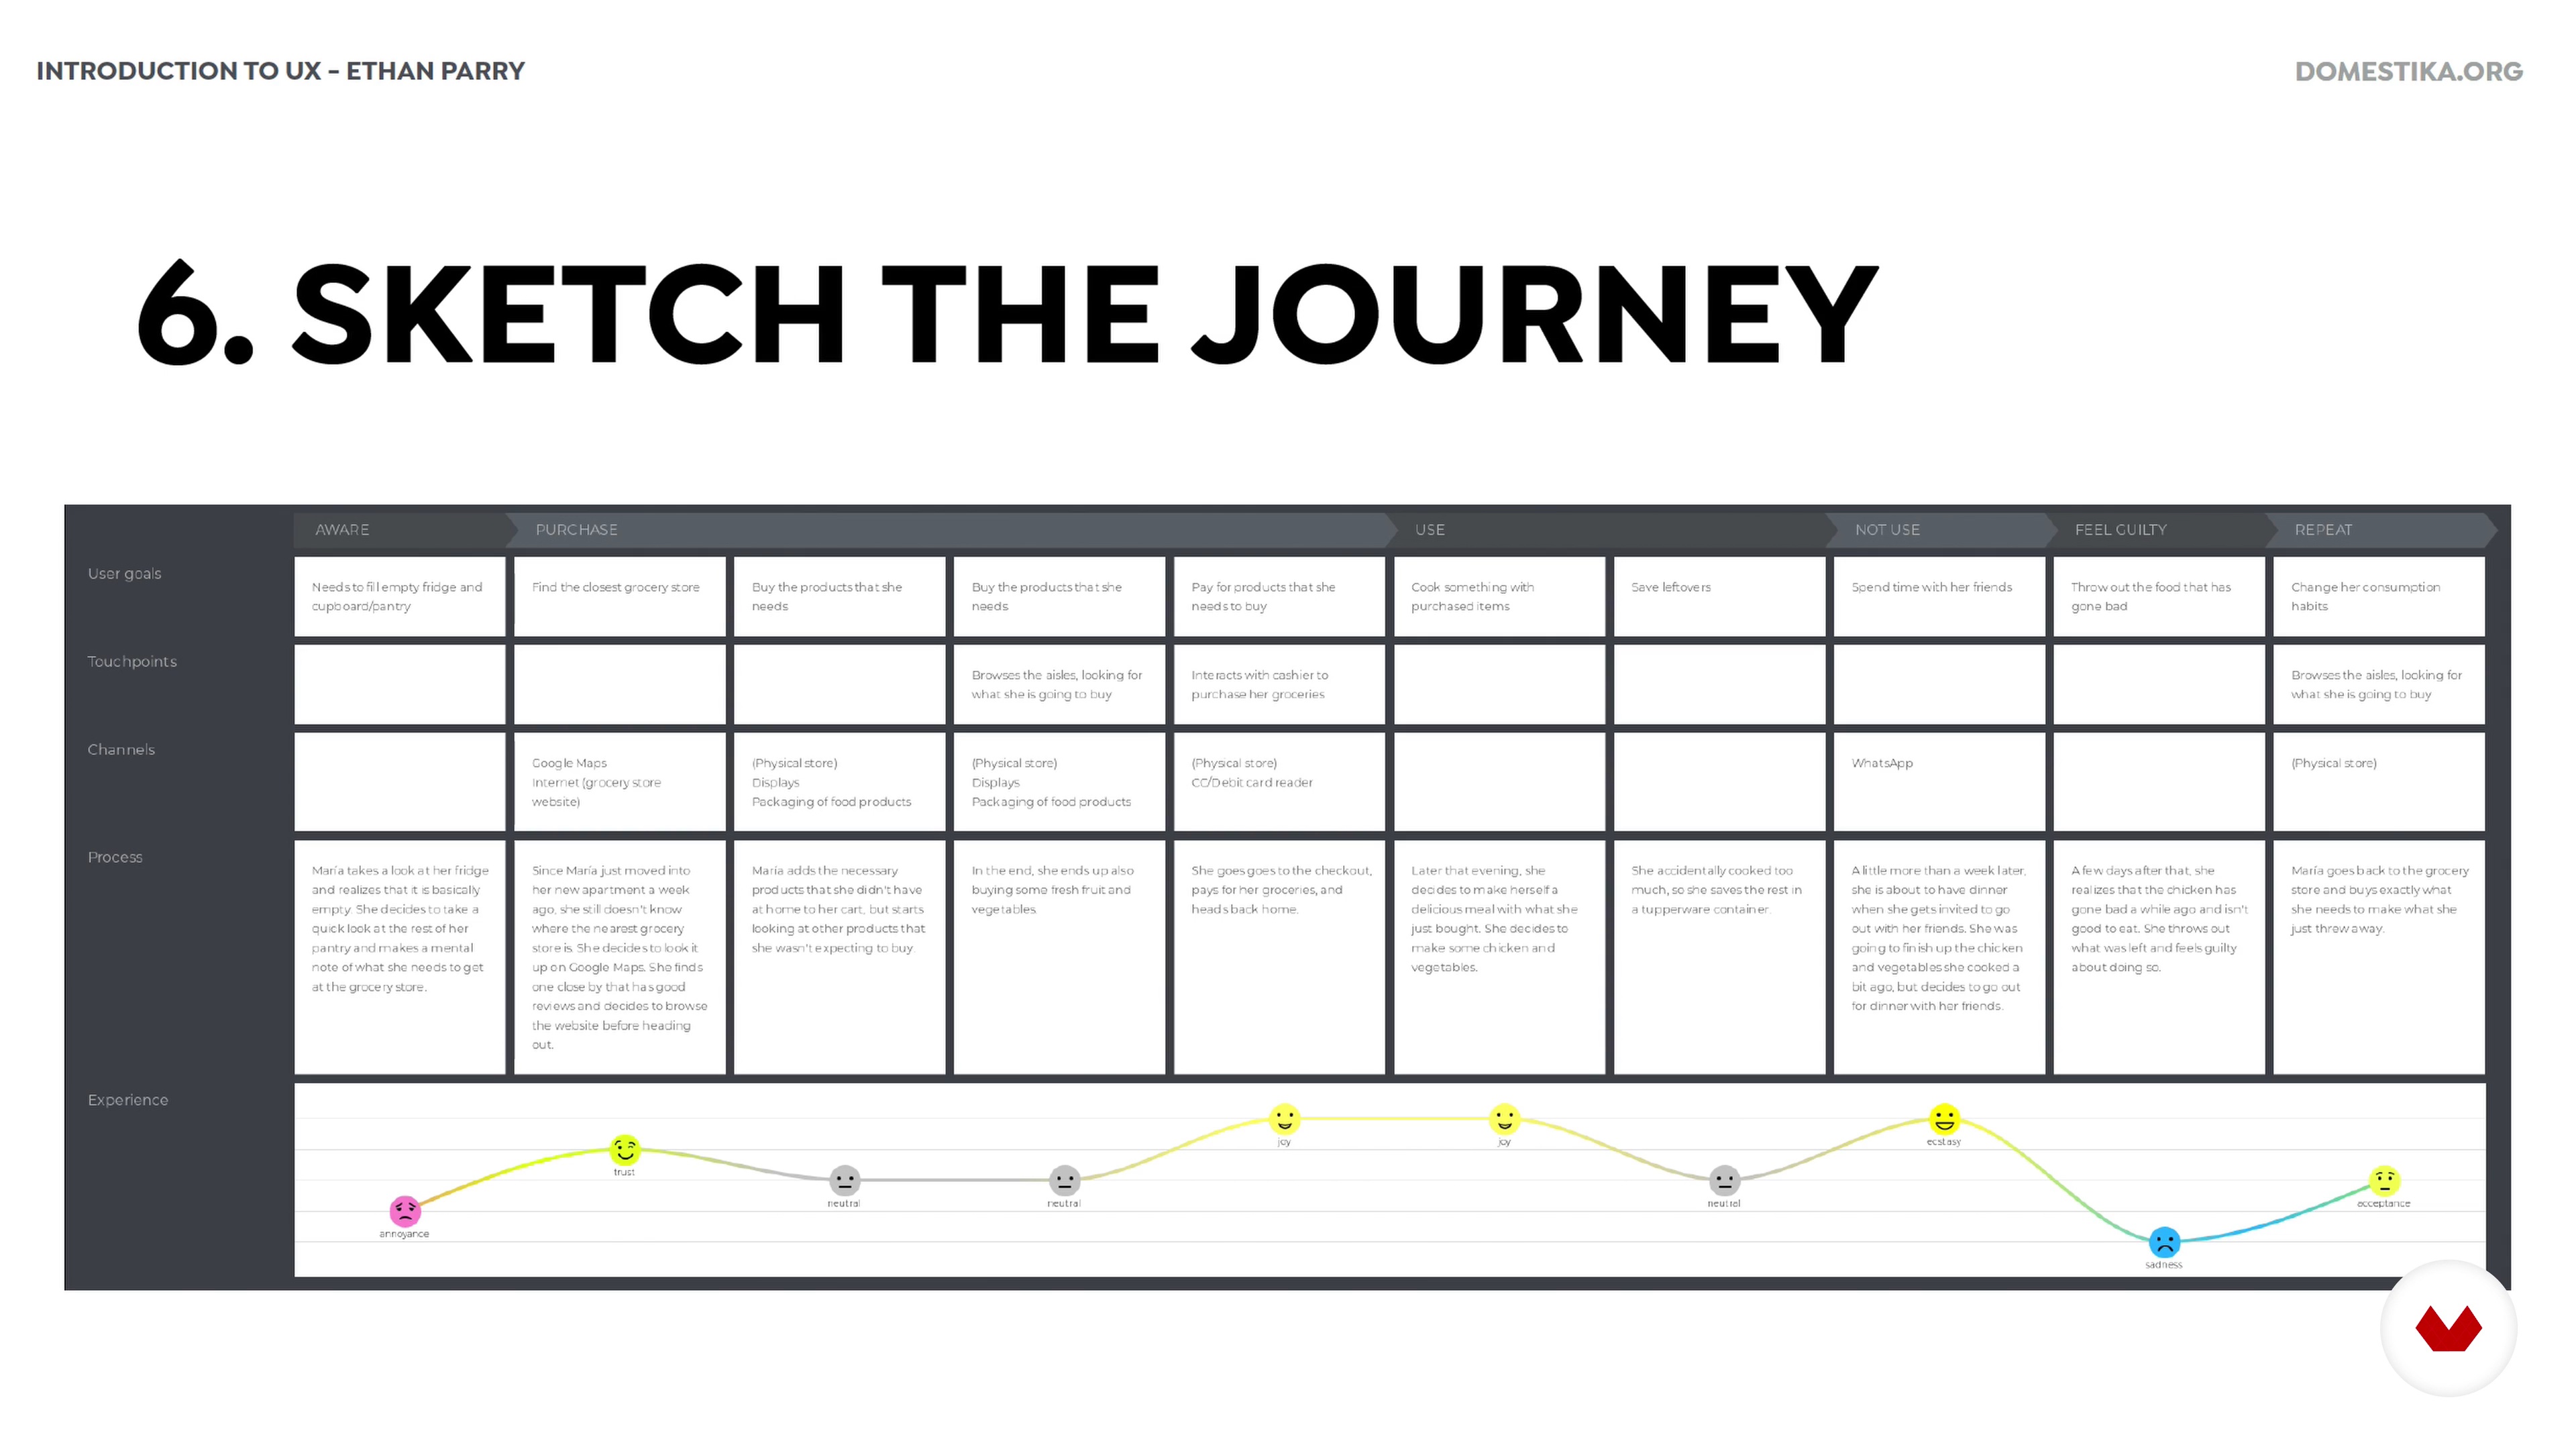
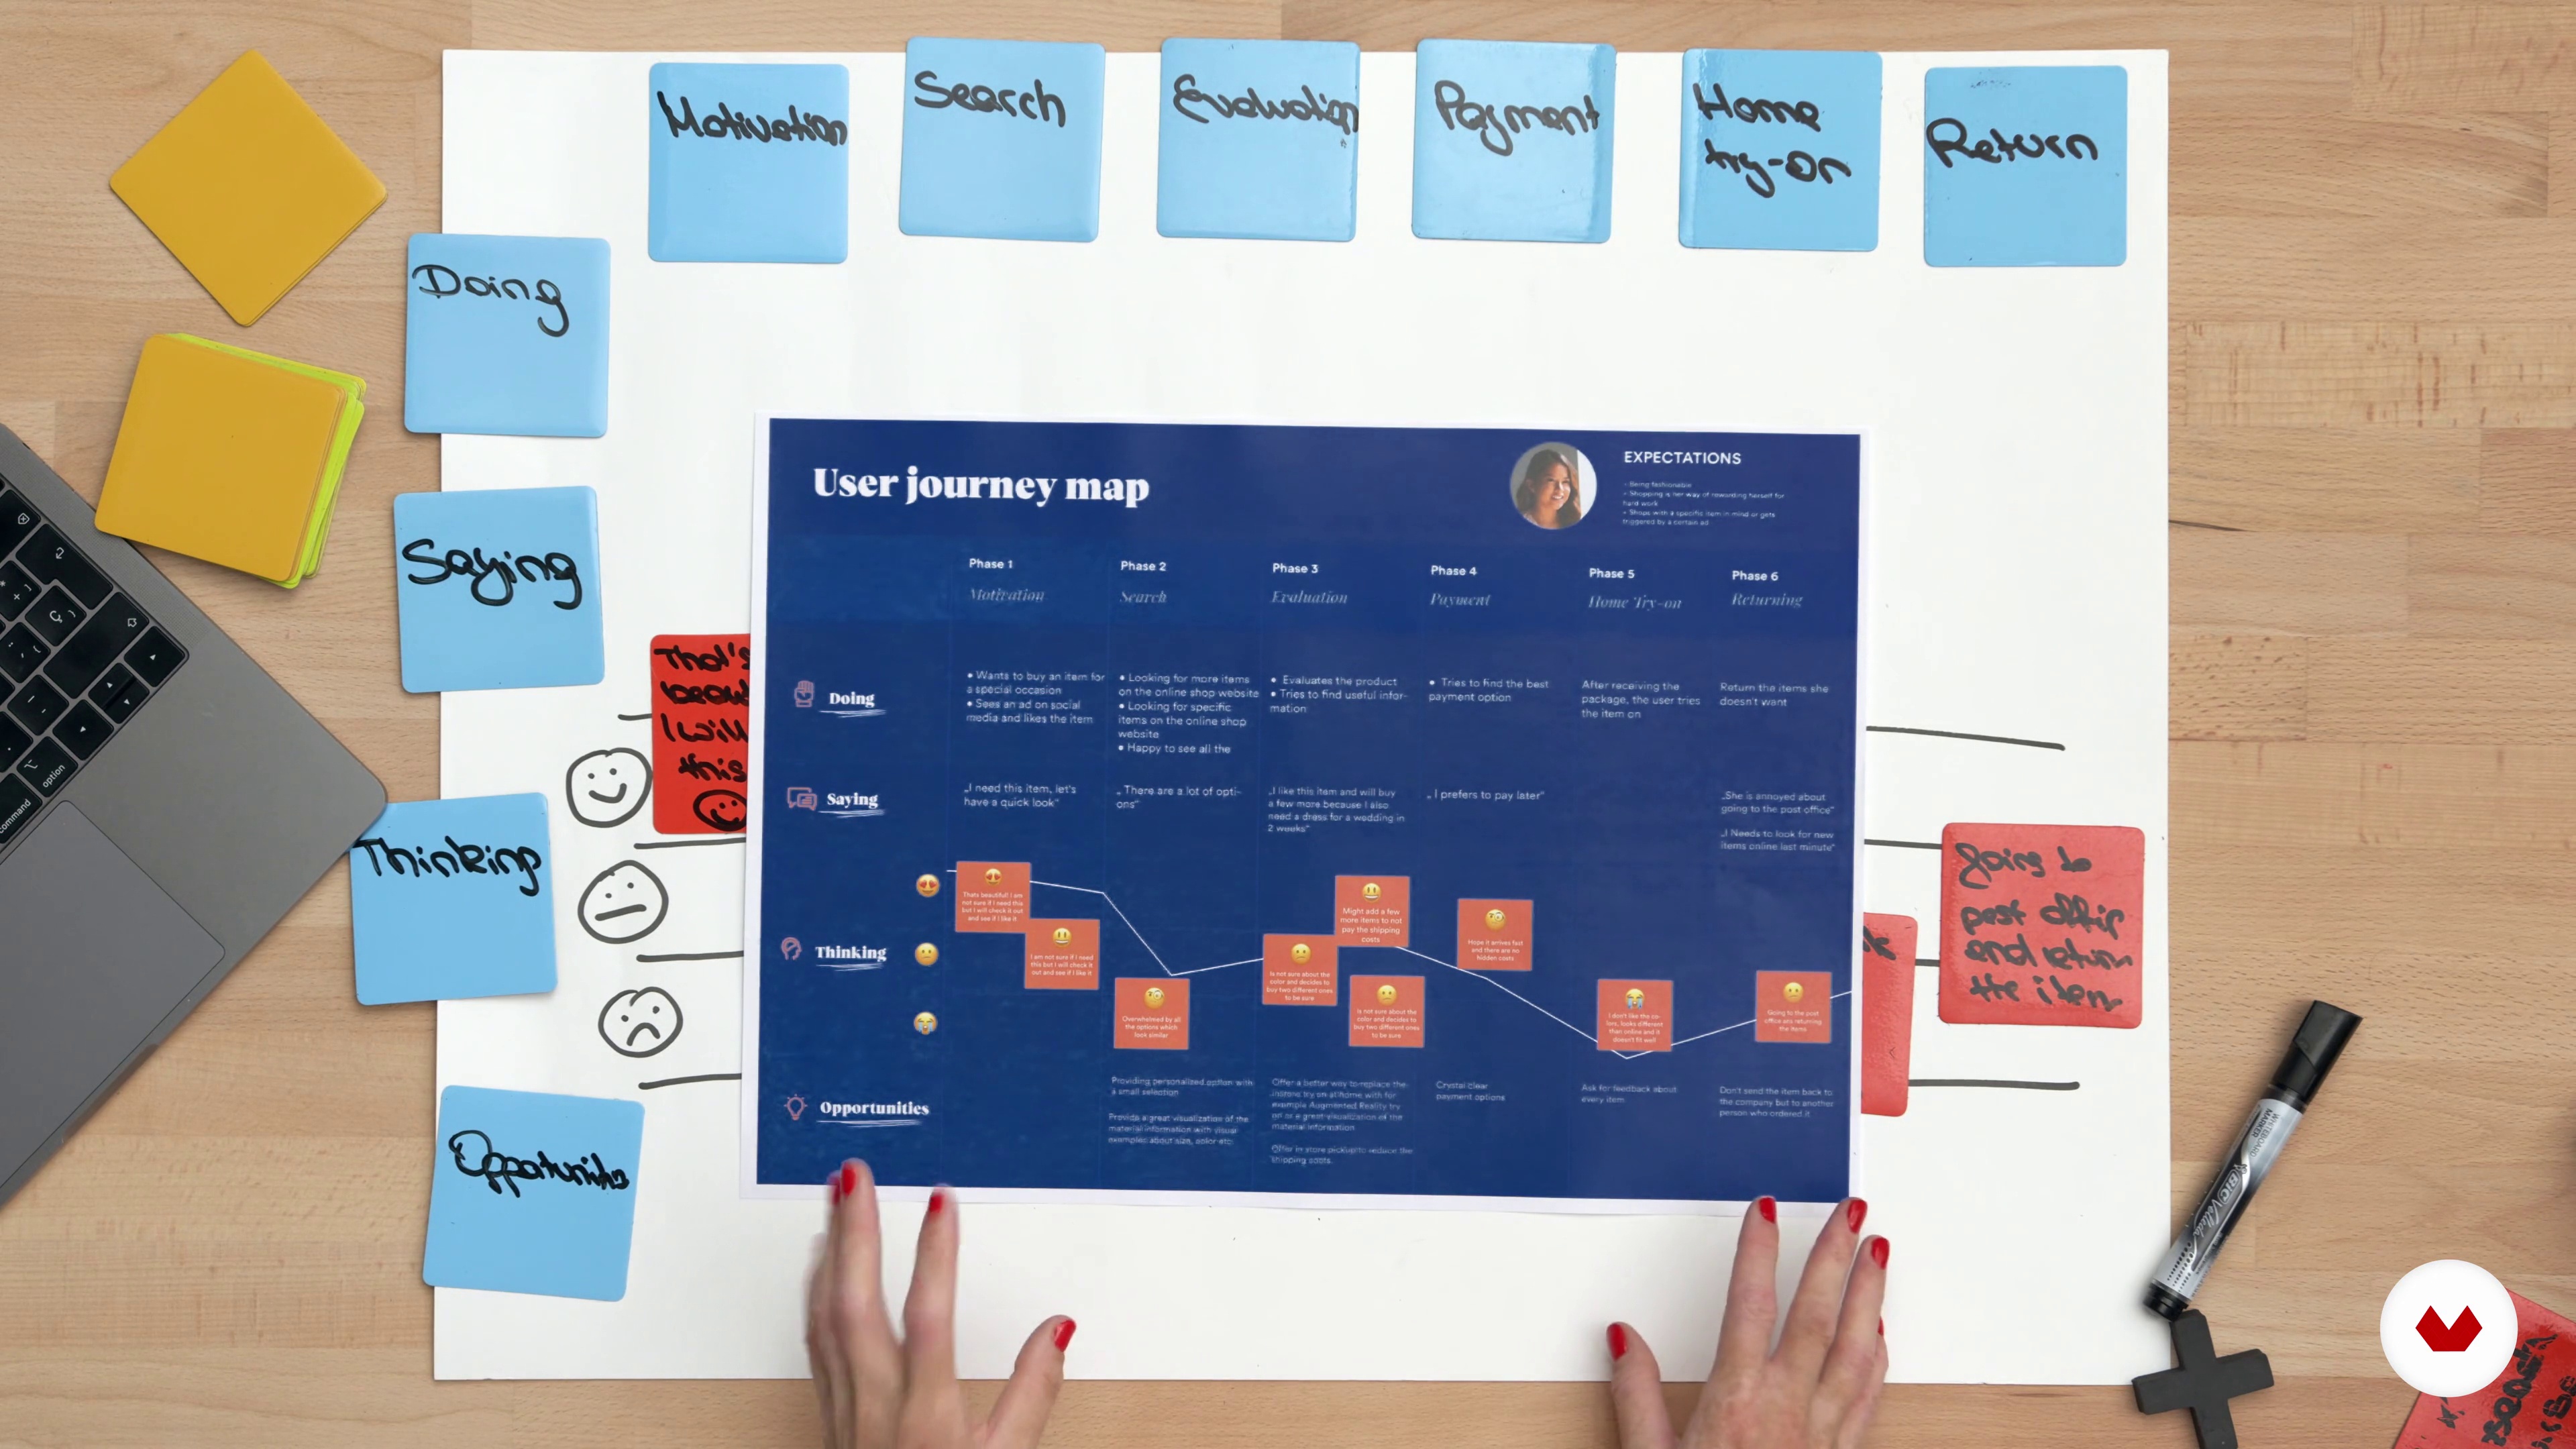
Journey Mapping
Once you have a persona (or personas), it is recommended to create a journey map. In this lesson, you will learn the key components of one, the different types that exist, and why you should use them.
11m
image
10
Ideation Techniques
In this lesson, you will learn different ideation techniques – brainstorming, bodystorming, and mind mapping to name a few – to help you come up with possible solutions to the problems that you detected from your user research.
9m
image
11
Information Architecture
When it comes to creating an app or website, it is important that it has a clean, well-designed user interface. In this lesson, you will learn about information architecture and how to organize your content in an effective way.
9m
image
12
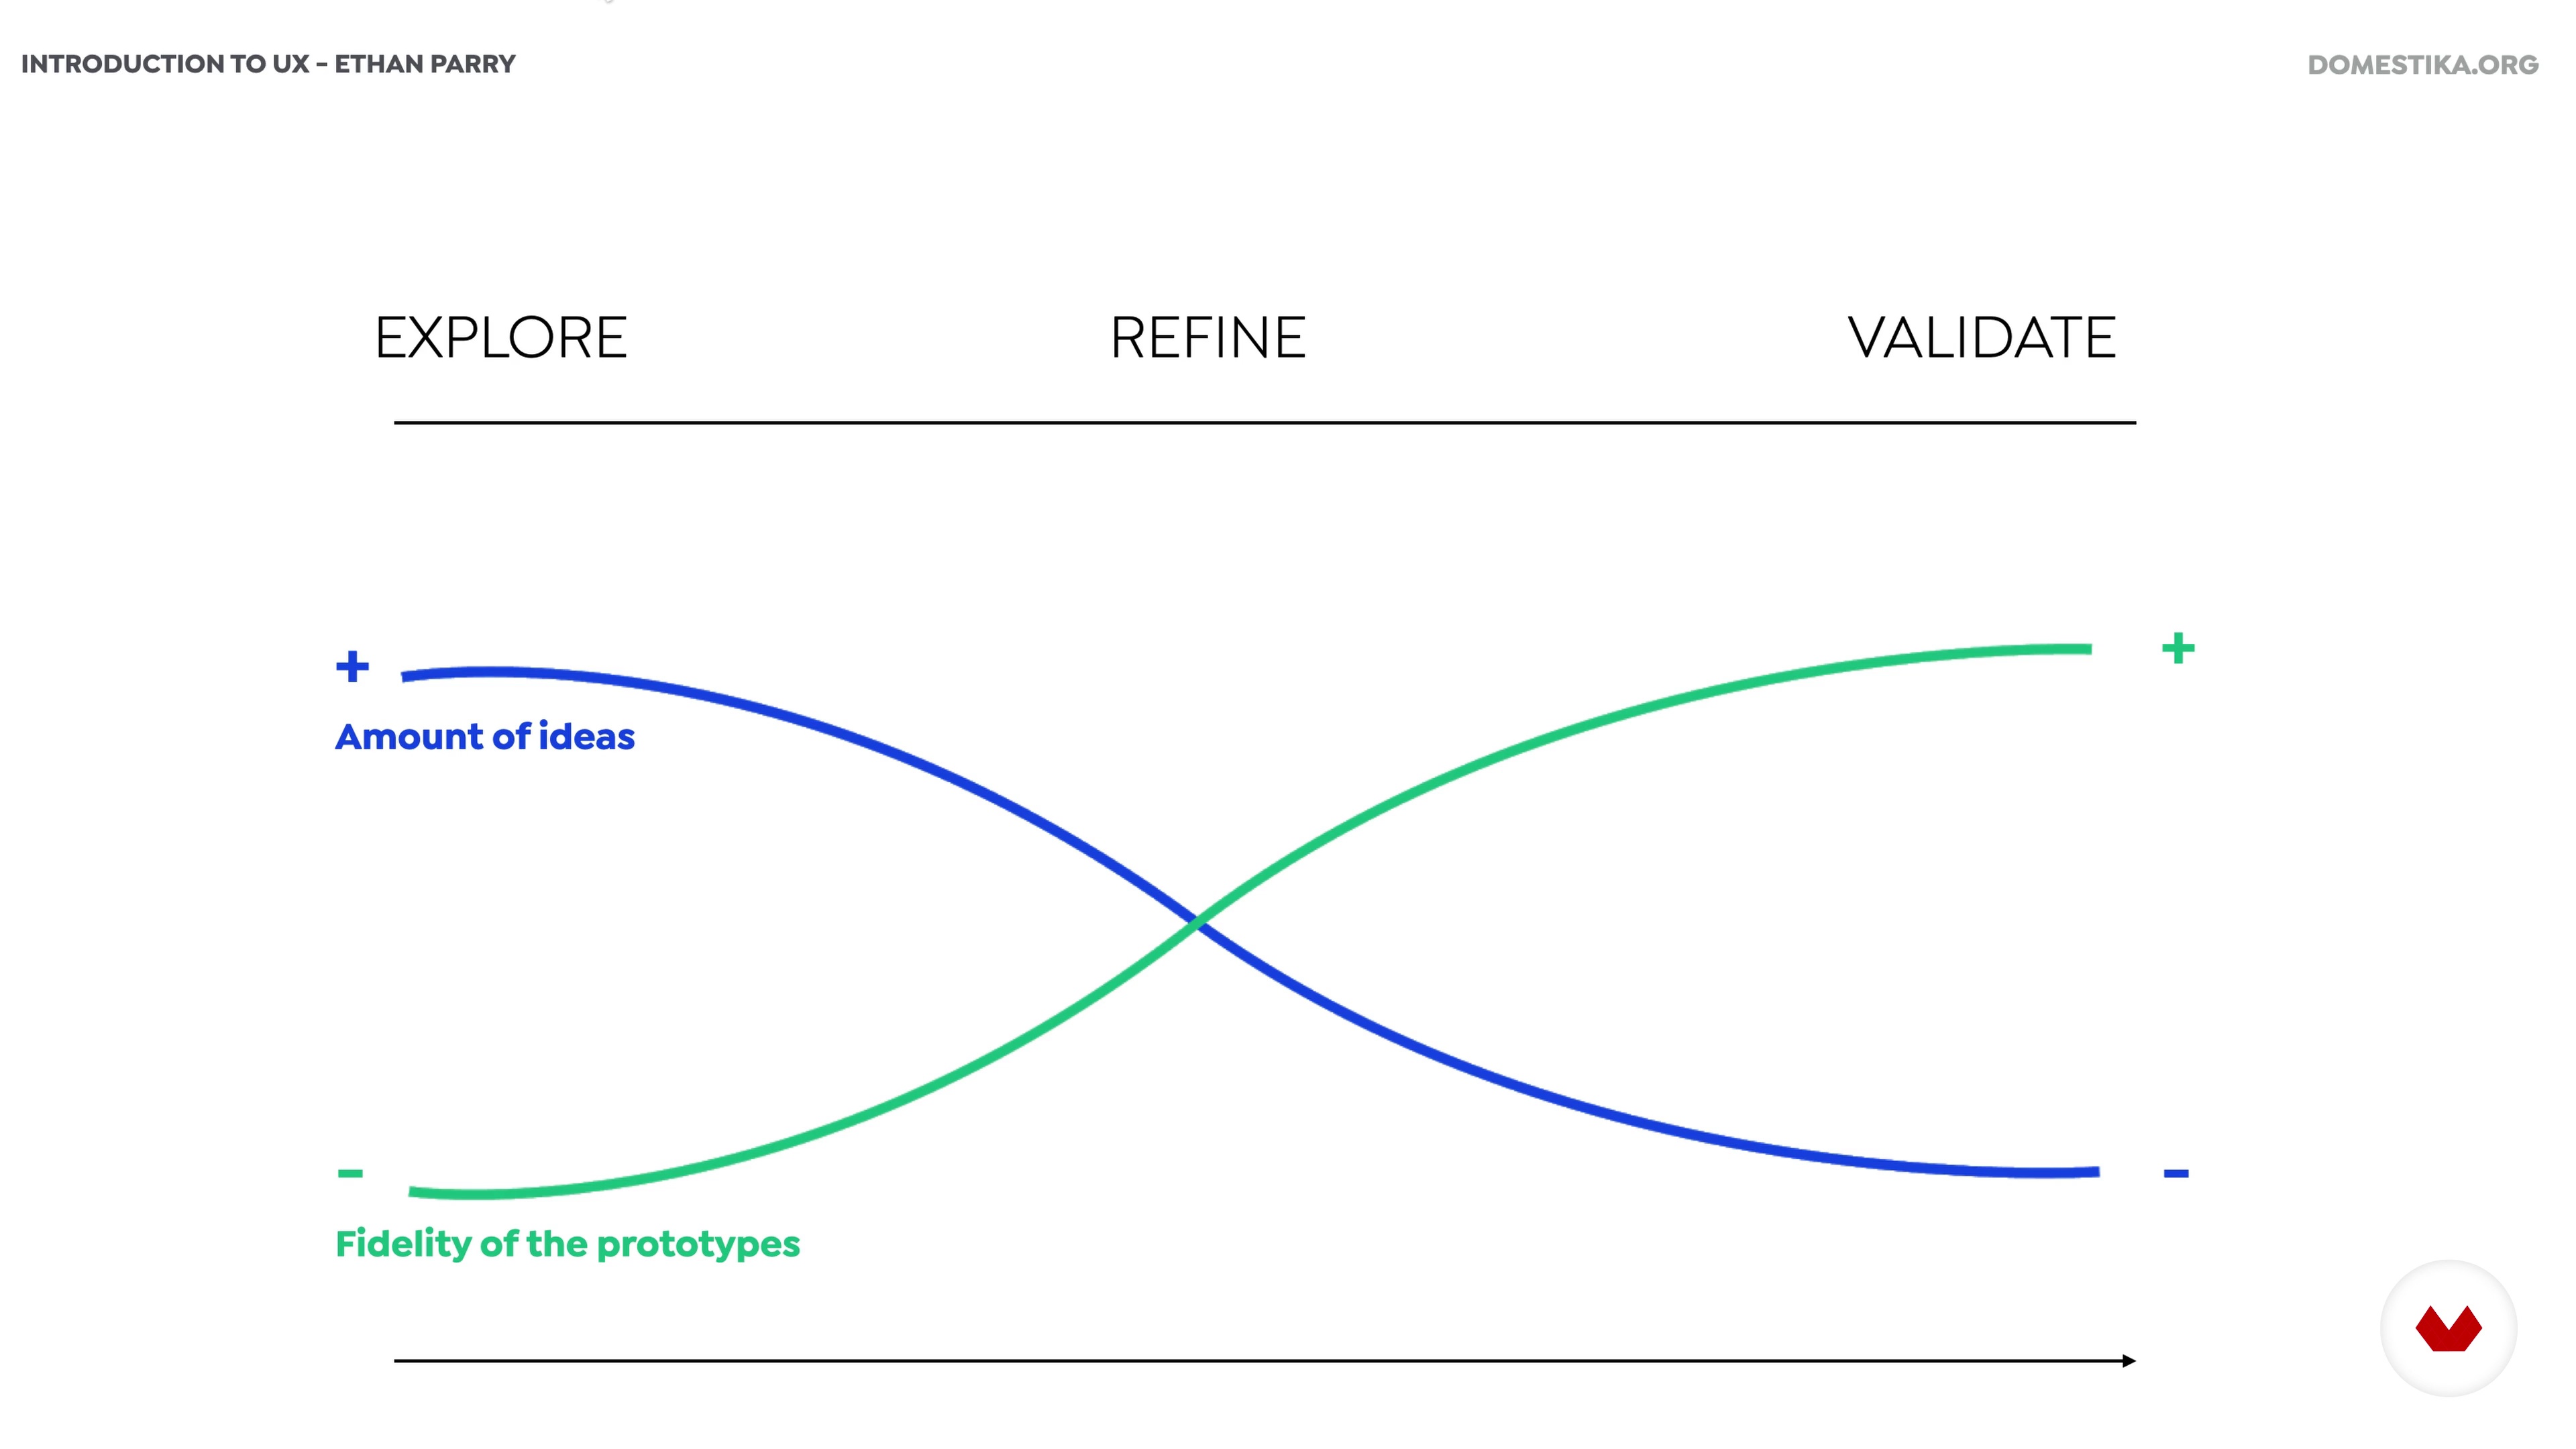
Value of Prototyping
After you have come up with several ideas, it is time to make them tangible. In this lesson, you will learn about the what, the why, and the when of prototyping.
7m
image
13
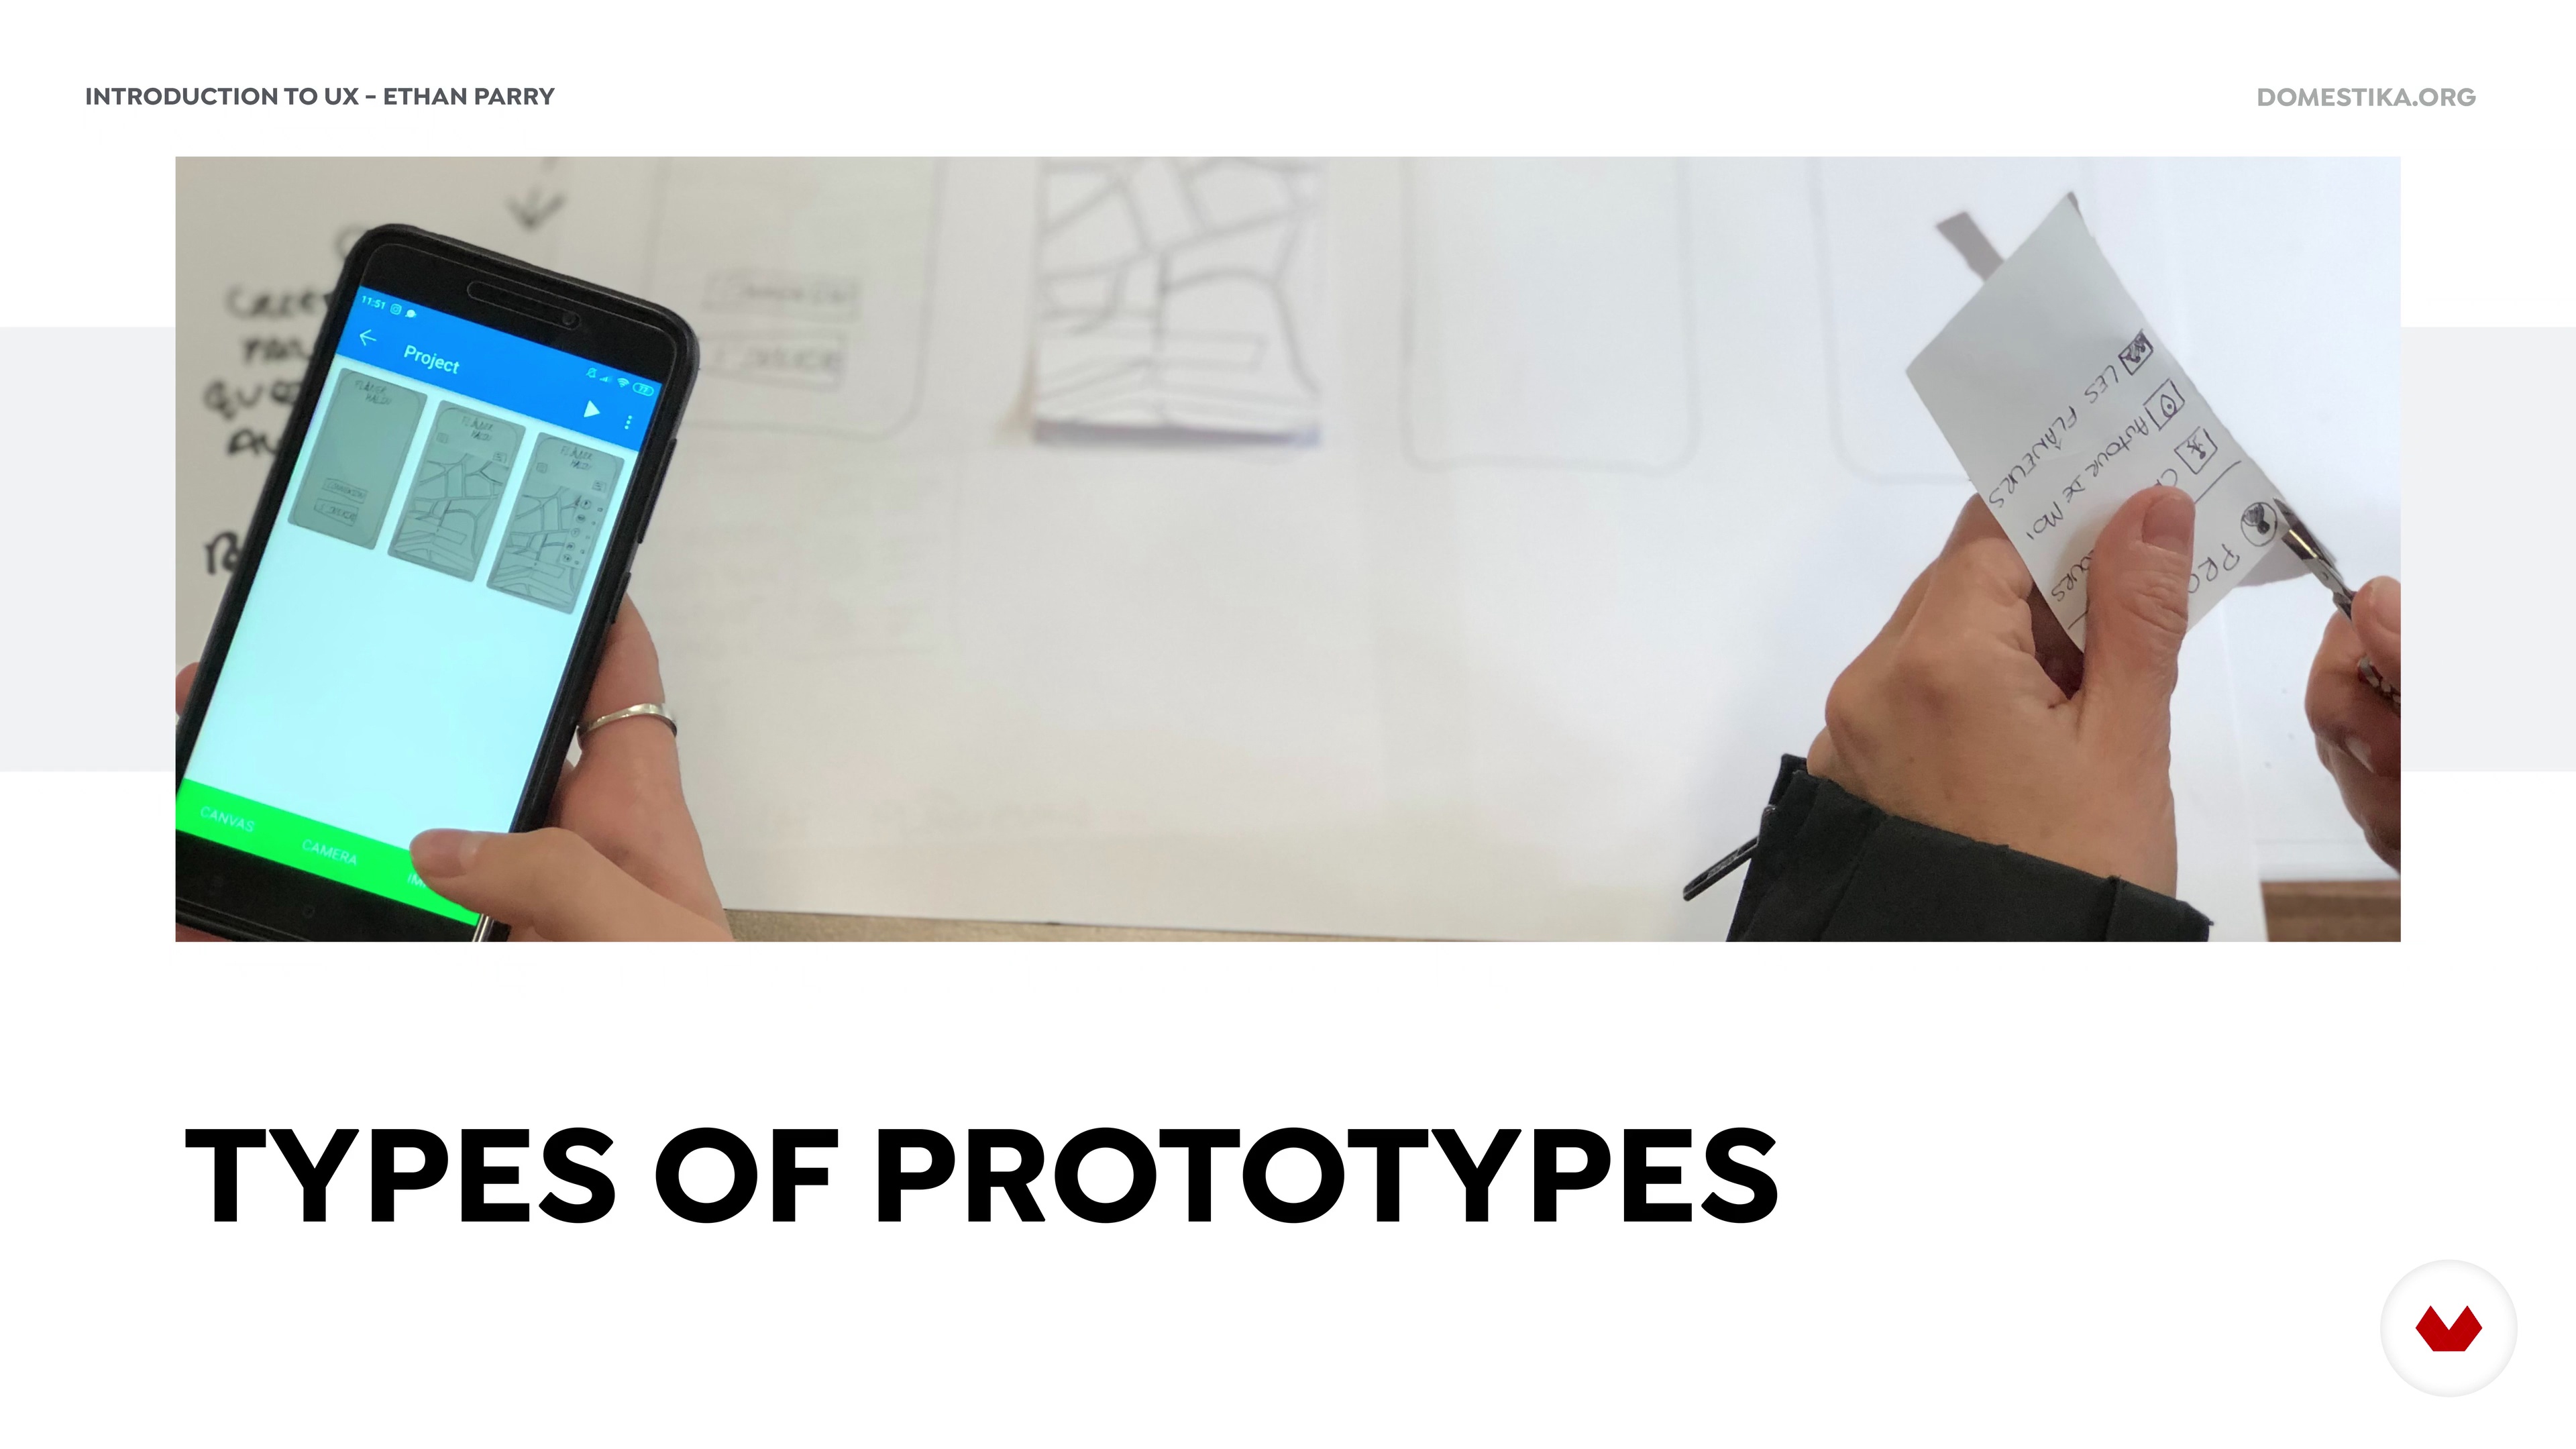
Types of Prototypes and Prototyping Tools
In this lesson, you will learn about the different types of prototypes that exist. I will also share with a few tools that can be used to create said prototypes.
6m
image
14
User Testing
After your prototype has been created, it is time for other people to try it out. In this lesson, you will learn how to prepare for and conduct effective user tests. I will also share some best practices when it comes to documenting and prioritizing your findings.
8m
image
15
Working with Developers
Even if you do not want to become a developer, you will have to work closely with them. In this lesson, you will learn how to ensure a smooth design-development handoff.
6m
image
16
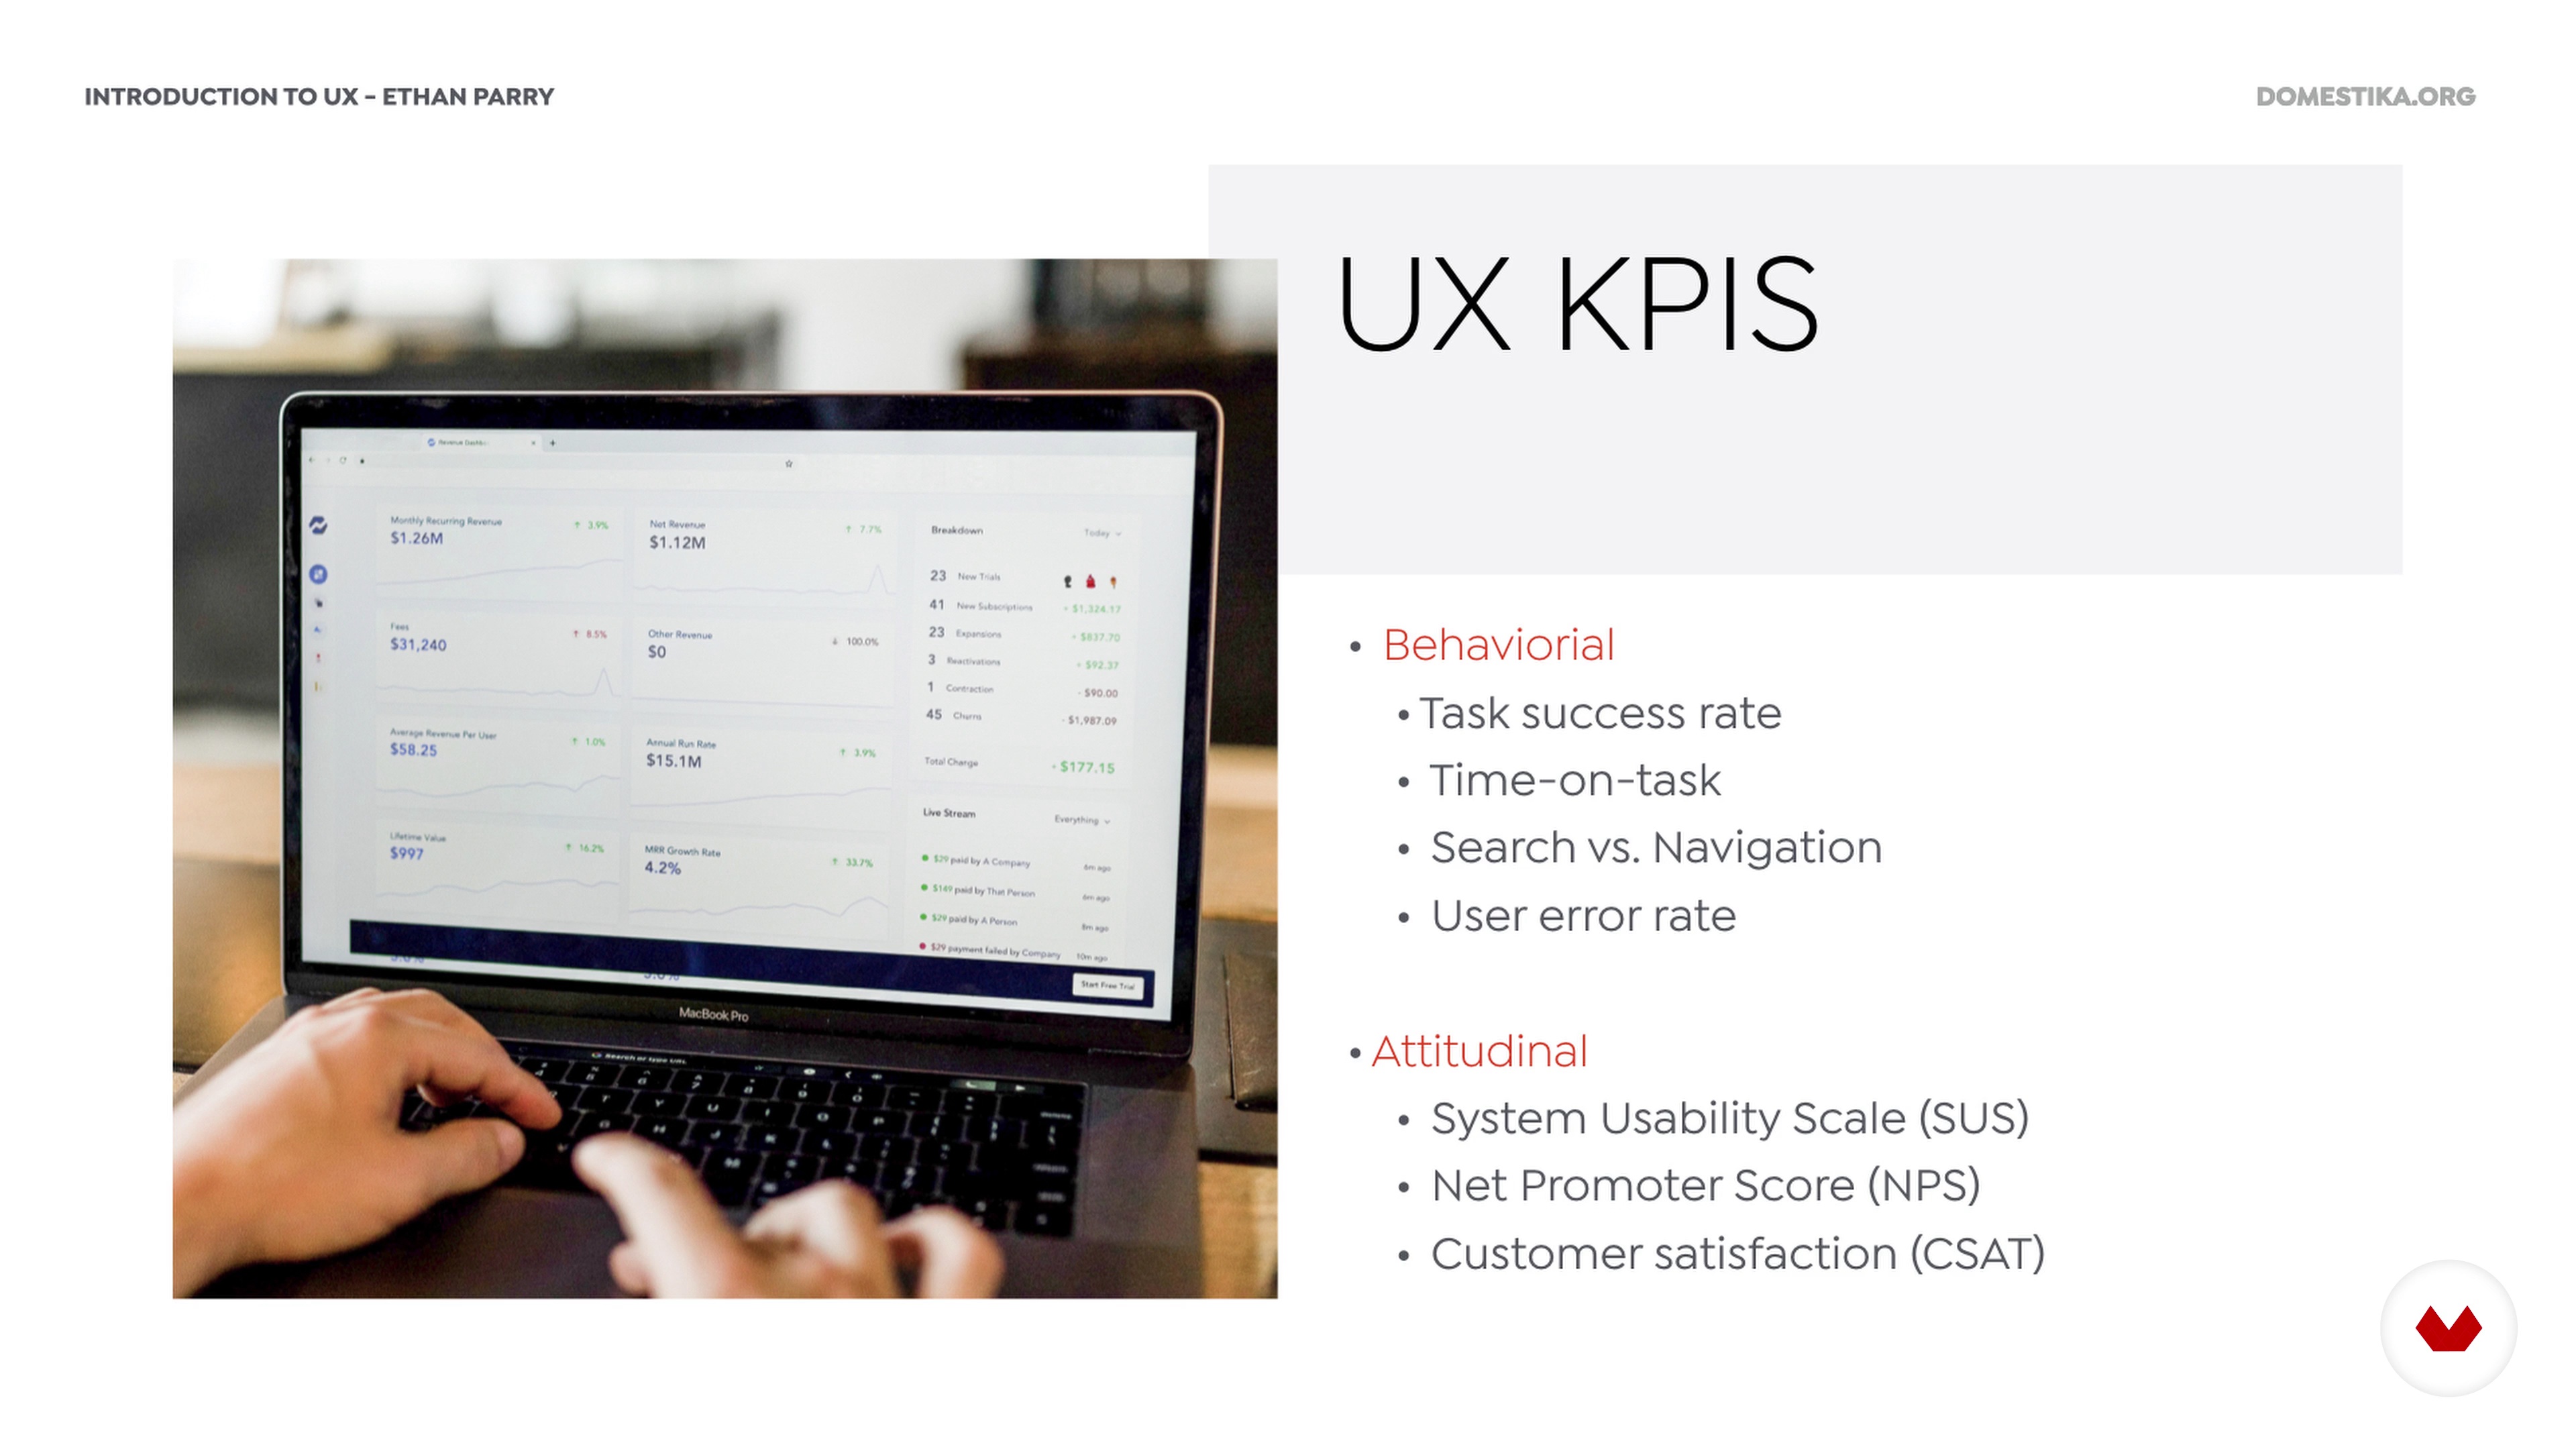
Presenting to Stakeholders/Clients
In this lesson, you will learn about how to measure UX and how to present your findings in creative ways to stakeholders/clients. I will also share some tips as to how to evangelize UX Design within the company.
10m
image
17
Case Studies
In this lesson, you will learn how to create a case study, thus being able to document your UX design process from start to finish.
6m
image
18
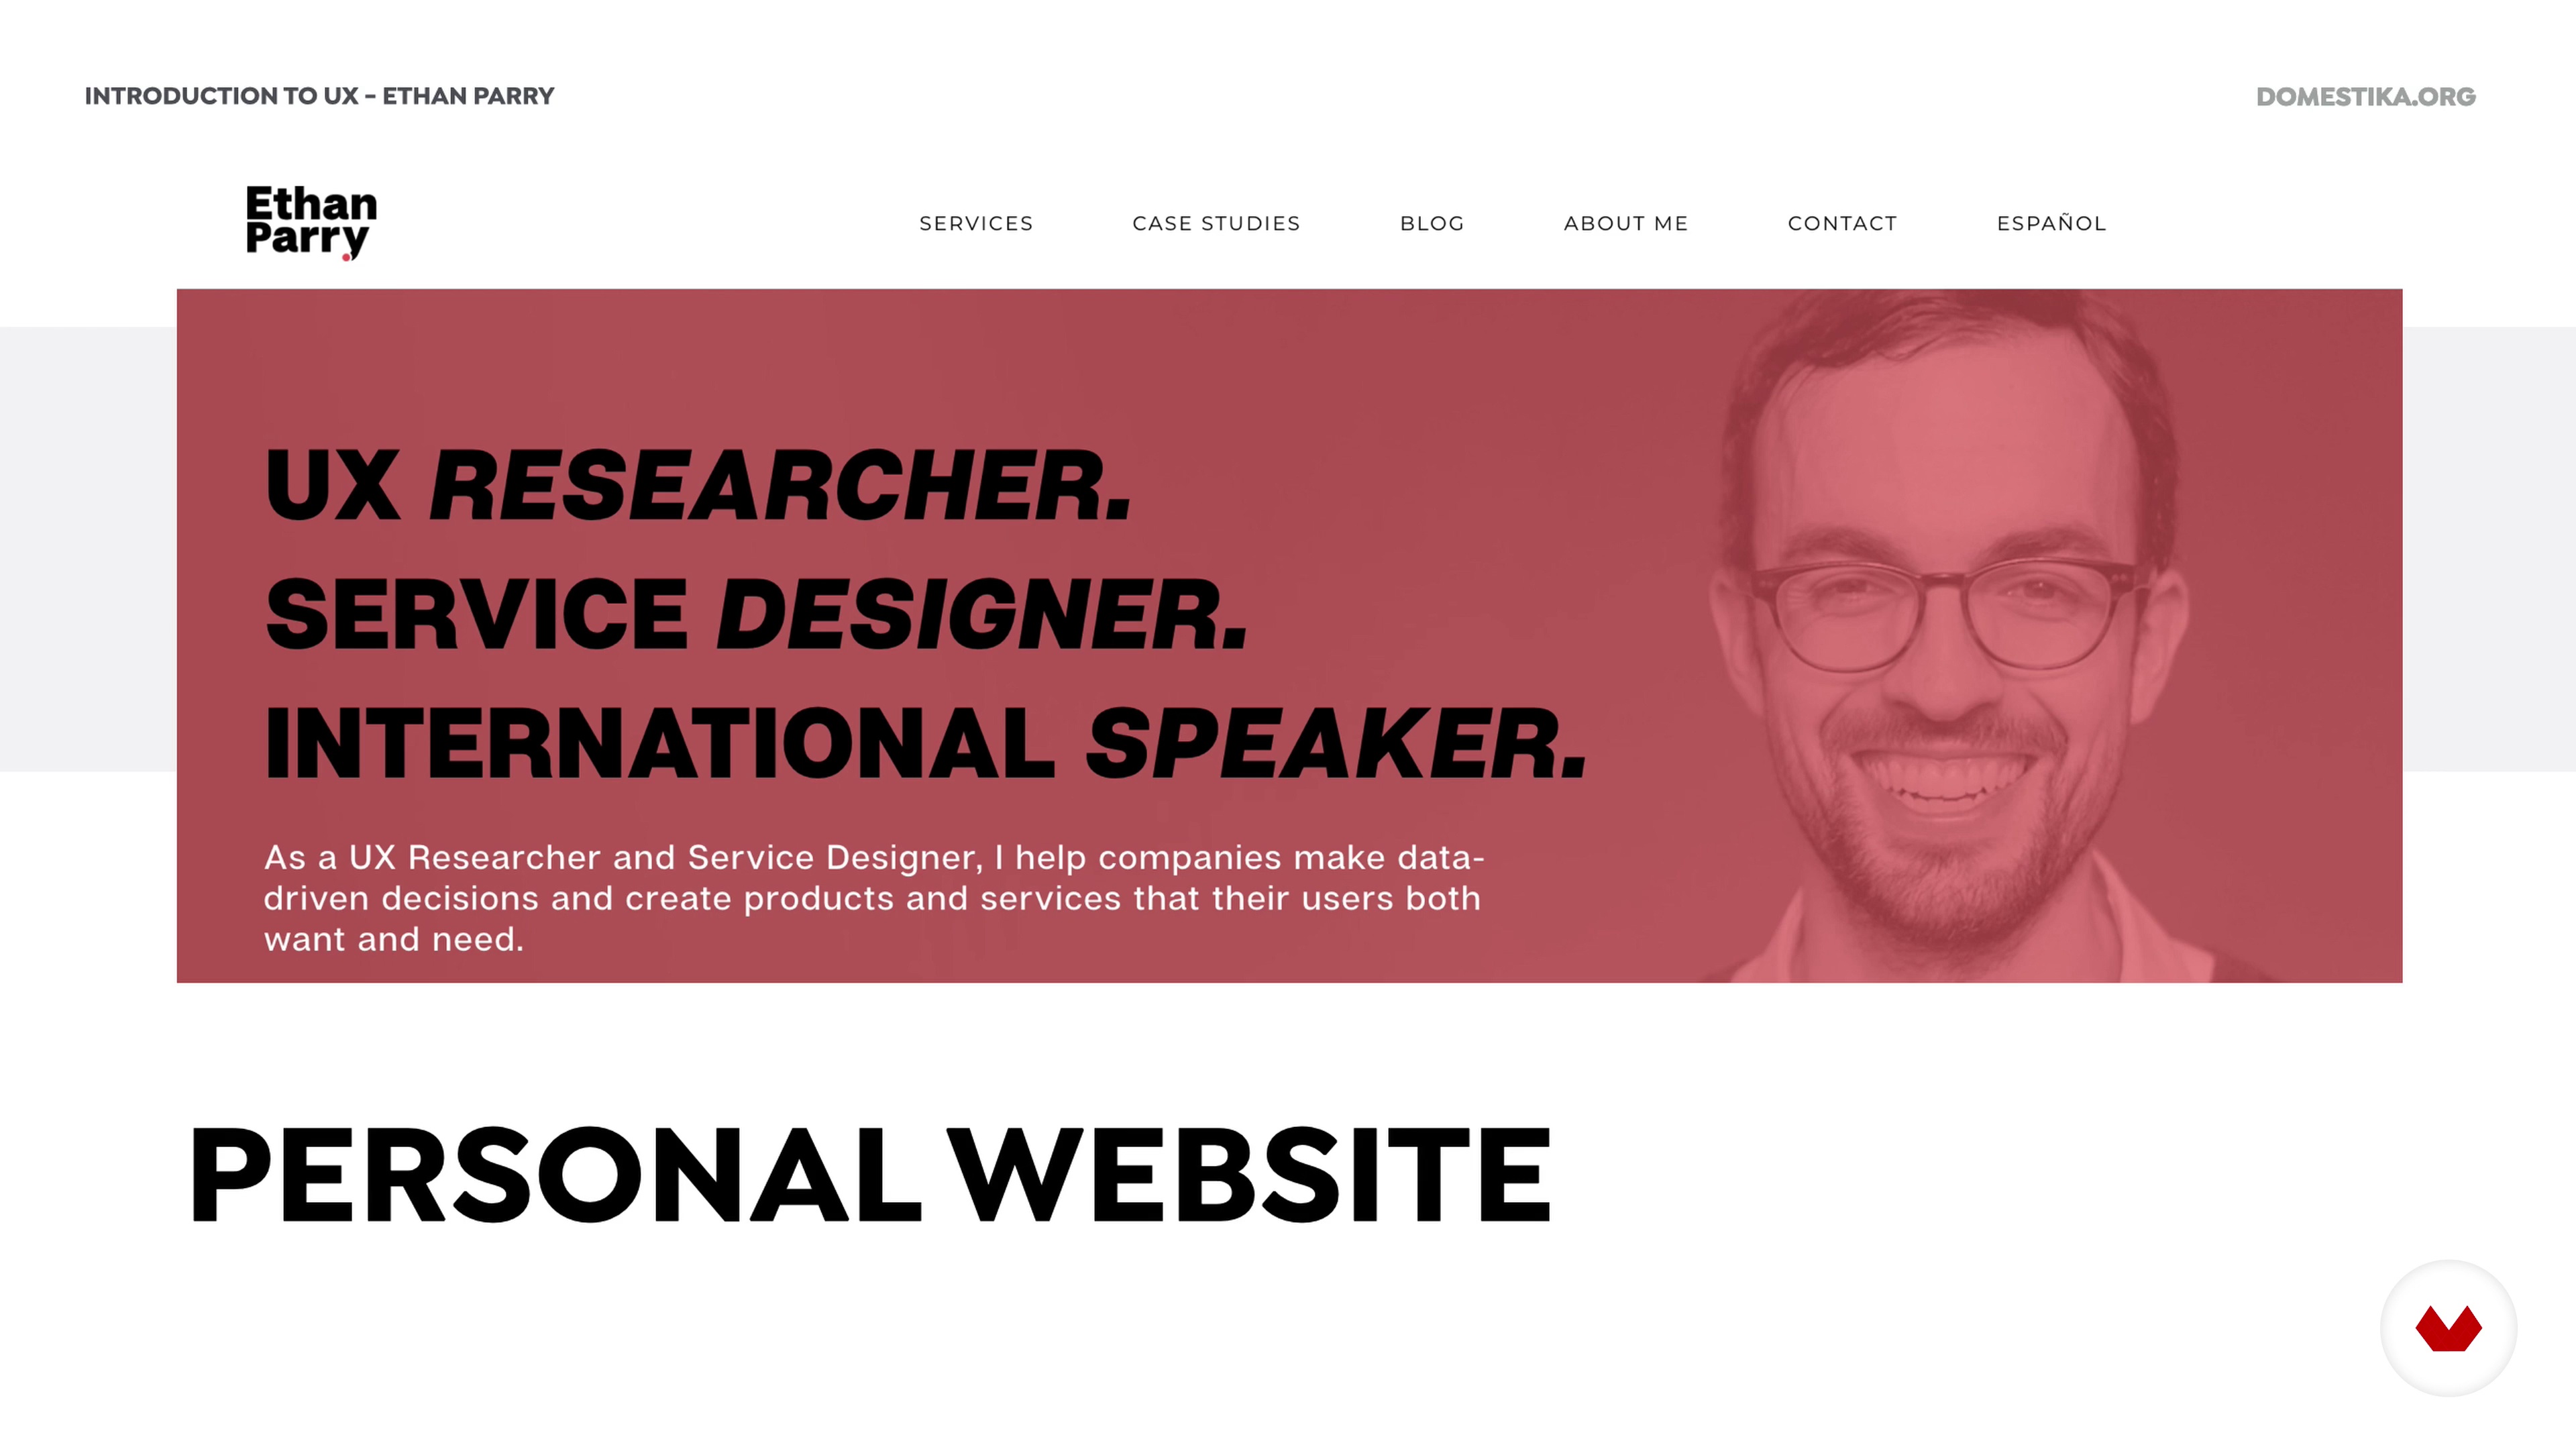
Showcasing Your Work
In this lesson, you will learn about different platforms where you can showcase your work and how to create a portfolio. When discussing how to create a portfolio, we will also discuss the advantages and disadvantages of specific formats.
14m
image
19
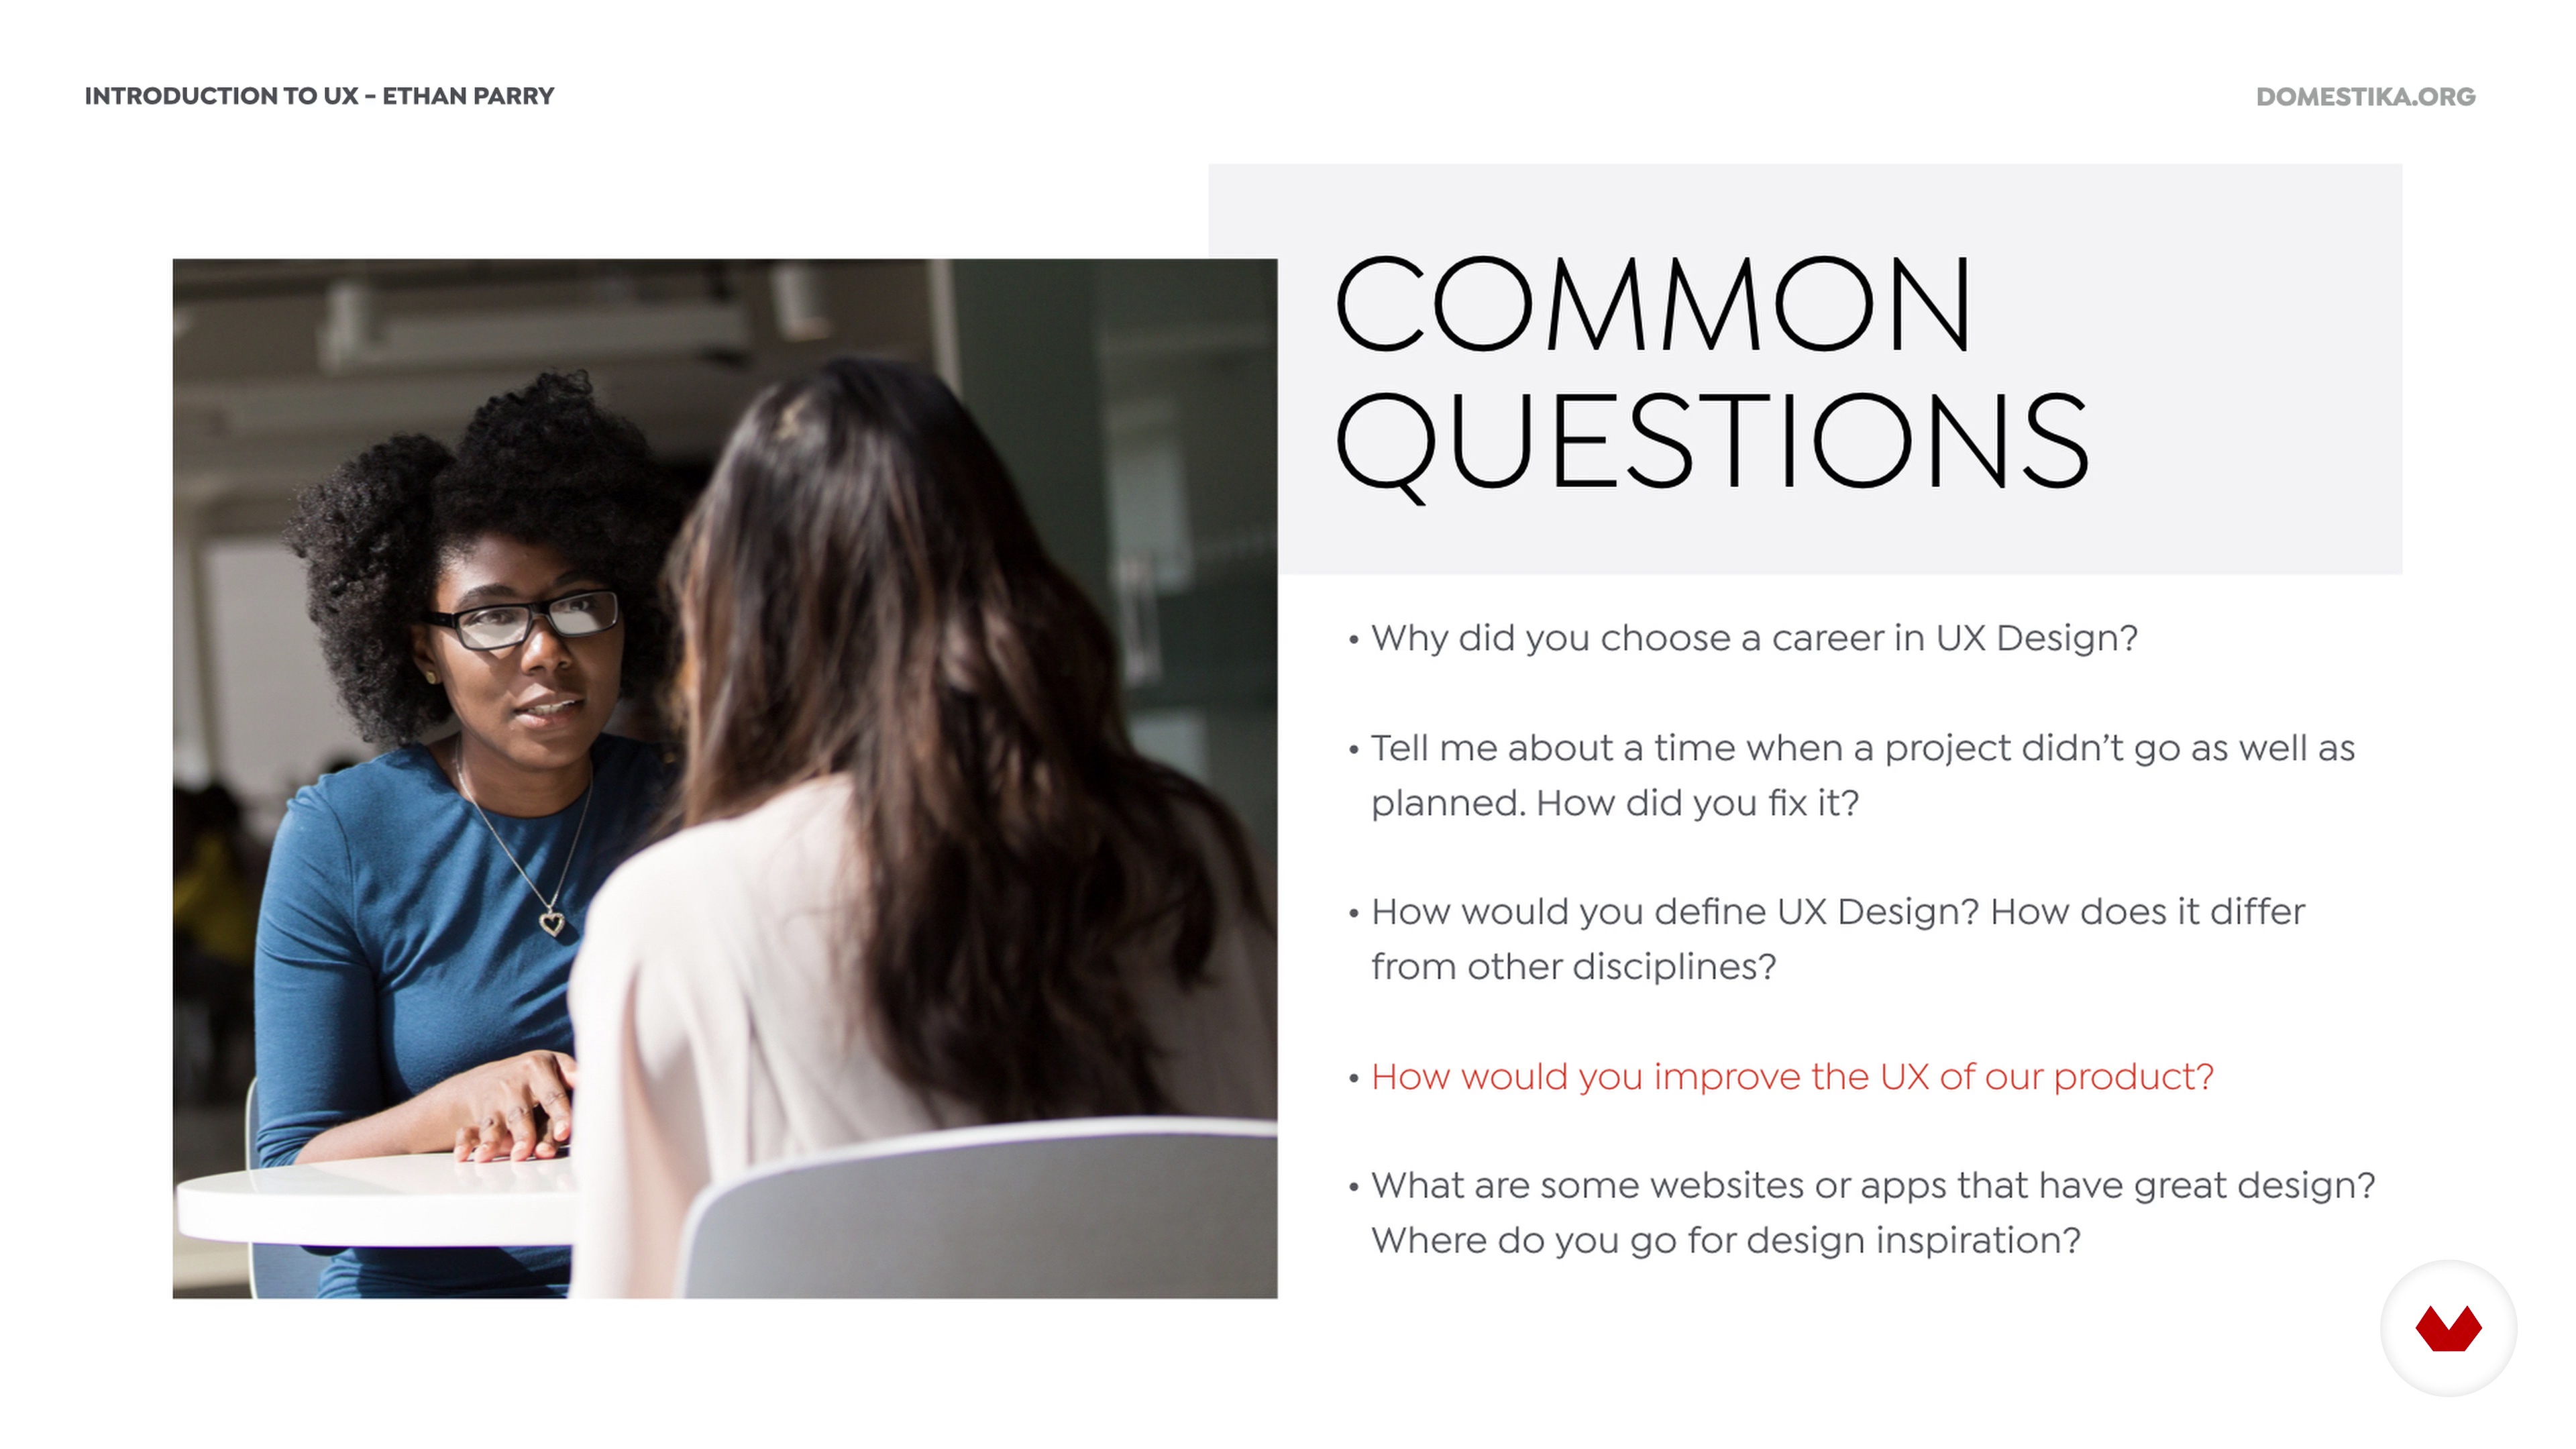
UX Job Interviews
In this lesson, I will share some tips when it comes to interviewing for UX positions and the kinds of design exercises that you will come across.
7m
image
1
What Is UX Research?
In this lesson, we will learn what UX Research is and when to integrate it.
5m
image
2
What Are the Most Common Methodologies
Choosing the right method for your questions helps you to come up with the right insights so in this lesson we will see the difference between evaluative and generative research and when to use each.
6m
image
3
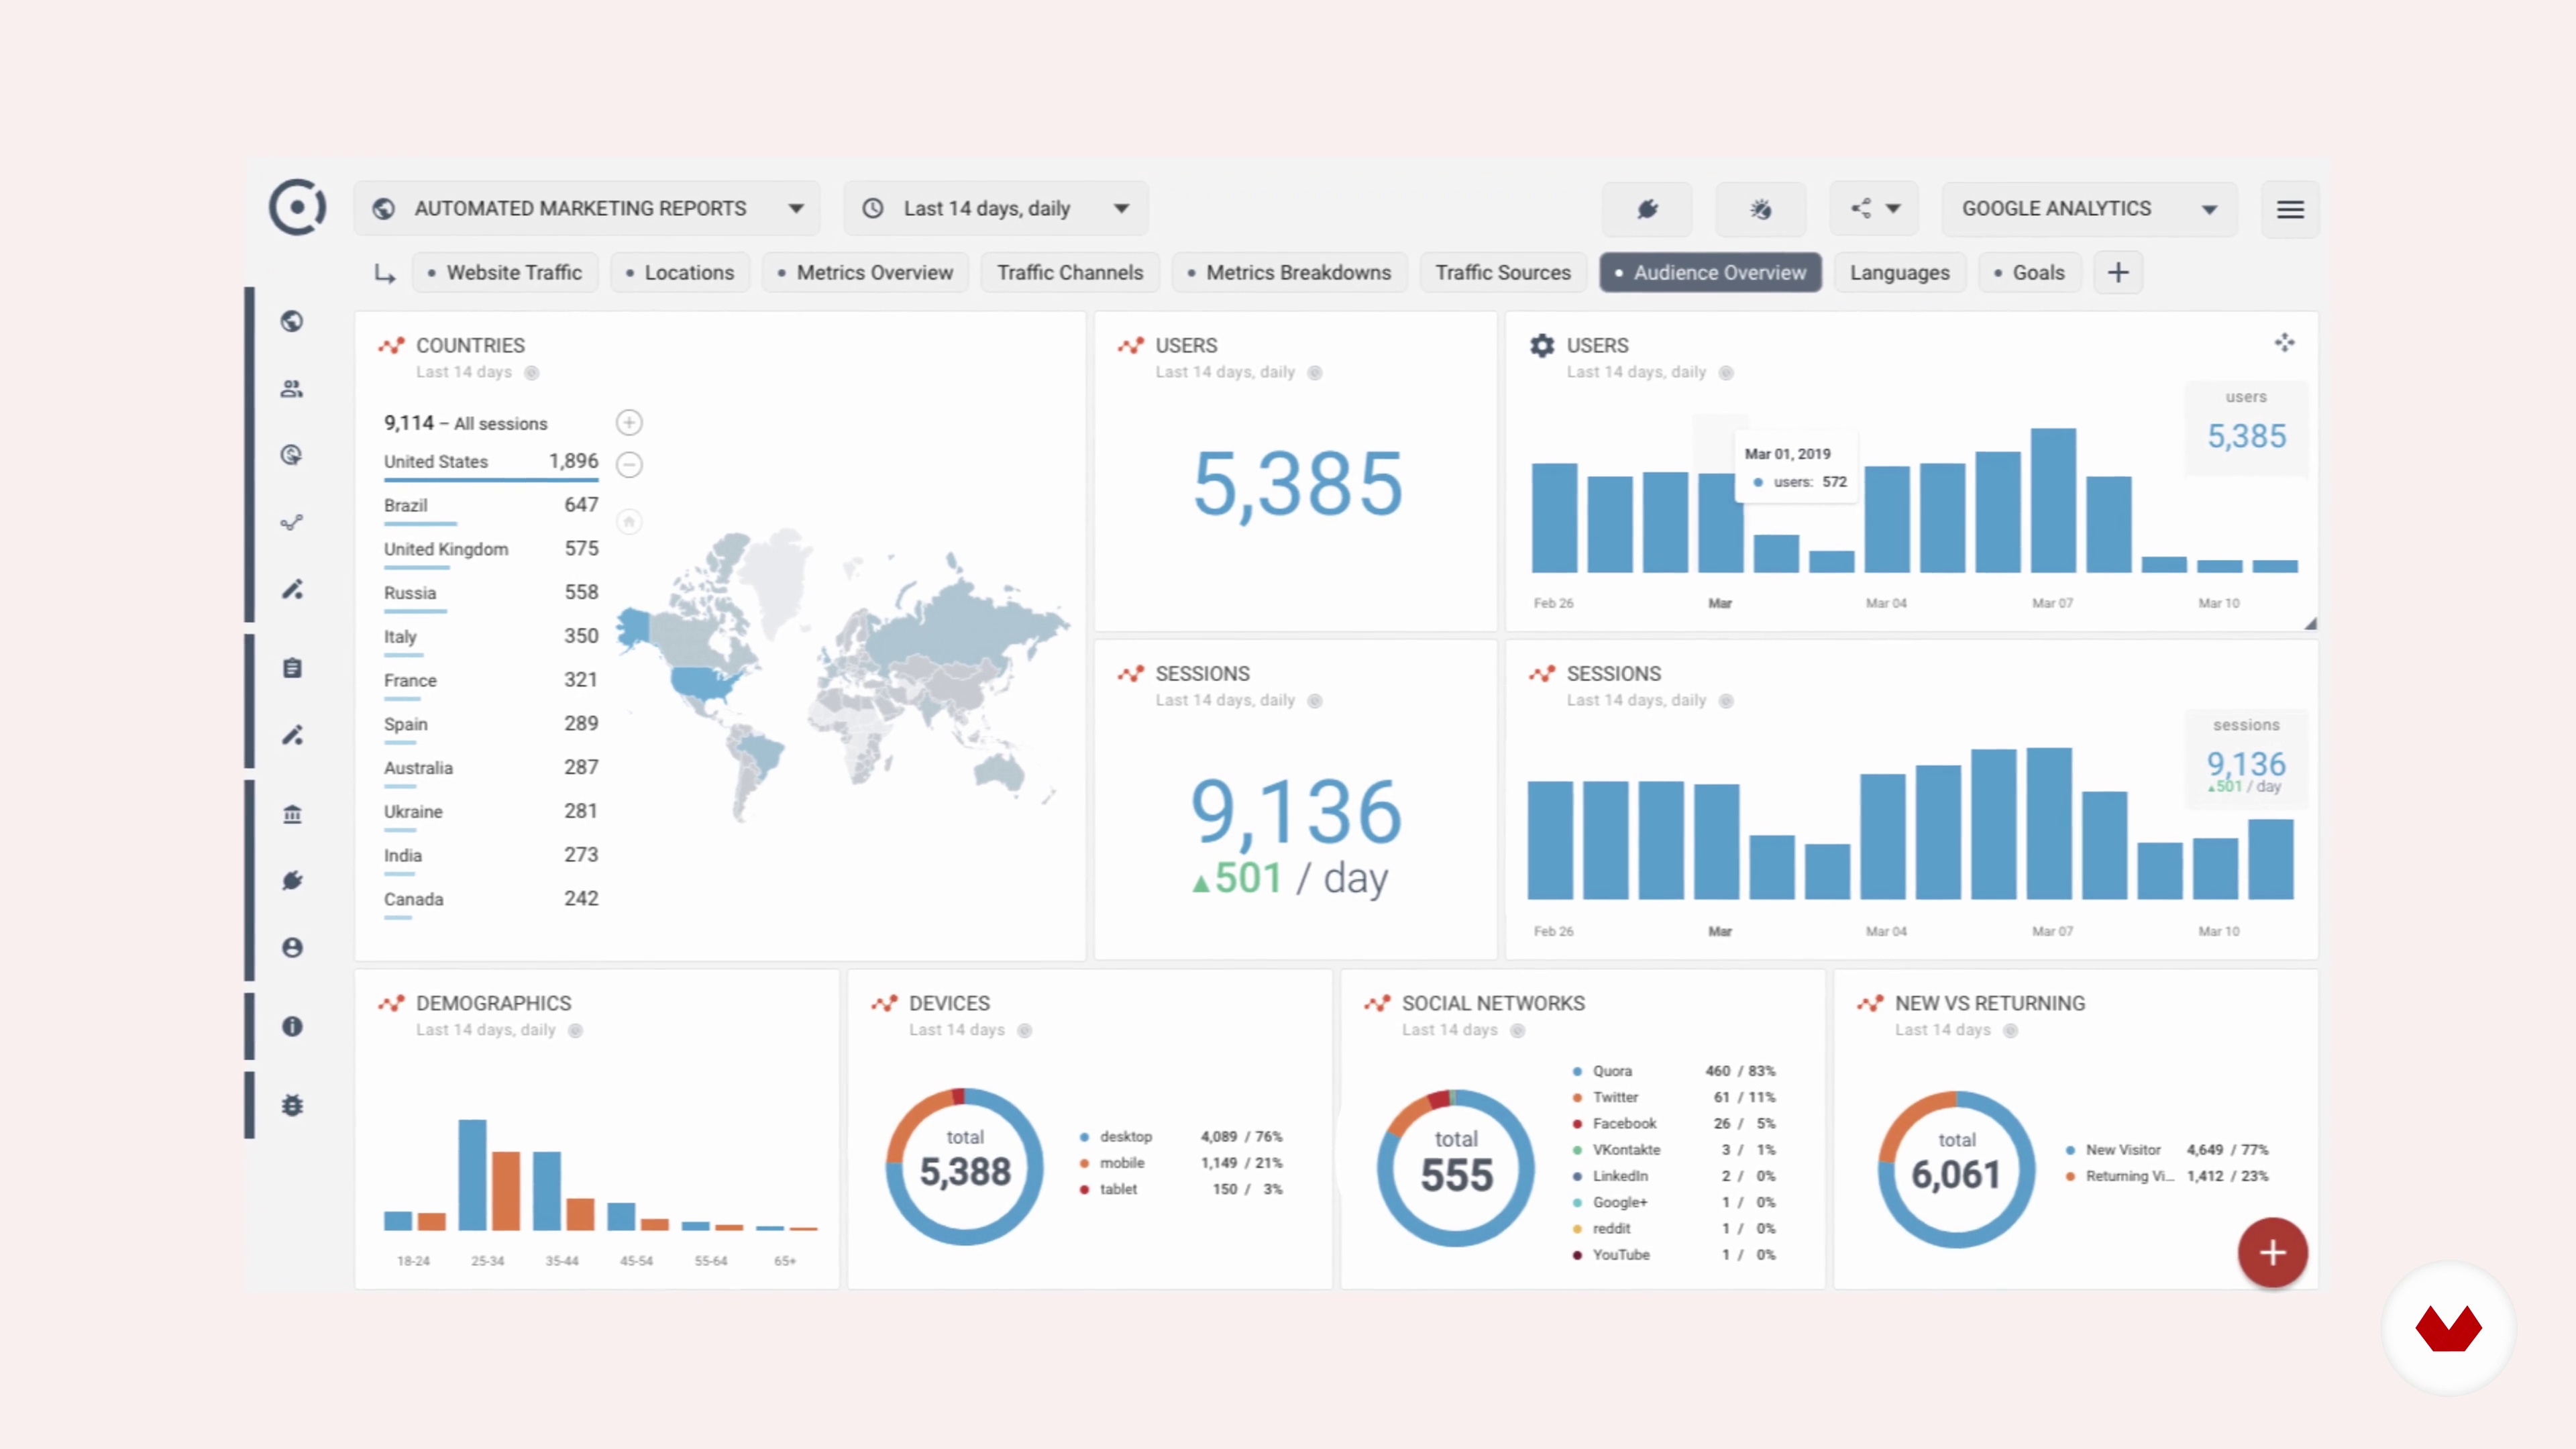
Quantitative User Research
Quantitative user research is about the quantity. You need a high amount of data to be able to get real insights. Those insights answer the “what”. It shows what devices users are using but not why they are using a specific device. In this lesson, we will go through different quantitative methods
5m
image
4
Qualitative User Research
Qualitative user research is about quality. With these methods, you will be able to figure out your "why". In this lesson, we will go through different qualitative methods.
9m
image
5
Planning Your Research
Creating a research plan structures your thinking around the research activity.
3m
image
6
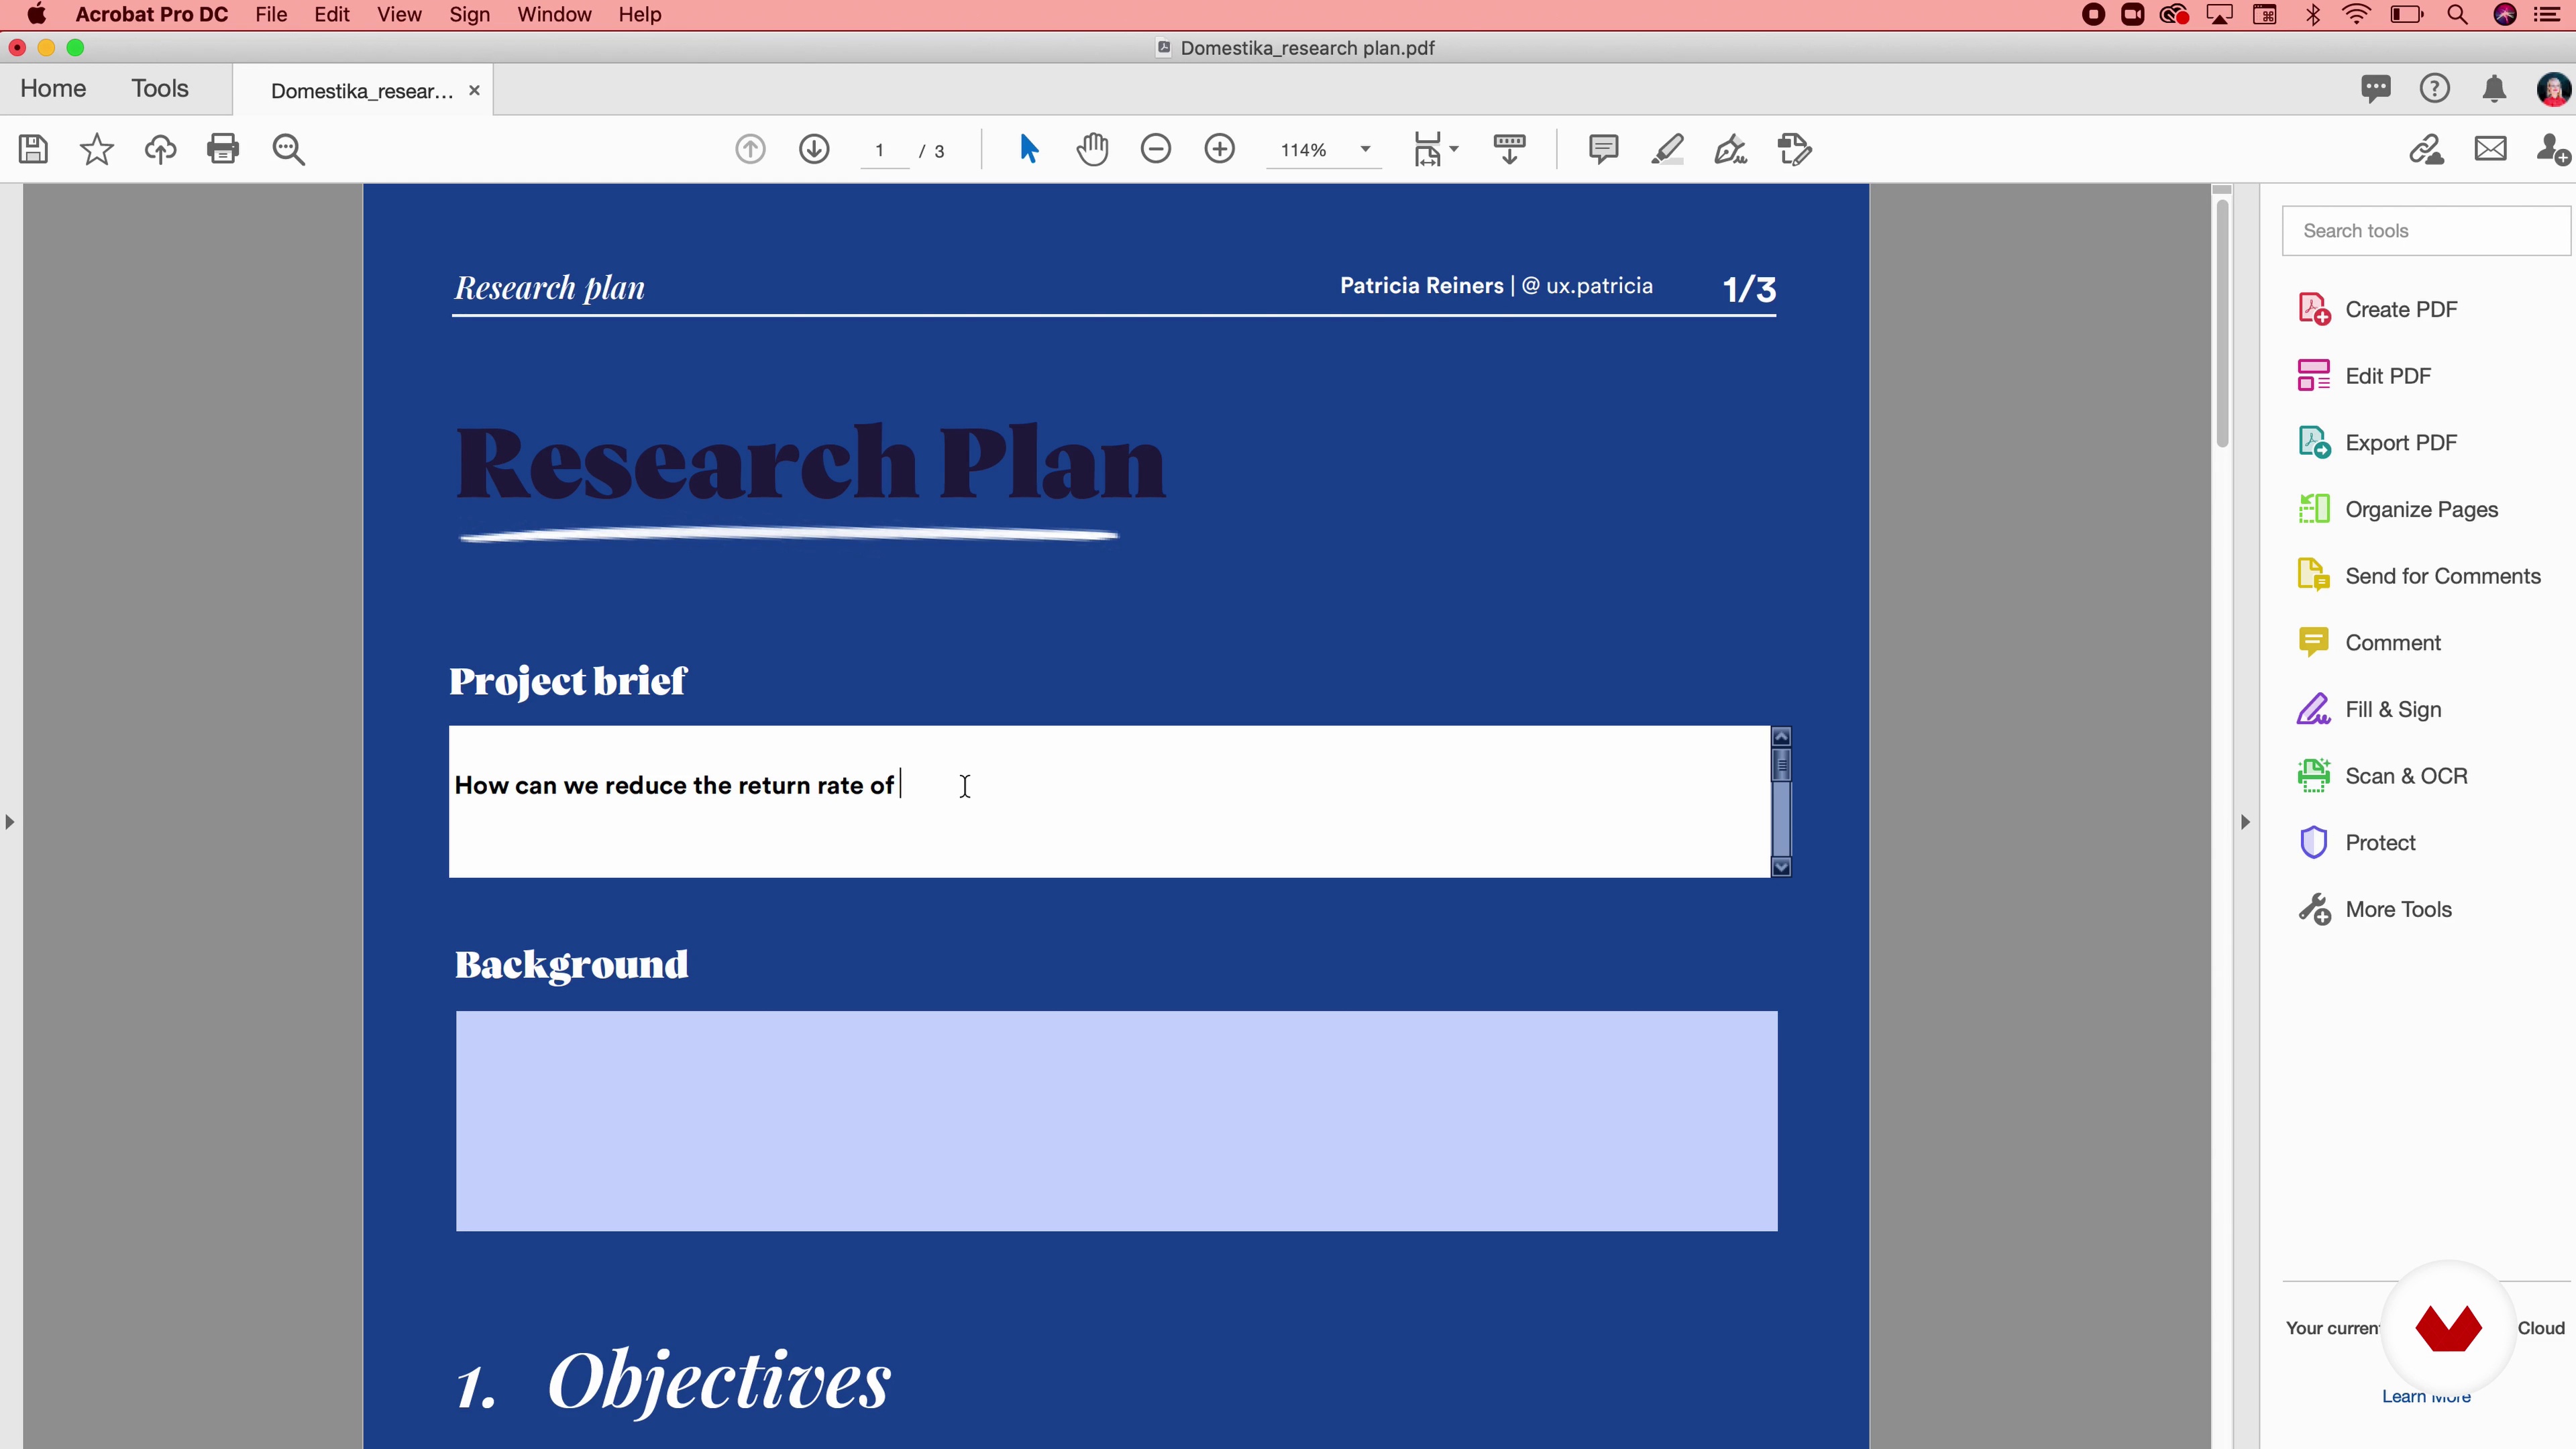
Writing the Research Plan
In this lesson, we are going to write a research plan for a research project. We will go through everything step by step.
9m
image
7
How to Choose the Participants
Choosing participants is important, whatever methods you chose. In this lesson, we will see how to do it.
8m
image
8
How to Write a Discussion Guide
When conducting field studies, contextual inquiries, one-to-one interviews, or any kind of interview, you need a discussion guide. In this lesson, we will come up with the questions to frame them properly.
9m
image
9
How to Prepare the Session
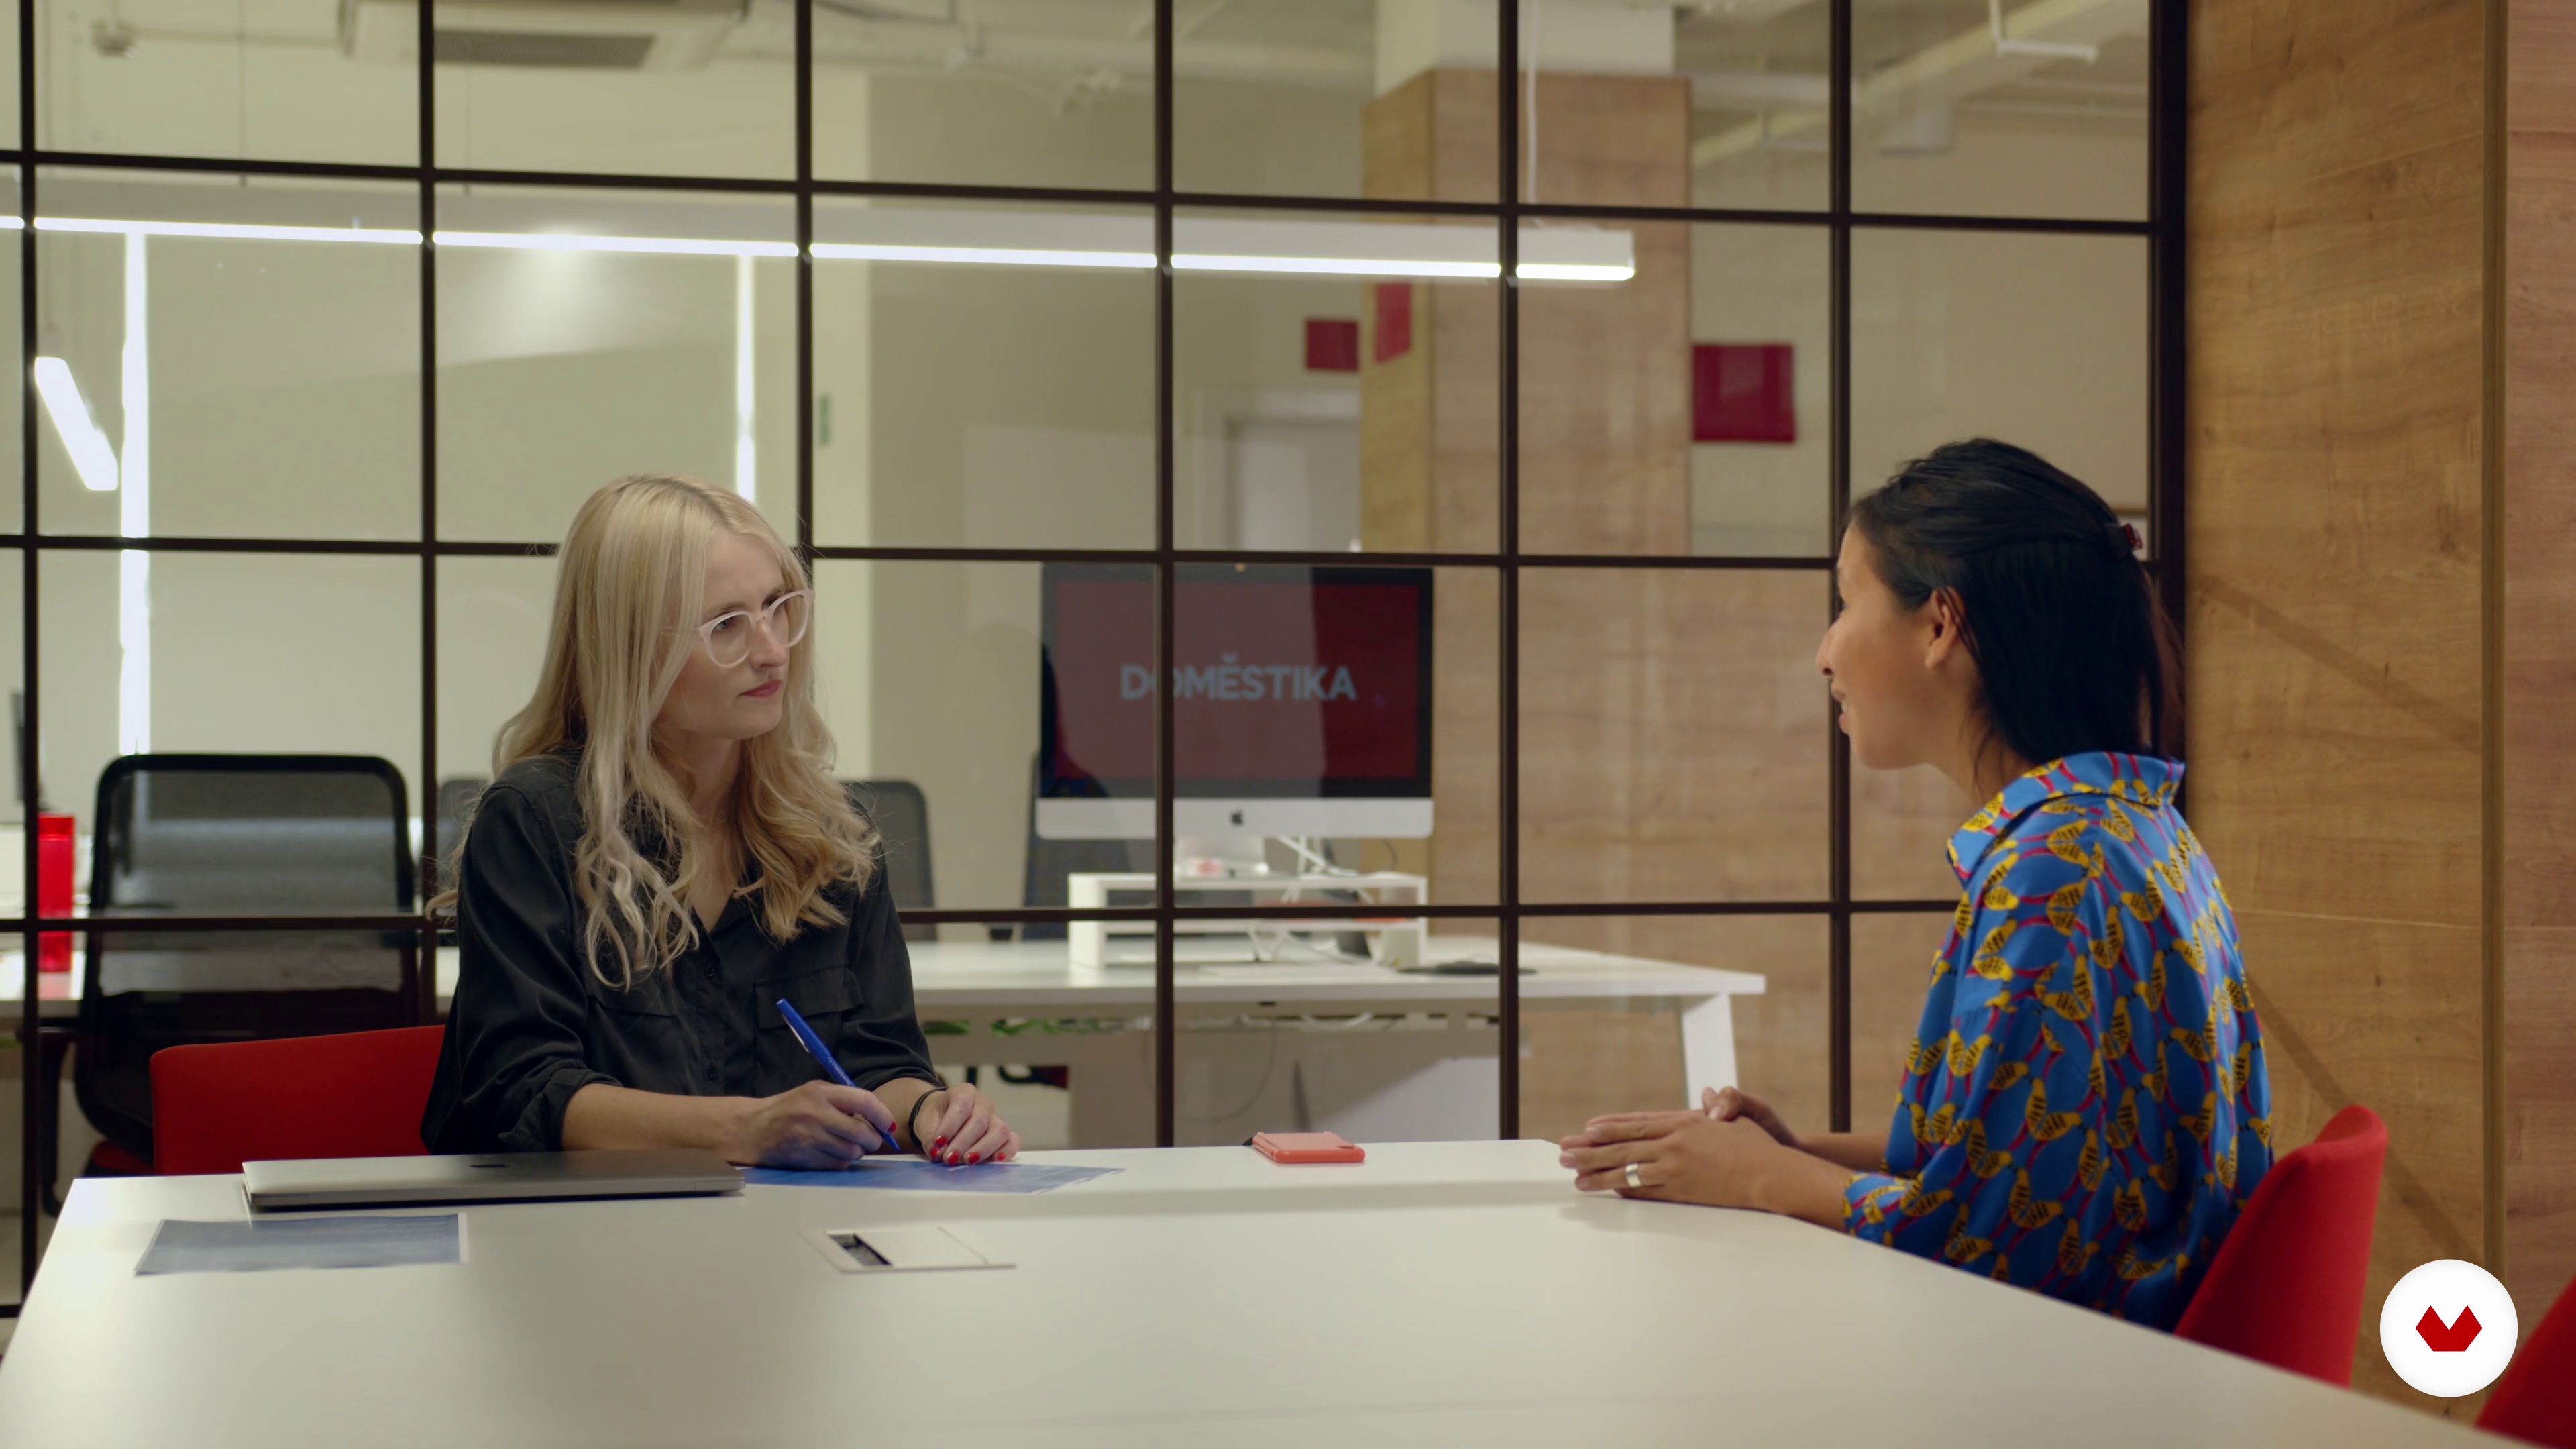
Your goal in the interview is to learn as much as possible about how your users think and behave. In this lesson, we will learn how to frame questions and the materials we will need for our interview.
7m
image
10
How Does a Qualitative Session Look Like
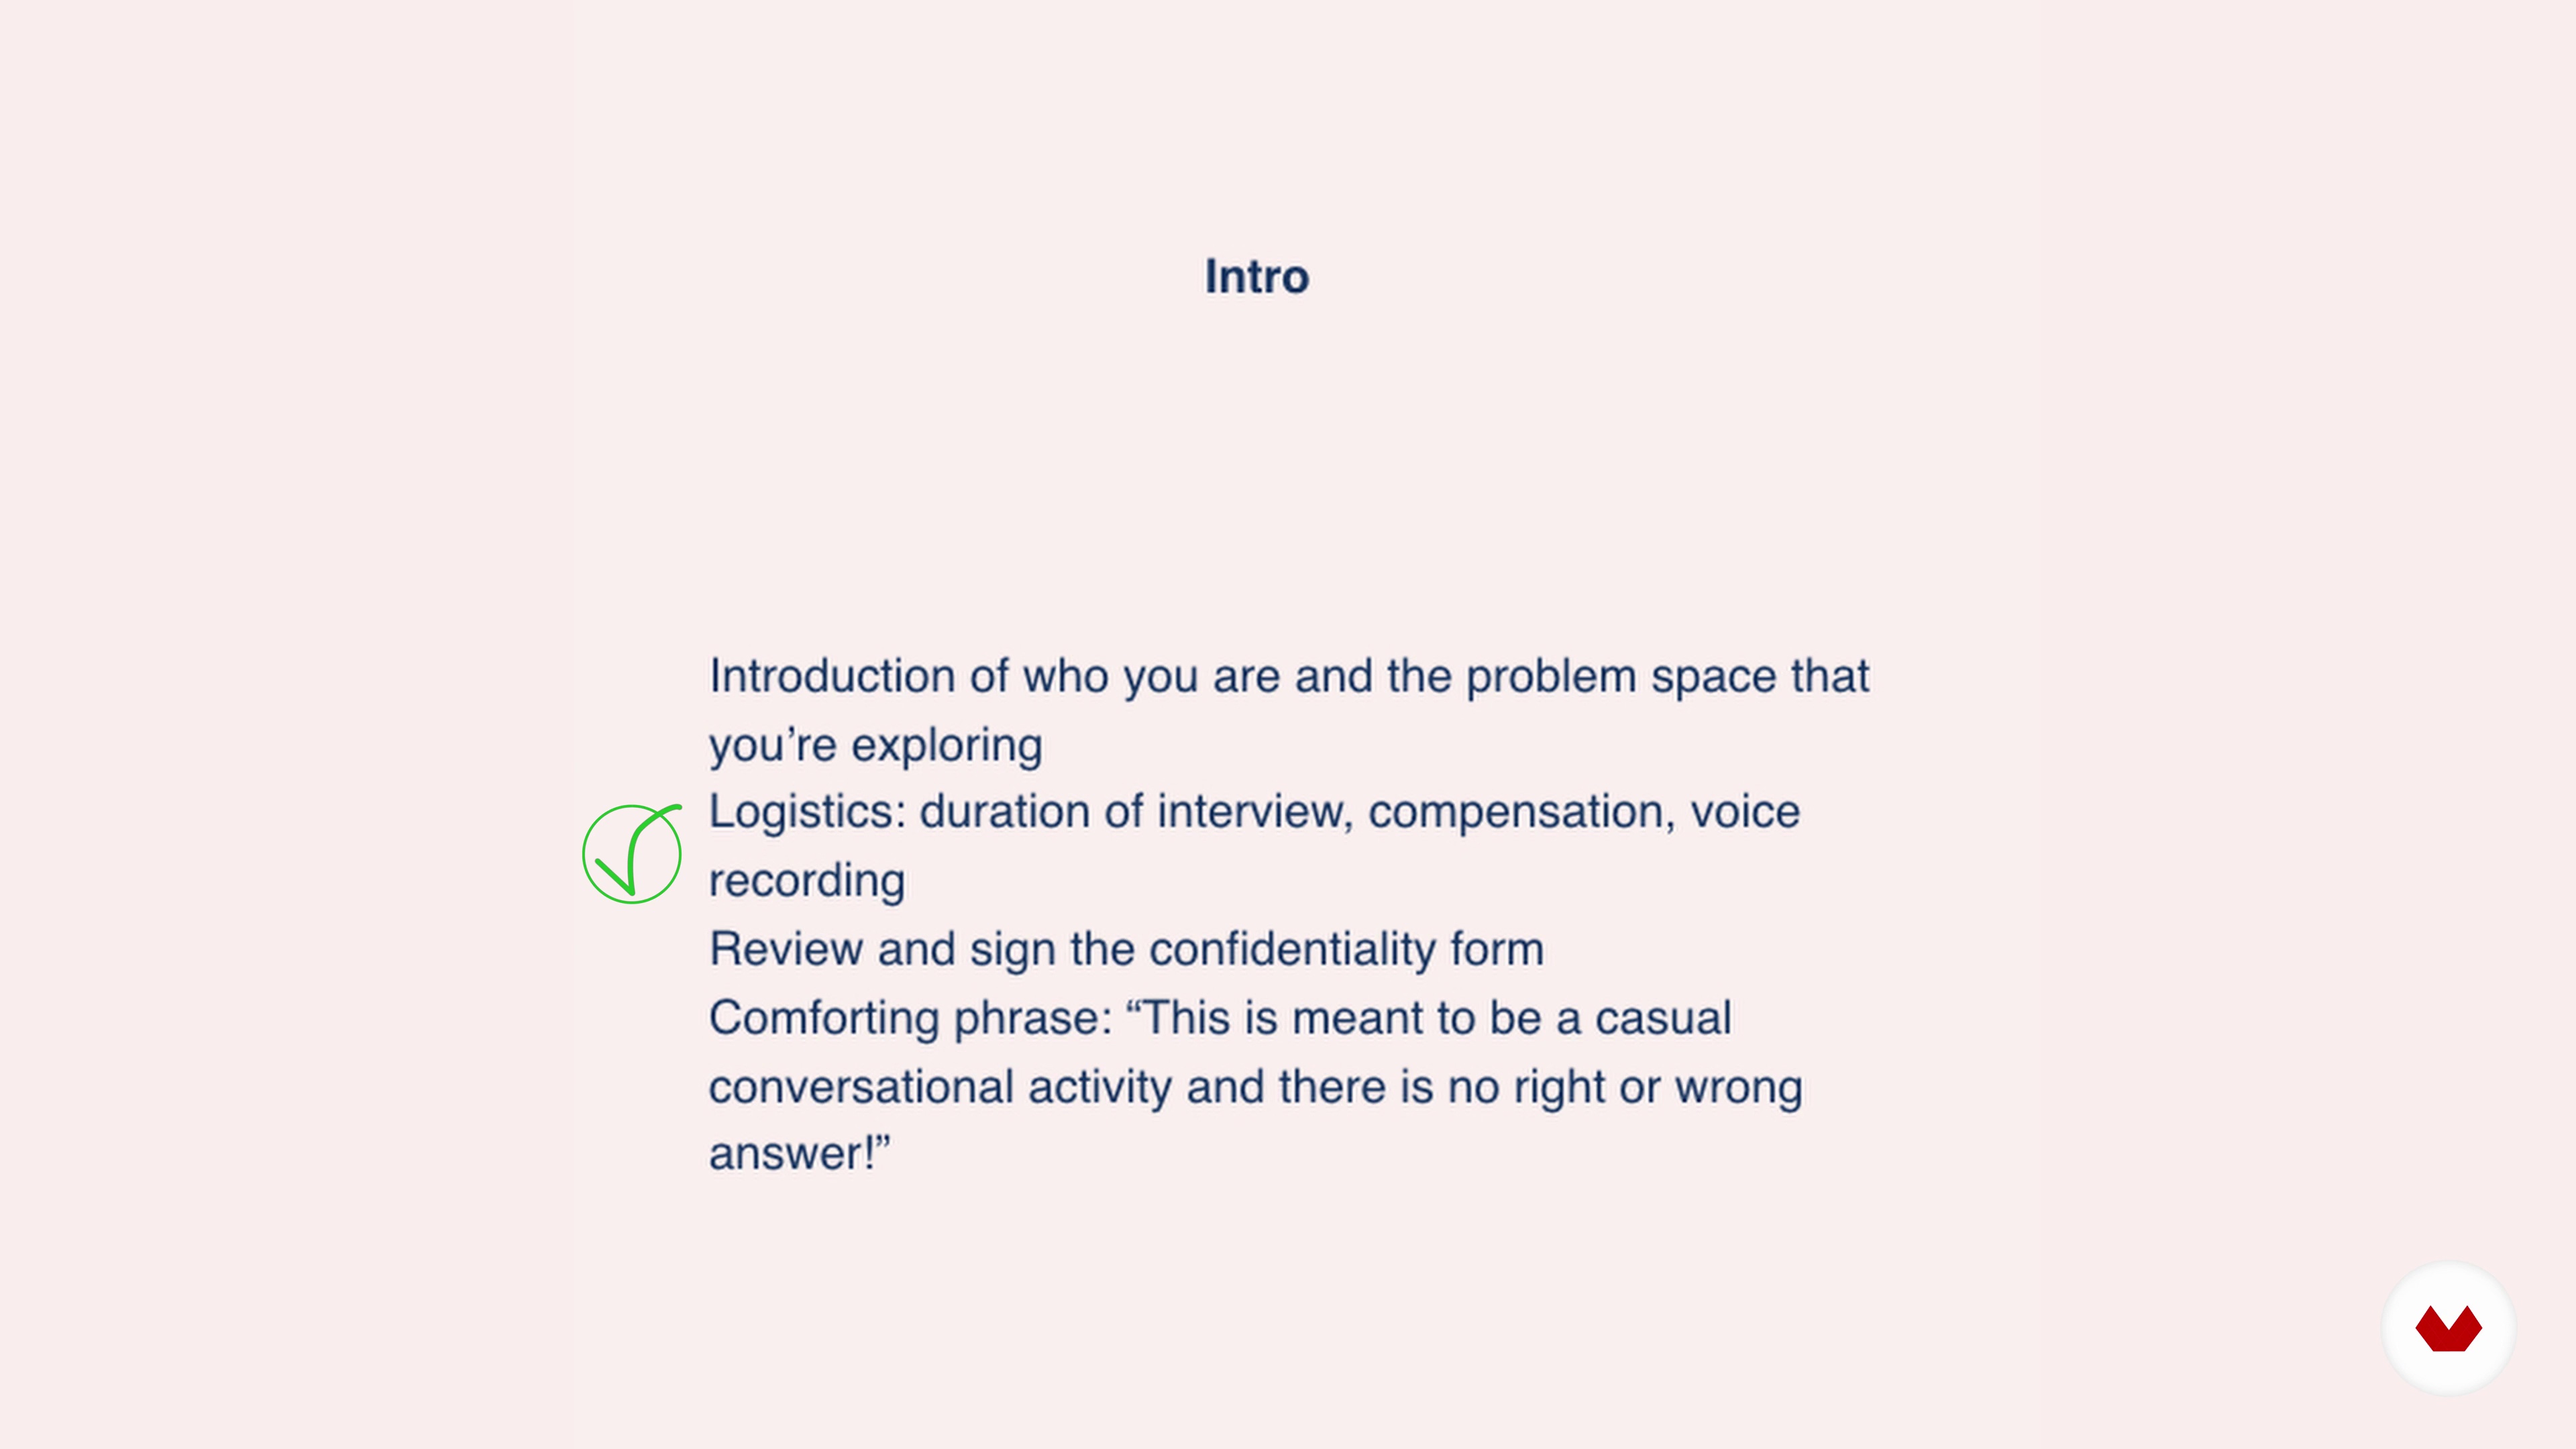
In this lesson, we will talk about the structure of an interview: the intro, the main part (the questions), and the outro.
6m
image
11
Visualize Your Qualitative User Research
In this lesson, we will synthesize the insights and lay it out visually to present it to your stakeholders and team members.
11m
image
12
User Journey Map & Personas 1
In this lesson, we will learn how to create artifacts to be shared with all your team members and stakeholders: personas and user journey maps.
9m
image
13
User Journey Map & Personas 2
We finish off this lesson on user journey maps and personas.
13m
image
1
Composition and Visual Design Principles
Now we will analyze the elements that make a good composition.
4m
image
2
Gestalt Principles Used in Design
We will see how the Gestalt principles inform the way we interpret visual information.
3m
image
3
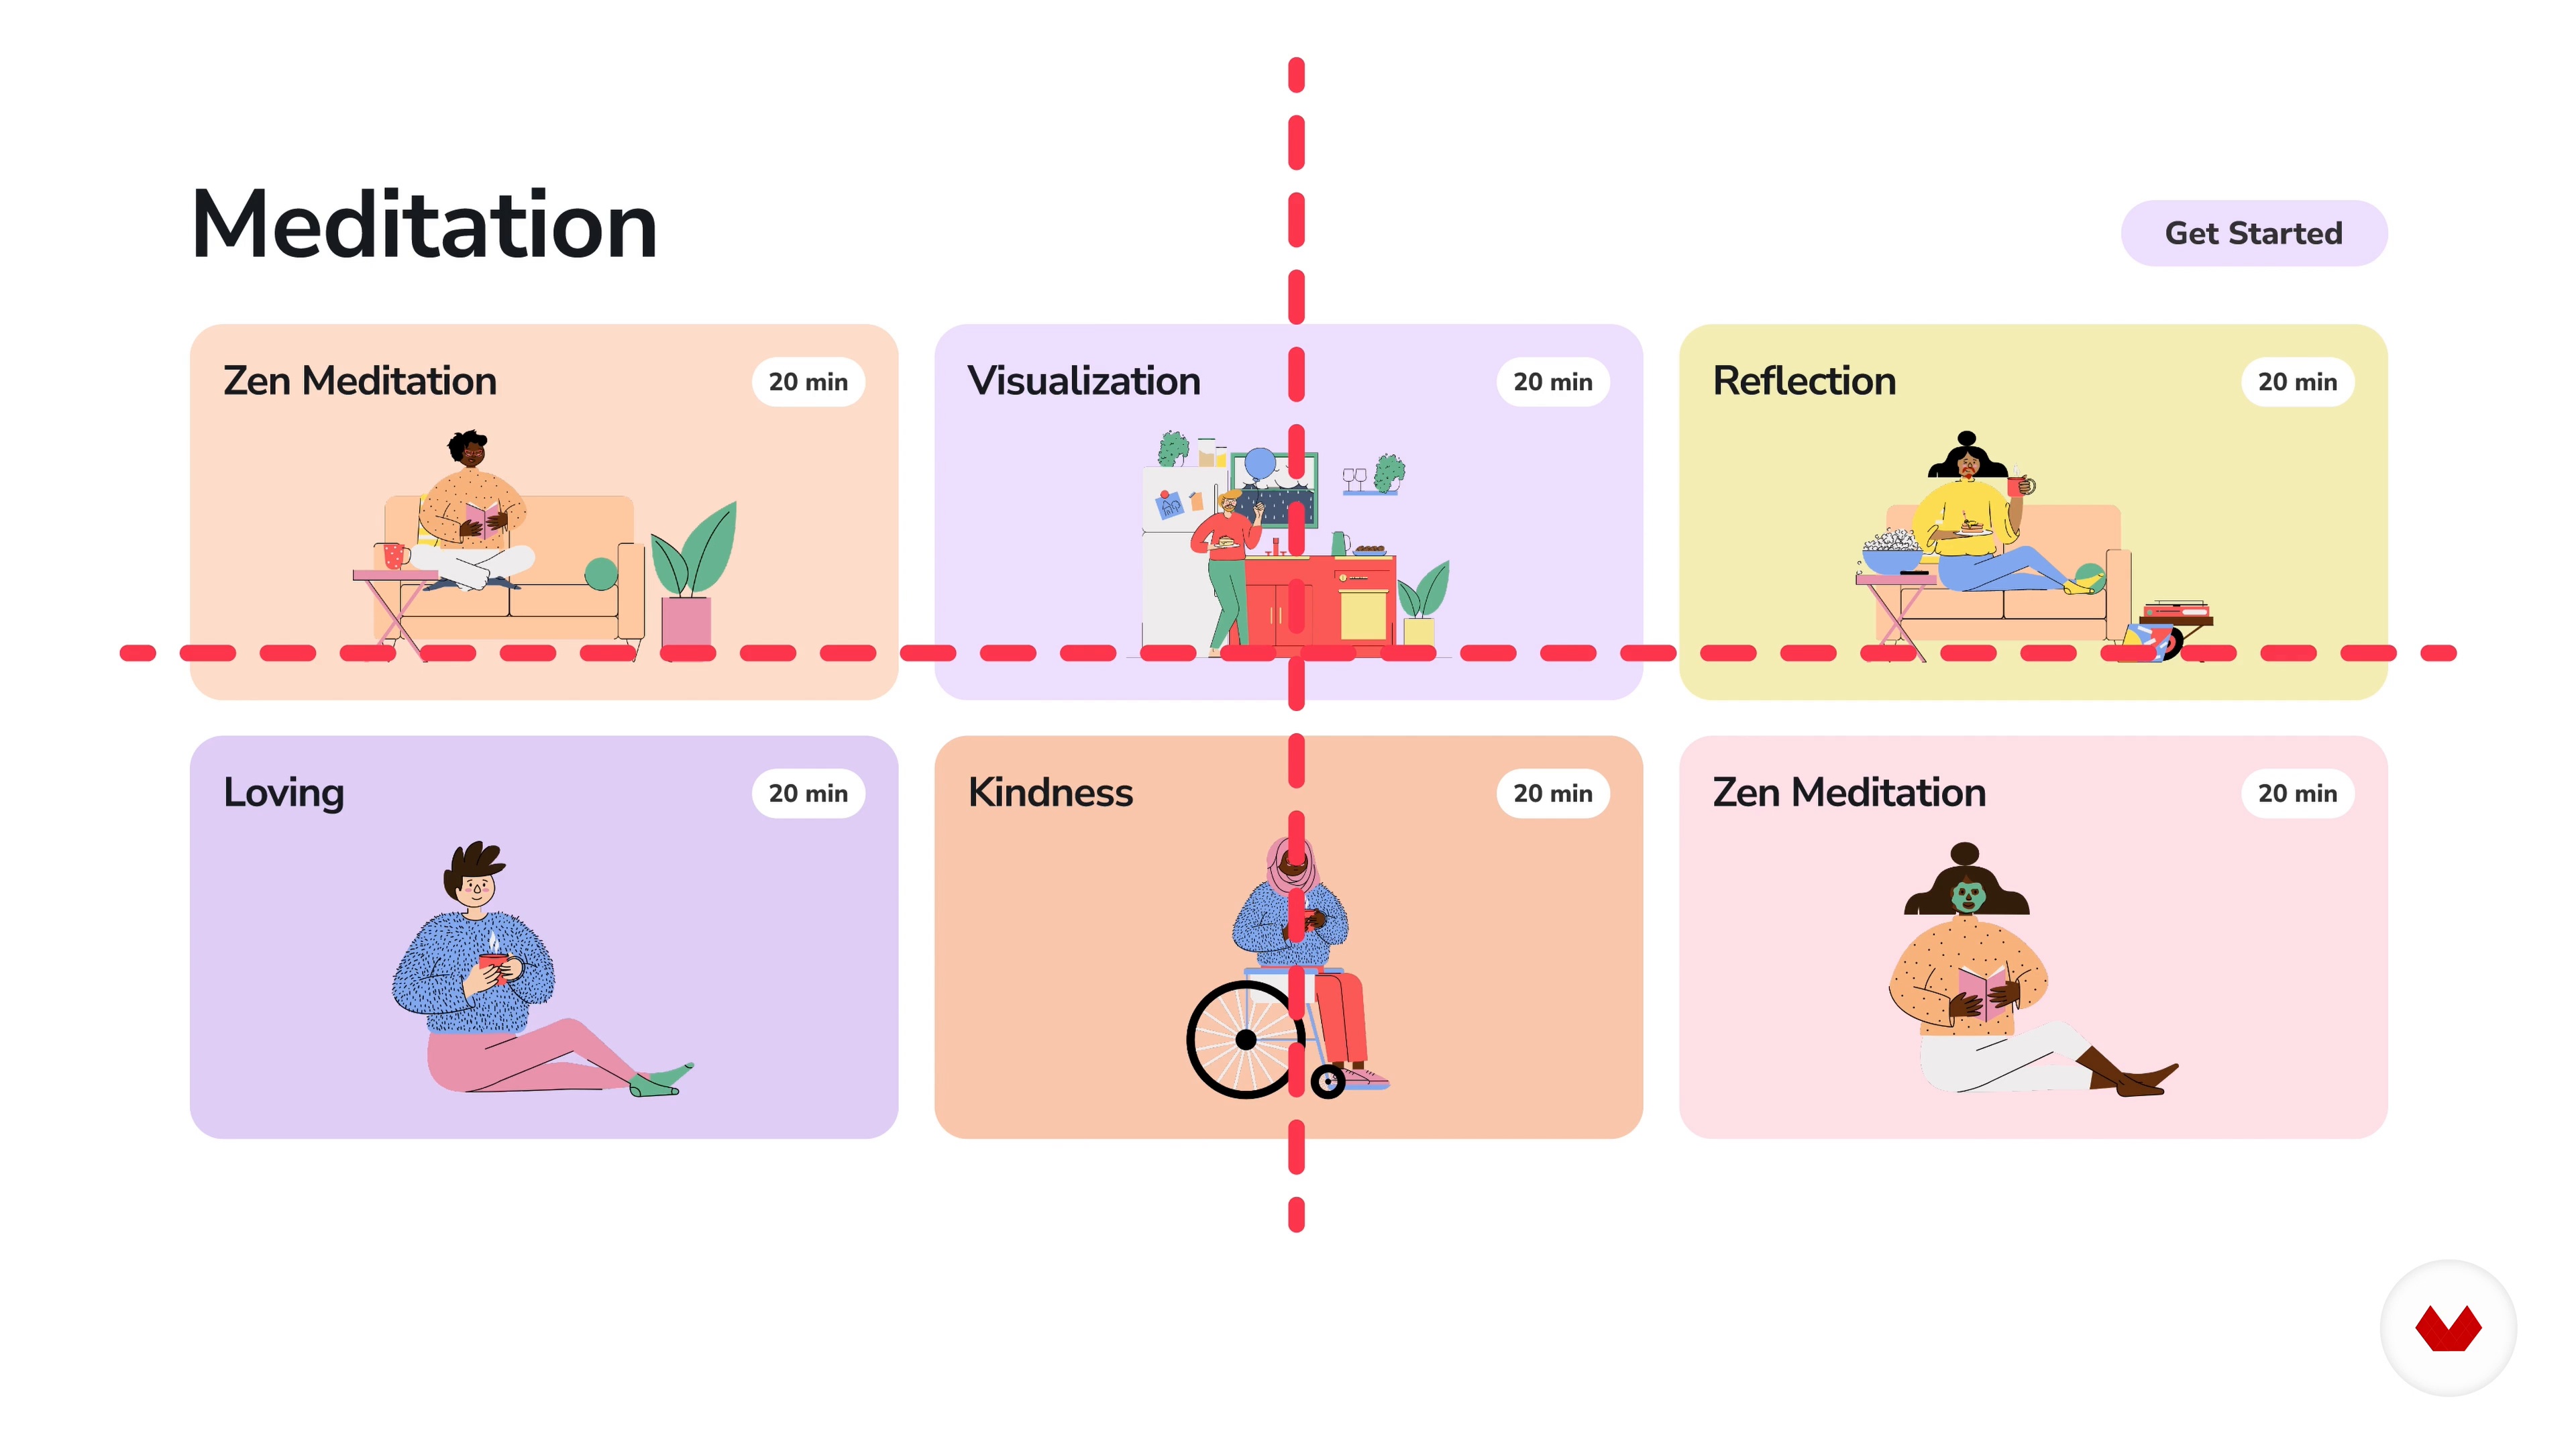
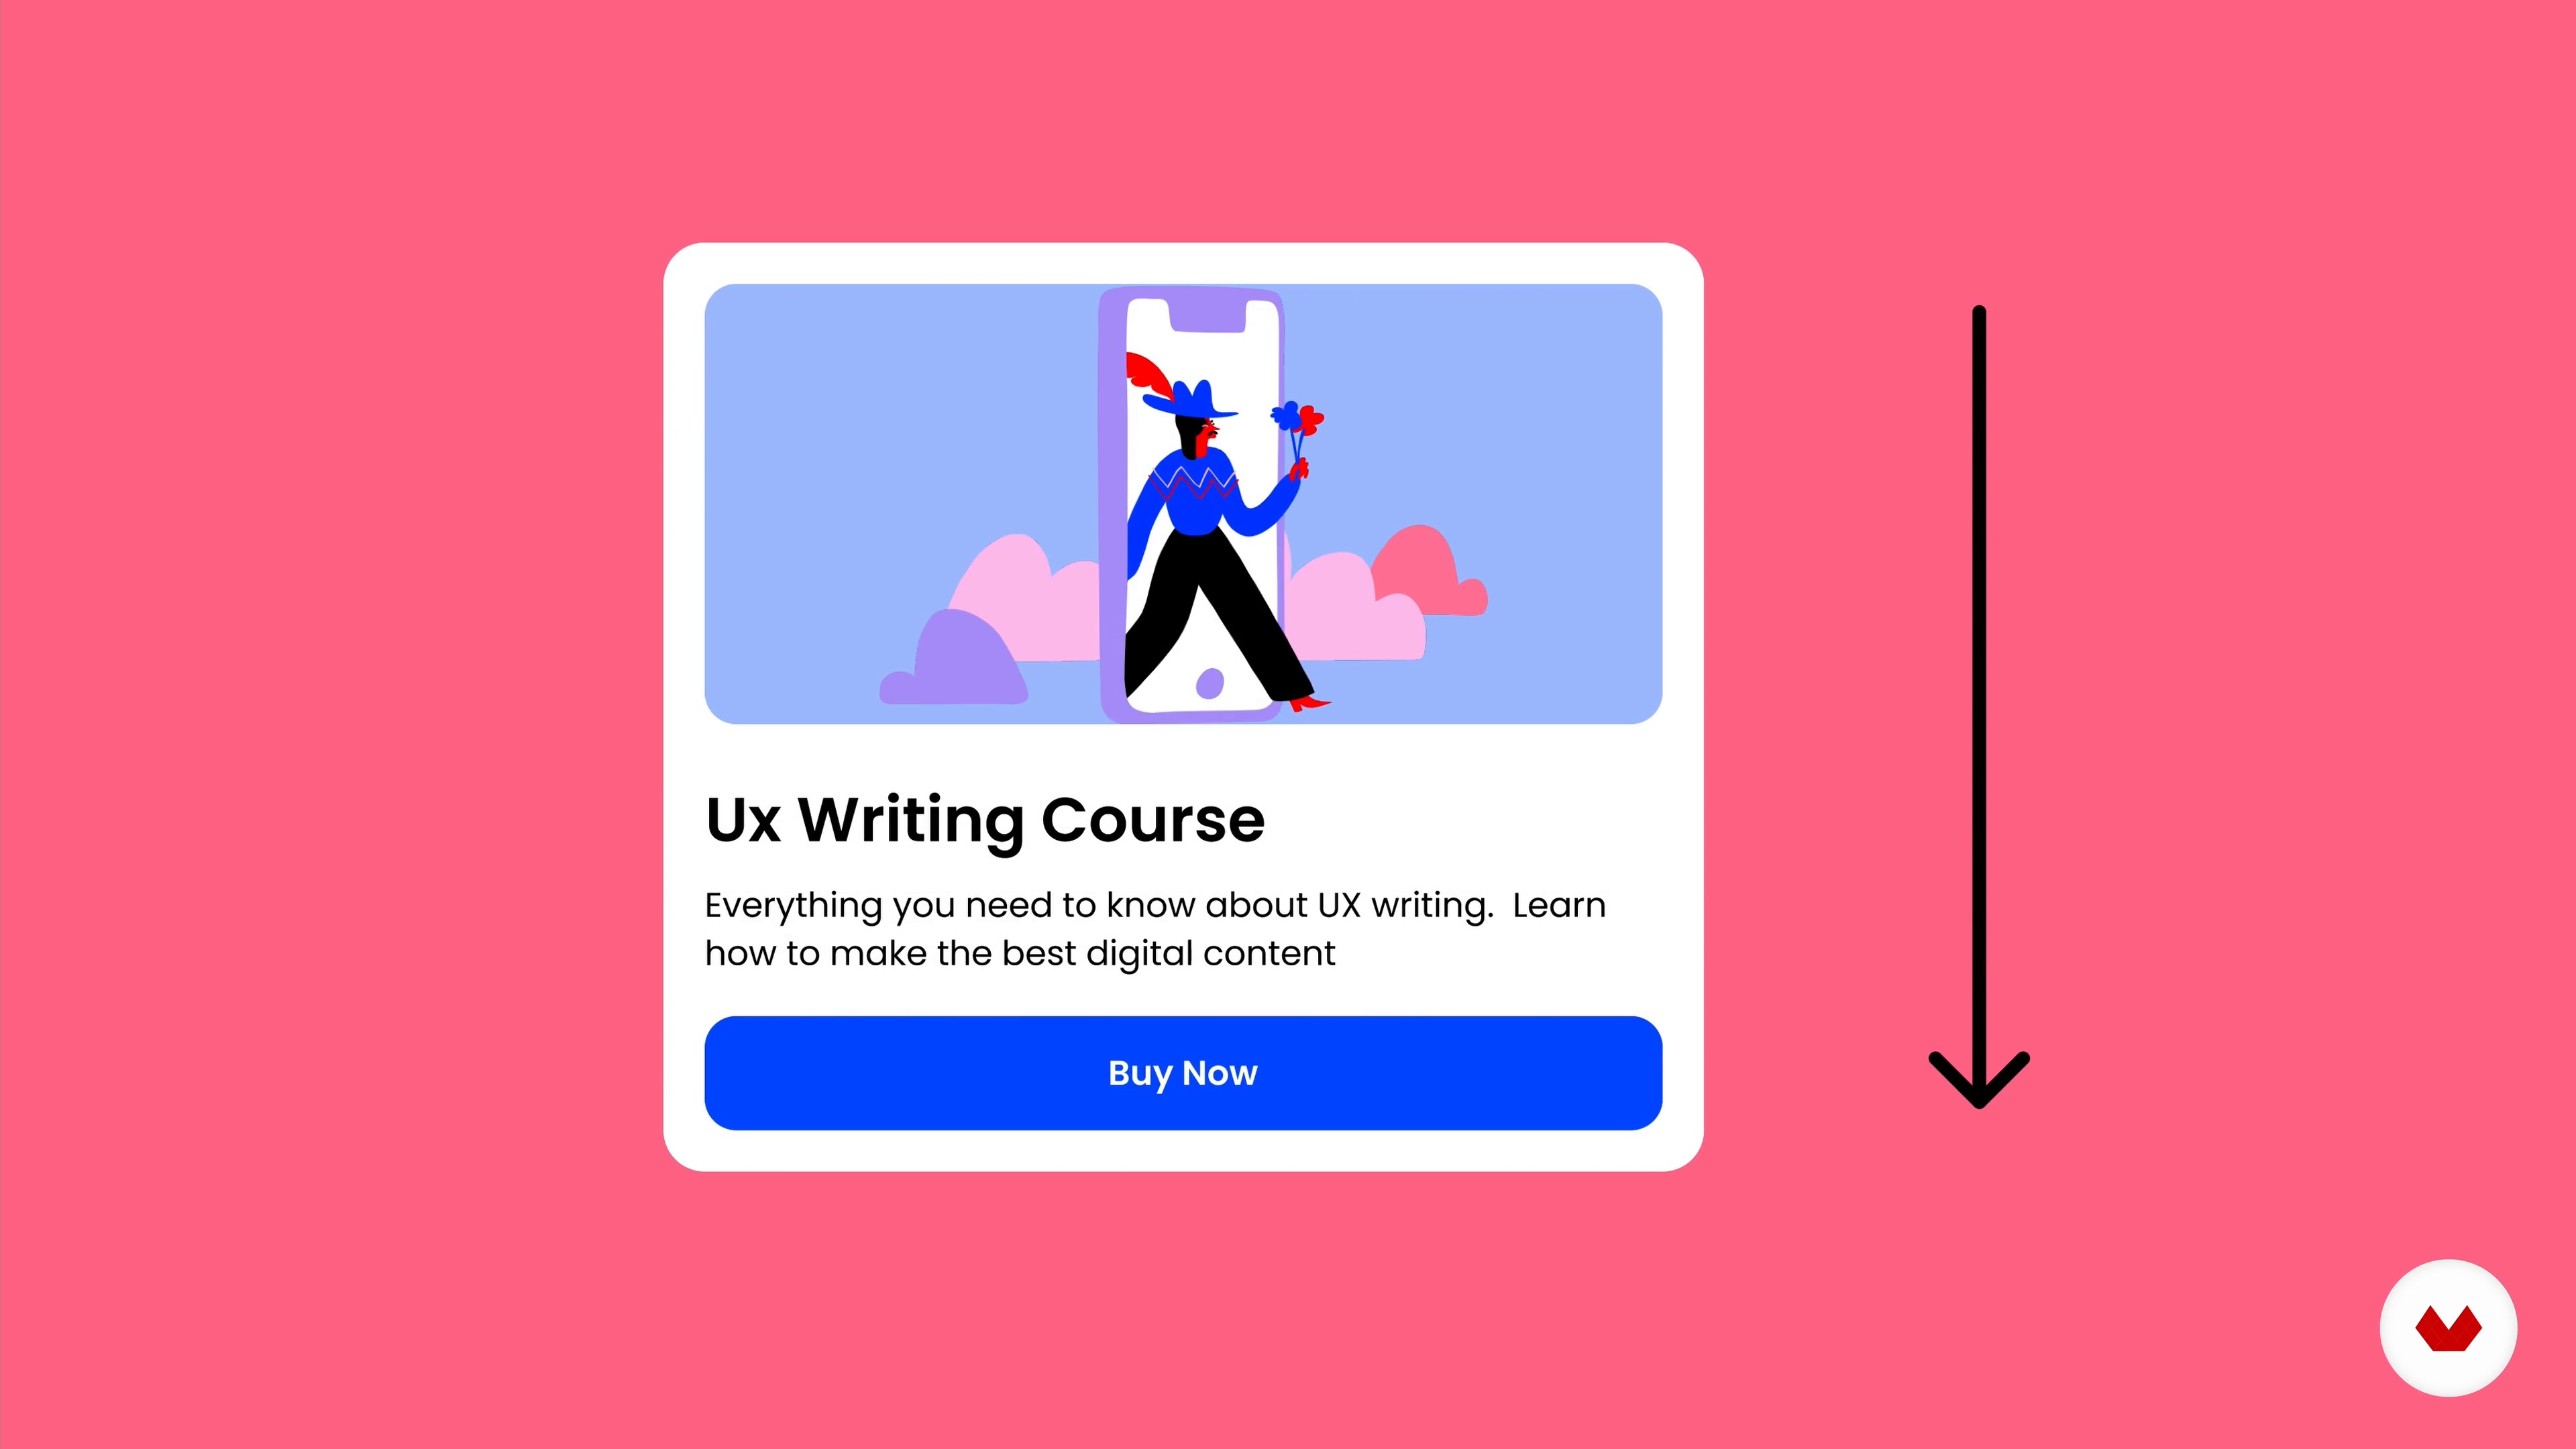
Visual Hierarchy
Determining what parts of a composition are more relevant than others is key to focus the attention of the observer. Here we will see how to establish a hierarchy within our design.
3m
image
4
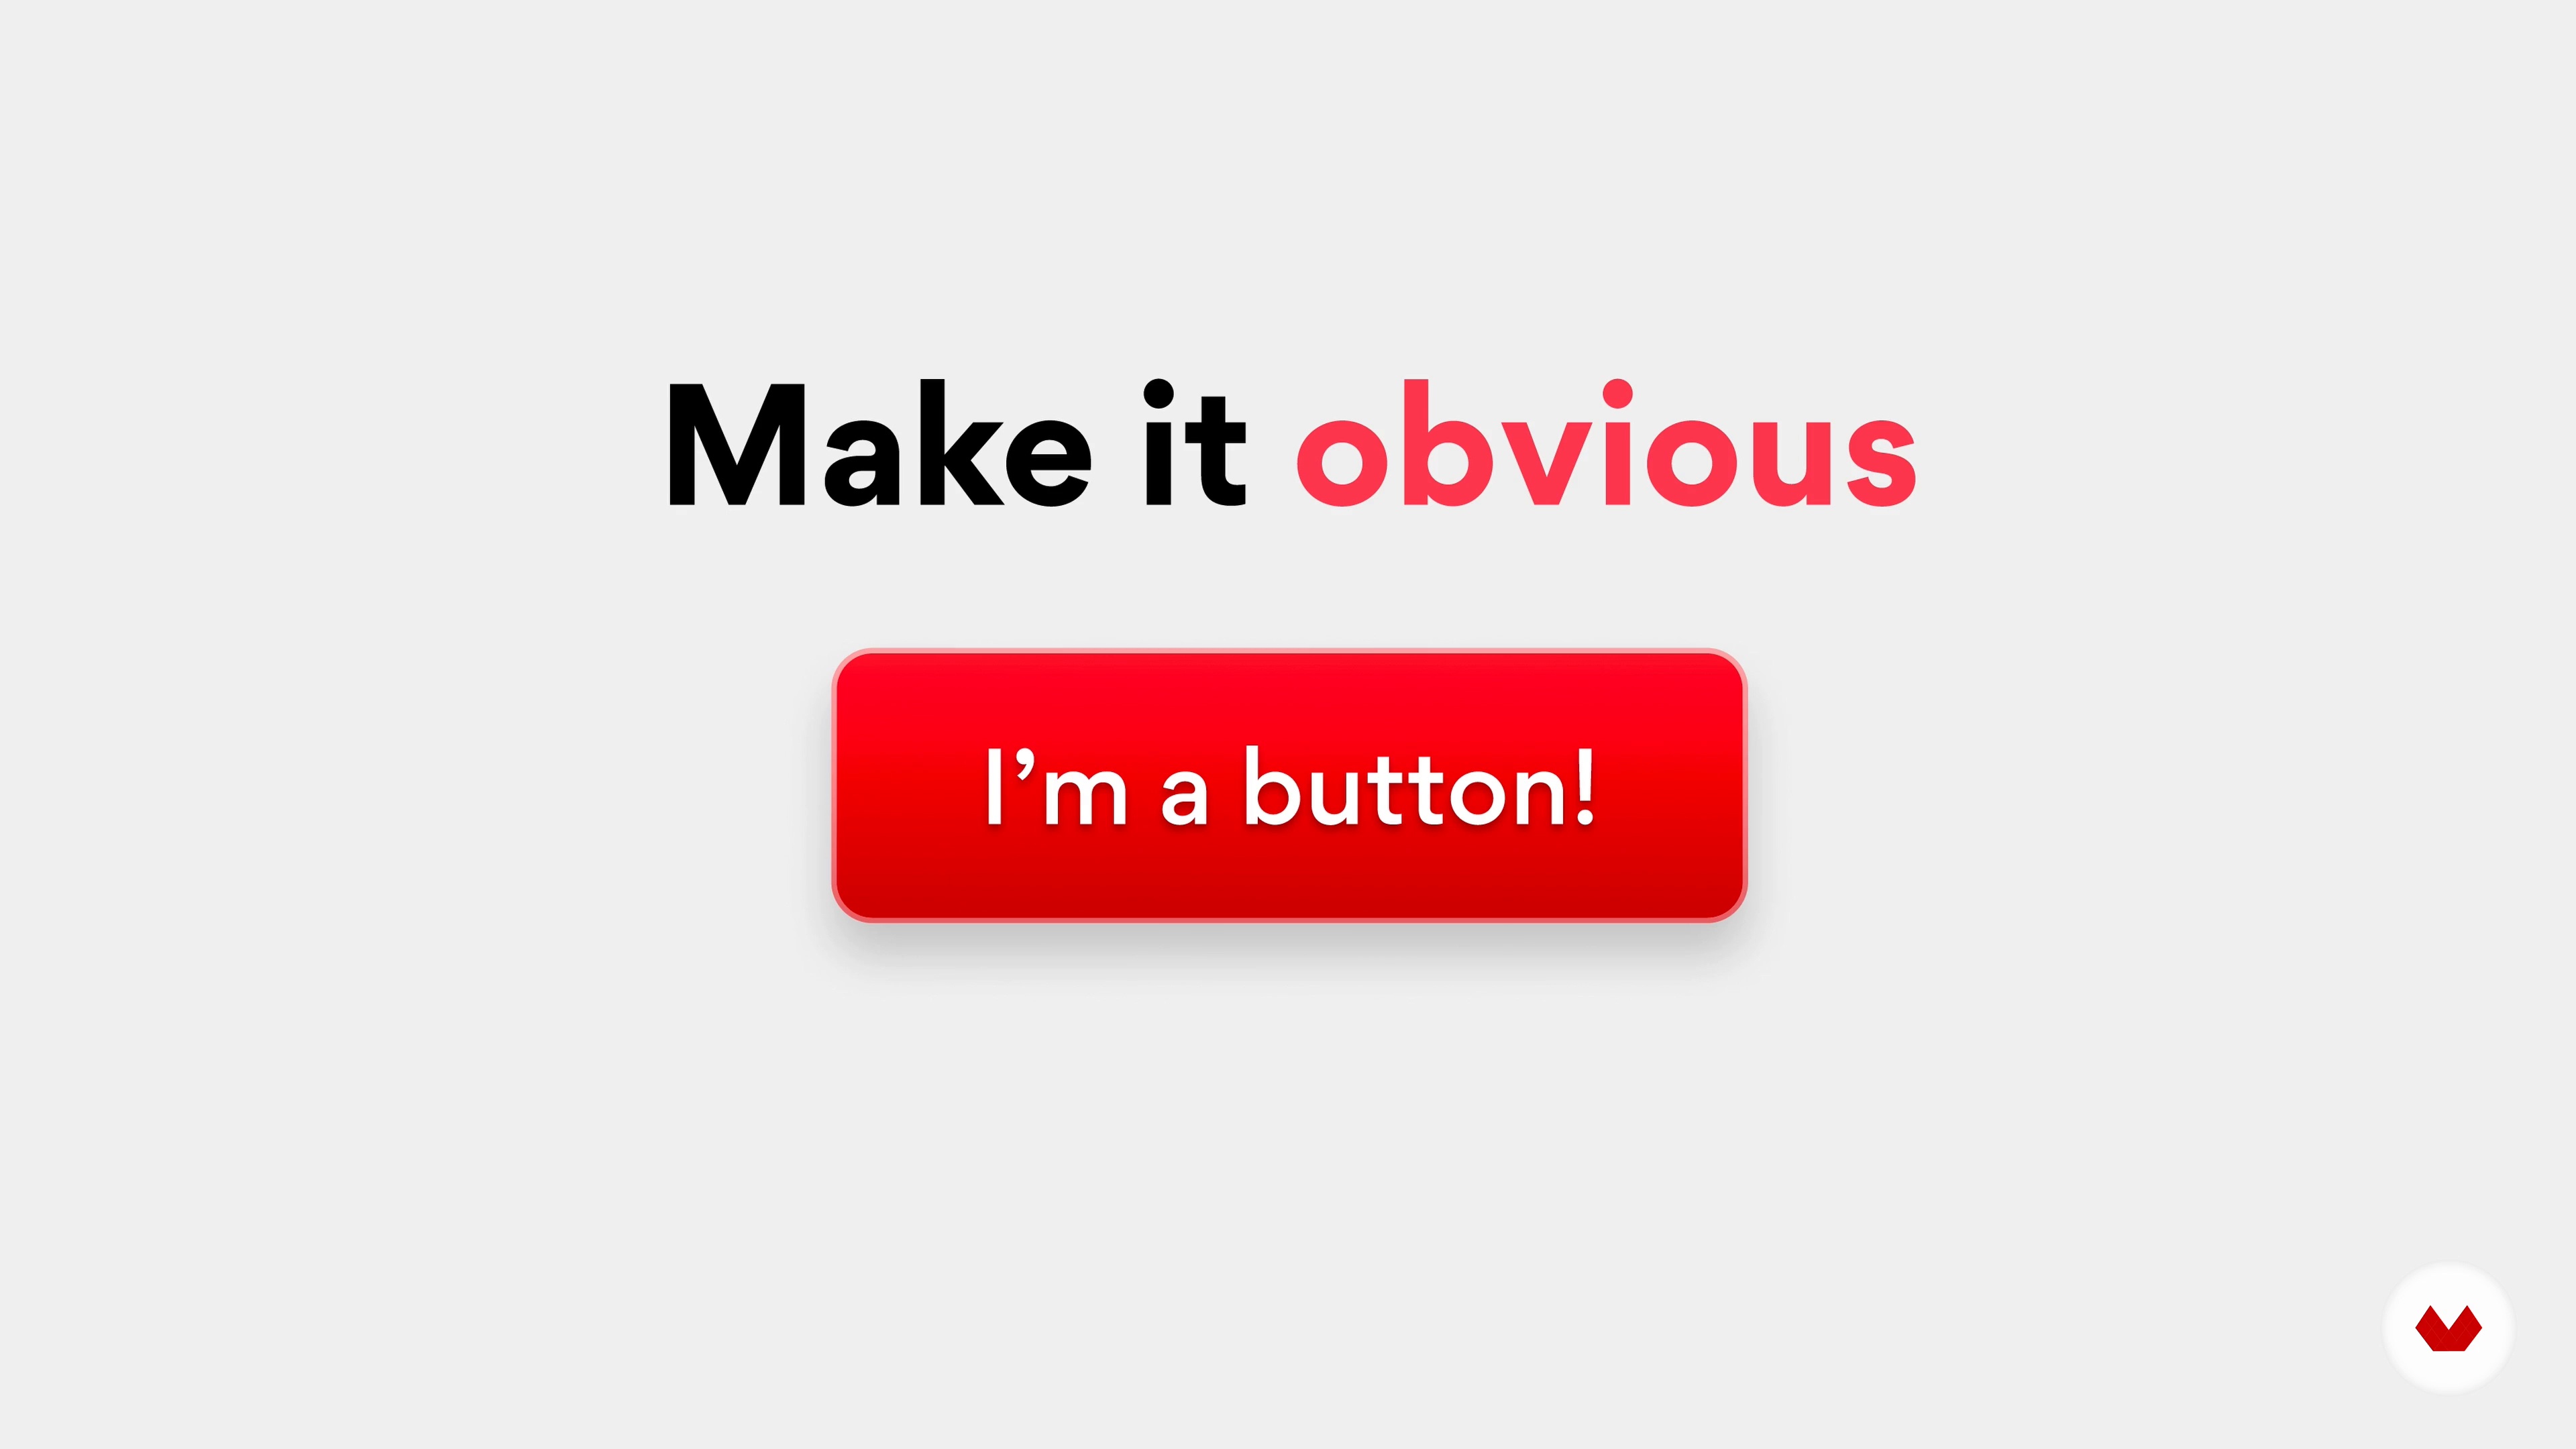
Affordances in UI
In this lesson I'll talk about the term 'affordances' and how to implement them in our interfaces.
3m
image
5
Intro to Visual Elements and Understanding the Brief
A creative brief is a unifying document that identifies the critical benefits of a campaign or product. It tells the story and explains why it's crucial to the audience, serving as a guide for creating something.
5m
image
6
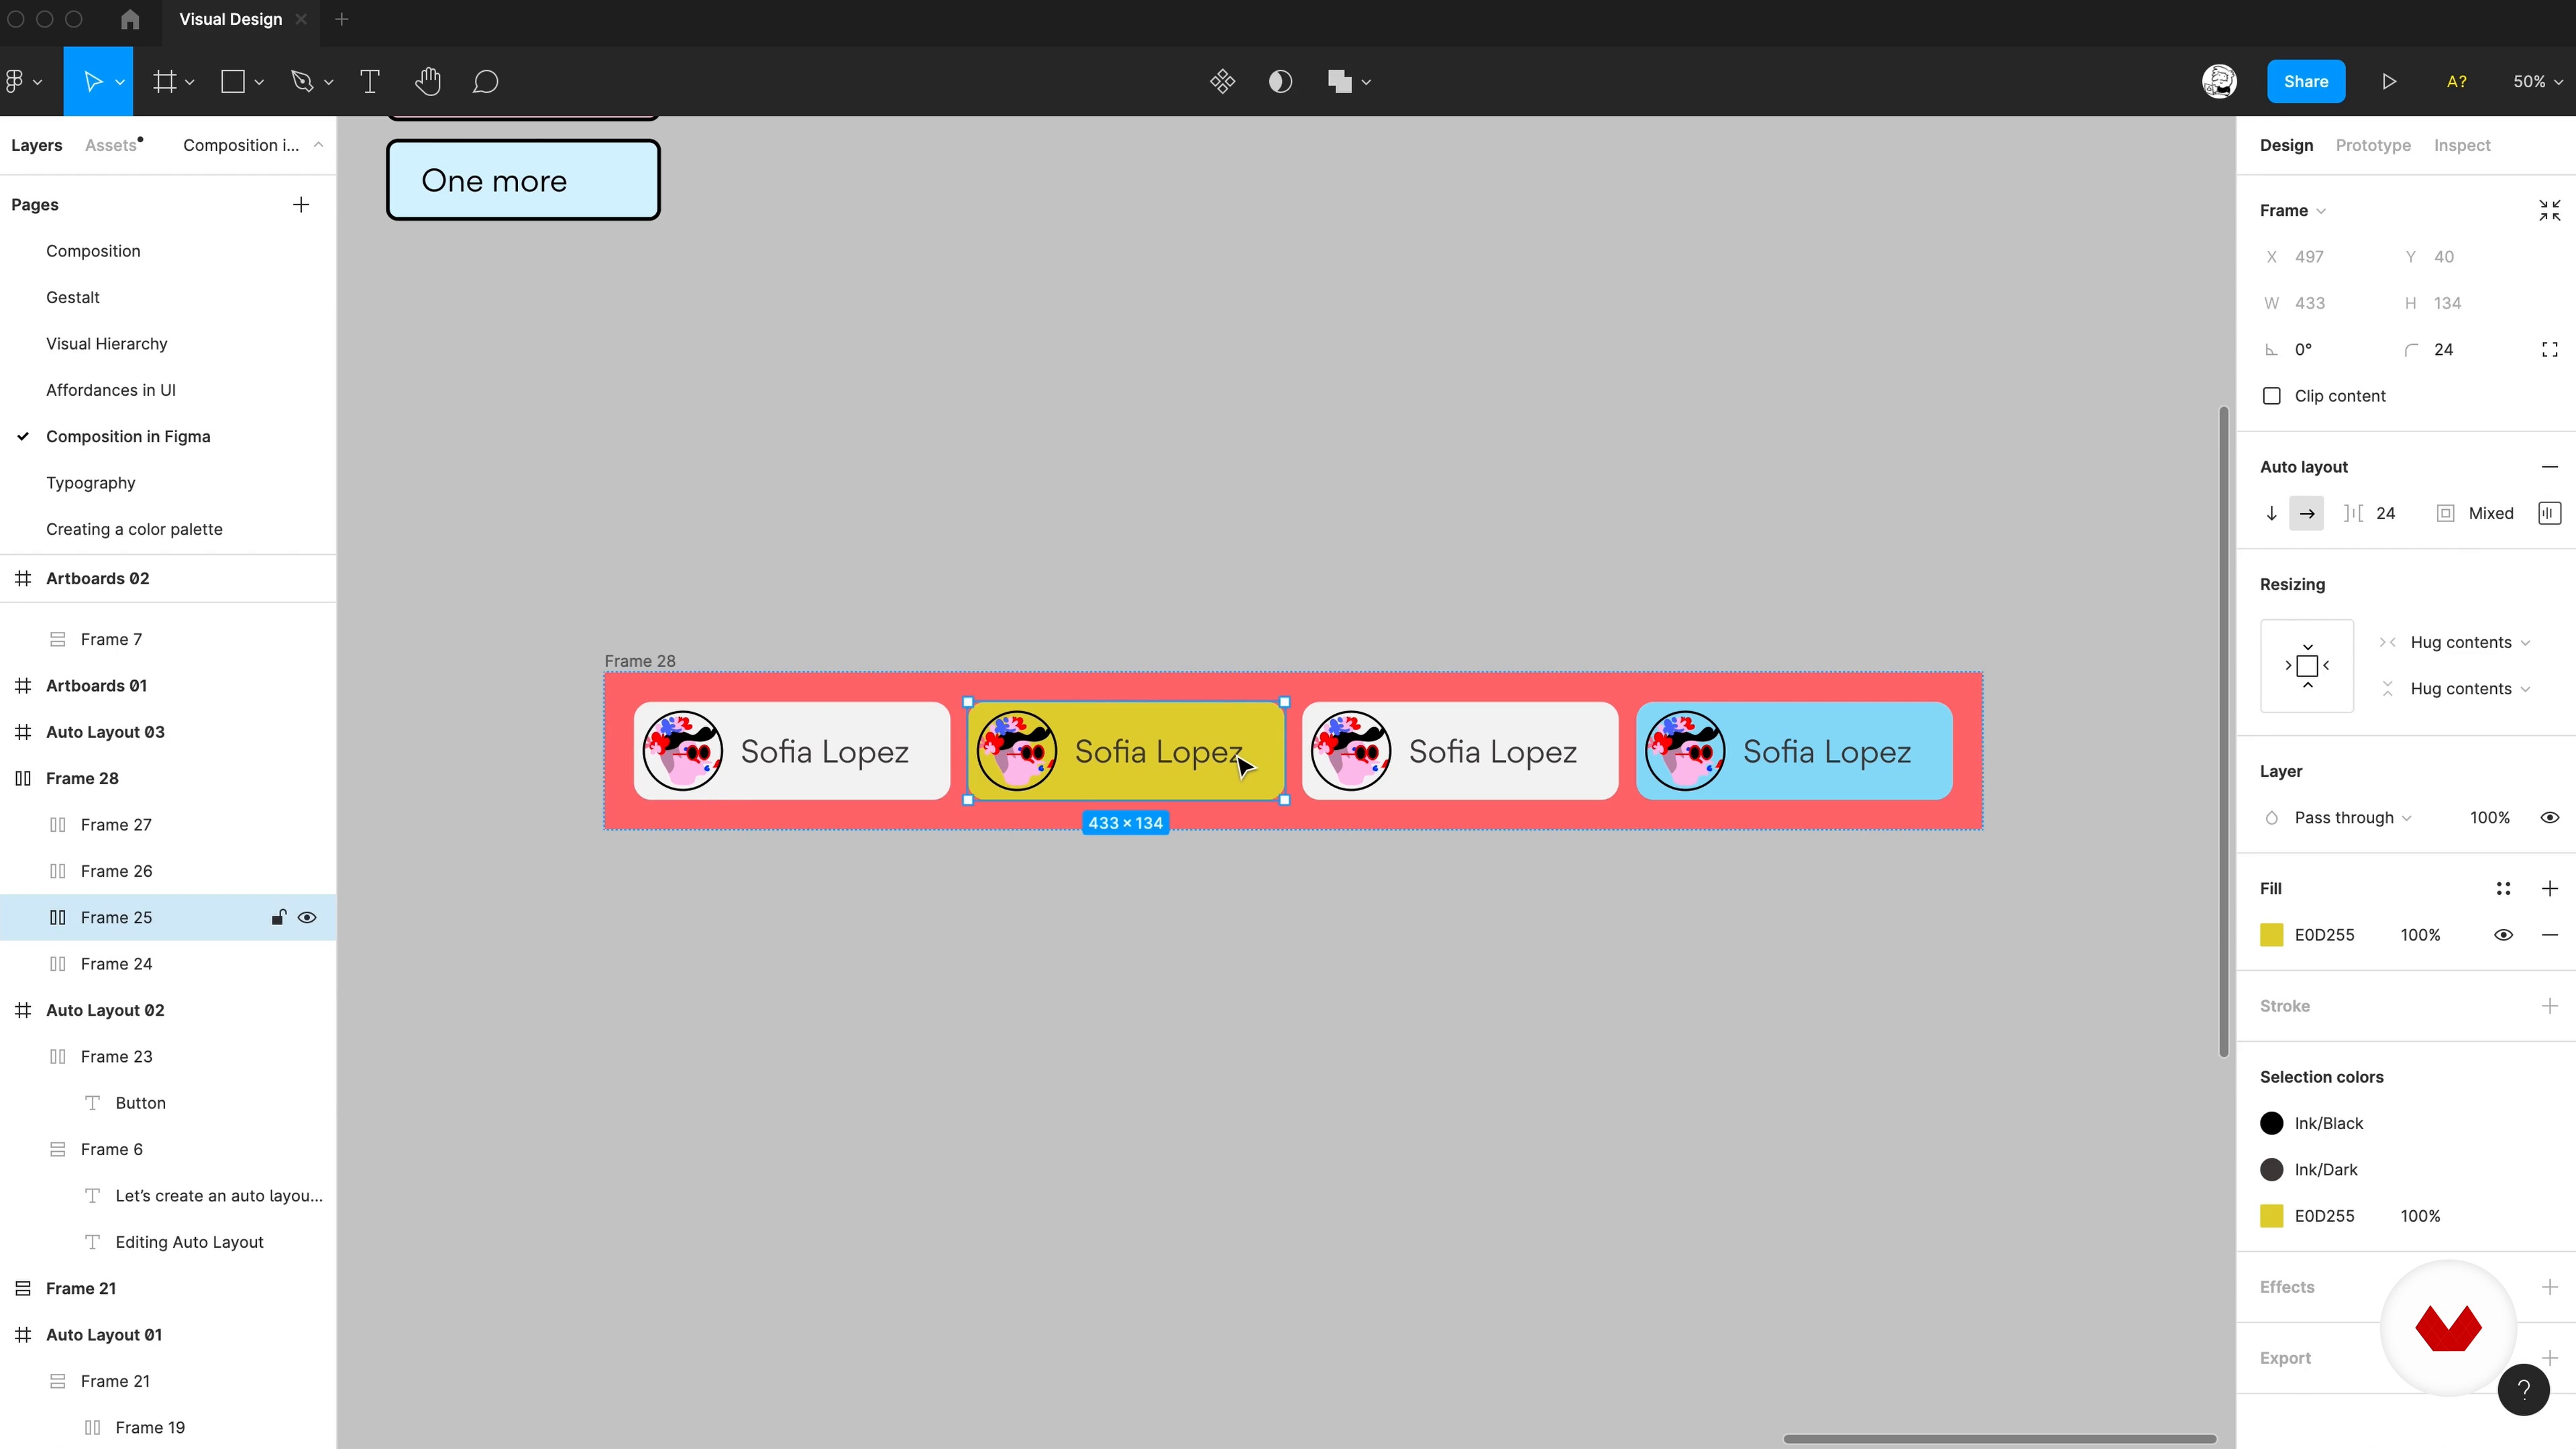
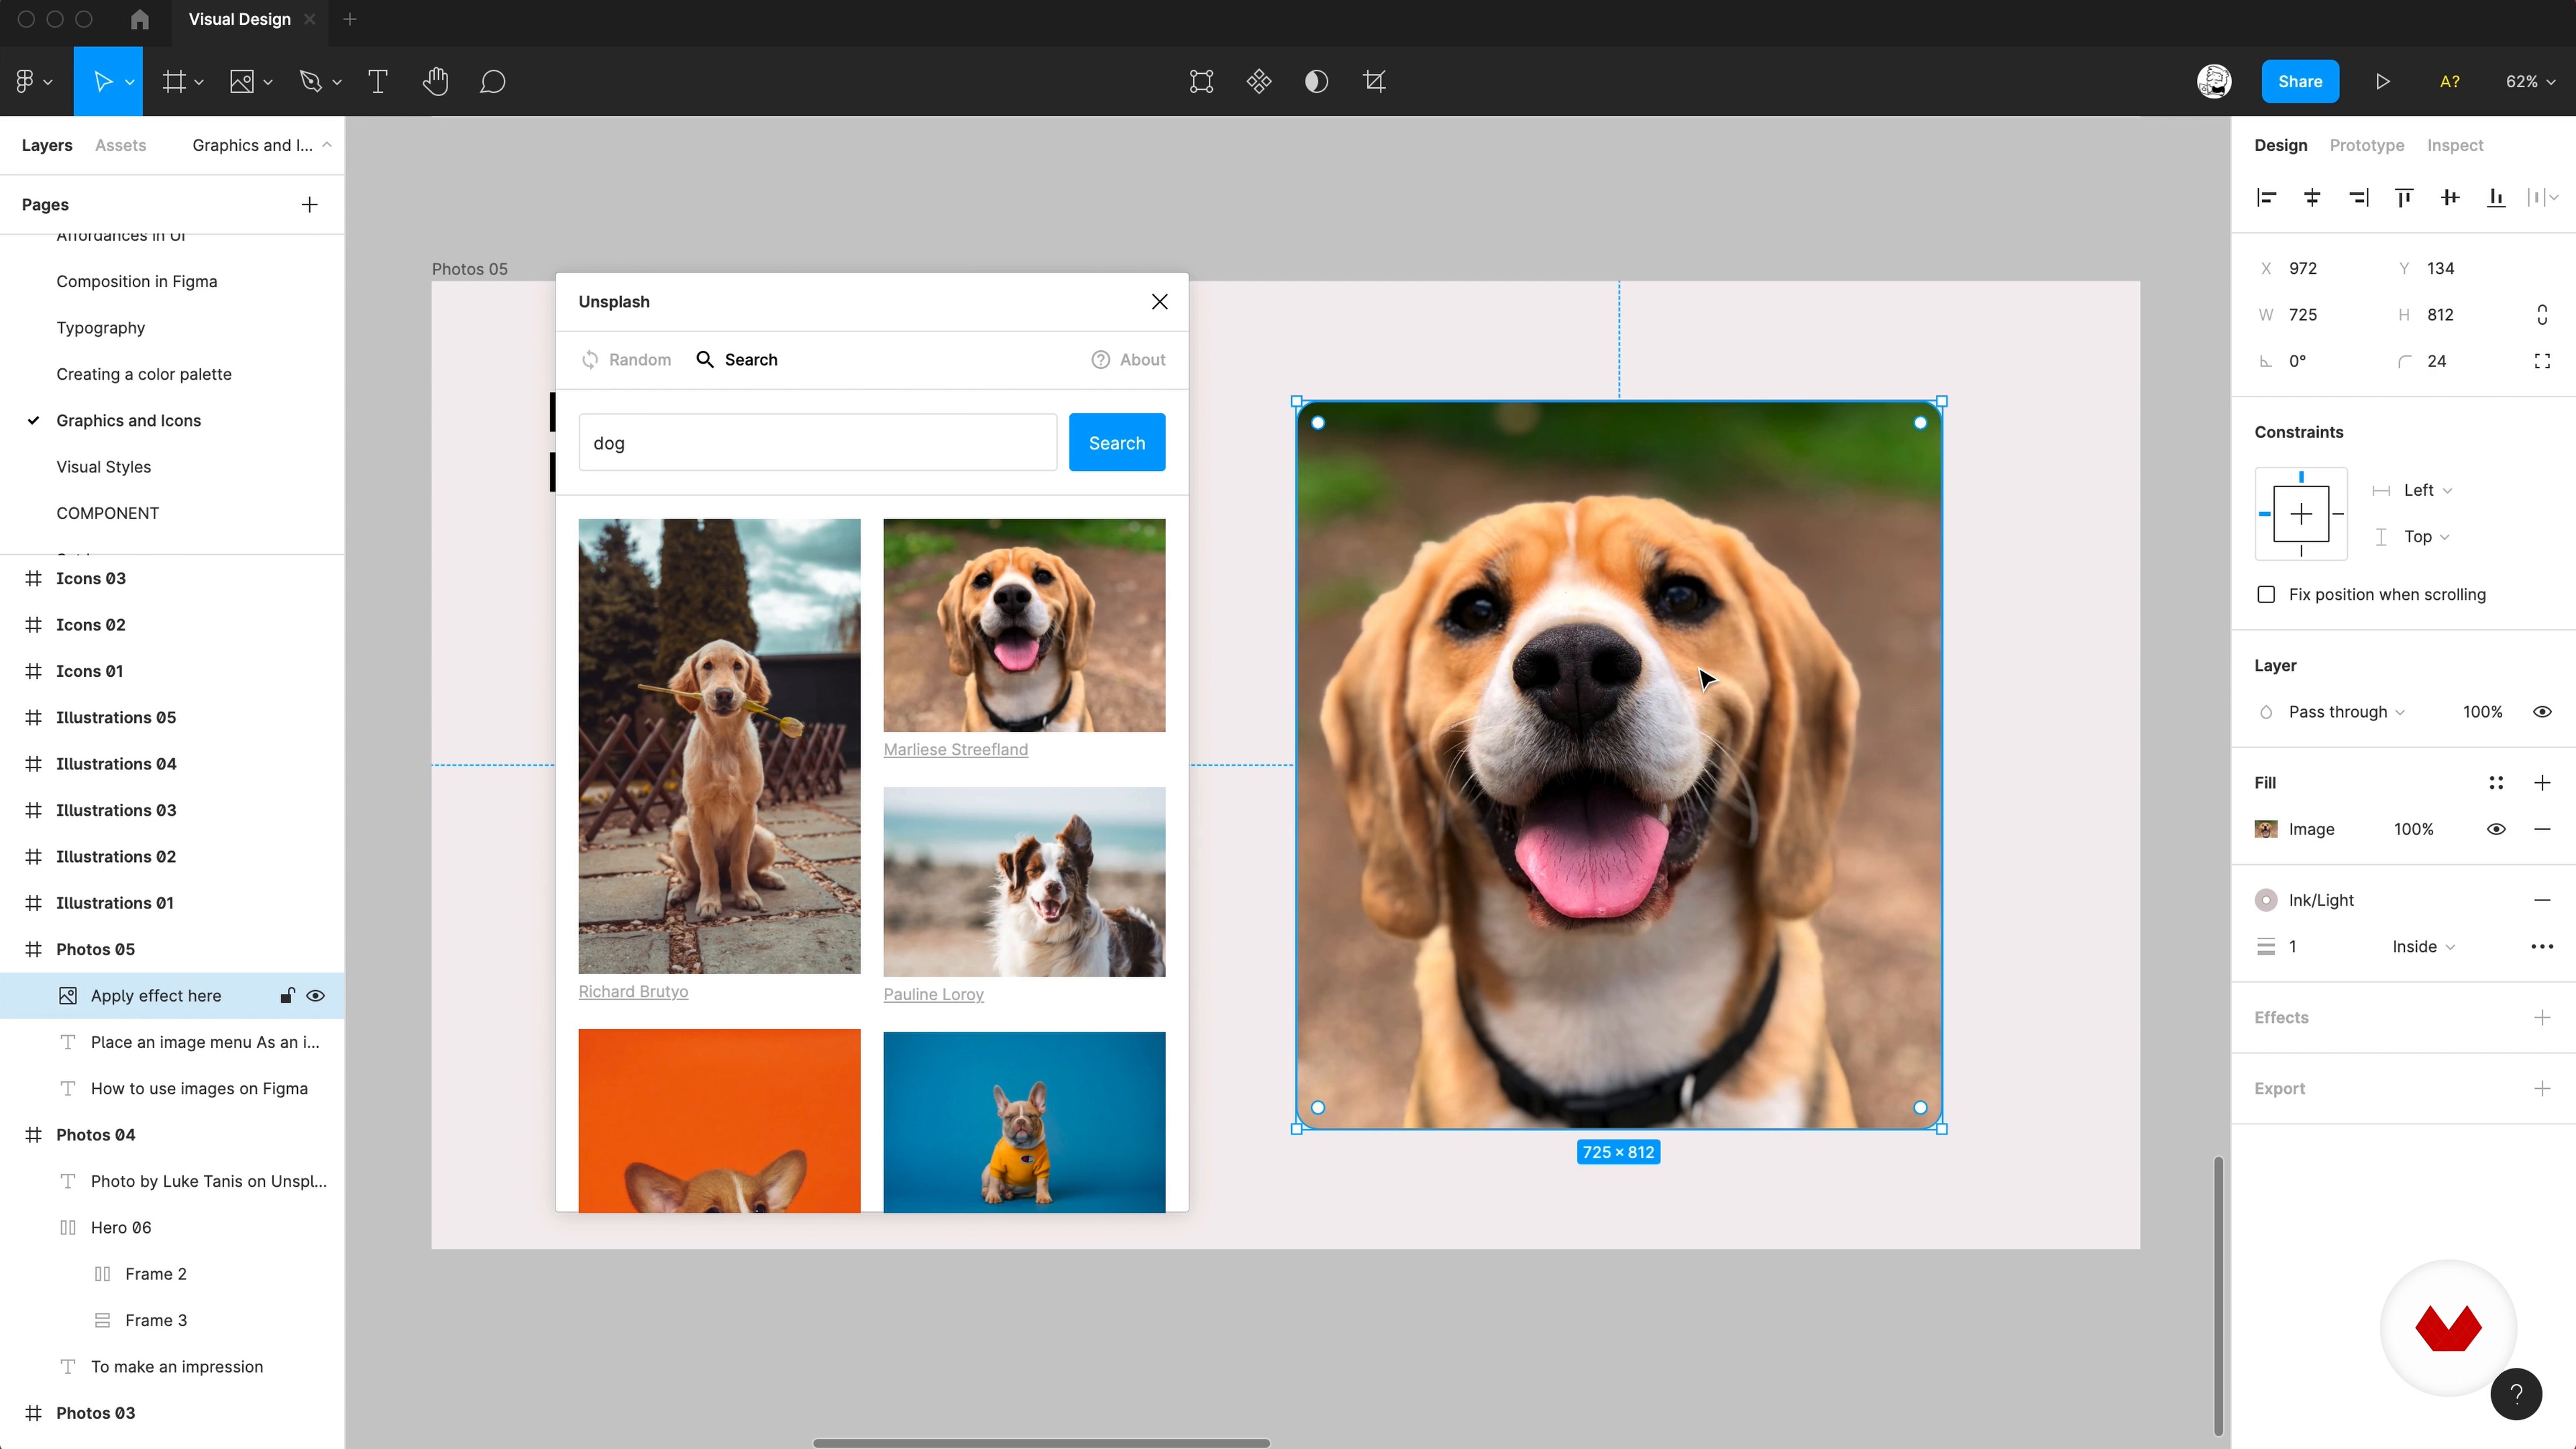
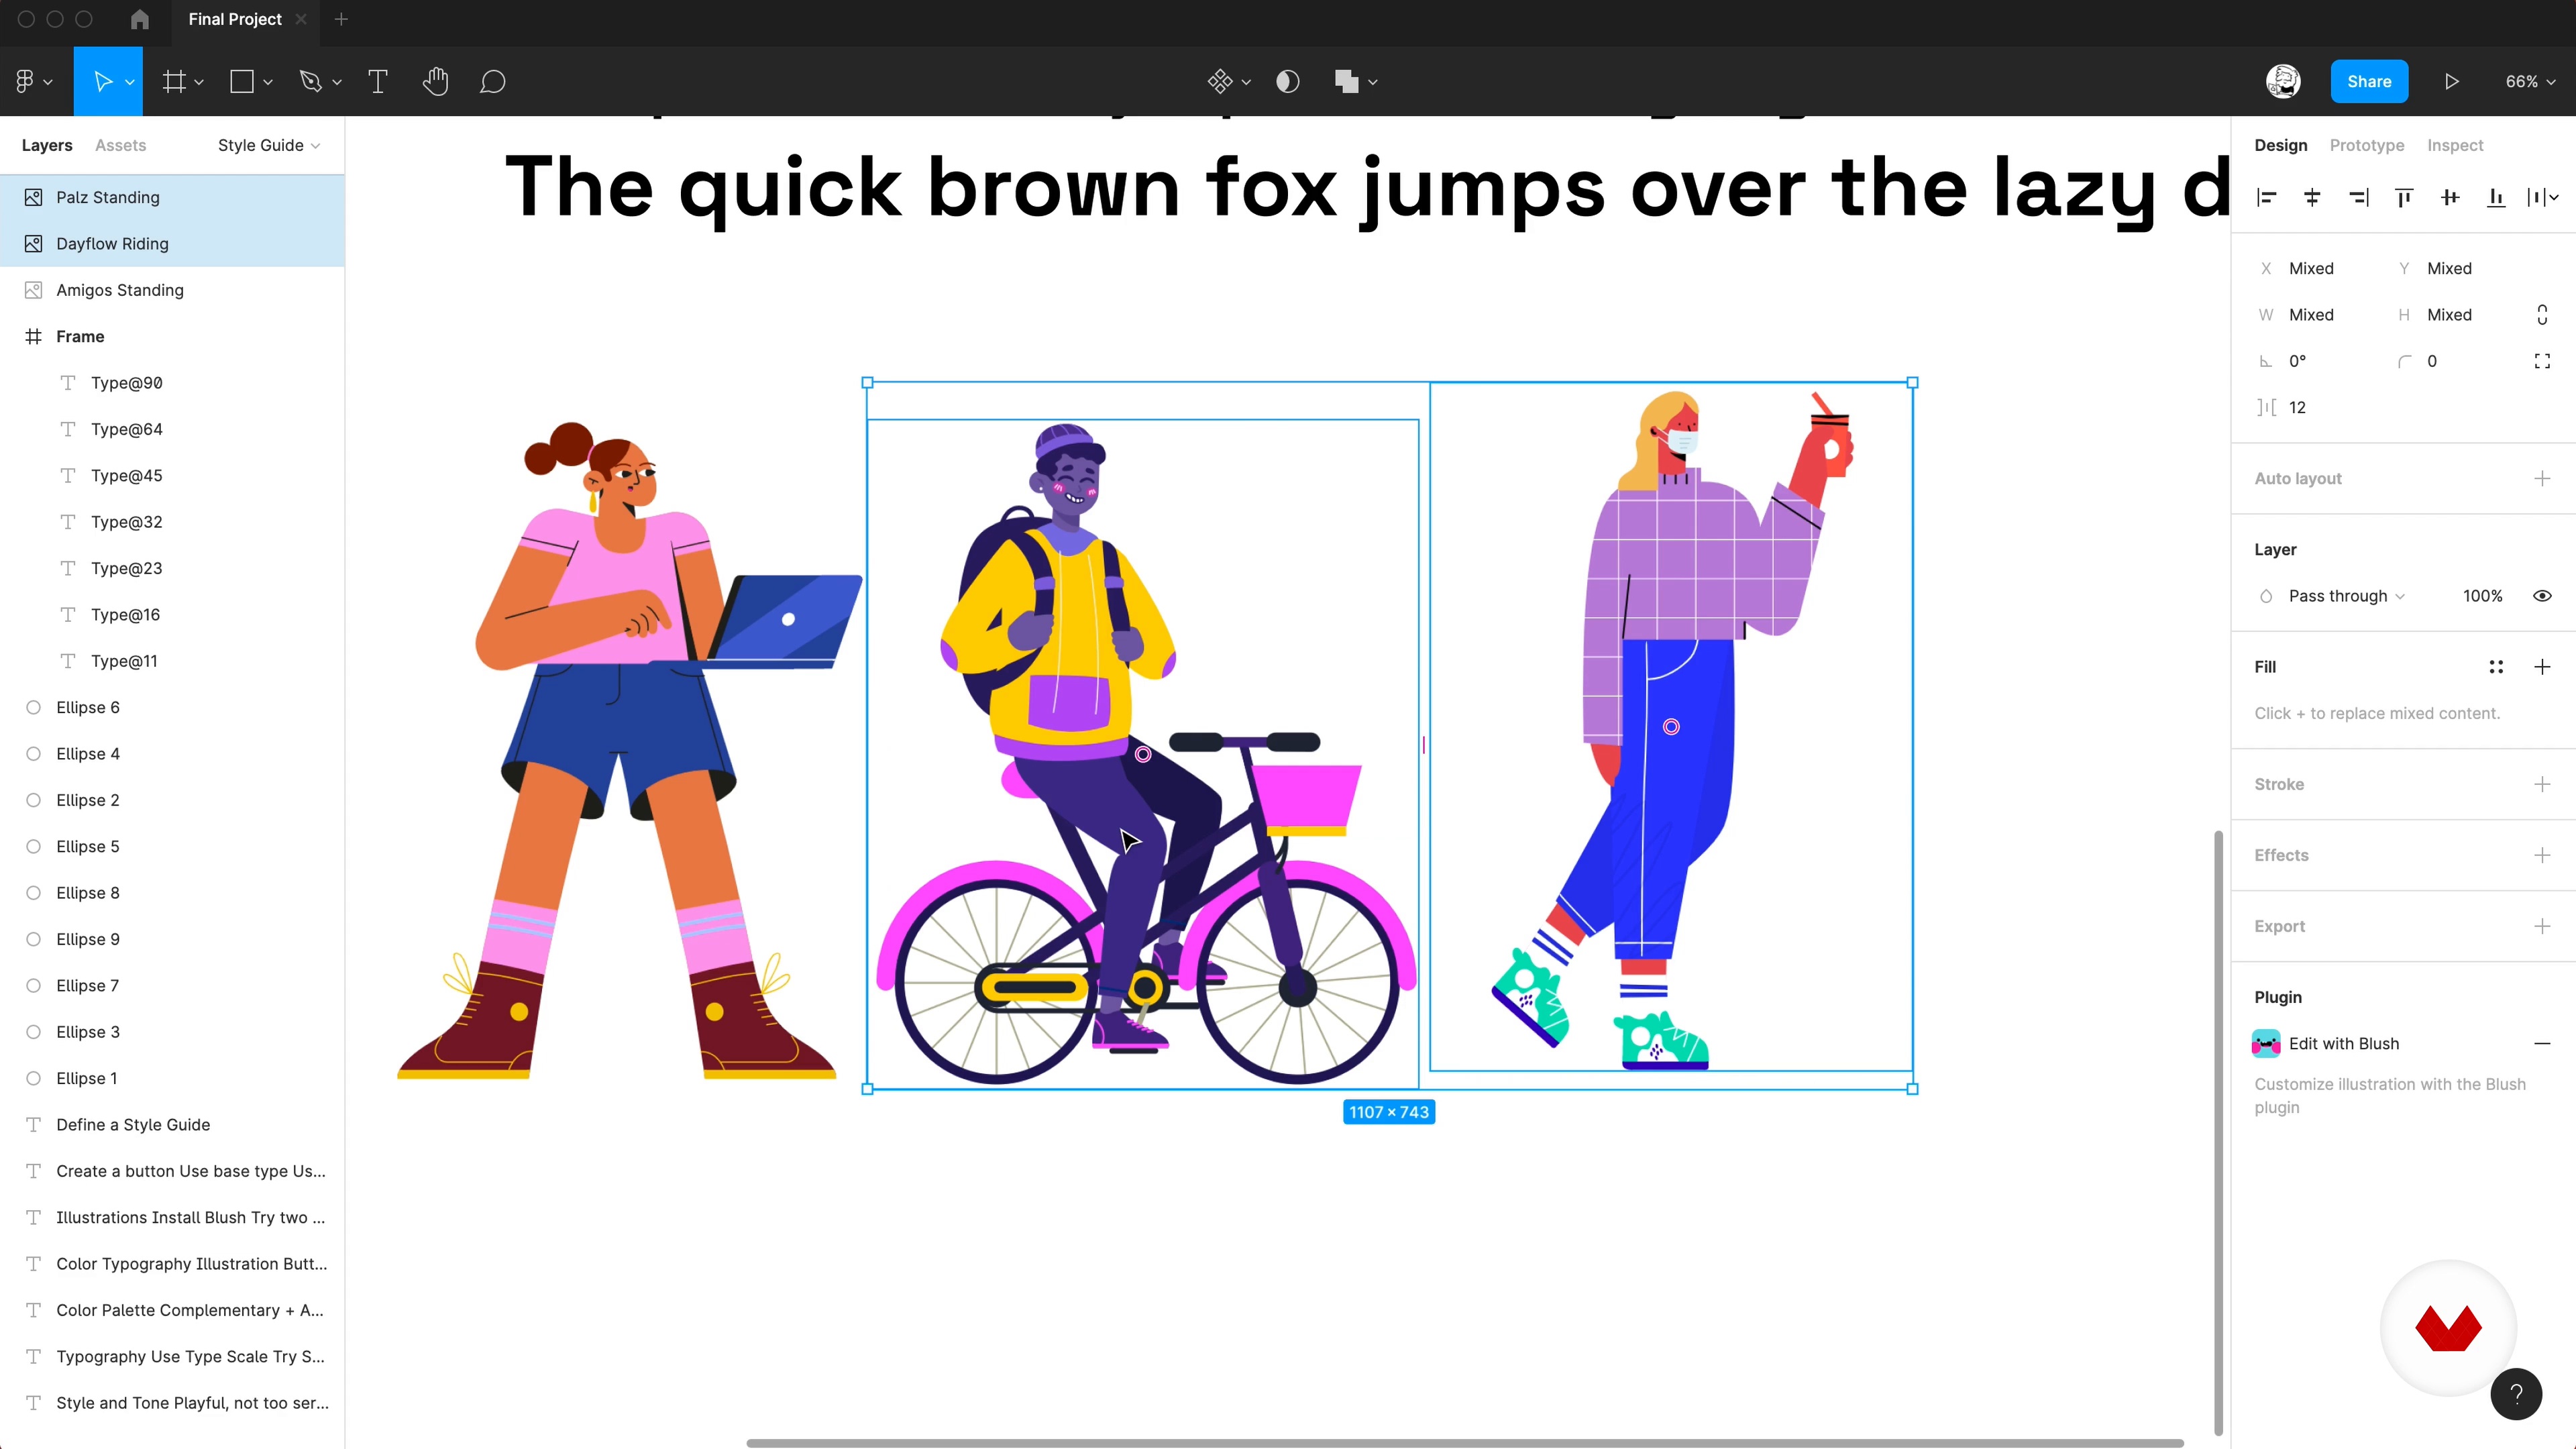
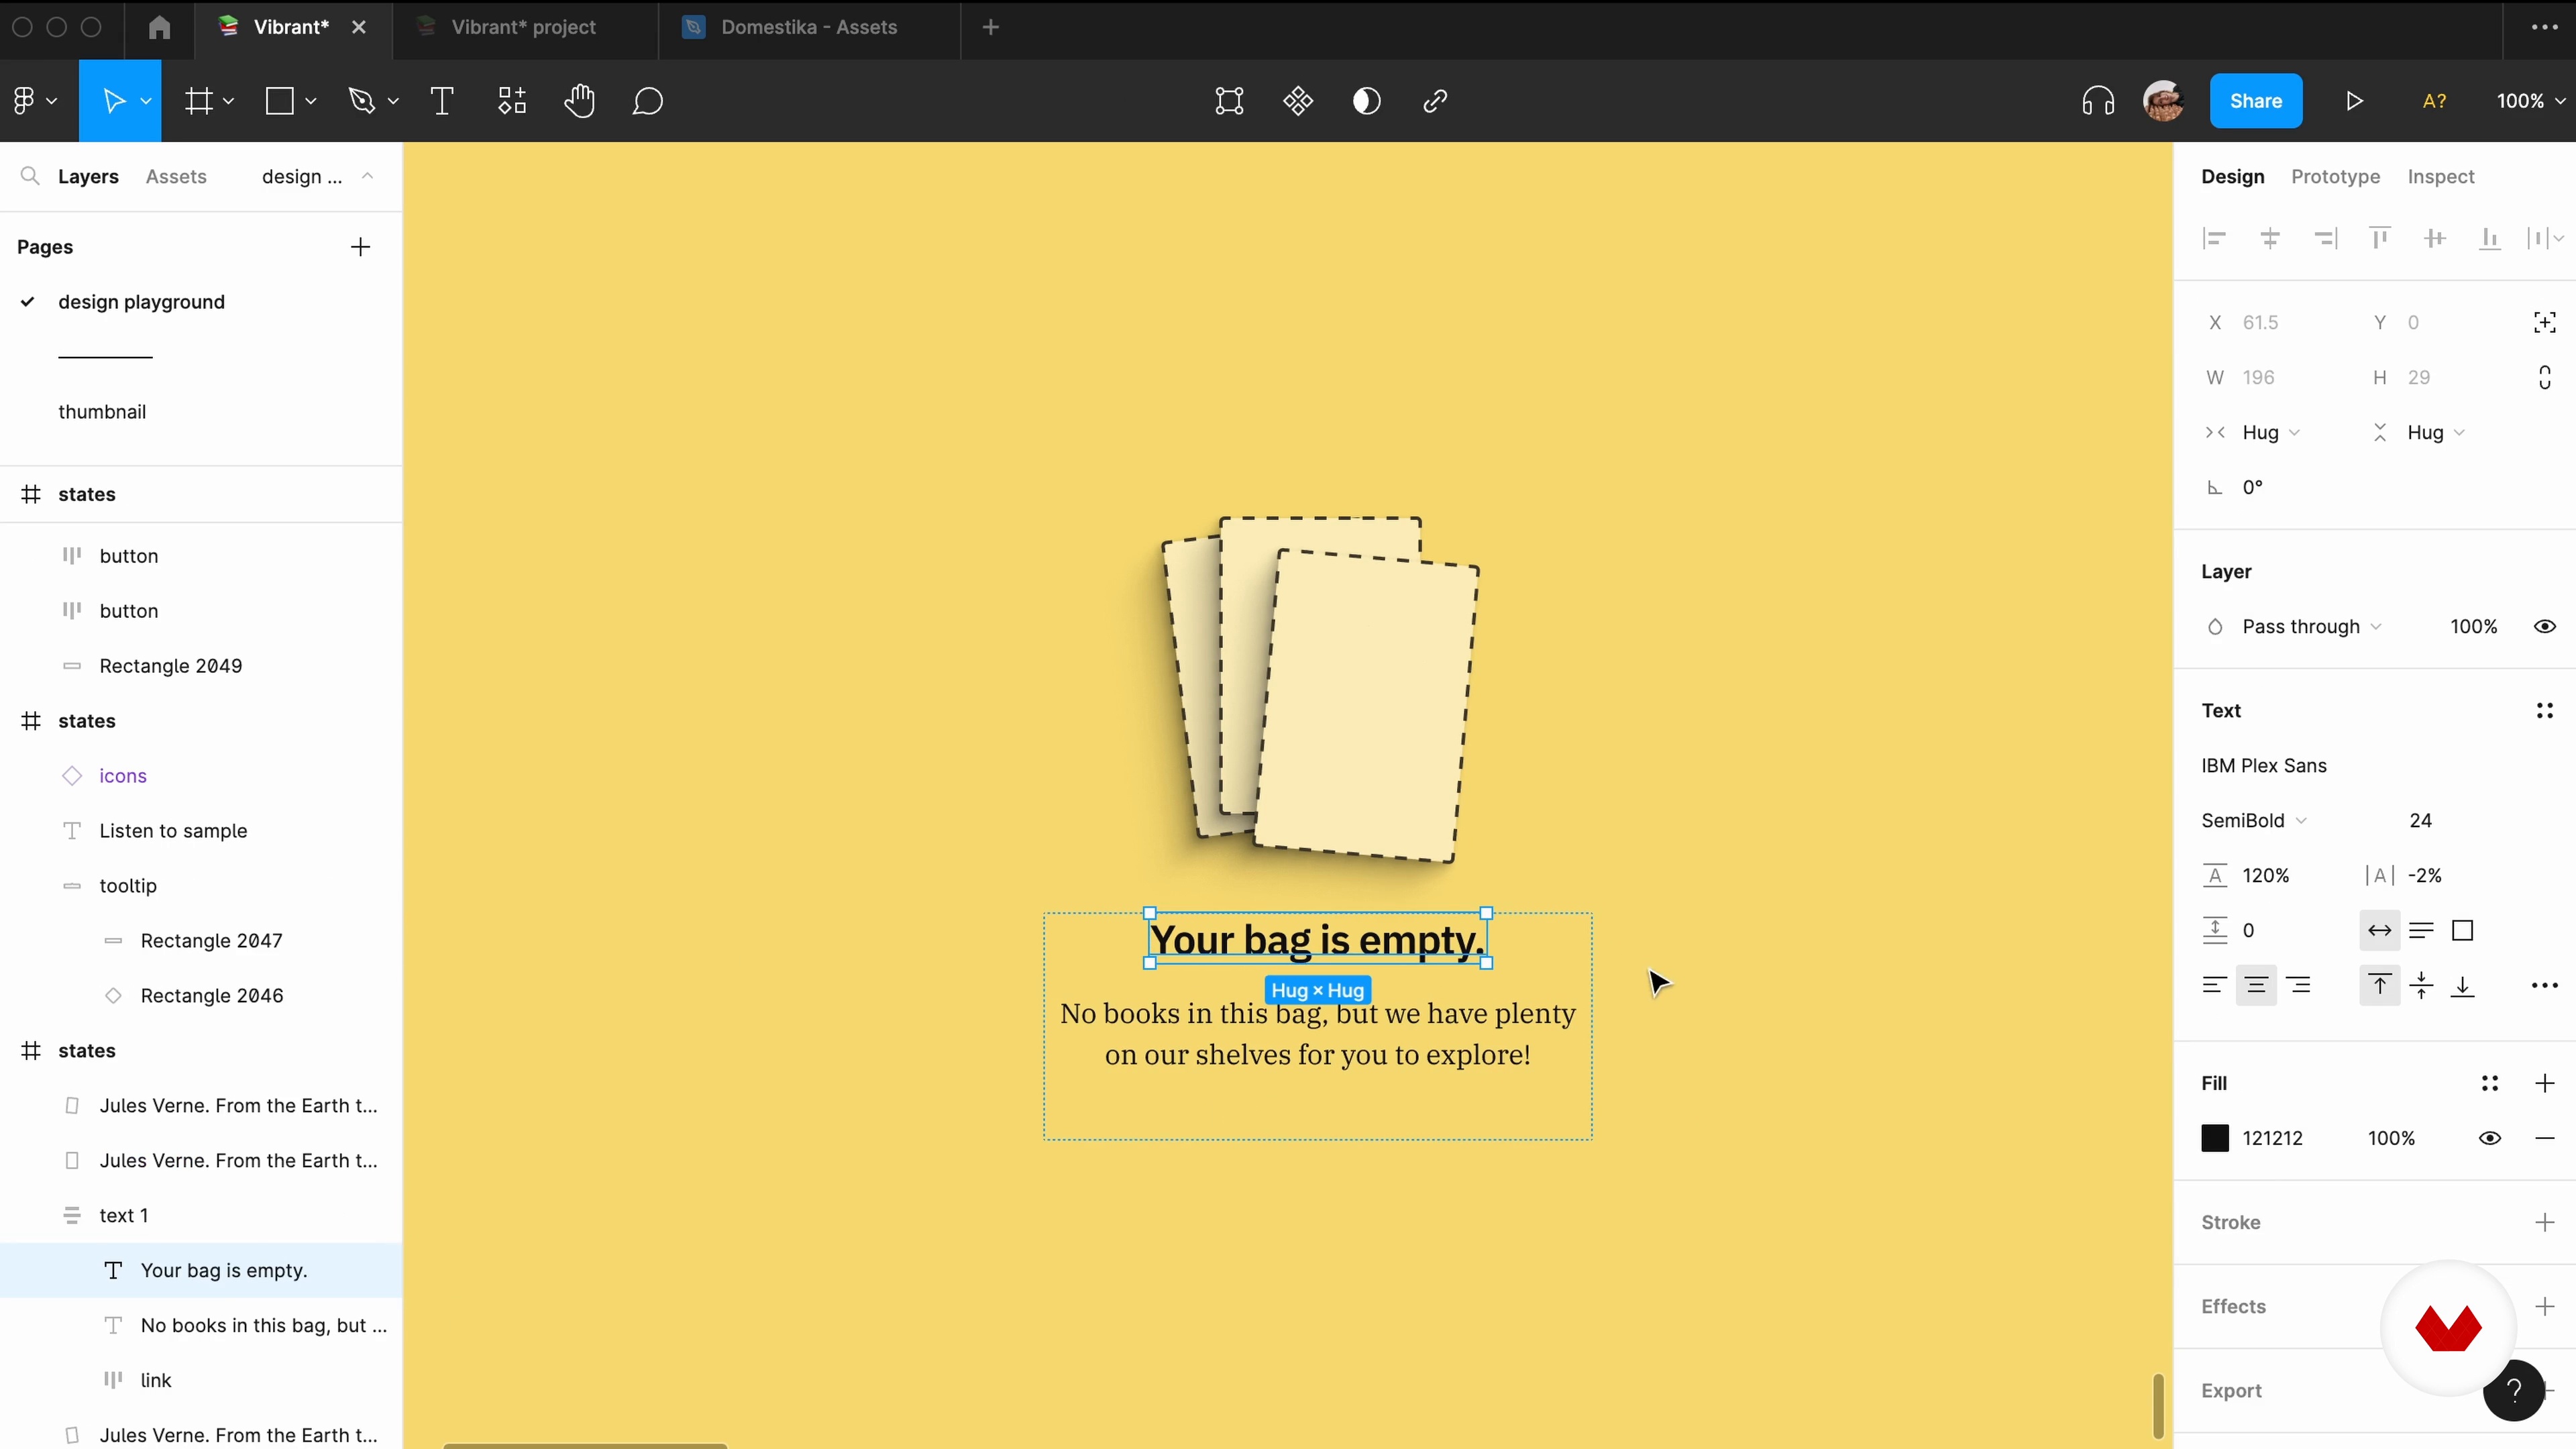
Basic Composition in Figma
In this lesson we'll do some exercises in Figma, understanding how to use some features to apply what we've learned. Knowing how to use these tools and applying these skills will help unlock your next level of design skills within Figma.
16m
image
7
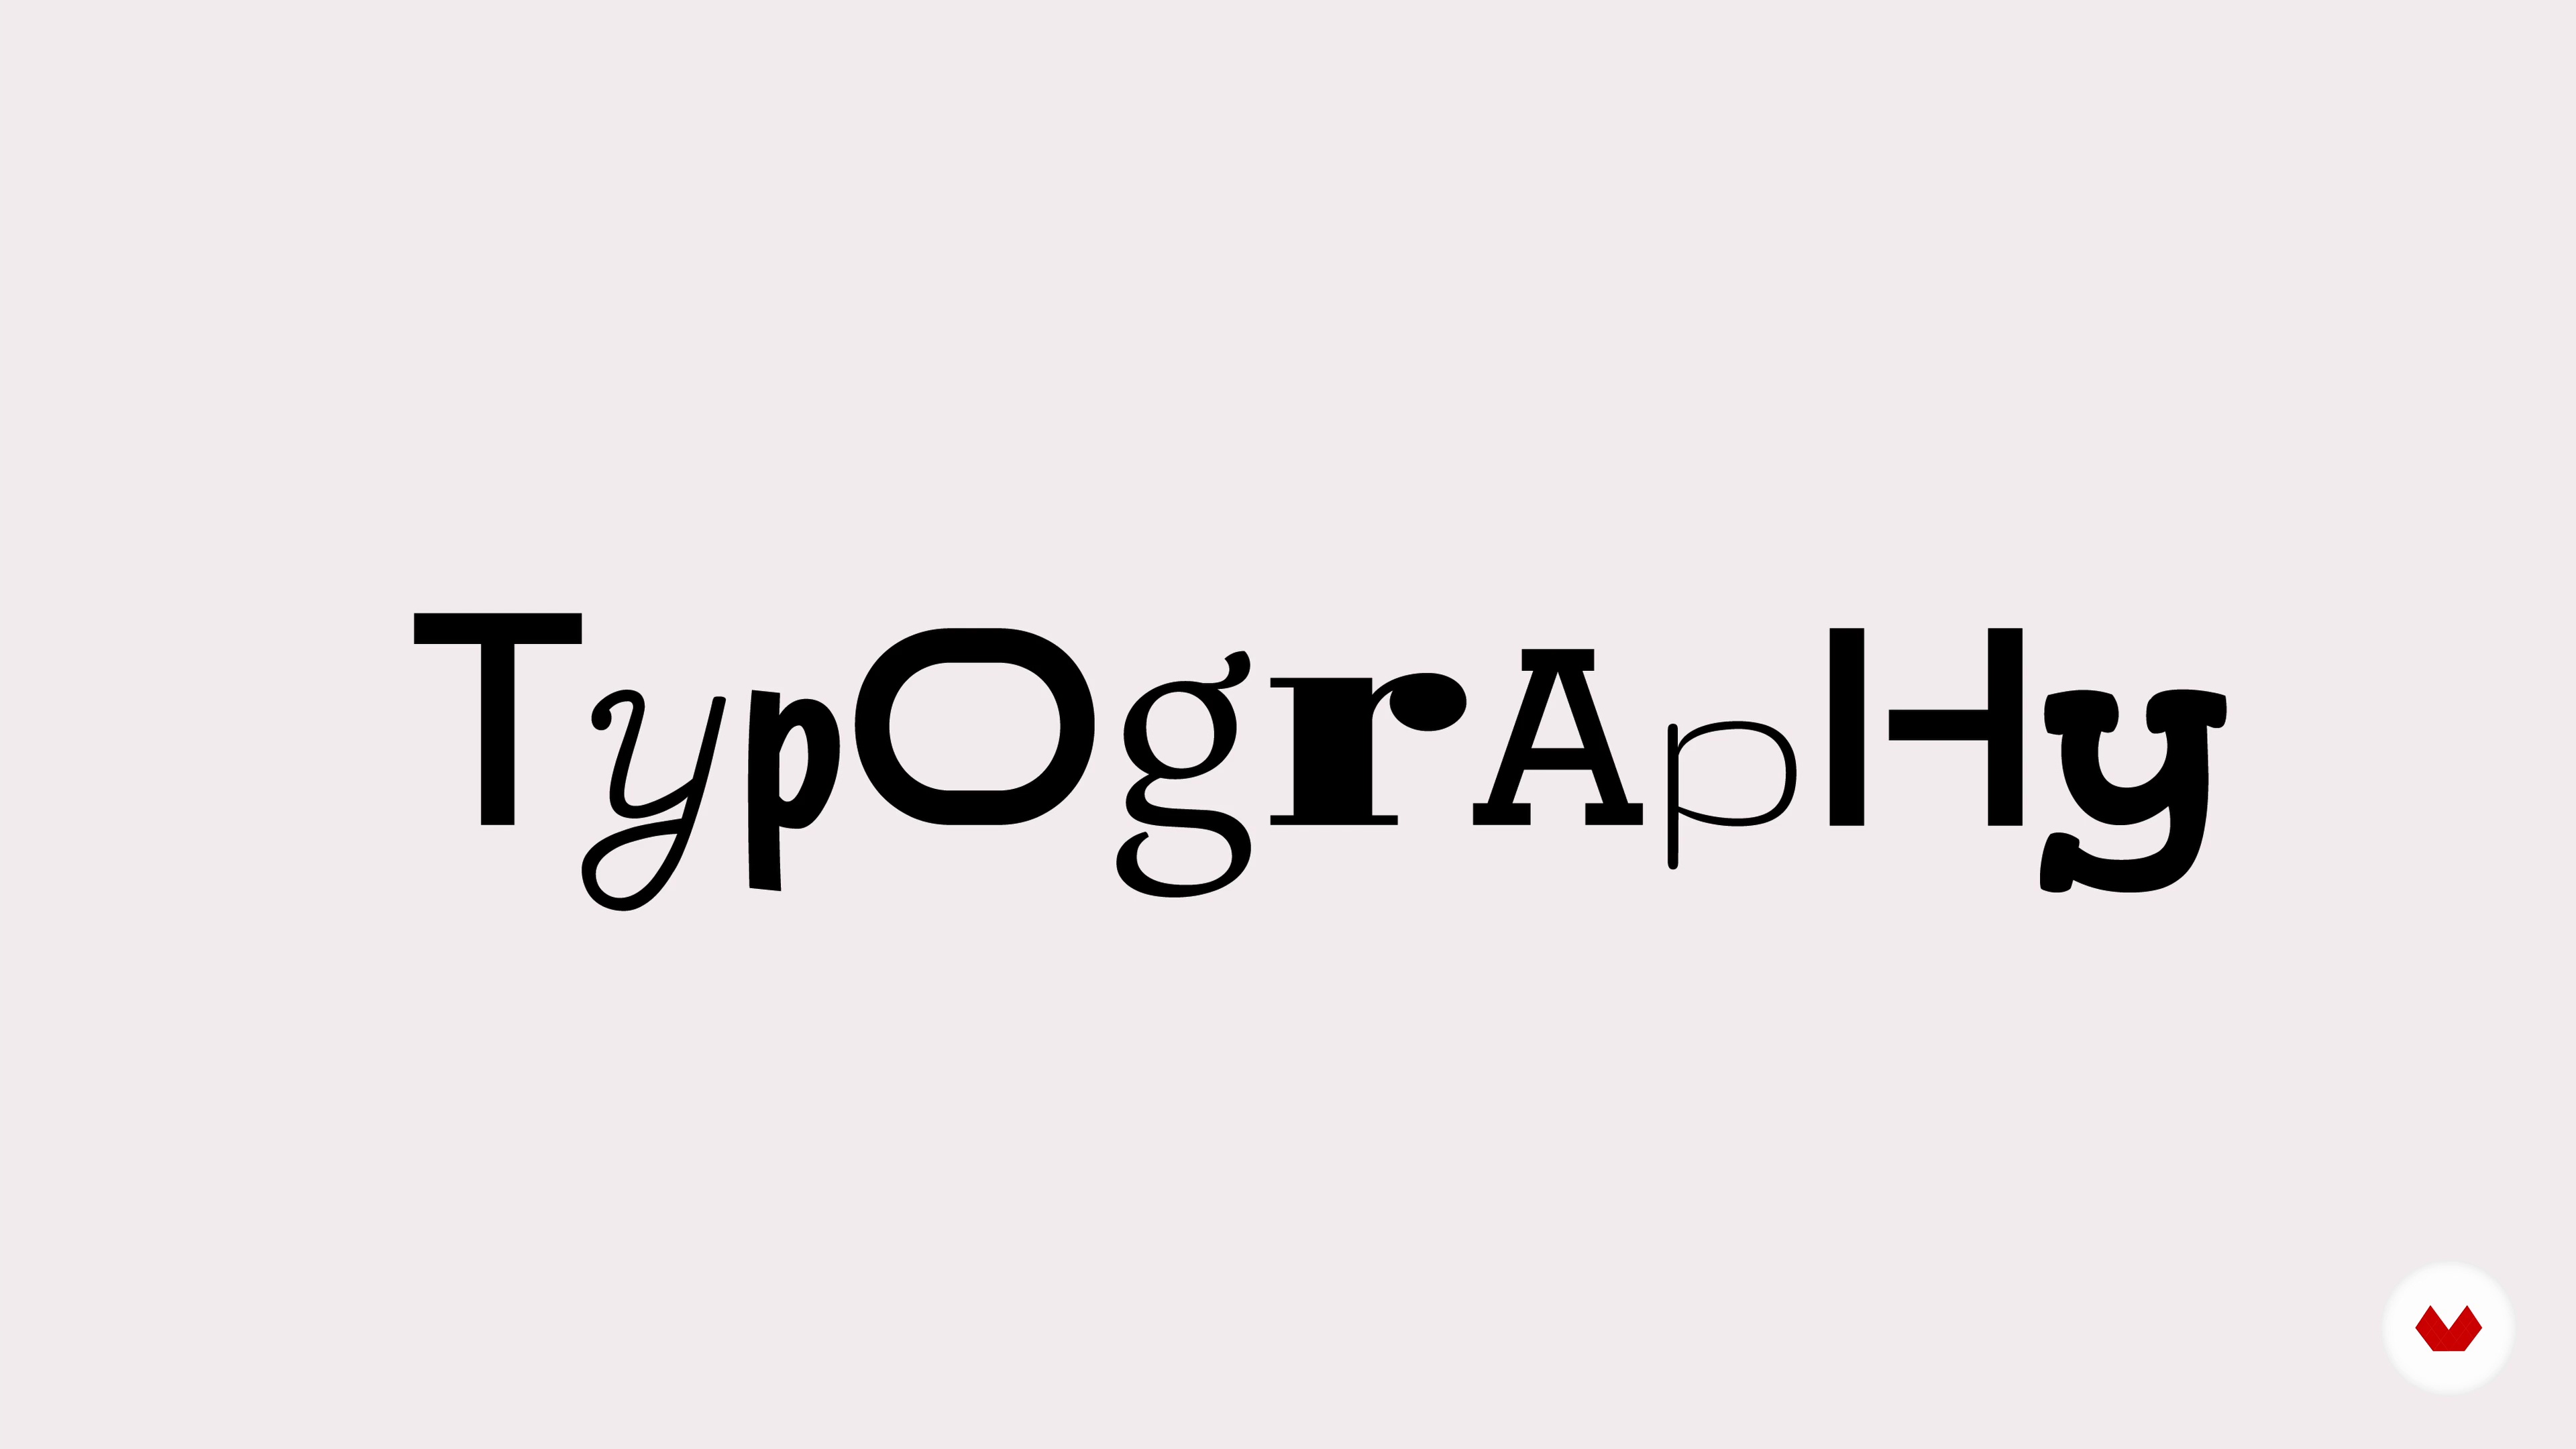
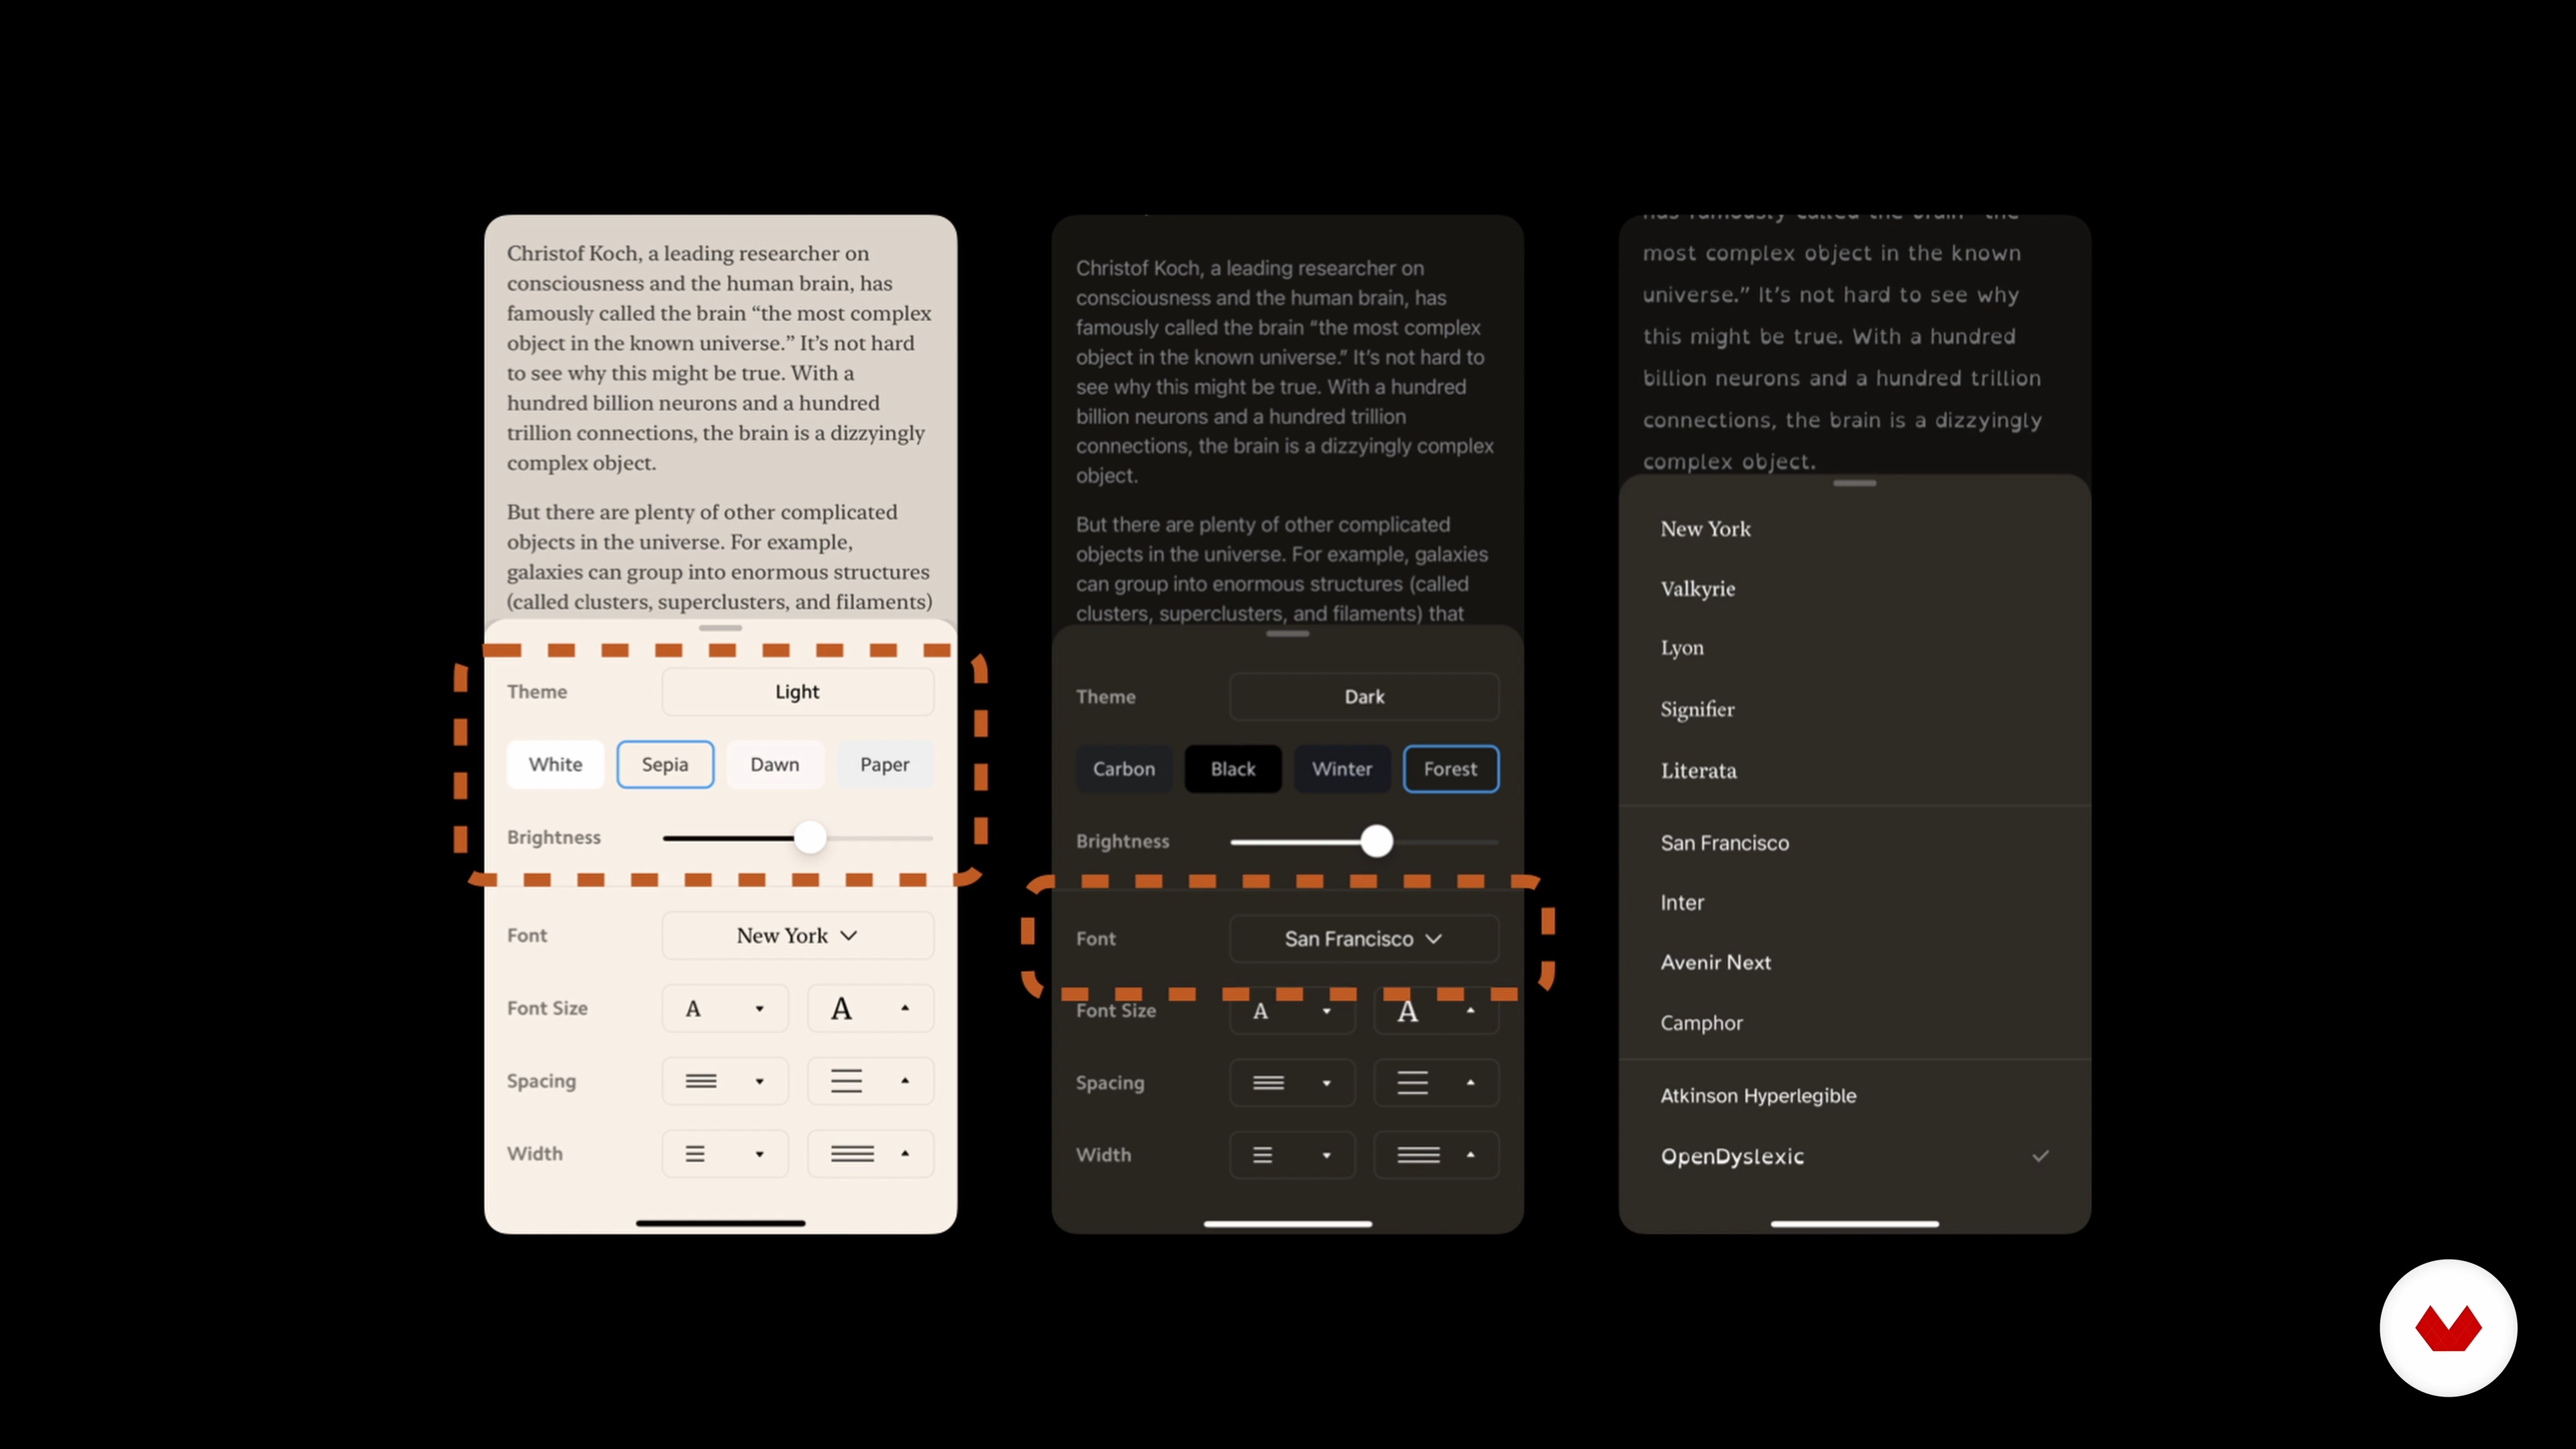
Typography
Typography is one of the most powerful elements in a design. It elevates the content, and reflects the tone and needs of a project. Their purpose is not only aesthetic but also functional and technical.
8m
image
8
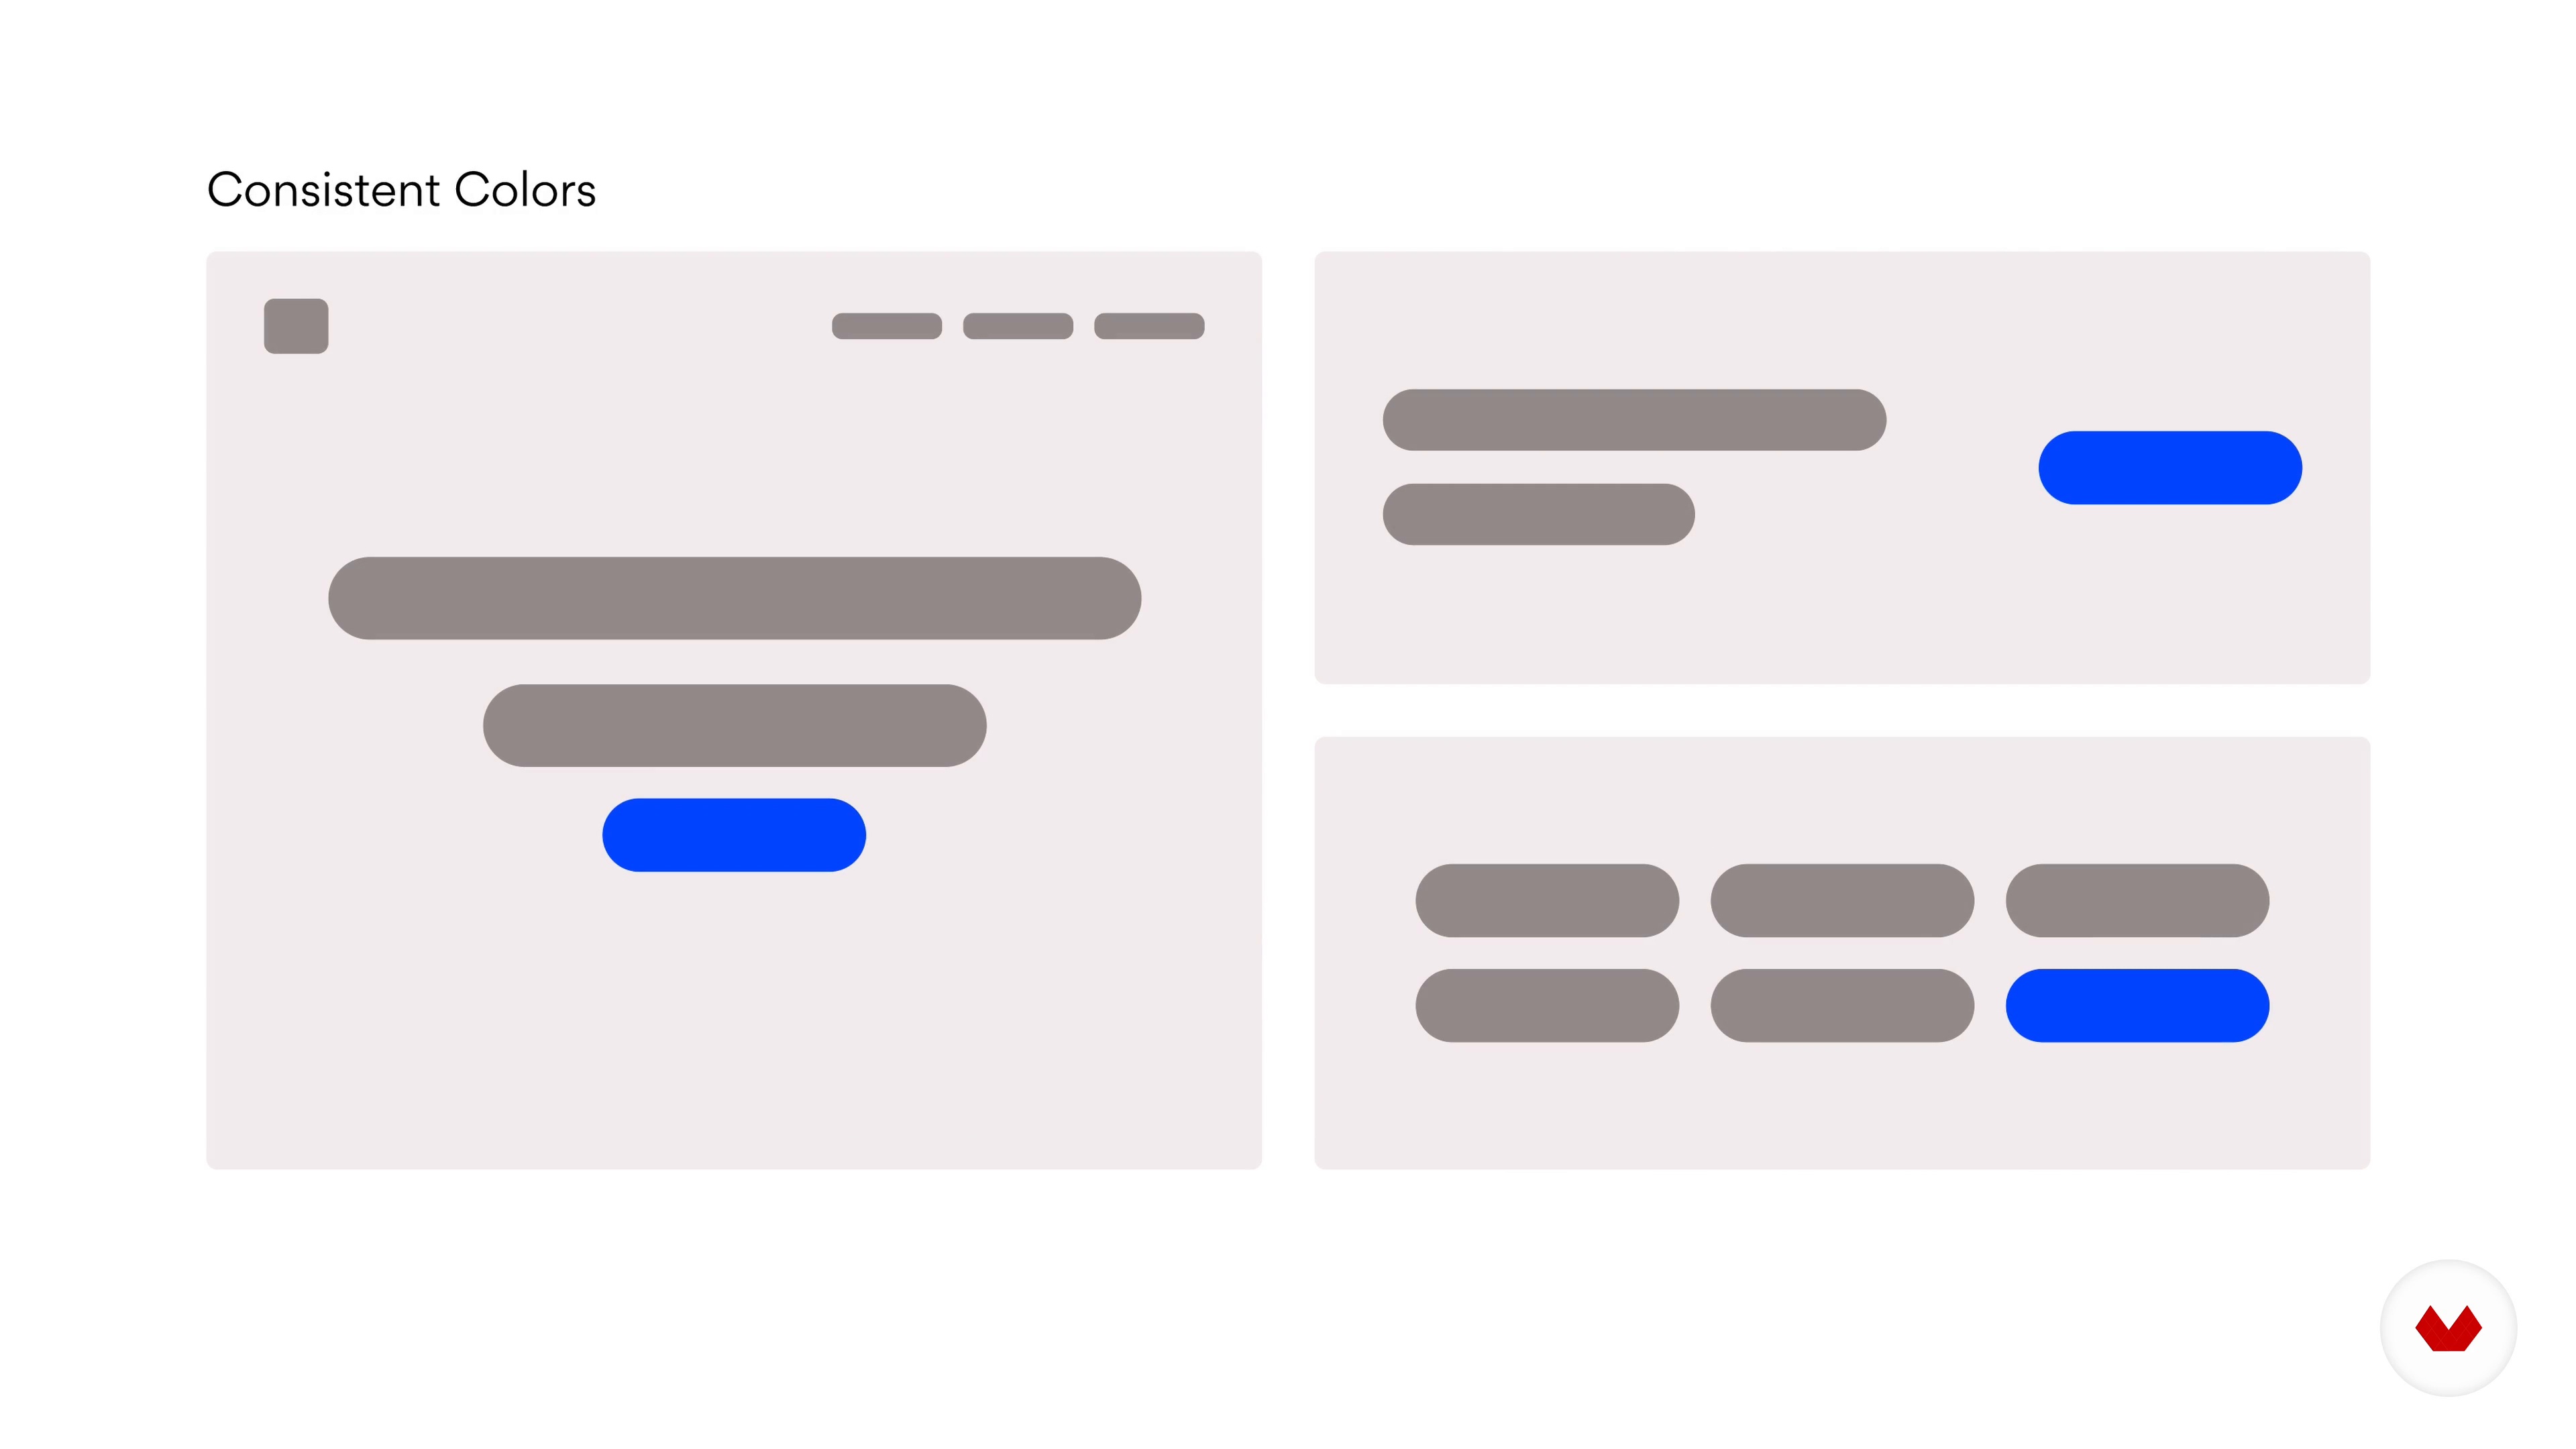
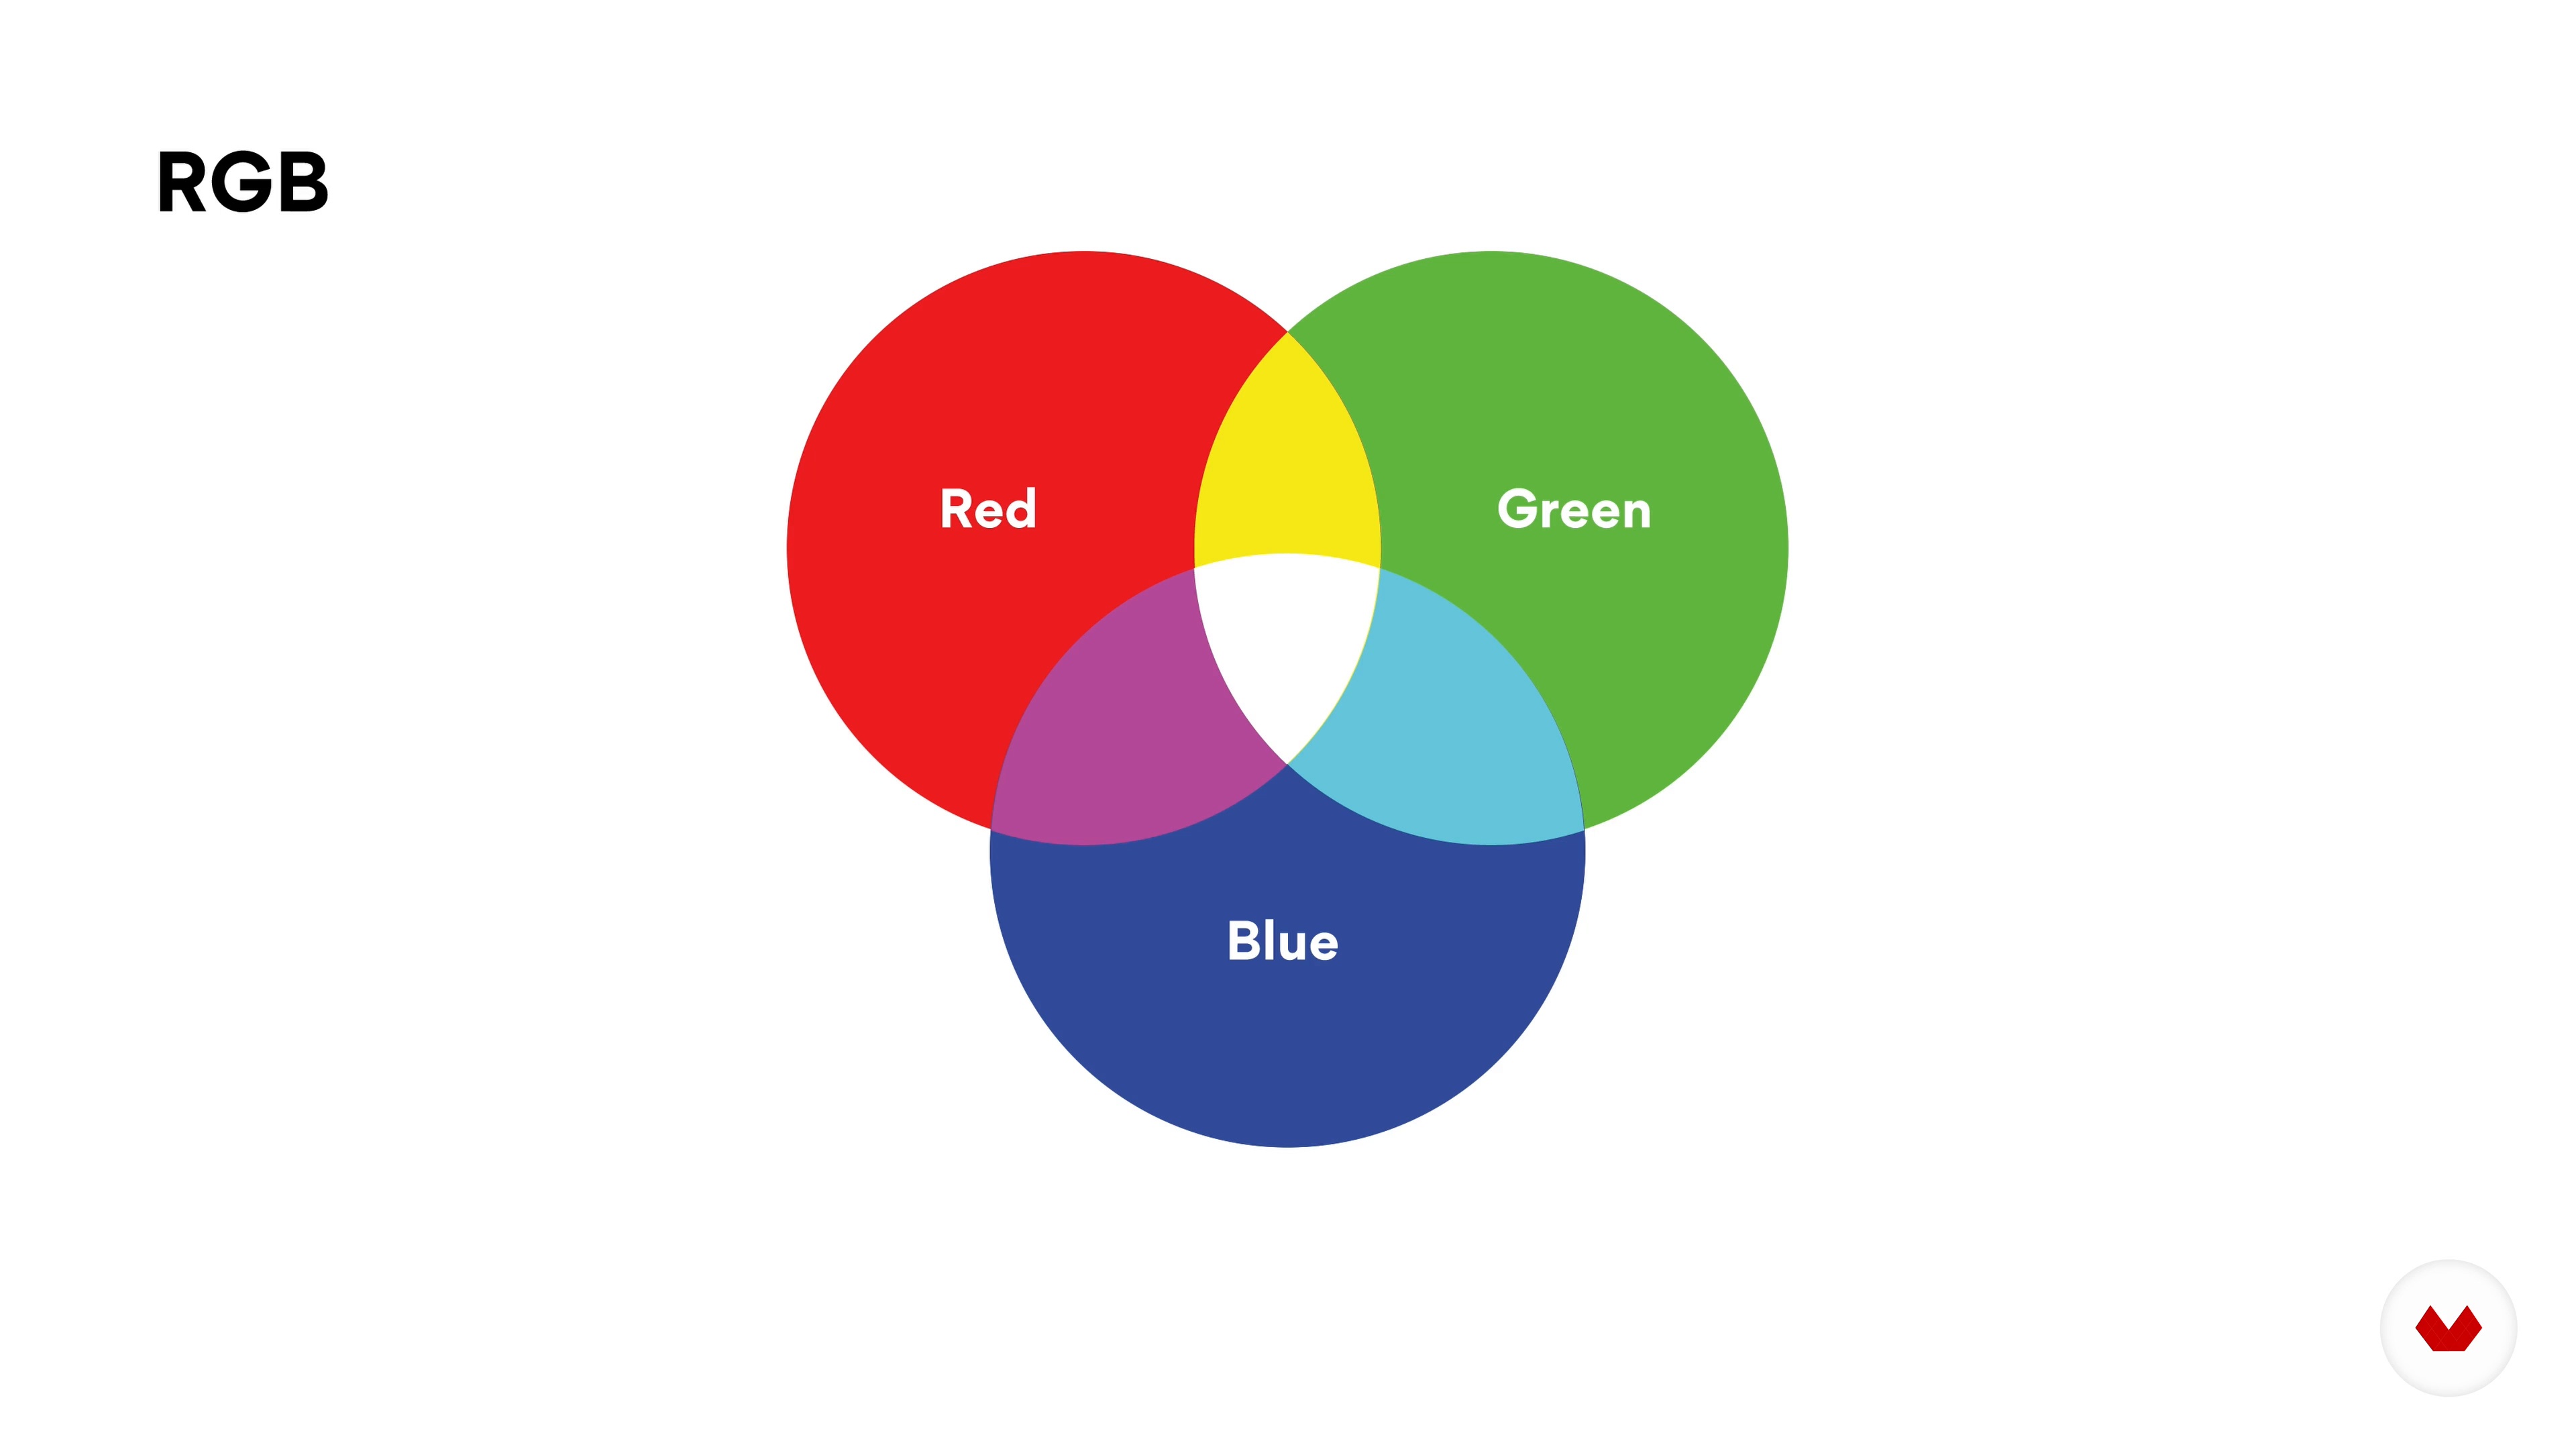
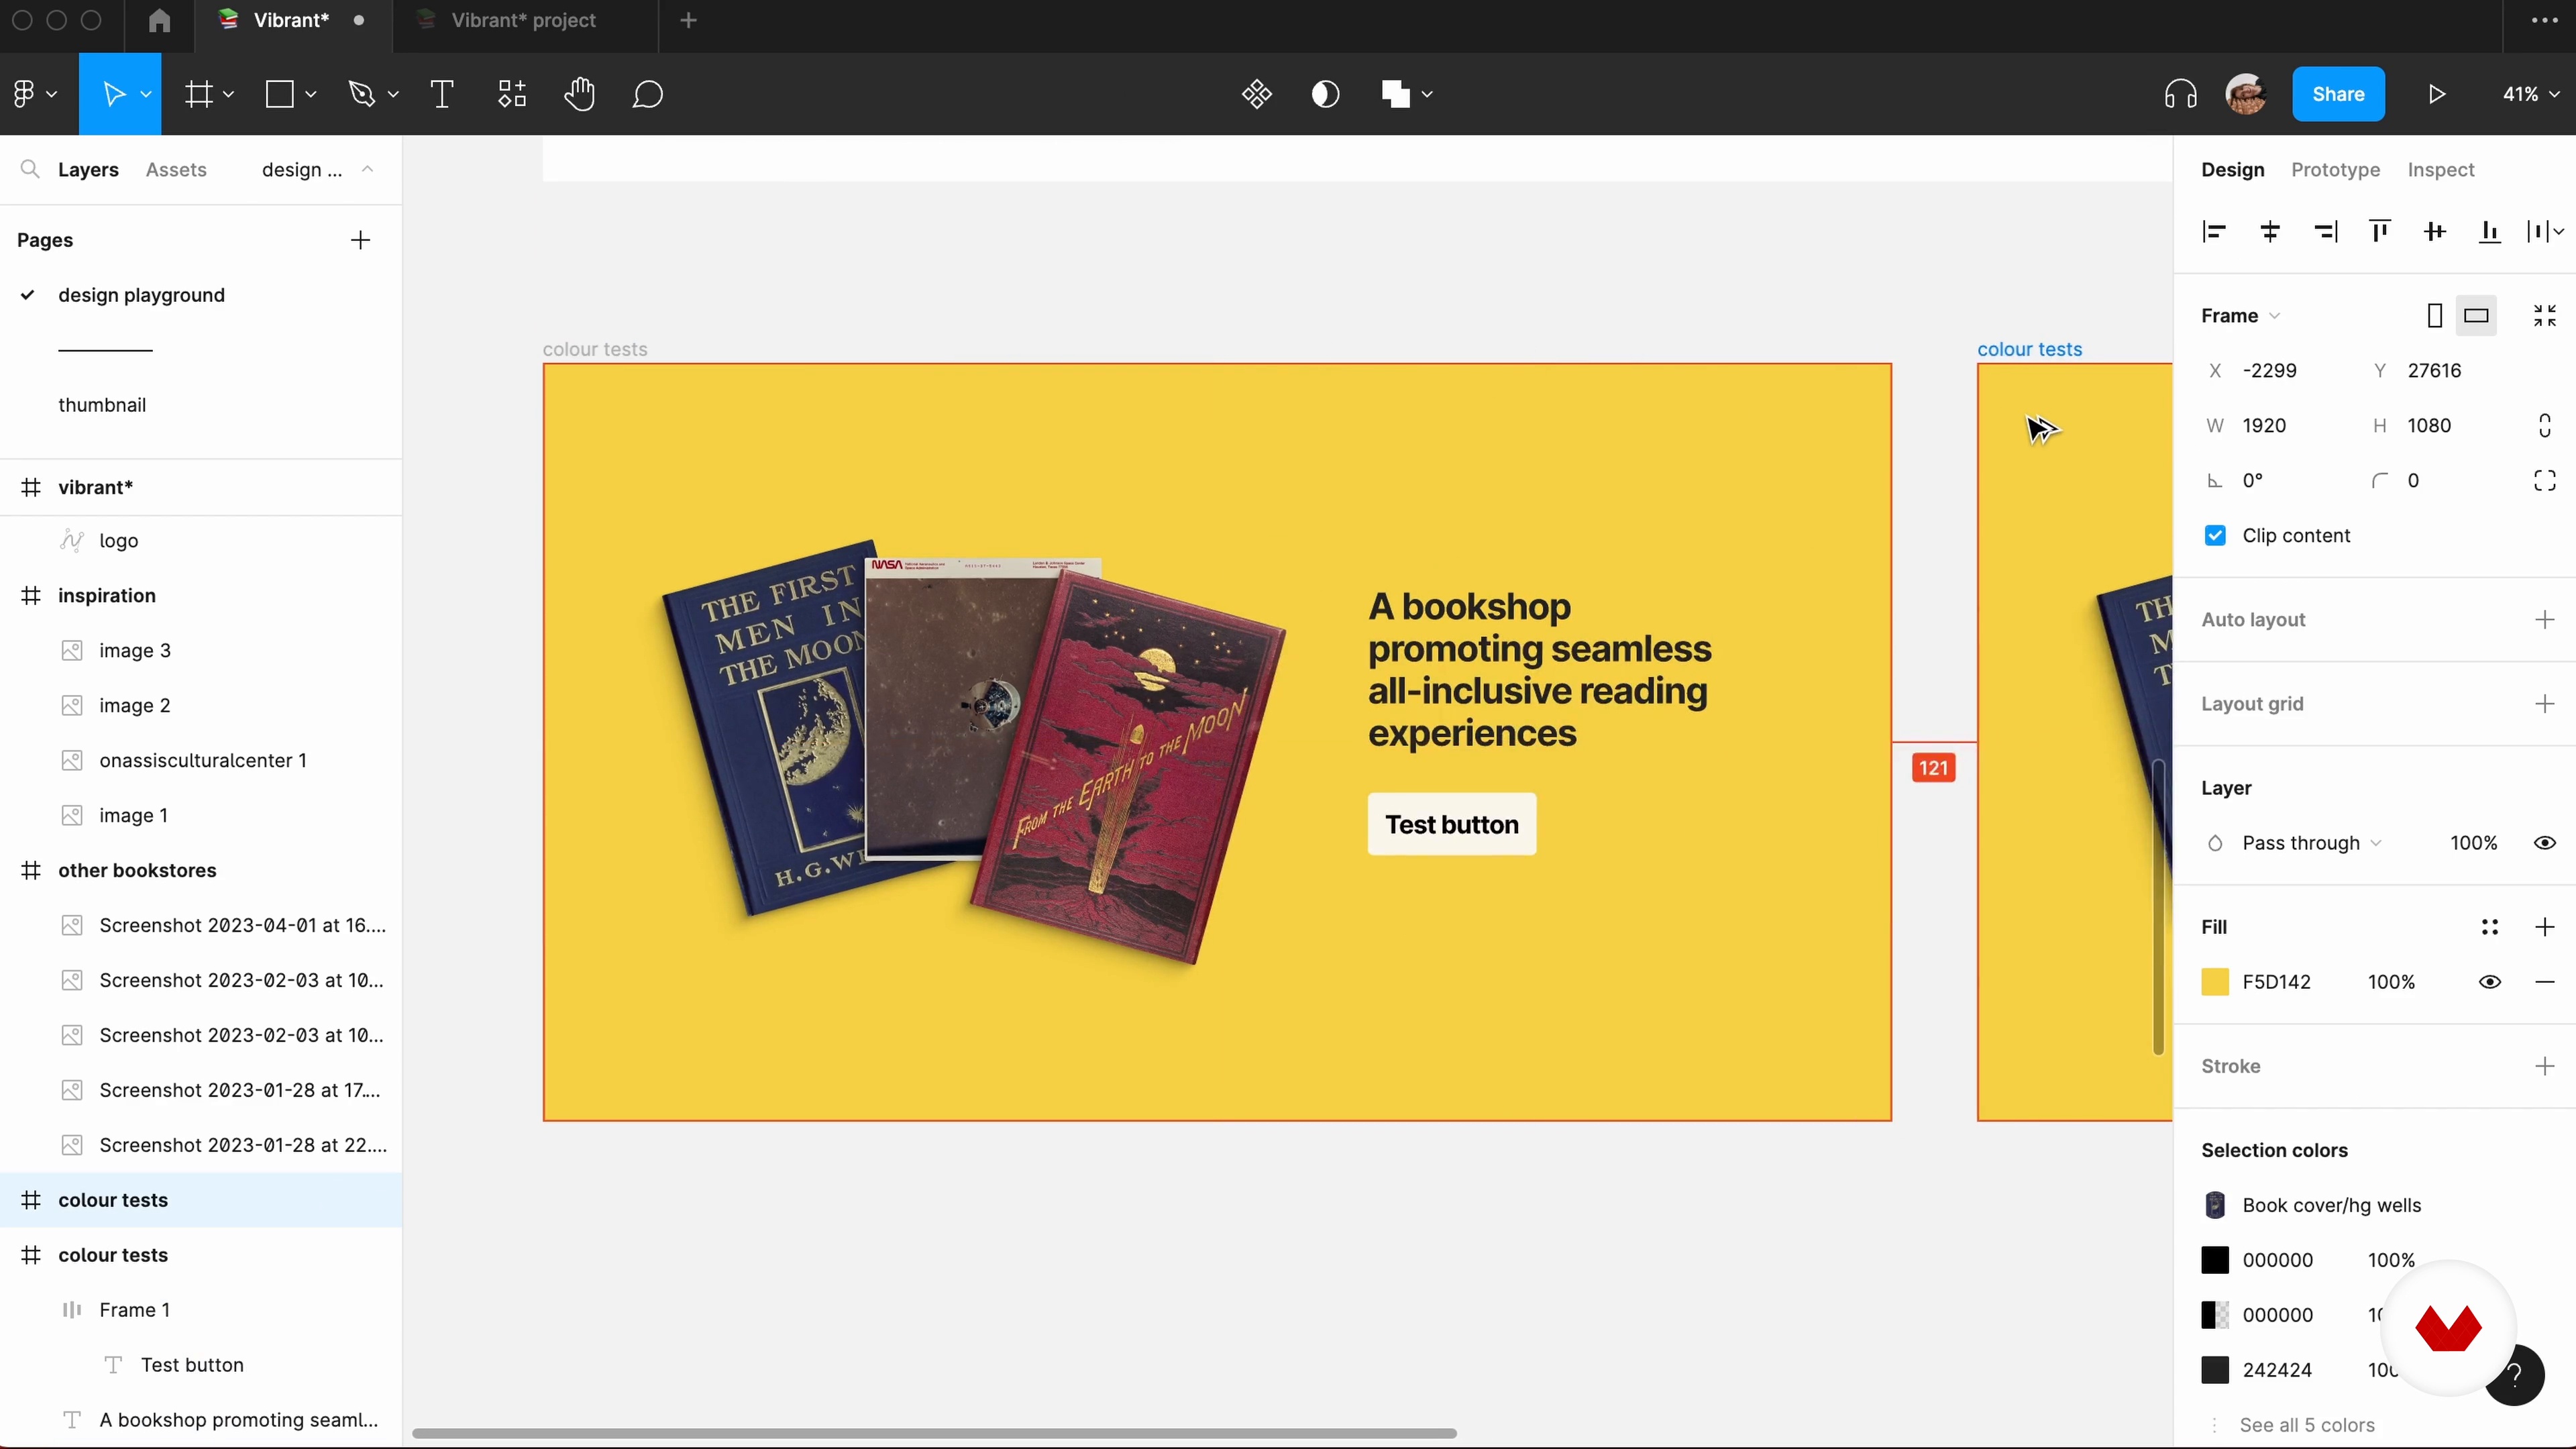
Creating a Color Palette
Colors have meaning. They communicate a tone and emotion, and that makes them a powerful design tool. But, you've got practically infinite possibilities to work with—when you start combining colors to form a palette, your options are endless. So, where do you even start? In This lesson we'll learn a bit about how to combine colors.
8m
image
9
Graphics and Icons
Imagery allows you to do more with less. They say that a picture's worth a thousand words. That's why imagery and graphics are powerful visual tools that can help deliver a message and establish a product's visual identity. You could use photos, illustrations, and icons. Let's learn when to use which.
11m
image
10
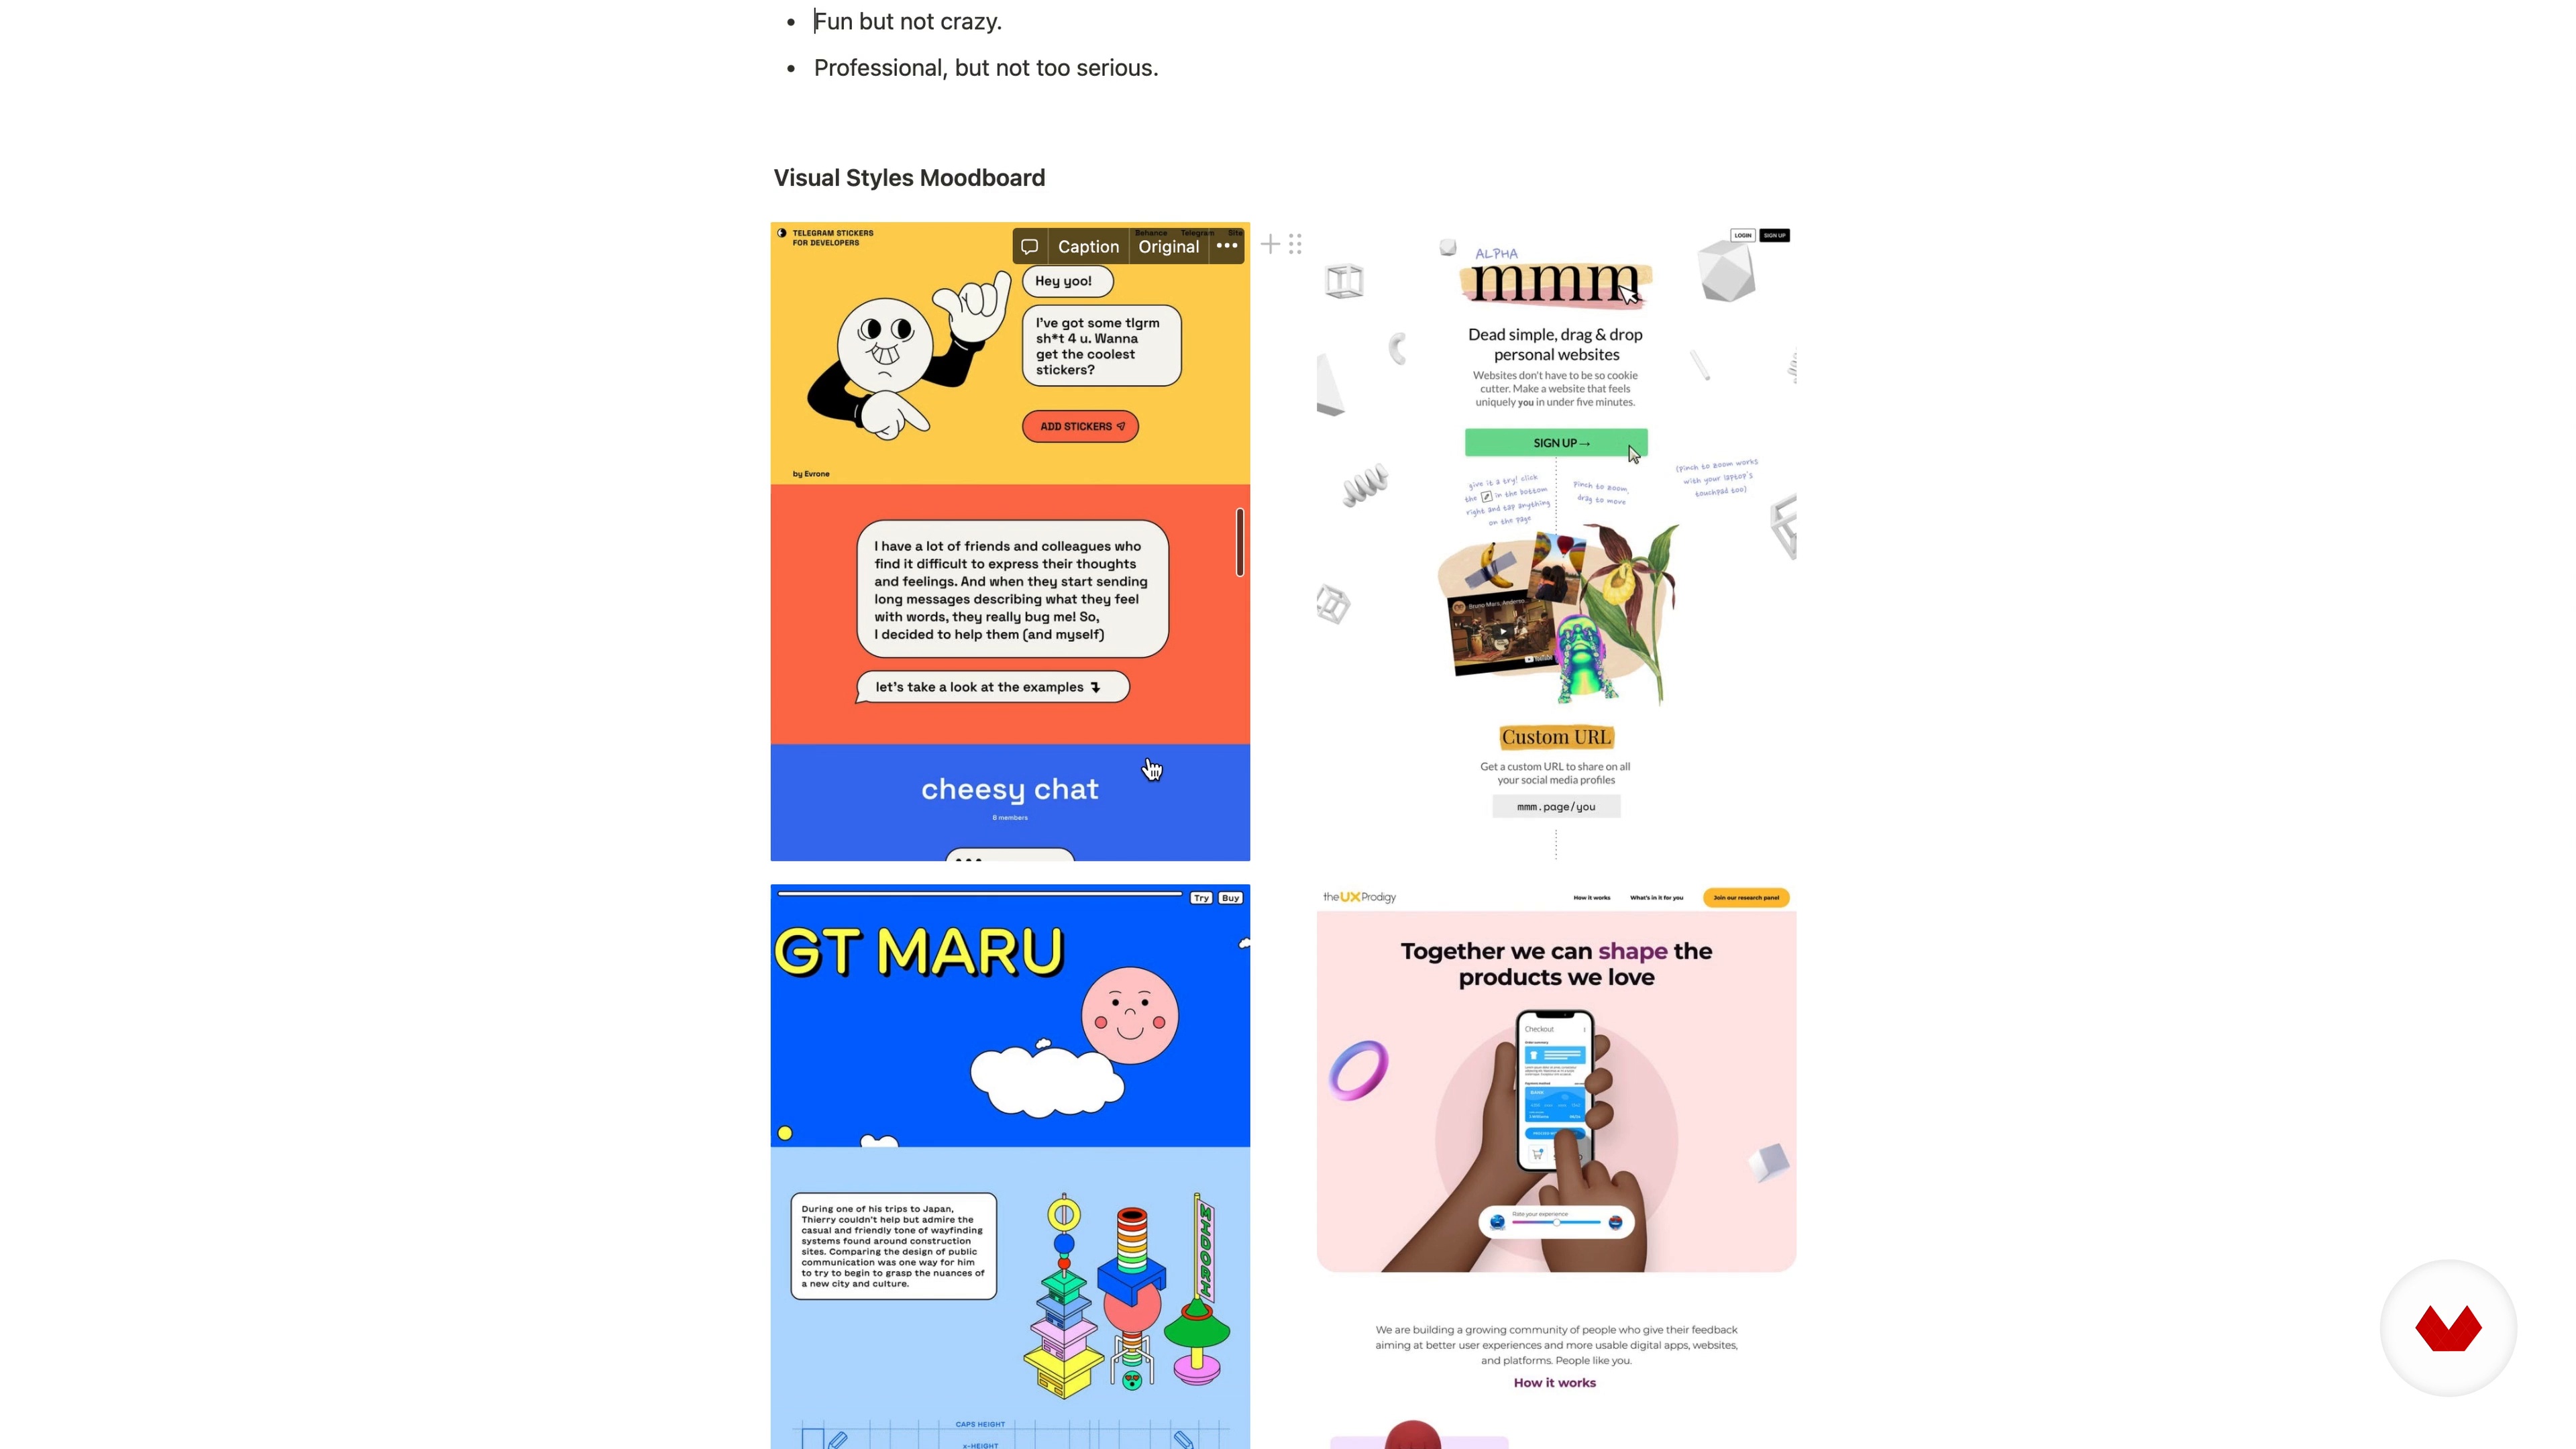
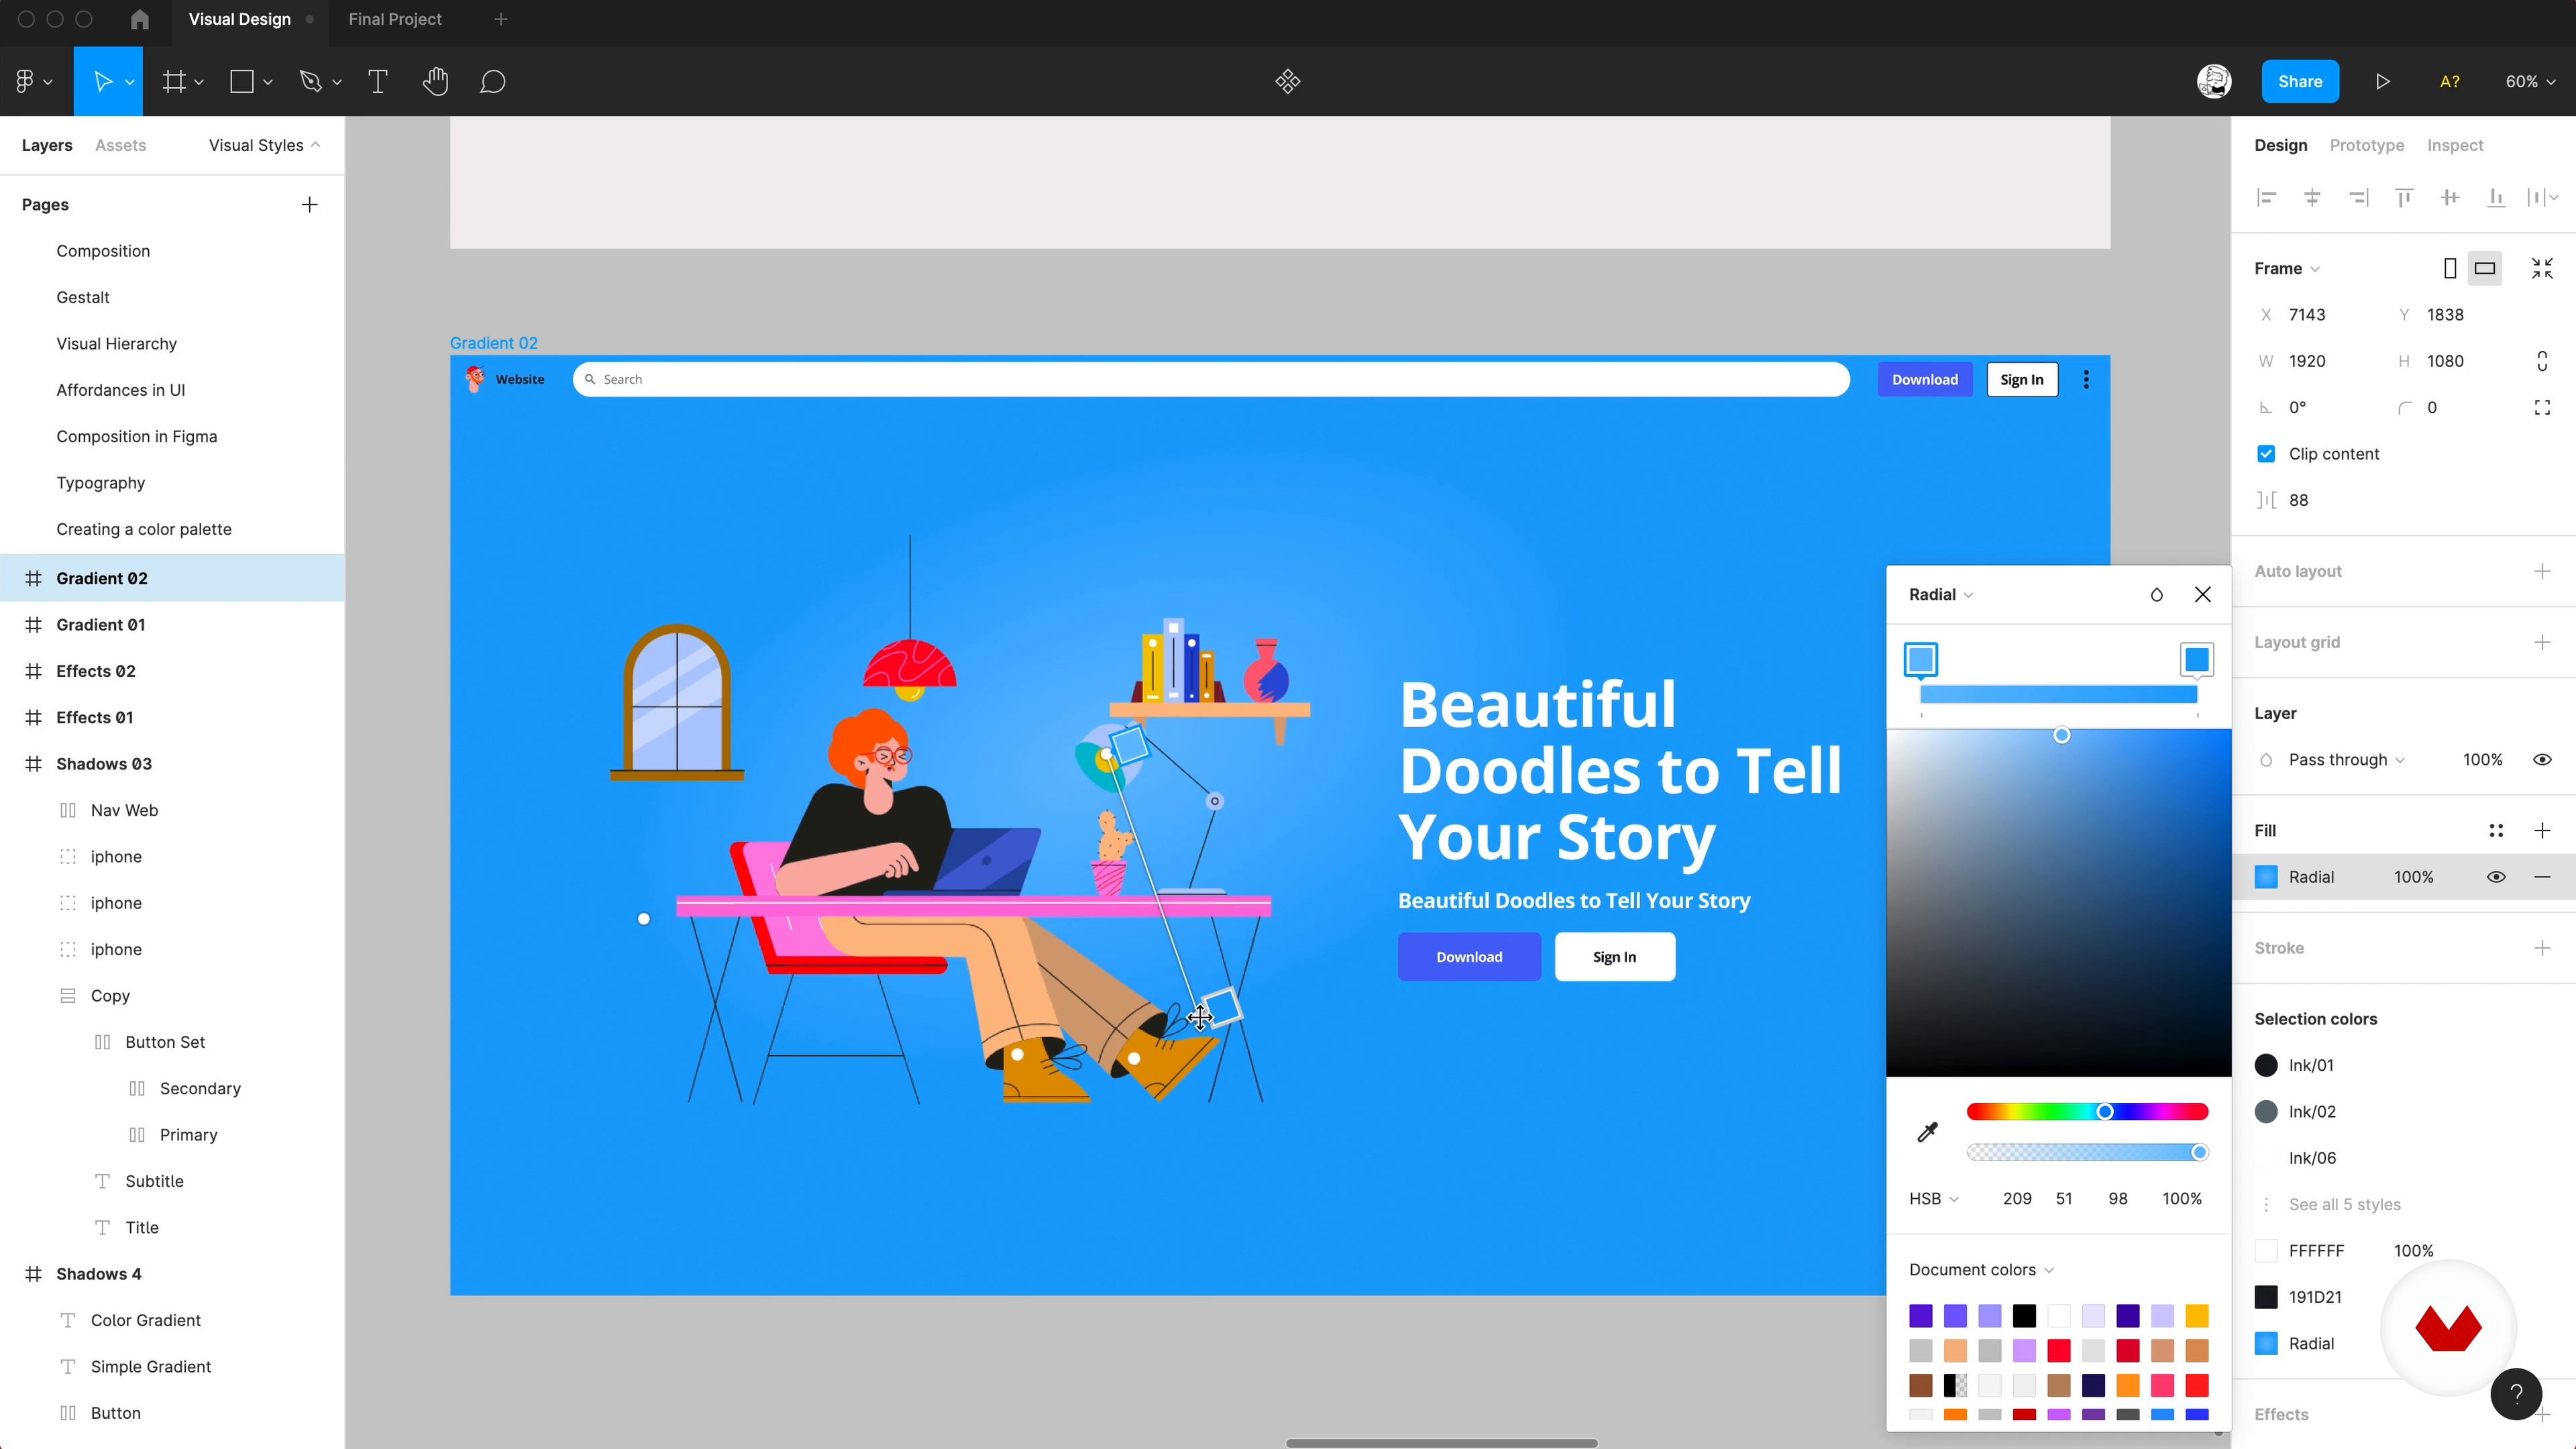
Visual Styles
In this lesson we'll just open Figma and test different visual styles and see how to try them and why they work. One by one.
19m
image
11
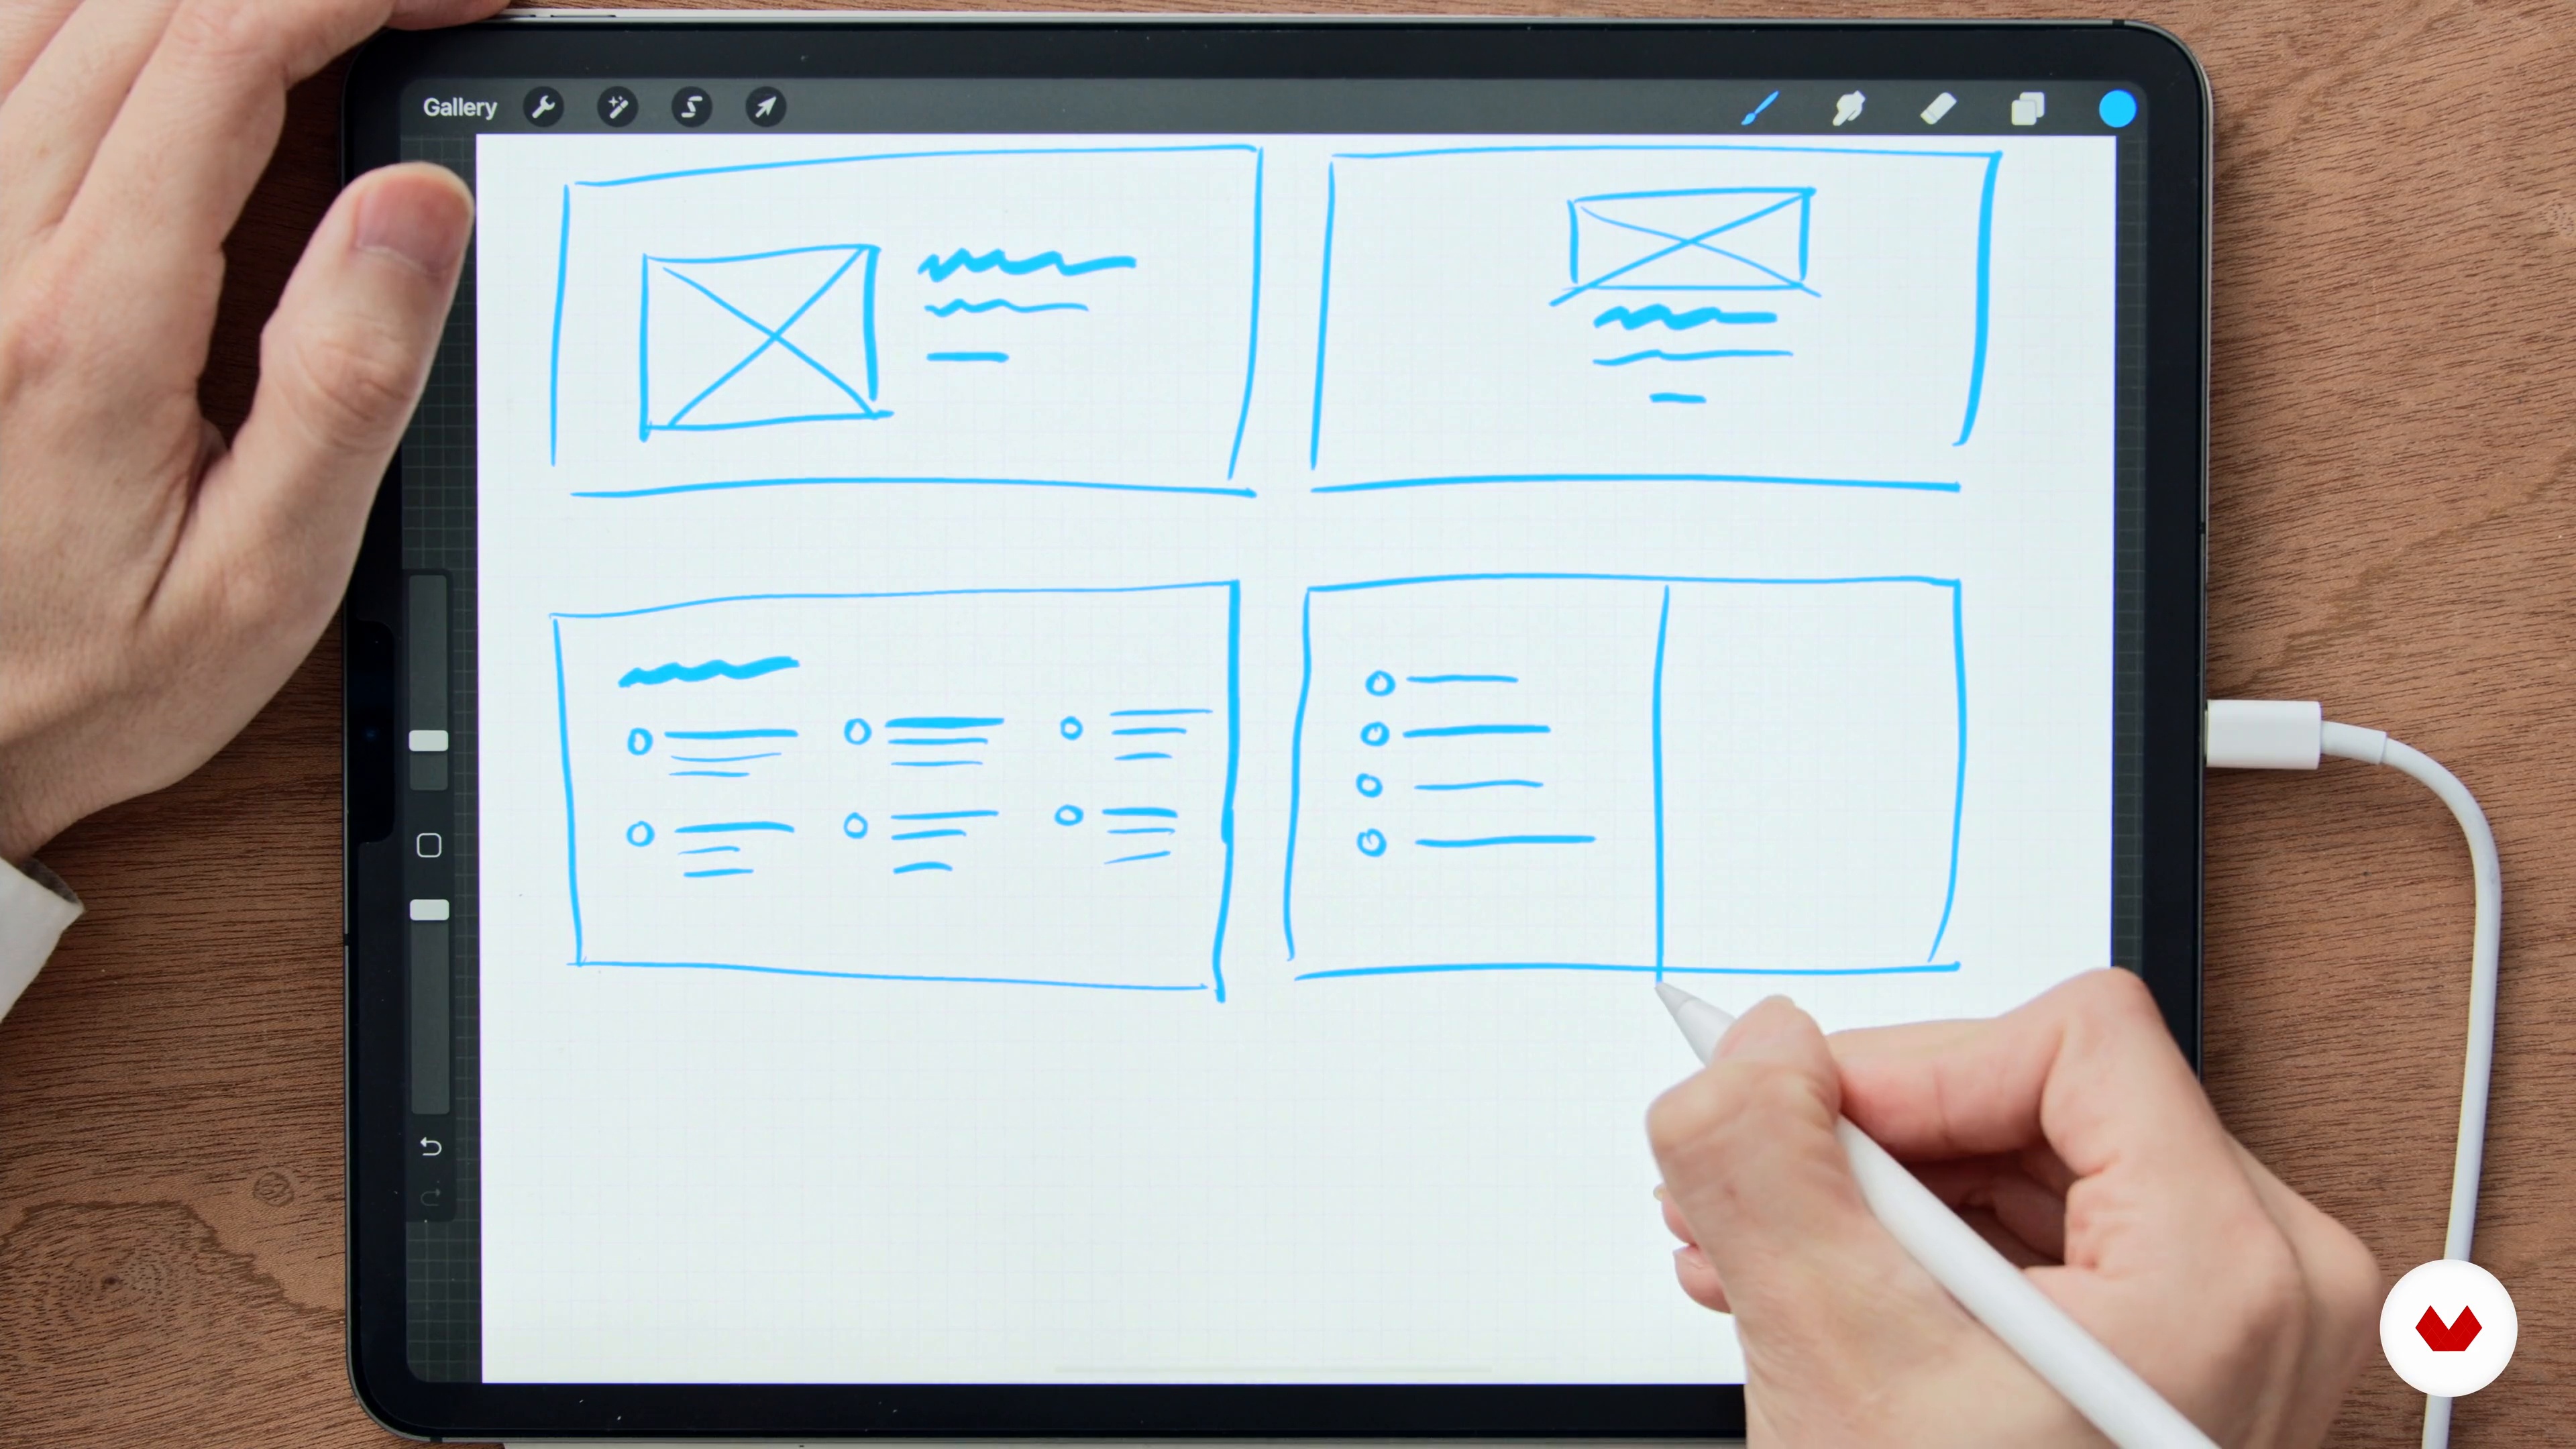
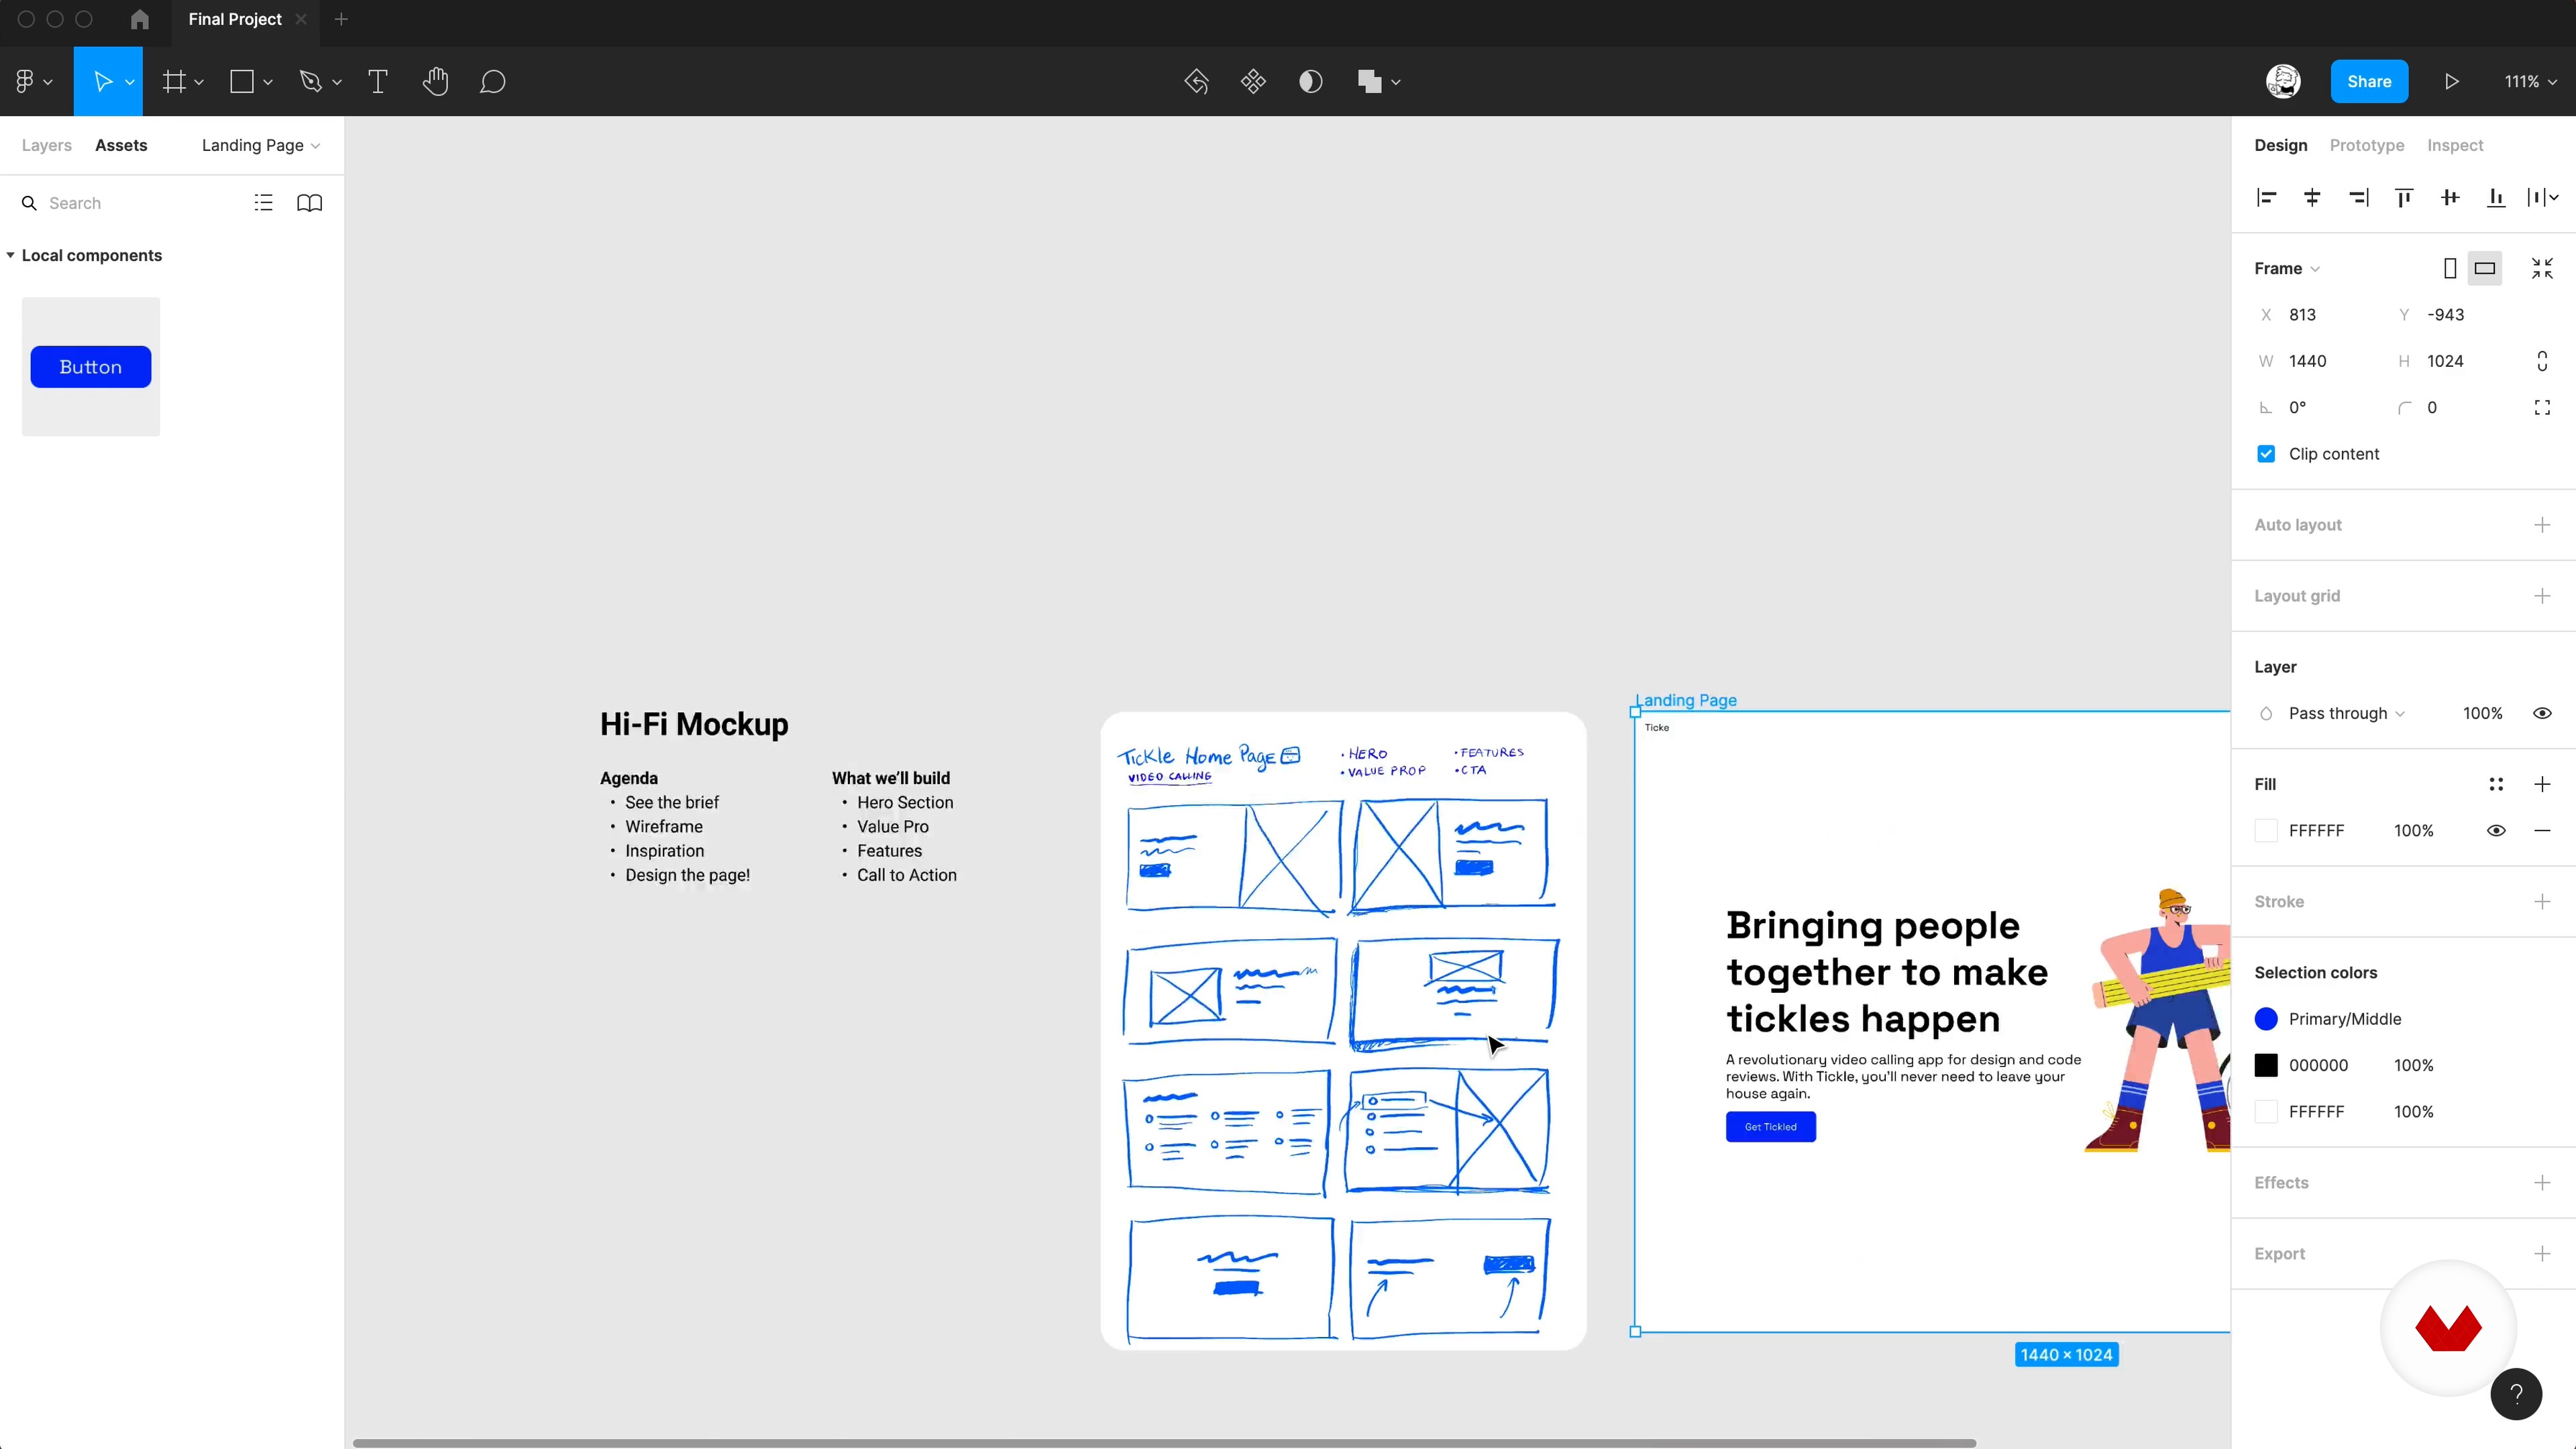
Sketching a Wireframe
Sketching a wireframe allows us to quickly identify usability issues early on our design process. It also invites different stakeholders to give their input and ideas. And it gives us a glimpse at how the final project might look like.
7m
image
12
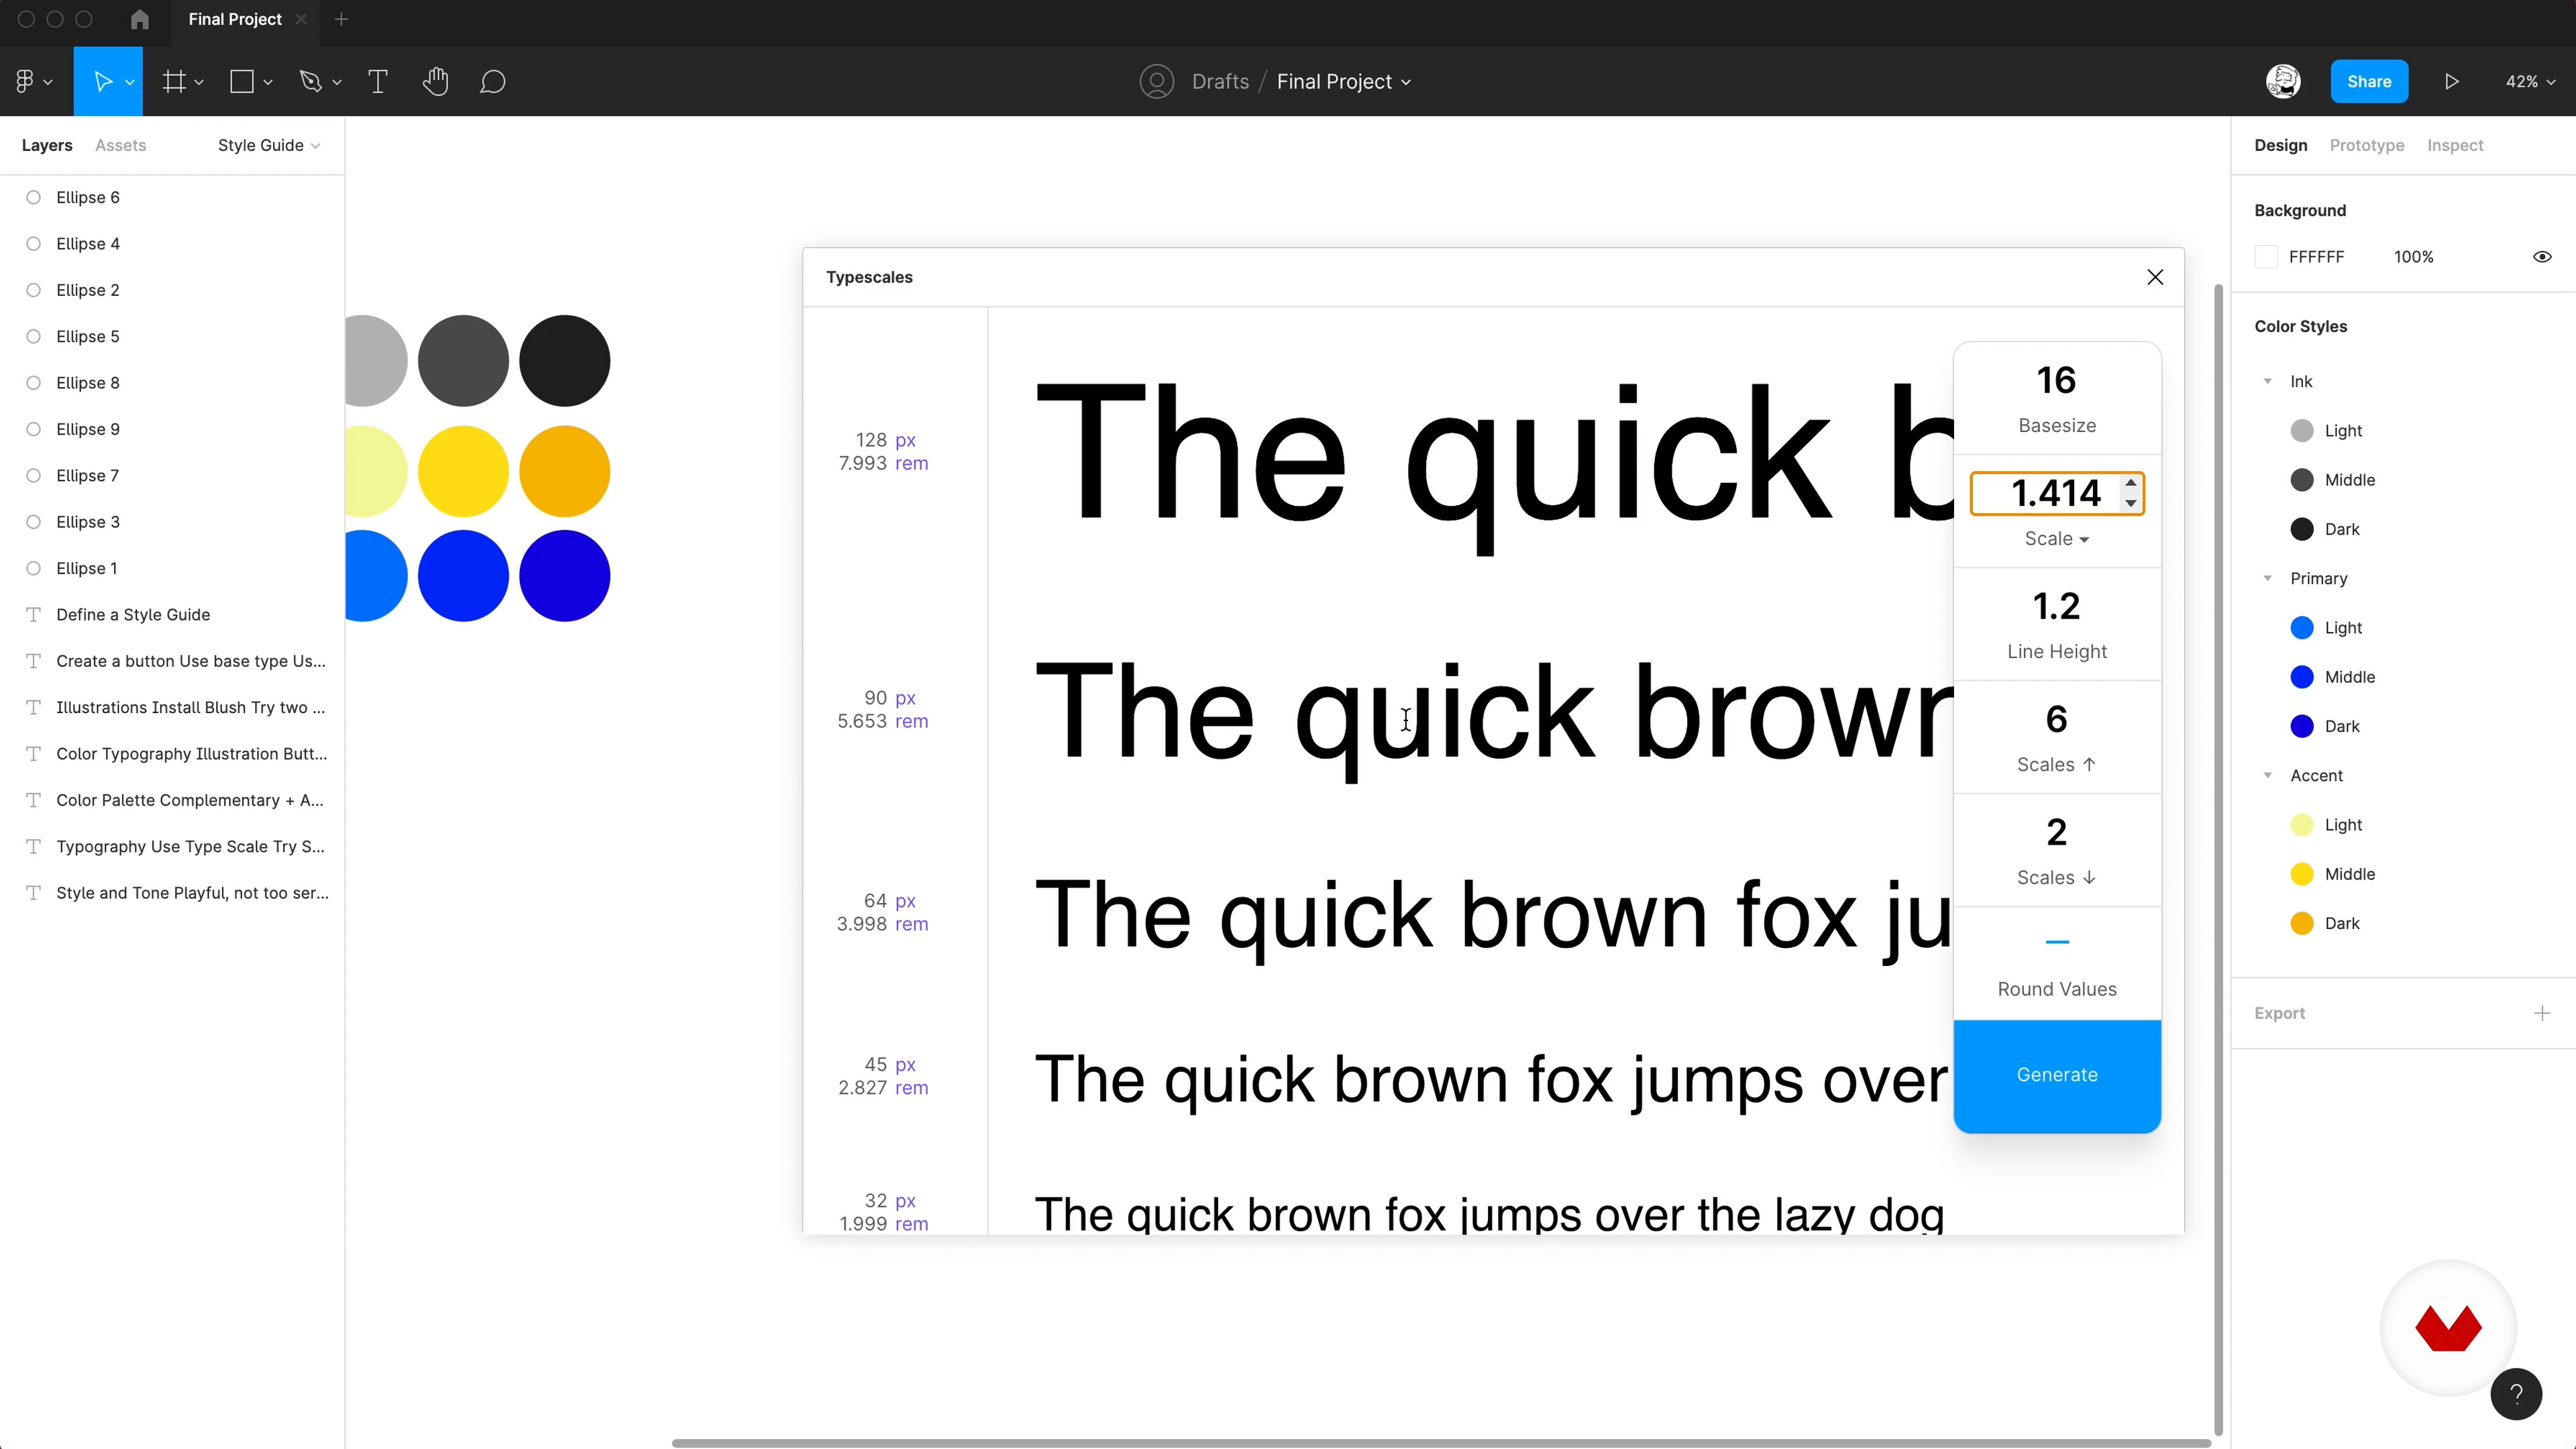
Defining Your Visual Style Guide 1
Before putting our sketches in high fidelity, let's define the style of some essential elements. Having this basic system will allow us to move faster when putting together our layout and compositions in the high fidelity mockup.
16m
image
13
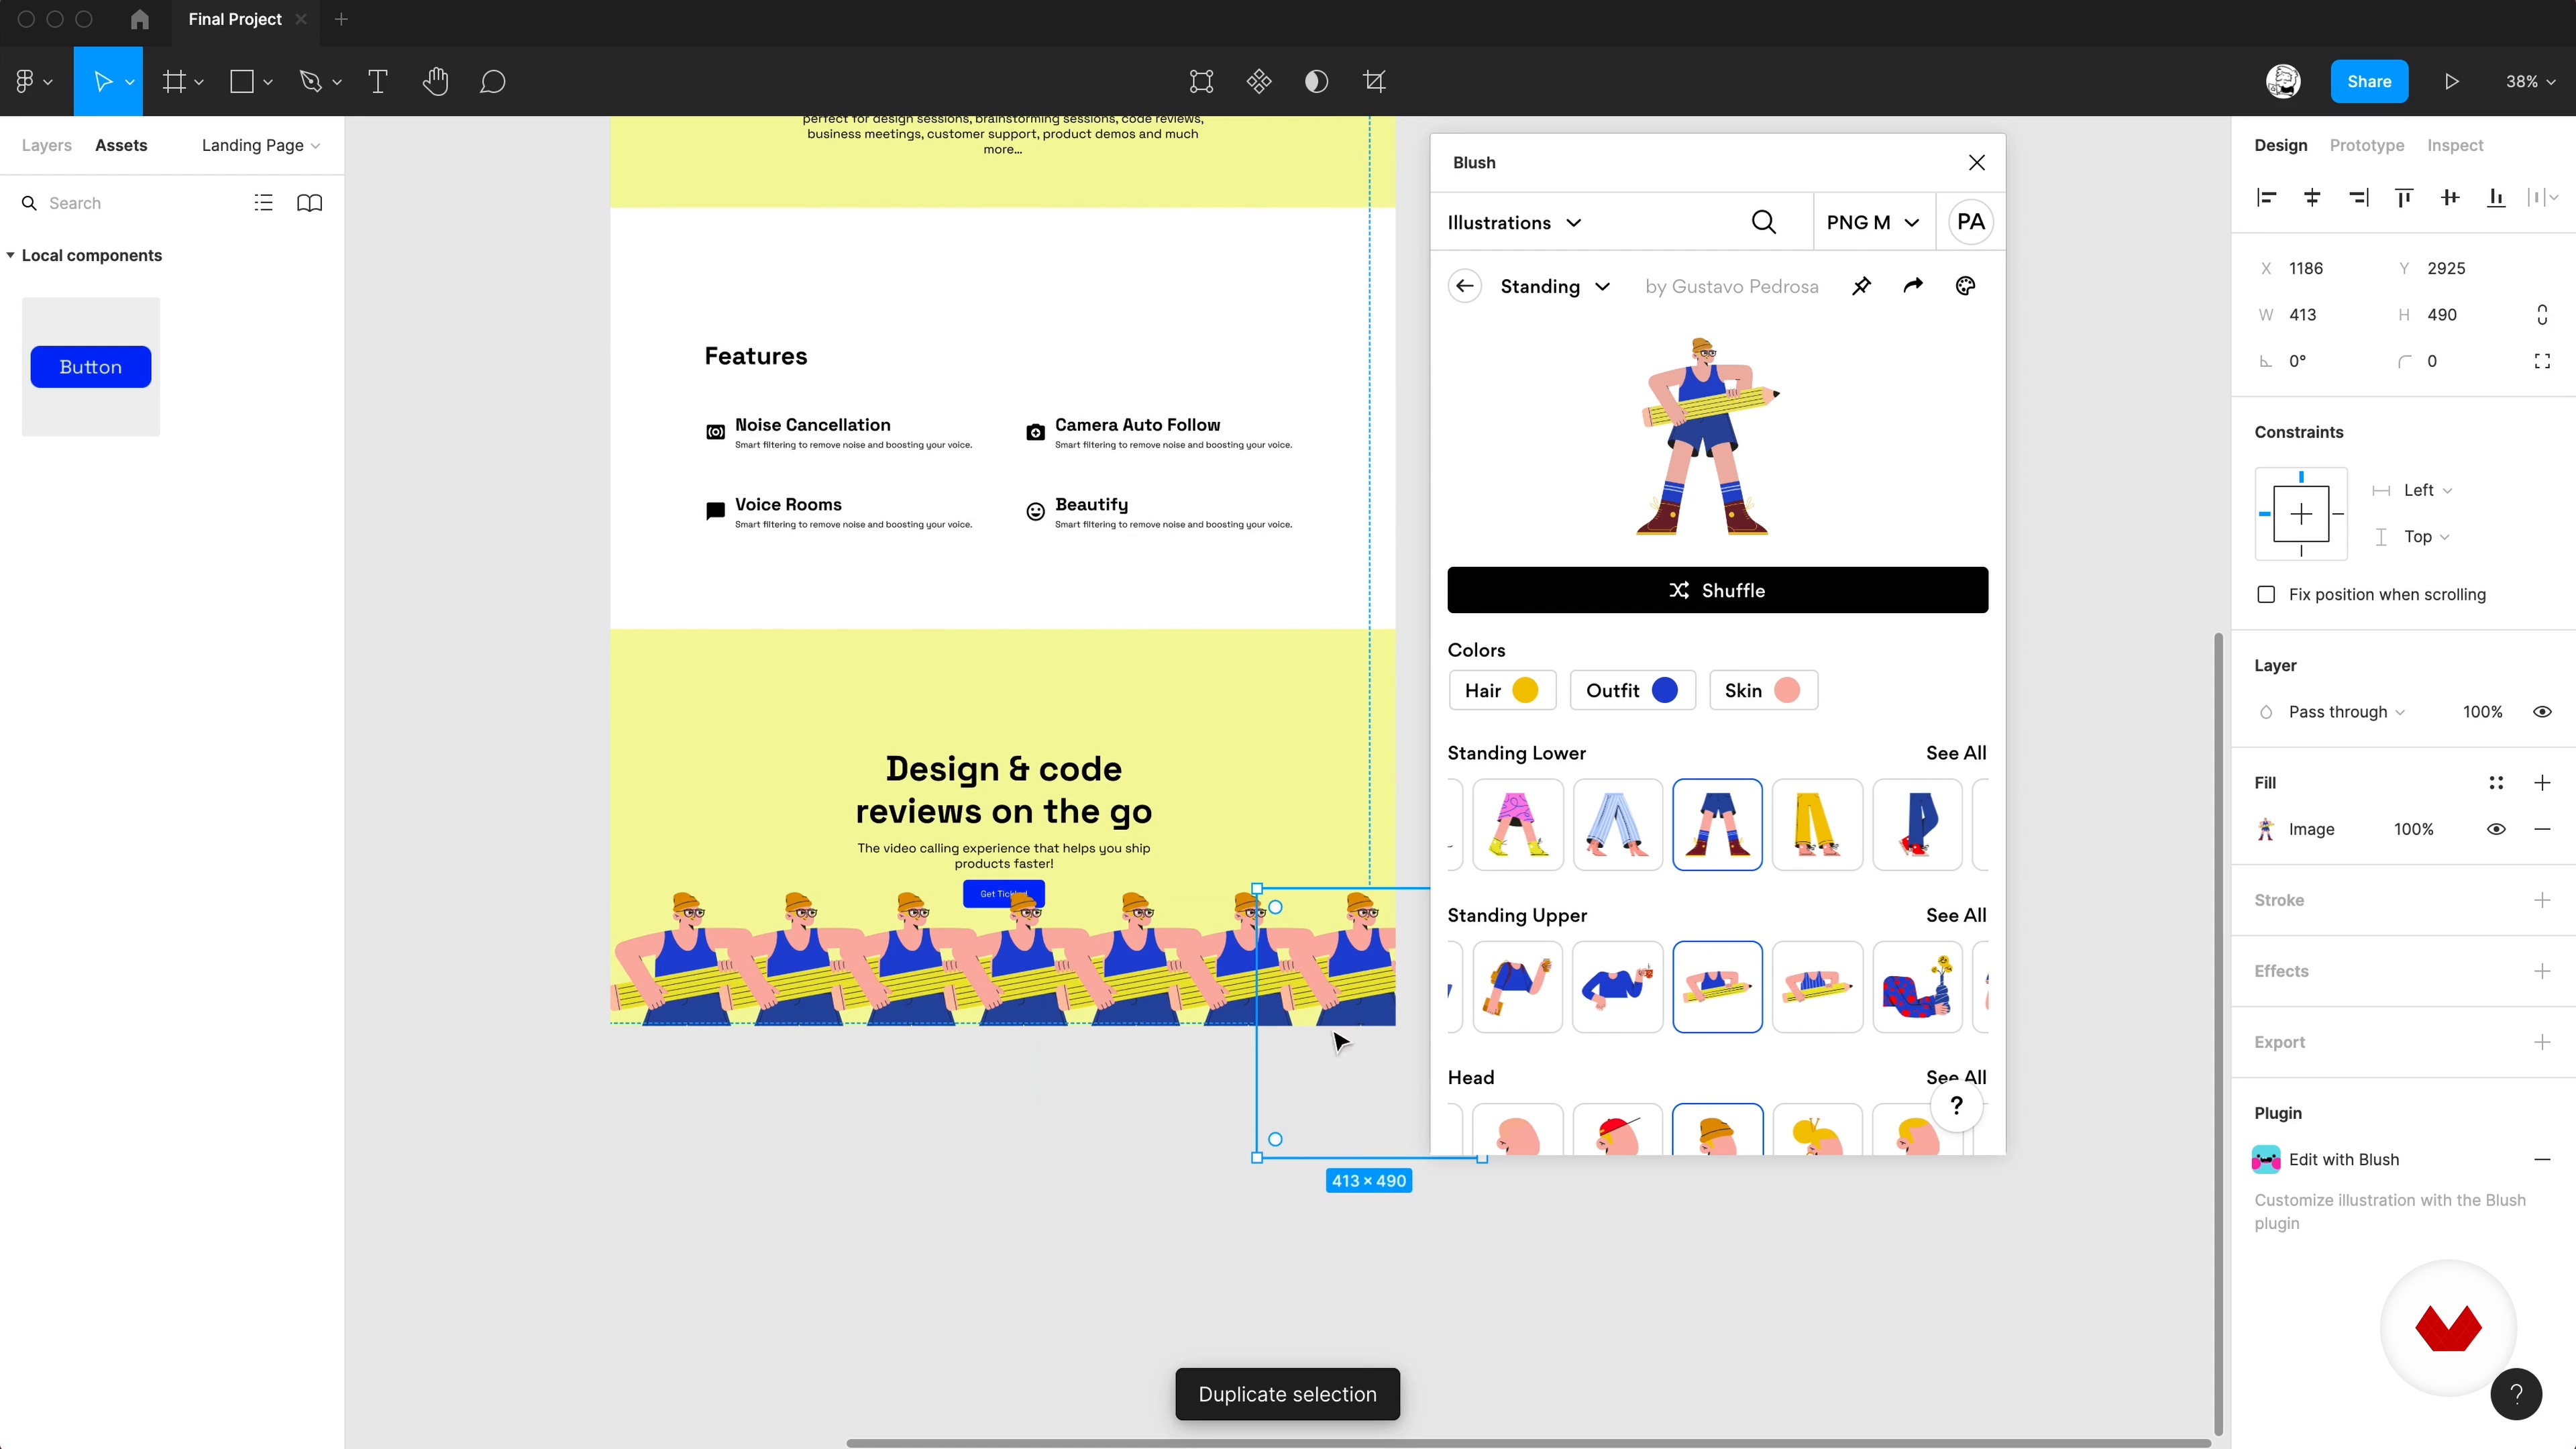
Defining Your Visual Style Guide 2
In this second part of the lesson we will focus on the style of the illustrations that will come up in your project.
7m
image
14
Building a High-Fidelity Mock-up 1
Now let's use our style guide and the sketch wireframe to put together a high-fidelity version of our page on Figma.
15m
image
15
Building a High-Fidelity Mock-up 2
Here I will continue to shape and finalize my high-fidelity mock-up, always keeping the vibrant and dynamic look of it.
9m
image
16
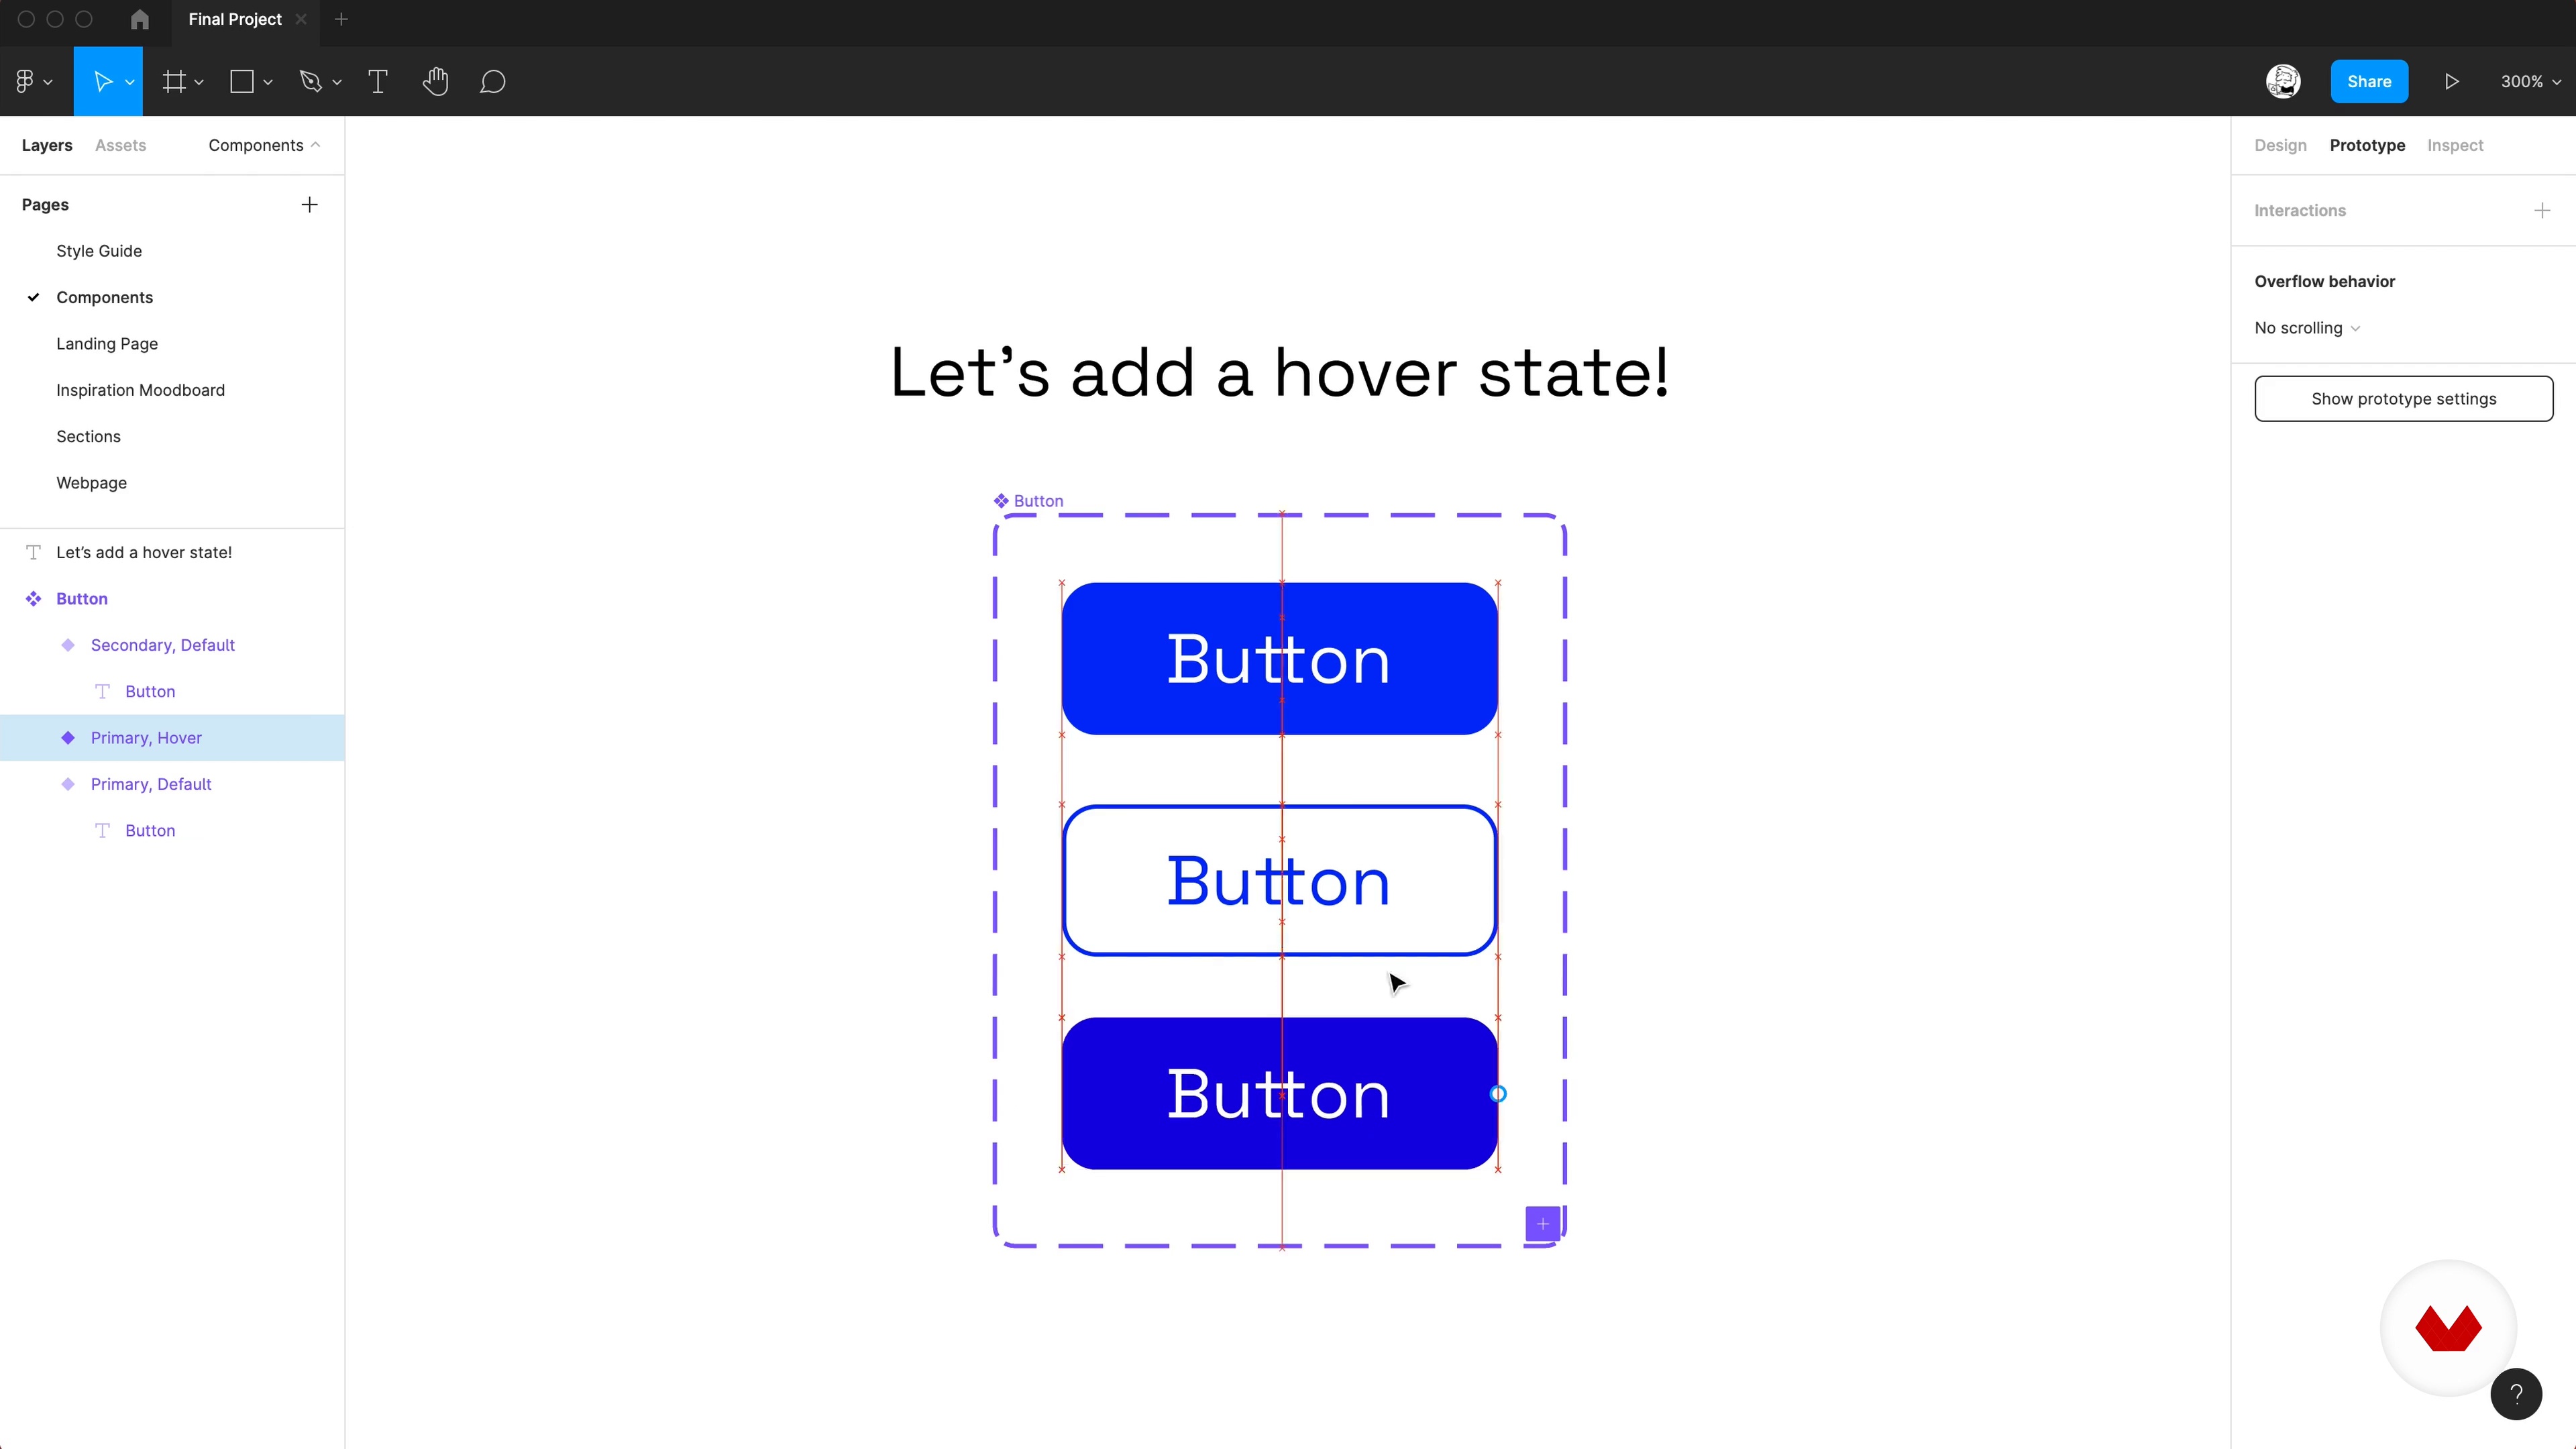
Buttons Interactions
We'll learn how to add simple component interactions to make our buttons or any other component animate with different triggers.
6m
image
17
Linking to Pages and Modals
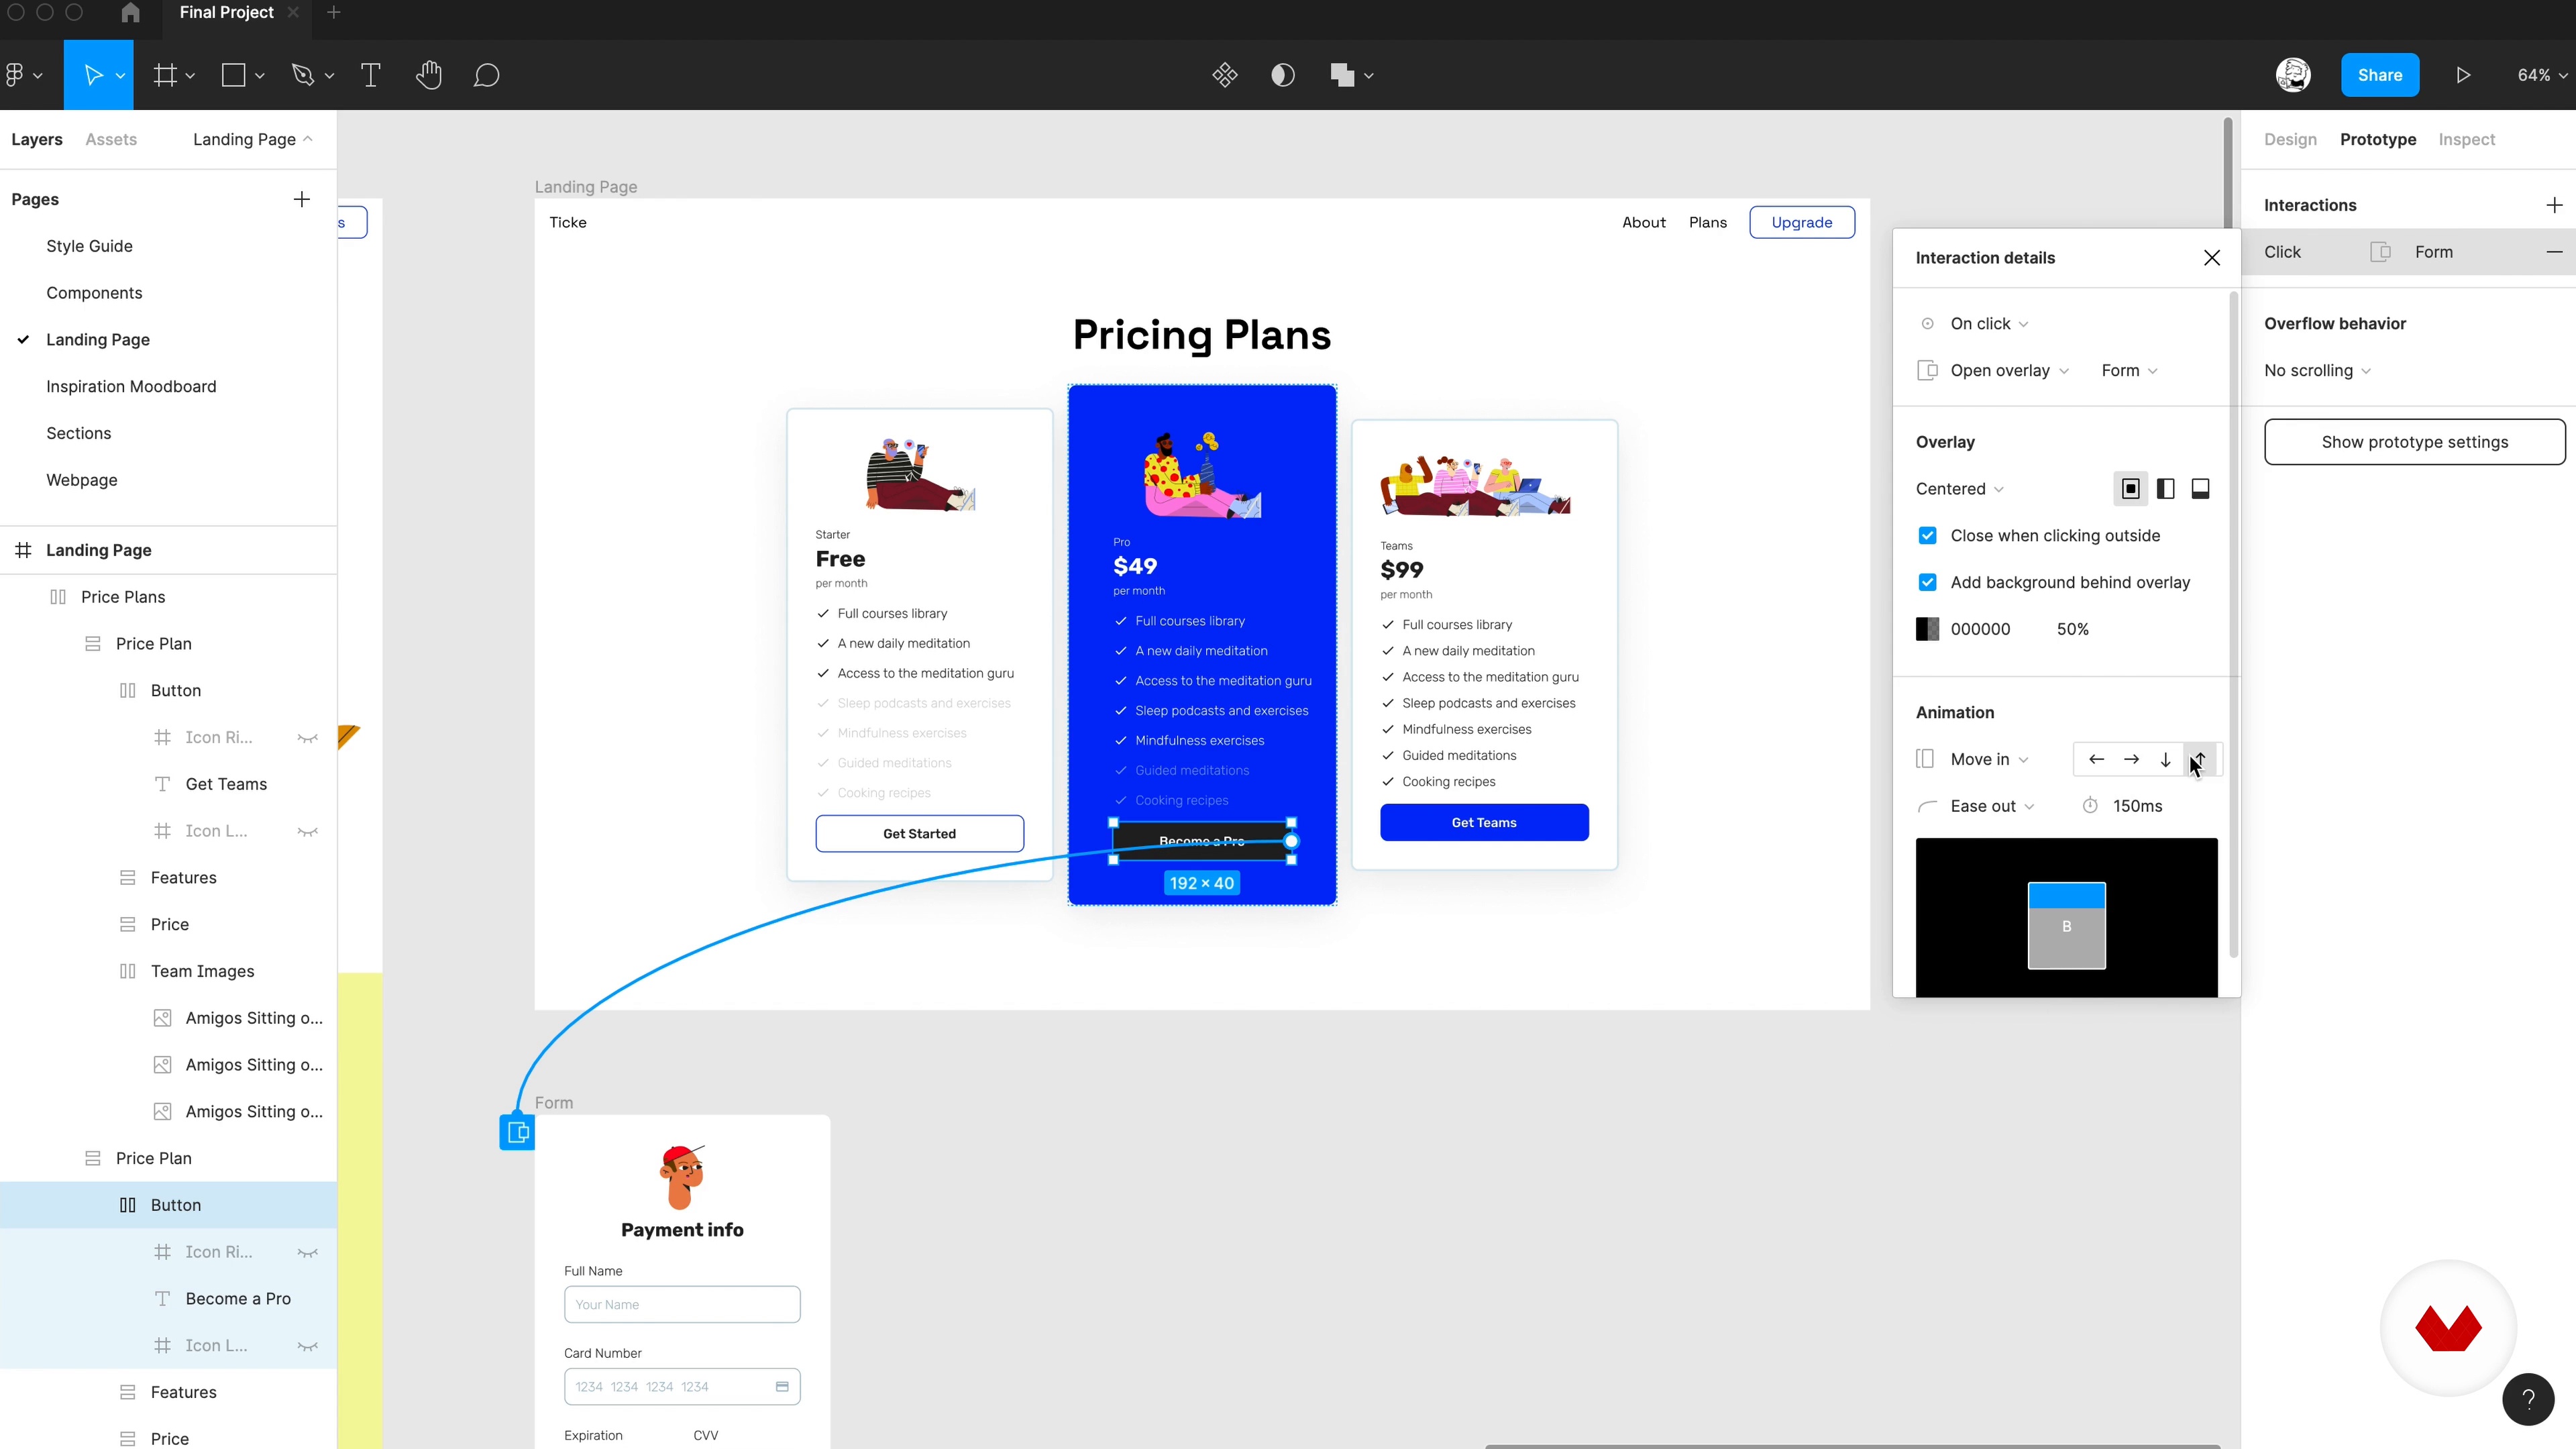
It's essential to create links between different pages and other states of our prototype to feel more natural. In this lesson, we'll learn how to link to a new page and open a modal.
4m
image
18
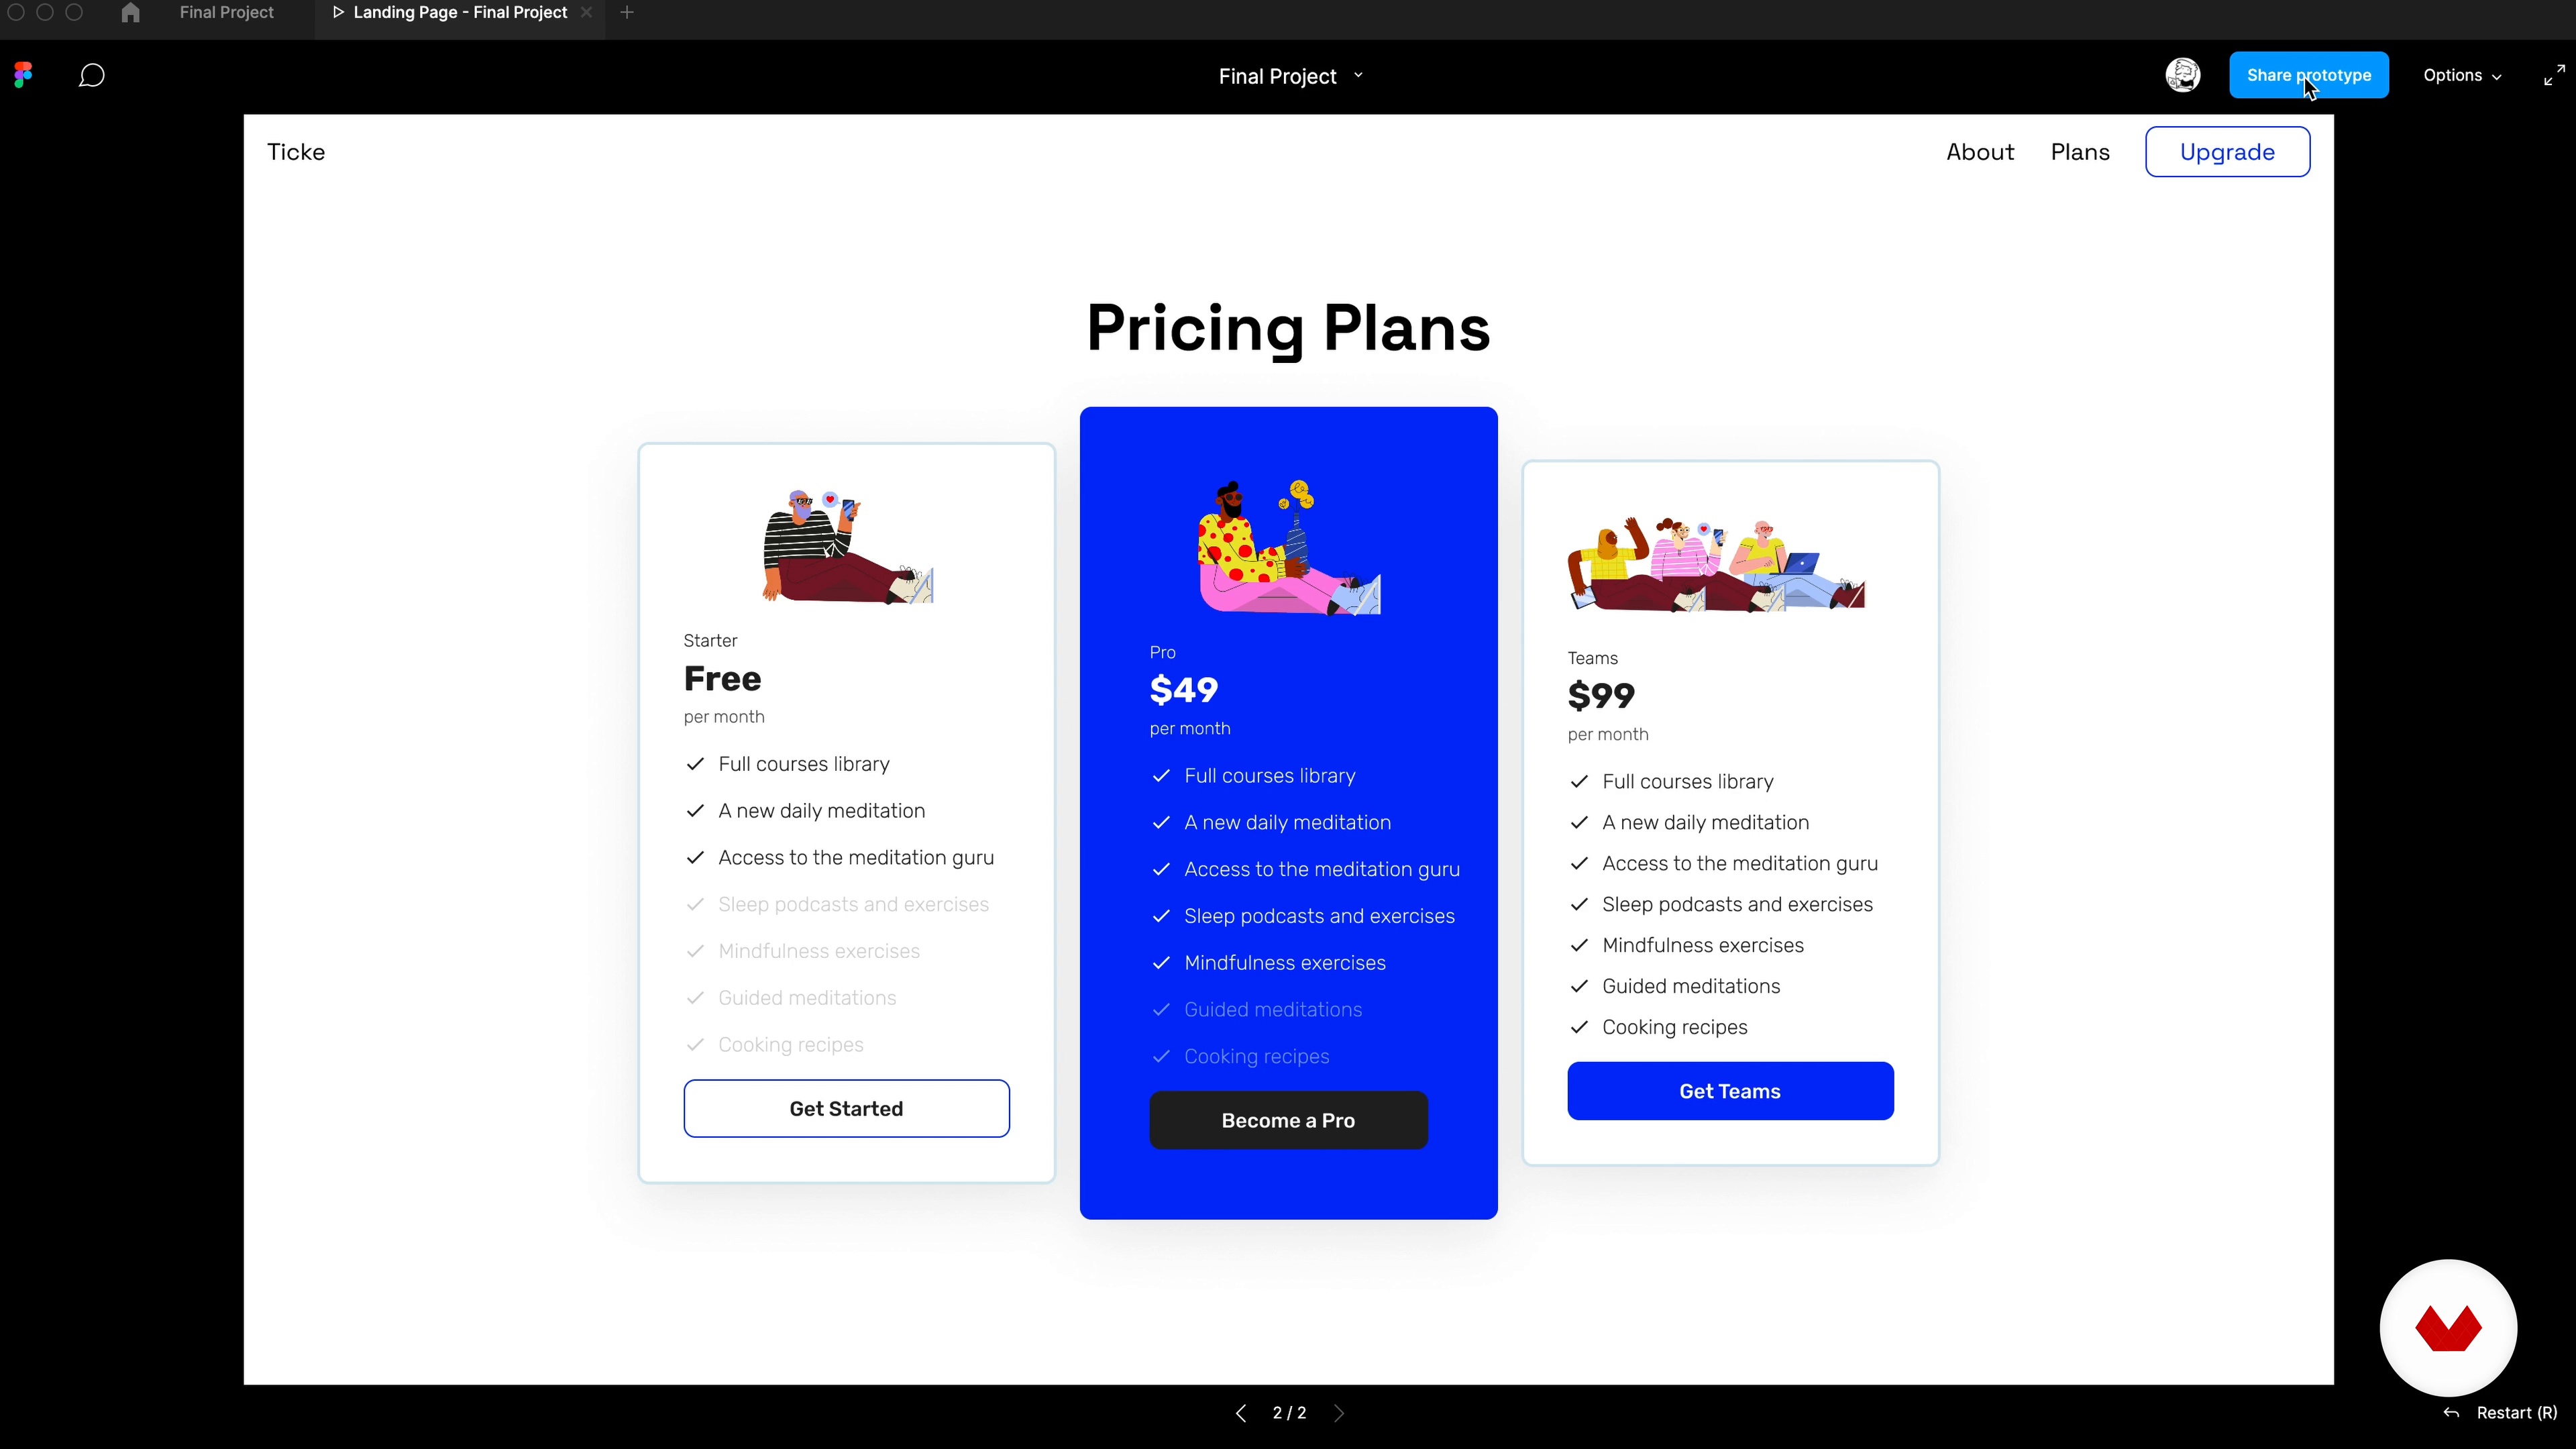
Sharing Your Prototype
Now that we have it all together let's share it with the world!
2m
image
1
Storytelling for UX and UI Design
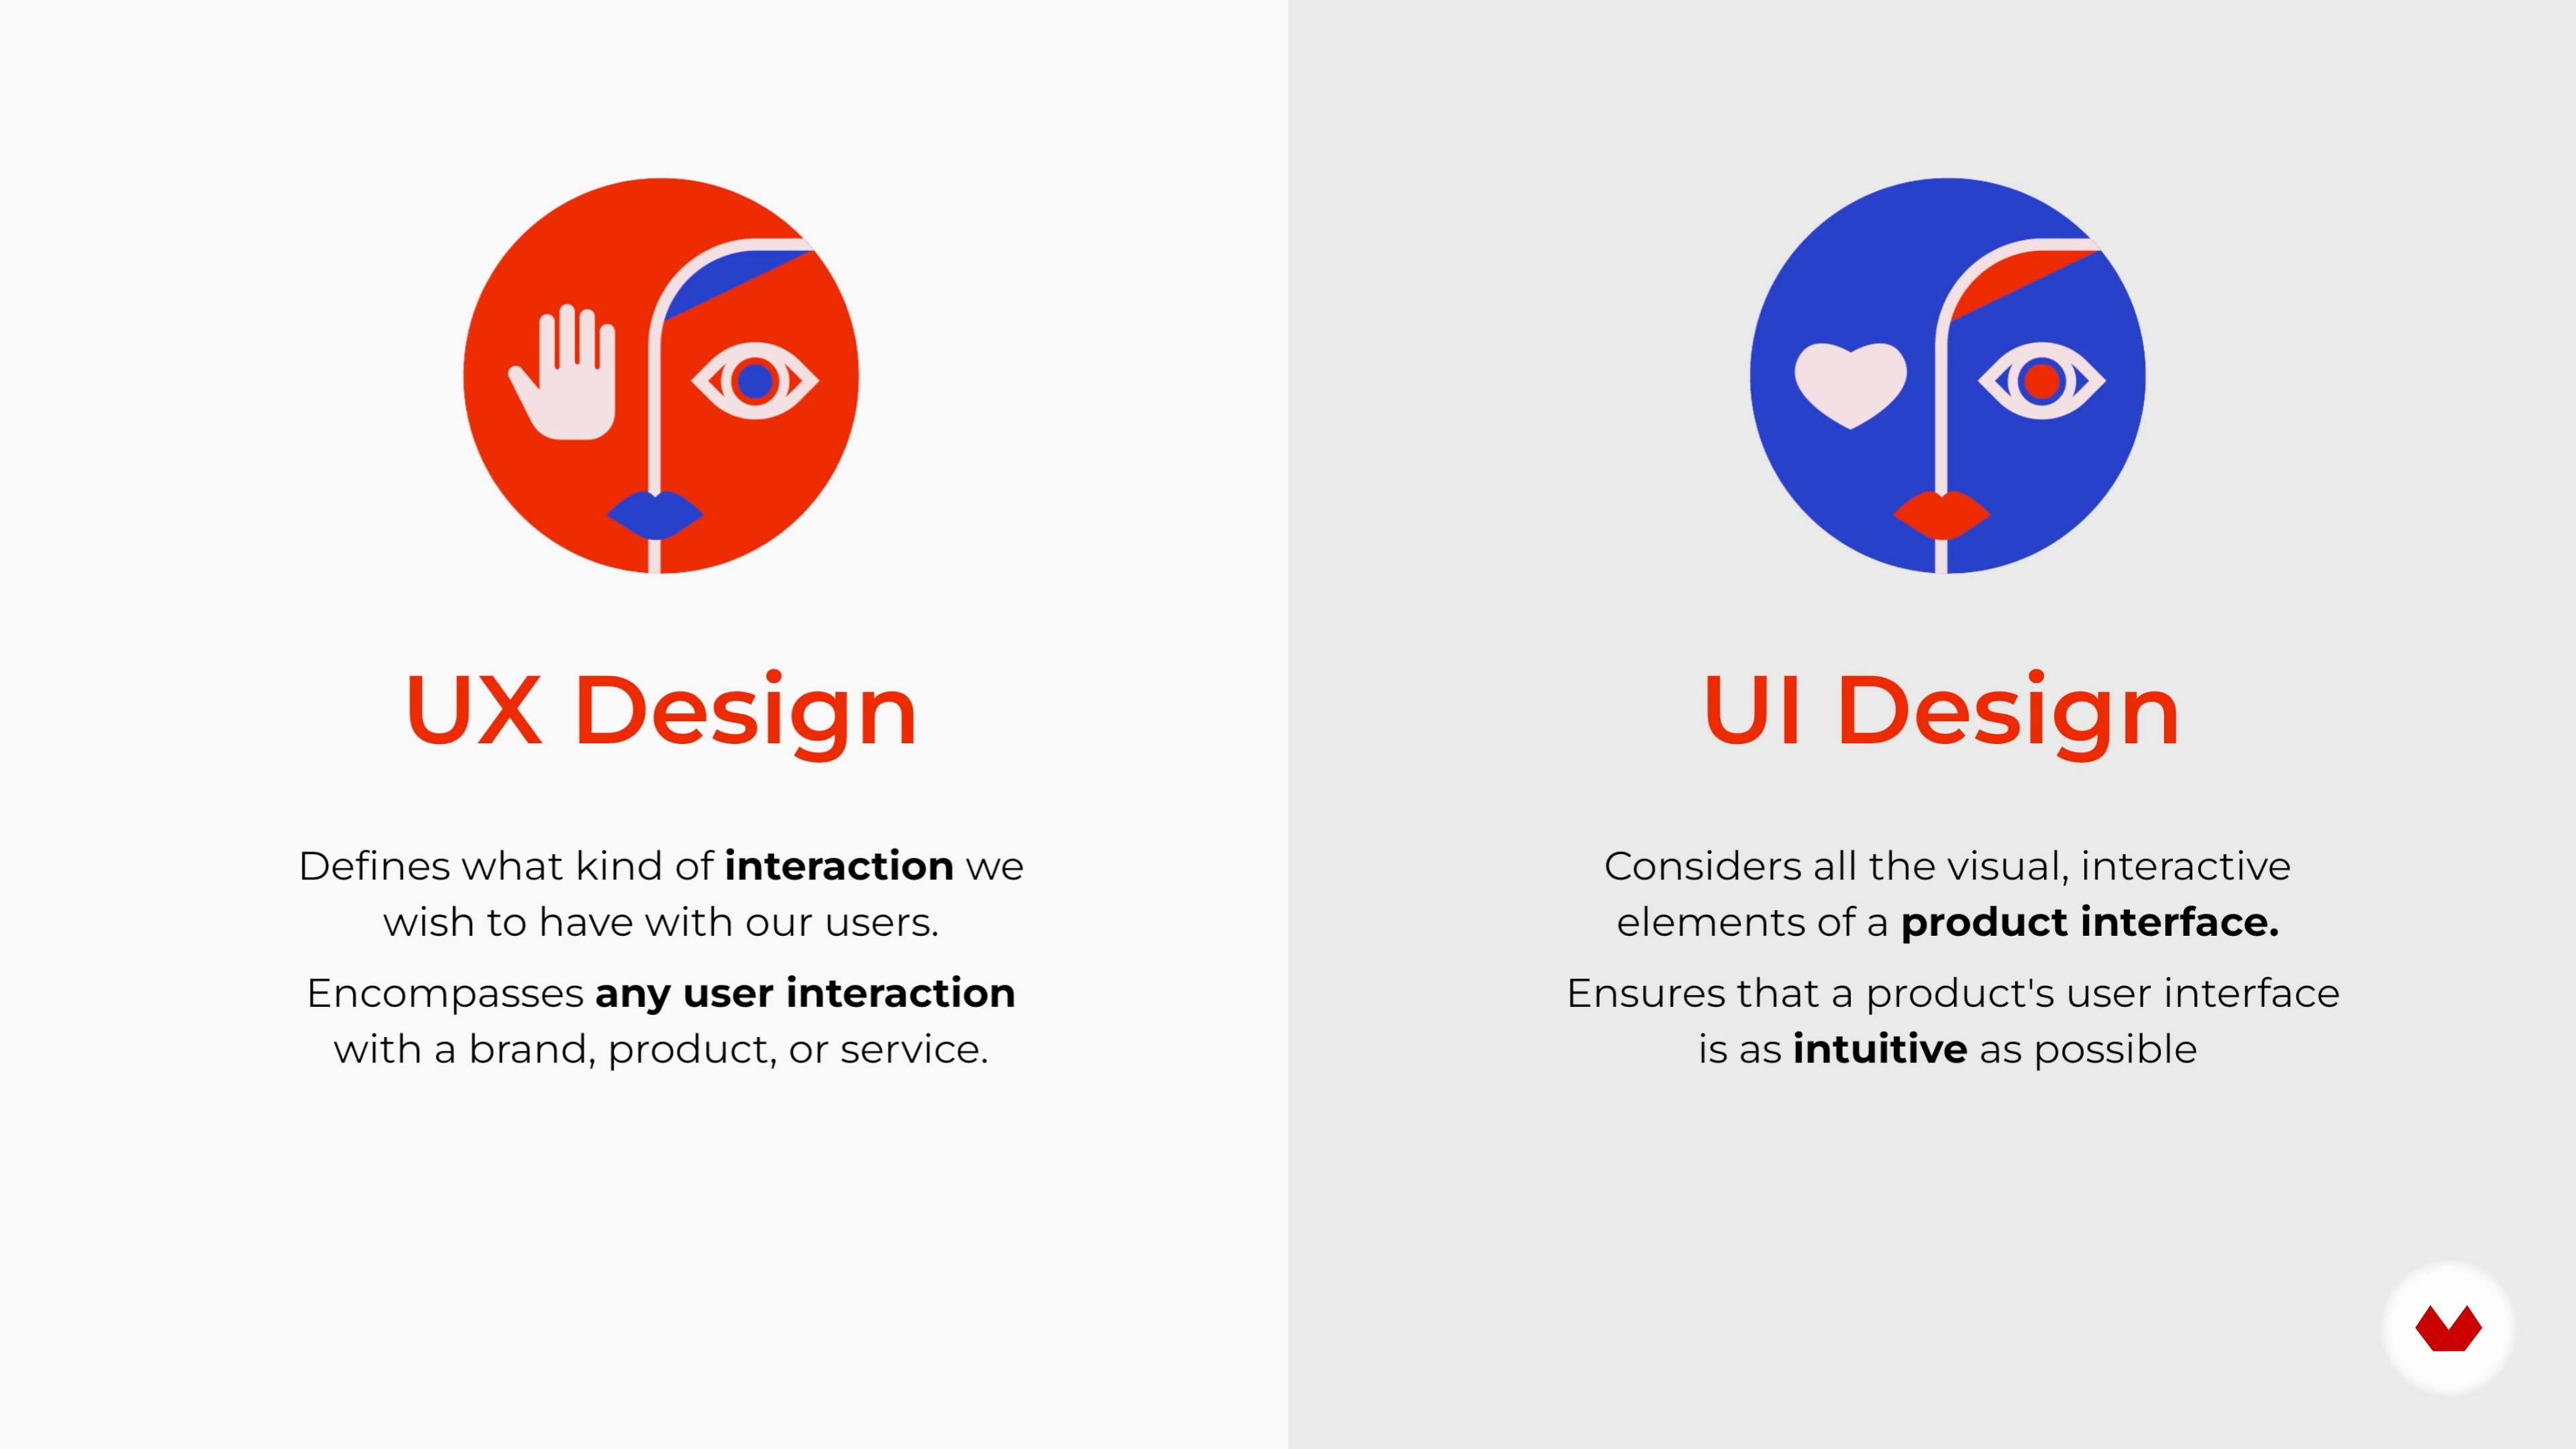
As for every journey, I think it is essential to understand where you are heading. In this lesson, I introduce you to the course, how it is structured and what we will learn together. I will also talk about the difference between user experience design (UX) and user interface design (UI).
6m
image
2
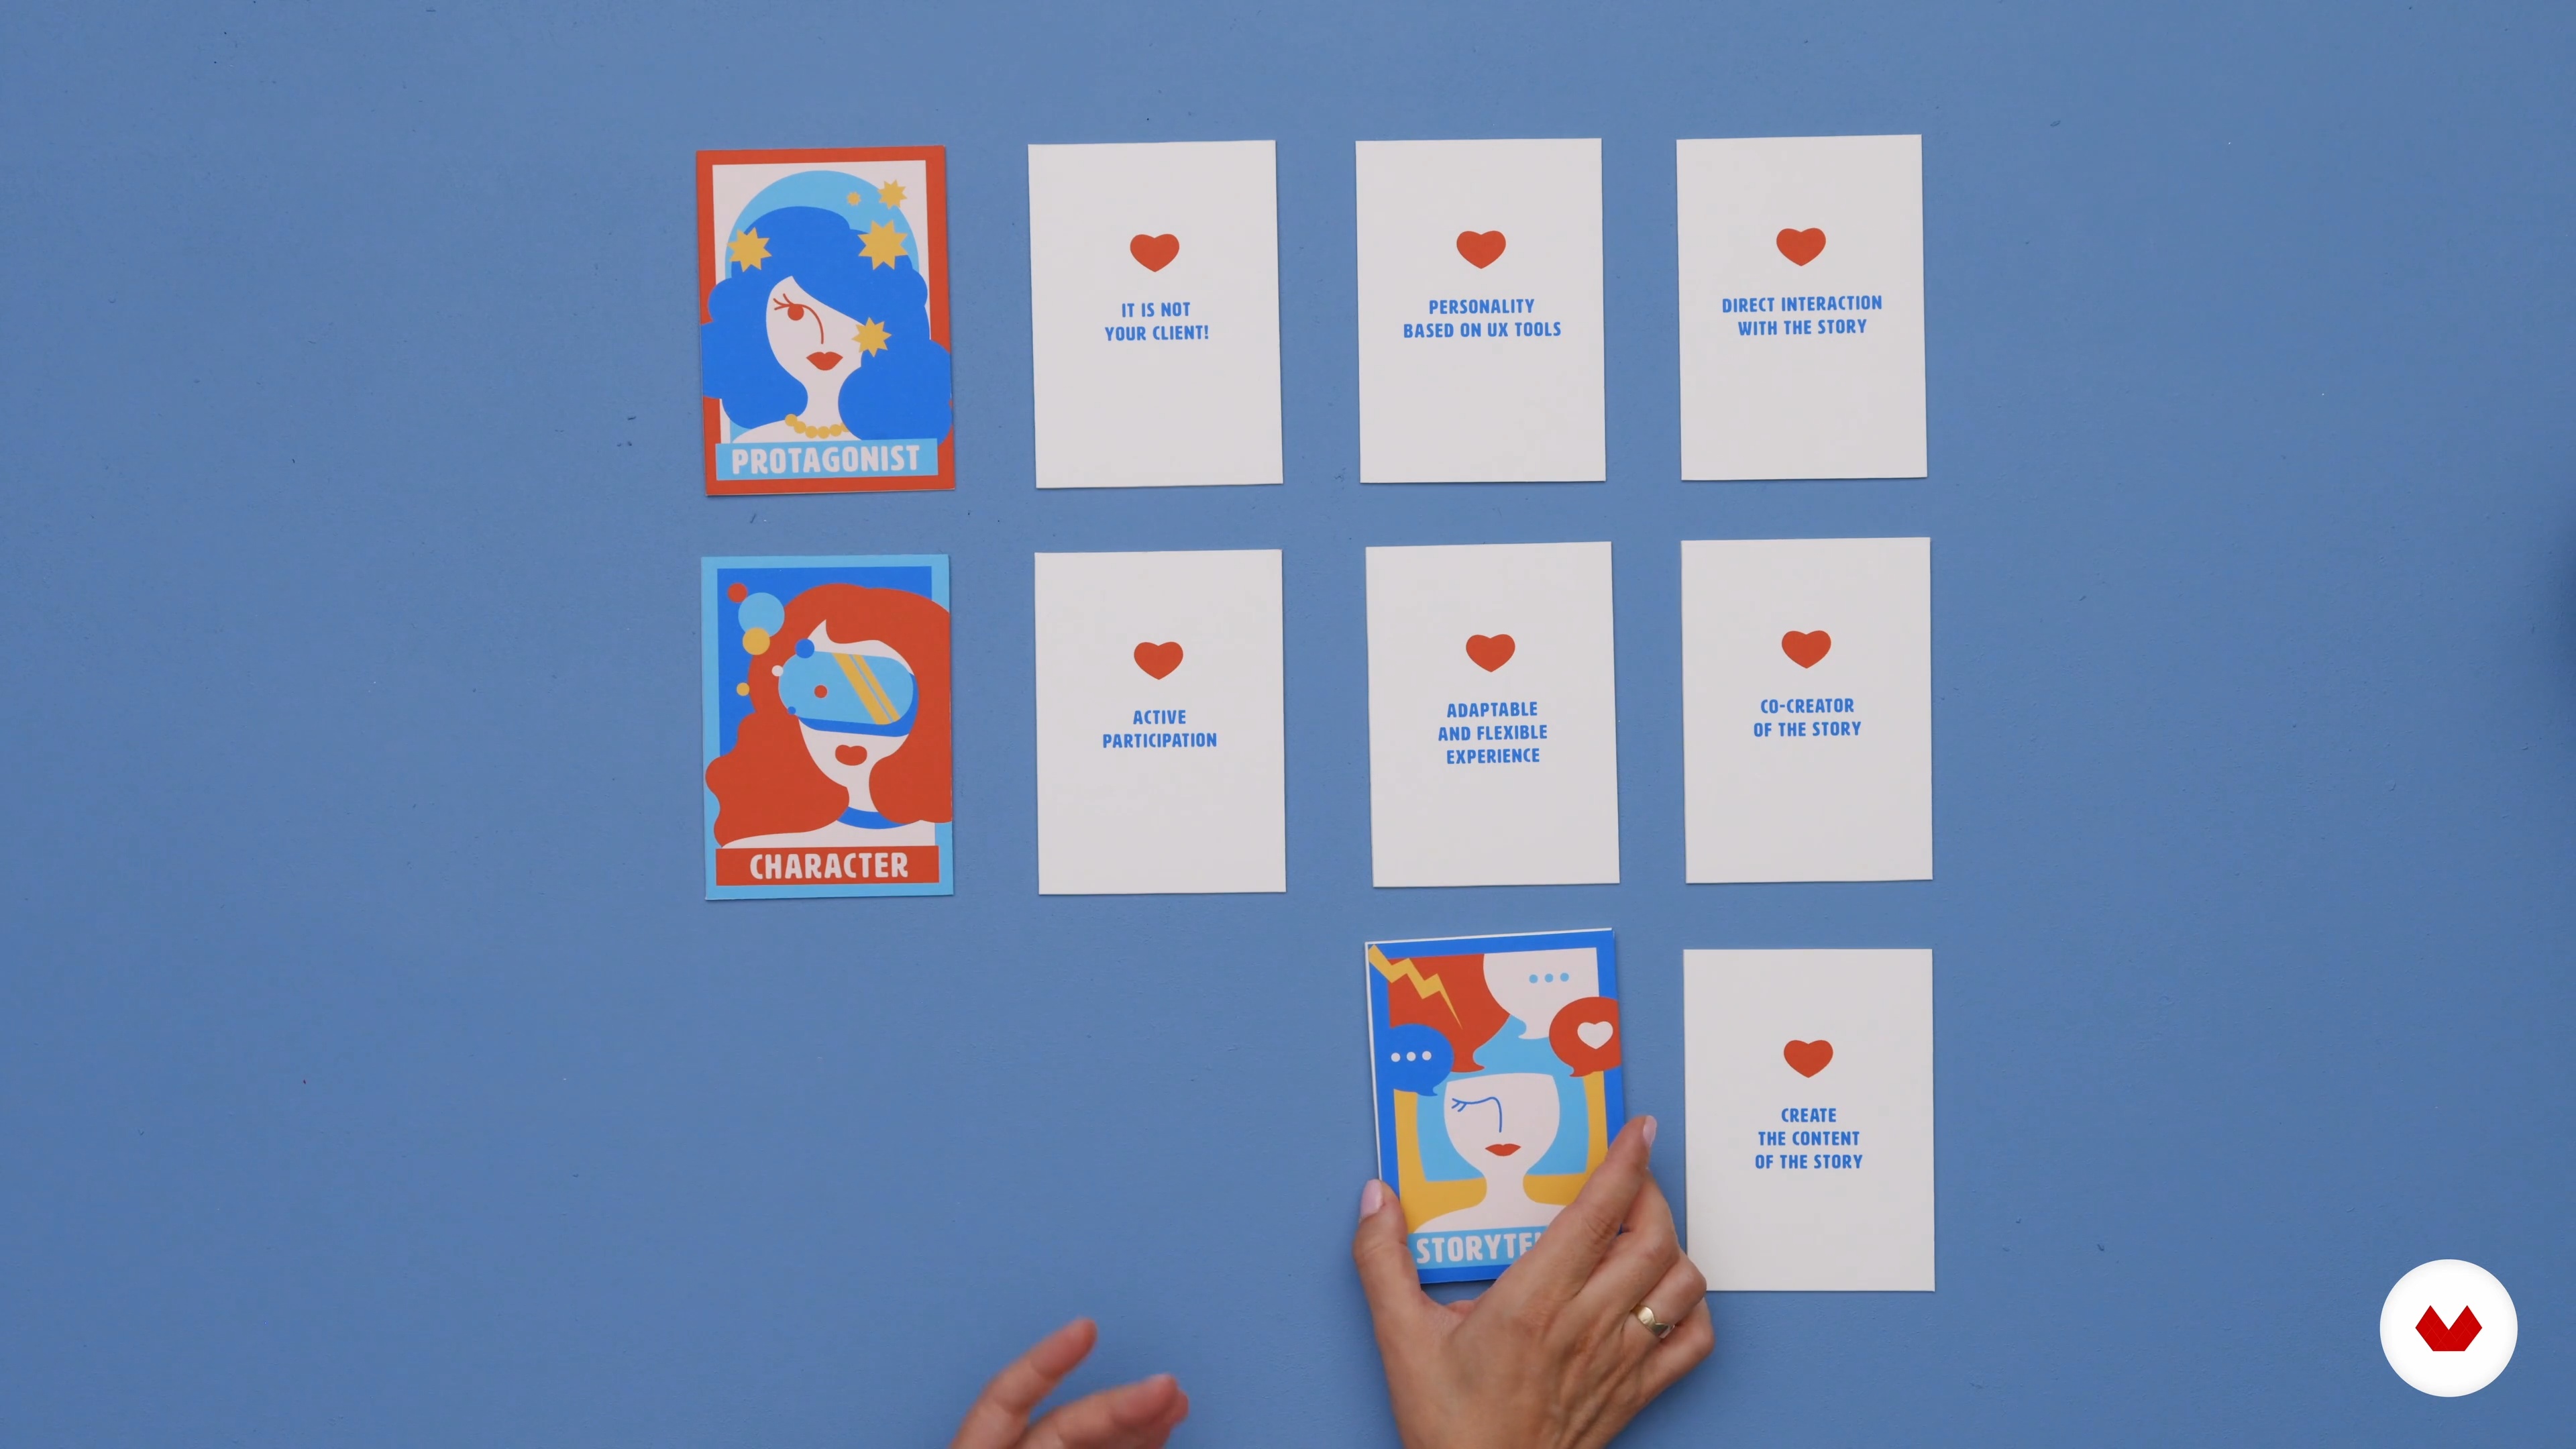
Elements of Storytelling: Audience, Purpose, Characters, and Context
Even before writing it, the first elements to define a story are your audience, motivation/purpose, context and understanding that a story needs to have a rhythm.
17m
image
3
Elements of Storytelling: The Structure
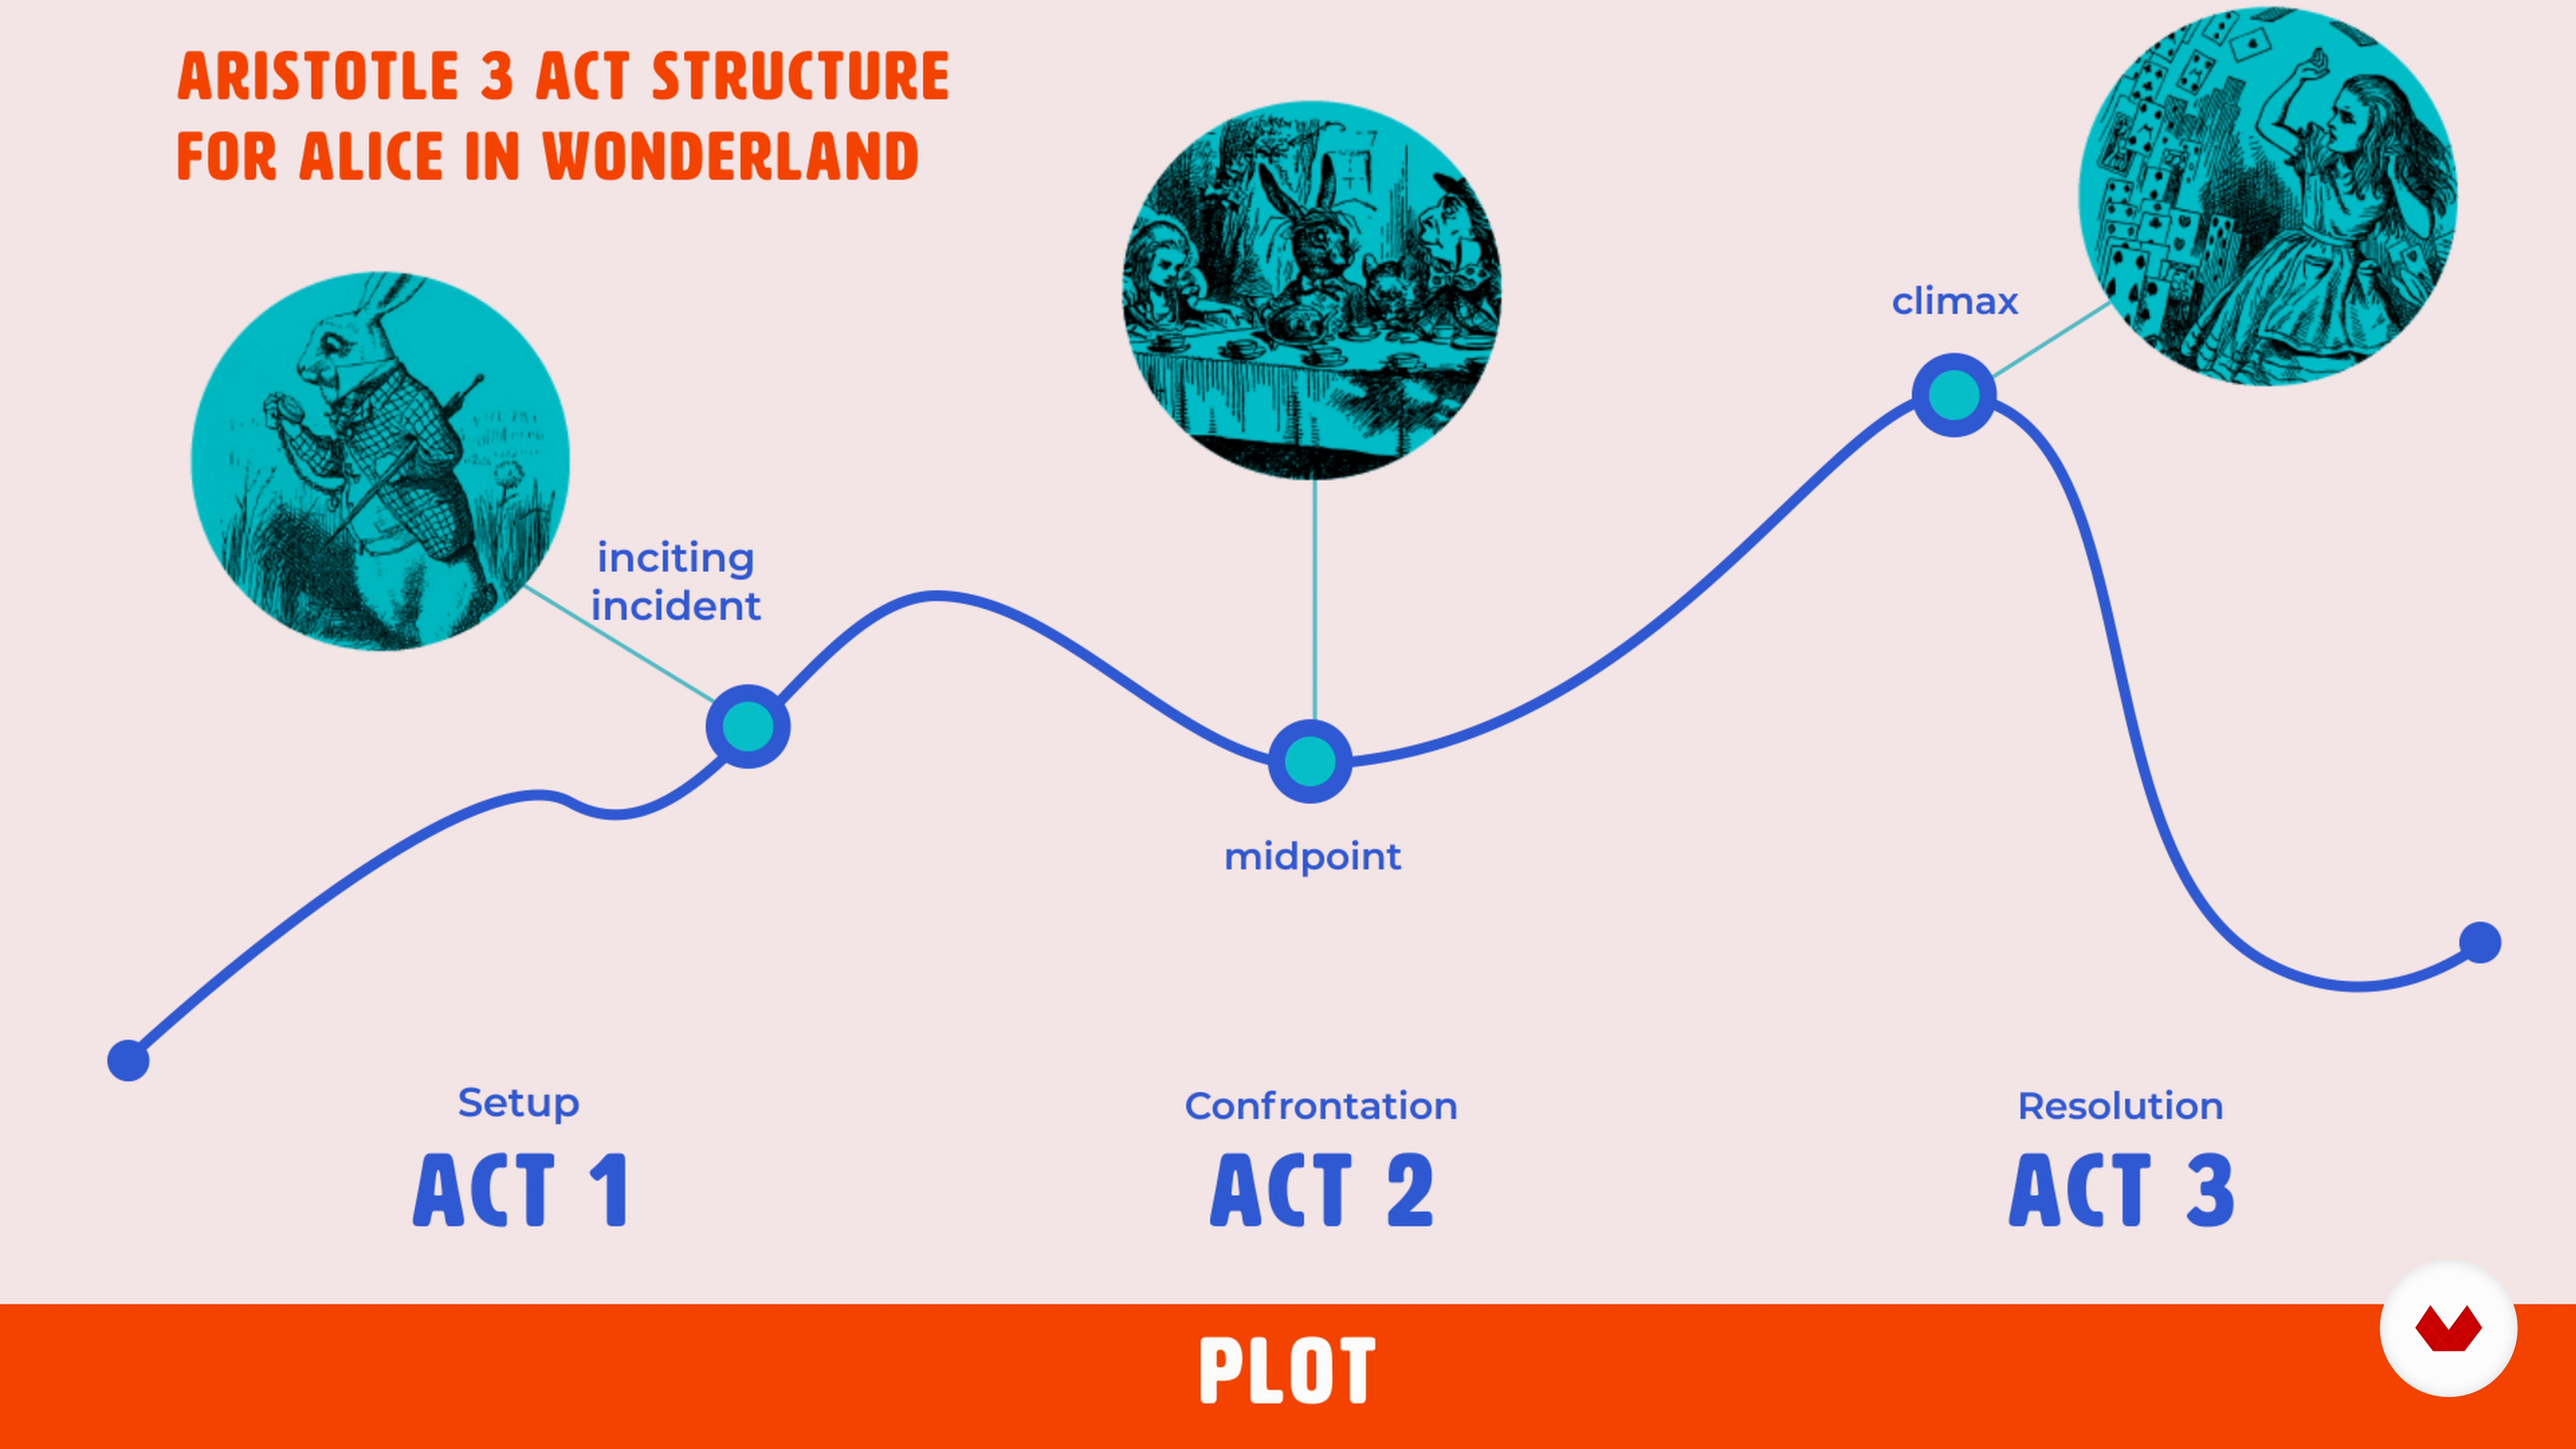
From Aristotle to our days, the structure of a story hasn’t changed much. Let’s discover how storytelling is created and how you can apply the same principles to UX design.
16m
image
4
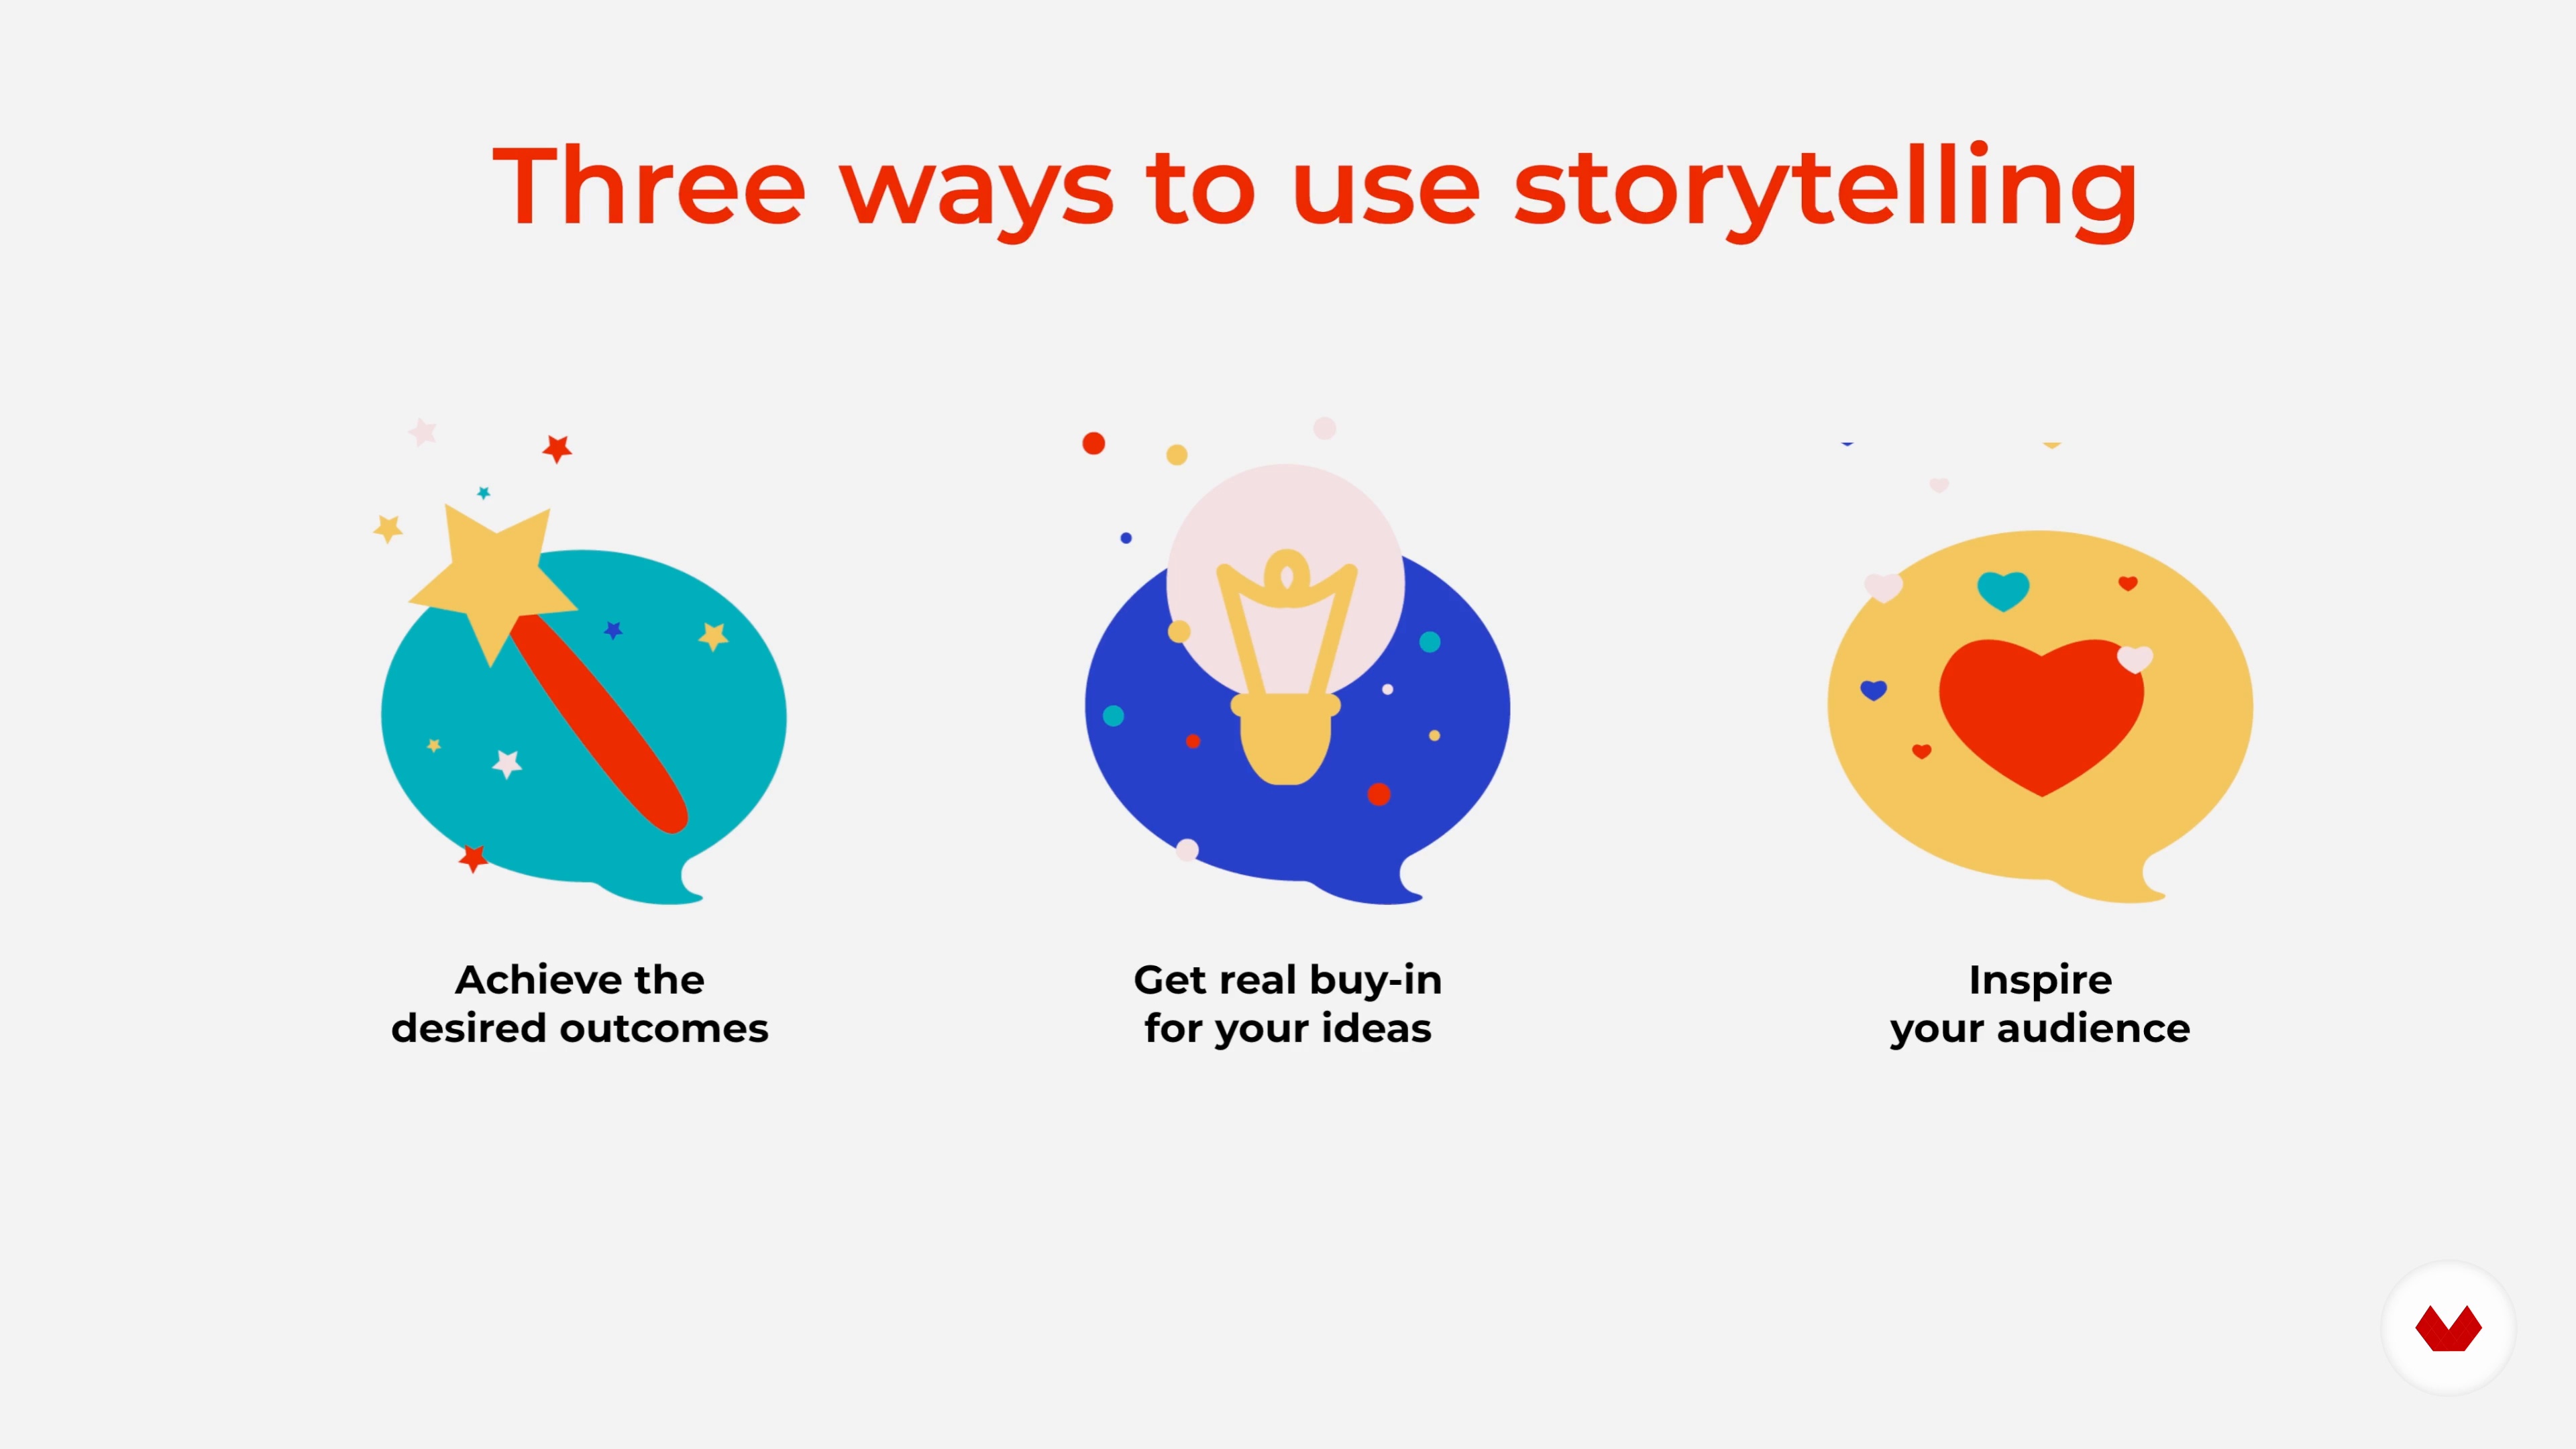
The Power of Storytelling: Emotions
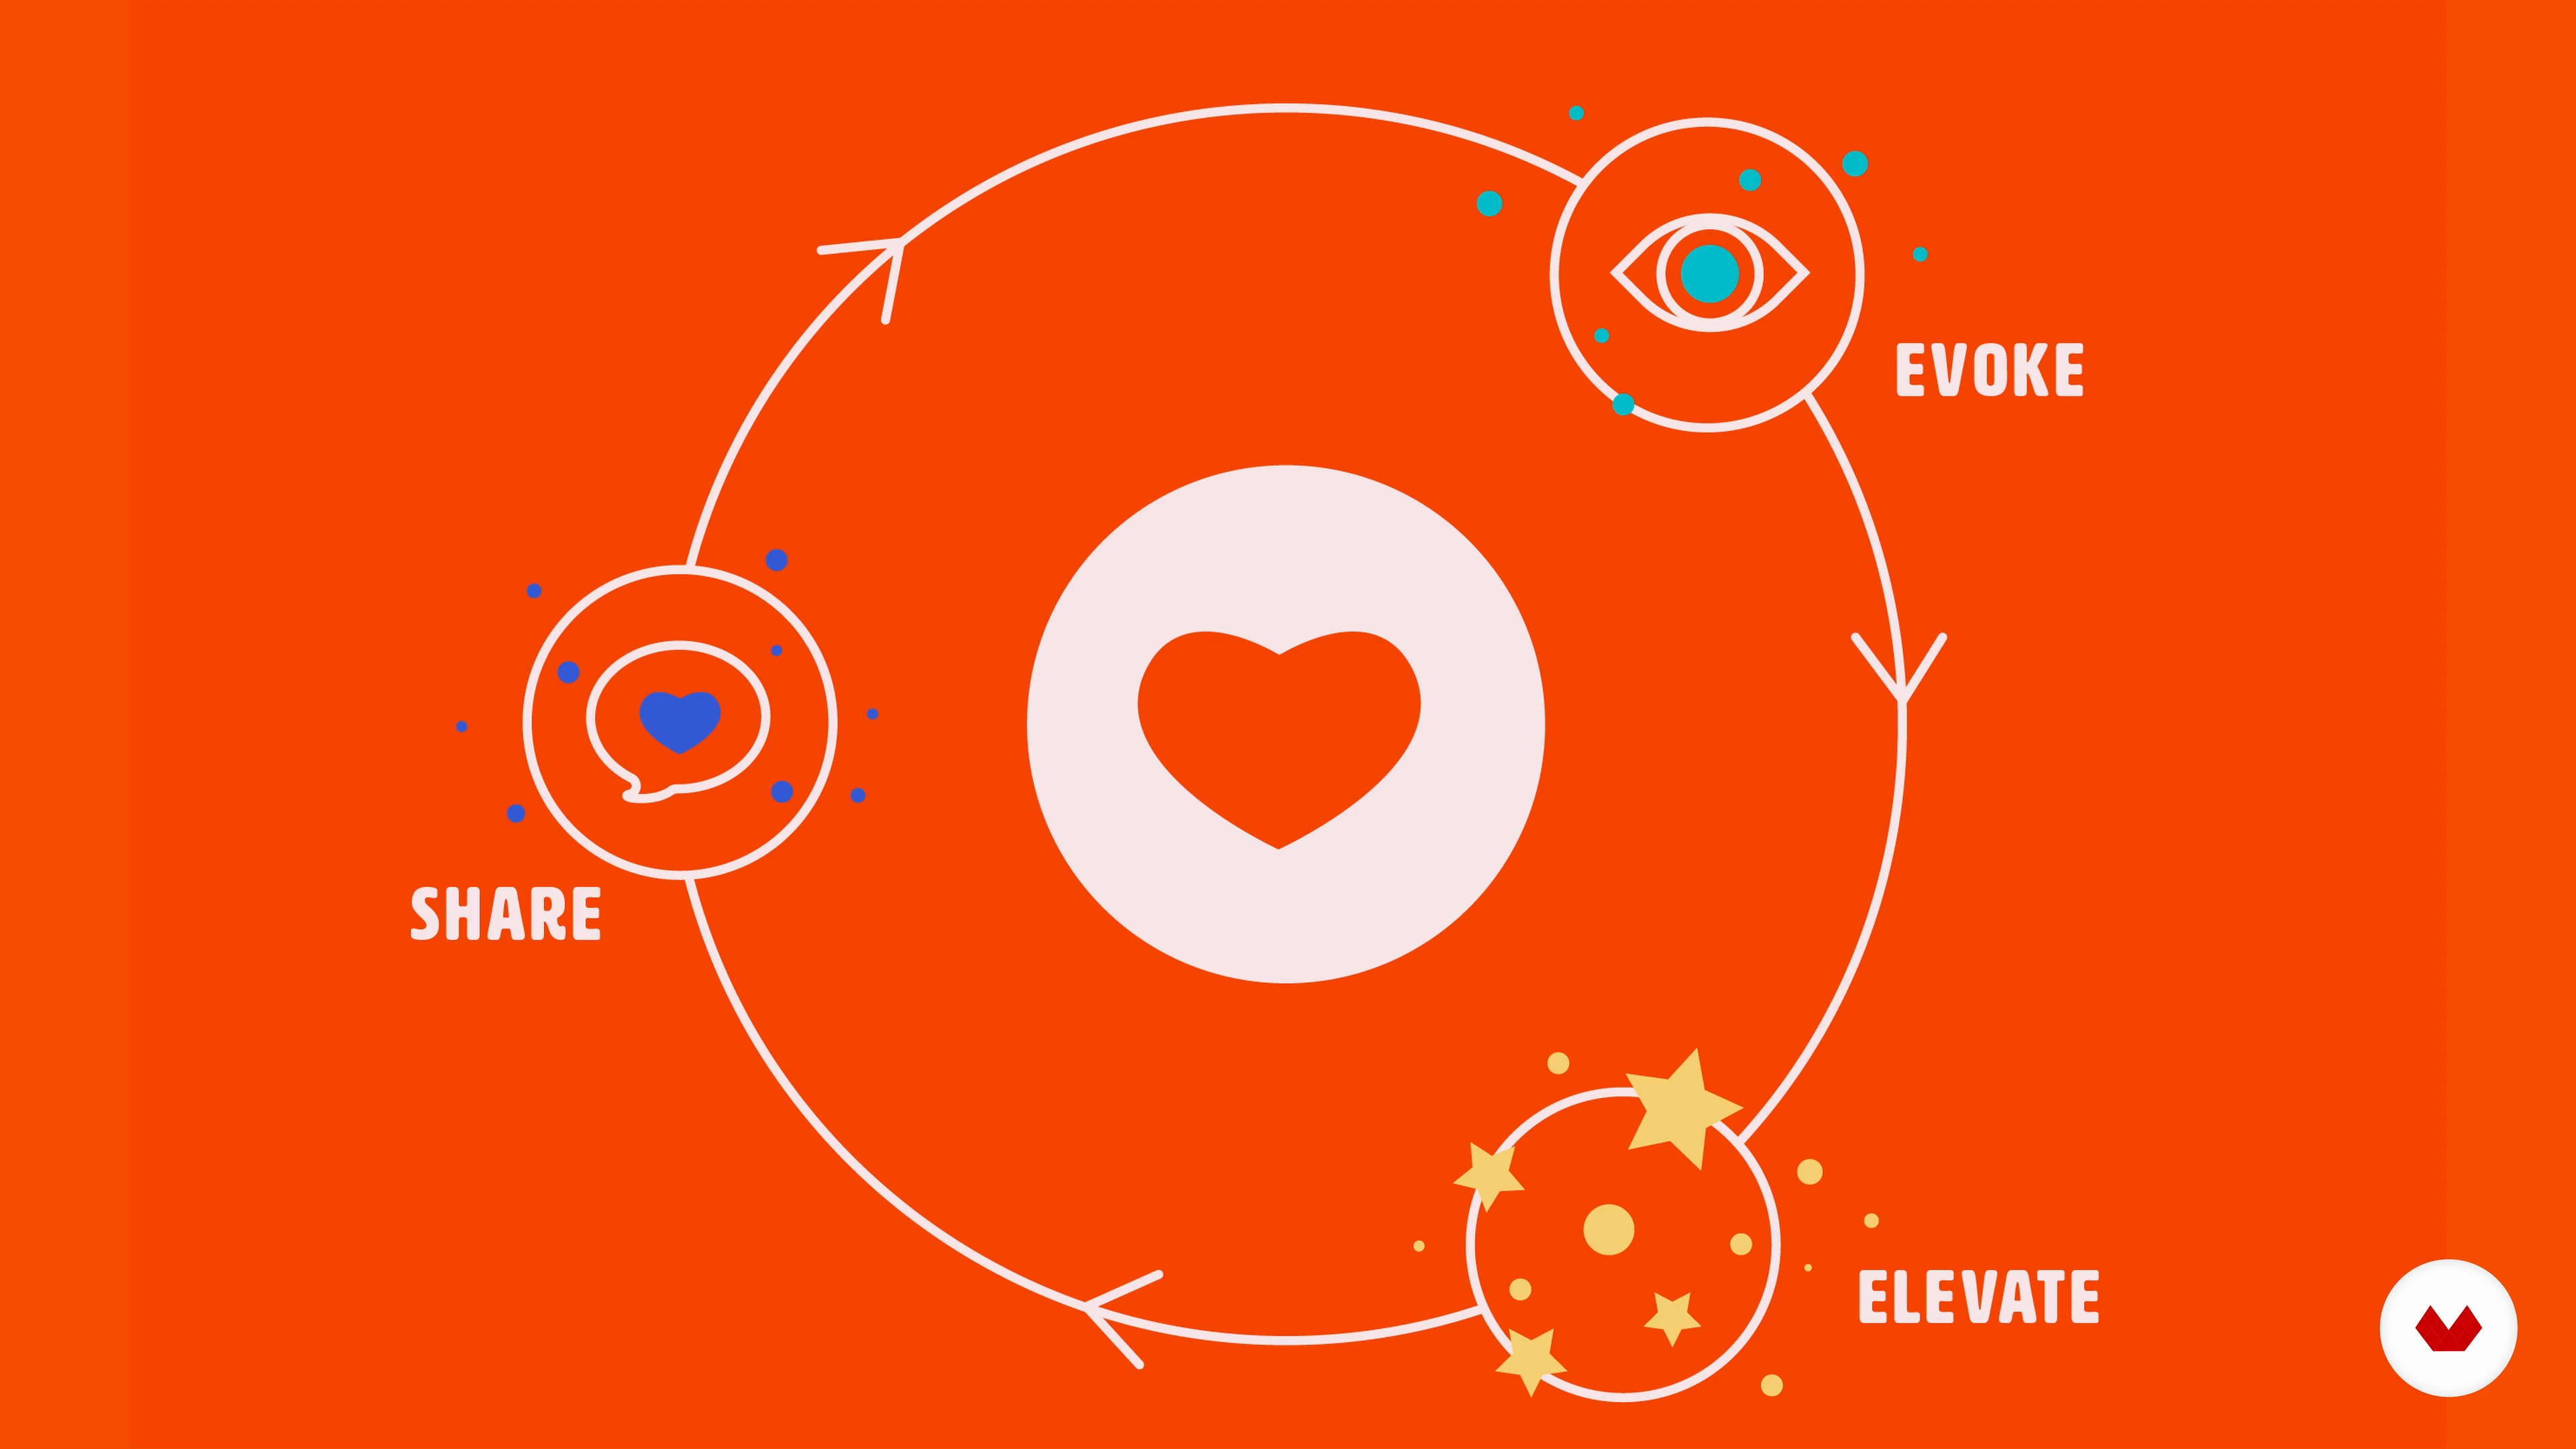
Emotions play a big role in our behaviour. Great stories evoke emotions and can relate to their audience. In this lesson, you will explore how you can master the power of storytelling by using emotions to achieve your purposes.
16m
image
5
Finding the Elements of the Story 1
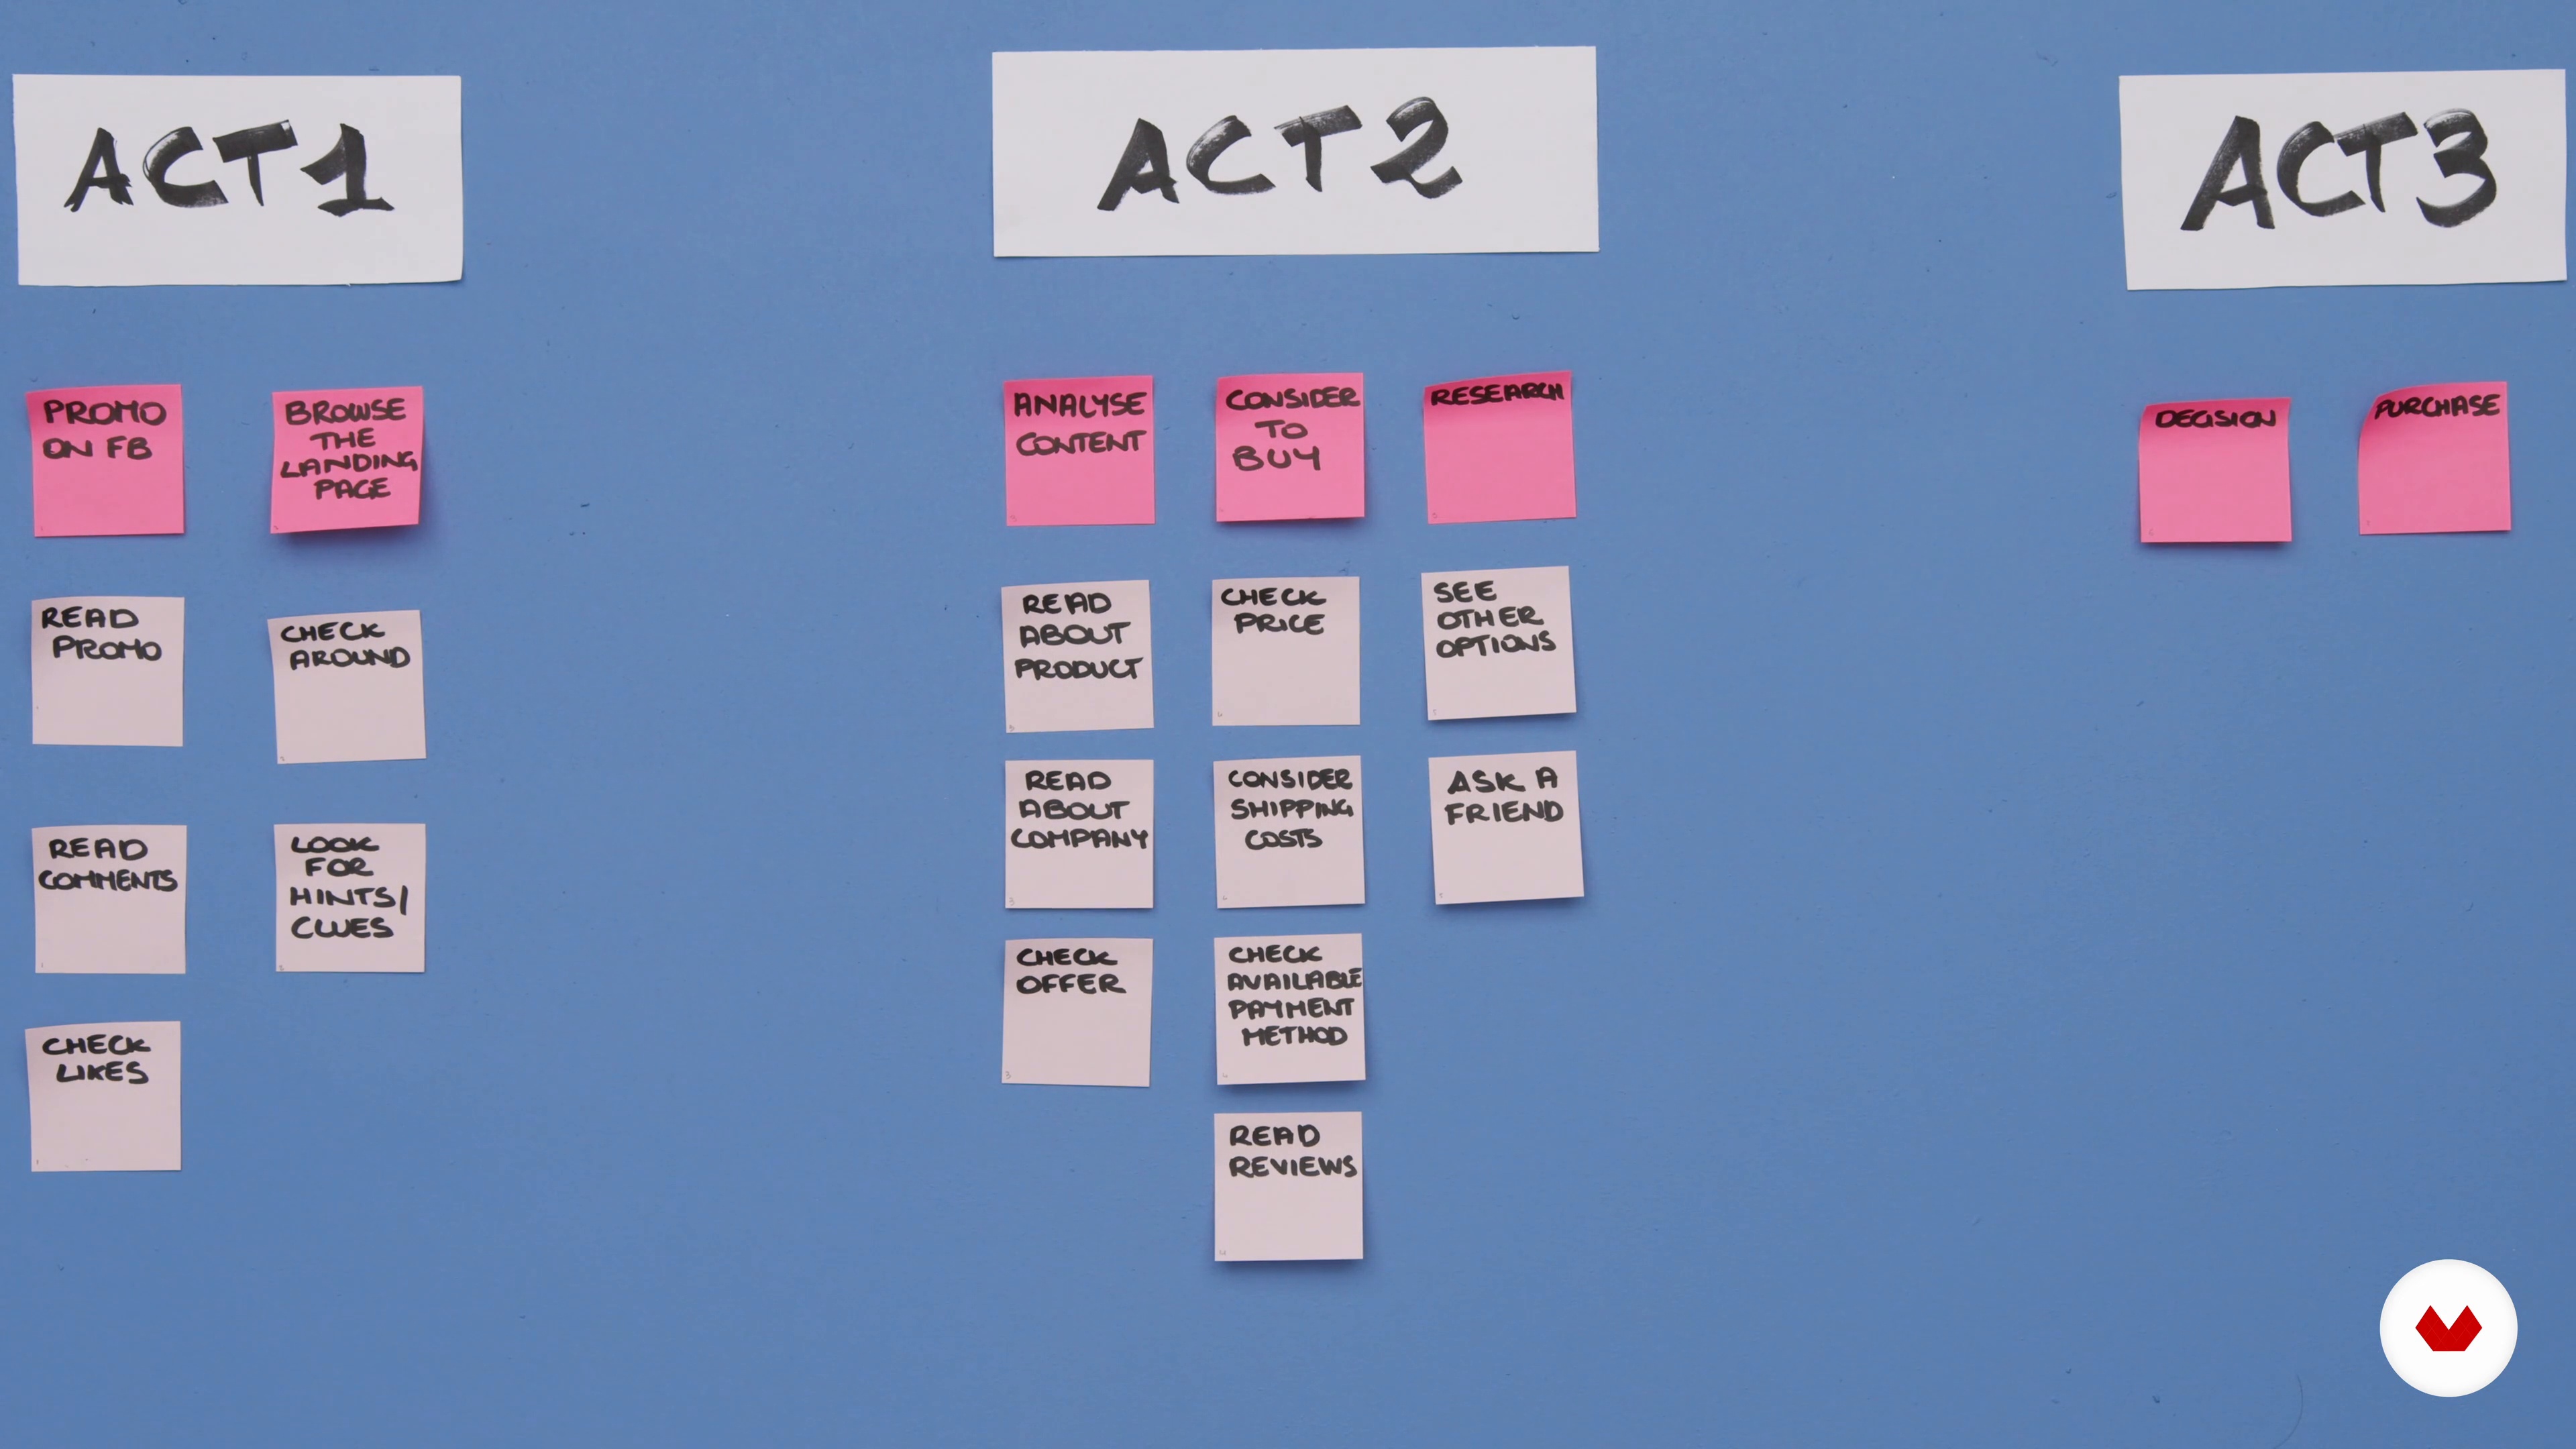
Given a fictional brand, I will use acts, sequences and scenes to map the experience and dig deeper into how UX design benefits traditional storytelling.
13m
image
6
Finding the Elements of the Story 2
During this second part of the lesson, I will continue sowing you how to map out the elements of the story.
13m
image
7
Visual Inspiration to Trigger the Imagination
In this lesson, you will see how to find visual inspiration from different sources before jumping into the last step of the assignment, the wireframe of the landing page.
9m
image
8
Building the Narrative and Wireframe 1
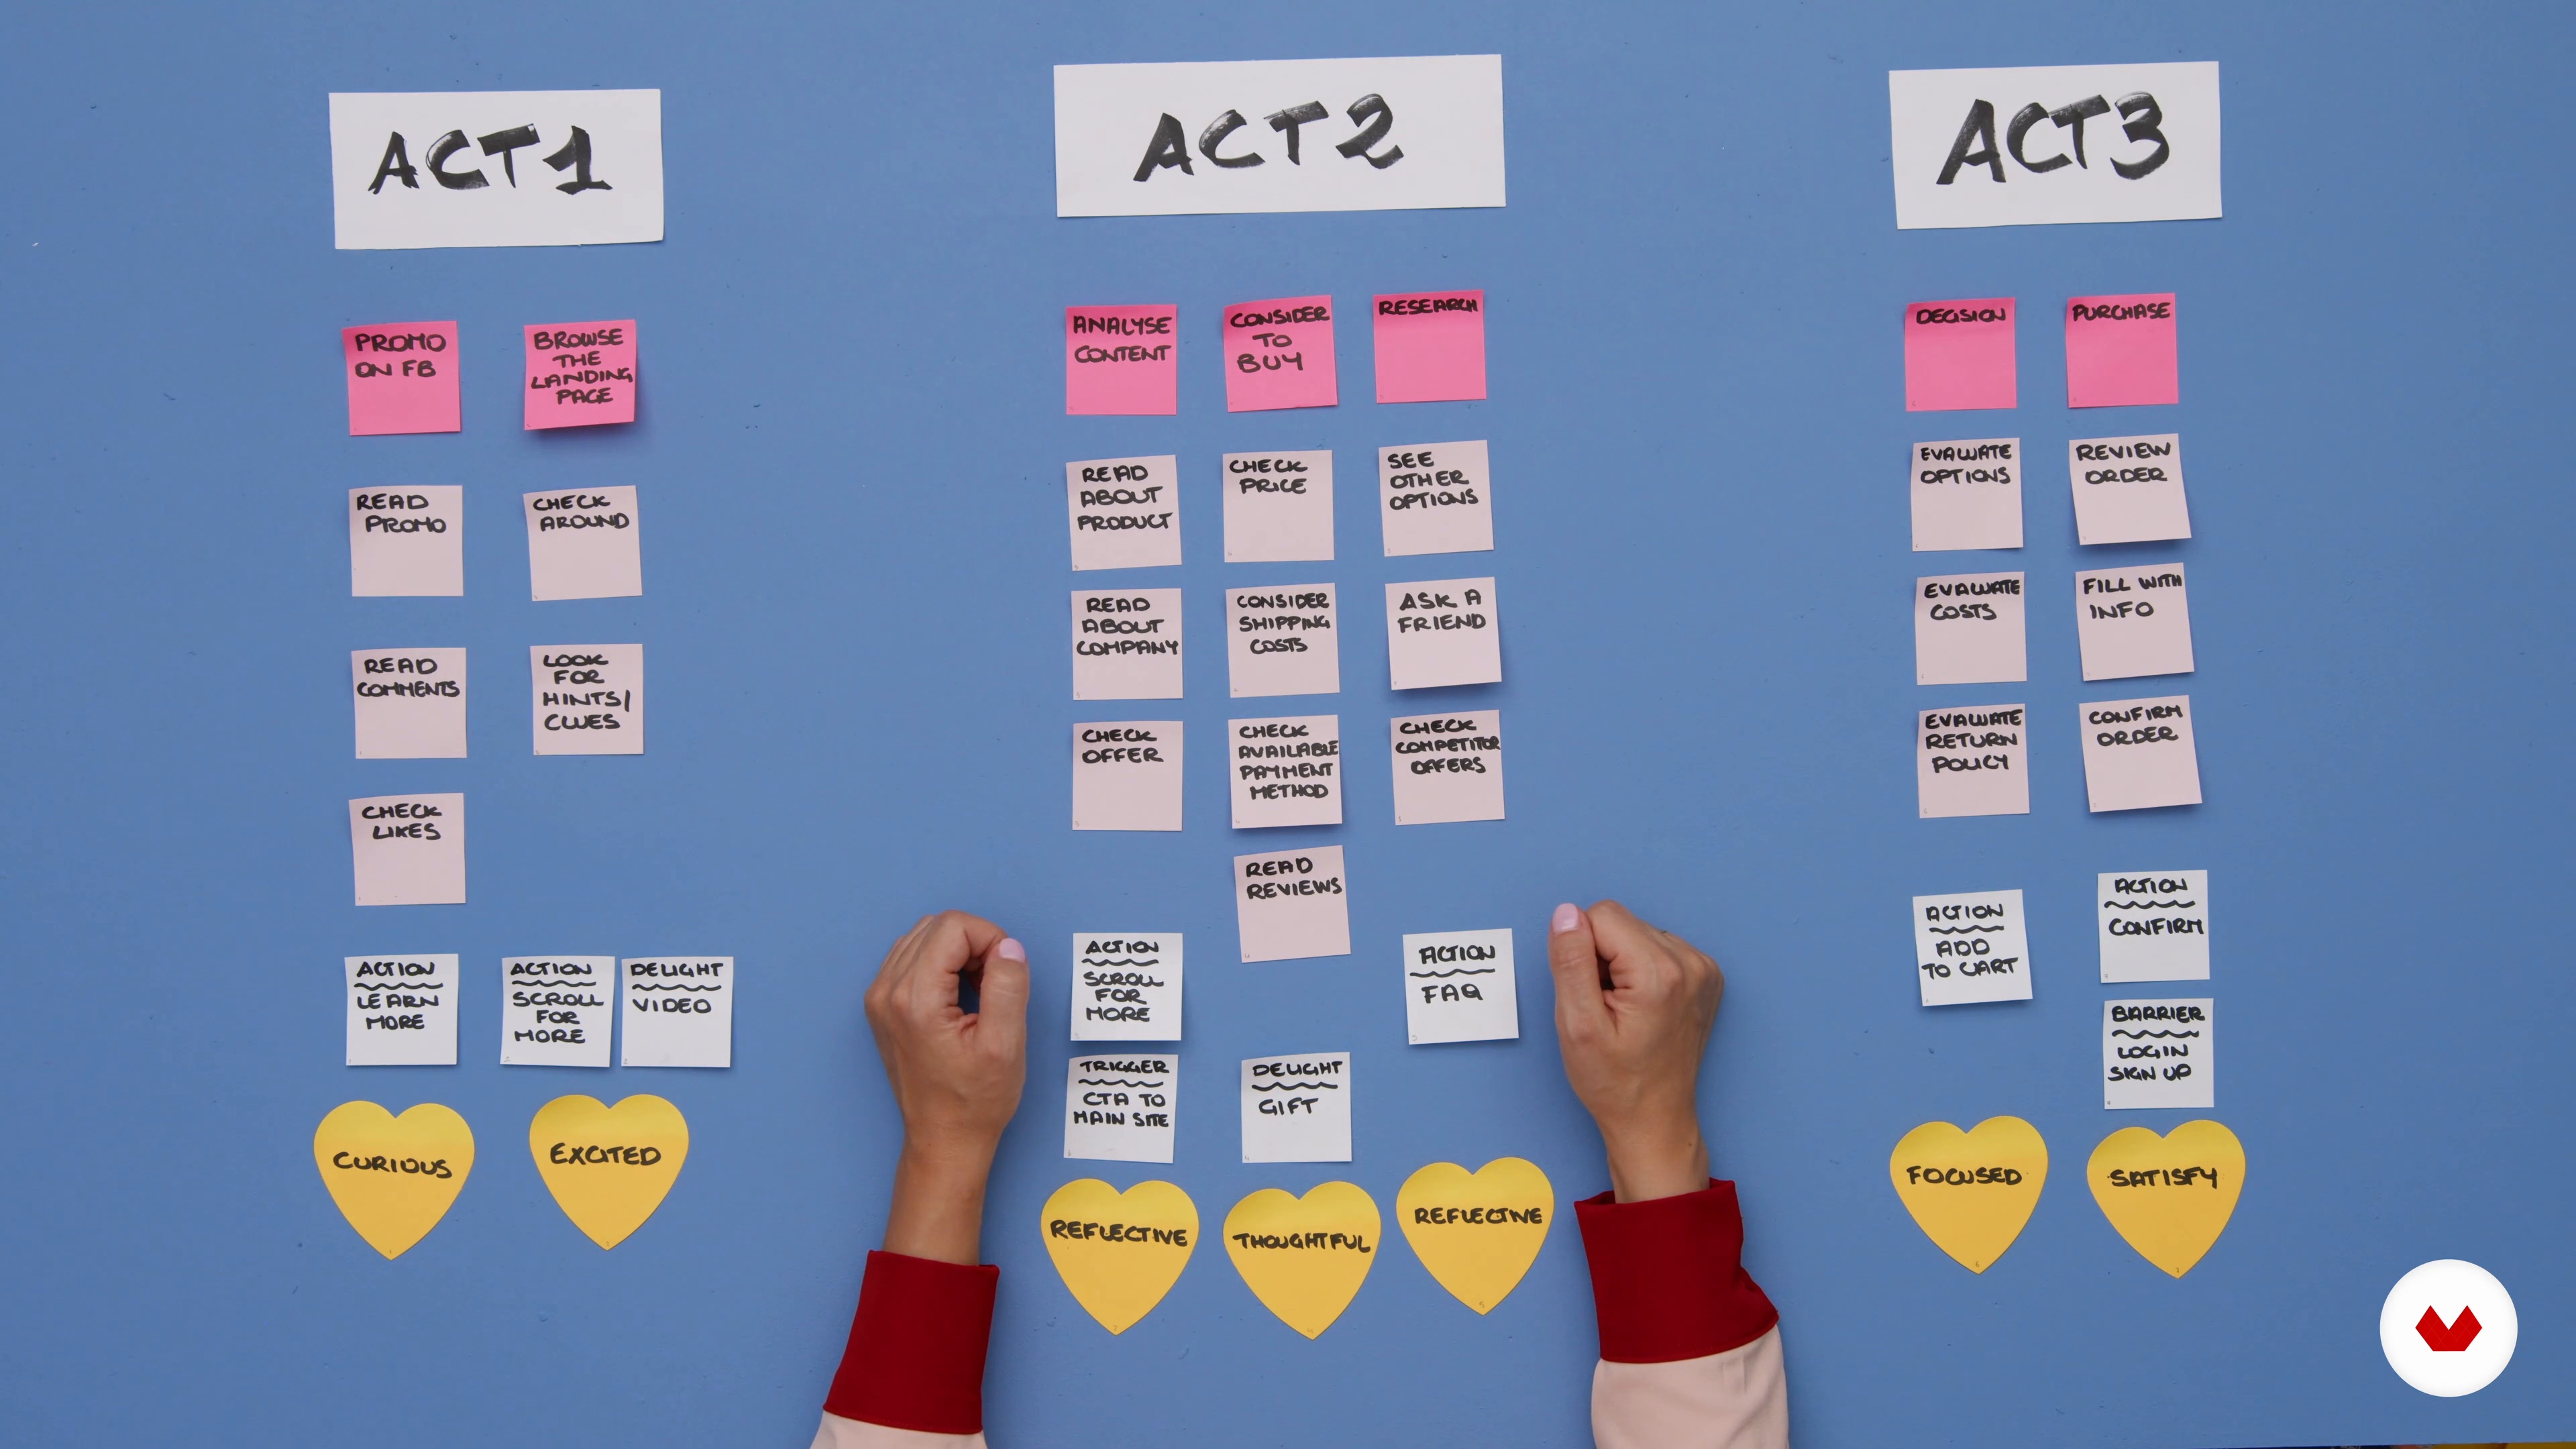
Until now, I have used acts, sequences and scenes to map the user's journey. The grid I created using post will be the blueprint, and it will help me ensure that the digital product I'm designing will provide the right user experience.
14m
image
9
Building the Narrative and Wireframe 2
To finish this unit, you will learn how to go deep into the narrative by examining the shots and designing the wireframe.
15m
image
10
Supporting the Narrative: Wireframe vs. High-Fidelity Mock-up
In this lesson, I will present the high-fidelity mock-up inspired by the wireframe designed in the previous unit. The deconstruction phase is essential because it helps us understand if we are consistent with our story (also known as consistent with the wireframe and the choices taken when analyzing the brief).
9m
image
11
Engaging the Audience with the Narrative
Storytelling is a powerful tool that needs to be used wisely. That's why you will learn to discover how you can use it to motivate, persuade and inspire your audience.
9m
image
1
Introduction to Digital Accessibility
To start with, you’ll learn about accessibility standards and their benefits.
4m
image
2
The Benefits of Digital Accessibility
Now, I will talk about why it is crucial to make digital accessibility a necessity when designing.
2m
image
3
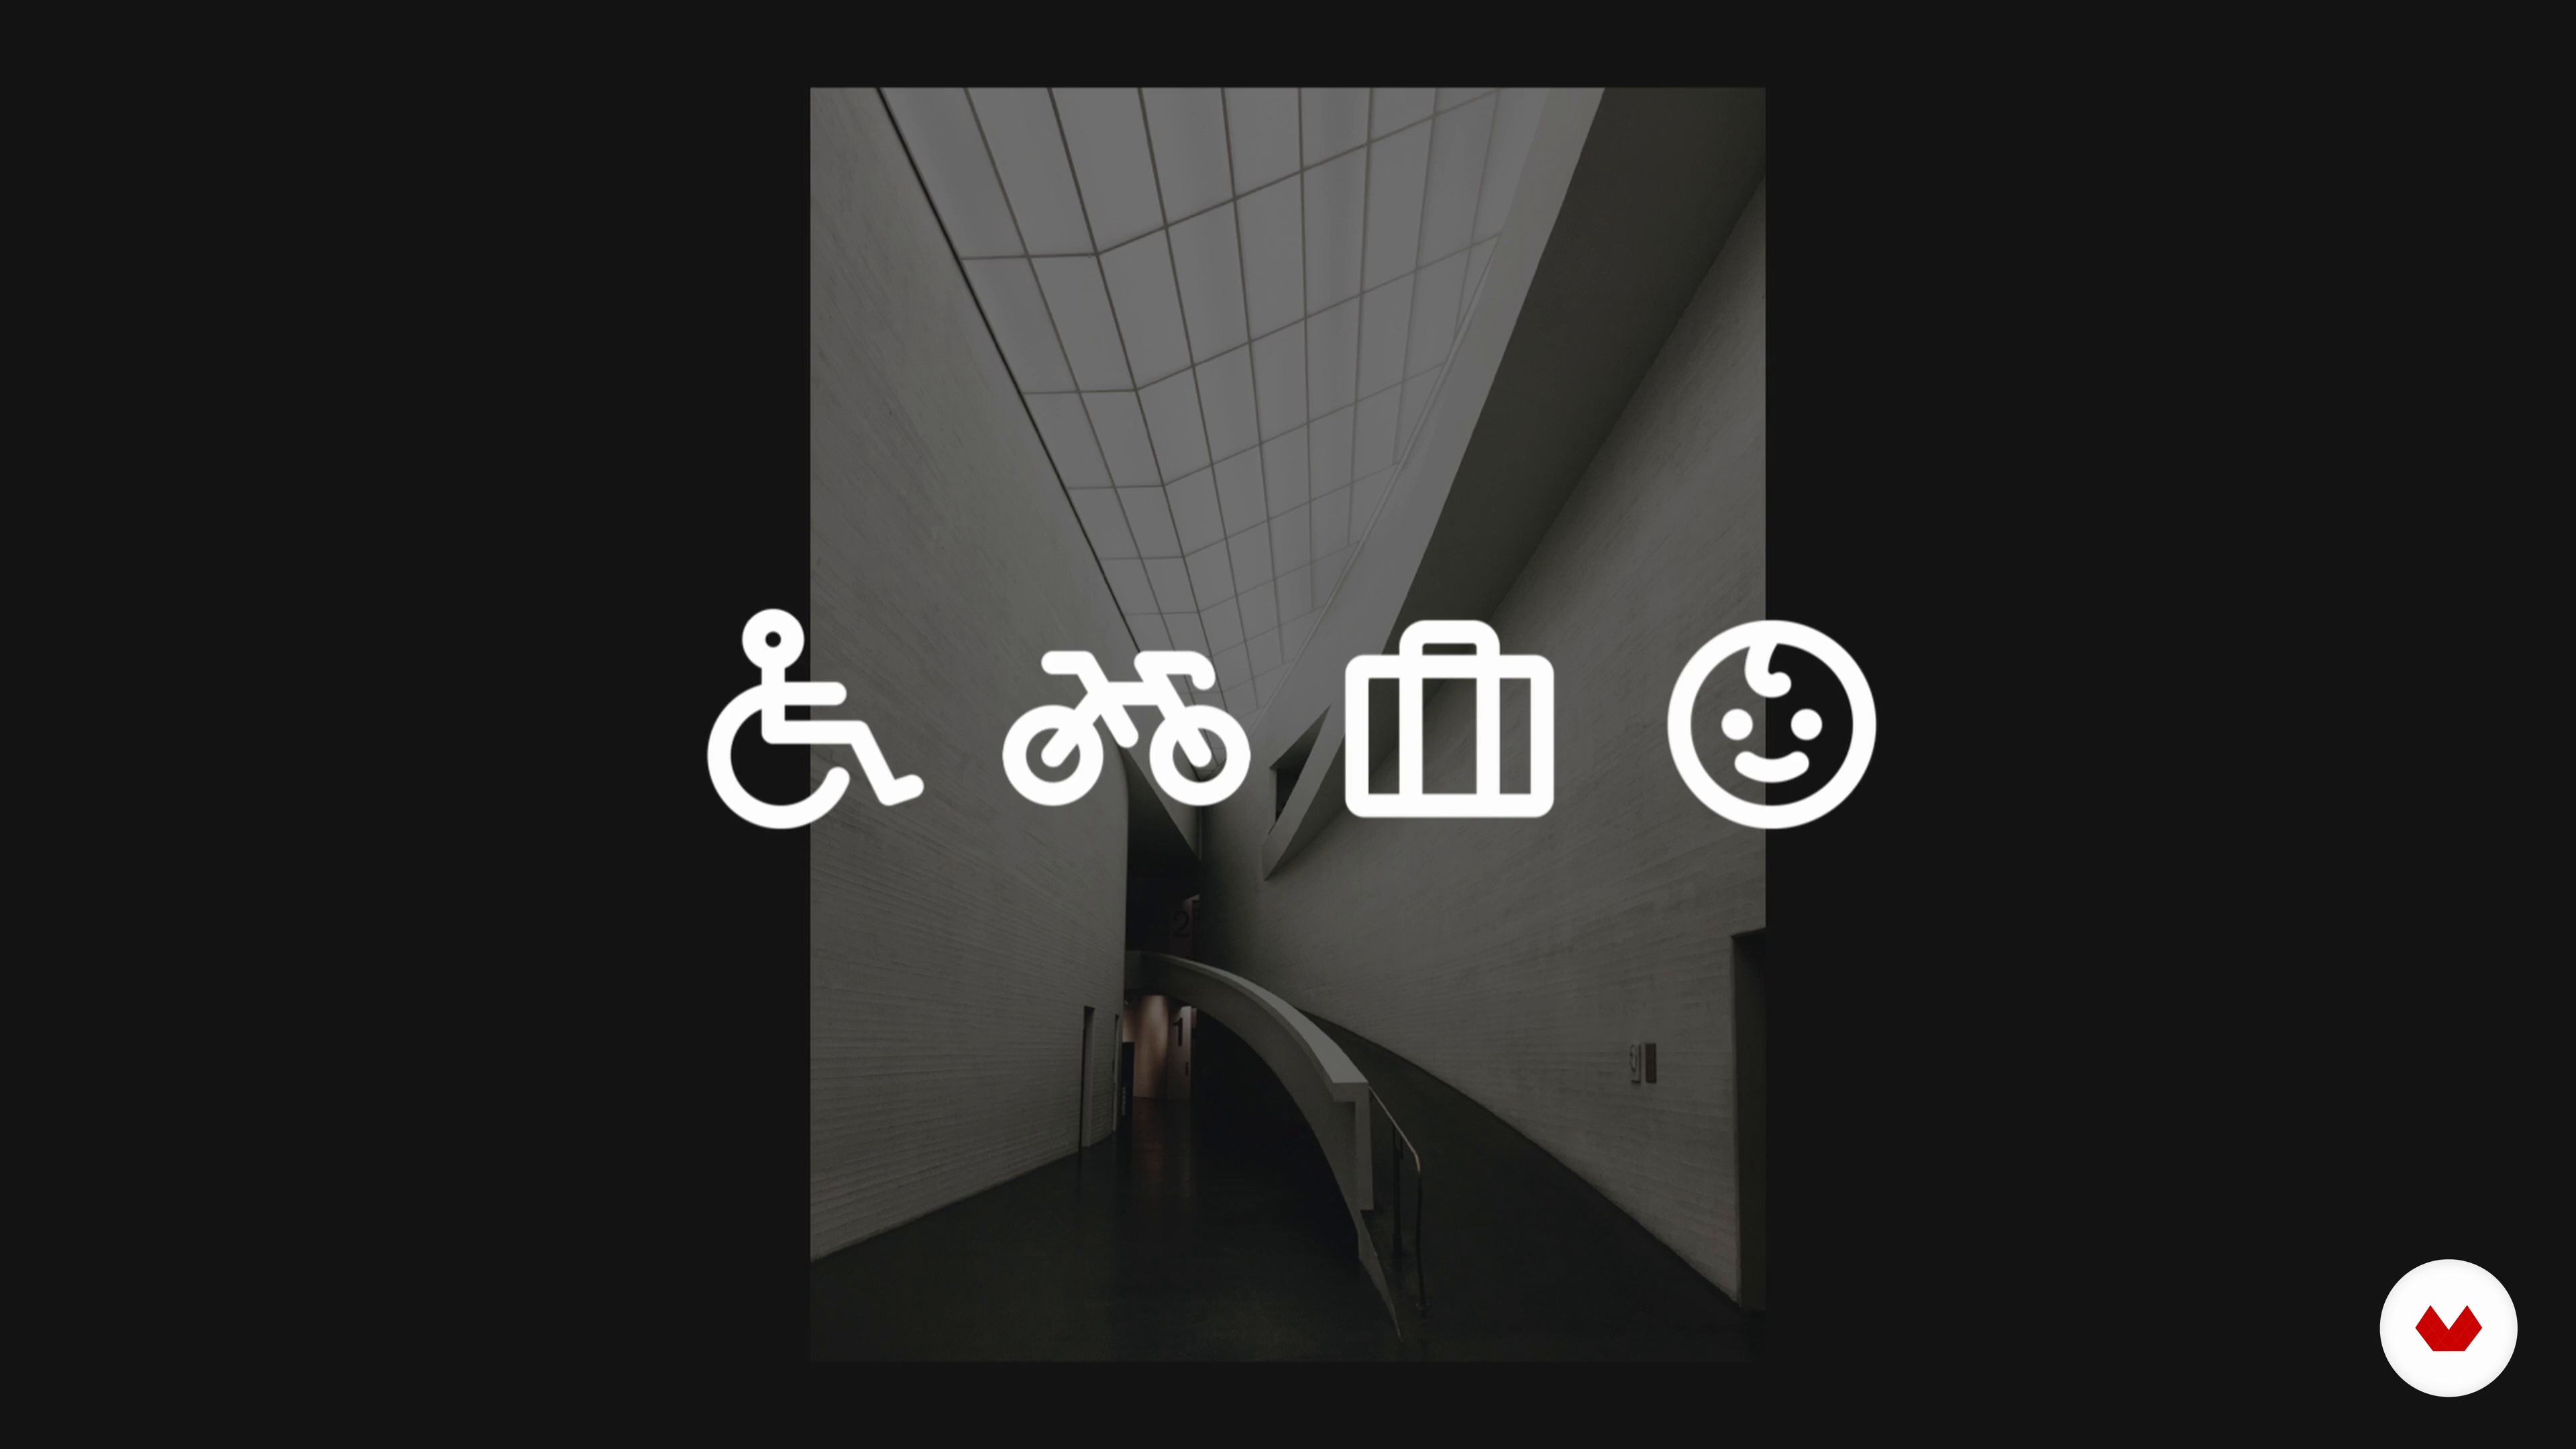
Accessibility in Real Life
Time to explore how to replicate some browsing situations where digital accessibility is crucial. It will help you relate to it and understand why it matters.
3m
image
4
Colours and Contrast
First, you'll learn about the ‘famous’ contrast ratio on how to apply it to text and visuals. Then I'll teach you how to choose a color pairing.
9m
image
5
Typefaces and Hierarchy
Now you'll look at typography choices and how they can be accessible. You'll also see how to choose a pairing.
7m
image
6
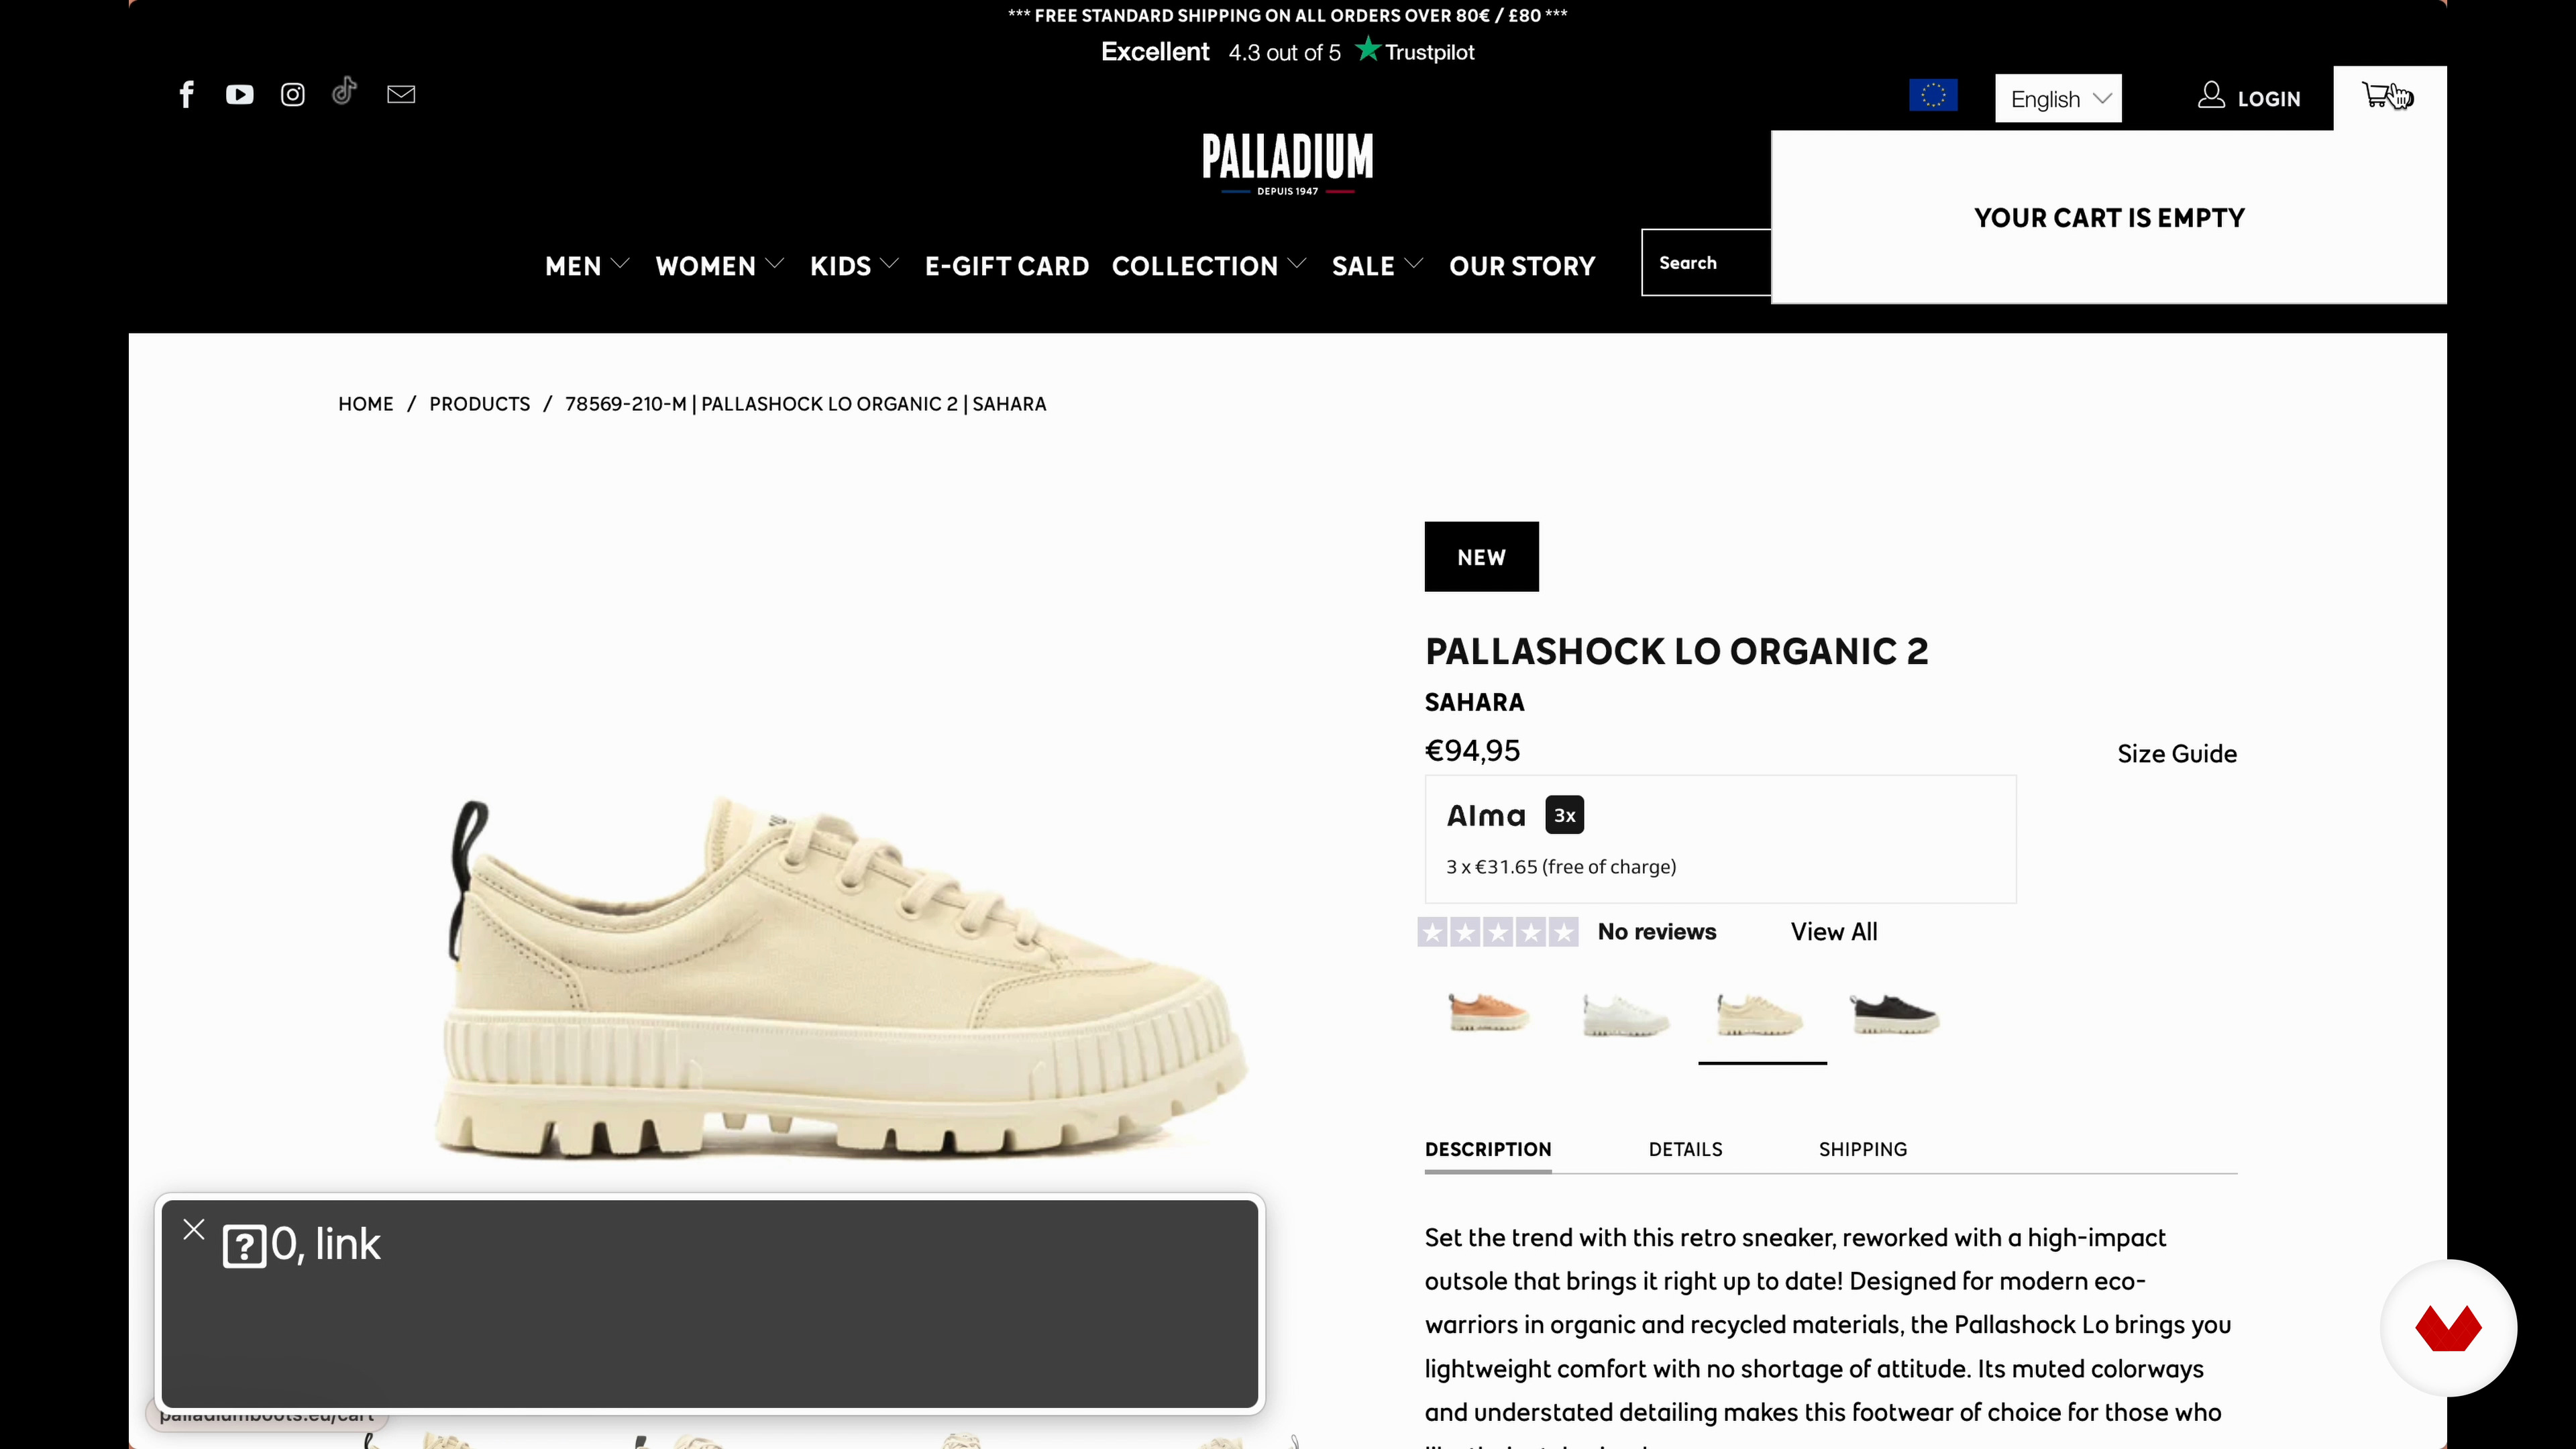
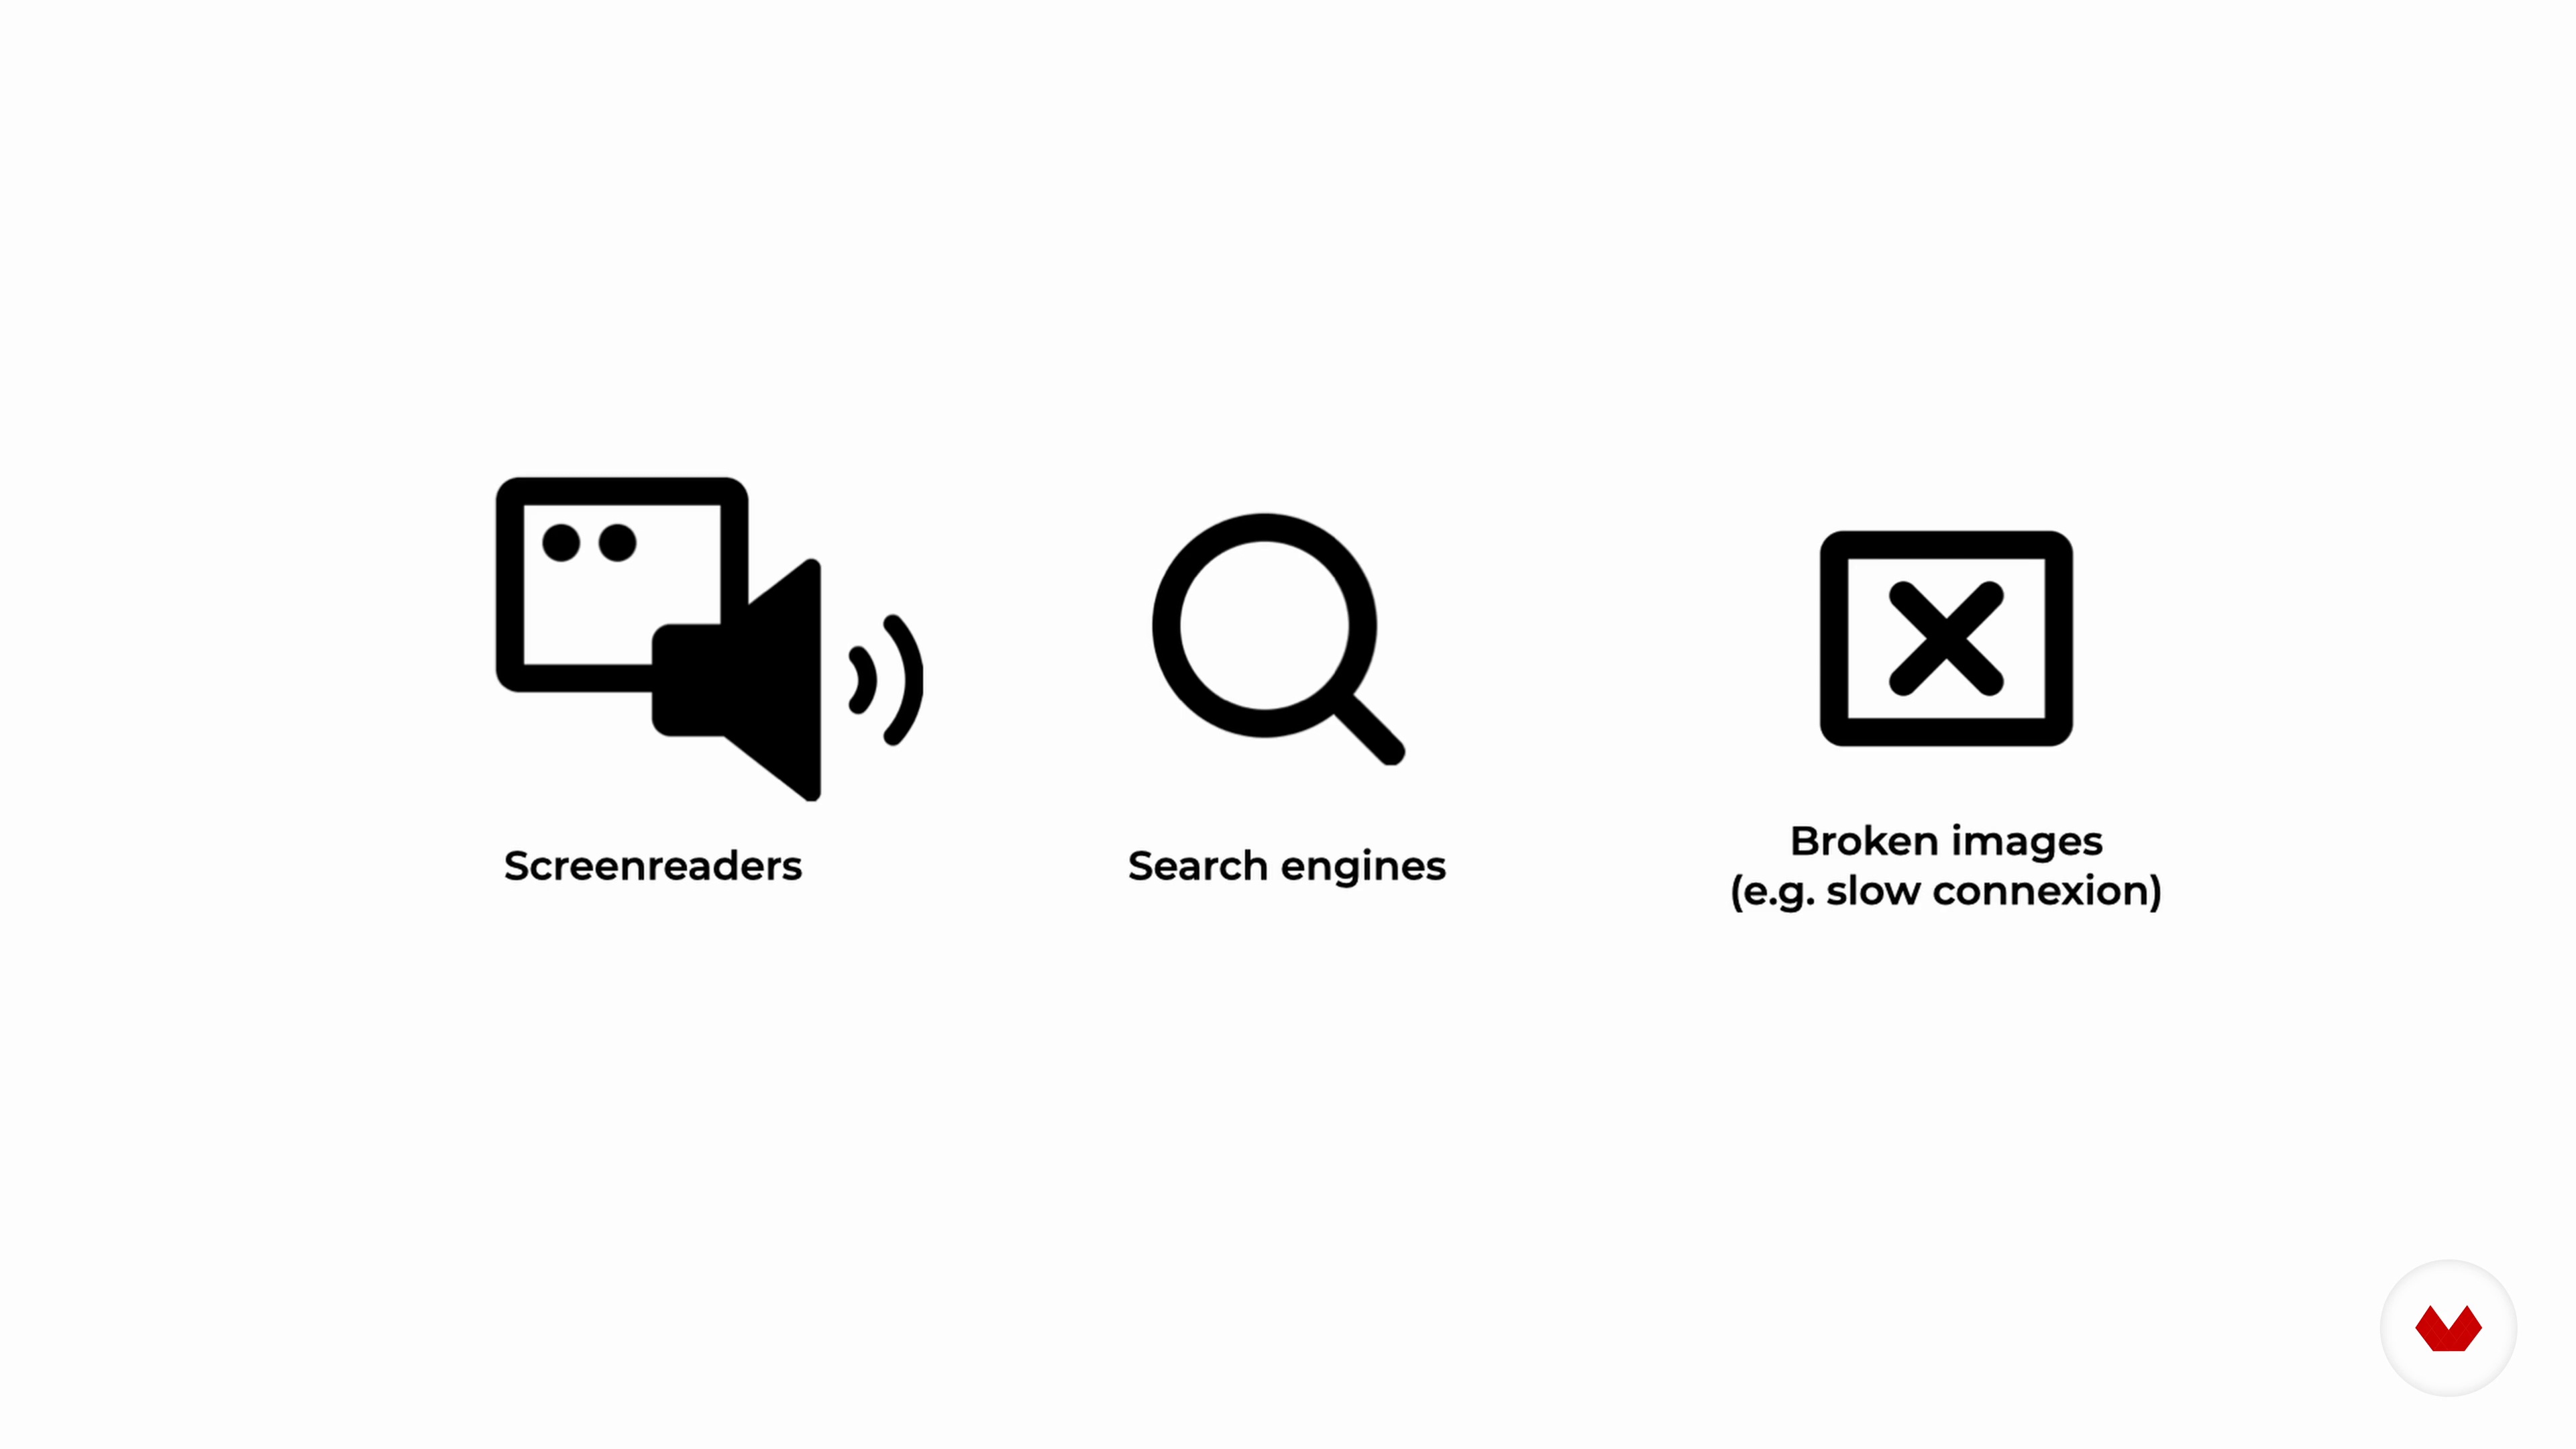
Alternative Text and Microcopy
In this lesson, I'll teach you a very important element of digital accessibility and how it can influence your design thinking.
5m
image
7
States
Let me help you understand how users can use keyboard/voice/touch inputs differently and how you have to adapt/think about it regarding design and UX choices.
7m
image
8
Animations and Multimedia Controls
Let’s have a look at different ways to give back control and make responsible animation choices.
7m
image
9
Wireframing for Accessibility
In this lesson, you will see how to make a low-fidelity design of your project and already include what you learned so far in this vital step.
10m
image
10
A Basic and Accessible Design System
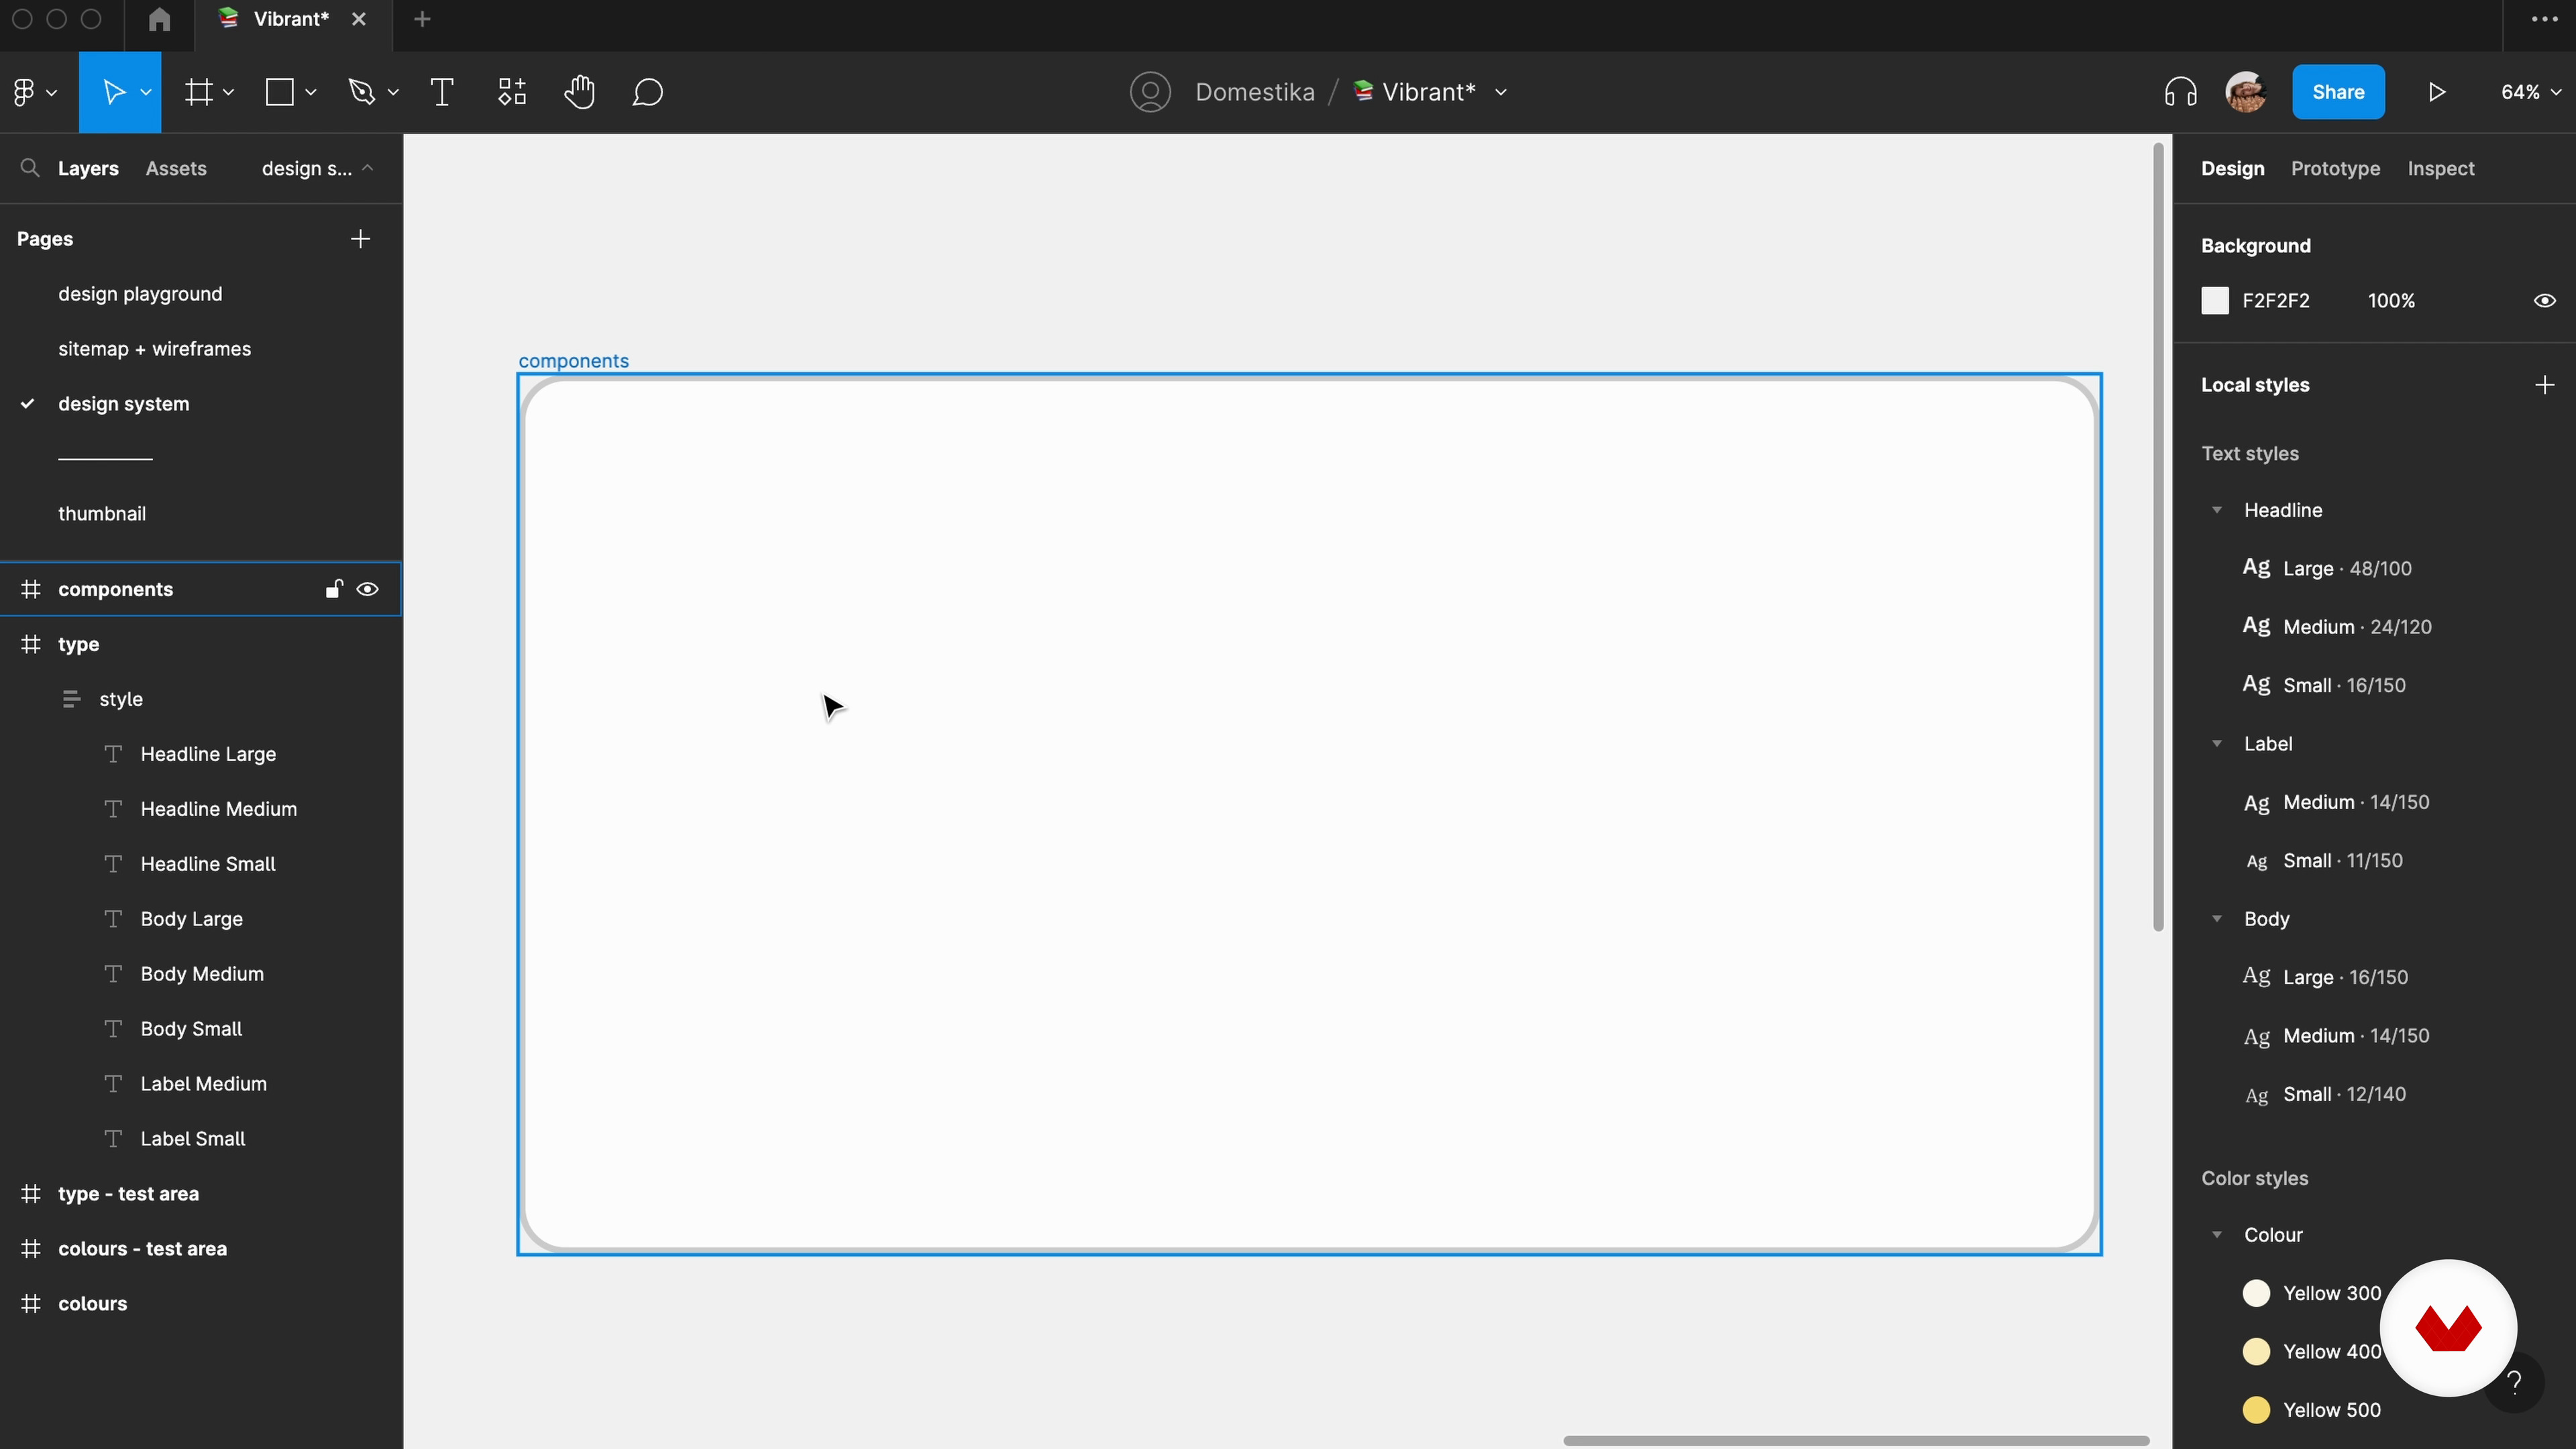
I’ll show you how to set up the foundational elements: a color palette, a basic type scale, crafting some buttons and text fields, and thinking about their various states.
17m
image
11
Designing
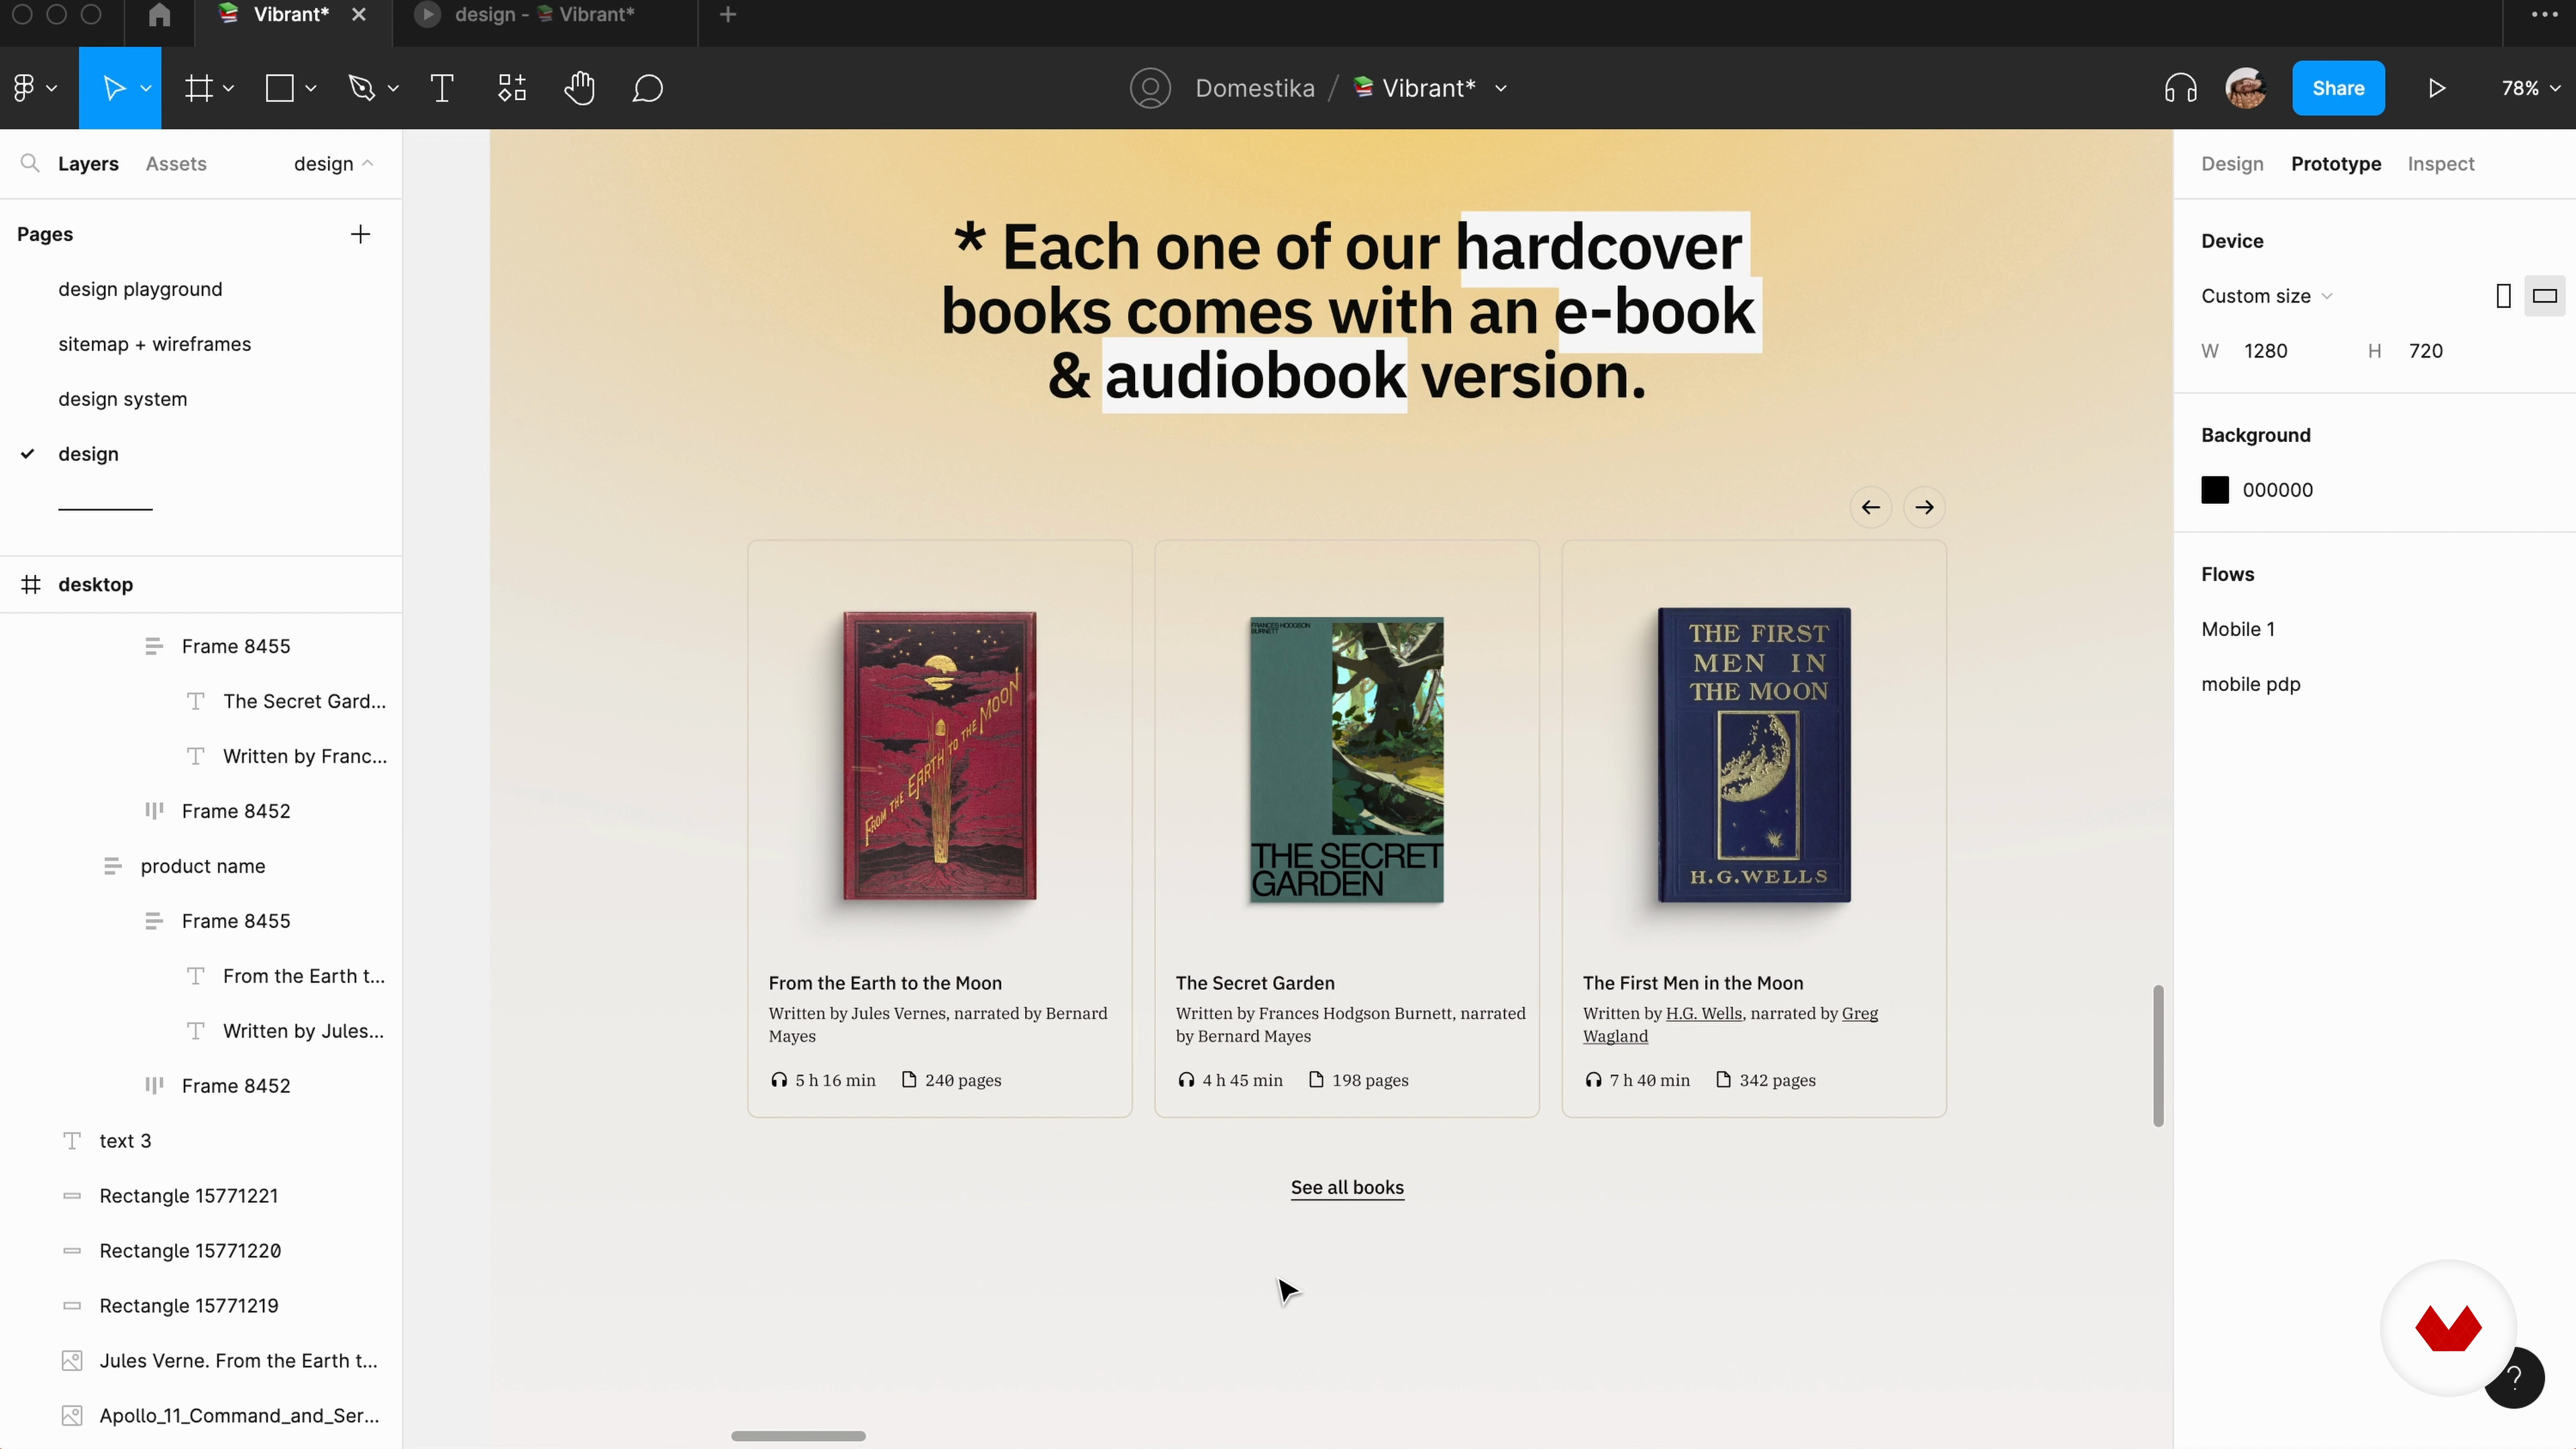
Lastly, I'll show you how to build up your designs with all the elements I talked about previously. Then, you'll learn to use the design system.
14m
image
12
The Interactive Prototype
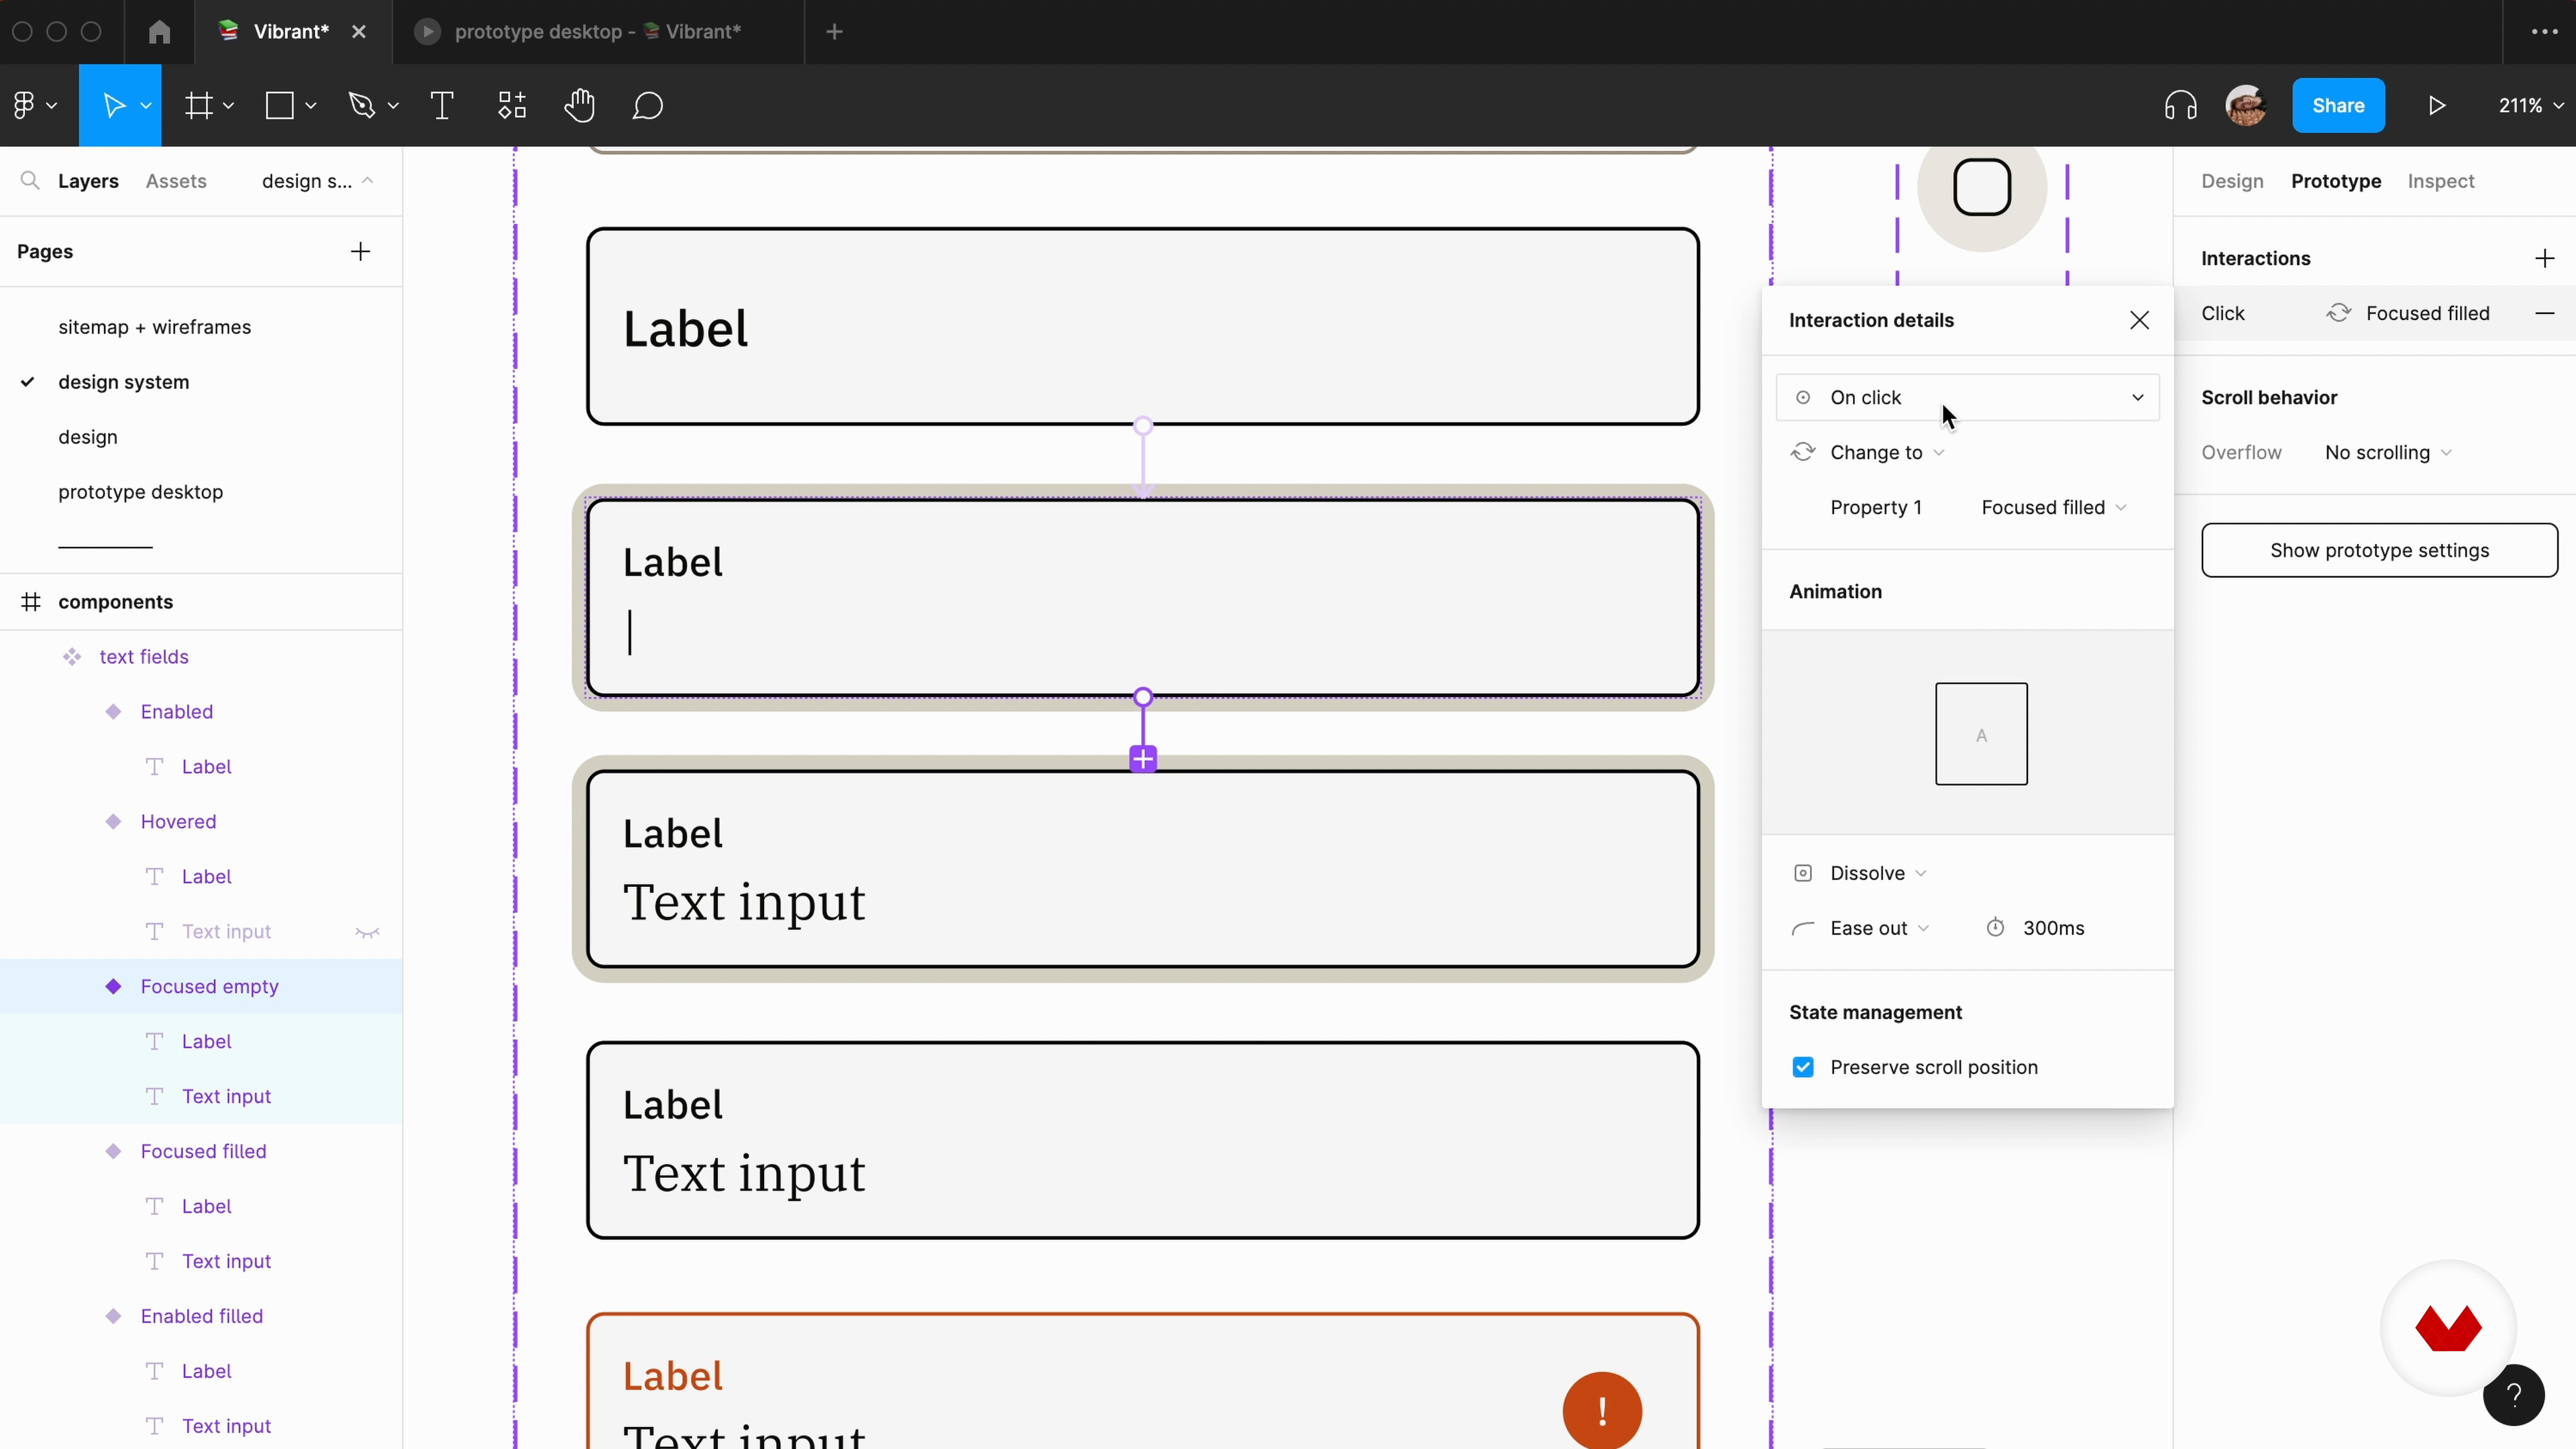
In this lesson, you will see how to make the Figma design interactive and as close to reality as possible with different states in mind.
12m
image
13
Testing, Testing, Testing
In this lesson, you'll take a look at the project from the perspective of the users.
5m
image
14
Omnichannel Thinking
Beyond the website, how do you exist in the world? Maybe you have a physical store, an Instagram account, or a monthly newsletter? Have you thought about how accessible these touchpoints might be?
5m
  • 100% positive reviews (10)
  • 1,374 students
  • 81 lessons (12h 1m)
  • 105 additional resources (26 files)
  • Online and at your own pace
  • Audio: English, Spanish
  • English · Spanish · Portuguese · German · French · Italian · Polish · Dutch
  • Level: Beginner
  • Unlimited access forever

What is this course's project?

Create a validated UX design prototype tailored to a specific person or brand by following a detailed process, culminating in a case study for your portfolio.

Who is this specialization for?

Aspiring UX/UI designers, digital product developers, and design enthusiasts looking to enhance their skills through comprehensive insights into user experience design, research methods, visual composition, storytelling, and accessibility will find this course invaluable for advancing their professional capabilities.

Requirements and materials

No extensive prior knowledge is needed, but having basic skills in using design software and an understanding of digital interfaces can be helpful. Access to a computer with internet and Figma installed is essential for hands-on practice.

Select to get to know your teachers in this specialization course
Read more ↓

Reviews

1,374 Students
10 Reviews
100% Positive ratings


What to expect from this specialization course

  • Learn at your own pace

    Enjoy learning from home without a set schedule and with an easy-to-follow method. You set your own pace.

  • Learn from the best professionals

    Learn valuable methods and techniques explained by top experts in the creative sector.

  • Meet expert teachers

    Each expert teaches what they do best, with clear guidelines, true passion, and professional insight in every lesson.

  • Certificates
    Plus

    If you're a Plus member, get a custom certificate for every specialization course. Share it on your portfolio, social media, or wherever you like.

  • Get front-row seats

    Videos of the highest quality, so you don't miss a single detail. With unlimited access, you can watch them as many times as you need to perfect your technique.

  • Share knowledge and ideas

    Ask questions, request feedback, or offer solutions. Share your learning experience with other students in the community who are as passionate about creativity as you are.

  • Connect with a global creative community

    The community is home to millions of people from around the world who are curious and passionate about exploring and expressing their creativity.

  • Watch professionally produced courses

    Domestika curates its teacher roster and produces every course in-house to ensure a high-quality online learning experience.


FAQs

Domestika's specialization courses are online classes that provide you with the tools and skills you need to complete a specific project. Every step of the project combines video lessons with complementary instructional material, so you can learn by doing. Domestika's specializations also allow you to share your own projects with other students, creating a dynamic course community.

All specialization courses are 100% online, so once they're published, specialization courses start and finish whenever you want. You set the pace of the class. You can go back to review what interests you most and skip what you already know, ask questions, answer questions, share your projects, and more.

The specialization courses are divided into different modules. Each one includes lessons, informational text, tasks, and practice exercises to help you carry out your project step by step, with additional complementary resources and downloads. You'll also have access to an exclusive forum where you can interact with other students, as well as share your work and your final project, creating a community around the specialization course.

You can redeem the specialization course you received by accessing the redeeming page and entering your gift code.

If you're a Plus member, when you complete a course you've purchased, you'll instantly get your personalized certificate. You can see all your certificates in the Certificates section of your profile. You can download your certificates as PDFs and share the link online. Learn more about certificates.
UX/UI Design Specialization: From Research to Accessibility. Web, and App Design course by Domestika

UX/UI Design Specialization: From Research to Accessibility

A specialization by multiple teachers
Specialization Course. Berkeley, United States.
Joined April 2002
  • 100% positive reviews (10)
  • 1,374 students