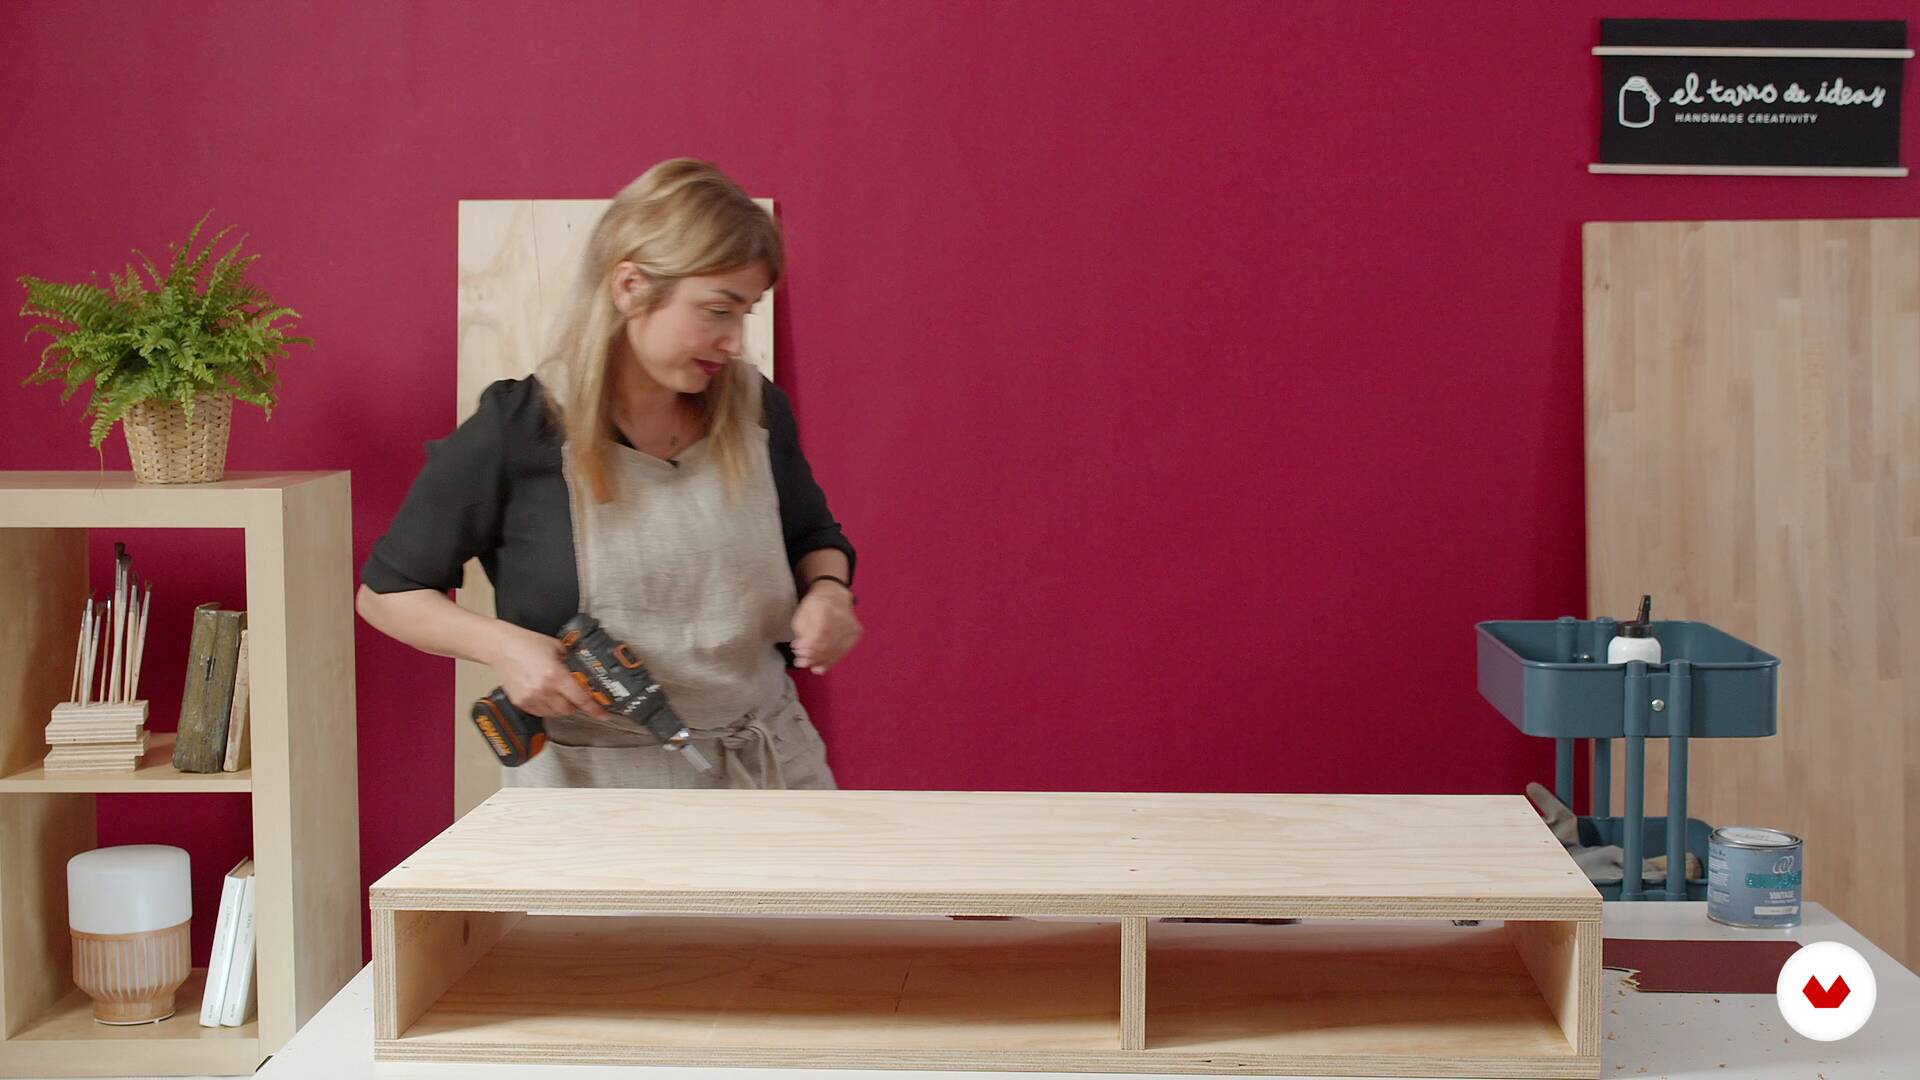
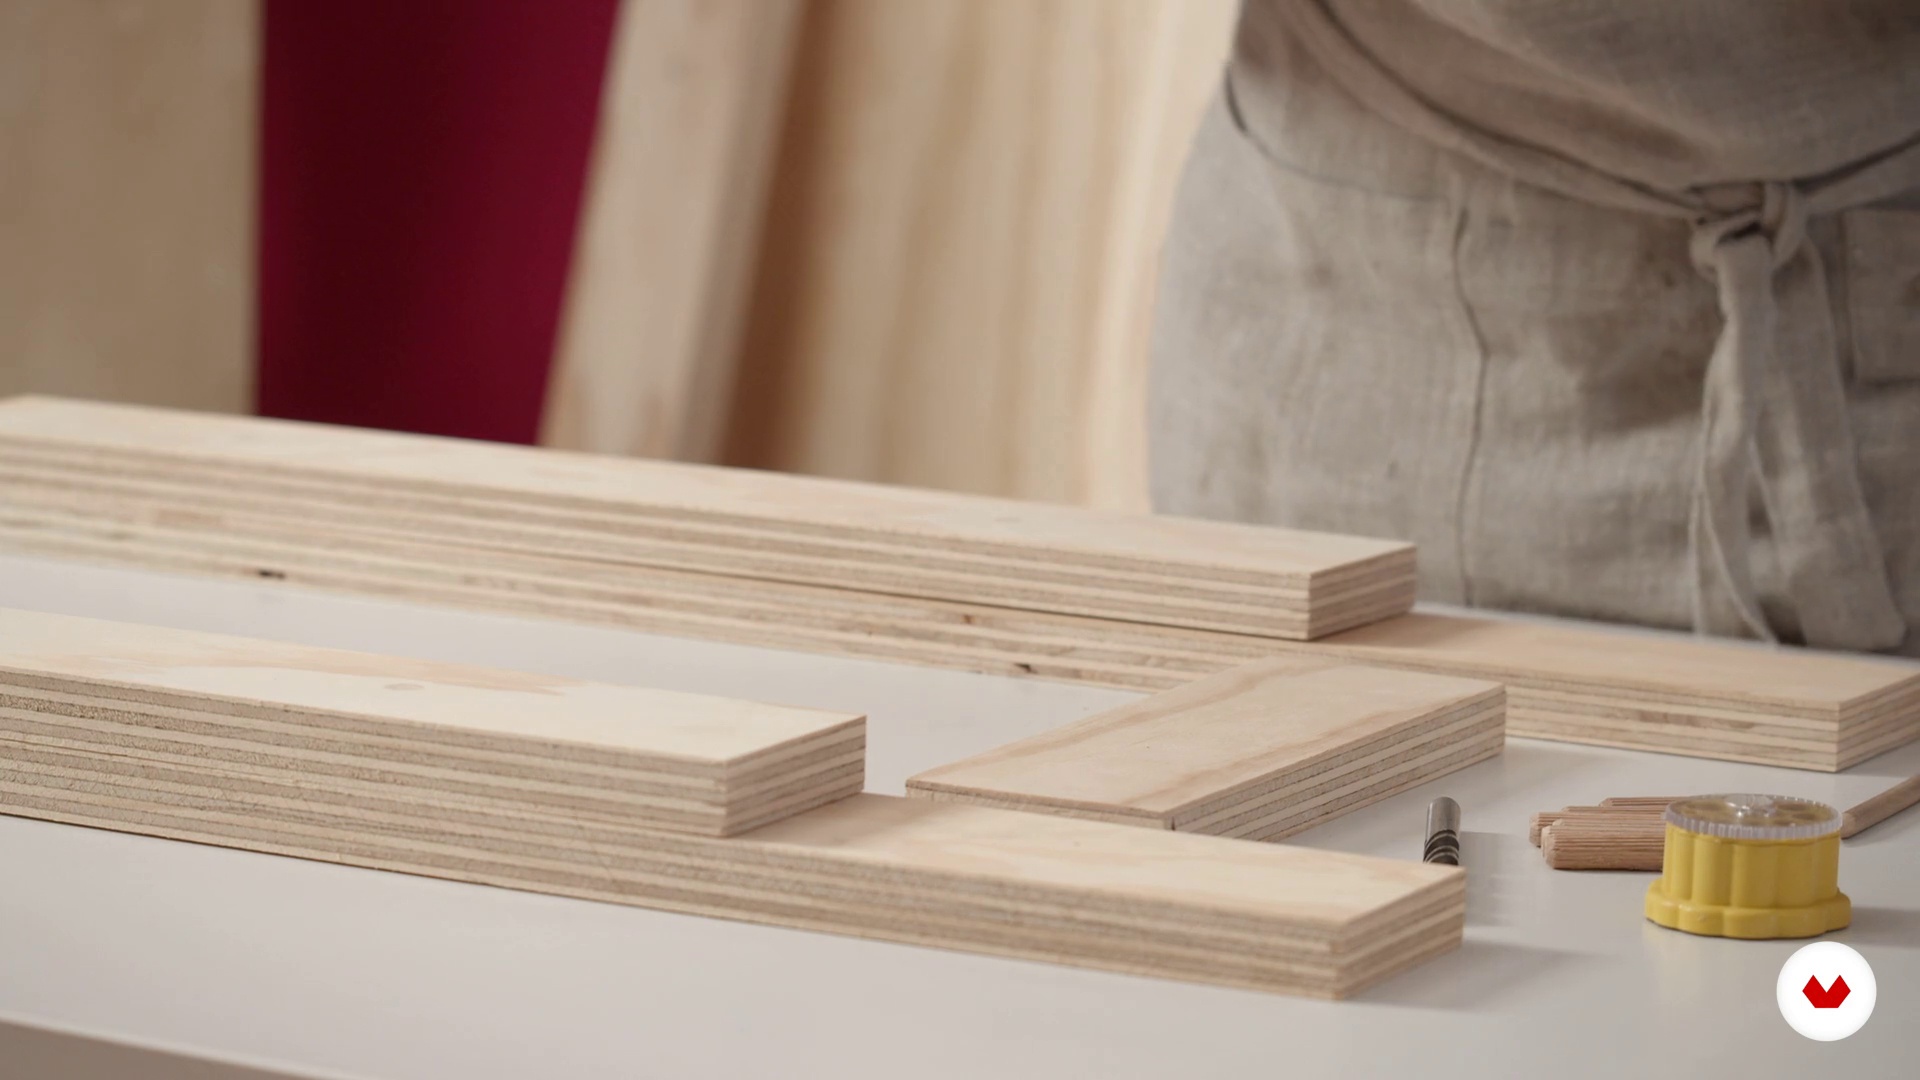
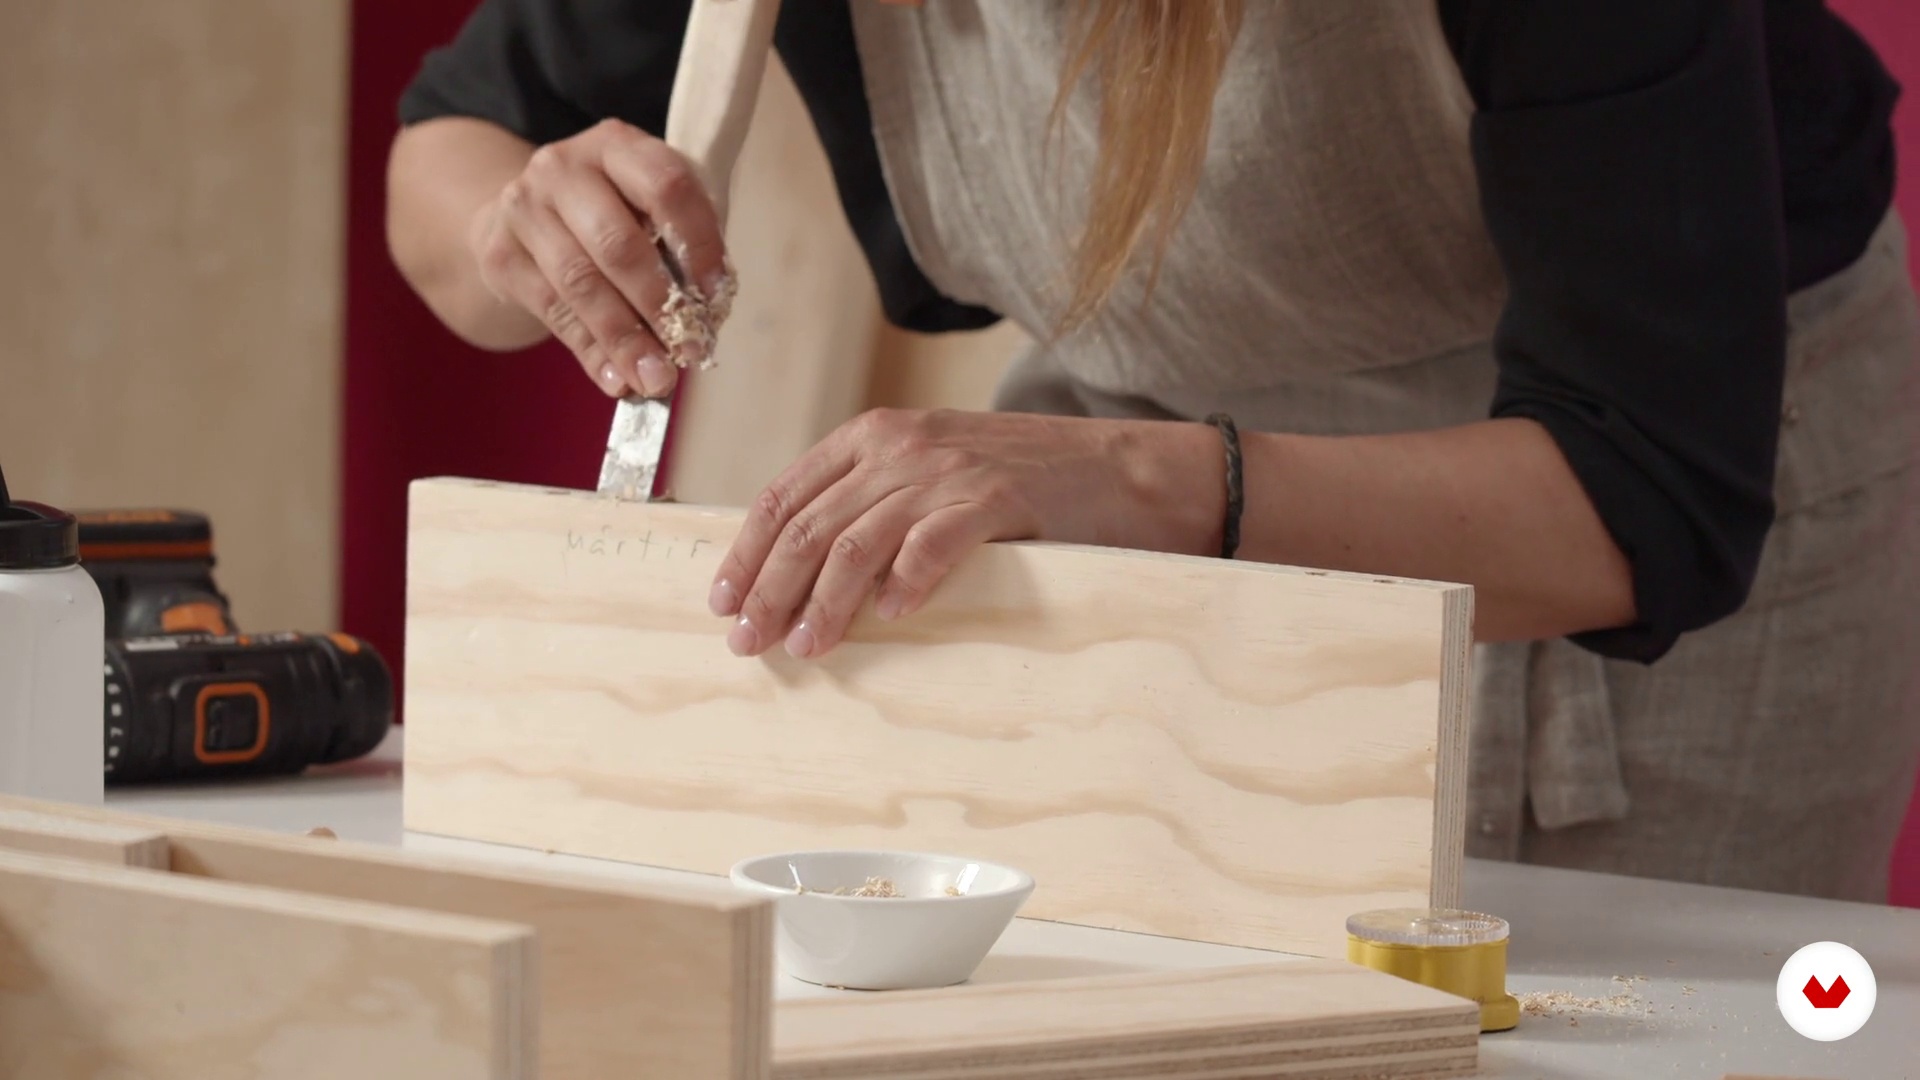
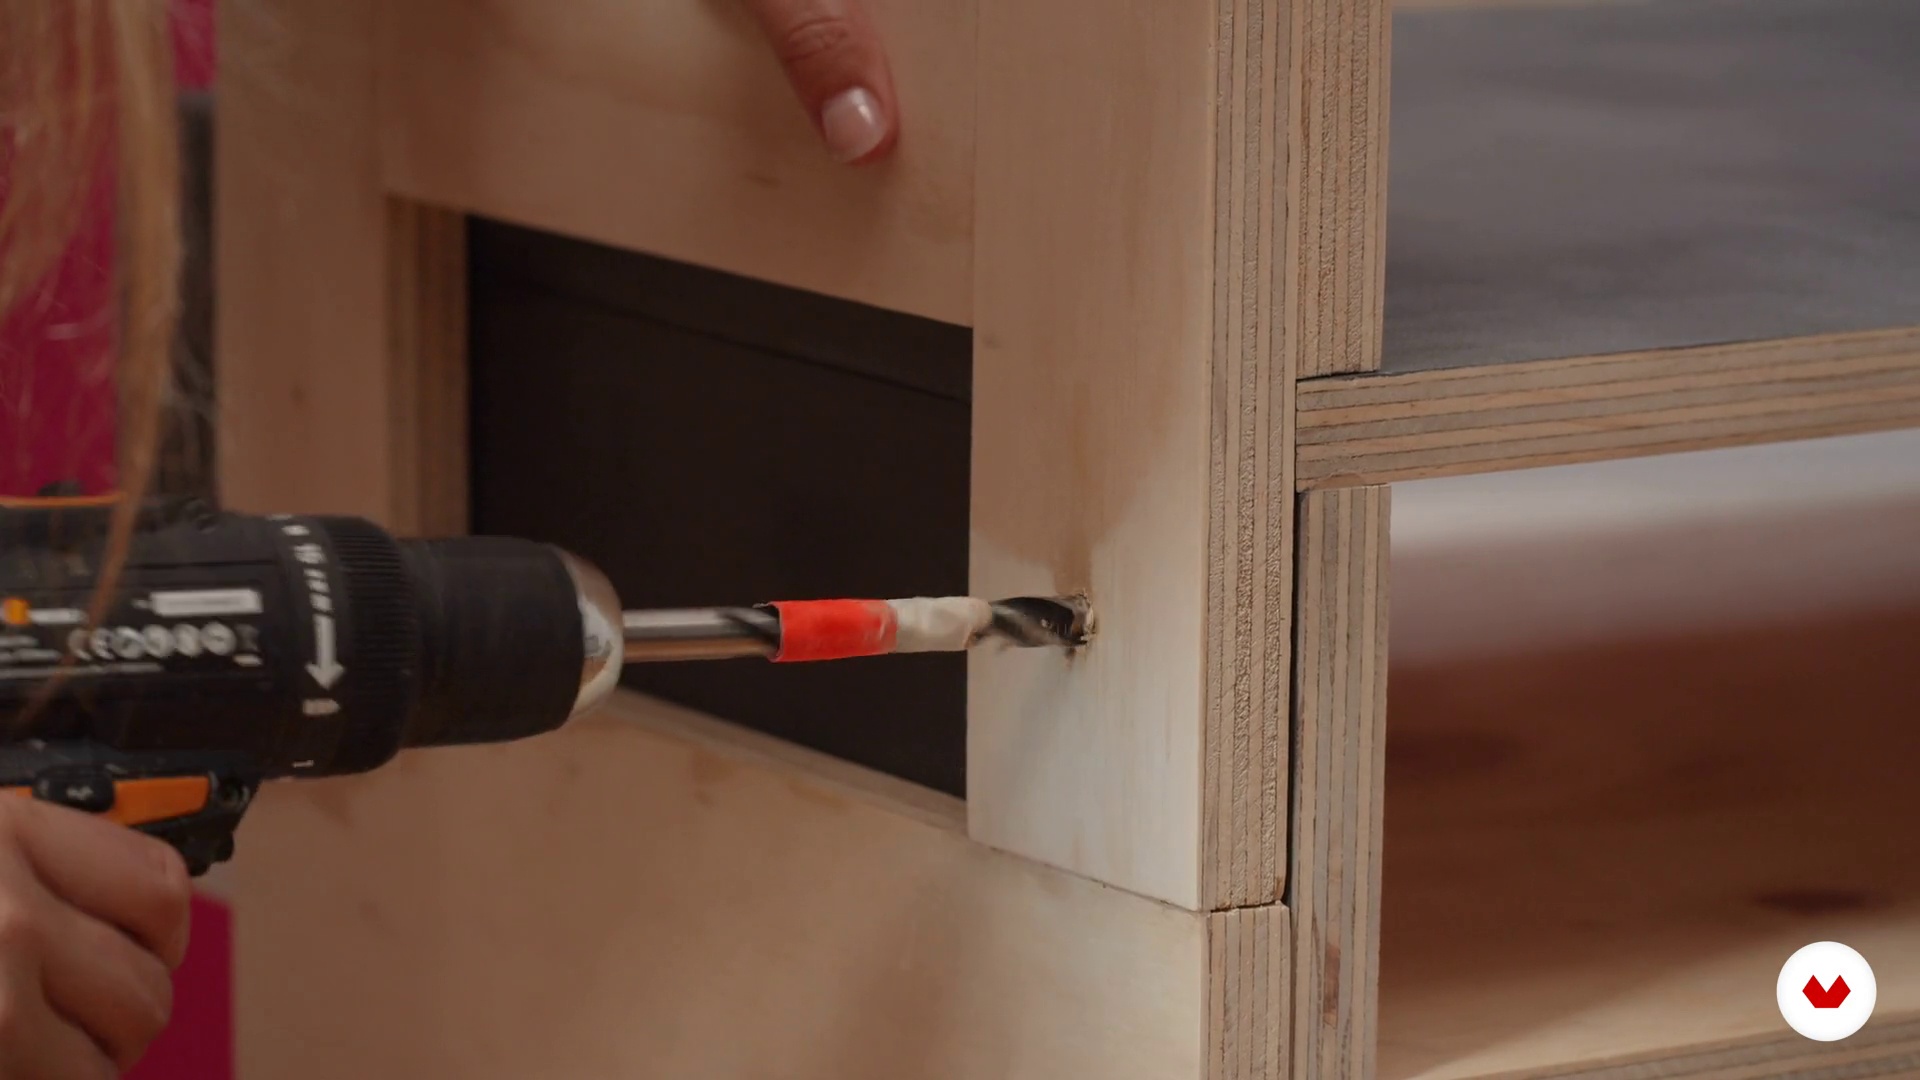
Specialization

Furniture Upcycling & Restoration Specialization

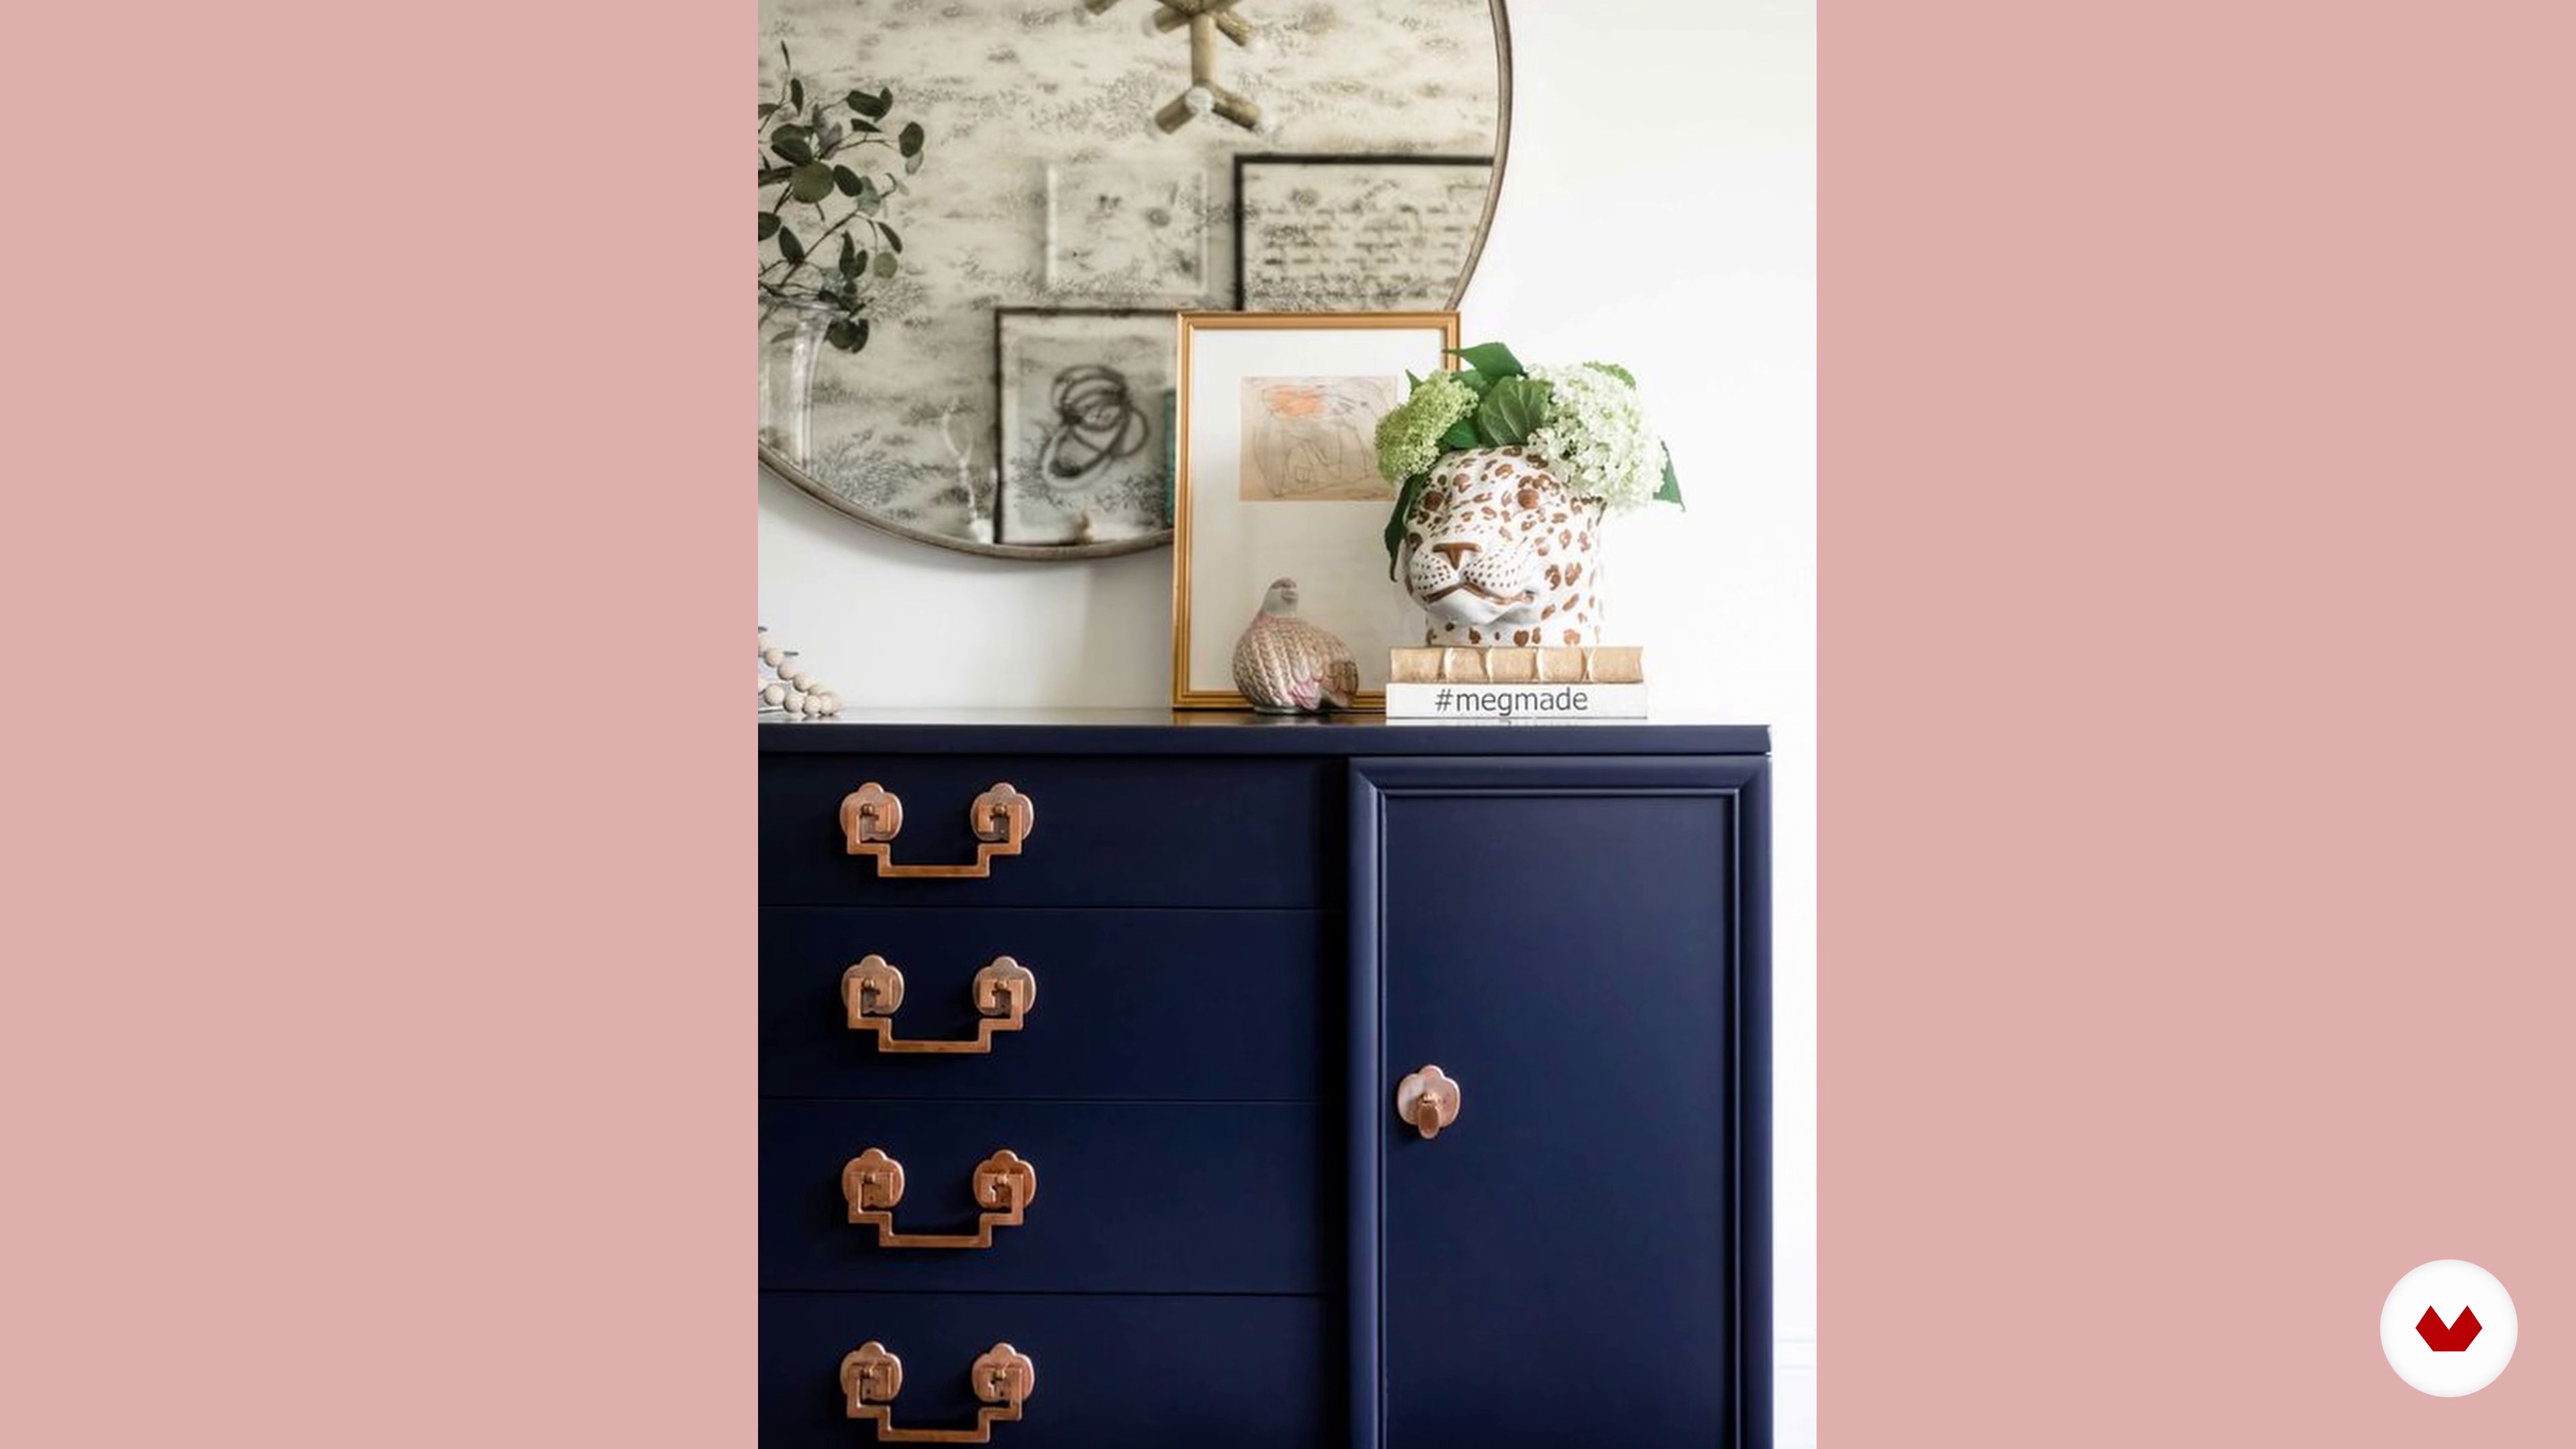
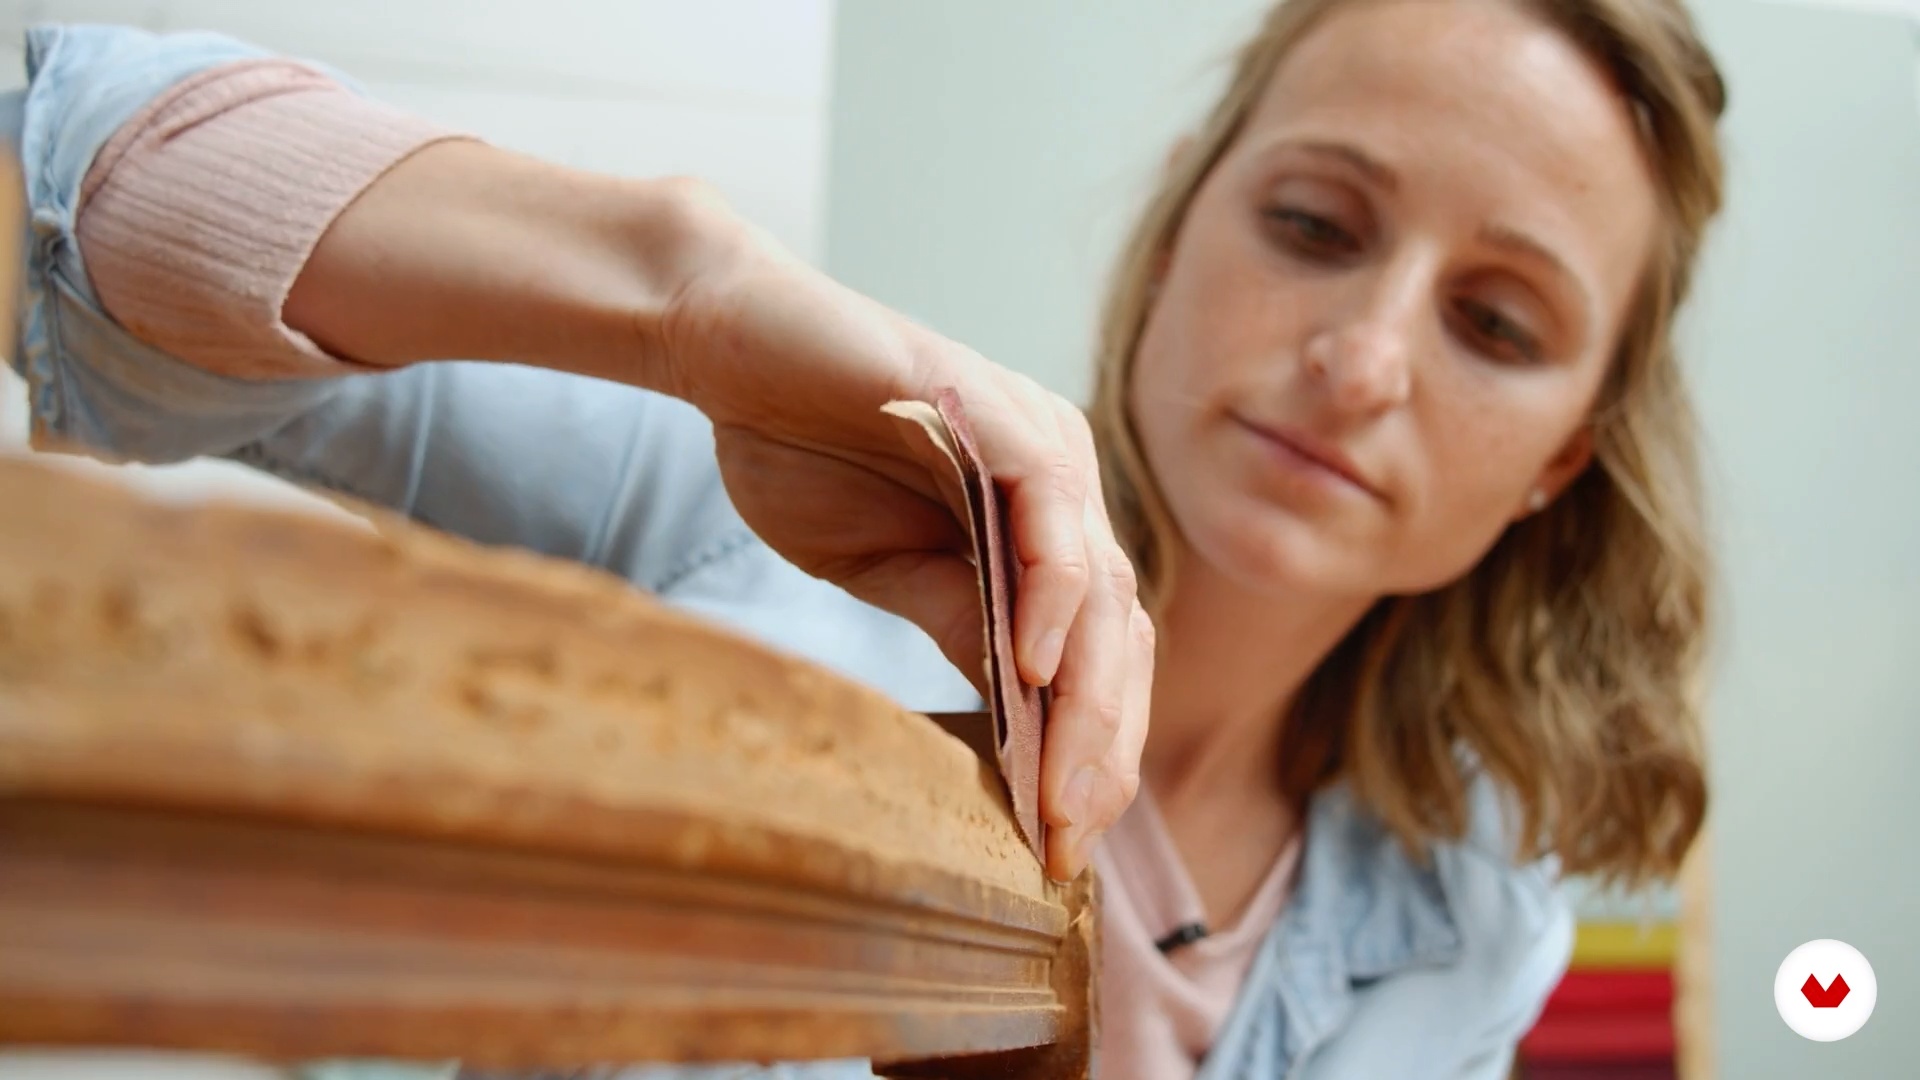
Learn restoration and transformation of furniture with basic techniques such as cleaning, sanding, repair and finishes

Learn restoration and transformation of furniture with basic techniques such as cleaning, sanding, repair and finishes

Specialization · 7 modules

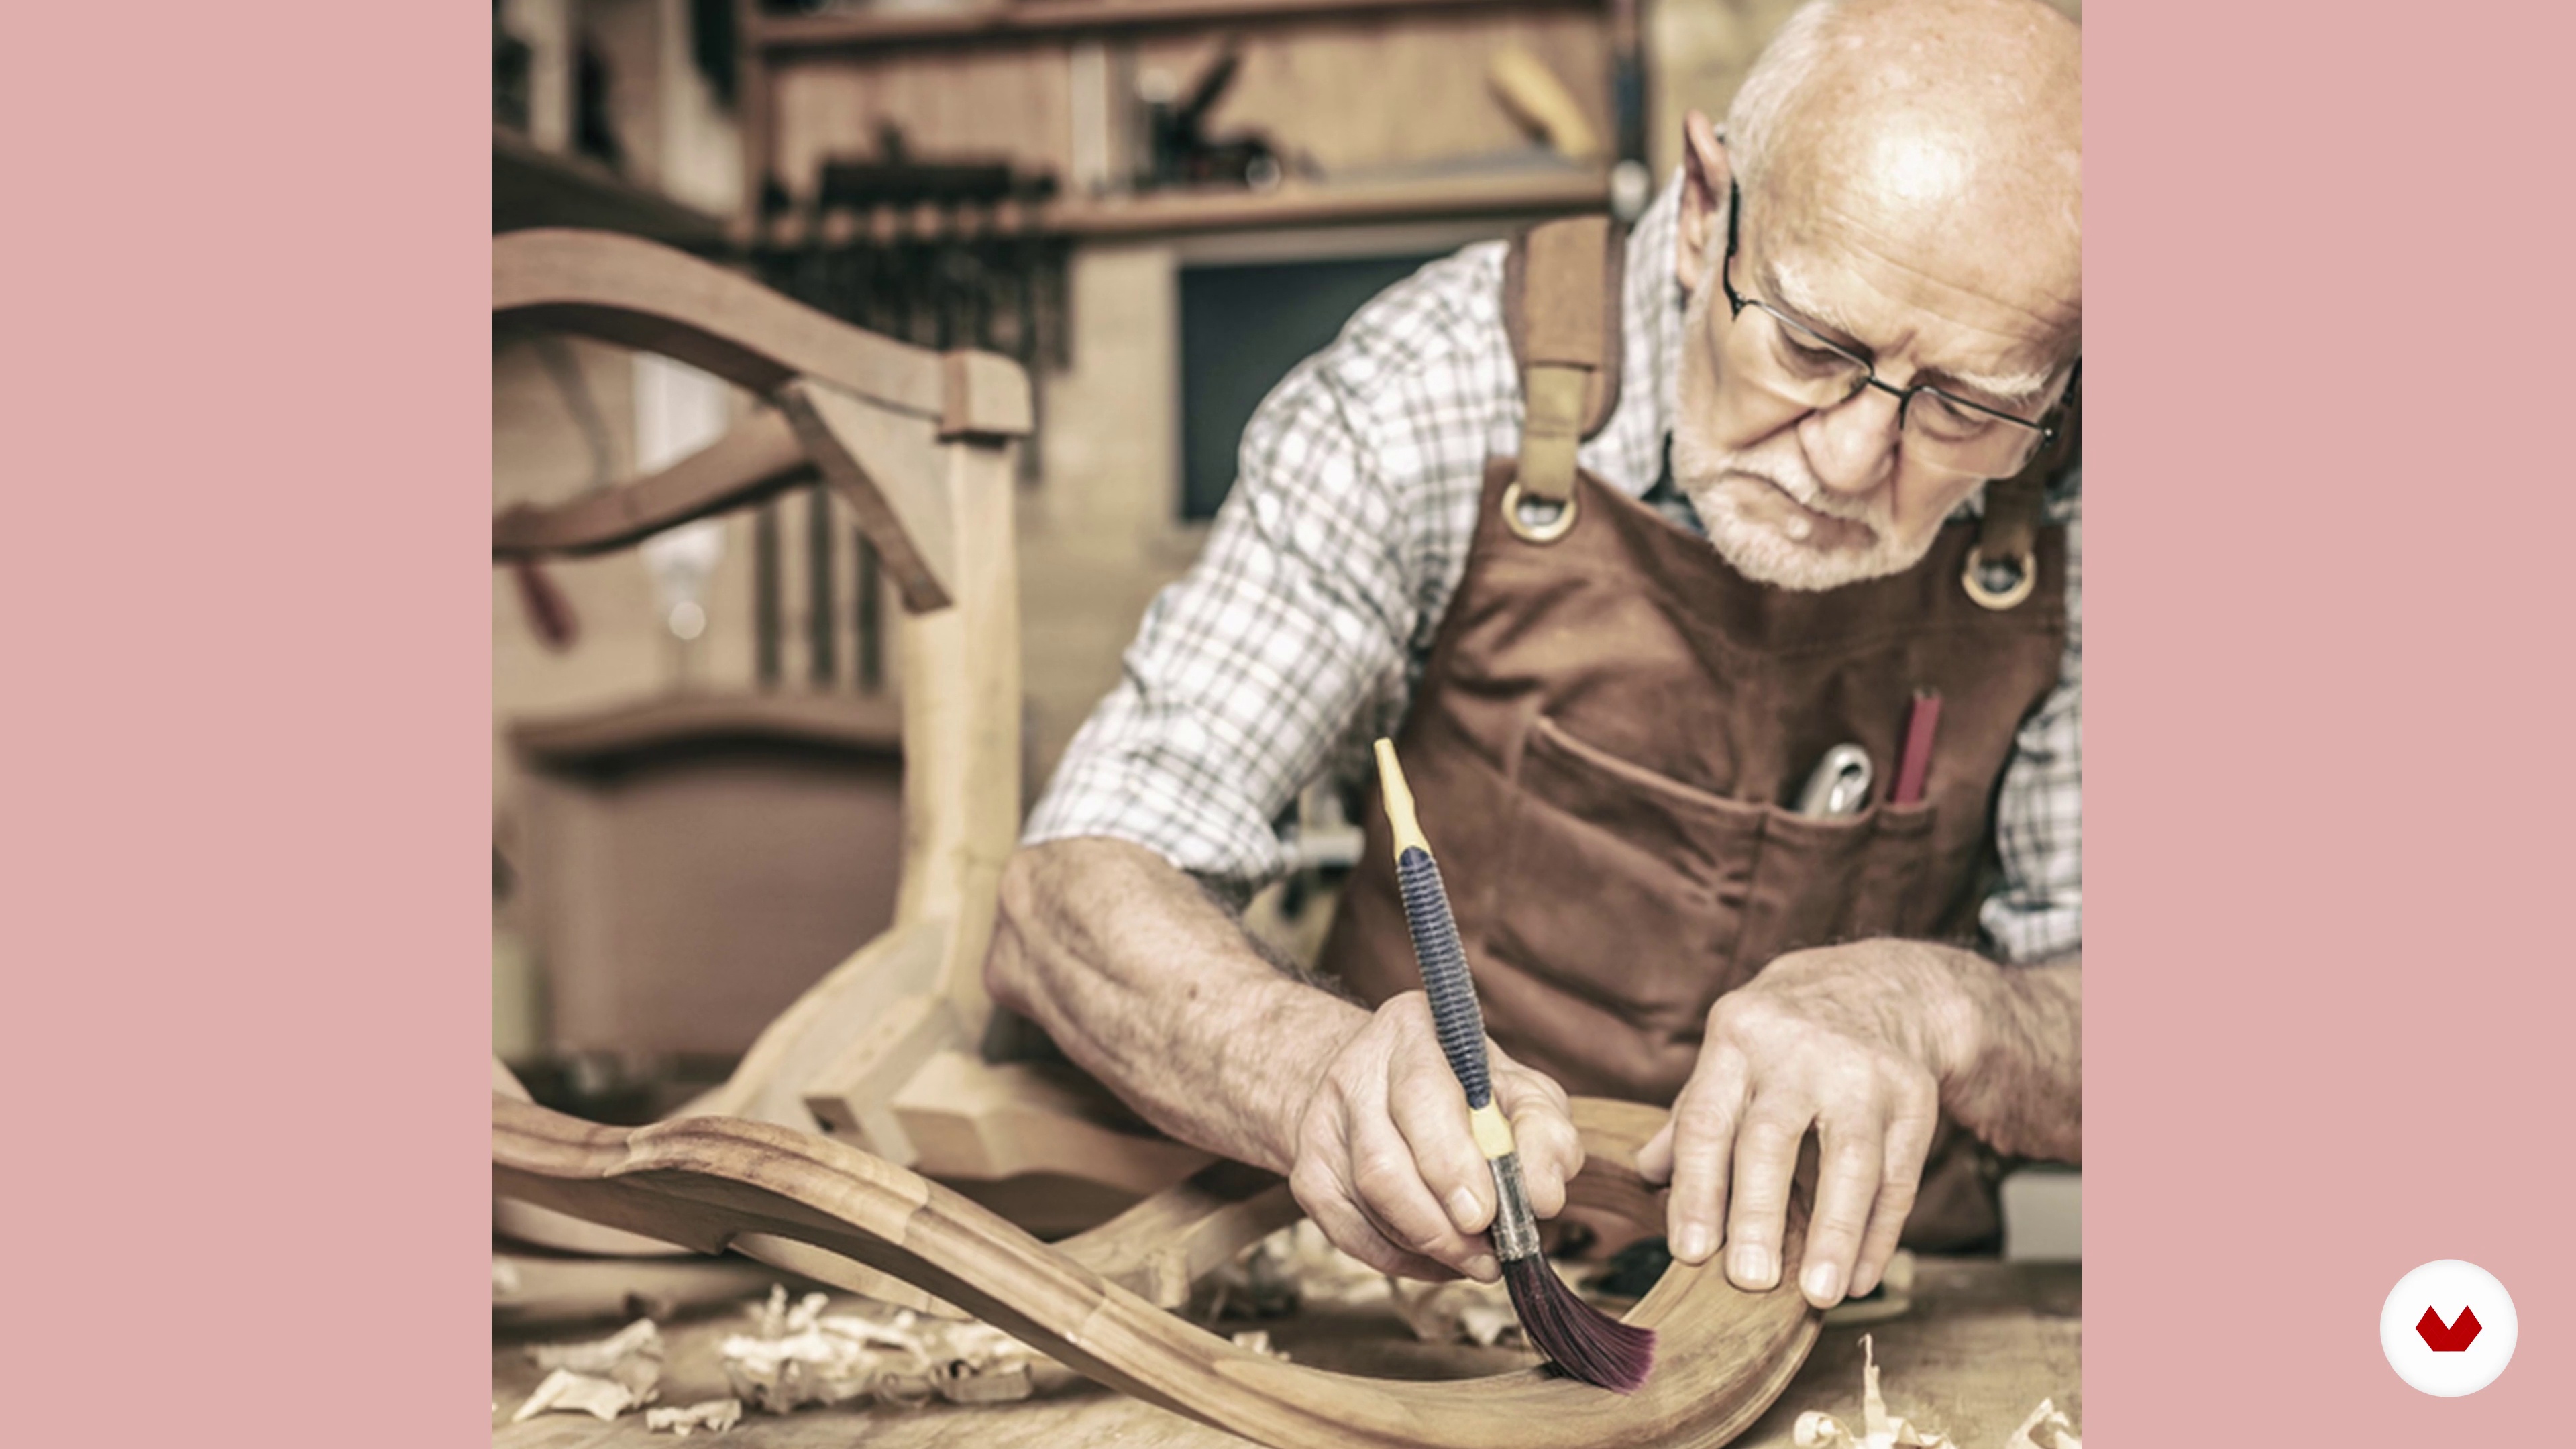
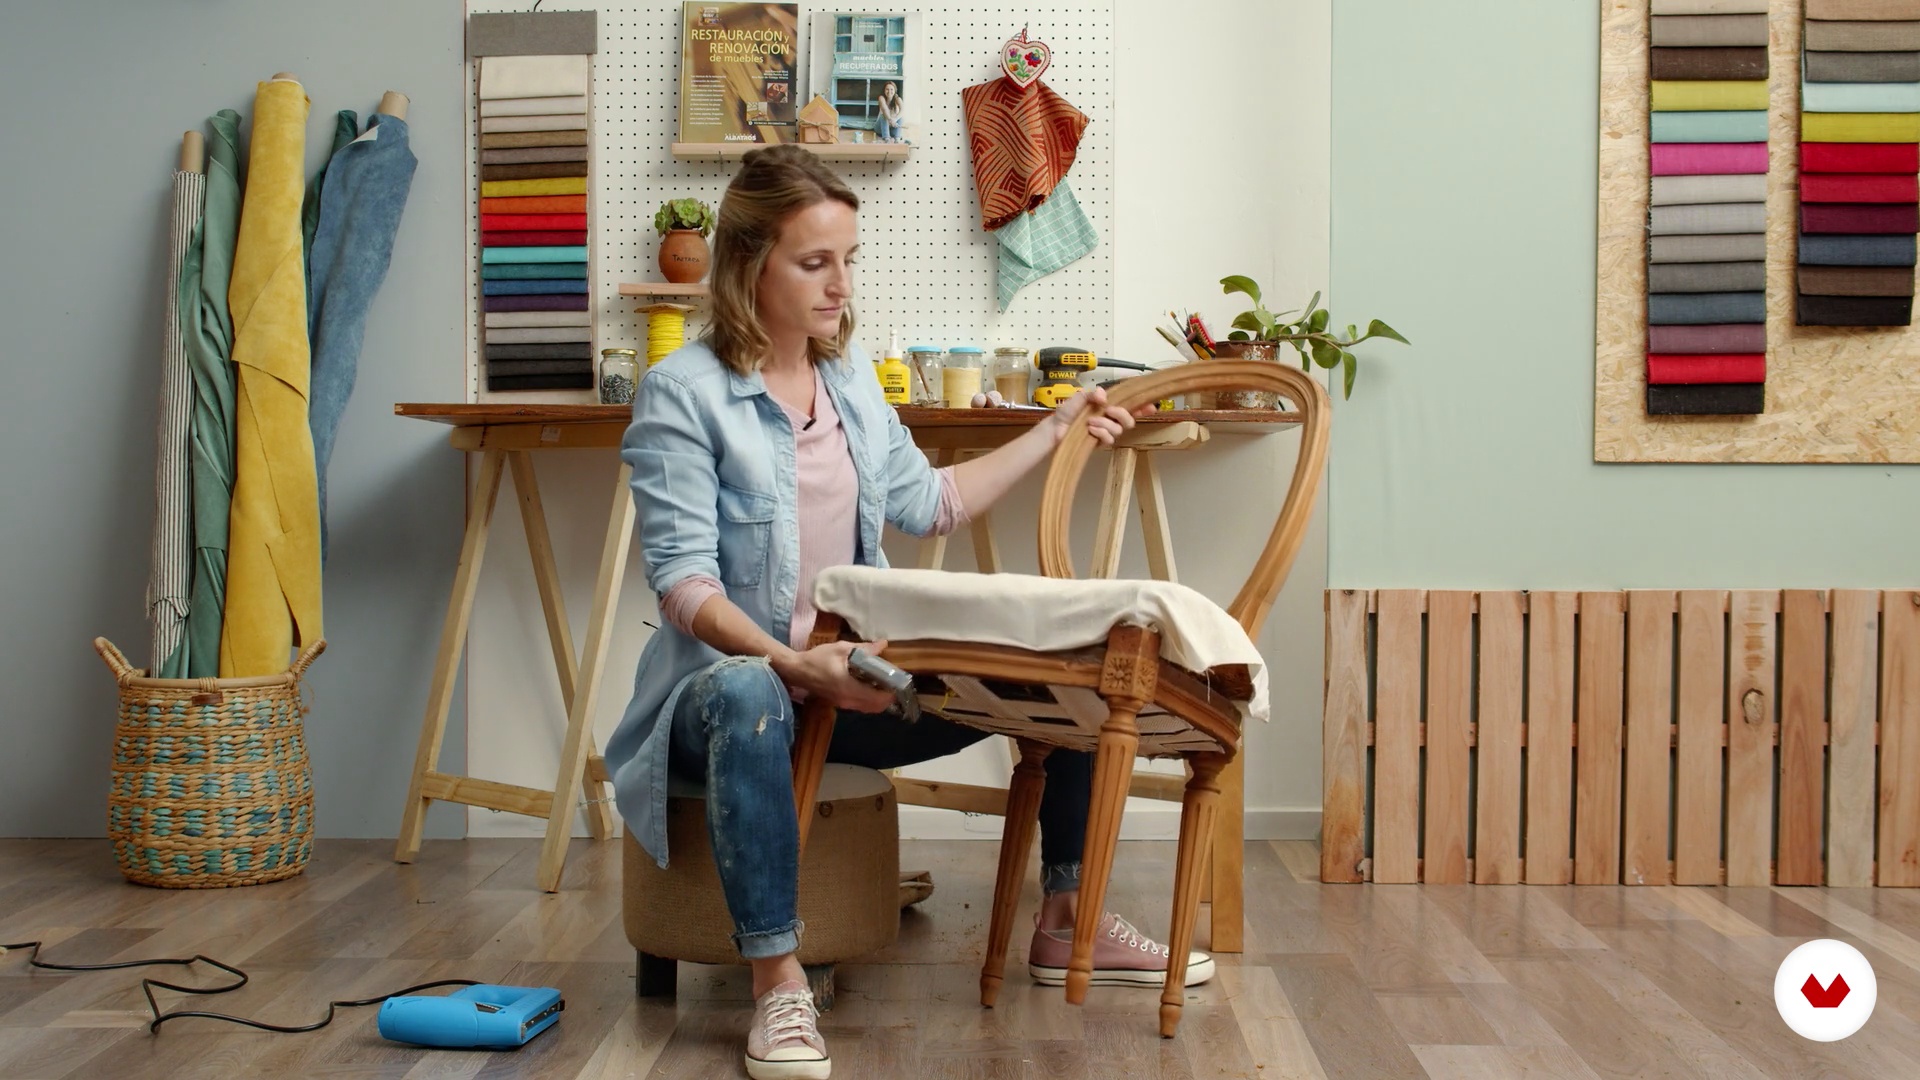
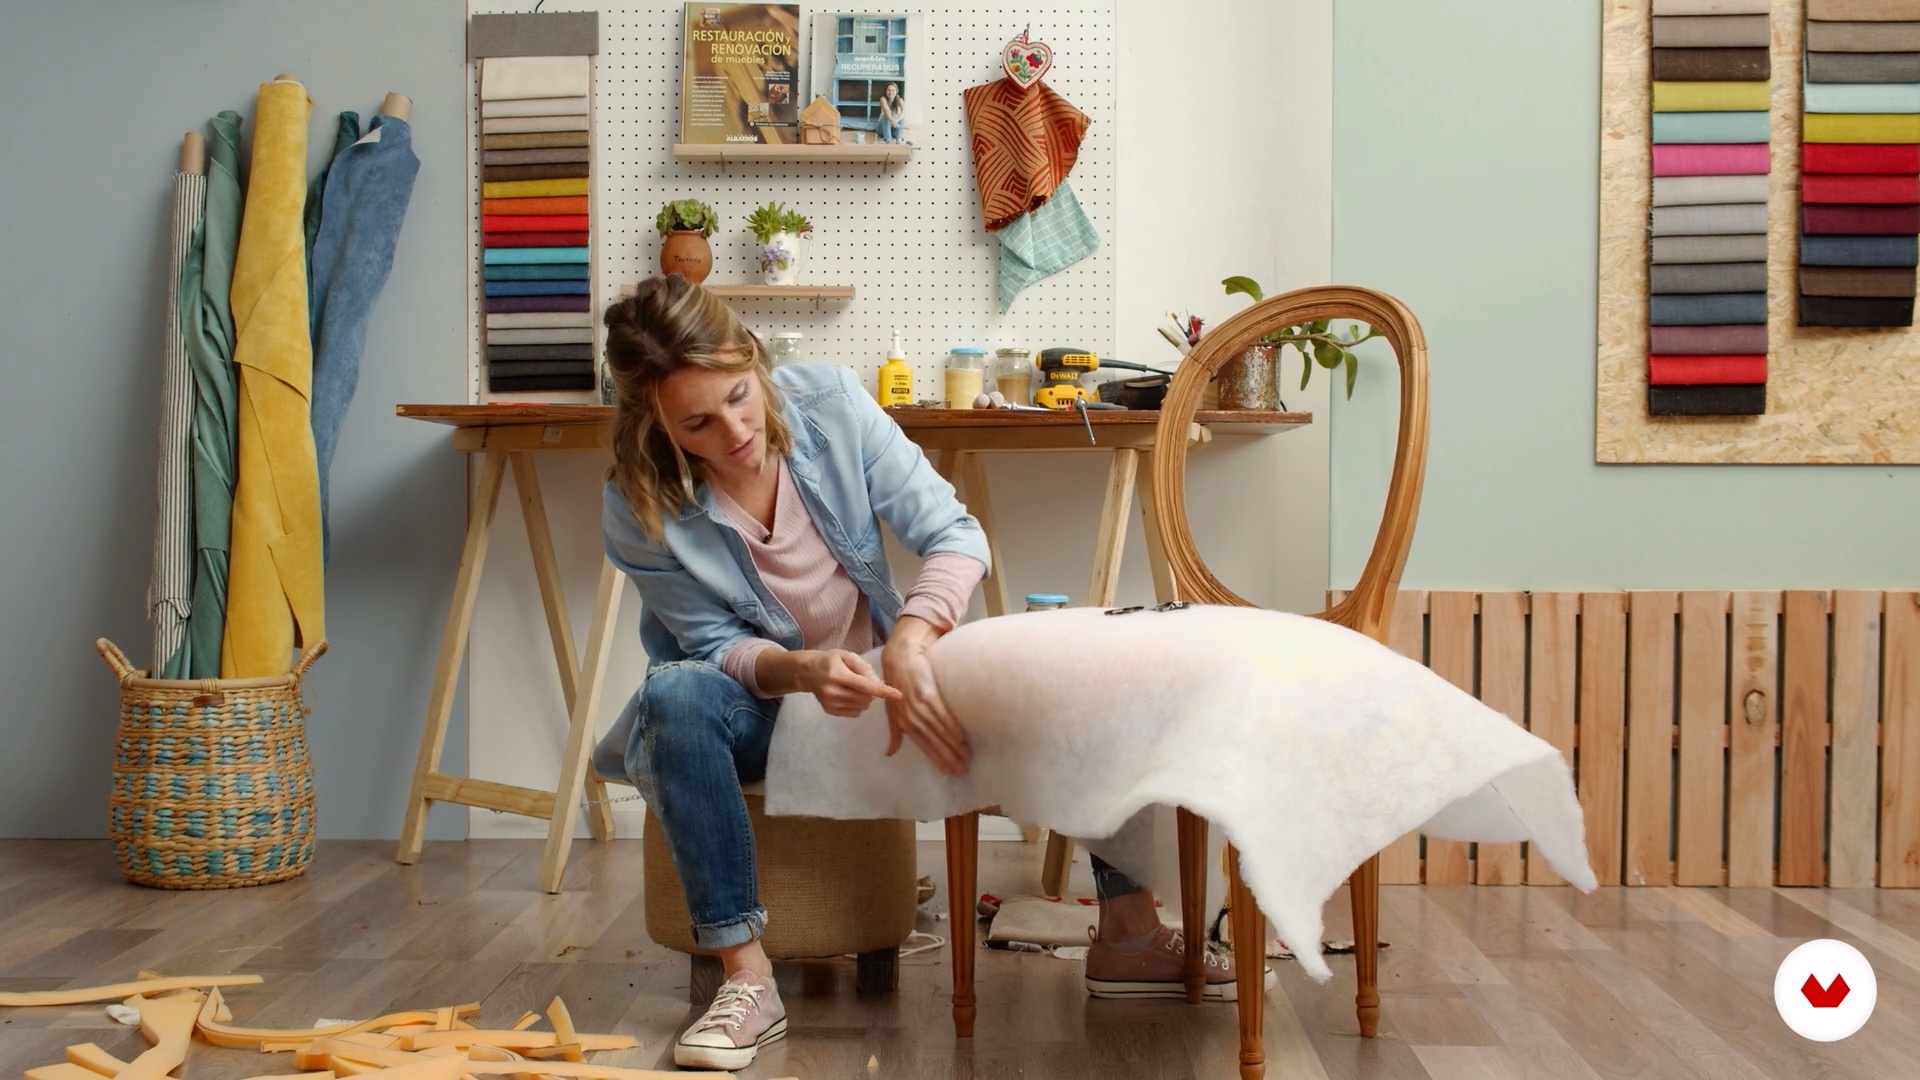
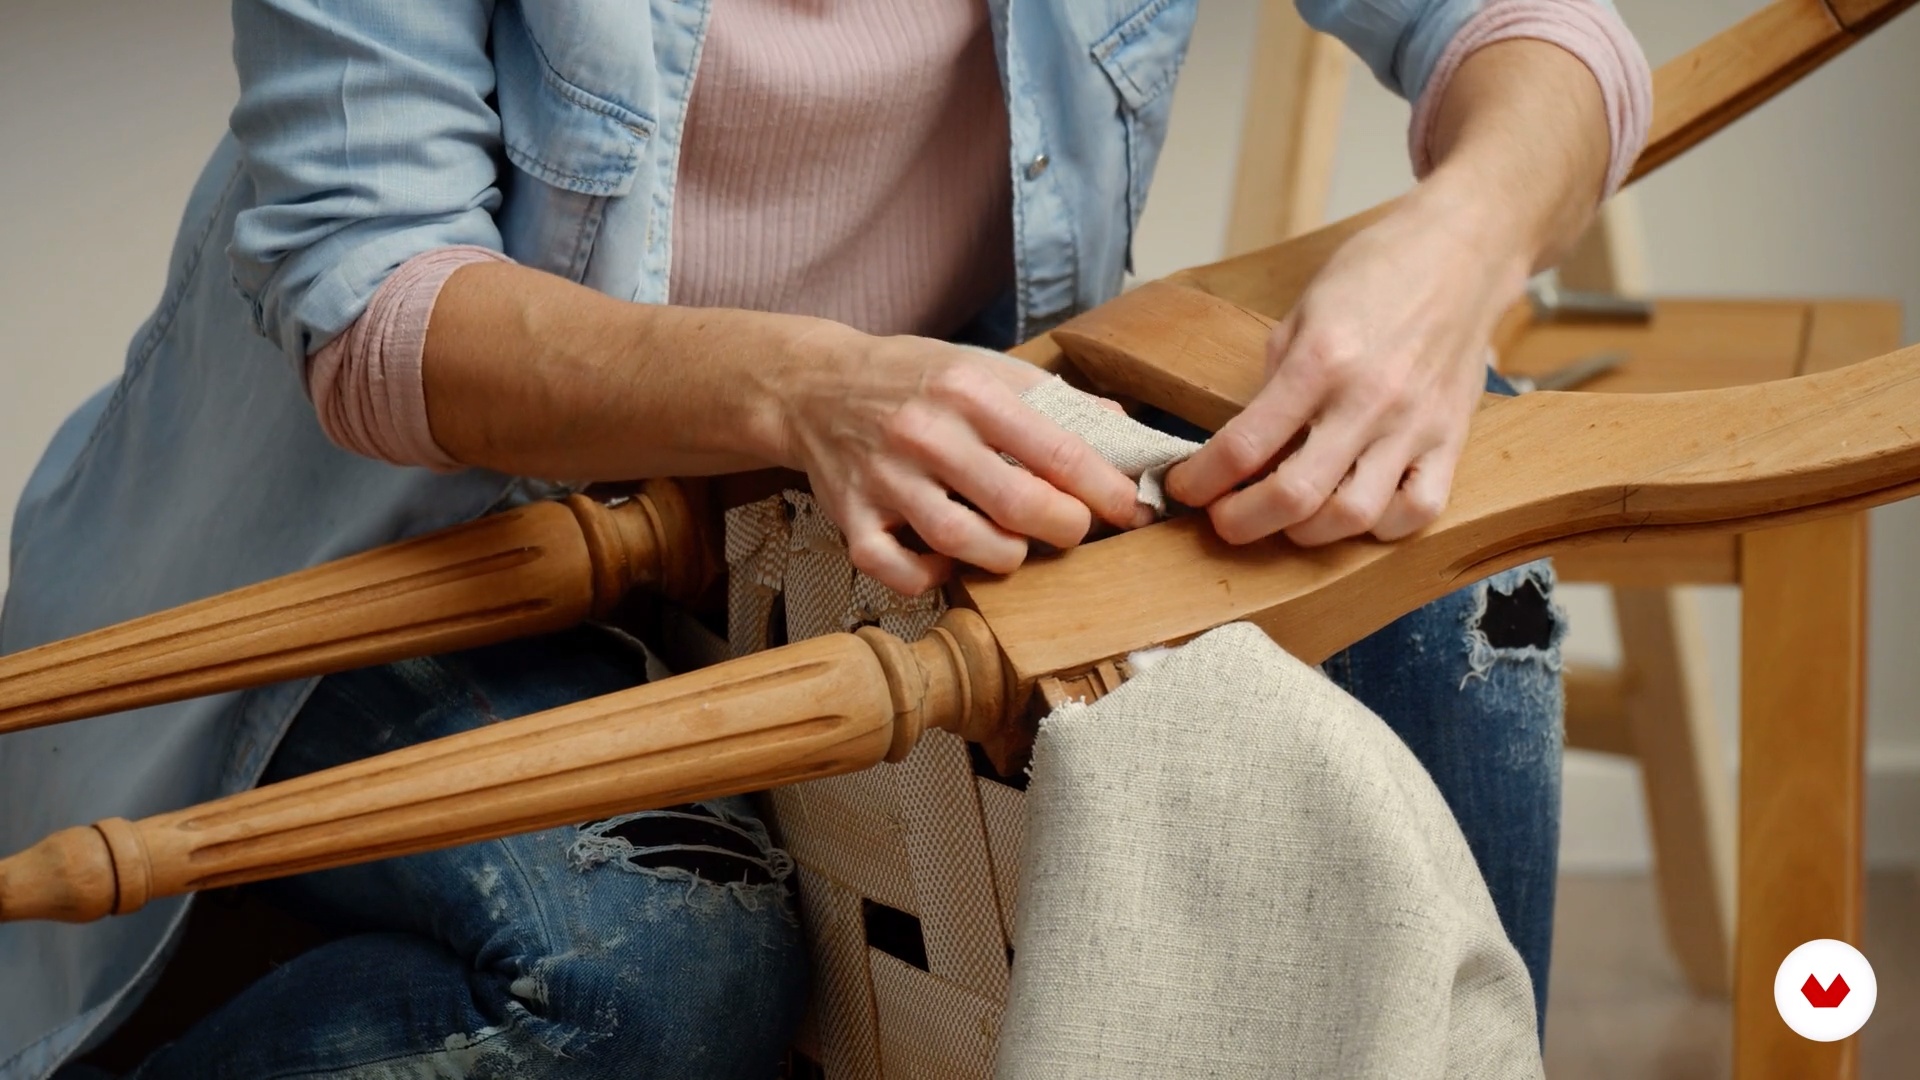
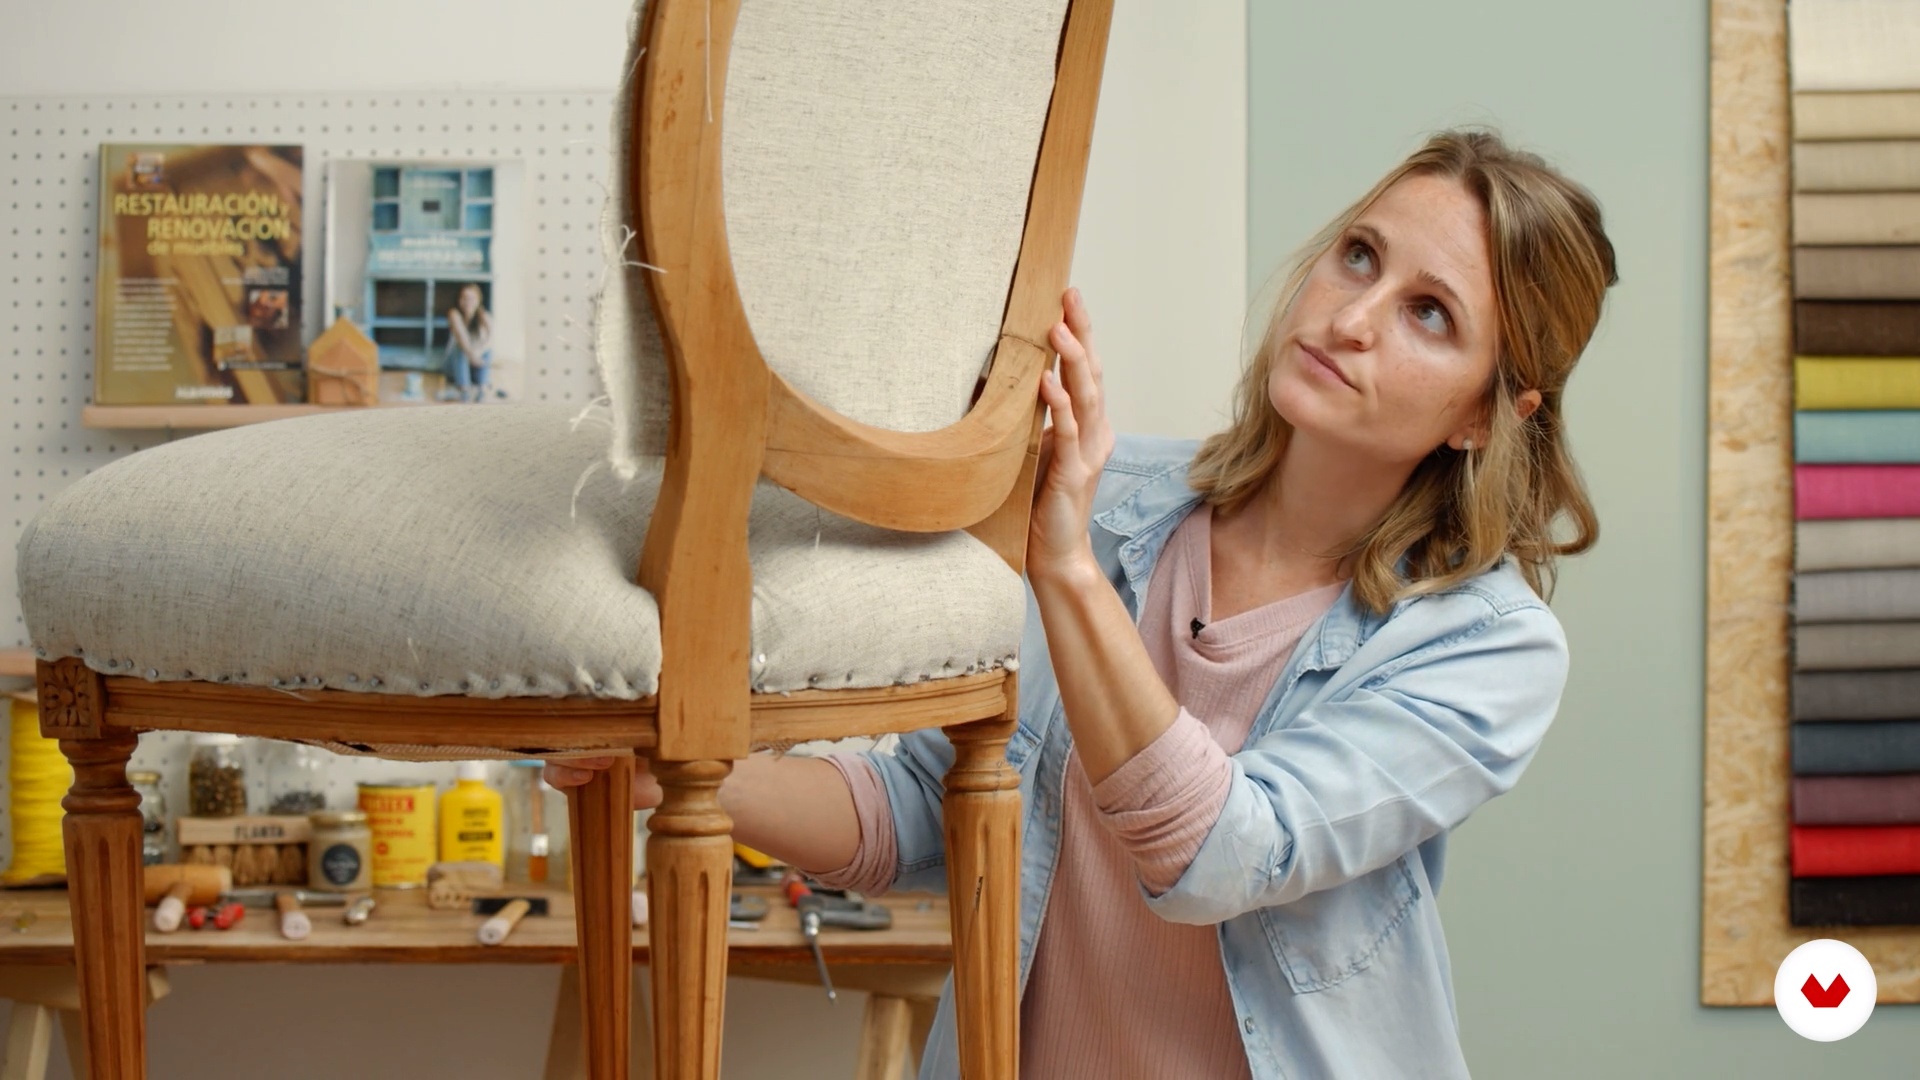
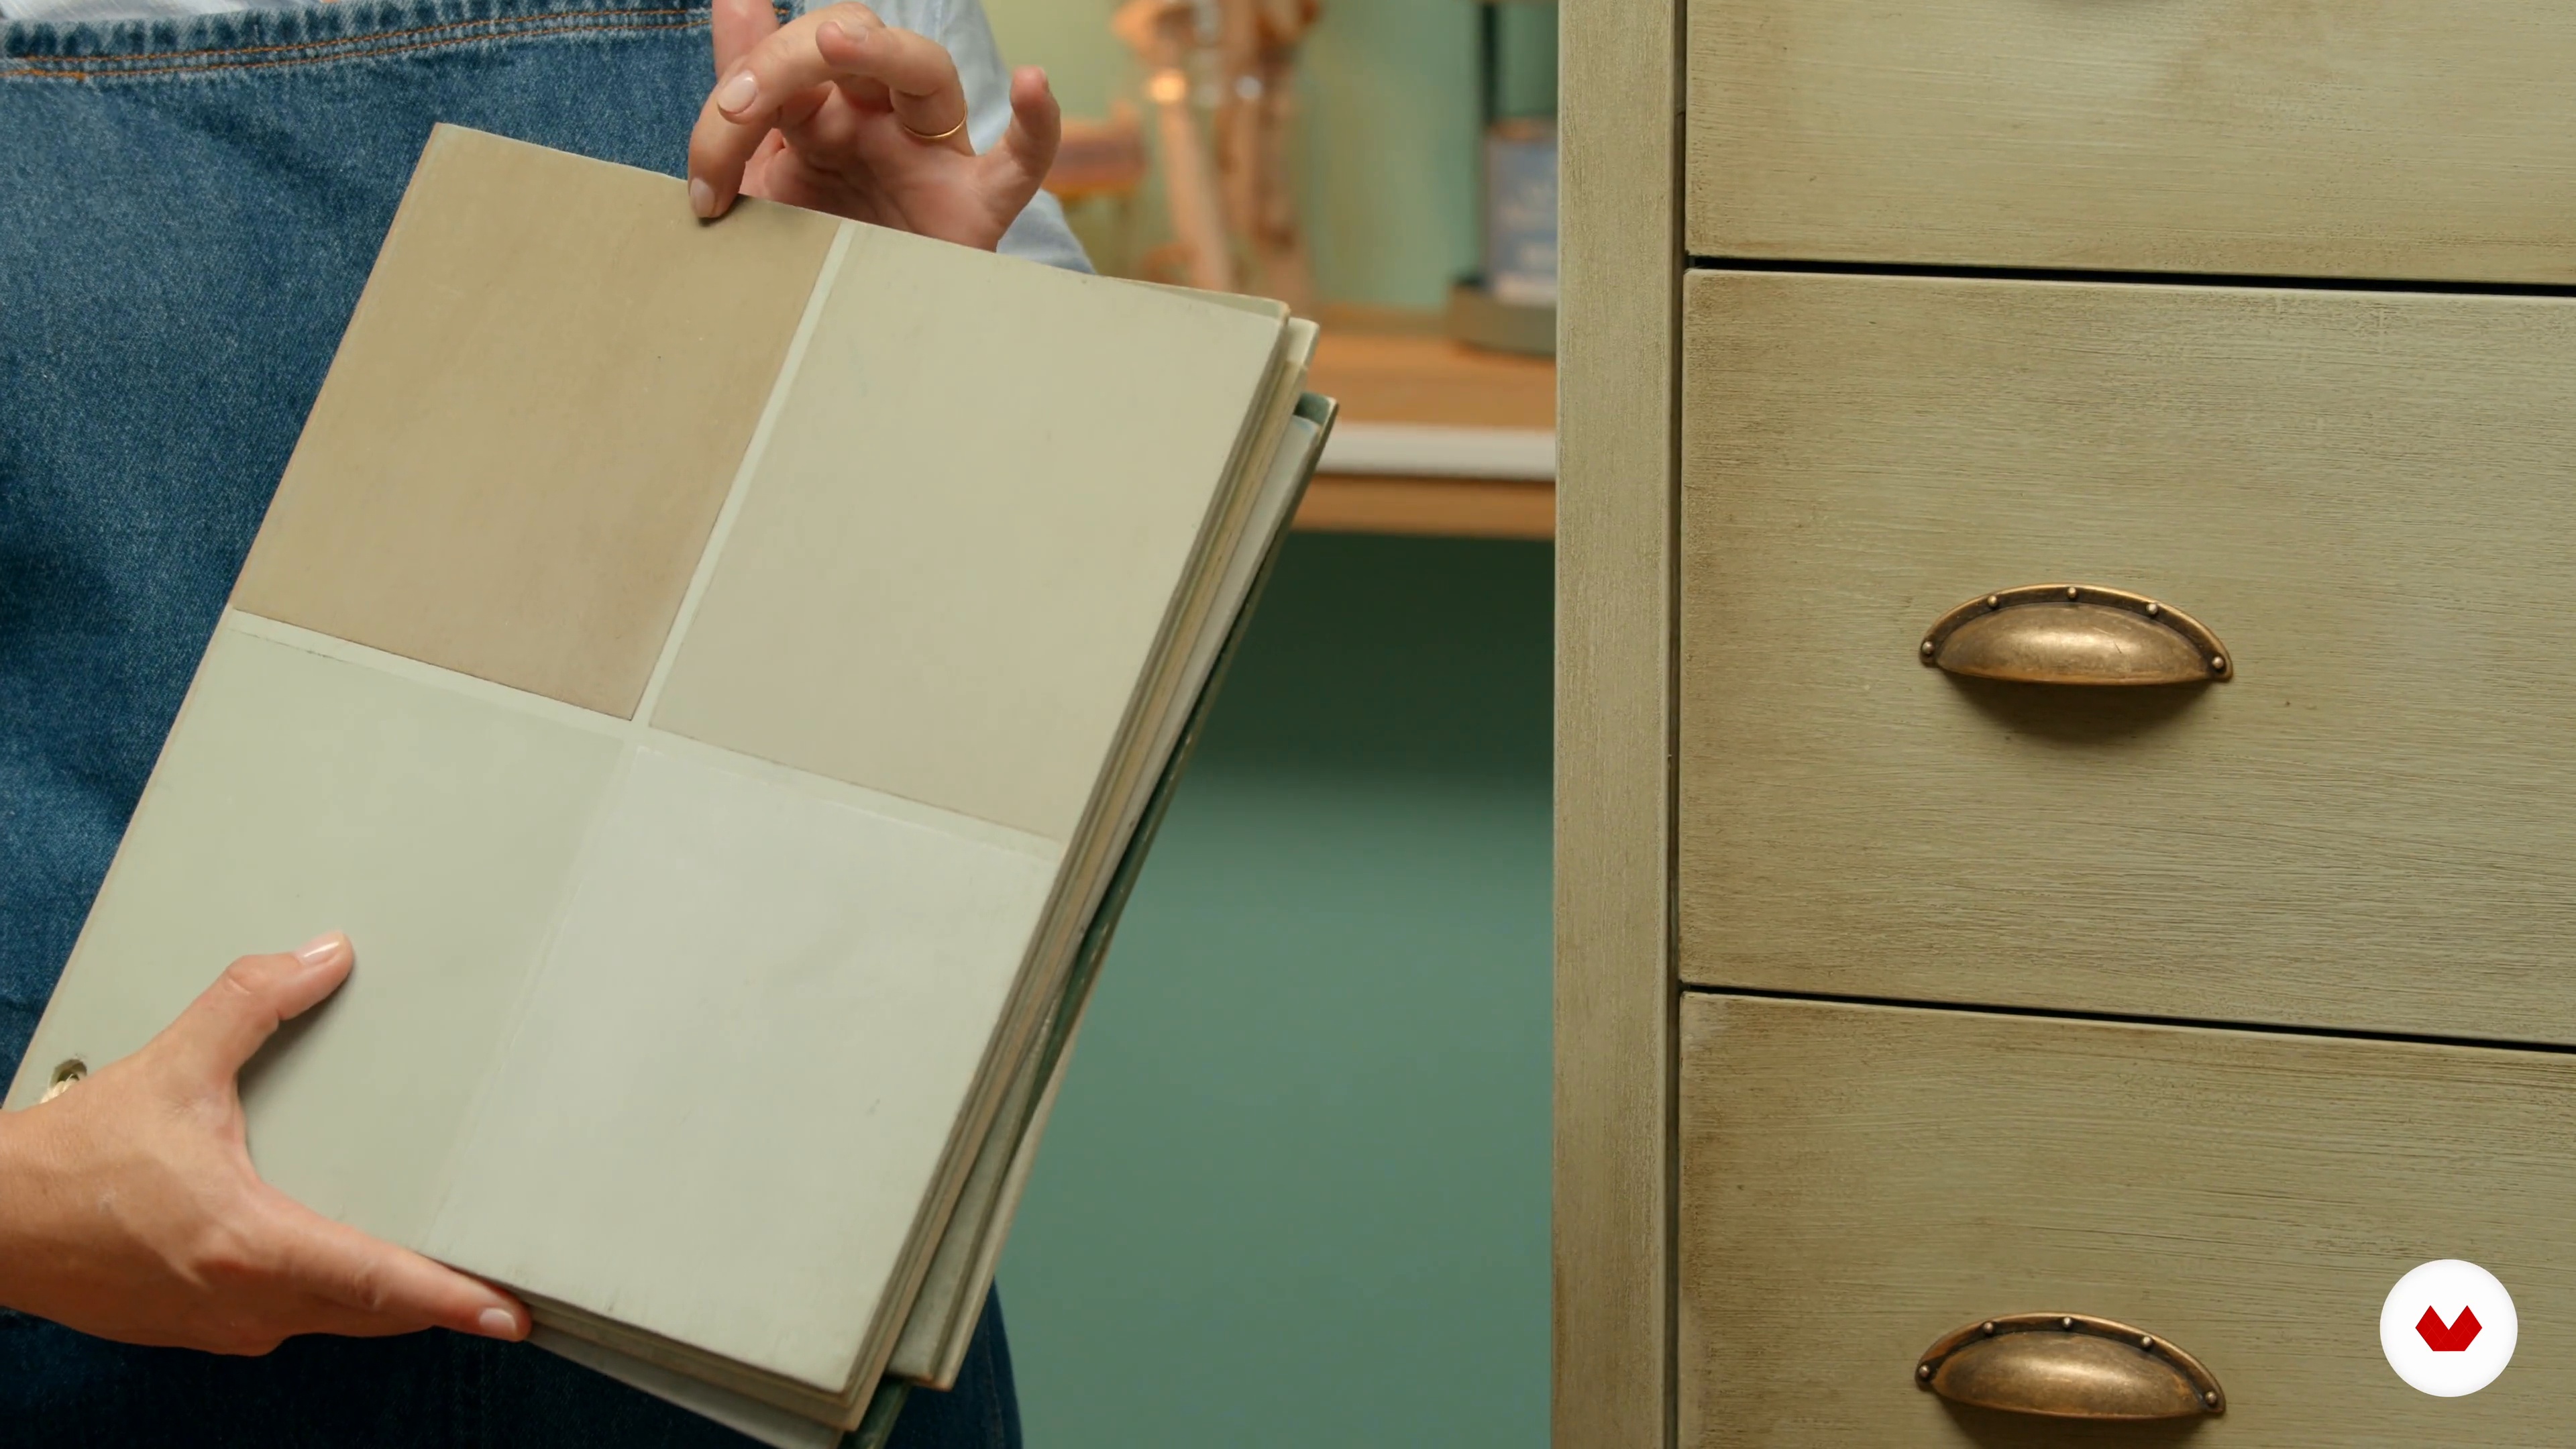
Immerse yourself in the fascinating world of furniture restoration with this Domestika specialization, where you'll learn how to give new life to your favorite pieces. From basic cleaning and sanding techniques with Antic&Chic to the intricacies of chair upholstery guided by Lucia Giraudo, each module offers essential tools to transform your furniture. Discover the art of creating an aged finish on wood with Studio Violette, who will teach you how to highlight the natural texture and color. Plus, with Neus Iserte, you'll learn the secrets of chalk painting to give each piece a unique and personalized touch.

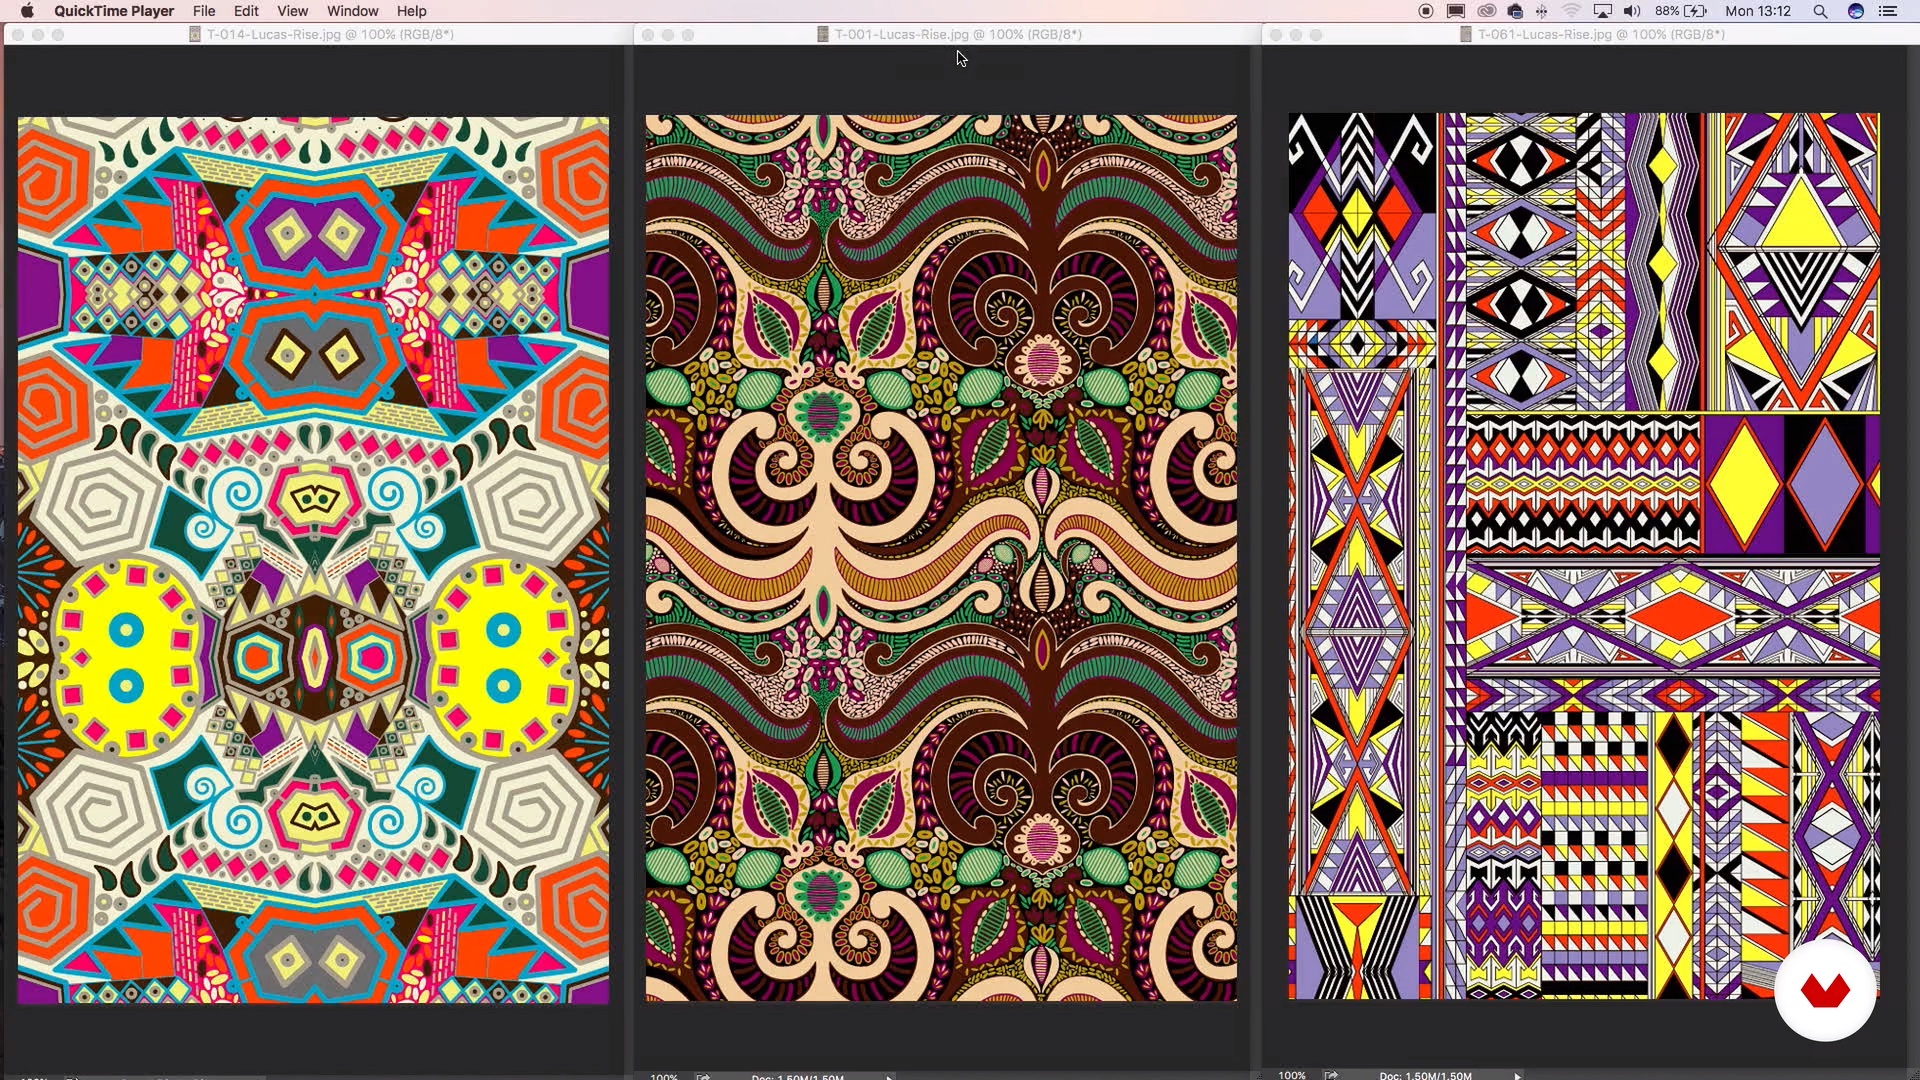
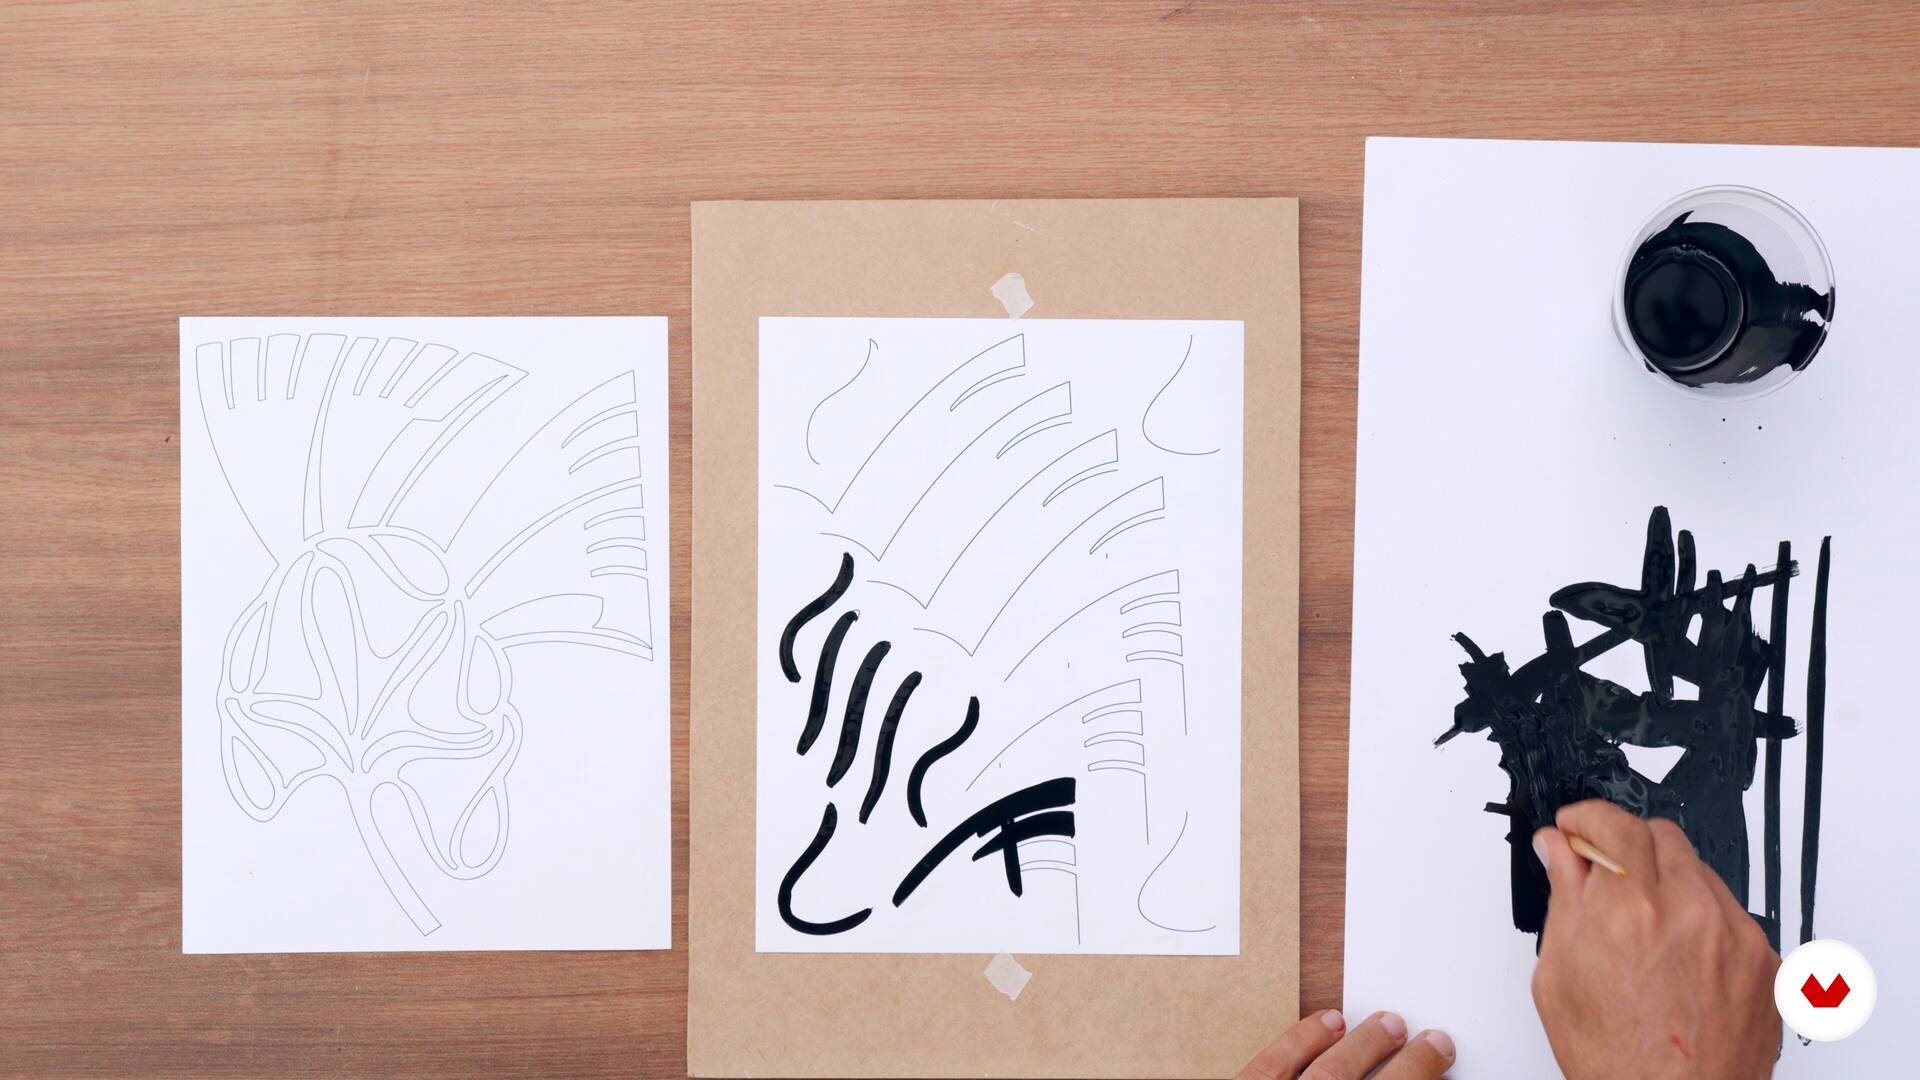
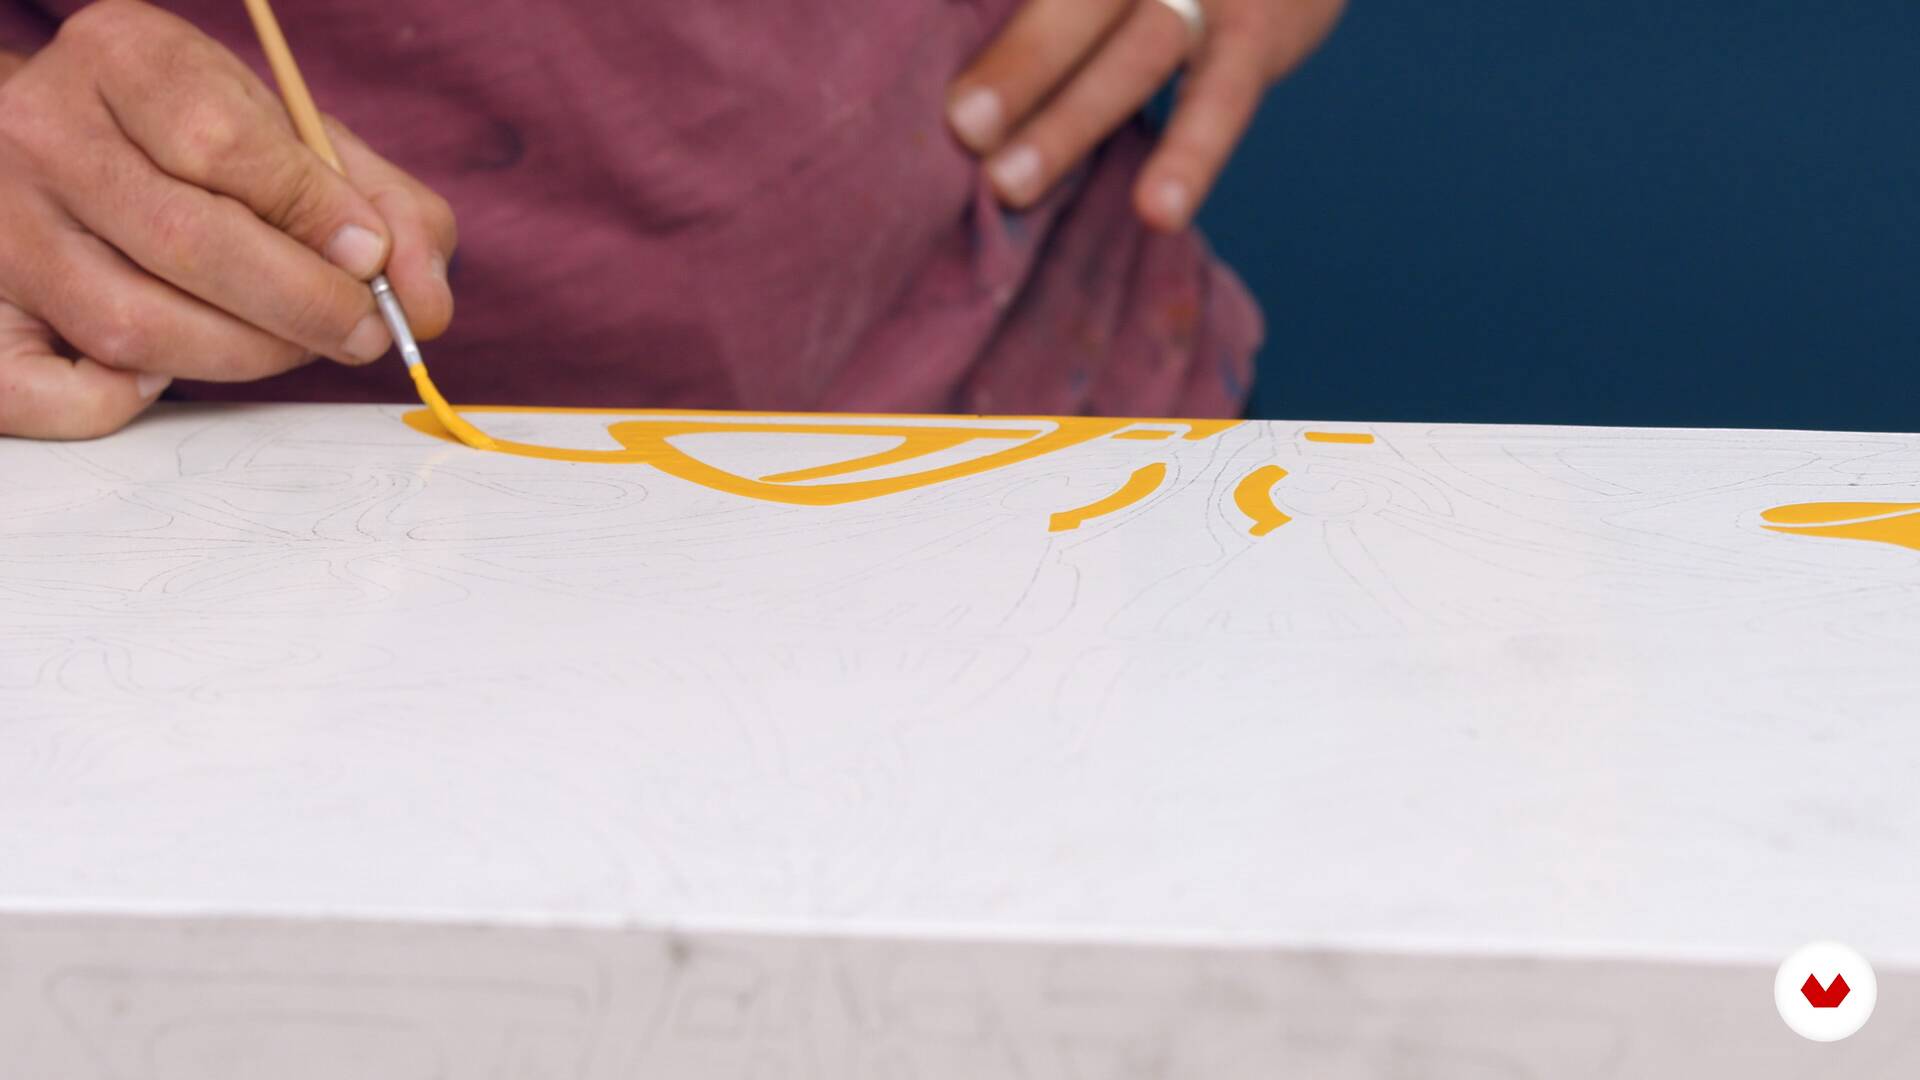
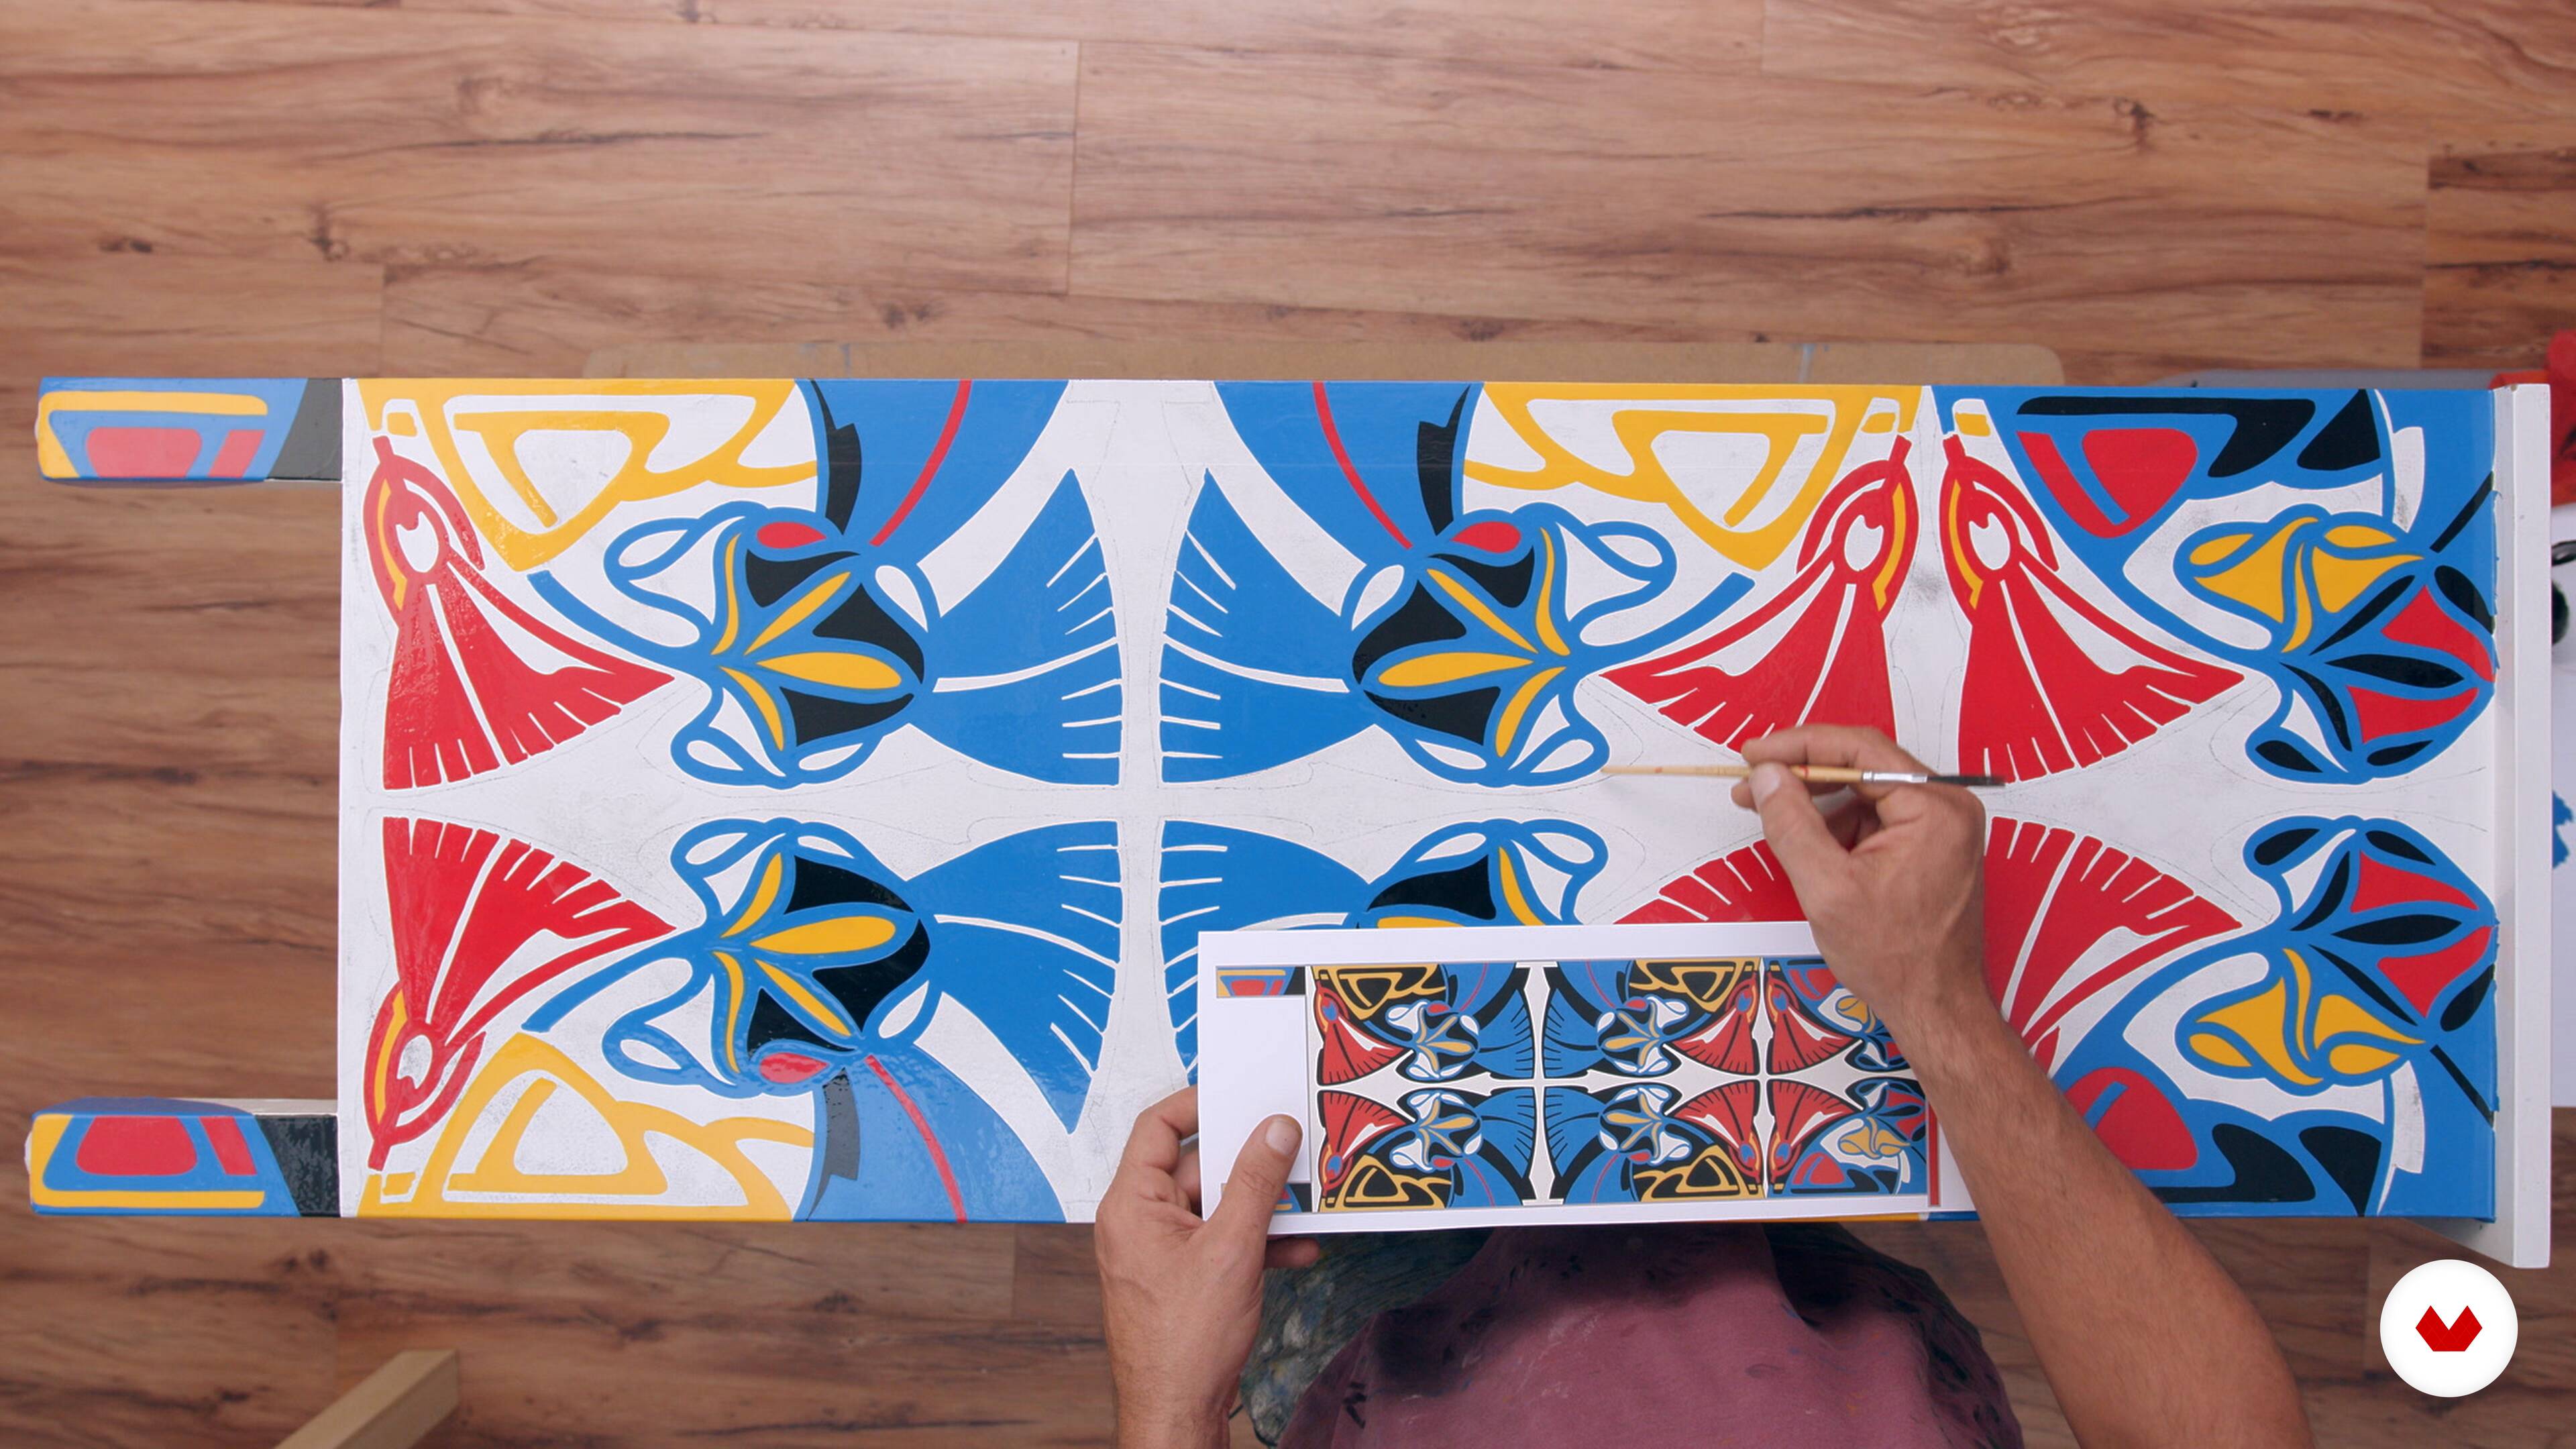
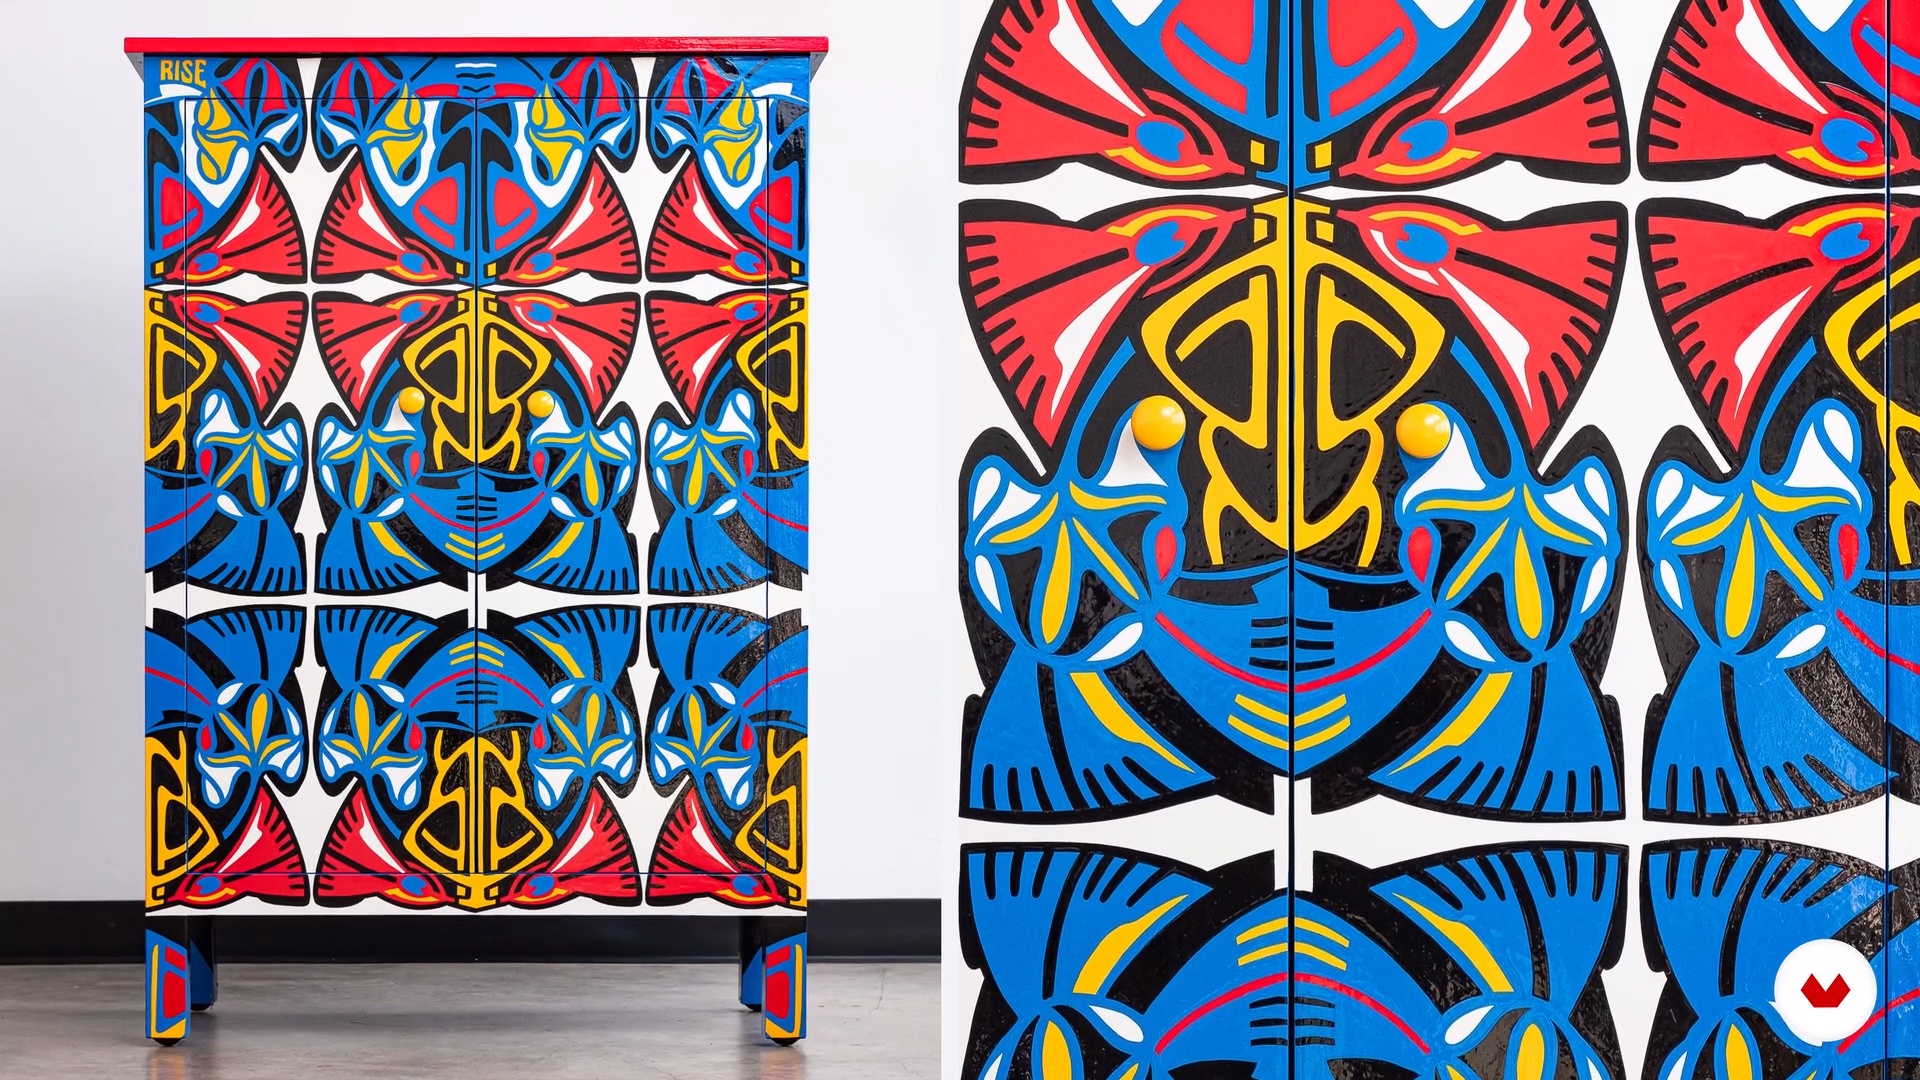
Explore beyond restoration with Lucas Rise and his decorative painting techniques, ideal for completely transforming any piece of furniture. If you're looking to design unique workspaces, Gema Casado will guide you through creating functional and creative environments. This specialization is your opportunity to develop practical and creative skills, allowing you to refurbish furniture with style and quality. Each lesson is designed to inspire you, providing you with valuable knowledge you can apply to your own restoration and renovation projects.

Read more ↓

What will you learn in this specialization?
A total of 7 modules and 92 lessons
A total of 13h 39m of vídeo lessons
Taught by 6 selected expert teachers
image
1
Introduction
Explore the art of furniture restoration, where each piece holds a story marked by time and use. You'll learn to reveal its essence, blending creativity with sustainability. This lesson highlights the value of antique furniture in modern design, providing unique character and functionality.
1m
image
2
Influences | Antic & Chic
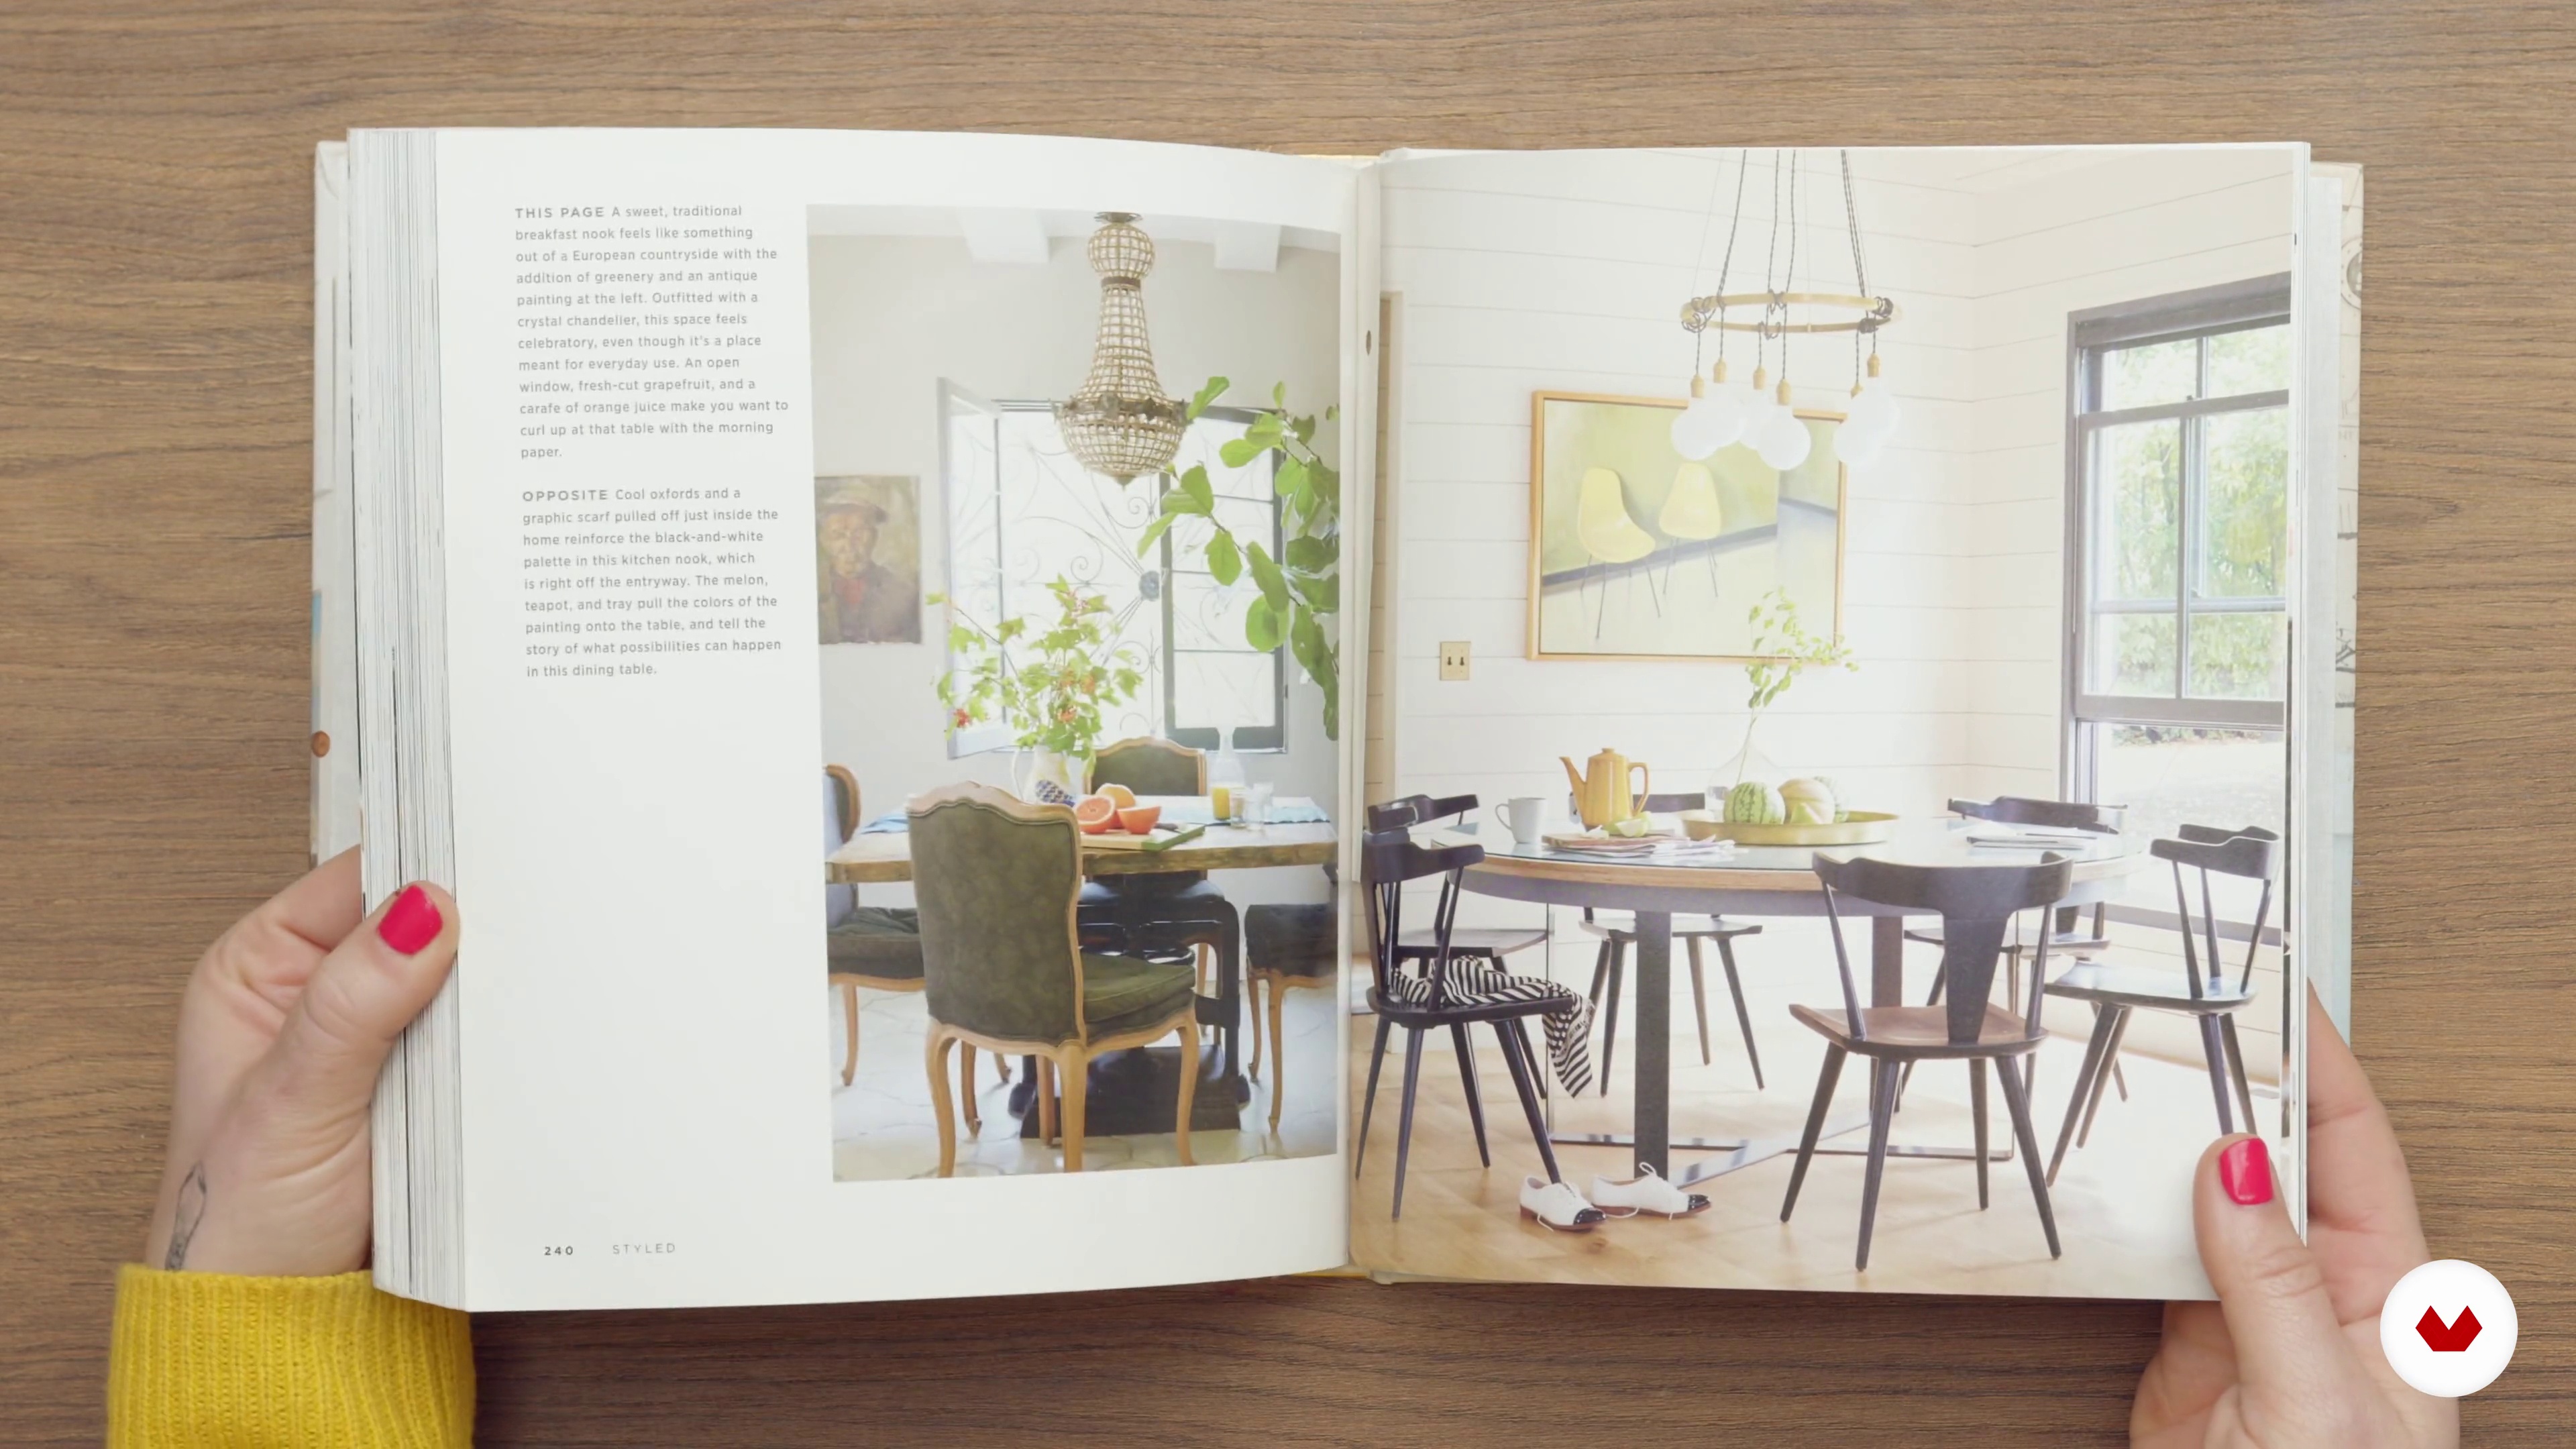
Below, we'll show you some of the influences that influenced us greatly in the early days of Antic&Chic, especially in the area of furniture restoration and transformation. We'll share some inspirations that serve as inspiration when defining styles and the type of transformation that best suits the style we want to achieve.
2m
image
3
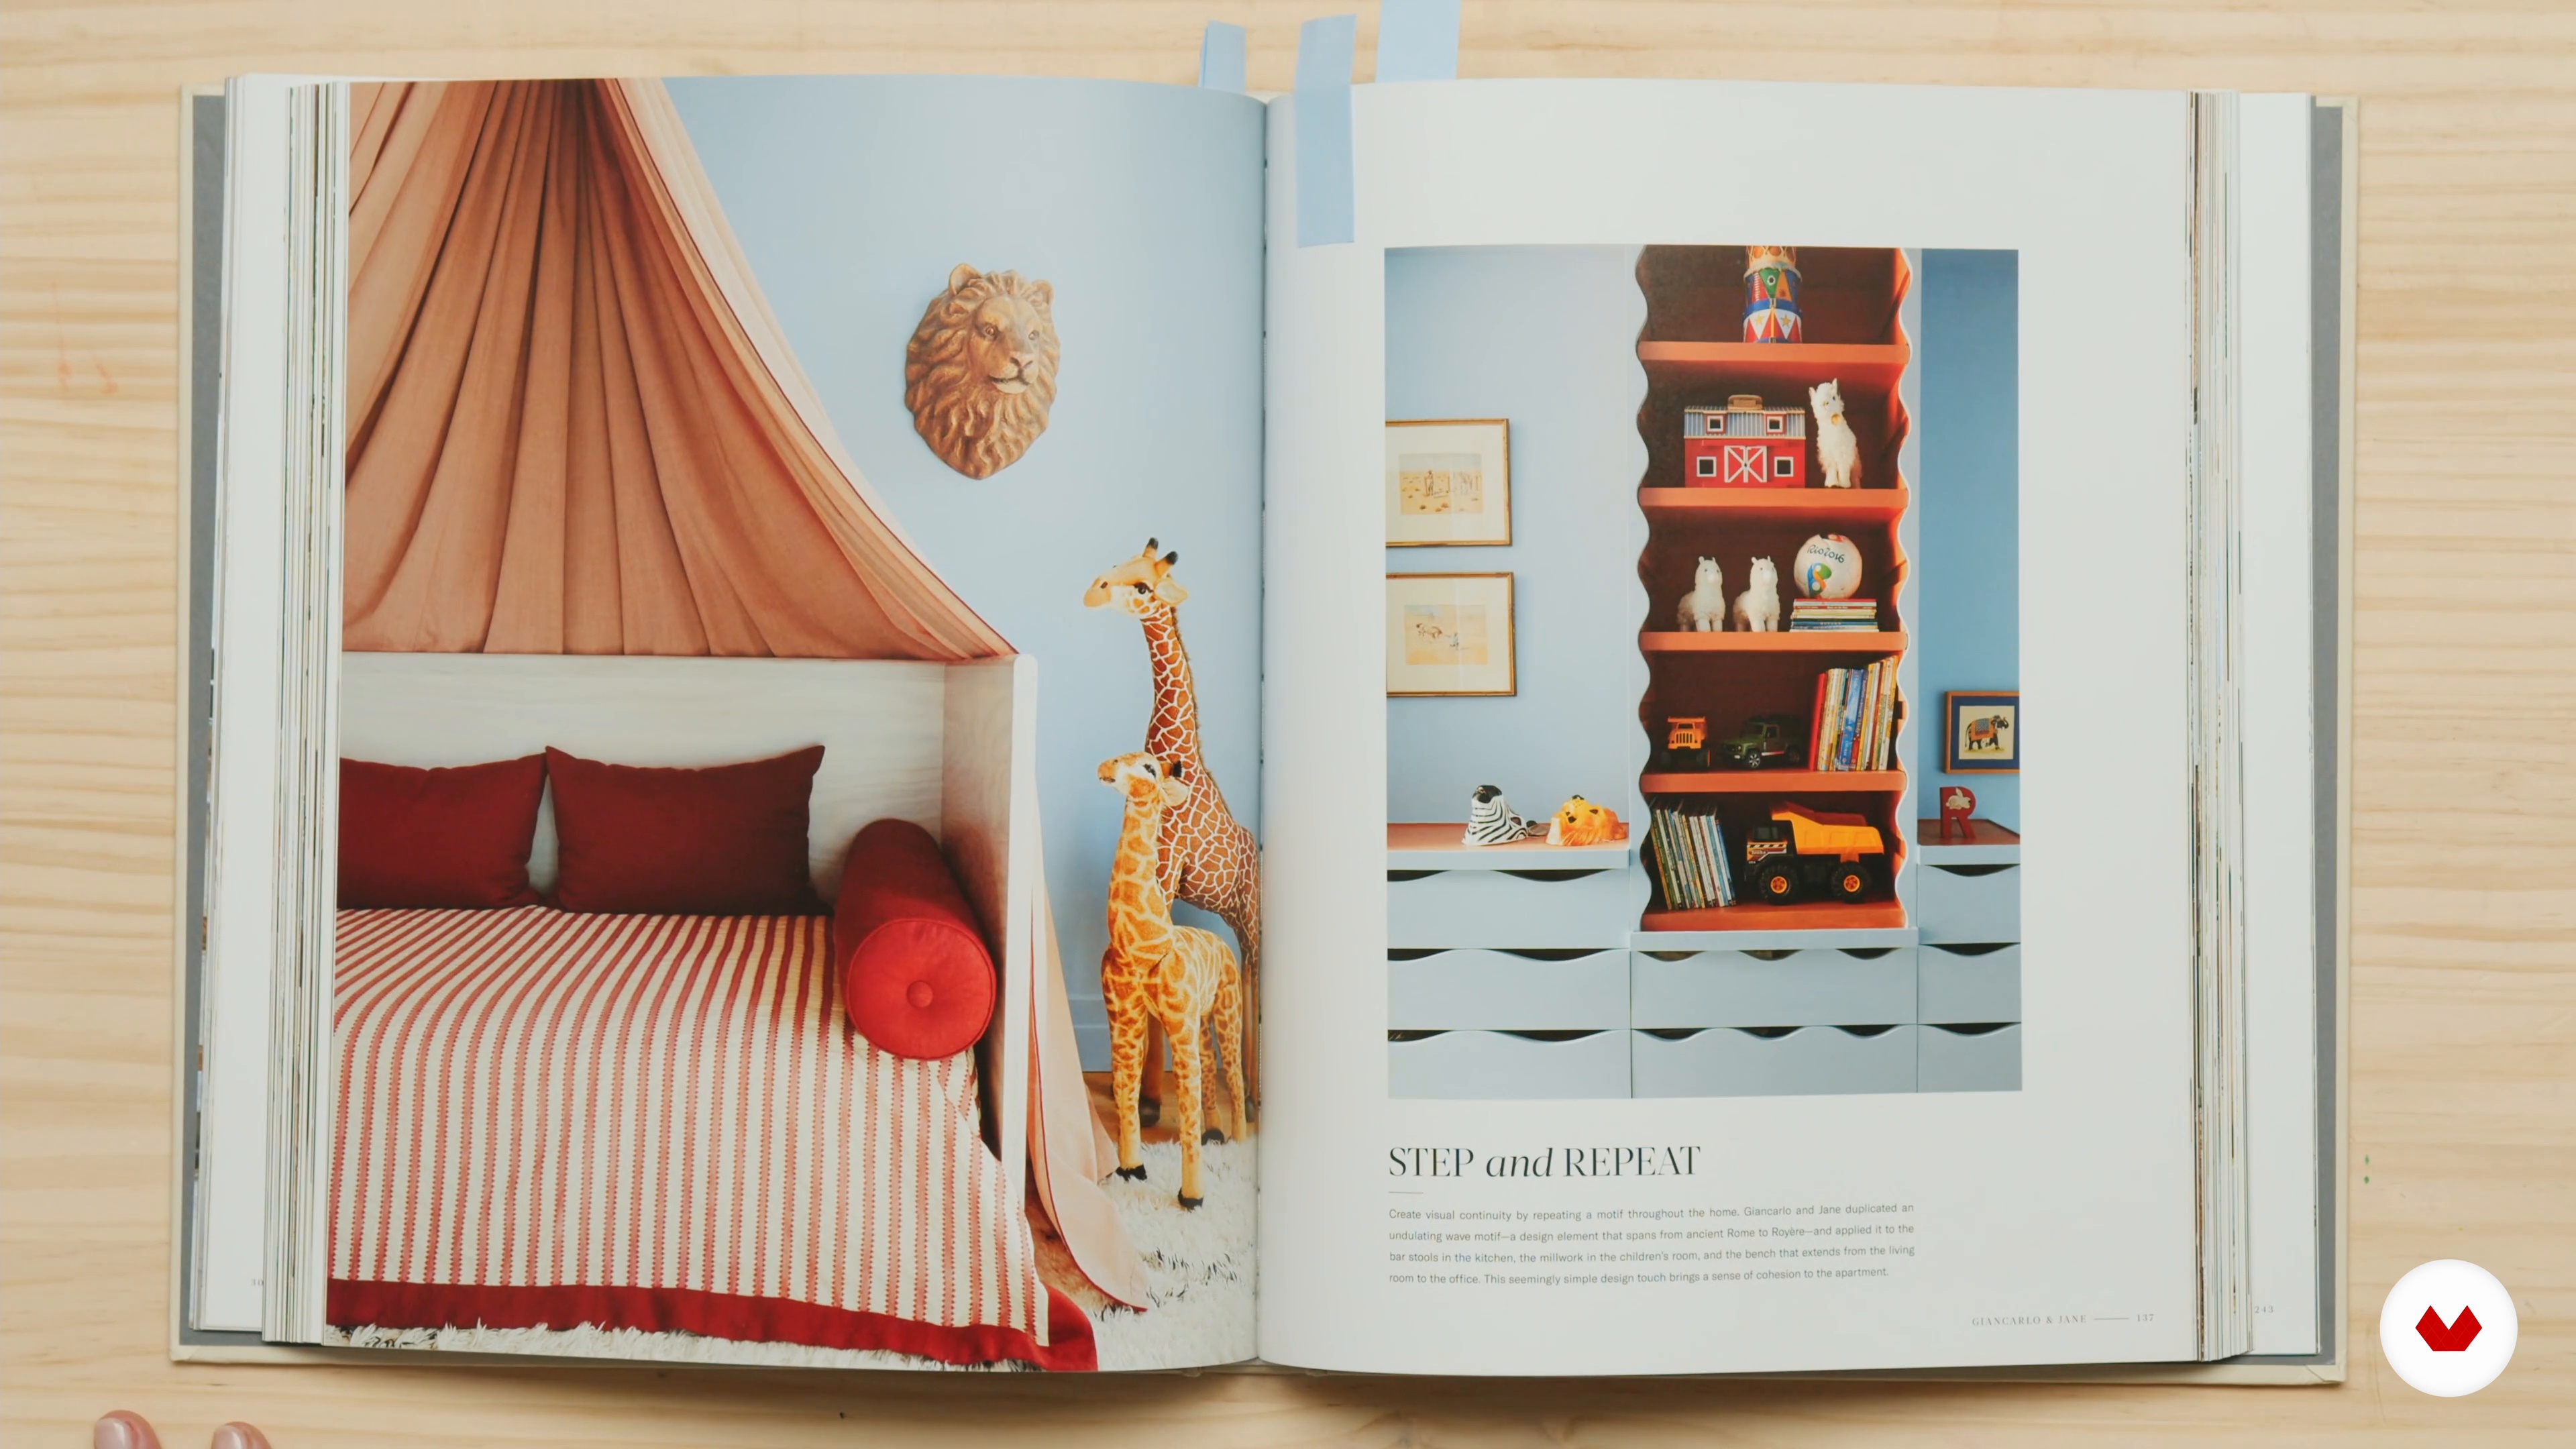
Influences | Lucía Giraudo
In this lesson, I'll tell you a little about my influences. As a furniture recycler, I constantly look to my colleagues for ideas. I like to see the materials they use and how they tell their stories. I love seeing the photos they take, especially the aesthetic vision of each one. I'm also open to seeing furniture anywhere—in movies, books, fairs, and even at my friends' houses.
5m
image
4
Influences | Studio Violette
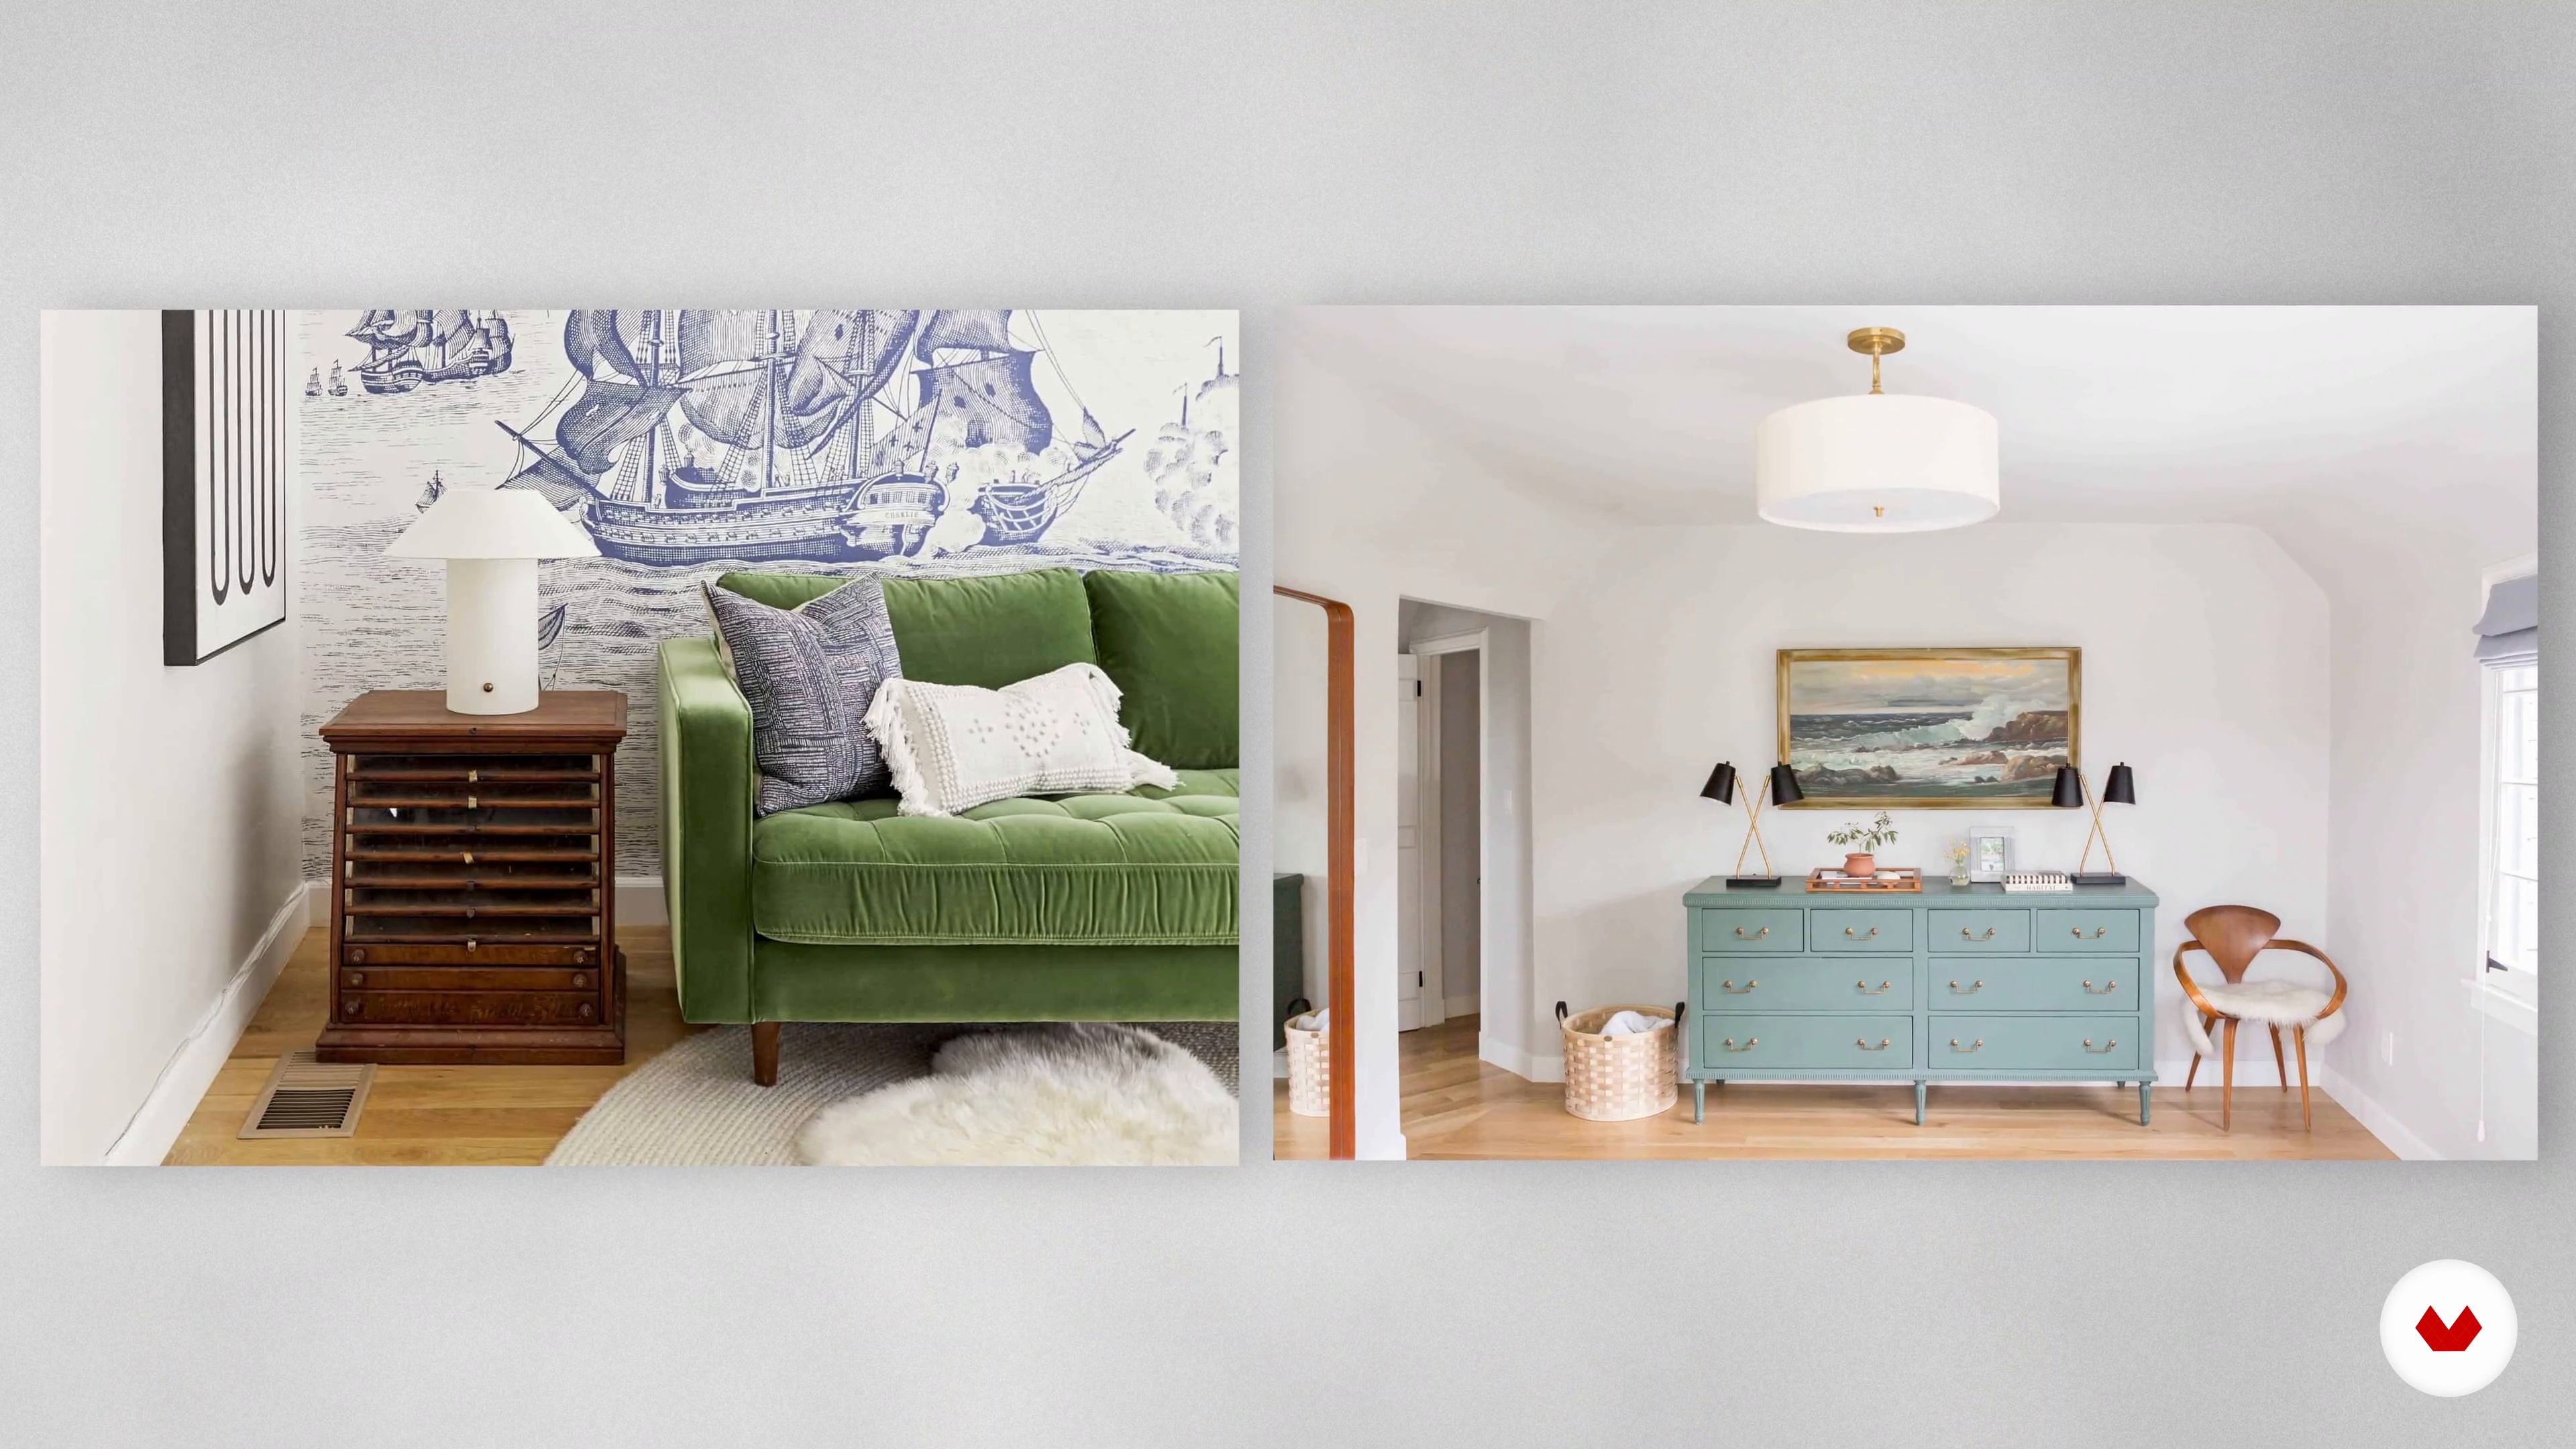
Now we'll show you some of the influences that shaped and inspired us in the early days of Studio Violette, especially in the area of furniture renovation and transformation.
1m
image
5
Influences | Neus Iserte
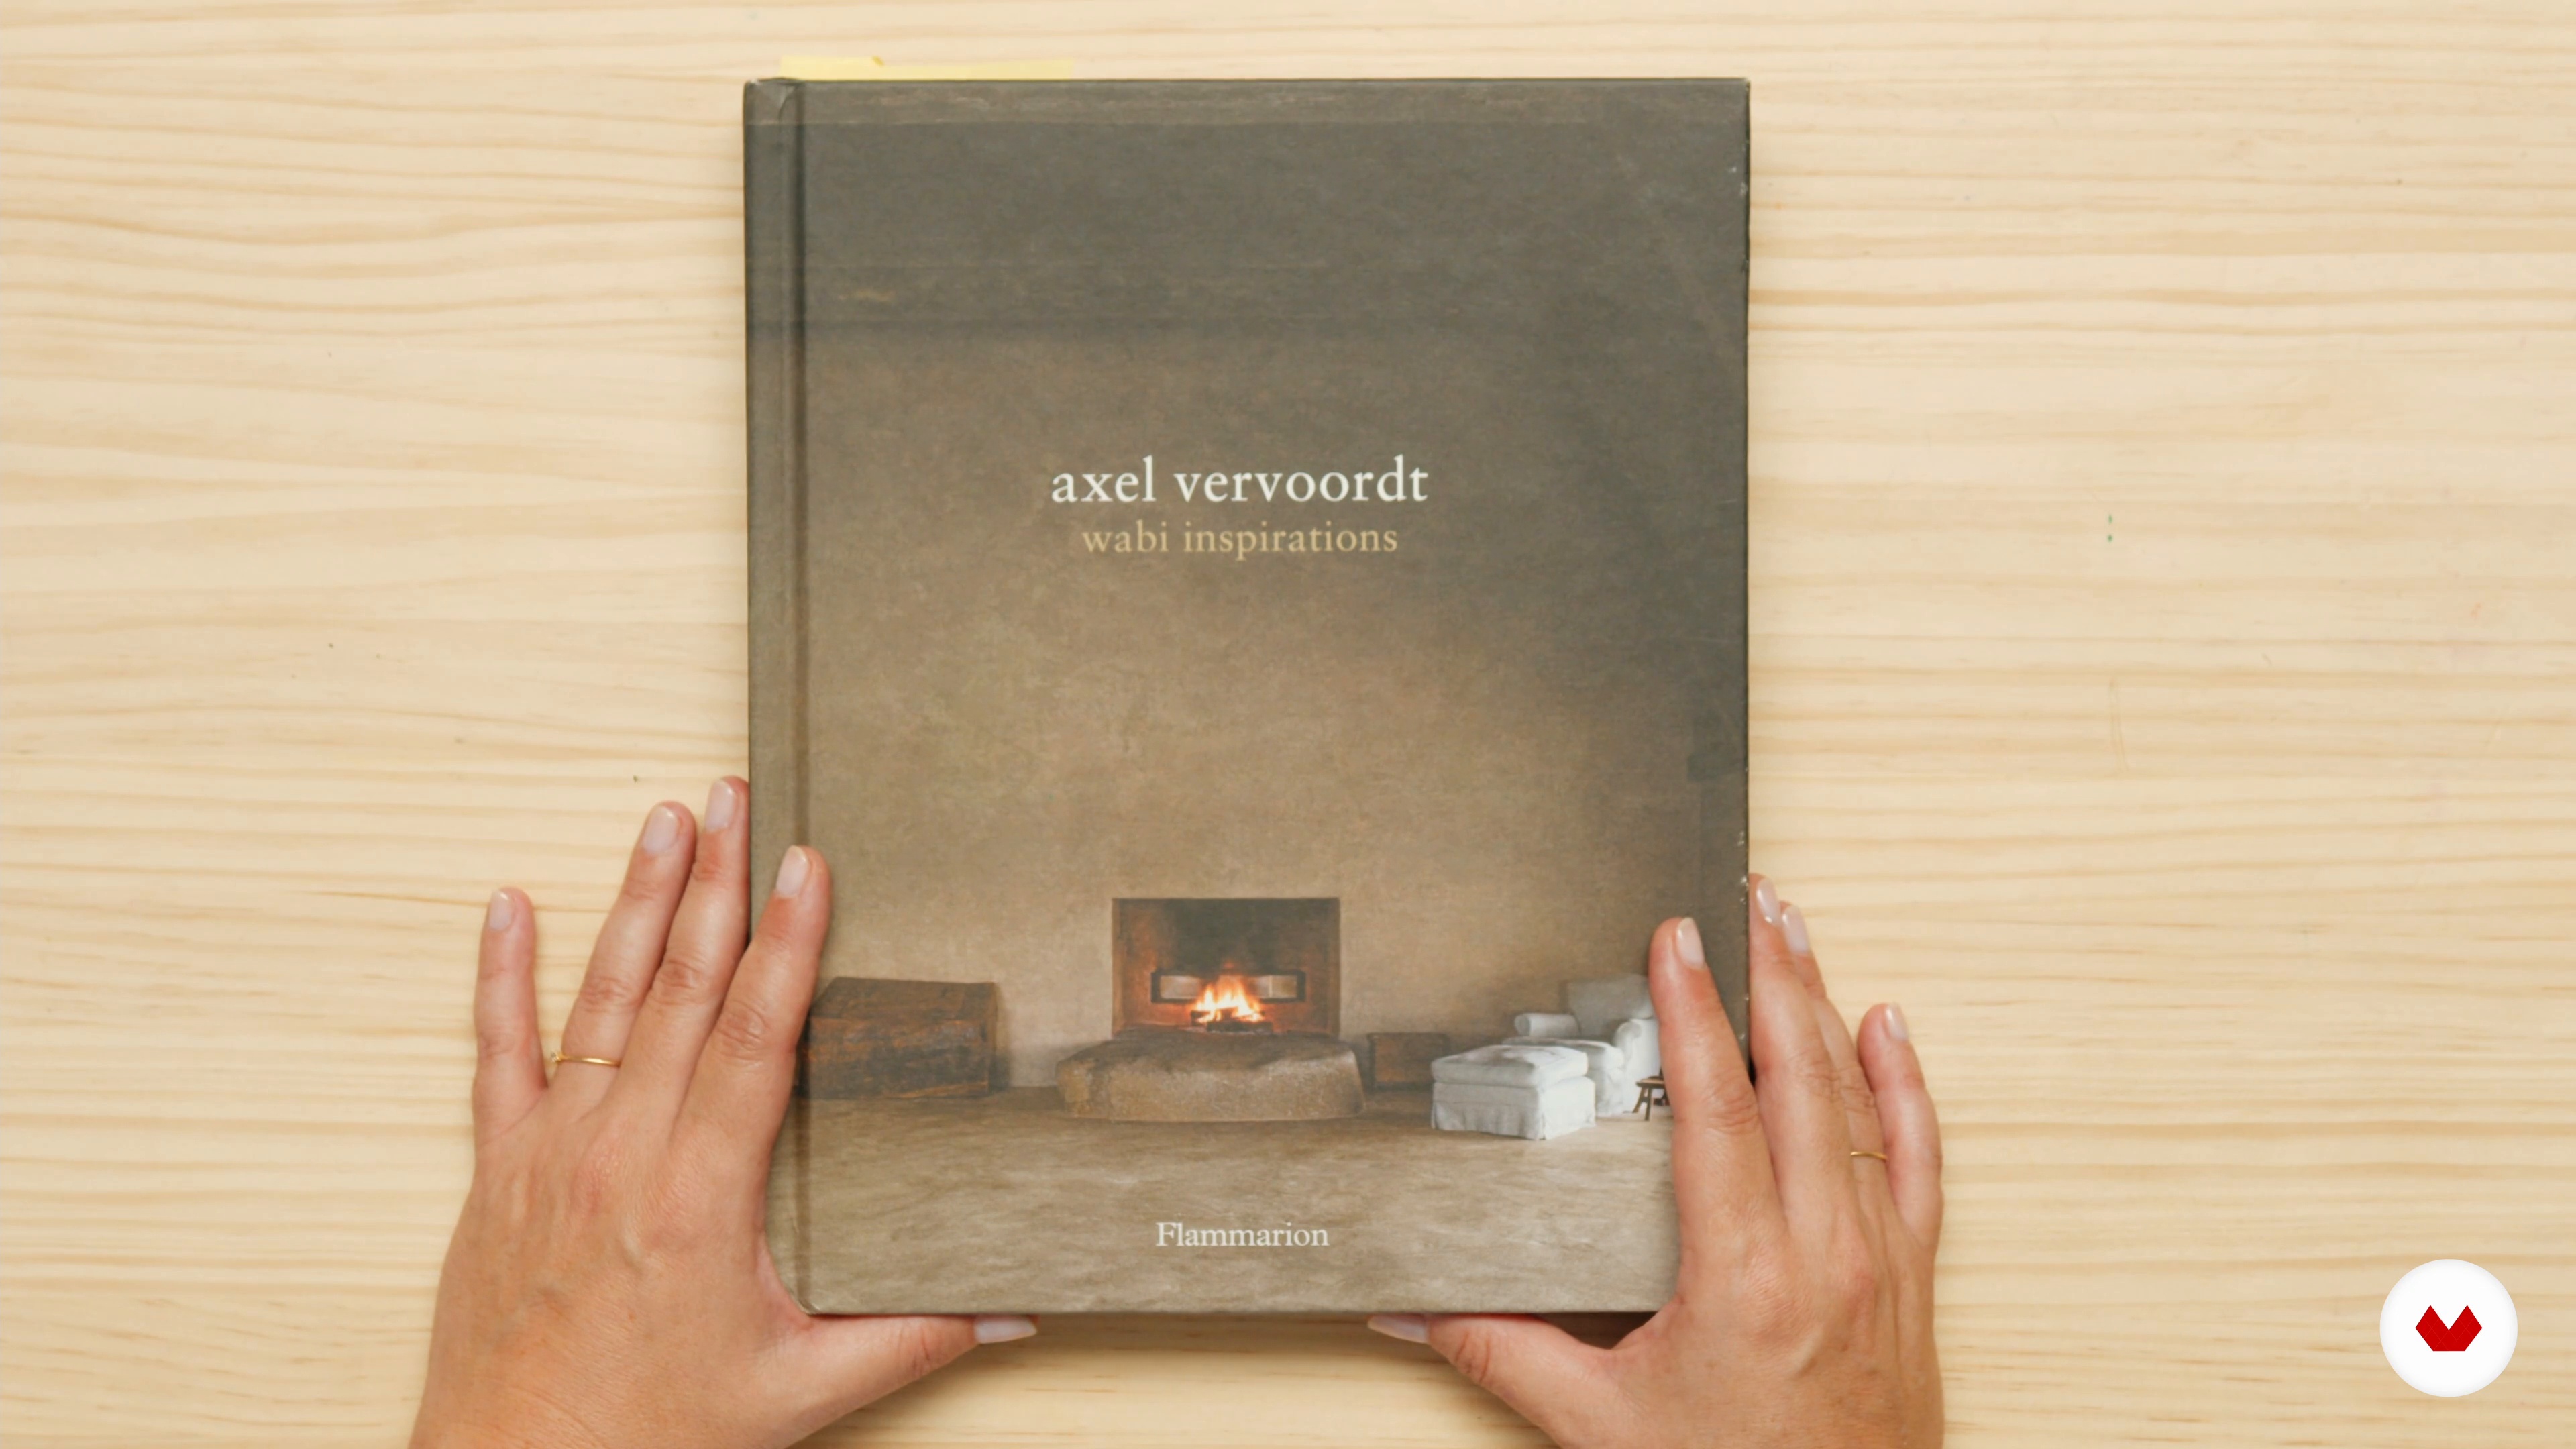
Next, I'll tell you about my influences. Although I believe I'm a person influenced by beauty, in general, I believe there's a mix of inspirations and lessons within me, which I'll try to explain in this lesson.
8m
image
6
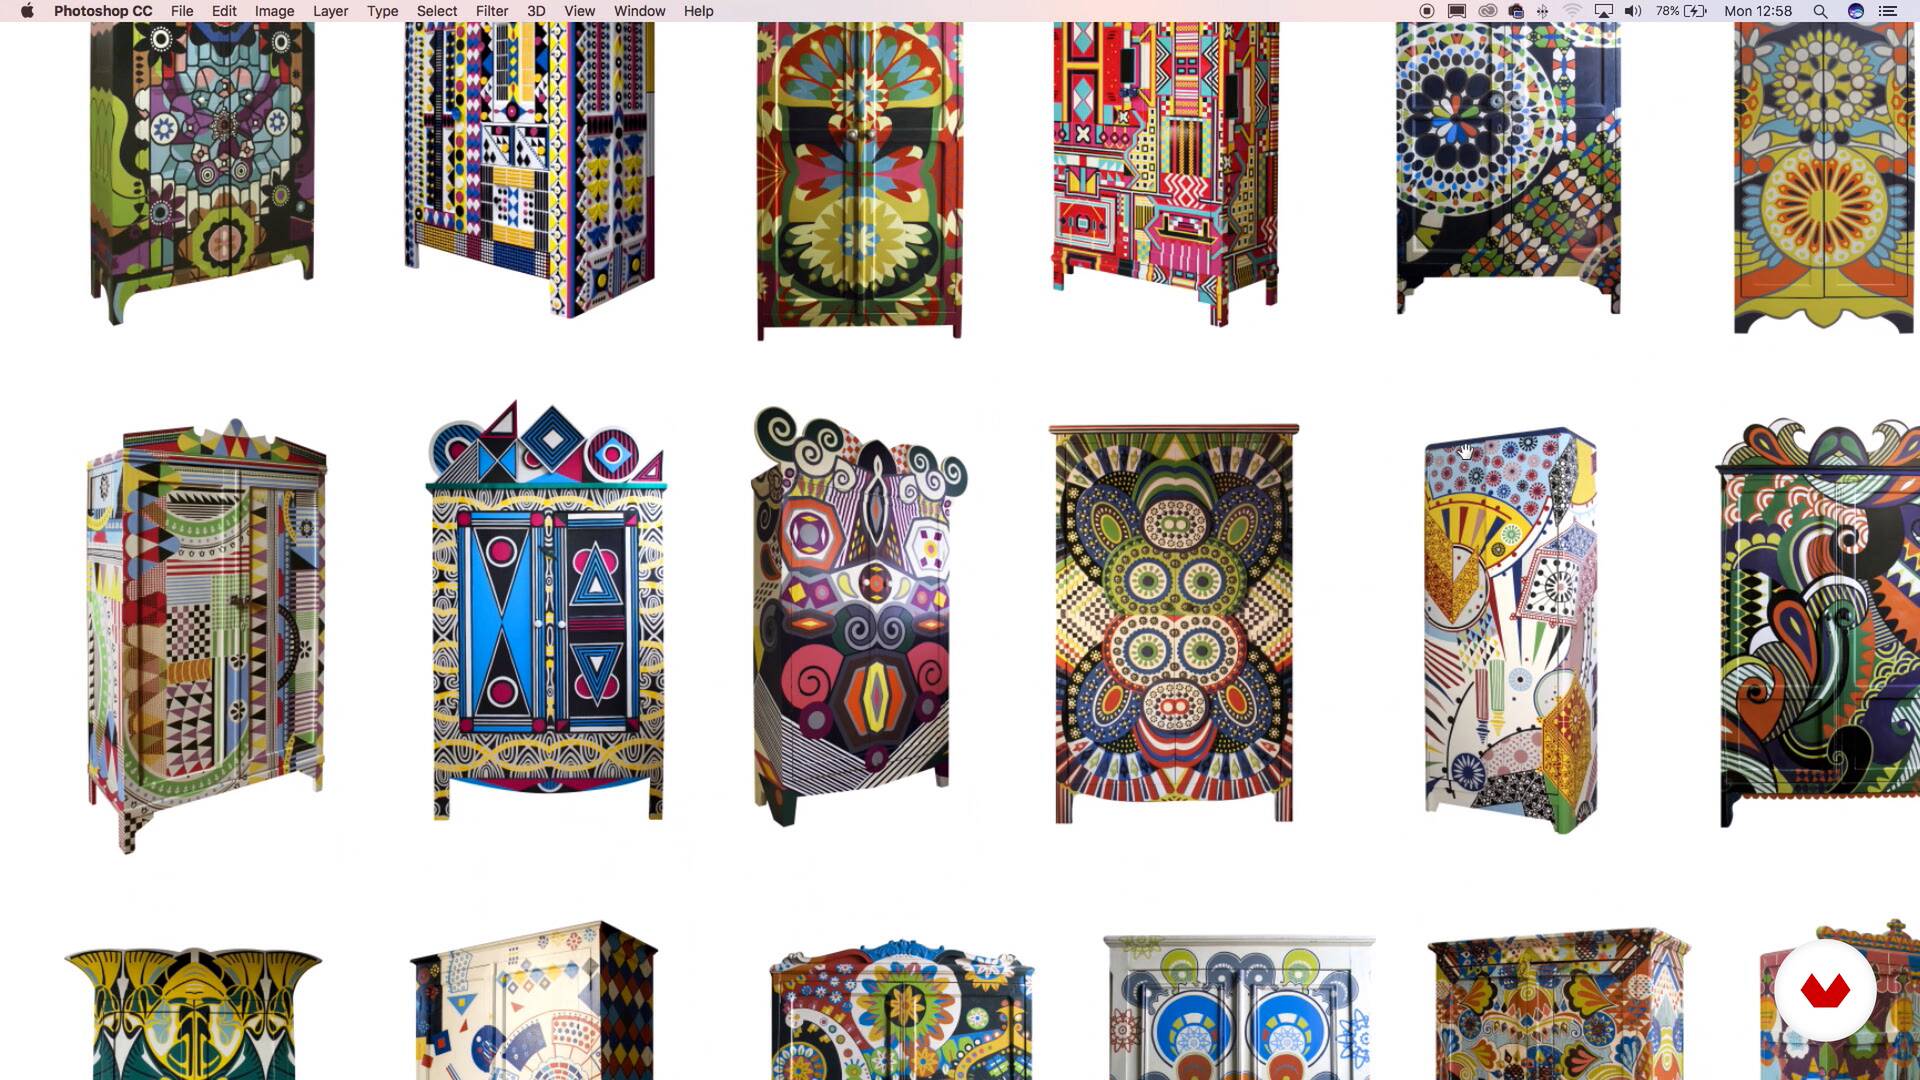
Influences | Lucas Rise
Now, you'll learn about the graphic movements, tribes, and avant-garde movements that have moved and inspired me.
6m
image
7
Influences | Gema Casado
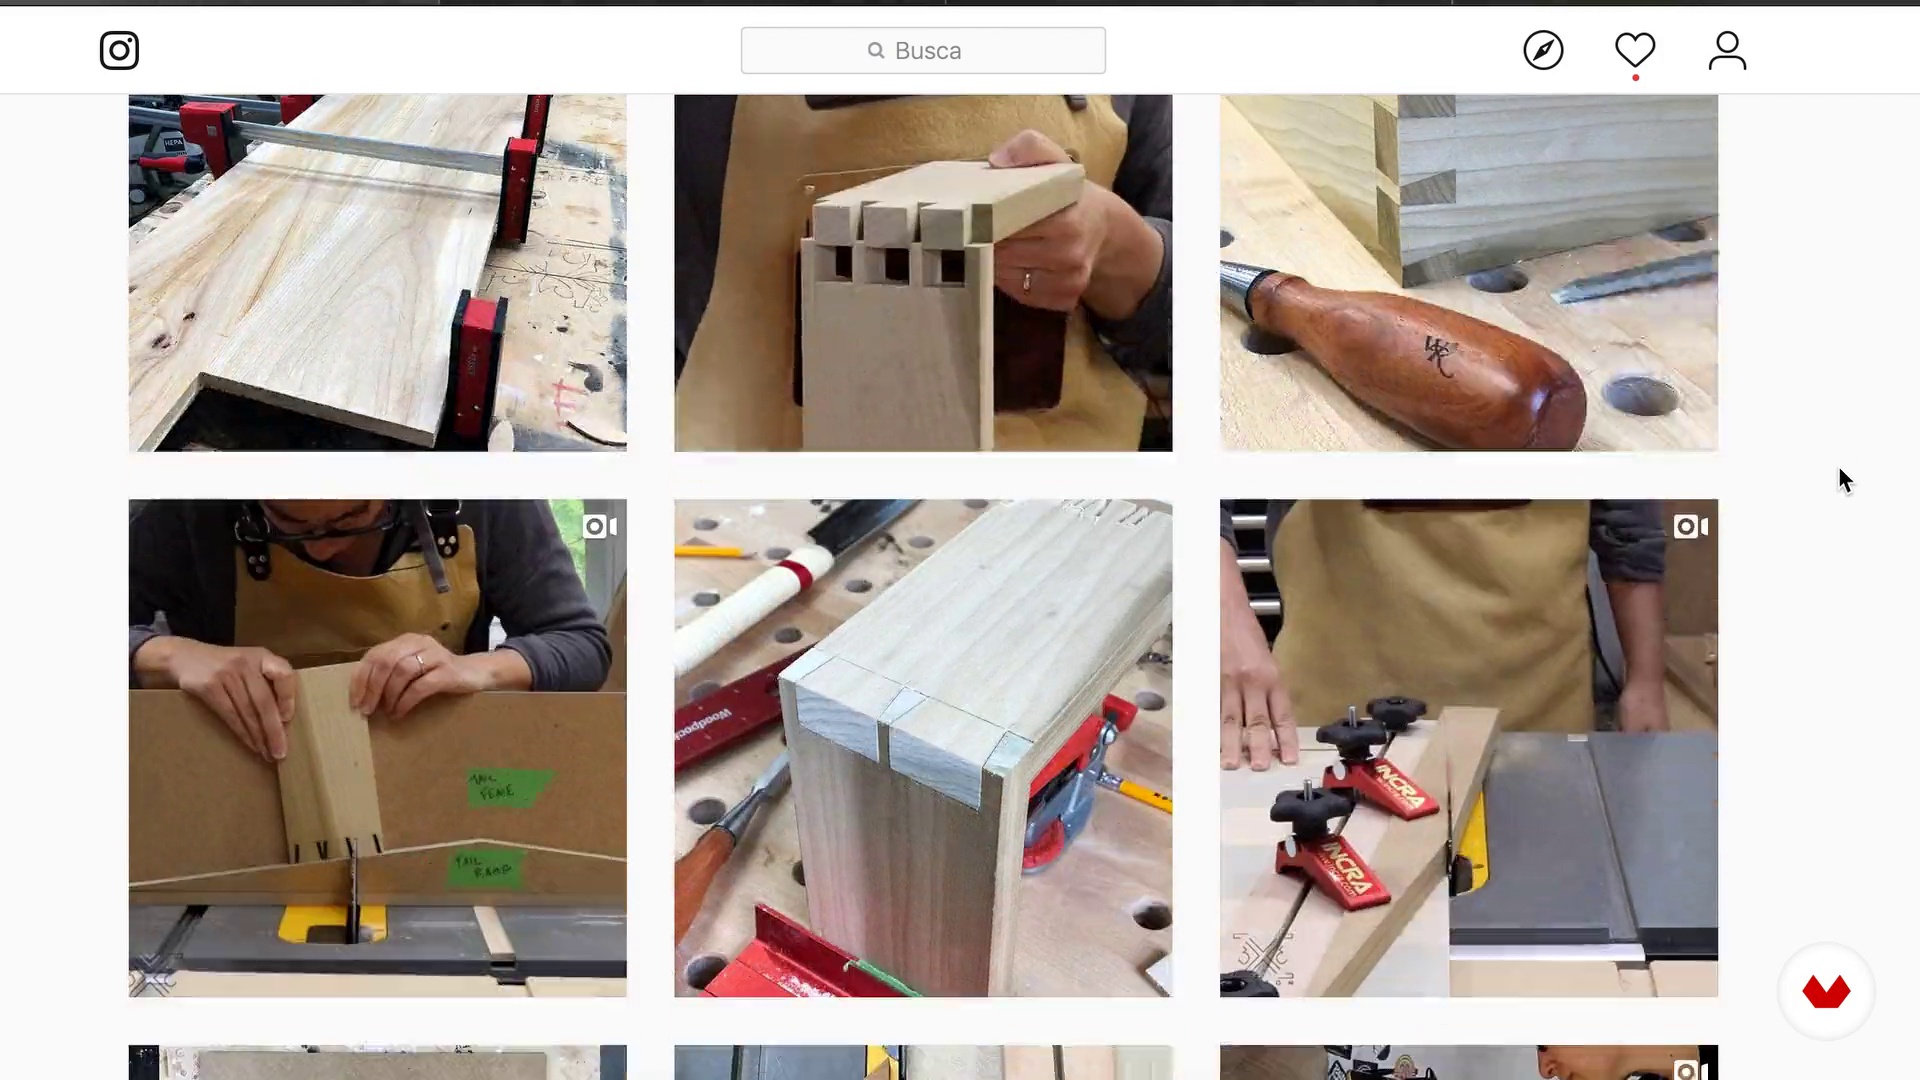
My influences are super varied, from books, documentaries, TV shows to Instagrammers who blow my mind.
6m
image
4
Restore vs Transform
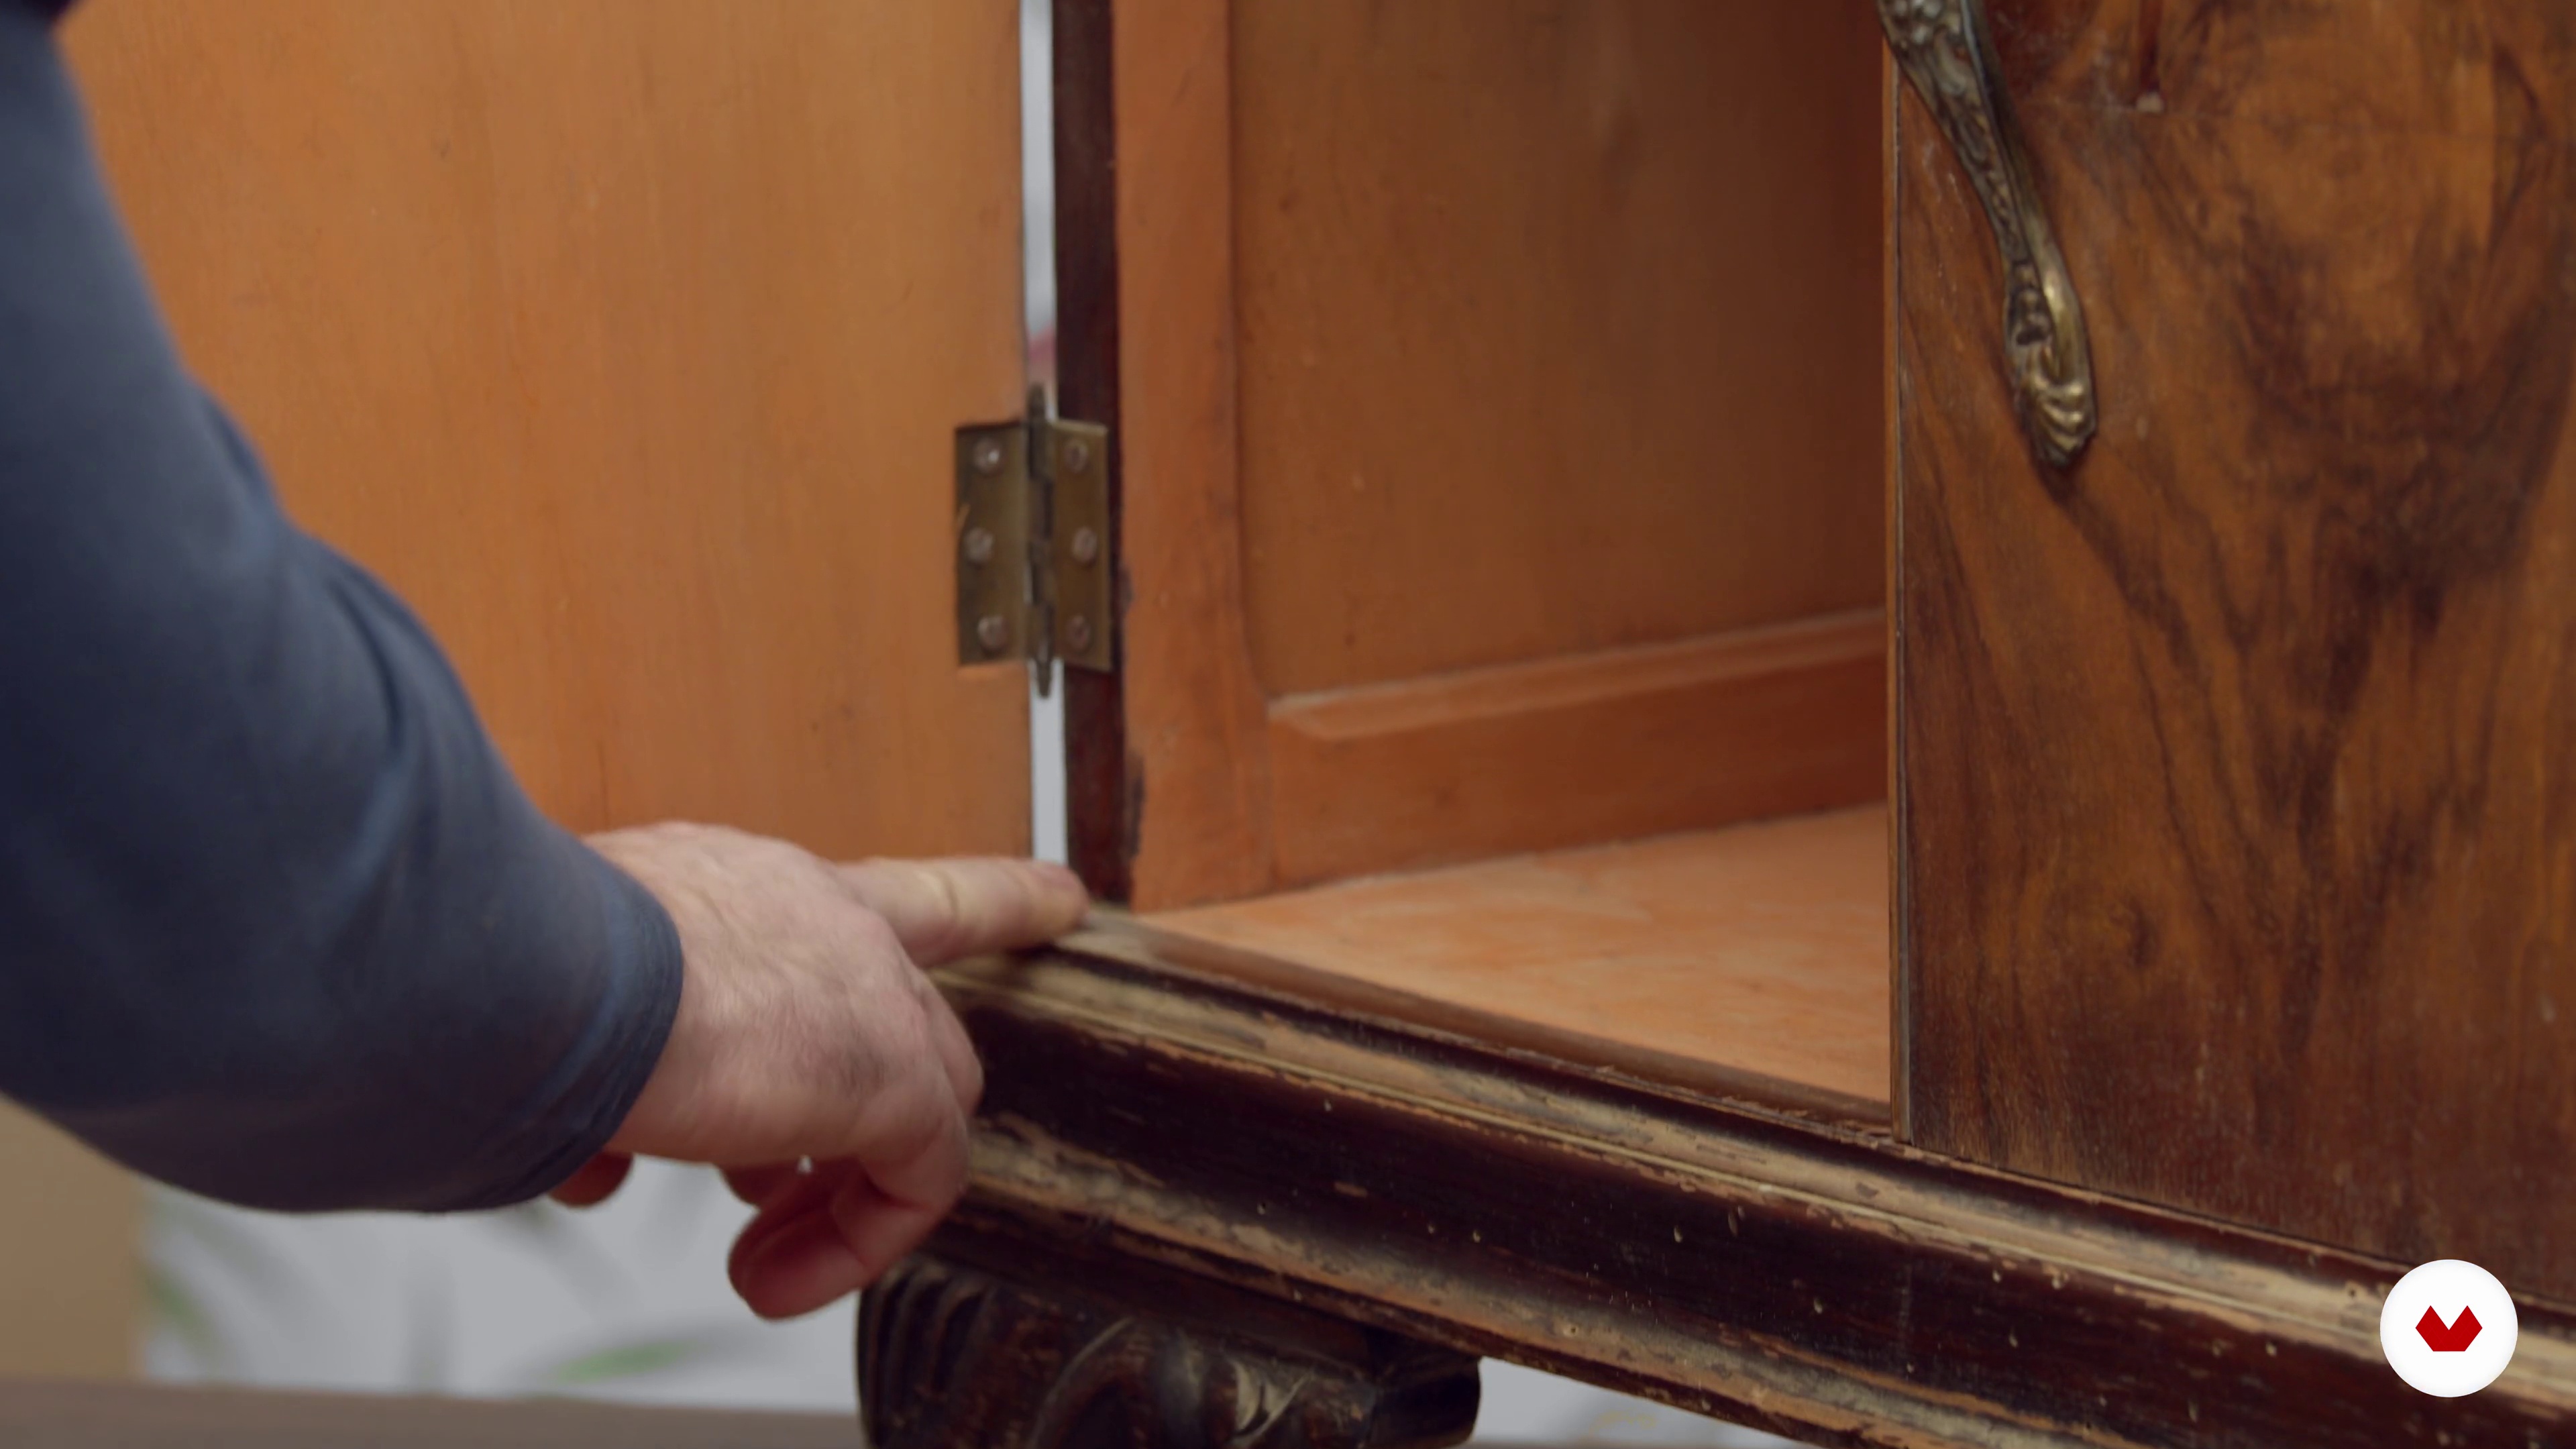
In this lesson, we want to explain the difference between restoring a piece of furniture and transforming it. Although they may seem like the same thing, the ultimate goal of a restoration and a transformation are very different. This can be very important in adding or subtracting value to the piece.
1m
image
5
Before Buying Old Parts
The process of restoring or transforming a piece of furniture begins with hunting down the piece you're going to restore or transform. And this is one of the best moments! But before you buy a piece, we want to give you some advice, as there are some points to consider before purchasing or deciding on your piece of furniture.
6m
image
6
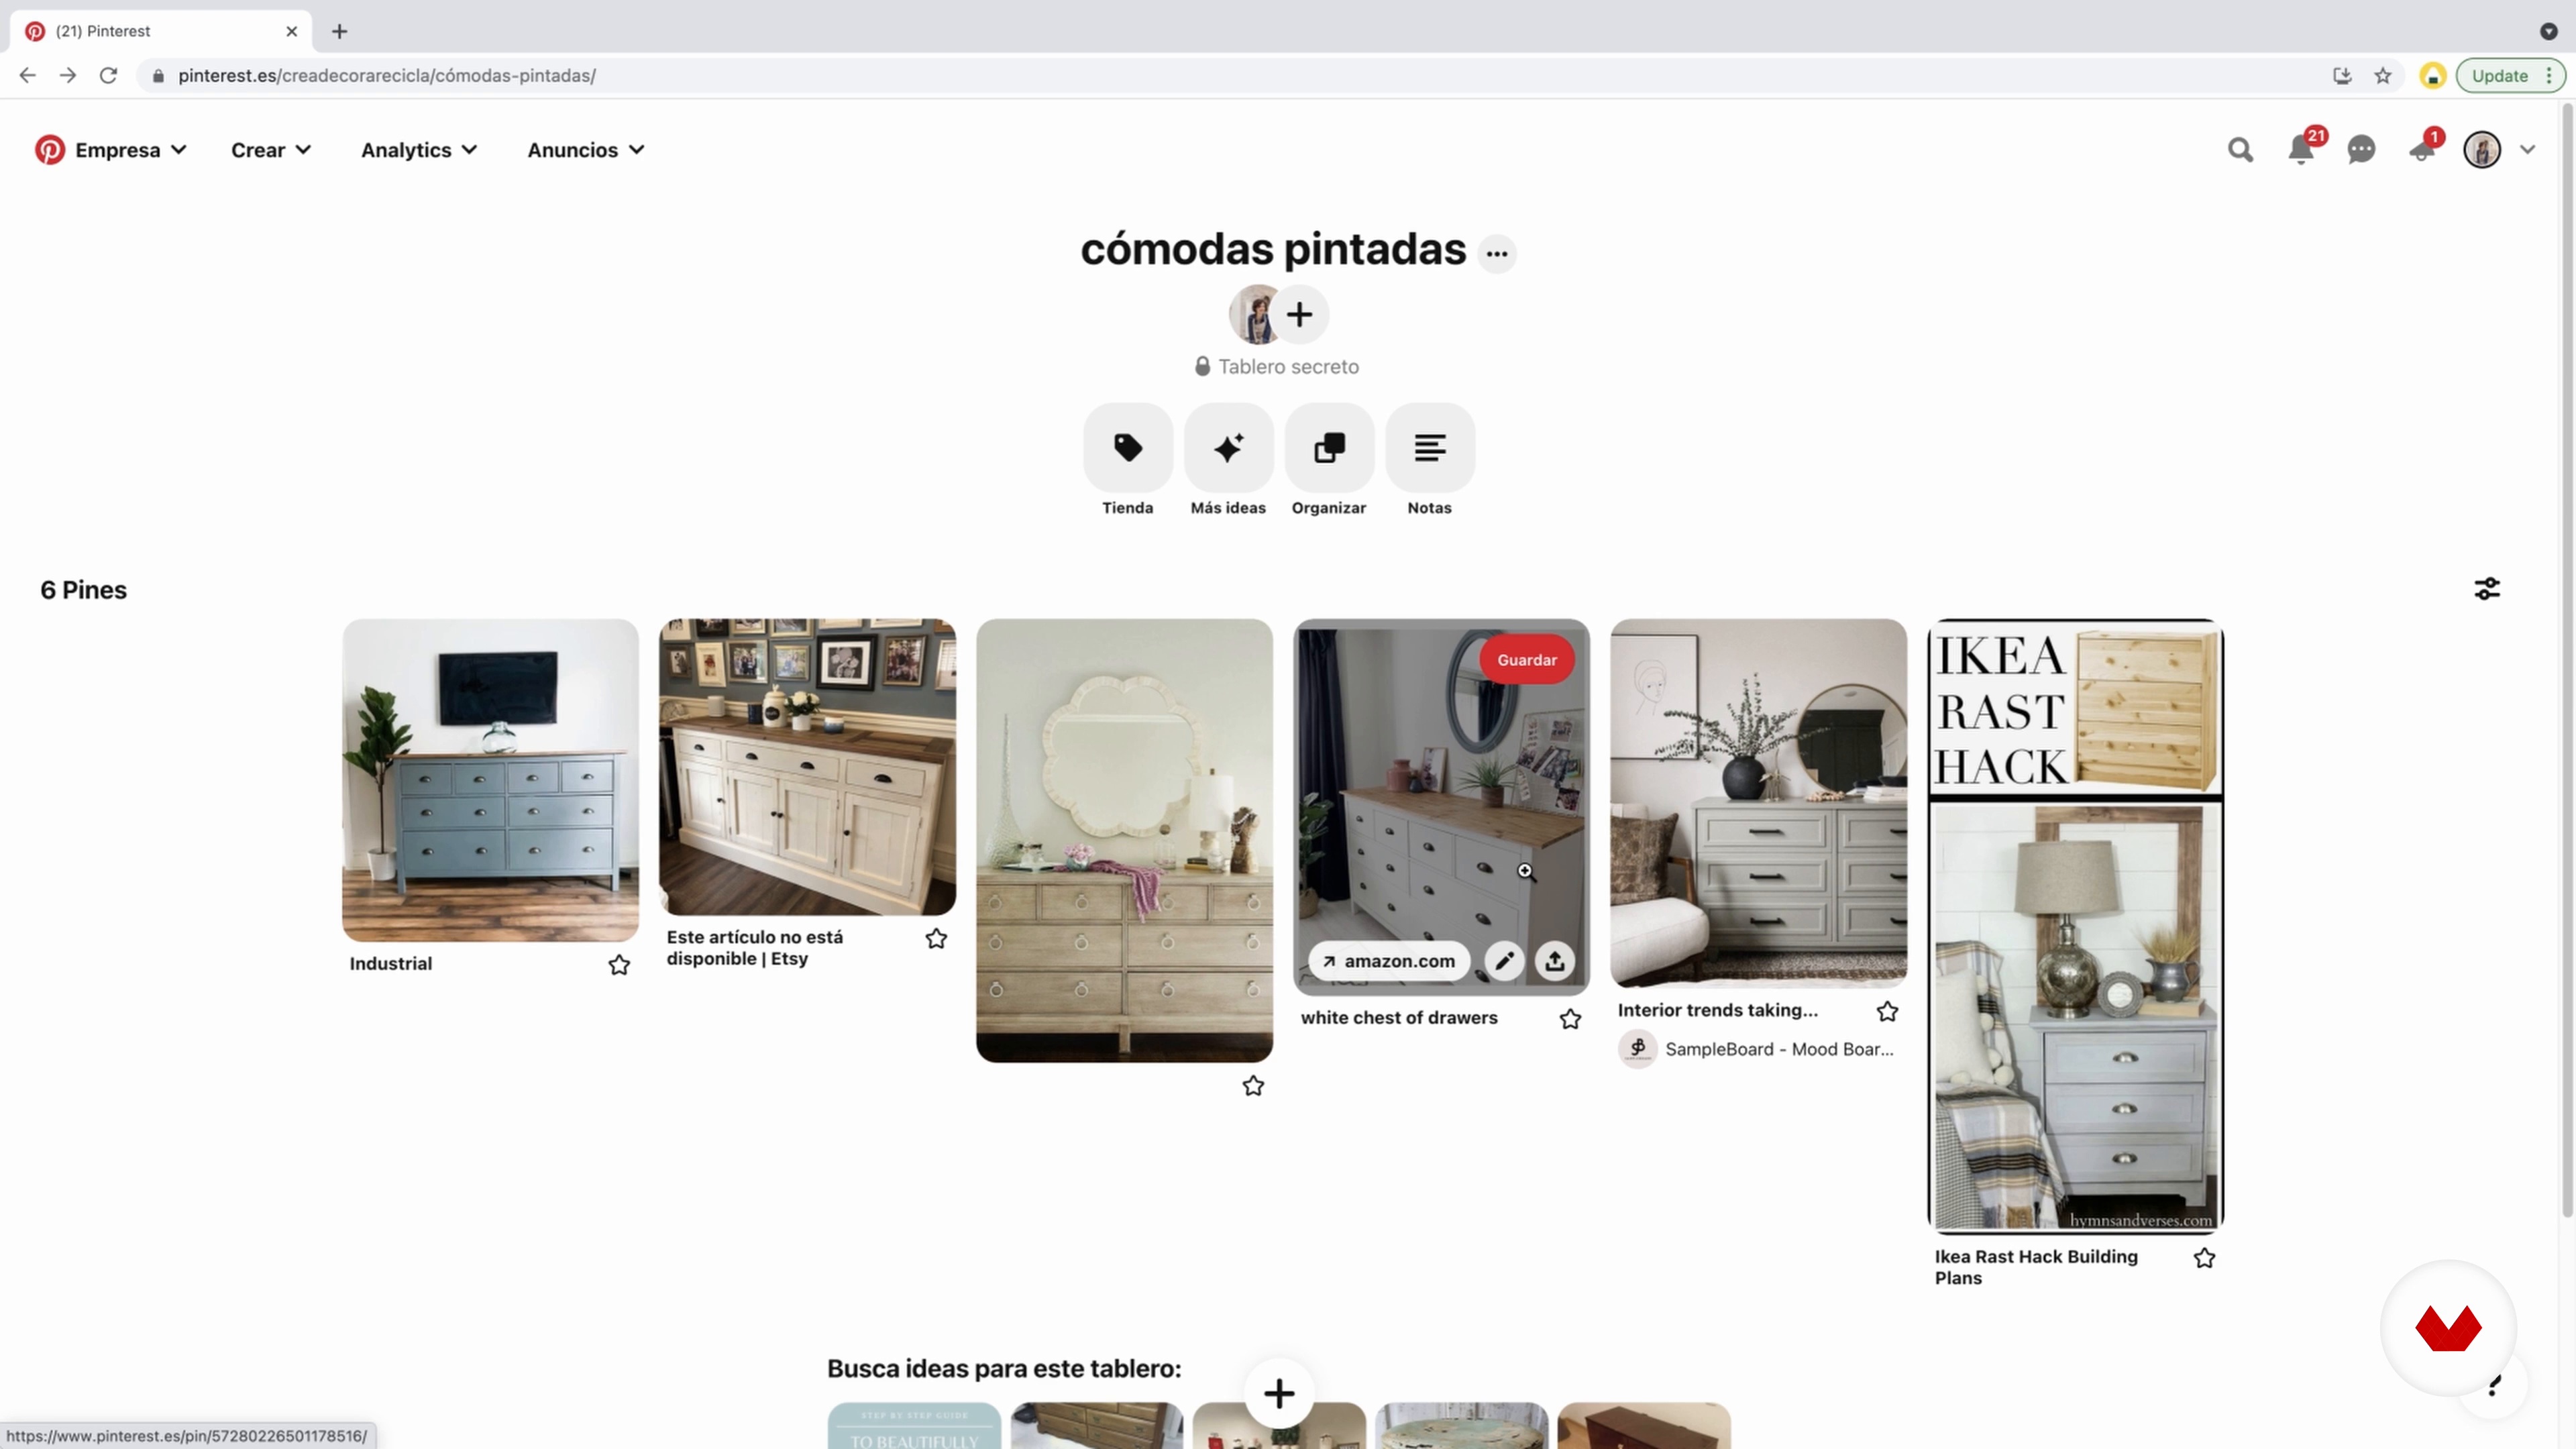
Decide On the Furniture Finish
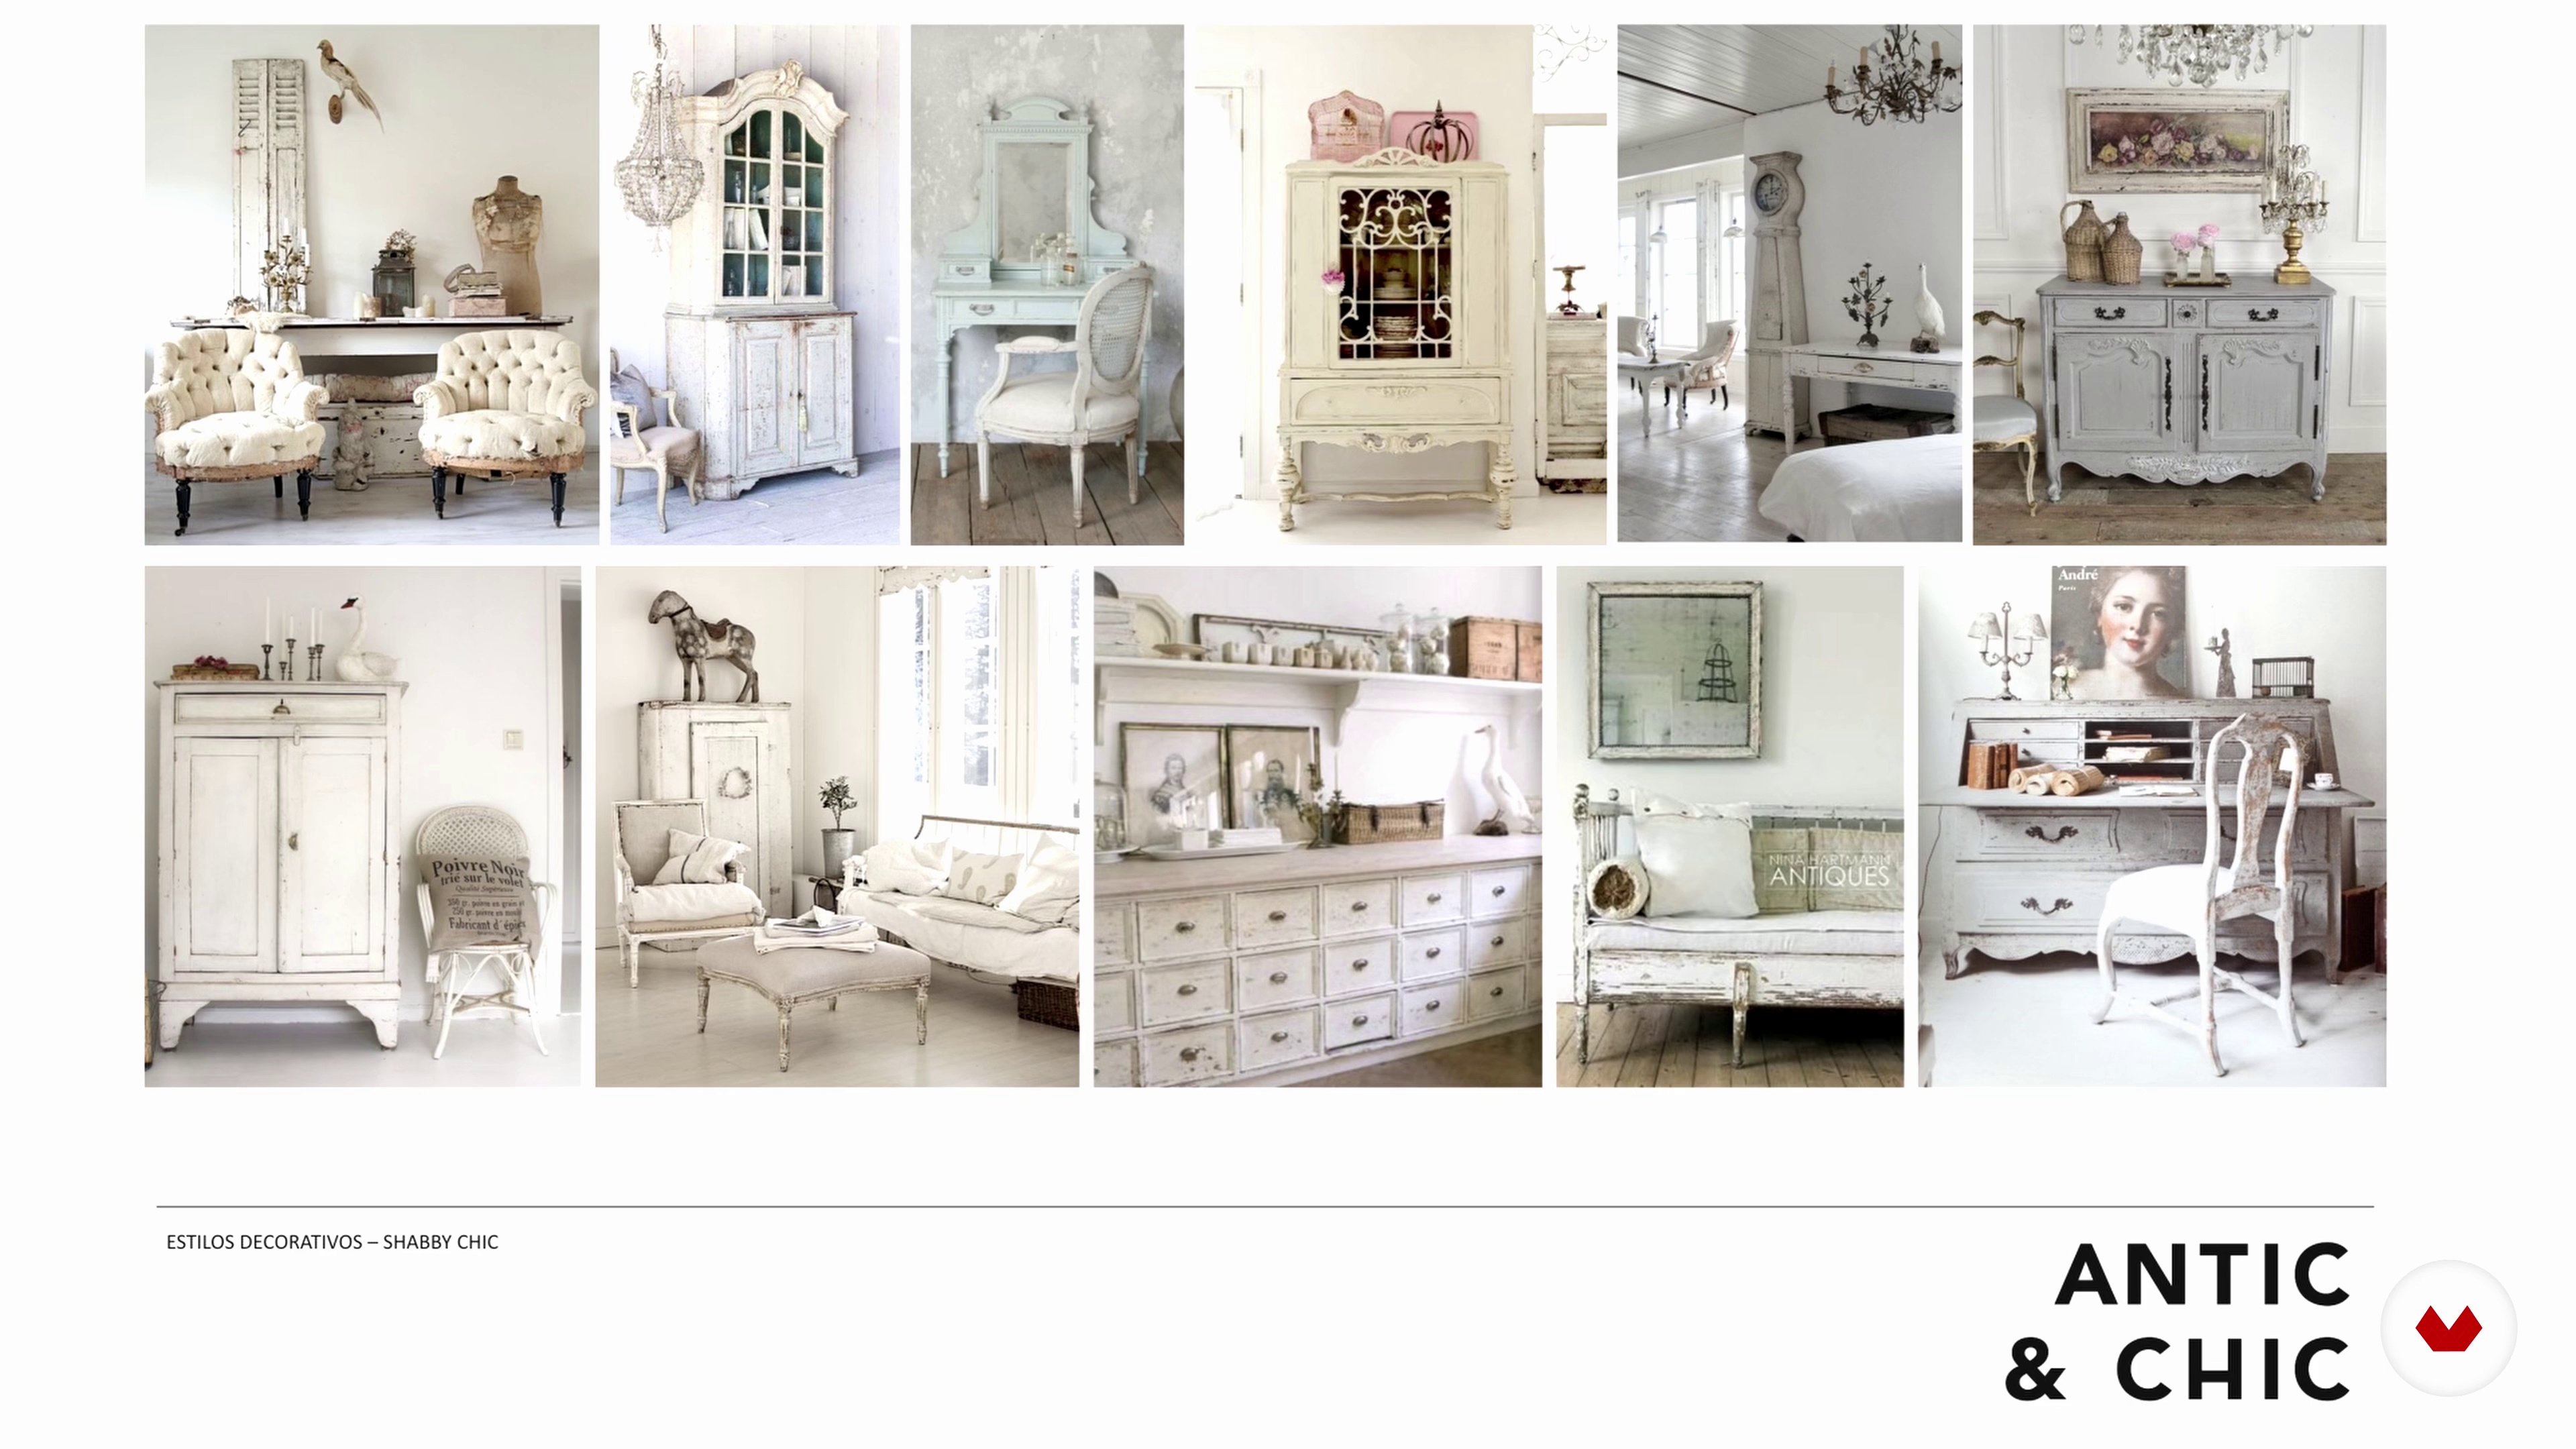
Although it may seem as simple as having a dresser or chest of drawers and deciding to paint it blue, for the final result to be successful, to fit in with your decor and style, and not look fake or poorly finished, you must first consider its design. To do this, we'll review some decorative styles, analyze the space where your furniture will be displayed, and talk about color and finishes. We'll also teach you how to use emotions as an inspiration tool, how to use Pinterest, and, finally, how to create a mood board to help you decide on the design of your project.
5m
image
7
Chair Diagnosis
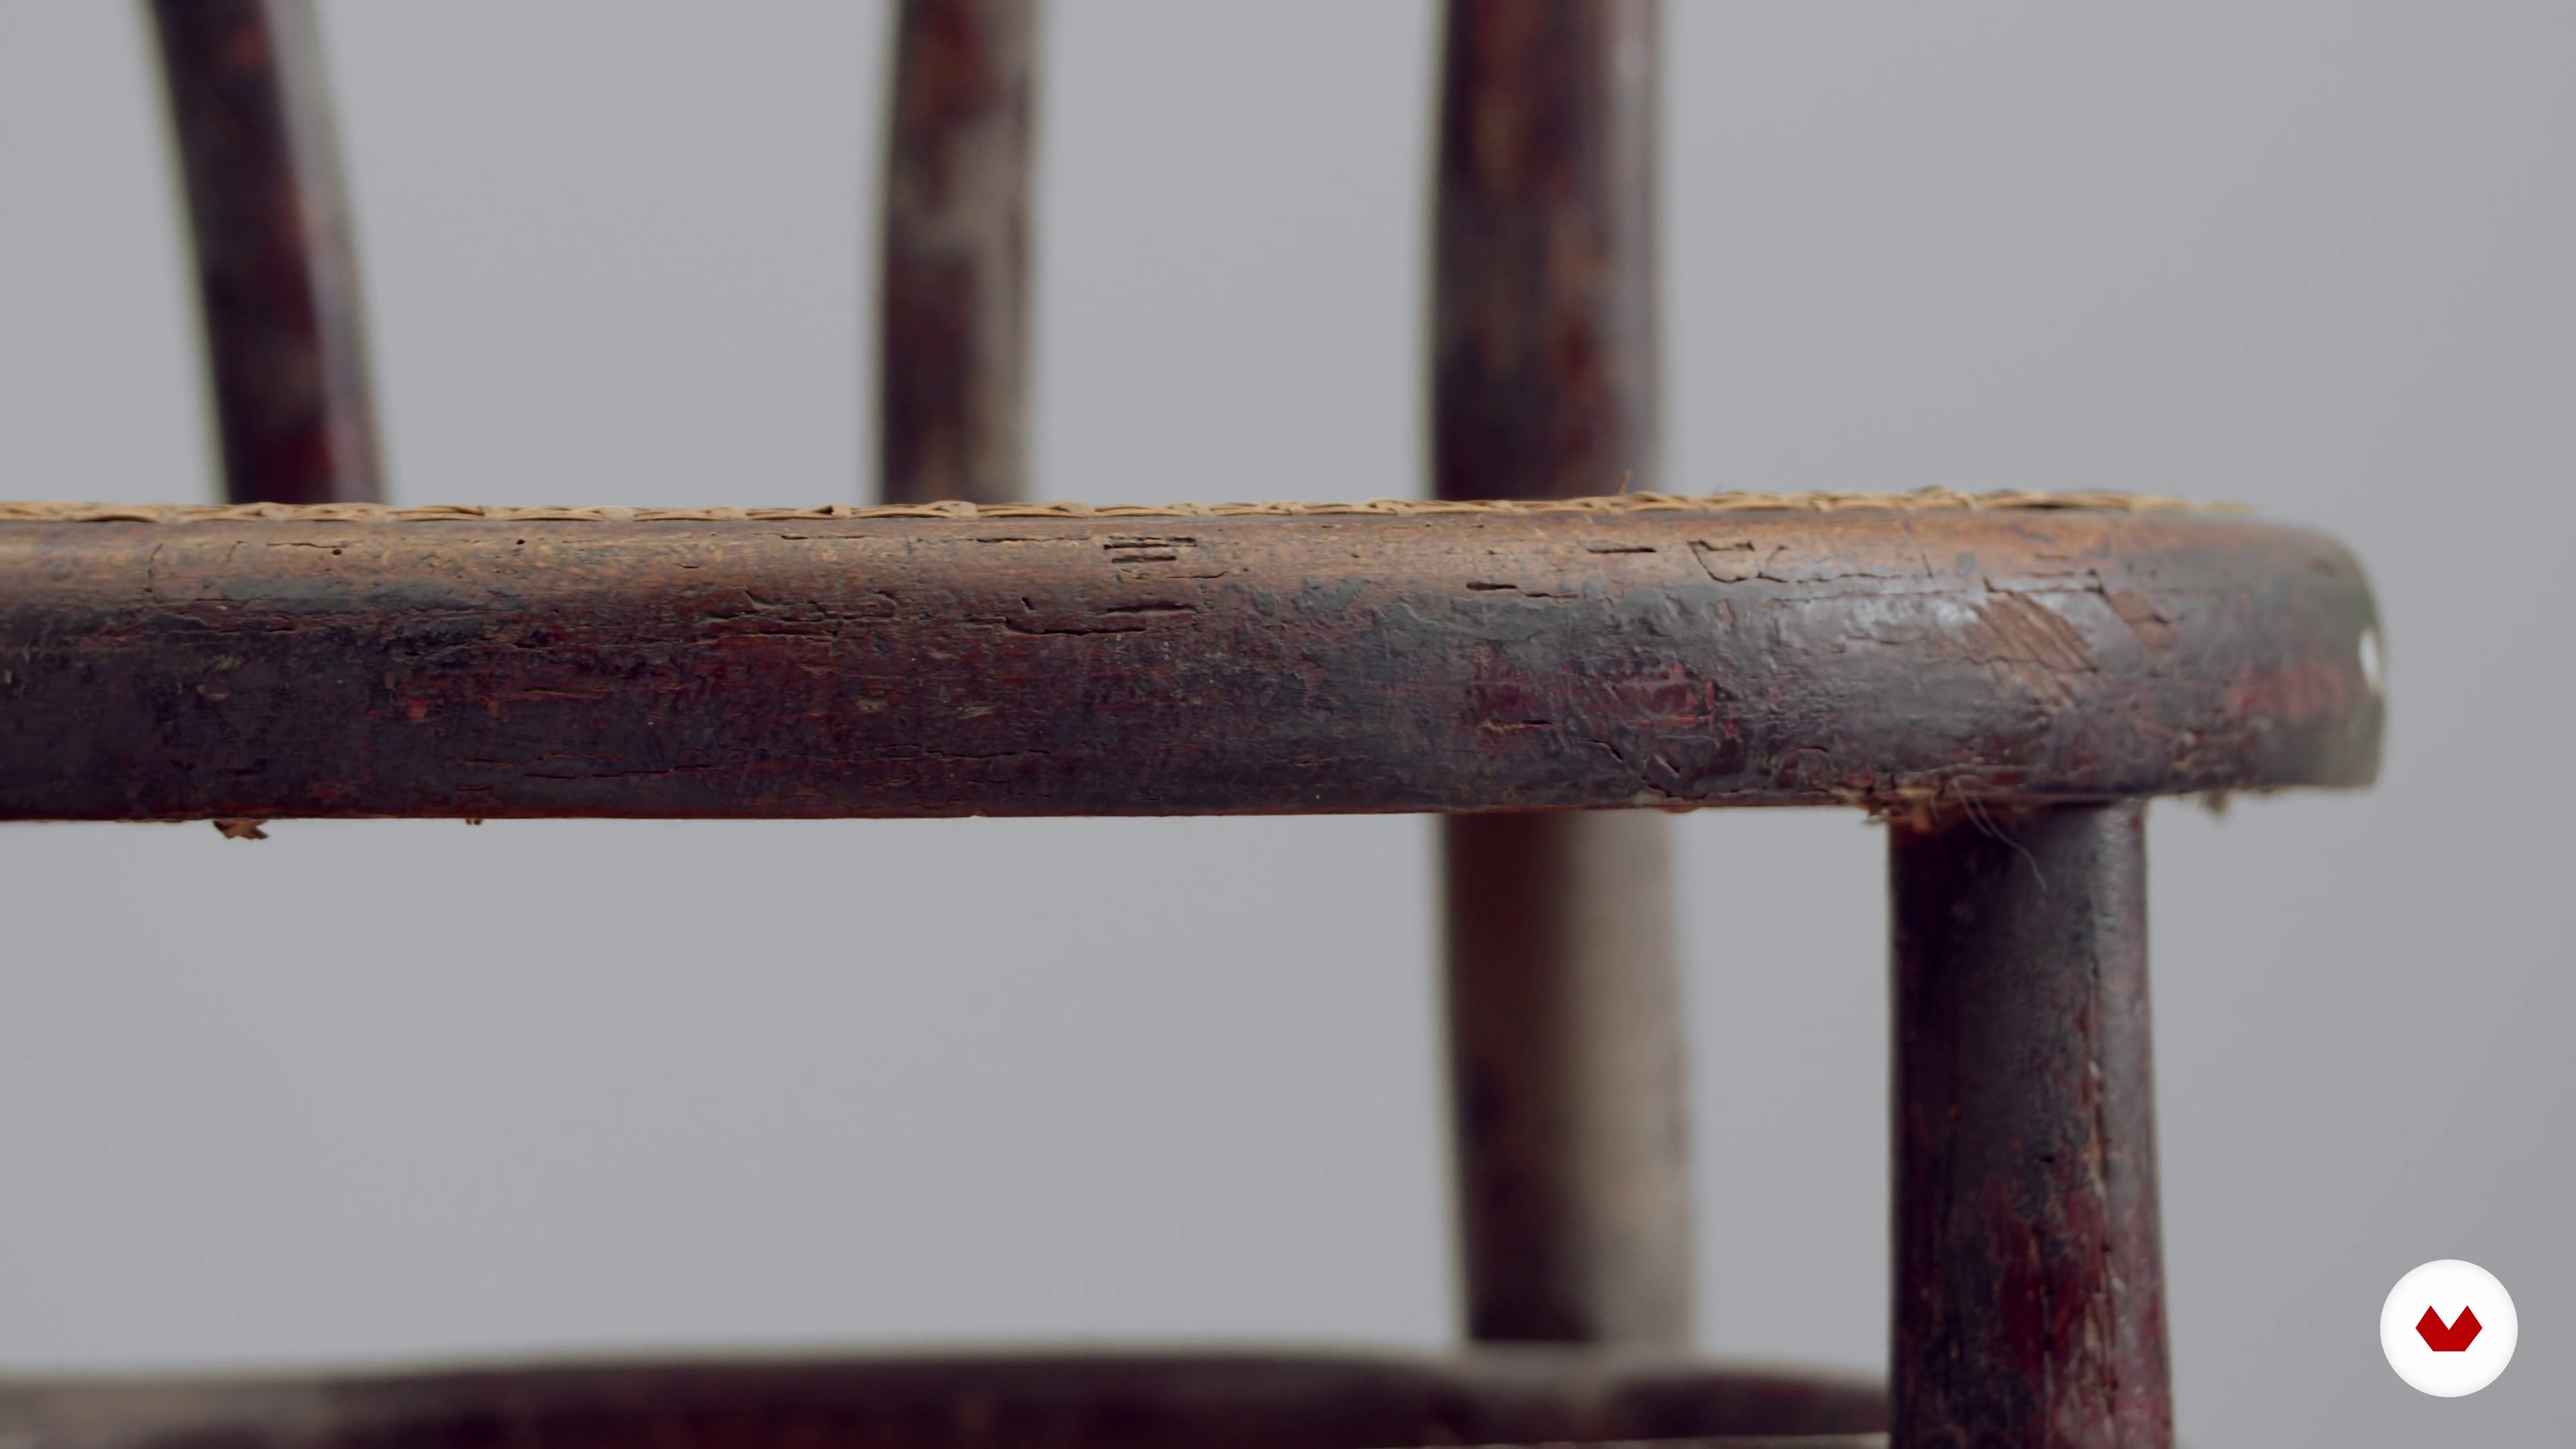
In this lesson, we'll explain step by step how to diagnose the chairs we'll be transforming in our project. We've chosen these Thonet chairs, which are in fairly poor condition, so you can observe as many problems as possible. In any case, as we'll recommend in Unit 5, it's always best to start with a simple project.
3m
image
8
Clean and Deworm
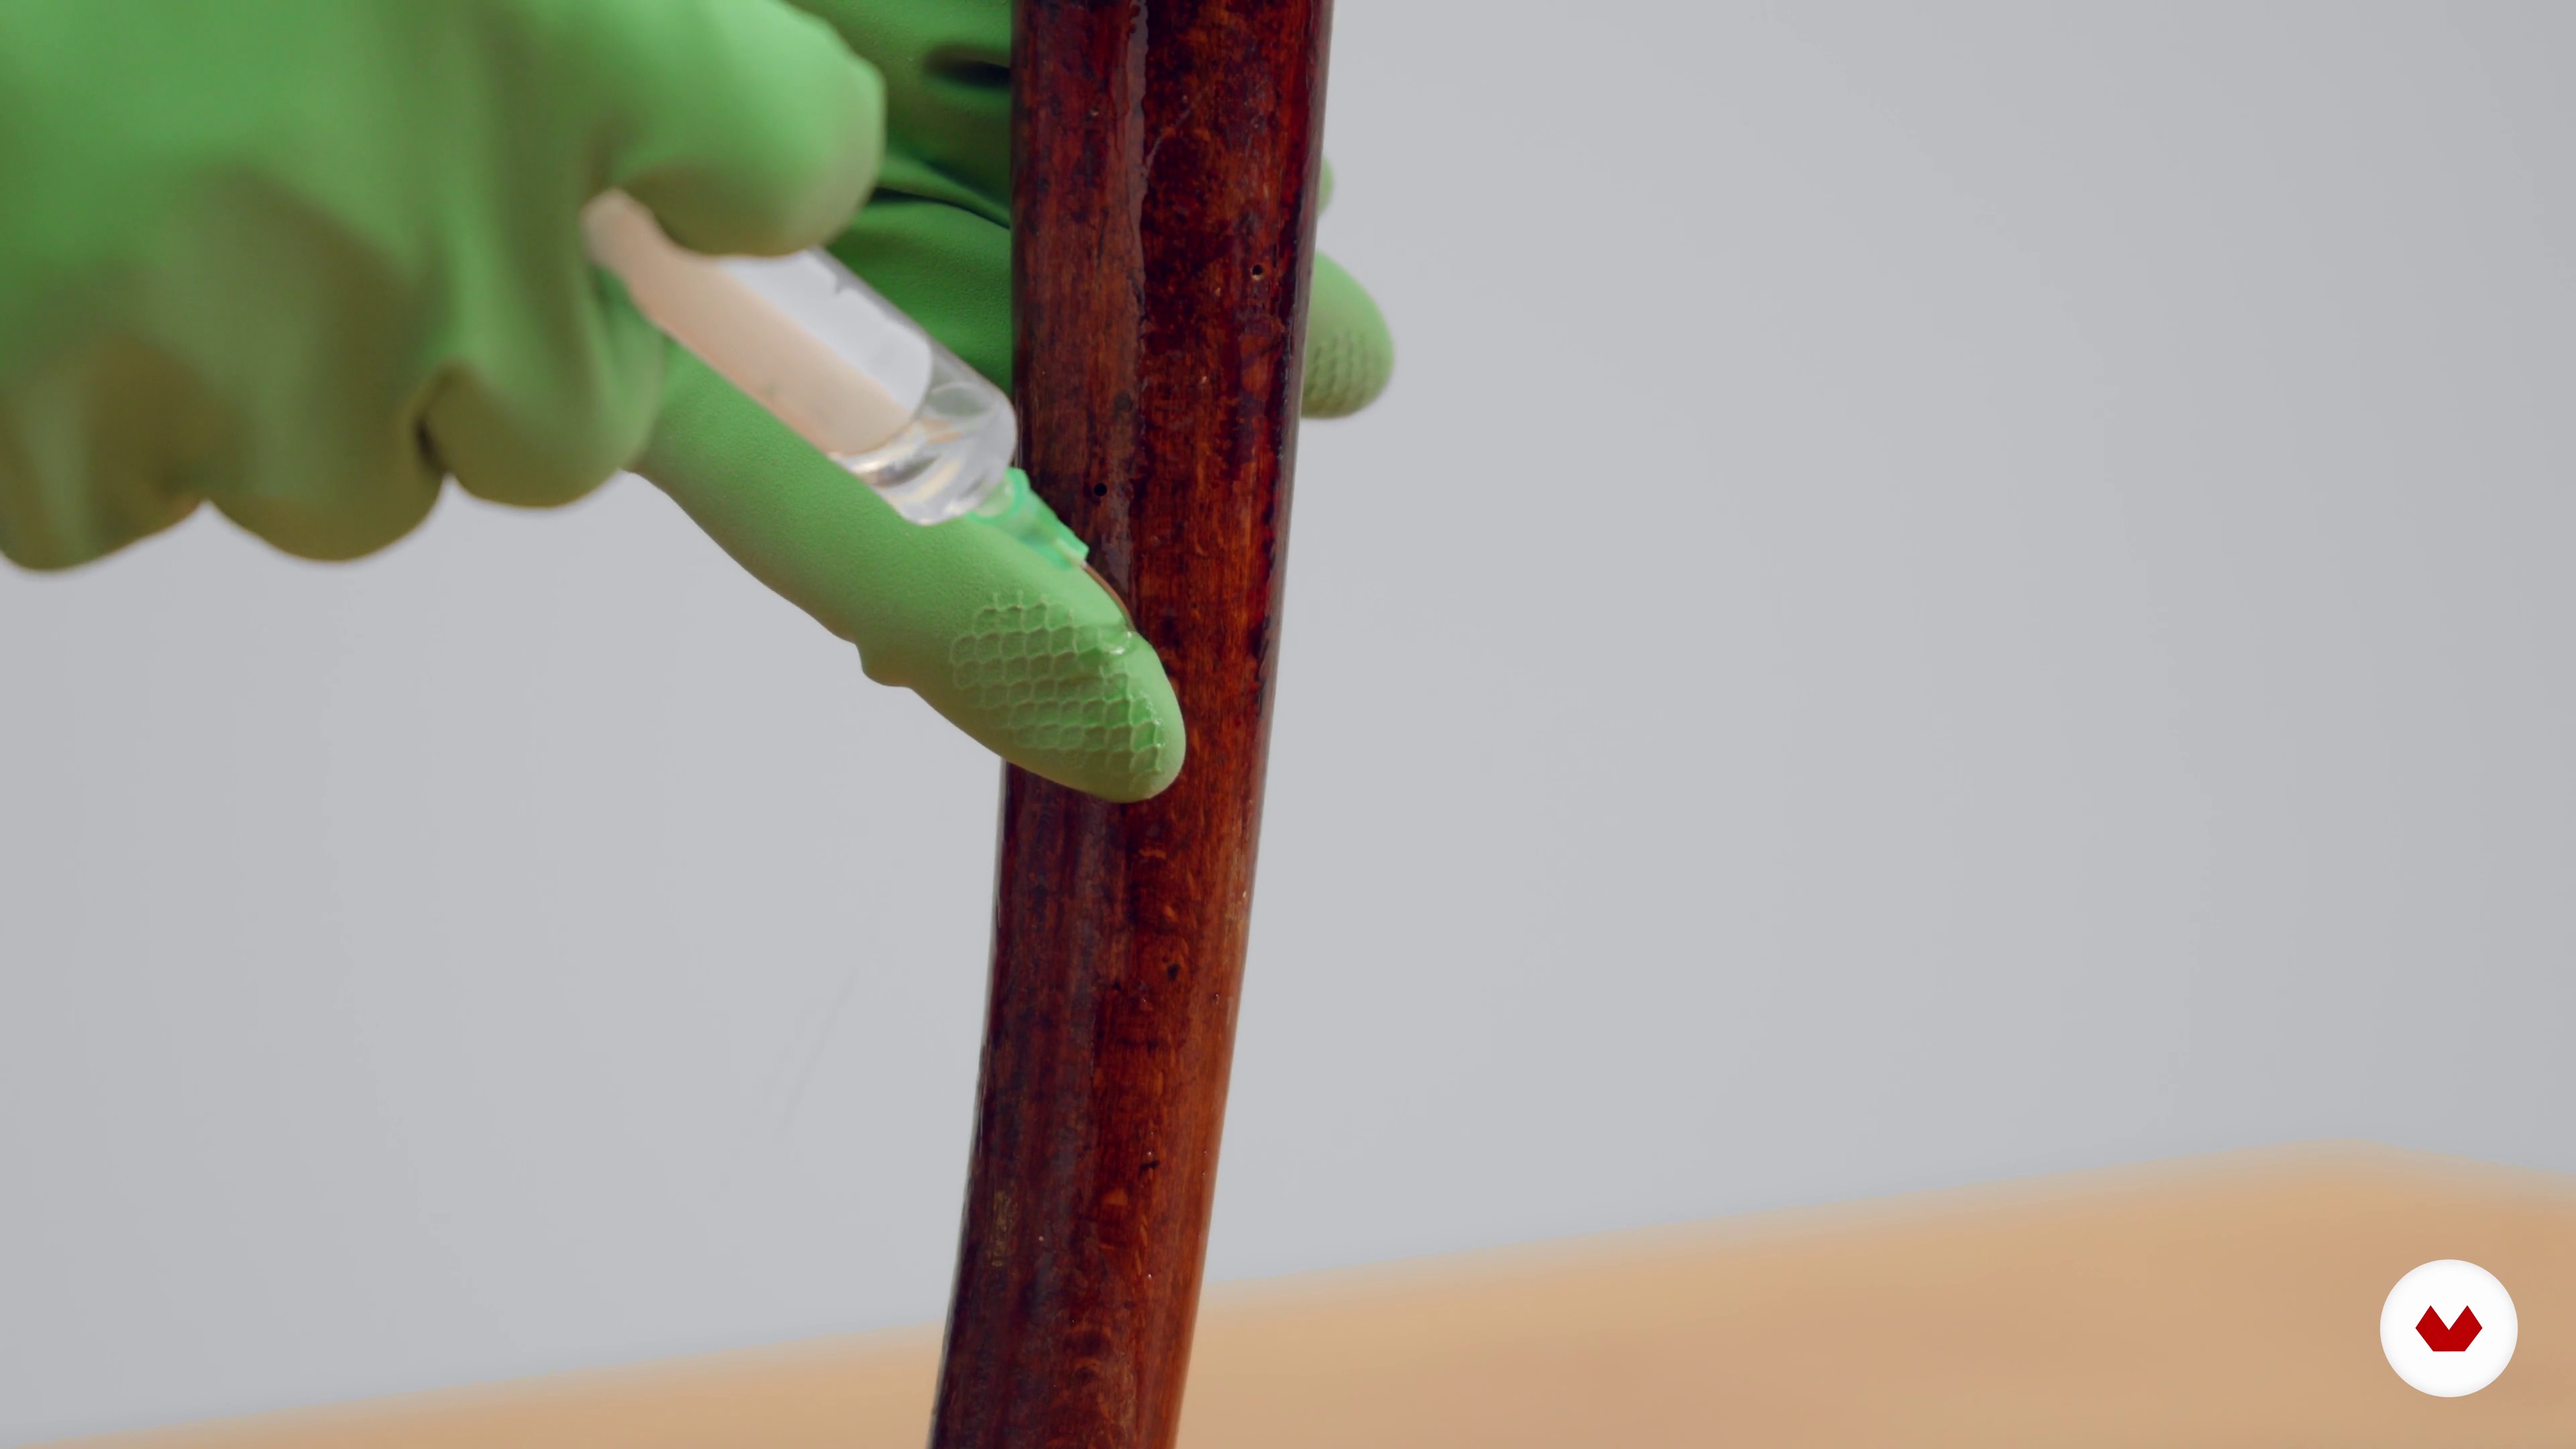
Next, we'll show you how to clean your furniture and, most importantly, we'll talk about what woodworm is, how to detect it, and the main techniques for treating it. And, of course, you'll start working on your chair project!
11m
image
9
Stripping
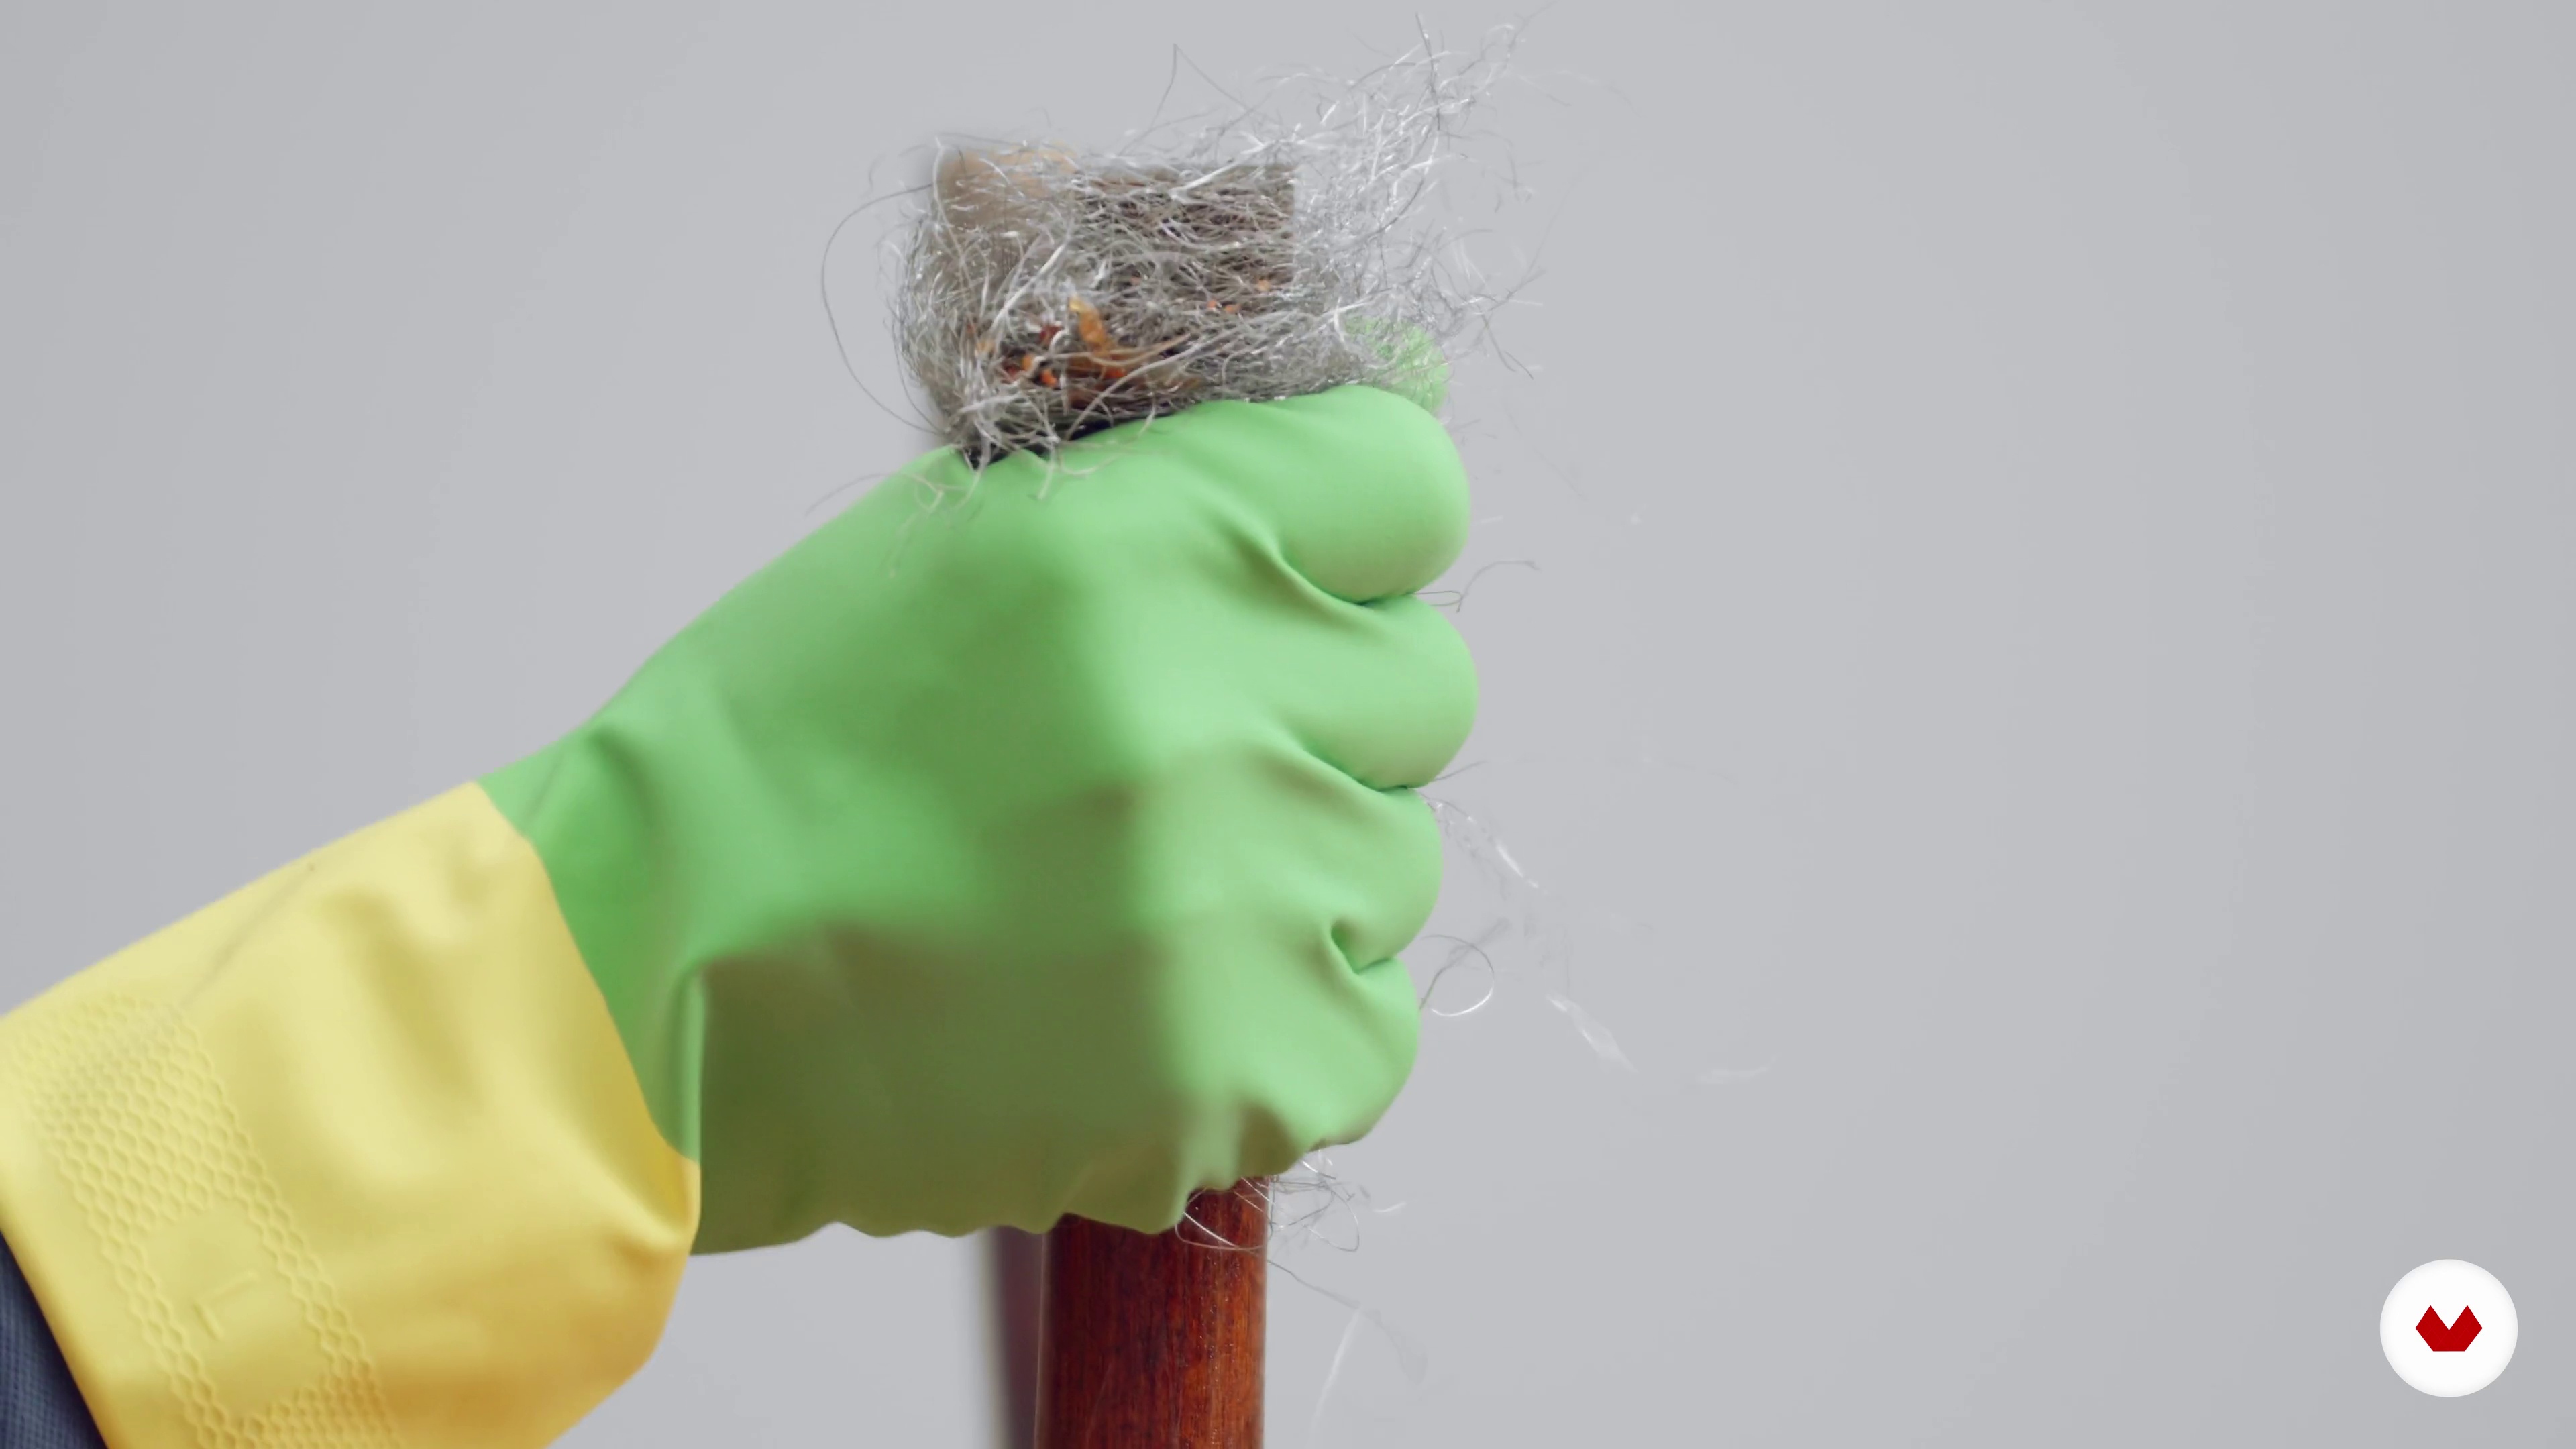
The stripping technique involves removing paint or varnish from a piece of furniture to give it a different finish or refinish it. In this lesson, we'll teach you how to strip, and we'll practice it on the legs of the chair we're preparing in a Nordic style with dip-dyed paint. You'll see that it's not a difficult technique and allows you to restore the original appearance of the furniture's wood.
6m
image
10
Small Repairs 1
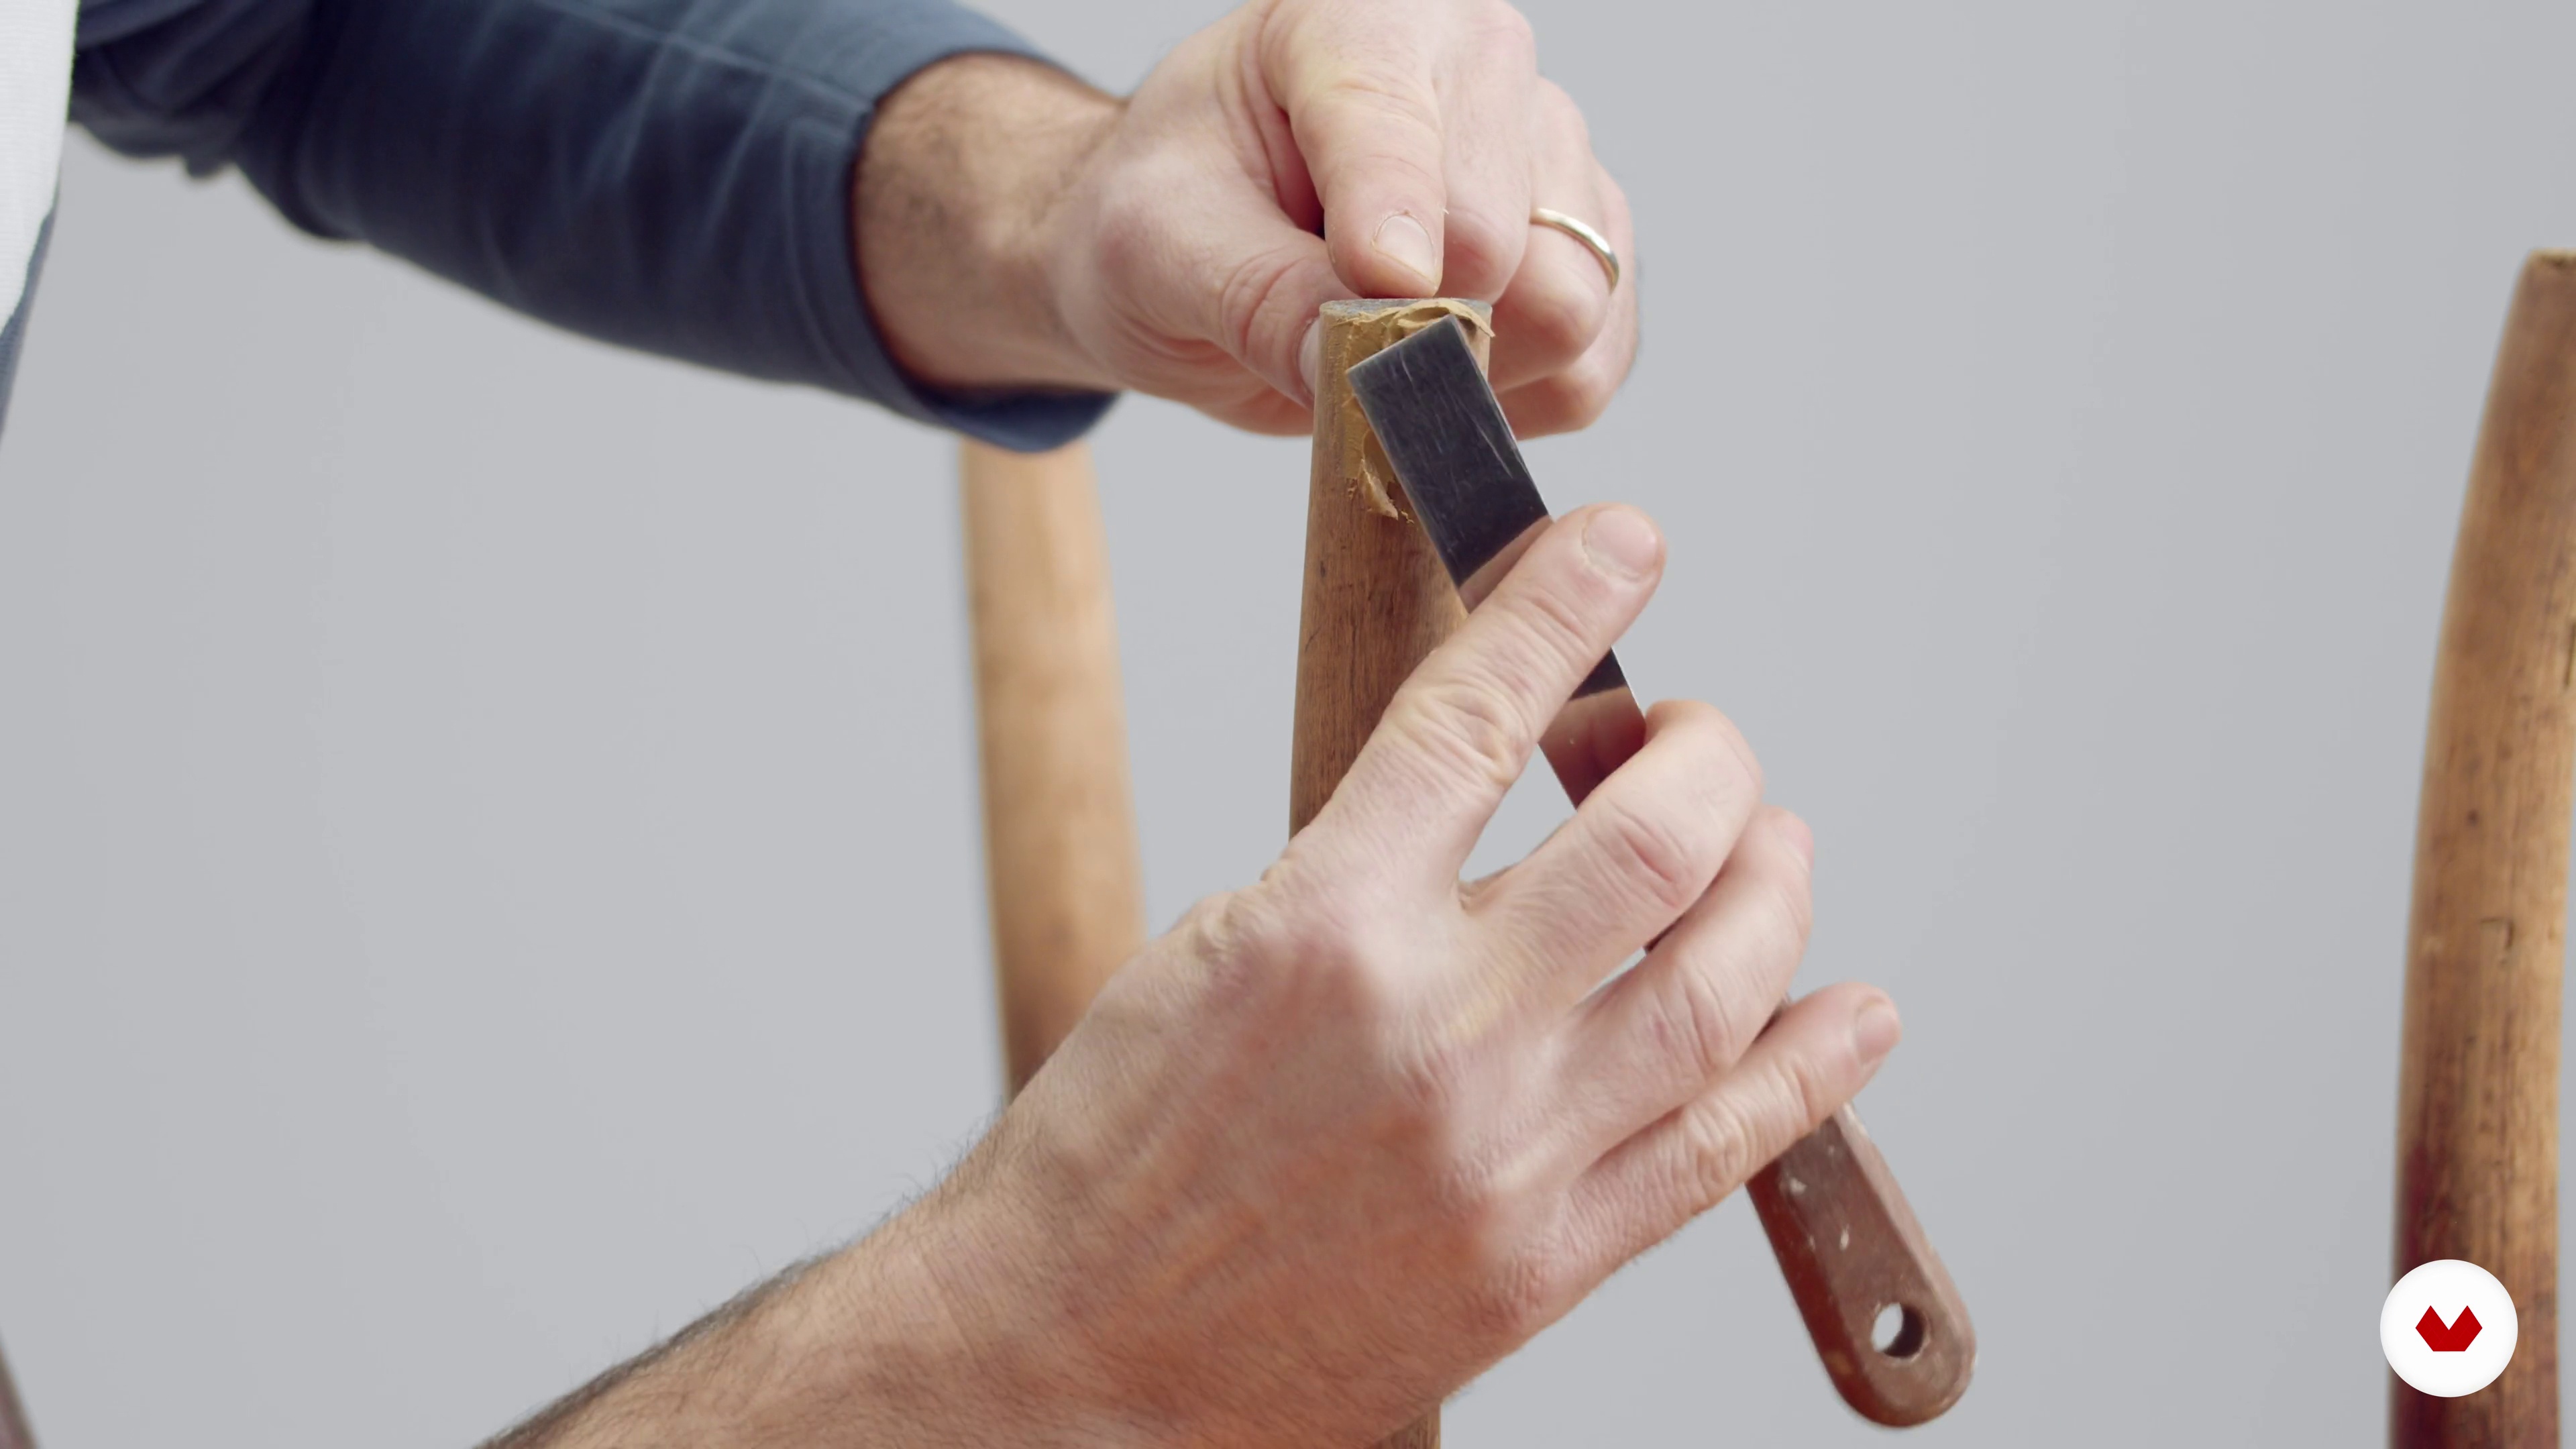
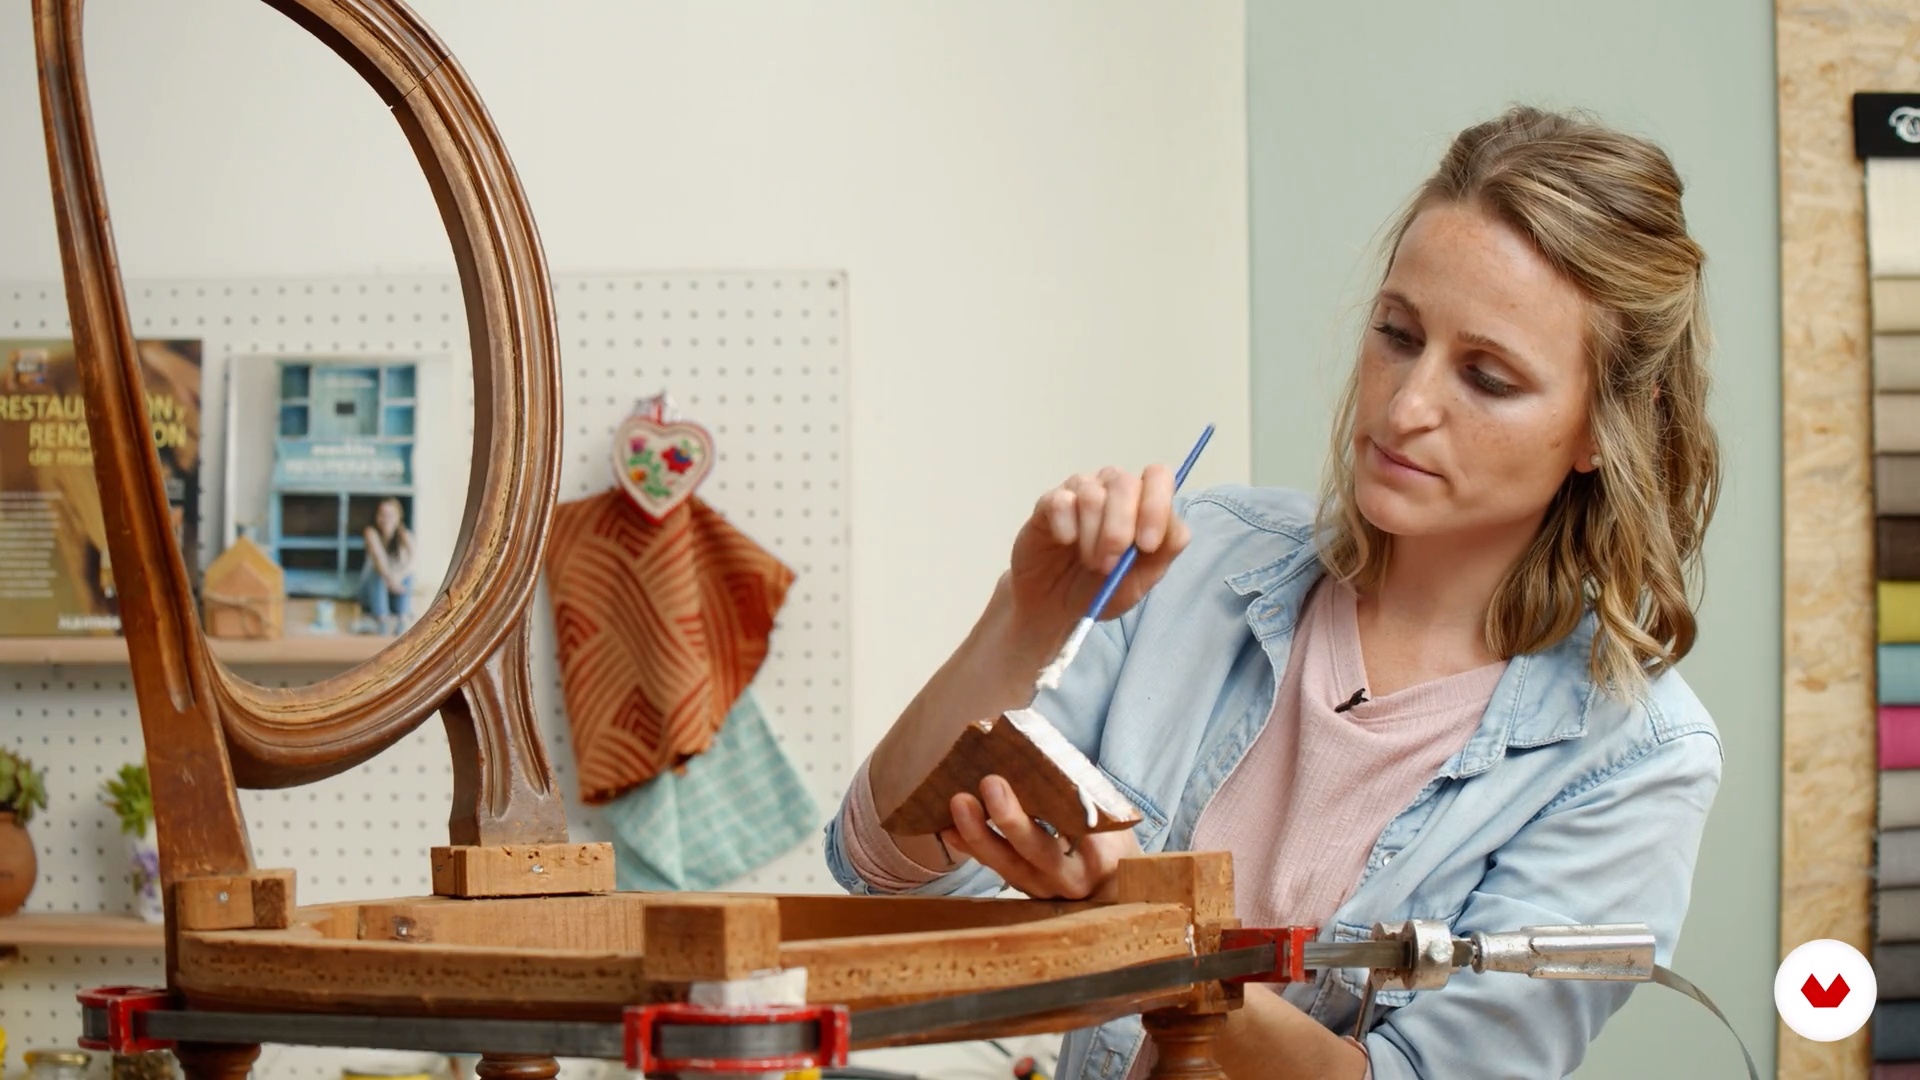
During the process of restoring or transforming an antique piece of furniture, you'll almost certainly find yourself needing to make some repairs. As you know, this course is introductory, so in this lesson, we'll teach you the most common small repairs you may encounter; those that are easier to perform, such as gluing, retightening screws, and using fillers.
13m
image
11
Small Repairs 2
We continue reviewing how to make the most common repairs your projects will require.
11m
image
12
Sand and Prime
Before starting to paint or varnish a piece of furniture, we must ensure that the surface is in perfect condition so that the paint or varnish adheres firmly and thus ensures that it doesn't flake or start to peel off quickly. In this lesson, we'll give you guidelines for optimal surface preparation so that the result of our project is satisfactory and long-lasting.
13m
image
13
Paint and Its Finishes
And now it's time! We finally get to the most rewarding part of transforming a piece of furniture: painting and varnishing. In this lesson, we'll start with paint and show you the main types available on the market, the tools to apply them, and the different finishes you can find in paints. We'll also explain some well-known transformation techniques you can use for your project: distressing, lacquering, and dip-dyed.
14m
image
14
Varnish and Its Finishes
We've already explained almost all the main techniques for restoring or transforming furniture, but we just need to talk a little about varnishes. Traditionally, varnishes are the go-to products for protecting wood, allowing us to see the grain and shapes of the wood. However, as you saw in the previous lesson, we also use them to protect chalk paints, for example. In this lesson, we'll explain the types of varnishes you can find to restore and transform furniture, the finishes you can buy them in, and the possibility of finding them tinted to give a color change to the wood where you apply them.
8m
image
15
Care and Maintenance
Having painted furniture is undoubtedly more delicate than simply varnishing it. We'll give you some tips to take care of it and keep it looking just as beautiful for a long time.
3m
image
16
Tips to Move Forward with Your Projects
Now that you have your project ready, you'll want to know more: how to move forward, what we can add... Well, in this lesson, we'll give you more tips to keep you growing!
2m
image
4
Introduction to upholstery
Now I'll give you an introduction to tapestry, a brief historical overview of where it originated and how it has evolved to this day.
3m
image
5
Traditional upholstery vs Modern upholstery
When reupholstering a chair, it's important to understand this difference. This way, you'll know what advantages you can and cannot achieve with one upholstery versus another.
2m
image
6
Tools and materials
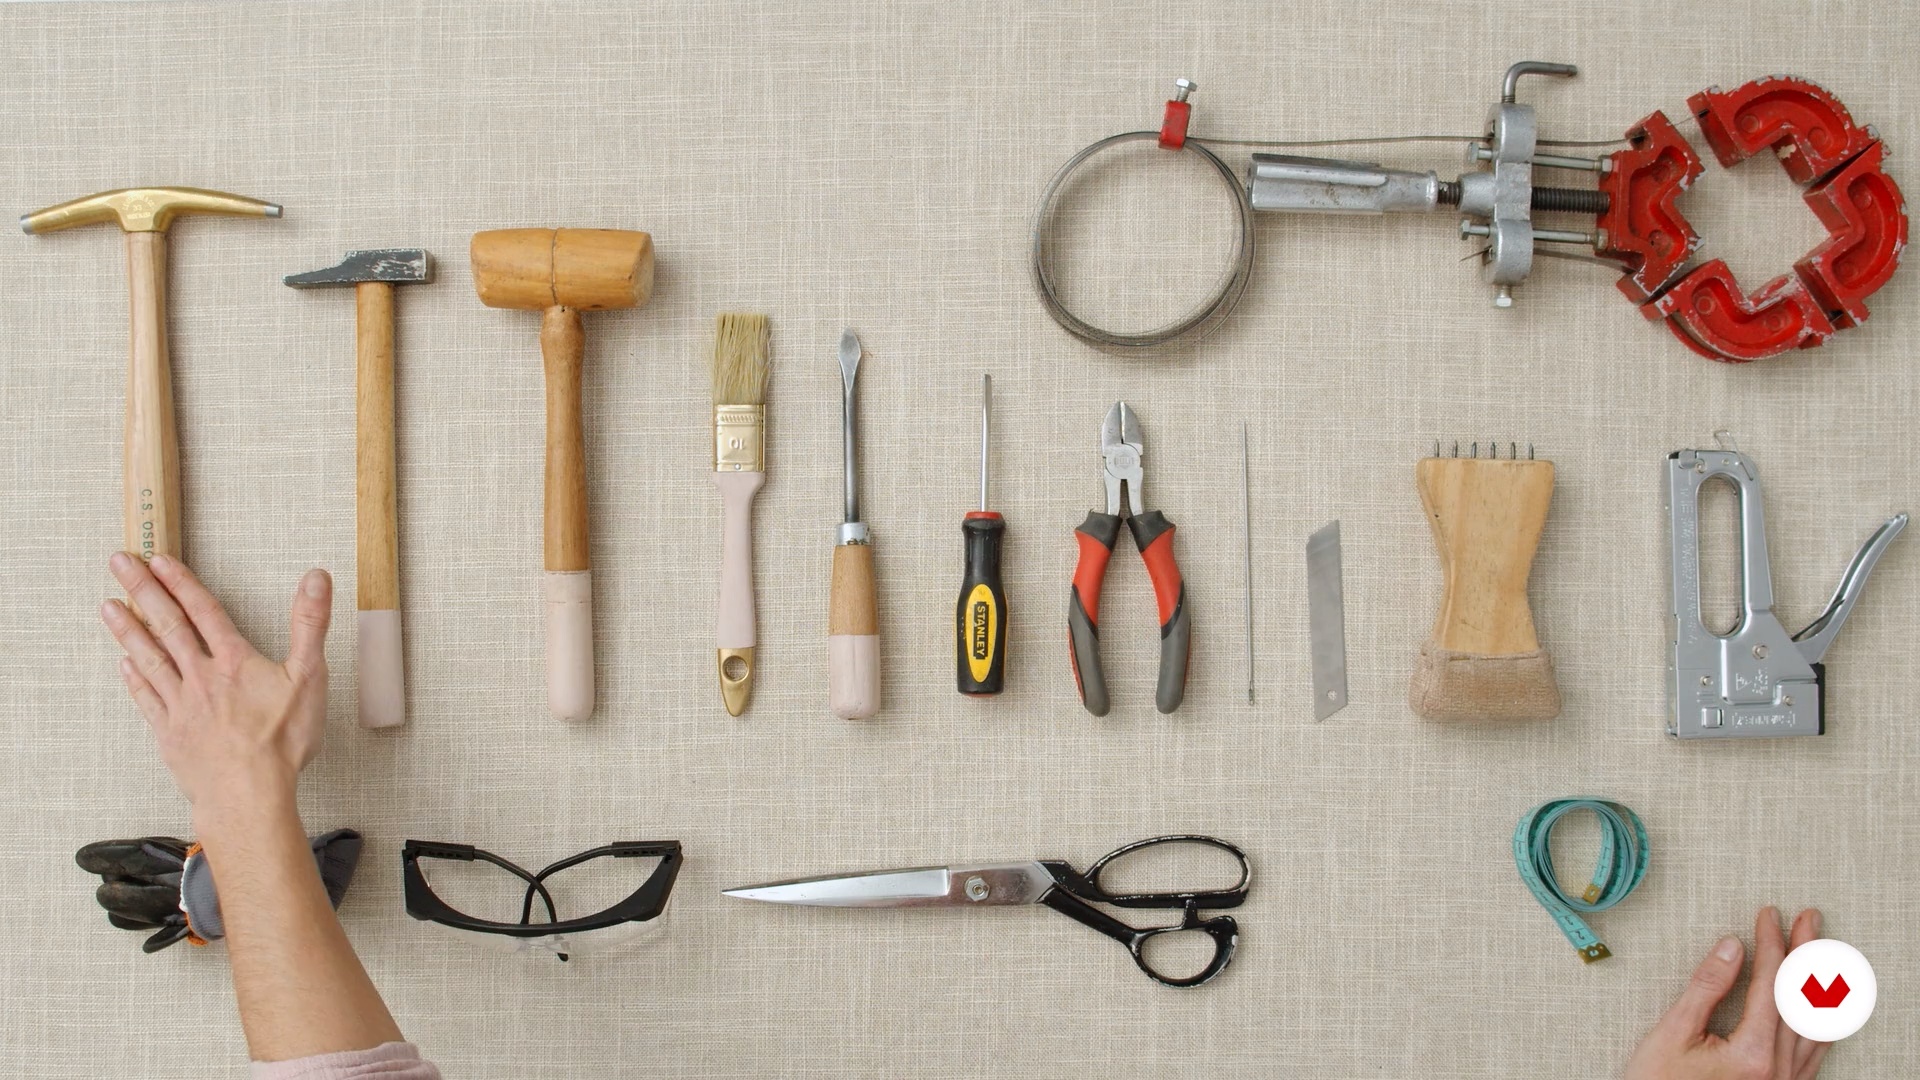
In this lesson I will teach you all the tools and materials you will need to be able to carry out all the steps we will do in our project.
3m
image
7
Chair scanner
In this lesson, we're going to analyze the work ahead. To do so, we'll first ask ourselves a few questions.
1m
image
8
To disarm
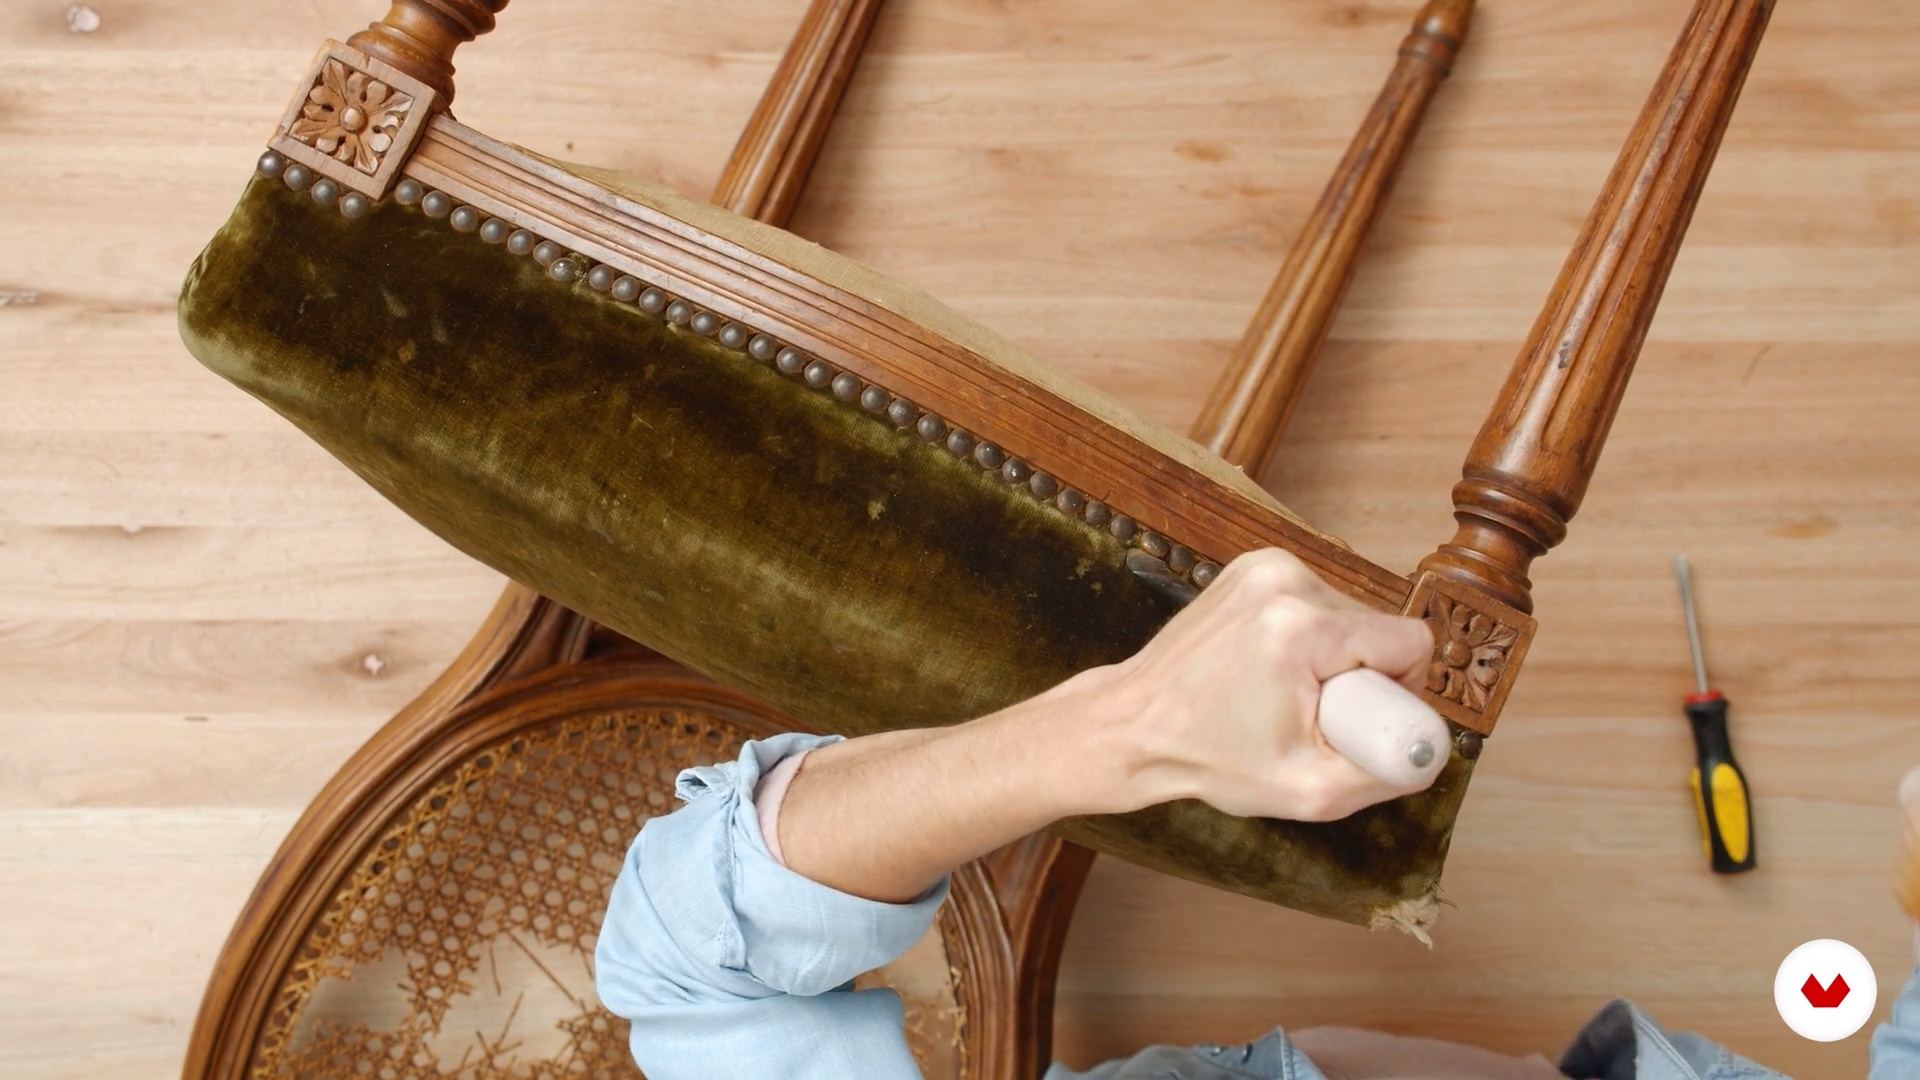
Now we're going to completely disassemble the chair and then begin the recycling and then the upholstery work.
18m
image
9
Putty, glue and wash 1
In this lesson I'll tell you how to fill all those holes we left with putty.
11m
image
10
Putty, glue and wash 2
Now I'll show you how to glue the loose parts so you can then wash the wood and leave it in its natural state.
15m
image
11
Apply webbing and sew springs 1
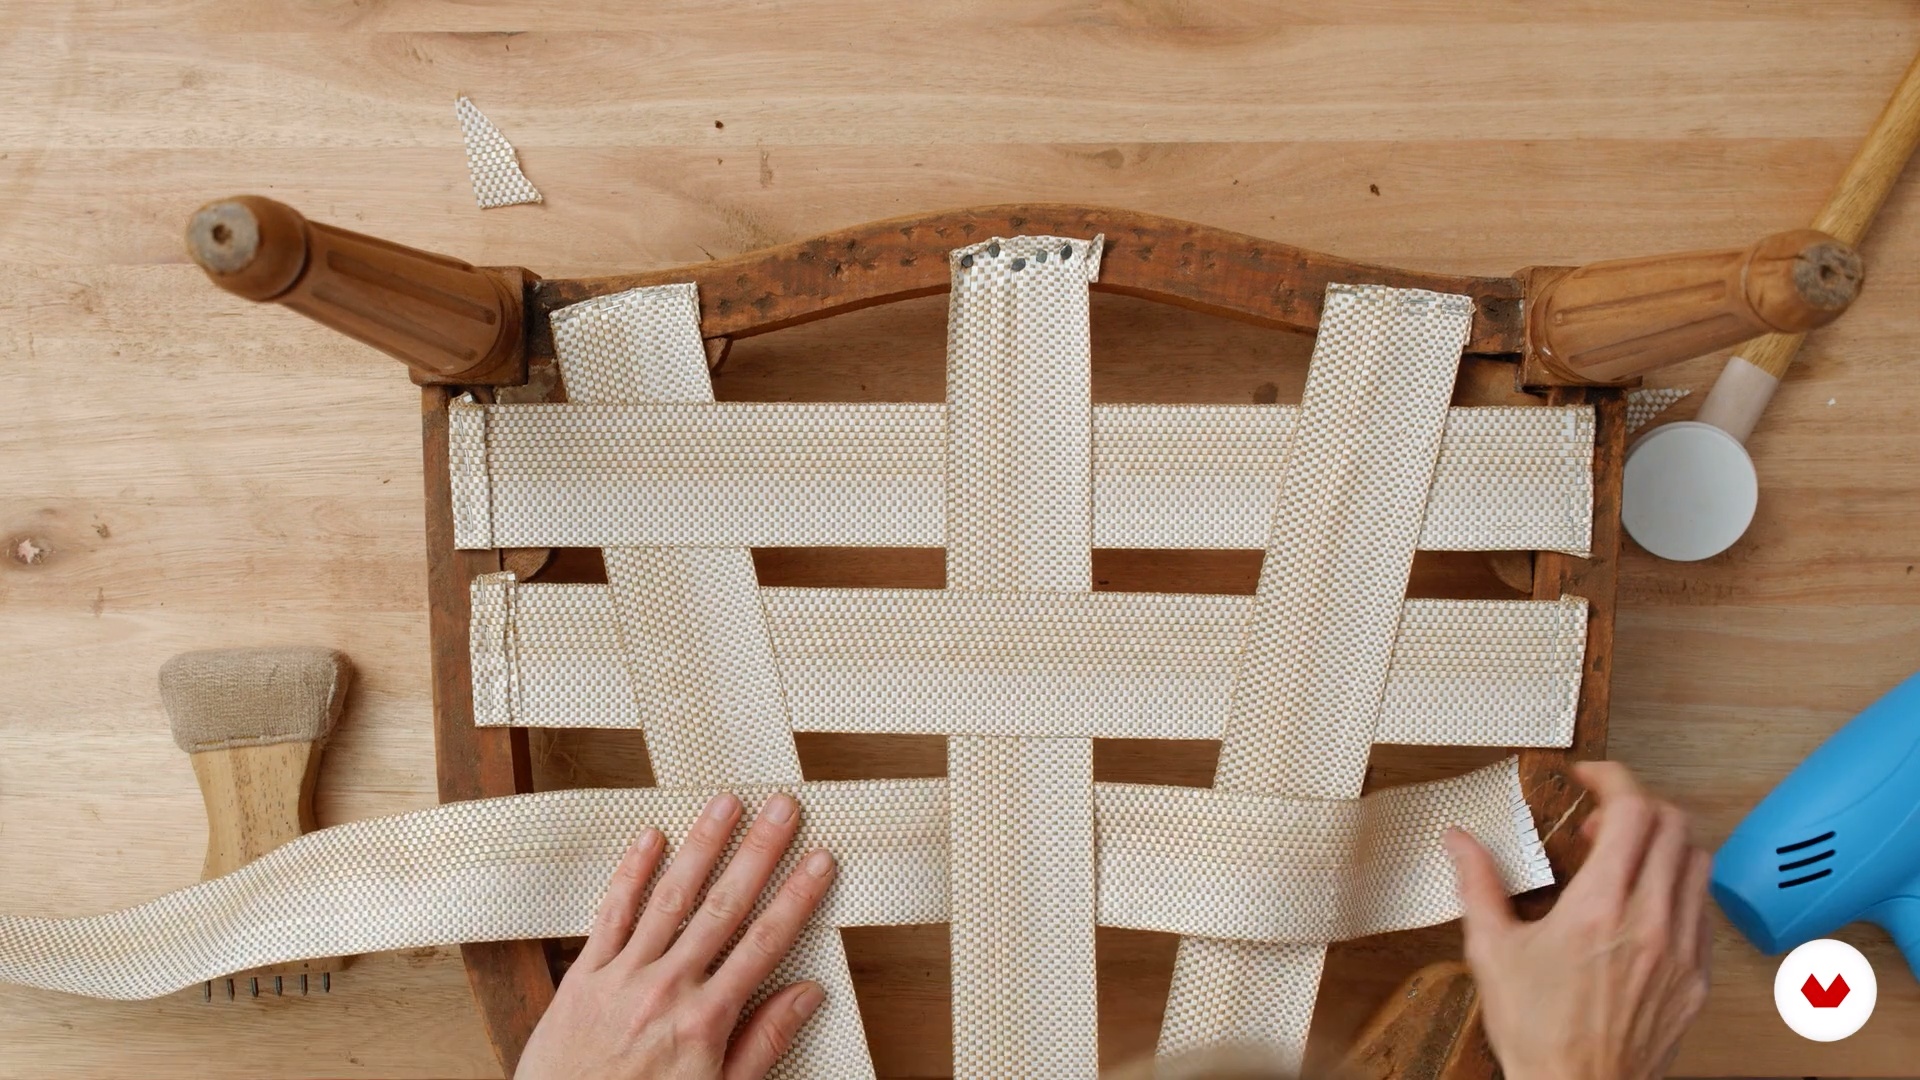
In this lesson we will look at the fundamental part of a style seat, which is how to attach the straps.
18m
image
12
Attach webbing and sew springs 2
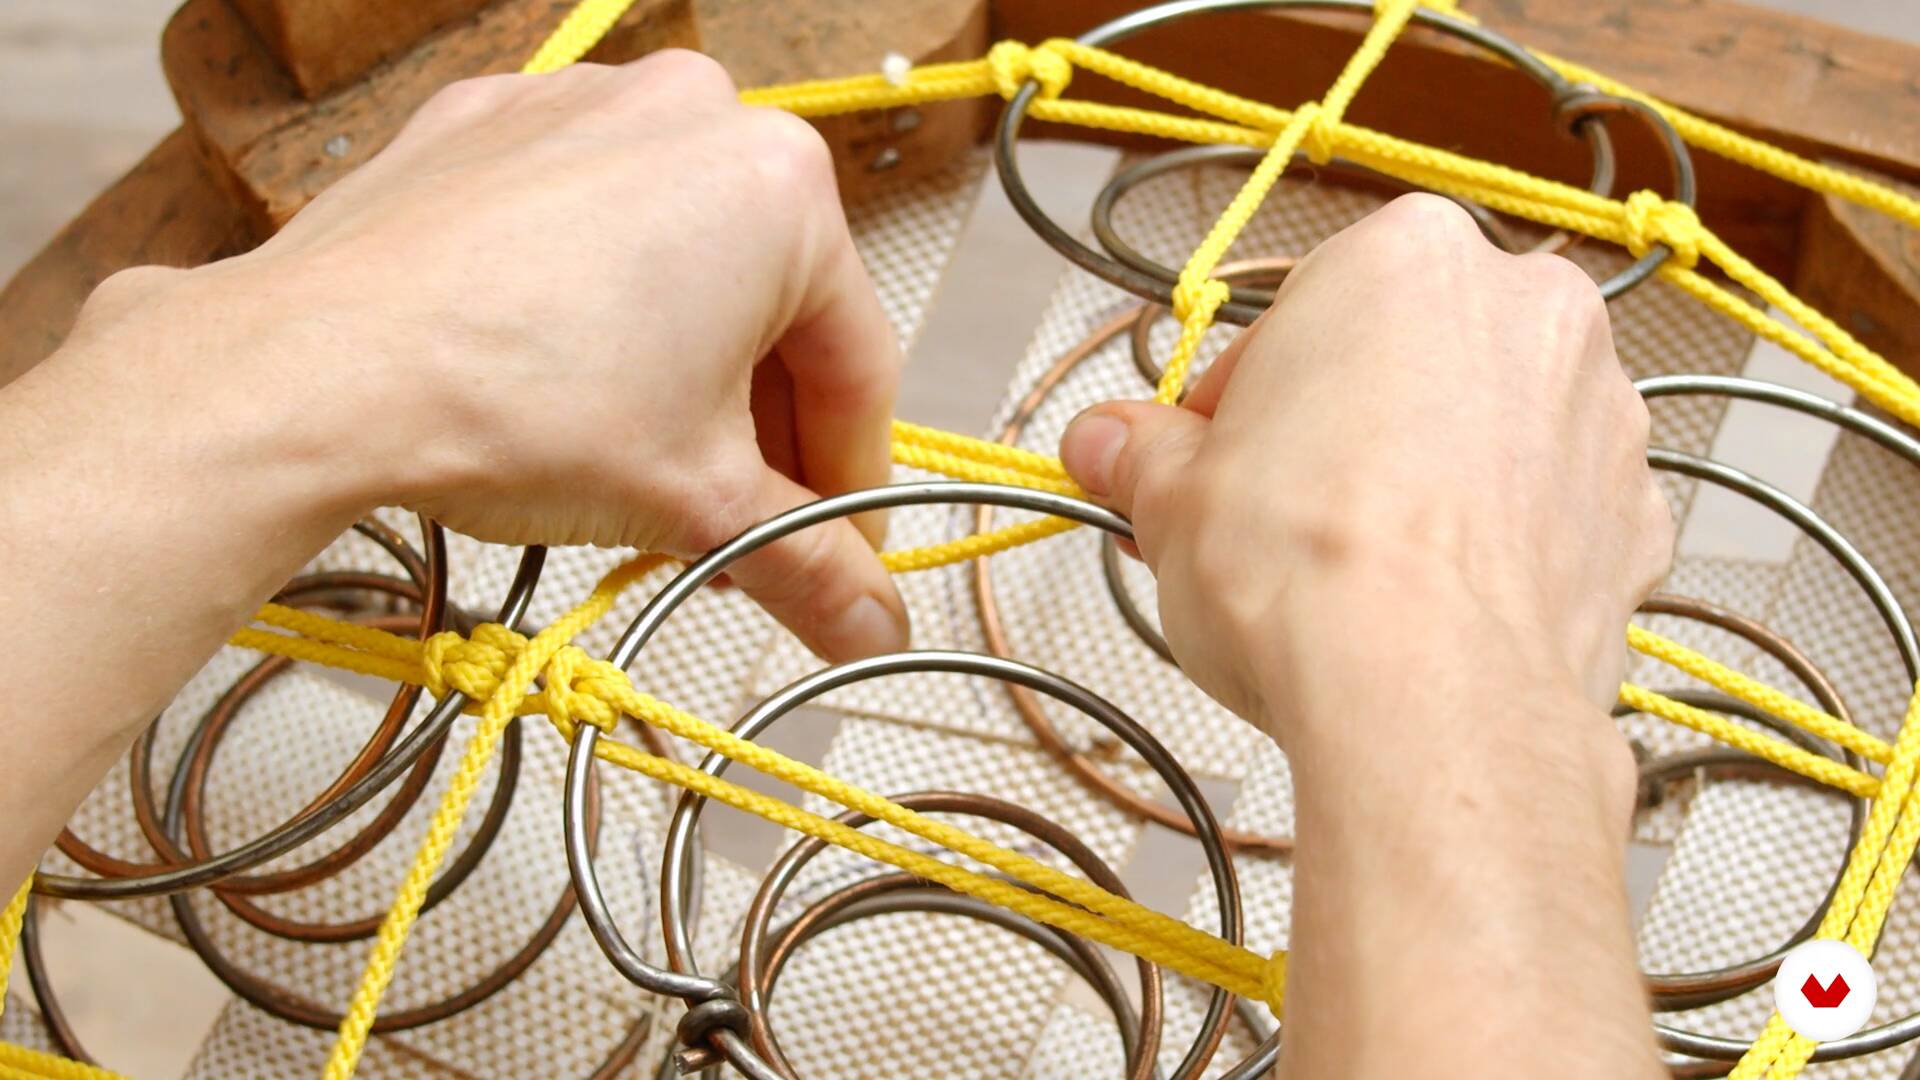
In this second part, I'll show you how to tie the springs, creating a seat of great comfort and quality. I'll show you how to place the fabric so it hides all the springs.
17m
image
13
The filling 1
In this lesson, I'll teach you how to recover old padding and add new foam rubber.
16m
image
14
Filler 2
It's time to show you some tips to help you make the 45-degree cut as neatly as possible. This will be very useful. I'll show you how to position the batting so it fits perfectly with the filling.
16m
image
15
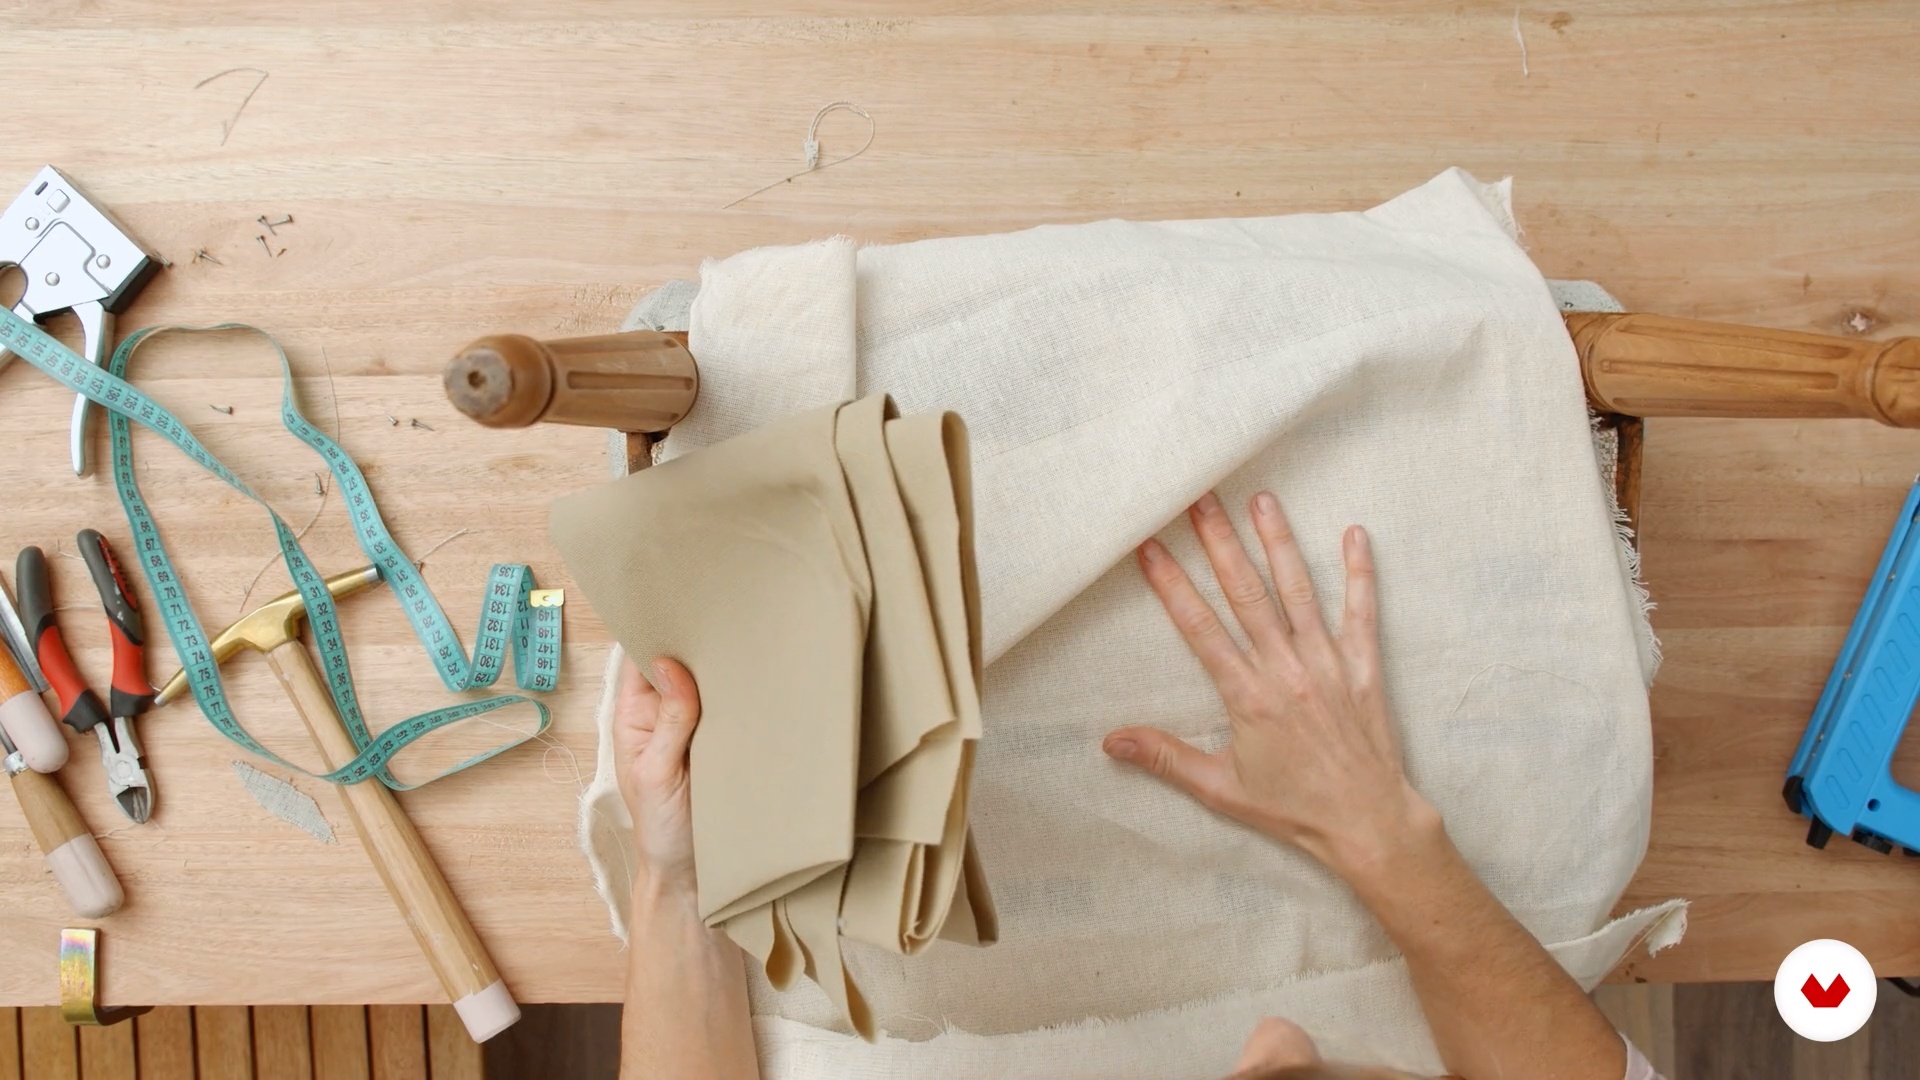
The cloth
Now I will show you how to calculate the fabric and make the patterns.
13m
image
16
The backup
In this lesson, I'll show you how to make a backup. It's a simpler part, and we'll only cover the key points to keep in mind.
4m
image
17
Final Canvas
In this lesson I will show you how to place the final canvas that covers everything.
2m
image
18
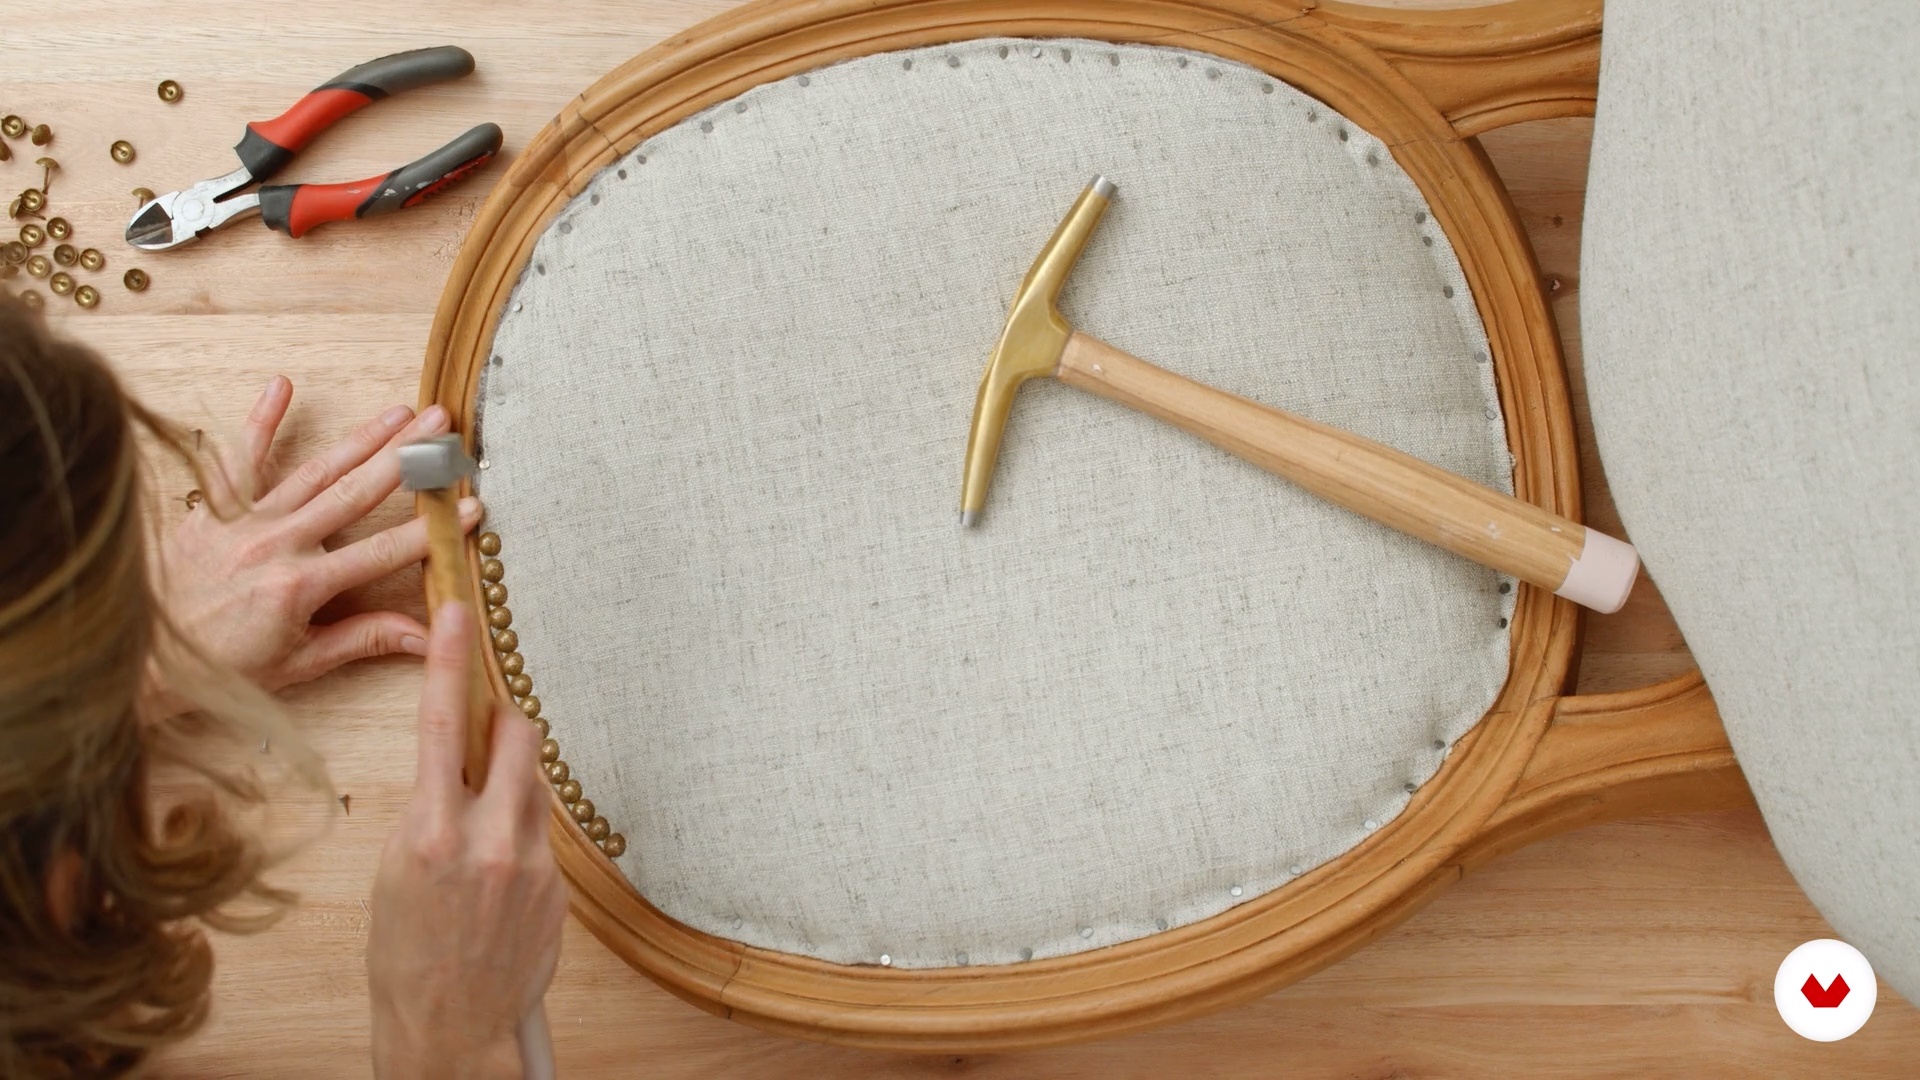
Studs
In this lesson, I'll show you how to apply finishing touches and share my secret to making them look neat.
4m
image
3
What is wood washing?
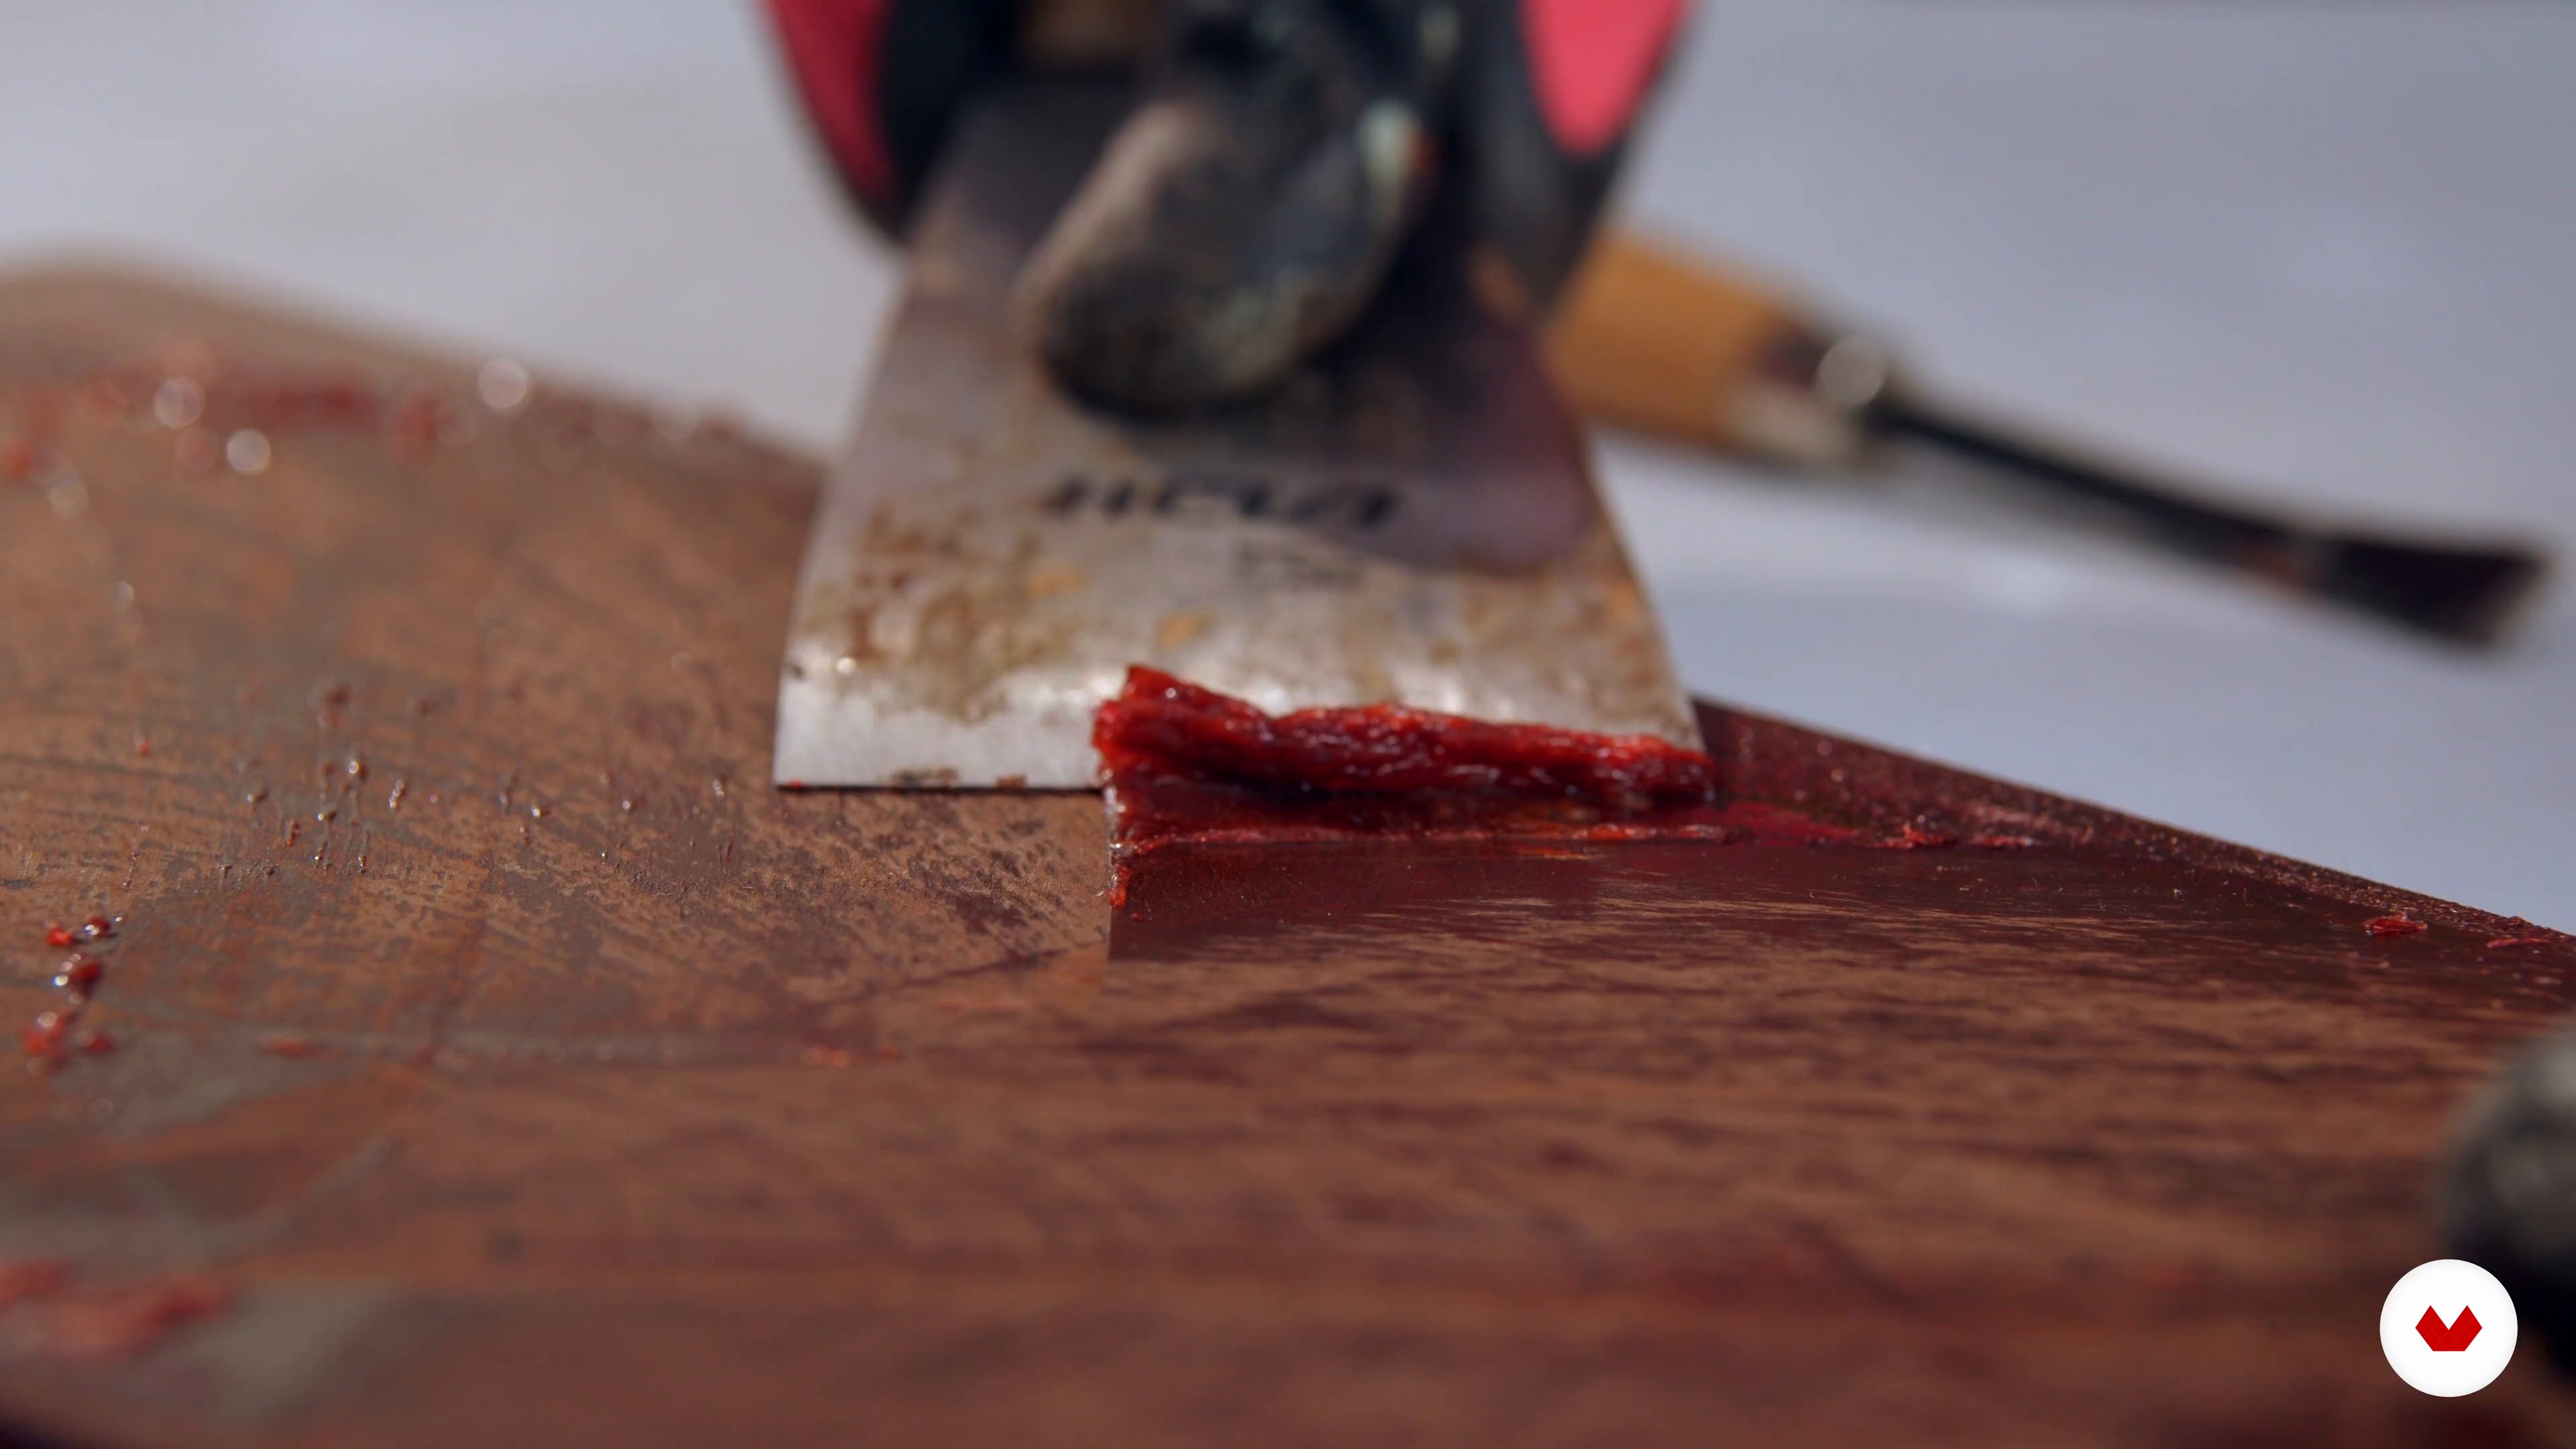
Wood washing is a treatment that removes old varnish, along with stains, scratches, and accumulated dirt, leaving the natural wood exposed. This technique can be used in both restoration and renovation. In this lesson, we'll show you the difference between restoring and refinishing a piece of furniture, as people often confuse the two. Although they may seem like the same thing, the ultimate goal of each is very different. This can also be very important when choosing the piece to work on.
3m
image
4
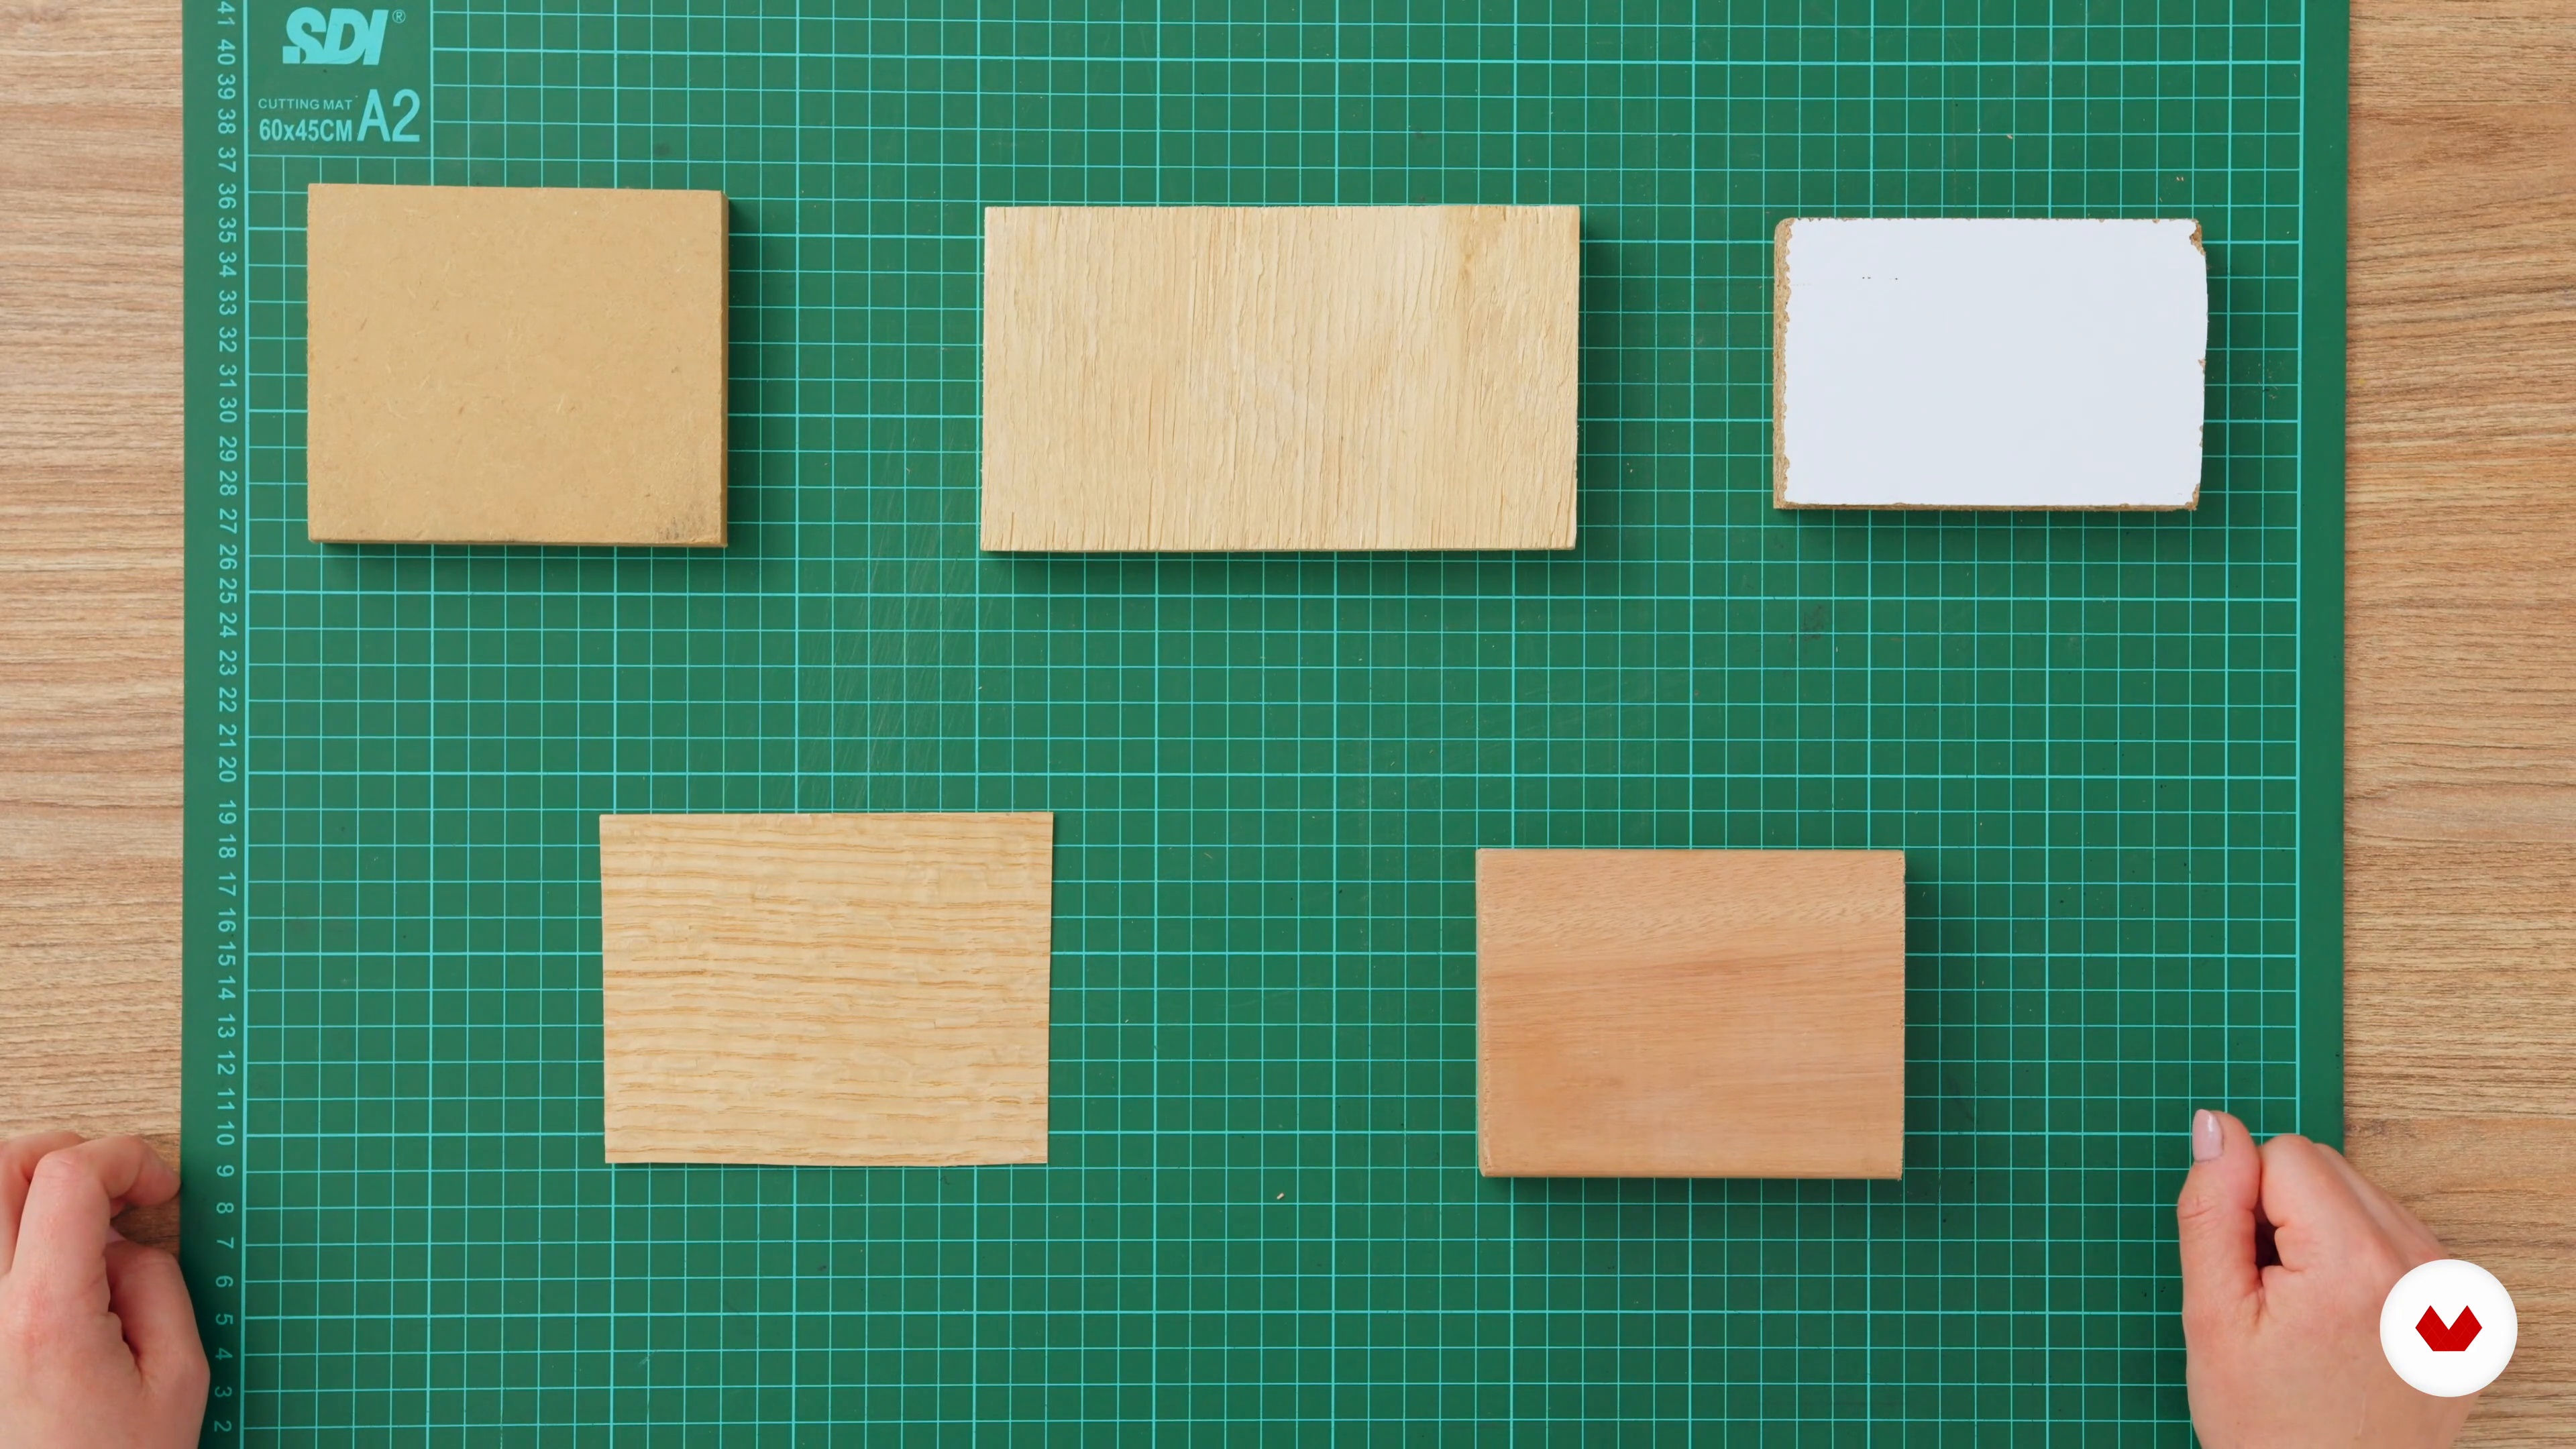
What woods are the furniture made of?
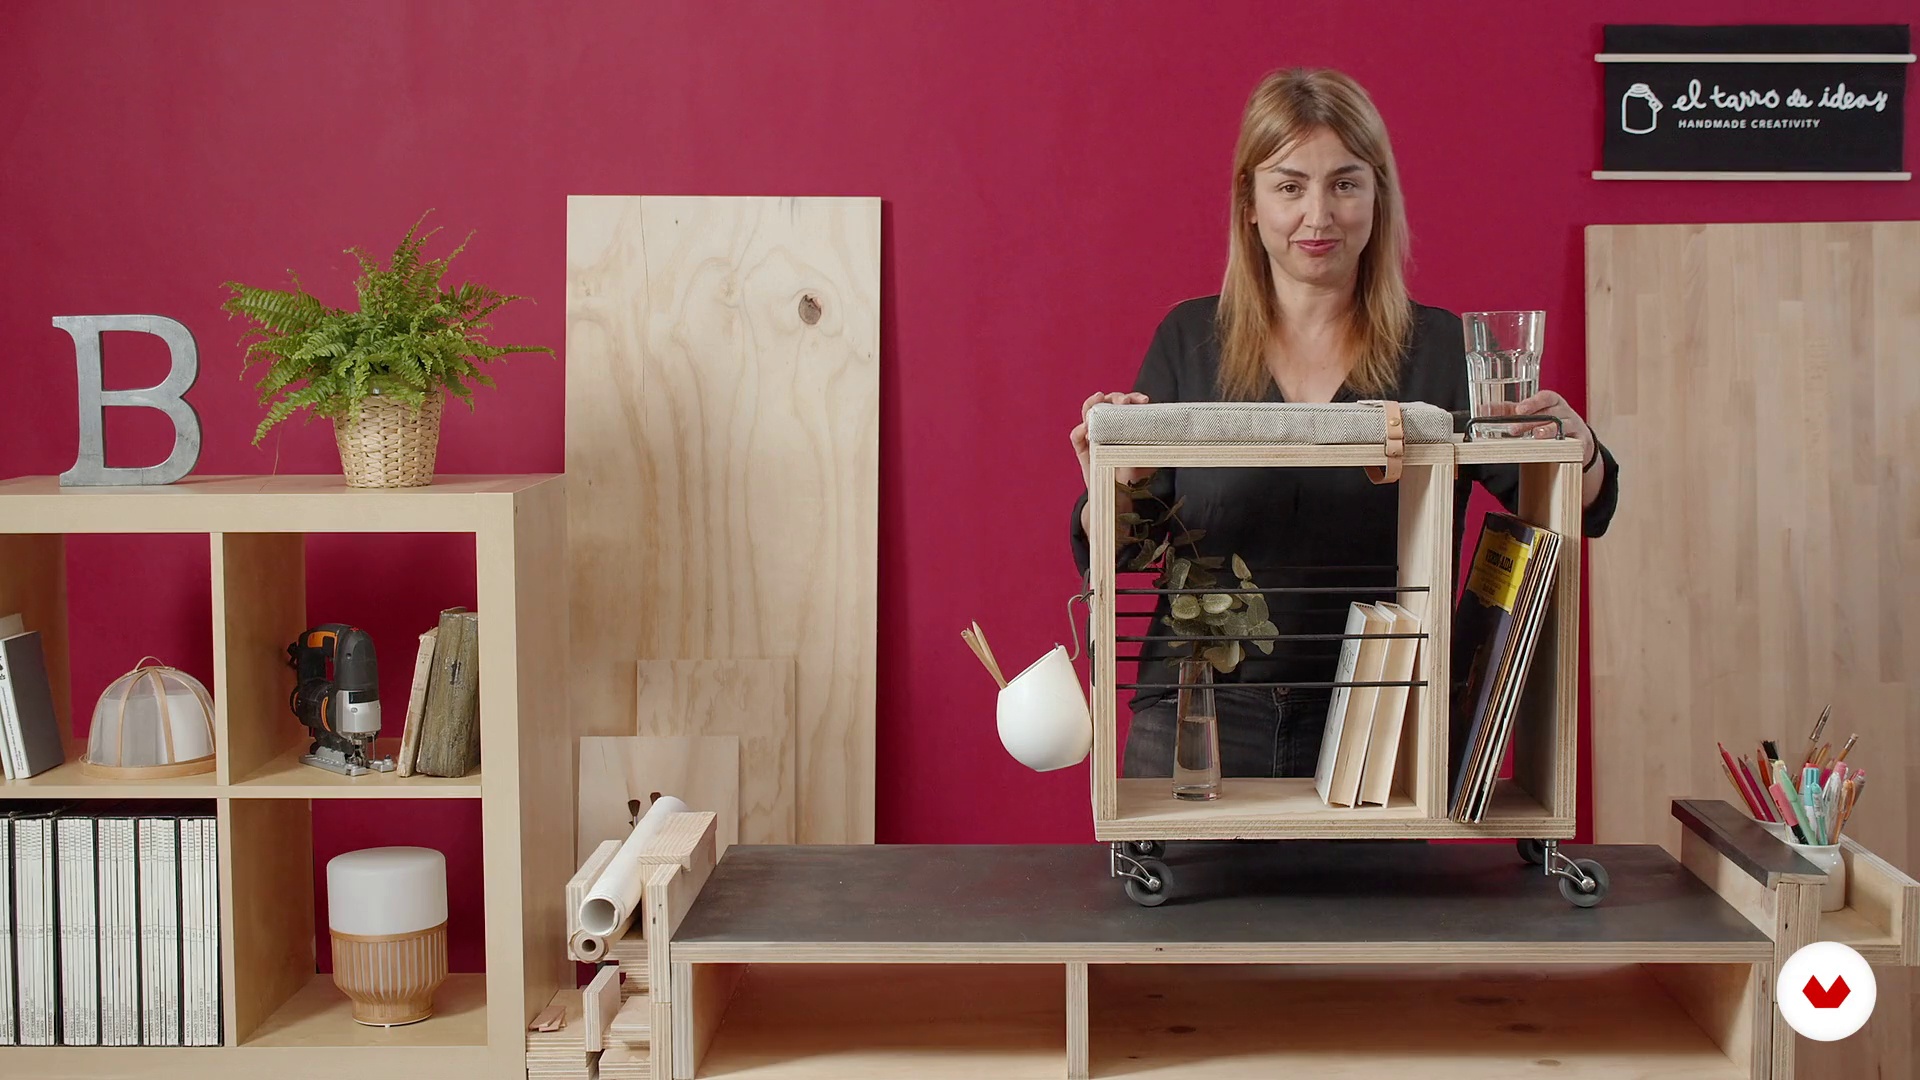
Now, let's look at what types of wood we can find in furniture and understand which ones are washable. This will help you choose a piece for your course project.
5m
image
5
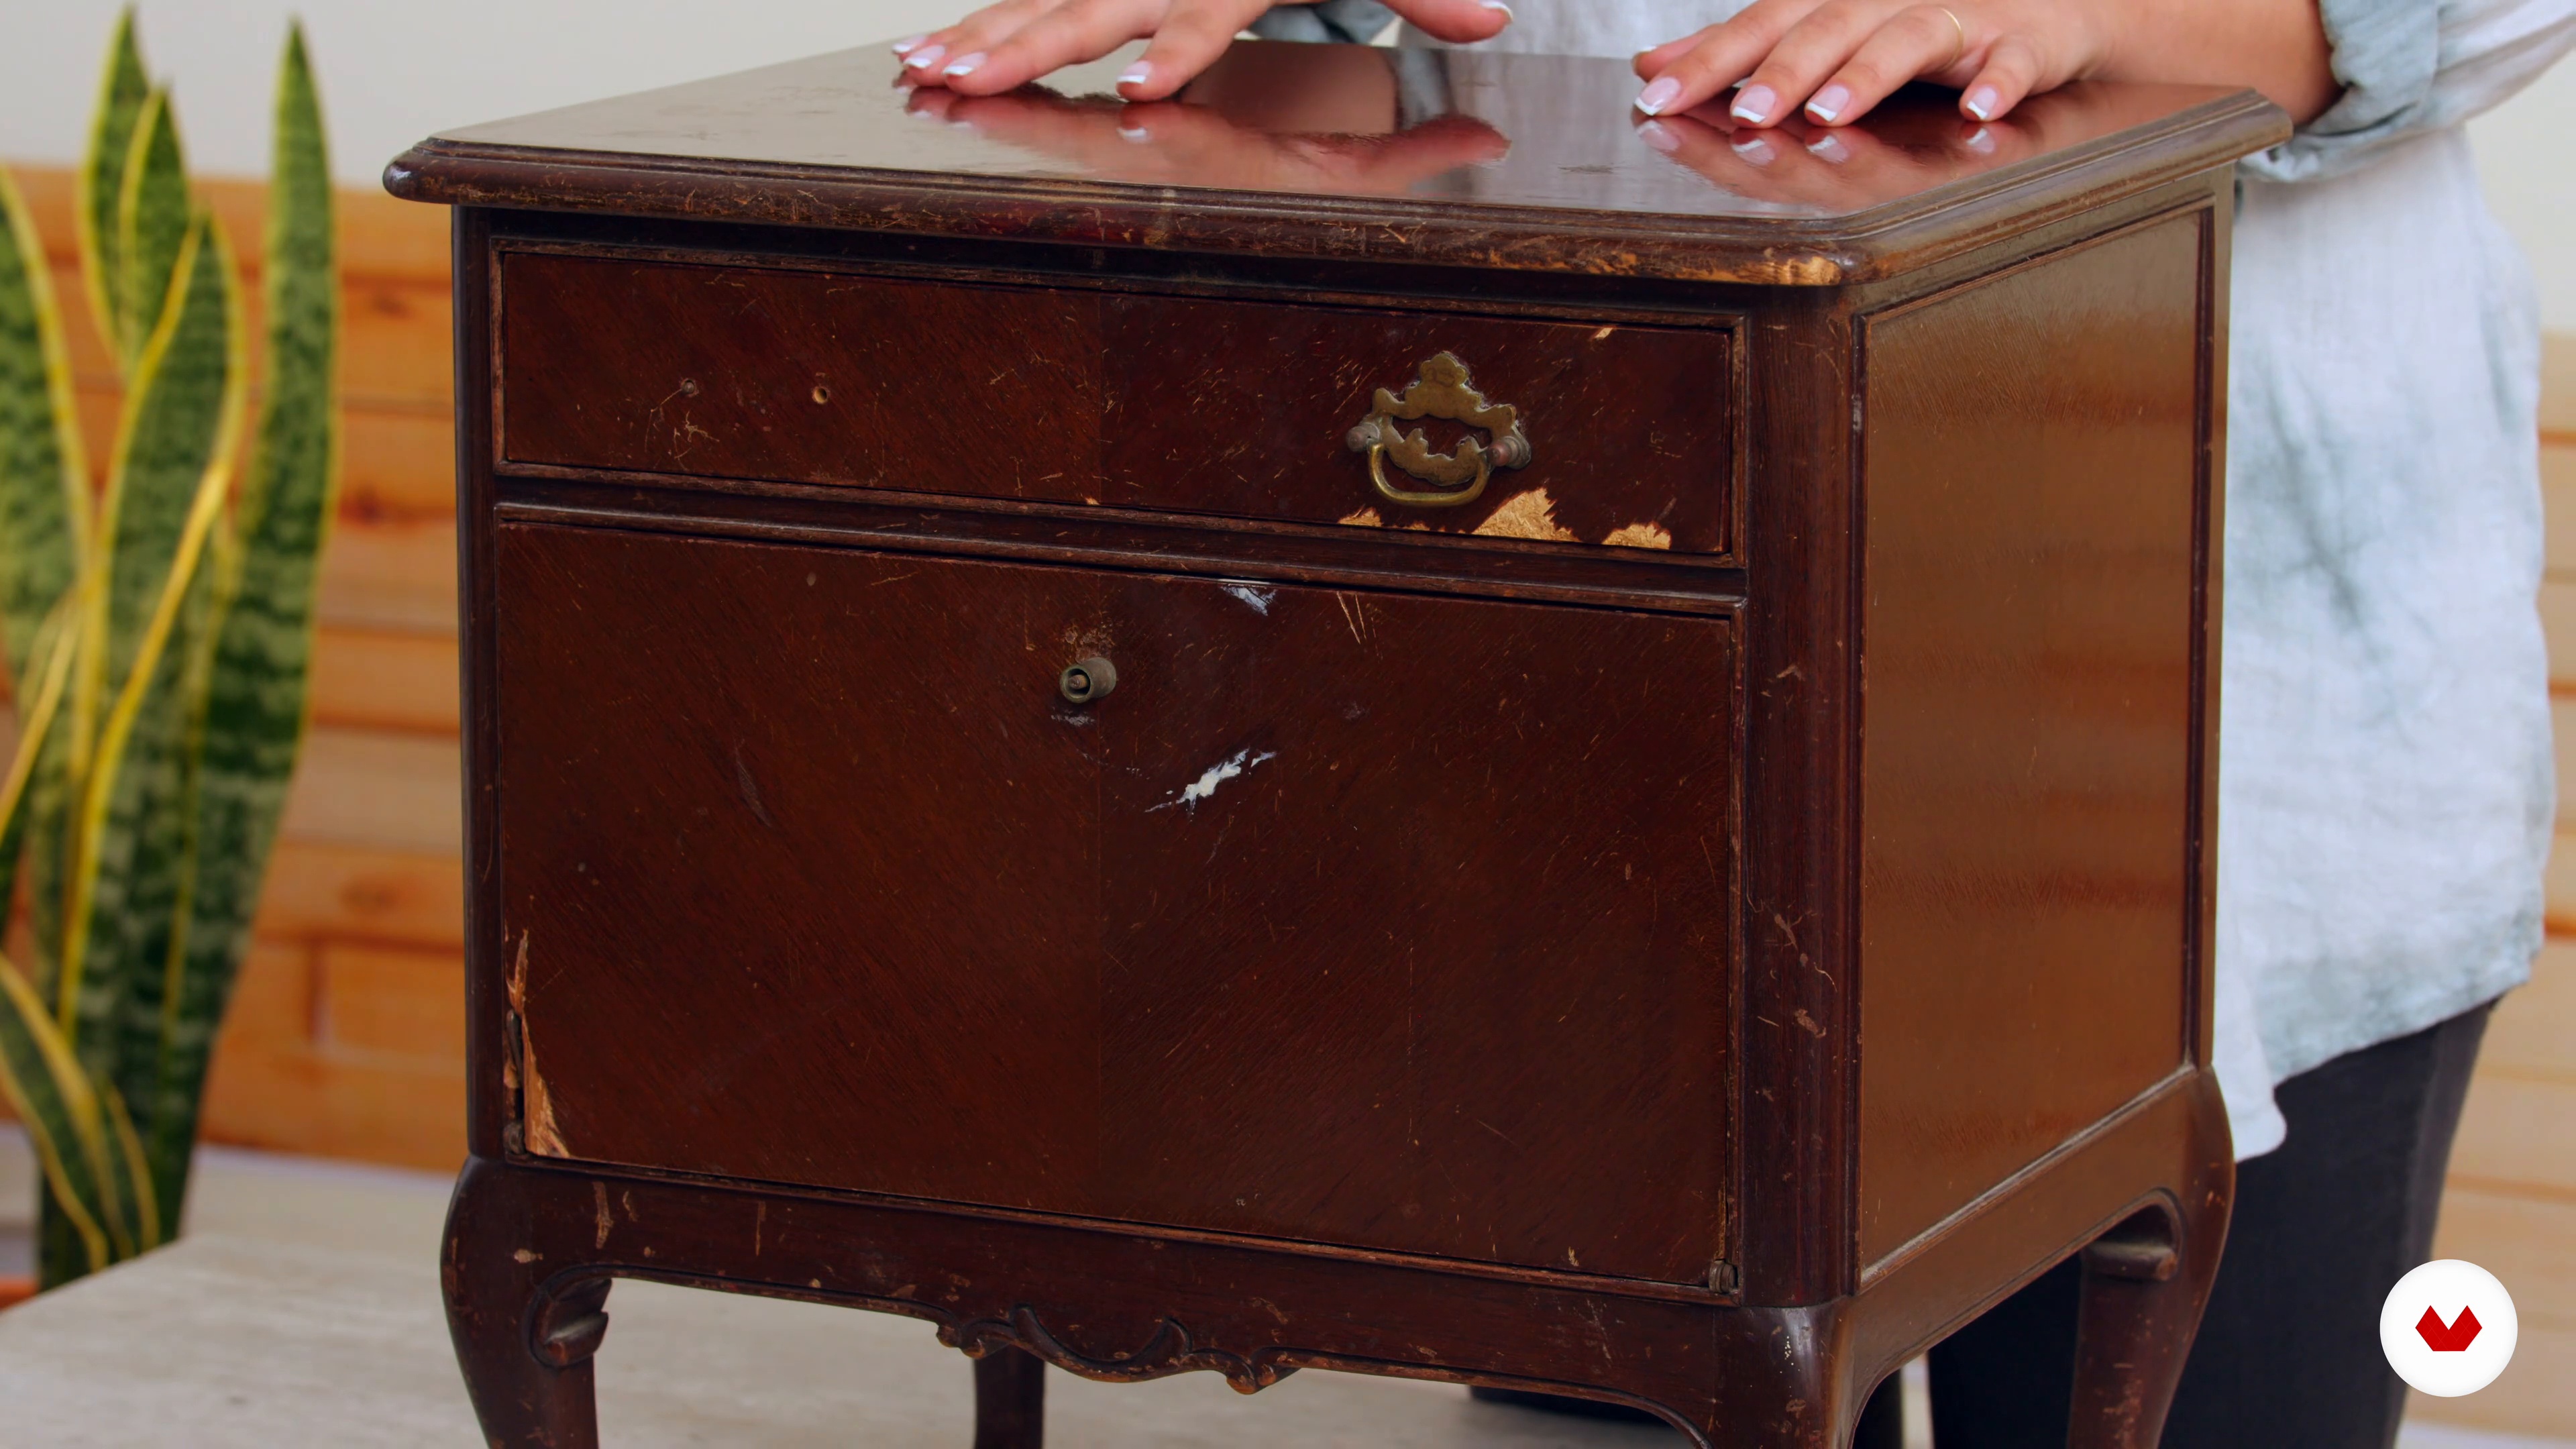
Choose and find the furniture
In this lesson, we'll prepare for the project. We'll choose and analyze a piece of furniture before starting work so we can get started.
2m
image
6
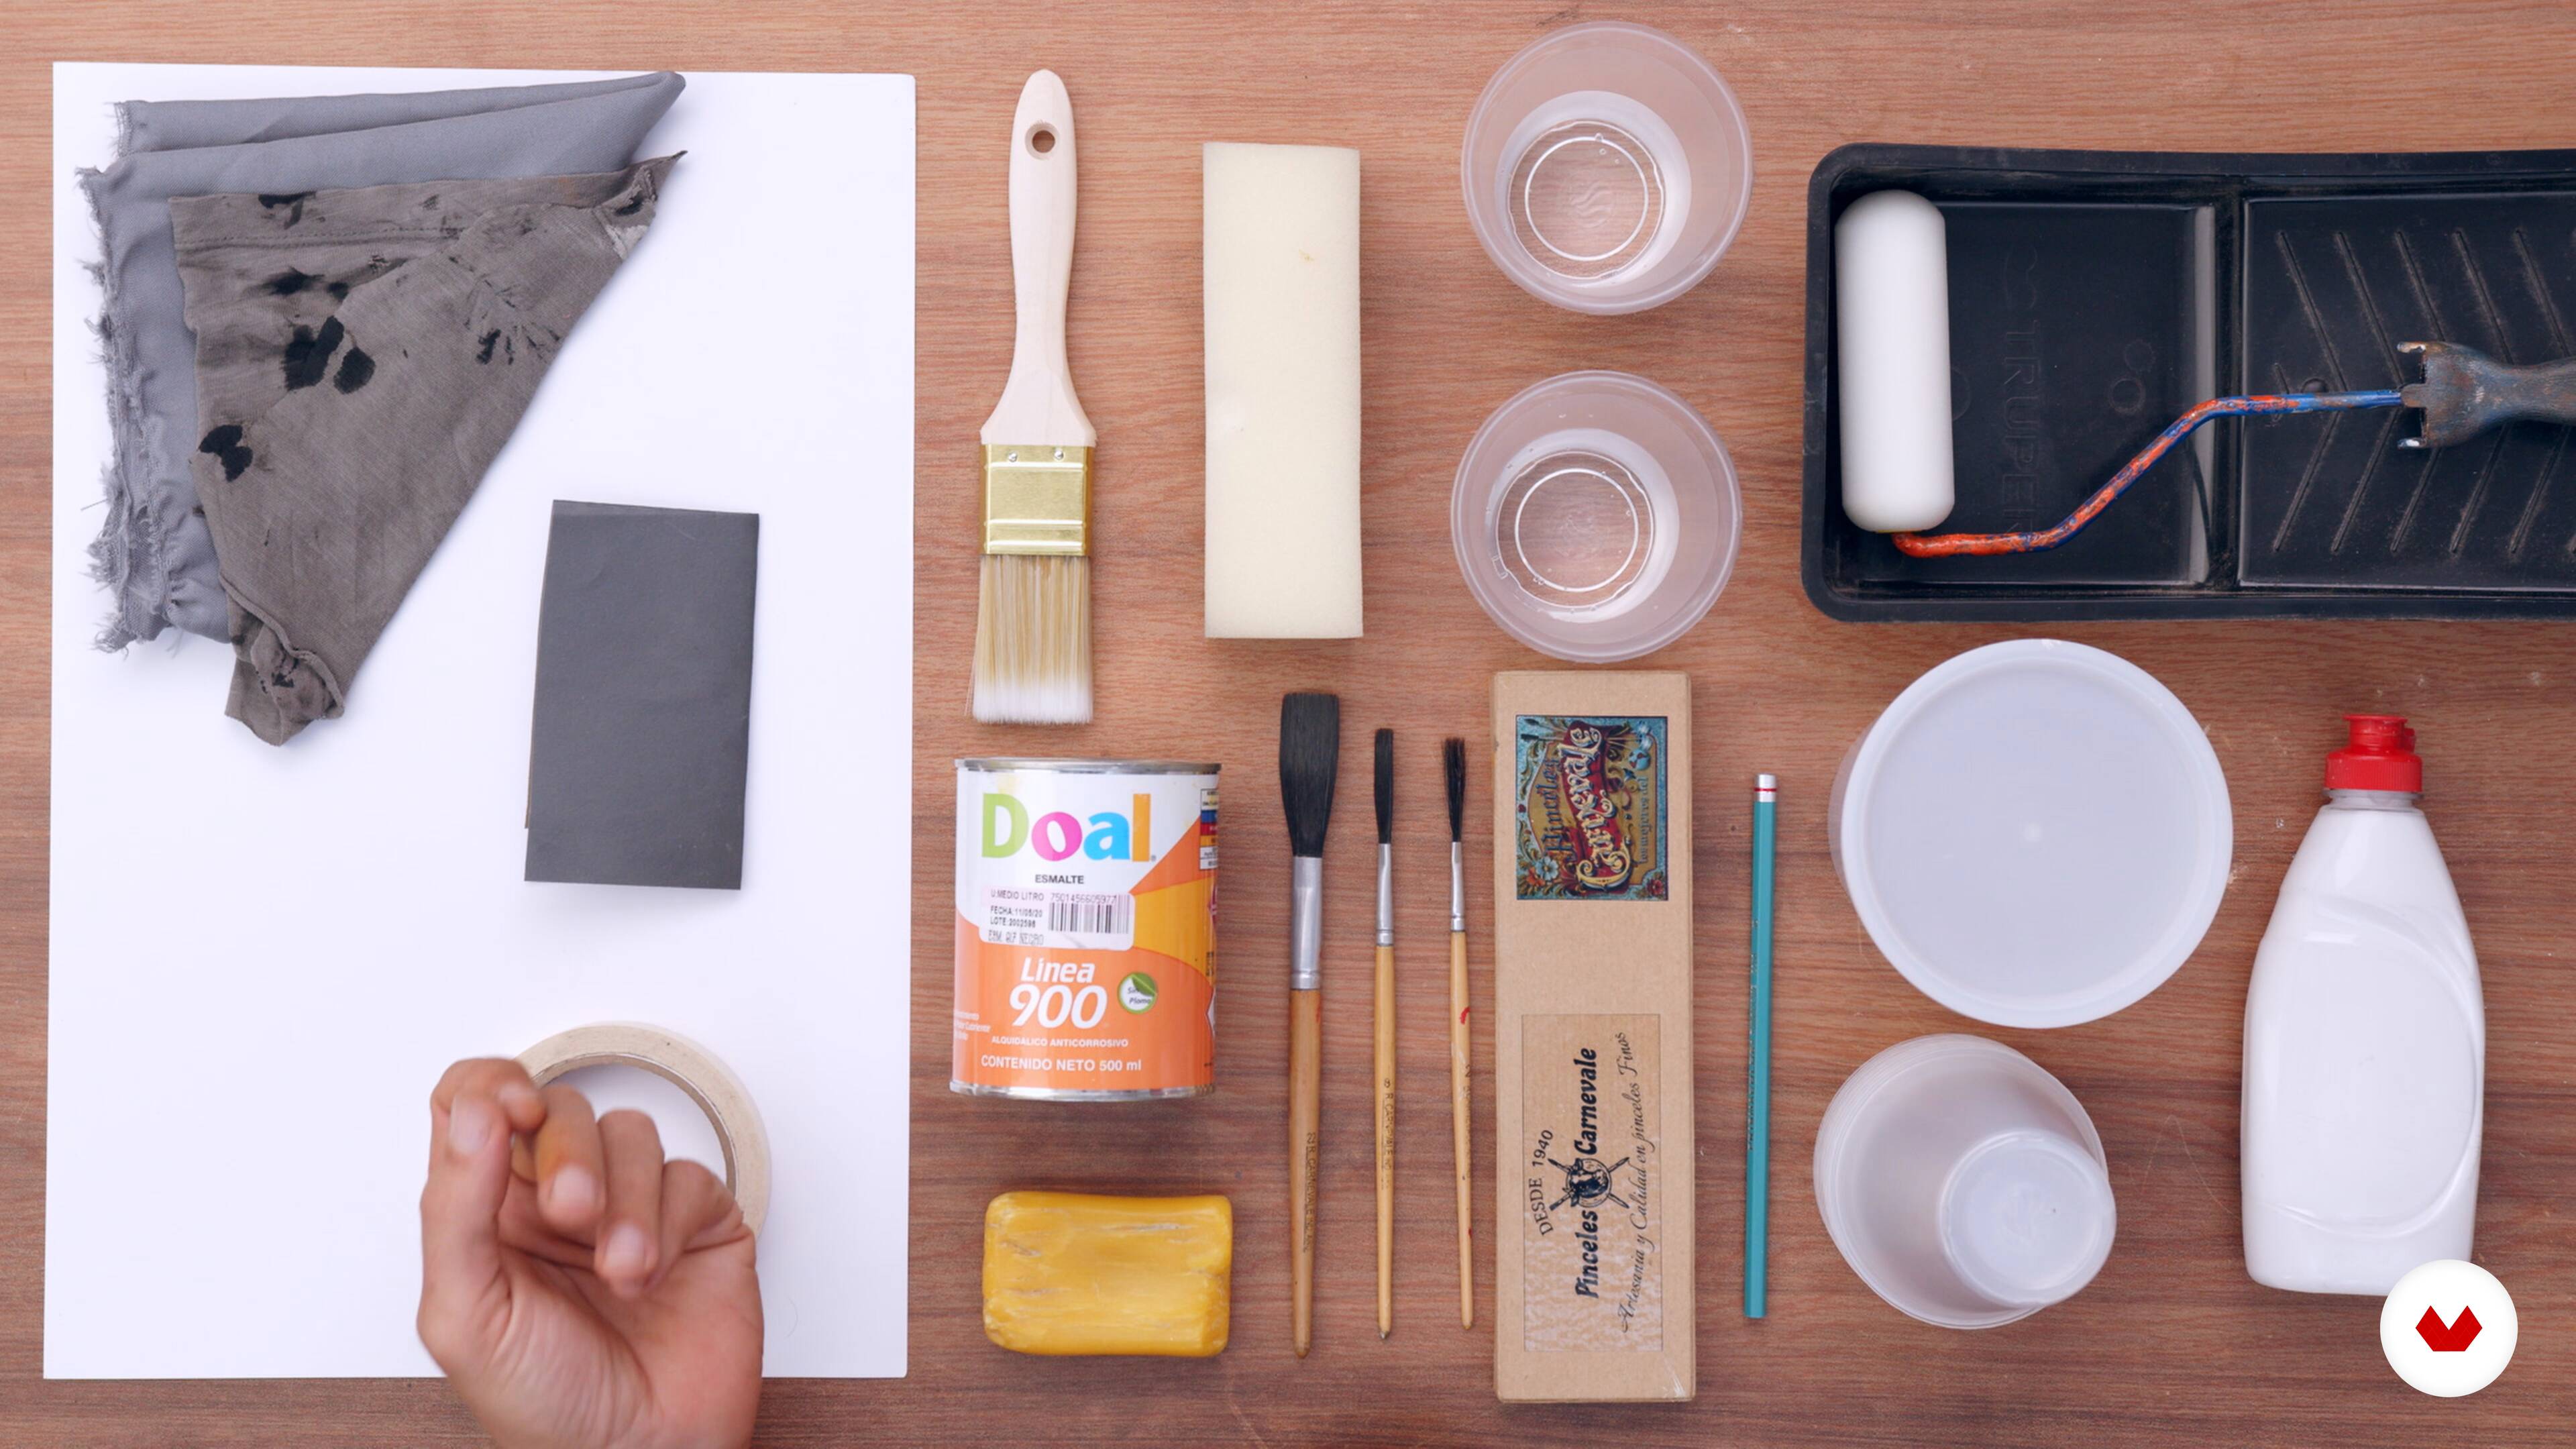
Tools and materials
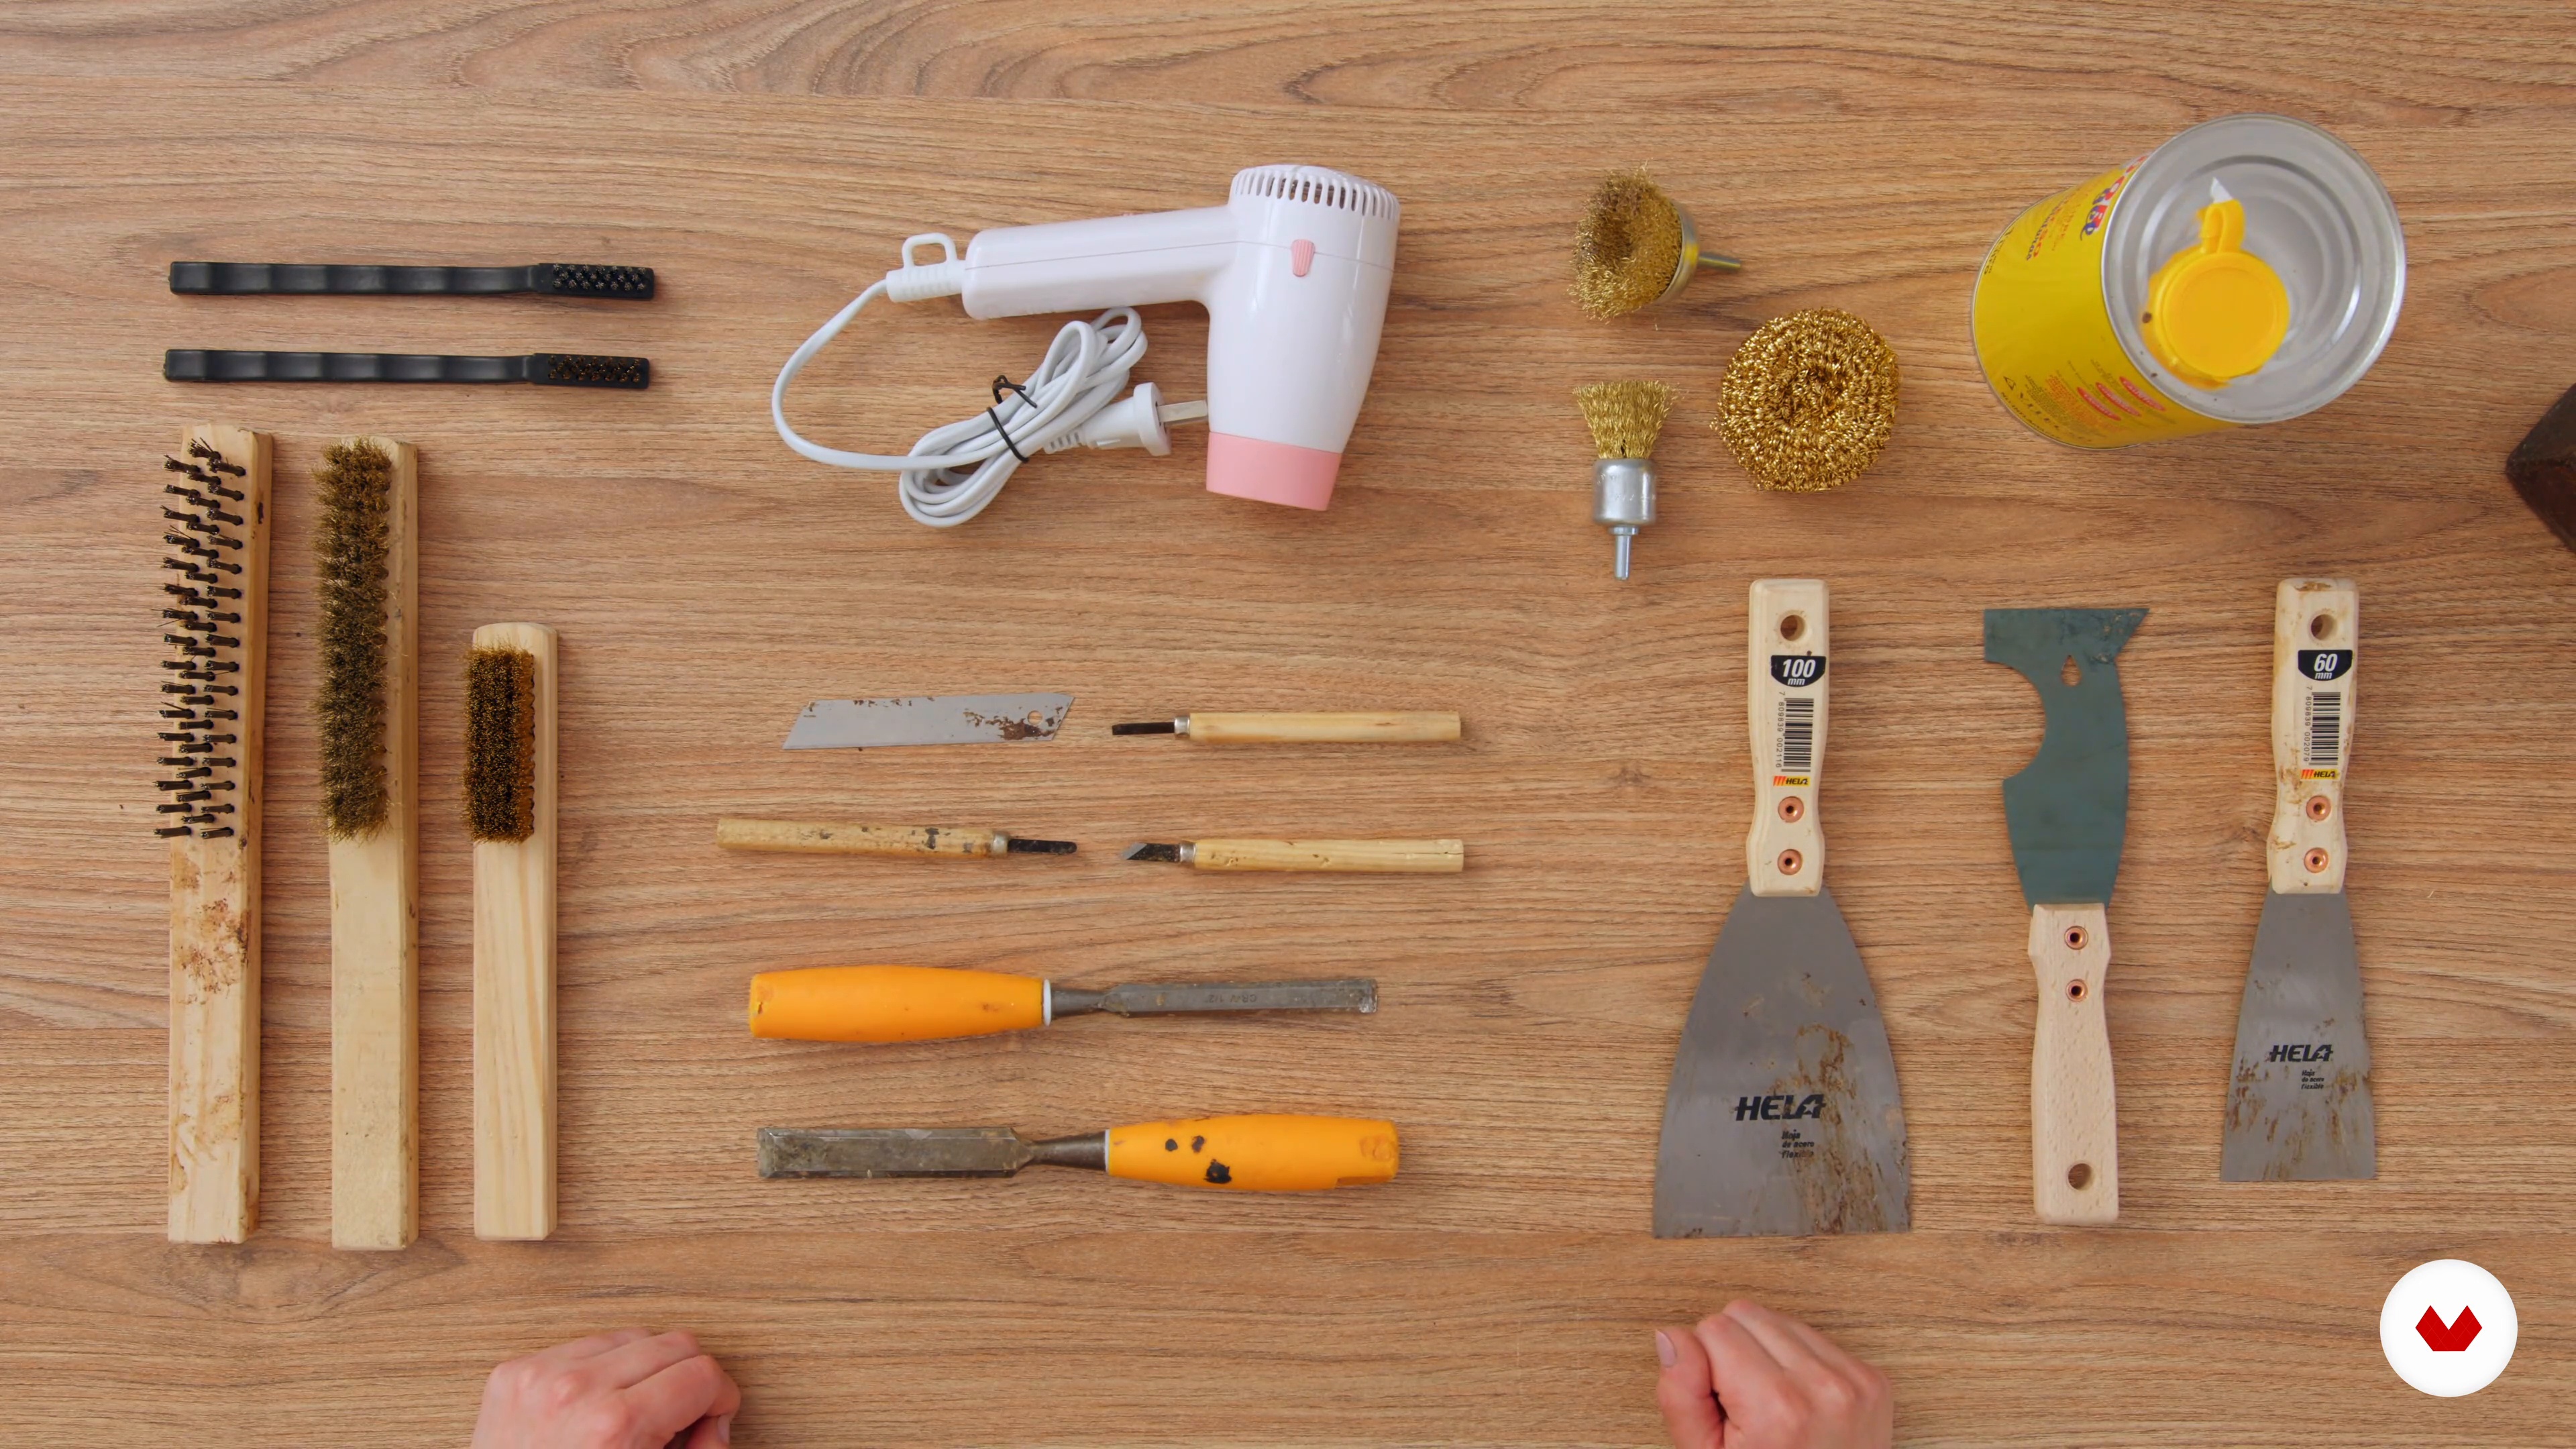
We're going to present the elements that are essential for wood washing and, in this way, be able to complete the project.
7m
image
7
Preparation of surfaces 1
In this lesson, we'll explore the importance of surface preparation before beginning wood washing. We'll walk you through the best steps to achieve a satisfactory and long-lasting result.
9m
image
8
Preparation of surfaces 2
In this second part of the lesson, you'll learn more about the application of some products and their purposes.
16m
image
9
Removal of varnish, stains and dirt
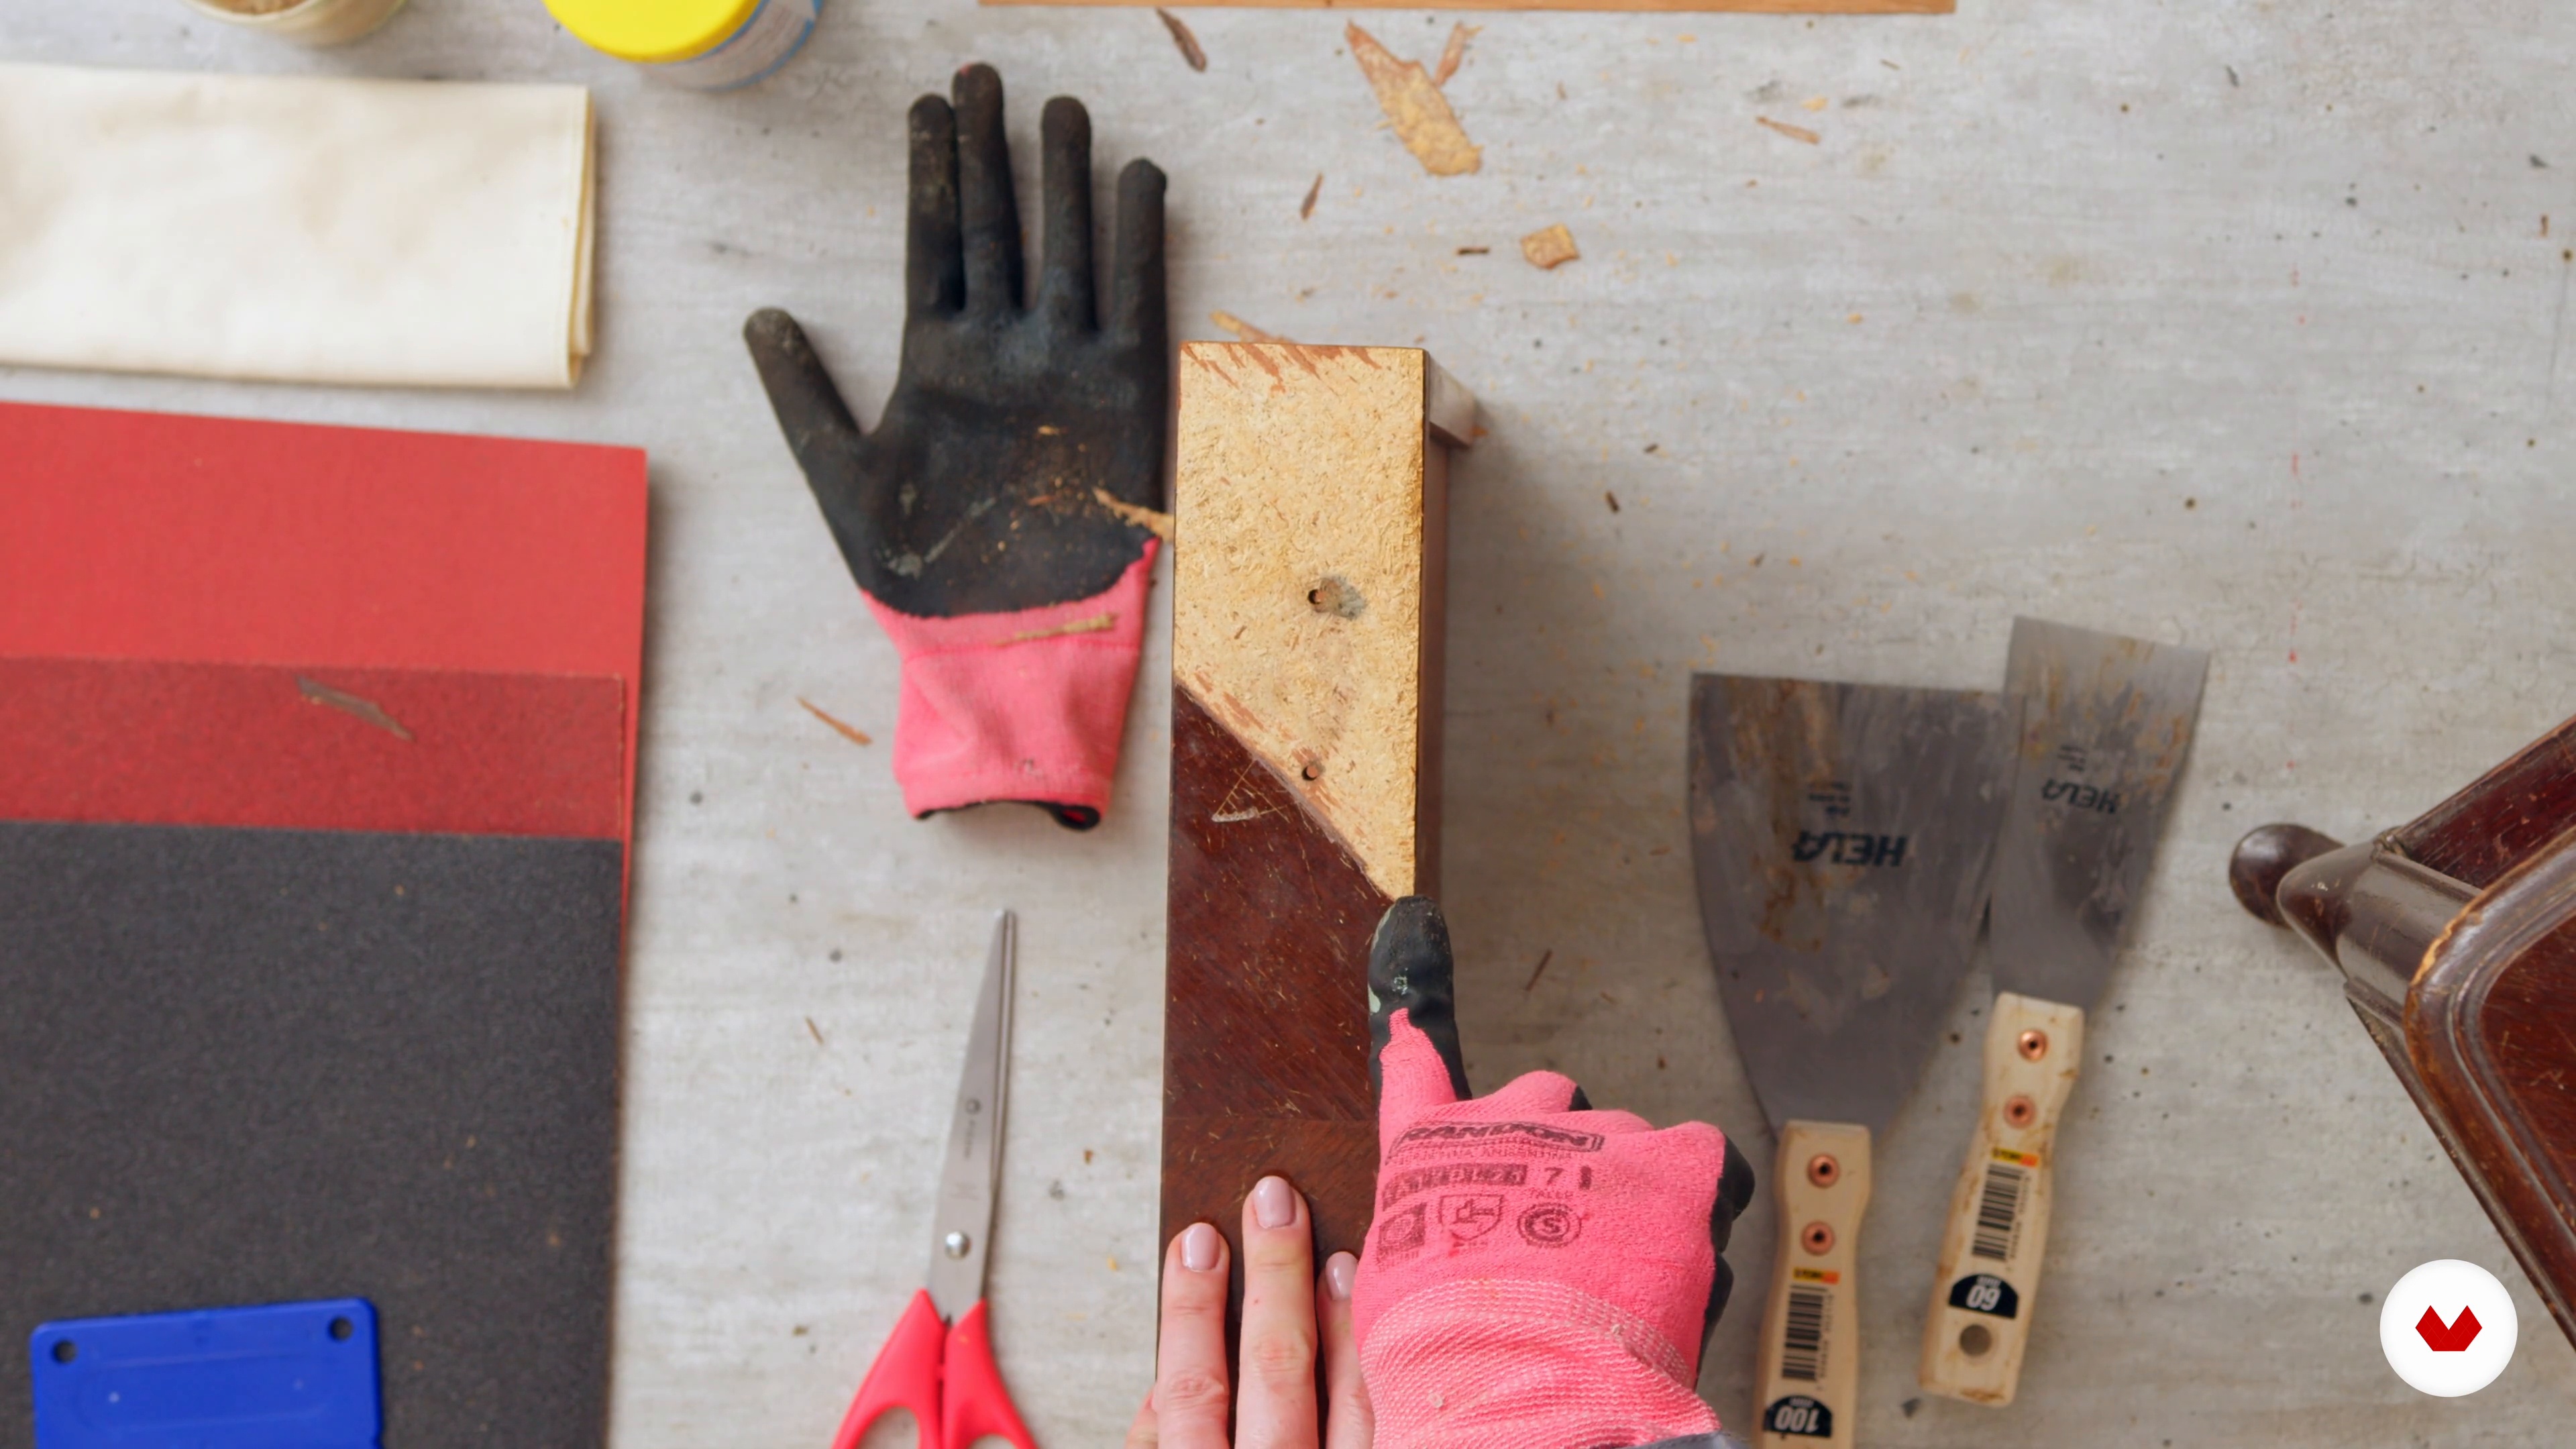
In this lesson we will show the main technique of wood washing using gel remover and the tools to remove it.
20m
image
10
Washing the furniture with water
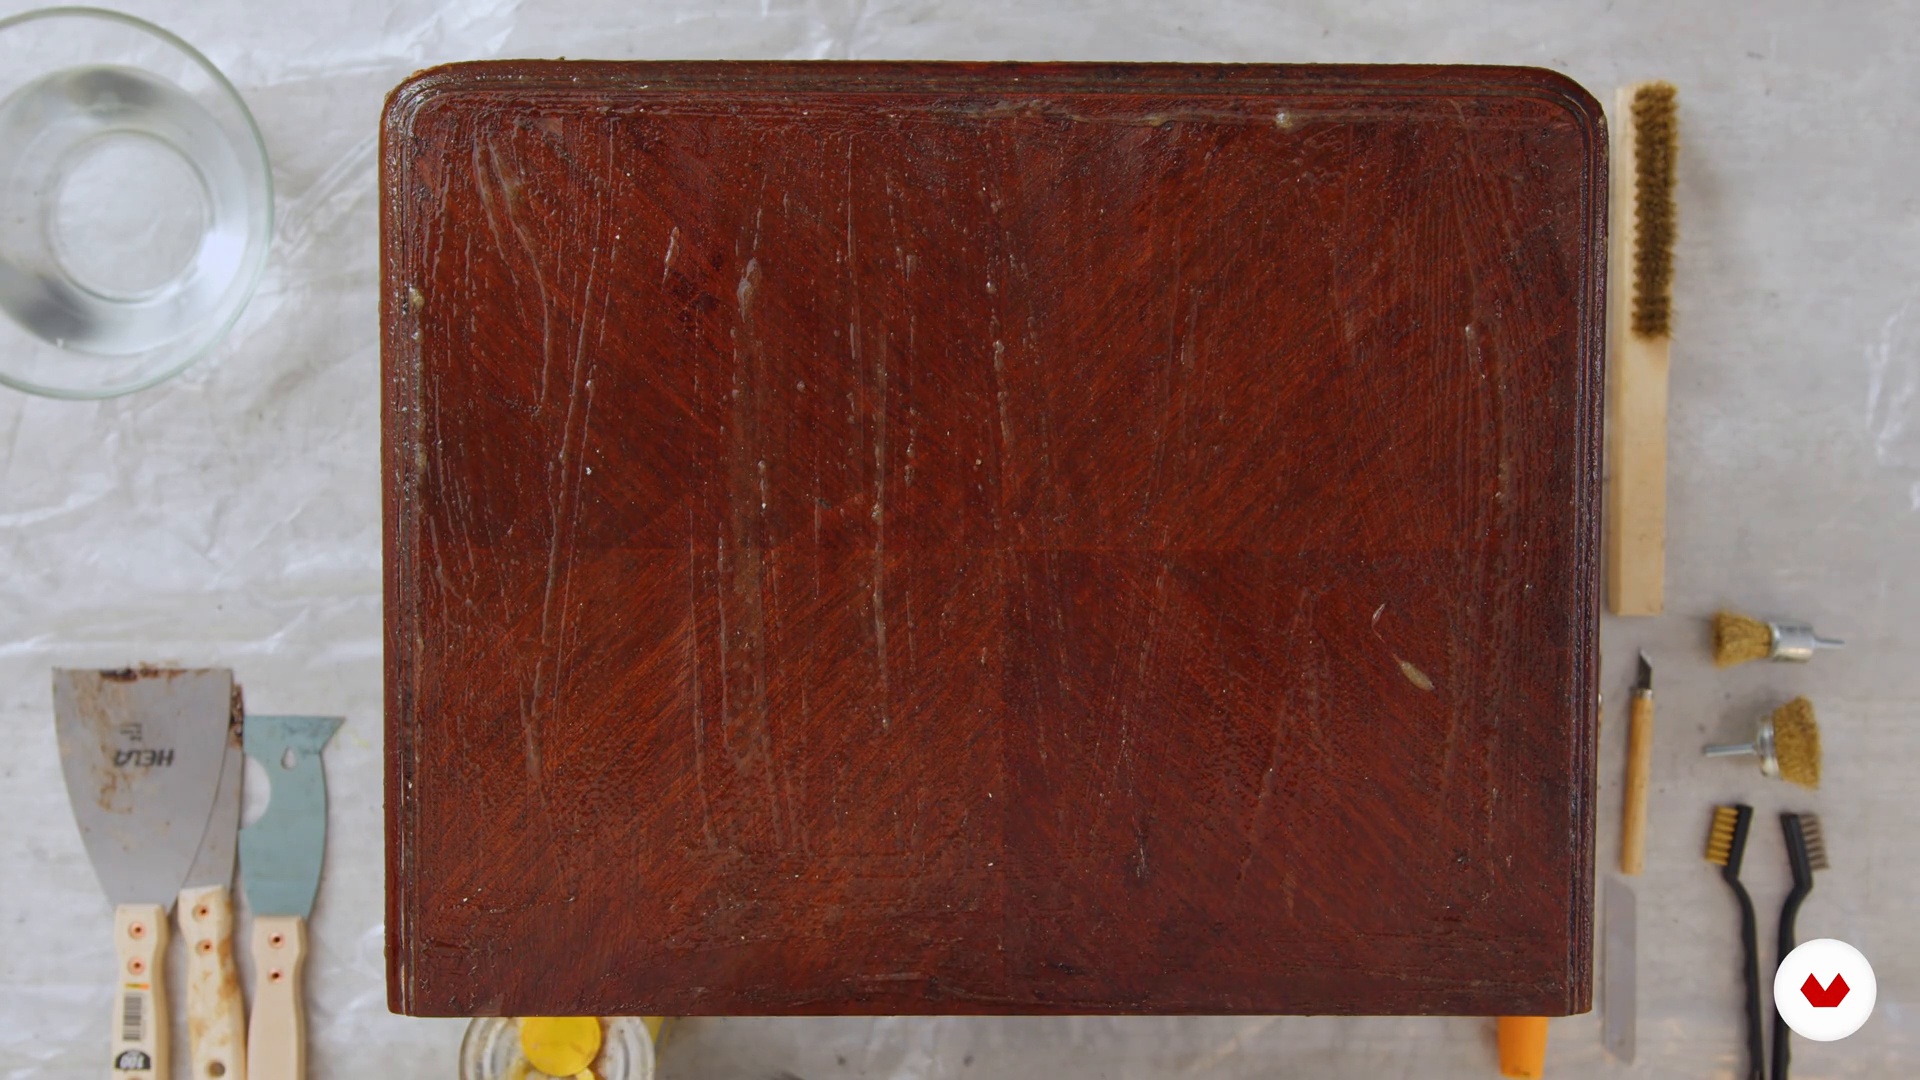
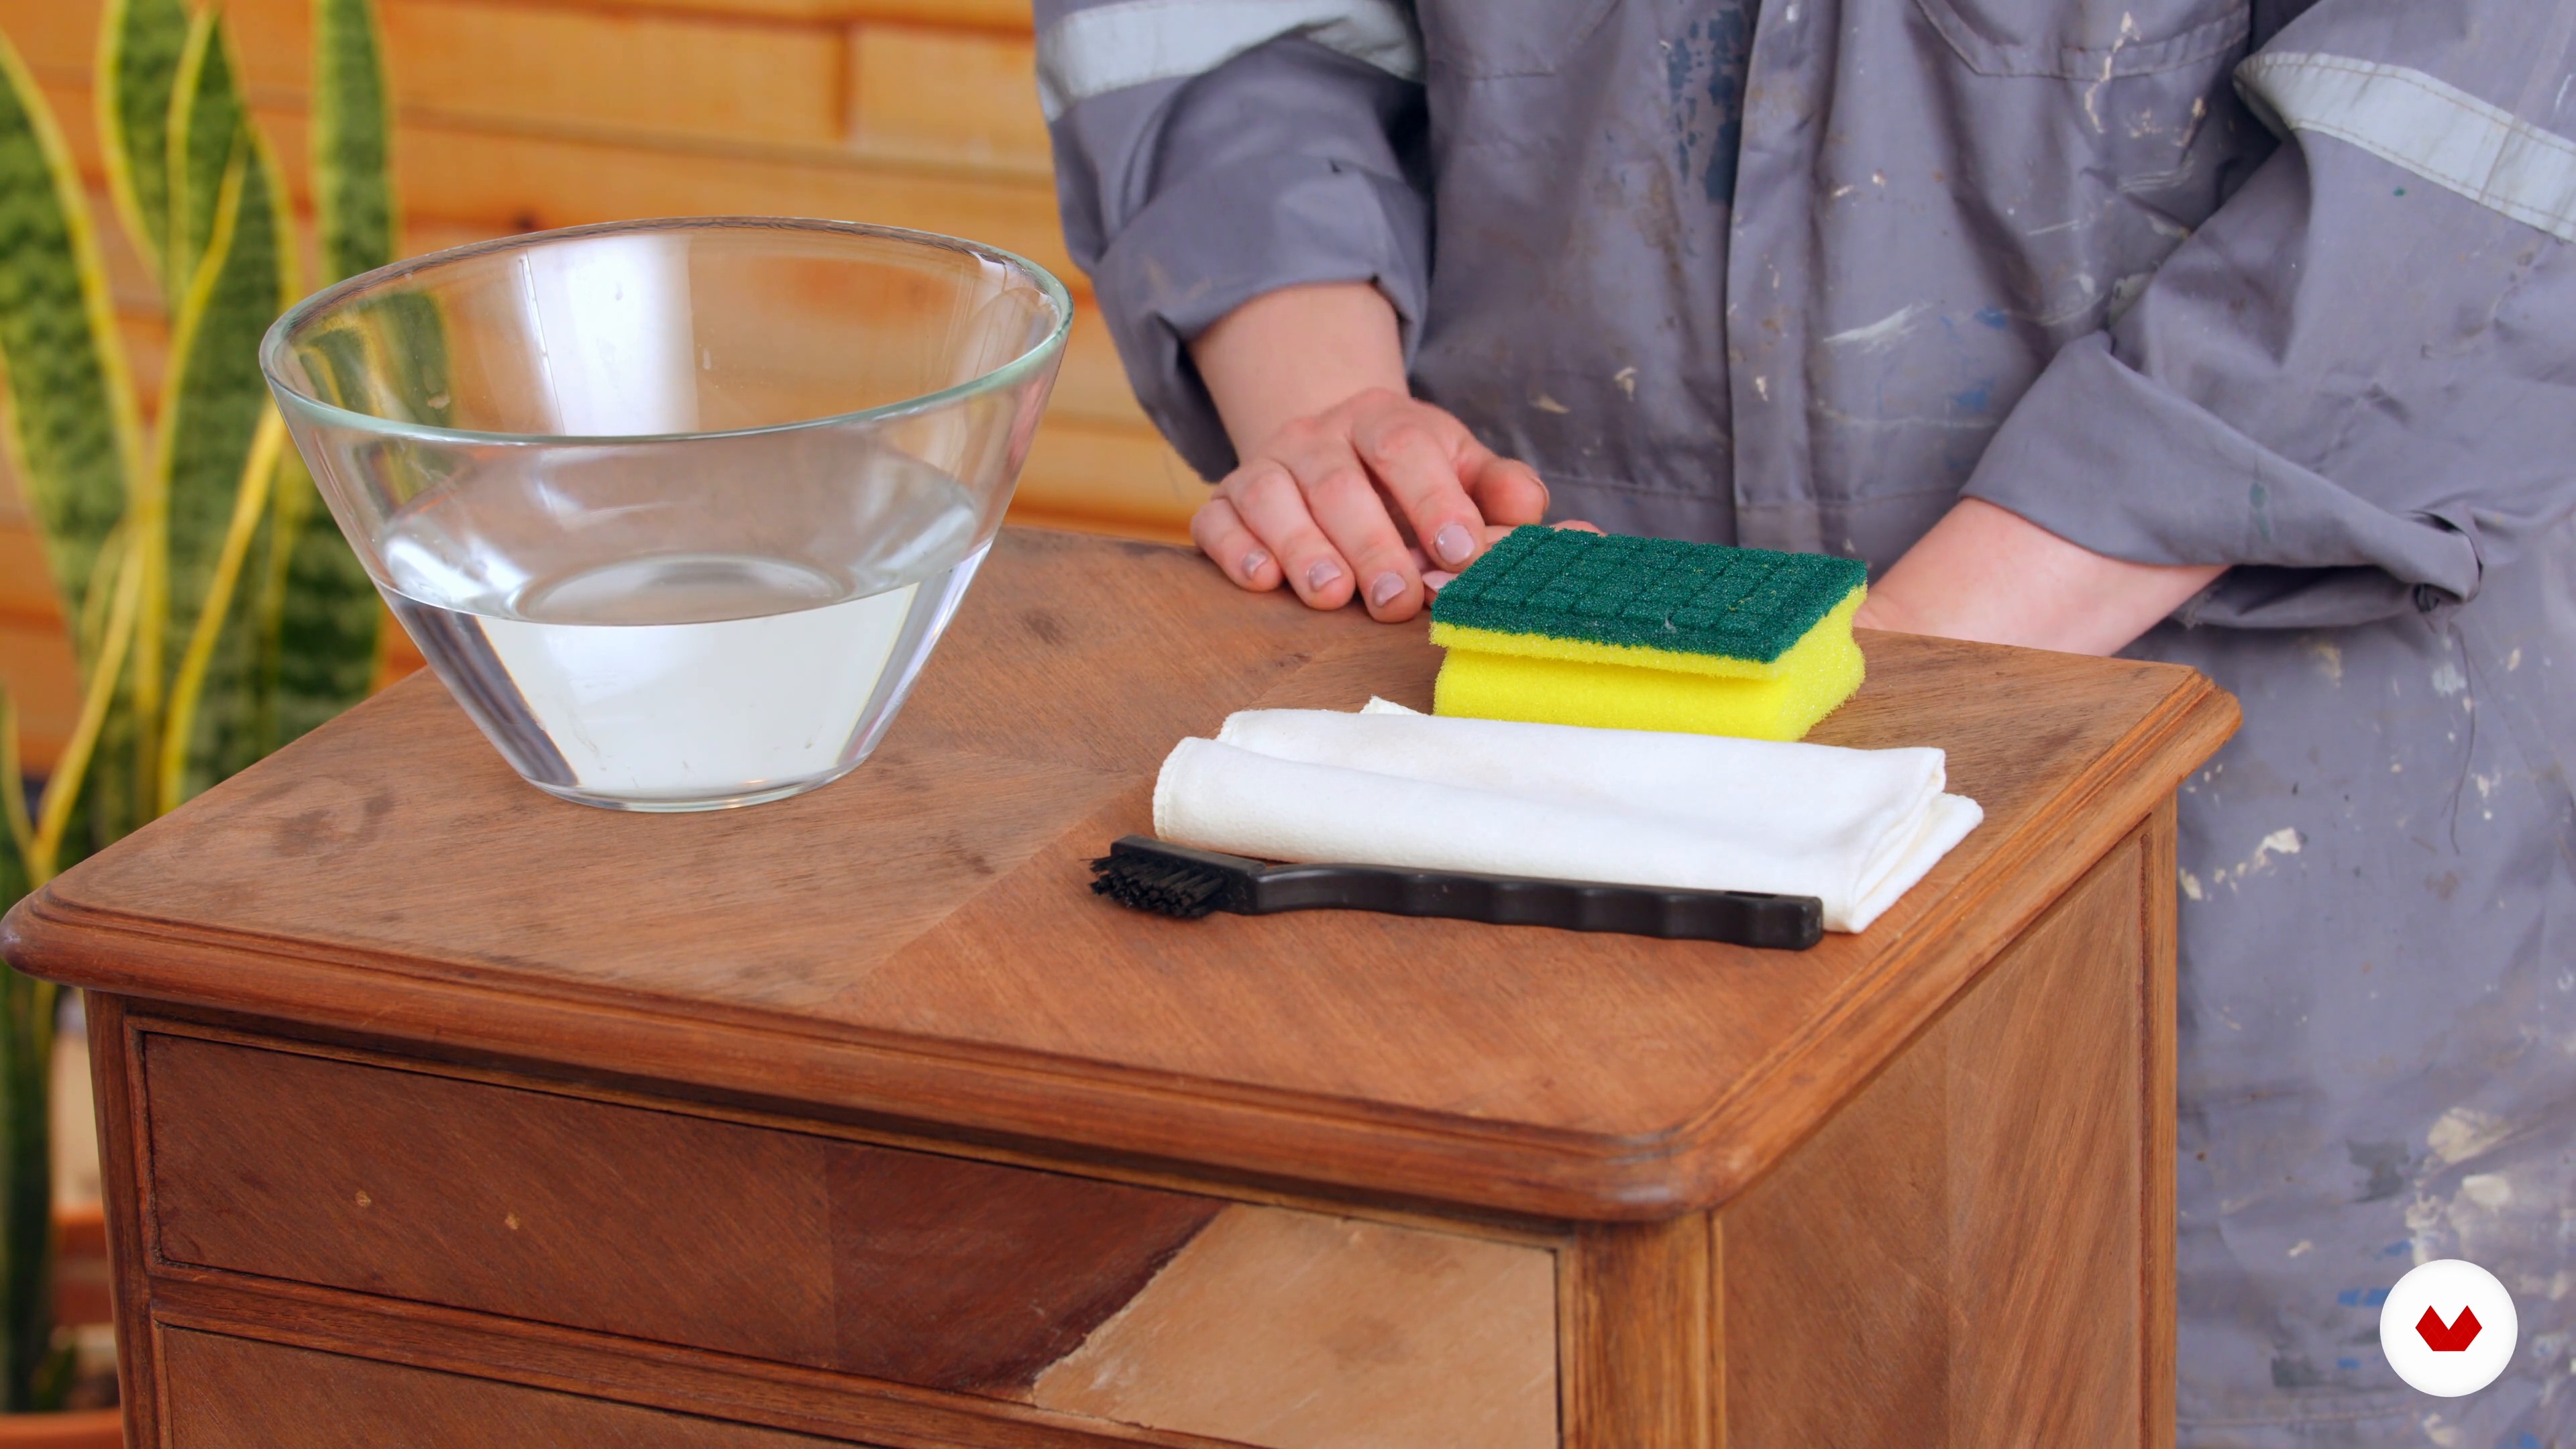
Using a brush, bowl, and sponge, we'll clean the entire surface of the furniture with water. We'll remove any remaining product.
6m
image
11
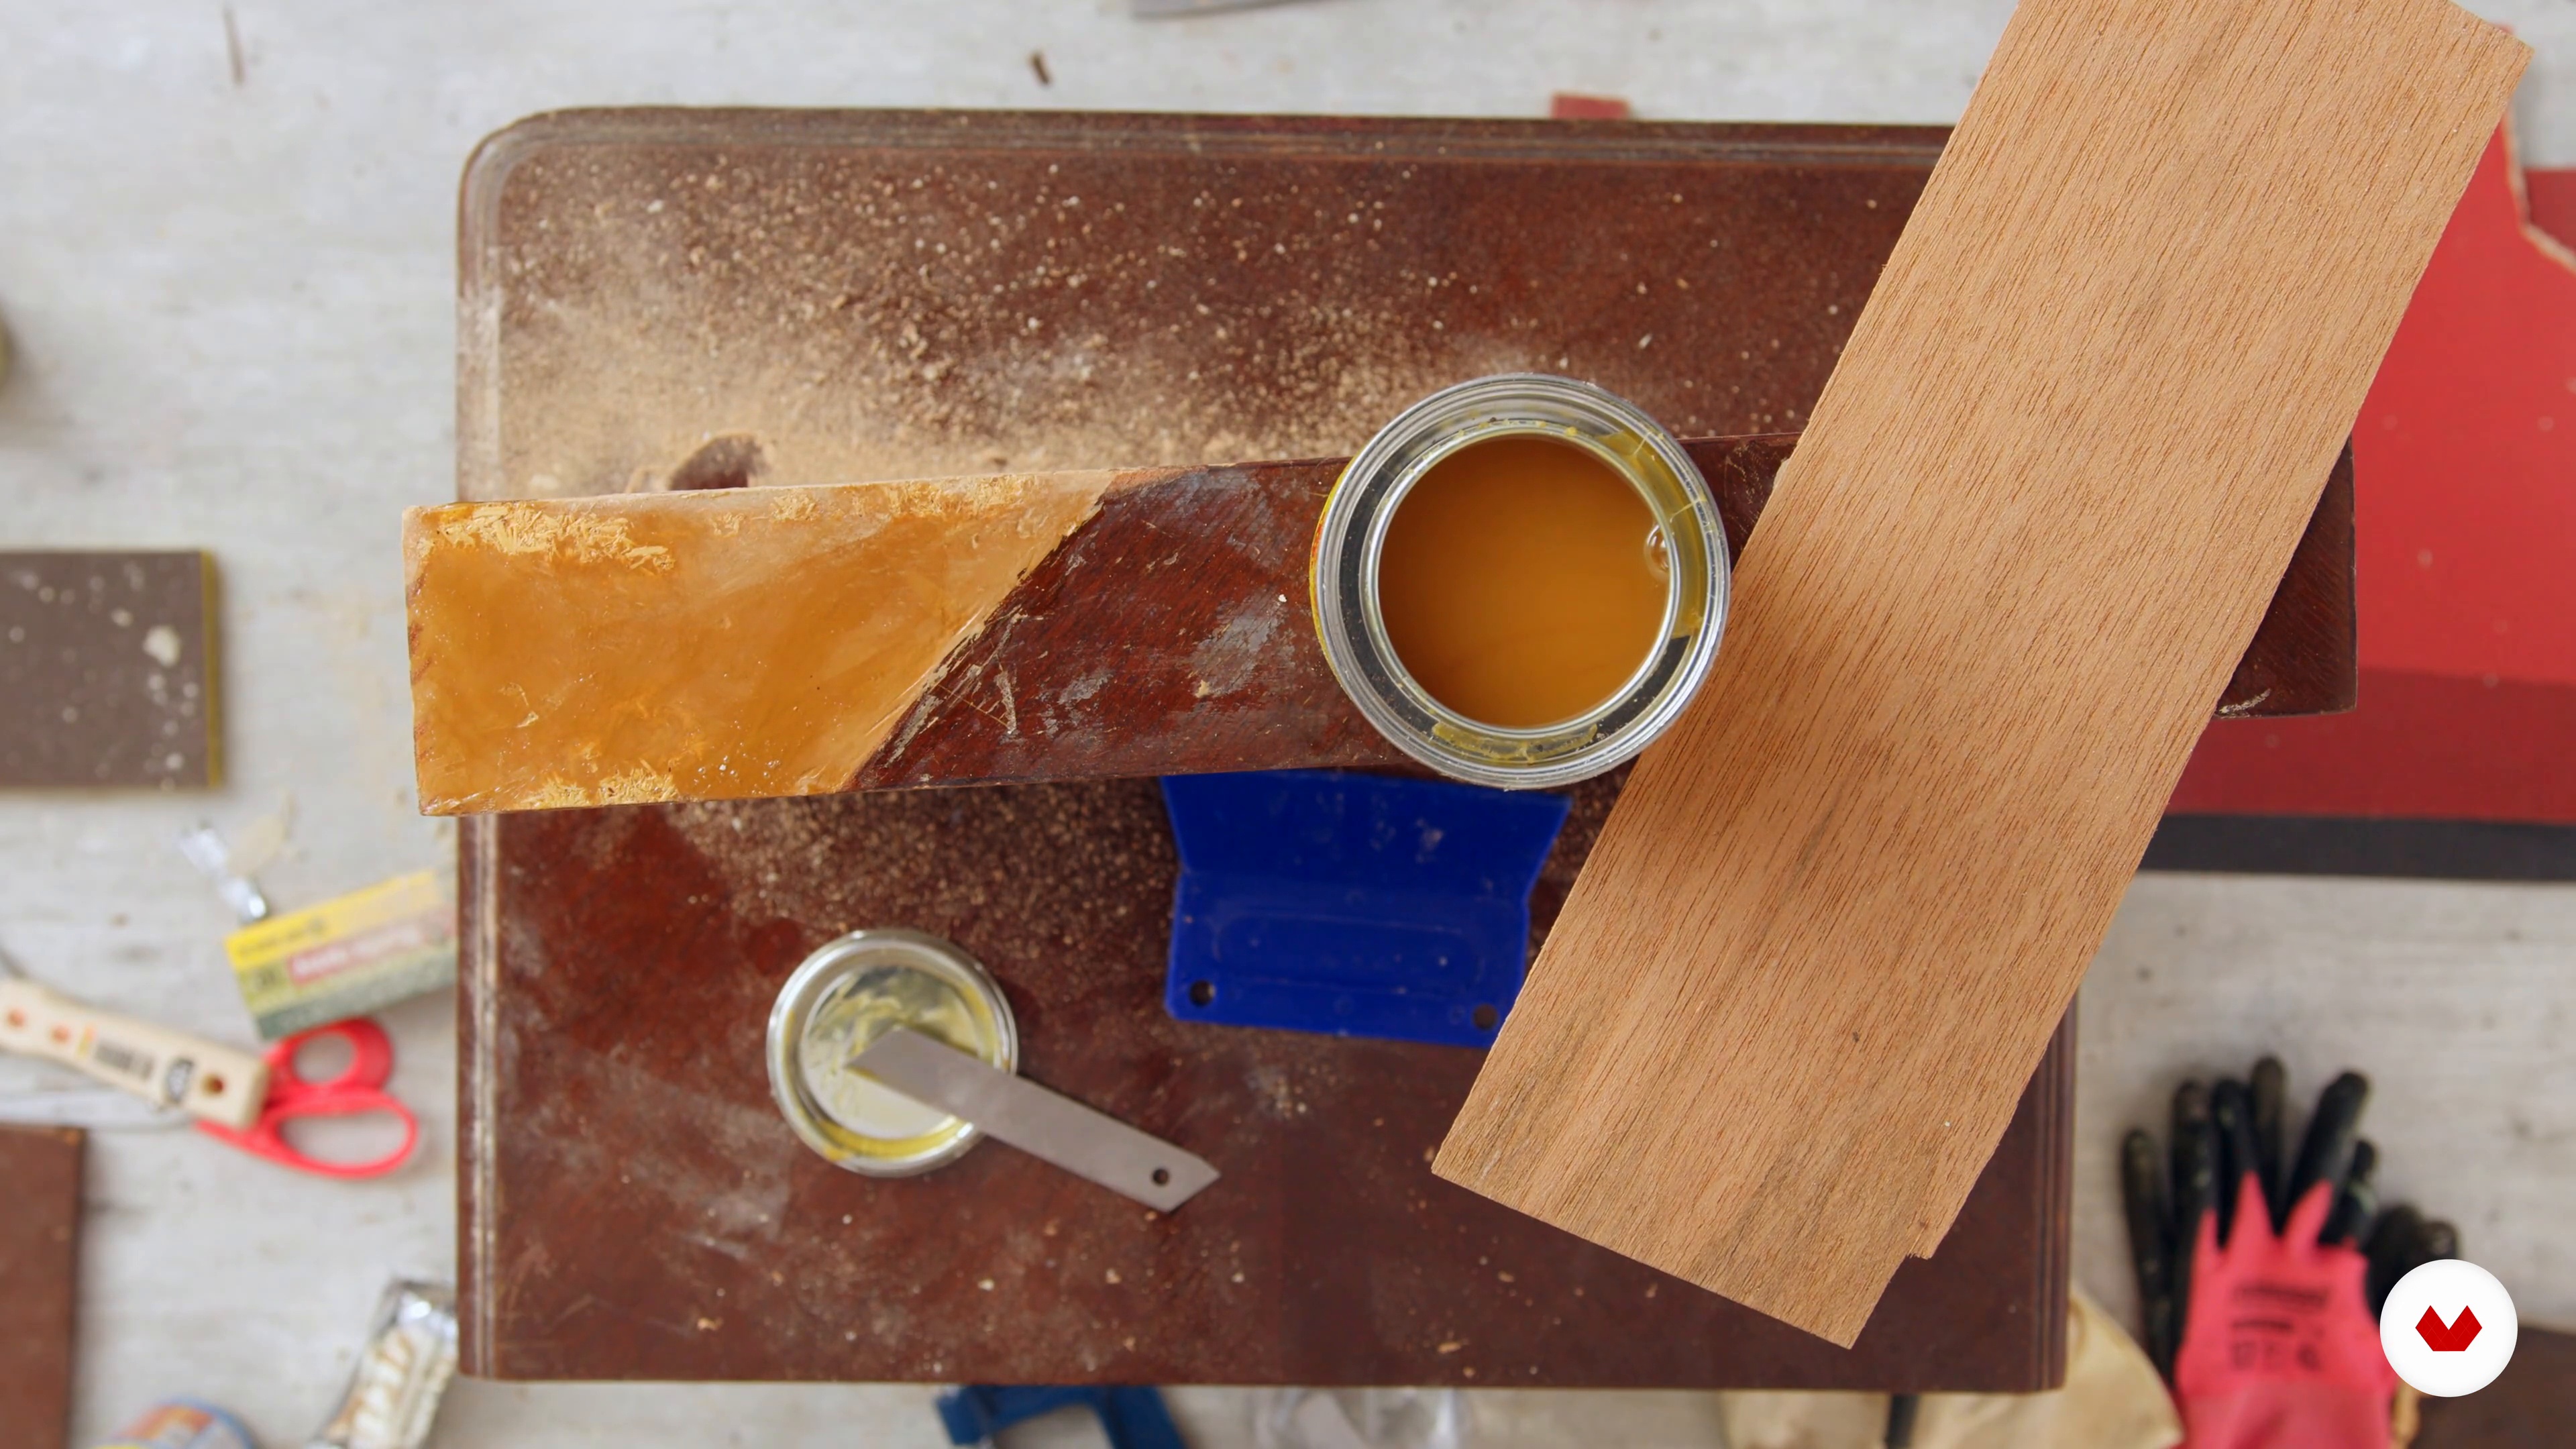
Finishing preparation and sanding
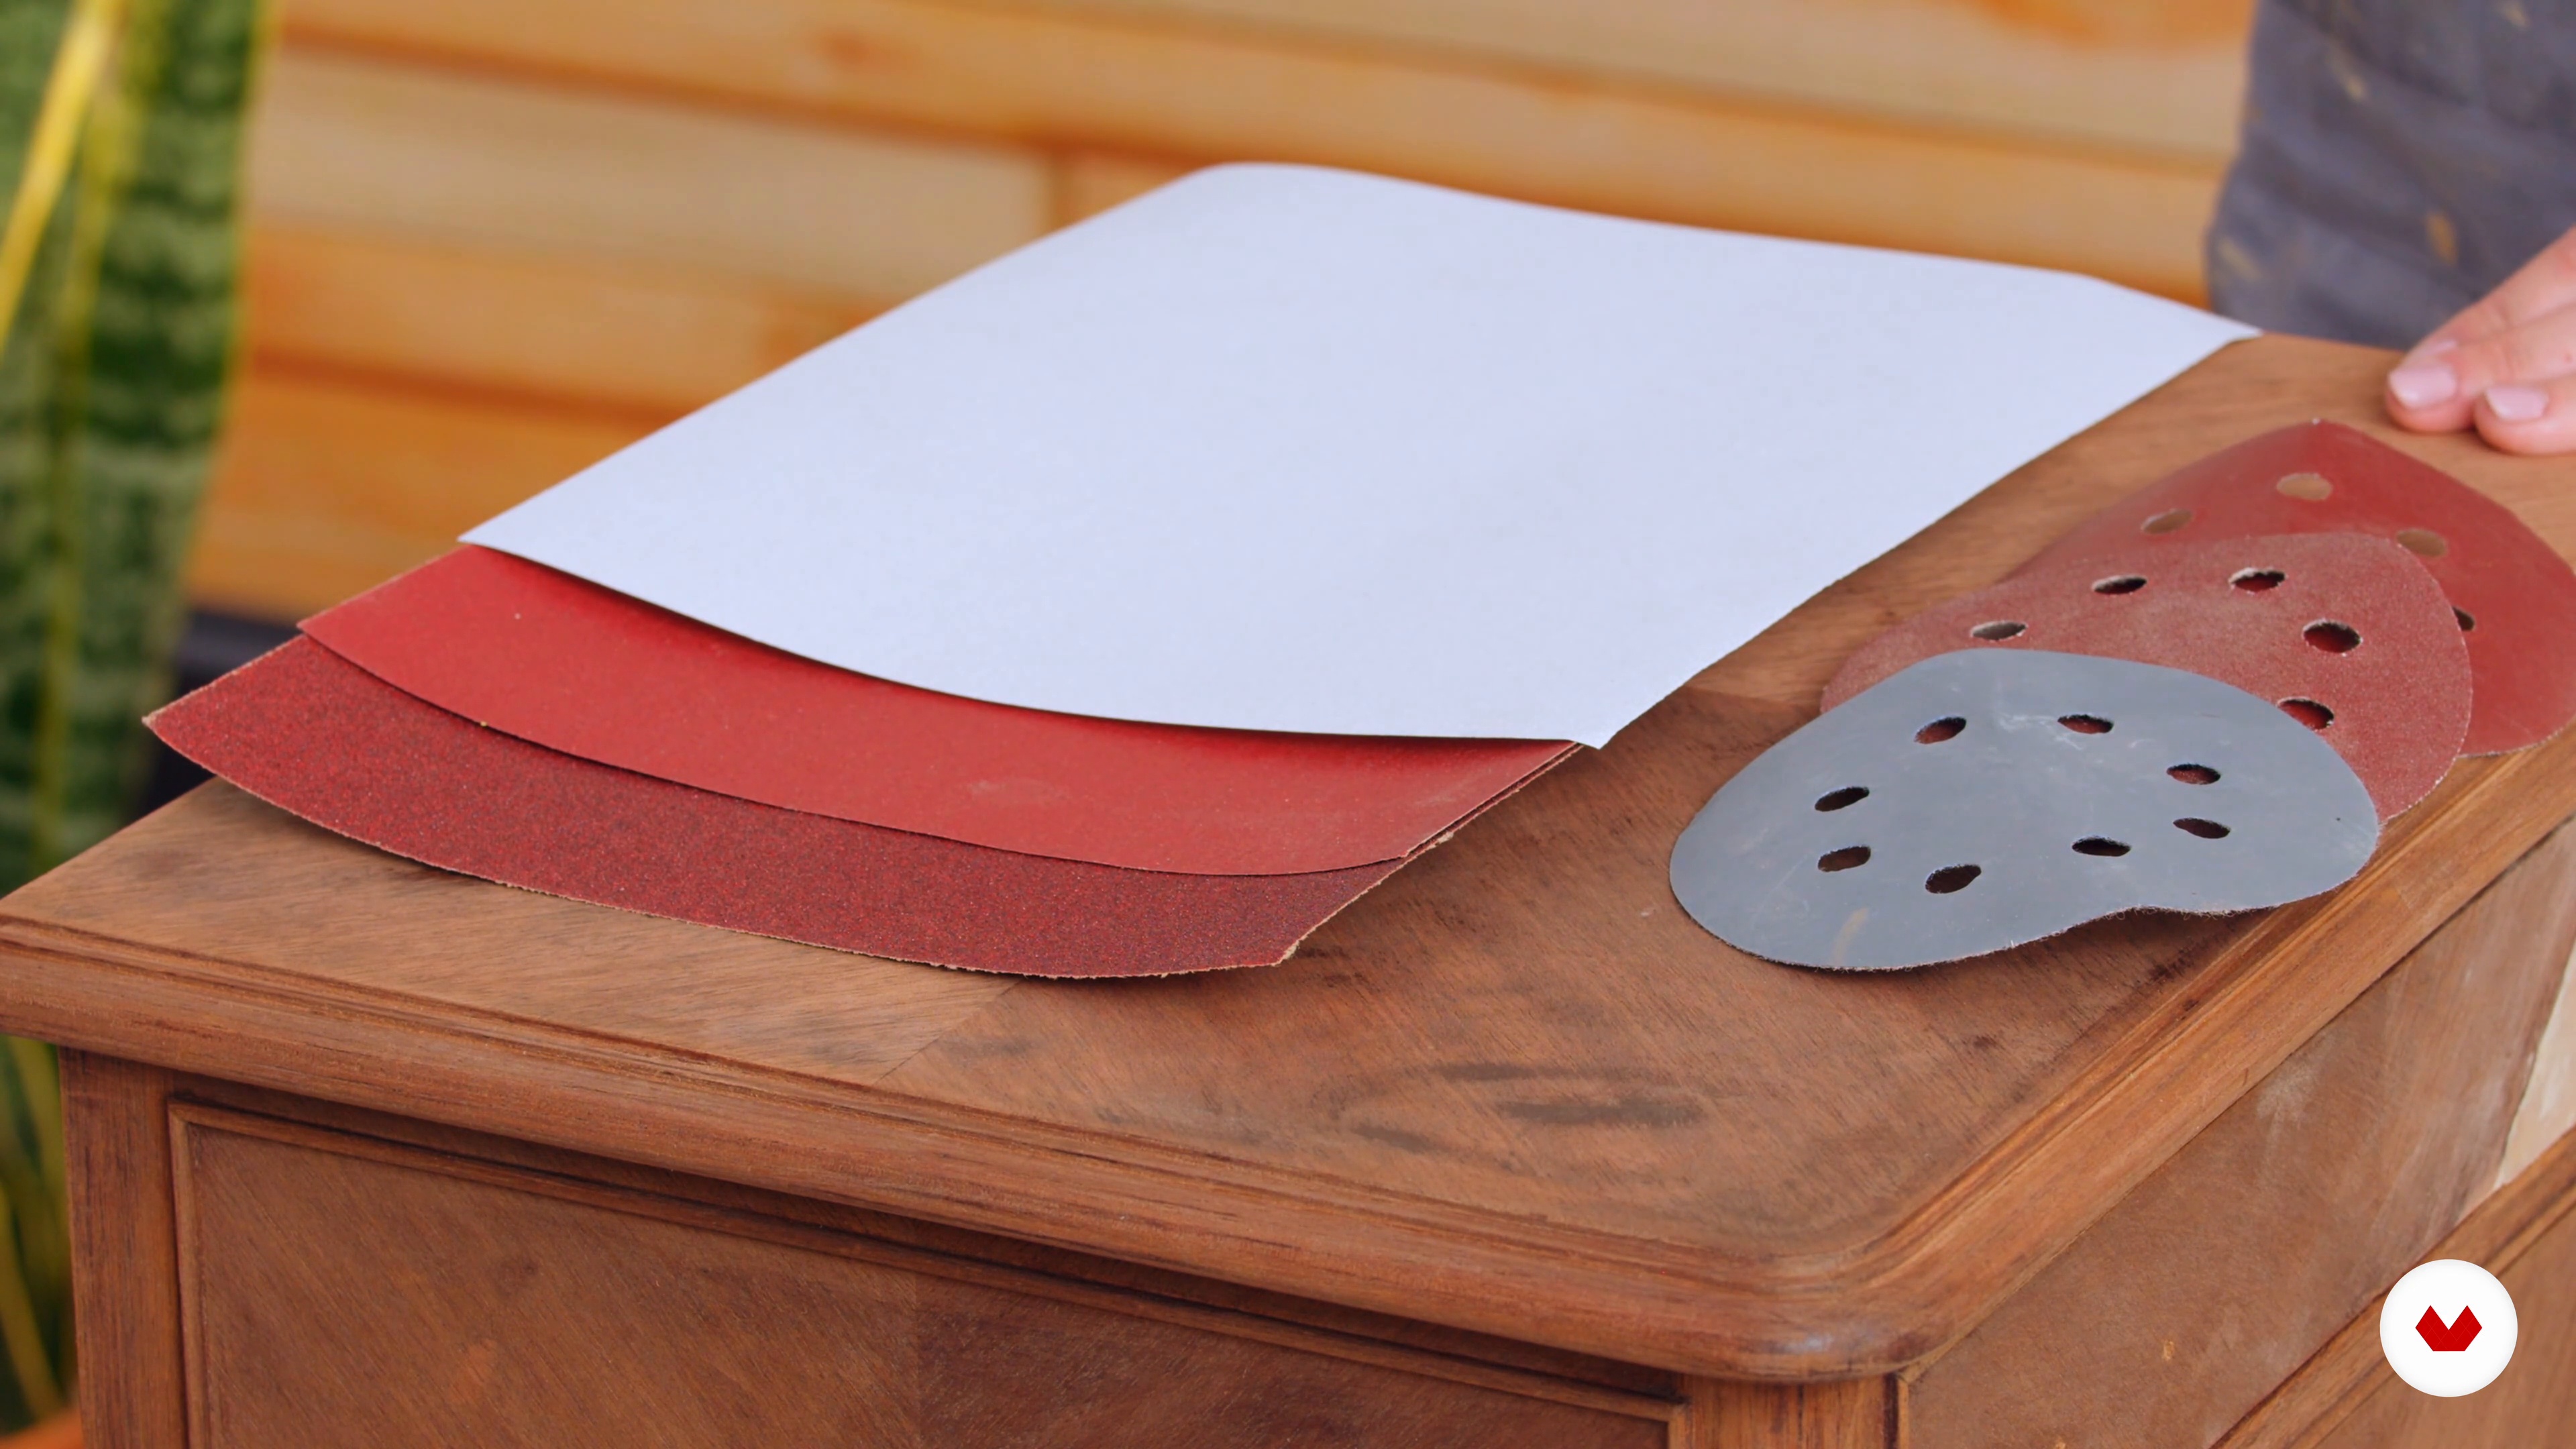
In this lesson, we'll teach you how to achieve a good finish. We'll also explain what types of sandpaper and weights are available, and how to use them.
6m
image
12
Types of dyes and protections
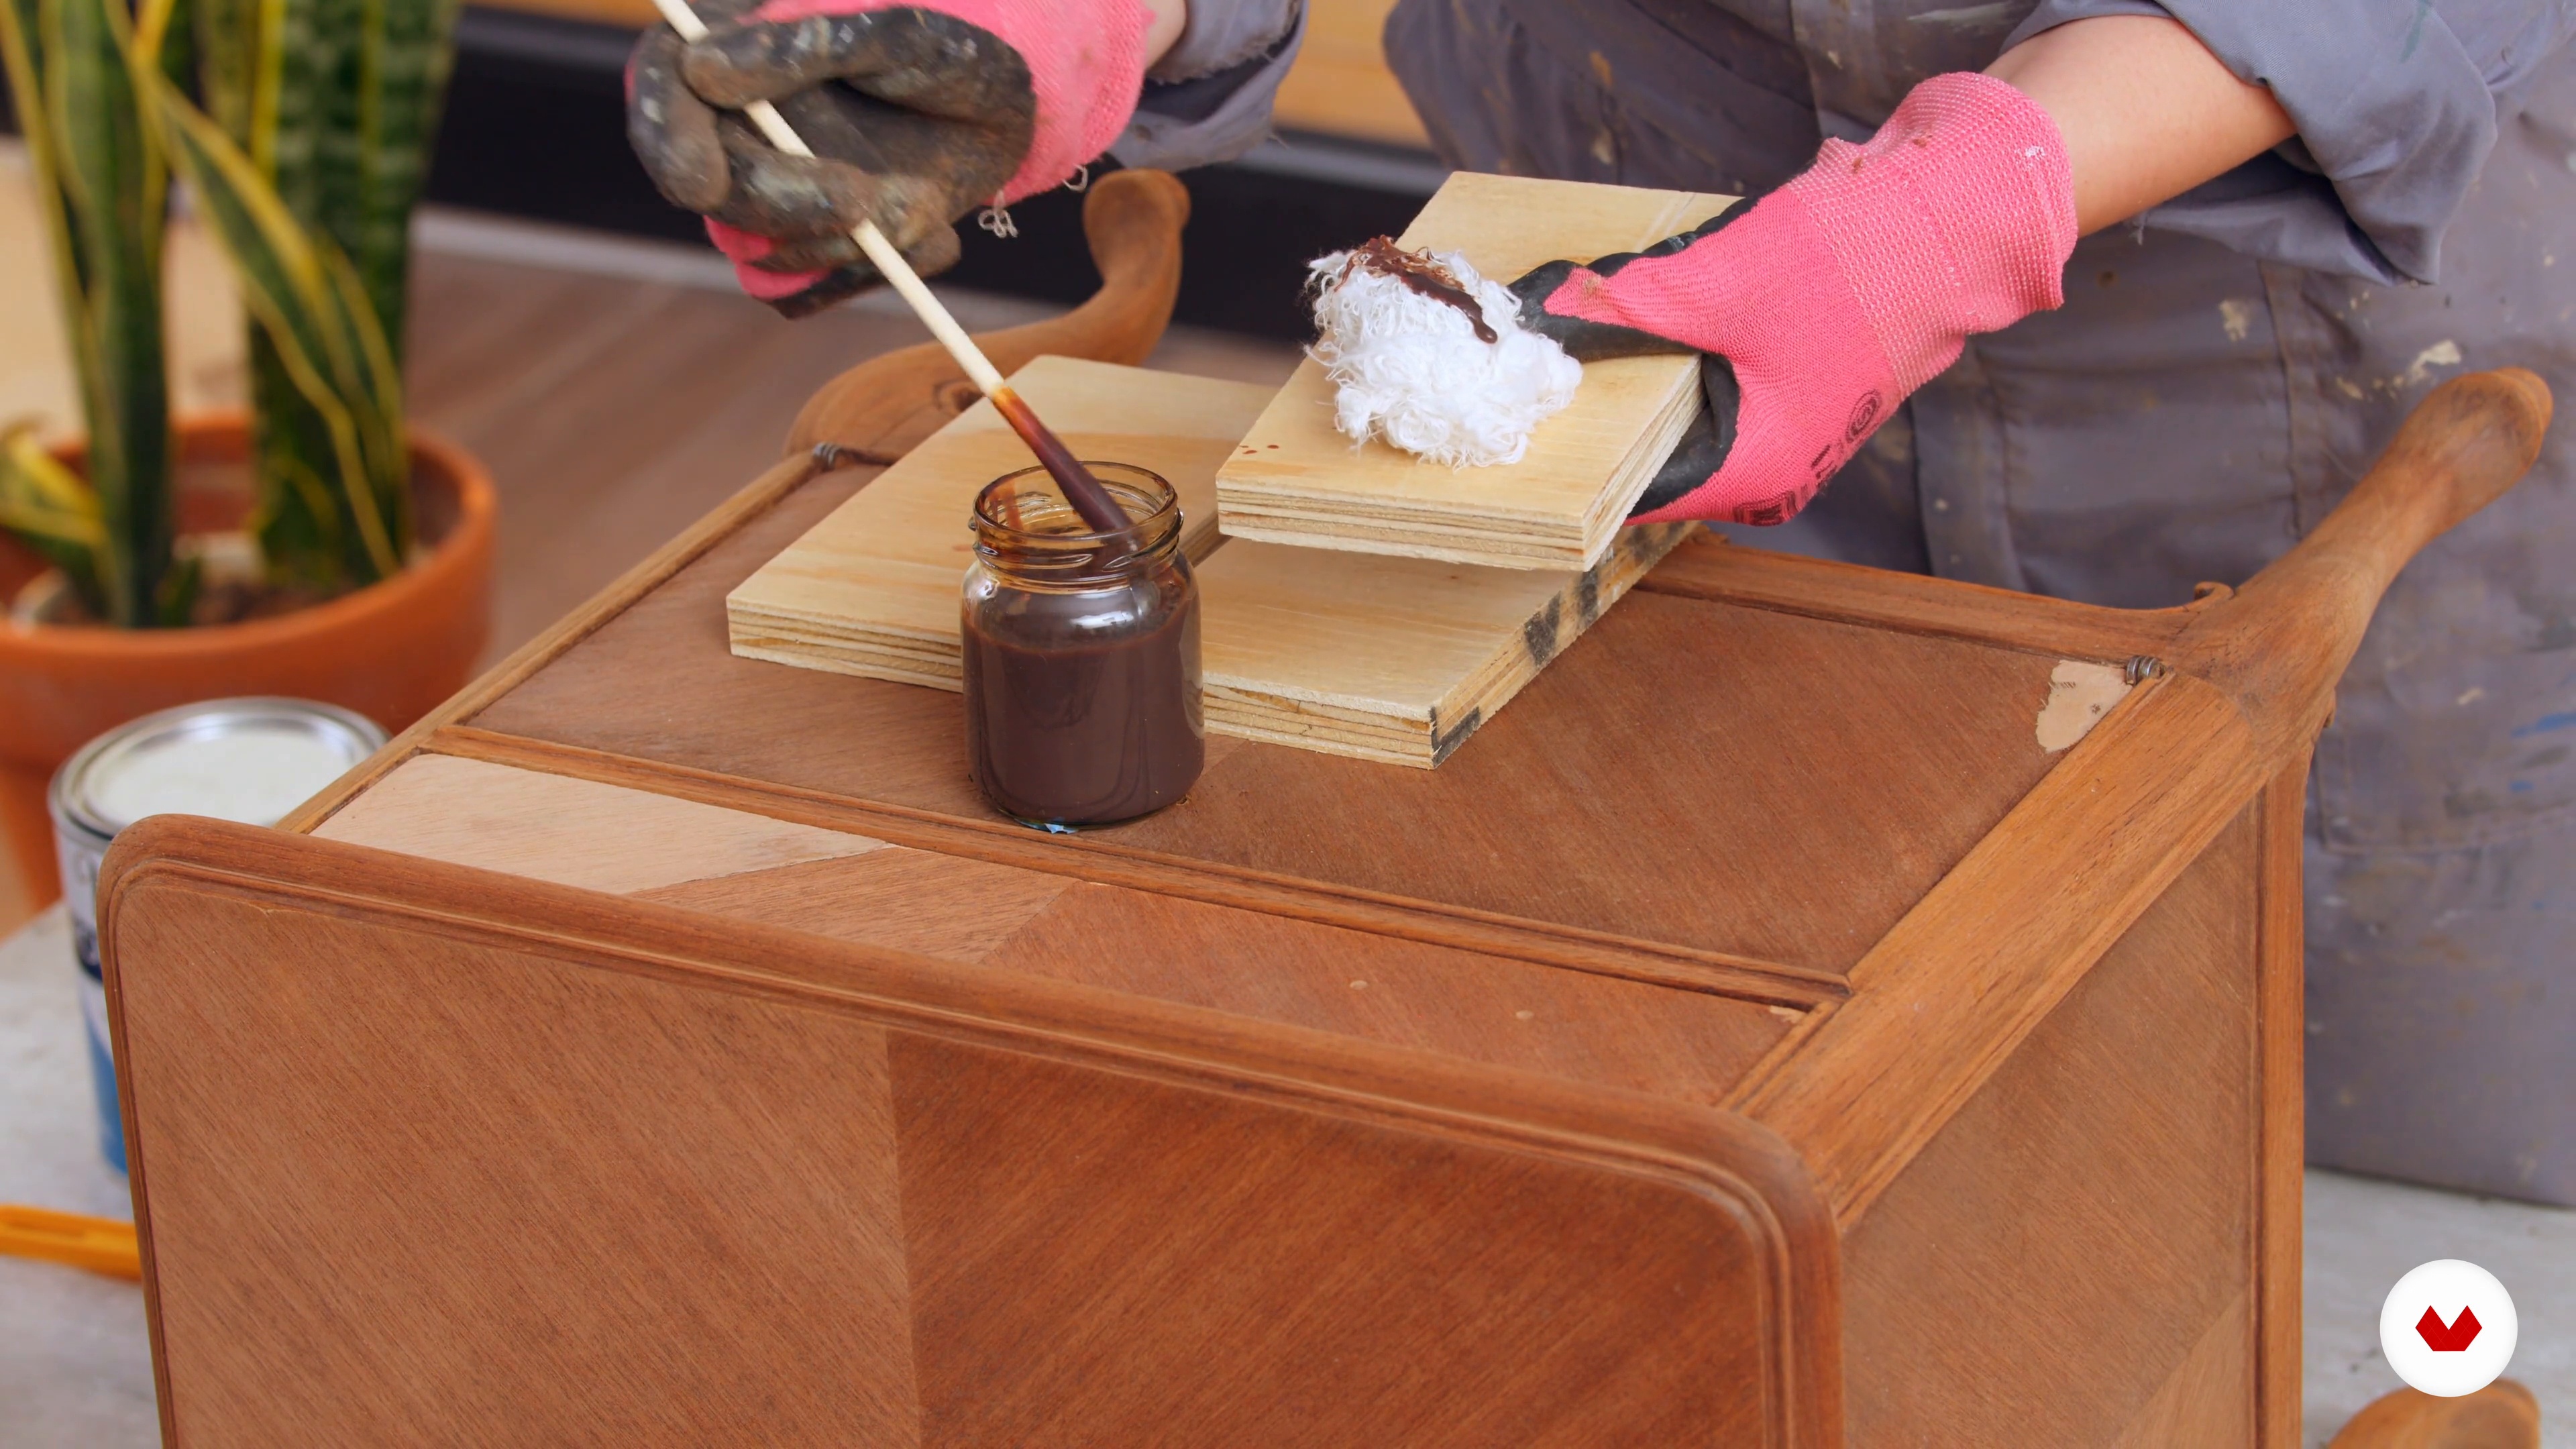
We'll discuss the types of dyes and protections available, and the condition your furniture needs to be in before you begin this step.
14m
image
13
Final finish and details
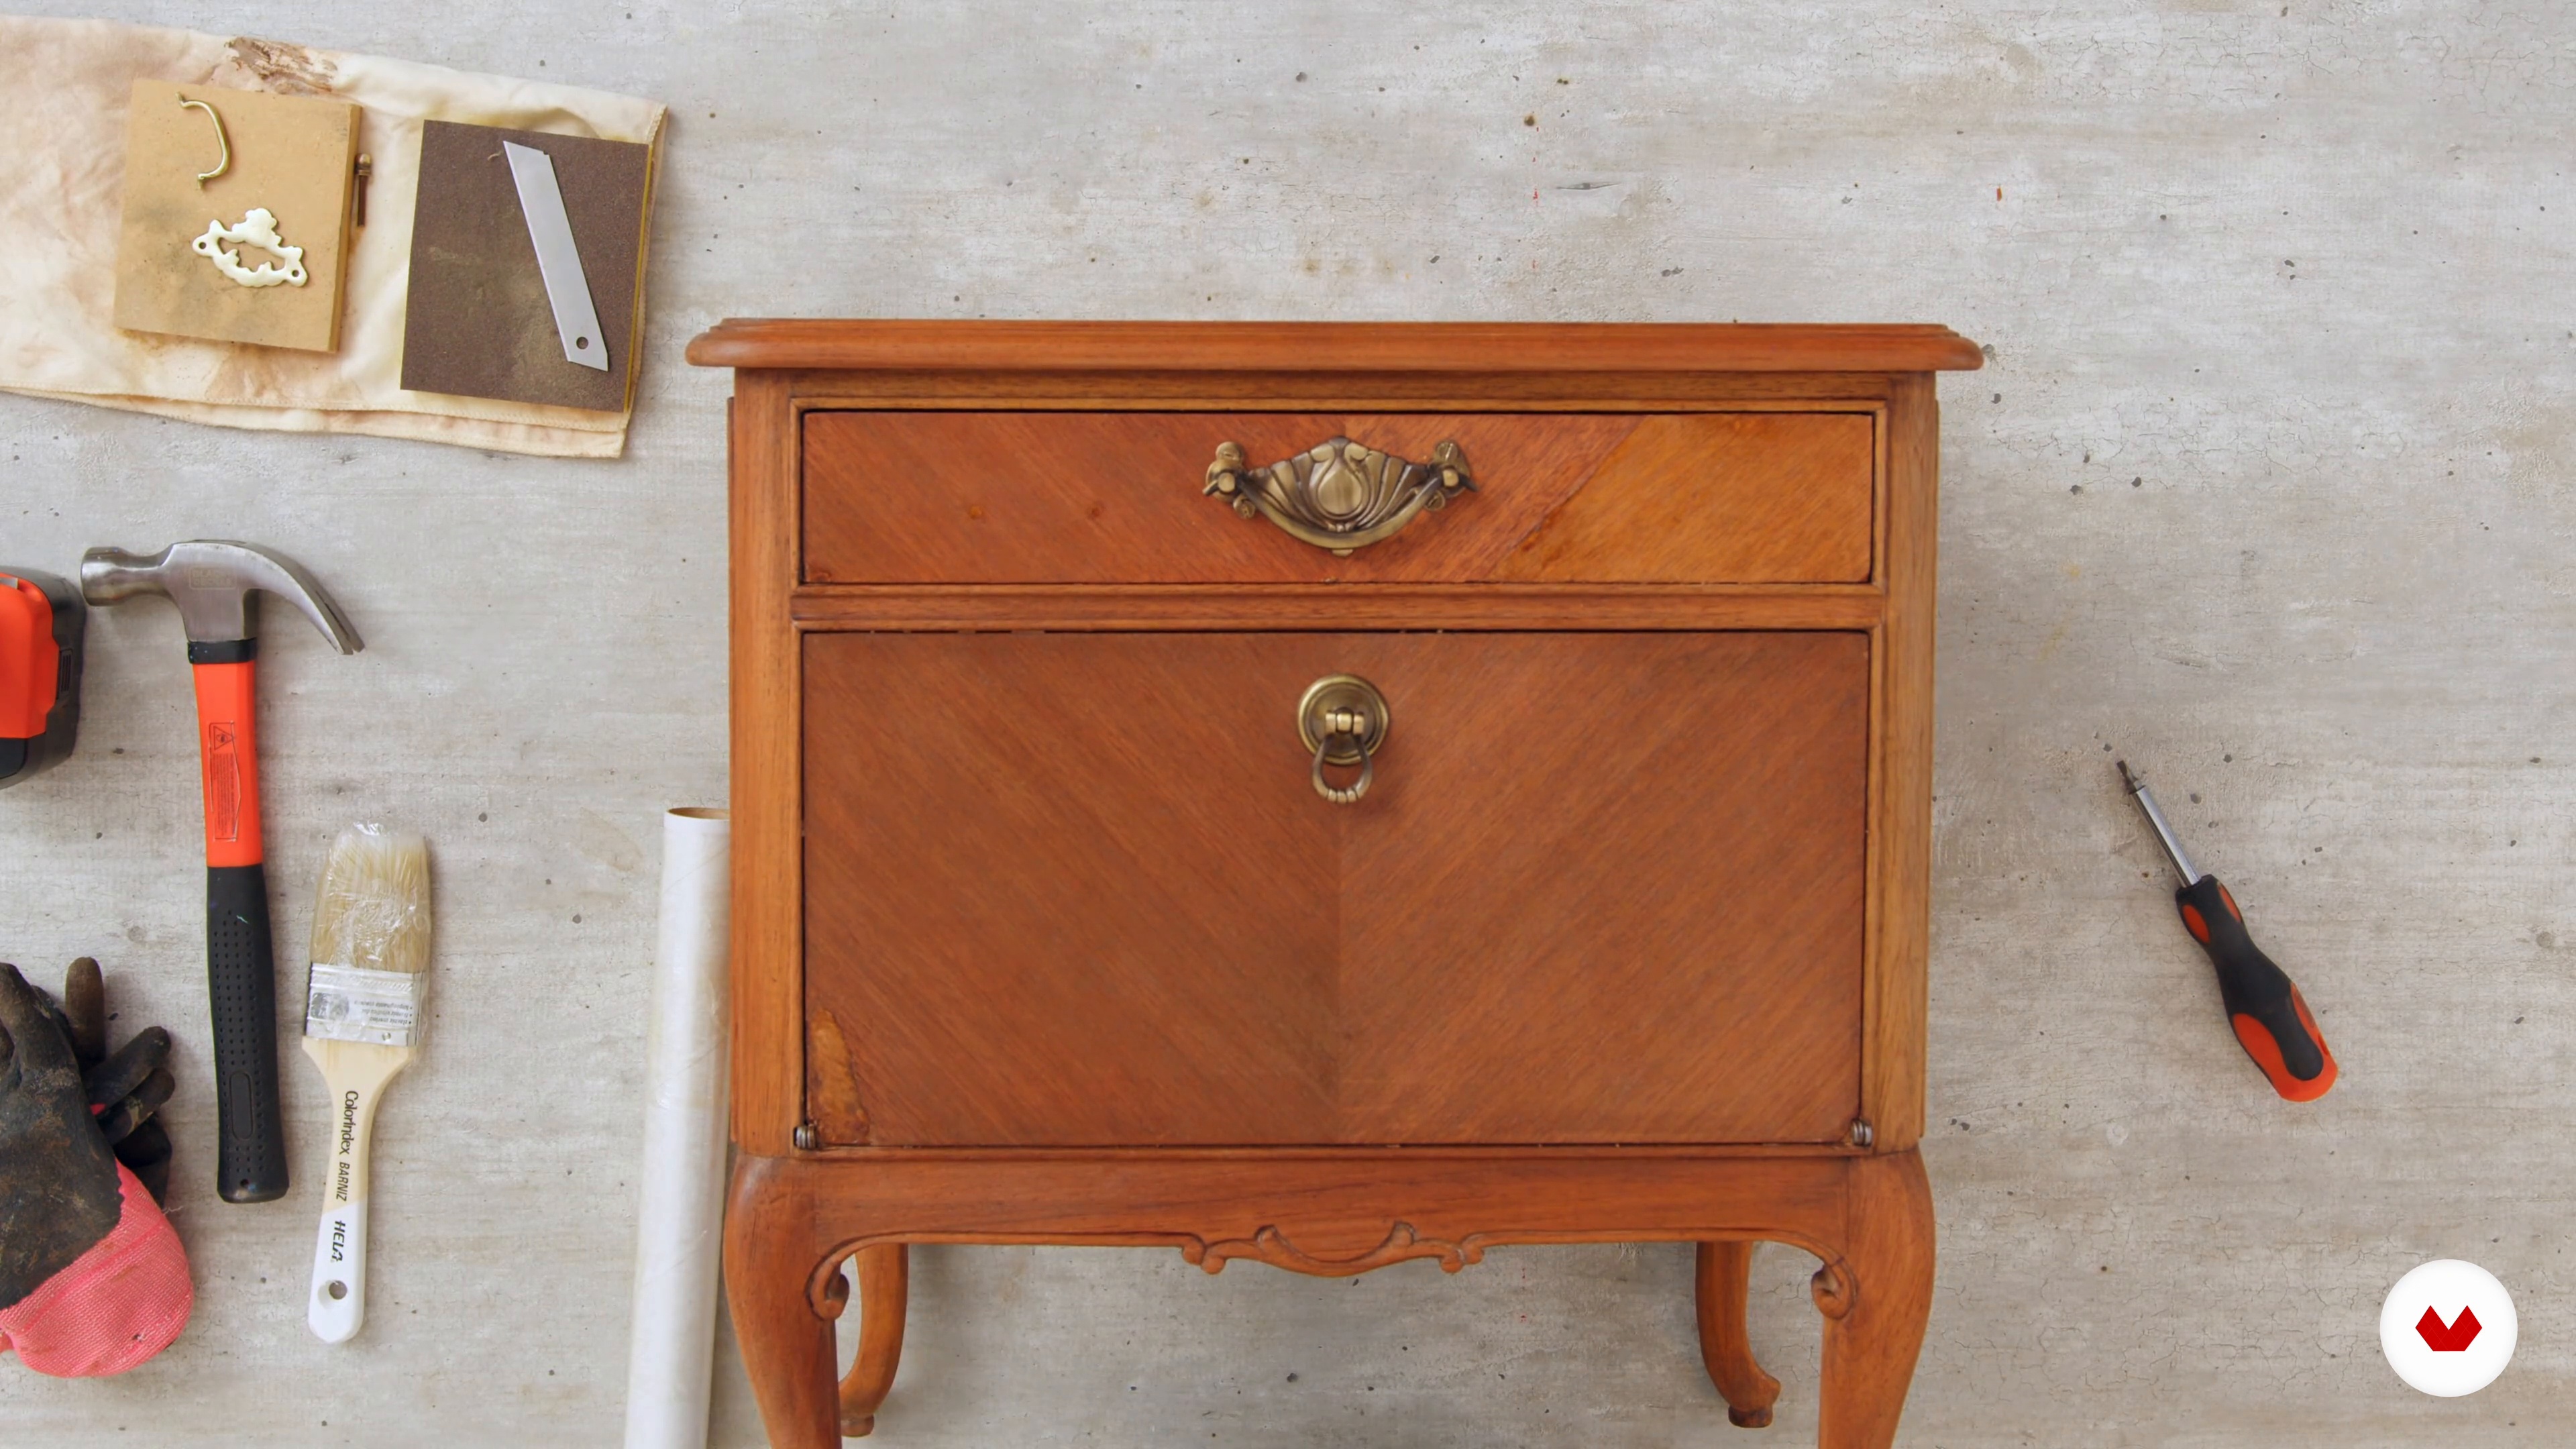
In this lesson, we'll cover the final details of our furniture: the hardware and care of our future creation.
12m
image
3
What is chalk paint?
There's a lot of talk about chalk paint, but little detail is given to what it actually is. In this lesson, I'd like to explain the details of this product, which will allow you to recycle your furniture and decorative objects in a very simple and beautiful way.
5m
image
4
Preparation of the piece
Preparing the piece is essential, especially to achieve the best possible adhesion of the products; it's one of the most important steps when painting furniture. Cleaning is a small gesture that can significantly improve the quality of our work.
8m
image
5
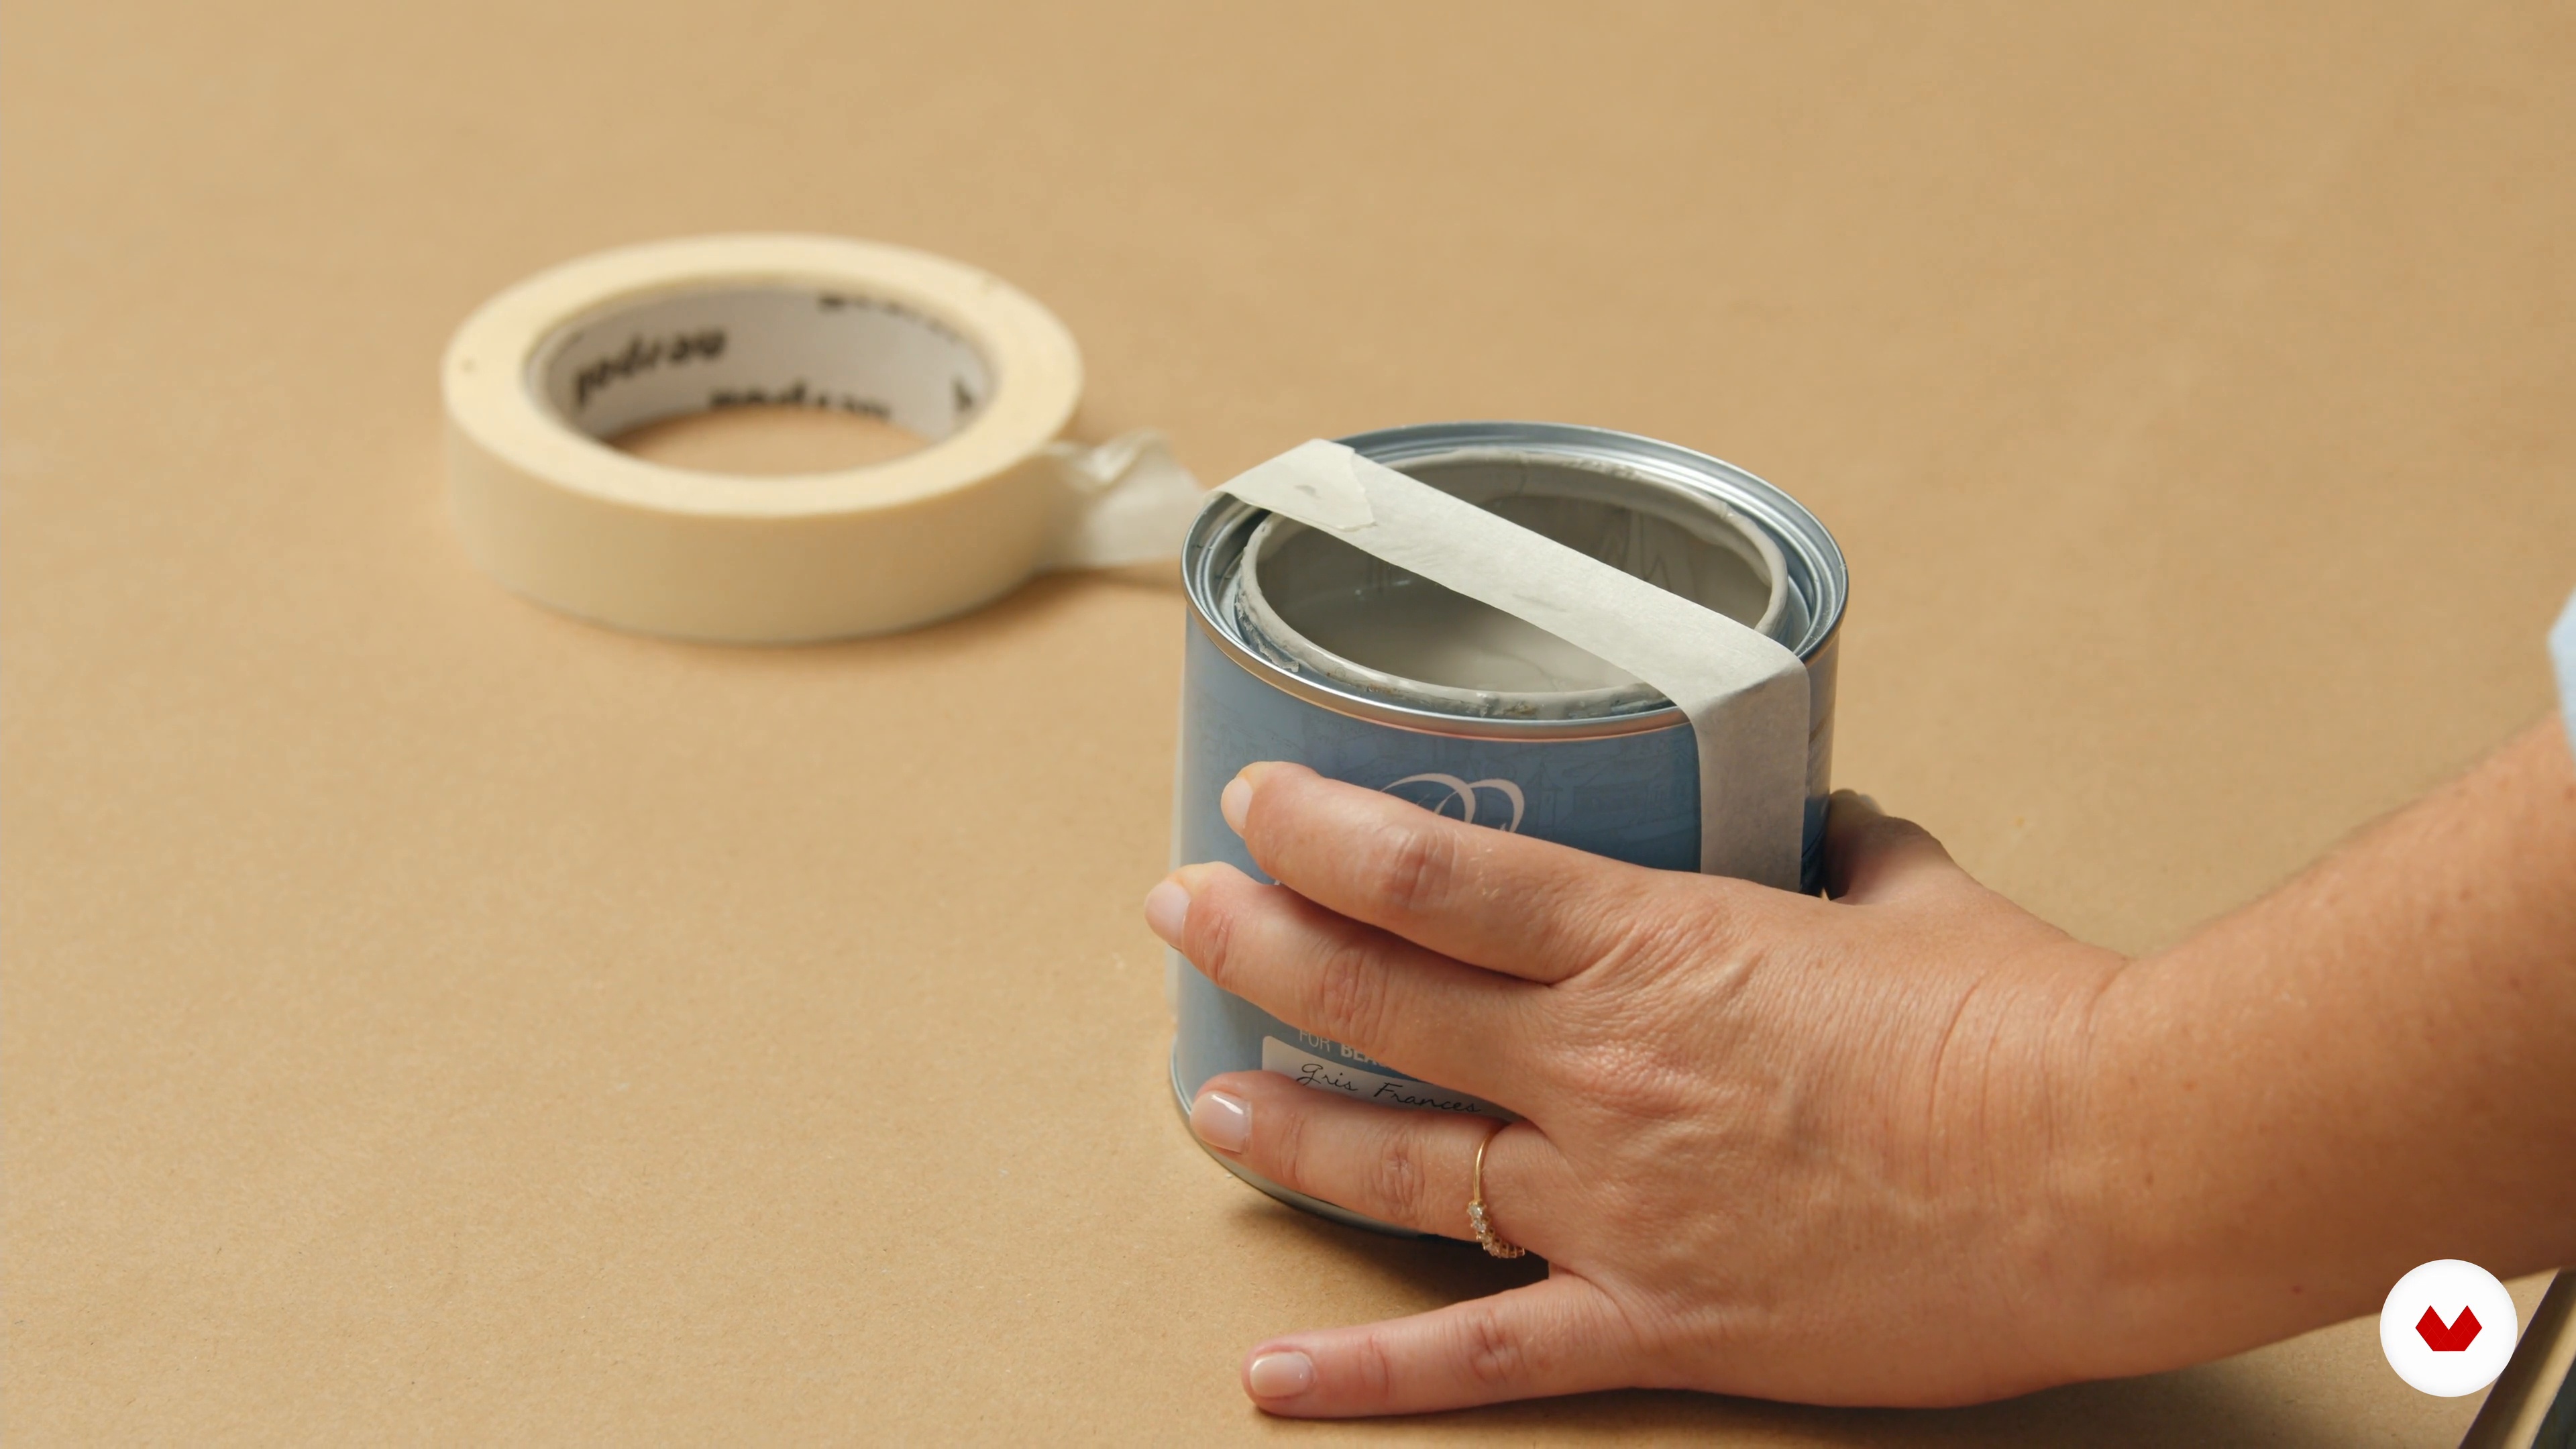
Brushes, brushes and paint preservation
There are certain tricks that will help you choose the ideal tool for your job and also preserve your paint as long as possible. In this lesson, I want to share the most important things for me related to these two topics.
19m
image
6
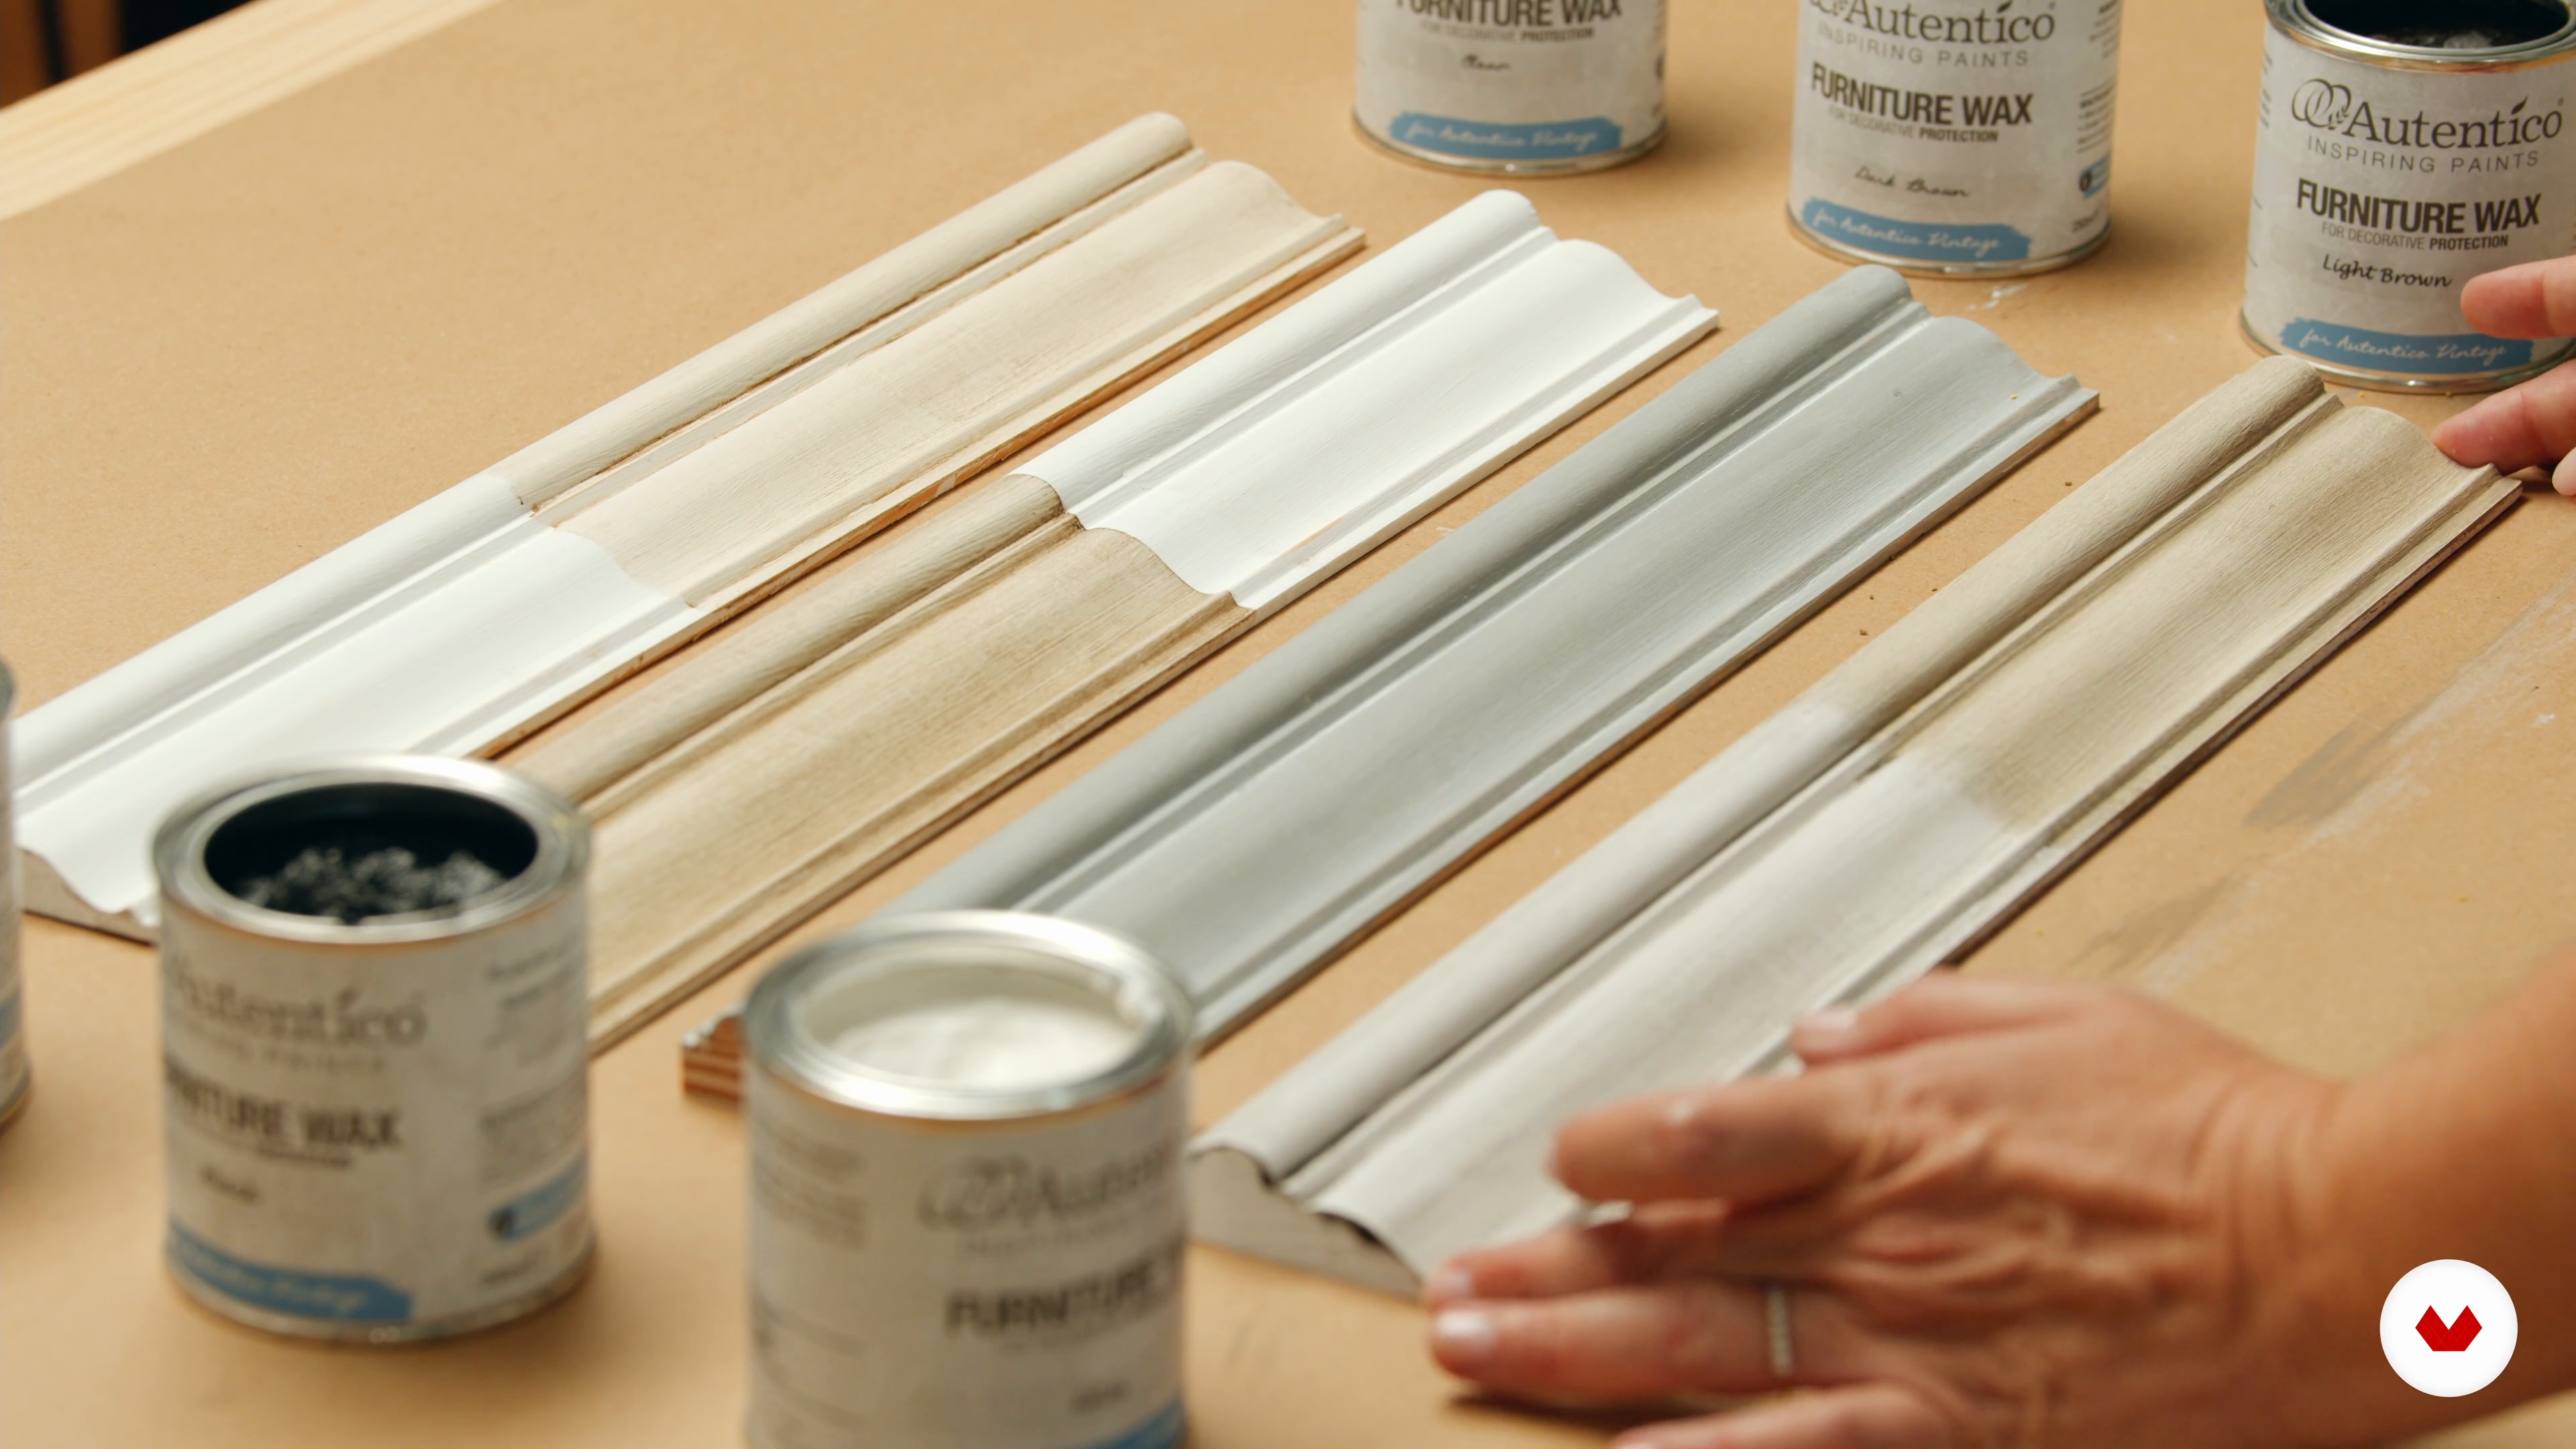
What are waxes and how to use them 1
I love waxes, the finish they give, and the creative possibilities they can provide. In this lesson, I want to talk to you about what waxes are, what they're used for, what they look like, and how to use them. I'm sure you'll fall in love with them as much as I do.
15m
image
7
What are waxes and how to use them 2
We continue to look at all the aesthetic aspects of wax and very useful tips for its use.
14m
image
8
Choosing a style
Often, the challenge isn't actually painting a piece; rather, it's what style or technique I choose to paint the piece. We live in a time where we have so much visual input, and we tend to be "overinformed." This sometimes leads to insecurities about which style to choose for painting.
10m
image
9
Choosing a color
One of the questions I get asked most frequently is, precisely, "What color should I paint?" There's no single answer to this question, but there are some tips that can help you make the right decision.
11m
image
10
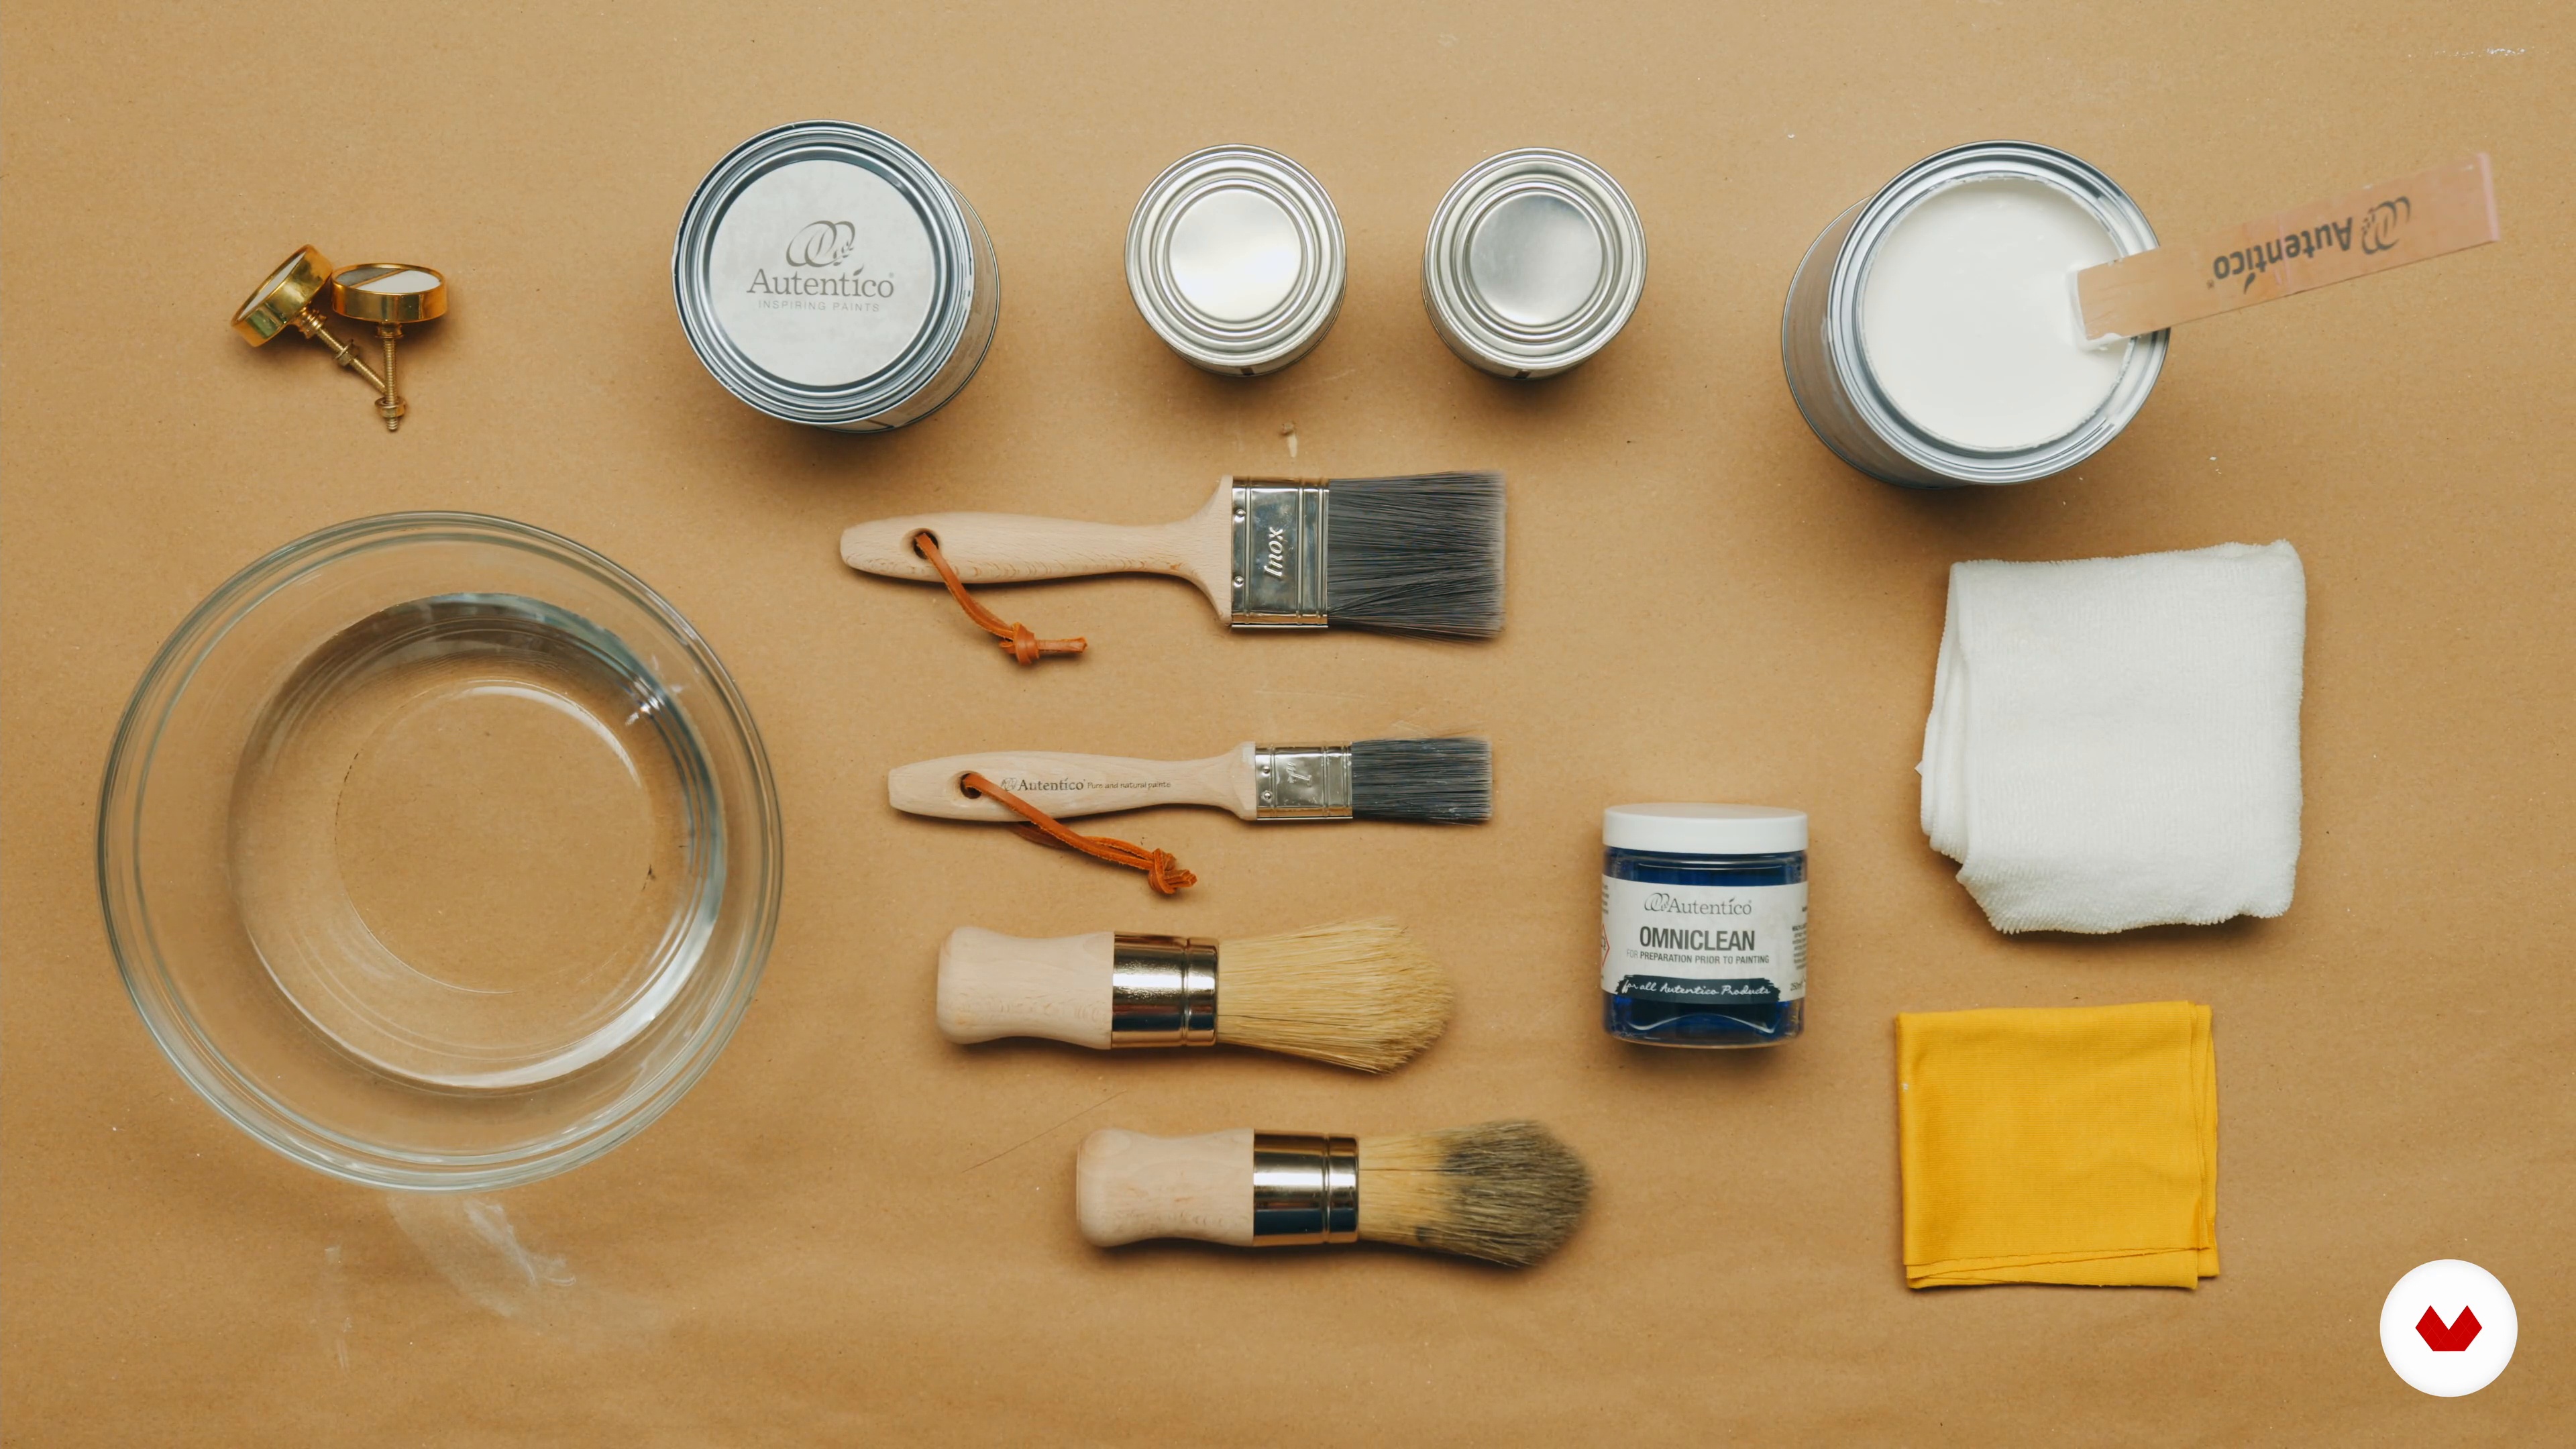
Materials
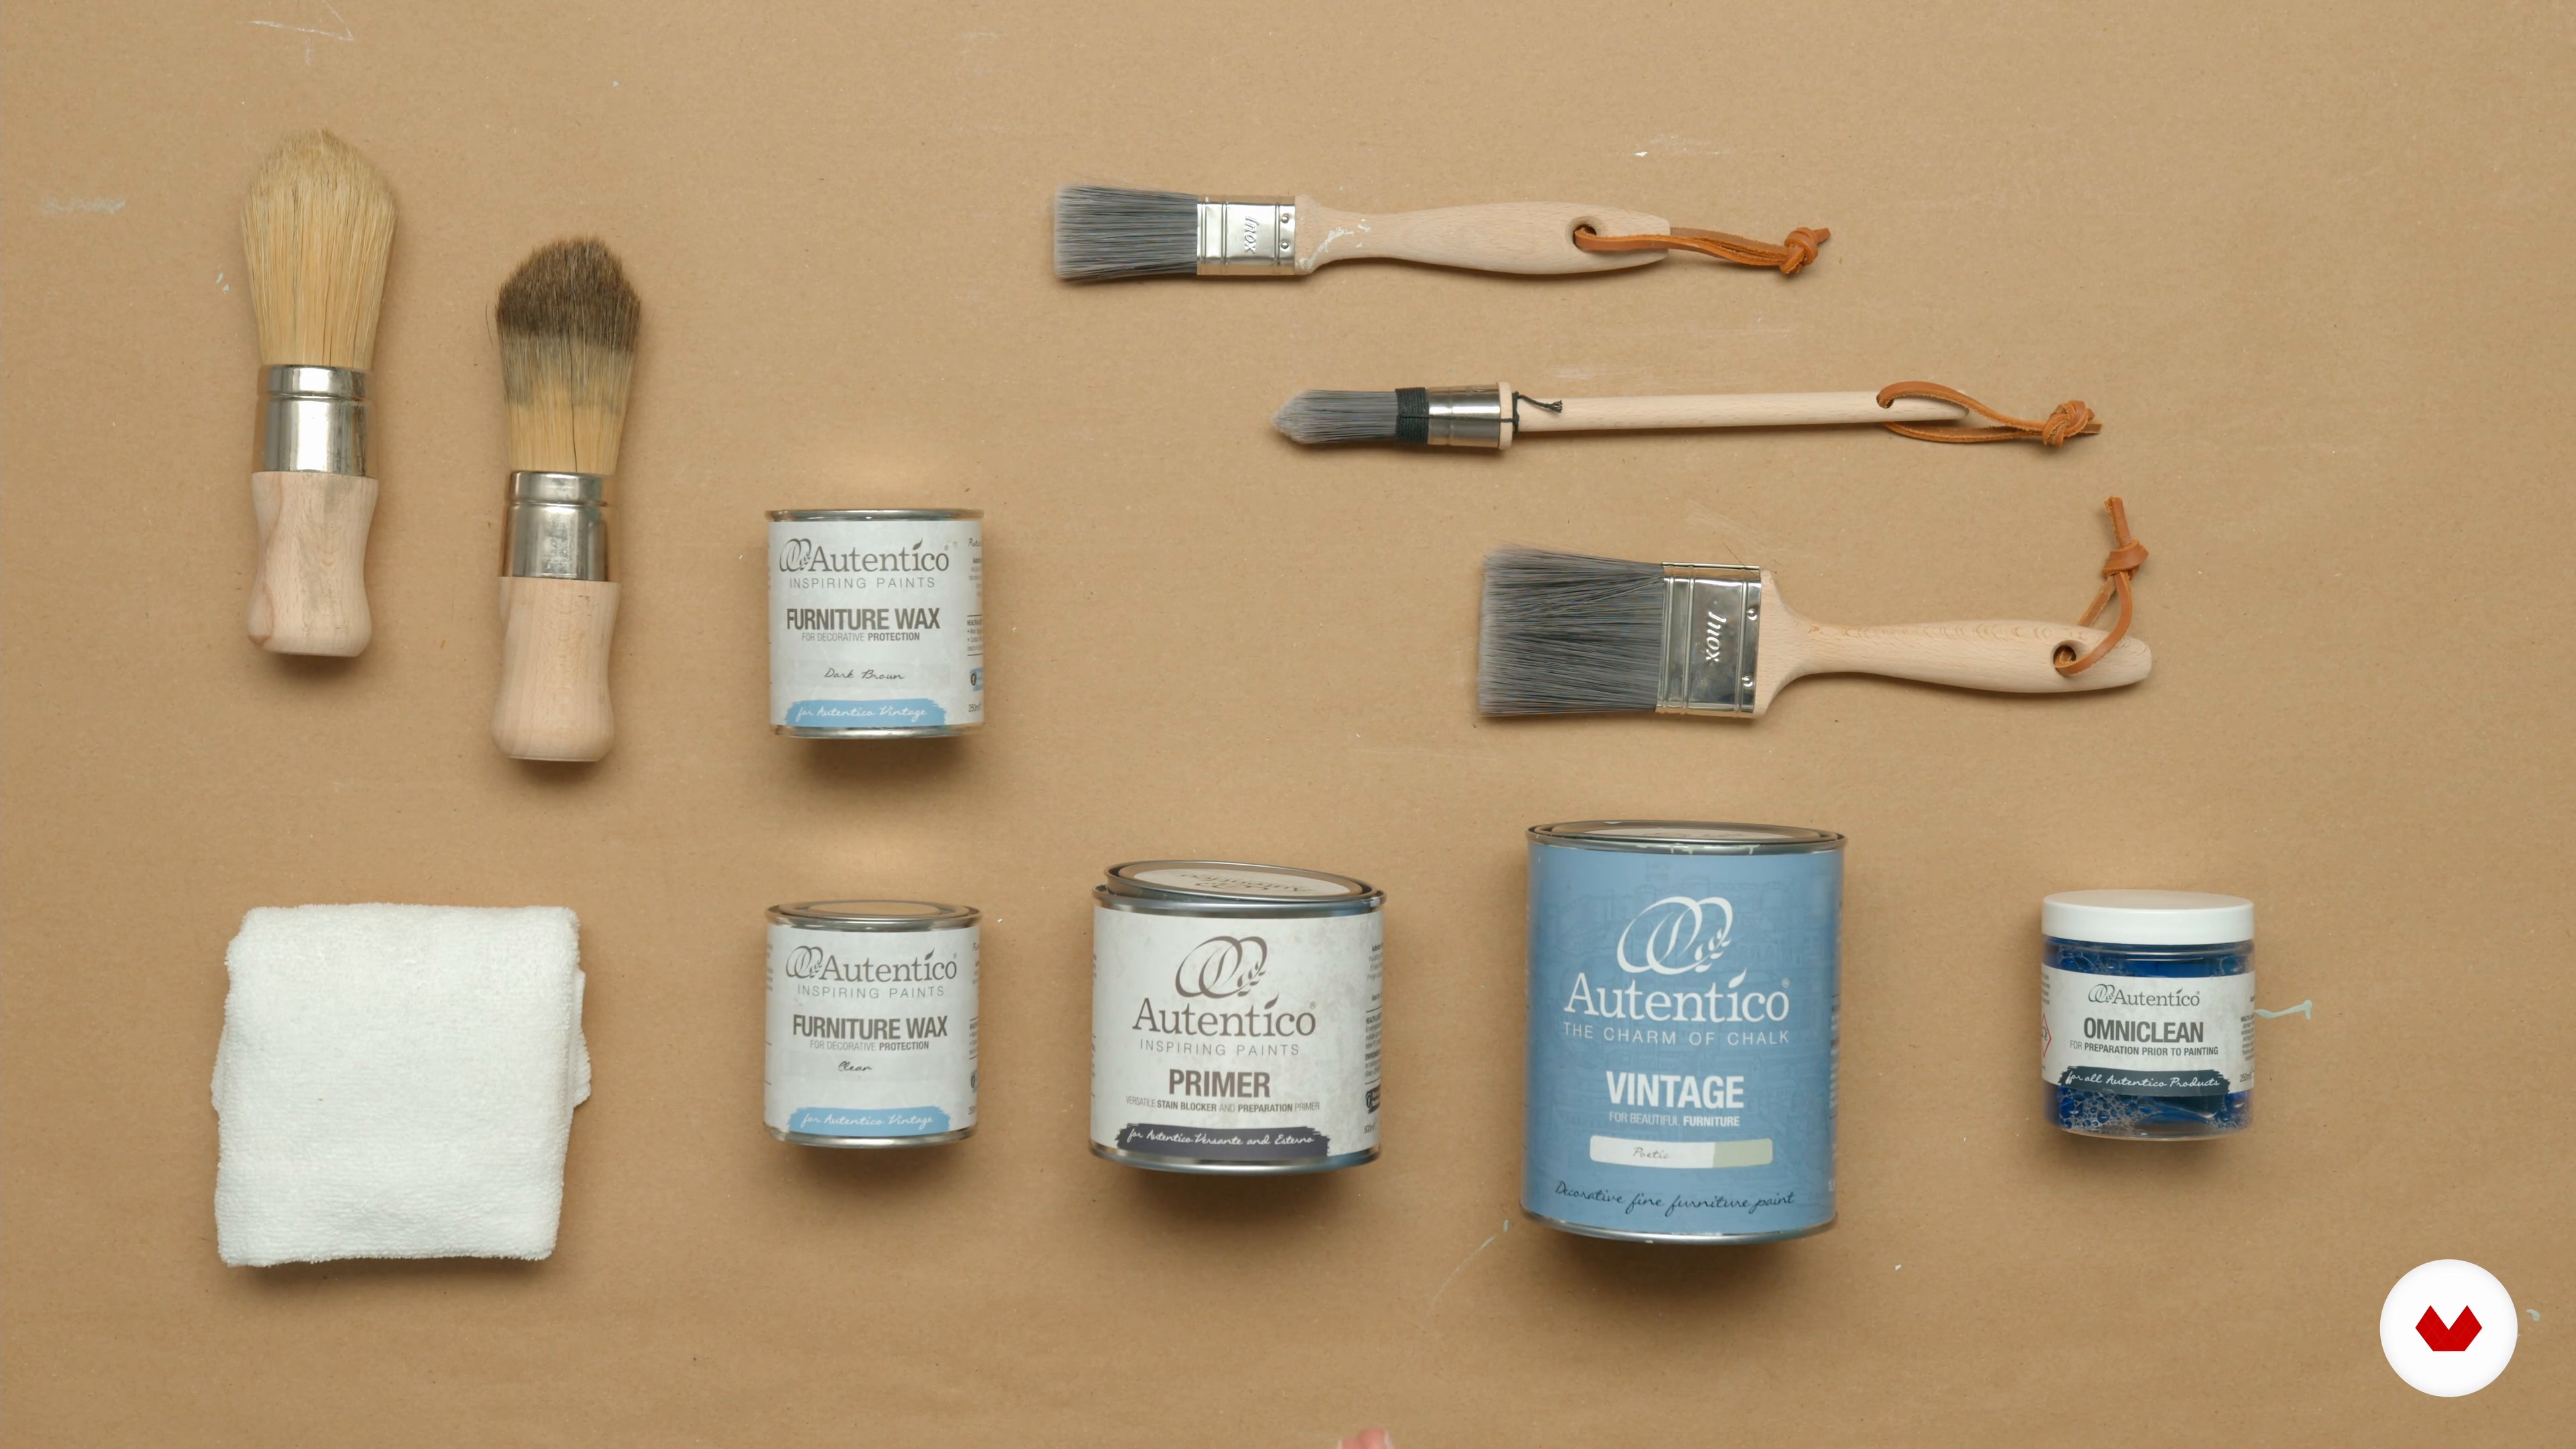
In this lesson, I'll tell you all the materials we'll use to give our dresser a basic style, but one that will give it a completely different look from the original.
2m
image
11
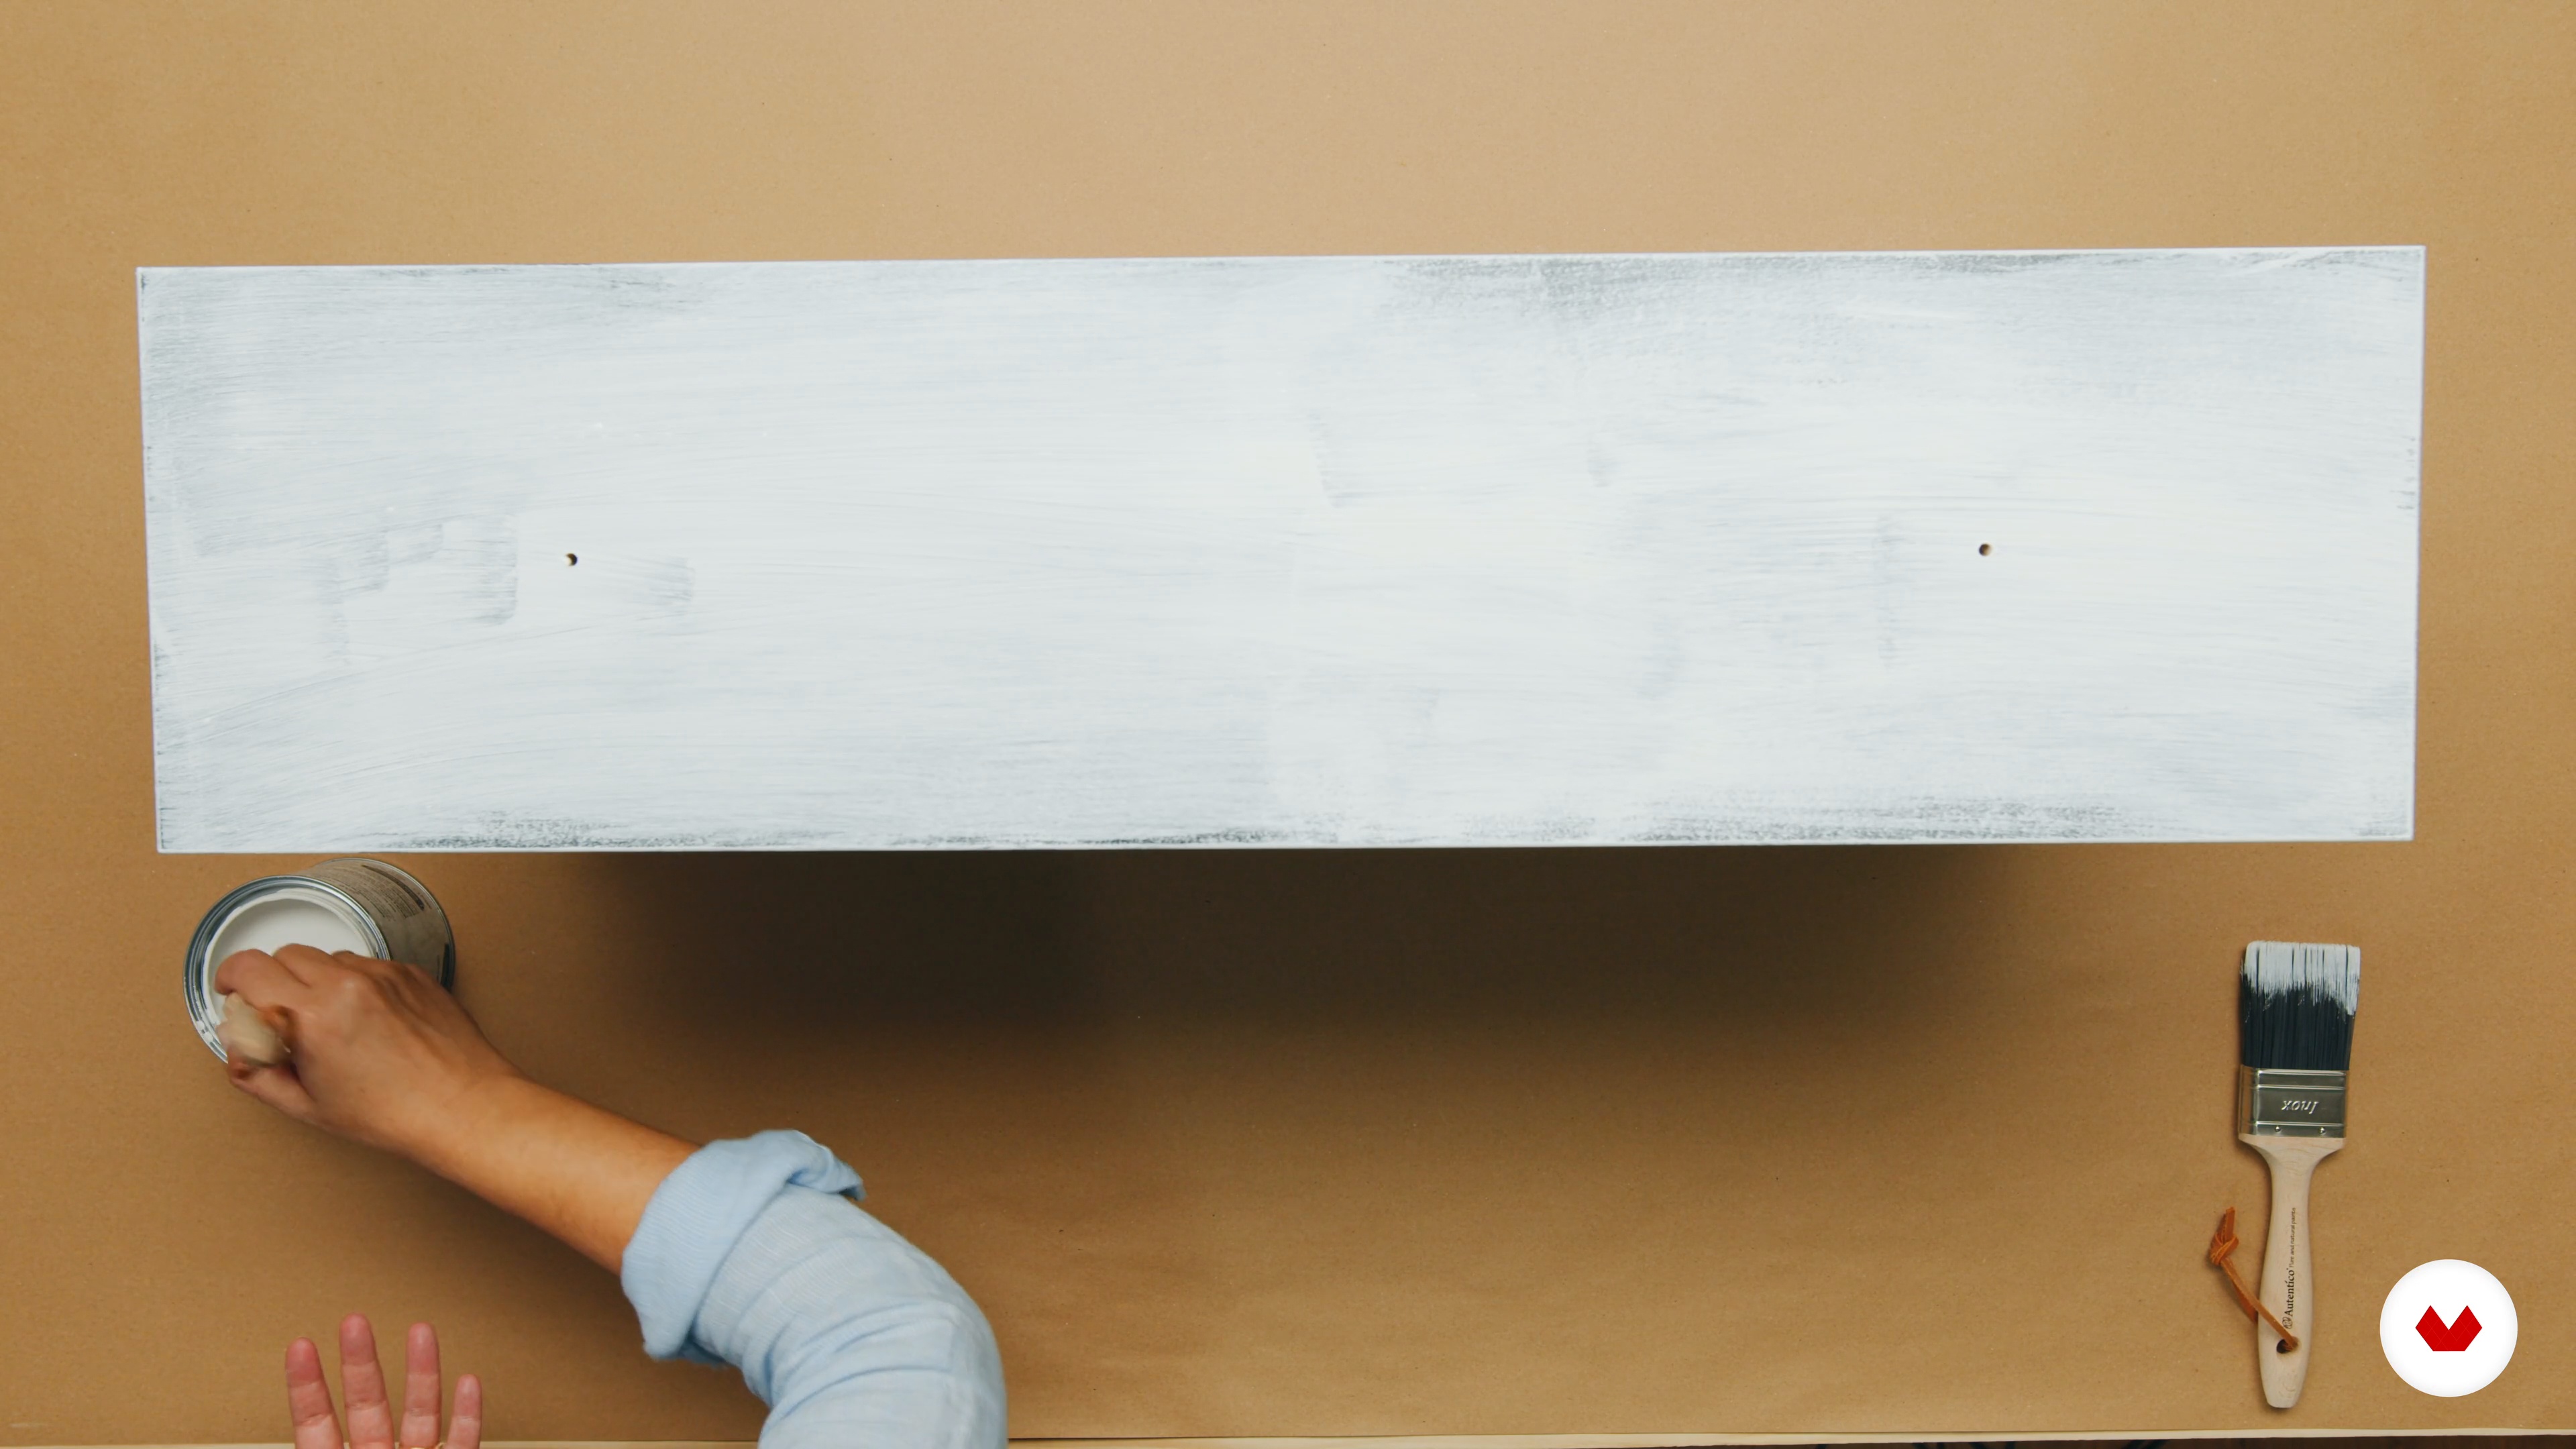
Preparation of the piece and application of paint 1
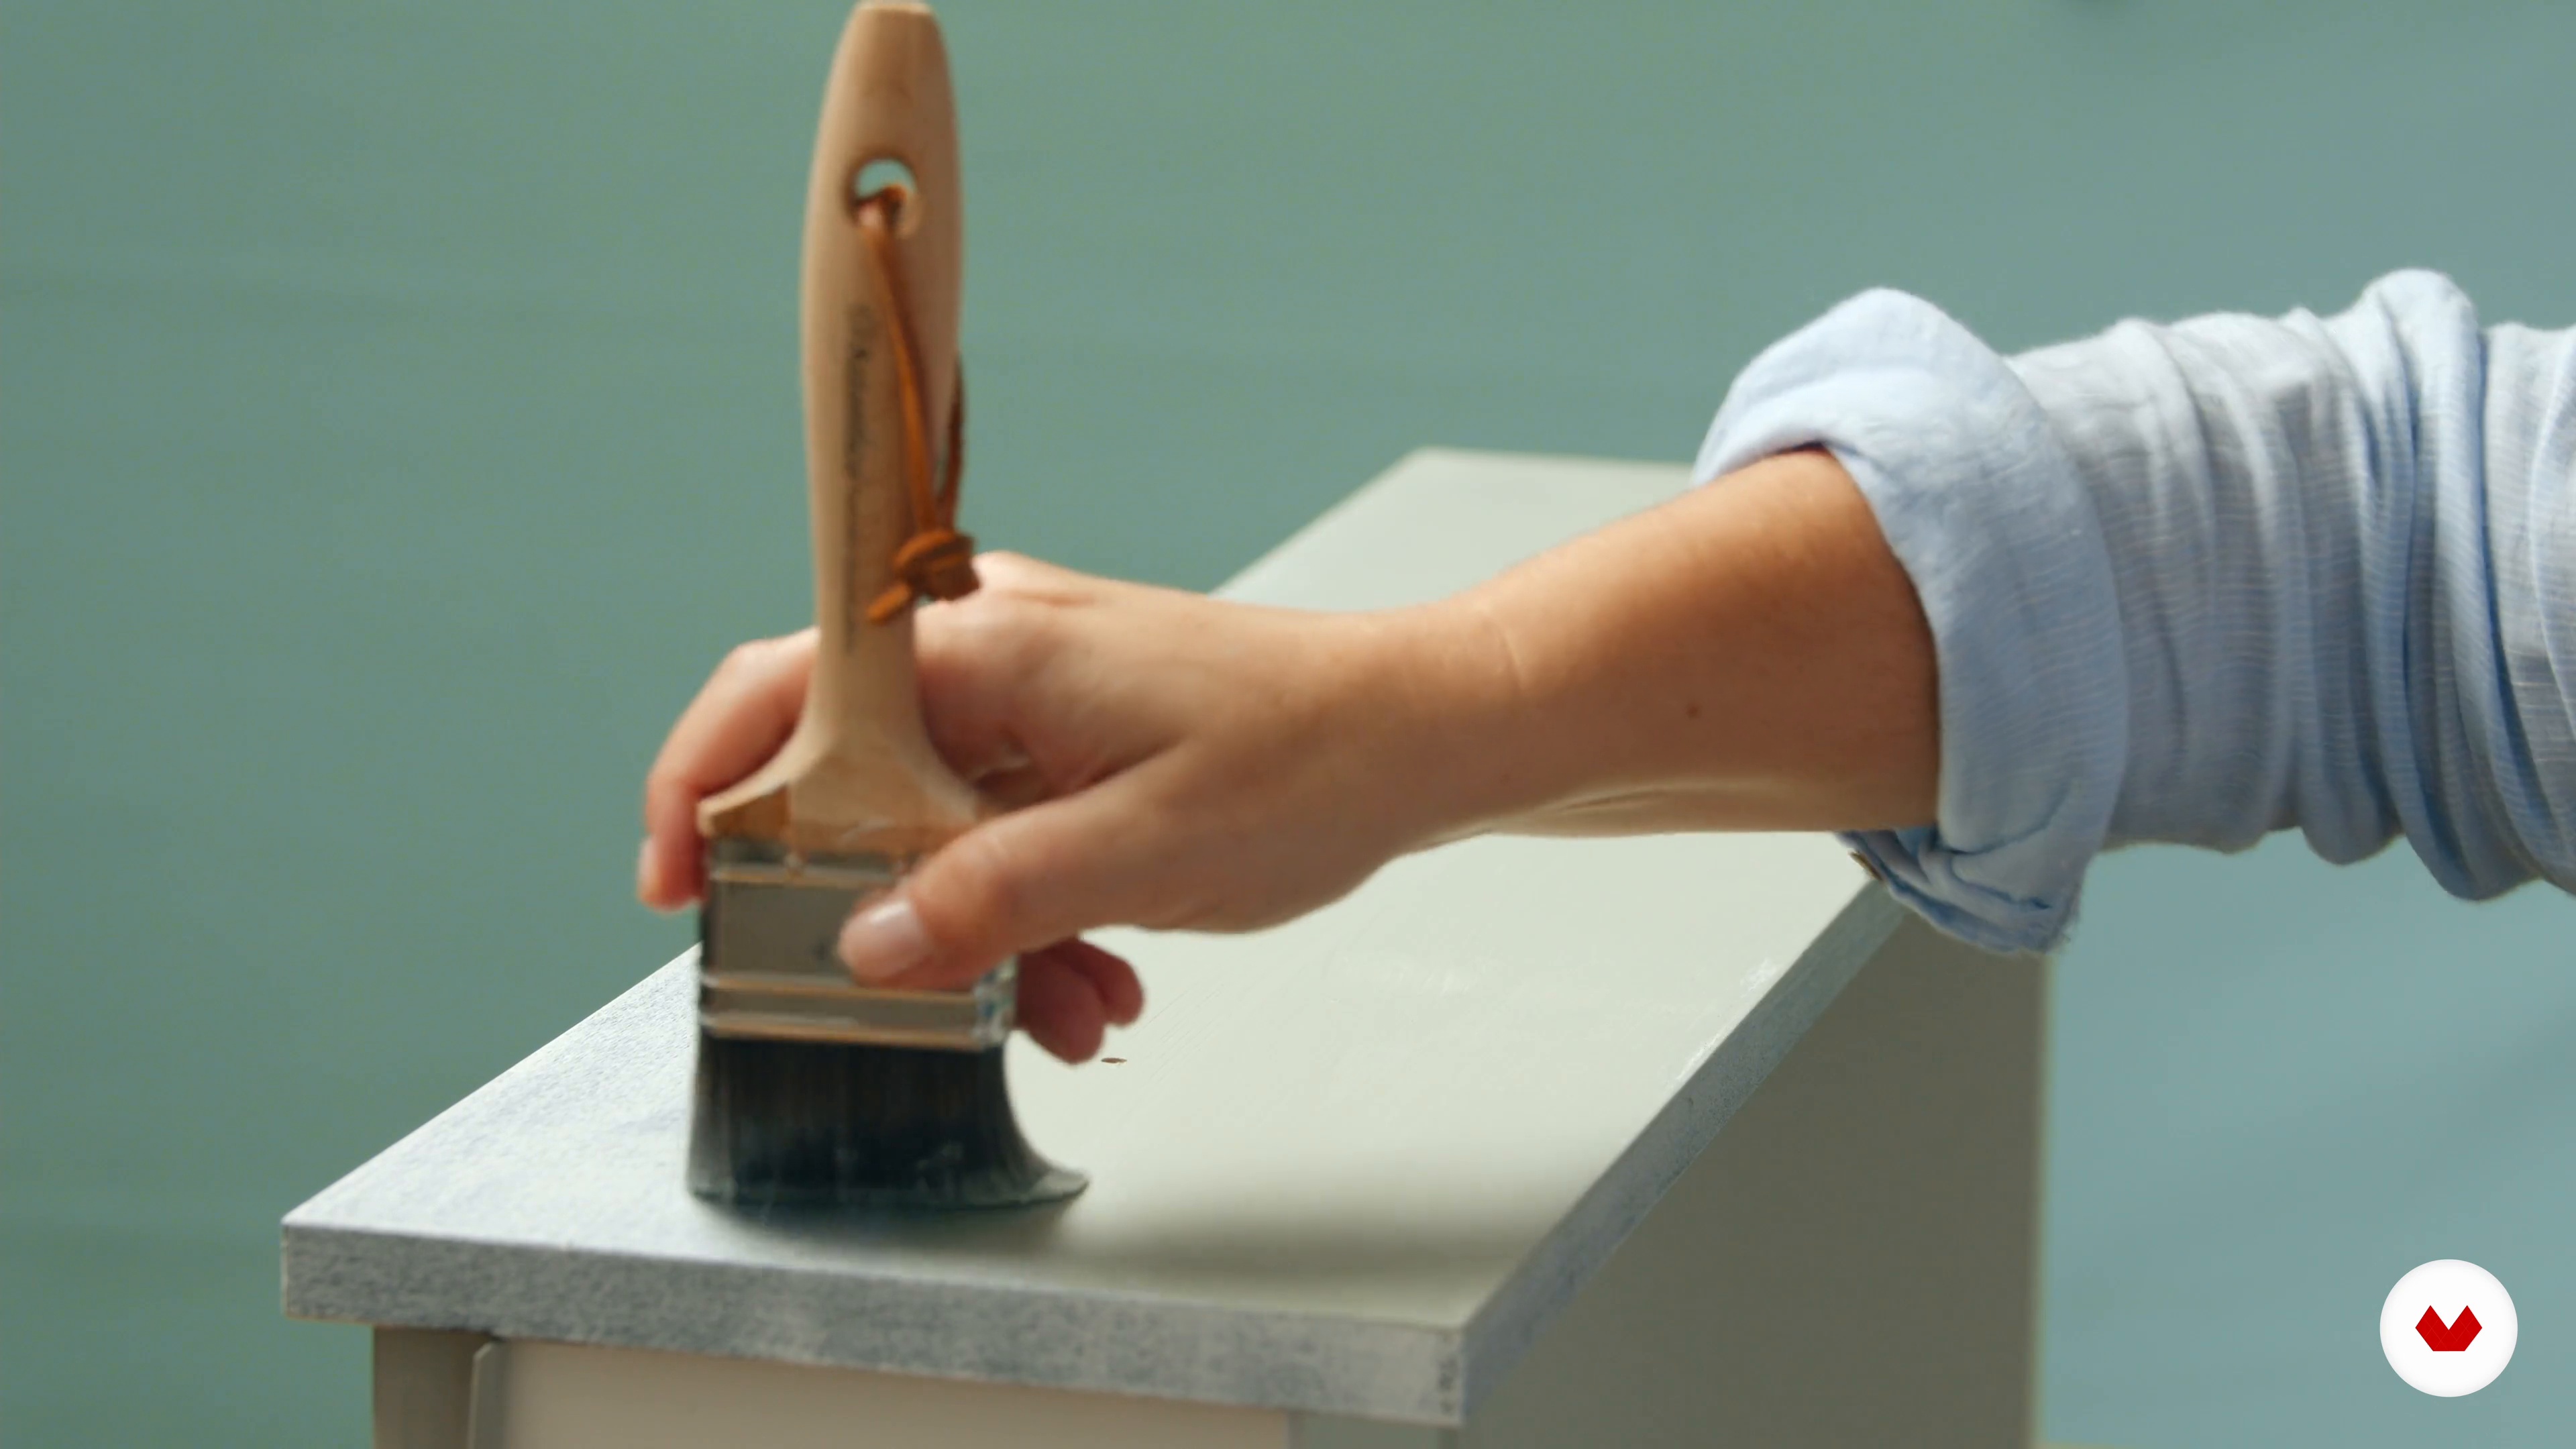
Next, I'm going to share with you the most important things to know when applying primer and paint to achieve a good result on a piece.
19m
image
12
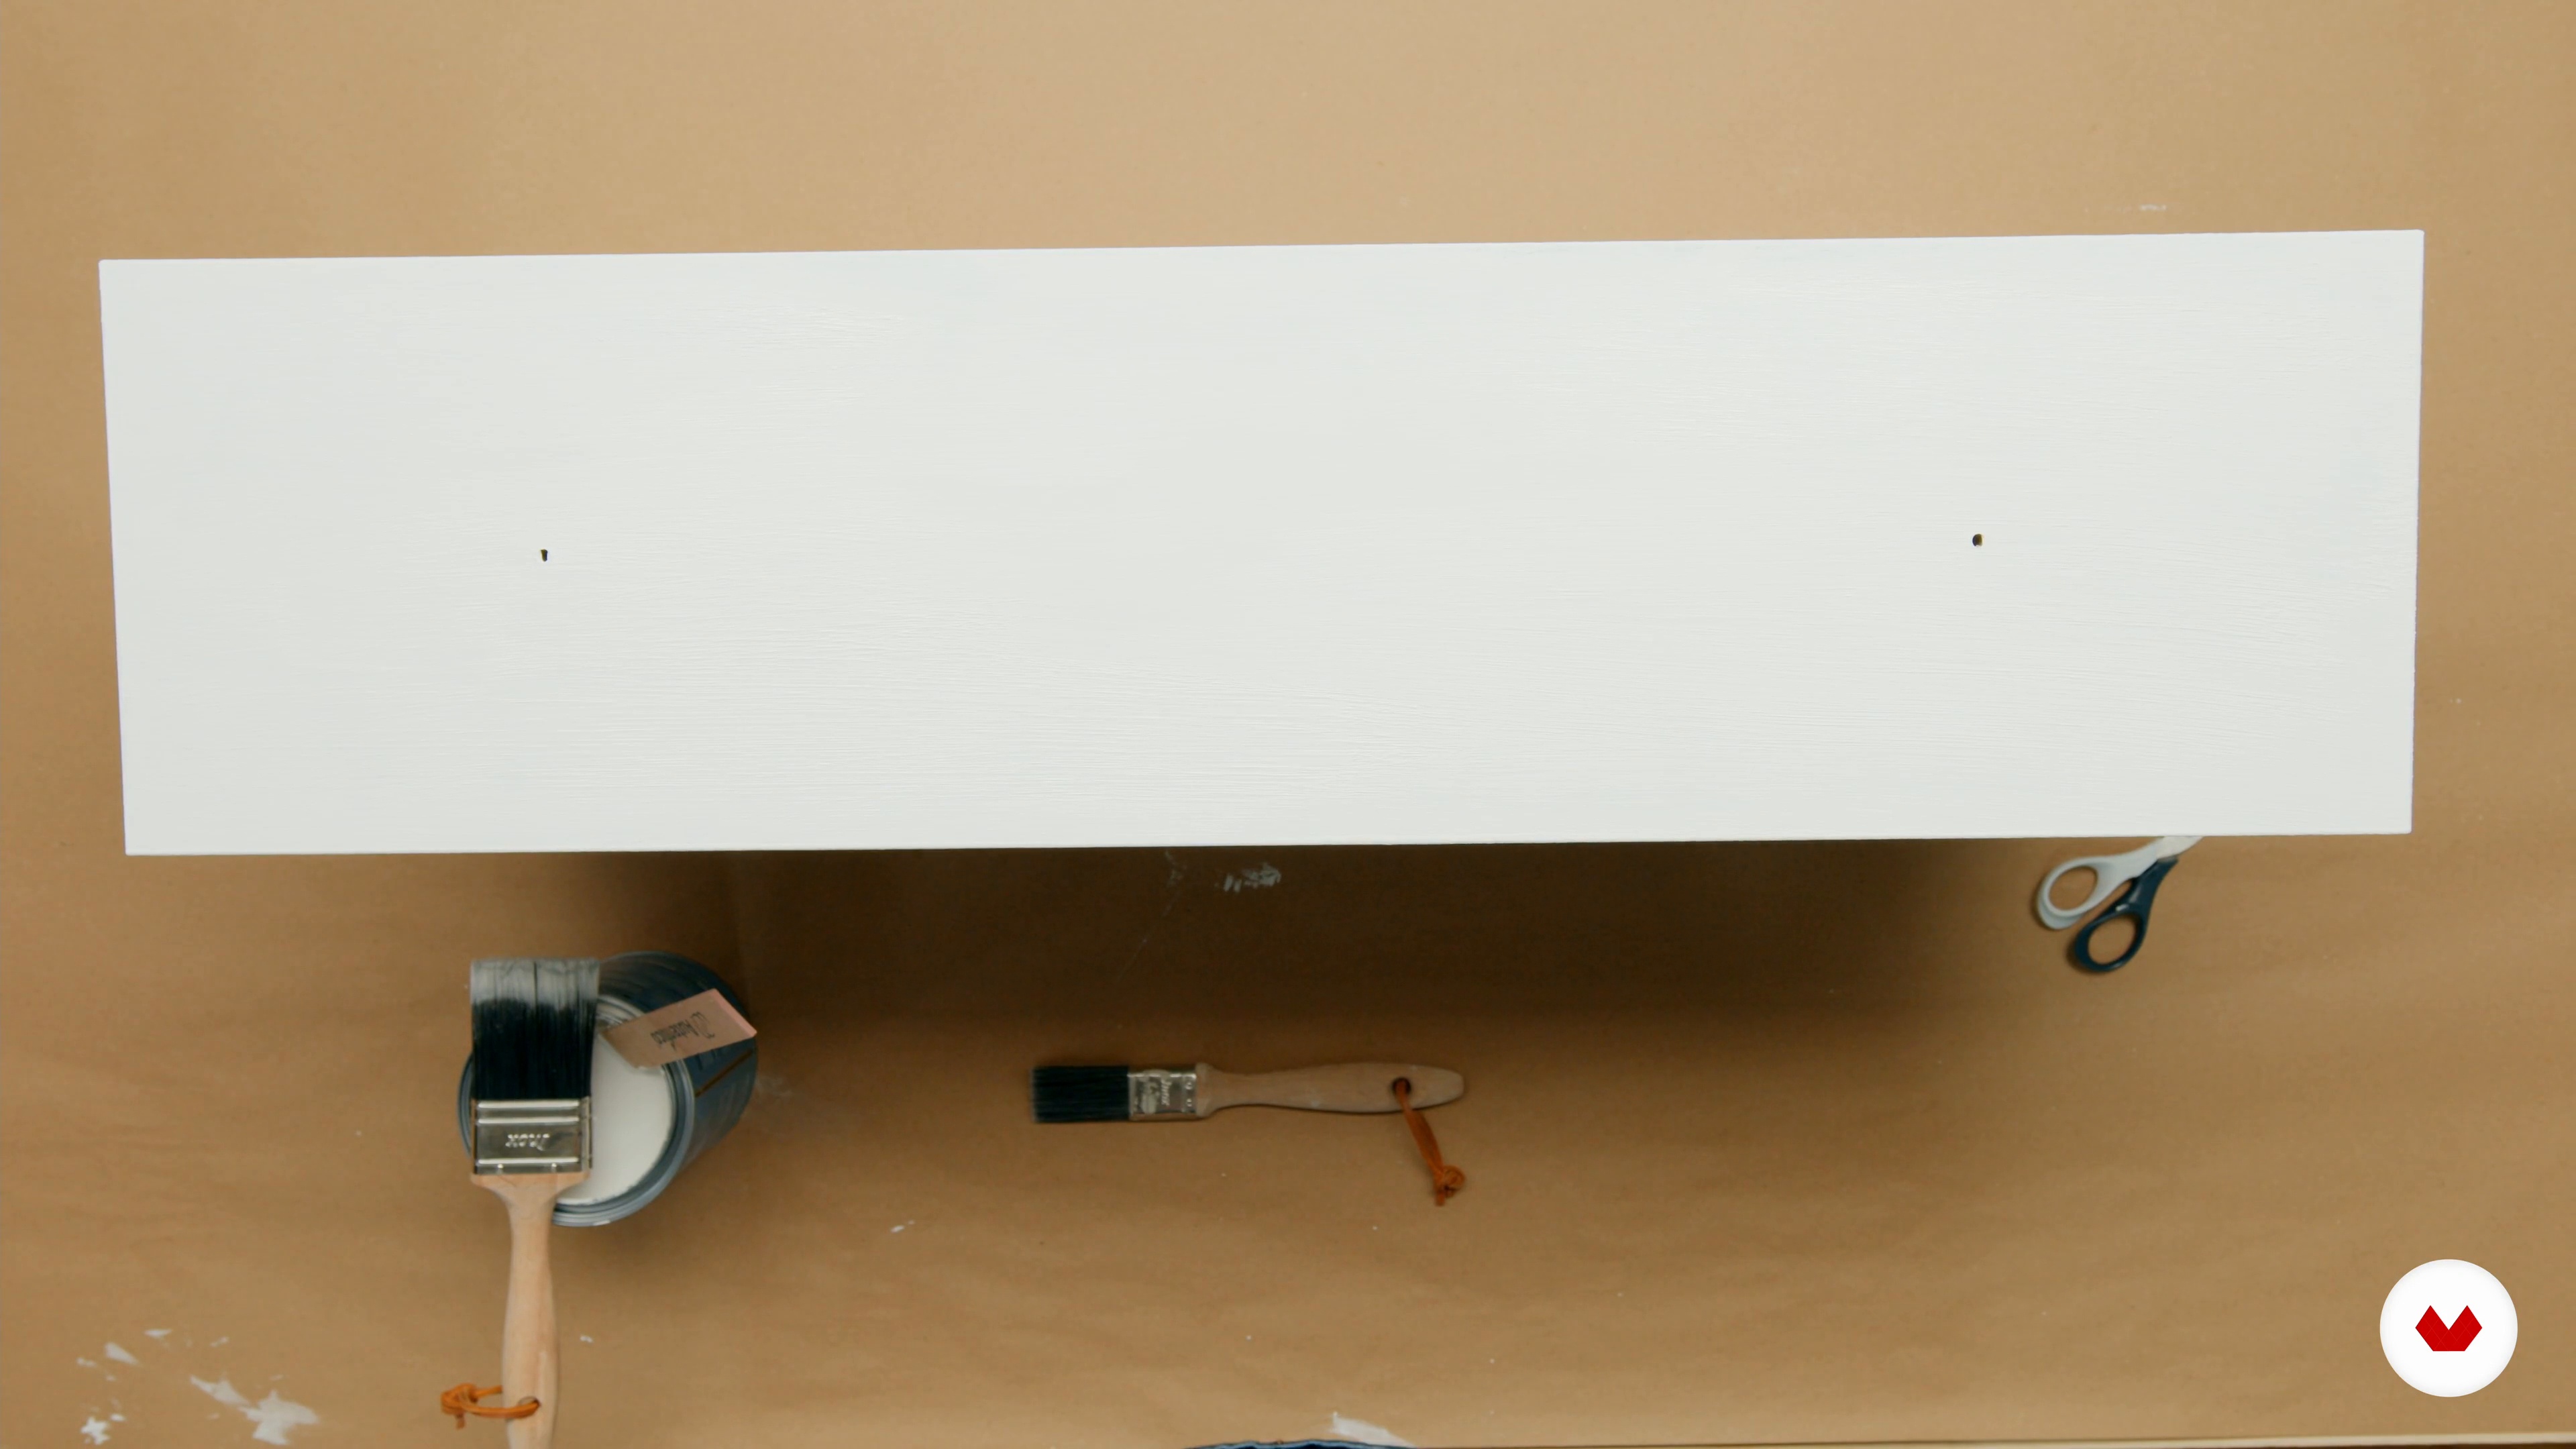
Preparation of the piece and application of paint 2
After letting the drawer dry, we will begin applying the second coat of paint.
6m
image
13
Wax
Now I'm going to explain how to wax with clear wax and why I use this type of wax for this piece of furniture.
6m
image
14
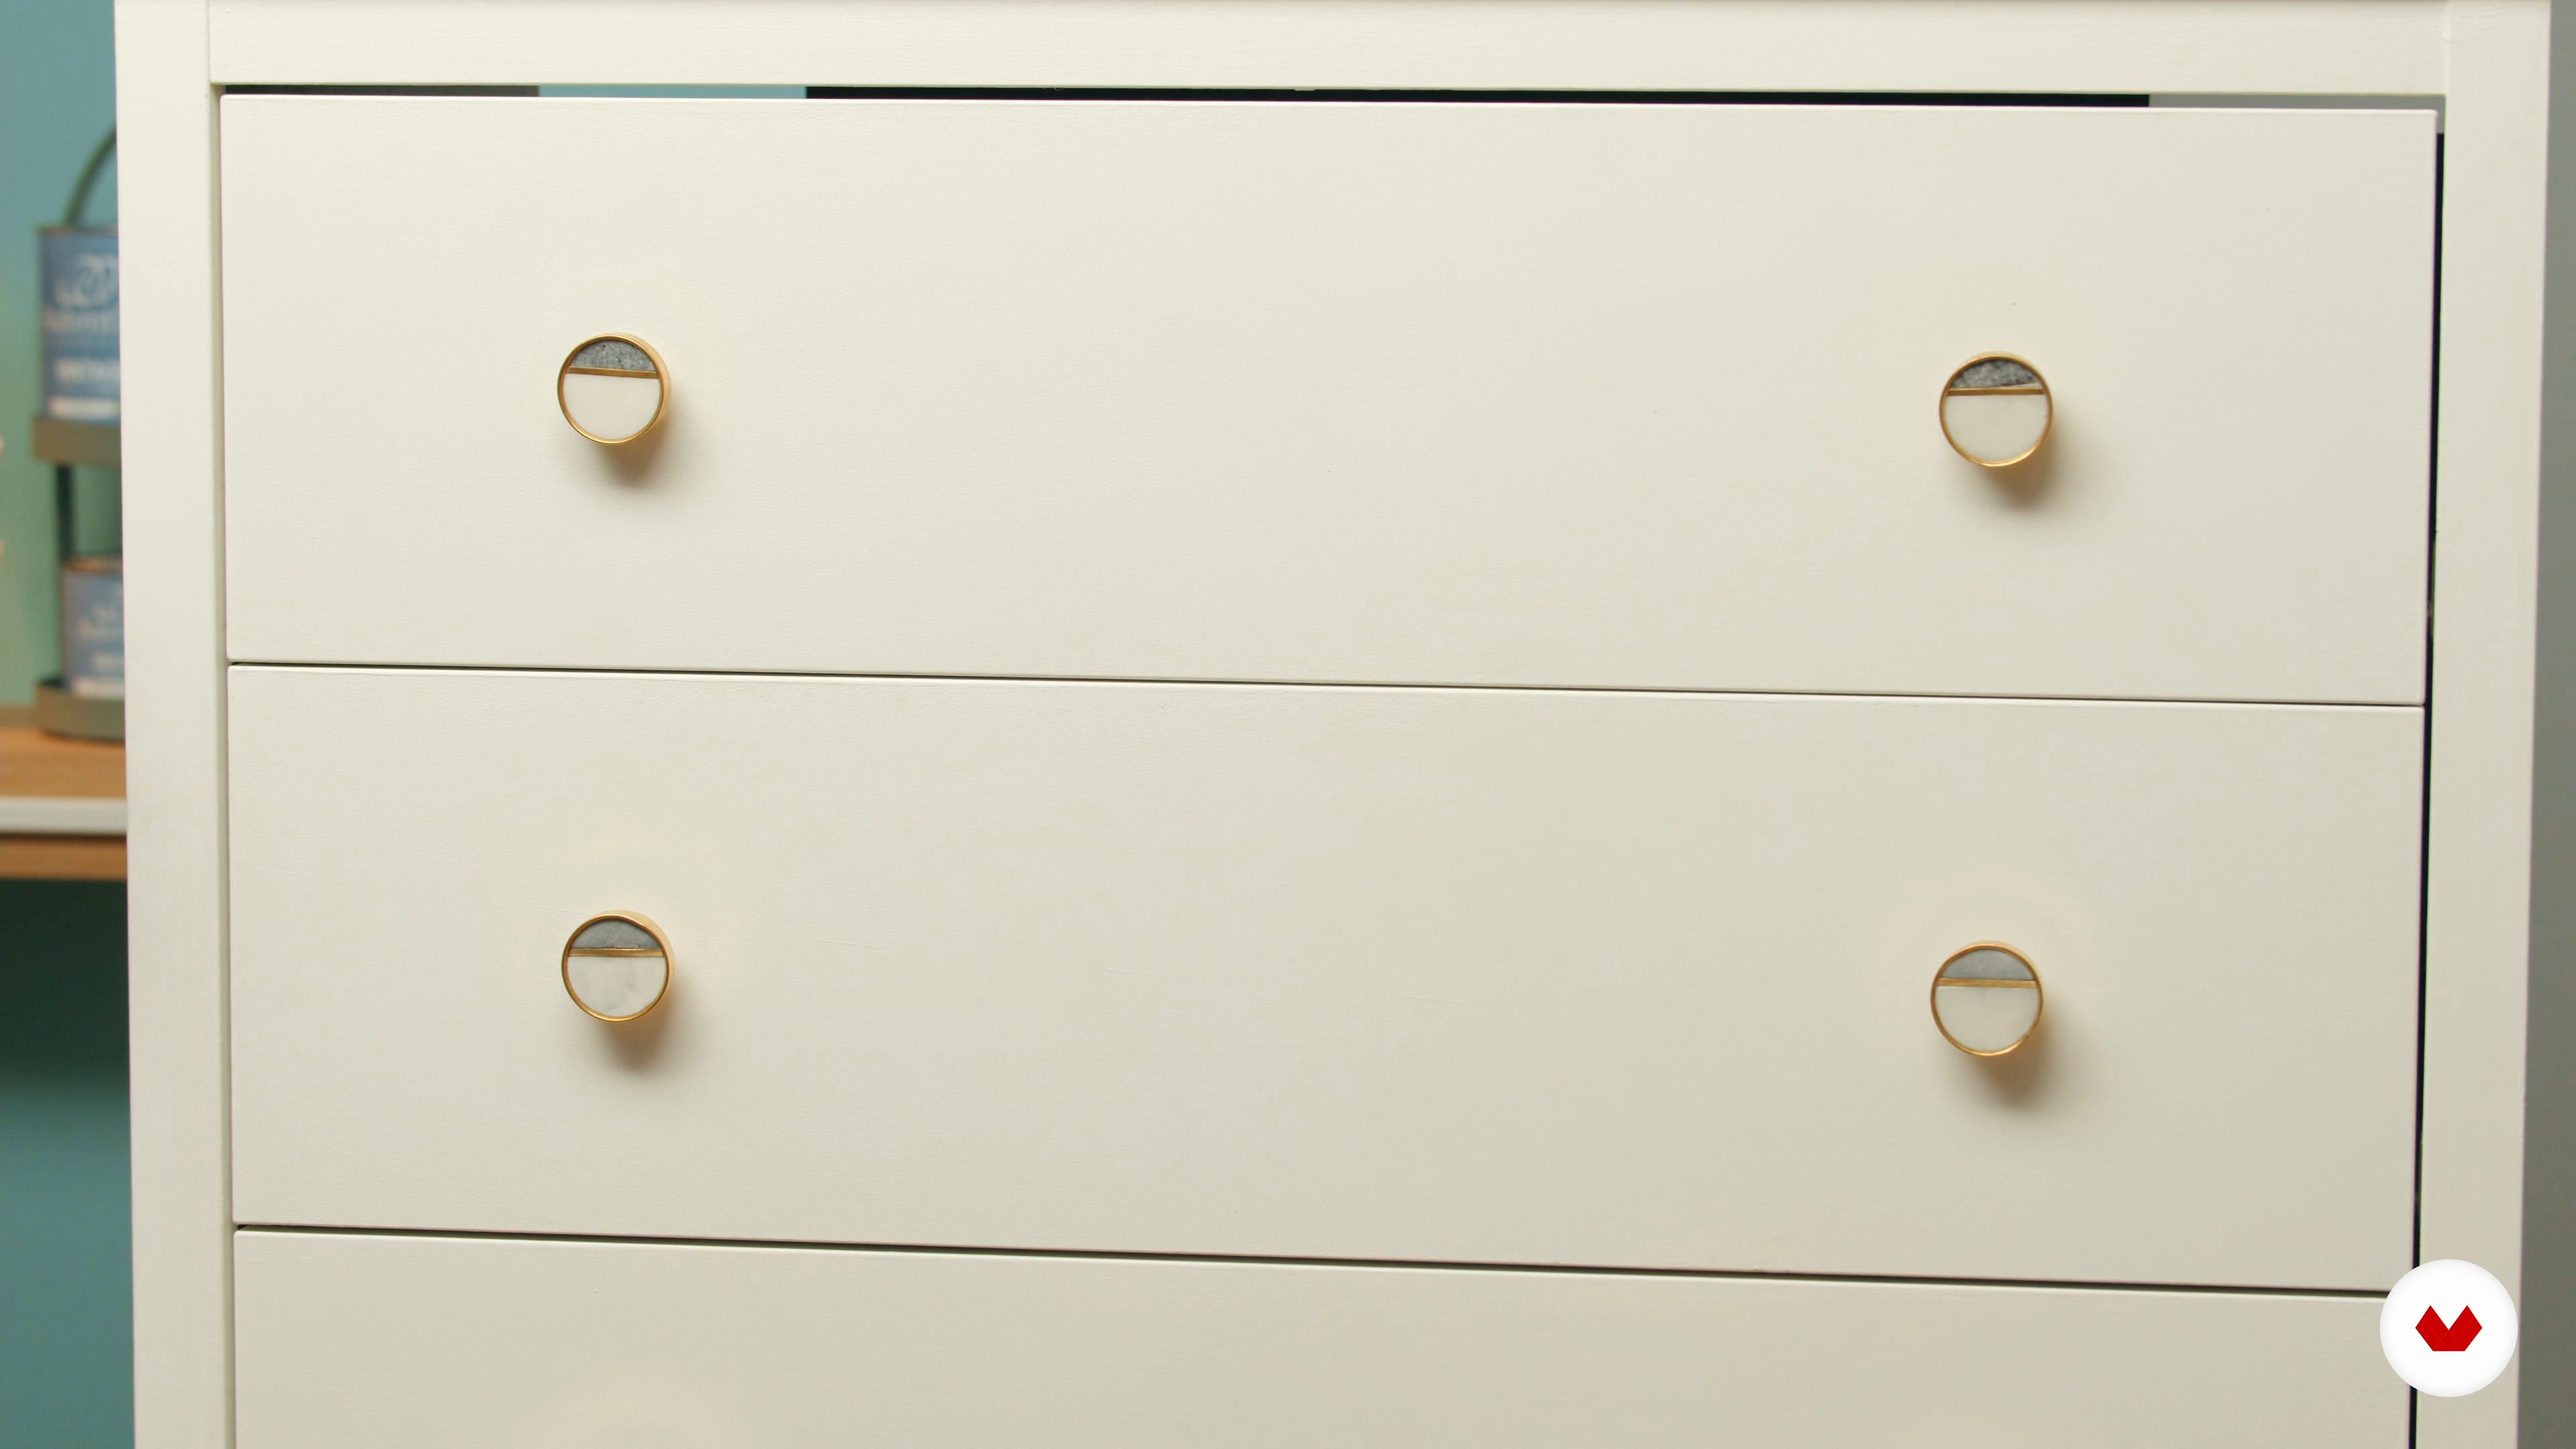
Finishes
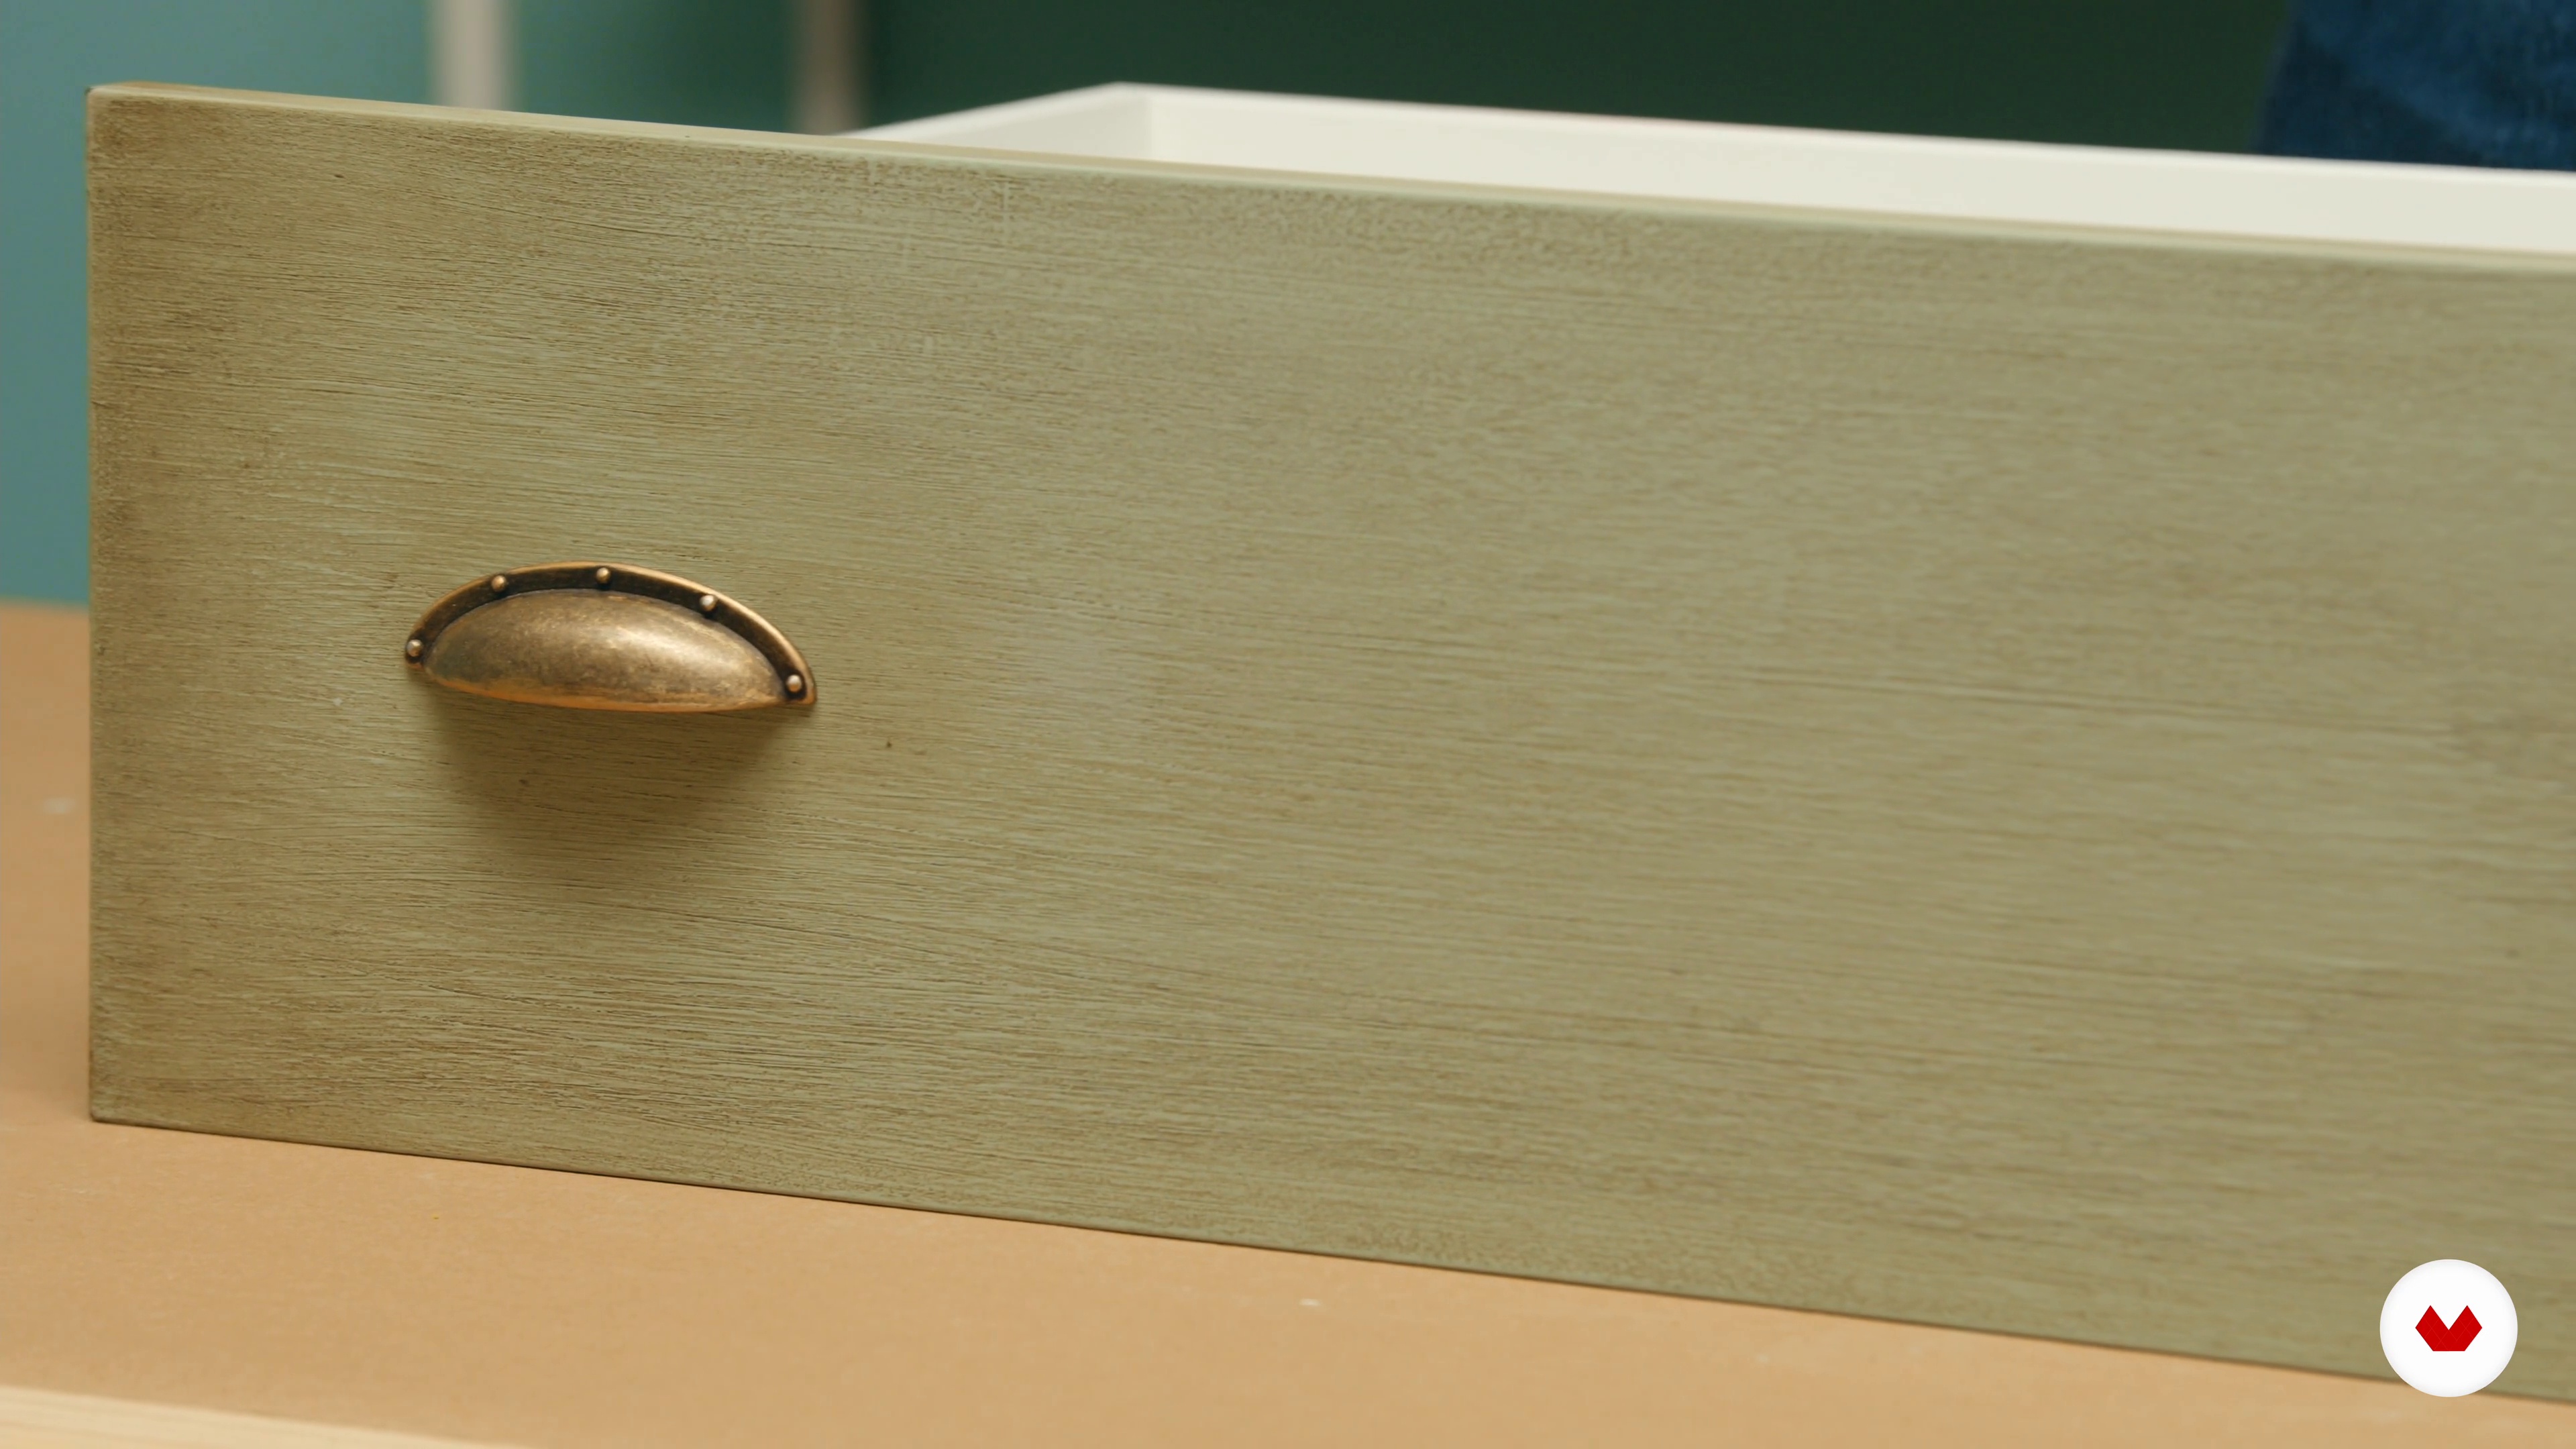
In this lesson, we'll see how the same dresser can adapt to different styles simply by changing the color and handles.
4m
image
15
Wood effect
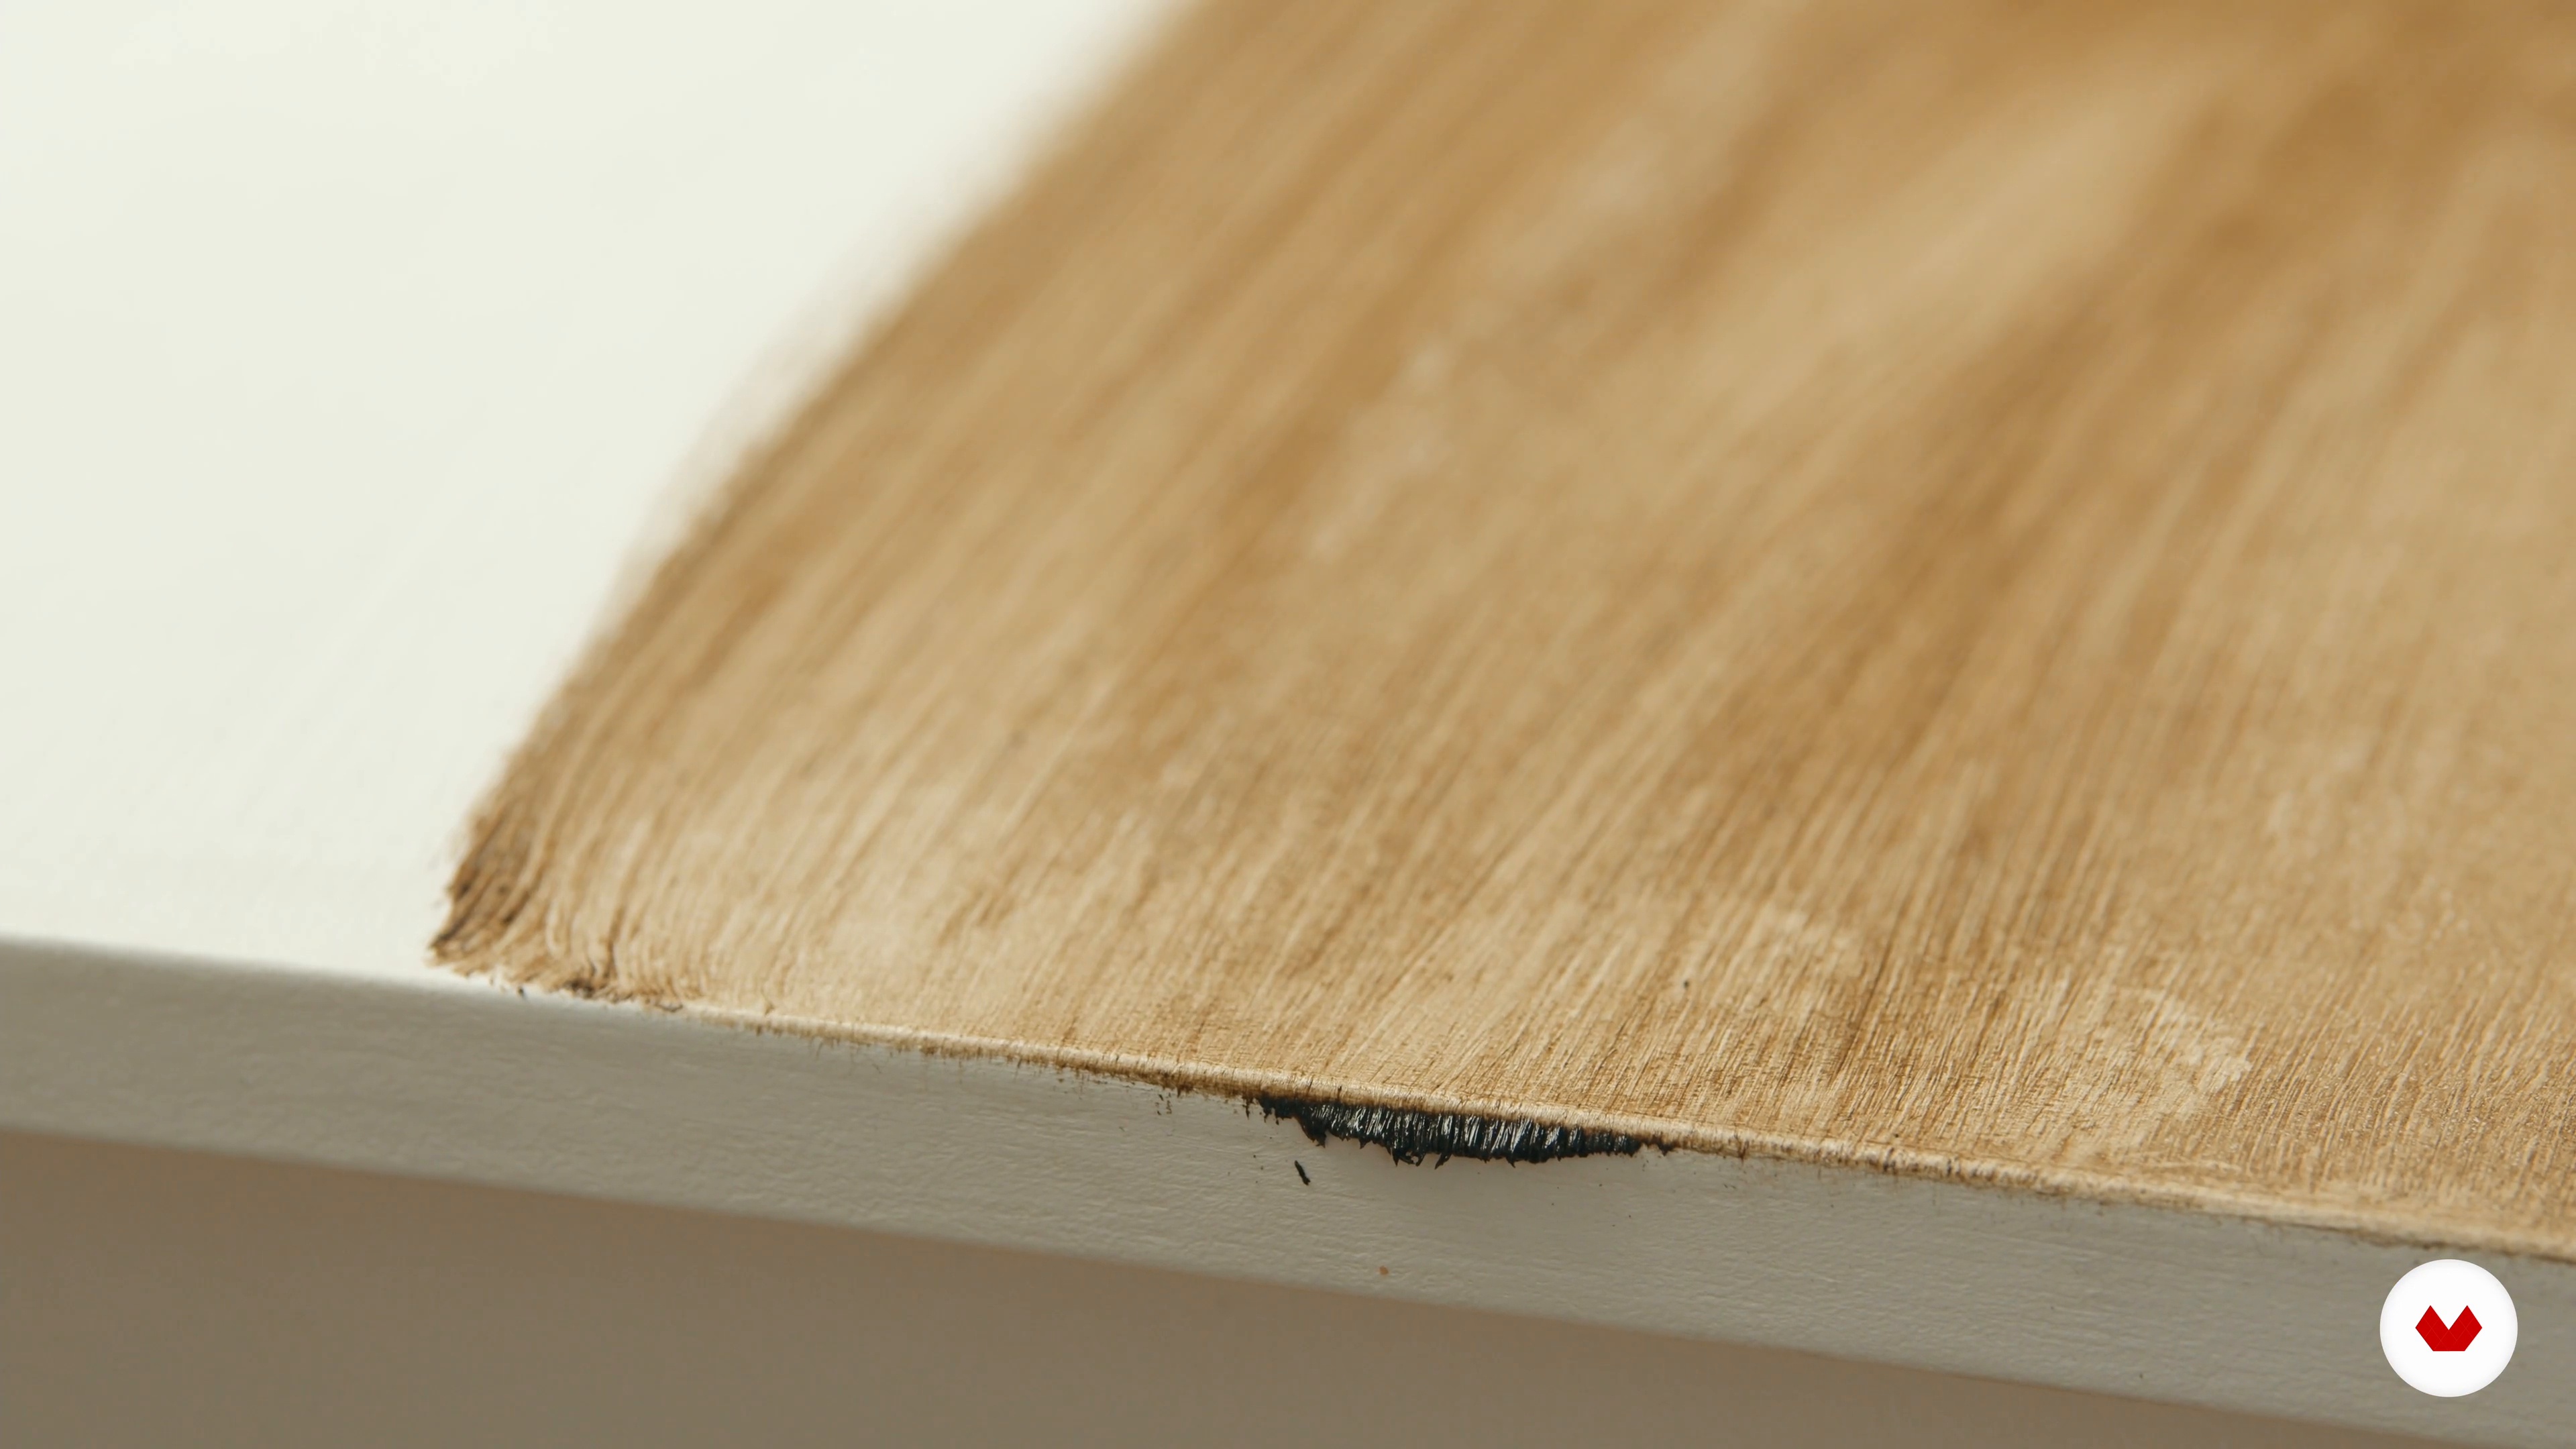
Next, I'm going to show you how to create the simplest and most natural wood effect I know of. We'll simply use wax and a very simple application technique.
6m
image
16
Materials
In this lesson, we'll look at the materials you need to use to apply the aged effect to your pieces.
1m
image
17
Preparation of the piece and application of the paint
Next, I'm going to share the most important things to know when applying primer and paint to achieve a good result.
8m
image
18
Waxed to create an aged effect
Now I'm going to explain how to wax furniture to give it an aged look and make it look as natural and beautiful as possible.
15m
image
19
Waxed finishes
Finally, I'll show you how we can change the color of our finishes simply by applying different waxes.
2m
image
20
Conservation of the piece and cleaning of the furniture
In this lesson, I'll teach you how to clean your furniture once it's painted and waxed. This is usually a simple process, but one that's relatively unknown.
9m
image
21
Sign up for recycling
Next, I'd like to share with you my commitment to the environment. By giving old furniture and other decorative objects a second life, we're all helping to create a much more sustainable world.
10m
image
4
Materials and work station
In this lesson, you'll learn the characteristics and how to use calligraphy brushes. I'll also explain the type of paint we'll be using and its qualities.
3m
image
5
Types of Furniture
Now, I'll tell you about the different types of furniture and, in particular, the type of format chosen for the final project.
5m
image
6
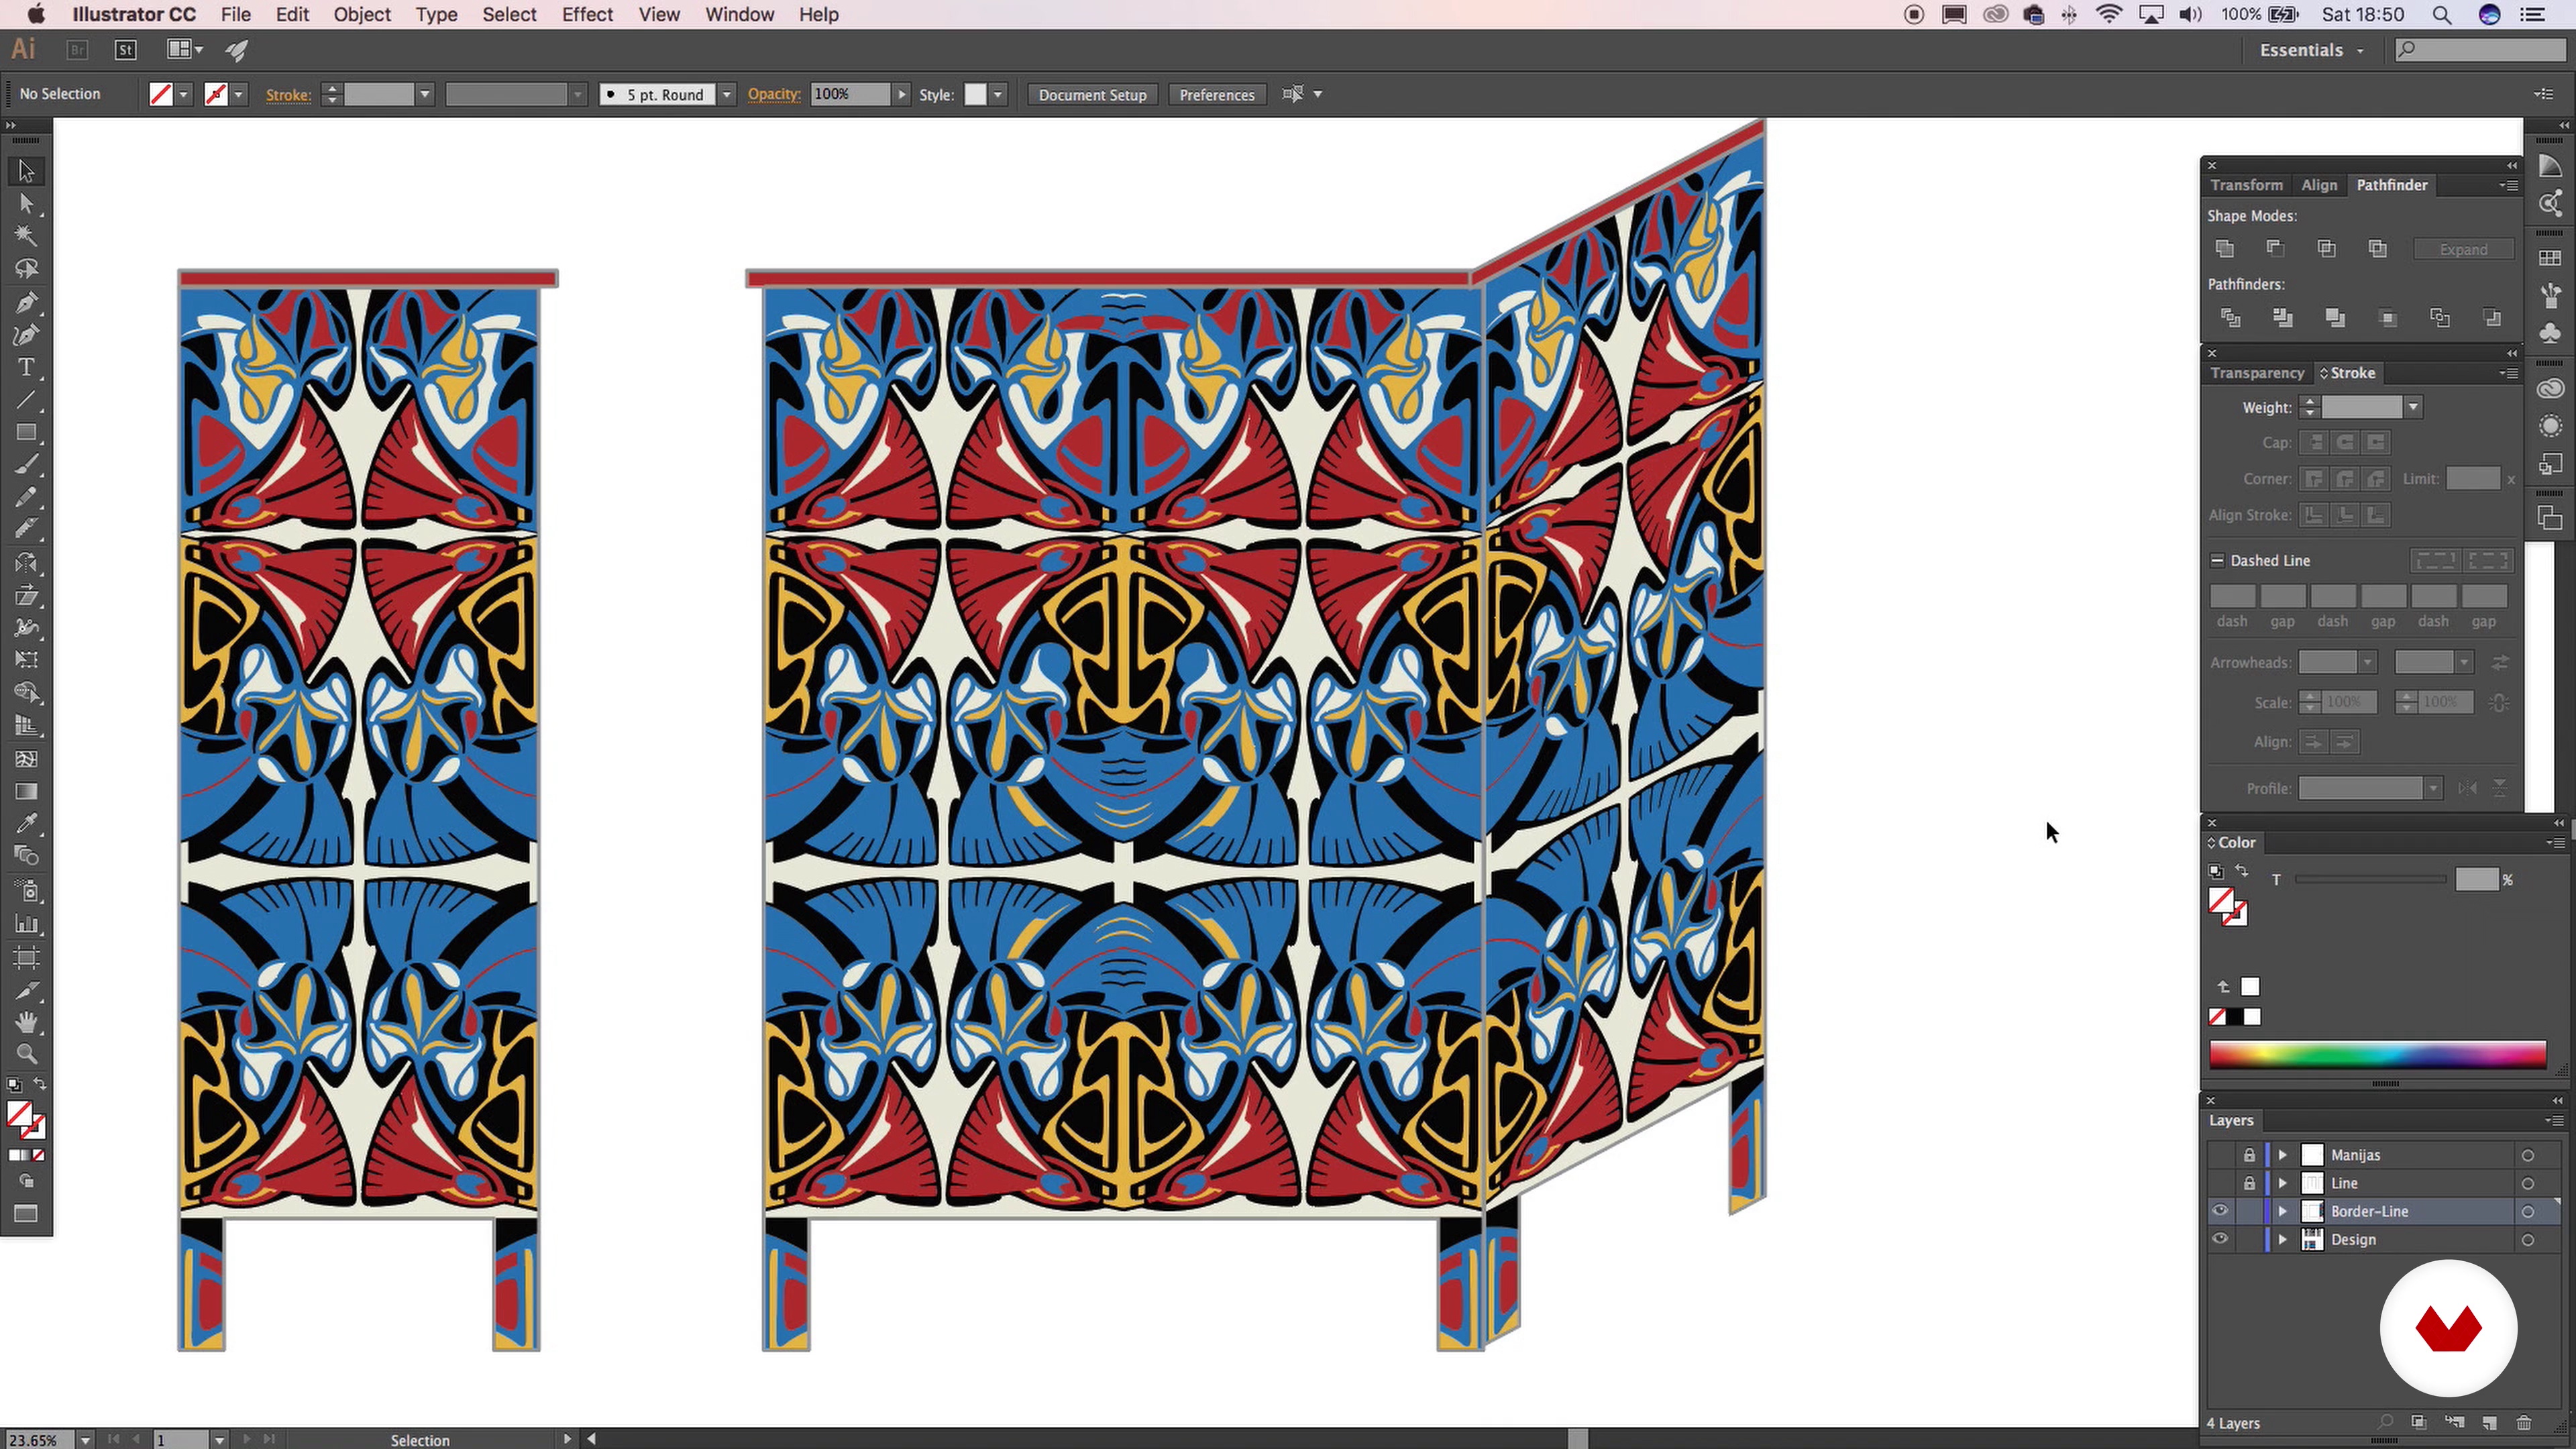
Analysis of decorative designs
In this lesson I will teach you several design styles with different characteristics (curved lines, straight lines, symmetrical, asymmetrical and dynamic).
7m
image
7
Colour
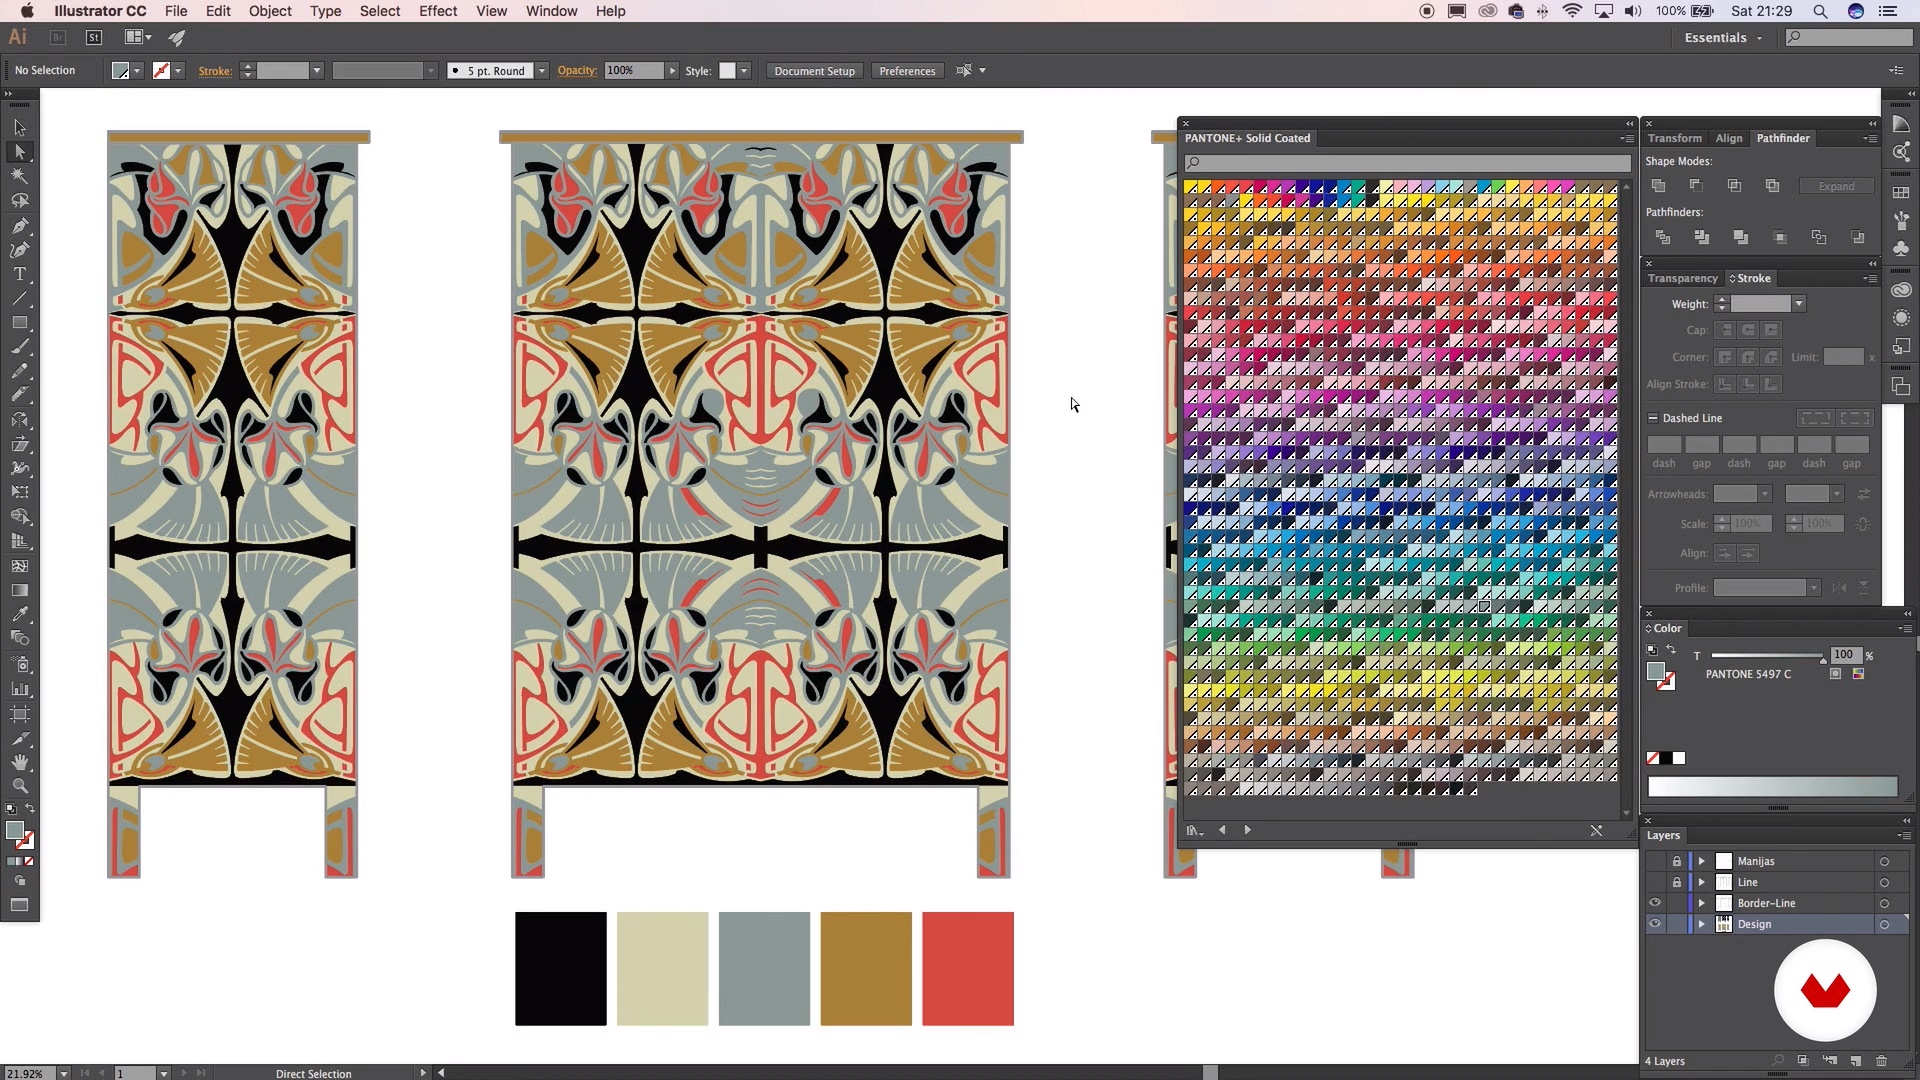
In this lesson, we'll learn about the use of color. We'll be able to define a color palette and also create variations of the same design in different shades, thus creating variety and being able to make the best decision based on the desired outcome of the final project.
9m
image
8
Taking measurements and proportions of the furniture
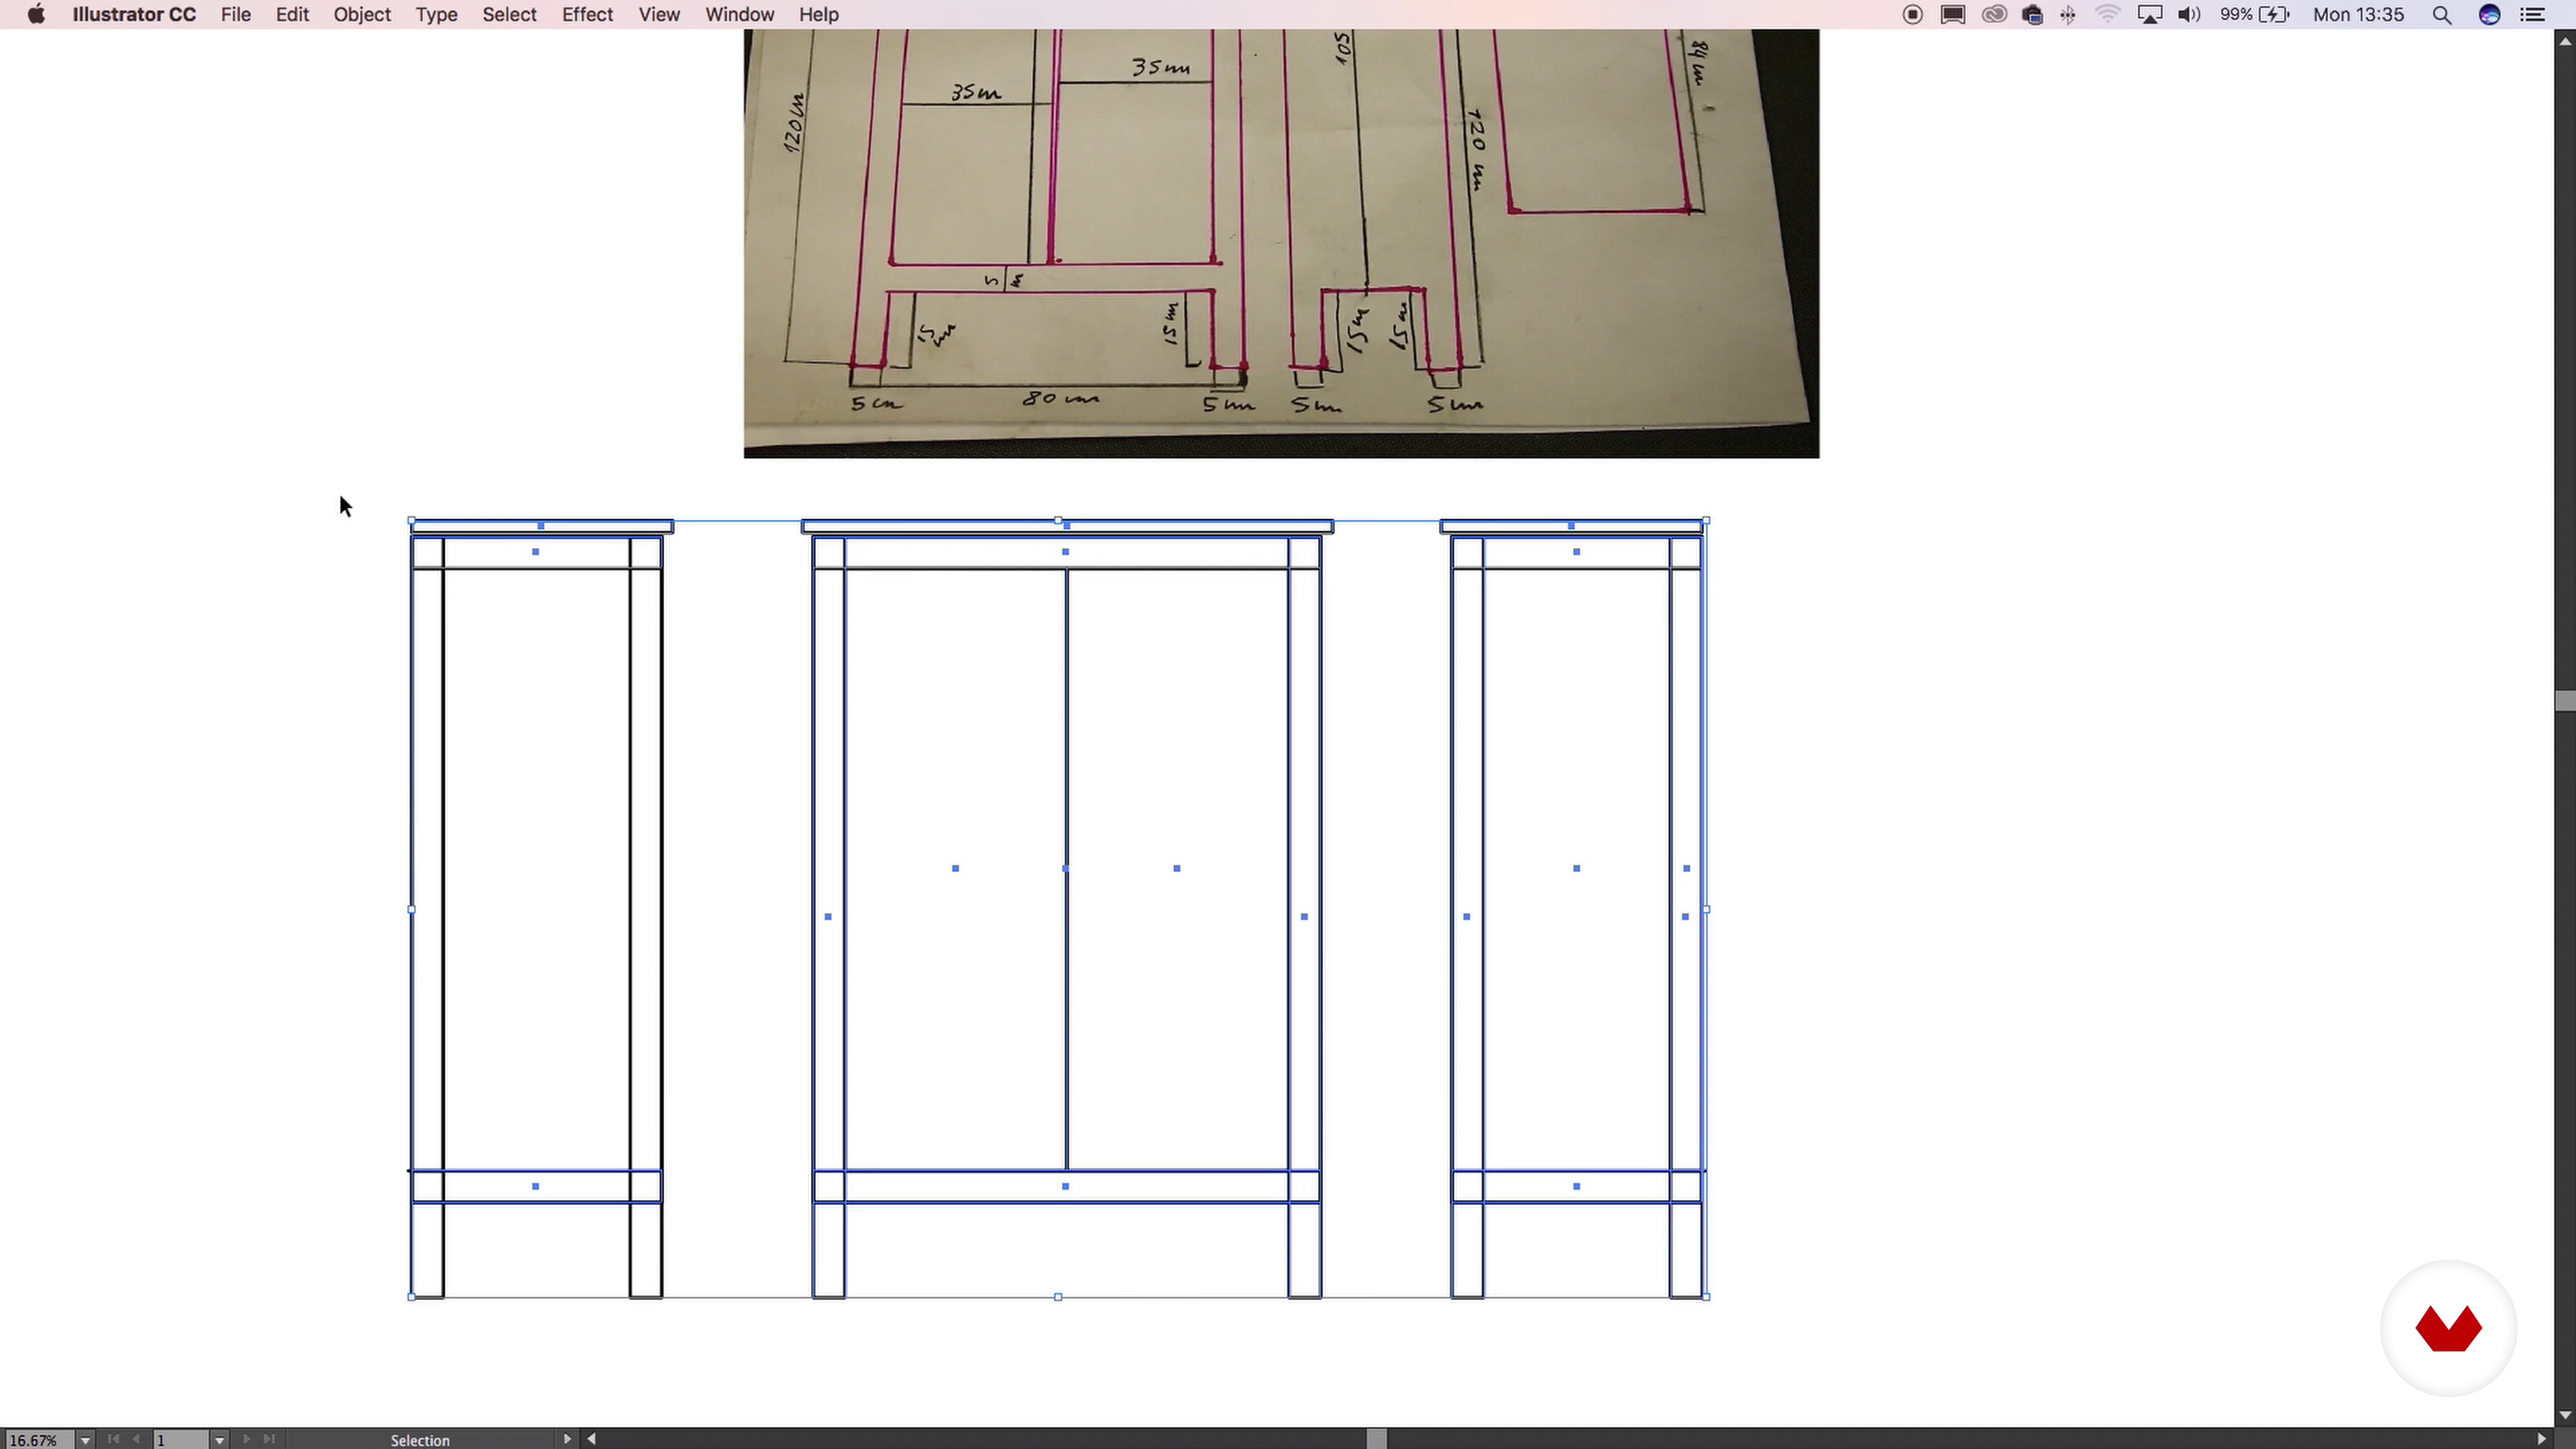
In this lesson, I'll show you how to take furniture measurements to generate a digital plan.
5m
image
9
Design creation
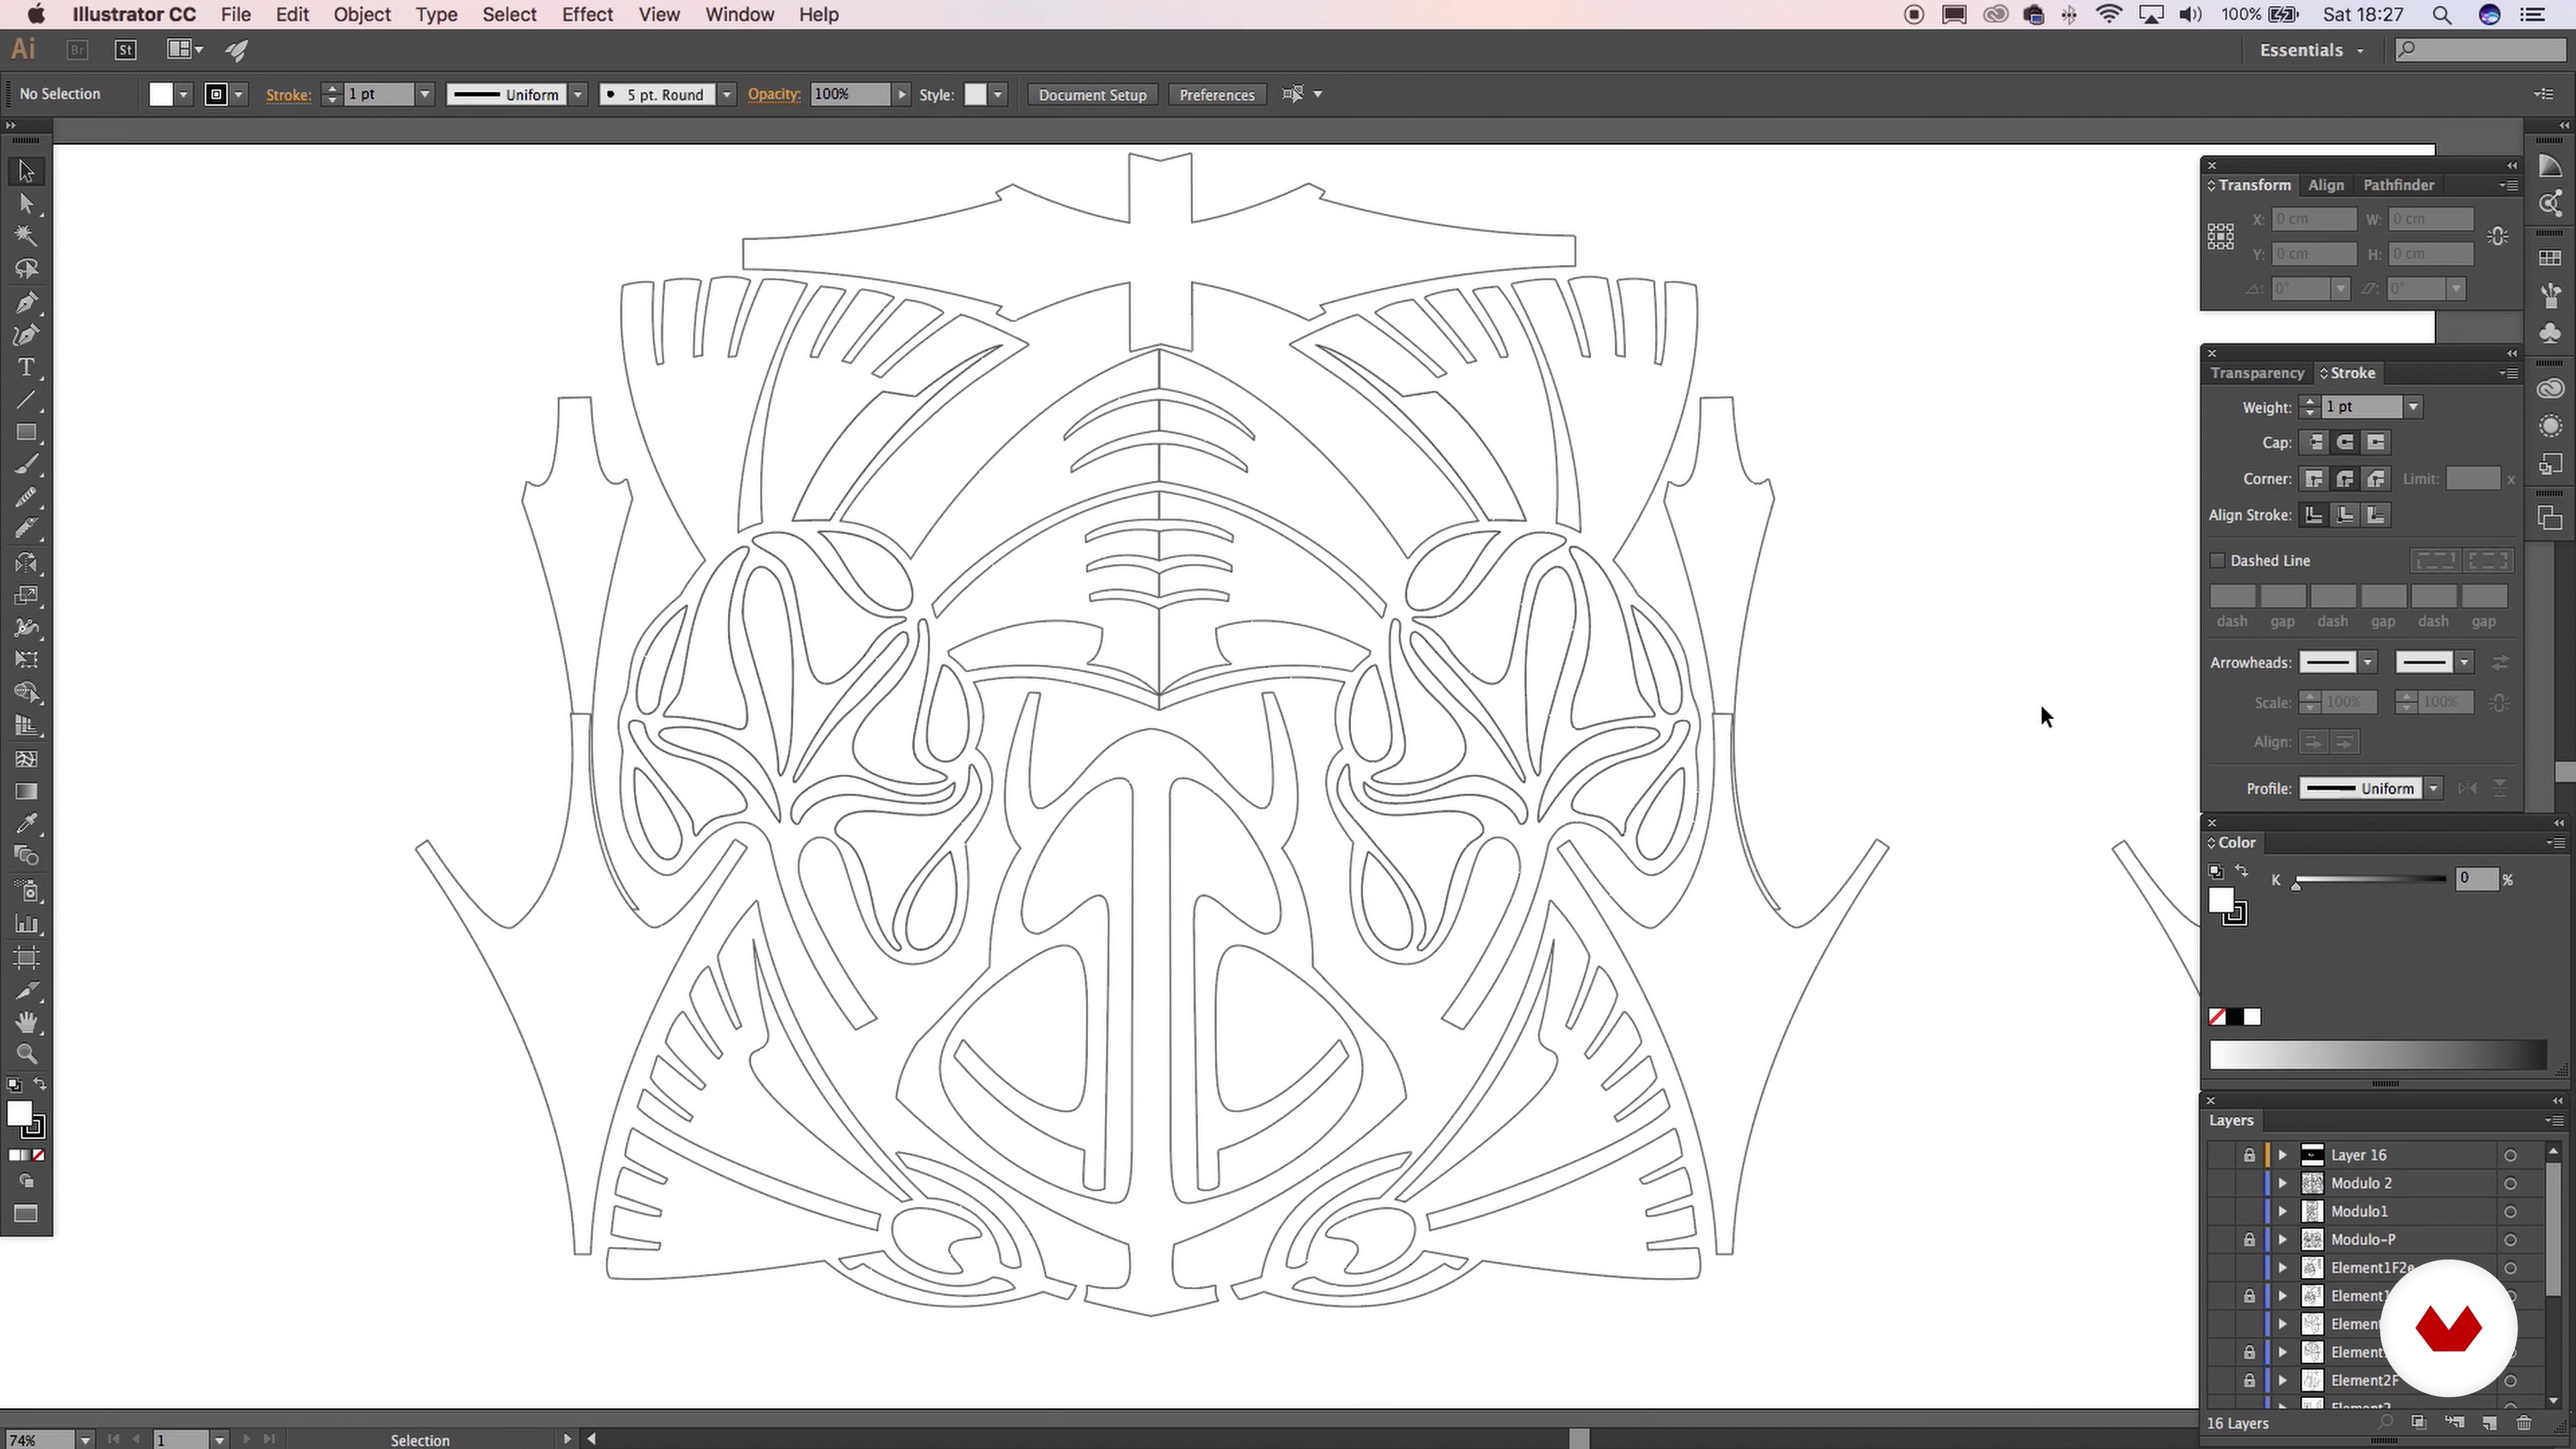
In this lesson, I'll show you the design creation process for the final project. I'll discuss how to arrive at that design, how the shapes are organized, the colors of each shape, the different ways to combine them, and their rhythms and hierarchies within the drawing. [textbox type=alert]In "Attachments" I'm sharing some designs I've created and the one I worked on for the final project, ready to print. So, you can work with whichever one you want. Choose the one you like best![/textbox]
7m
image
10
Design adaptation
In this lesson, I'll show you how to adapt your design to your chosen format. You'll learn how to break down and articulate your design so you can complete all its component parts, including the interior, exterior, and sides.
4m
image
11
Surface Preparation
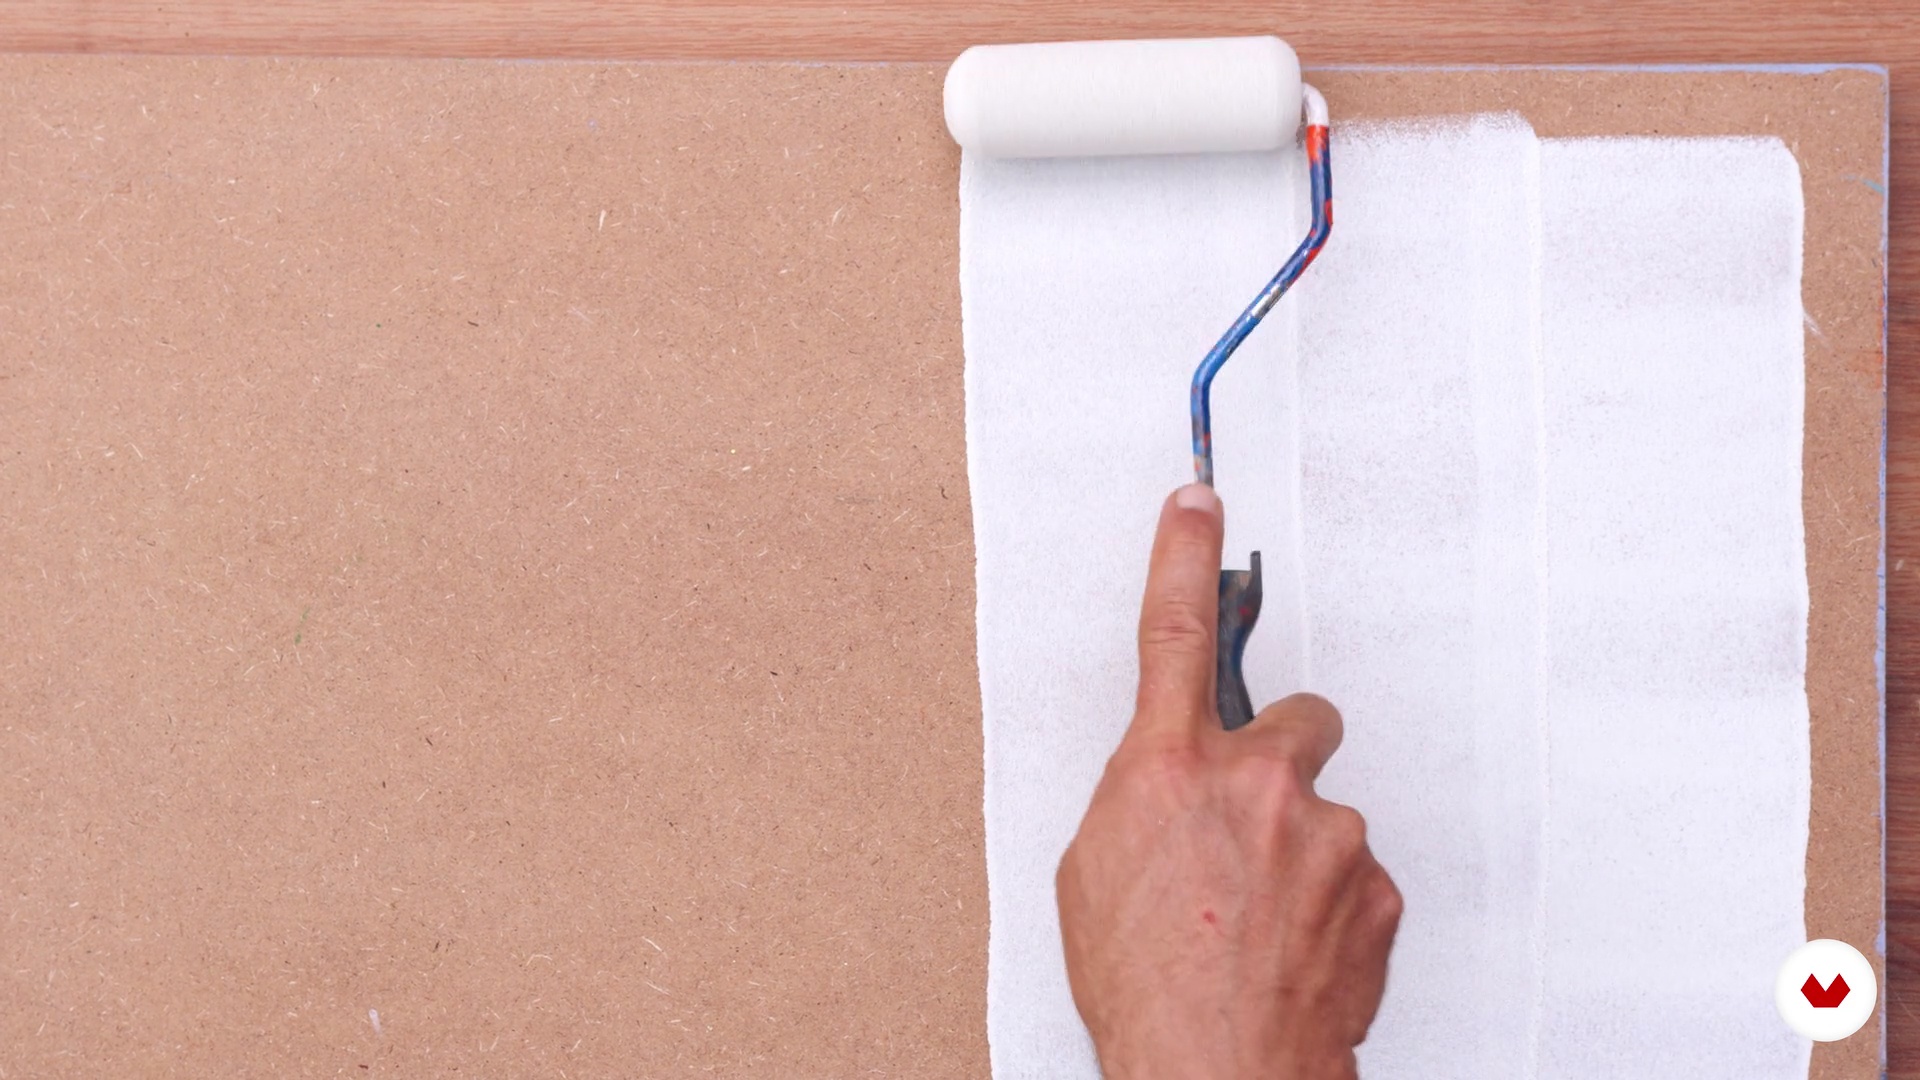
In this lesson we will learn how to prepare the surface, sand it, and apply the first coat of paint.
10m
image
12
Design printing and transfer
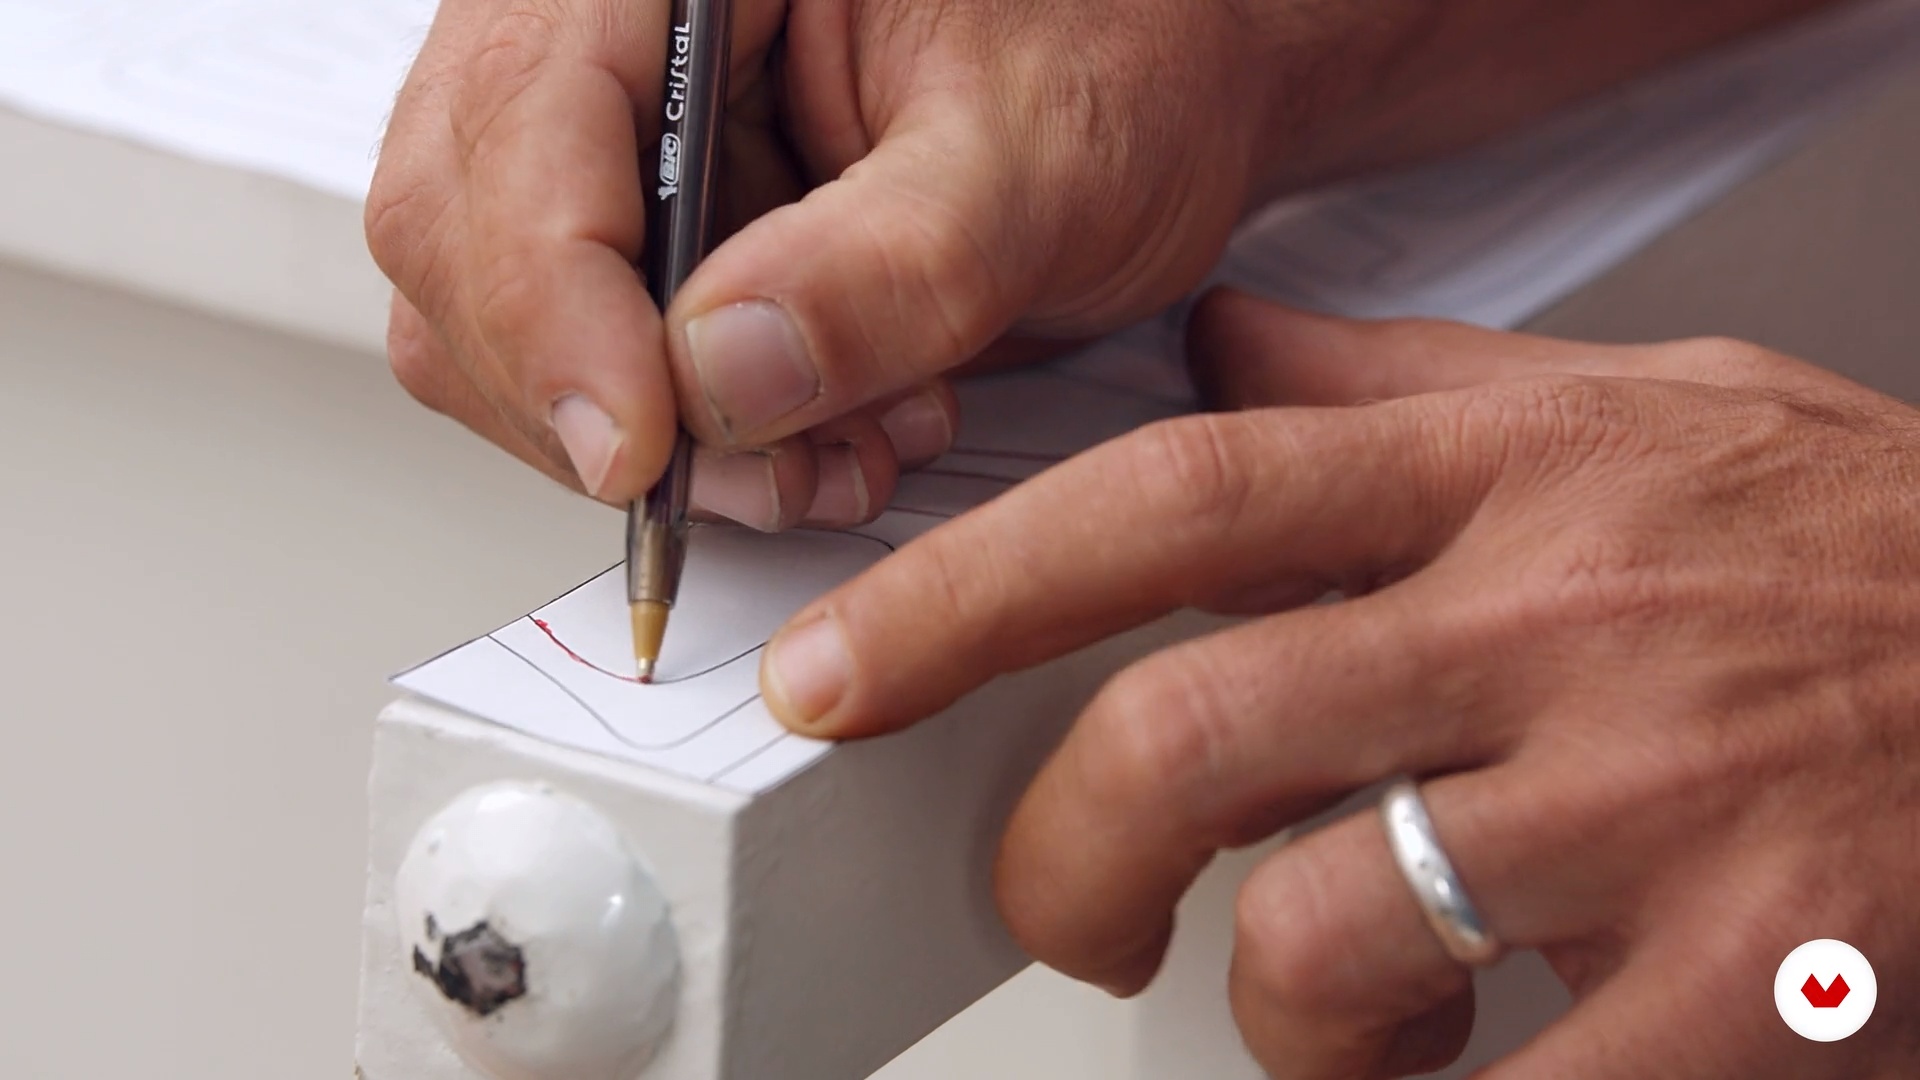
In this lesson, I'll teach you how to create the file for printing and how to transfer the design to the furniture.
9m
image
13
Armed with colors
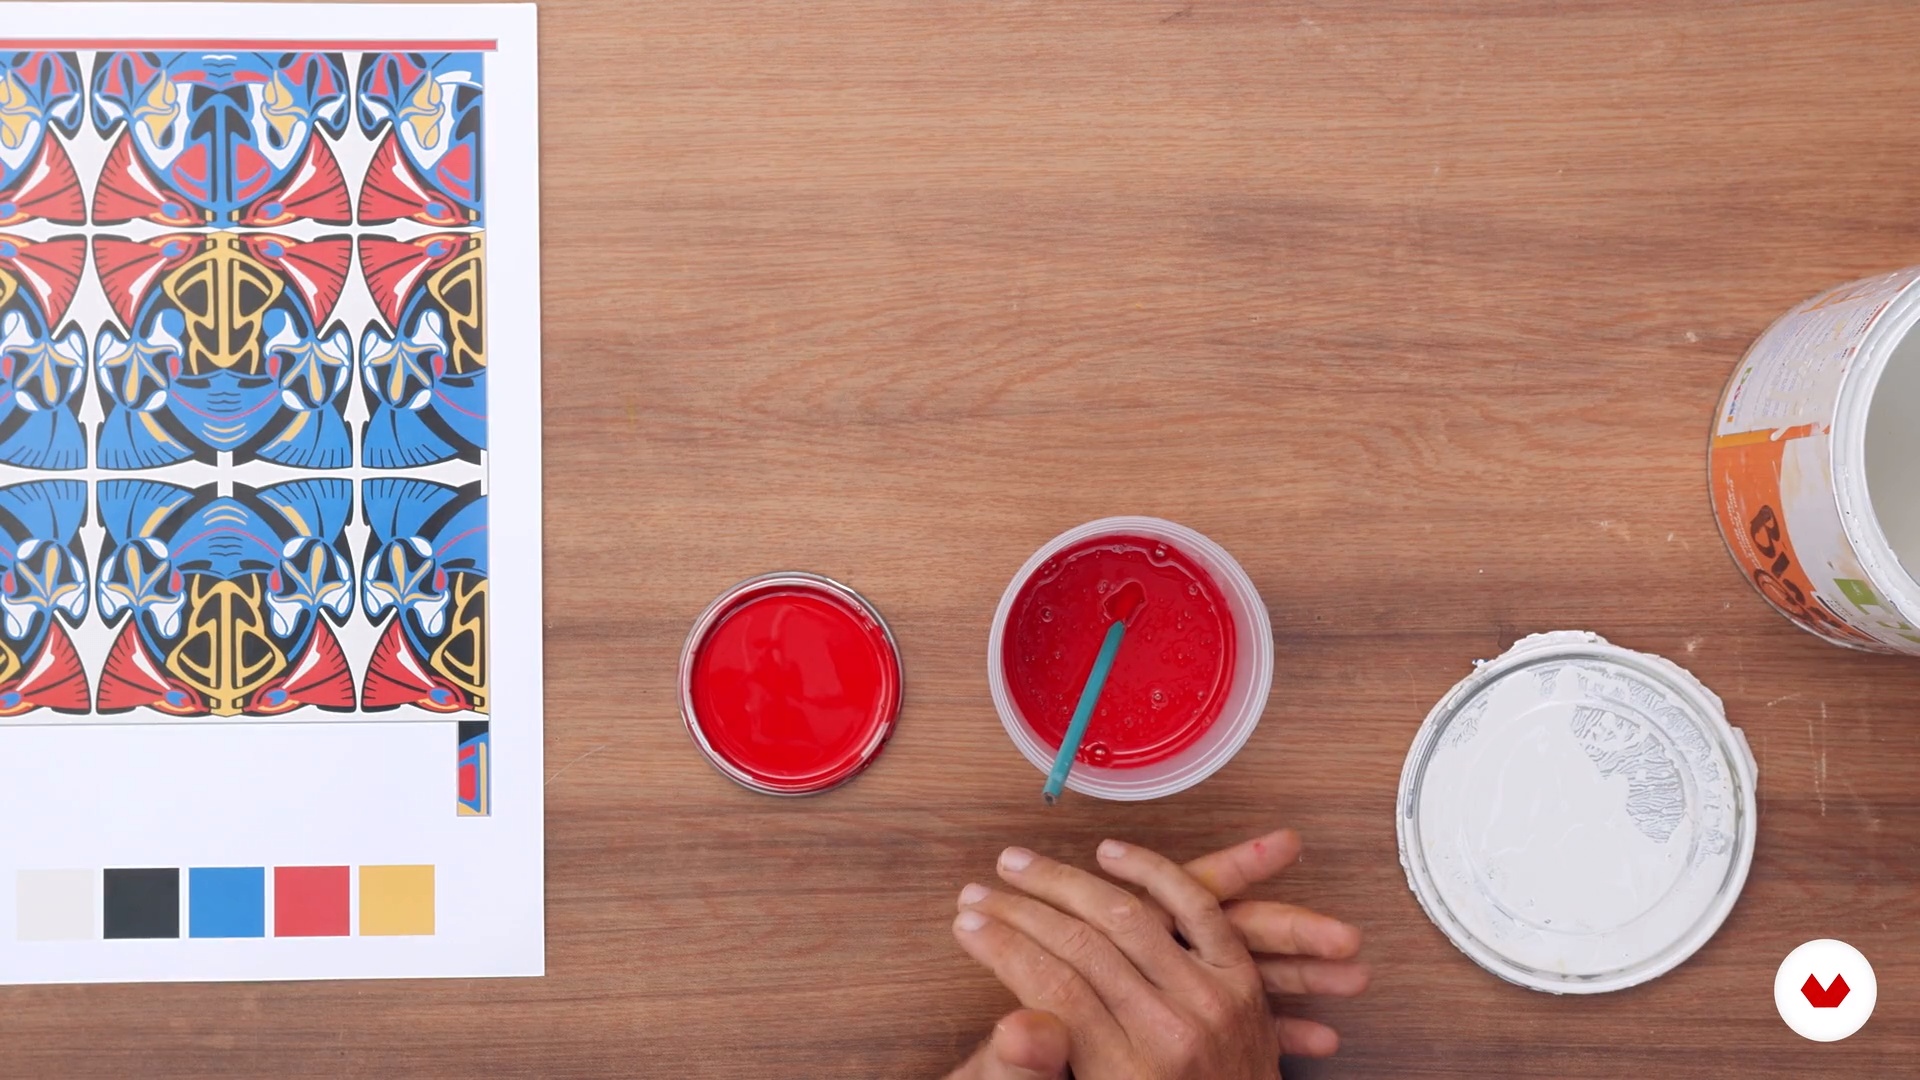
In this lesson, I'll teach you how to mix colors to achieve the desired tone. Remember that when it comes to color combinations, there's no exact ratio; it's based on your intentions for your final project.
8m
image
14
Stroke practice
In this lesson, you'll begin to familiarize yourself with brushes and their movement, following the design parameters and shapes we'll use for the final project. We'll work on both lines and finishes, as well as planes. Before beginning the main painting, we'll use this as an exercise.
13m
image
15
Painting 1
In this lesson, you'll learn about the painting sequence and the influence of space on drying. We'll start painting on the side of the furniture with the yellow paint.
15m
image
16
Painting 2
In this lesson you will learn more about the painting sequence and we will begin with phase 2.
12m
image
17
Furniture care and maintenance
In this lesson, I'll tell you about essential care and maintenance. Remember, it's very important to let your work dry thoroughly after finishing it.
9m
image
4
What is the best, what do I need and what do I want
In this lesson, we'll explore the best ways to make your space healthy and radiate joy. You'll also learn how to design your workspace based on your intended use. Finally, we'll explore how to focus on what we like and adapt it to our resources.
7m
image
5
Inspiration, expiration
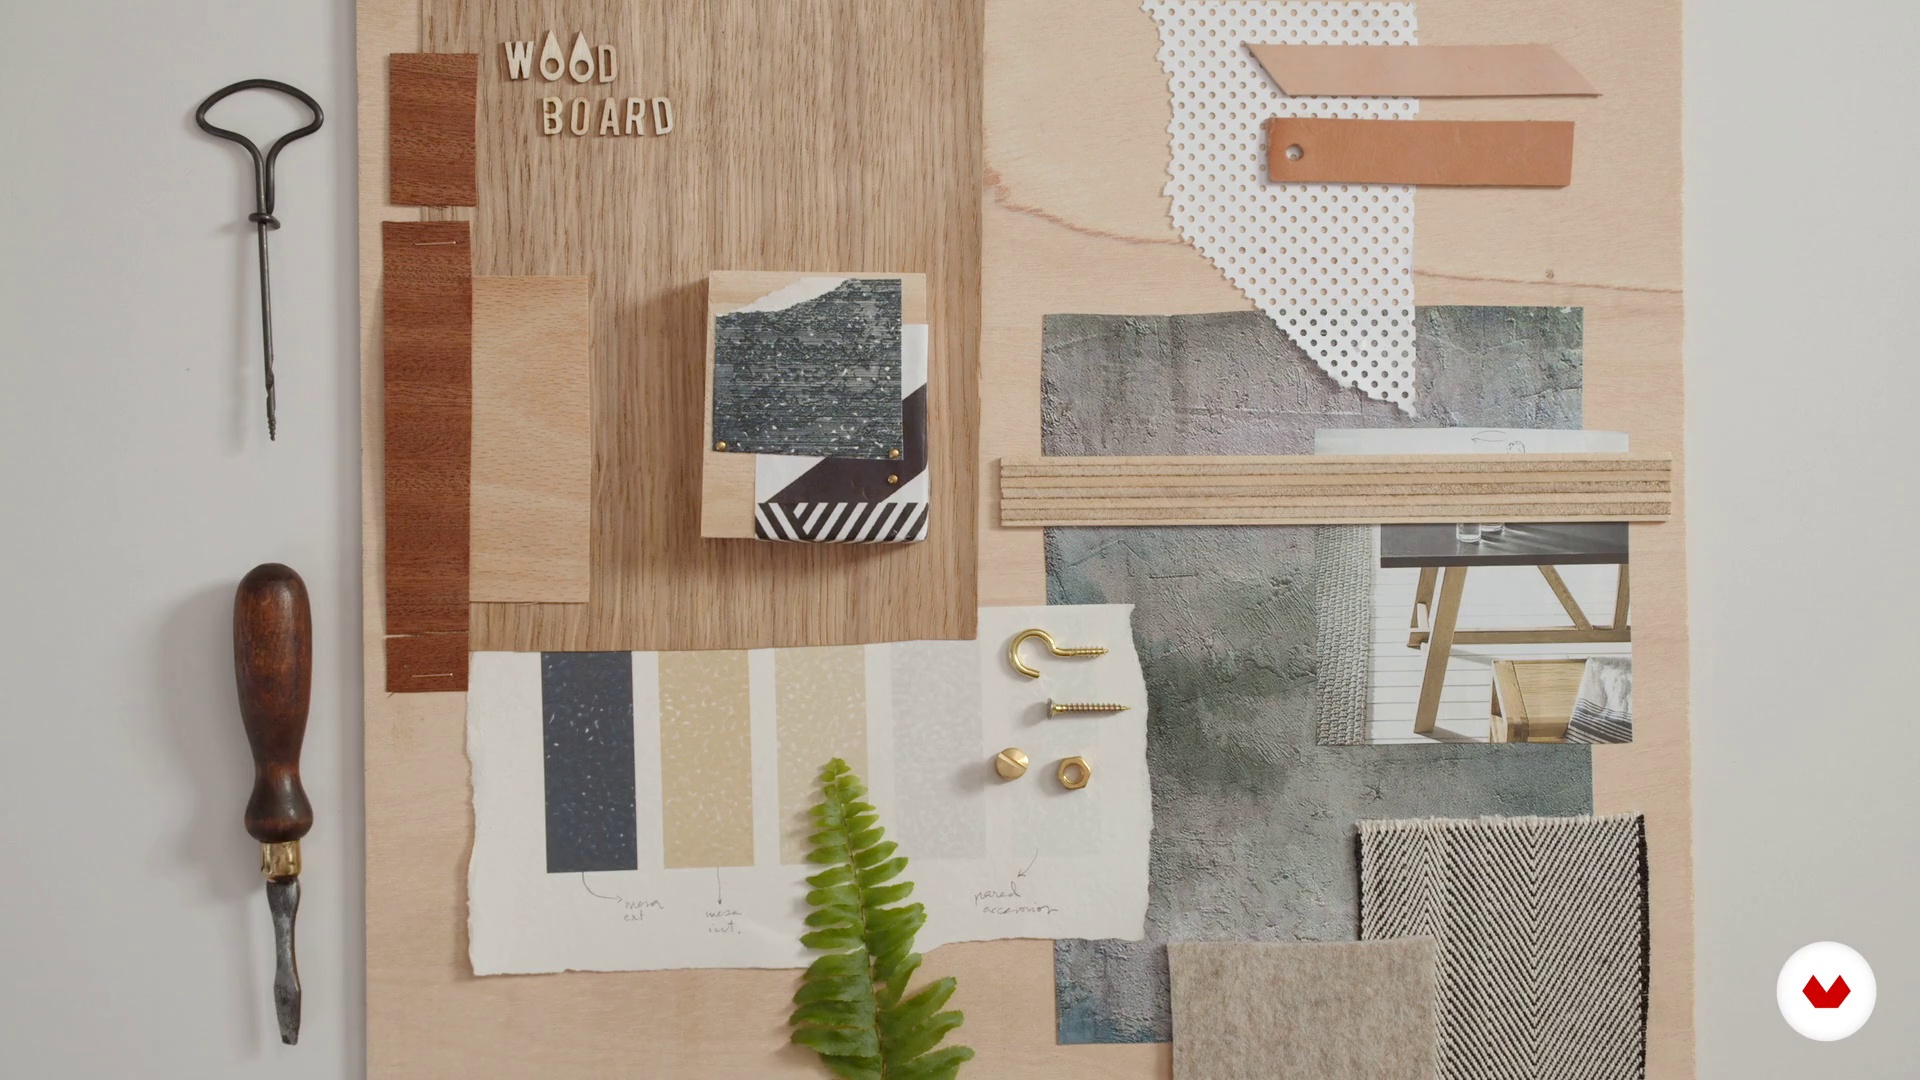
In this lesson, I'll show you my creative process and we'll make a WoodBoard with the materials we have and all the inspiration we've gathered. We'll emphasize the importance of our WoodBoard being physical, so we can touch, feel, and smell the materials. This will provide additional information to the digital format, allowing us to understand the textures, warmth, and thickness of our woods, fabrics, and papers.
4m
image
6
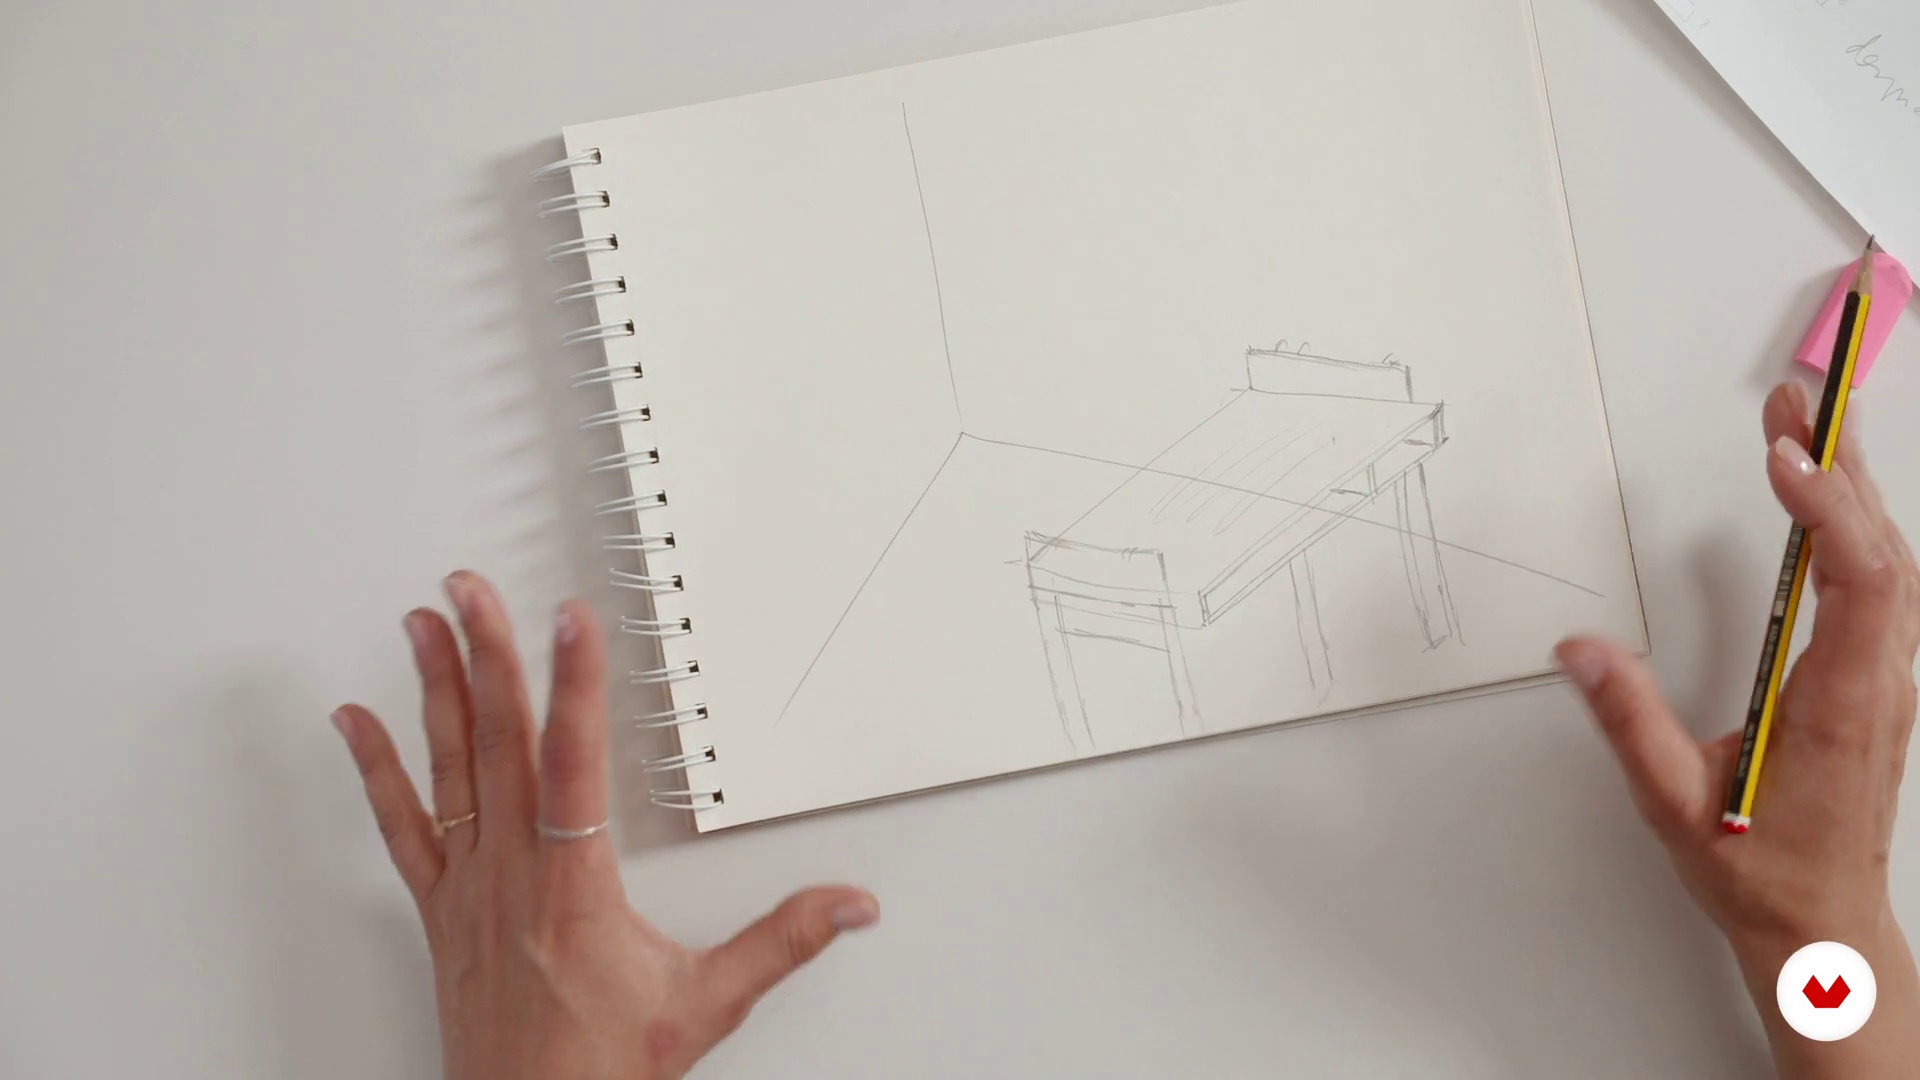
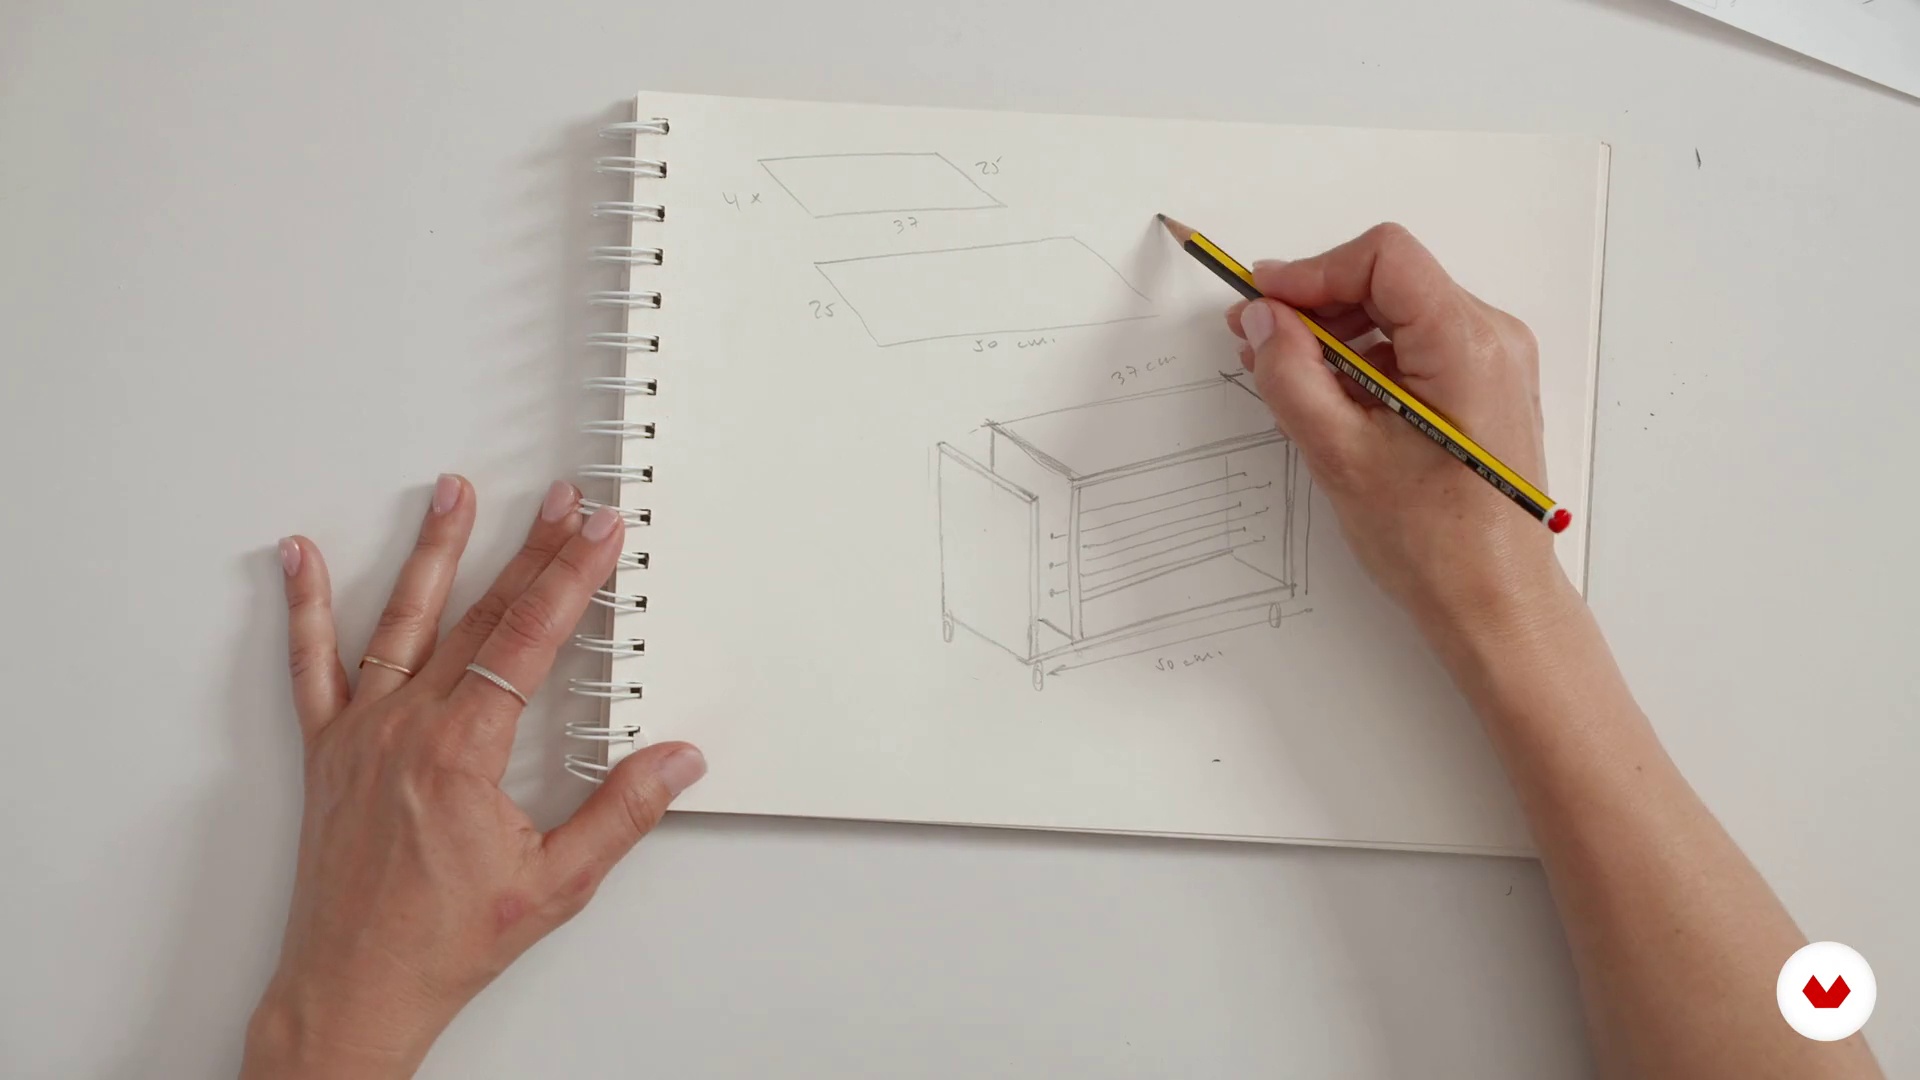
We design our space on paper
I'm going to show you how to set up your space and how to draw it to give you an idea of how it will look and, above all, to determine what materials you'll need to build it. We'll make a freehand sketch and break down the furniture so we can use these drawings to go to our wood supplier and tell them exactly what we need. To make the sketch, I'll share some tips with you so you can practice drawing furniture using household resources.
10m
image
7
Materials for the desk
In this lesson I will explain what materials and tools we will need to build our desk.
5m
image
8
Construction of the desk drawer
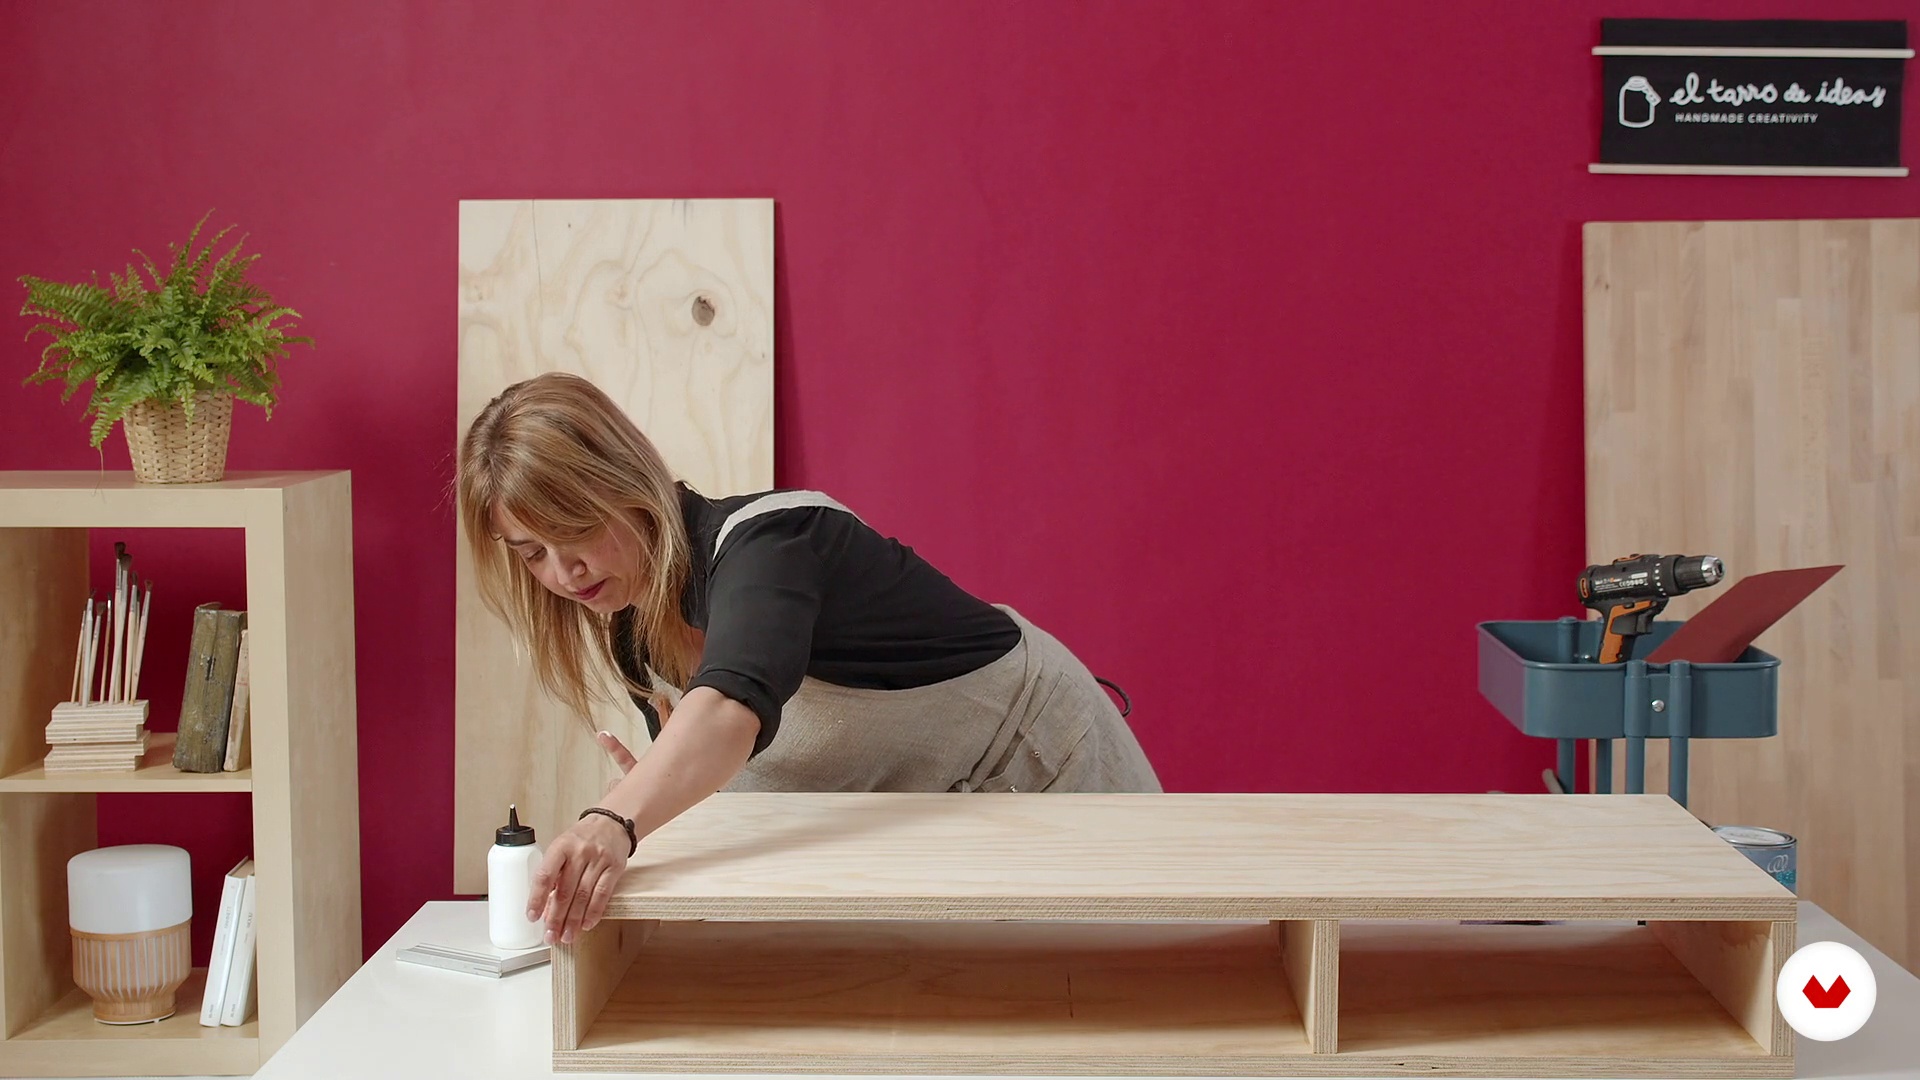
In this lesson, we'll build the first part of the desk, what we call the drawer. We'll glue, screw, and paint the drawer, leaving it ready to assemble with its legs.
16m
image
9
Construction of the desk drawer II
Part two, building the desk drawer.
18m
image
10
Construction of the desk legs
In this lesson, we'll outline the structure of each leg. Then, we'll glue, add dowels to assemble the parts that can't be screwed together, and screw in the remaining pieces.
12m
image
11
Construction of the legs of the desk II
Part two, building the desk legs.
13m
image
12
Desktop assembly
Once the drawer and the legs of the desk are made, we will assemble the three parts, screwing the legs to the drawer.
8m
image
13
Materials for the bank
In this lesson, we explain what materials and tools we'll need to build our storage bench.
1m
image
14
Construction of the bank
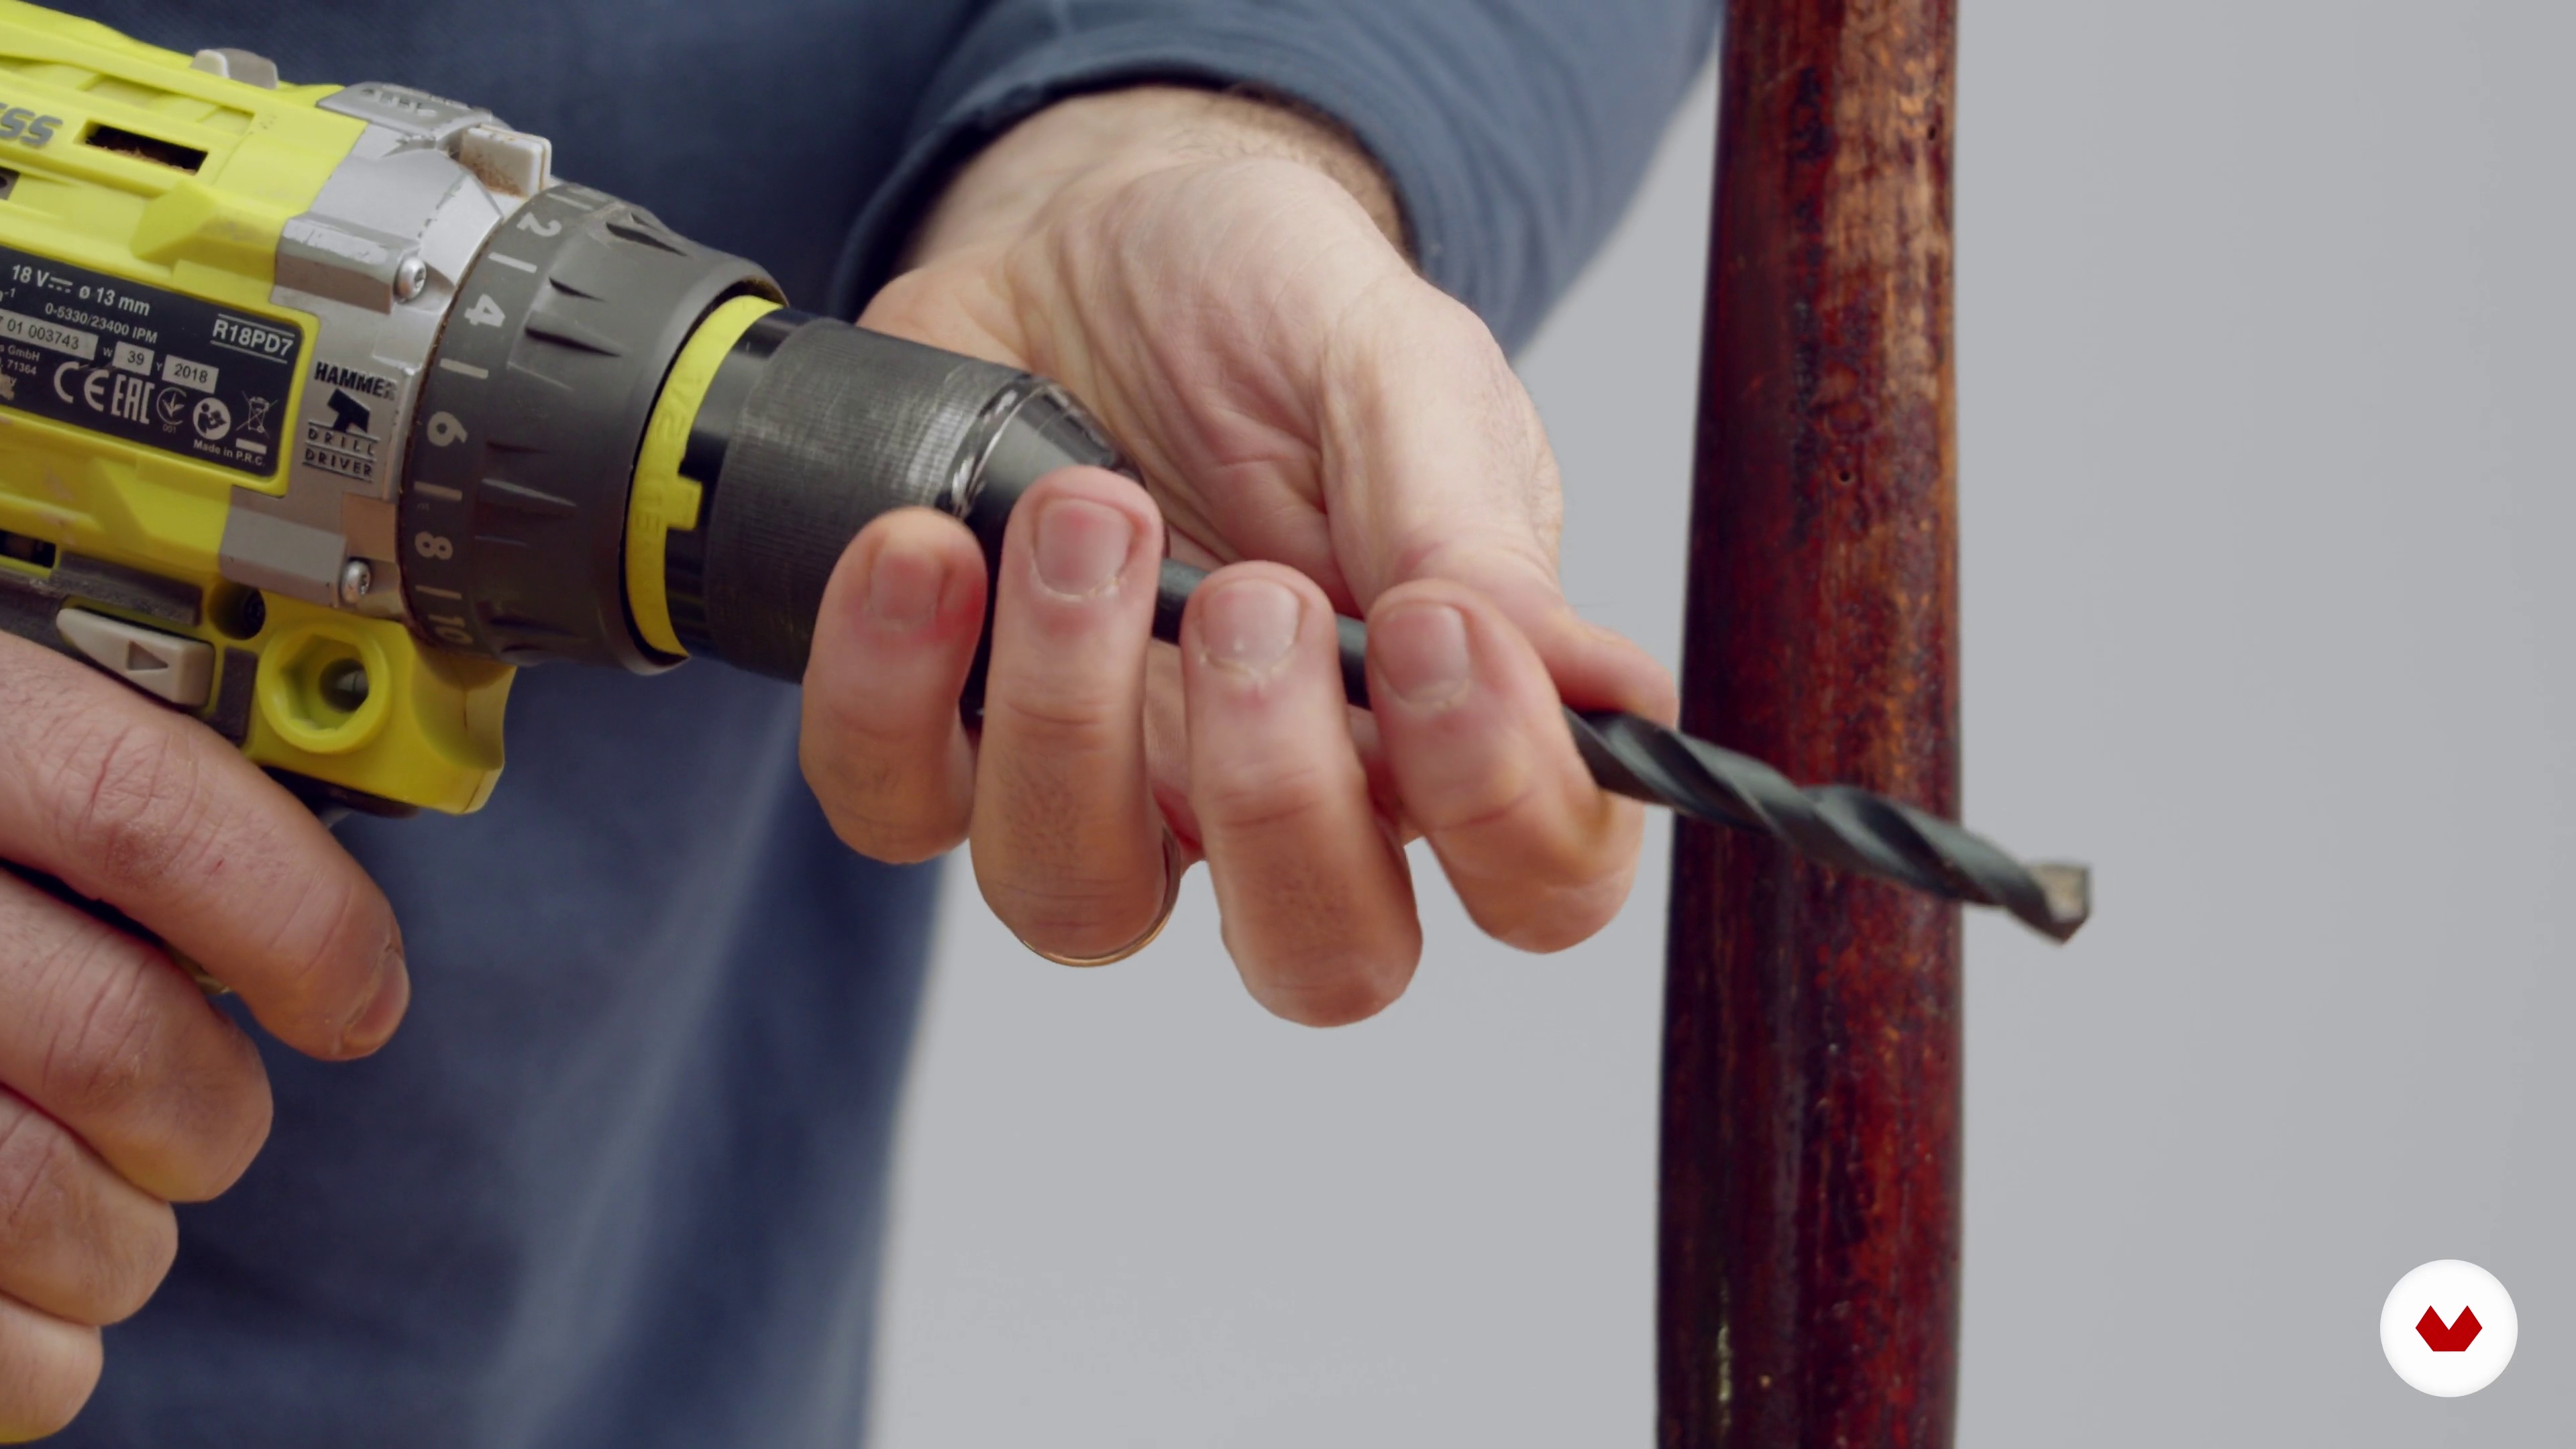
Building our storage bench is very easy. In this case, we'll use wood glue. If you want to give it extra strength, I recommend adding two or three screws on each edge to reinforce the structure, following the same techniques we used for the desk.
13m
image
15
Construction of the bank II
Part two, construction of the bench.
13m
image
16
The details that make our space exclusive
Our space already has a very personal feel, but what do you think about adding a series of details that make it unique, that really stand out? We'll use leather, hooks, and leftover wood to create storage accessories and various other items.
5m
  • 34 students
  • 92 lessons (13h 39m)
  • 114 additional resources (50 files)
  • Online and at your own pace
  • Audio: Spanish, English
  • Spanish · English · Portuguese · German · French · Italian · Polish · Dutch
  • Level: Beginner
  • Unlimited access forever

What is this course's project?

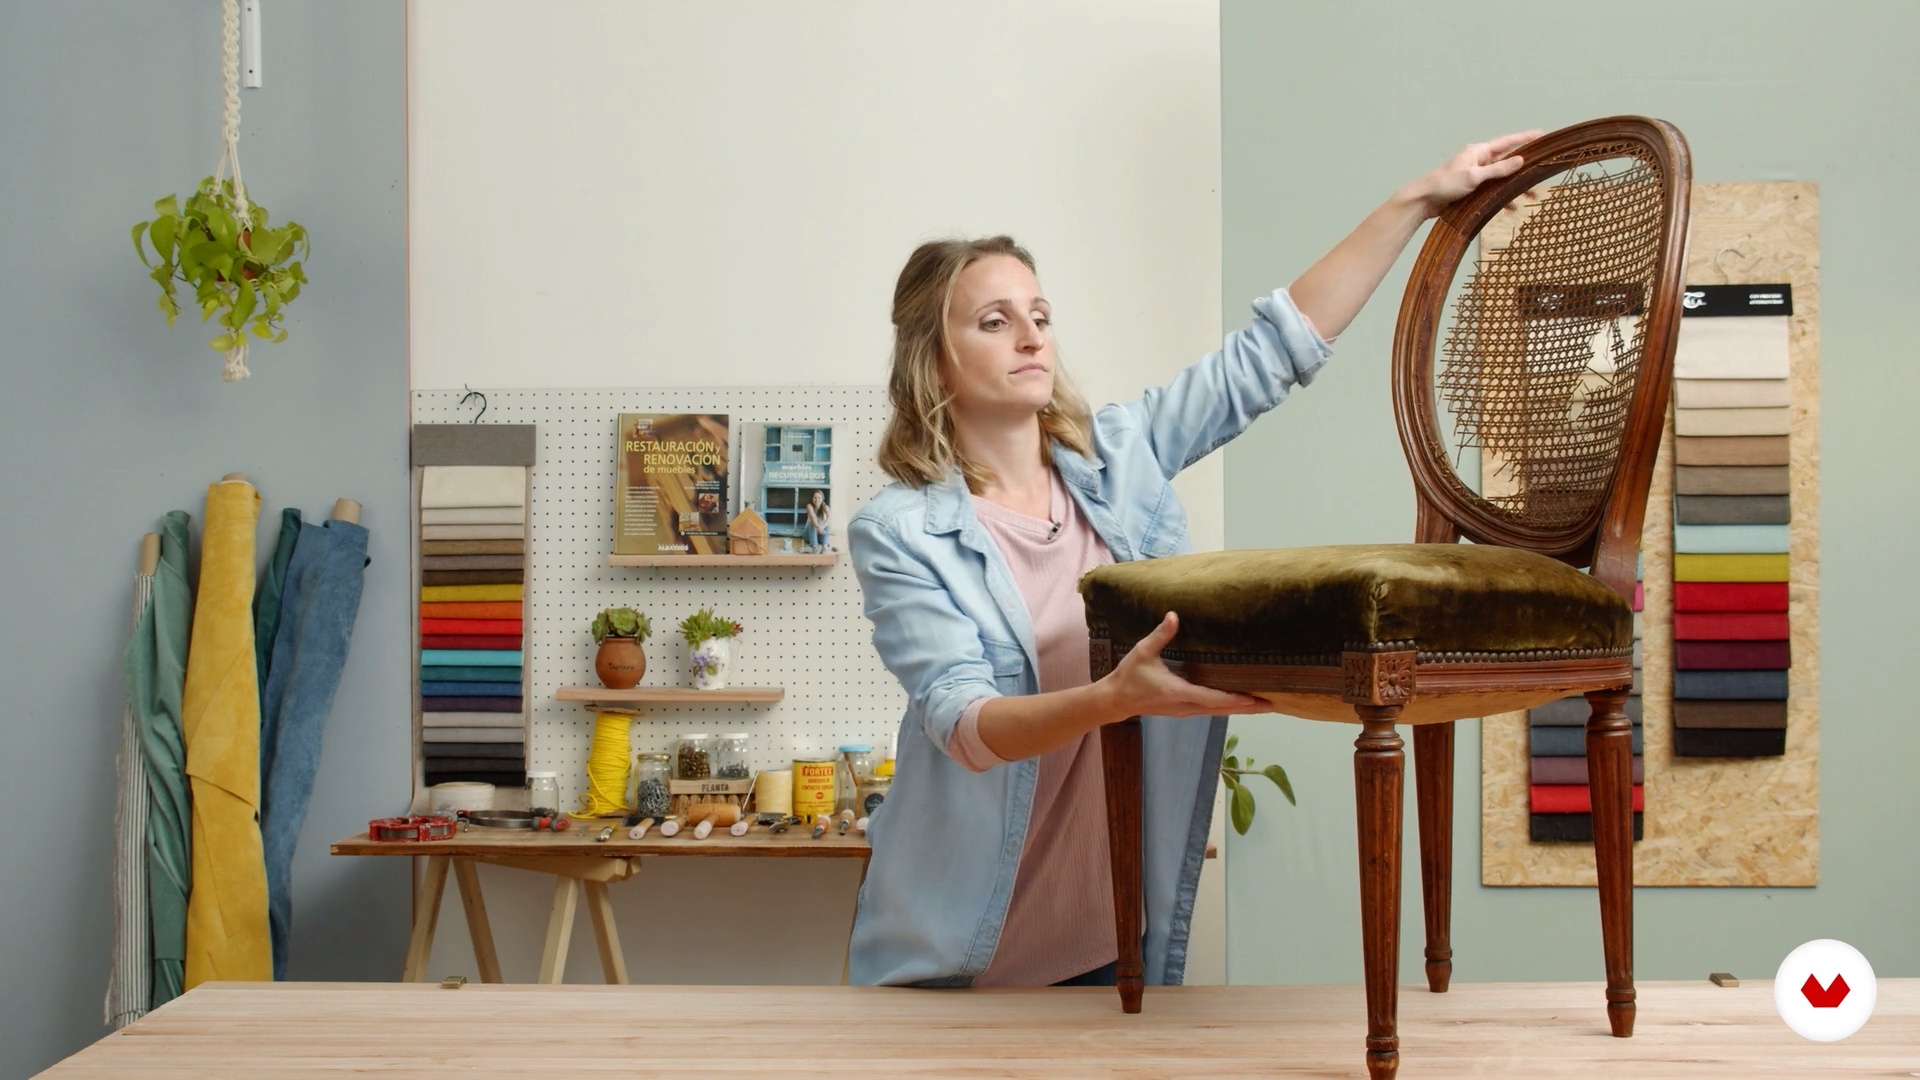
You'll learn how to restore a chair, refurbishing its wooden frame and applying new textiles. You'll experiment with disassembly, stuffing, and upholstery techniques, resulting in a modern and aesthetically renewed piece of furniture, ready to be part of your space.

Who is this specialization for?

Ideal for DIY and decorating enthusiasts interested in transforming old furniture into unique pieces. Creative individuals who enjoy renovating their homes with hands-on projects, basic restoration techniques, and artistic finishes. Perfect for those looking to learn new craft skills.

Requirements and materials

No extensive prior knowledge is required, but an interest in furniture restoration is necessary. Basic materials include sandpaper, brushes, paints, fabrics, repair tools, and finishing products. Creativity and patience are essential for successful results.

Select to get to know your teachers in this specialization course
Read more ↓

What to expect from this specialization course

  • Learn at your own pace

    Enjoy learning from home without a set schedule and with an easy-to-follow method. You set your own pace.

  • Learn from the best professionals

    Learn valuable methods and techniques explained by top experts in the creative sector.

  • Meet expert teachers

    Each expert teaches what they do best, with clear guidelines, true passion, and professional insight in every lesson.

  • Certificates
    Plus

    If you're a Plus member, get a custom certificate for every specialization course. Share it on your portfolio, social media, or wherever you like.

  • Get front-row seats

    Videos of the highest quality, so you don't miss a single detail. With unlimited access, you can watch them as many times as you need to perfect your technique.

  • Share knowledge and ideas

    Ask questions, request feedback, or offer solutions. Share your learning experience with other students in the community who are as passionate about creativity as you are.

  • Connect with a global creative community

    The community is home to millions of people from around the world who are curious and passionate about exploring and expressing their creativity.

  • Watch professionally produced courses

    Domestika curates its teacher roster and produces every course in-house to ensure a high-quality online learning experience.


FAQs

Domestika's specialization courses are online classes that provide you with the tools and skills you need to complete a specific project. Every step of the project combines video lessons with complementary instructional material, so you can learn by doing. Domestika's specializations also allow you to share your own projects with other students, creating a dynamic course community.

All specialization courses are 100% online, so once they're published, specialization courses start and finish whenever you want. You set the pace of the class. You can go back to review what interests you most and skip what you already know, ask questions, answer questions, share your projects, and more.

The specialization courses are divided into different modules. Each one includes lessons, informational text, tasks, and practice exercises to help you carry out your project step by step, with additional complementary resources and downloads. You'll also have access to an exclusive forum where you can interact with other students, as well as share your work and your final project, creating a community around the specialization course.

You can redeem the specialization course you received by accessing the redeeming page and entering your gift code.

If you're a Plus member, when you complete a course you've purchased, you'll instantly get your personalized certificate. You can see all your certificates in the Certificates section of your profile. You can download your certificates as PDFs and share the link online. Learn more about certificates.
Furniture Upcycling & Restoration Specialization. Craft course by Domestika

Furniture Upcycling & Restoration Specialization

A specialization by multiple teachers
Specialization Course. Berkeley, United States.
Joined April 2002
  • 34 students