
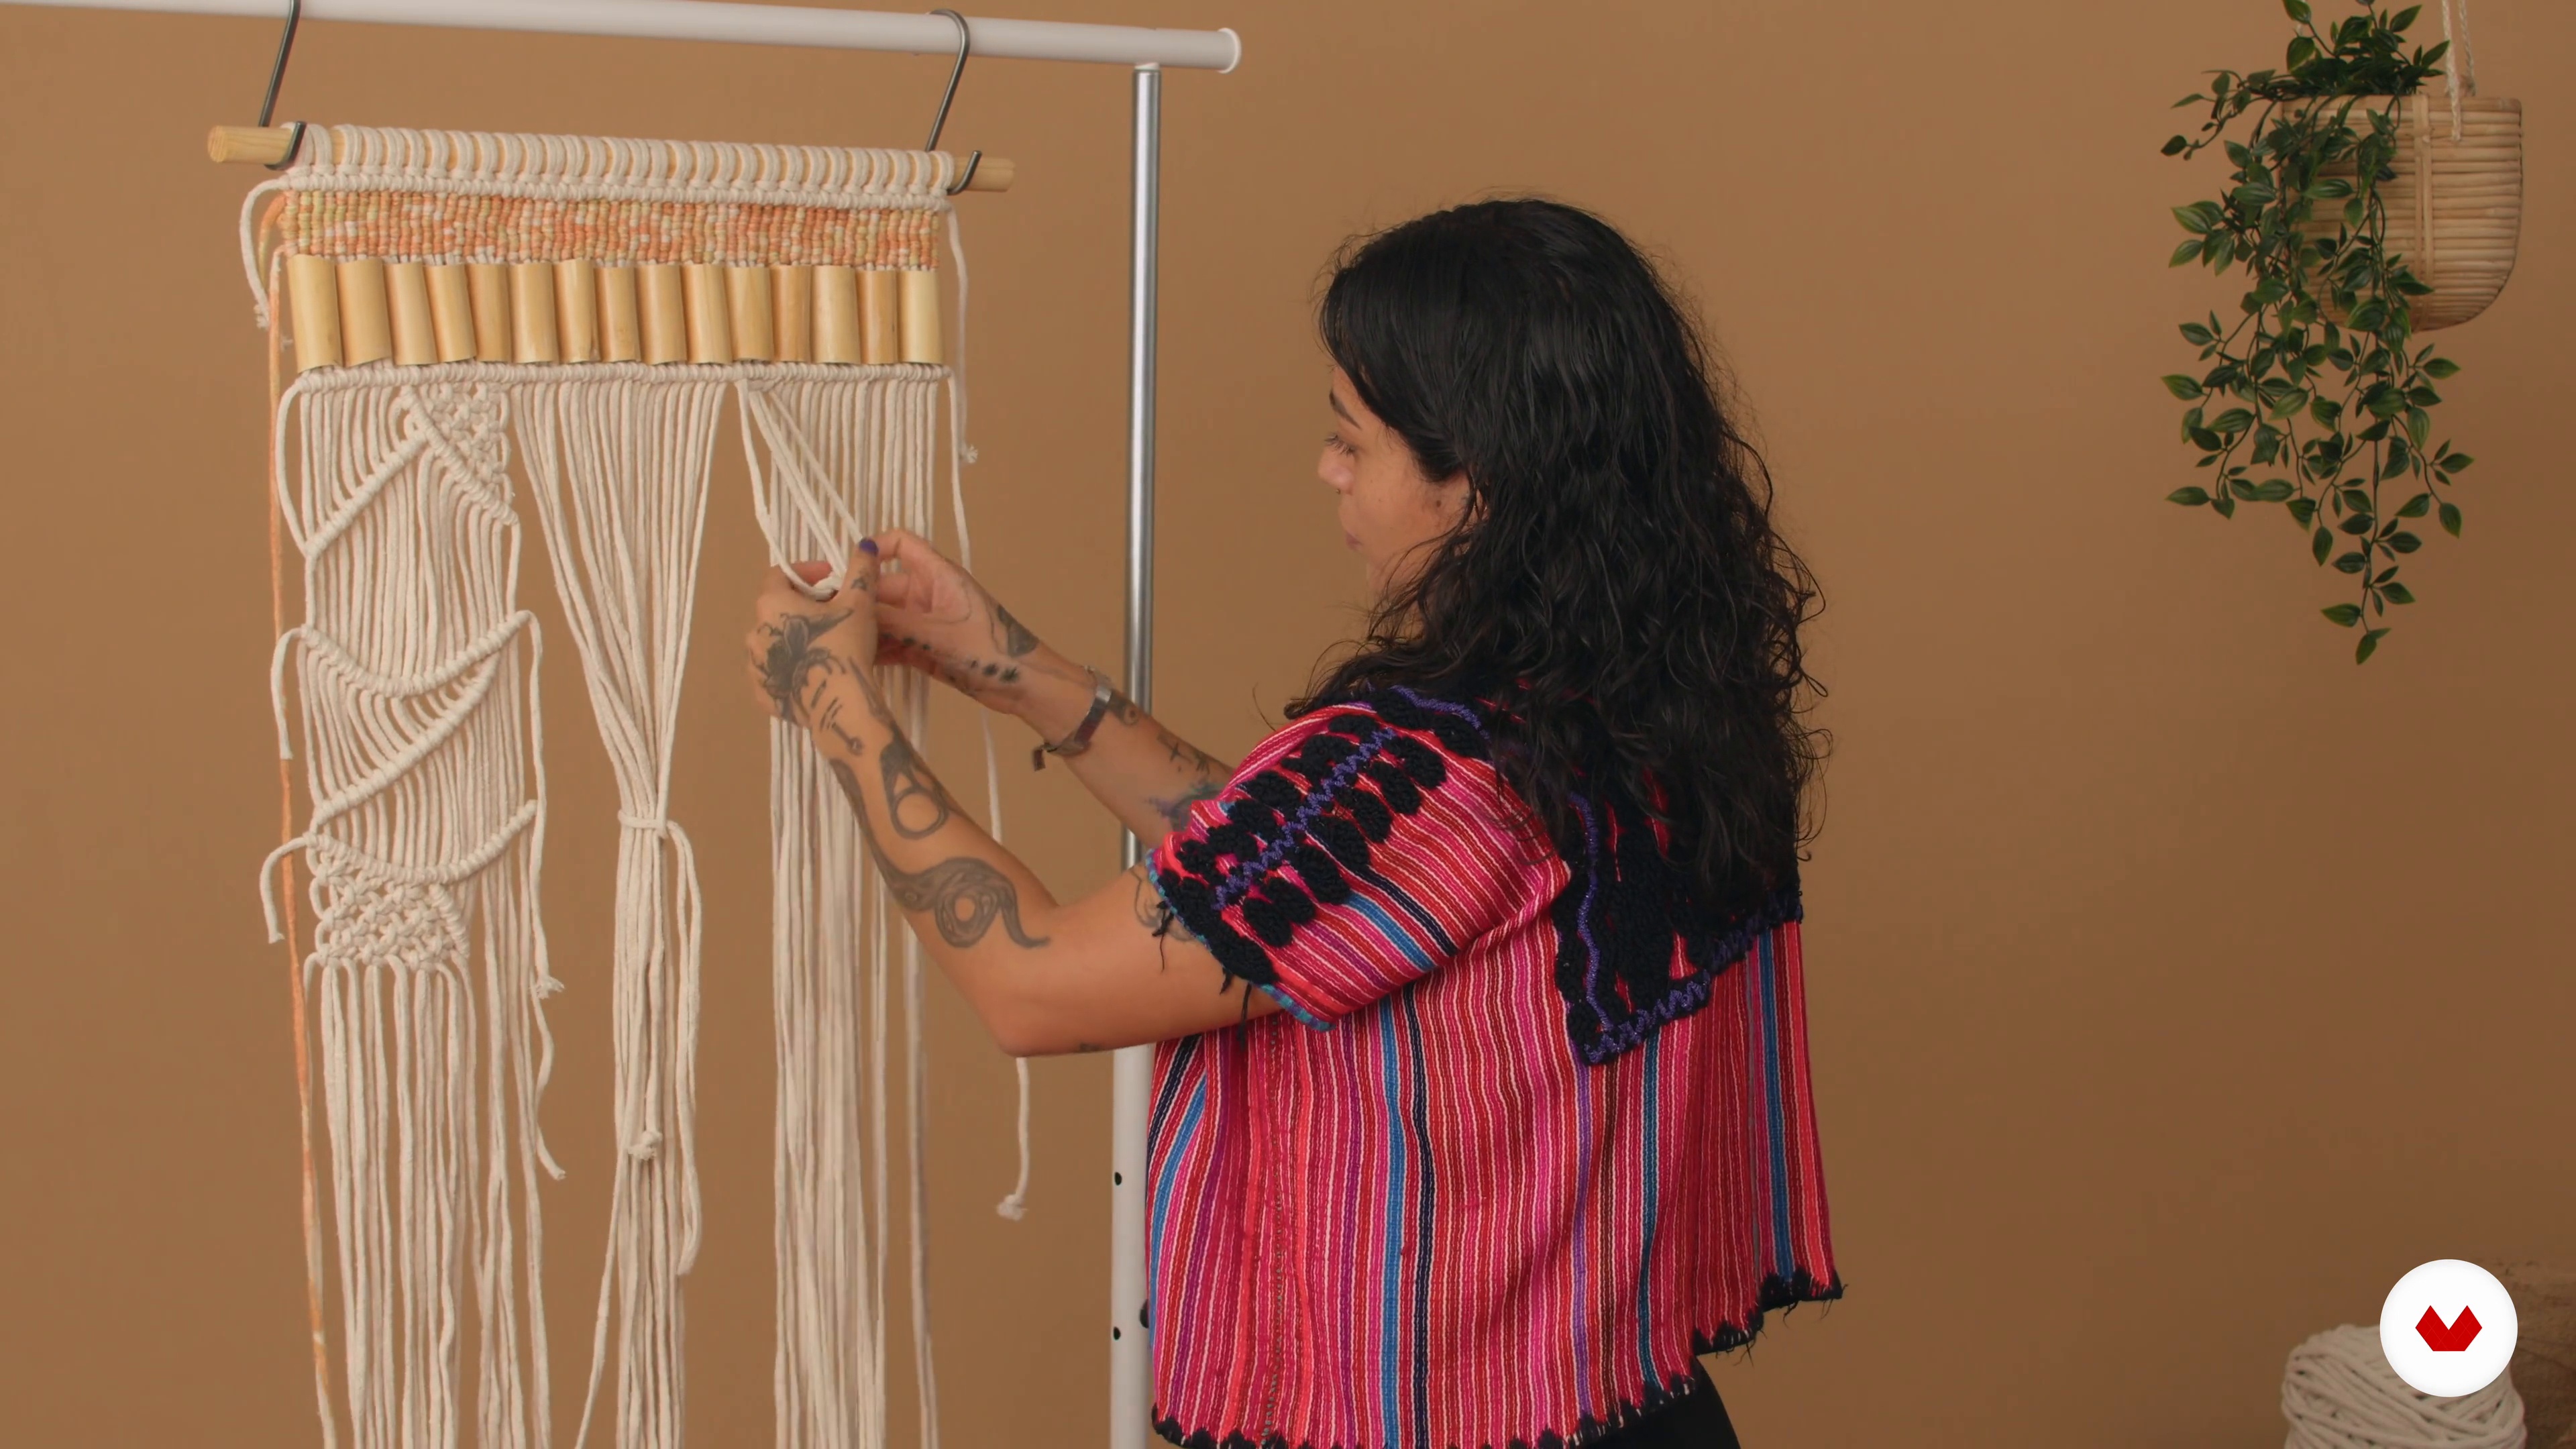
Learn to create unique clothing with macramé, exploring knots techniques and creative textile design
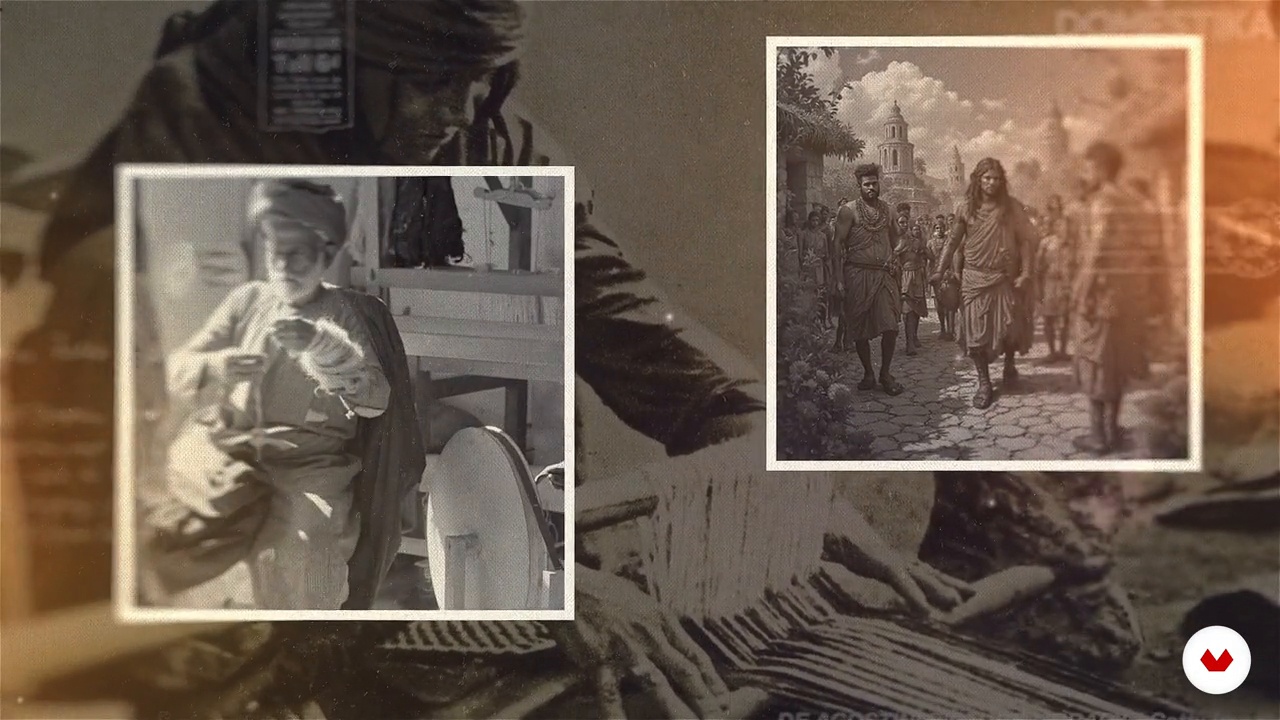
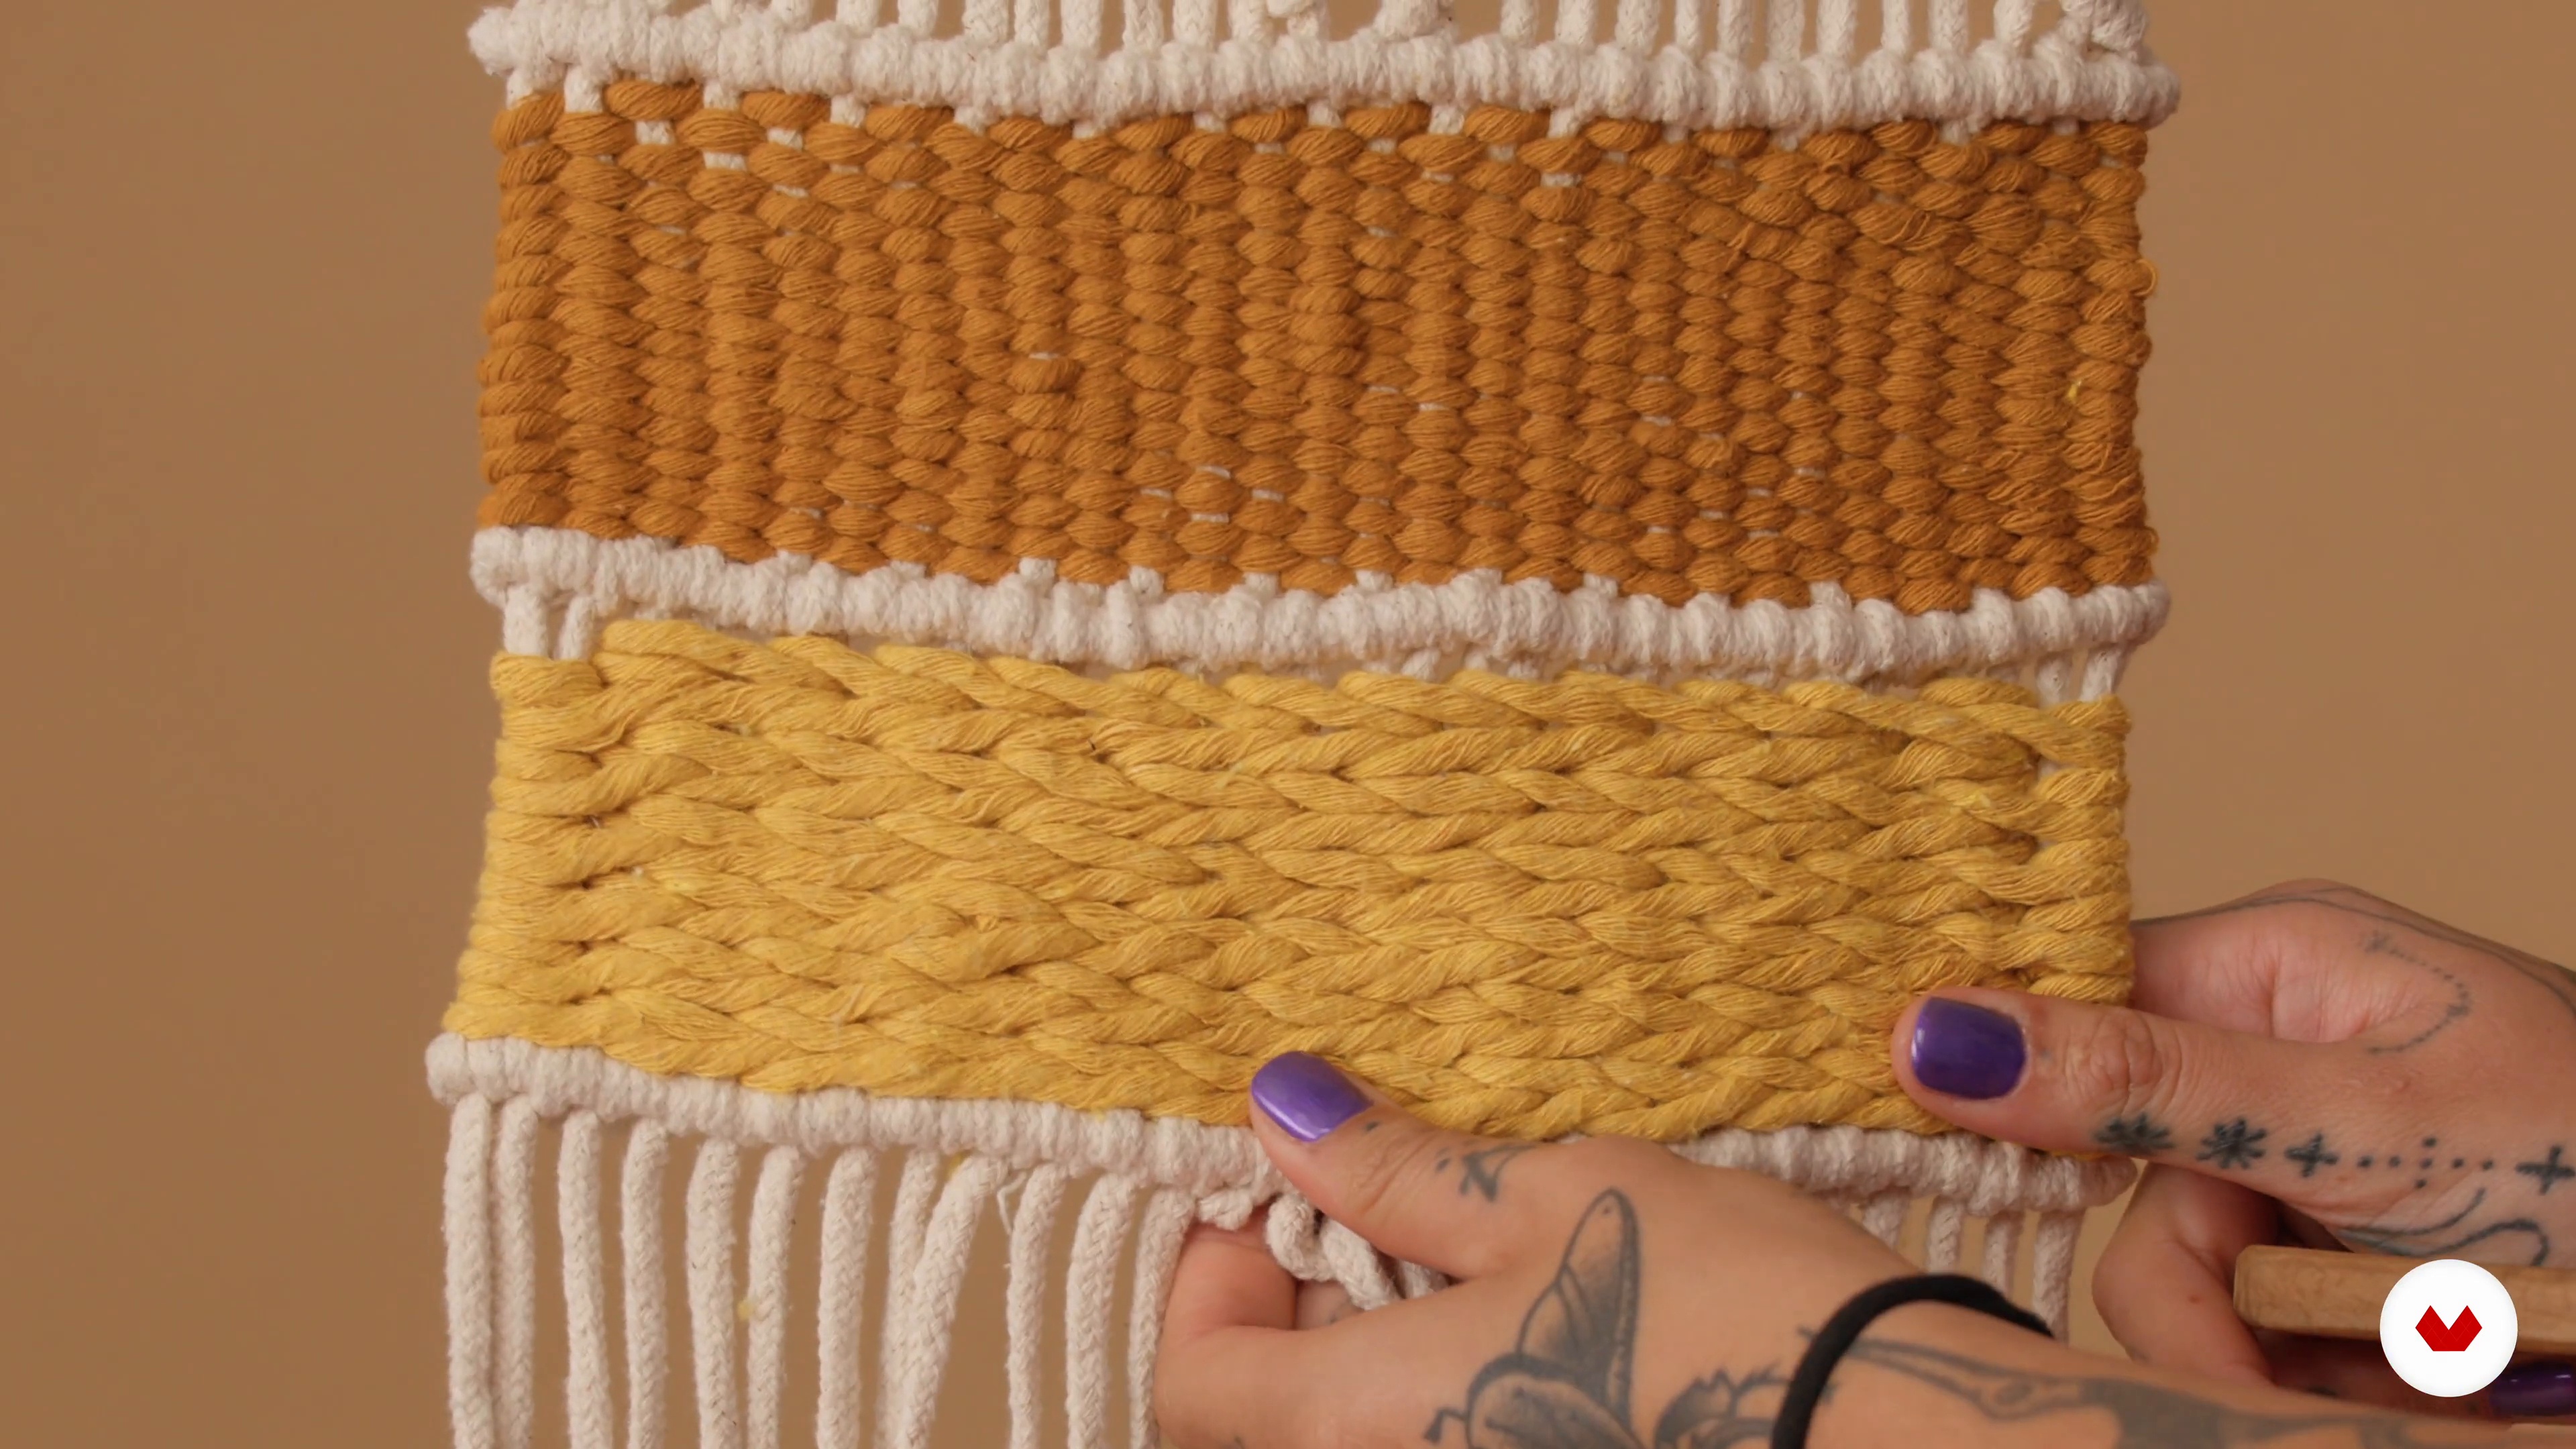
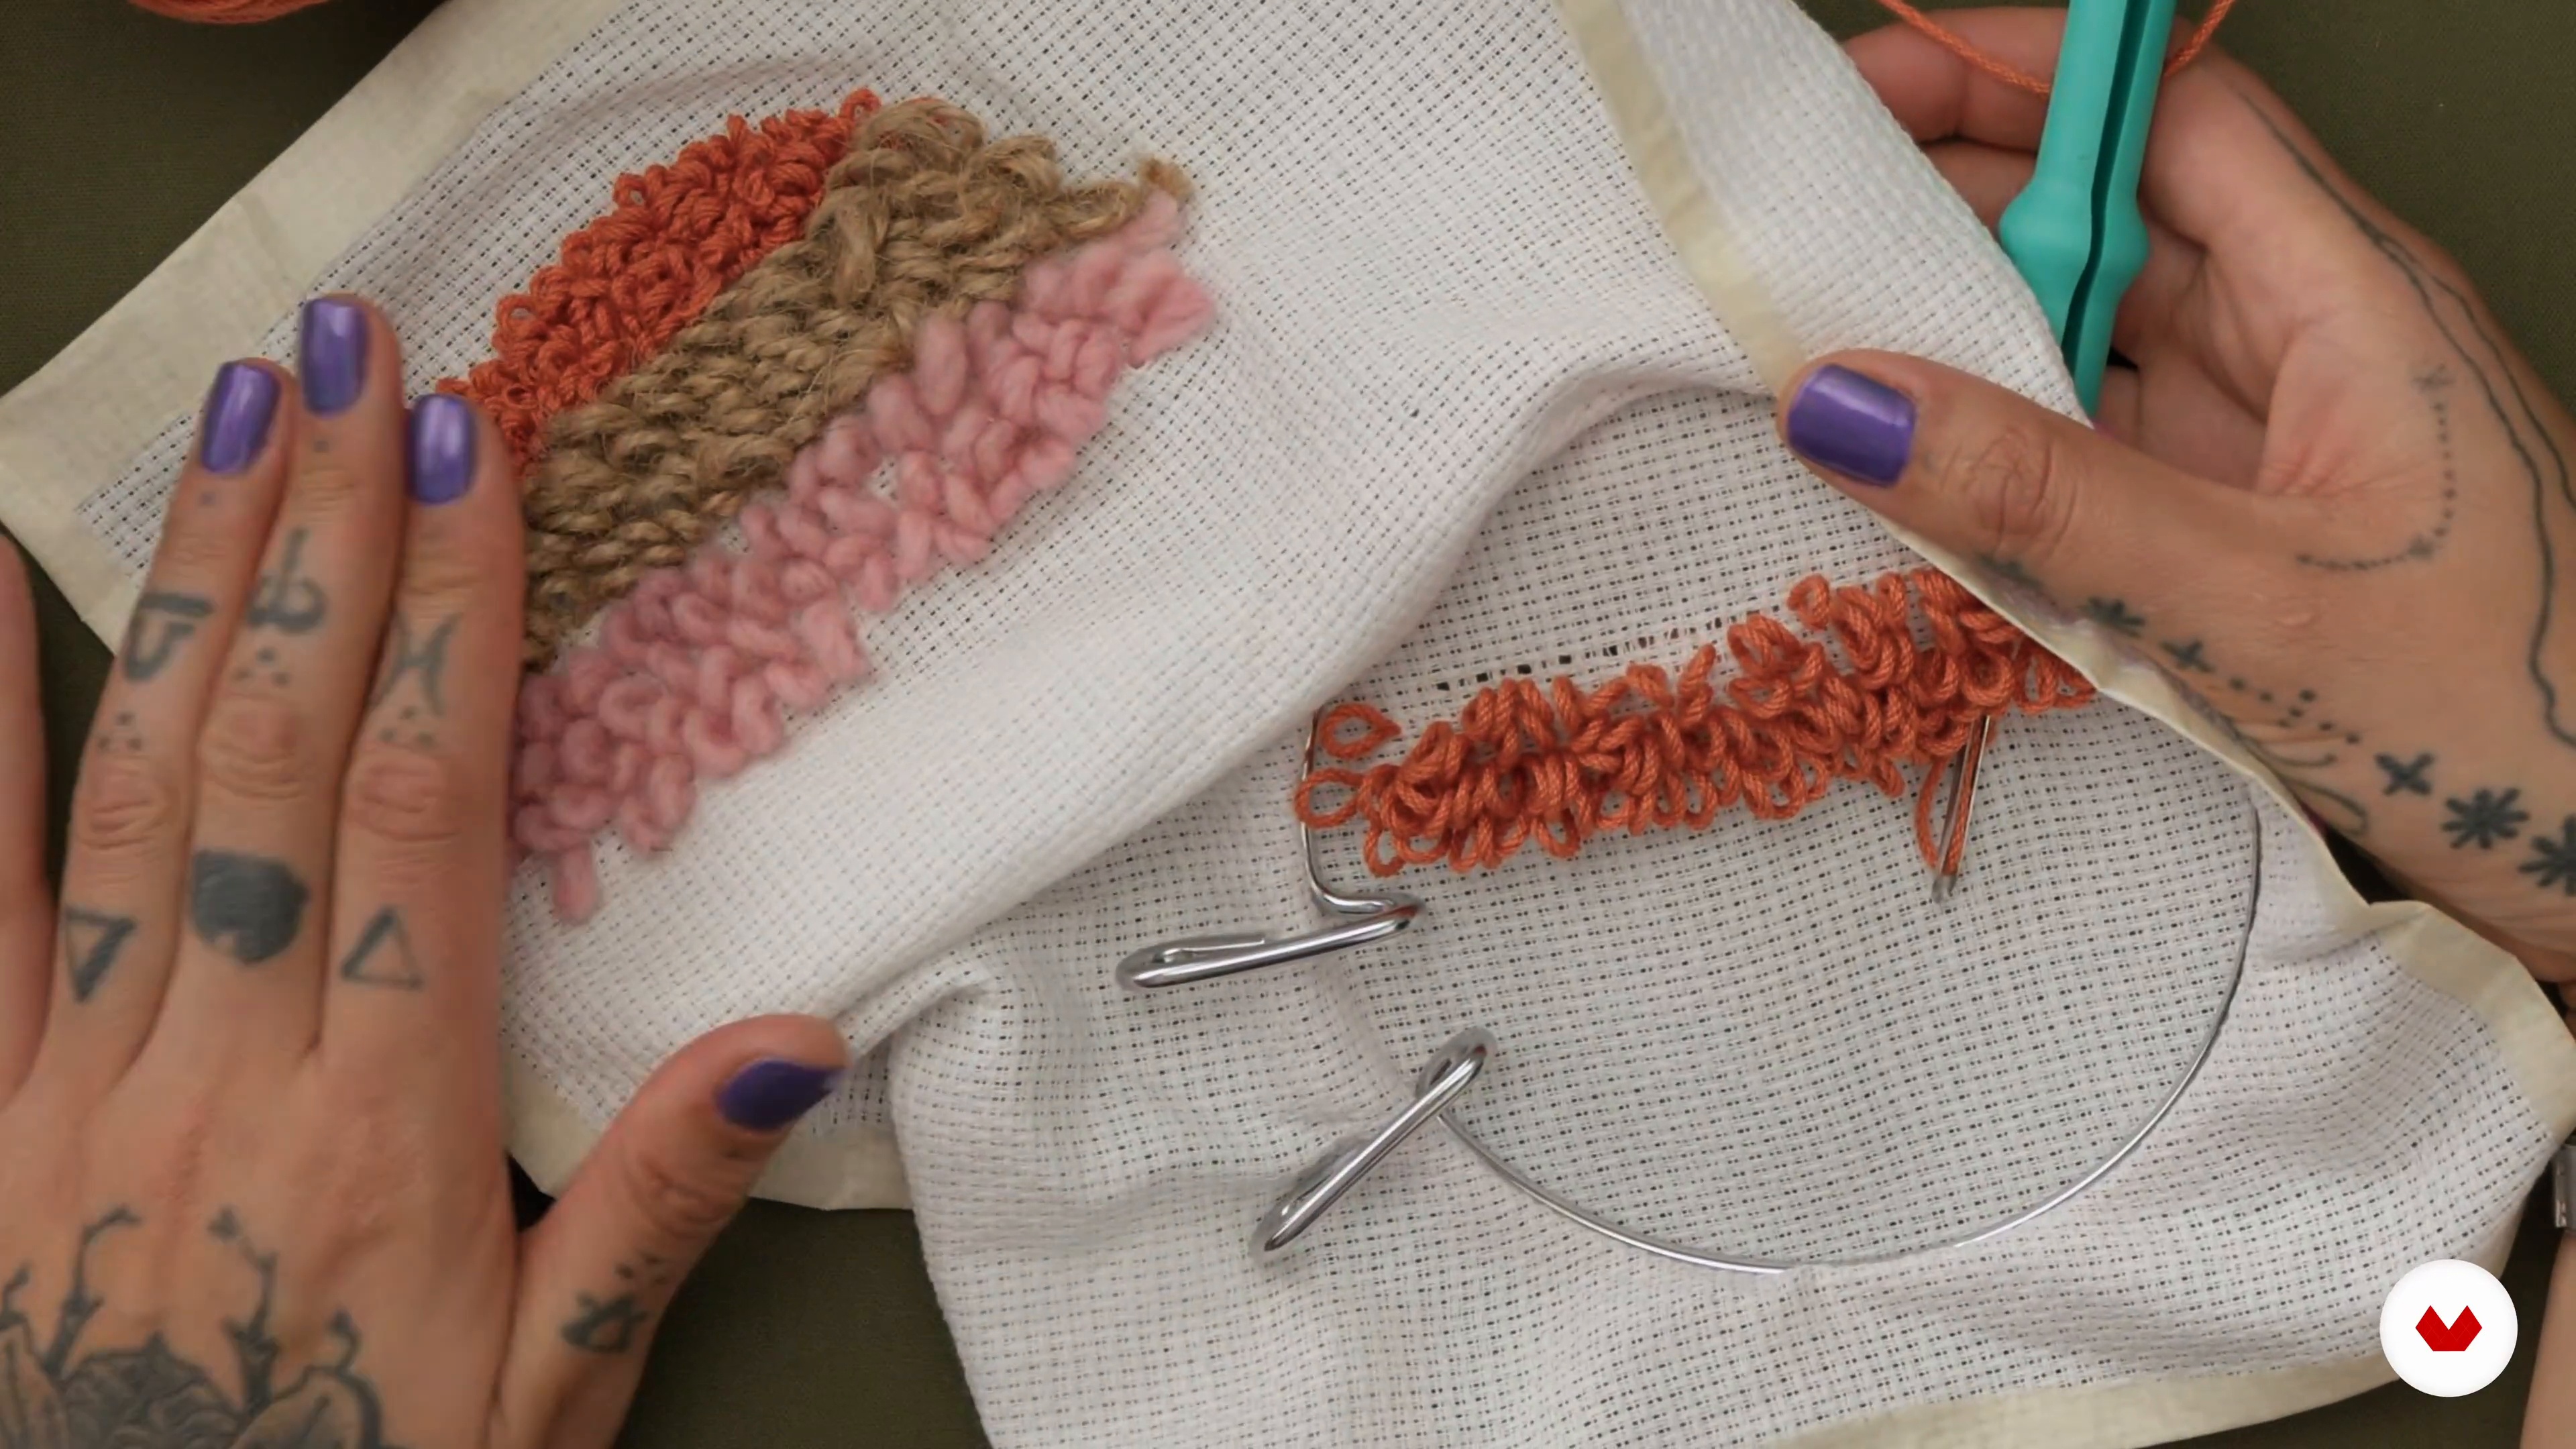
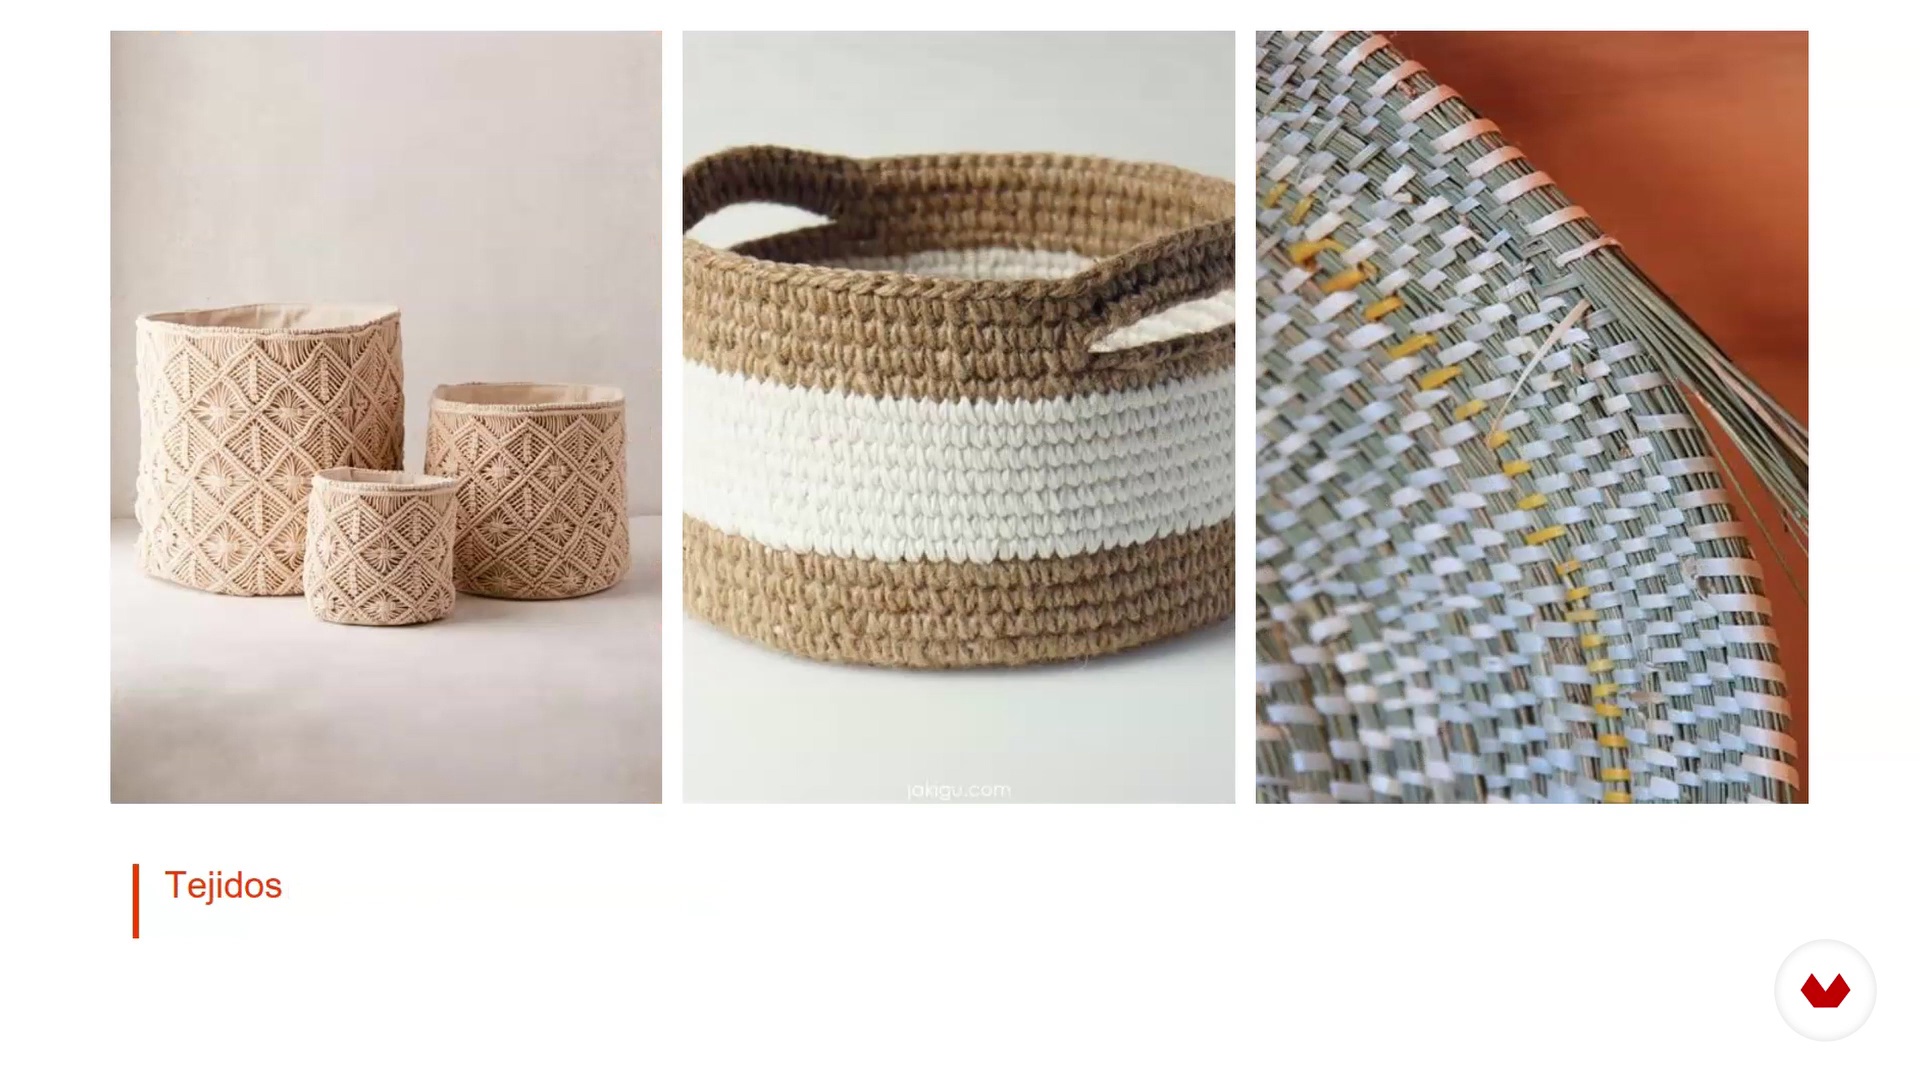
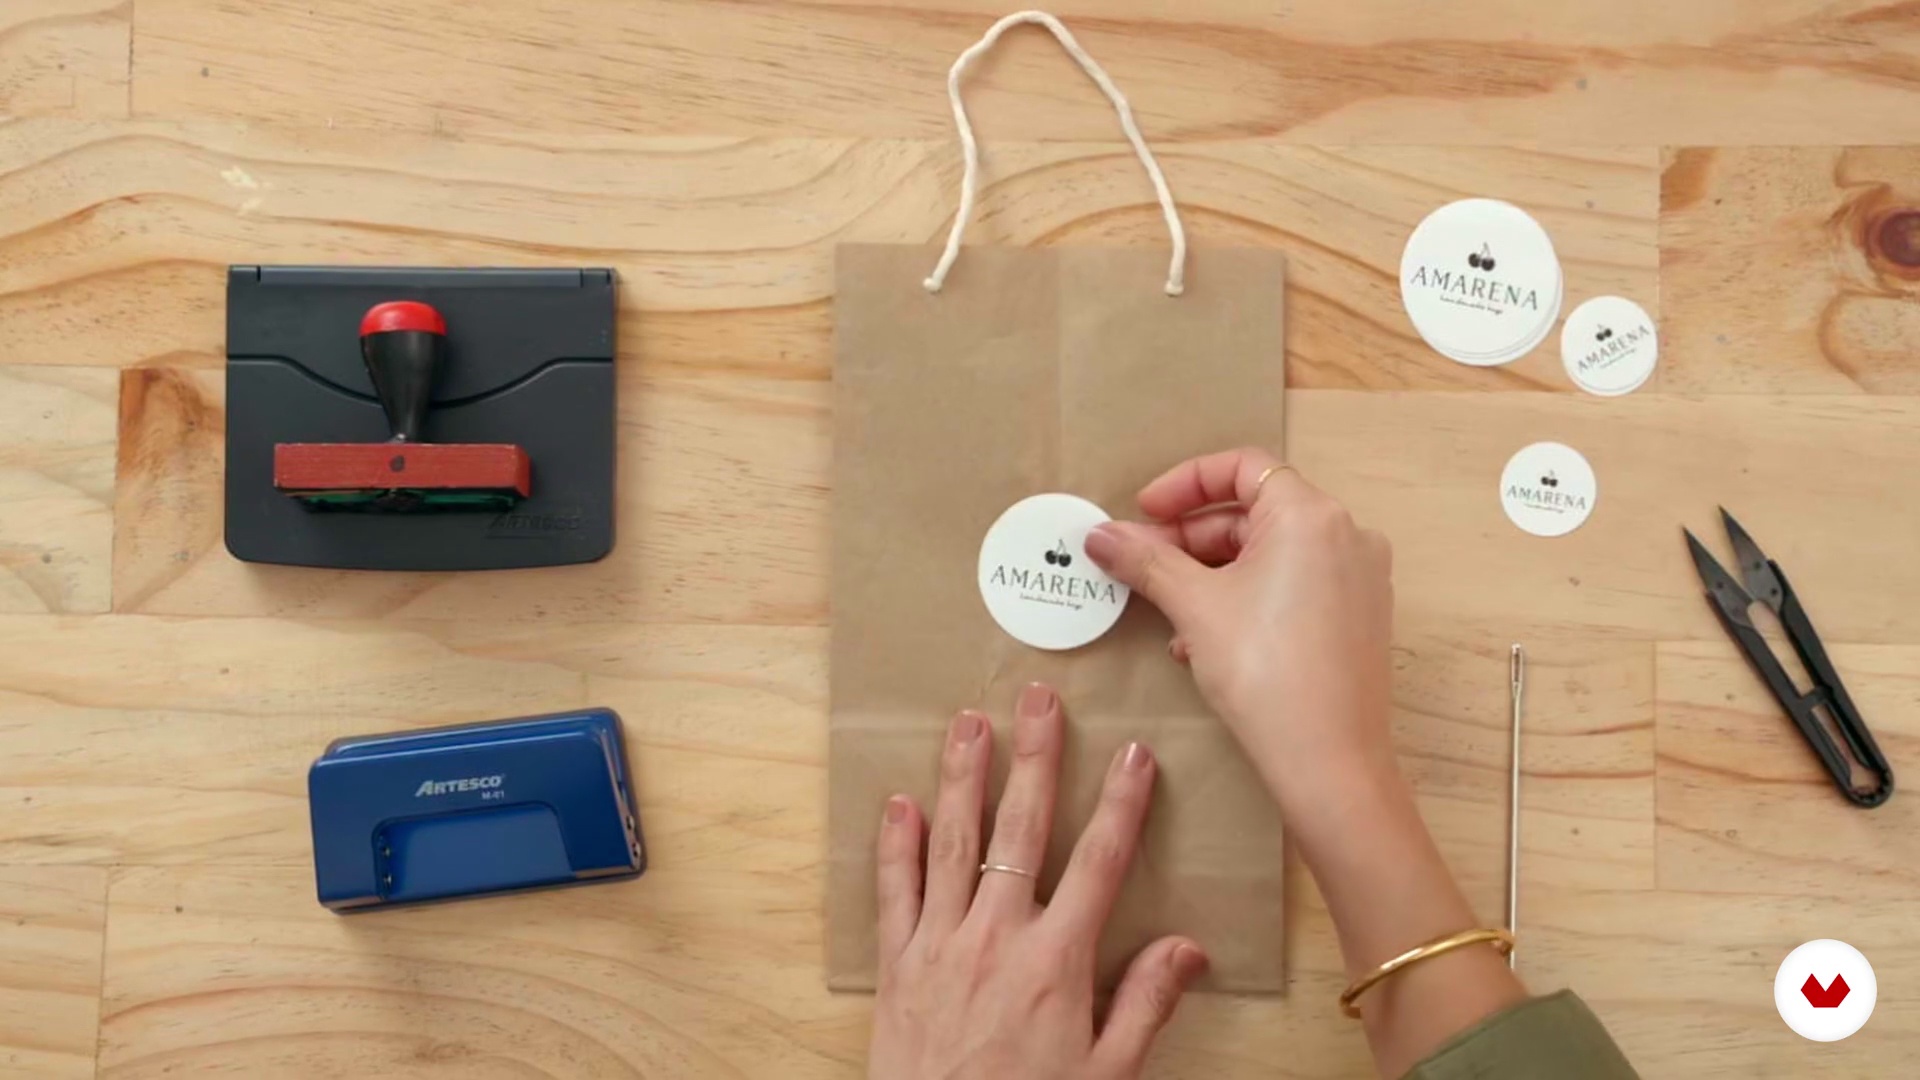
Immerse yourself in the fascinating world of macramé with this specialization, covering everything from the basics to the most advanced techniques. Start by mastering essential and advanced knots to build a solid foundation. Then, explore the potential of macramé by combining it with other textile techniques, such as weaving and punch needle, to create unique and textured pieces. Learn from experts like Belén Senra, Daniela Chiñas, Larissa Melendez, and AMARENA.
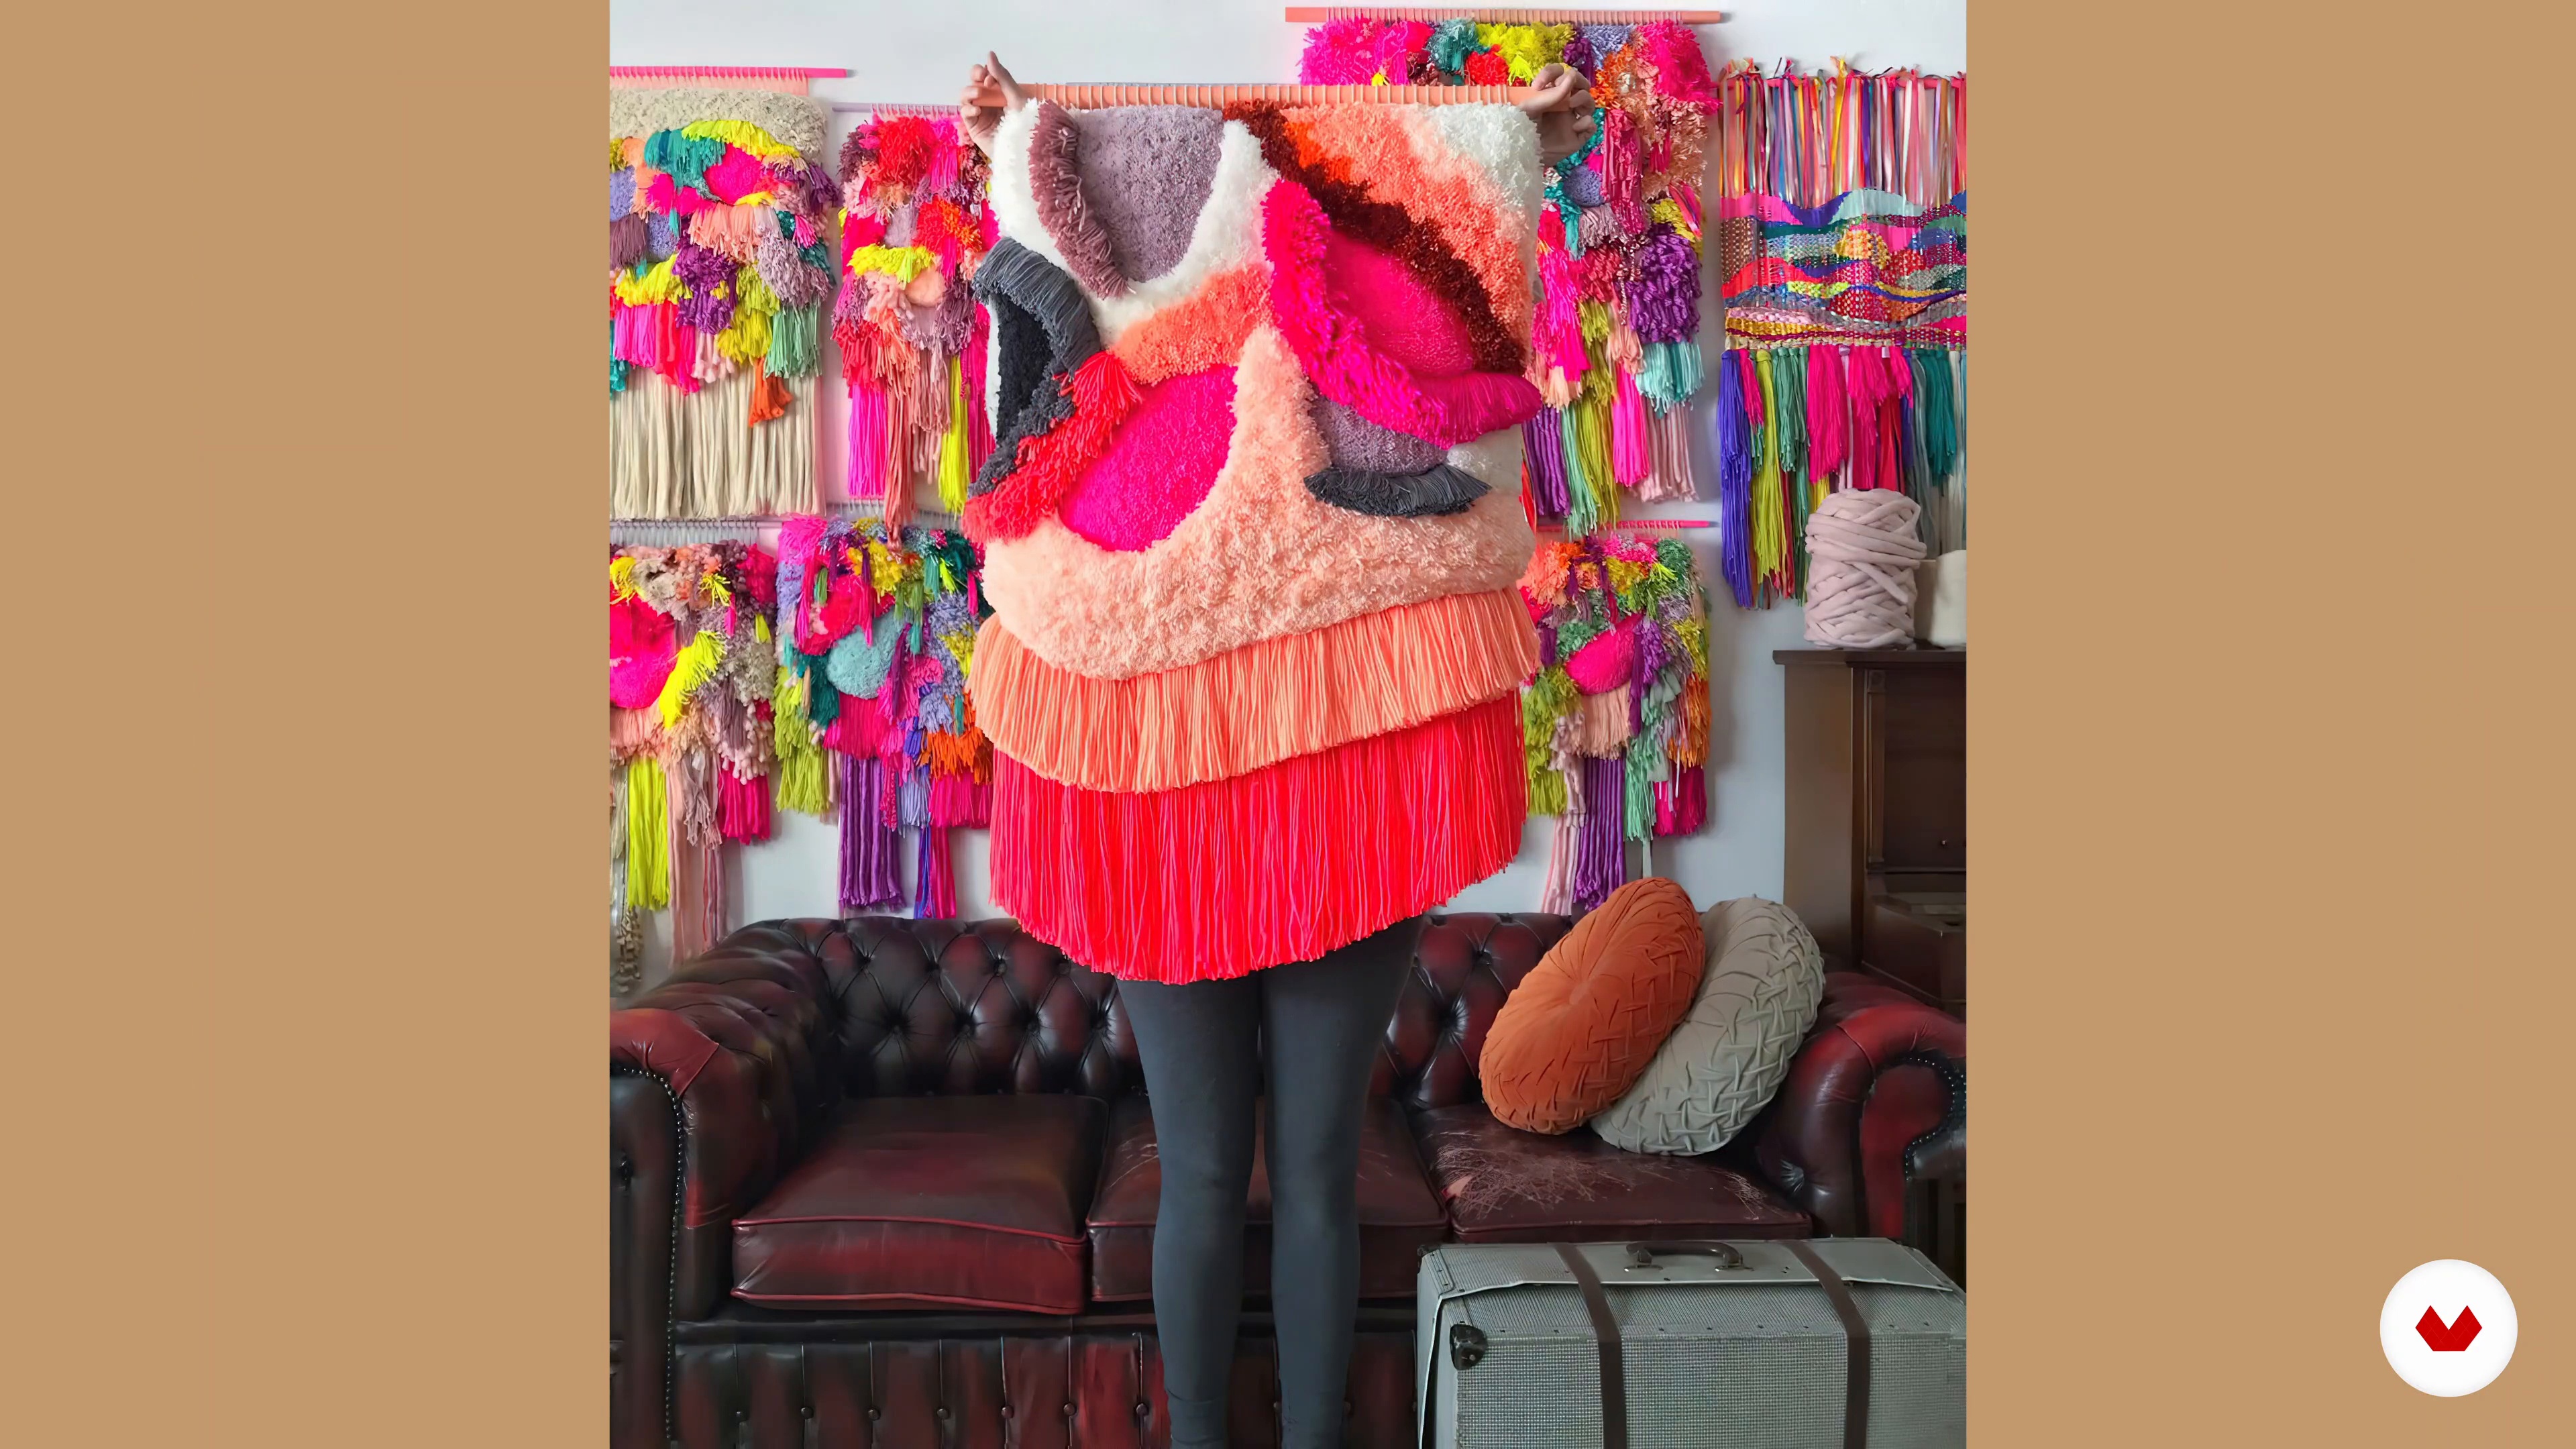
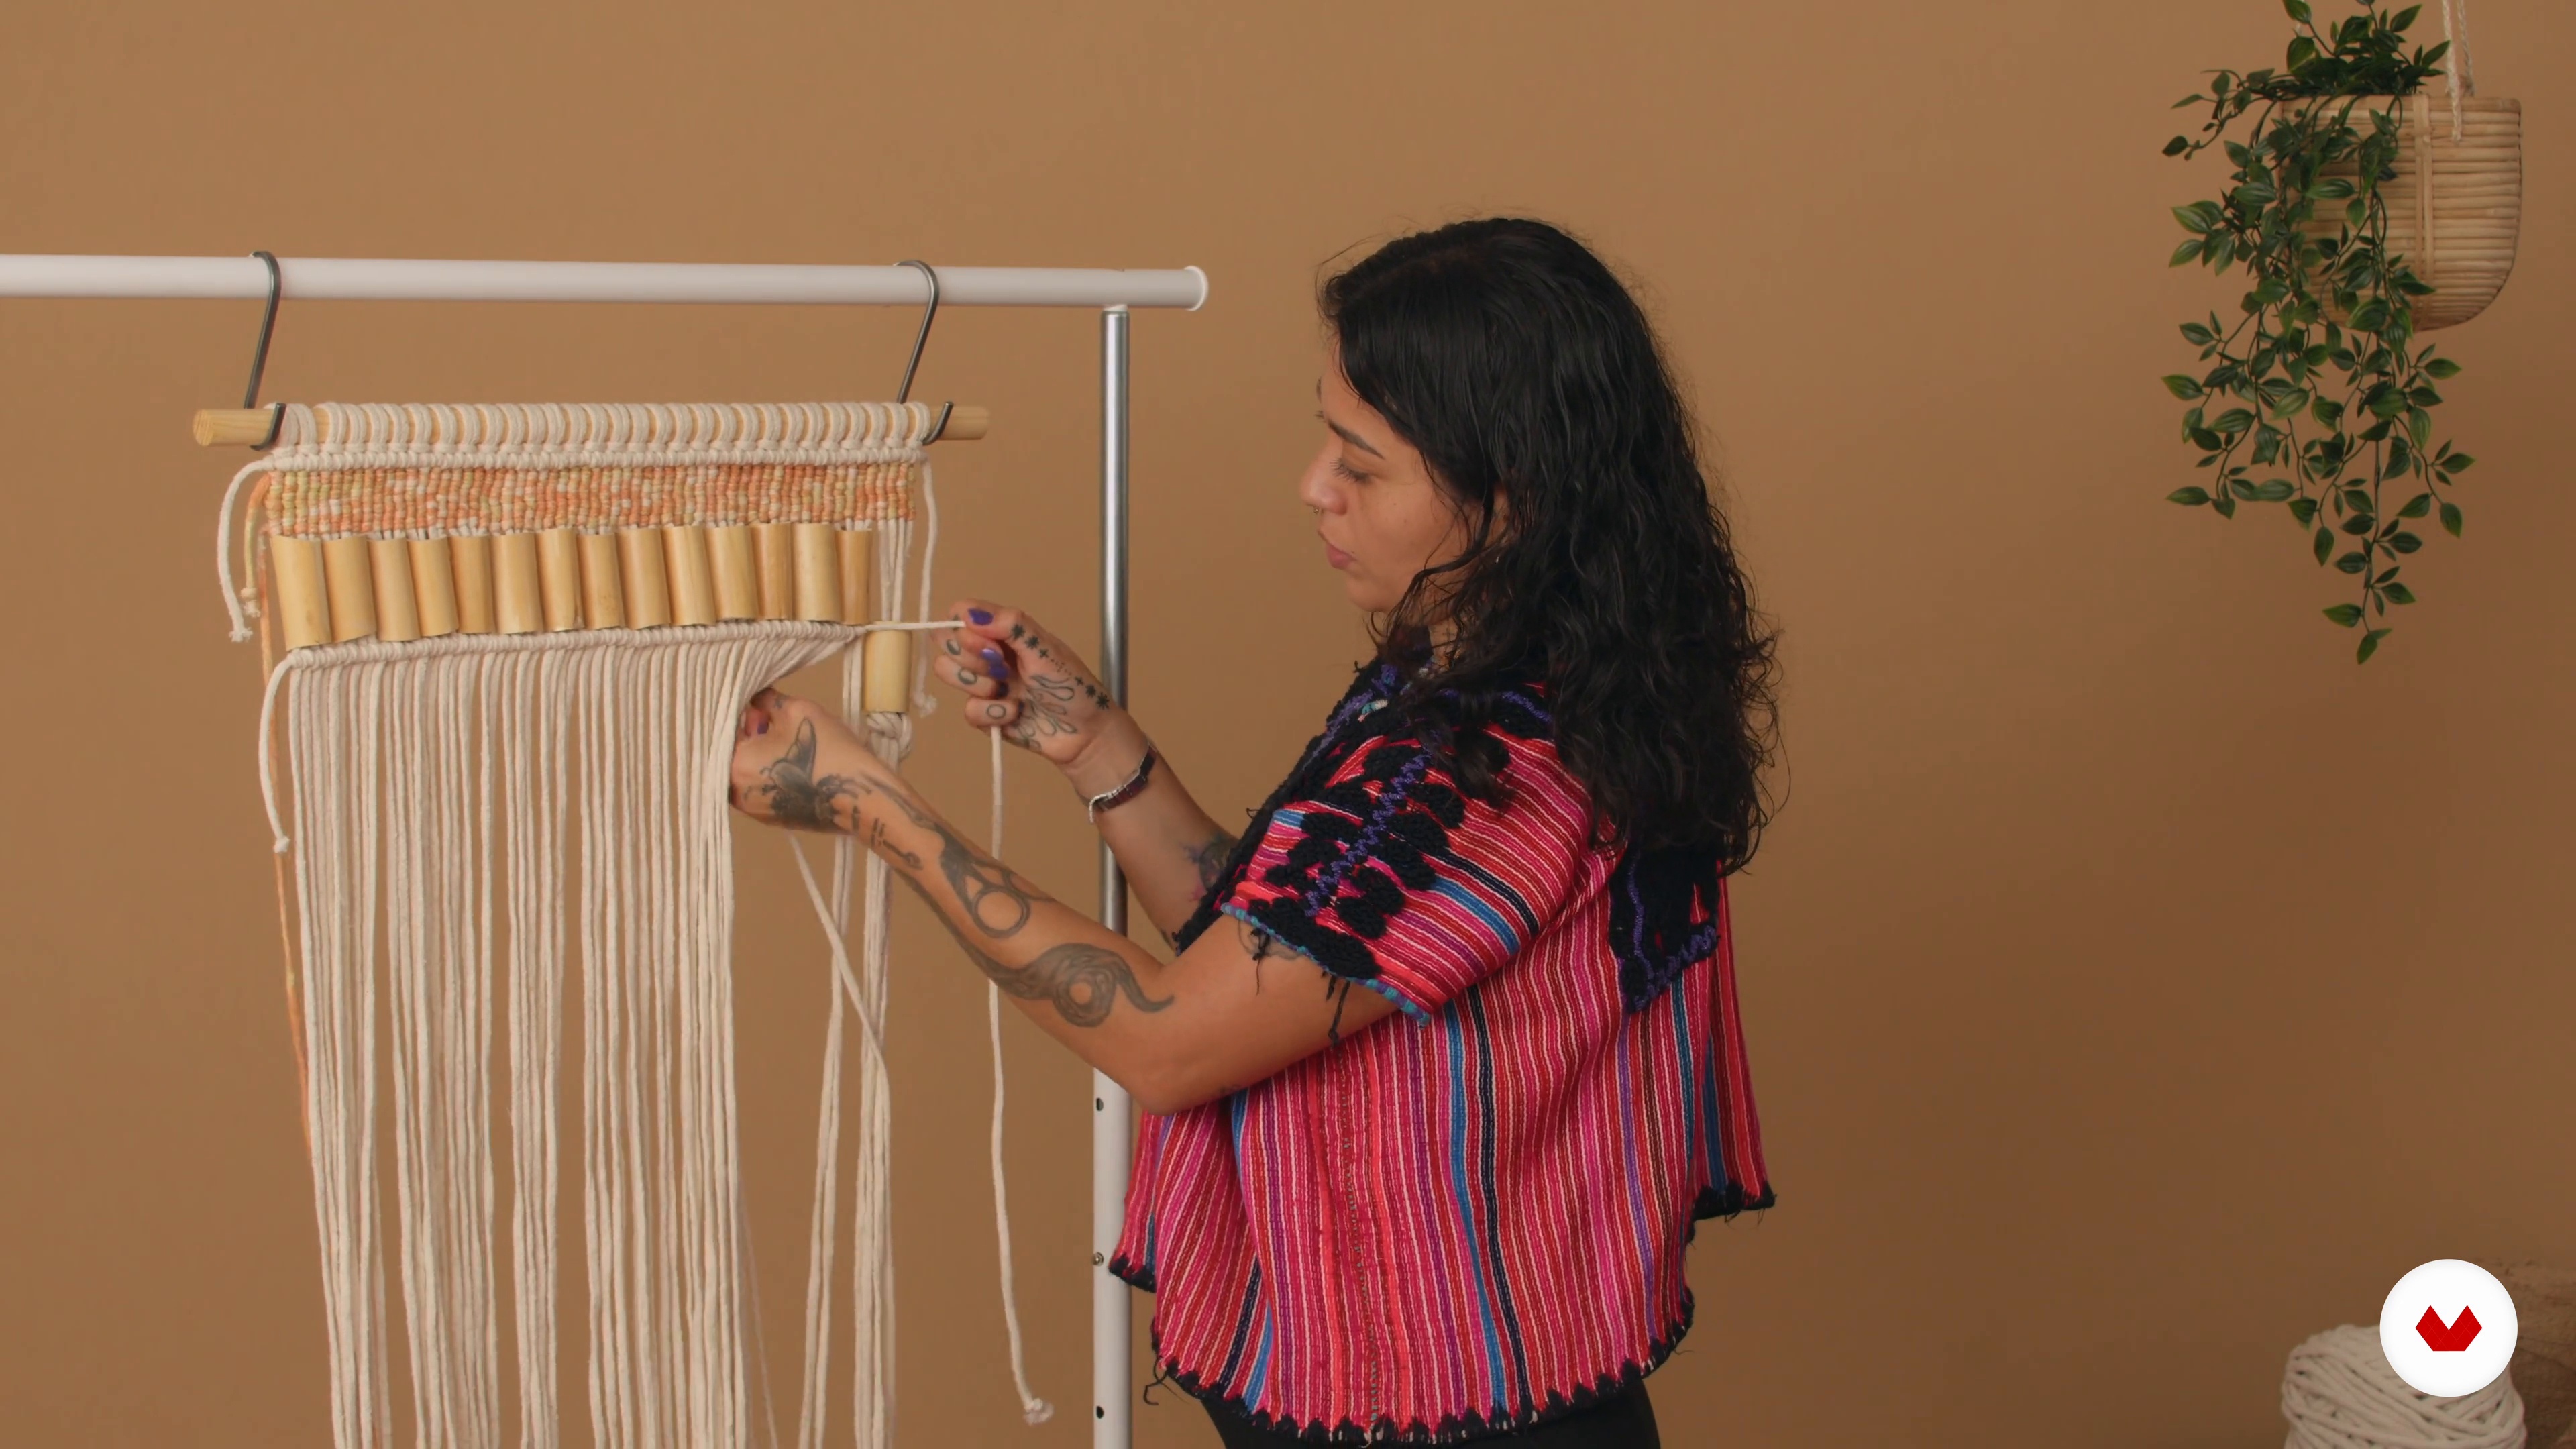
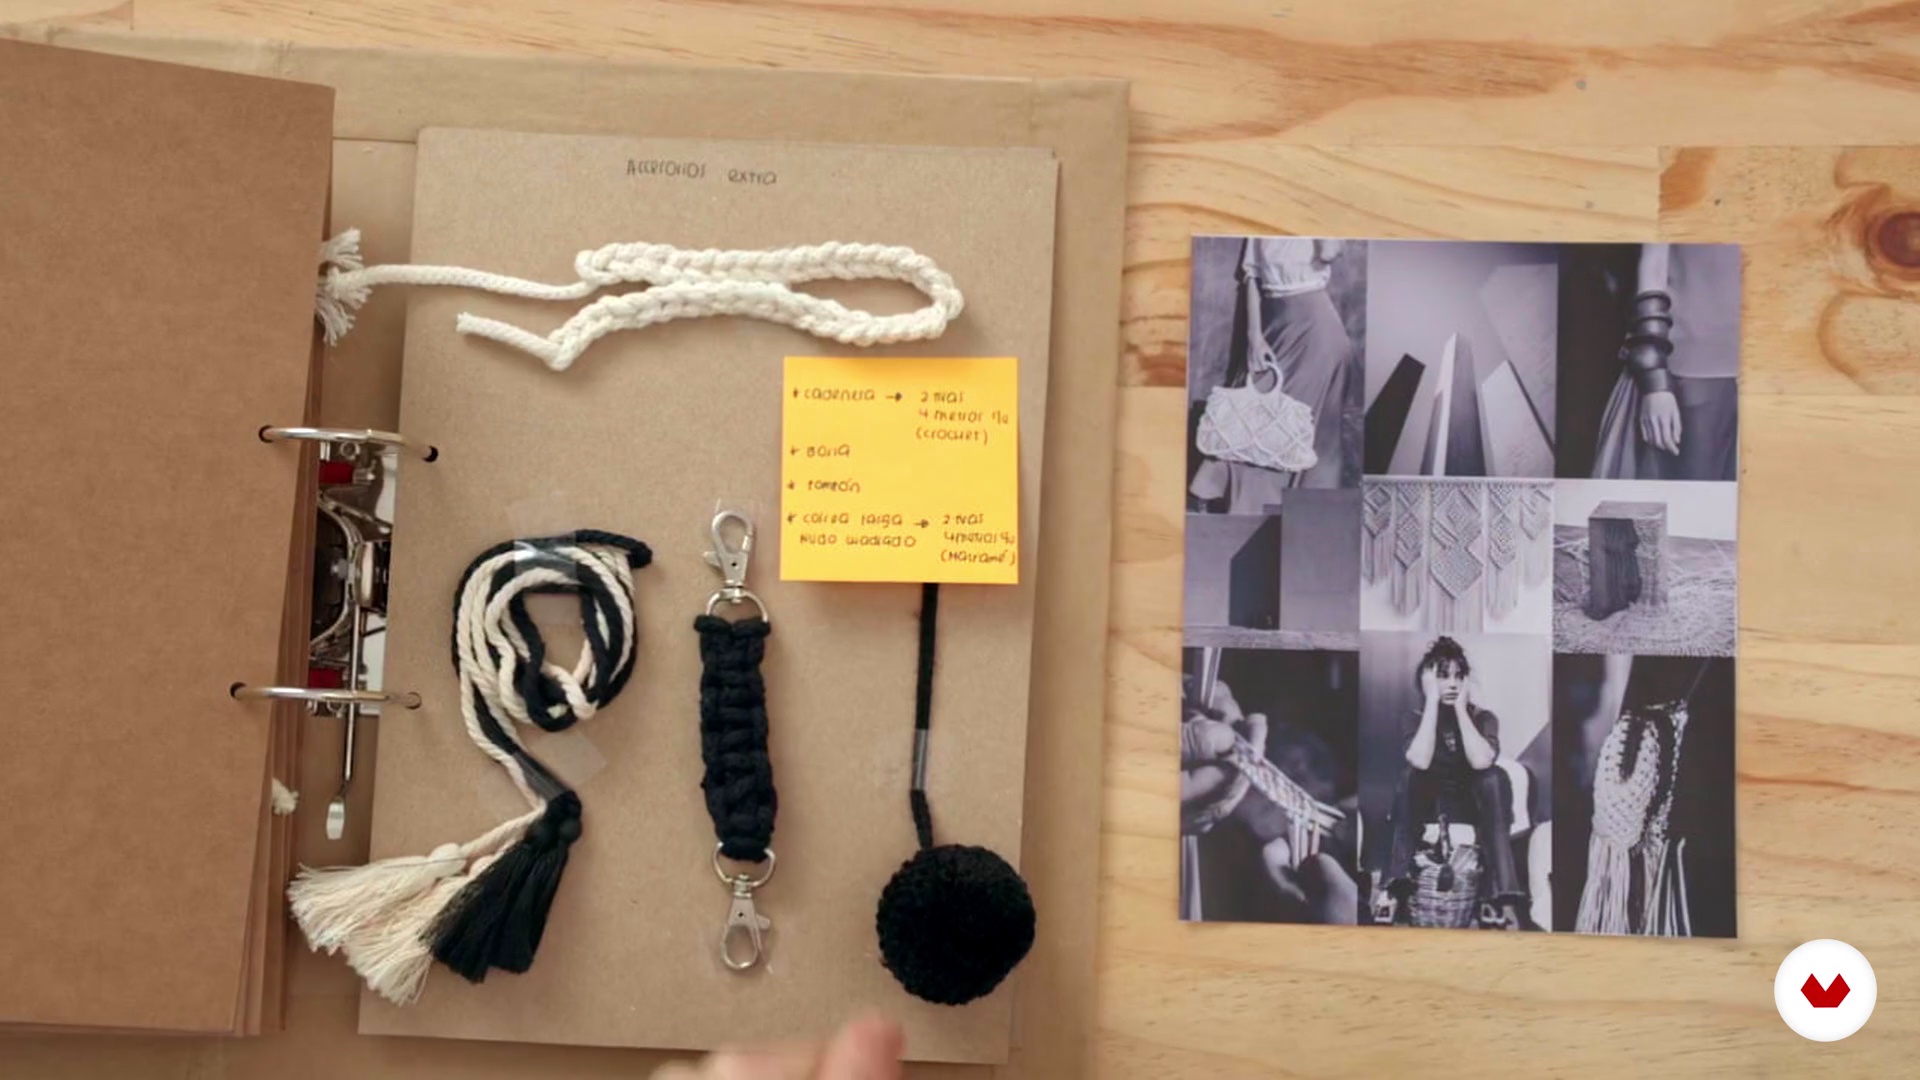
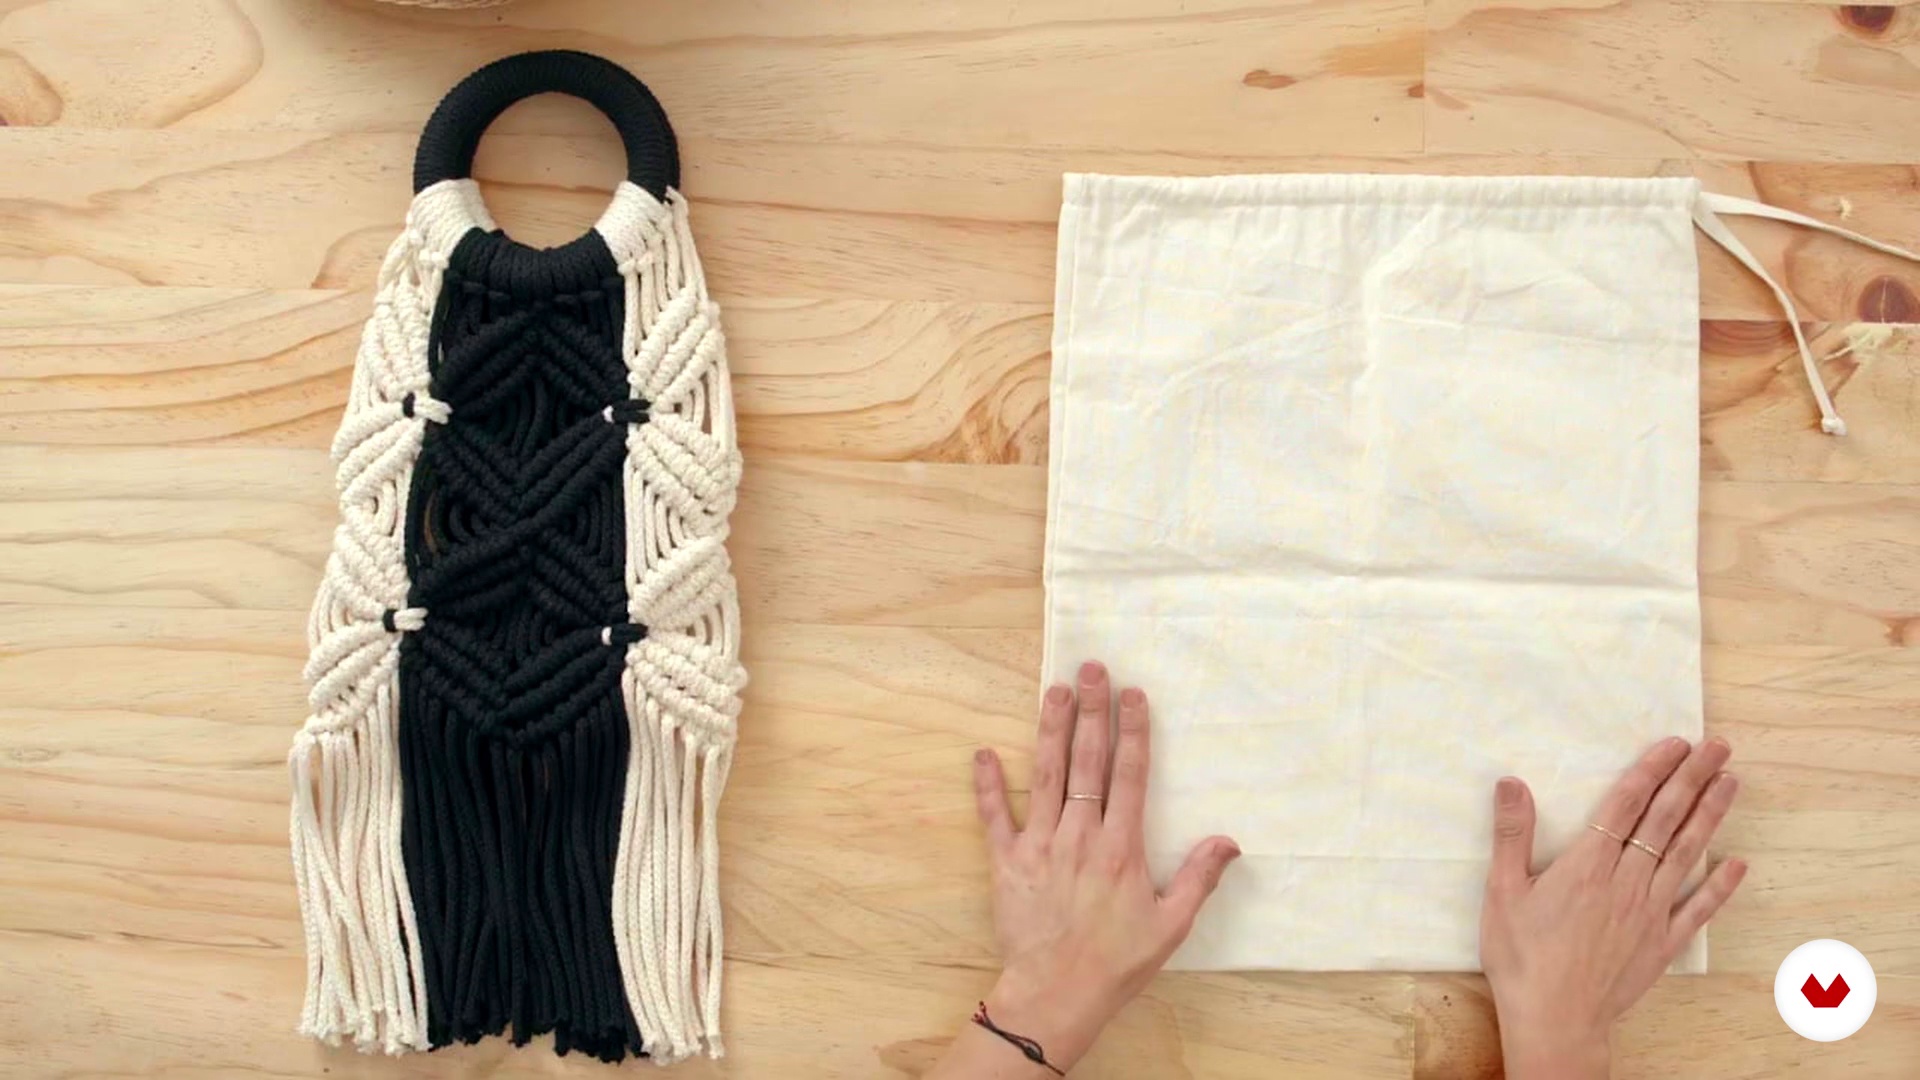
As you progress, you'll have the opportunity to create custom fashion accessories and garments using natural fibers for a sustainable approach. Imagine designing and crafting tapestries, bags, and garments that reflect your style, applying everything you've learned. With the guidance of these talented instructors, you'll develop practical skills that will allow you to integrate creativity and technique, taking your projects to the next level. This specialization gives you the tools you need to transform the art of macramé into a contemporary form of expression.
What will you learn in this specialization?


- 100% positive reviews (10)
- 917 students
- 86 lessons (12h 17m)
- 68 additional resources (31 files)
- Online and at your own pace
- Audio: Spanish, English
- Spanish · English · Portuguese · German · French · Italian · Polish · Dutch · Turkish
- Level: Beginner
- Unlimited access forever
What is this course's project?
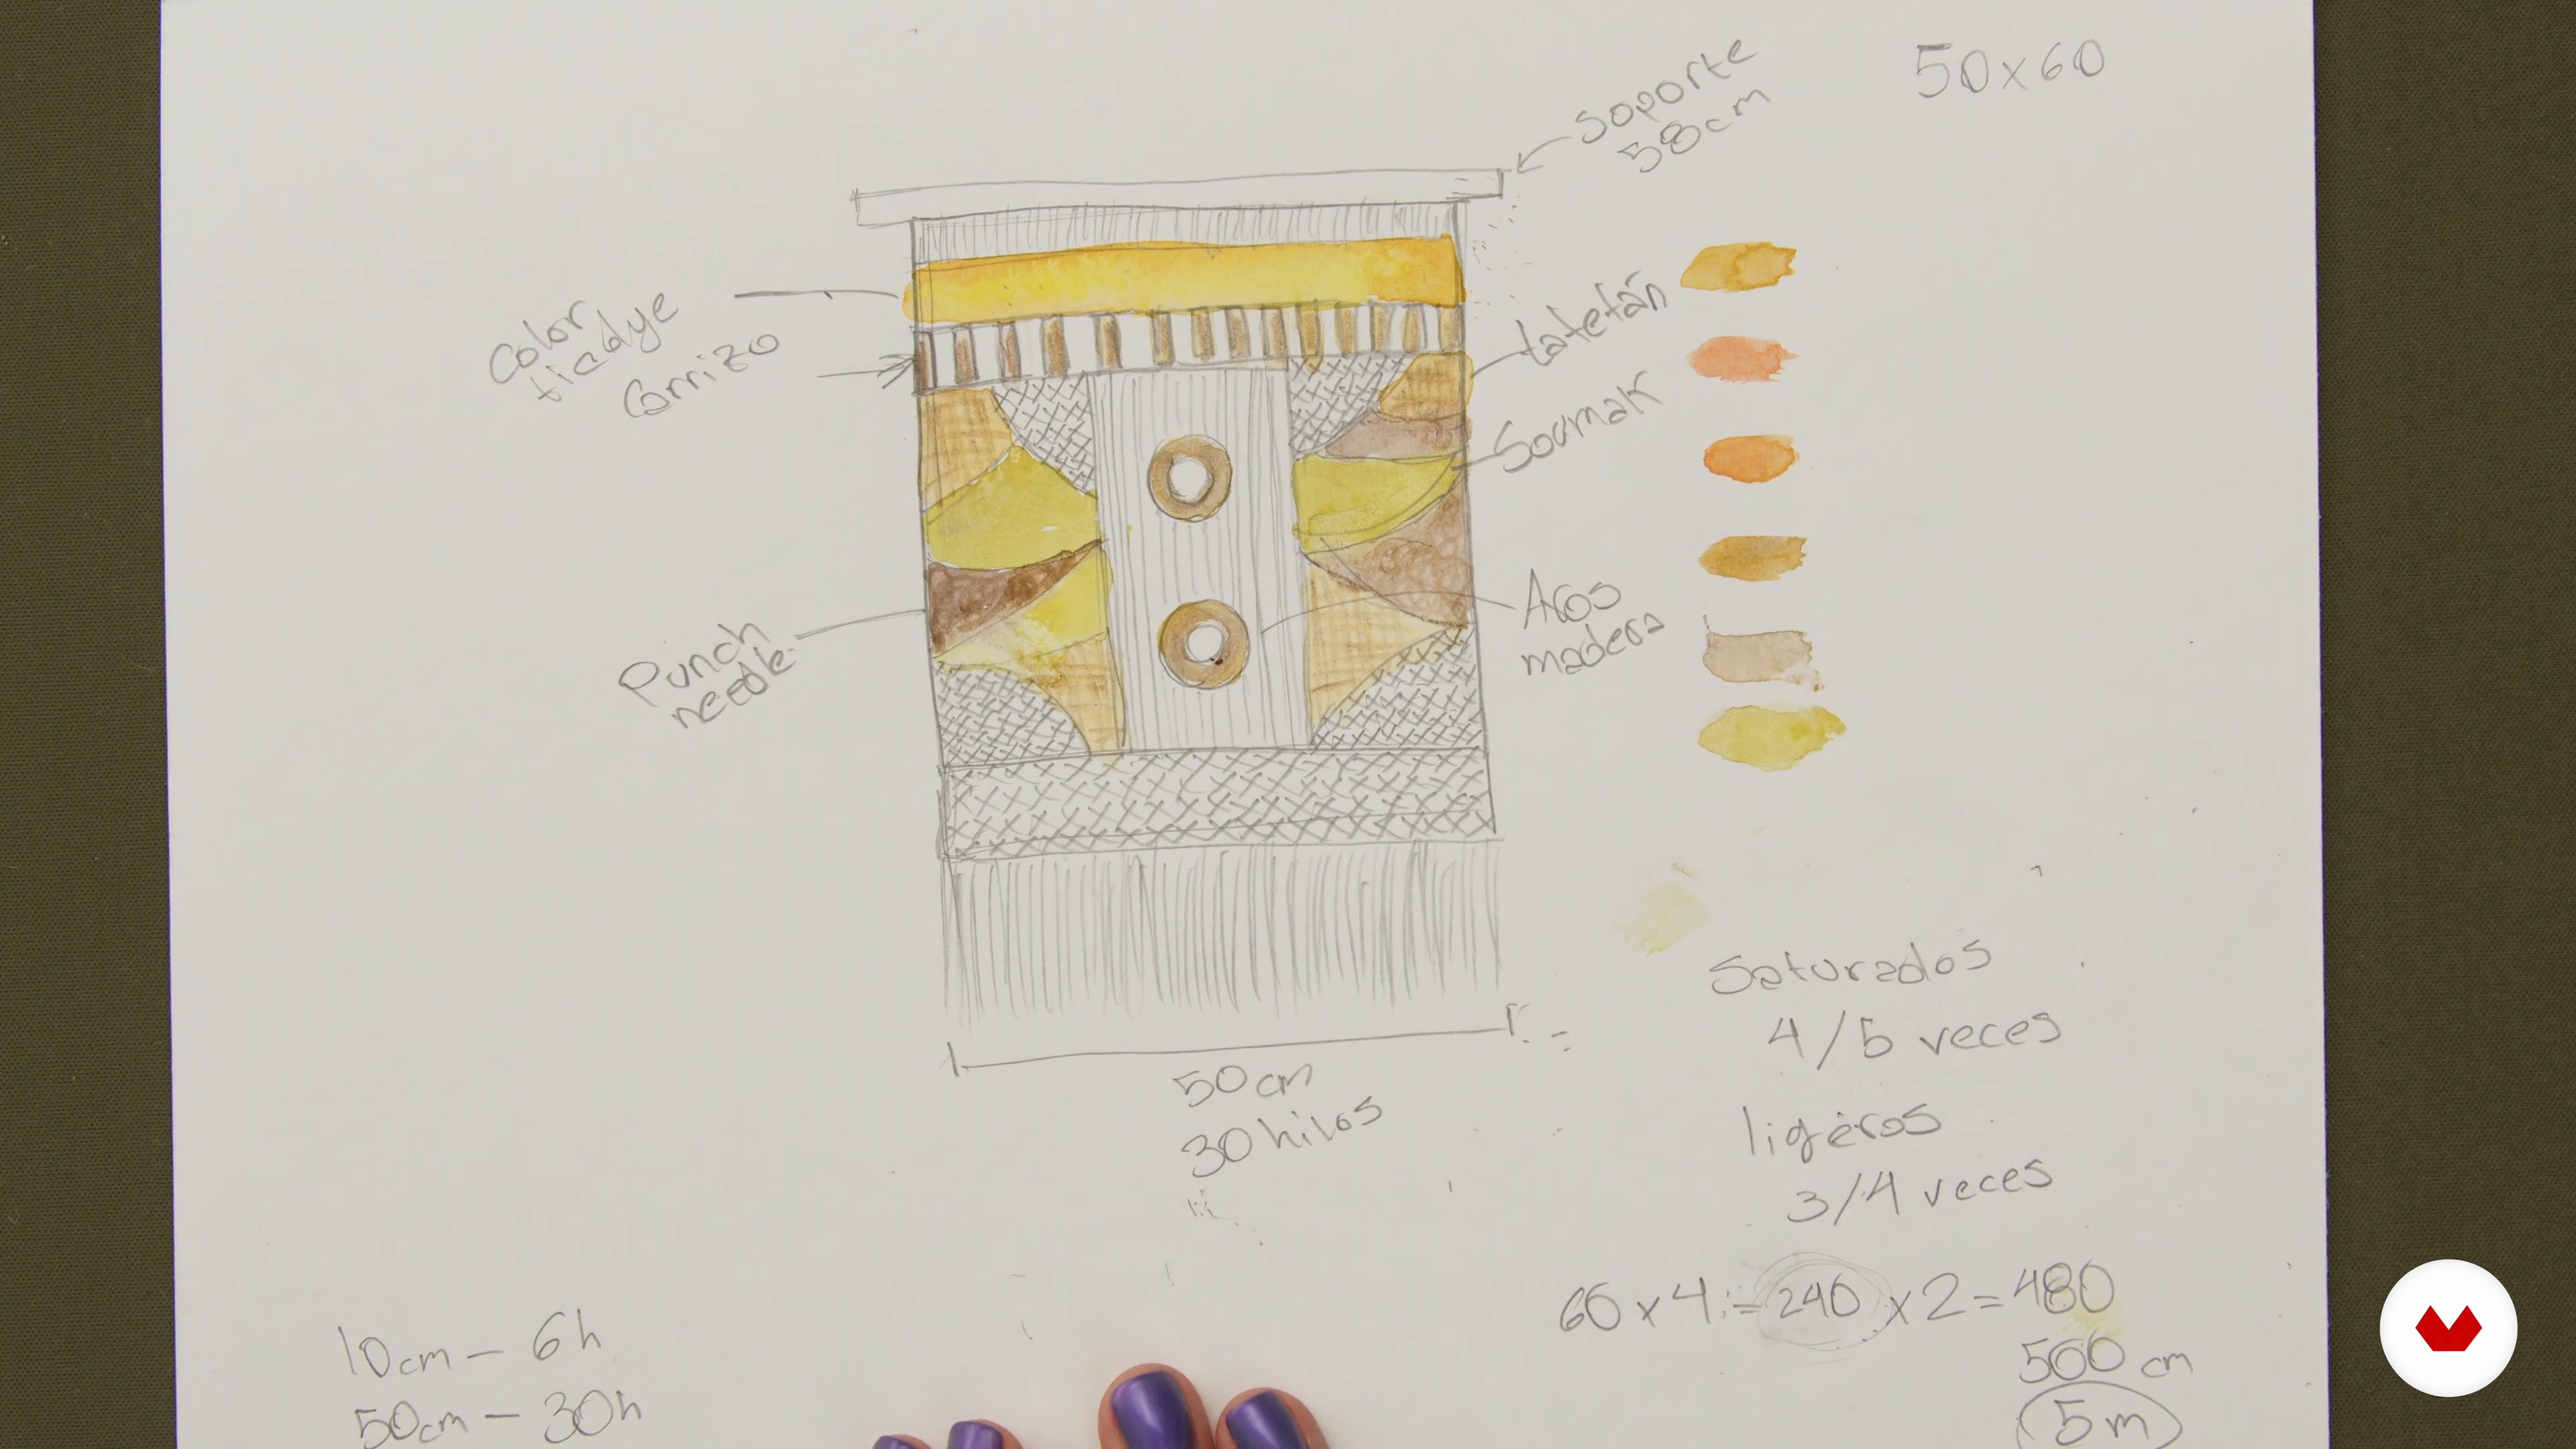
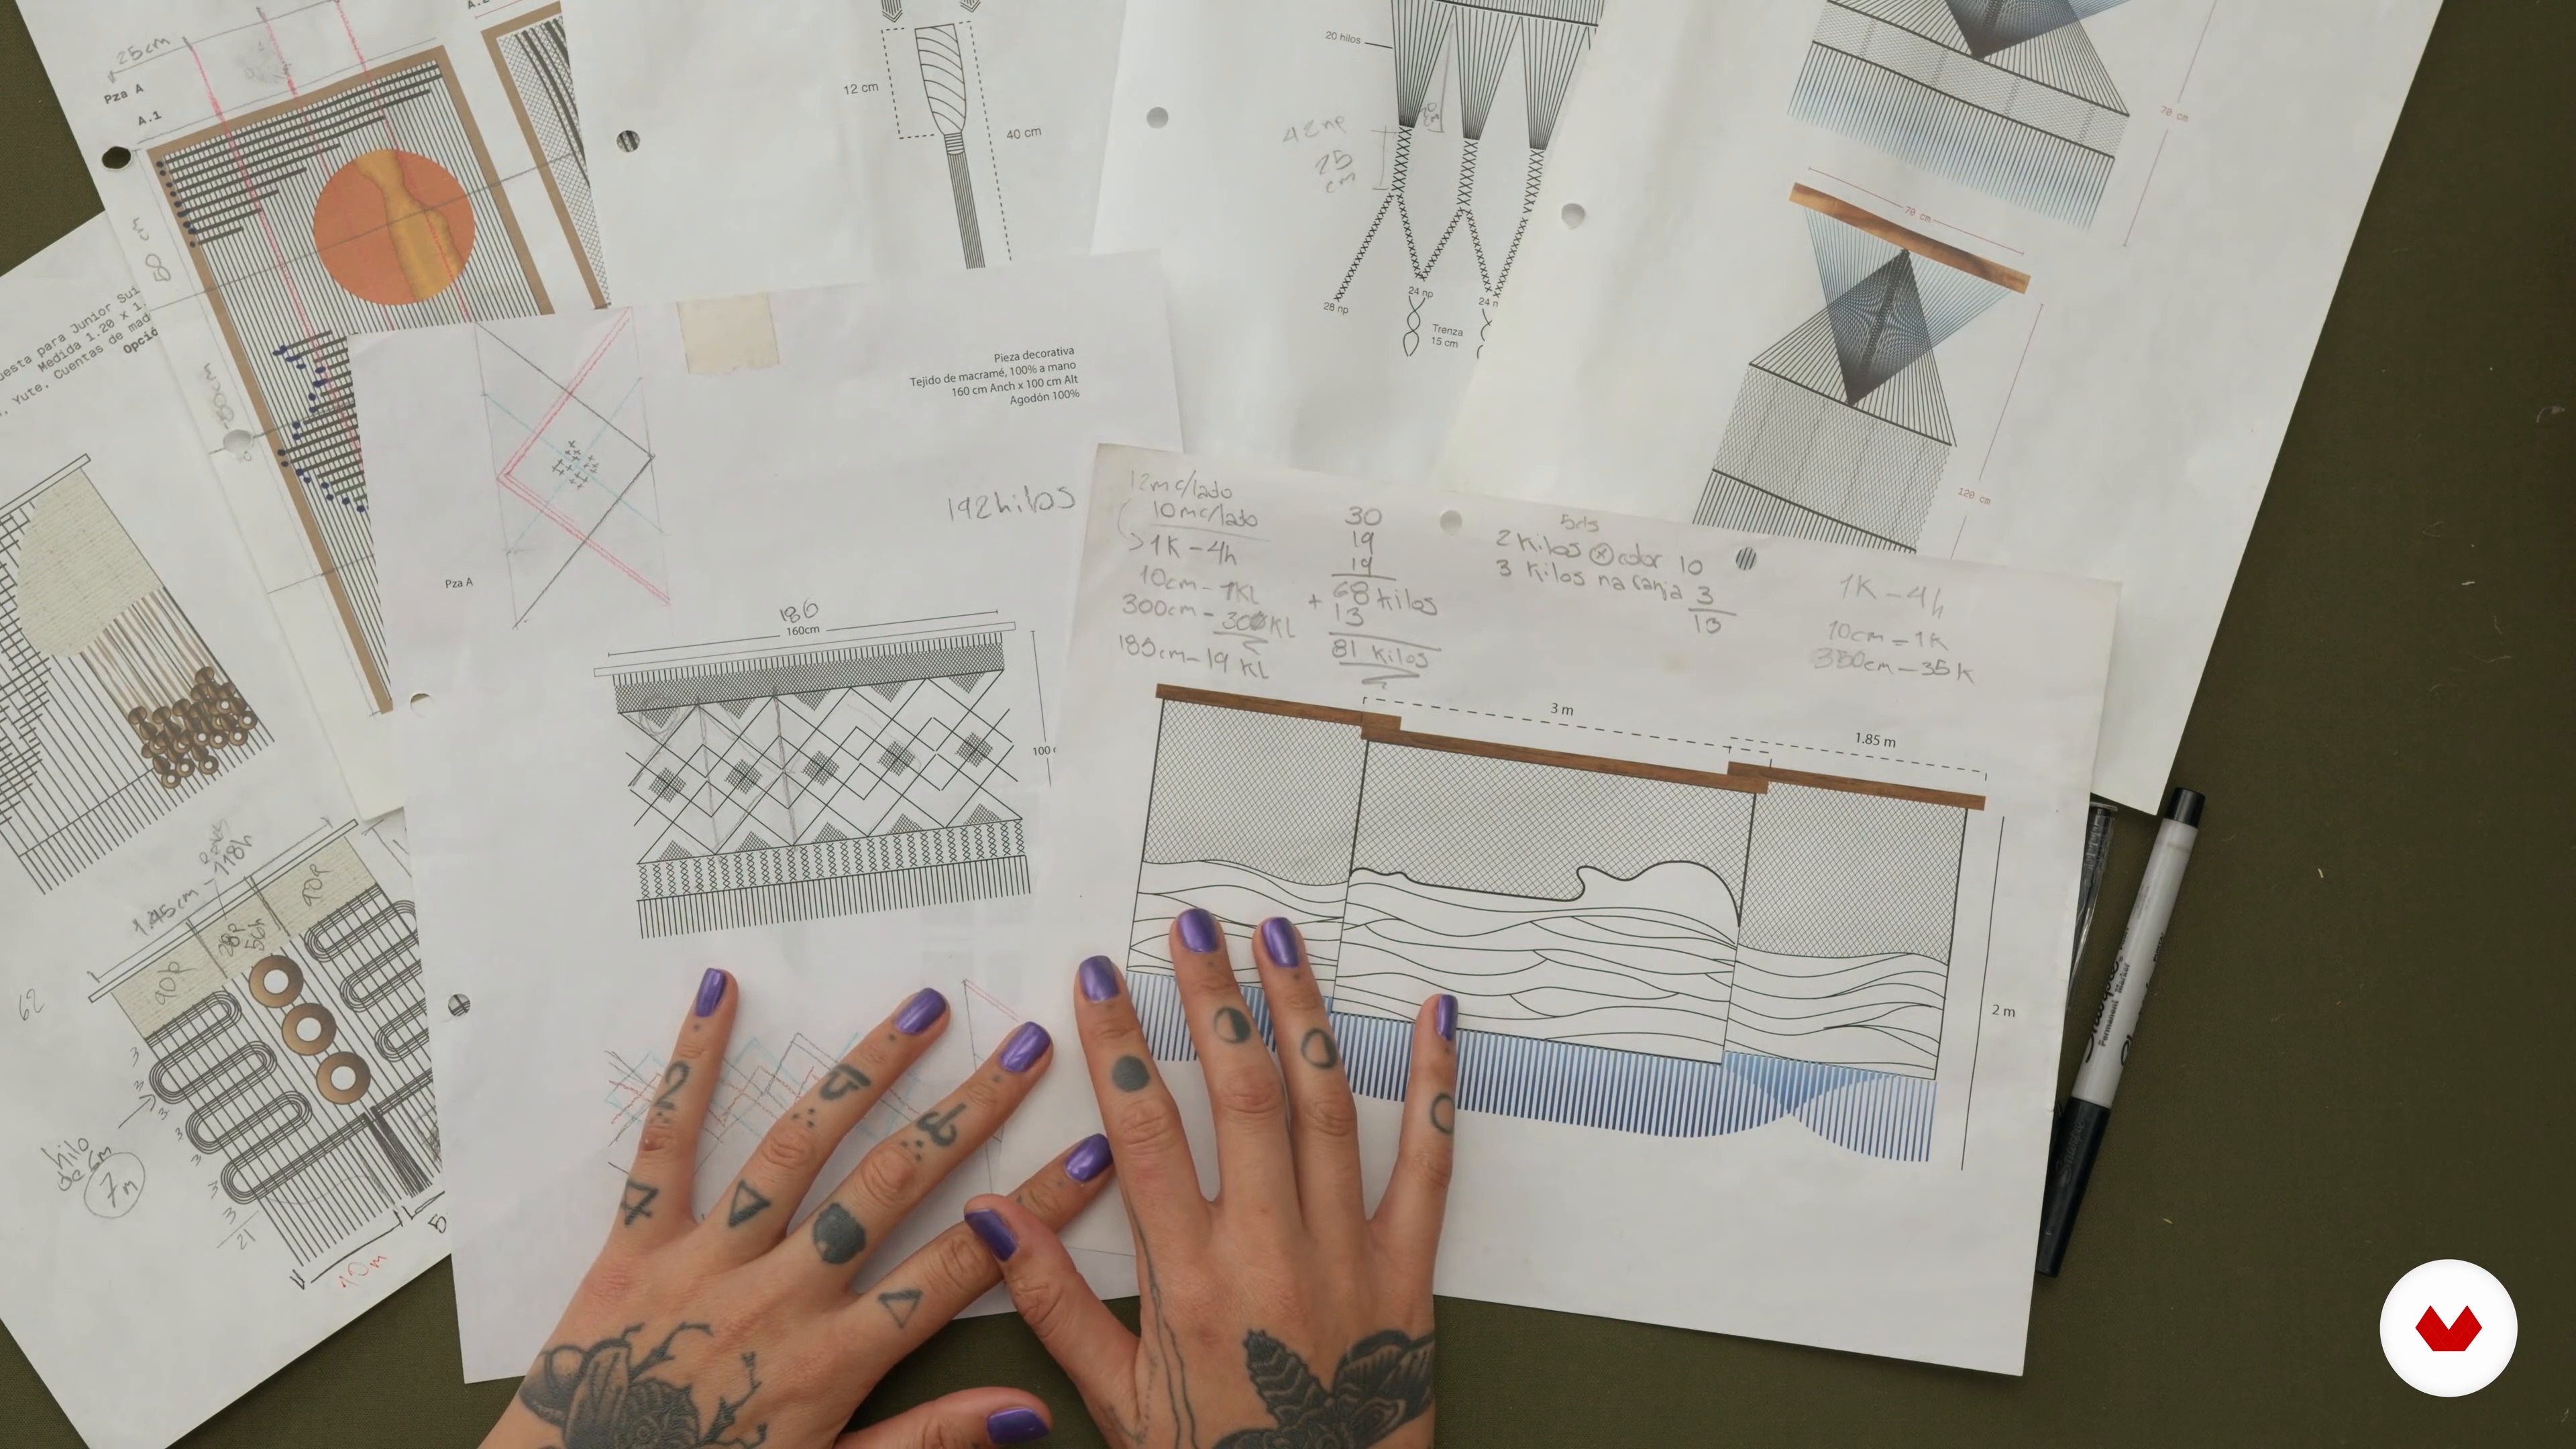
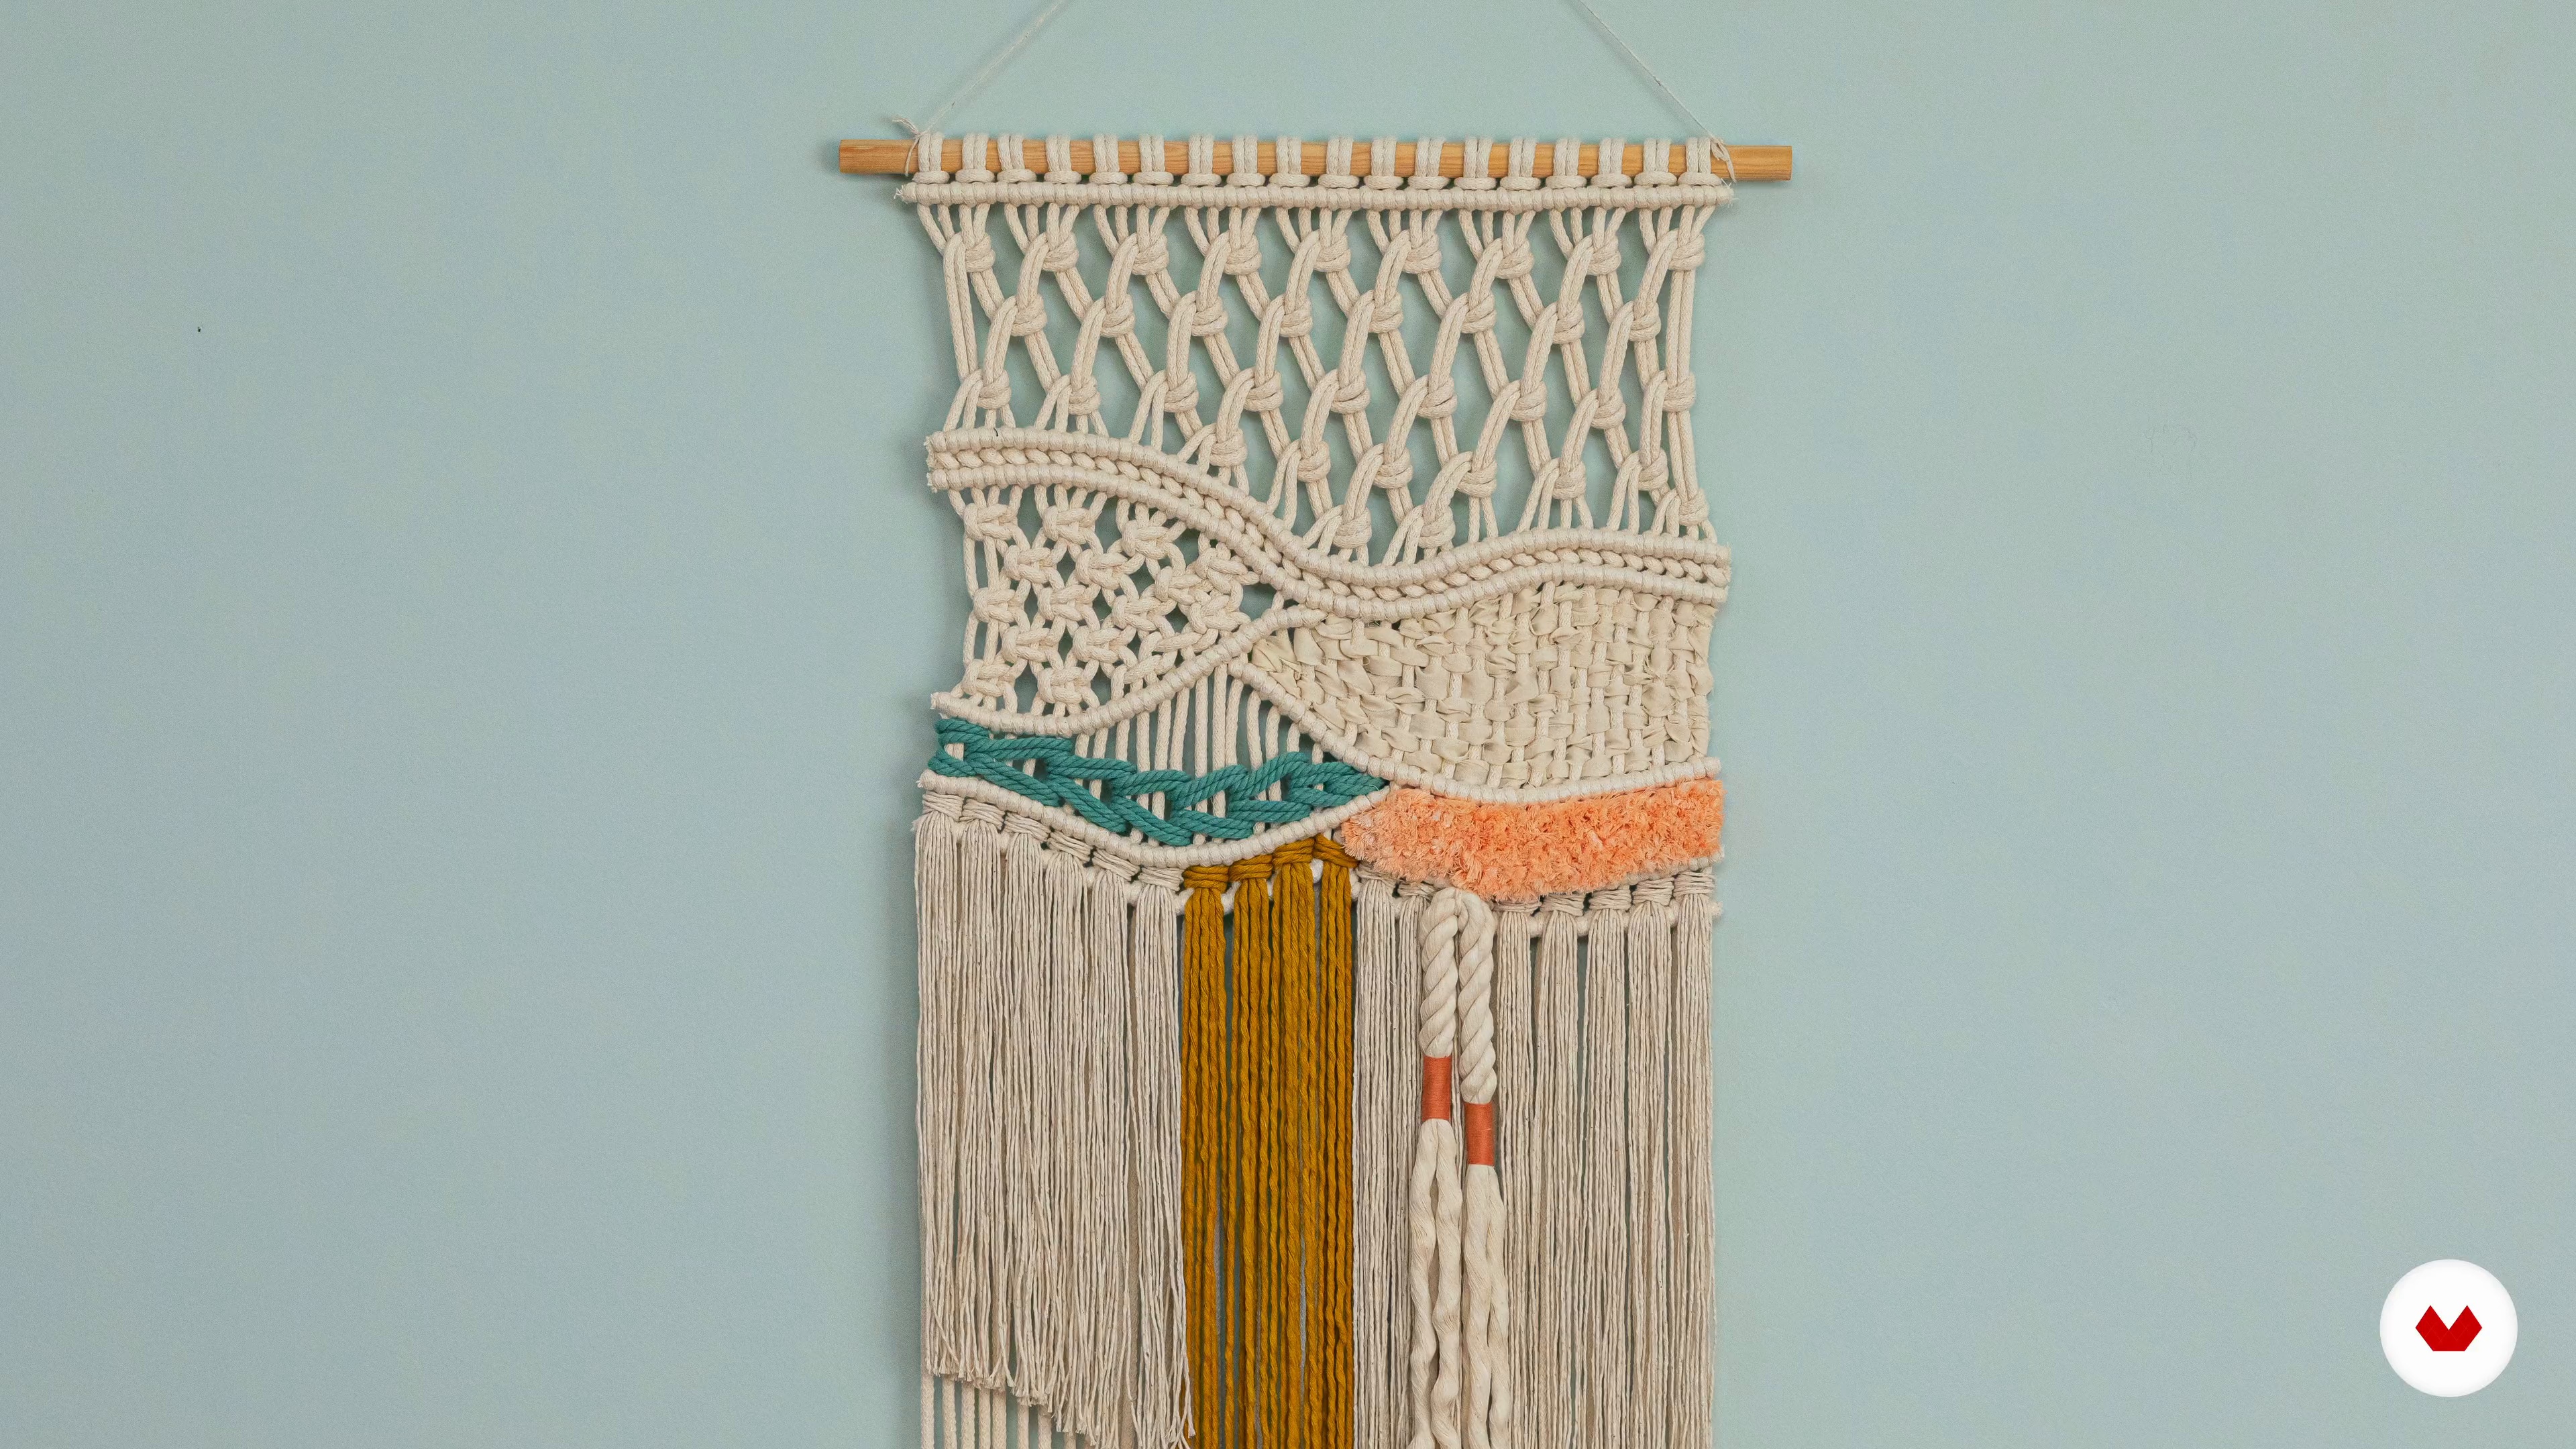
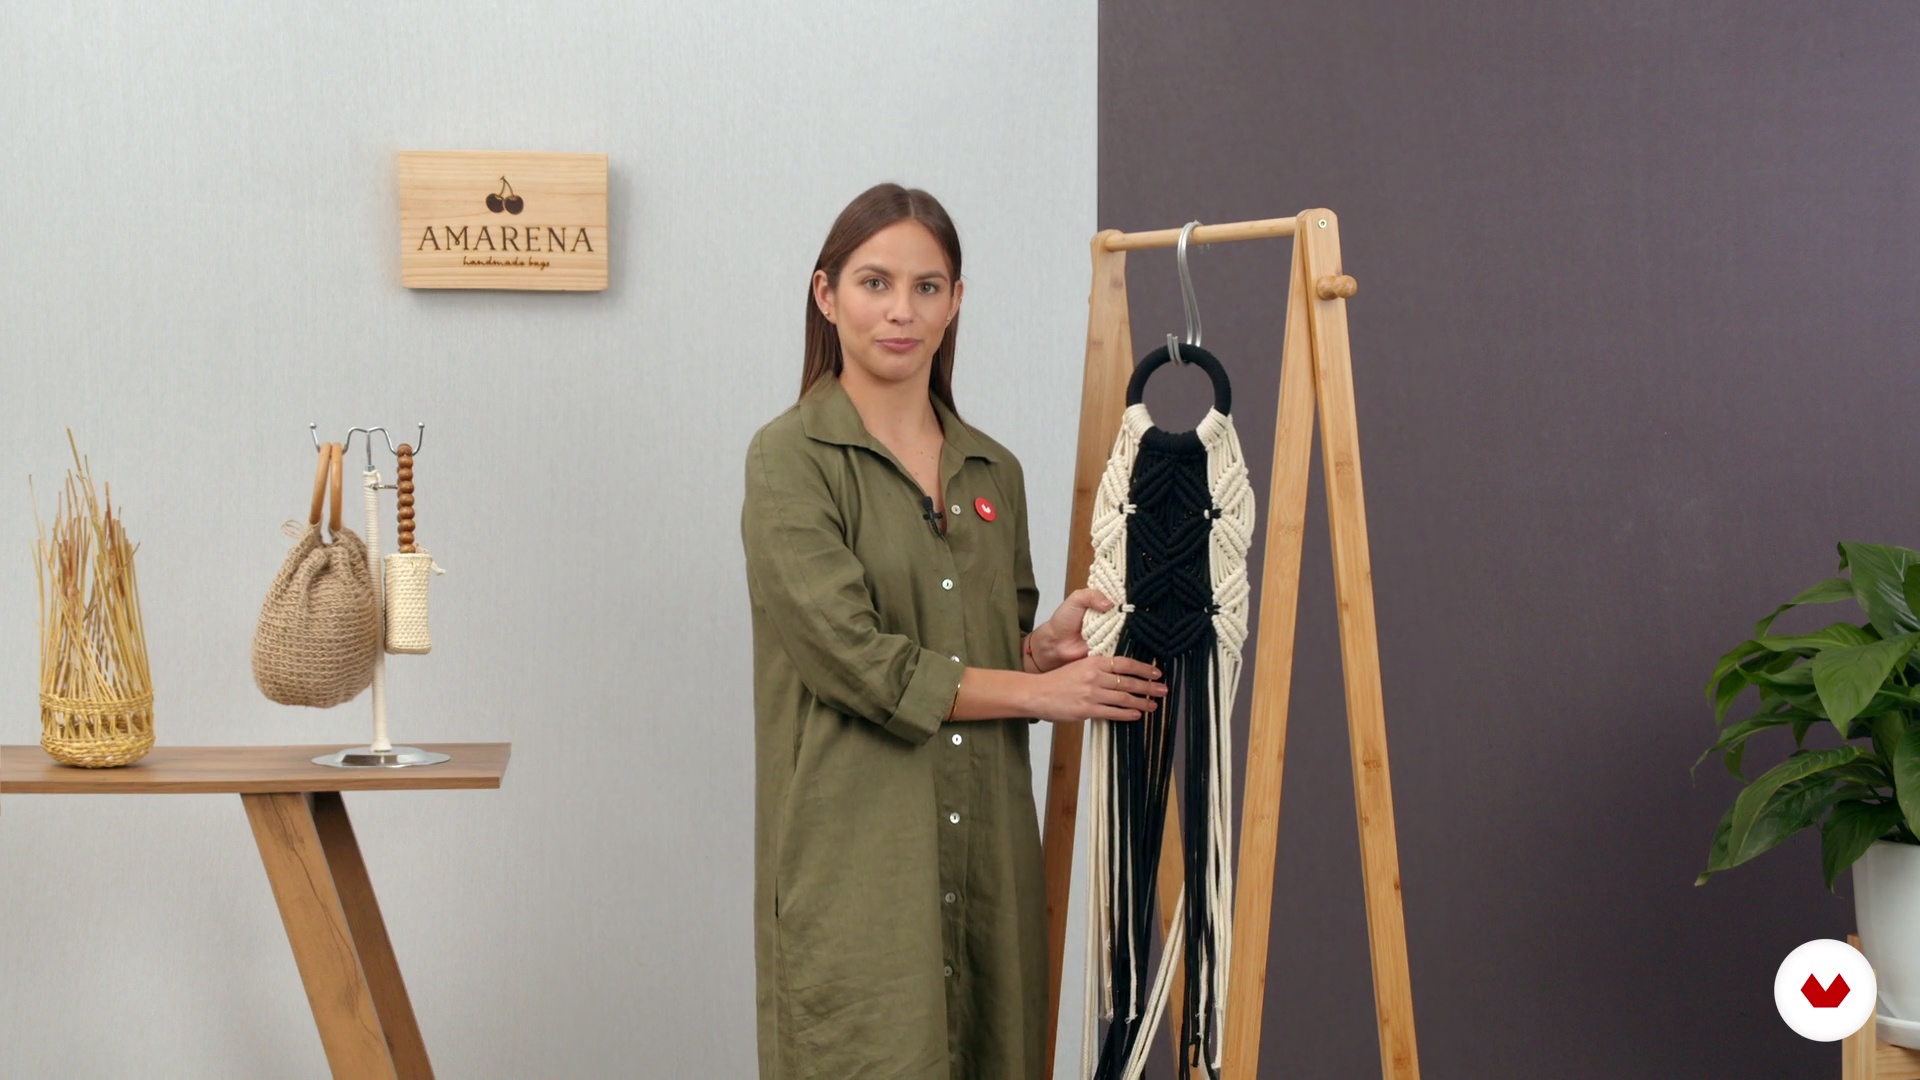
Students will design and create a garment or fashion accessory using macramé techniques, exploring the combination of knots and patterns to create unique, personalized pieces that reflect their creativity and textile design skills.
Who is this specialization for?
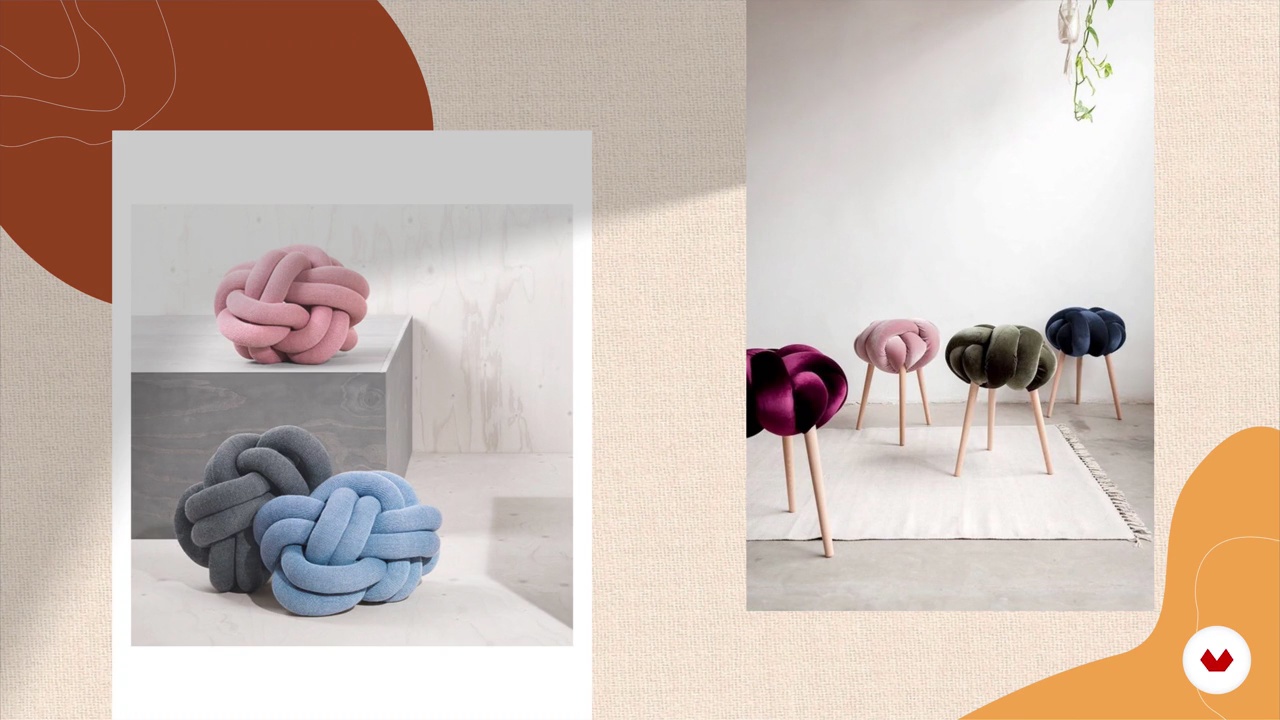
Creative individuals interested in textile art and passionate about fashion and home design. Those seeking to learn macramé techniques from basic to advanced, exploring innovative combinations with other textile methods to create unique and personalized pieces.
Requirements and materials
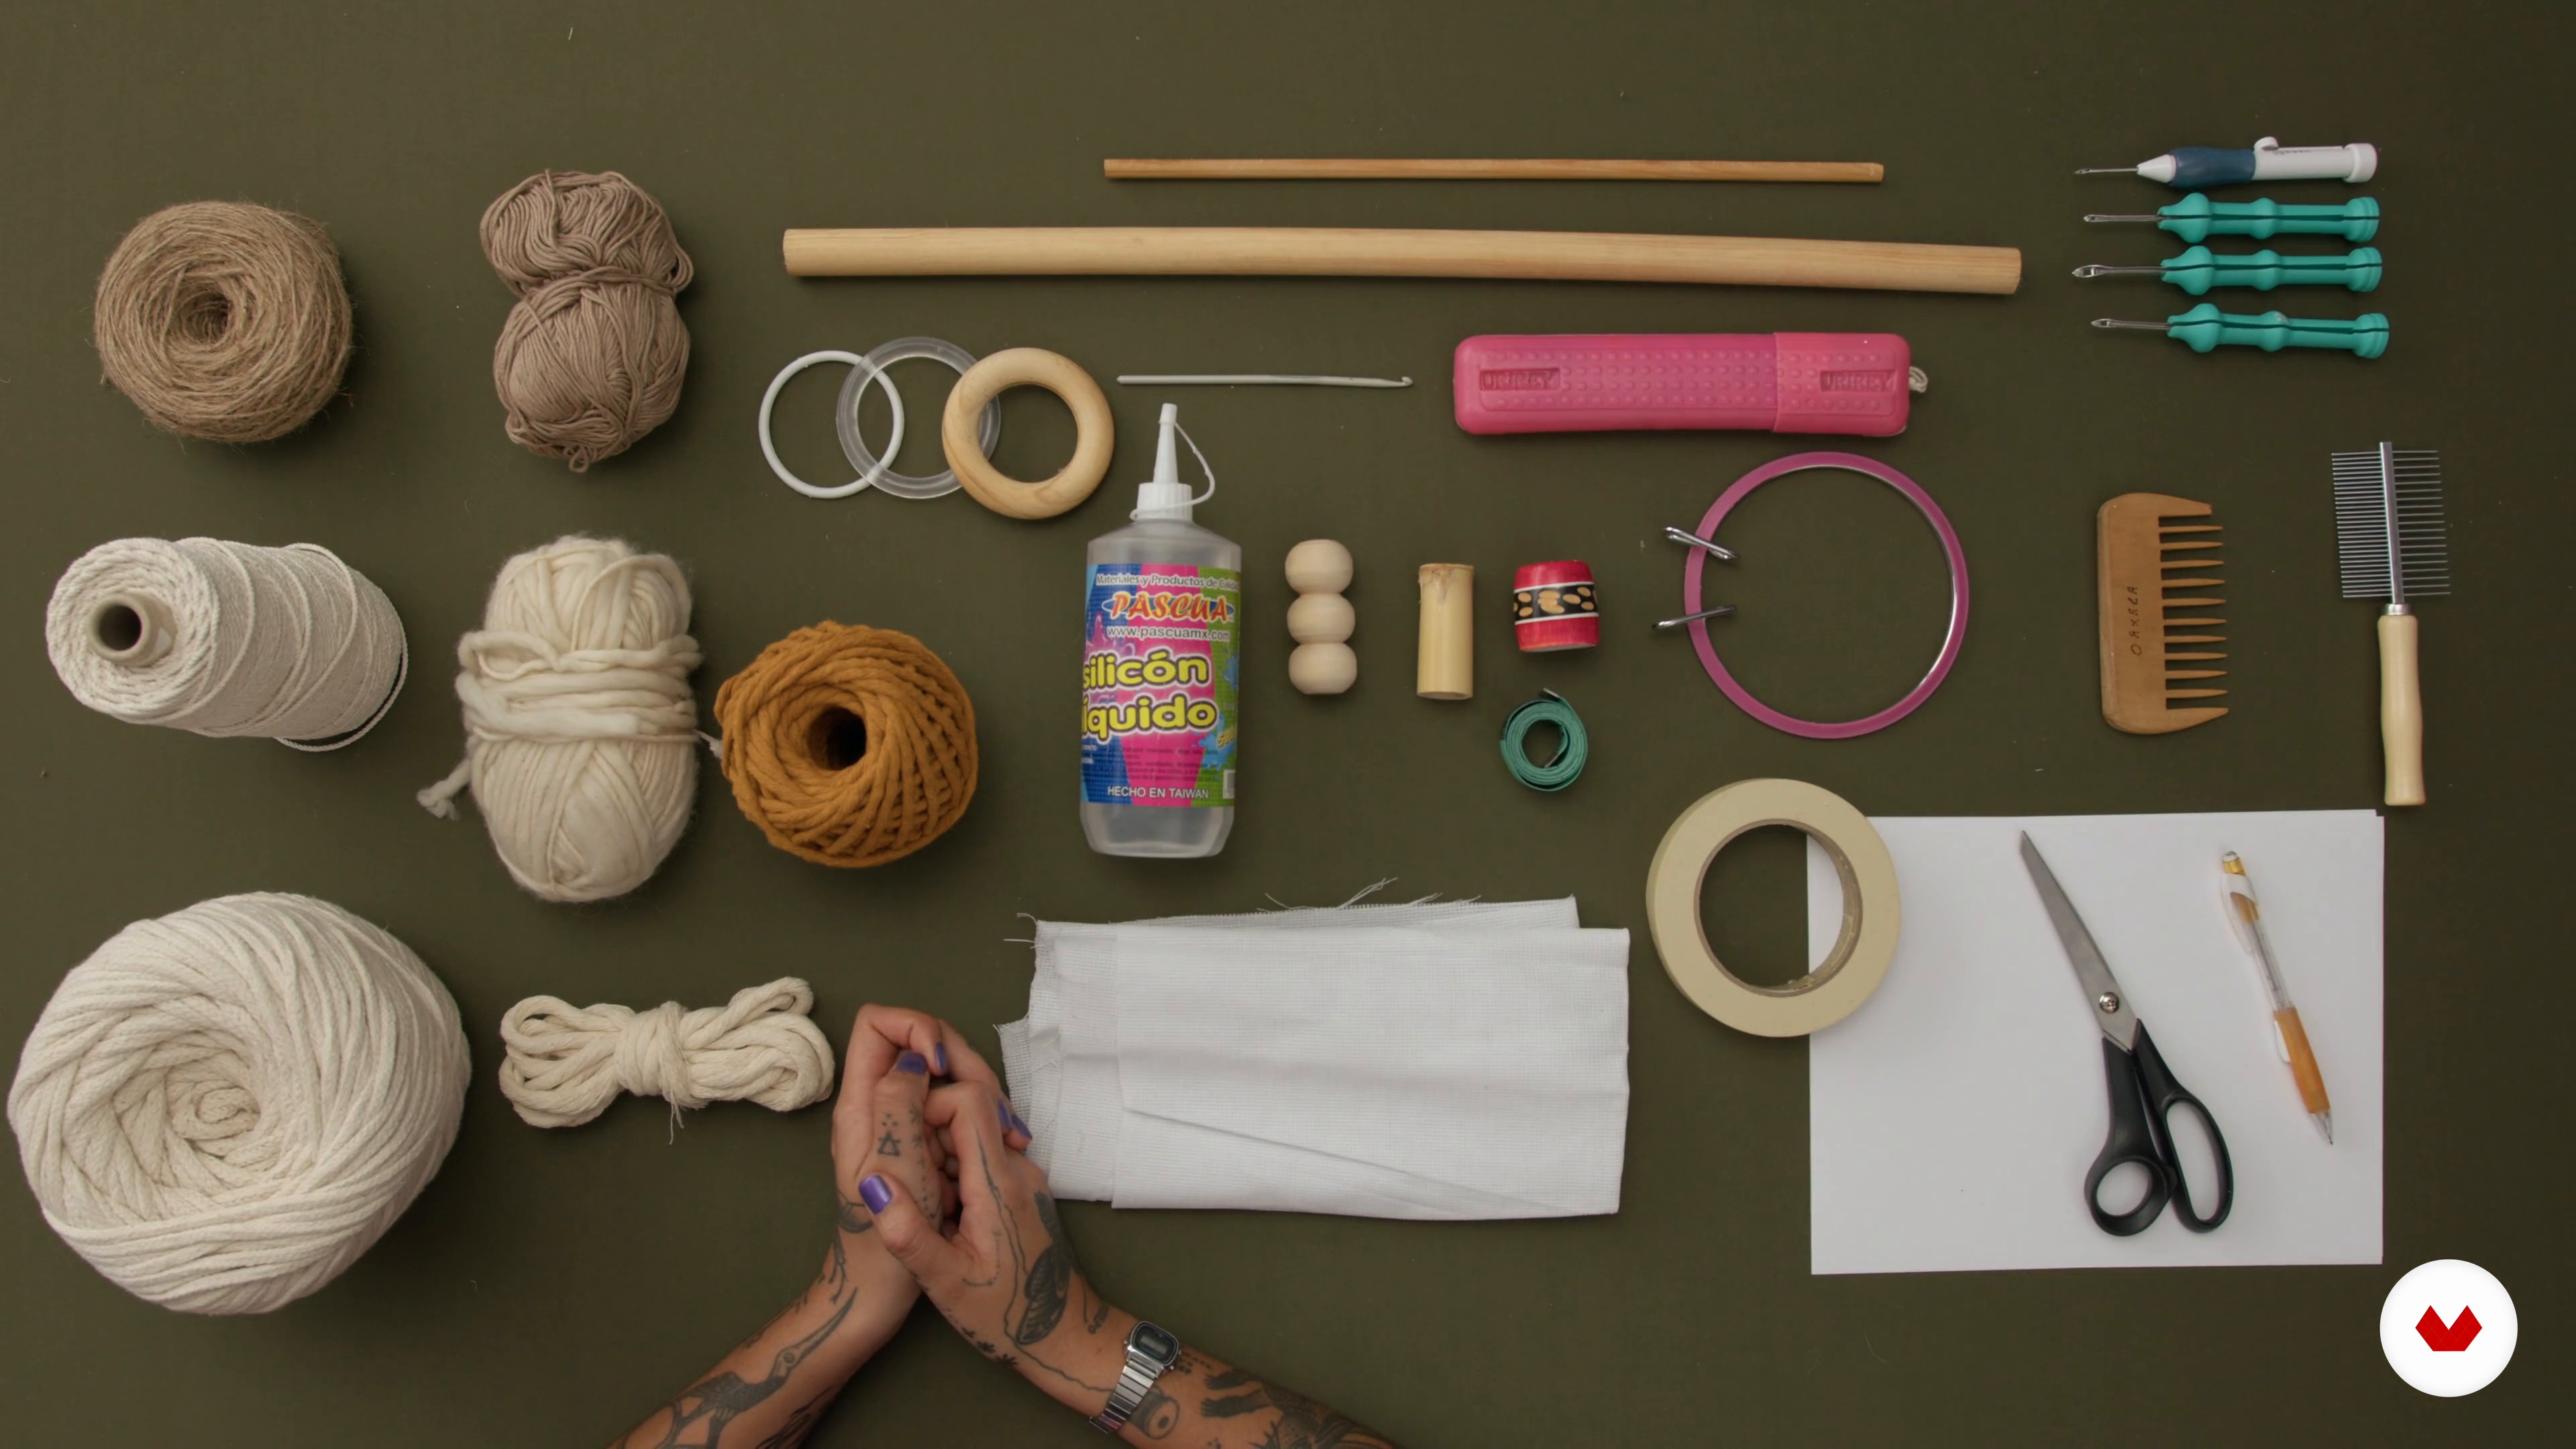
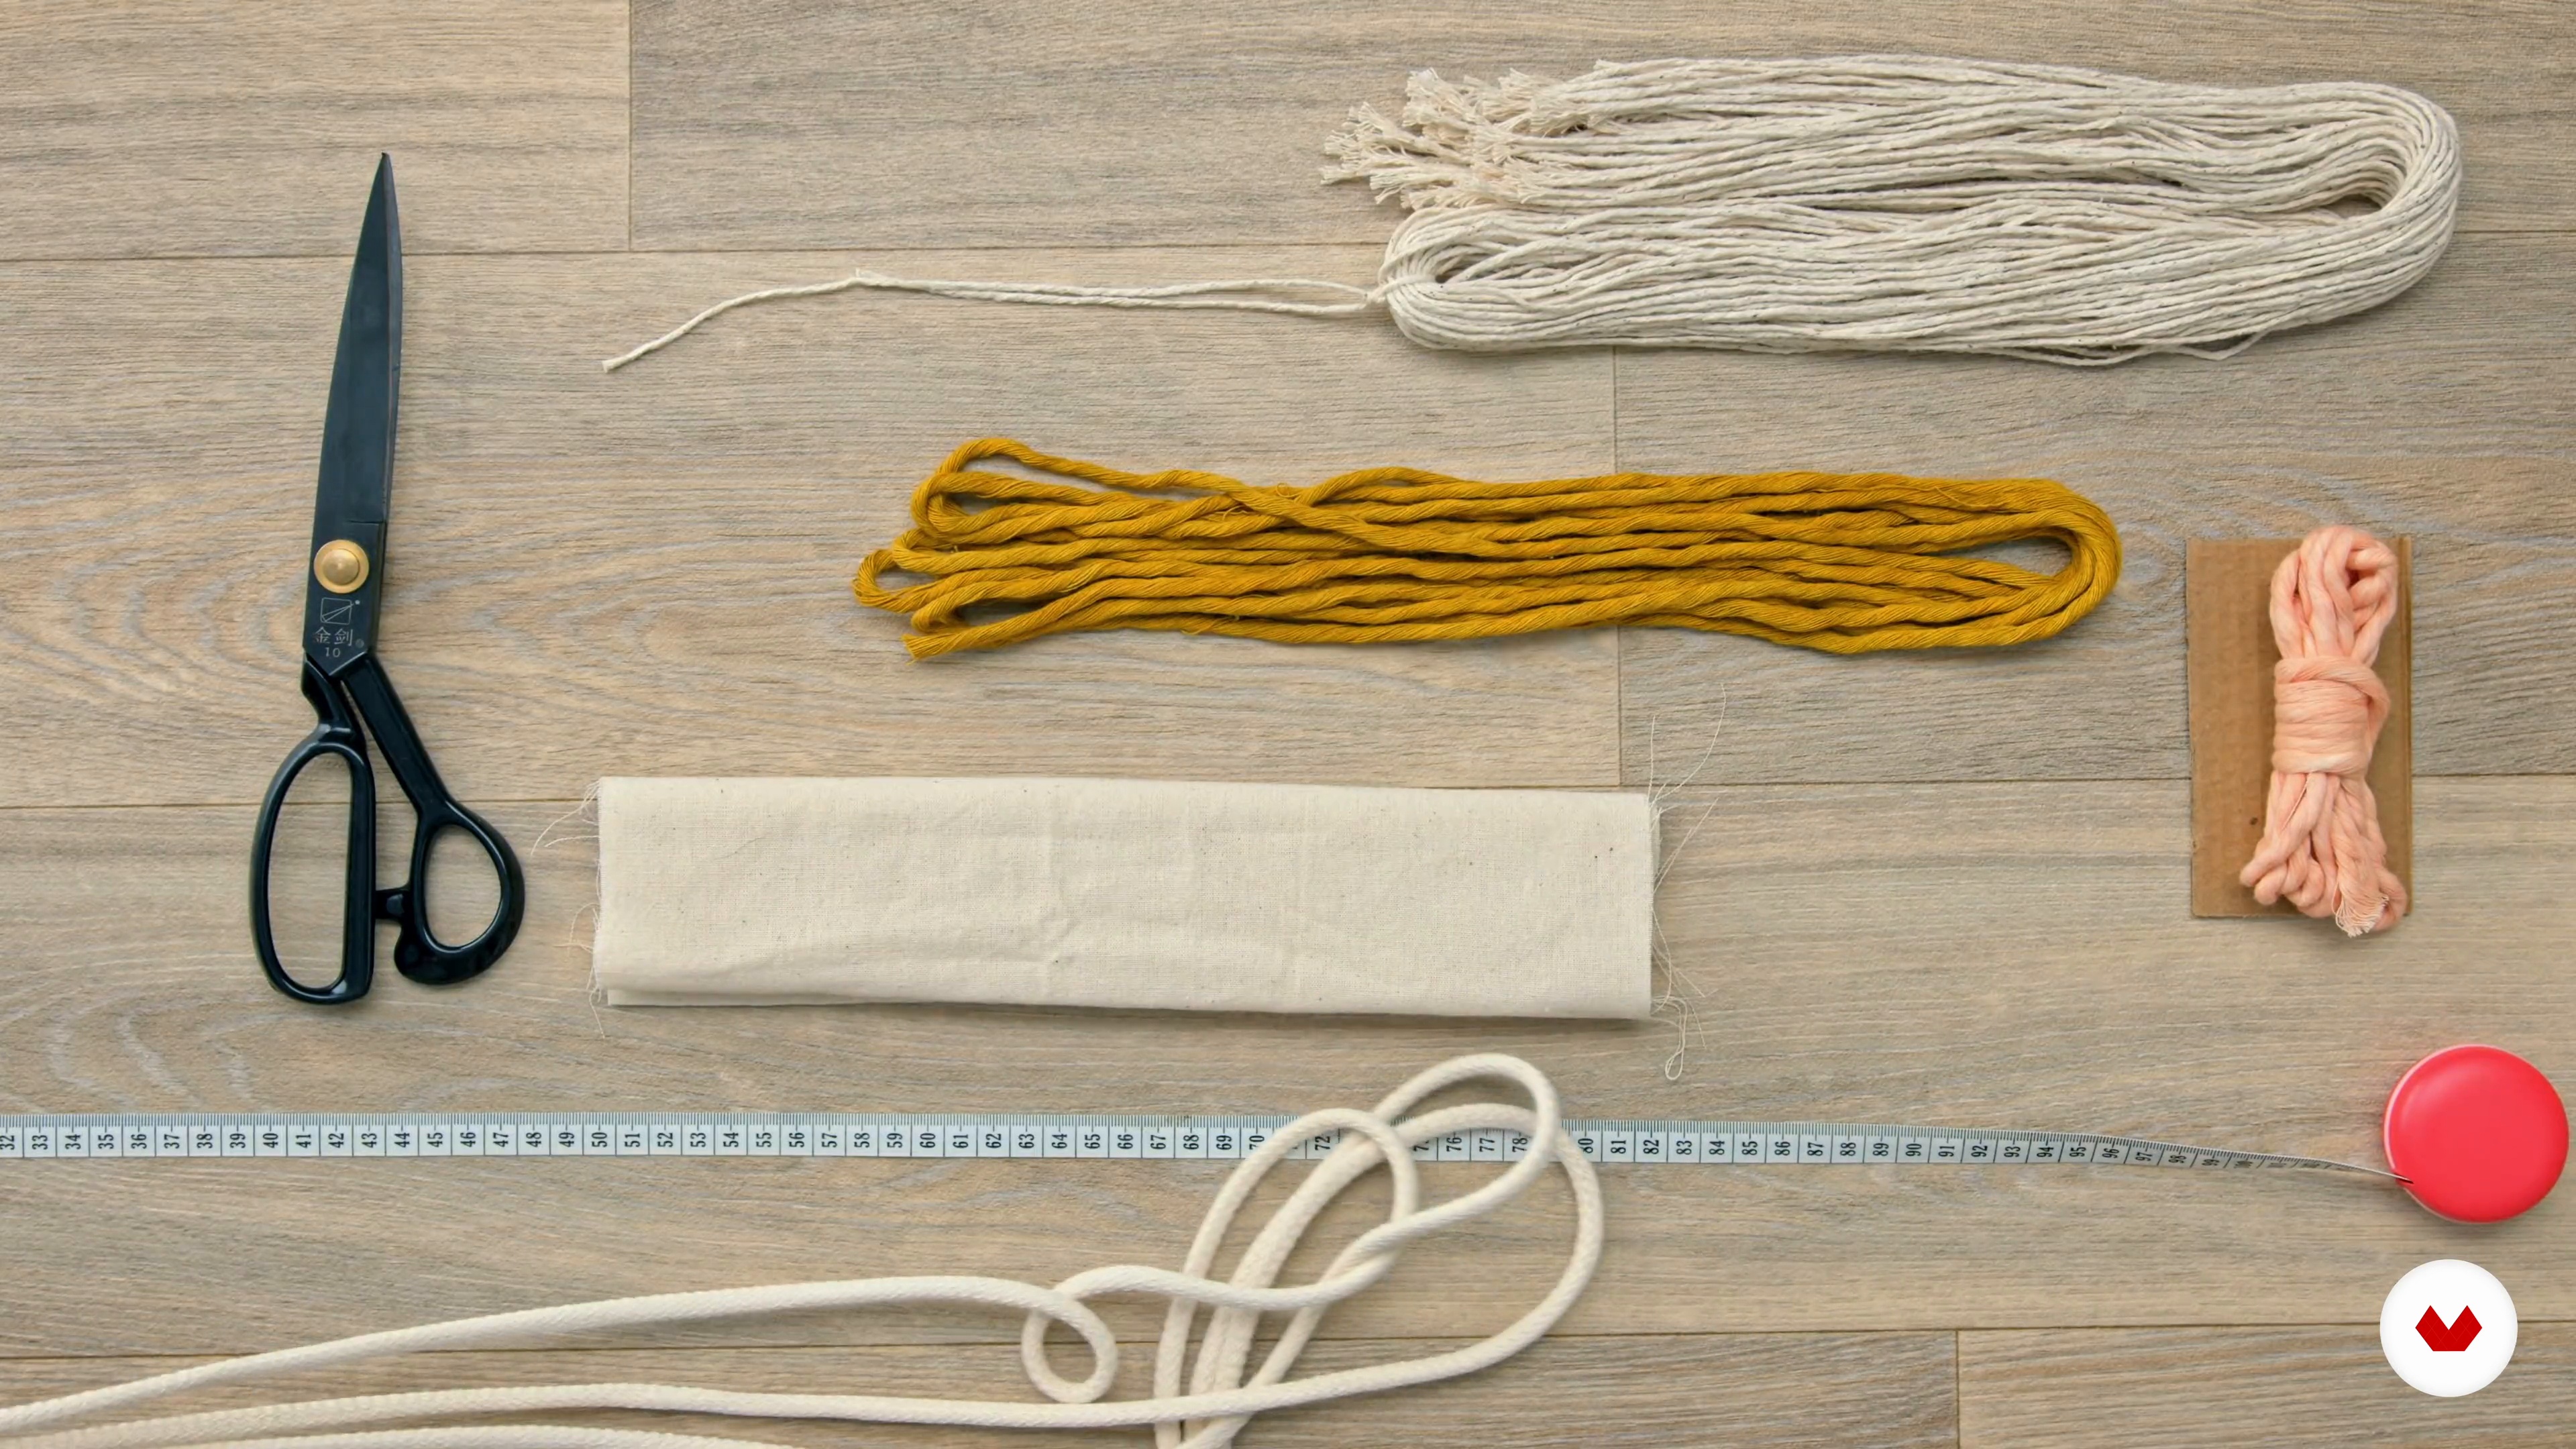
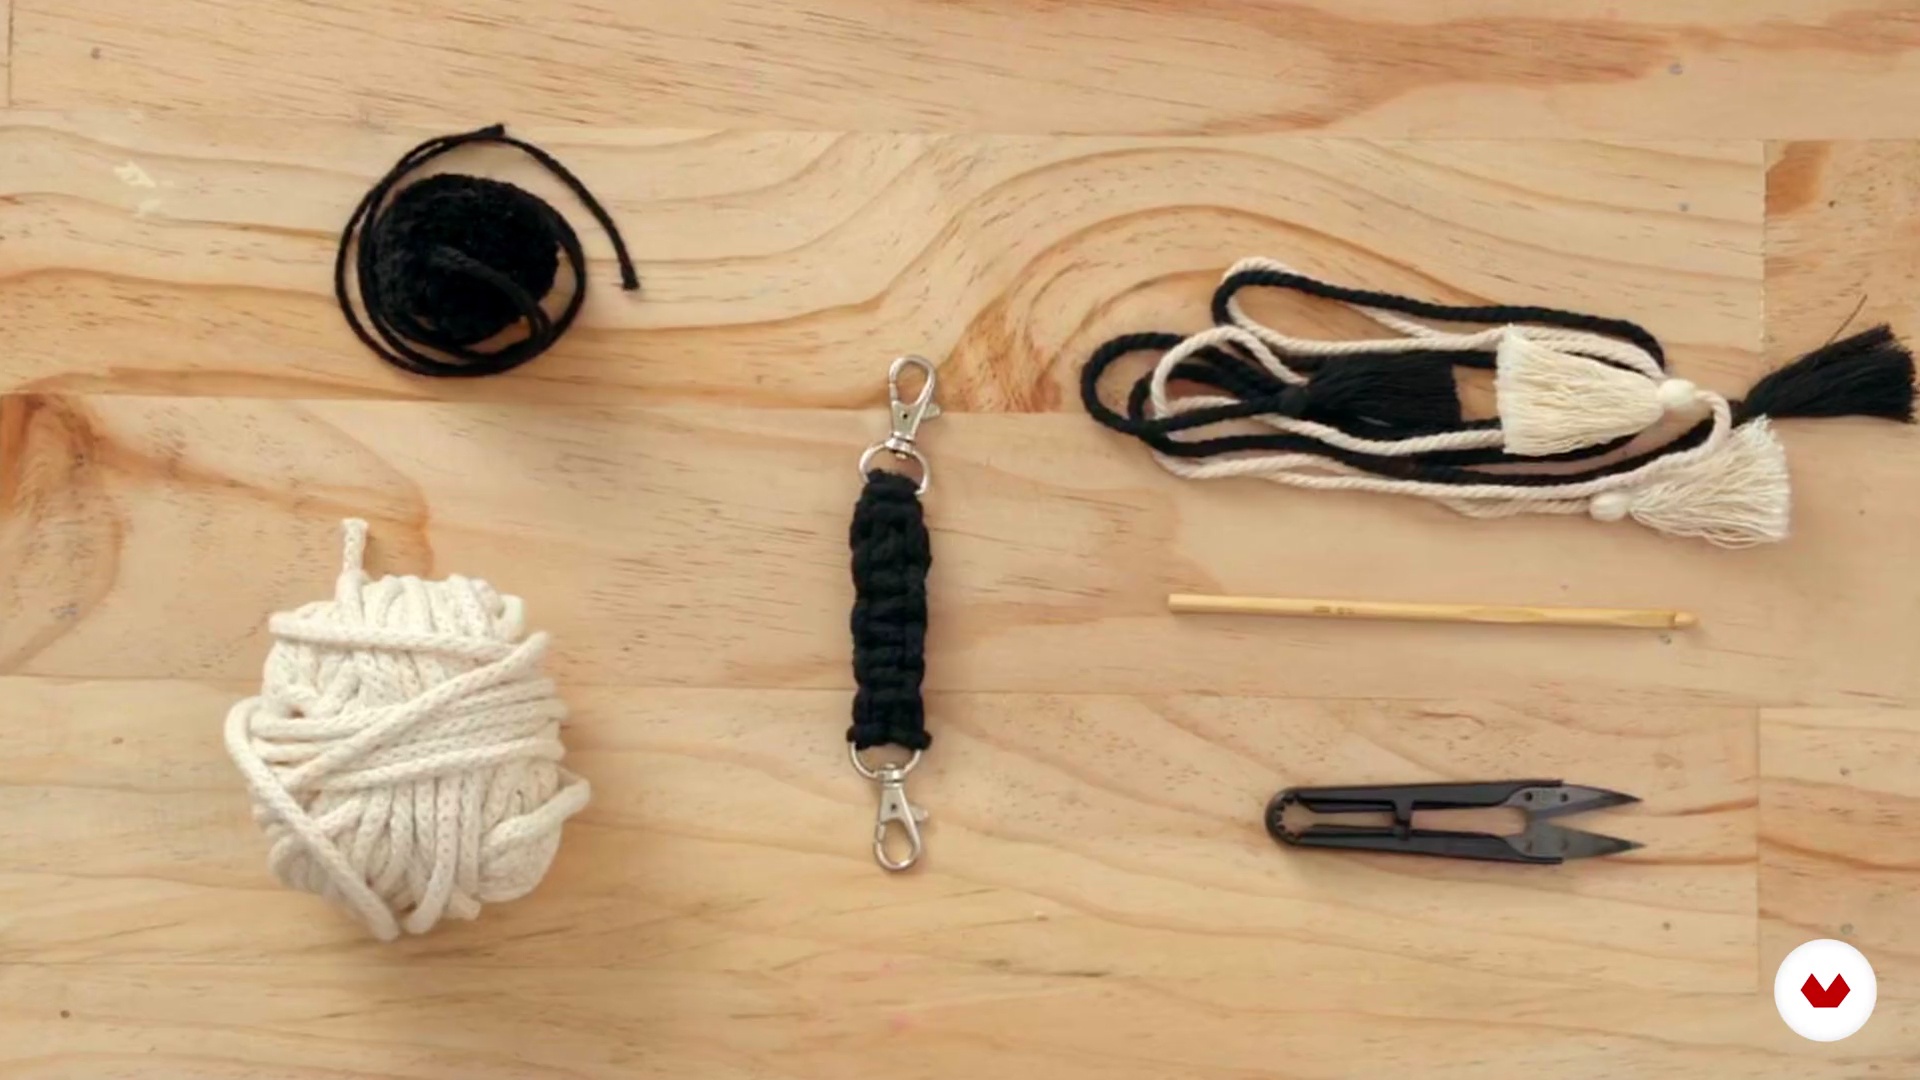
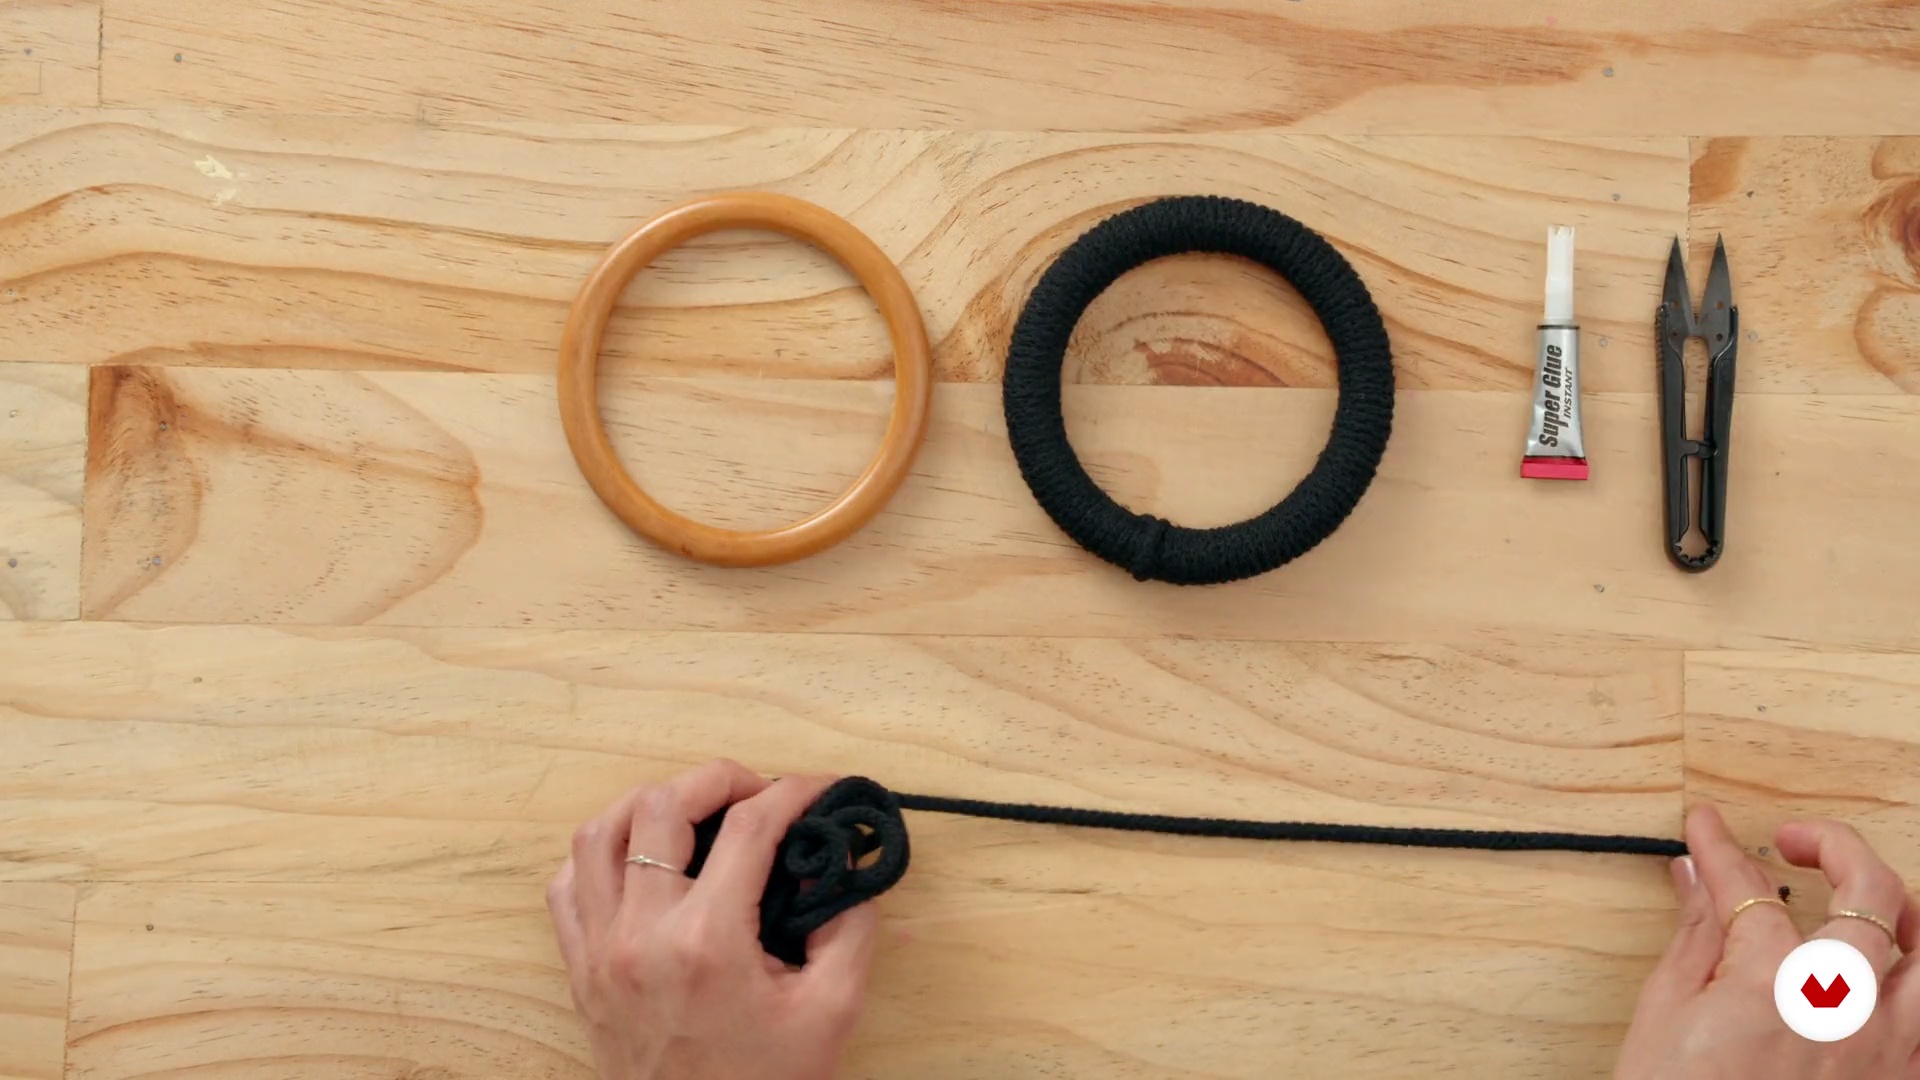
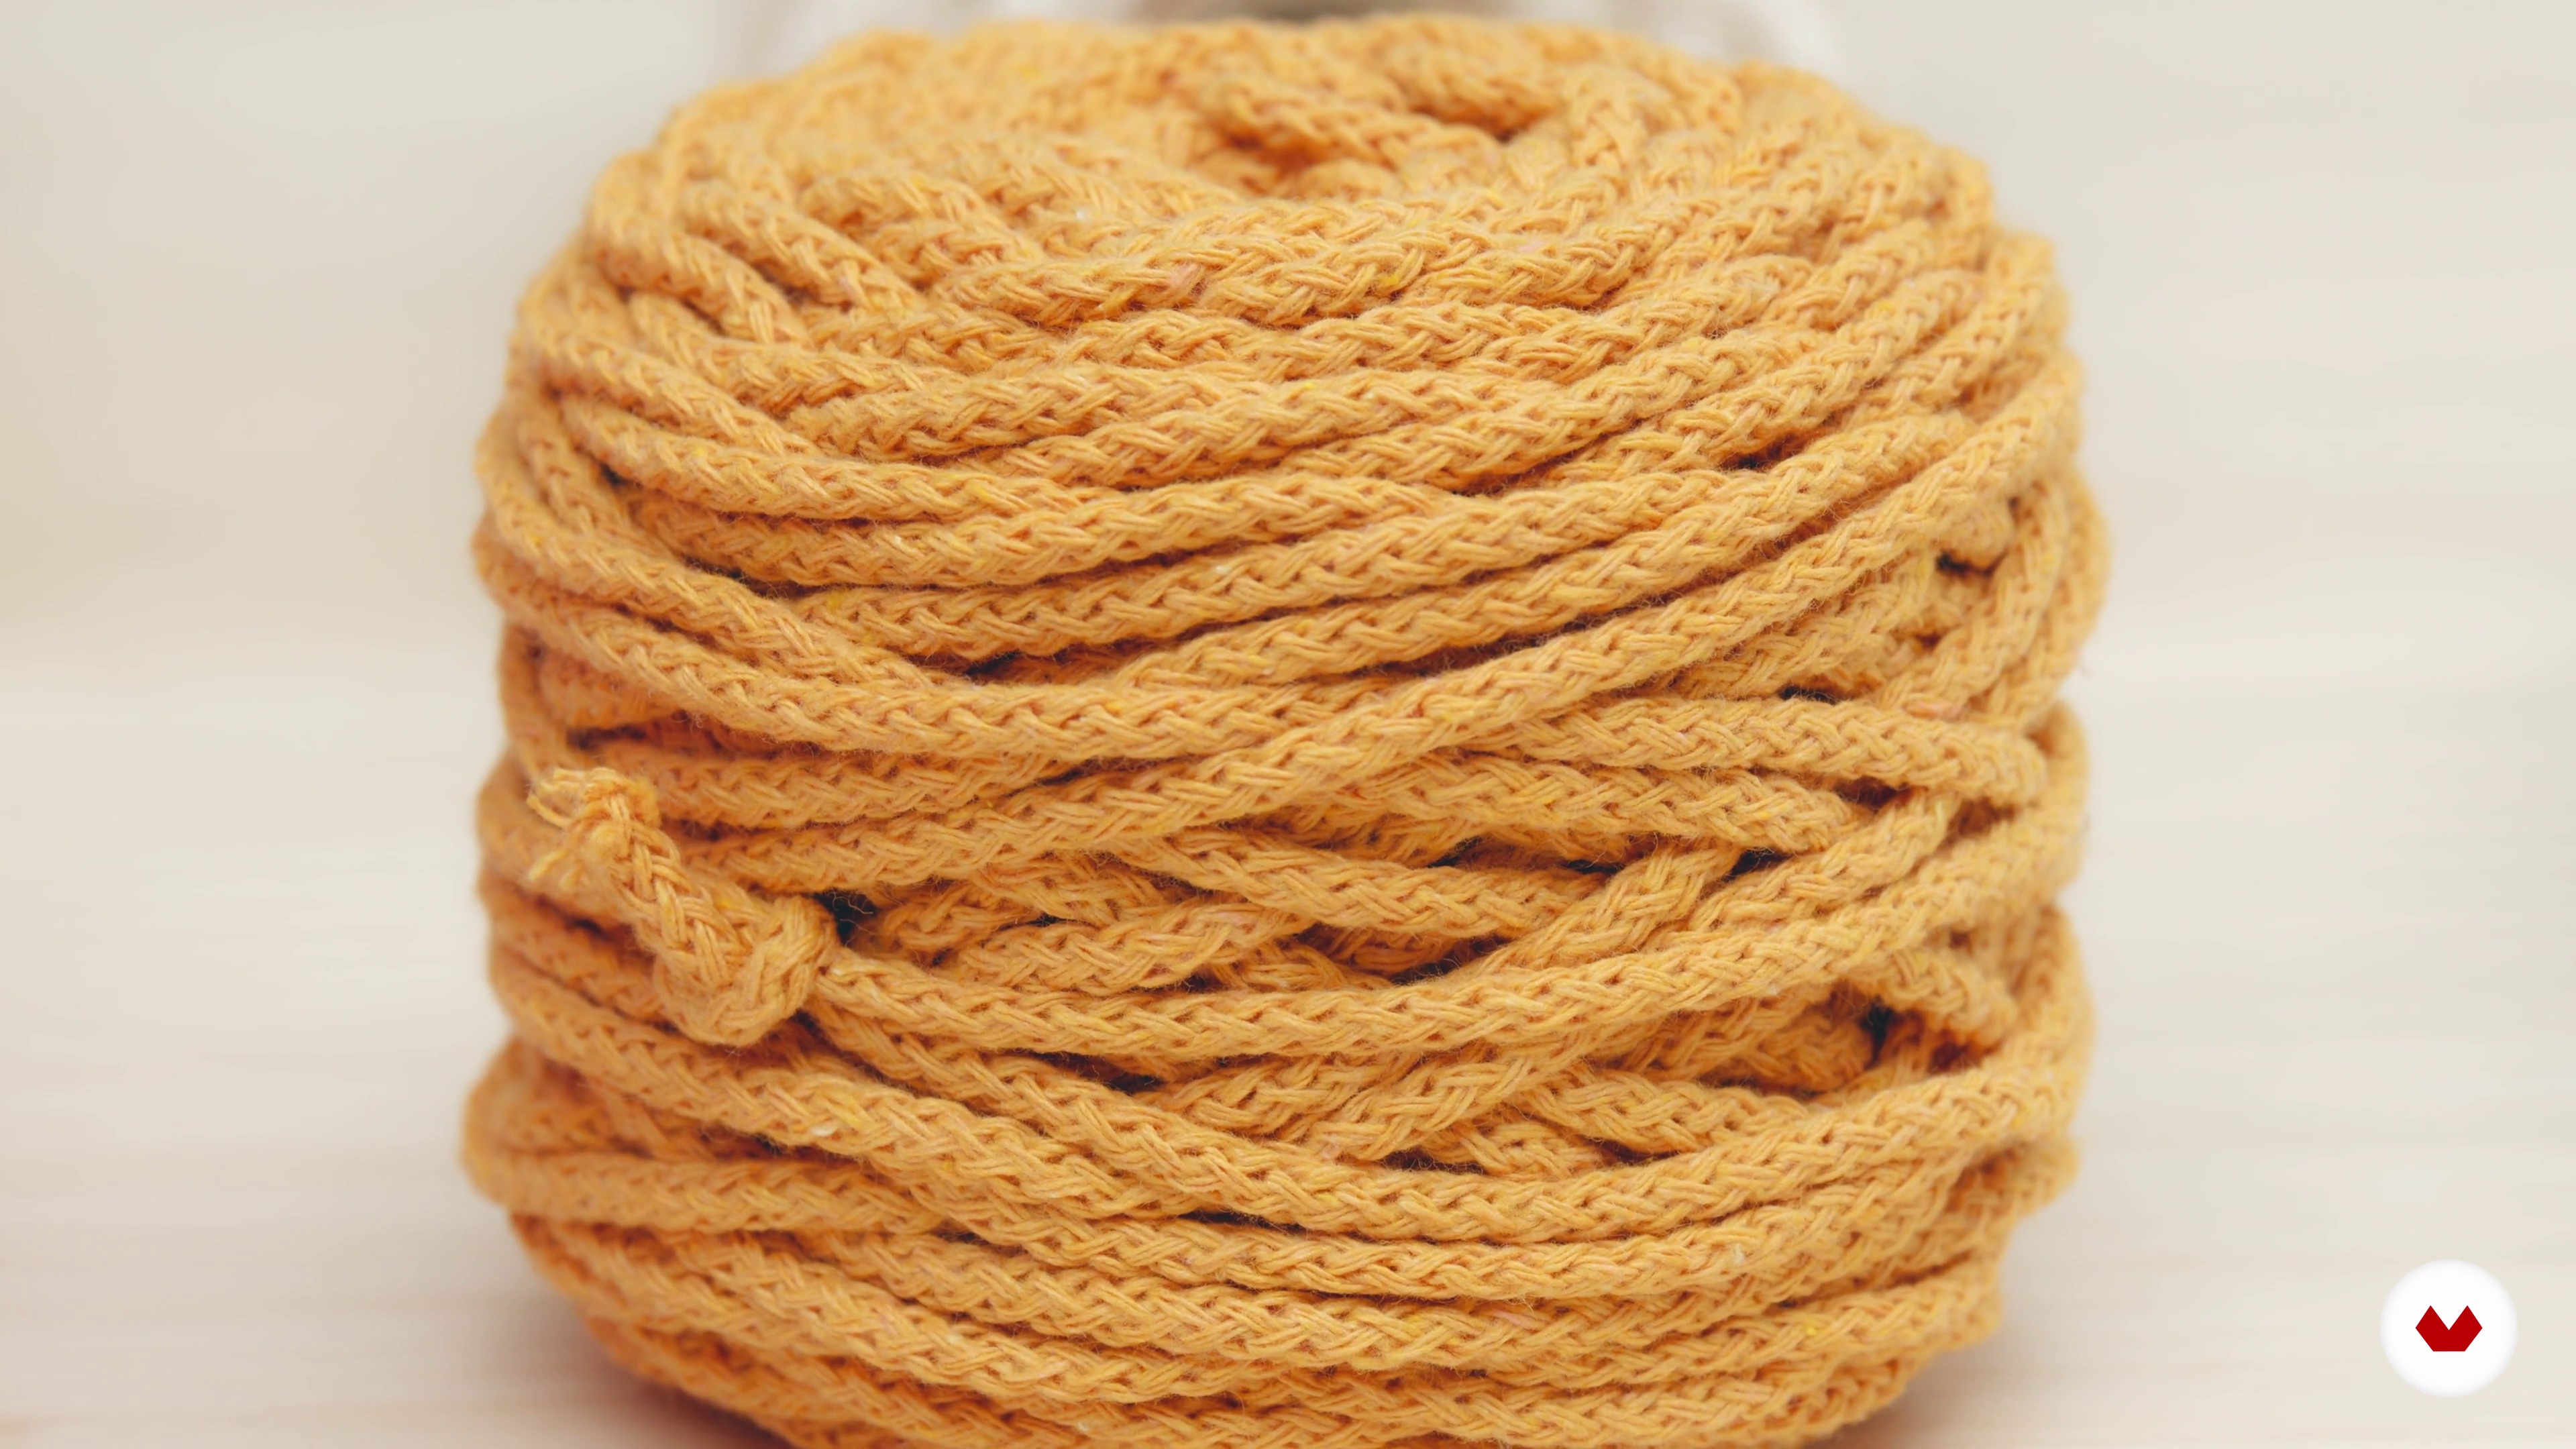
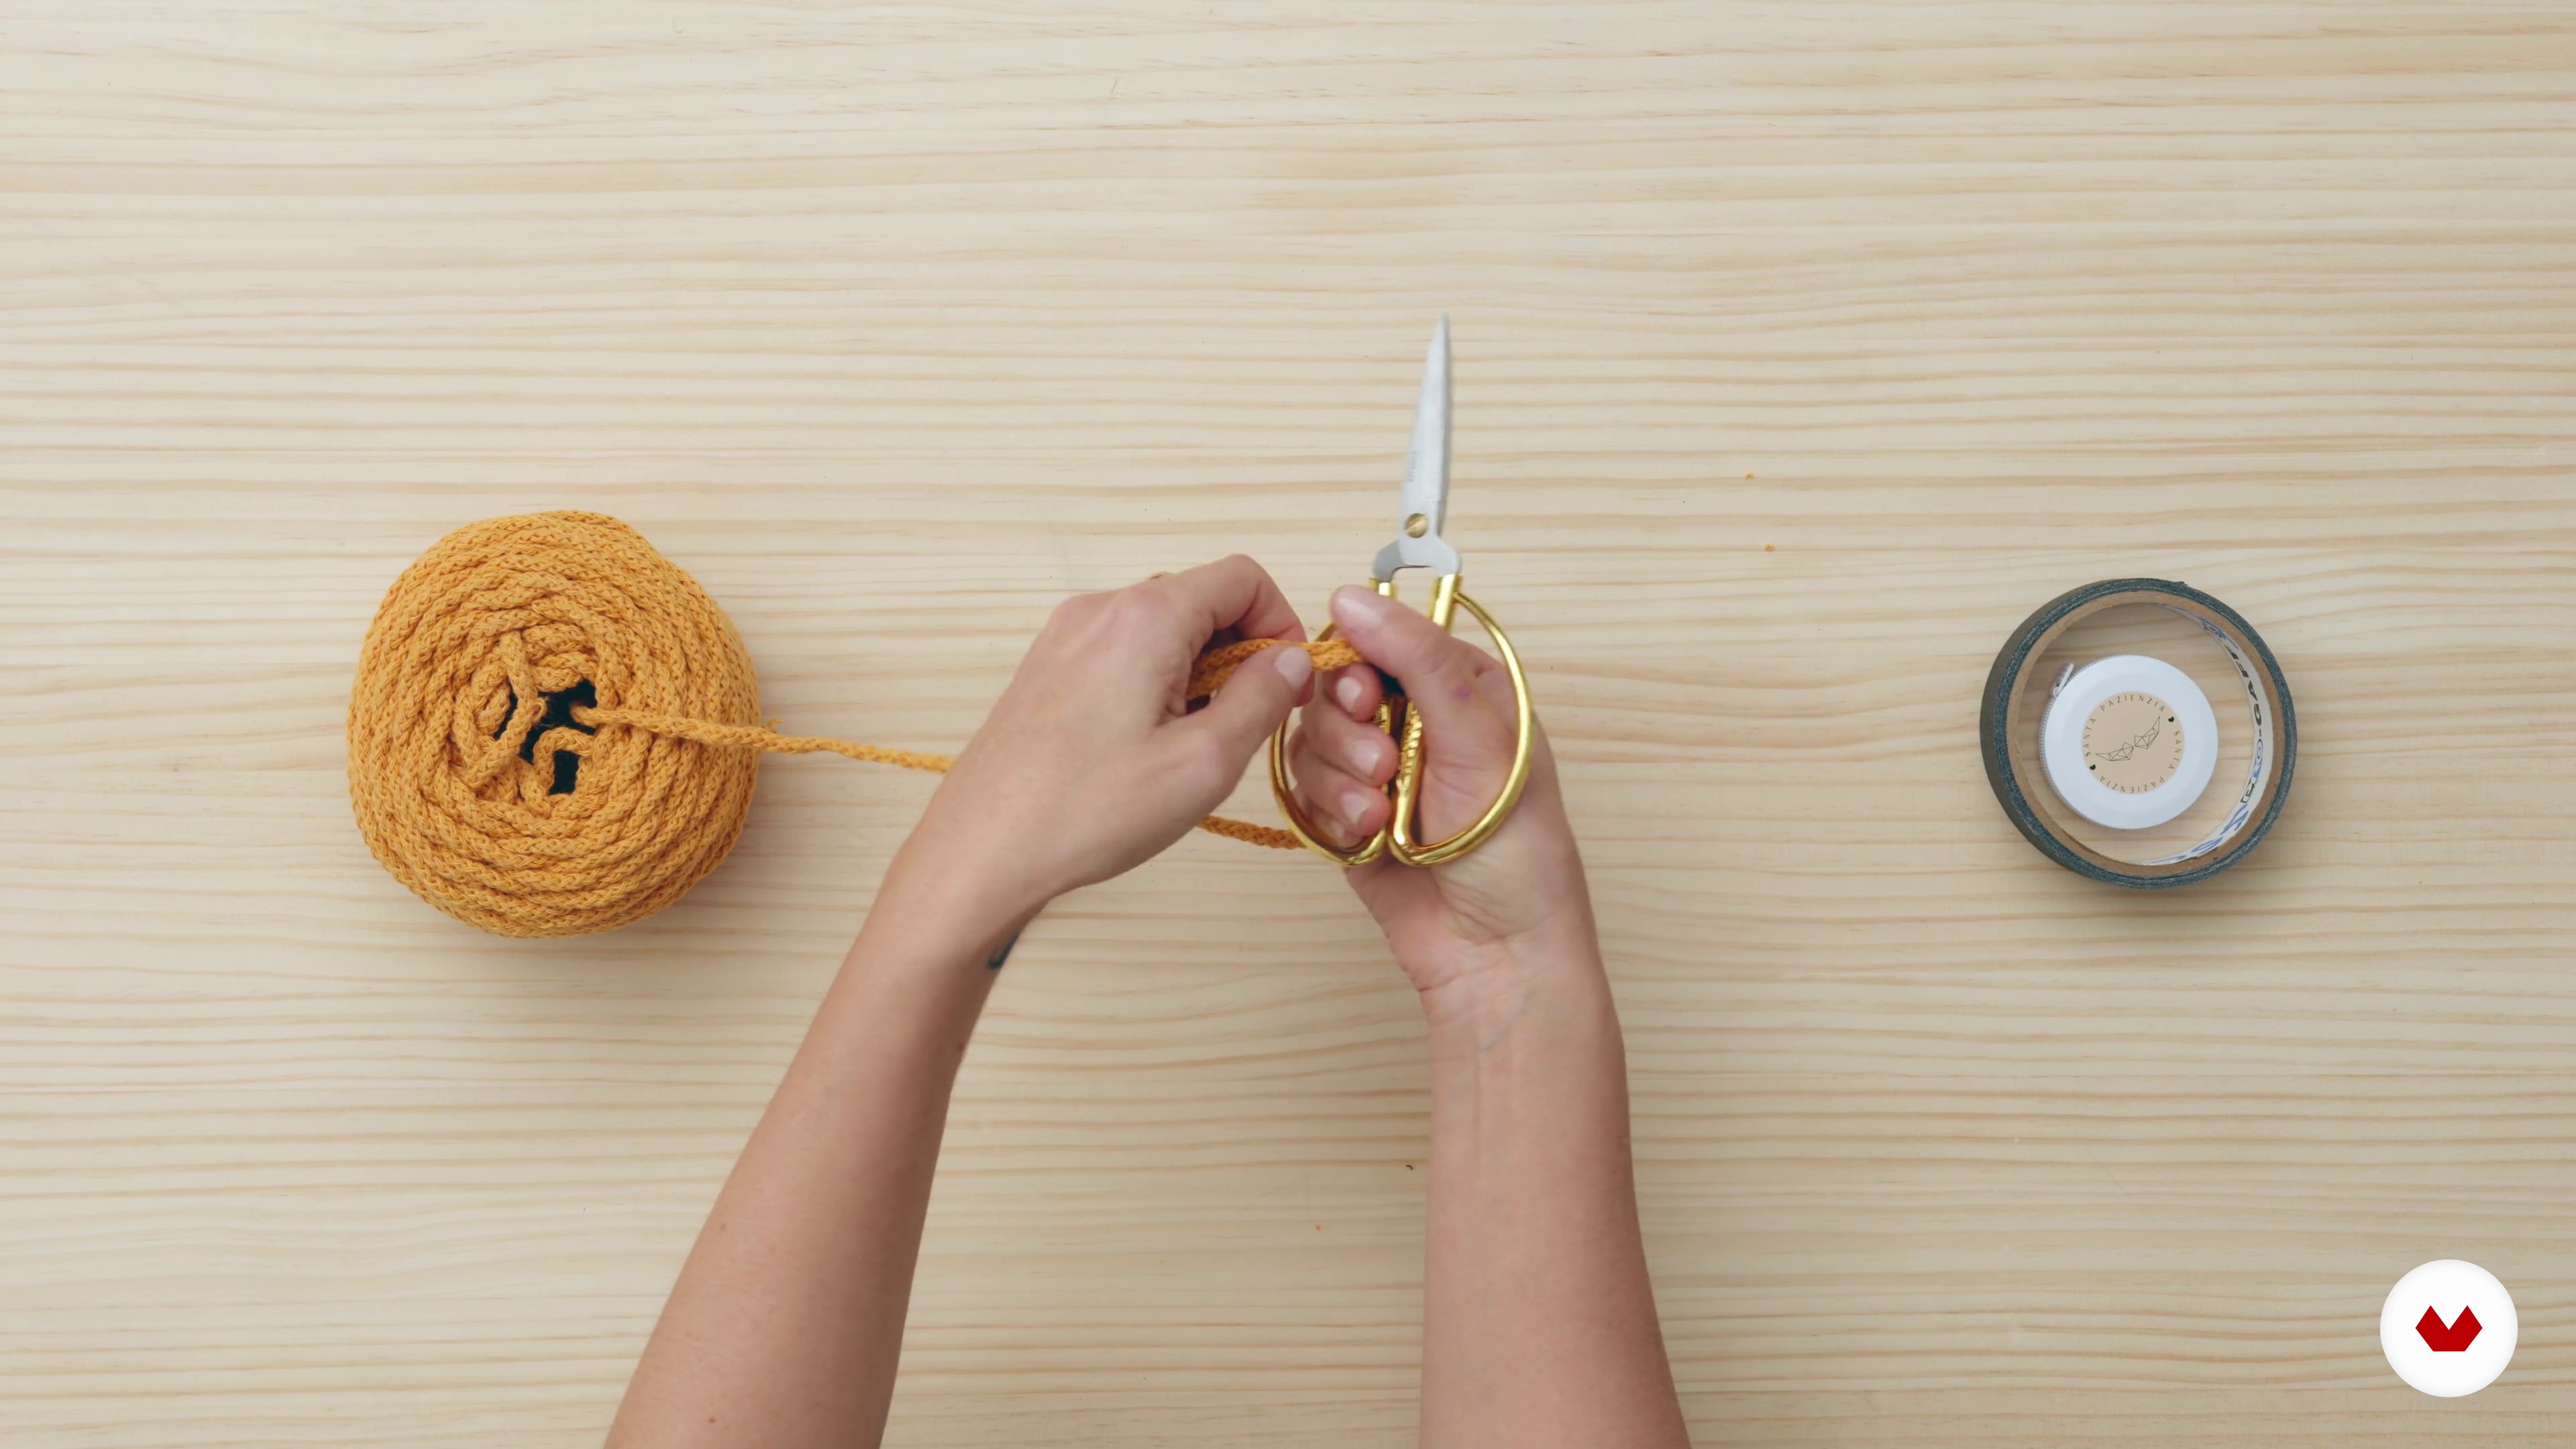
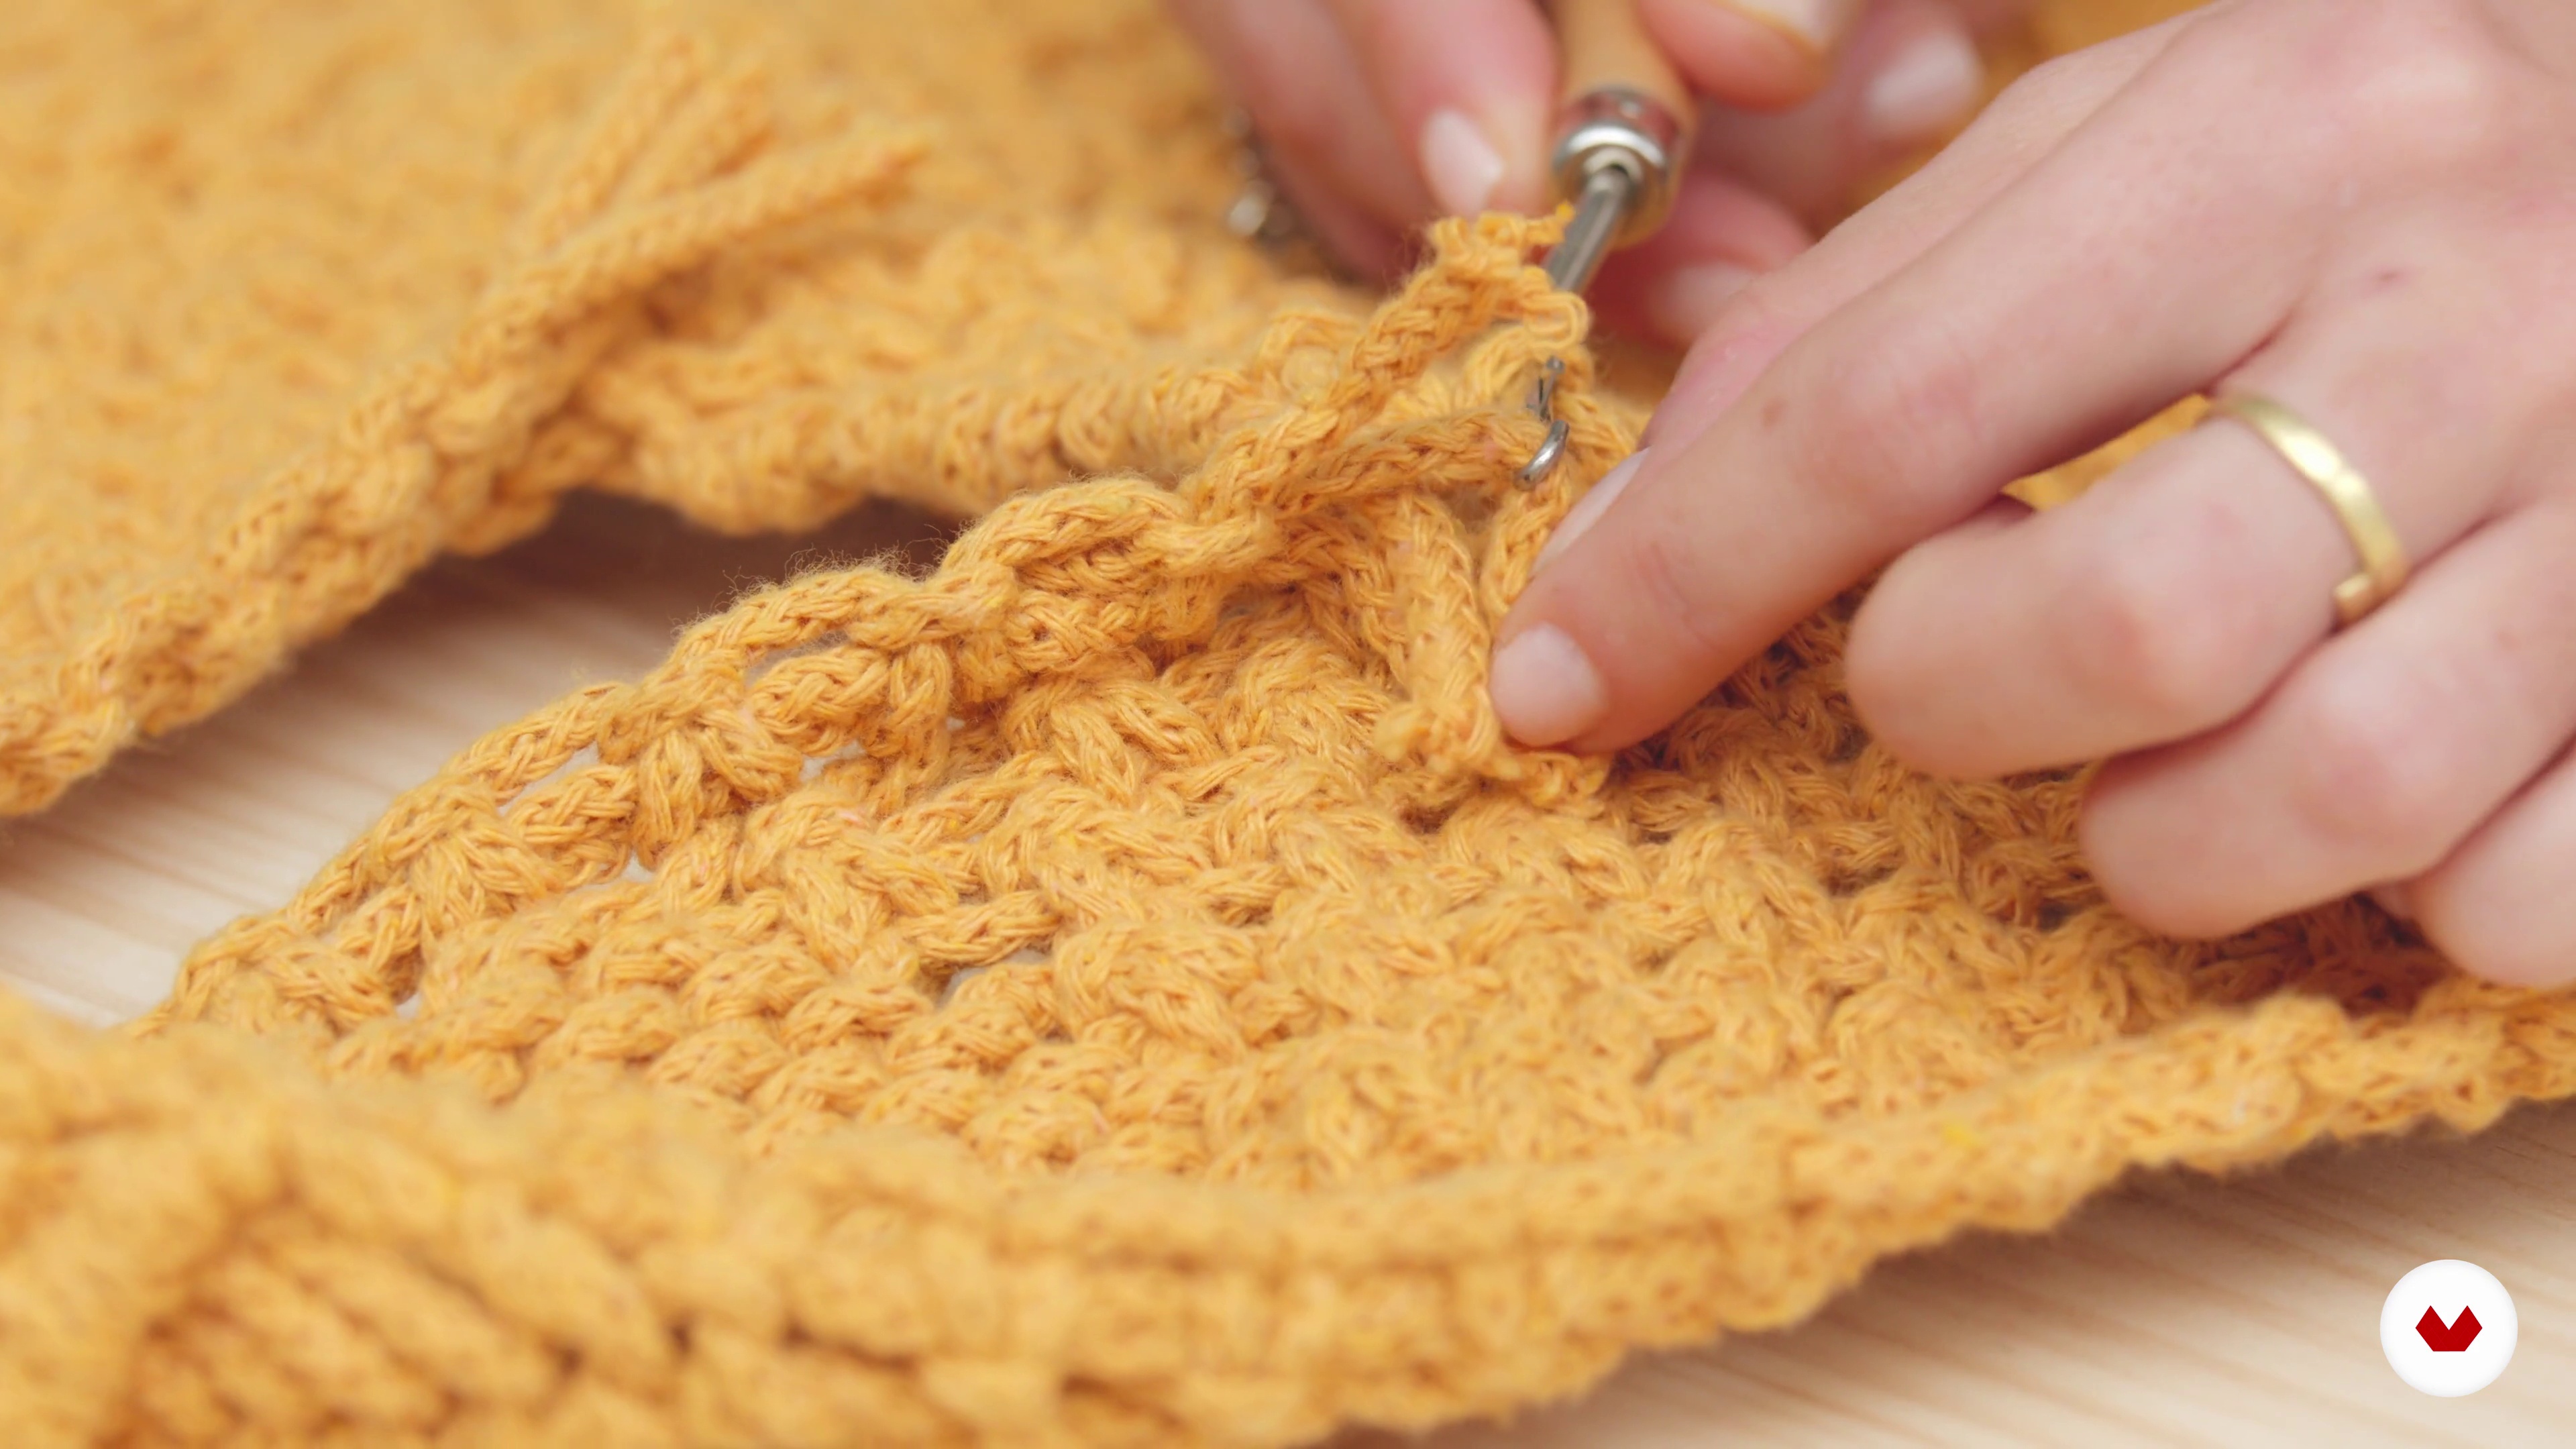
No extensive prior knowledge is required, just an interest in macramé. You'll need cotton thread, scissors, a tape measure, and a work surface. Patience and creativity will help you explore new techniques and create unique pieces.


Reviews
What to expect from this specialization course
-
Learn at your own pace
Enjoy learning from home without a set schedule and with an easy-to-follow method. You set your own pace.
-
Learn from the best professionals
Learn valuable methods and techniques explained by top experts in the creative sector.
-
Meet expert teachers
Each expert teaches what they do best, with clear guidelines, true passion, and professional insight in every lesson.
-
Certificates
PlusIf you're a Plus member, get a custom certificate for every specialization course. Share it on your portfolio, social media, or wherever you like.
-
Get front-row seats
Videos of the highest quality, so you don't miss a single detail. With unlimited access, you can watch them as many times as you need to perfect your technique.
-
Share knowledge and ideas
Ask questions, request feedback, or offer solutions. Share your learning experience with other students in the community who are as passionate about creativity as you are.
-
Connect with a global creative community
The community is home to millions of people from around the world who are curious and passionate about exploring and expressing their creativity.
-
Watch professionally produced courses
Domestika curates its teacher roster and produces every course in-house to ensure a high-quality online learning experience.
FAQs
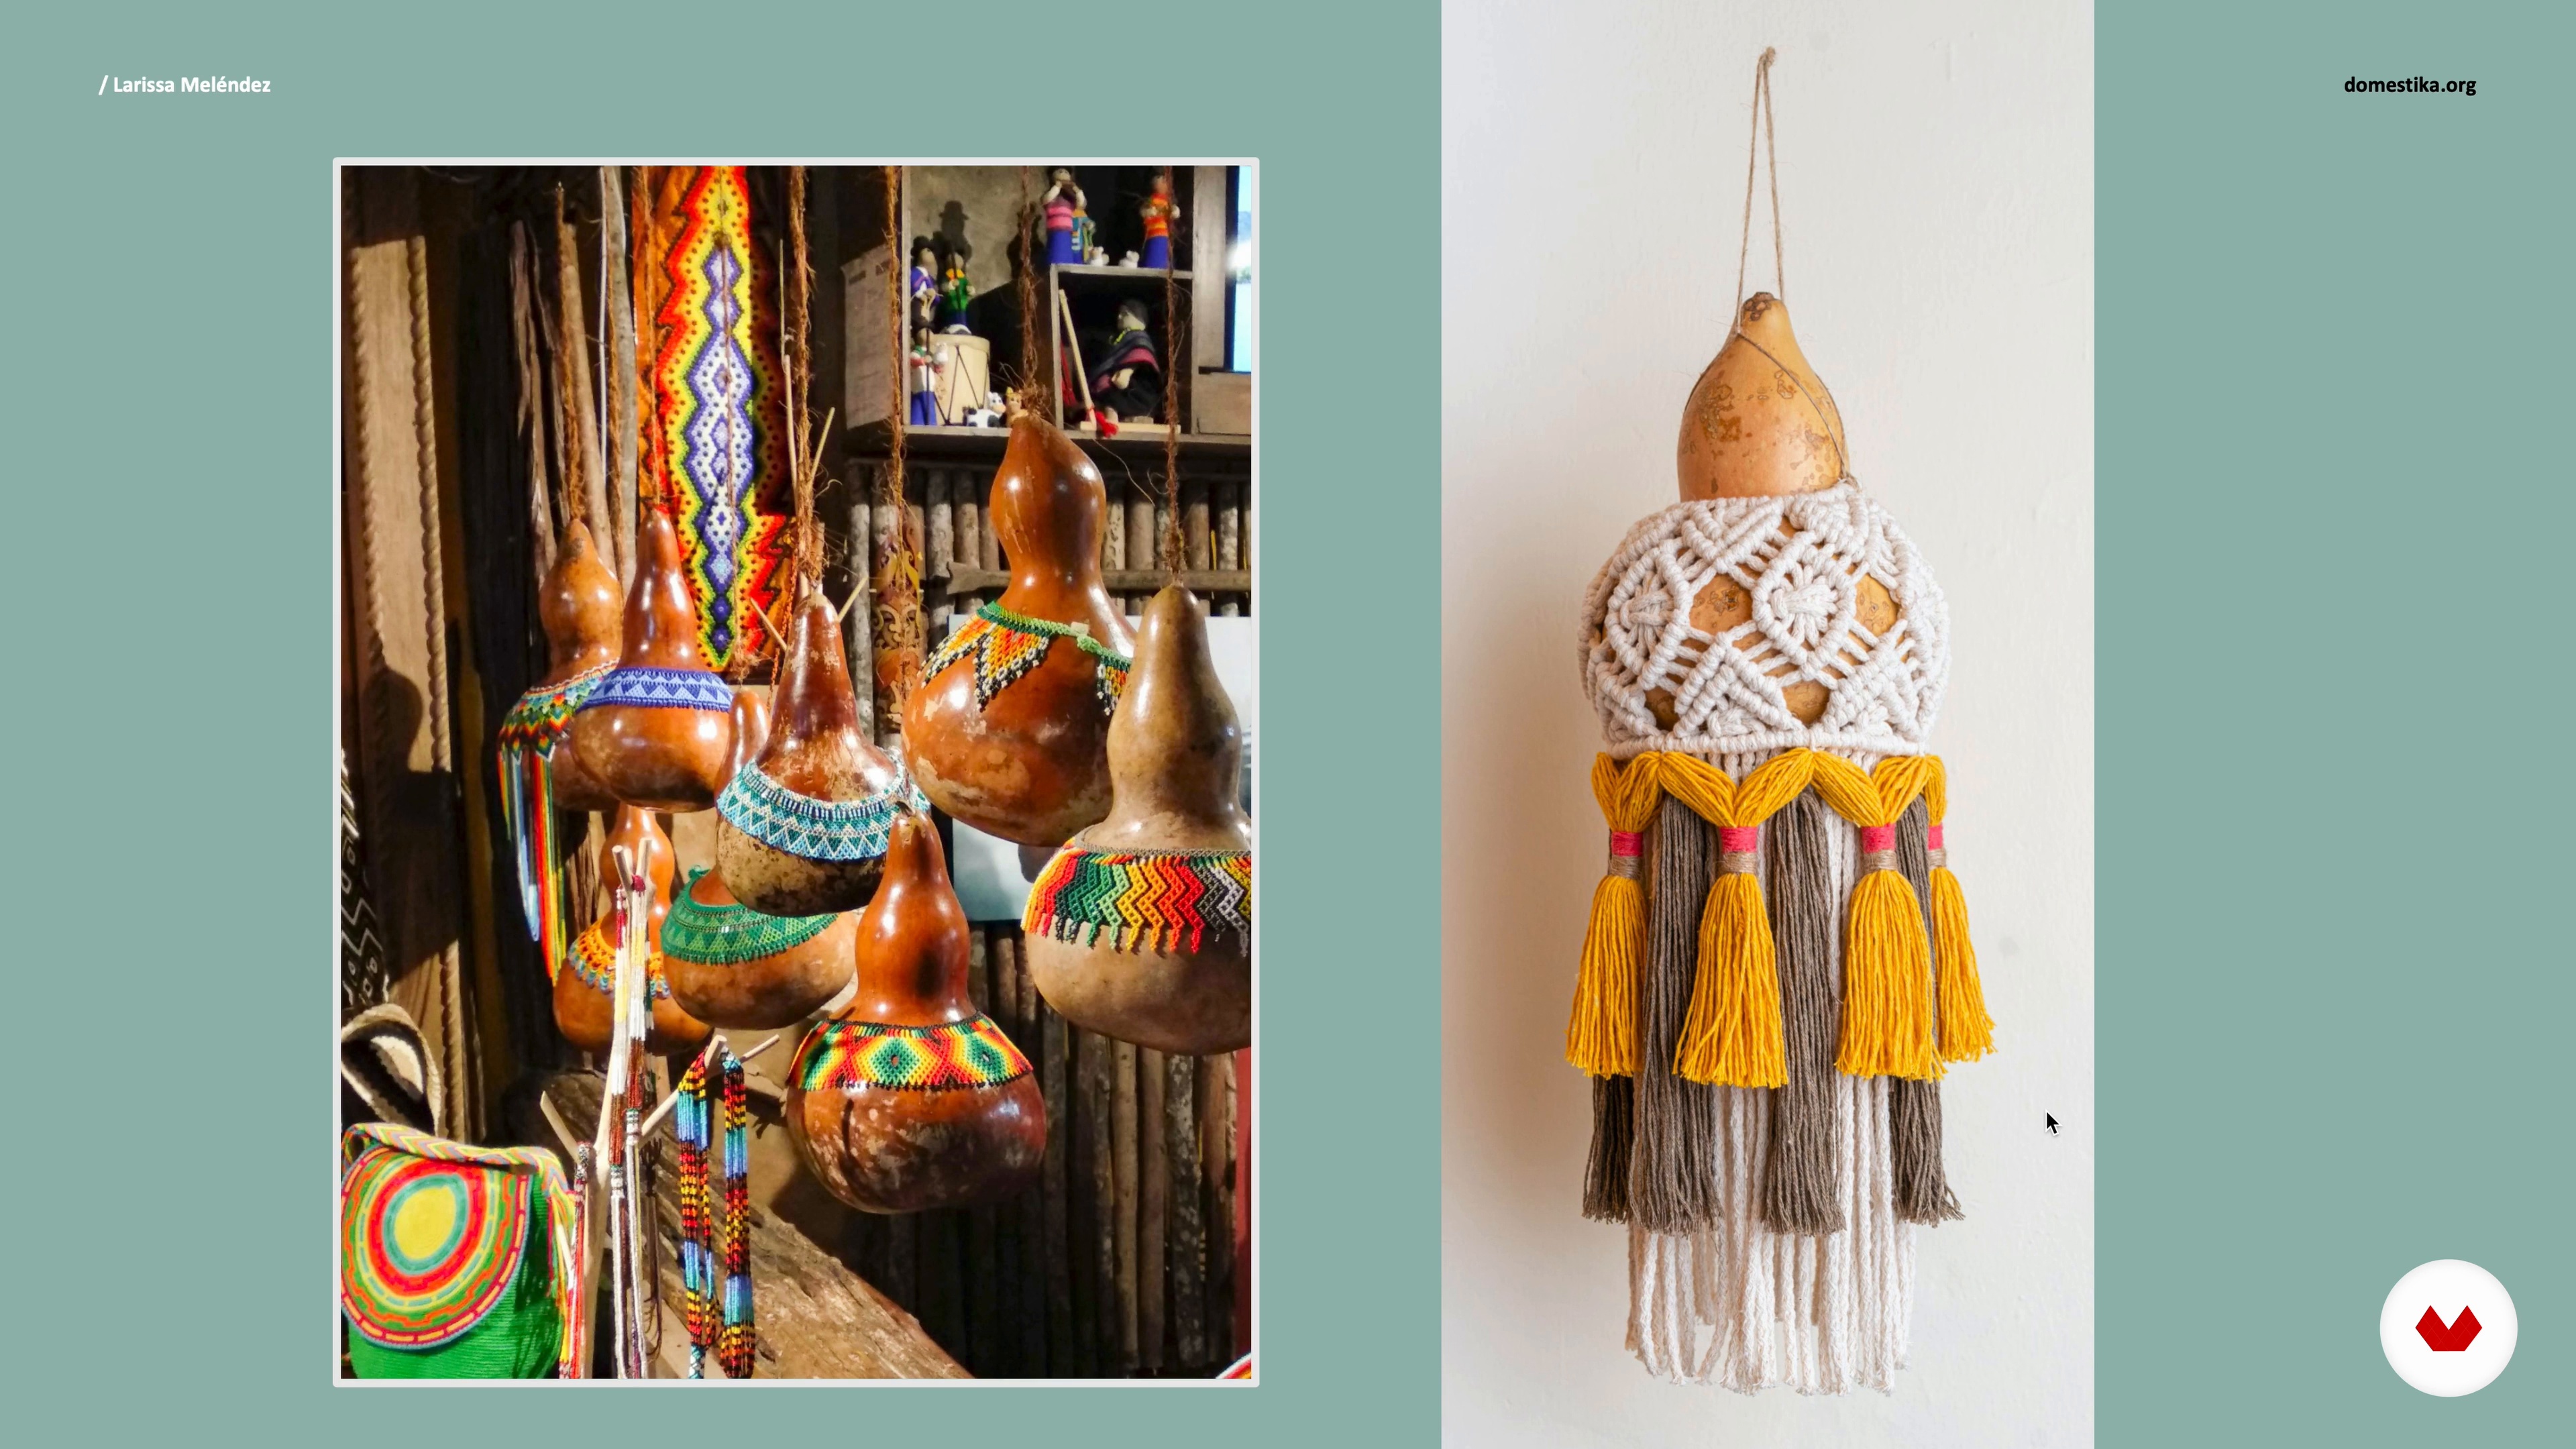
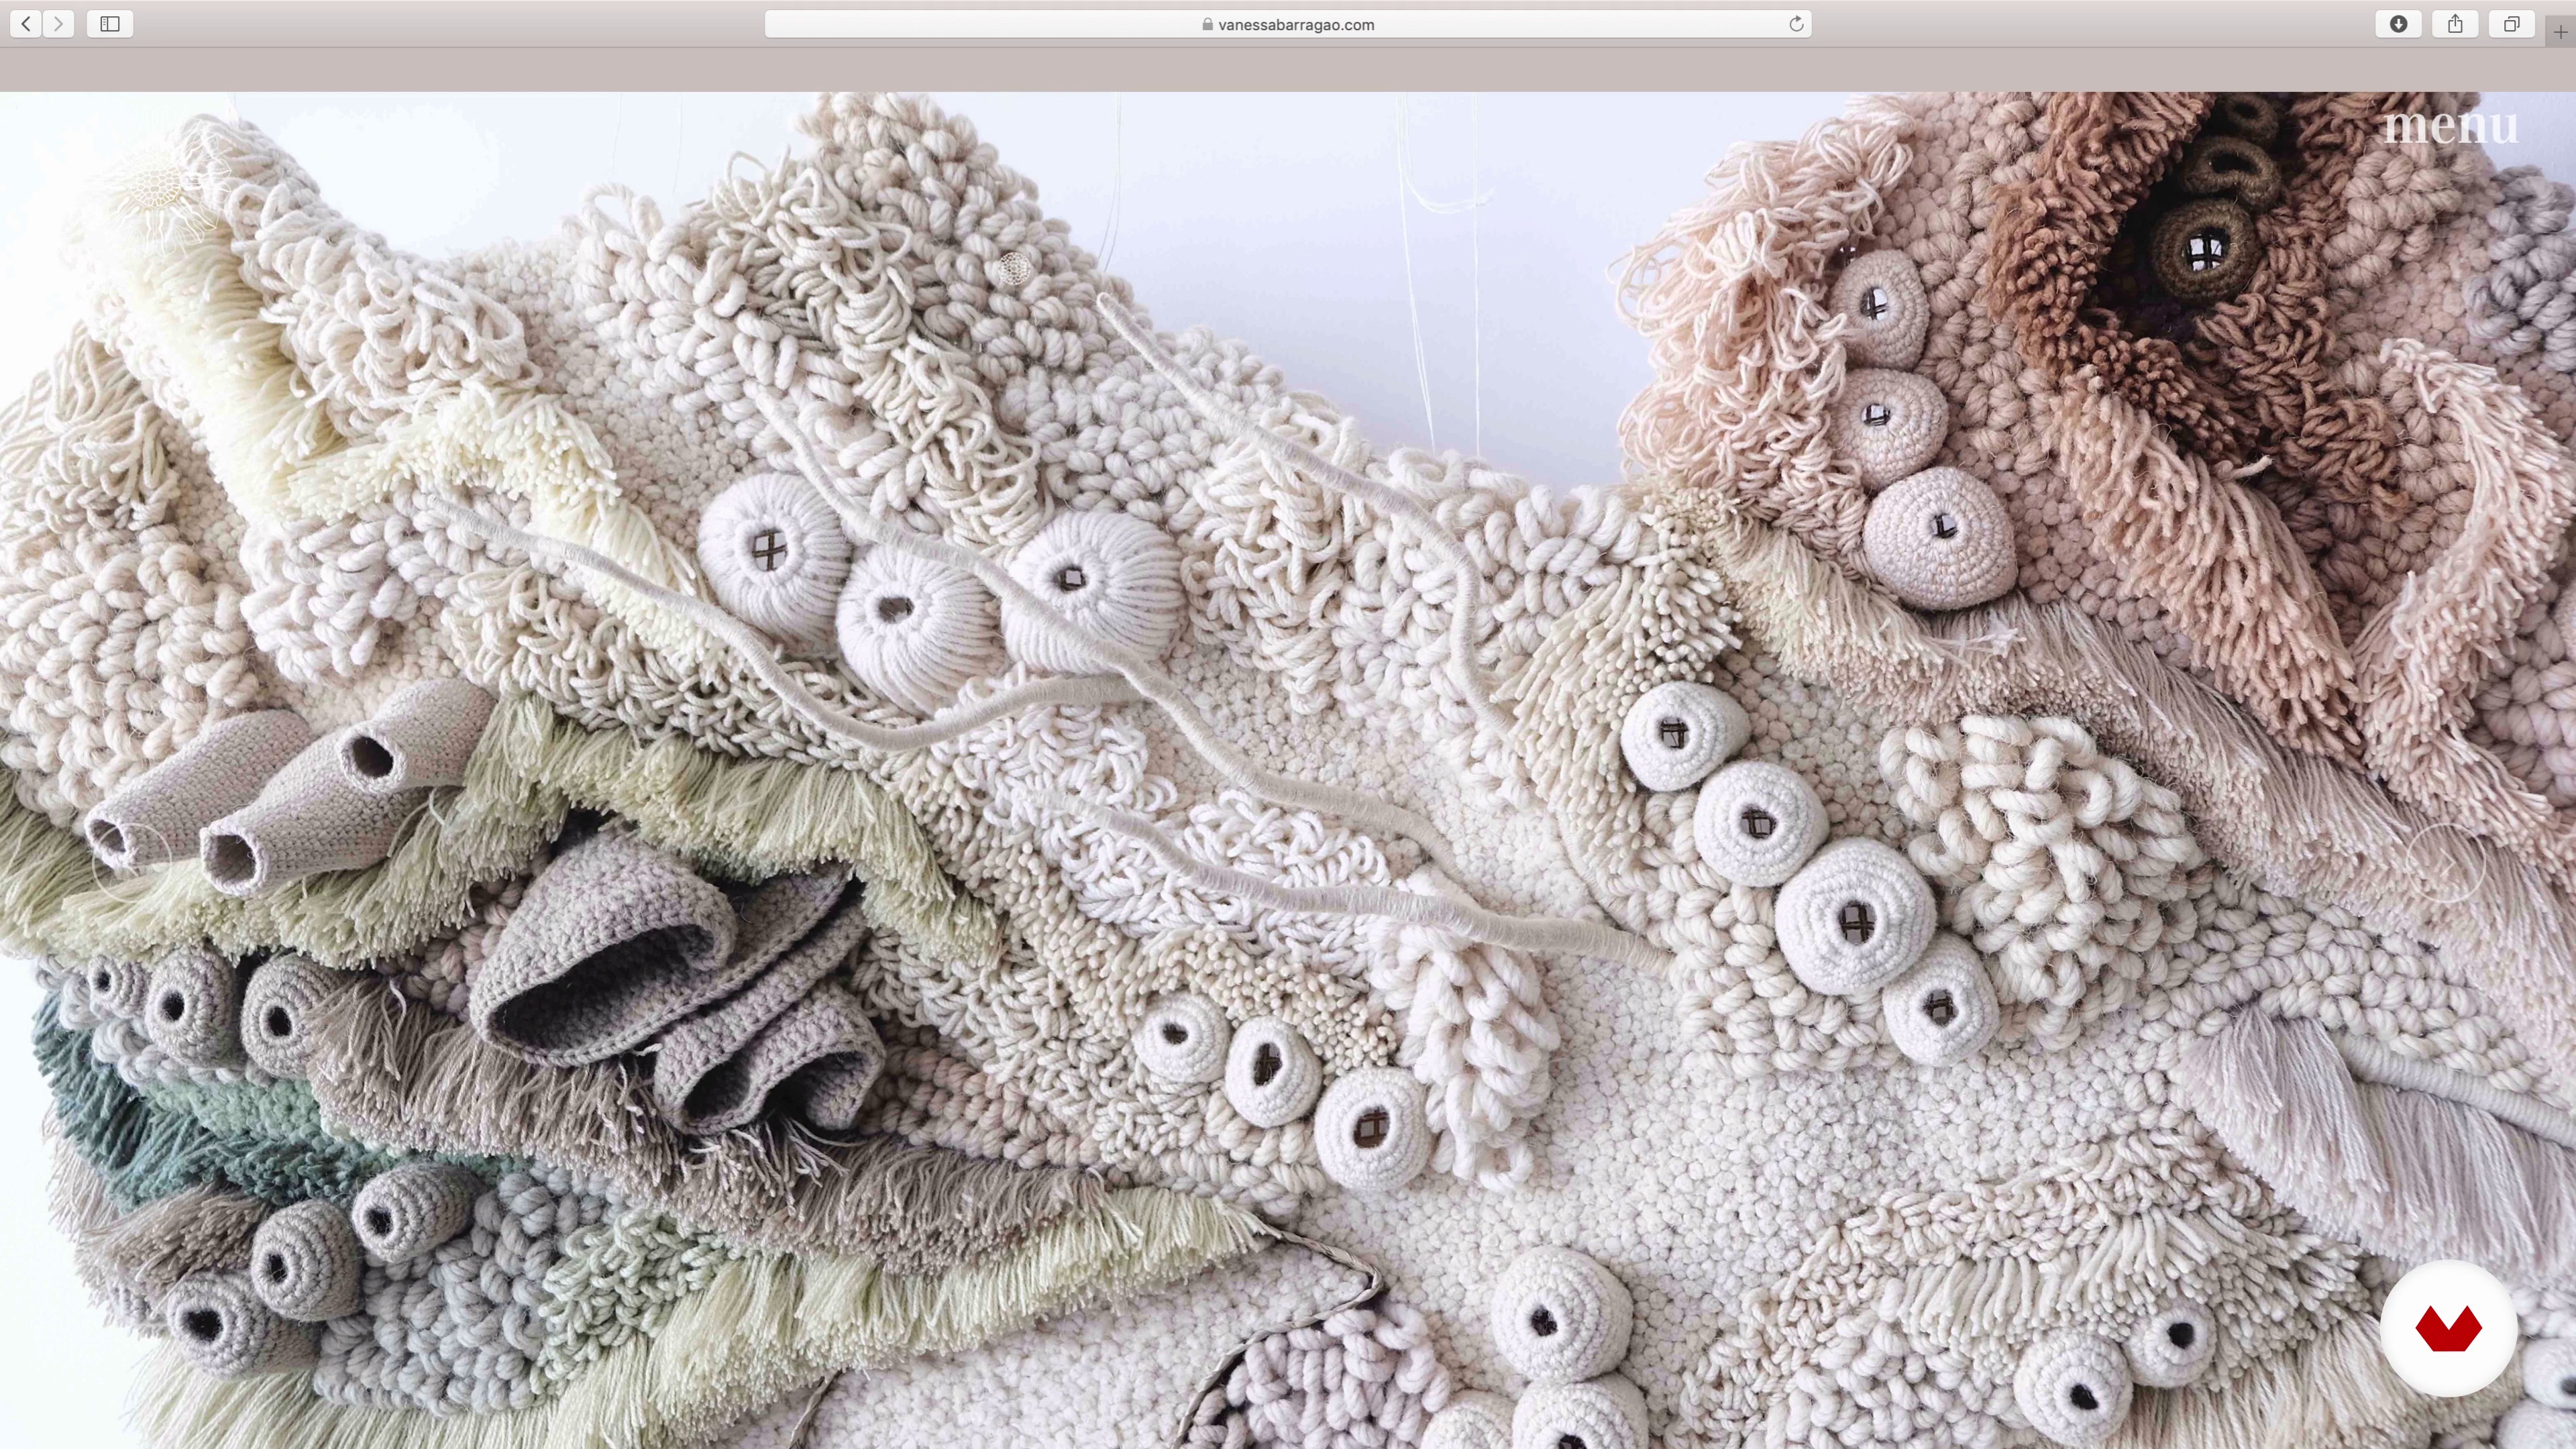
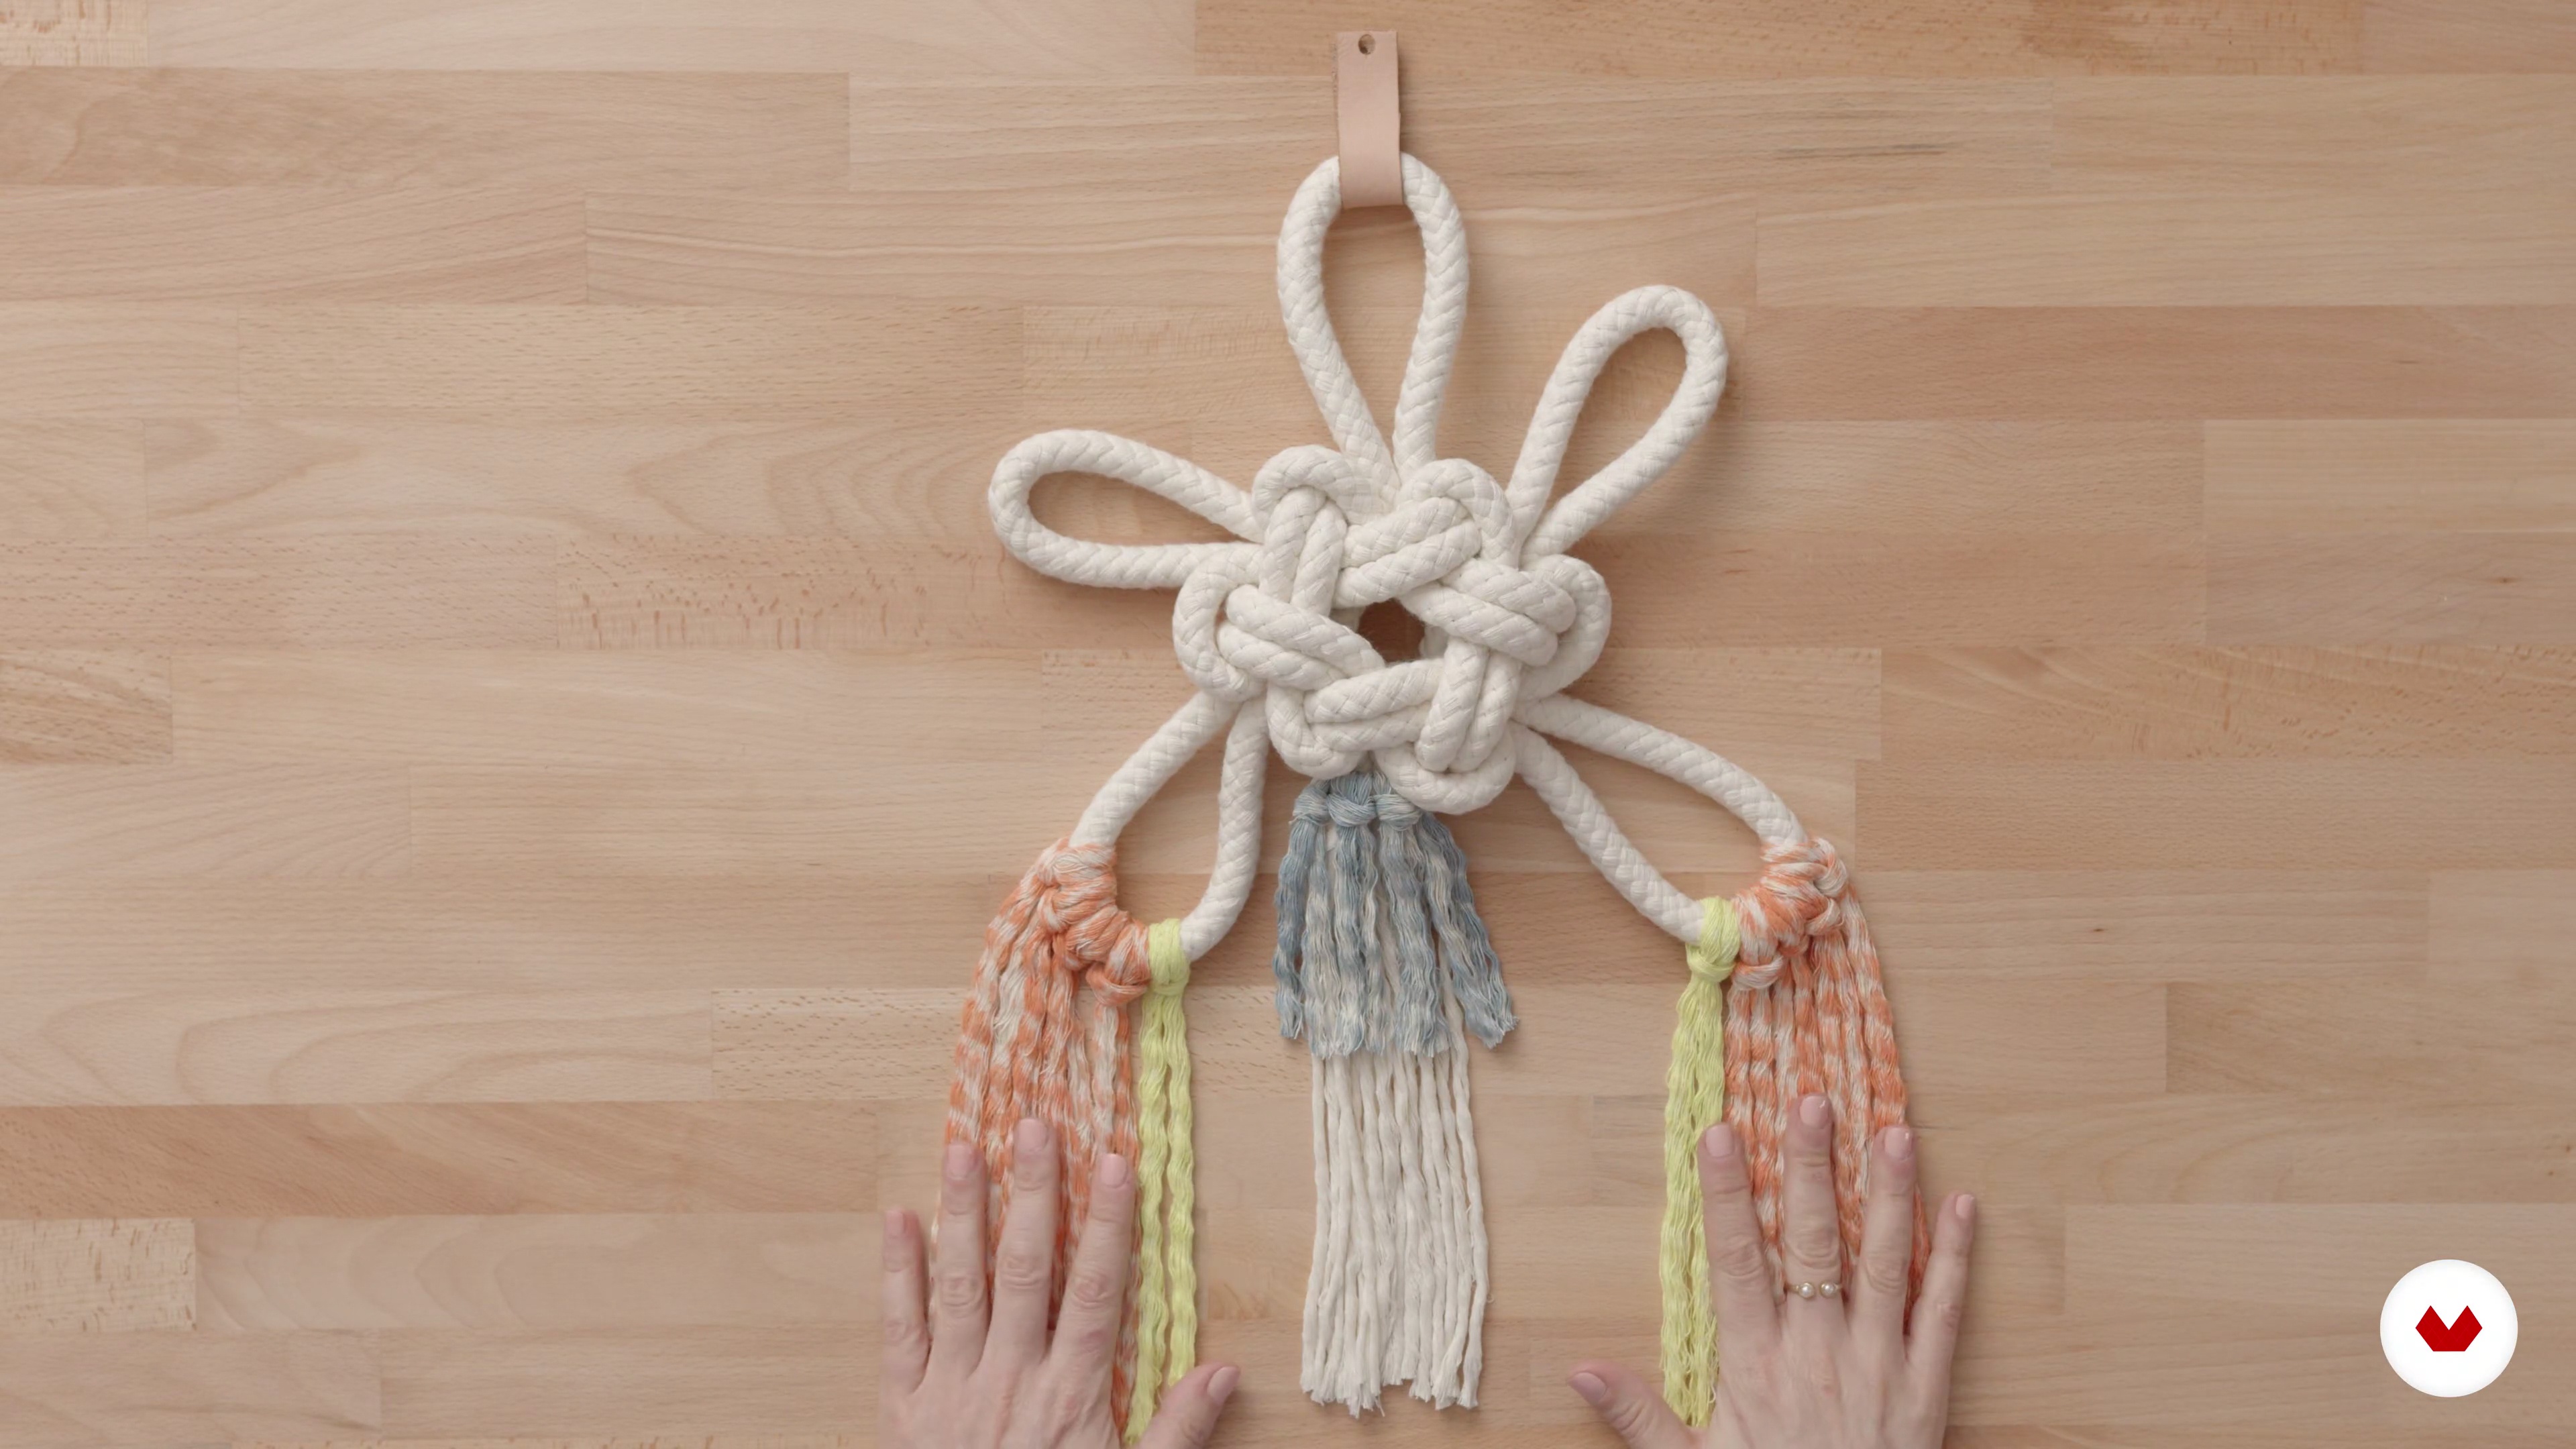
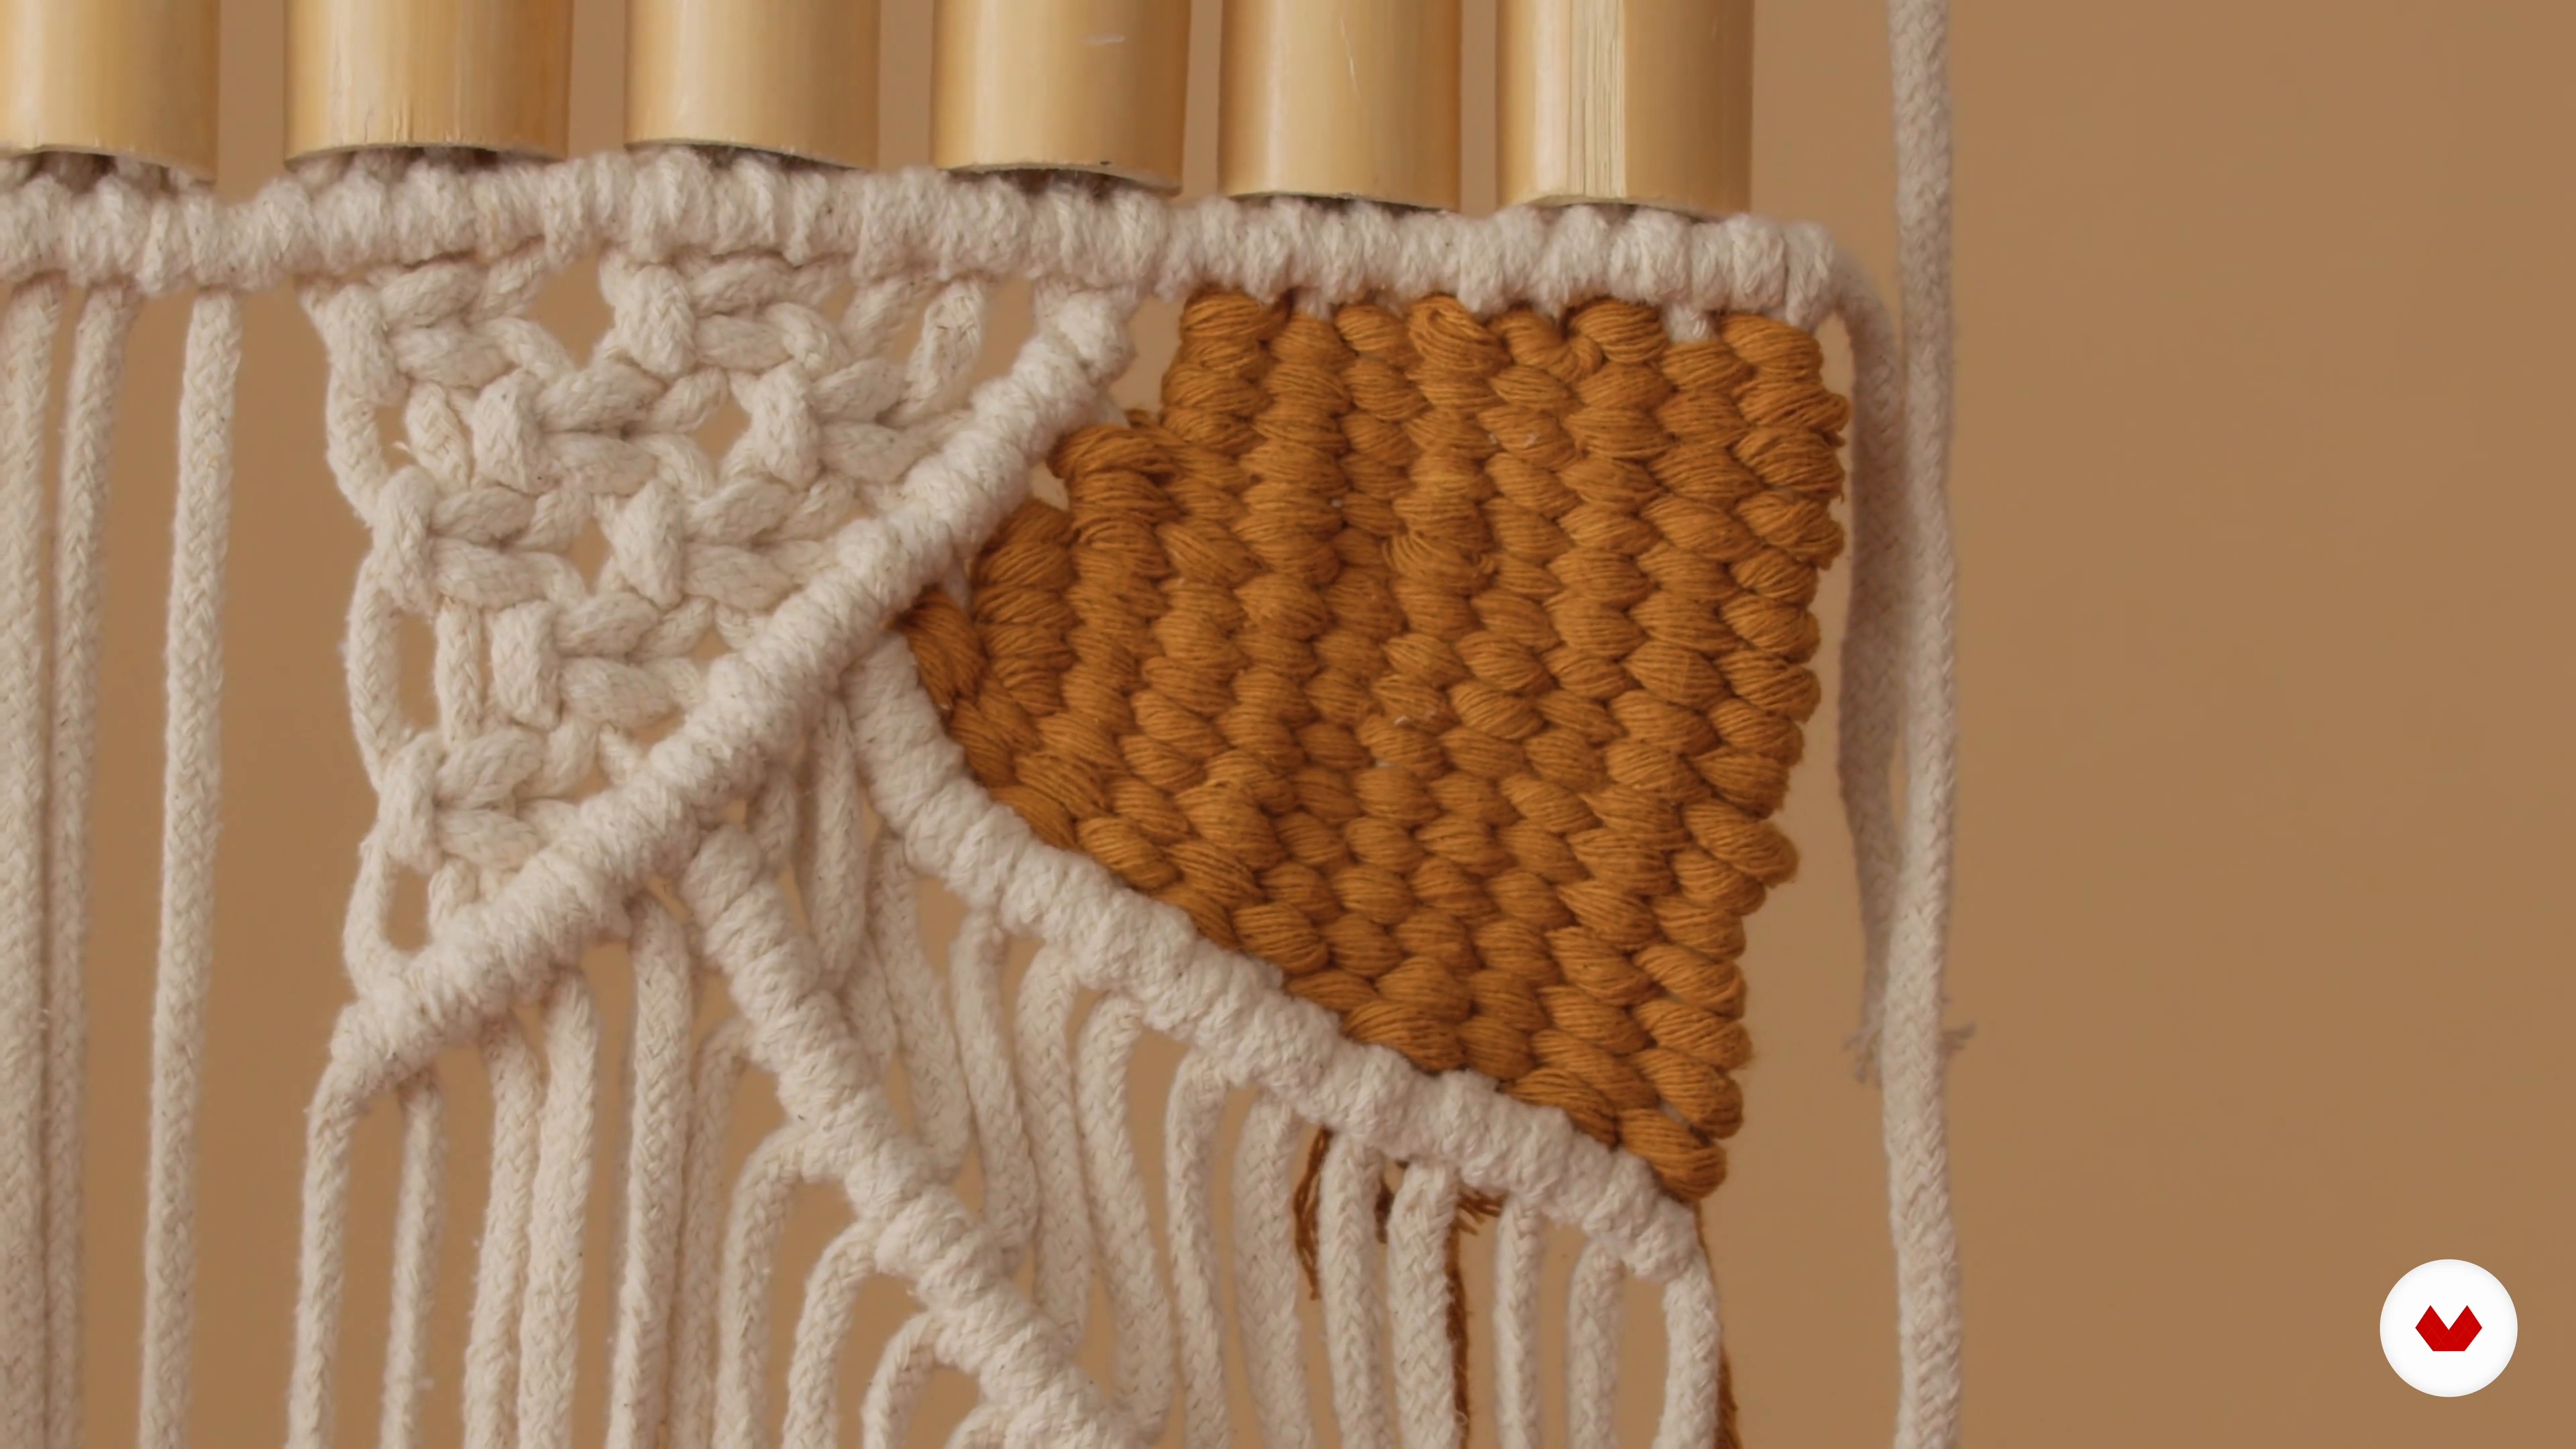
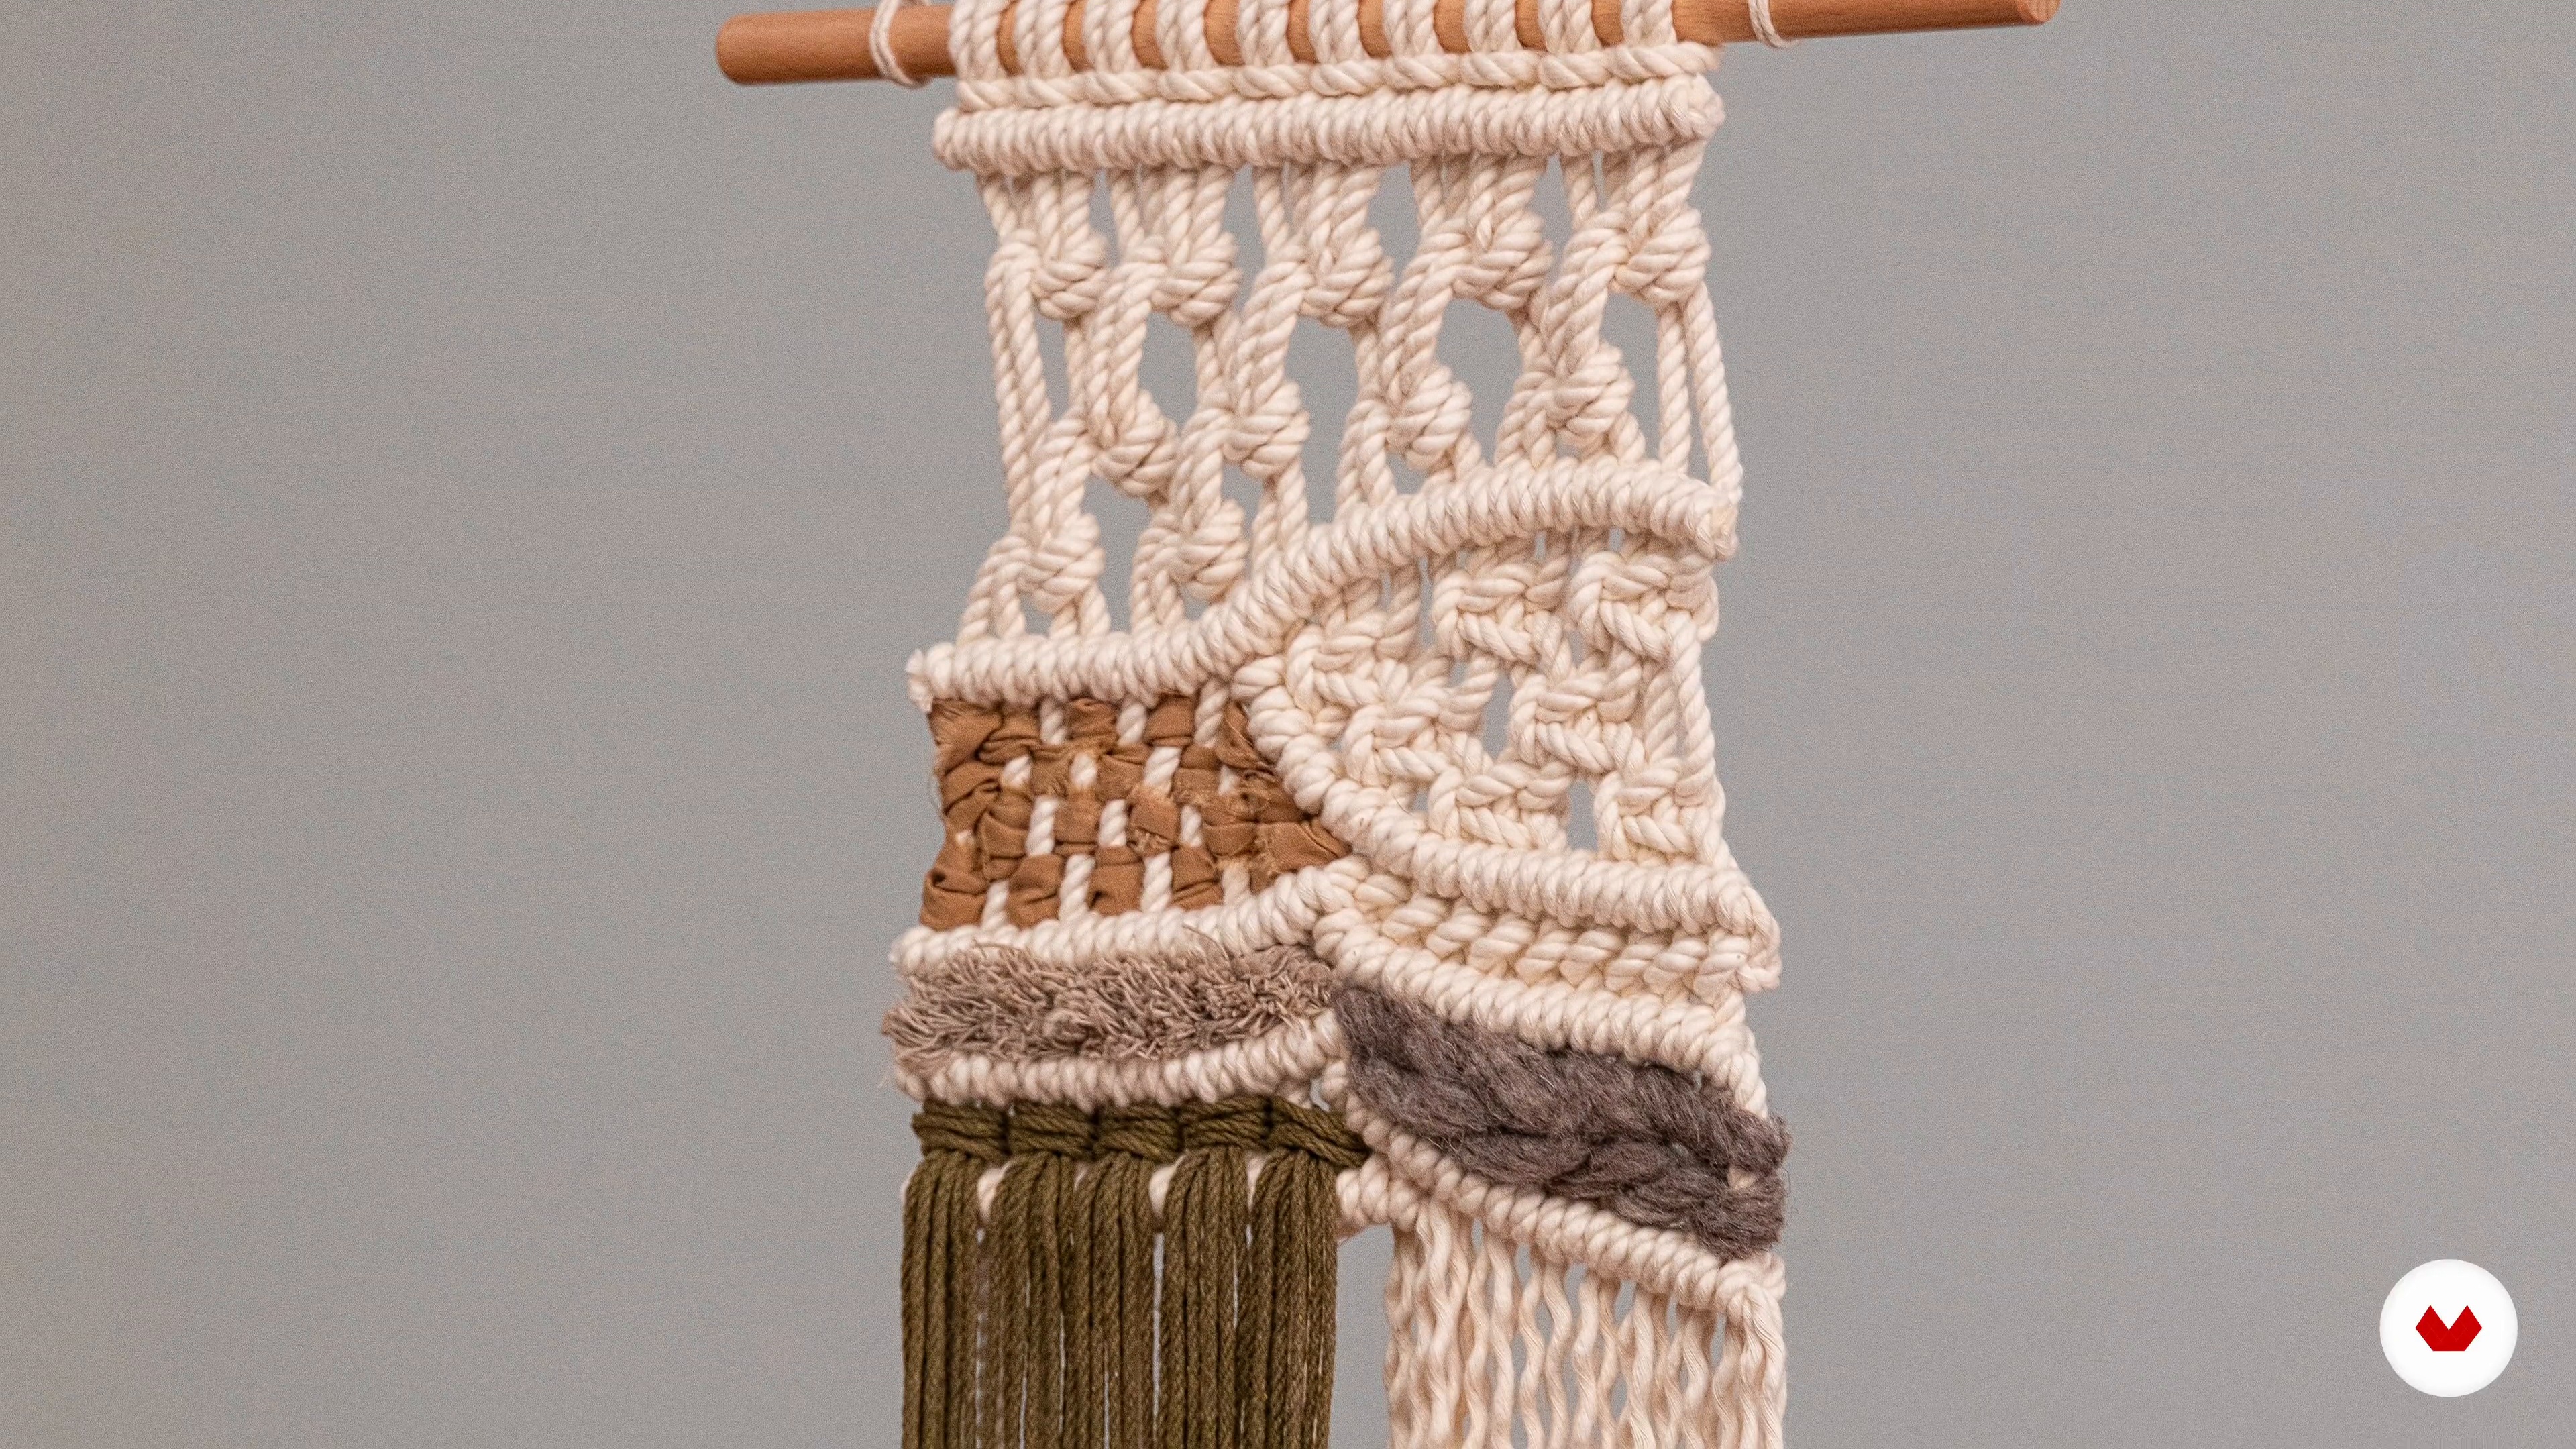
You’ll learn how to create tapestries and accessories using macramé knots, natural dyeing, sample organization, material selection, relaxation and mindfulness techniques, plus how to weave cultural influences into your artistic creativity.
This course is aimed at those with intermediate crafting or macramé skills, encouraging anyone familiar with basic knots who wants to refine or expand their creative abilities.
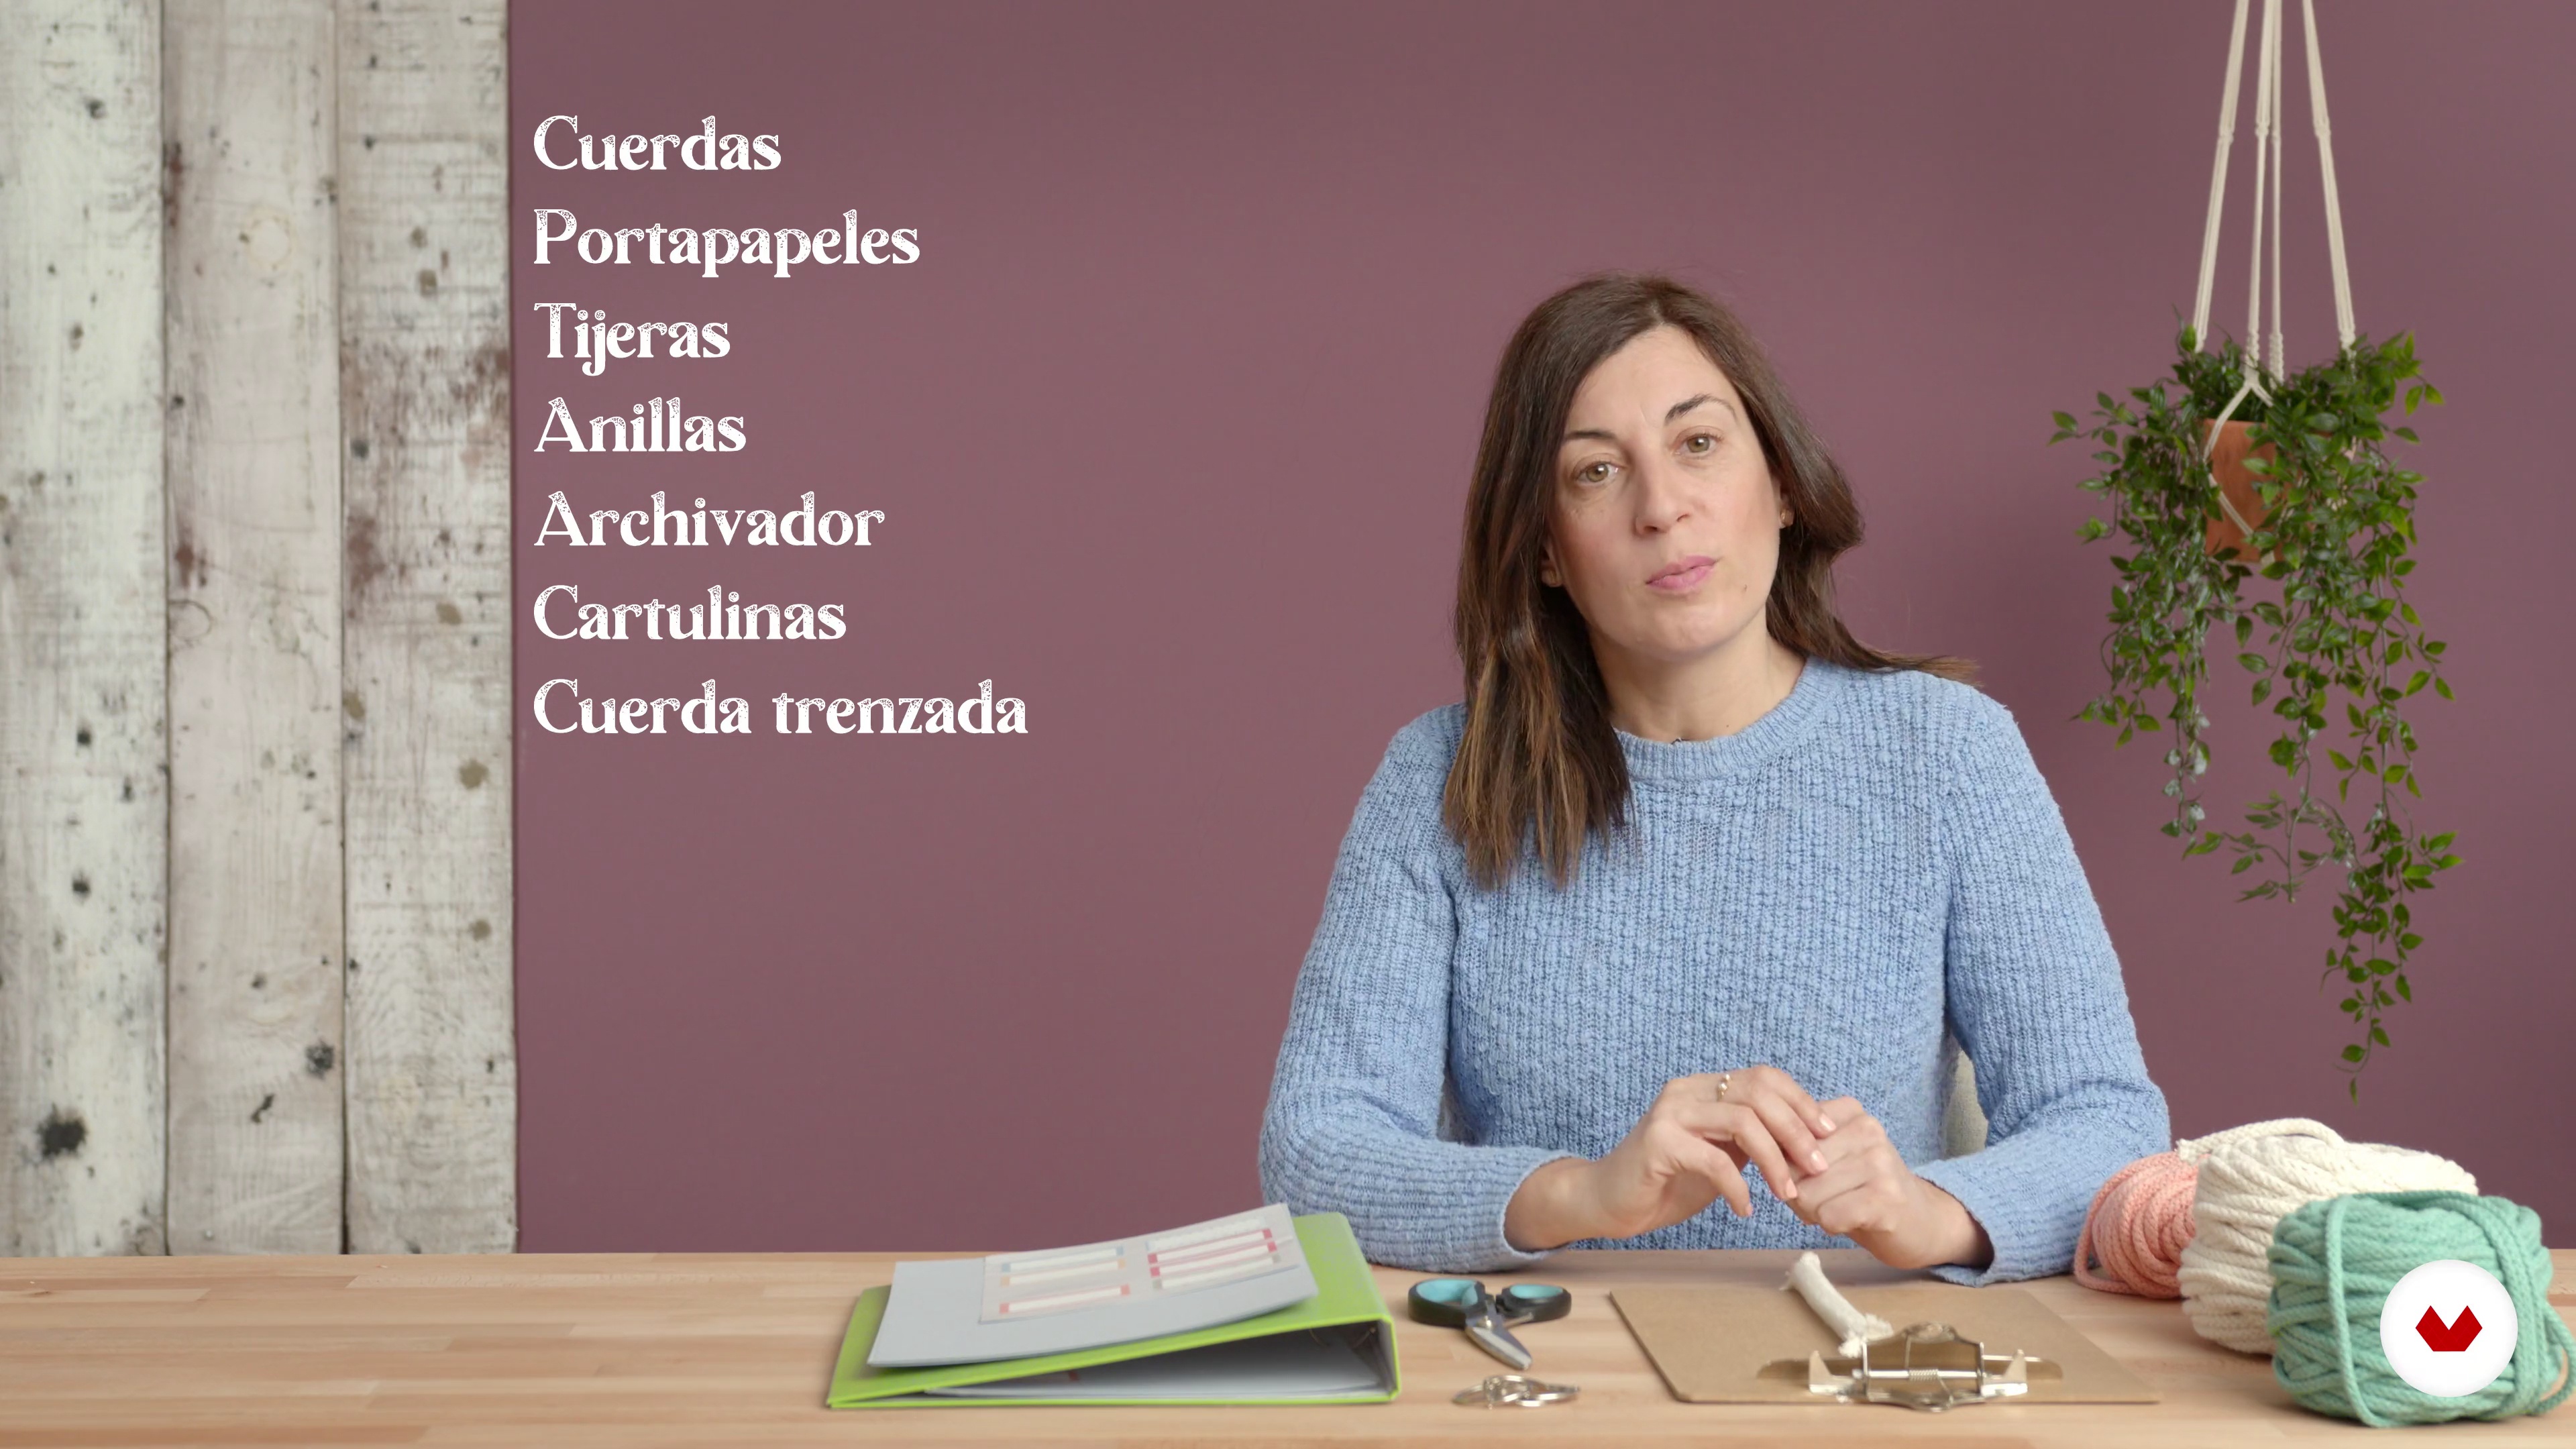
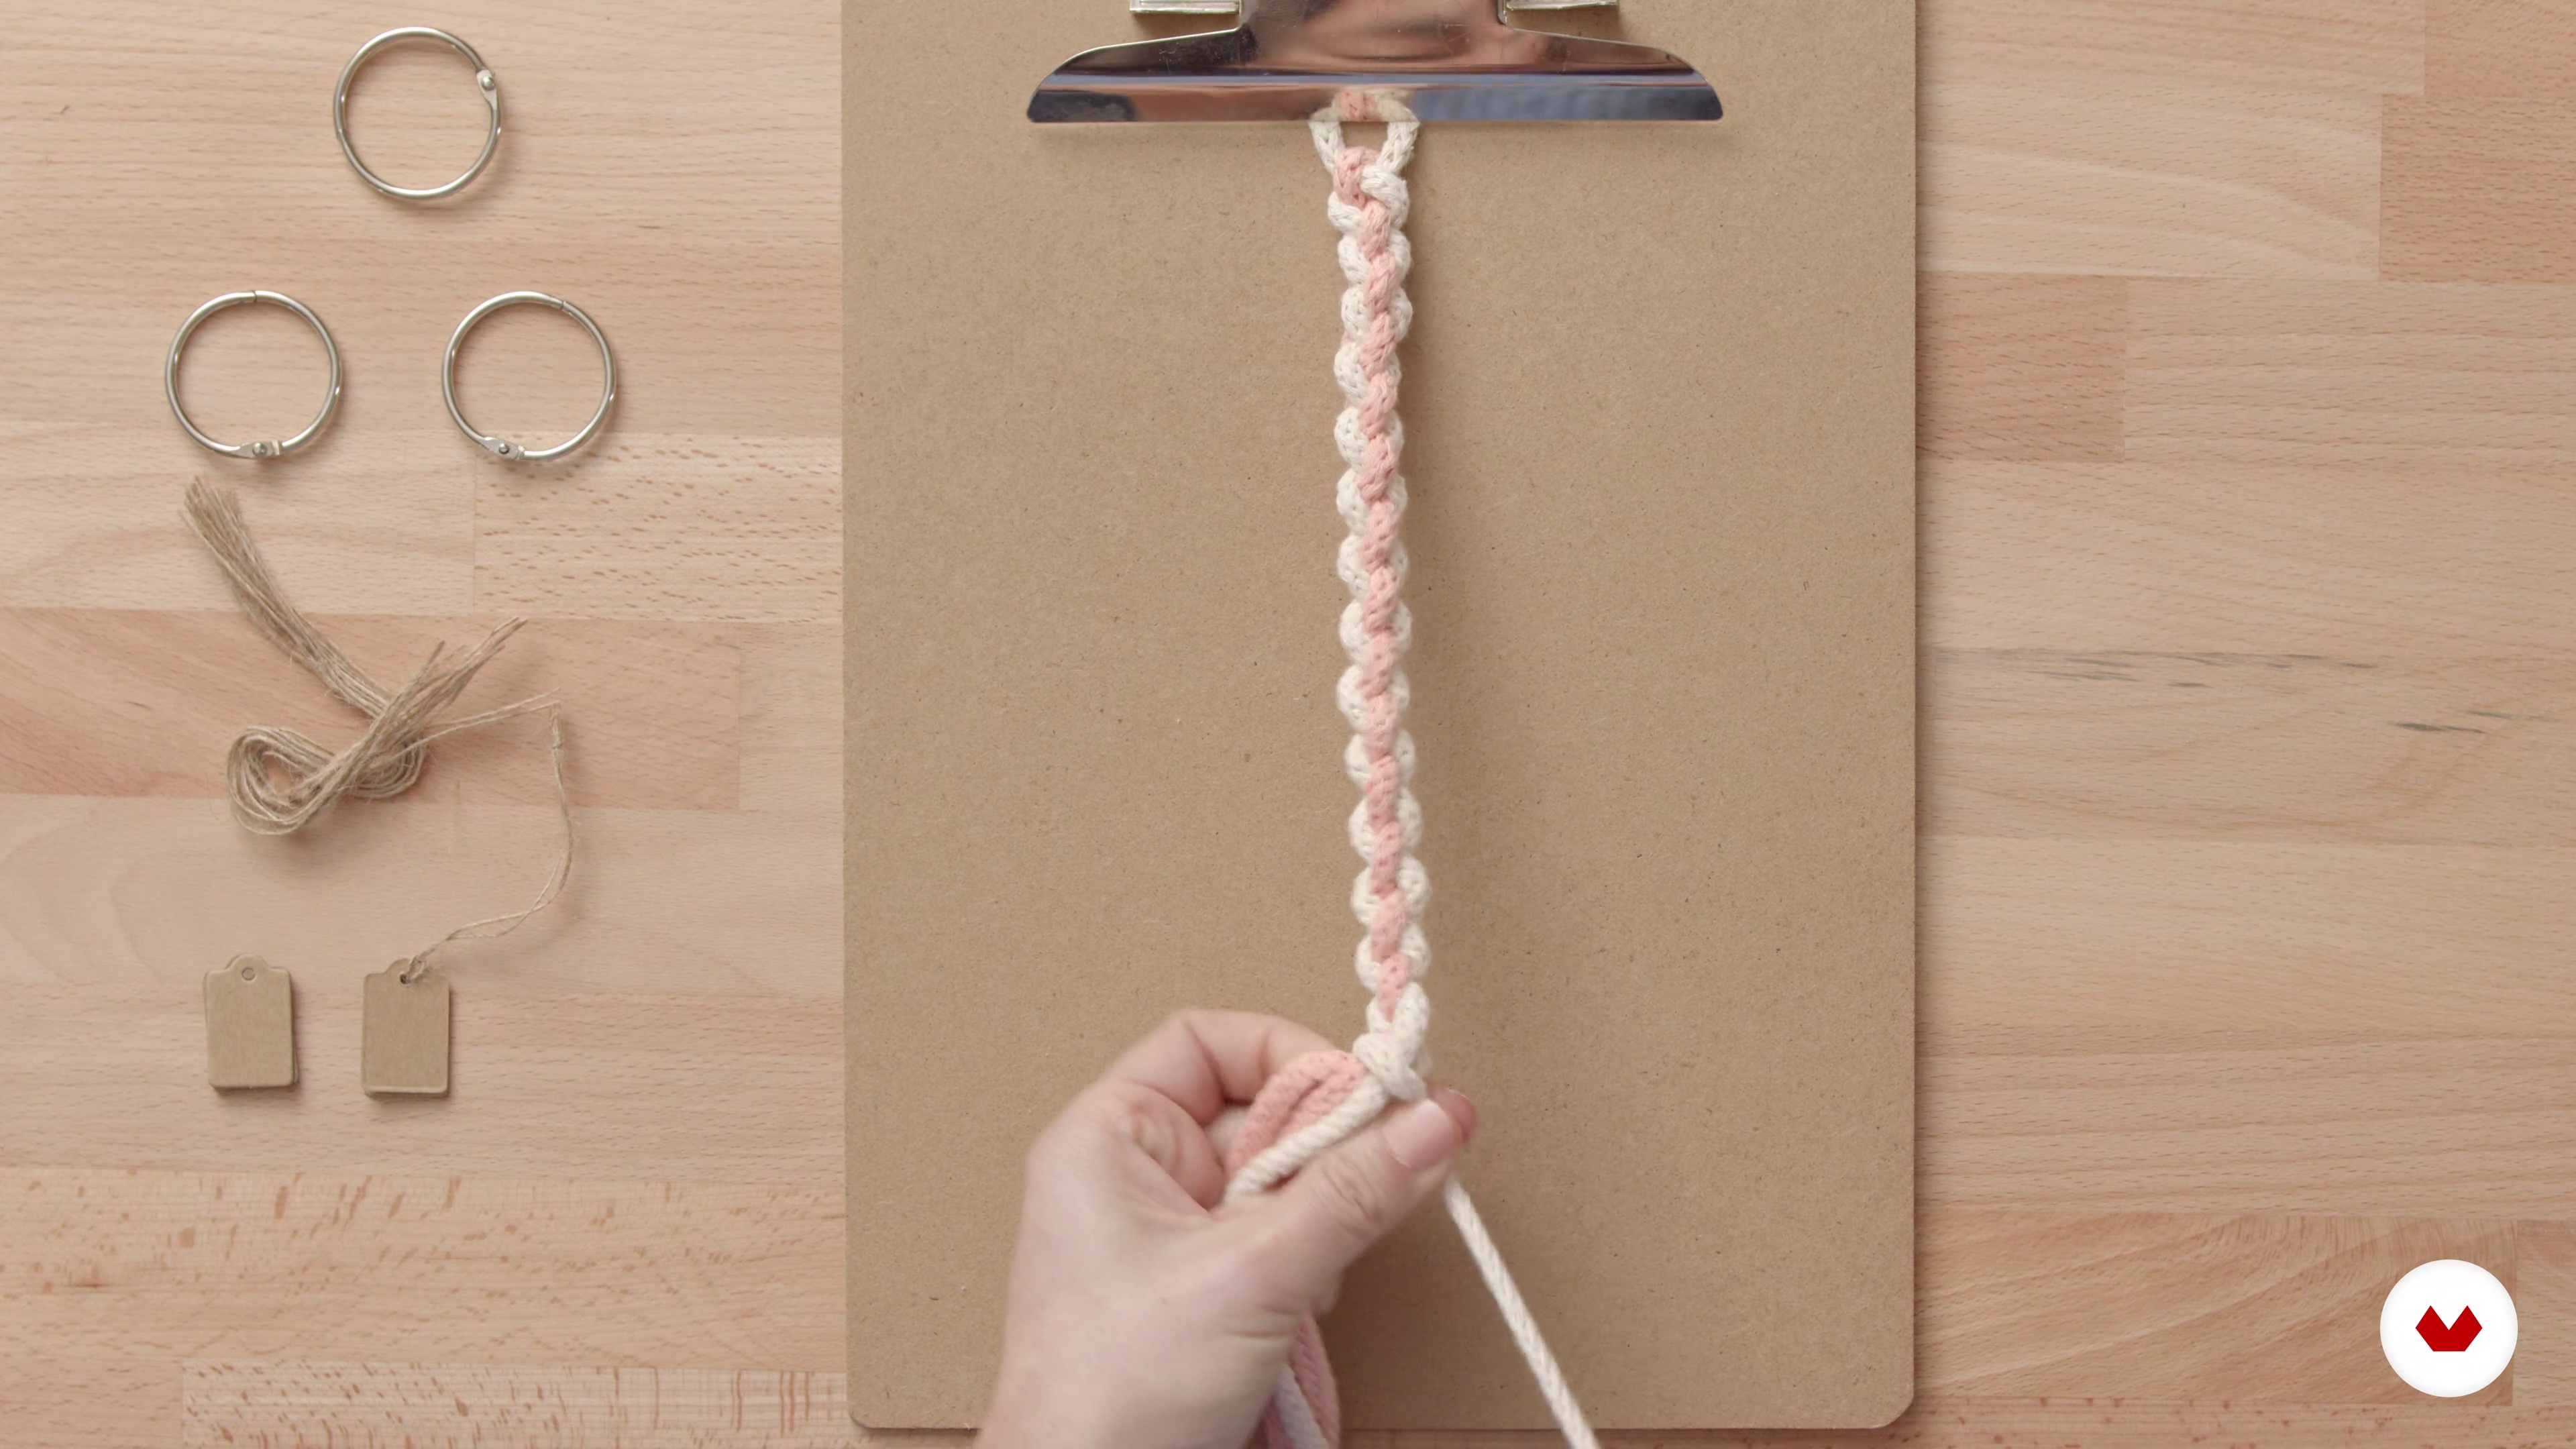
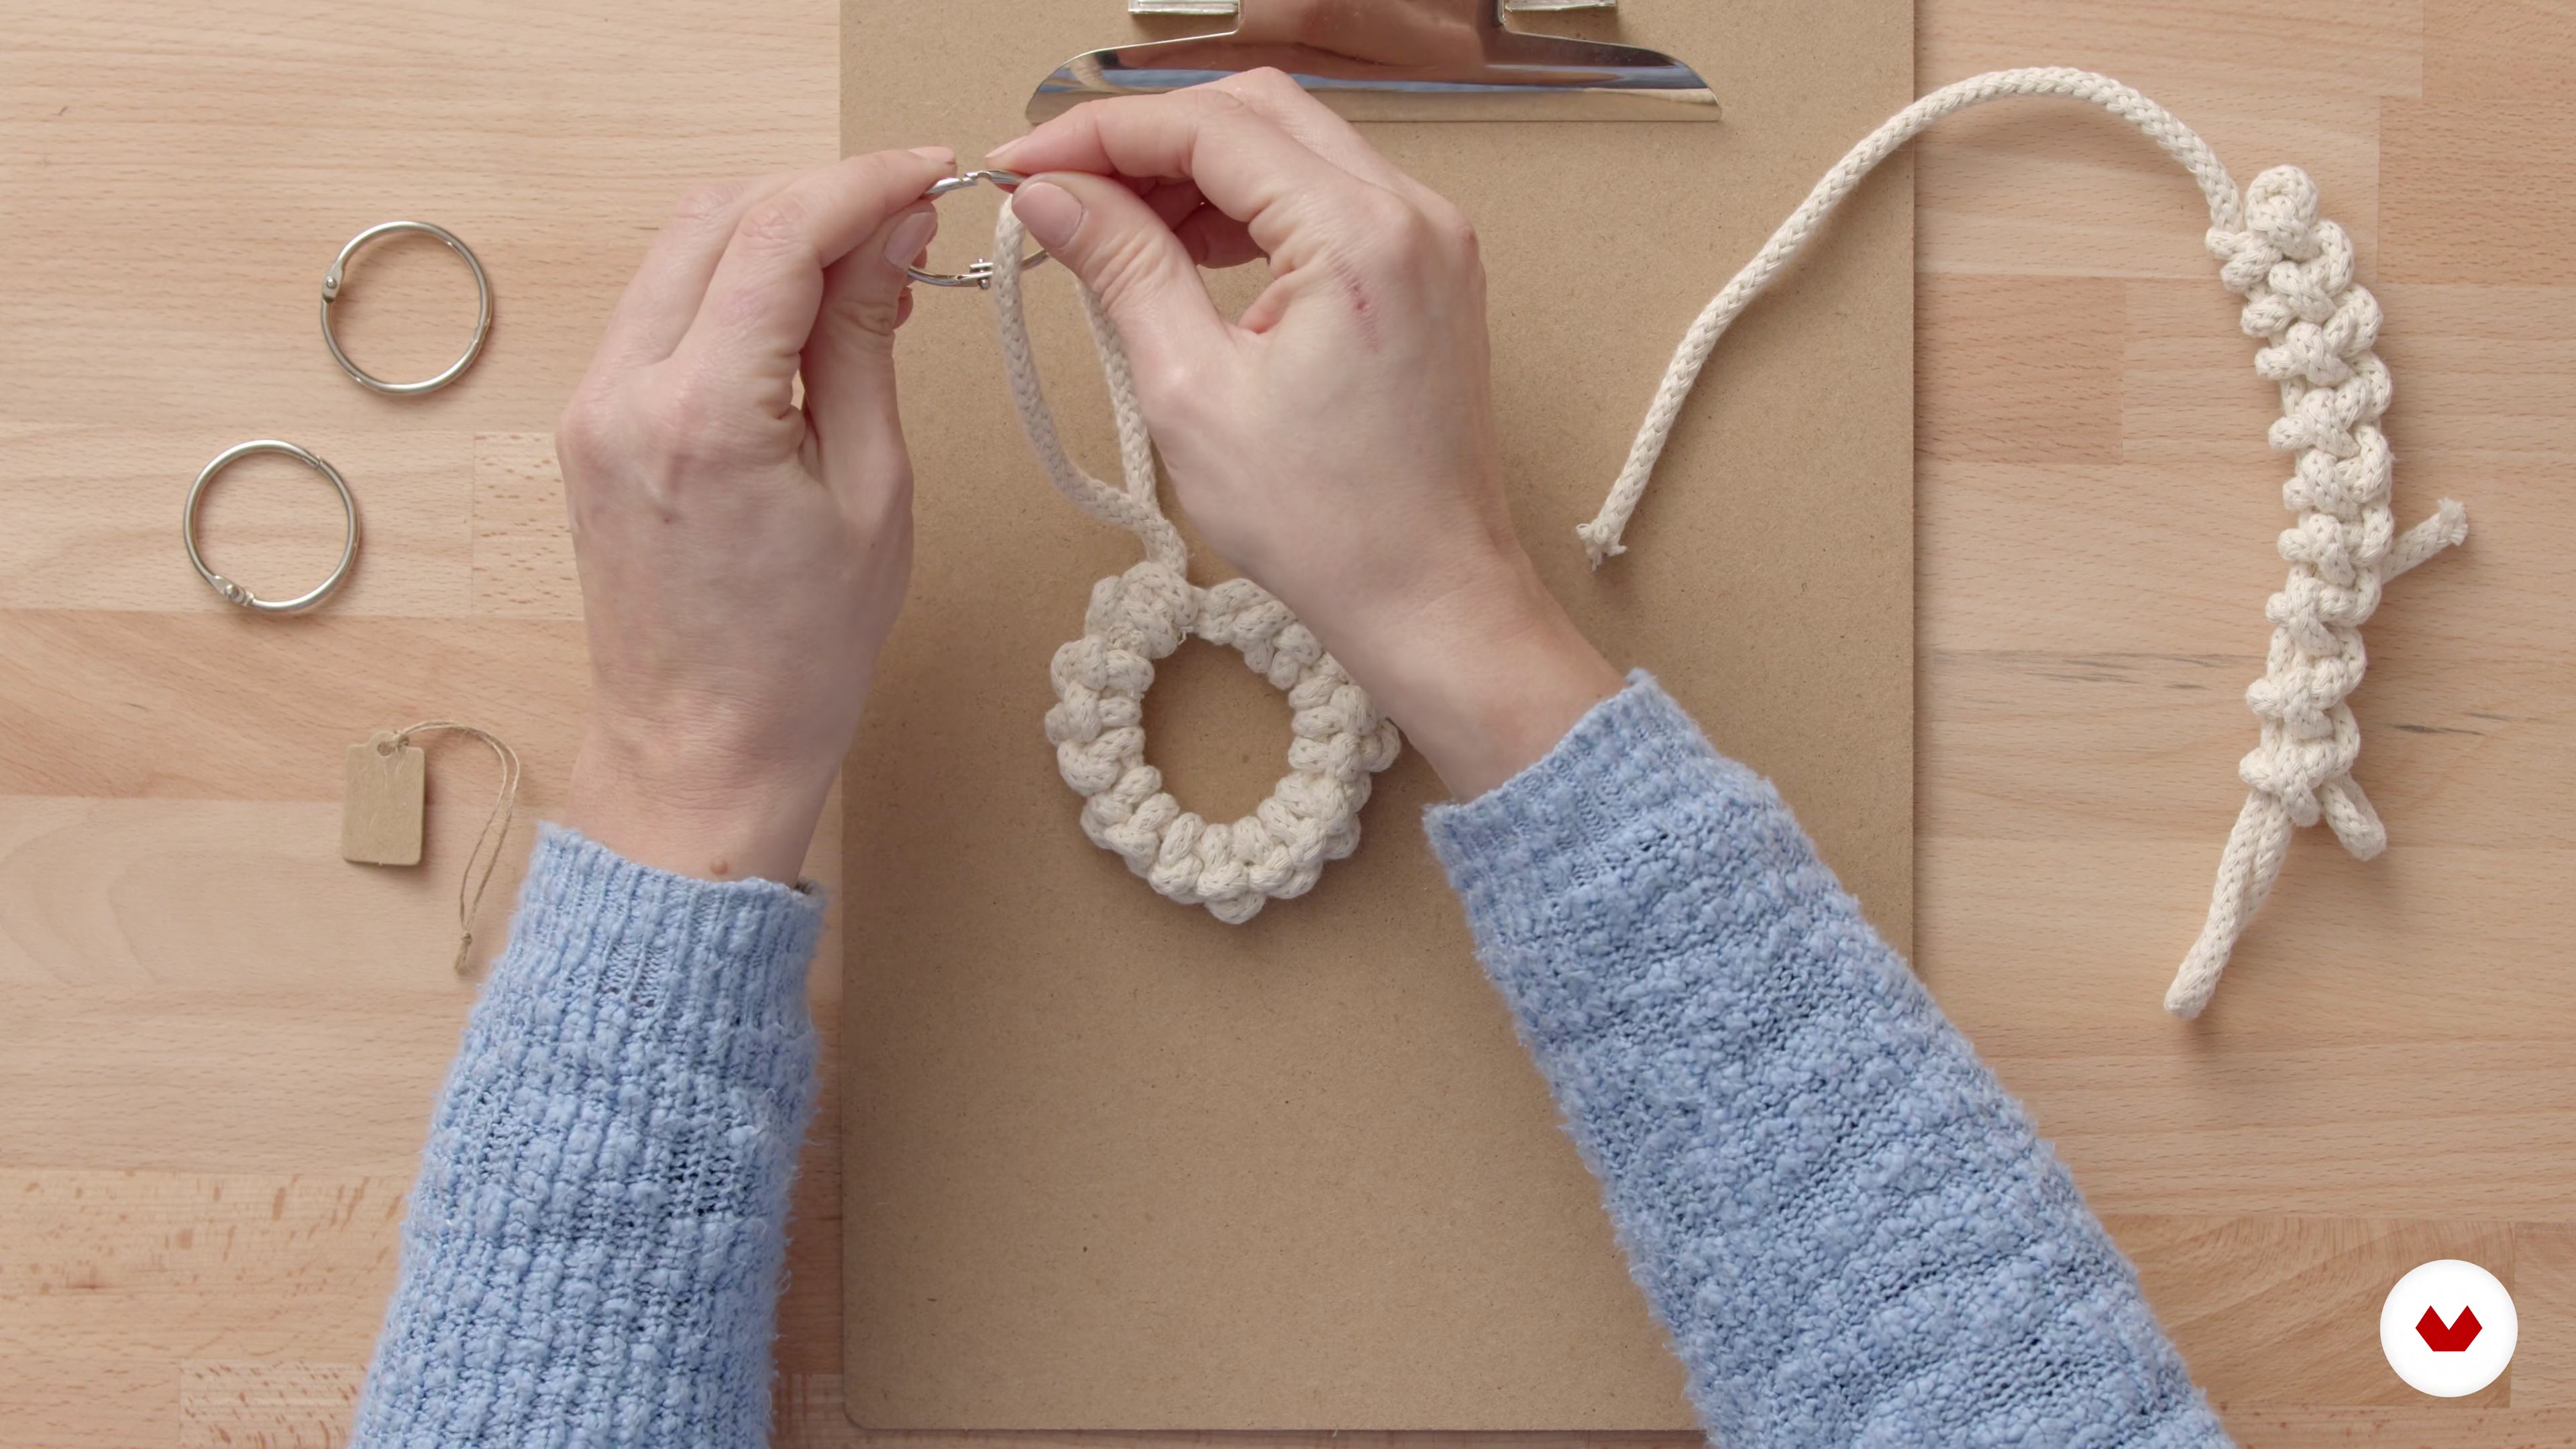
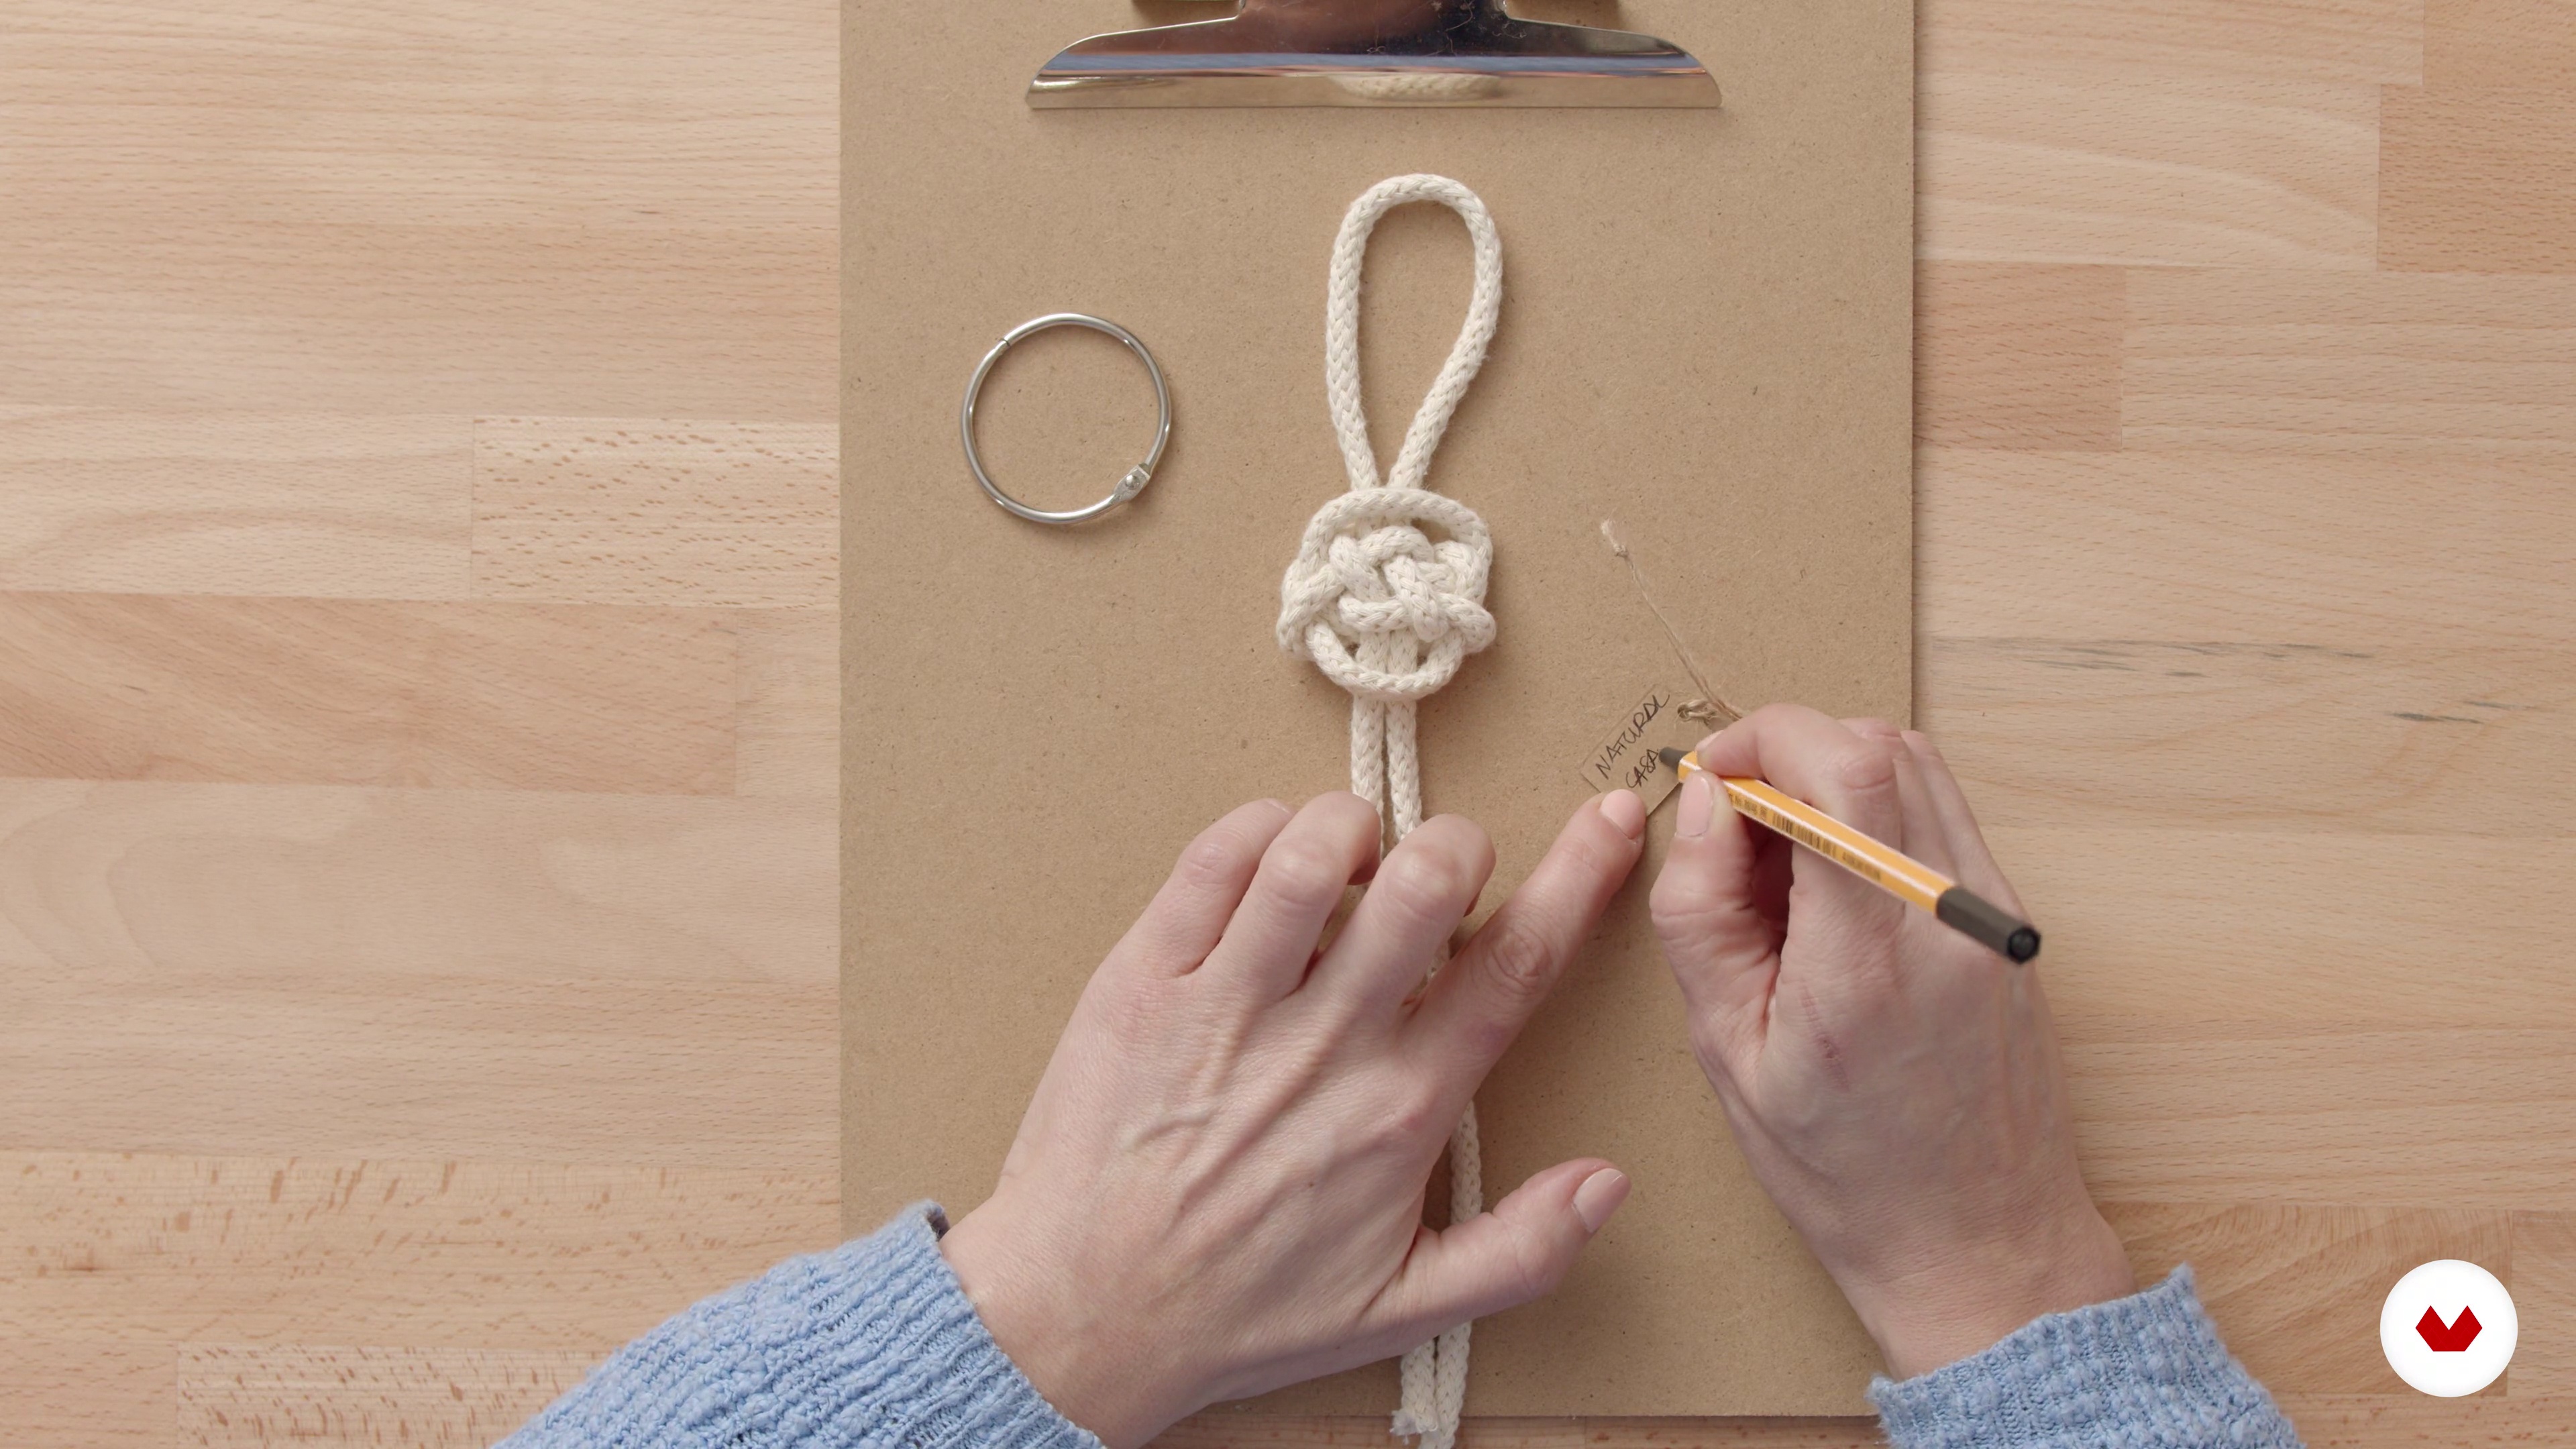
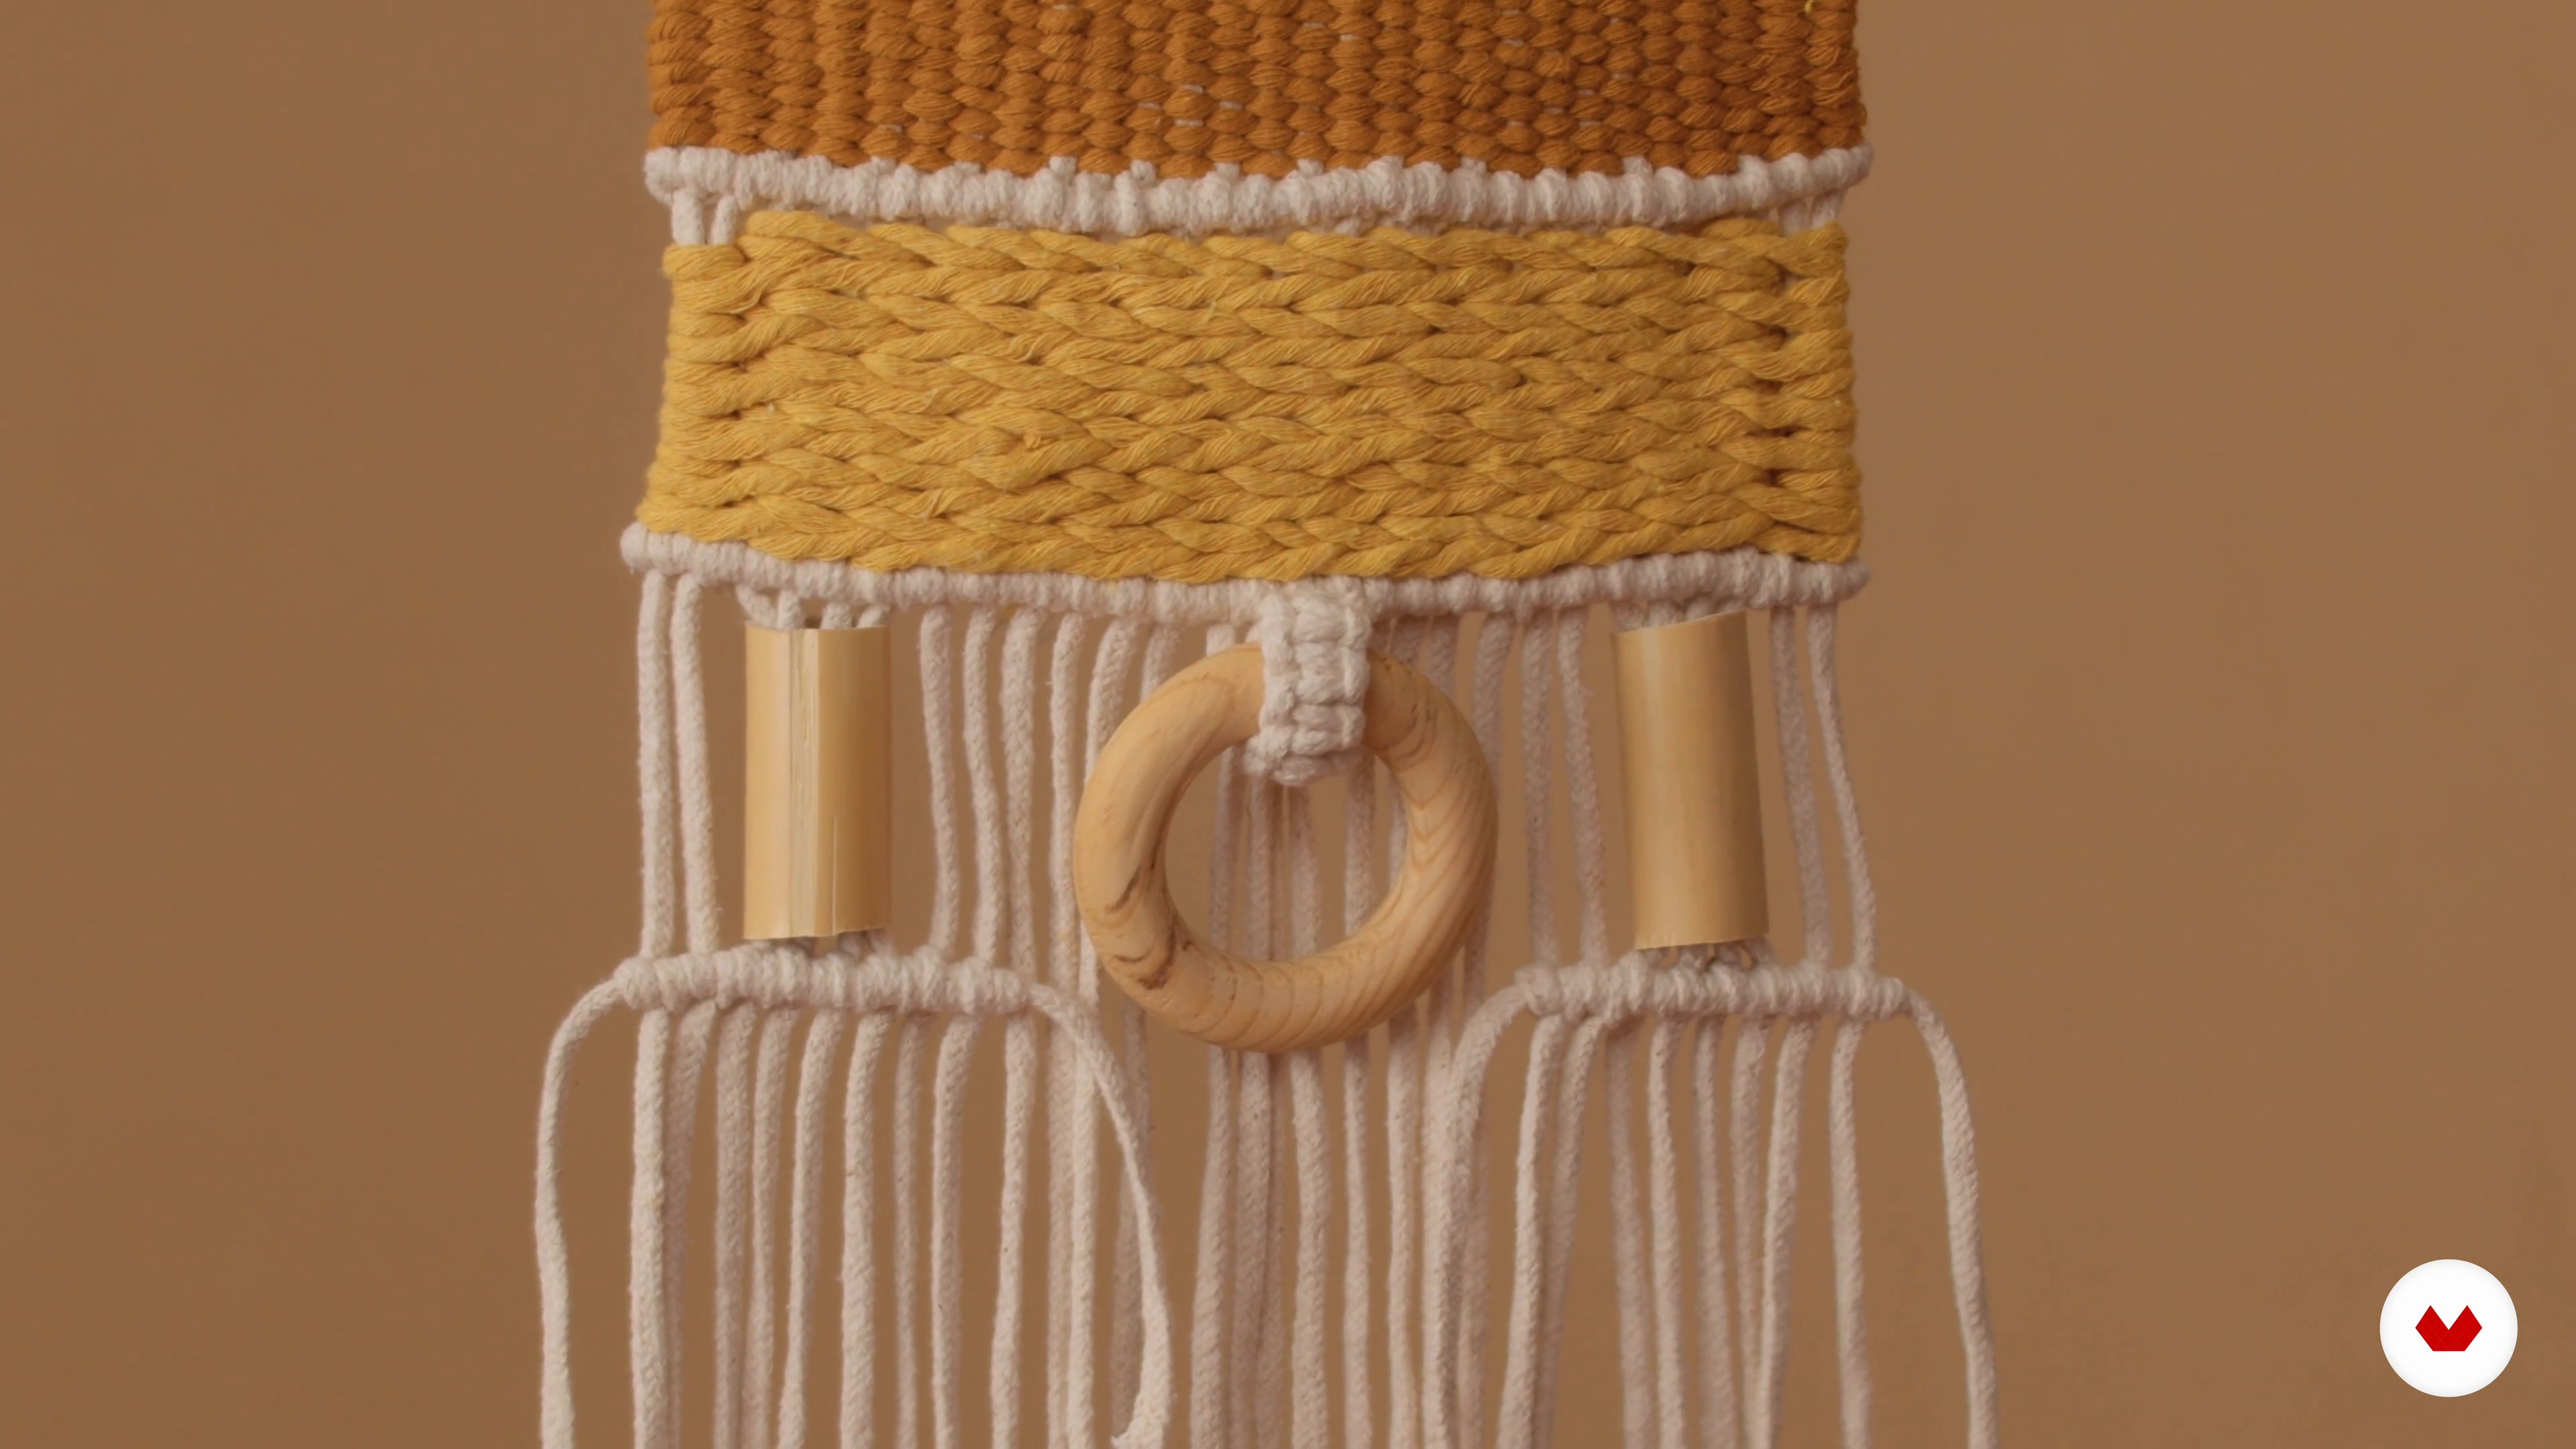
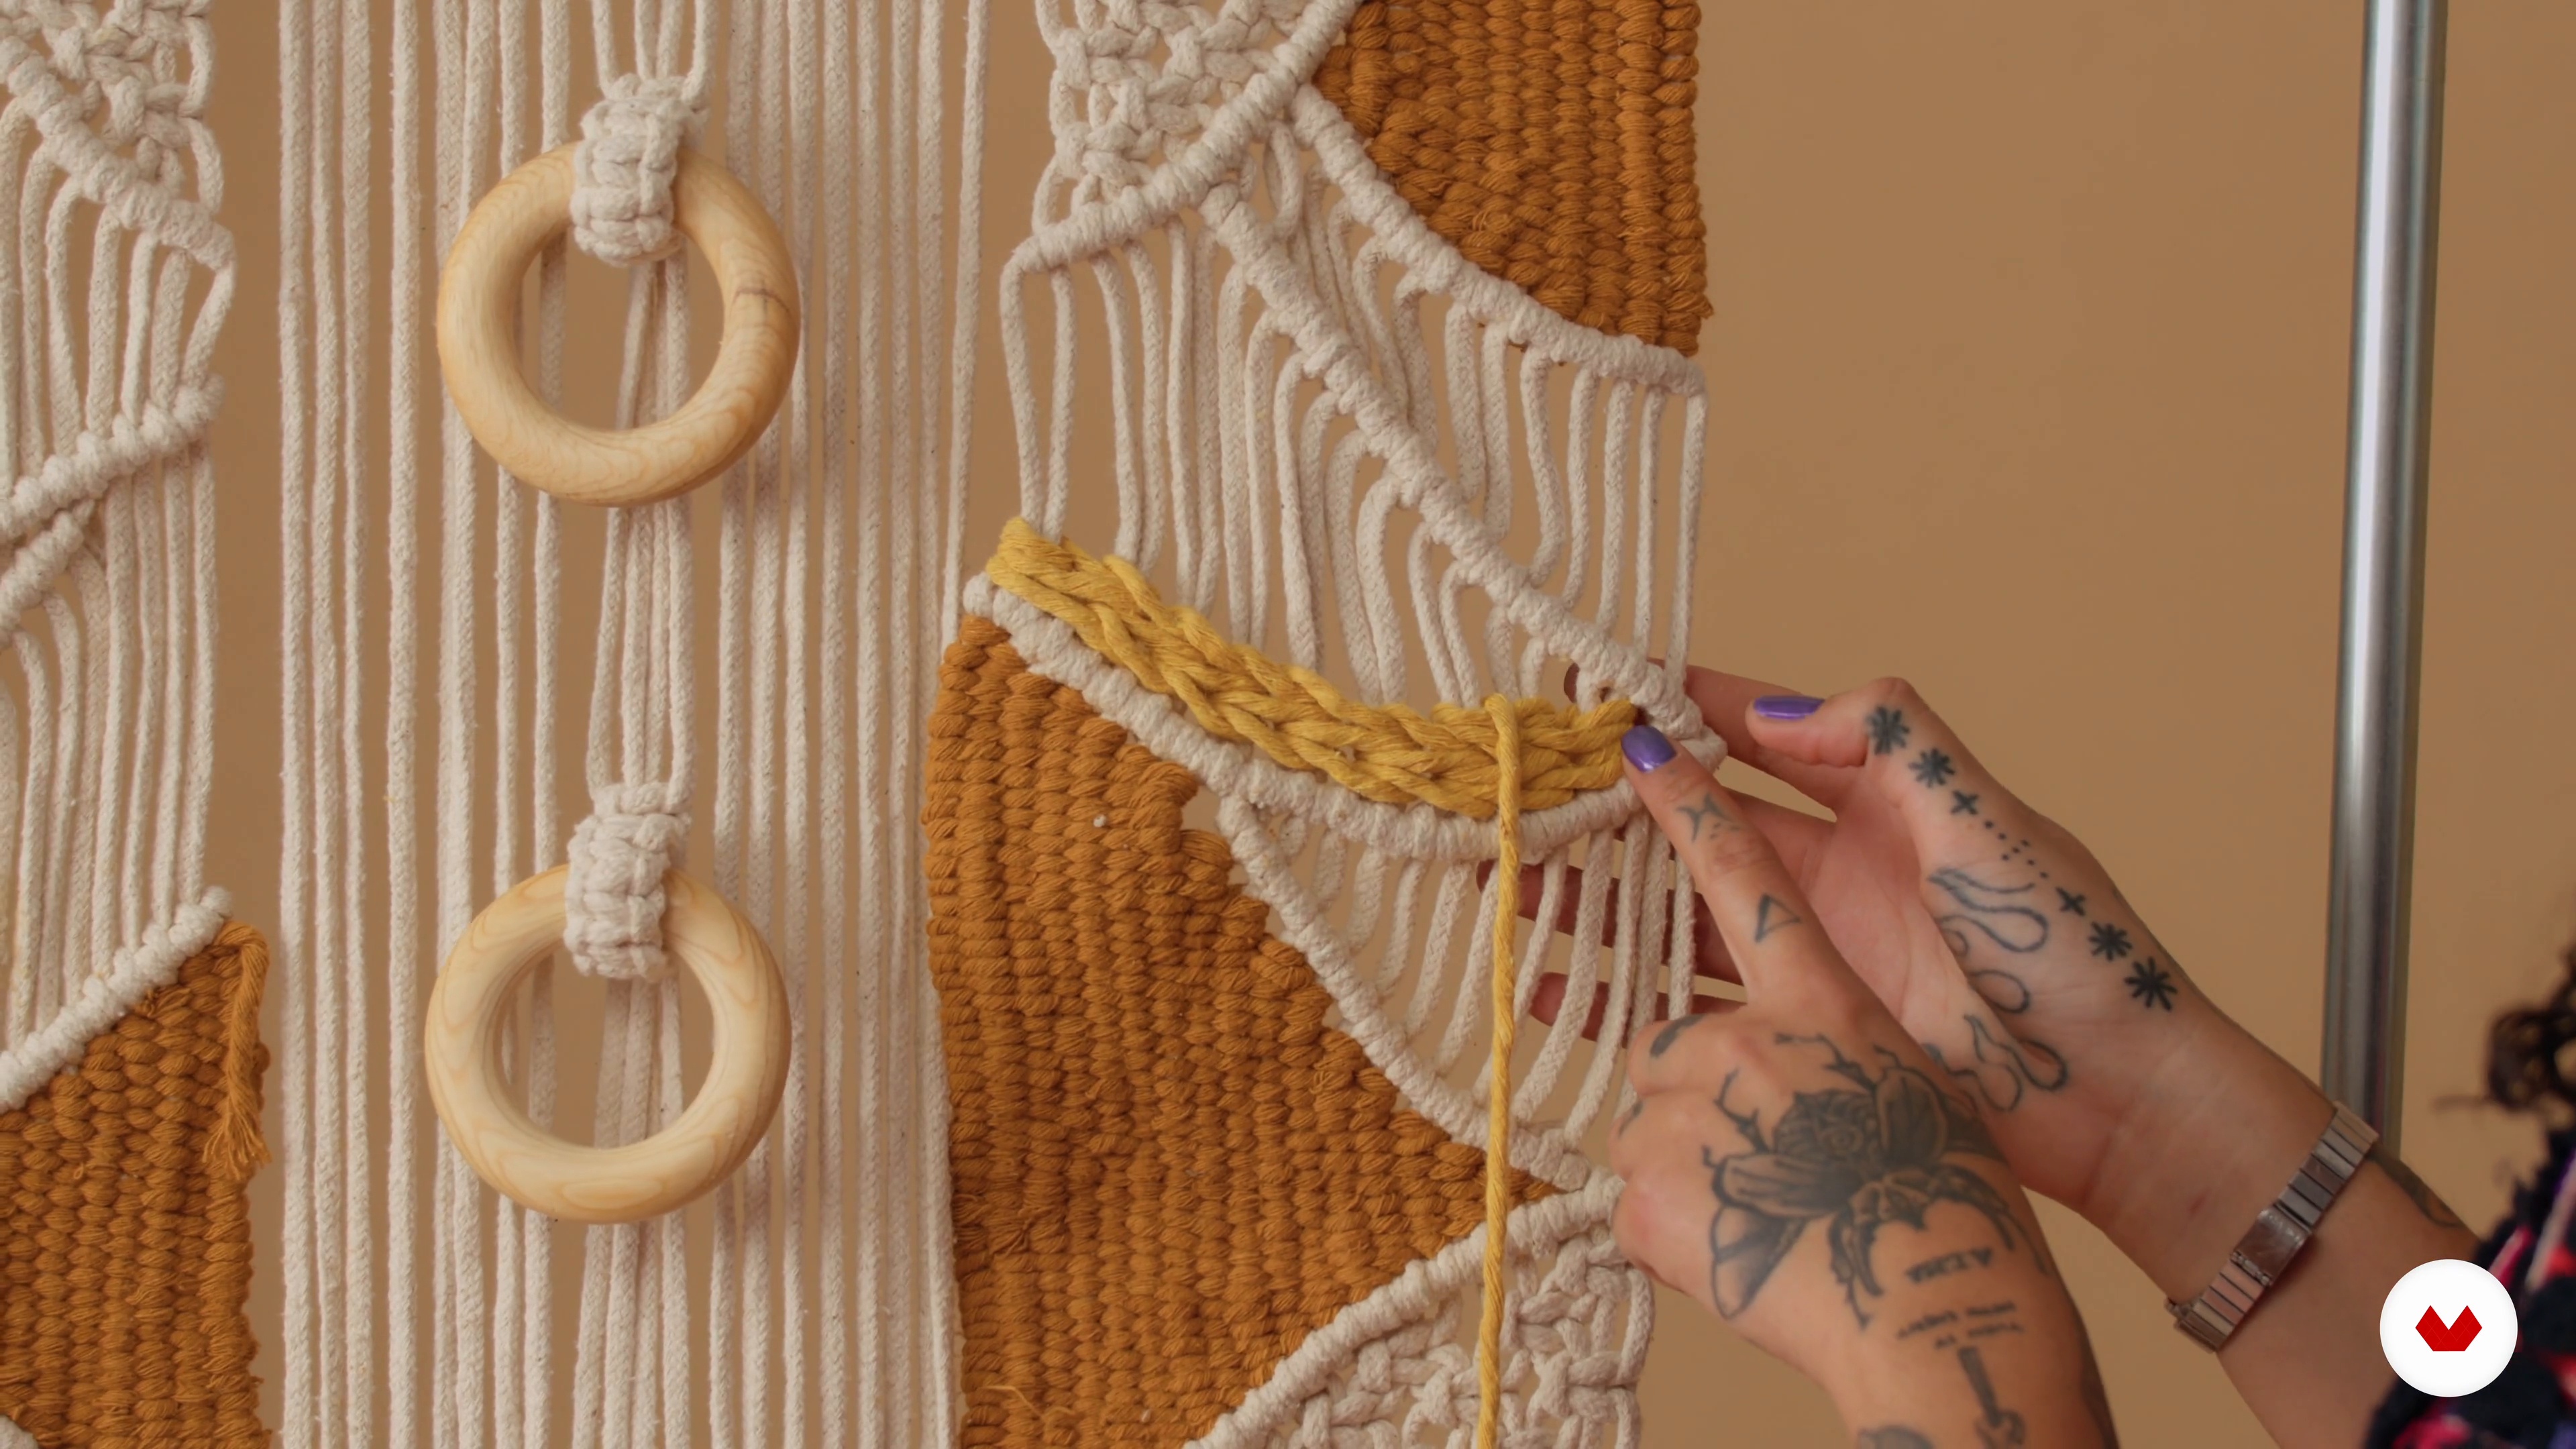
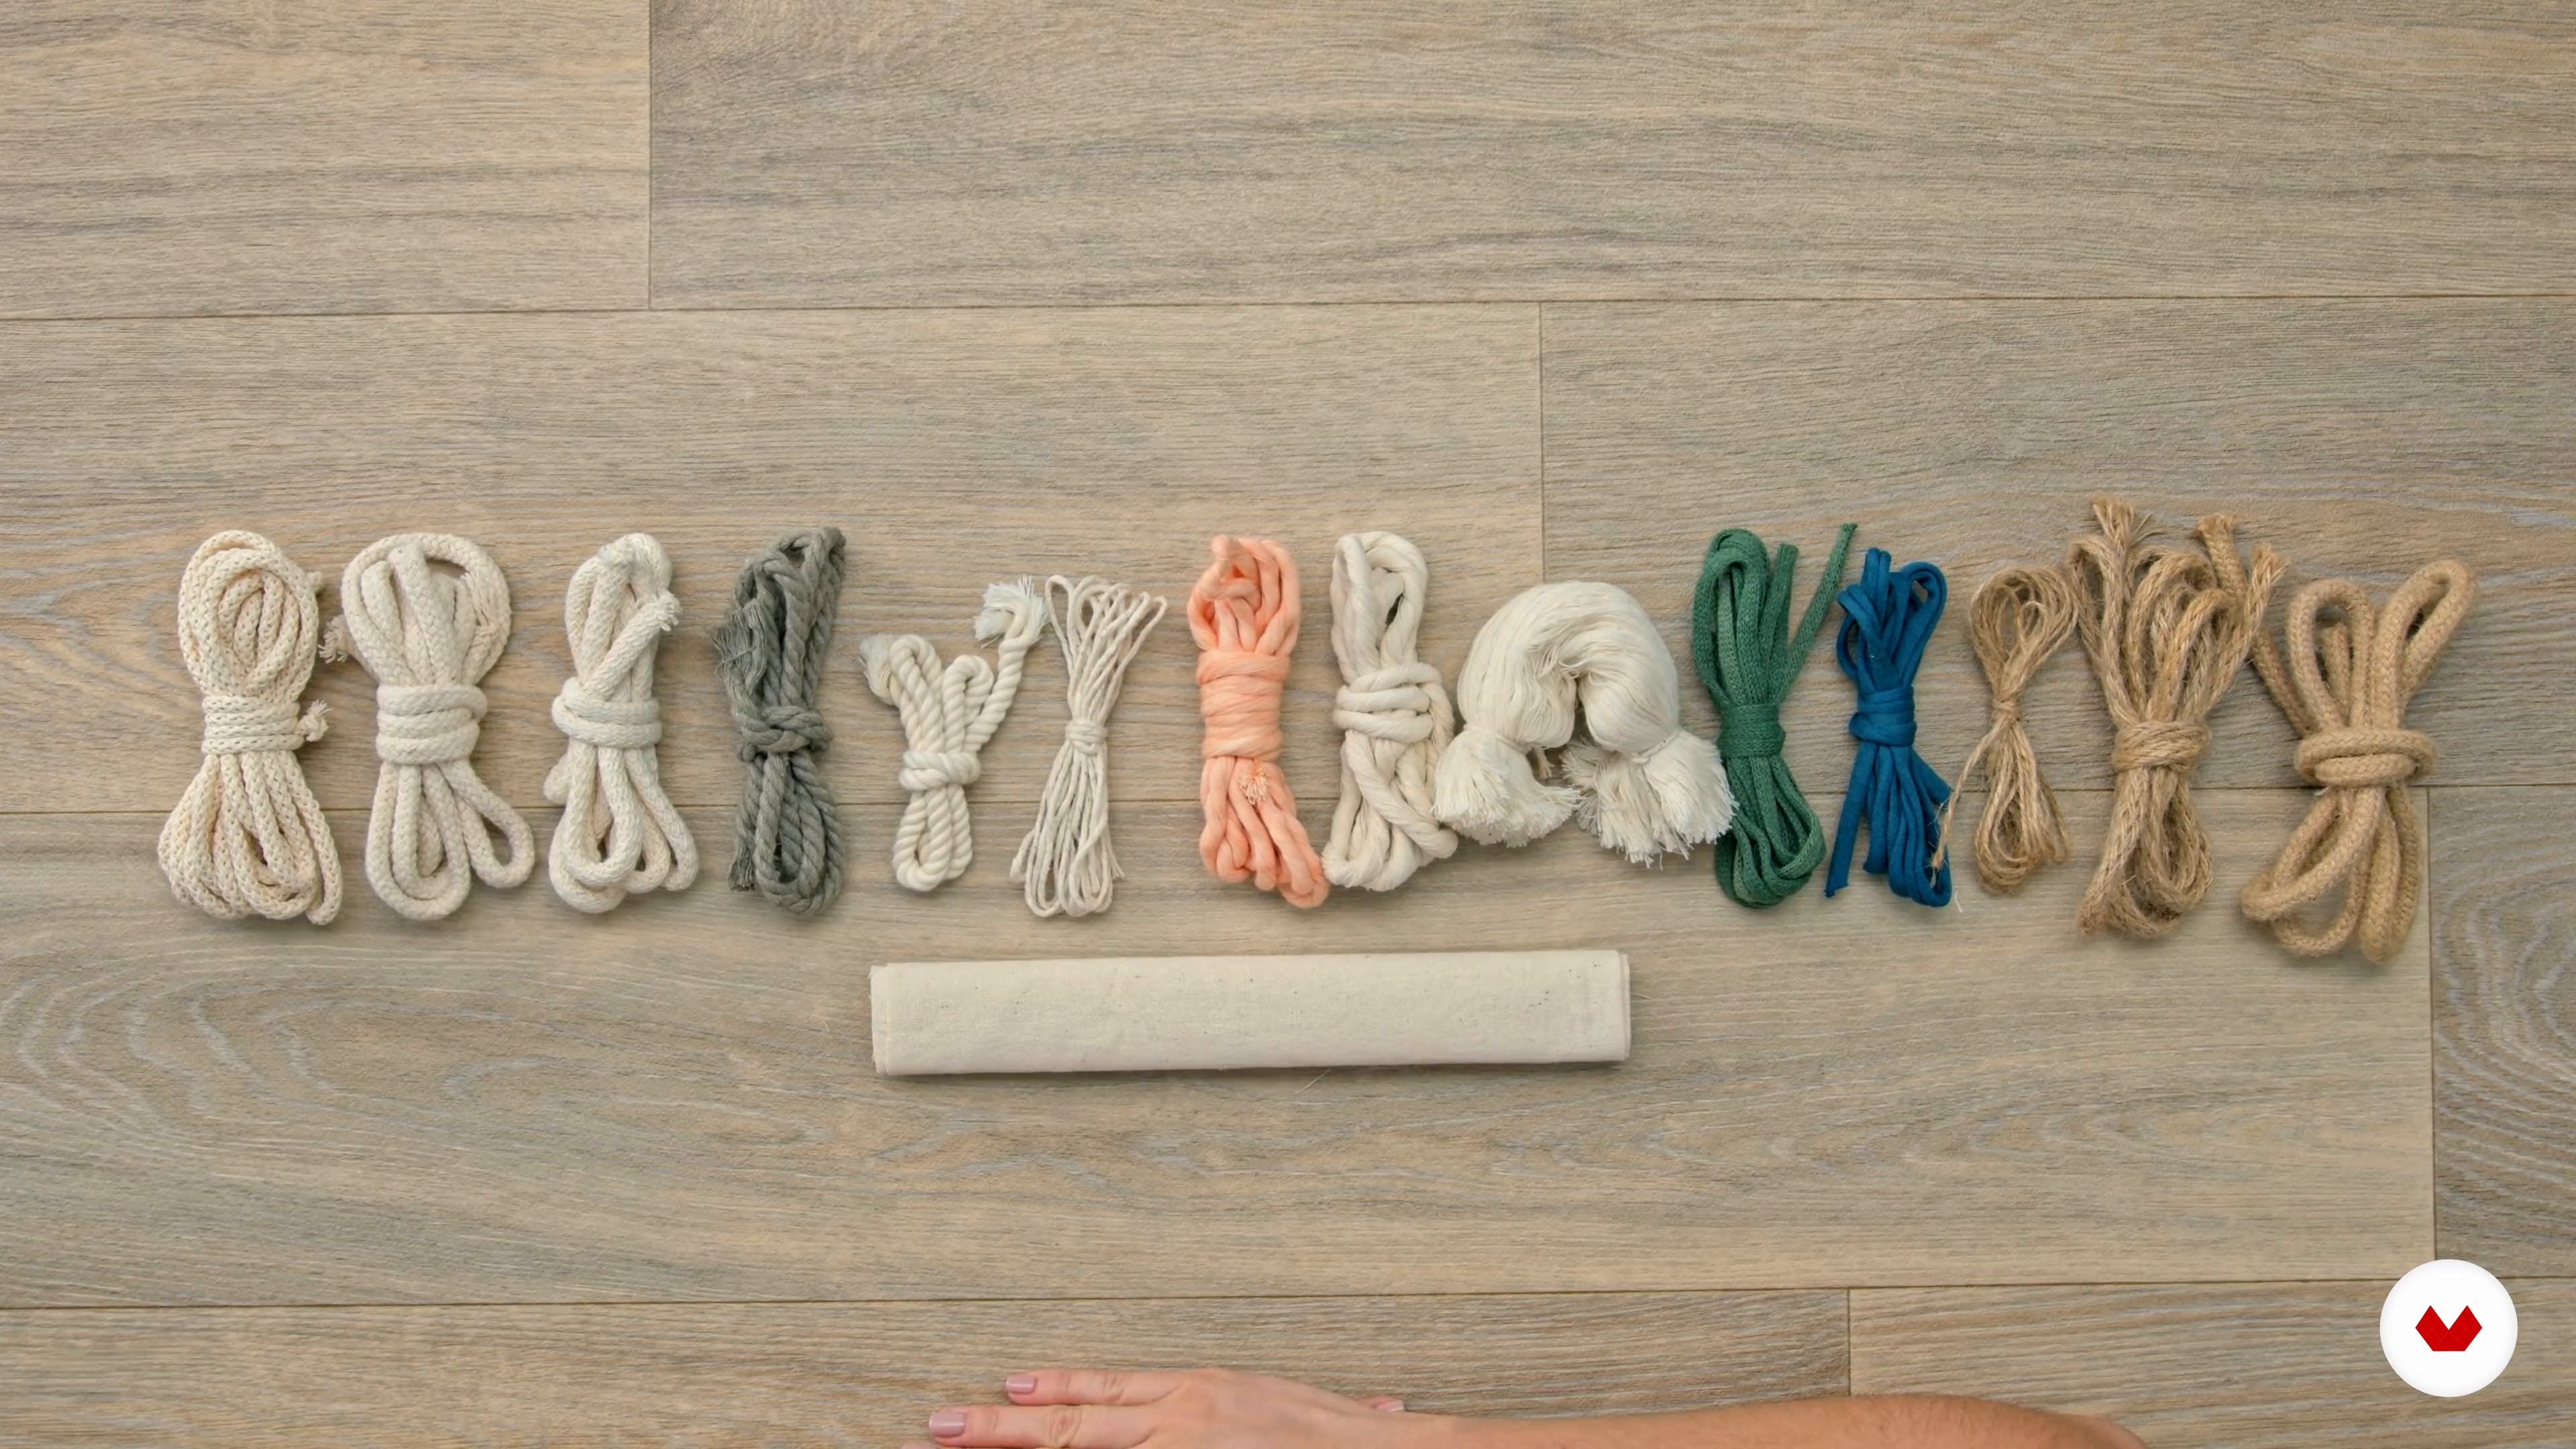
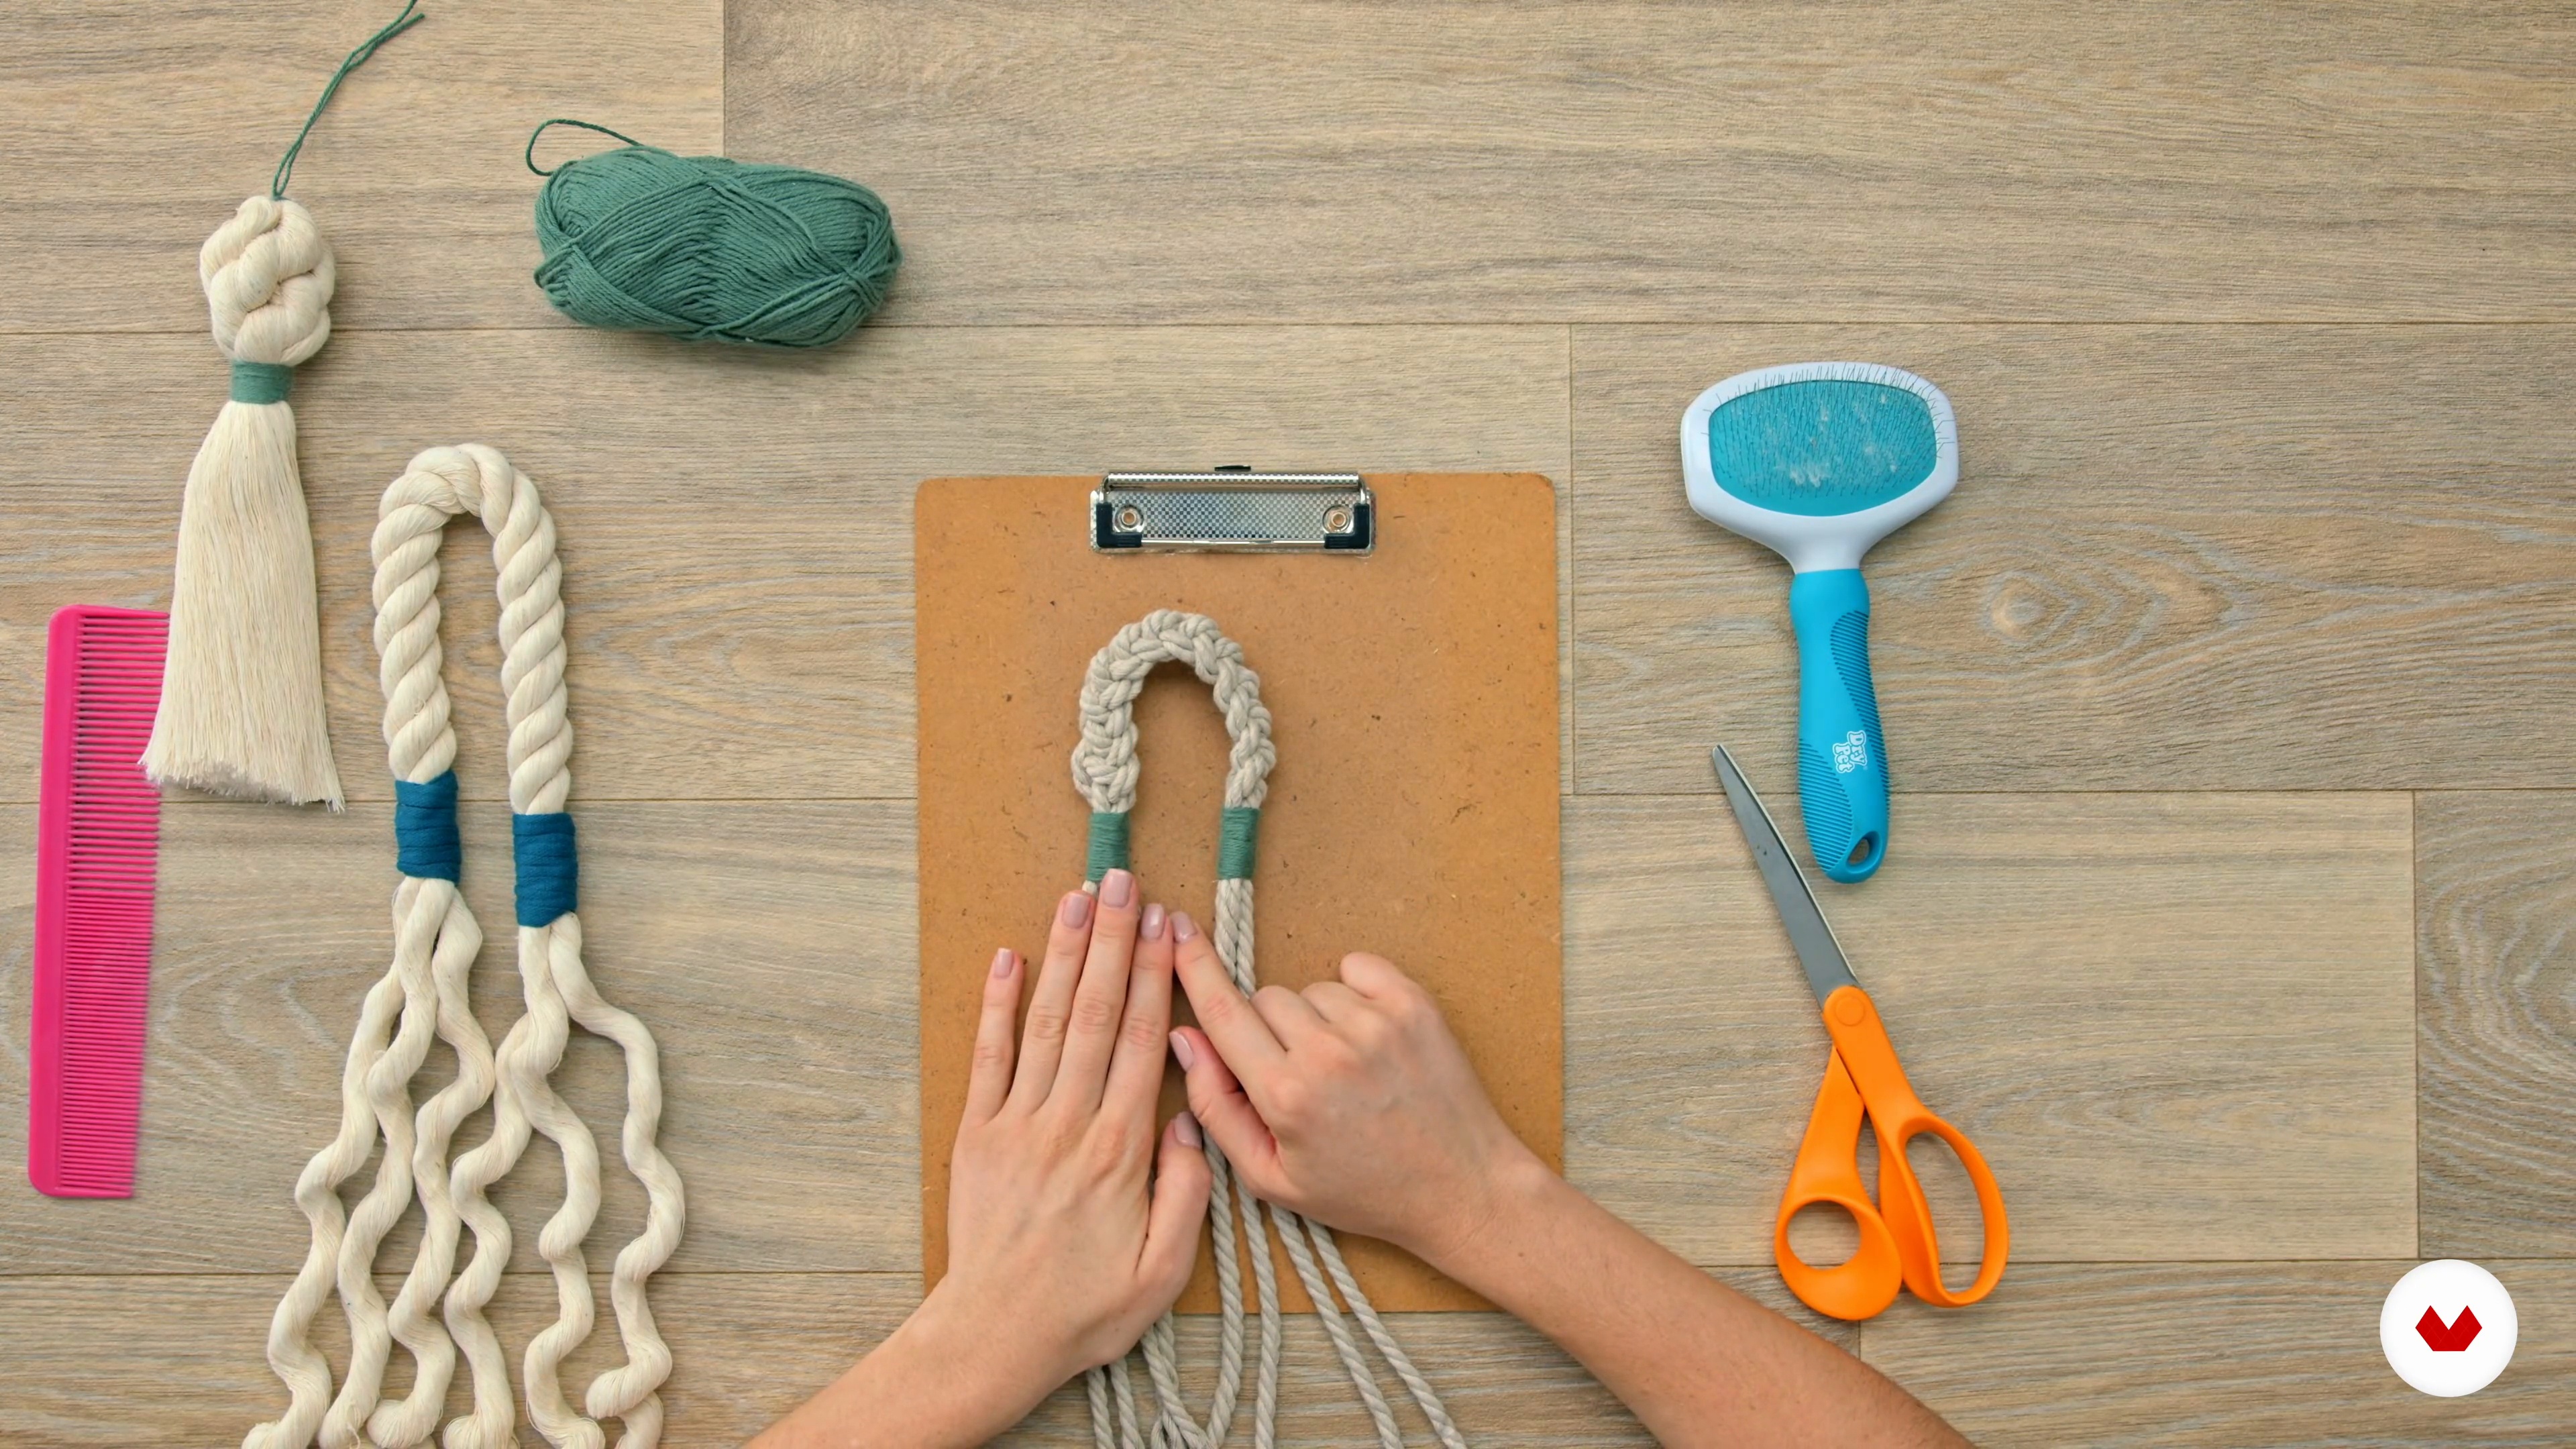
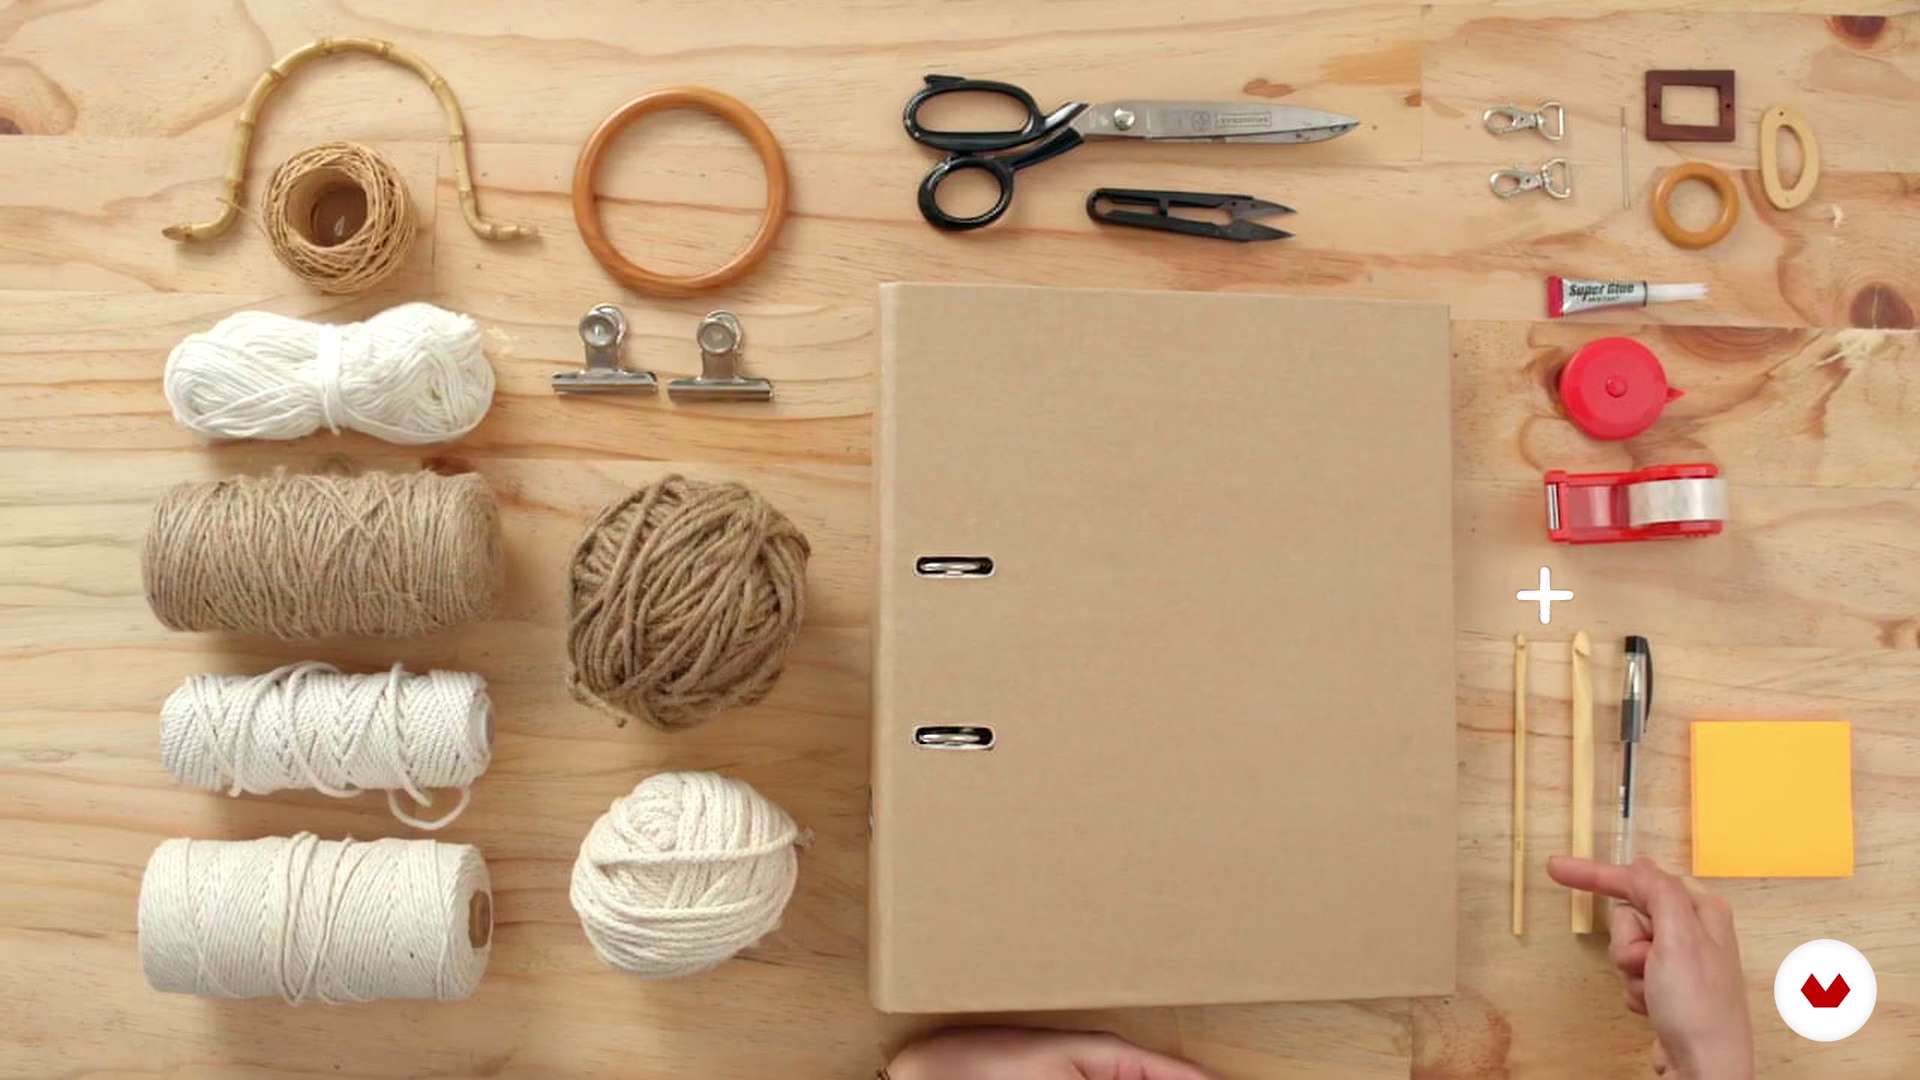
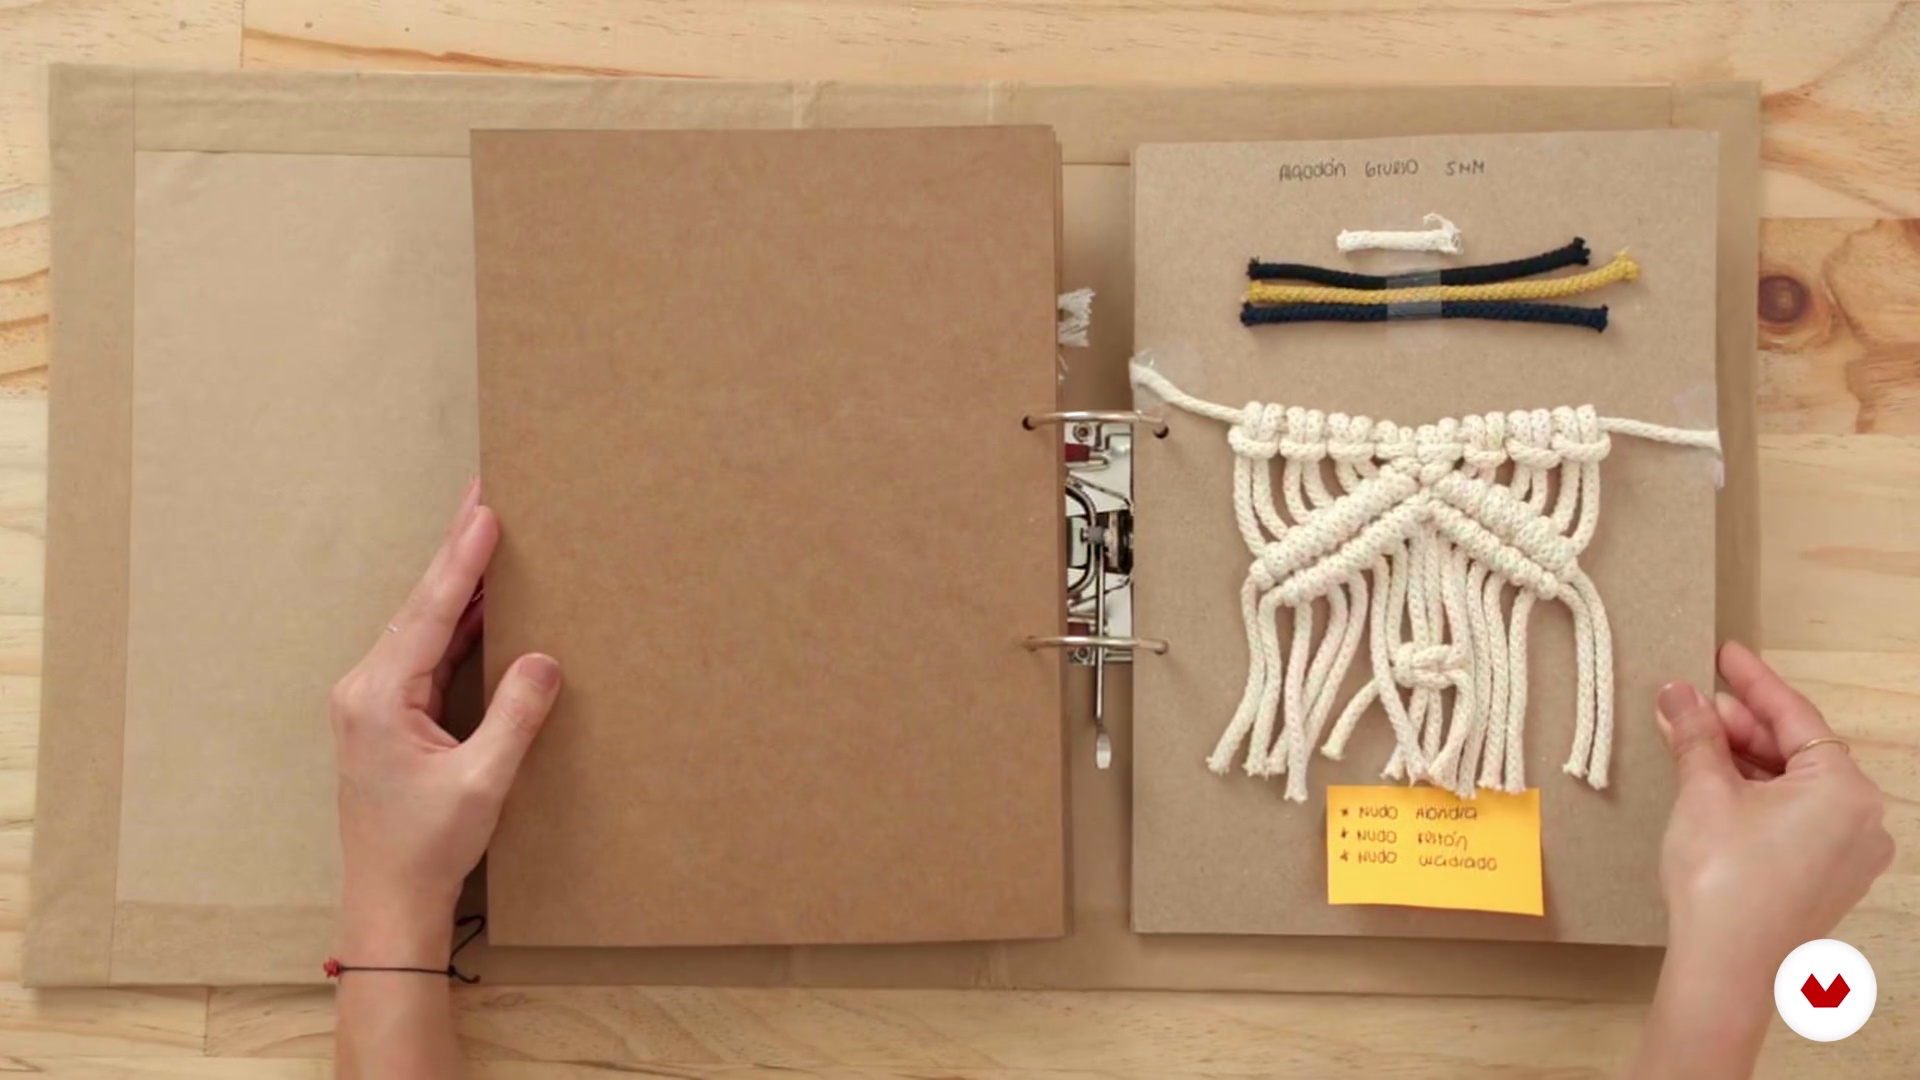
You’ll need cotton cords, scissors, clipboards, rings, a sample binder, natural dyeing materials, and basic crafting tools. The course provides specific recommendations based on the projects.
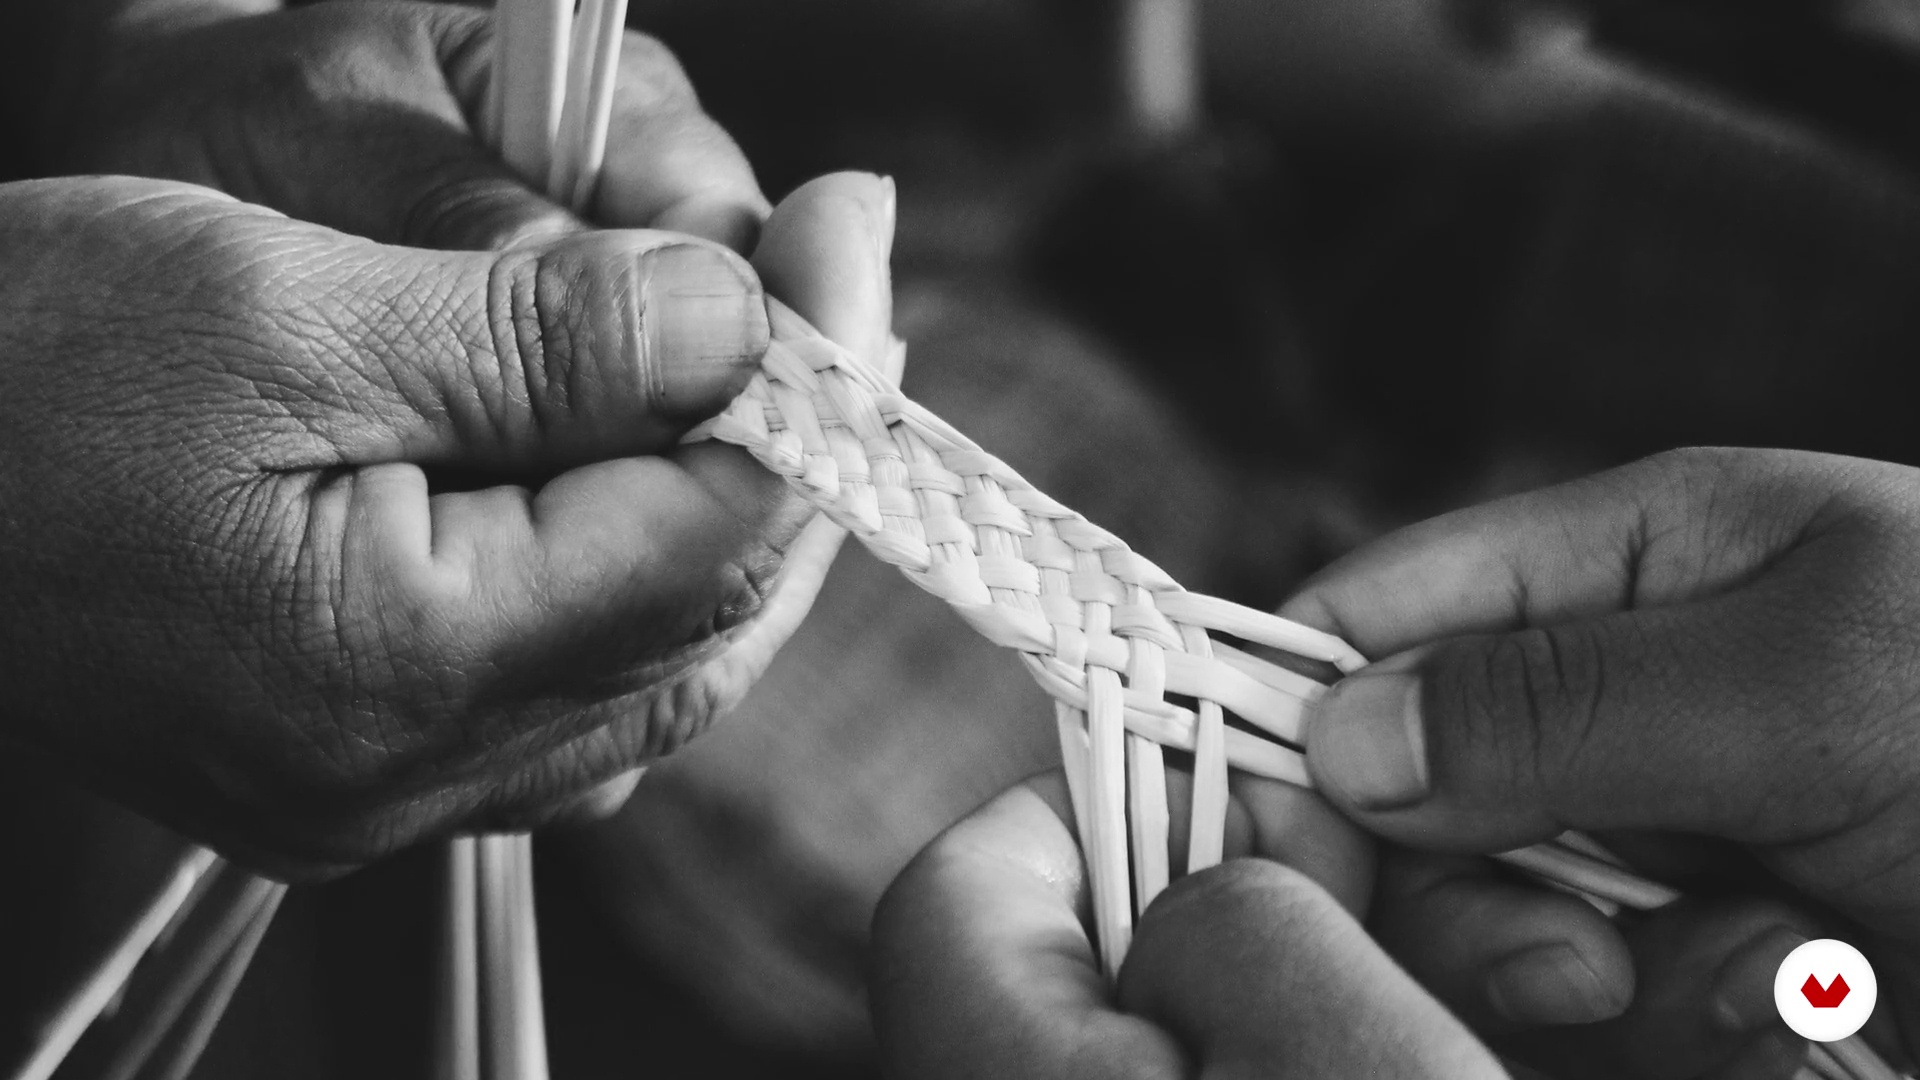
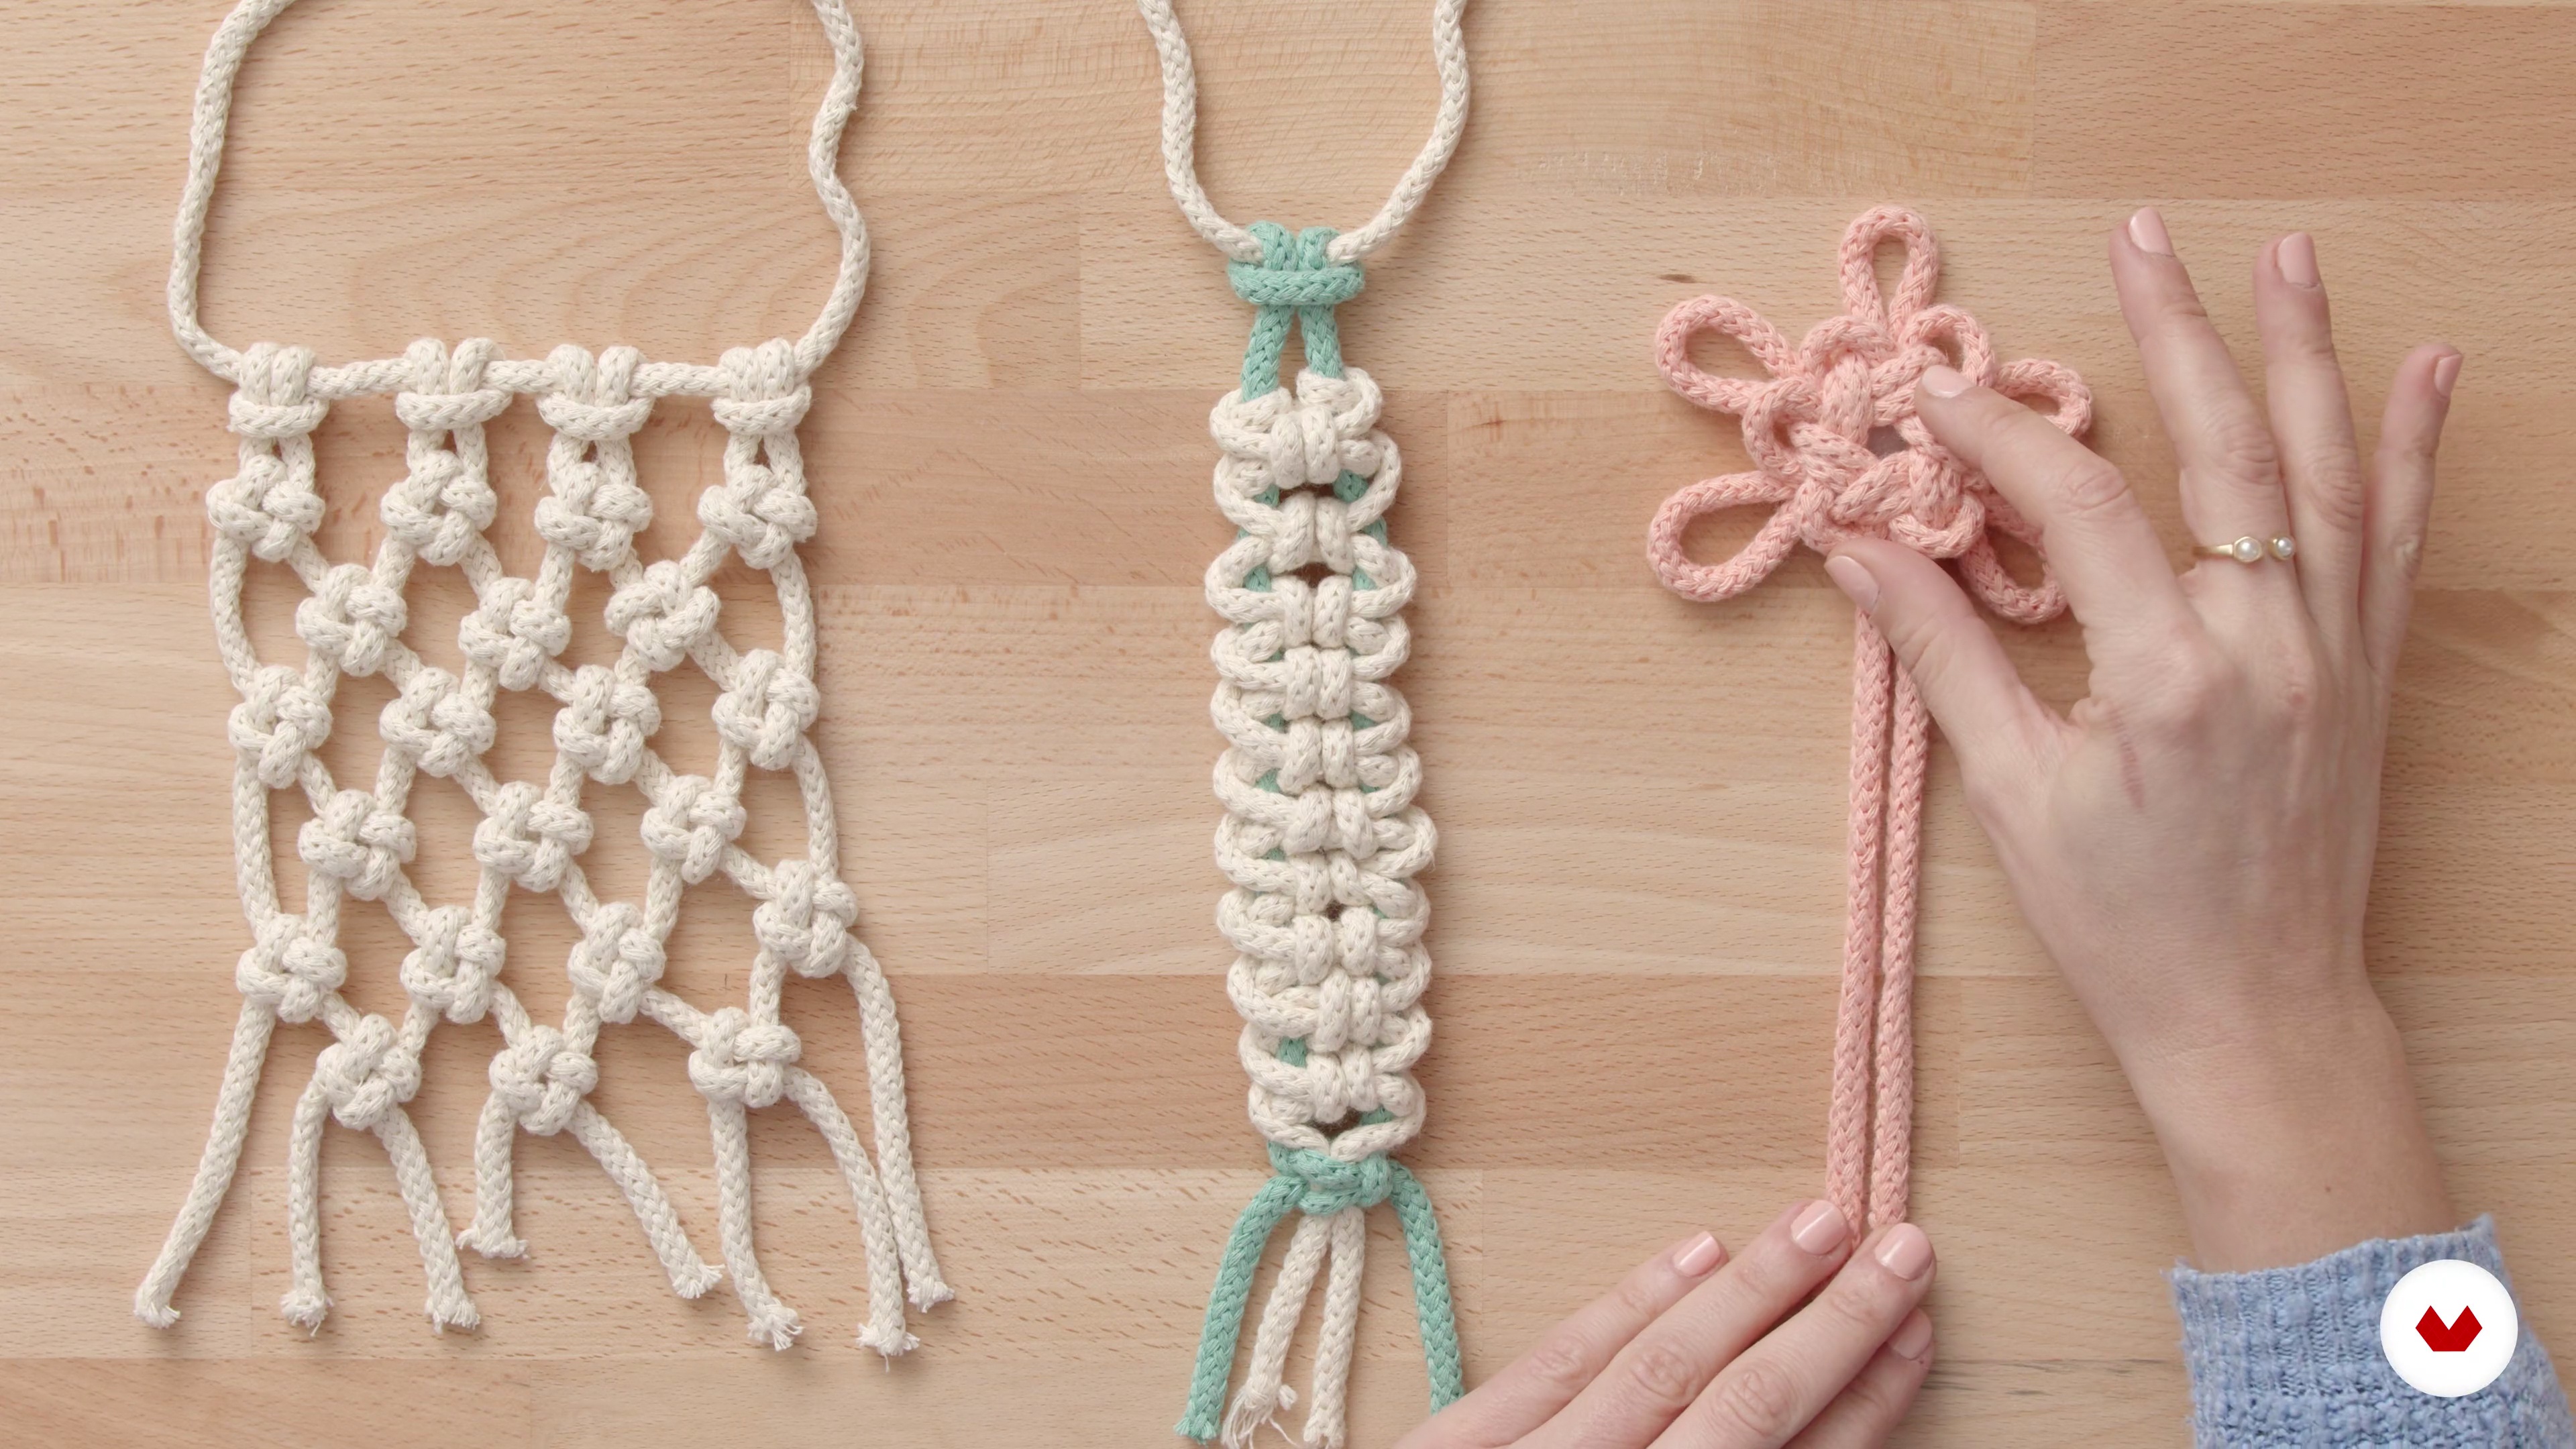
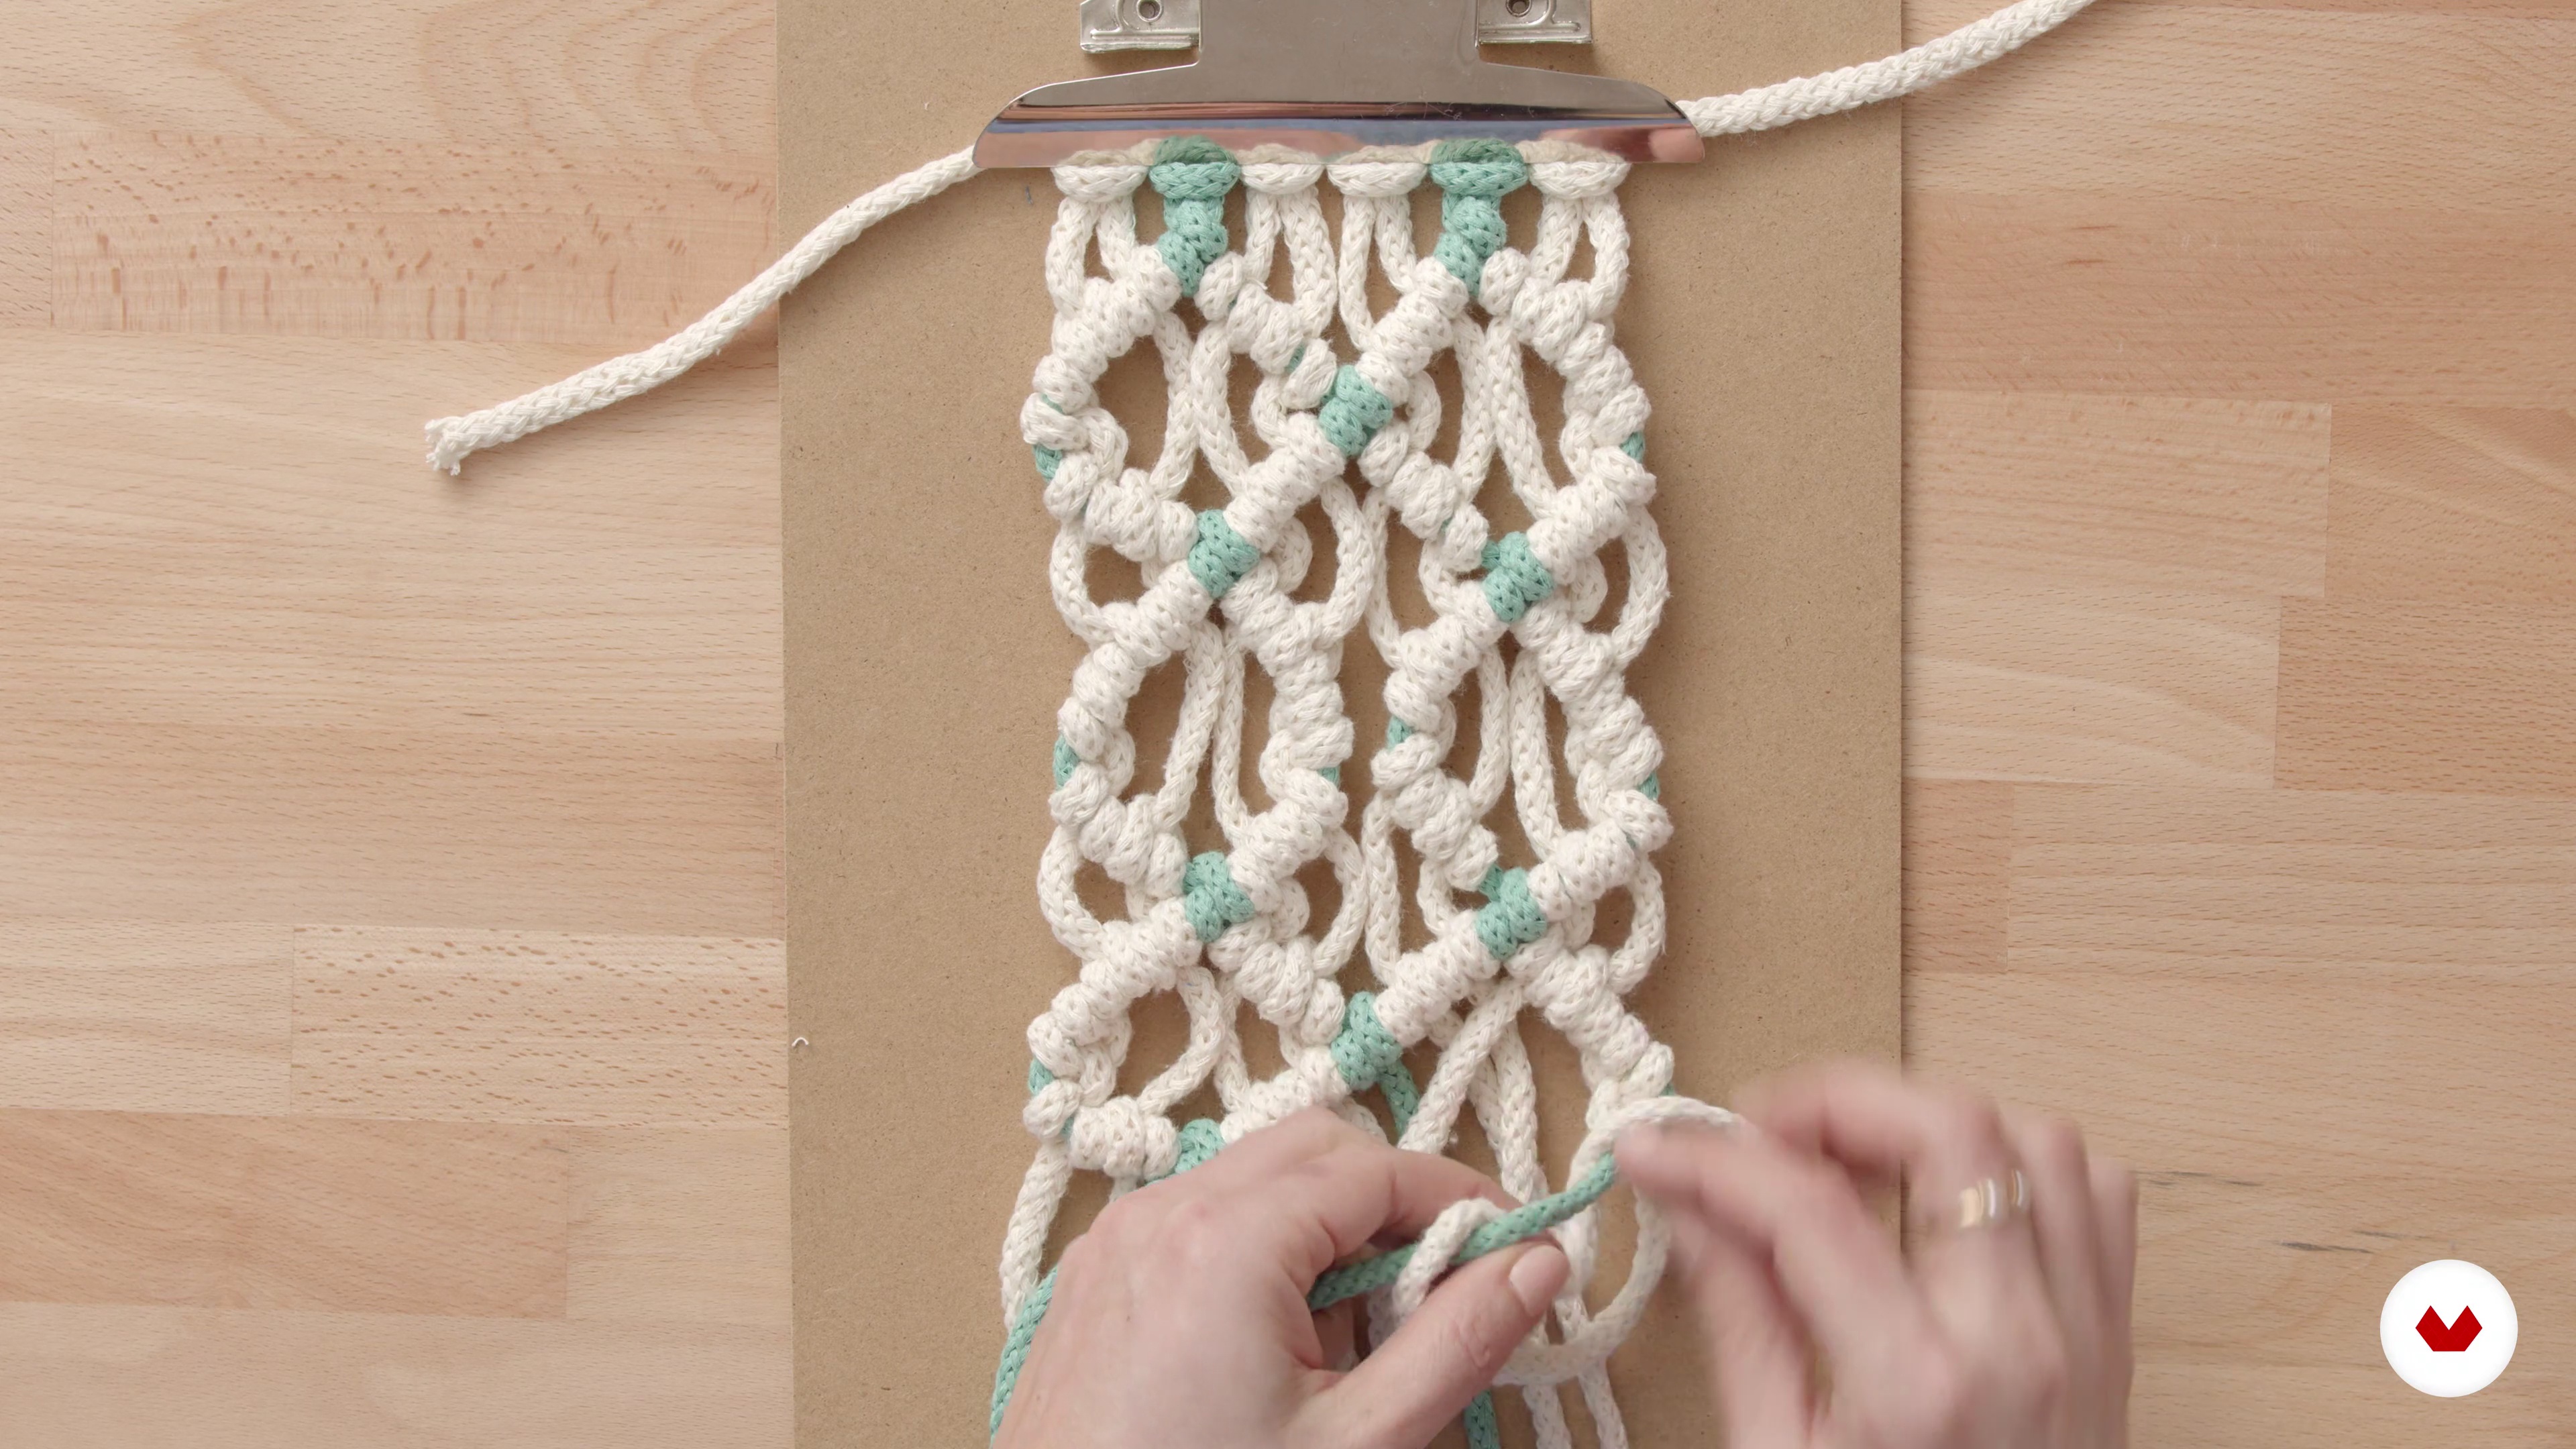
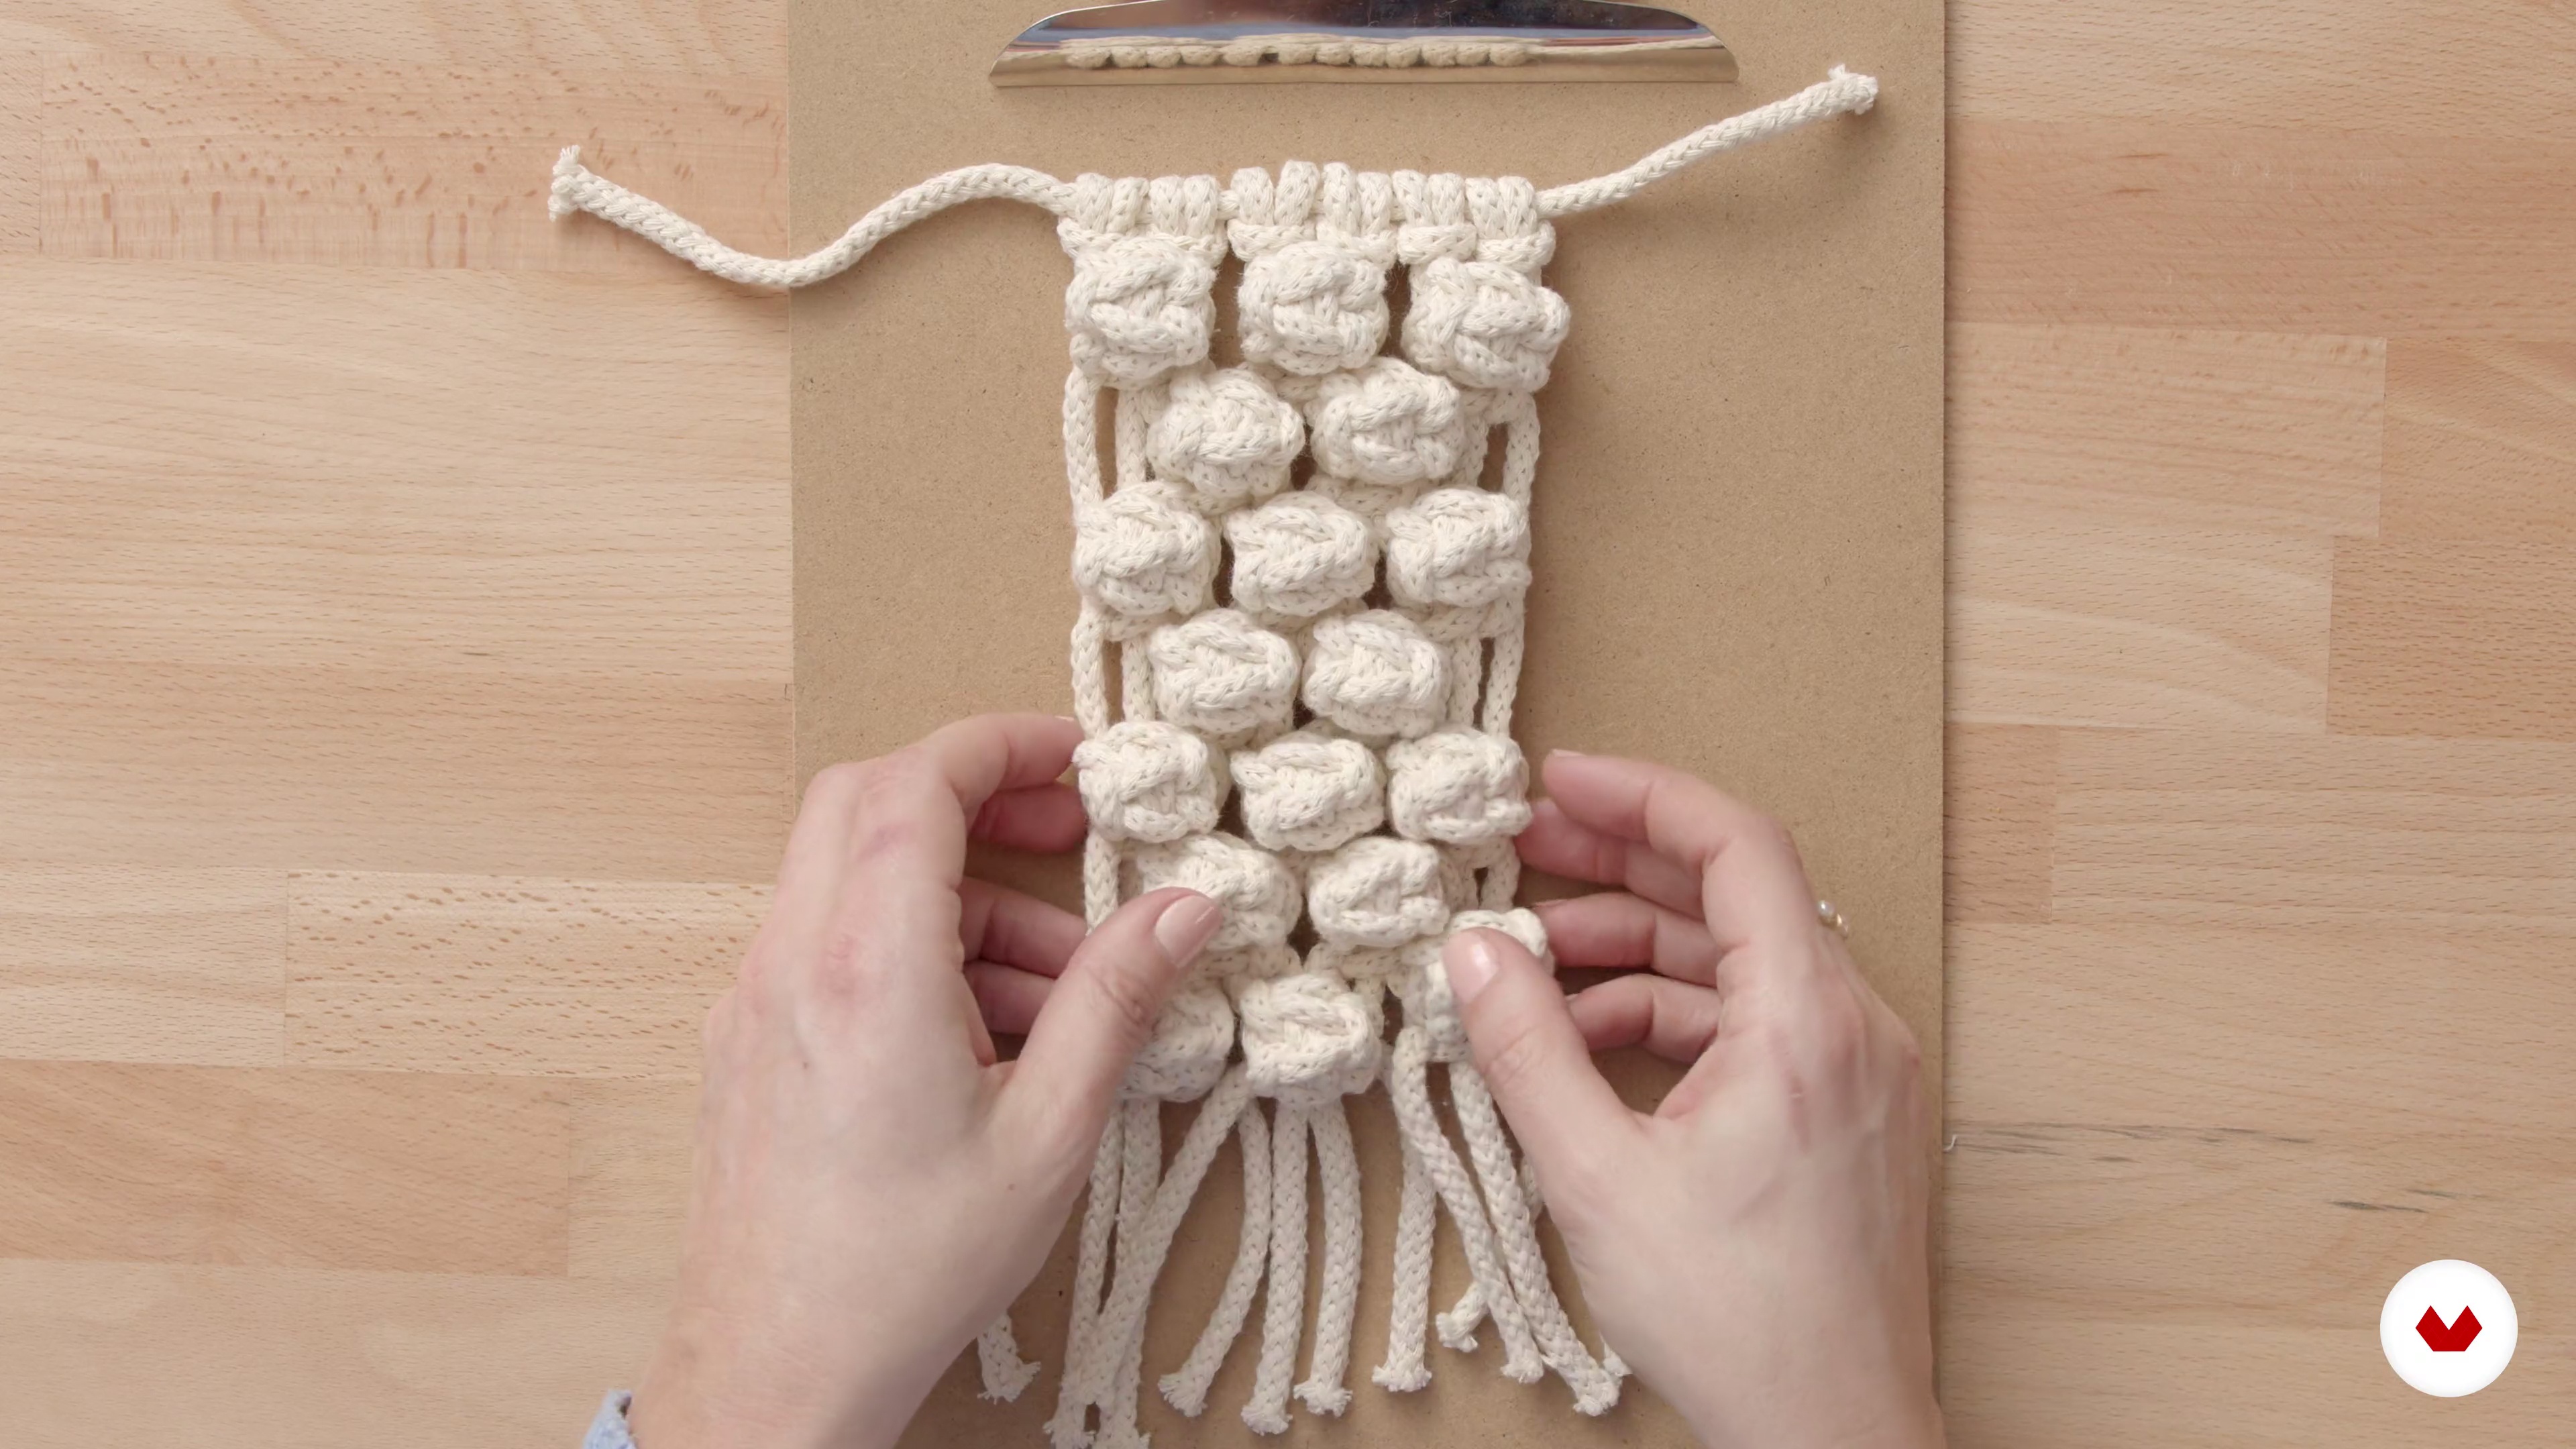
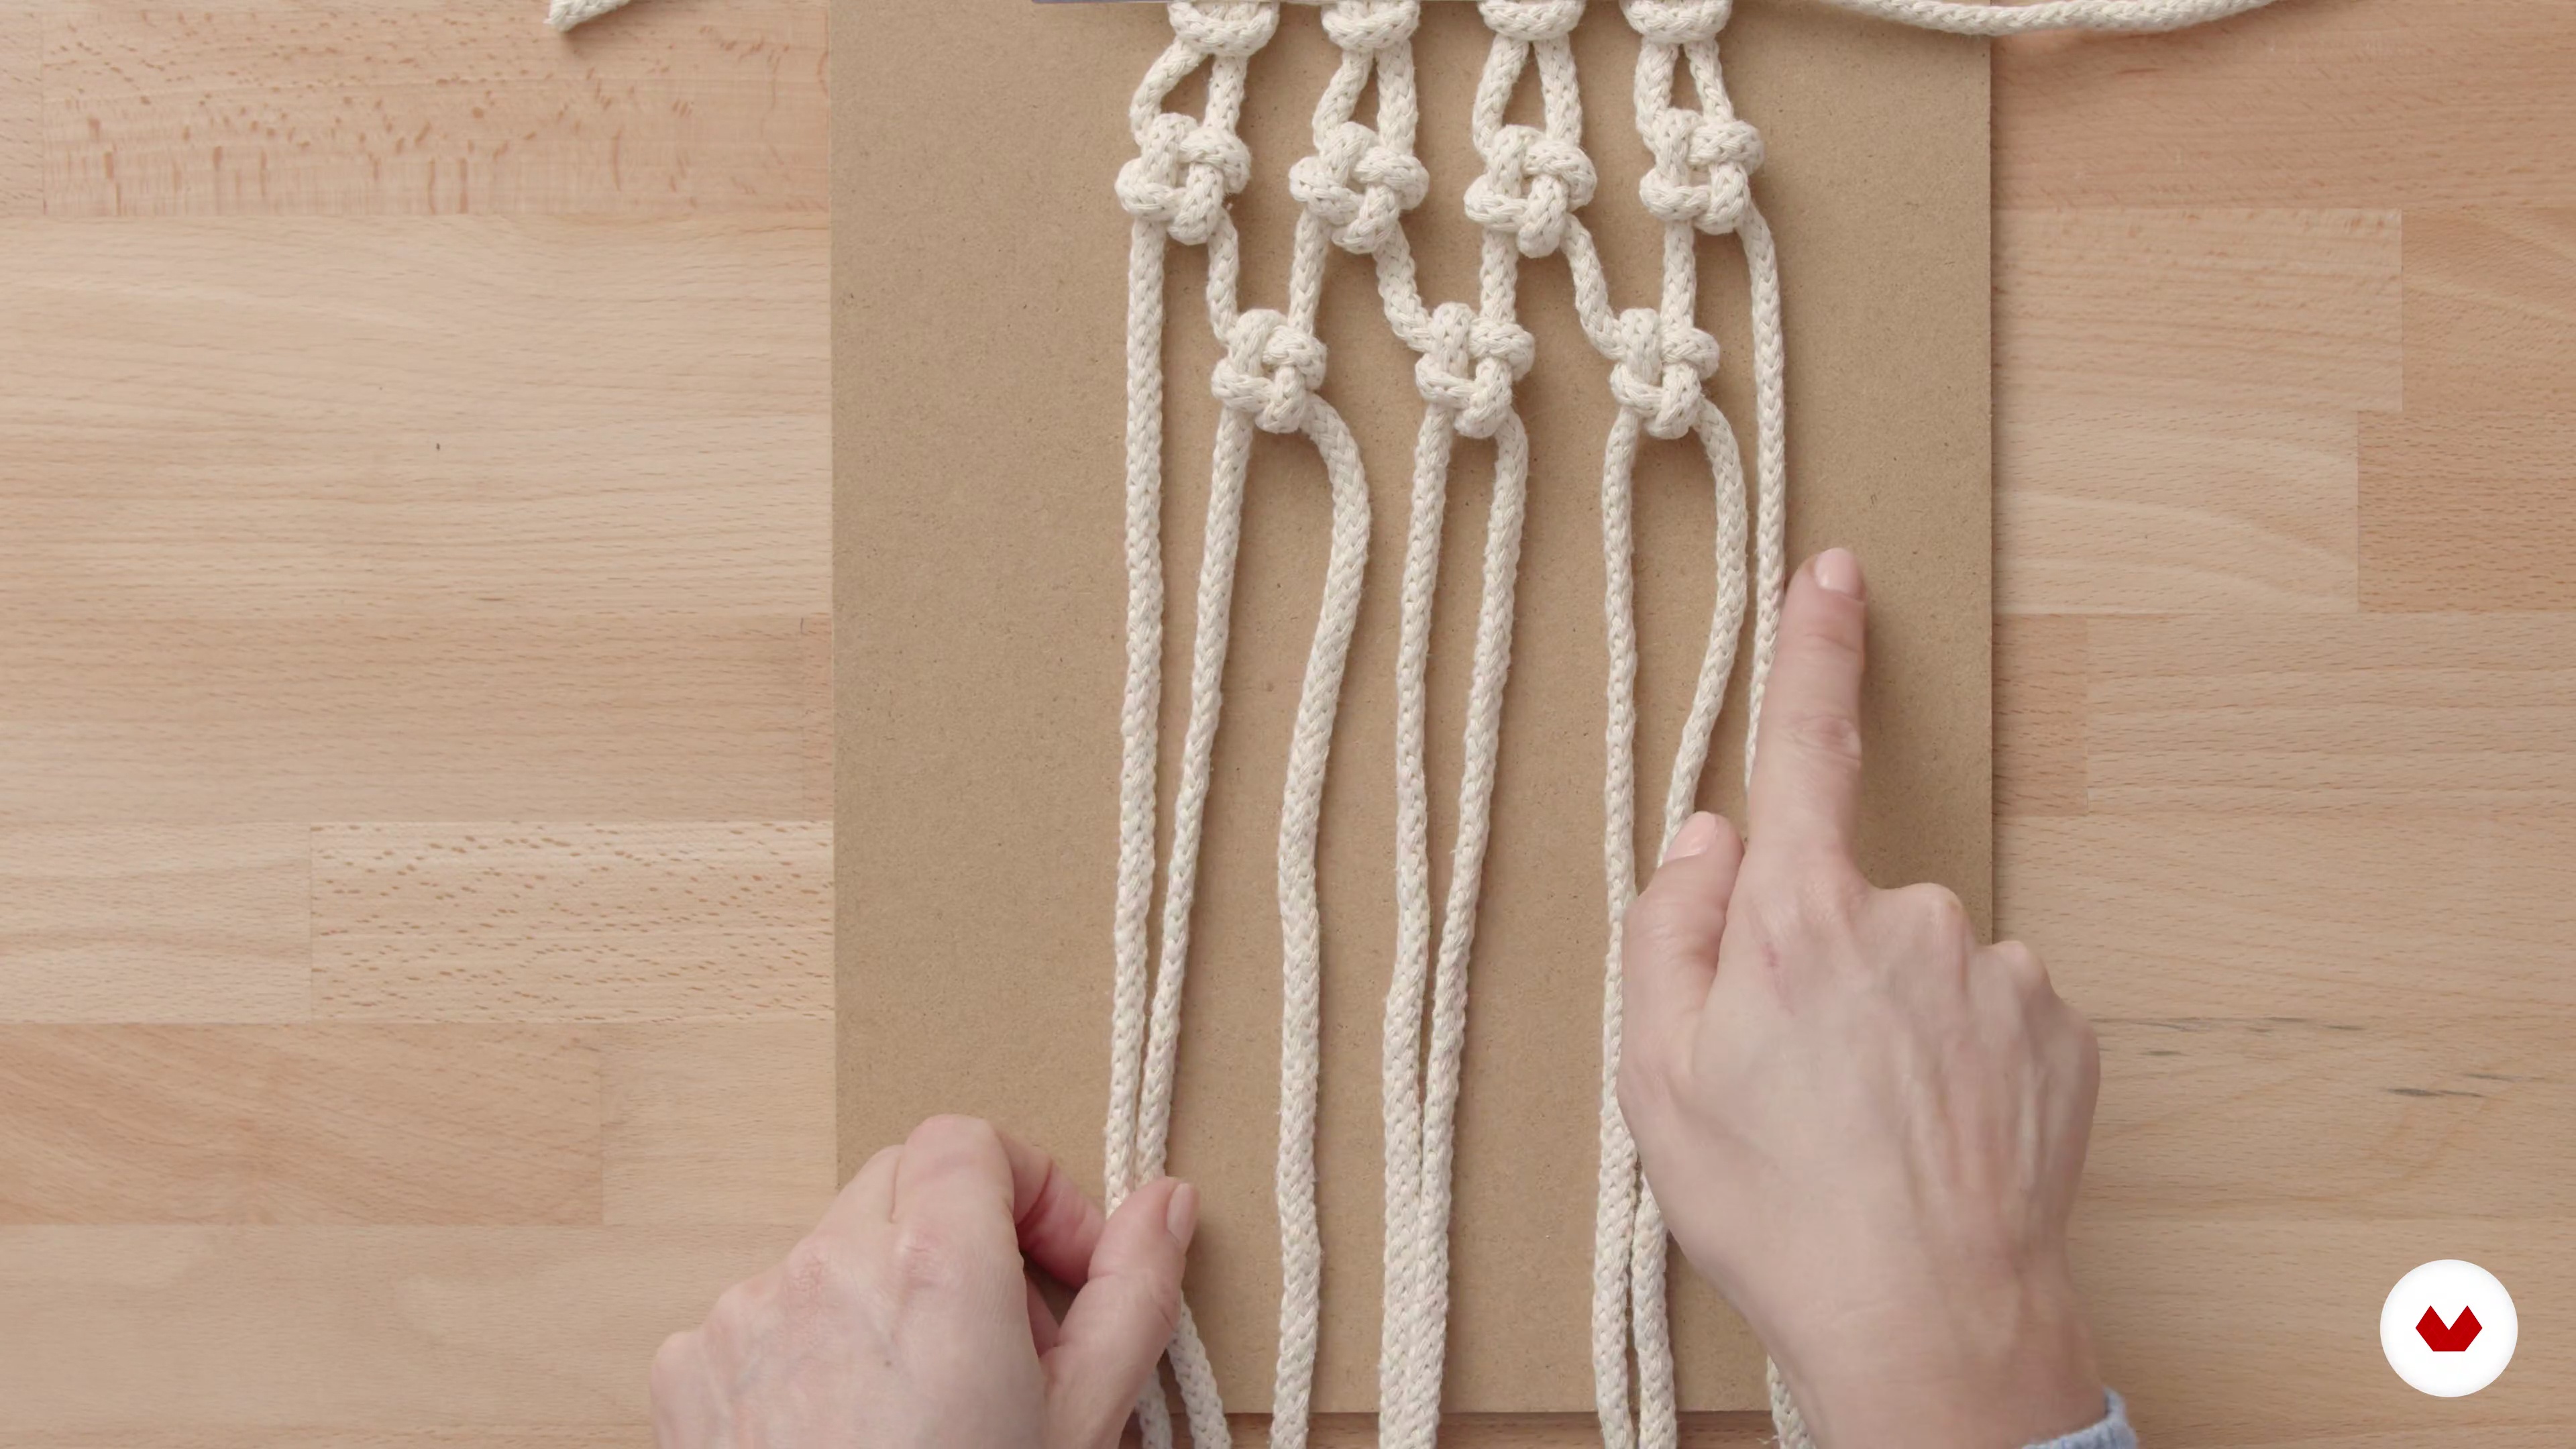
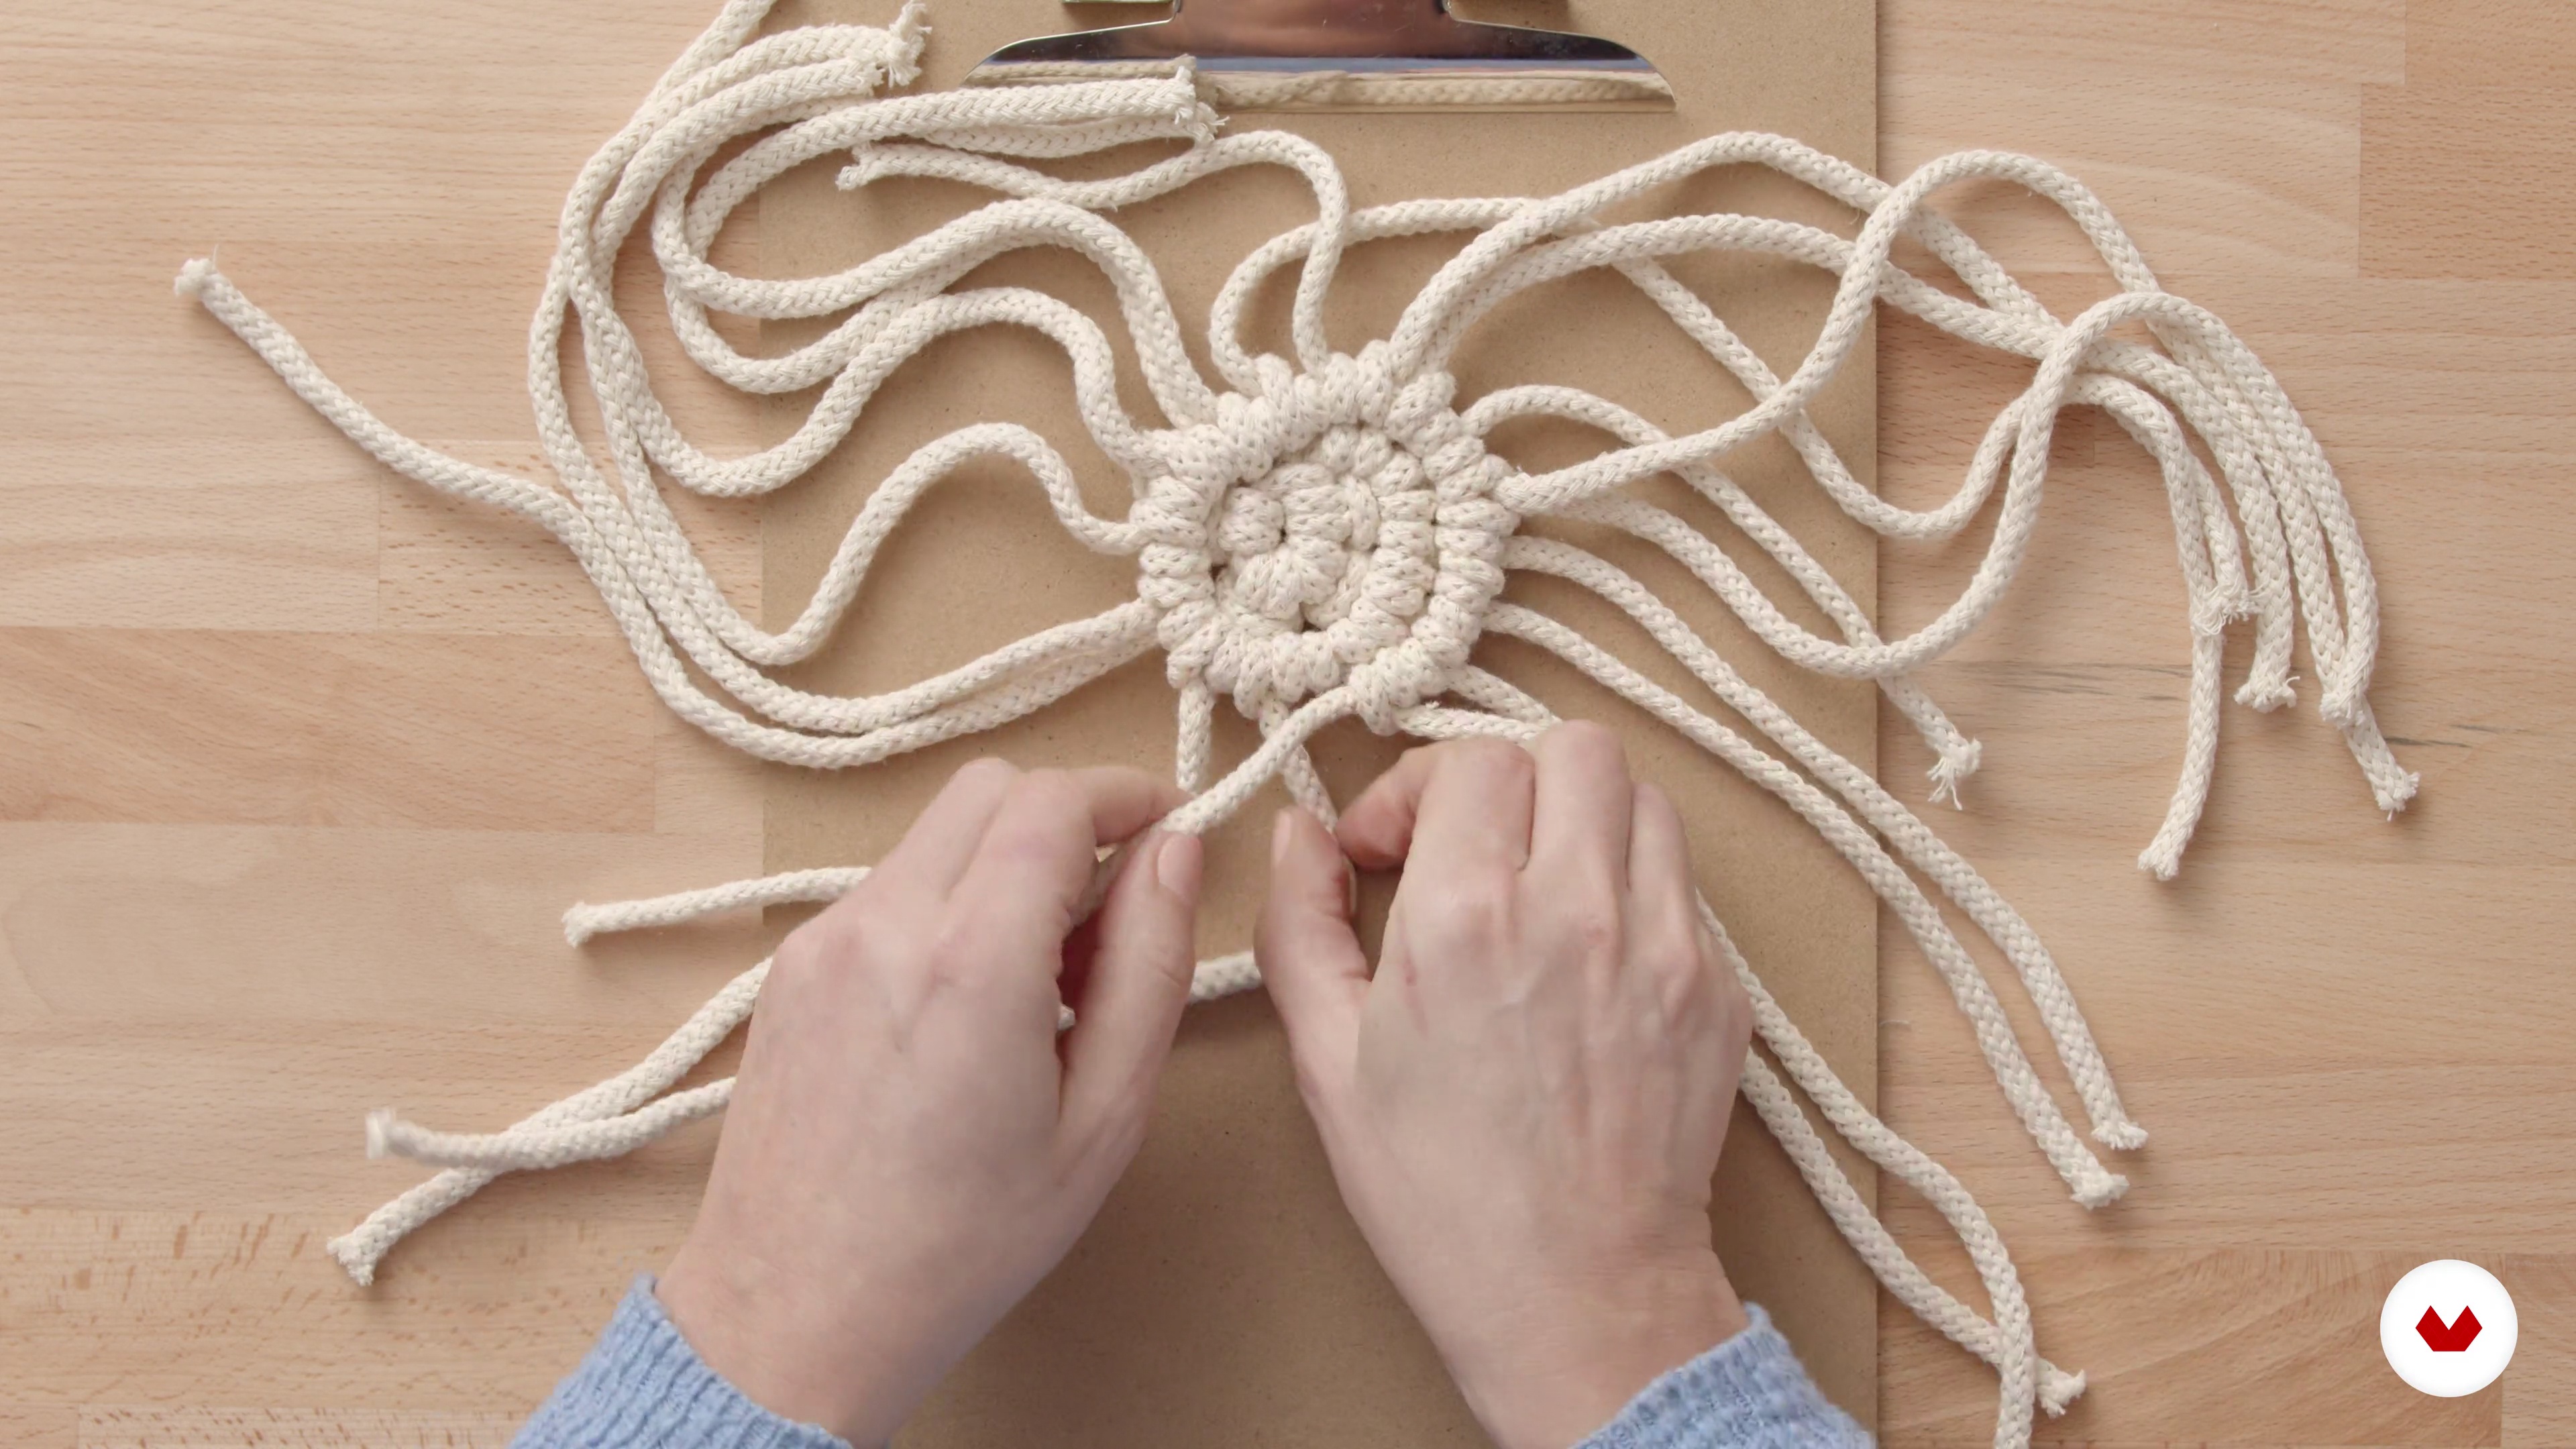
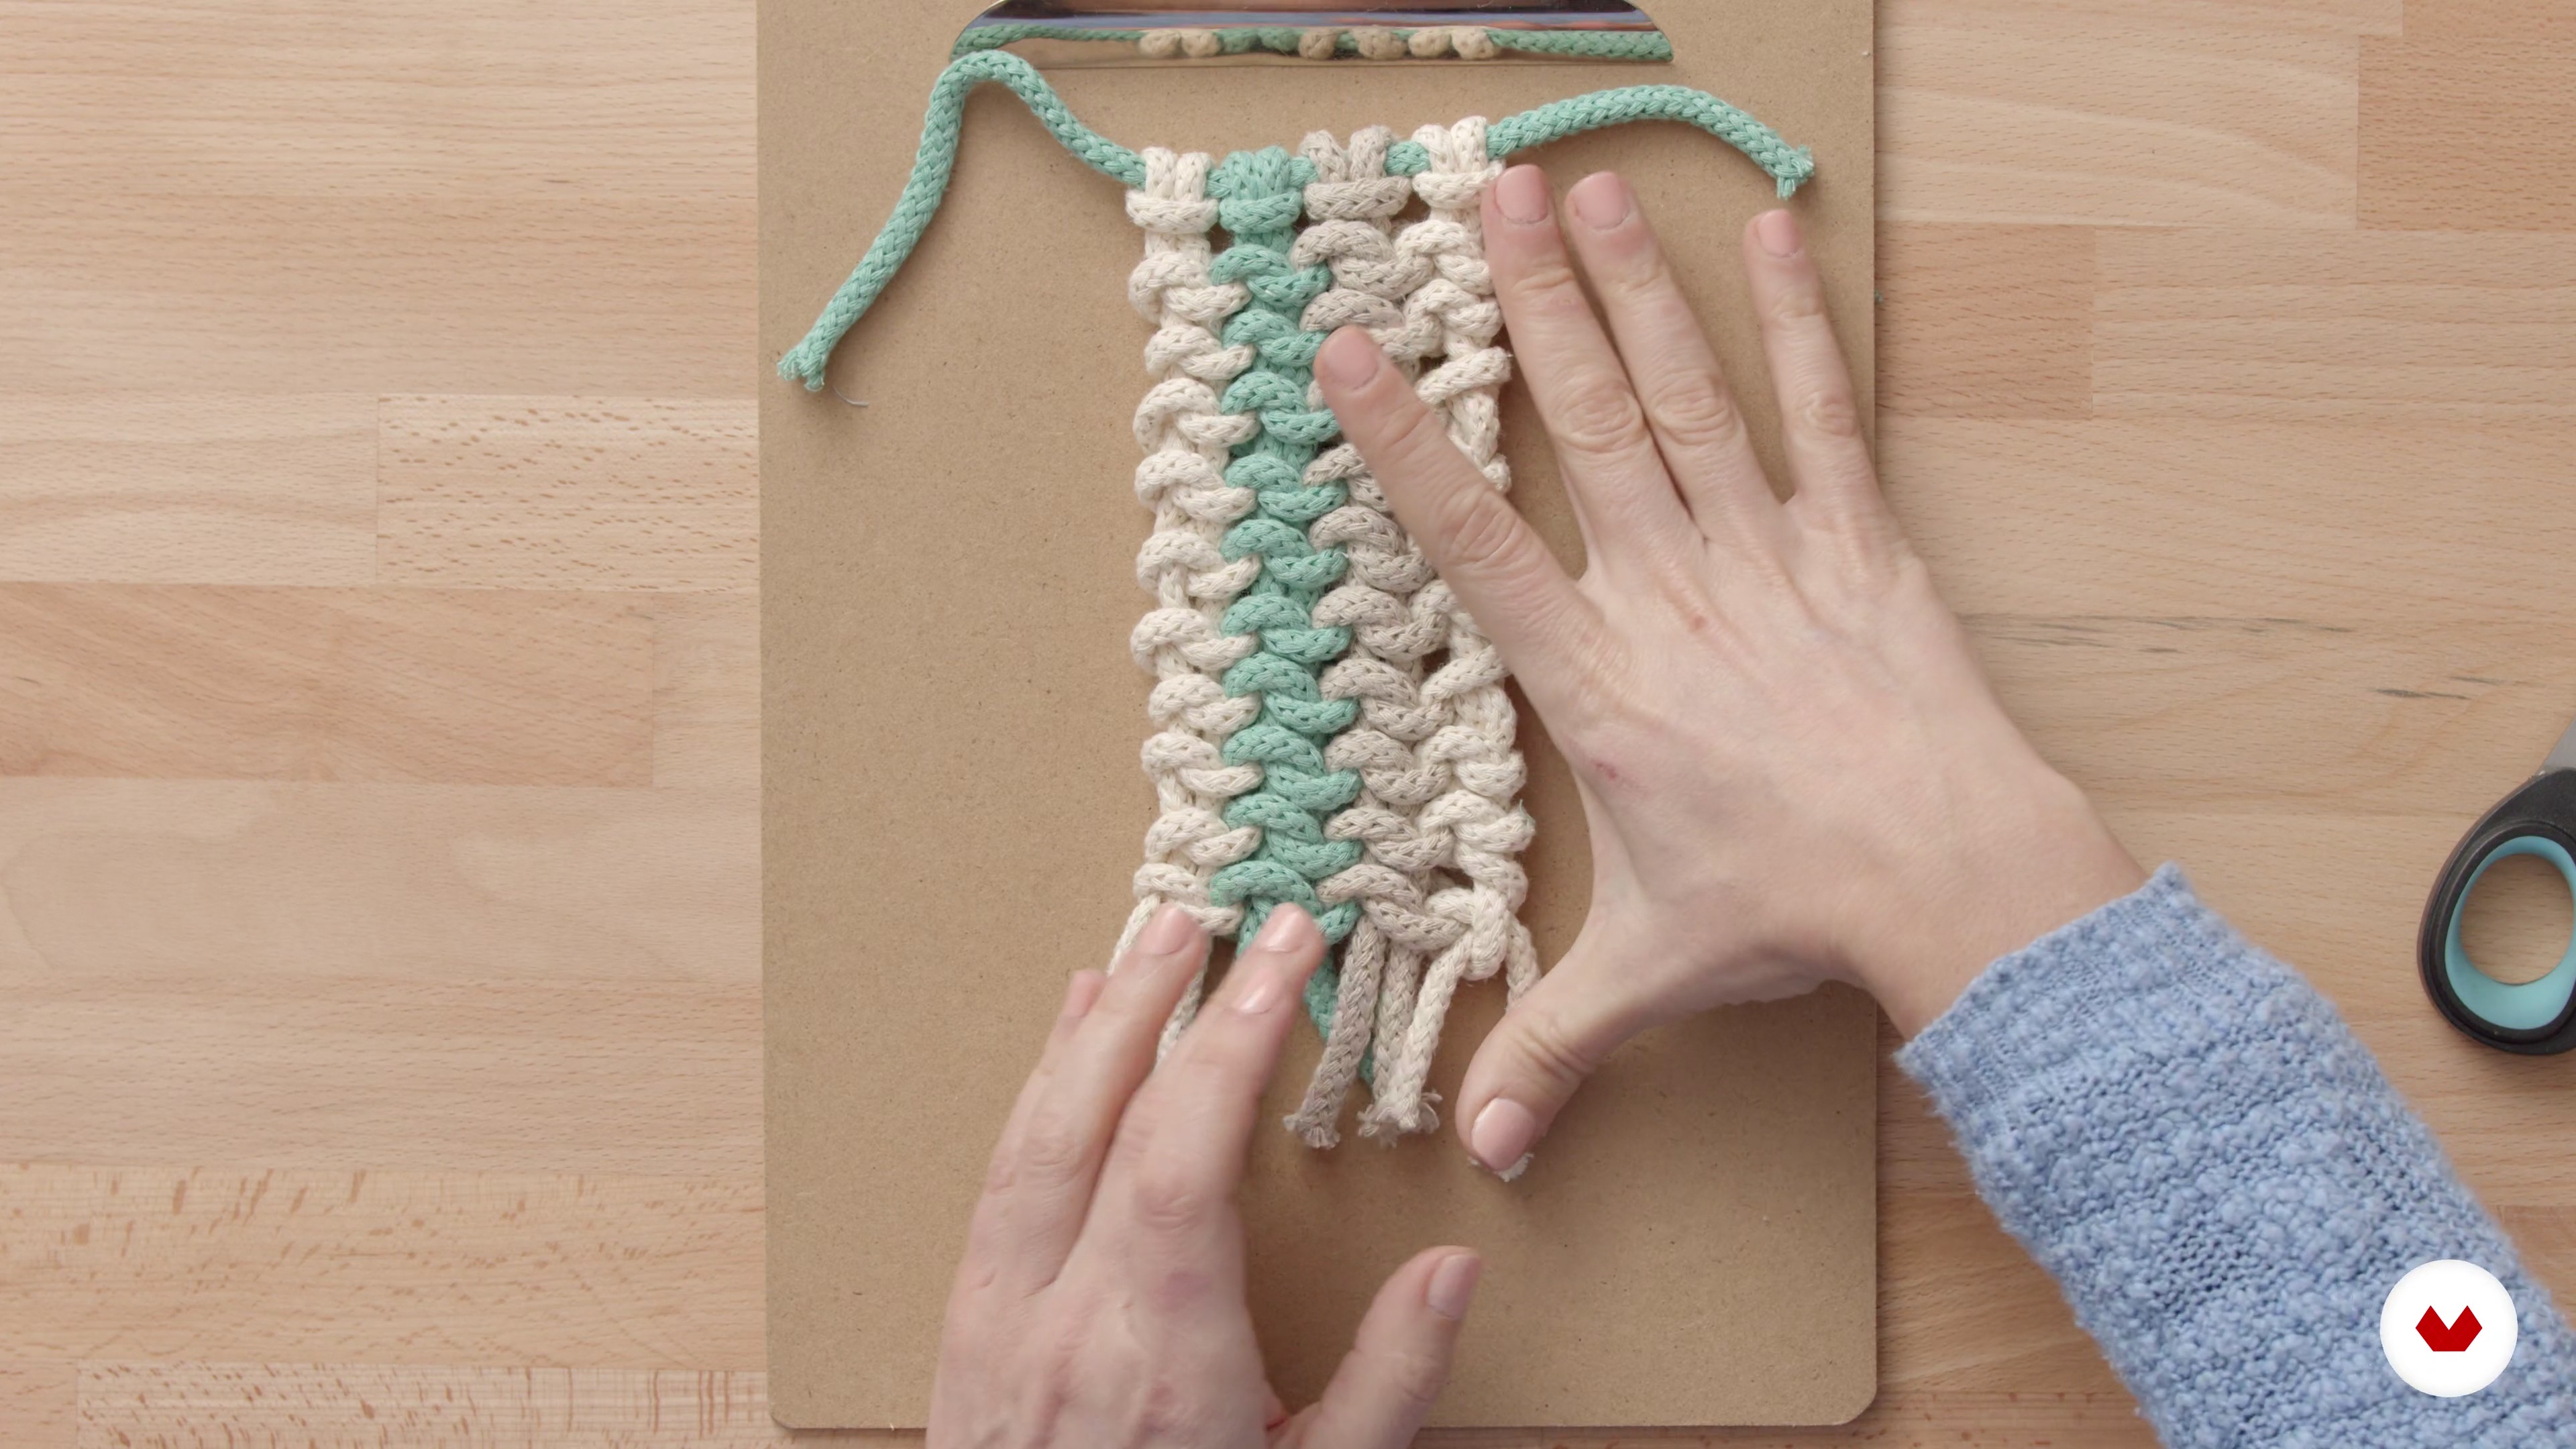
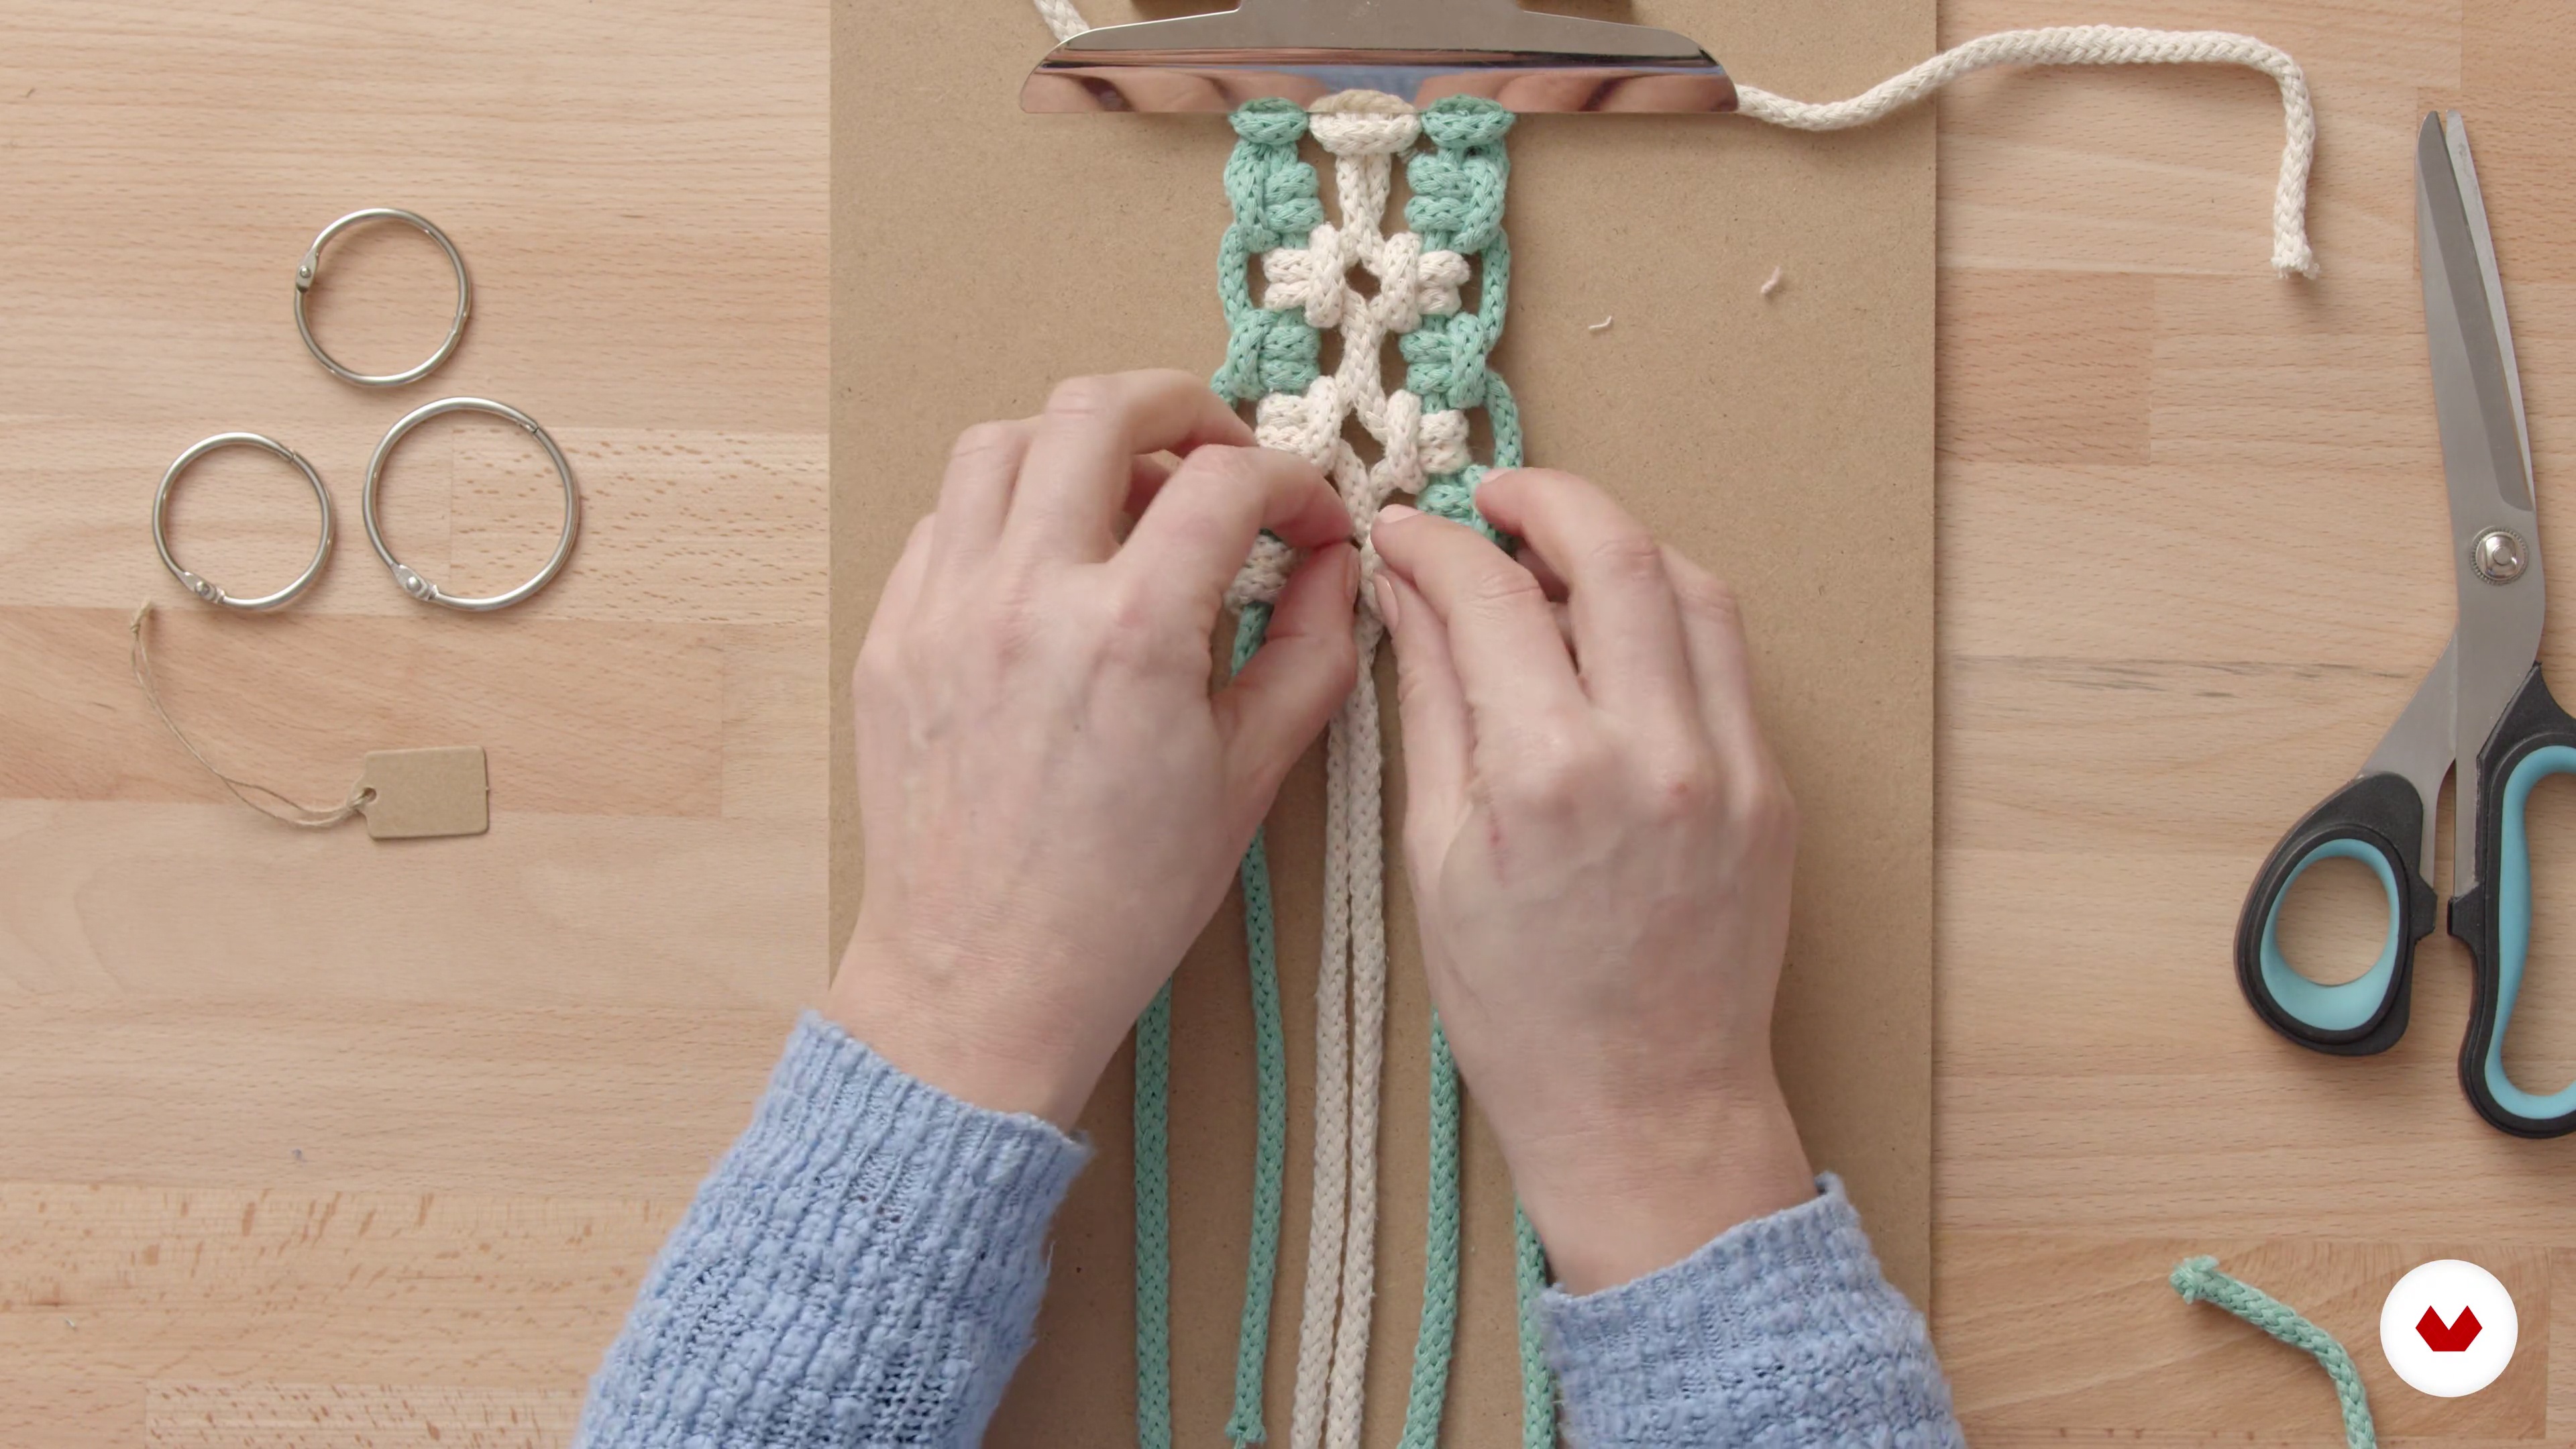
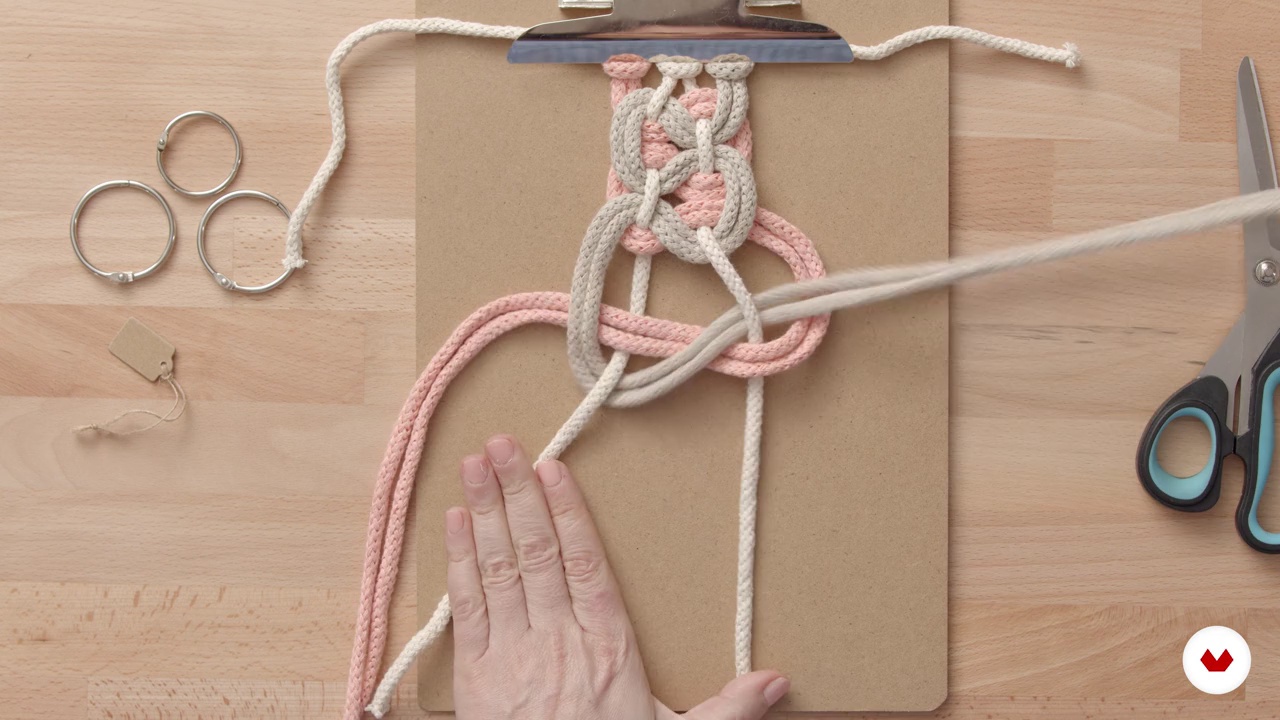
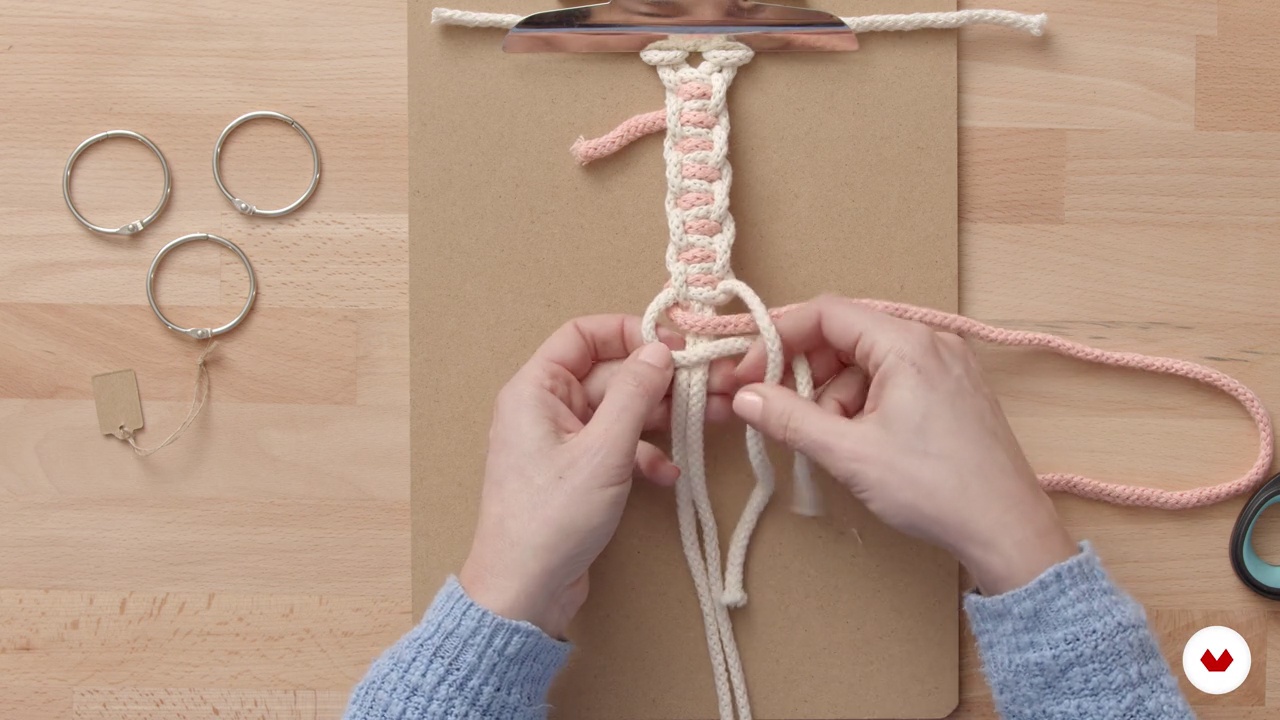
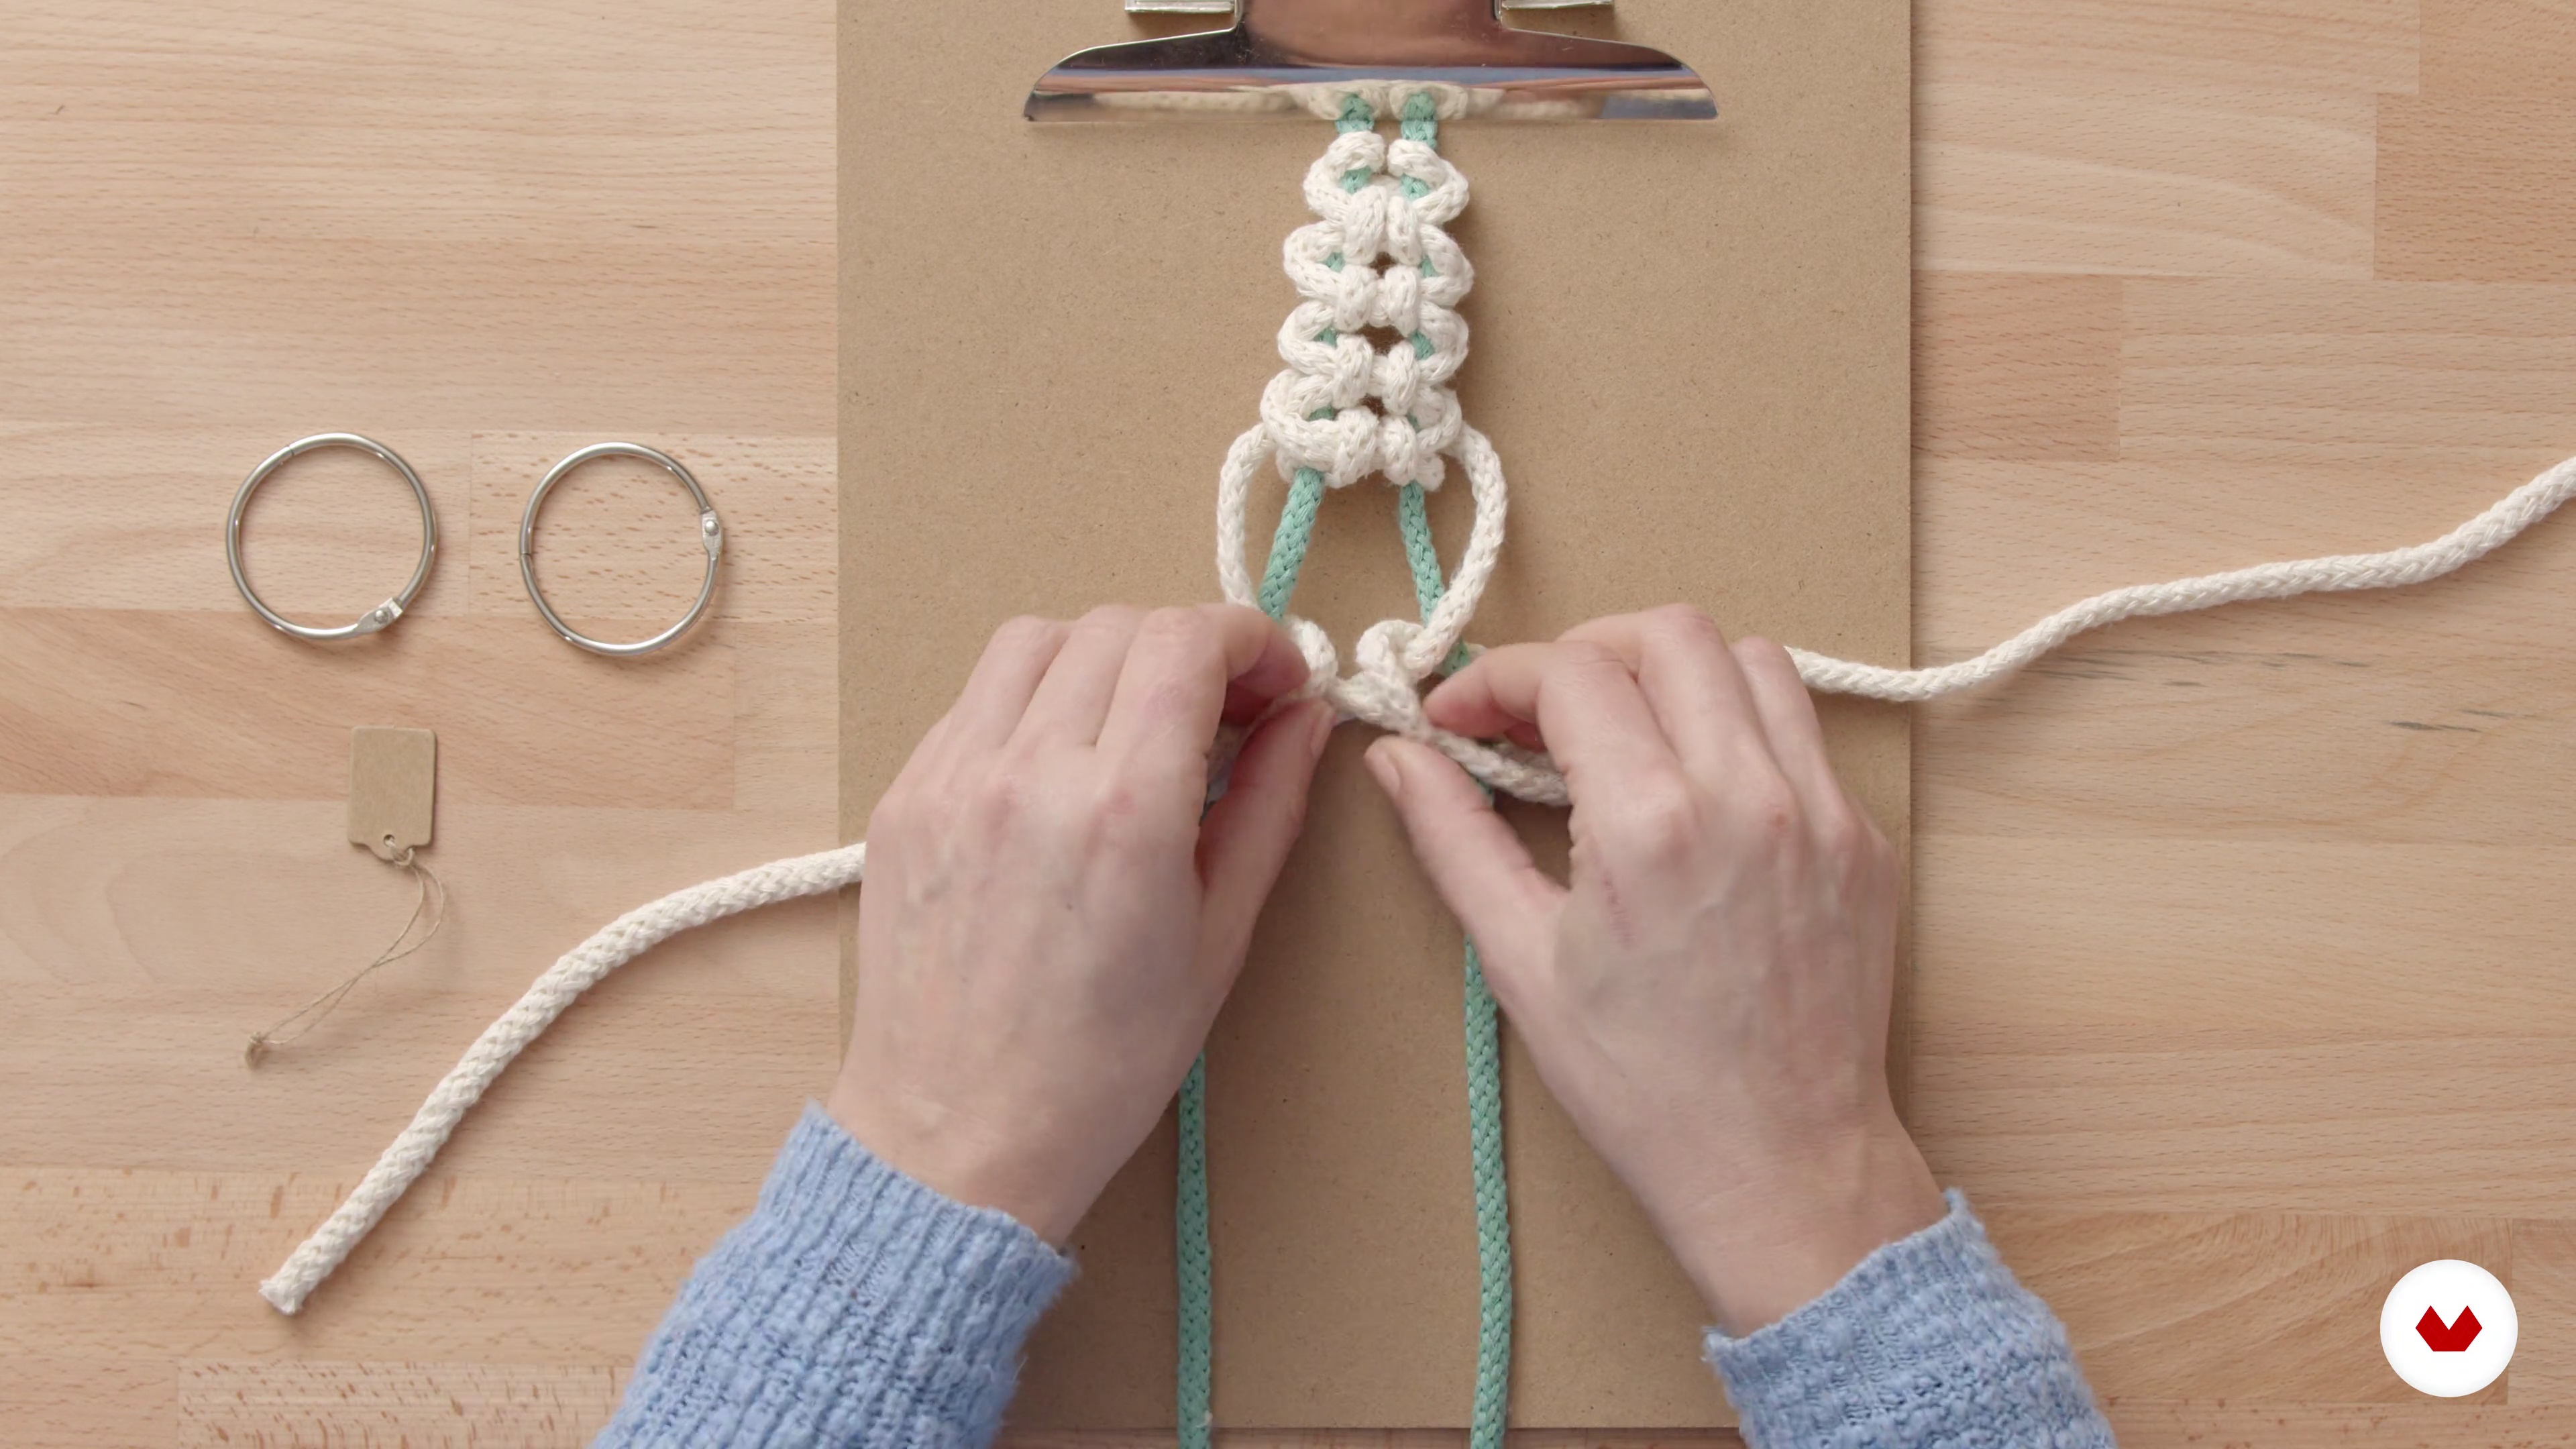
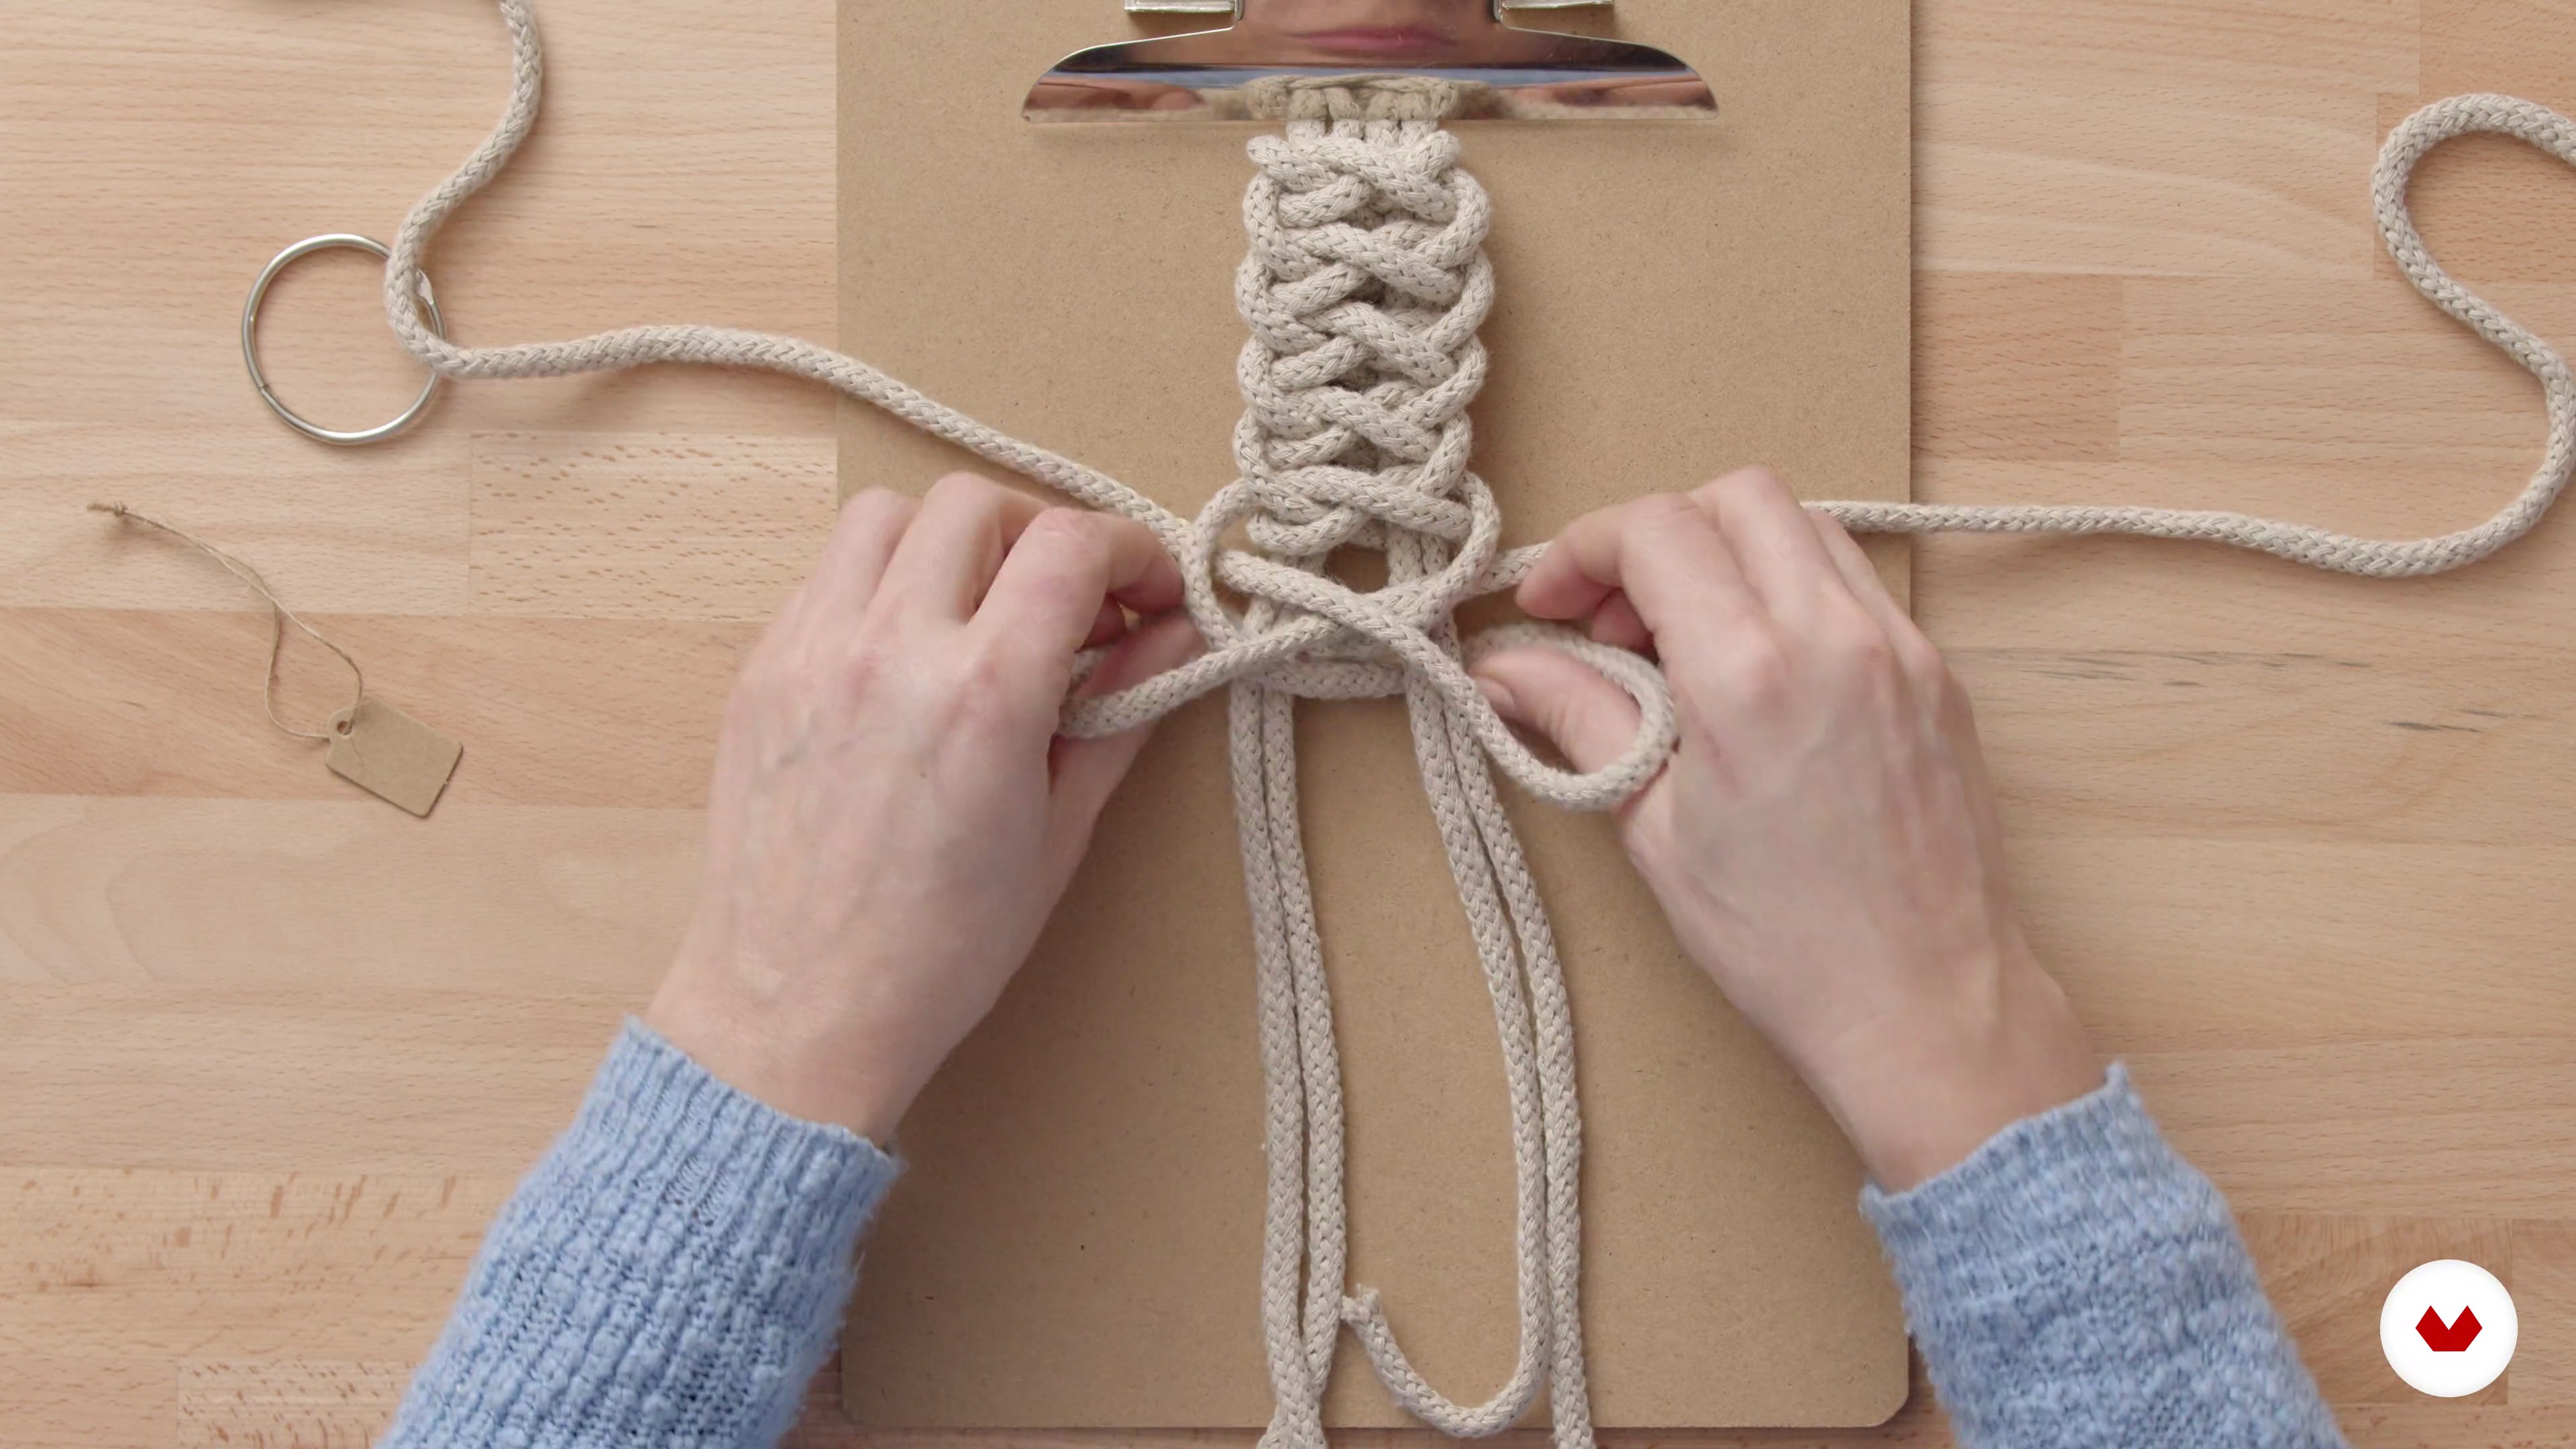
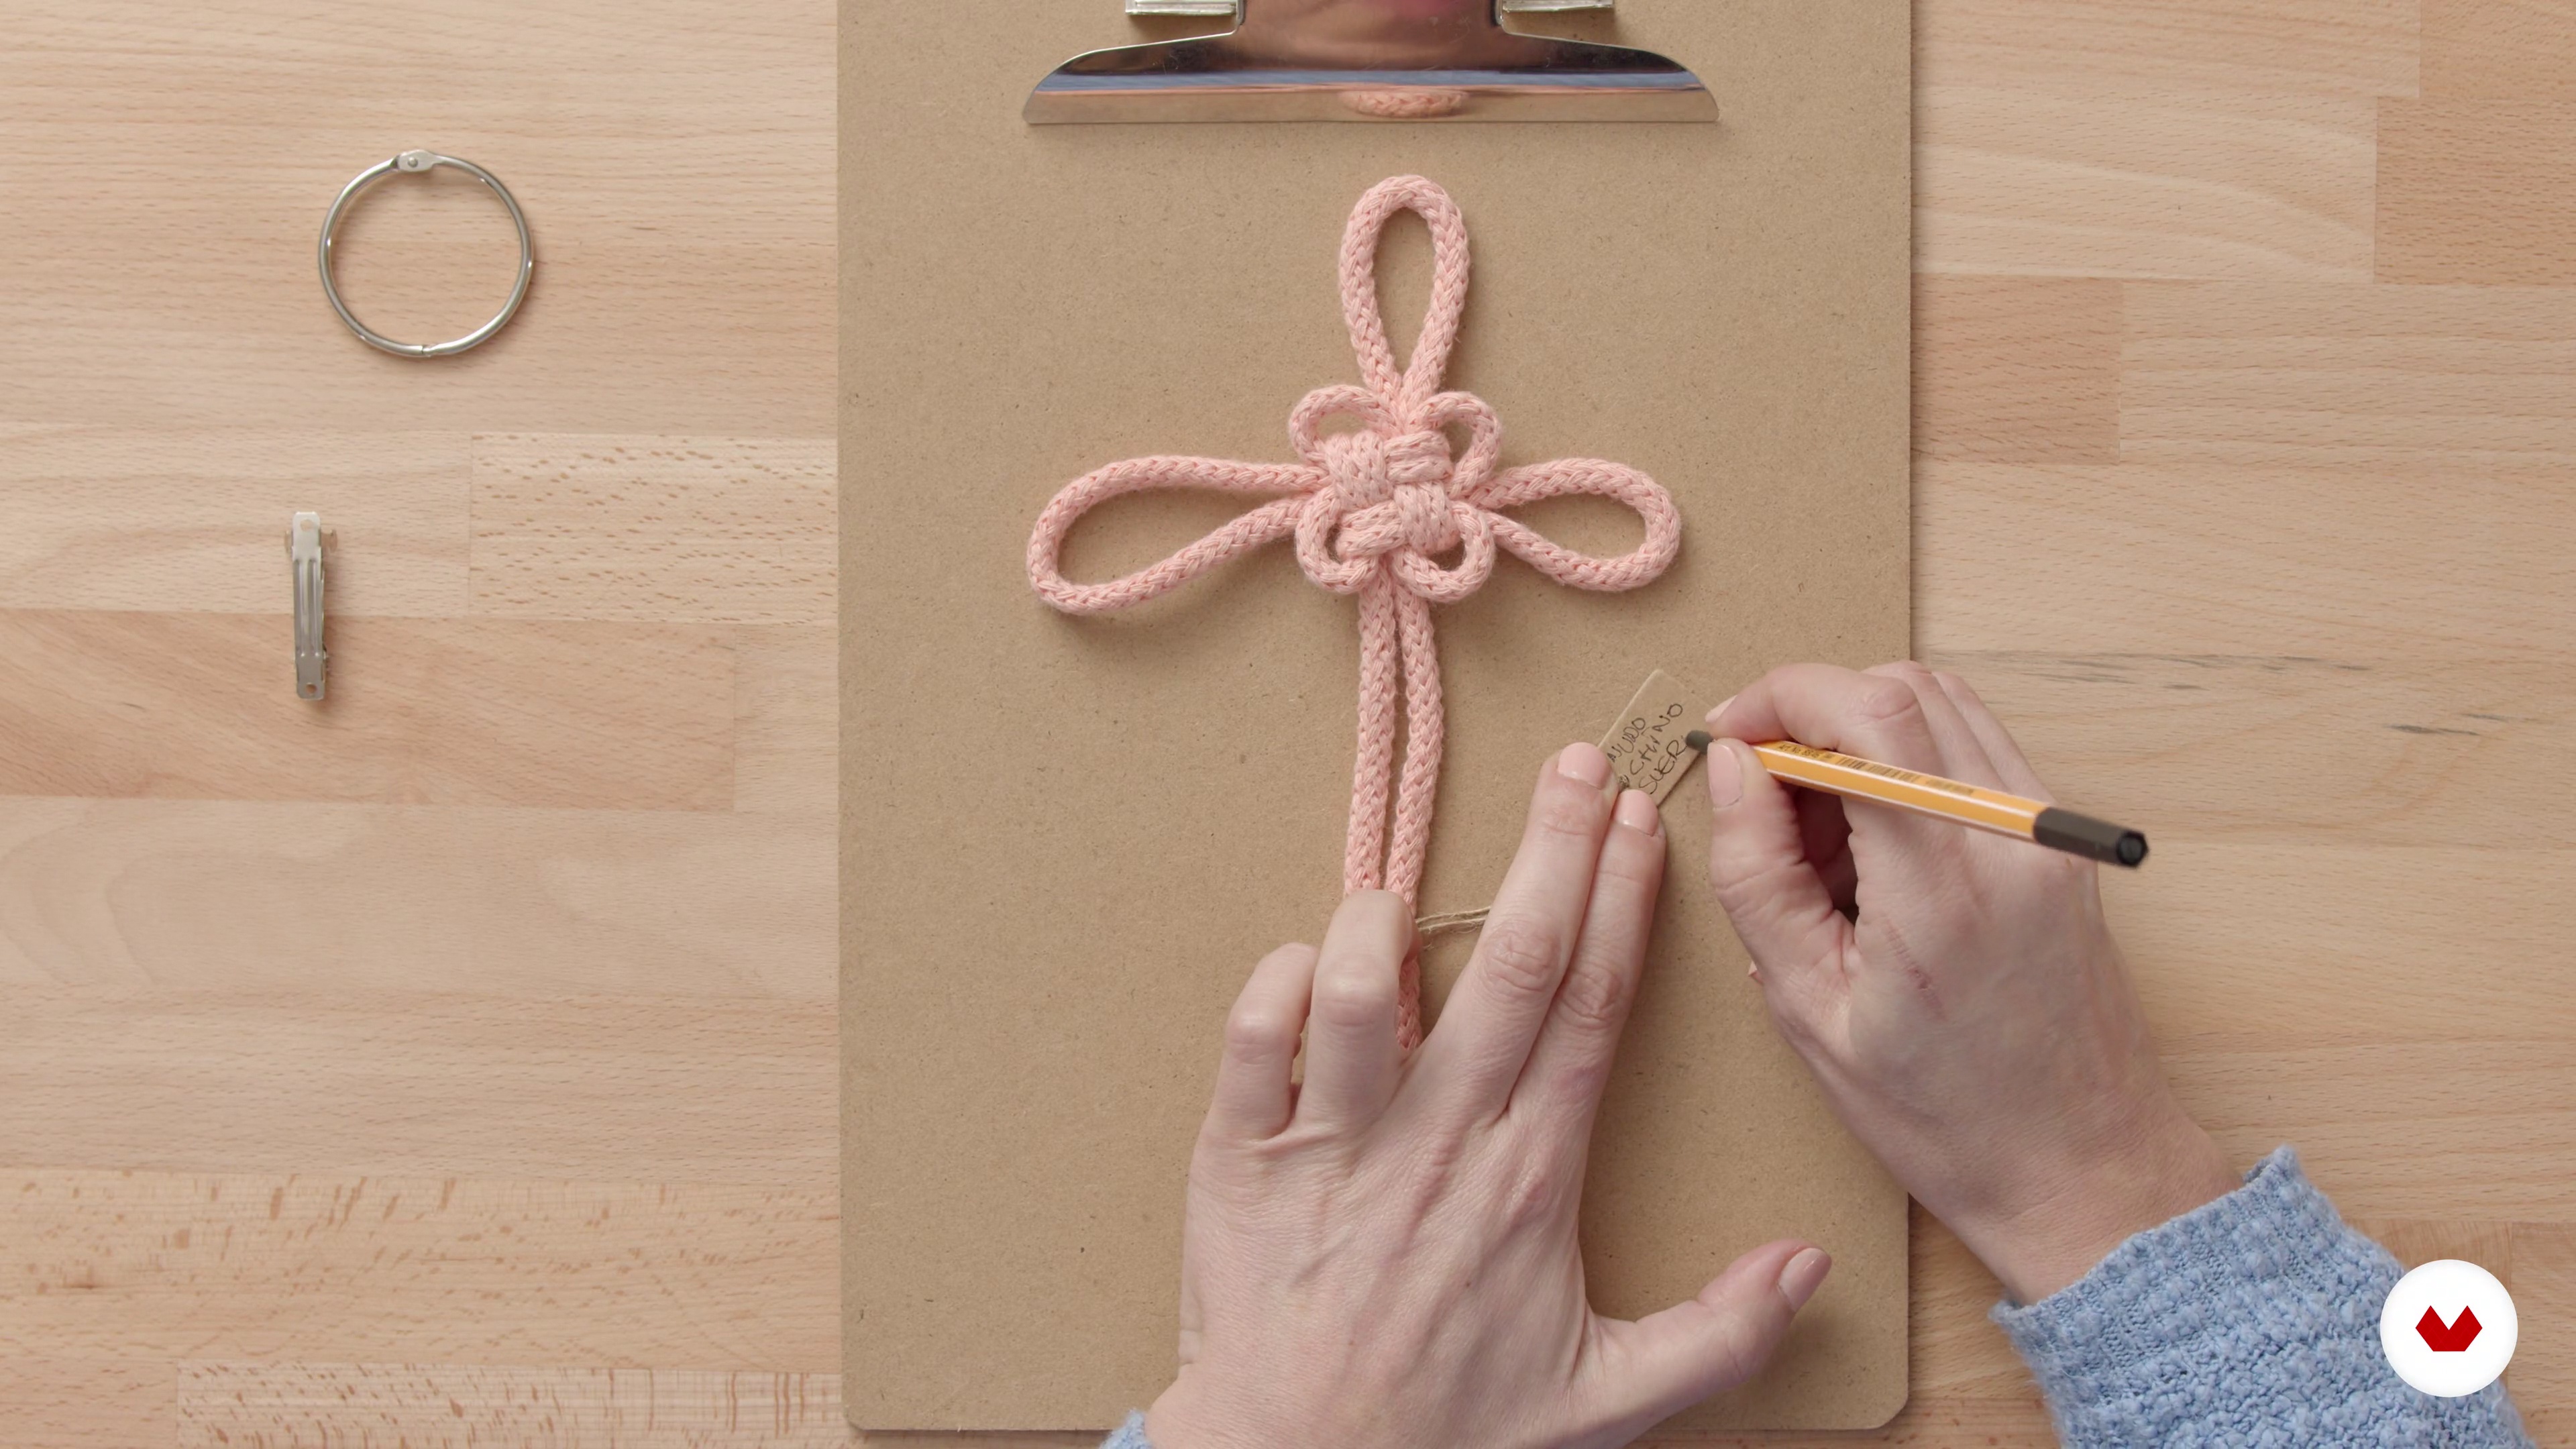
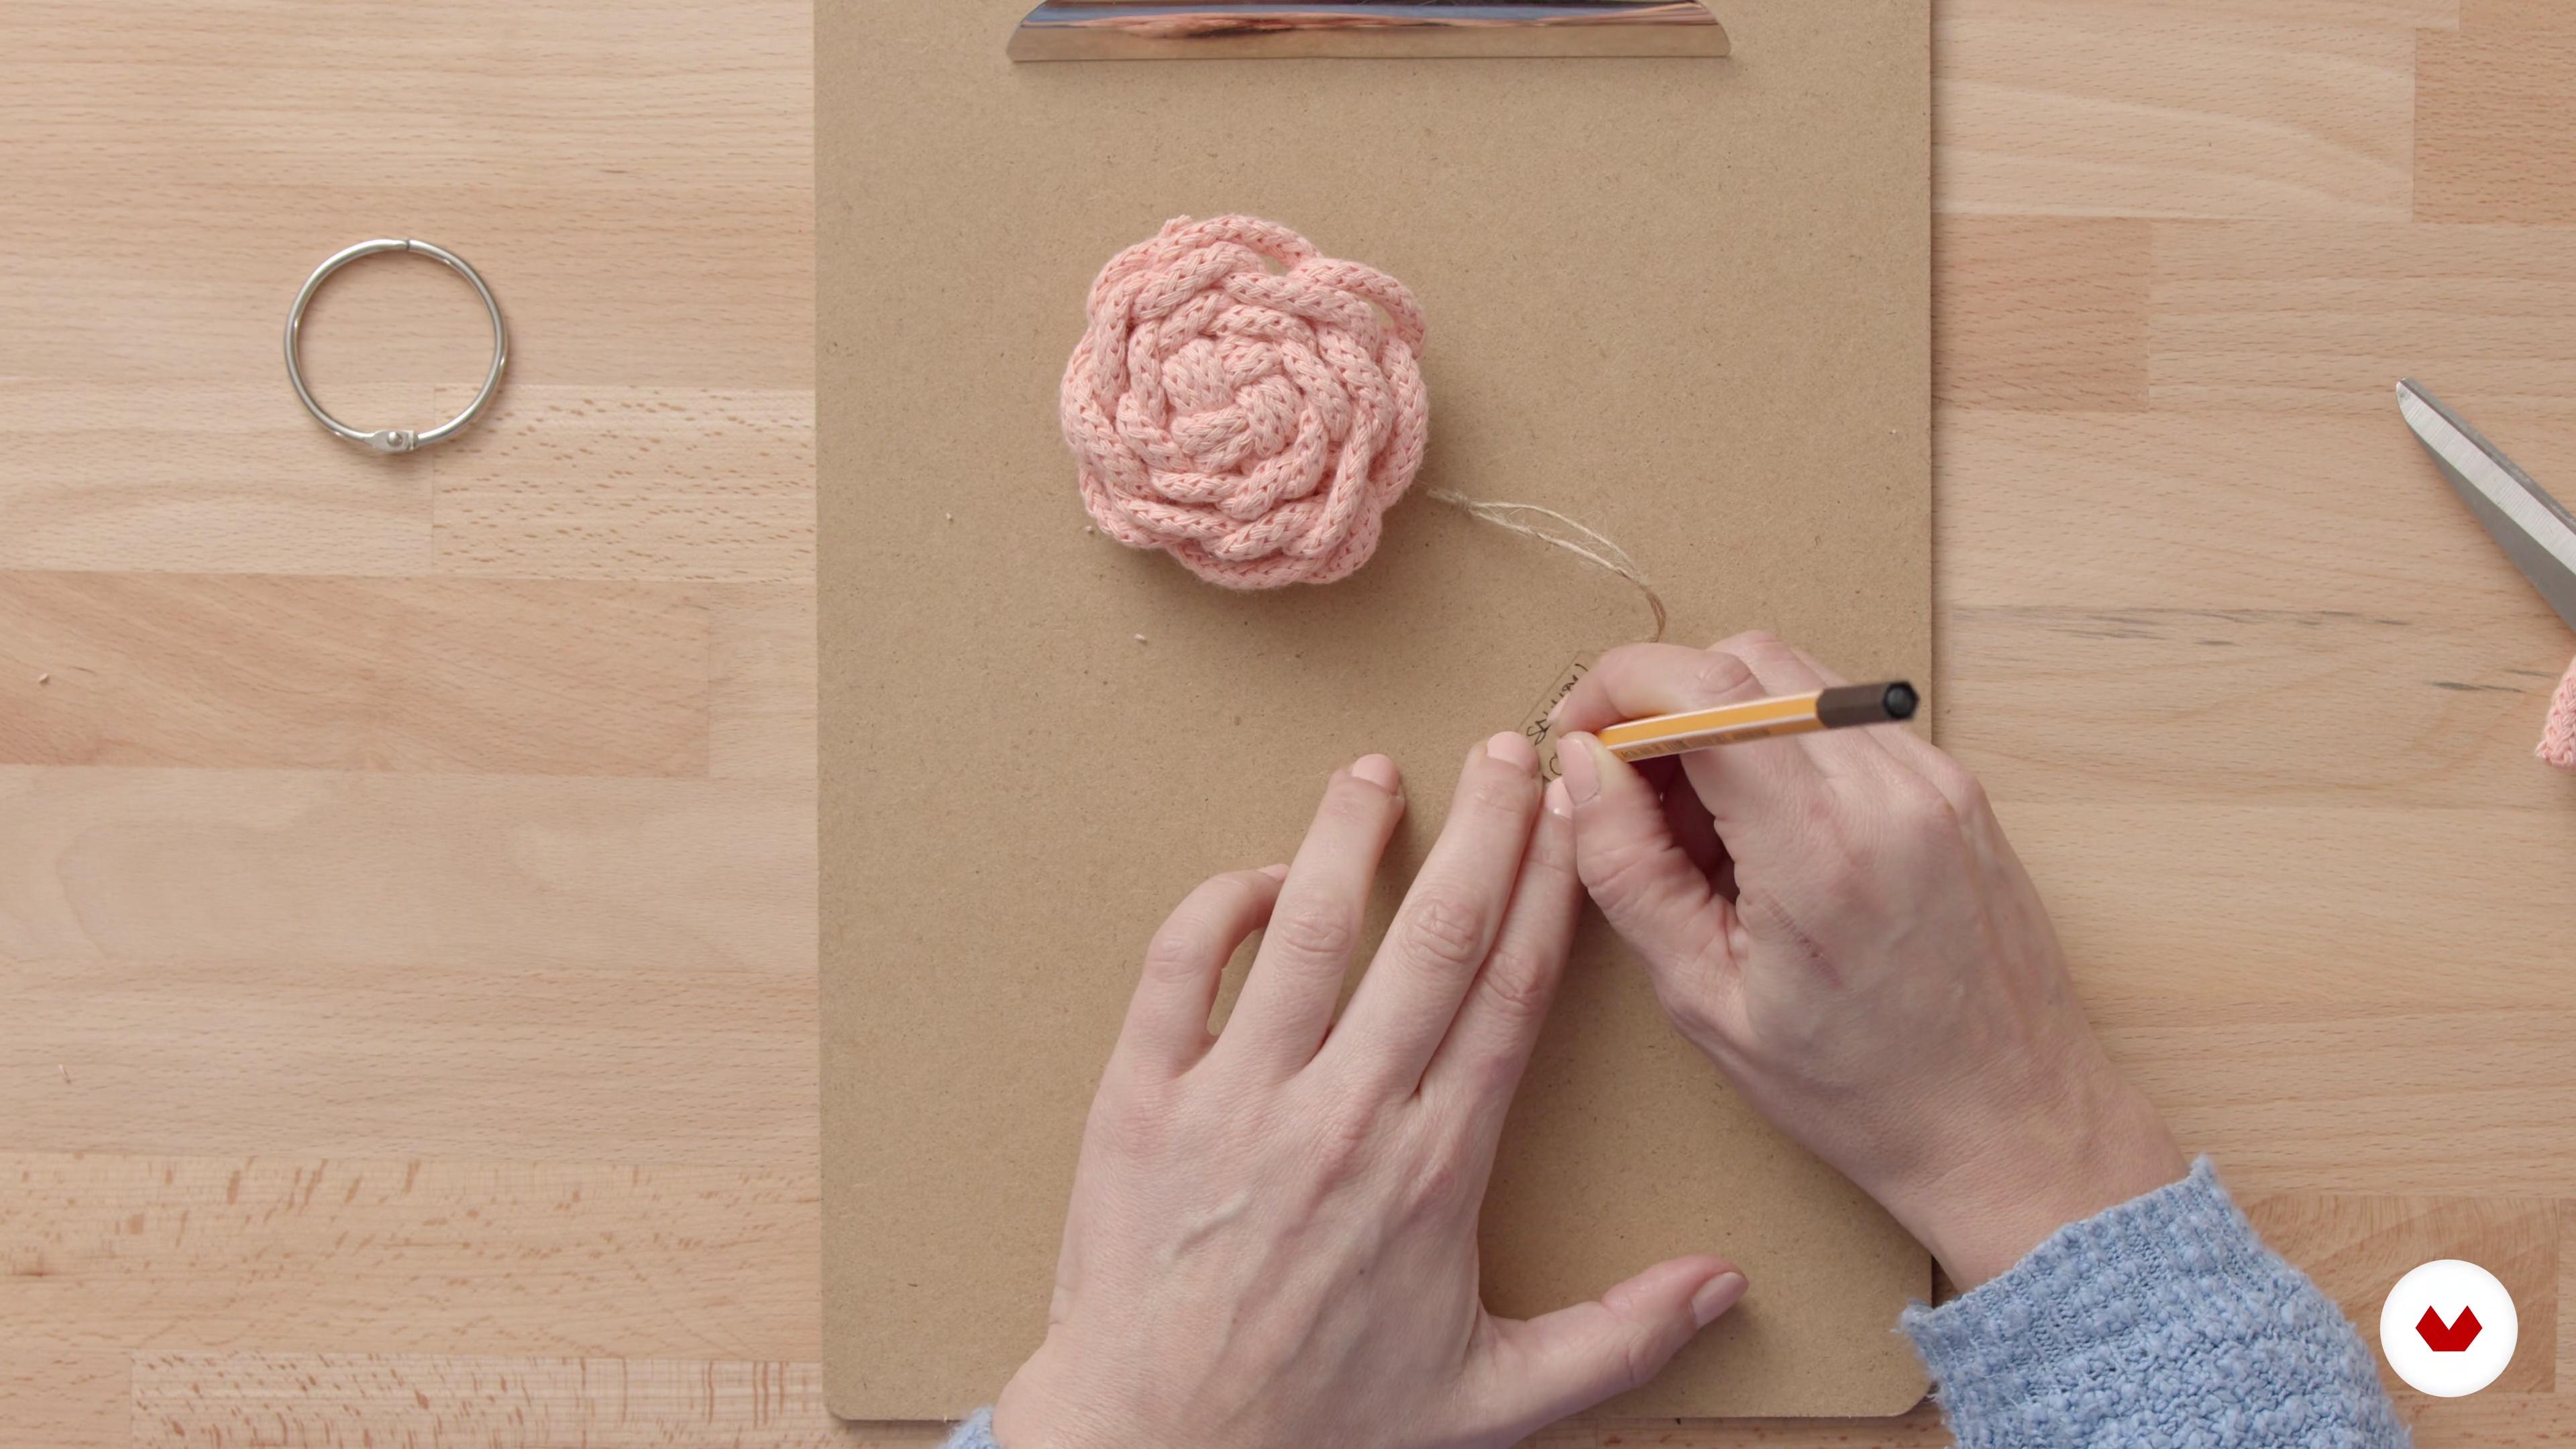
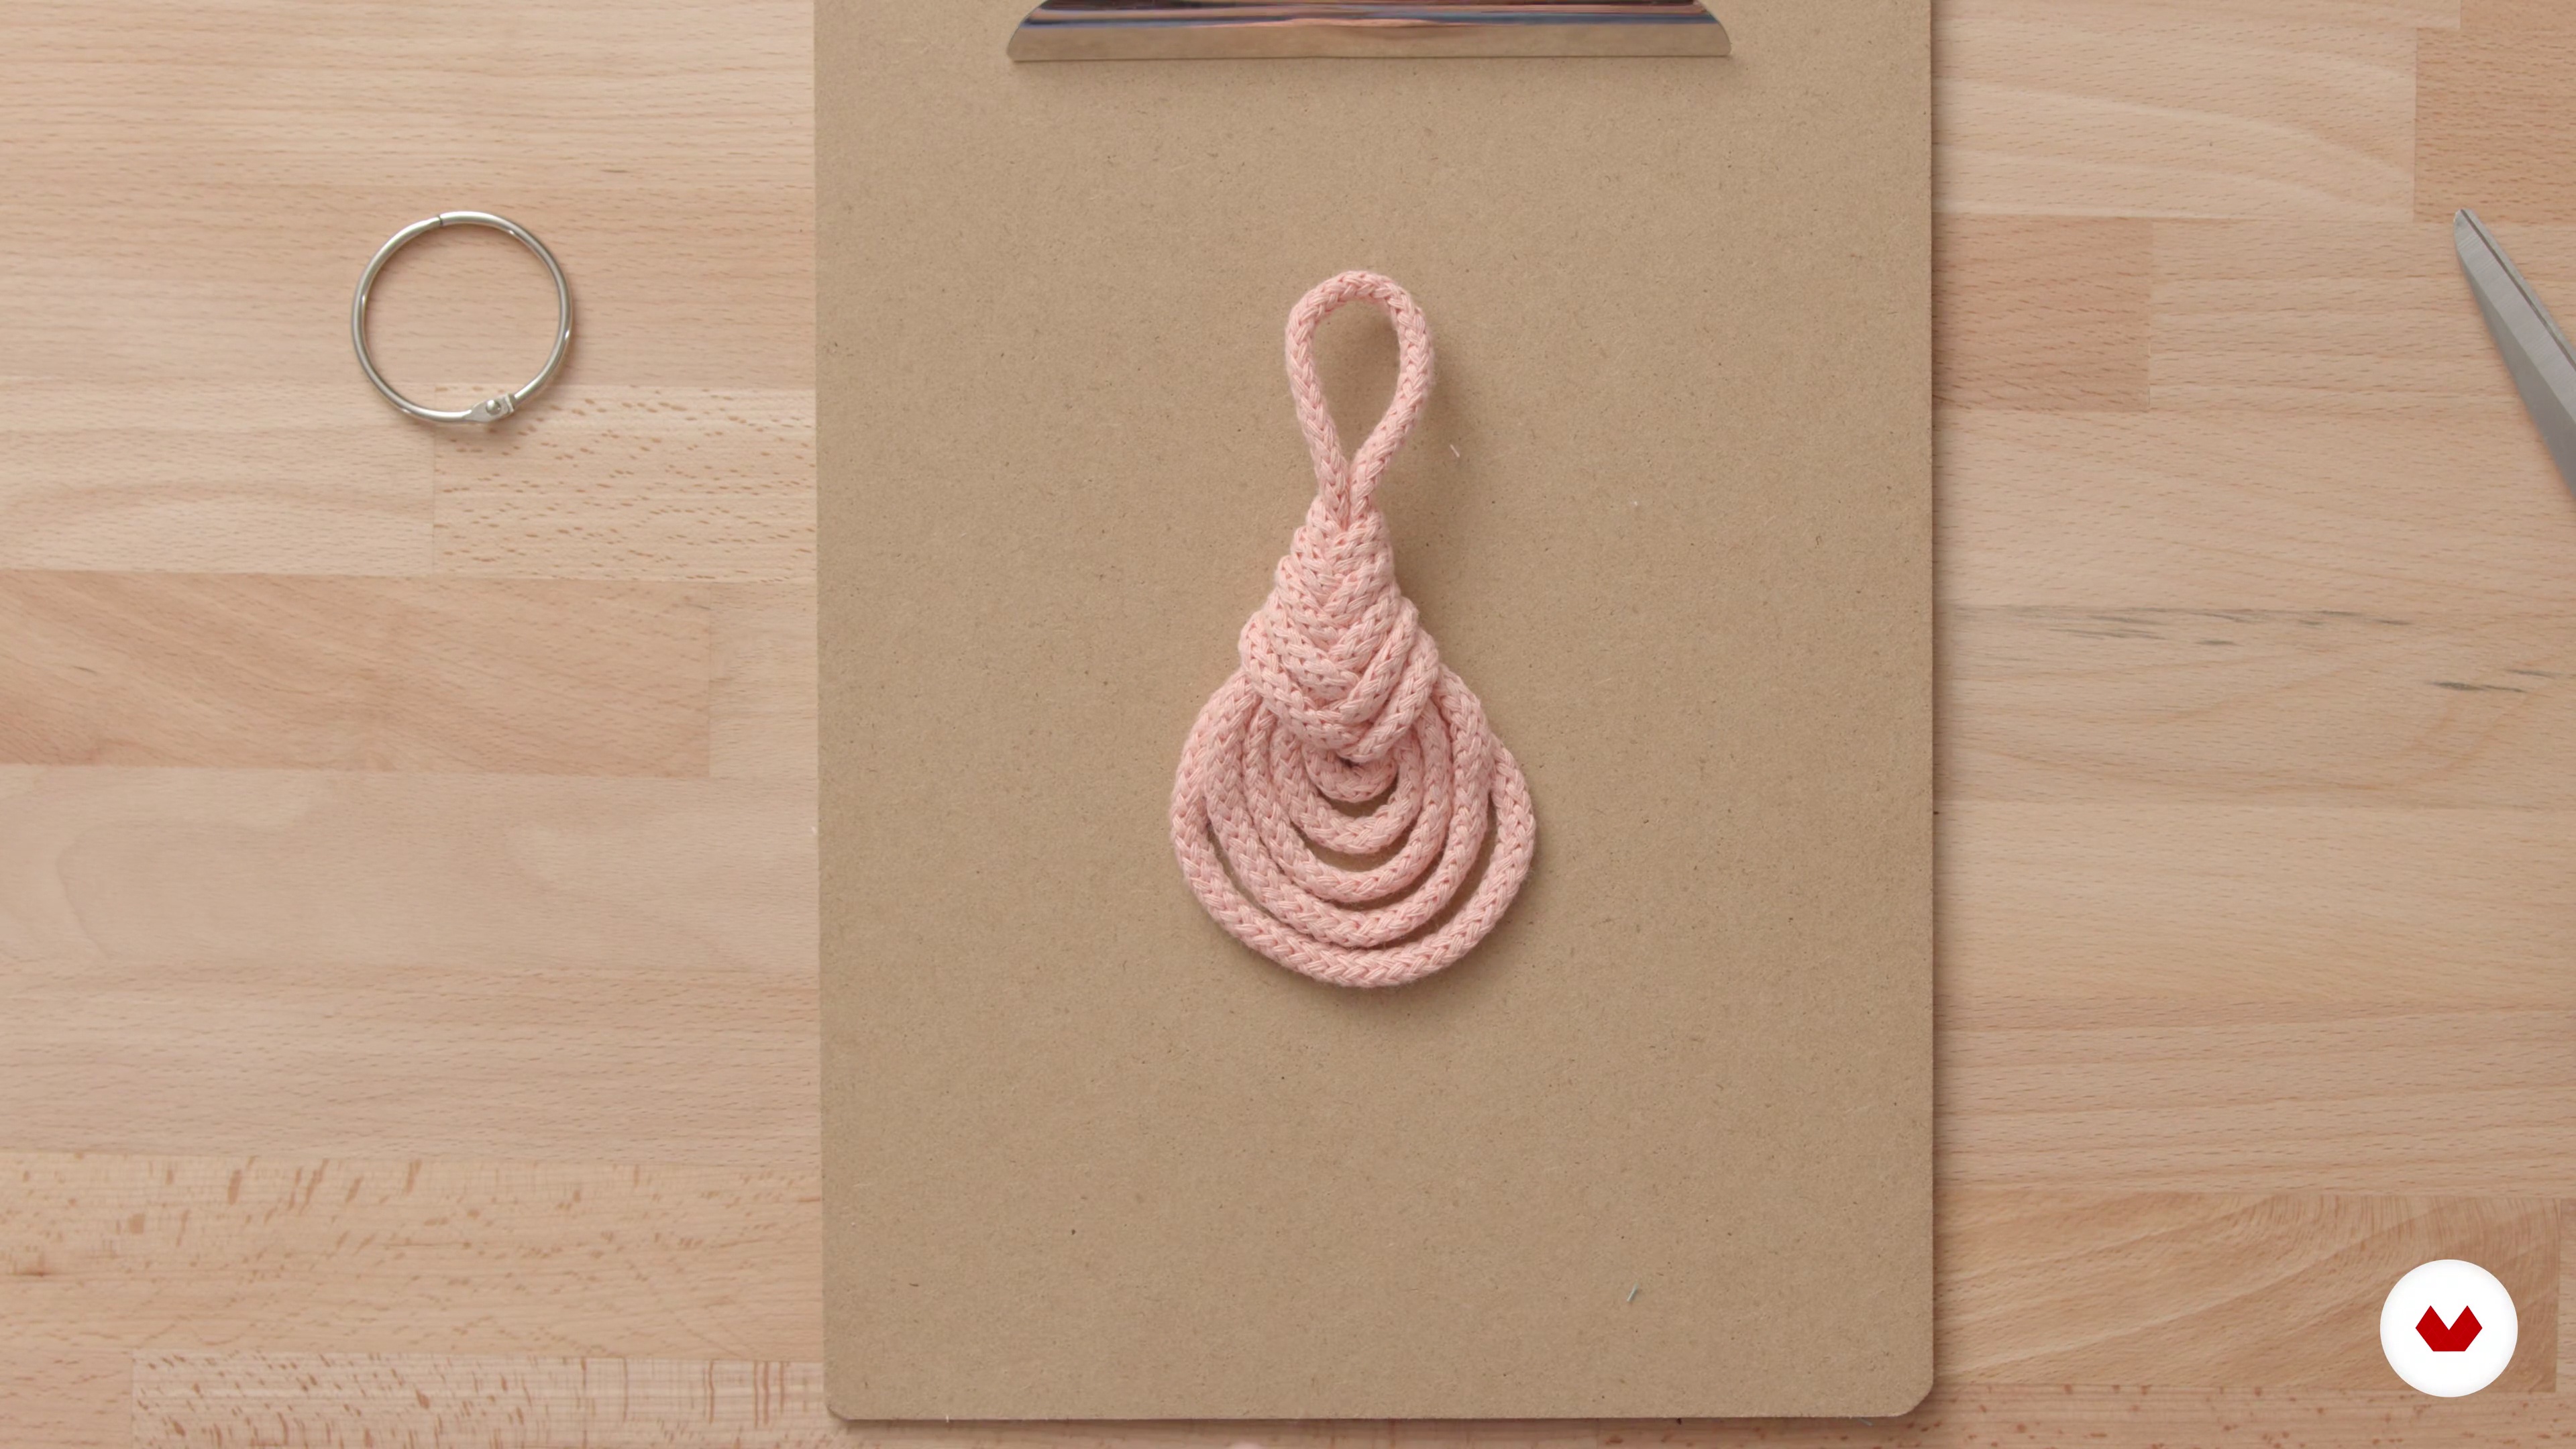
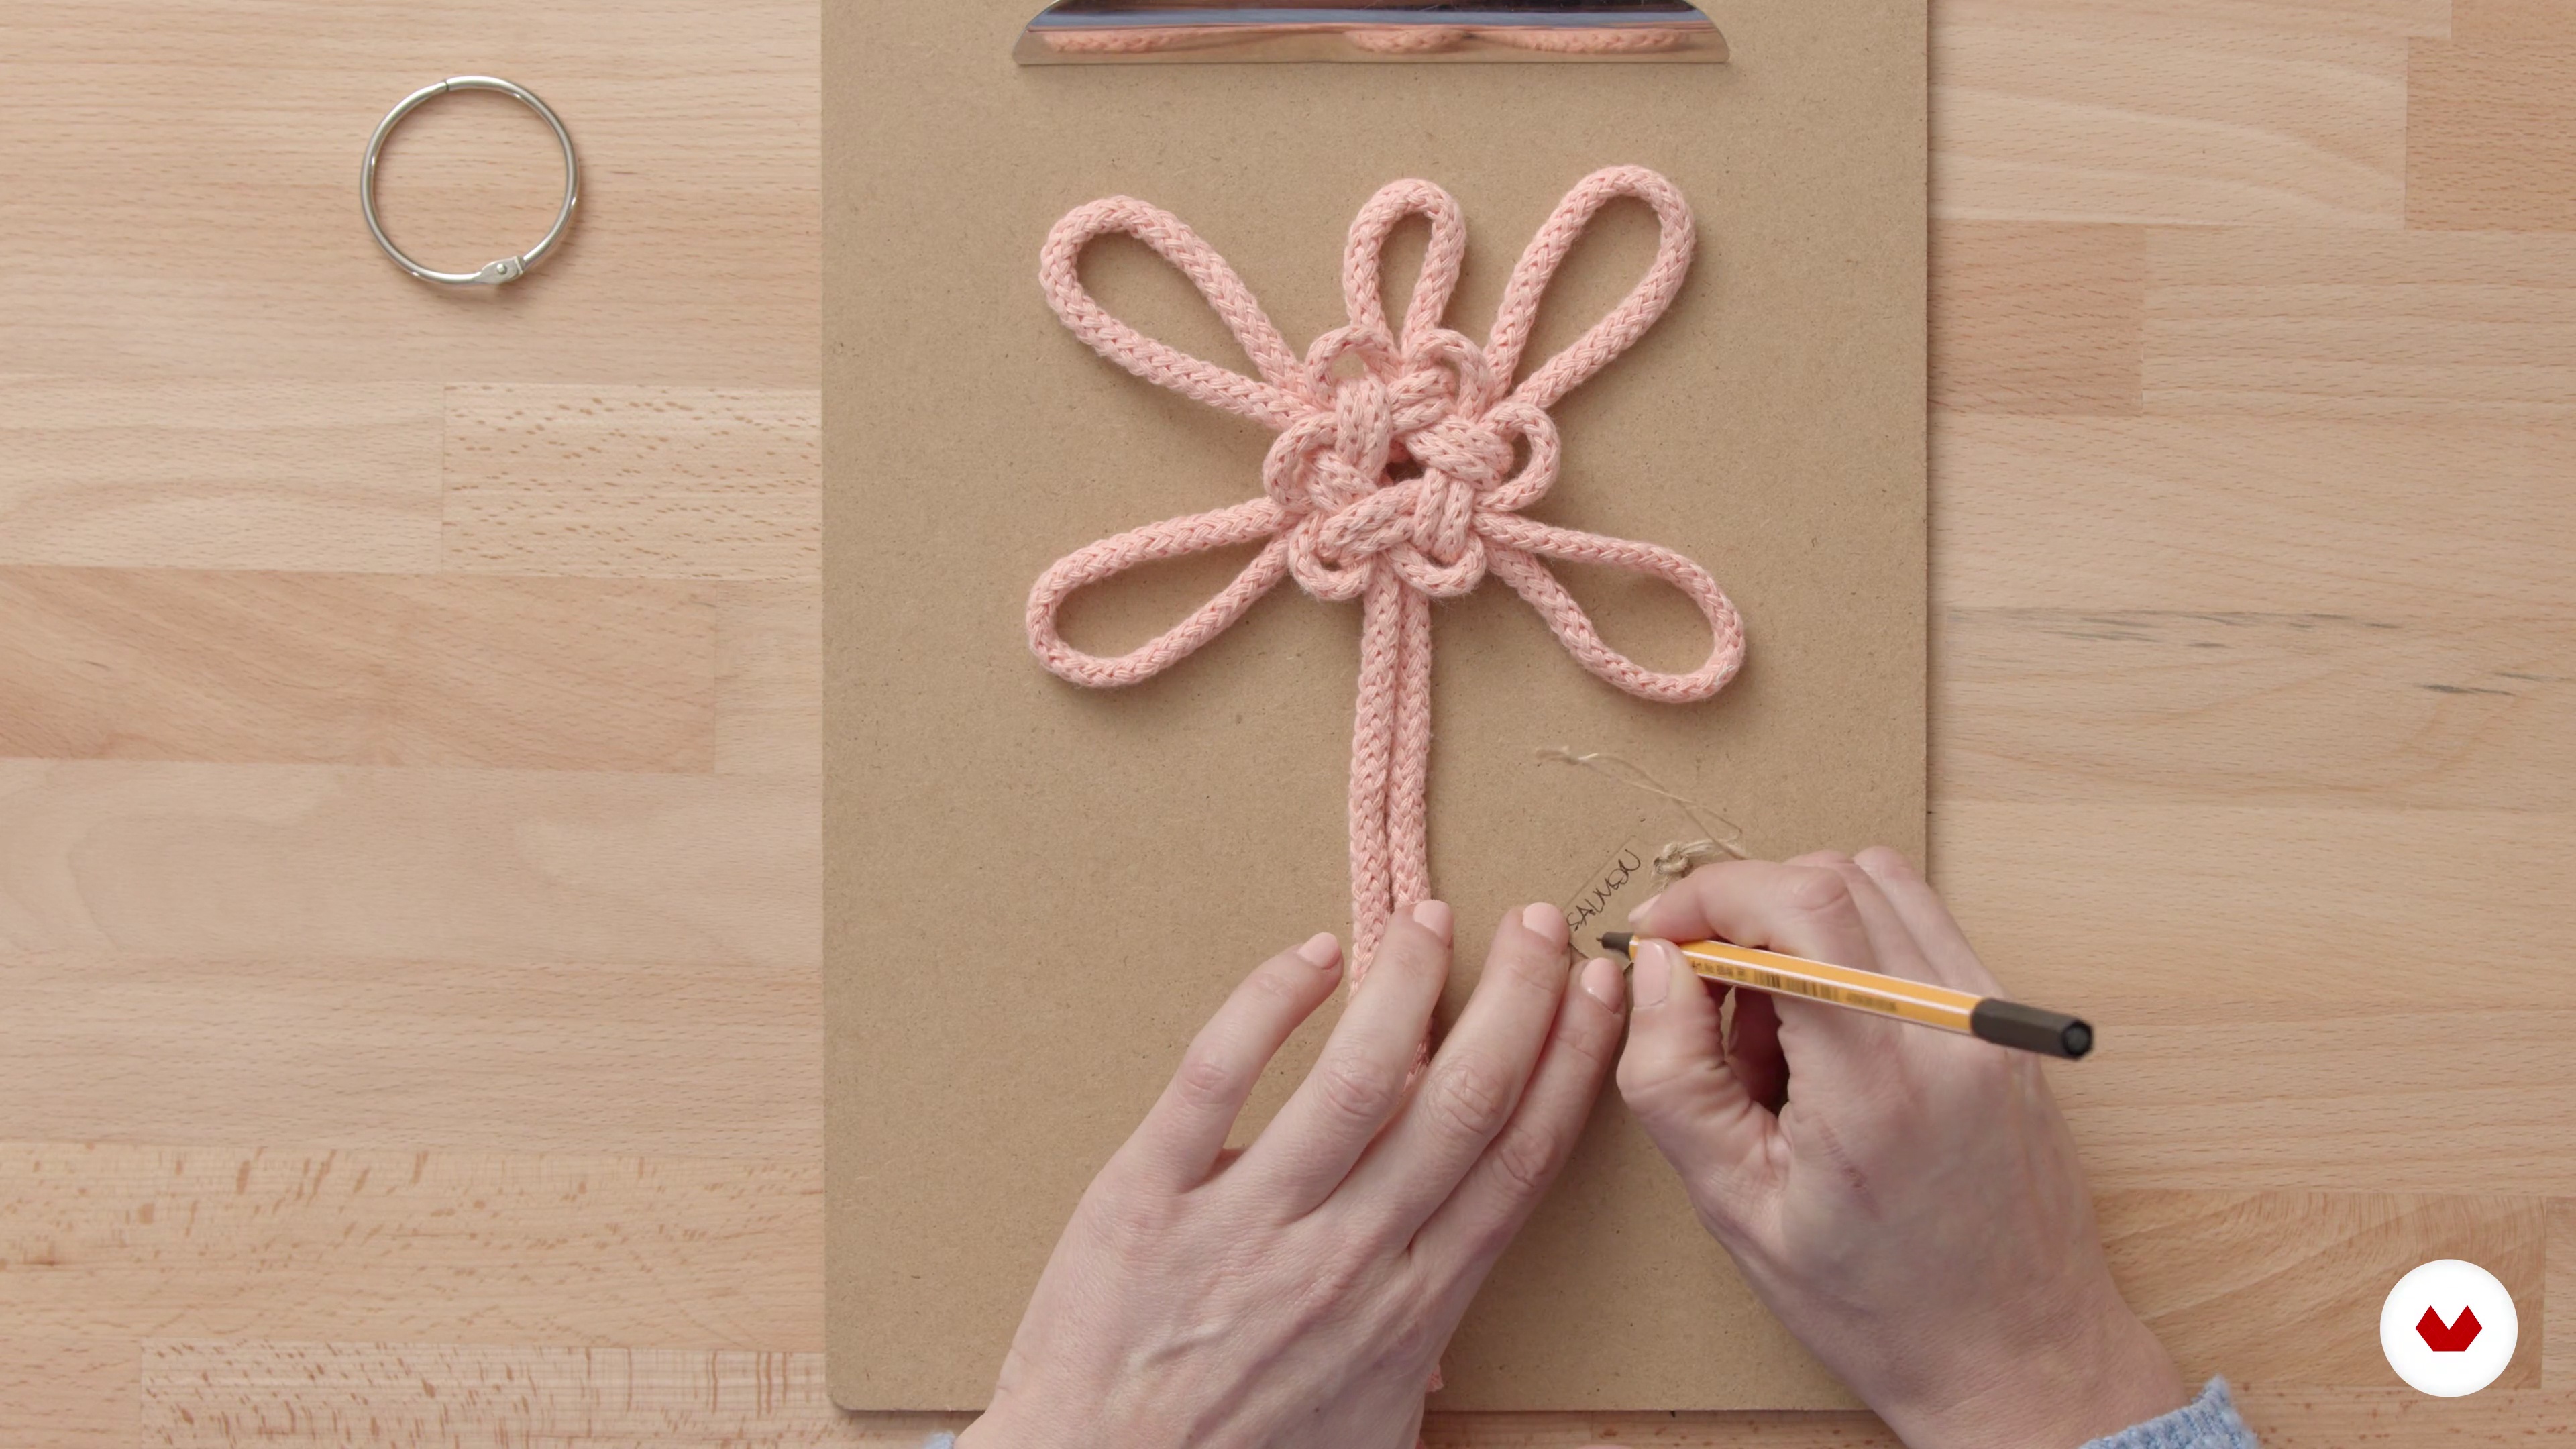
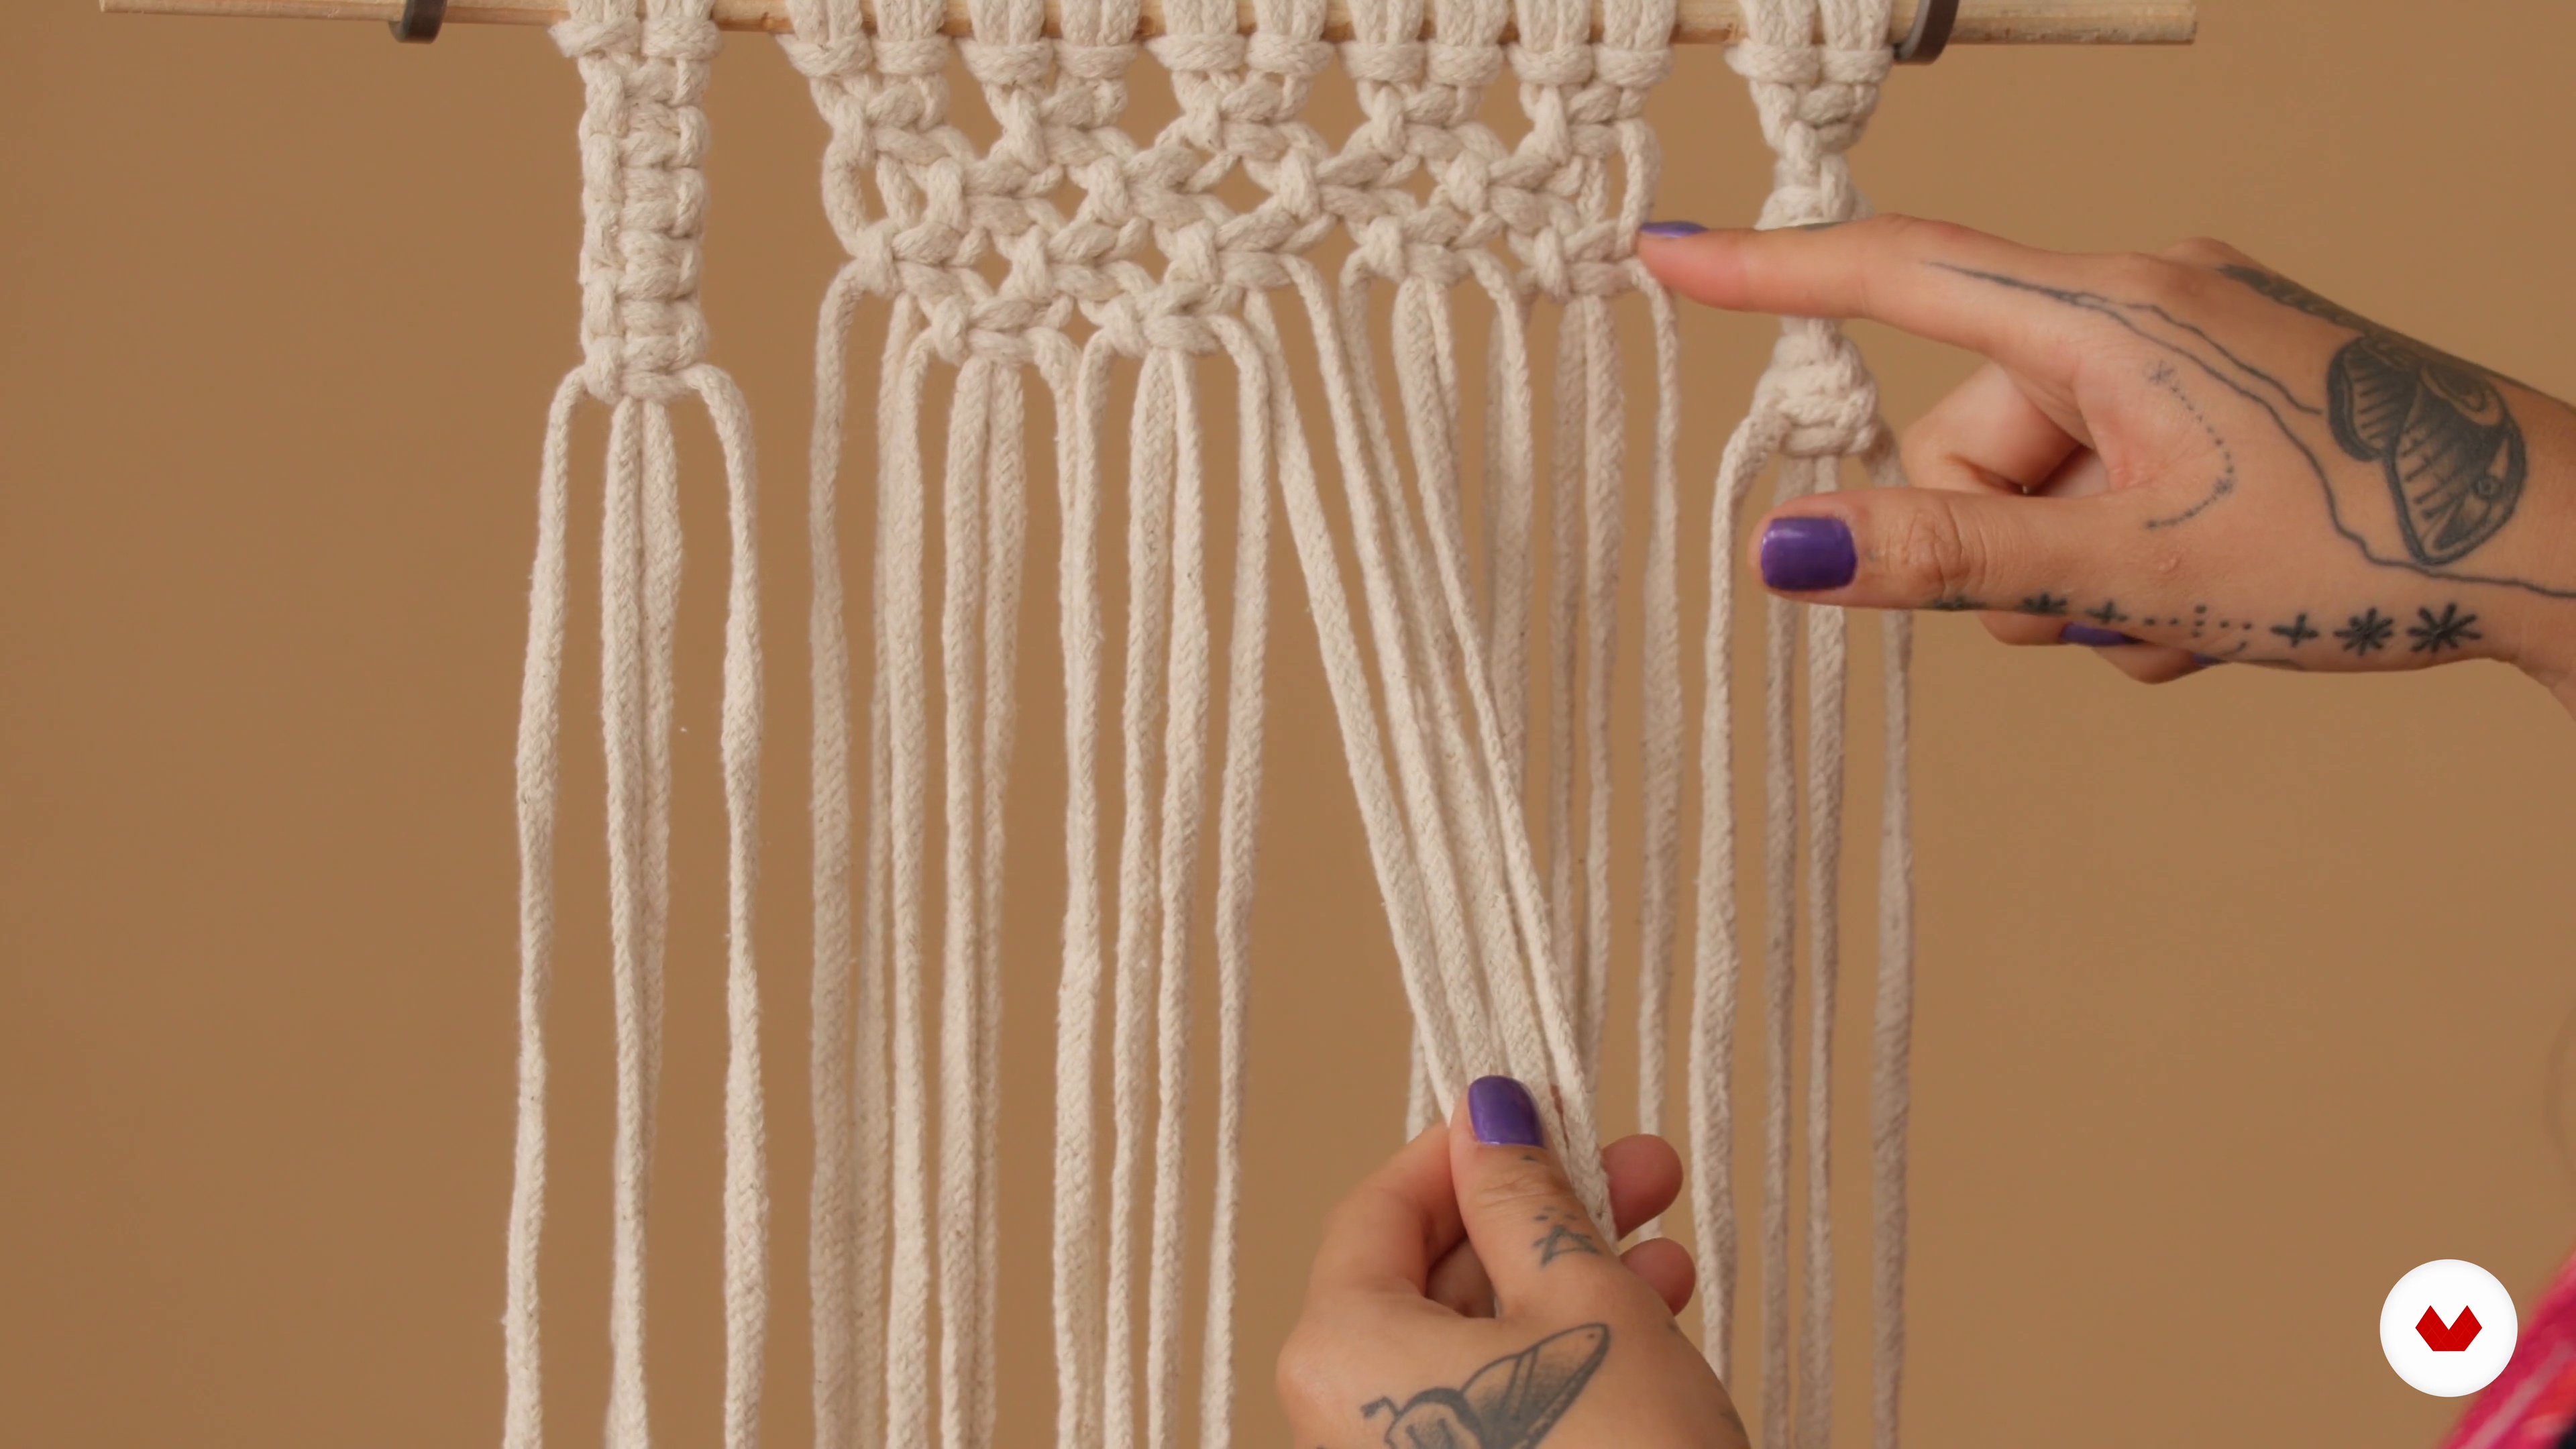
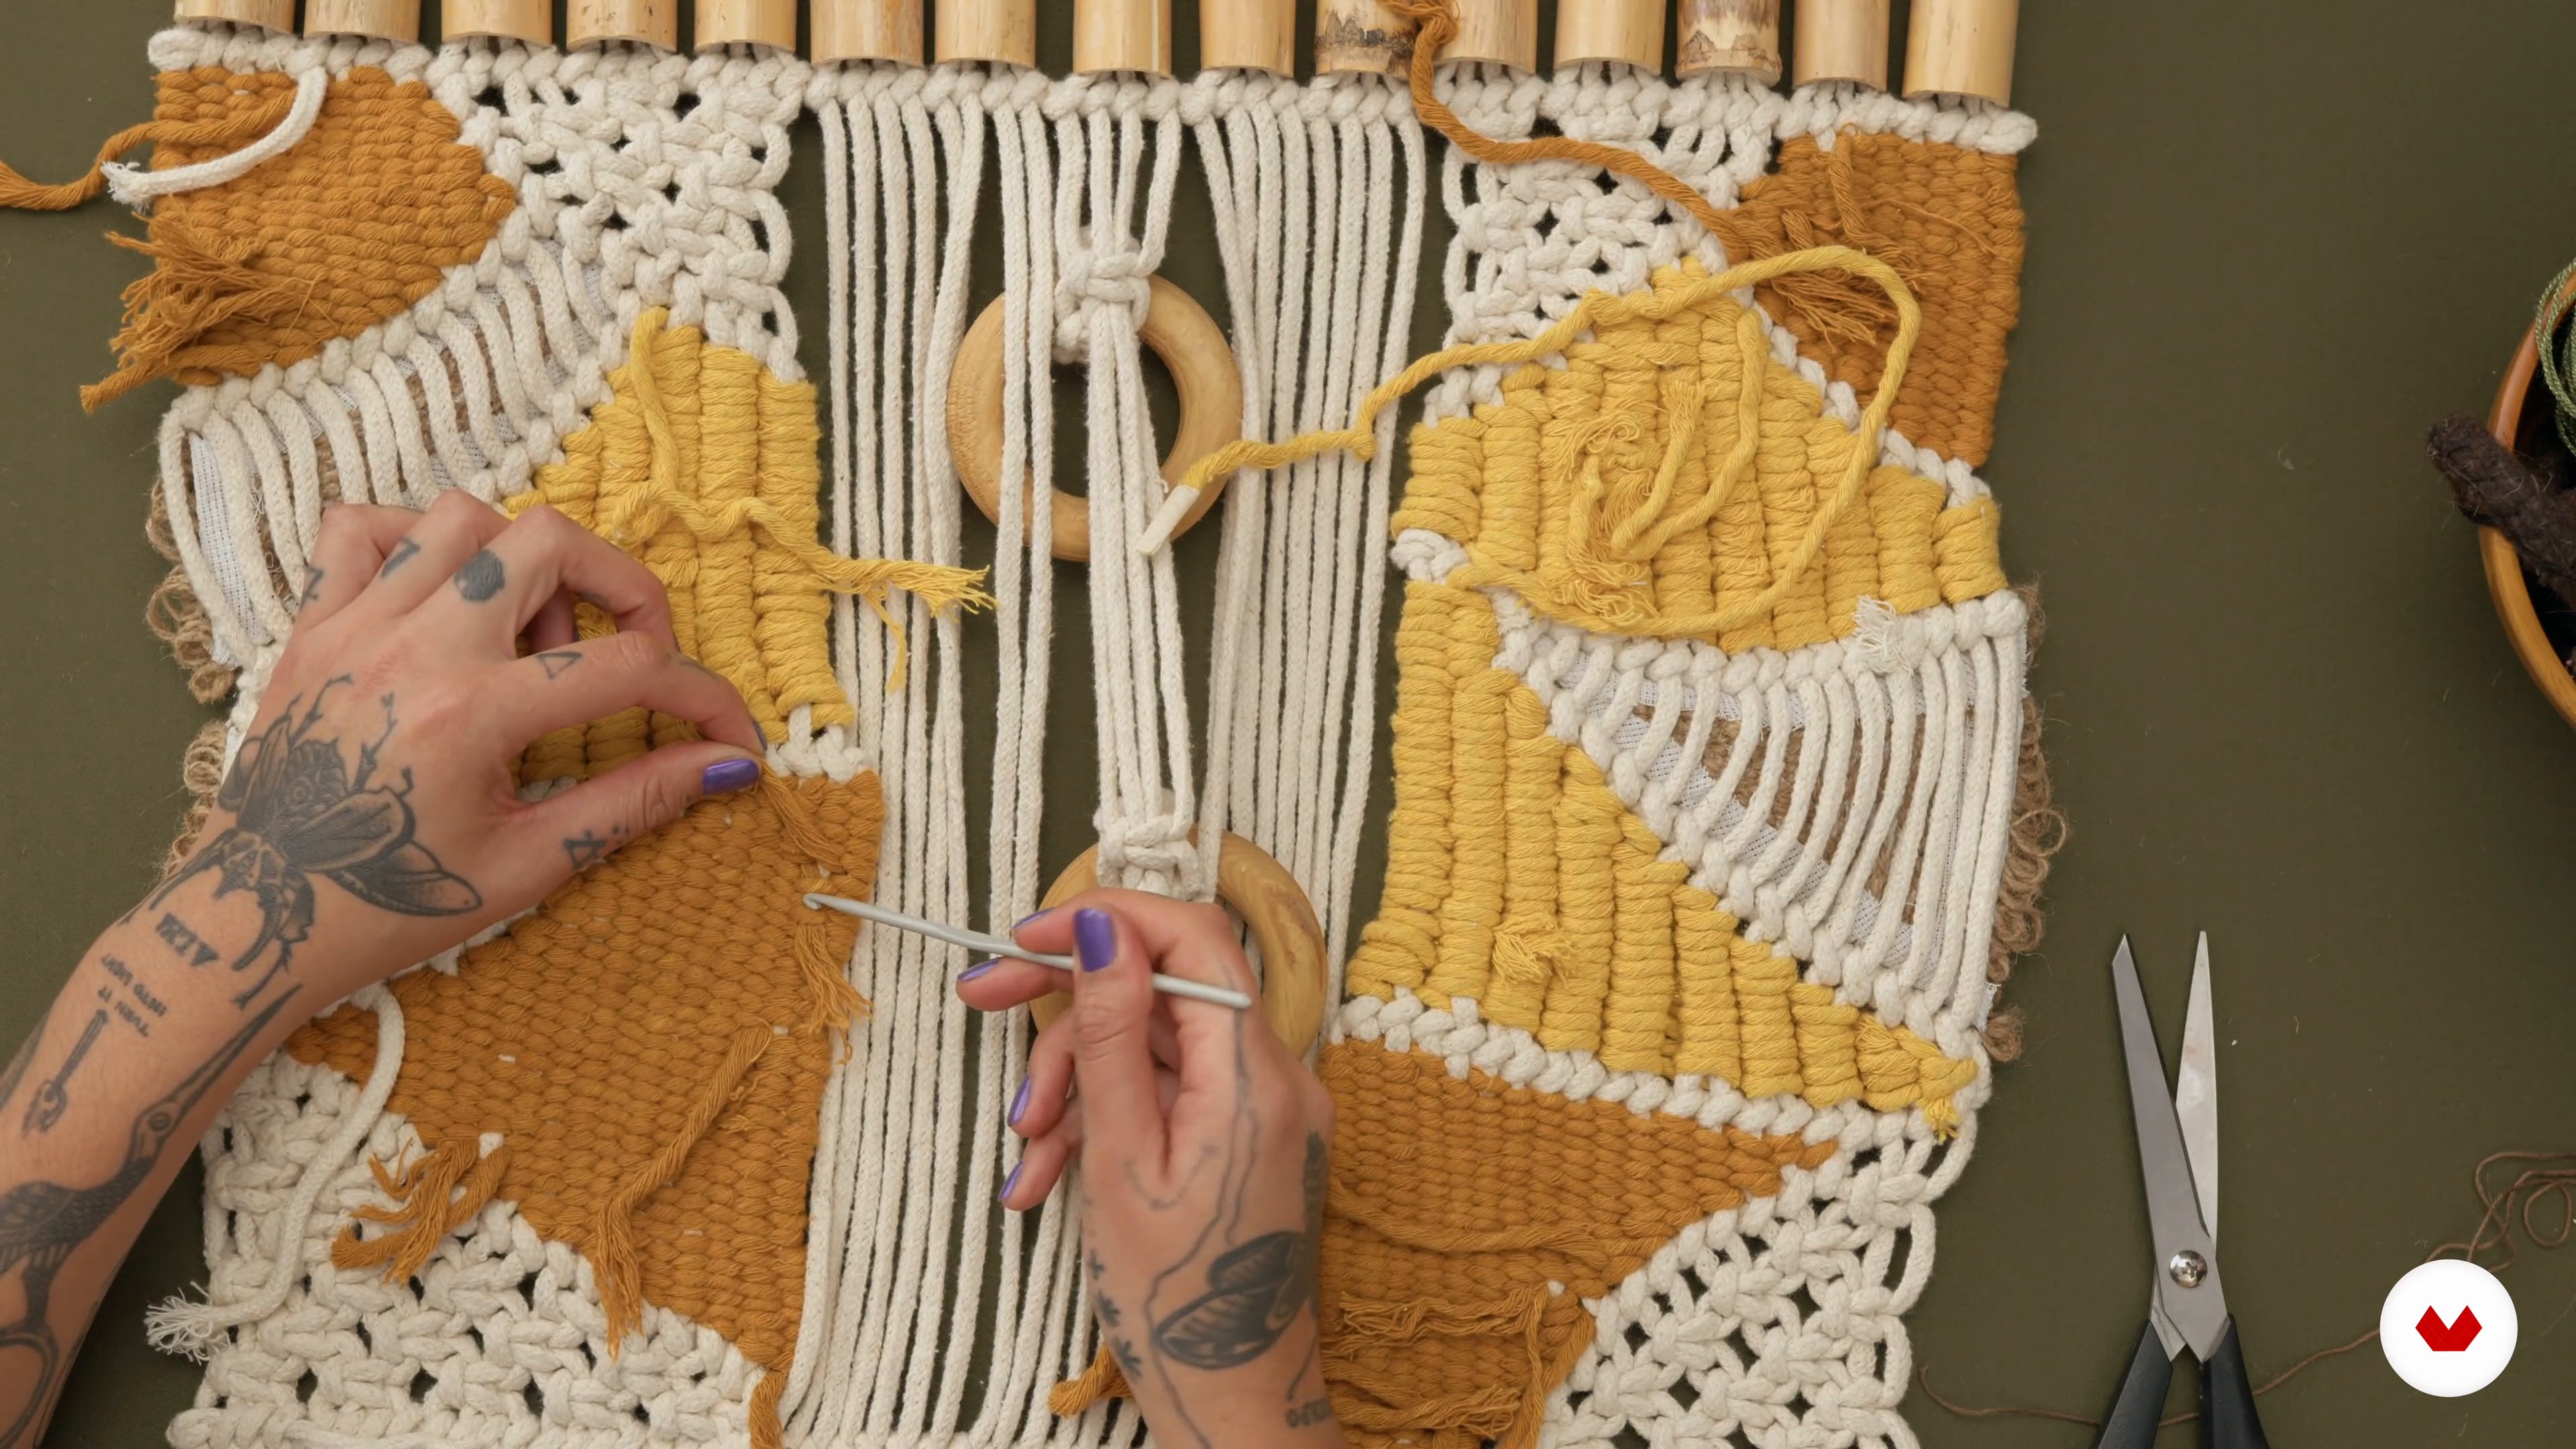
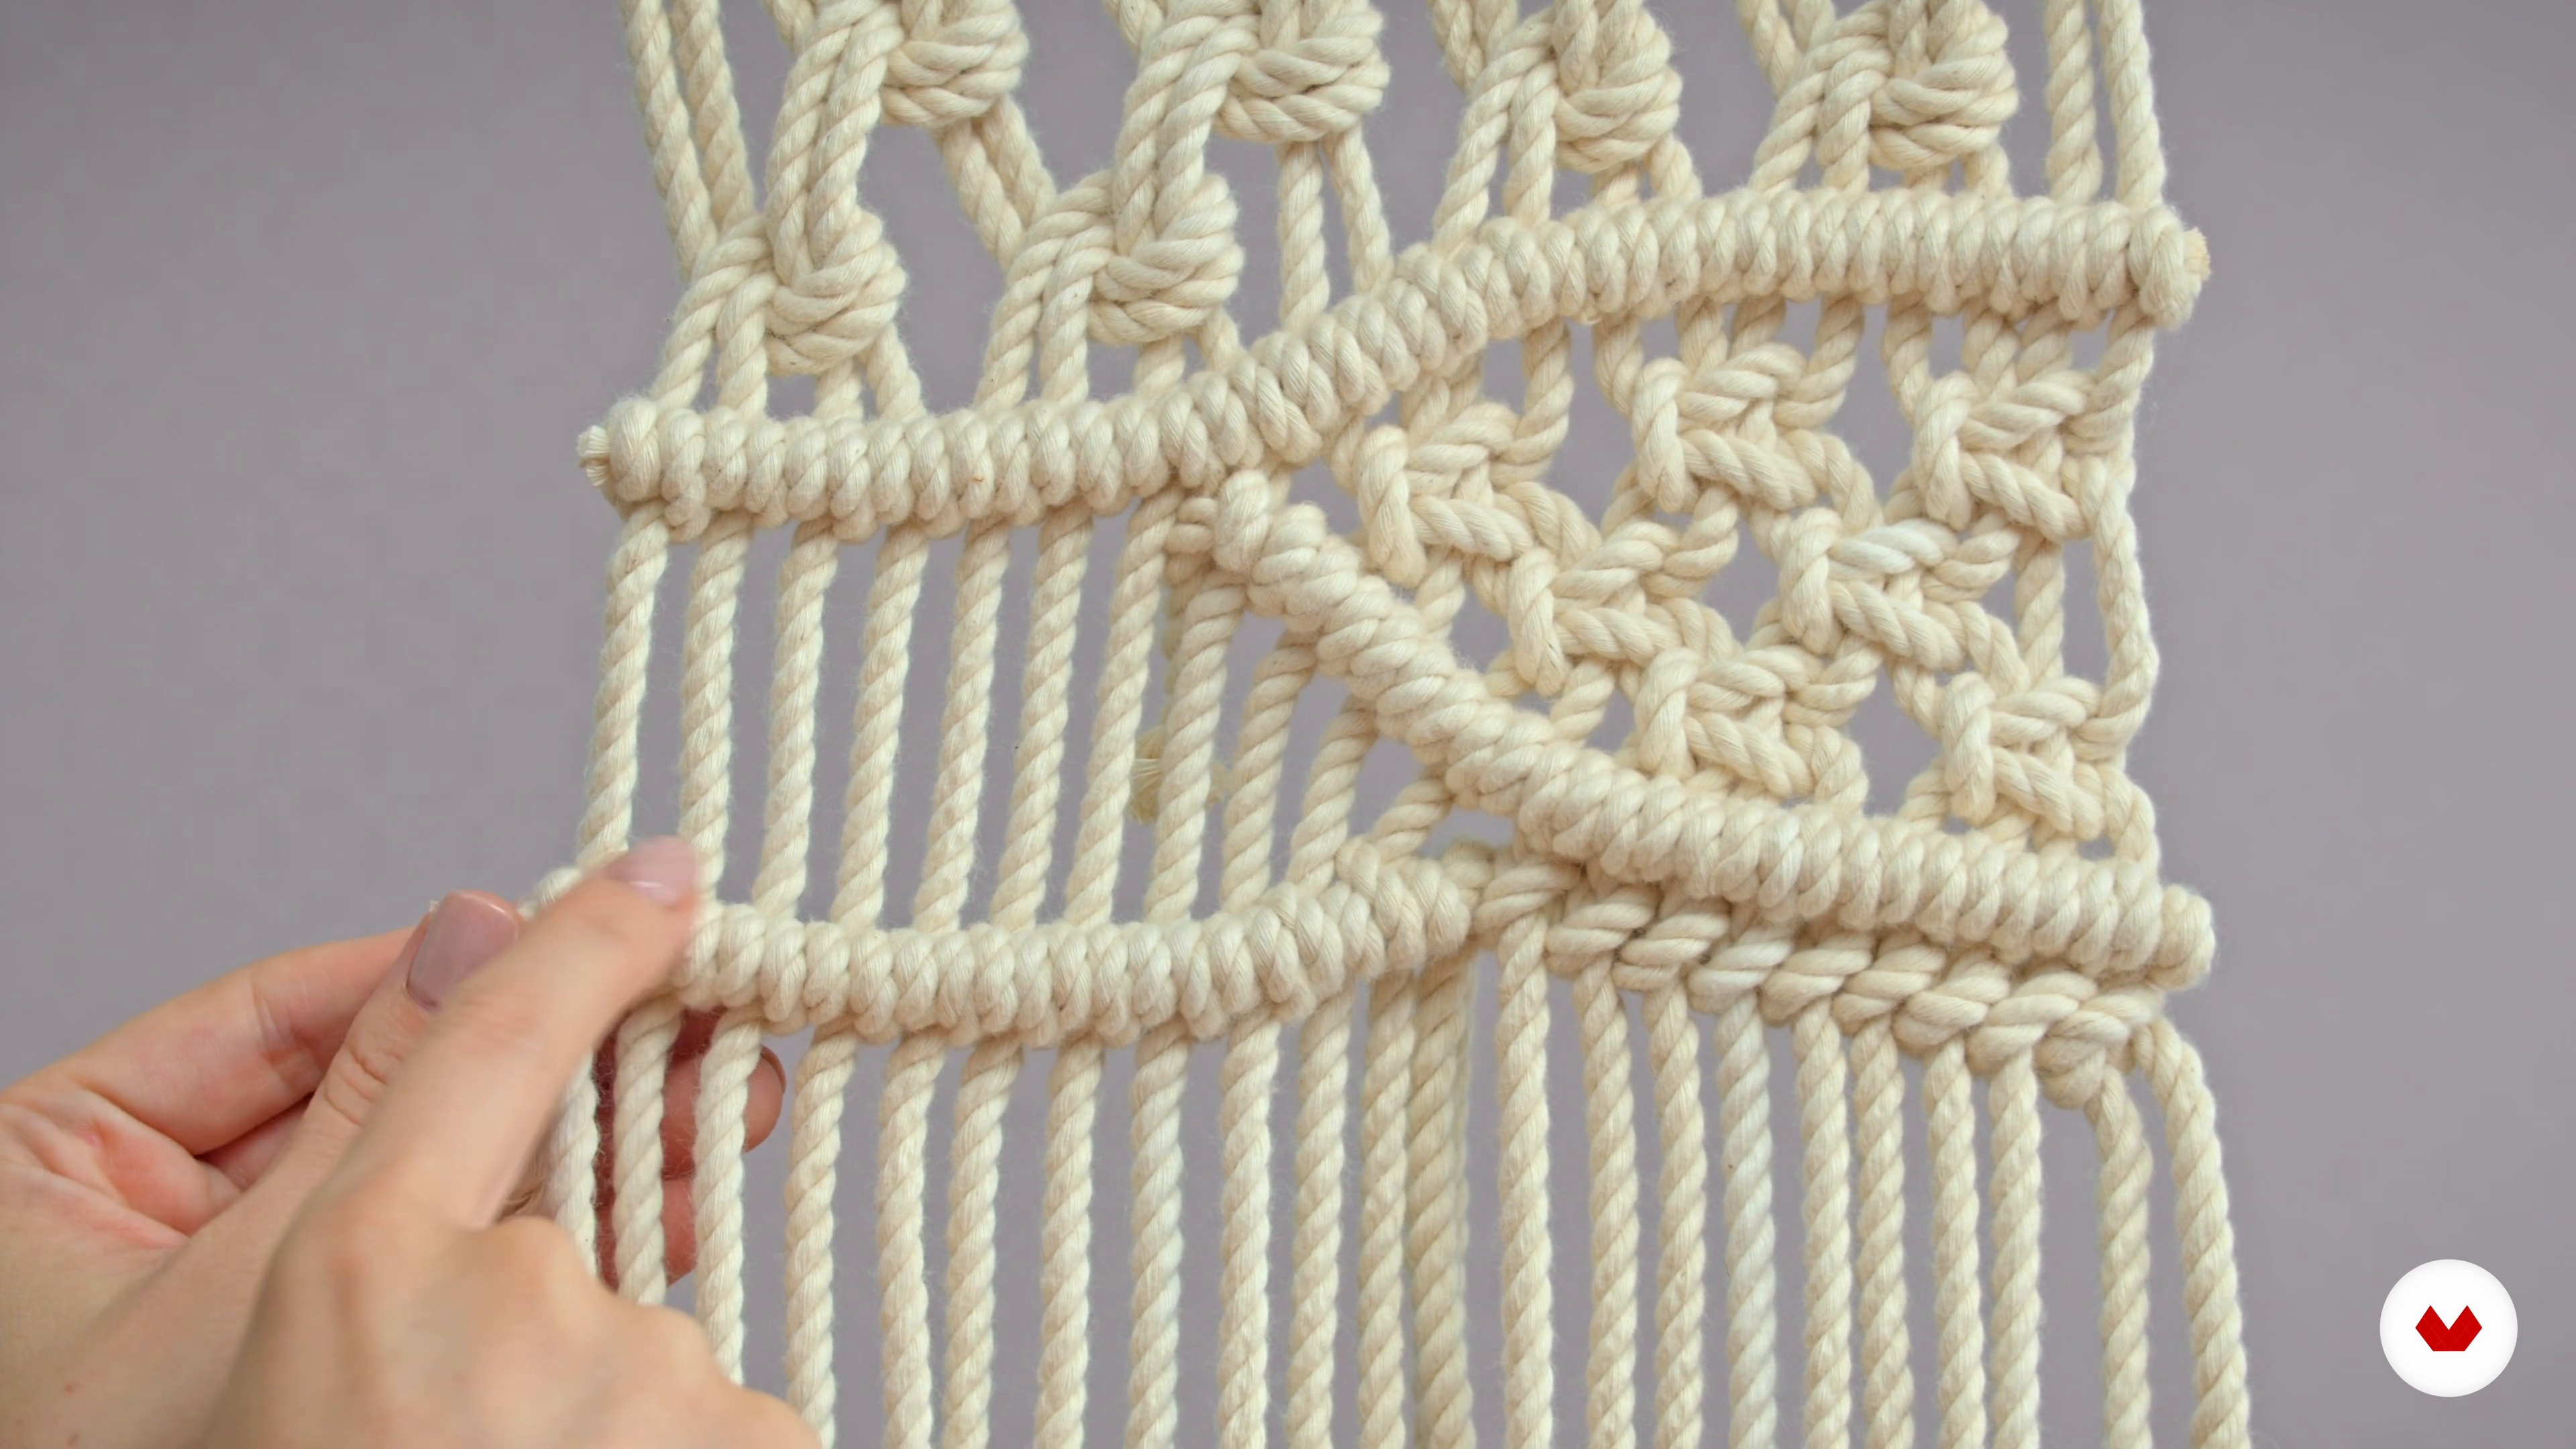
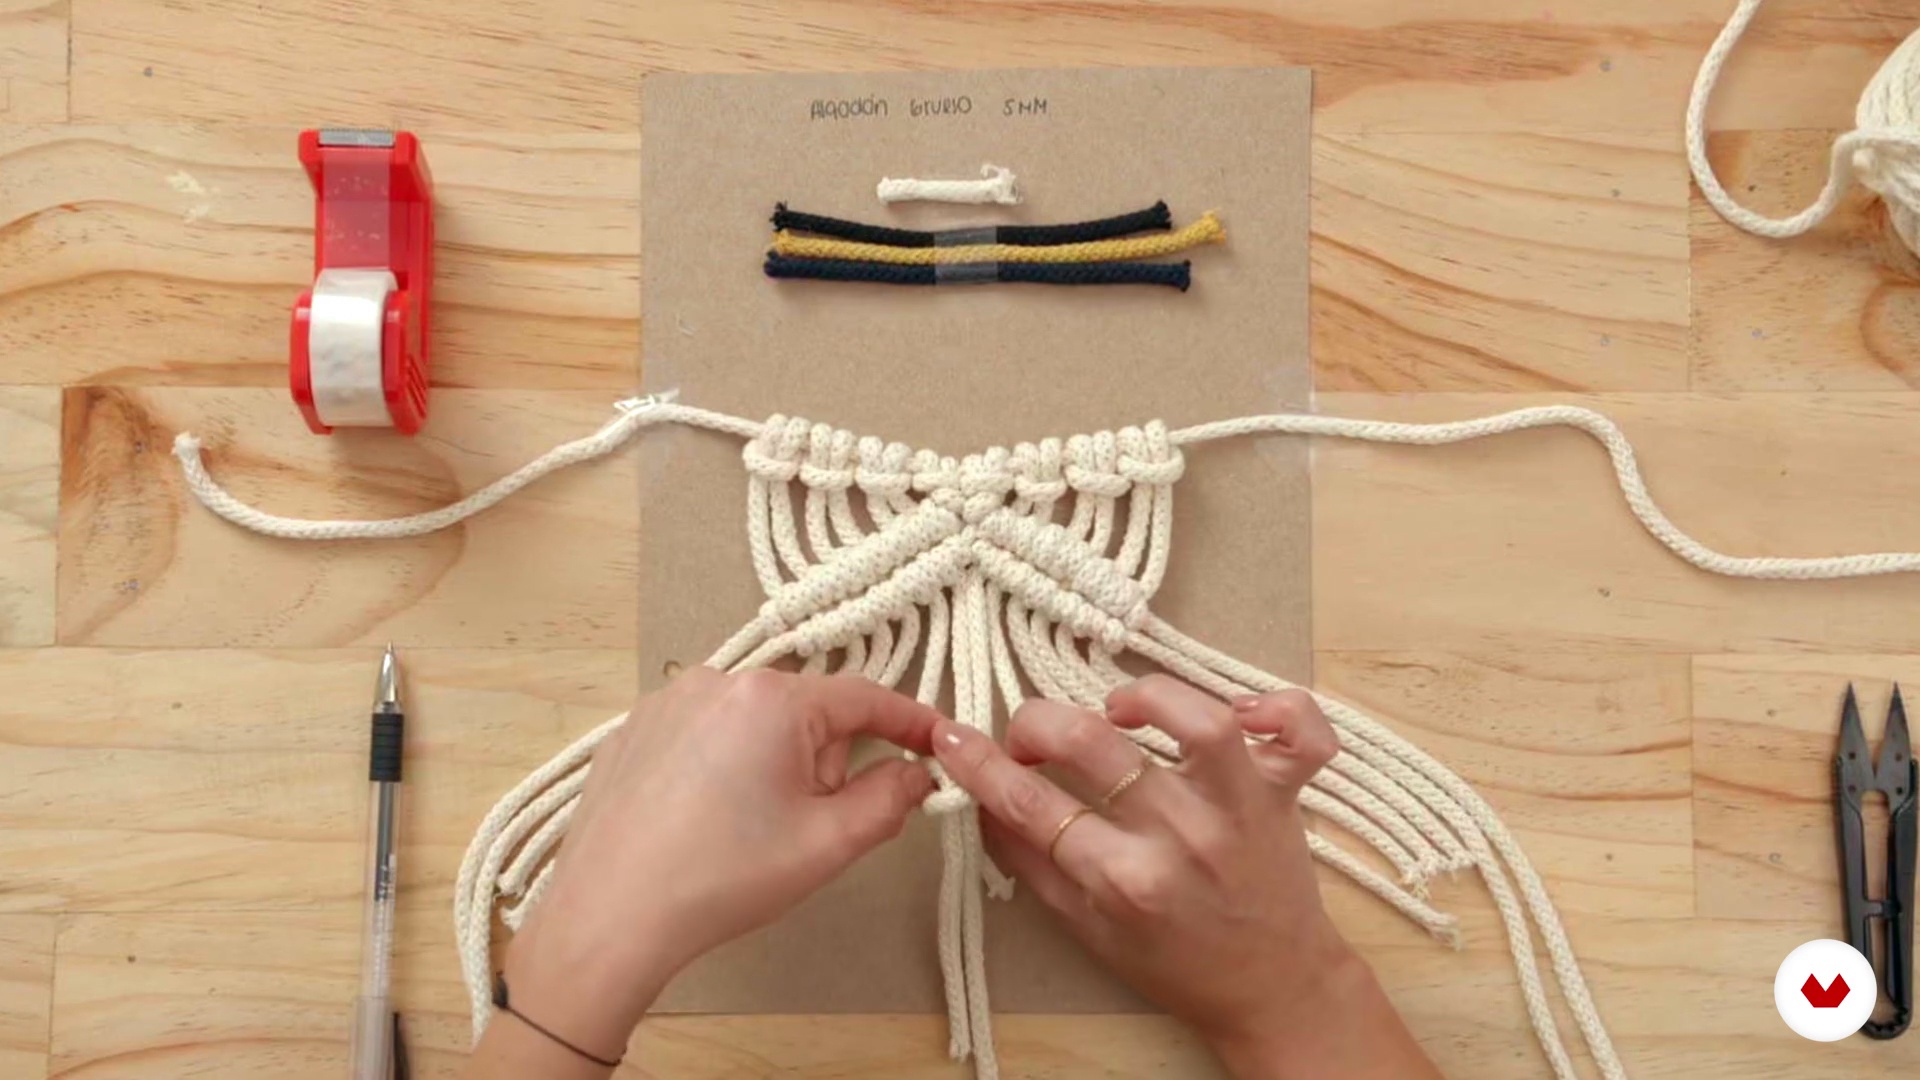
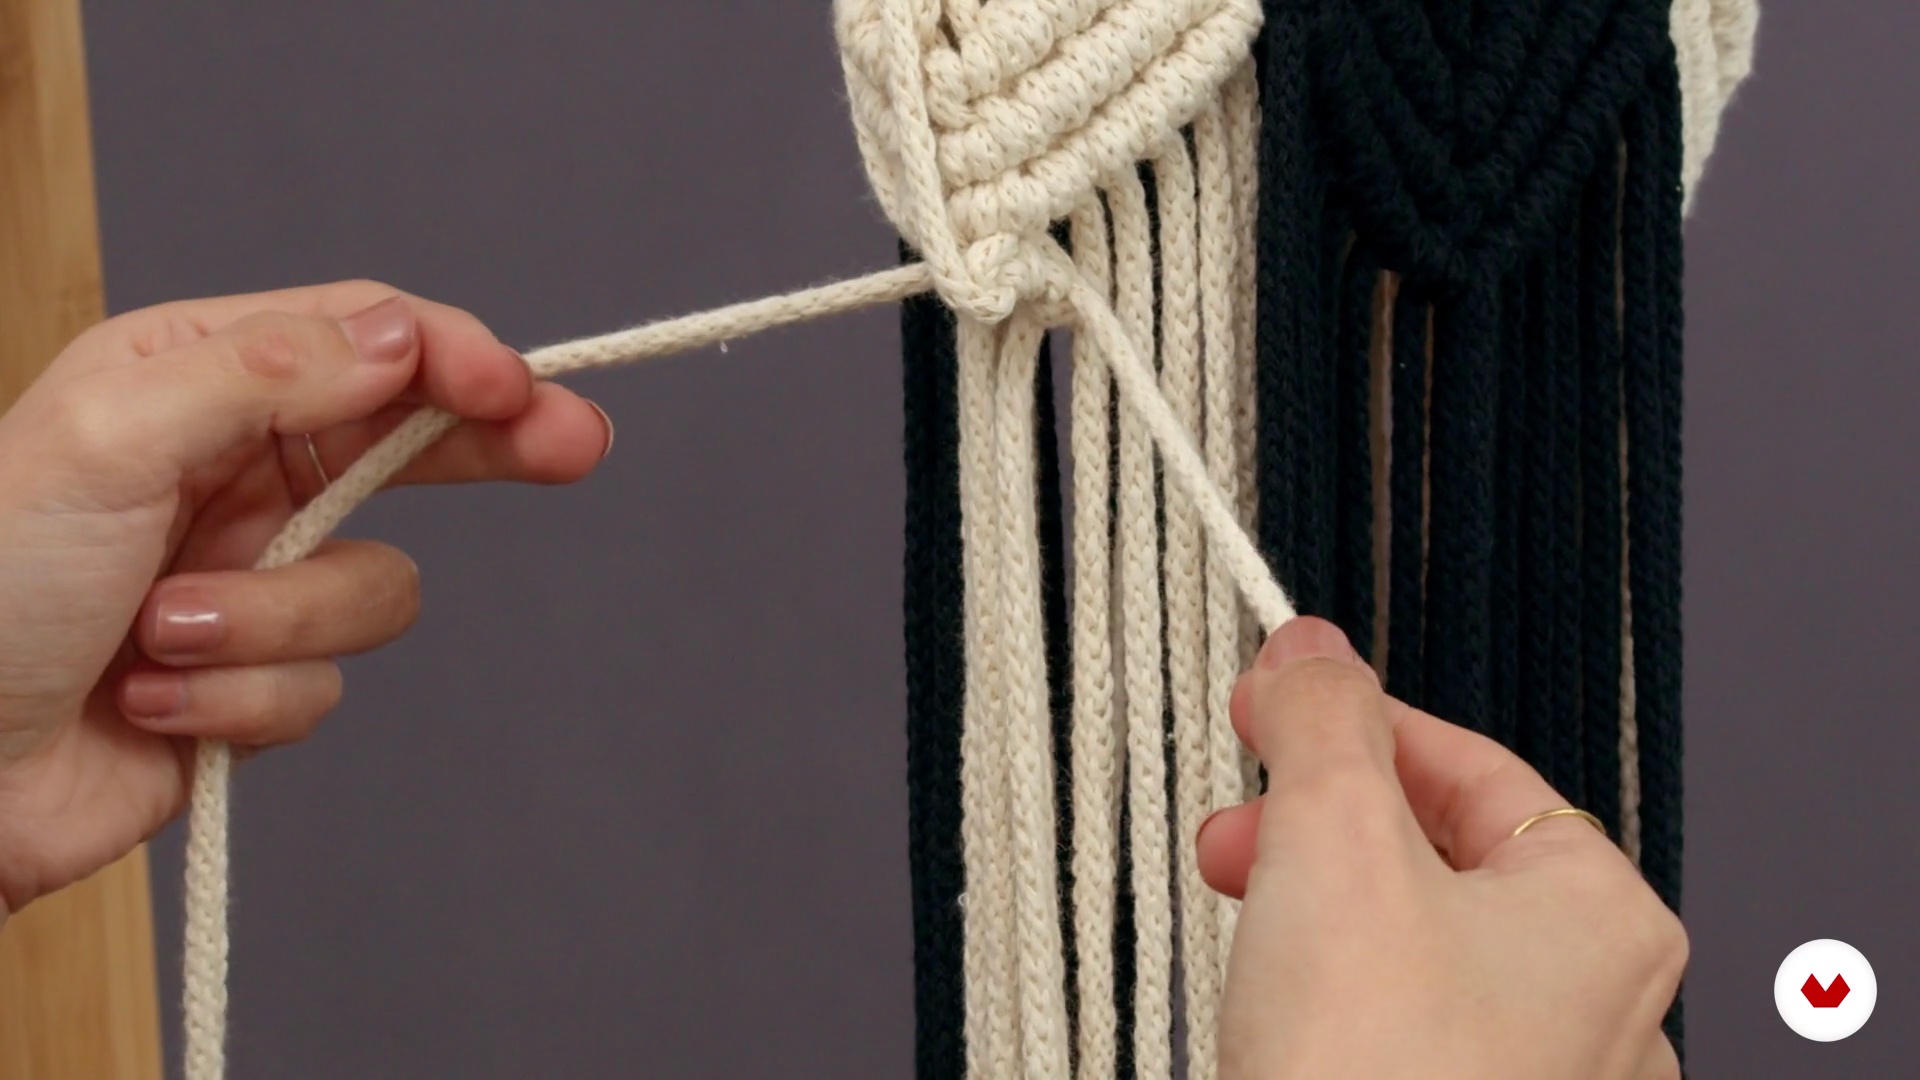
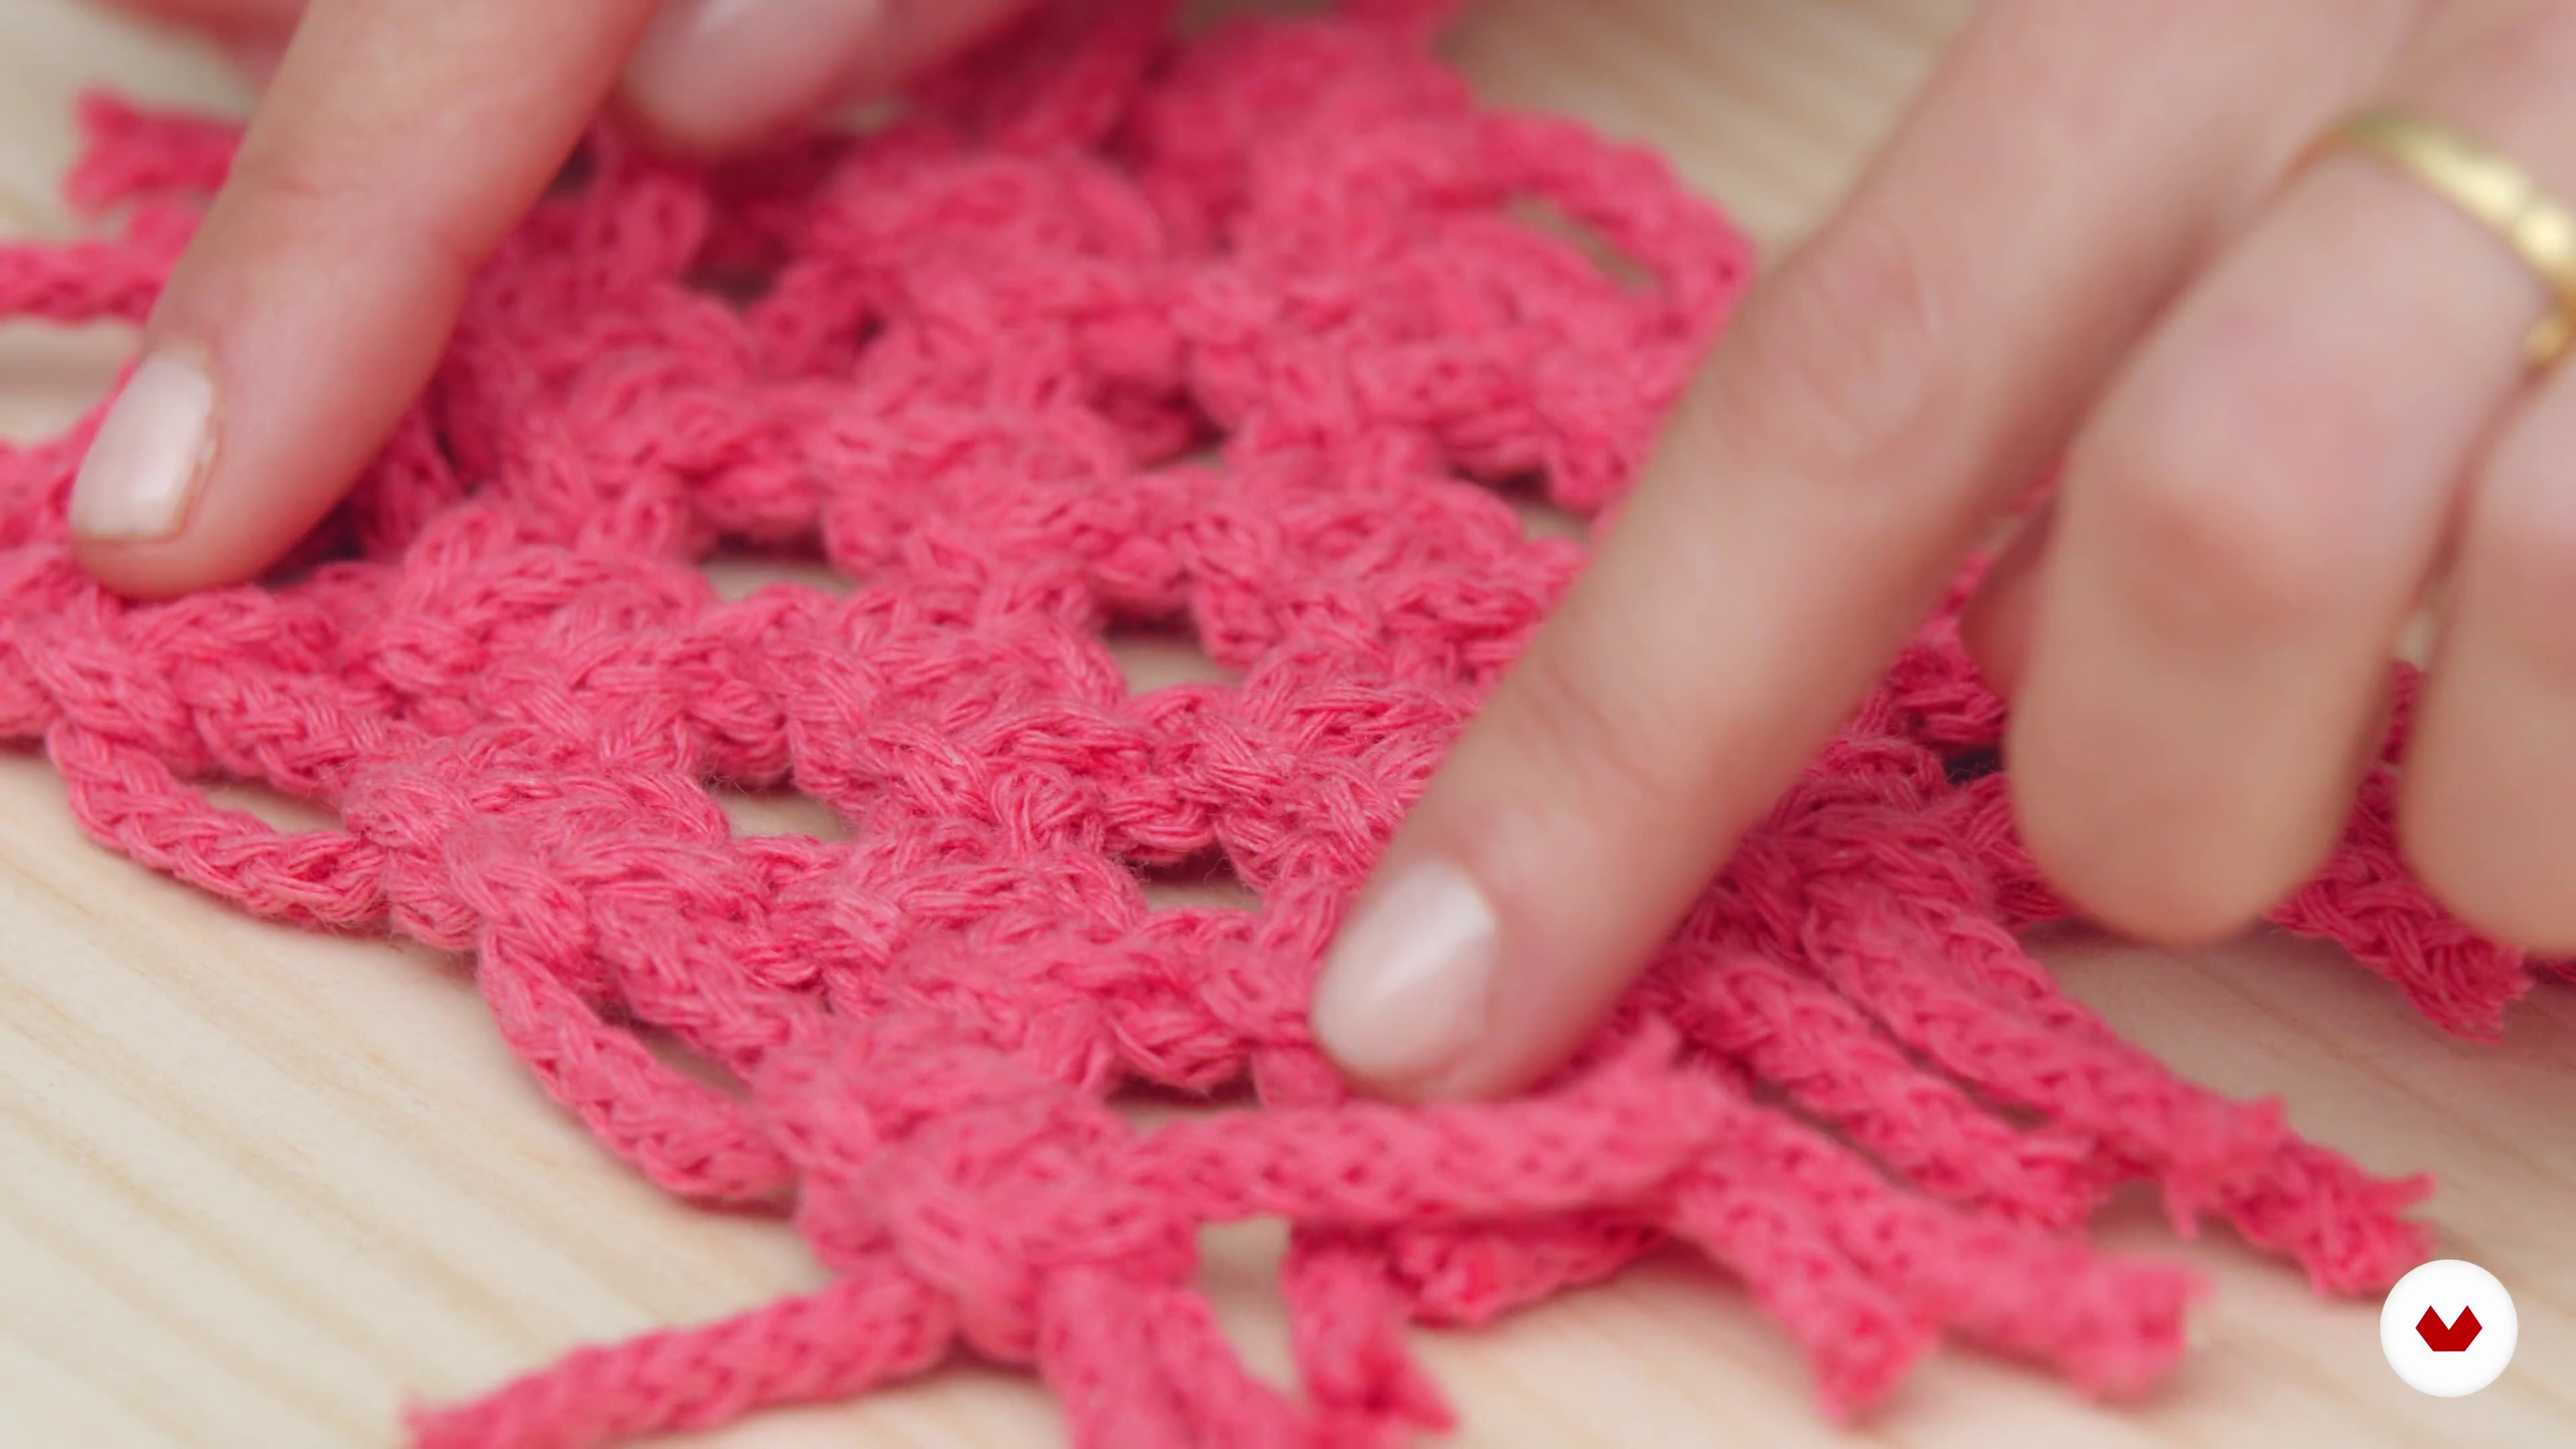
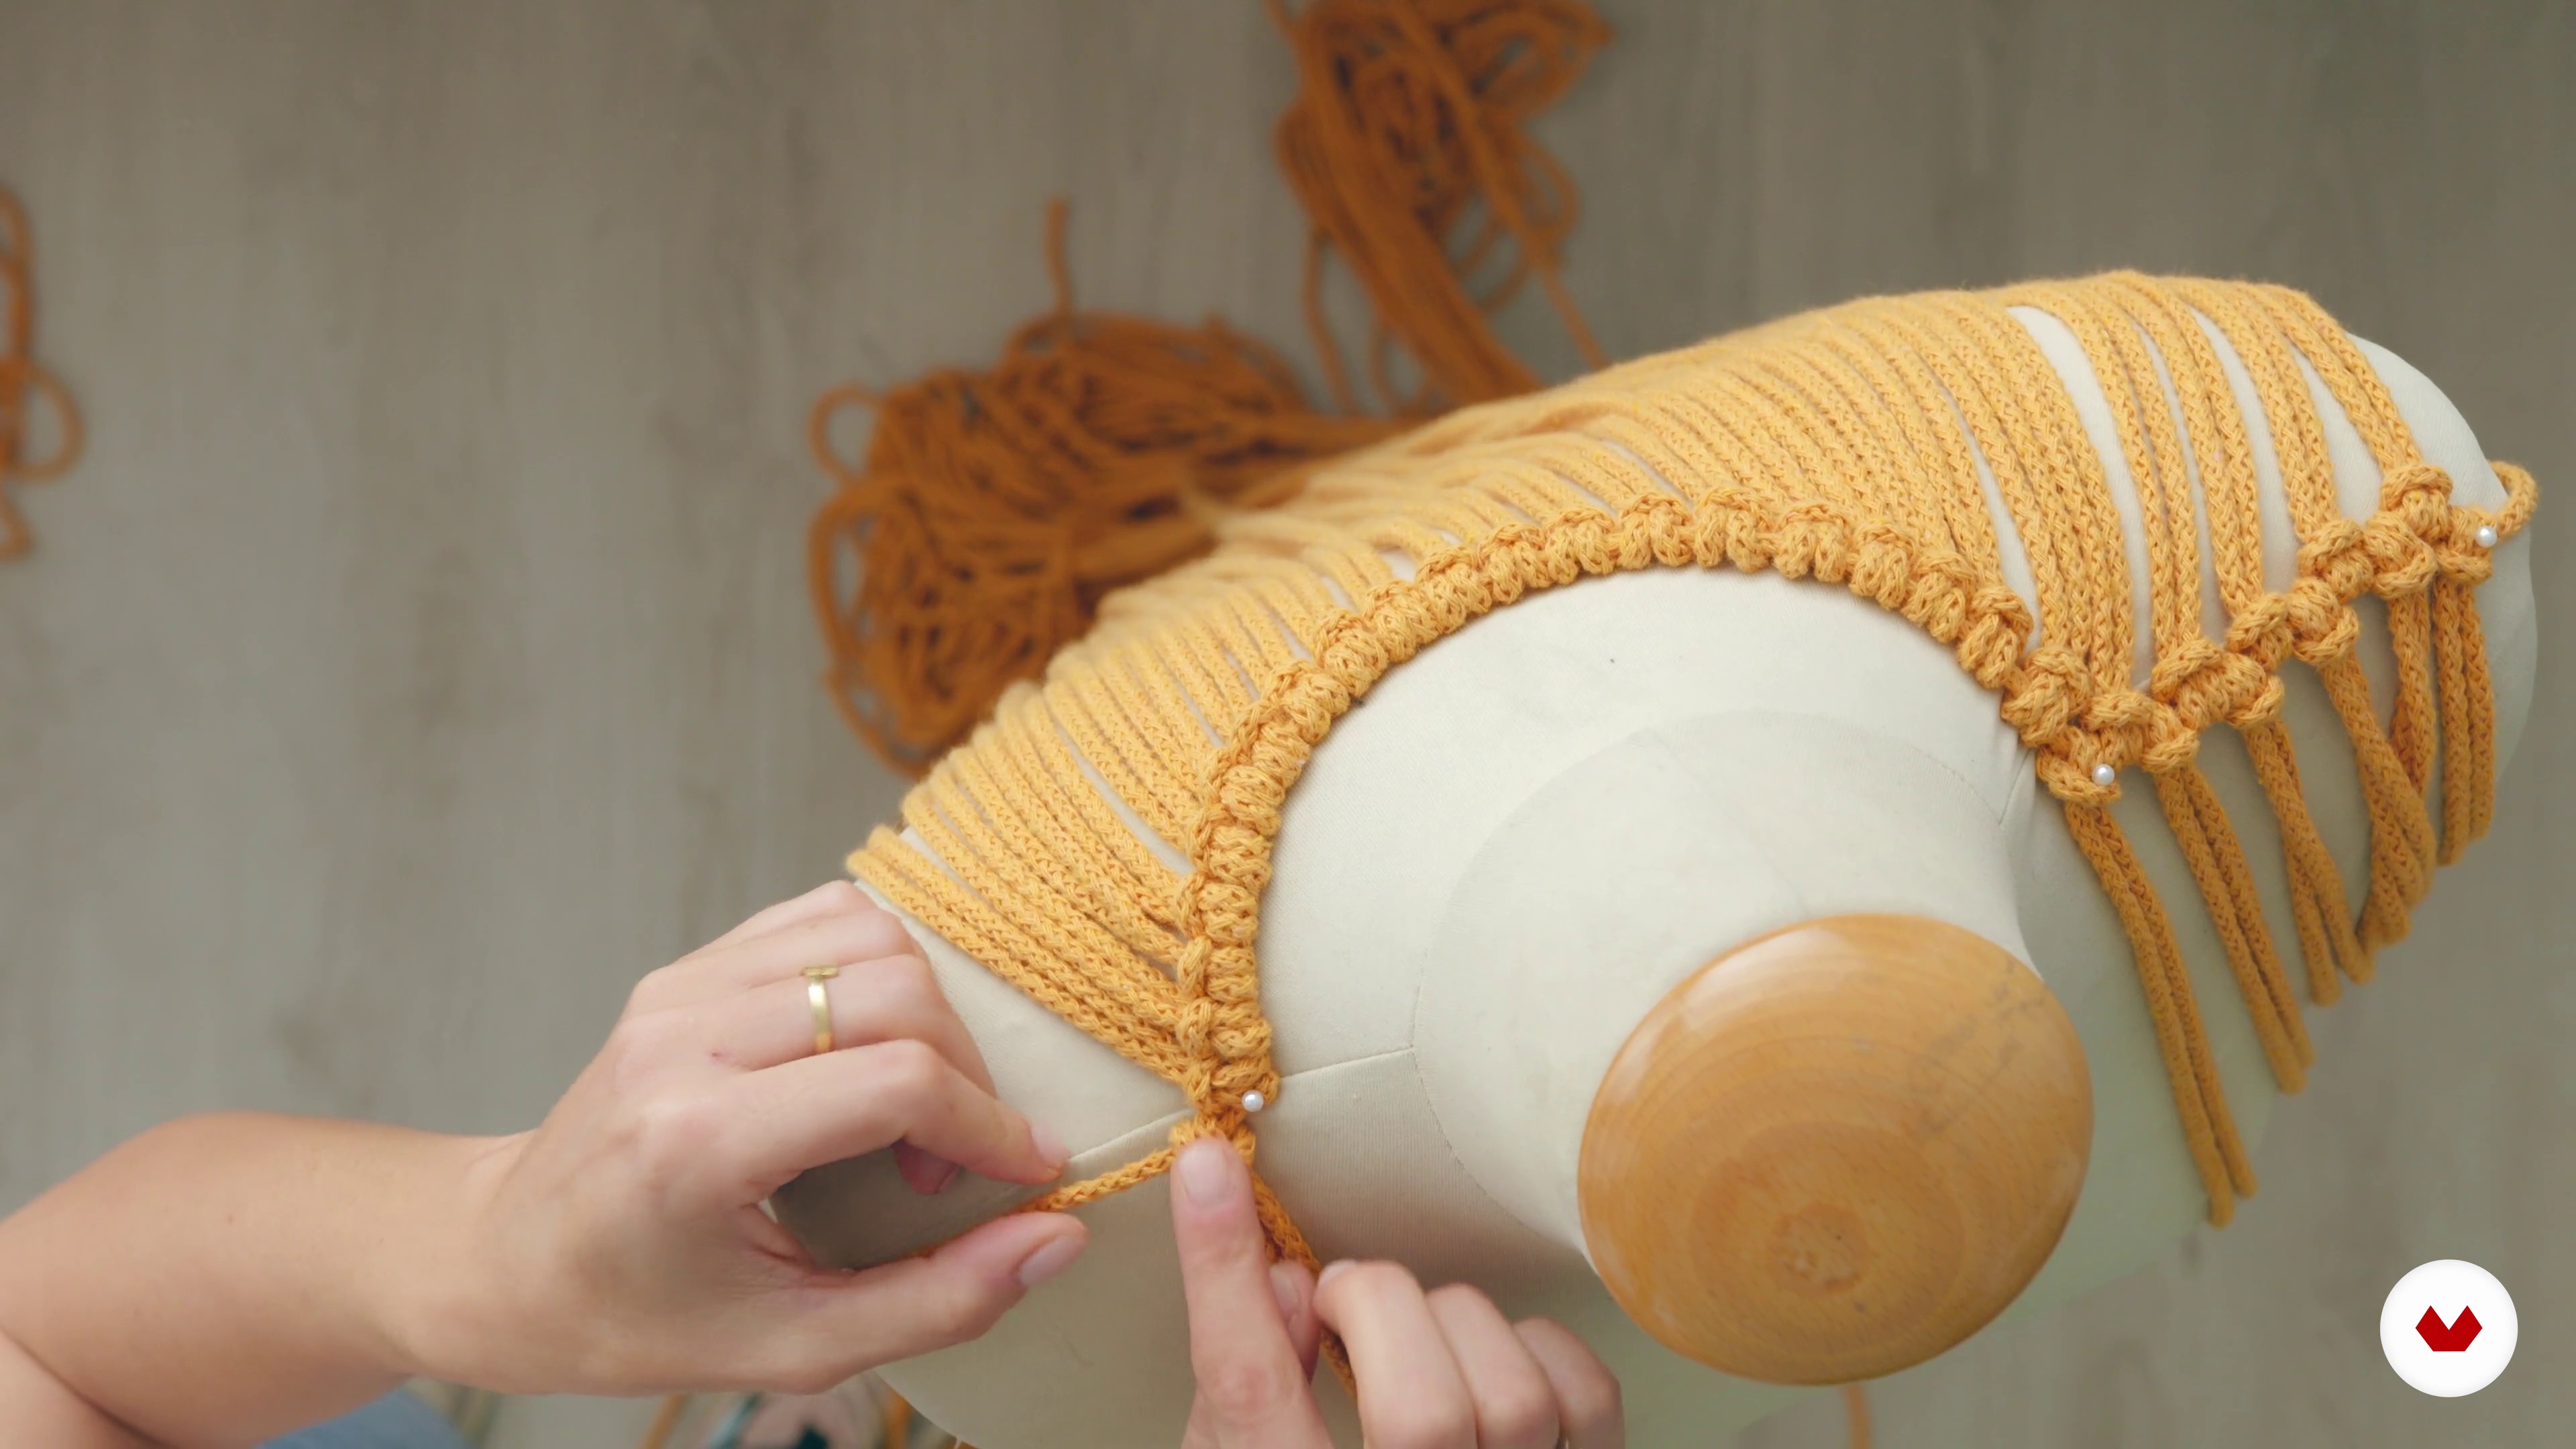
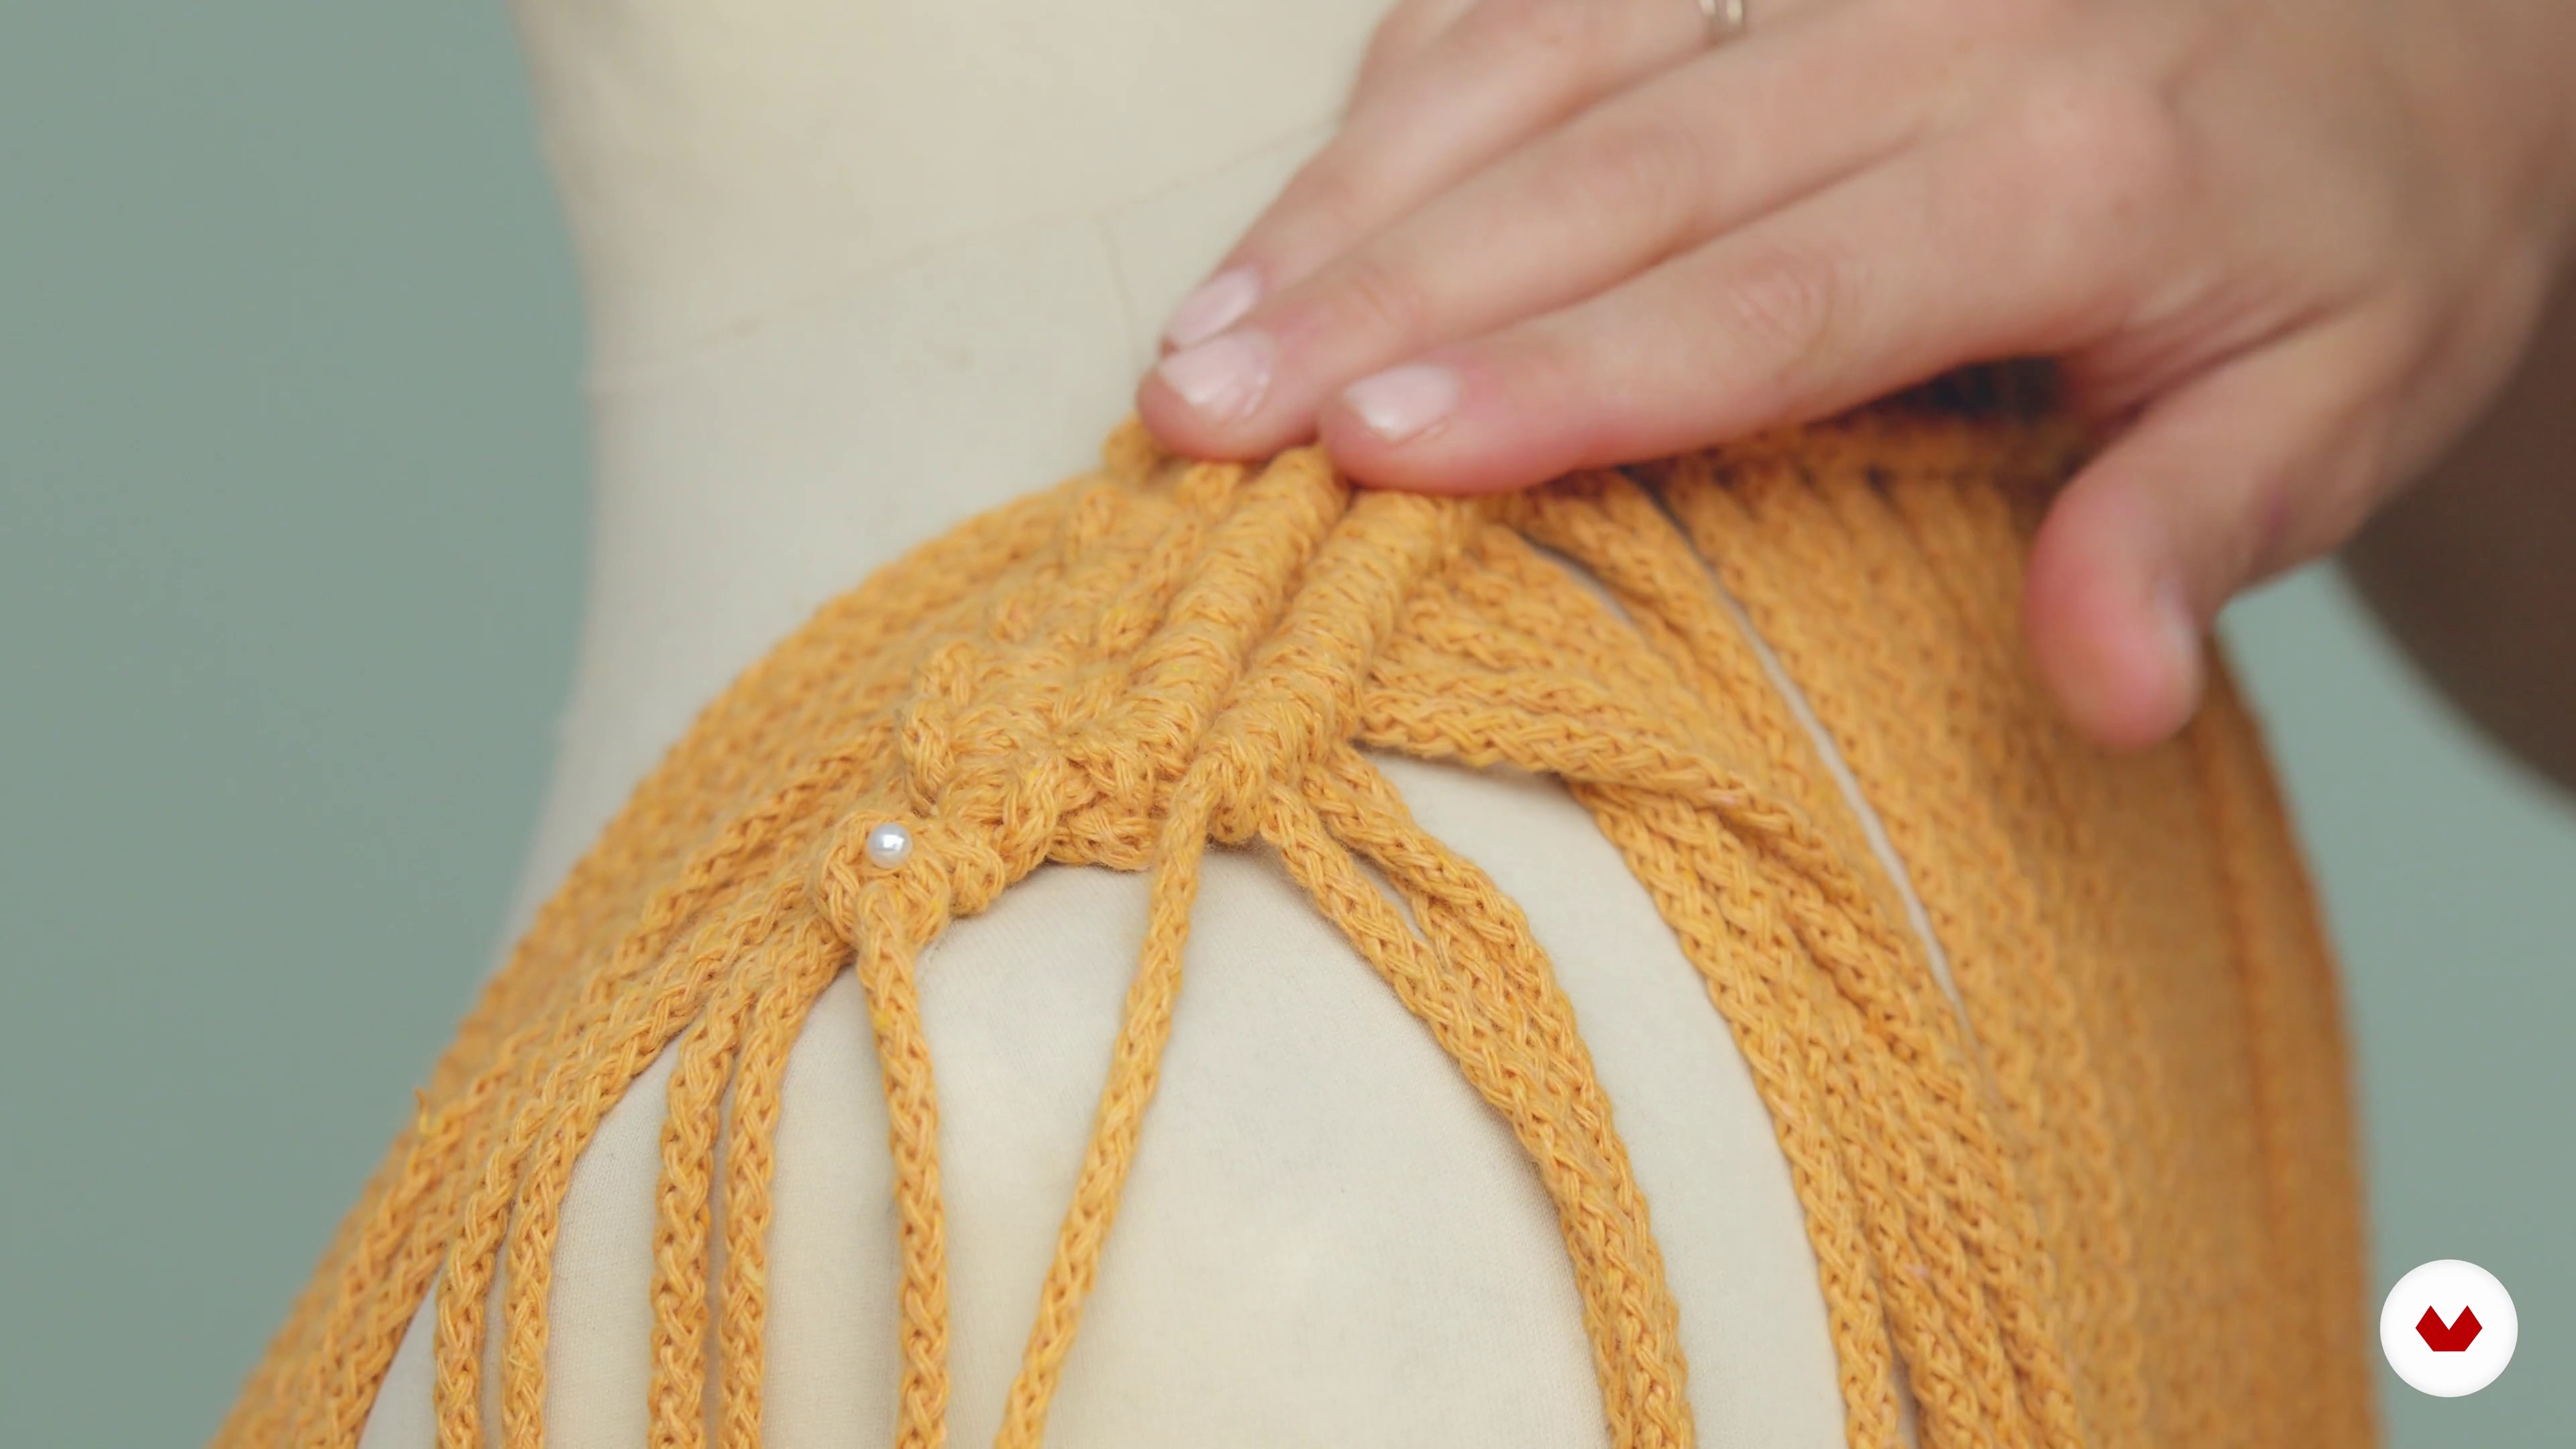
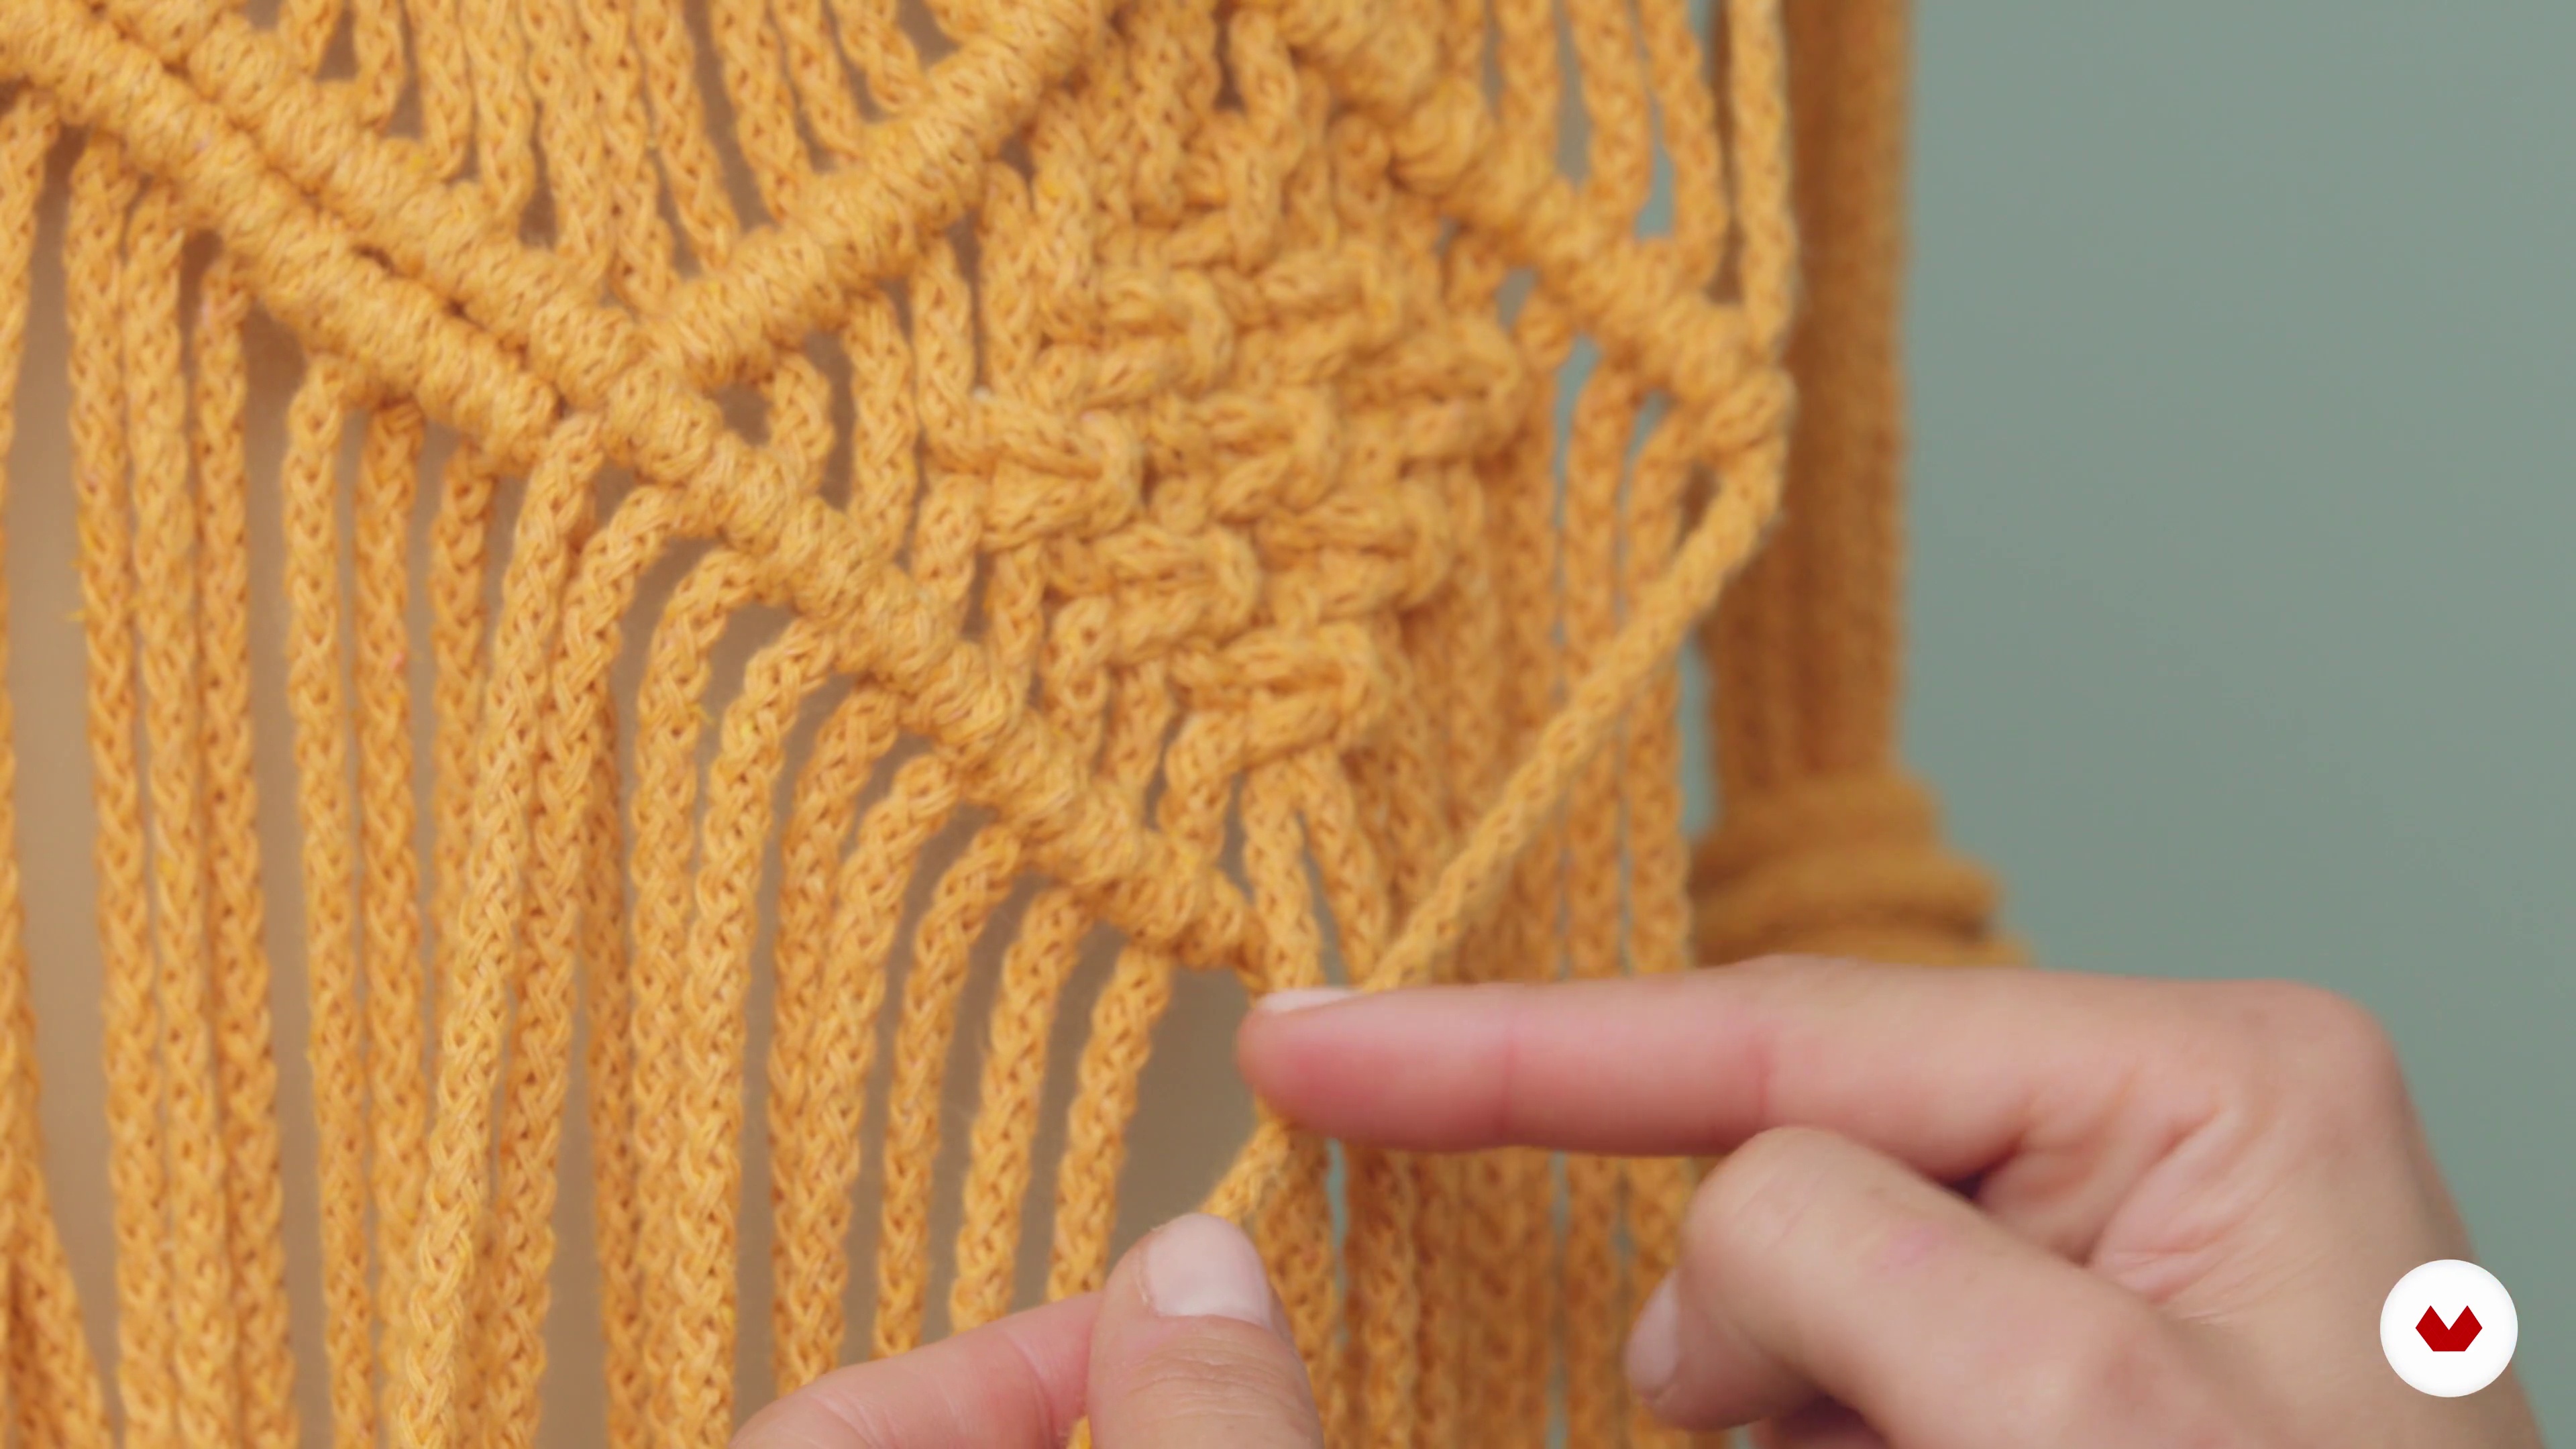
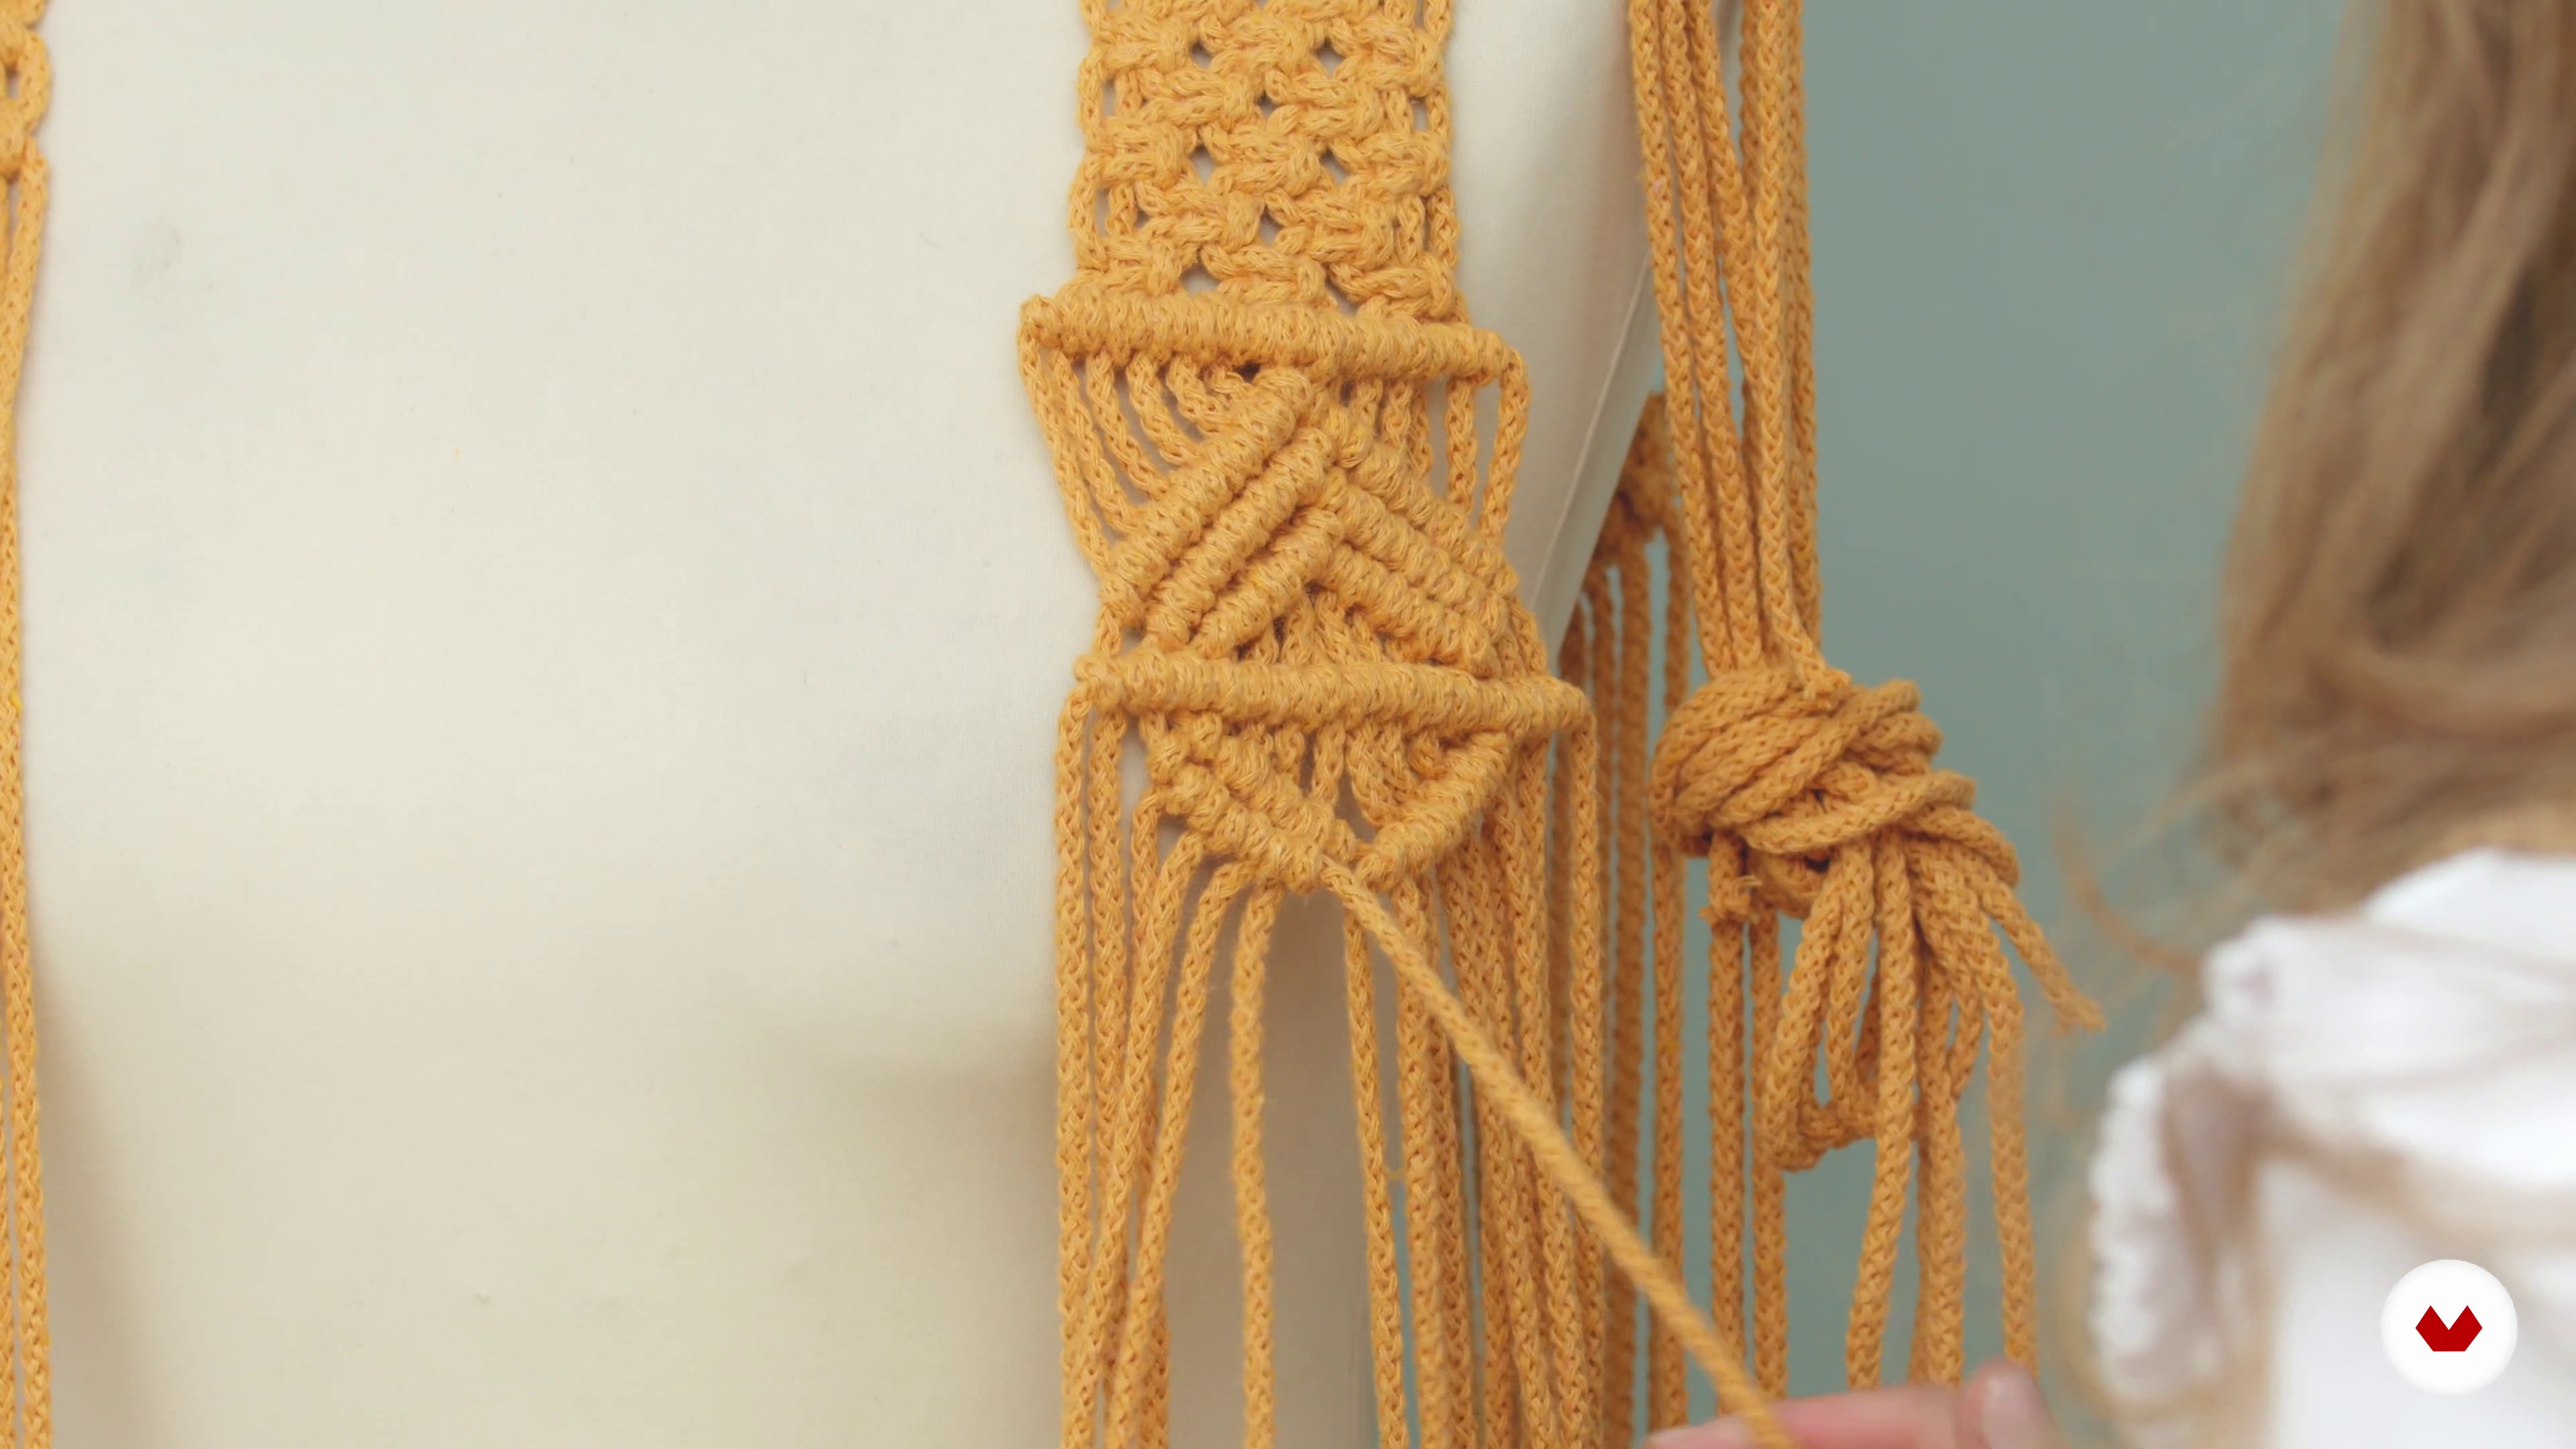
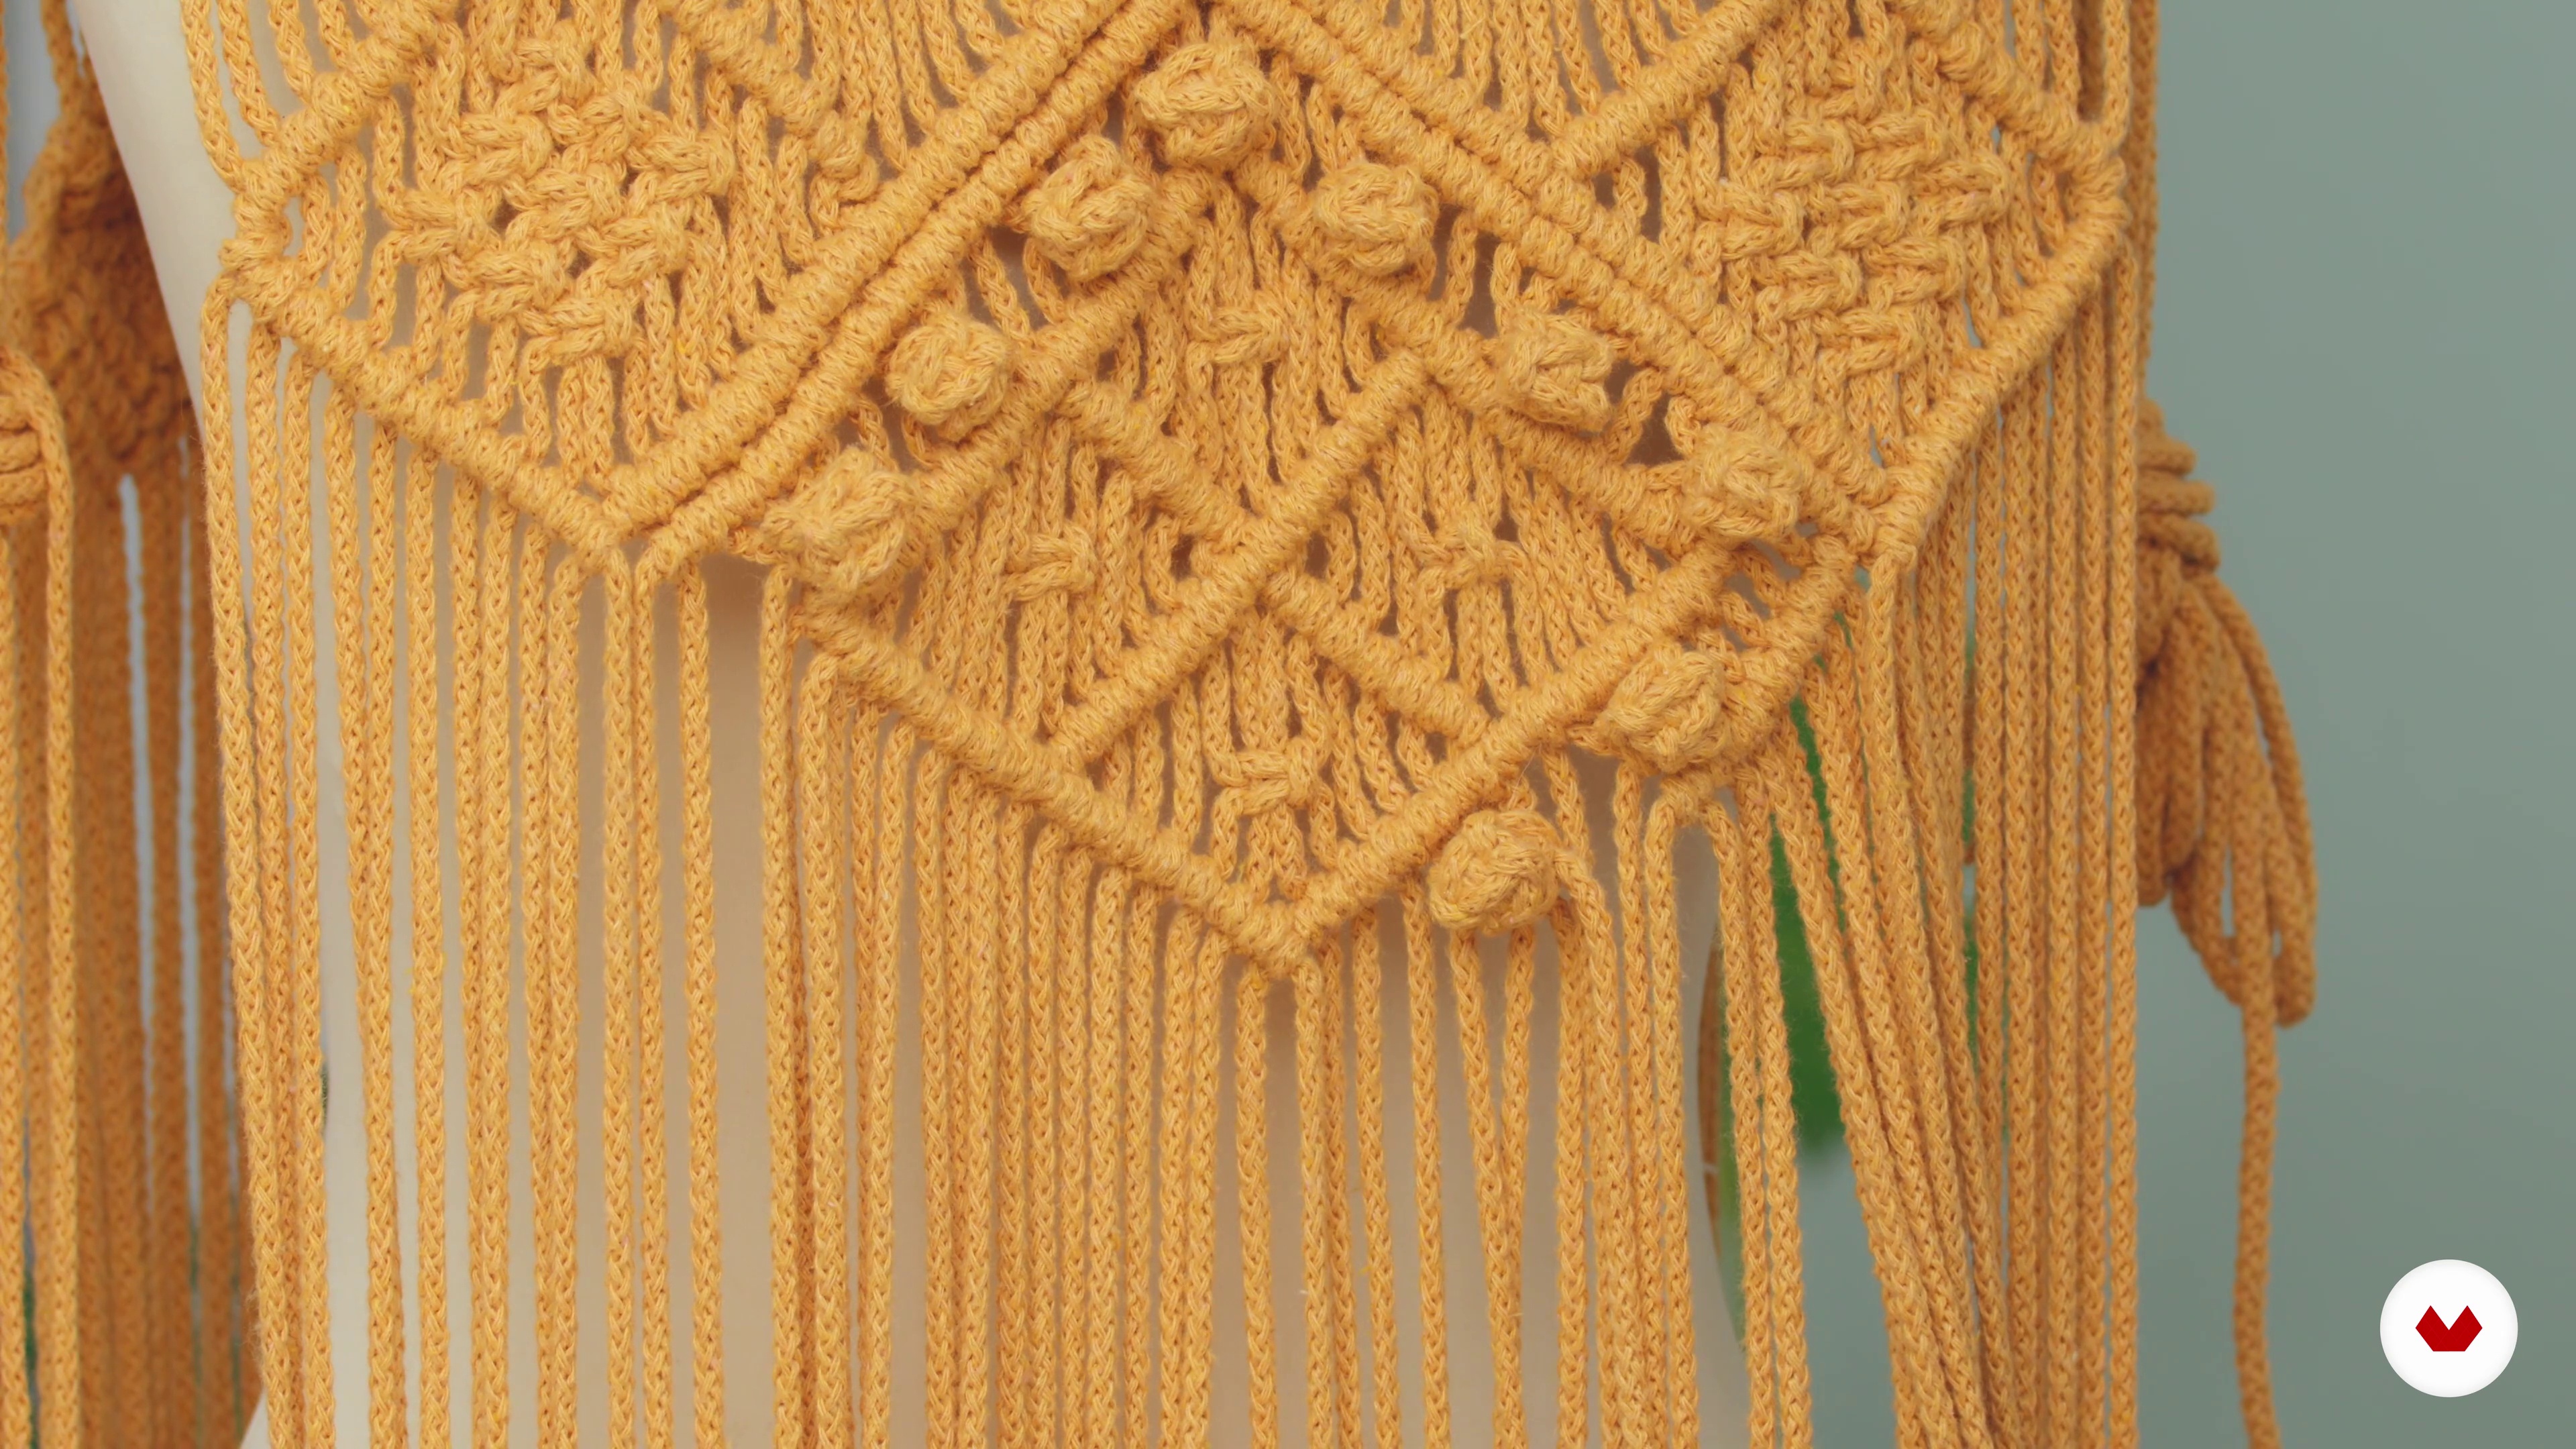
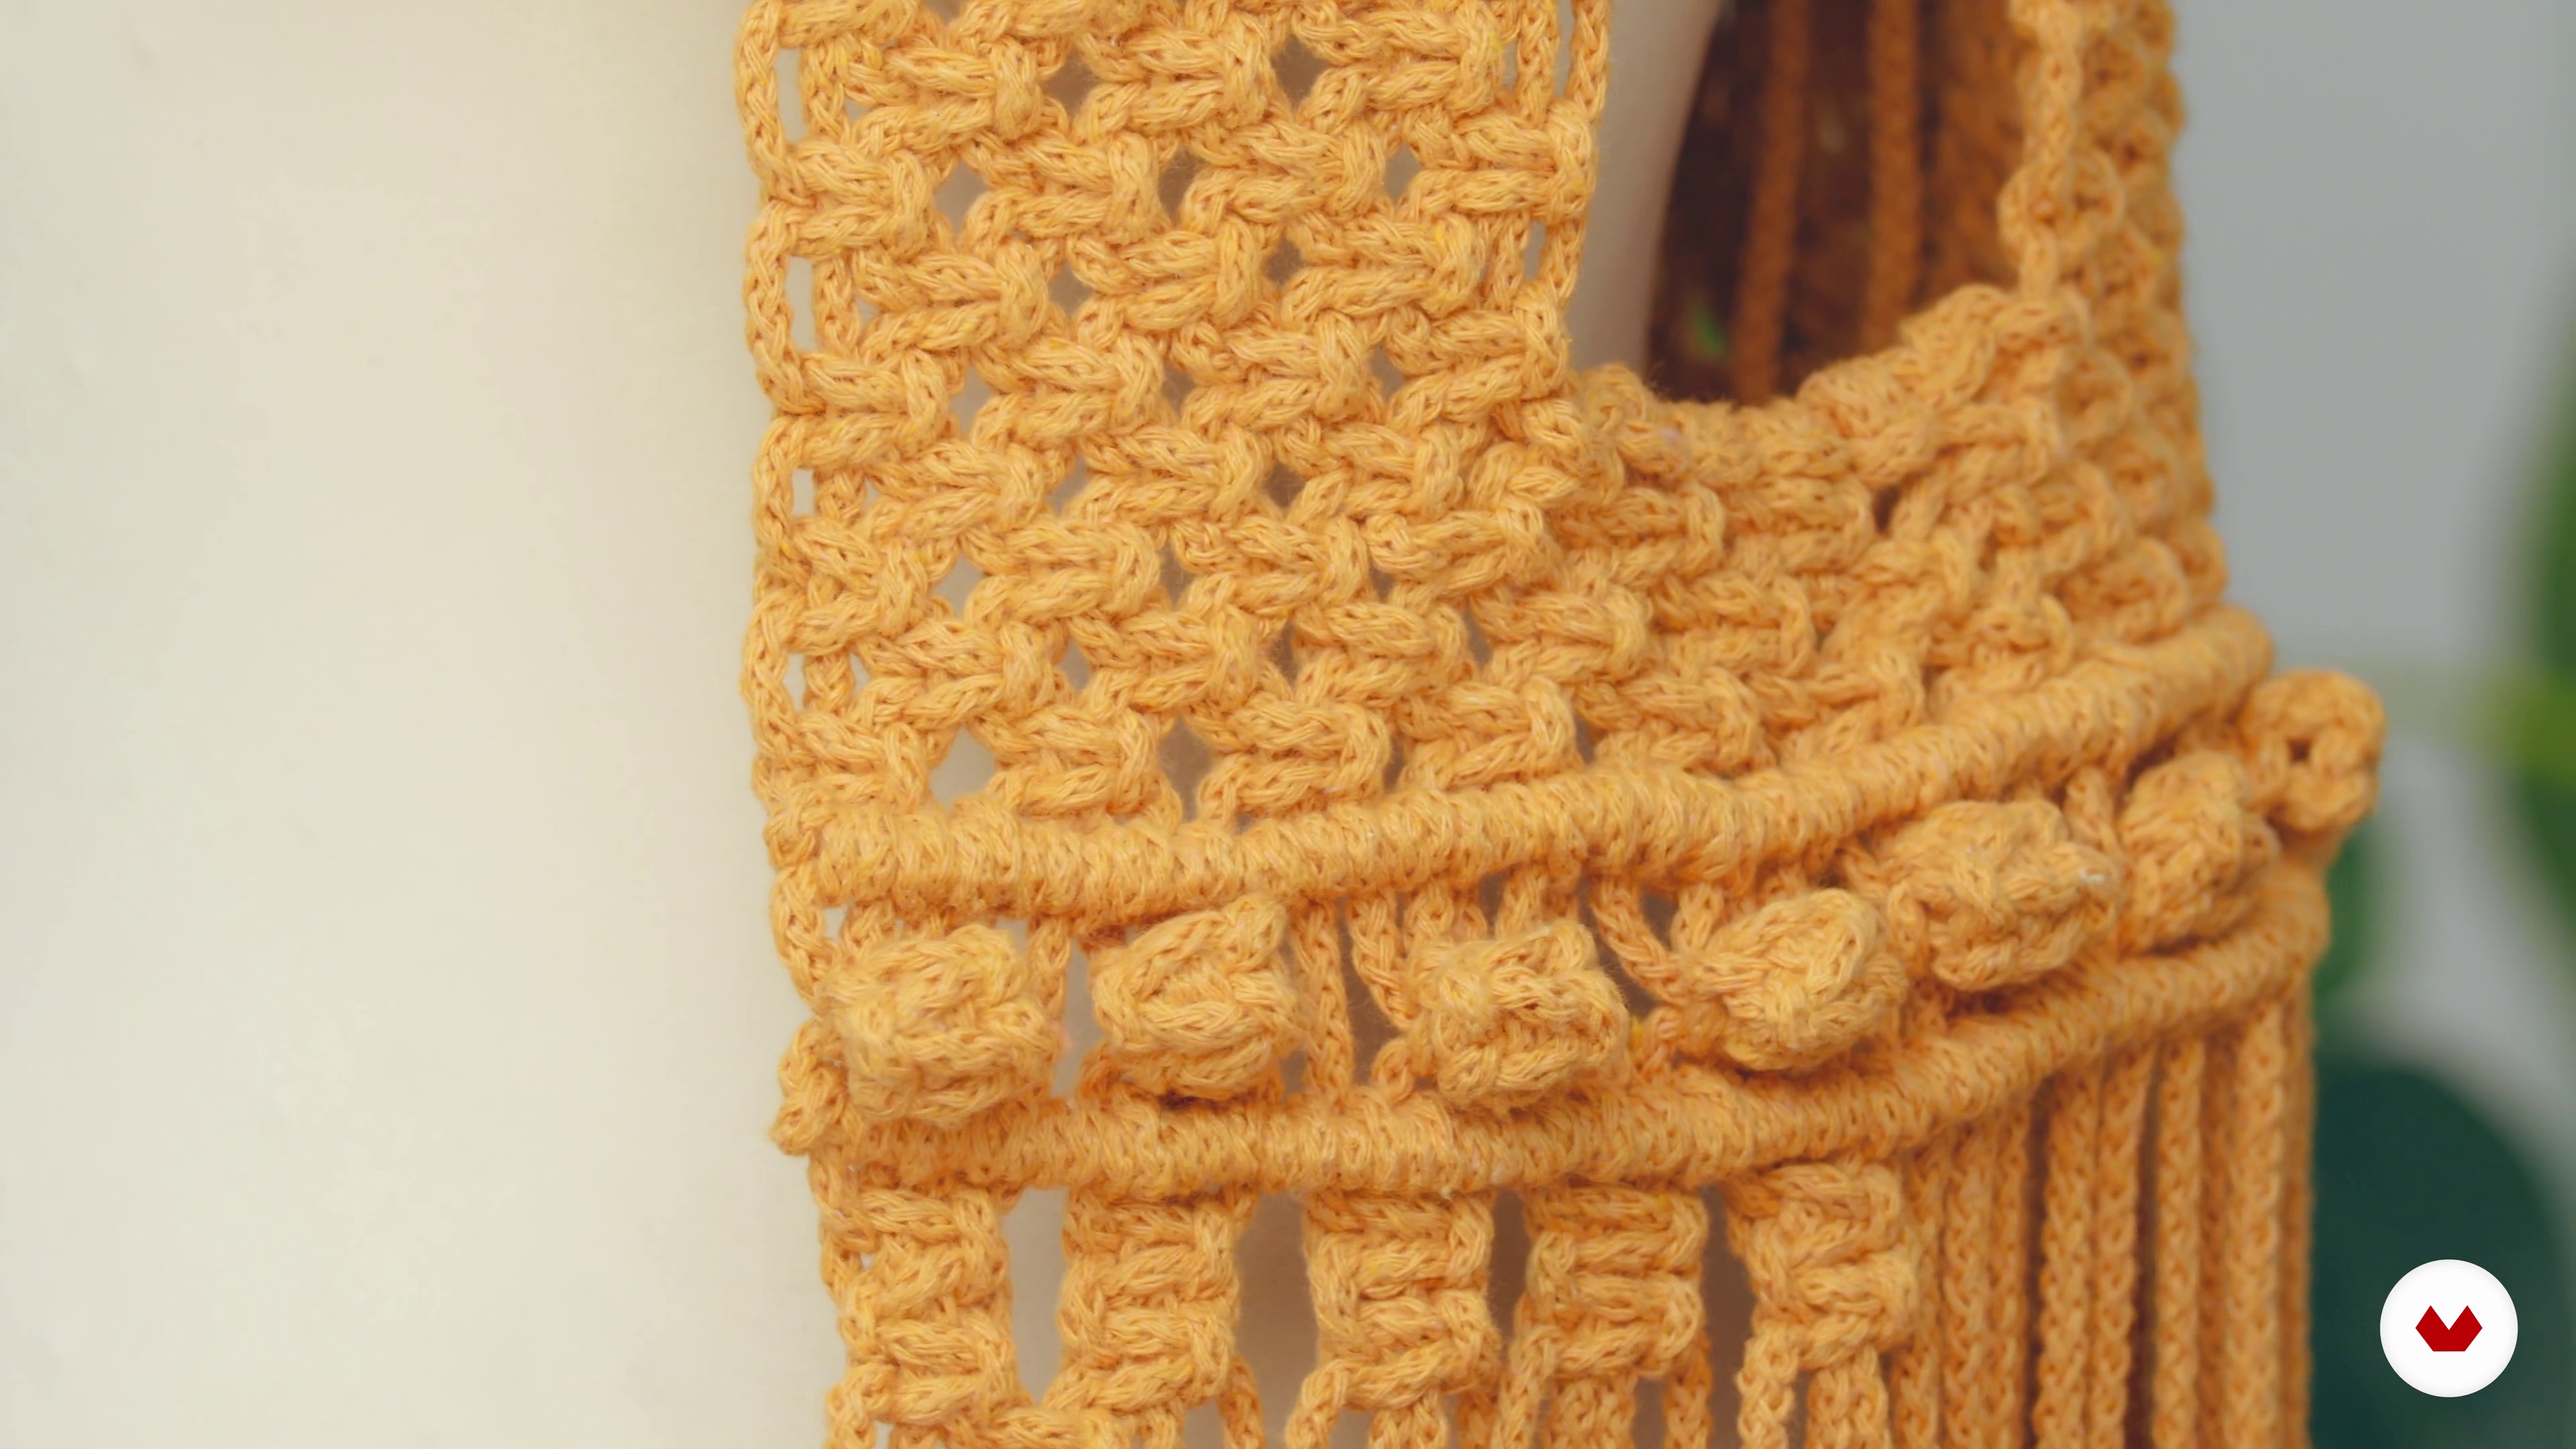
You’ll learn knots like festoon, lark’s head, square, macadamia, cross, four-strand braid, gobelin knot, and decorative patterns such as diamond and flower, blending contemporary and traditional techniques.
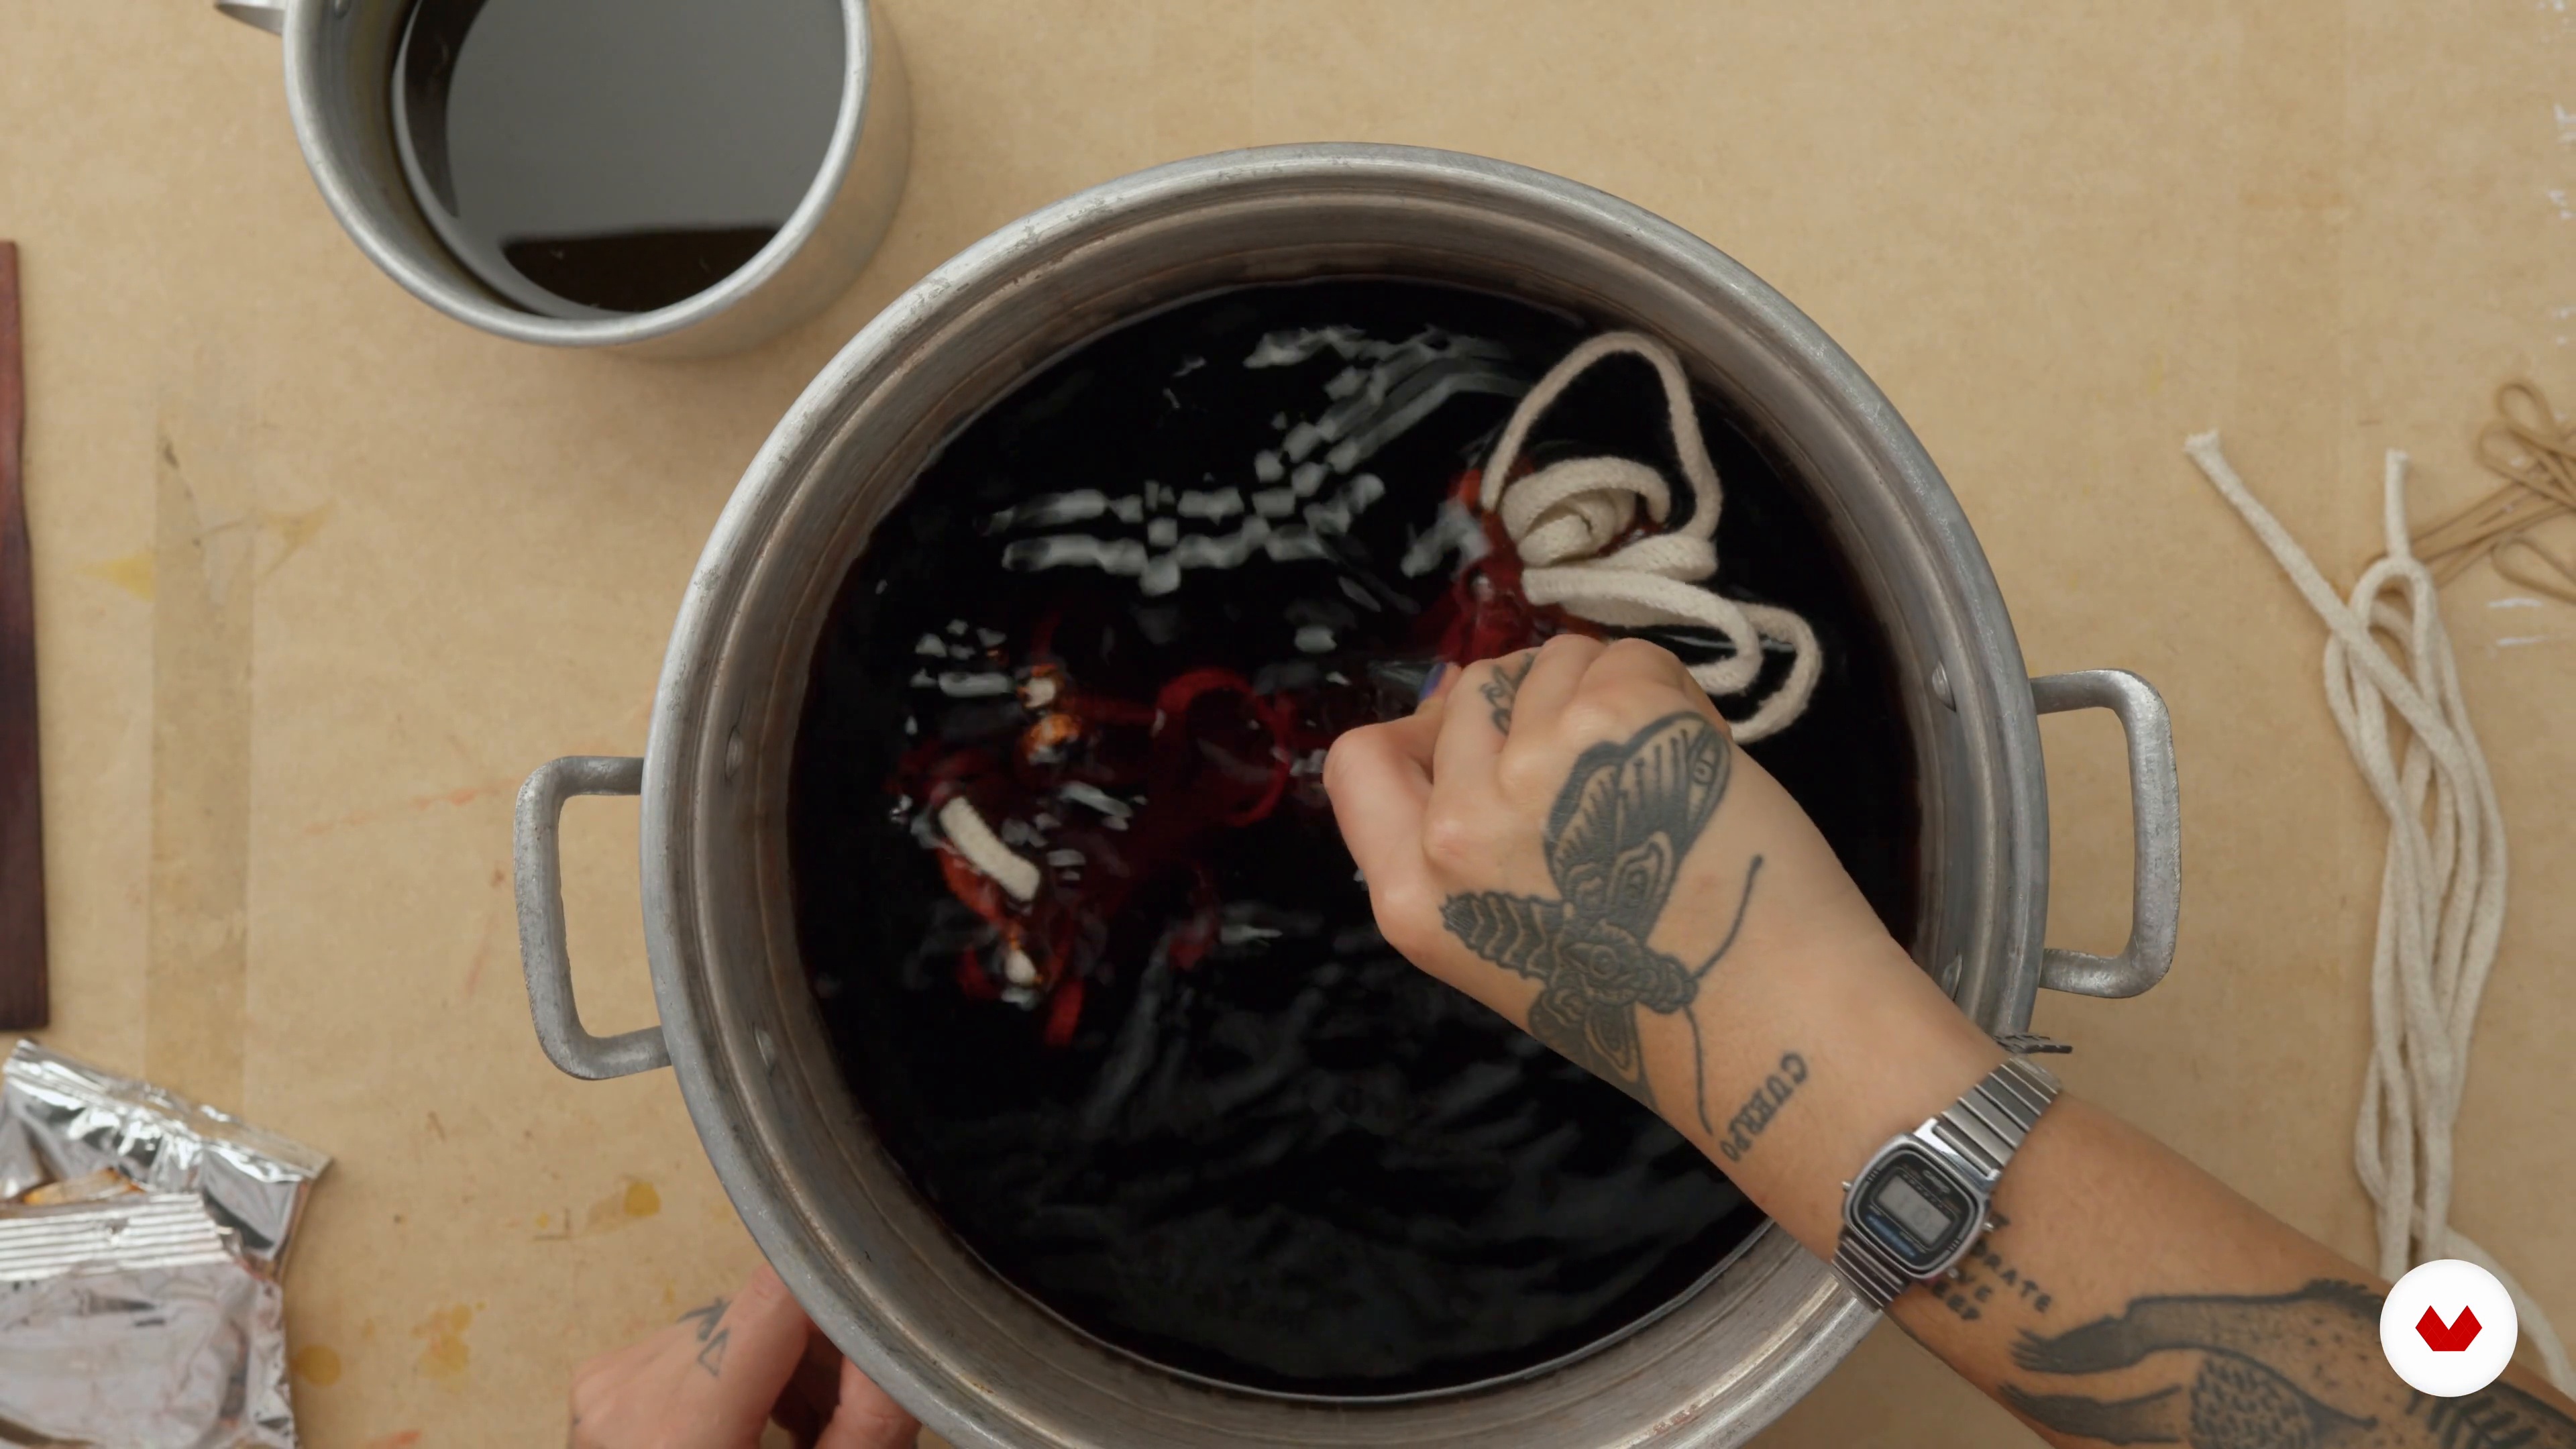
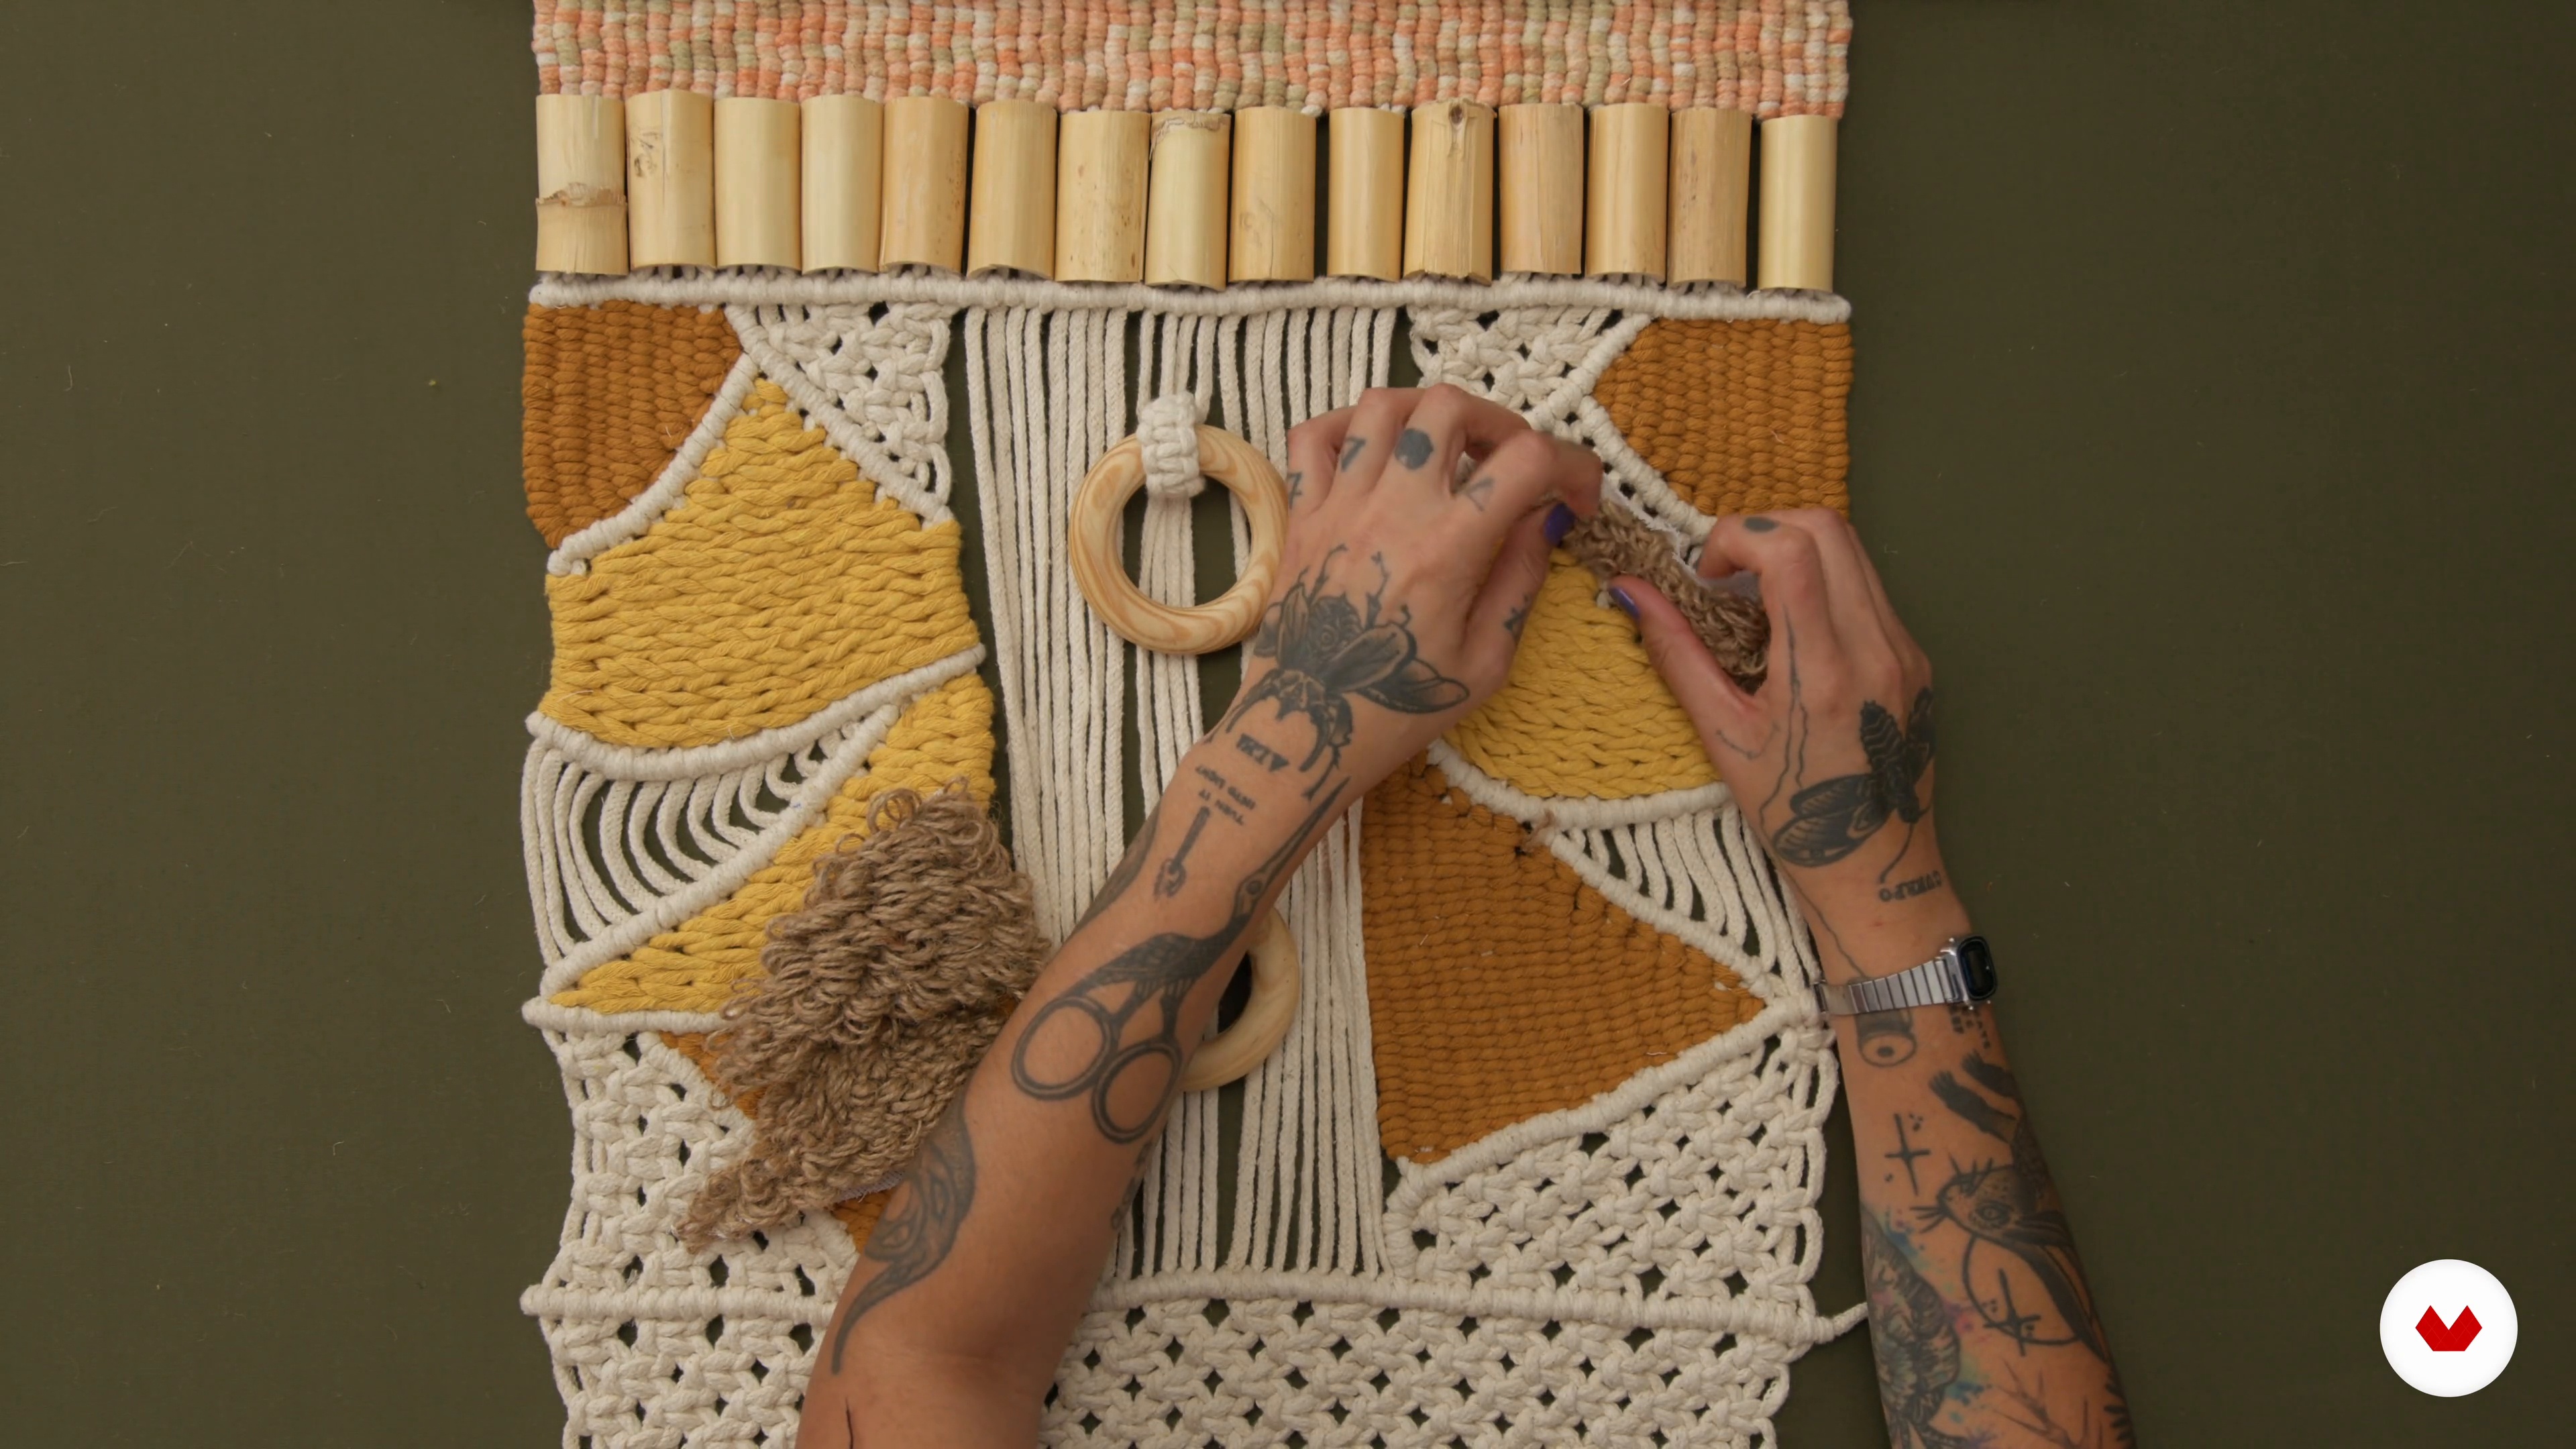
Yes, the course includes natural dyeing methods to customize cords and create unique color palettes for your macramé pieces and tapestries.
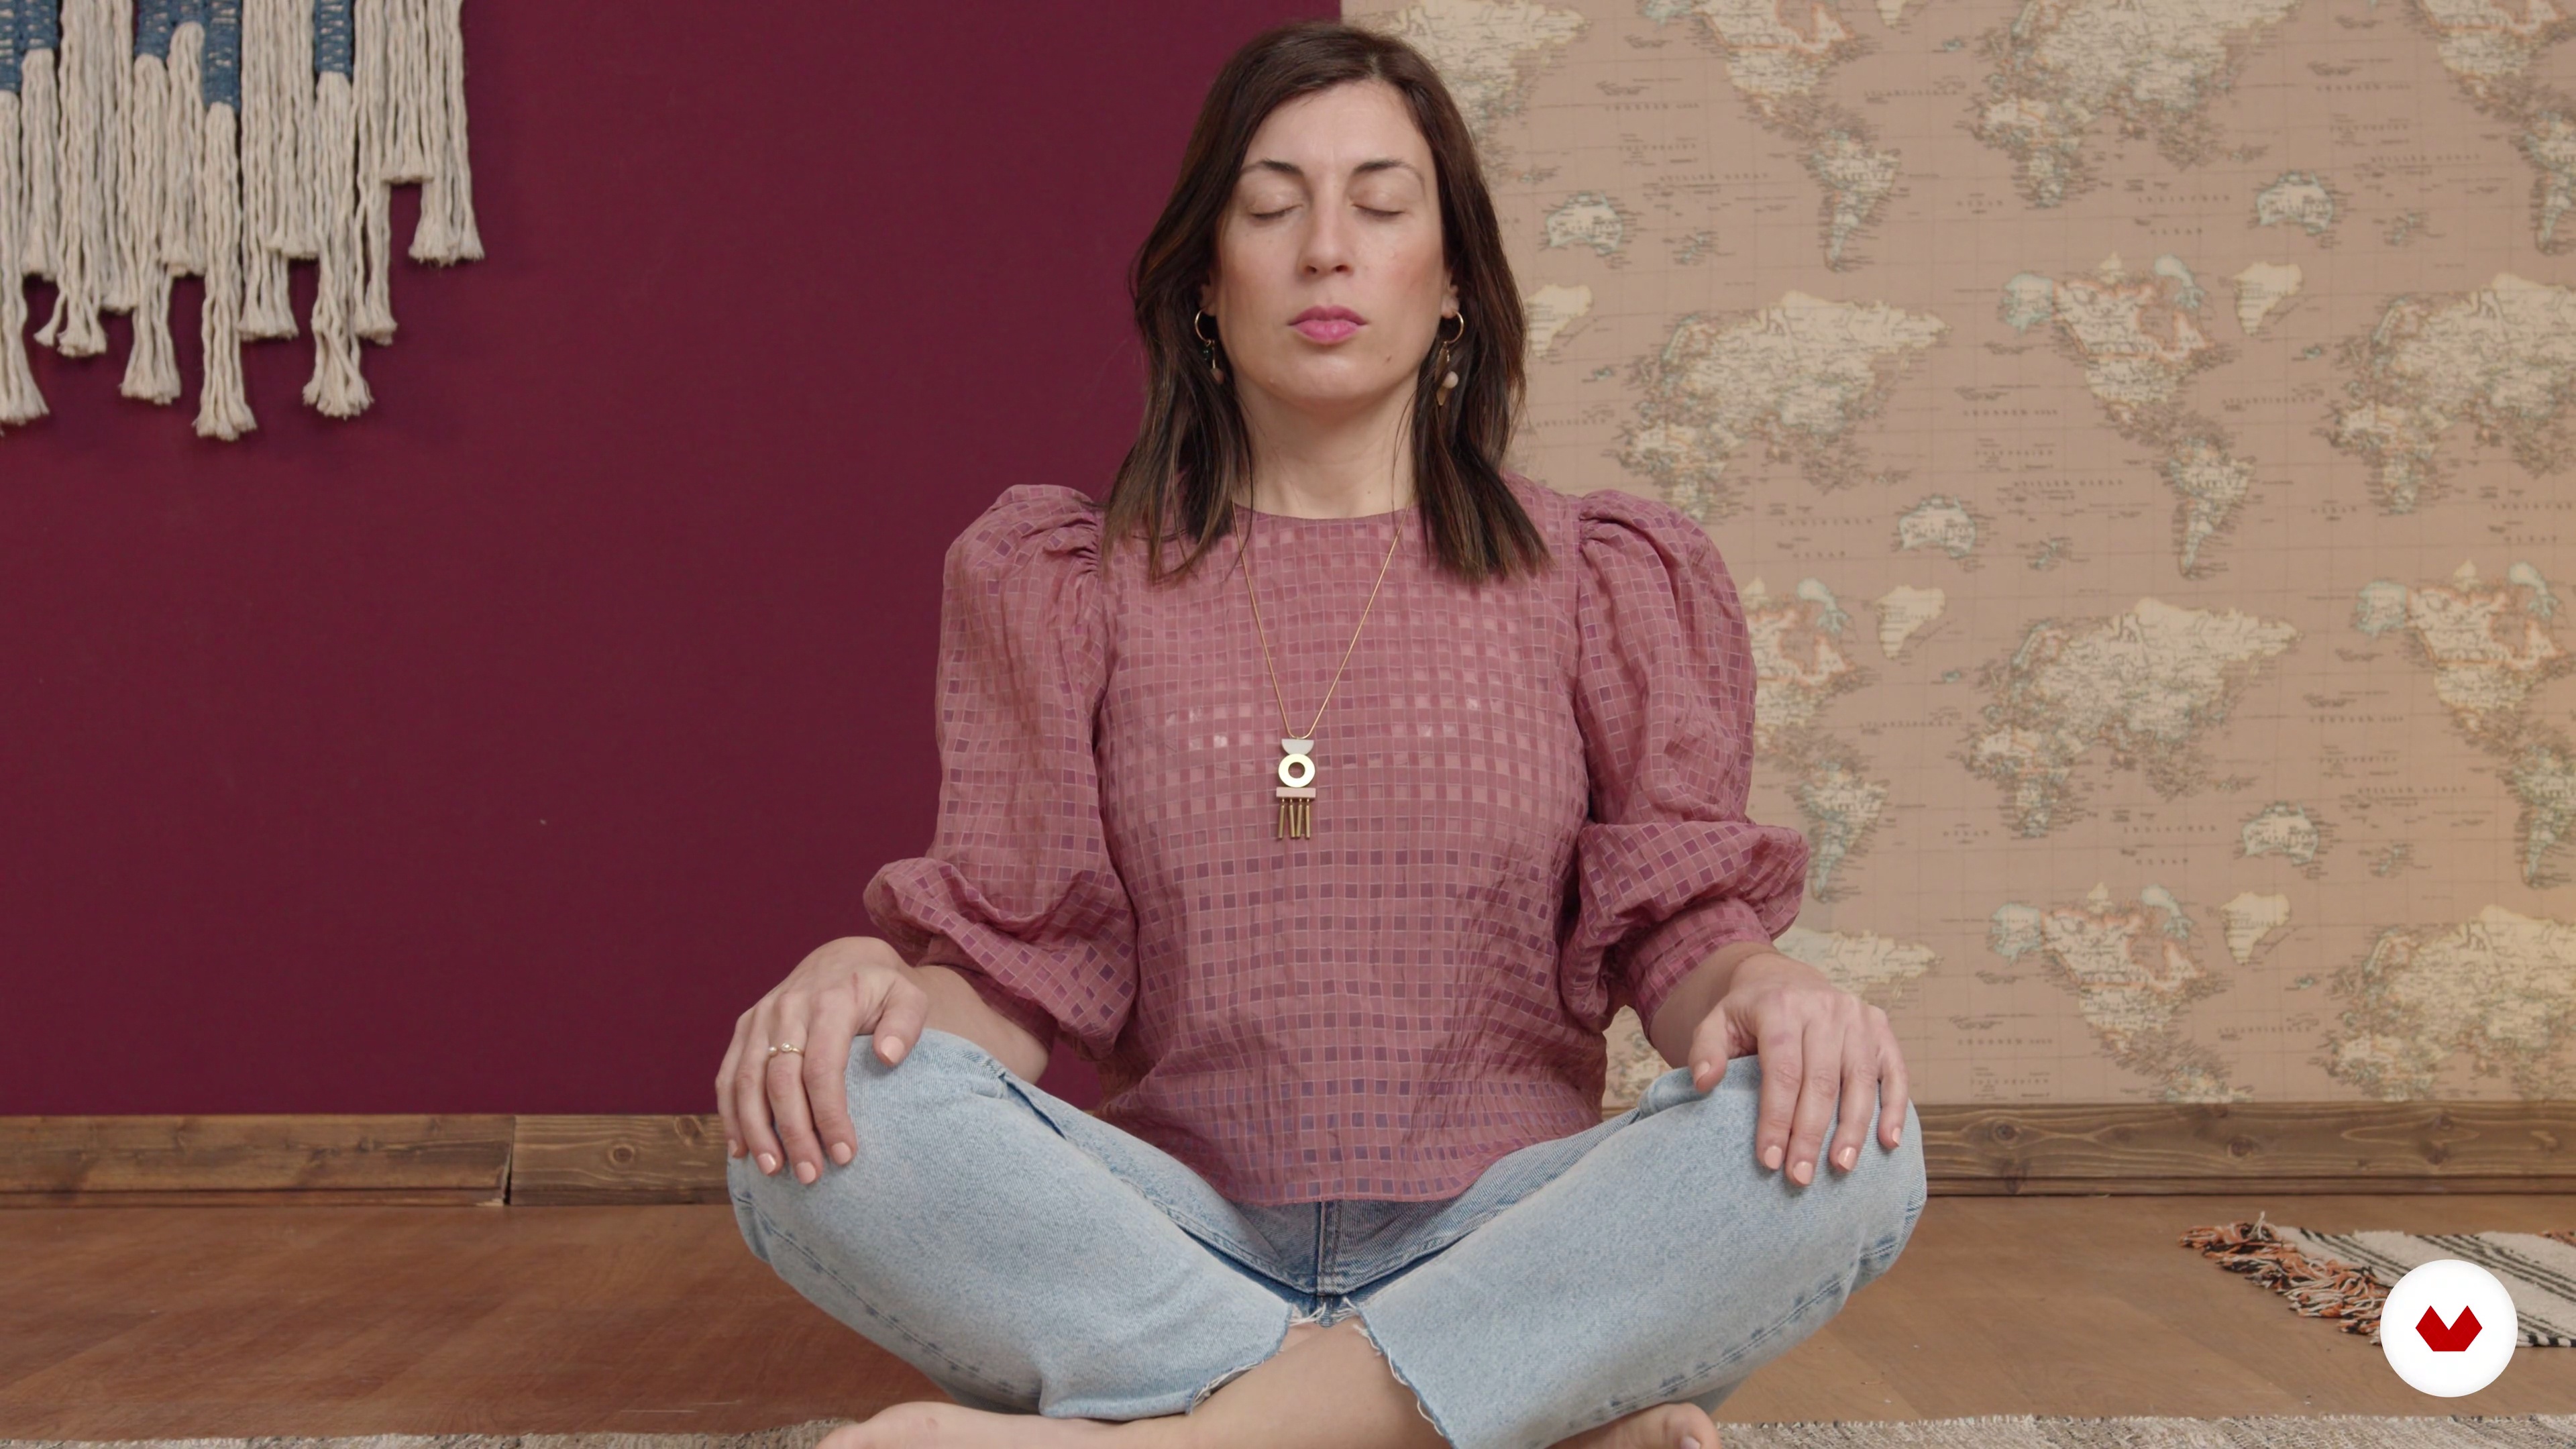
You’ll practice breathing exercises, stretches, and workspace organization to boost focus, reduce stress, and enhance creativity while knotting and weaving.
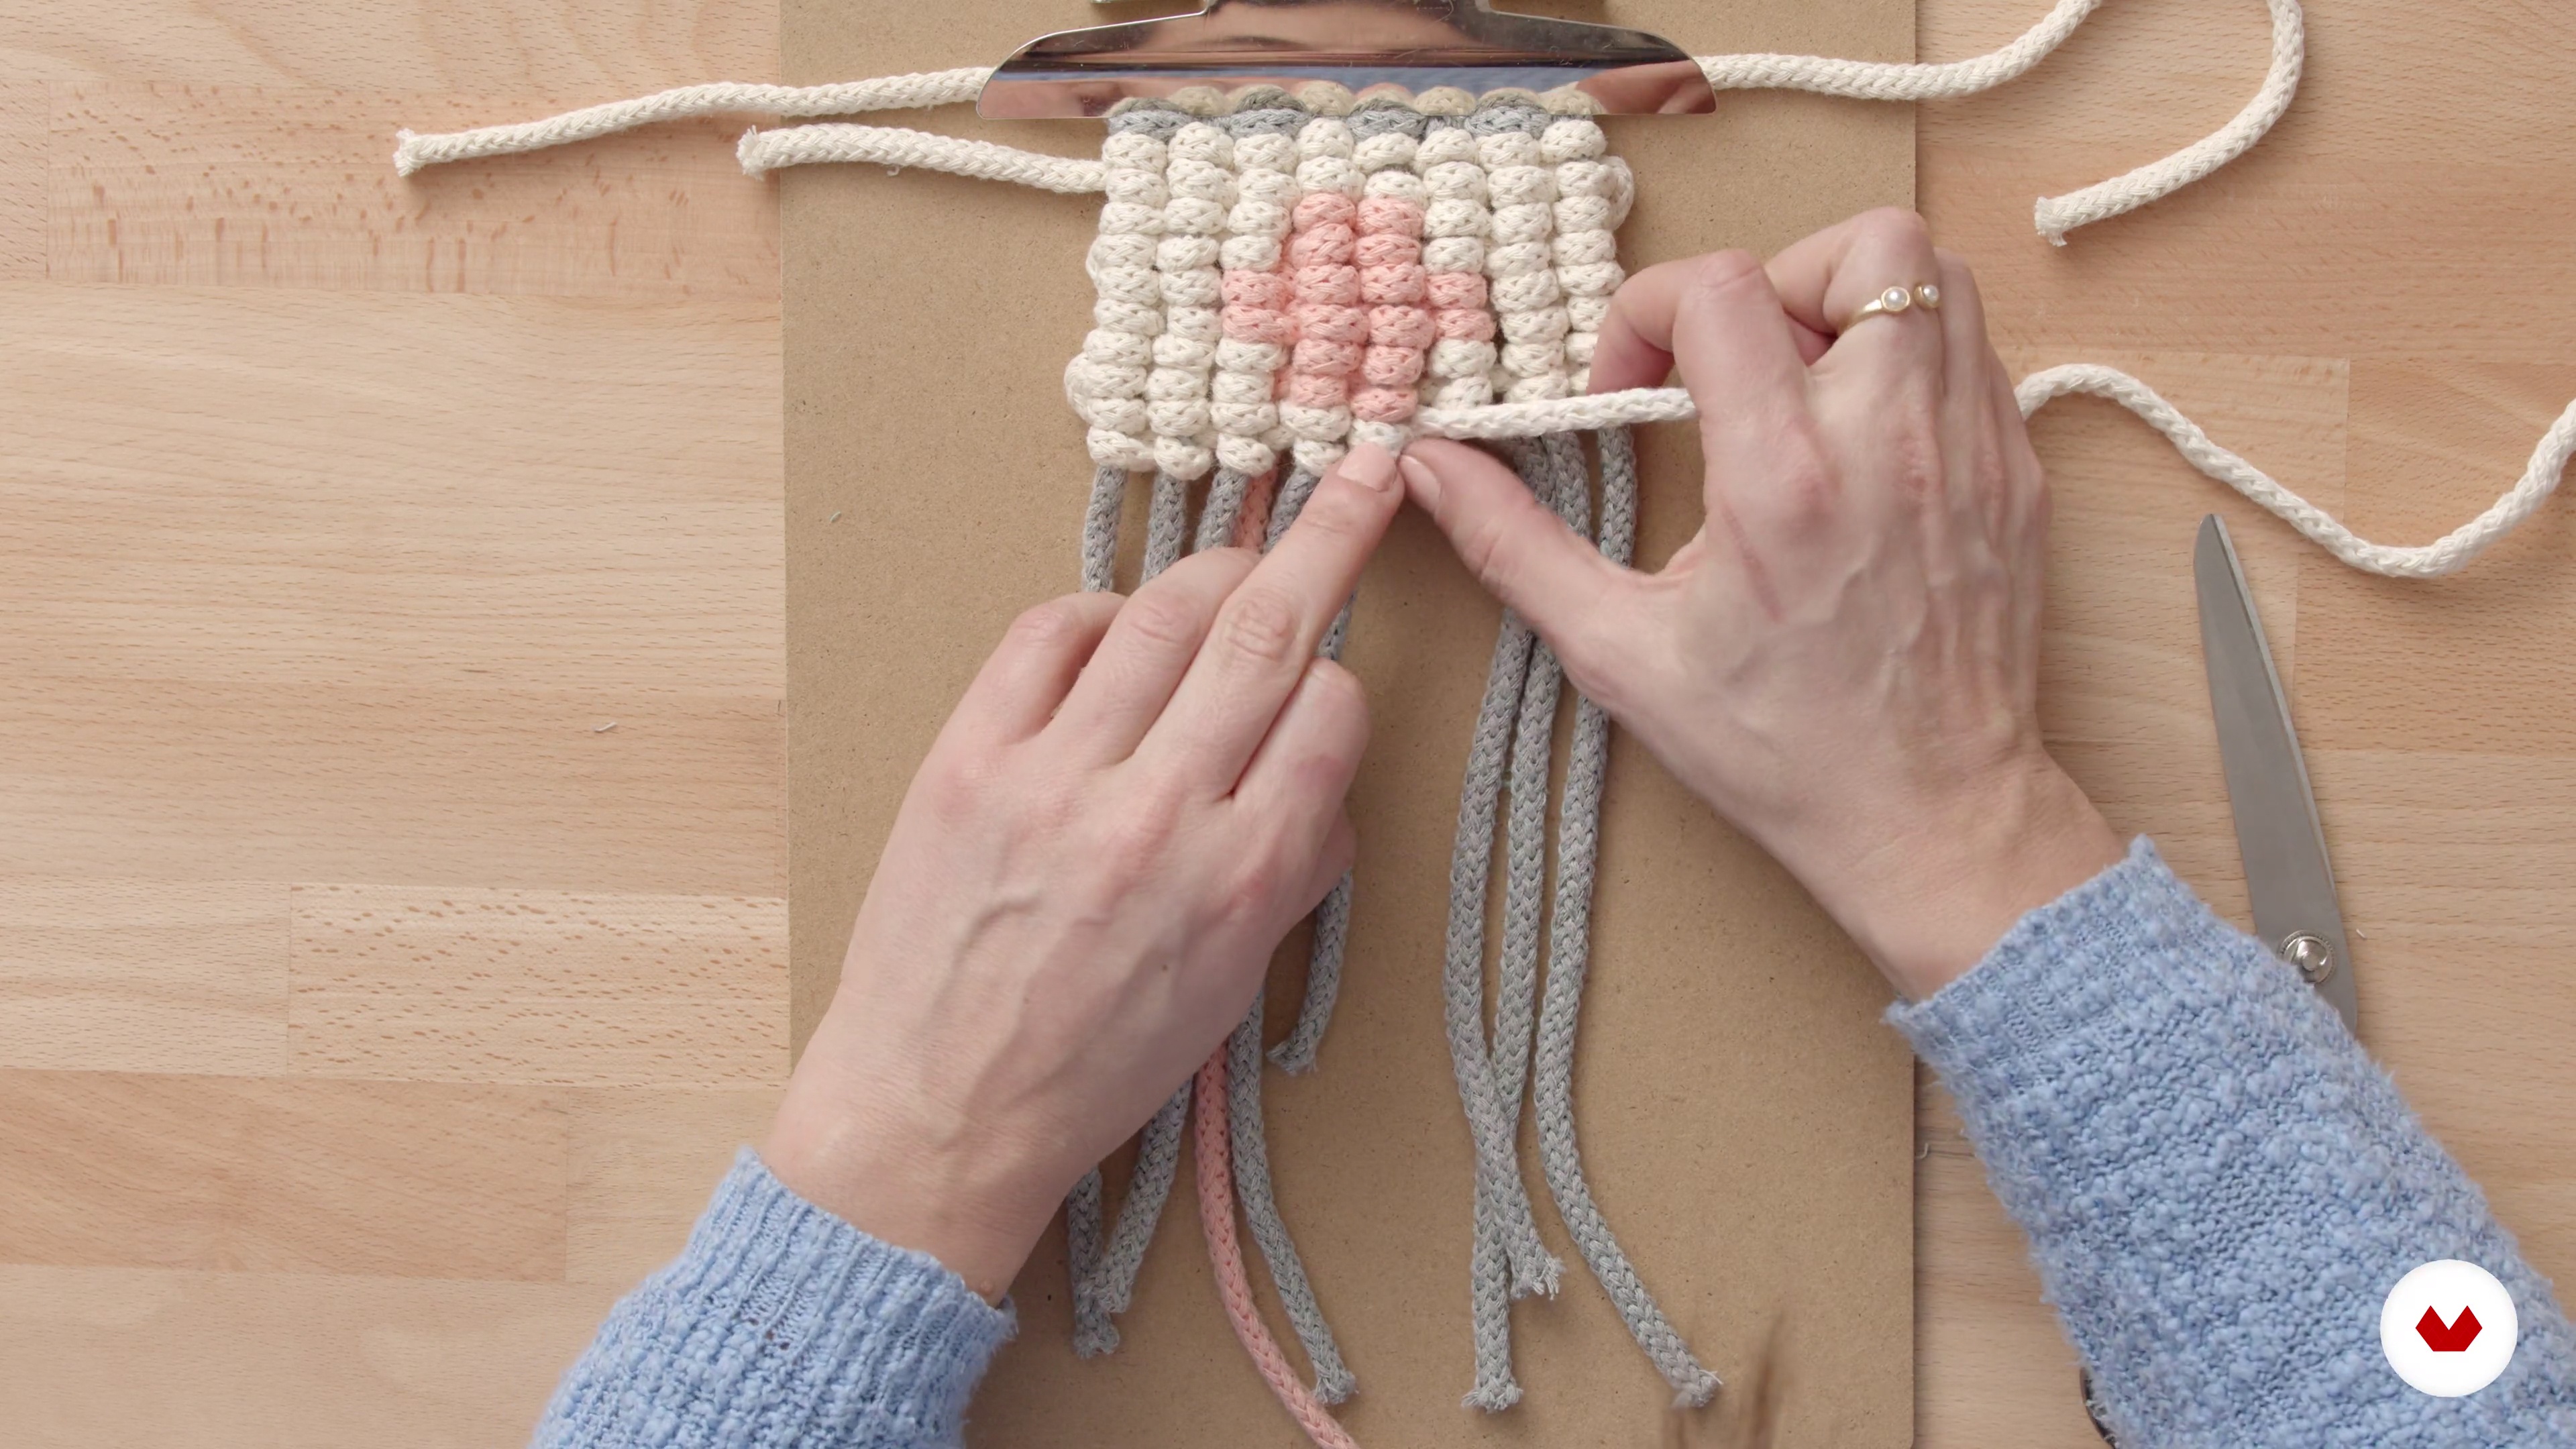
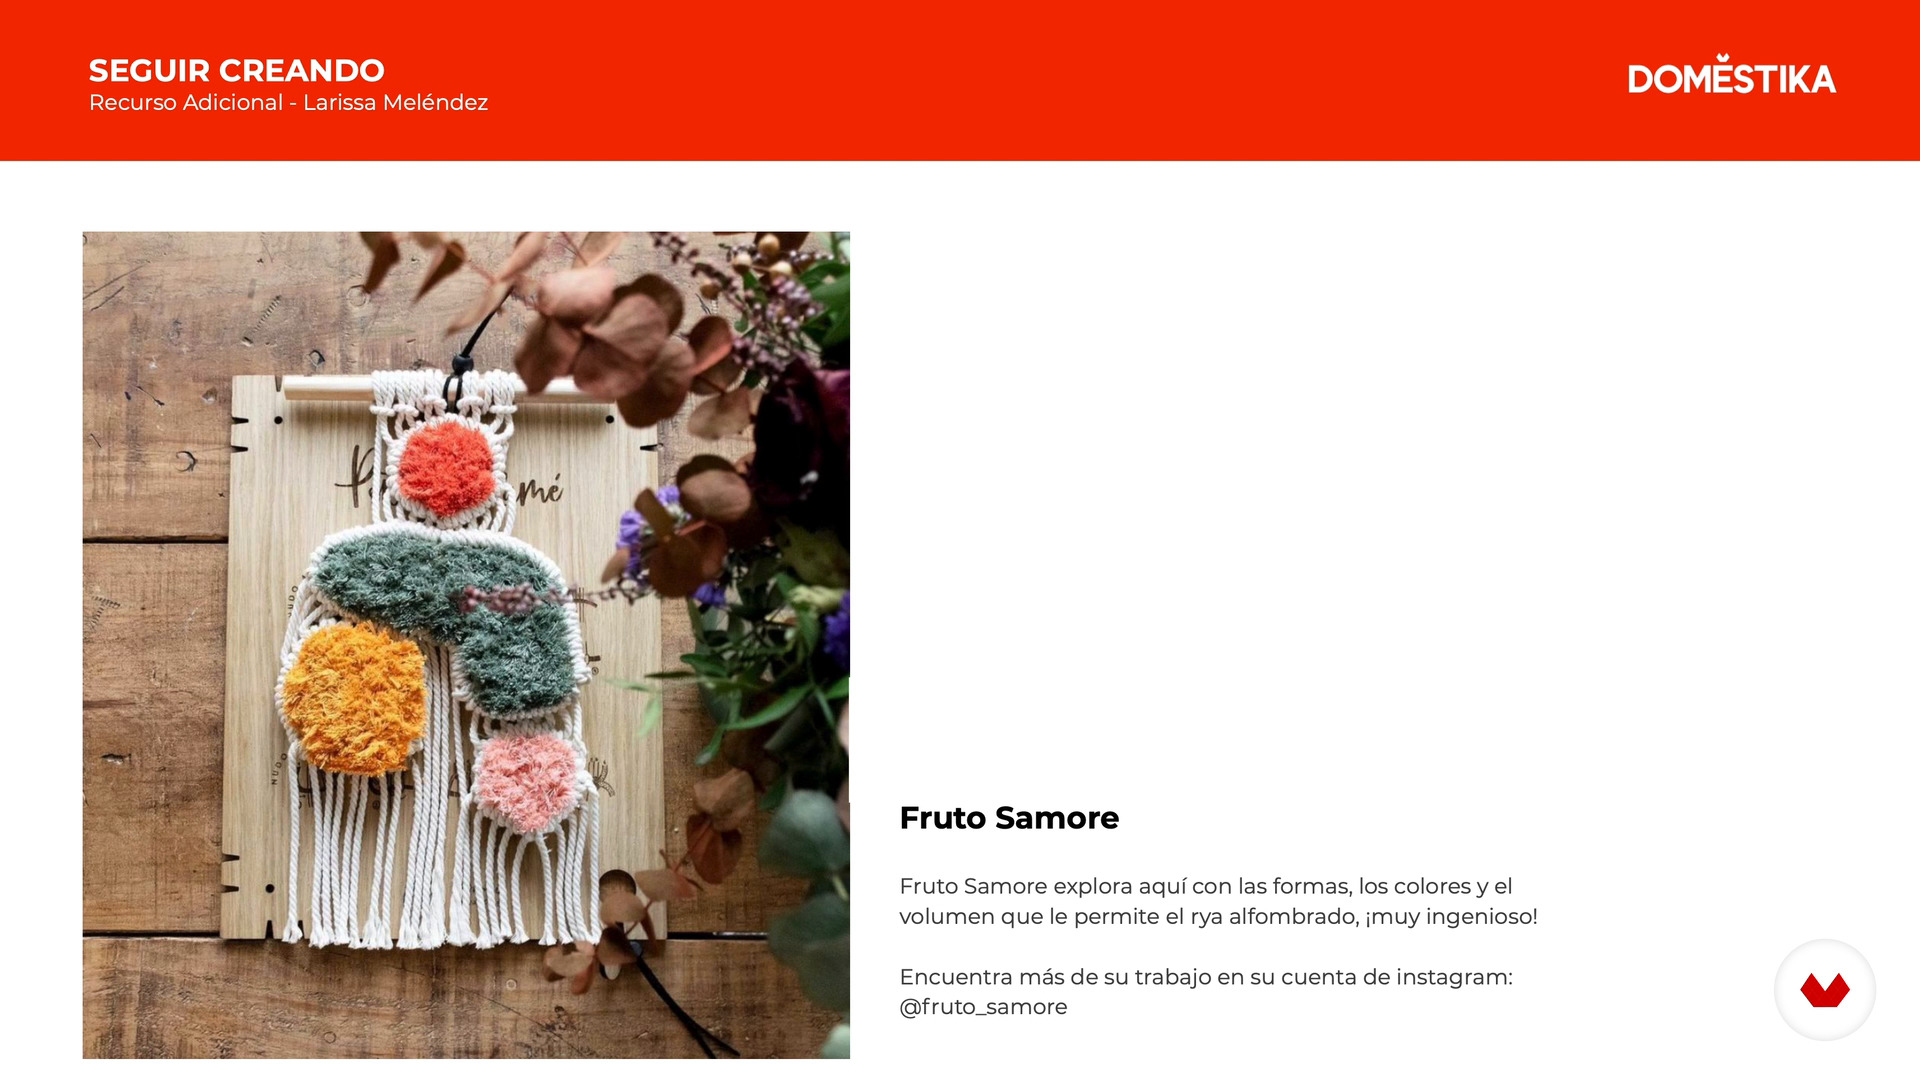
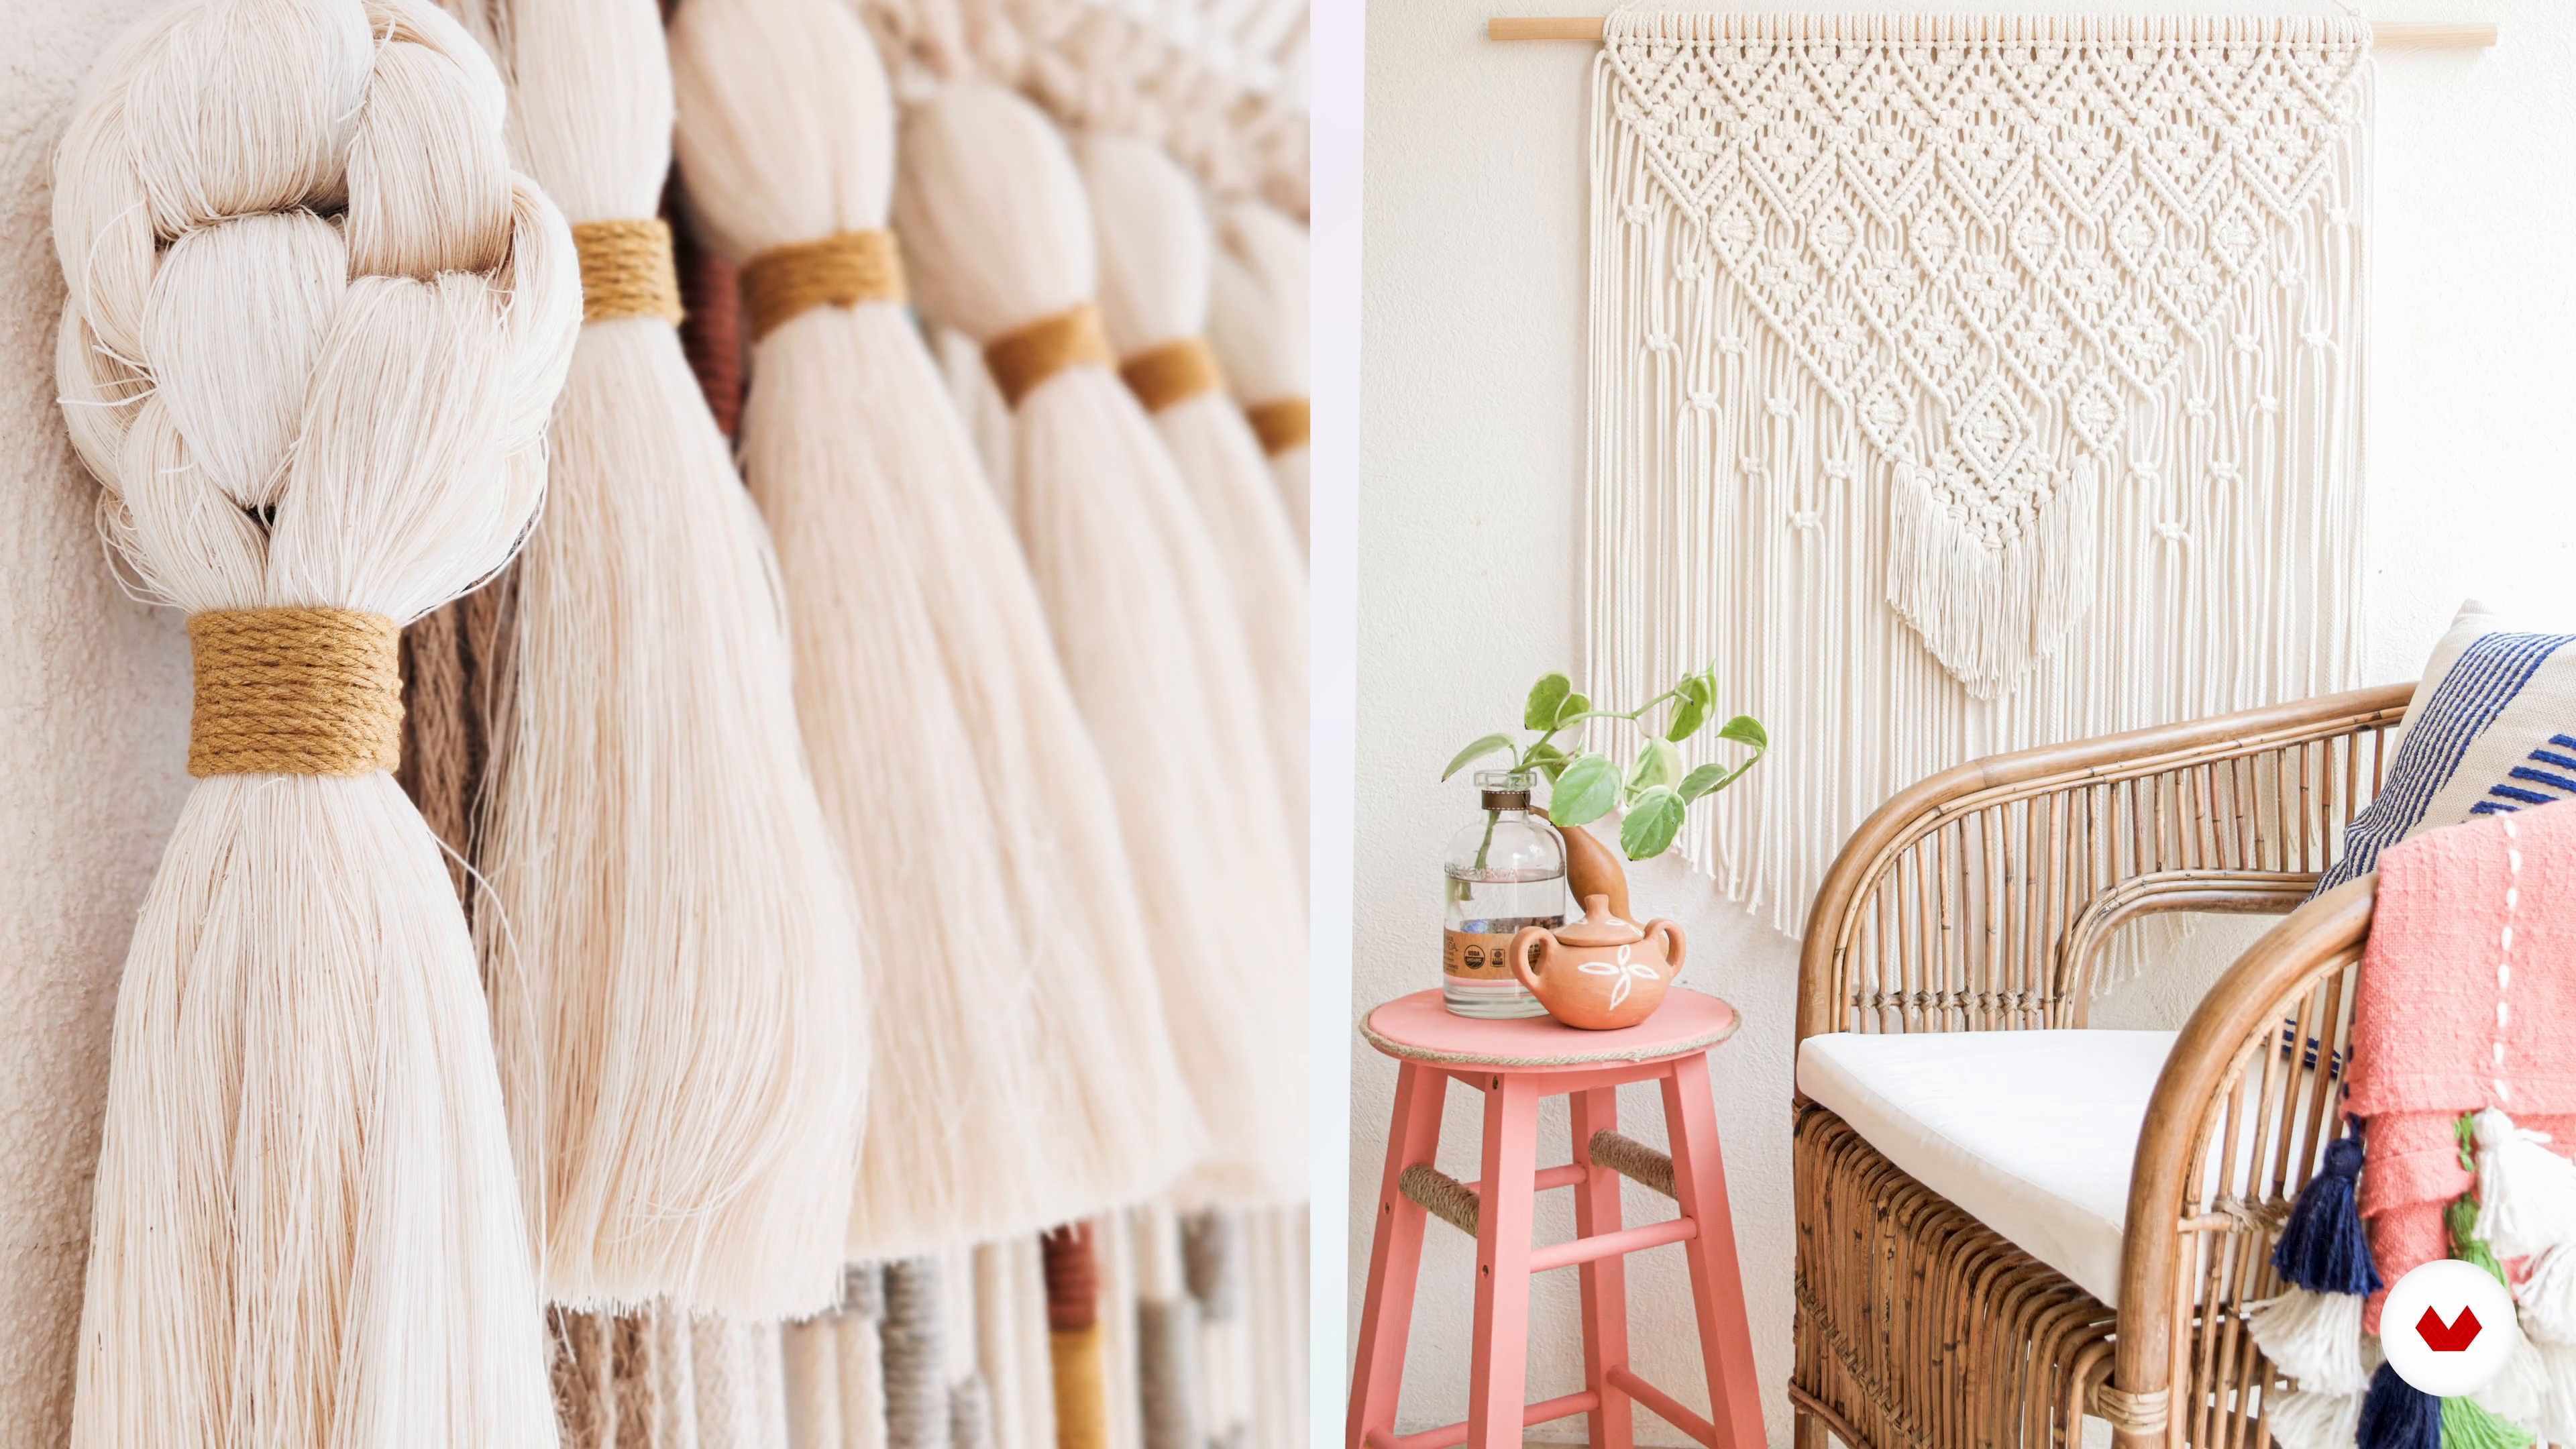
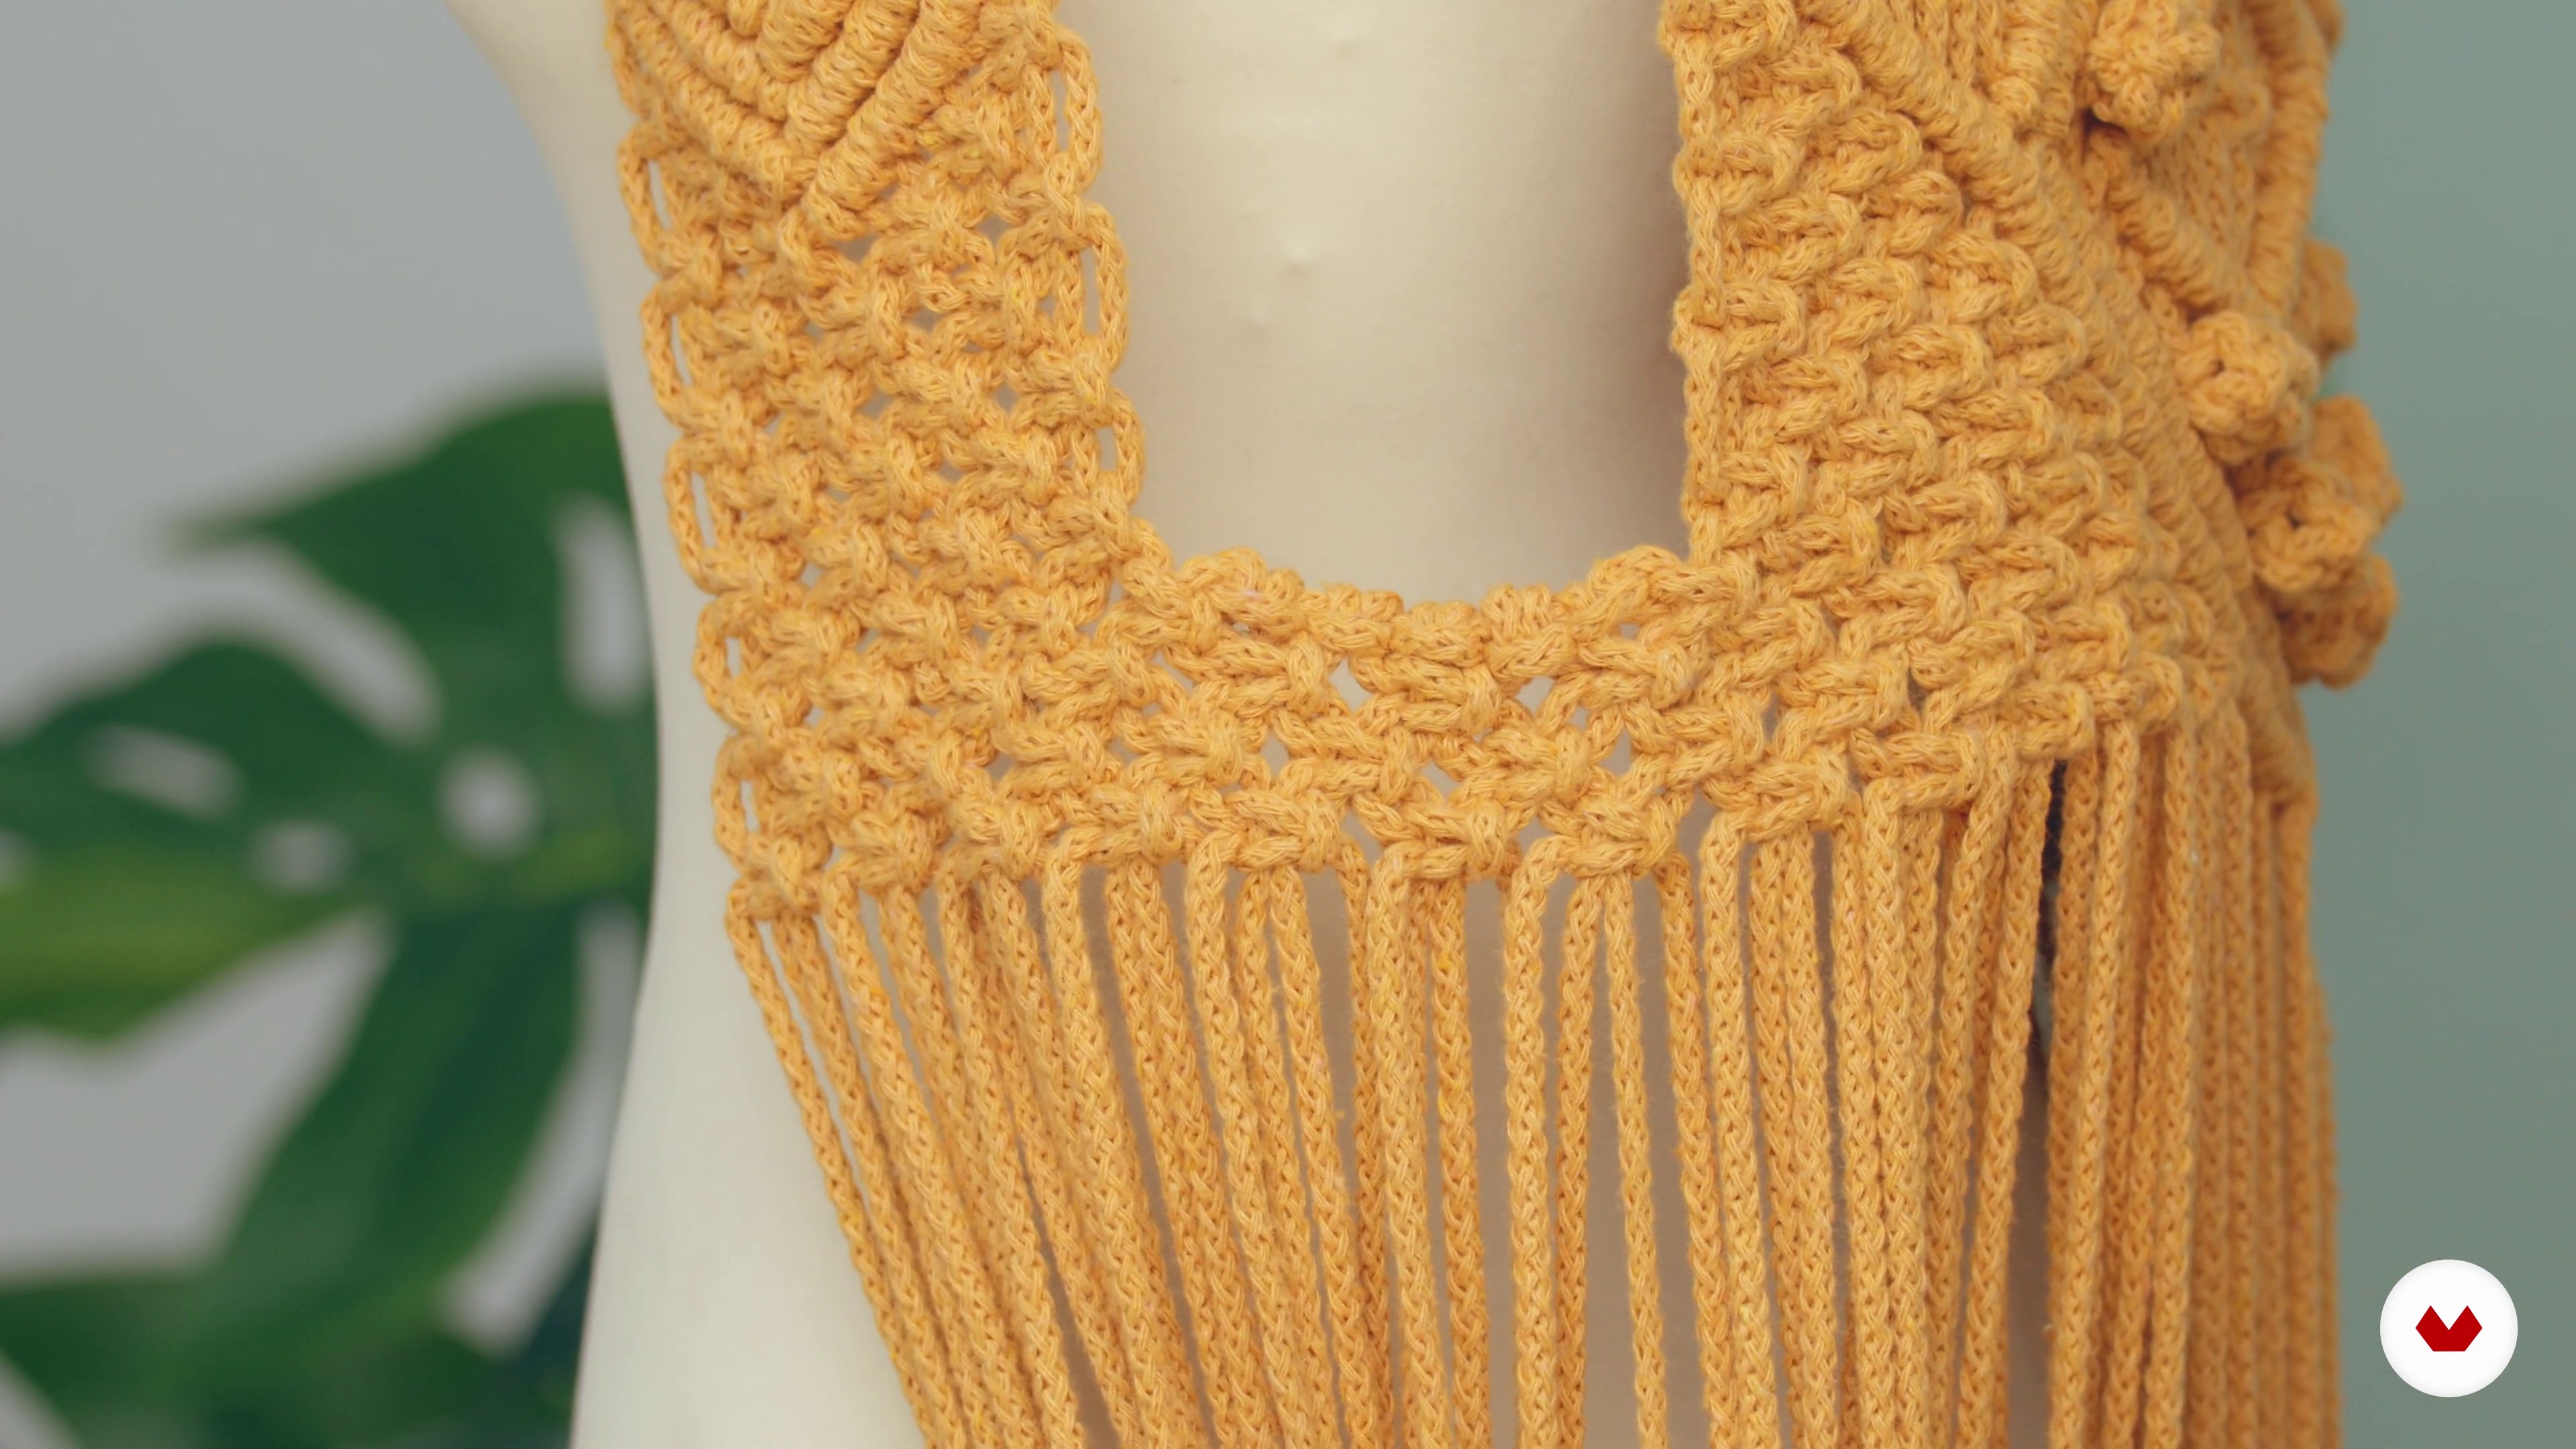
You’ll be able to make contemporary tapestries, knot sample boards, bracelets, bags, fashion accessories, wall hangings, and personalized decorative pieces.
Domestika courses are online classes that allow you to learn new skills and create incredible projects. All our courses include the opportunity to share your work with other students and/or teachers, creating an active learning community. We offer different formats:
Original Courses: Complete classes that combine videos, texts, and educational materials to complete a specific project from start to finish.
Basics Courses: Specialized training where you master specific software tools step by step.
Specialization Courses: Learning paths with various expert teachers on the same topic, perfect for becoming a specialist by learning from different approaches.
Guided Courses: Practical experiences ideal for directly acquiring specific skills.
Intensive Courses (Deep Dives): New creative processes based on artificial intelligence tools in an accessible format for in-depth and dynamic understanding.
All specialization courses are 100% online, so once they're published, specialization courses start and finish whenever you want. You set the pace of the class. You can go back to review what interests you most and skip what you already know, ask questions, answer questions, share your projects, and more.
The specialization courses are divided into different modules. Each one includes lessons, informational text, tasks, and practice exercises to help you carry out your project step by step, with additional complementary resources and downloads. You'll also have access to an exclusive forum where you can interact with other students, as well as share your work and your final project, creating a community around the specialization courses.
You can redeem the specialization courses you received by accessing the redeeming page and entering your gift code.


Adoro! Spiegato molto bene e davvero tantissimo materiale da studiare e mettere in pratica!!!!Grazie
O curso é muito bom. Estou ampliado de fato o meu conhecimento. Este curso entrega especialização que nos propos trazendo ideias, conceitos e tecnicas que até então para mim desconhecidos e me abriu um leque de possibilidades para novos projetos para meu lar.
Es un curso muy completo, son claras las explicaciones y las piezas son hermosas
Het zijn goede cursussen die zijn uitgekozen voor de specialisatie. Maar ik merk dat ik de losse cursussen zelf prettiger vind.
Me está gustando mucho. Recomendable