Specialization

Ink illustration specialization: Techniques for creative expression

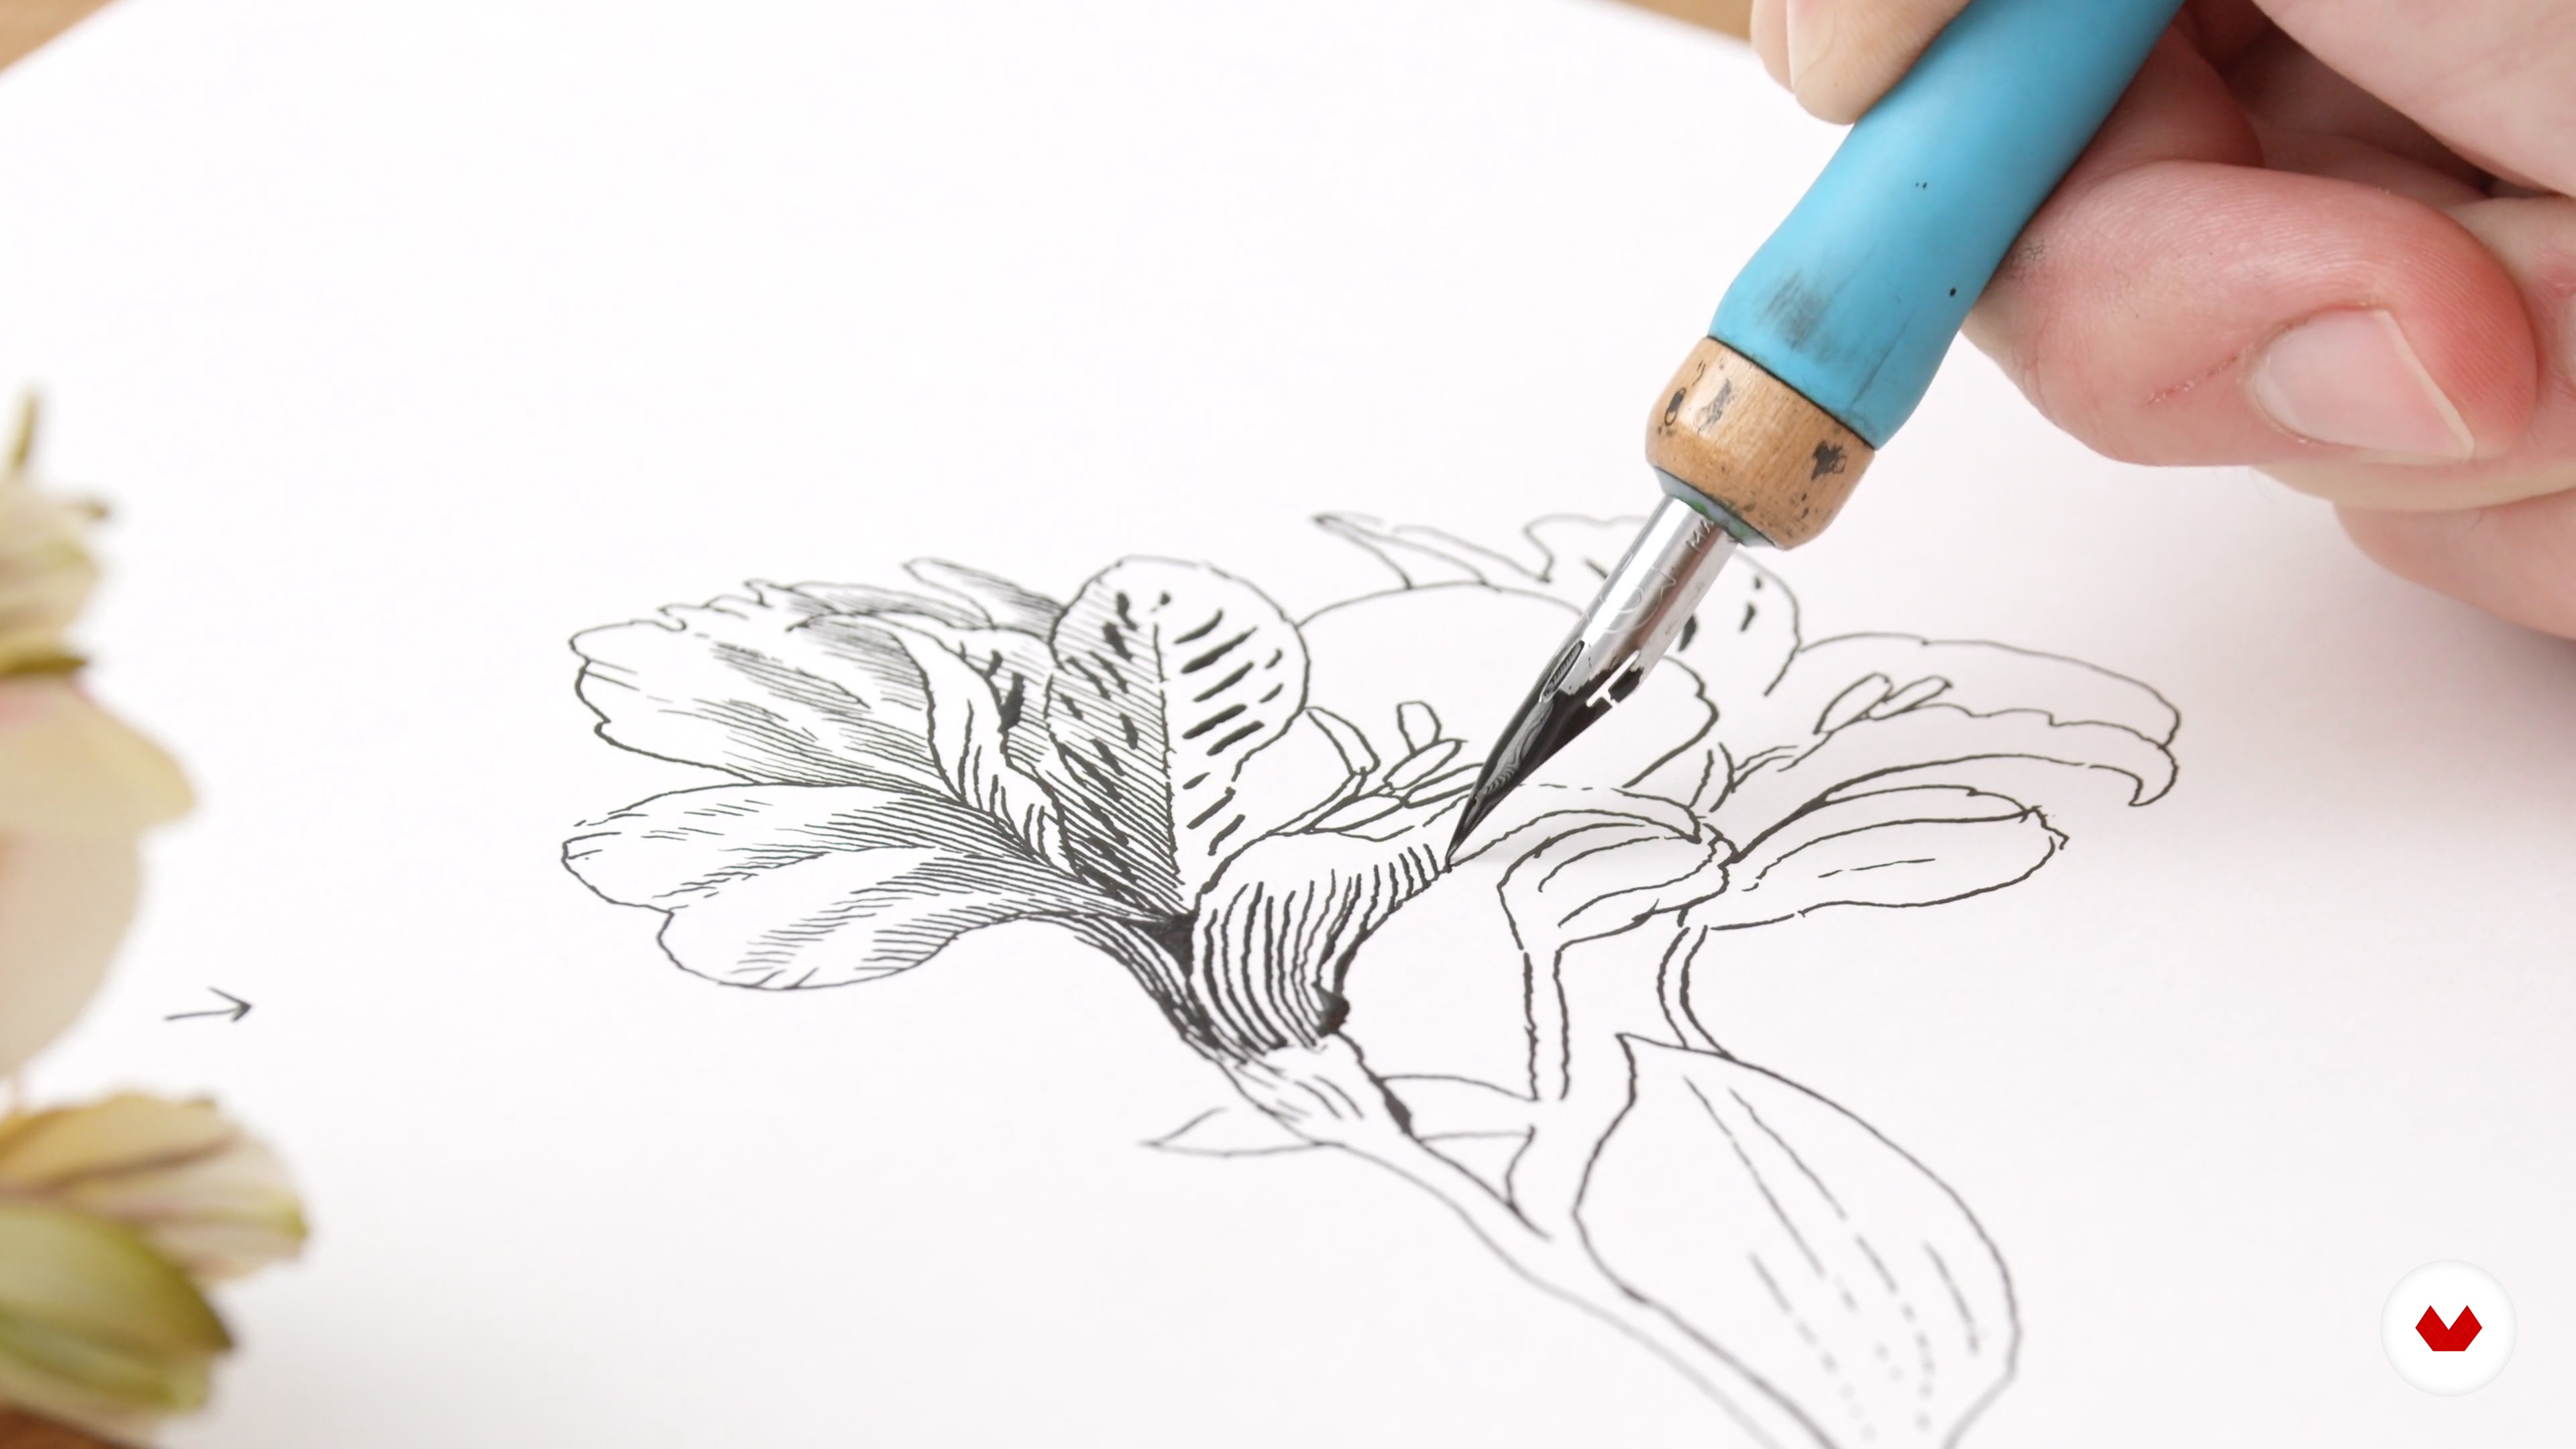
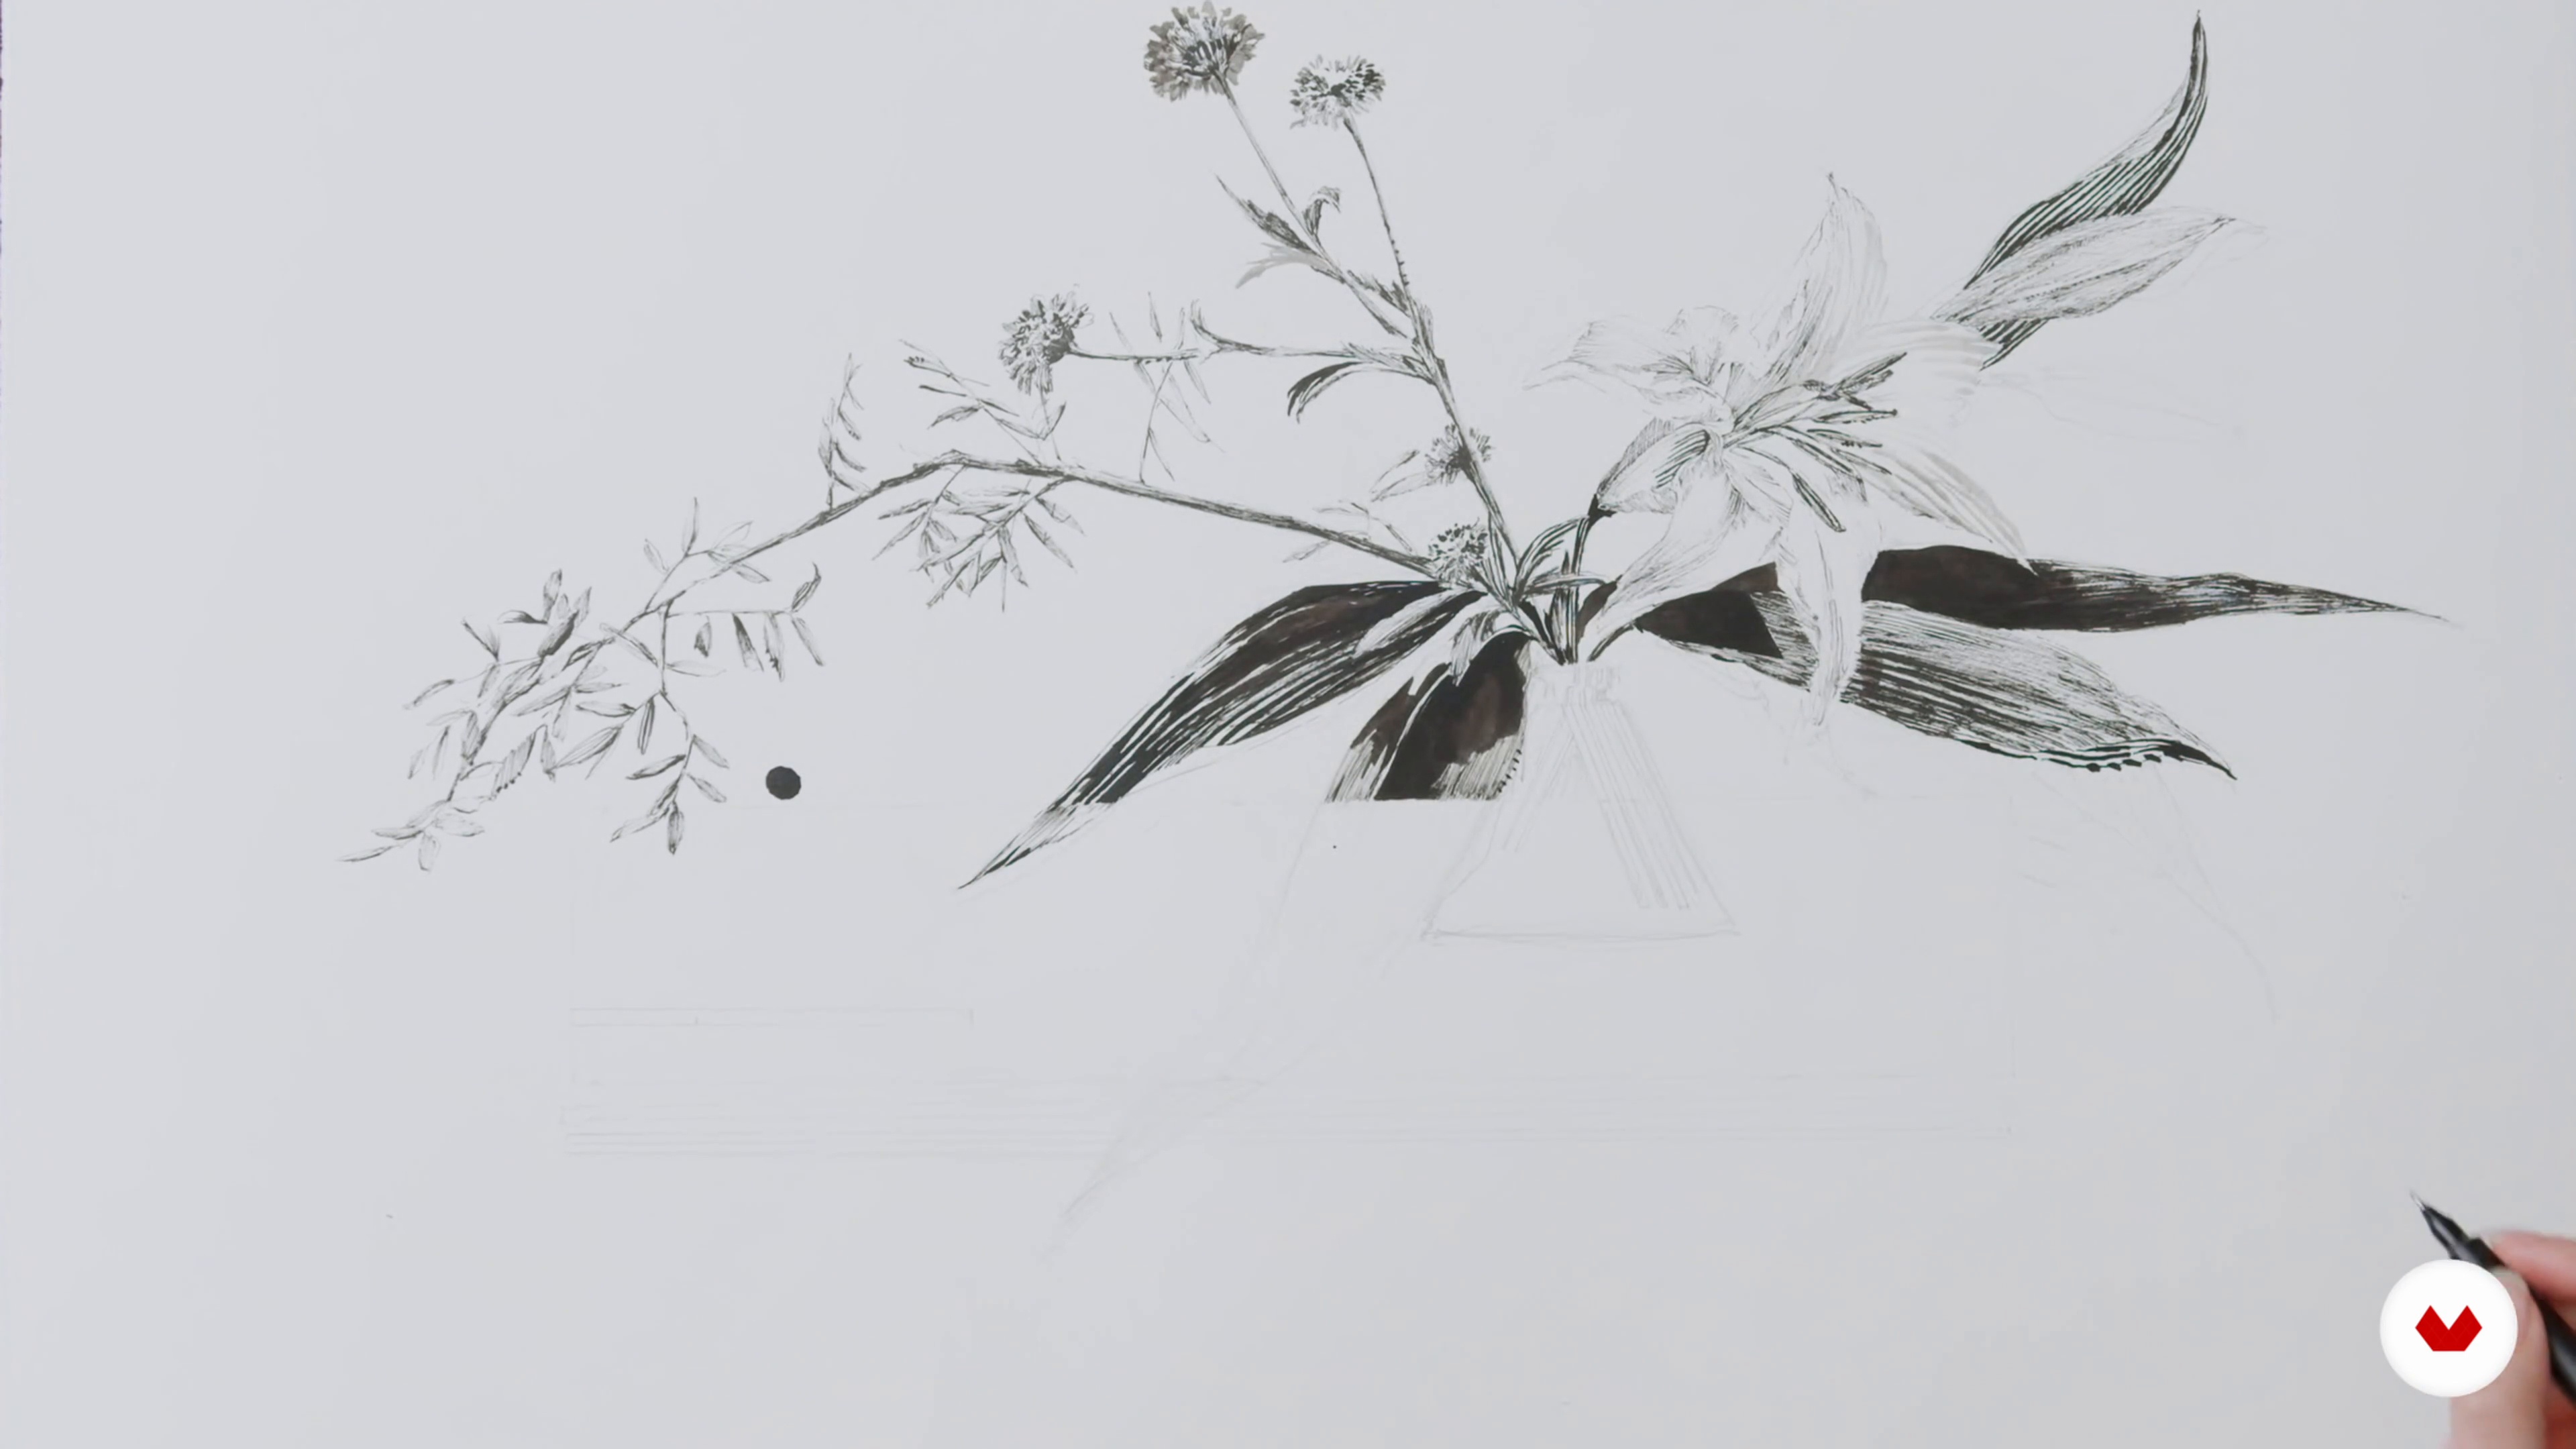
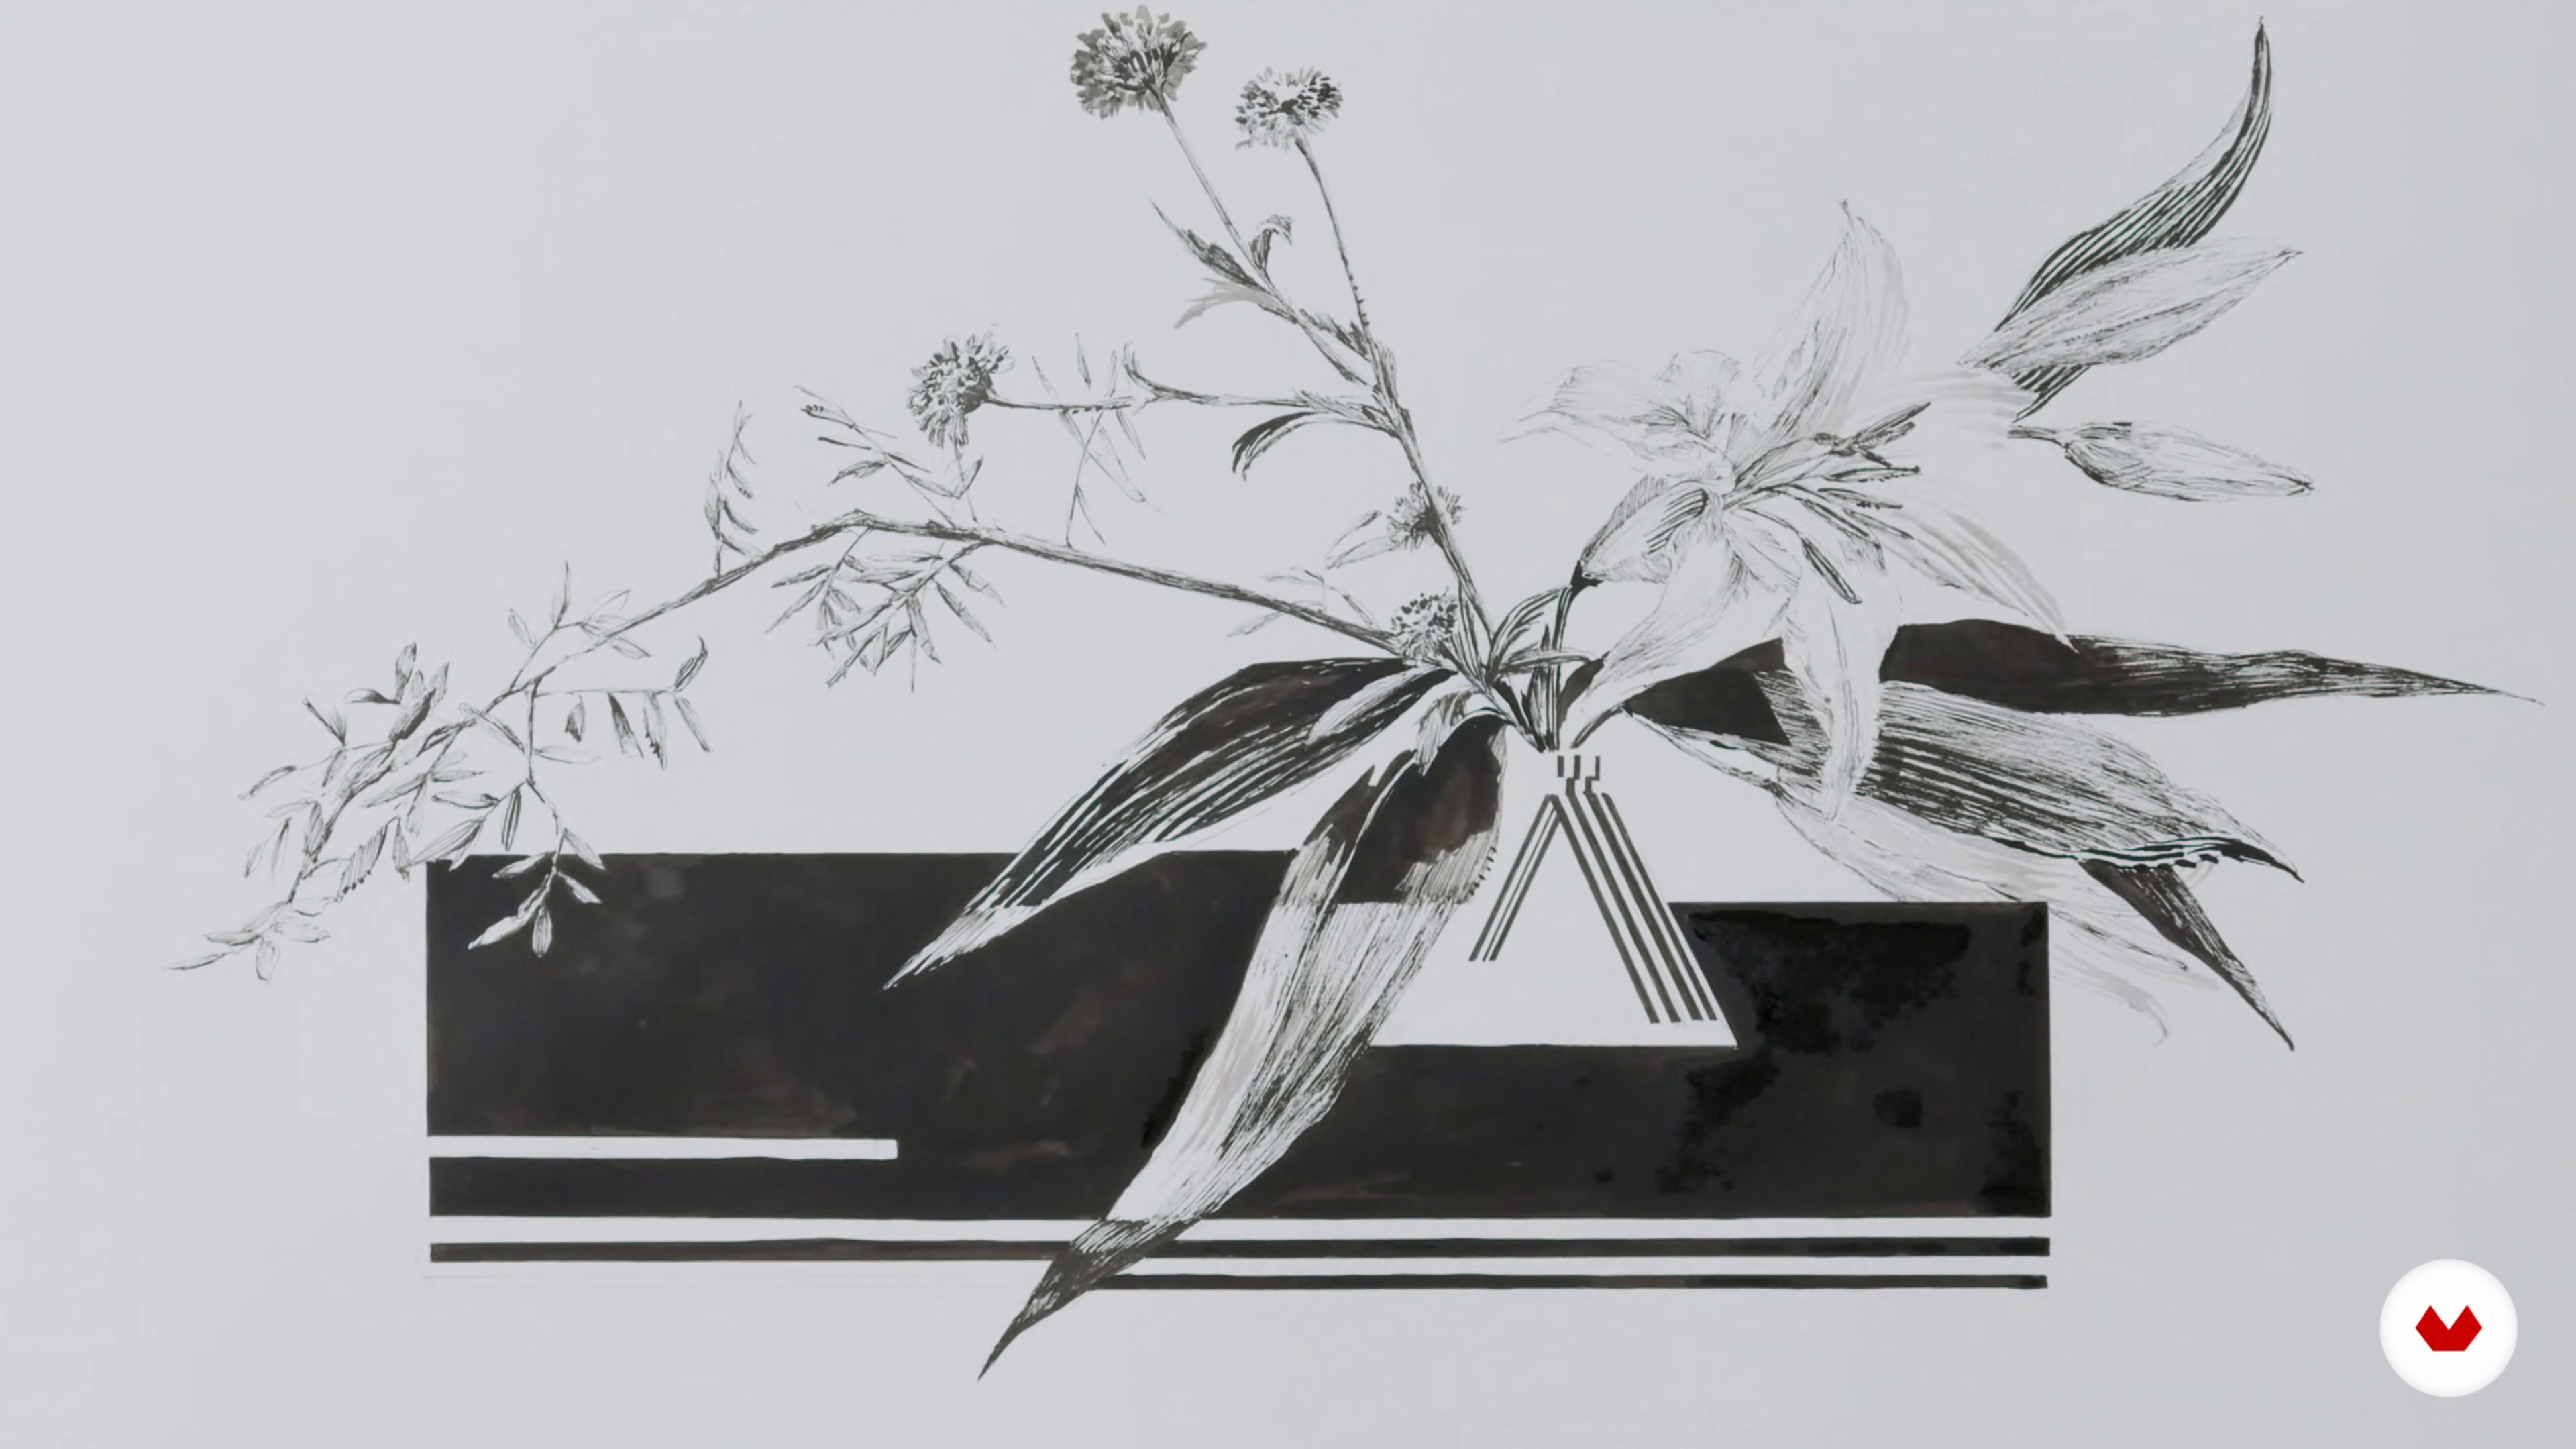
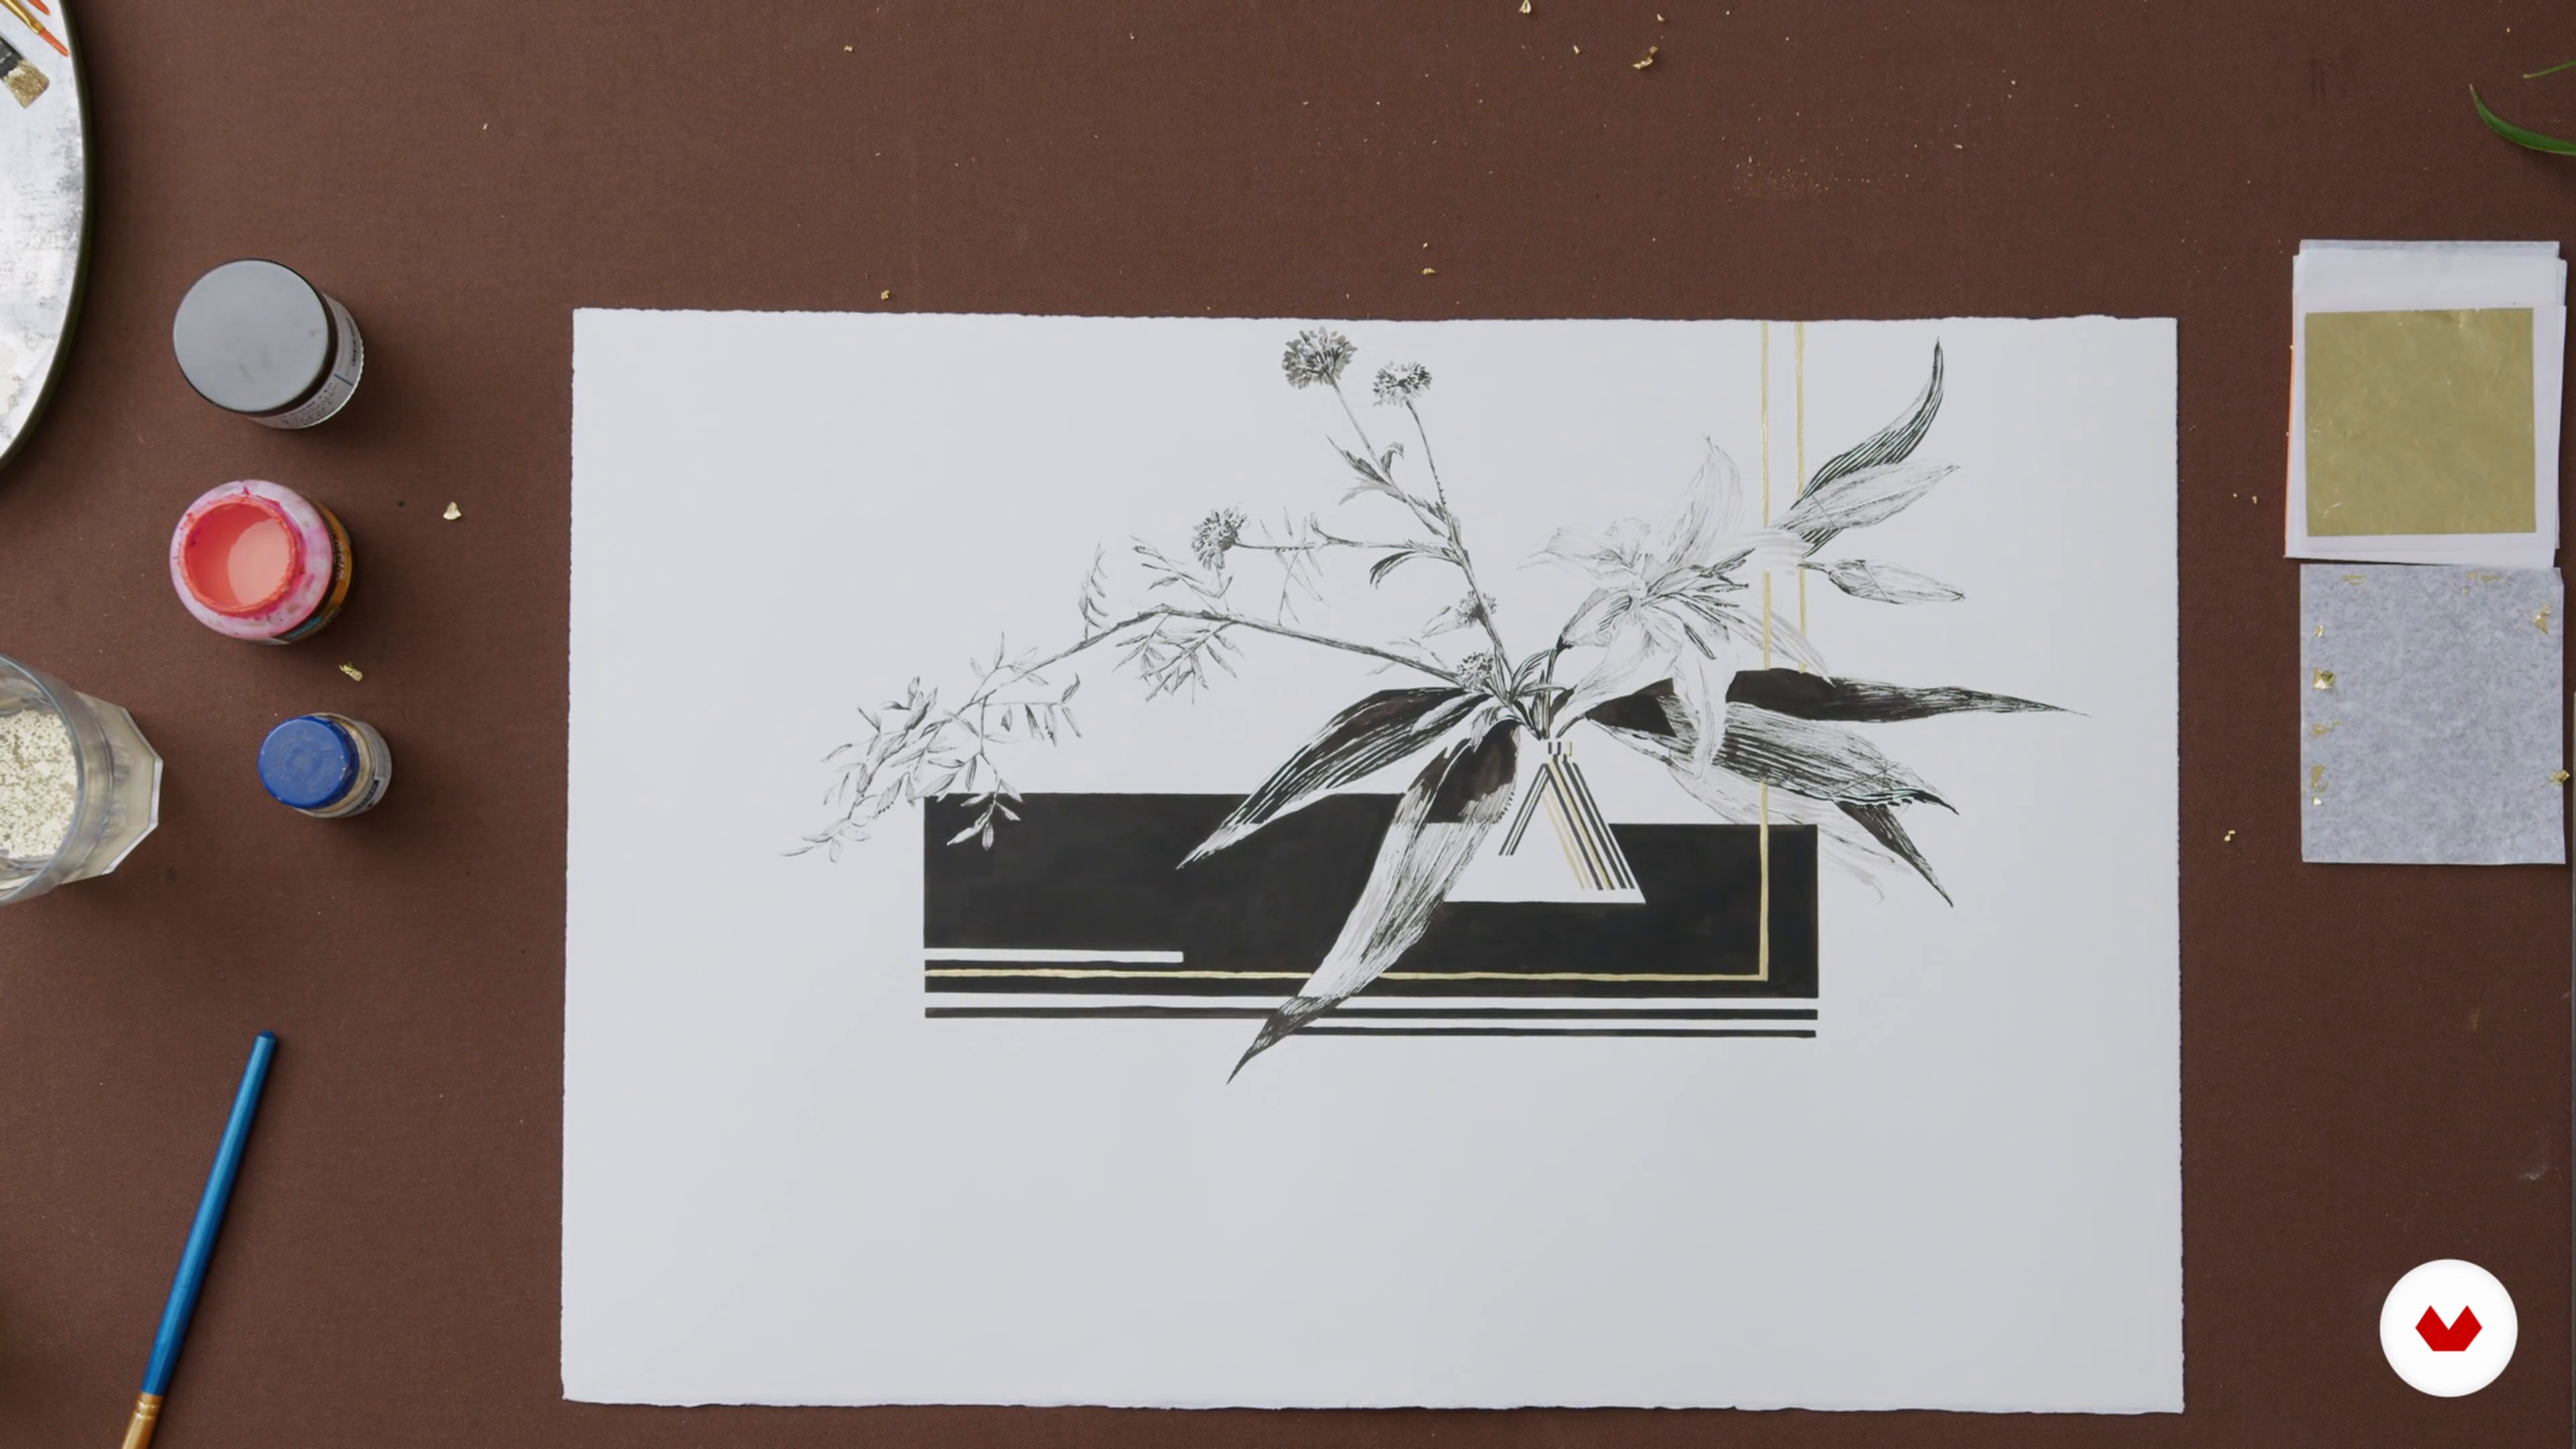
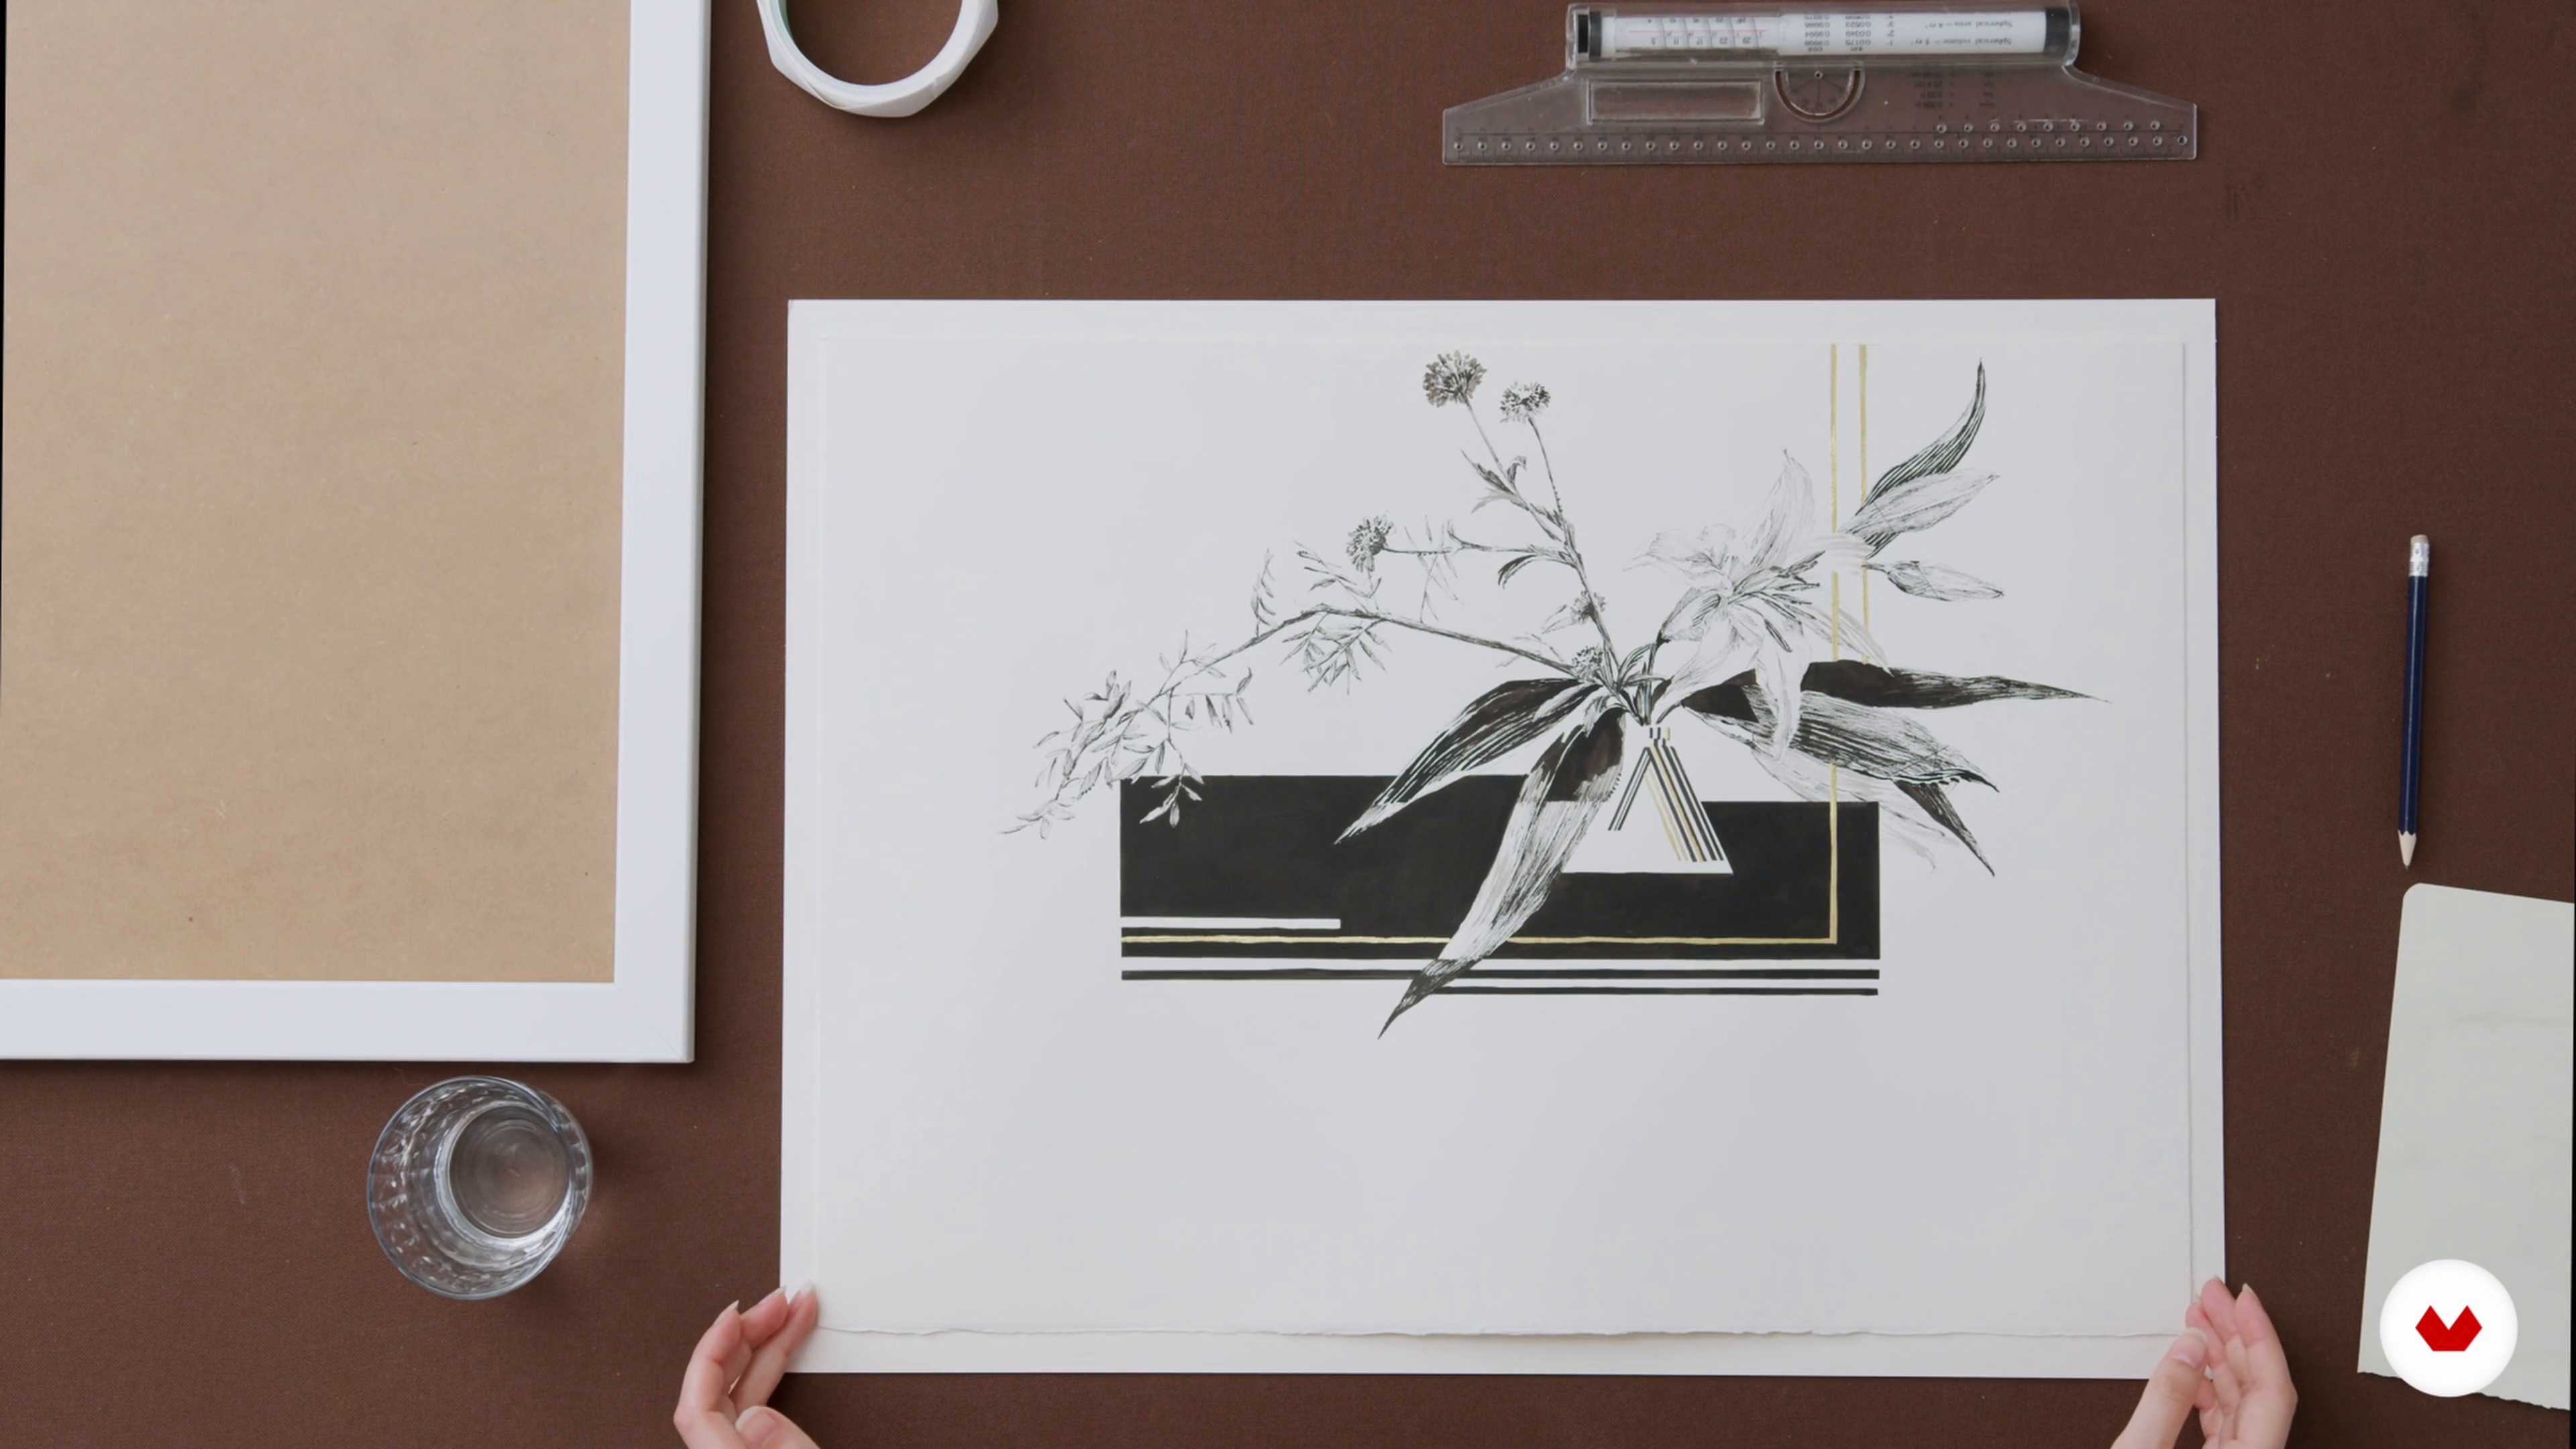
Create illustrations of evocative nature using the feather and immersion ink, focusing on traditional entering techniques and observation drawing

Specialization · 7 modules

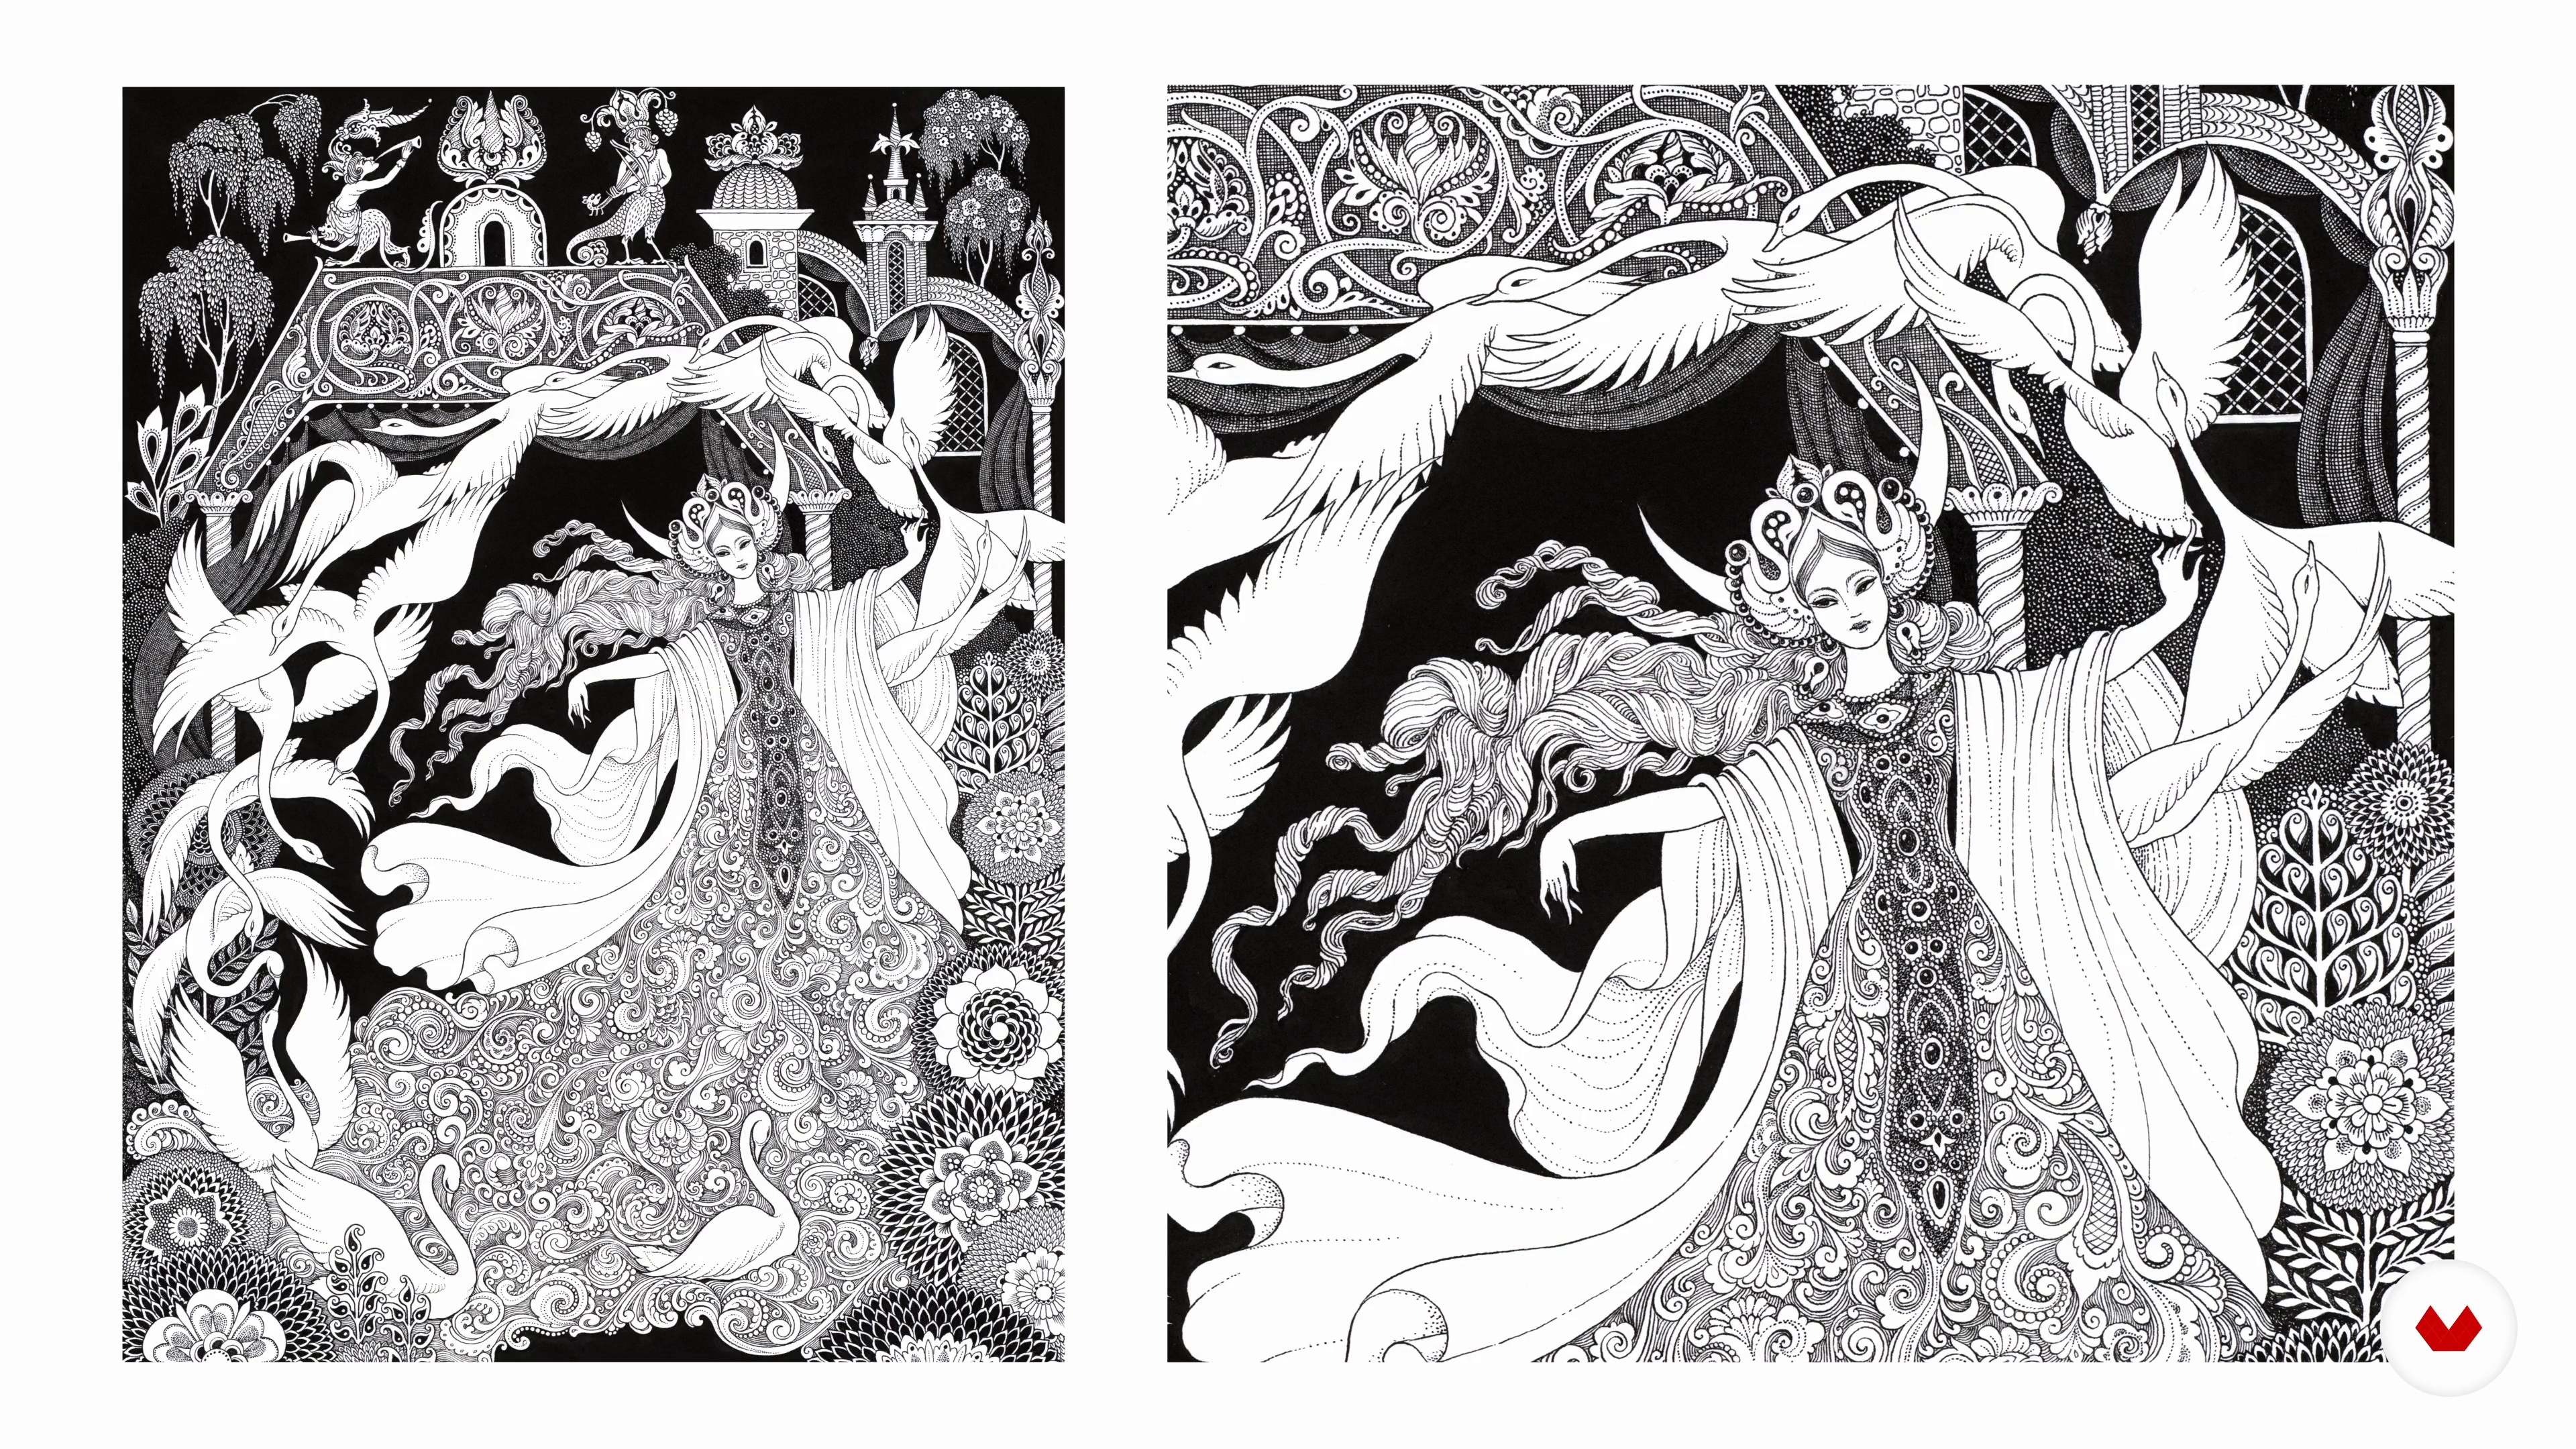
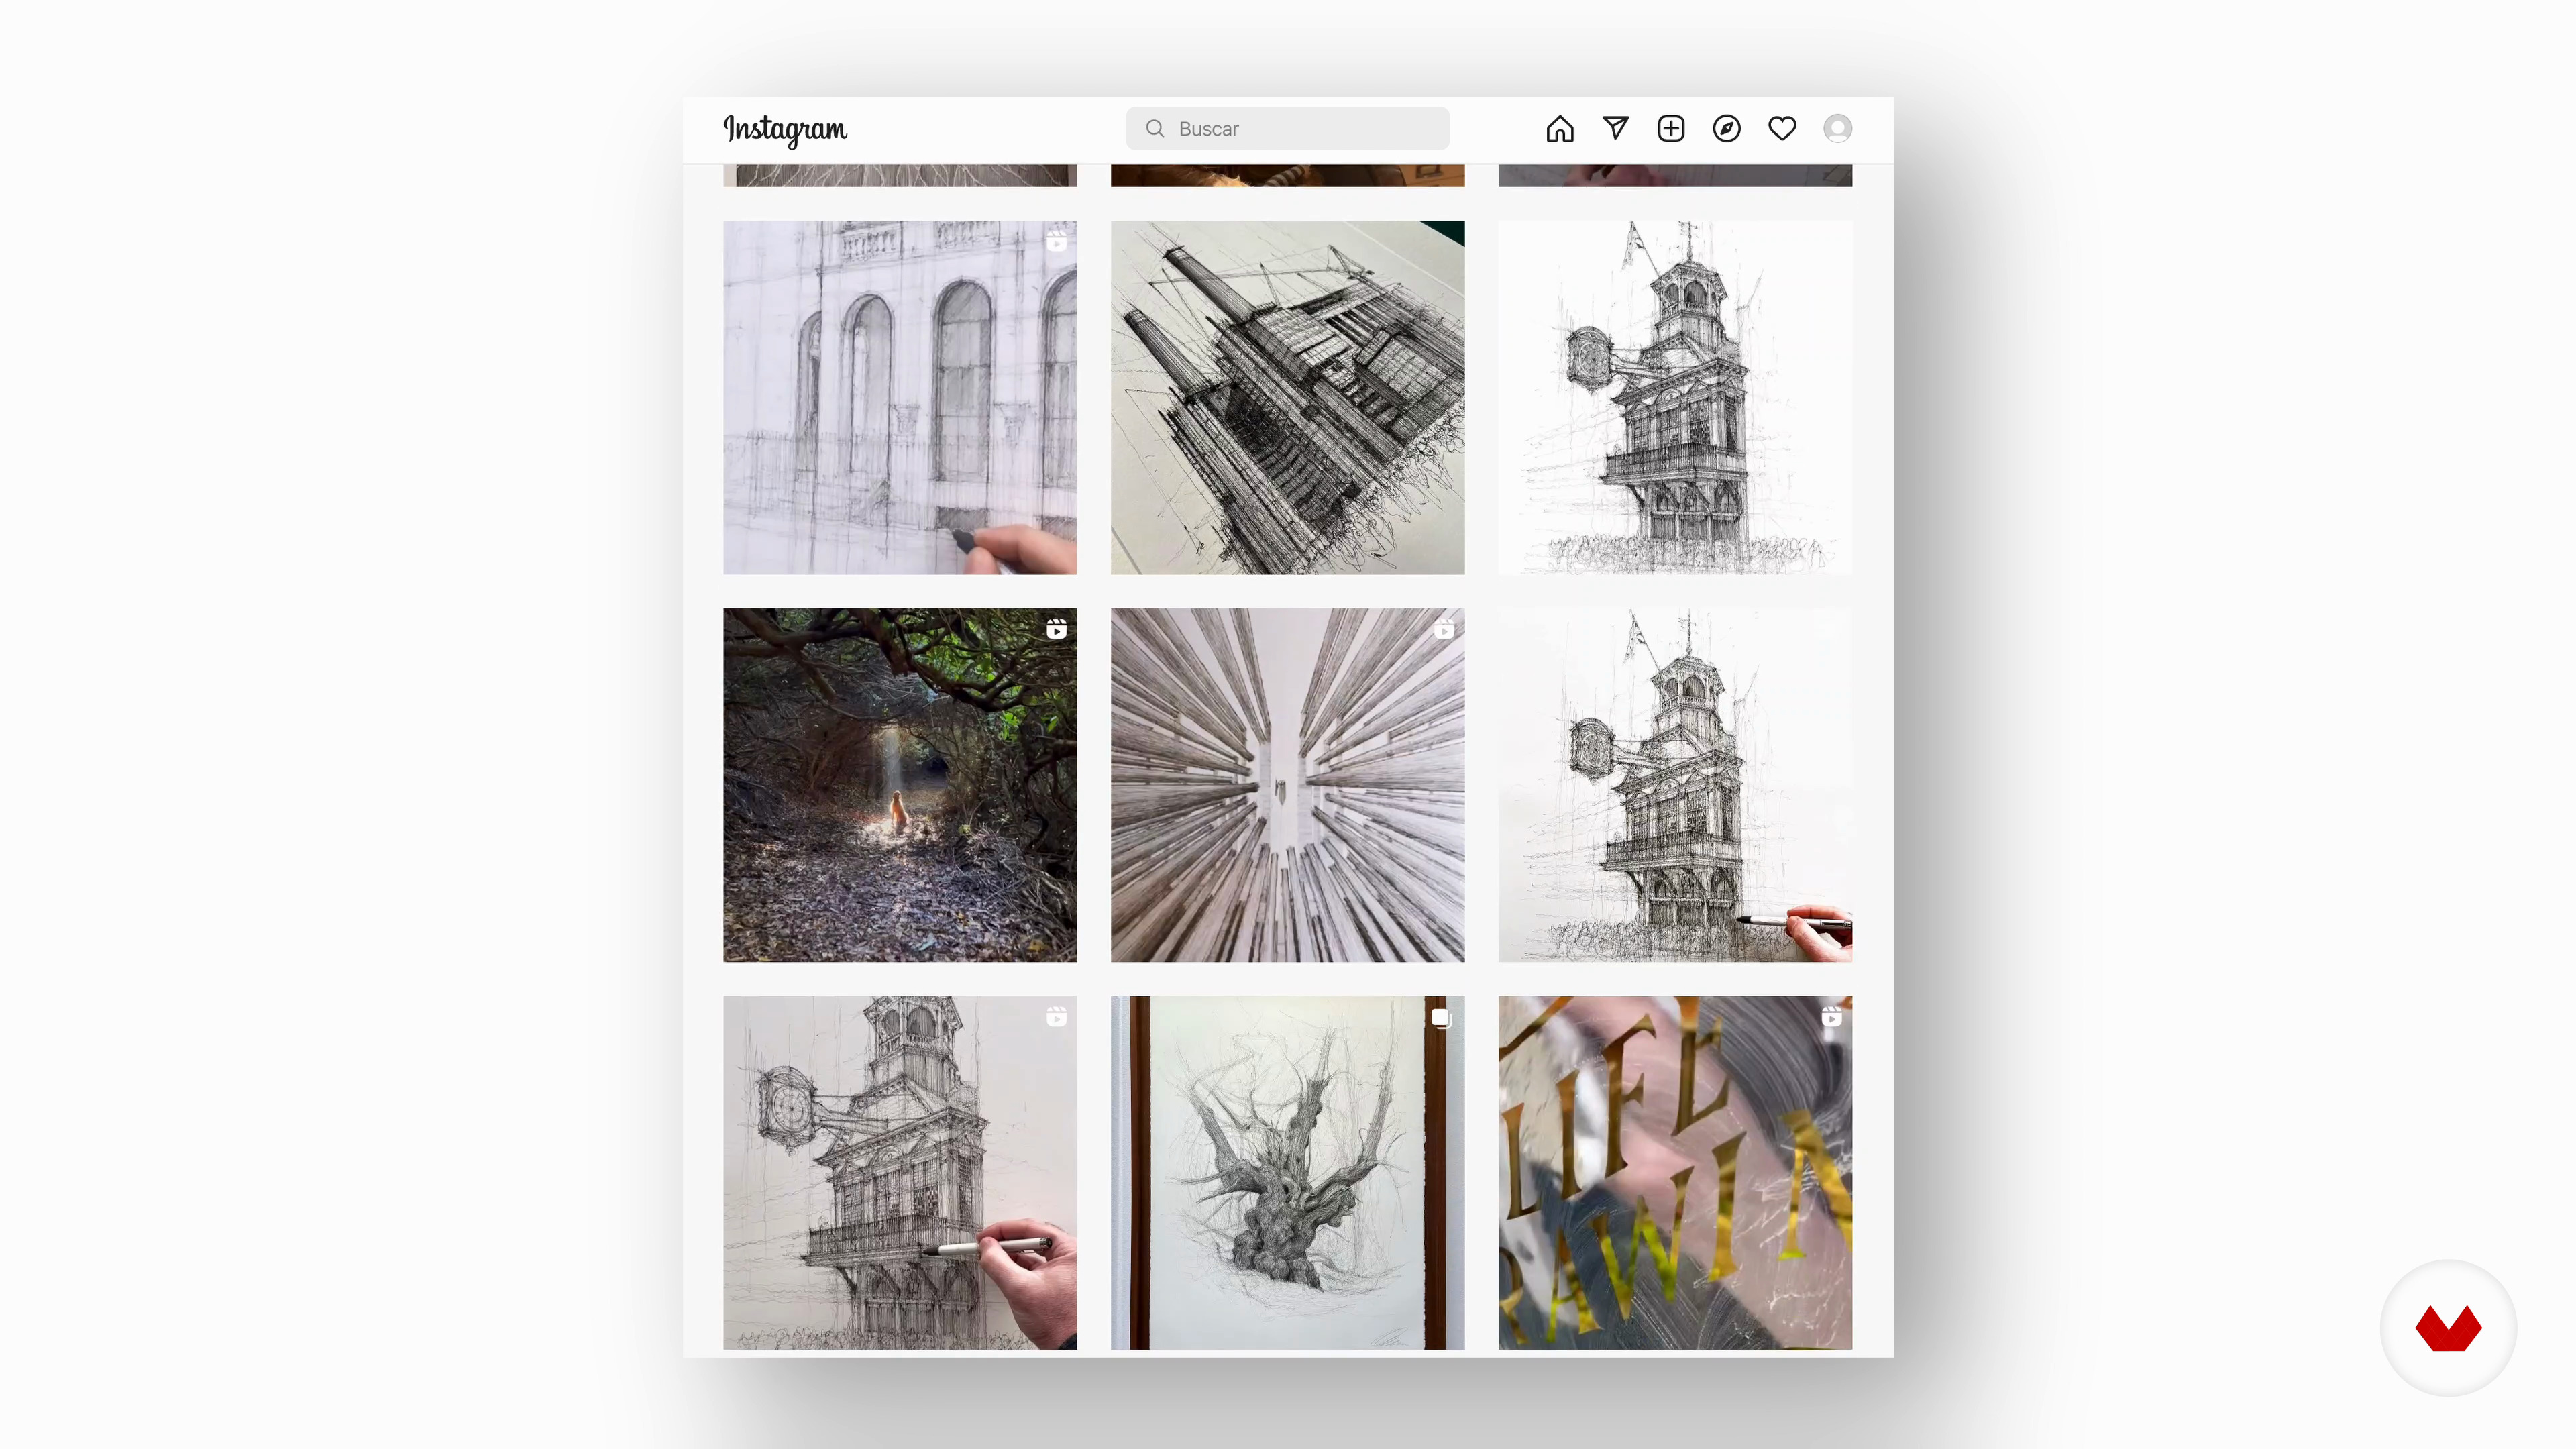
Unlock the magic of ink illustration with a diverse range of creative courses led by talented instructors Philip Harris, Sveta Dorosheva, Fujiko Rose, Eva Redamonti, Luke Adam Hawker, and Dan Hogman. Explore the art of dip pen and ink to capture the intricate beauty of the natural world. Delve into the enchanting realm of fairy-tale illustration, where cultural nuances and magical settings come to life. Discover the fusion of traditional and modern techniques to craft contemporary botanical illustrations that balance detail and abstraction.

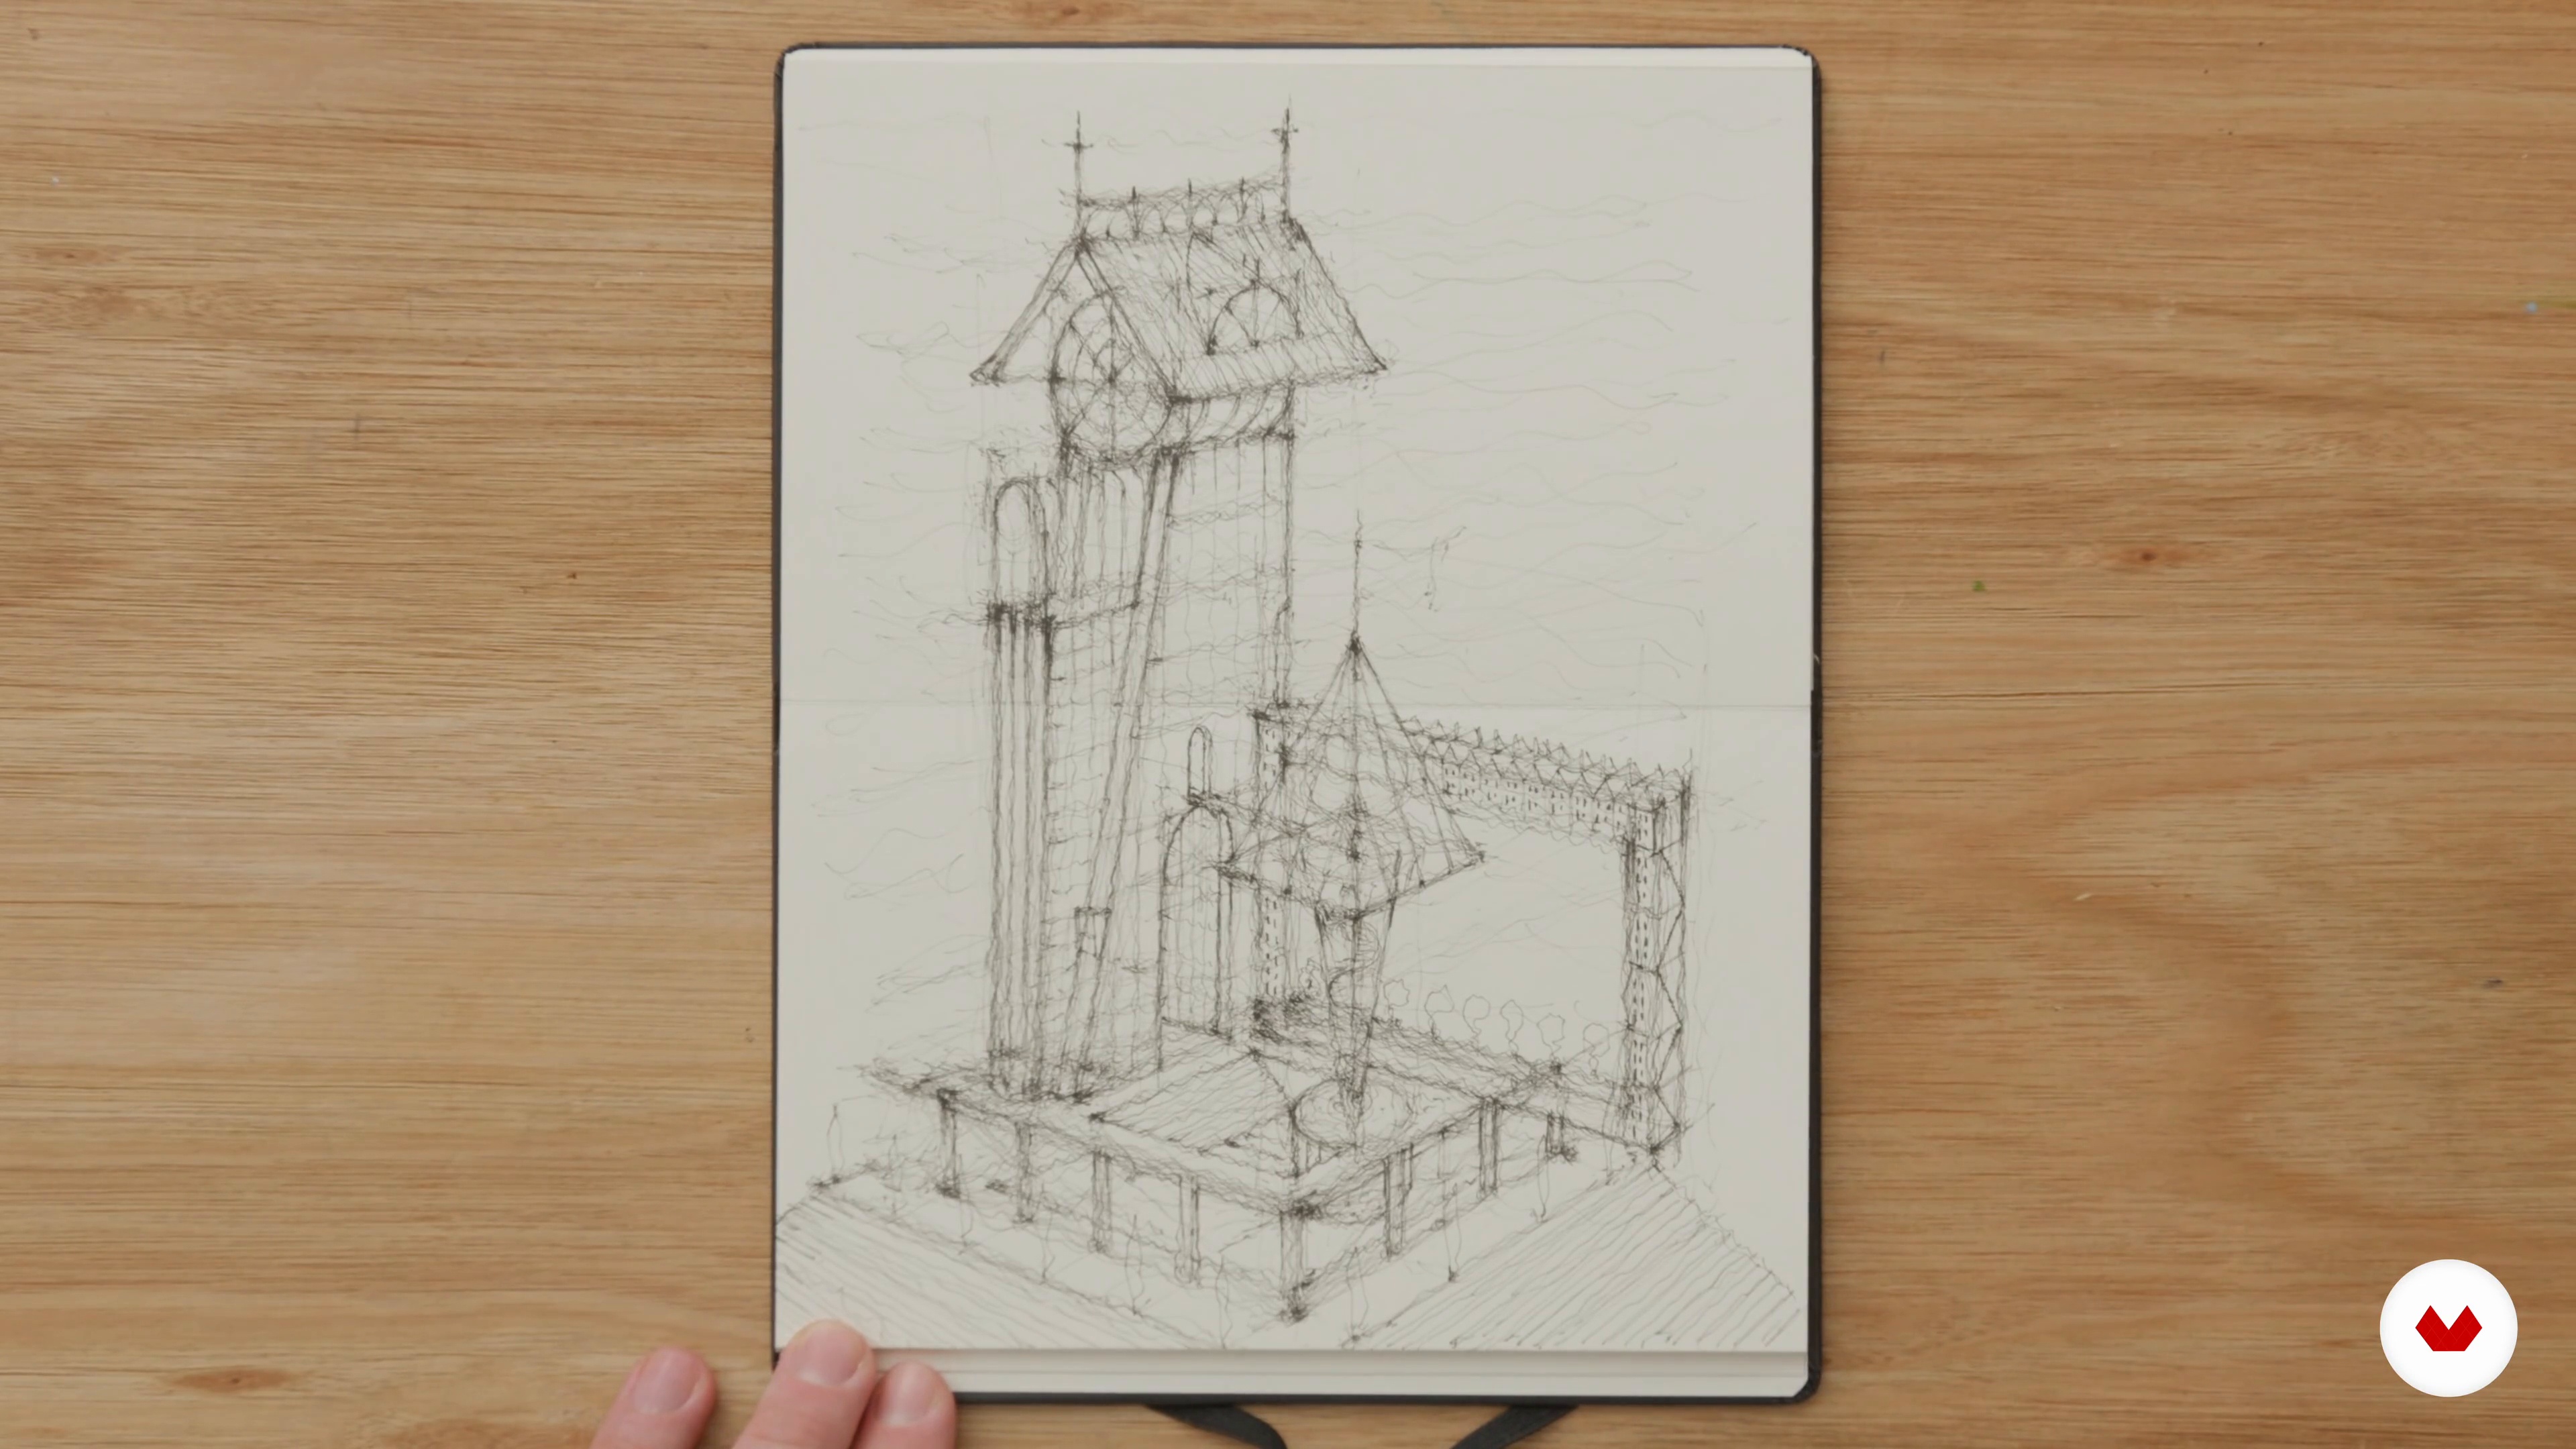
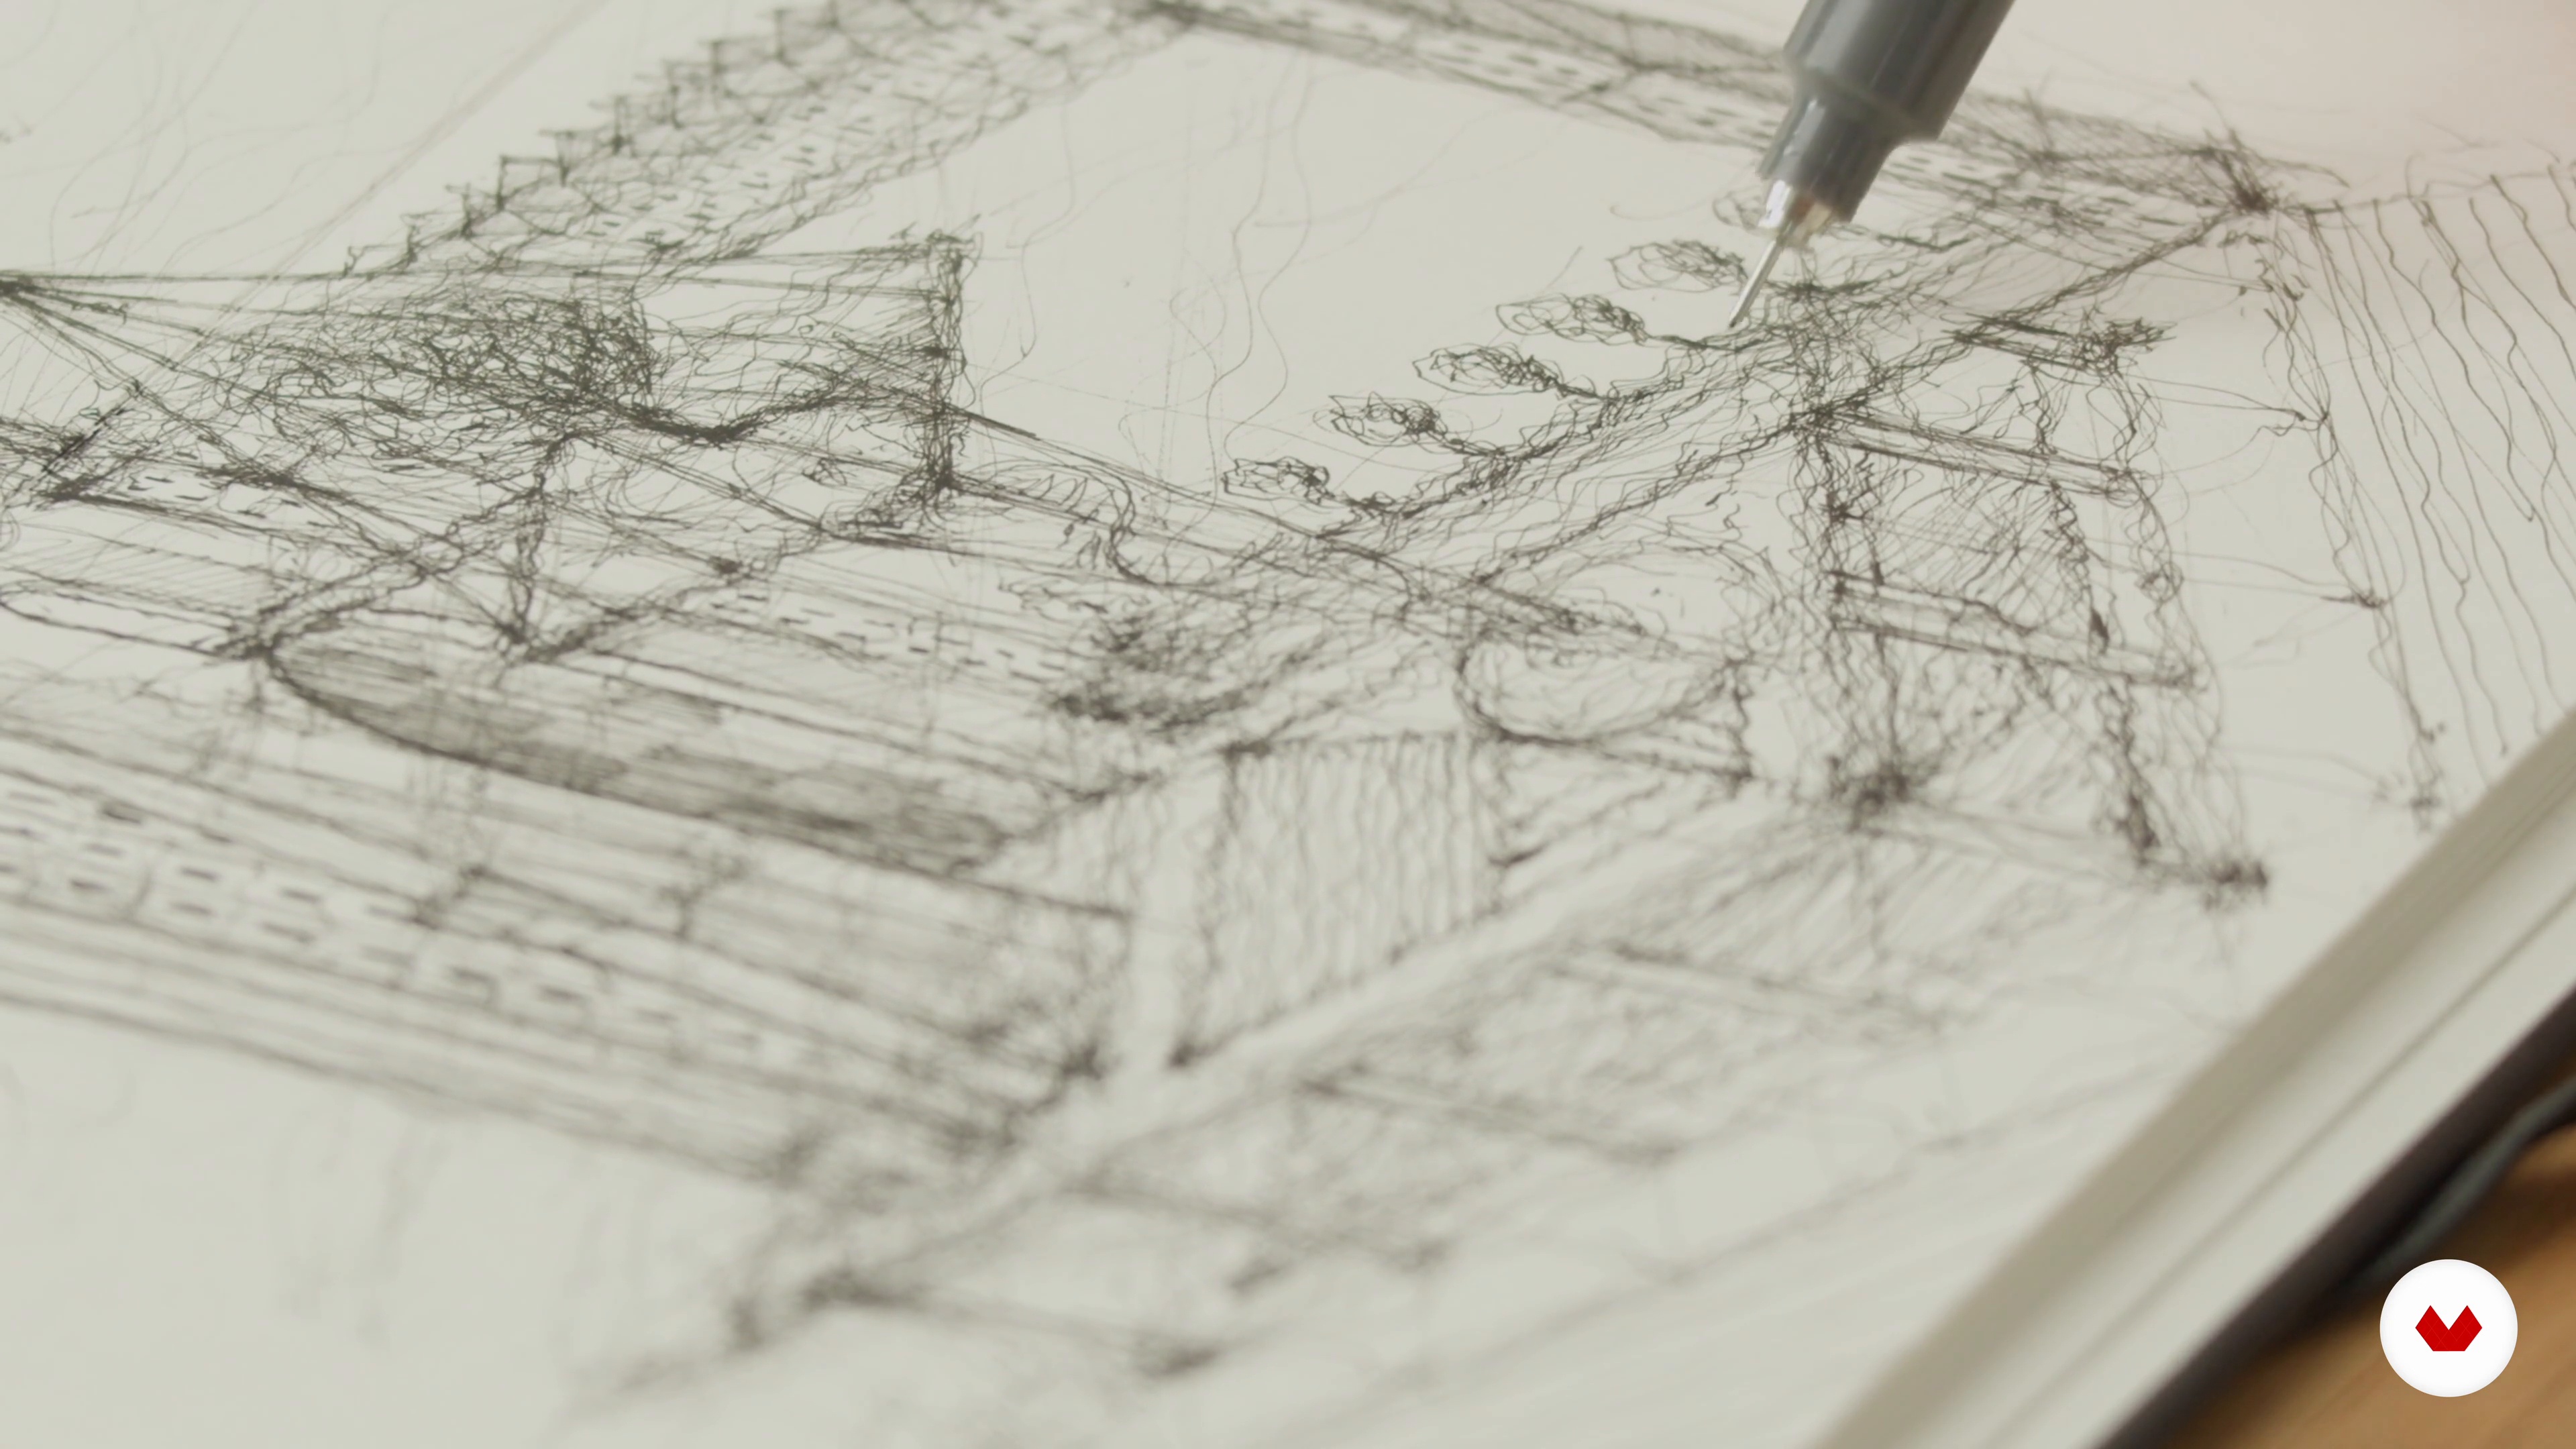
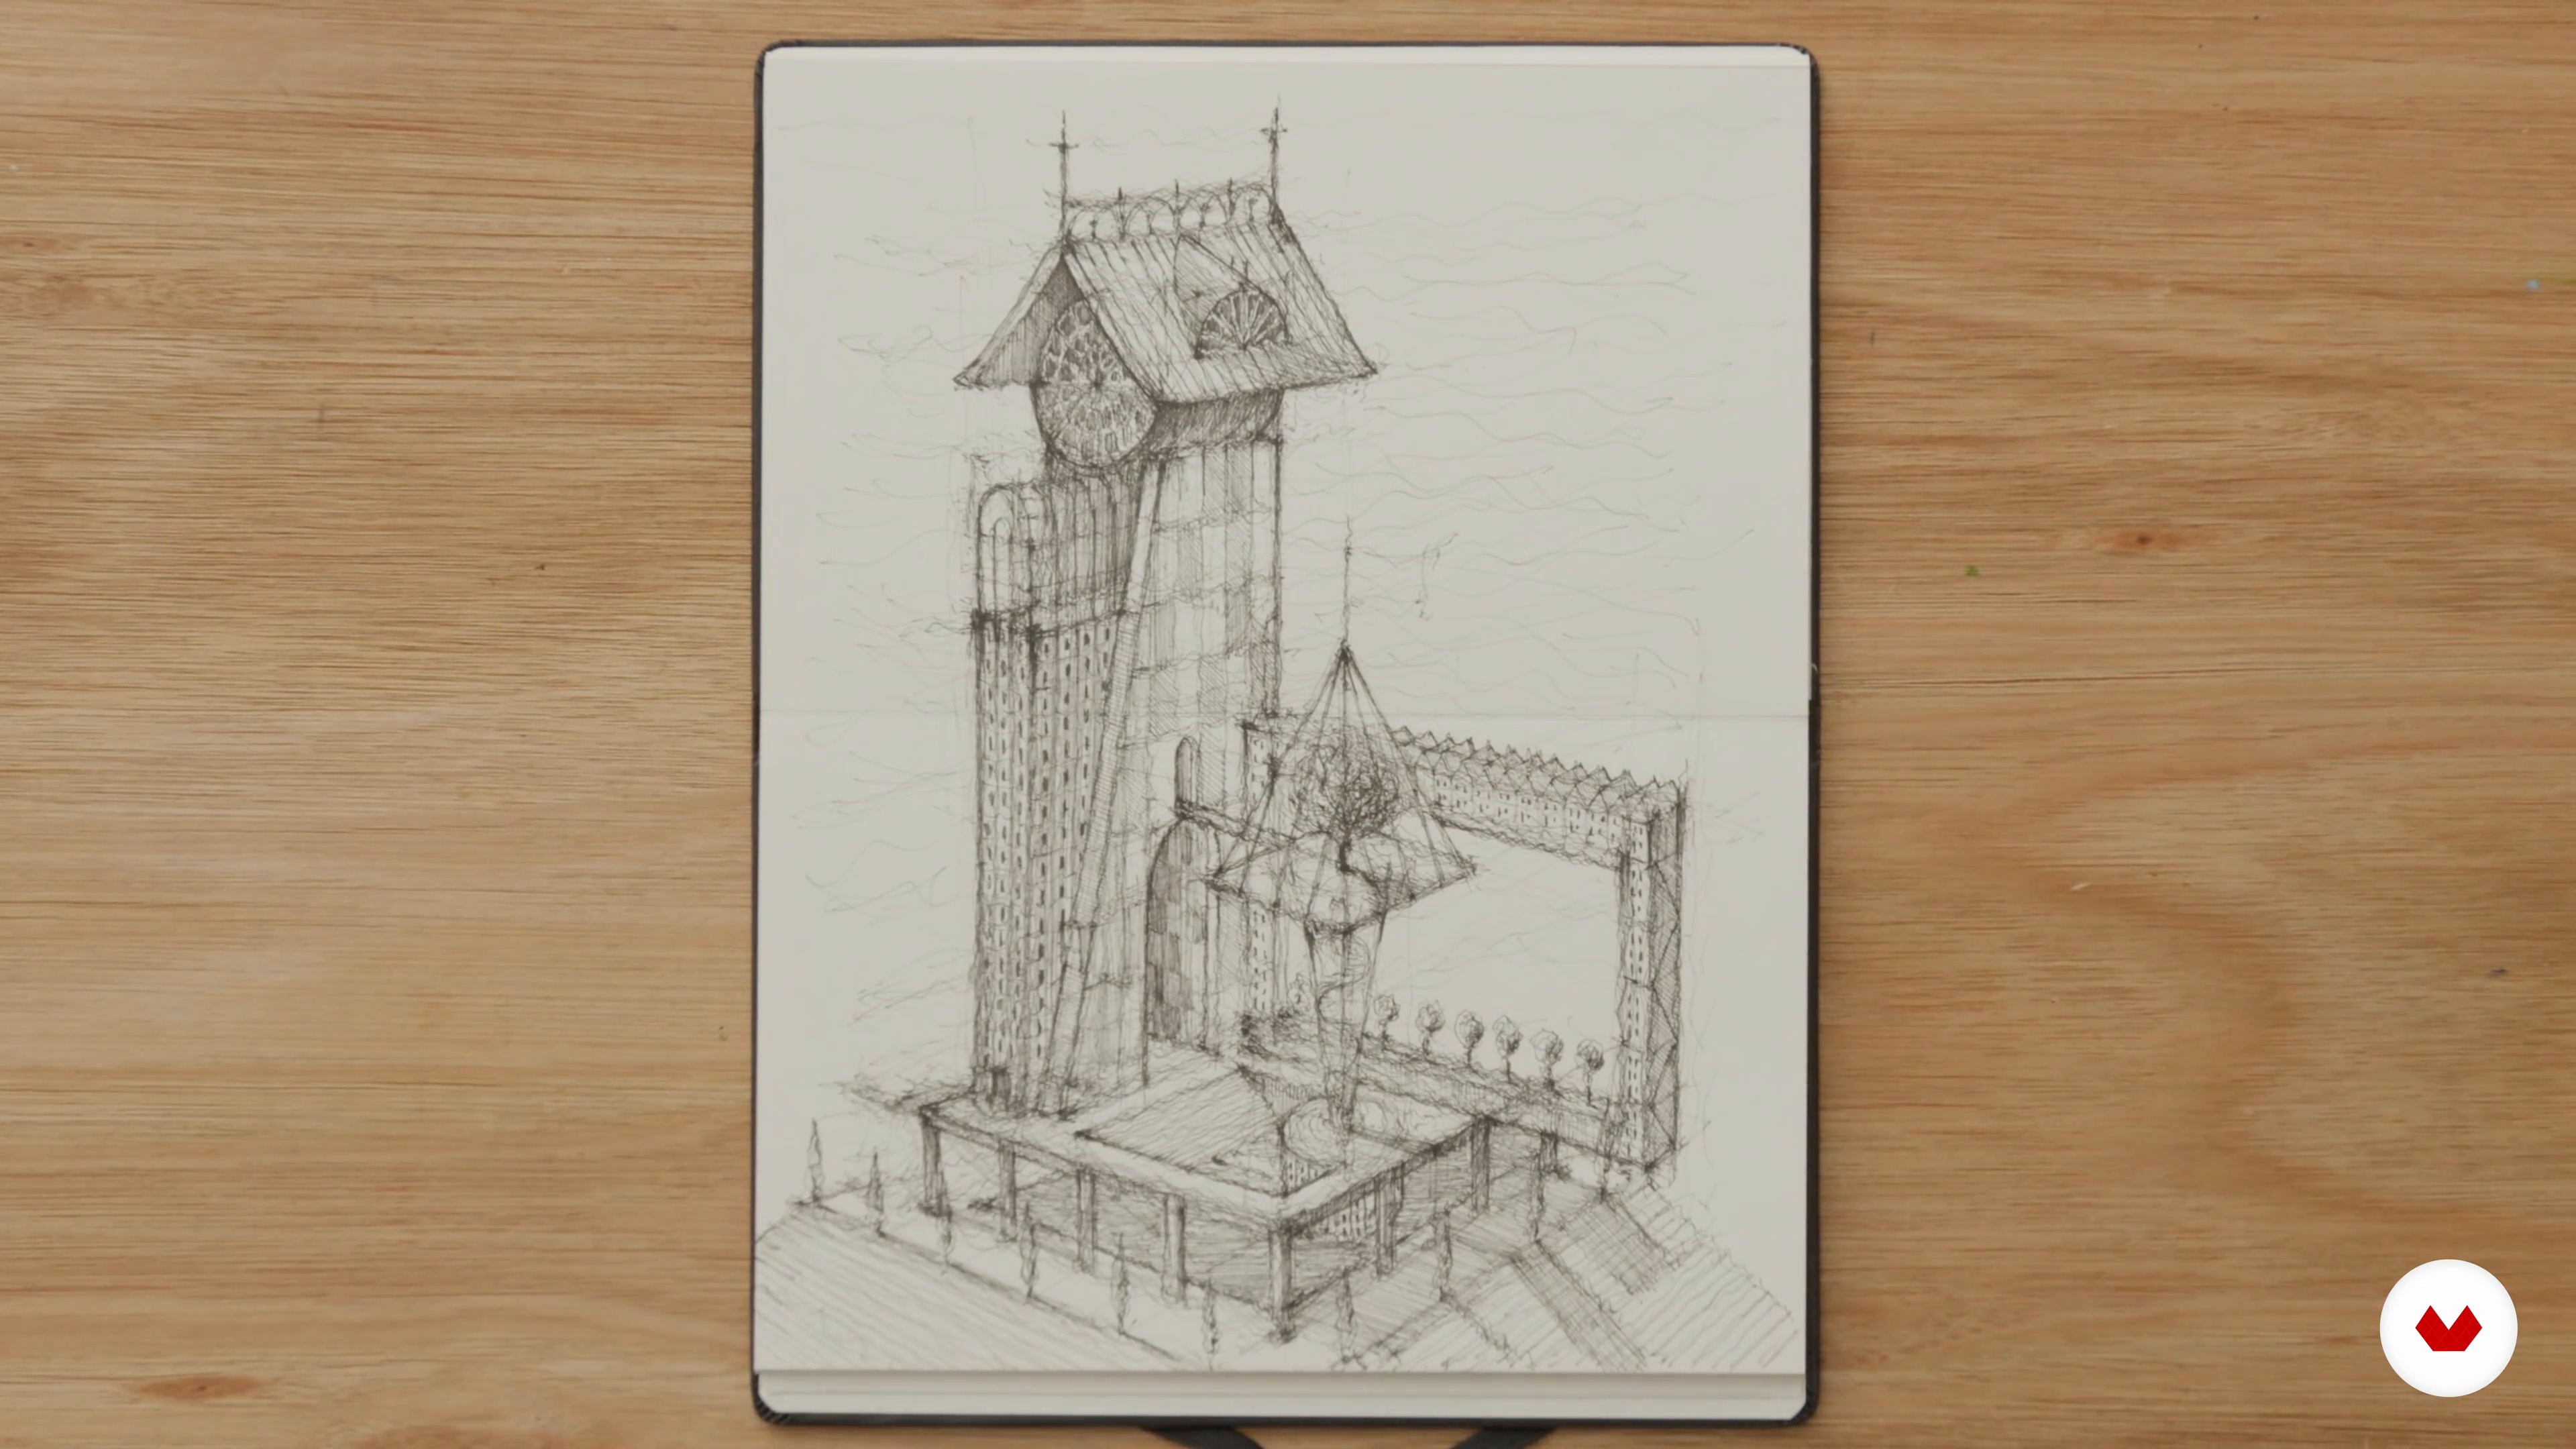
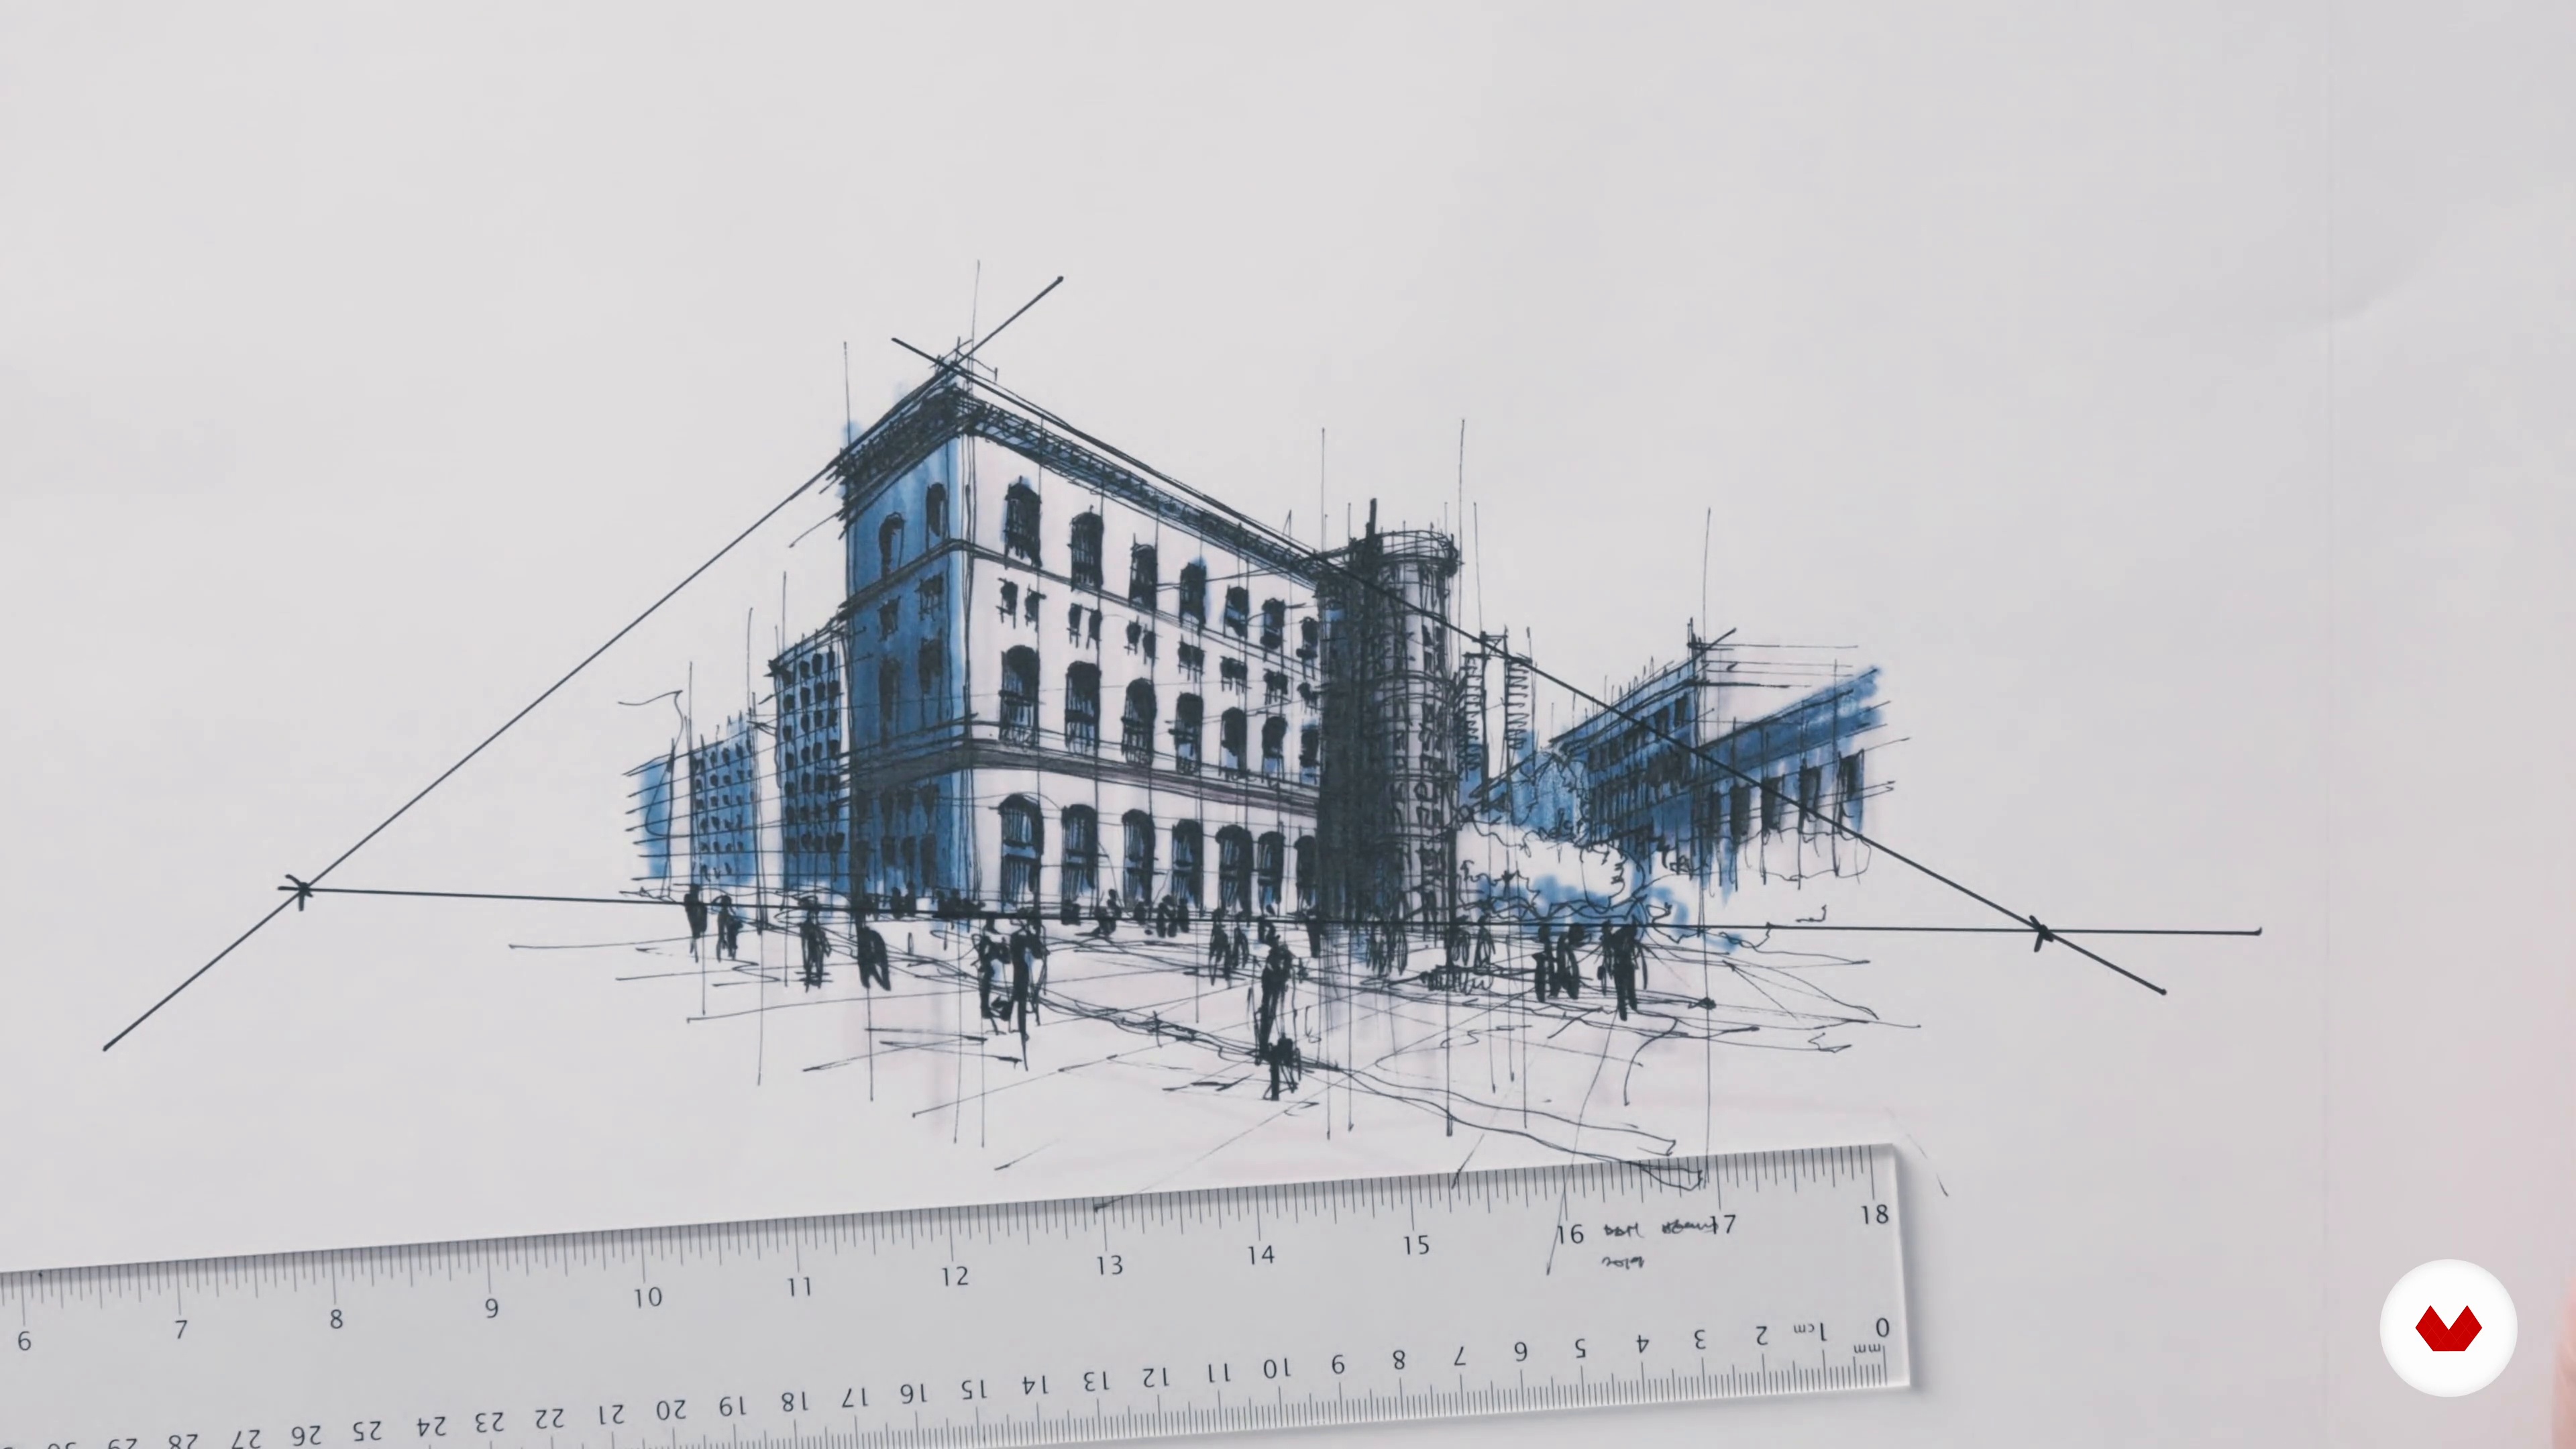
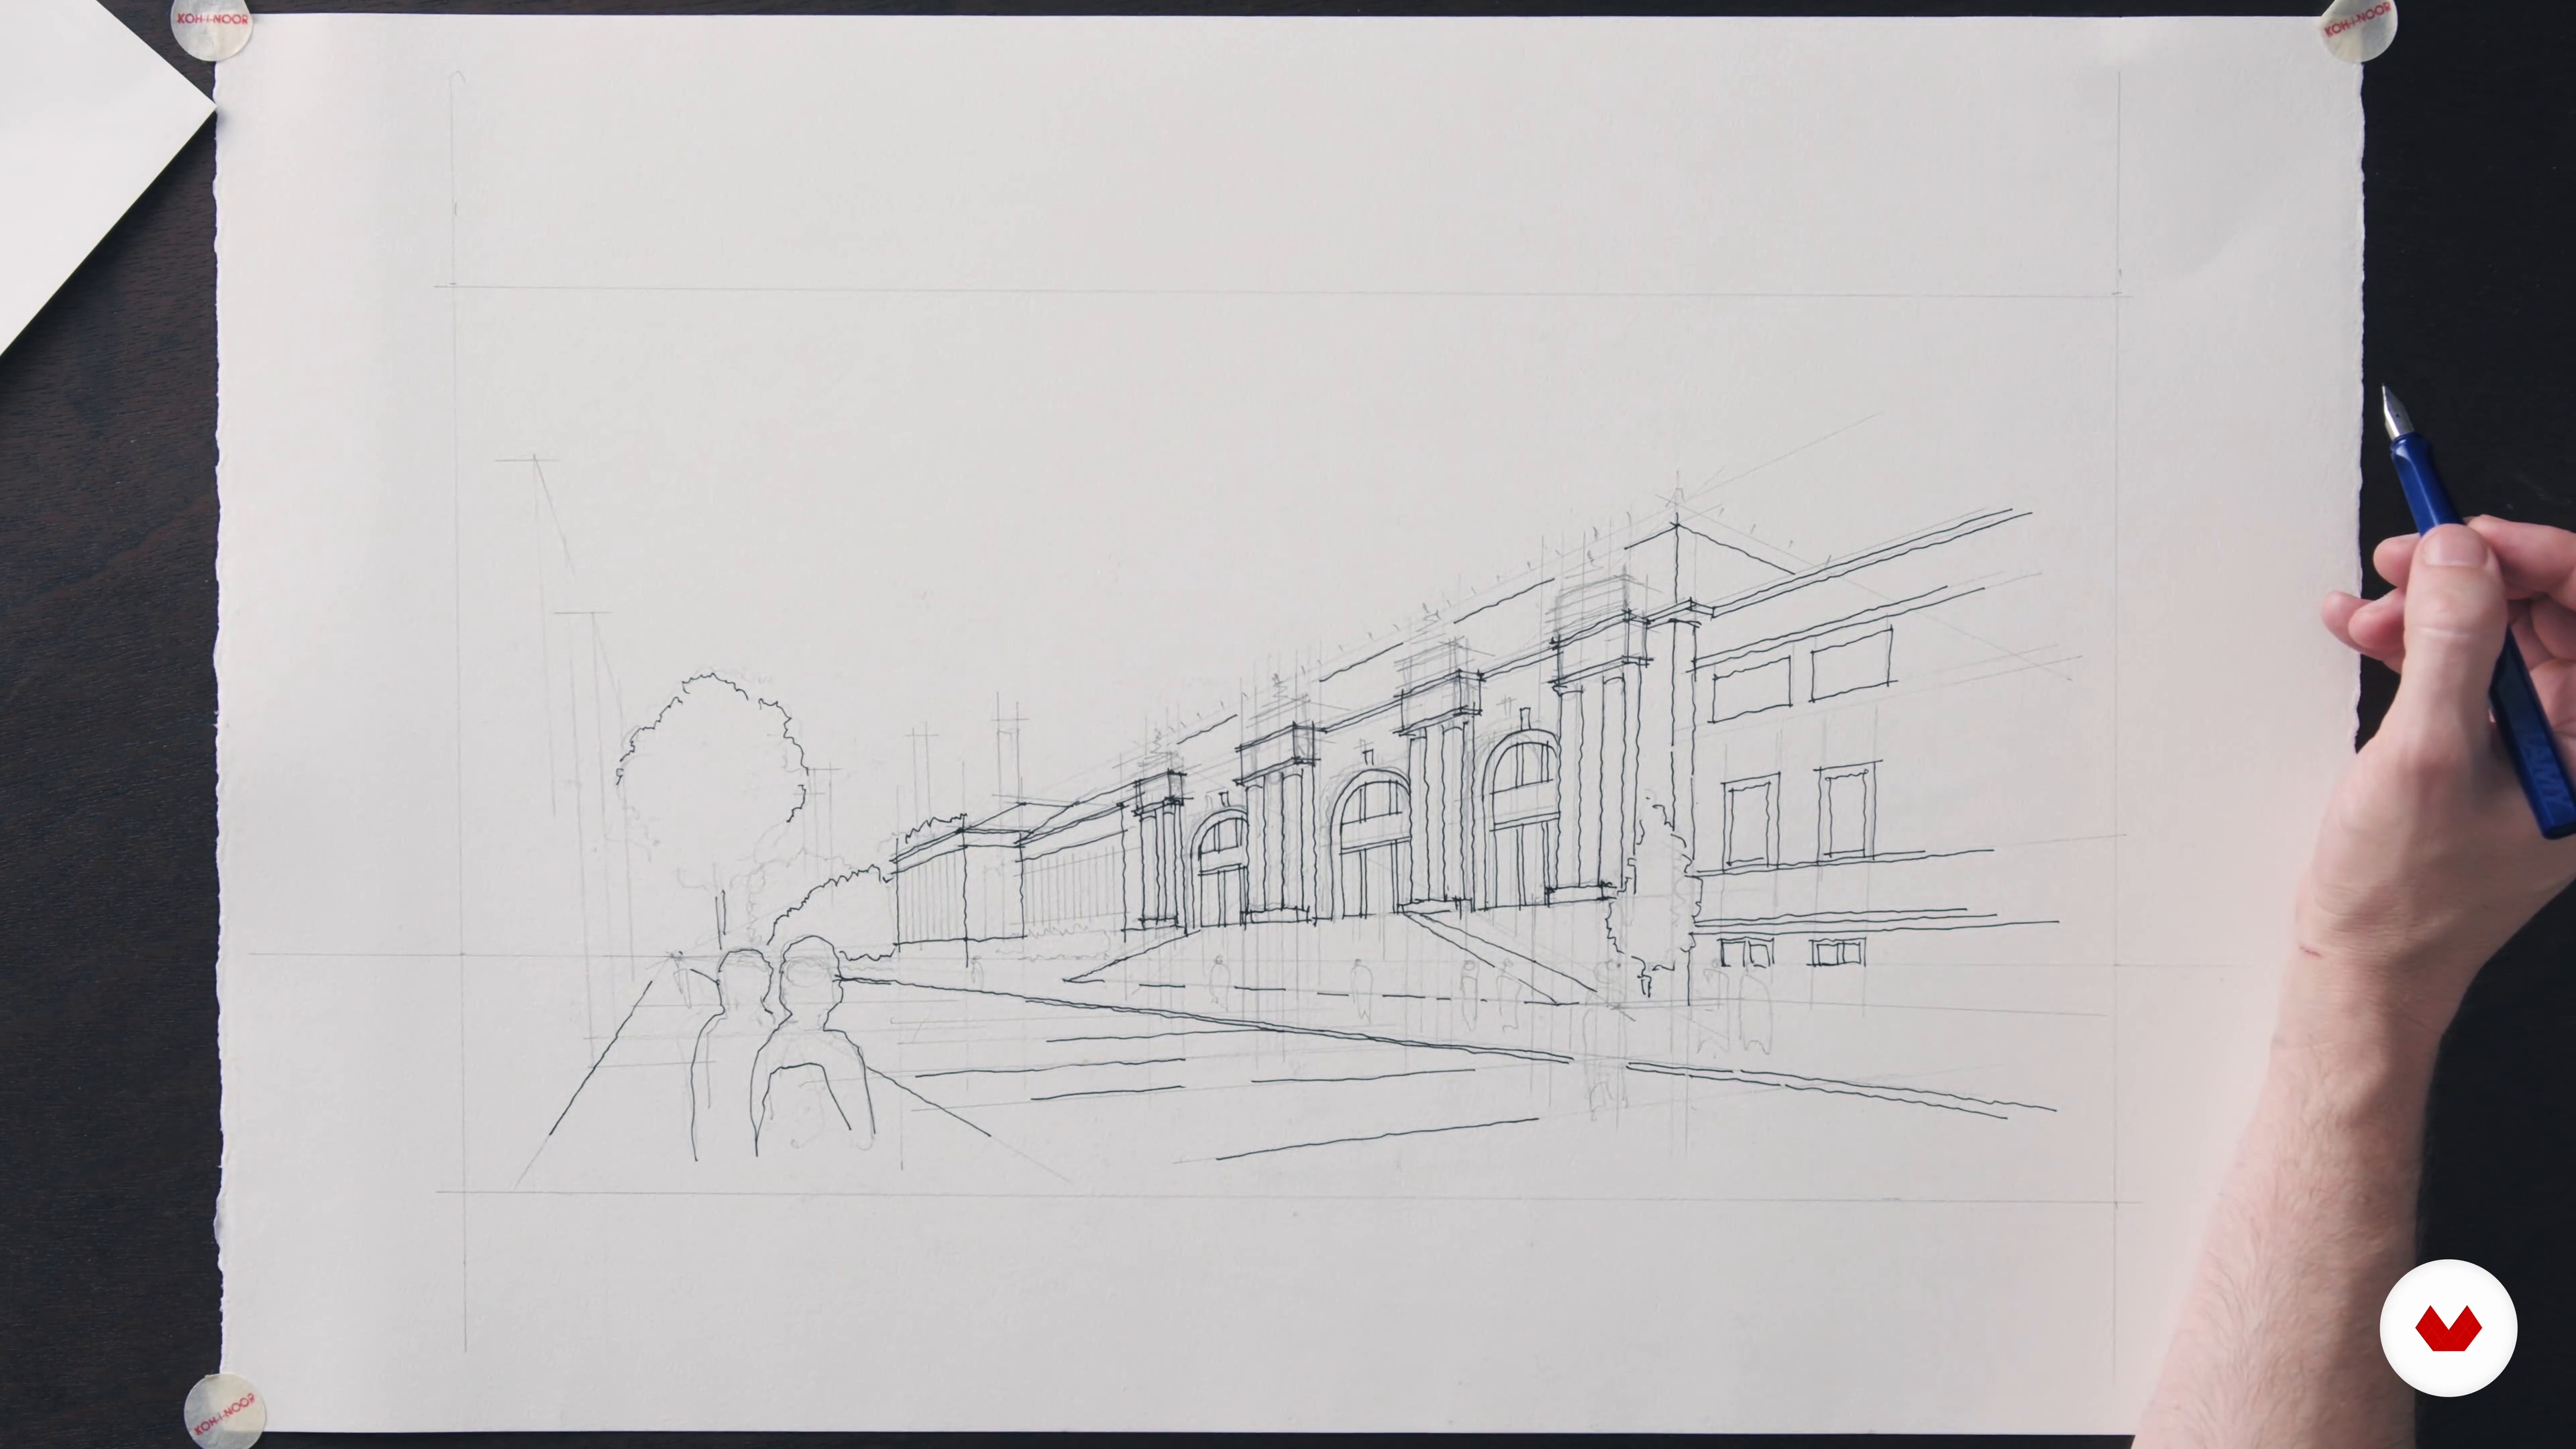
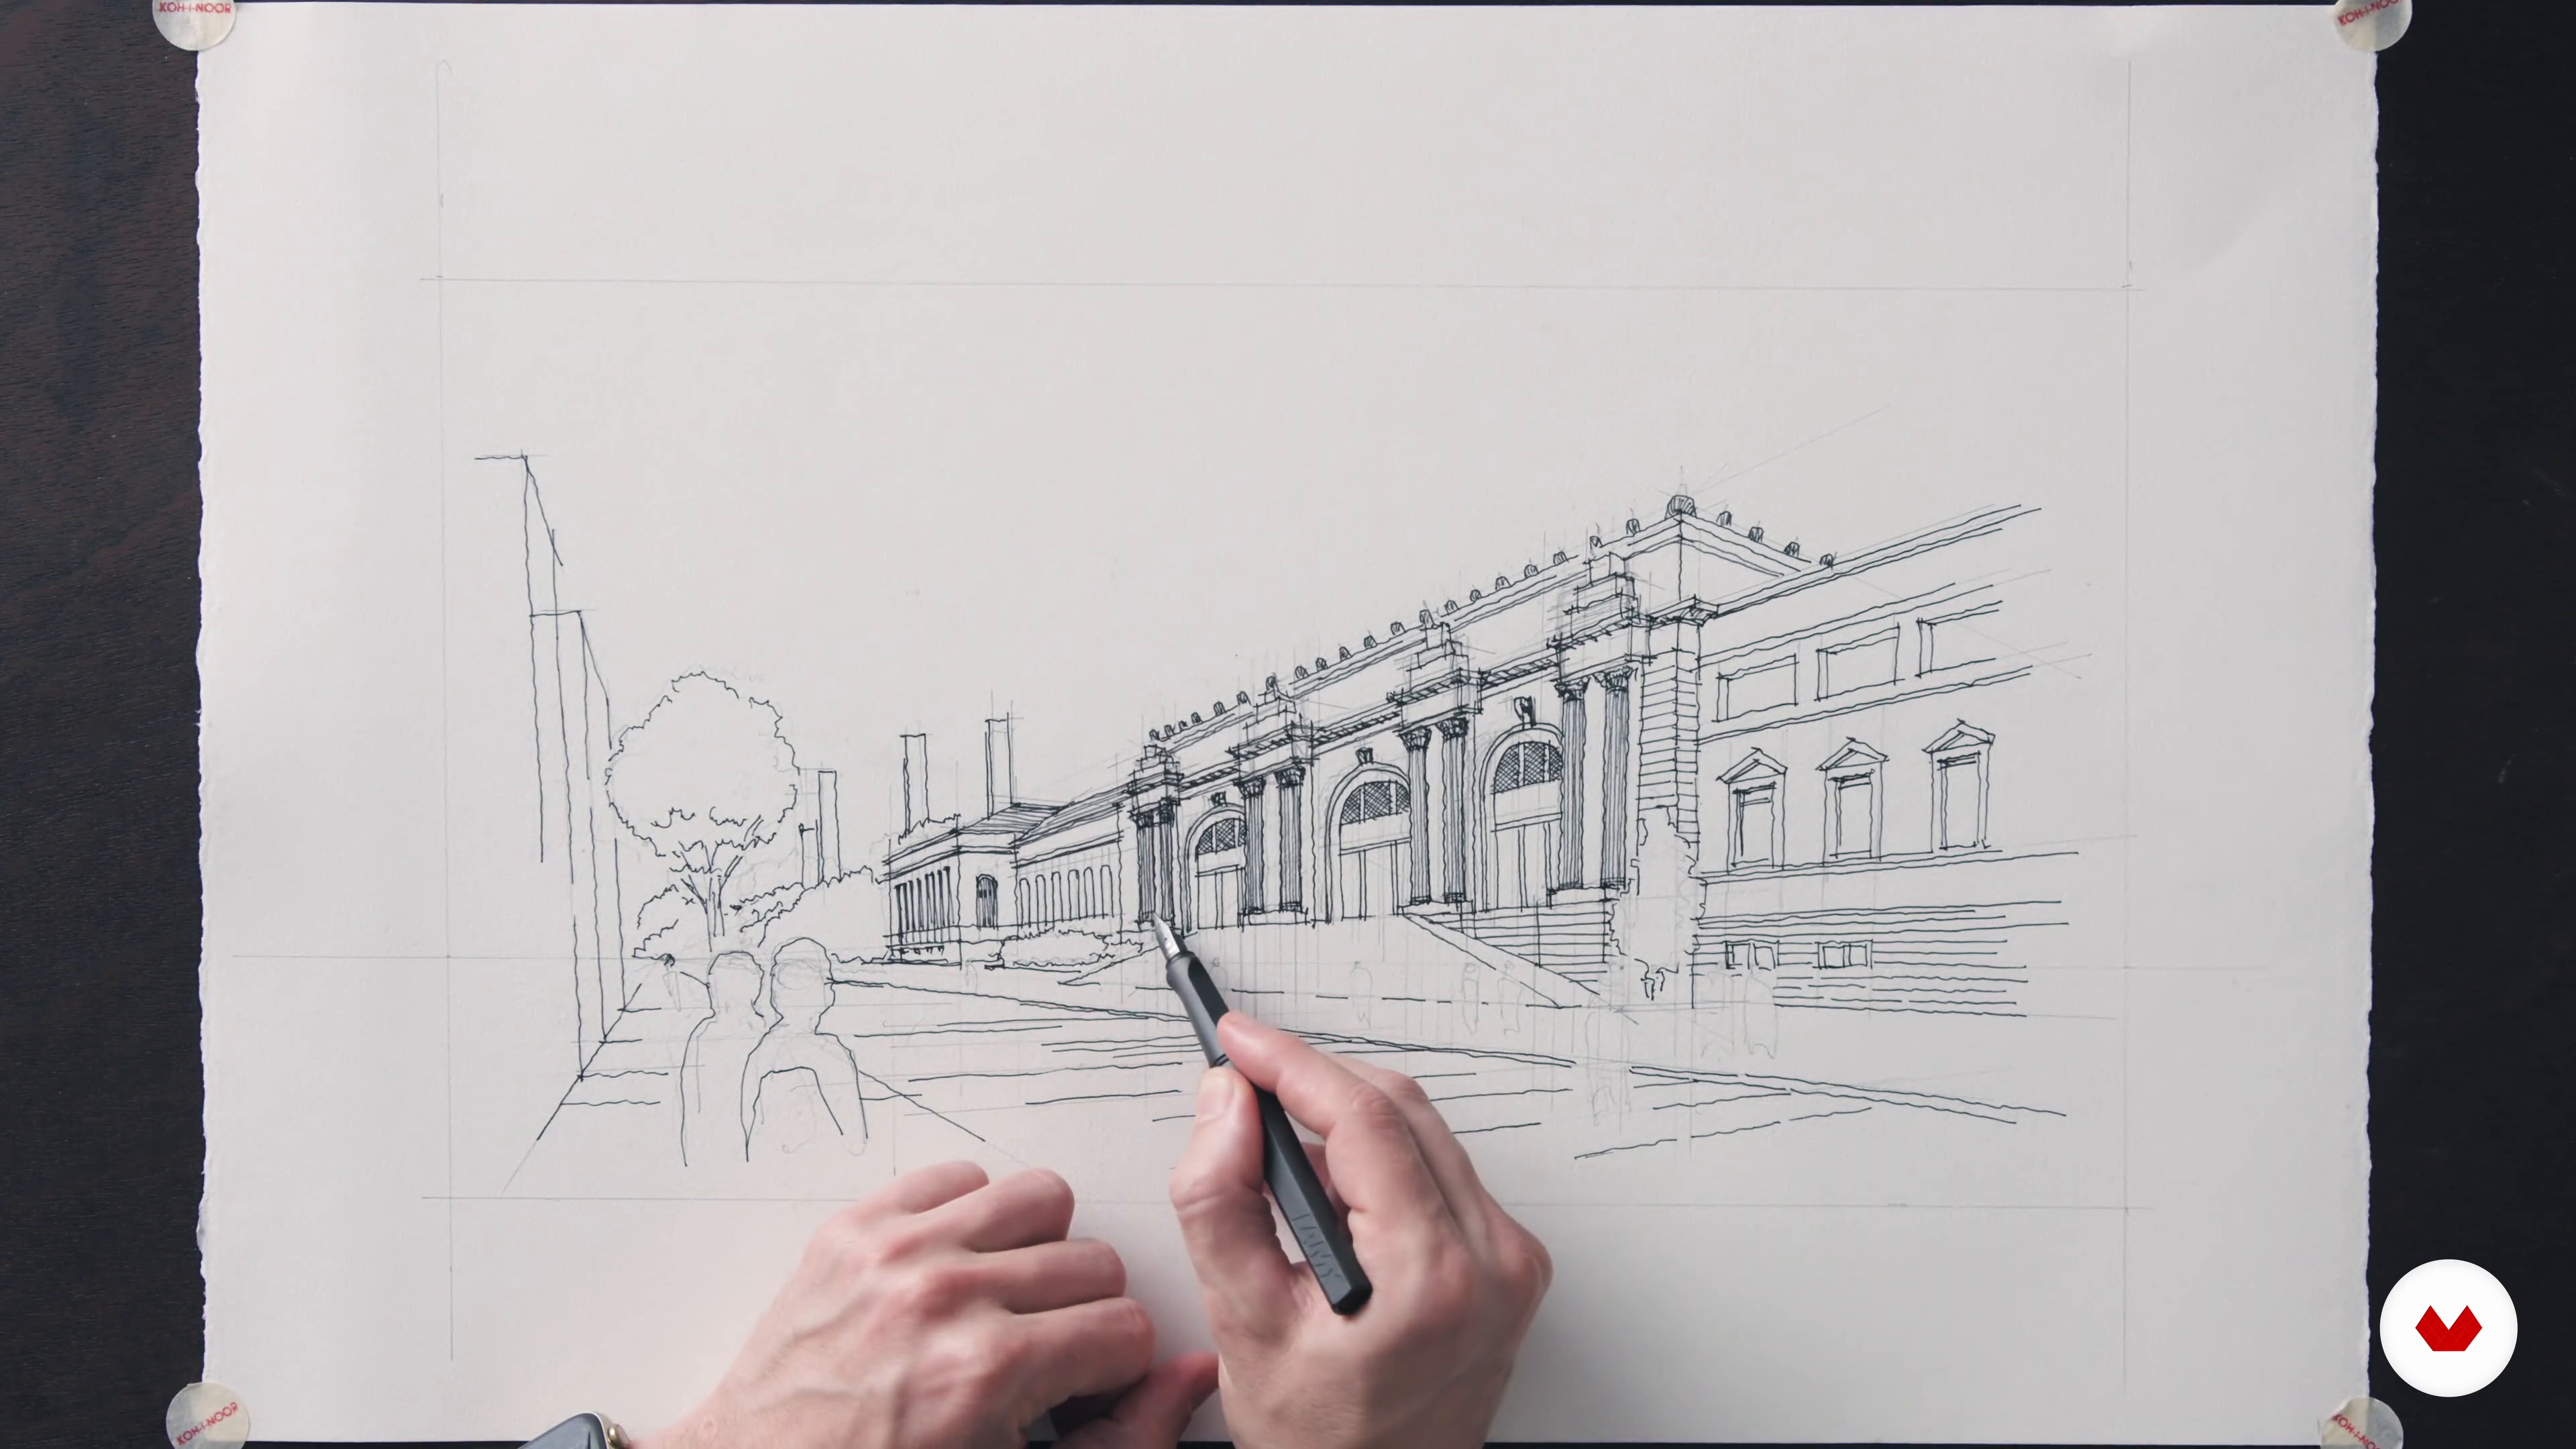
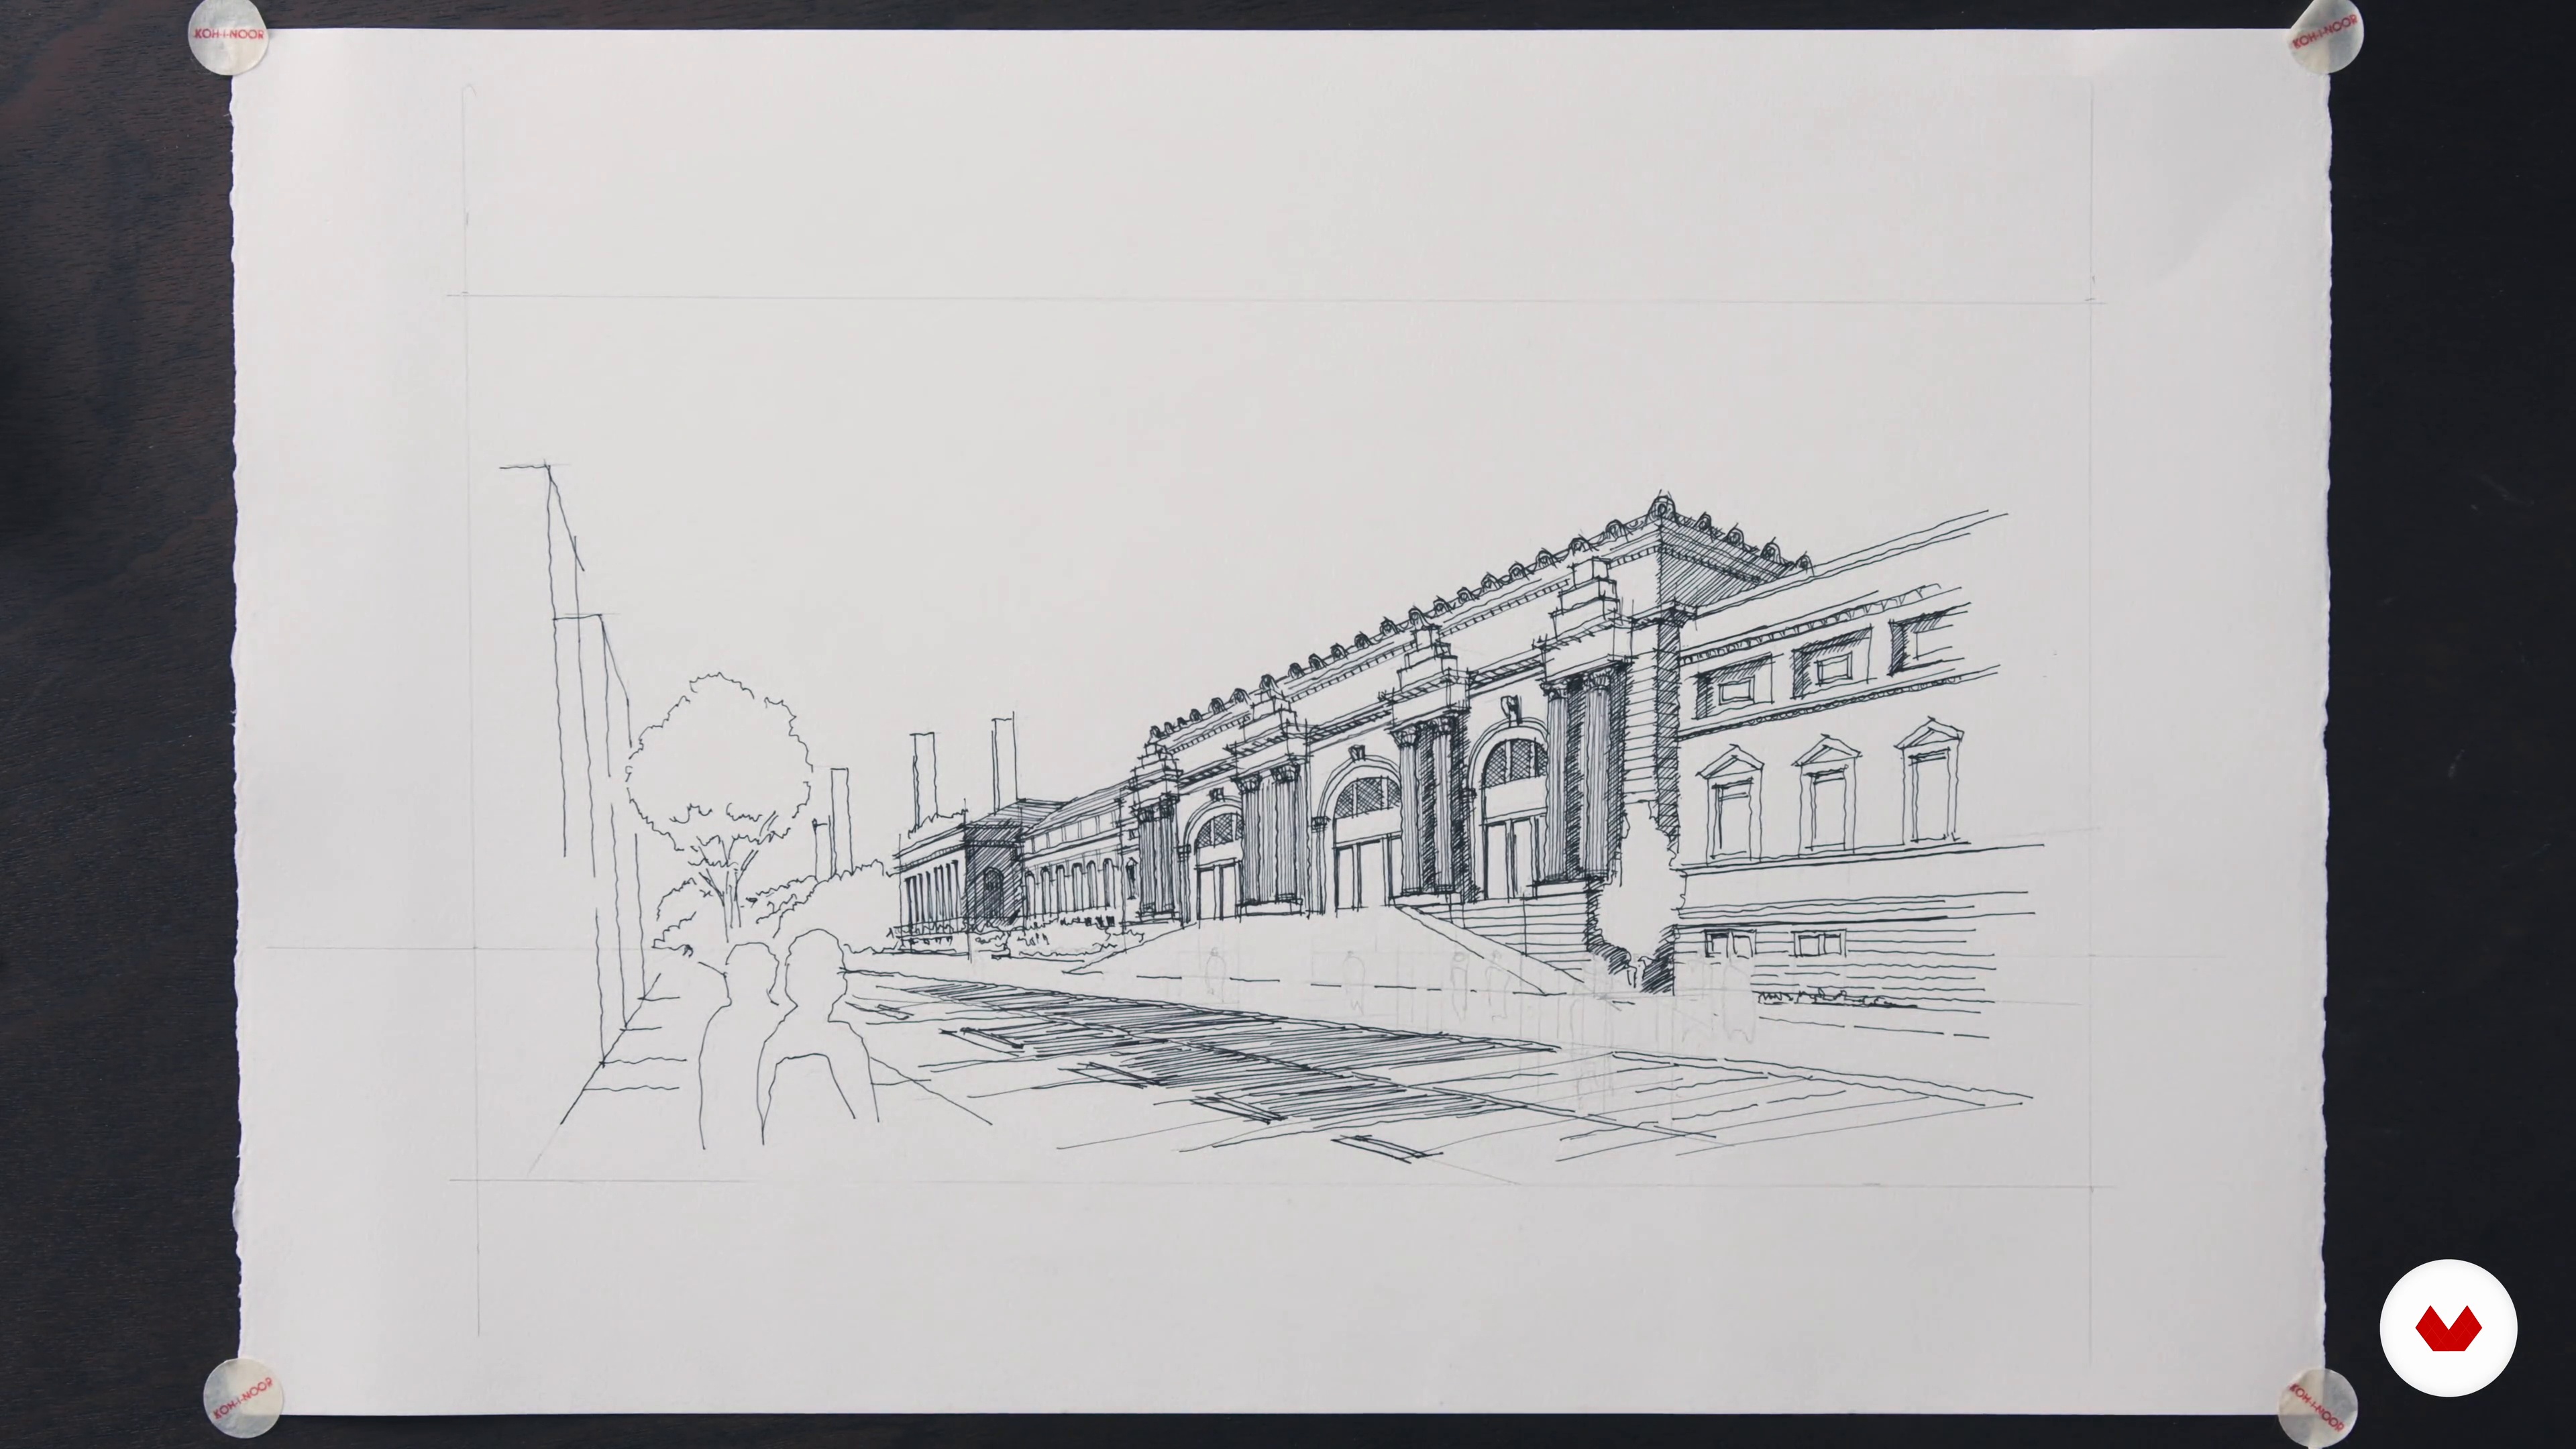
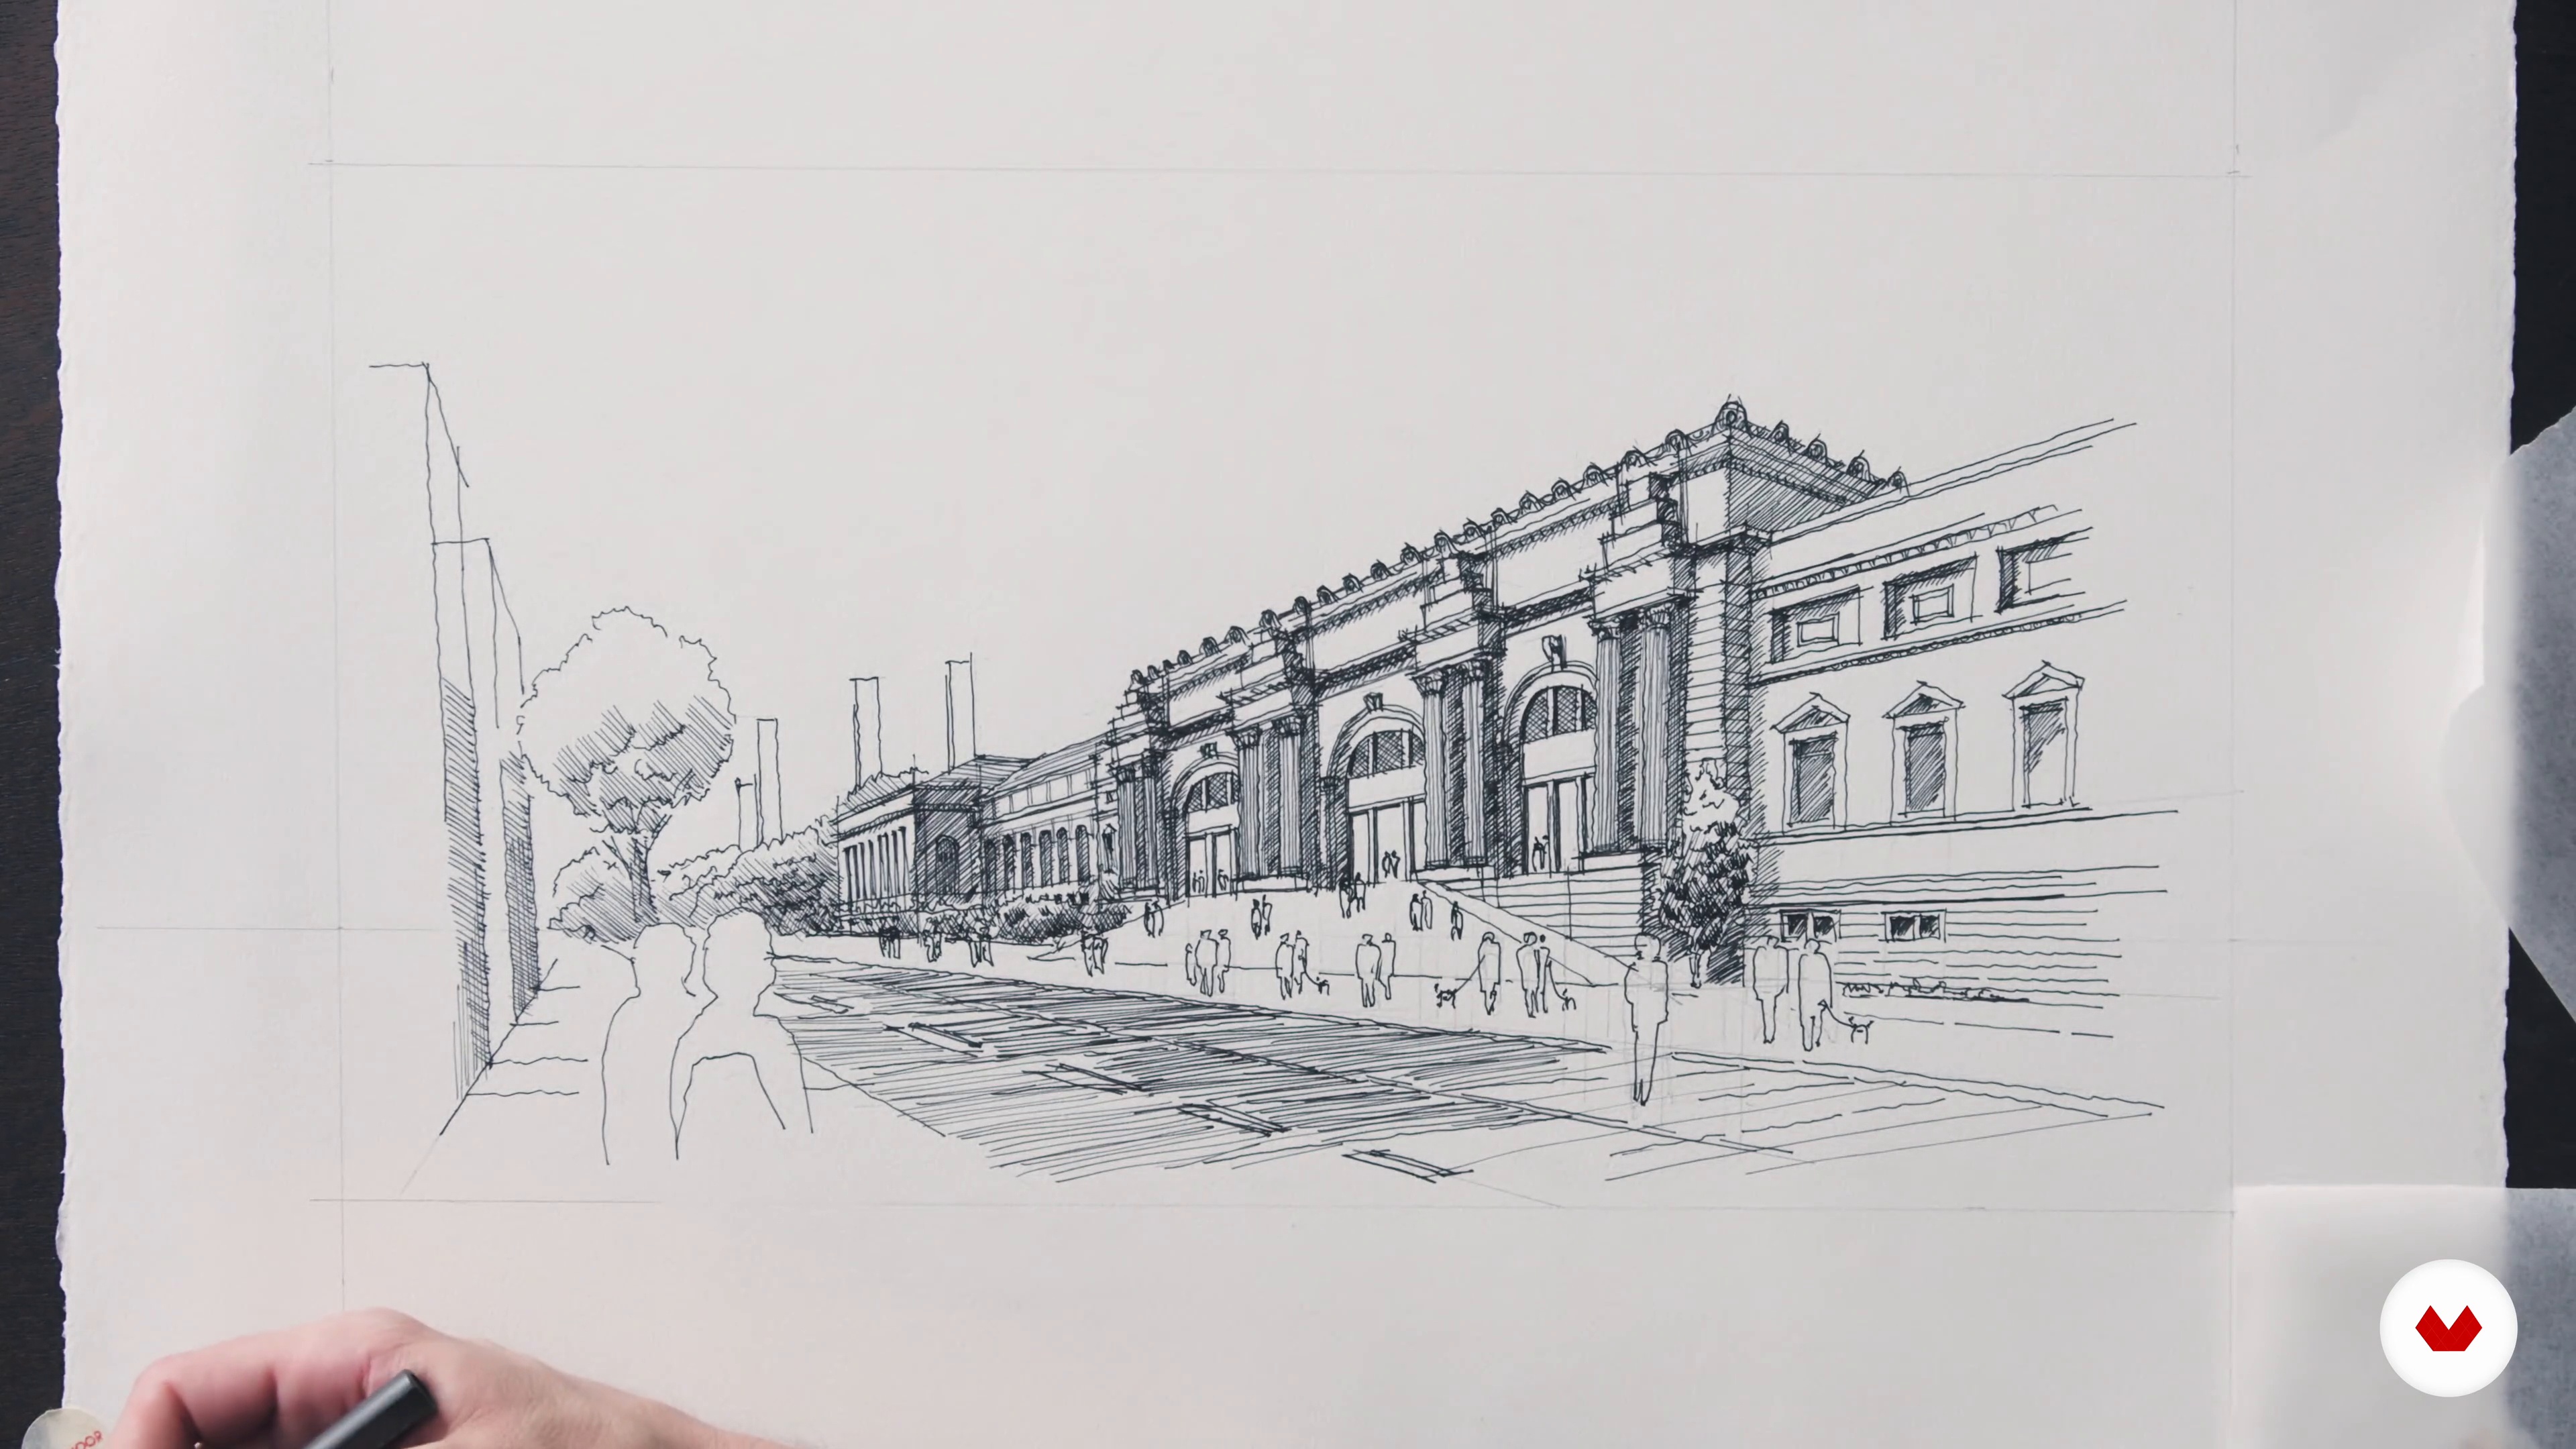
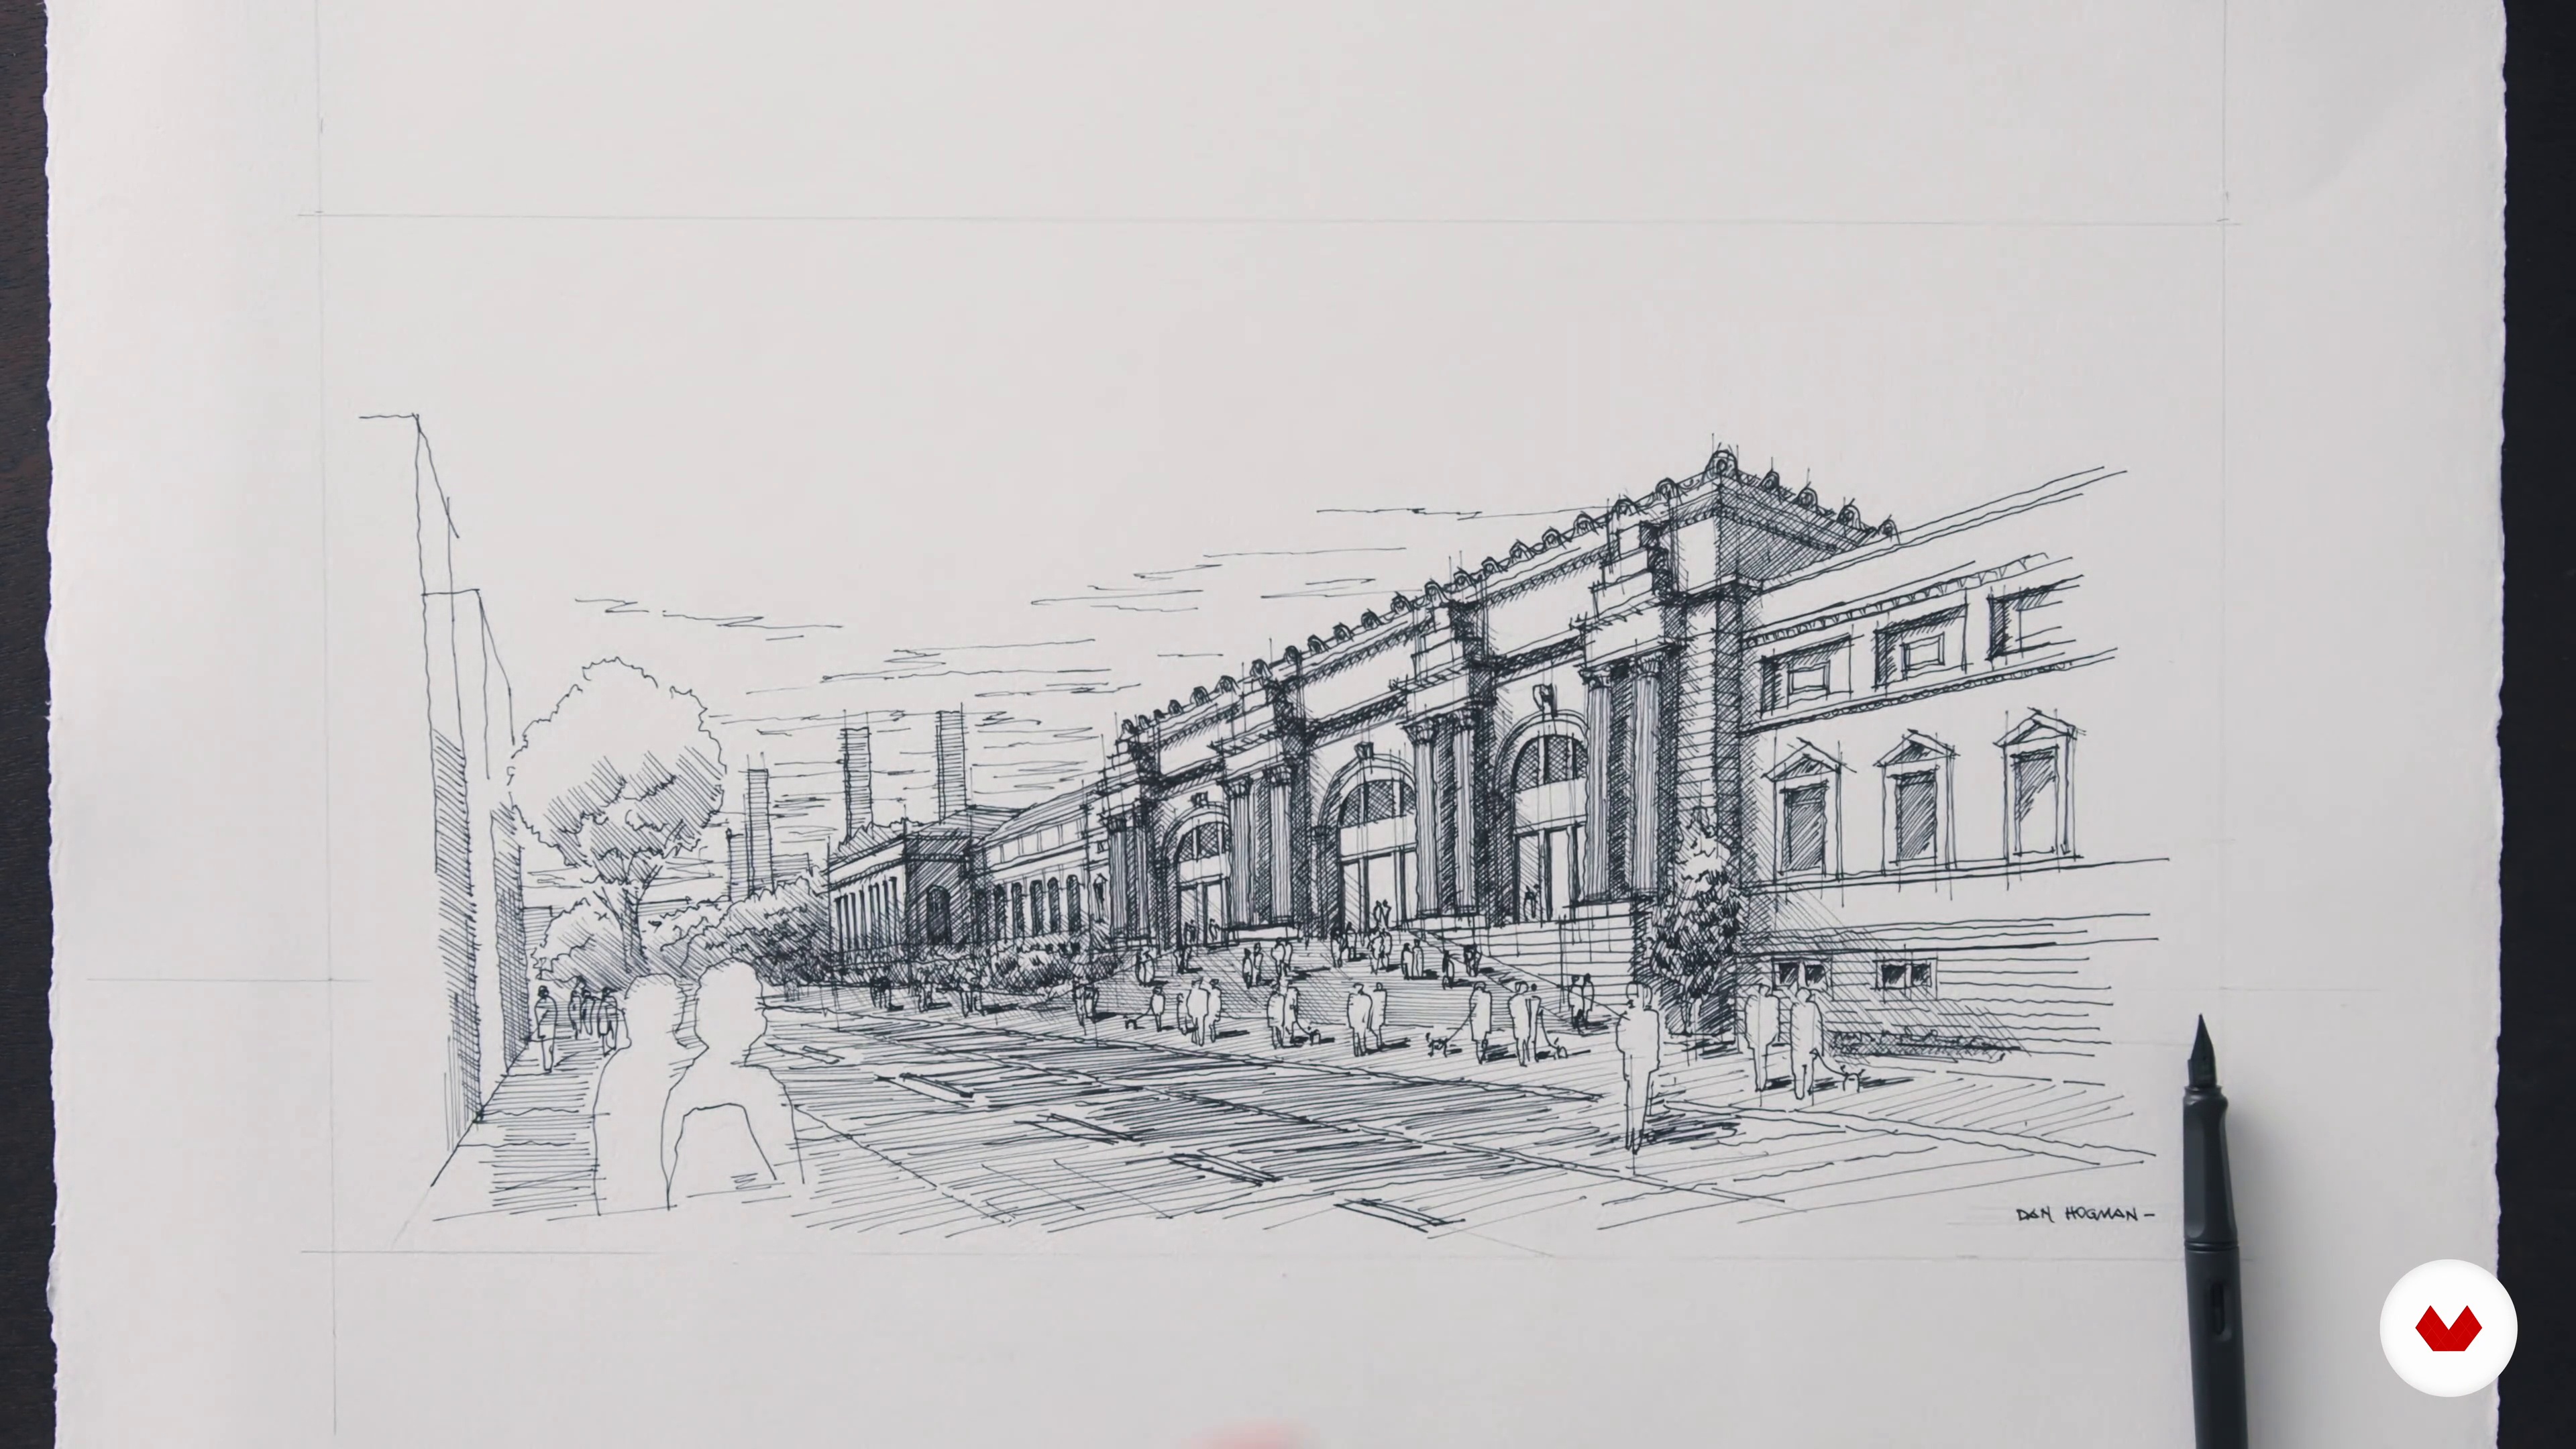
Dive into the surreal with dreamlike compositions that blend multiple perspectives and inking techniques. Uncover the secrets of architectural drawing, from crafting metropolitan cityscapes filled with dynamic city life to mastering urban street scenes through observational techniques. Each course offers a unique approach to ink illustration, encouraging creativity and honing your skills in capturing the essence of various subjects. Whether you’re drawn to nature, fantasy, or urban landscapes, this specialization invites you to explore and expand your artistic horizons with expert guidance.

Read more ↓

What will you learn in this specialization?

A total of 7 modules and 85 lessons
A total of 16h 18m of vídeo lessons
Taught by 6 selected expert teachers
image
1
Introduction
Unlock the expressive power of ink! You'll explore how this simple medium blends control and spontaneity, turning observation into personal expression. Ink challenges you to see differently, draw with intention, and connect more deeply with your art. Let each mark become a reflection of your imagination and experience.
1m
image
2
Influences / Philip Harris
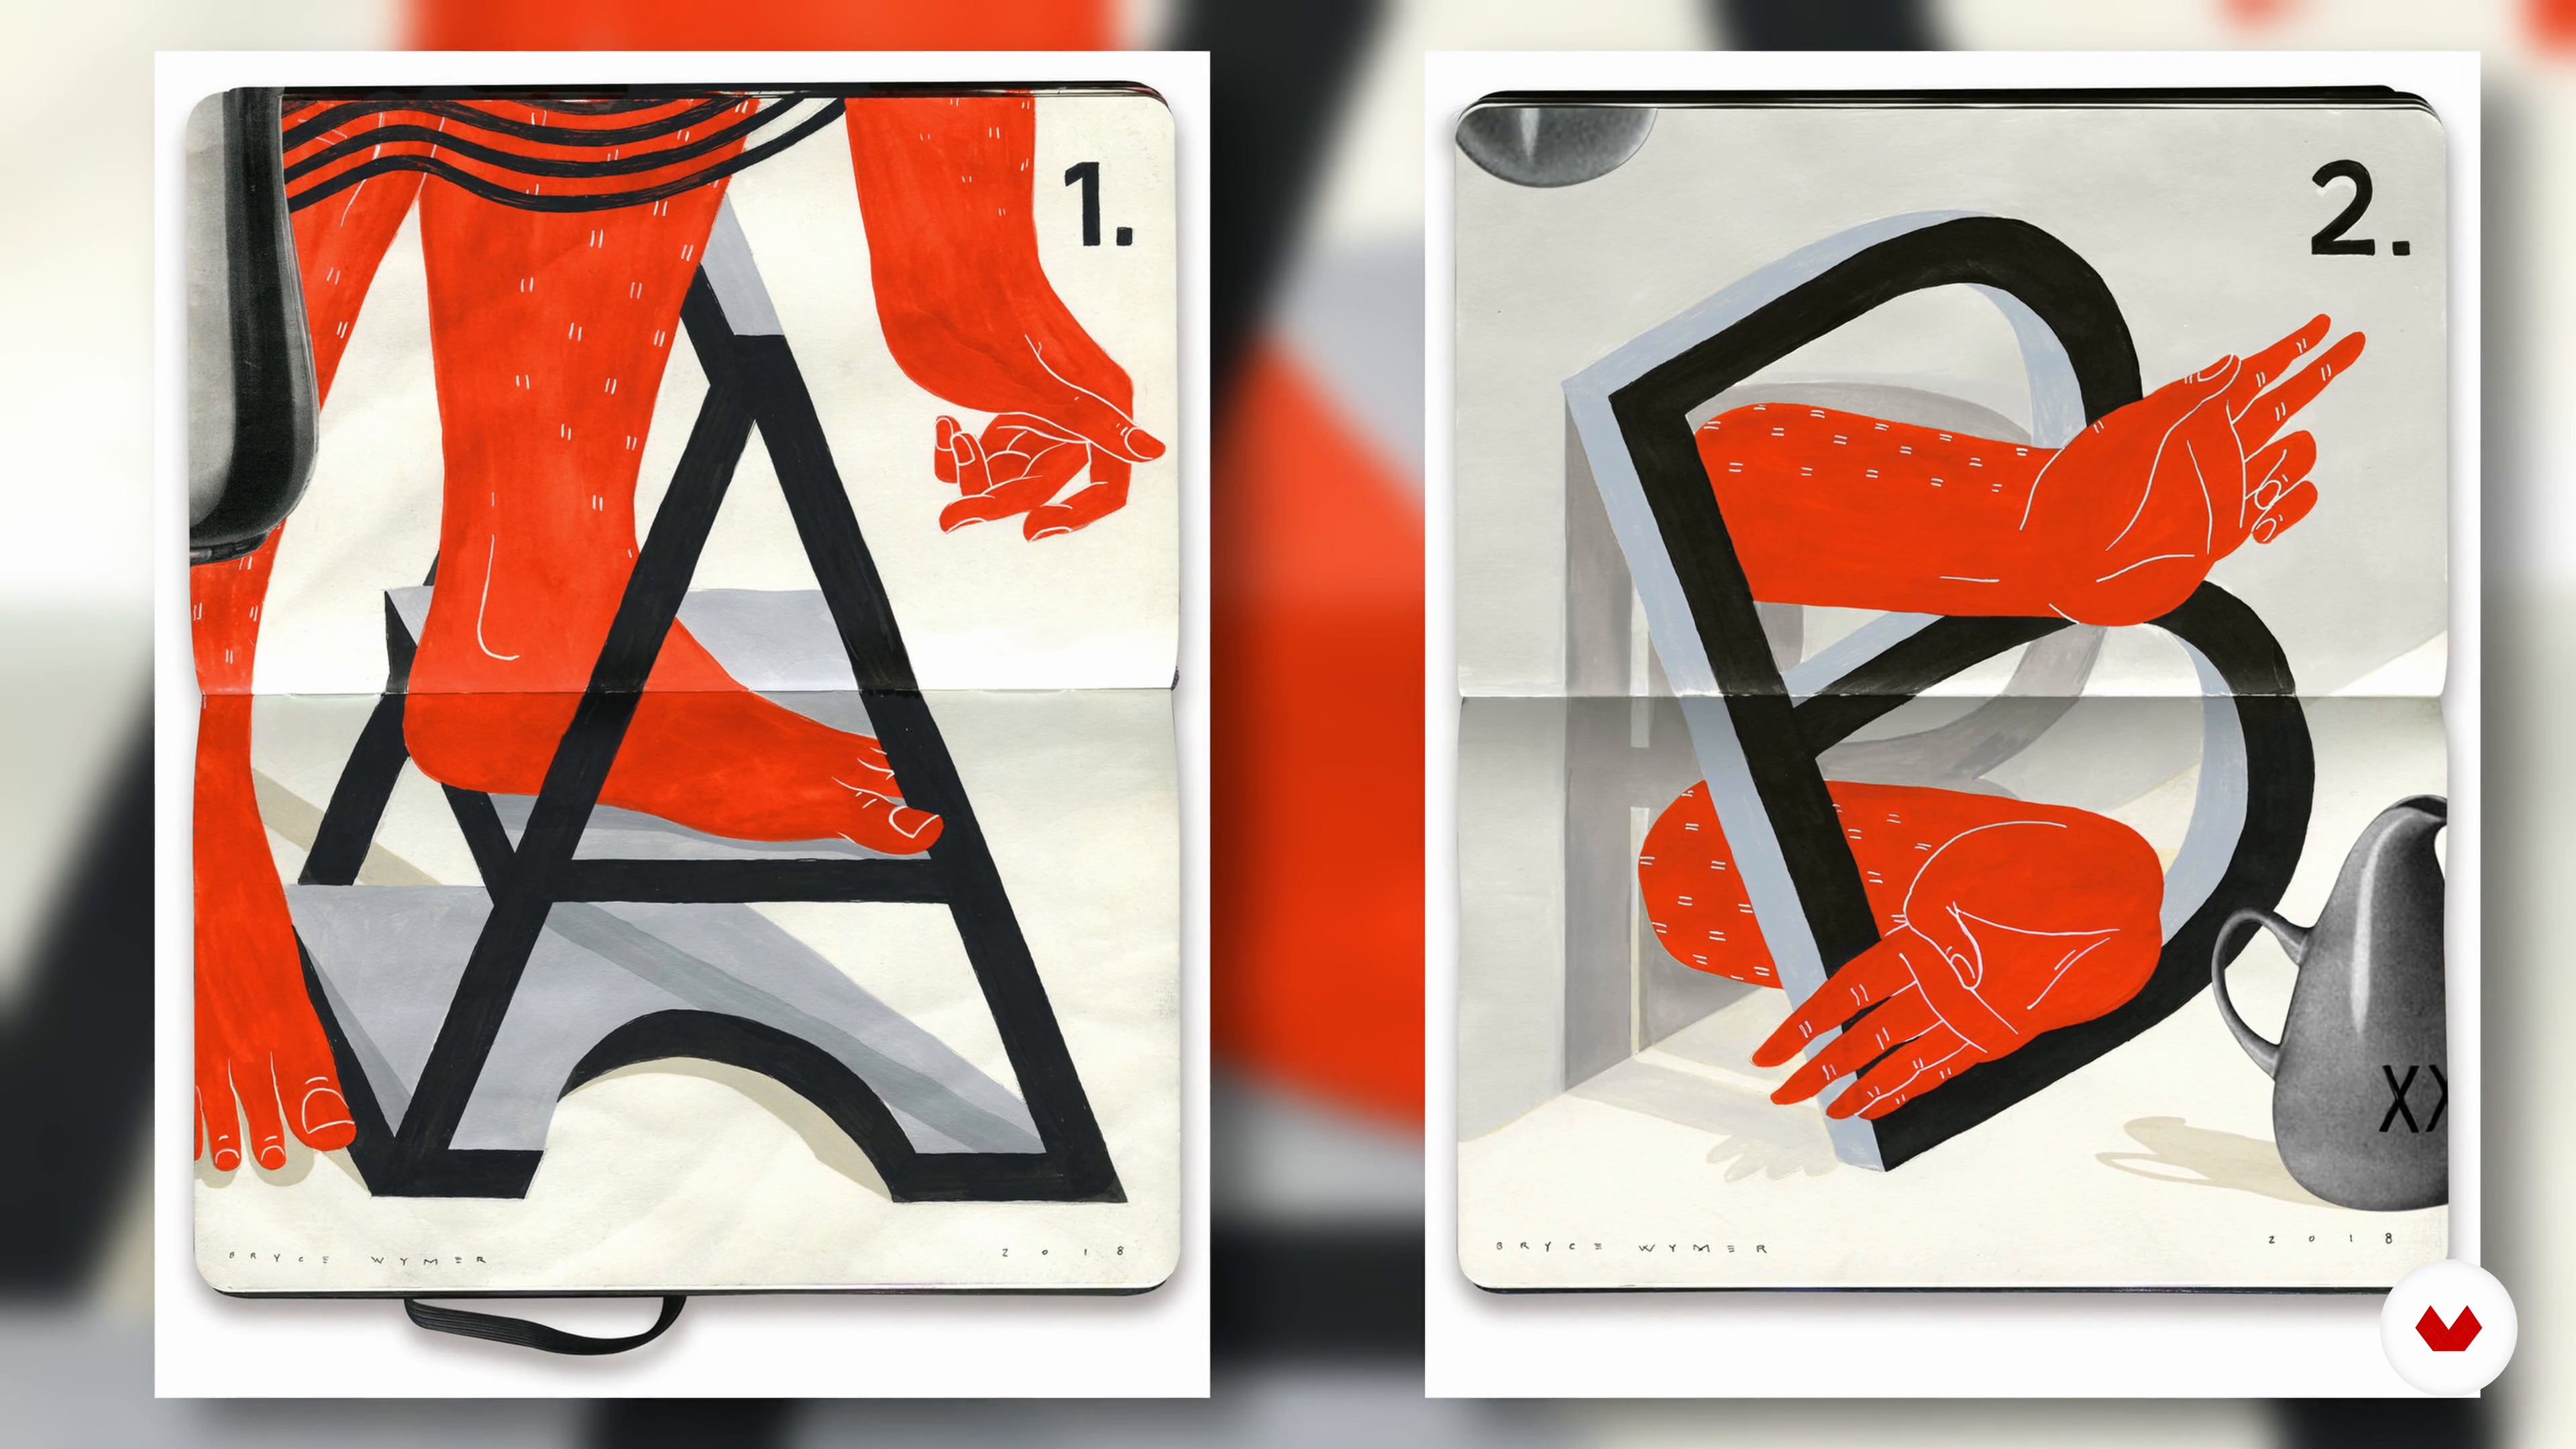
Here you are going to learn about the artists that have influenced and inspired me the most and whose illustrations inform mine.
4m
image
3
Influences / Sveta Dorosheva
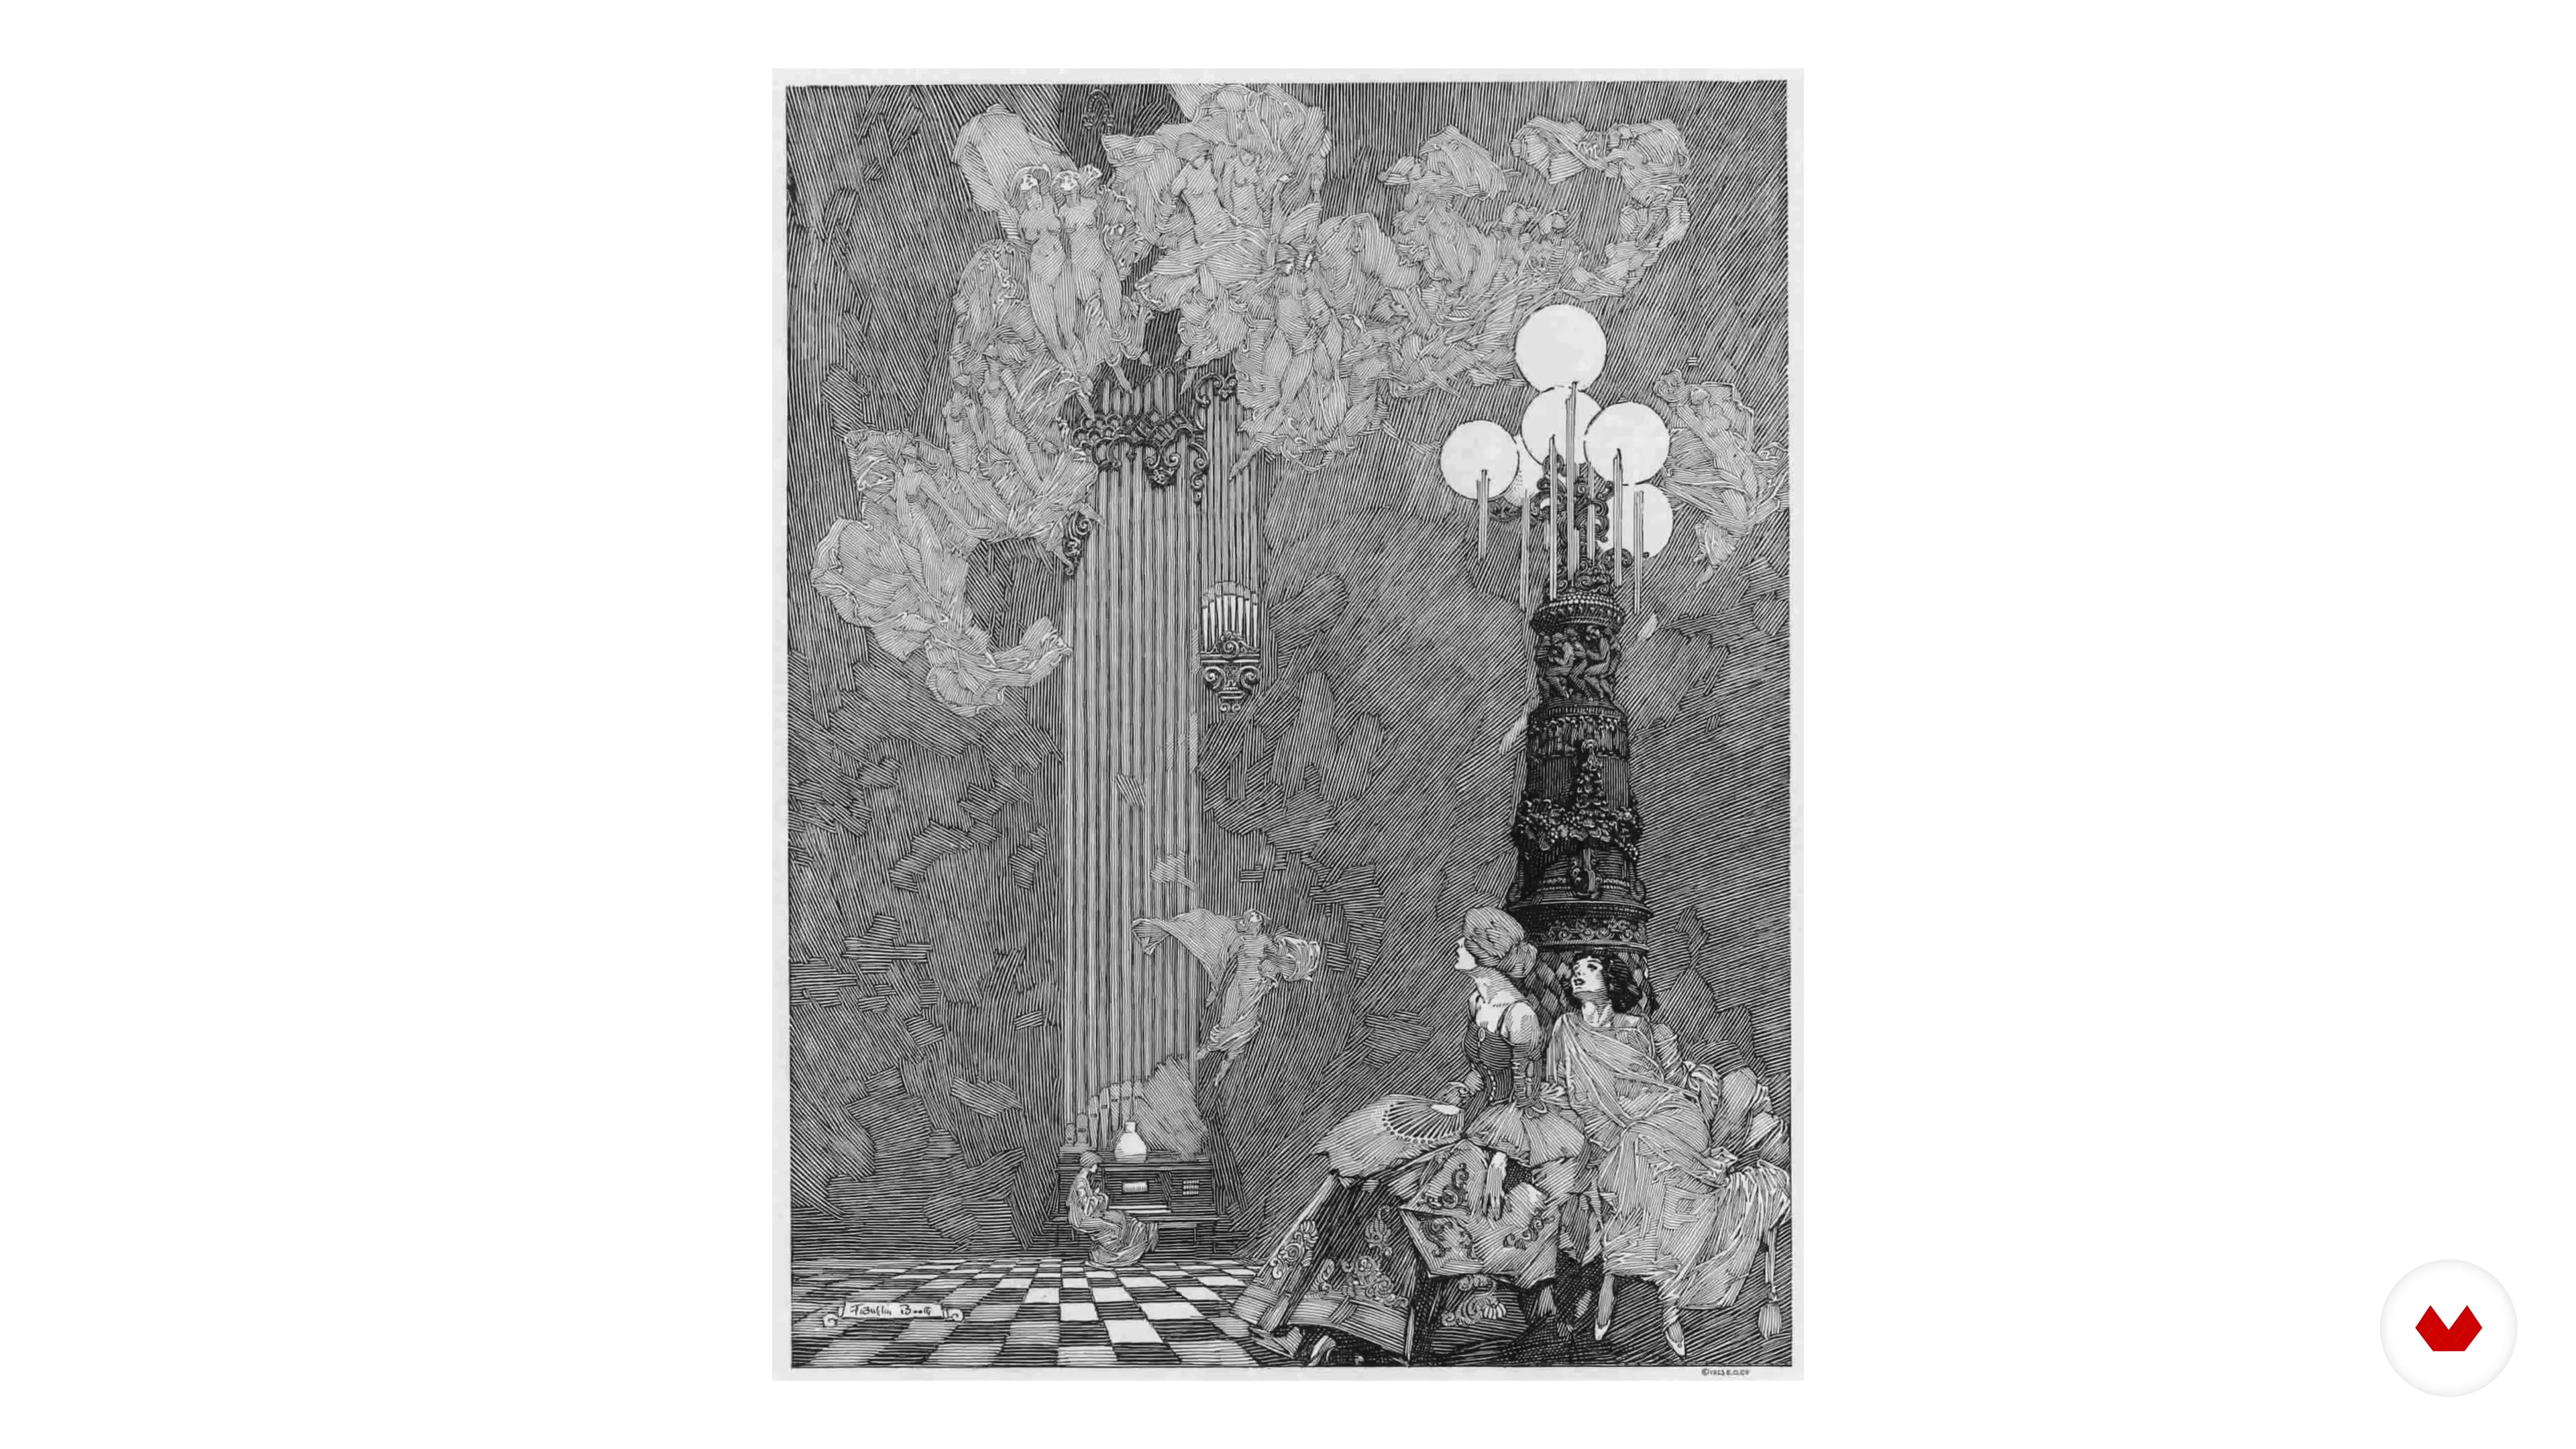
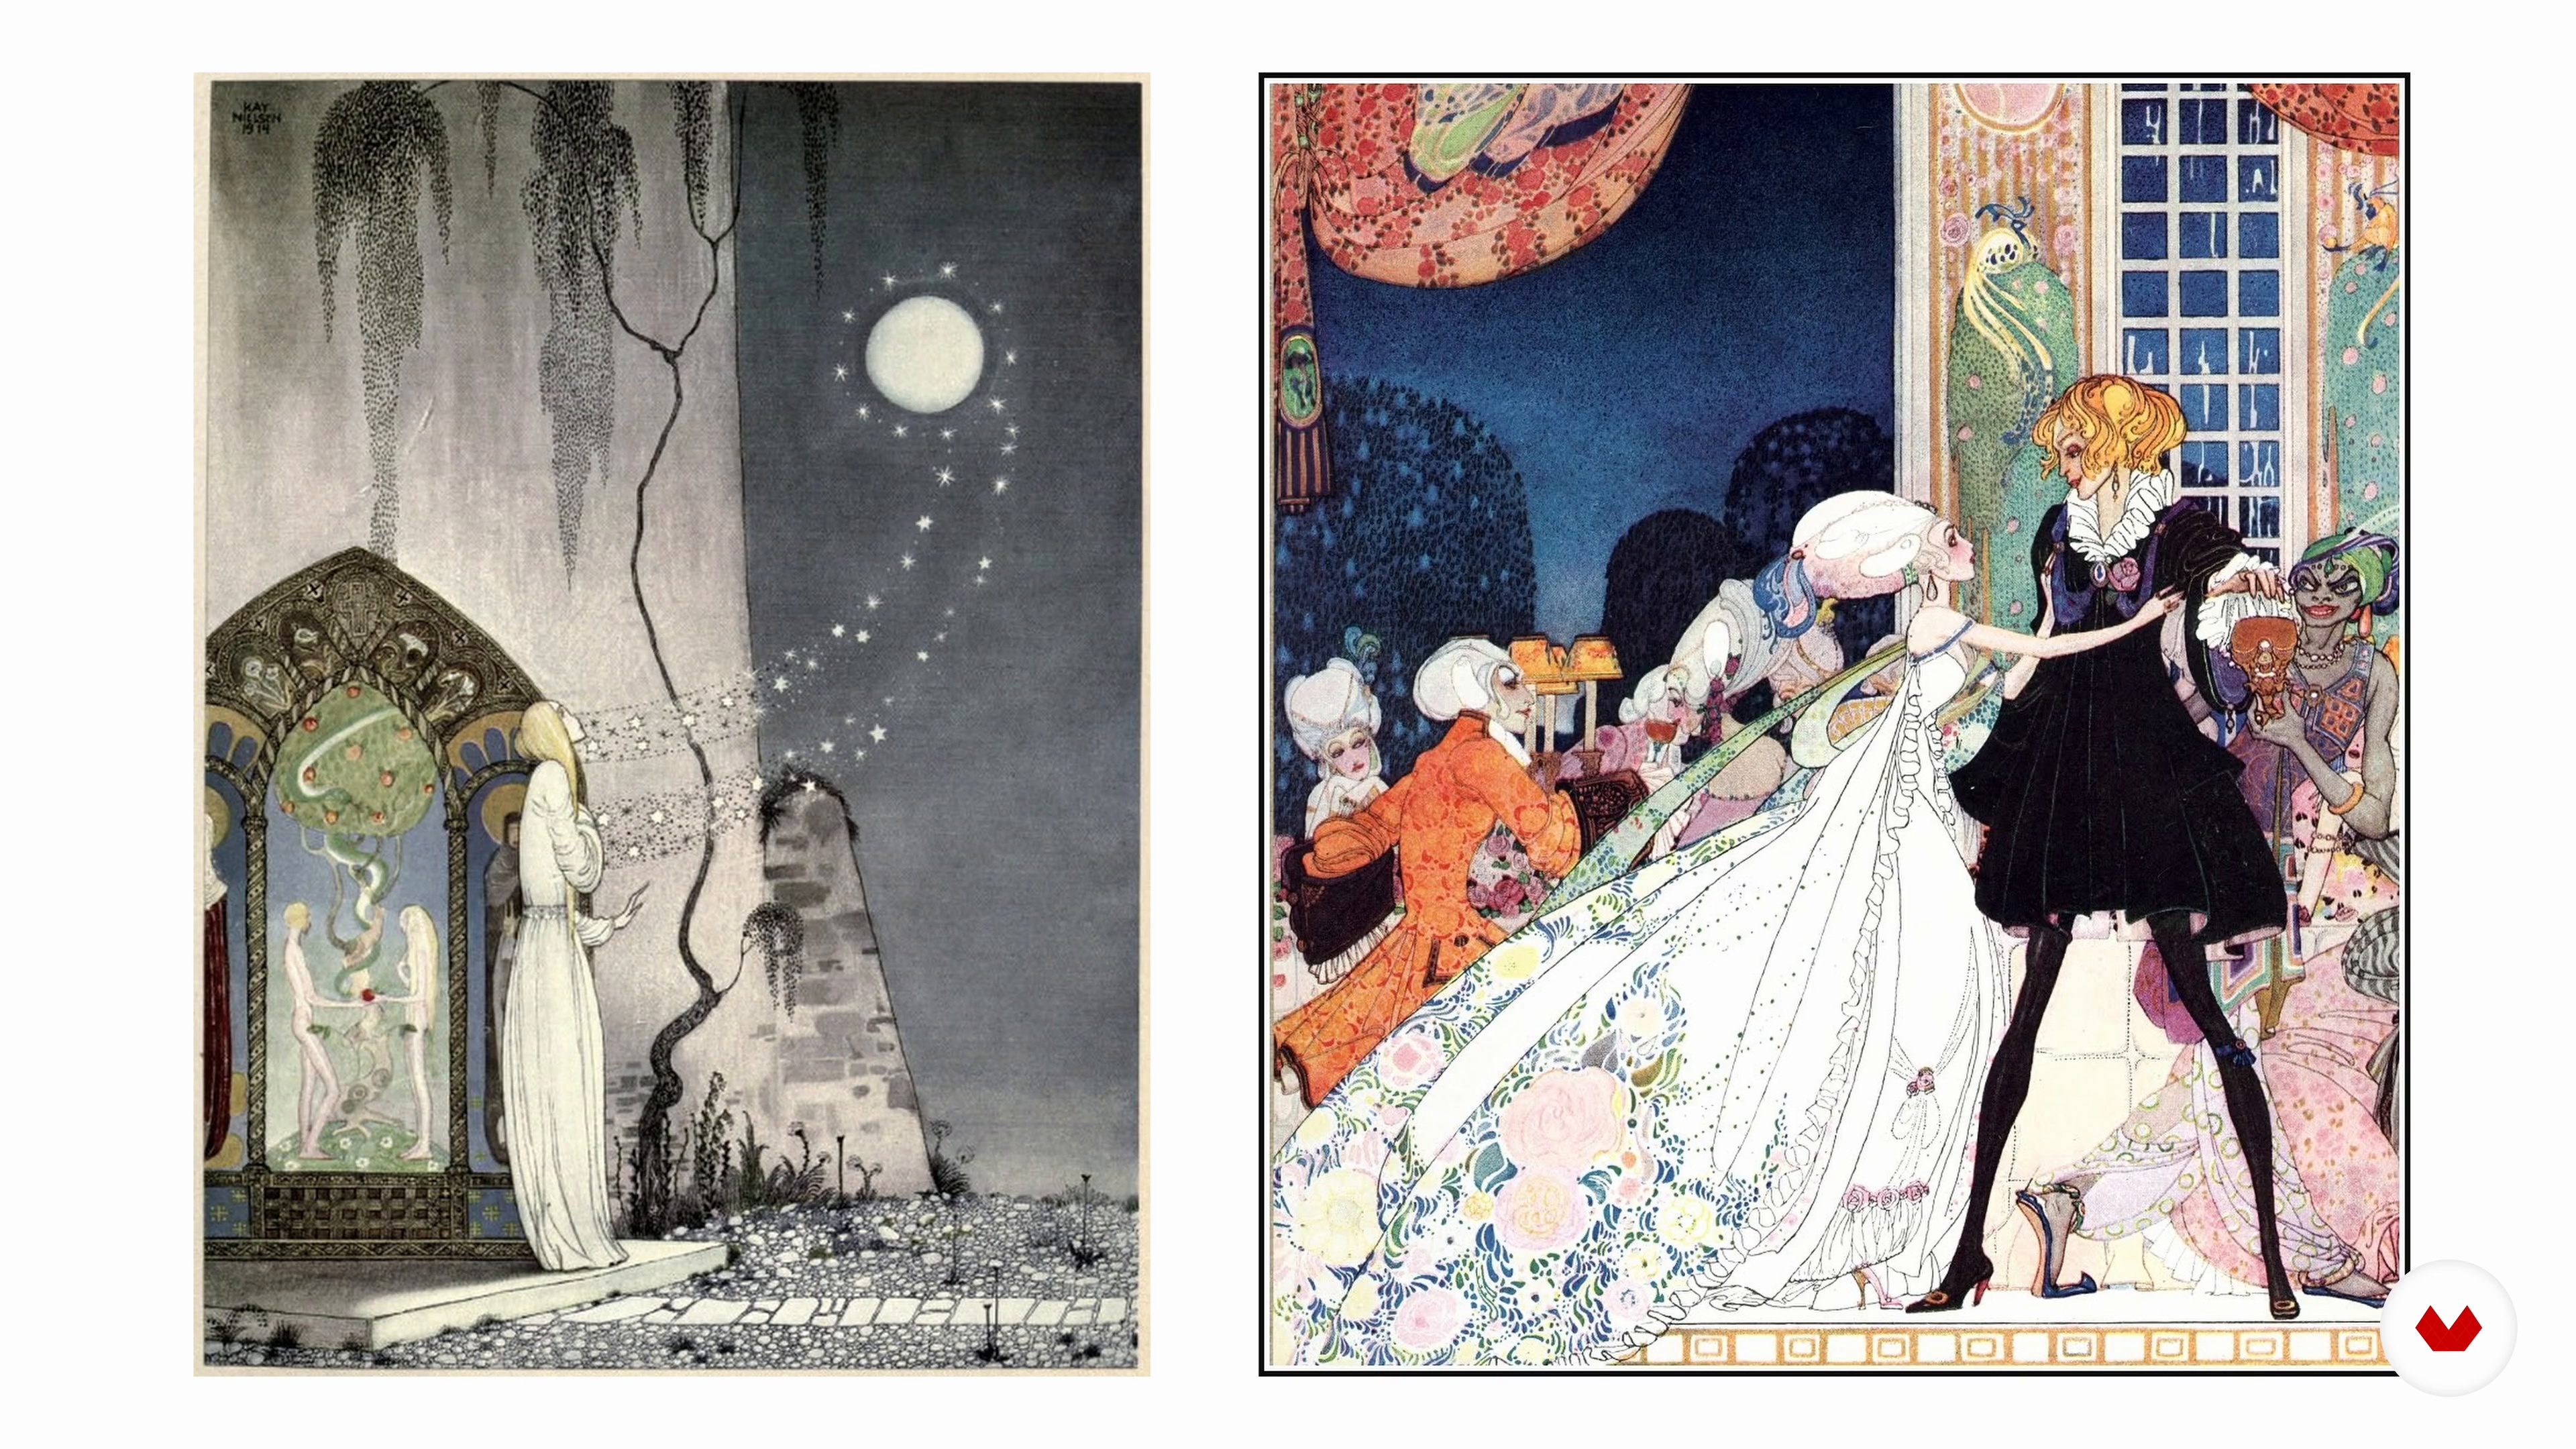
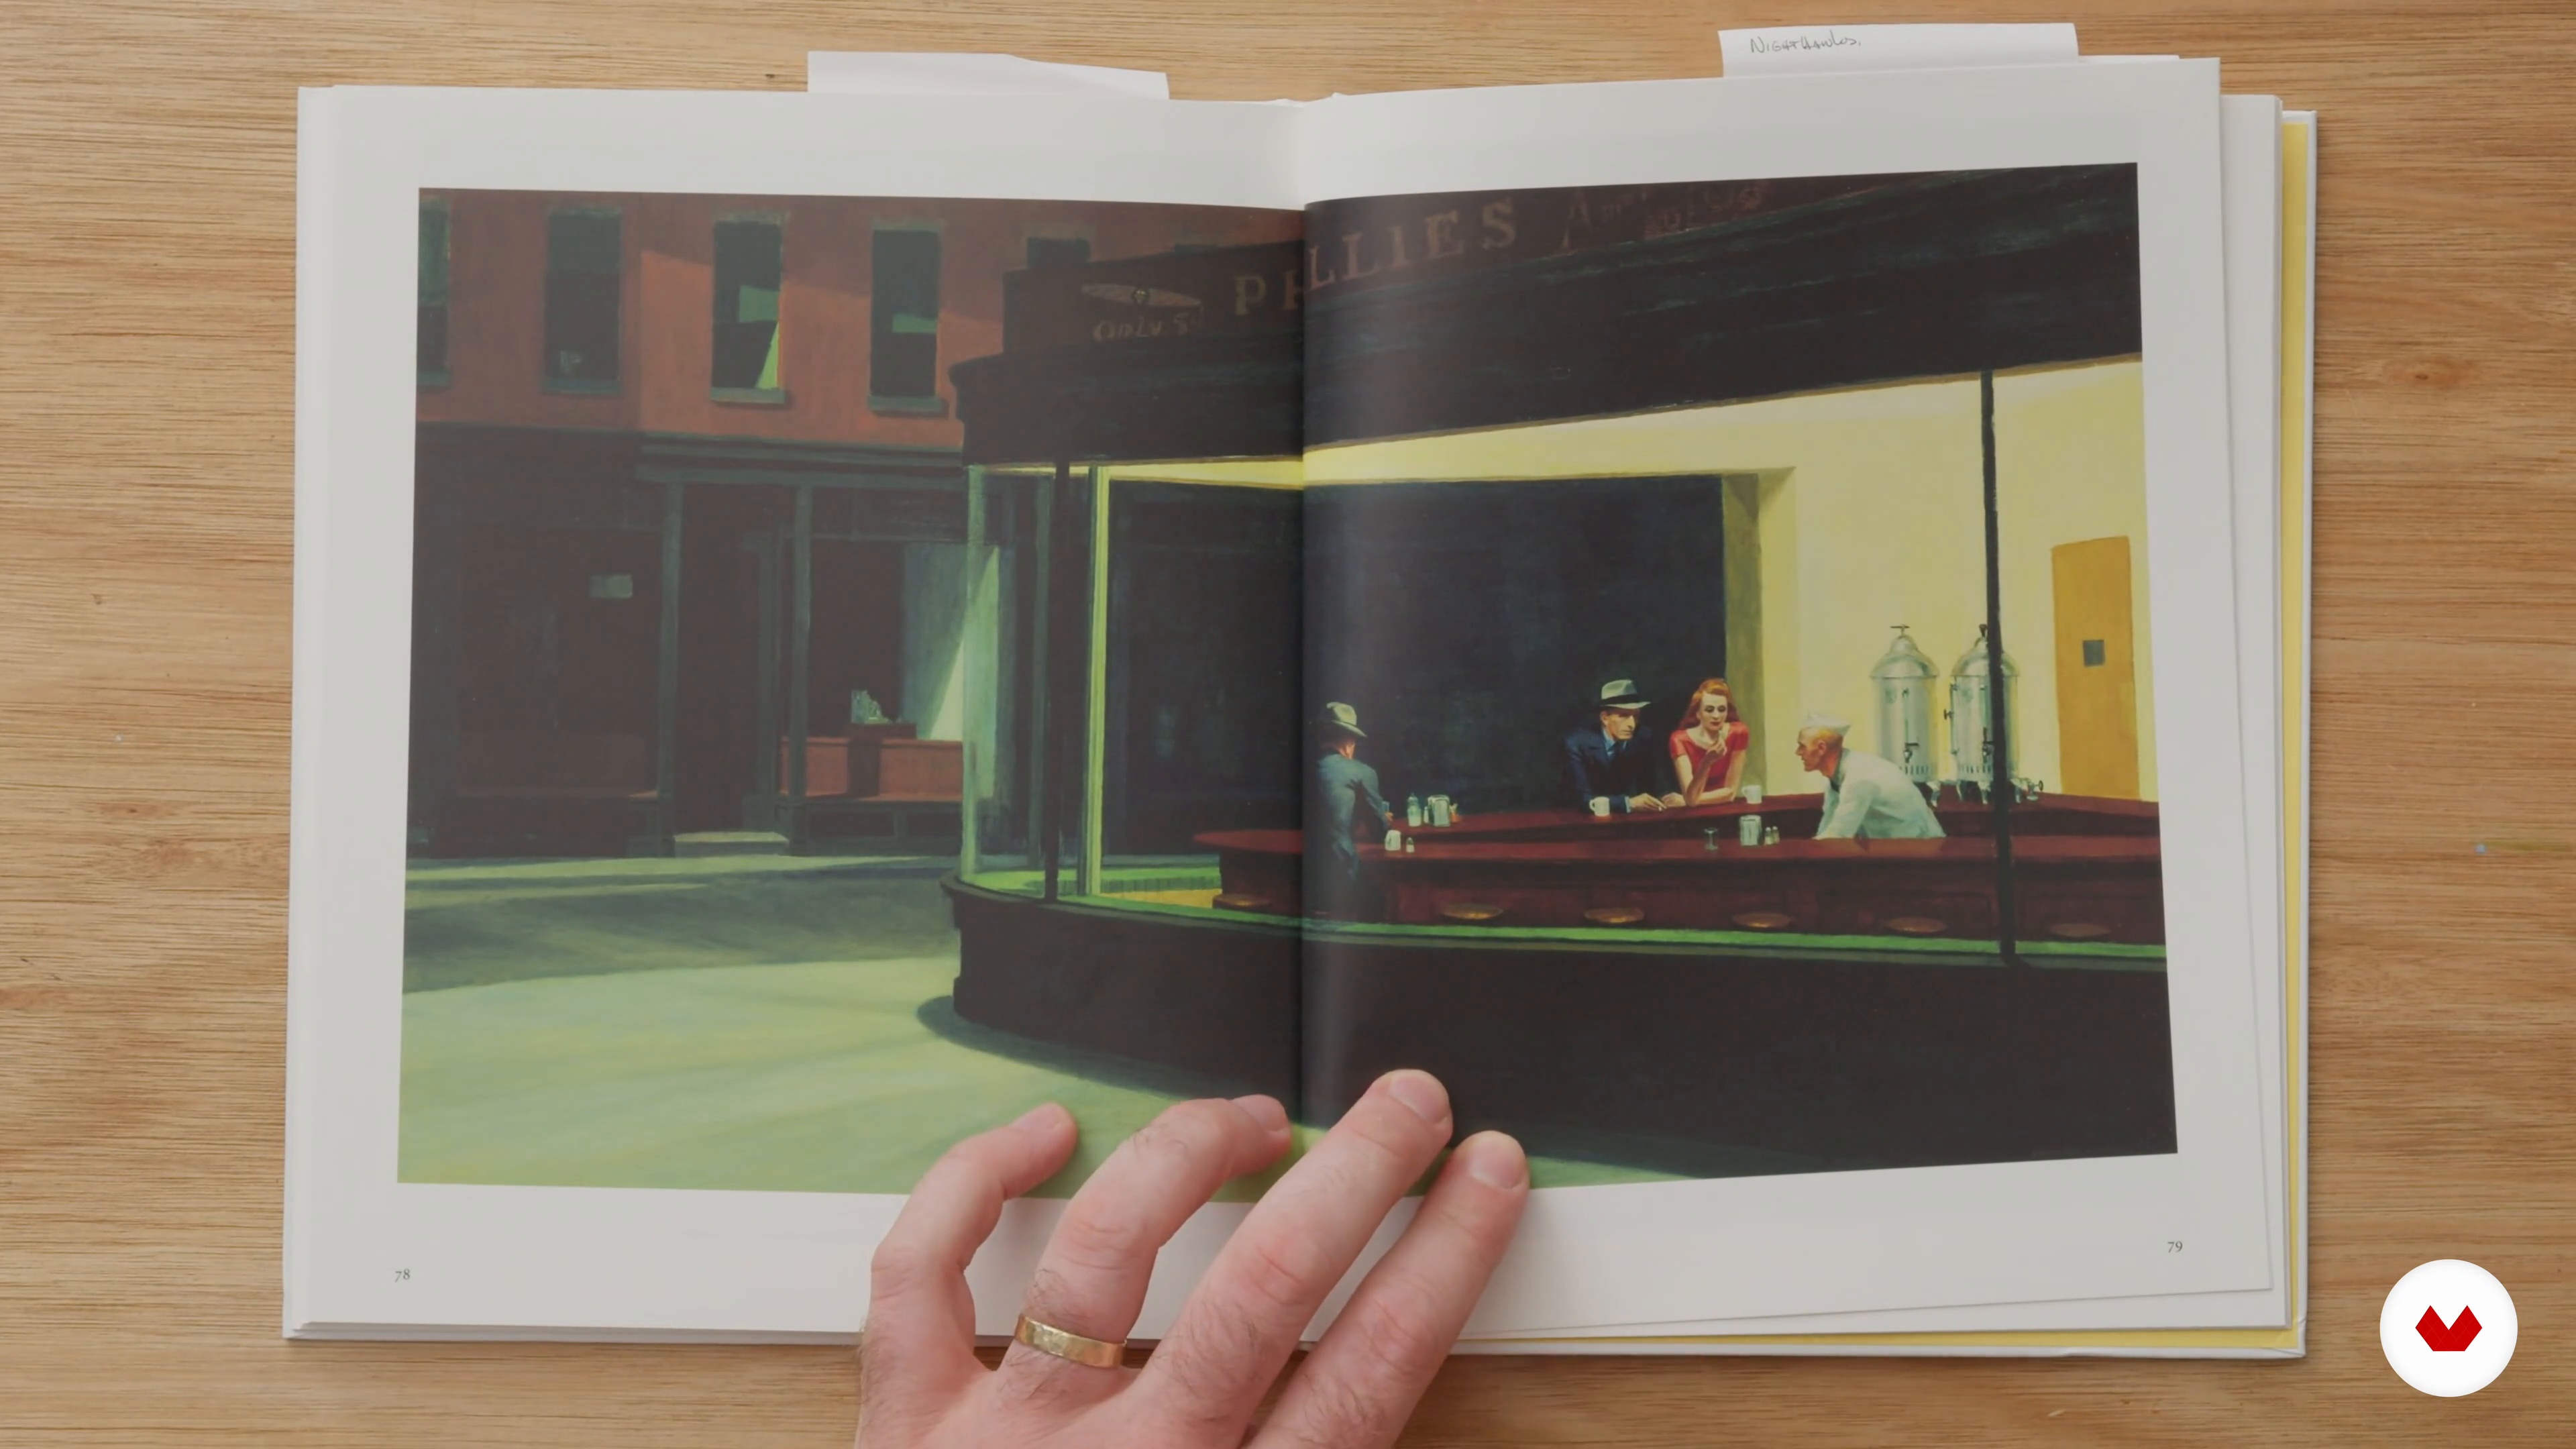
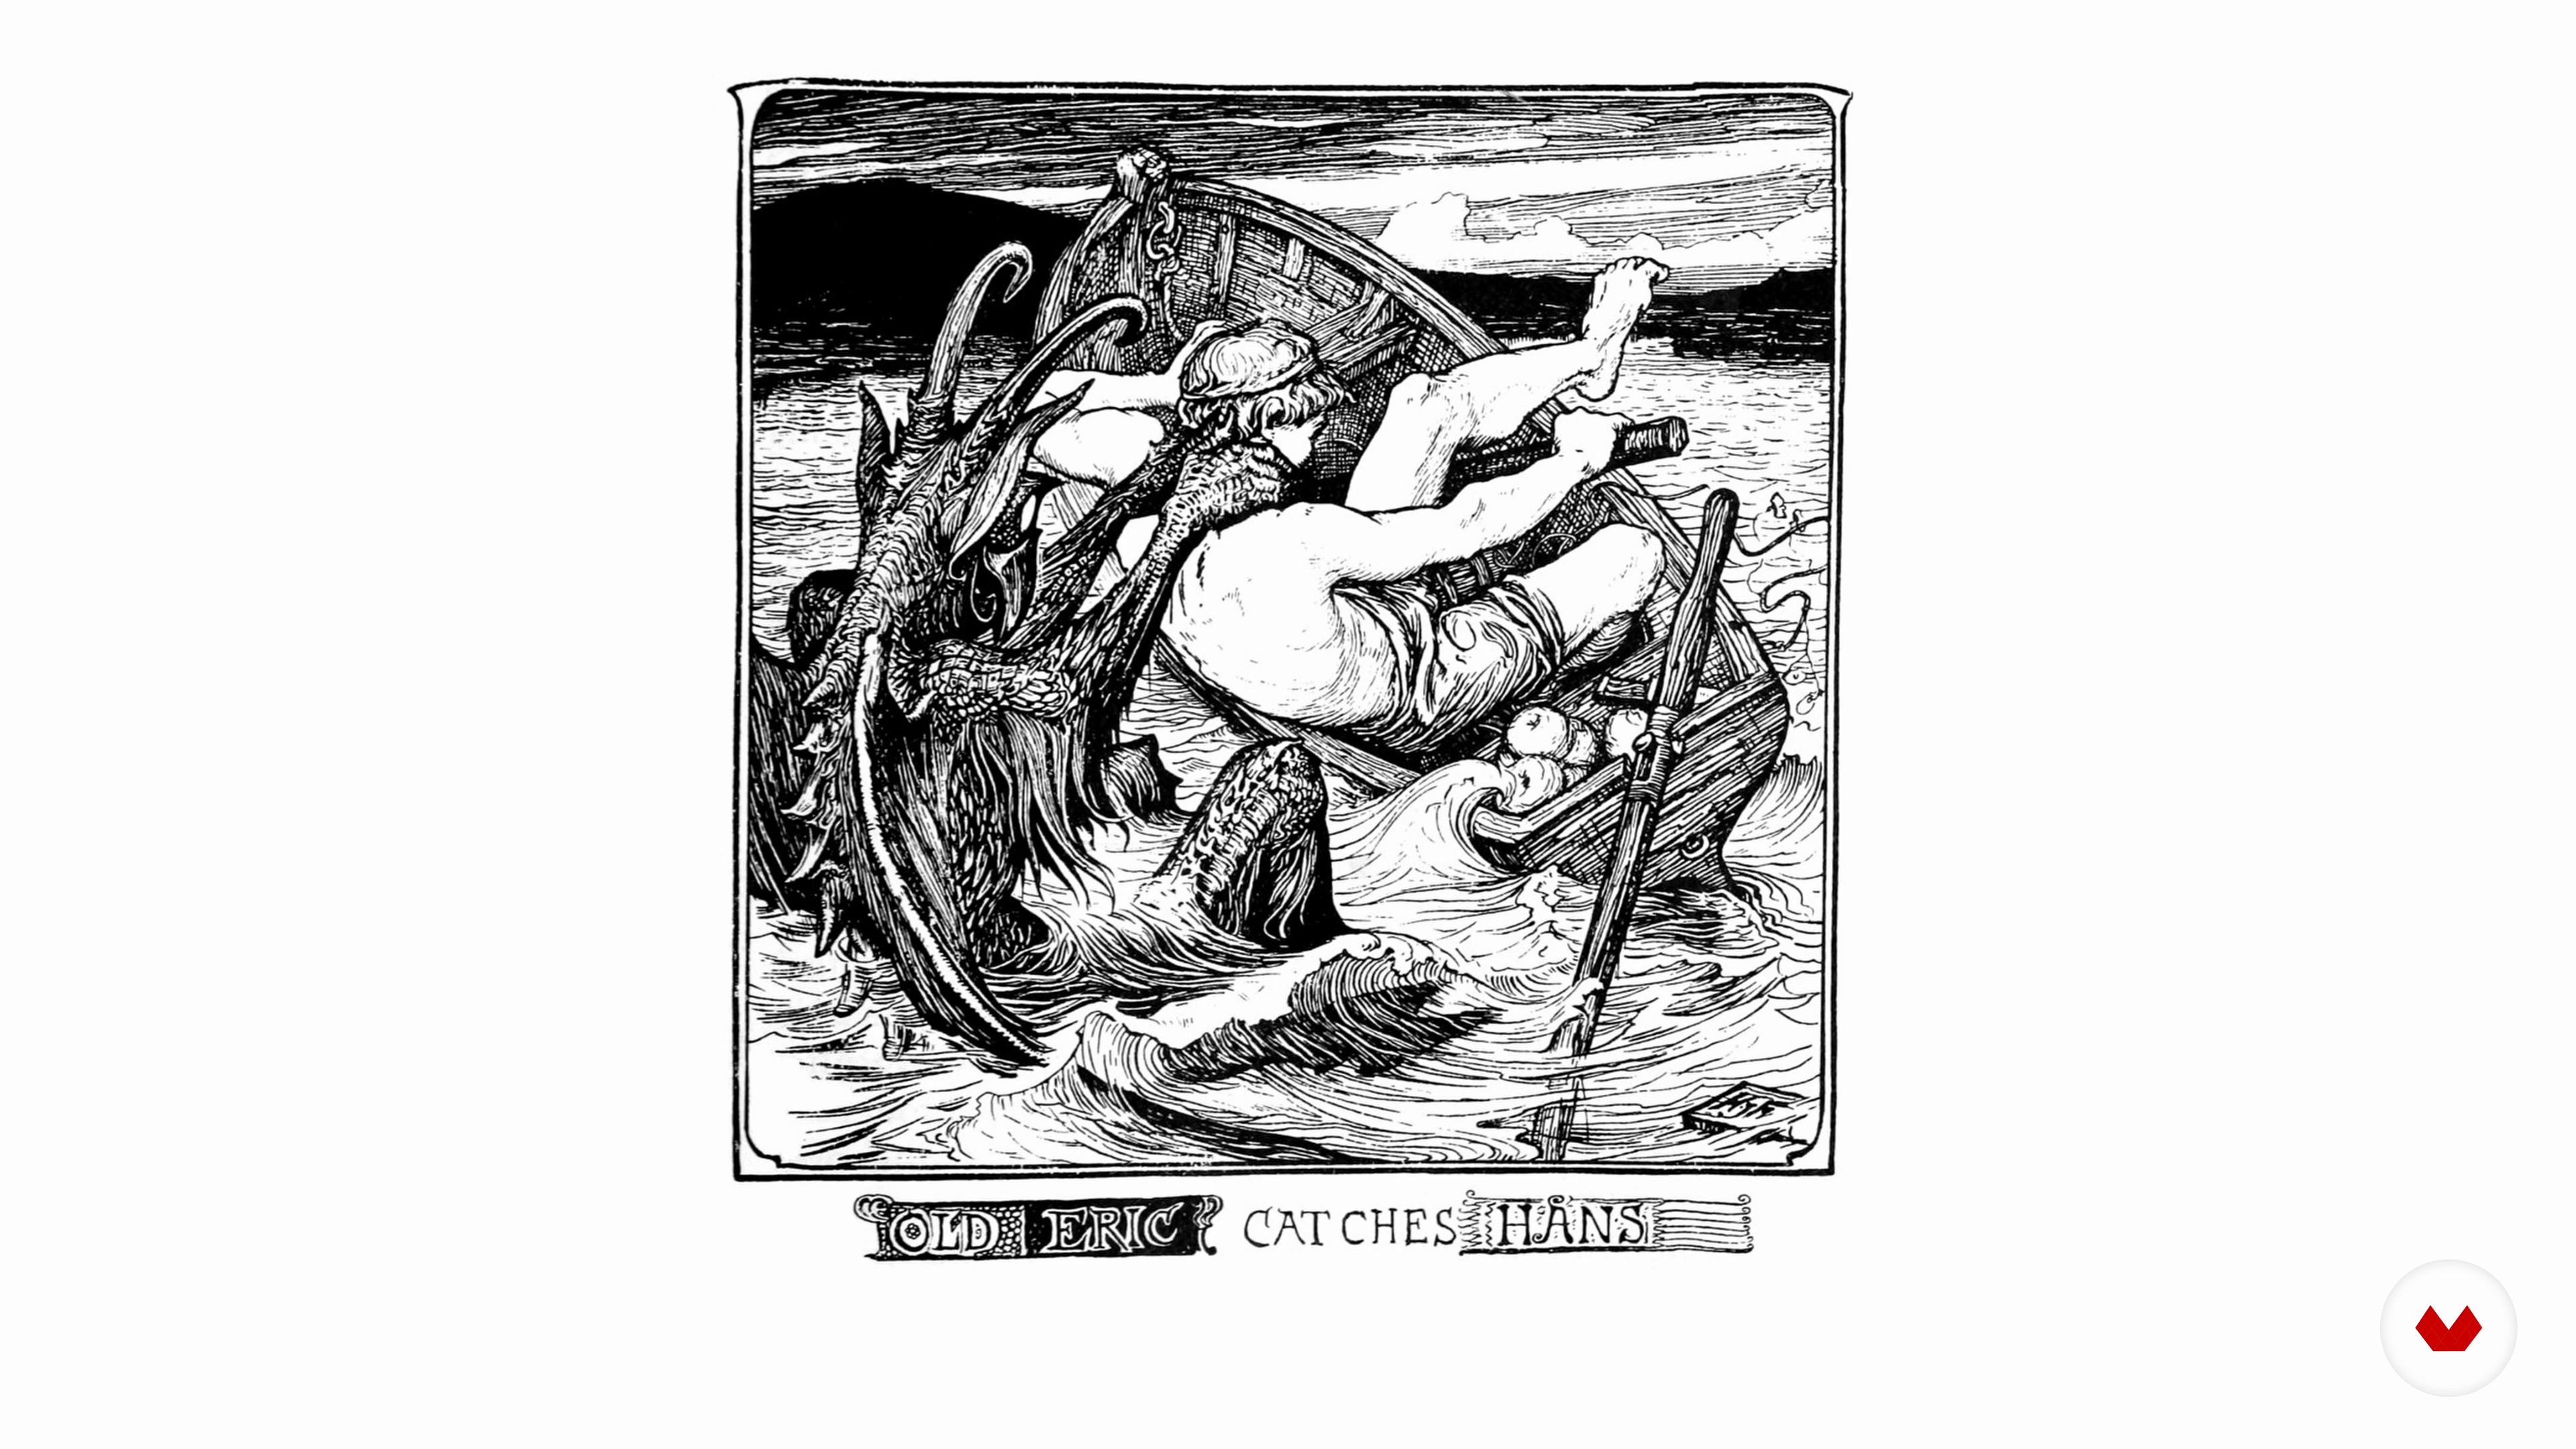
In this lesson, I will present some of my favorite artists who have greatly impacted me: Peter Breugel the Elder, Albrecht Durer, Kay Nielsen, and Harry Clarke. I will also talk a little about the most genius illustrated book ever created, in my opinion. I strongly encourage you to look it up for huge inspiration!
5m
image
4
Influences / Fujiko Rose
In this lesson, I will discuss my sources of inspiration and explain how they've influenced the creation of my own style. You will see the crossovers between my own work and the portfolios of these artists.
6m
image
5
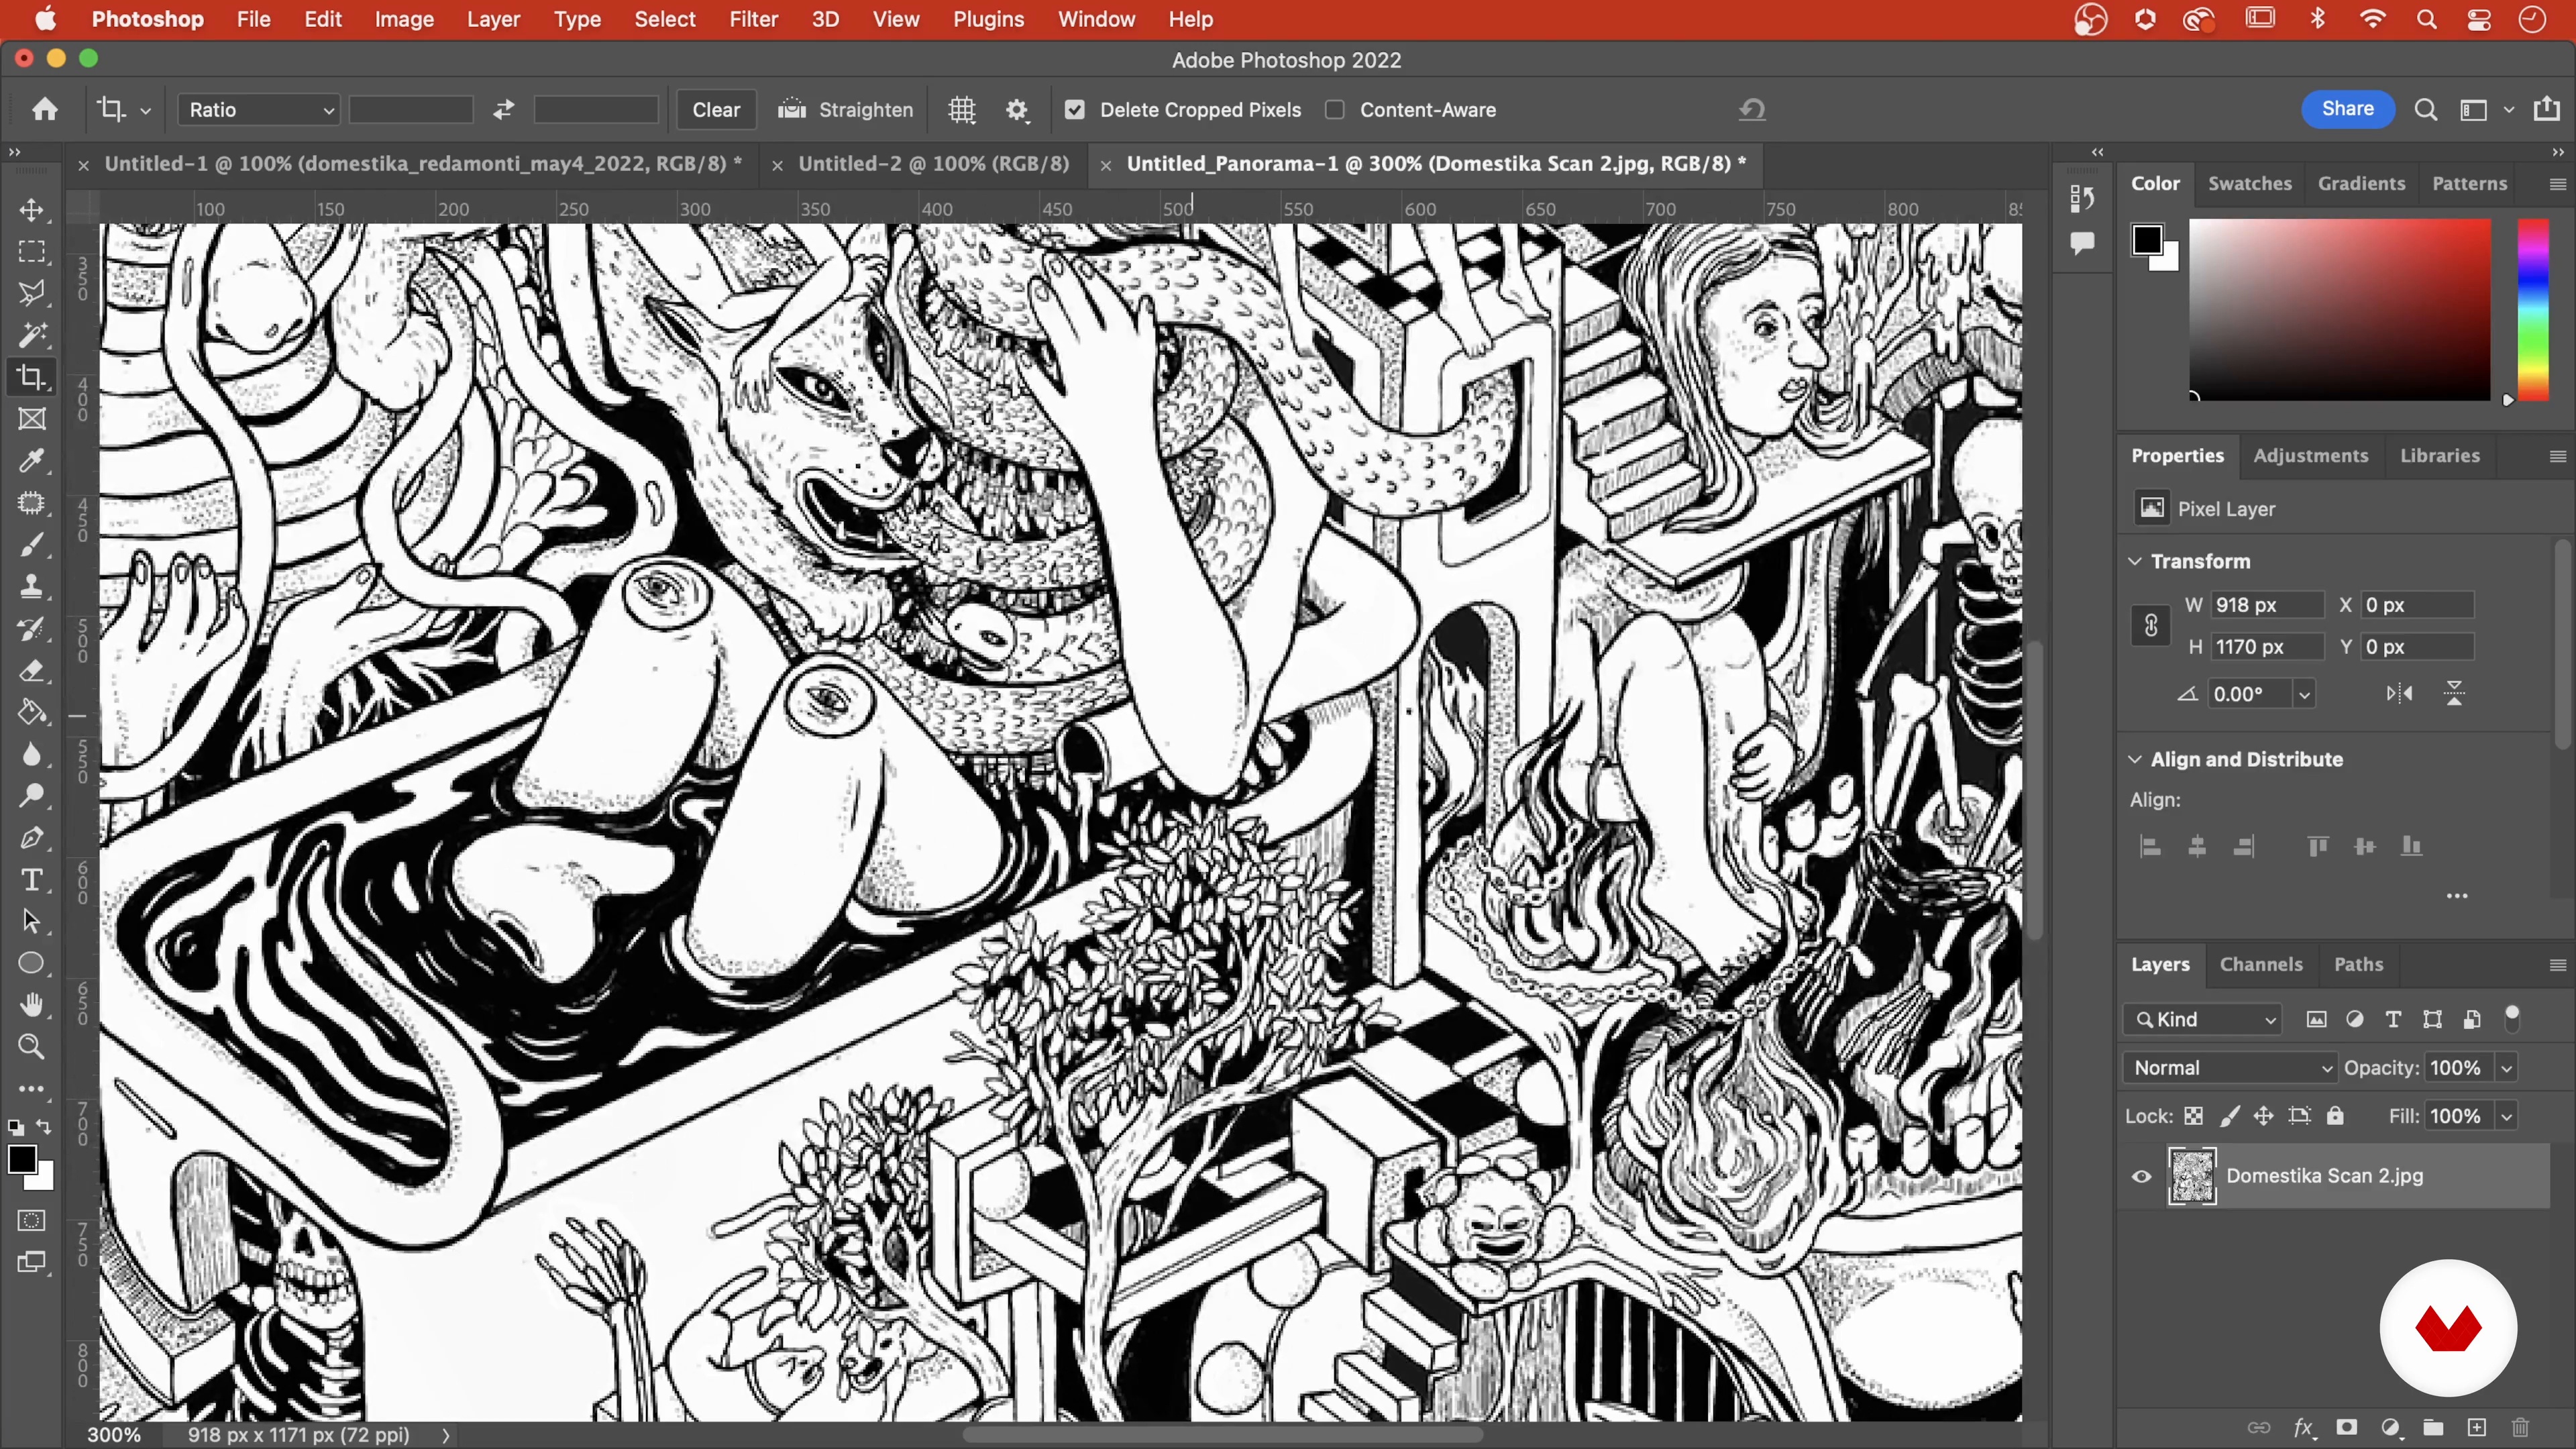
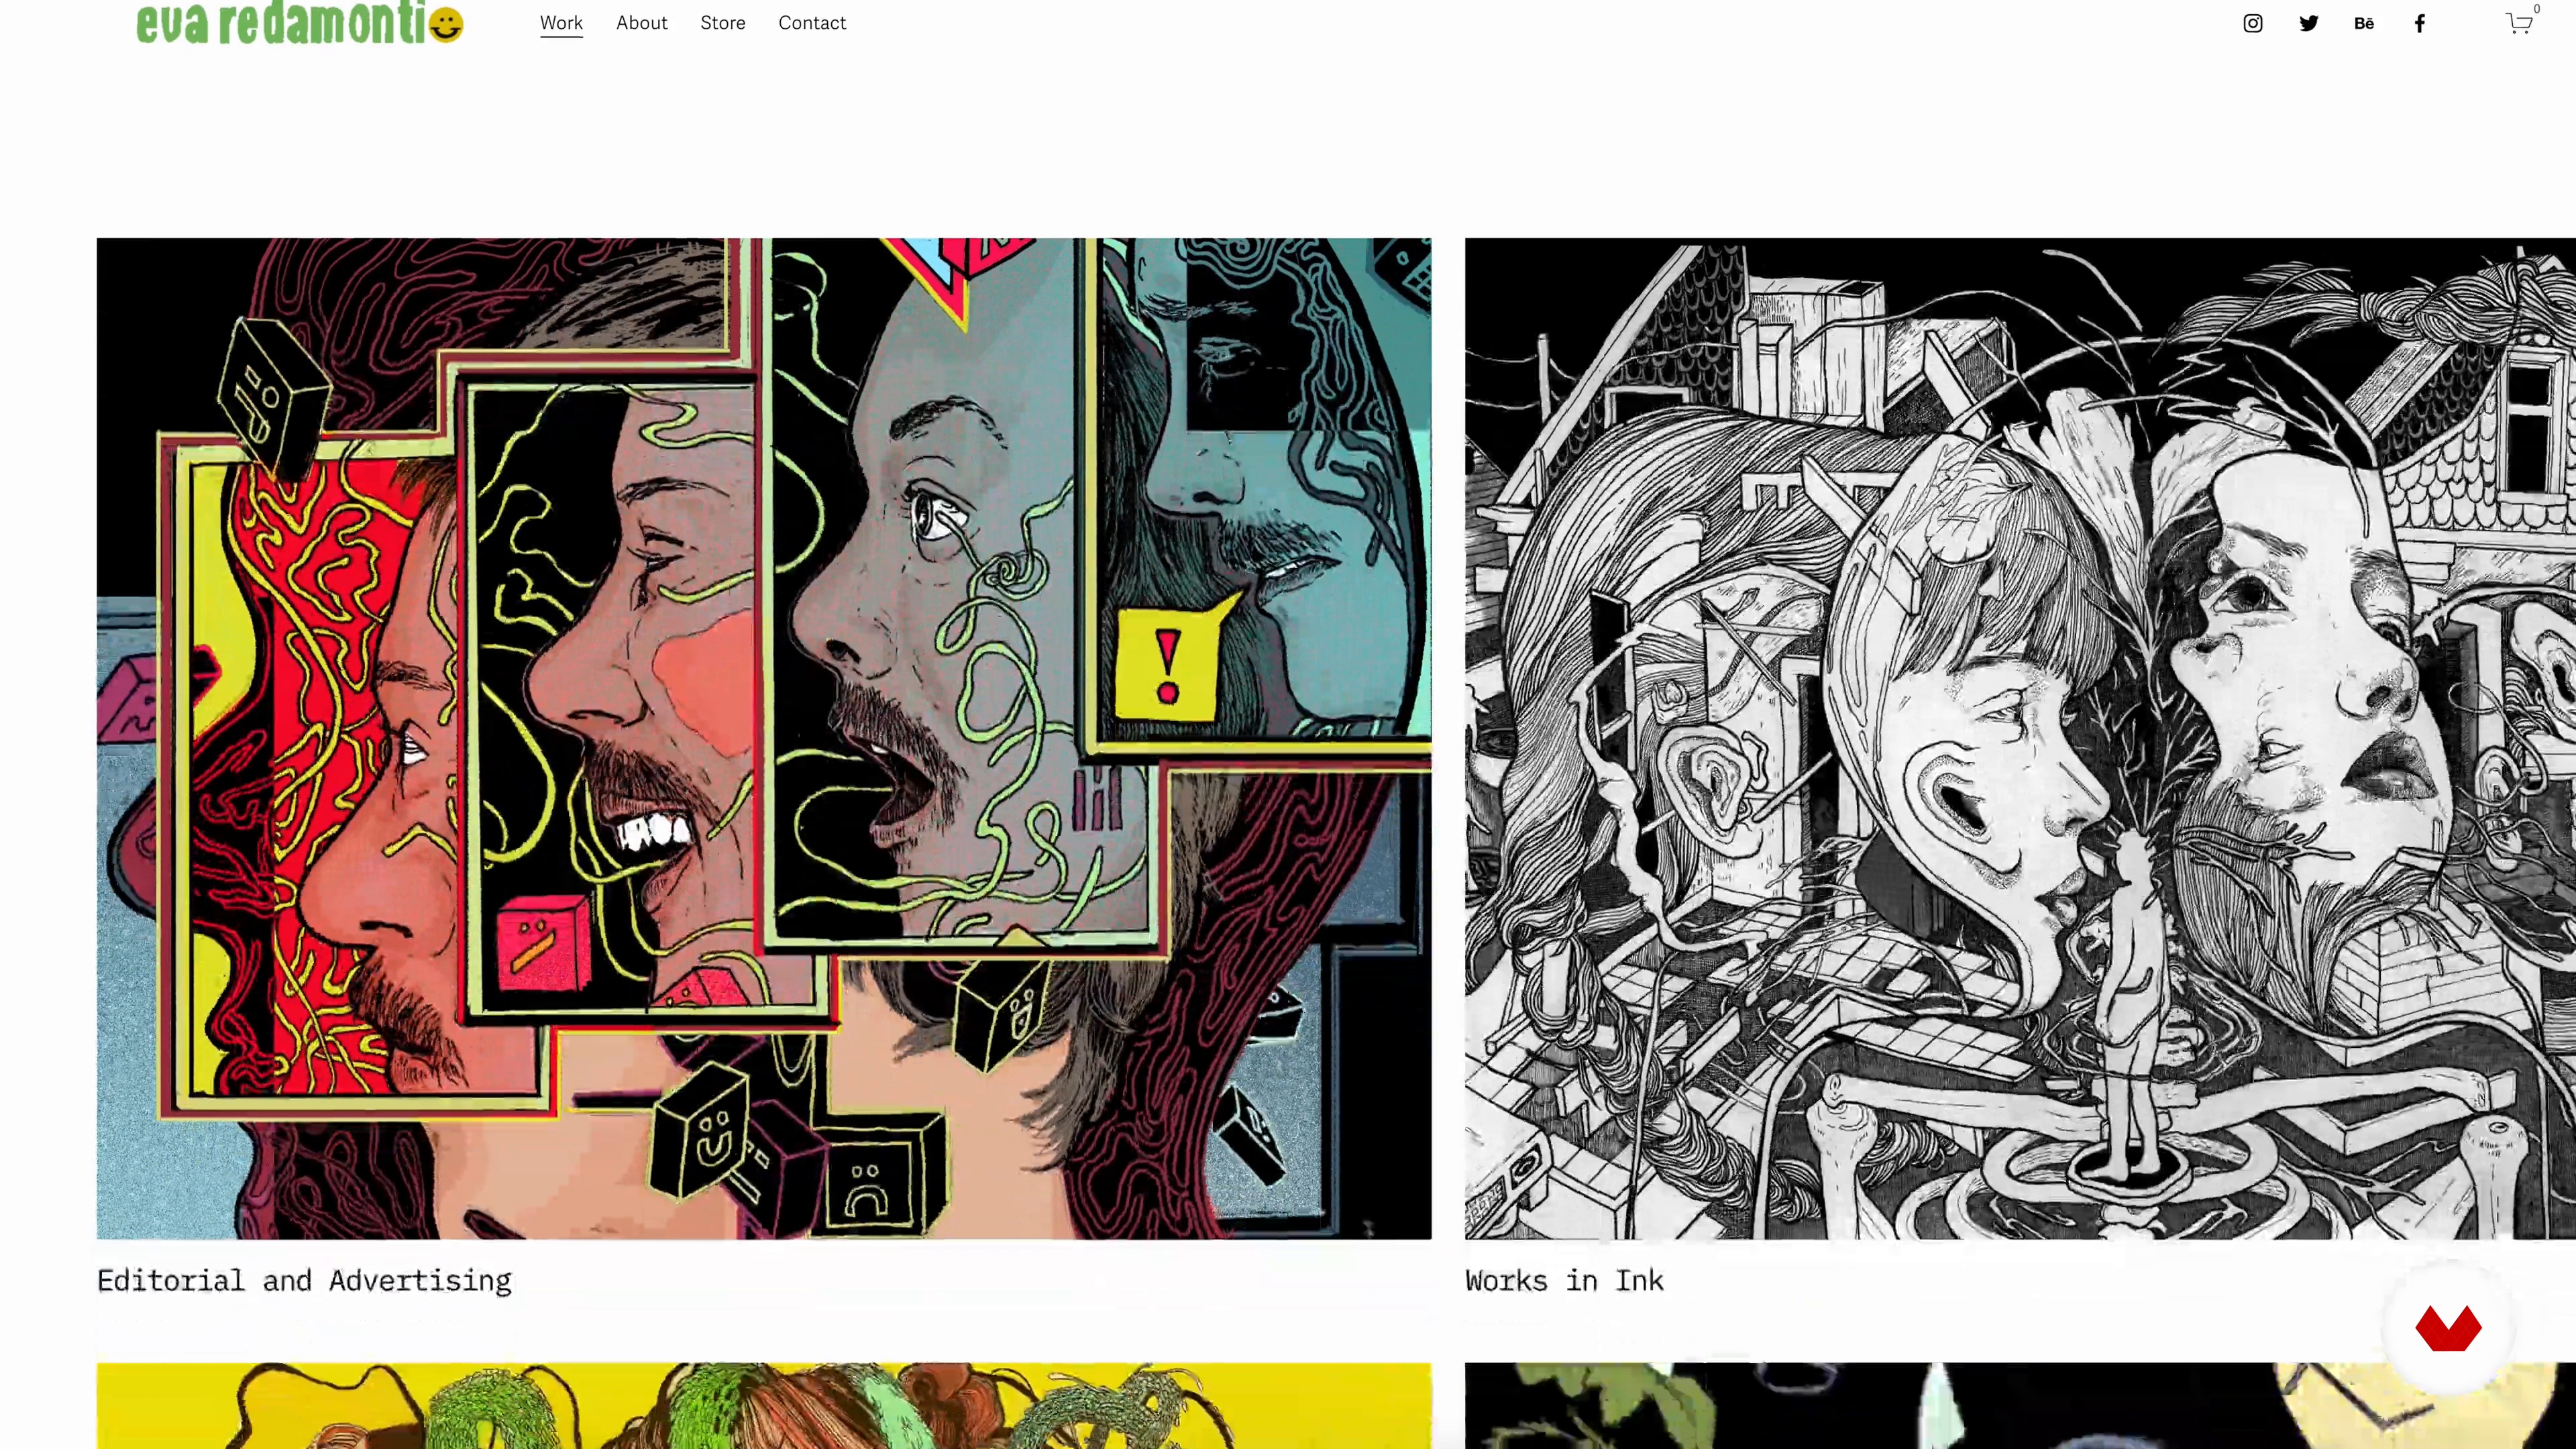
Influences / Eva Redamonti
Now I will introduce you to the artists who influenced my style, my attitude around my practice, and the methods I use.
3m
image
6
Influences / Luke Adam Hawker
All of us have artistic heroes who inspire us. In this lesson, I'll share four artists in particular who have informed me and my work in some way.
11m
image
7
Influences / Dan Hogman
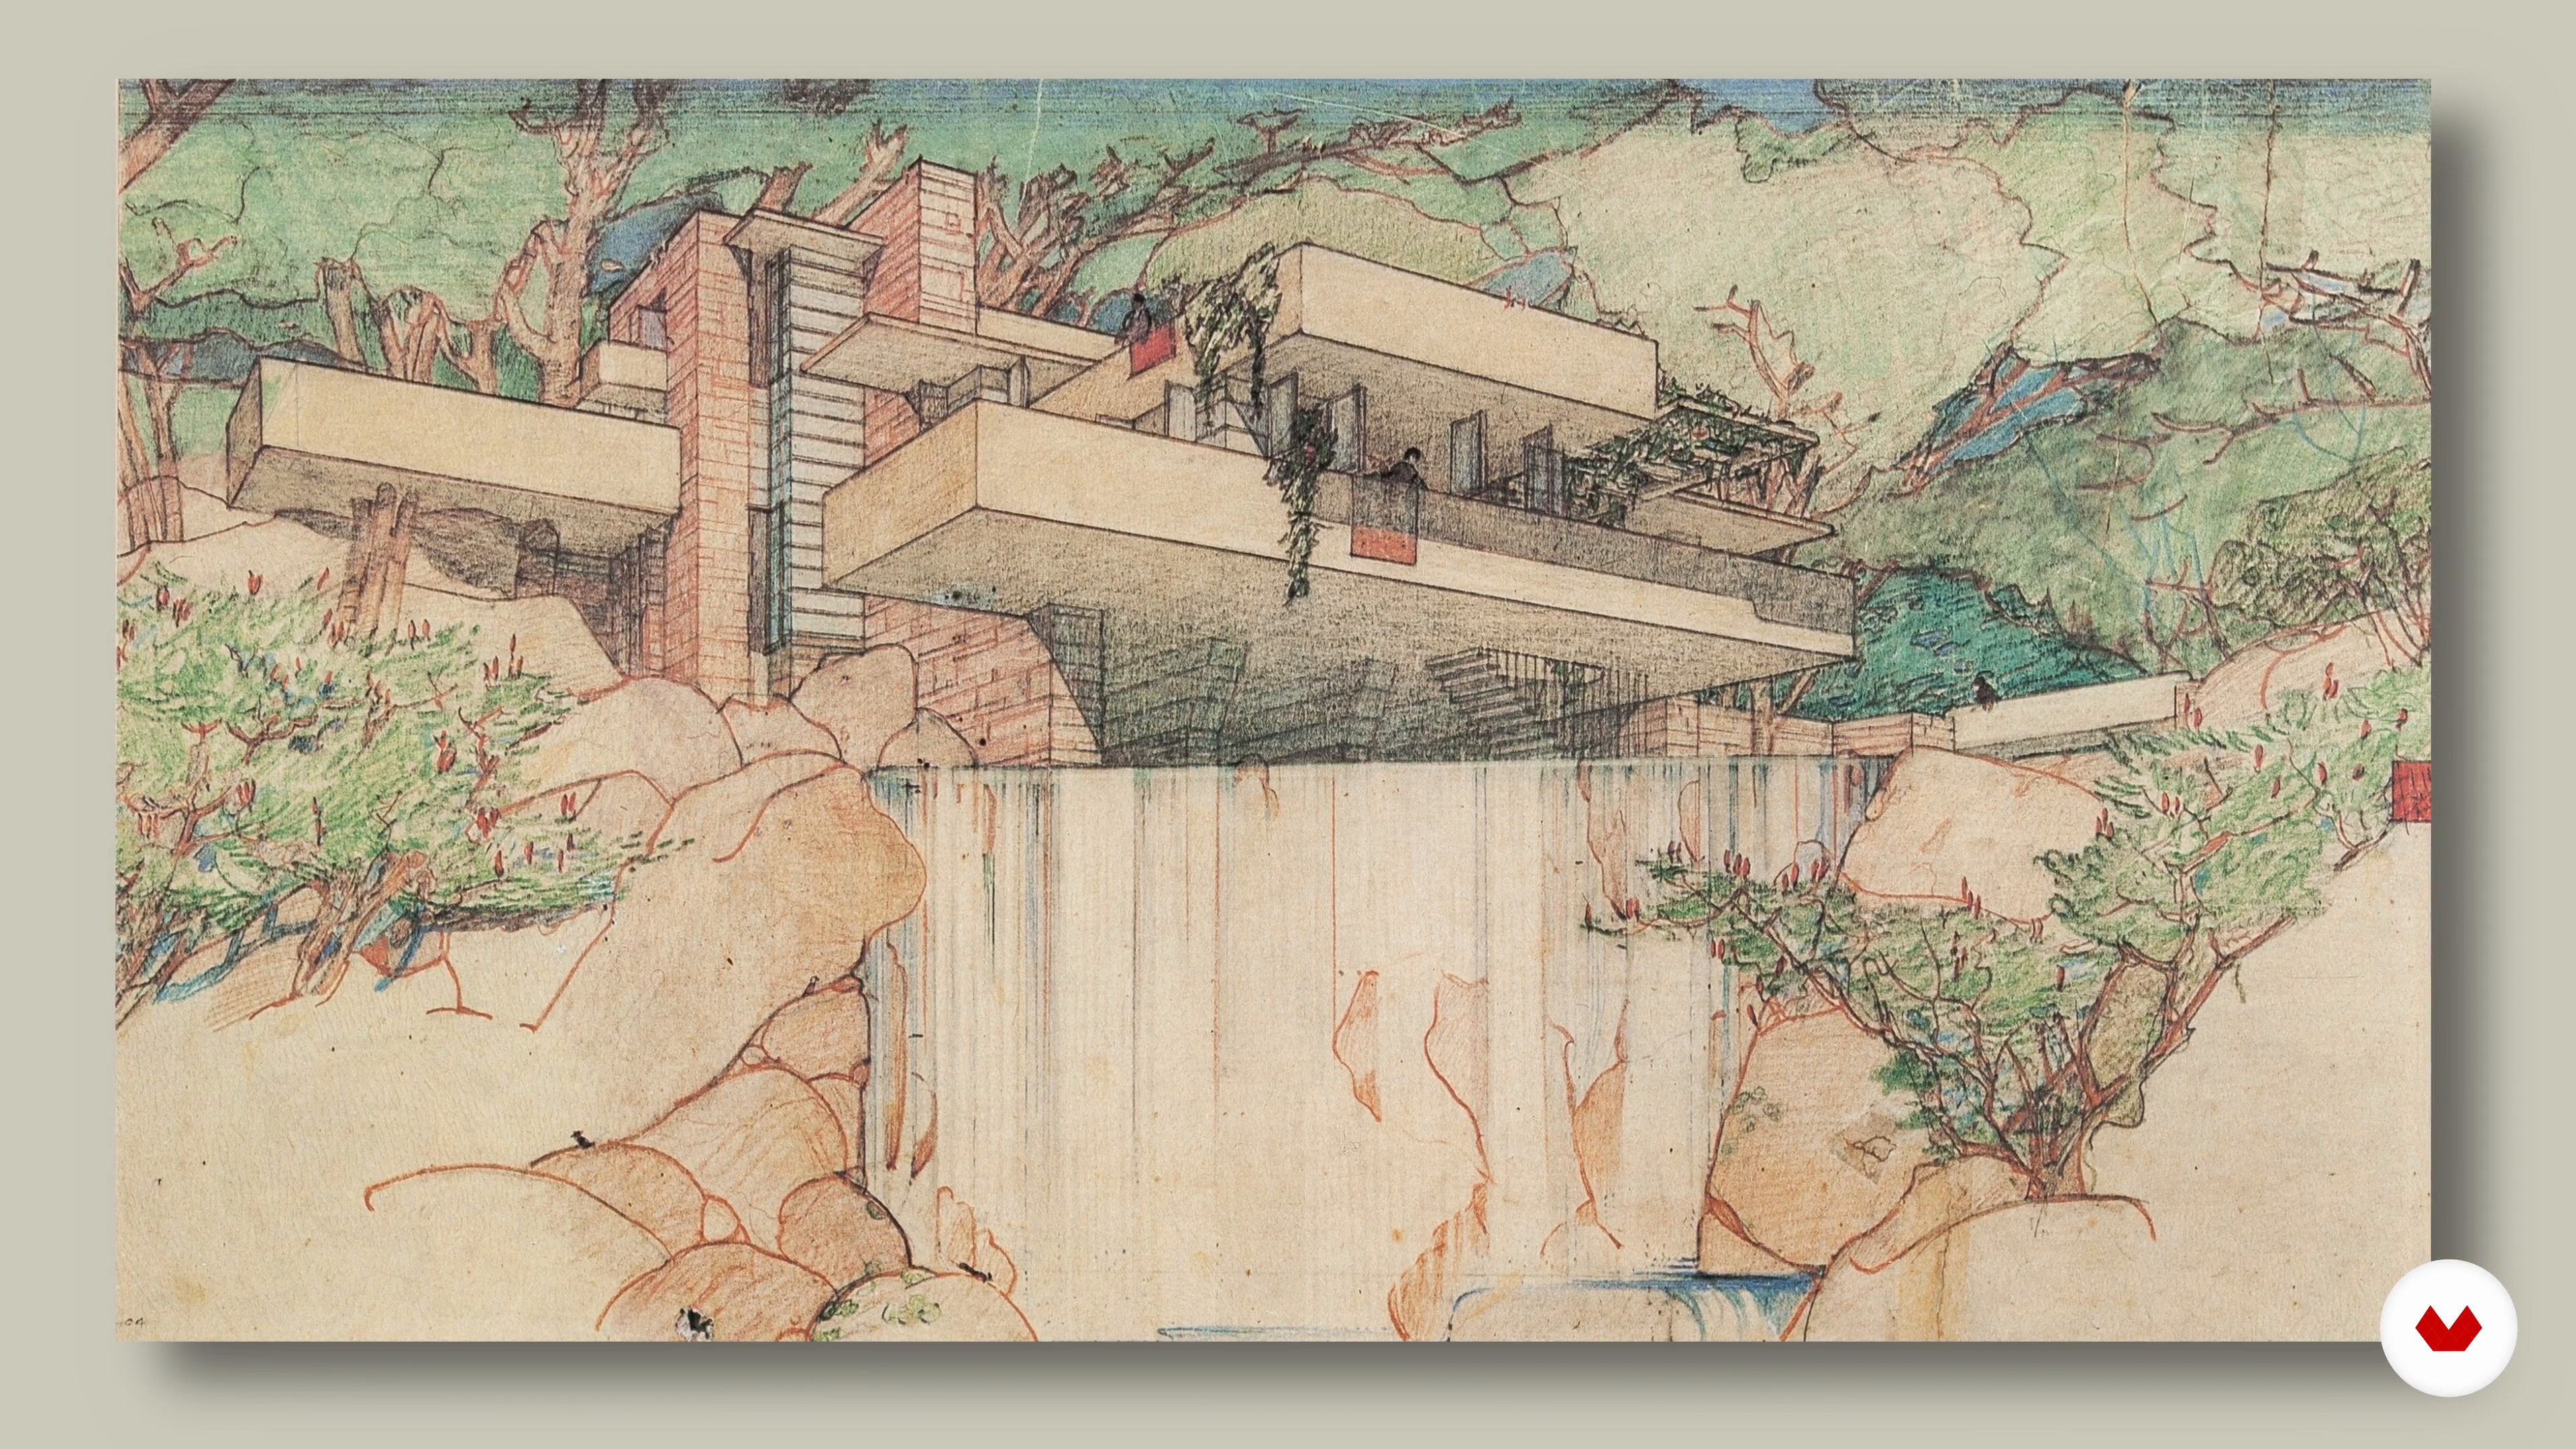
My influences in art and drawing closely relate to my profession, architecture. Some contemporary architects are good influences, both via their drawings and also with the buildings they have designed.
9m
image
3
Introduction to Sketching in Nature
This very first lesson will help you understand the importance of using a sketchbook and looking more closely at the nature around you. Observation is a very important part of the inspirational and creative process.
2m
image
4
Tools and Materials
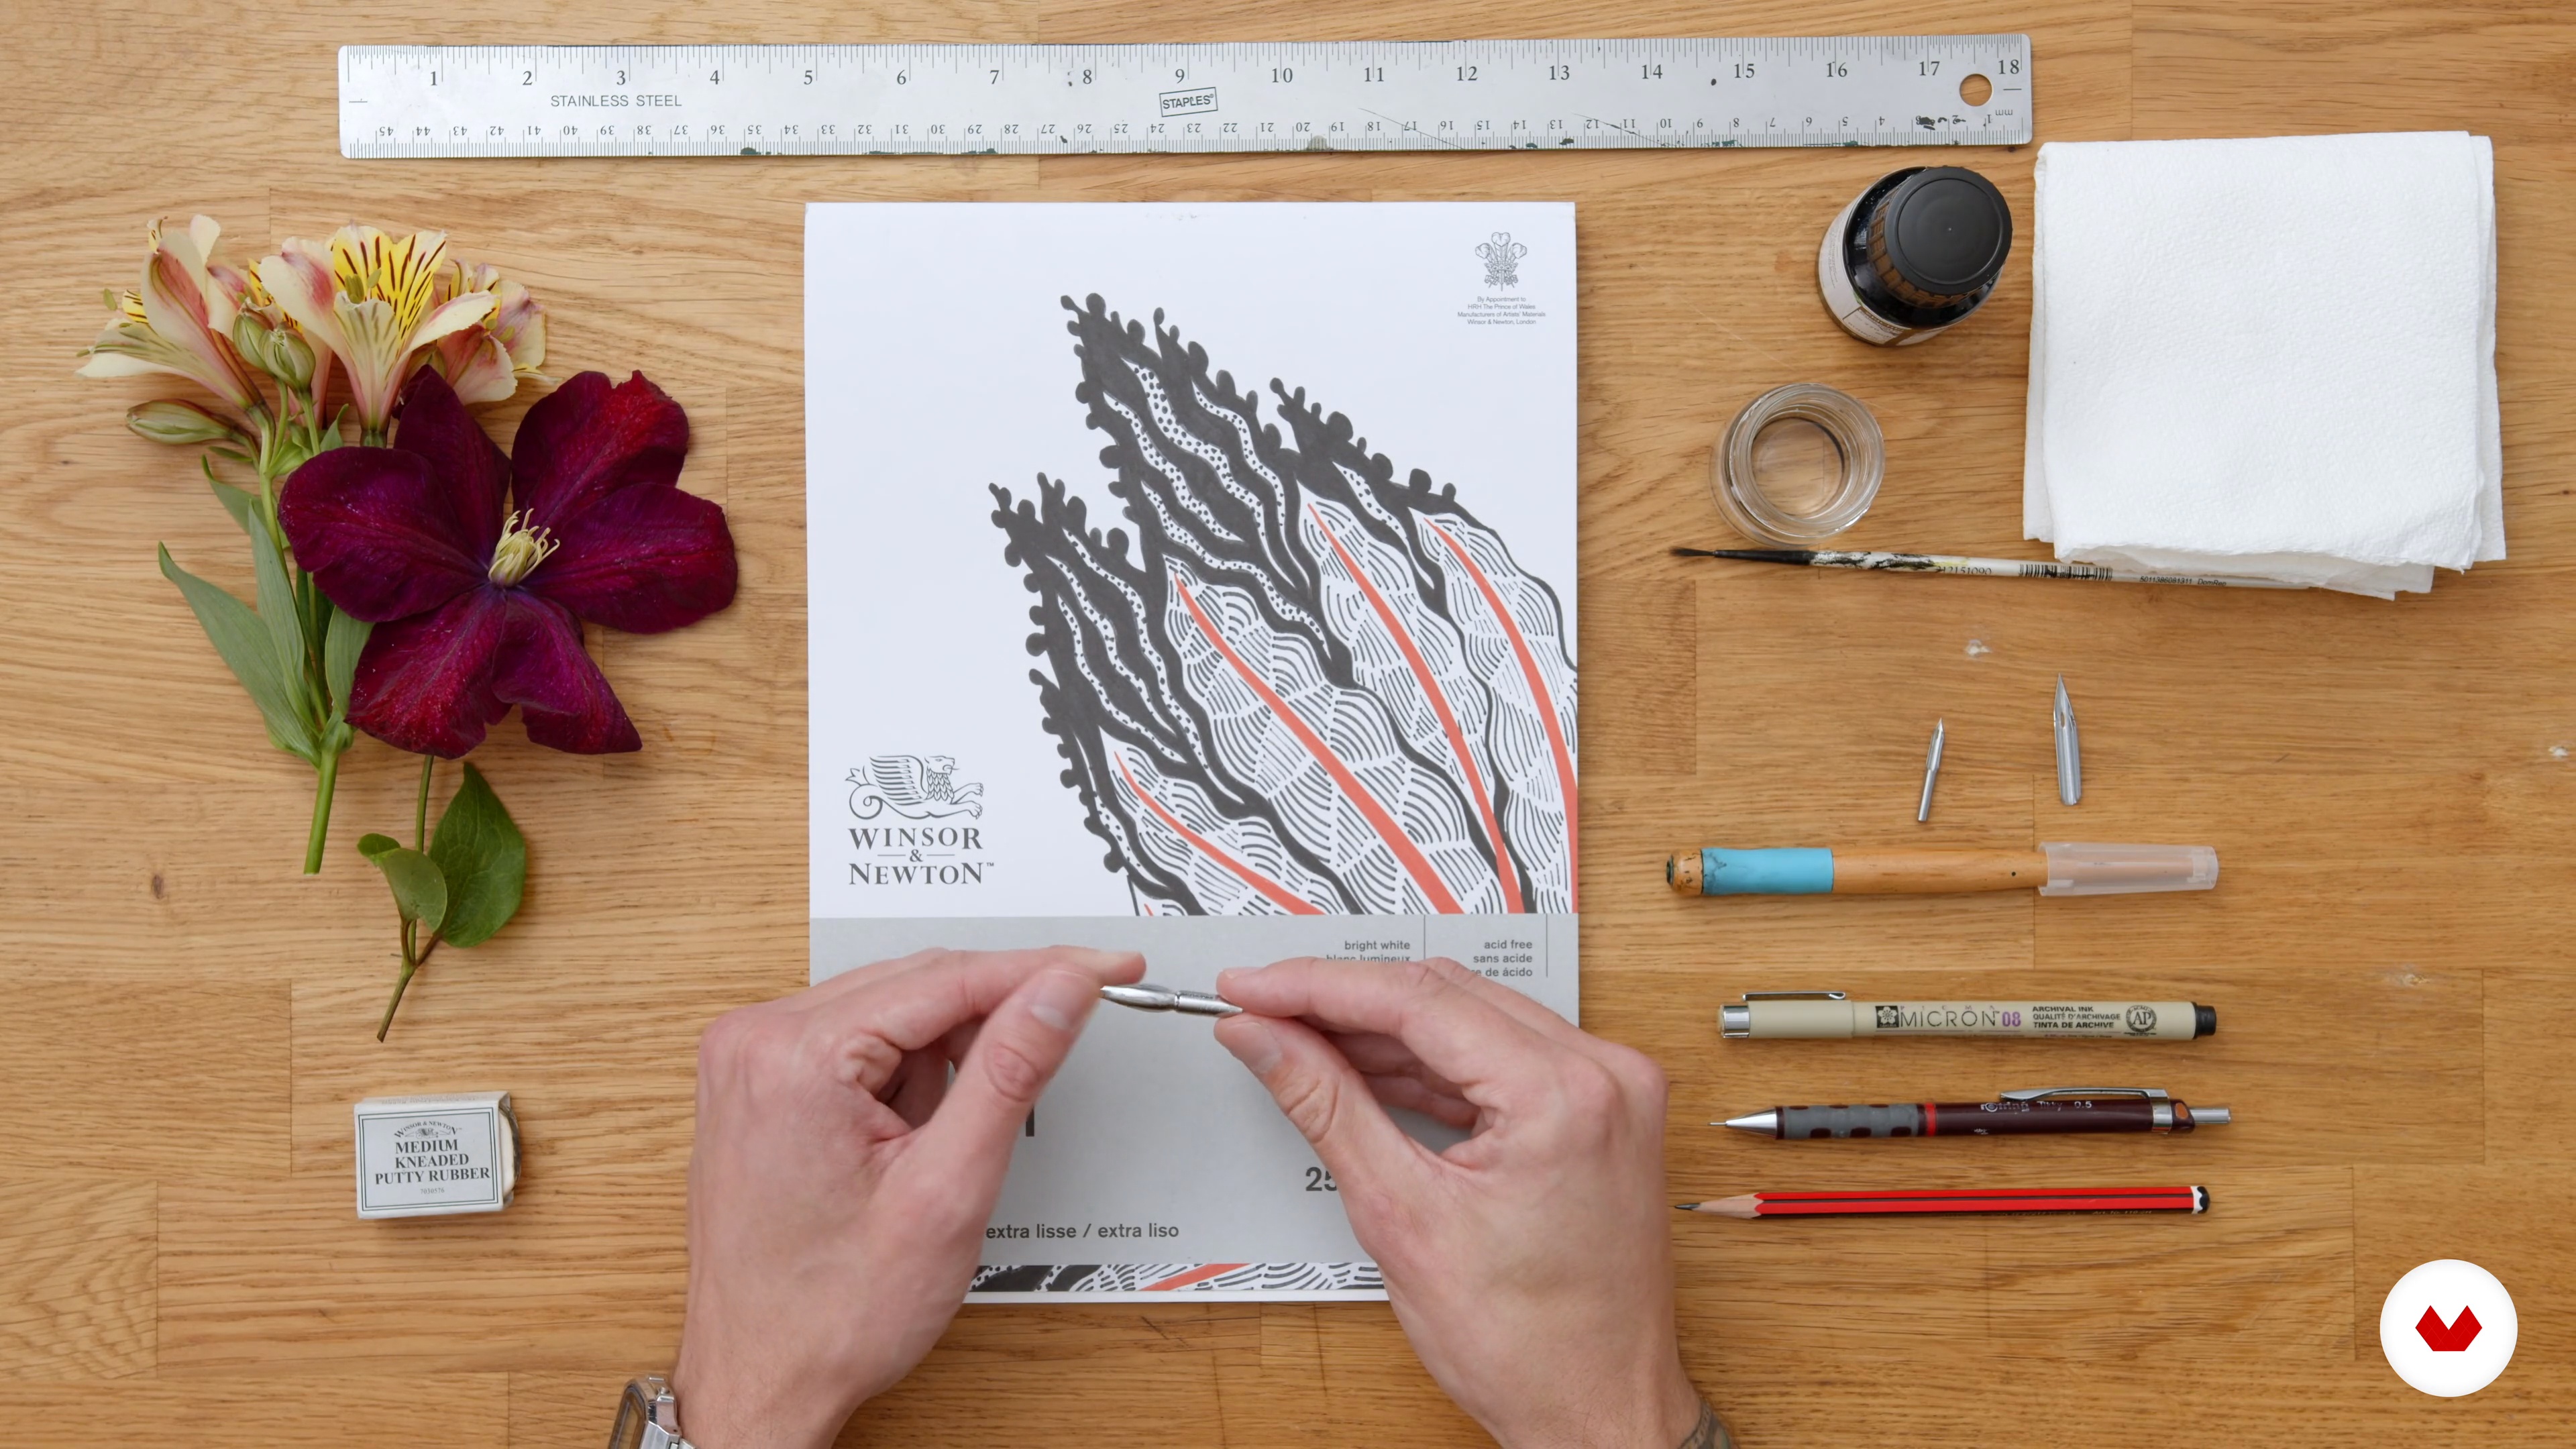
Here you will learn about the different tools and materials which we will be using within this project.
3m
image
5
Finding Your Image
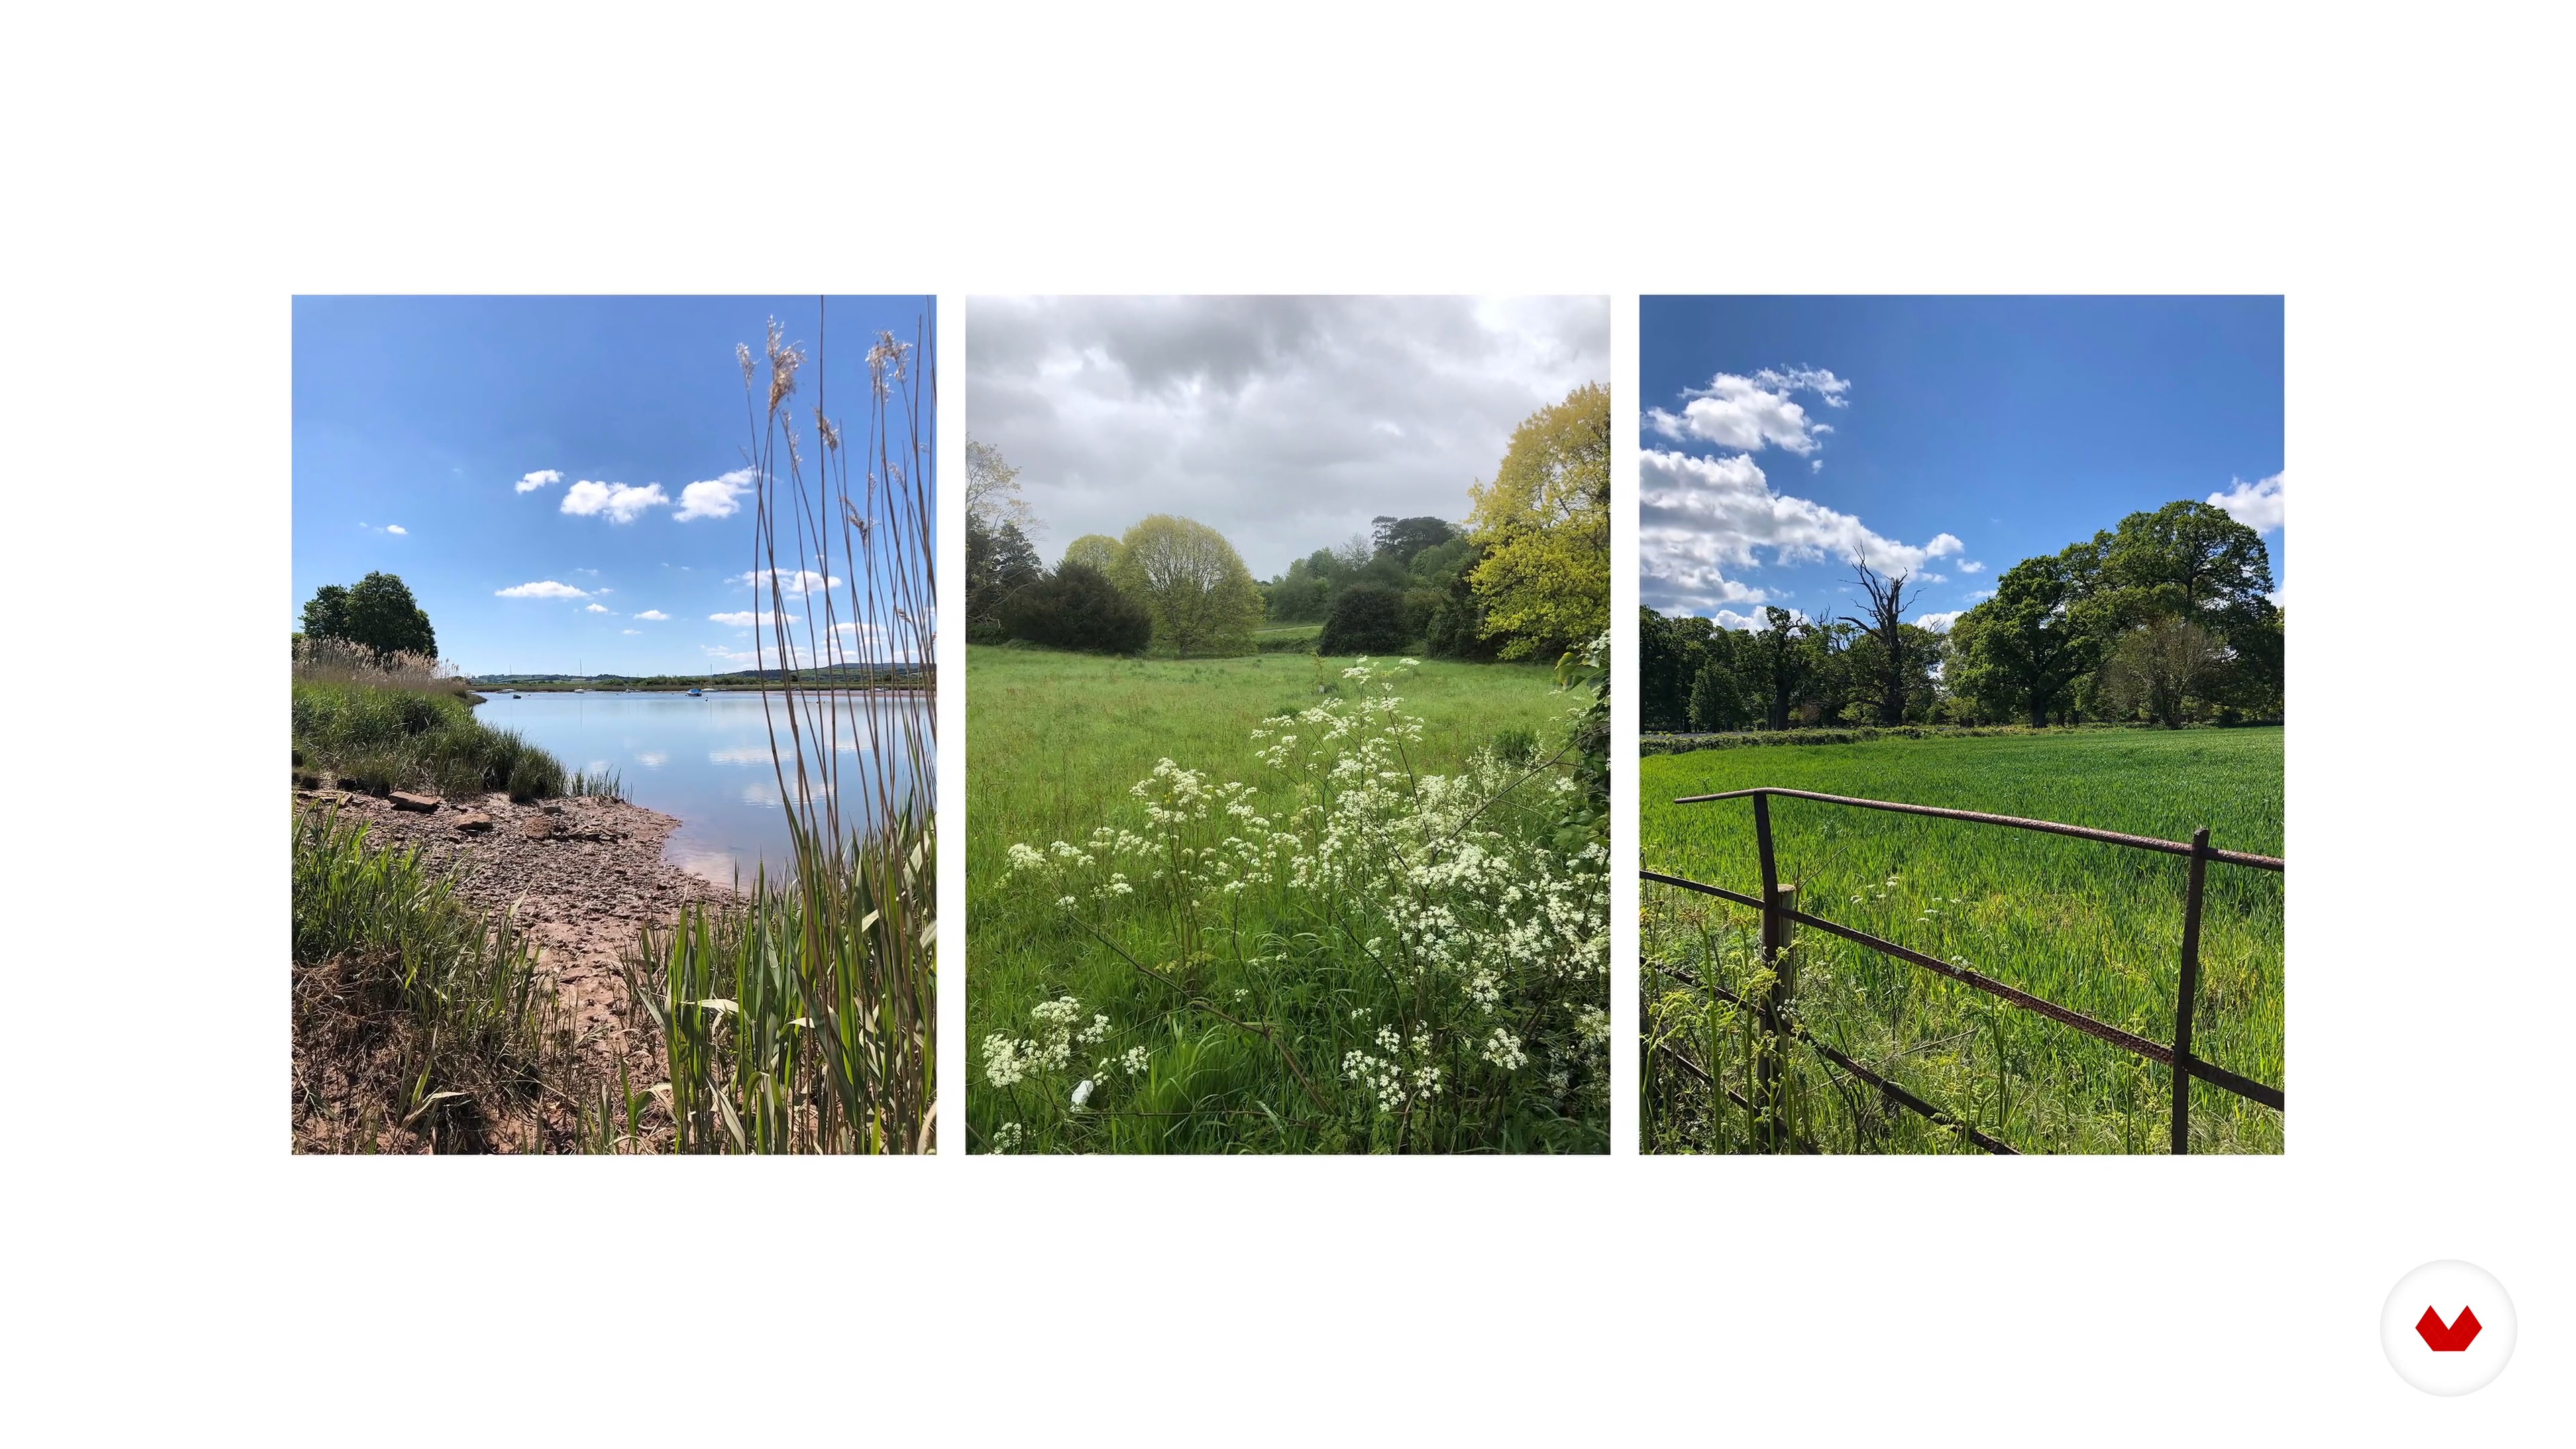
In this lesson you will learn about capturing and finding reference imagery to use for this project as well as your own personal work.
3m
image
6
Introduction to Using a Dip-Pen
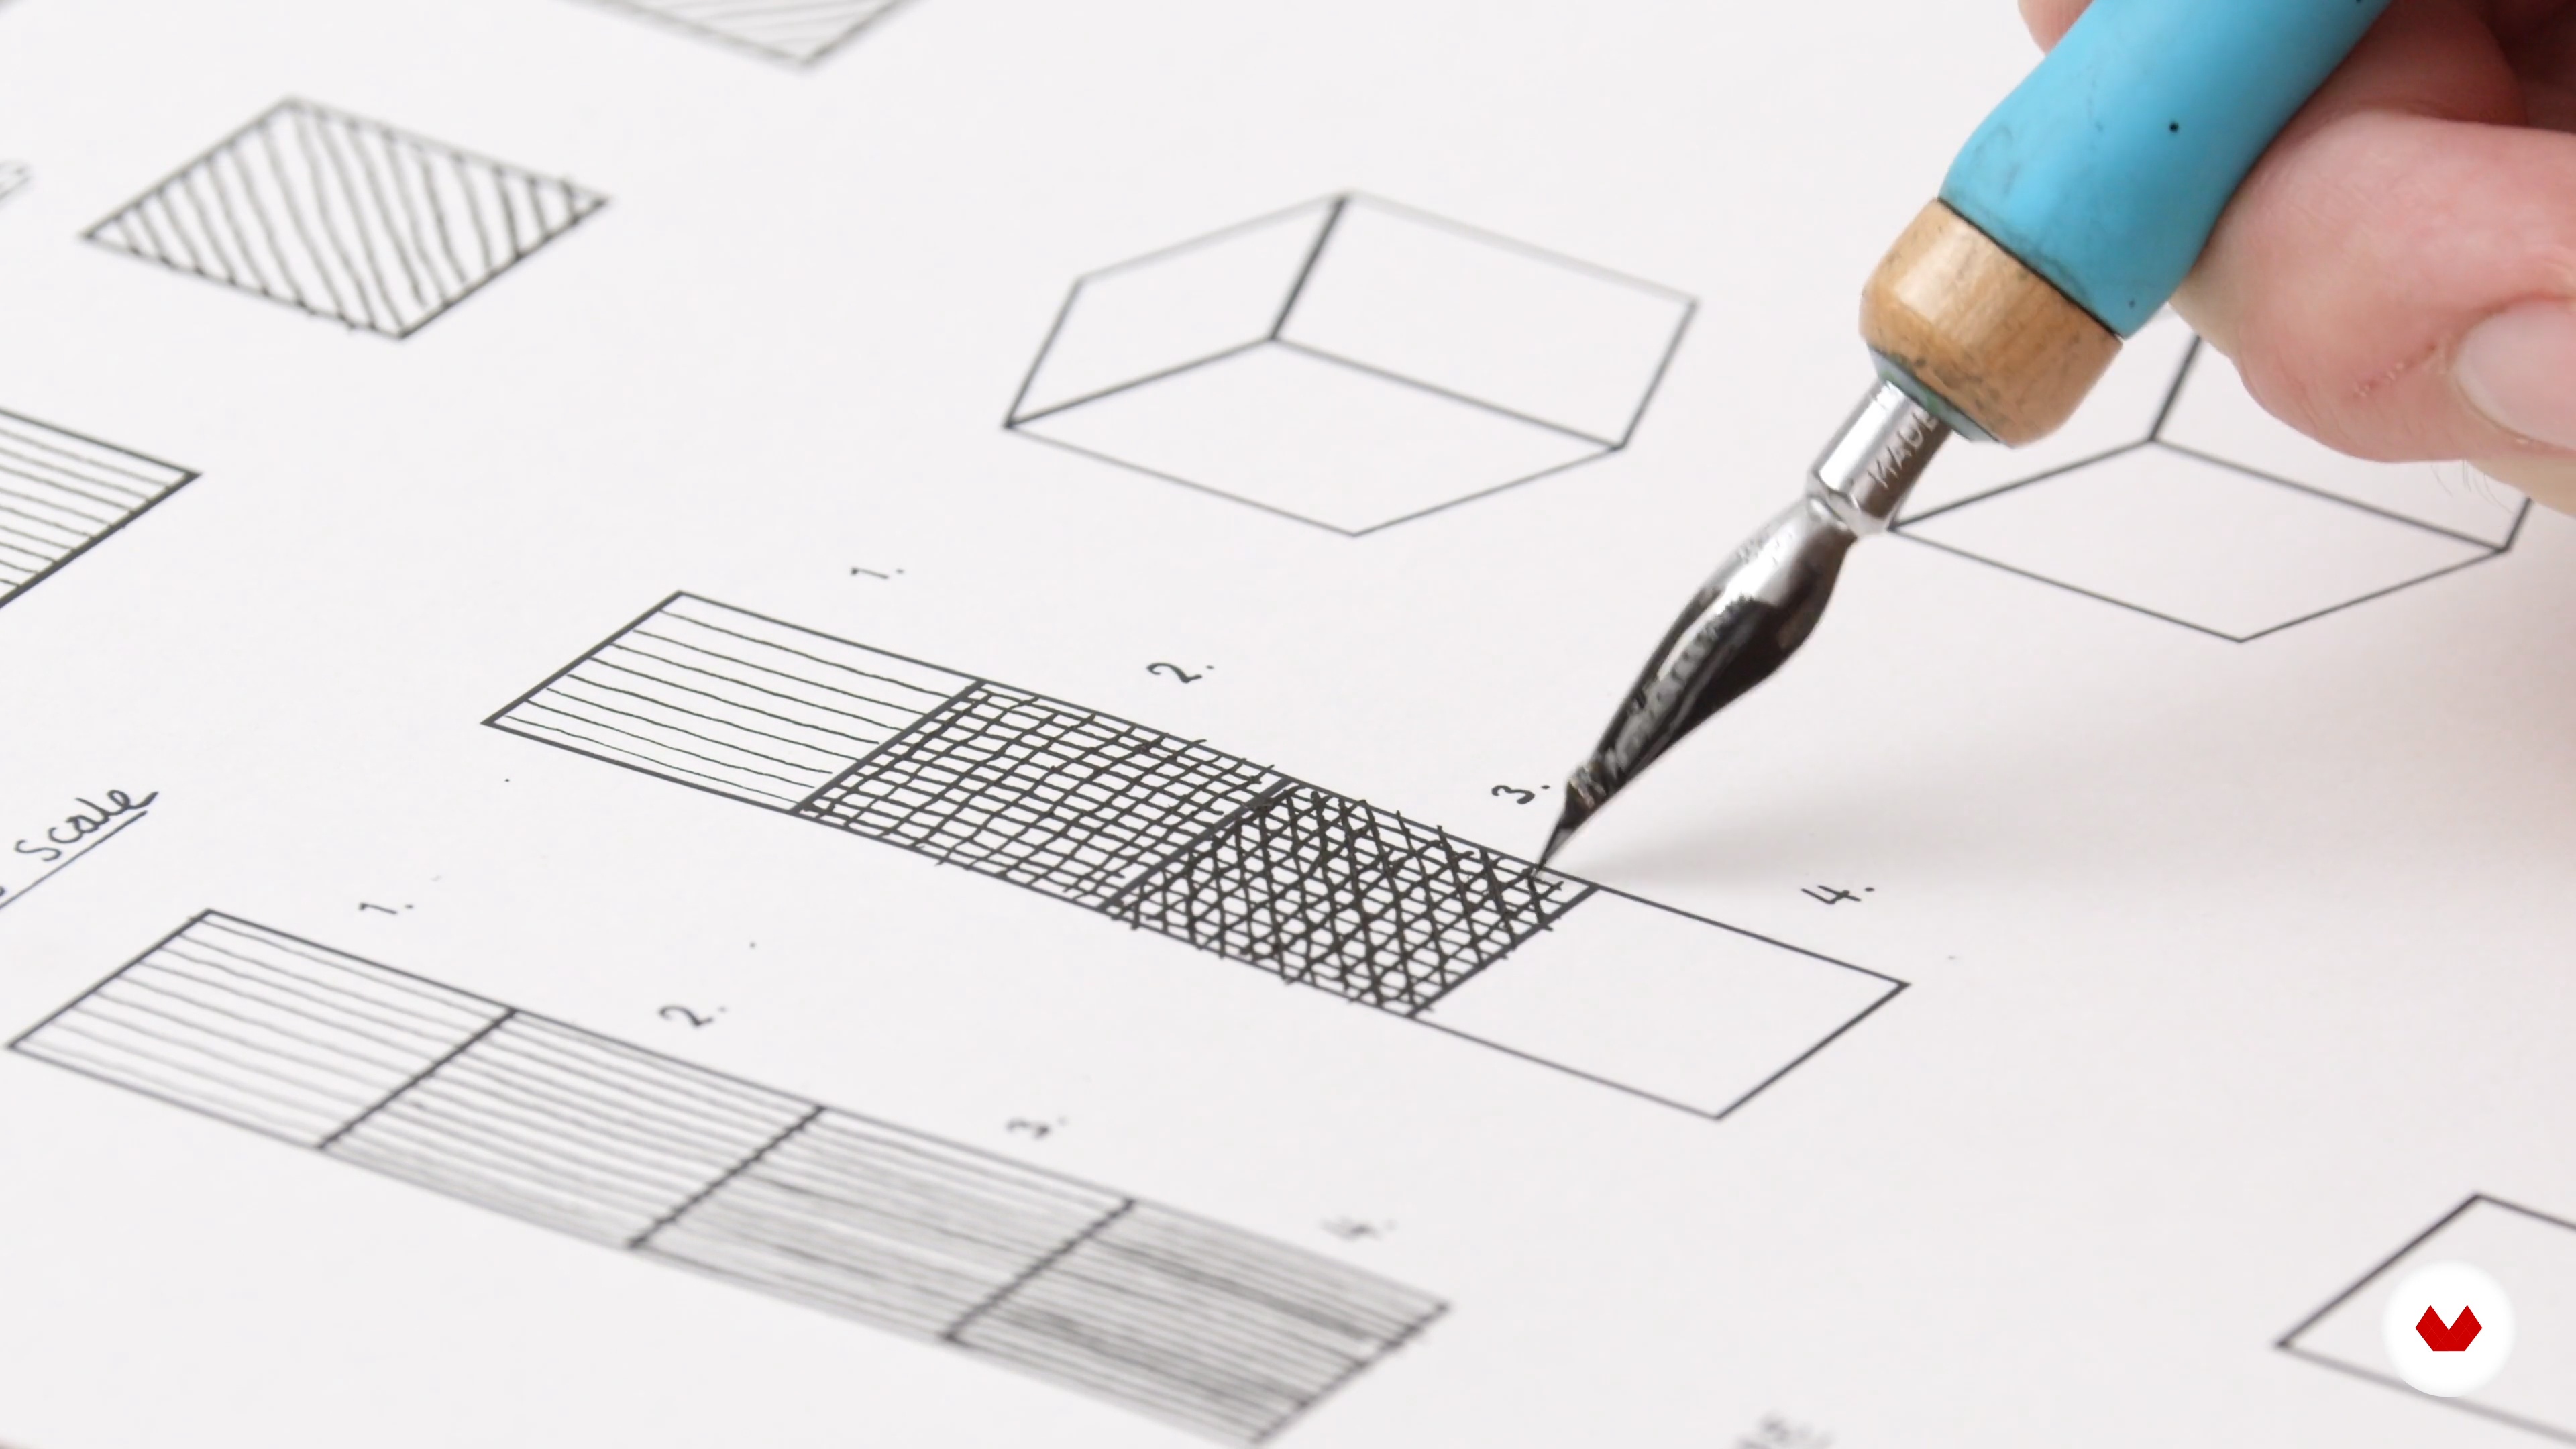
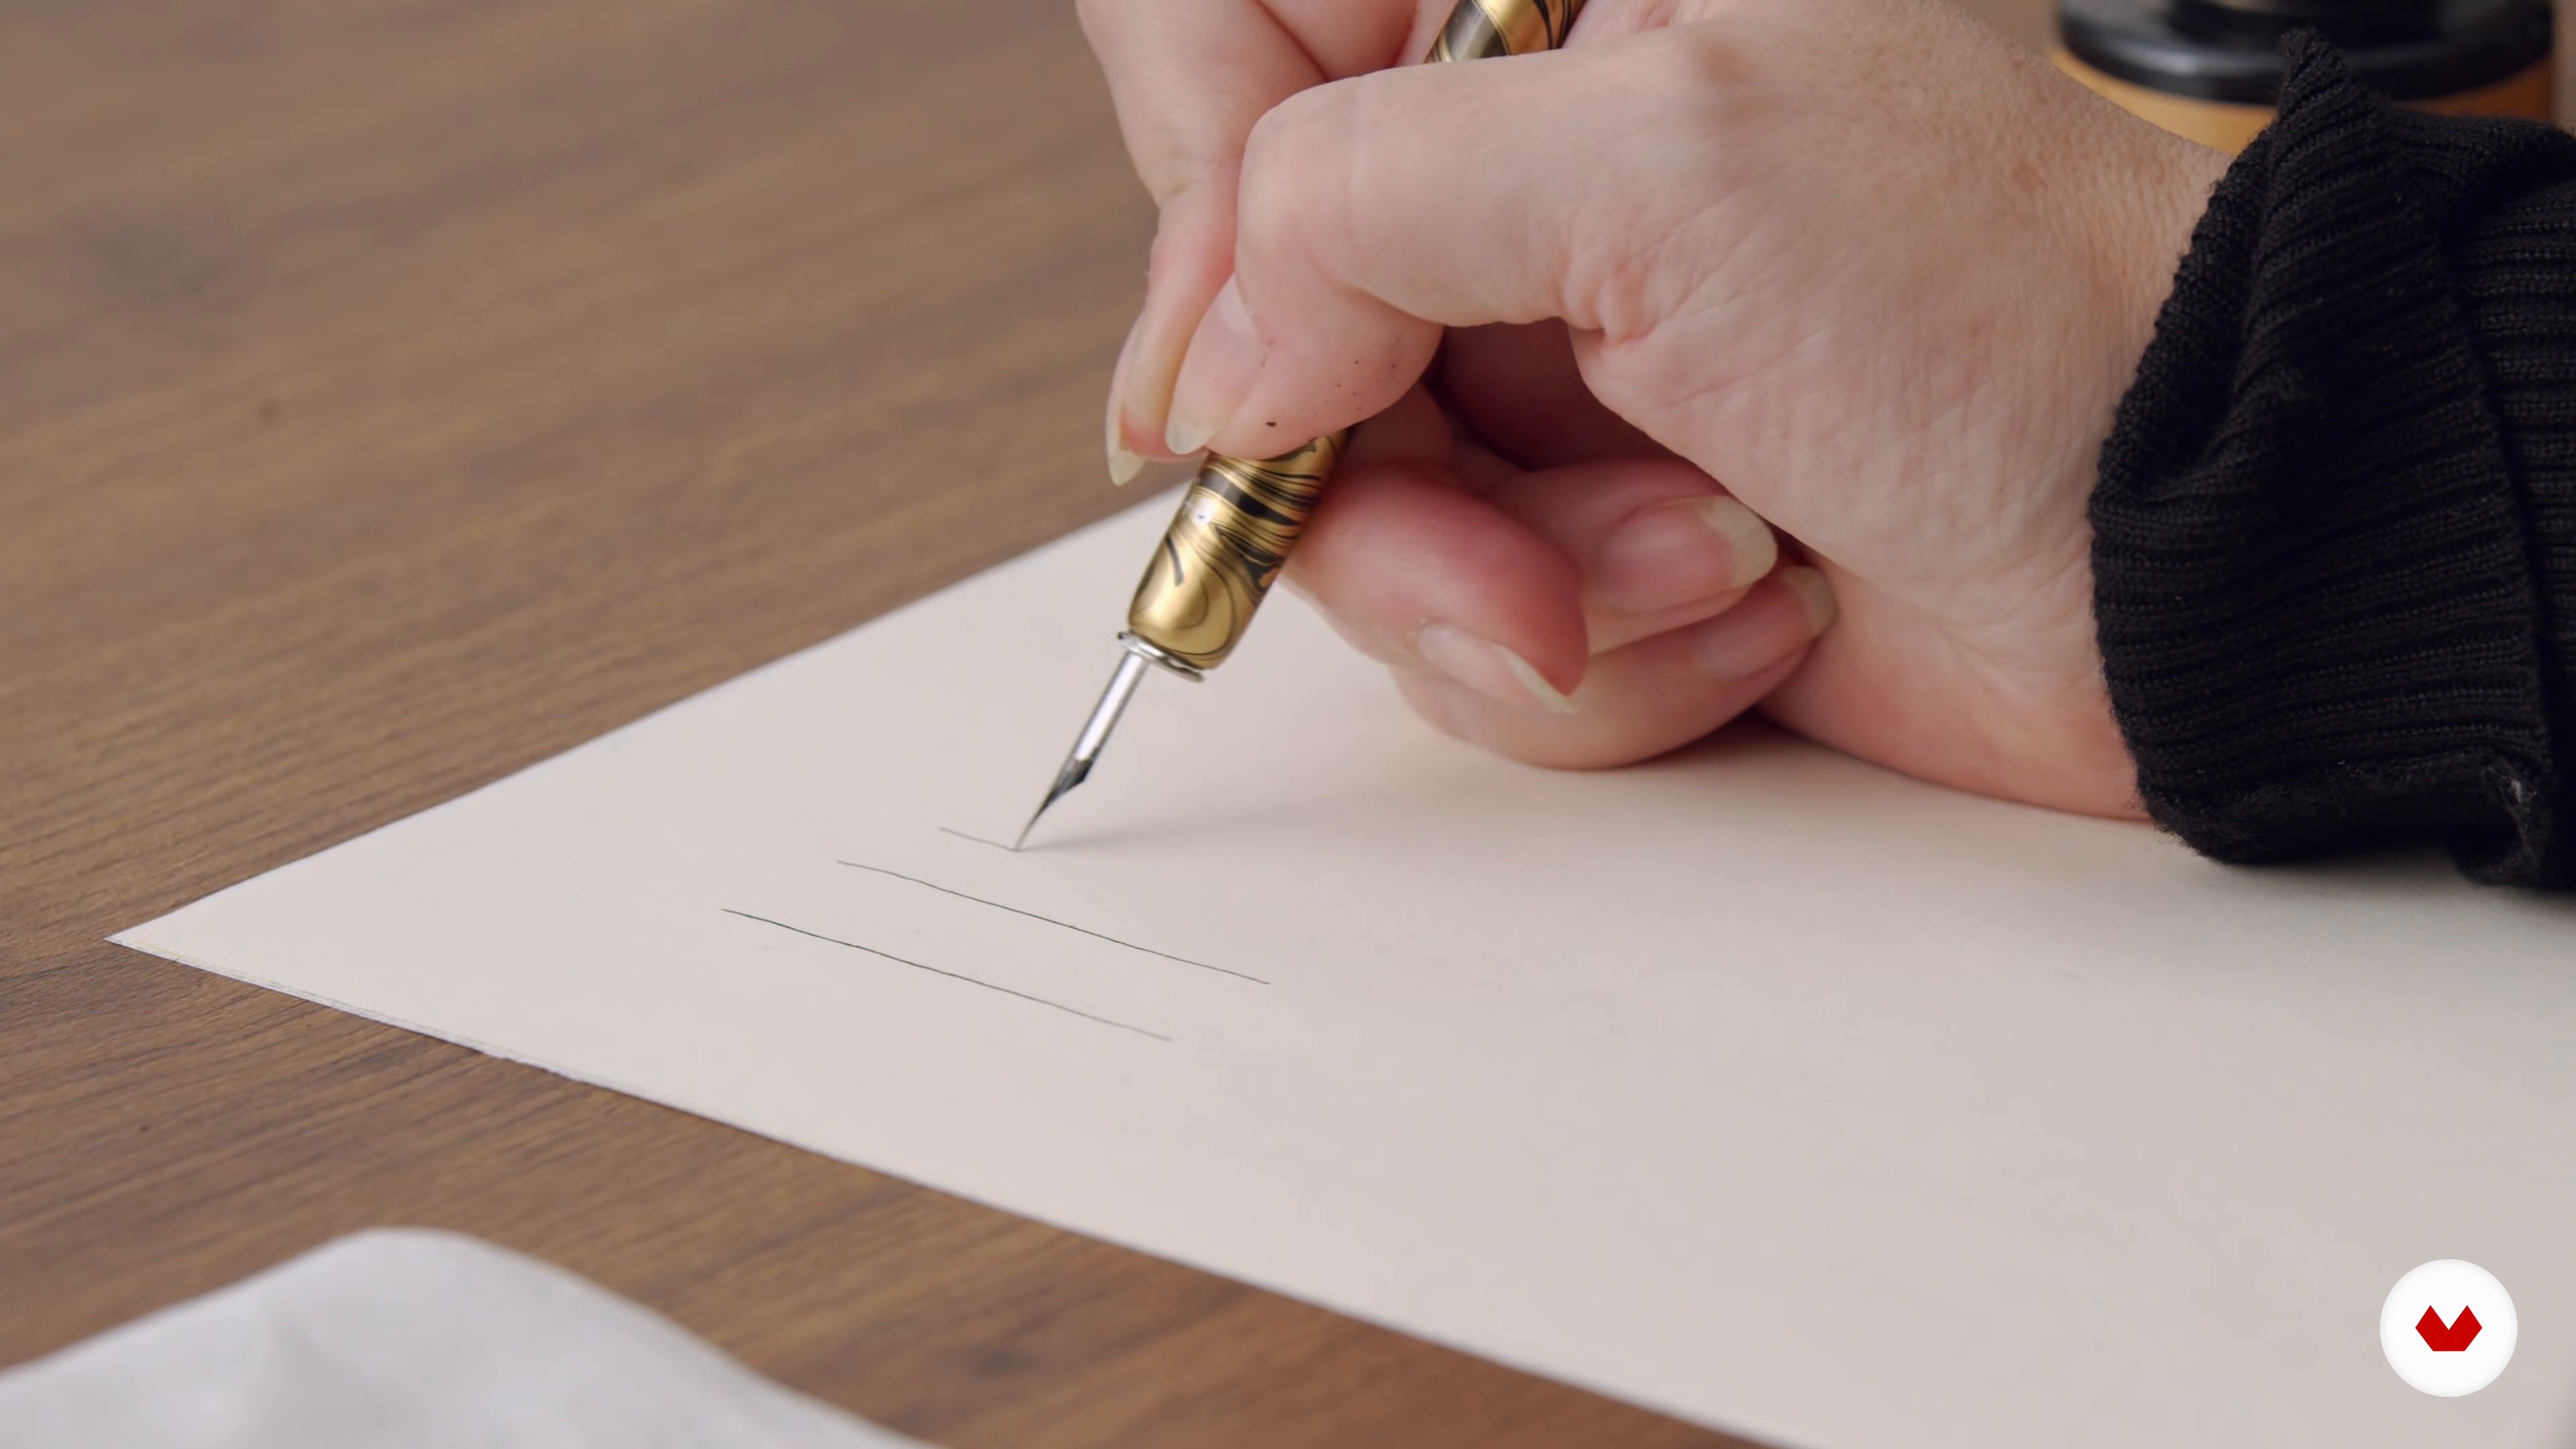
Here I will show you different ways to use a dip-pen —a complete beginners guide of how to create different linework and hatching.
17m
image
7
Highlight, Volume and Depth
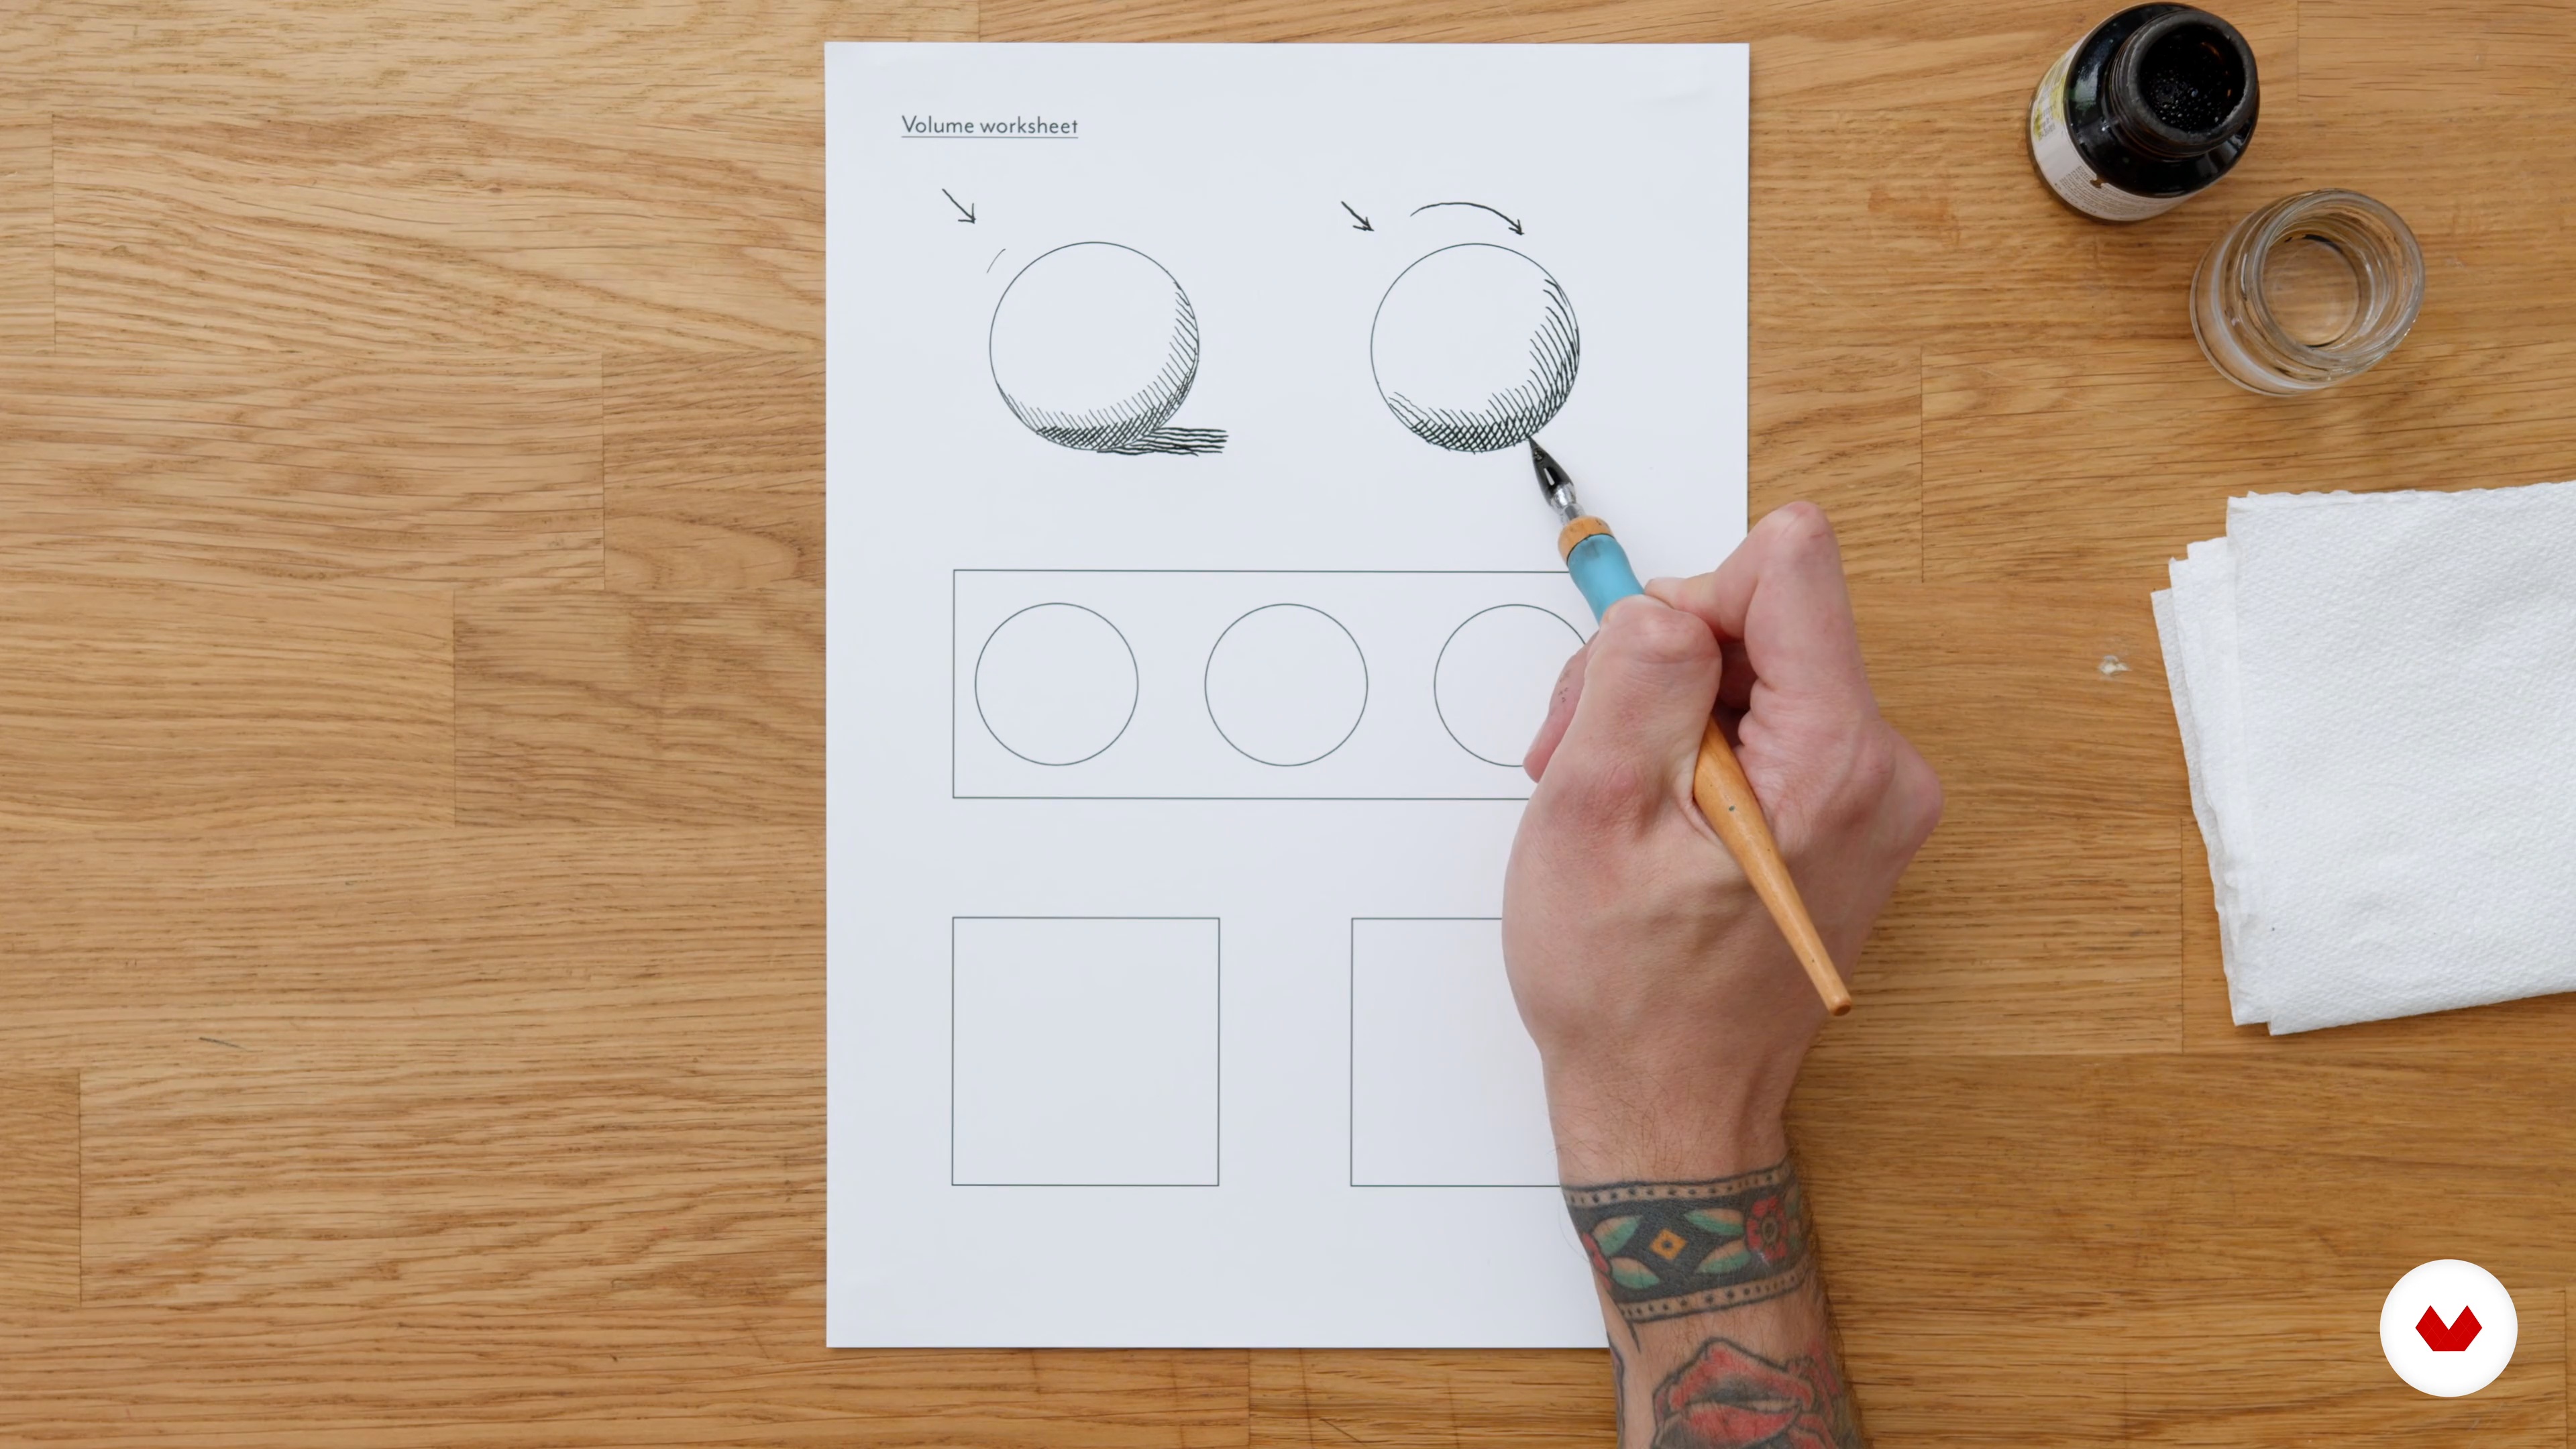
Now I will show you the way you can use a simple line to create different tones and volume from dip-pen and ink.
15m
image
8
Observational Pen and Ink
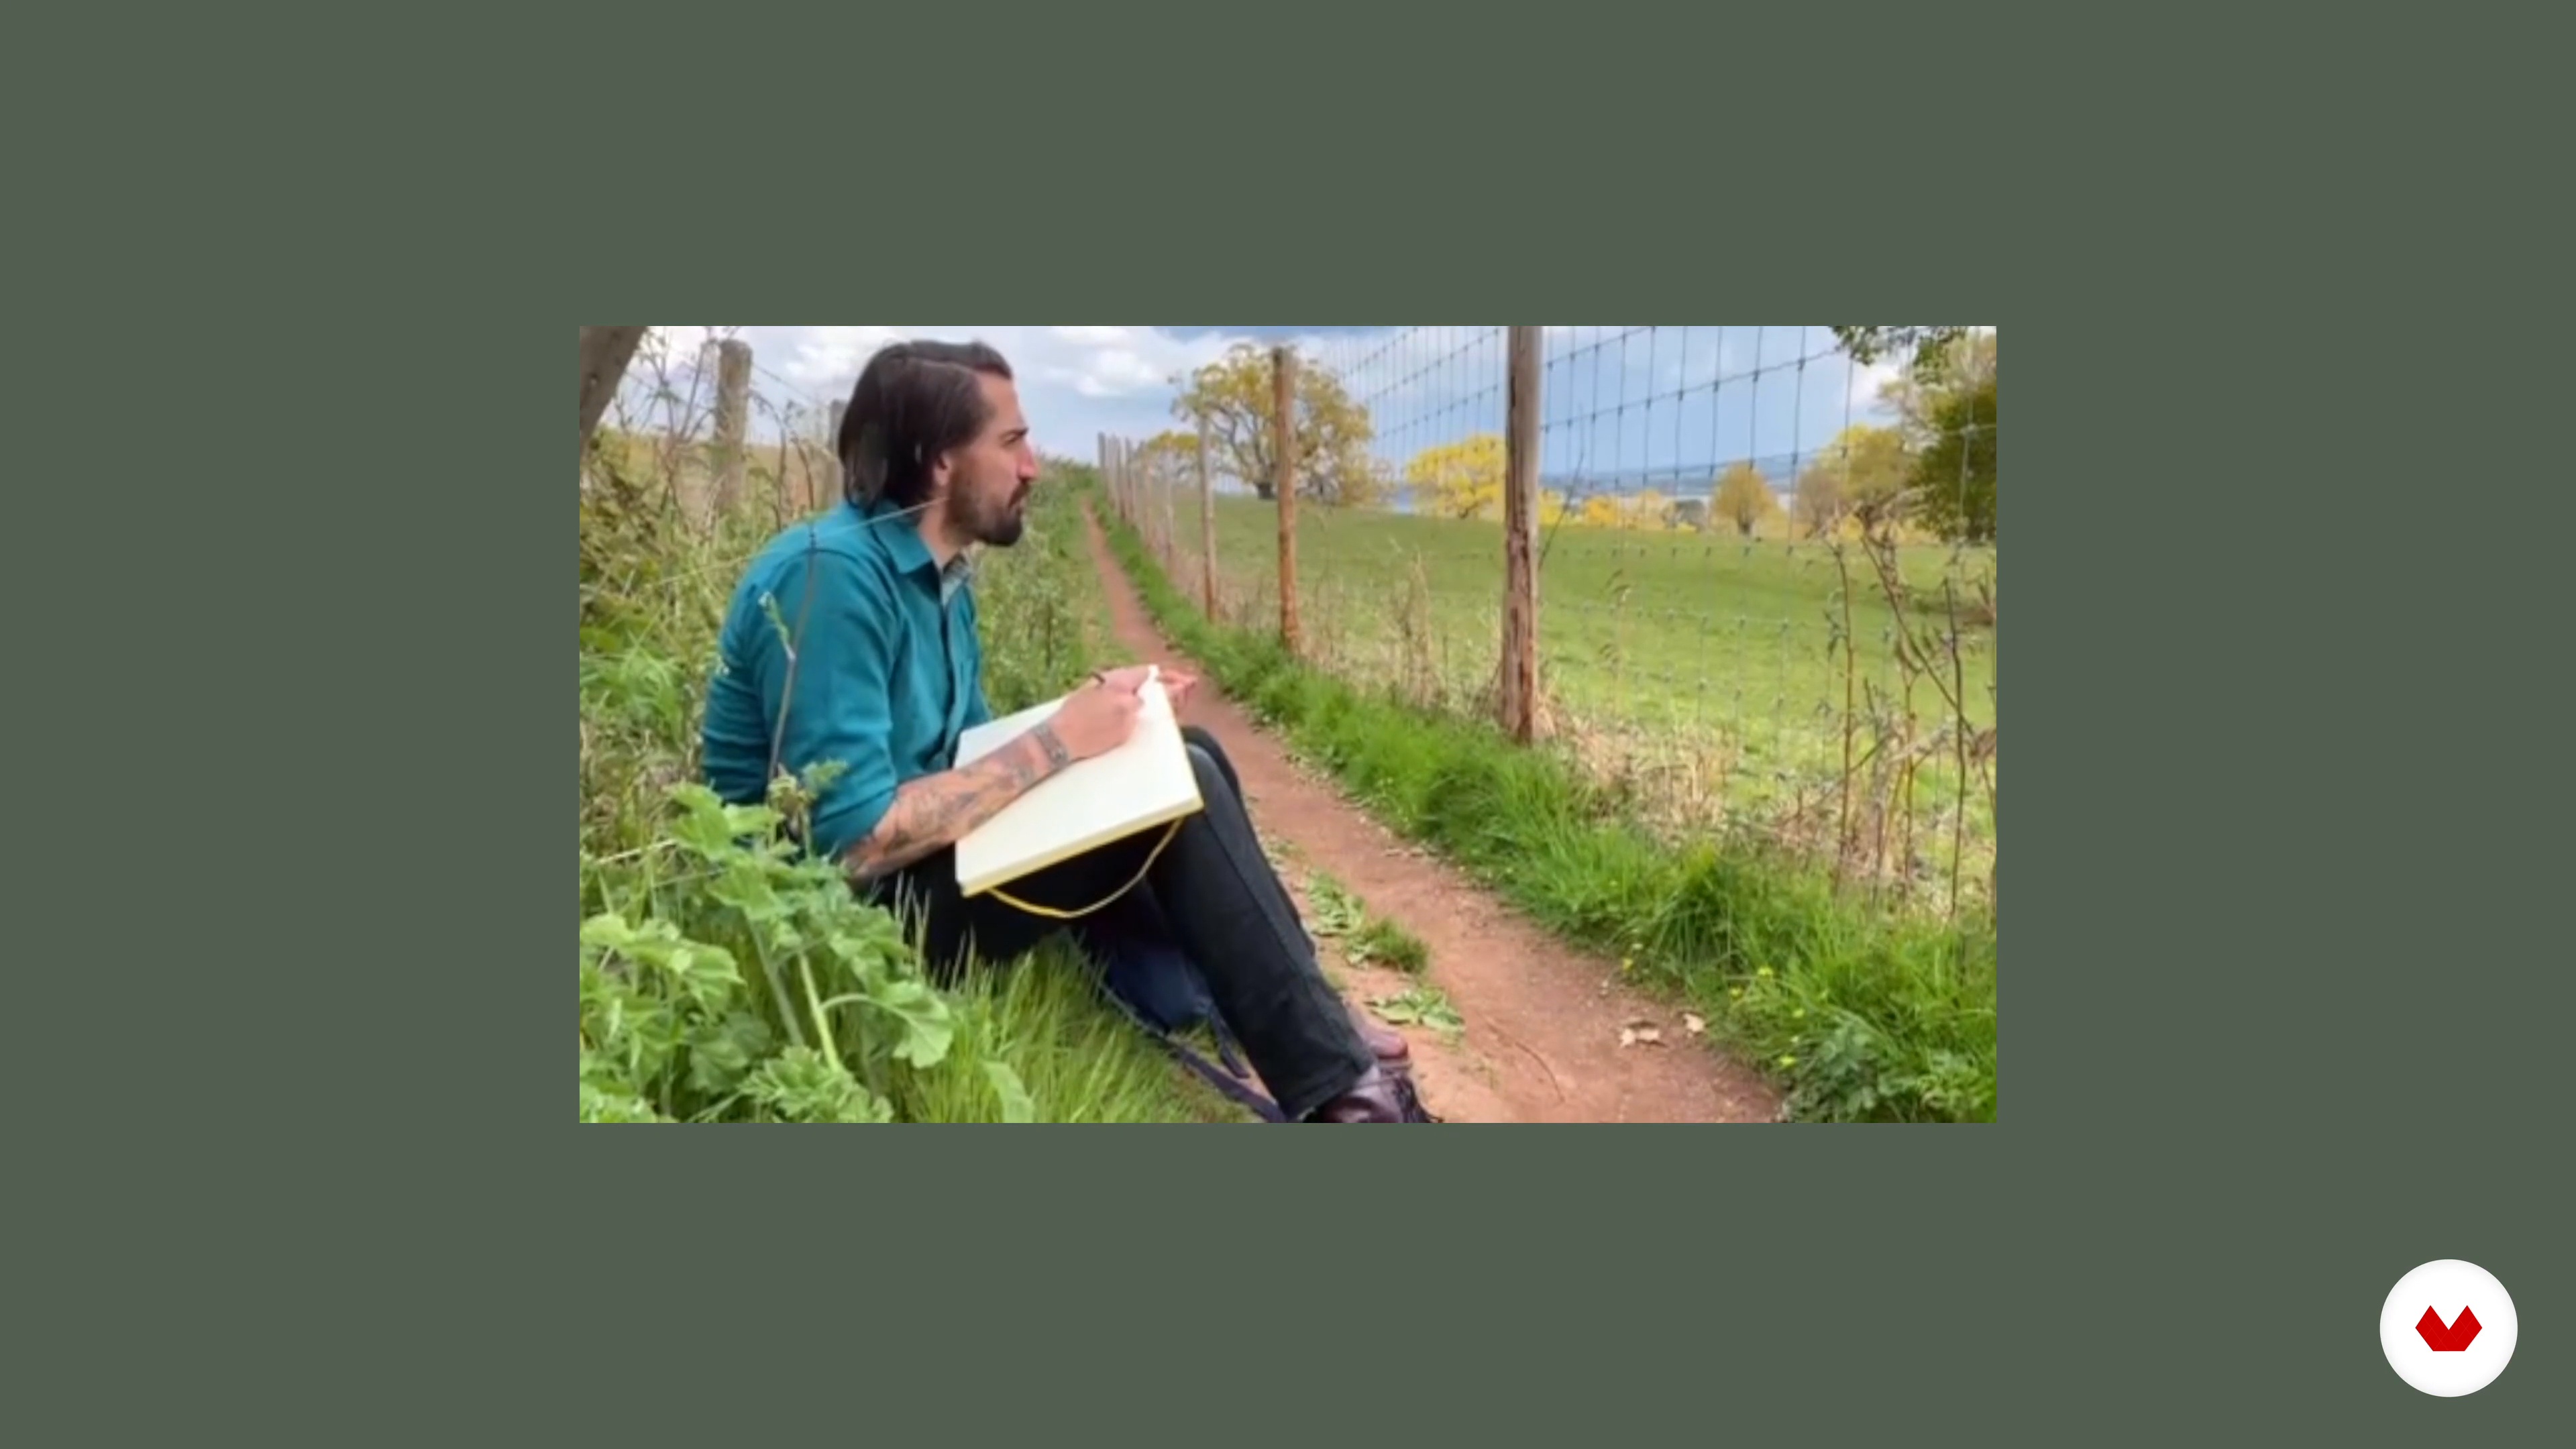
Let's take a walk with our sketchbook. In this lesson, we will go out and collect elements from nature and draw them, studying their form and shadow.
14m
image
9
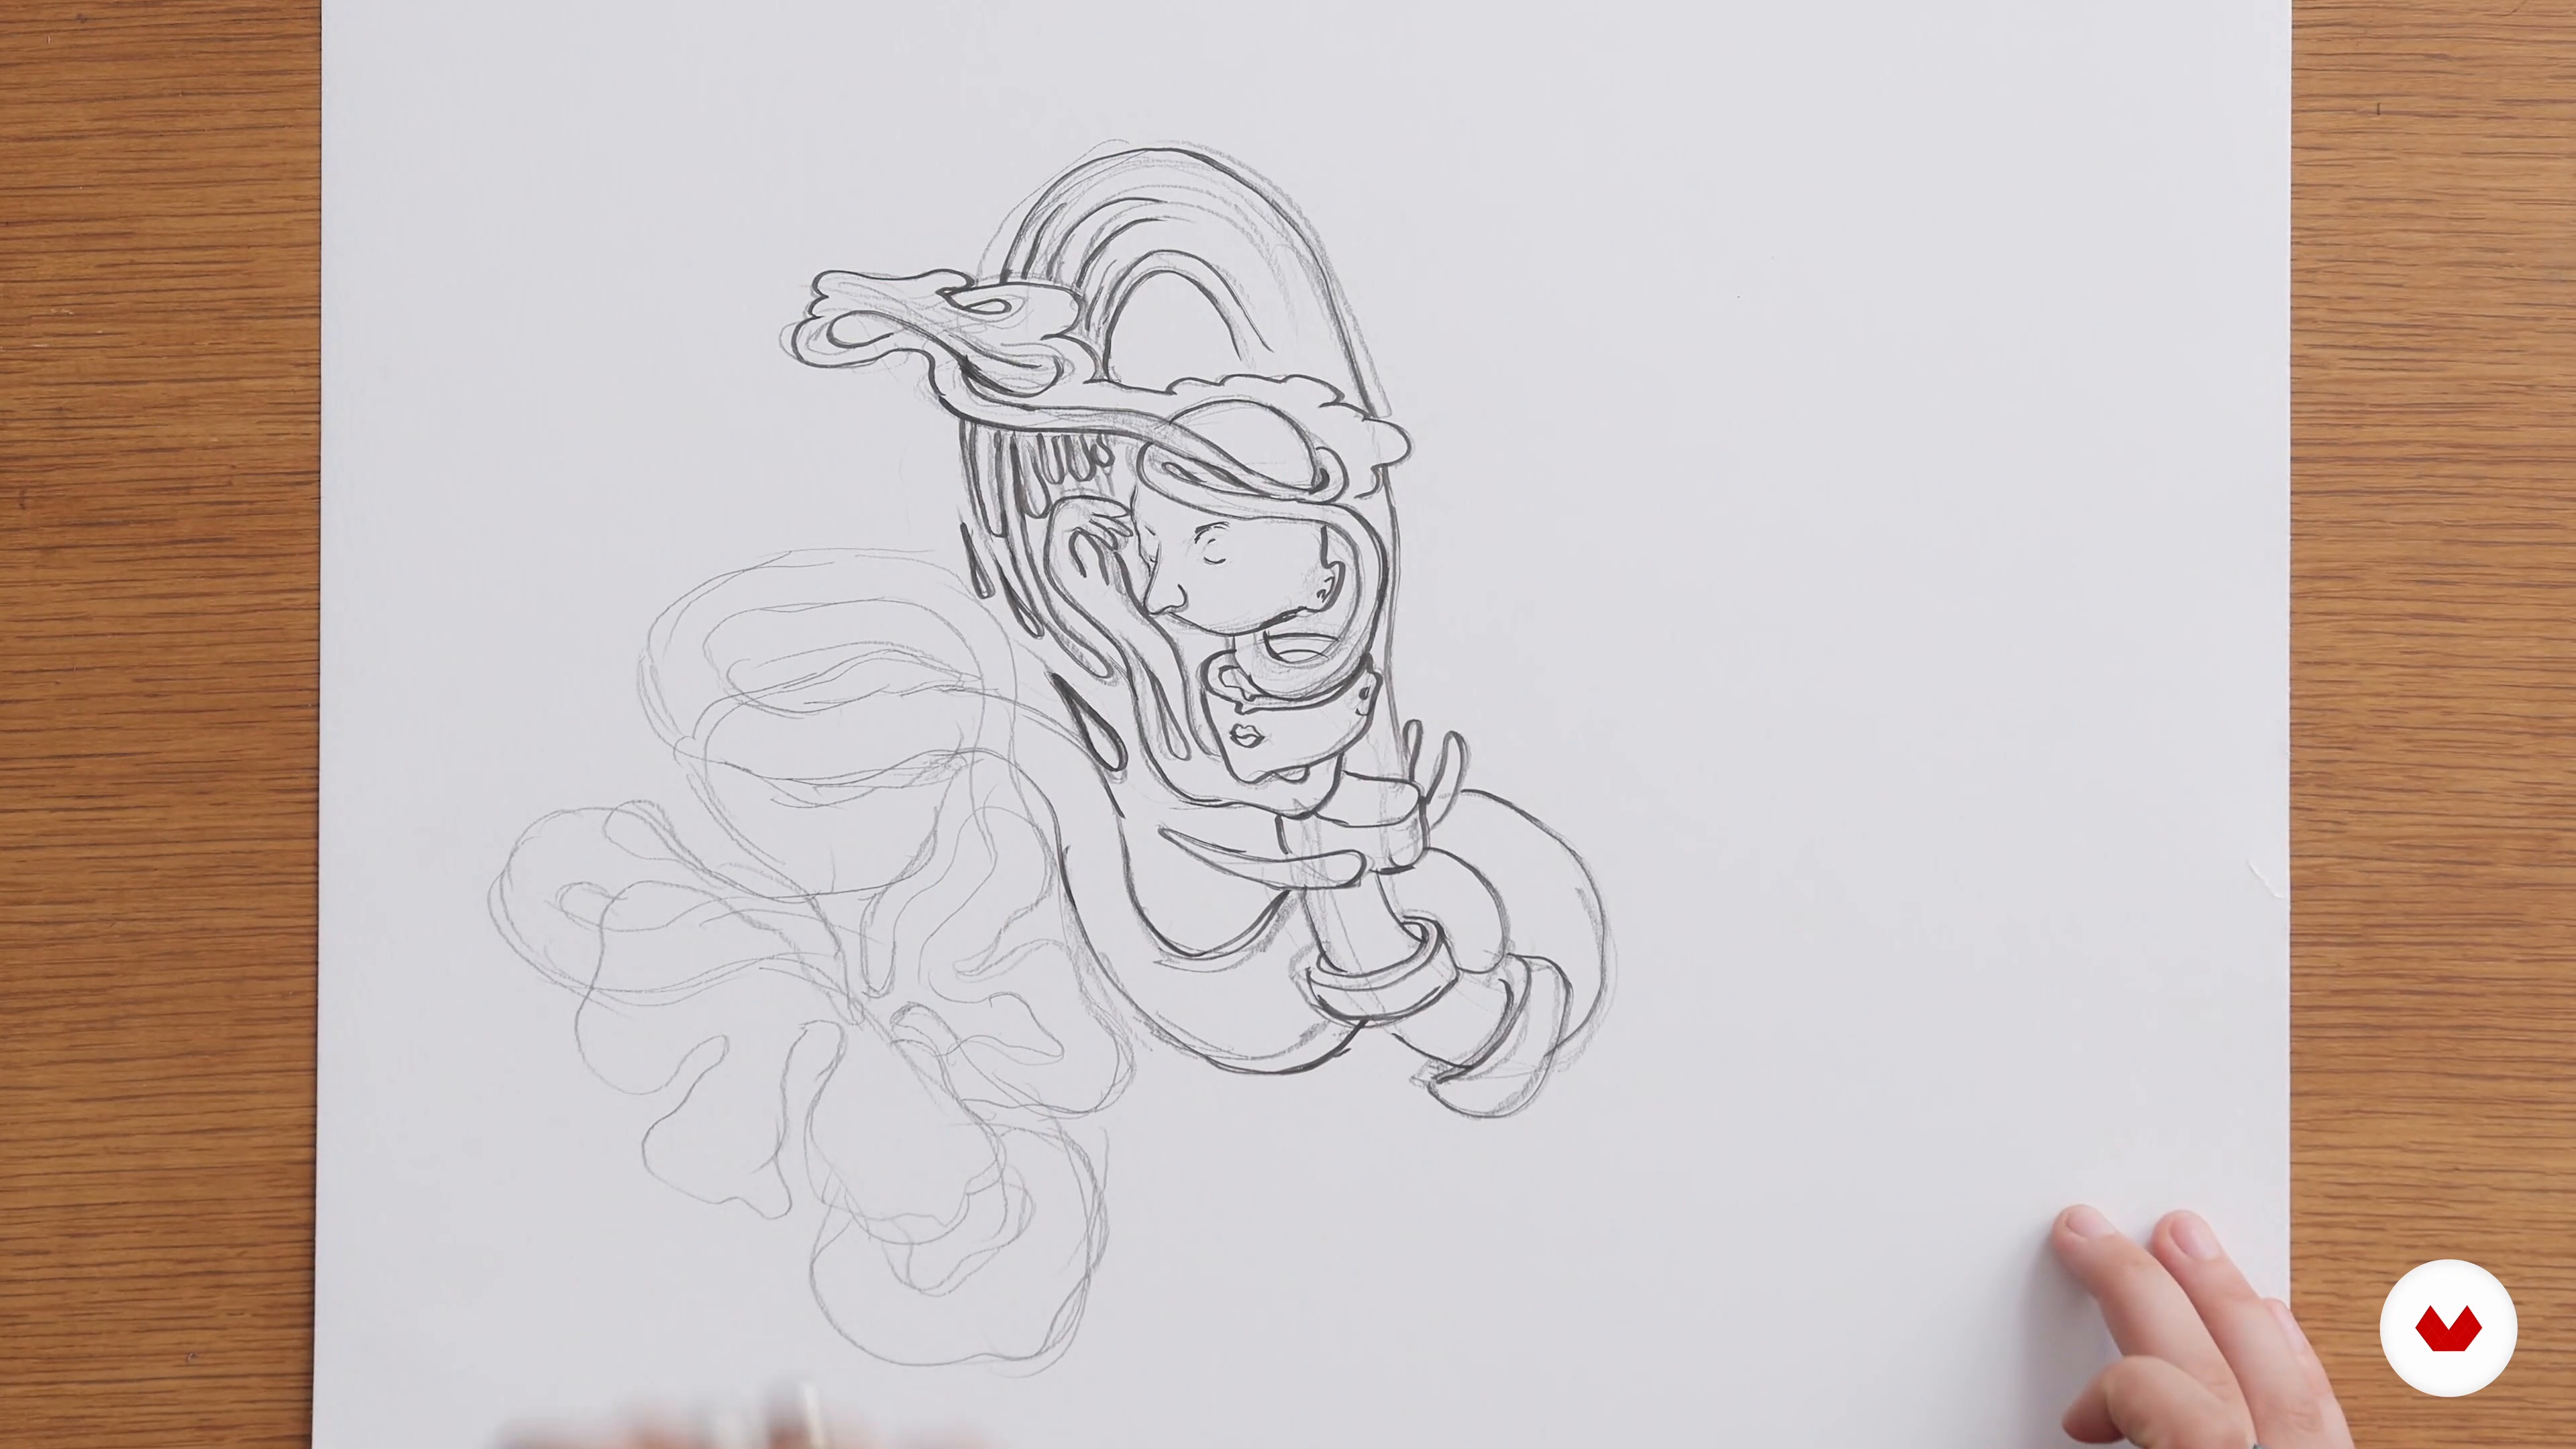
Sketching Your First Ideas
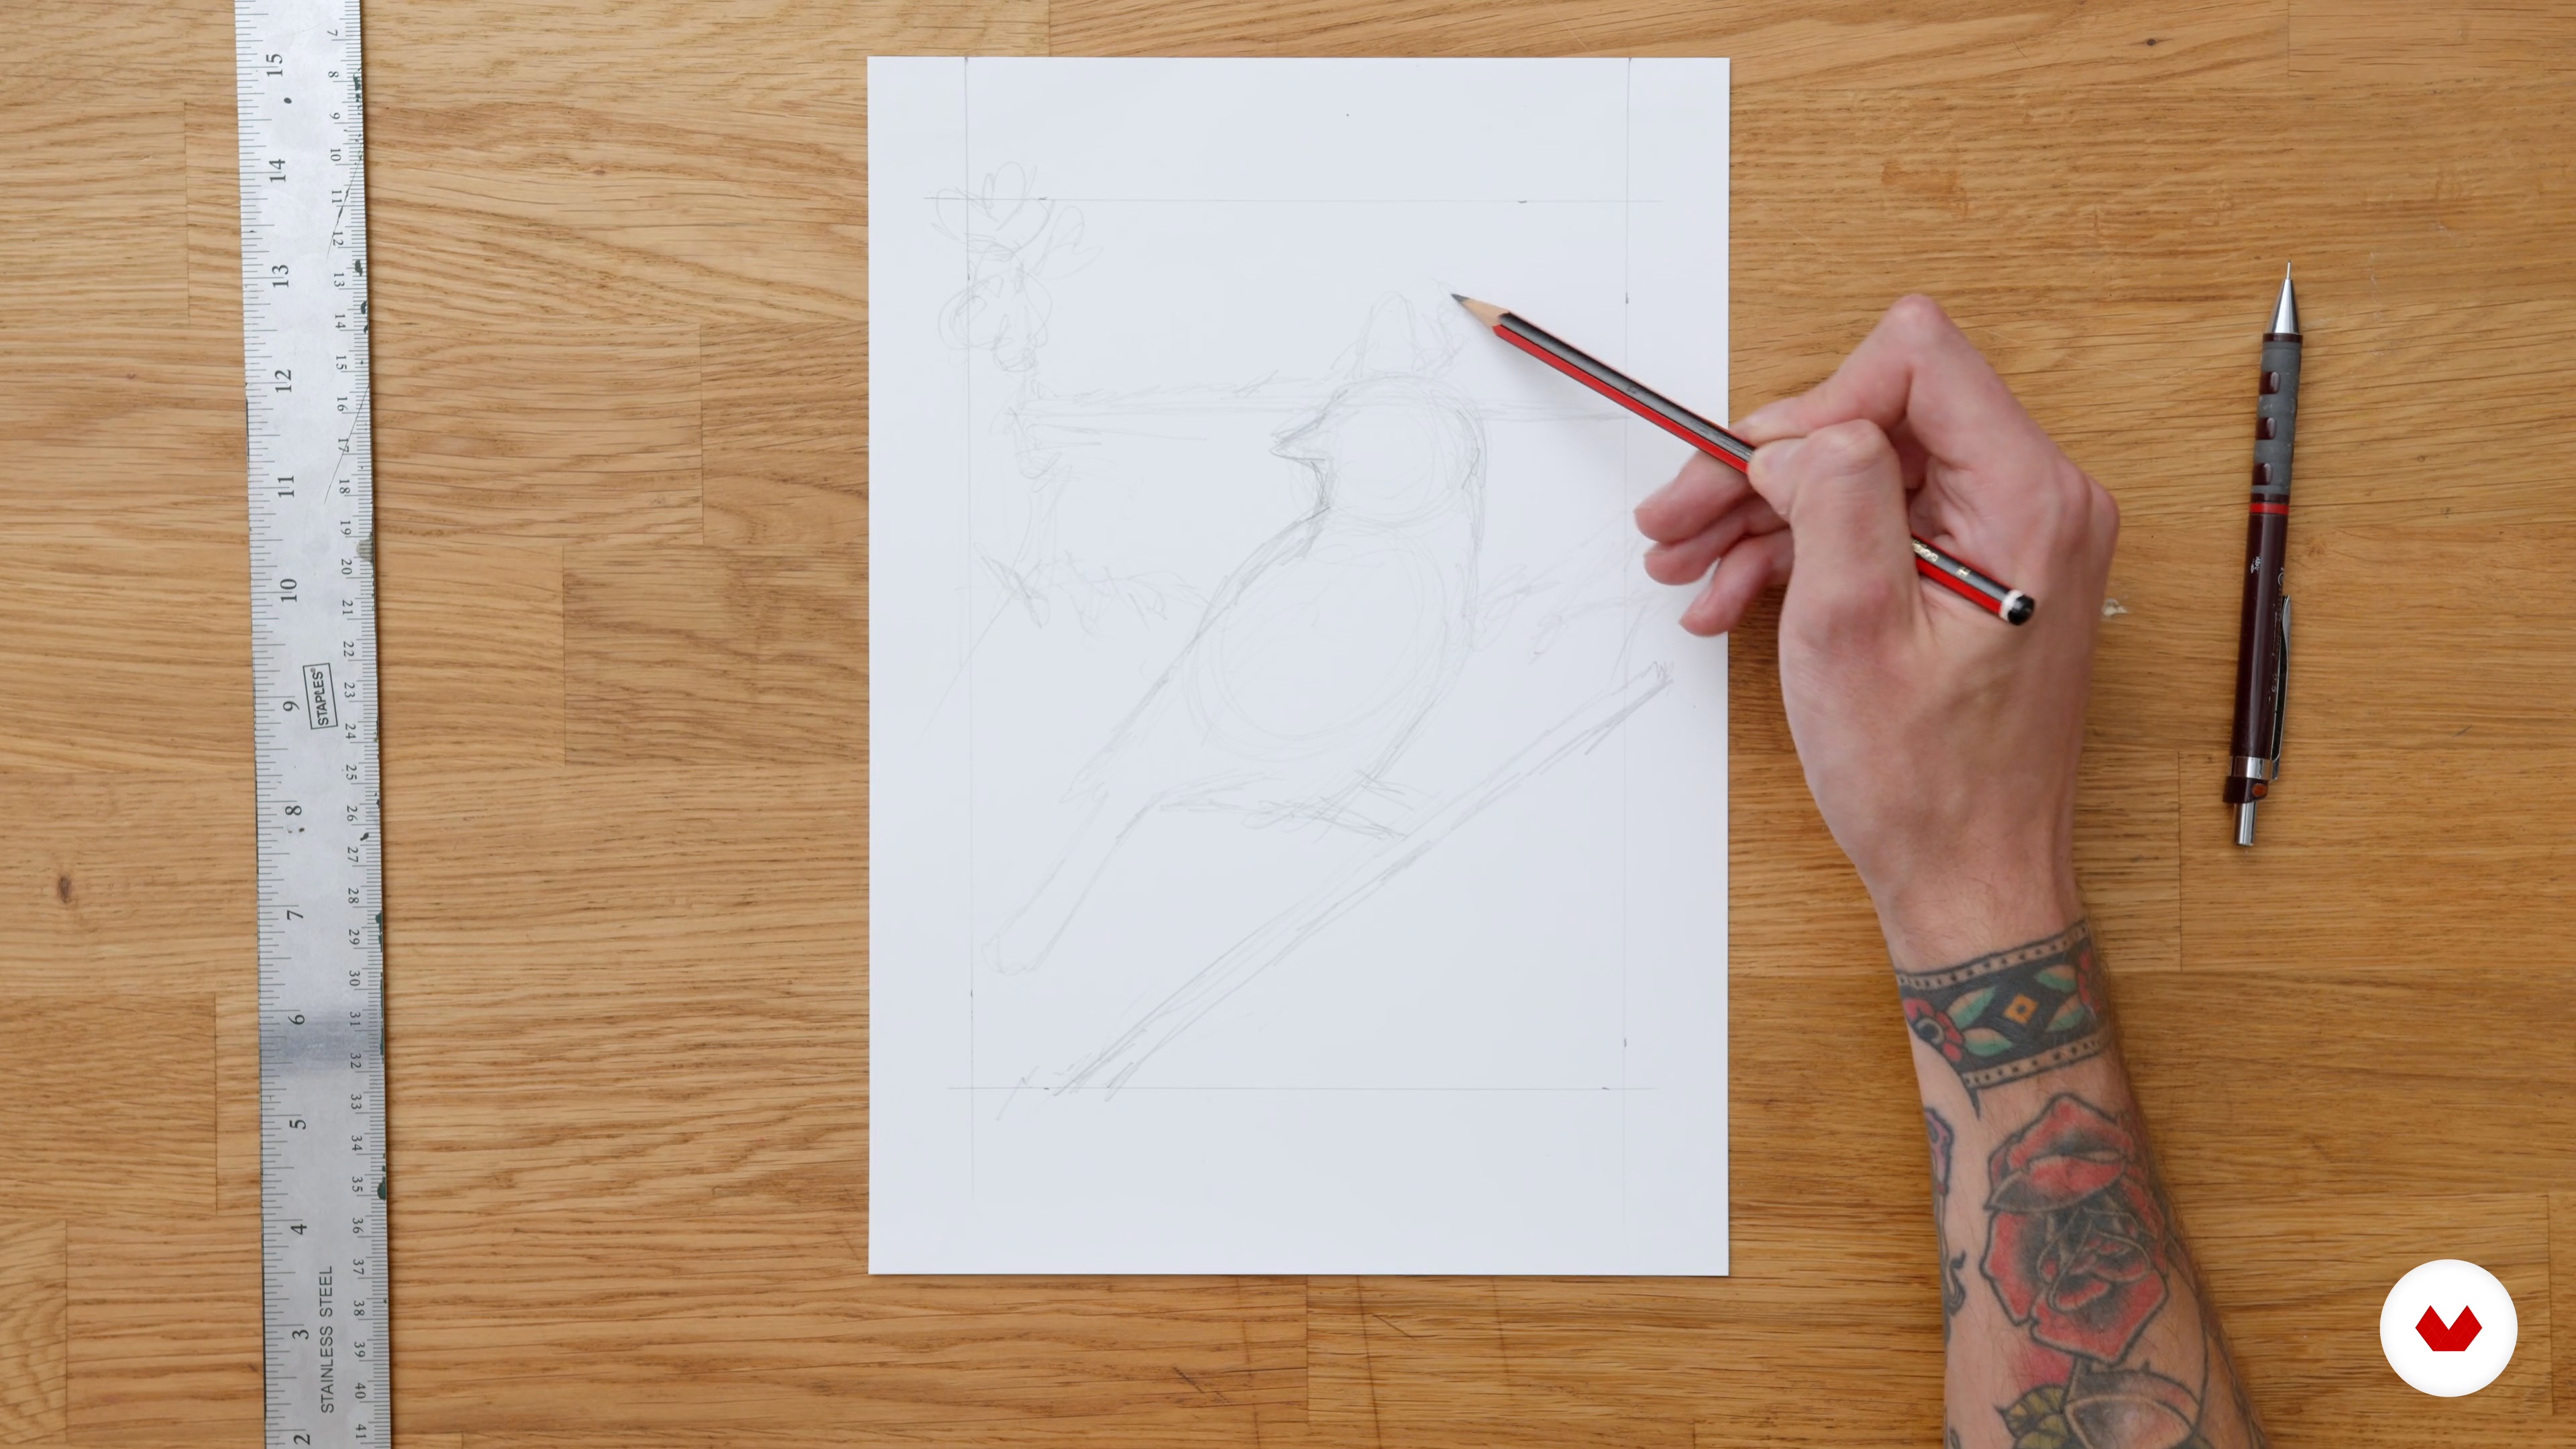
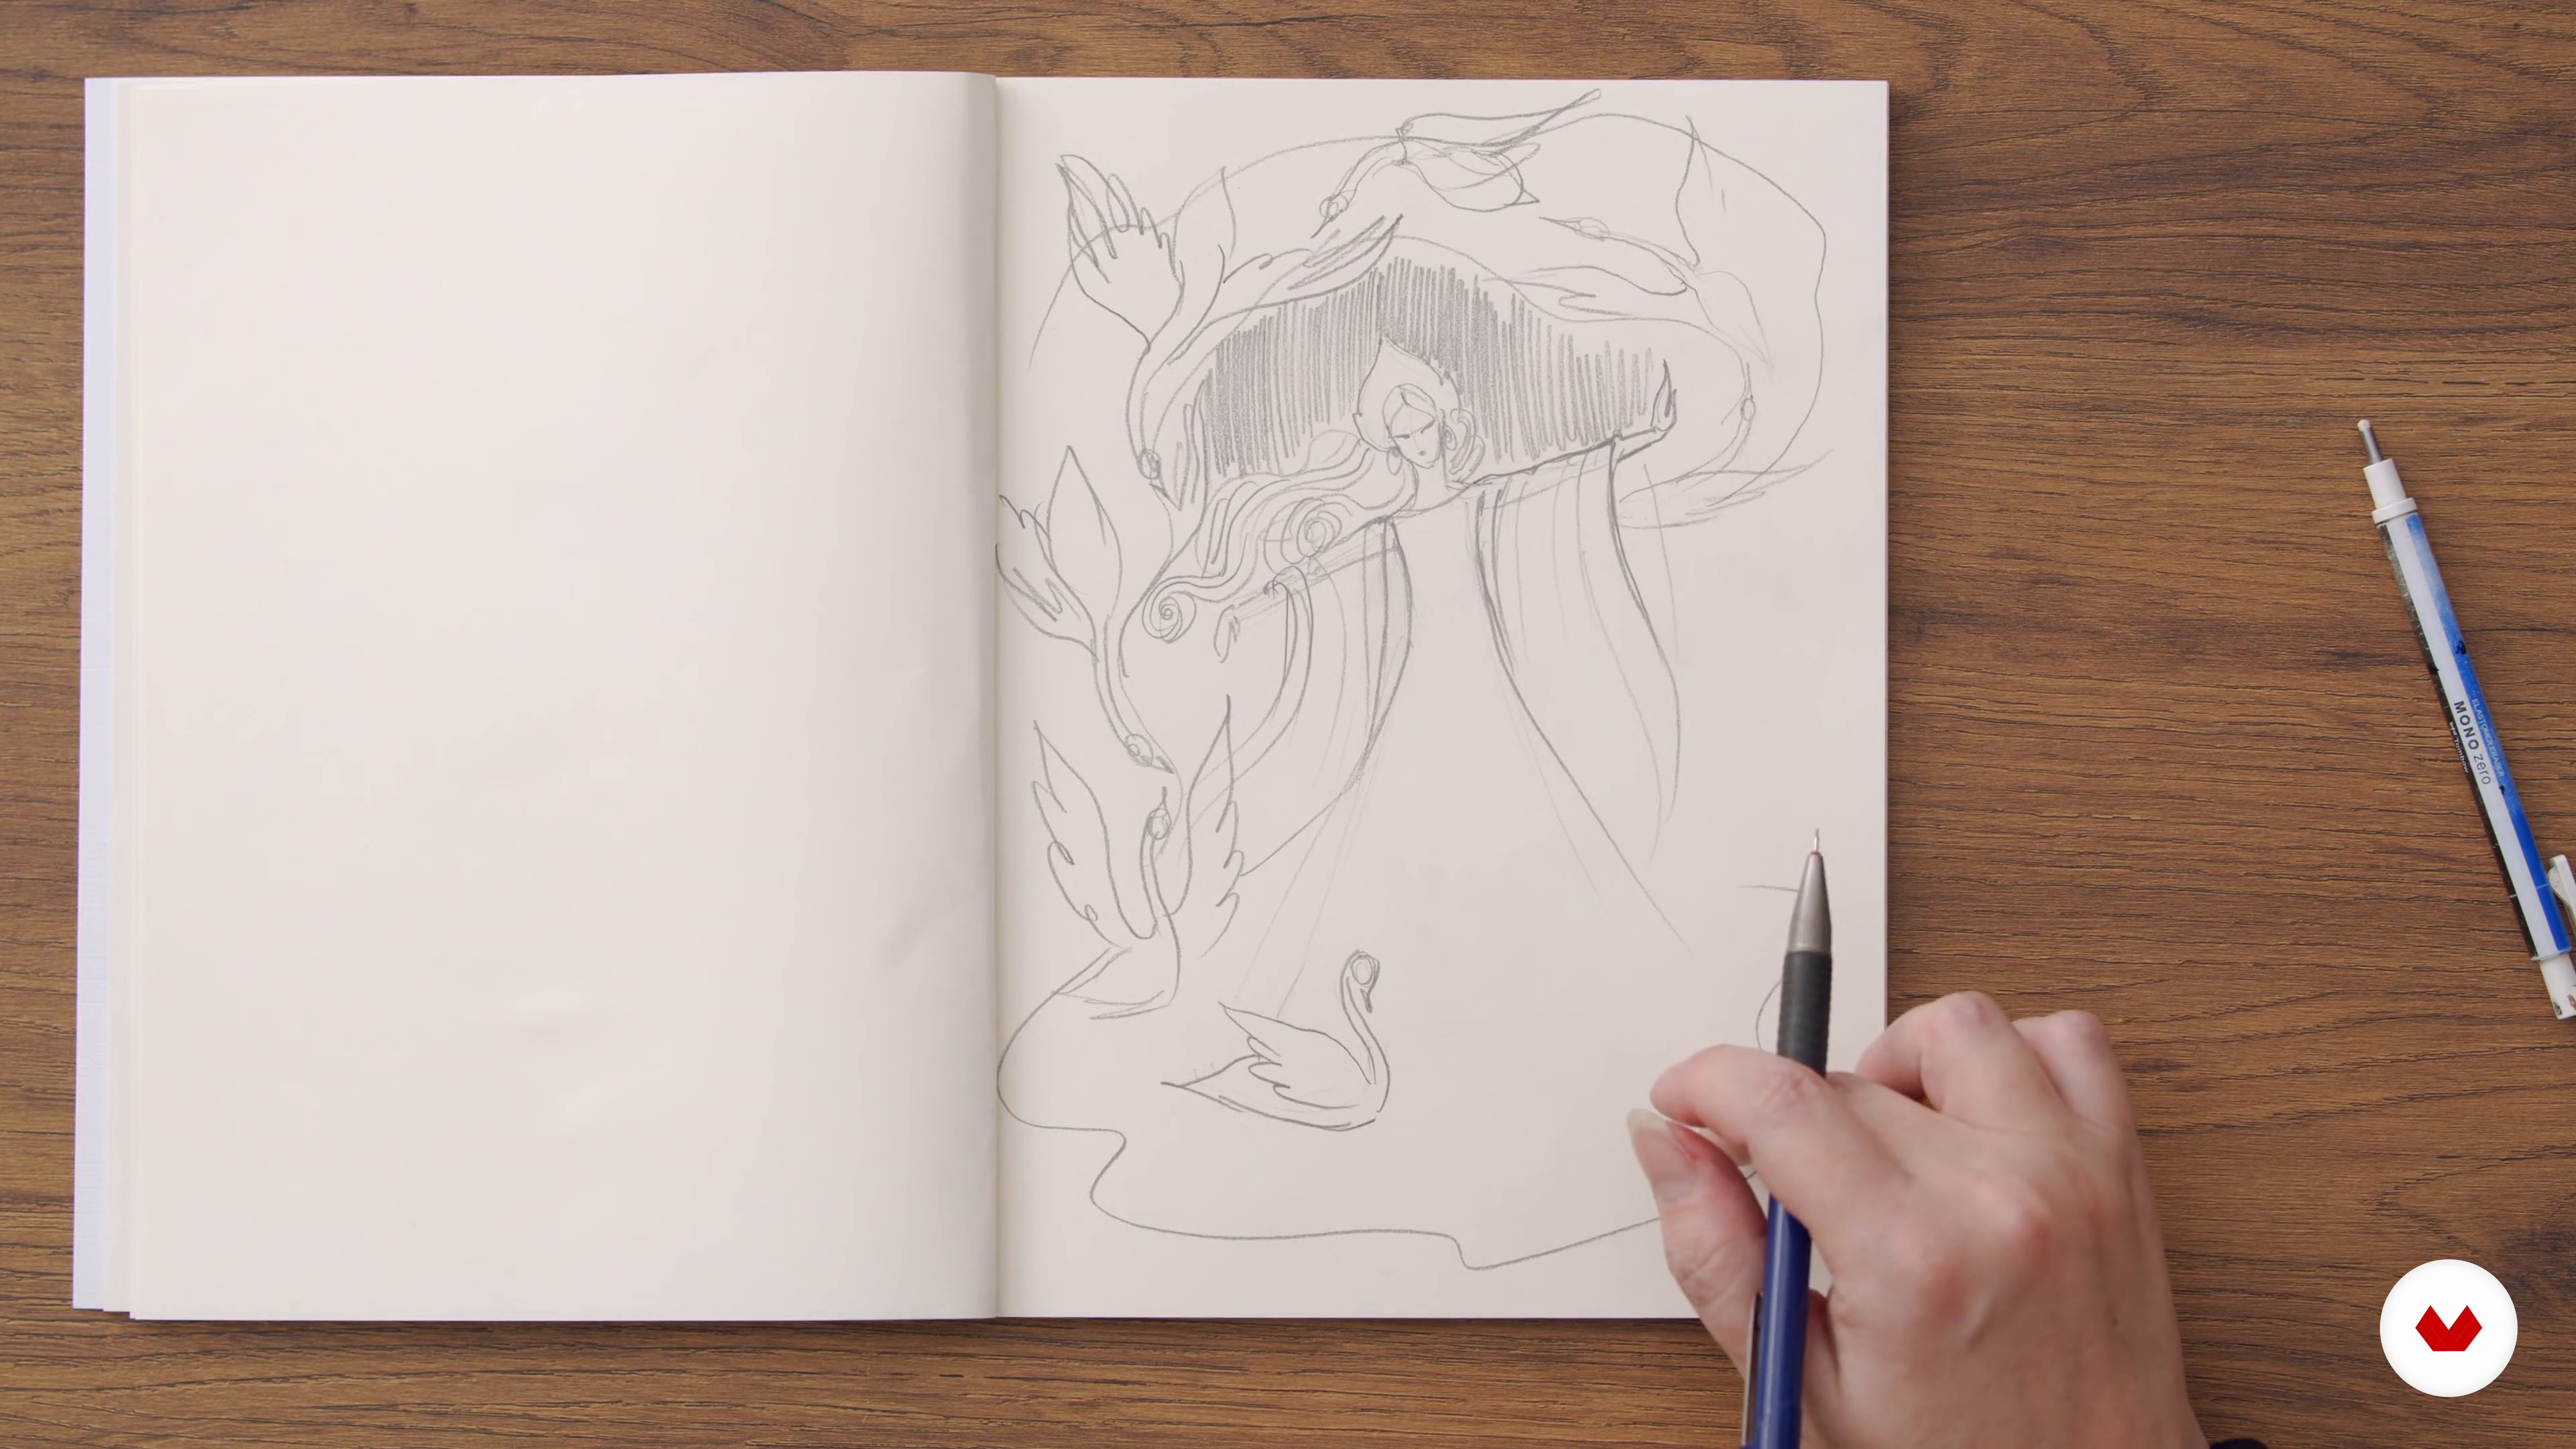
I will begin putting together a composition and sketching the elements for the artwork. Don't be afraid to explore different compositions an dimensions.
17m
image
10
Basic Outline in Ink
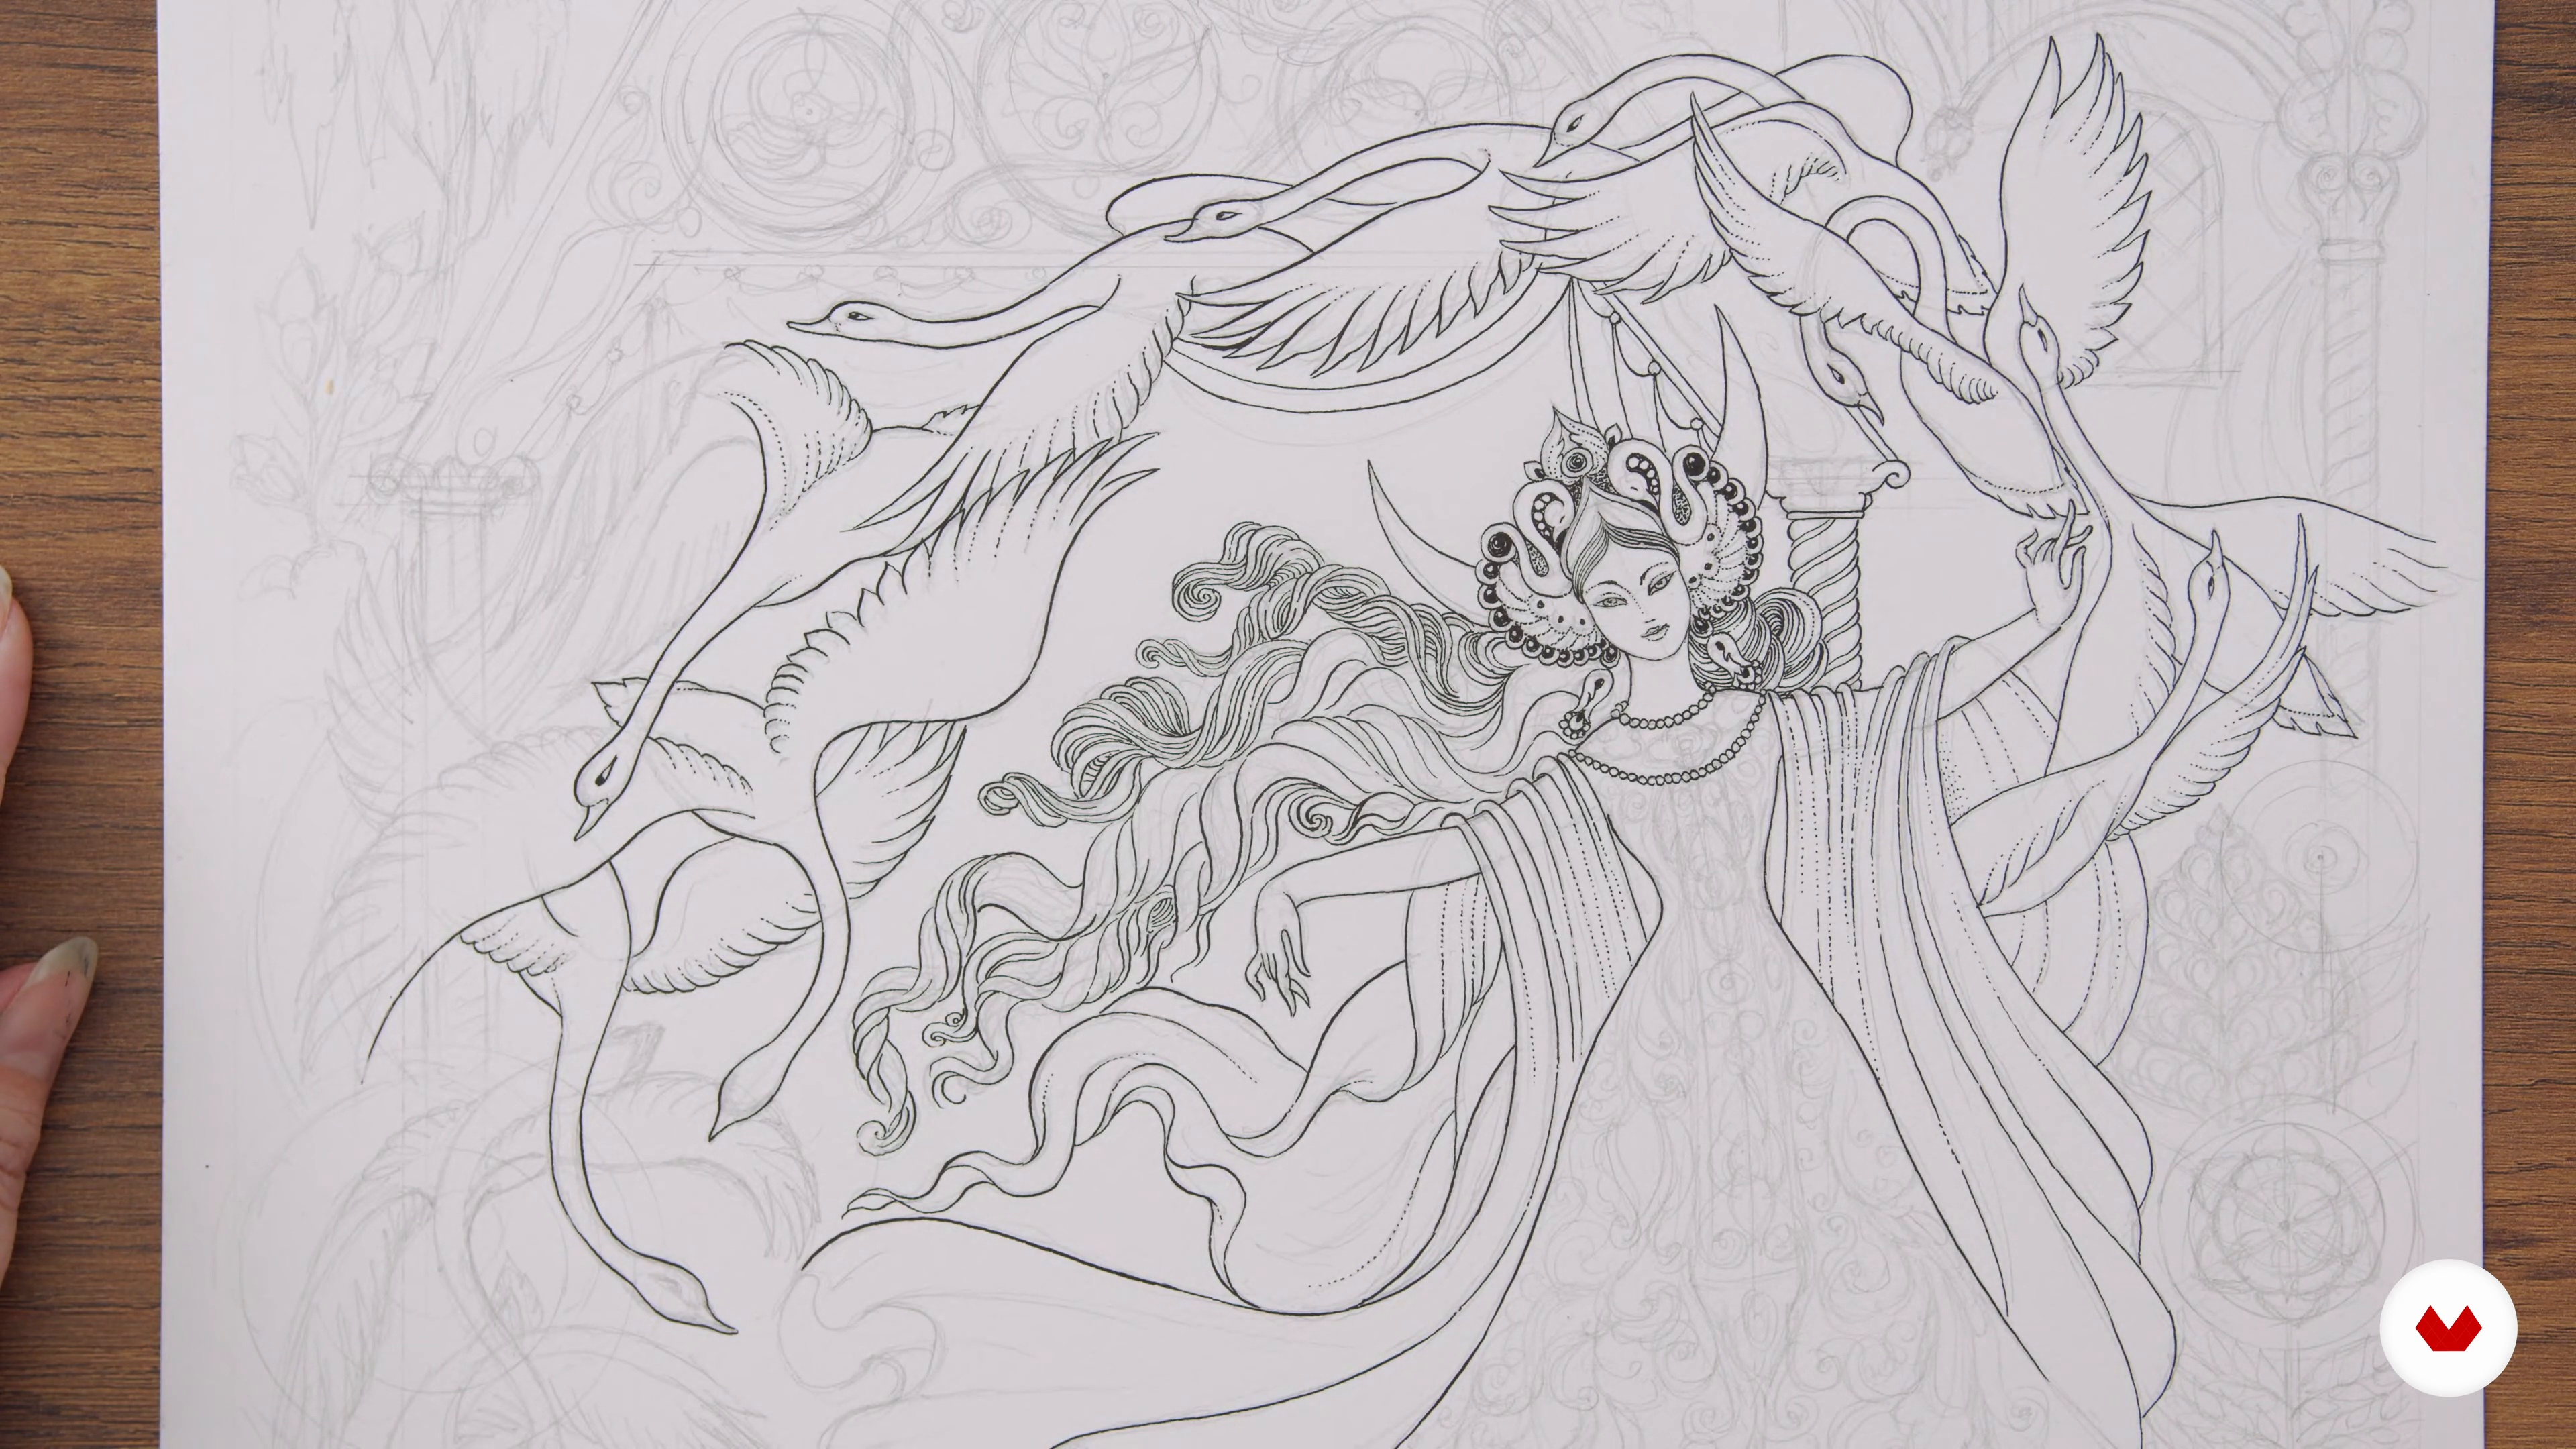
With the sketch ready, you can add linework to the illustration just focusing on the outlines of the elements.
19m
image
11
Cross-Hatching and Fine Line Work
In this lesson I will begin to add tone and texture with cross-hatching. I will build the tone to add depth, shadow and texture to the illustration.
20m
image
12
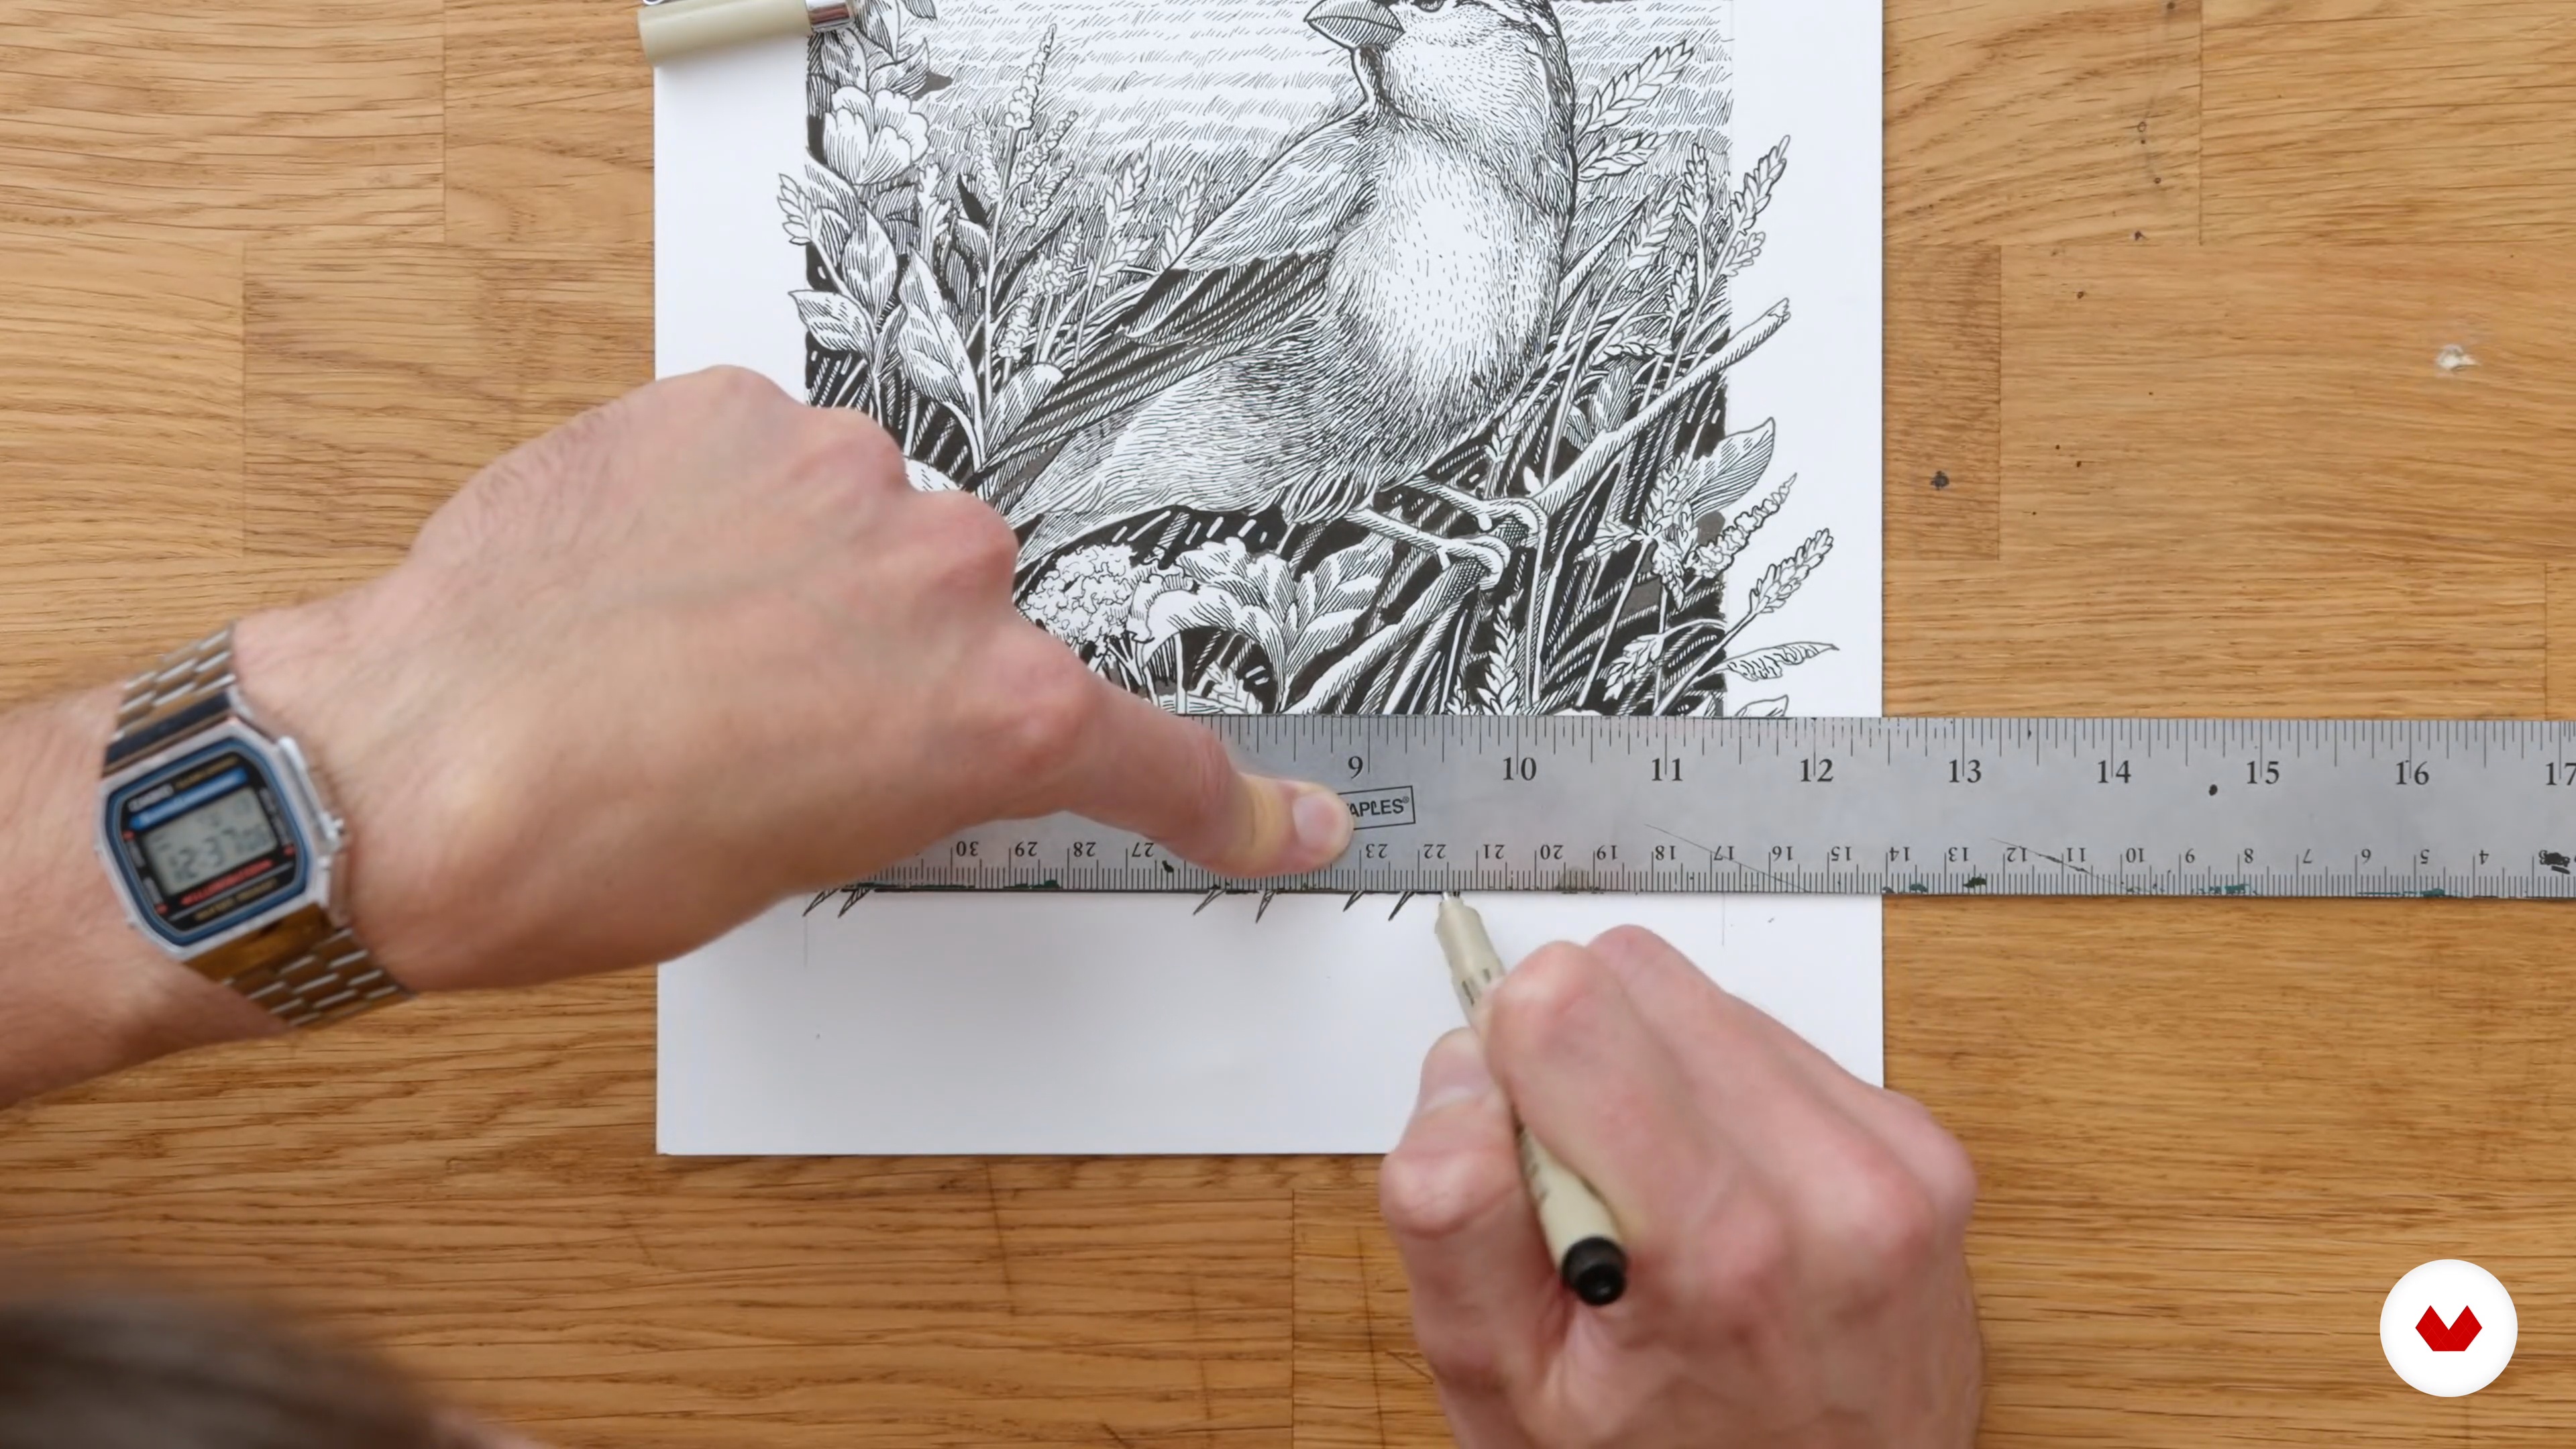
Adding Your Border
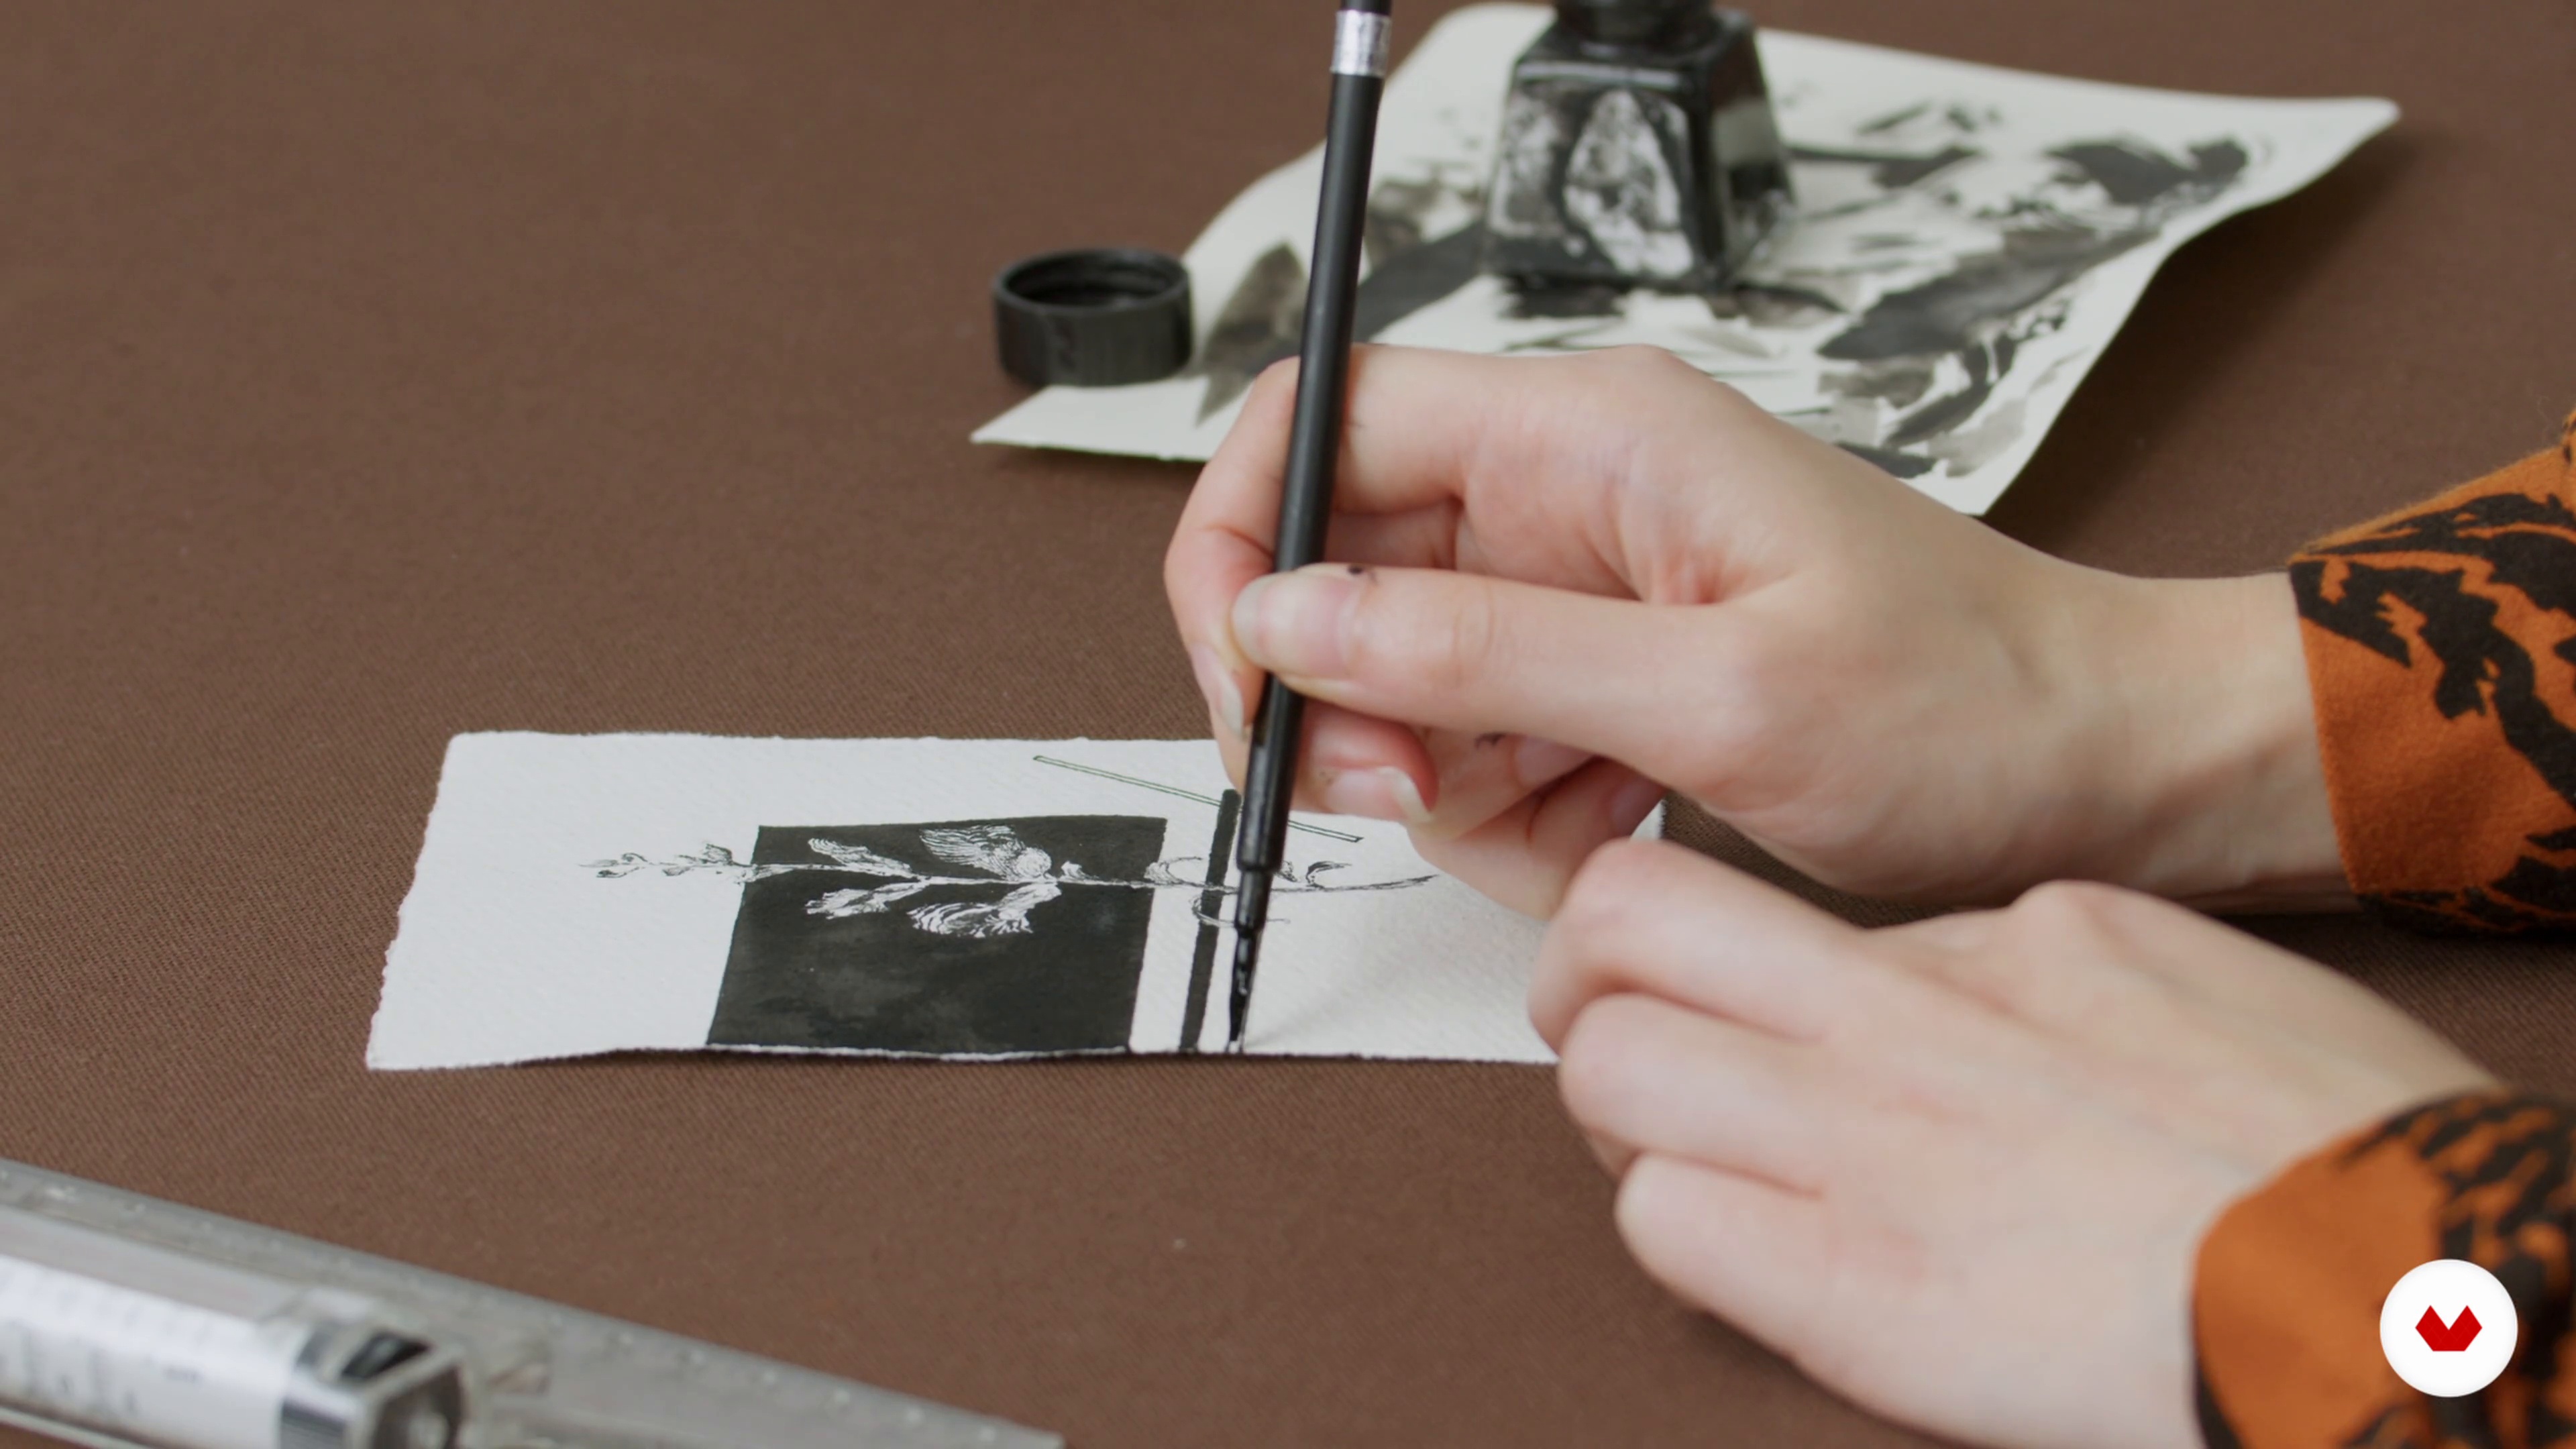
Now it's time to add the finishing touches by adding a border with your ruler and fine liner.
4m
image
13
Sharing and Selling Your Ink Sketches
I will talk about scanning your work and give you a few platform options where you can sell your prints on.
1m
image
3
Materials
Here I will show the materials I will use for my drawing. I encourage you to use a drawing nib and ink, but you can also do the final drawing with a regular black roller pen or ballpoint pen.
3m
image
4
The Magical World of Fairy Tales
Let's get you in the mood :). The key thing to take away from this lesson is the mindset necessary for illustrating a fairy tale: learn to treat fantasy and reality as one and the same. Here I will discuss why. After that I will tell you my fairy tale of choice and pick a scene to illustrate. Start thinking about which fairy tale you would like to visualize, if you haven't picked one already.
7m
image
5
Scene Selection and Draft Composition
In this lesson, I will share my criteria for scene selection and discuss the initial treatment of the scene. I will cover the key decisions you need to make for depicting the scene: what questions arise and how they have been previously resolved in artworks. If you don't have any ideas for an image at this point, that's normal. This is the brainstorming stage: posing questions is more crucial than finding the answers.
8m
image
6
The Importance of Research
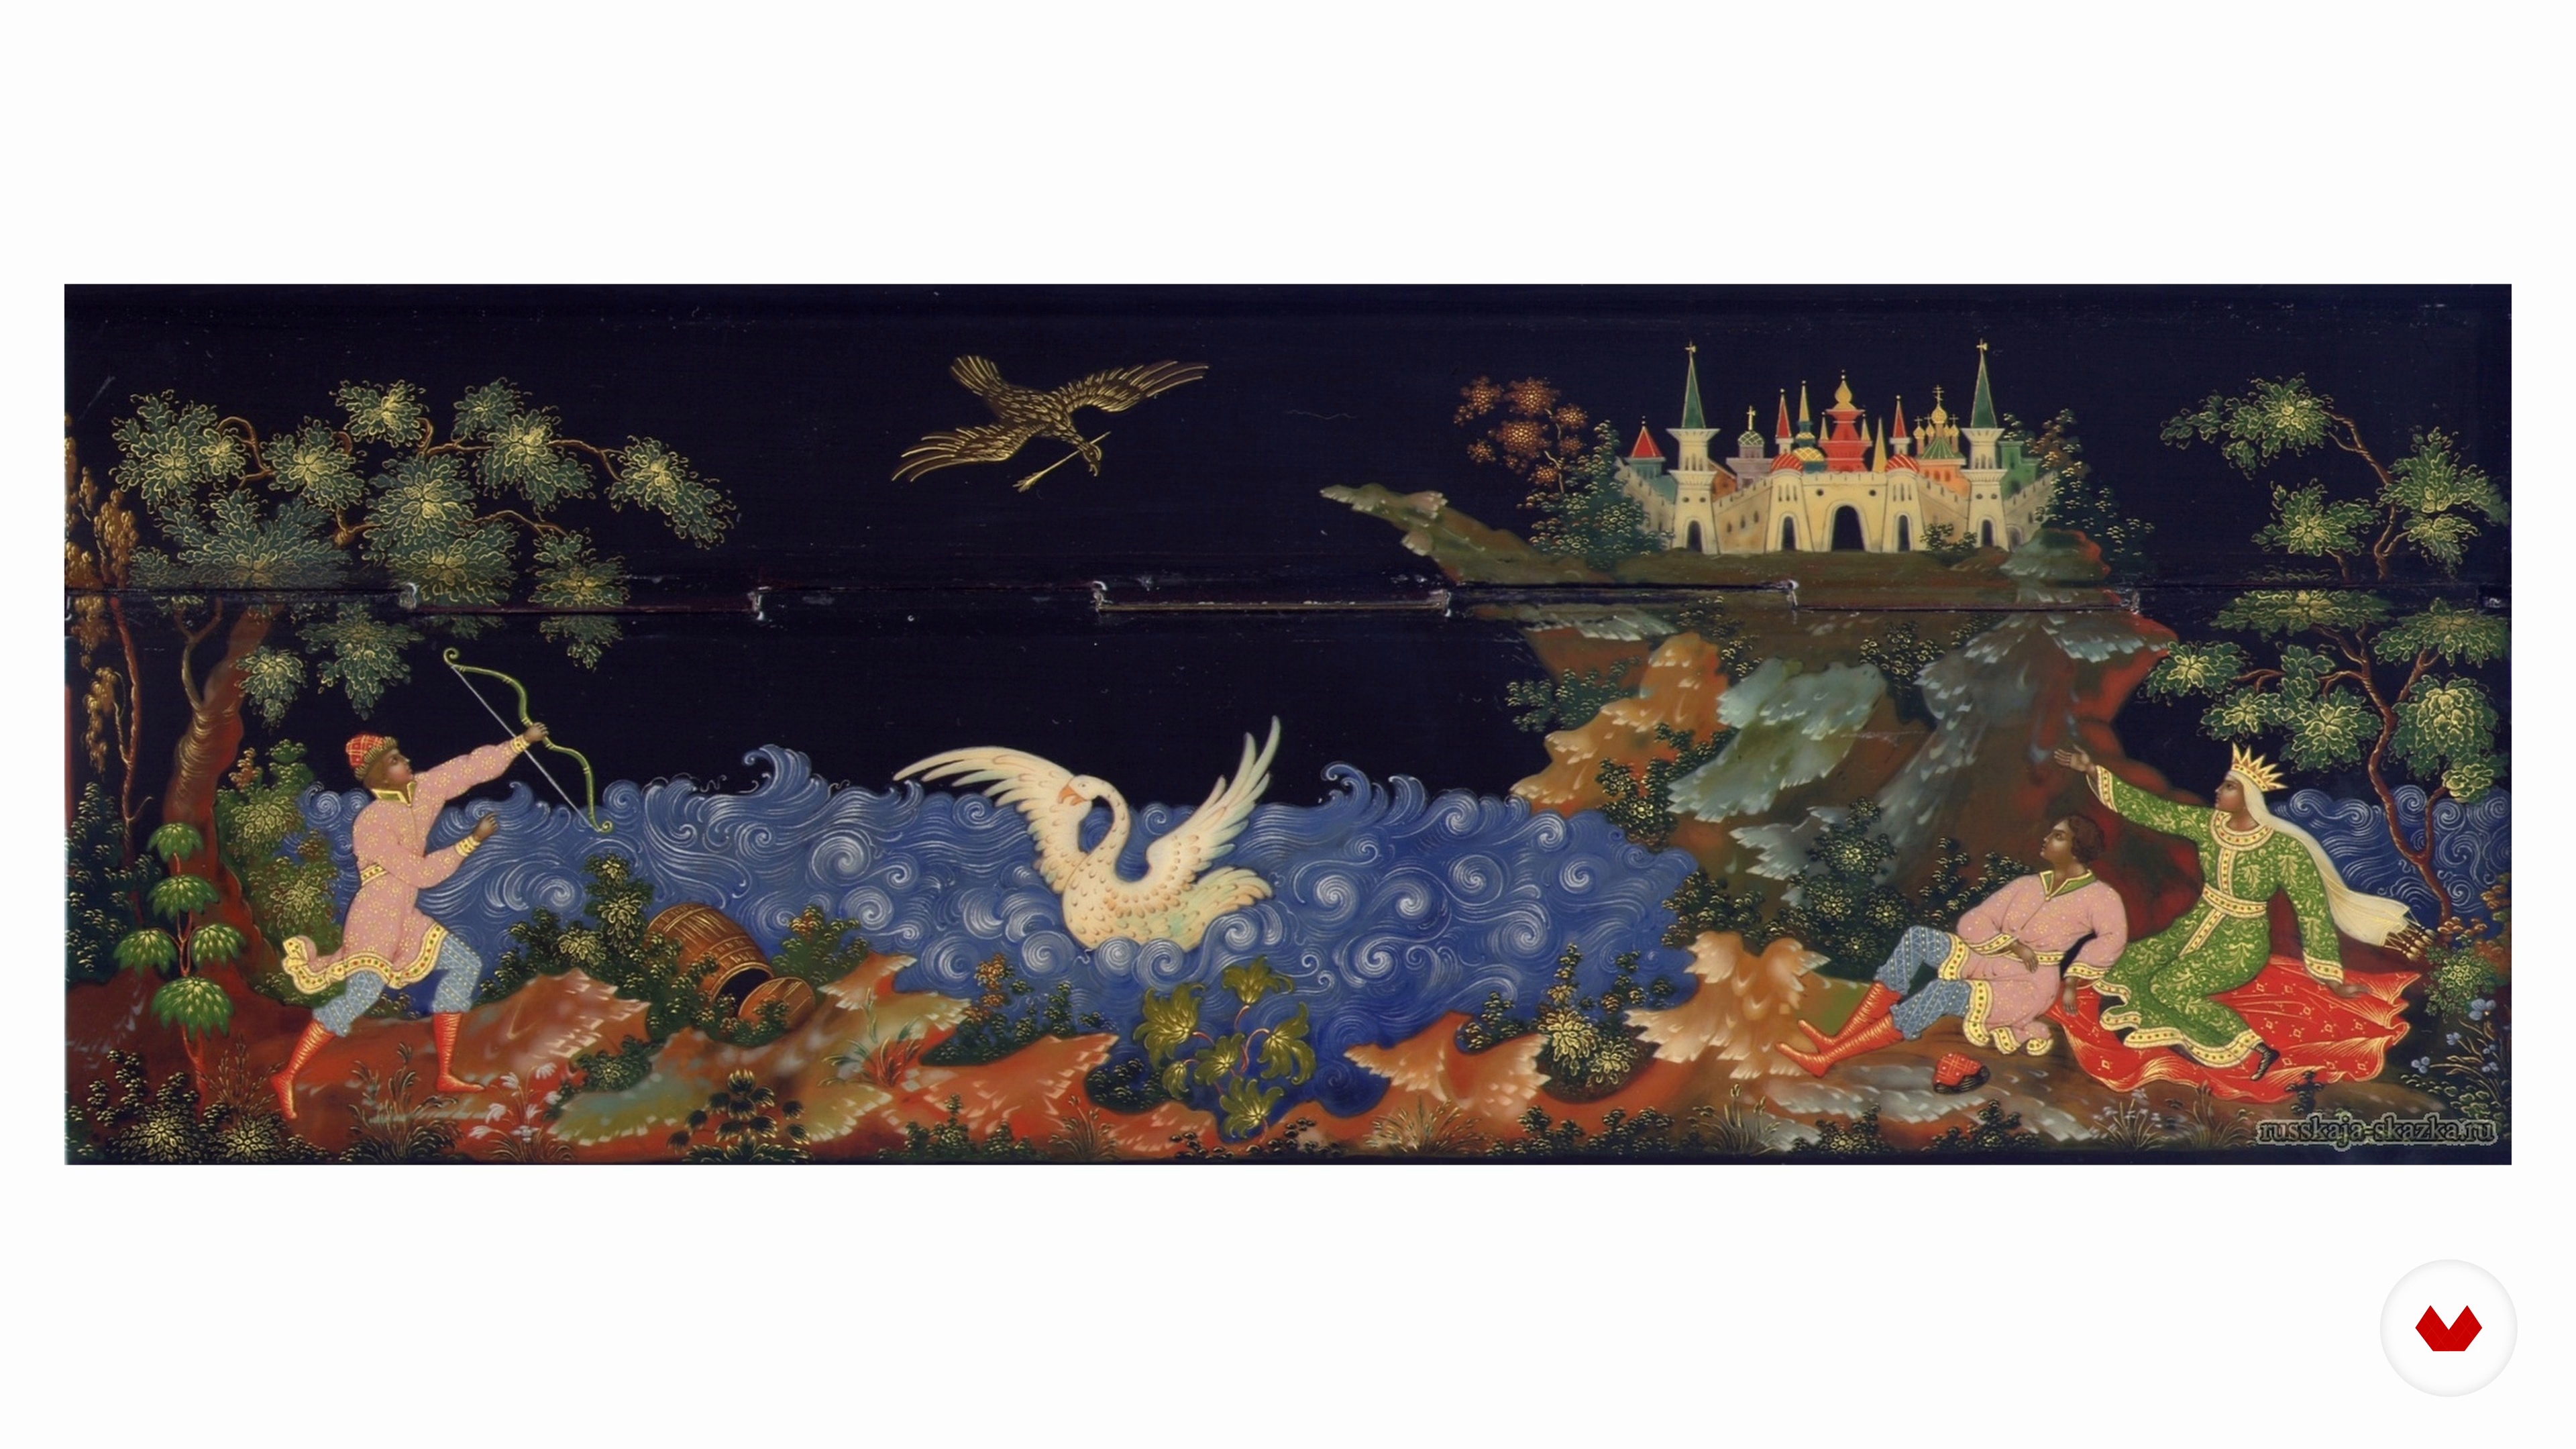
Next, it's time to find the answers to all those questions you brainstormed. I will take you through the research process that will help you to come up with a meaningful idea, fetching composition, and culturally authentic details. You will gather many references and allow the ideation phase to simmer down, before committing to any ideas for the final sketch.
8m
image
7
Final Sketch and Tonal Scheme
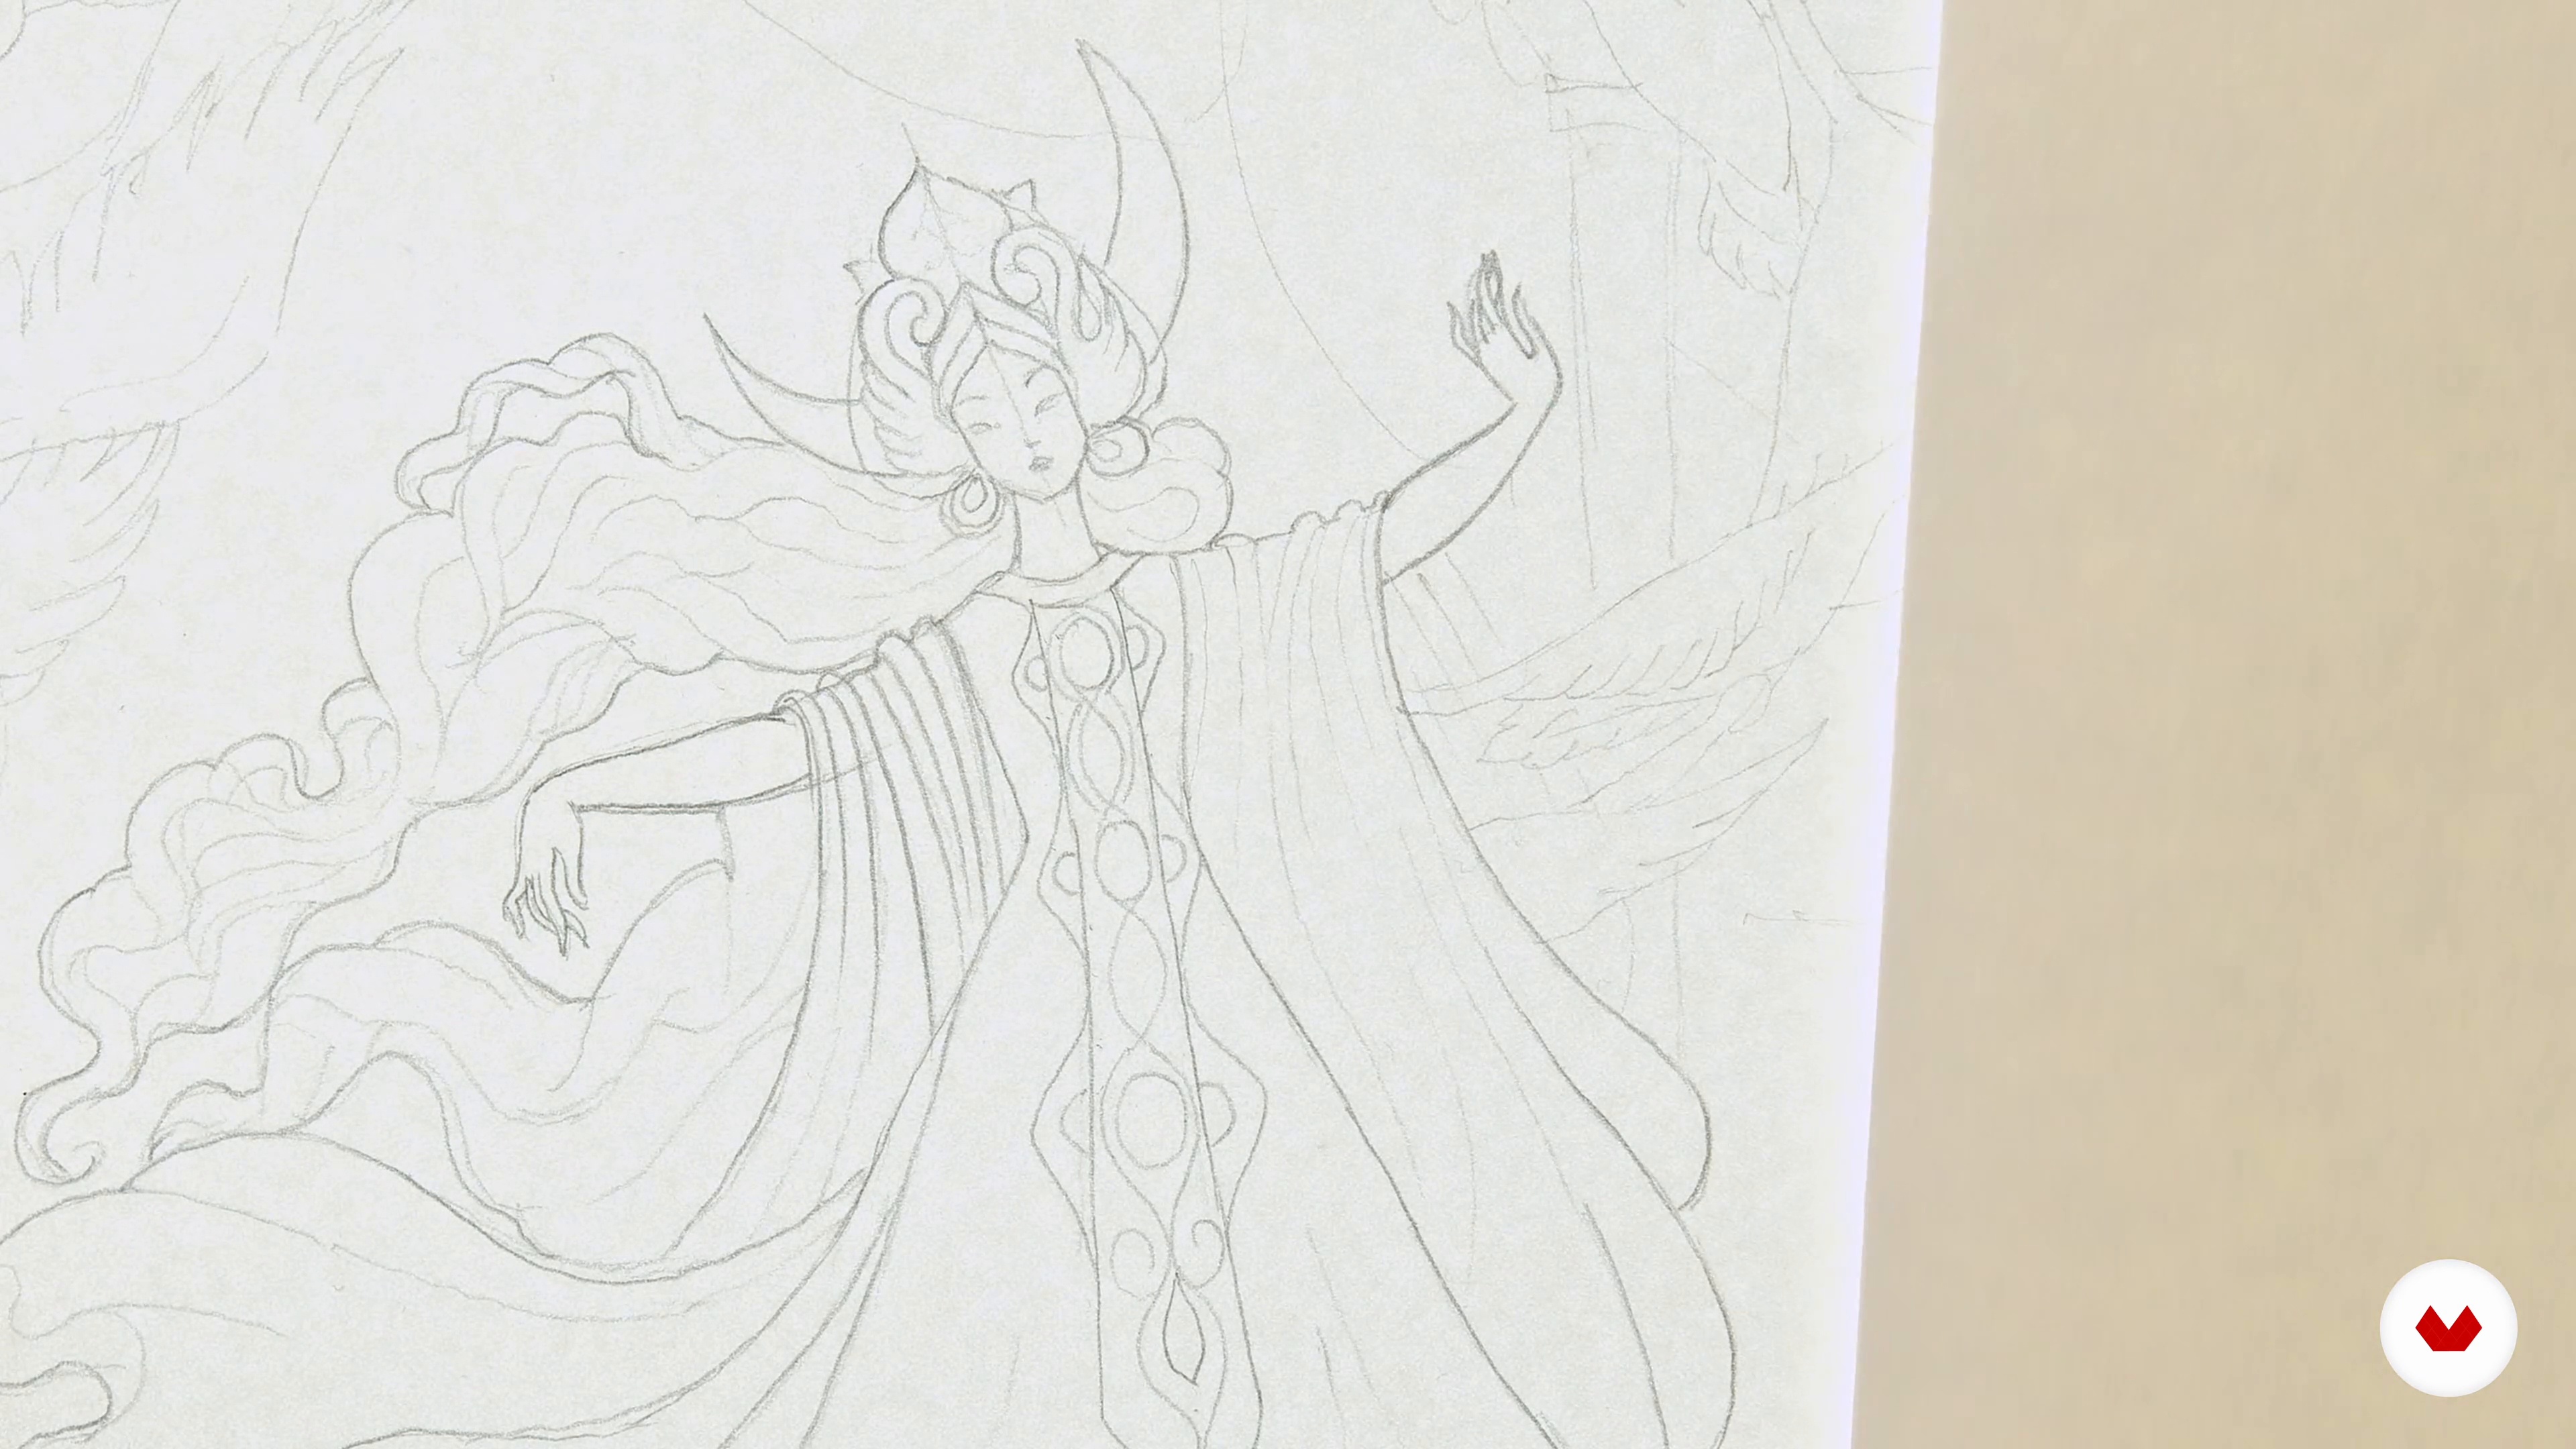
In this lesson, I will demonstrate how to draw a detailed sketch to test all the ideas, both in terms of composition and tonality.
20m
image
8
Working with Ink
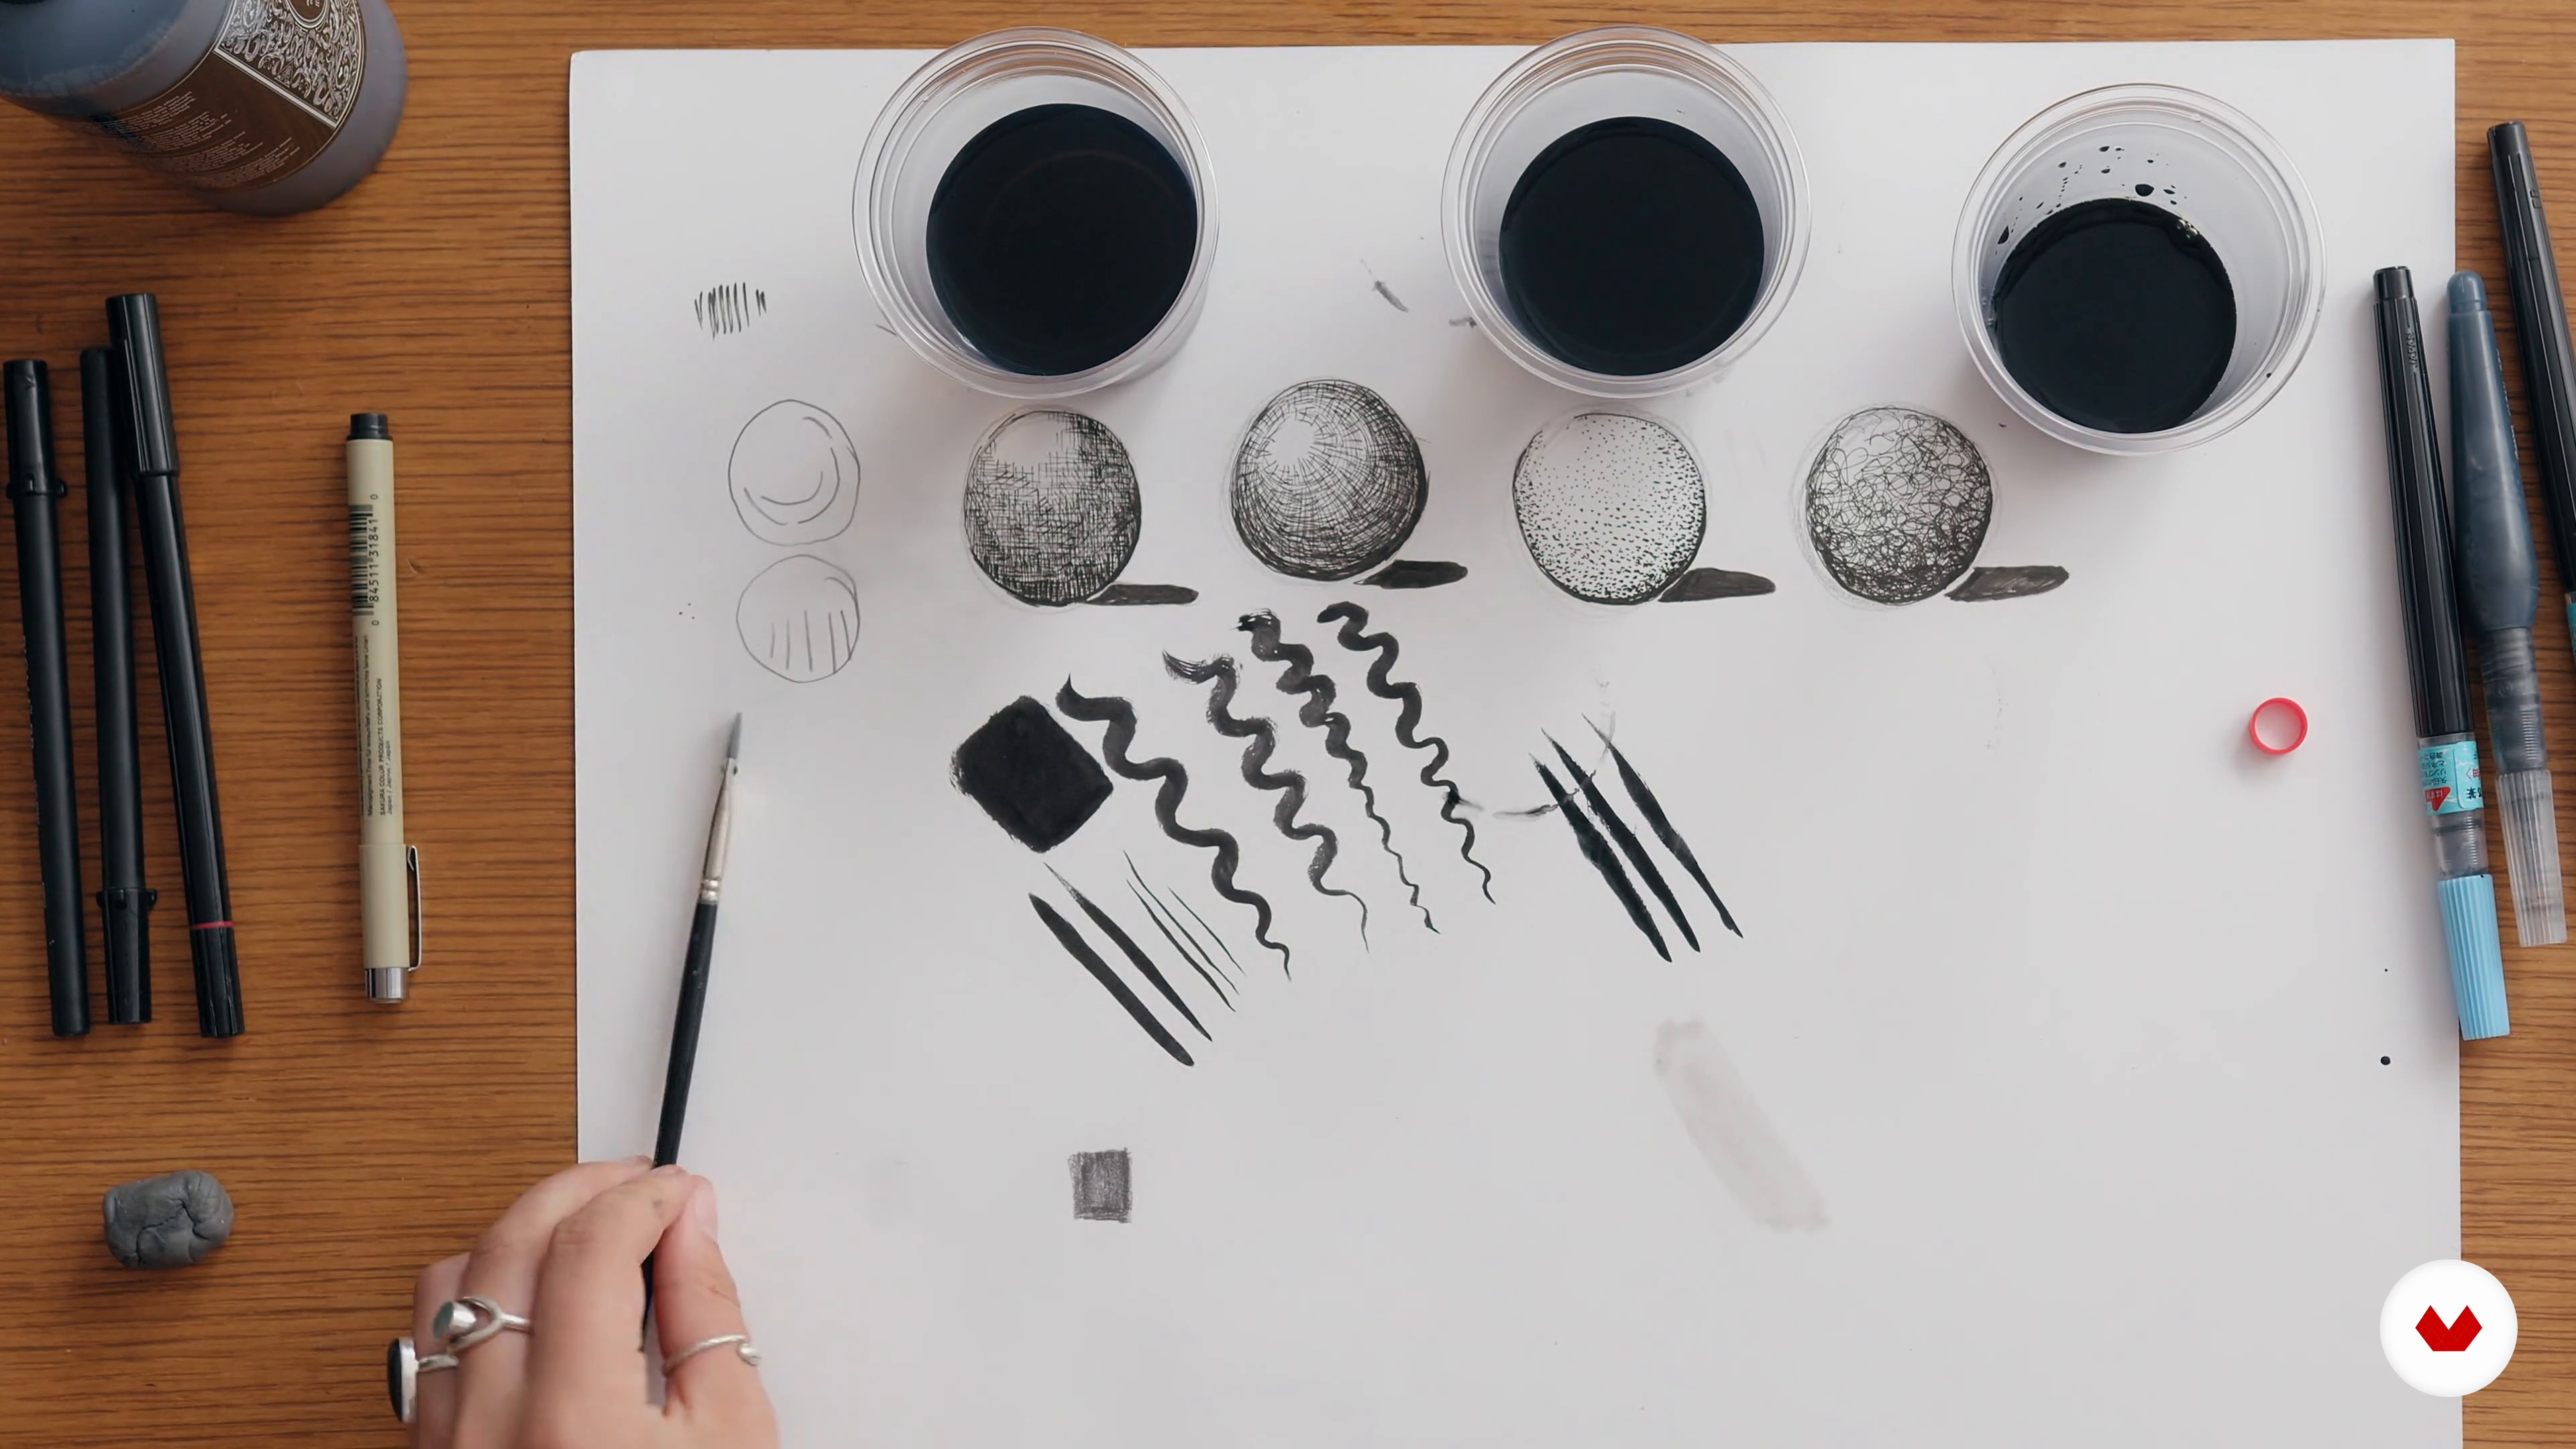
In this lesson, I will show you how to use the nib and ink. You will learn how to execute basic techniques; like hatching, cross-hatching, stippling, squiggling, and "small circles" texture.
7m
image
9
Ink Exercise: The Geometry of Flowers
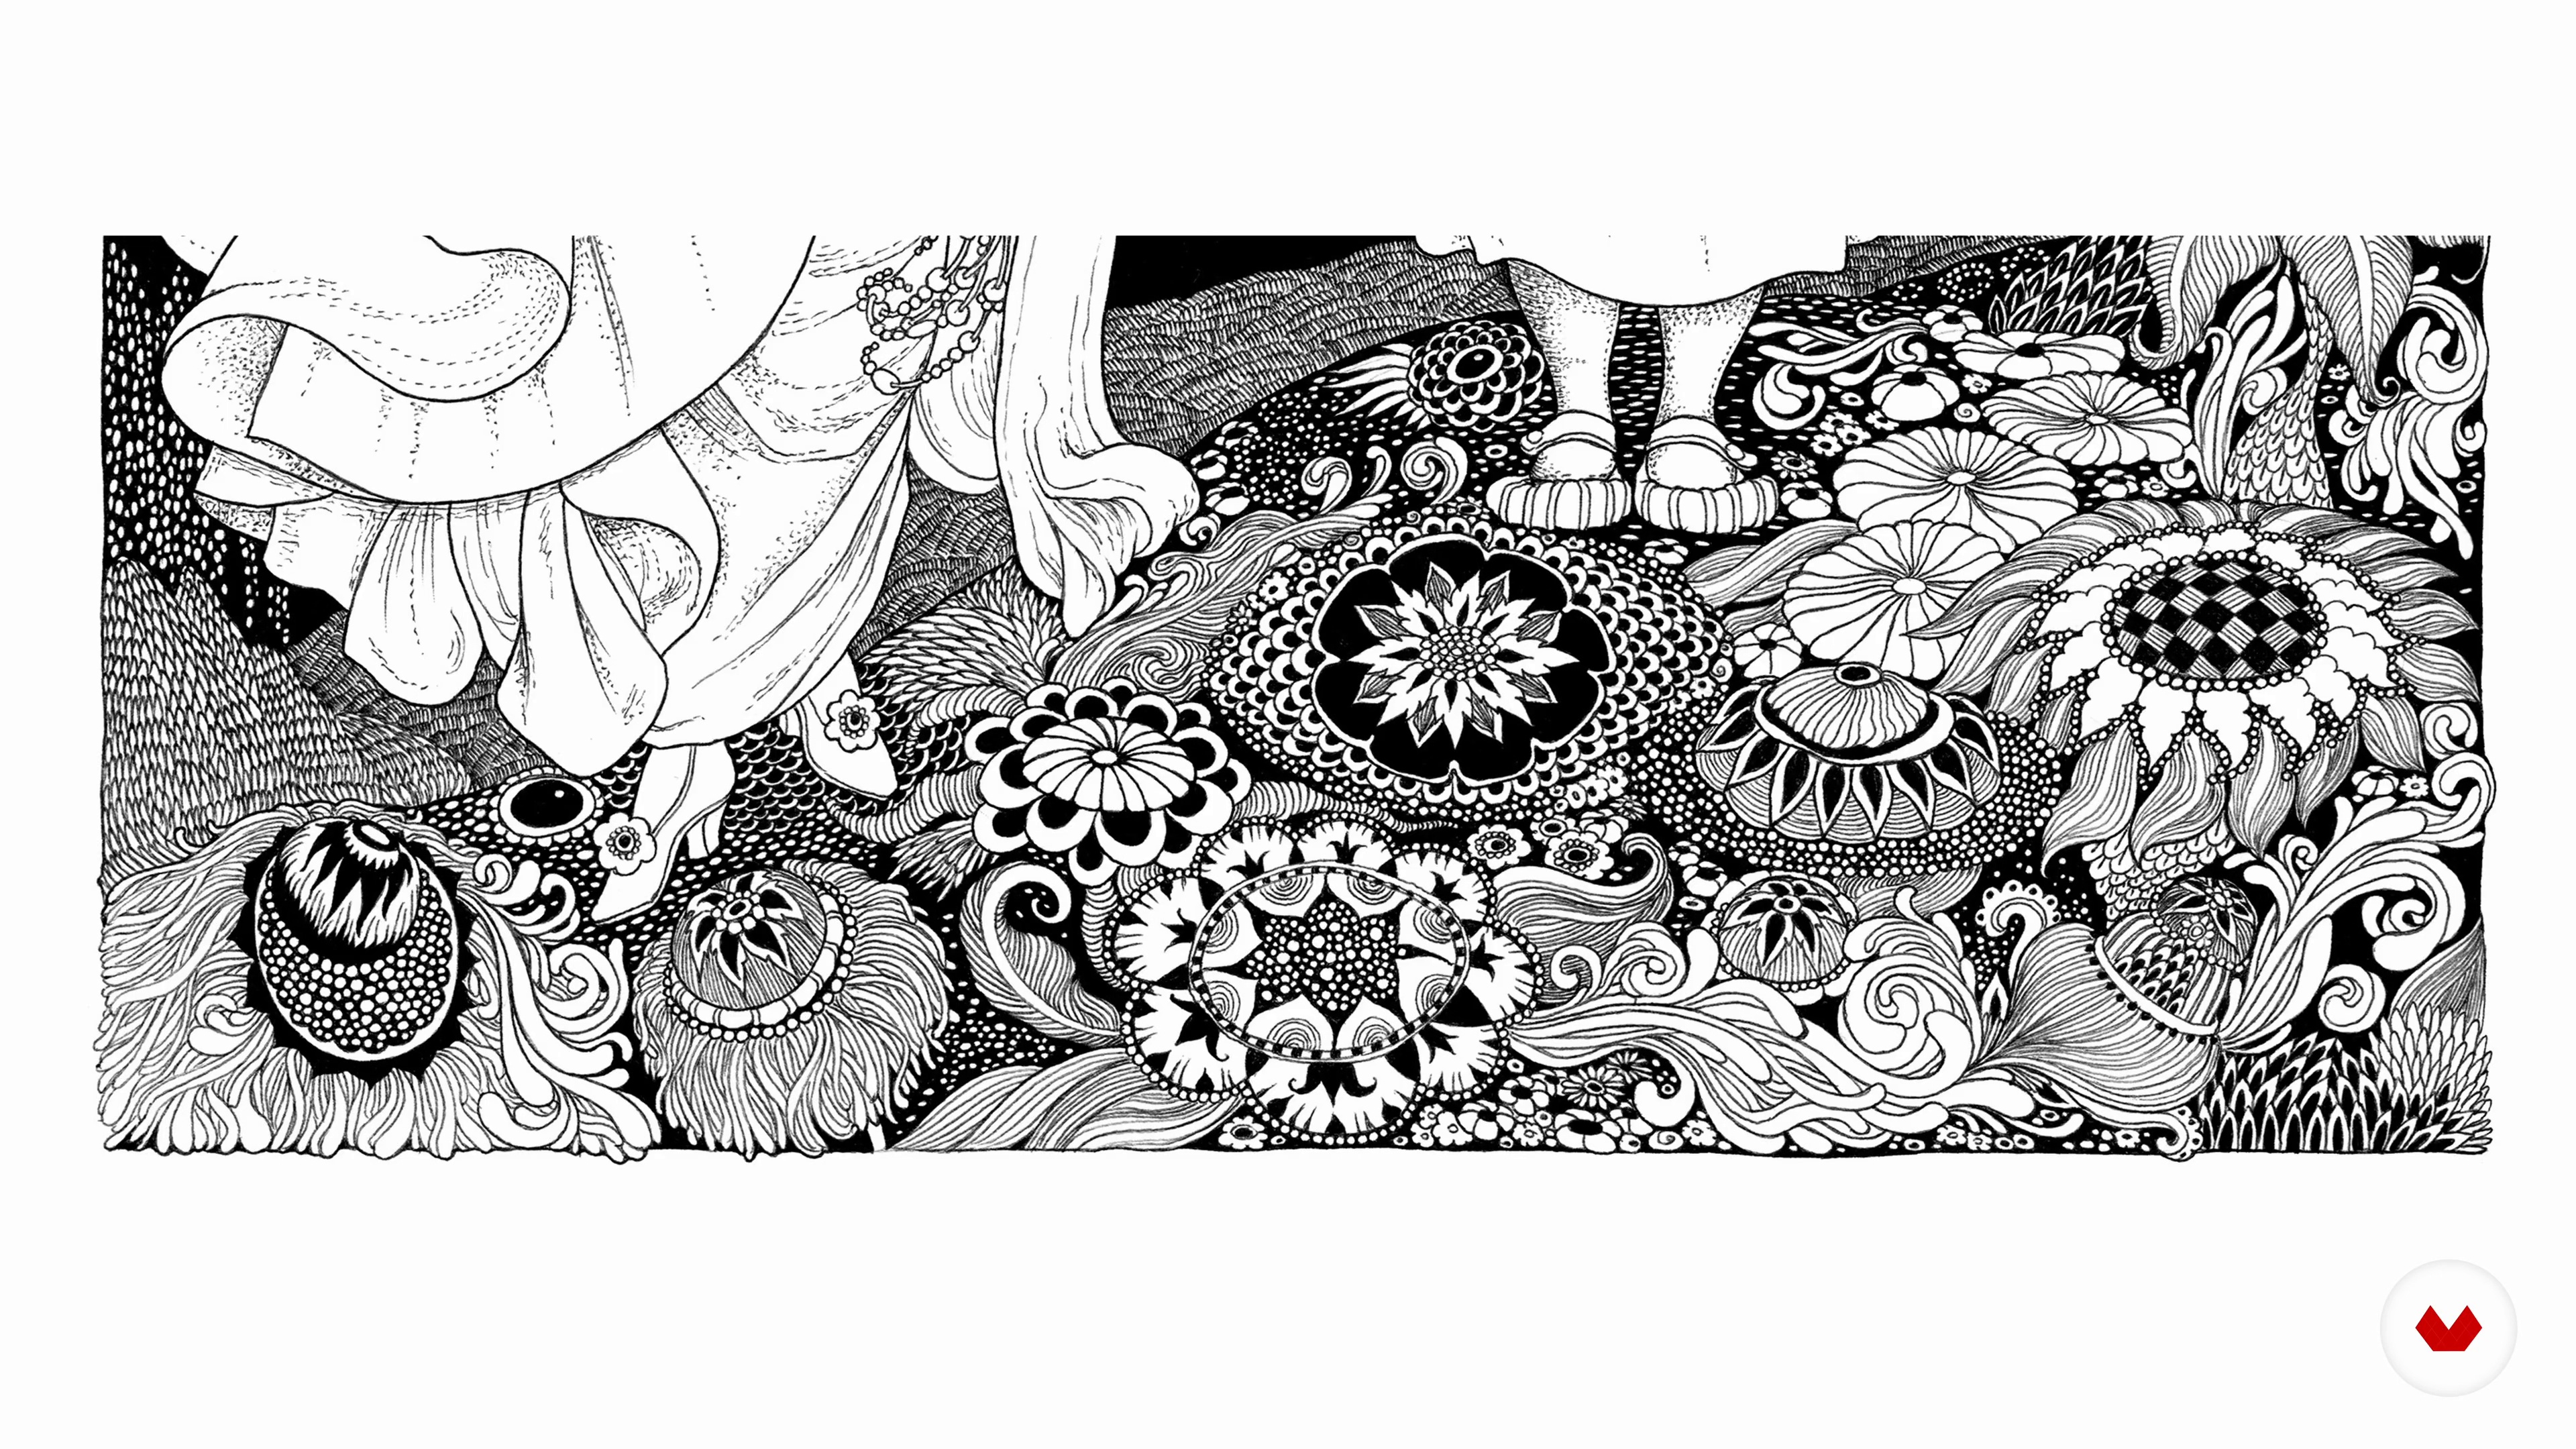
Here I will construct an ornamental flower and ink it, using the basic techniques. You will learn how to use the "snake scales" ornament for leaves, trees, flowers, and animals. I will show you the importance of paying close attention as you do this; maintaining the contrast between black and white, and creating detailed and unencumbered segments in order to avoid the tonal mess.
20m
image
10
Ink Exercise: Hair
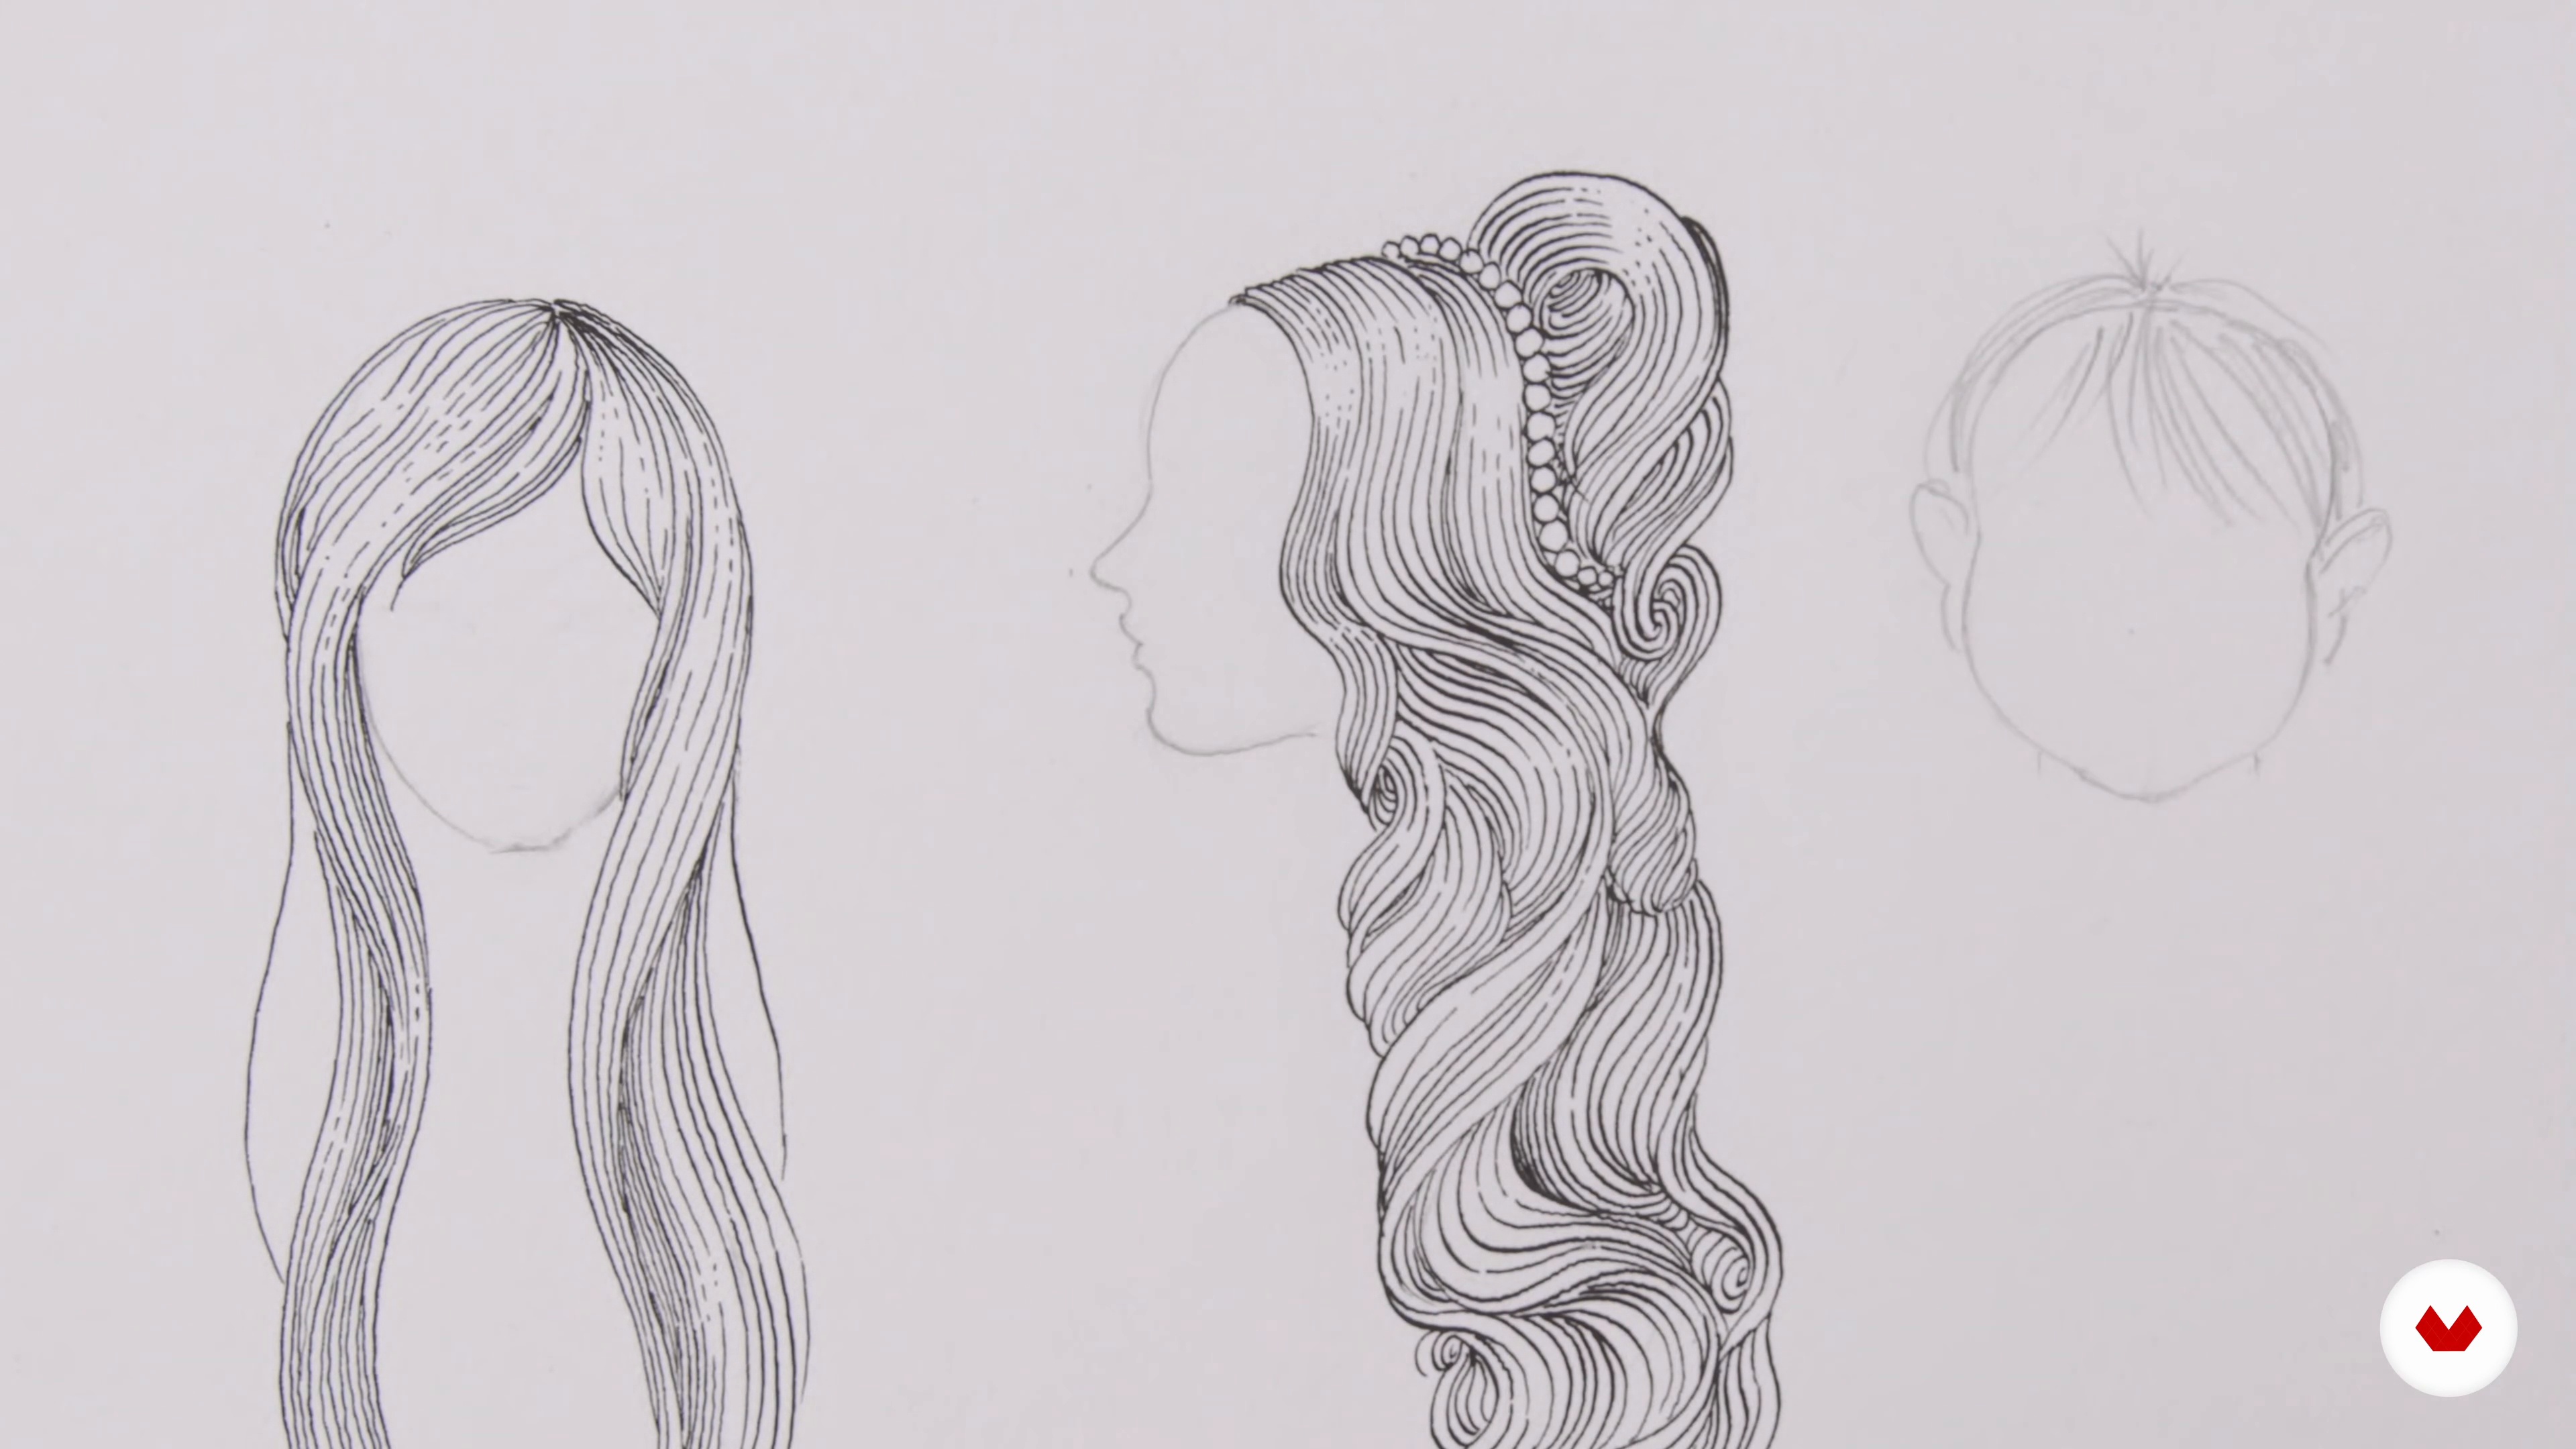
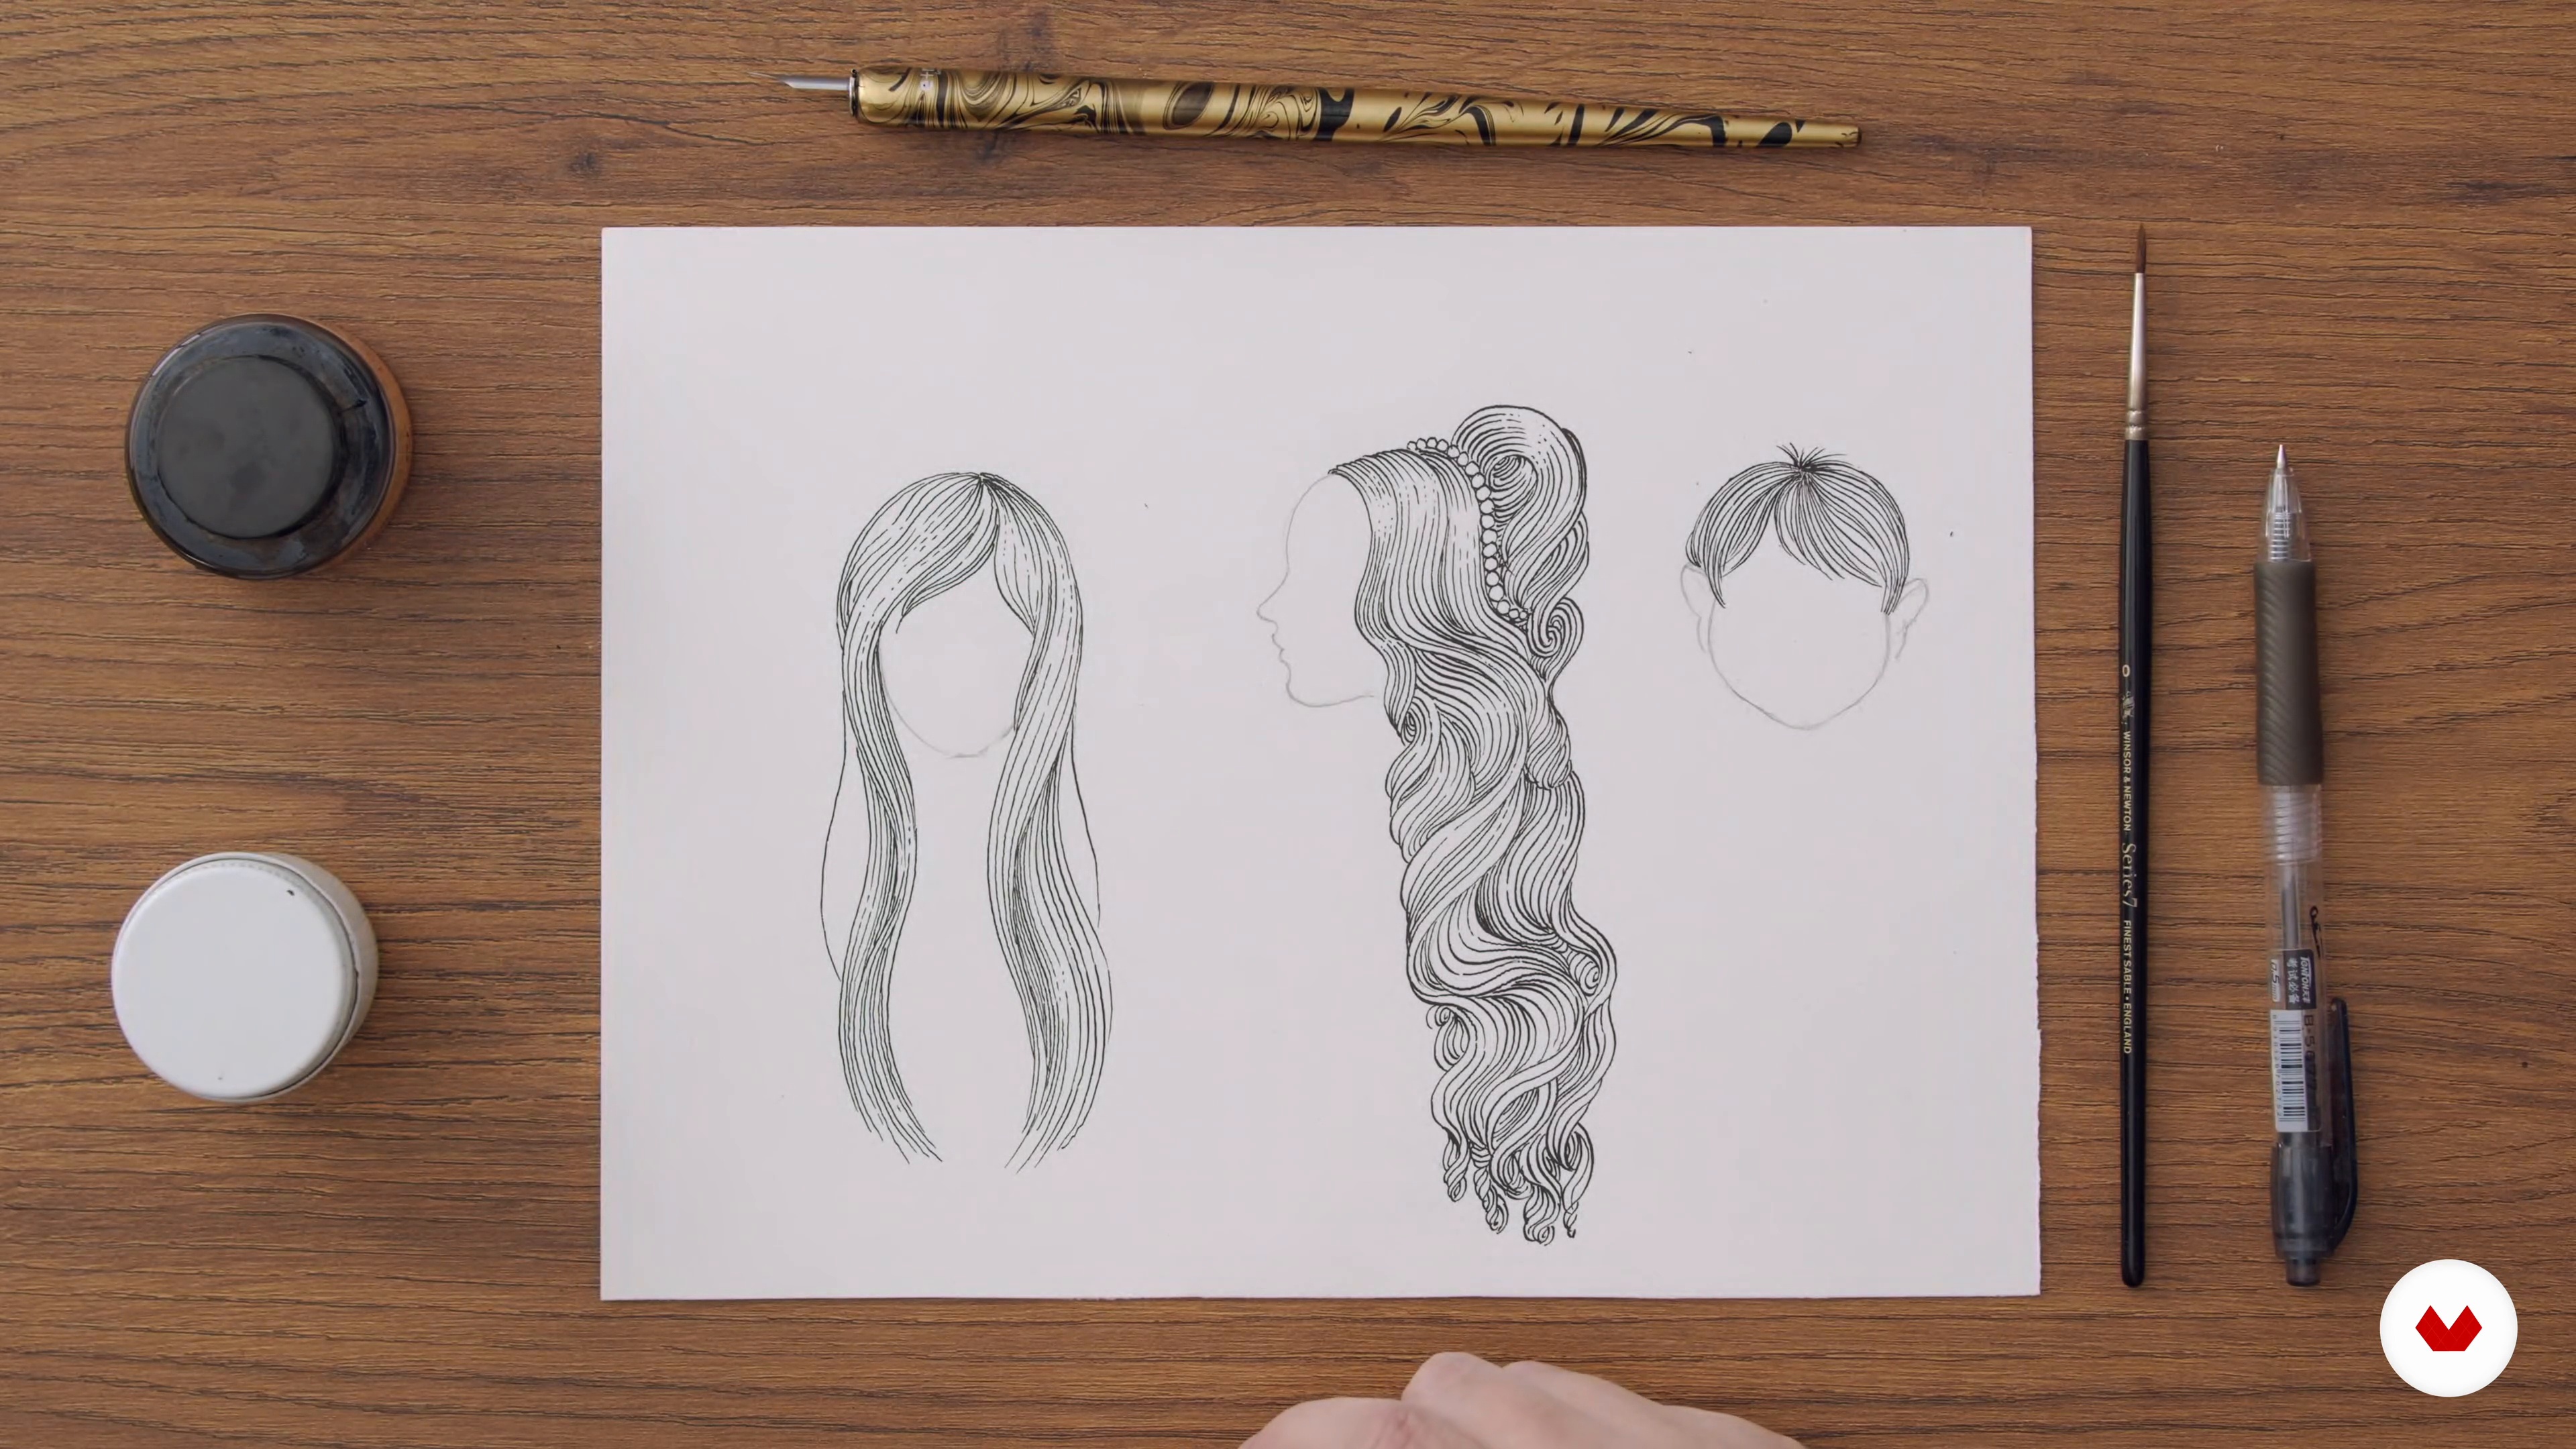
Next, I will show the technique for drawing hair. We will do long straight hair, wavy hair, and short. The principle is the same for all: dividing the hair into segments with key lines—these may be straight or wavy depending on the hair—and then working out each segment individually. For the lighter areas, keep your lines further apart or use dots to break the lines altogether. For shadow, keep your lines closer together.
17m
image
11
Ink Exercise: Magical Creatures
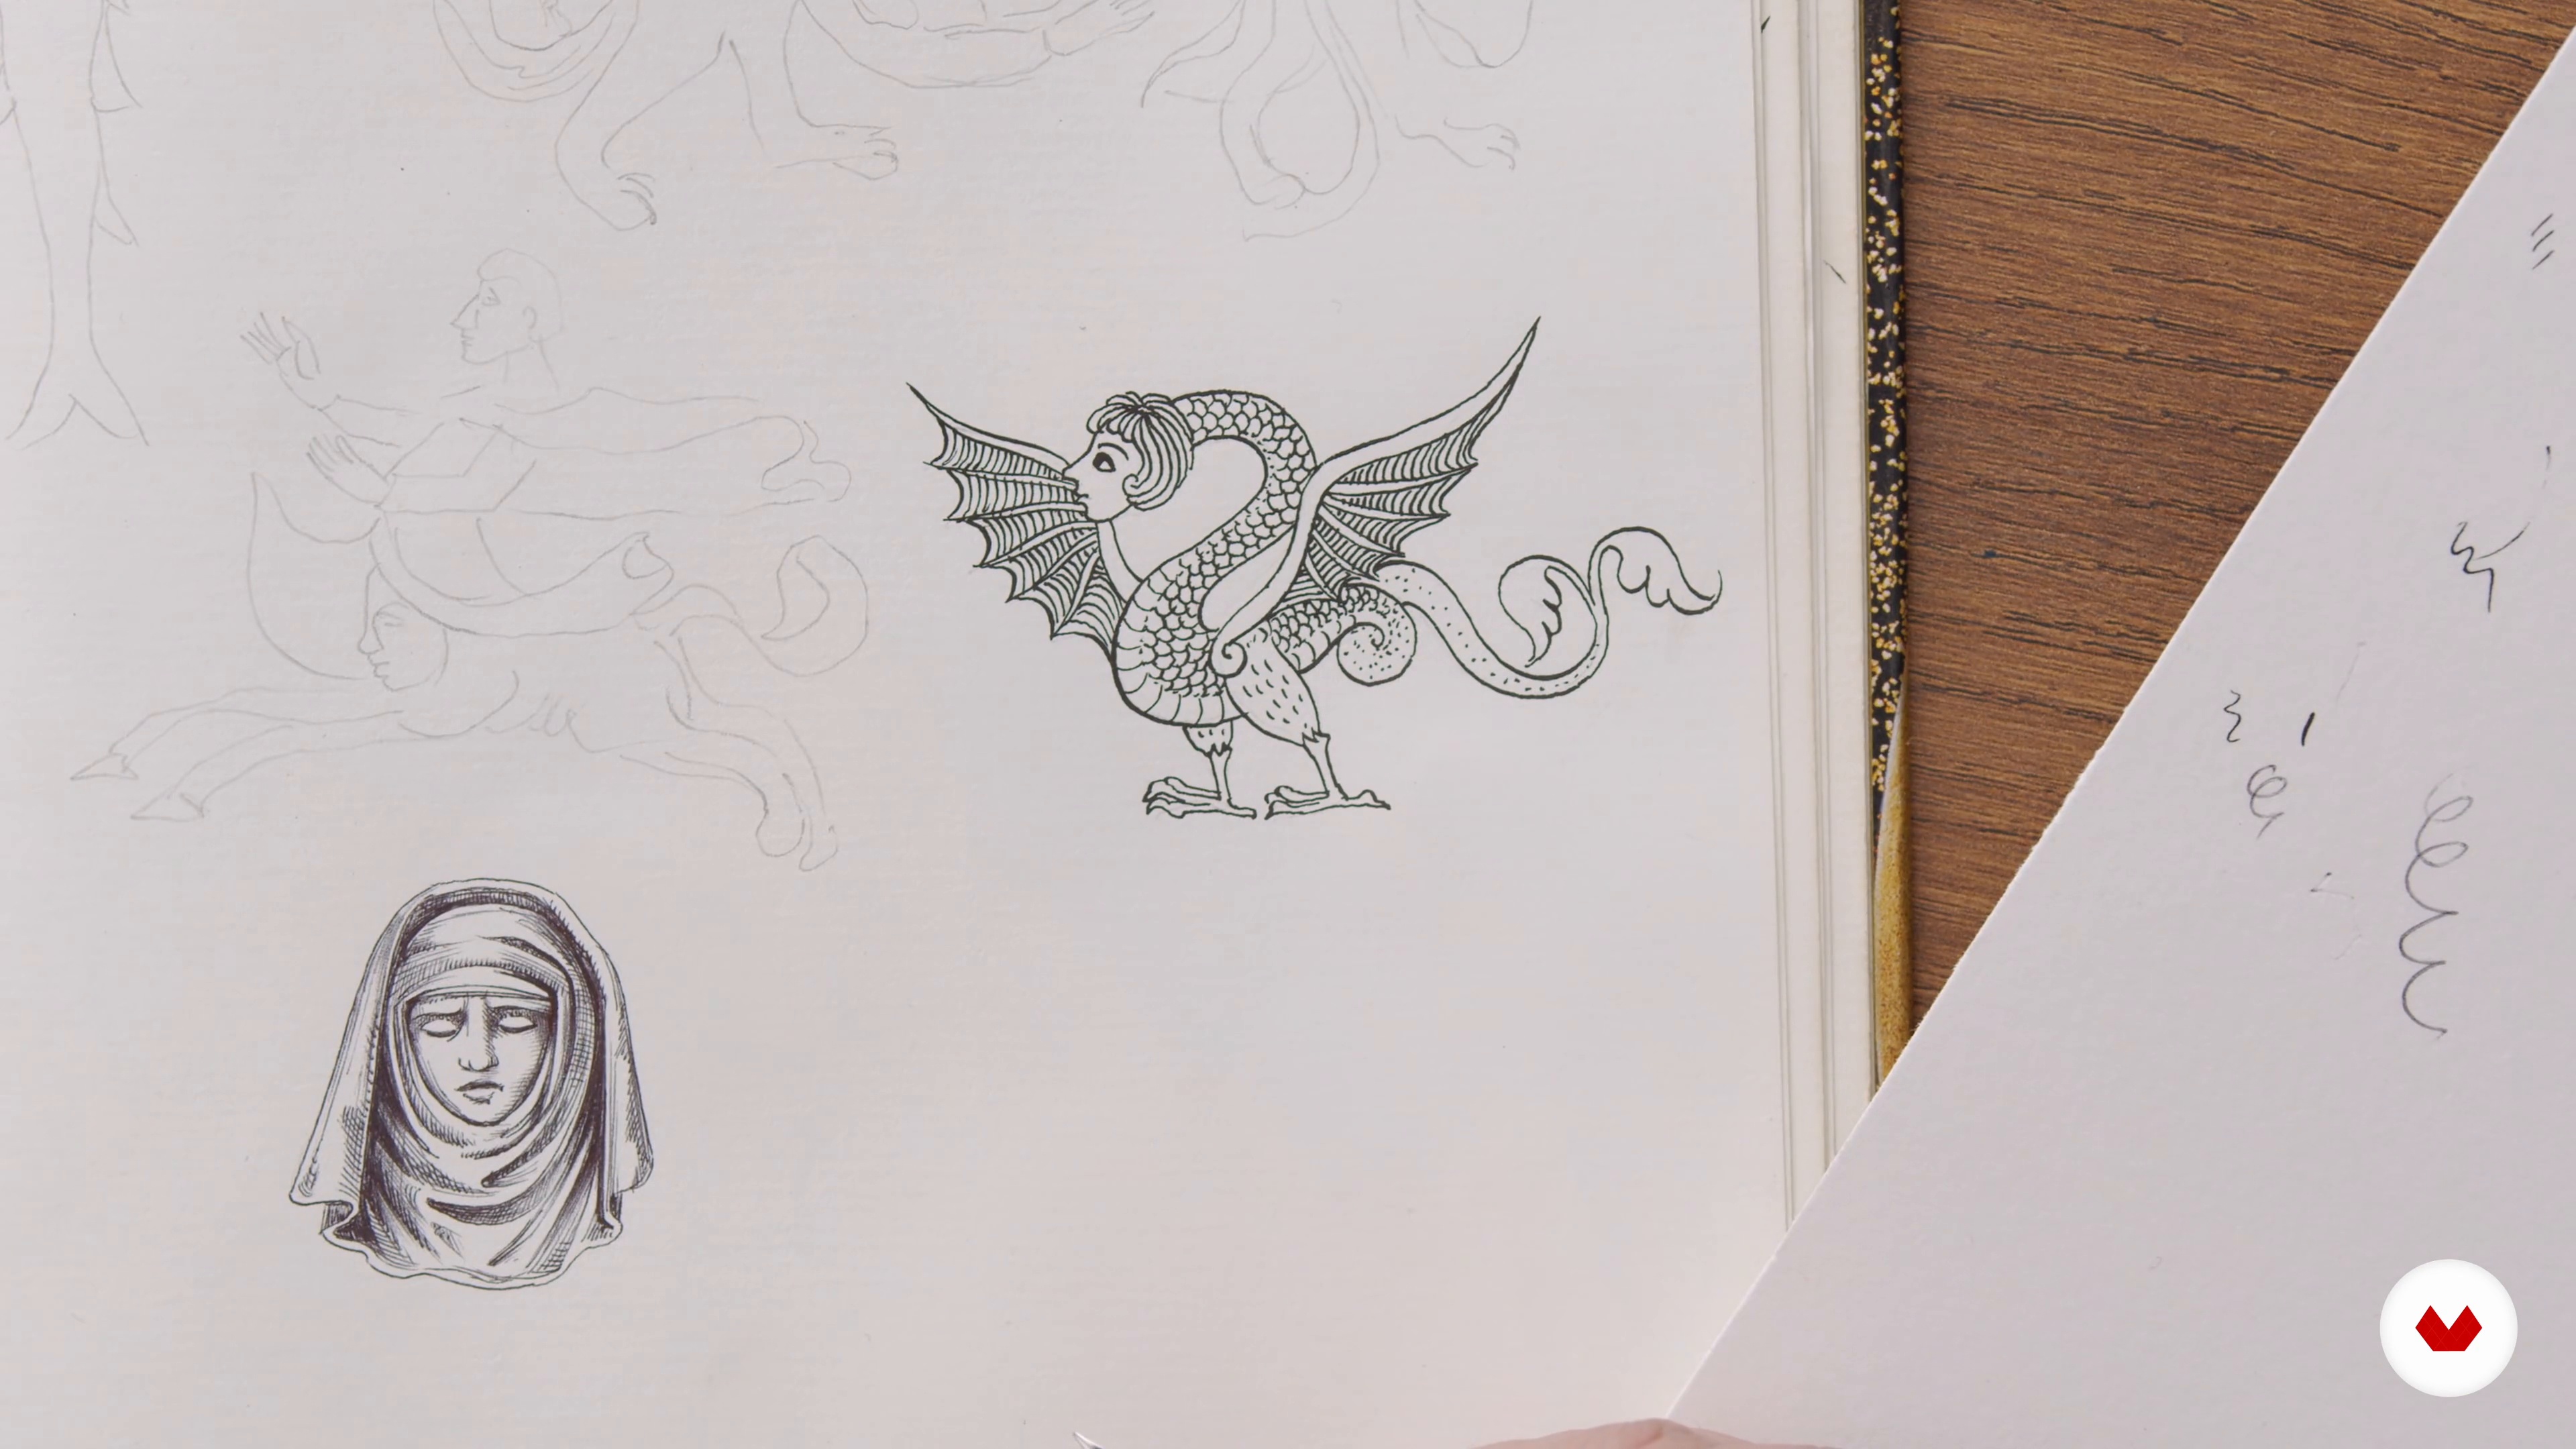
Now let's have some real fun! In this lesson, I will share with you my obsession with crazy creatures from illuminated manuscripts. You will invent some of your own for your fairy tale. Then we will progress to the inking stage, using the techniques learned (scales, ornament, stippling).
12m
image
12
How to Fix a Mistake
To end this unit, I will demonstrate a crafty way to correct your mistakes — whether that's a wrong line or another minor error — by applying opaque white with a small brush. It's undesirable to correct large areas this way, but small mistakes can be fixed with white without a problem. It's important to note that you can't draw on top of applied white with the nib. In case you need to draw a new, correct line on top of the white paint, use a black ballpoint pen (not a roller pen, ballpoint!).
3m
image
13
Working on a Clean Copy
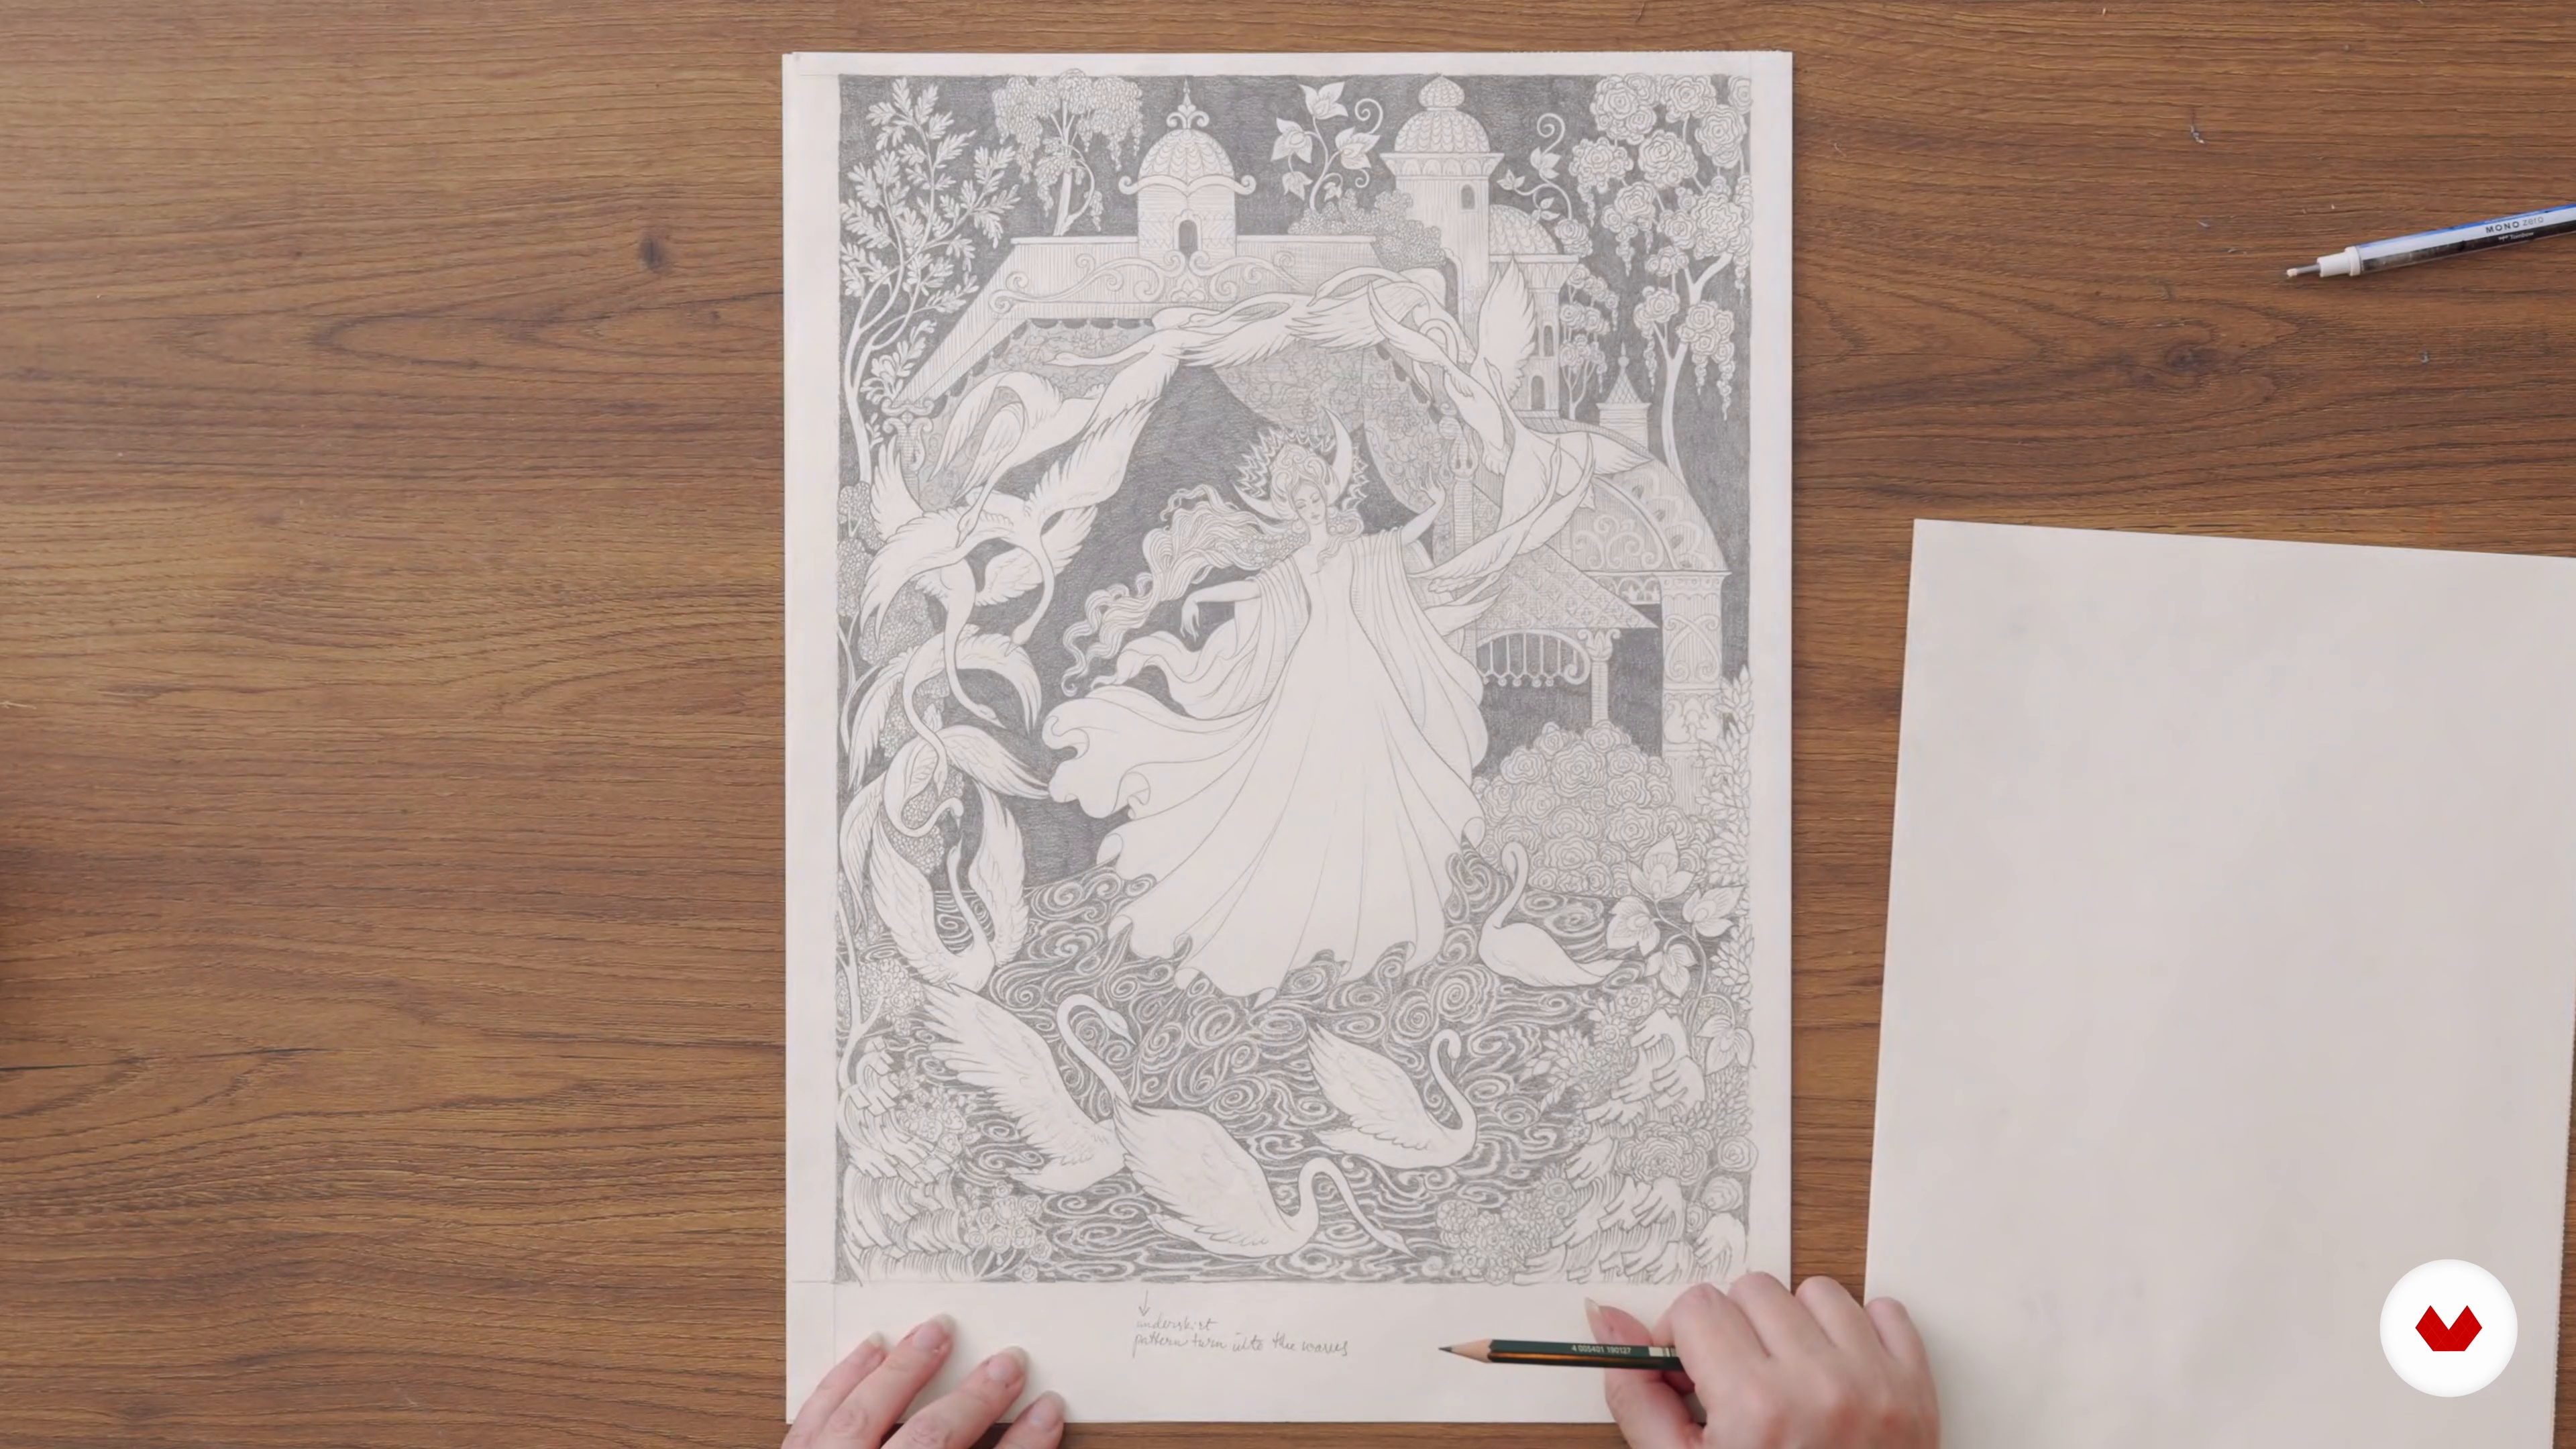
In this lesson, I will trace the final sketch on thick (300g) paper, using a light table. If you don't own a light table, you can use a window during the daytime, or scan the sketch and use your computer screen. Then, I will refine the drawing that I have transferred. To do this, I will revise the entire image and make each line exact. During transferring phase, the aim is to copy the composition. When refining, you home in on the details and construct each element of your drawing.
8m
image
14
Inking the Illustration
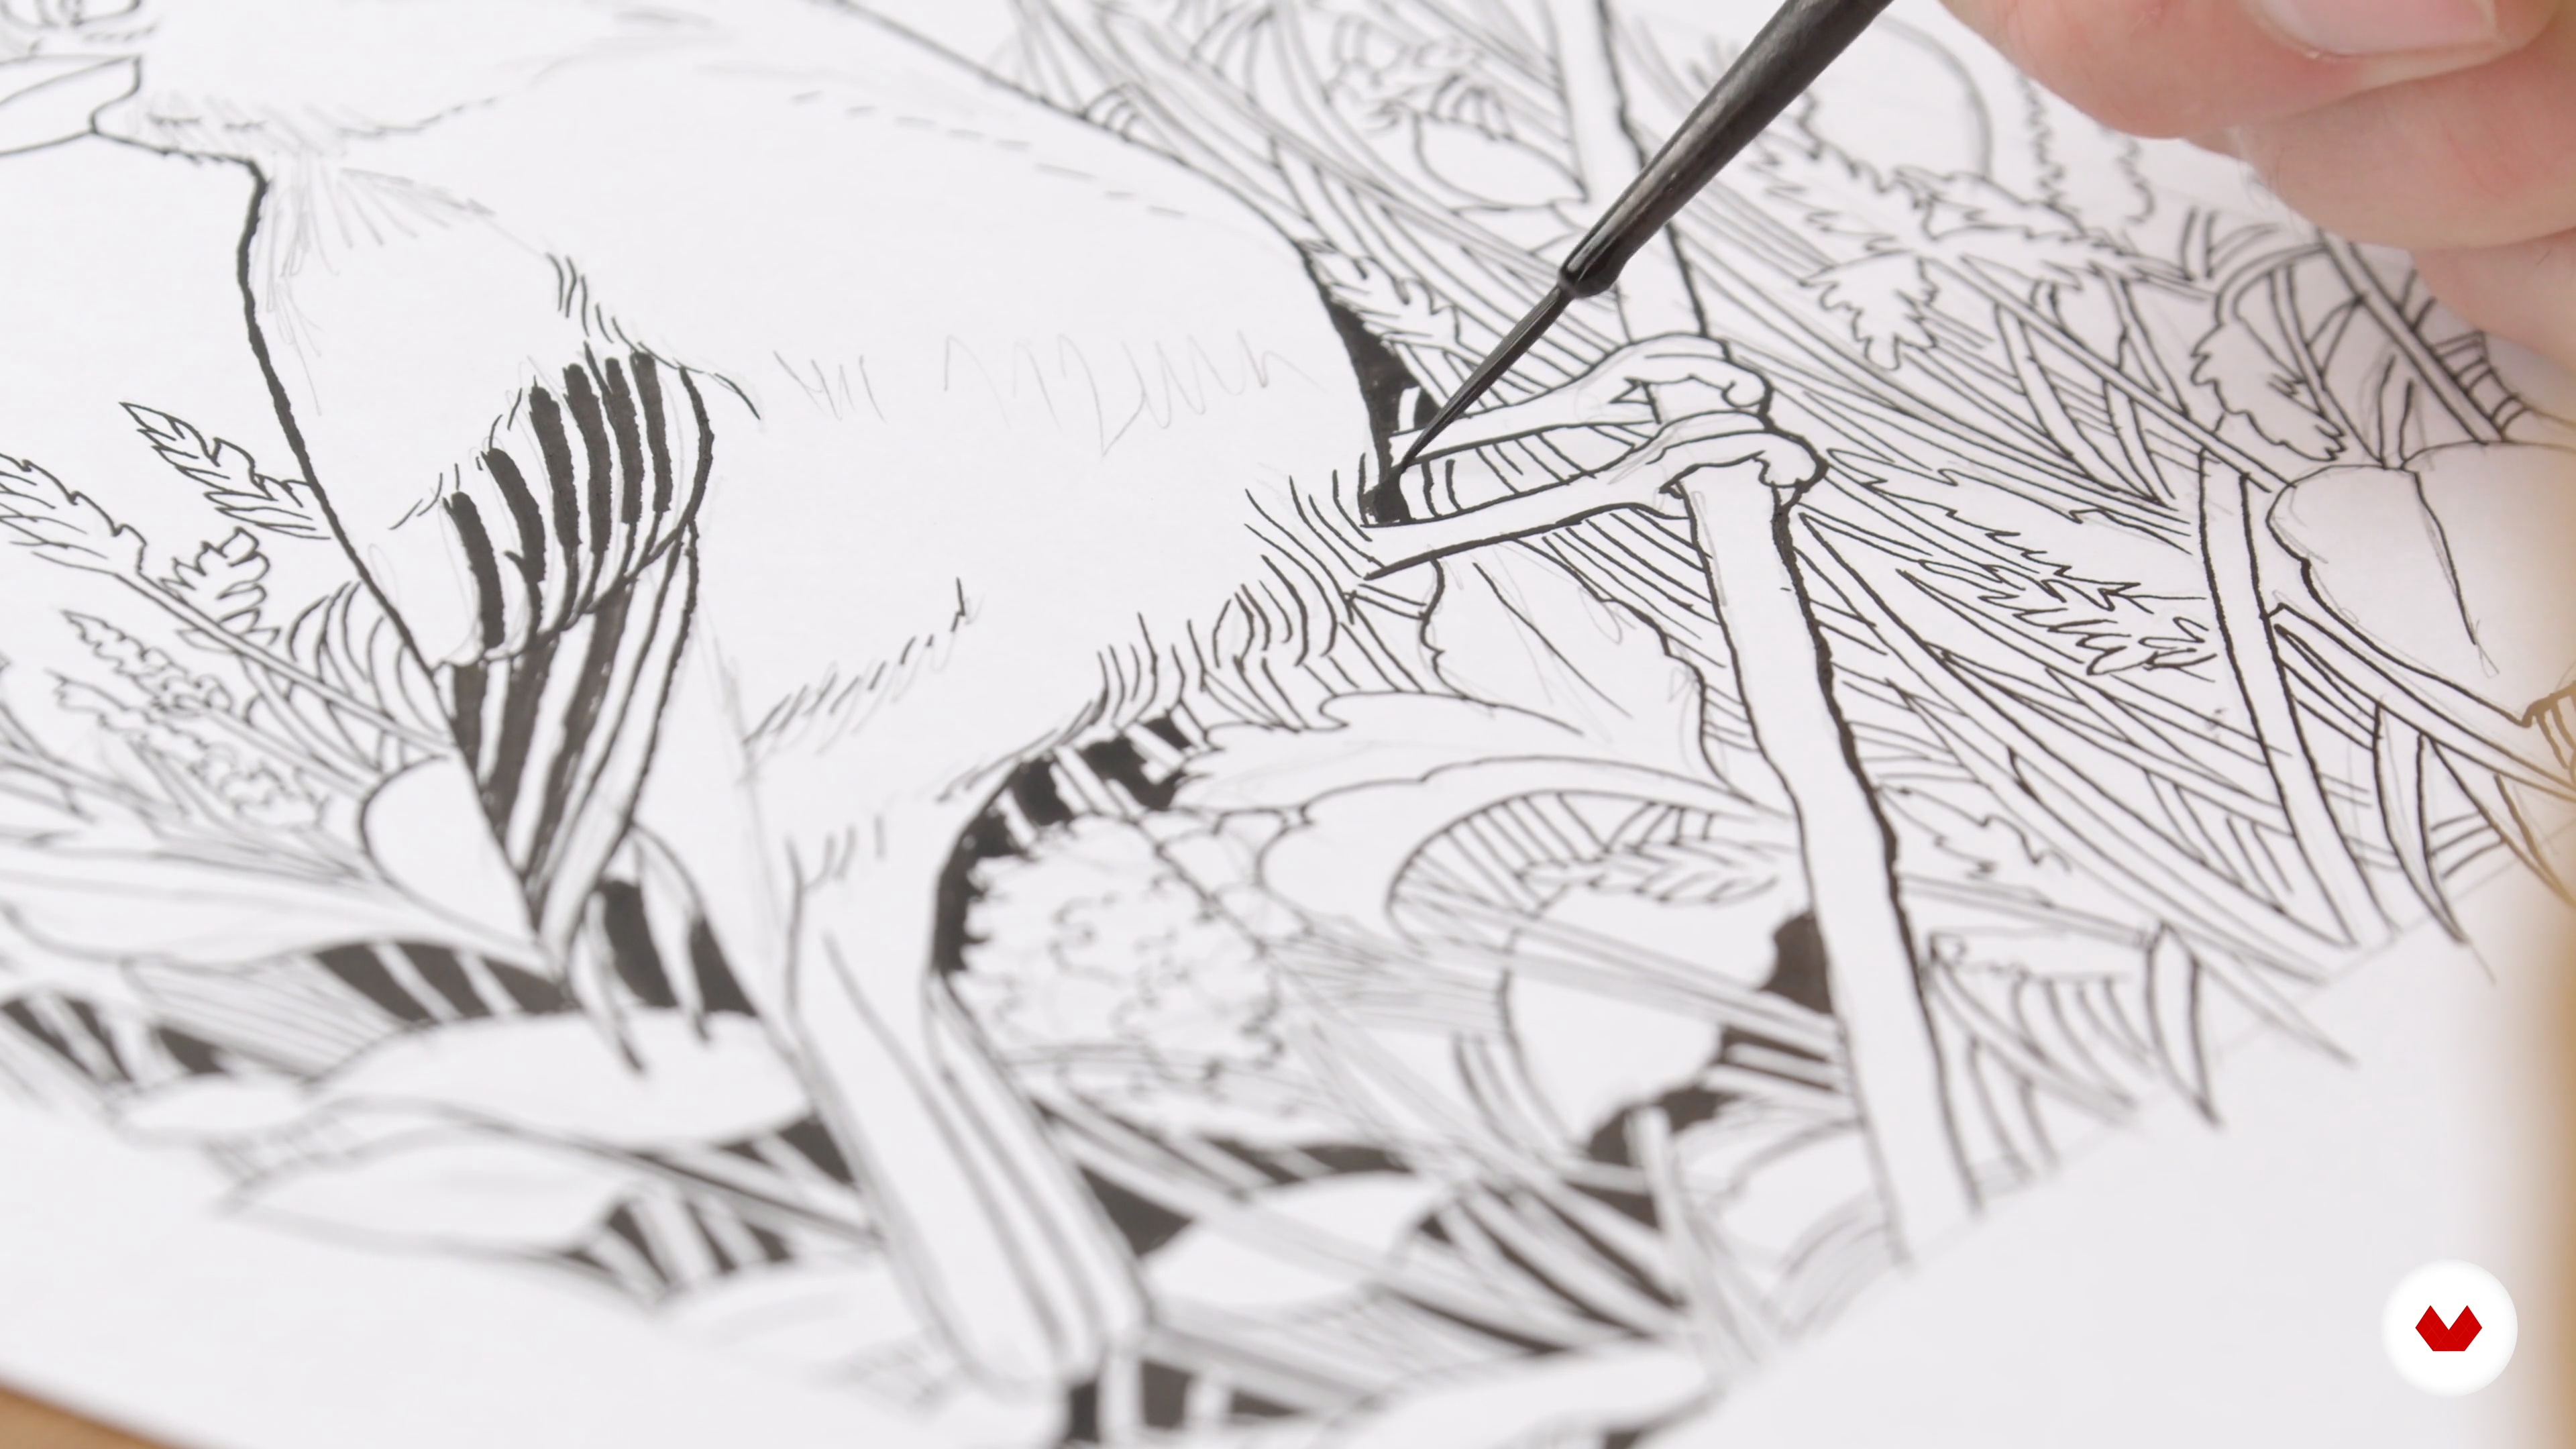
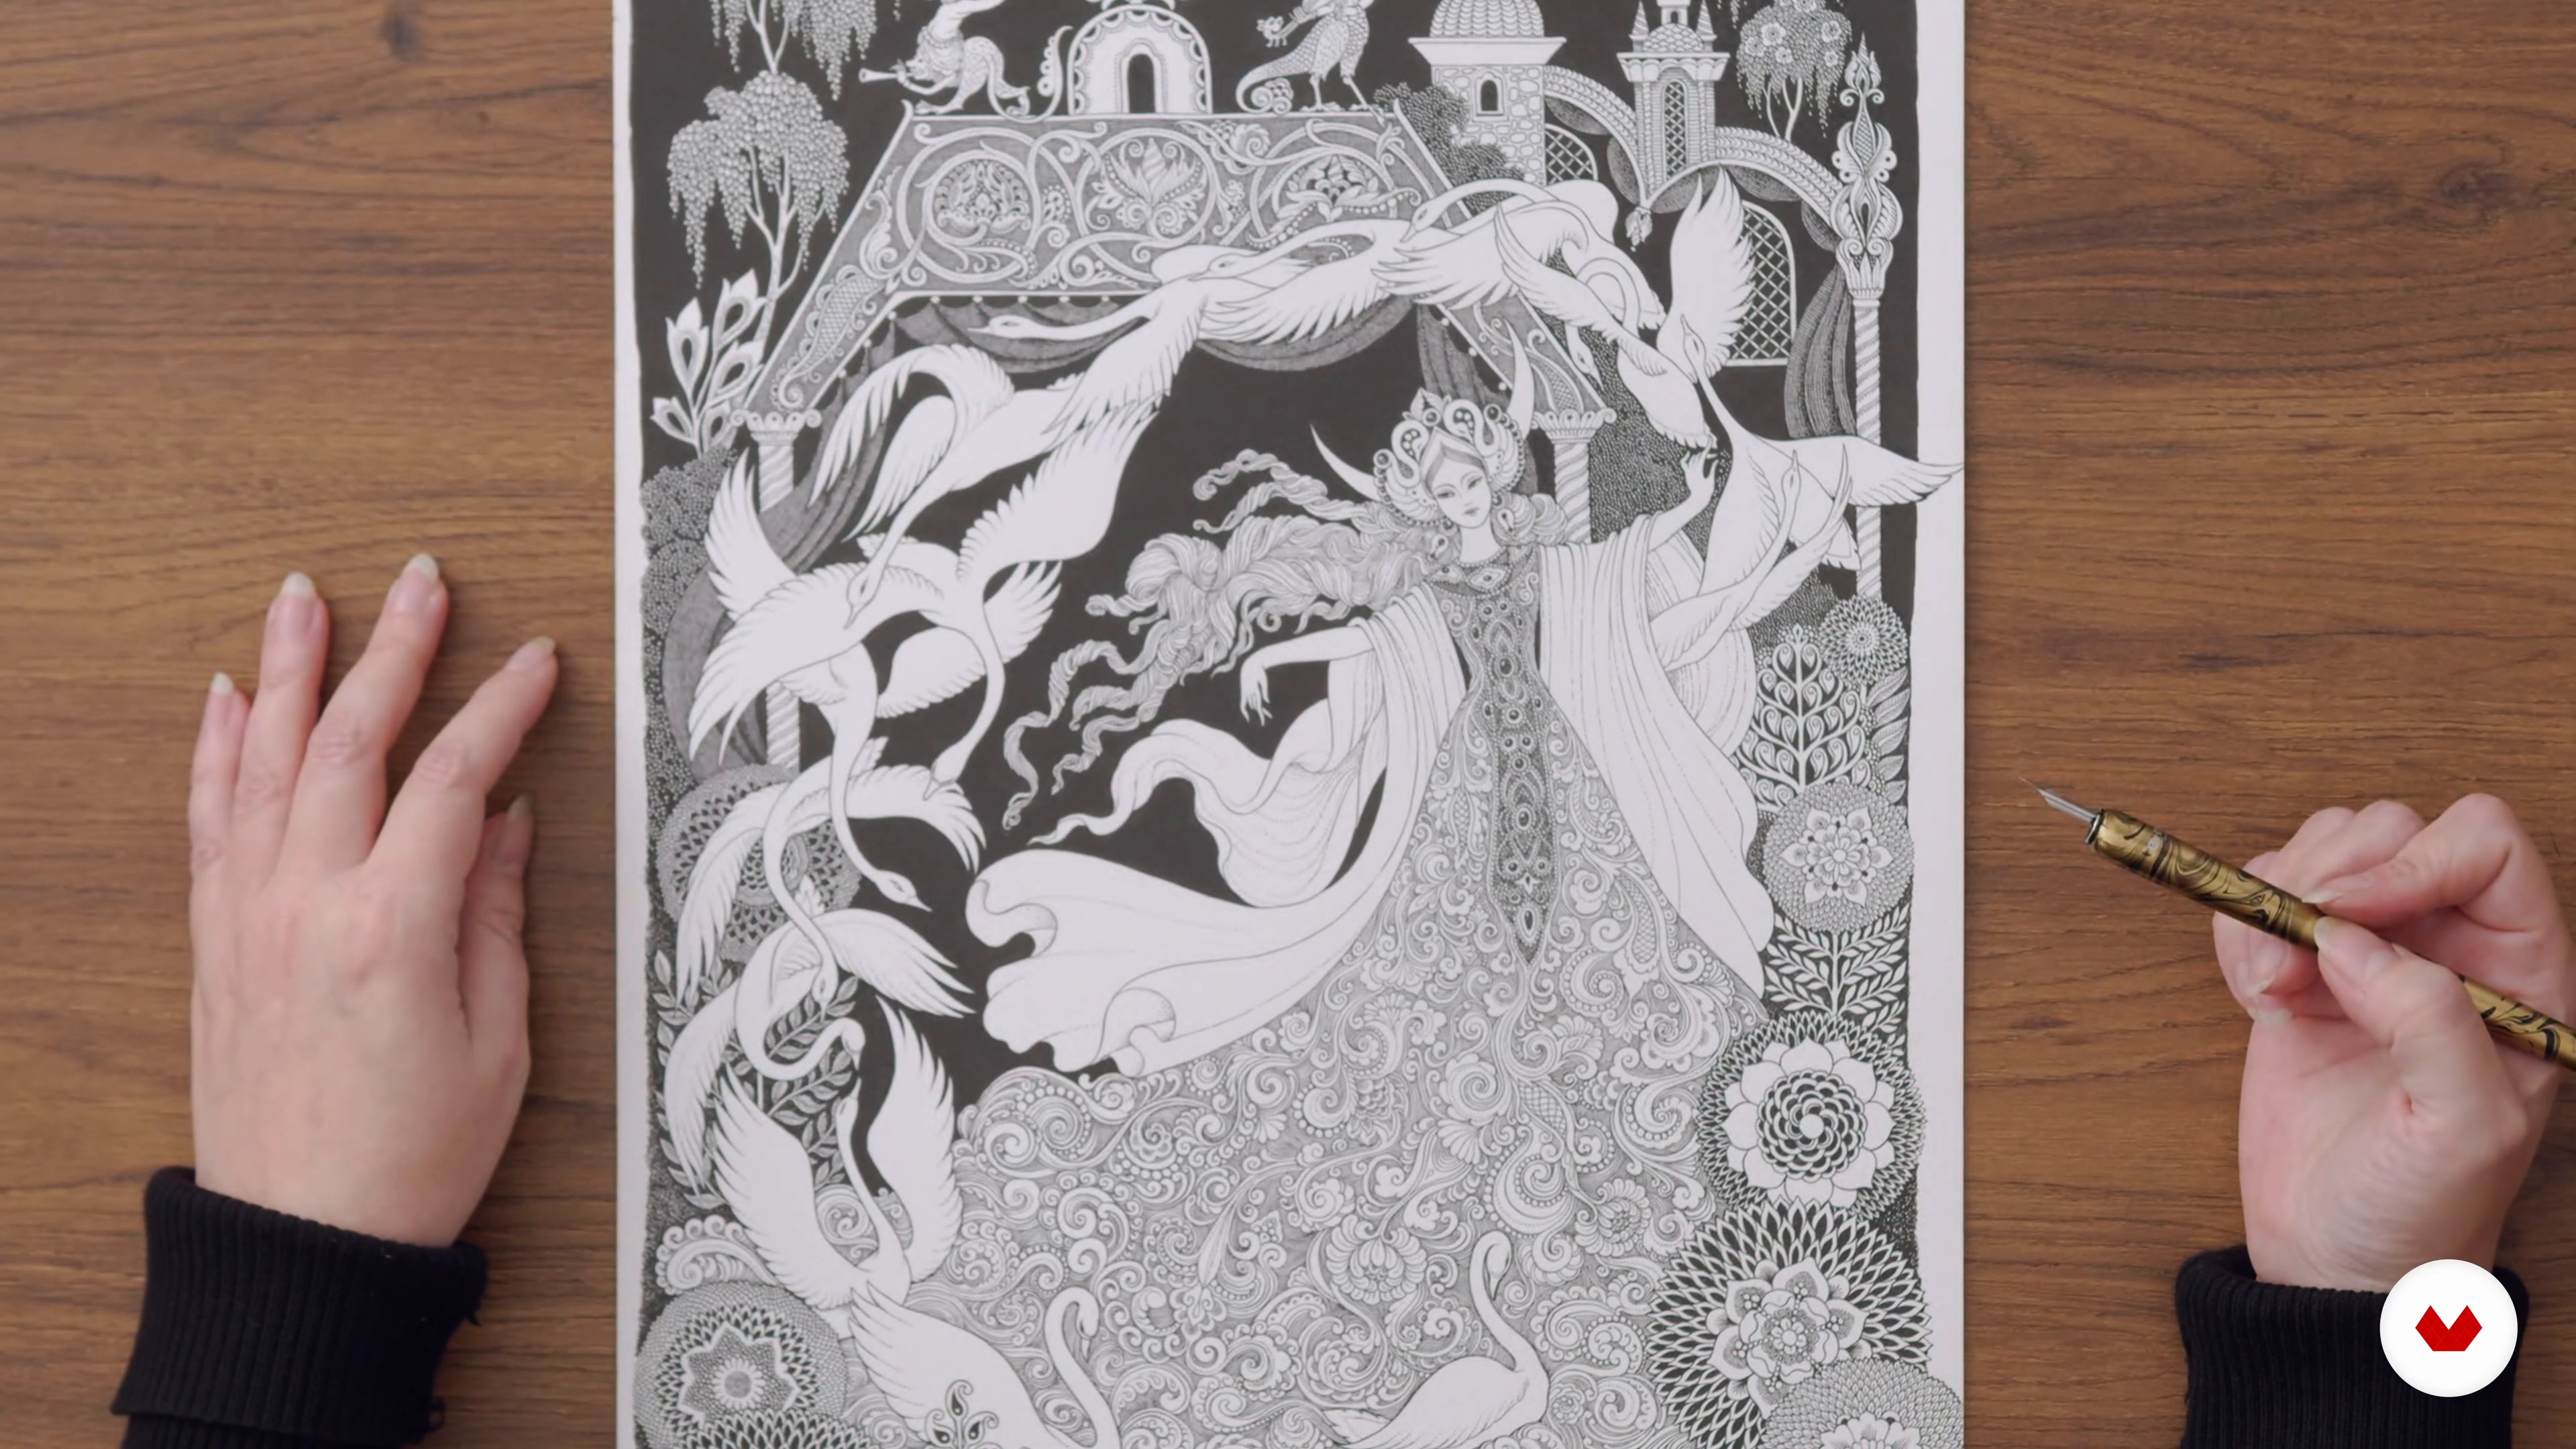
Now it's time to ink the clean copy! Usually, I begin this process by inking the secondary elements. This helps to get the hand steady before tackling any of the more important focal points, like the face of the major character. It also helps to overcome any fear you may feel about drawing the first line. I will also demonstrate a trick I use to fill large areas of black with intricate outlines. You will see all of the techniques we've discussed come into play.
12m
image
15
Finalizing the Lines
Once the illustration is complete, you may need to adjust the thickness of key contour lines. Here I will exemplify the importance of tracing certain main elements a second time. This is an important final touch that will make the image stand out more.
2m
image
16
Digitizing and Refining Your Work
In this lesson, I will show you how to digitize your finished drawing: by scanning it, cropping, adjusting the contrast of black and white, and correcting mistakes.
10m
image
17
The Rhythm of Illustrations in a Book
To wrap up, I will explain the criteria for selecting the rest of the scenes in your illustrated fairy tale, paying special attention to the rhythm of images in a book. You will learn what's required to develop your illustration into the book, as I will provide a brief overview of what's needed aside from the key scene illustrations: the cover, endpapers, title page, and vignettes—by the way, those magical creatures you created in the "Learning to Ink" unit will make awesome vignettes!
7m
image
3
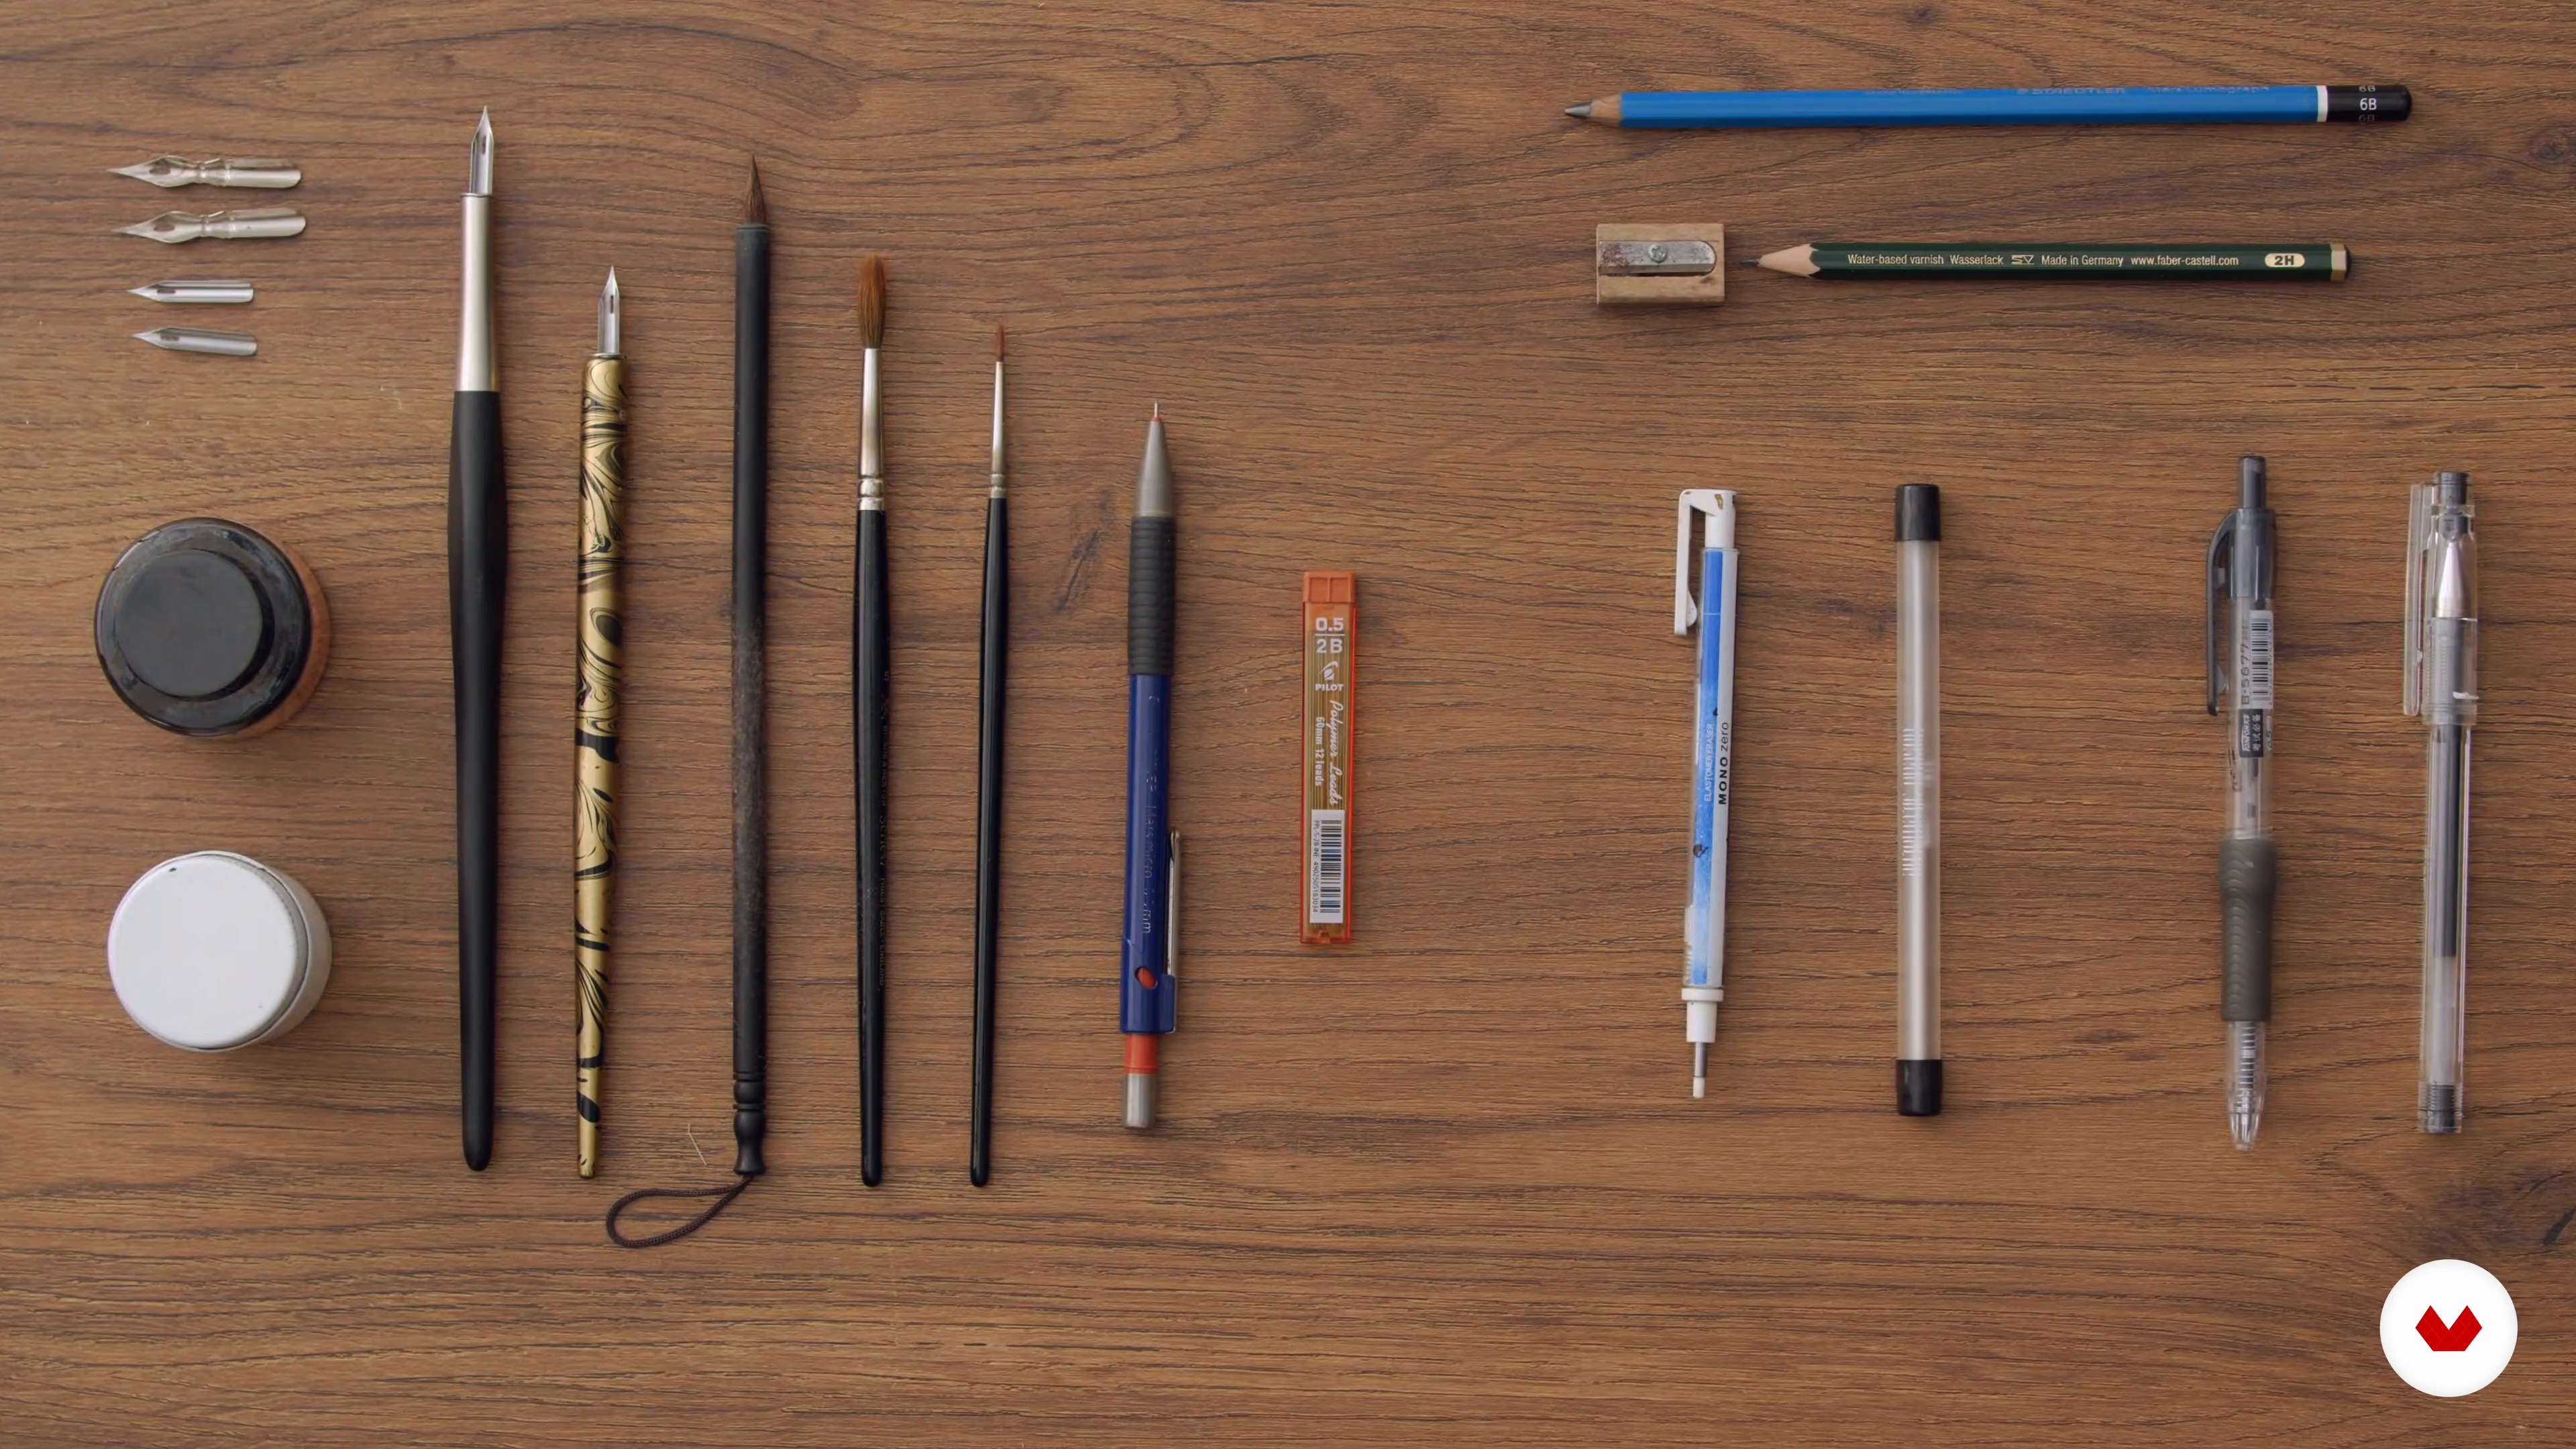
Materials
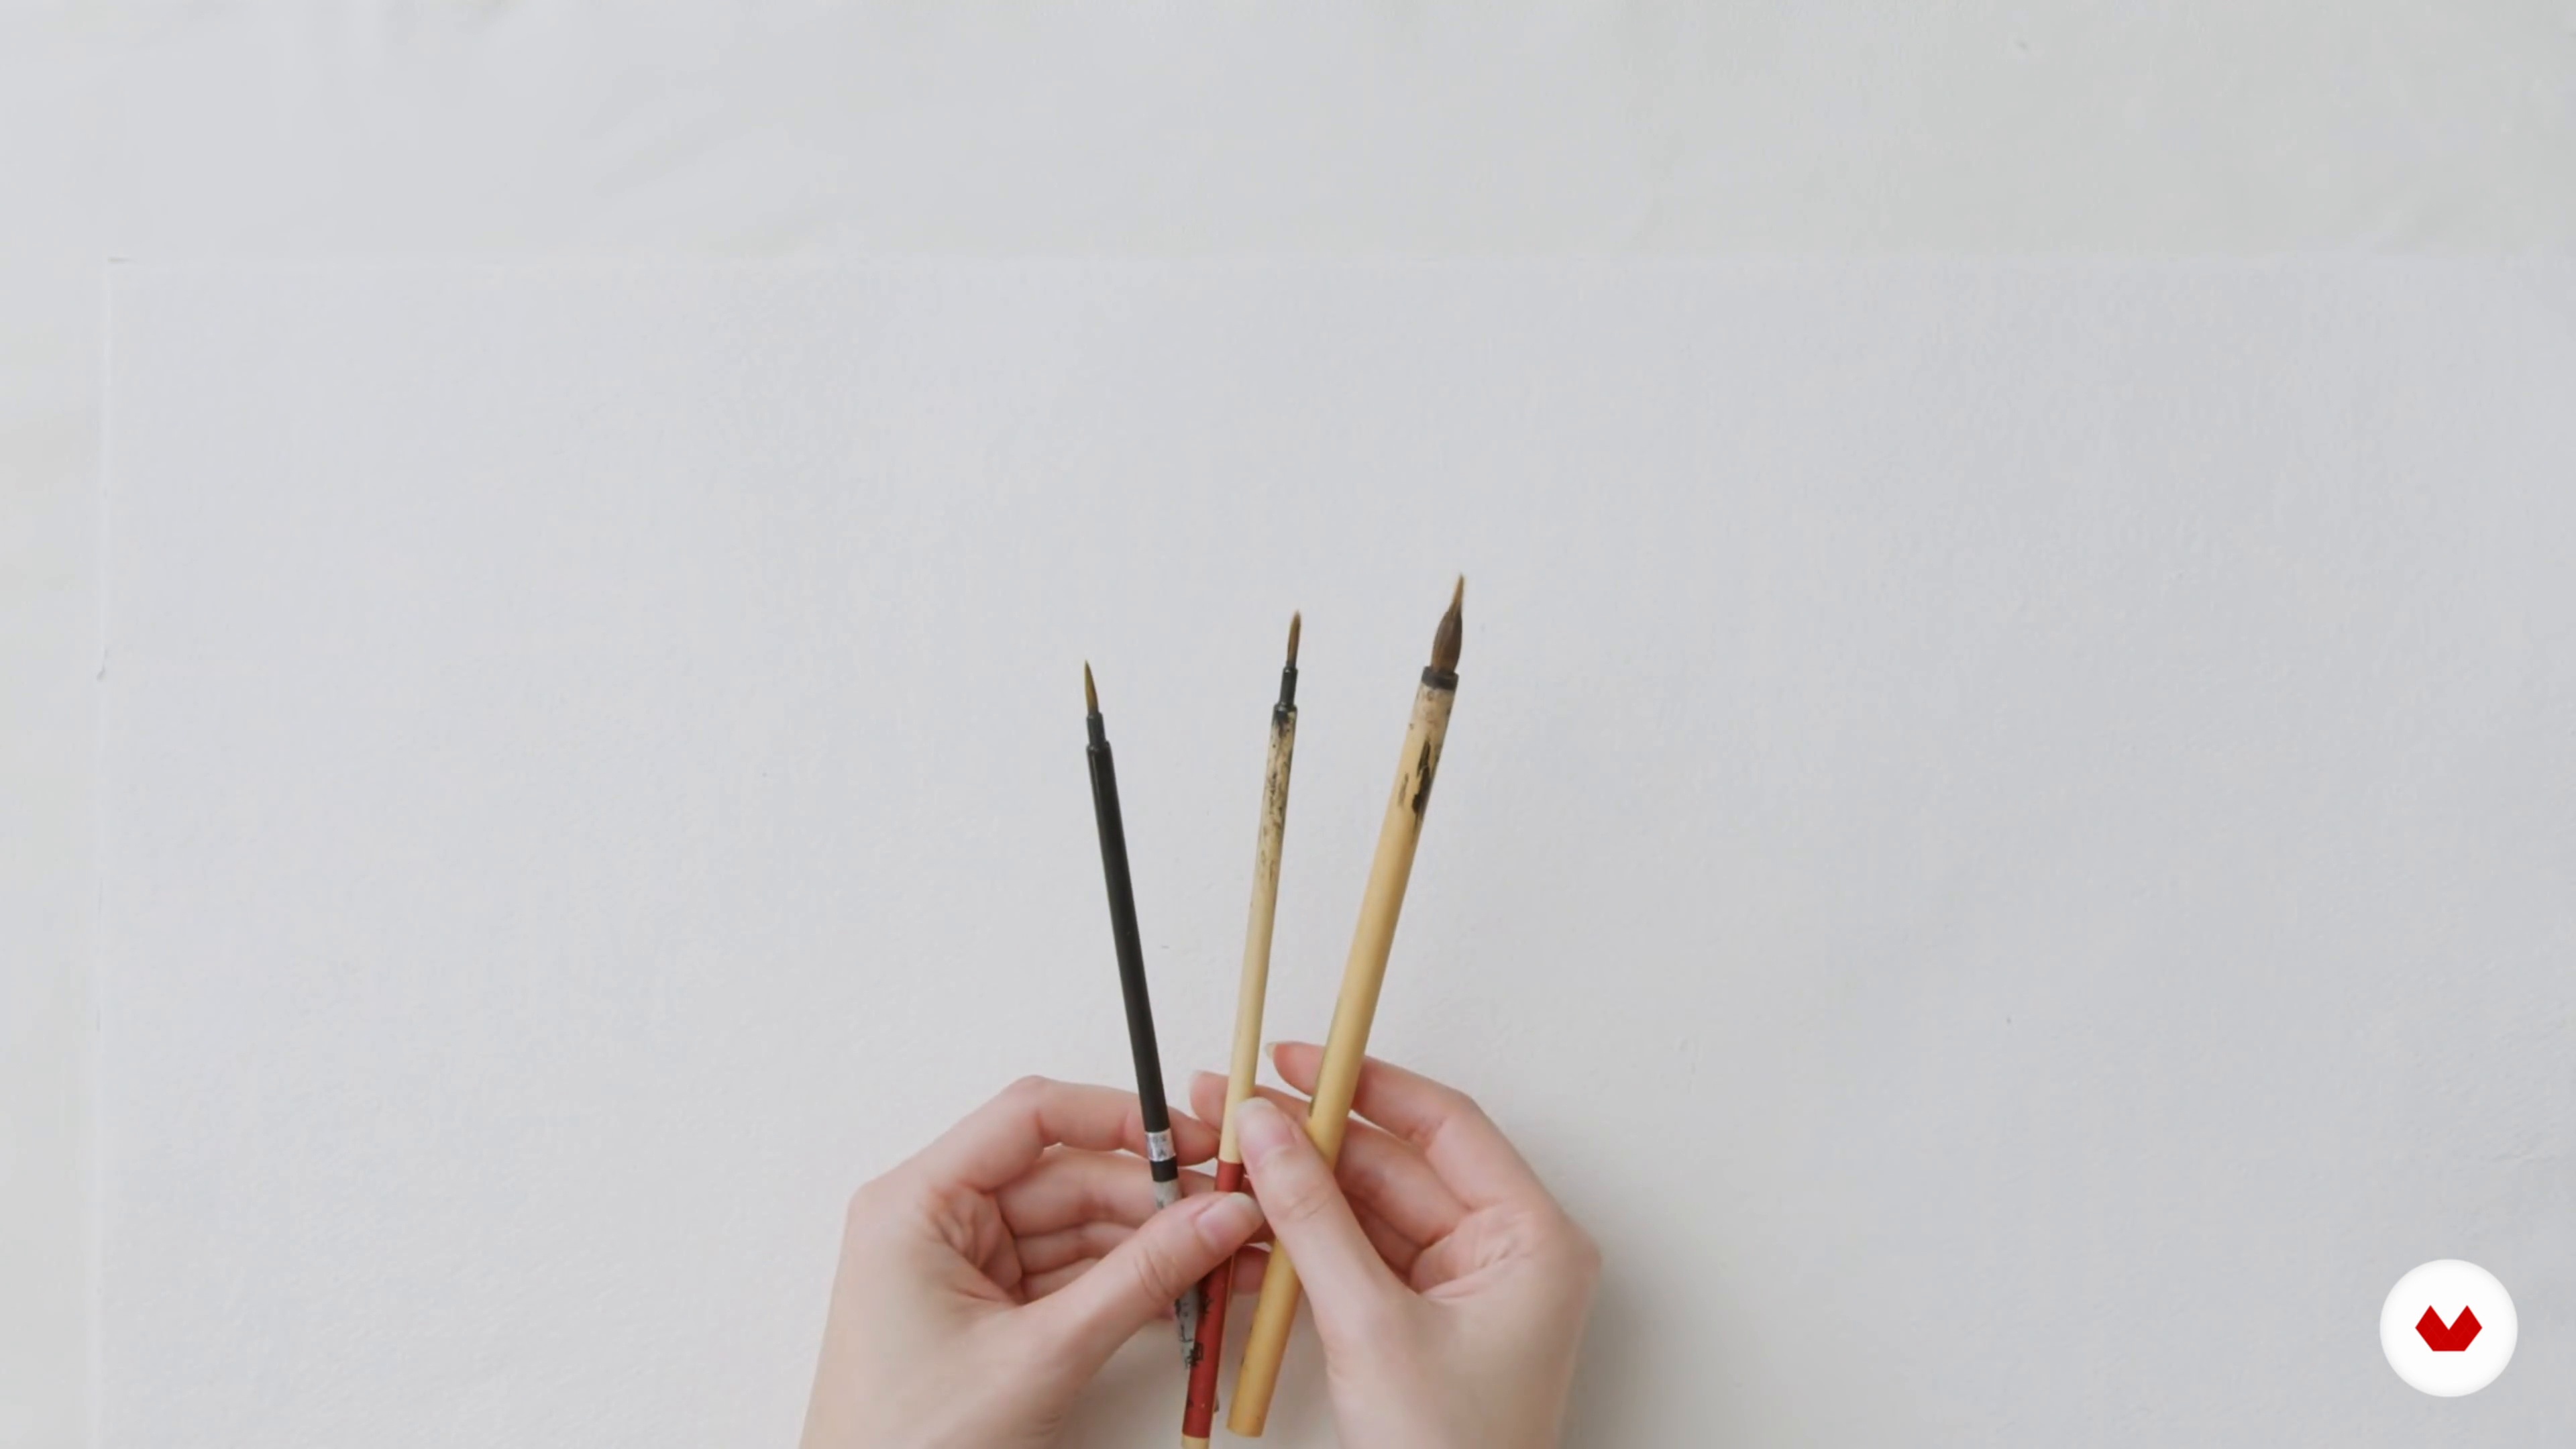
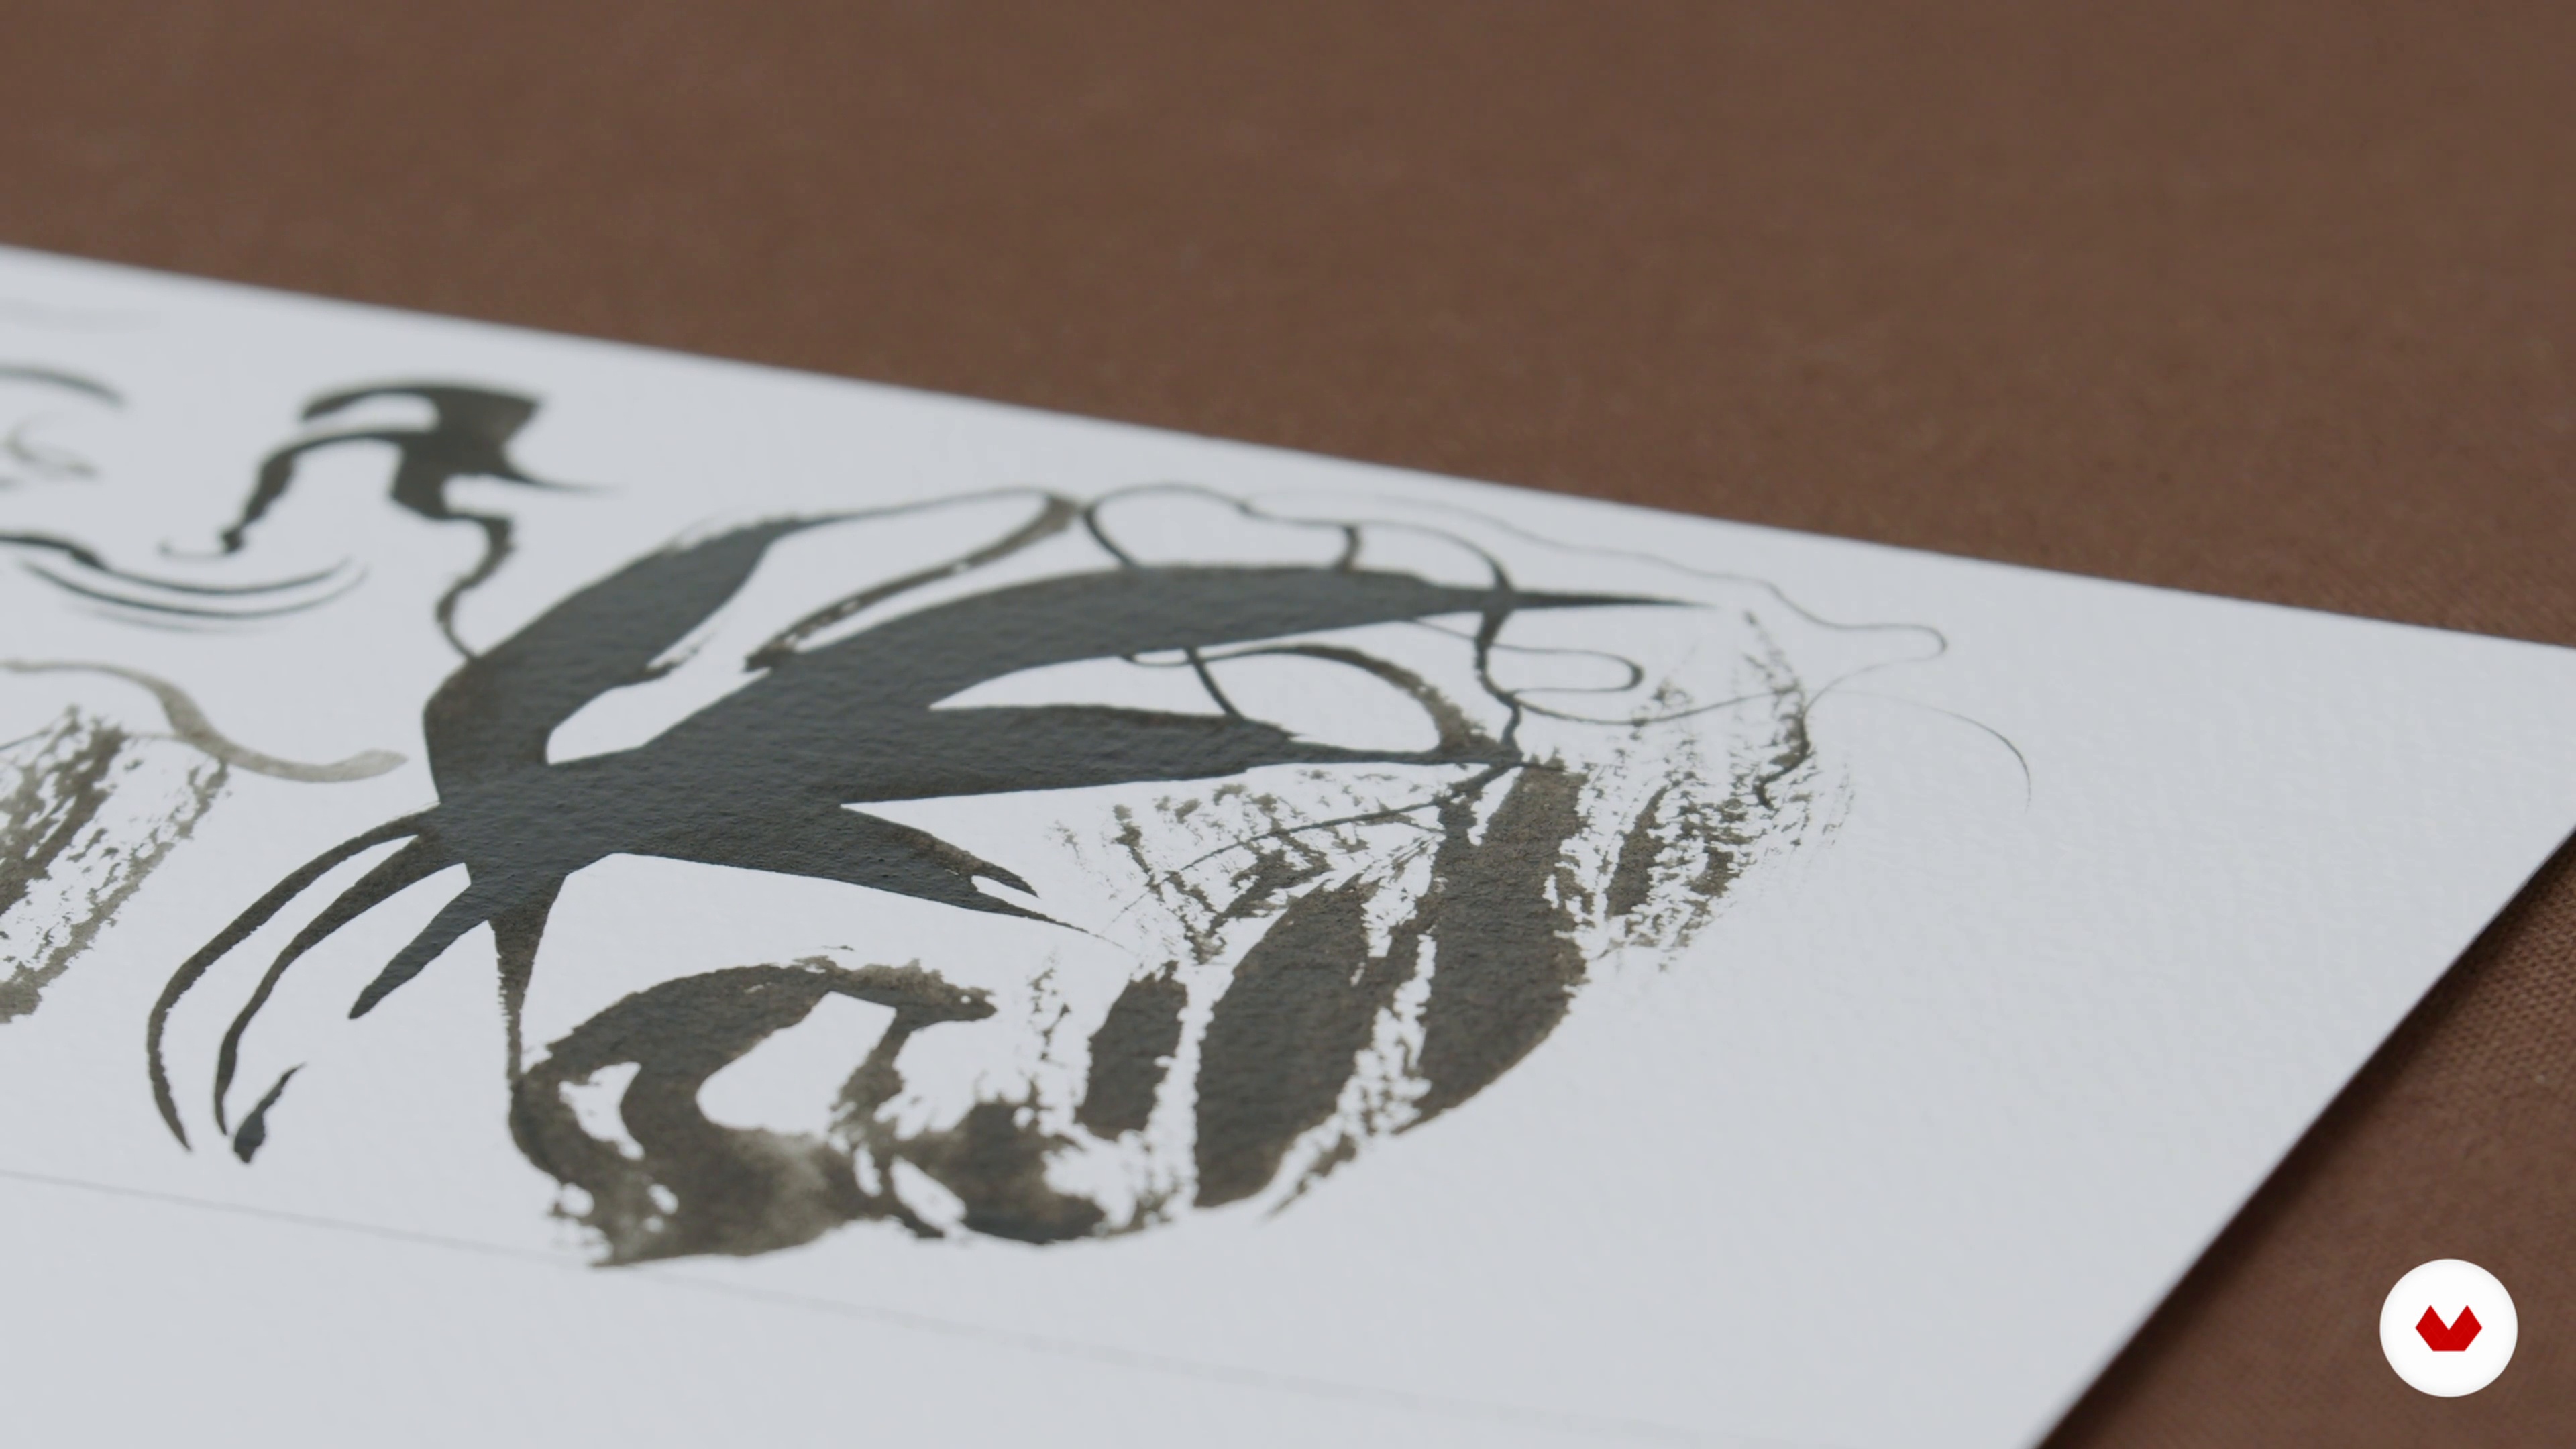
What are the different tools and materials that you will need to create your artwork? I will walk you through my own toolkit in this lesson, explaining their properties and why I like them. This lesson will provide a general overview of the various tools and materials that can be used for ink art.
6m
image
4
Leveraging Your Inking and Basic Pen Techniques 1
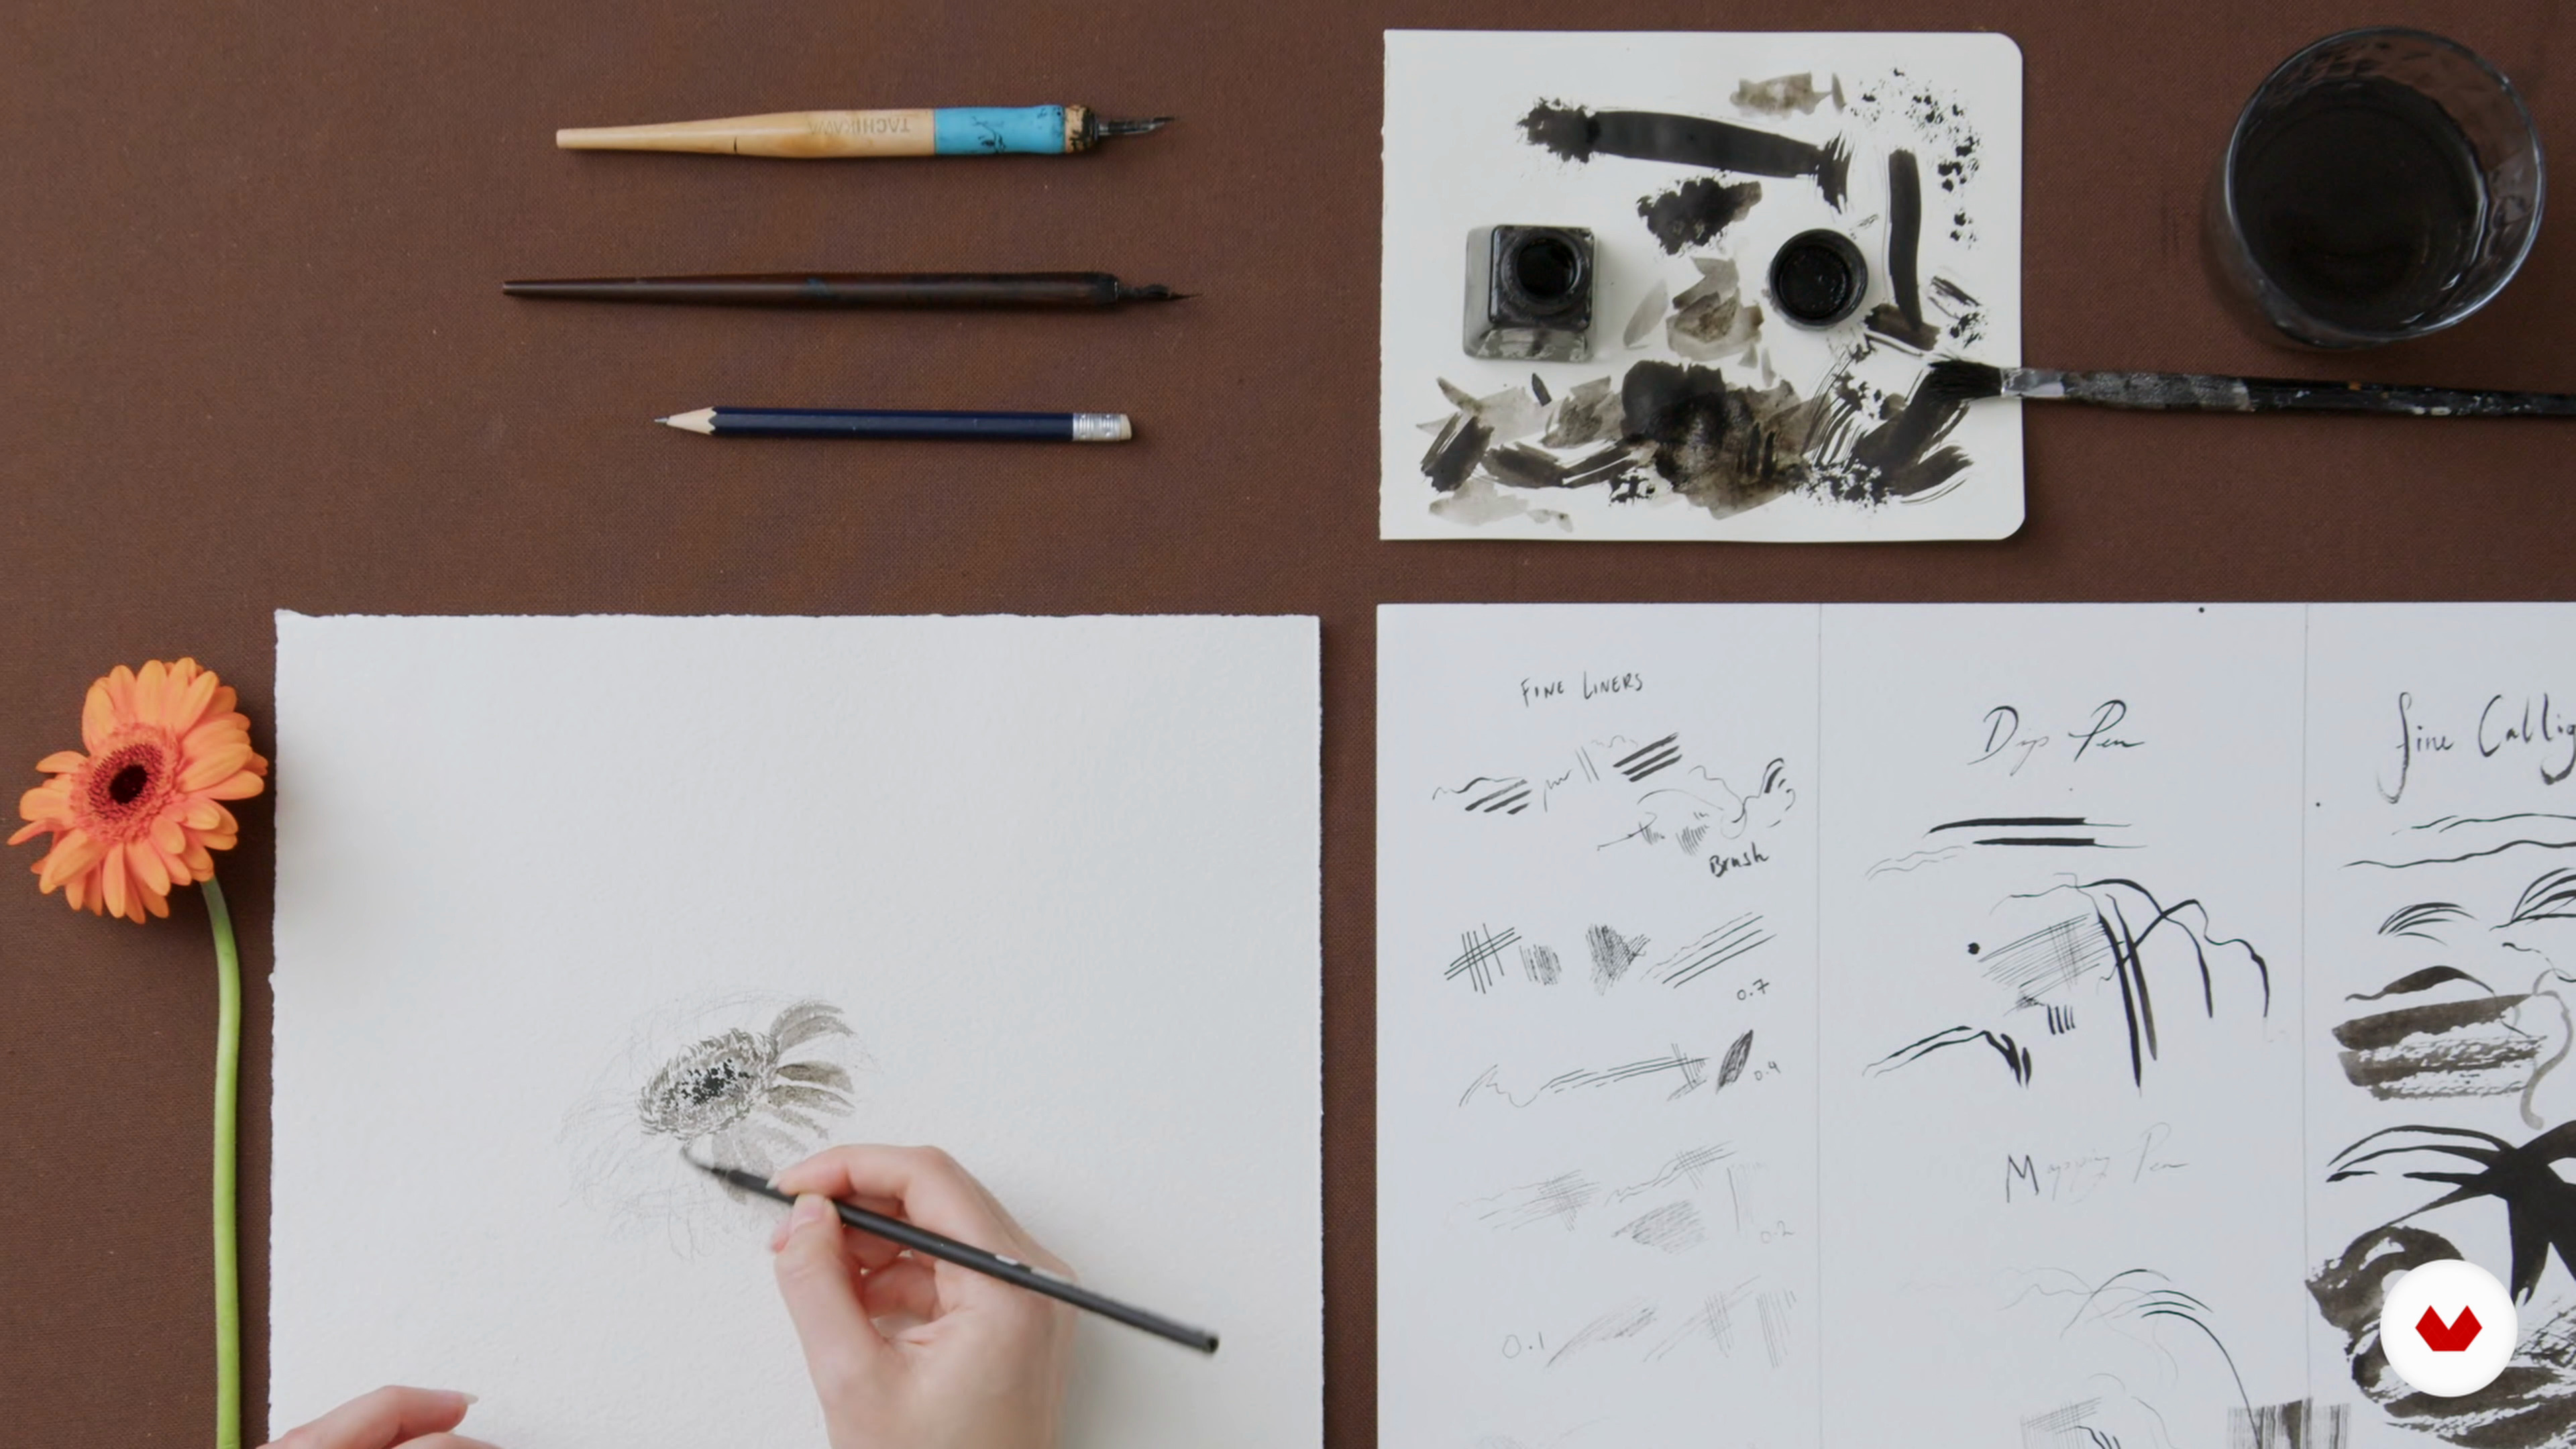
As promised, I will now demonstrate the effects that the equipment can create. I will test these tools through mark-making. This way, you can gain a sense of the kit before buying it!
13m
image
5
Leveraging Your Inking and Basic Pen Techniques 2
In the second part of this lesson, I will finish sampling my tools. You will learn how to harness their properties to achieve certain effects. Once I've walked you through the remaining two brushes in my kit – the standard brushes – I will restart the experimentation process with all the tools at my disposal. You will see the endless possibilities of shapes and textures that these tools provide!
11m
image
6
Sketching Forms
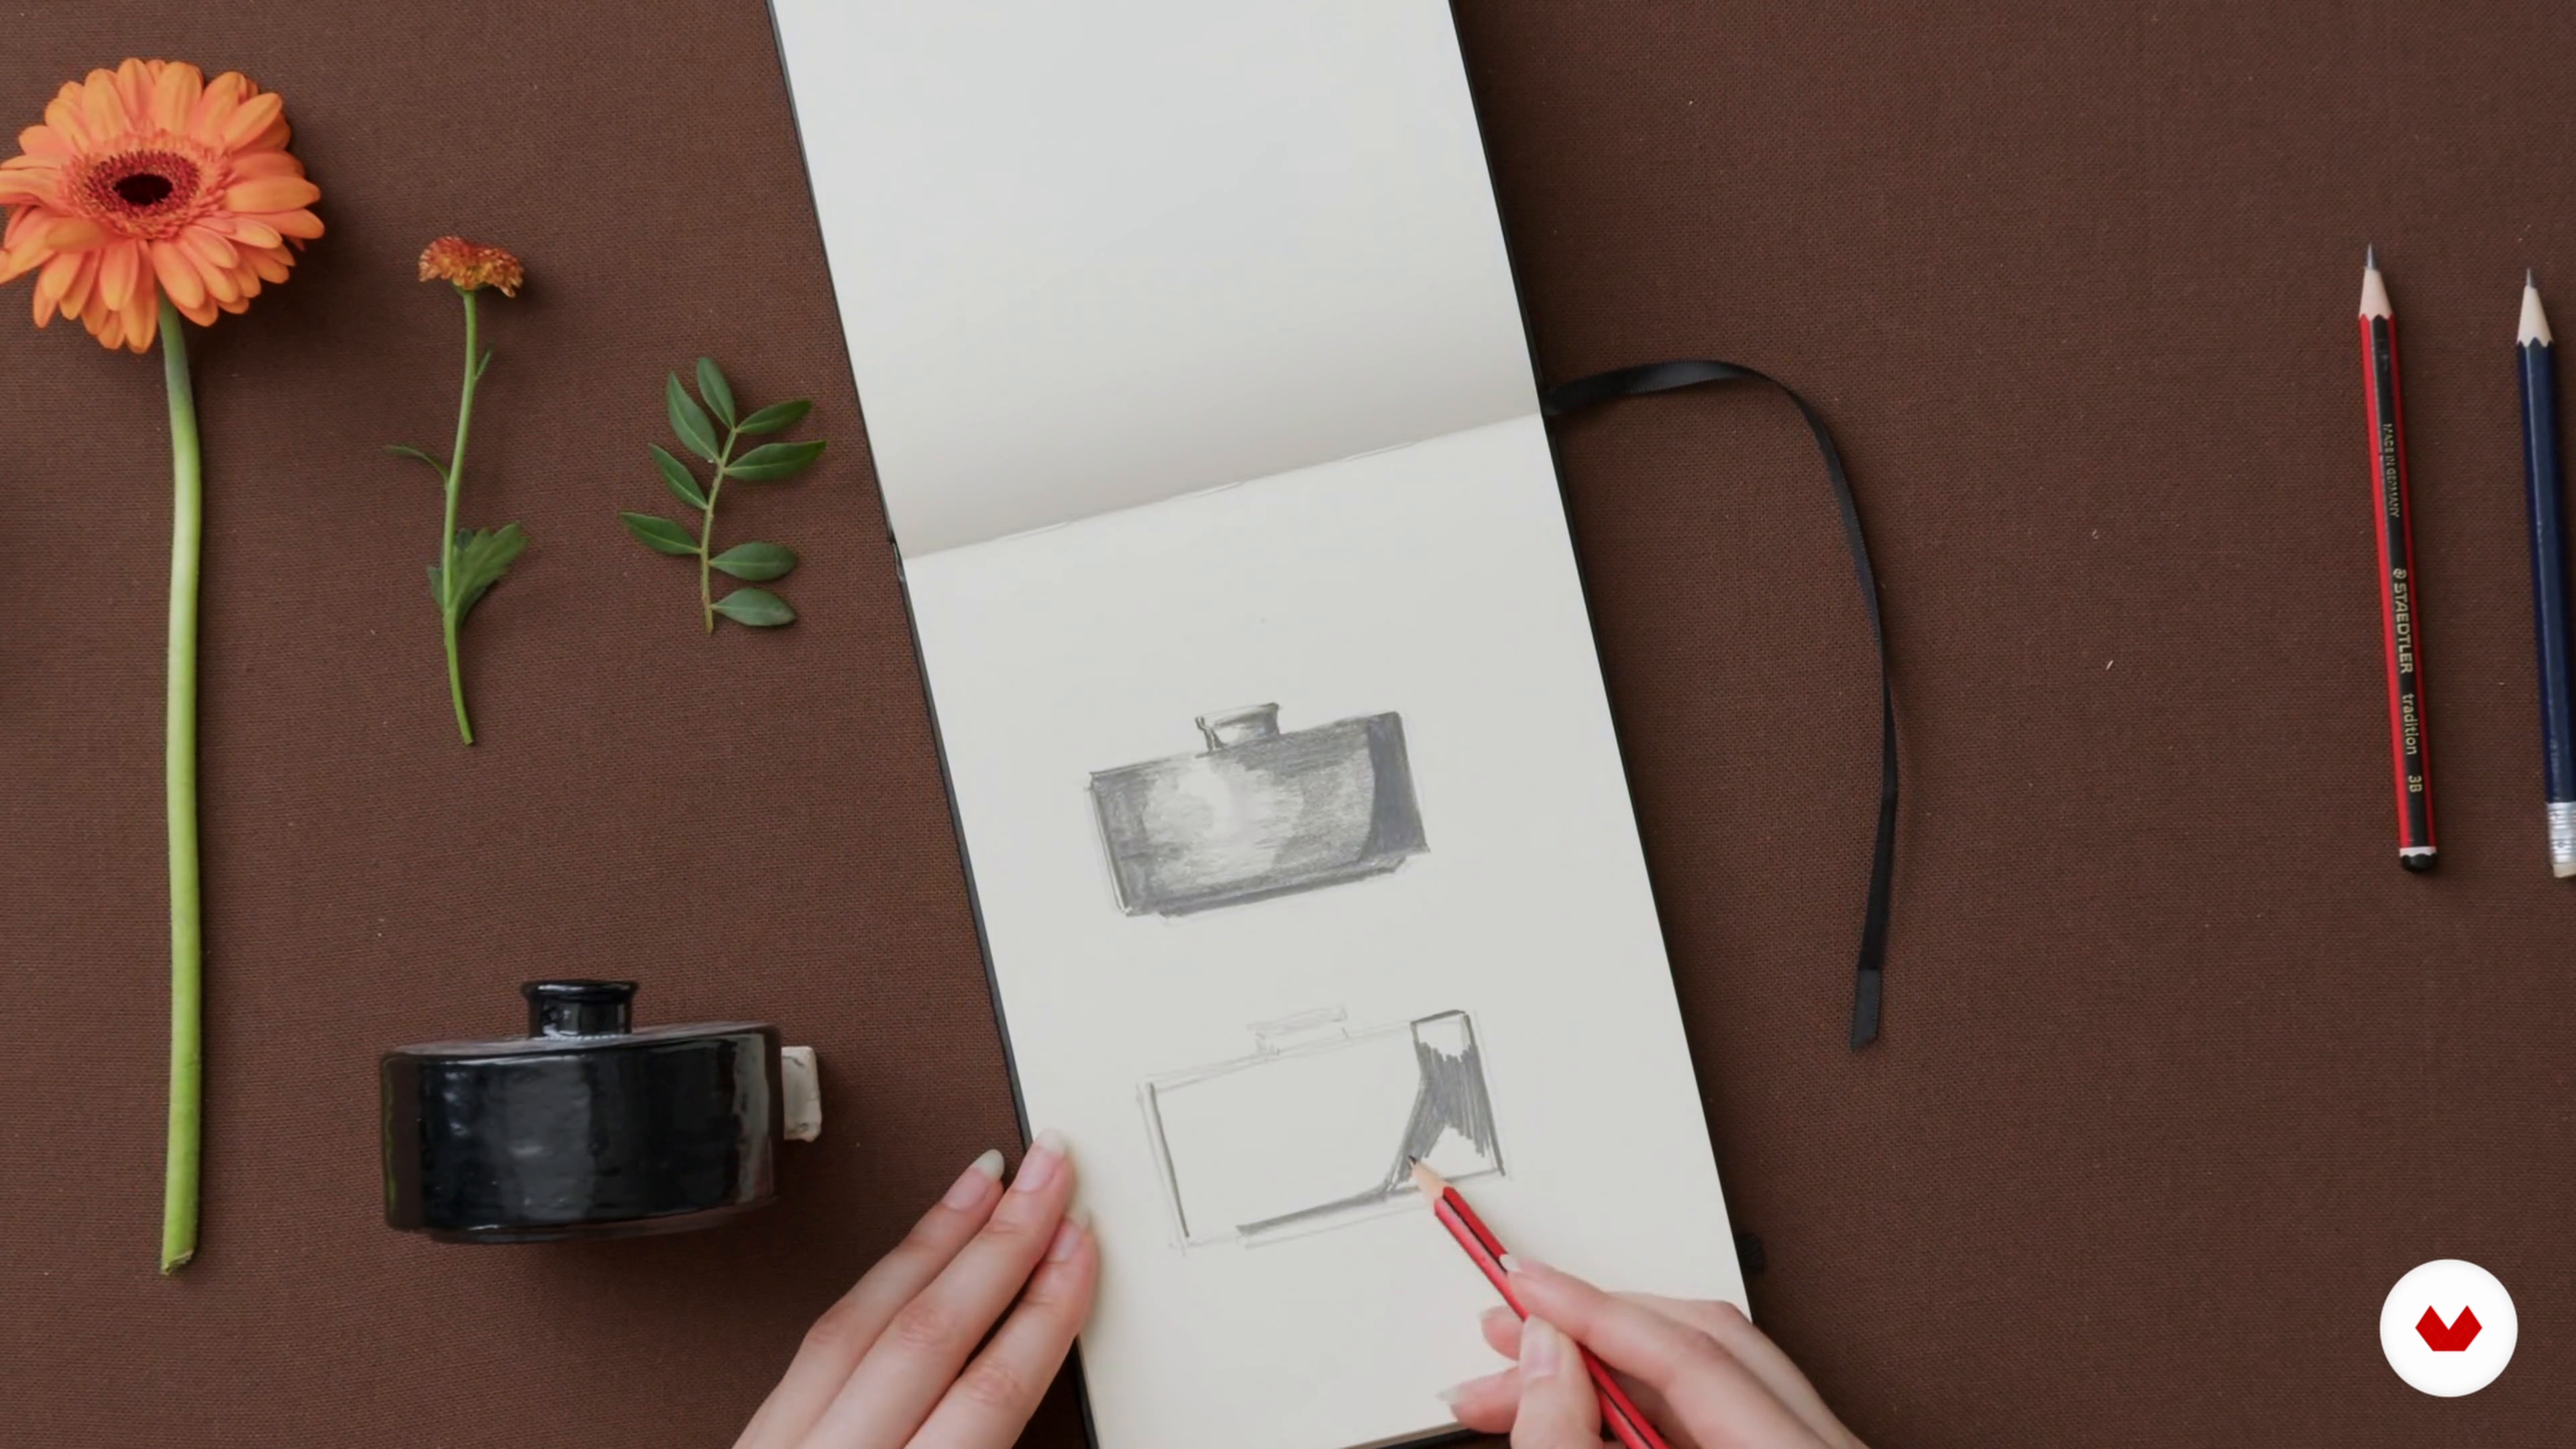
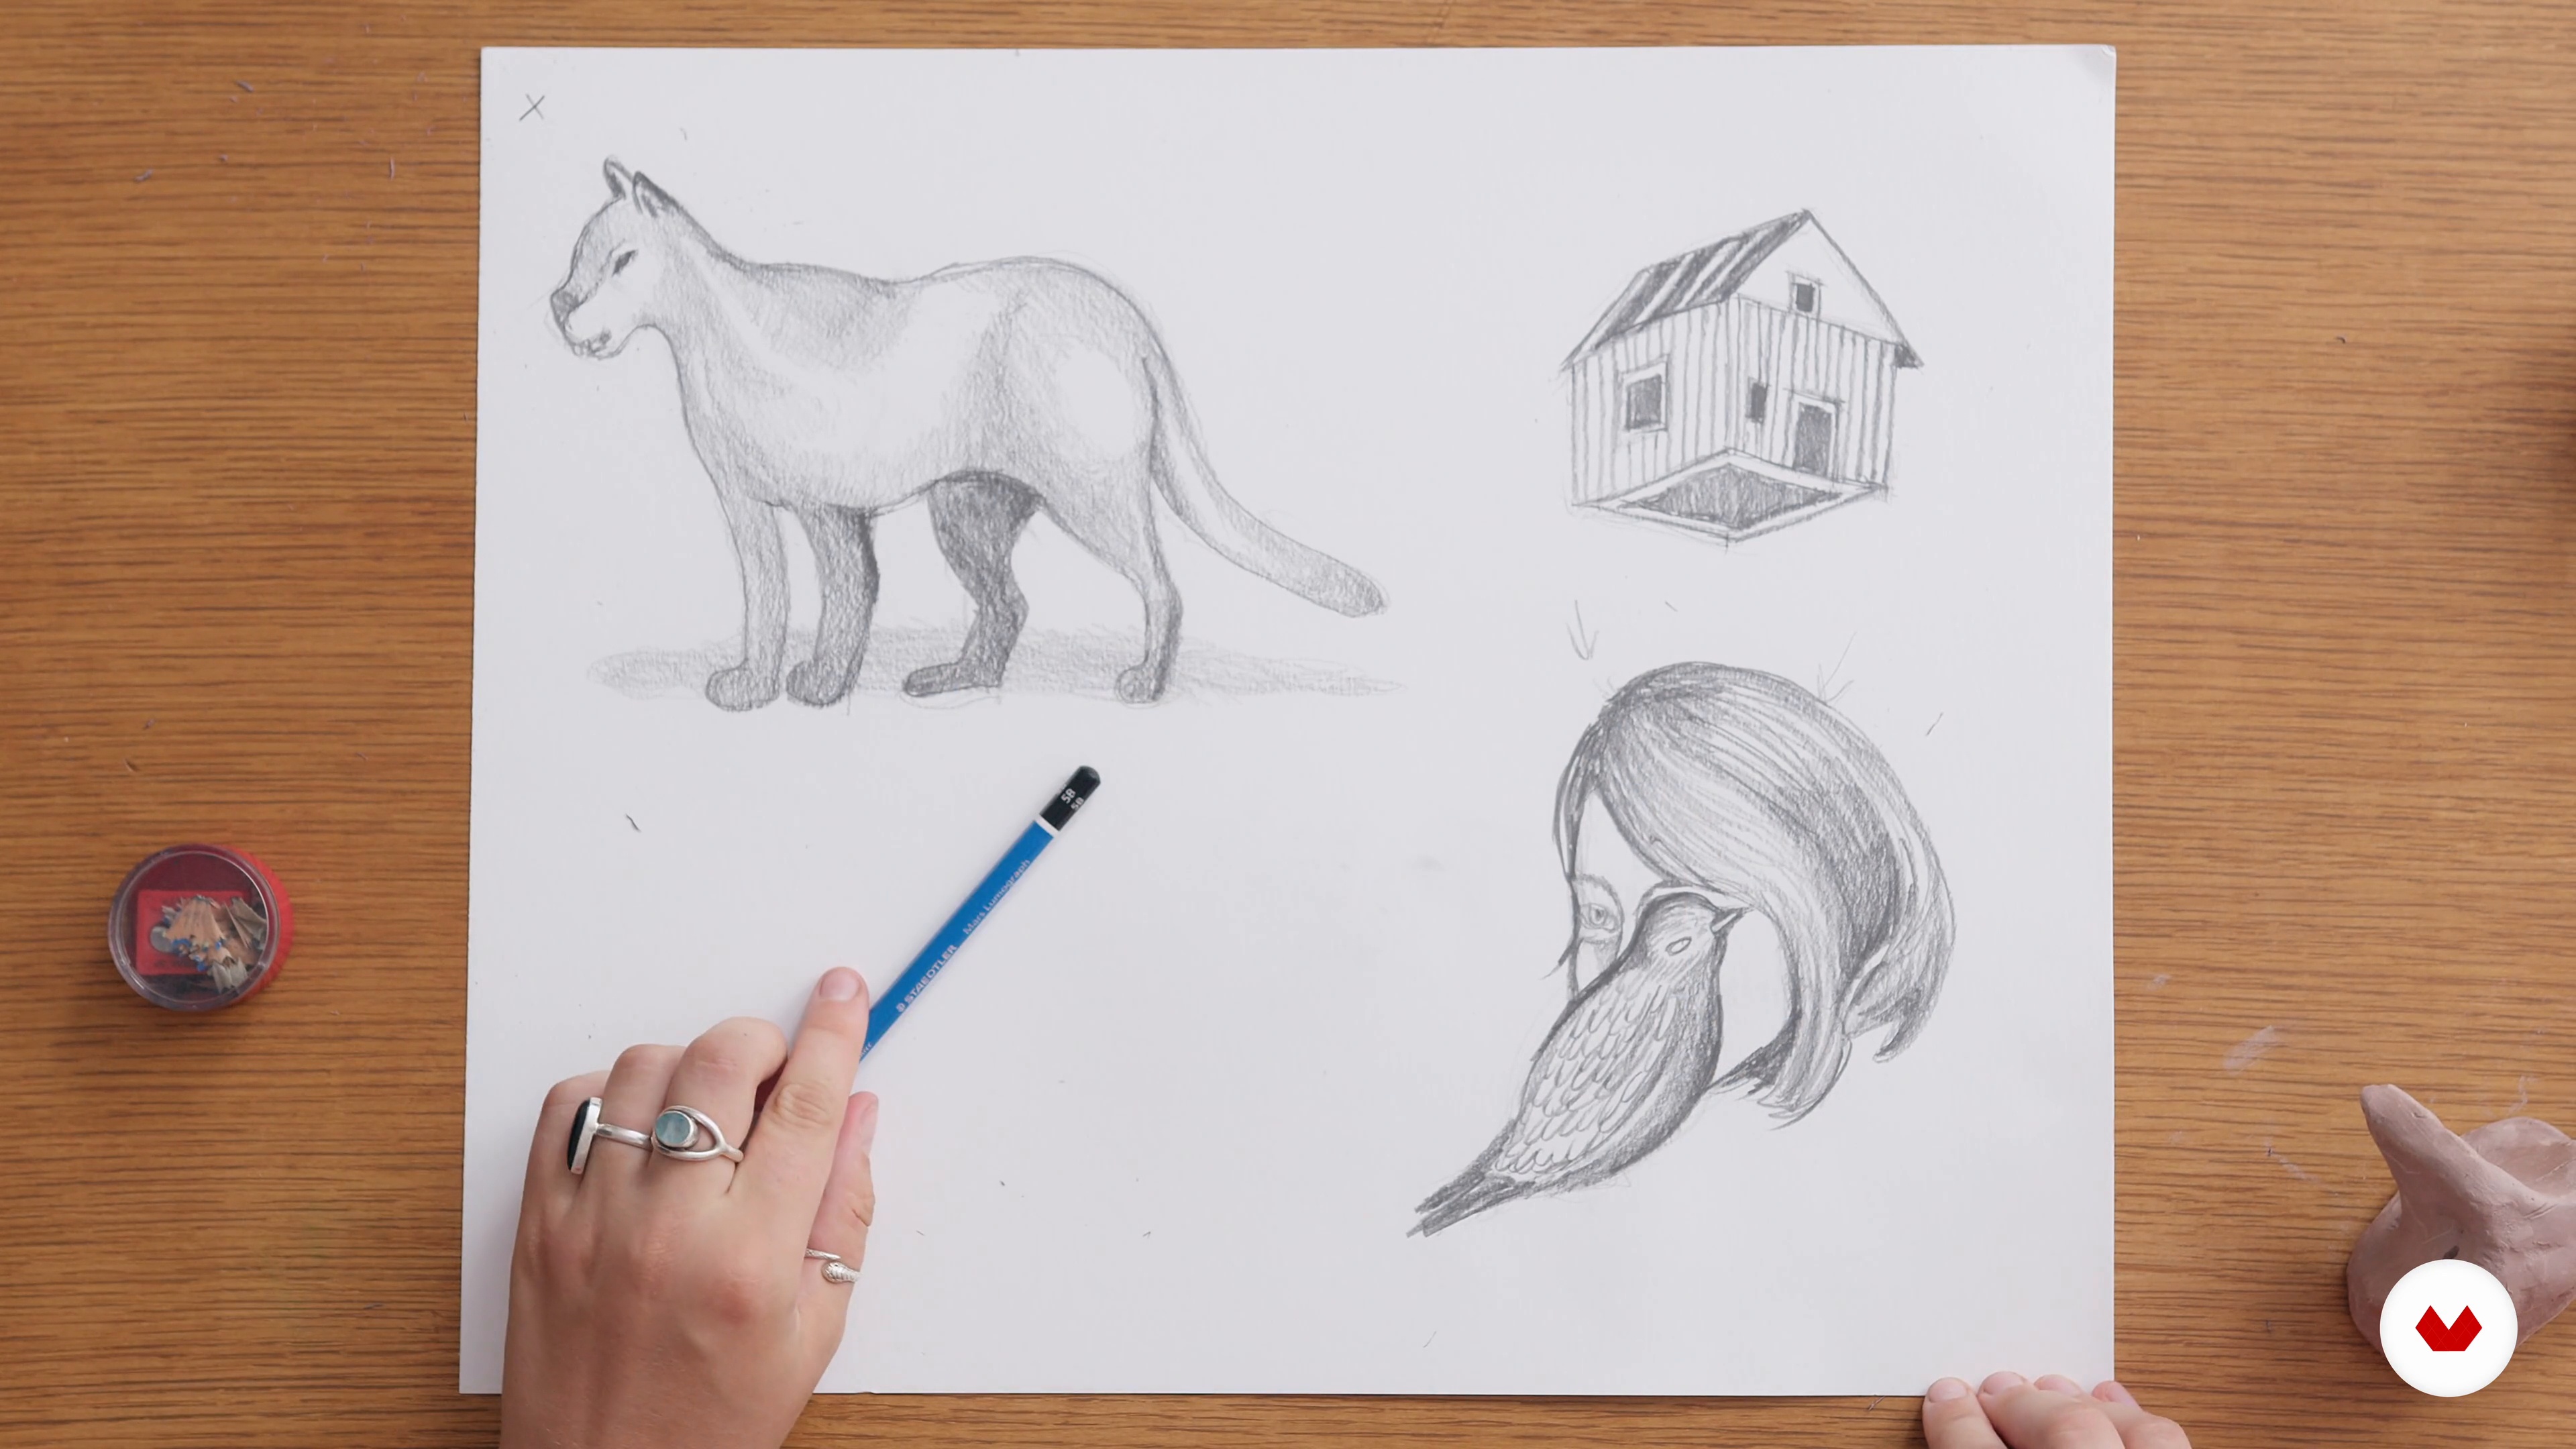
In this lesson, I will guide you in pencil sketching simple still-life forms. The purpose of this exercise is to help you gain a deeper understanding of your subject matter.
20m
image
7
Creating Details with Ink
Next, I will demonstrate how to use ink to draw detailed sections of the subject matter, which in this case is a plant. You will learn how to employ different tools and textures to bring the flower to life.
18m
image
8
Graphic Elements, Balance, and Composition
To conclude this unit, I will help you to gain confidence in composition and balance. To do this, we will bring abstract elements together to create to a small botanical drawing.
20m
image
9
Selecting the Subject and Playing With Composition
The first step of the creative process is defining and familiarising yourself with the subject matter. What do you like? If you enjoy what you're drawing, this will translate into your art. The theme of this course project is botany. In this lesson, I will help you to decide on the right floral arrangement – with the right balance and composition – and interpret this into artwork.
17m
image
10
Starting a Formal Pencil Sketch
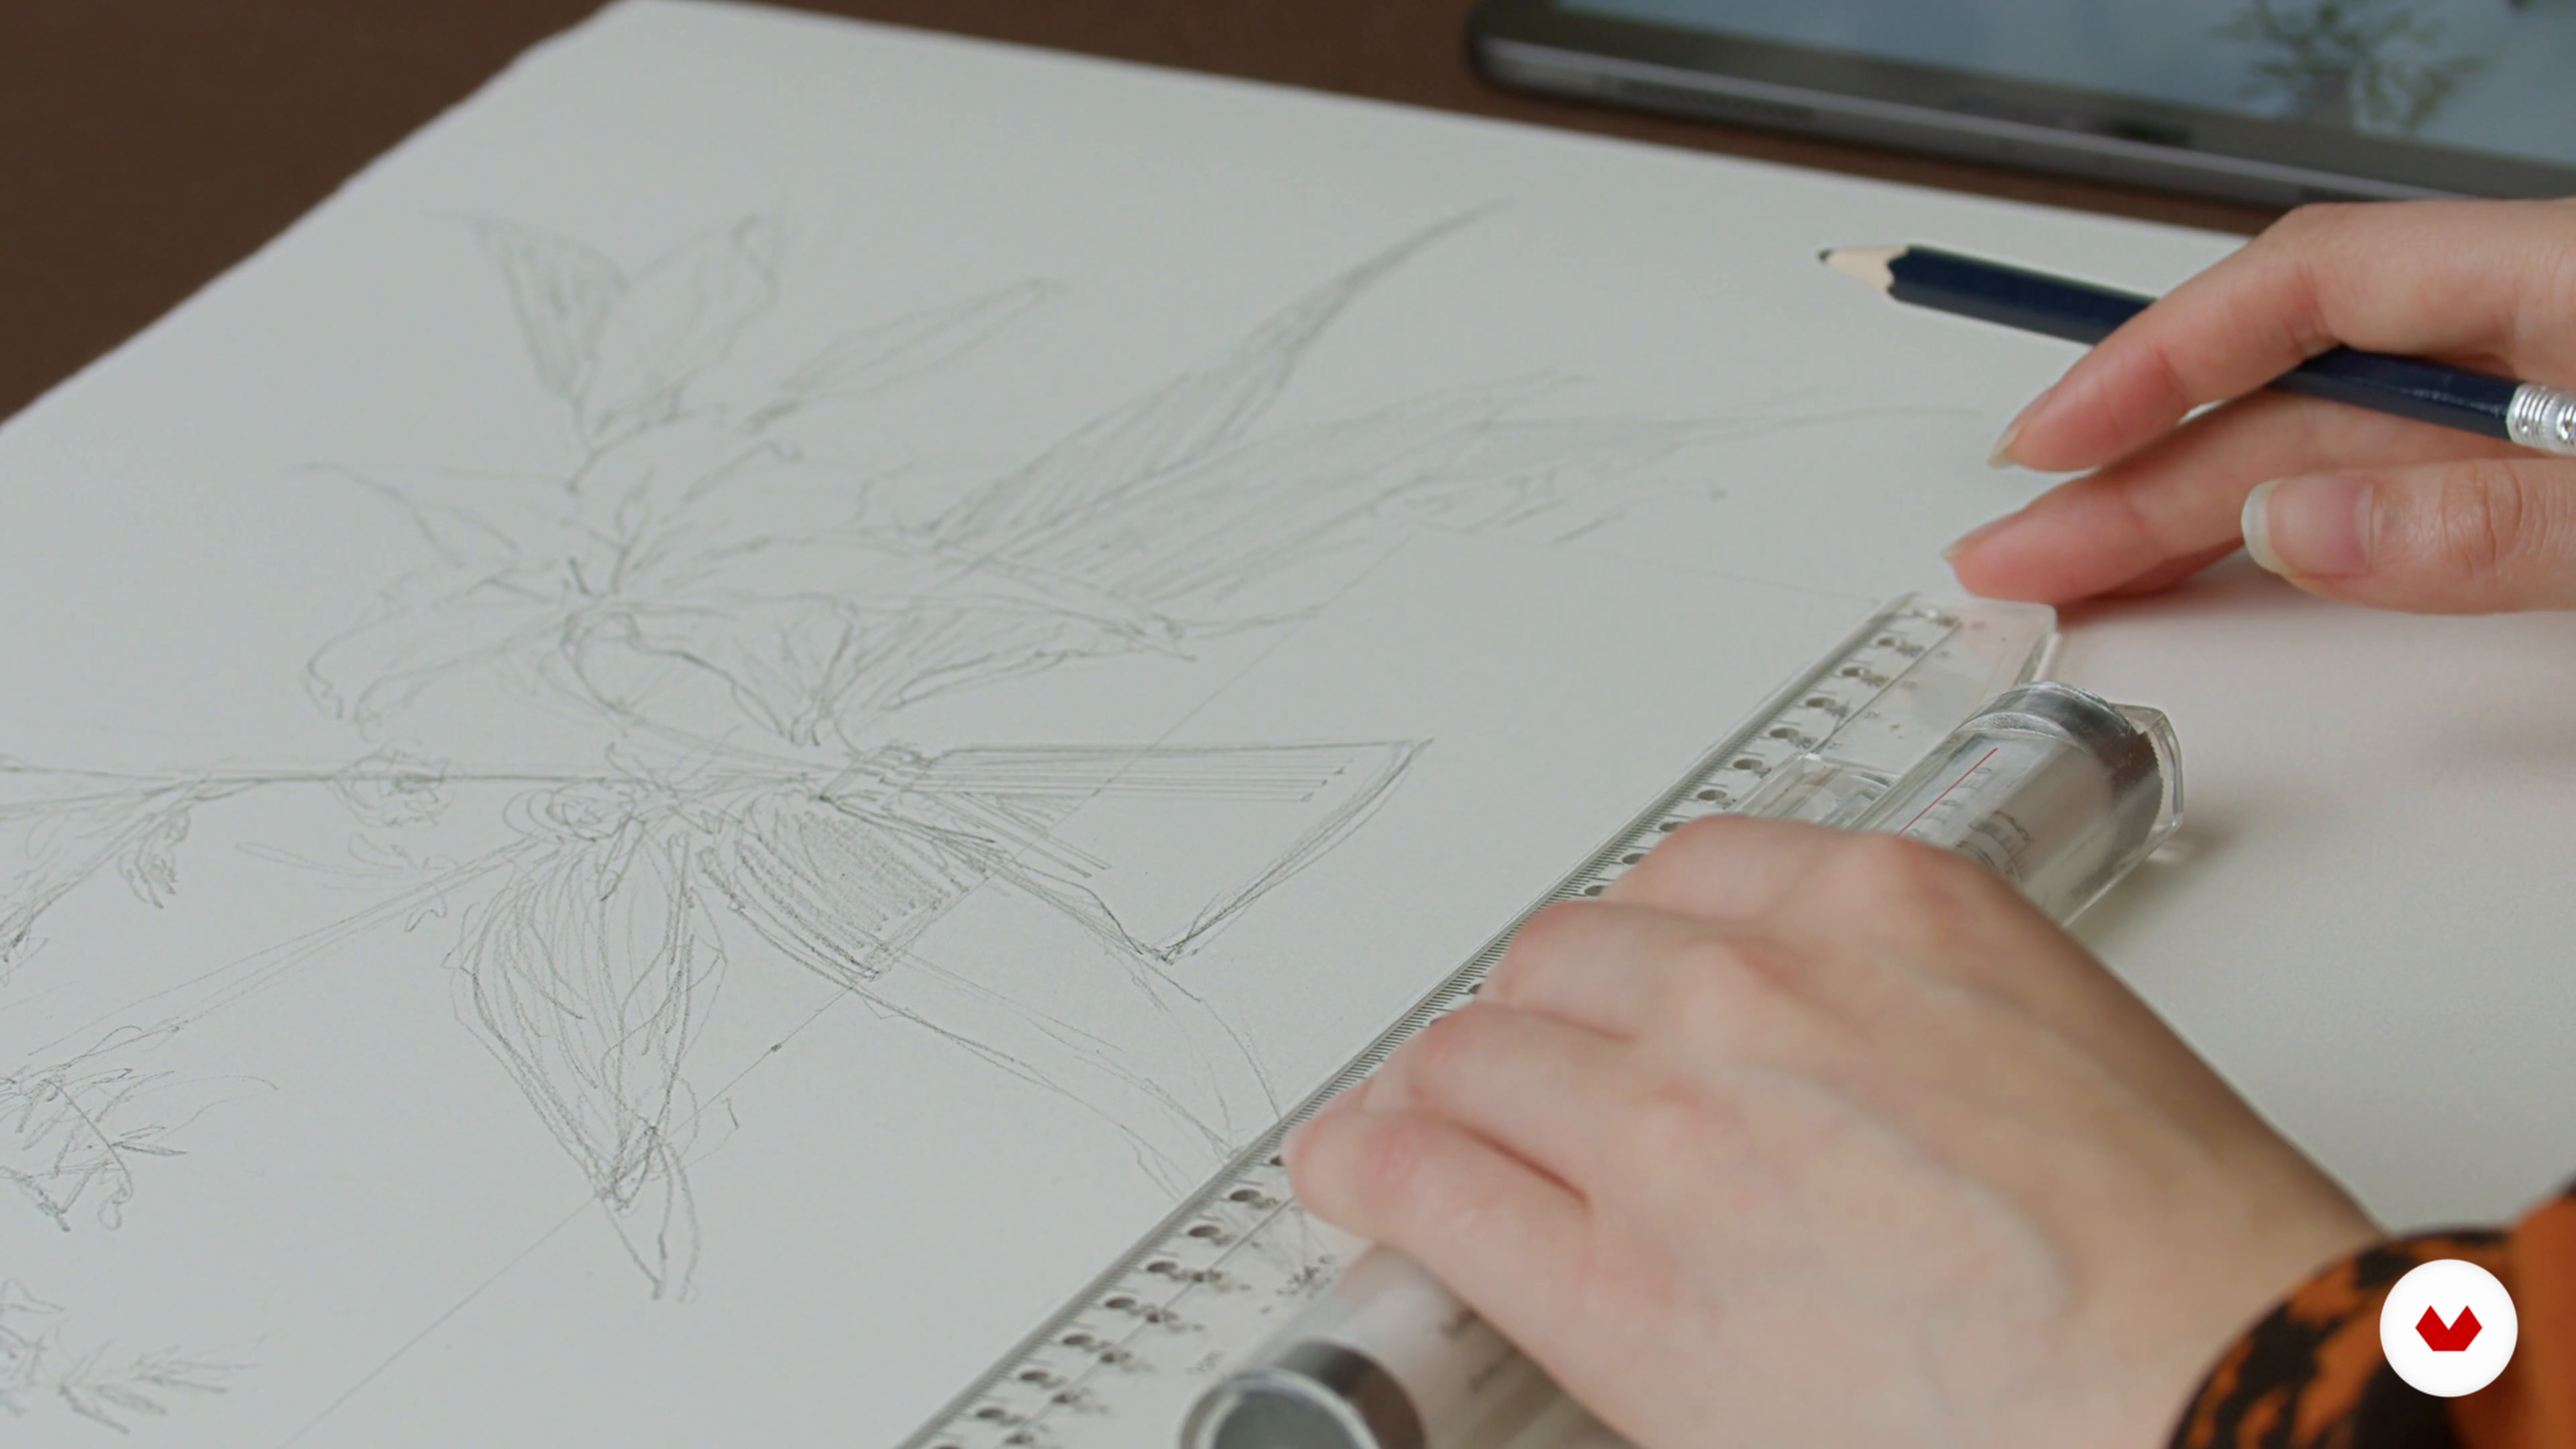
Once you're happy with the overall composition of your reference material, the next step is to sketch the base of your final piece. In this lesson, I will show you how I map out my initial lines.
19m
image
11
Inking the Objects in the Foreground
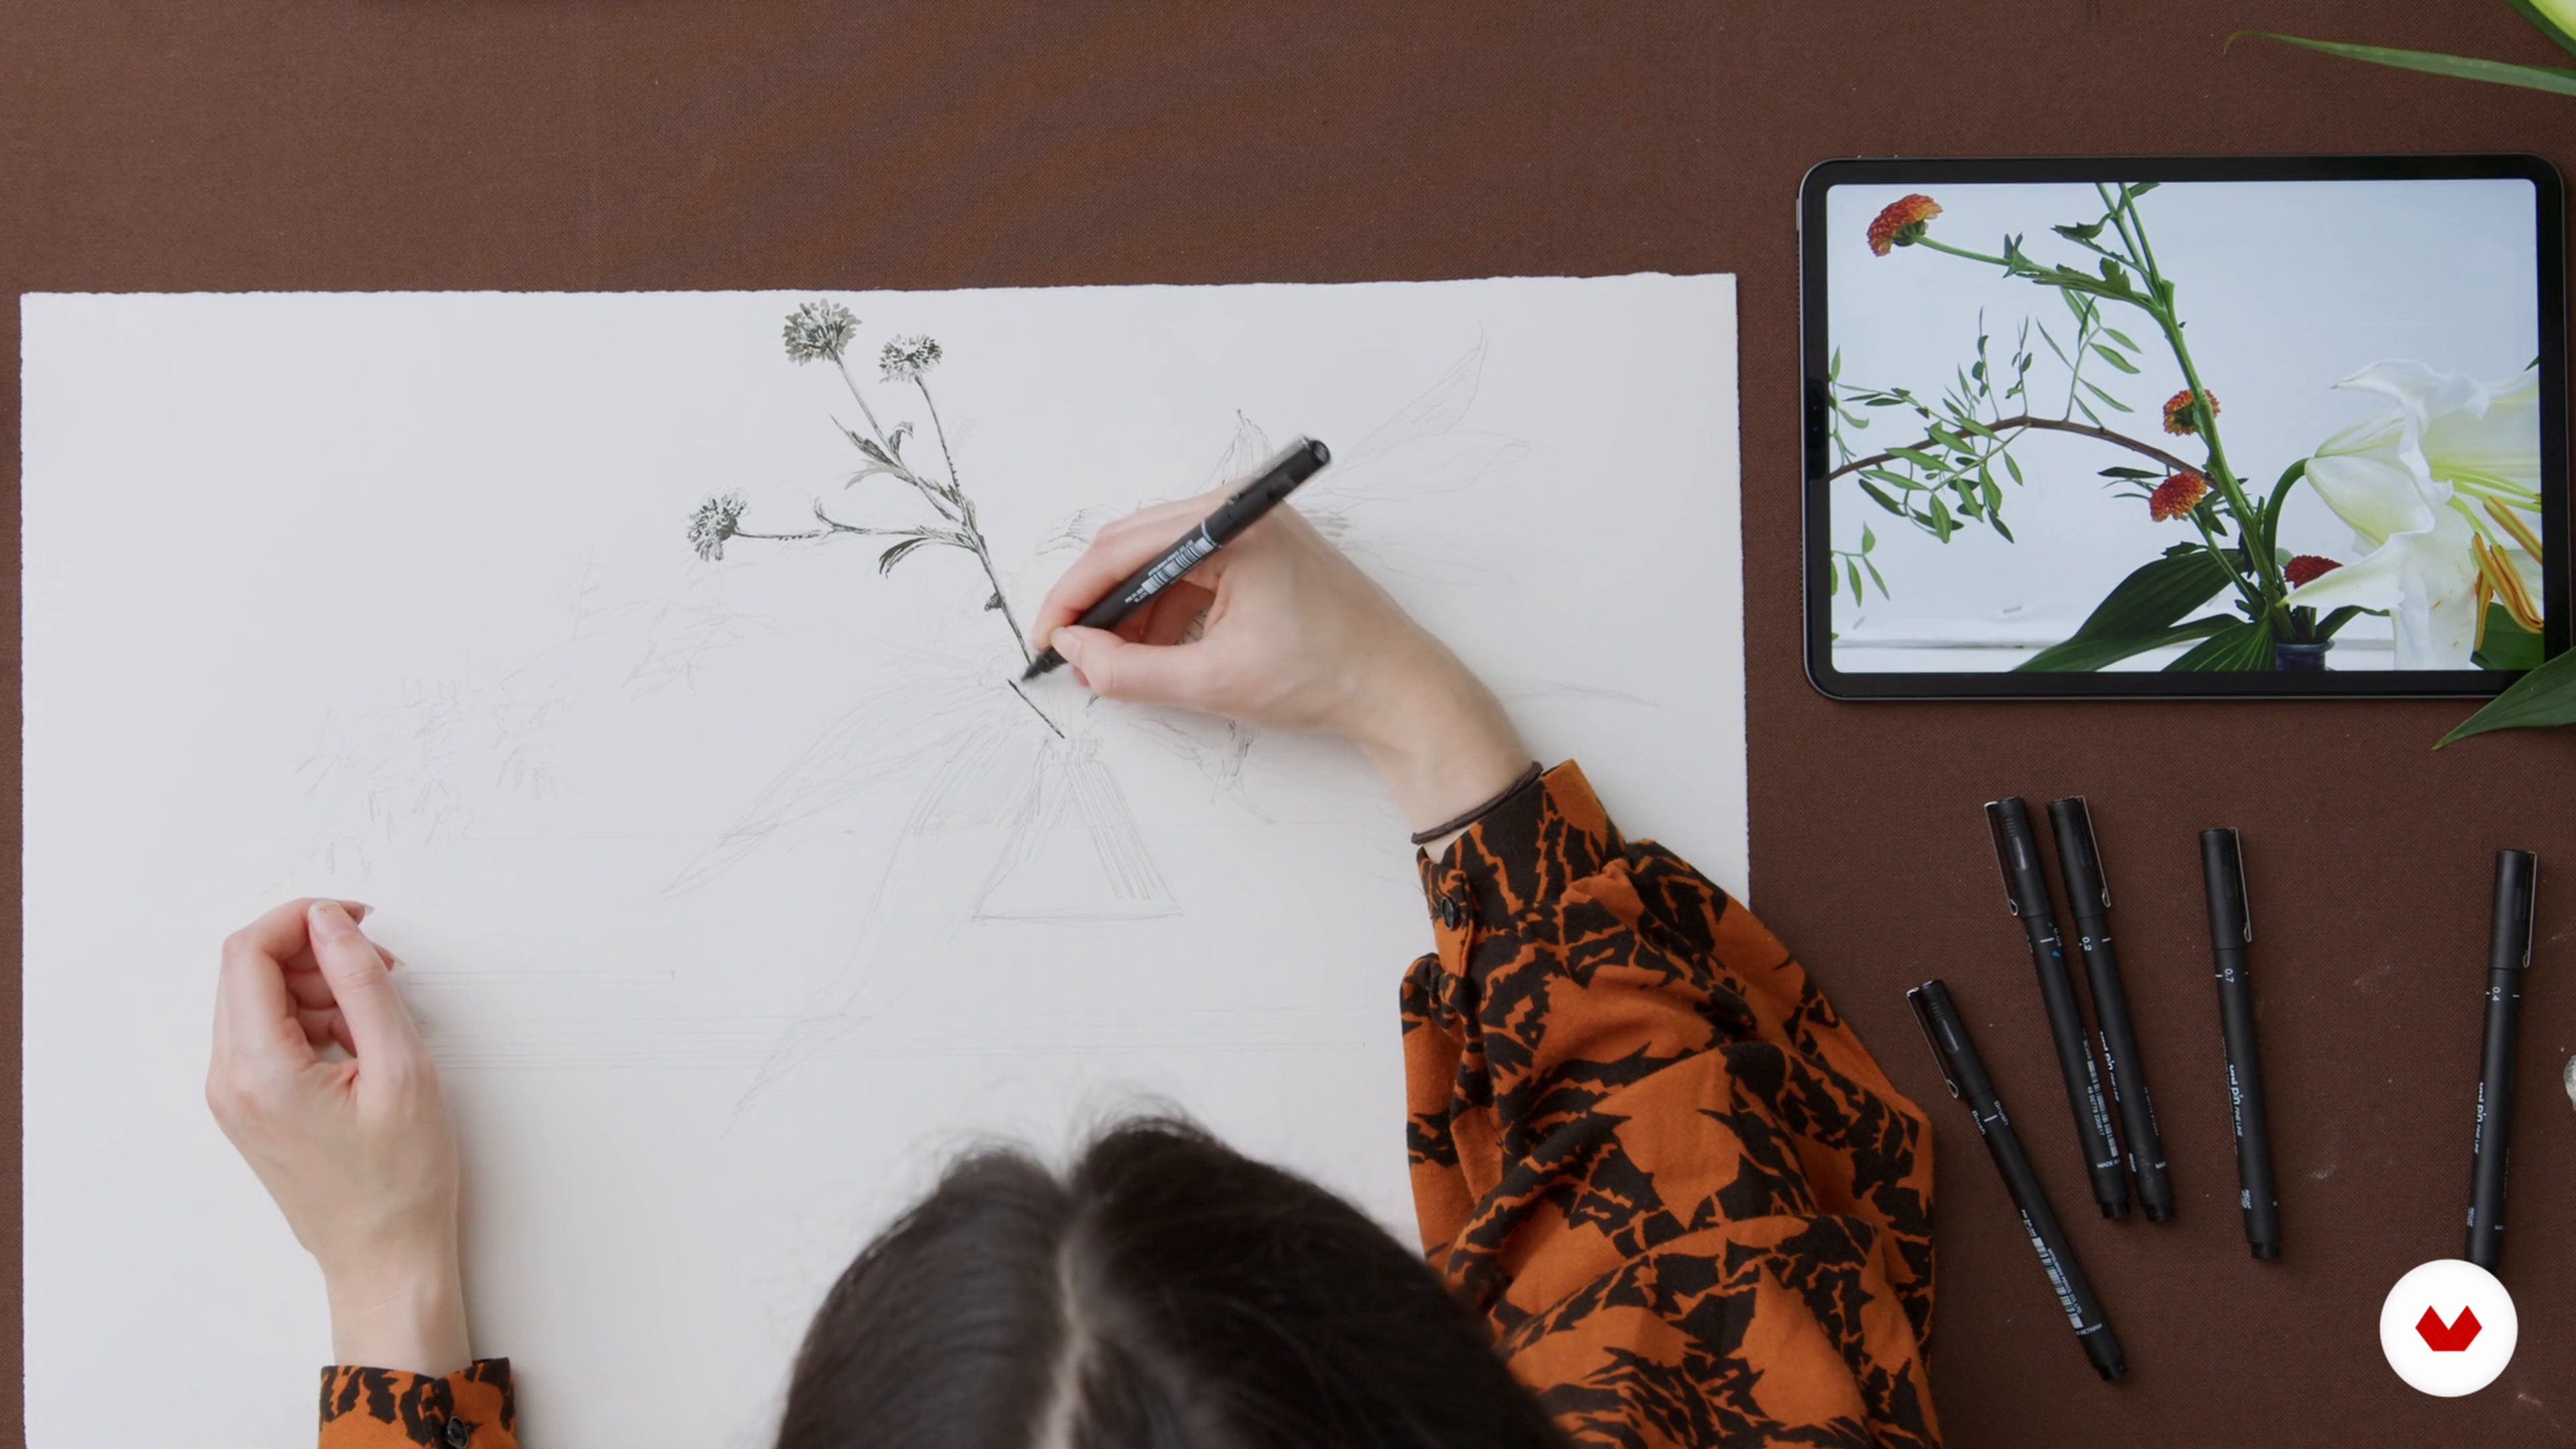
The objects in the foreground are the things at the front of the image; these items tend to take first priority in my drawing process. The reason I will often differentiate this stage and reserve much of my attention for it is that this area requires more detail and delicacy. I will be using ink to draw my image's foreground.
20m
image
12
Ink: Working Your Way Back
With the foreground elements in place, it's time to draw out the background. While these elements aren't intended to stand out, they are no less important. The goal is to achieve a sense of contrast between these two different depths.
18m
image
13
Ink: Adding Graphic Elements
To bring the artwork to a strong finish, let's instil a sense of edginess and character. I will show you how to add a bold and contemporary twist with graphic elements.
16m
image
14
Different Ways to Add Gold
In this lesson, I will show you how to add an optional touch of gold leaf to your piece. I will cover the different types of gold and then how to apply it.
15m
image
15
Tips and Tricks: Framing
Now that you've invested all the hard work and created a fantastic piece, it deserves to be presented well. Here, we will review the visual effects of different framing types and techniques.
12m
image
16
Applying the Drawing for Other Uses
Finally, let's take a look at how your art can be applied to other mediums and uses beyond your canvas!
3m
image
3
Collecting References and Creating the Digital Collage
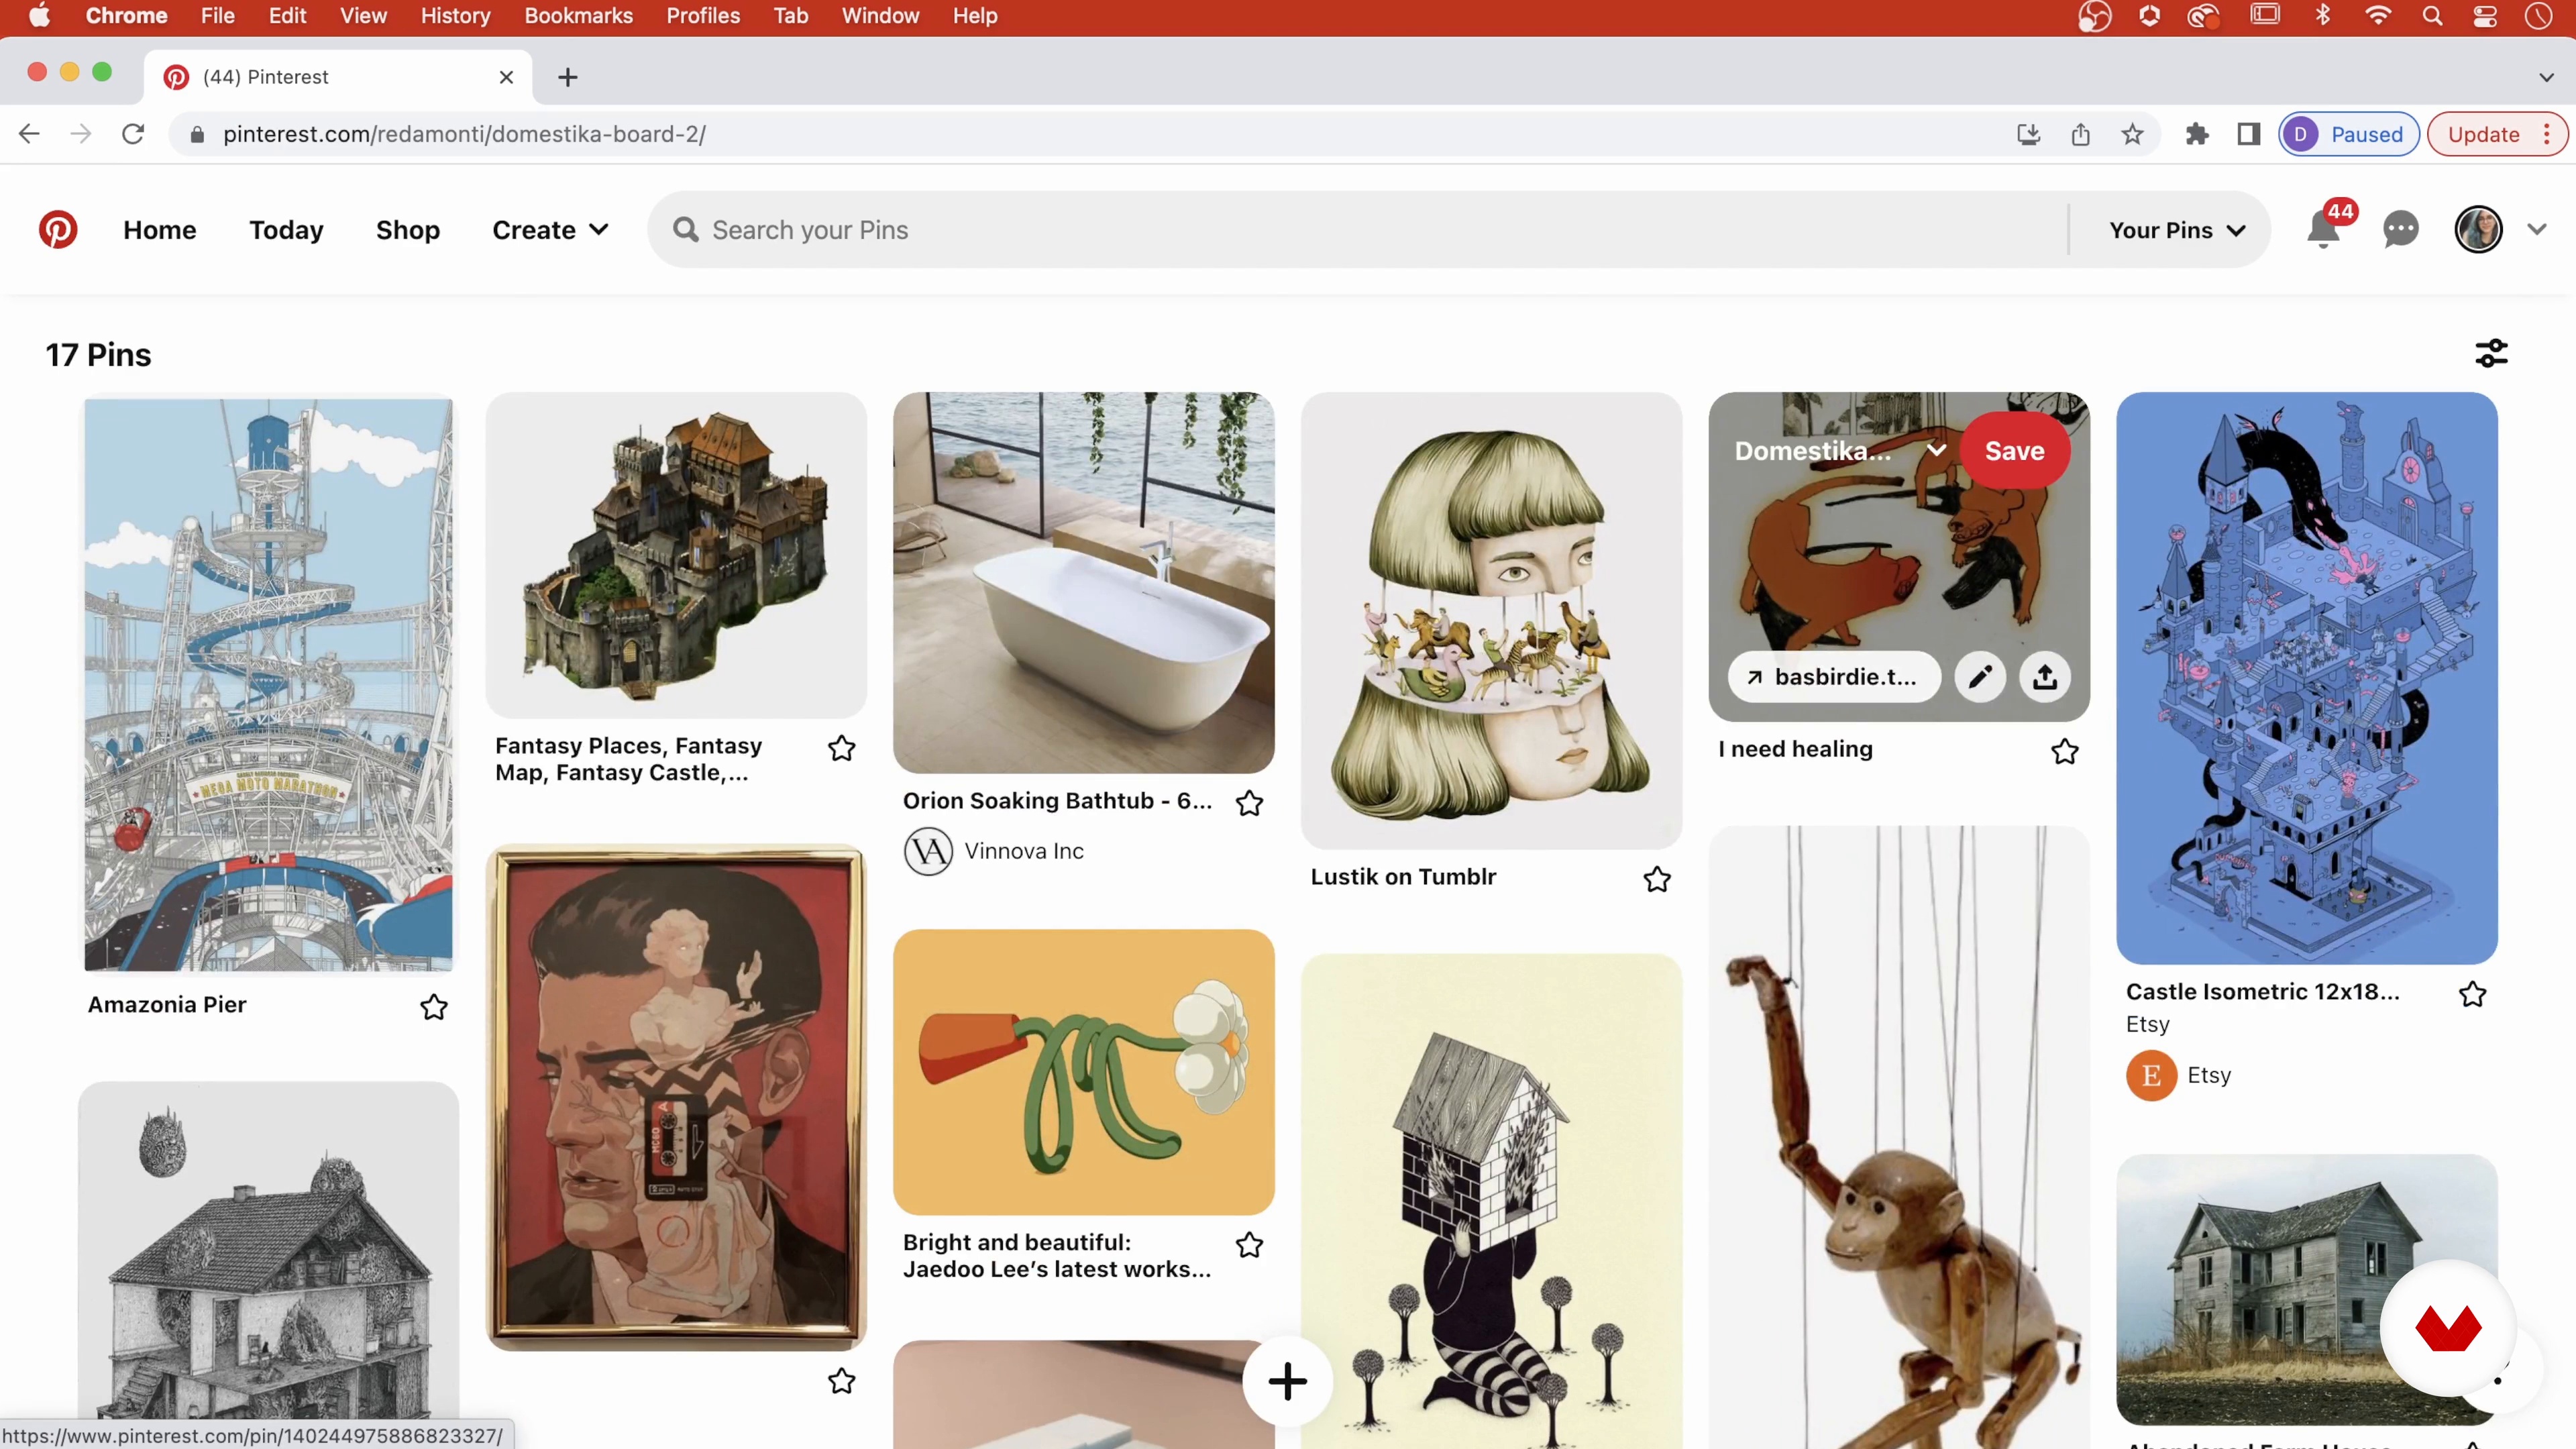
Now I will show you how to collect your references by using sites like Pinterest, Designinspiration, Instagram Archives, and other sites. Next, I will teach you how to use Adobe Photoshop to create a photo collage and warp the perspective in photos.
9m
image
4
The Basic Drawing: Seeing Shapes in Everything
In this lesson, we’ll cover some basic drawing techniques and tools that can help you loosen up and draw confidently. Because the level of detail we’re aiming for is really filled with detail, it’s important you learn how to fit multiple objects/figures/environments into small spaces, and find ways to connect one idea to another so that everything flows together. Doing this requires us to see how the shape or line of one thing relates to the shape/line of another.
14m
image
5
Materials and Inking Methods 1
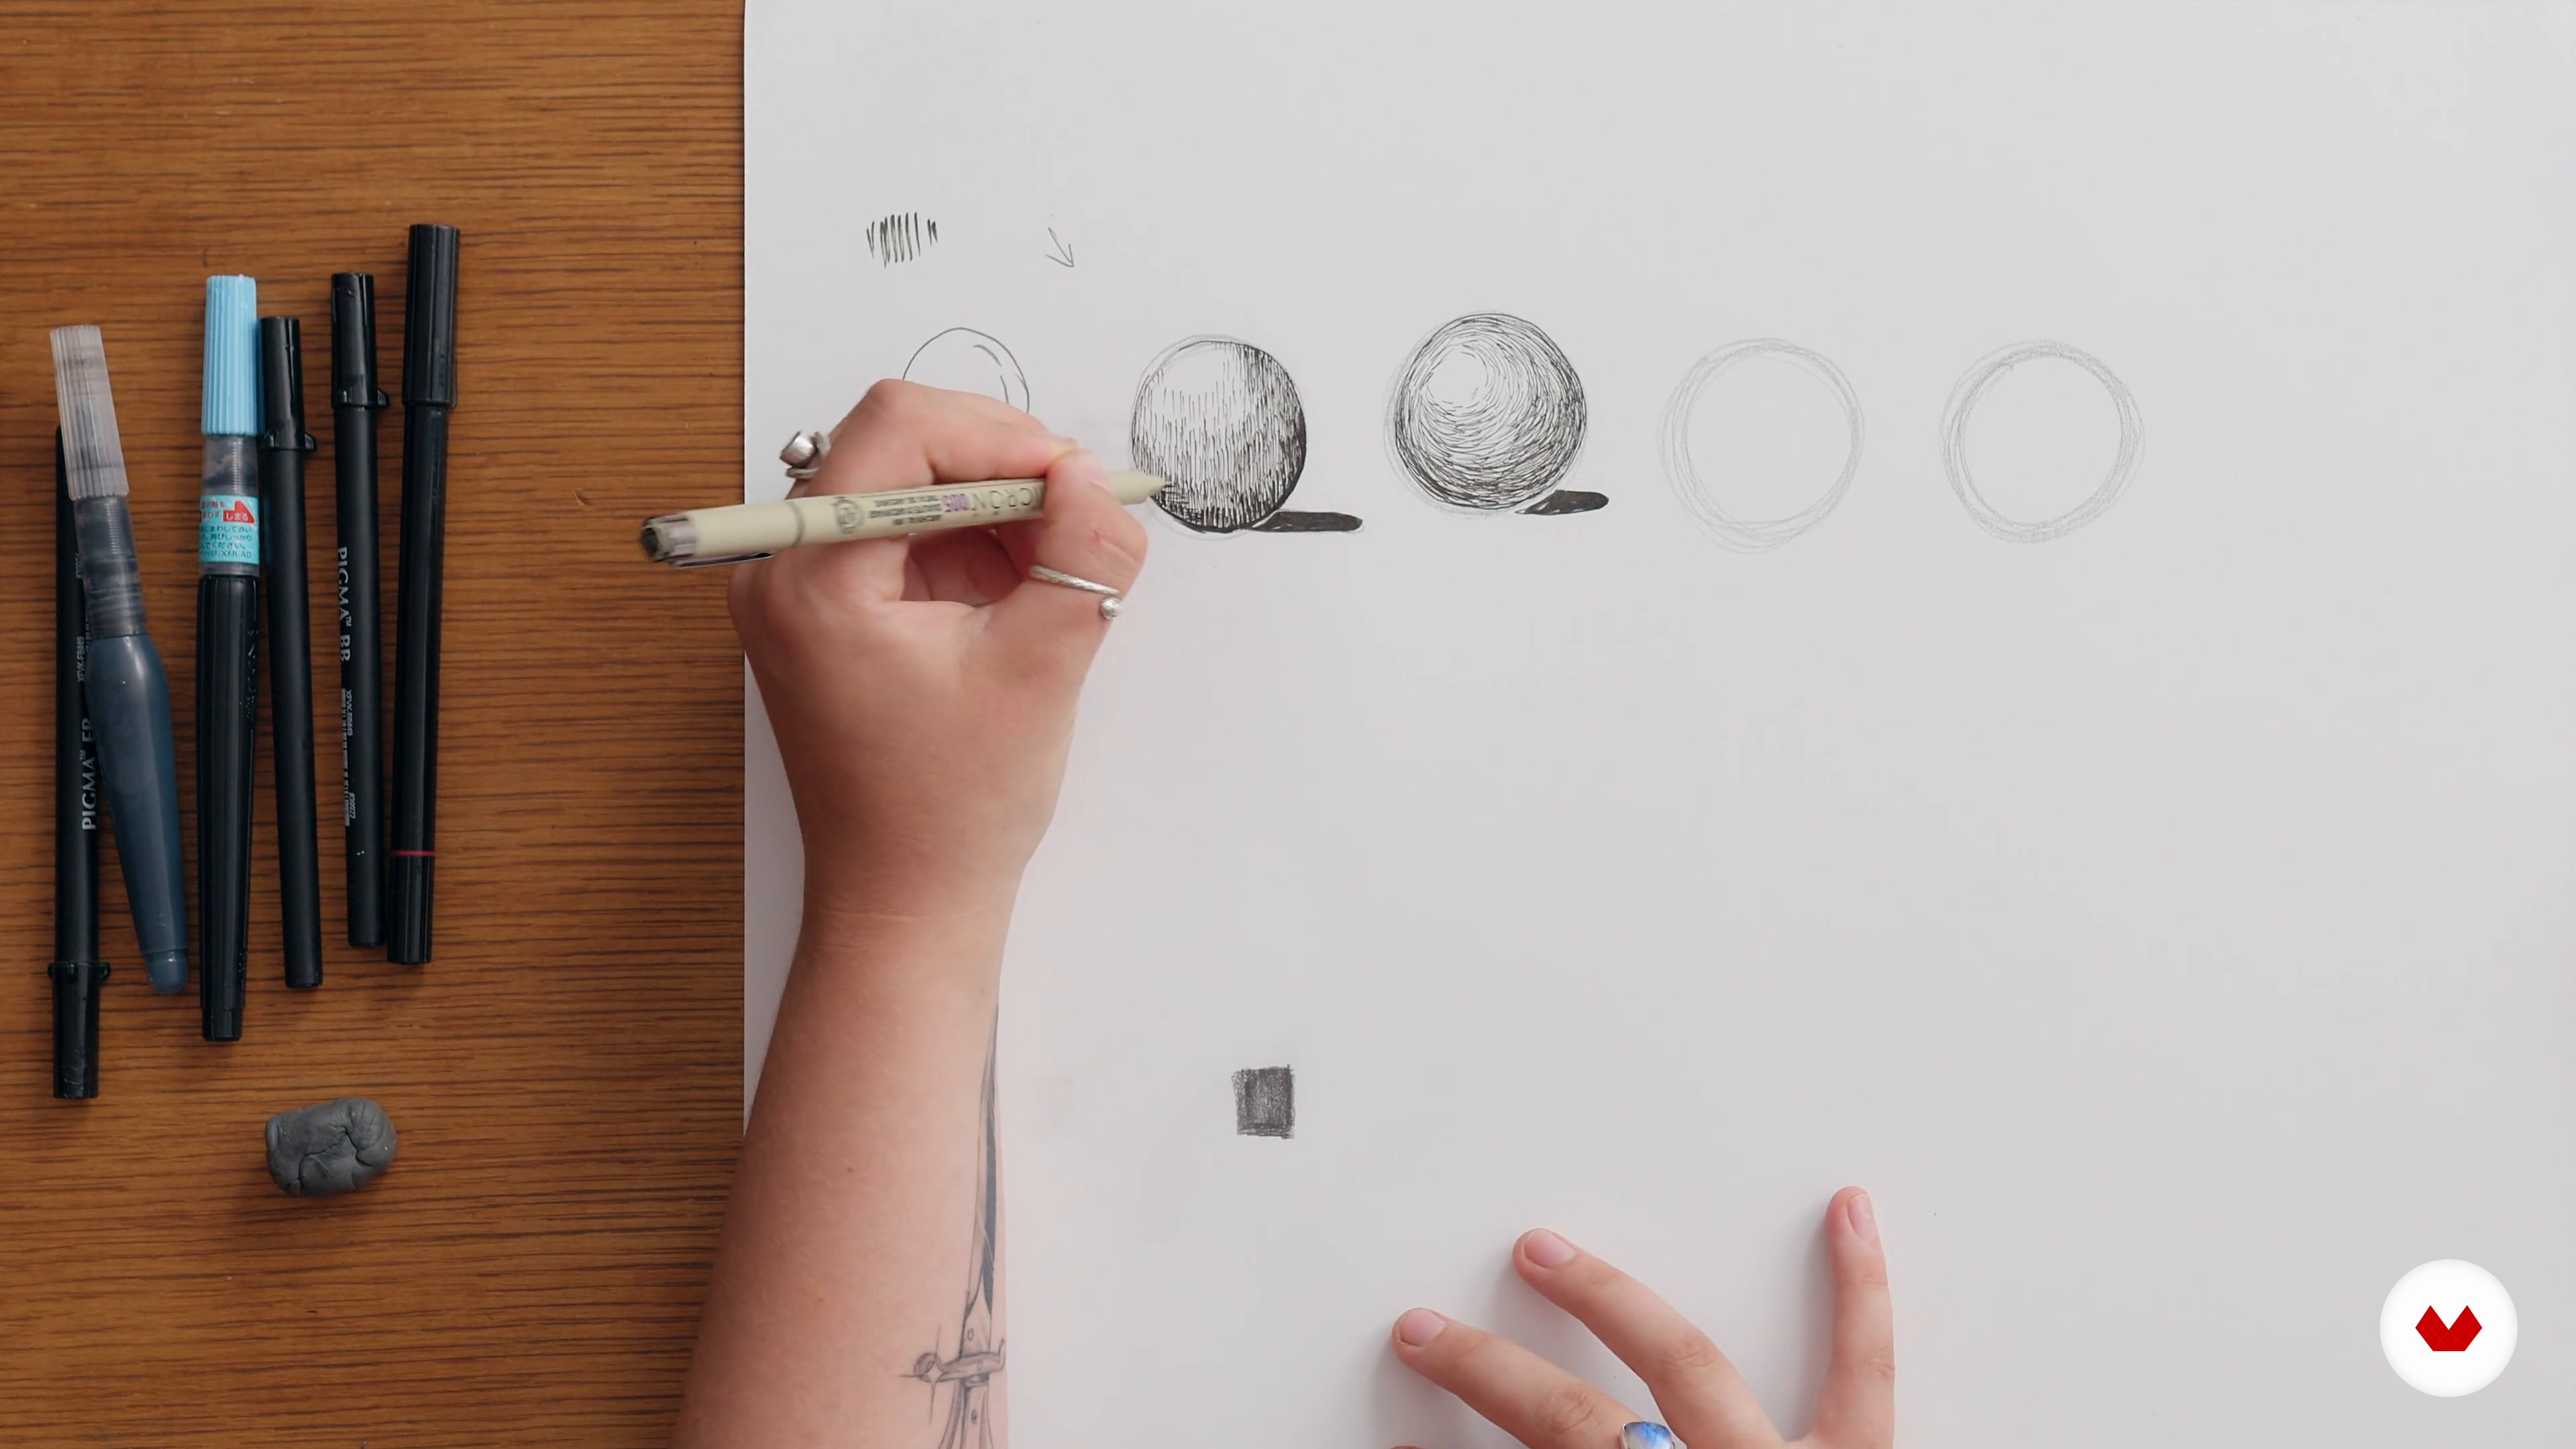
In this unit, I’ll be discussing the inking materials I use - and introduce you to various types of inking materials so that you can get a feel for what works for you. After mastering inking your lines with a steady hand, I’ll introduce you to ideas to think about like line weight, shading methods, and creating convincing and interesting textures.
17m
image
6
Materials and Inking Methods 2
Now that I have shown you four inking techniques, I will move on to teach you how to work with ink and water. I will start by inking with different types of brush pens. Next, I will show you how to work more traditionally using a regular brush and Indian ink with varying amounts of water.
4m
image
7
Warming Up
Warming up is important before beginning to work on a final piece. Sometimes, my warmup naturally leads me into deciding the direction of a final piece. In this lesson, we’ll be talking about the importance of keeping this practice light and free, while also taking your ideas seriously.
5m
image
8
Laying Down the First Marks
Now that you’re warmed up, we’ll be diving in head first to our drawing. In this lesson I’ll be talking about how confidence plays a large factor in my work. By solidifying your sketched ideas in ink before moving onto the next area of your page, you’re often left with accidental marks and need to find a way to make them “work” or embrace them.
9m
image
9
Finishing Up the Drawing
In this lesson, we’ll be discussing how to know when your drawing is finished, how I make certain elements appear as if they are in the foreground or background through my linework, adding the finishing touches of shading that makes your contrast feel more realistic, how to clean up your linework, and methods you can use to fix mistakes at the end of your process.
5m
image
10
Scanning, Merging, and Cleaning Up the Artwork
In this lesson, we’ll be discussing how to scan your work into your computer. If you don’t have a large flatbed scanner (like most of us), you will have to learn to digitally merge multiple scans. I’ll walk you through that process, as well as how to clean up and get your work ready for print.
3m
image
11
Building a Strong Portfolio
Where to go from here? In this lesson, we’ll be discussing how to build a strong portfolio for your website, no matter what market you feel it belongs in.
5m
image
3
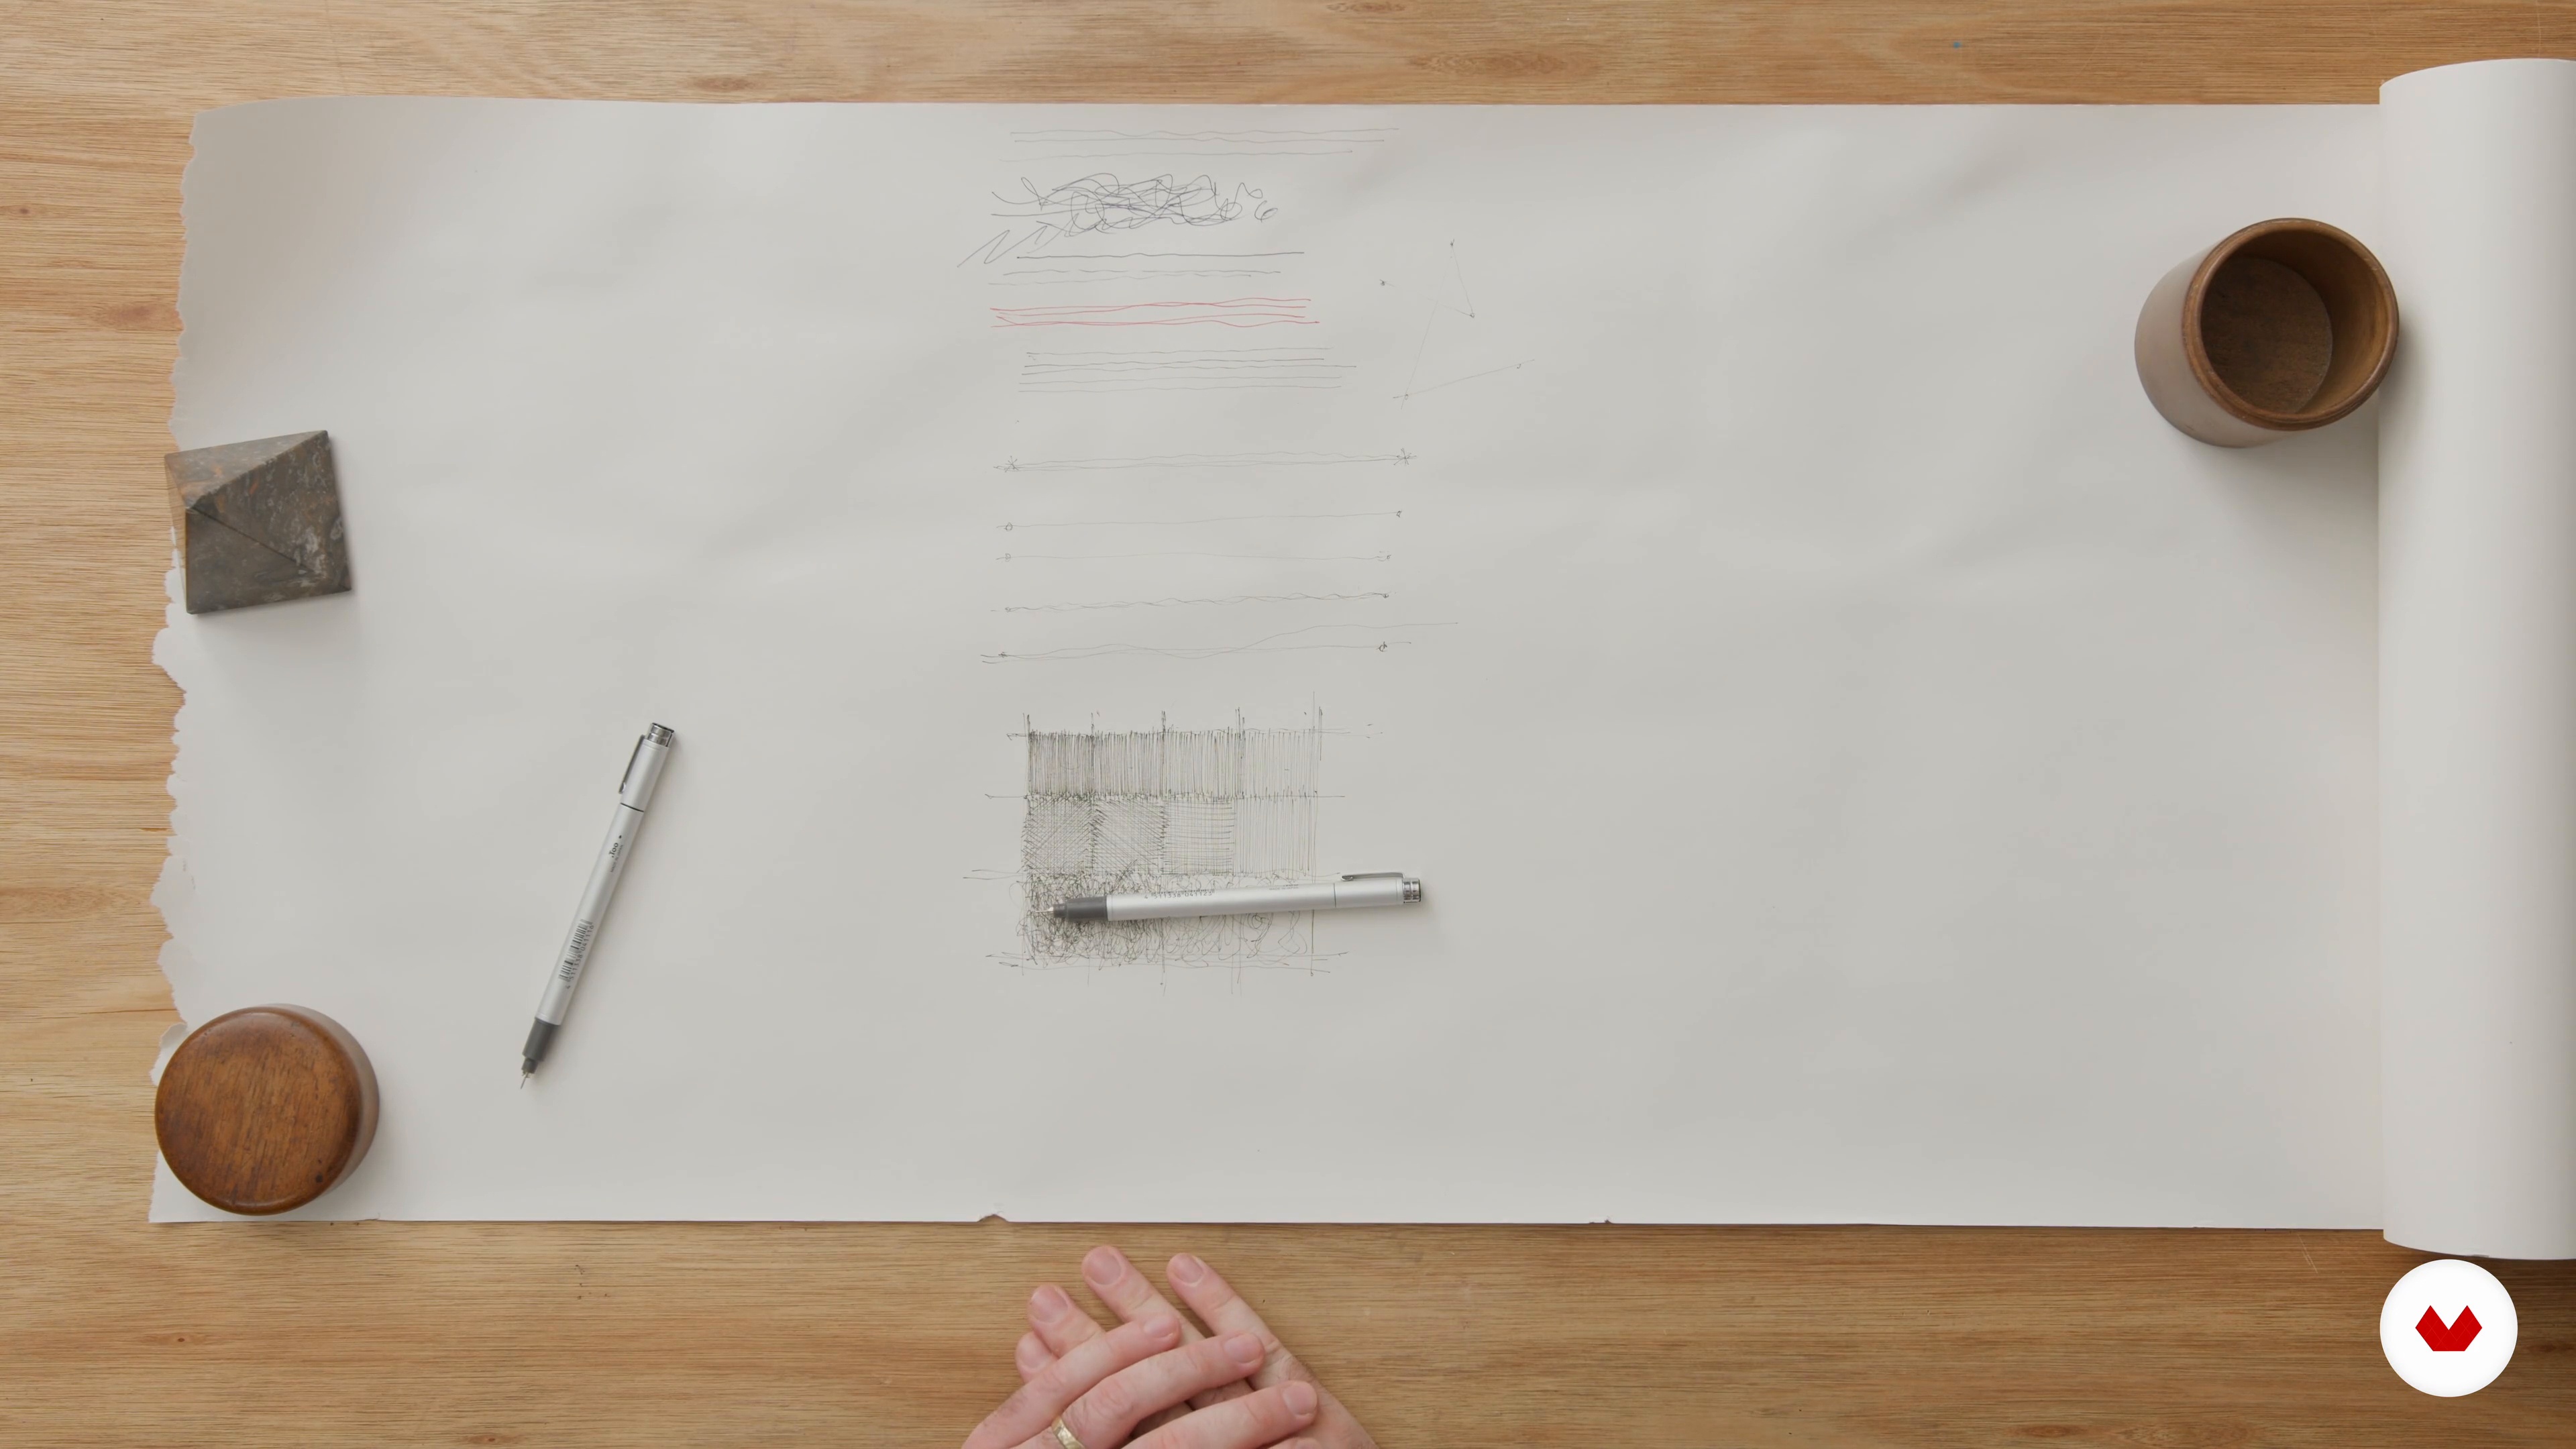
Materials and Mark Making
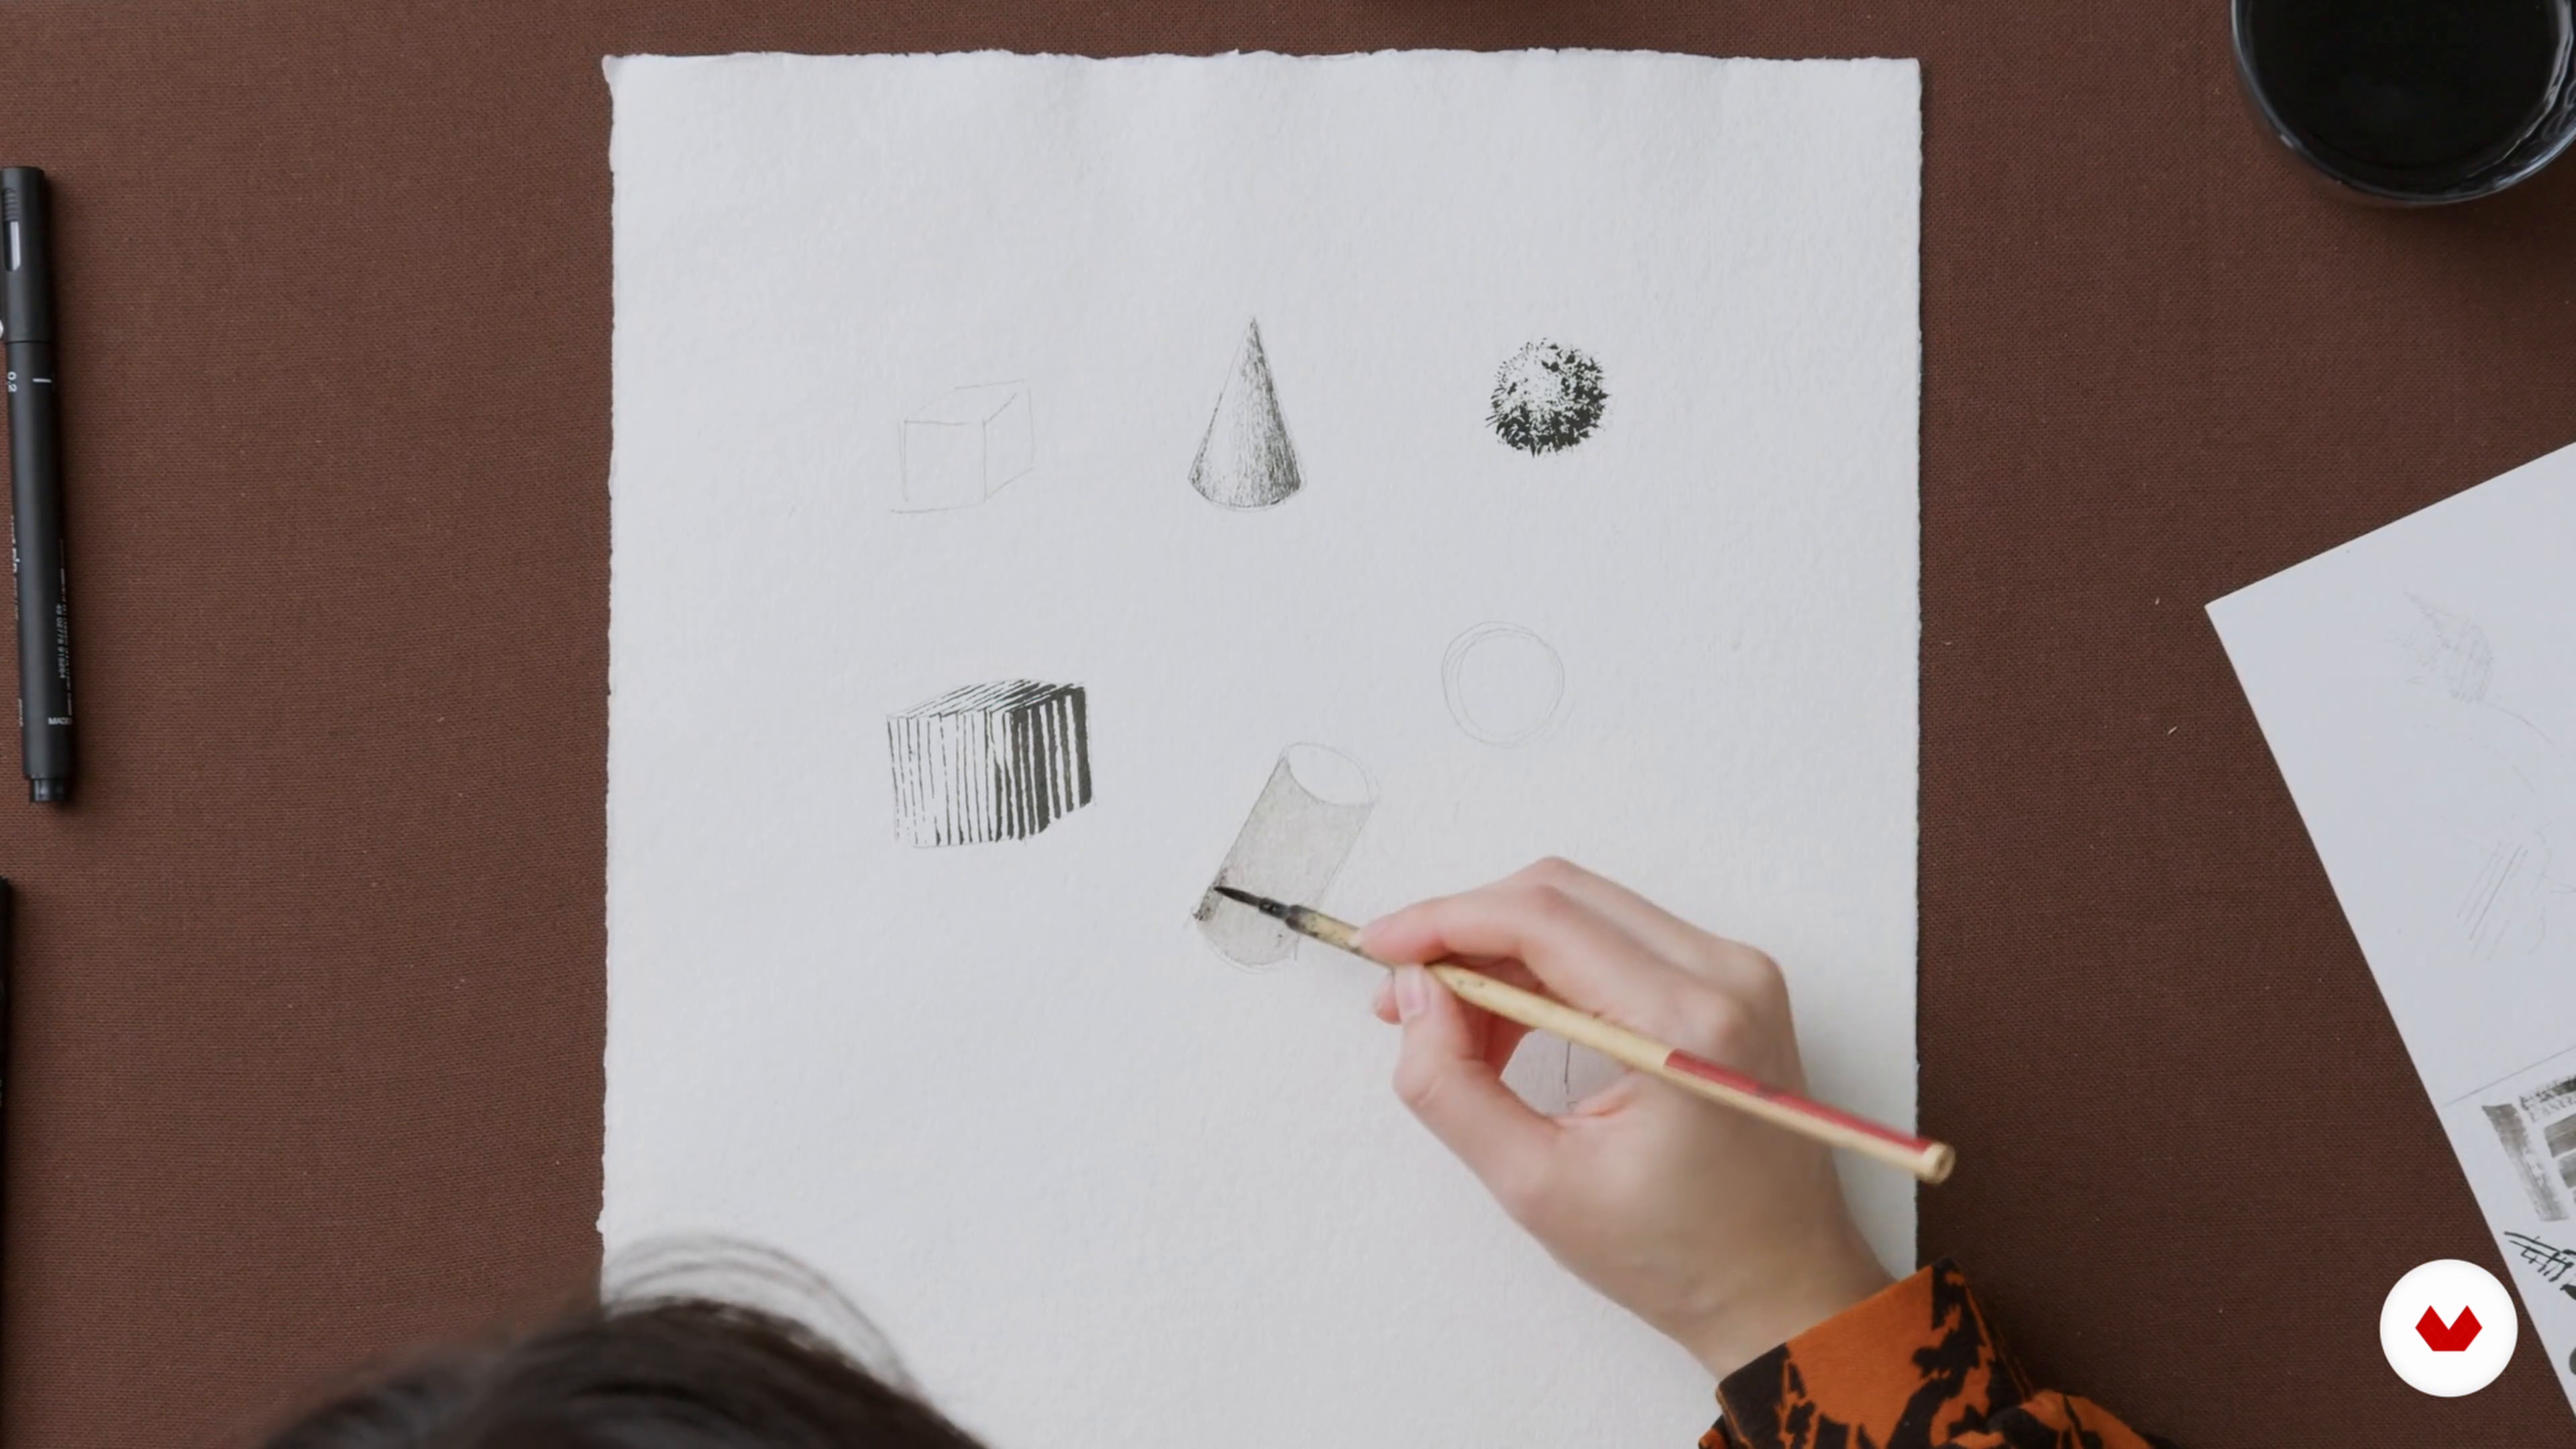
Let's look at the different materials that we'll be using in this course! I will show you my preferred choice of pen and paper. Through a quick demonstration, you will learn different exercises to practise line drawing, hatching, and building light and shade.
18m
image
4
Observational Drawing
I will now break down the basics of observational drawing. You will develop an understanding of how to build a strong foundation for your freehand artwork without the use of rulers or guides. I will teach you how to find the key shapes within the composition using only your observational skills.
16m
image
5
Simple 3D and Perspective 1
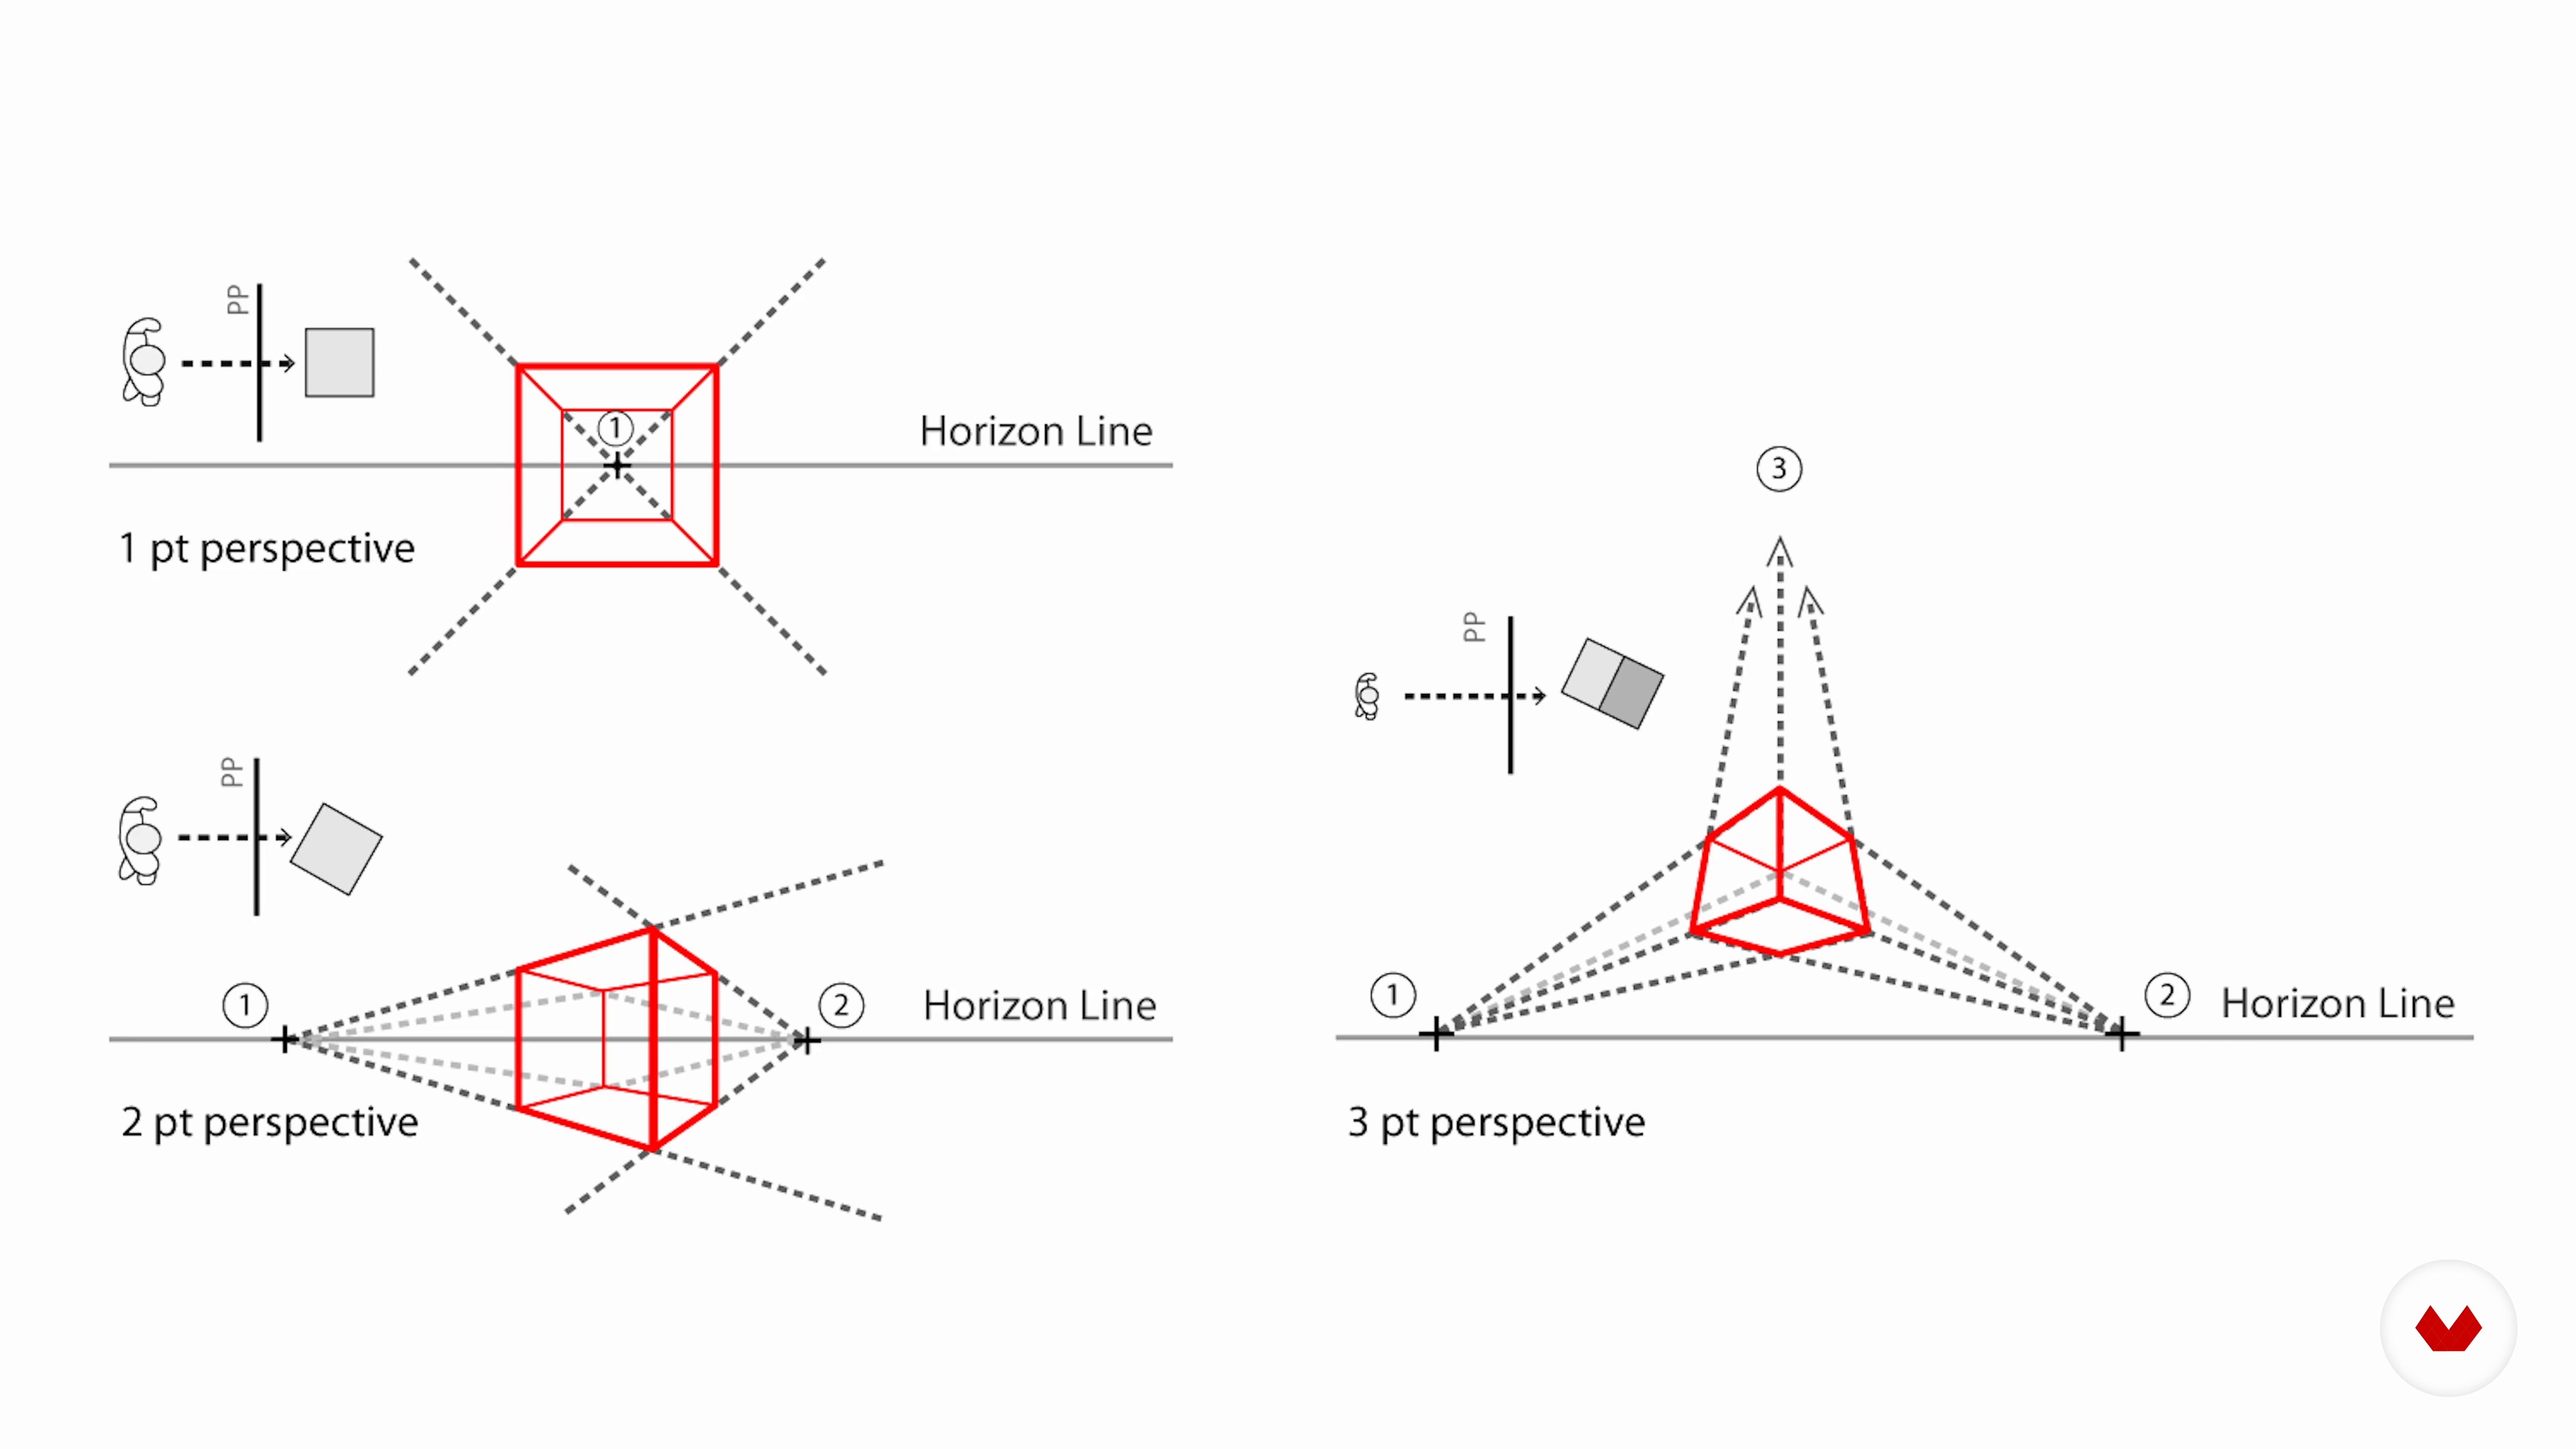
In this lesson, I will guide you in drawing some simple forms in perspective, focusing on the simplest fundamentals. The skills you learn will enable you to draw your objects and cast your imagination onto them.
9m
image
6
Simple 3D and Perspective 2
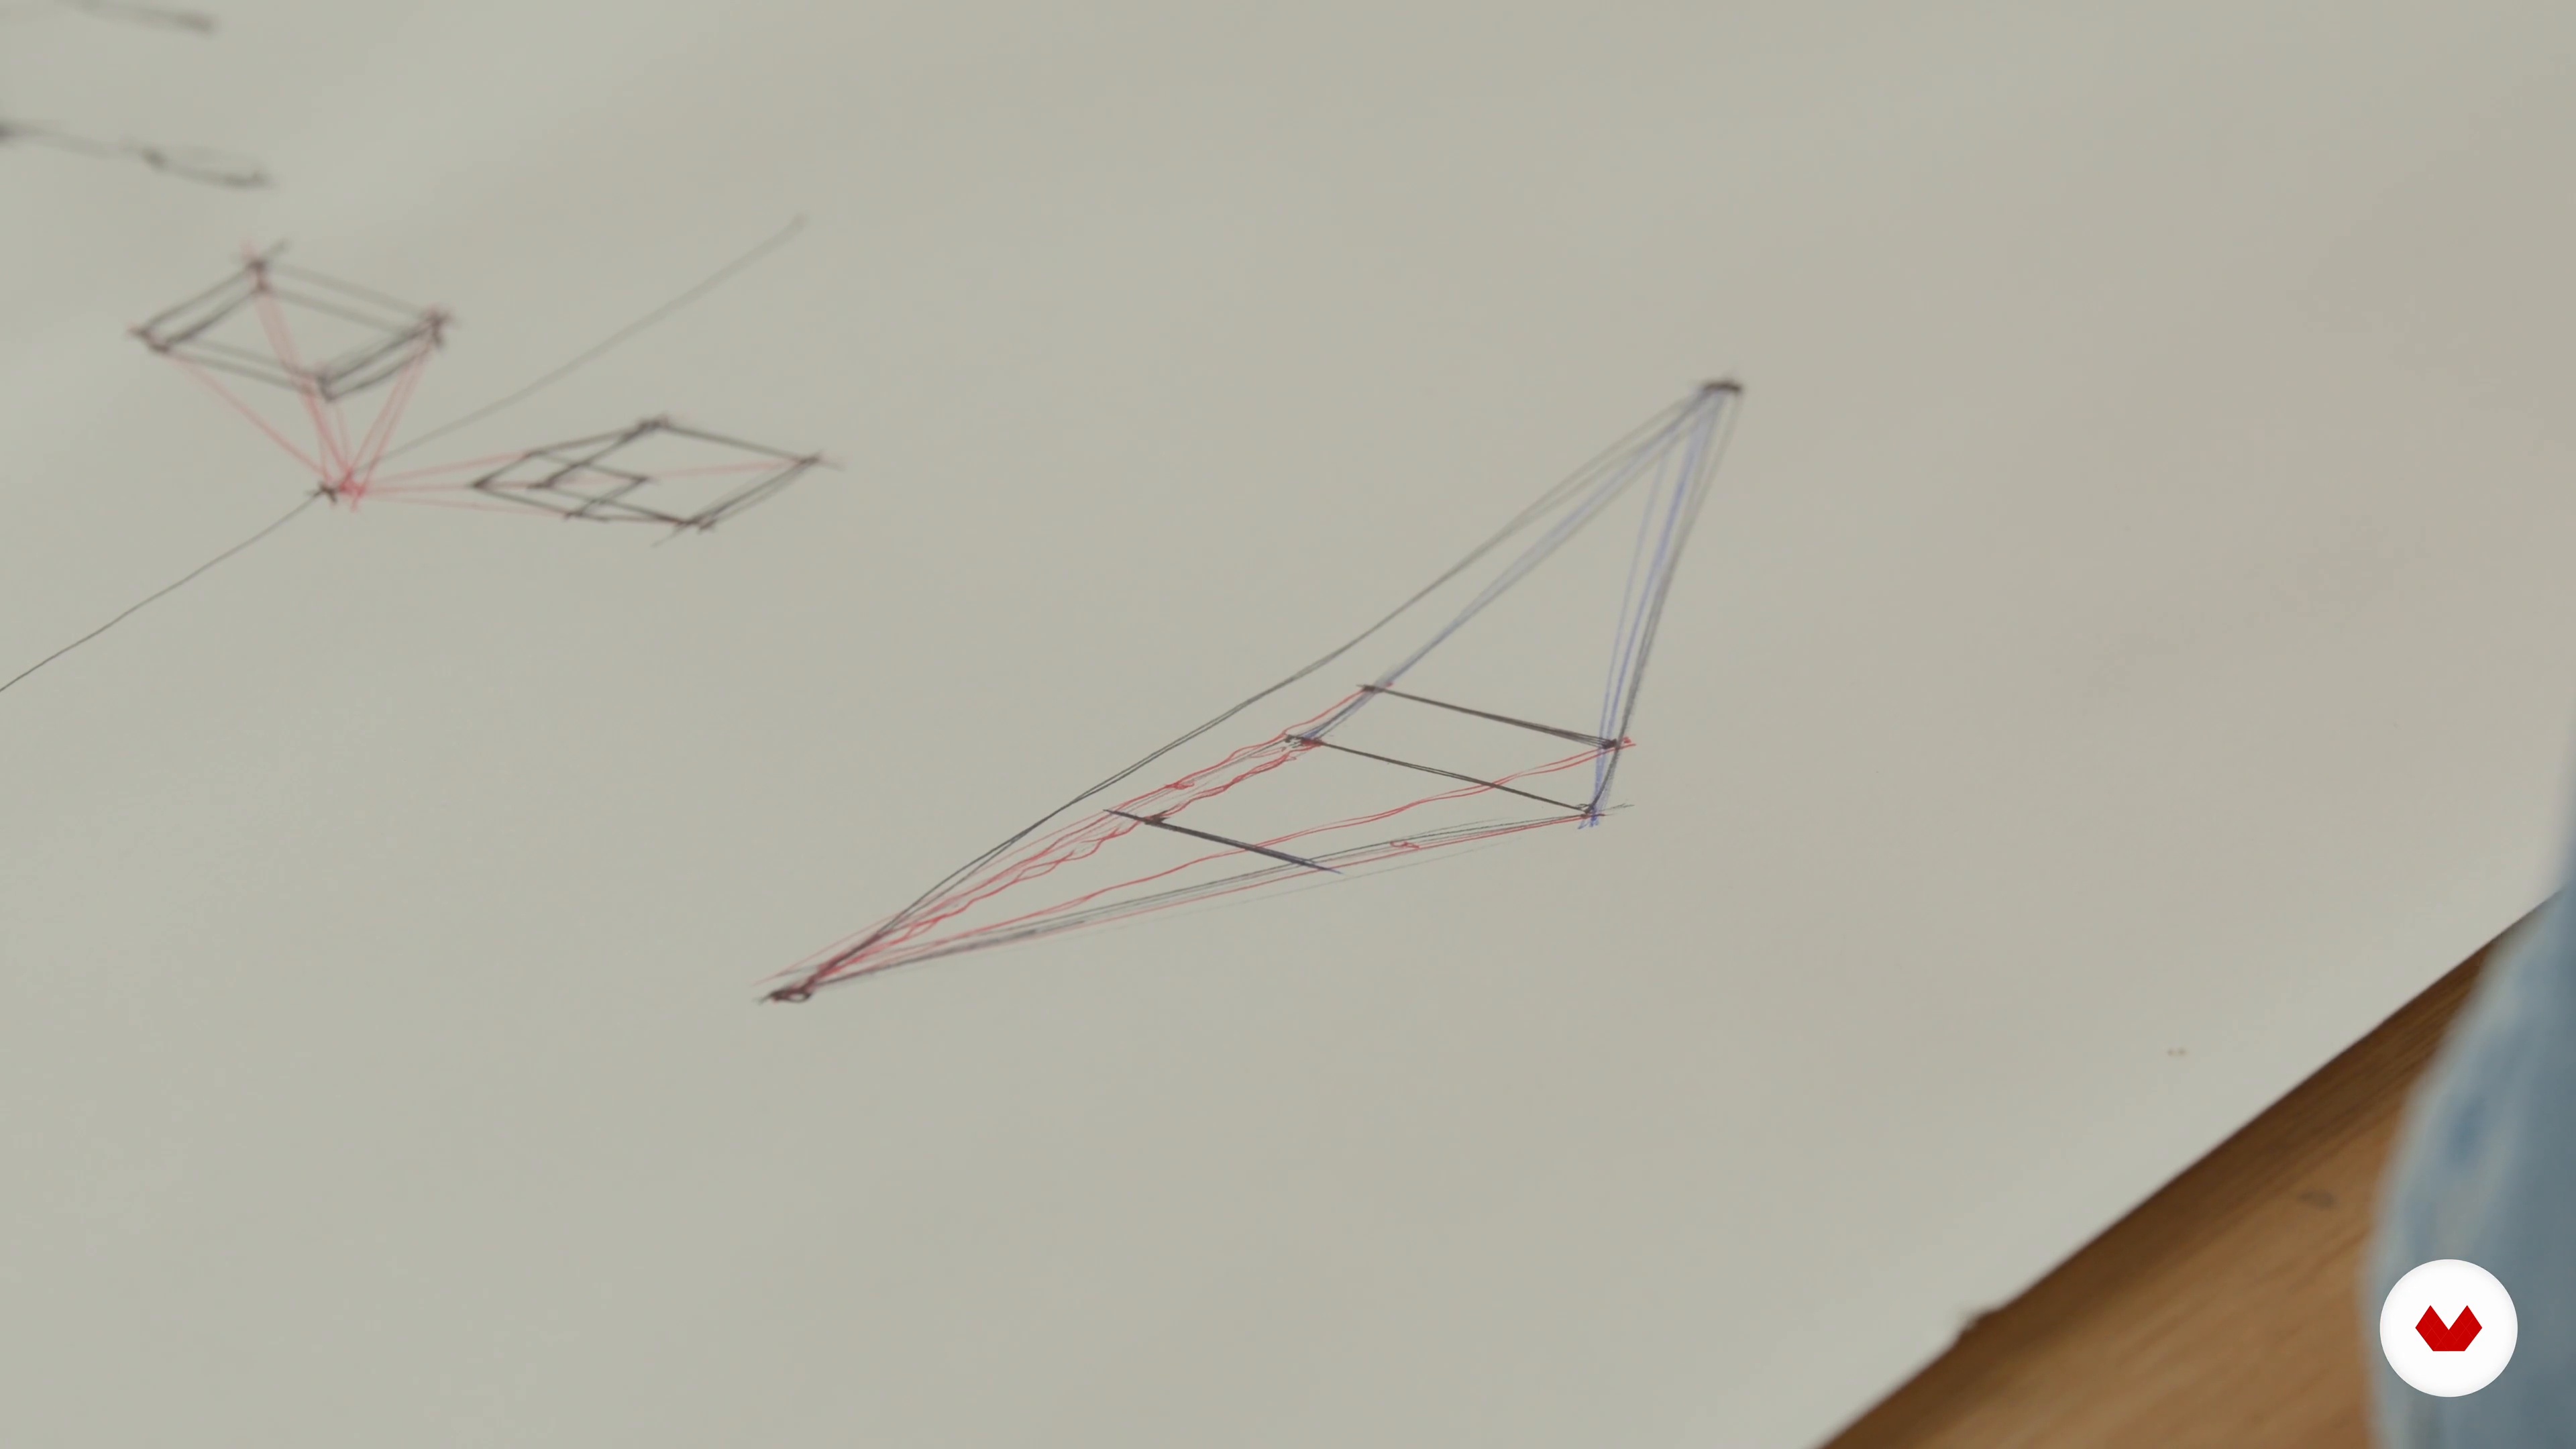
I will now finish sketching my two-point perspective drawing, before demonstrating the three-point perspective. I will begin by drawing the horizon line, followed by three vanishing points.
12m
image
7
Lighting
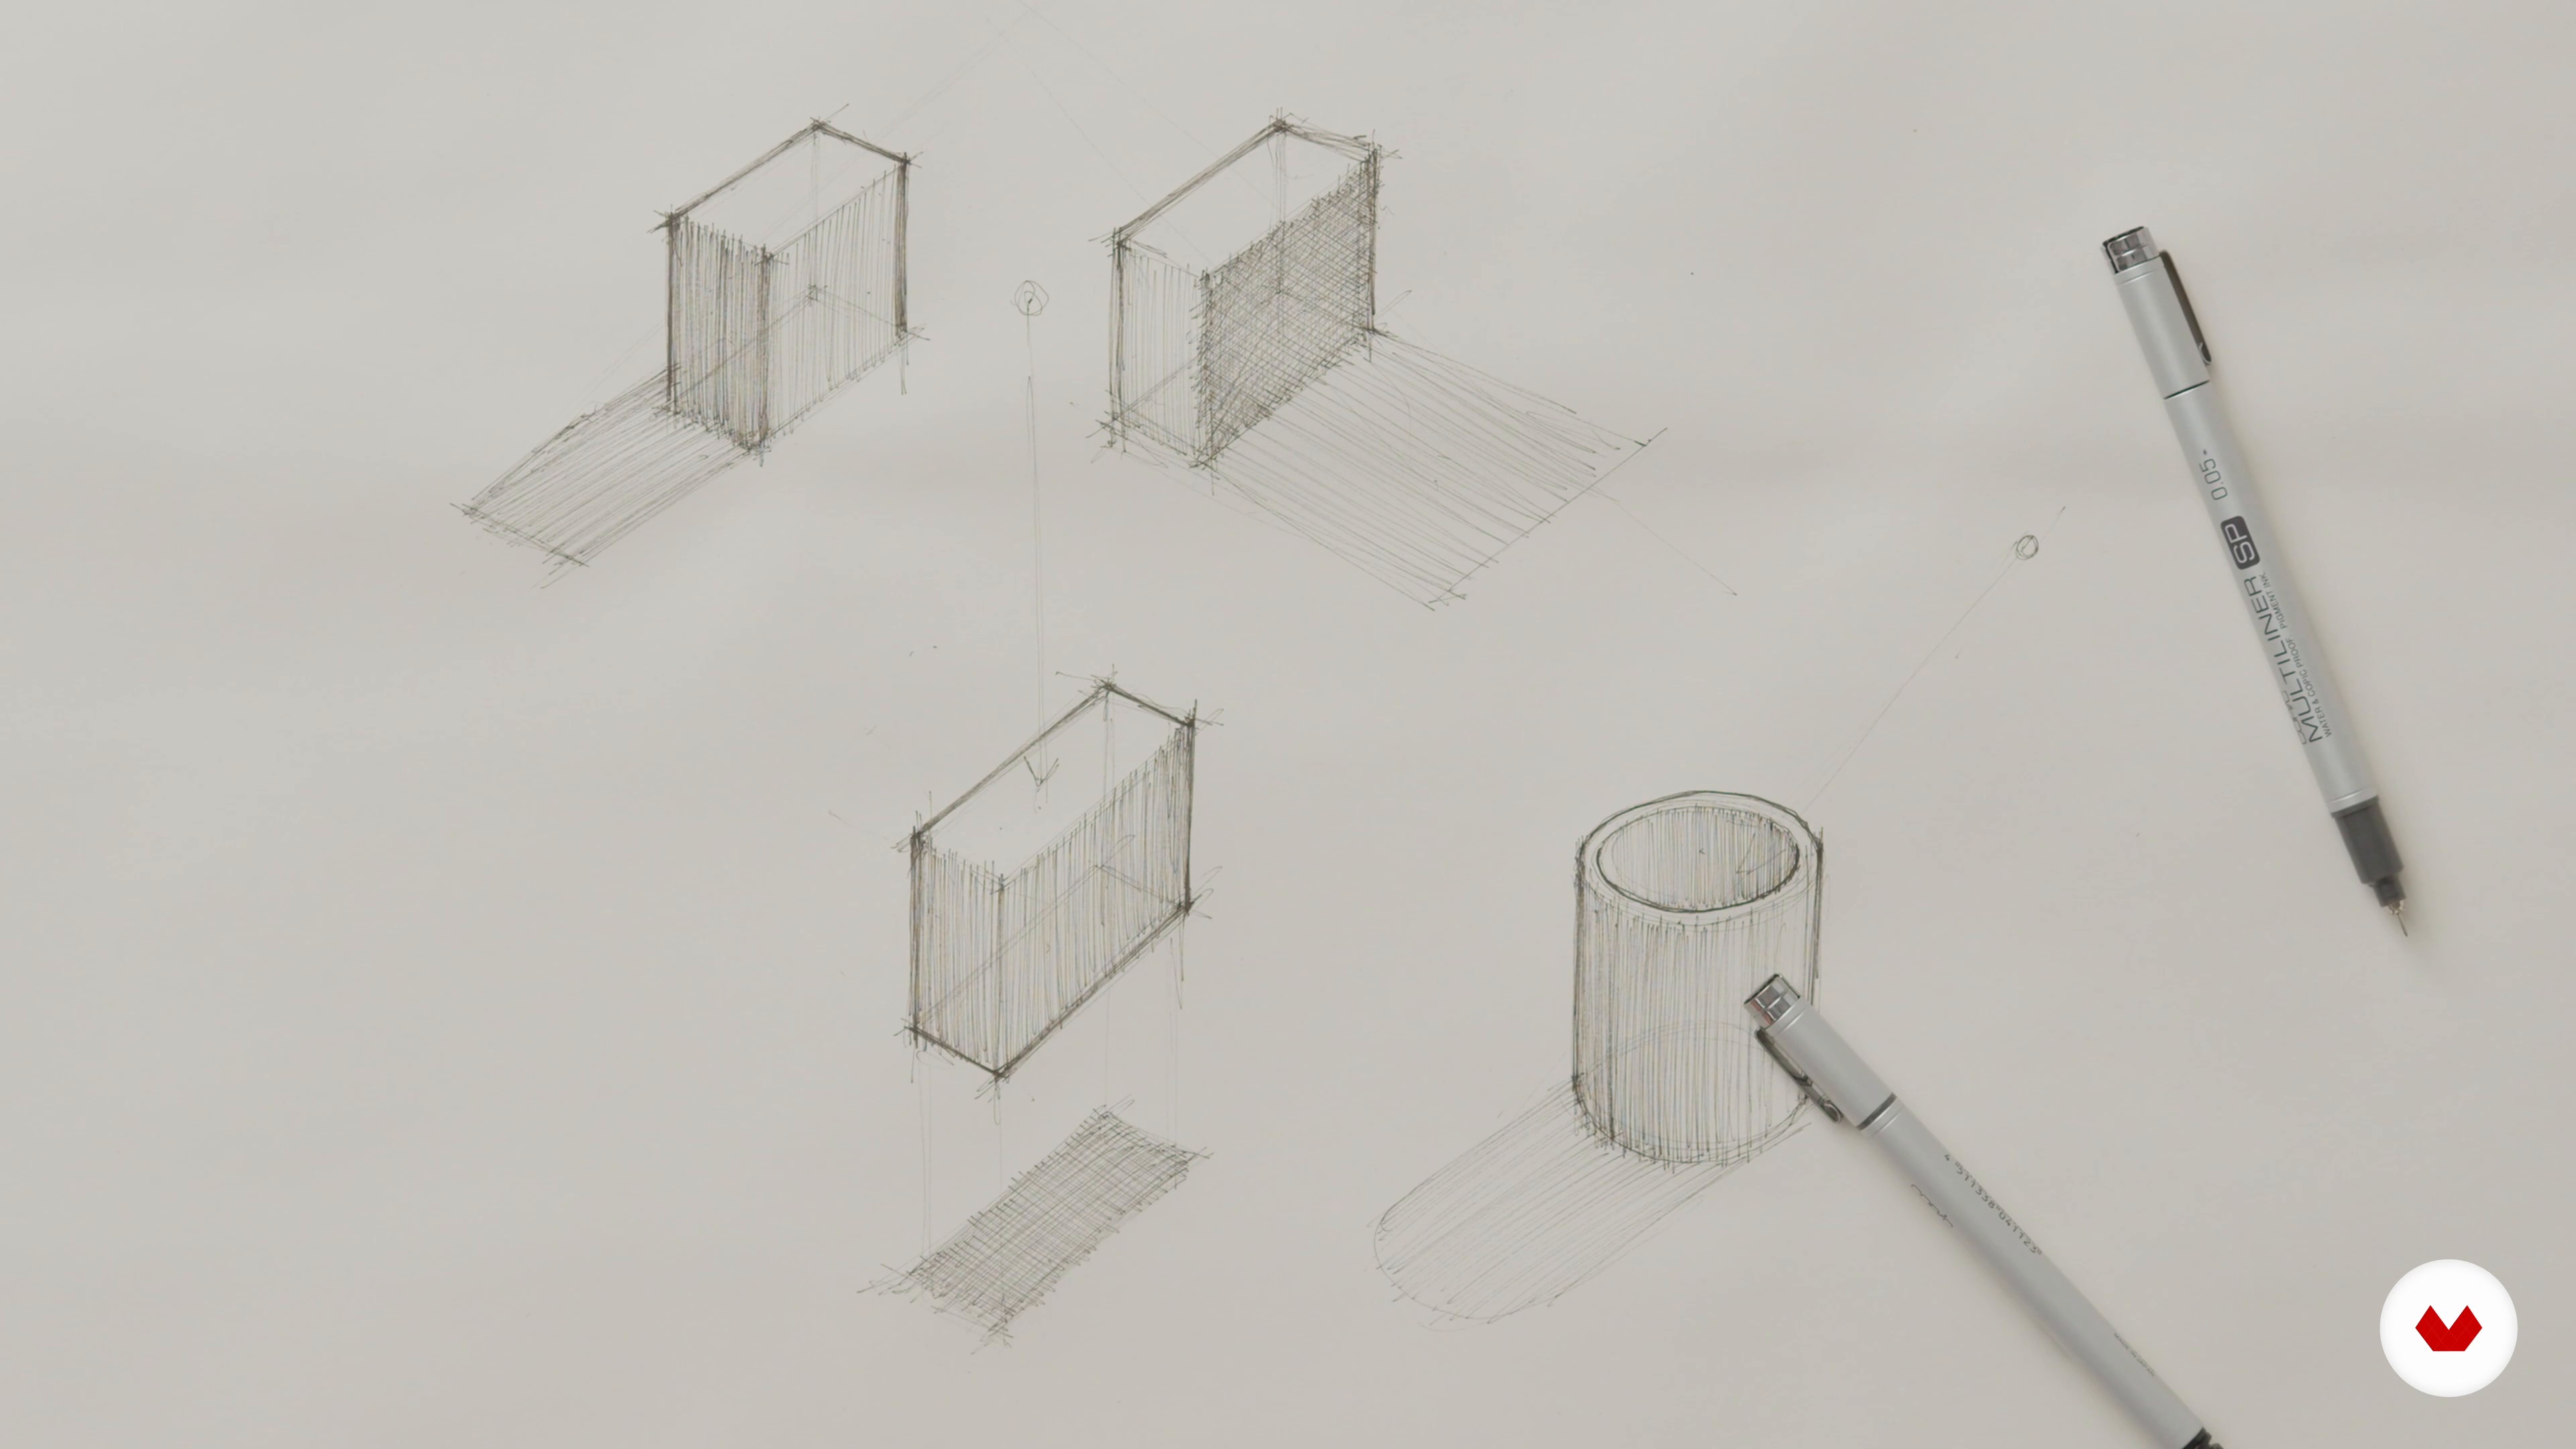
To conclude this unit, you will discover how to incorporate light and shade into your drawings. Representing light within a scene is achieved through the drawing of shadows. These shadows help to provide further depth and bring the drawing to life.
14m
image
8
Selecting the Objects
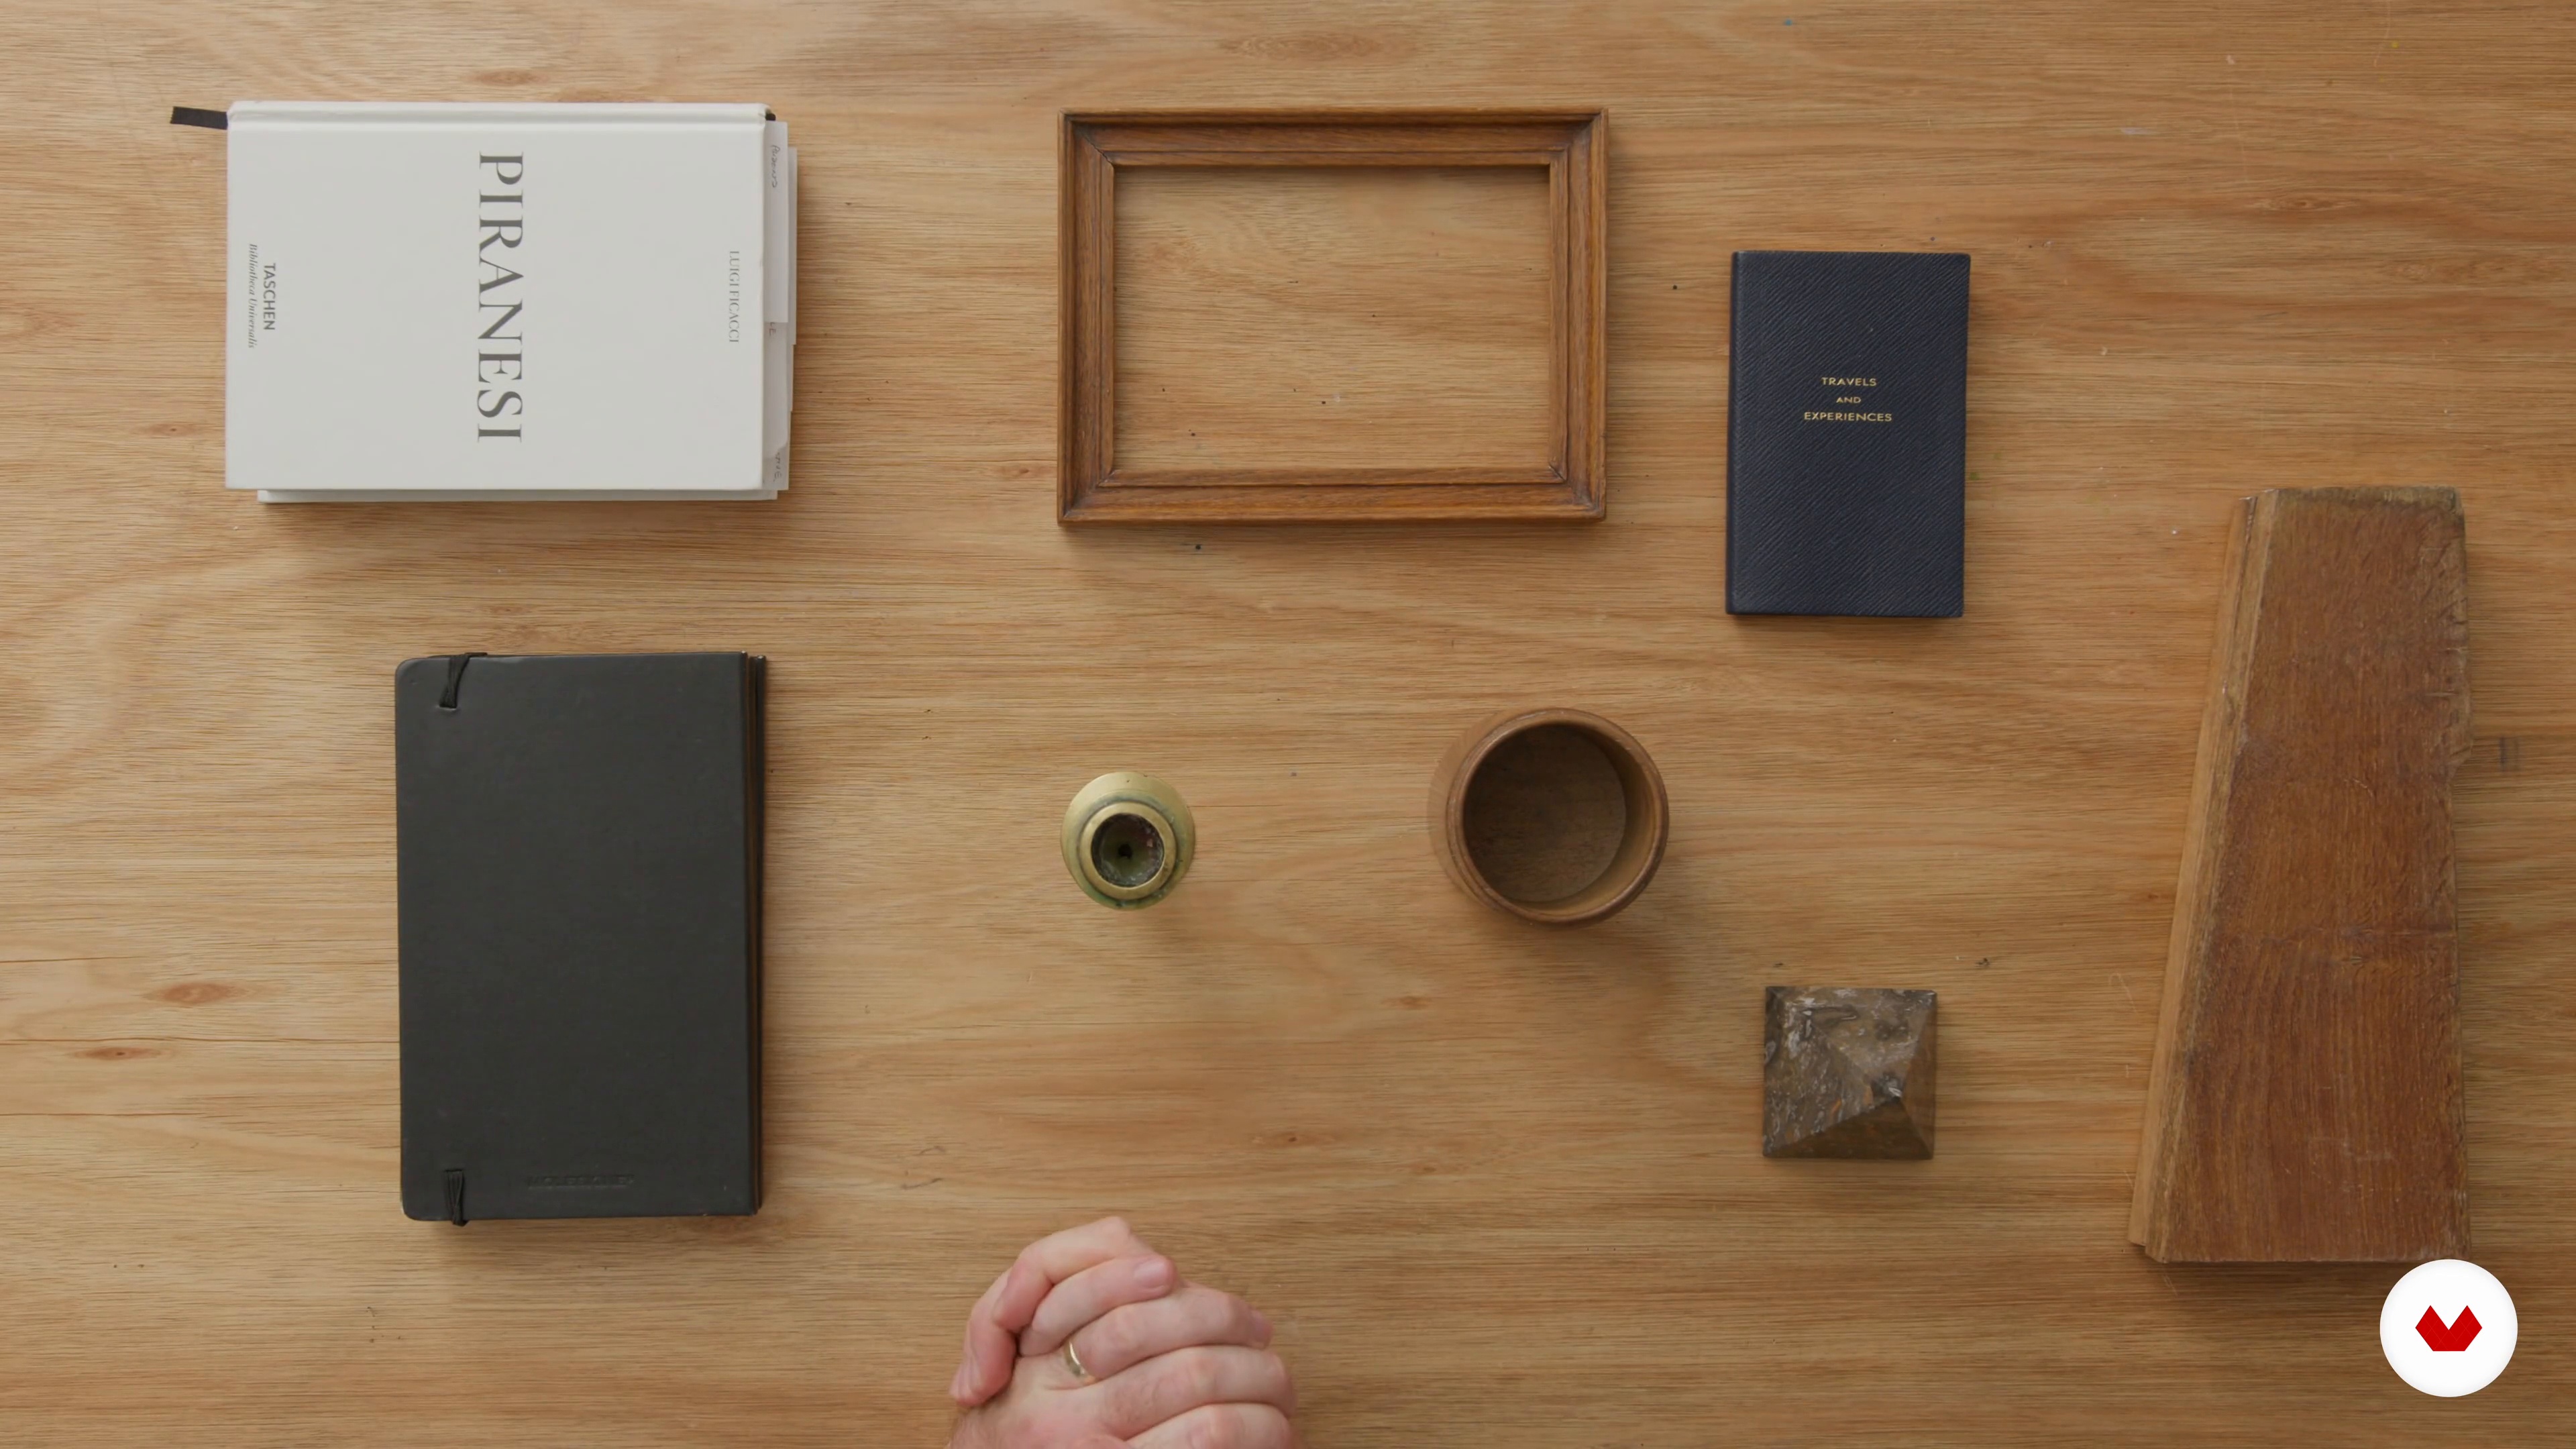
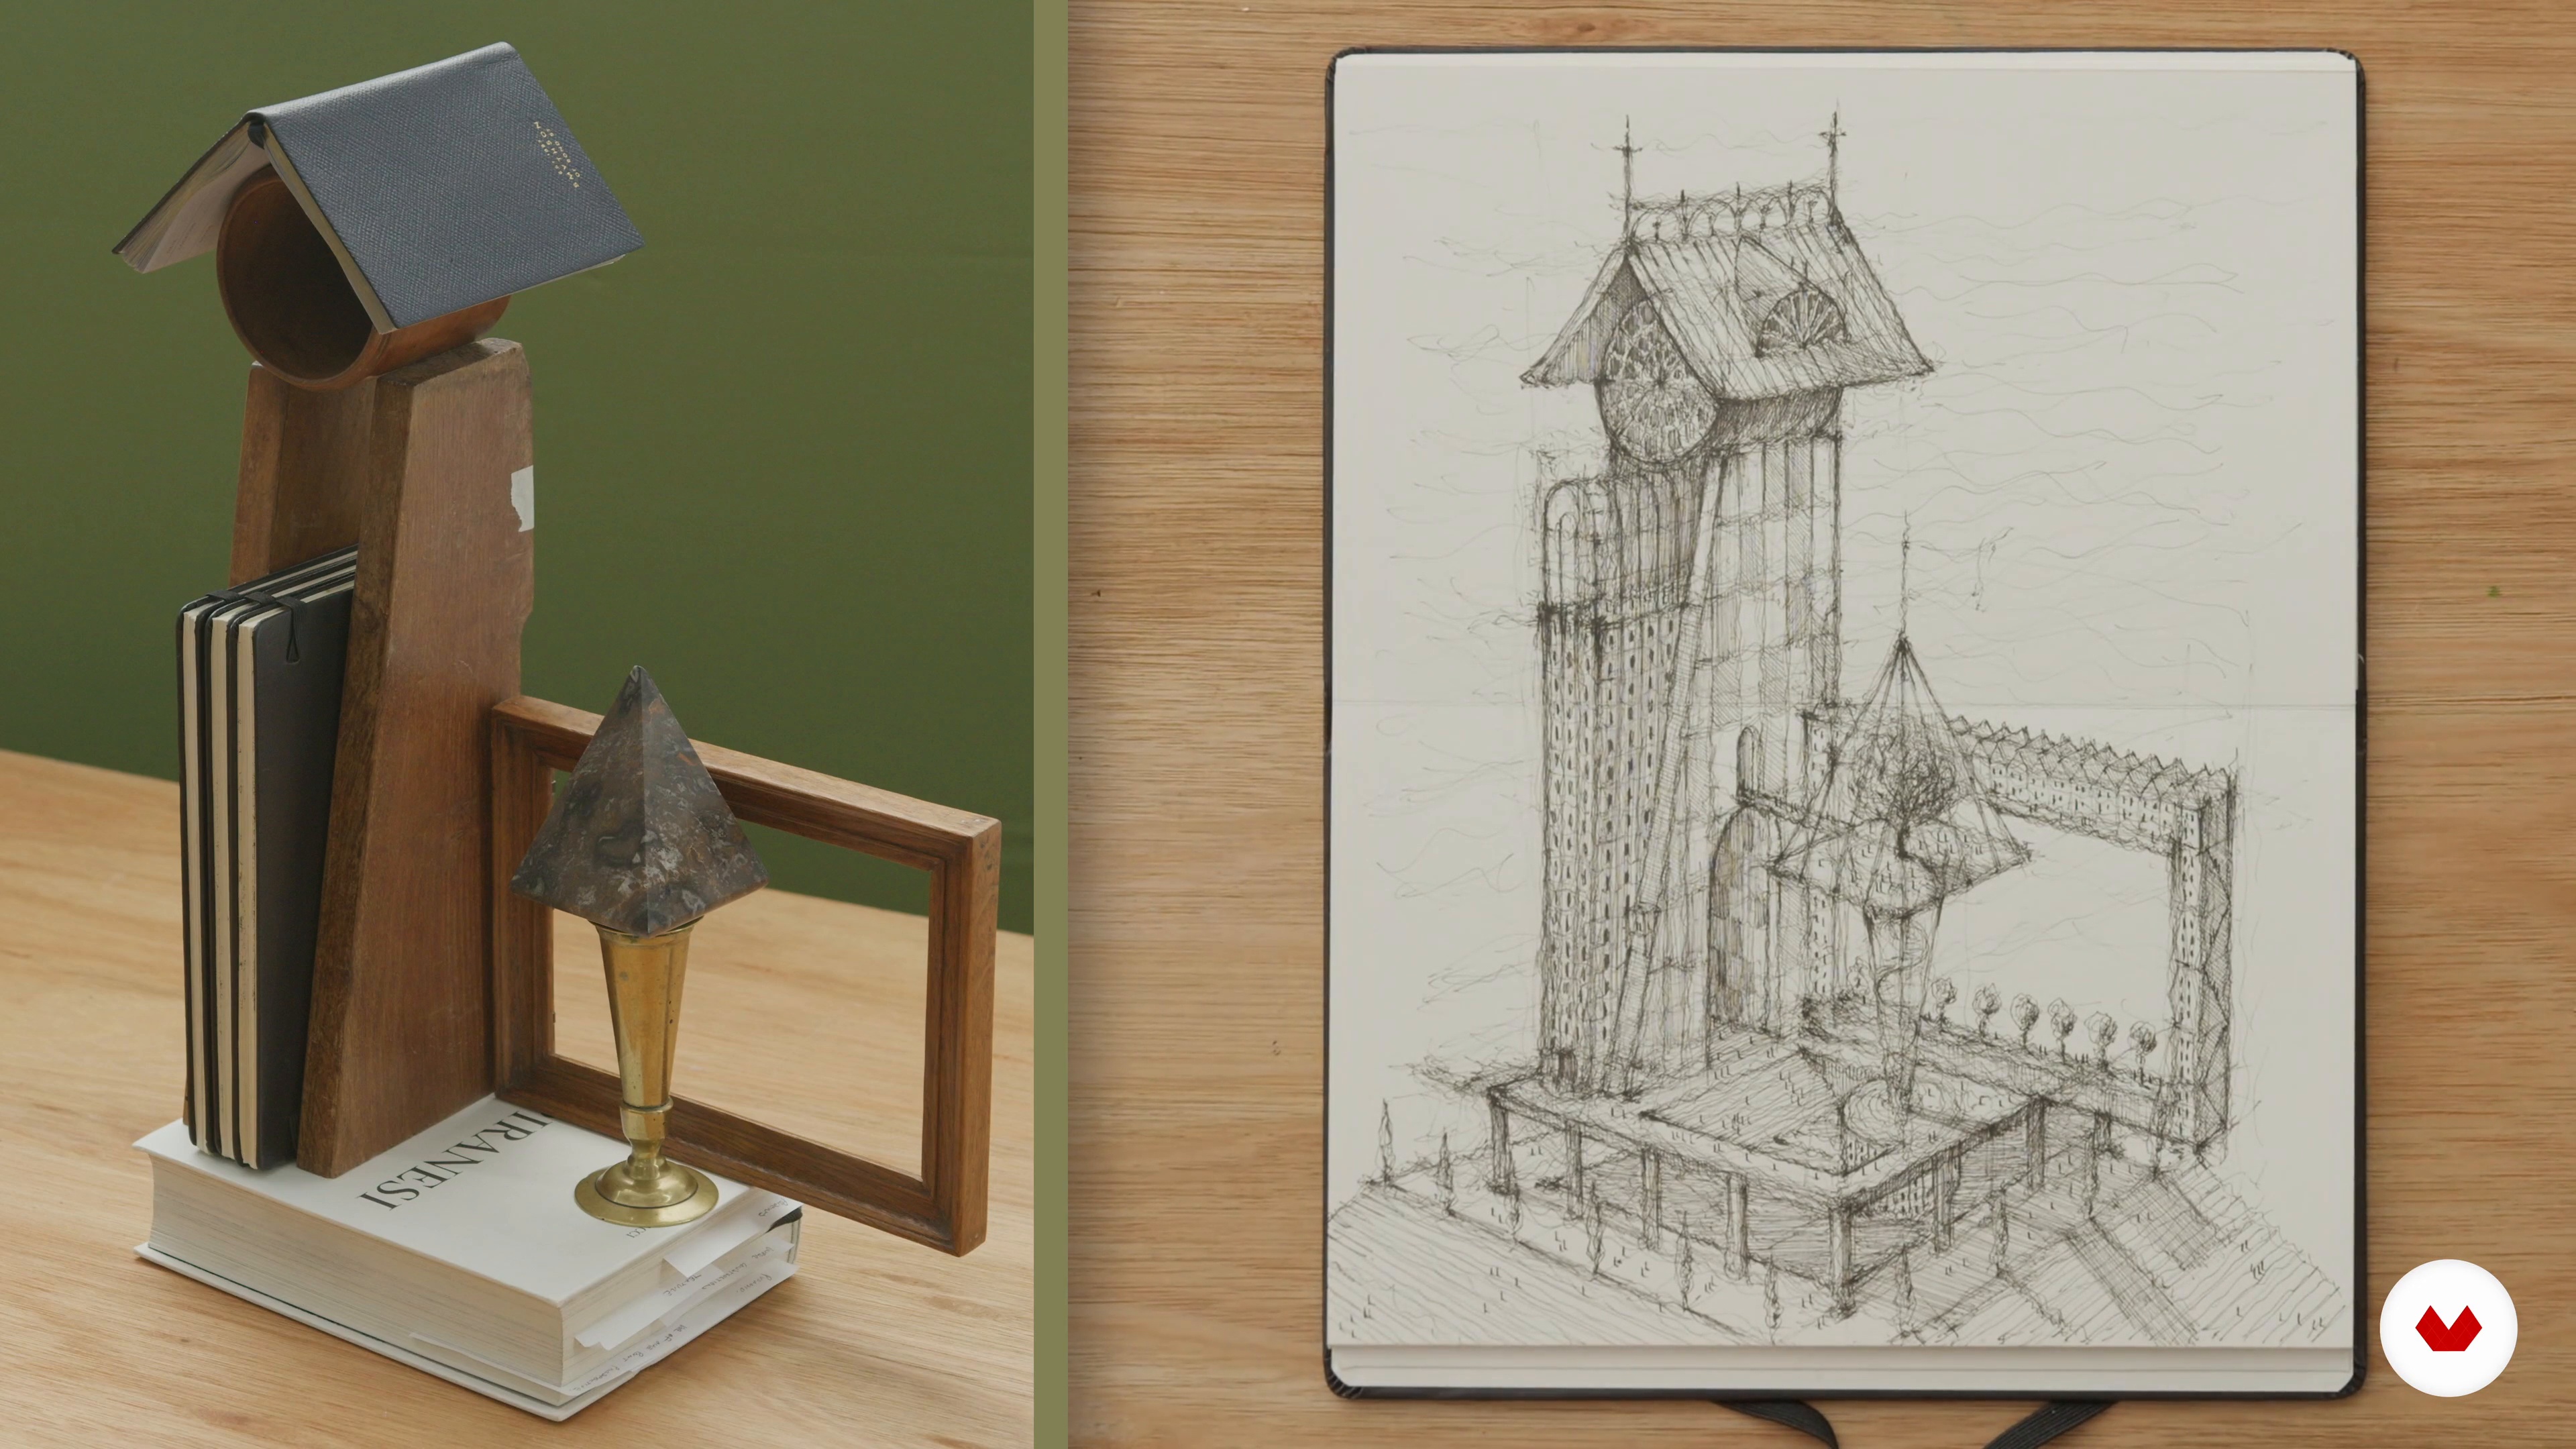
In this lesson, I will provide insight and tips on how to create a strong composition using objects from around your house. We will search for objects of varying shapes and ideally sentimental value to achieve this. With the right objects, this exercise will lead to a further discussion about how to plan the creation of your artwork. We will also consider the importance of the placement of the various items.
8m
image
9
Creating a Sketch of the Basic Forms 1
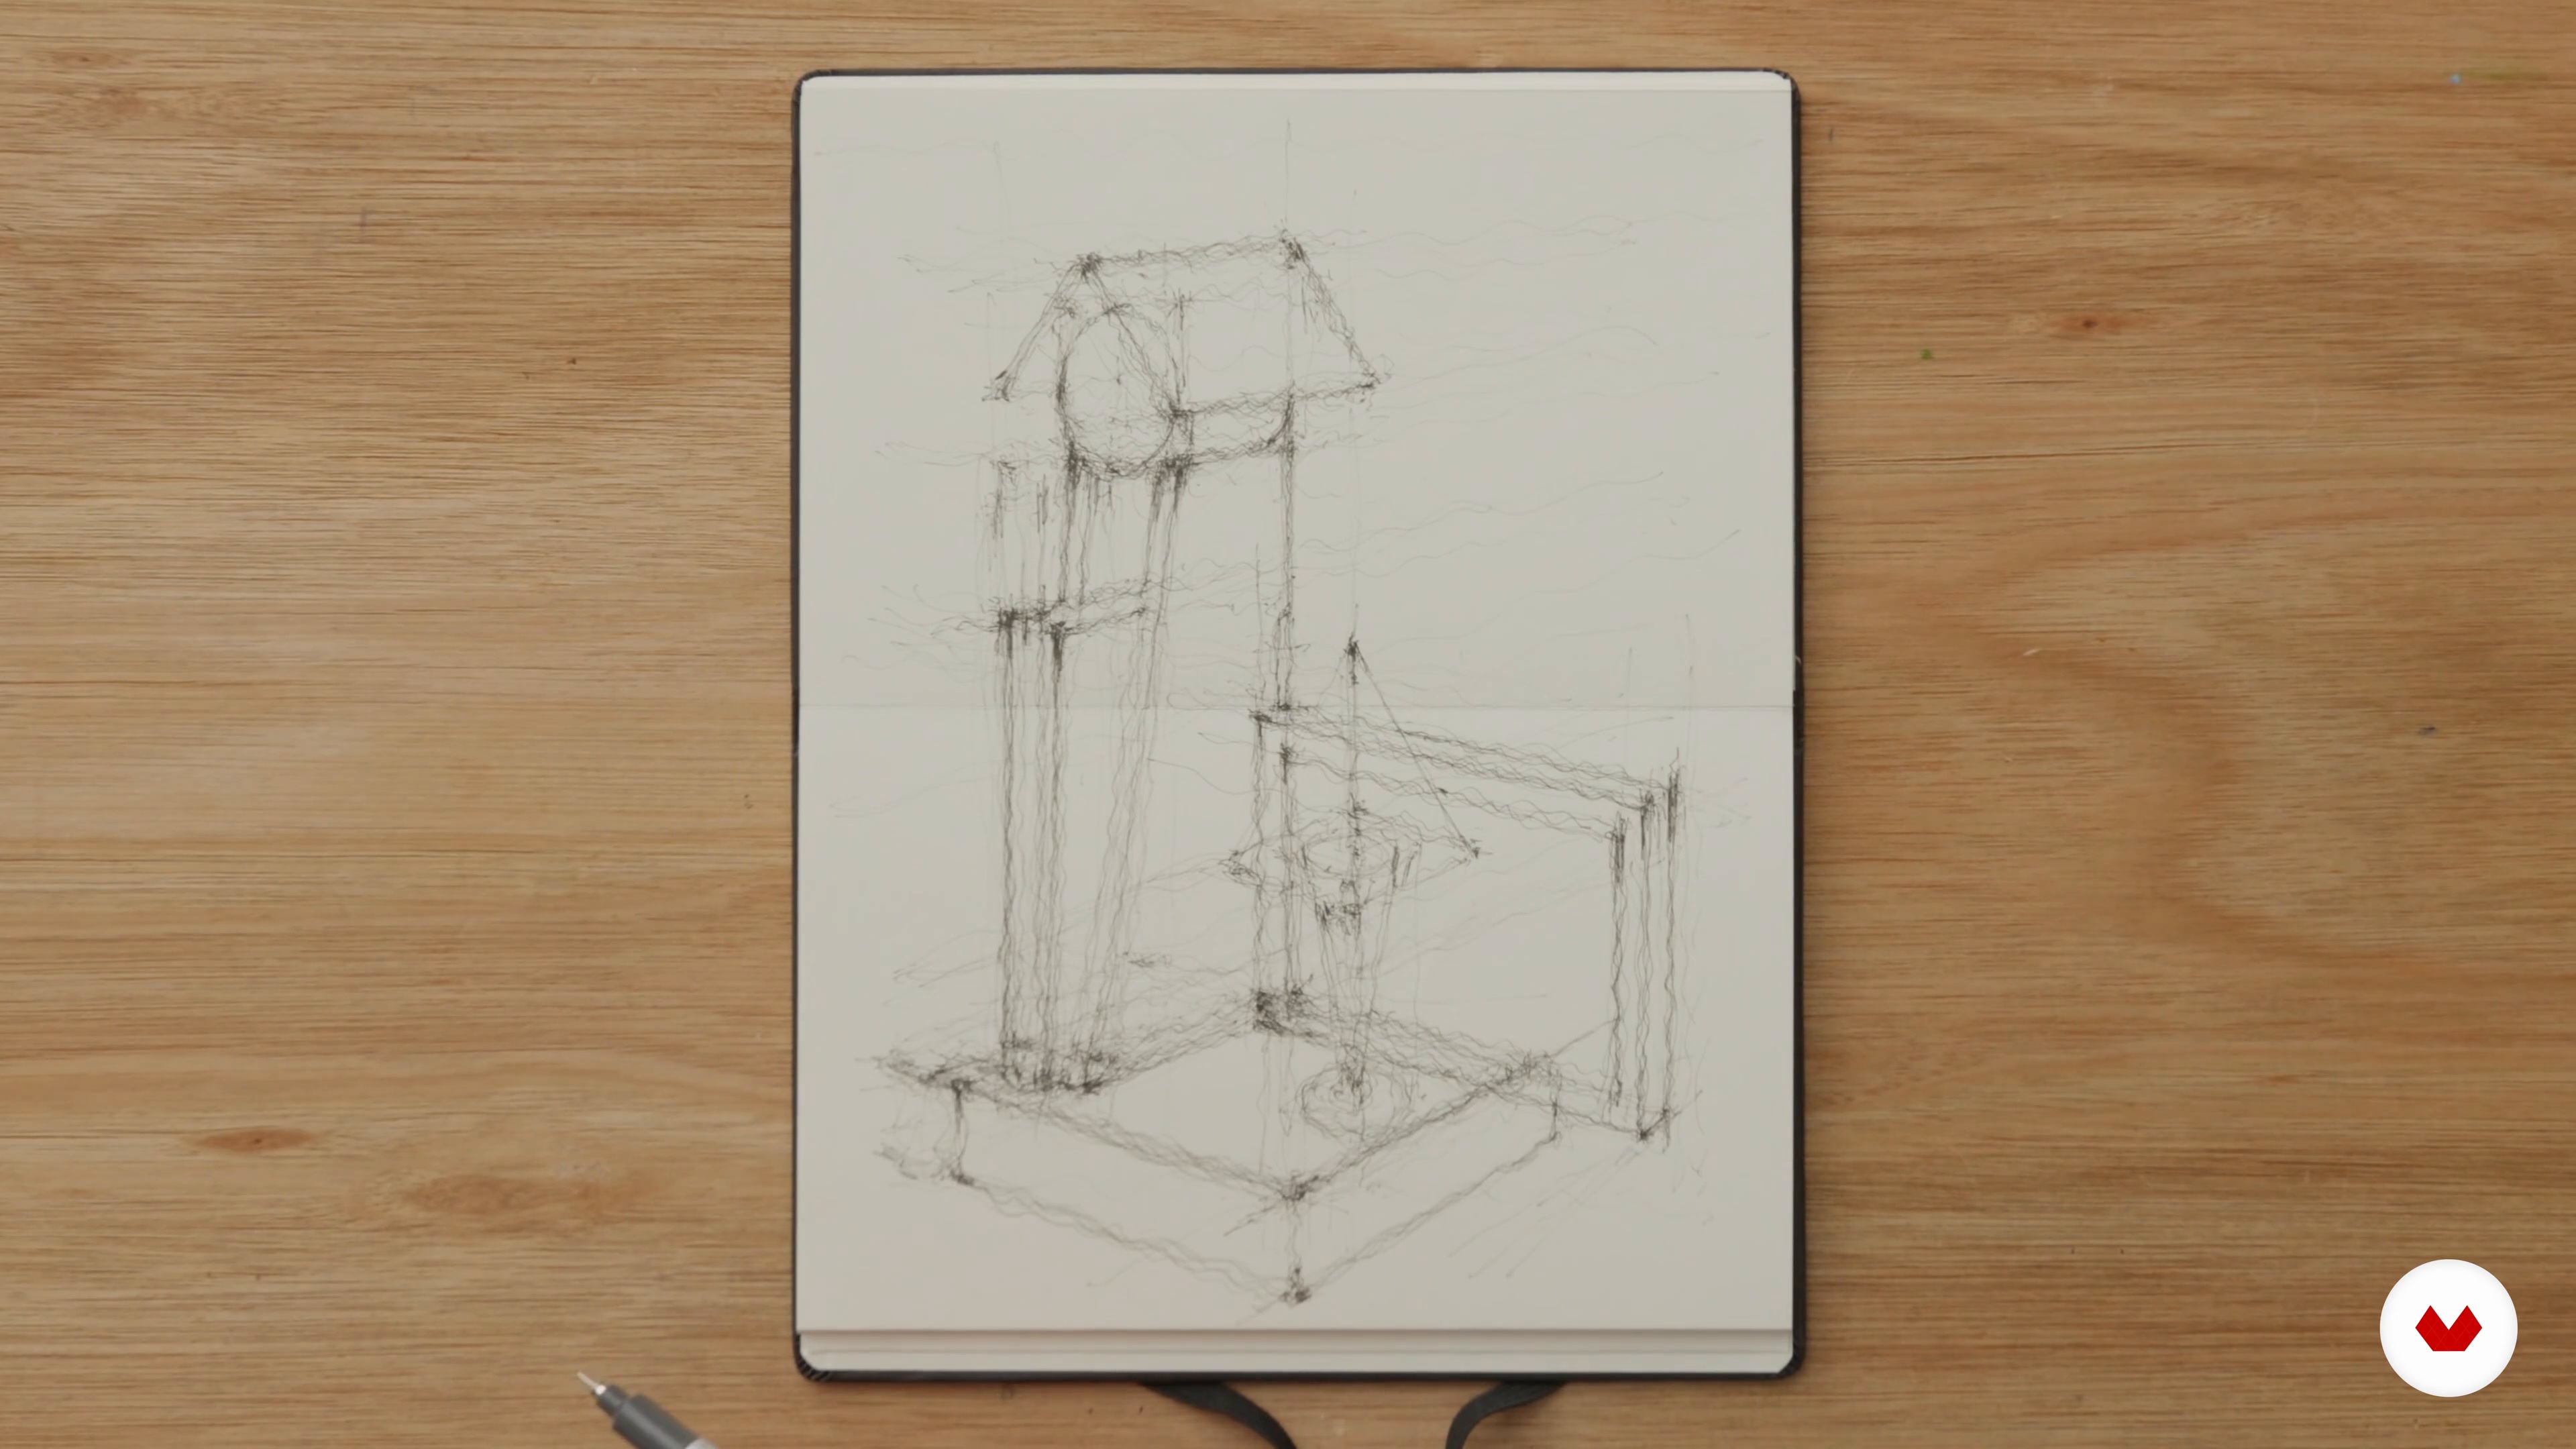
It's time to explore the basic framework of your drawing! We will look at a ghost wireframe structure as a starting point. The focus of this lesson will be placed on the importance of handling the pen and linework lightly. I will talk you through the creation process, offering tips and tricks on the creation of a strong framework for the drawing. Together, we will create a sketch of the basic forms.
20m
image
10
Creating a Sketch of the Basic Forms 2
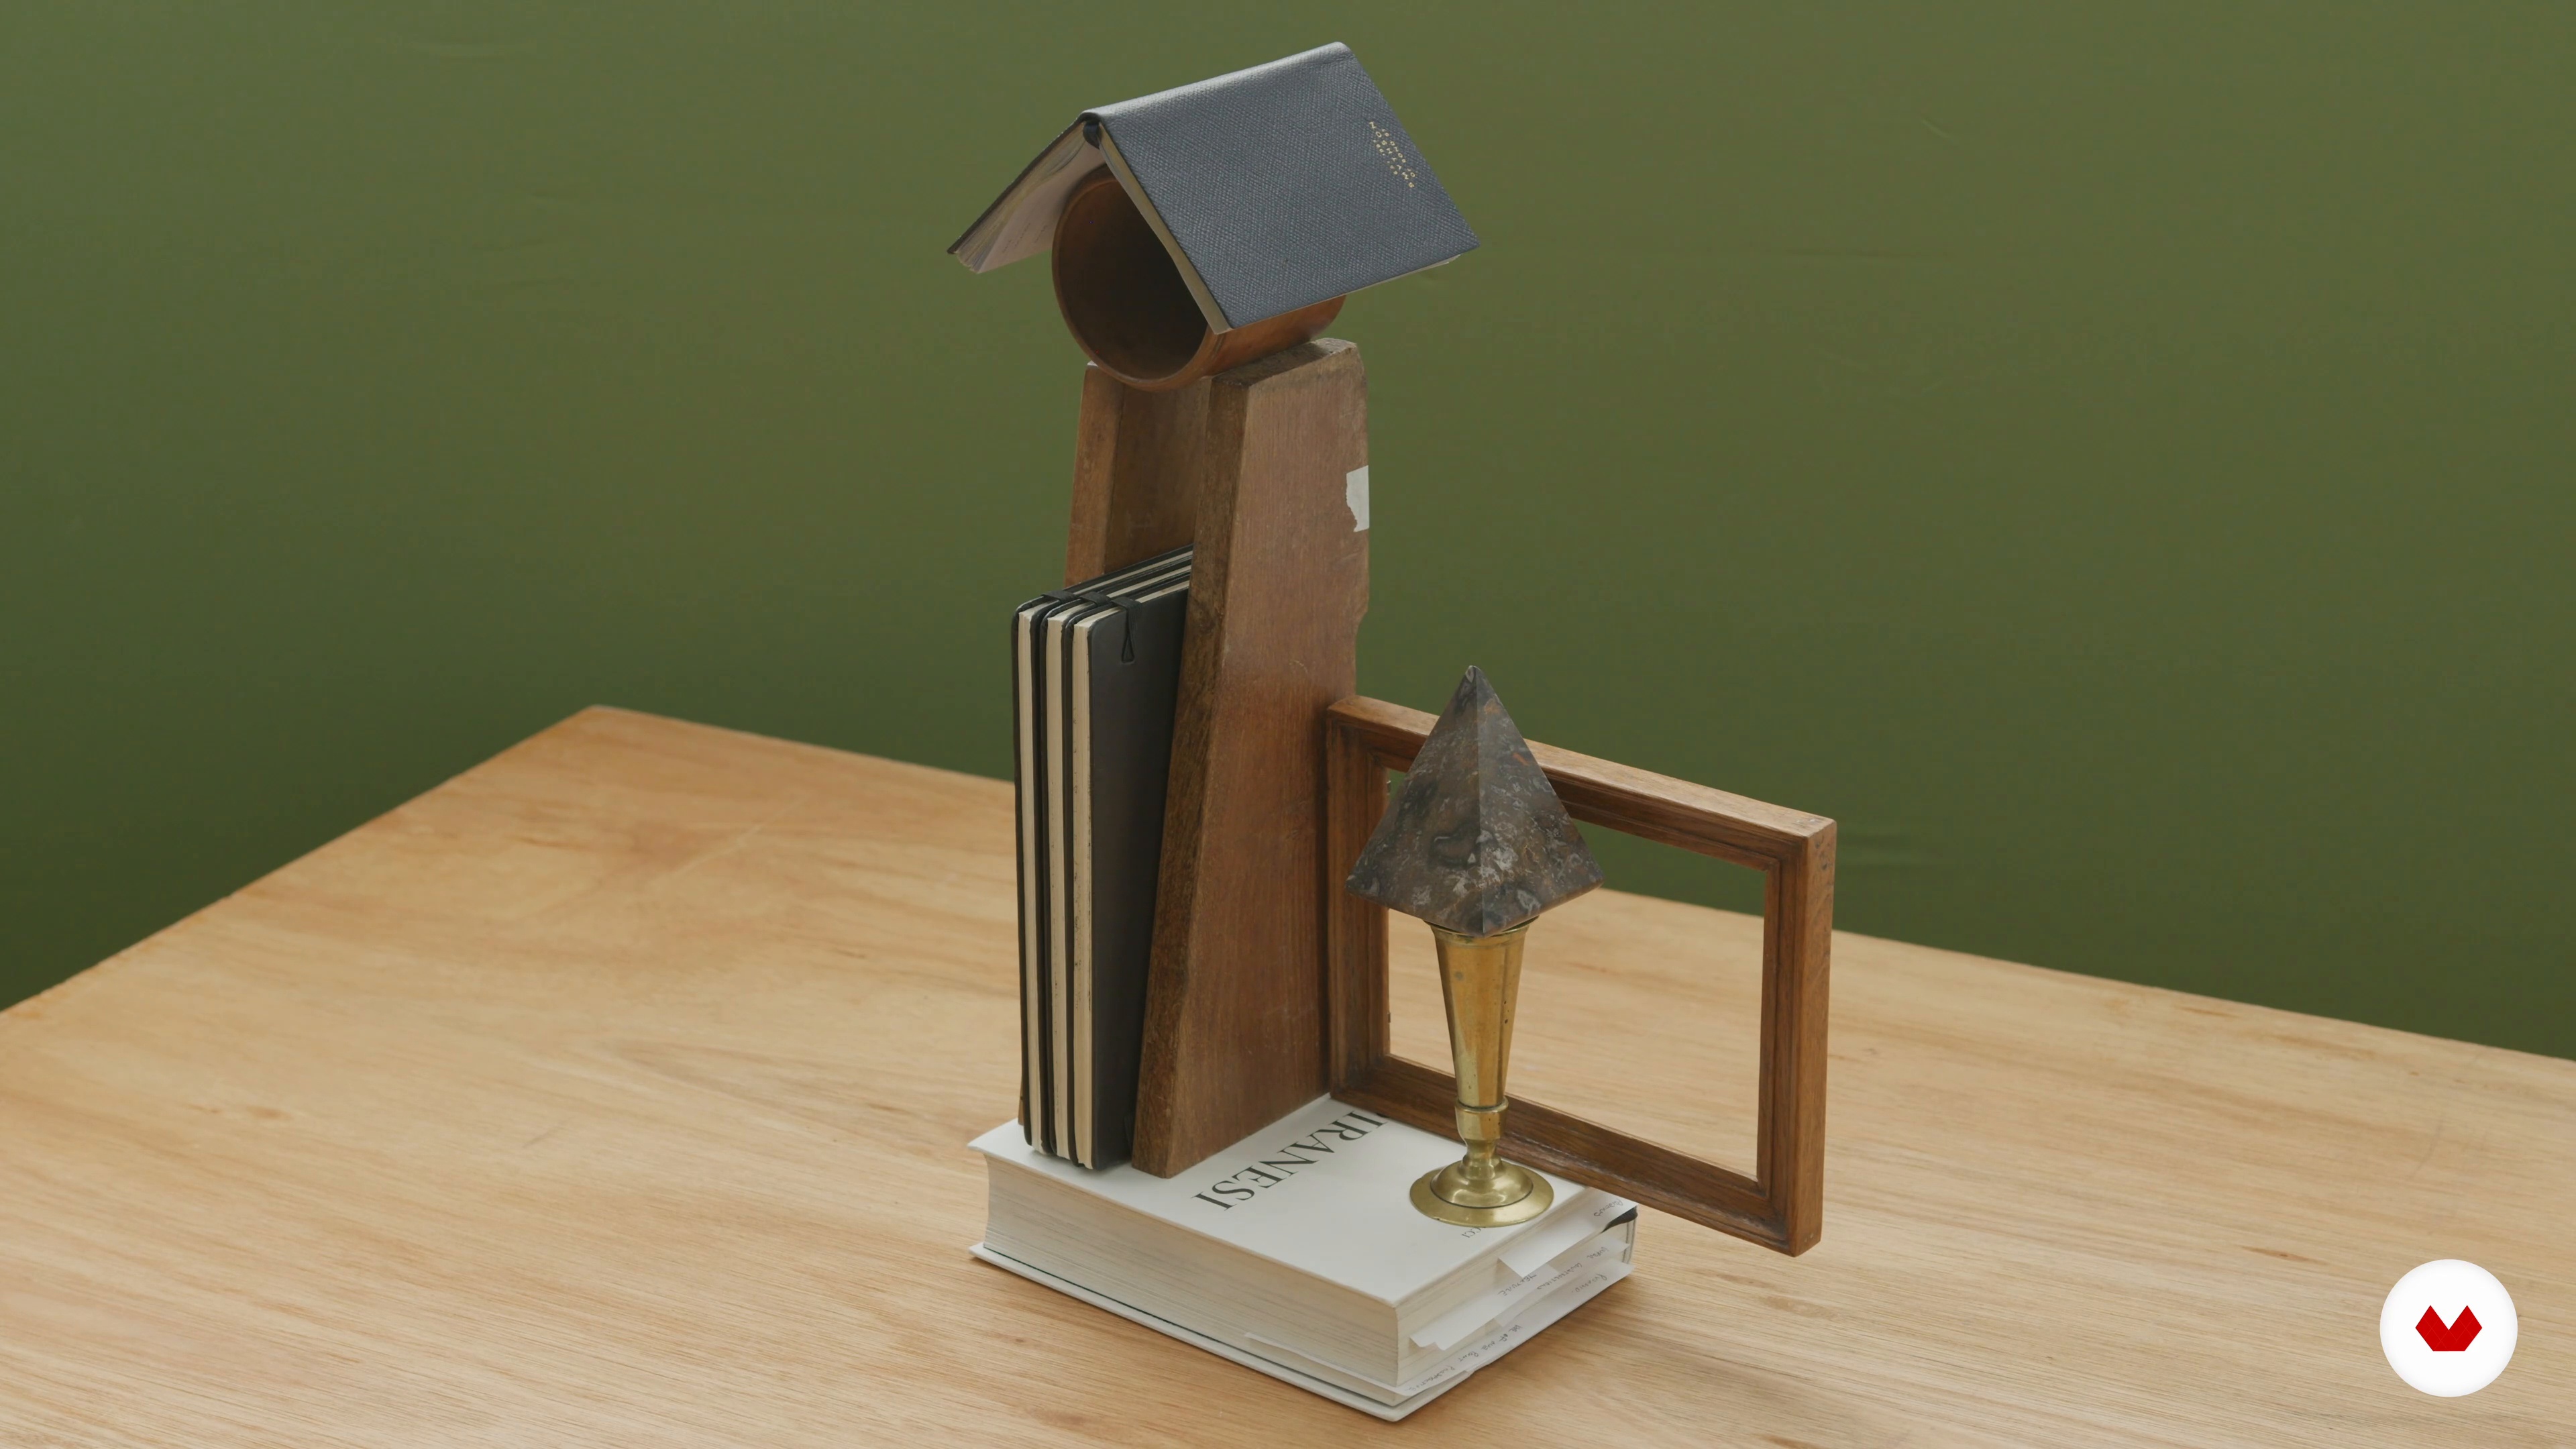
The sketch is coming together nicely! I will now work on the cylinder, sketchbooks, and candlestick. While doing this, I will teach you the tricks I use to keep the drawing in perspective. Throughout this process, you will need to press very lightly with your pen, as these construction lines will need to be removed later.
19m
image
11
Projecting Imagination onto the Shapes 1
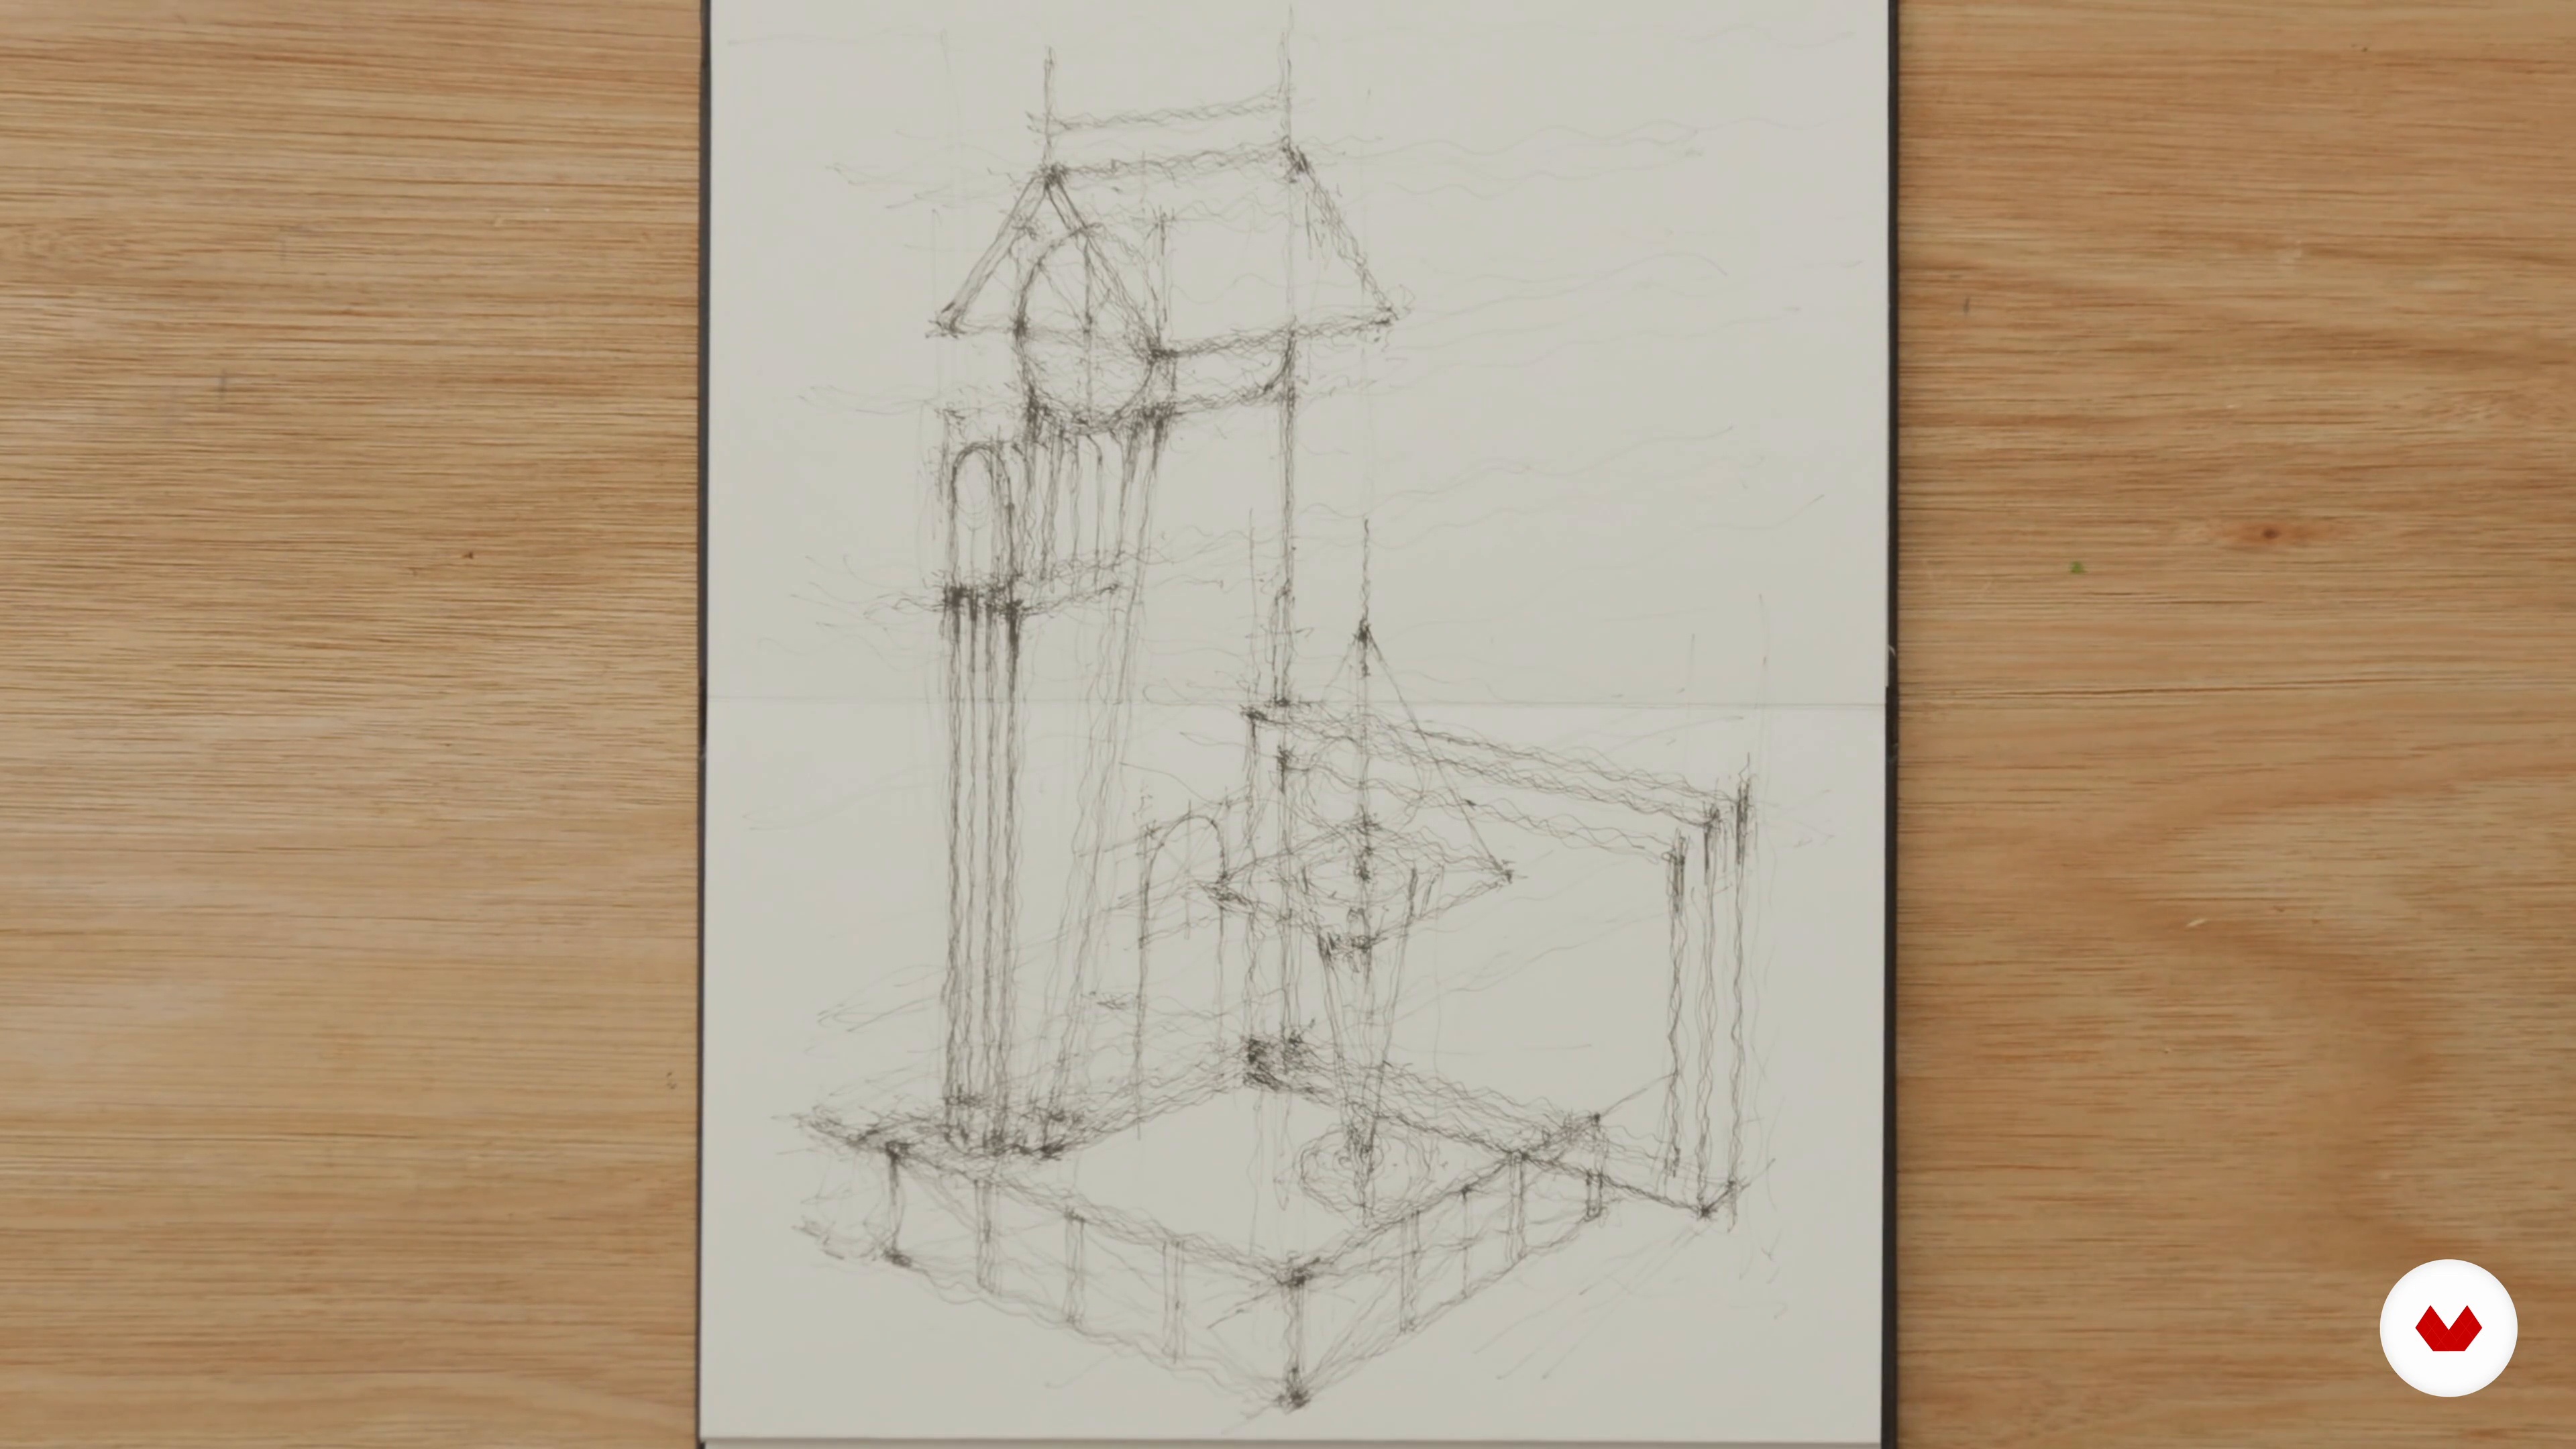
With the basic shapes drawn, it's time to harness your imagination a little! I will show you how to project your own ideas onto the shapes by turning them into a cityscape. We will explore how the shapes can be turned into bridges, buildings, doorways, windows, and even courtyards.
16m
image
12
Projecting Imagination onto the Shapes 2
How are your structures coming along? If you're struggling to disconnect yourself from reality and project a new meaning onto your drawings, follow along with me in this lesson! I will now create a courtyard and a residential block.
17m
image
13
Projecting Imagination onto the Shapes 3
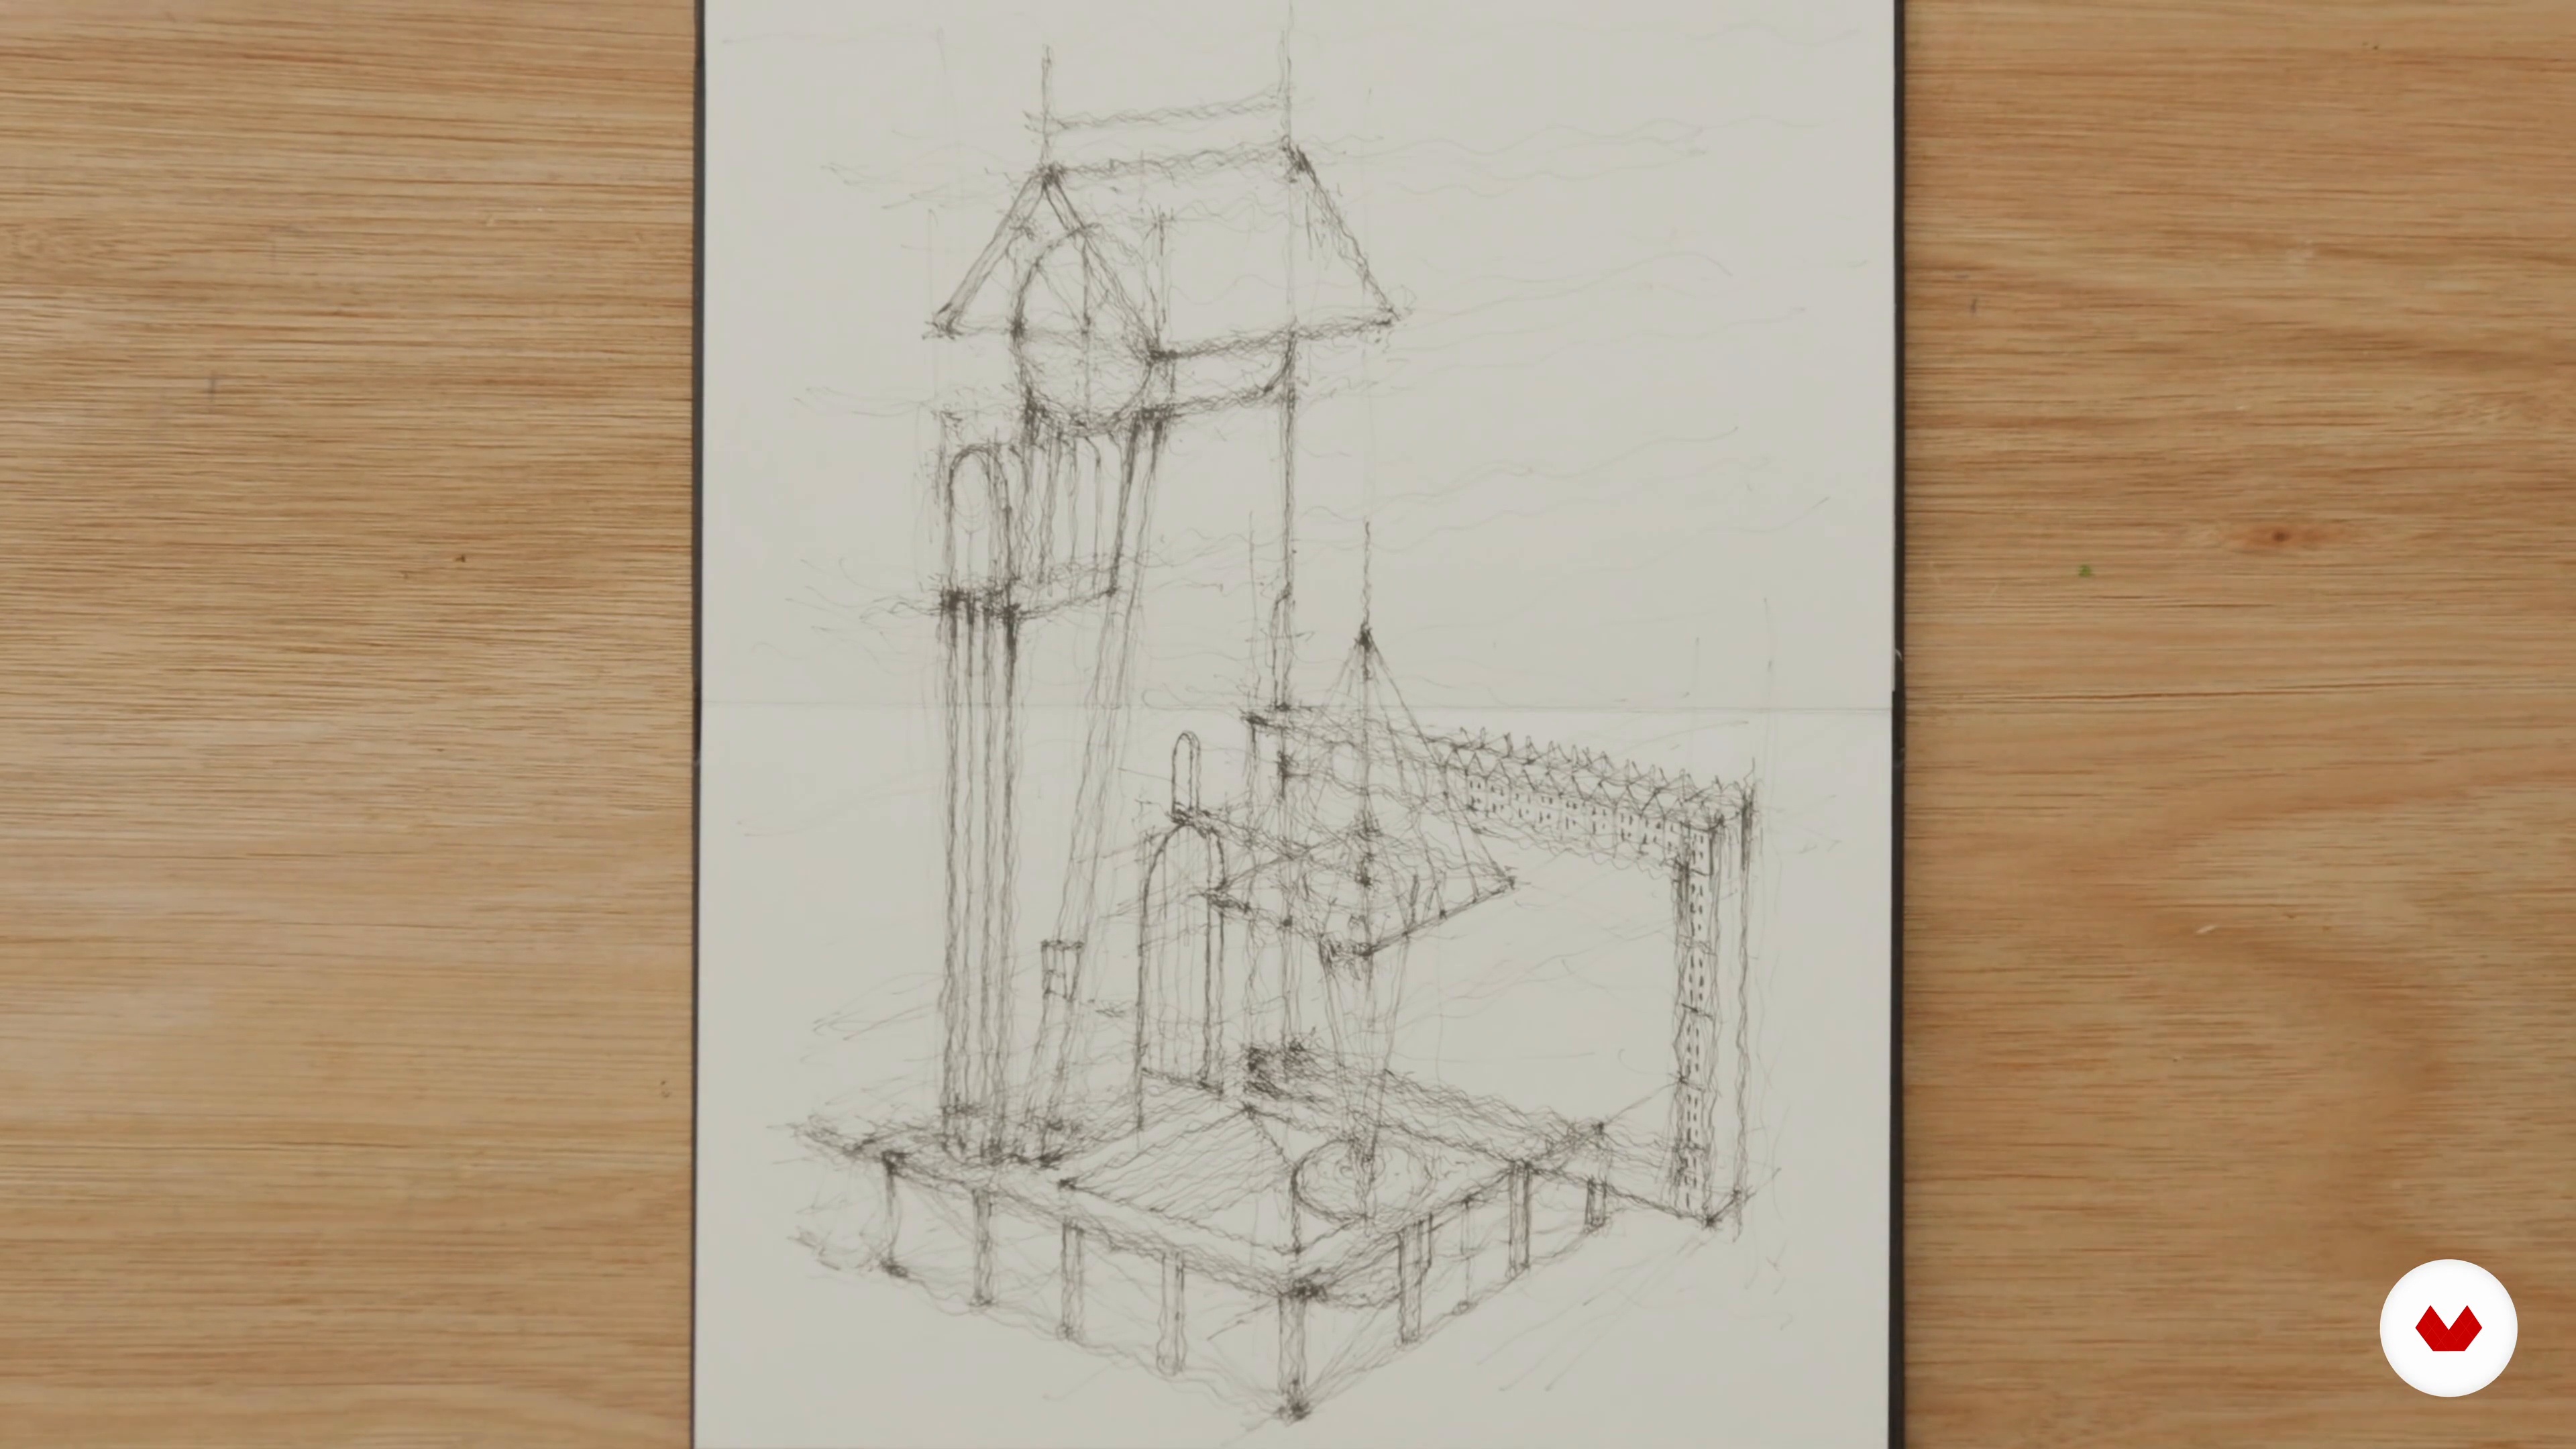
Let's keep developing our imaginary cityscapes! I will work on the last elements to transform the original composition of basic shapes into structures made up of a similar form. By the end of this lesson, we will have our finished line drawings.
13m
image
14
Adding Light and Shade 1
Let's bring some realism to the piece! I will demonstrate how to incorporate shadows into the cityscape. This will give an indication of the main light source and add unity to the various shapes.
19m
image
15
Adding Light and Shade 2
Through the use of the cross-hatching technique, you will continue to learn how to build varying levels of tone, adding depth and three-dimensionality to your cityscape.
12m
image
16
Populating the Image
In this lesson, I will help you to develop your drawing to a point where it can be fully accepted as a cityscape. Populating the drawing will give a real sense of scale and breathe life into your piece. We will add figures to the image to create a clear indication of the height of the buildings. I will offer guidance on how to conform to realistic proportions.
6m
image
17
Sharing Your Work
Here, I will talk about some helpful tips when it comes to sharing your work. How can you get over that initial feeling of self-consciousness? You will learn how to stay true to yourself and not depend too much on external validation, but rather on your own!
9m
image
18
Getting the Right Mindset
Why do you want to draw? Drawing for the right reasons can bring a lot of joy and purpose to your life. But if you lose sight of why you started drawing in the first place, it can become stressful. This is normally when people stop. In this lesson, I'll explain what I've learnt about mindset during my drawing journey in the hope that you can keep motivated and develop your own unique way of drawing.
8m
image
3
Materials and Supplies
In this lesson, I will cover the supplies list for the class, starting with the recommended paper type and continuing with pens of different weights, pencils, brushes, and various accessories.
12m
image
4
Perspective and Vanishing Points
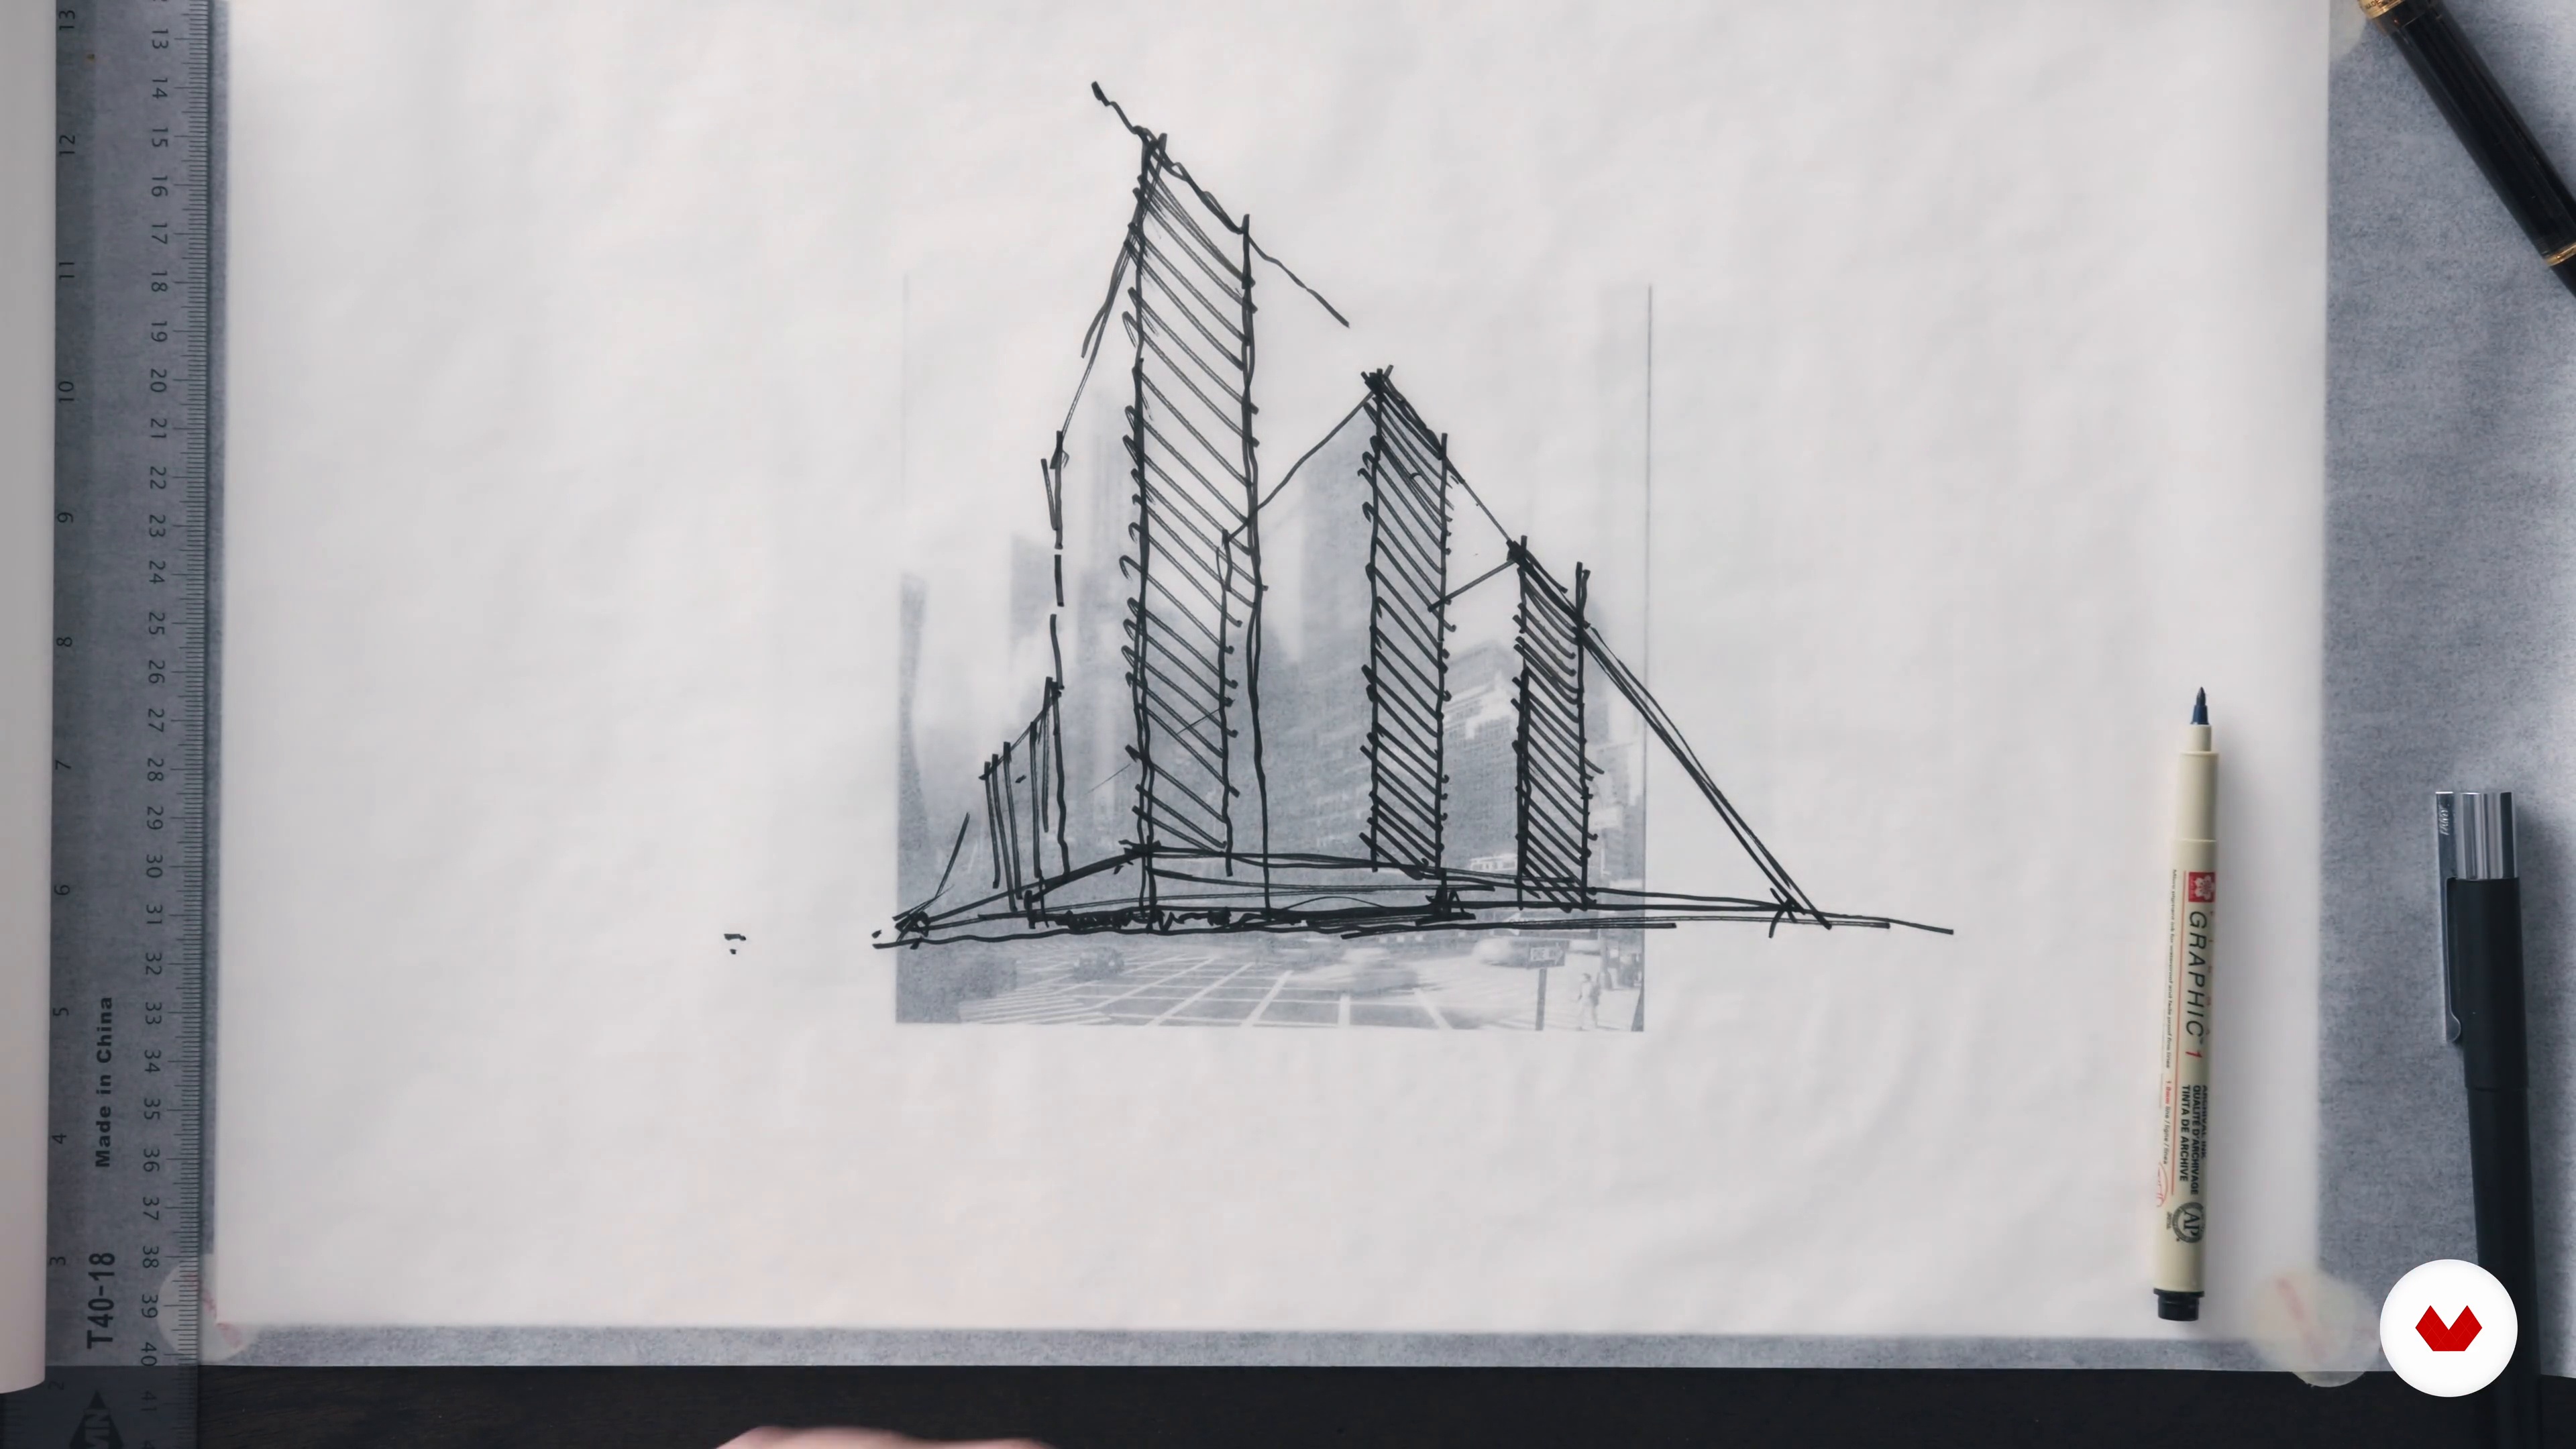
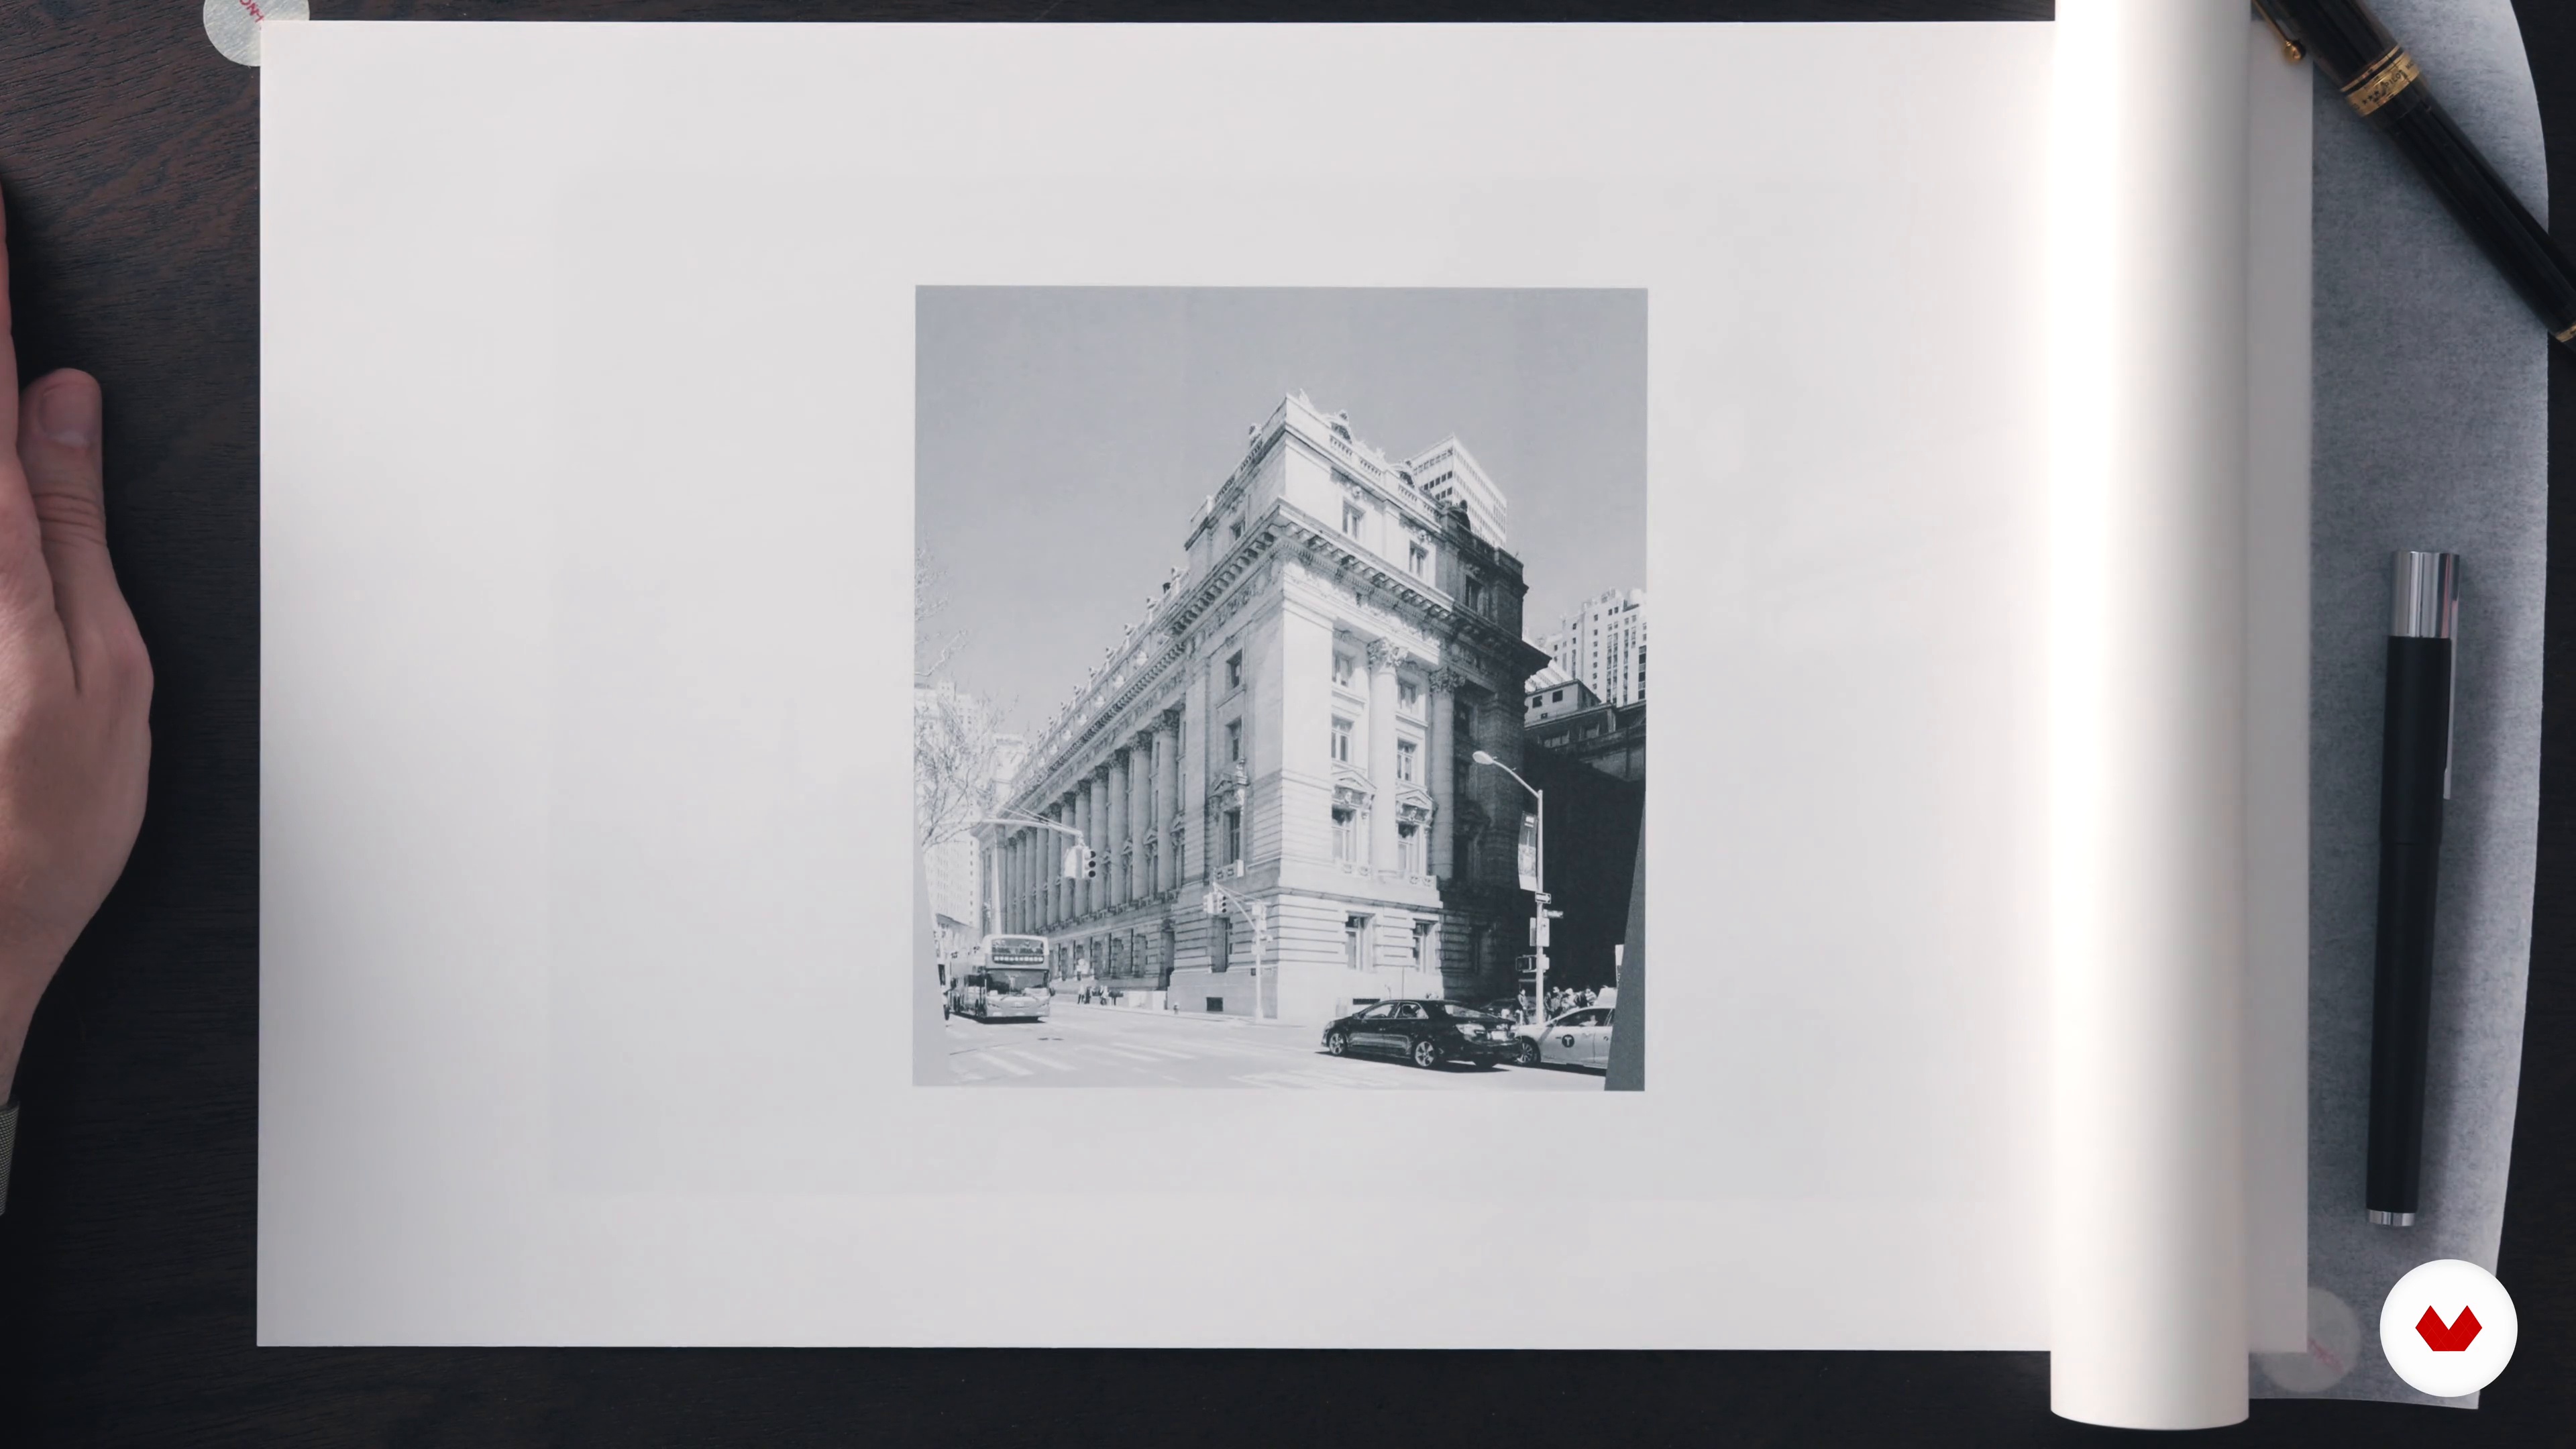
I will now discuss key concepts such as the one-point and two-point perspective, using a street photo from a location in NYC as an example. You will learn how to identify the vanishing points and the horizon line as critical tools for accurate perspective construction.
14m
image
5
The Concept of Scale
Another fundamental concept you will need to familiarize yourself with is scale. I will guide you in analyzing proportions by decomposing some street scenes in New York.
10m
image
6
Composition and Entourage
In this lesson, I will discuss some helpful techniques in developing a dynamic composition and explain how entourage helps to frame the subject.
10m
image
7
Selecting the Subject
To begin the creative process, I will discuss some tips and techniques to help you select a subject: What to look for, what makes the subject interesting, and how light and shadows come into play. We will look at several photo references and explore which one is the best subject to illustrate and why.
8m
image
8
Analyzing the Photo Reference
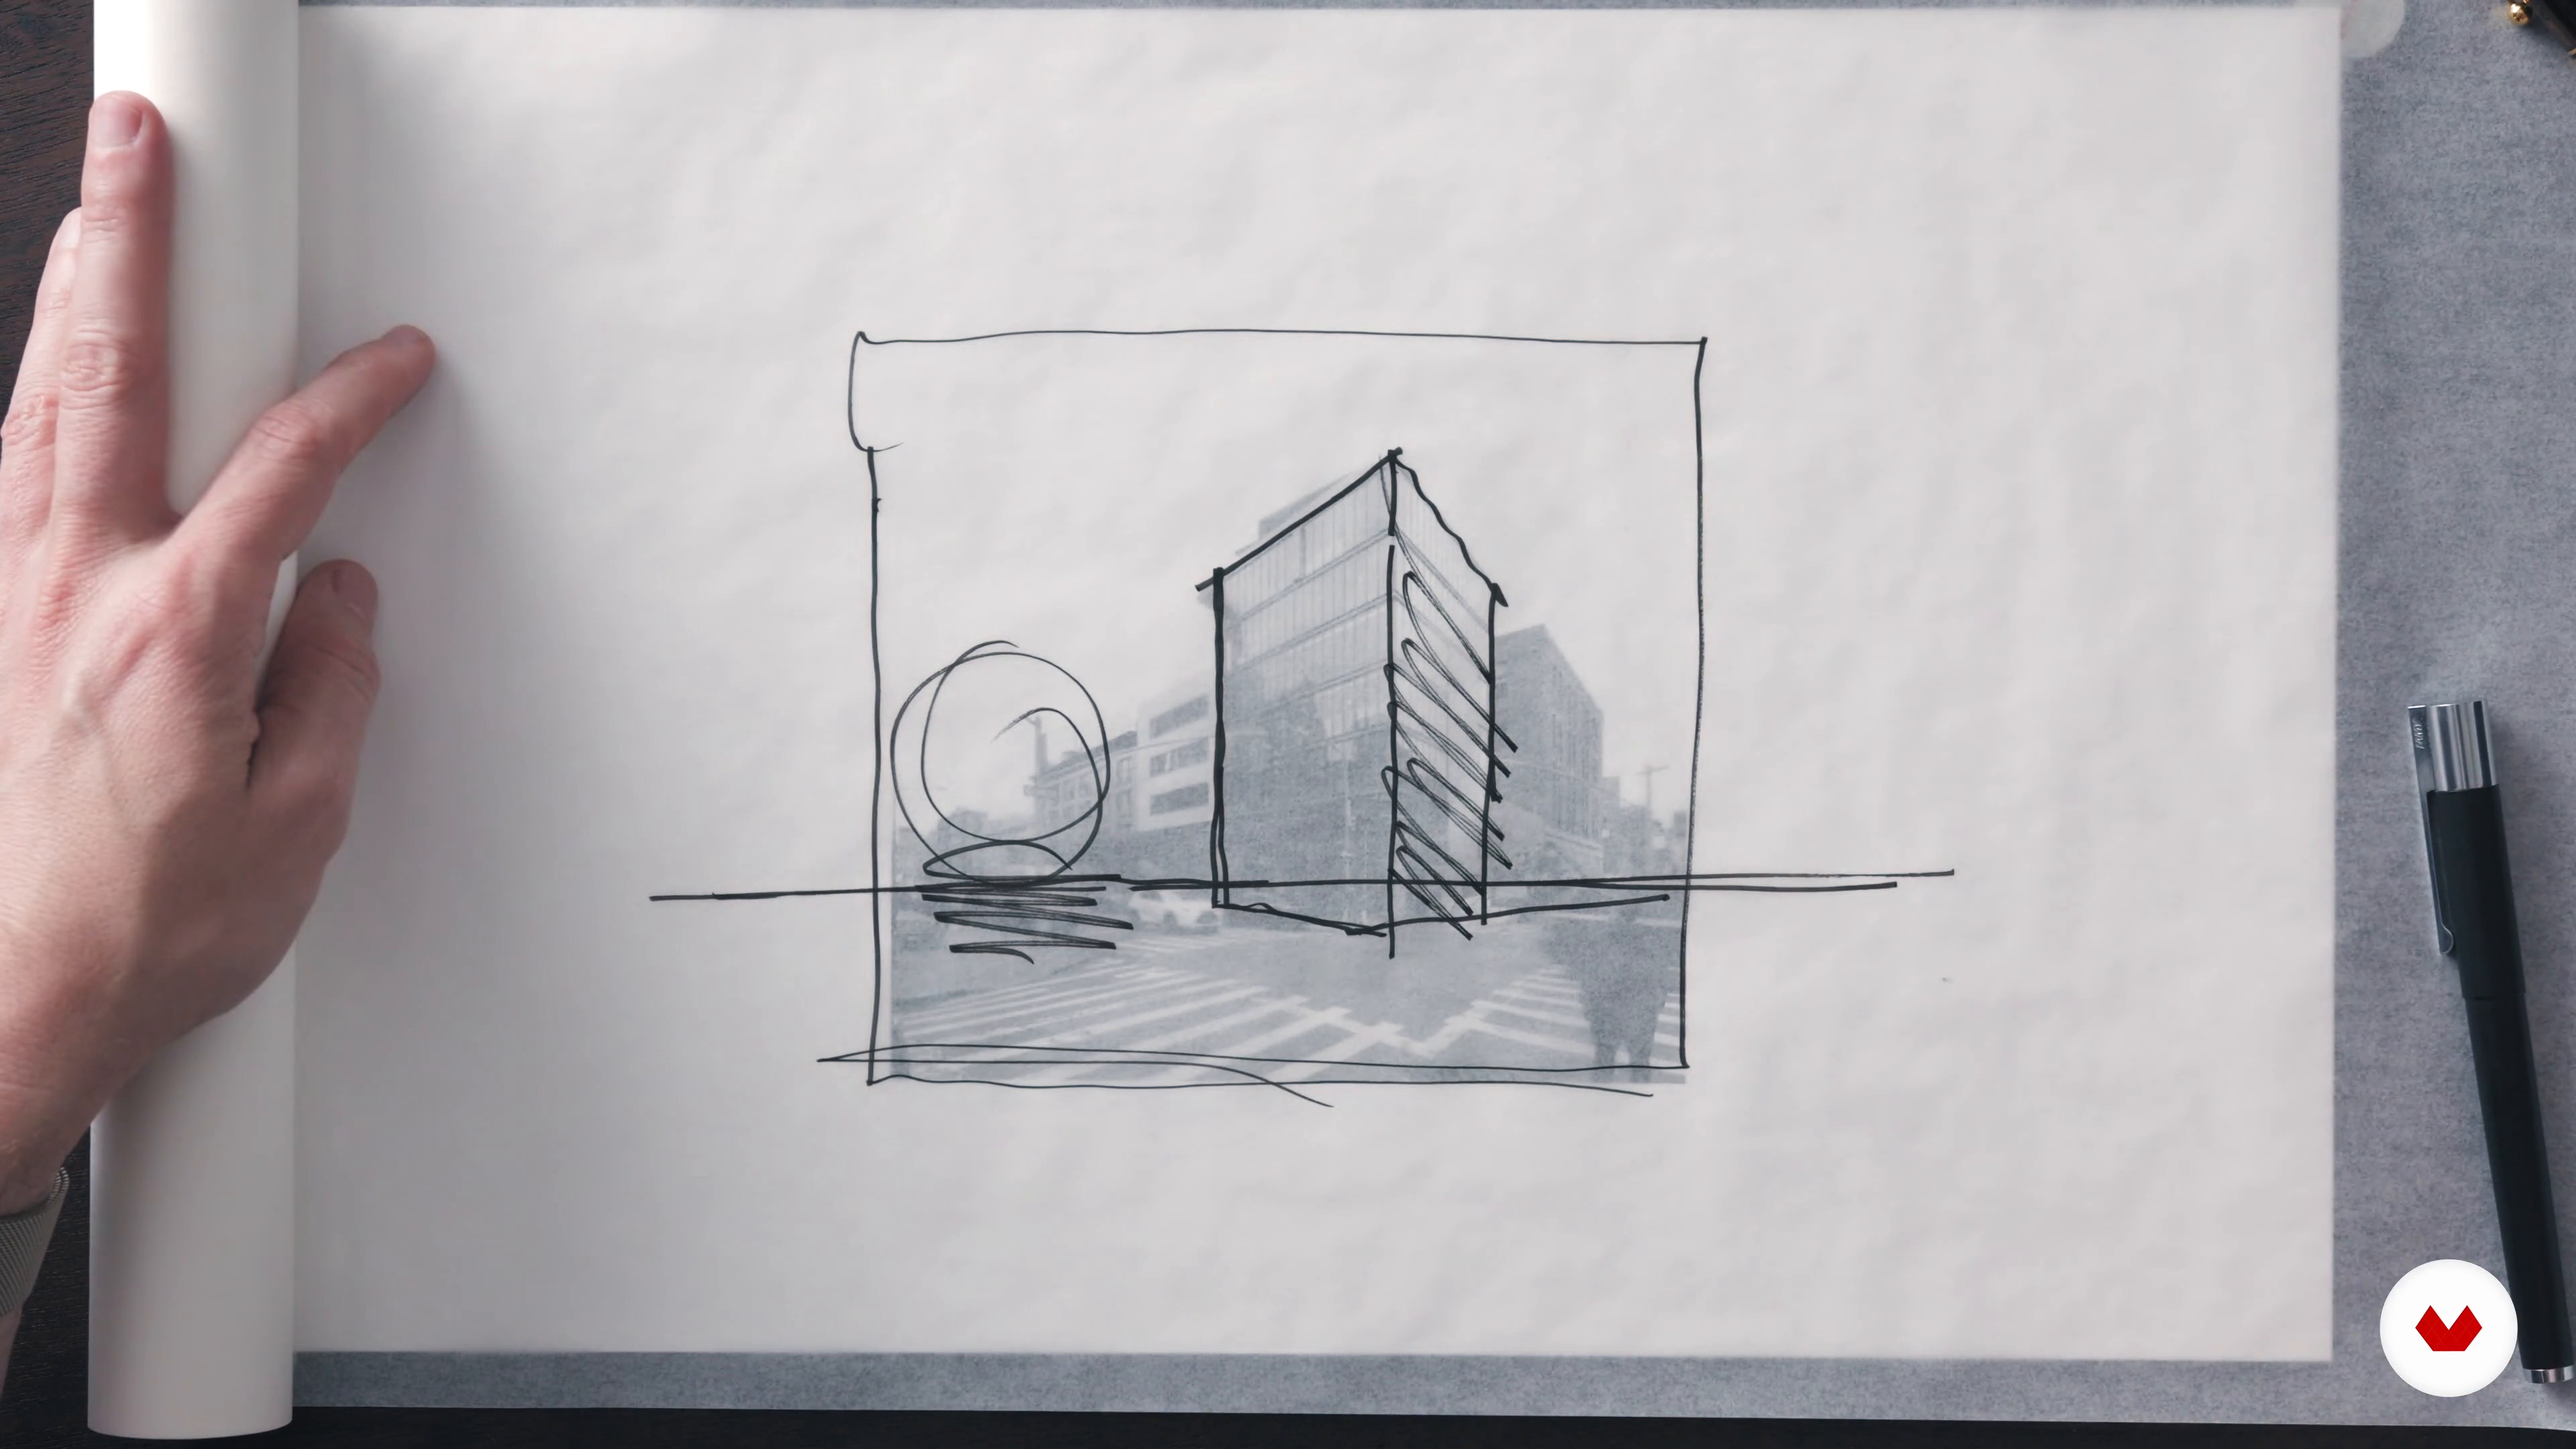
What key elements are present in the reference photo? In this lesson, you will decide what you want to represent on paper. What is the scale of the subject, where is the main focal point, and how do you want to frame the scene?
8m
image
9
The First Draft
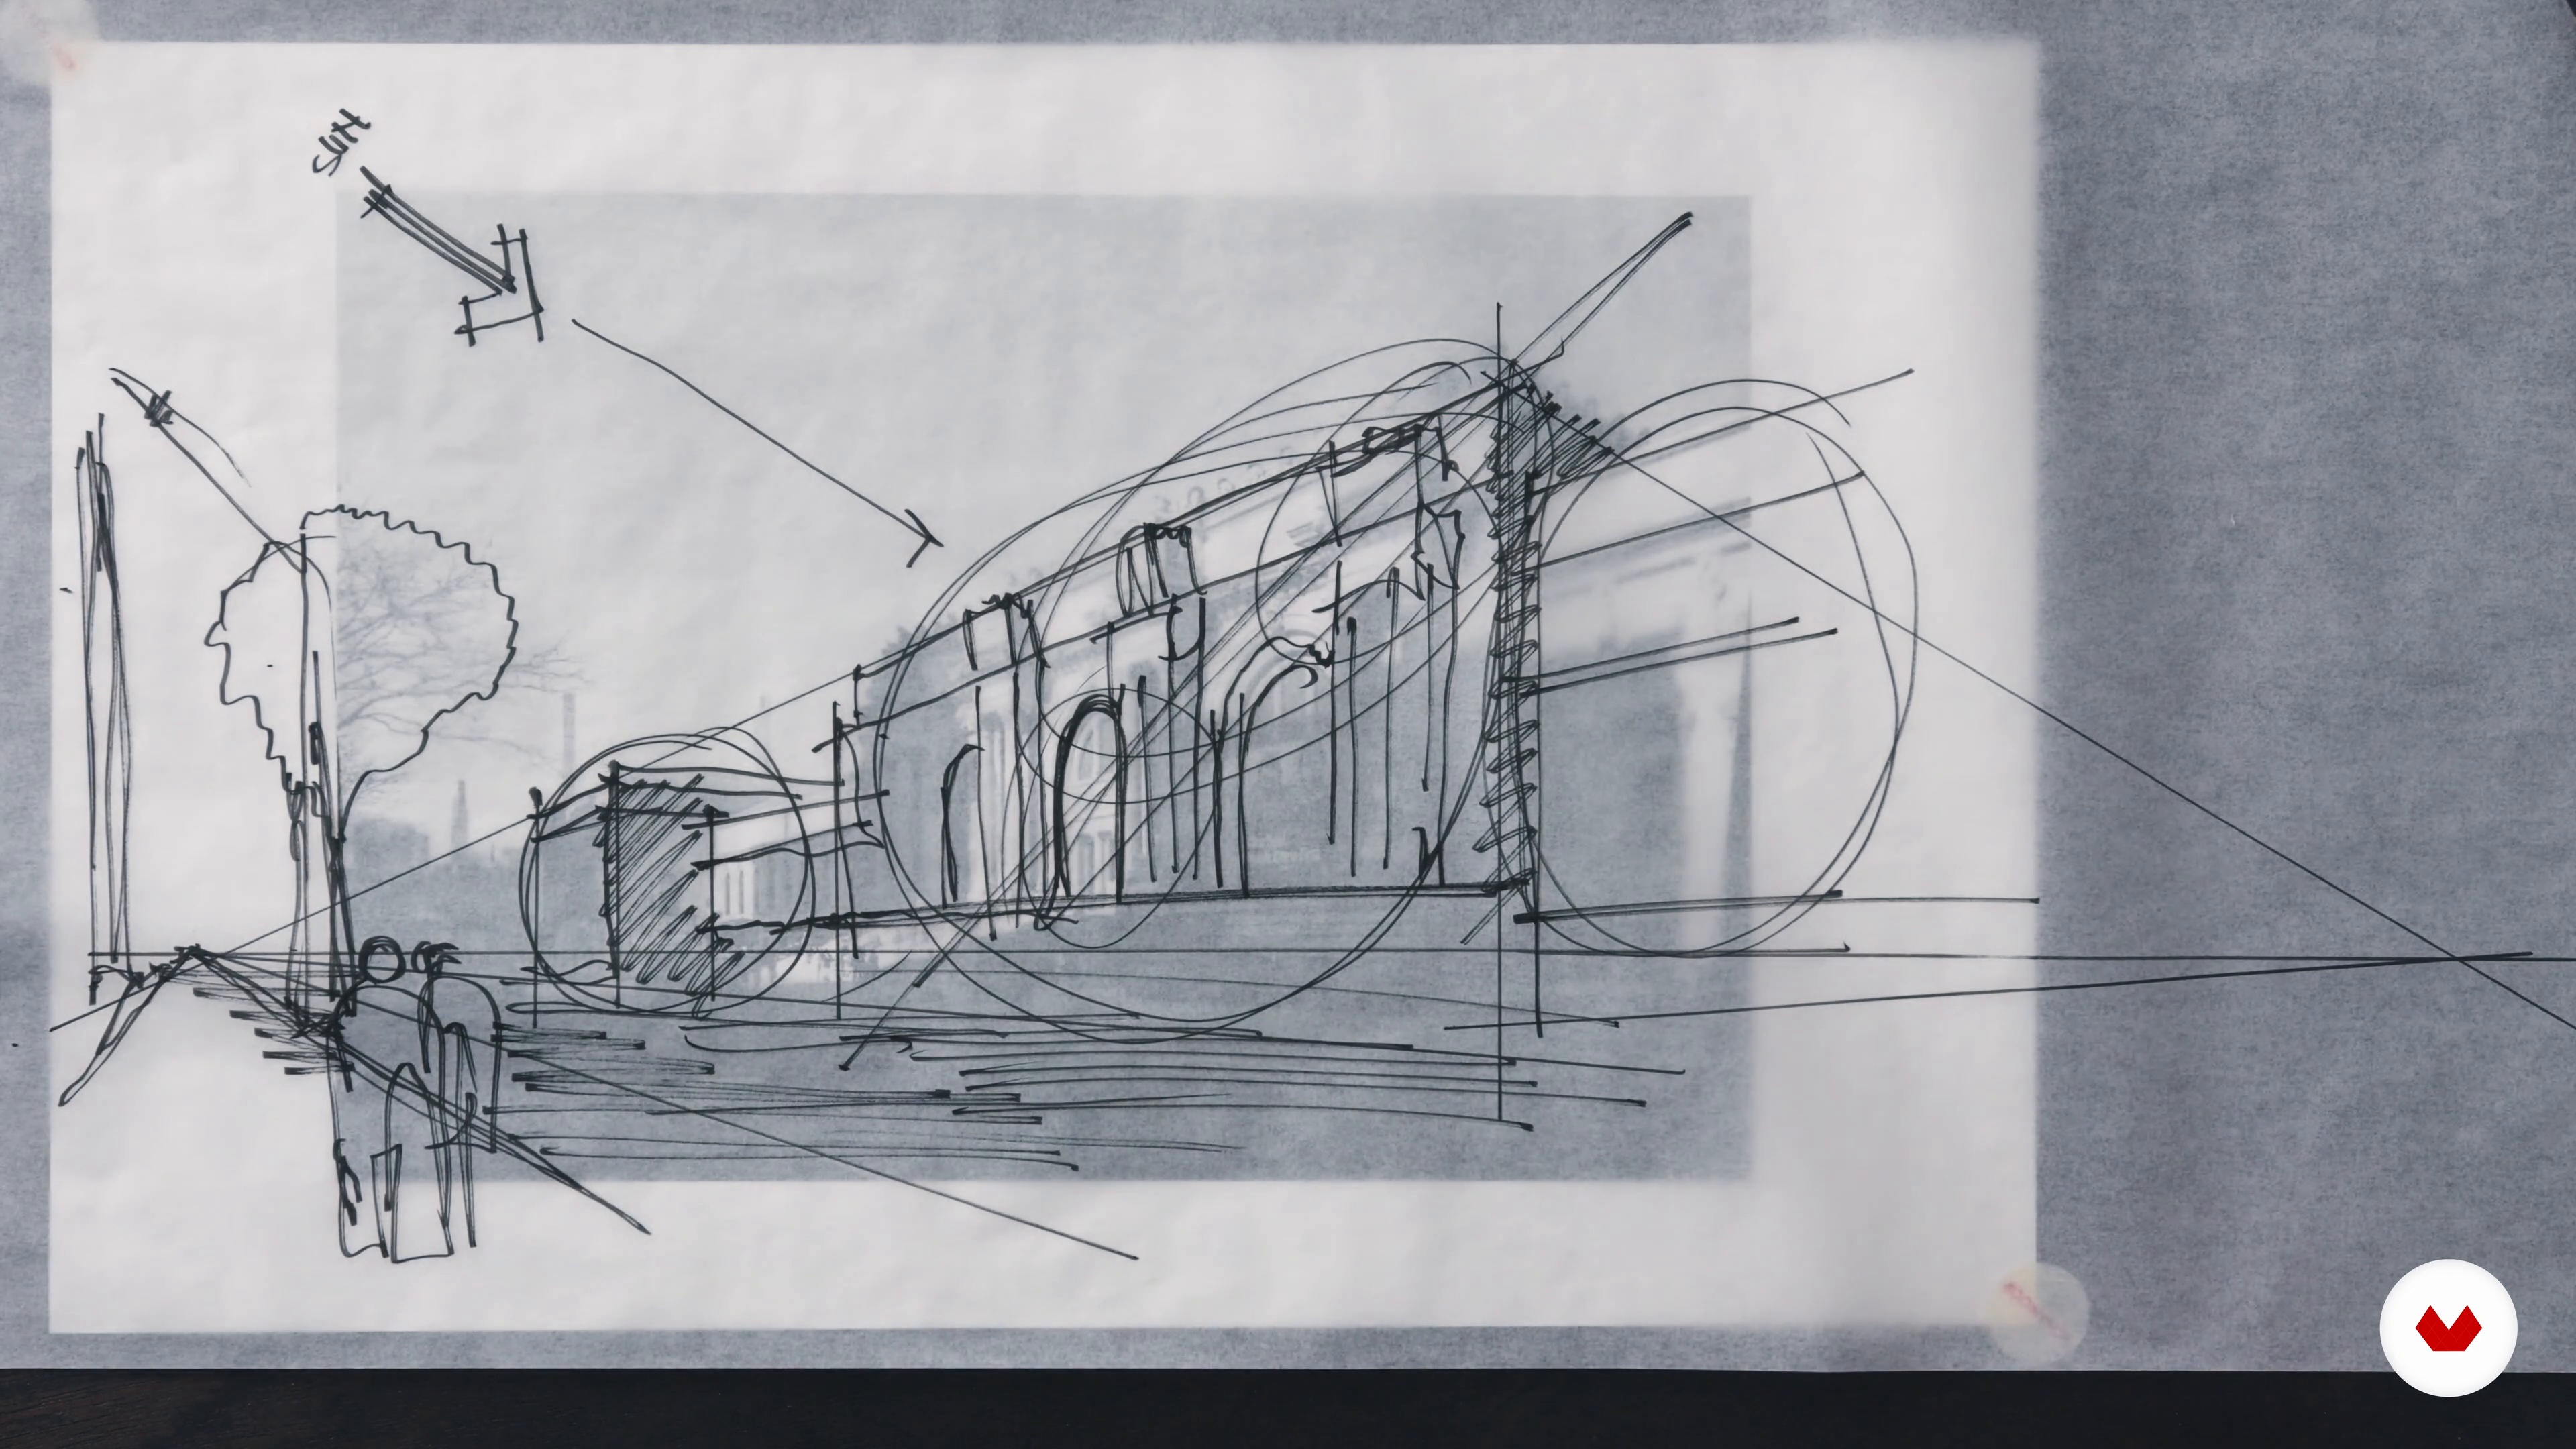
It's time to create a plan on how to proceed with the sketch. I will help you to identify the framing, the main elements, as well as the light and weather conditions, all in a simple diagram format.
19m
image
10
The Pencil Outline
With all the preparation complete, as a first step, I will show you how to draw the main lines of the scene in pencil. This is the time to outline and correct the perspective and composition before proceeding with black ink.
18m
image
11
The Main Lines
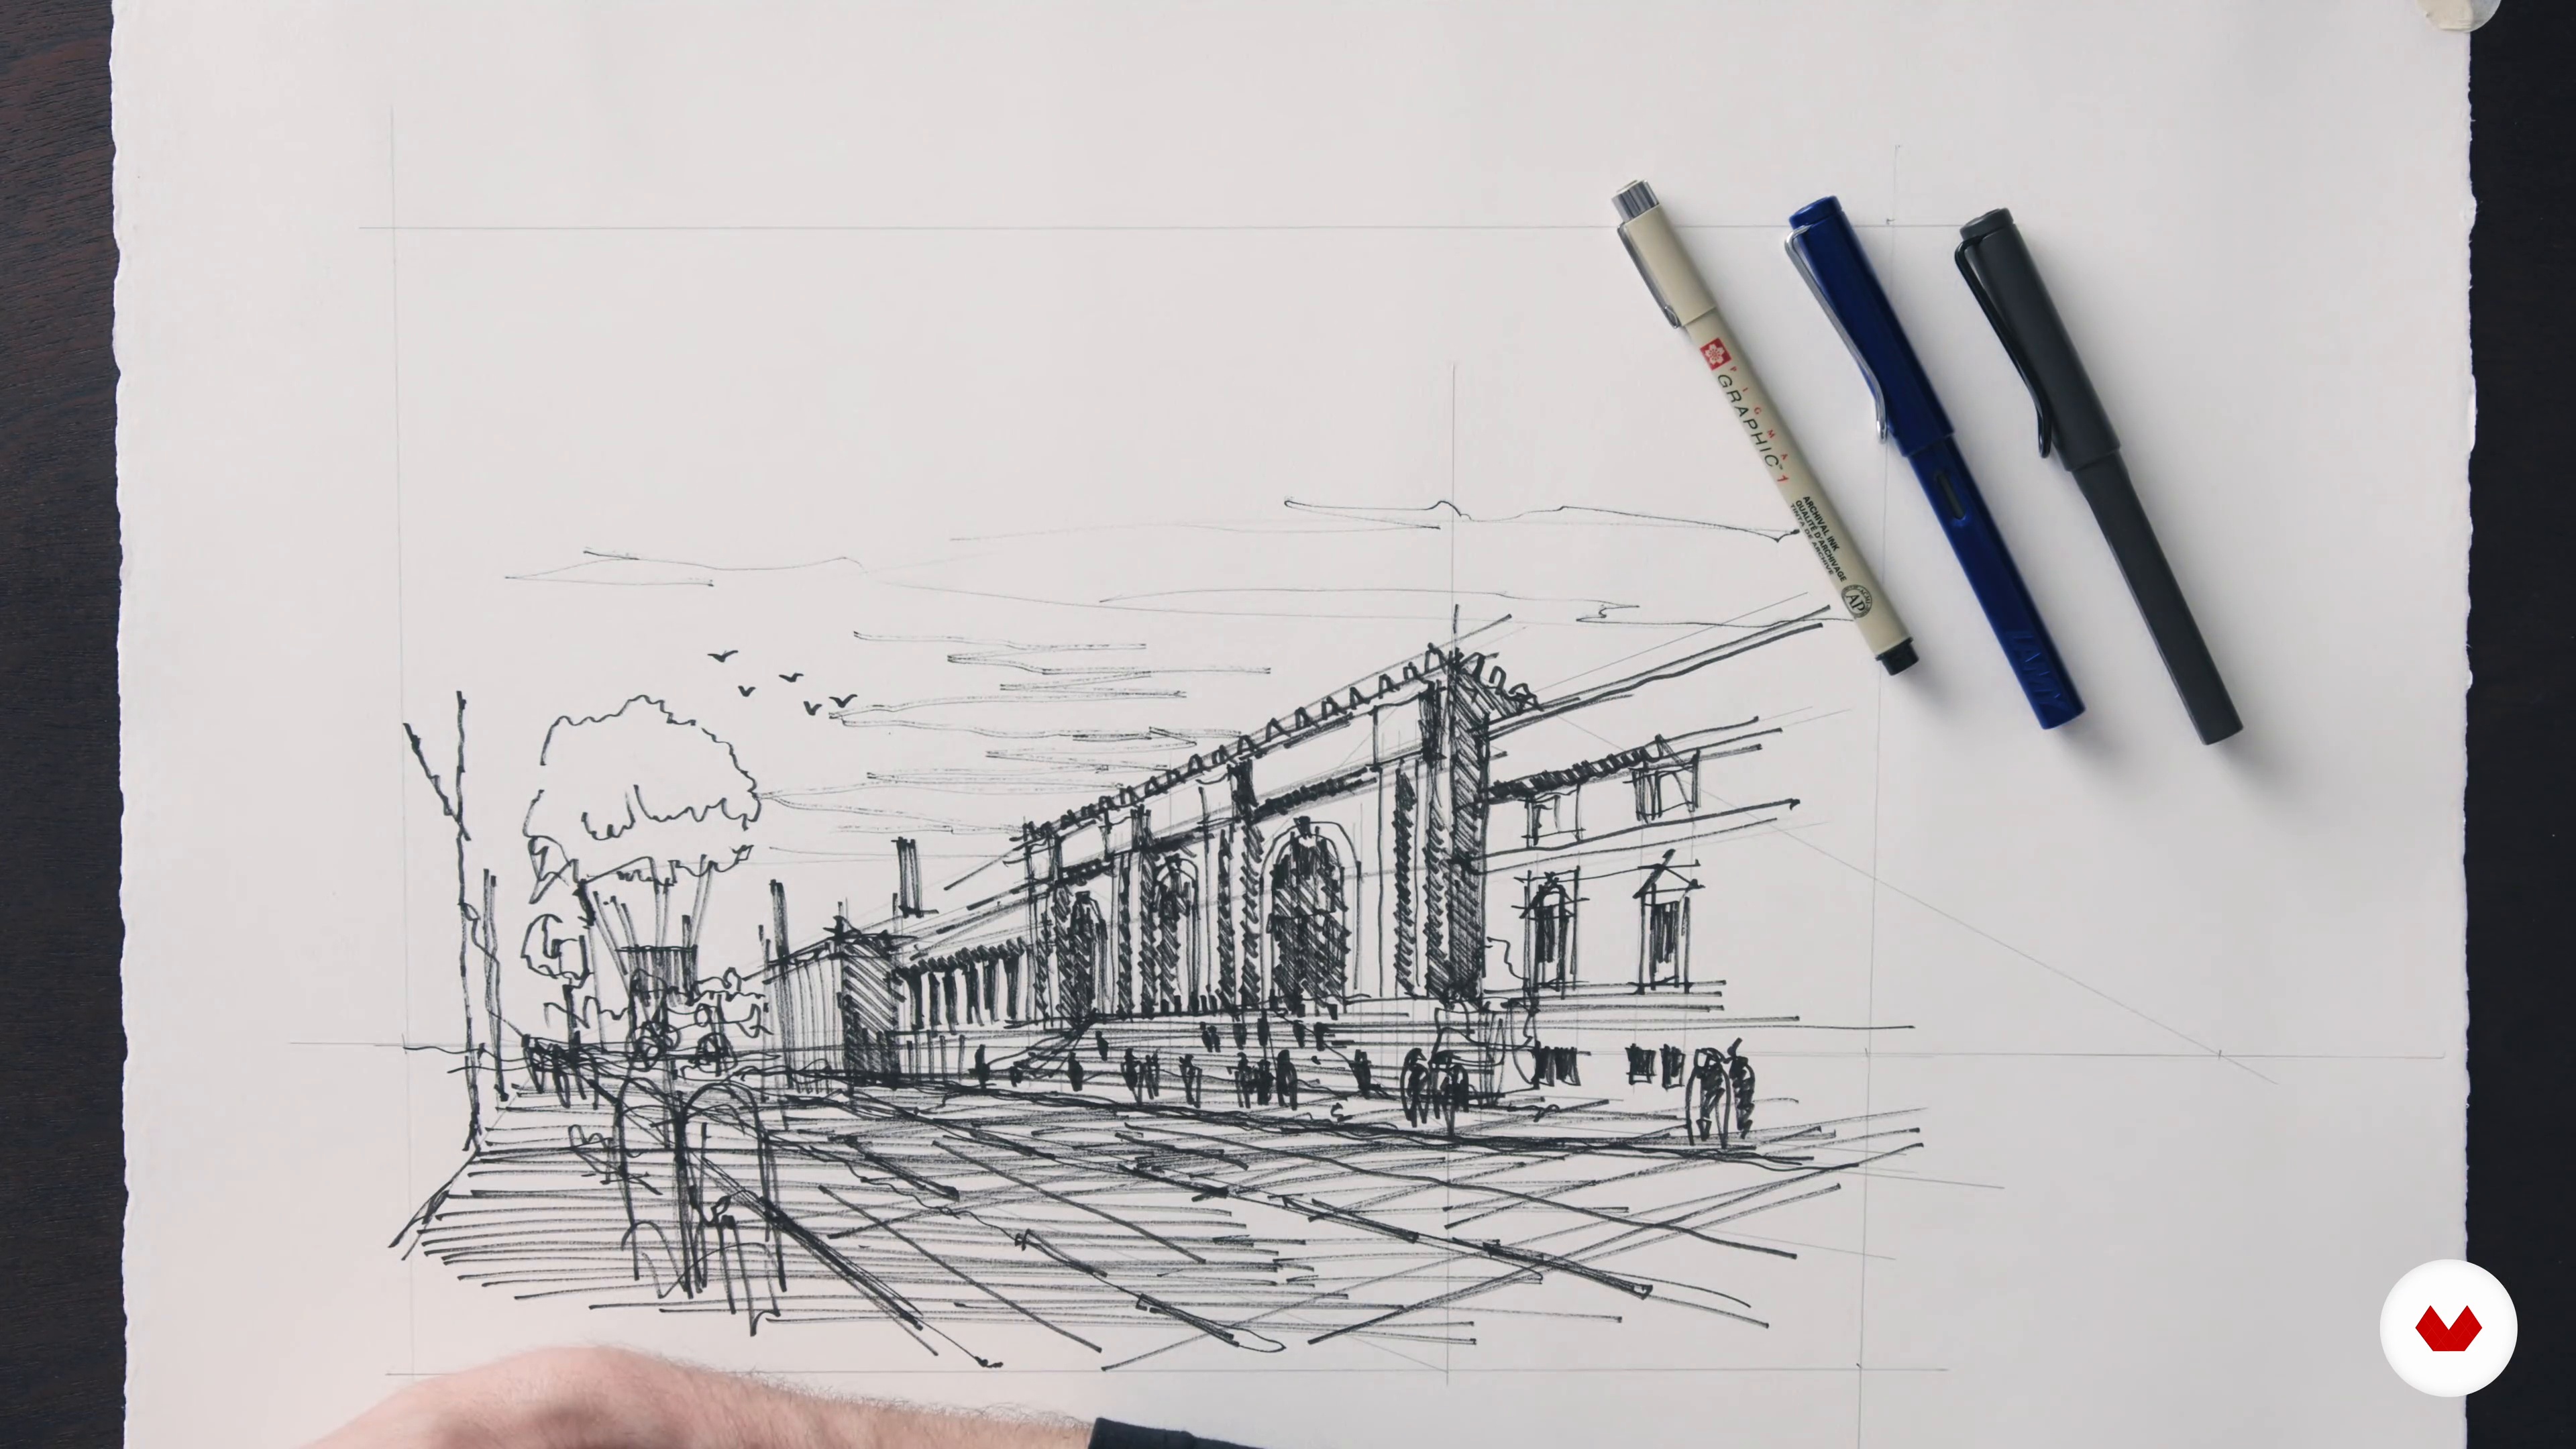
The second step focuses on the main lines of the scene: the street, buildings, and entourage, all in large gestures. You will learn how to cover all parts of the scene equally, from left to right, using the previously laid out pencil guidelines. It's not necessary to go into too much detail at this stage.
6m
image
12
Detailing
Next, I will guide you in adding details to the building elements: window frames, doors, balconies, or building decorations, using a variety of black pens of different thicknesses. I will also show you how to shade some areas to emphasize contrast as you see fit.
7m
image
13
Shading
Now it's time to highlight the key shaded areas with fountain pens and black ink. These tools will be used to emphasize depth and perspective via tonality and intensity.
10m
image
14
The Entourage
The final element to add to the scene is the entourage. This may include people, trees, and everyday street objects. Some entourage elements are needed for framing the architecture, while others are essential in explaining the scale and mass of architecture in relationship to the human scale.
11m
image
15
Reviewing the Work
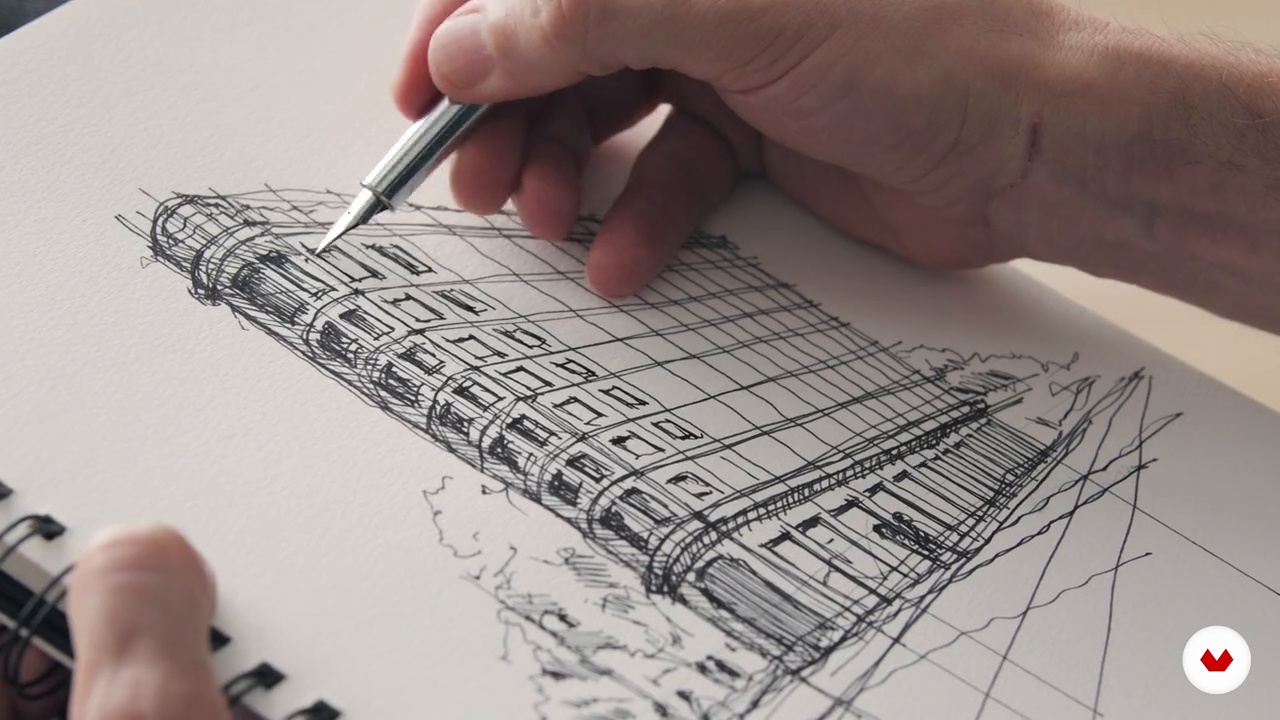
To finish, give yourself a moment to take one last critical look at the work. Decide which areas read well and which need improving. At this stage, you might want to revisit the shading, detailing, and entourage construction steps. Or, simply focus on correcting some smaller details that need attention. I will show you how to evaluate your work with a critical eye.
10m
  • 100% positive reviews (1)
  • 246 students
  • 85 lessons (16h 18m)
  • 78 additional resources (32 files)
  • Online and at your own pace
  • Audio: English, Spanish
  • English · Spanish · Portuguese · German · French · Italian · Polish · Dutch
  • Level: Beginner
  • Unlimited access forever

What is this course's project?

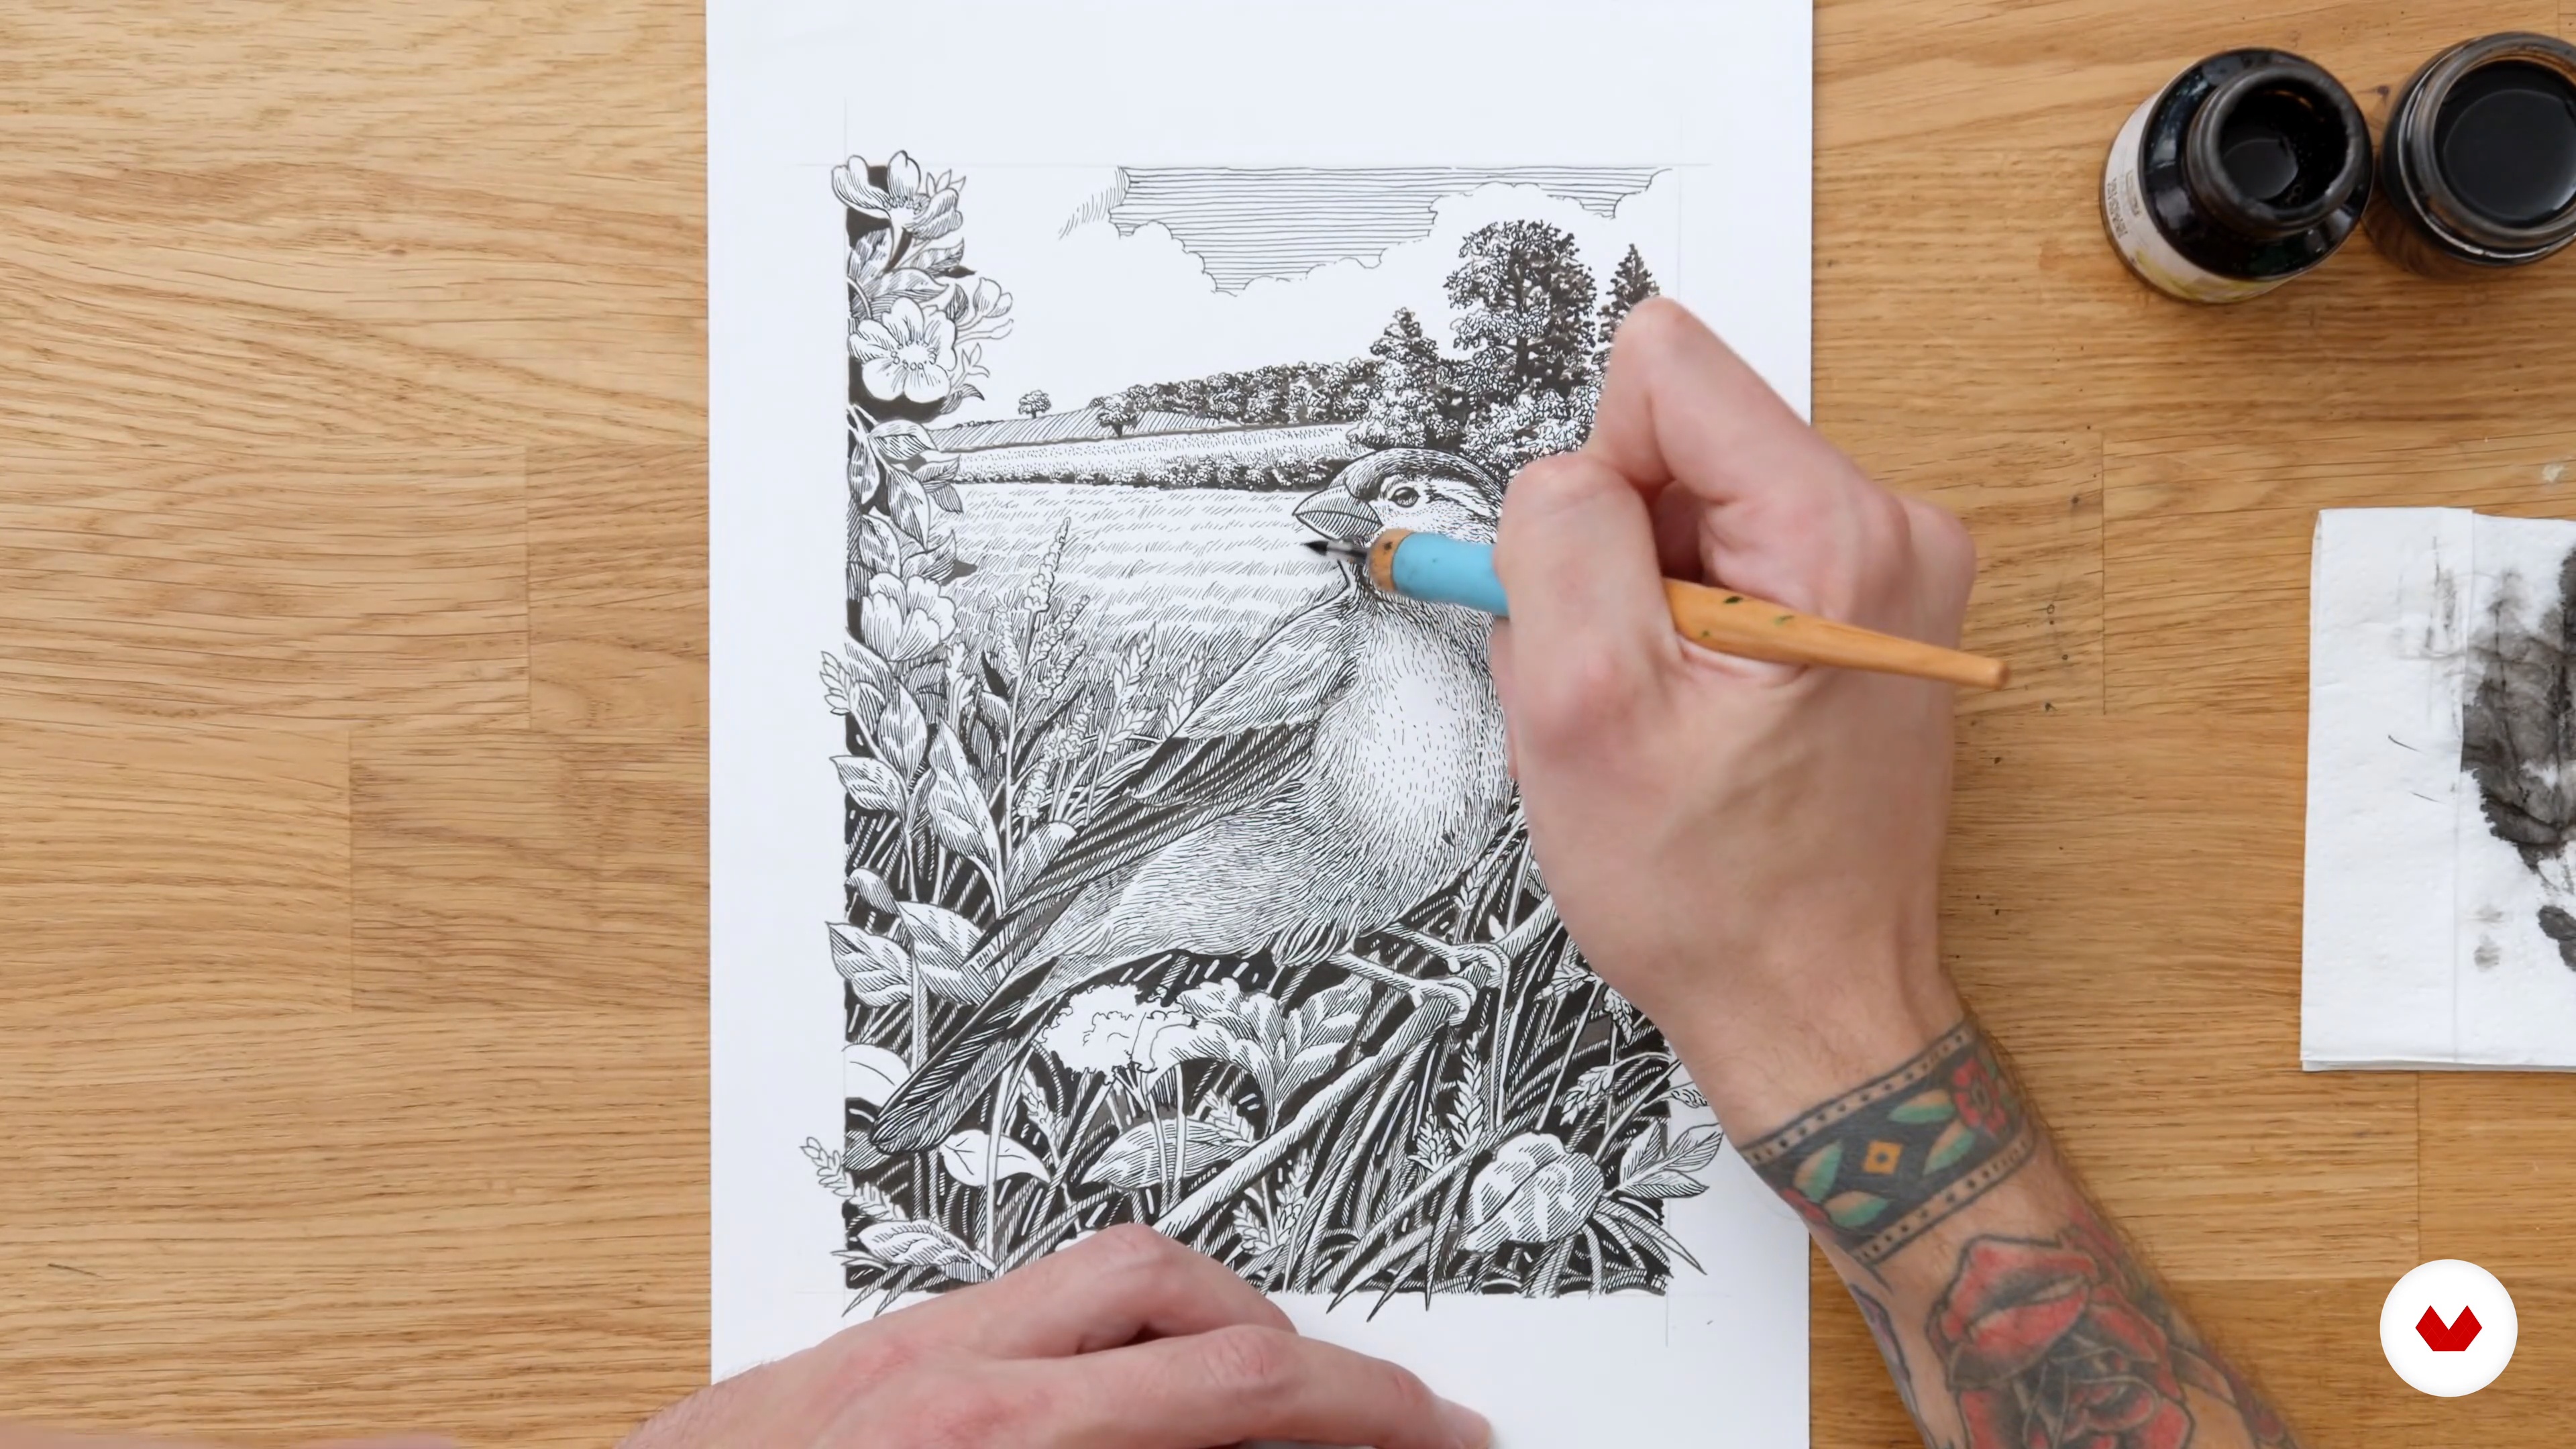
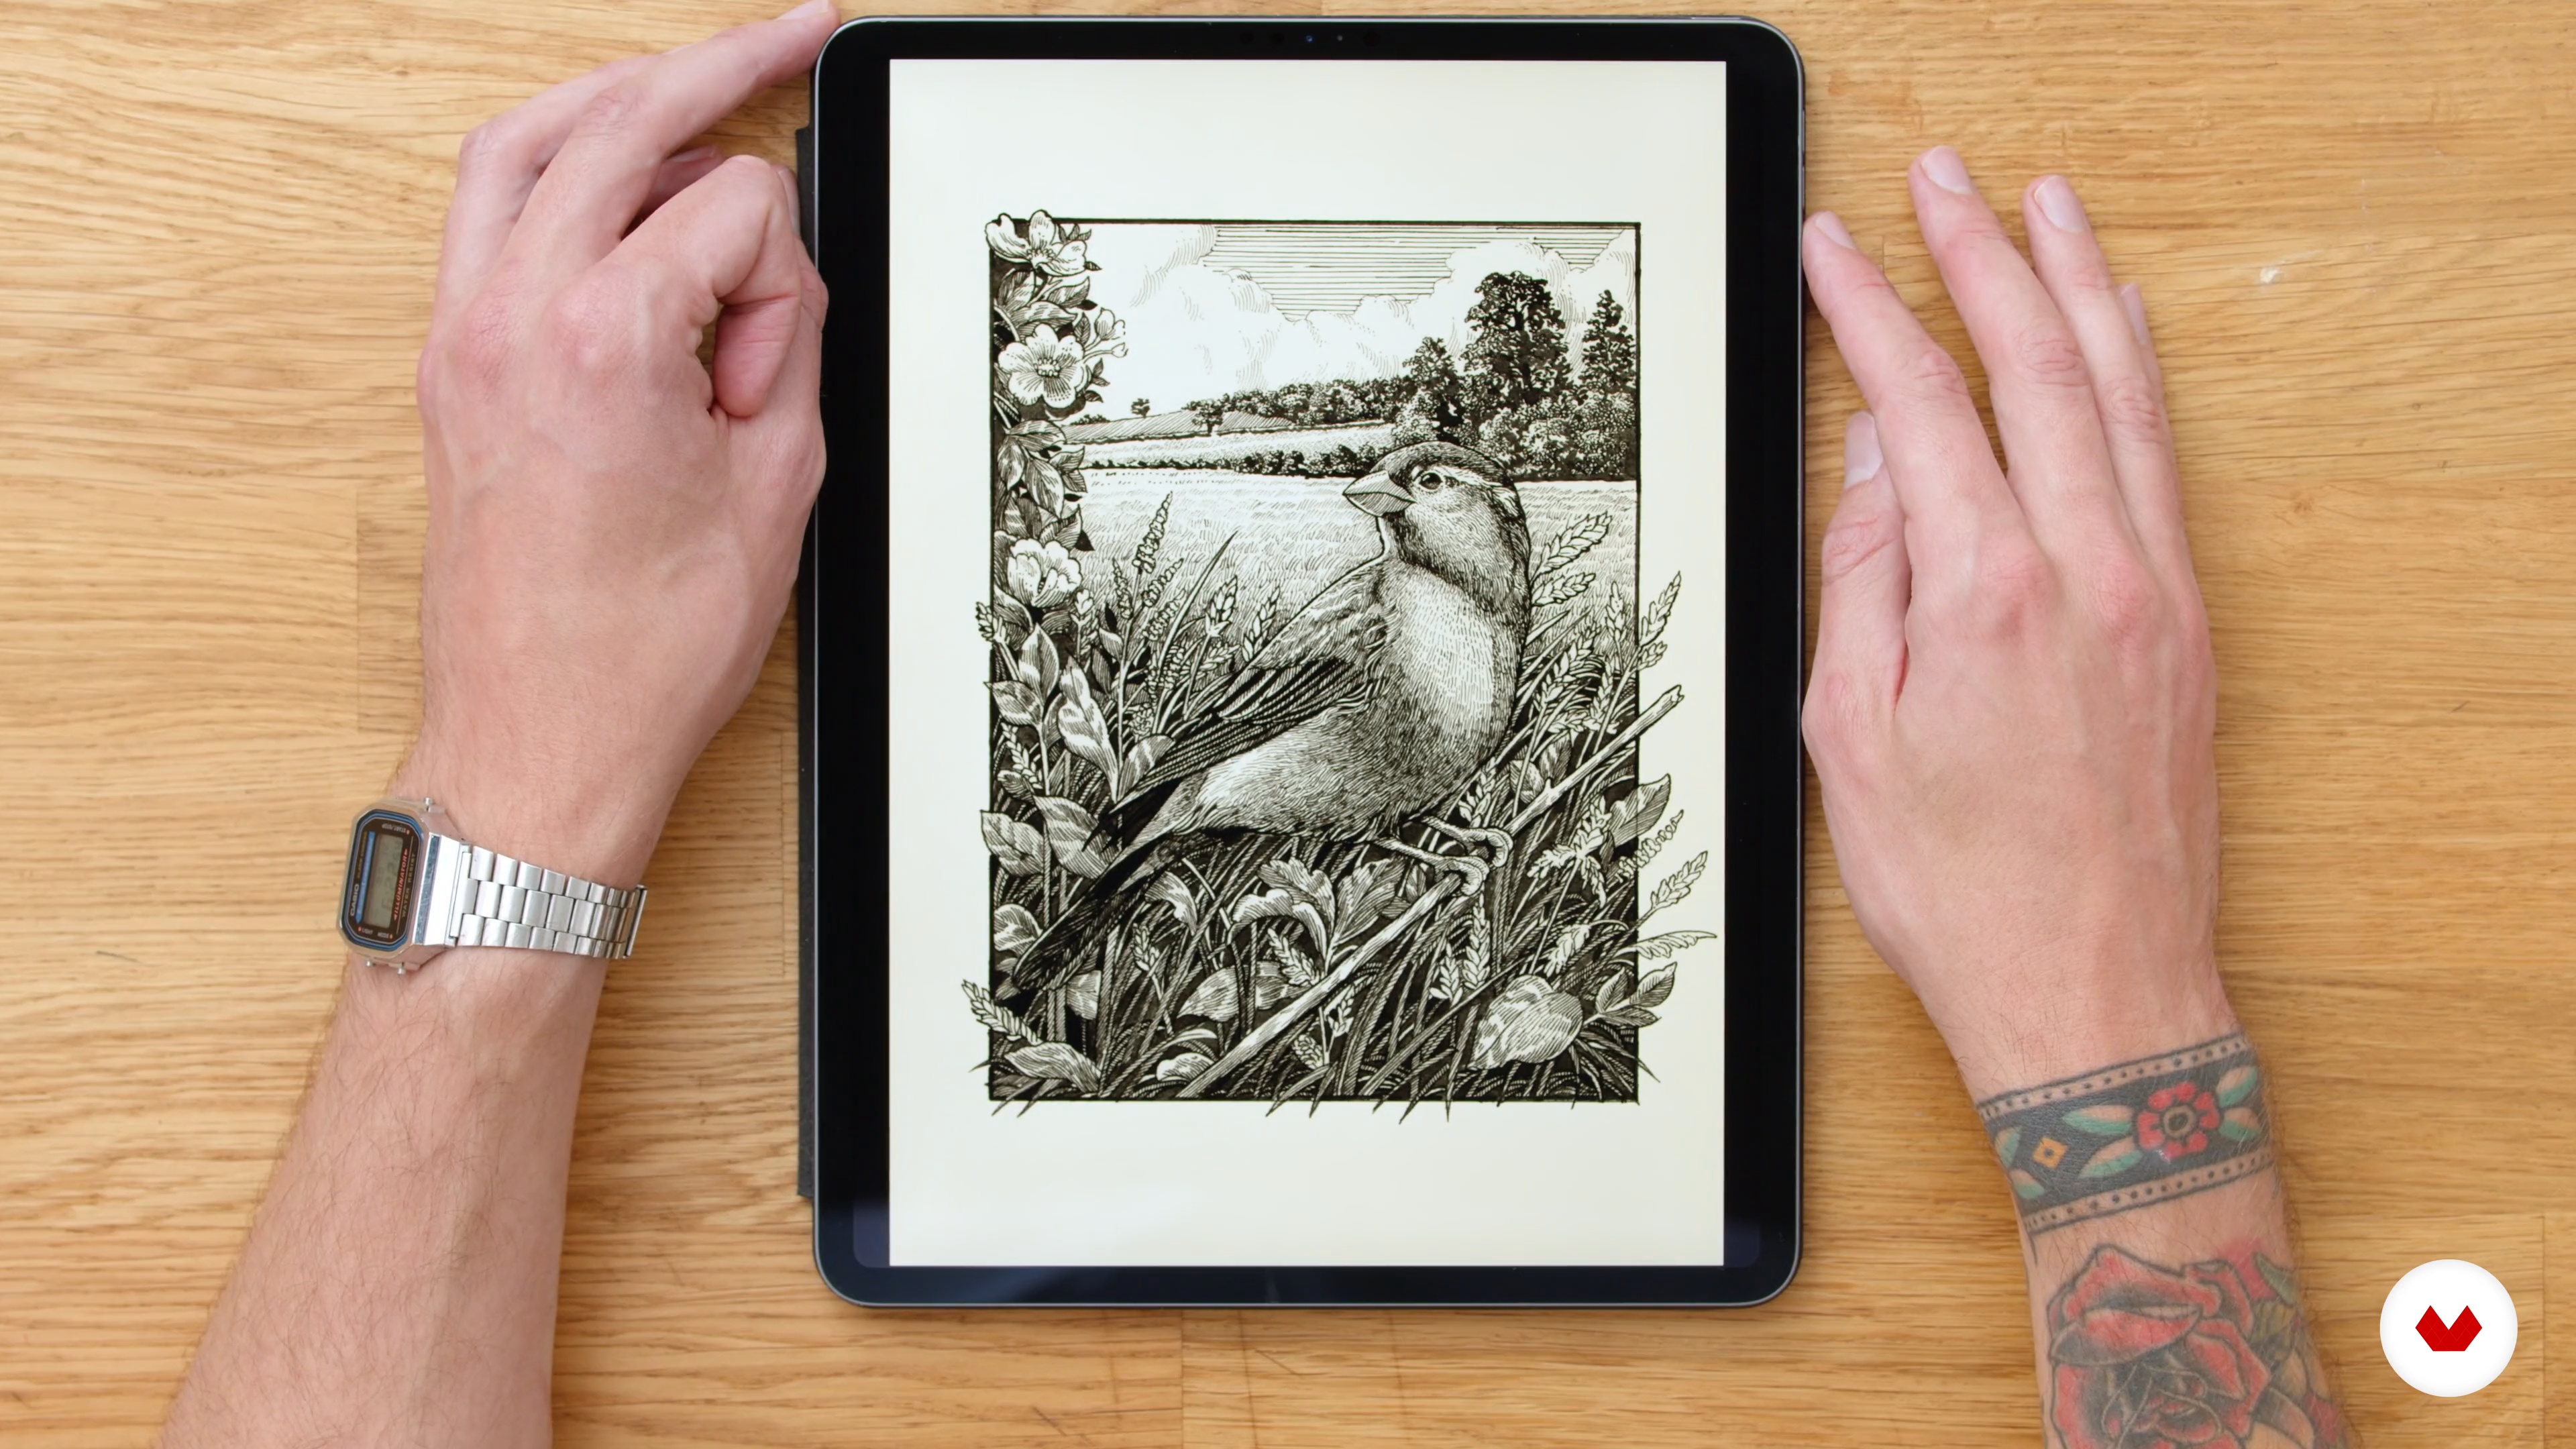
Create a wildlife-inspired illustration using various dip pen and ink drawing techniques. Capture the essence of nature through traditional inking methods, focusing on sounds, smells, shapes, and textures to produce an evocative depiction of the natural world.

Who is this specialization for?

Artists and illustrators eager to explore diverse ink techniques will find these courses ideal. From nature enthusiasts to architecture aficionados, those passionate about capturing the world through detailed and imaginative illustrations will benefit from this creative journey.

Requirements and materials

No extensive prior knowledge needed. Basic necessities include access to a dip pen, ink, and paper. An eagerness to explore various techniques, a willingness to experiment with styles, and a passion for creativity will enrich the learning experience.

Select to get to know your teachers in this specialization course
Read more ↓

Reviews

246 Students
1 Reviews
100% Positive ratings


What to expect from this specialization course

  • Learn at your own pace

    Enjoy learning from home without a set schedule and with an easy-to-follow method. You set your own pace.

  • Learn from the best professionals

    Learn valuable methods and techniques explained by top experts in the creative sector.

  • Meet expert teachers

    Each expert teaches what they do best, with clear guidelines, true passion, and professional insight in every lesson.

  • Certificates
    Plus

    If you're a Plus member, get a custom certificate for every specialization course. Share it on your portfolio, social media, or wherever you like.

  • Get front-row seats

    Videos of the highest quality, so you don't miss a single detail. With unlimited access, you can watch them as many times as you need to perfect your technique.

  • Share knowledge and ideas

    Ask questions, request feedback, or offer solutions. Share your learning experience with other students in the community who are as passionate about creativity as you are.

  • Connect with a global creative community

    The community is home to millions of people from around the world who are curious and passionate about exploring and expressing their creativity.

  • Watch professionally produced courses

    Domestika curates its teacher roster and produces every course in-house to ensure a high-quality online learning experience.


FAQs

Domestika's specialization courses are online classes that provide you with the tools and skills you need to complete a specific project. Every step of the project combines video lessons with complementary instructional material, so you can learn by doing. Domestika's specializations also allow you to share your own projects with other students, creating a dynamic course community.

All specialization courses are 100% online, so once they're published, specialization courses start and finish whenever you want. You set the pace of the class. You can go back to review what interests you most and skip what you already know, ask questions, answer questions, share your projects, and more.

The specialization courses are divided into different modules. Each one includes lessons, informational text, tasks, and practice exercises to help you carry out your project step by step, with additional complementary resources and downloads. You'll also have access to an exclusive forum where you can interact with other students, as well as share your work and your final project, creating a community around the specialization course.

You can redeem the specialization course you received by accessing the redeeming page and entering your gift code.

If you're a Plus member, when you complete a course you've purchased, you'll instantly get your personalized certificate. You can see all your certificates in the Certificates section of your profile. You can download your certificates as PDFs and share the link online. Learn more about certificates.
Ink illustration specialization: Techniques for creative expression. Illustration course by Domestika

Ink illustration specialization: Techniques for creative expression

A specialization by multiple teachers
Specialization course. Berkeley, United States.
Joined April 2002
  • 100% positive reviews (1)
  • 246 students