Specialization

Children’s Illustration Specialization: From Sketchbook to Digital Art

Explore sketchbook techniques for creating characters, settings, and narratives in children's book illustrations

Specialization · 7 modules

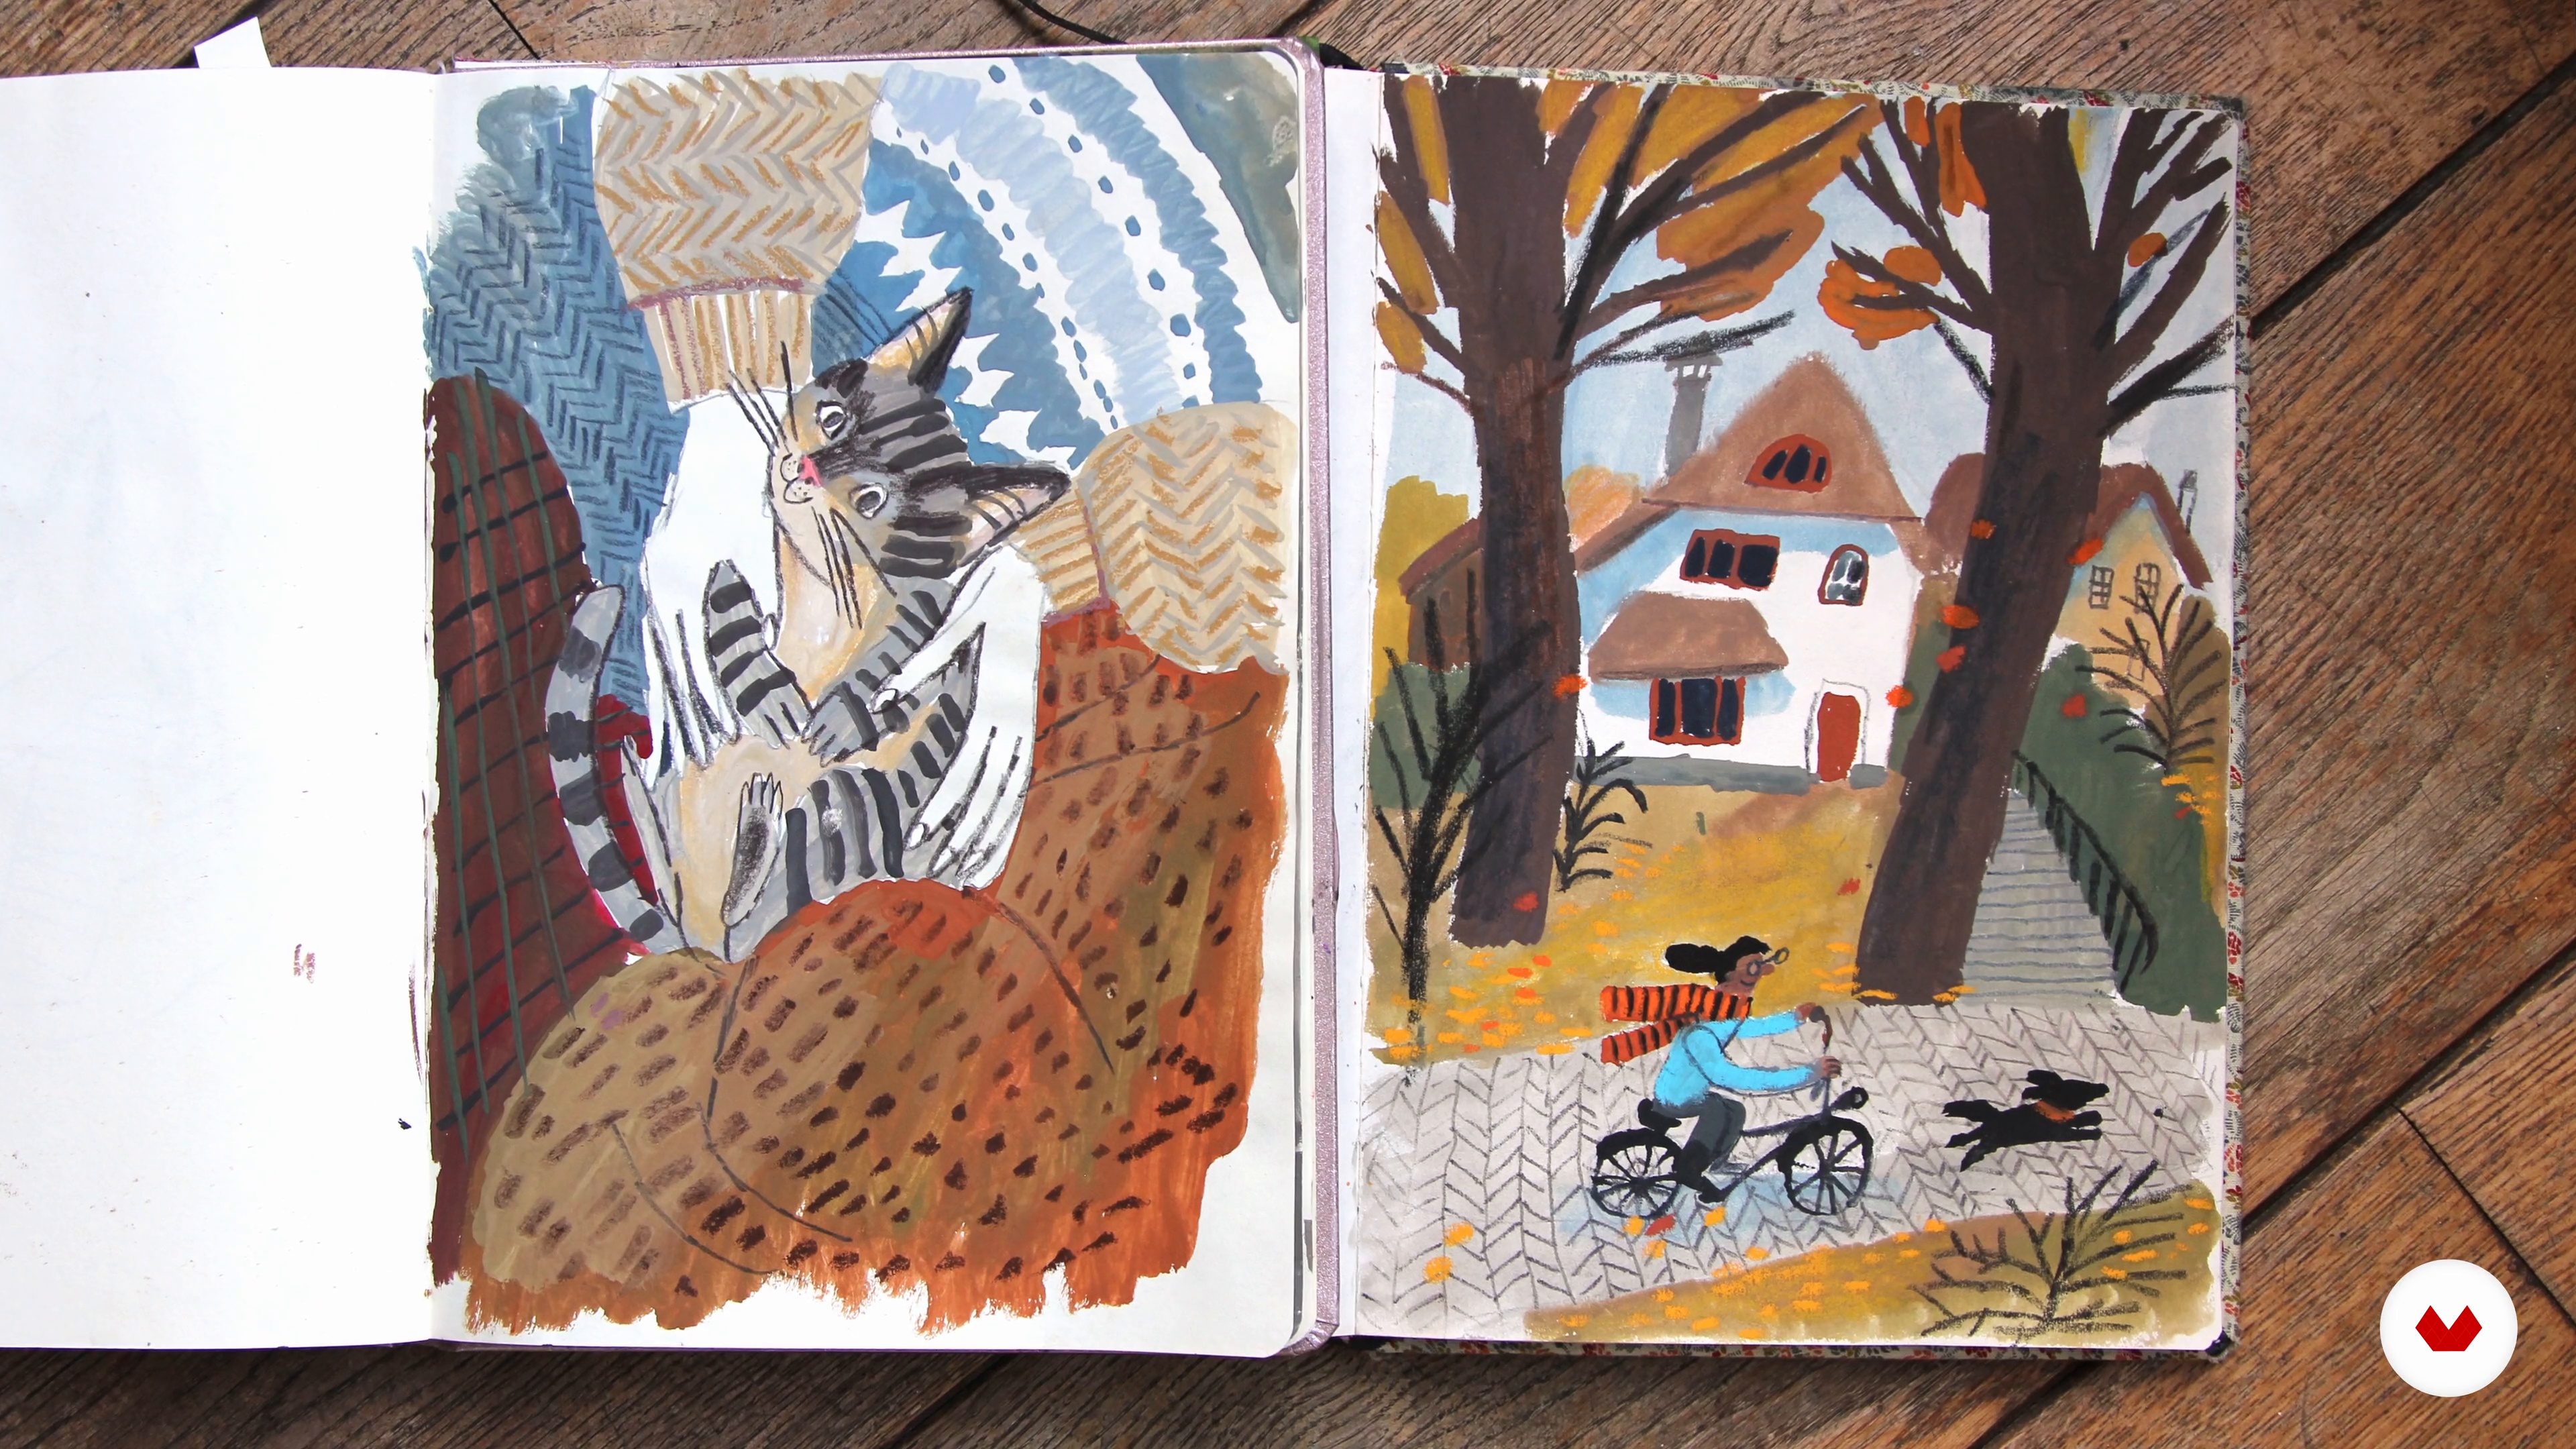
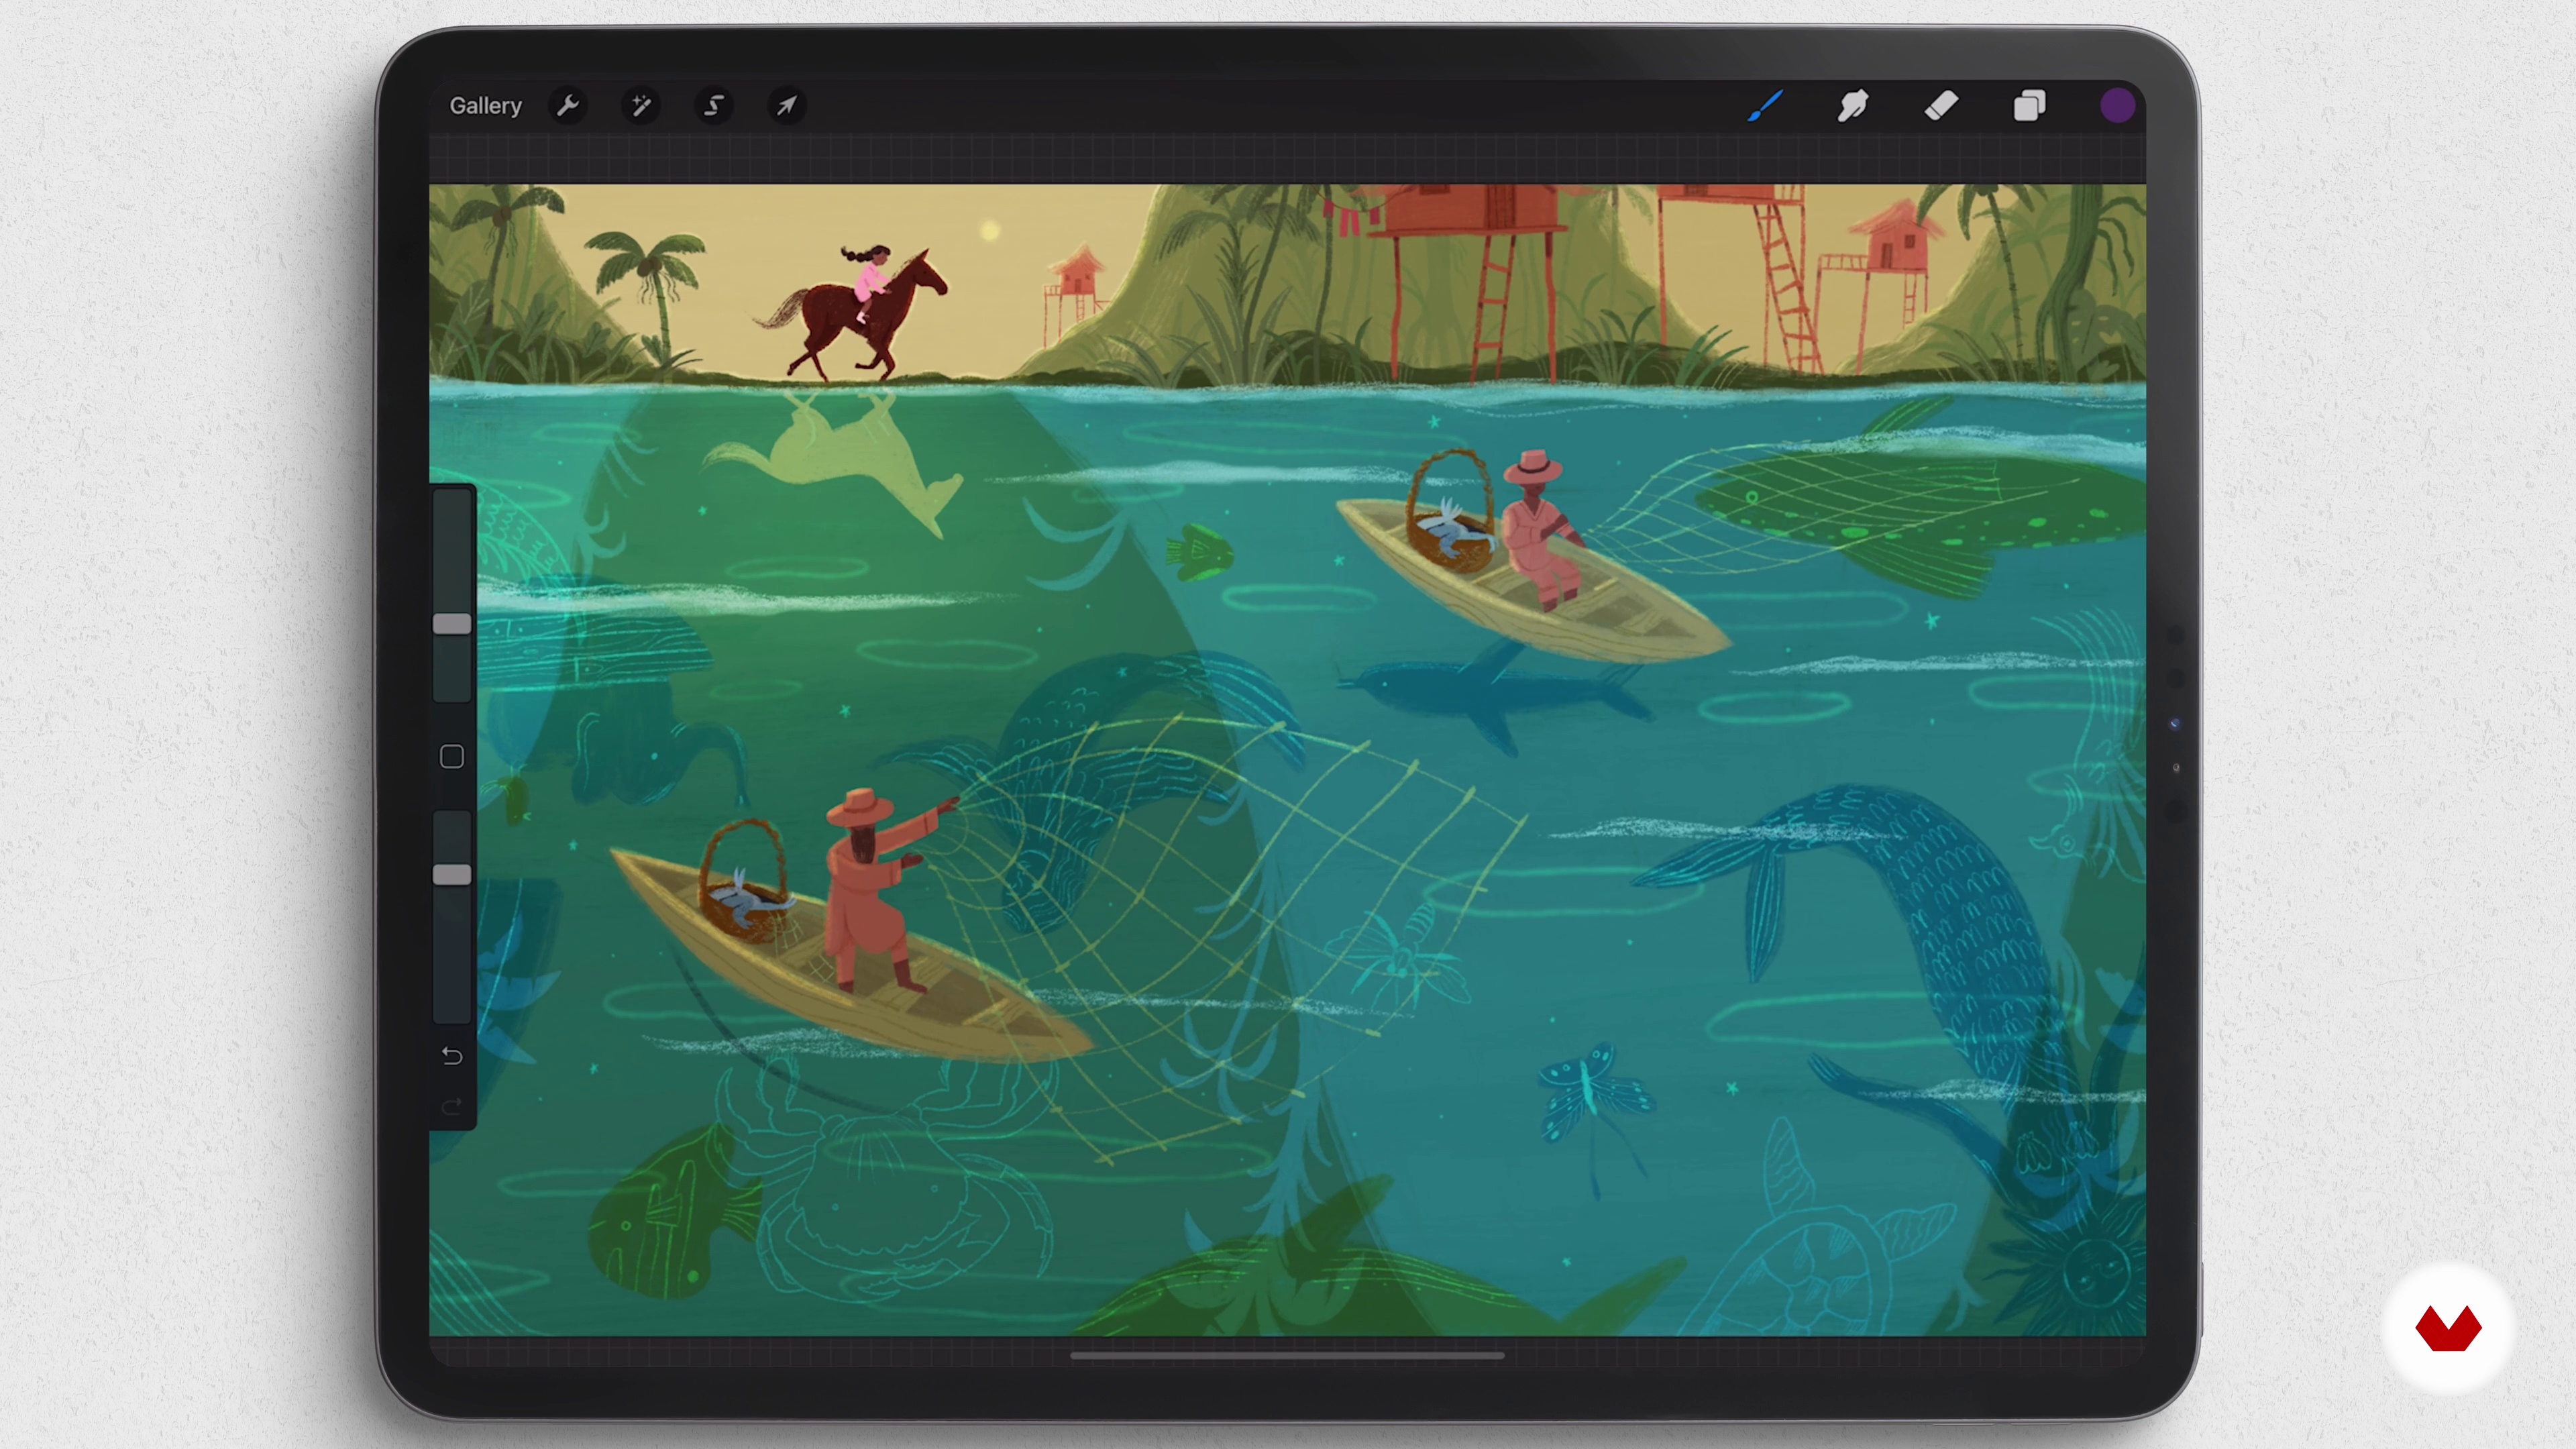
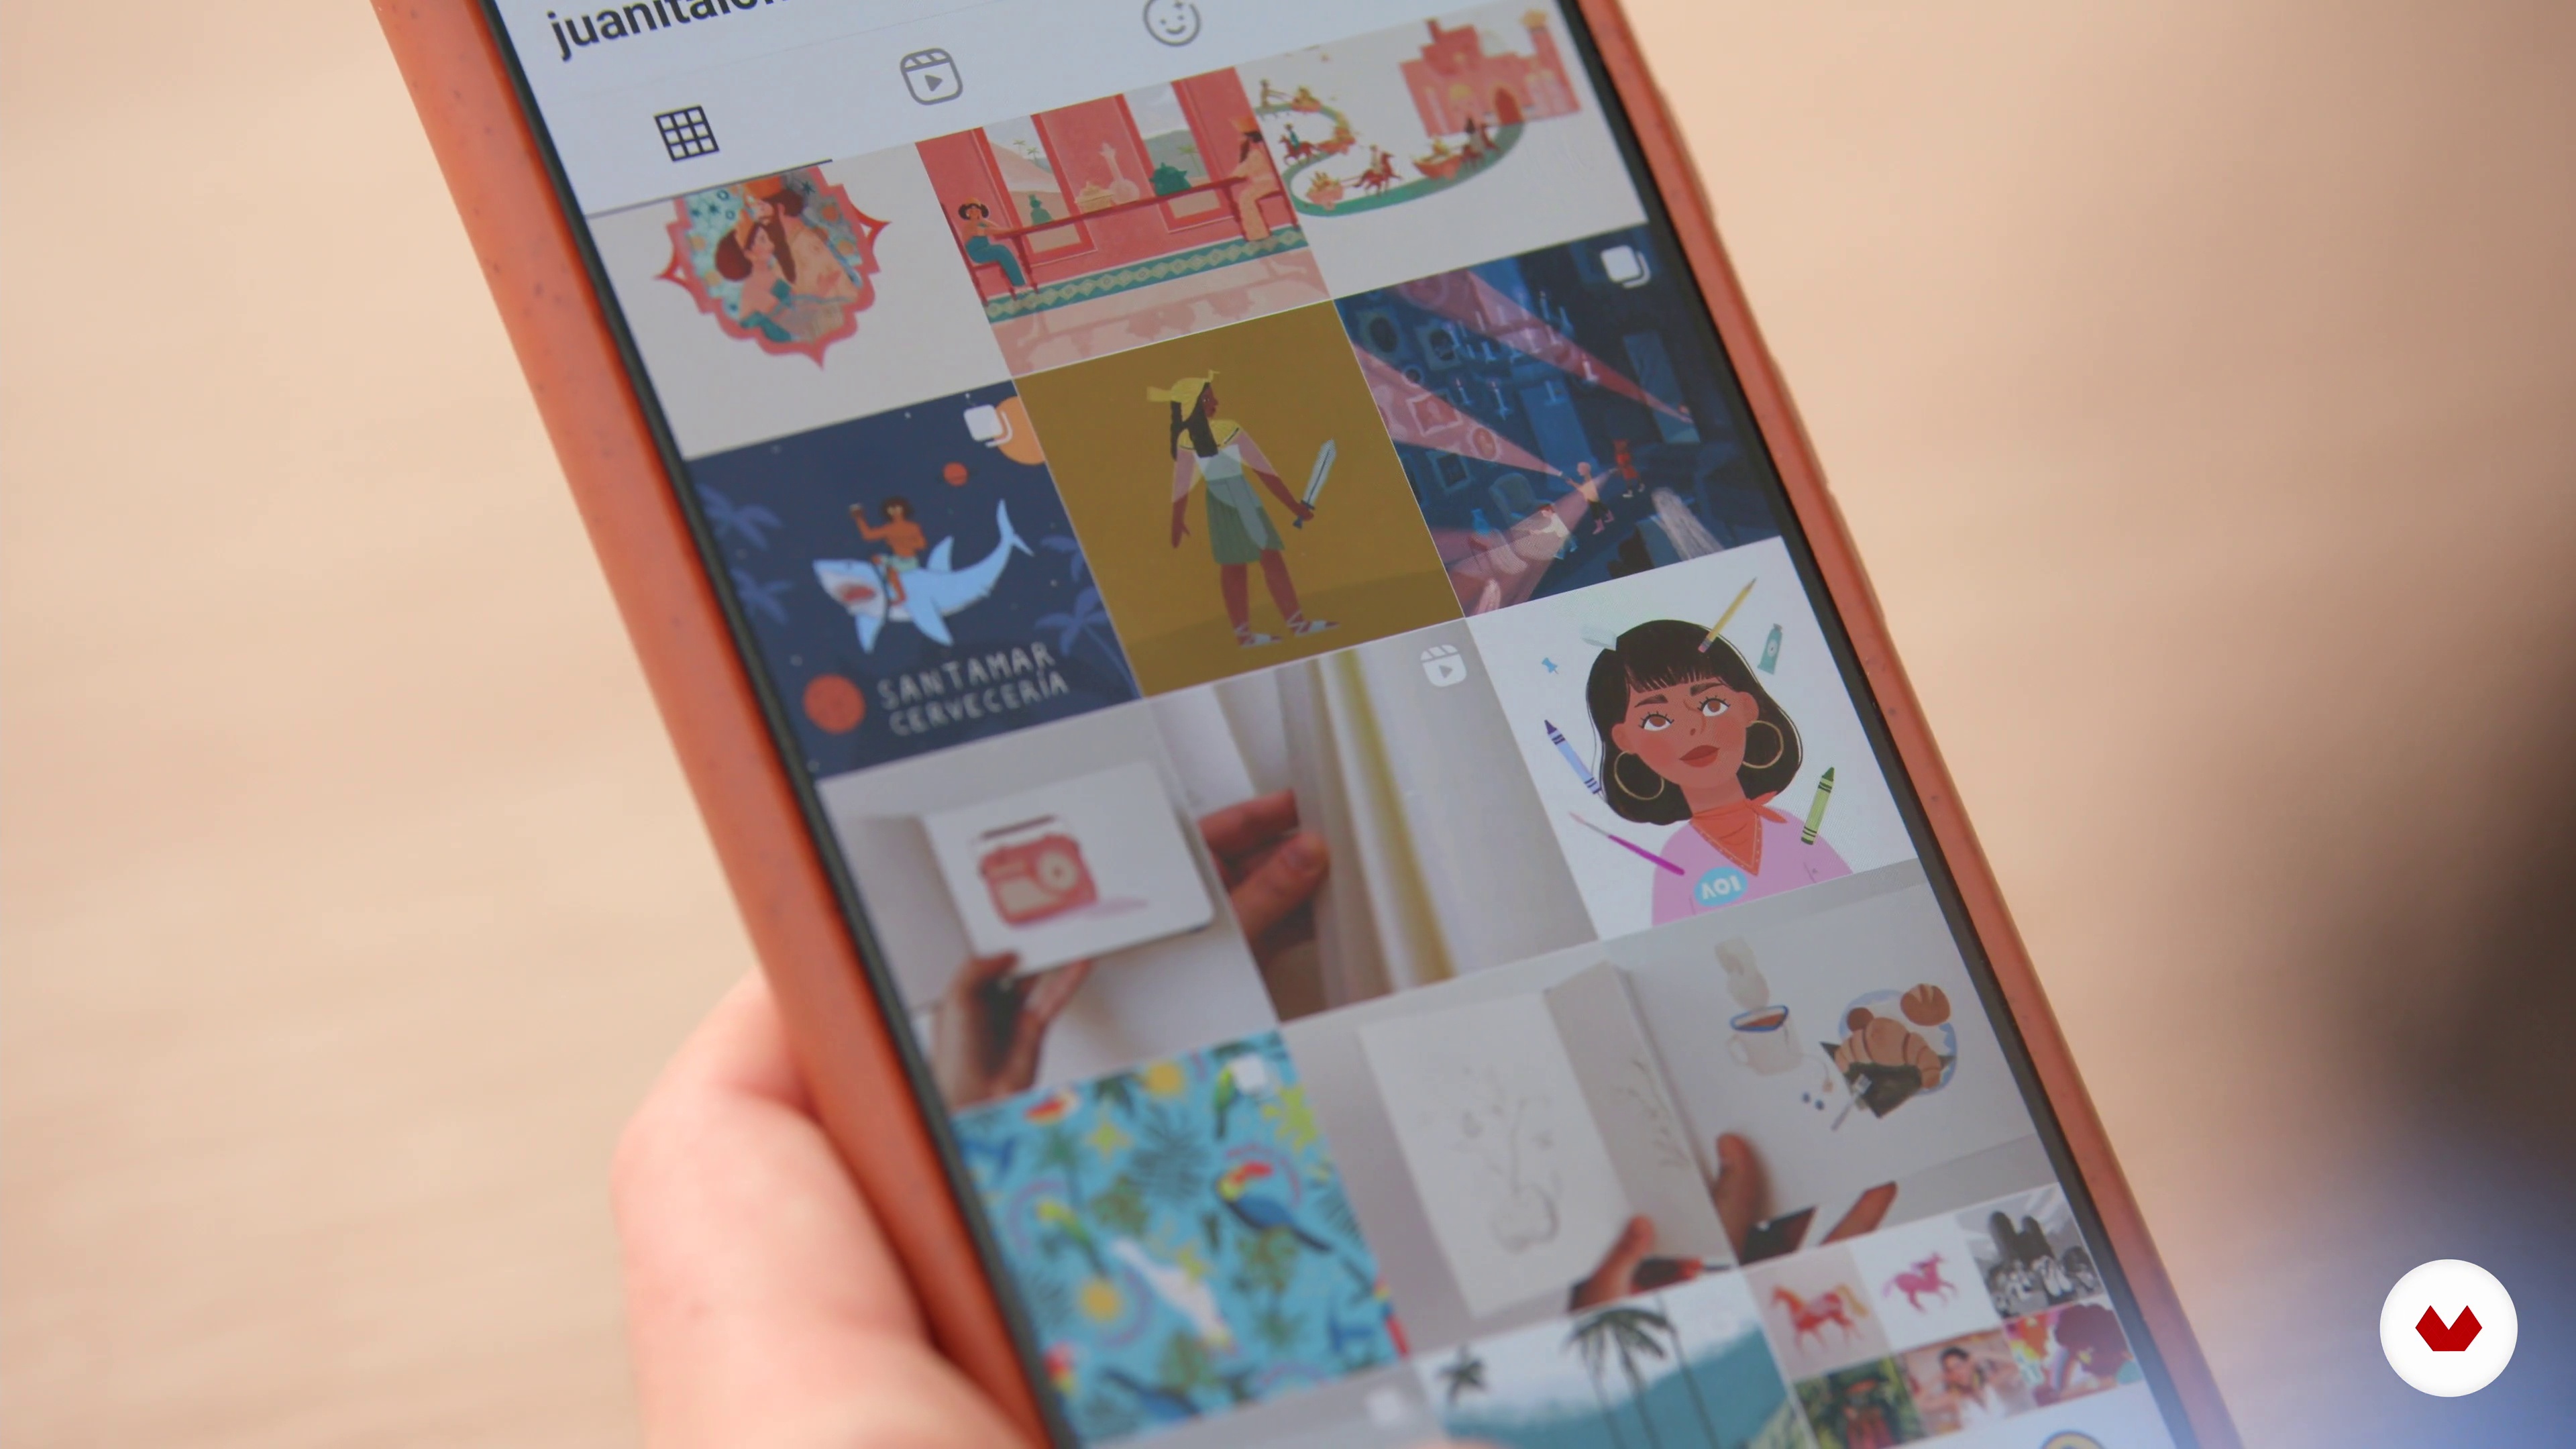
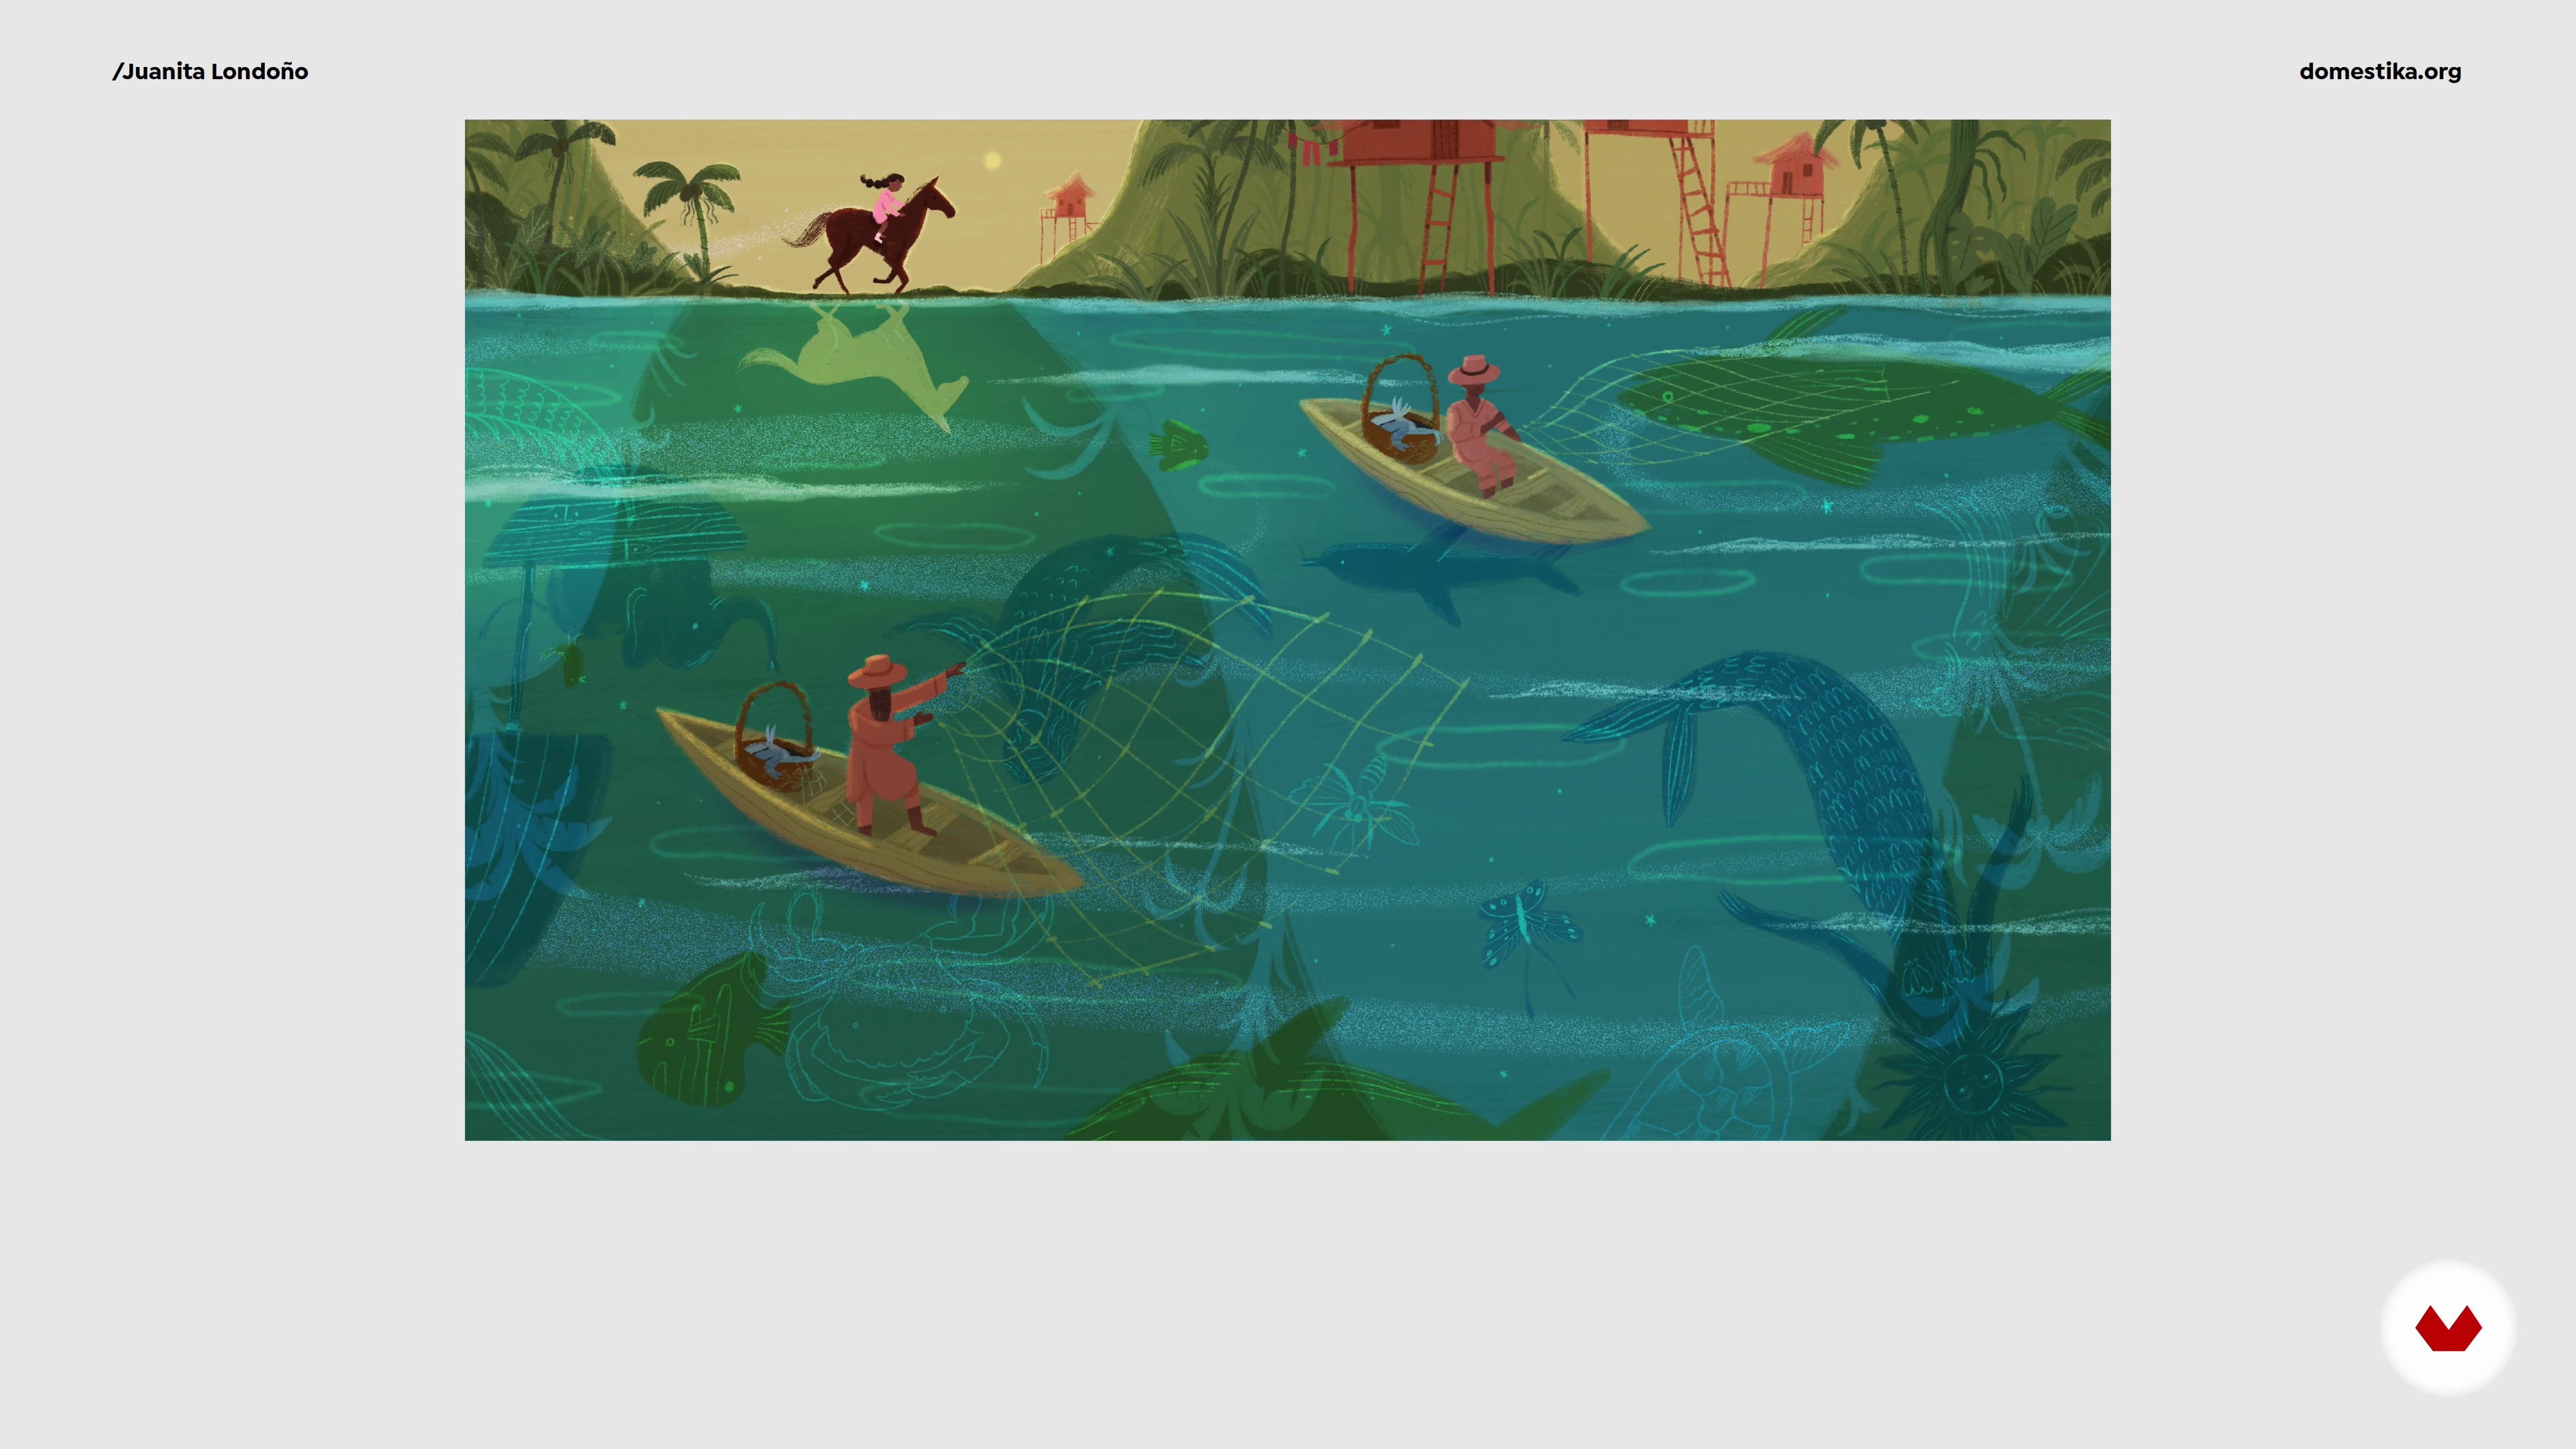
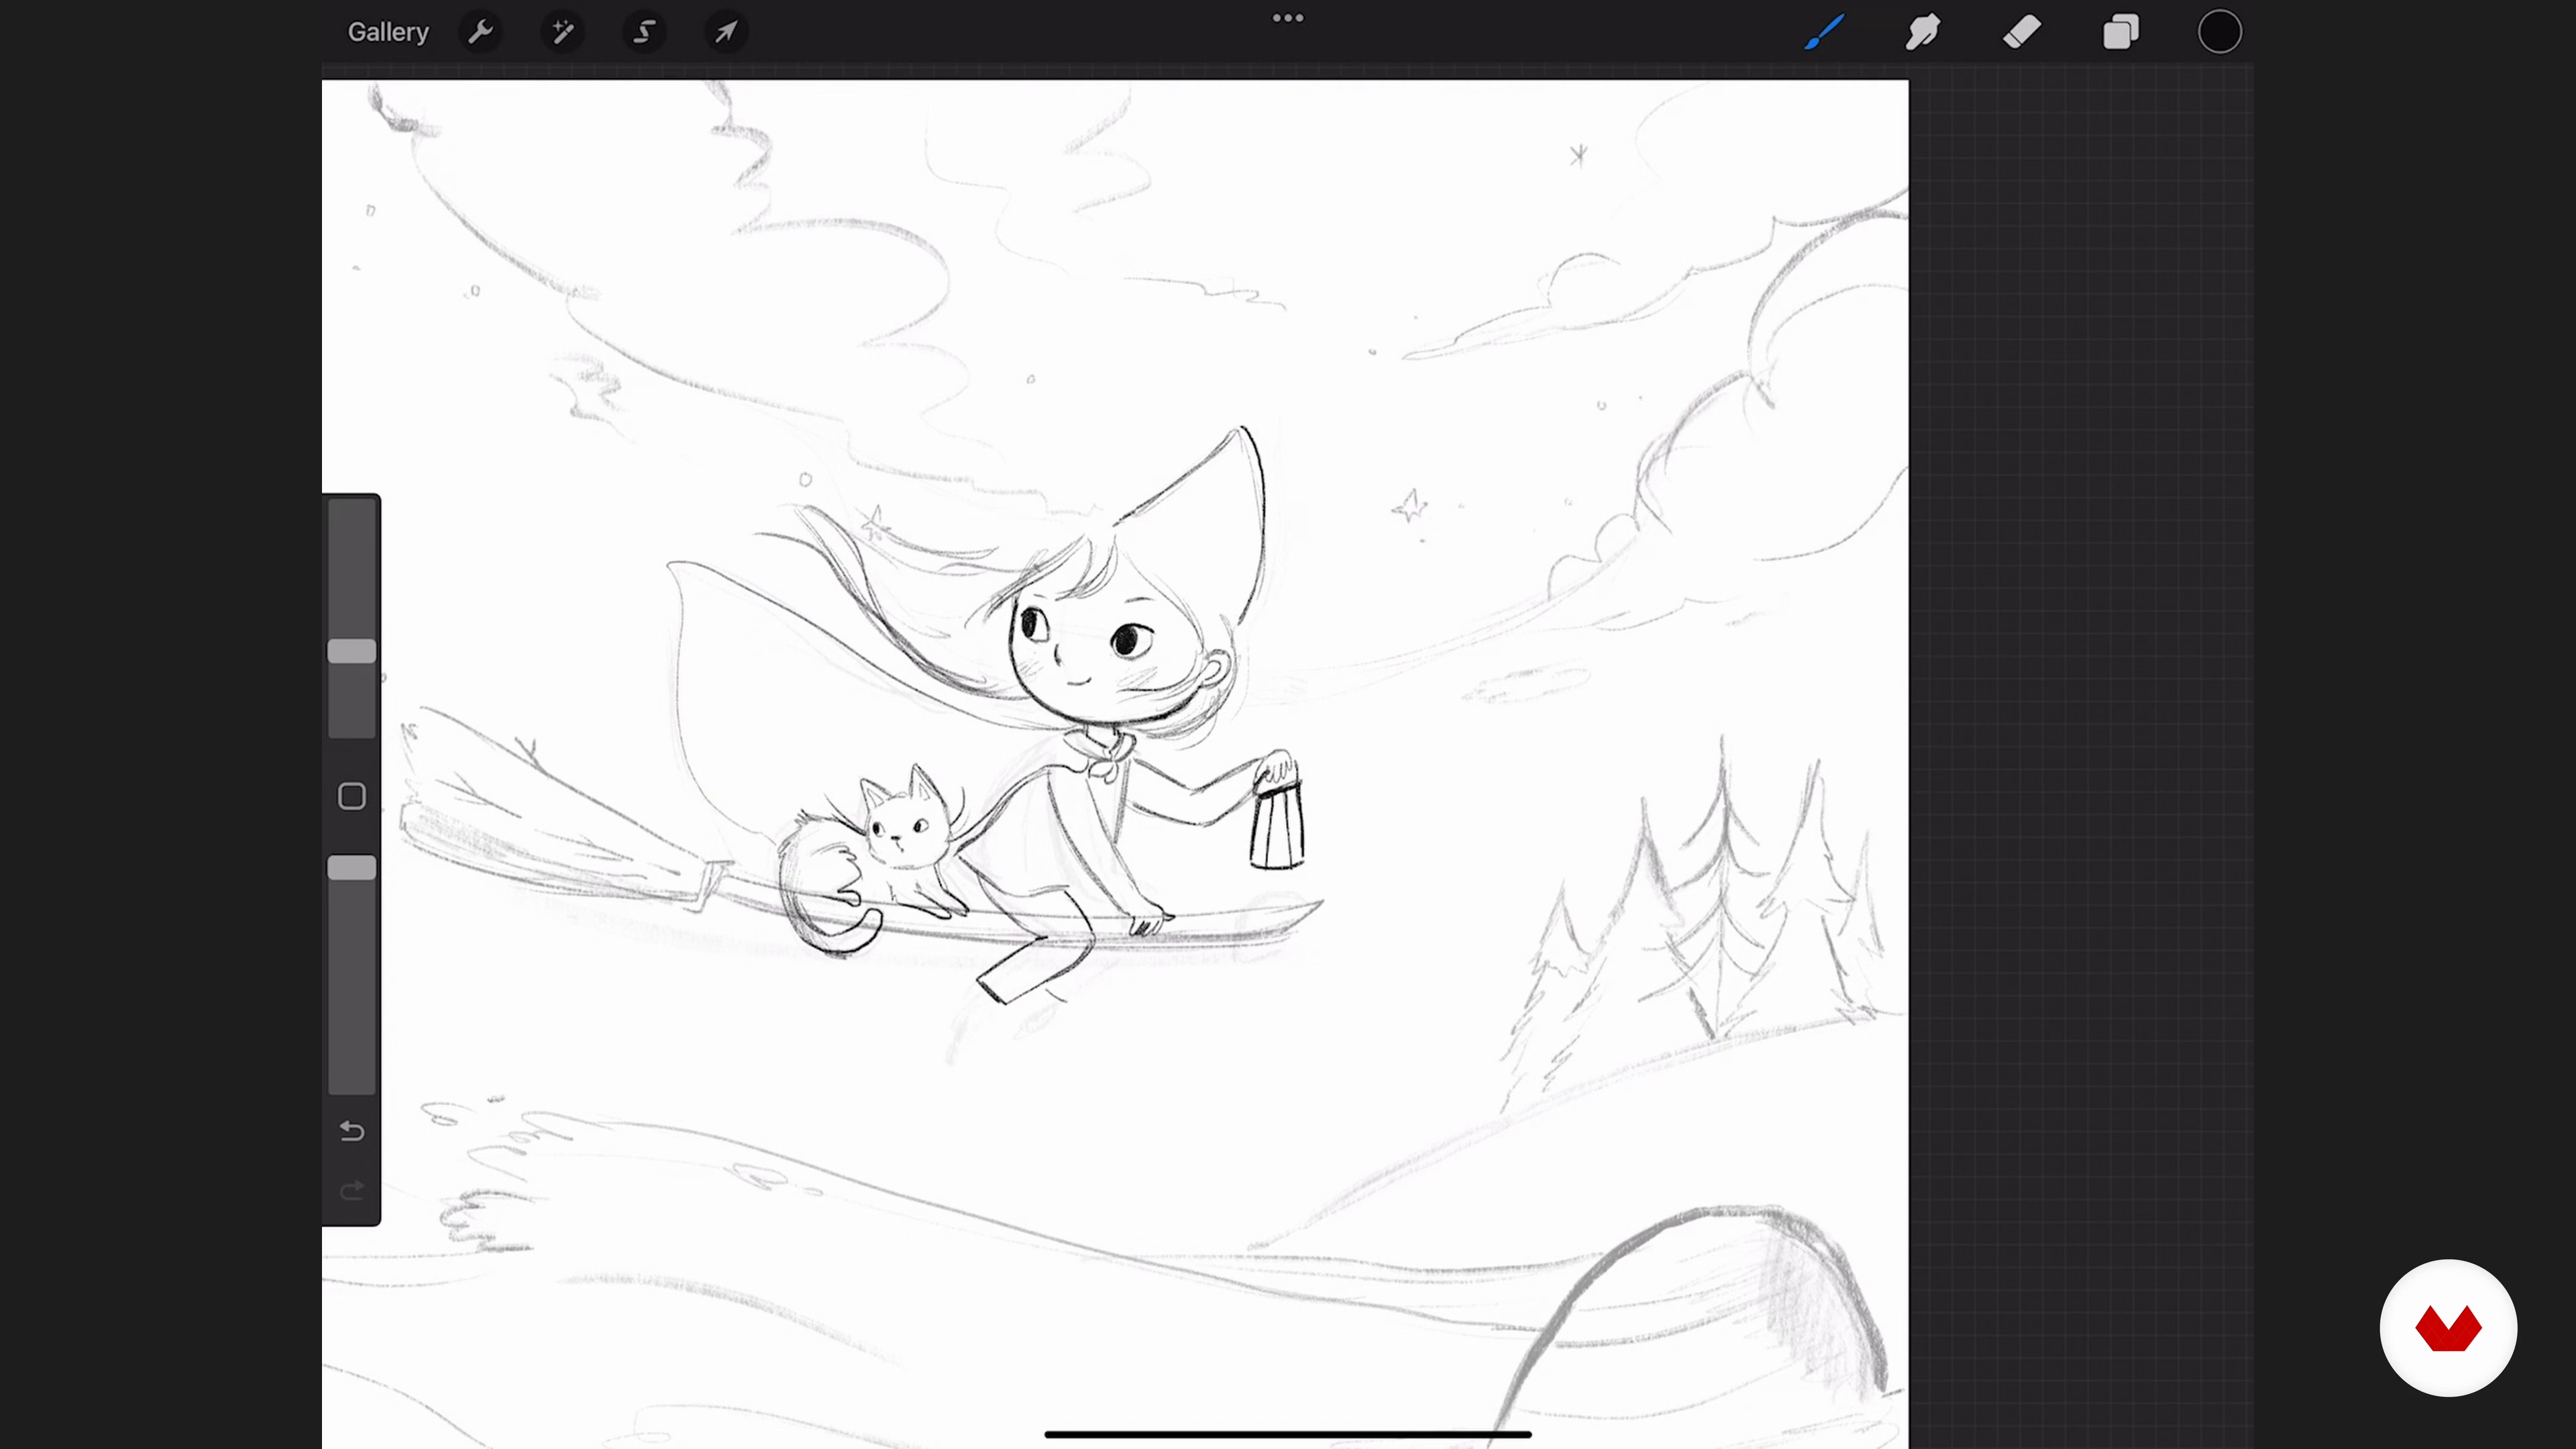
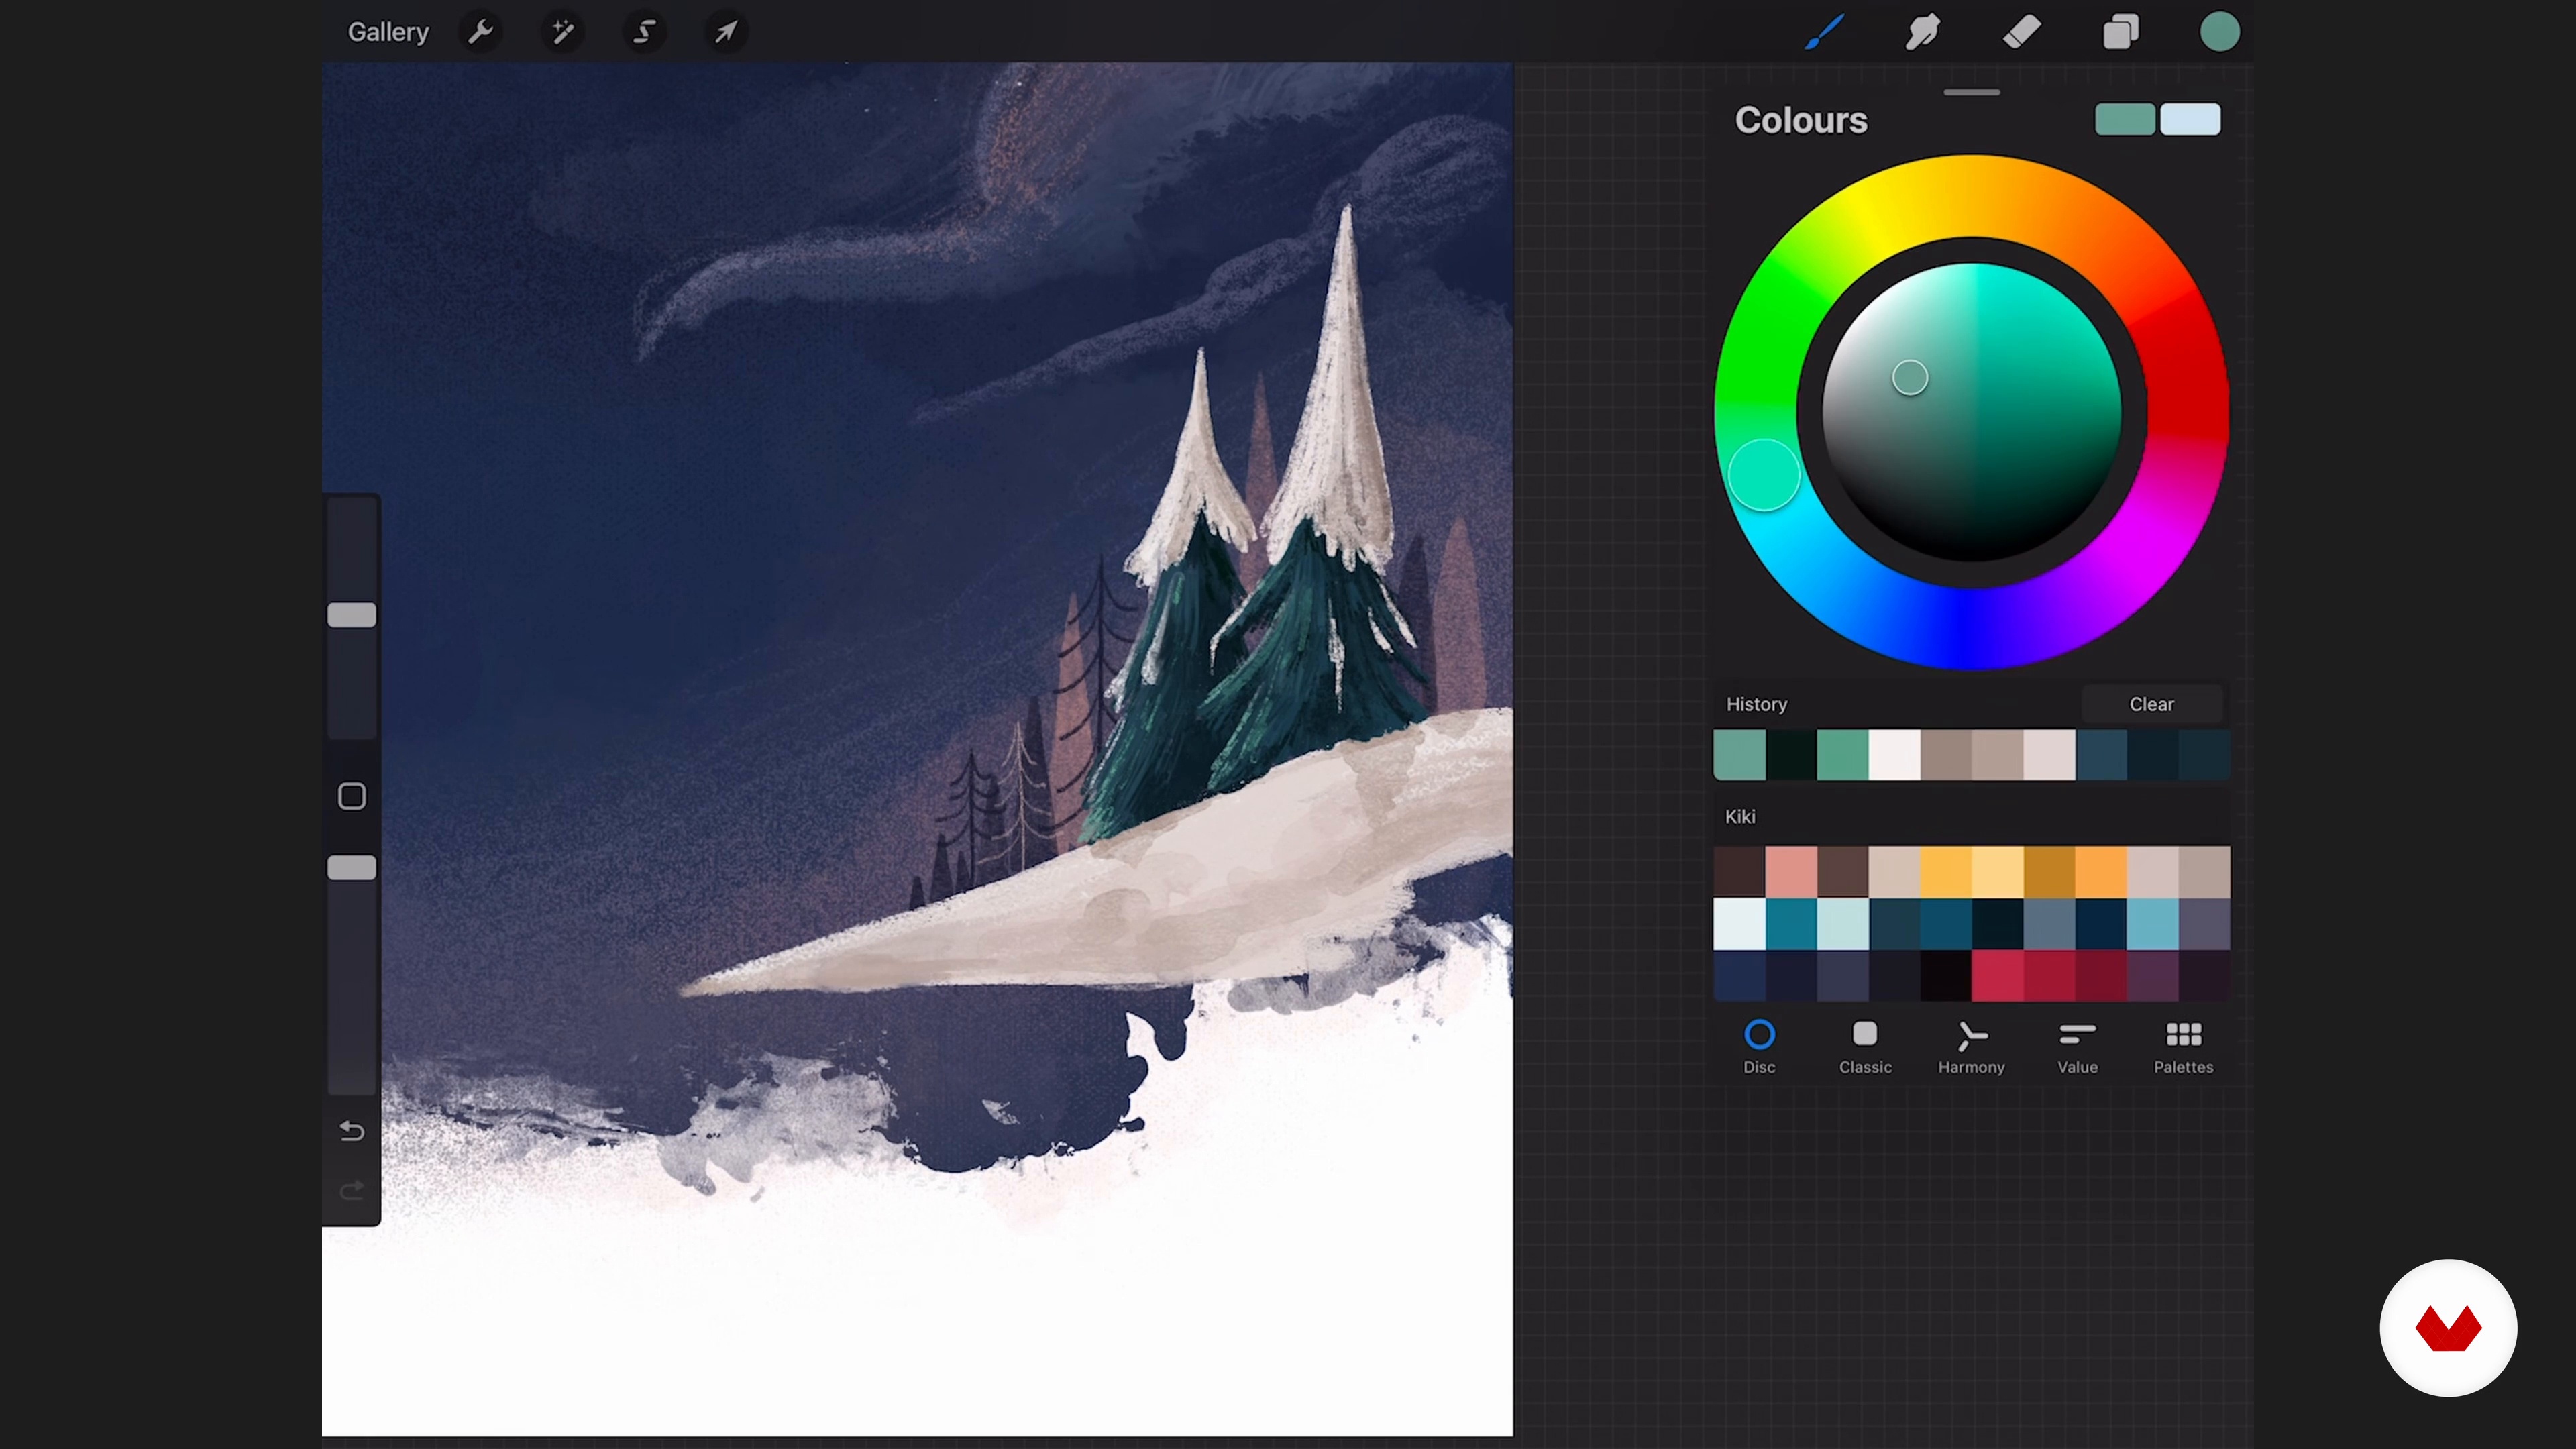
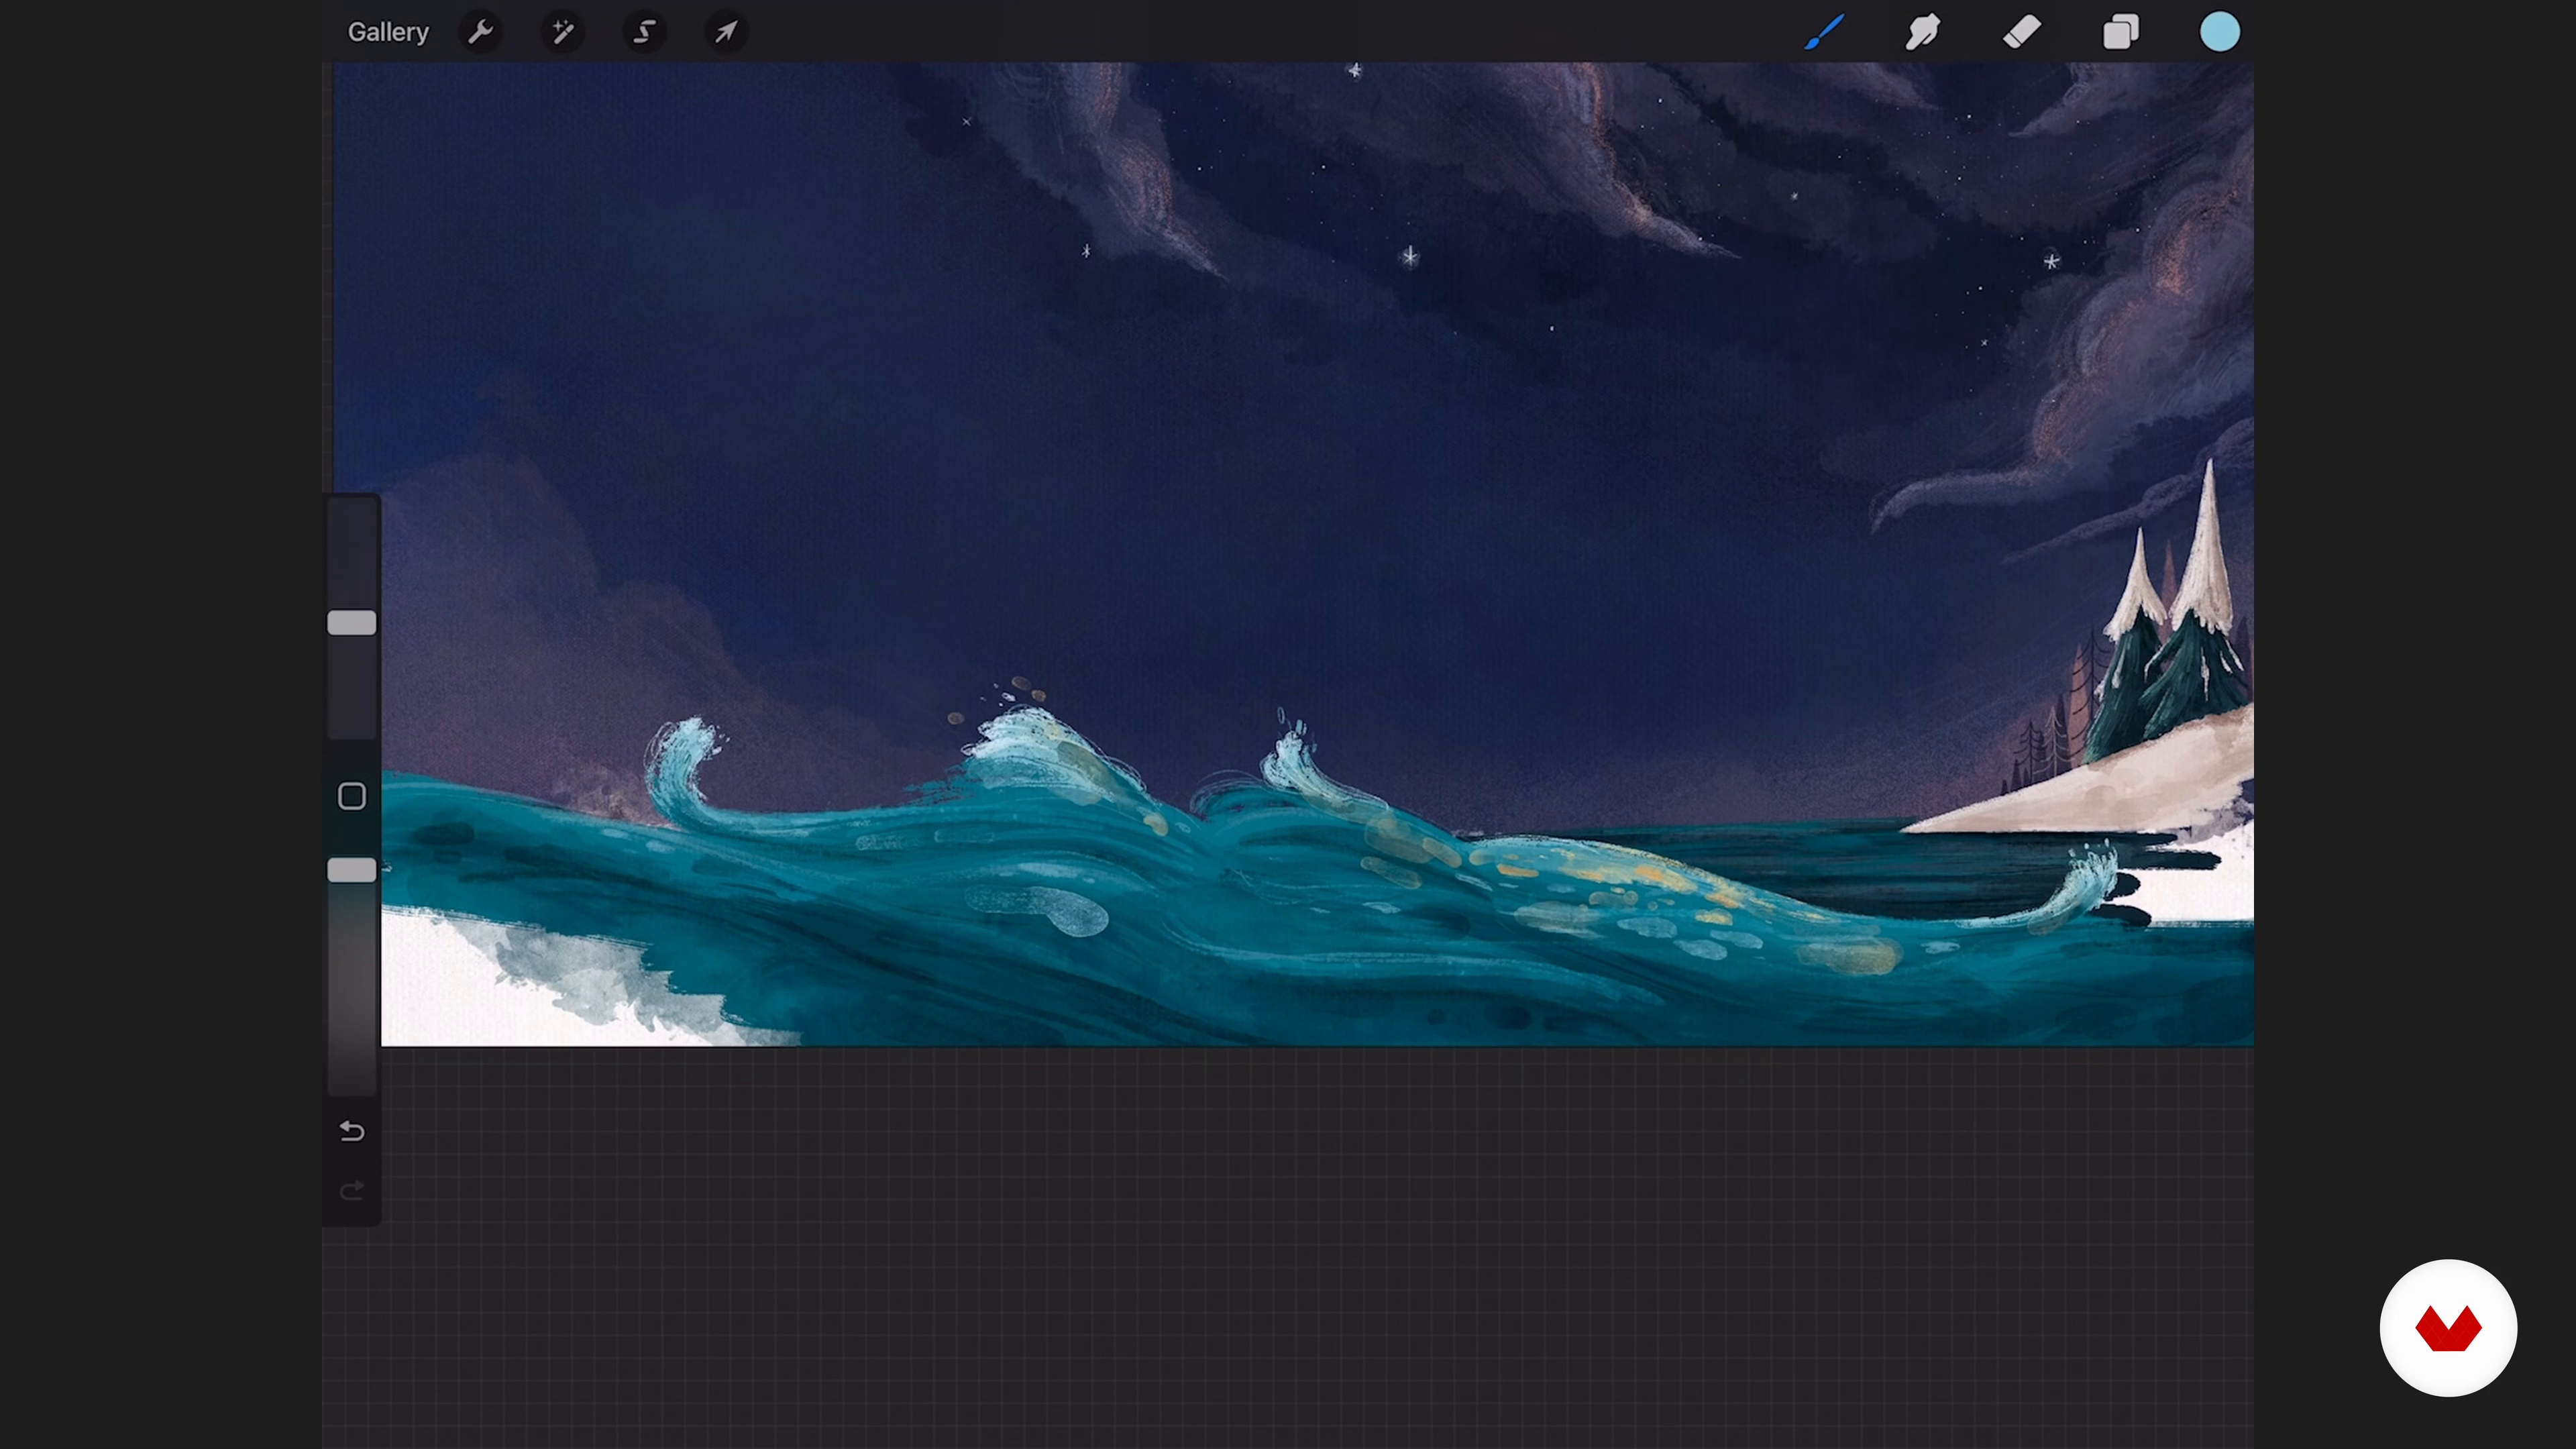
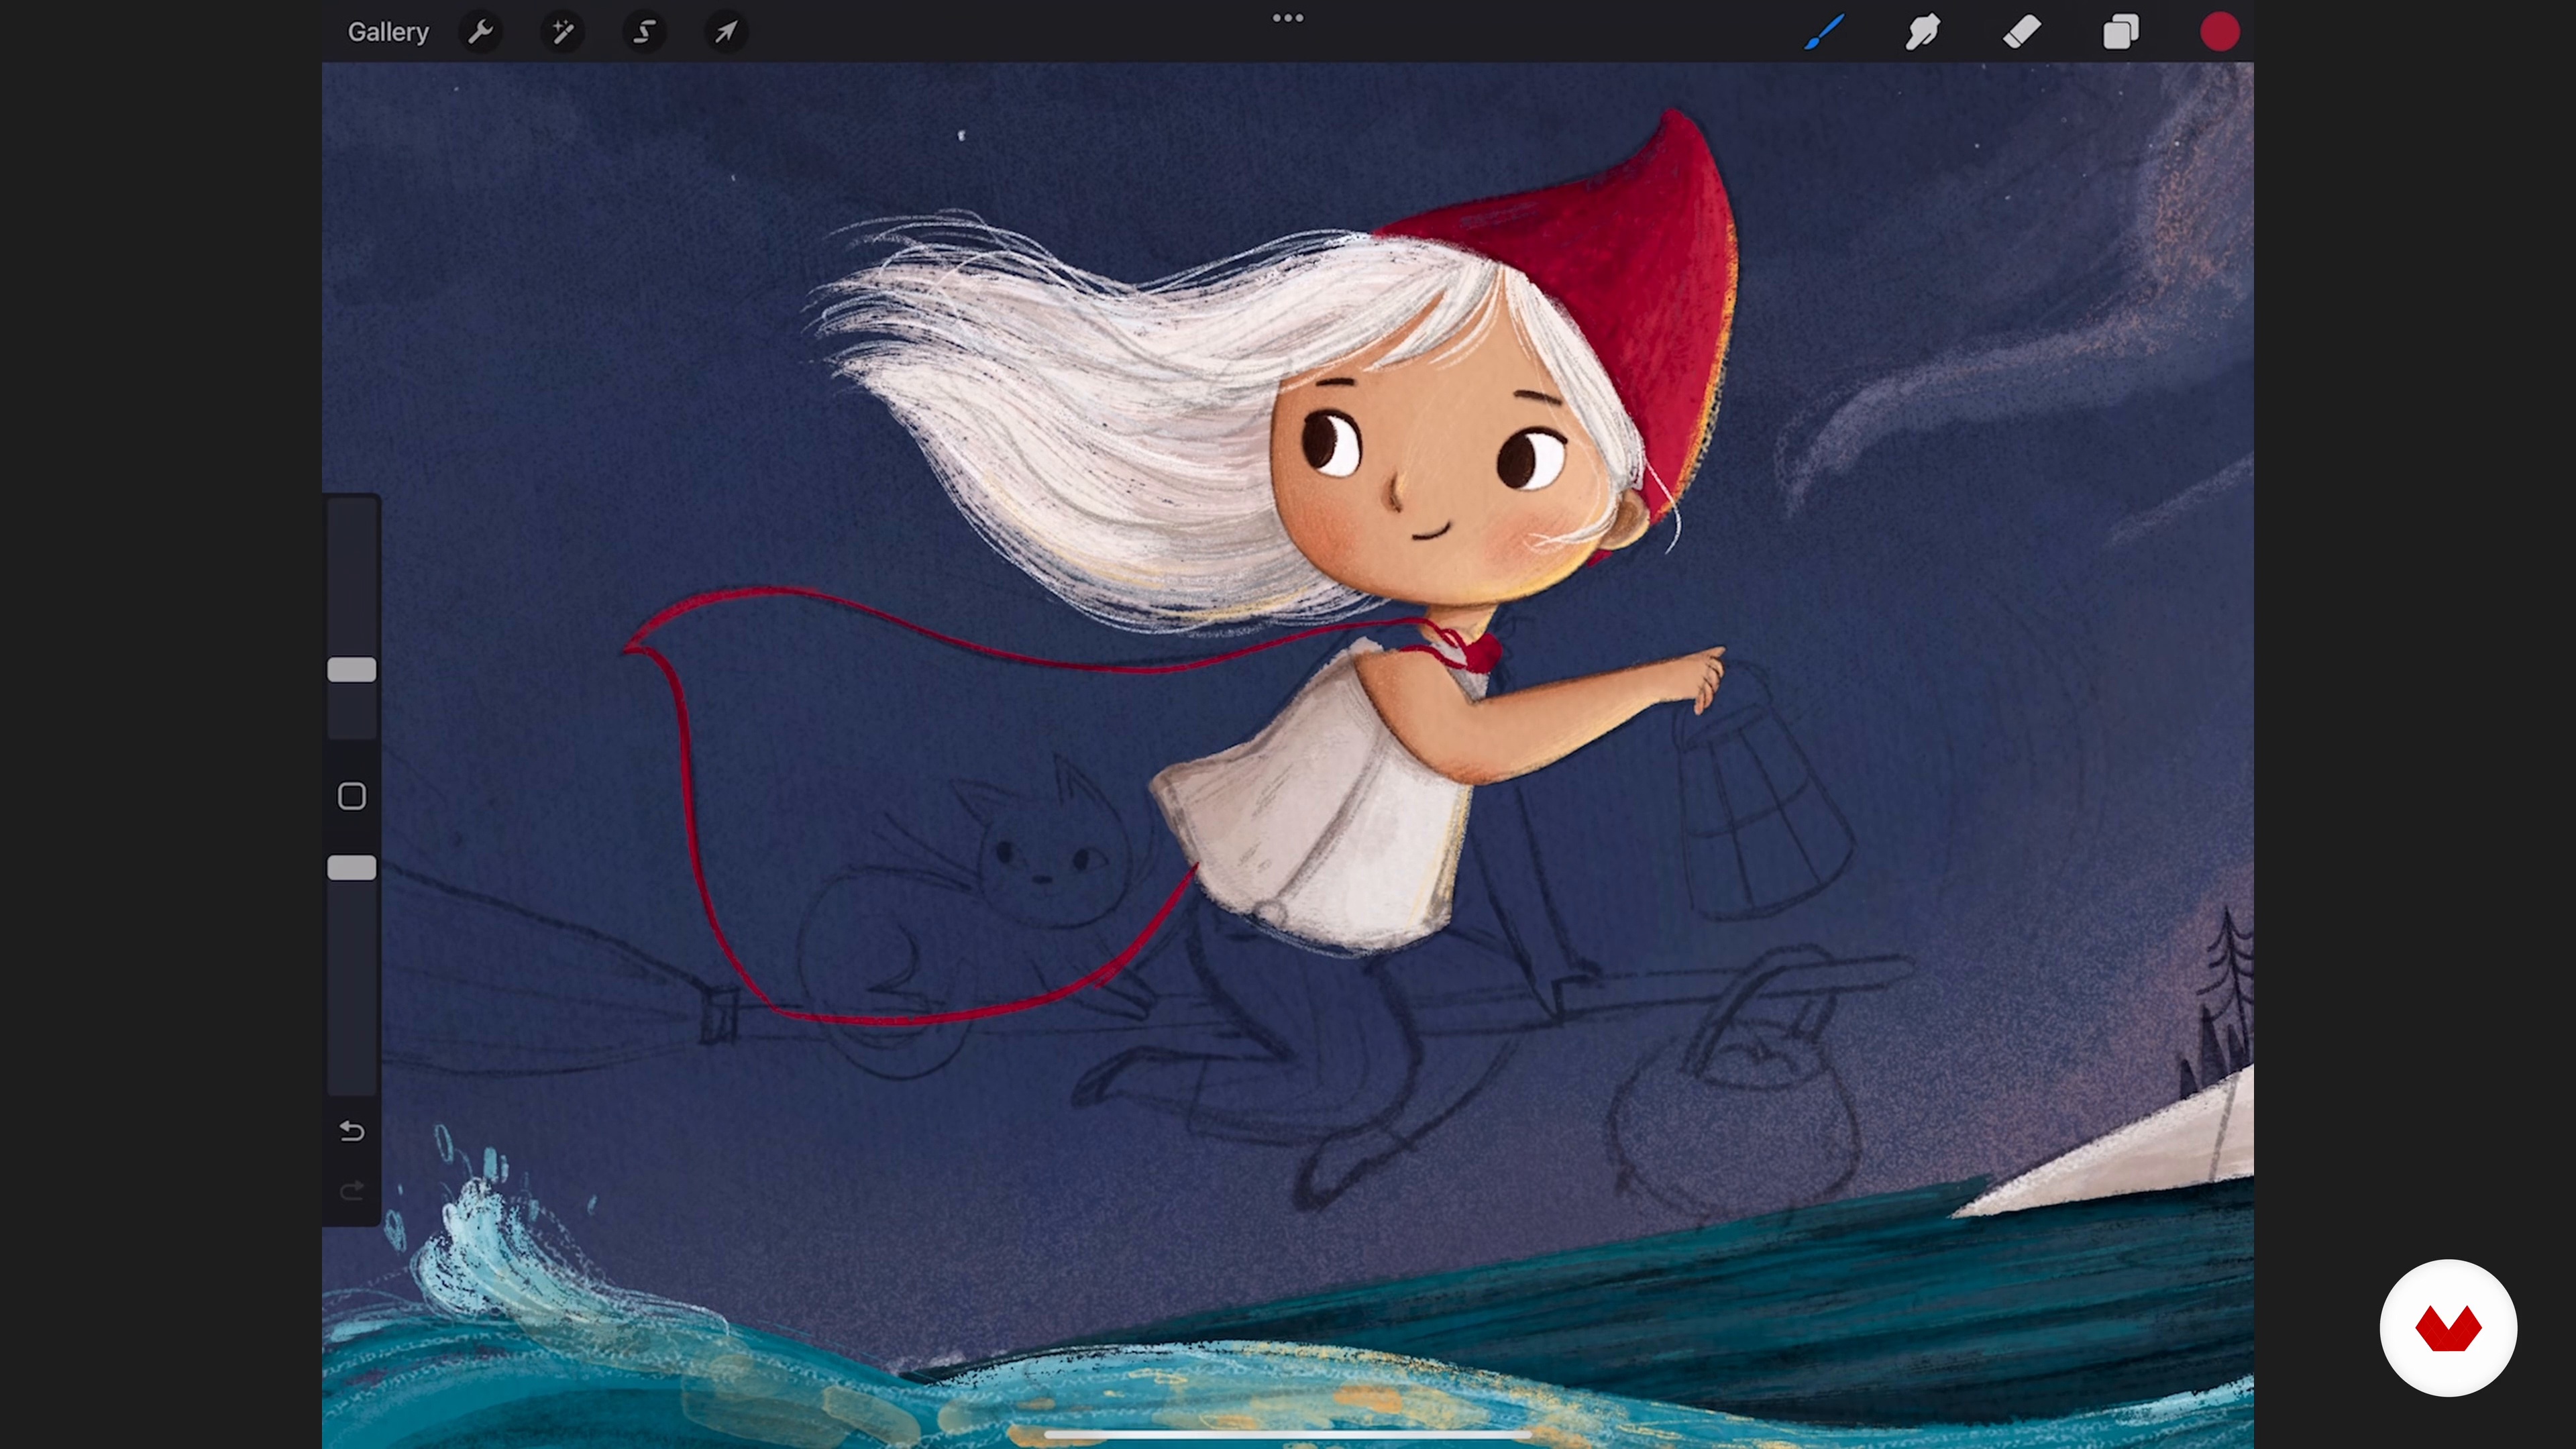
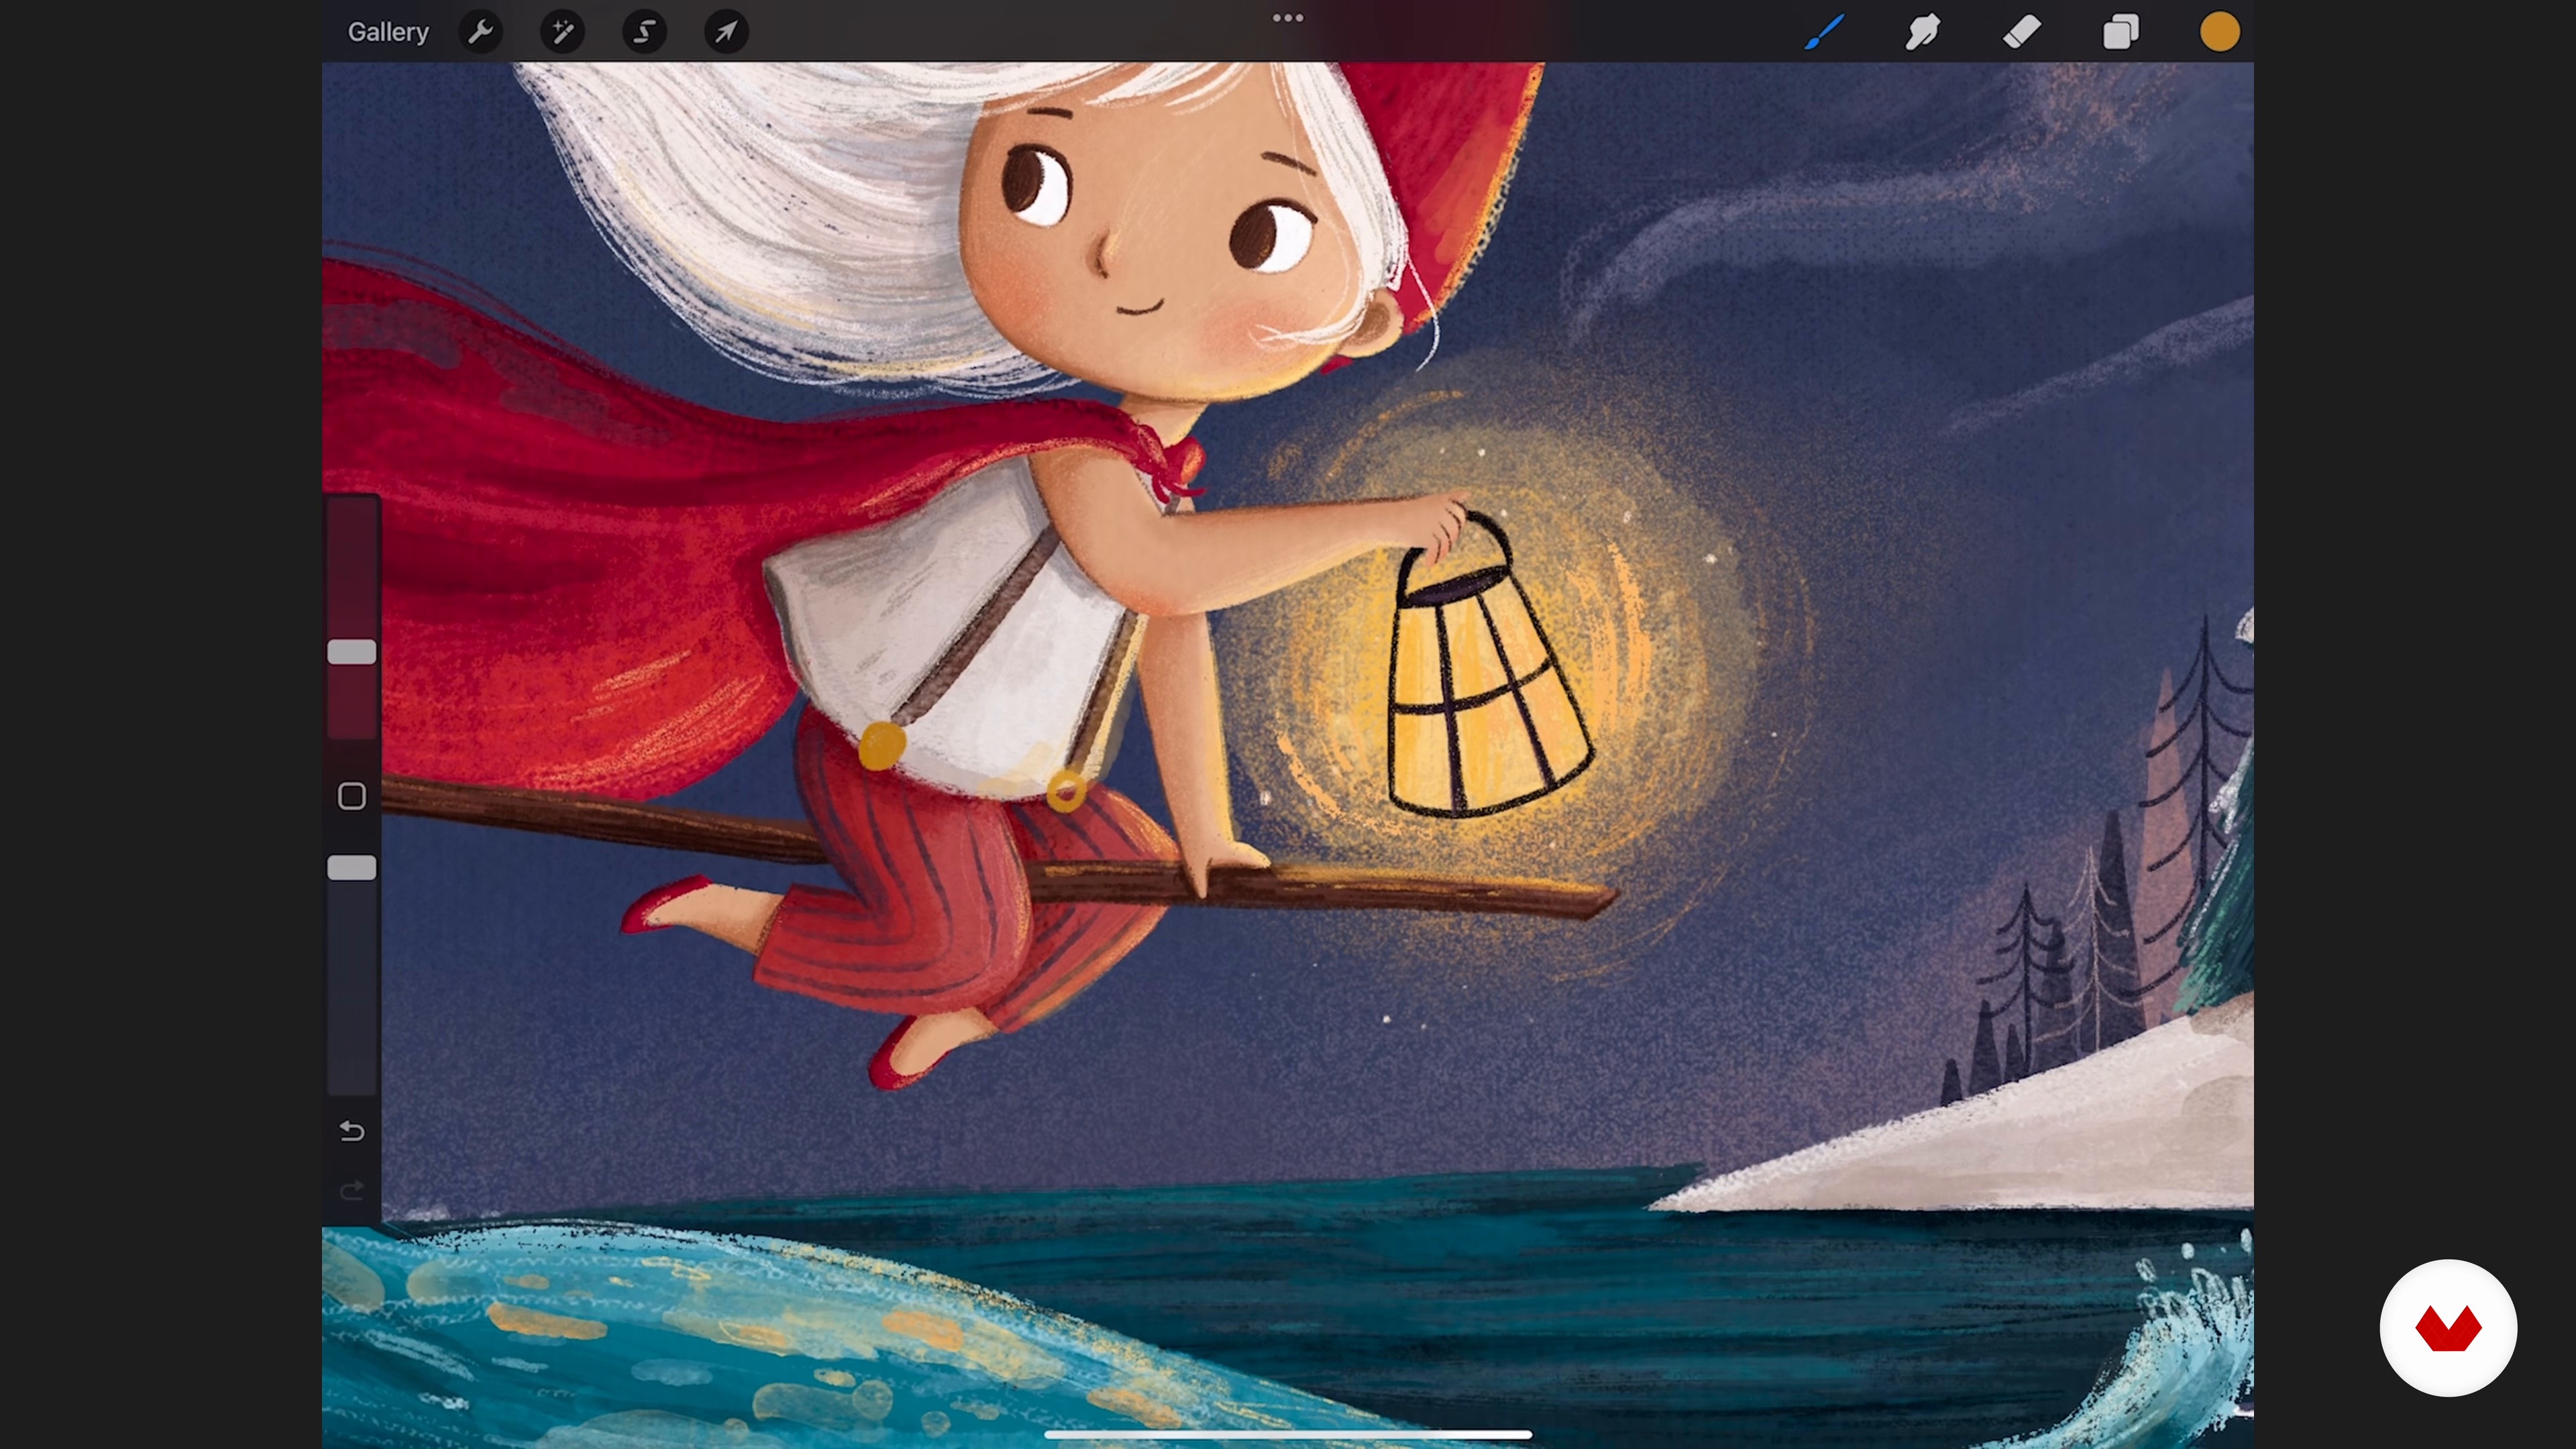
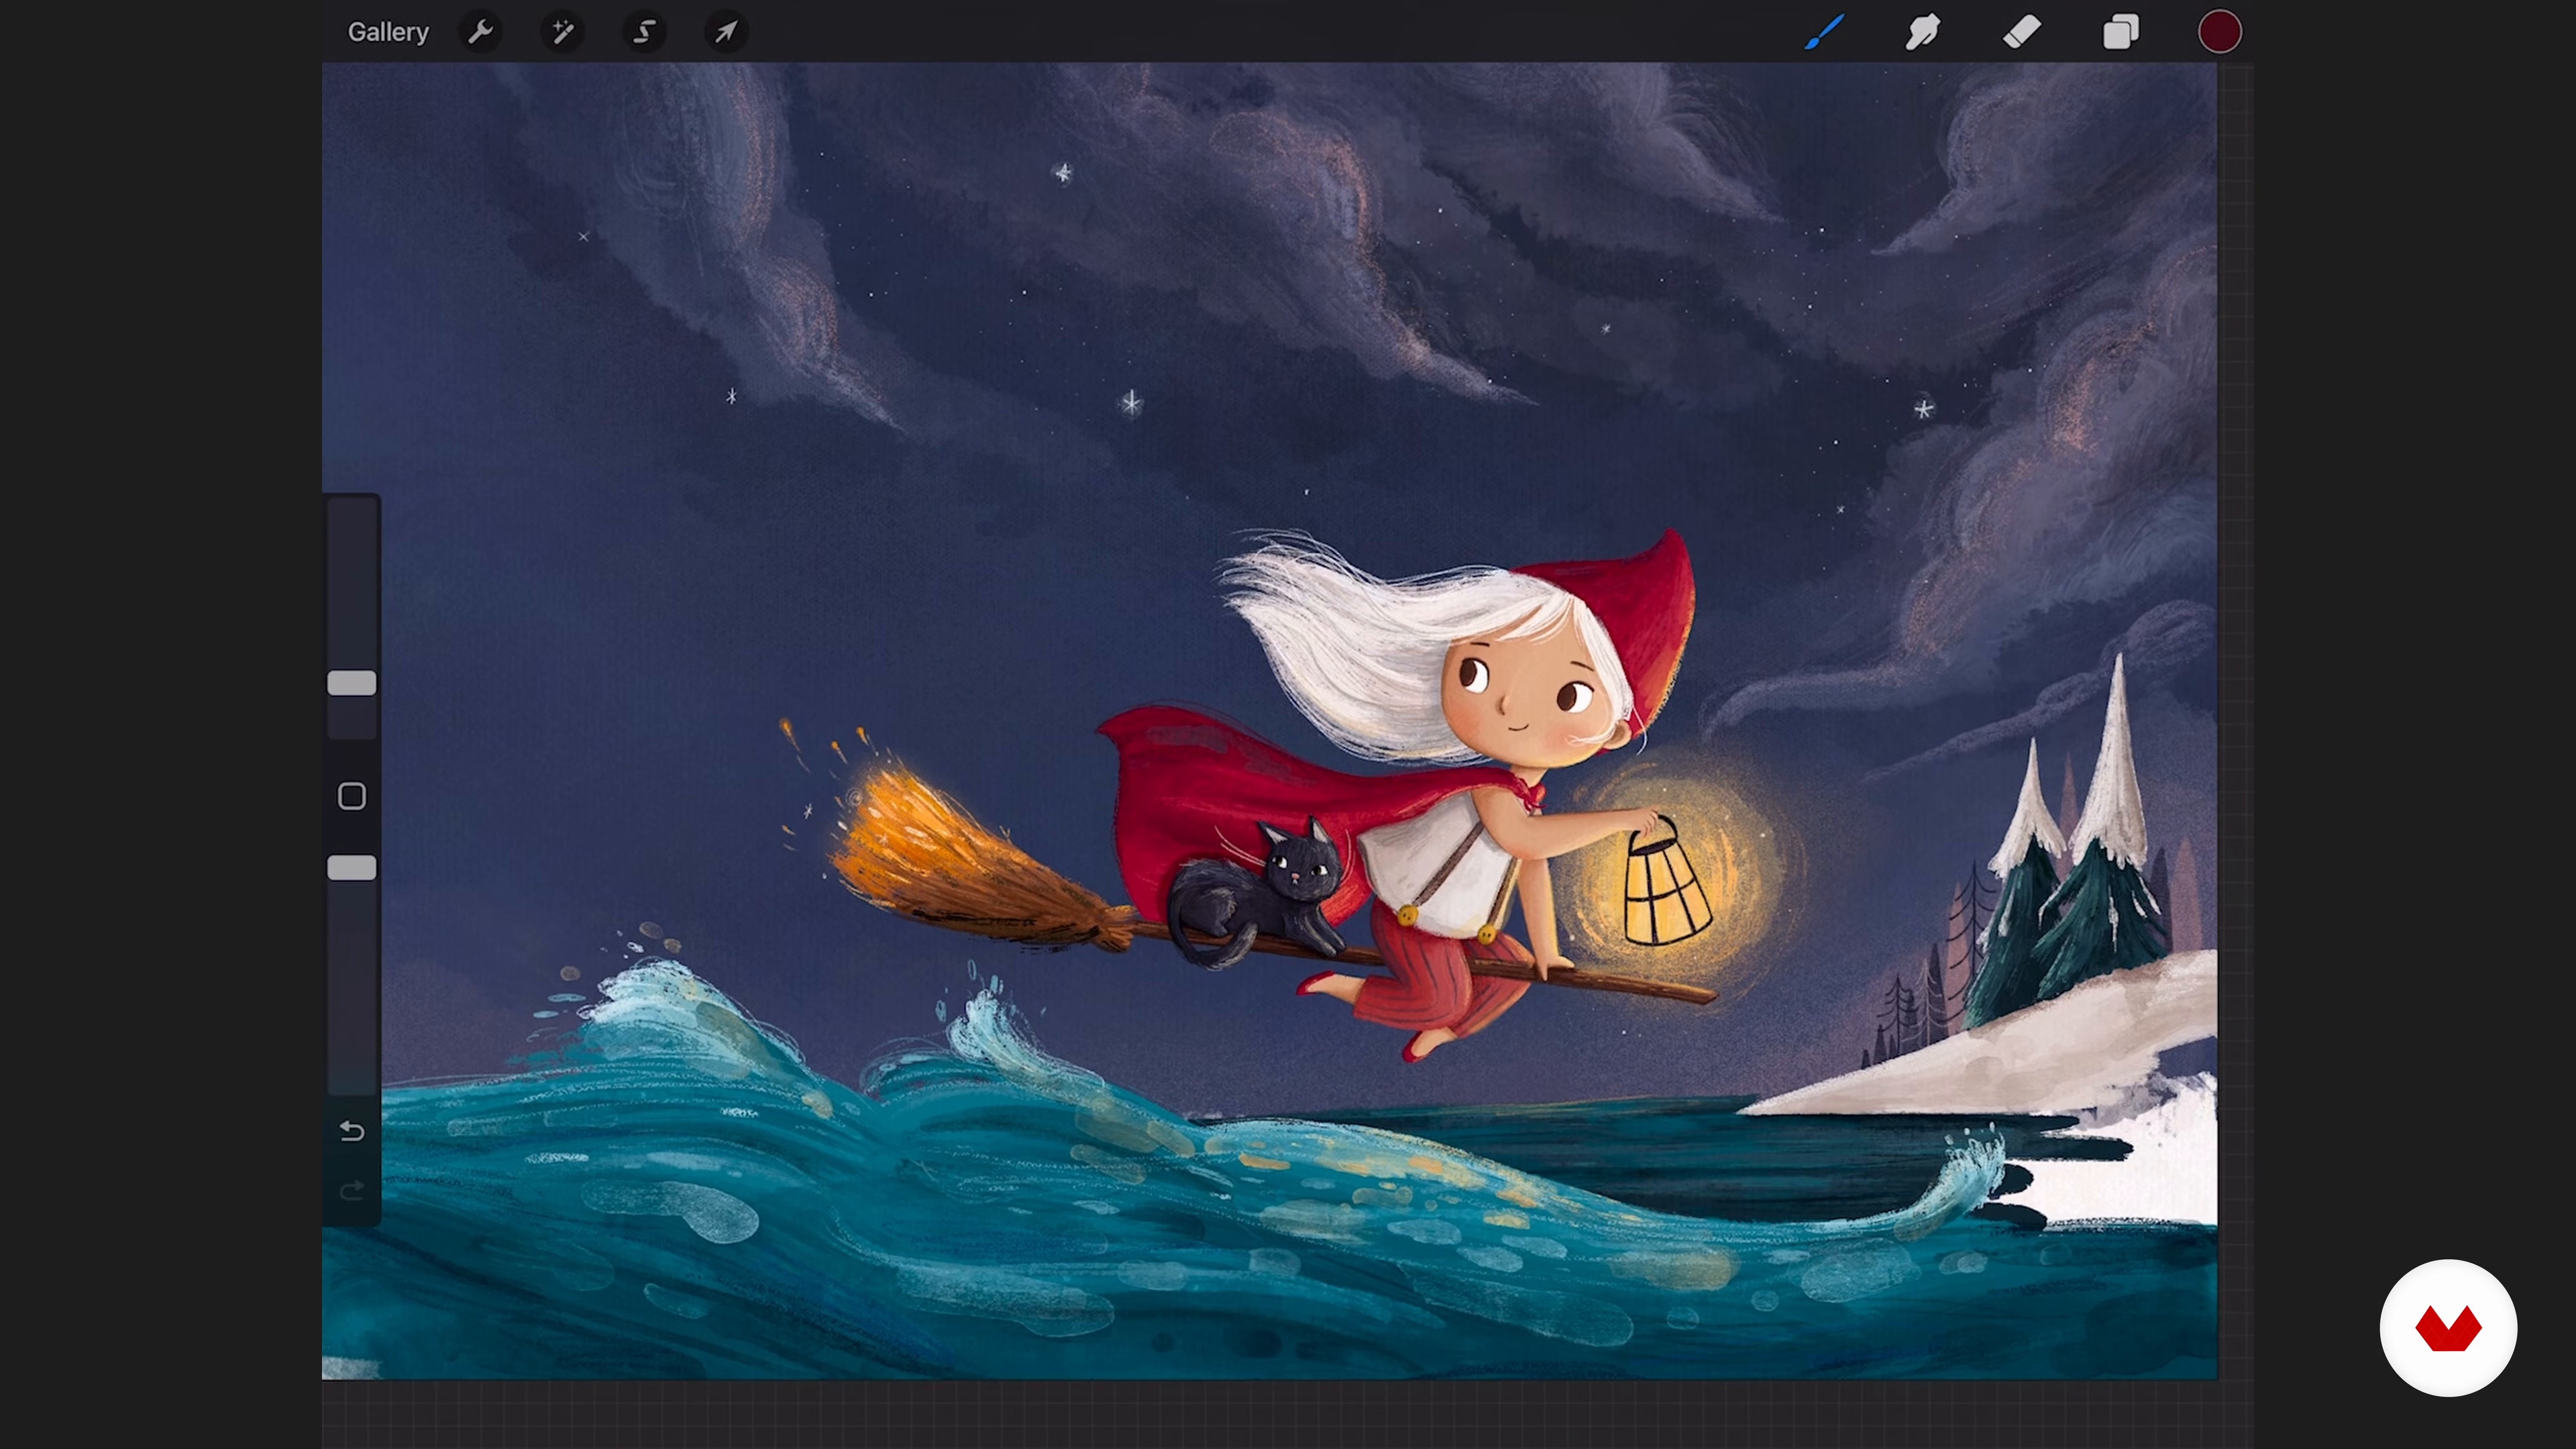
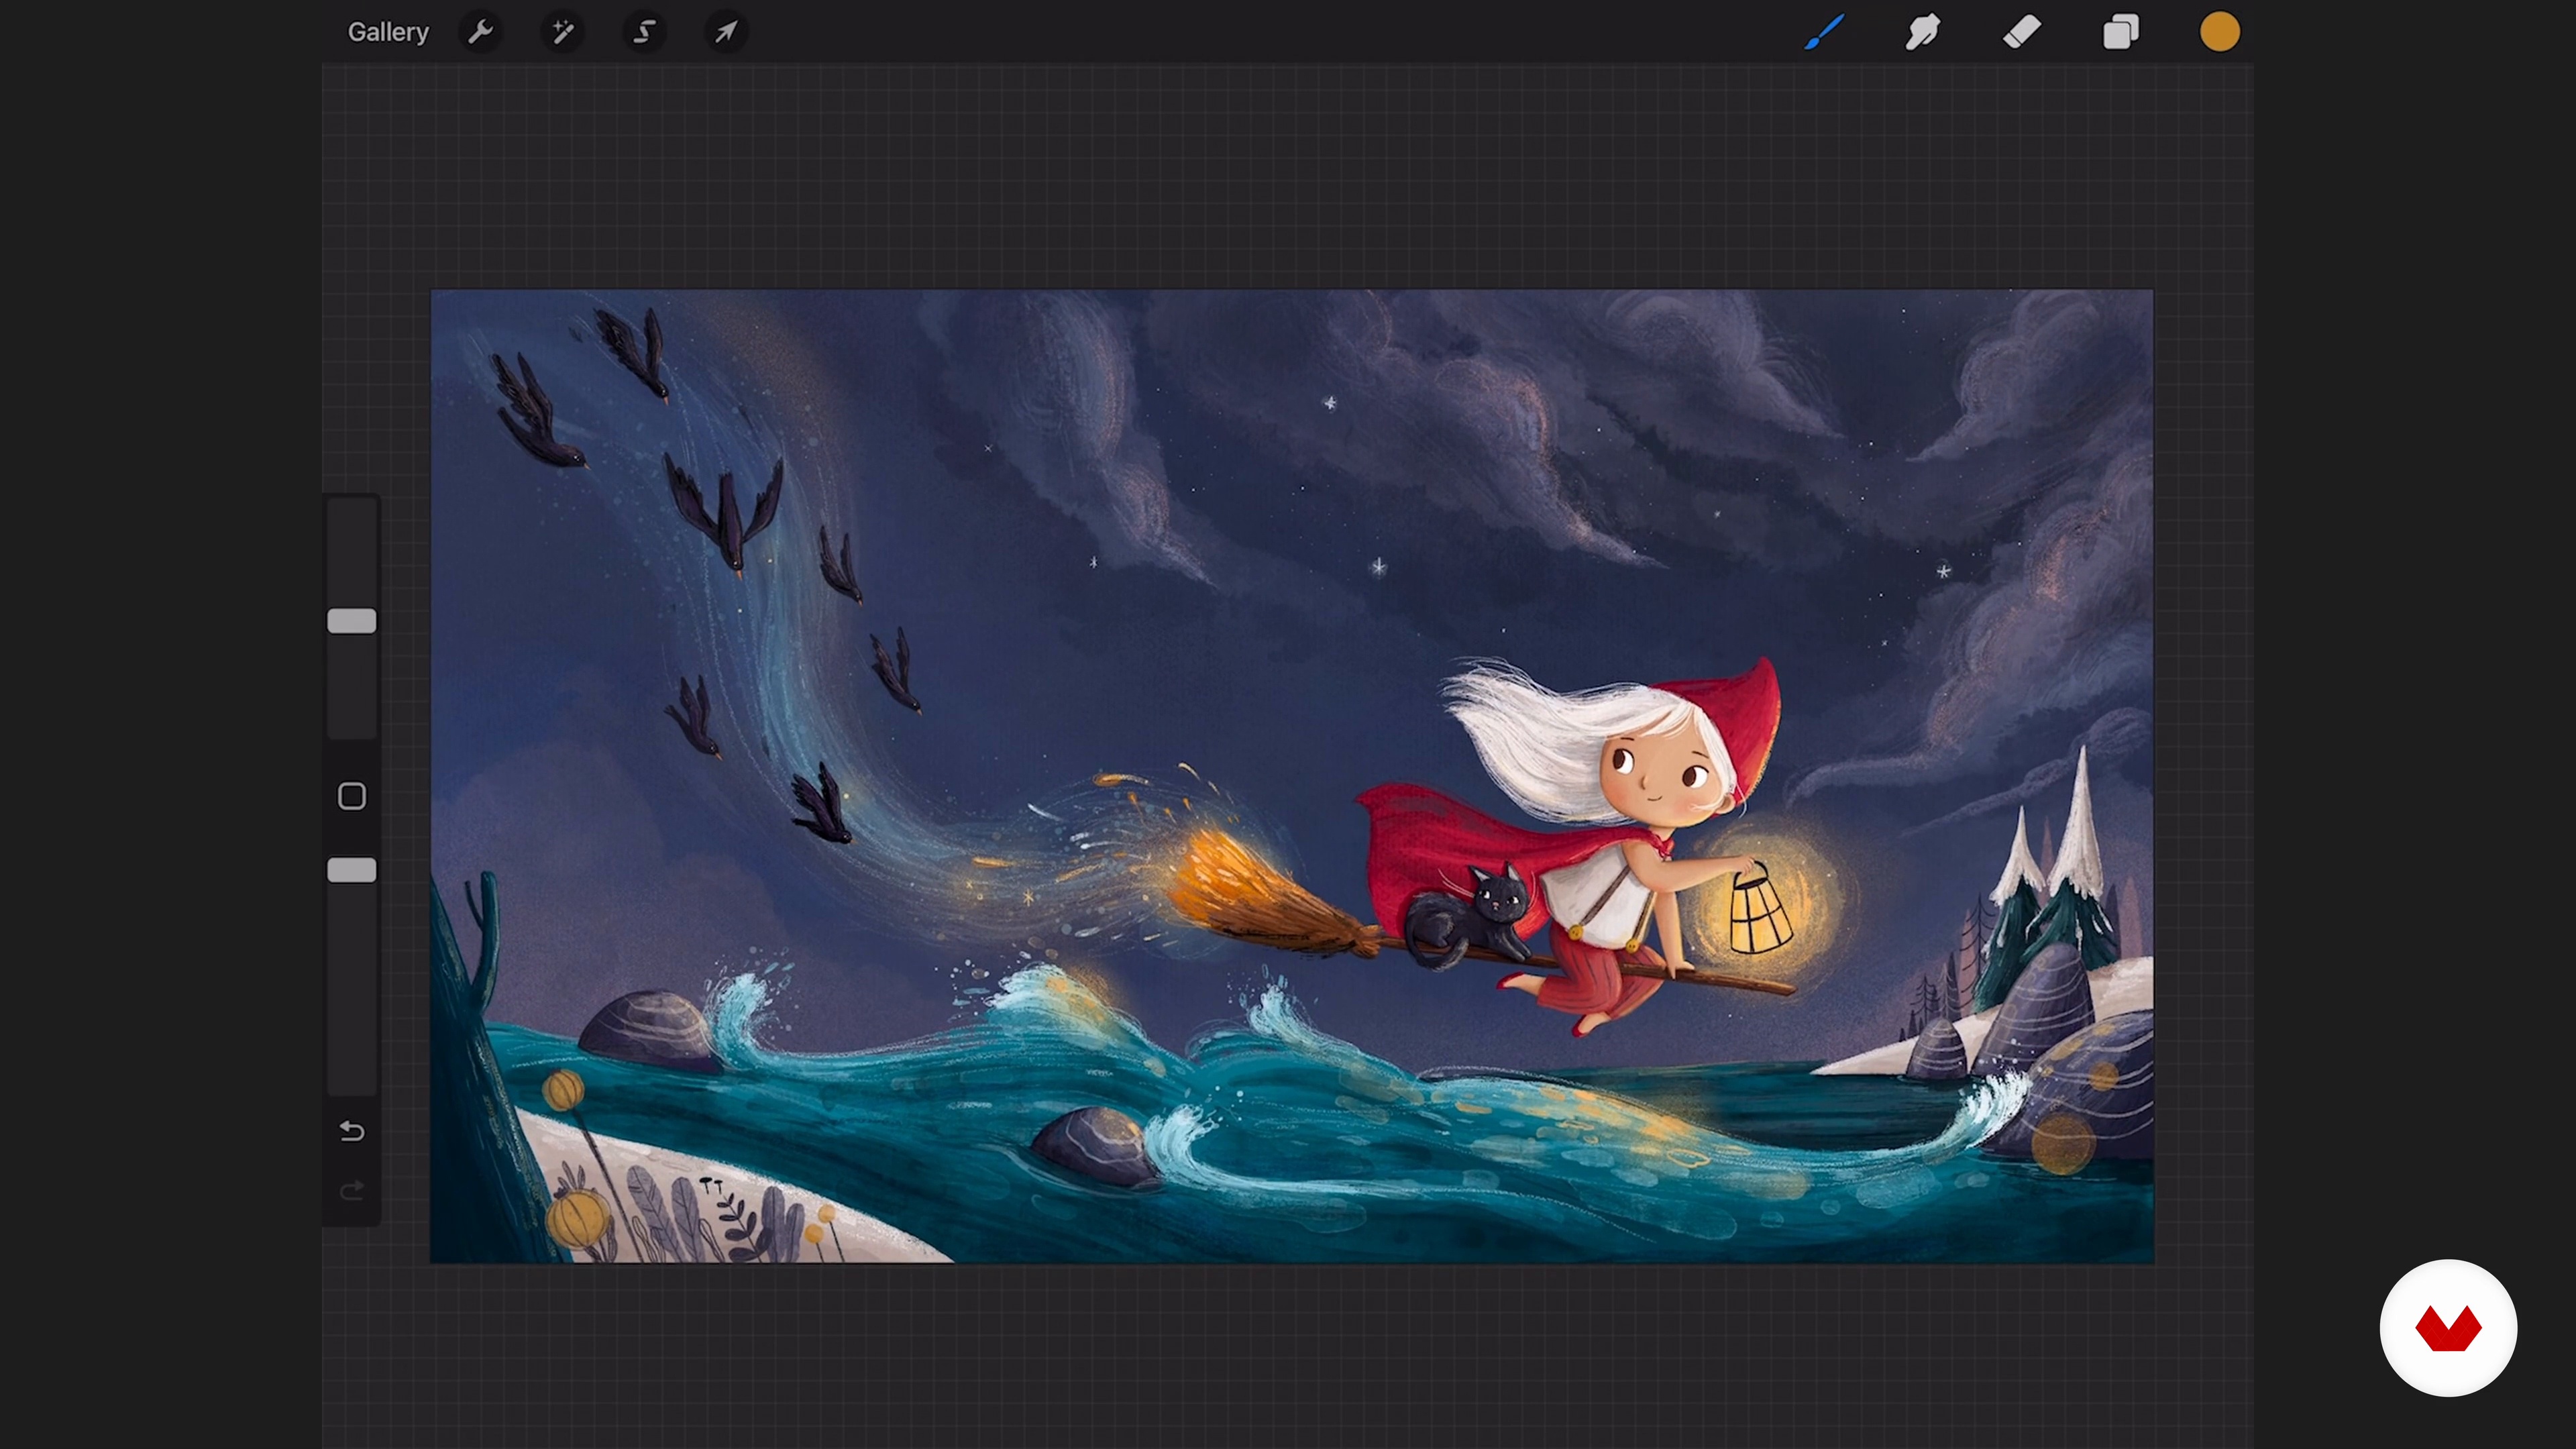
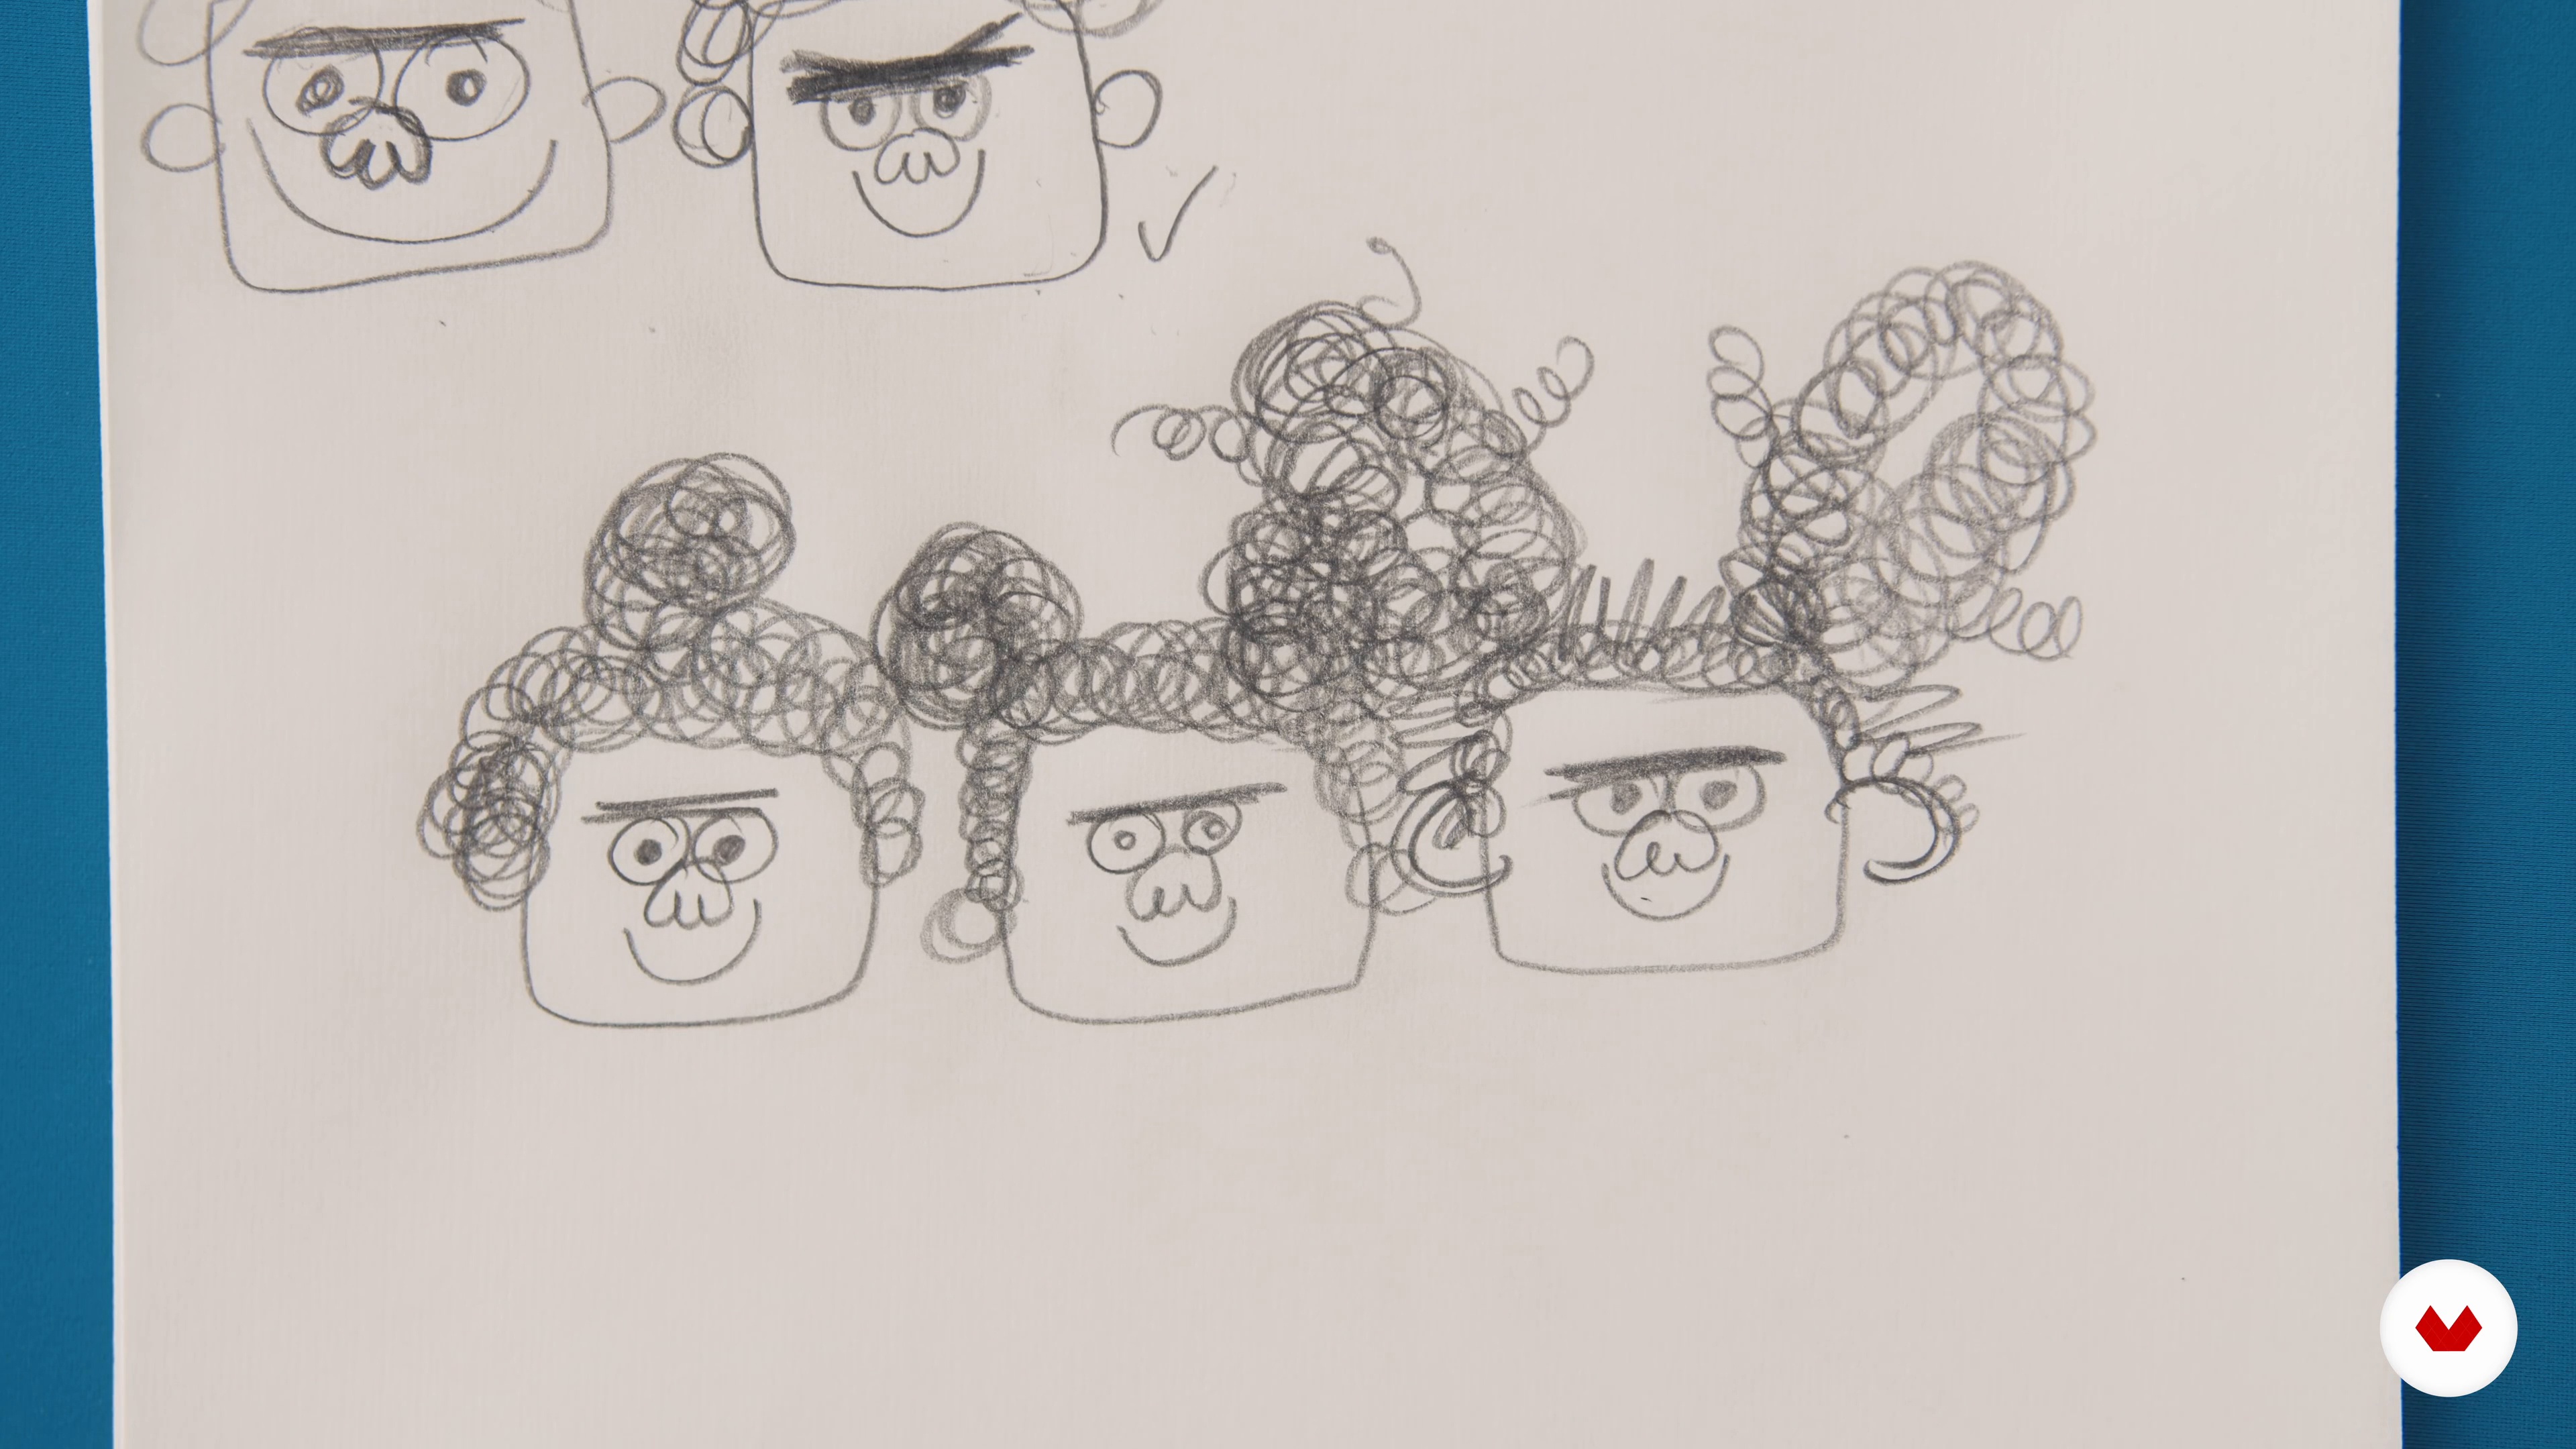
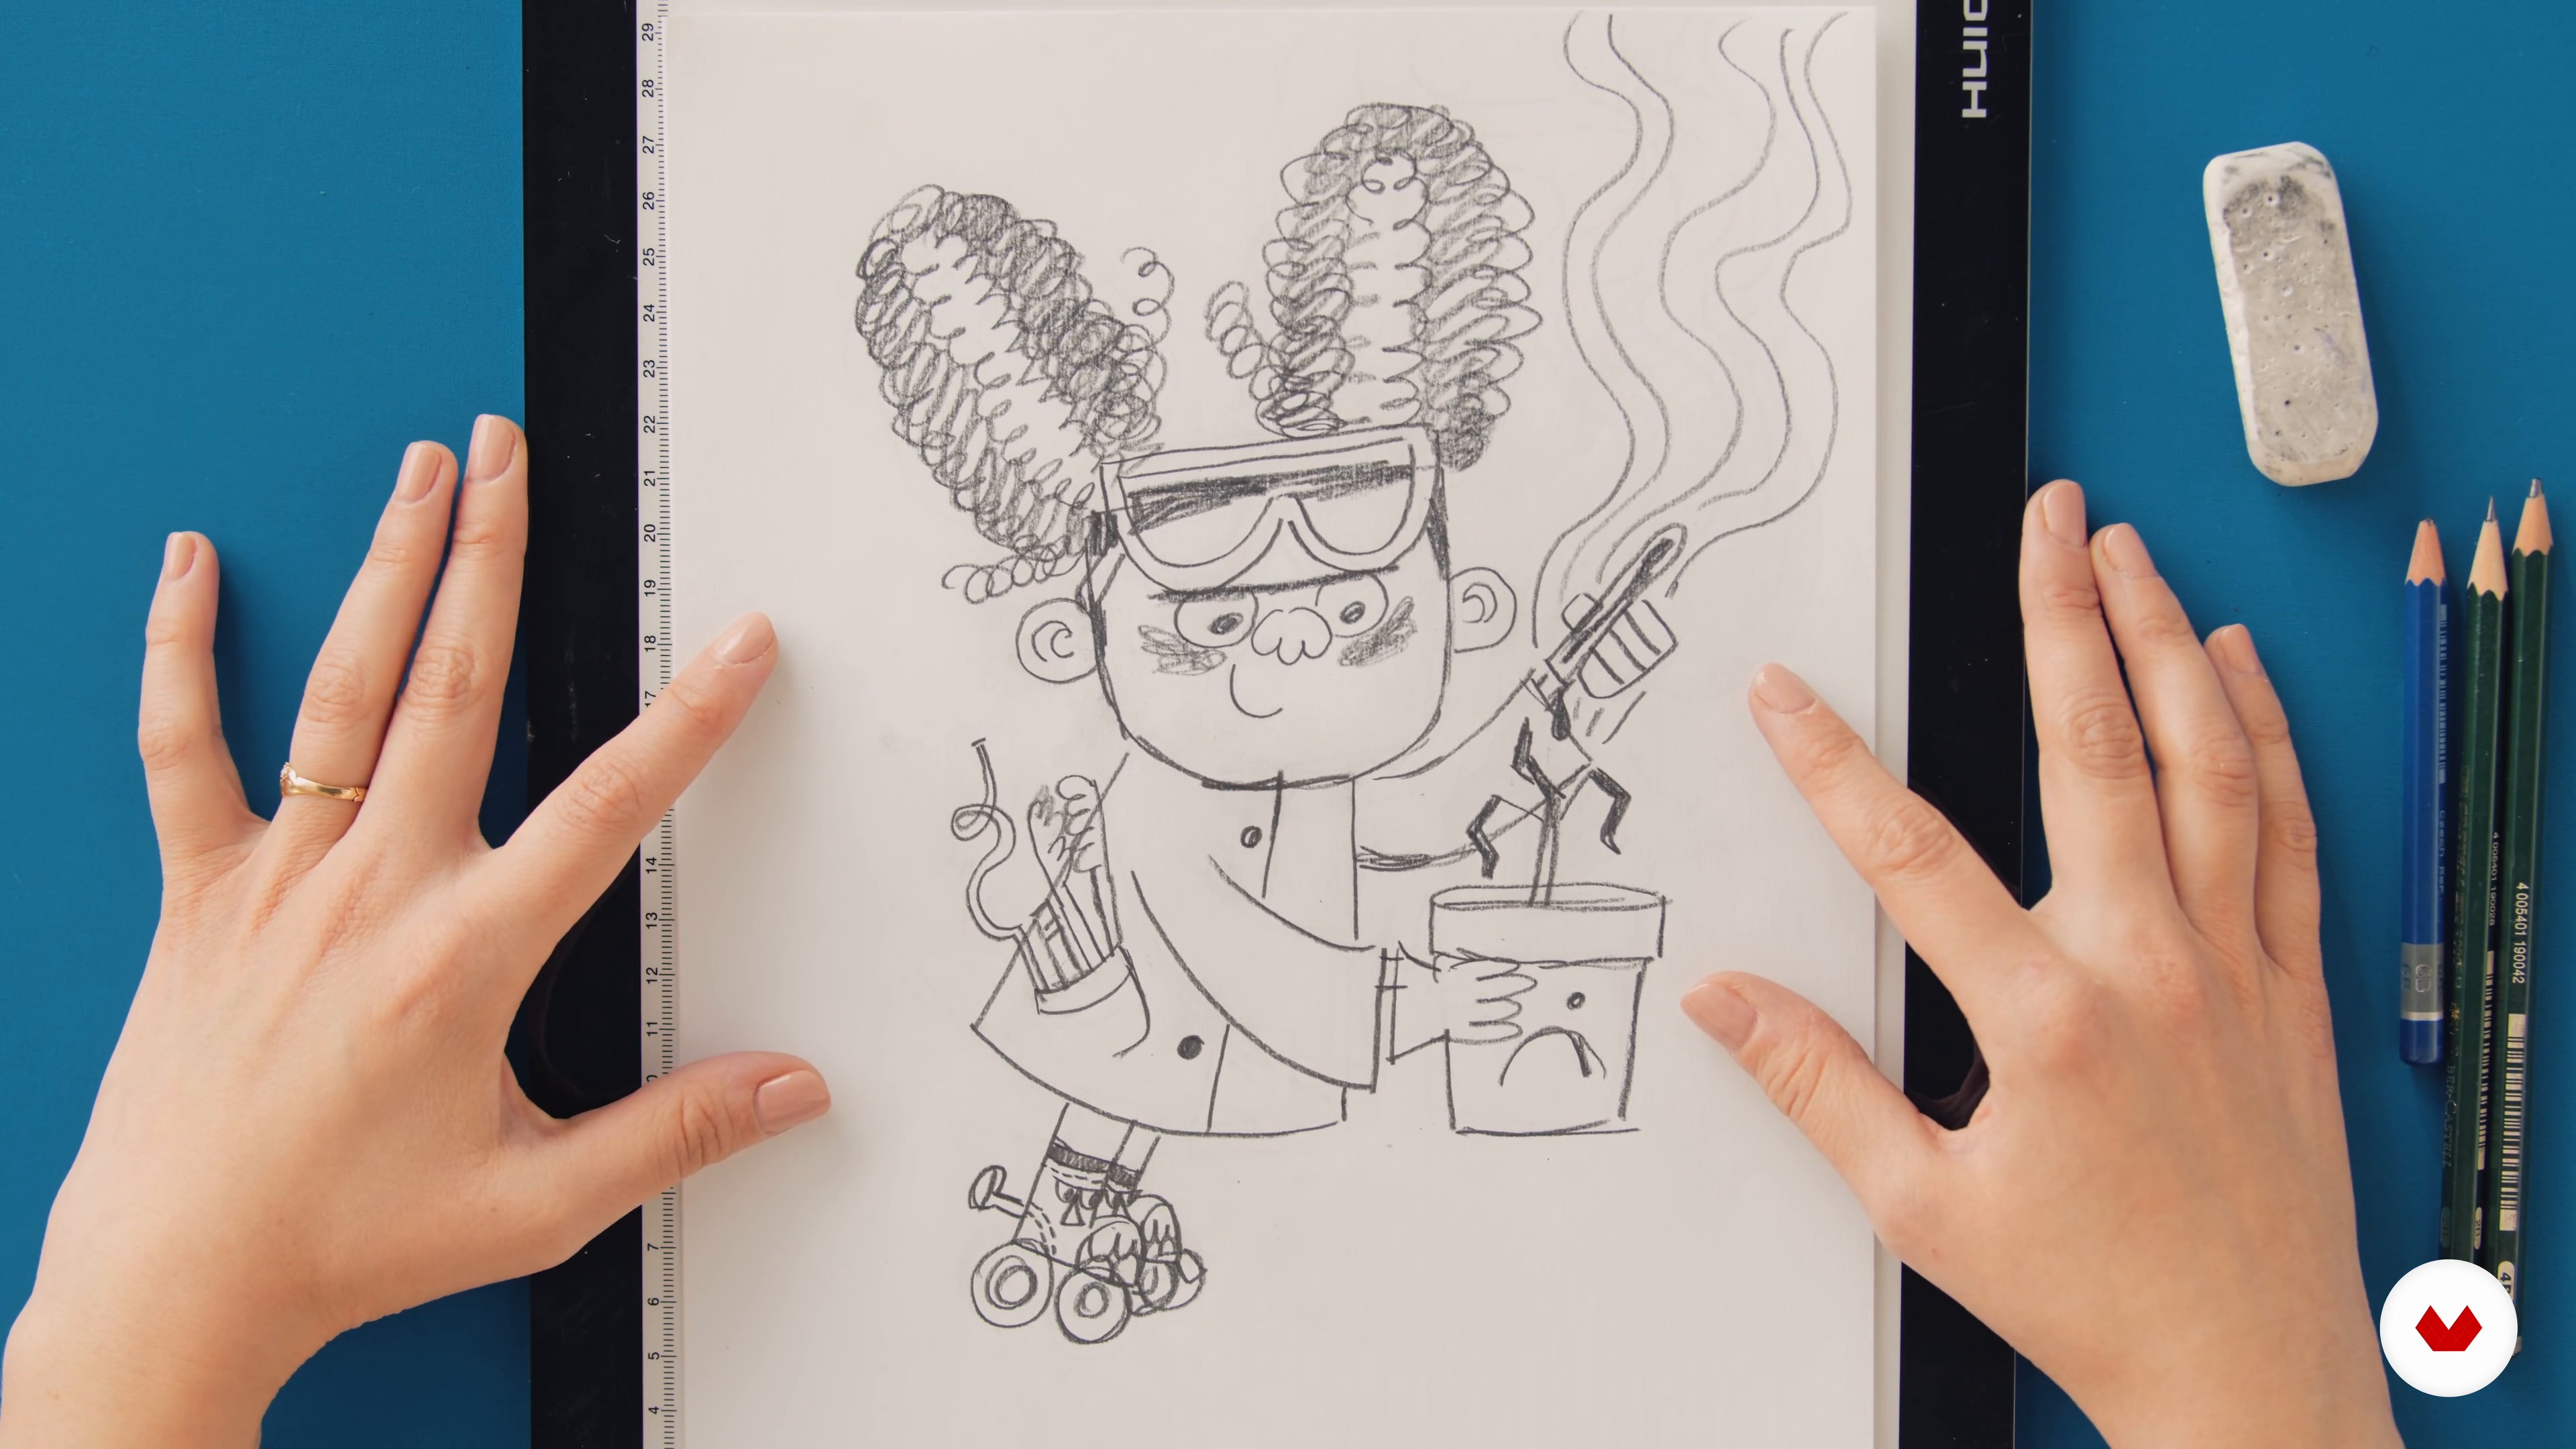
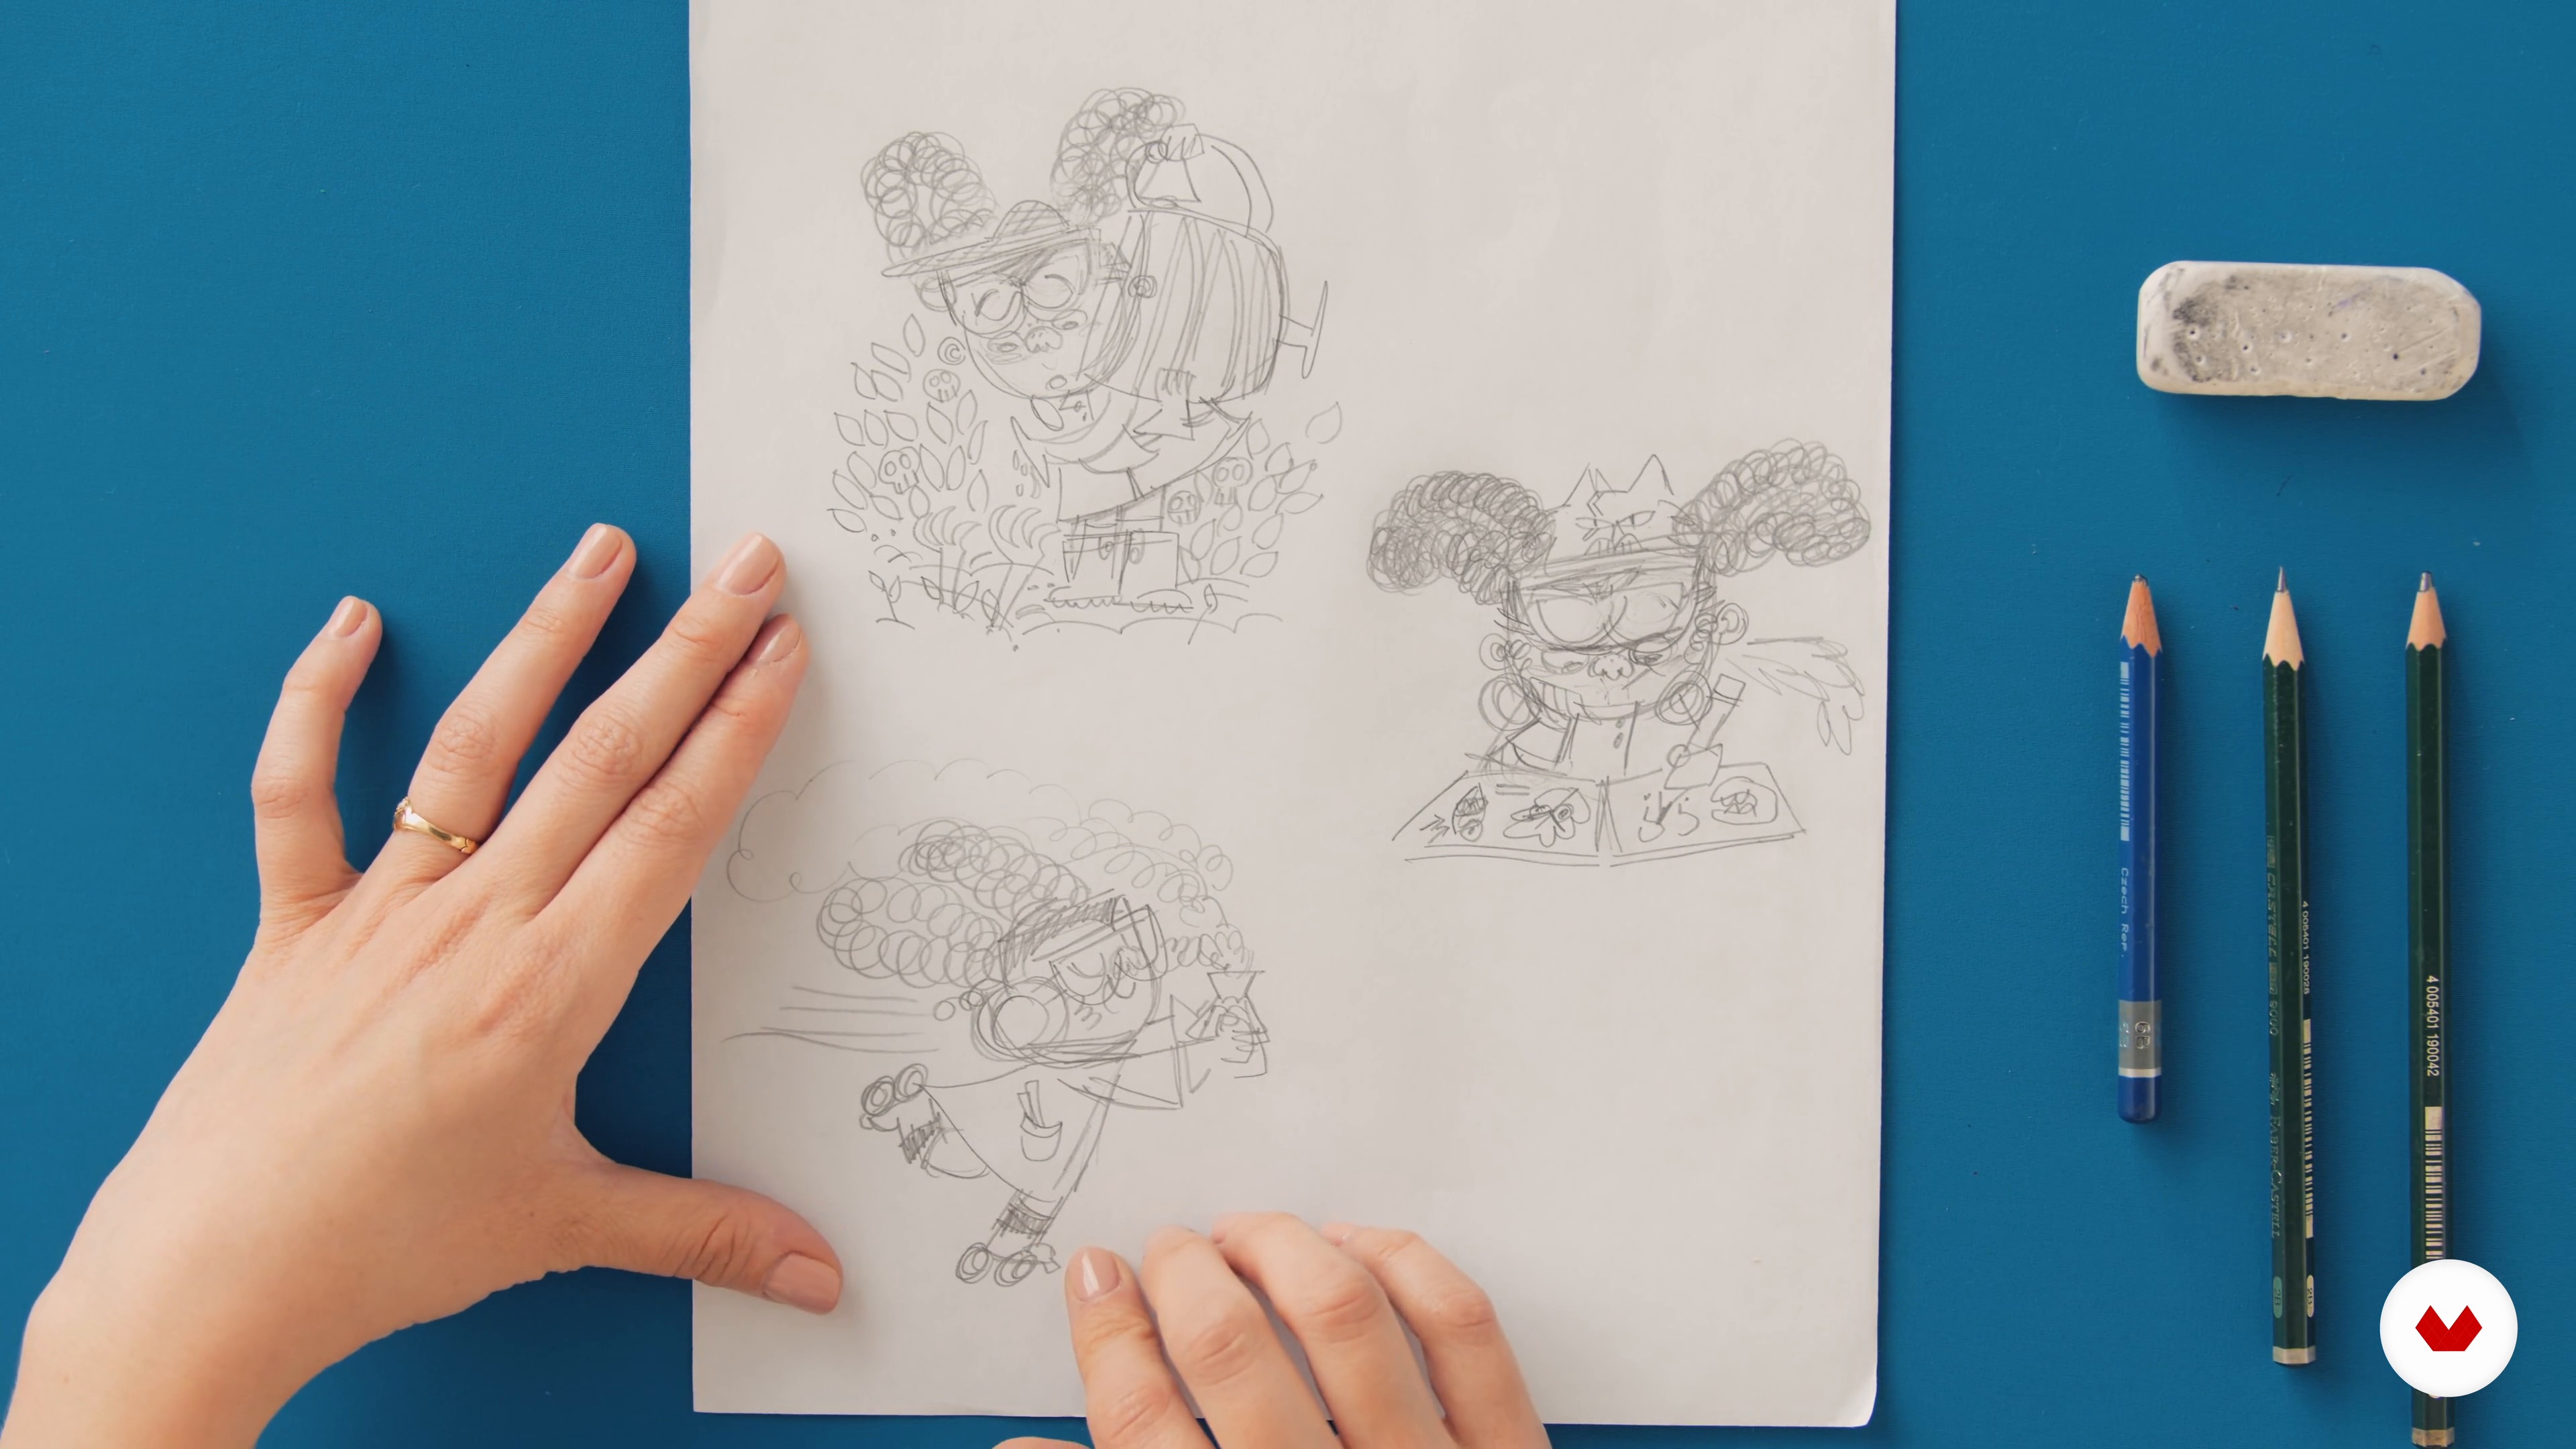
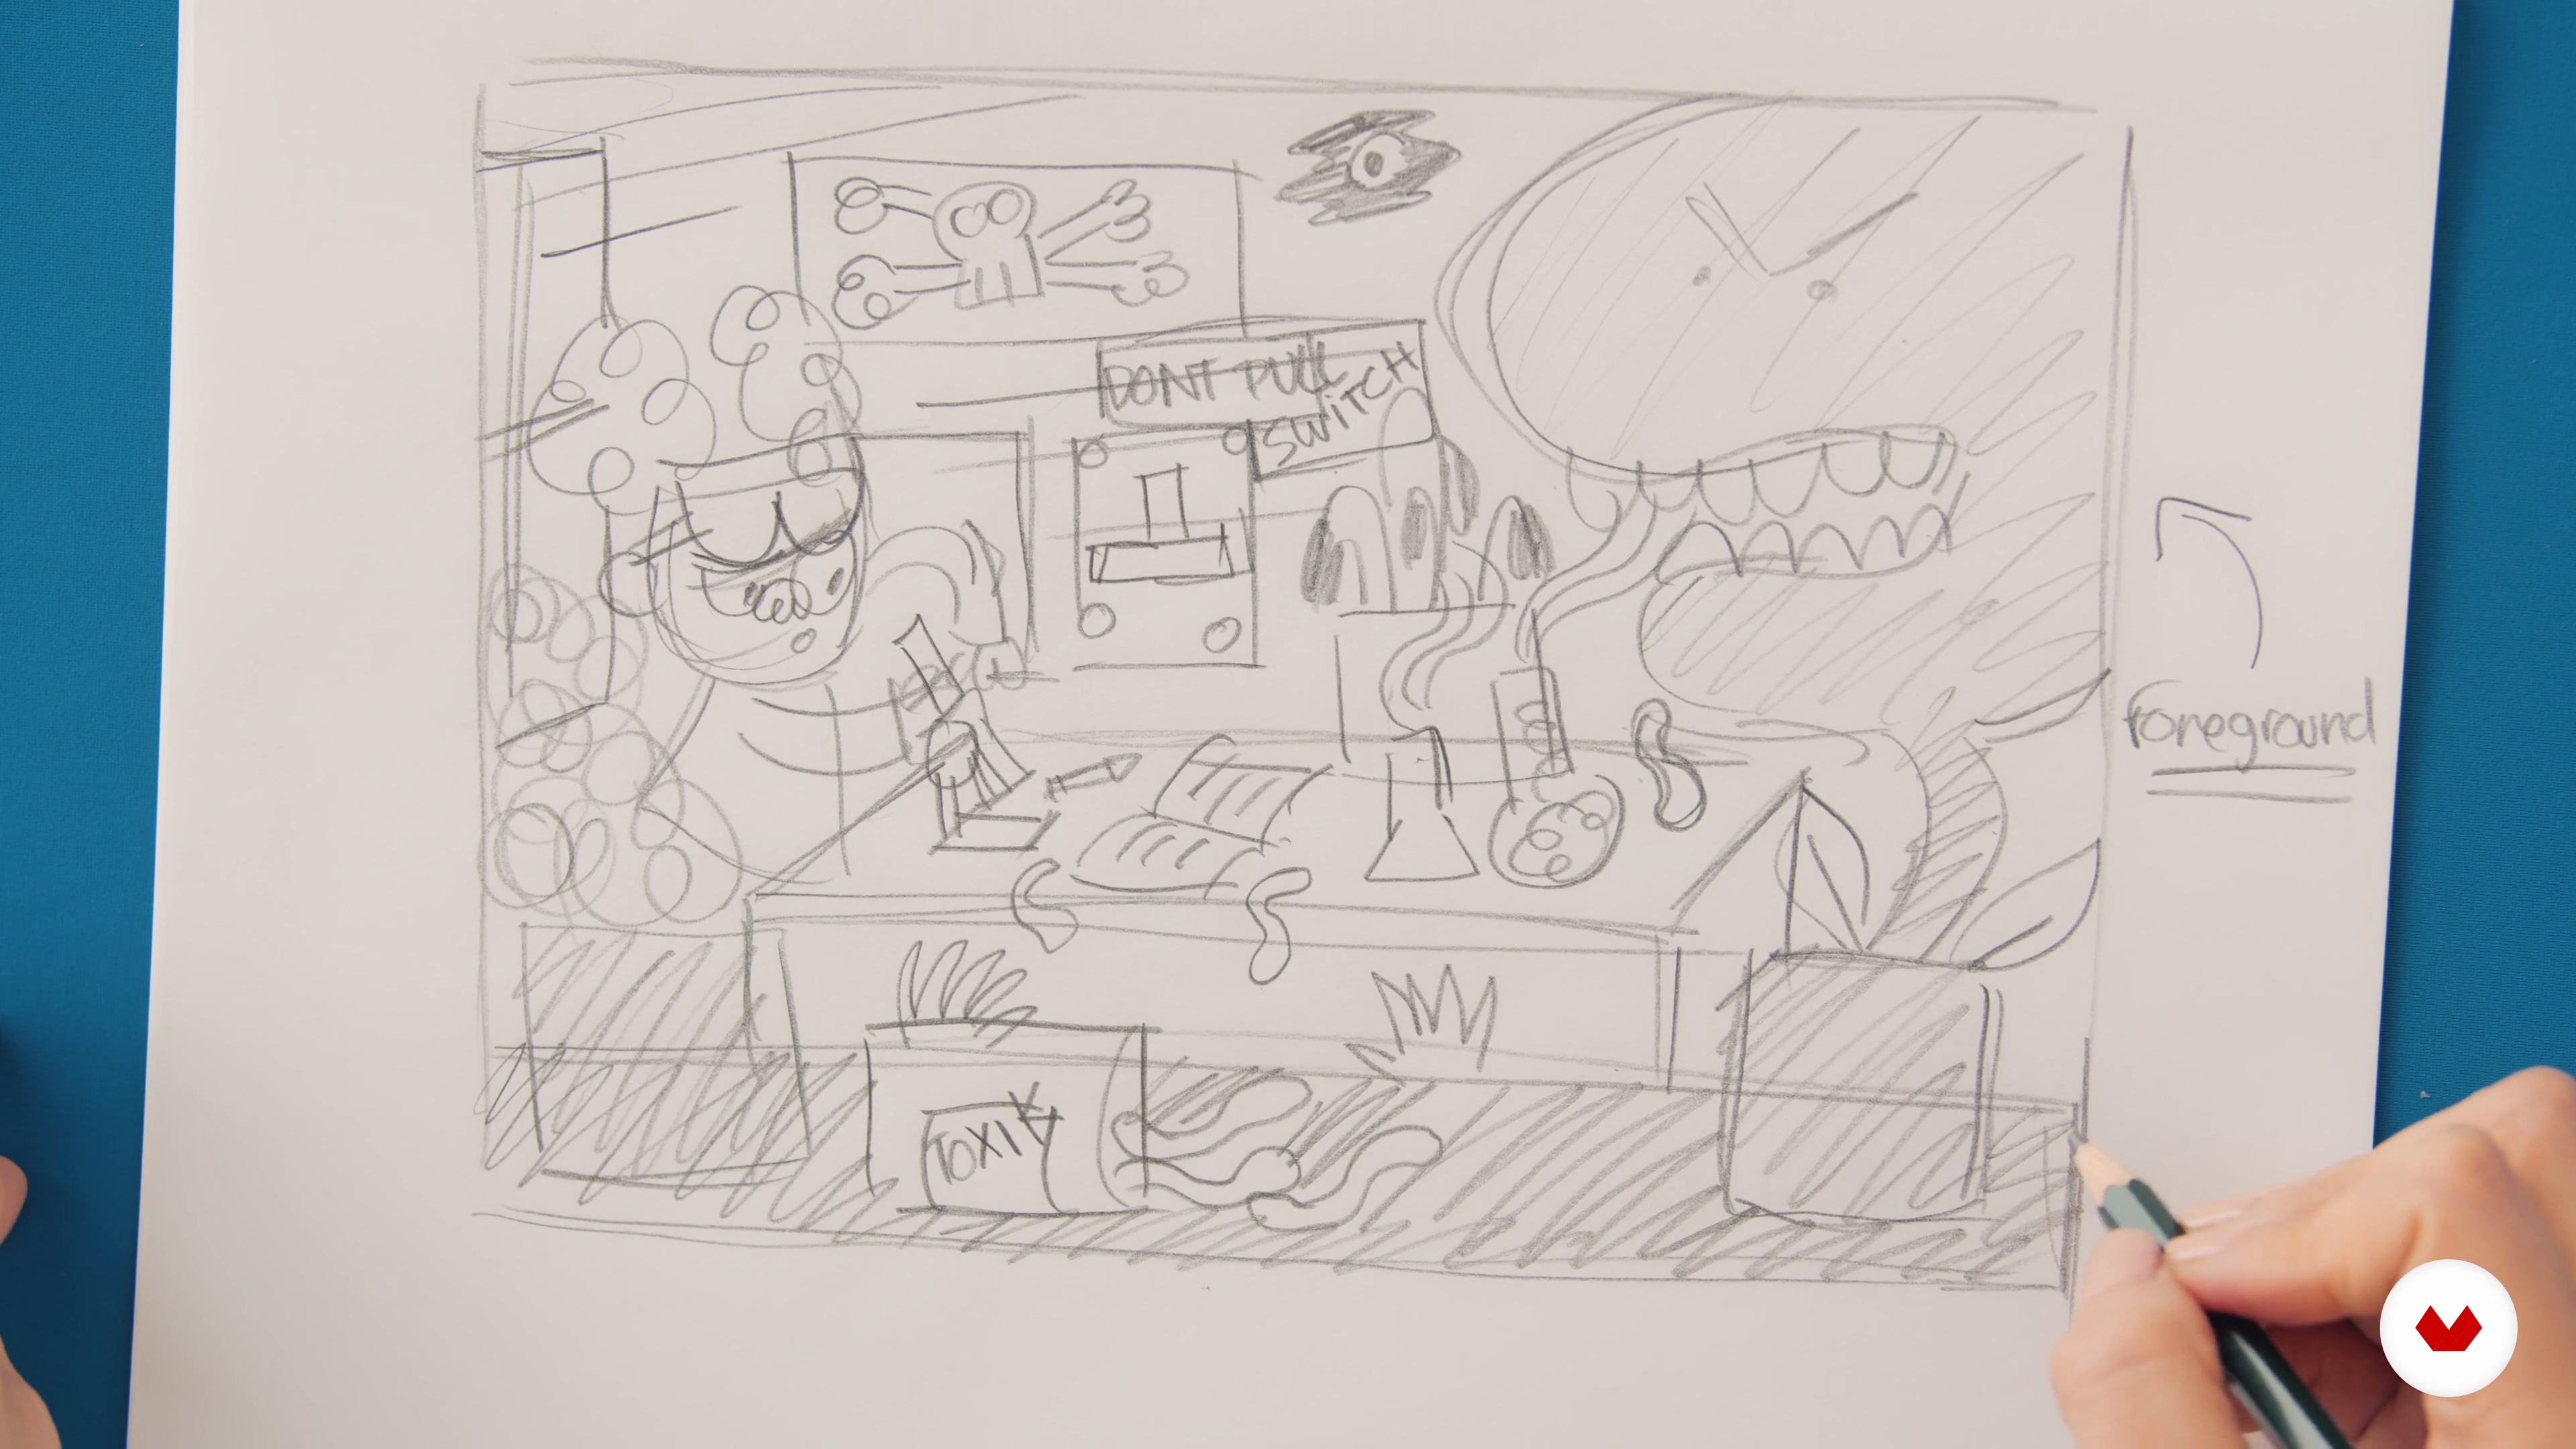
Dive into the enchanting world of children's illustration with a specialization that offers a rich blend of creative techniques and professional insights. Embark on a journey through sketchbook techniques with Ema Malyauka, where character development and expressive illustrations come to life. Juanita Londoño introduces the magic of realism, merging symbolic storytelling with vibrant color theory. Lucy Fleming takes creativity to new heights with Procreate, teaching digital painting and whimsical scene creation.

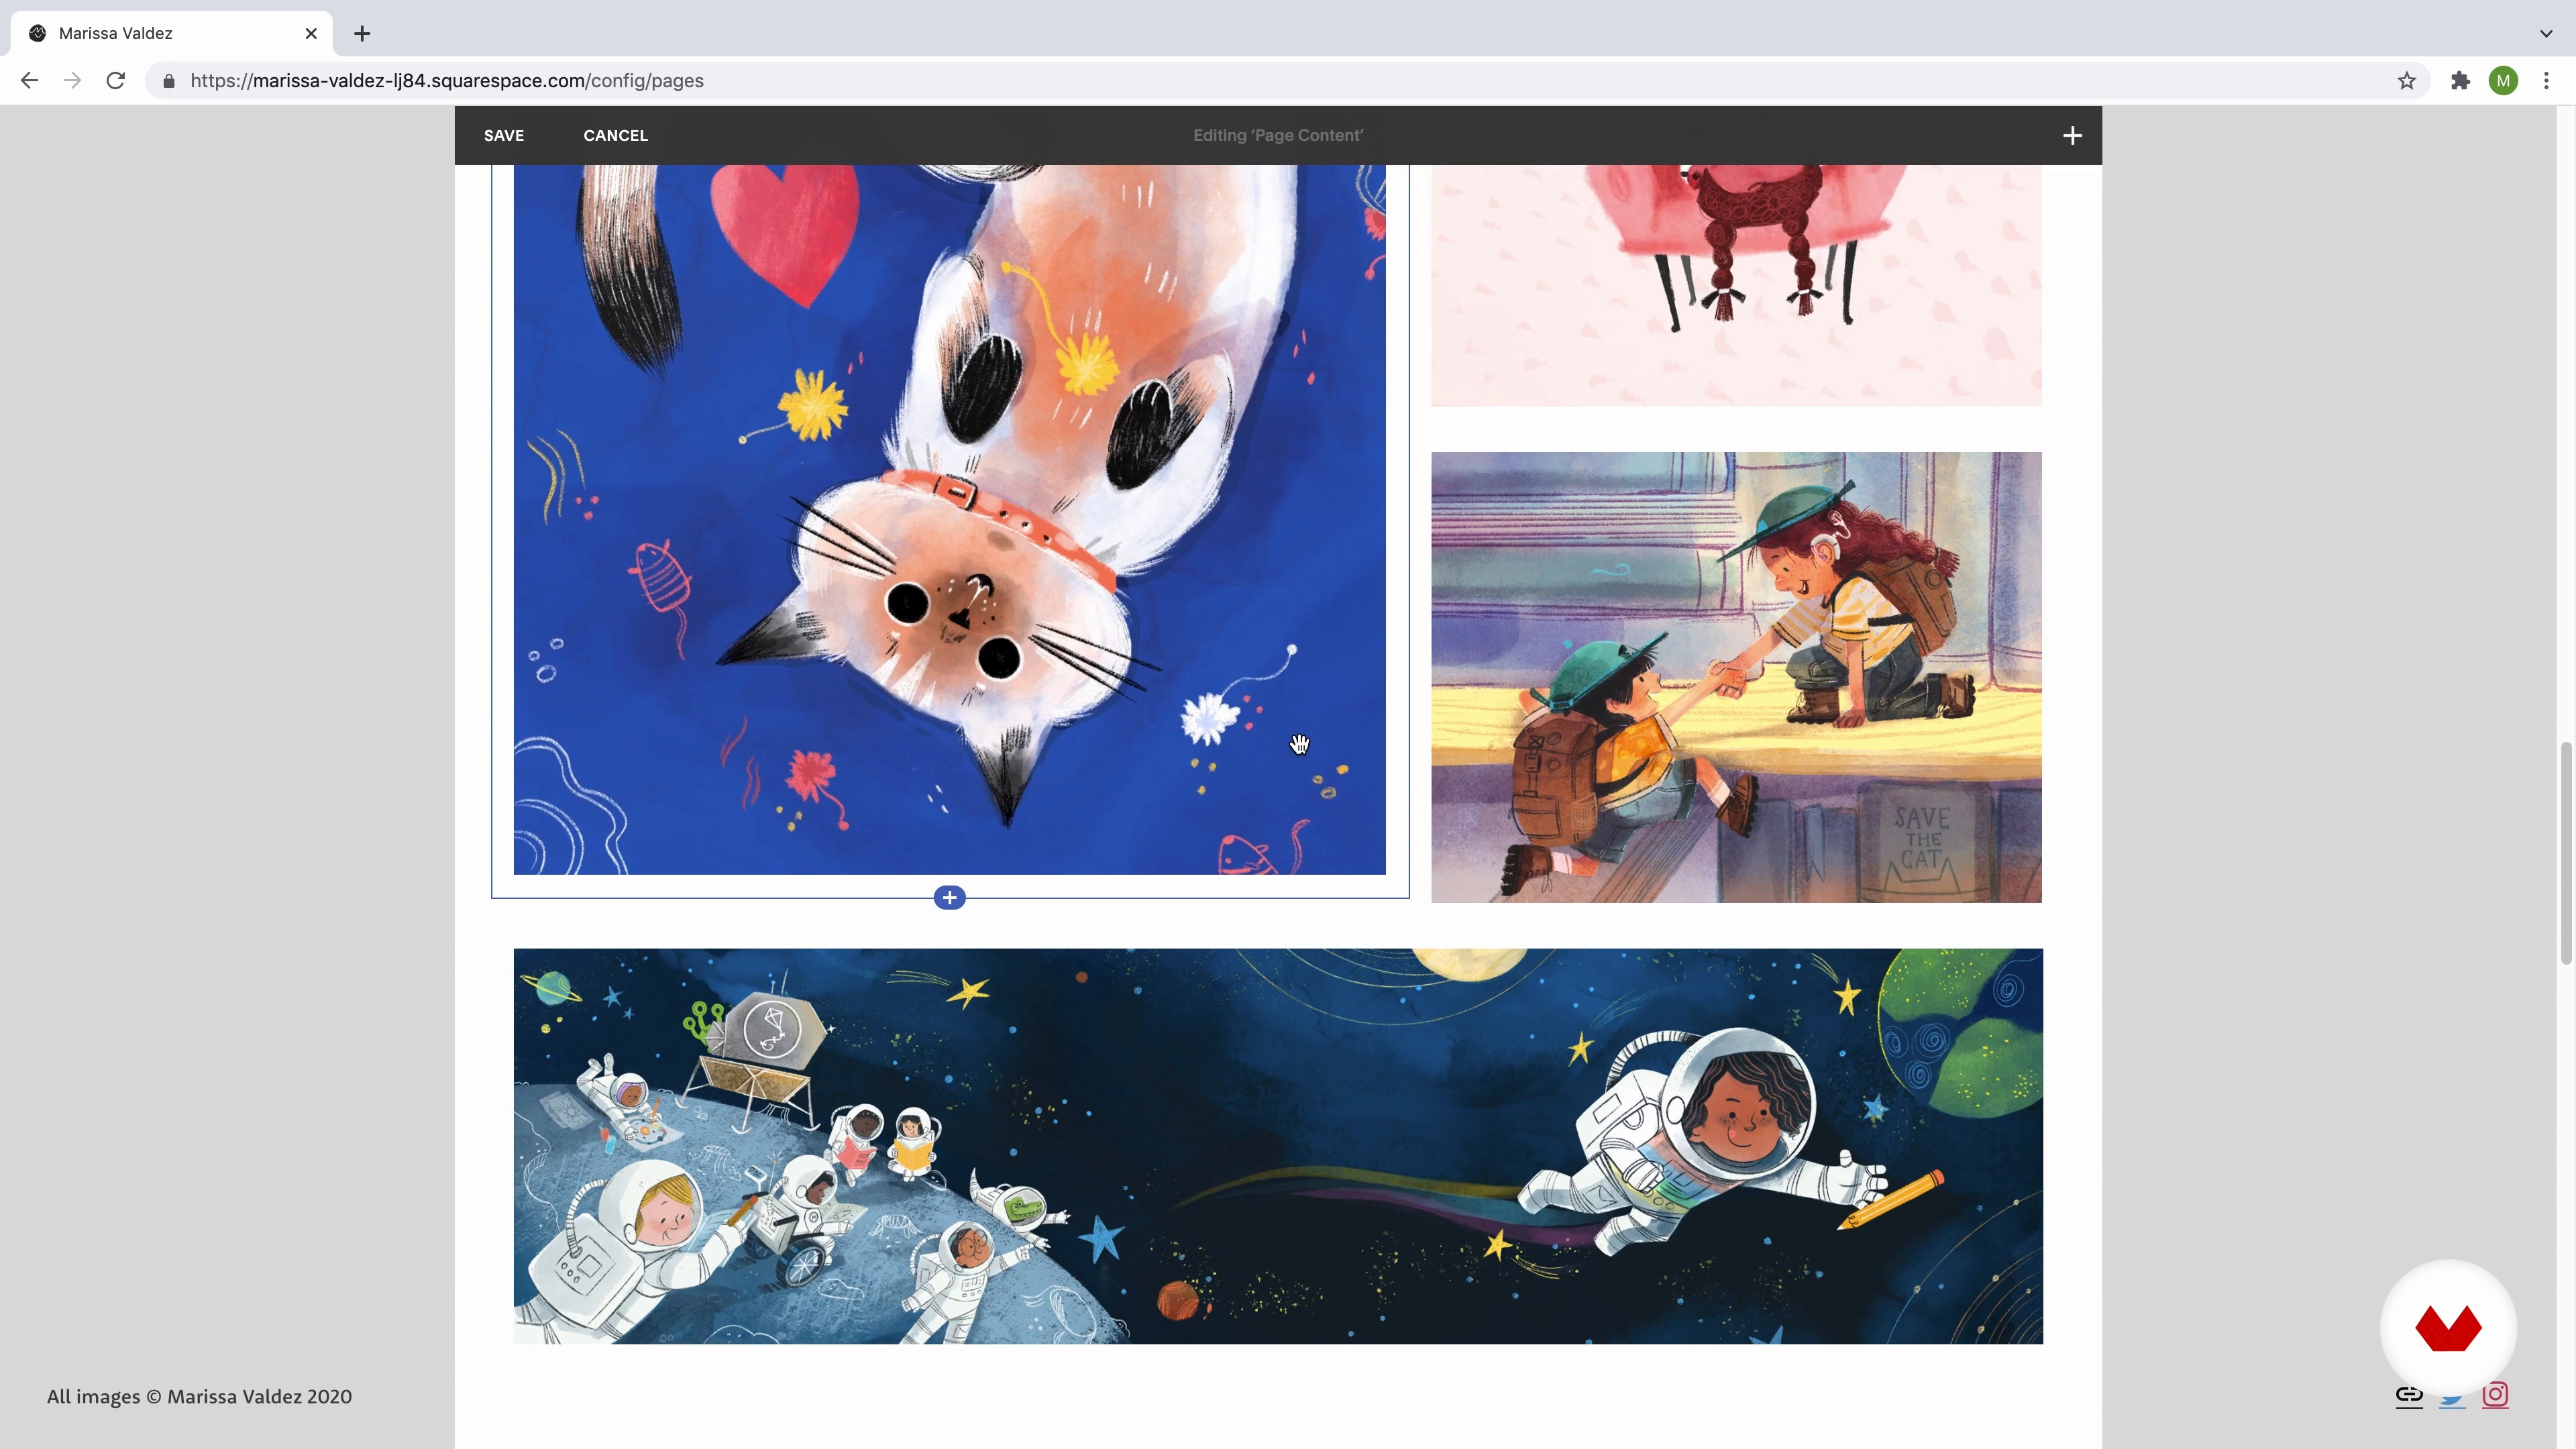
Enhance your career prospects with guidance from Jimena Sarquiz and Marissa Valdez as they share strategies for building standout portfolios, both offline and online. Kayla Stark encourages you to break the mold with experimental techniques, blending unconventional materials and styles to enrich visual storytelling. This specialization promises a comprehensive exploration, from traditional mediums to digital platforms, ensuring a well-rounded approach to children’s illustration. Whether you're refining your skills or starting your journey, the expertise of these talented illustrators will inspire and elevate your artistic endeavors.

Read more ↓

What will you learn in this specialization?

A total of 7 modules and 98 lessons
A total of 18h 23m of vídeo lessons
Taught by 6 selected expert teachers
image
1
Introduction
Let's talk about how children's illustration combines imagination, emotion, and storytelling. You'll learn to embrace experimentation, balance tradition with innovation, and create meaningful stories that inspire young minds and celebrate the joy of playful art.
2m
image
2
Influences / Ema Malyauka
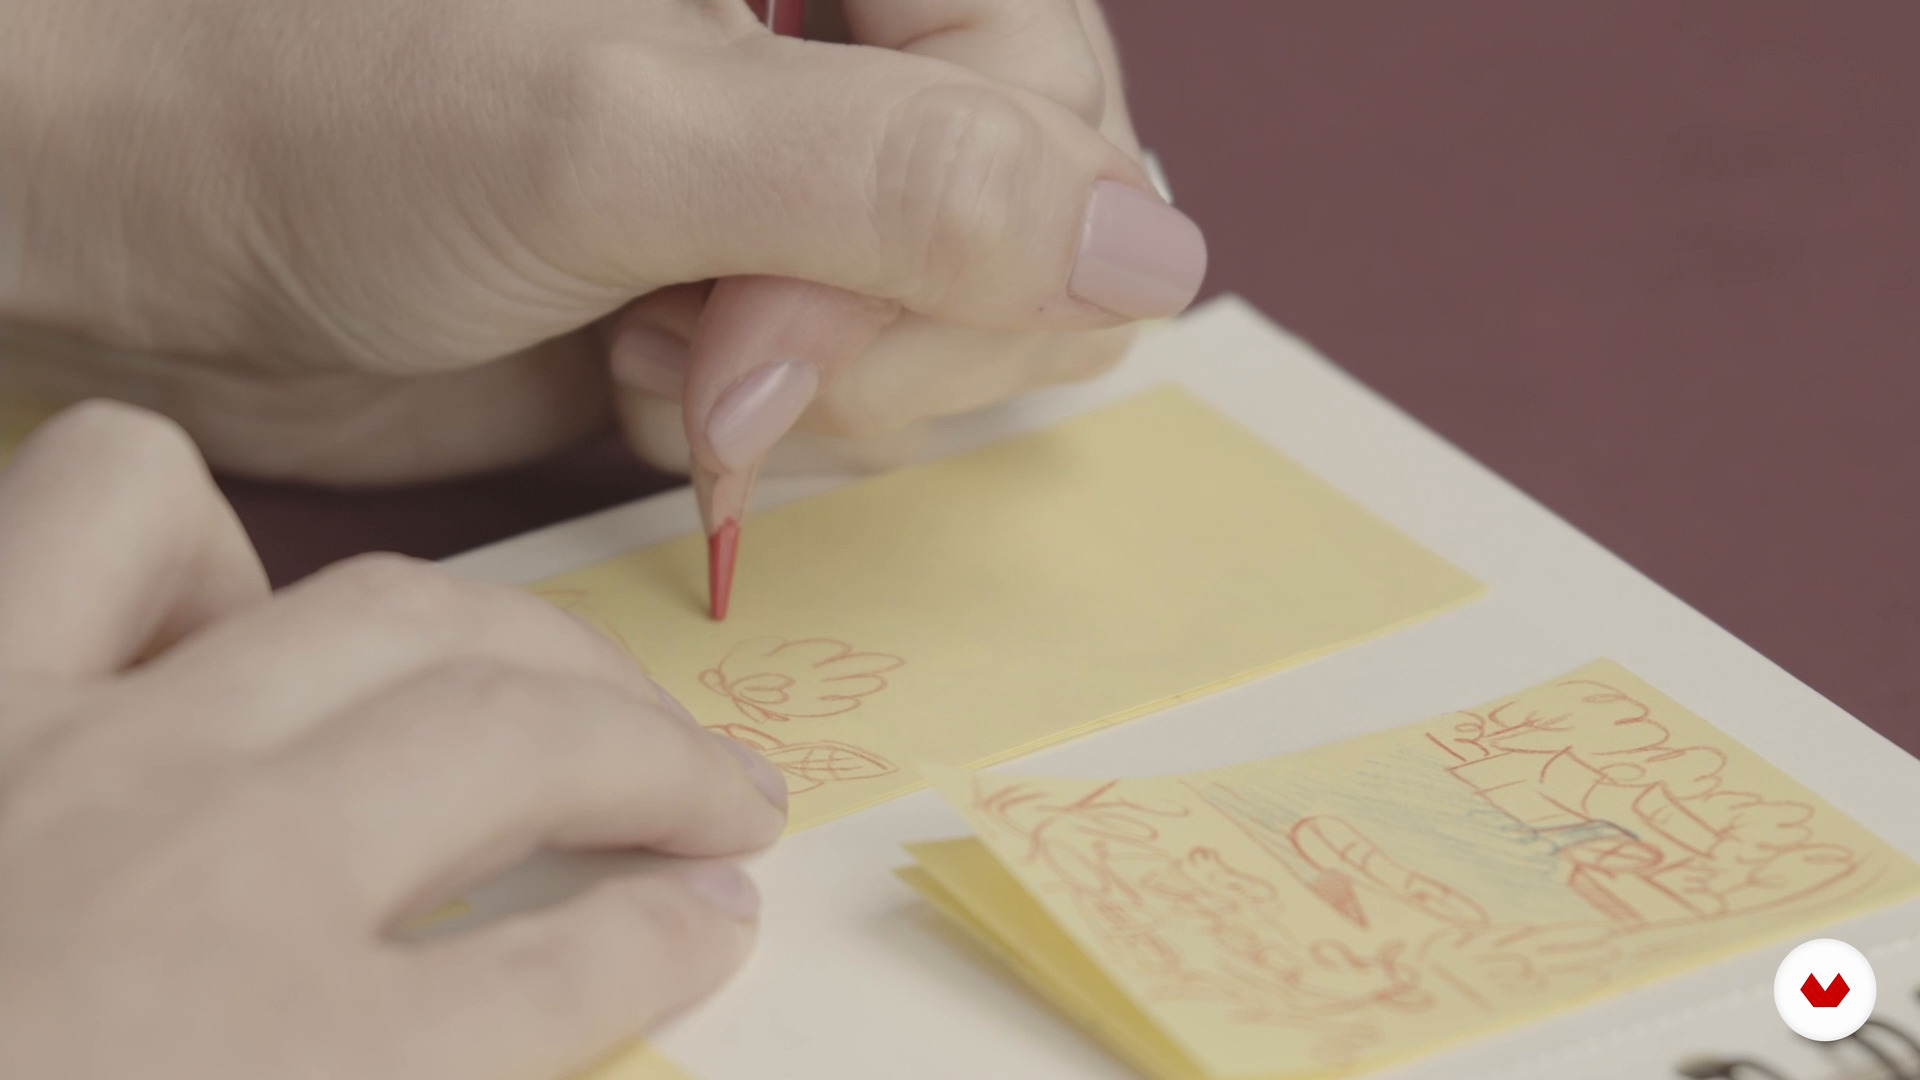
Now, I will share my favorite illustrators—incredible creative talents that inspired my habit of always keeping a sketchbook.
4m
image
3
Influences / Juanita Londoño
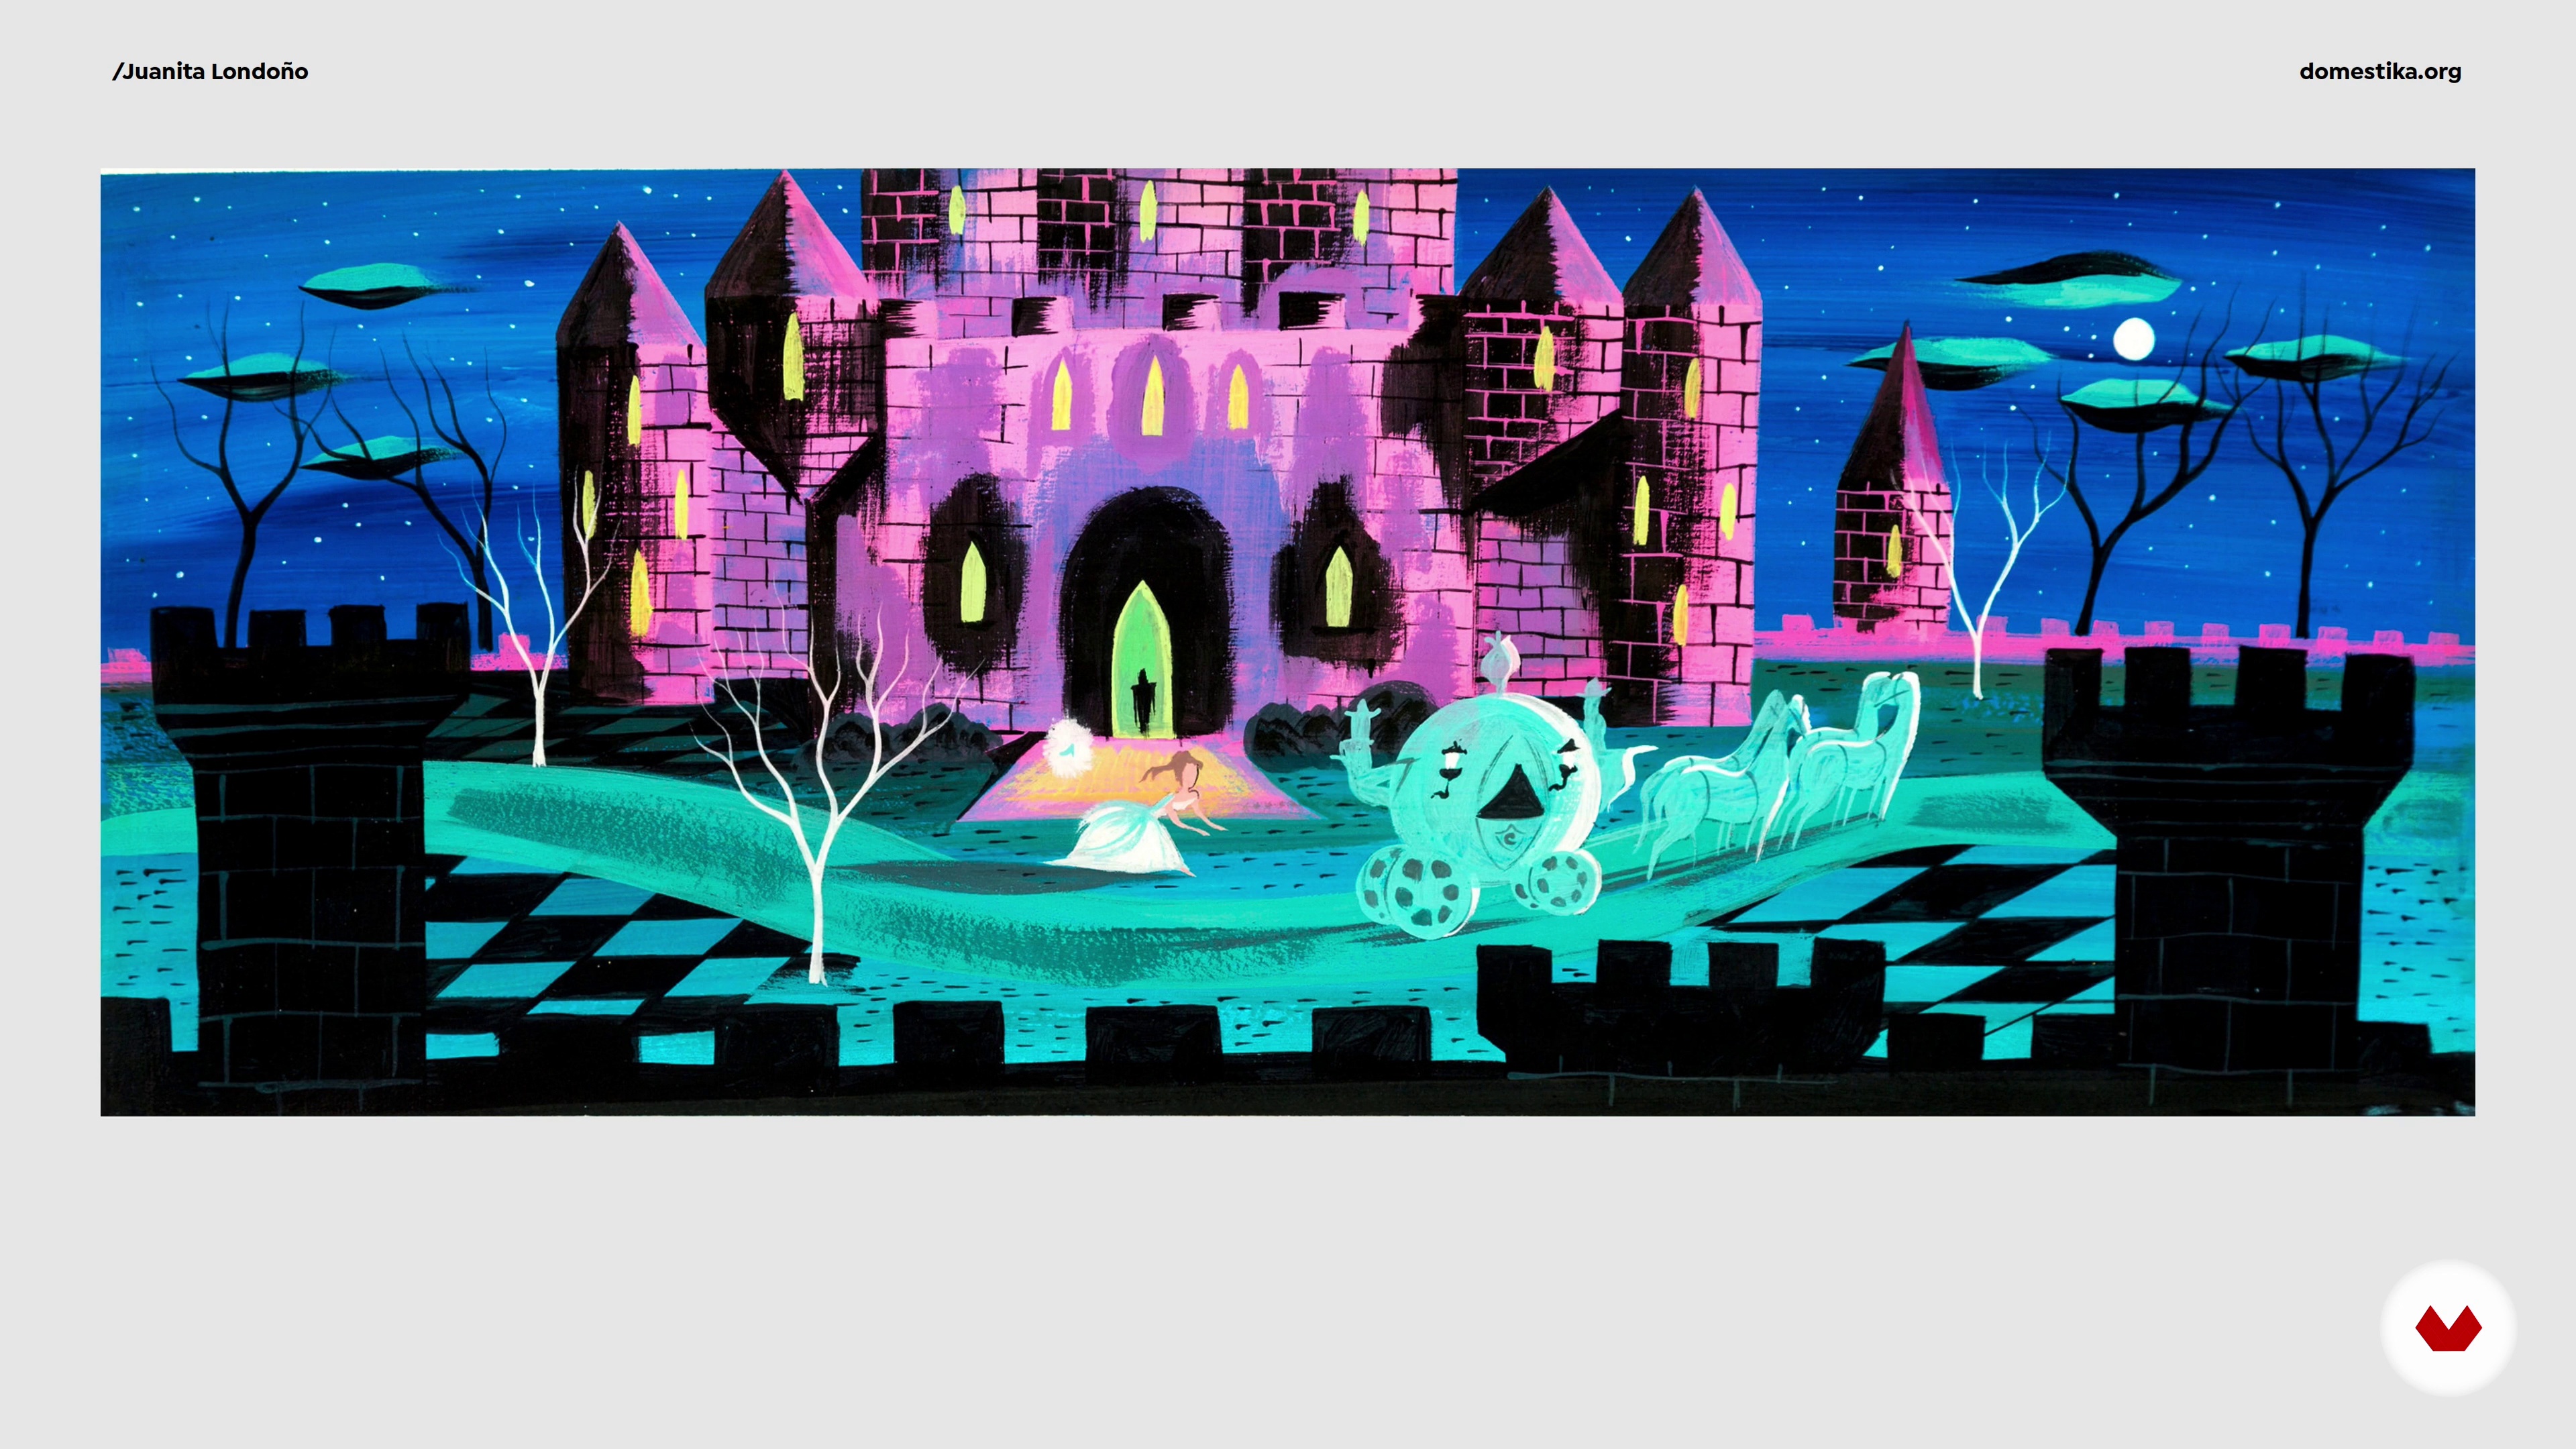
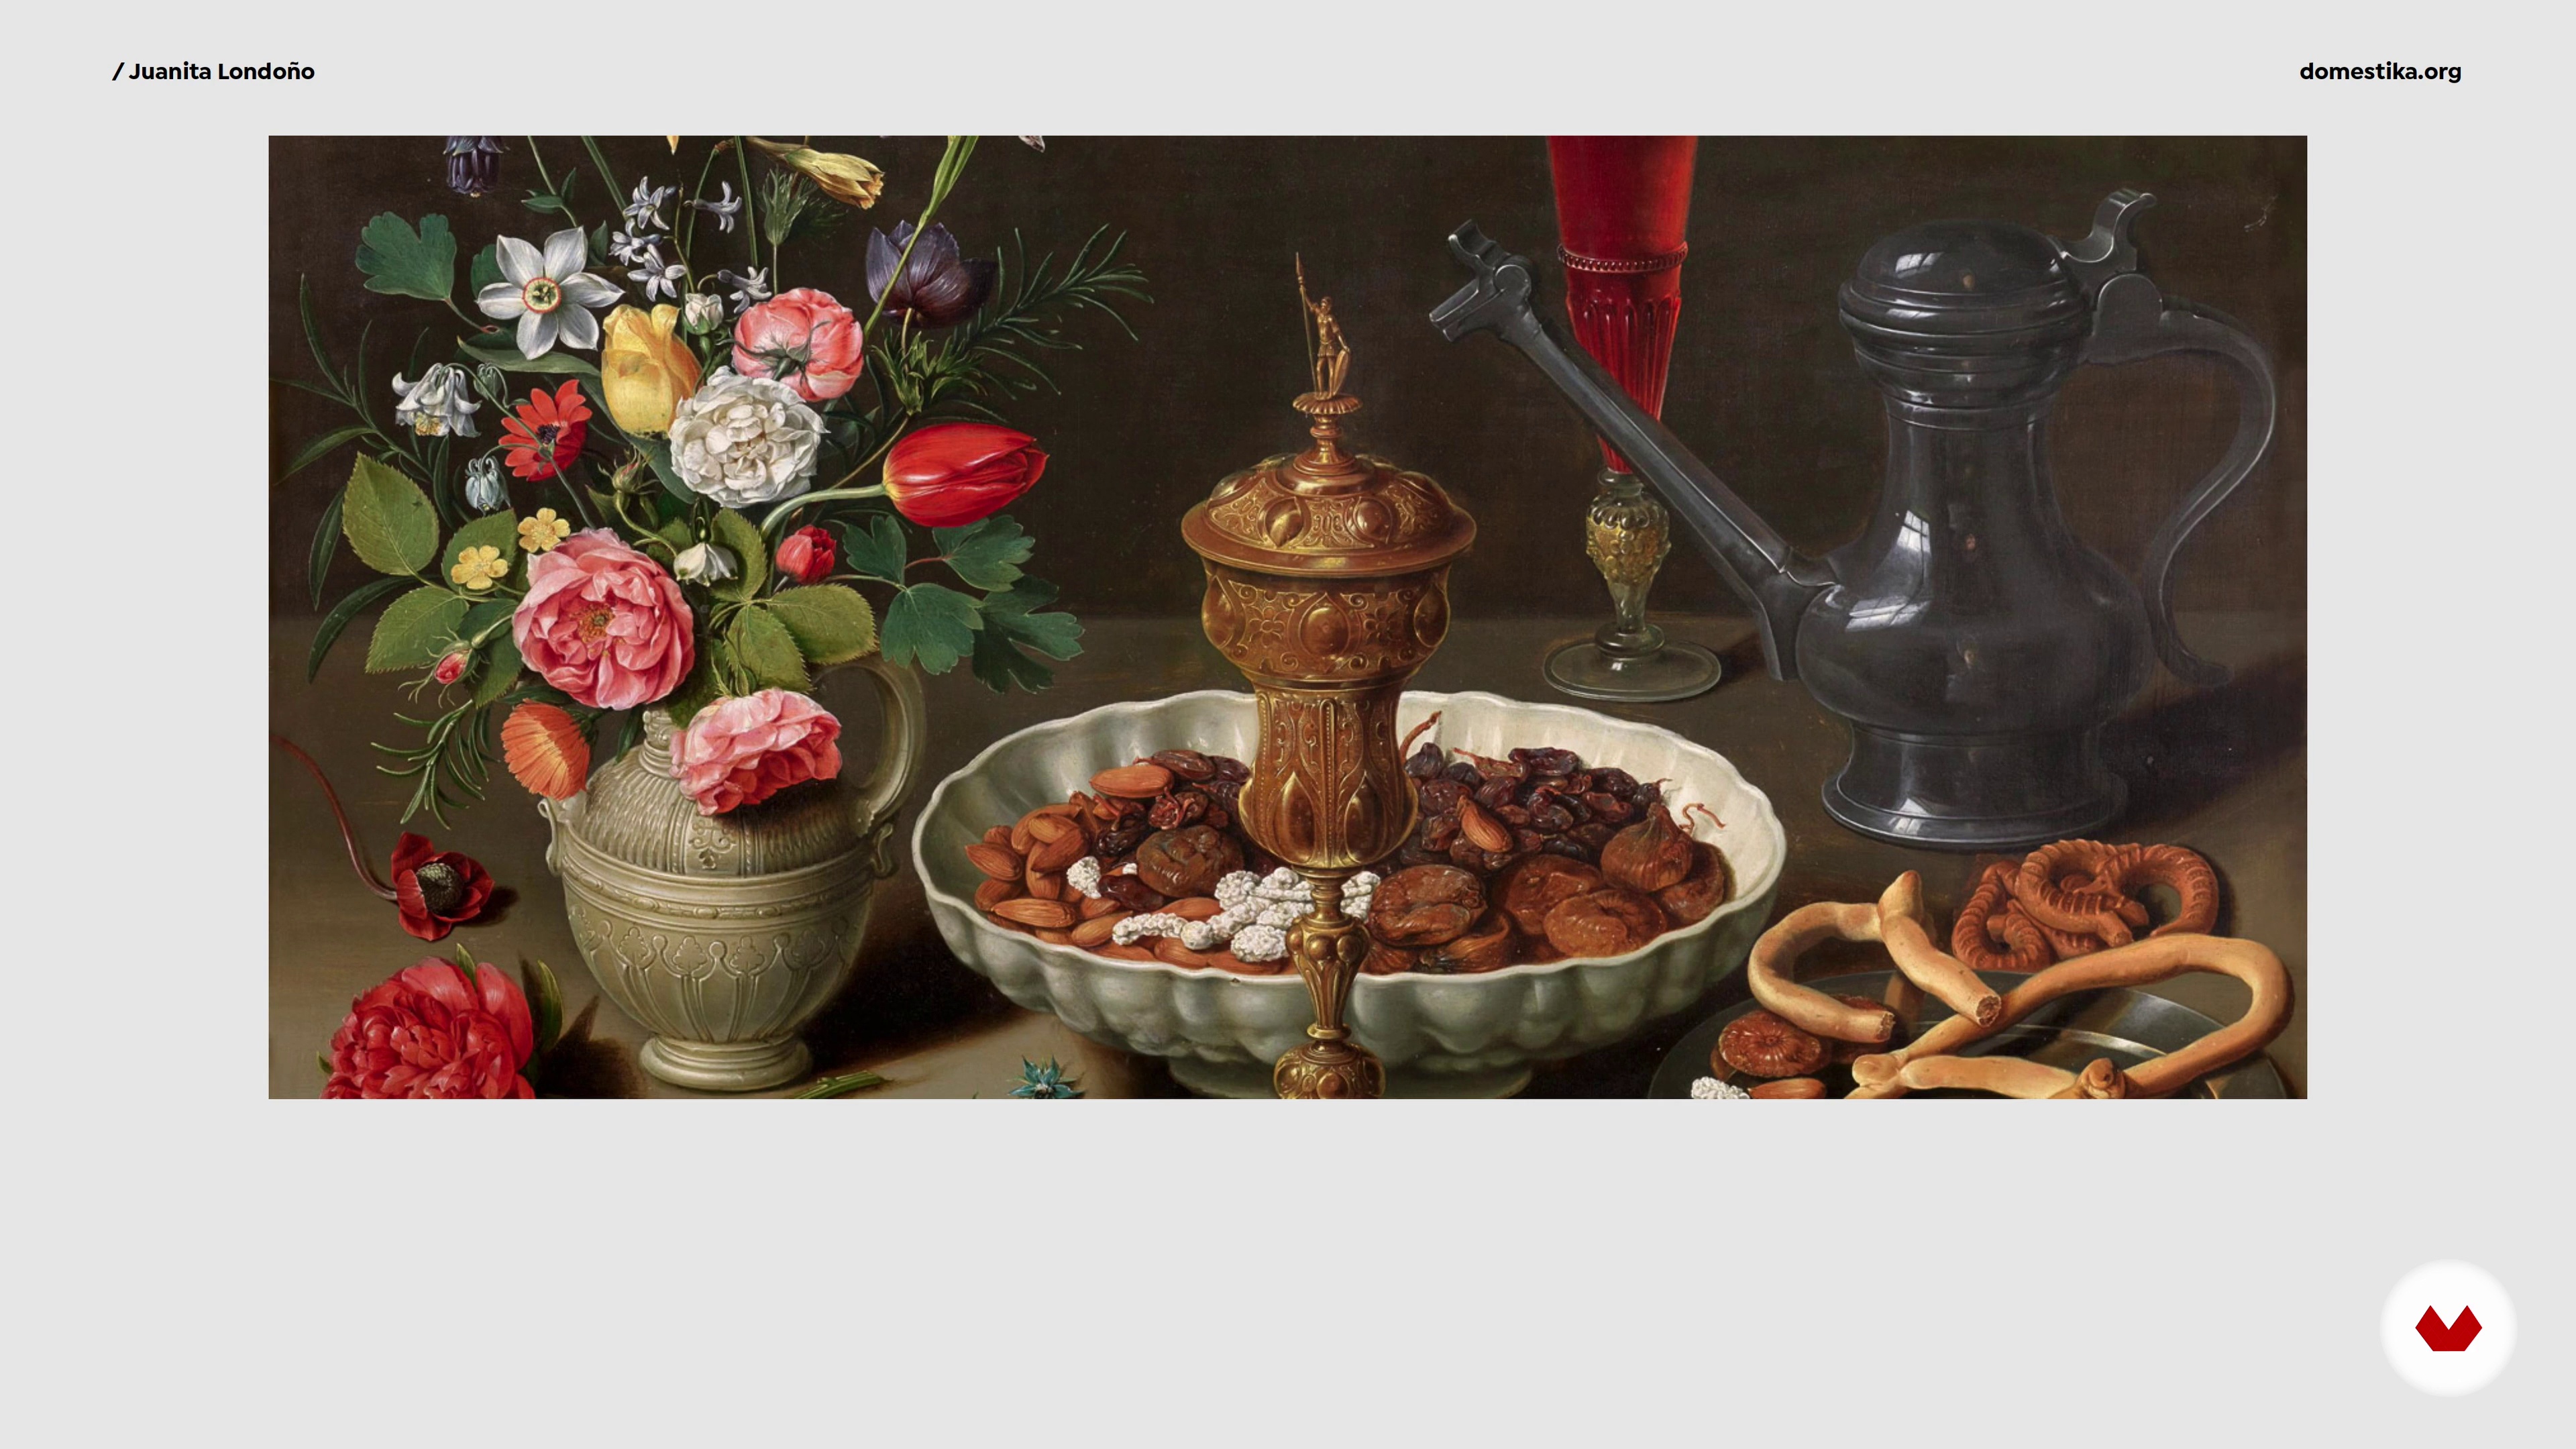
Drawing requires the observation of the world. In this lesson, I will share my influences and references from the world of illustration and other art disciplines. From color master Mary Blair to Magical Realism Colombian writer Gabriel García Marquez, through the enchanting mix of elements achieved by illustrator and designer John Alcorn. In addition to the work of great concept artist Paul Felix who created magical environments and the soft, sweet, and full of emotion illustrations of Gyo Fujikawa.
17m
image
4
Influences / Lucy Fleming
In this lesson, I will be sharing with you some places where I get inspiration for my work. I hope this will spark your own inspiration!
2m
image
5
Influences / Jimena Sarquiz
I'll show you some artists who inspire my work as a children's book illustrator in this lesson.
4m
image
6
Influences / Marissa Valdez
I will talk to you about children’s book illustrators that I love, and I will tell you why their illustrations and books work so well and how they’ve influenced my illustration style.
7m
image
7
Influences / Kayla Stark
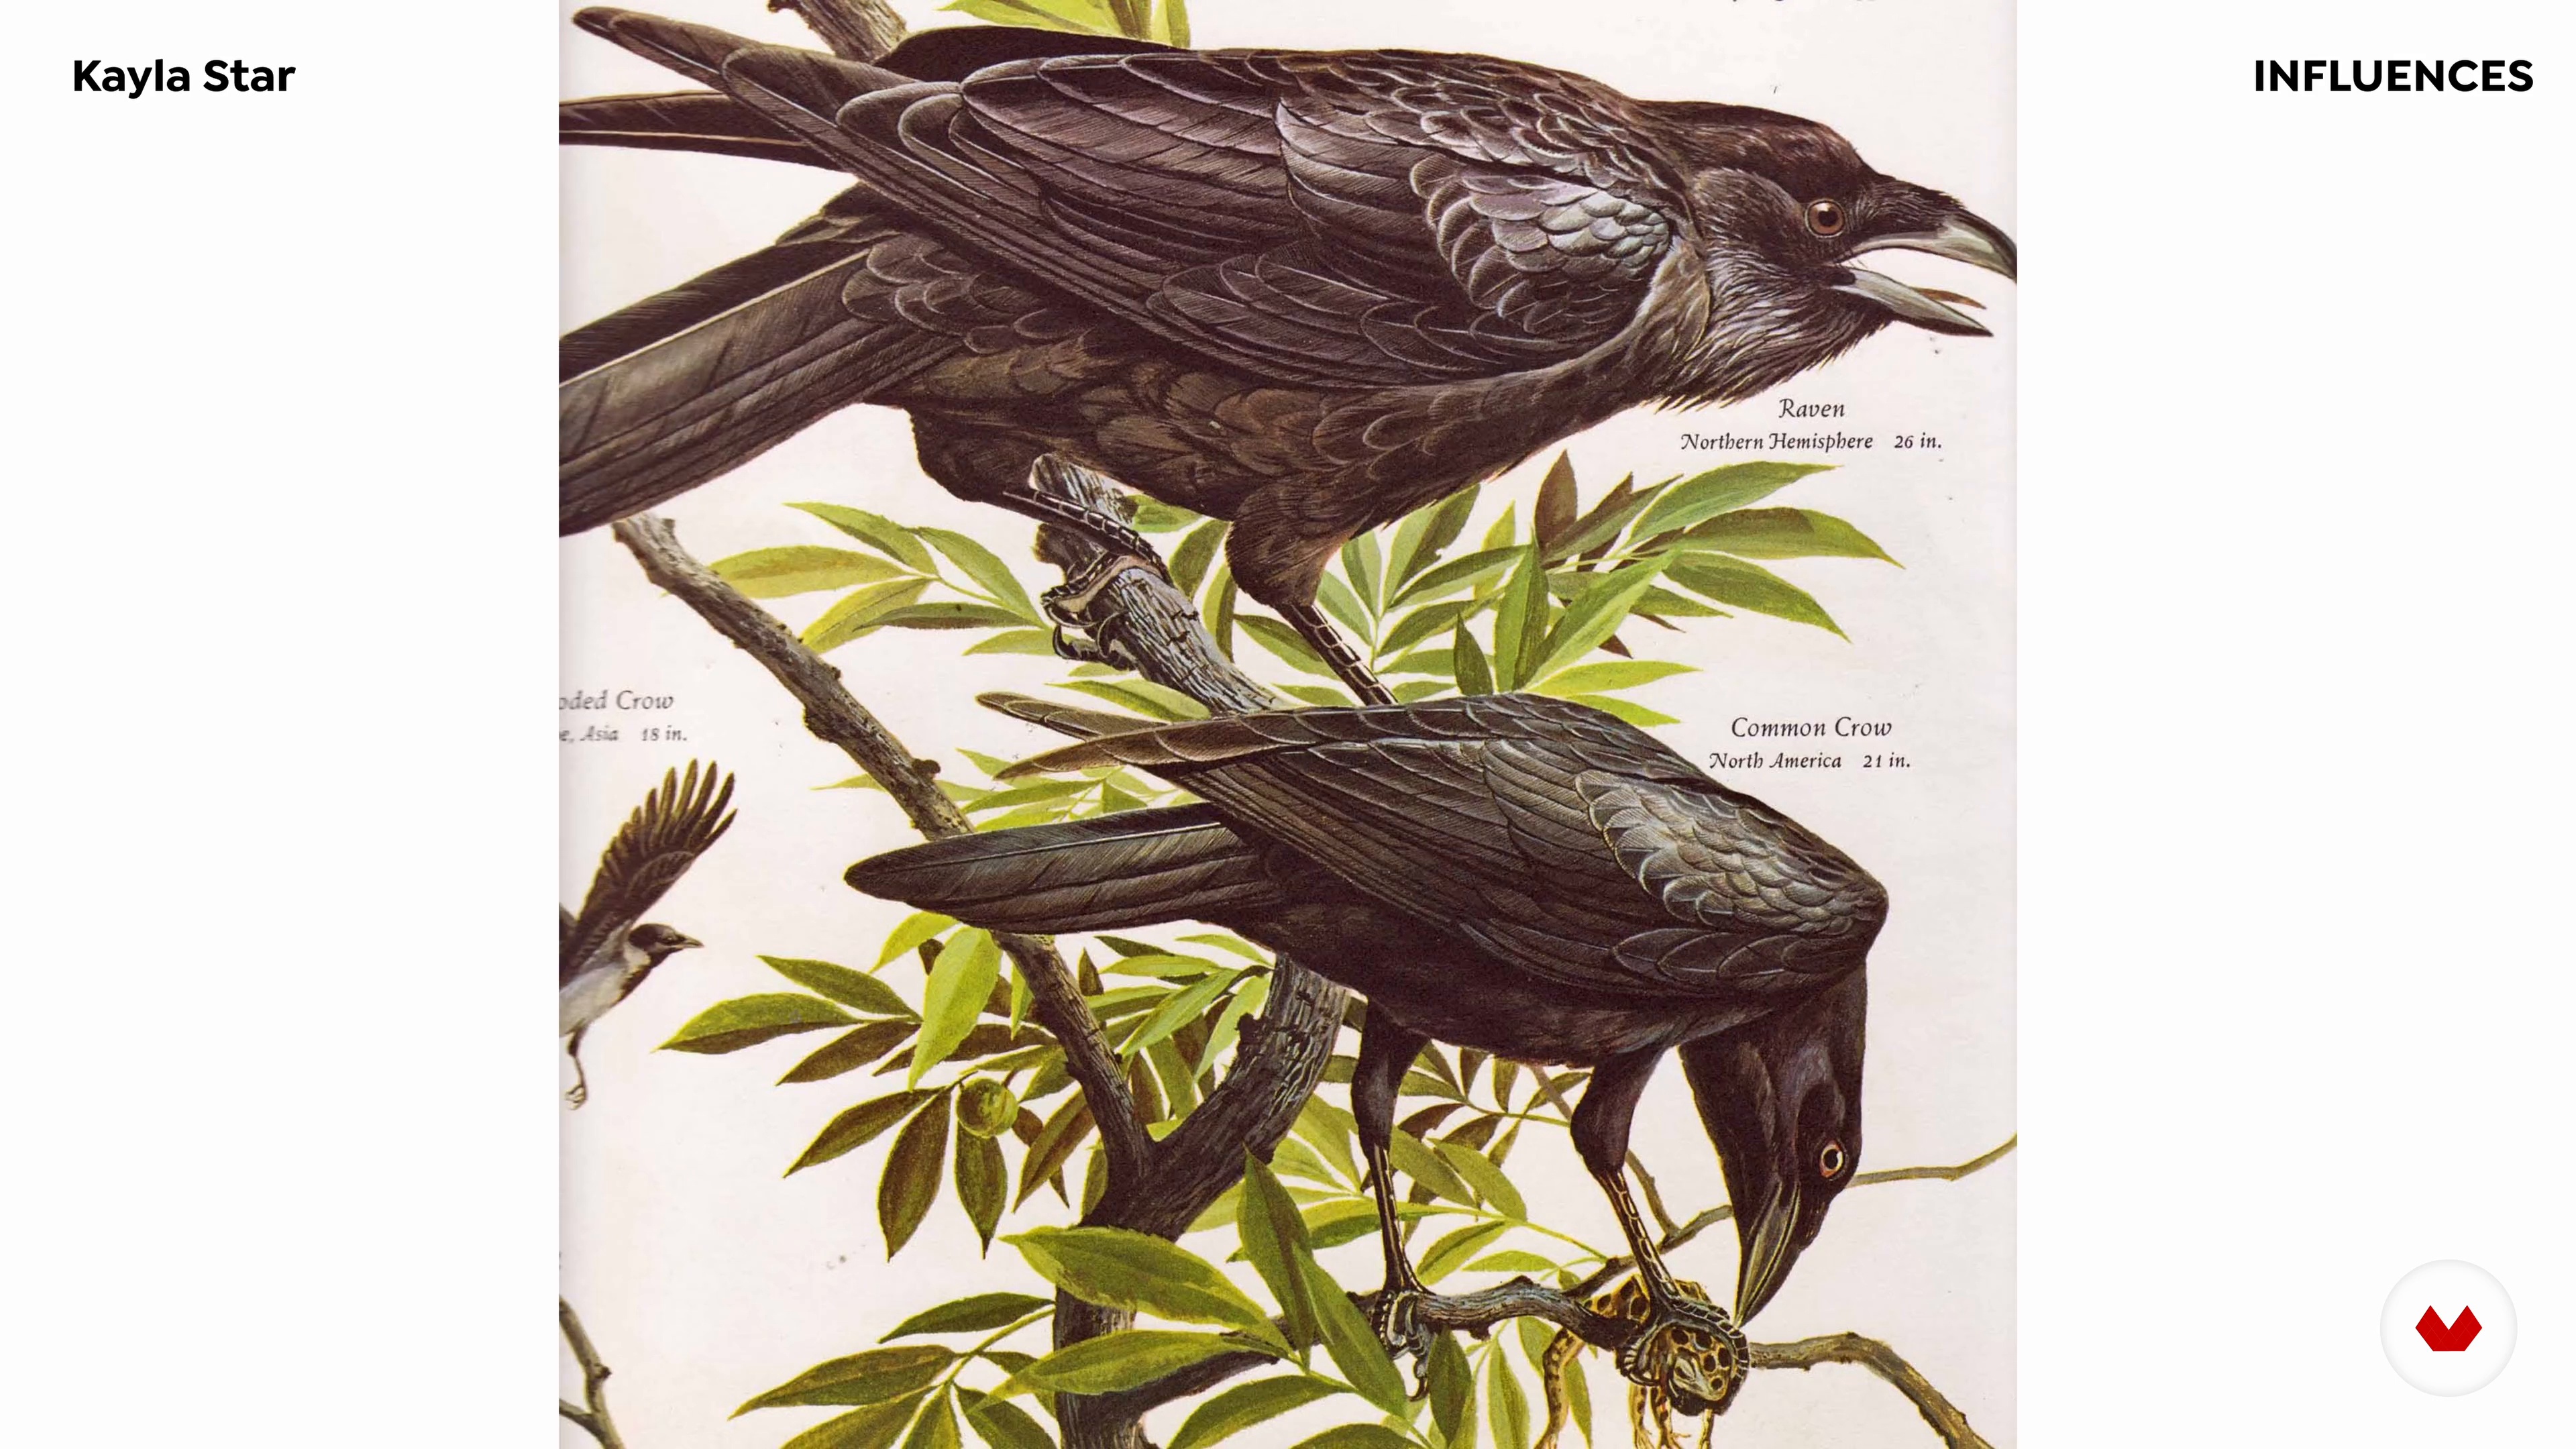
I’m influenced by so many different things and parts of life. It’s hard to narrow down exactly who and what influences me as it’s always changing and piling up. However, with that said, major categories include animals, “classic” childrens’ illustrations, history, and observing the world.
13m
image
1
How to Choose Your Sketchbook
In this lesson, I will explain why a sketchbook is such an important tool for an artist and how to choose the right one.
9m
image
2
Supplies and Materials 1
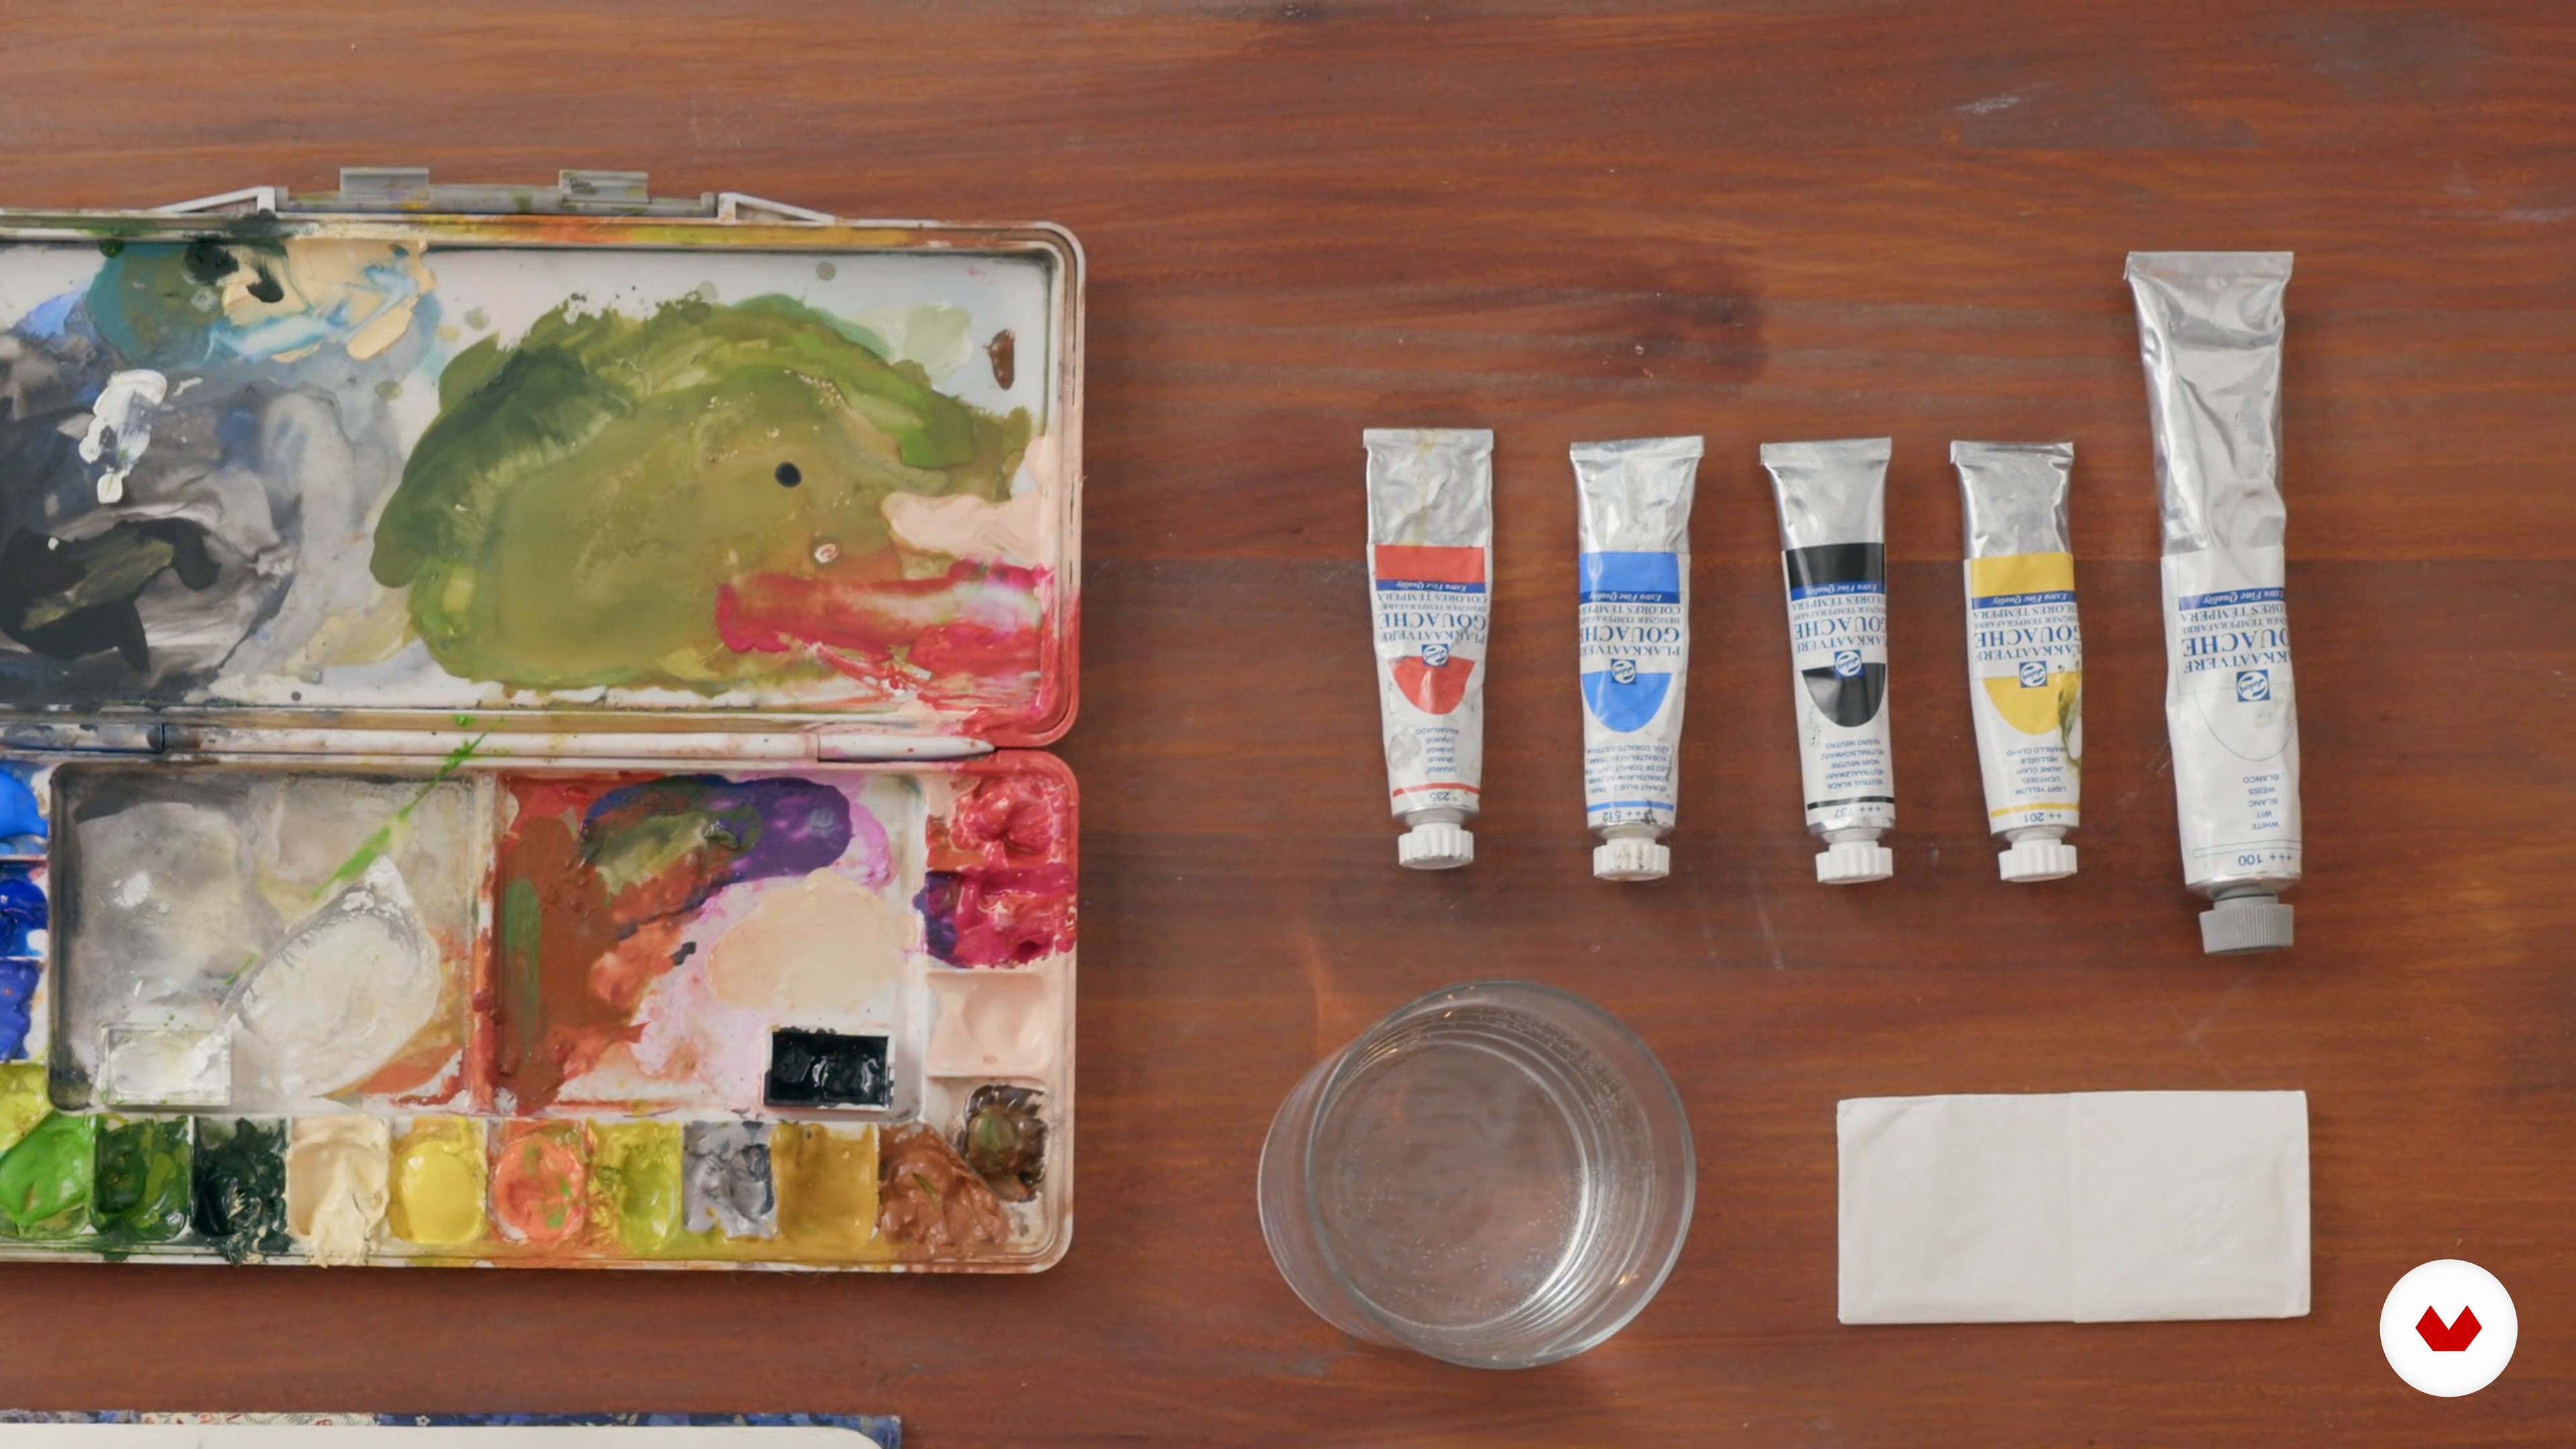
Next, I will show you my favorite materials and supplies. Then, I will complete some exercises to demonstrate how to get the best results out of them. To start, I will work with gouache.
10m
image
3
Supplies and Materials 2
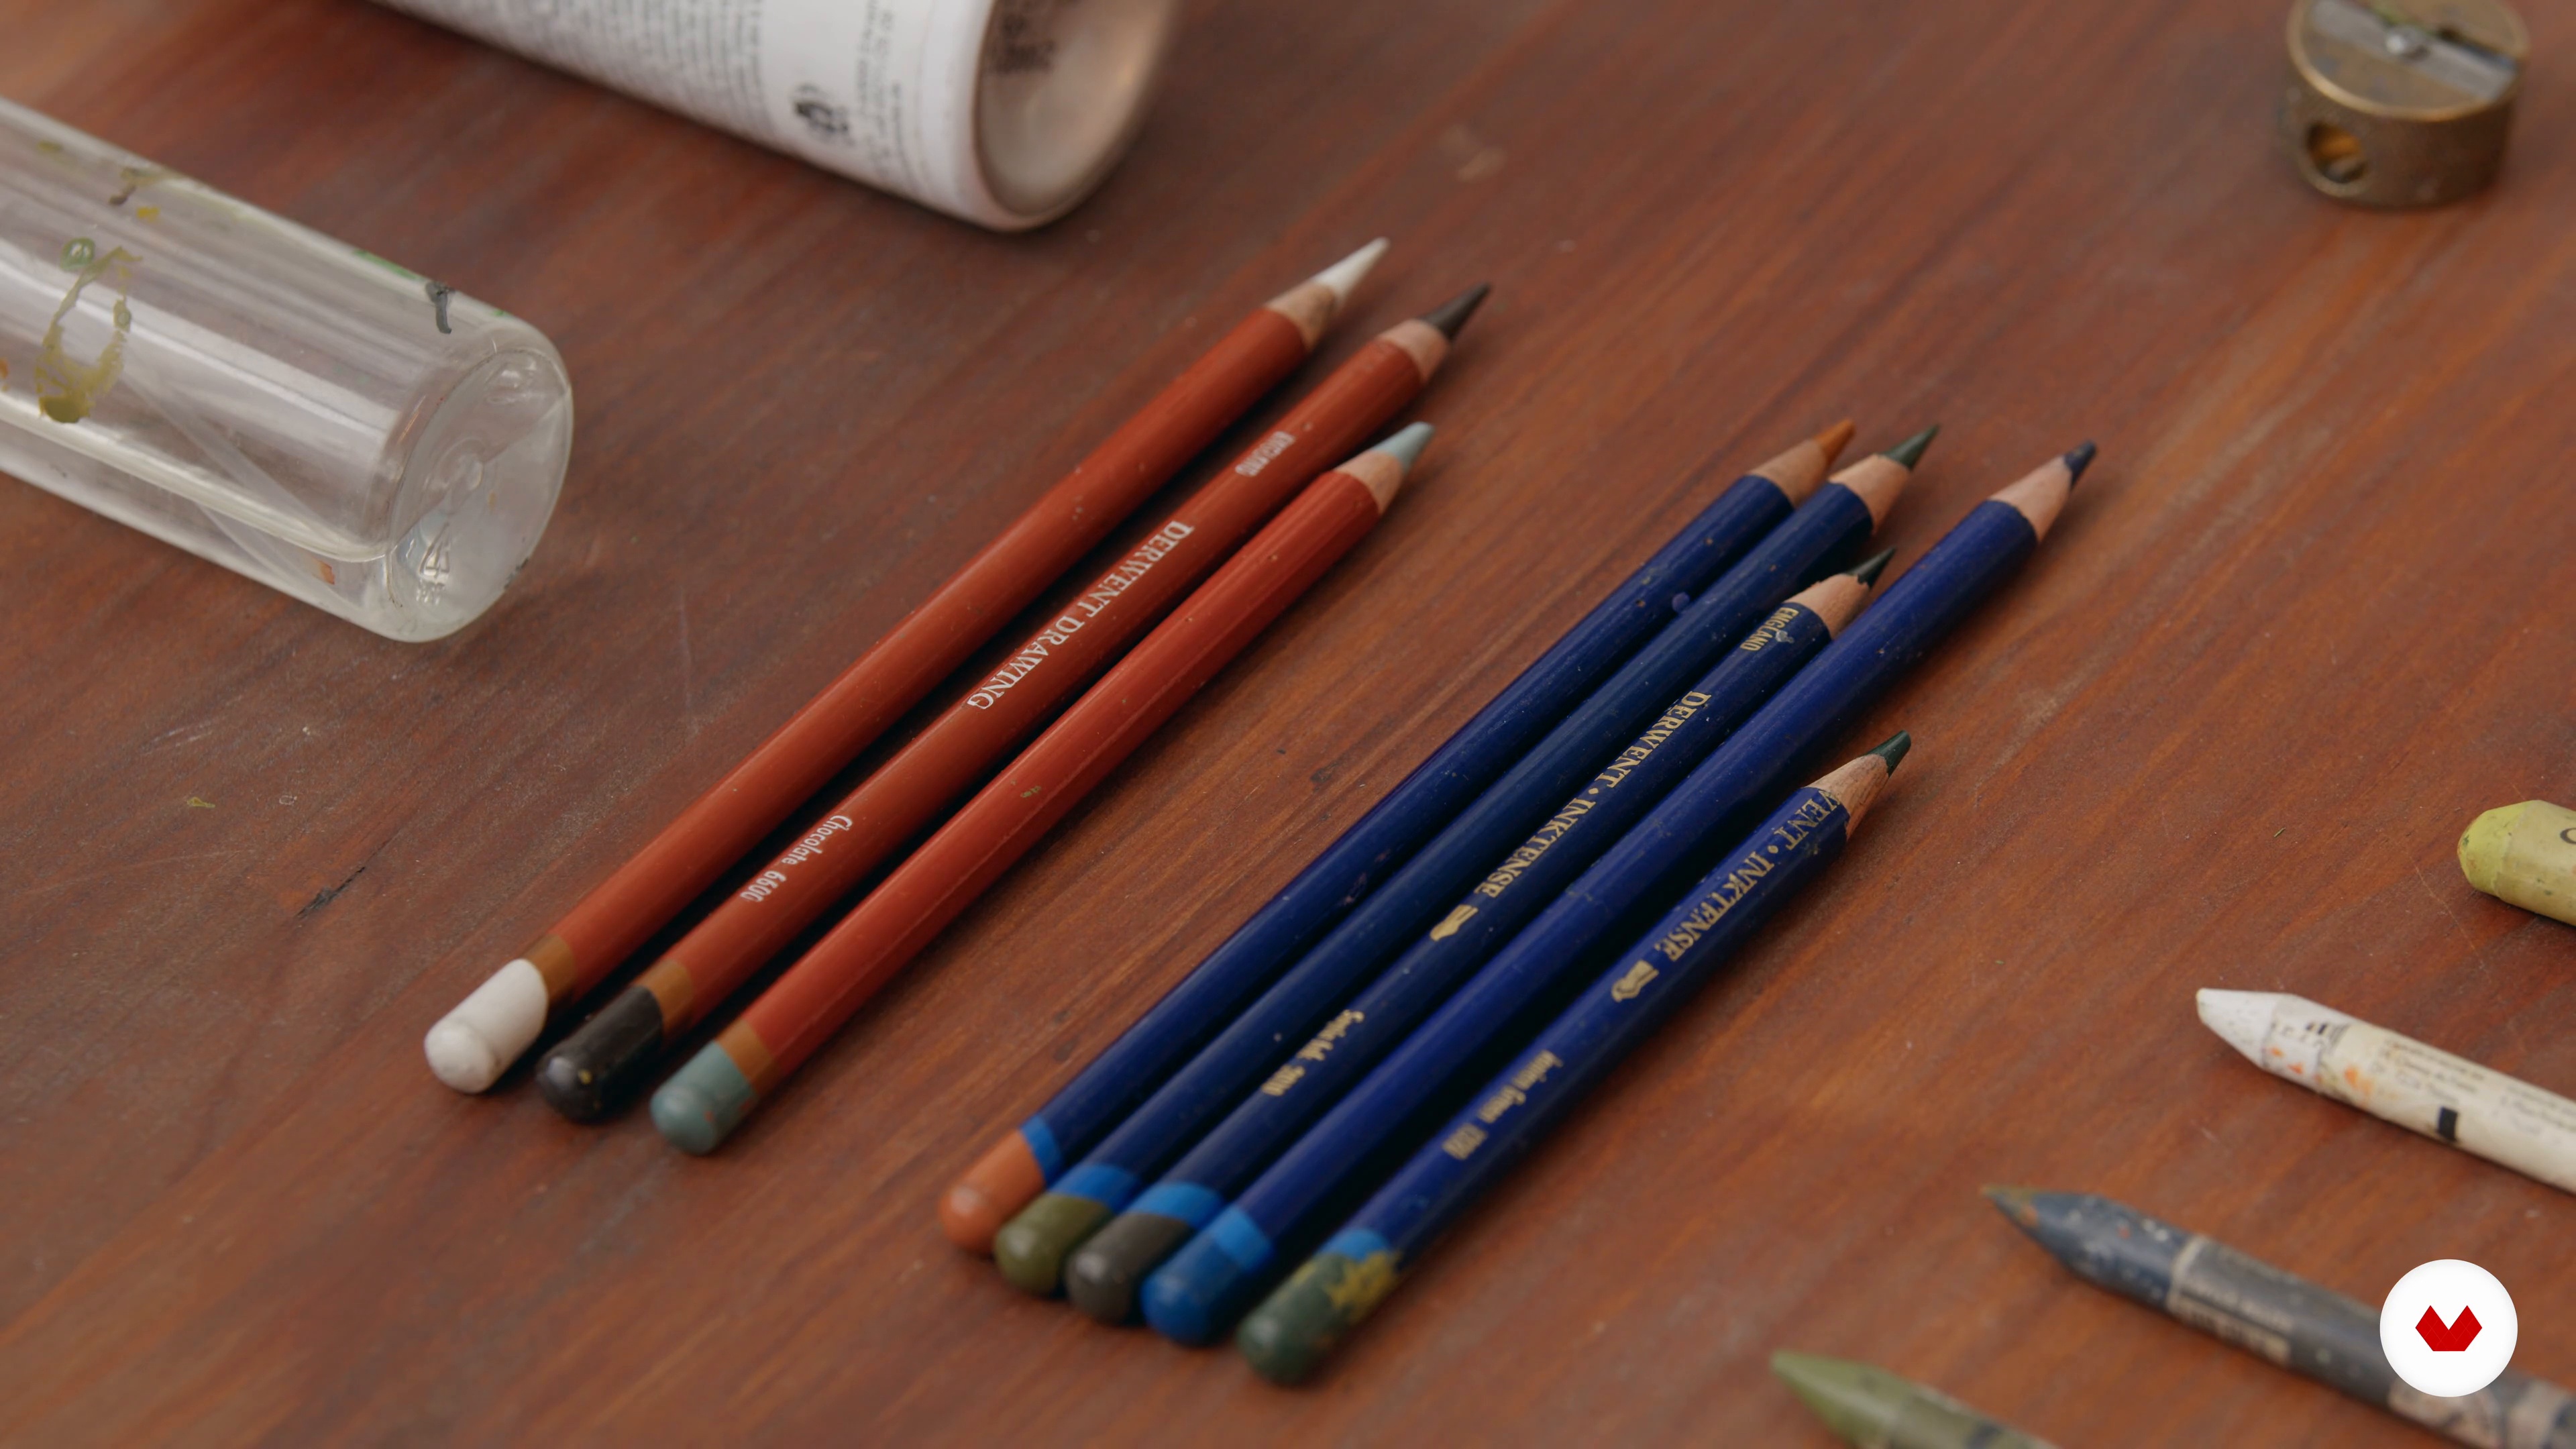
In this lesson, I will walk you through a number of recommended brands for pencils, crayons, and graphite sticks. My personal favorite is Derwent Drawing; their natural shades fit perfectly with my style. I encourage you to experiment with different supplies until you find the right set for you!
12m
image
4
Choosing a Tale
Here, I will teach you about the different types of picture books. Then, you will learn some tips on how to choose the tale for your project.
9m
image
5
Creating a Mood Board
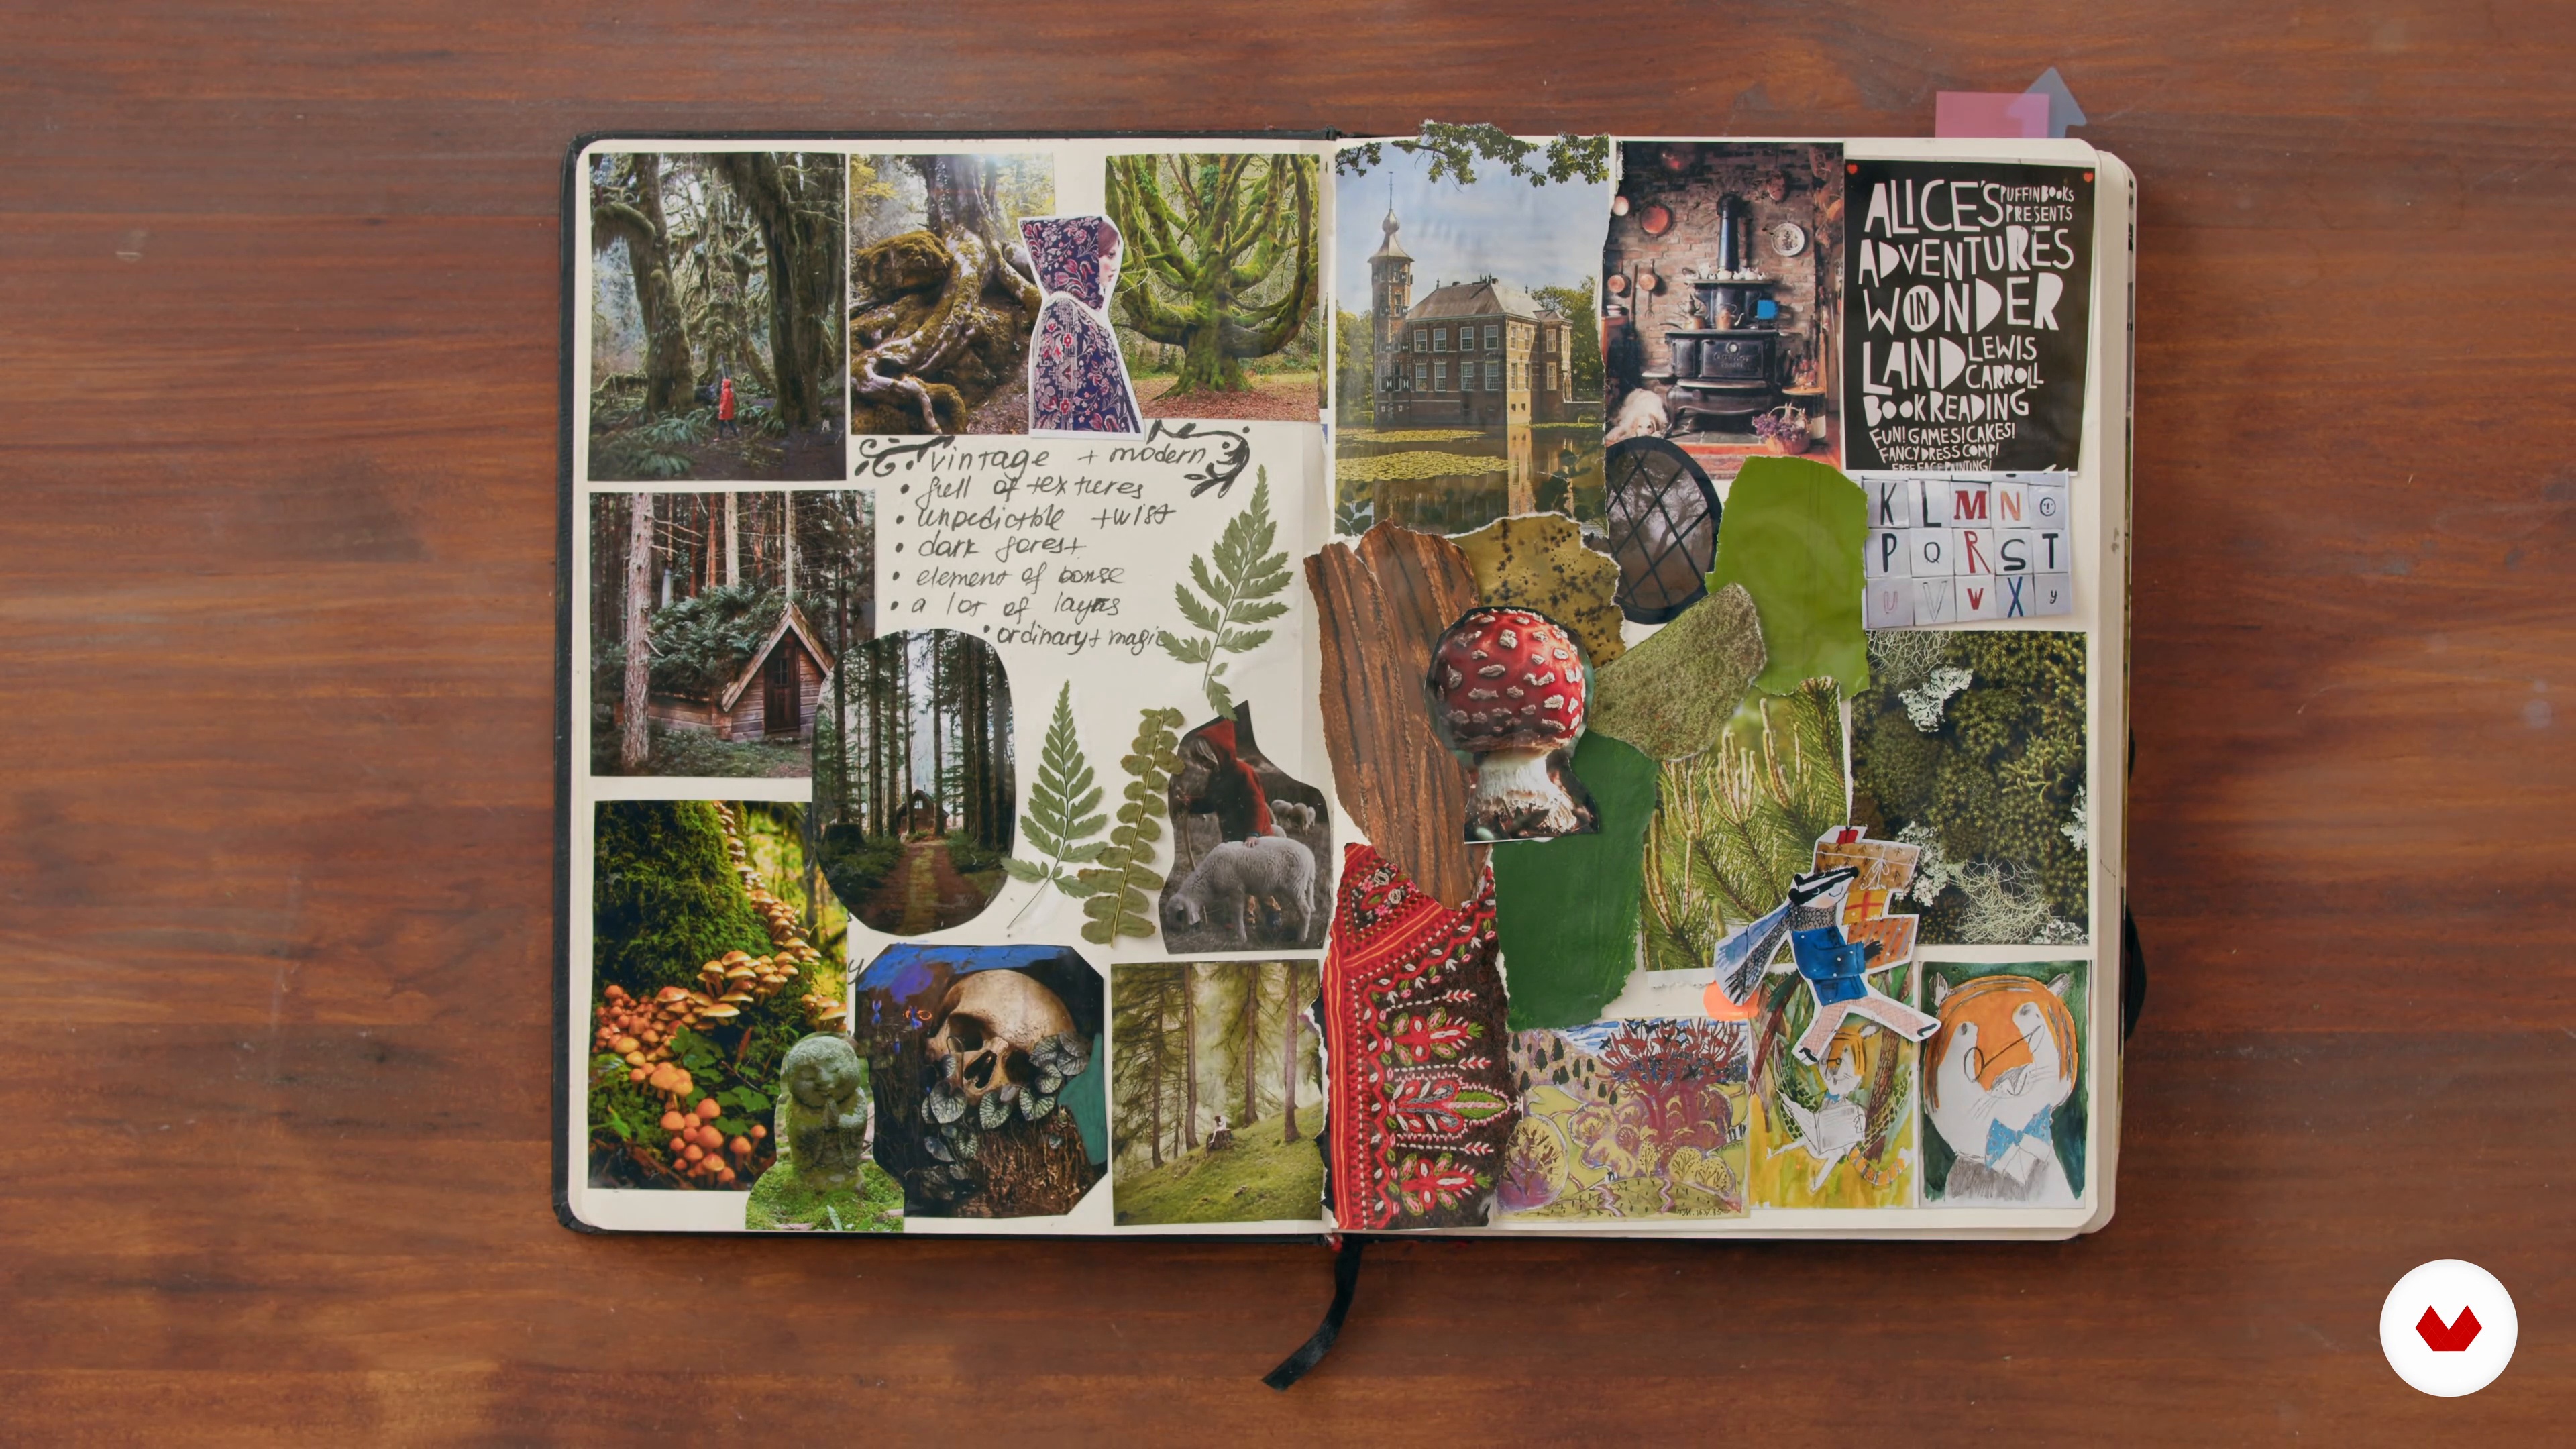
The final step to conclude your preparation process is gathering inspiration. In this lesson, I will explain the importance of collecting research before starting a future book, how to achieve this, and where to look. You will learn what a mood board is and how to create one. Finally, I will cover a few rules on how to use references.
20m
image
6
Personality
In this lesson, I will focus on the importance of understanding who your character is and their personality, before starting to sketch!
7m
image
7
Sketching 1
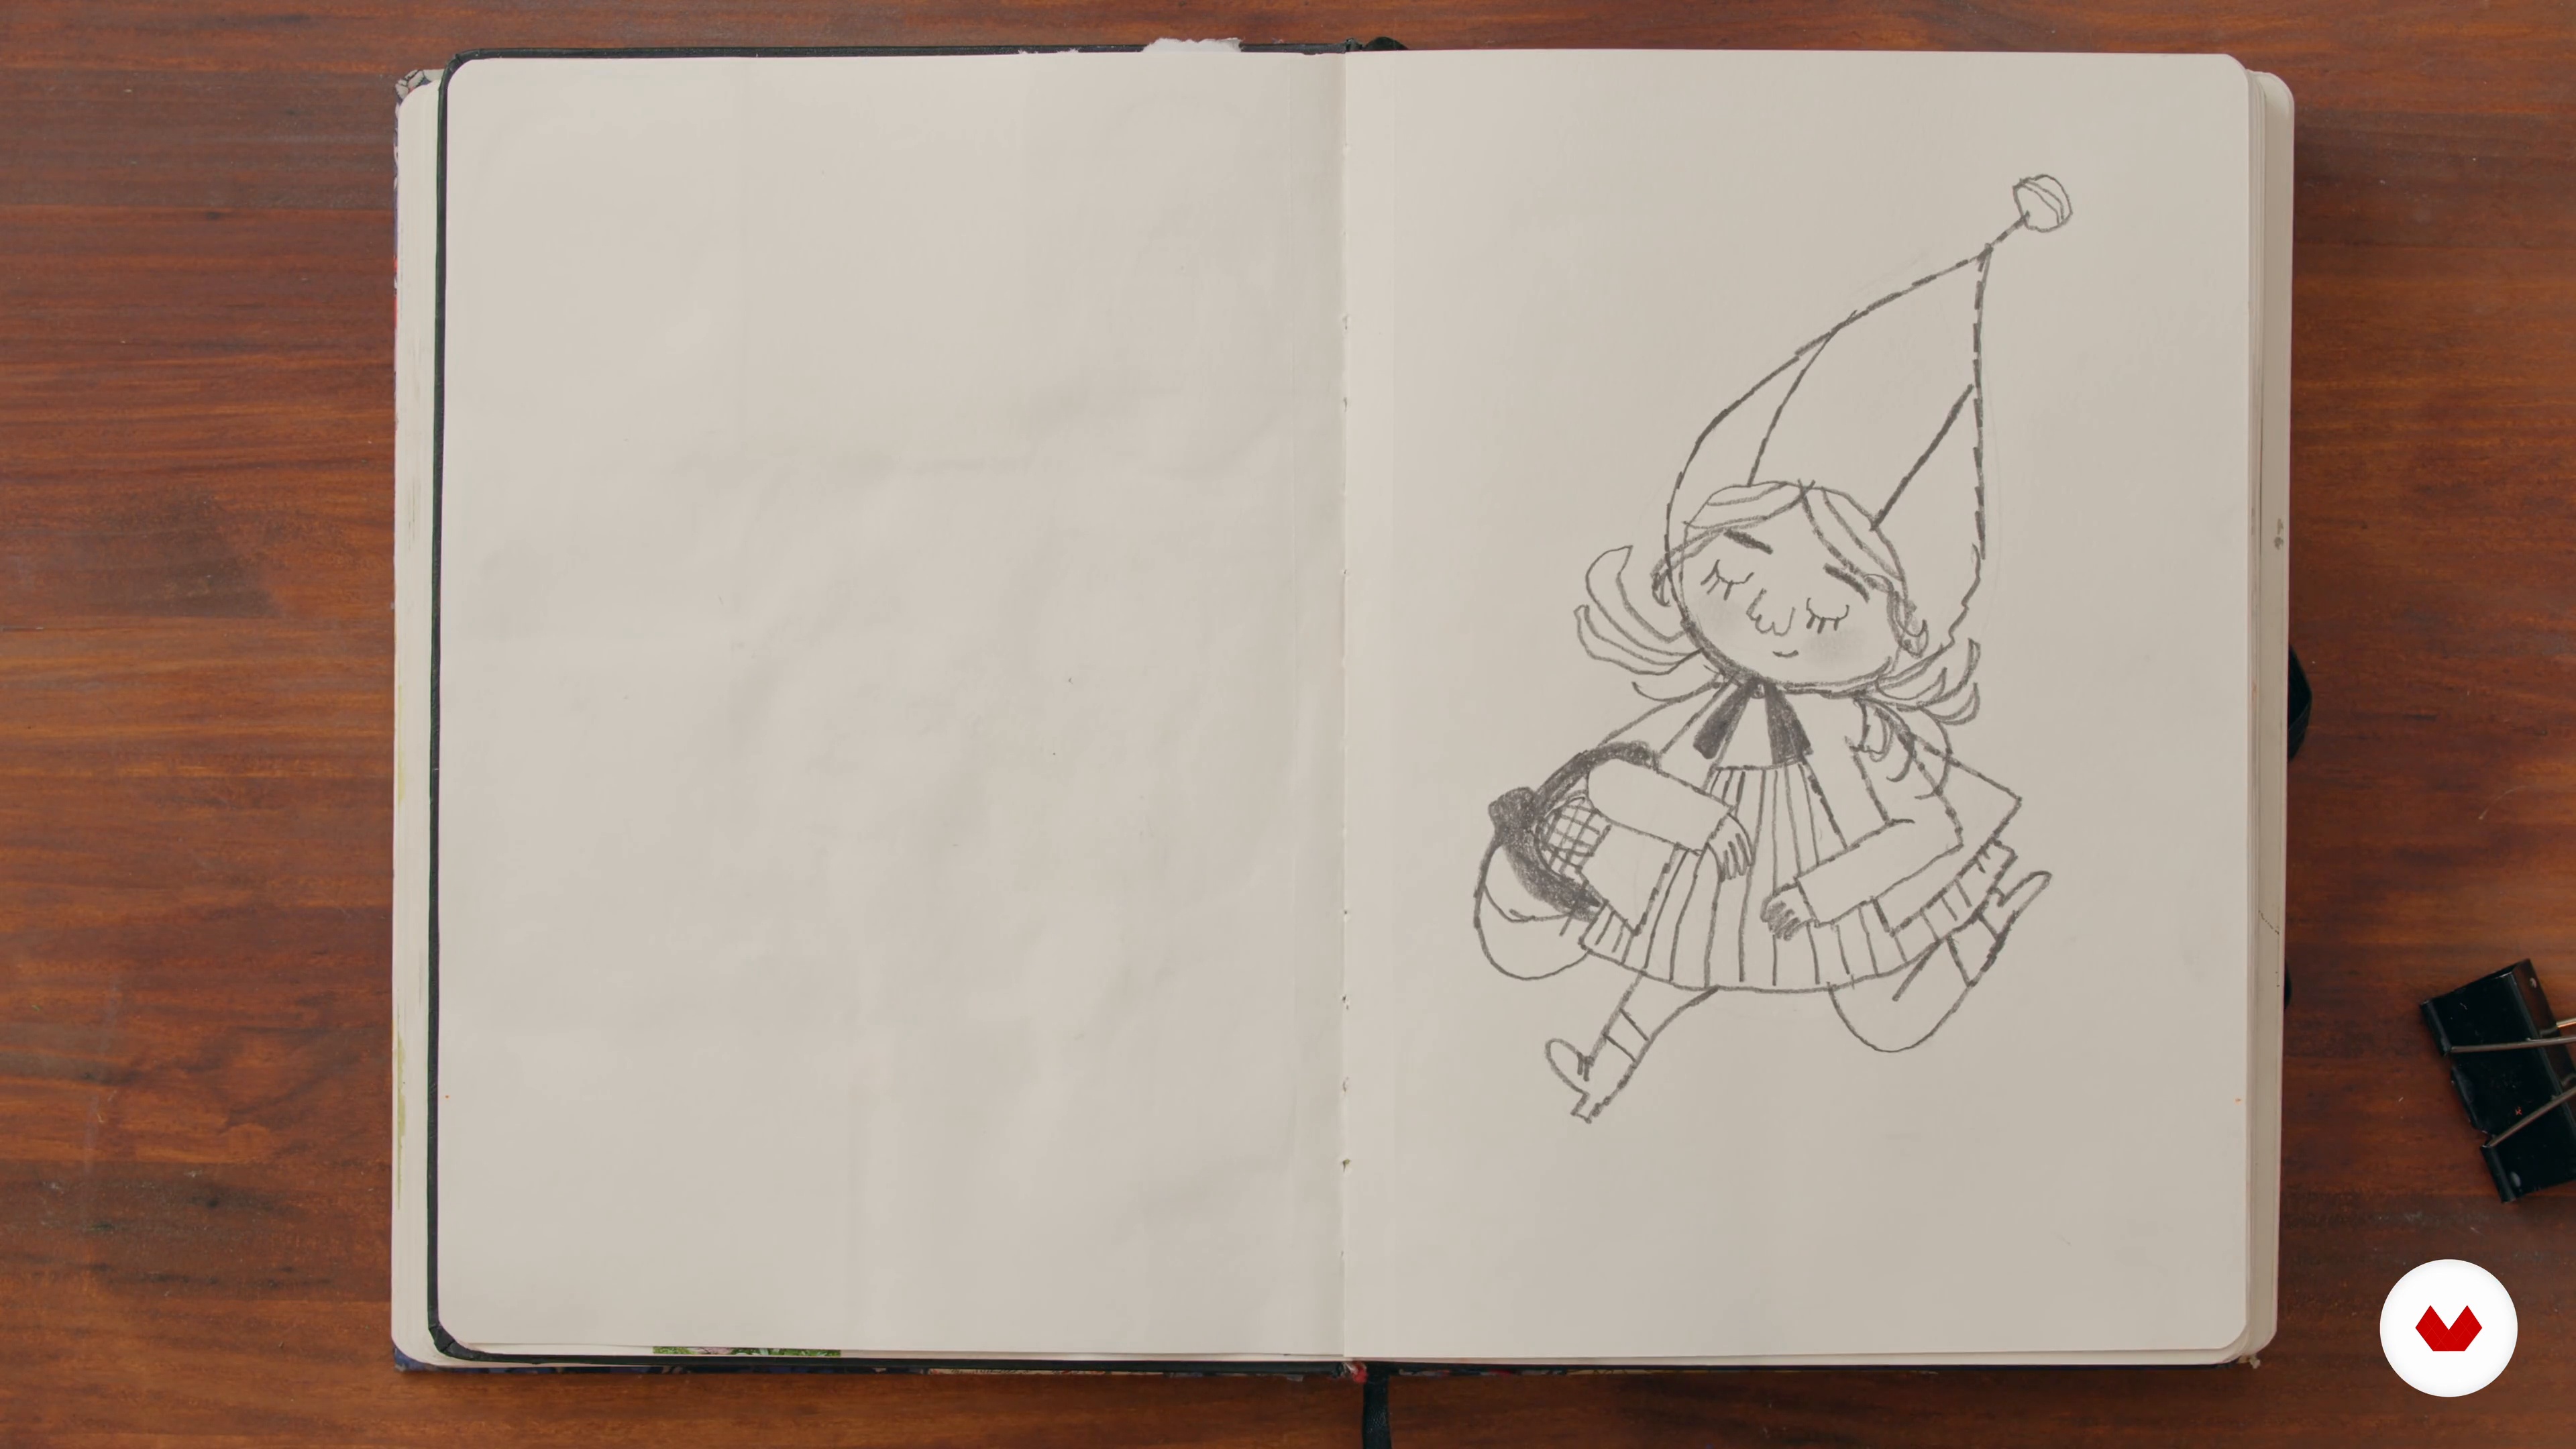
Let's start sketching! Here, I will show how to use the personality of your character to create interesting sketches. Also, I will teach you a few techniques that will transform your ordinary characters into remarkable ones.
10m
image
8
Sketching 2
In the last lesson, we started the sketching process by doing some warm-up exercises and looking at references to center the mind. Now, it’s time to start developing your creative sparks into characters. A good way to get to know your characters better is to draw them in routine situations. Let me show you how I do this!
17m
image
9
Developing a Line of Actors
In this lesson, I will give you tips on how to choose the perfect casting for your tale. You will learn that great combinations are based on differences.
8m
image
10
Ideas for the Trial Illustration
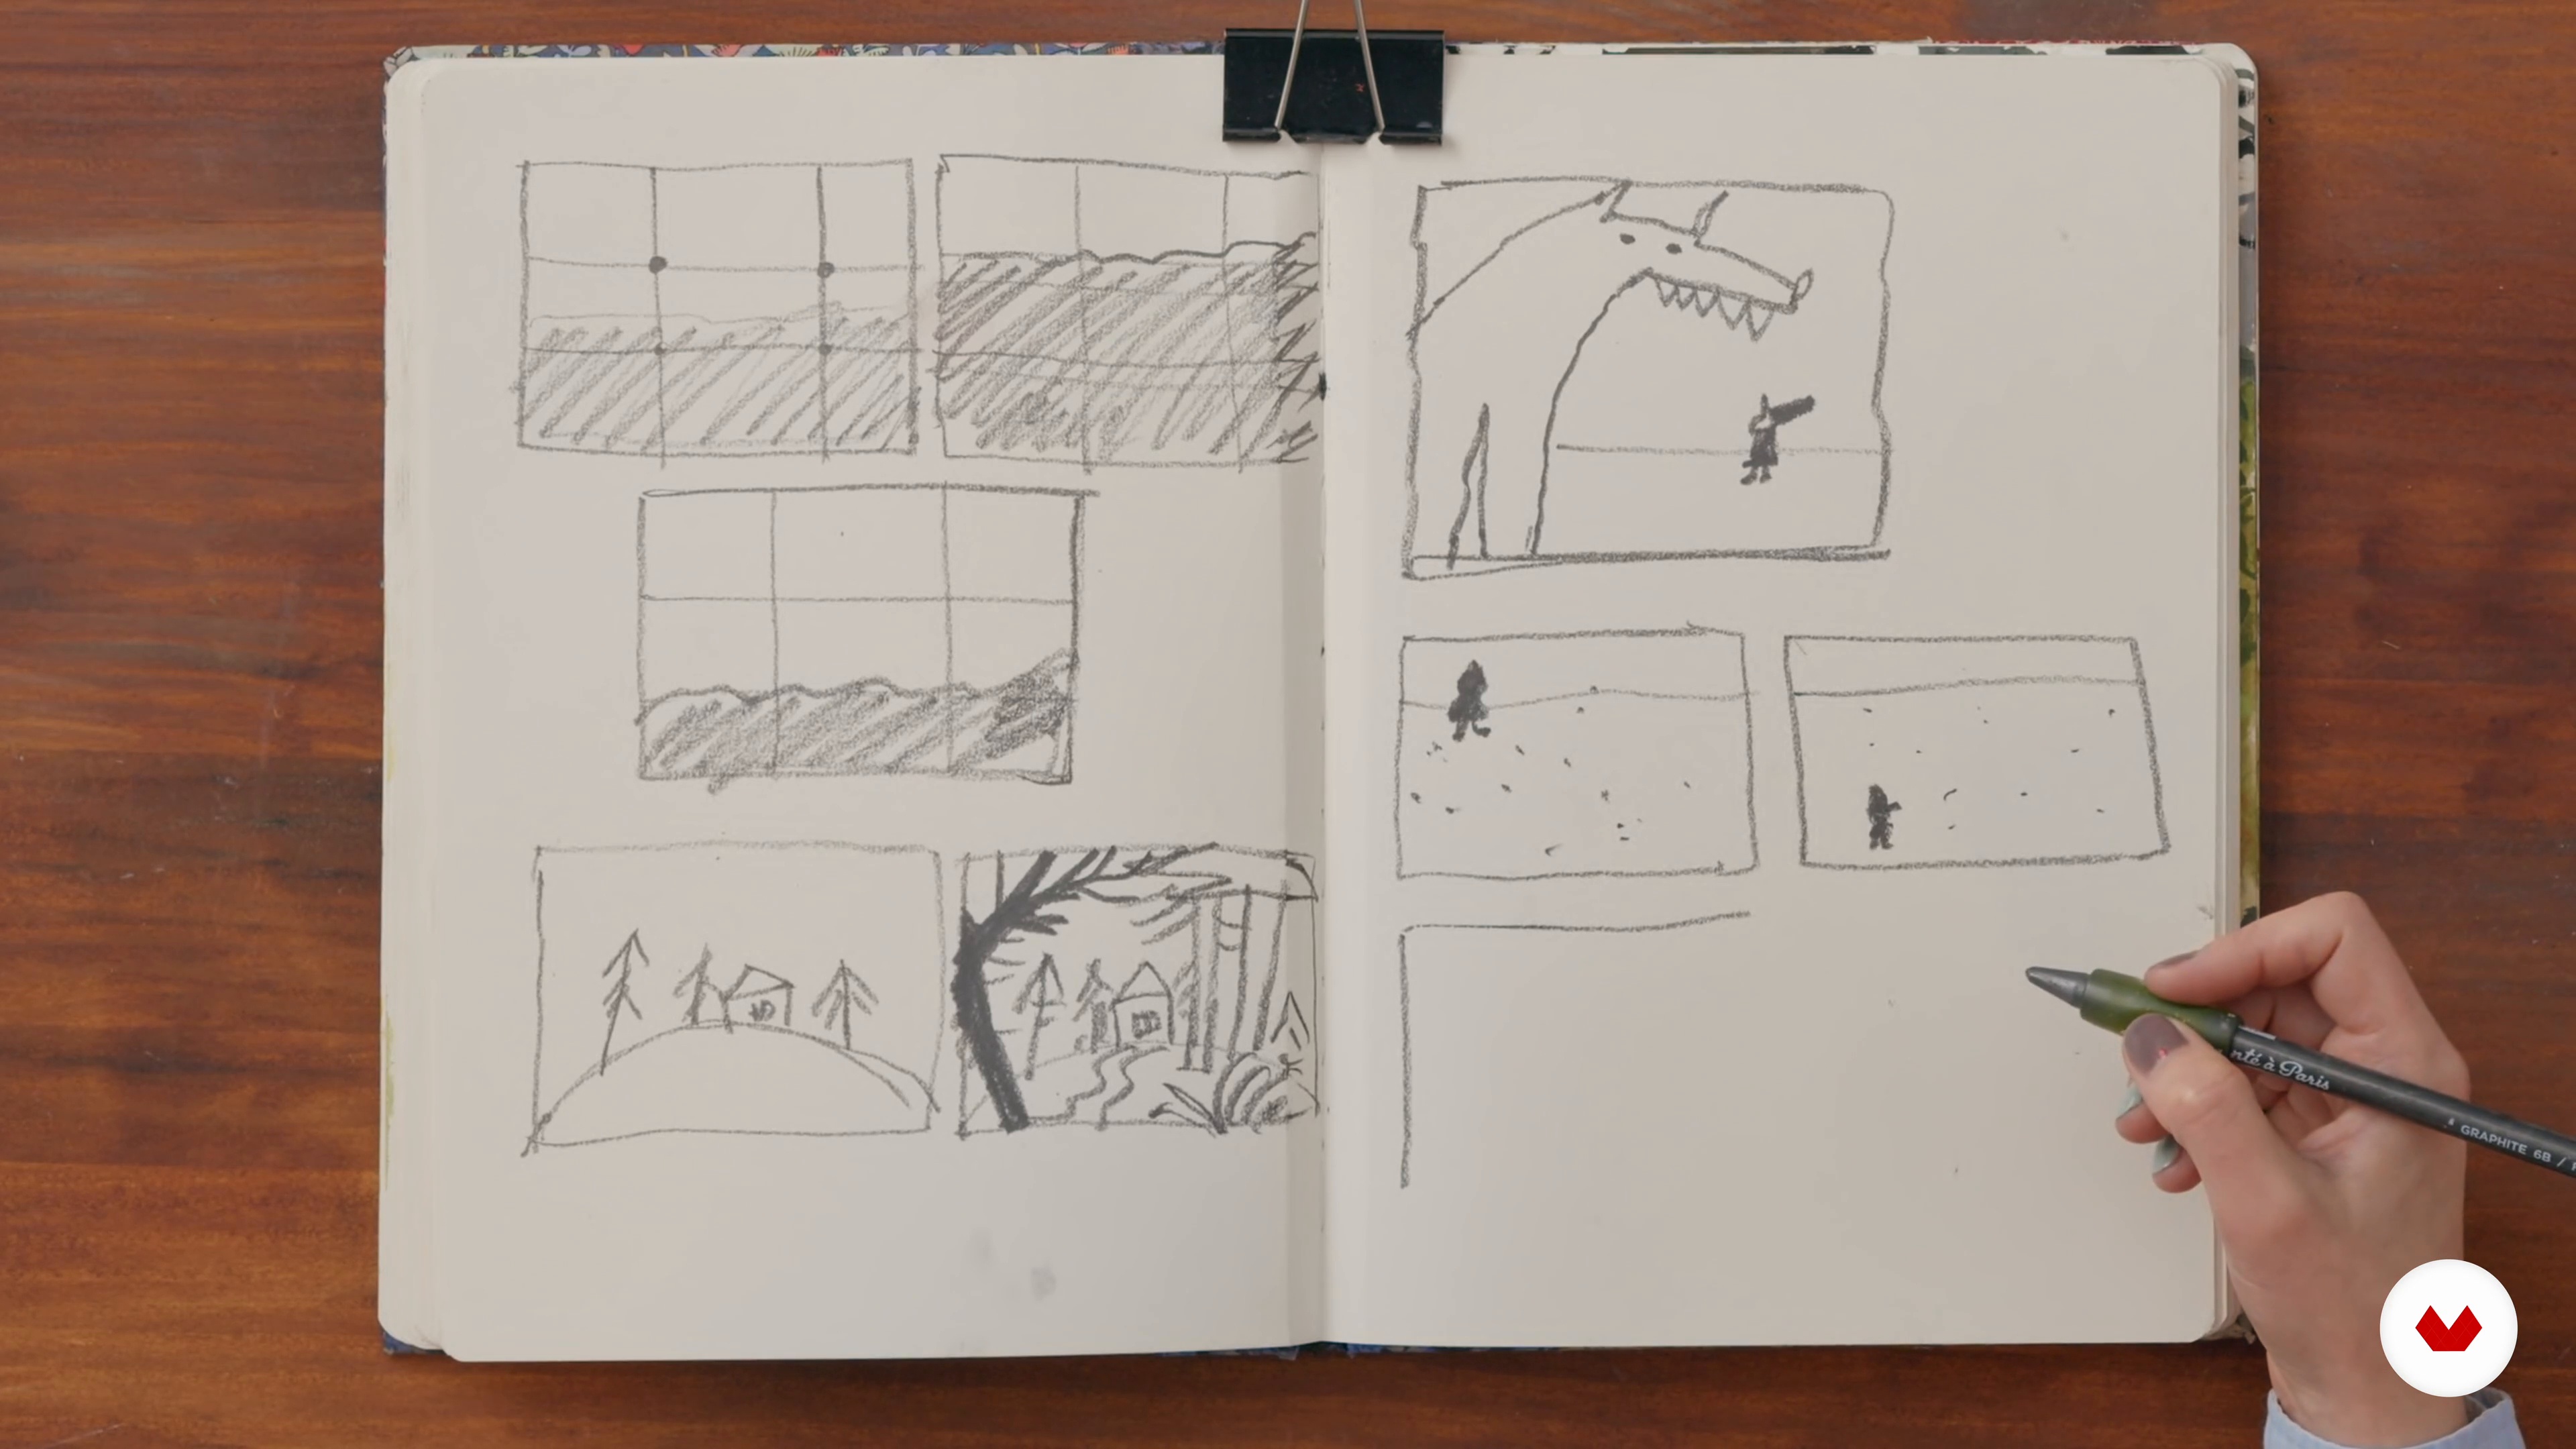
It's time to gather all the information you've collected up to this point. Using basic composition techniques, I will guide you in a few sketches to gradually extract the best idea for the trial illustration.
15m
image
11
Shaping Your Work
In this lesson, I will draw the final sketch for my illustration.
6m
image
12
Color Study 1
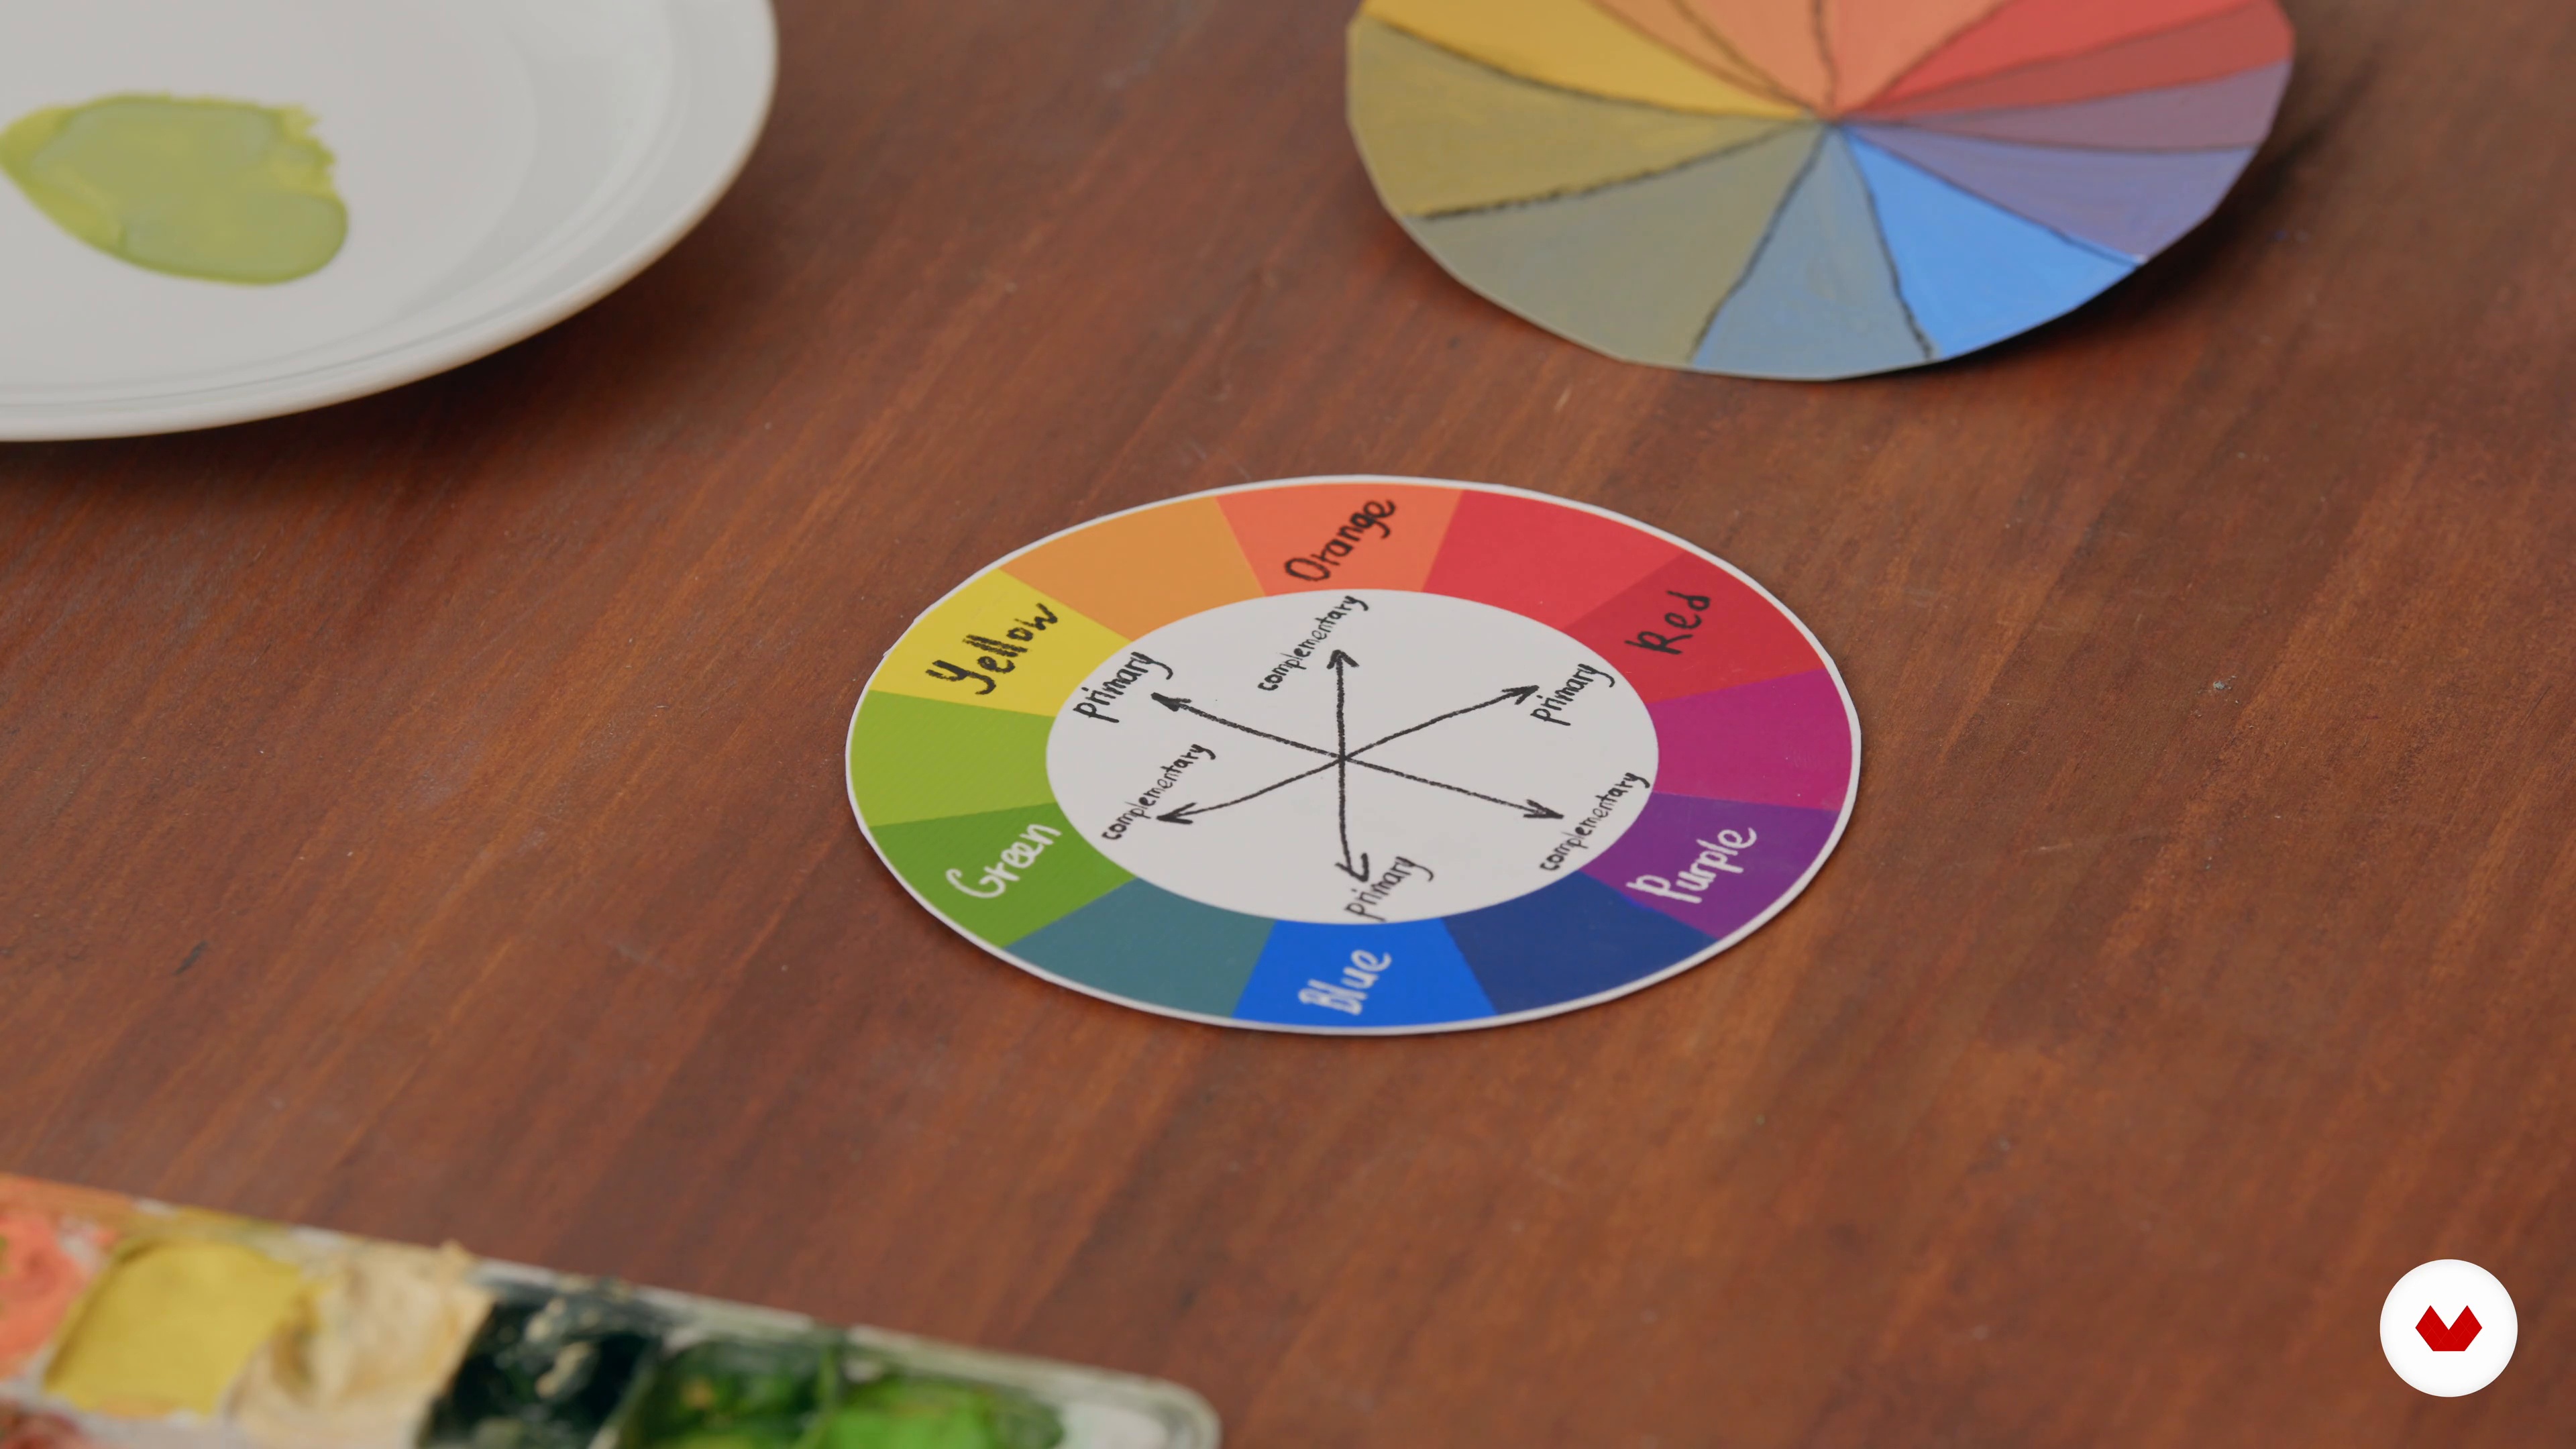
Next, I will talk about the importance of color theory. Studying color is a crucial step to improving your illustrations; the right palette will drive forward the mood and ambiance you desire. In this lesson, I will share a great exercise to understand color.
13m
image
13
Color Study 2
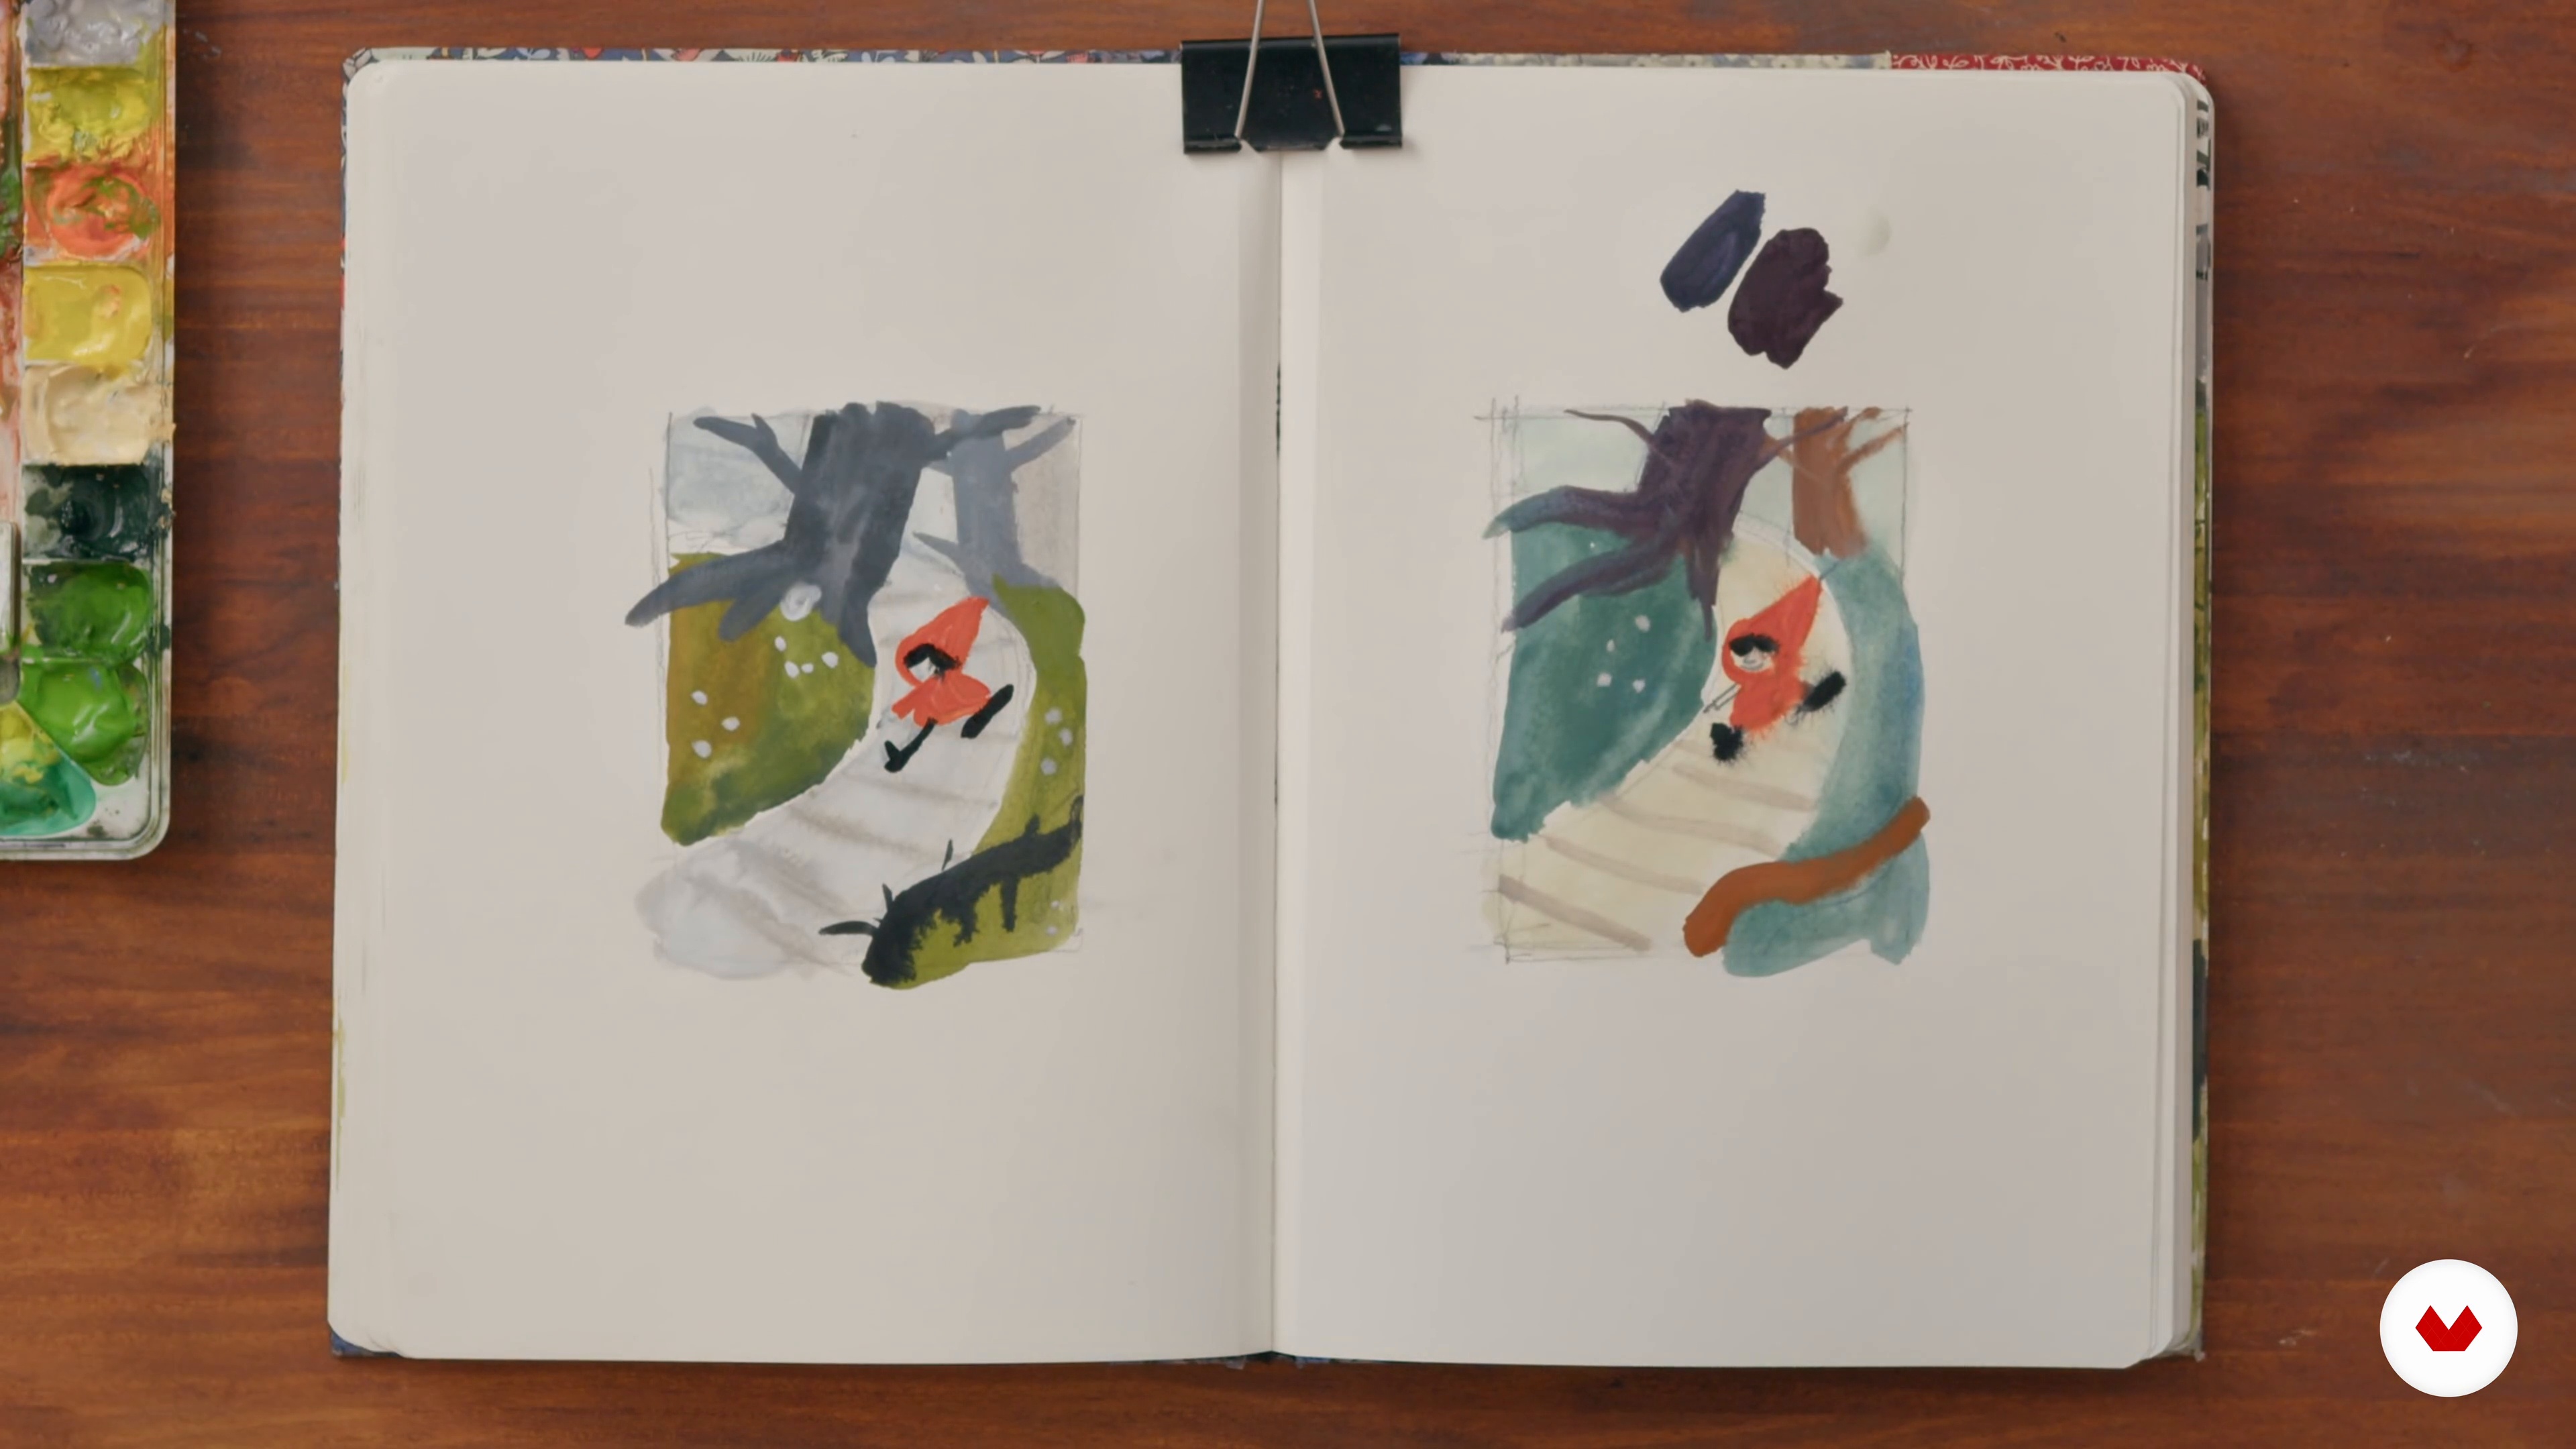
Now that you understand the basics behind color, let's choose the color palettes! Here, I will define the color palette of my final illustration.
14m
image
14
Working on Your Illustration with Color 1
It's time to bring your illustration to life by adding color and textures! As you do this, remember to relax. Have fun playing with your piece. I will show you how I stay on track by keeping a small color study to hand. Let's go!
15m
image
15
Working on Your Illustration with Color 2
Here, I will continue to model how to apply color to your piece. You will learn tips and tricks to make your characters pop, achieving depth and realism.
18m
image
16
Using Different Colors, Techniques, and Materials
Now that the final illustration is complete, I will share other examples of my finished illustrations using different colors, techniques, and materials. By doing this, you will see how the skills you've learned can be applied in many different ways.
3m
image
17
From Sketchbook to Picture Book
In this lesson, I will explain a possible next step: turning your sketchbook into a picture book. Then, I will explain how to present that work to a client.
4m
image
18
Other Options
Here, I will share a sketchbook I created for a Christmas challenge. Hopefully, this will open your mind to other projects you can start with a sketchbook.
5m
image
1
Magical Realism
Now's the time to talk about Magical Realism. I want you to understand its language to extract the elements that speak to you the most.
12m
image
2
The Story
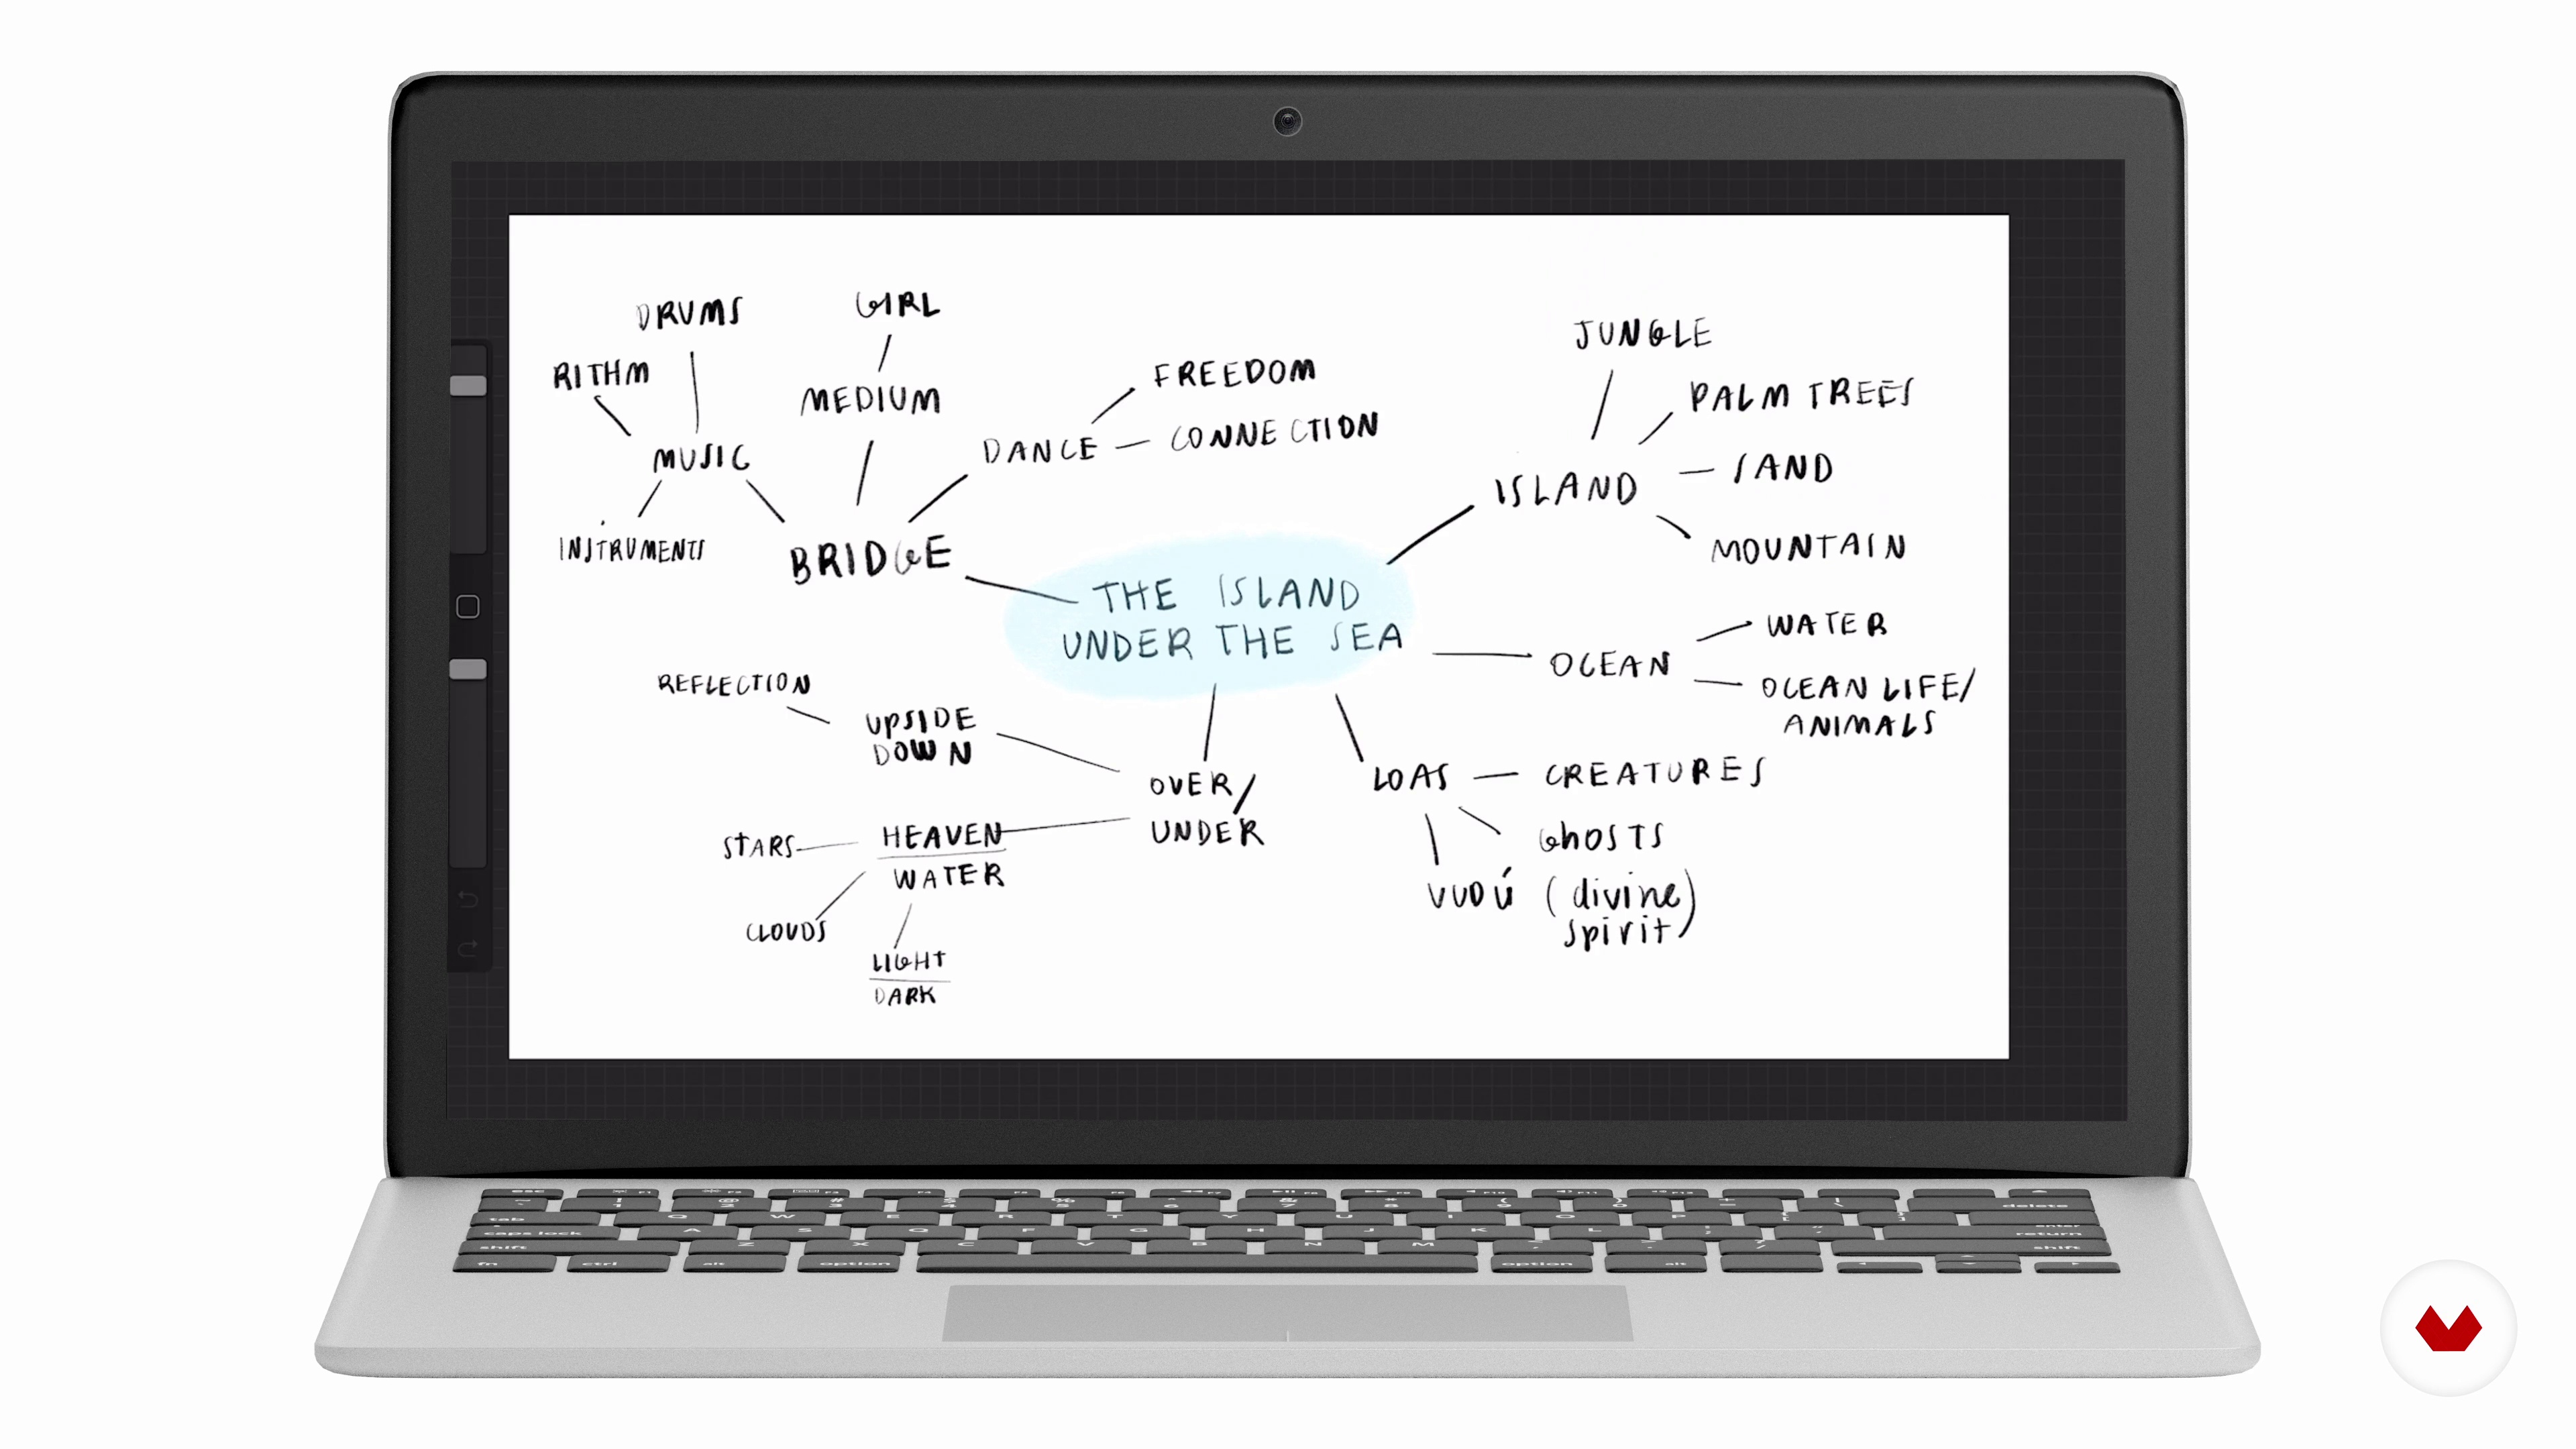
The story is your starting point. You will create a mind map to brainstorm your ideas, select and combine all the elements discussed in the previous lesson and reinterpret them through color, shapes and textures so you can represent them visually through a mood board.
14m
image
3
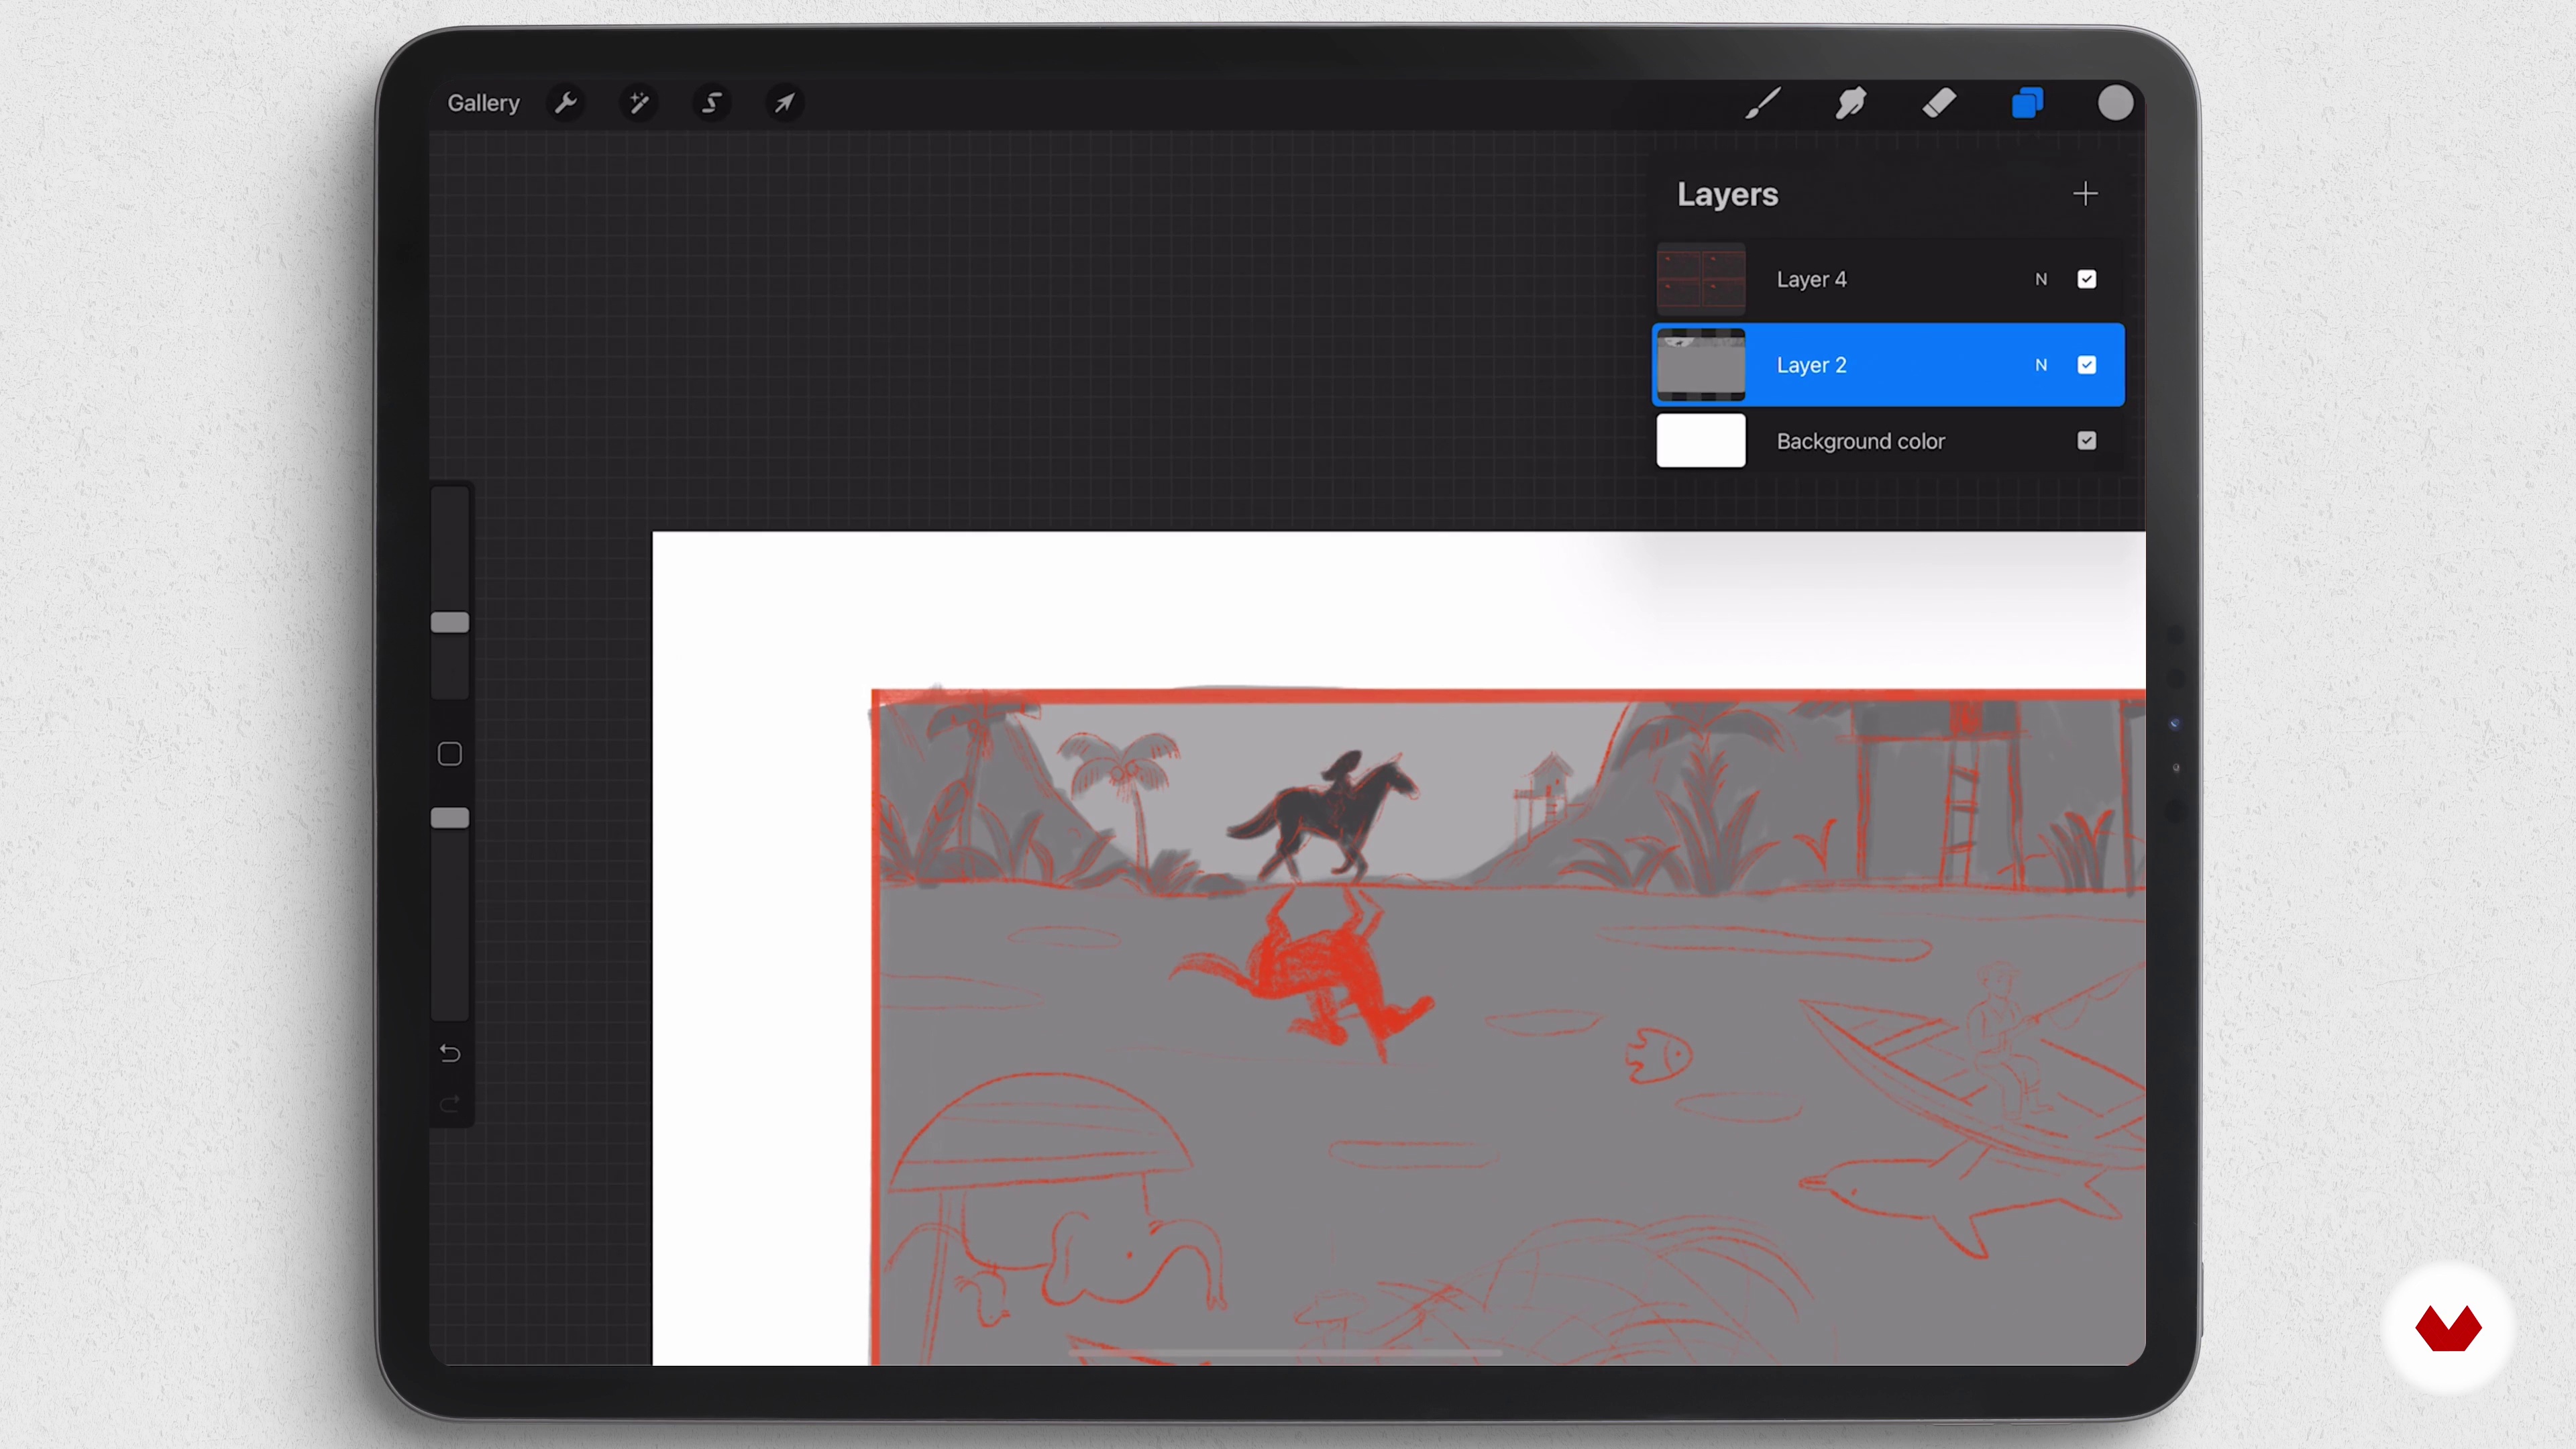
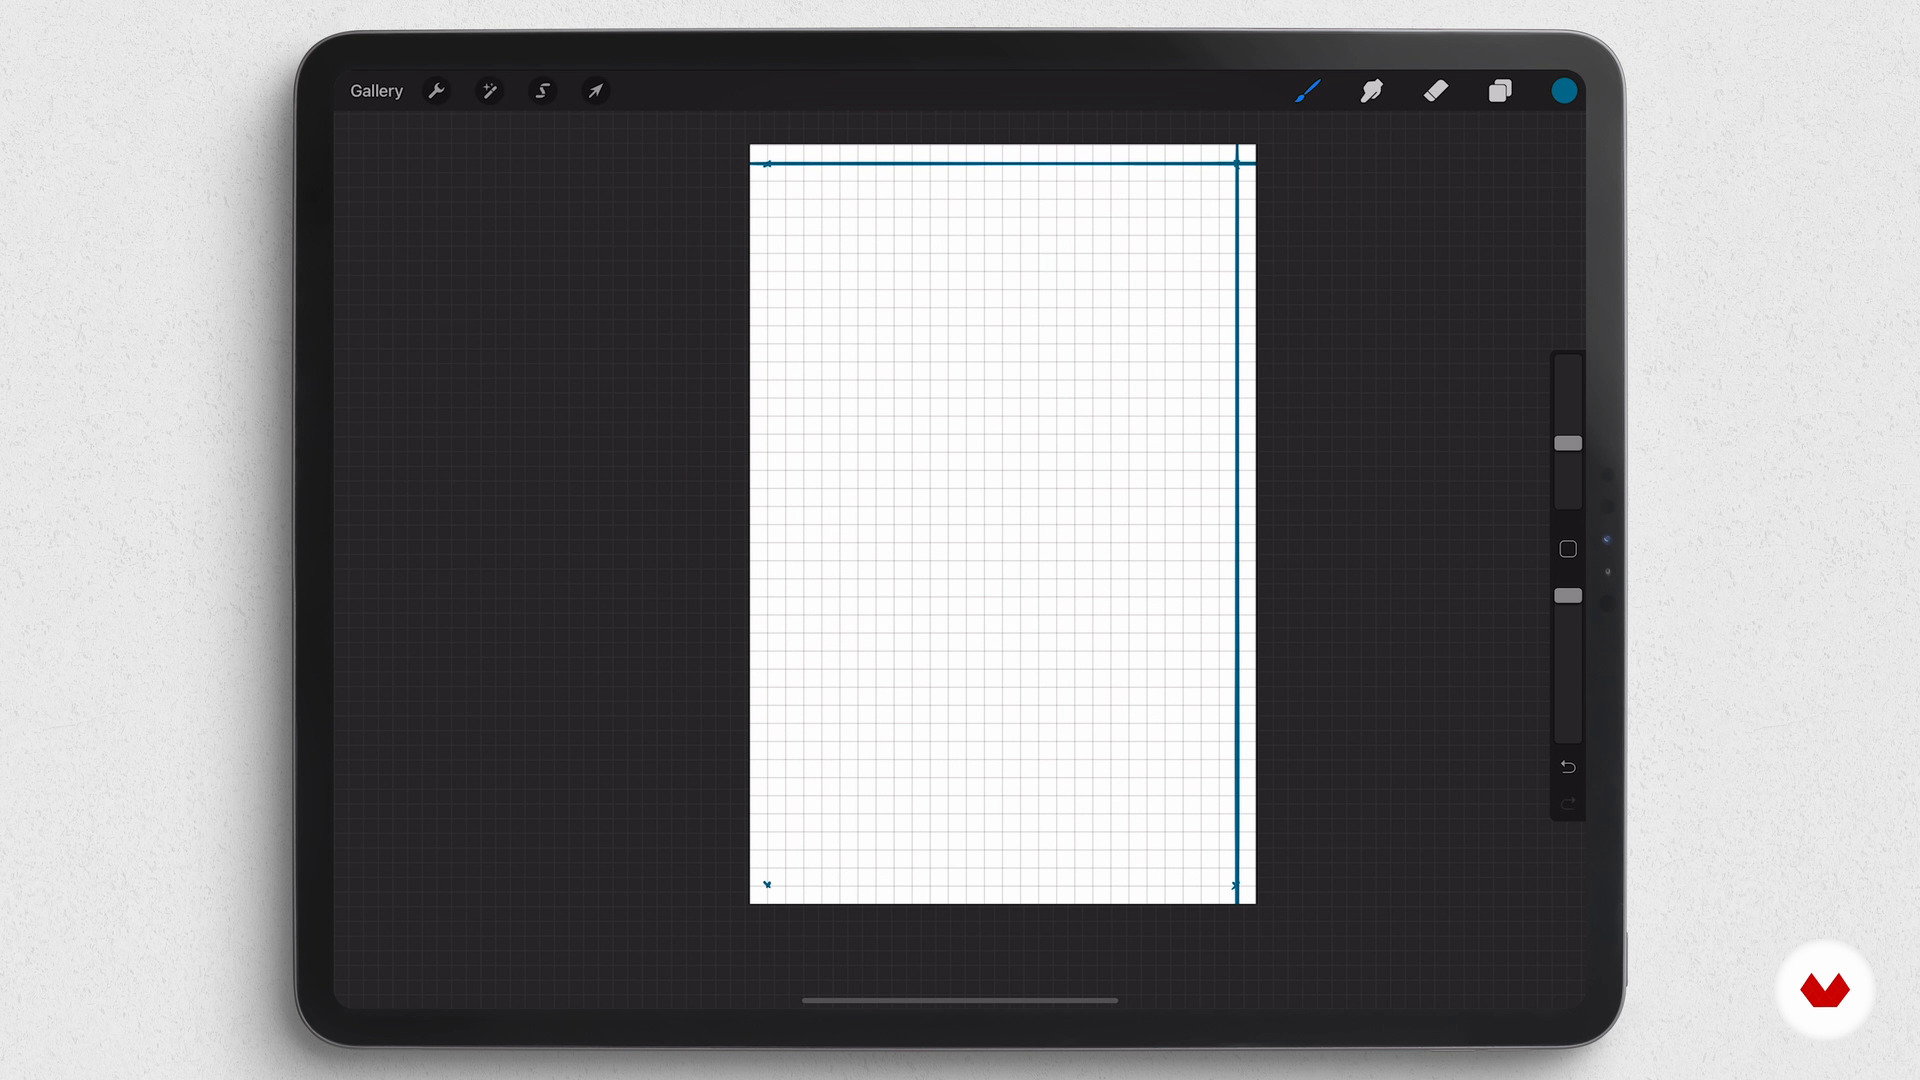
Digital Tools
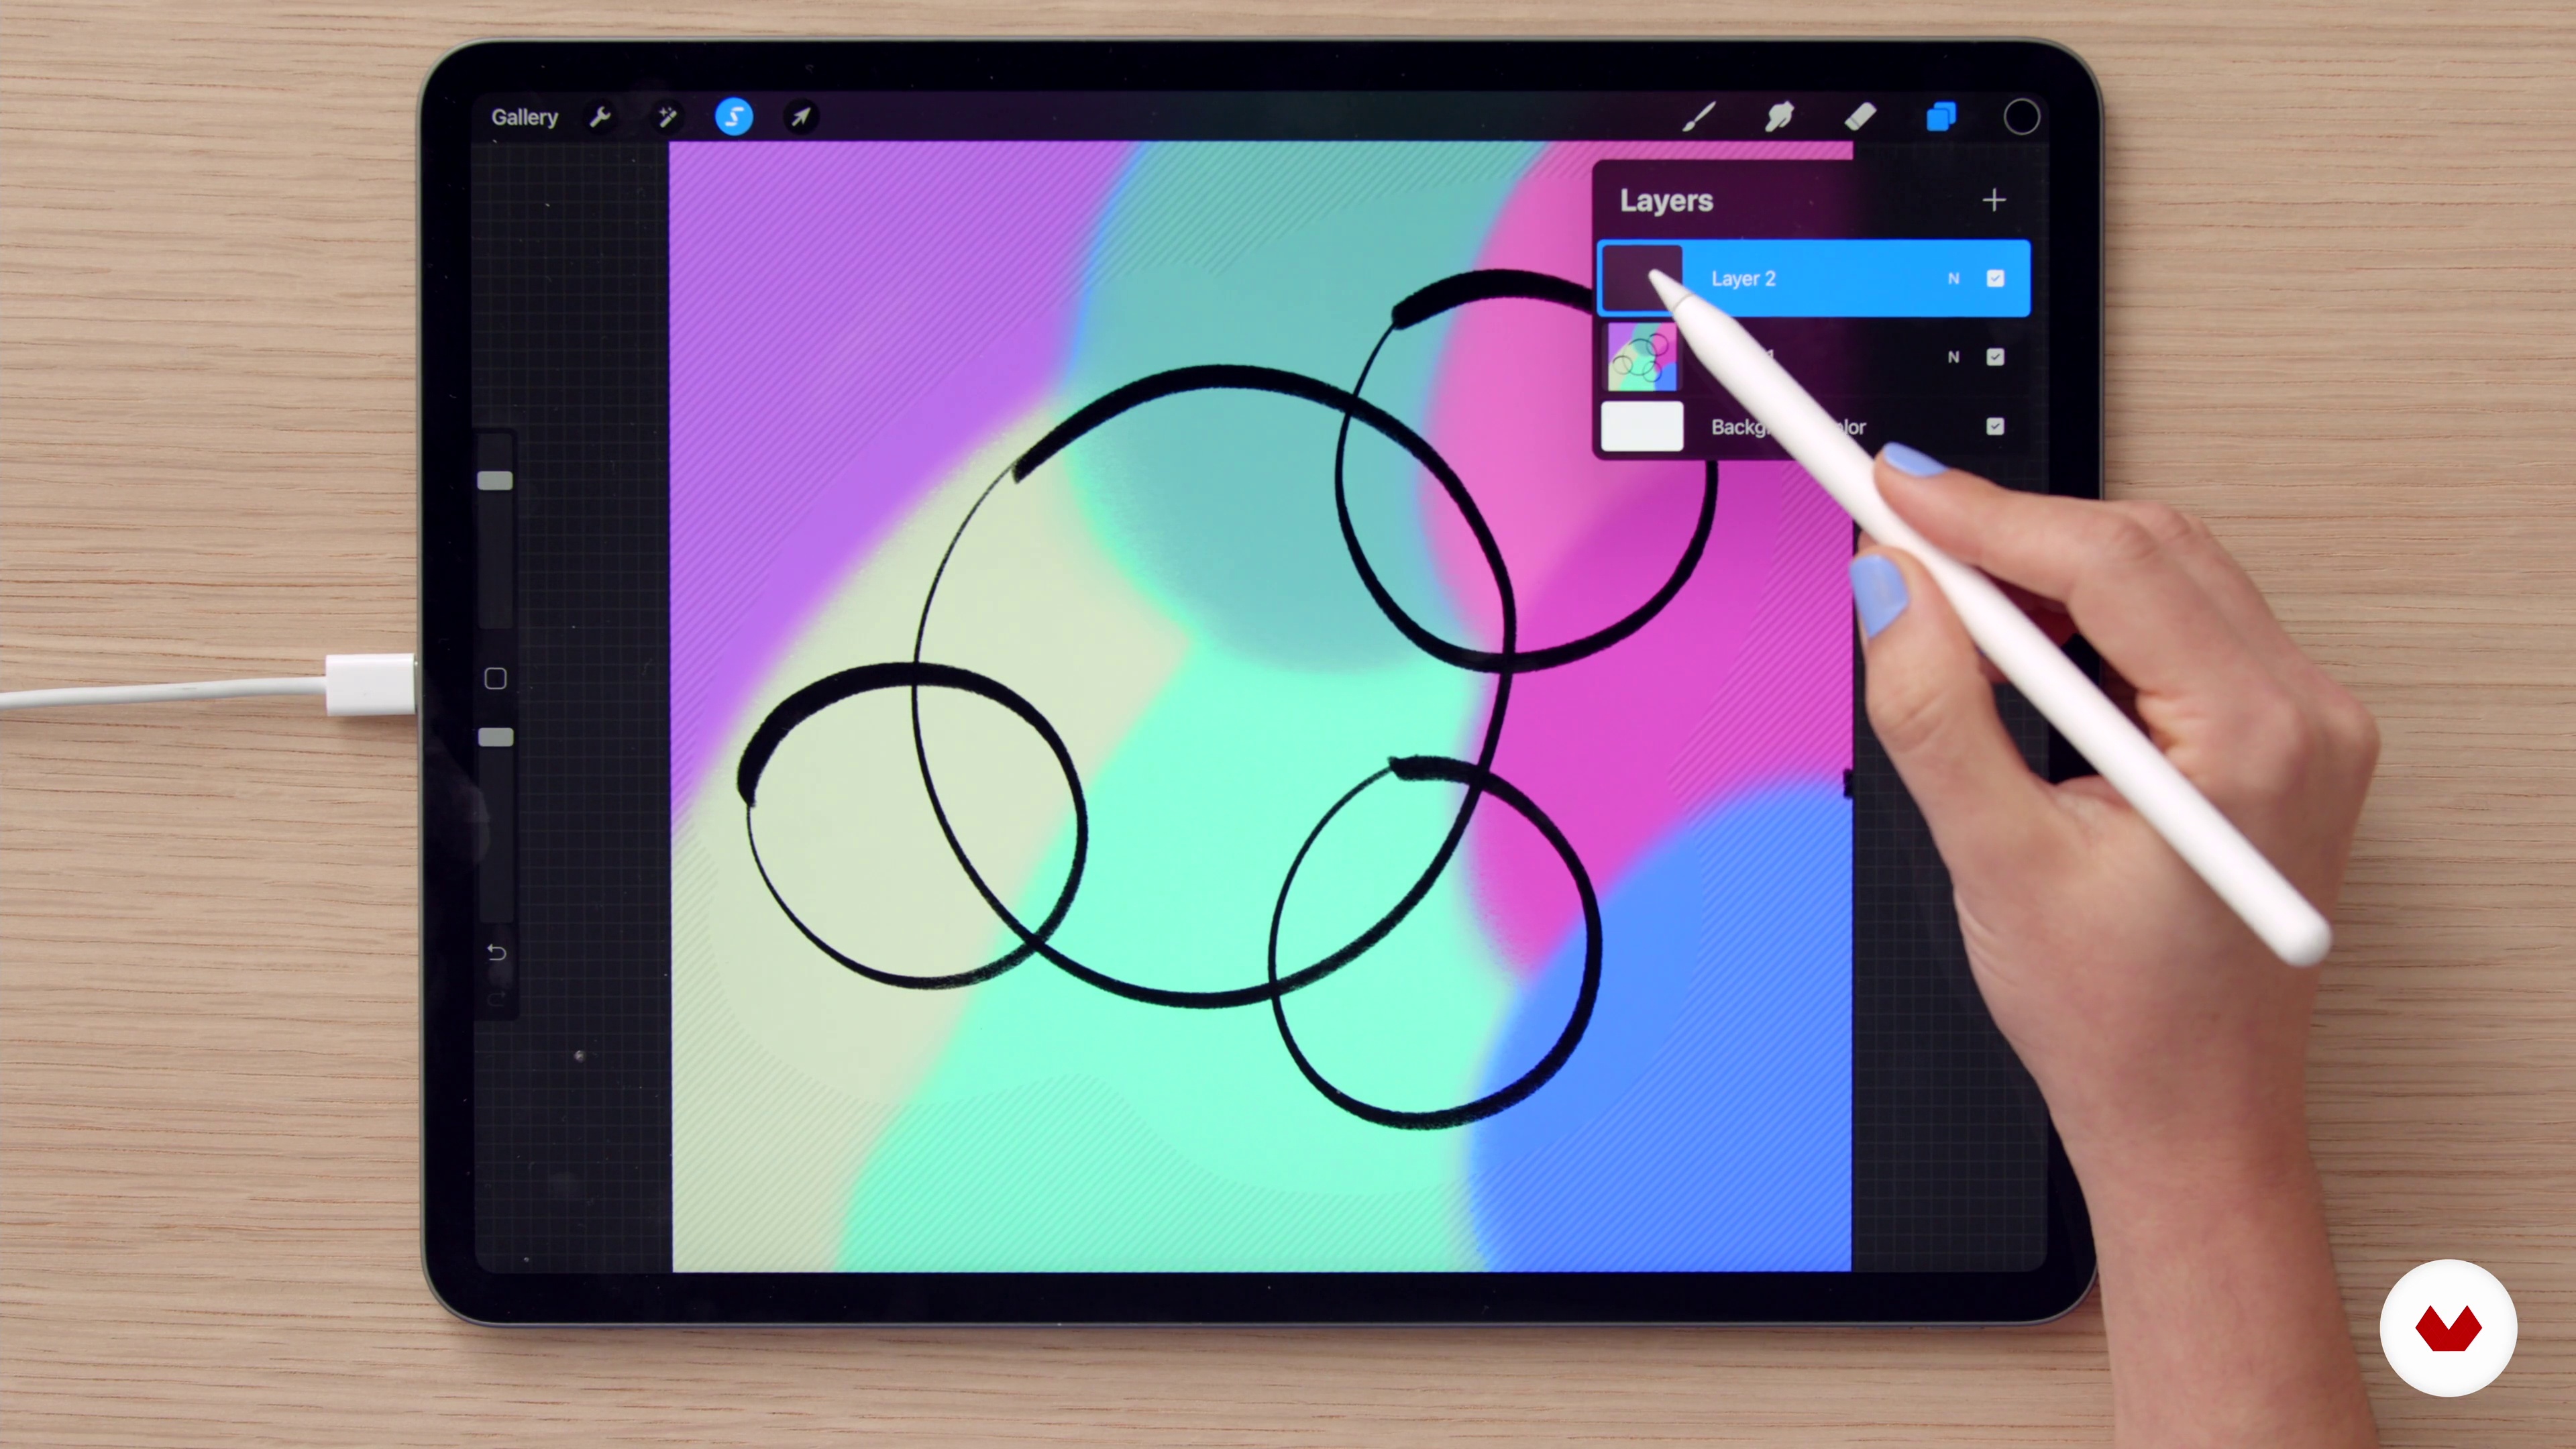
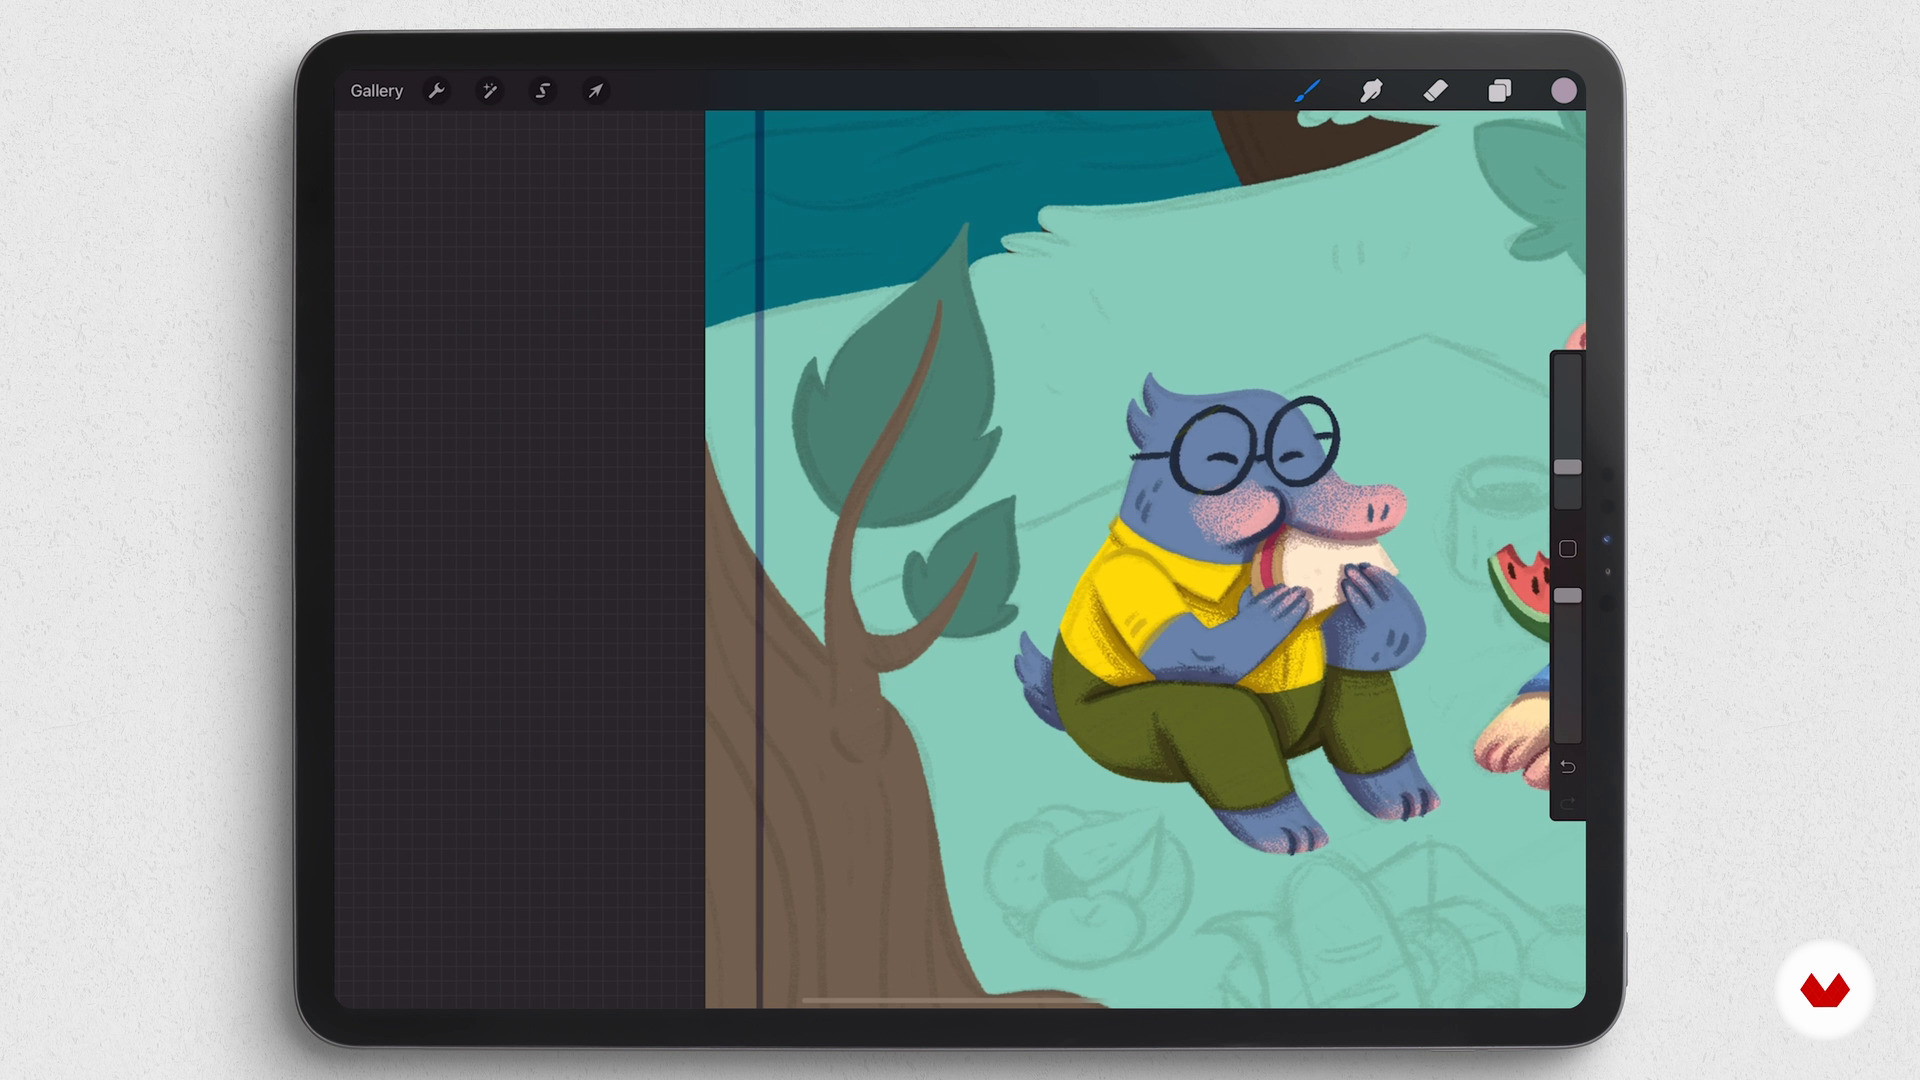
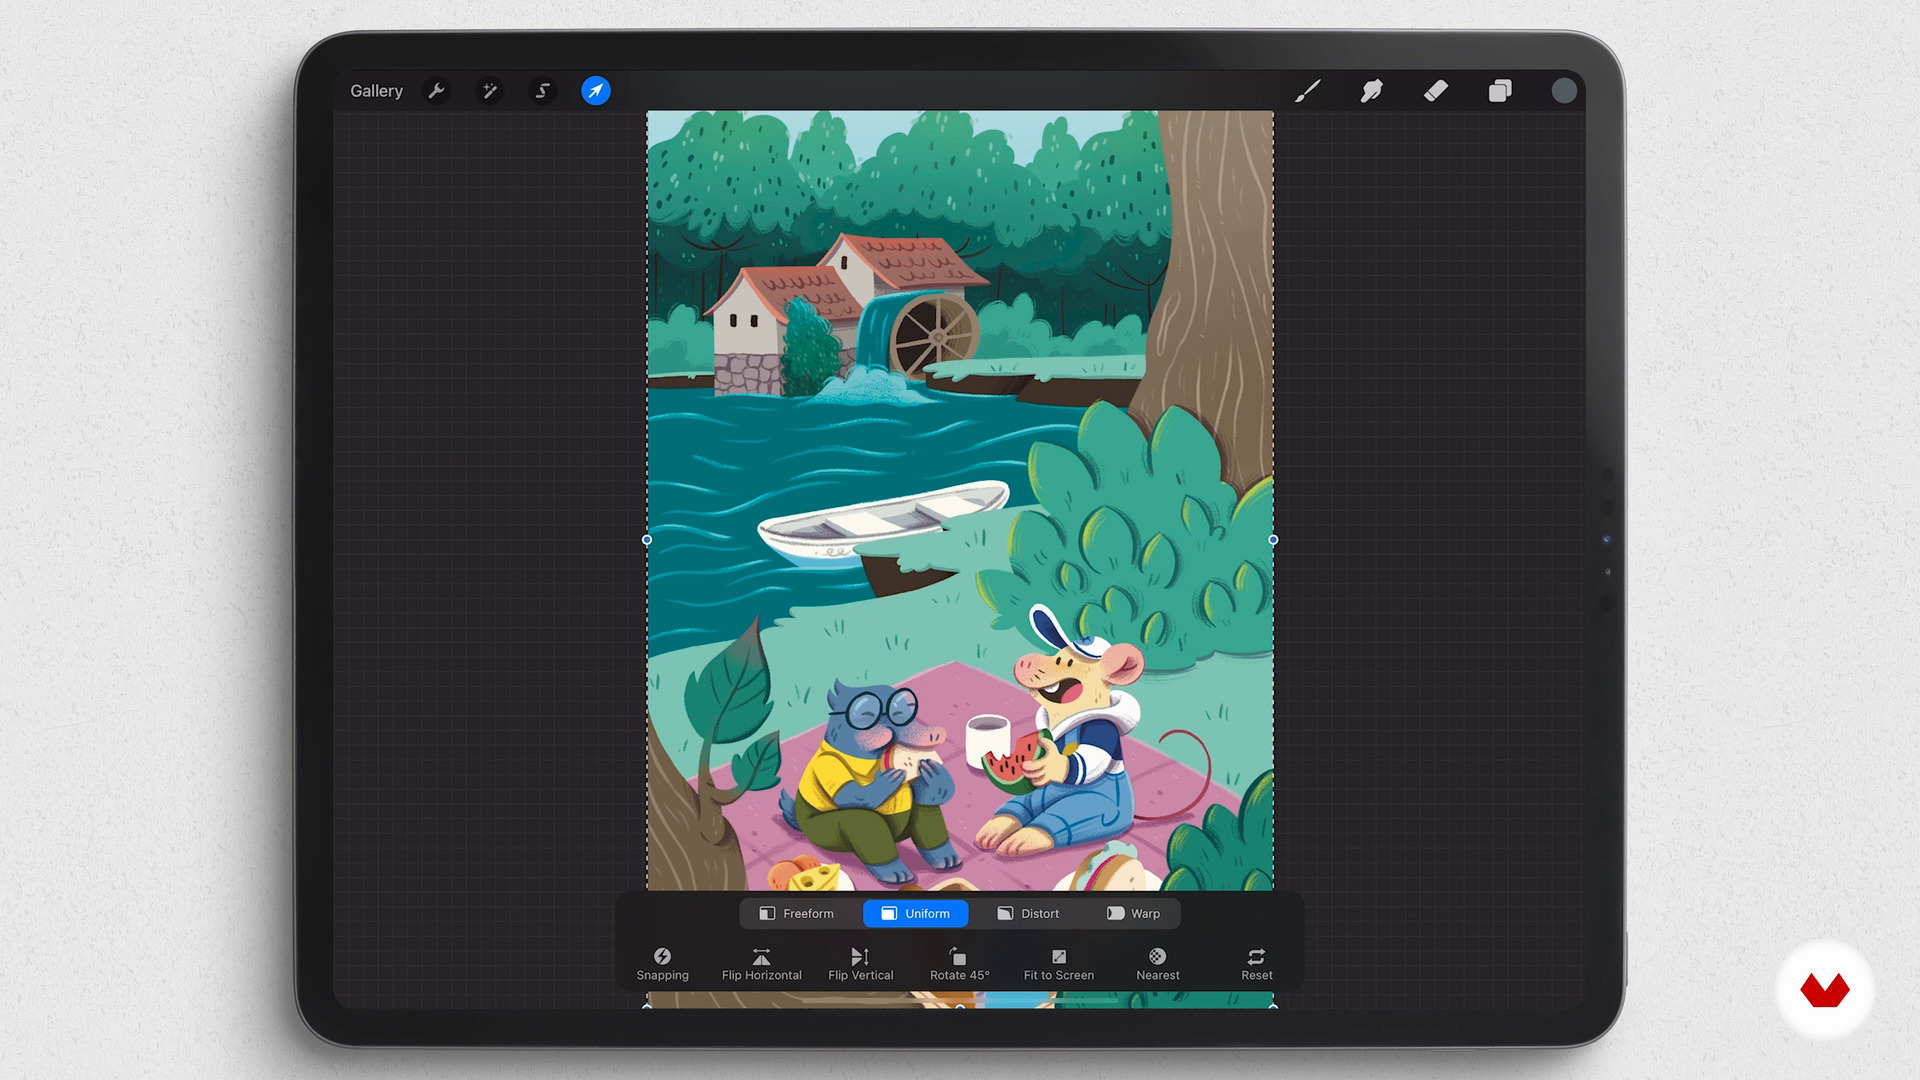
I'm going to cover some of the basics. I will share with you the tools I use in Procreate, so you can follow your process regardless of the digital painting software you plan to use.
13m
image
4
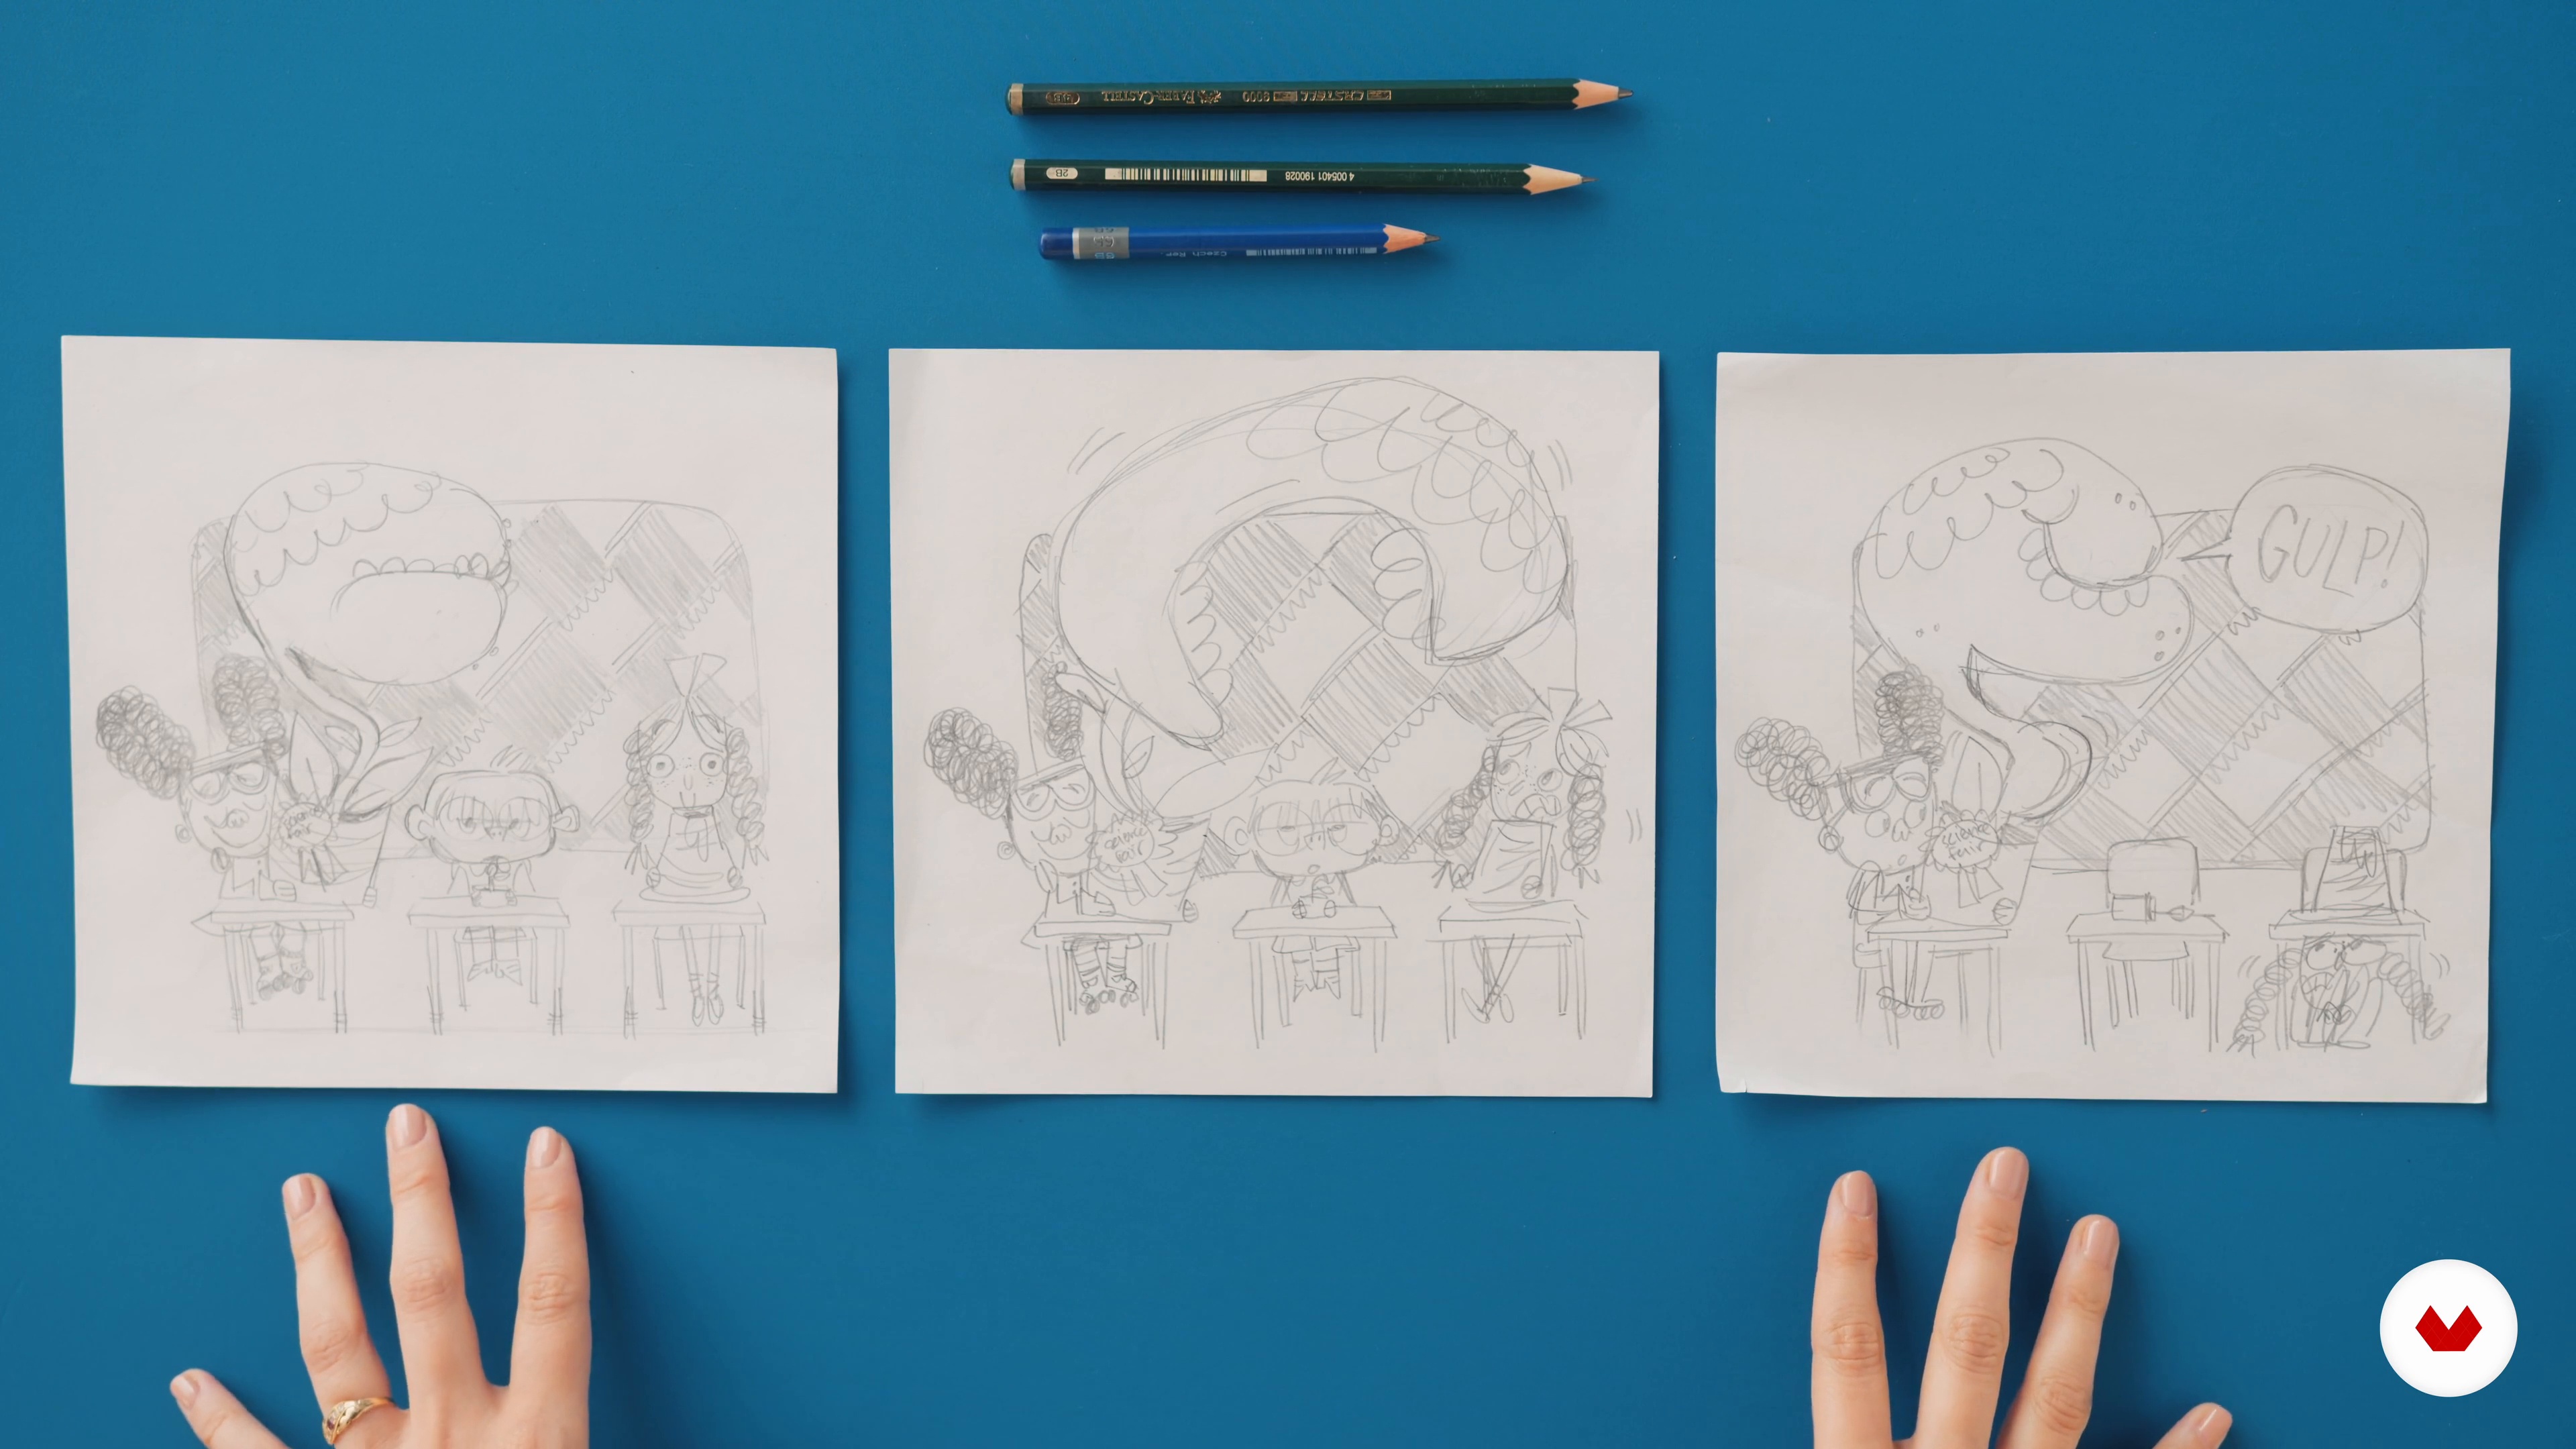
Thumbnailing 1
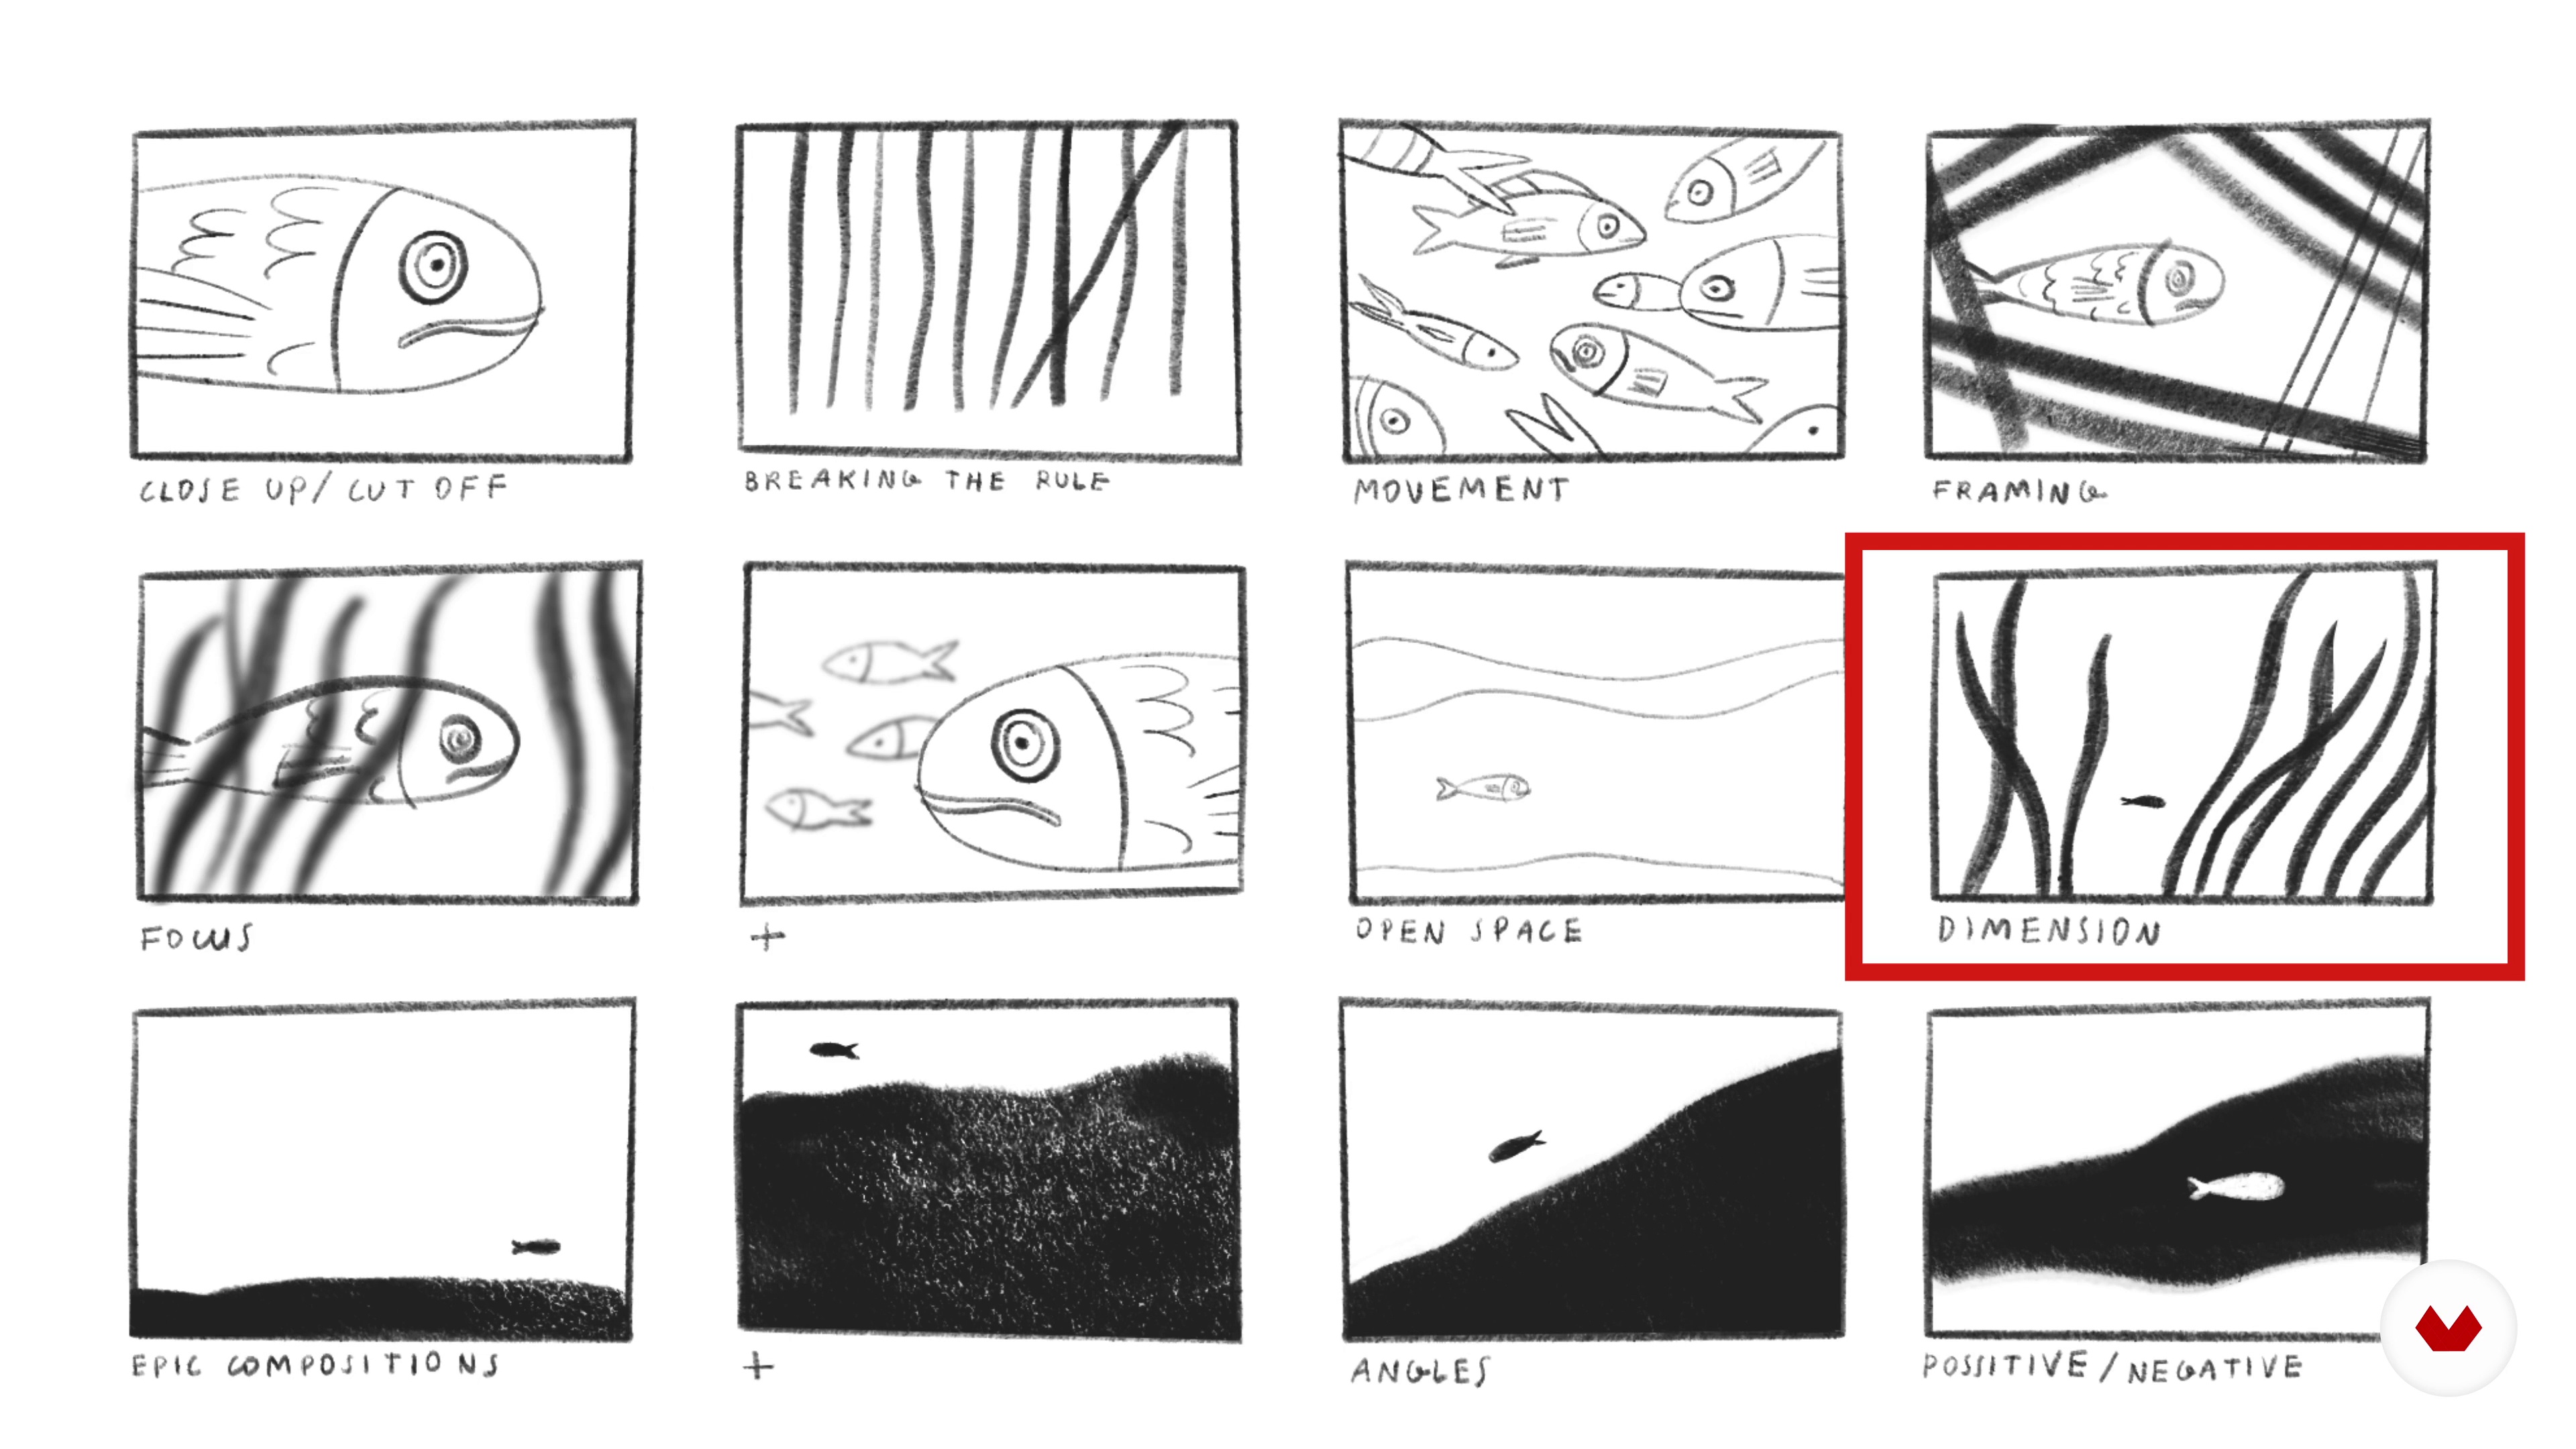
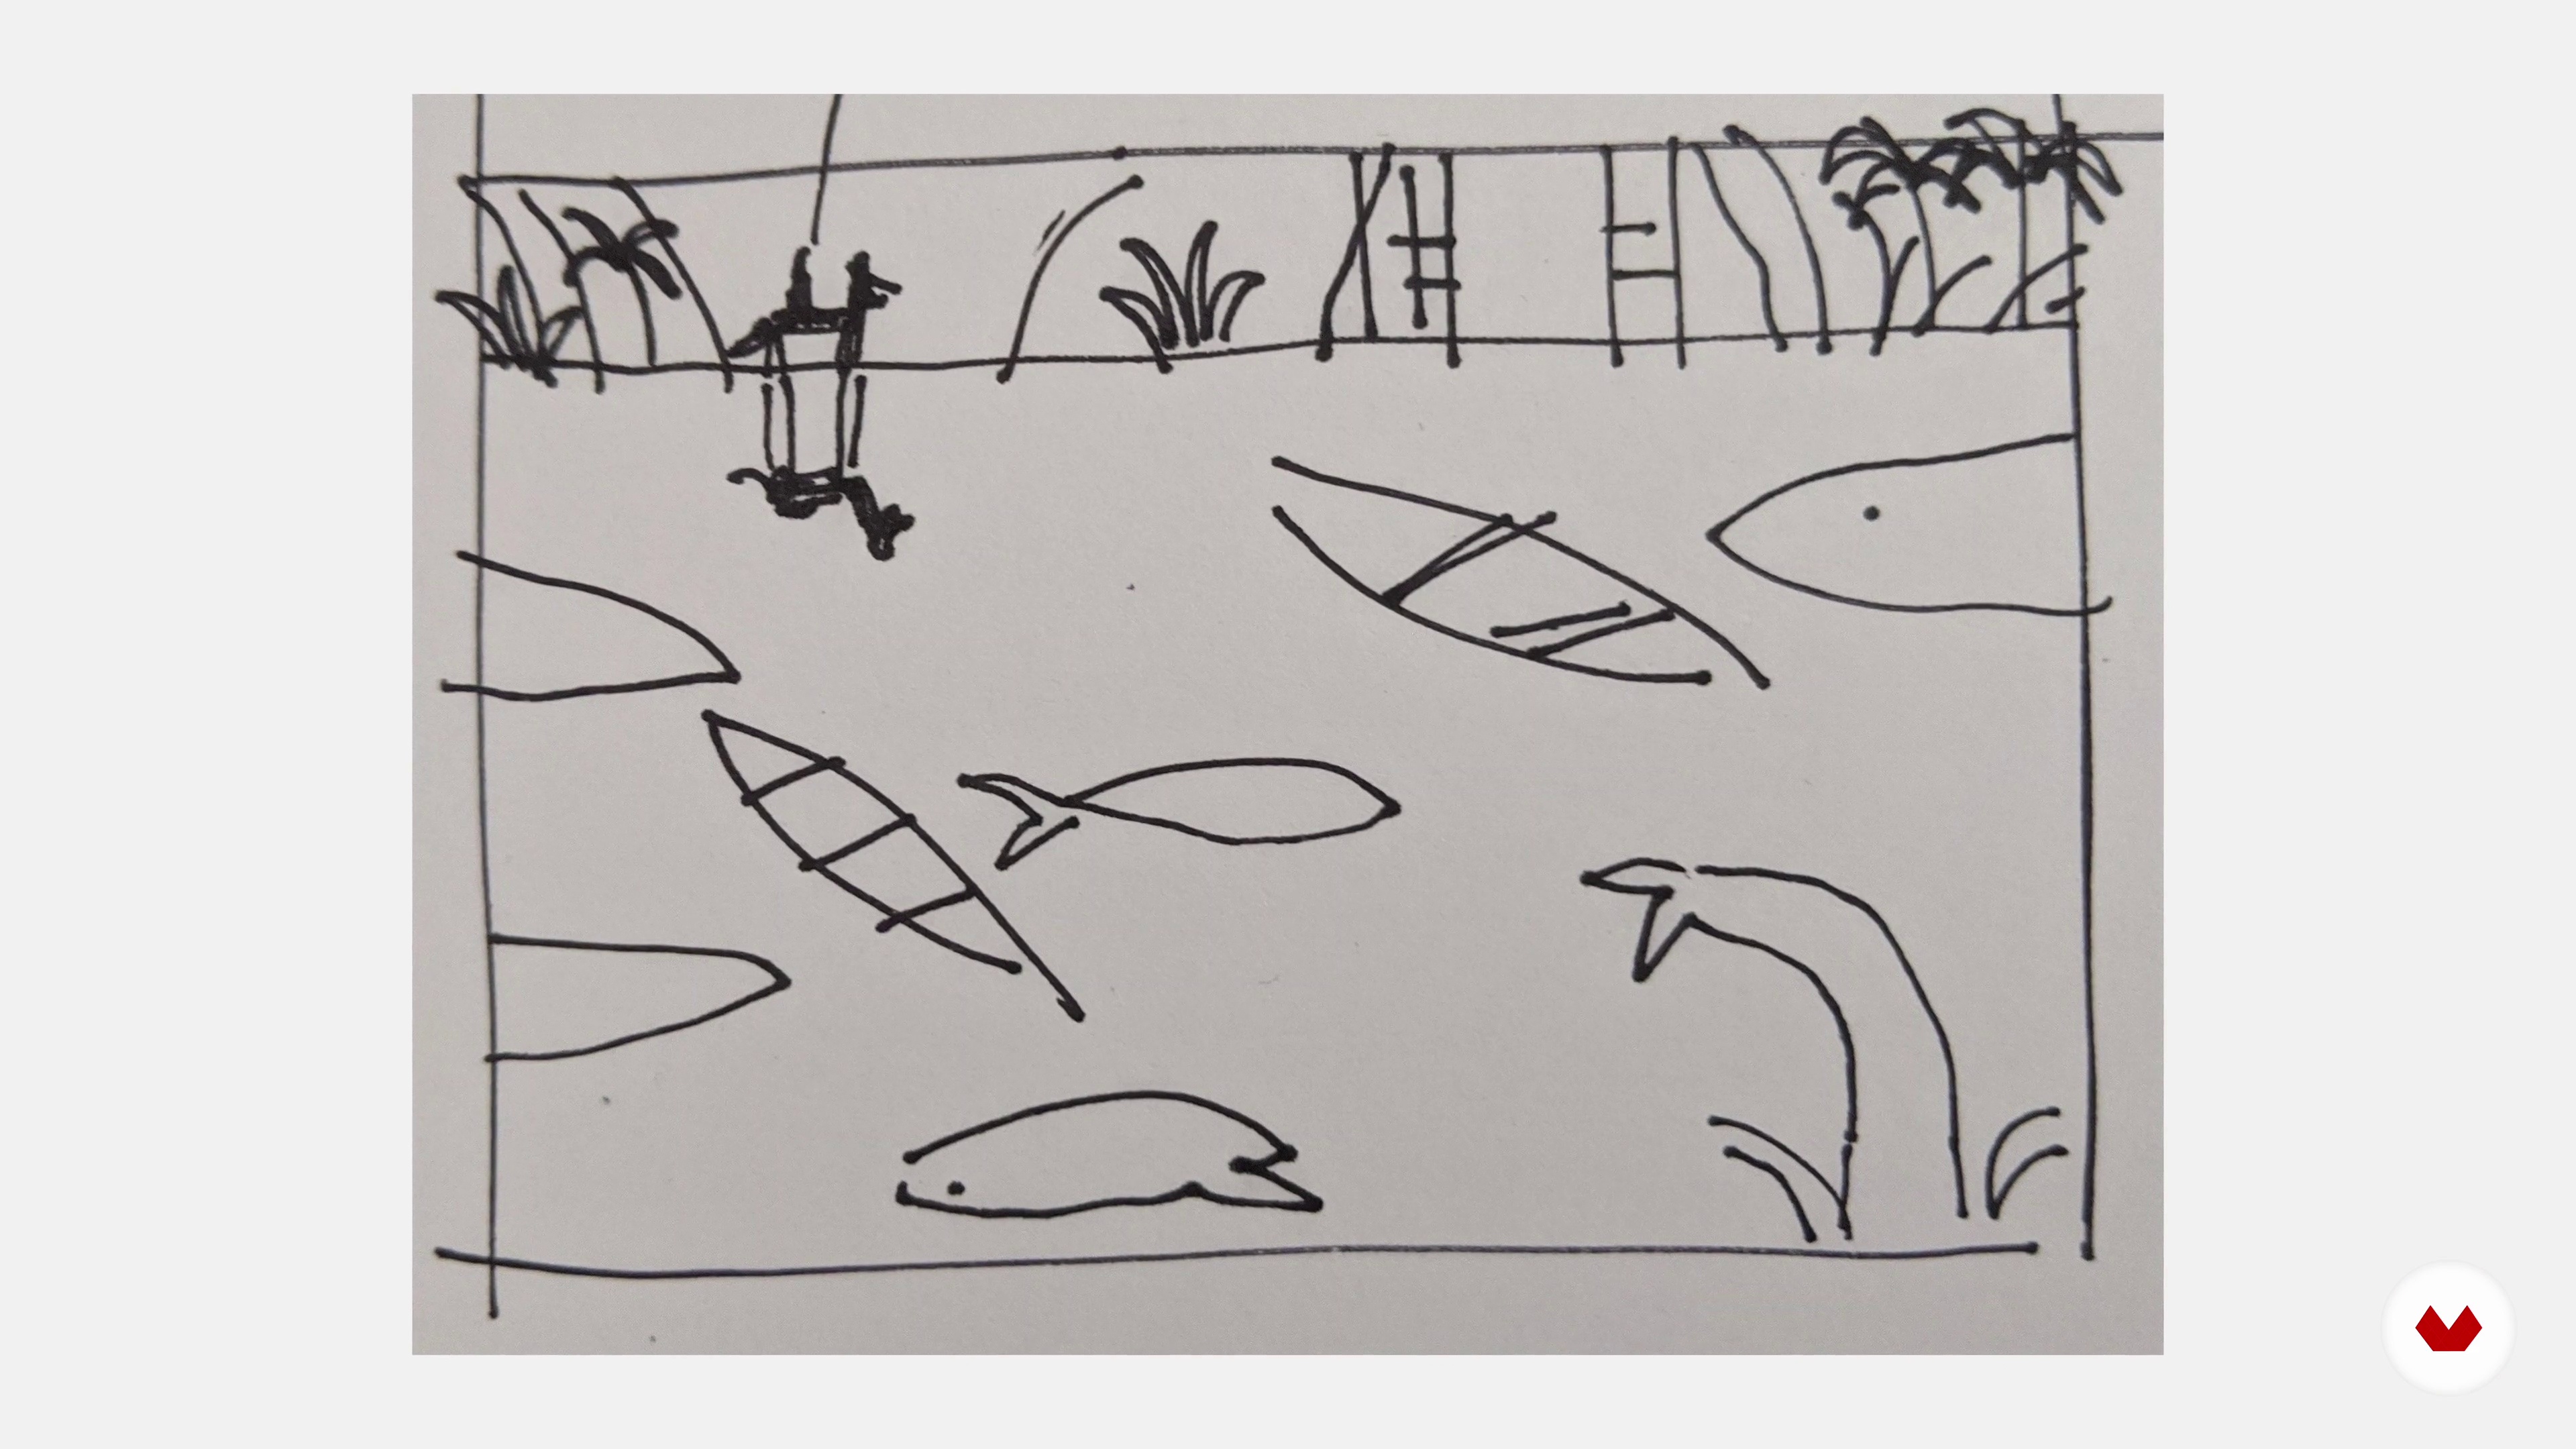
In this lesson, you will move from ideas to drawings thinking about composition, weight, and depth.
19m
image
5
Thumbnailing 2
Look at things from another perspective and think about what the story demands without focusing on detail. This is all about tests, trial, and error.
7m
image
6
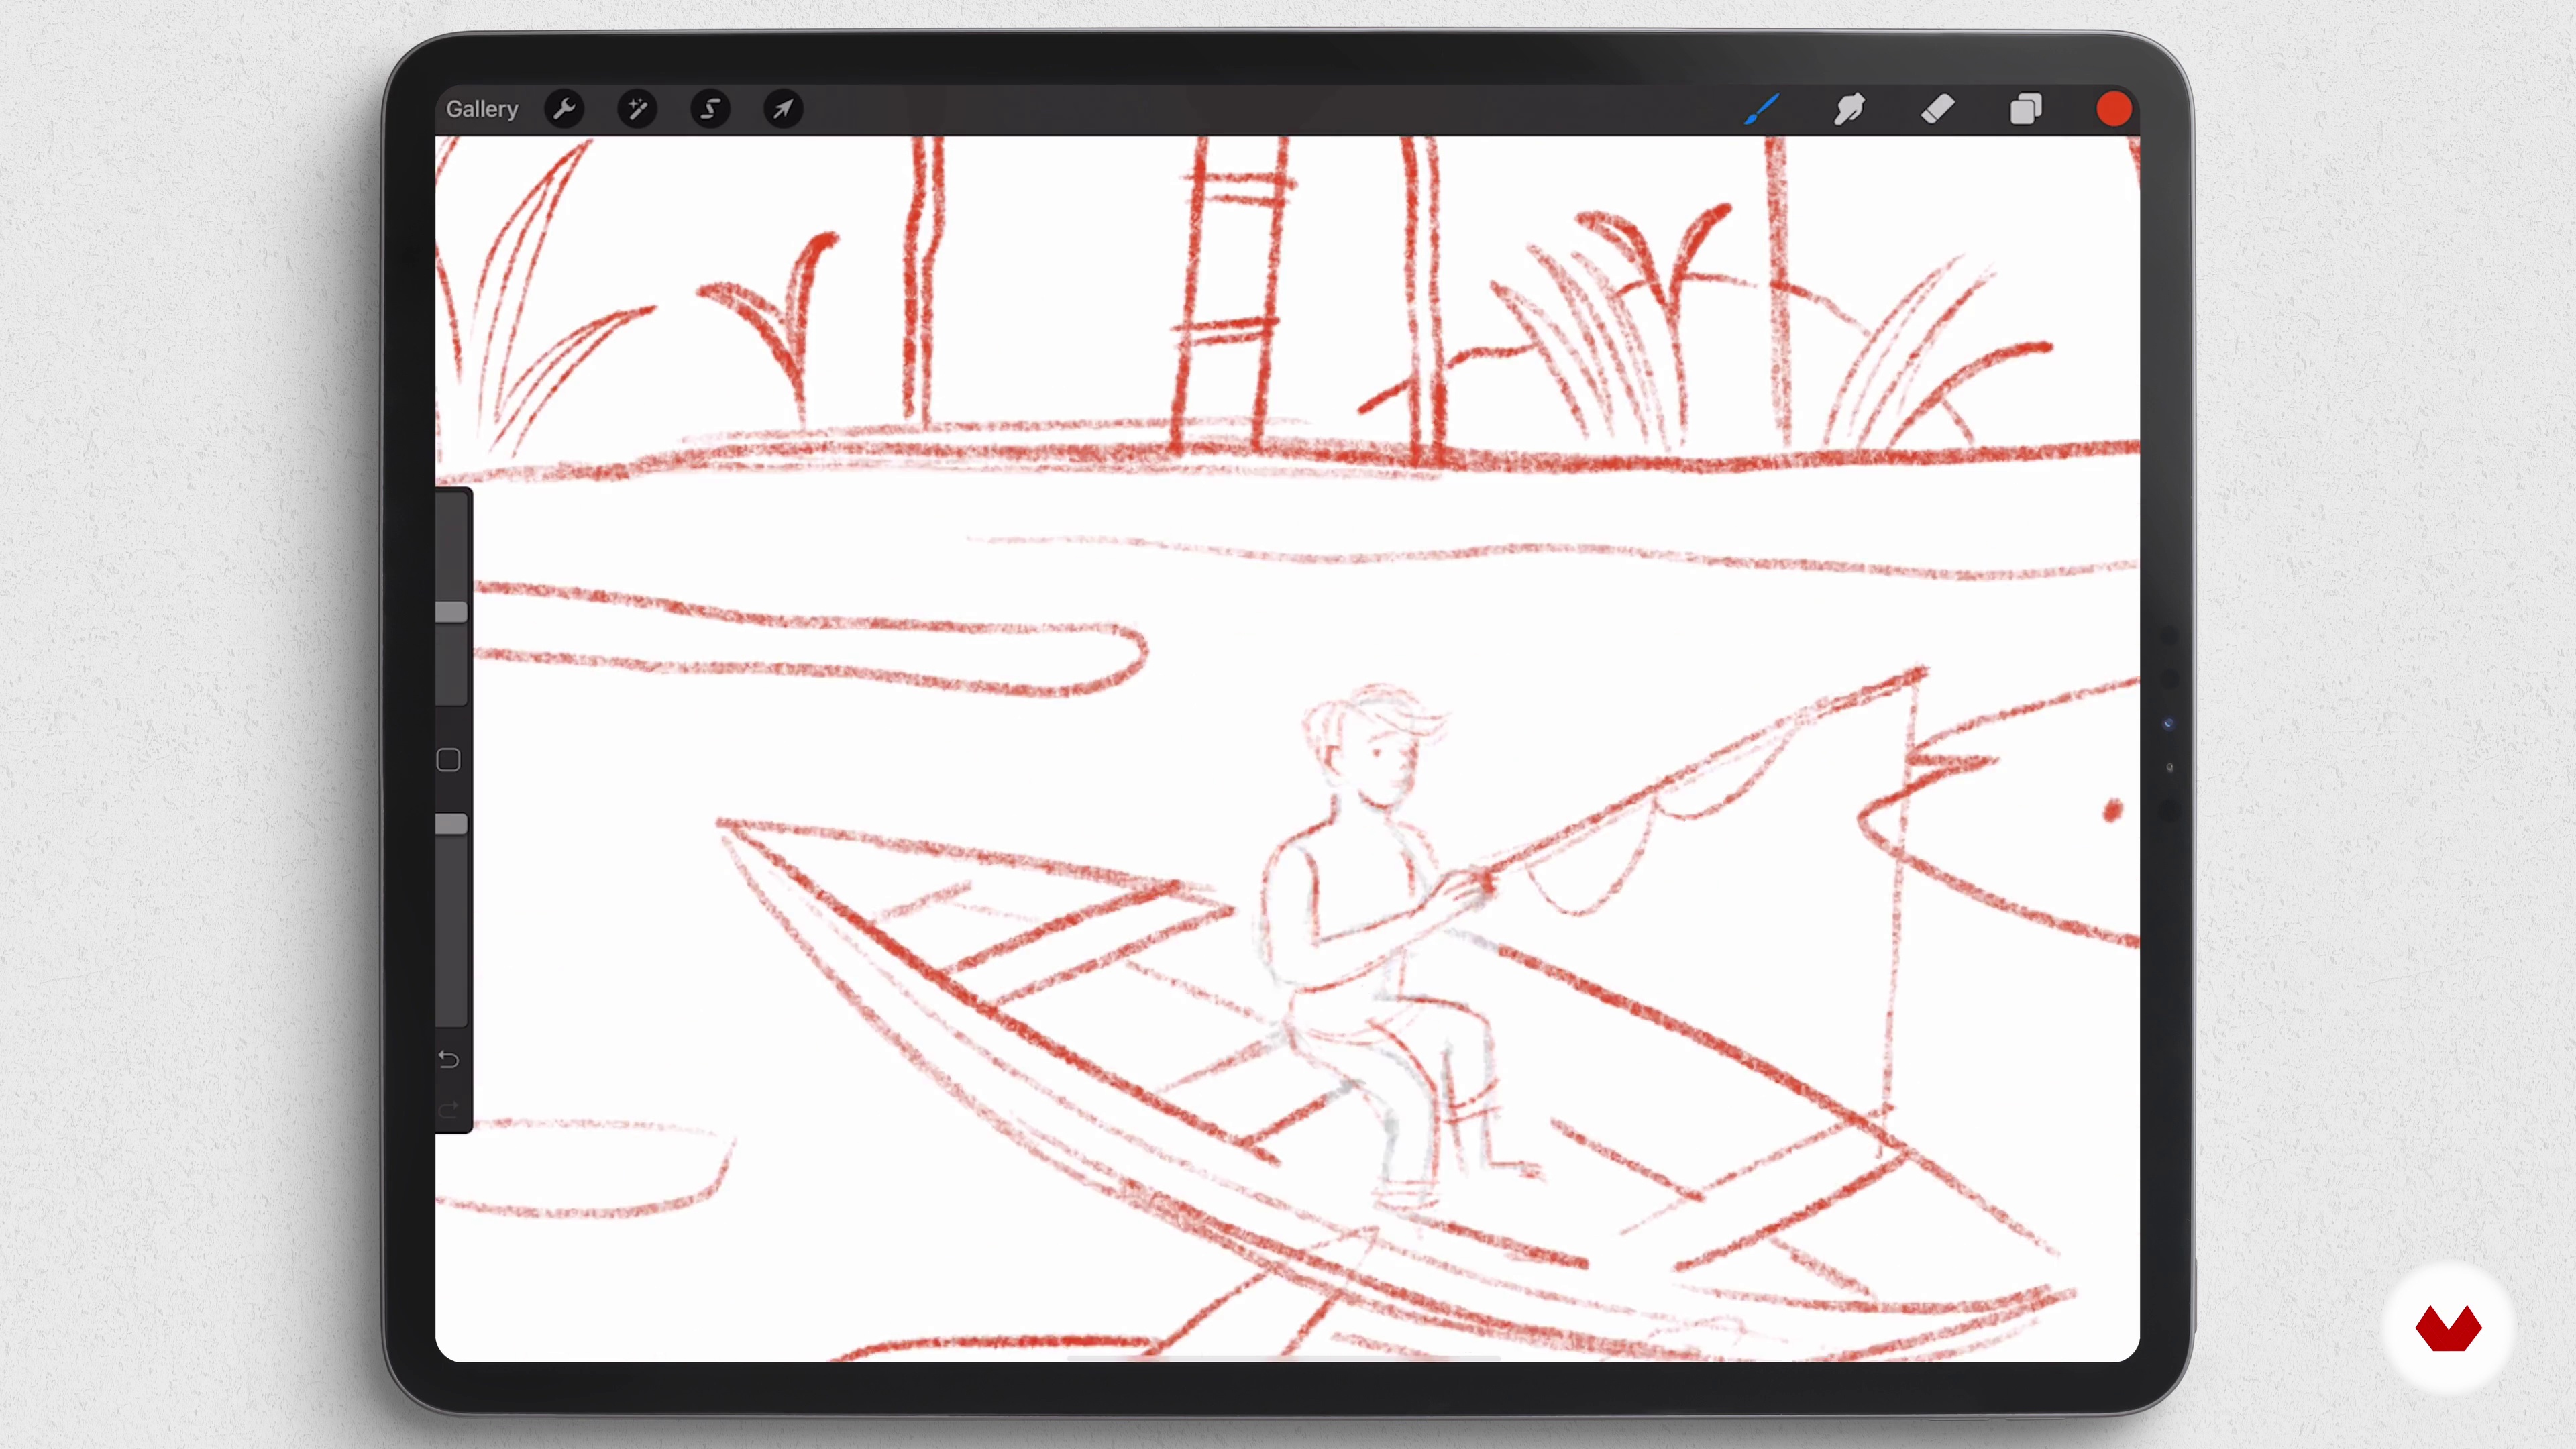
Sketch 1
In this lesson, I will focus on cleaning the lines of our thumbnails. The best way to make a compelling drawing is to keep track of the details that make it recognizable.
13m
image
7
Sketch 2
I will continue showing you how I work on my sketches. I don't usually incorporate lines in my final result but still find them important because they serve as a guide for the next stages.
9m
image
8
Value and Tone 1
Now, let's focus on separating areas with tone and value to define contrast and the main areas of focus.
19m
image
9
Value and Tone 2
I'll go on painting the values. This part of the process is fundamental because values are what adds contrast, dimension, and form. Value is widely considered to be one of the most important variables to the success of a painting, even more so than your selection of color (hue).
6m
image
10
Color Draft 1
Already having tonal values established, it's time to play with color.
19m
image
11
Color Draft 2
Colors say a lot, so you want to make sure you are picking the right ones. A specific color palette may make the viewer feel sad, while another one for the same illustration may give them a sense of hope. Which matches your intention?
16m
image
12
From Big Areas to Small Details 1
In this lesson using tonal value and color drafts, I'll go from painting the big areas to adding detail. The first thing I do to make the process easier is to identify the bigger elements, so I can stay focused.
15m
image
13
From Big Areas to Small Details 2
Remember to go from the bigger and least detailed elements to the smaller more complex ones. Later, you can work on the textures and details.
16m
image
14
From Big Areas to Small Details 3
I'll show you my painting process, look at my use of brushes, and how I achieve the effects I've been telling you about.
11m
image
15
Light and Shadow
As you get close to finishing your image this is the point where you make your final color adjustments and push your highlights and shadows to really make the image come alive.
15m
image
16
Sharing Your Work
In this lesson, I will share all the spaces I know of where you can share your work and push your career forward as a professional illustrator.
4m
image
17
Making a Children’s Book
Here I'll discuss how you can use the story of your final project to create a picture book project and send it to editorials, contests, and agencies to be considered for publishing.
11m
image
1
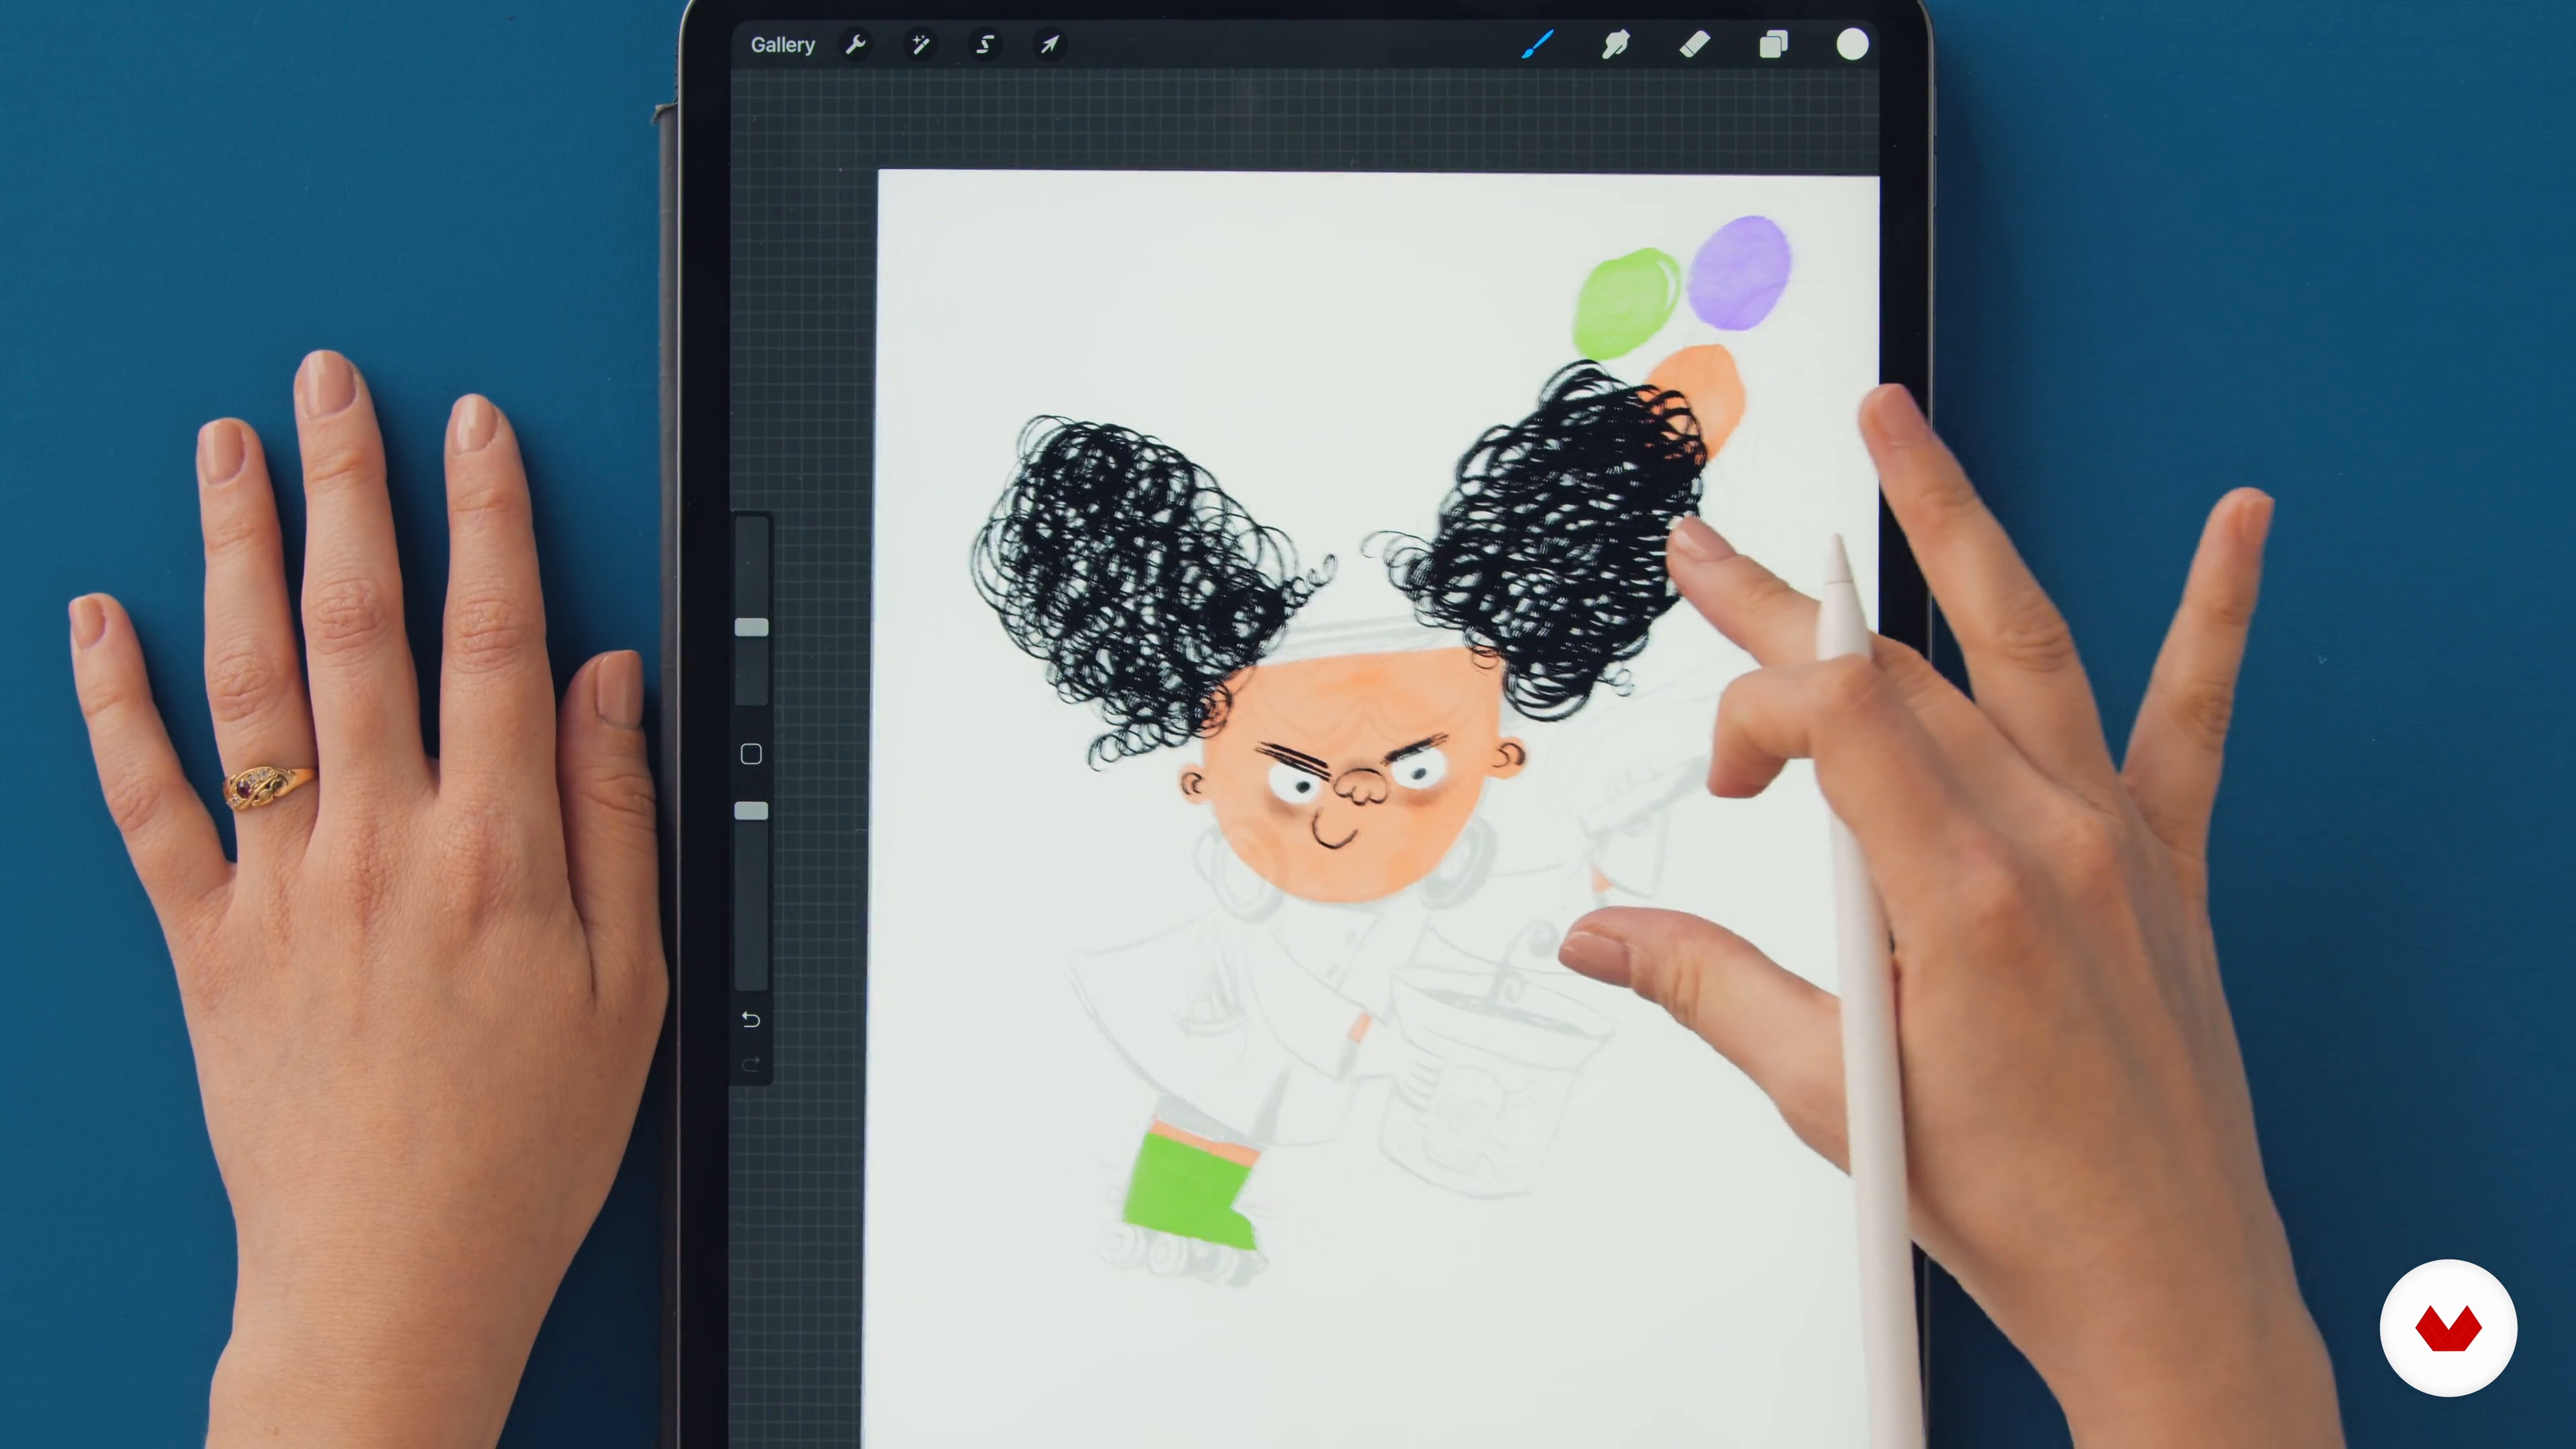
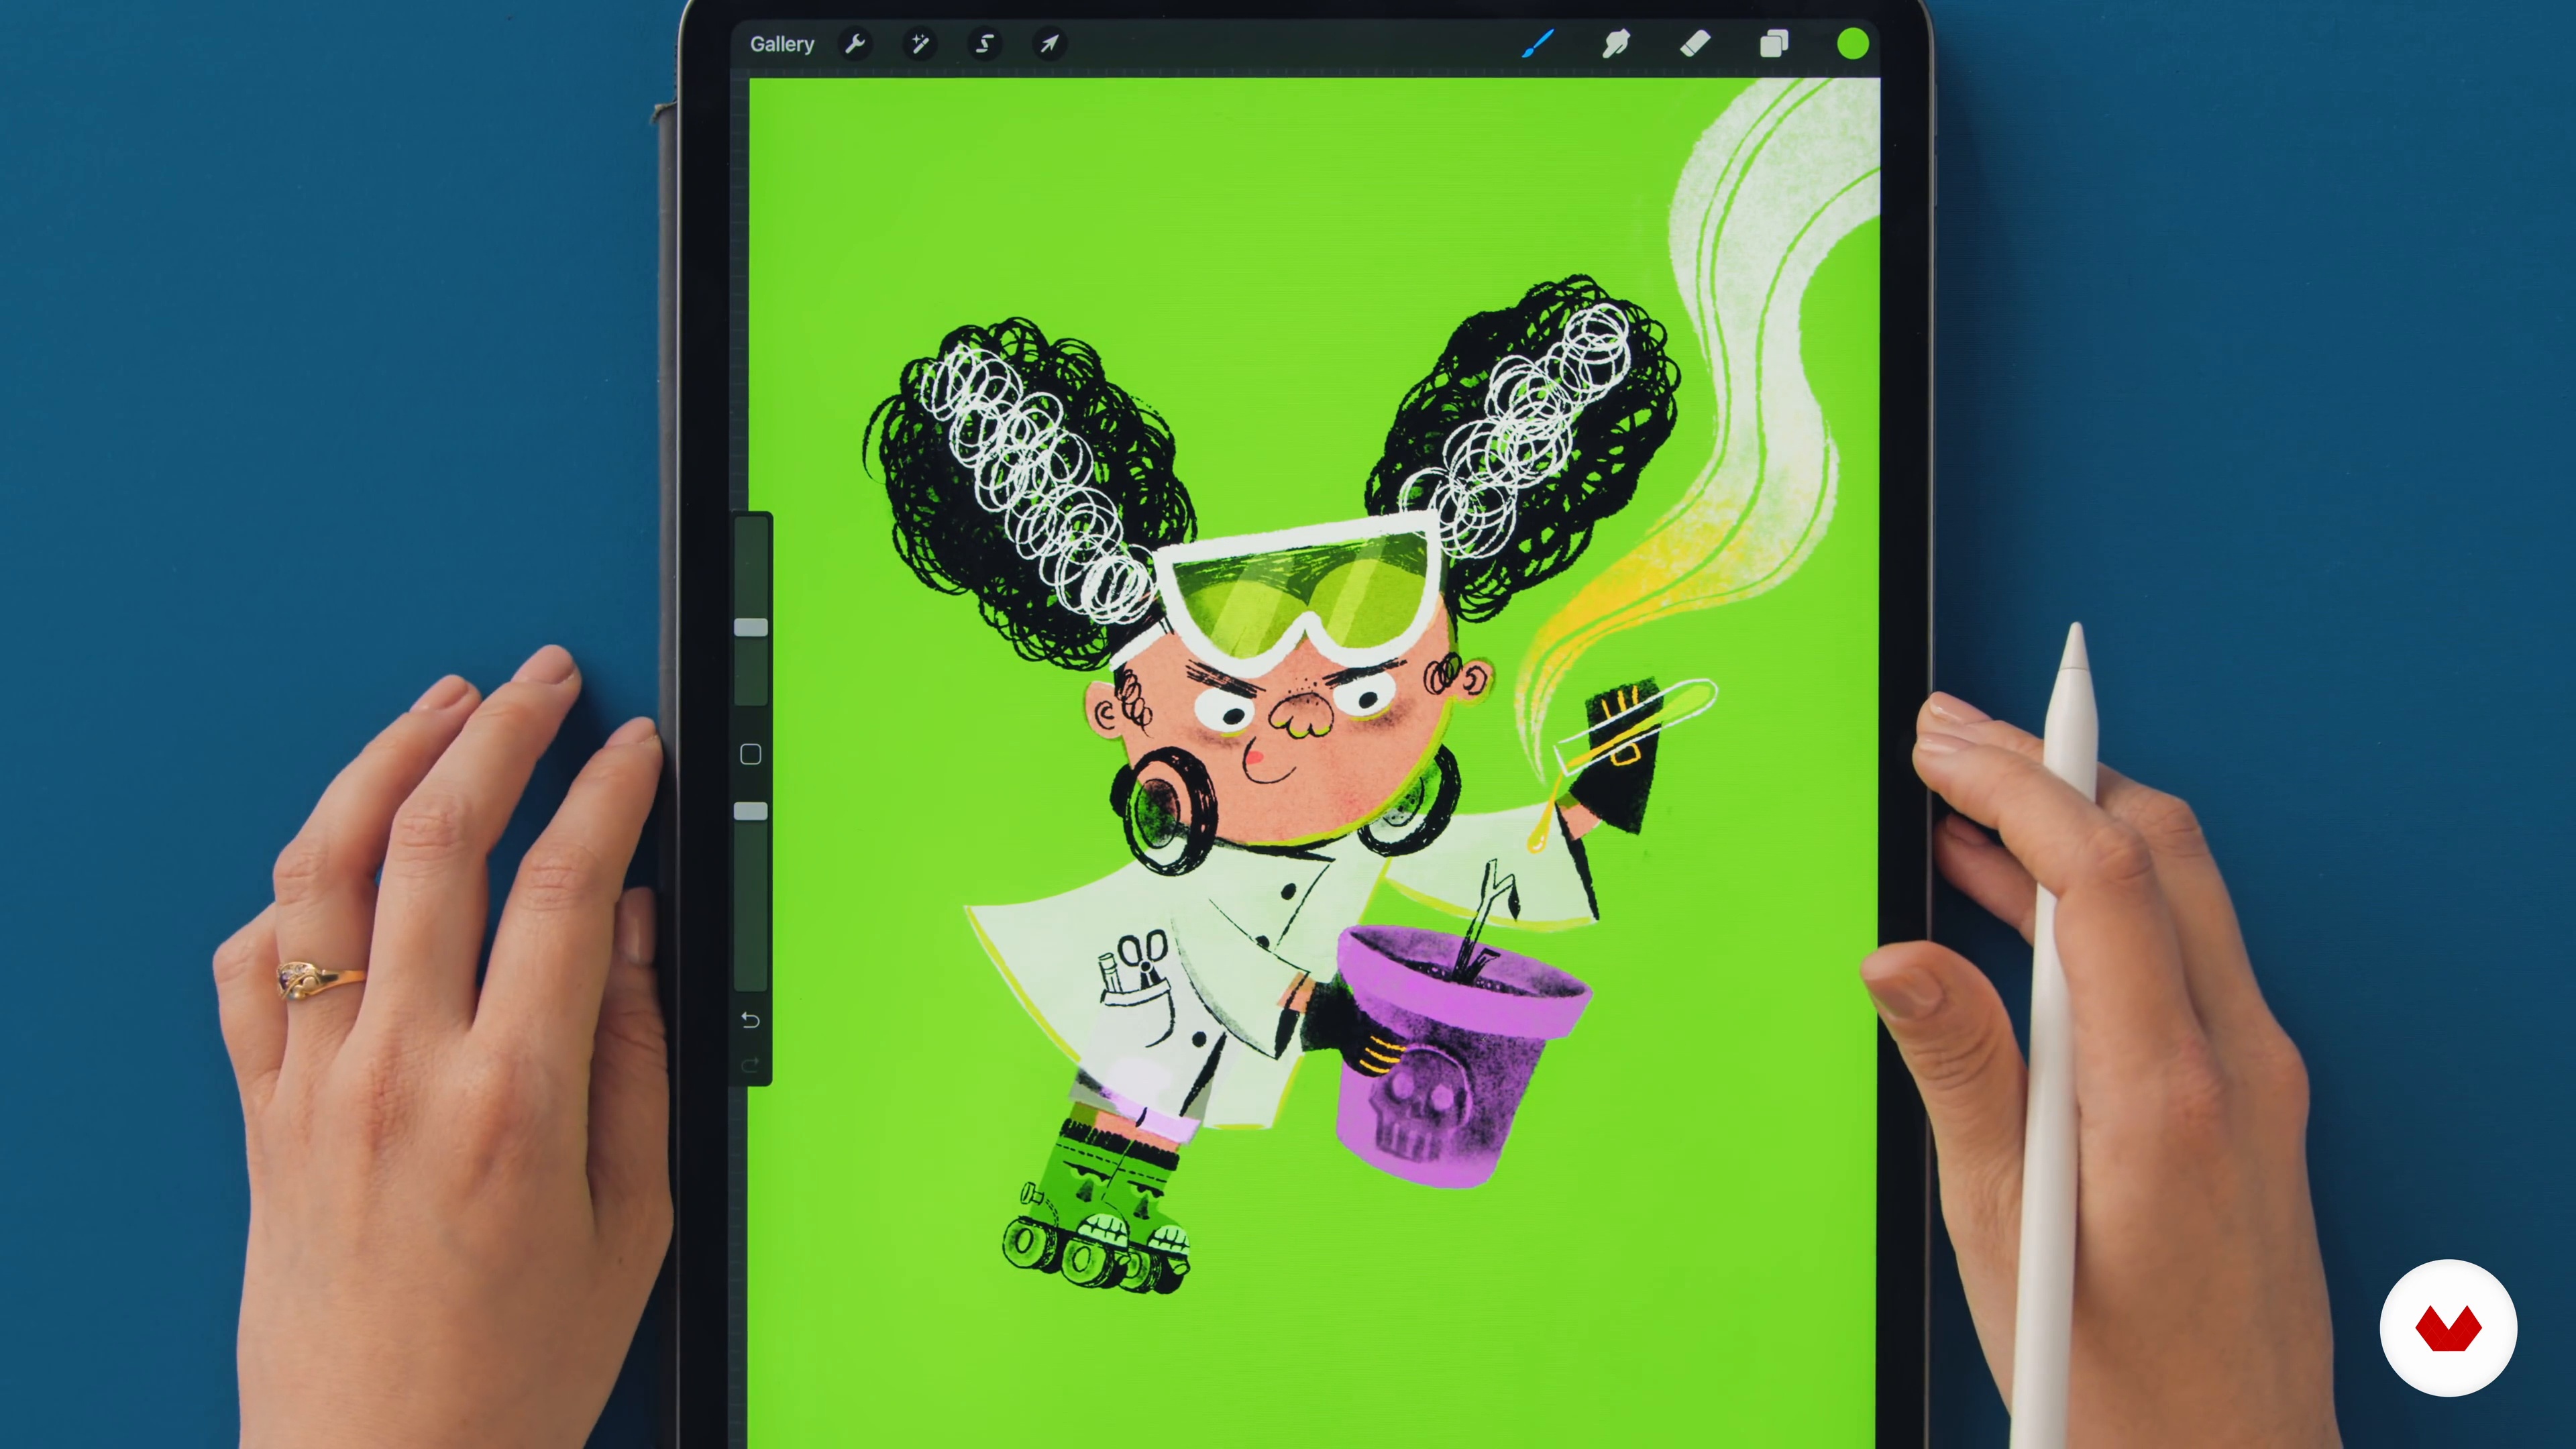
Brushes
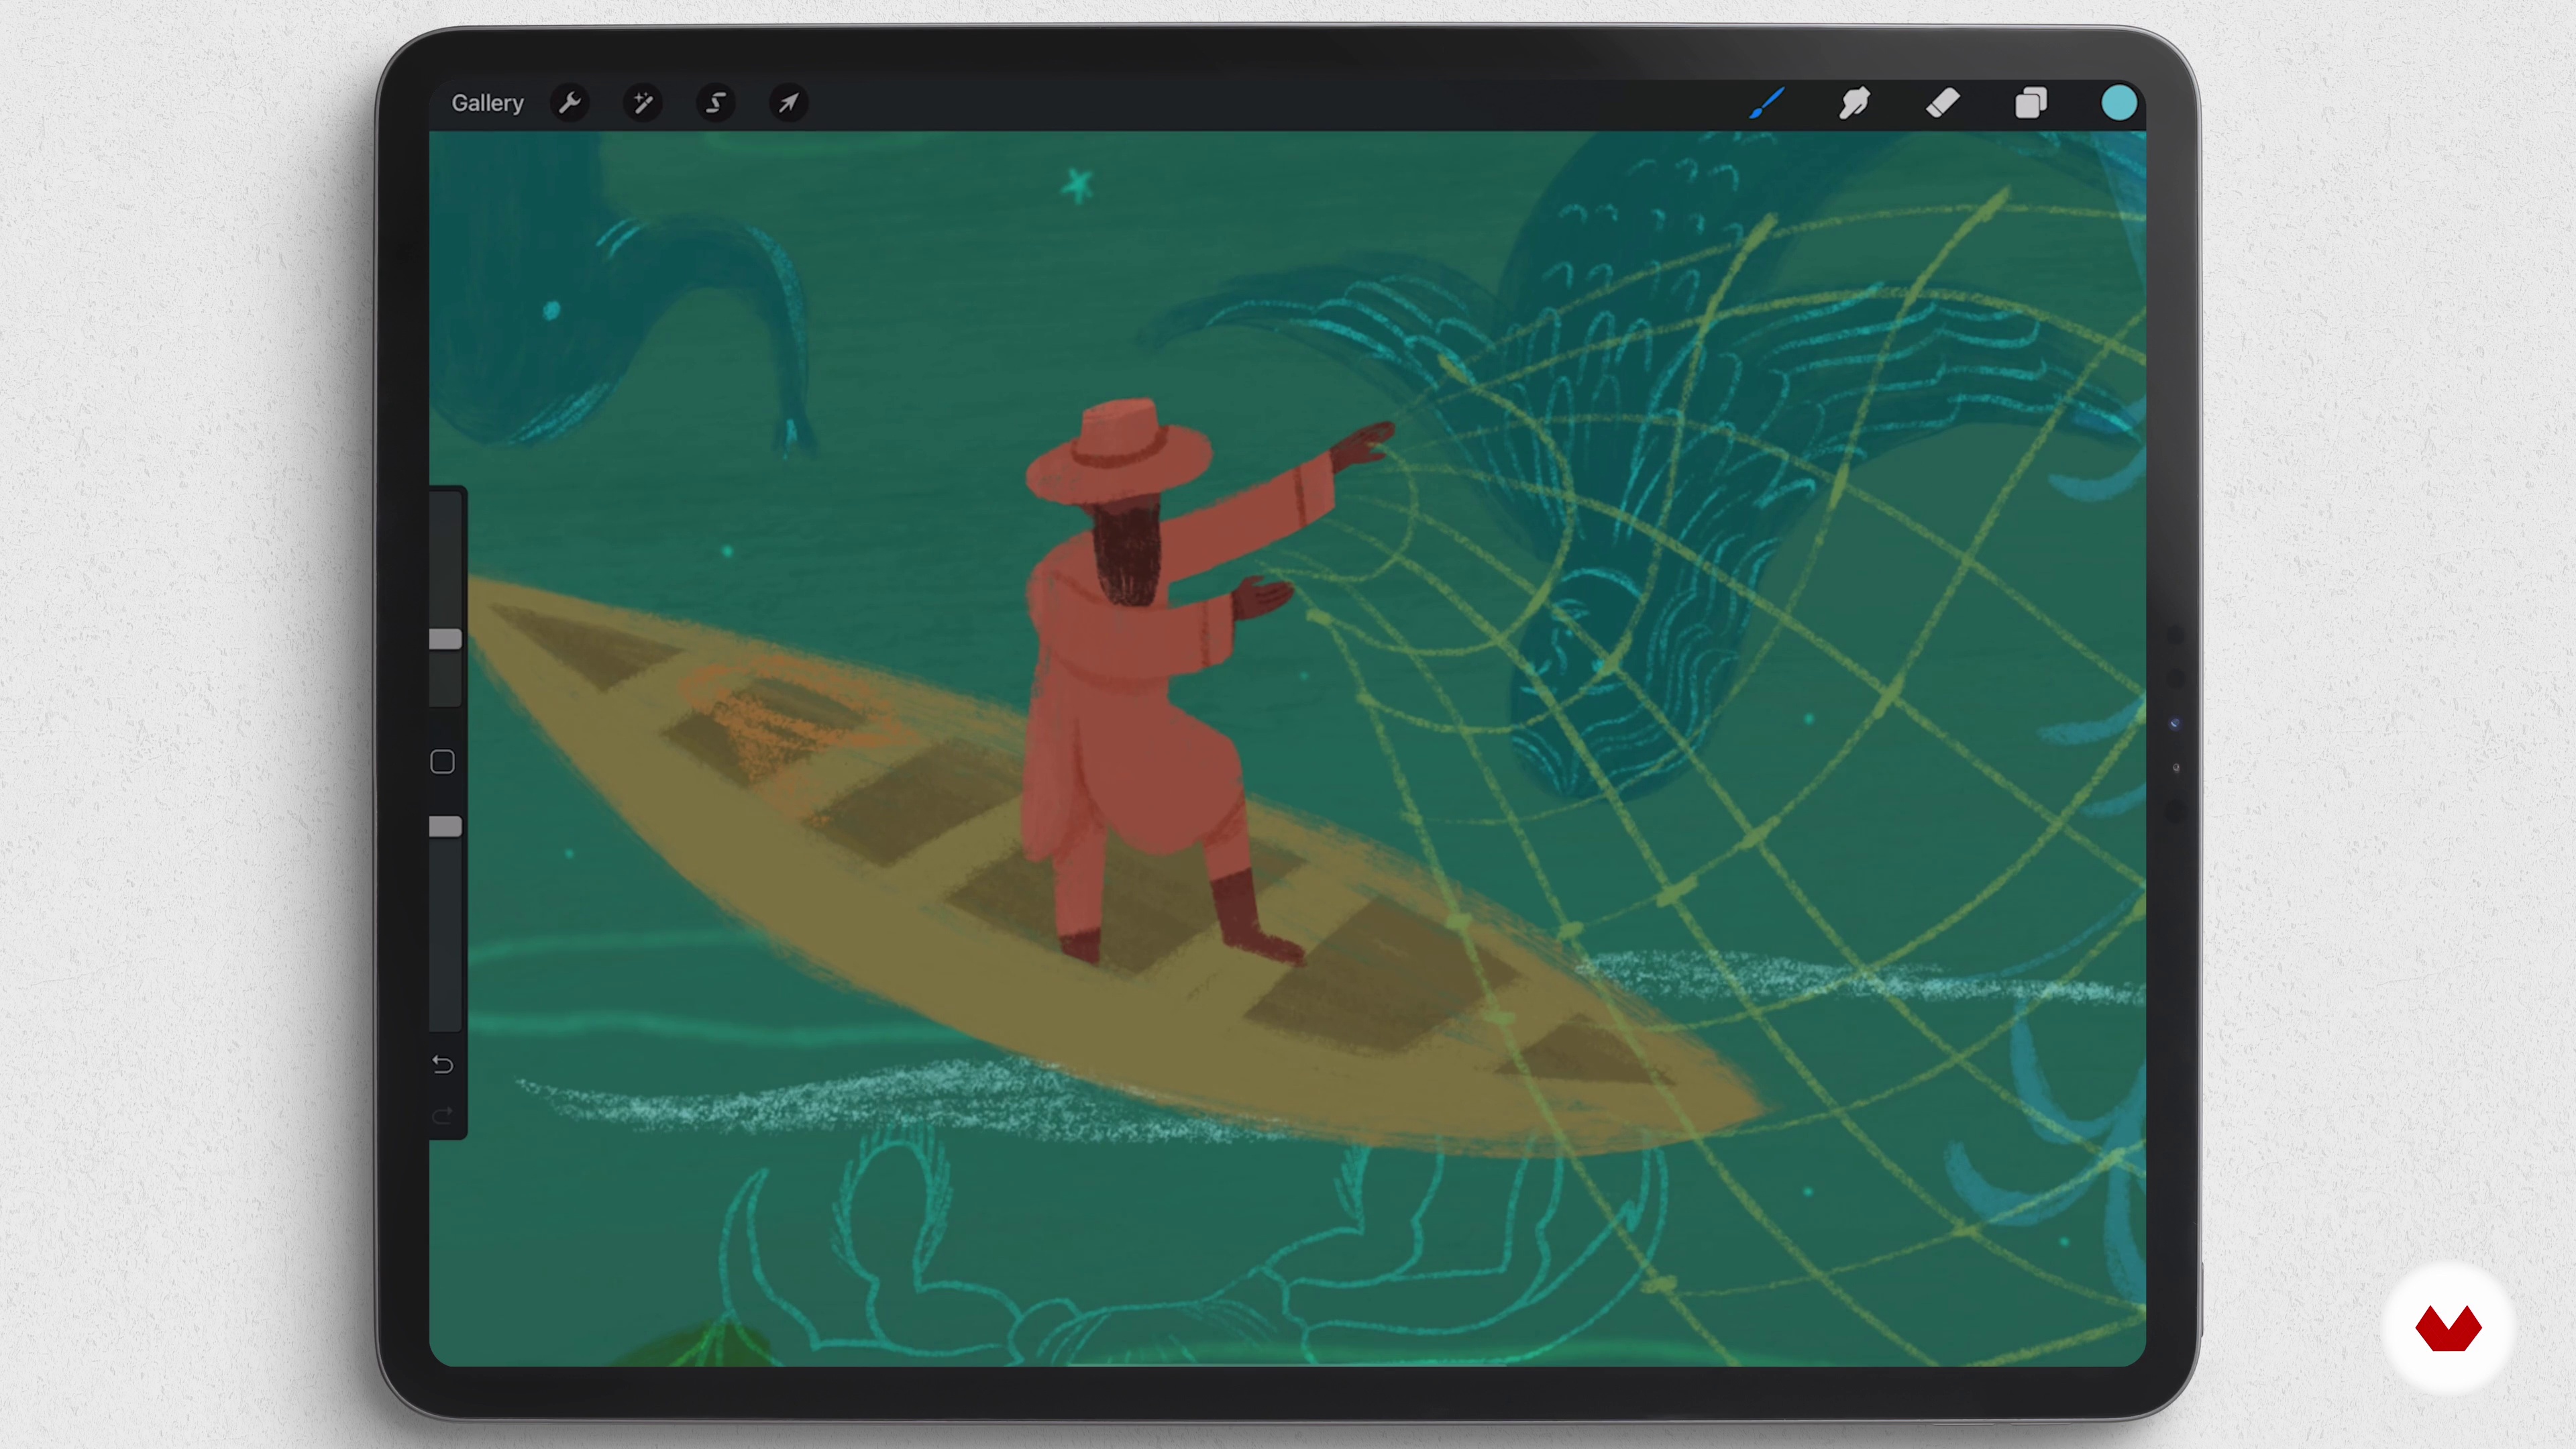
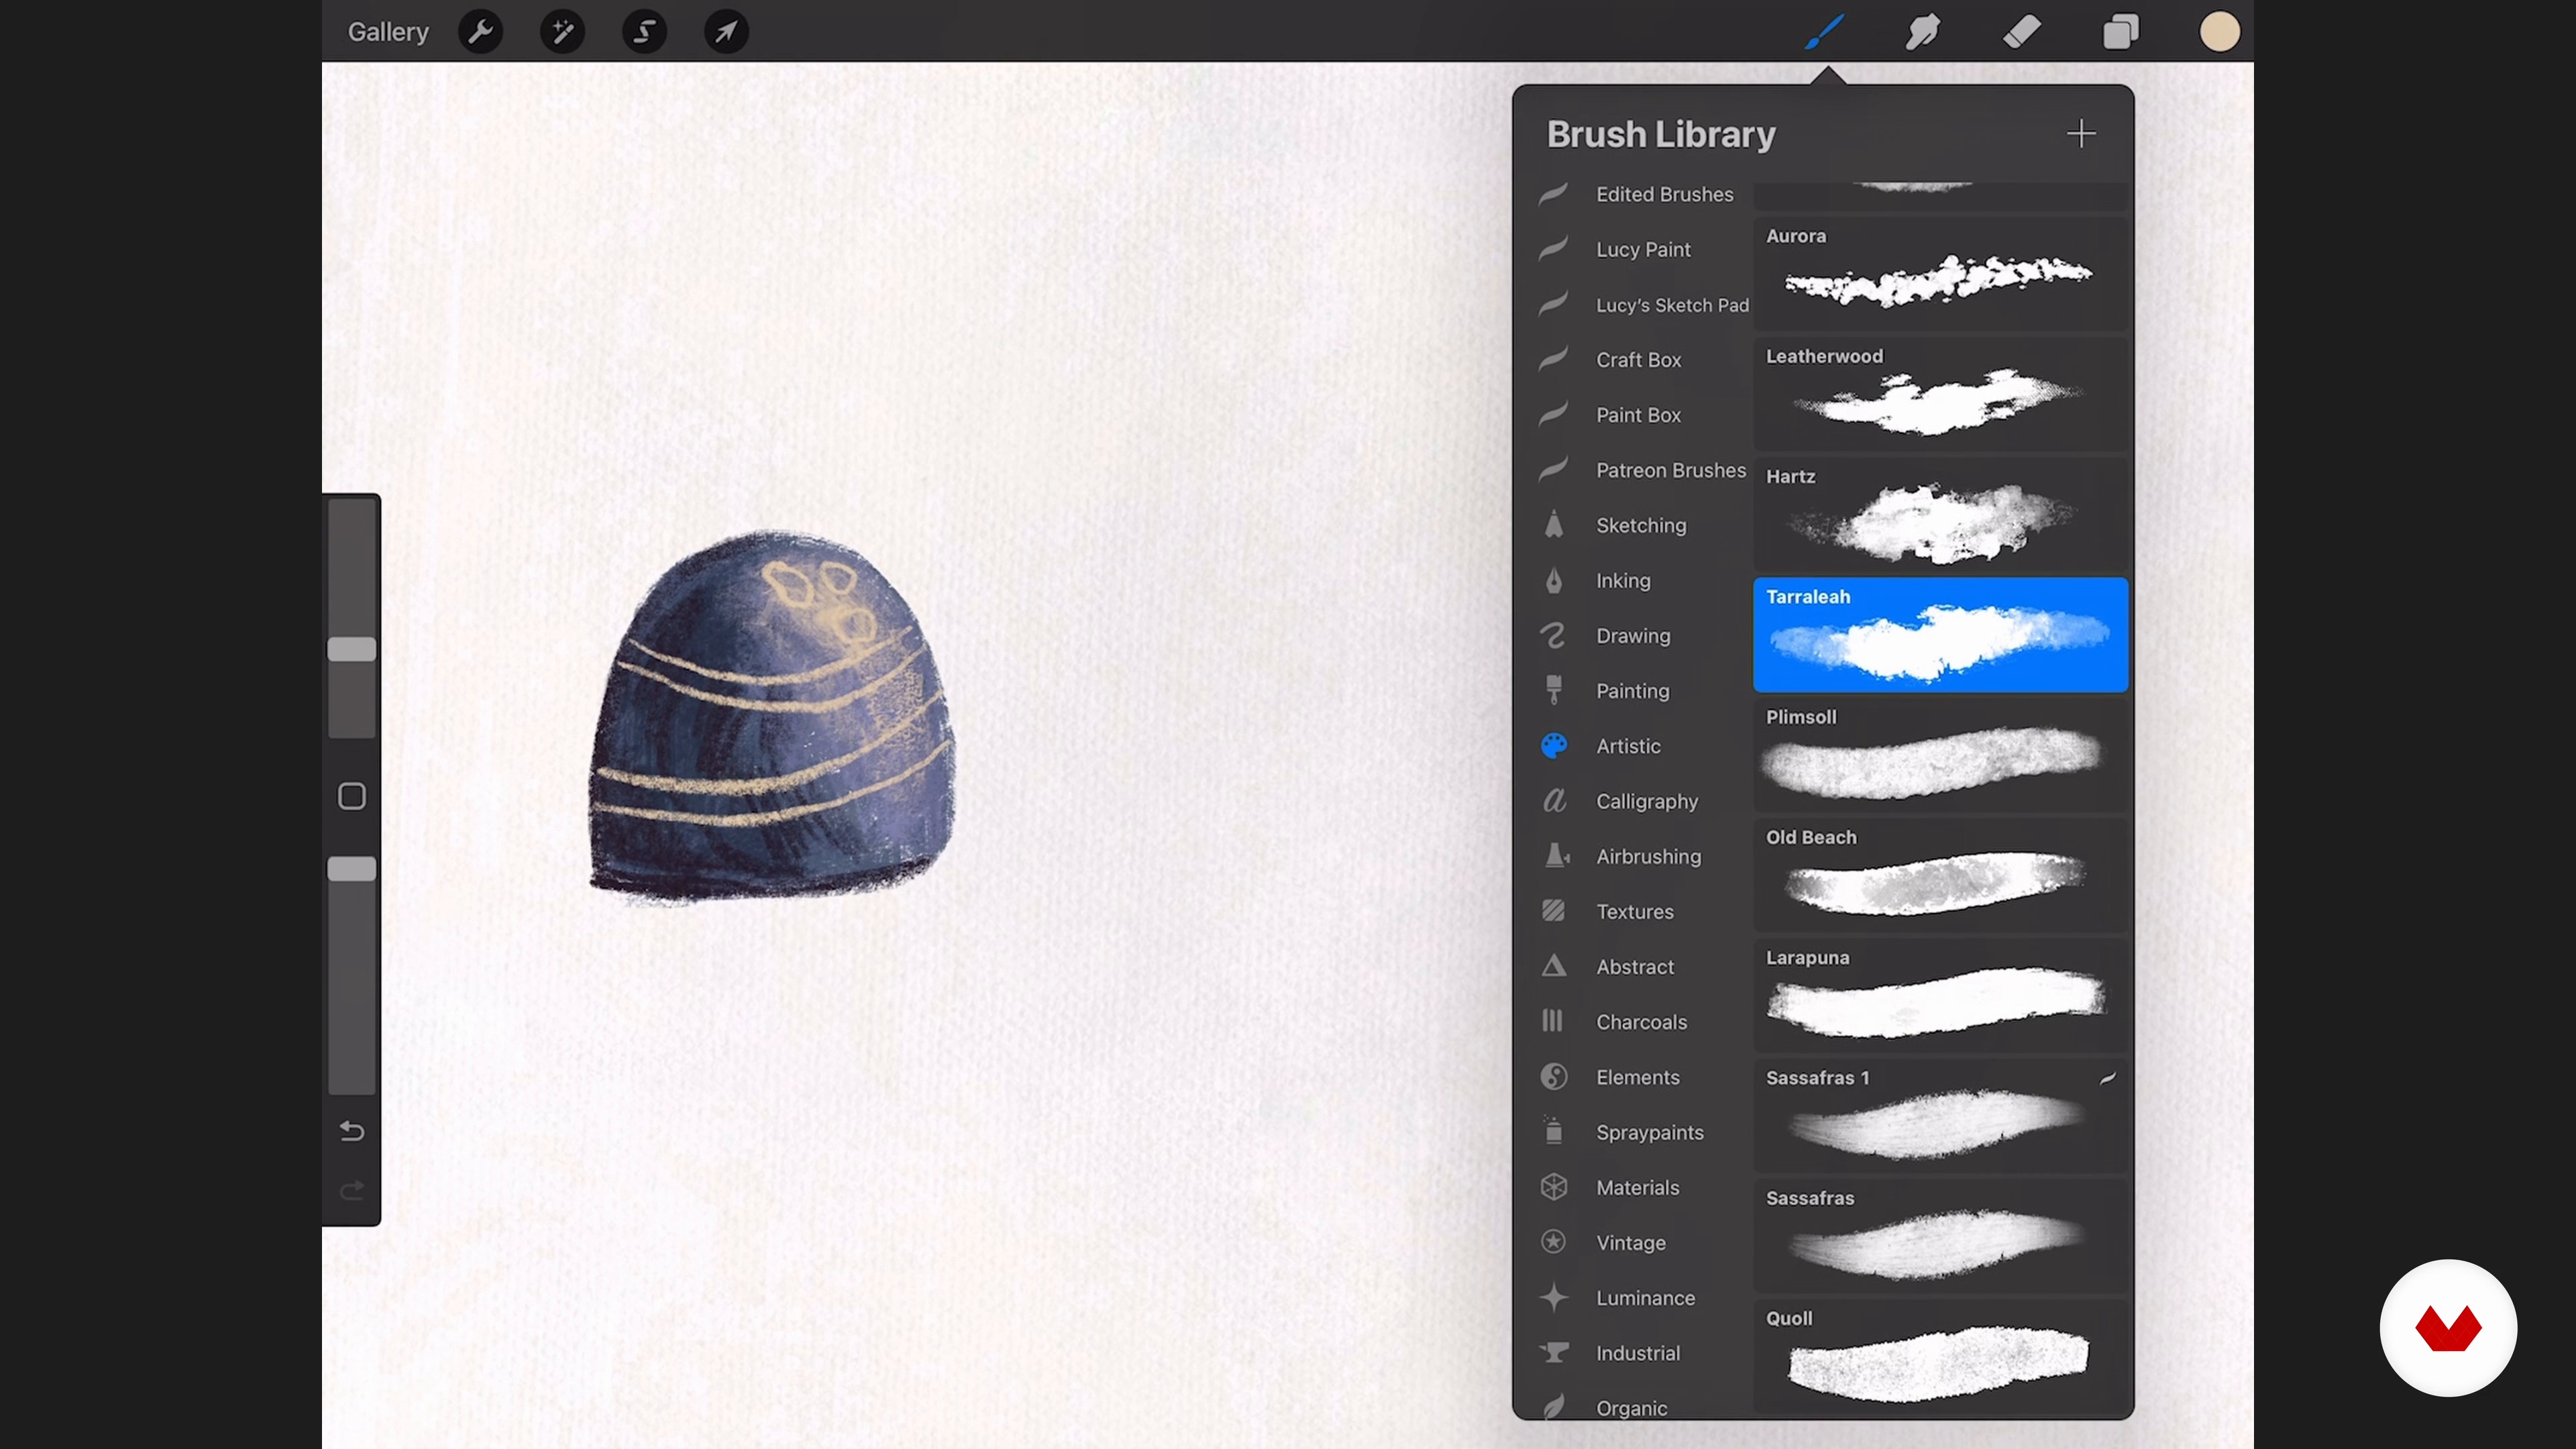
To begin, I will talk about brushes and why different textures can change your approach to creating artwork. I will show you how I use and layer some of the brushes as an example of how different brushes can create different effects. We will use these techniques as we paint the final illustration.
6m
image
2
Layers and Textures
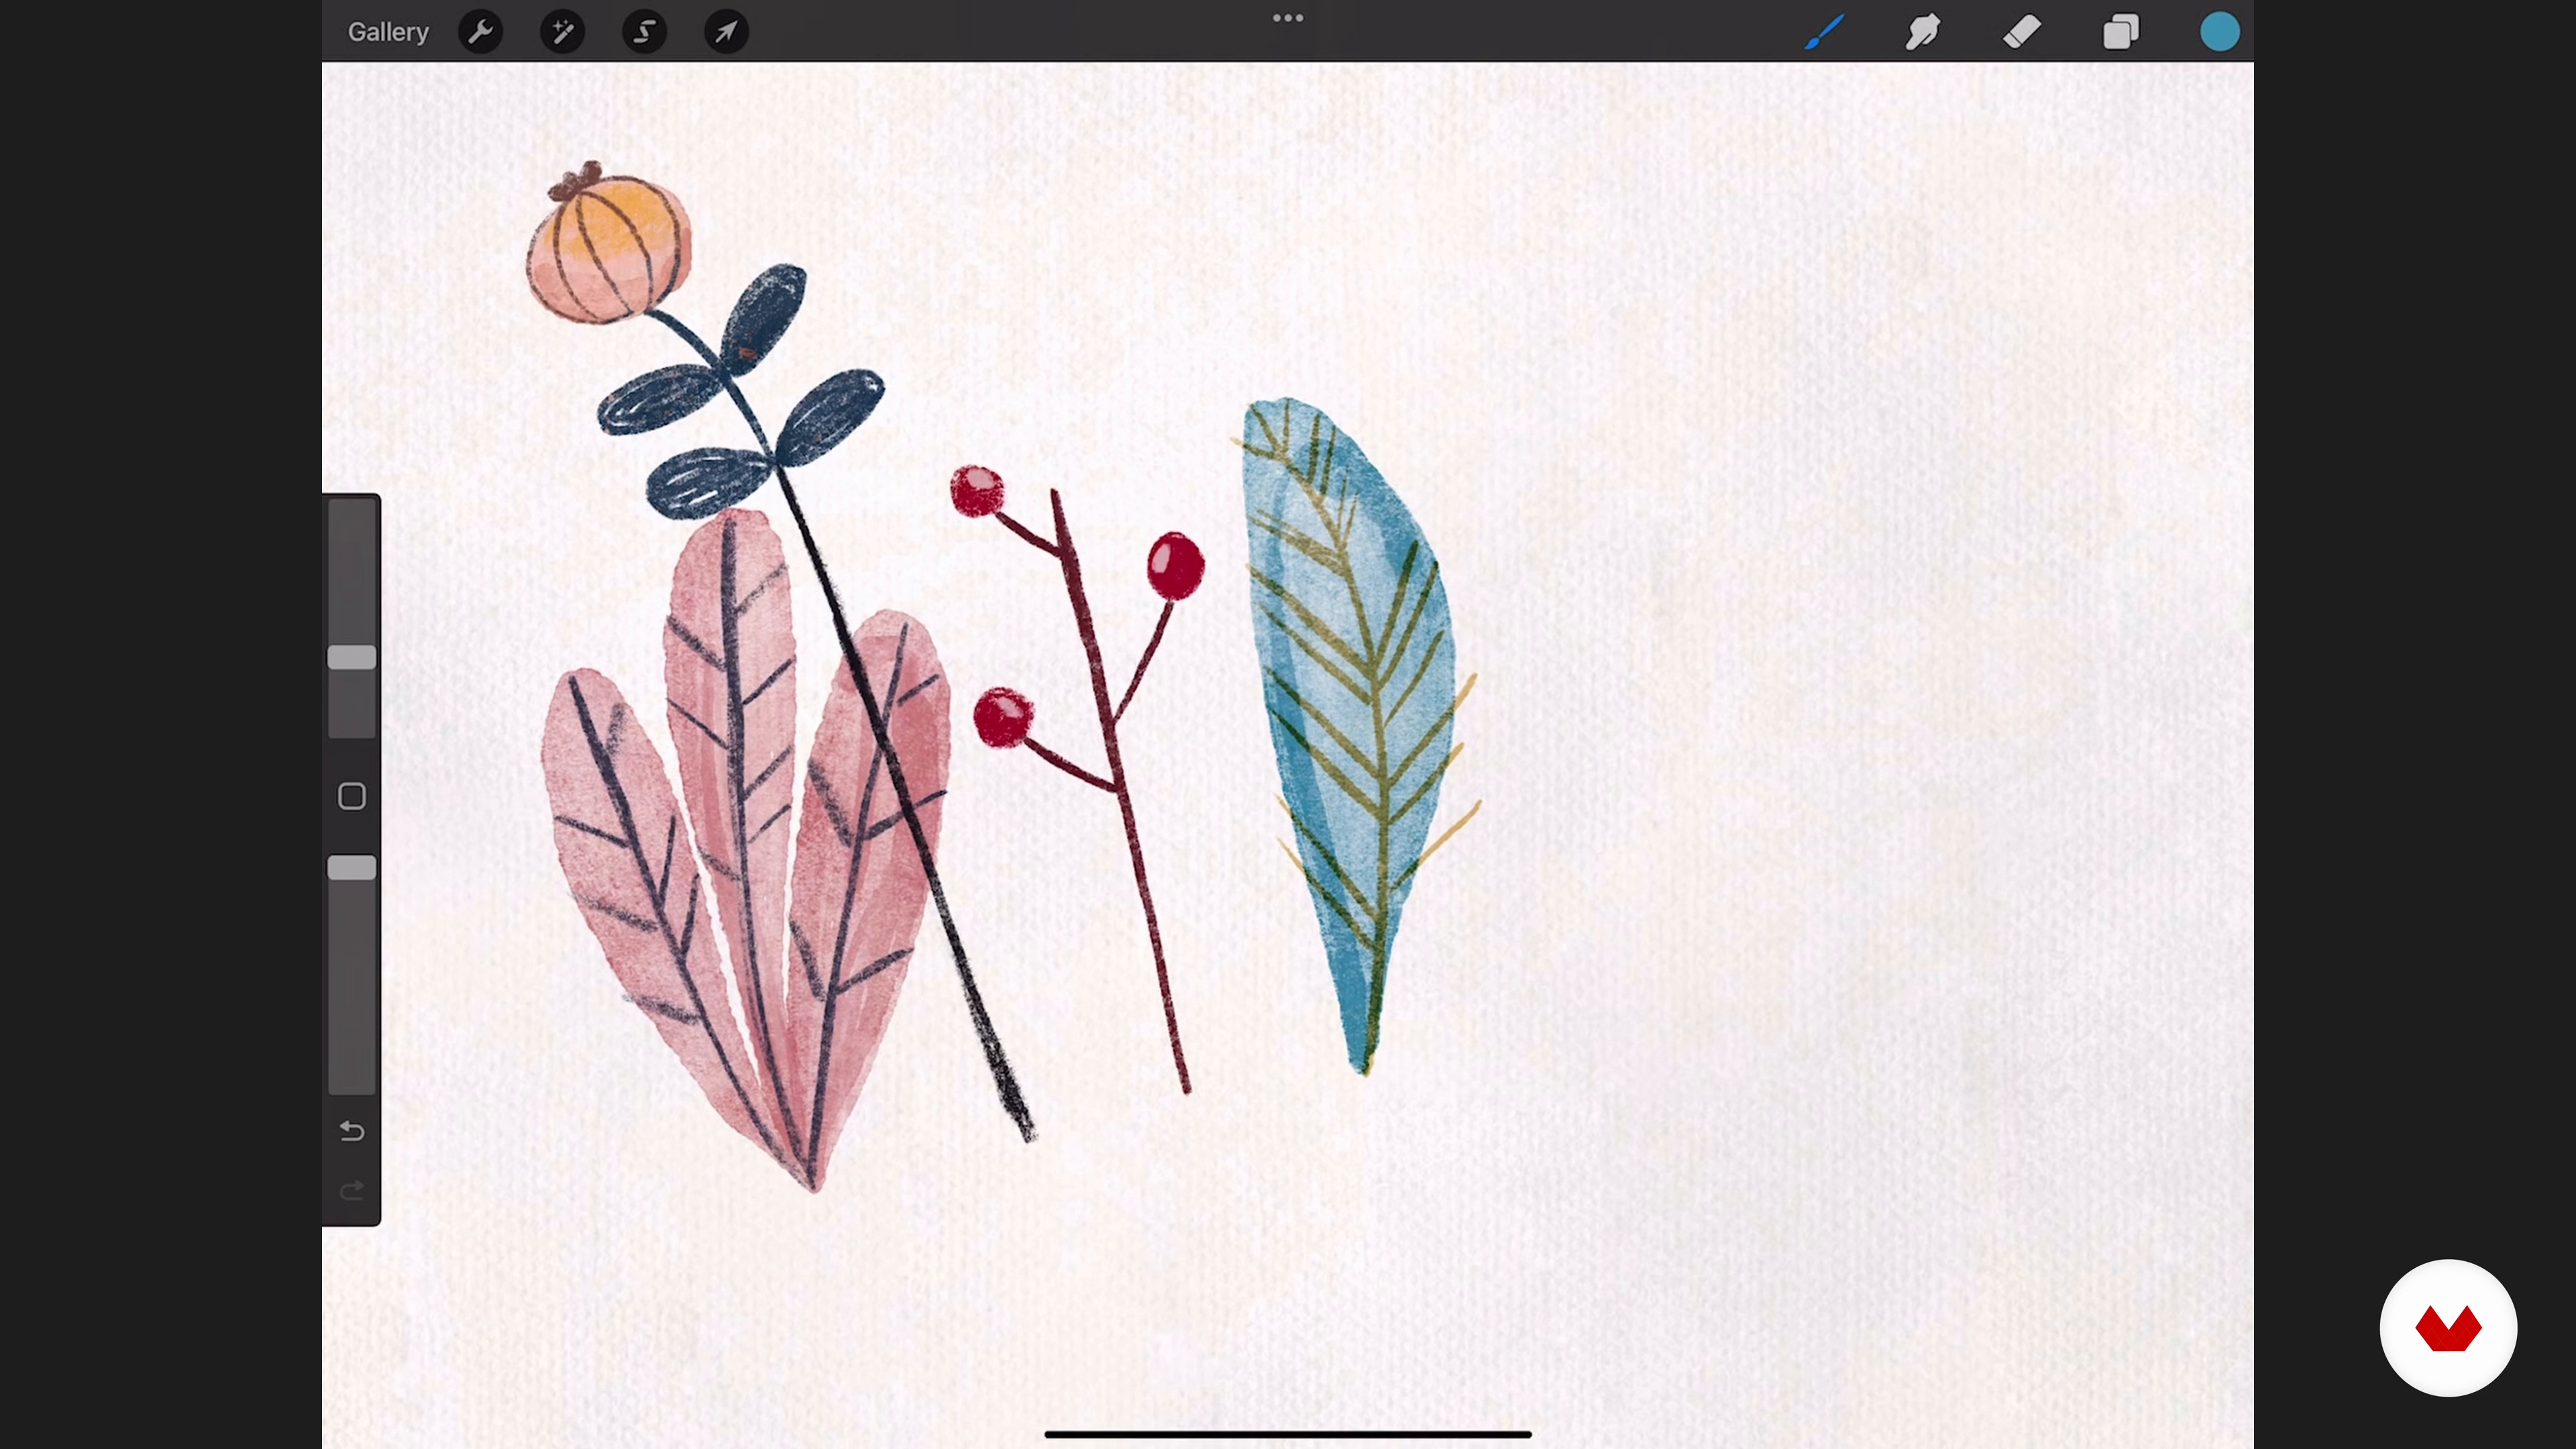
I have shown you how brushes can build and create different effects in Procreate. Now, I will paint a few examples and talk you through the layer modes that are useful when building textures. I will also show you how you can use paper textures.
8m
image
3
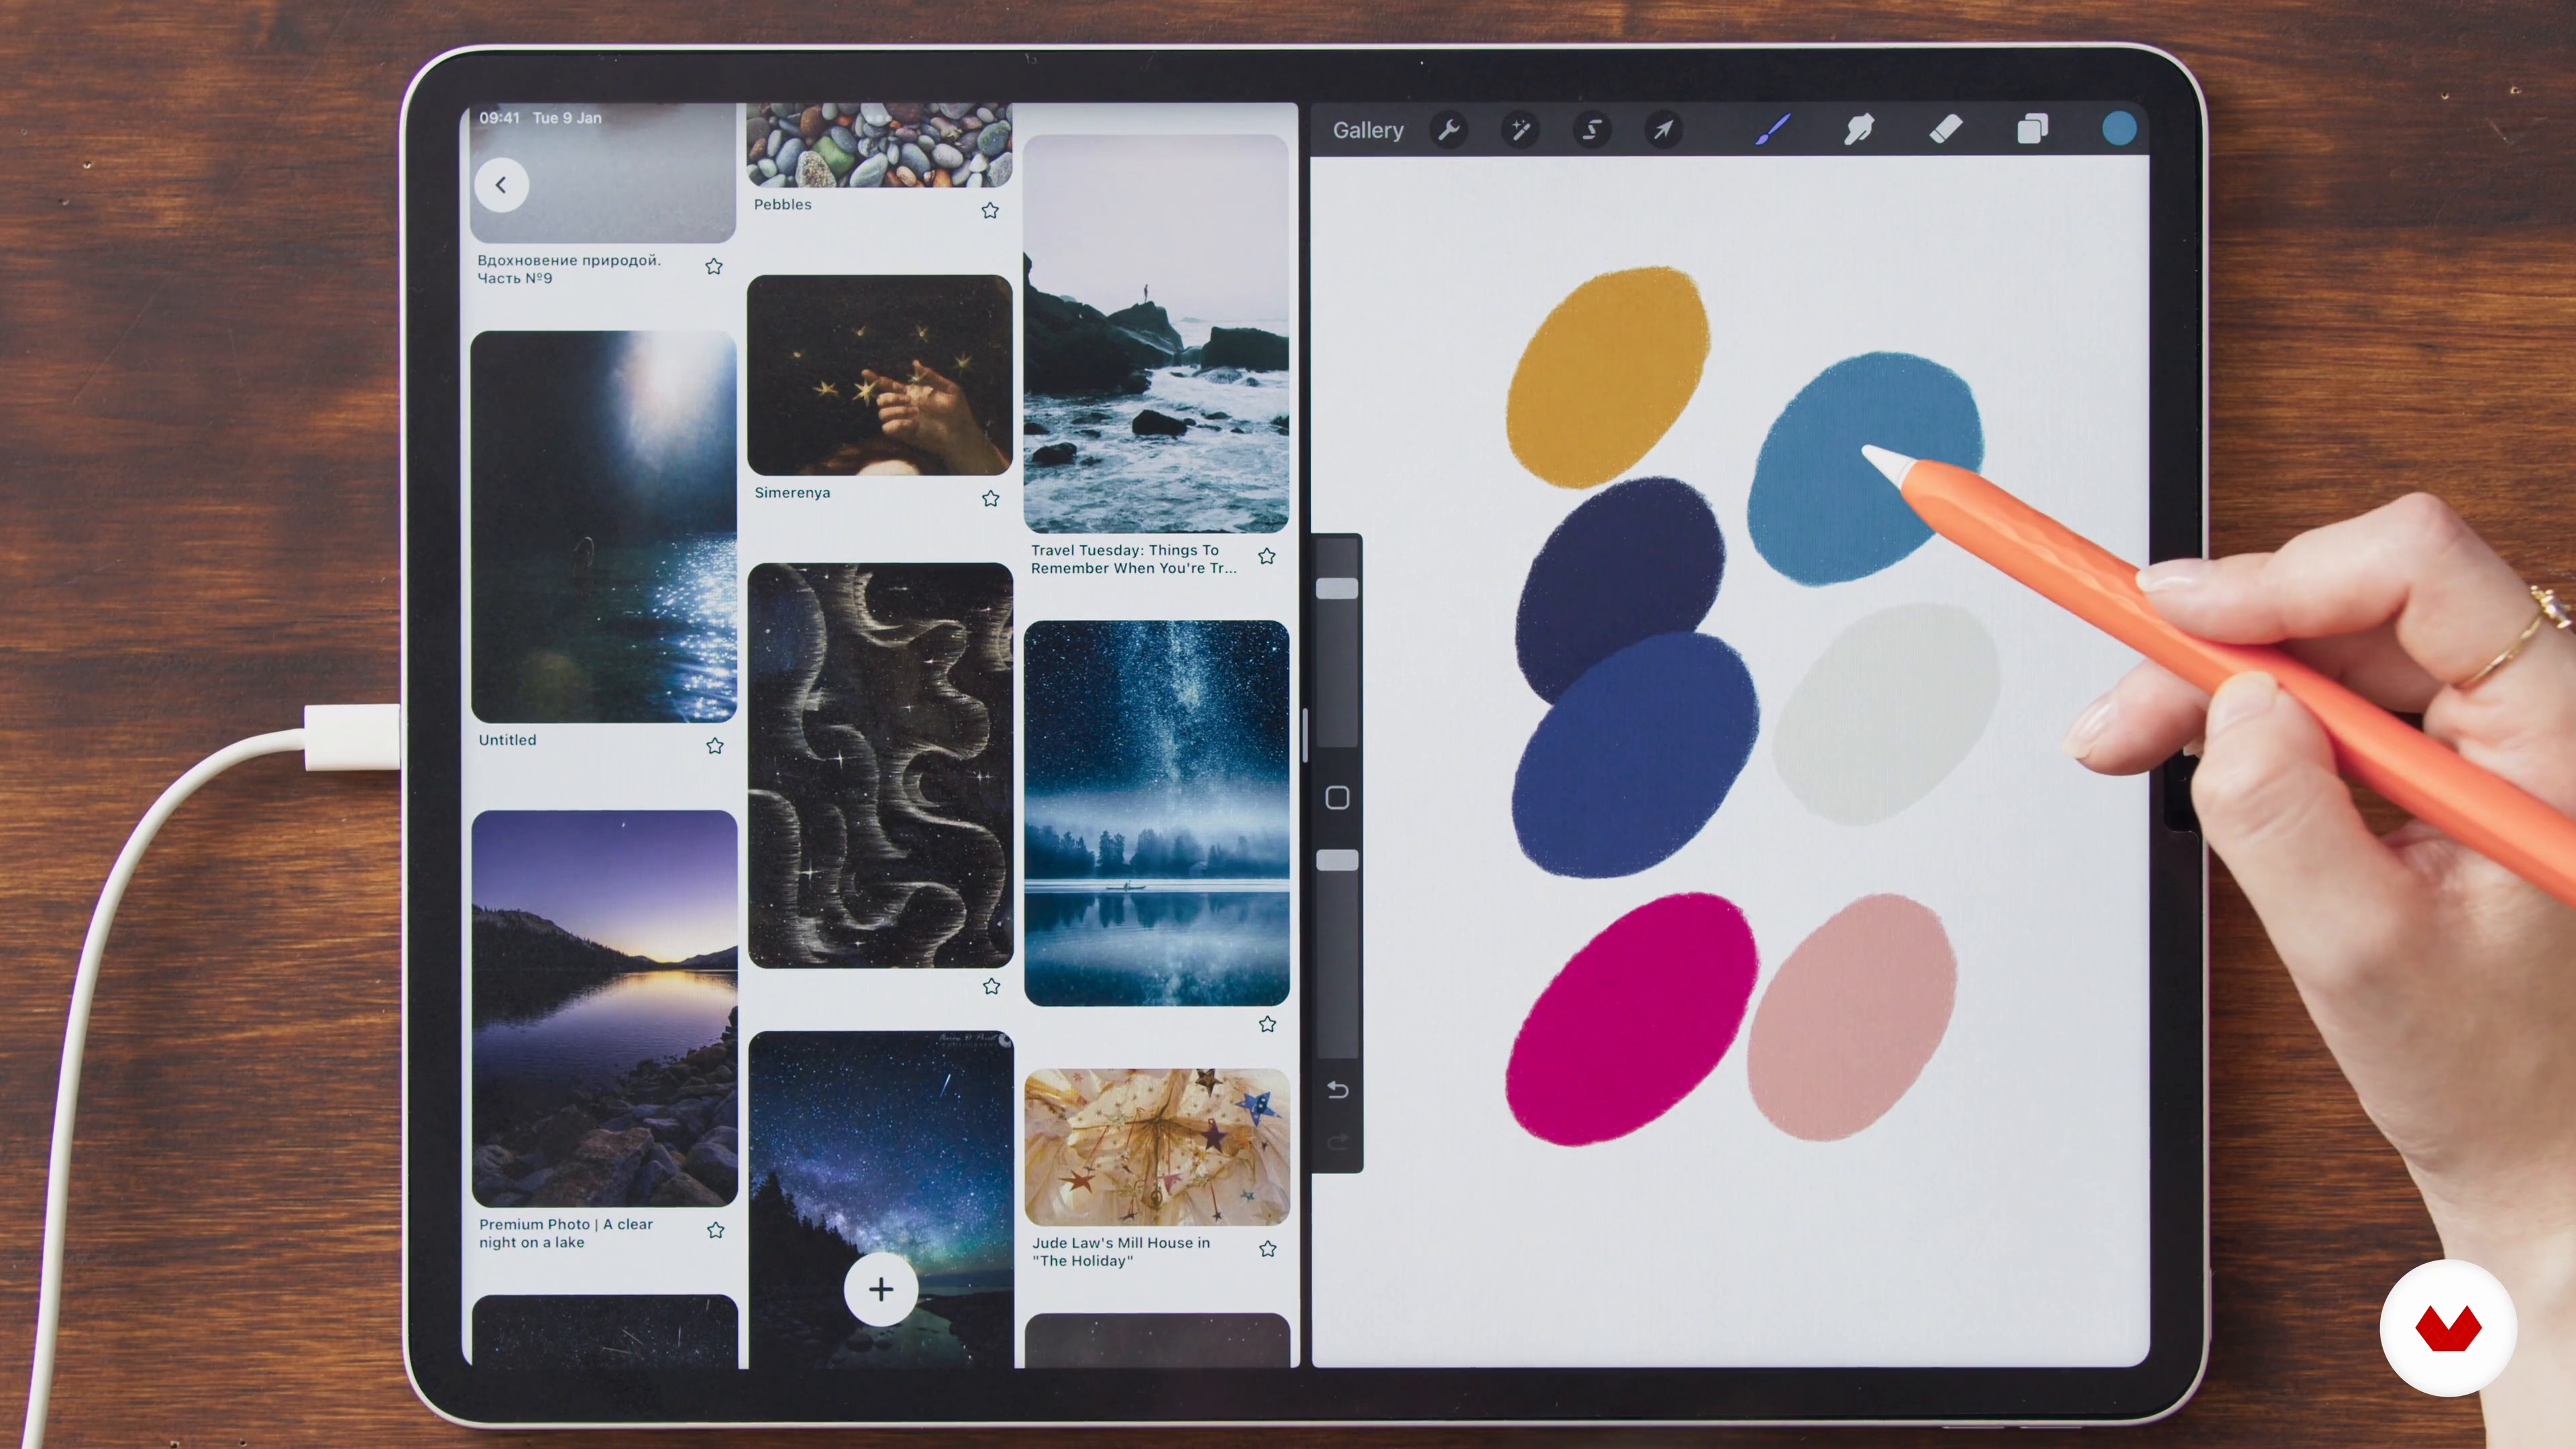
Rethinking a Classic: References, Inspiration, and Color Palette
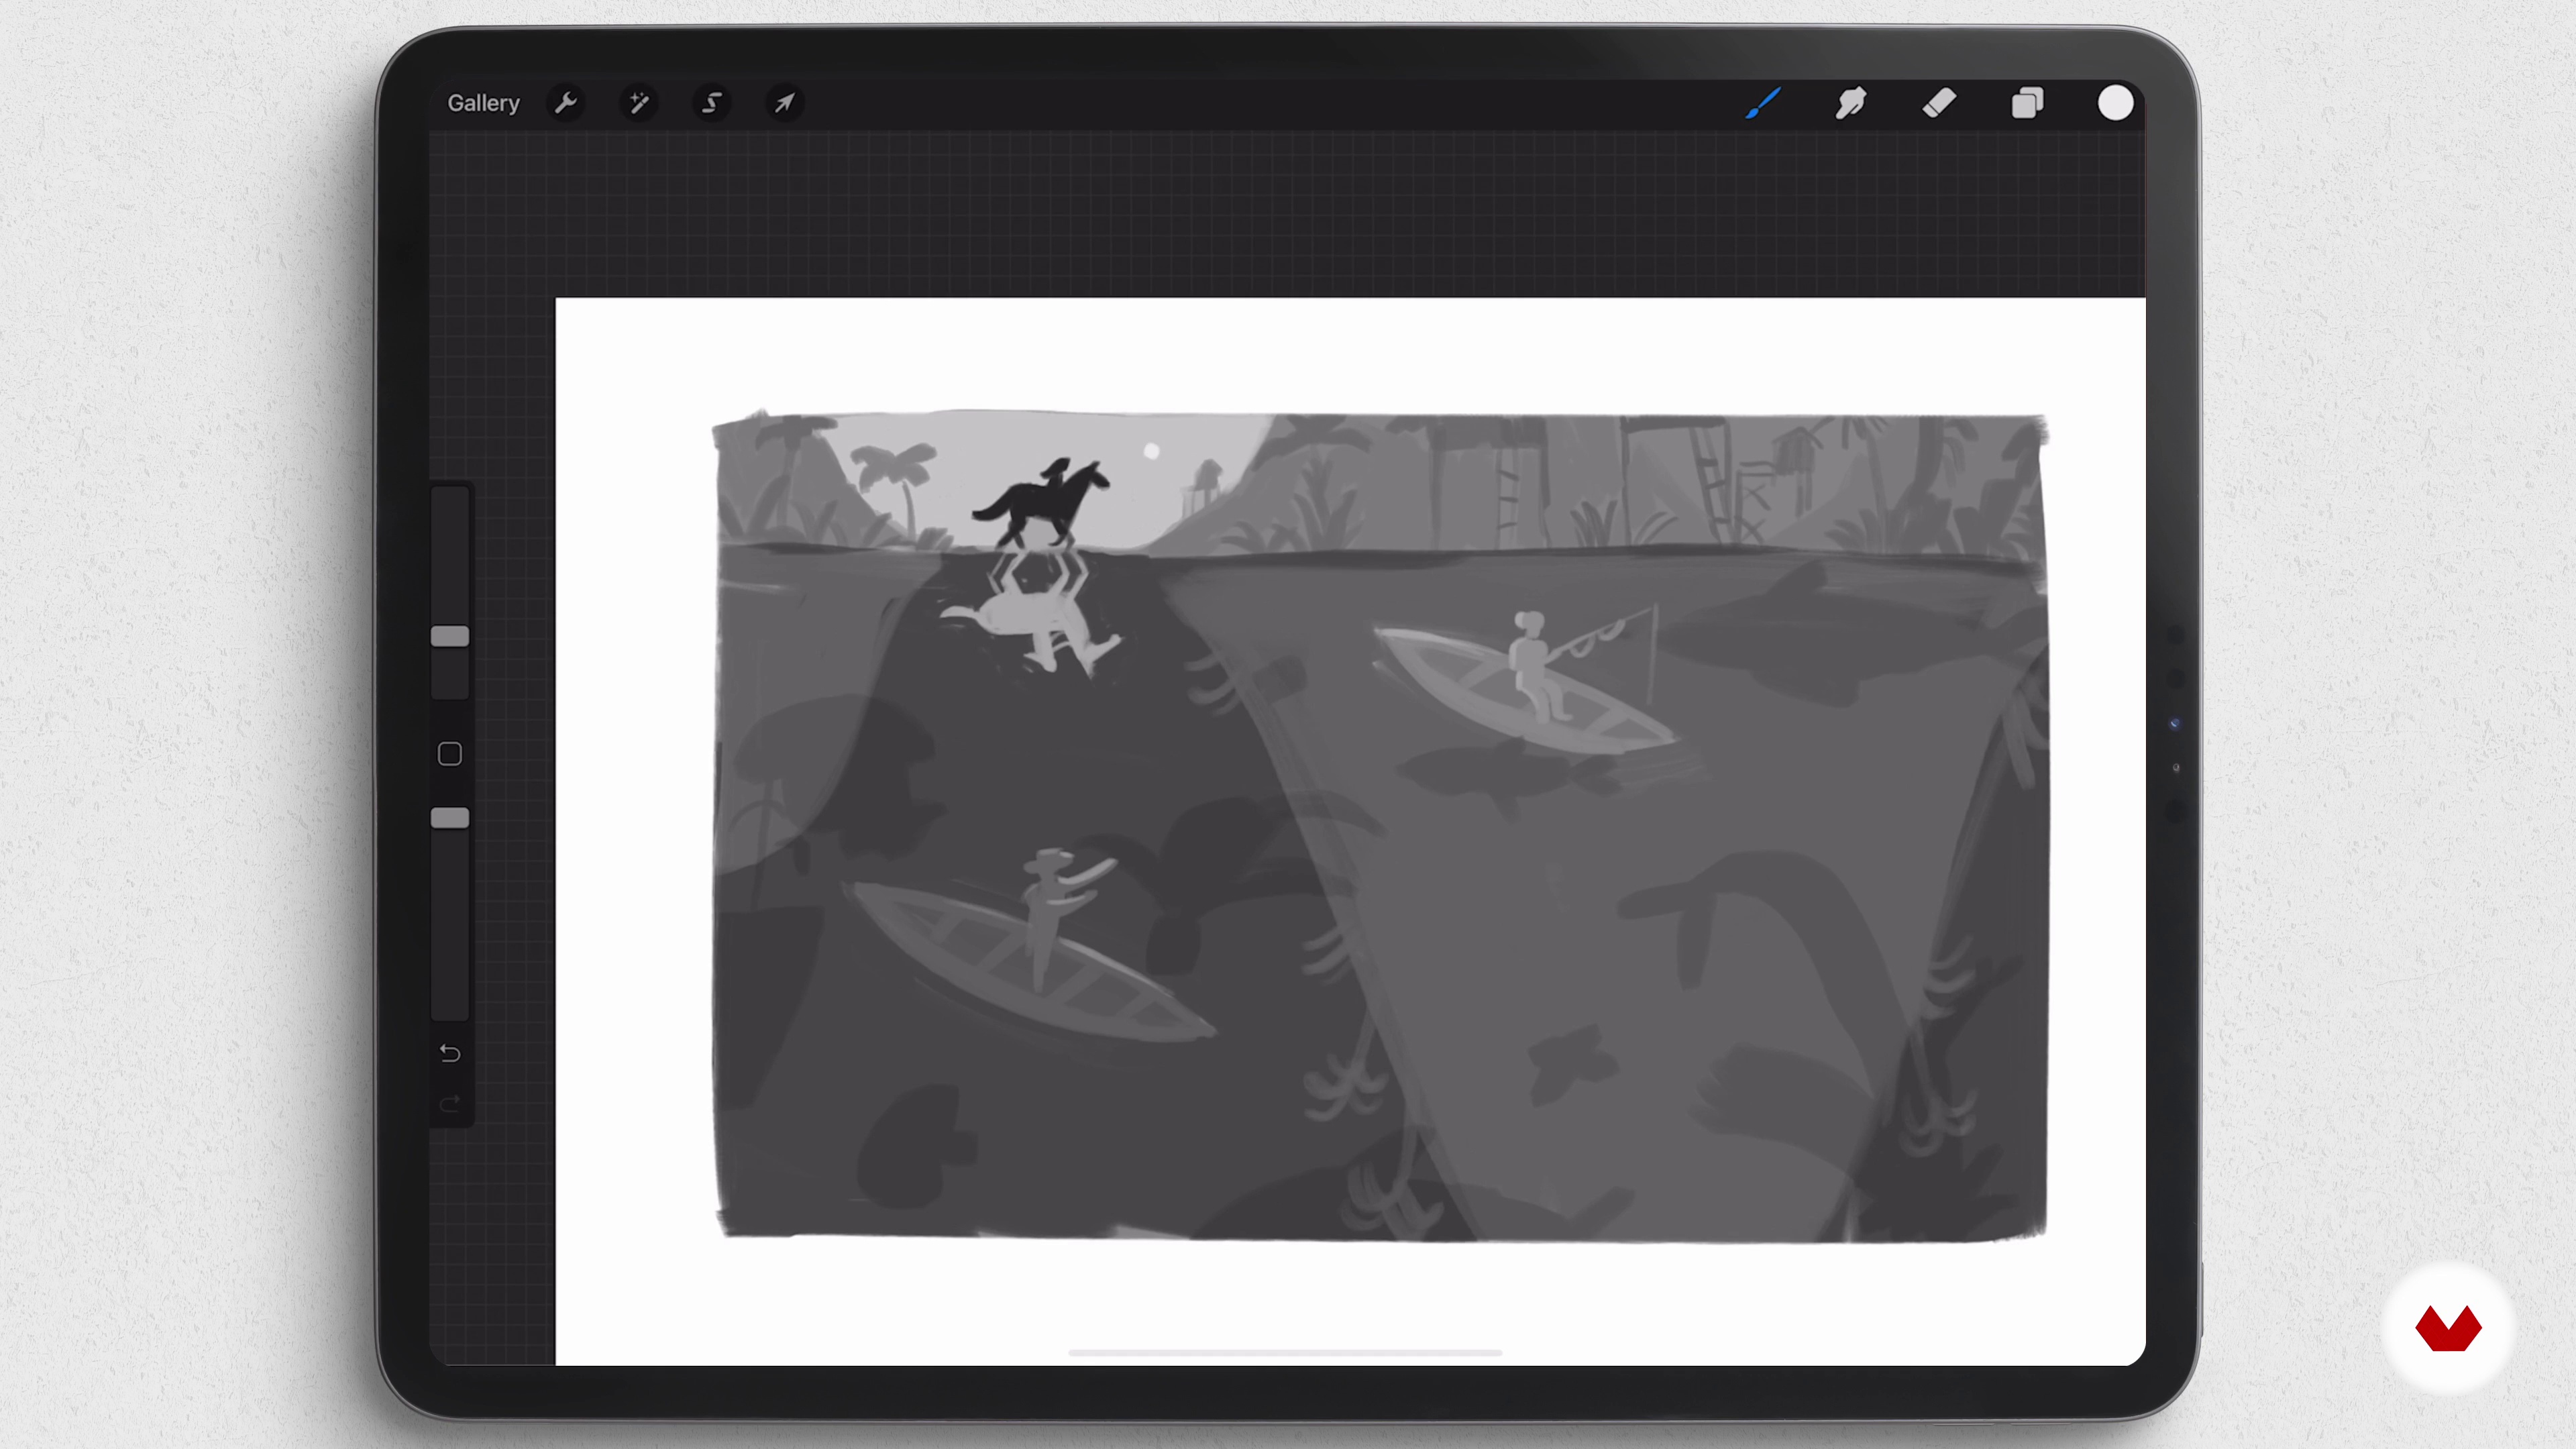
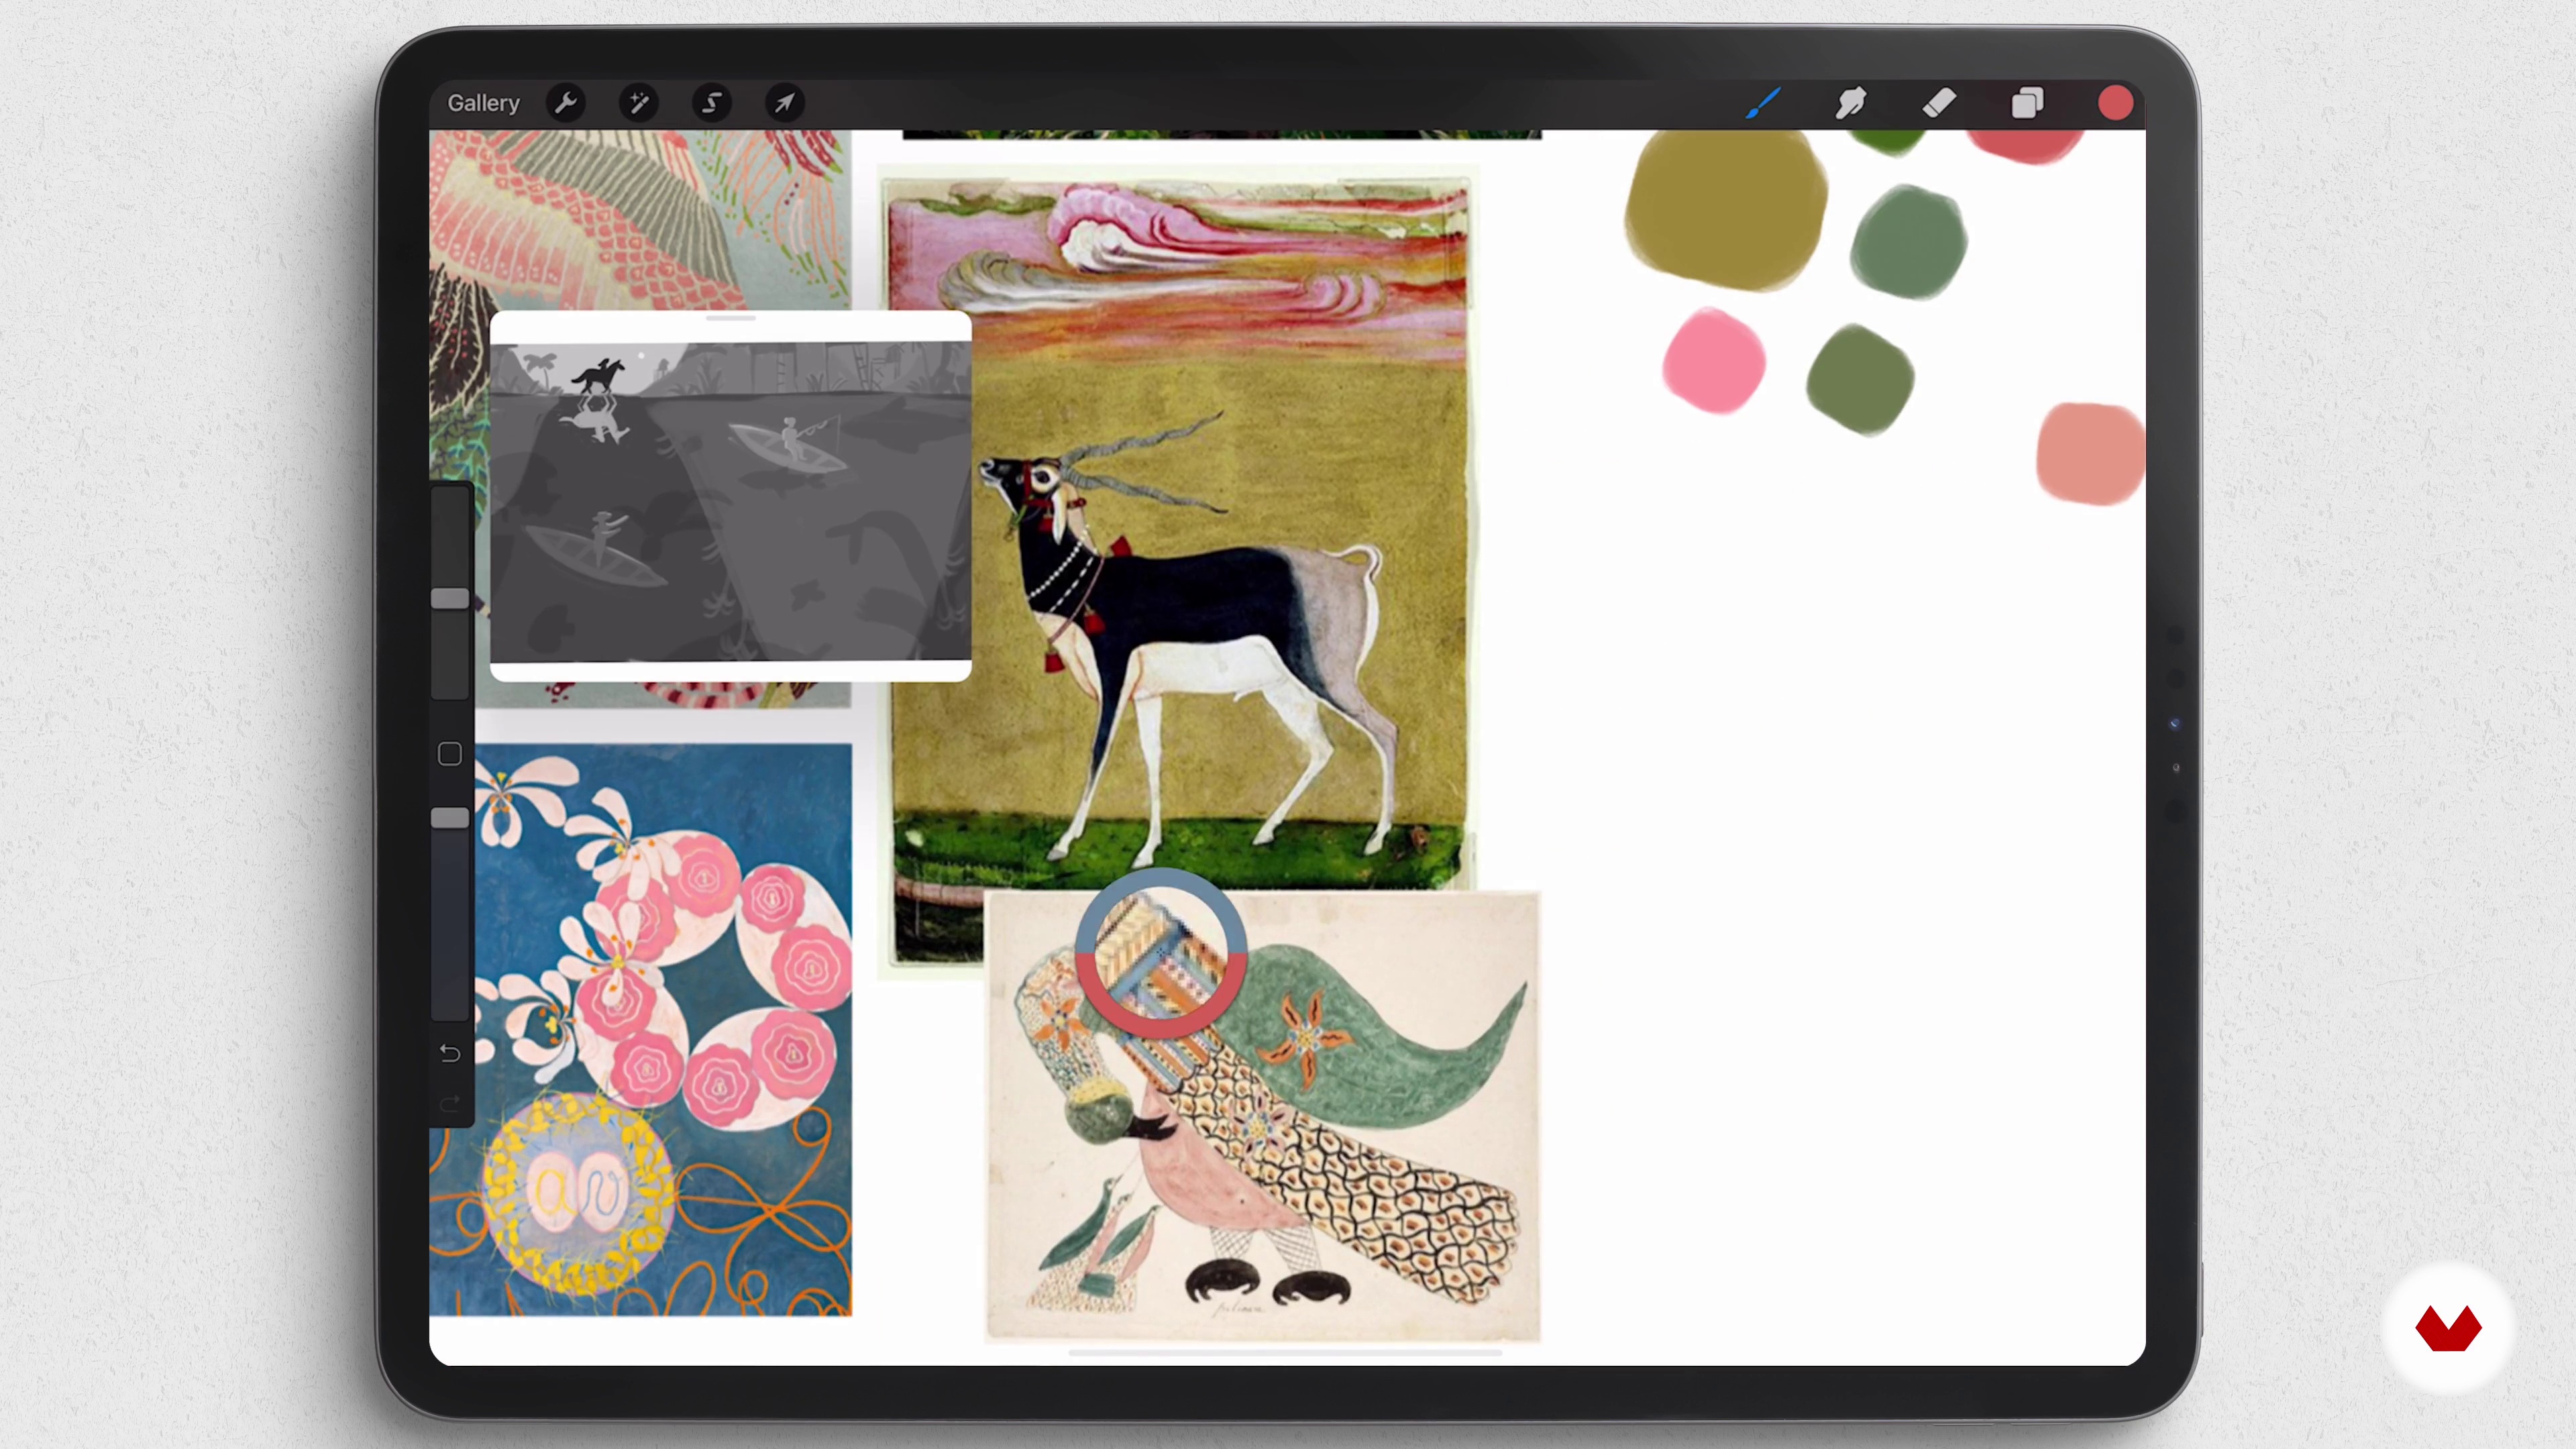
In this lesson, I will talk about my image prompt and how you can build your own prompt, encouraging you to think about certain questions. I will show you examples from my own work to discuss how colors can affect the mood of an illustration and also my mood board. Then, I will sketch from those references to show you how to break images into simple shapes.
6m
image
4
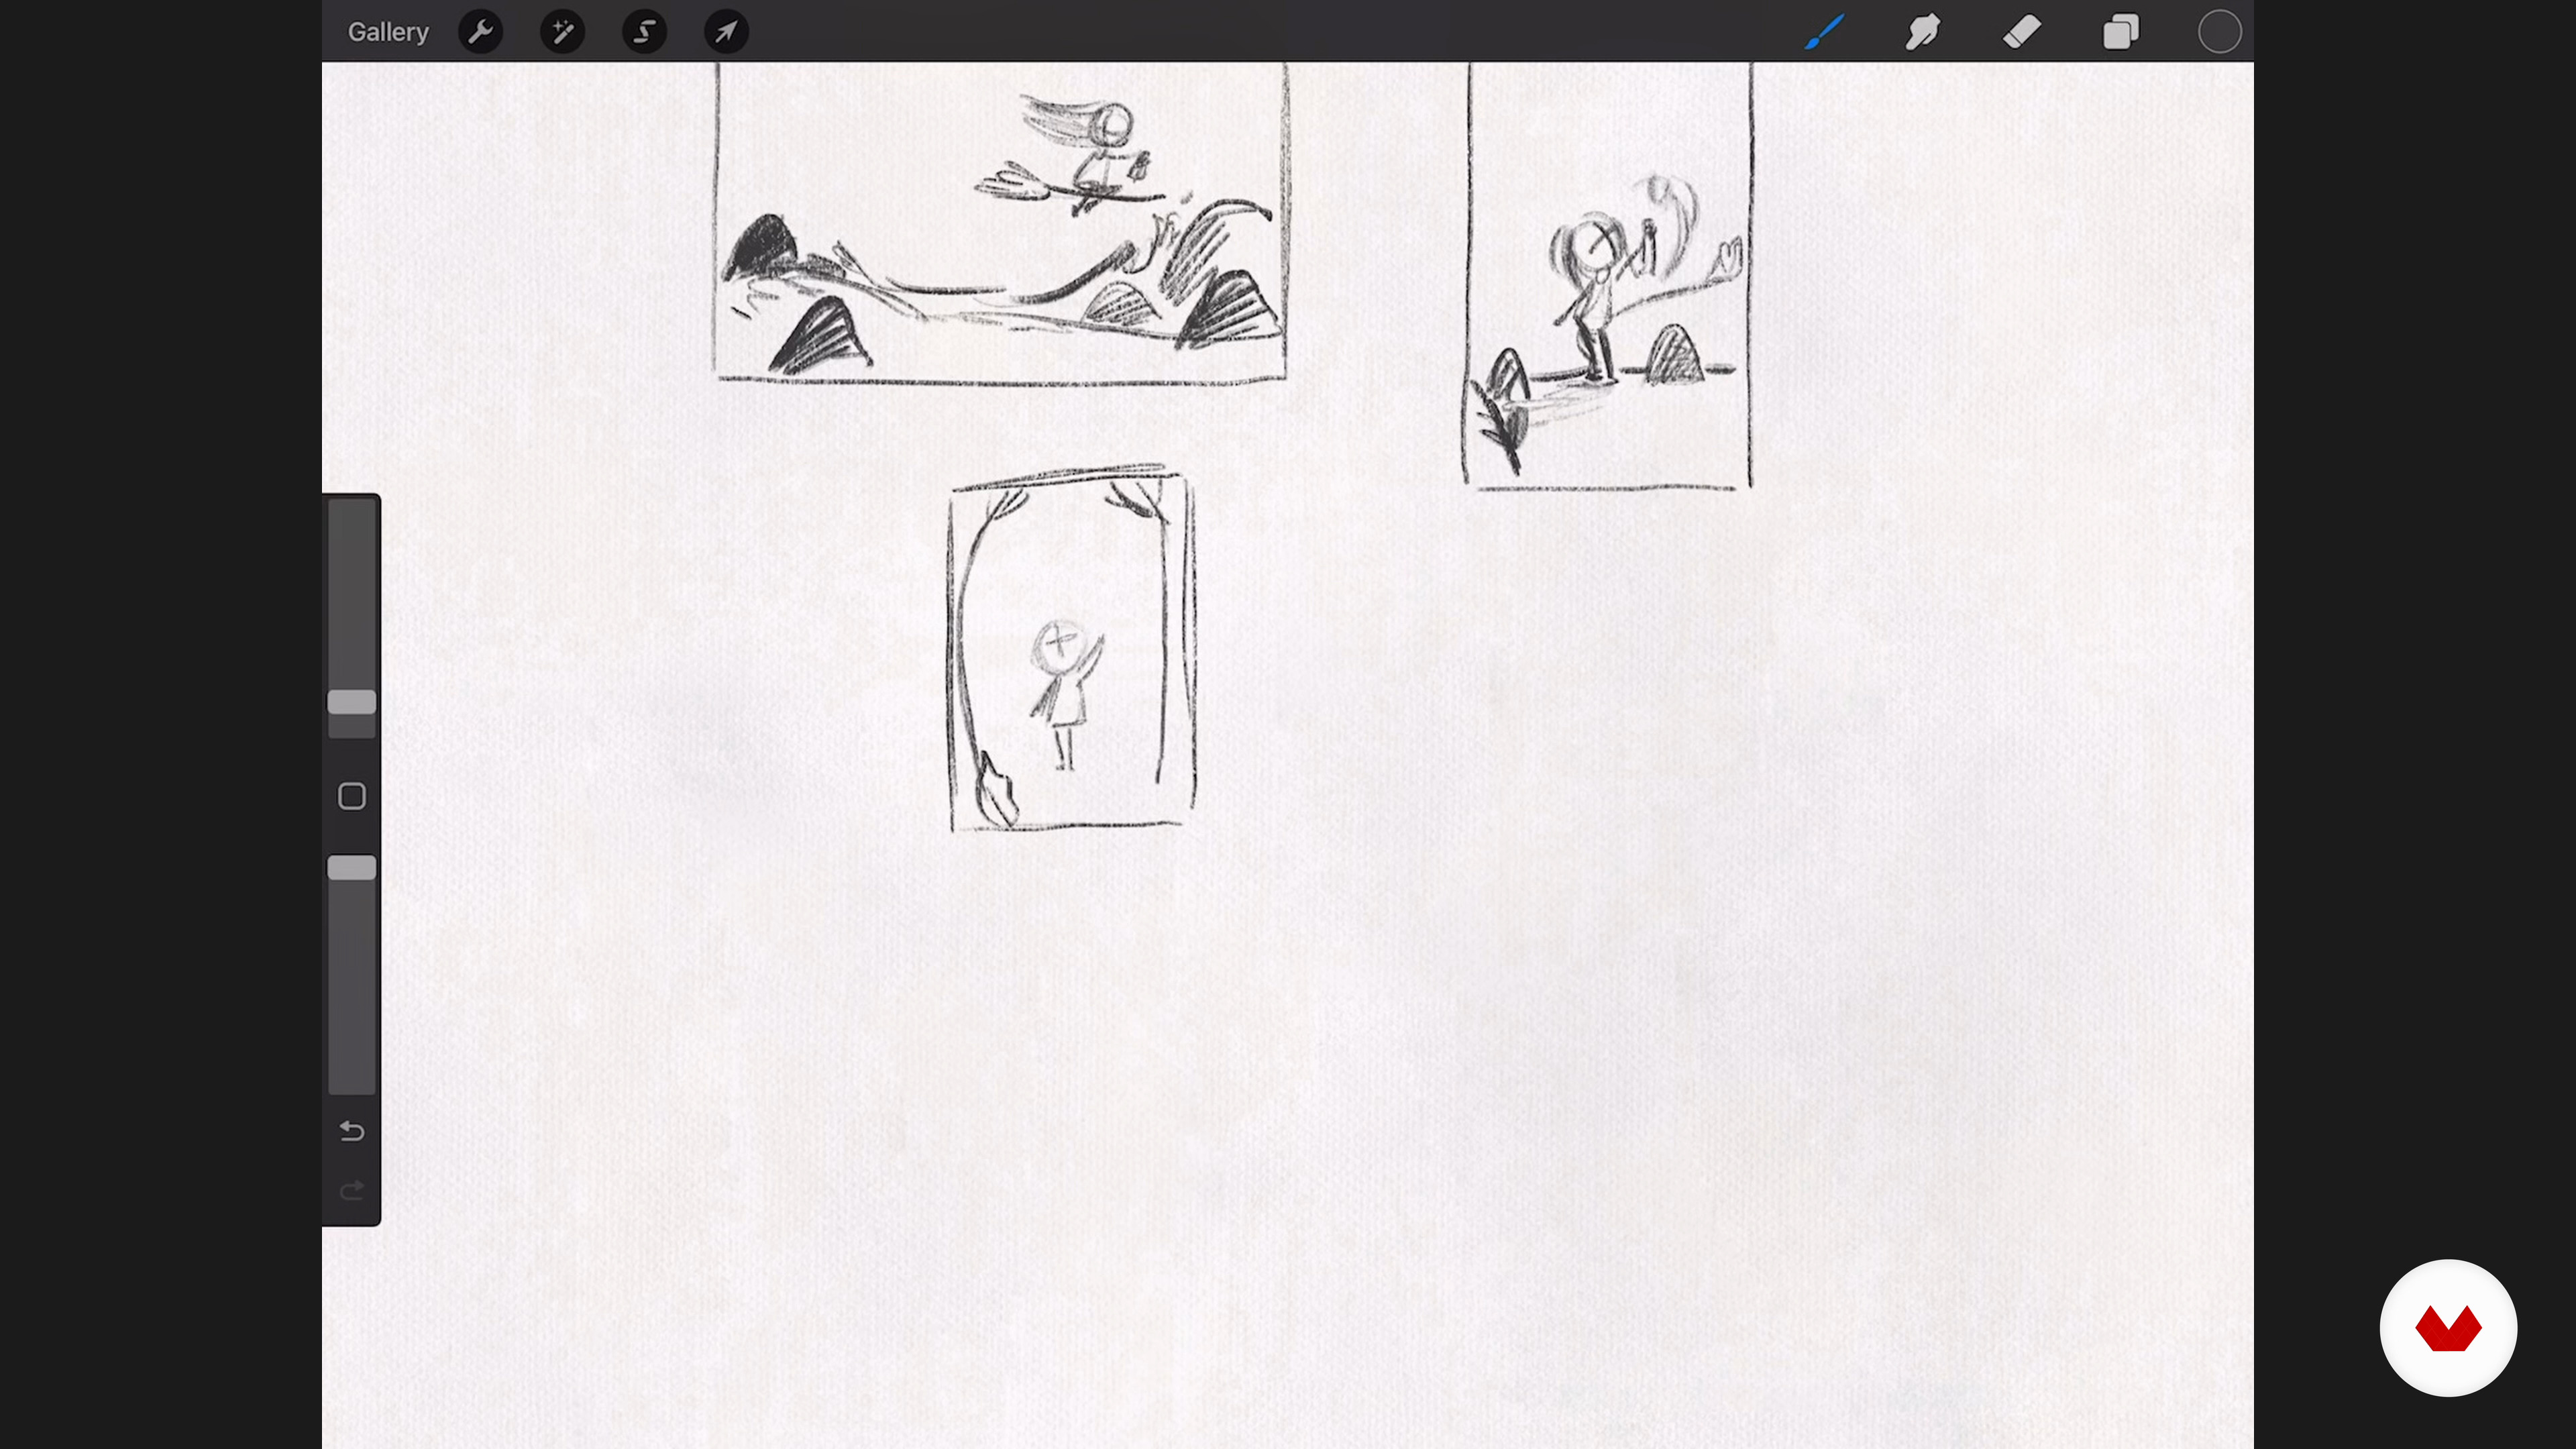
Thumbnailing and Composition
In this lesson, we will begin the rough stages of the design process. This is a time to explore, experiment, and not worry too much about the outcome. This is all about finding your creative flow.
6m
image
5
Analyzing and Selecting the Design
Next, I will begin thinking about lighting by shading in my thumbnails. Here I will discuss contrast and focus. I will also explain why I have chosen my design and then sketch that one more neatly, ready for the coloring stages.
18m
image
6
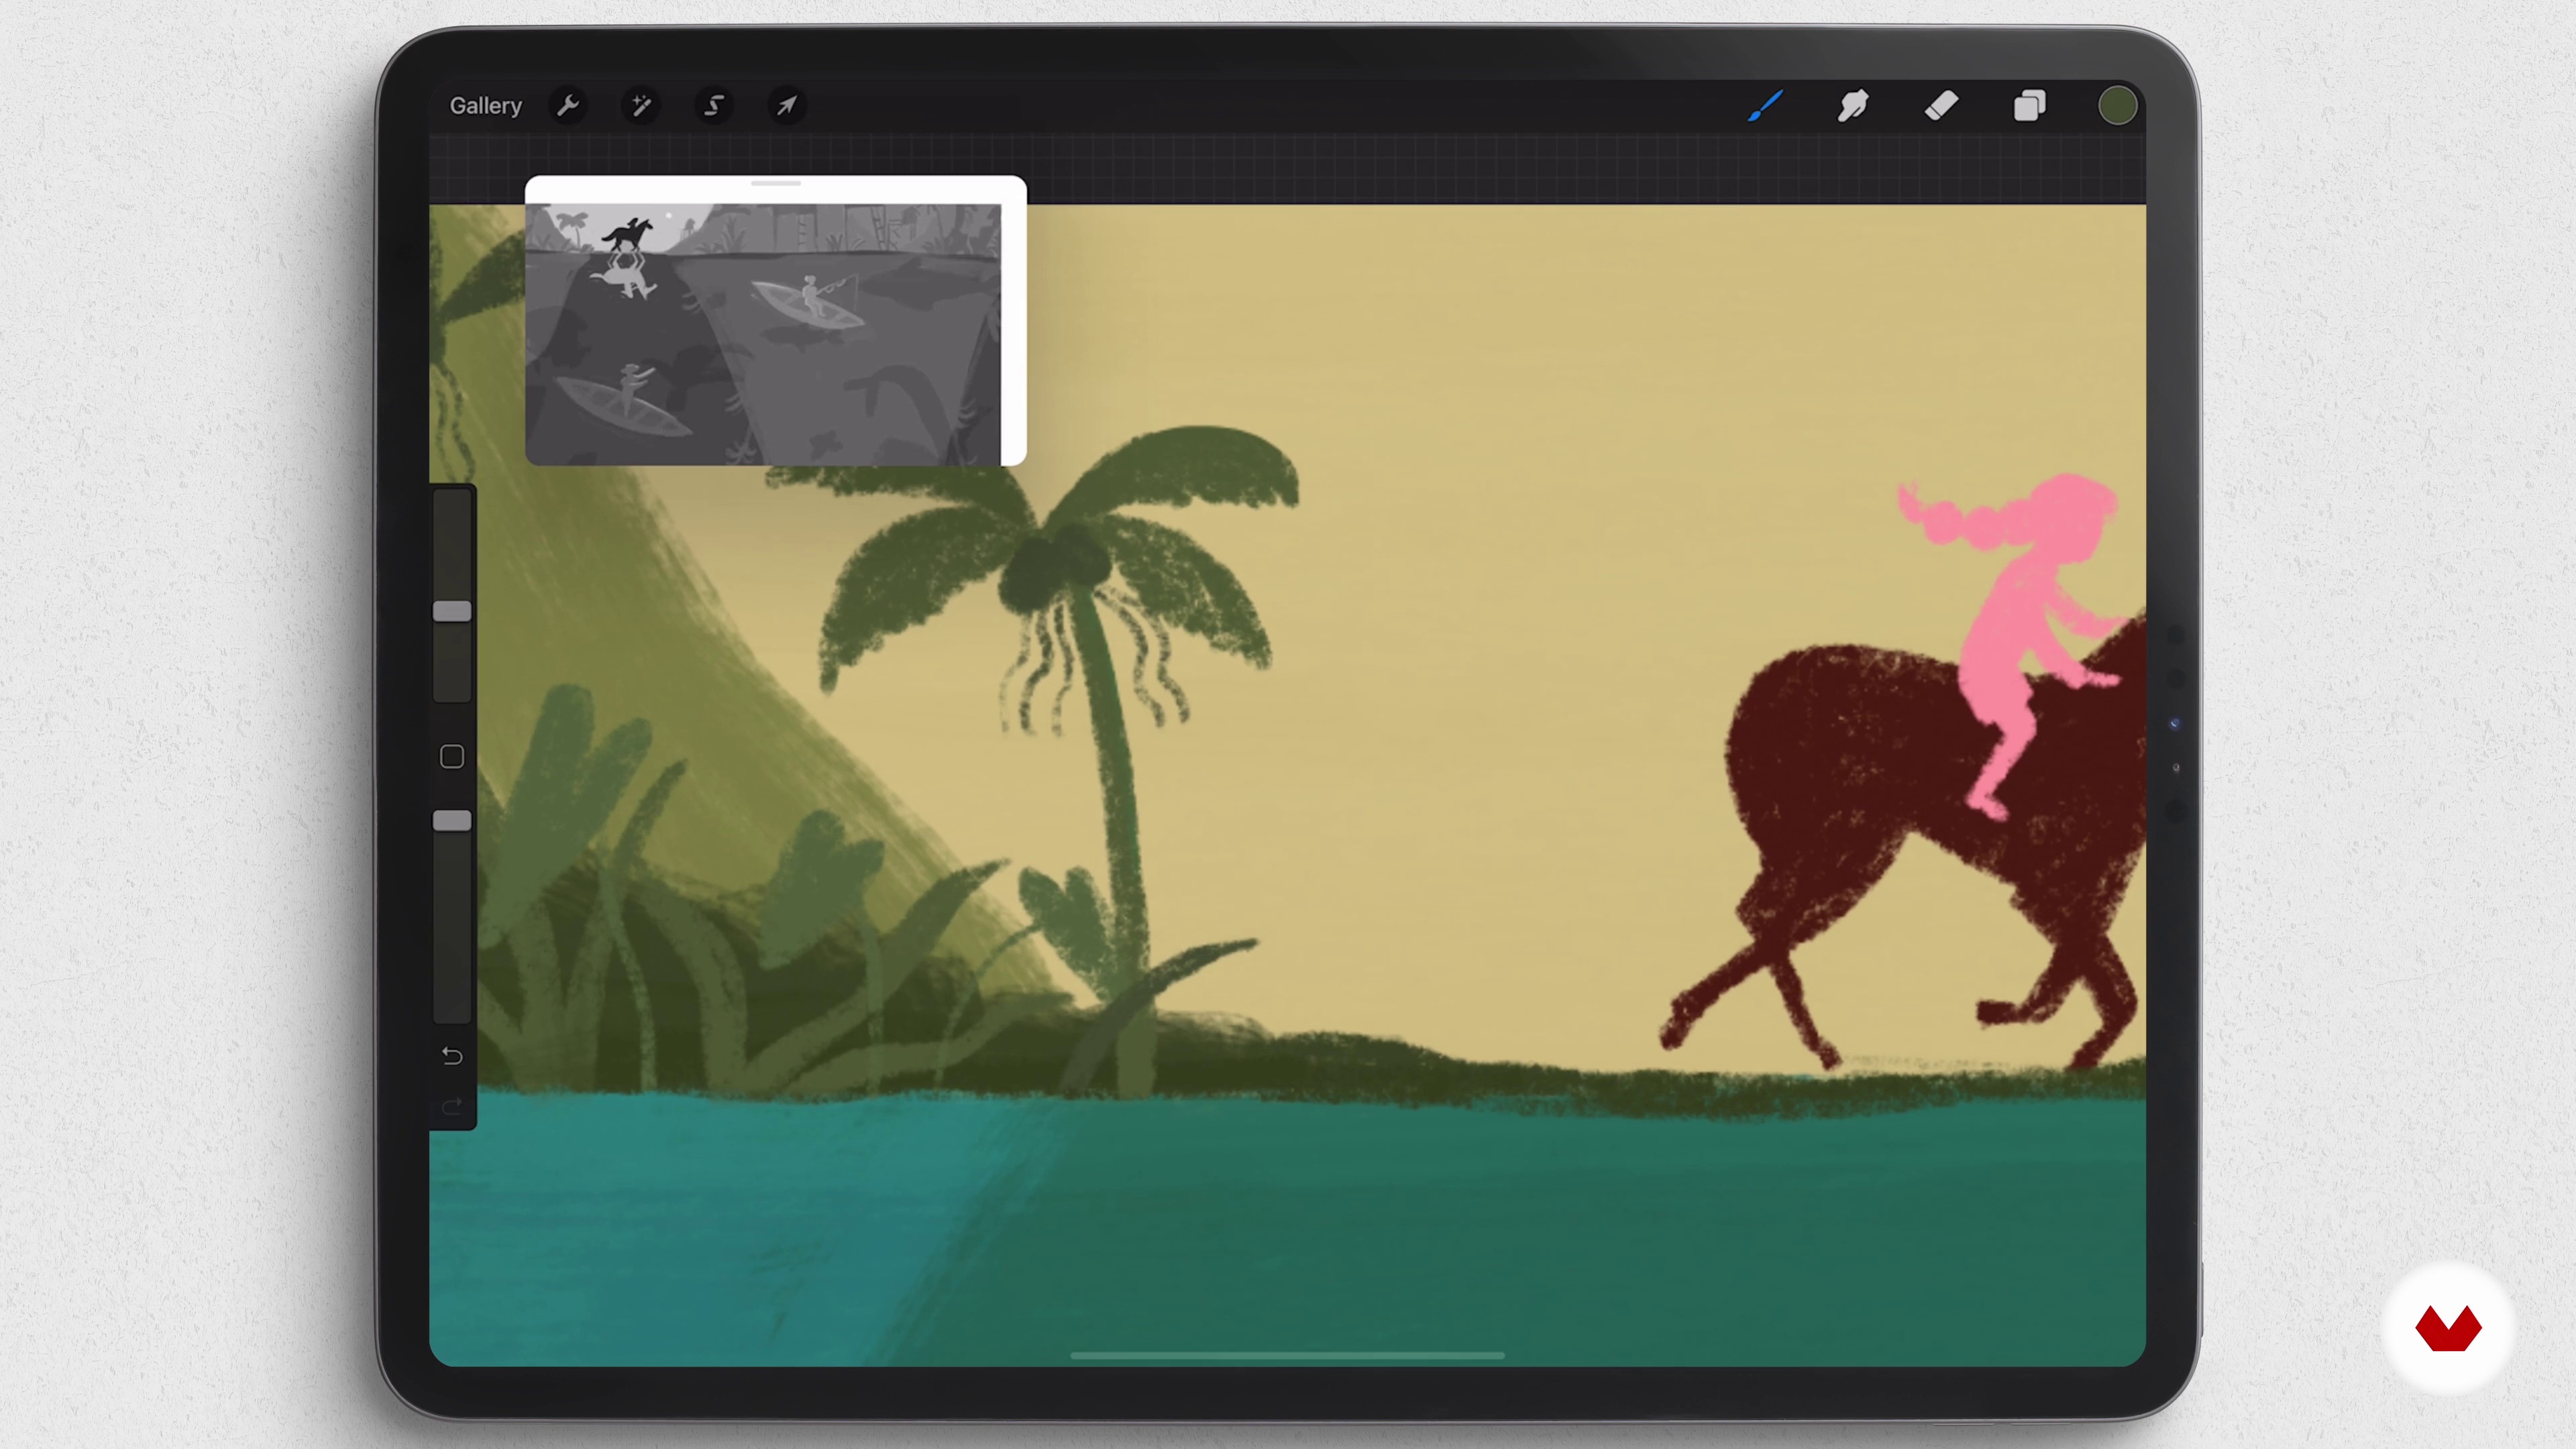
Building Textures and Coloring the Background 1
Once we have our design, it's time to start the painting process, from the background to the foreground. So, I will begin painting. I will show a few layers and a few brushes I'm using.
17m
image
7
Building Textures and Coloring the Background 2
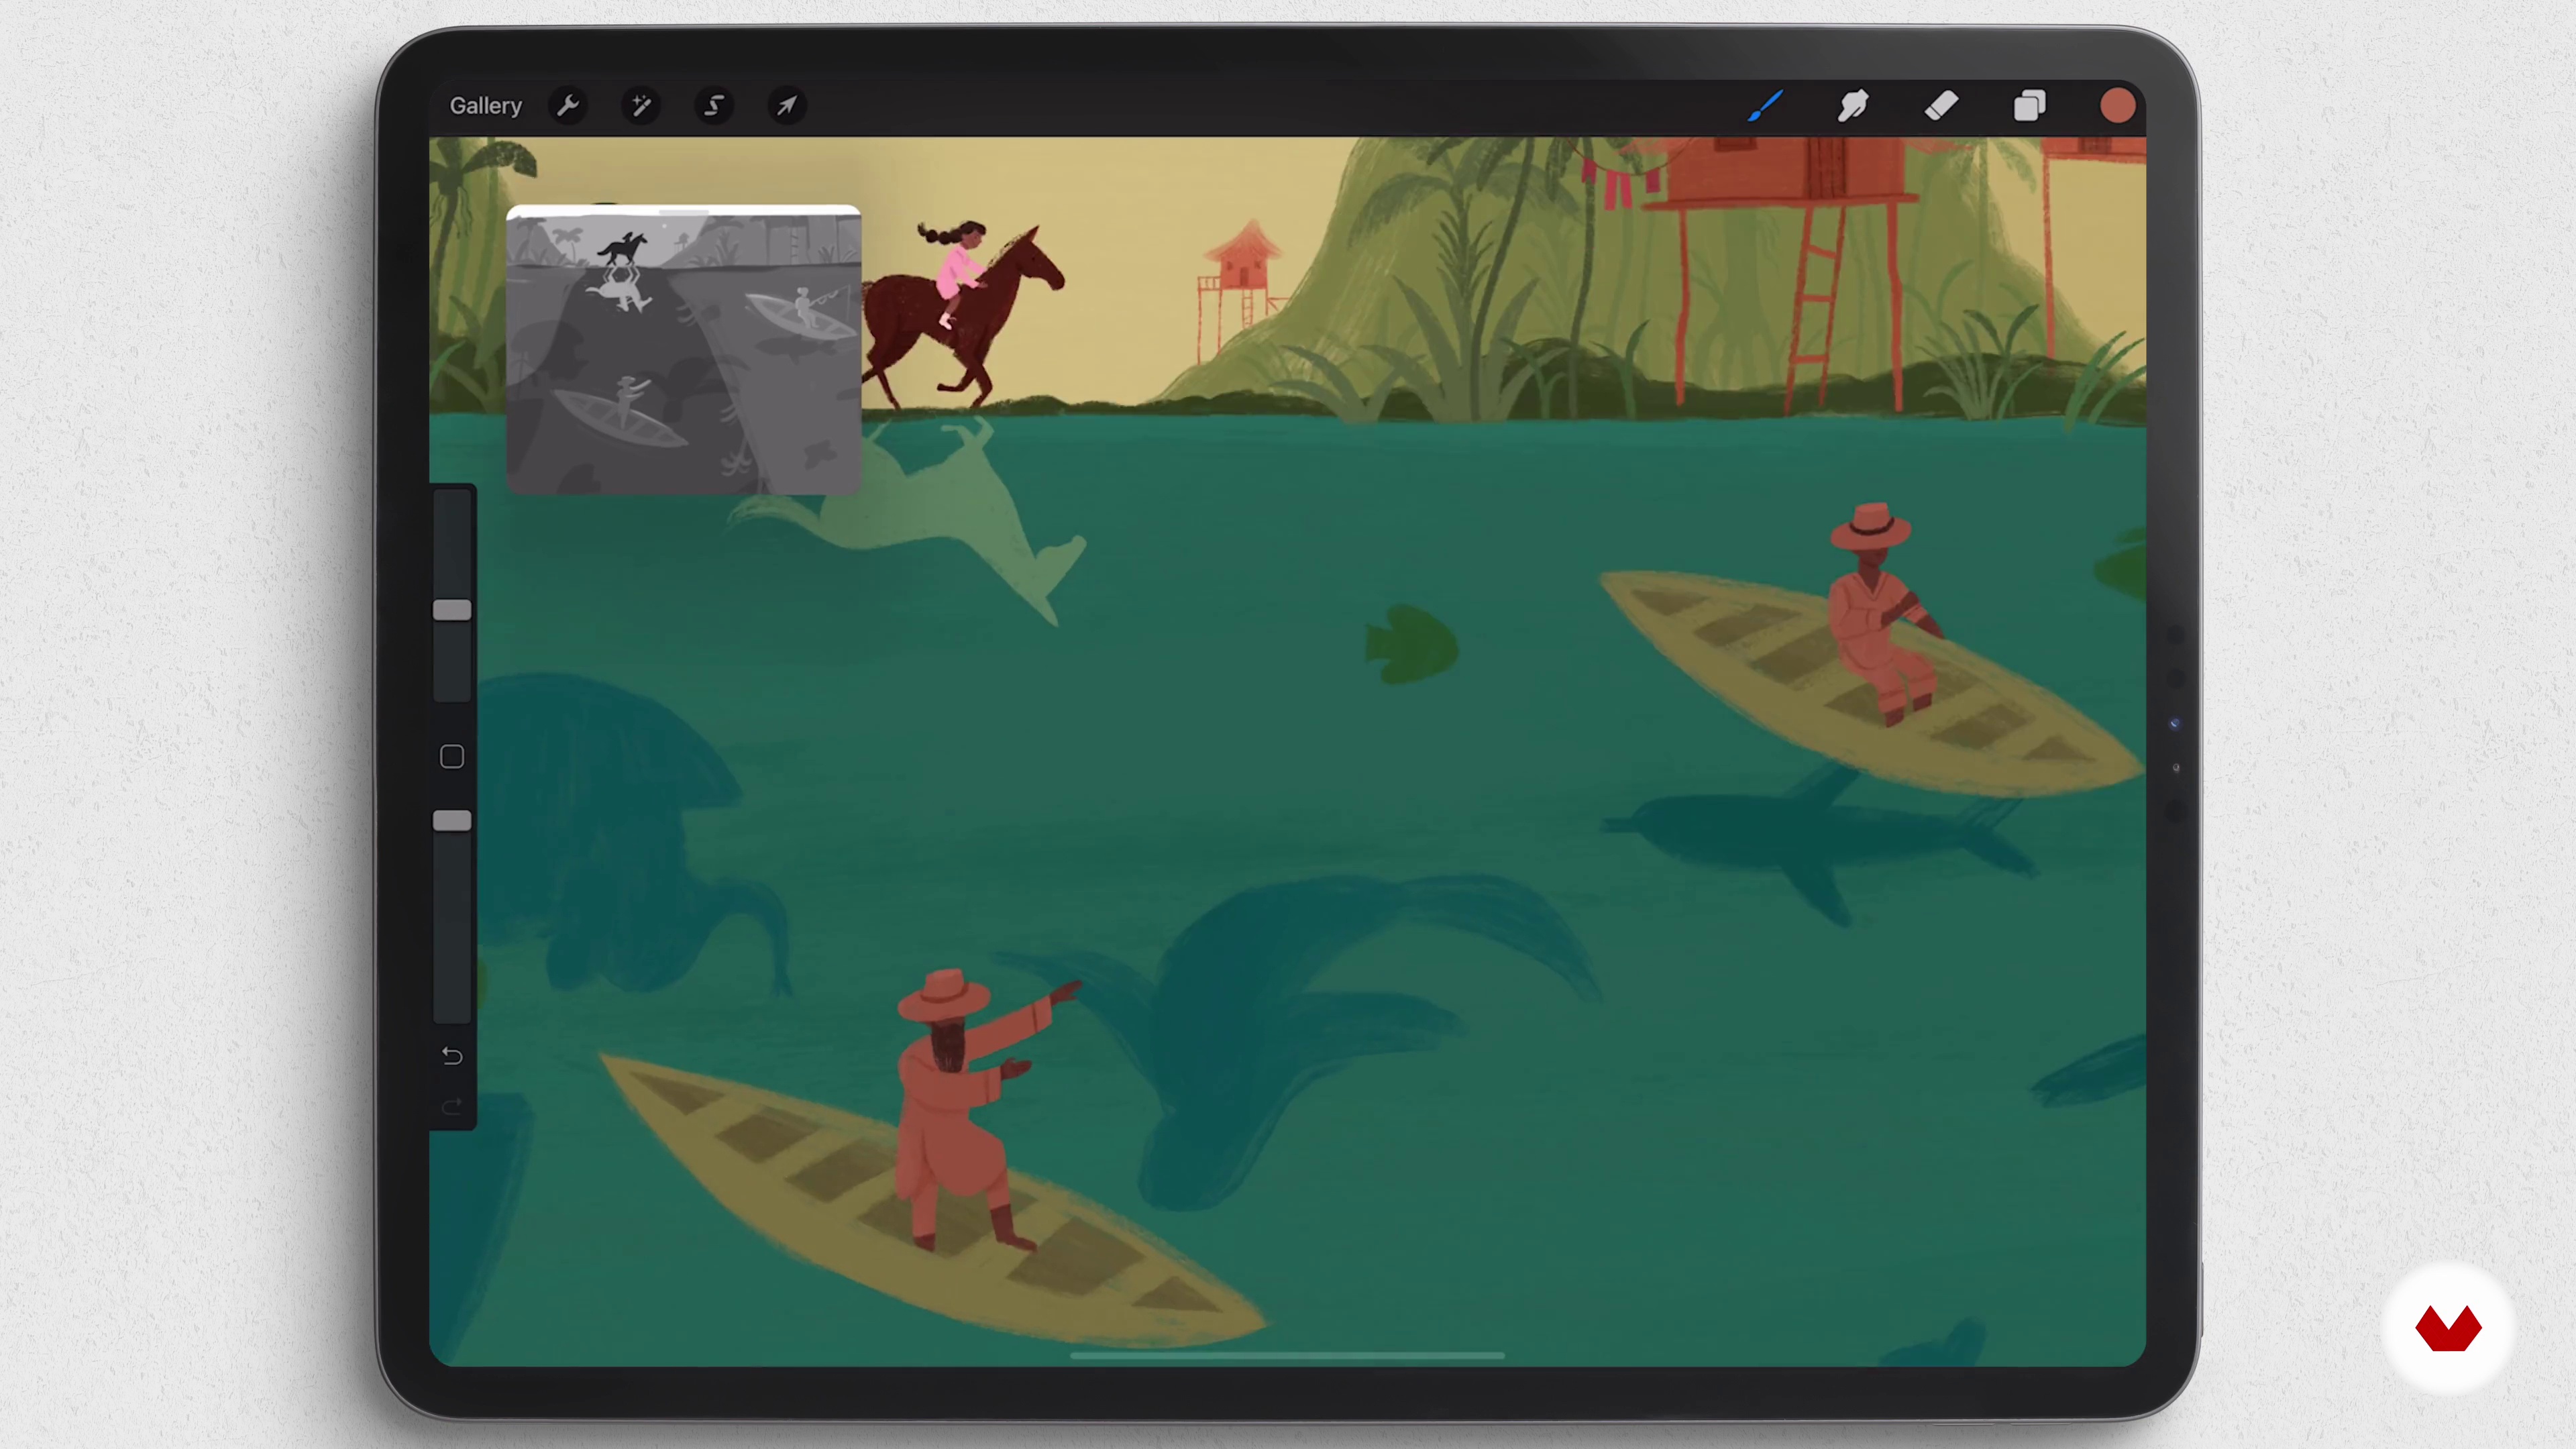
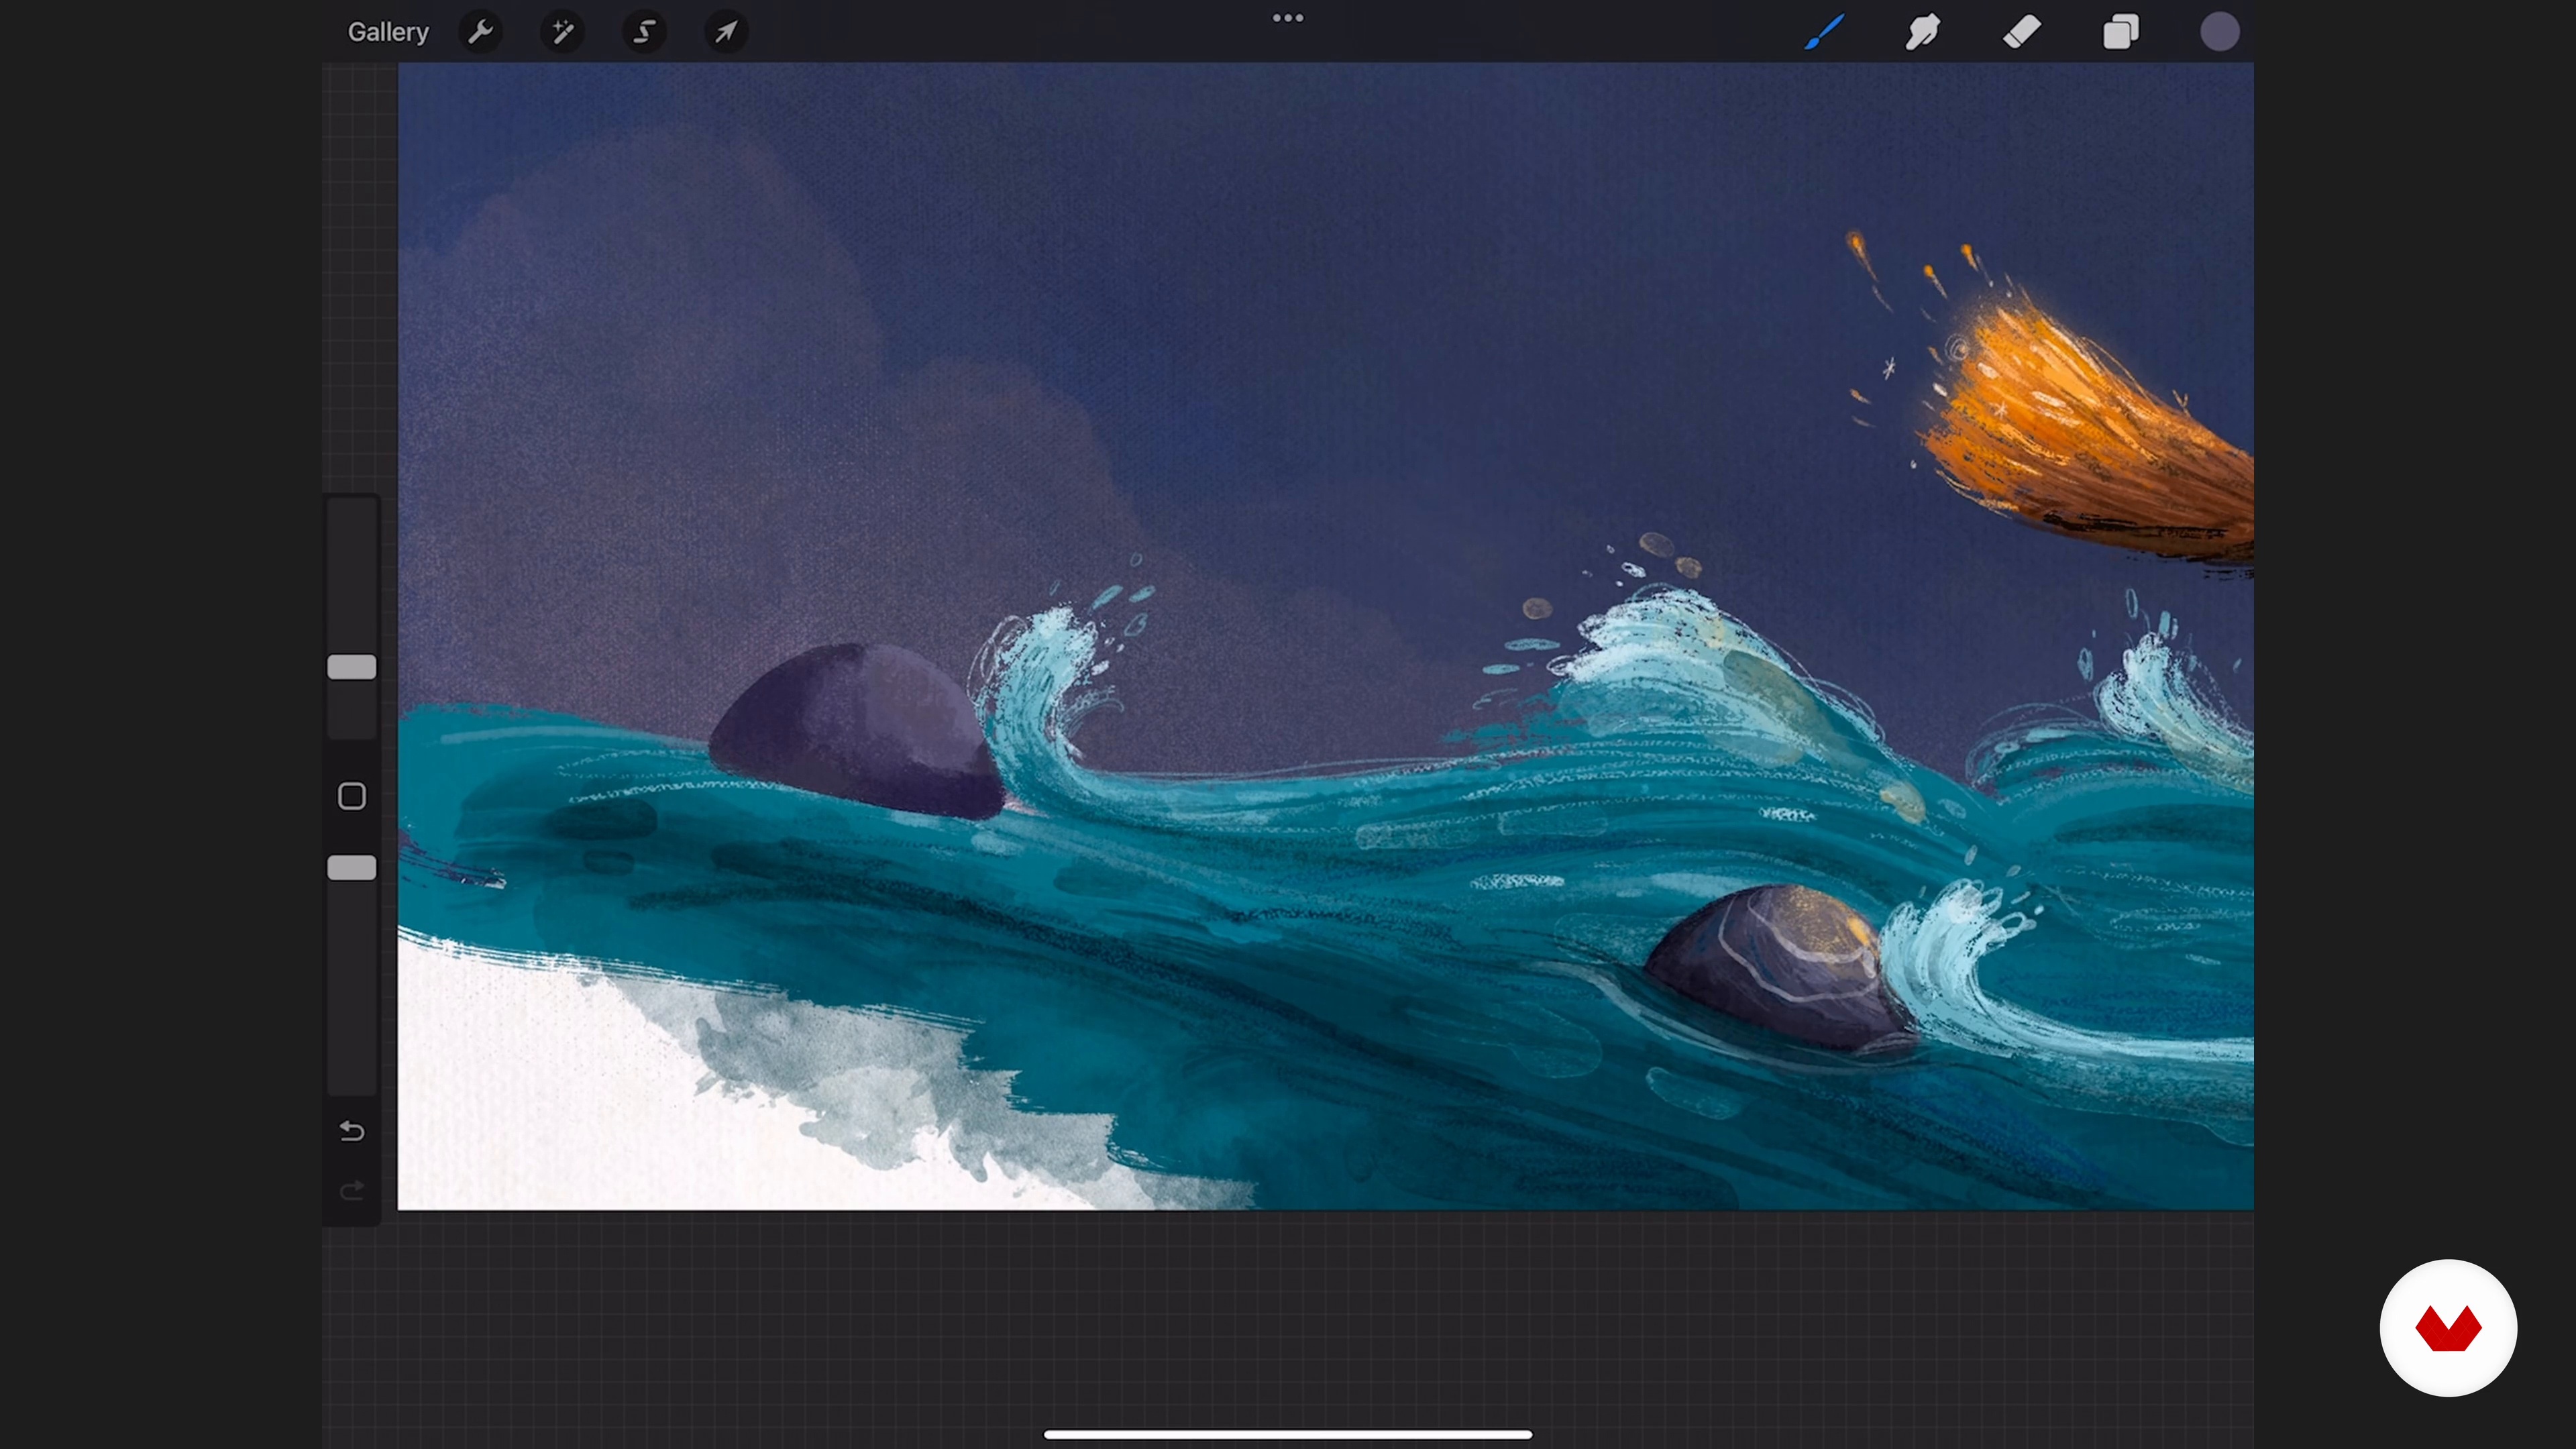
I will continue painting the water, adding lighting and a few details to make it more expressive. To create more movement and the idea of energy in my artwork, I make more loose lines, as you will see here.
12m
image
8
Coloring the Characters 1
In this lesson, I will walk you through my process of painting the main character. I will explain how I chose the colors and how you can ensure the characters are the focal point.
18m
image
9
Coloring the Characters 2
You might want to be intentional with shade and light instead of soft and realistic. This can sometimes look muddy, but you can also use lighting to draw attention. We can bend classic art rules, not too much that things look wrong, but just enough to create a quirky style.
19m
image
10
Coloring the Characters 3
In my opinion, it's not necessary to be too neat with the textures. I always make sure they look a bit rough here and there—this adds charm and personality. So it doesn't have to be too perfect!
9m
image
11
Bringing Life into the Painting 1
In this step, I will add details, like animals and other elements, that make the illustration's world feel more alive and magical. It's important to do this in harmony with the artwork. Those details can also be used to balance focal points and colors.
16m
image
12
Bringing Life into the Painting 2
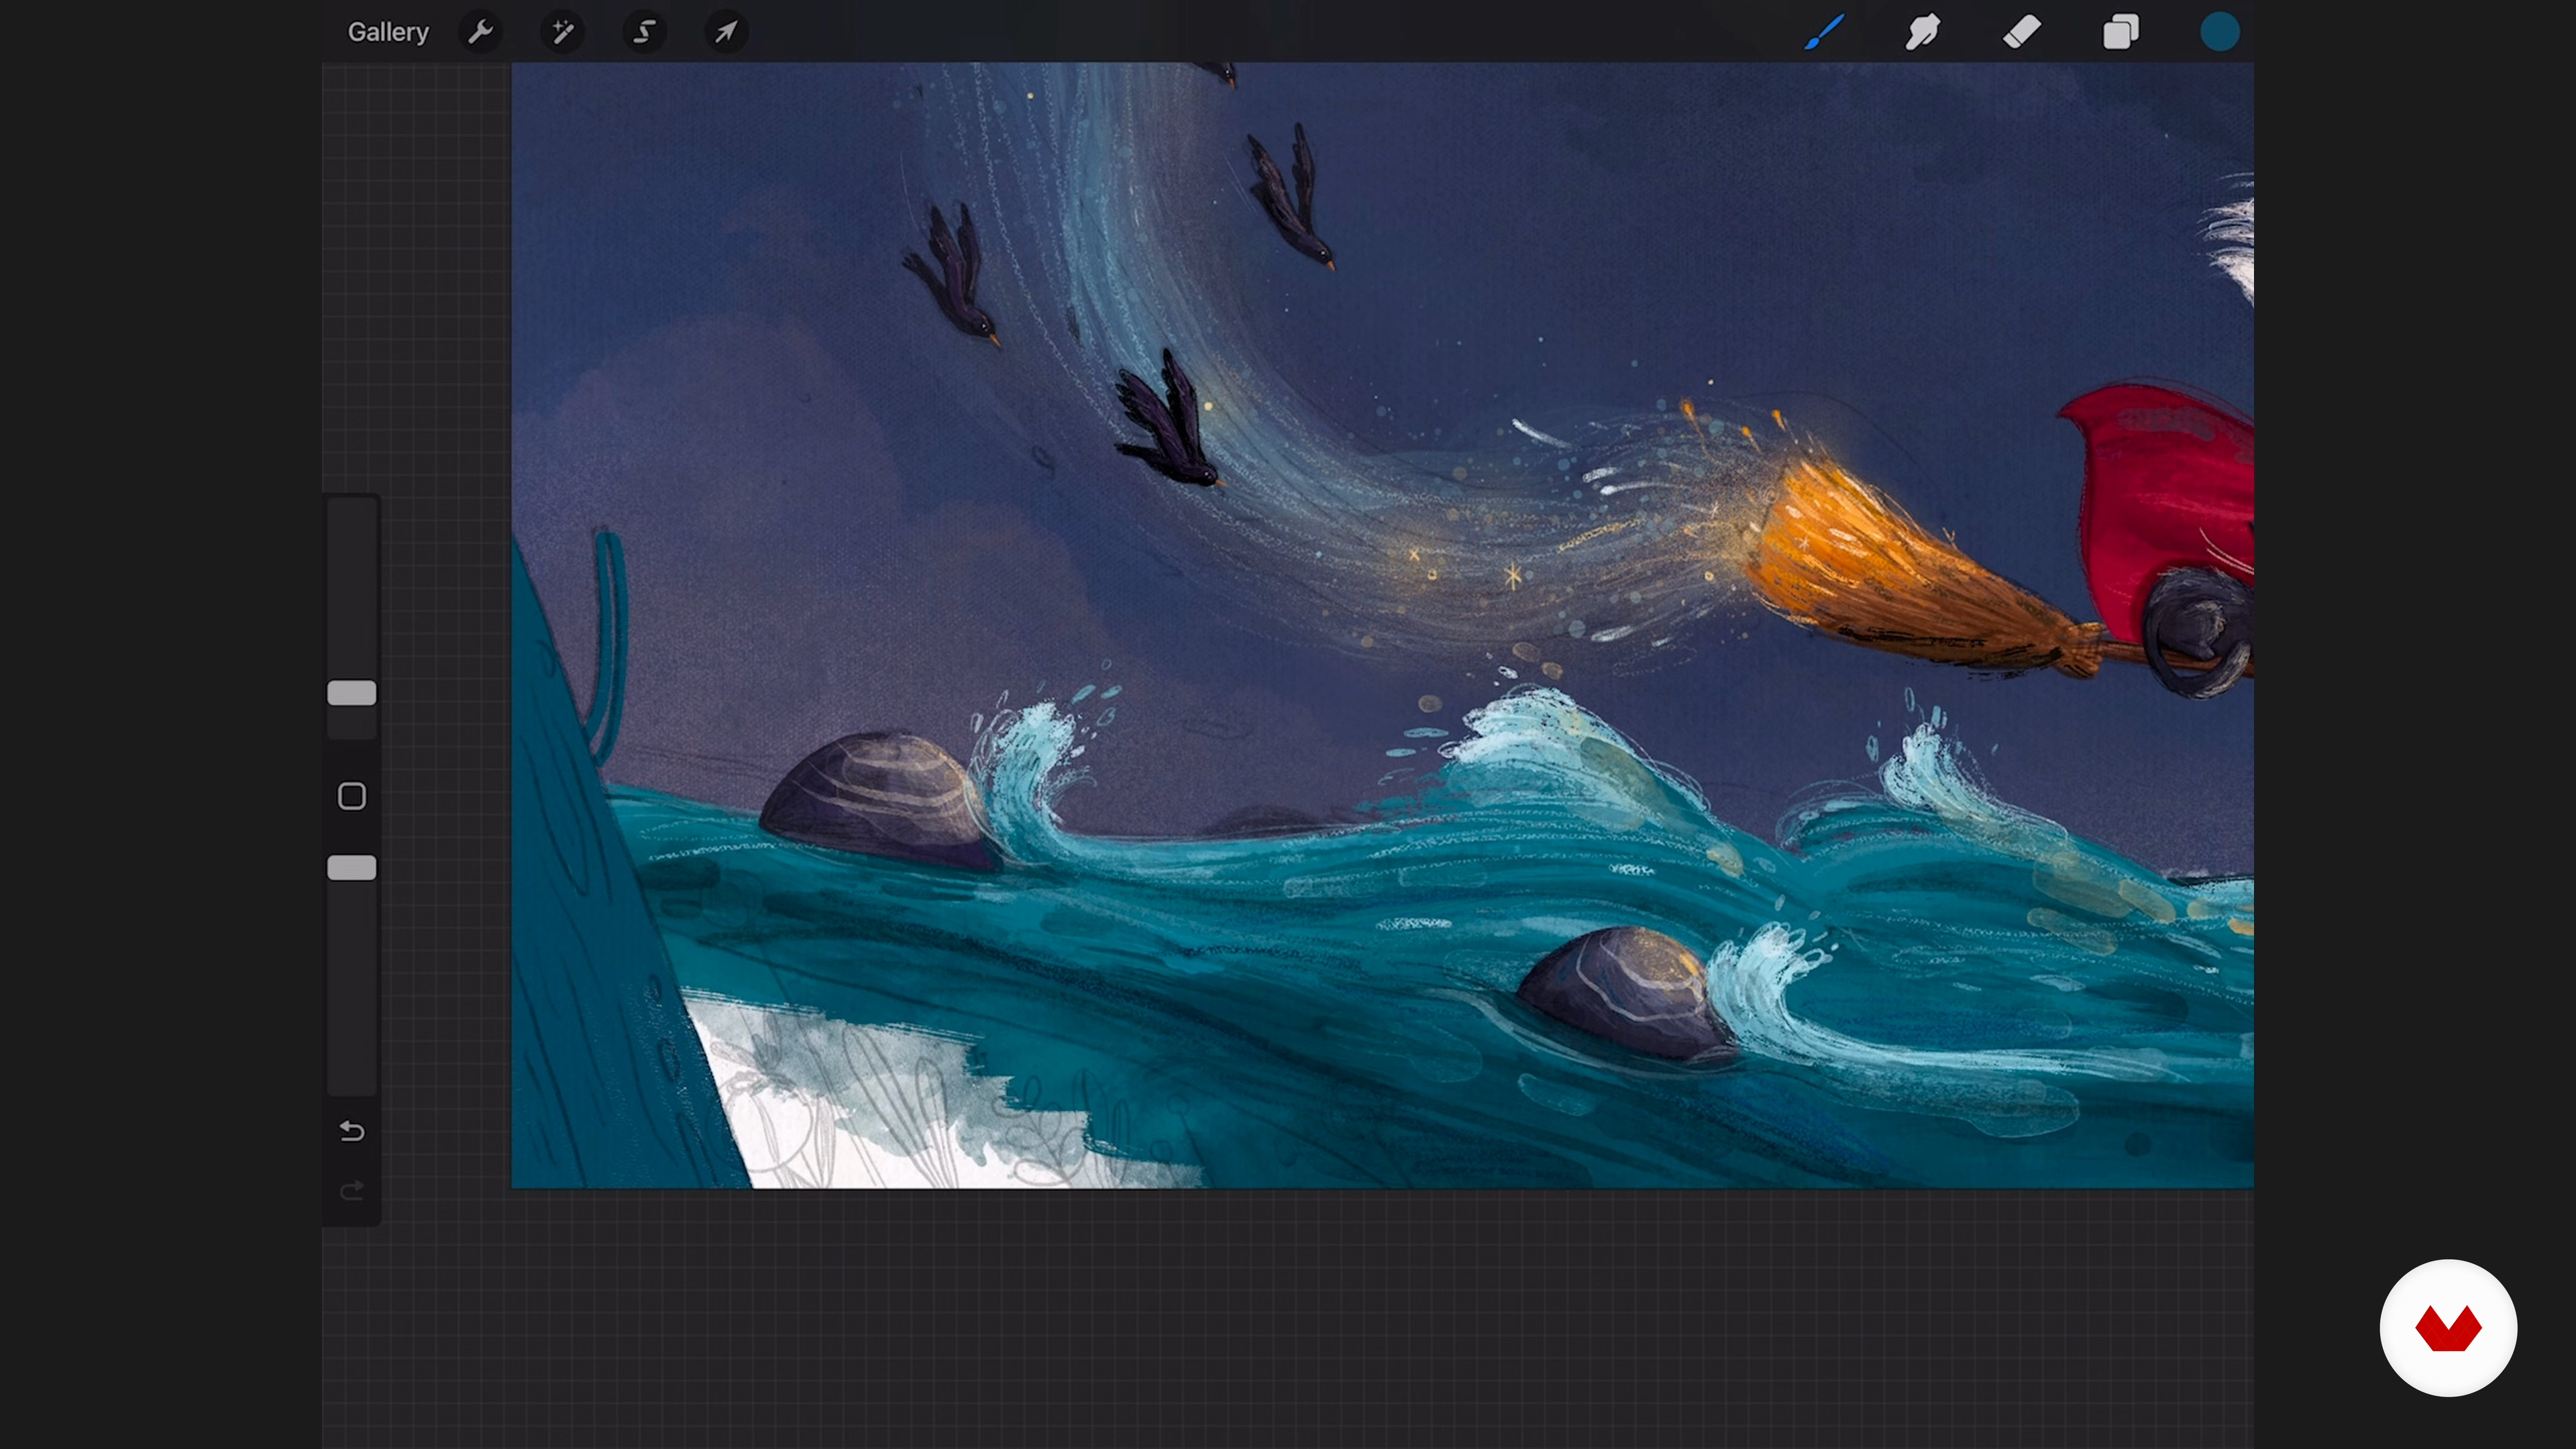
When painting other characters, like the birds, I also simplify the shapes, focusing on creating an idea of movement and not aiming for realism. Remember to zoom out often, look at the whole image, and double-check if all elements integrate well into the painting.
16m
image
13
Extra Details and Adjustments
For my last reflections on the painting, I take a step back, view the artwork as a whole, and then make any last adjustments. To do so, it's helpful to use the critique skills I talked about earlier in the course to assess the image and identify any weak points.
6m
image
14
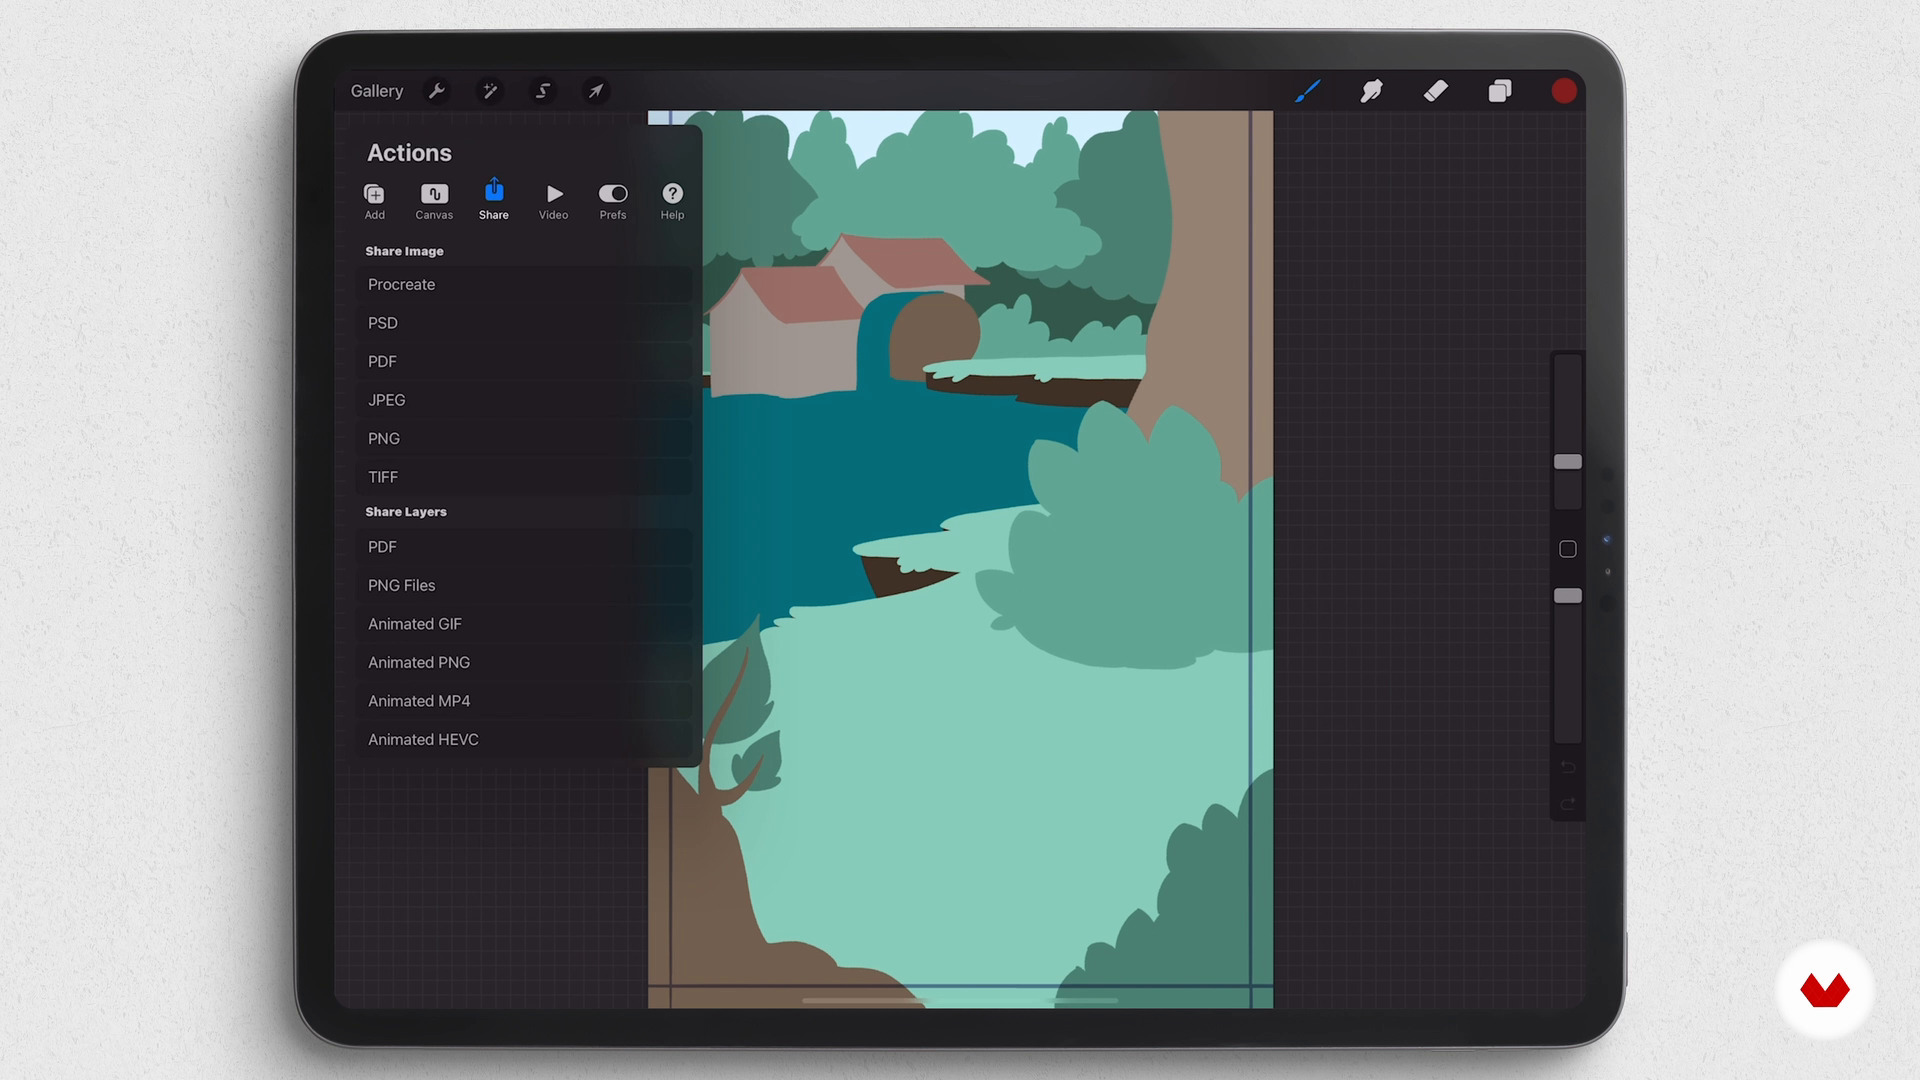
Exporting, Sharing, and Portfolio Tips
Now it's time to share the illustration! I have some tips on sharing your artwork on social media, and I will also give you a few more tips about building your portfolio from here onwards.
5m
image
1
Introduction to Kid Lit
I'll show you the different types of children's books in this lesson. Also, I'll explain some of the characteristics that are particular to each market.
6m
image
2
What Are Clients Looking For?
Here, I will talk about portfolios; I want to show you what agents and publishers look for when going through your portfolio.
5m
image
3
Choosing a Portfolio Project
In this lesson, I'm going to talk to you about the kinds of projects you can create to grow your children's book portfolio. Then, I will go over the advantages and disadvantages of different projects. Finally, I will choose a book to work with for this course.
7m
image
4
Let’s Read a Book
The first step to illustrating a book is, of course, reading the text. In this lesson, I will explain what I’m looking for when reading a story. Then, I will show you how I break a story down into a list of things that could make a good illustration.
3m
image
5
Planning My Illustrations
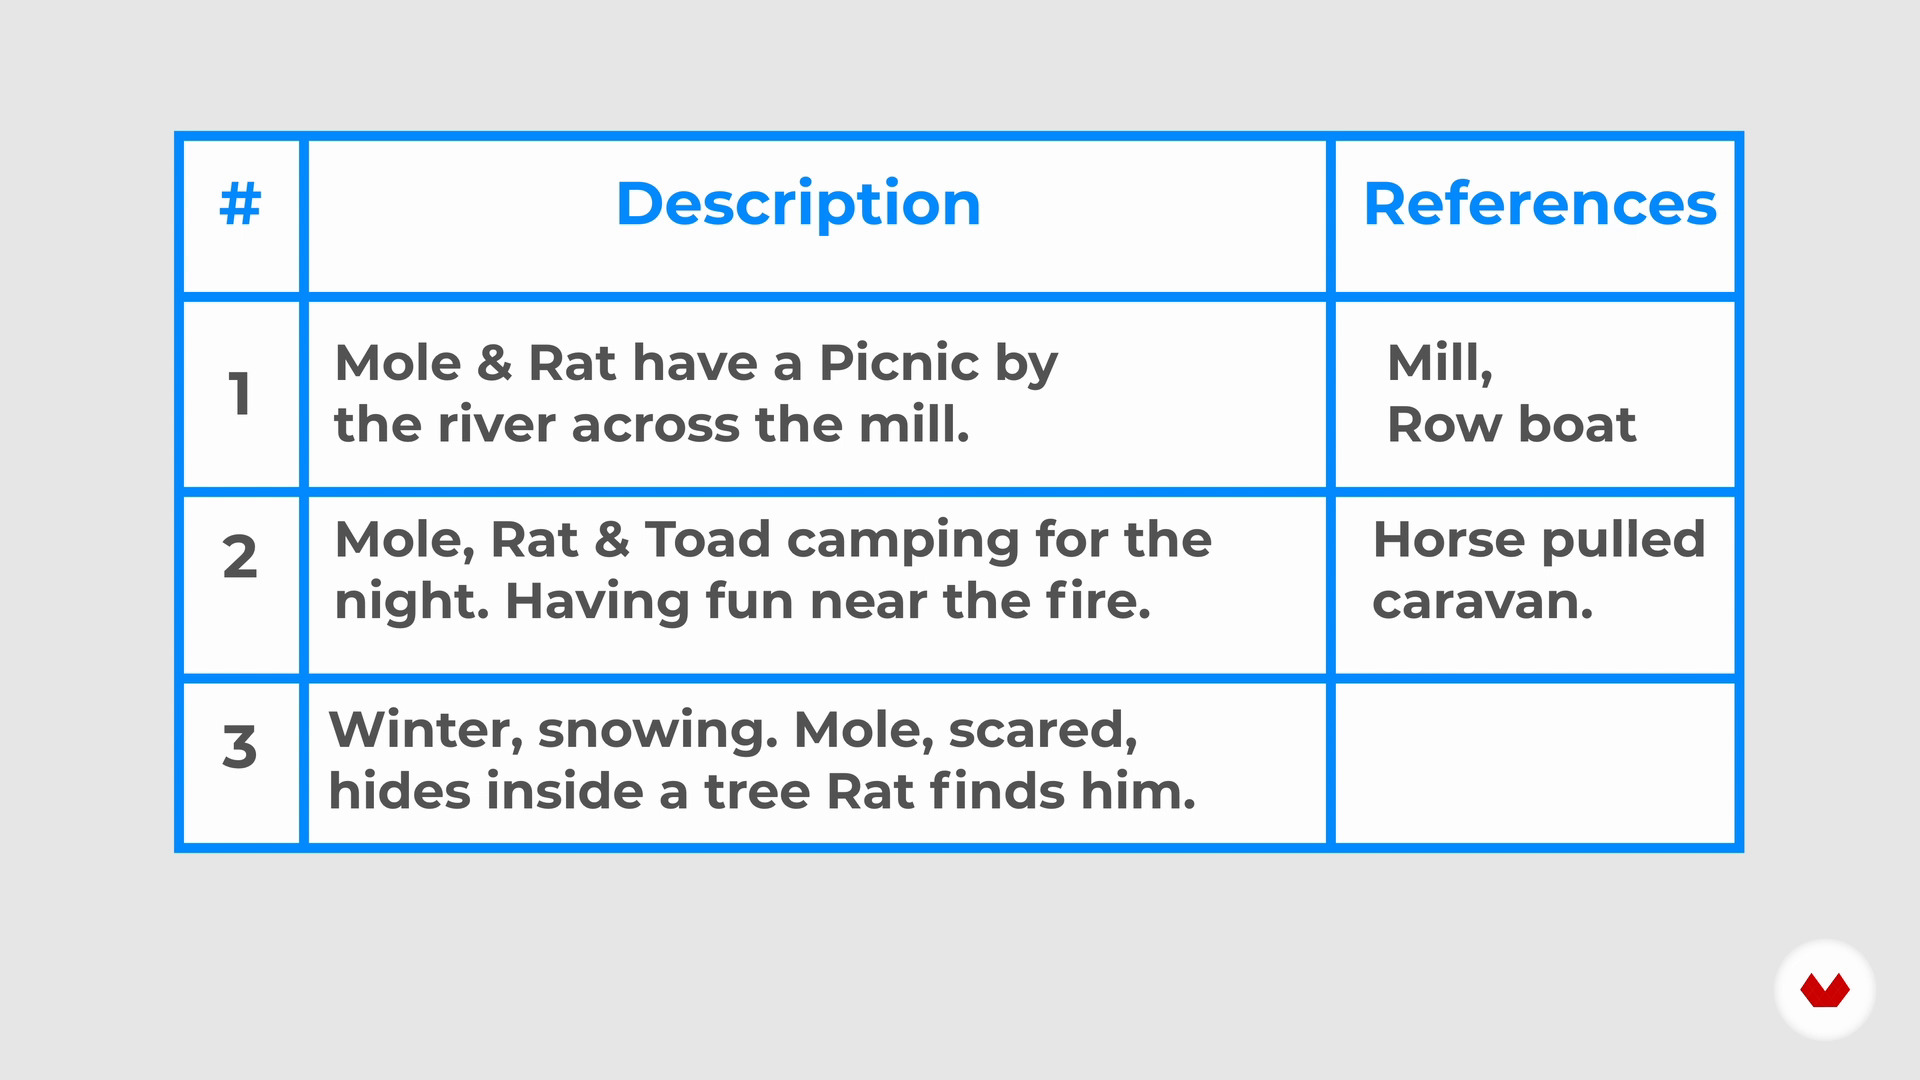
I will show you how I use the notes I made from reading the text to create a list of illustrations for the book.
2m
image
6
Sketching Your Characters
In this lesson, I will show you how I use the descriptions from the text and combine them with my own ideas to create my characters.
9m
image
7
Storyboarding a Book
Here you'll learn how to plan your book illustrations with the help of a storyboard. I will explain how I use this storyboard to ensure that my illustrations have a rhythm as a group.
8m
image
8
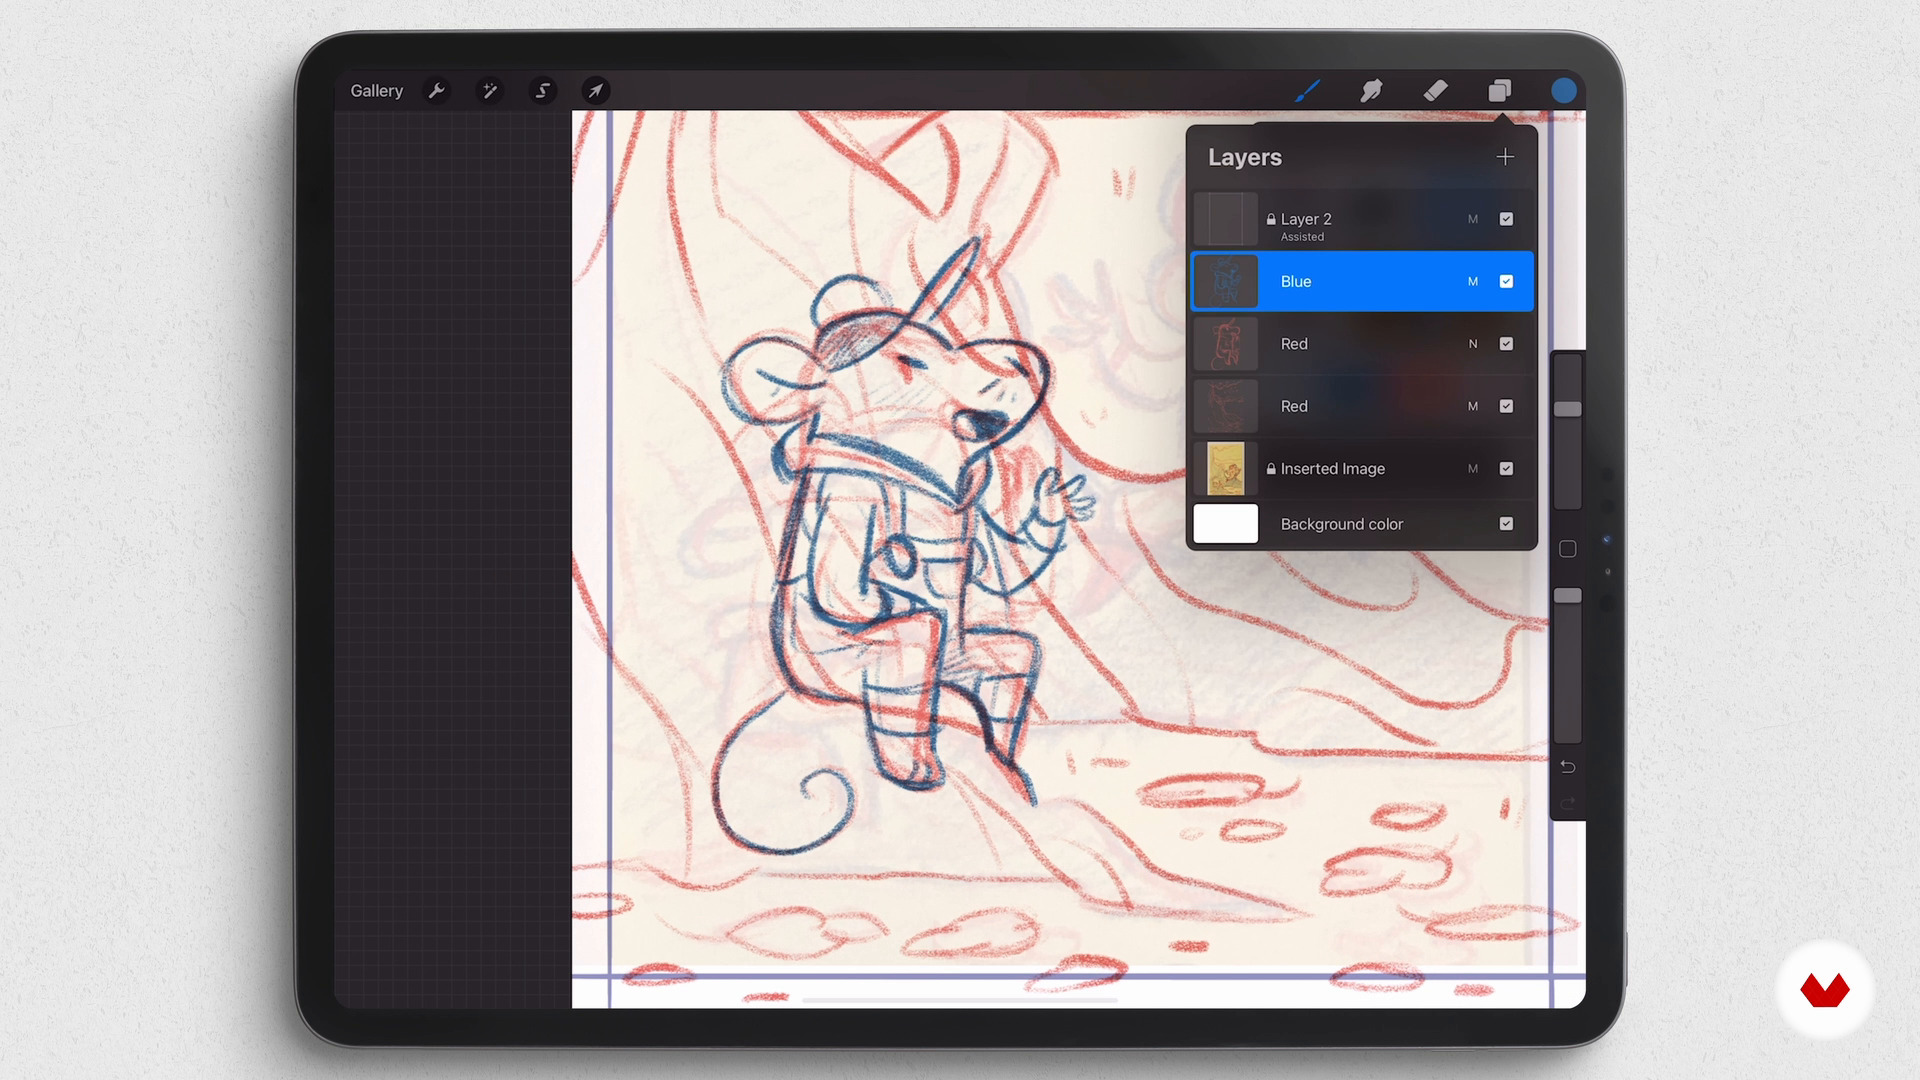
From My Sketchbook to My iPad
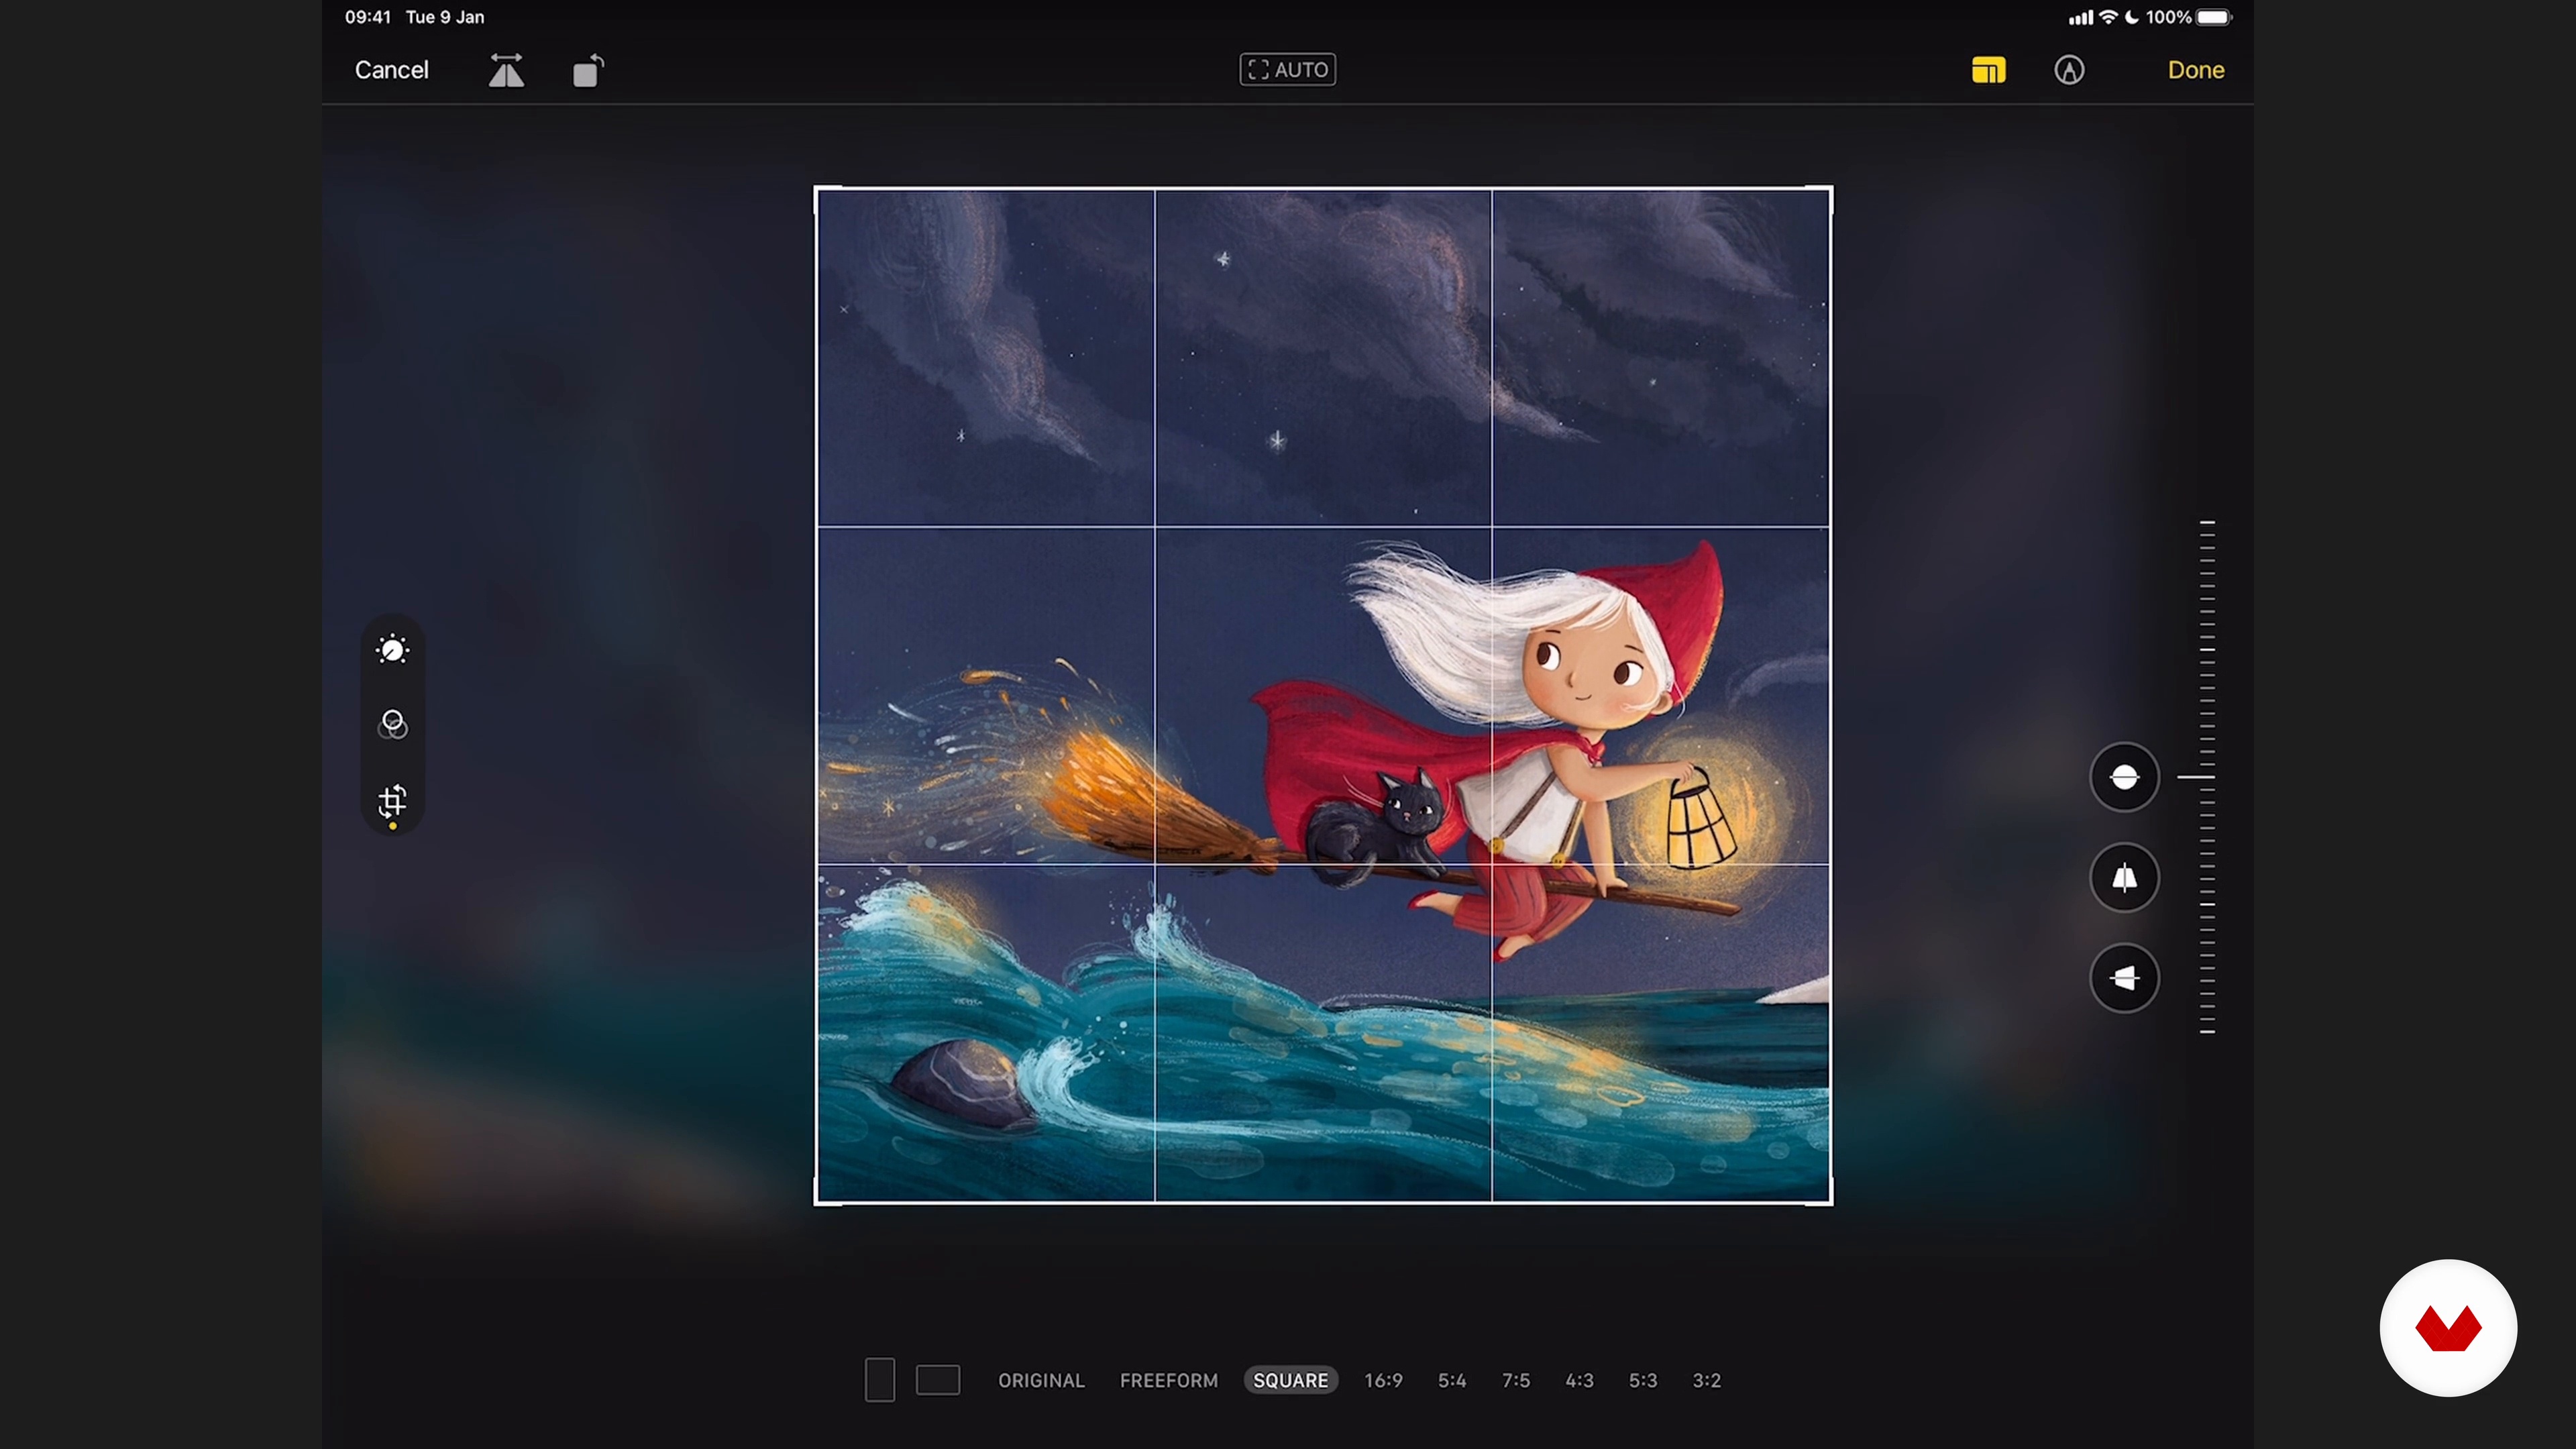
In this lesson, I will show how I transfer my drawings from my sketchbook to my iPad to color them.
4m
image
9
Making Your Sketches
Here, I will choose five images from my storyboard. Then I will show you how I turn my initial idea into sketches.
11m
image
10
Working with Multiple Images
I will show you how I work on a project that requires multiple images. Finally, I'll explain how I try to ensure that the quality of my work stays consistent throughout the whole book.
11m
image
11
Your Final Image
Follow along while I focus on one of my images and add all the details to the final image.
12m
image
12
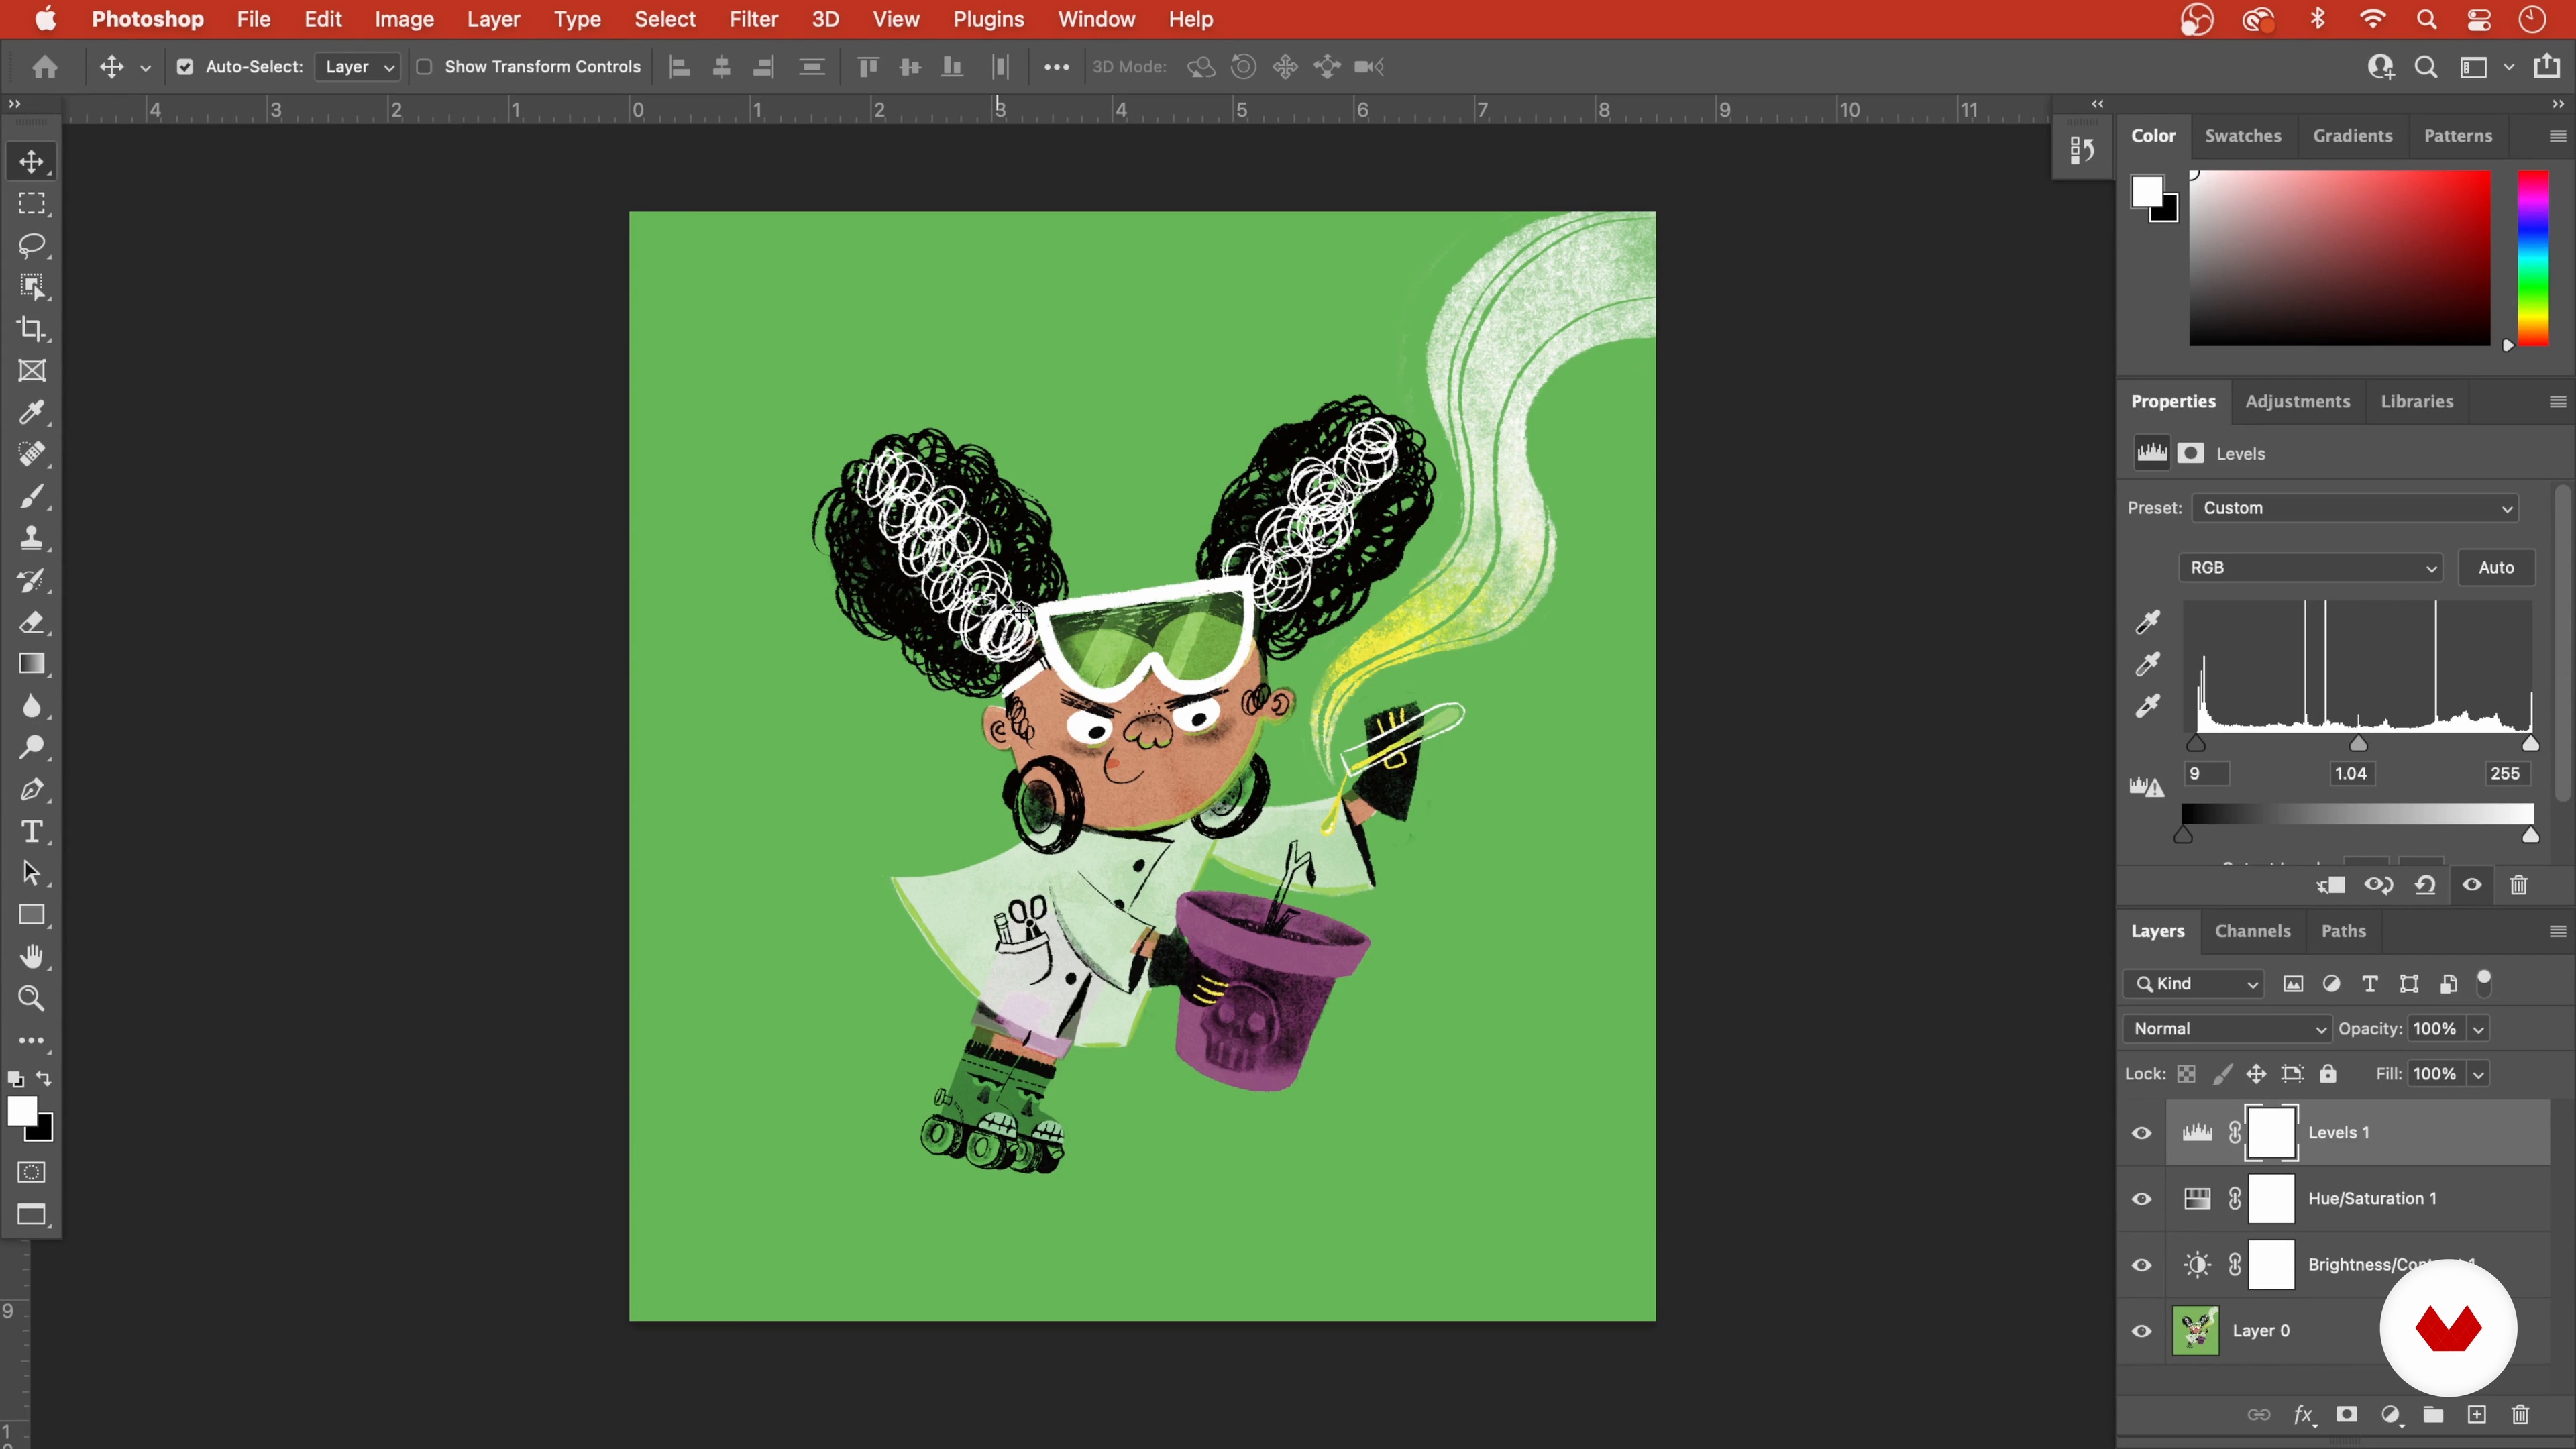
Working with Different Color Profiles
Now that you have finished your illustrations, you need to know how to save them from being printed. Next, I will show you how to edit your images and change their color profile to fit your or your client's different printing needs.
9m
image
13
What Do I Do With My Project?
So you've finished your project, now what? In this lesson, I take a look at some of the ways you can put your work to good use so it can get you closer to landing that dream job.
4m
image
3
Materials and Tools
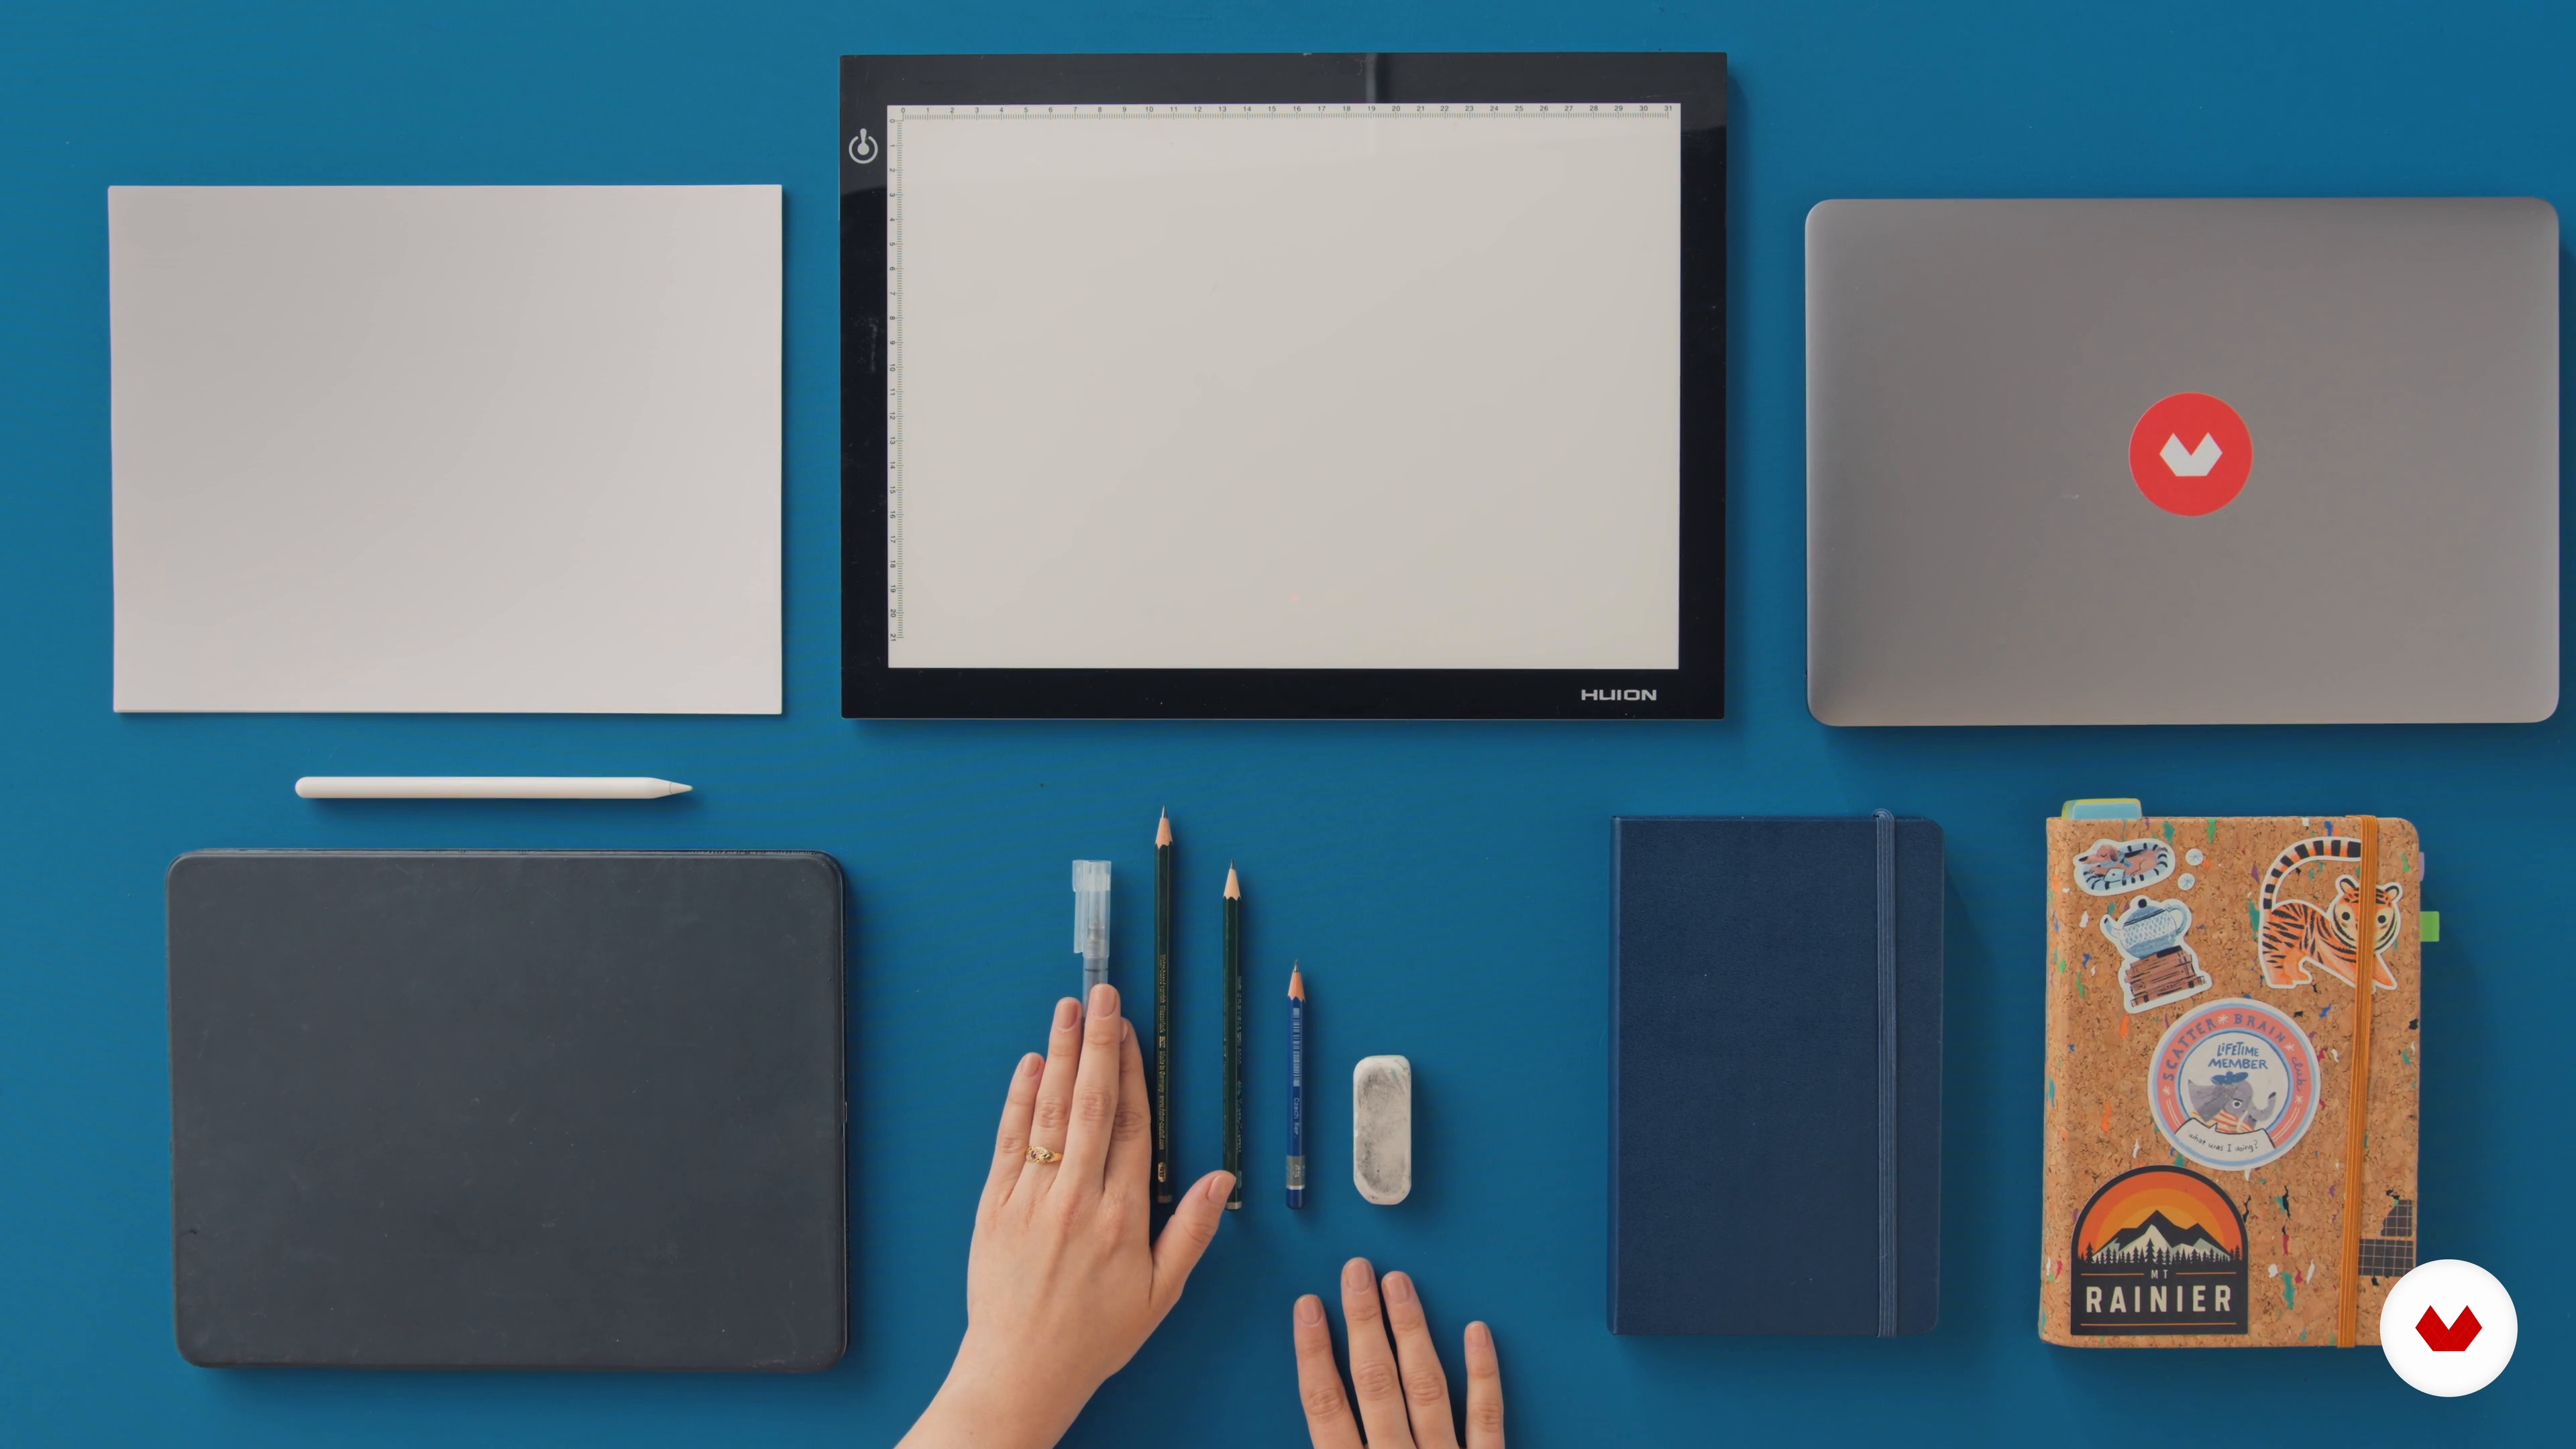
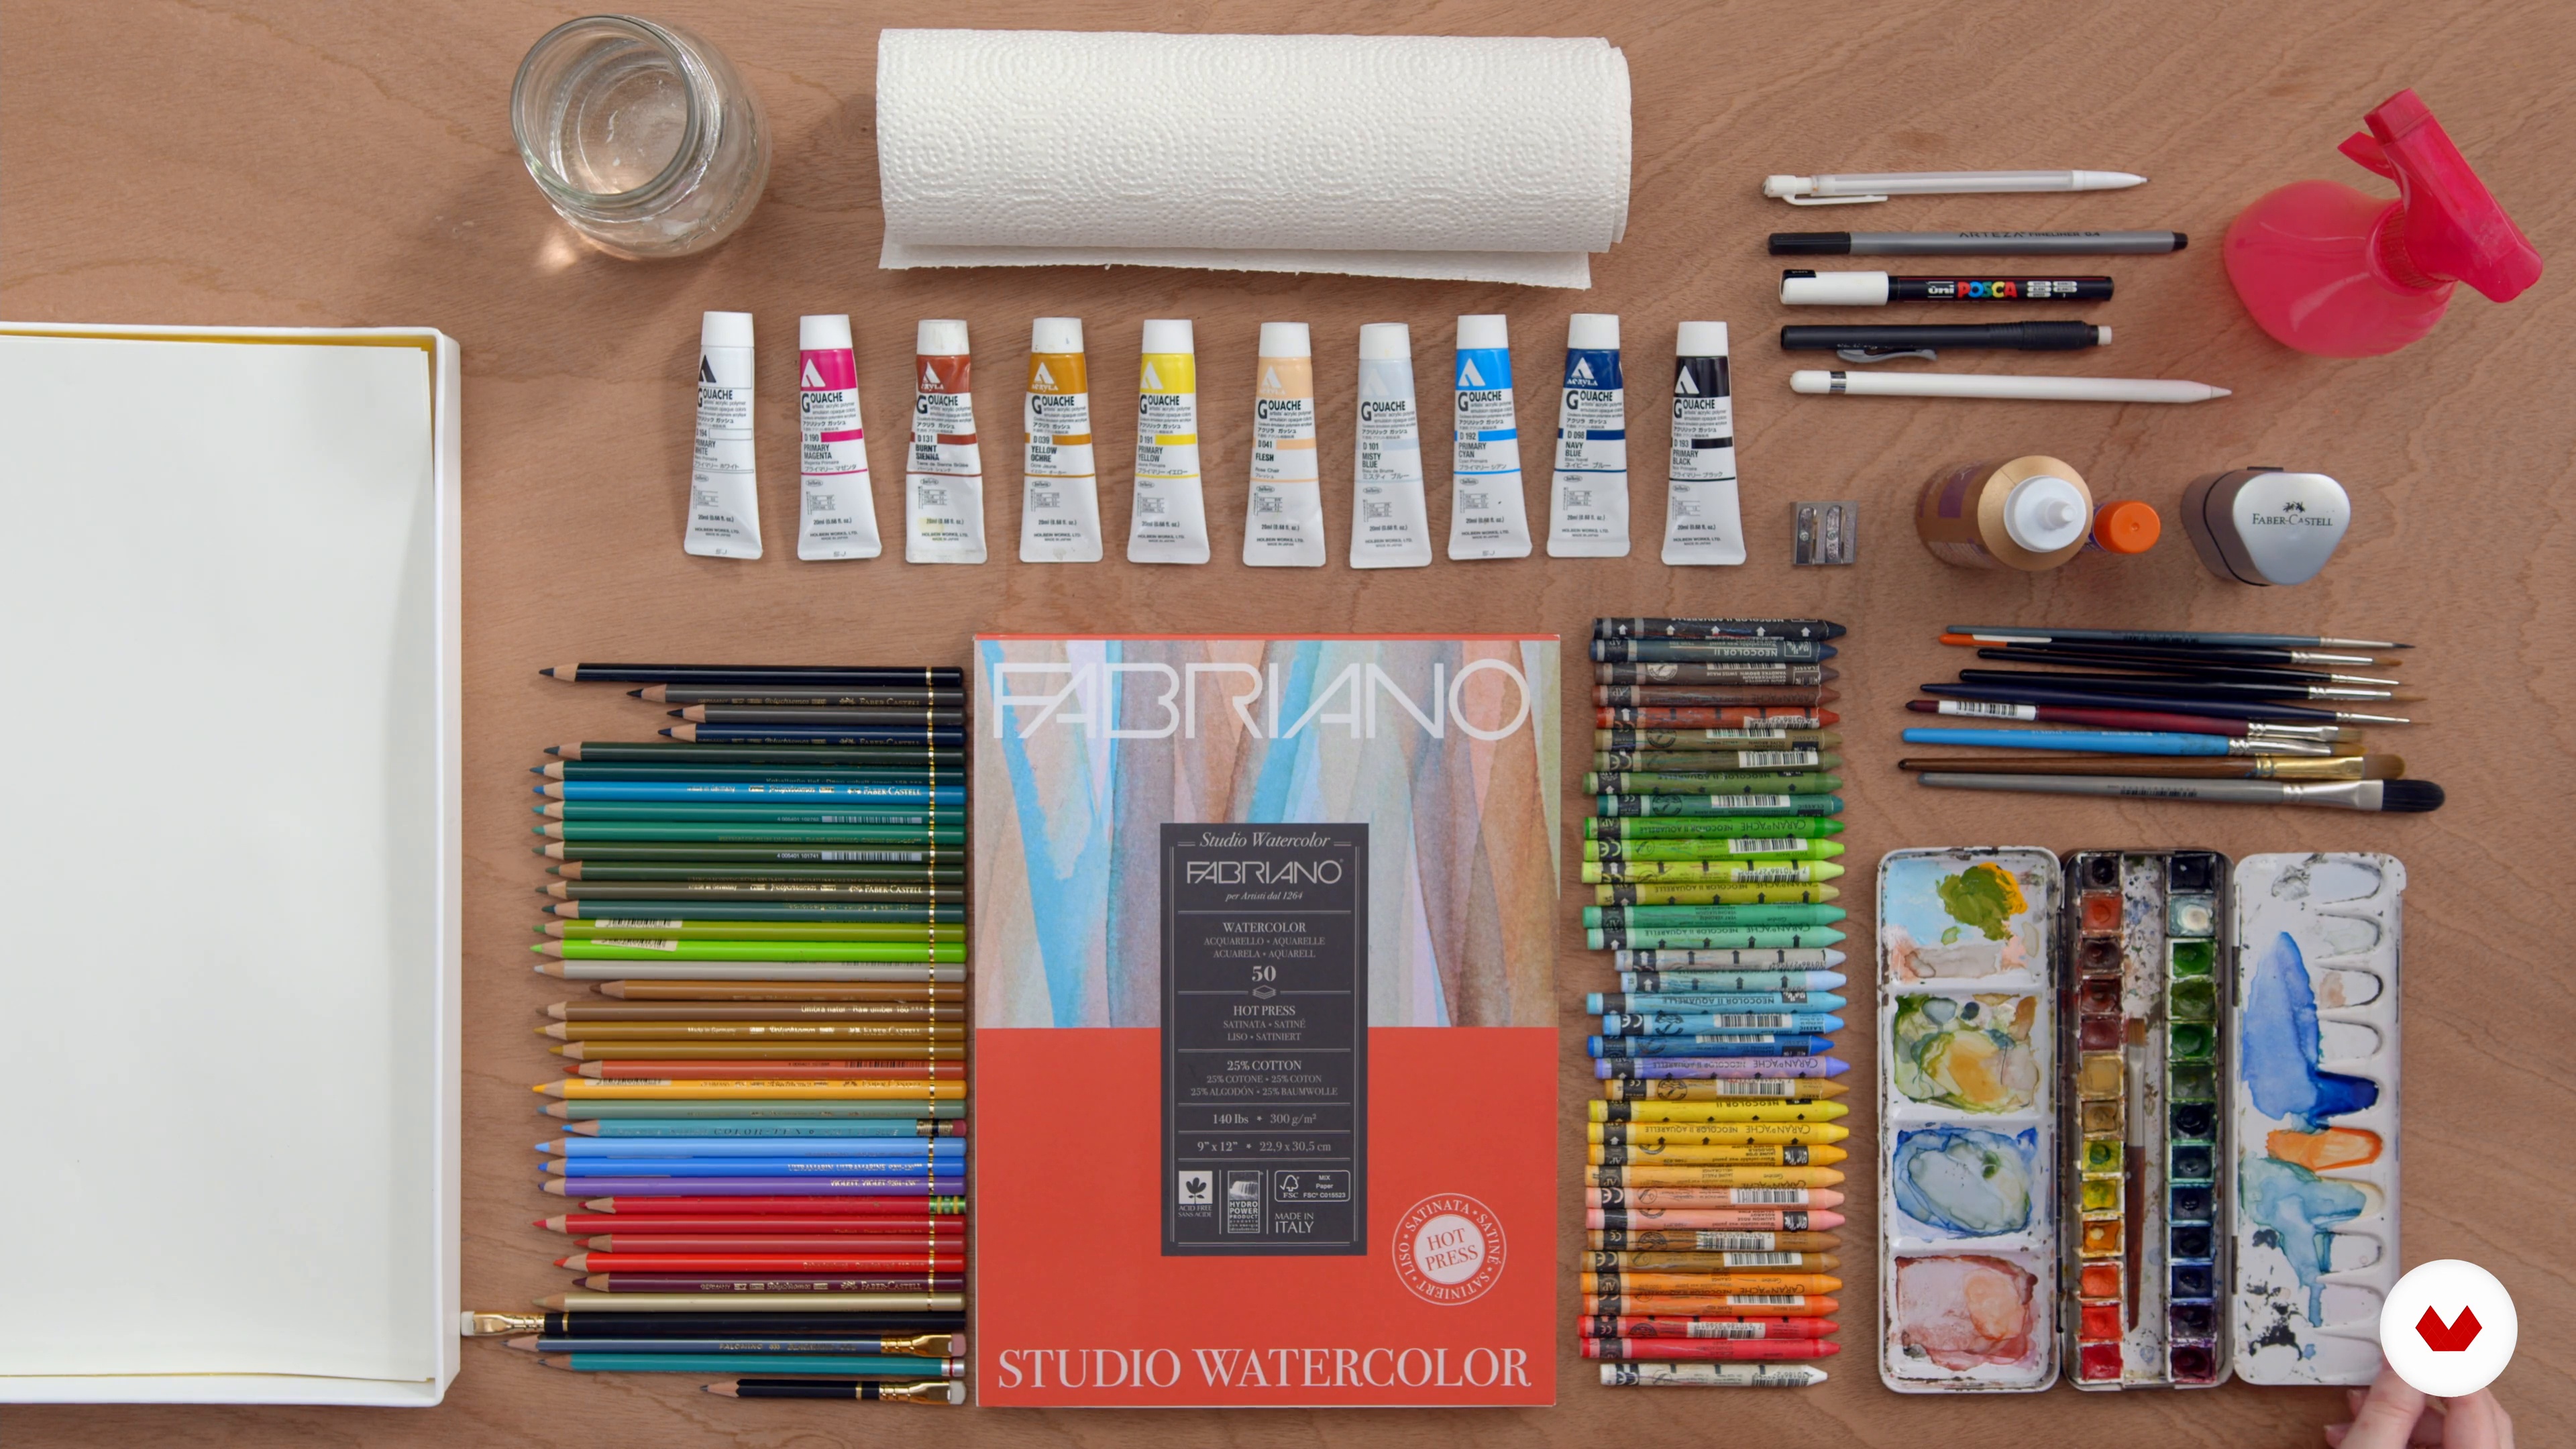
You will see the different materials and tools that you will be using during this course.
9m
image
4
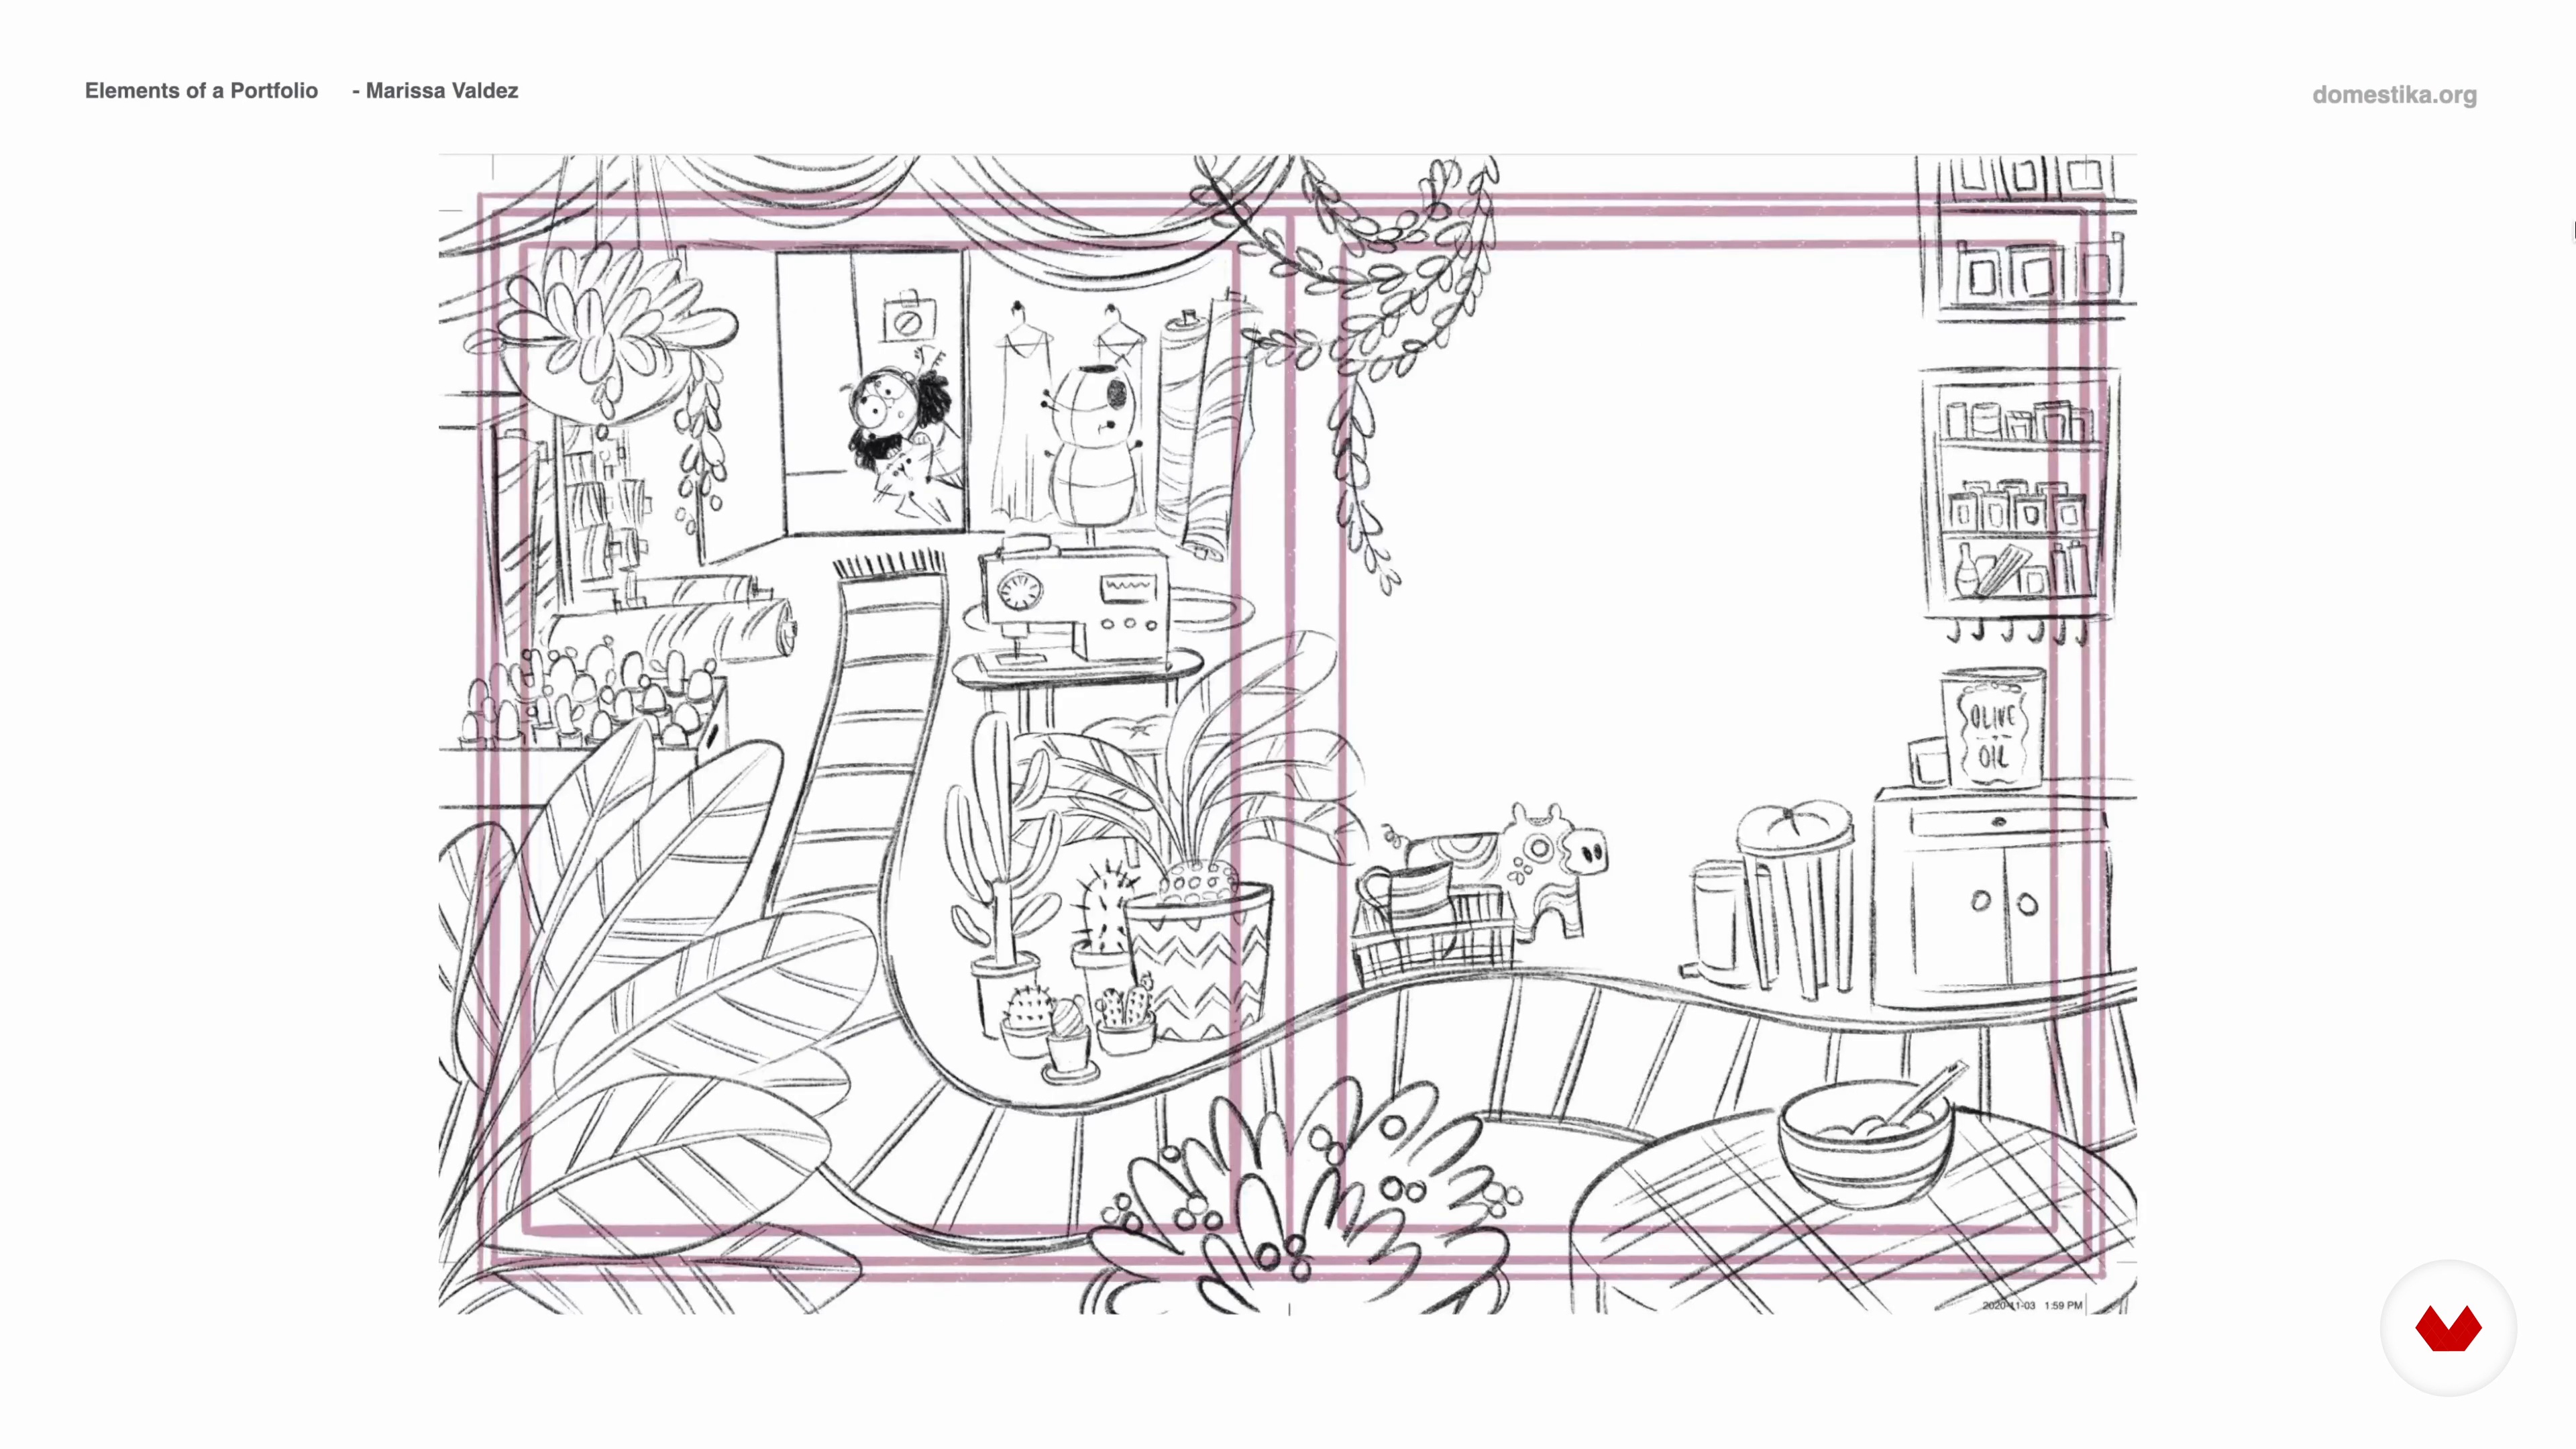
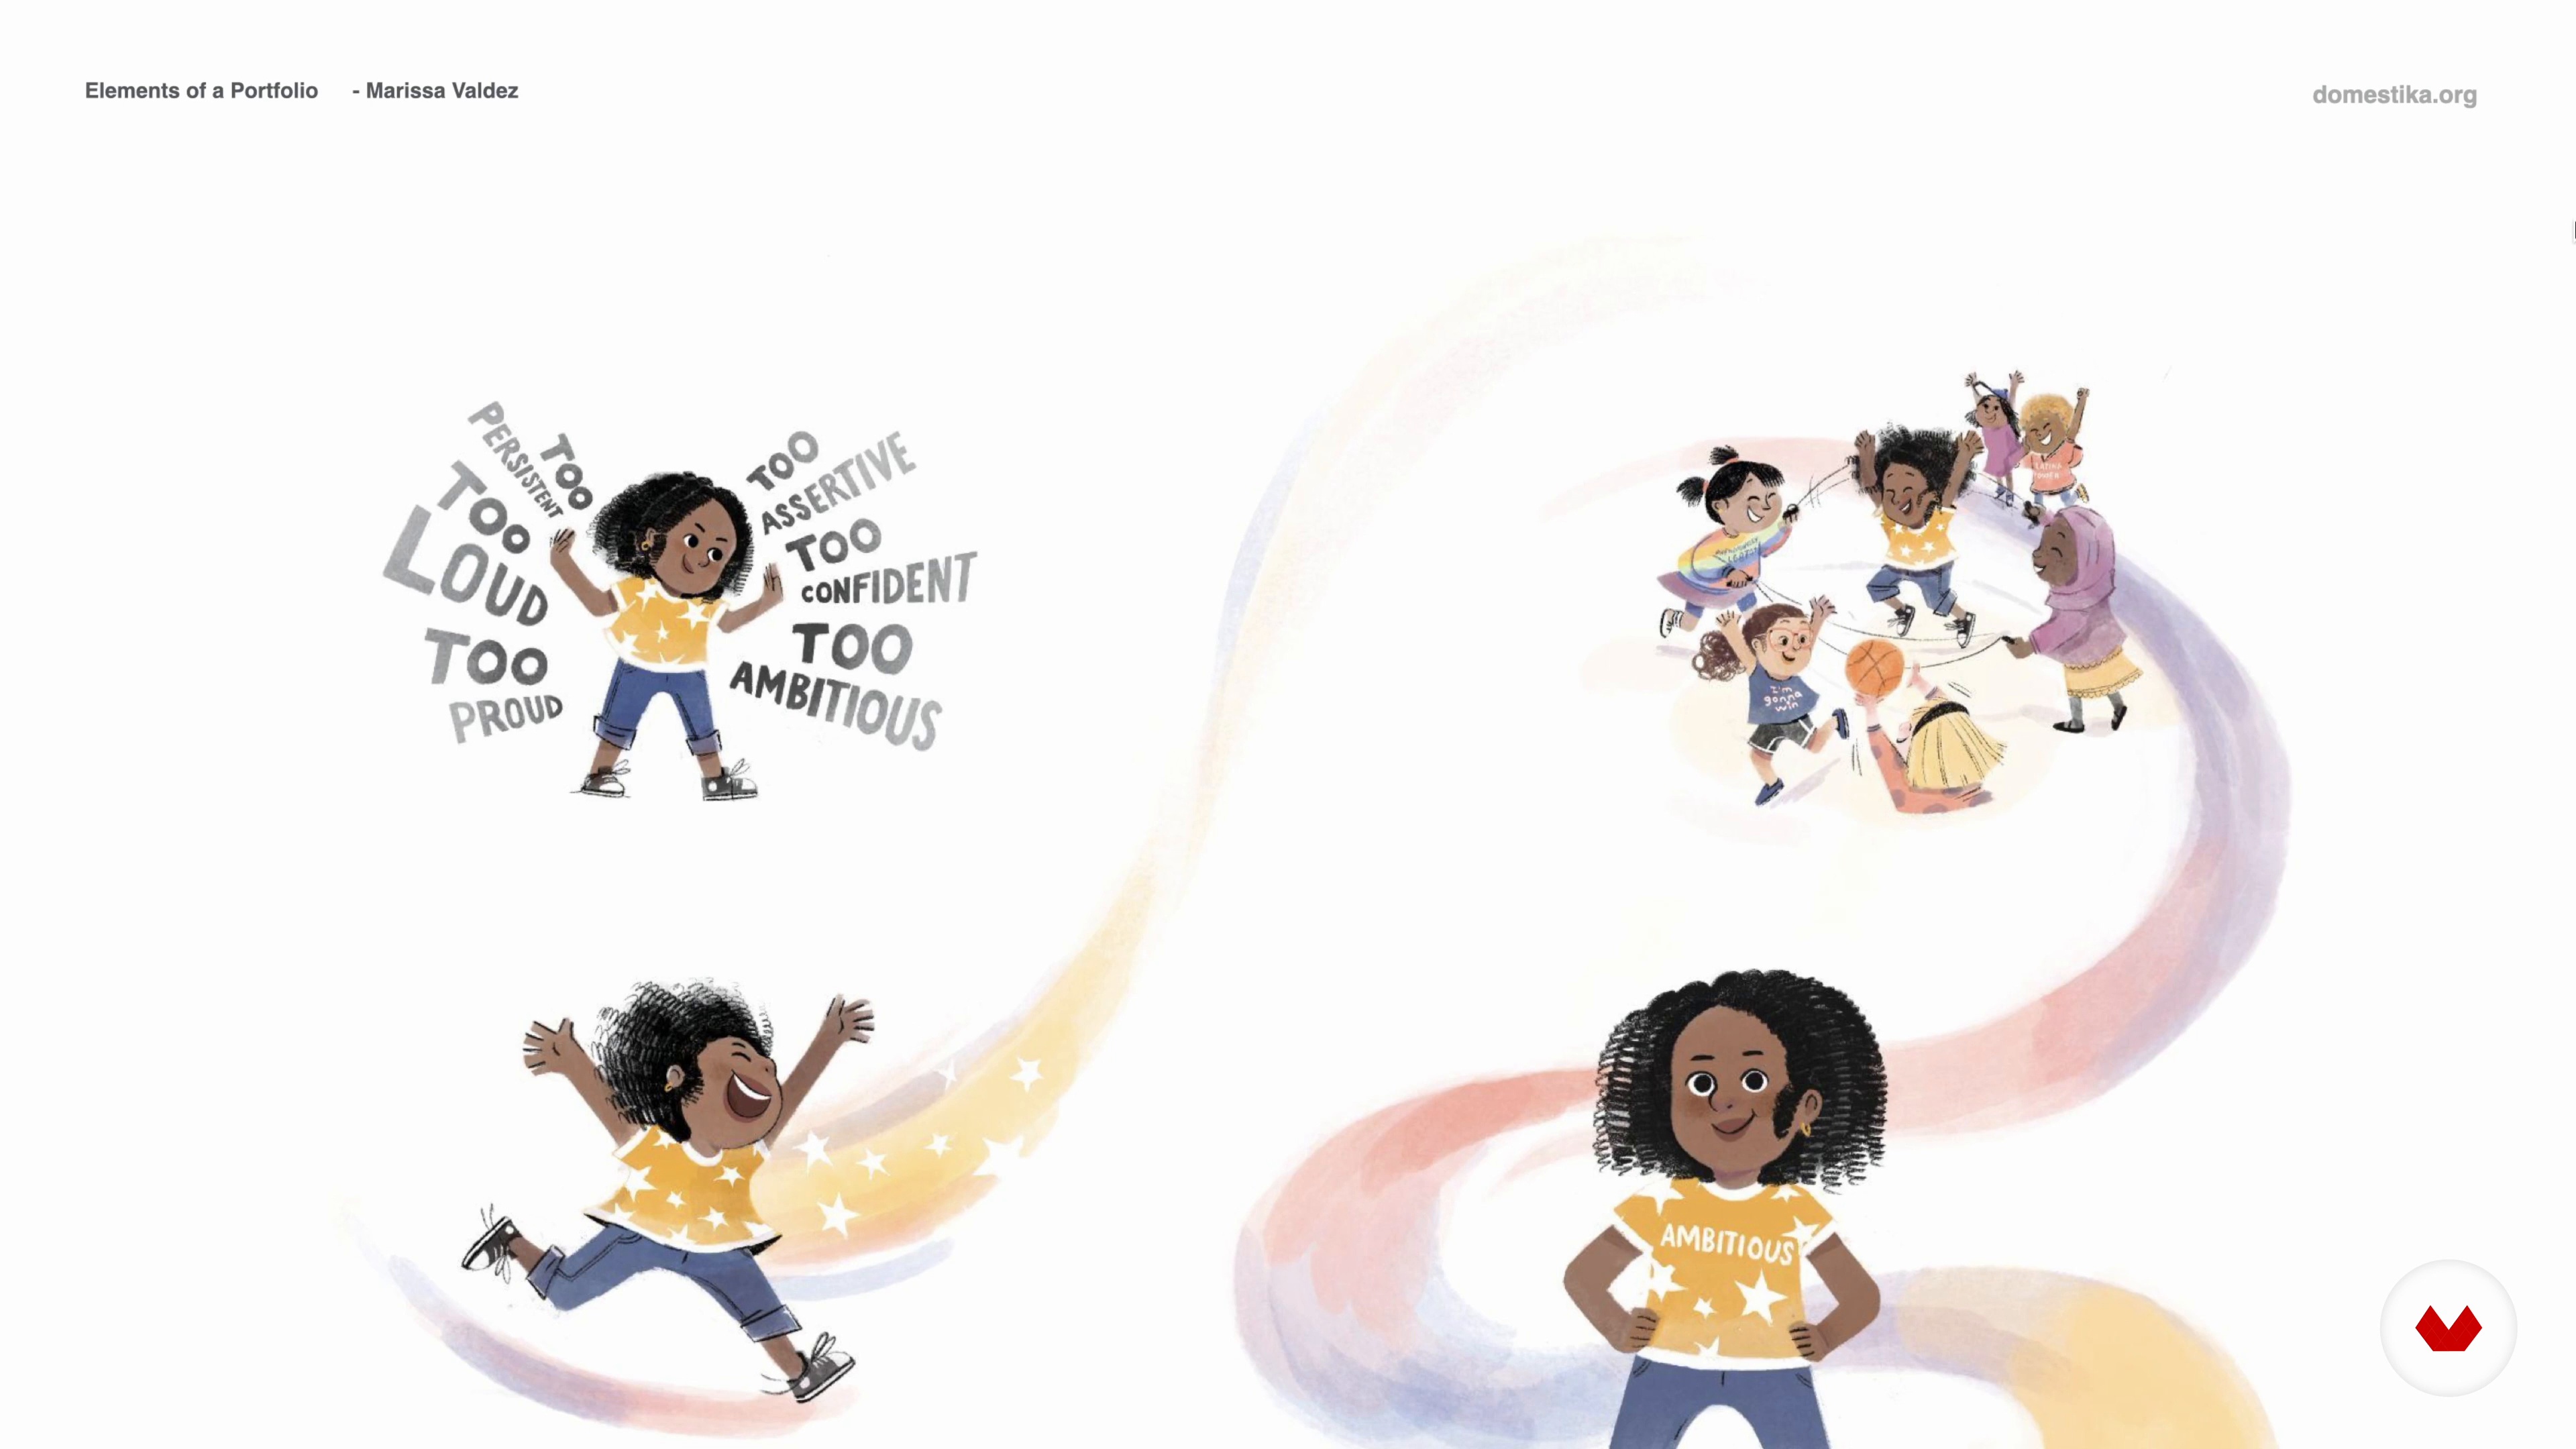
Elements of a Portfolio 1
You will learn about the different elements you’ll need in your children’s illustration portfolio in order for you to catch agents and art director’s eyes.
14m
image
5
Elements of a Portfolio 2
I will continue showing you the essential elements that a portfolio should have.
16m
image
6
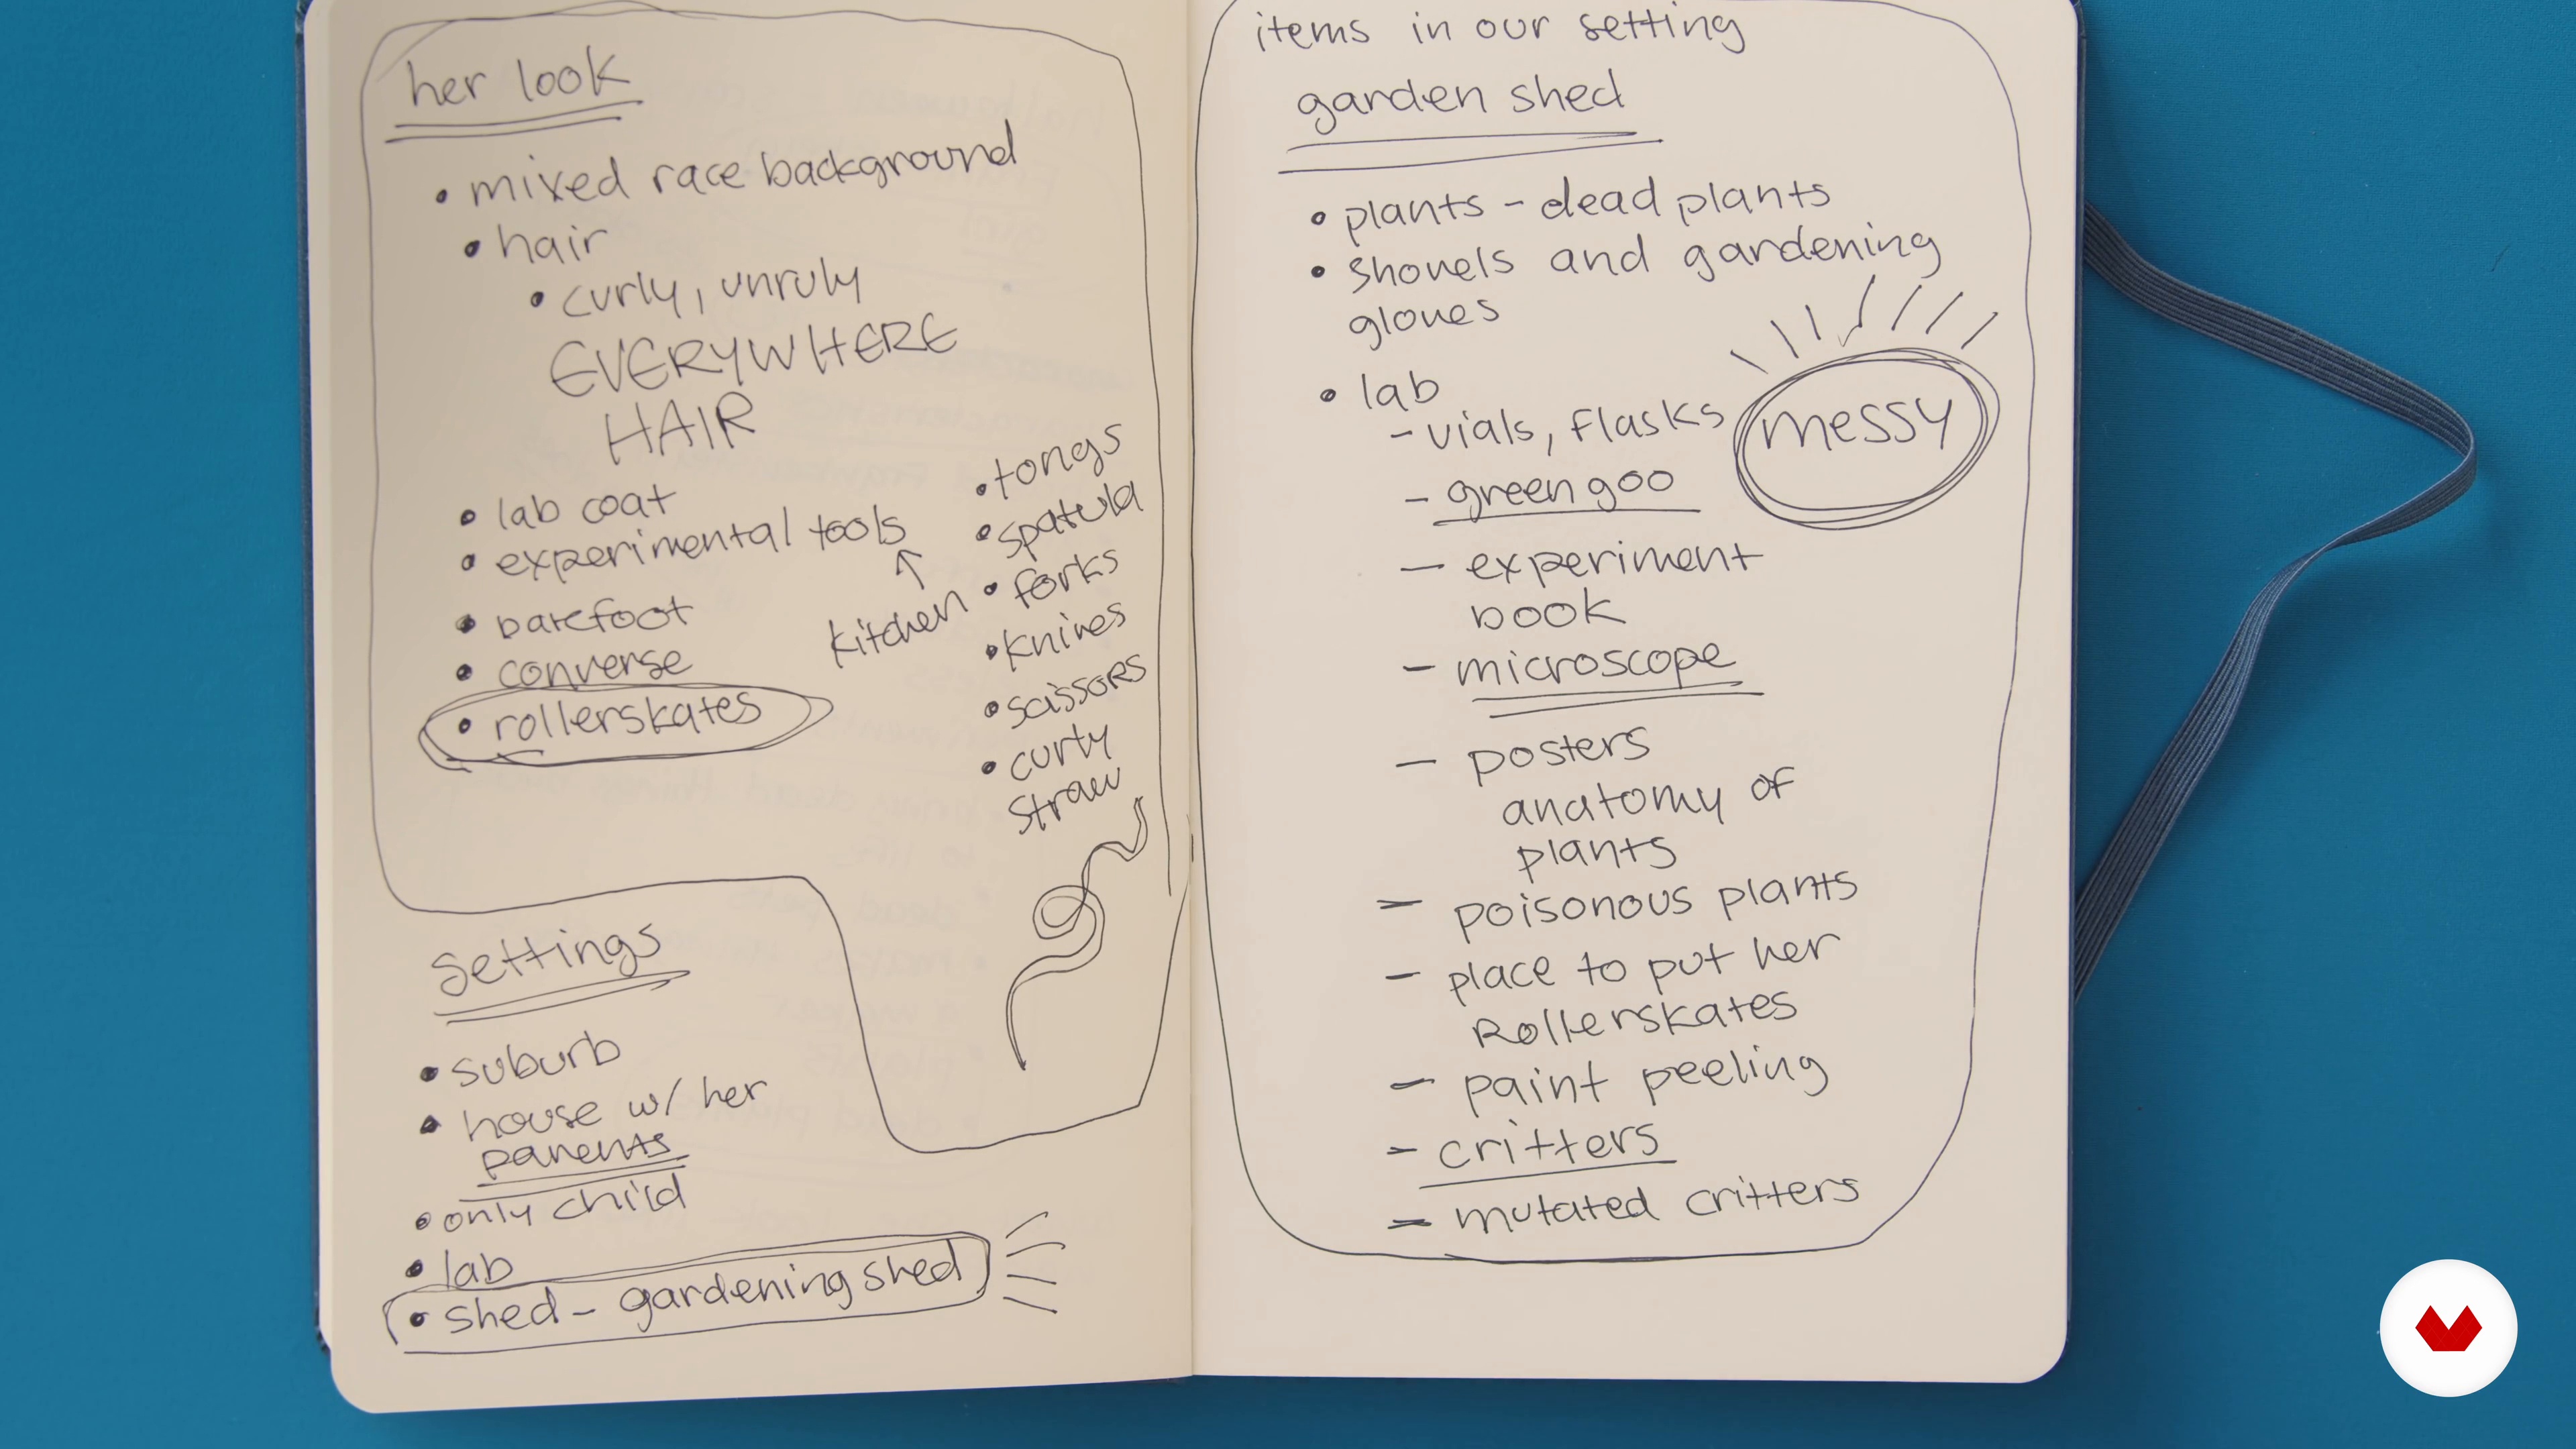
Characters, Setting, and Storytelling 1
Together we’ll be creating a character, setting and story that we can use to create several starting illustrations for your portfolio in the next unit.
15m
image
7
Characters, Setting, and Storytelling 2
I will explain to you how to think out of the box with character designs. You will see how I keep writing down everything until I came up with the idea I want to keep working.
12m
image
8
Creating a Character 1
I will teach you how to sketch out character designs and create a character emotion sheet. It's important to explore different ideas until you feel you have the right one.
14m
image
9
Creating a Character 2
Once you have the right idea, it's time to work more on your character. I will show you how to place it in a specific setting with specific emotions to make it fascinating.
17m
image
10
Creating a Character 3
You will learn how to try different ideas of the character in different settings.
4m
image
11
Creating the Setting
You will see how to sketch out setting designs and how to create a half-page illustration of your character in a setting.
20m
image
12
Creating Narrative Scenes
You will be creating three narrative spot illustrations to showcase in your portfolio.
17m
image
13
Finishing in Procreate 1
I will show you how to finish off one of the illustrations in Procreate.
19m
image
14
Finishing in Procreate 2
You will learn how to finish the character in Procreate. Besides, I will teach you some tips to do the same exact process but with your character in the setting.
3m
image
15
Preparing Files for Your Portfolio
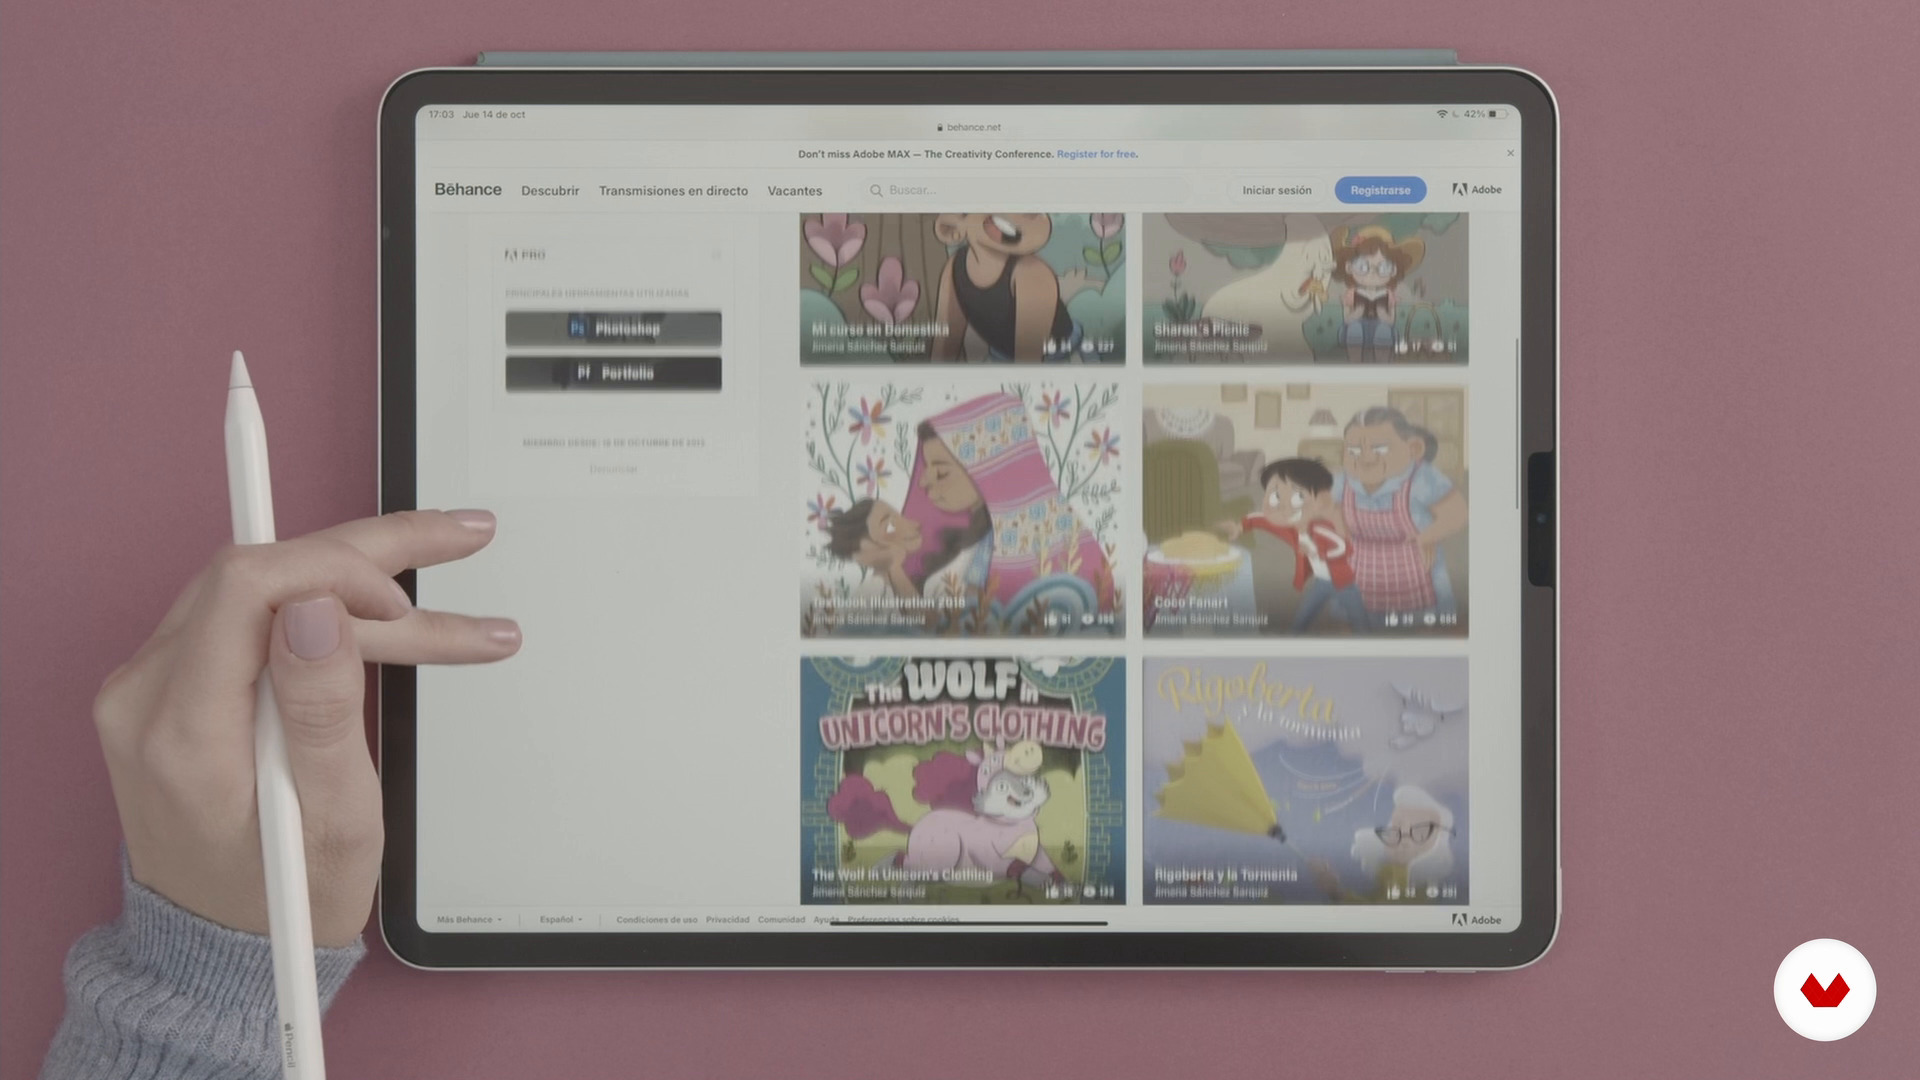
I’ll share with you how I prepare my digital and traditionally-made files for an online portfolio.
13m
image
16
How To Format Your Online Portfolio
Now, I will talk to you about the different online platforms where you can upload your illustrations. You will see how I like to format my website to make it my online portfolio.
16m
image
17
Making a Physical Portfolio
You will see an alternative option: creating your very own physical portfolio to take to conferences.
3m
image
18
Tips for Presenting Your Portfolio
Now that you have a portfolio, it’s time to share it! Creating a portfolio is a long and hard process, so first off, congratulate yourself! Give yourself a pat on the back or treat yourself to a dessert! You’ve done something huge. In this lesson, I want to share with you some additional tips, so you can share your portfolio.
2m
image
4
Materials
I use a lot of different materials when I work. Sometimes I go more traditional, and sometimes I go more digital. But I usually have some combination of both in the final piece. So I’ll talk about some here.
6m
image
5
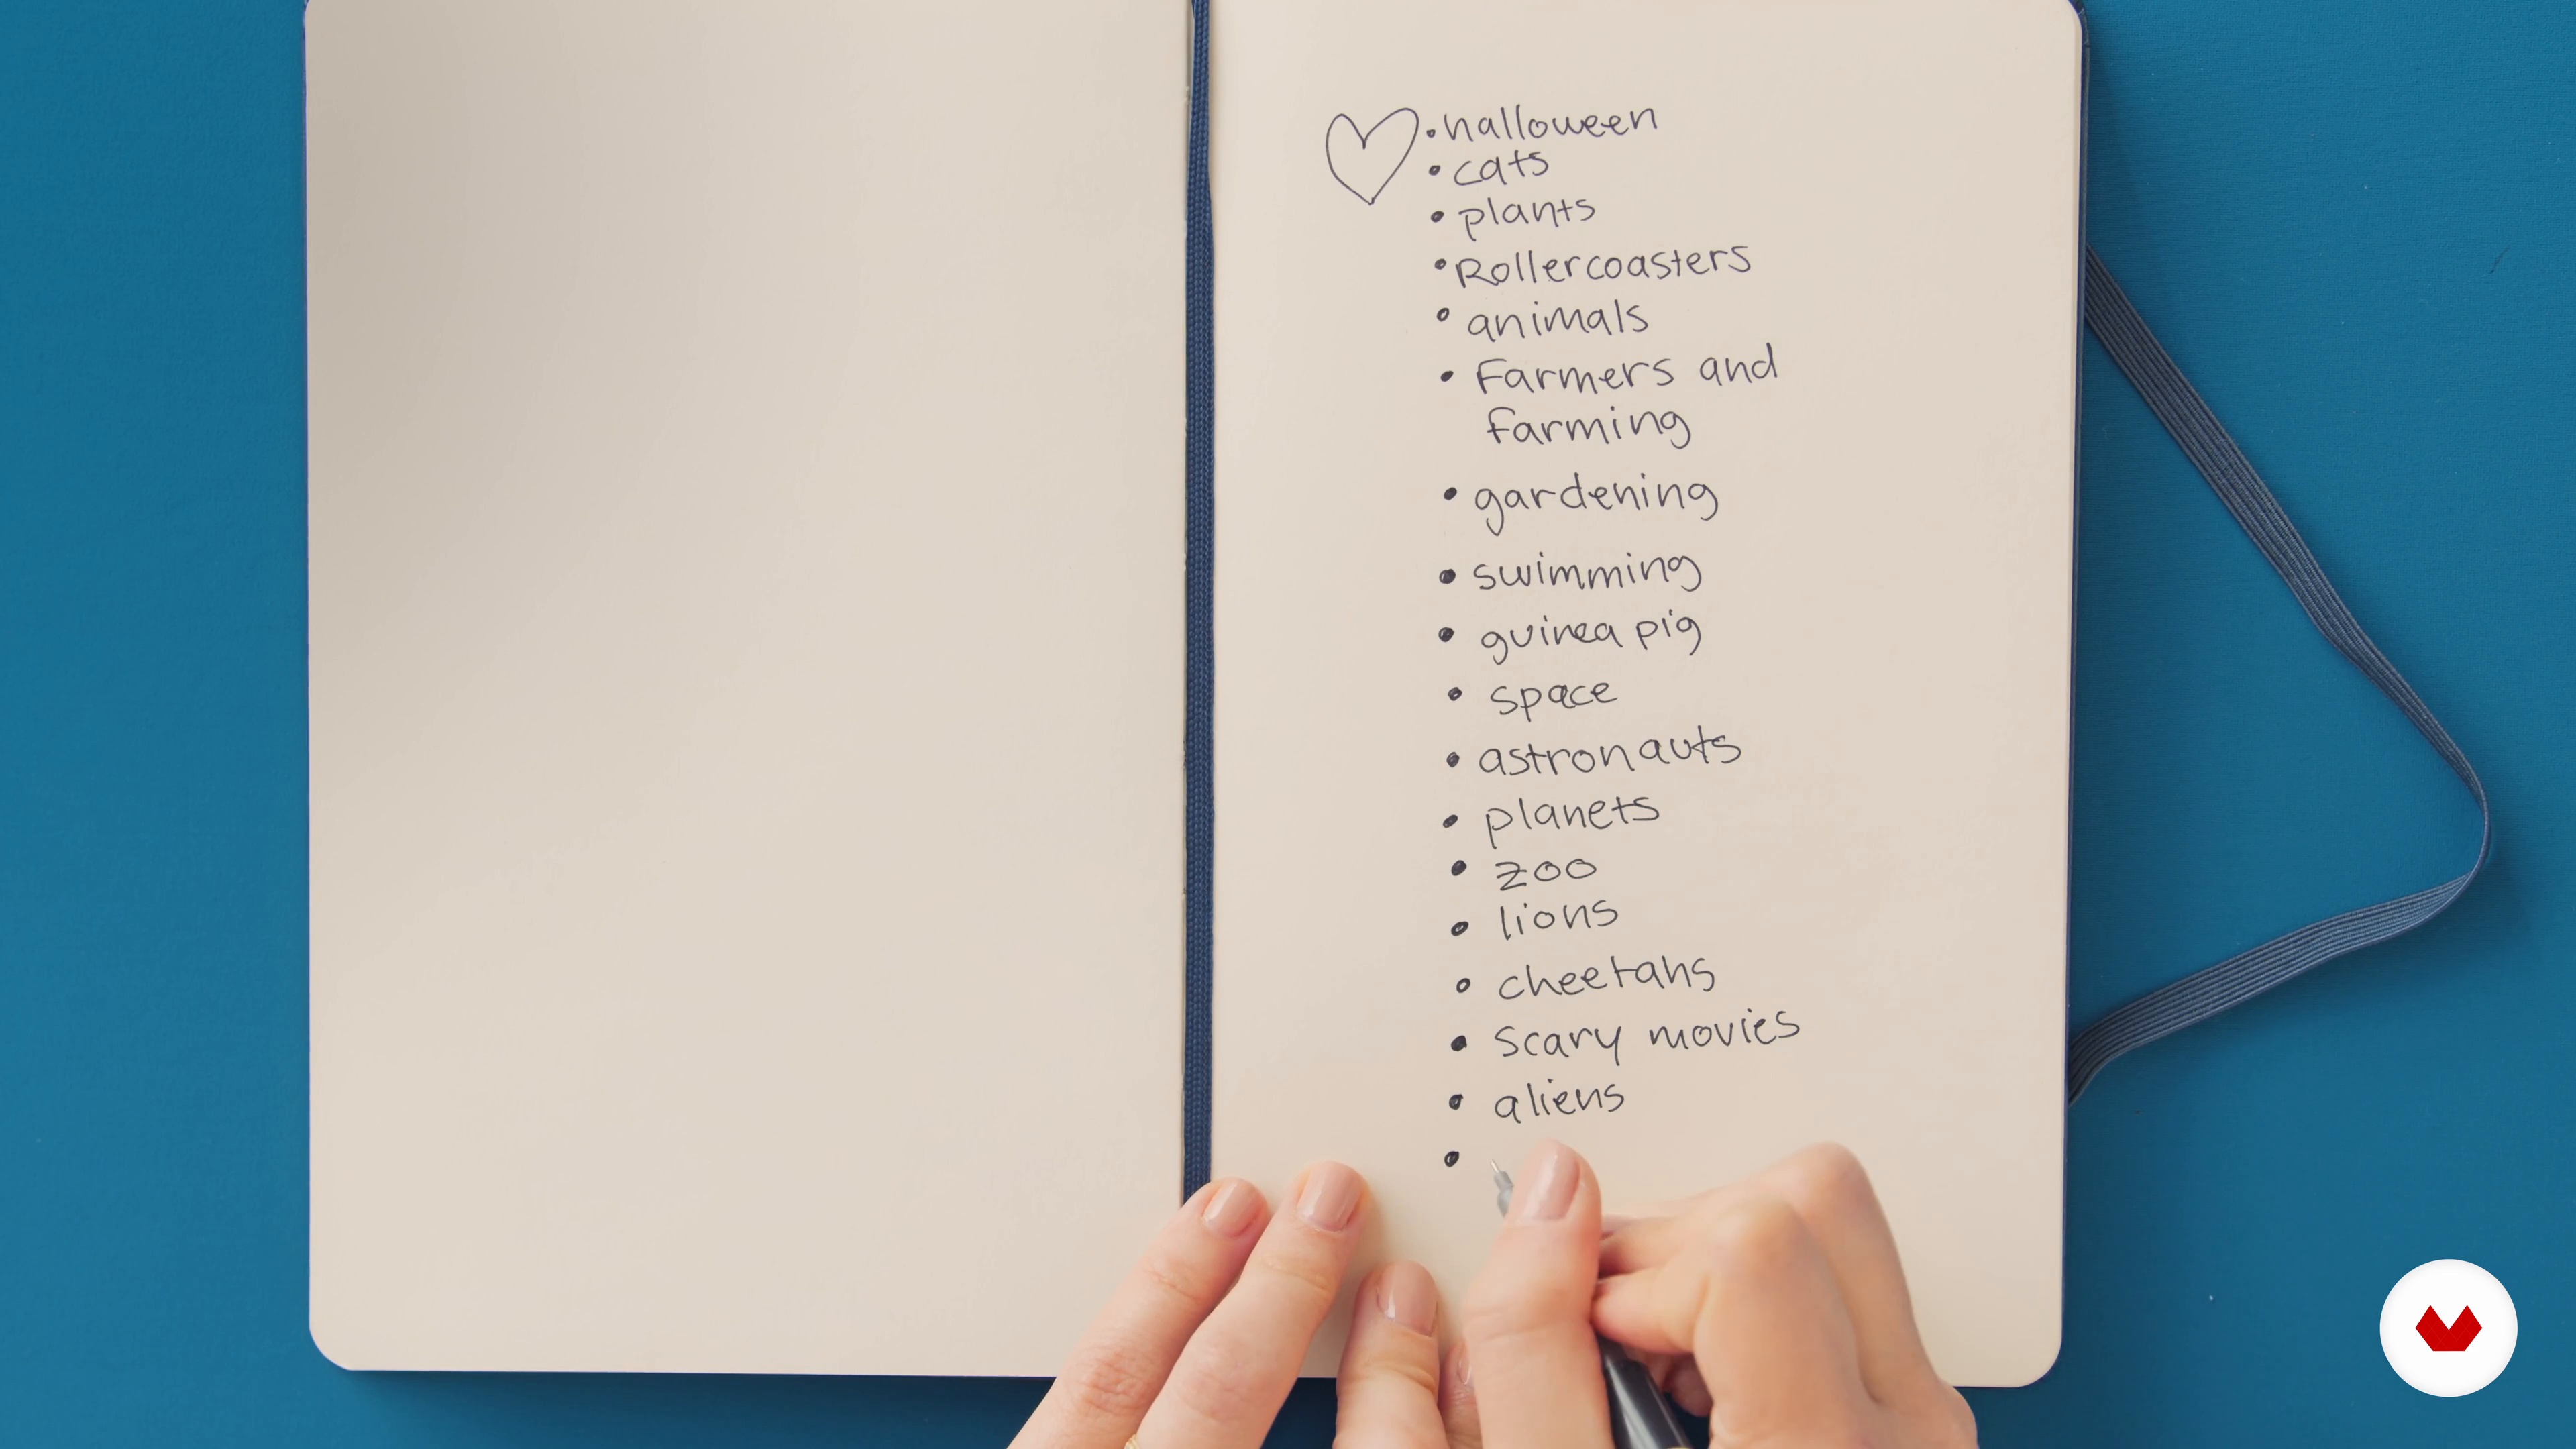
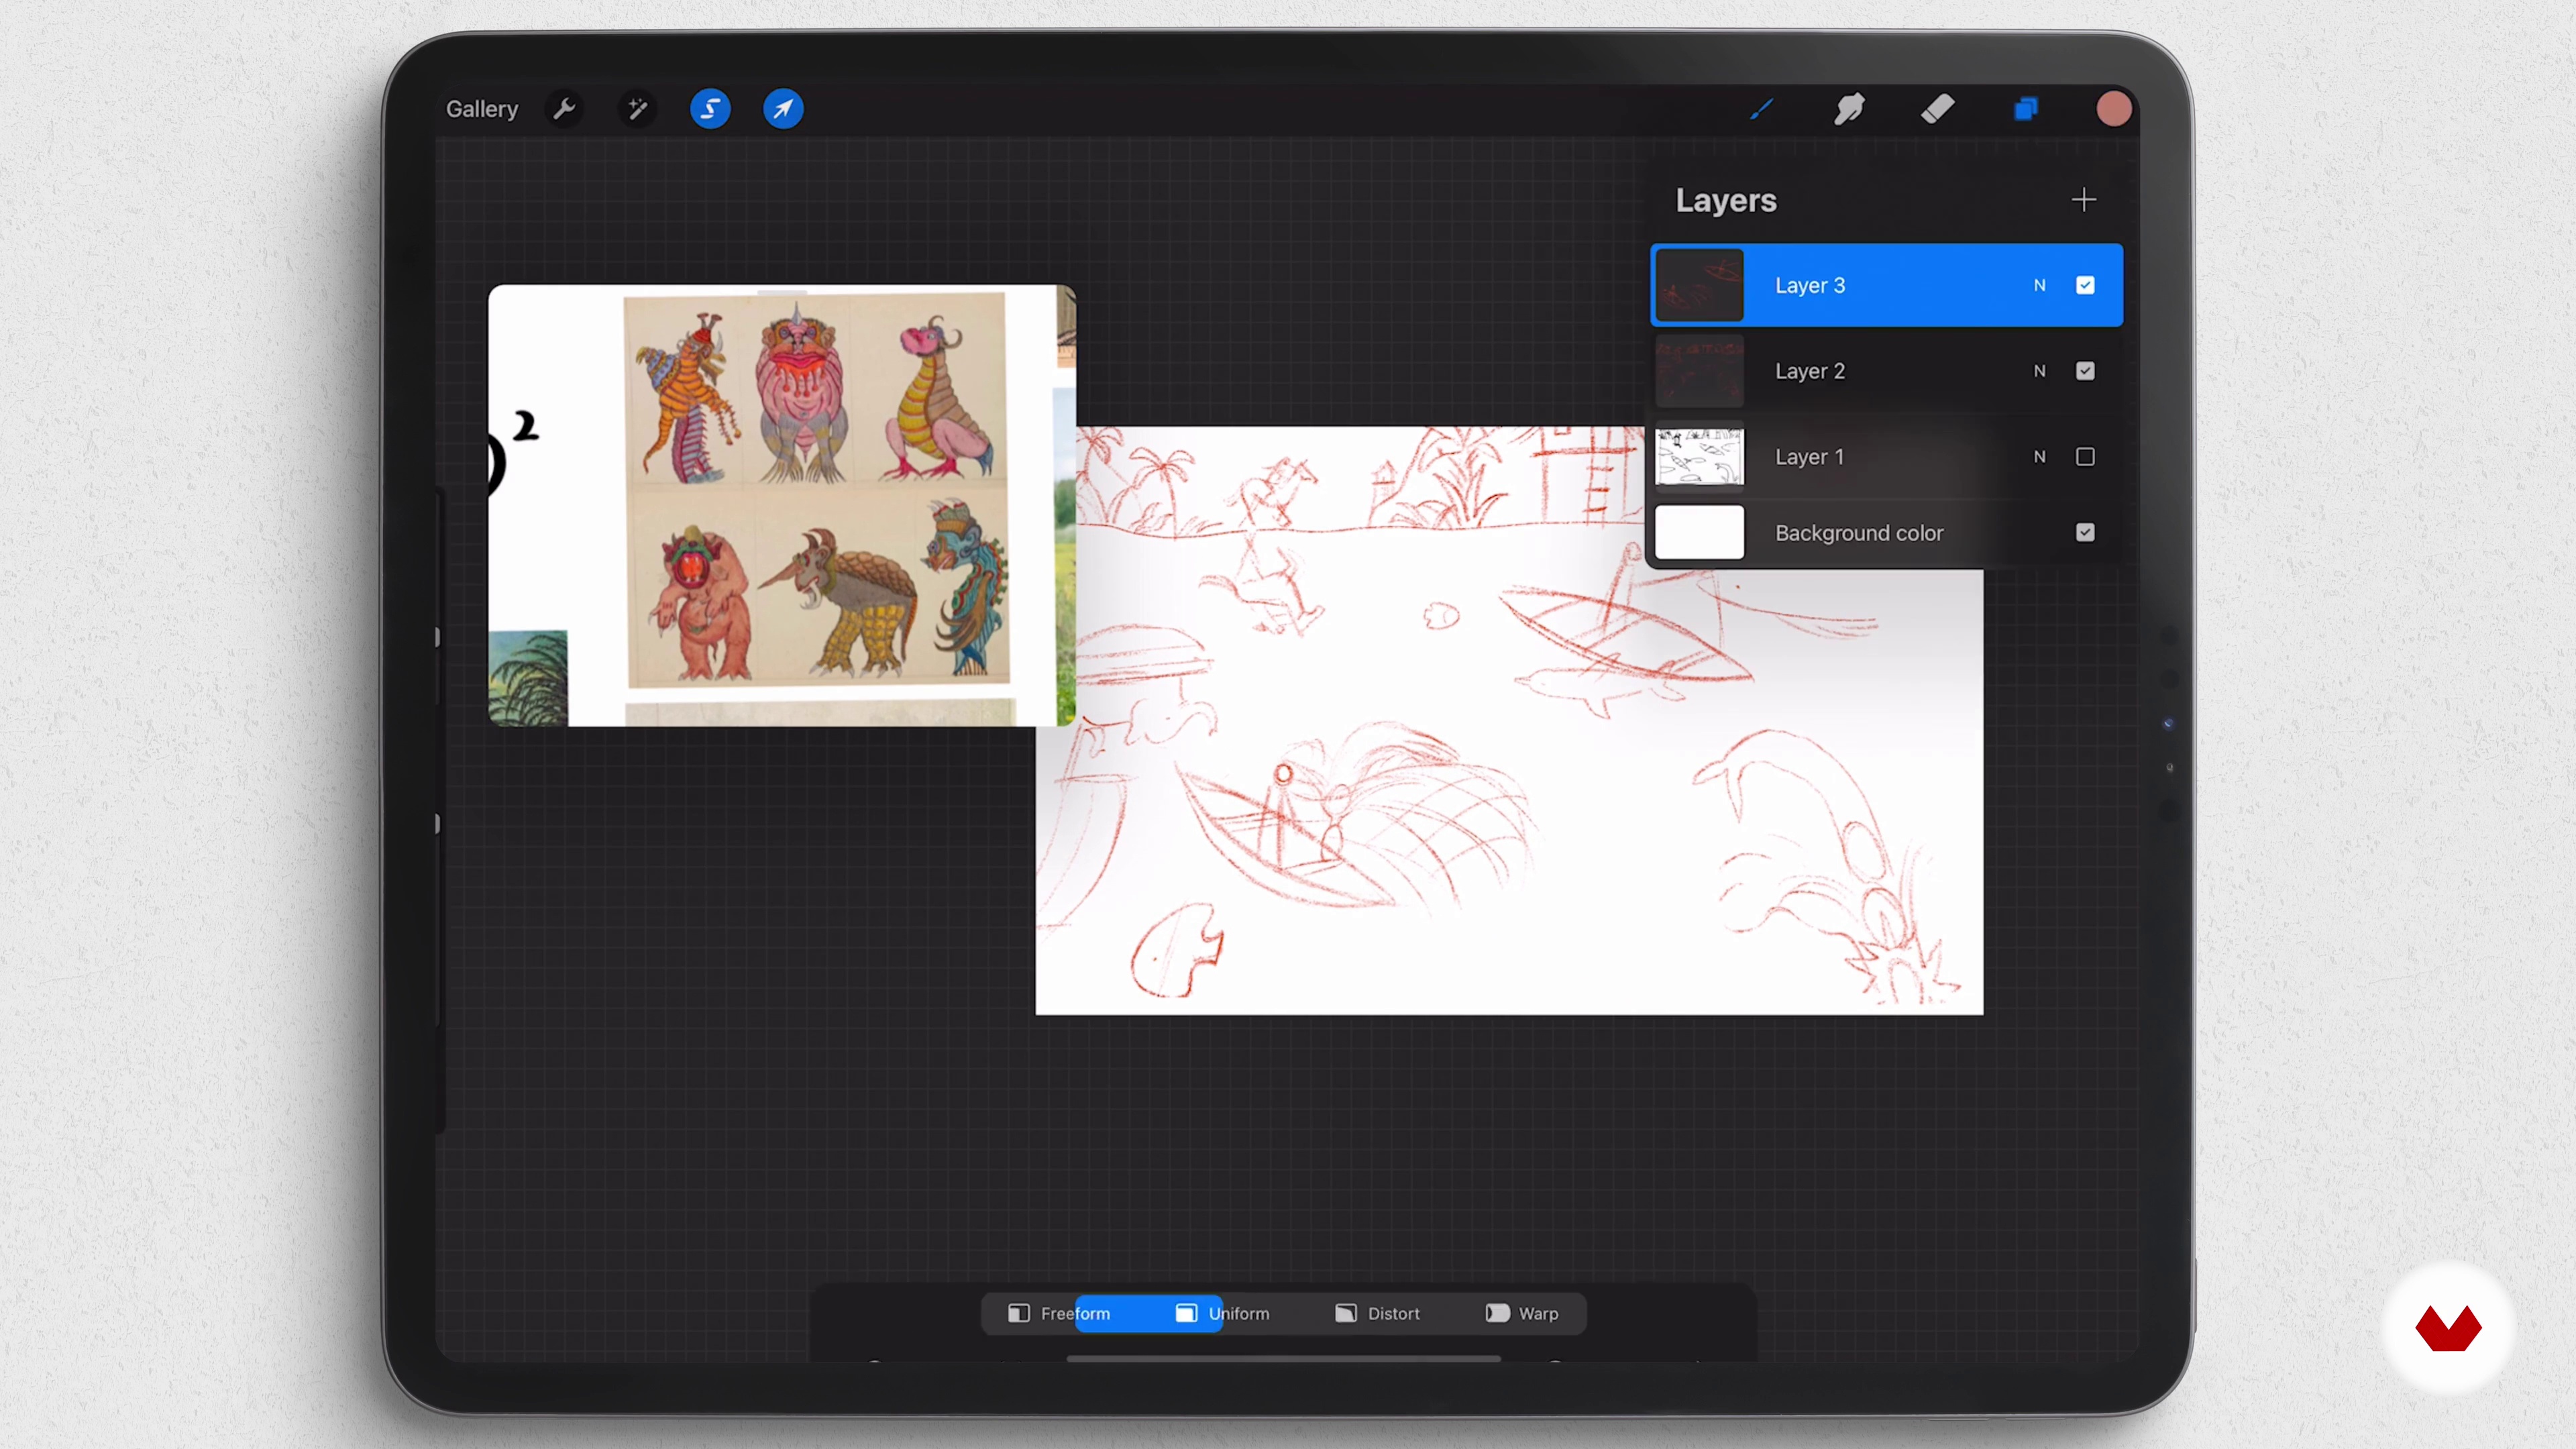
Brainstorming and Mindmapping
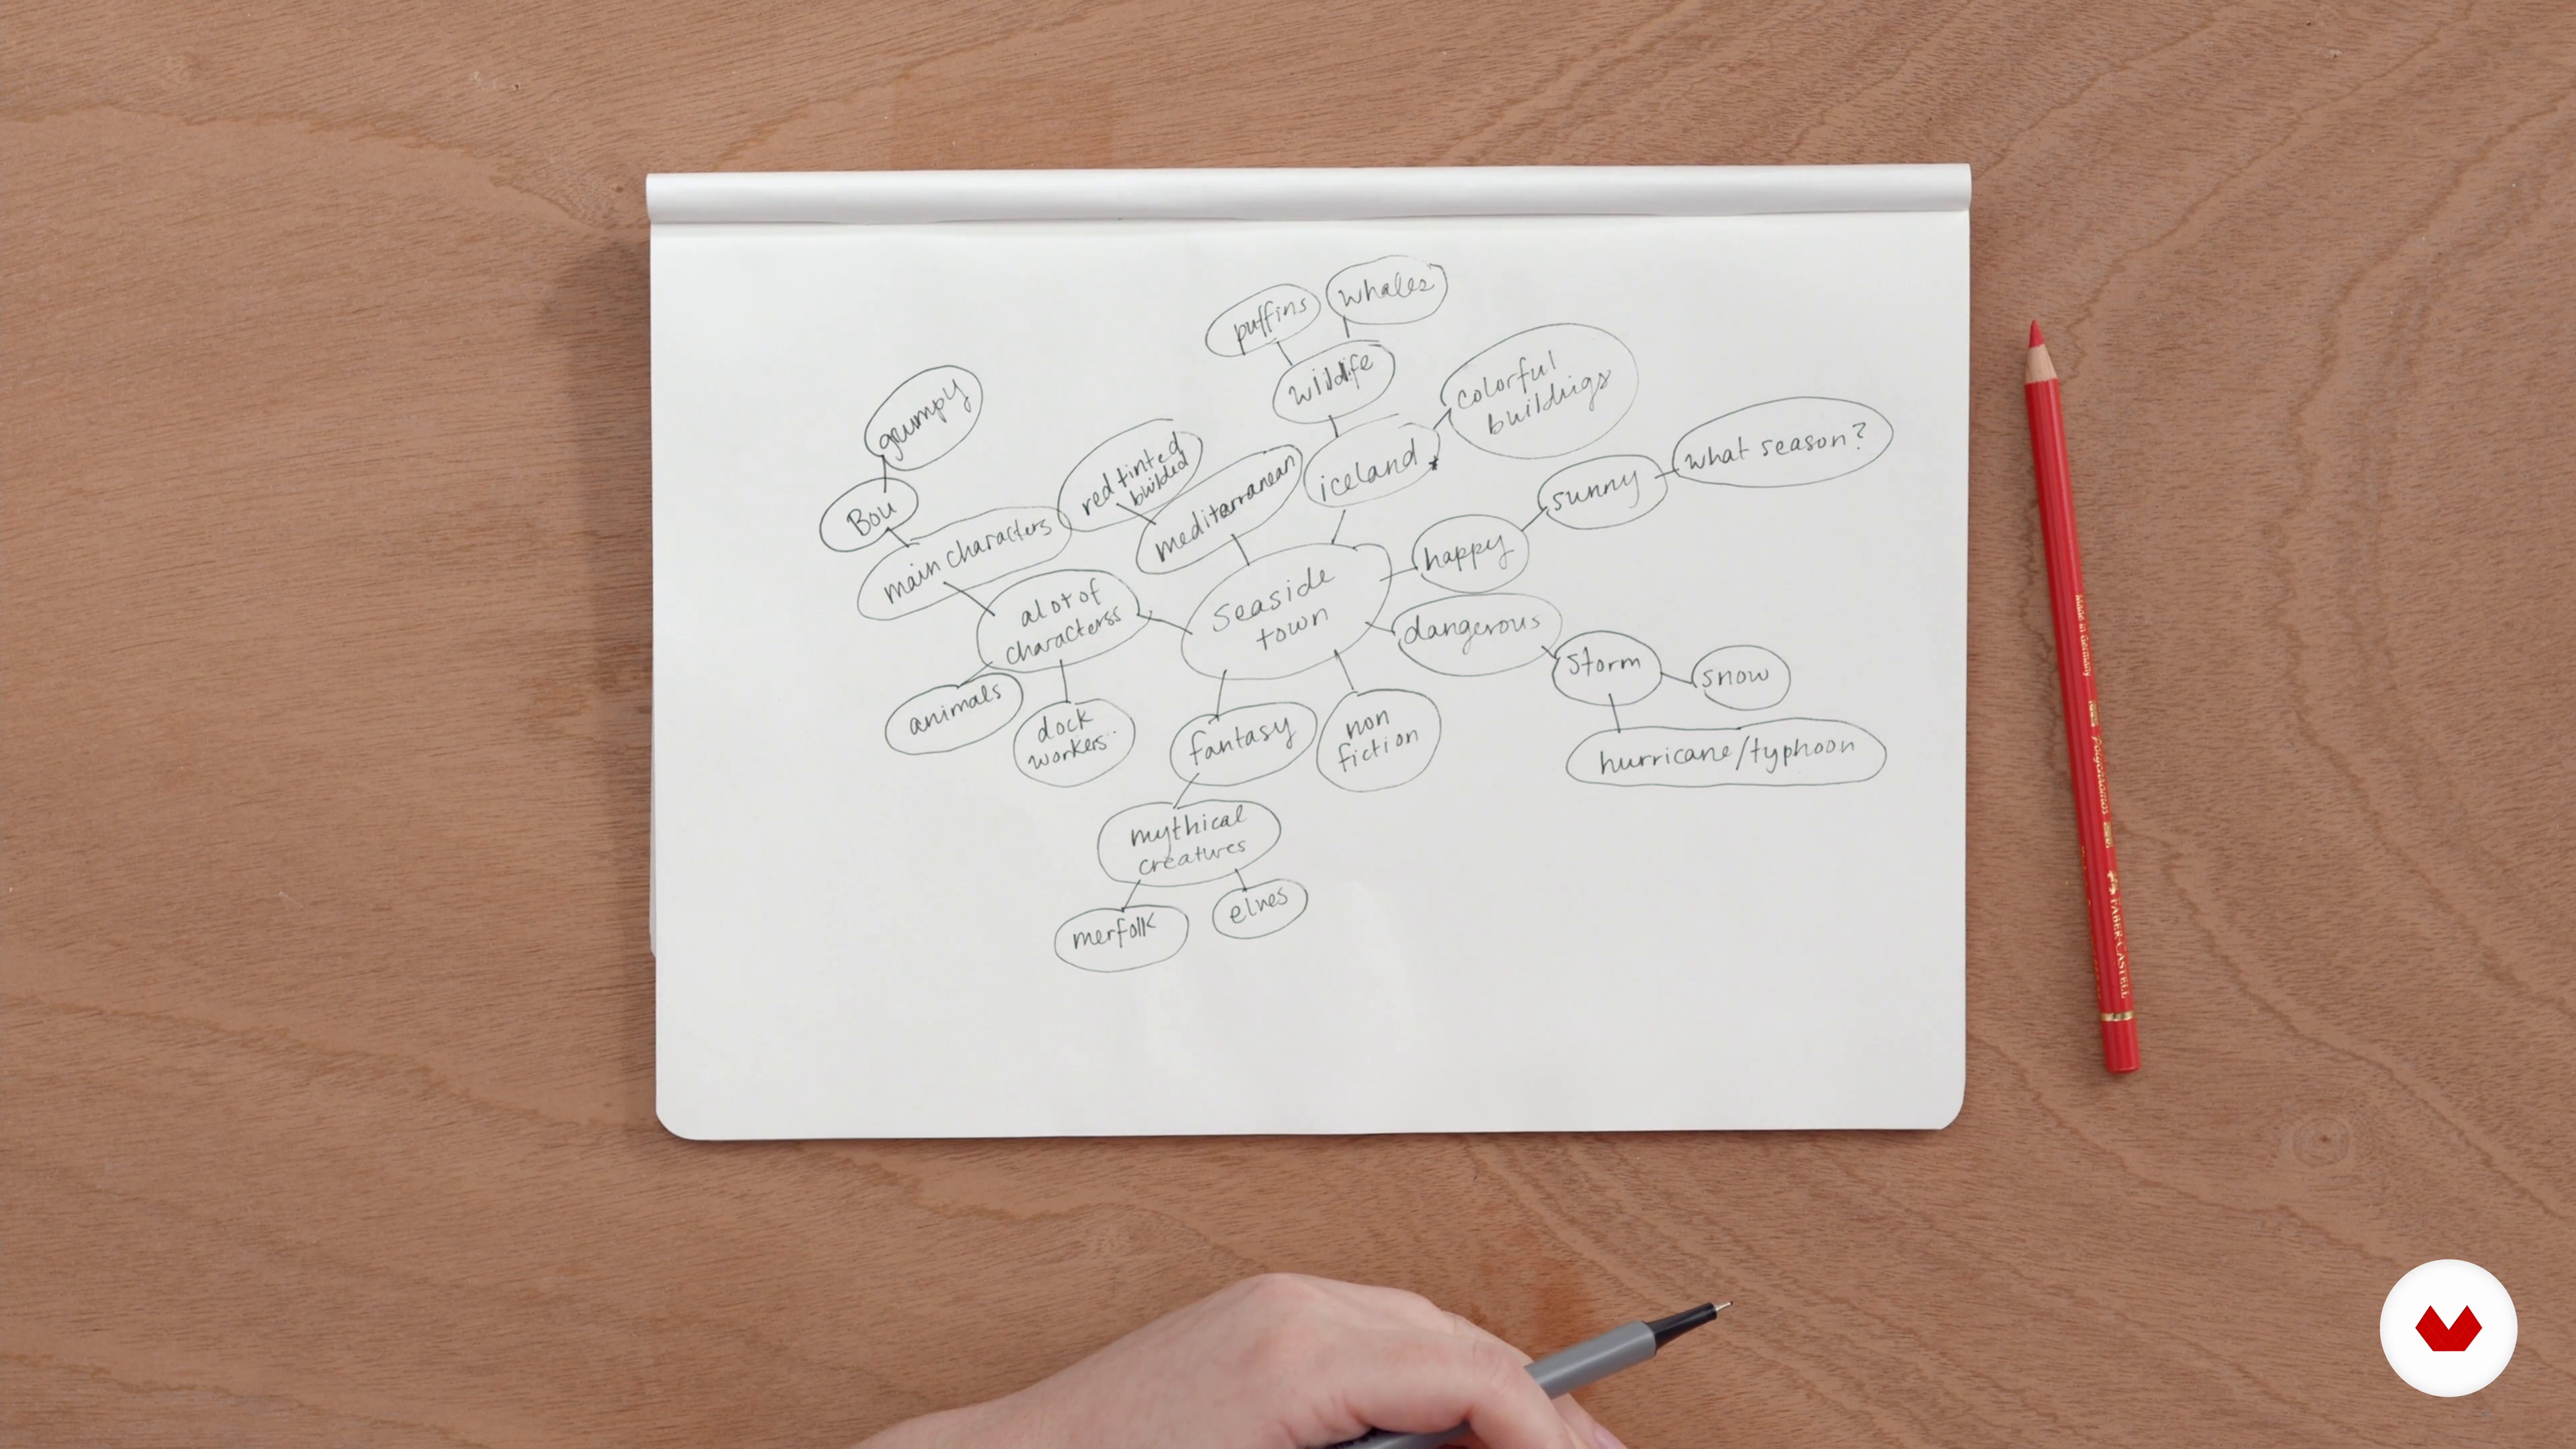
To get going, think of a “visual” or something you would like to illustrate. It can be as simple as one word or a short phrase. It just needs to be something that interests you. What excites you and makes your drawing hand twitch in anticipation? You will build around that for this project. (ex. a beautiful, old, Italian building; a tiger hiding among trees; a friendly dragon; a crowd of people going about their day). There are many ways you can pull out initial ideas: words in a hat, lists, and doodles timed free drawing, targeted questions. Now let’s make a mindmap. Start with your prompt in the center, moving outward, write anything that remotely connects to it, and then words that relate to that word, continuing to roll outward. Don’t think too hard or overanalyze; that’s the next step!
7m
image
6
Finding Pattern and Connections To Plan for the Final Illustration
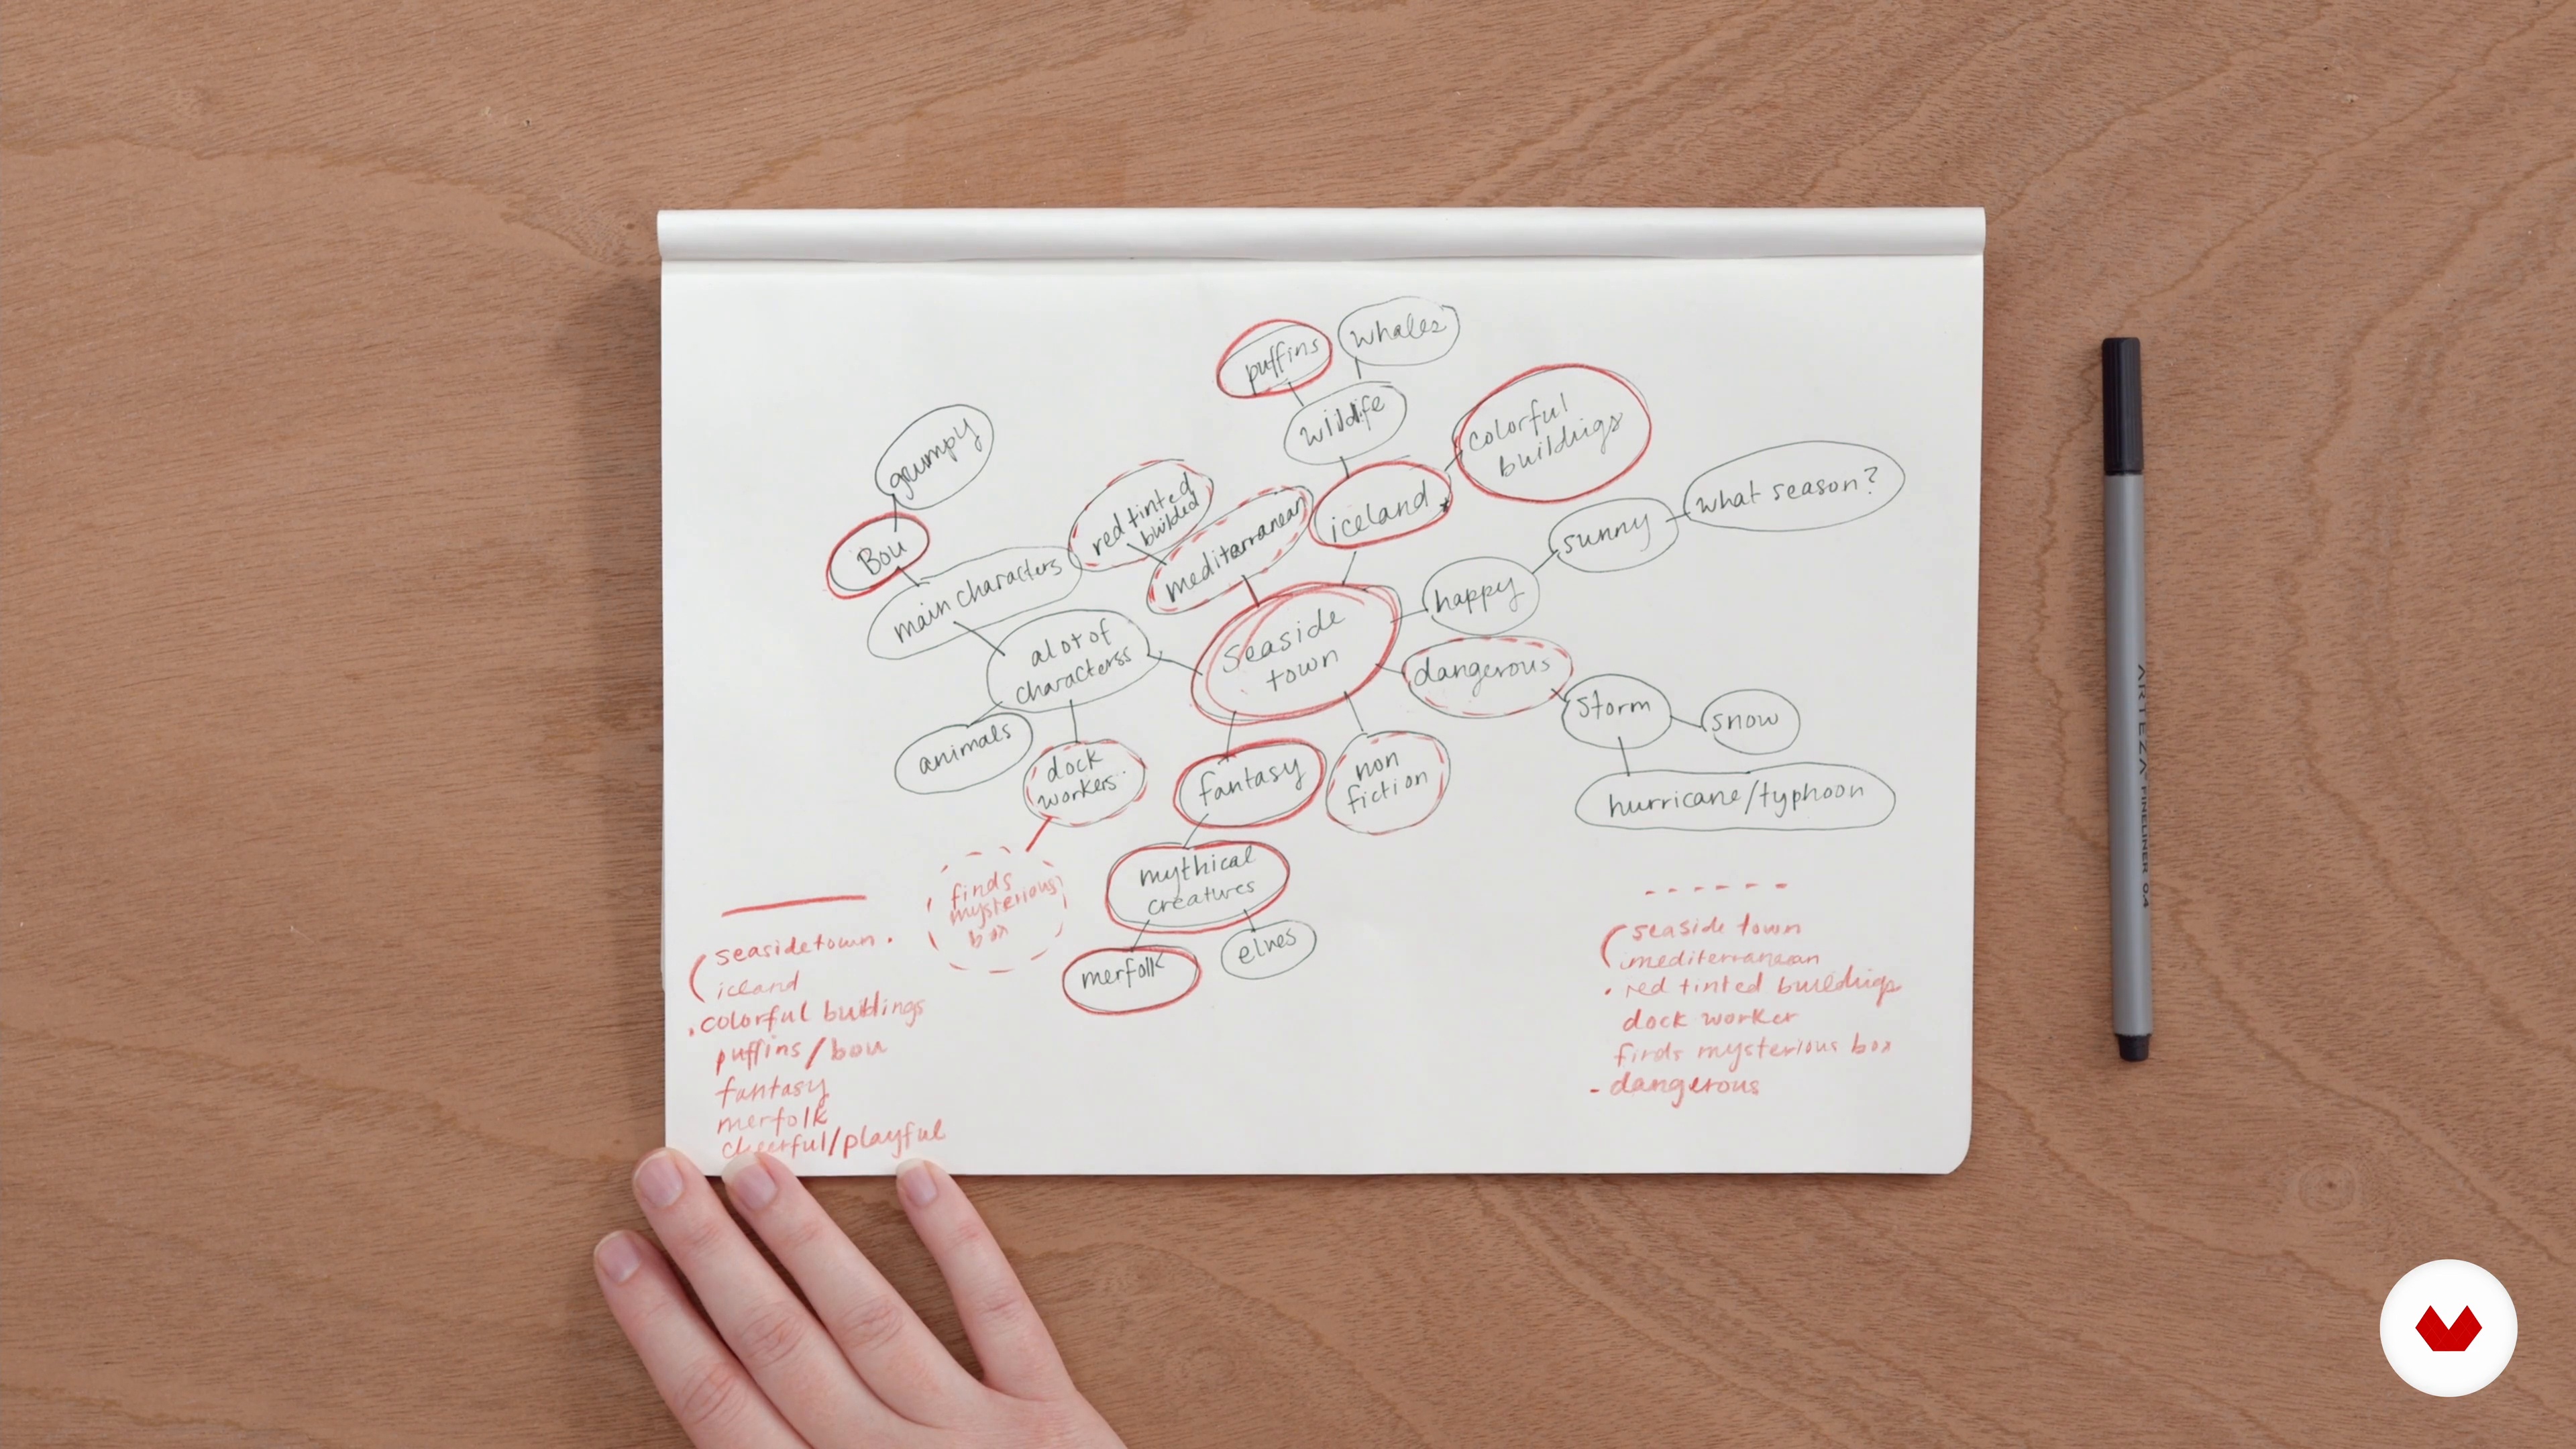
I will show you how I group things and find patterns and connections within a mind map. Use a highlighter or circle items that are similar, part of the same theme, or similar trigger visuals. Once there are a few categories narrowed down, it's easy to find the idea. Take your seed idea and turn it into something more. Here, I'll help you find the "why" and "what's happening" for your final illustration after this exercise. I use this method often for projects and jobs.
6m
image
7
Water!
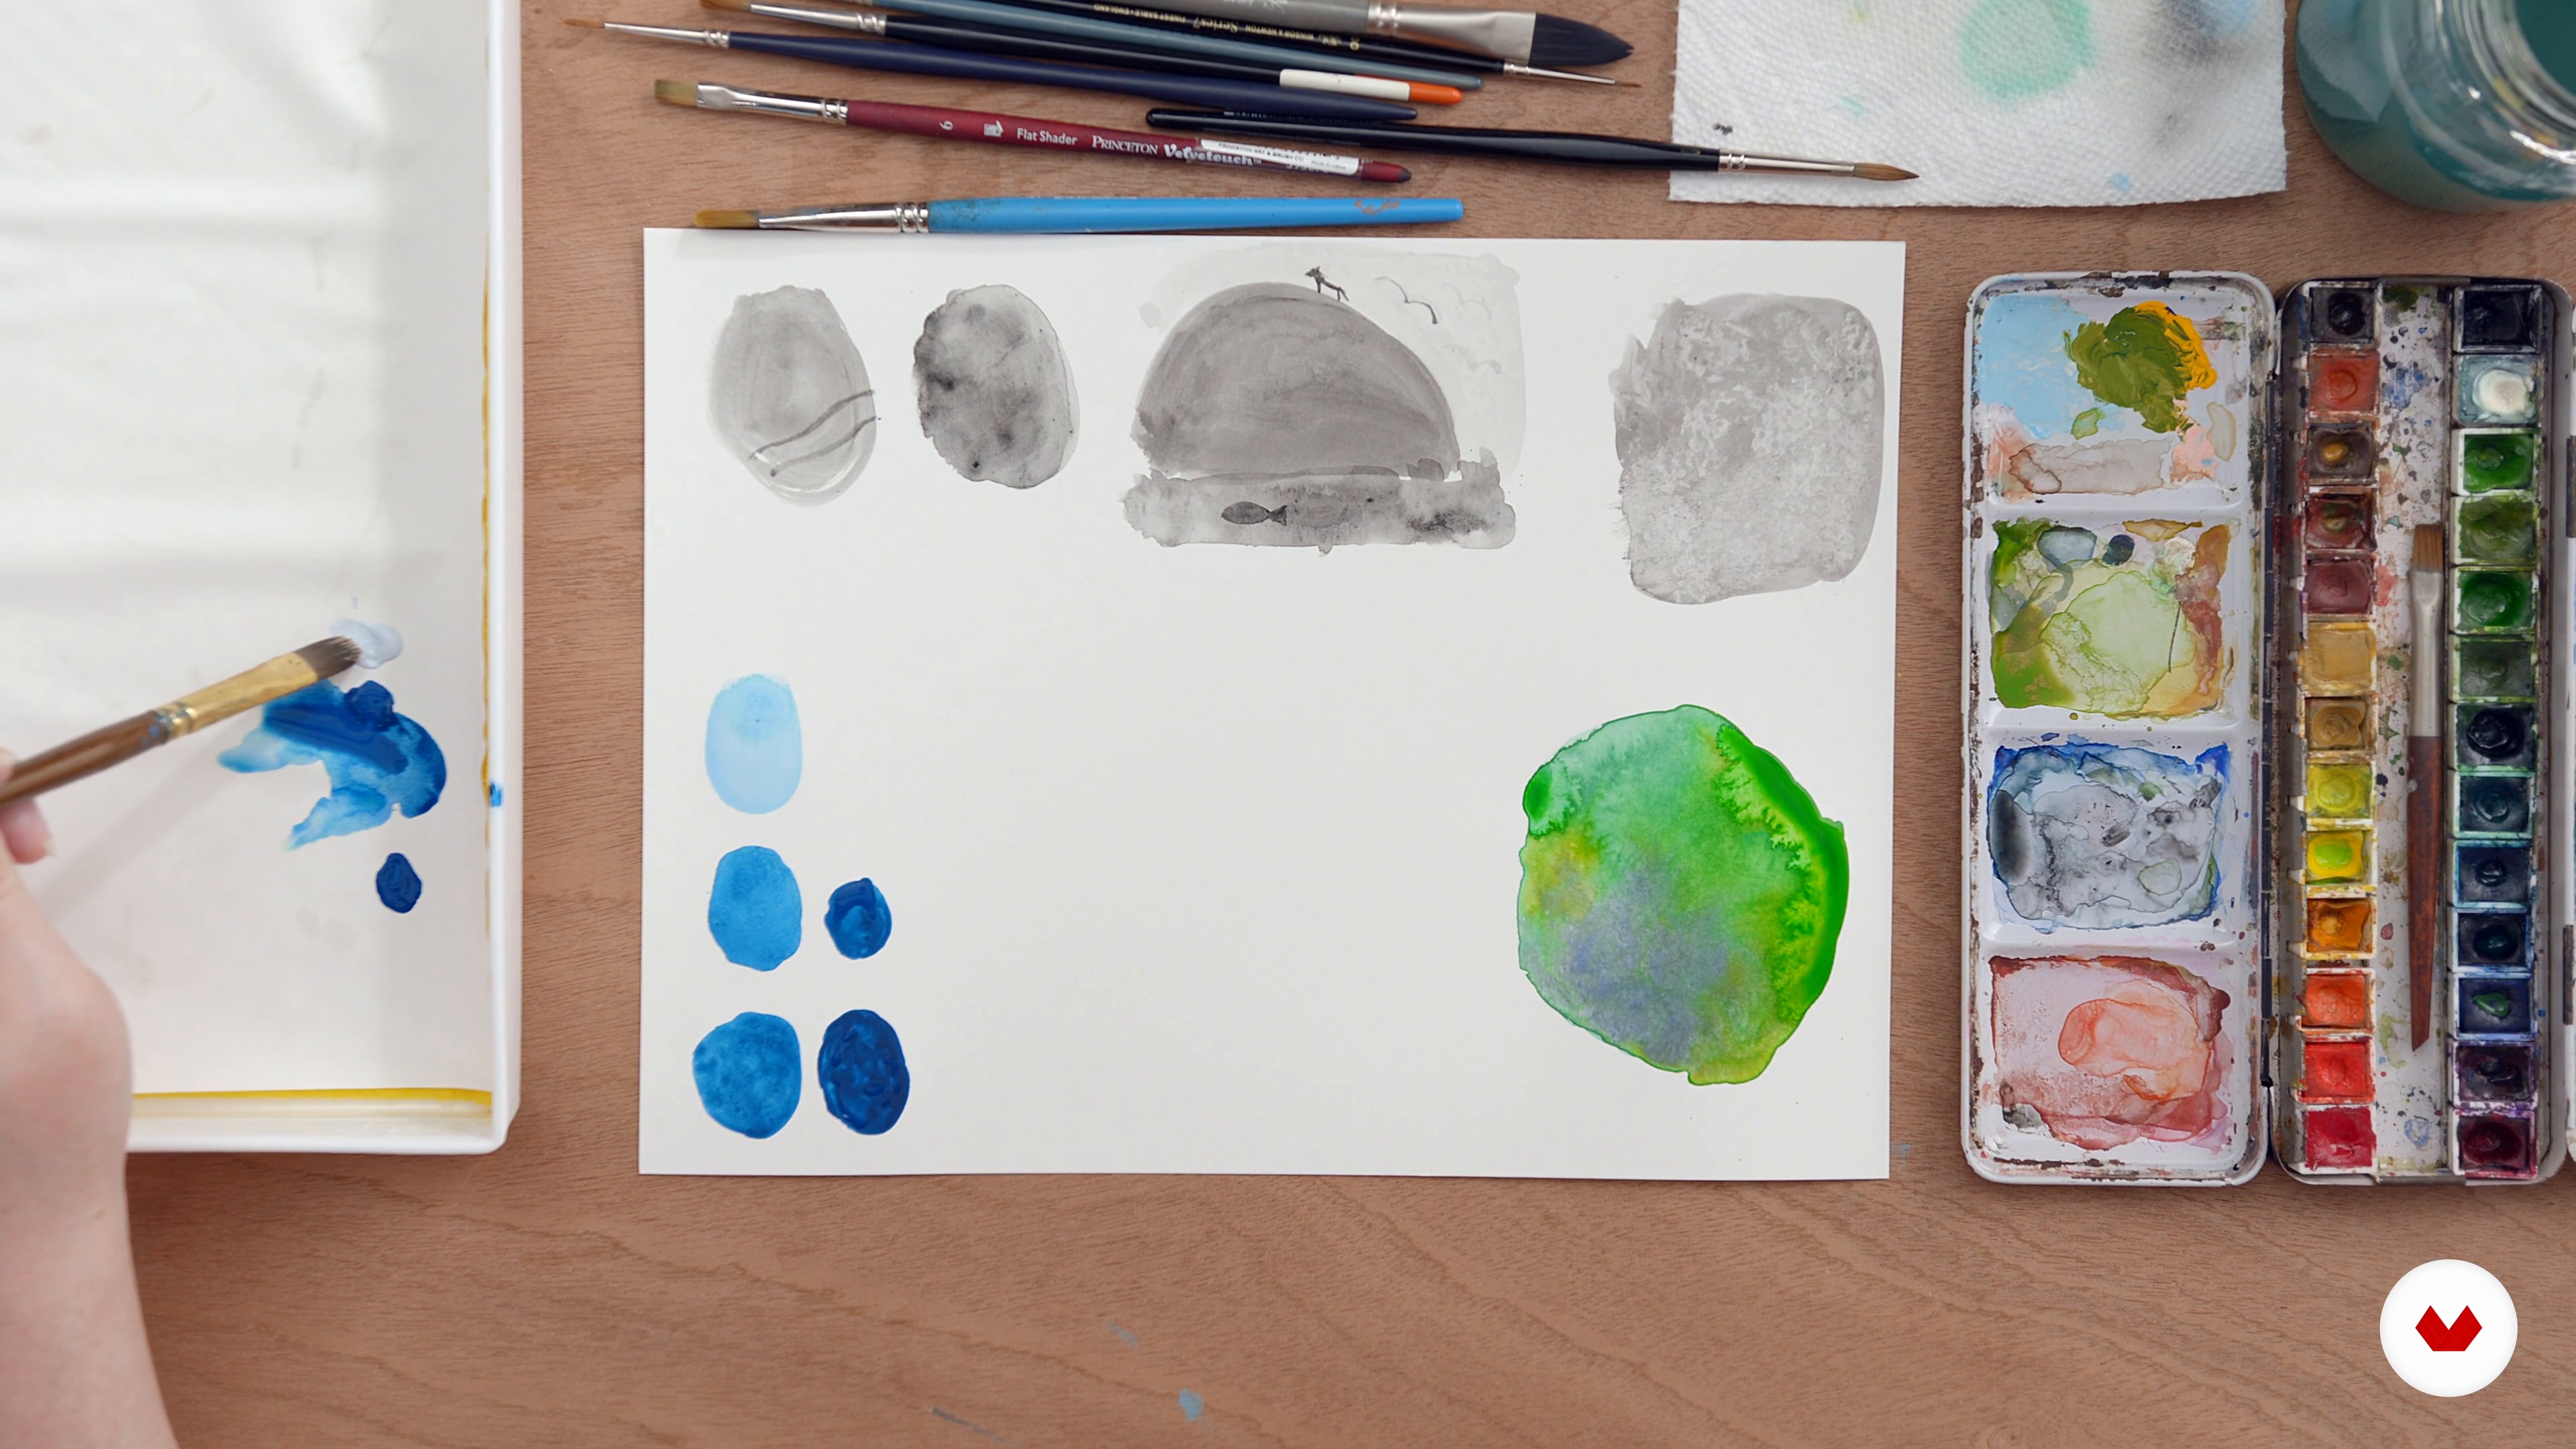
Playtime! First up is water-based materials—watercolor, gouache, etc. Play around with different amounts of water and add textures. Take notes on what you notice.
17m
image
8
Layers Layers Layers 1
This lesson is a hefty one. I’ll show you how I layer materials when working but playing with the materials and taking notes is still paramount.
13m
image
9
Layers Layers Layers 2
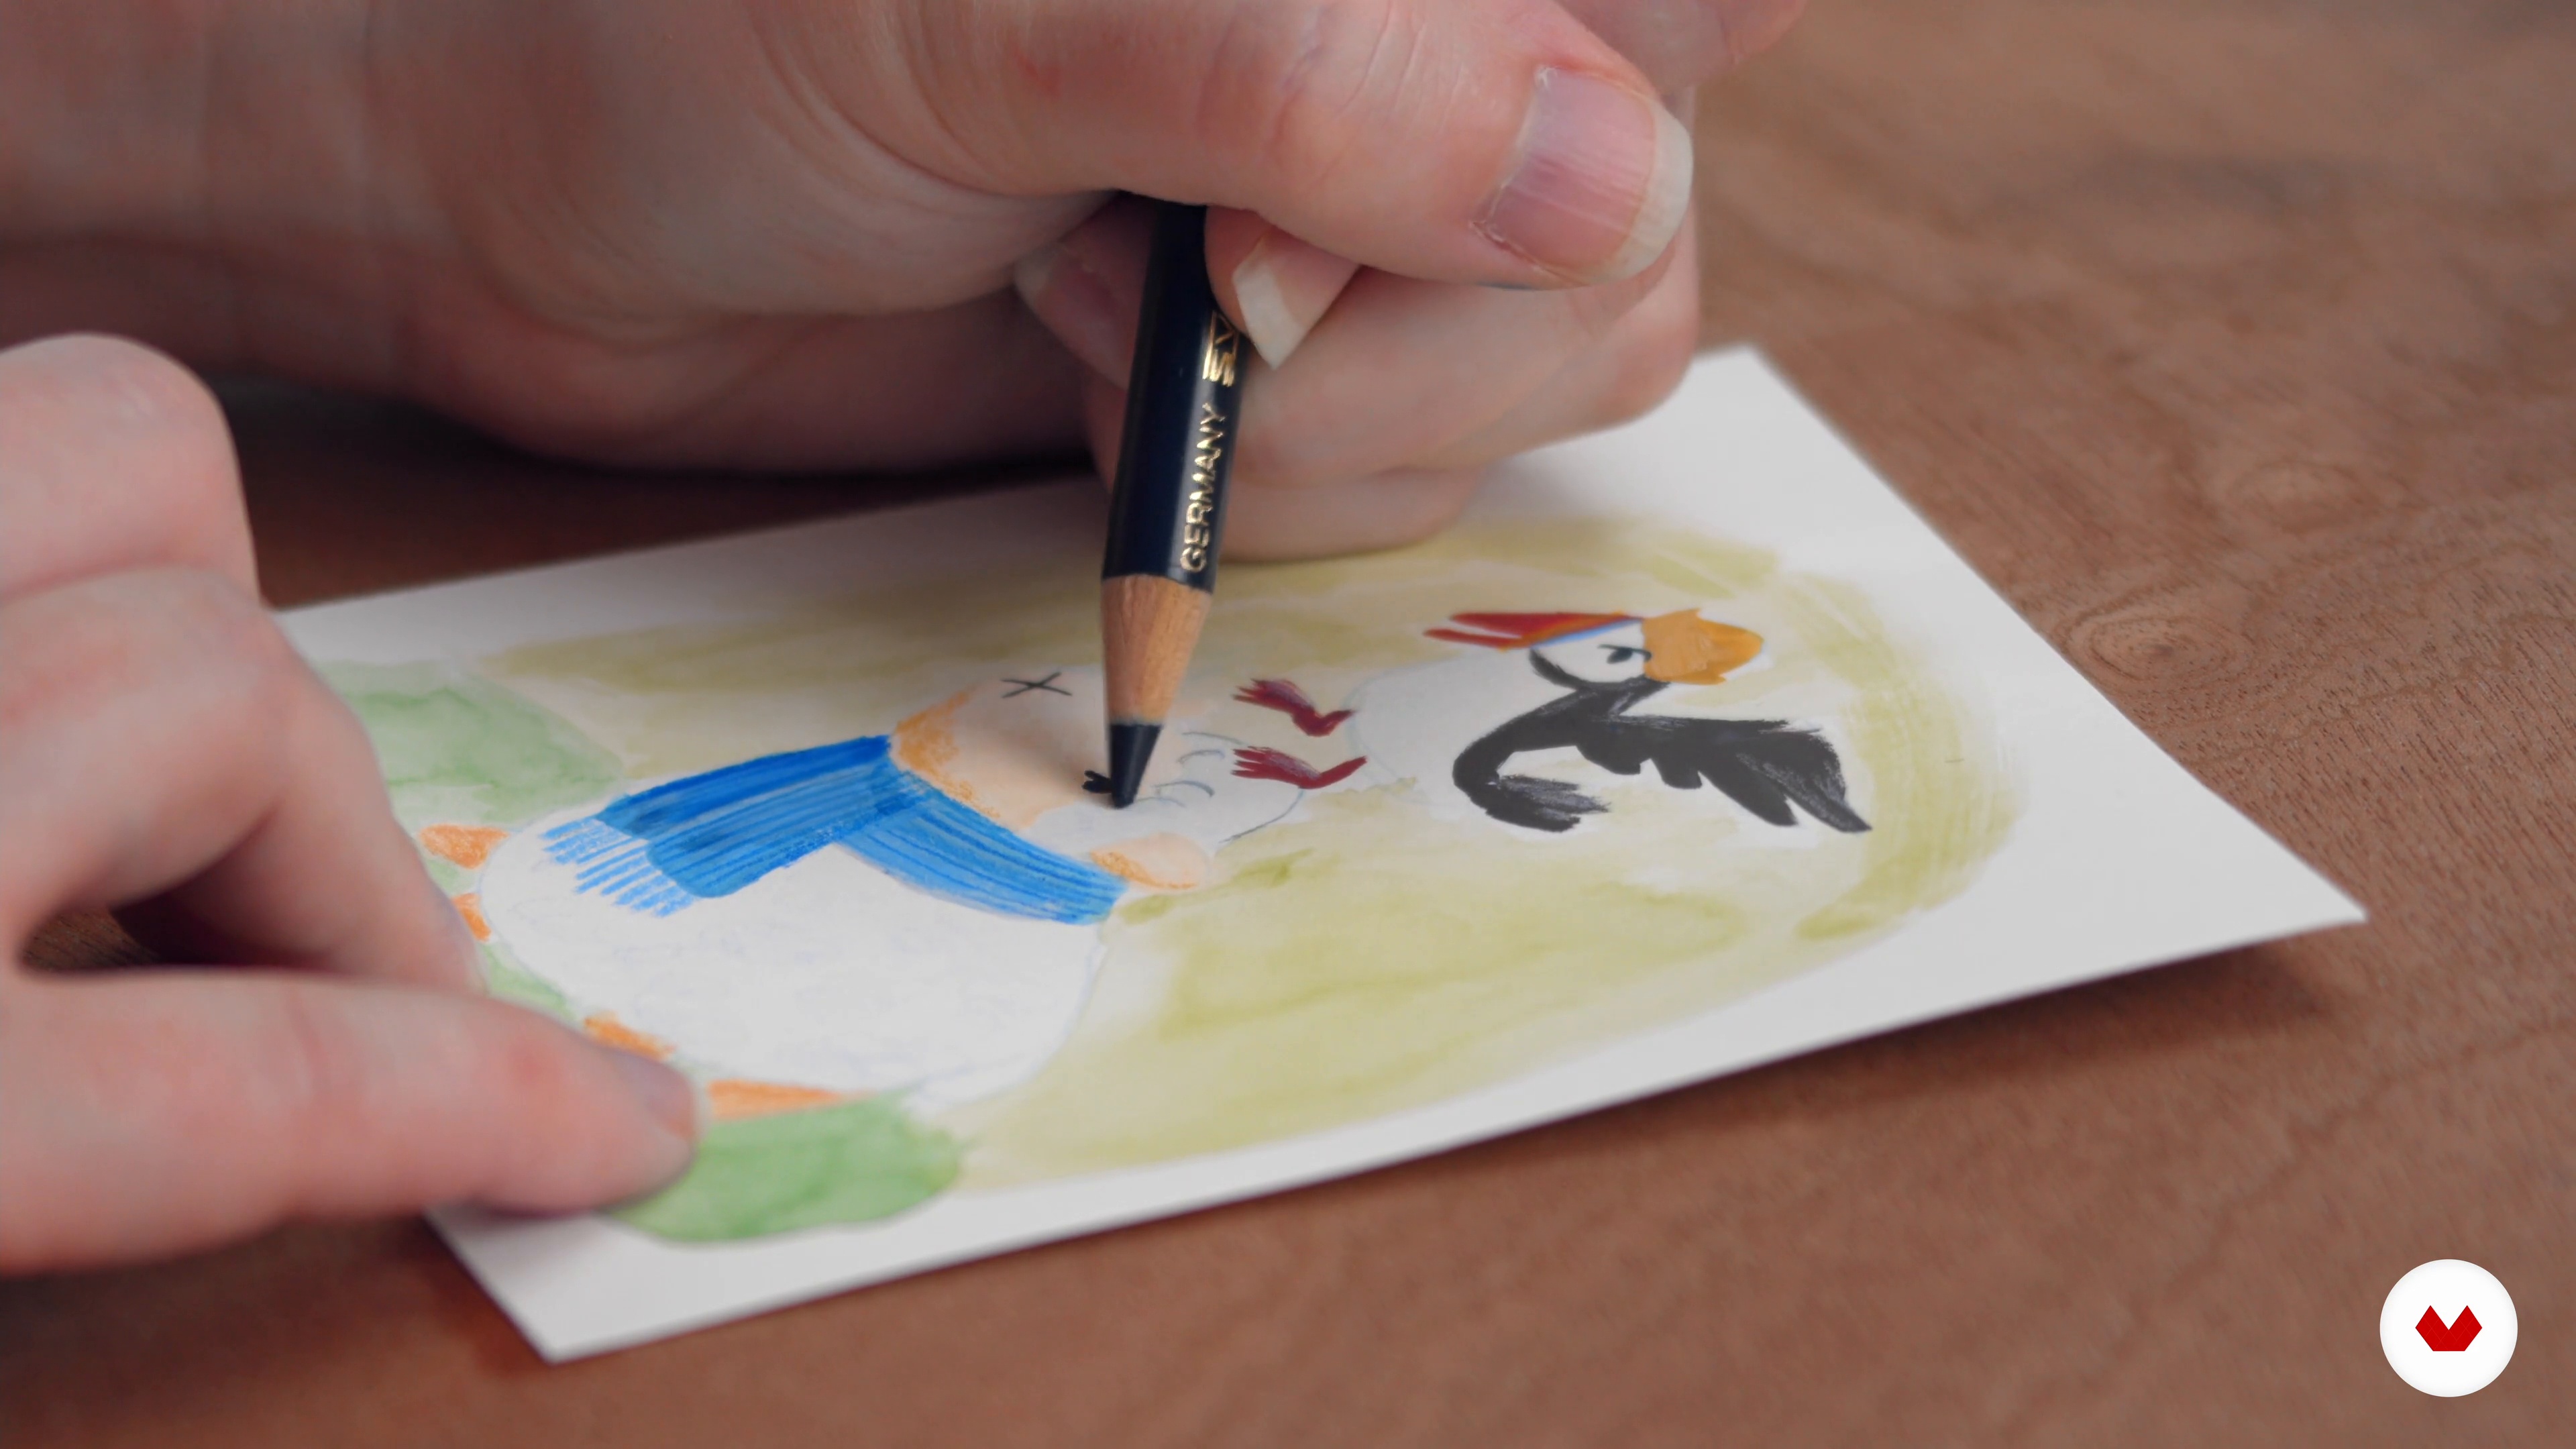
Find methods of layering you like and note the order for later. On top of all this, I’ll show you how I incorporate cut paper into illustrations. Again, don’t overthink! Have fun!
13m
image
10
Graphite and Digital Color
One way of working and combining methods is doing a complete graphite drawing and adding color digitally. In this lesson, I’ll show you how to create a finished graphite piece to add digital color. Then I’ll show how I take that file into Procreate on the iPad Pro and add color and manage layers. This gives you a lot of room to play with color combinations and textures in a digital, non-destructive way.
15m
image
11
Go Turn On Your TV!
I’ll show you an exercise I like to use in studying composition and mood film still studies! This exercise helps prep my brain for thumbnailing and sketching.
15m
image
12
Thumbnailing and Sketching Your Final Piece
Go back to the main idea from your mind map. It’s time to create compositional thumbnails. Try to fill a page with thumbnails. The more you, do the better your final product. Pick your strongest thumbnails and create more detailed rough sketches. Sketching with value is helpful here to balance your lights, darks, and mid-tones. Pick your favorite rough sketch! Dig deep; often, the first idea isn’t the best.
12m
image
13
Illustrating Your Final Piece and Incorporating Experimental Elements
Everything you’ve done previously has led you to this point: illustrating the final piece(s). Choose materials that excited you, liked, and scared you (your choice!), and create that ultimate piece! Refer to your notes from the experimentation phase. Keep composition and balance in mind as well. Do three versions of the same piece, trying a different method each time. How do the mood and style differ in the end? How do you feel about each one?
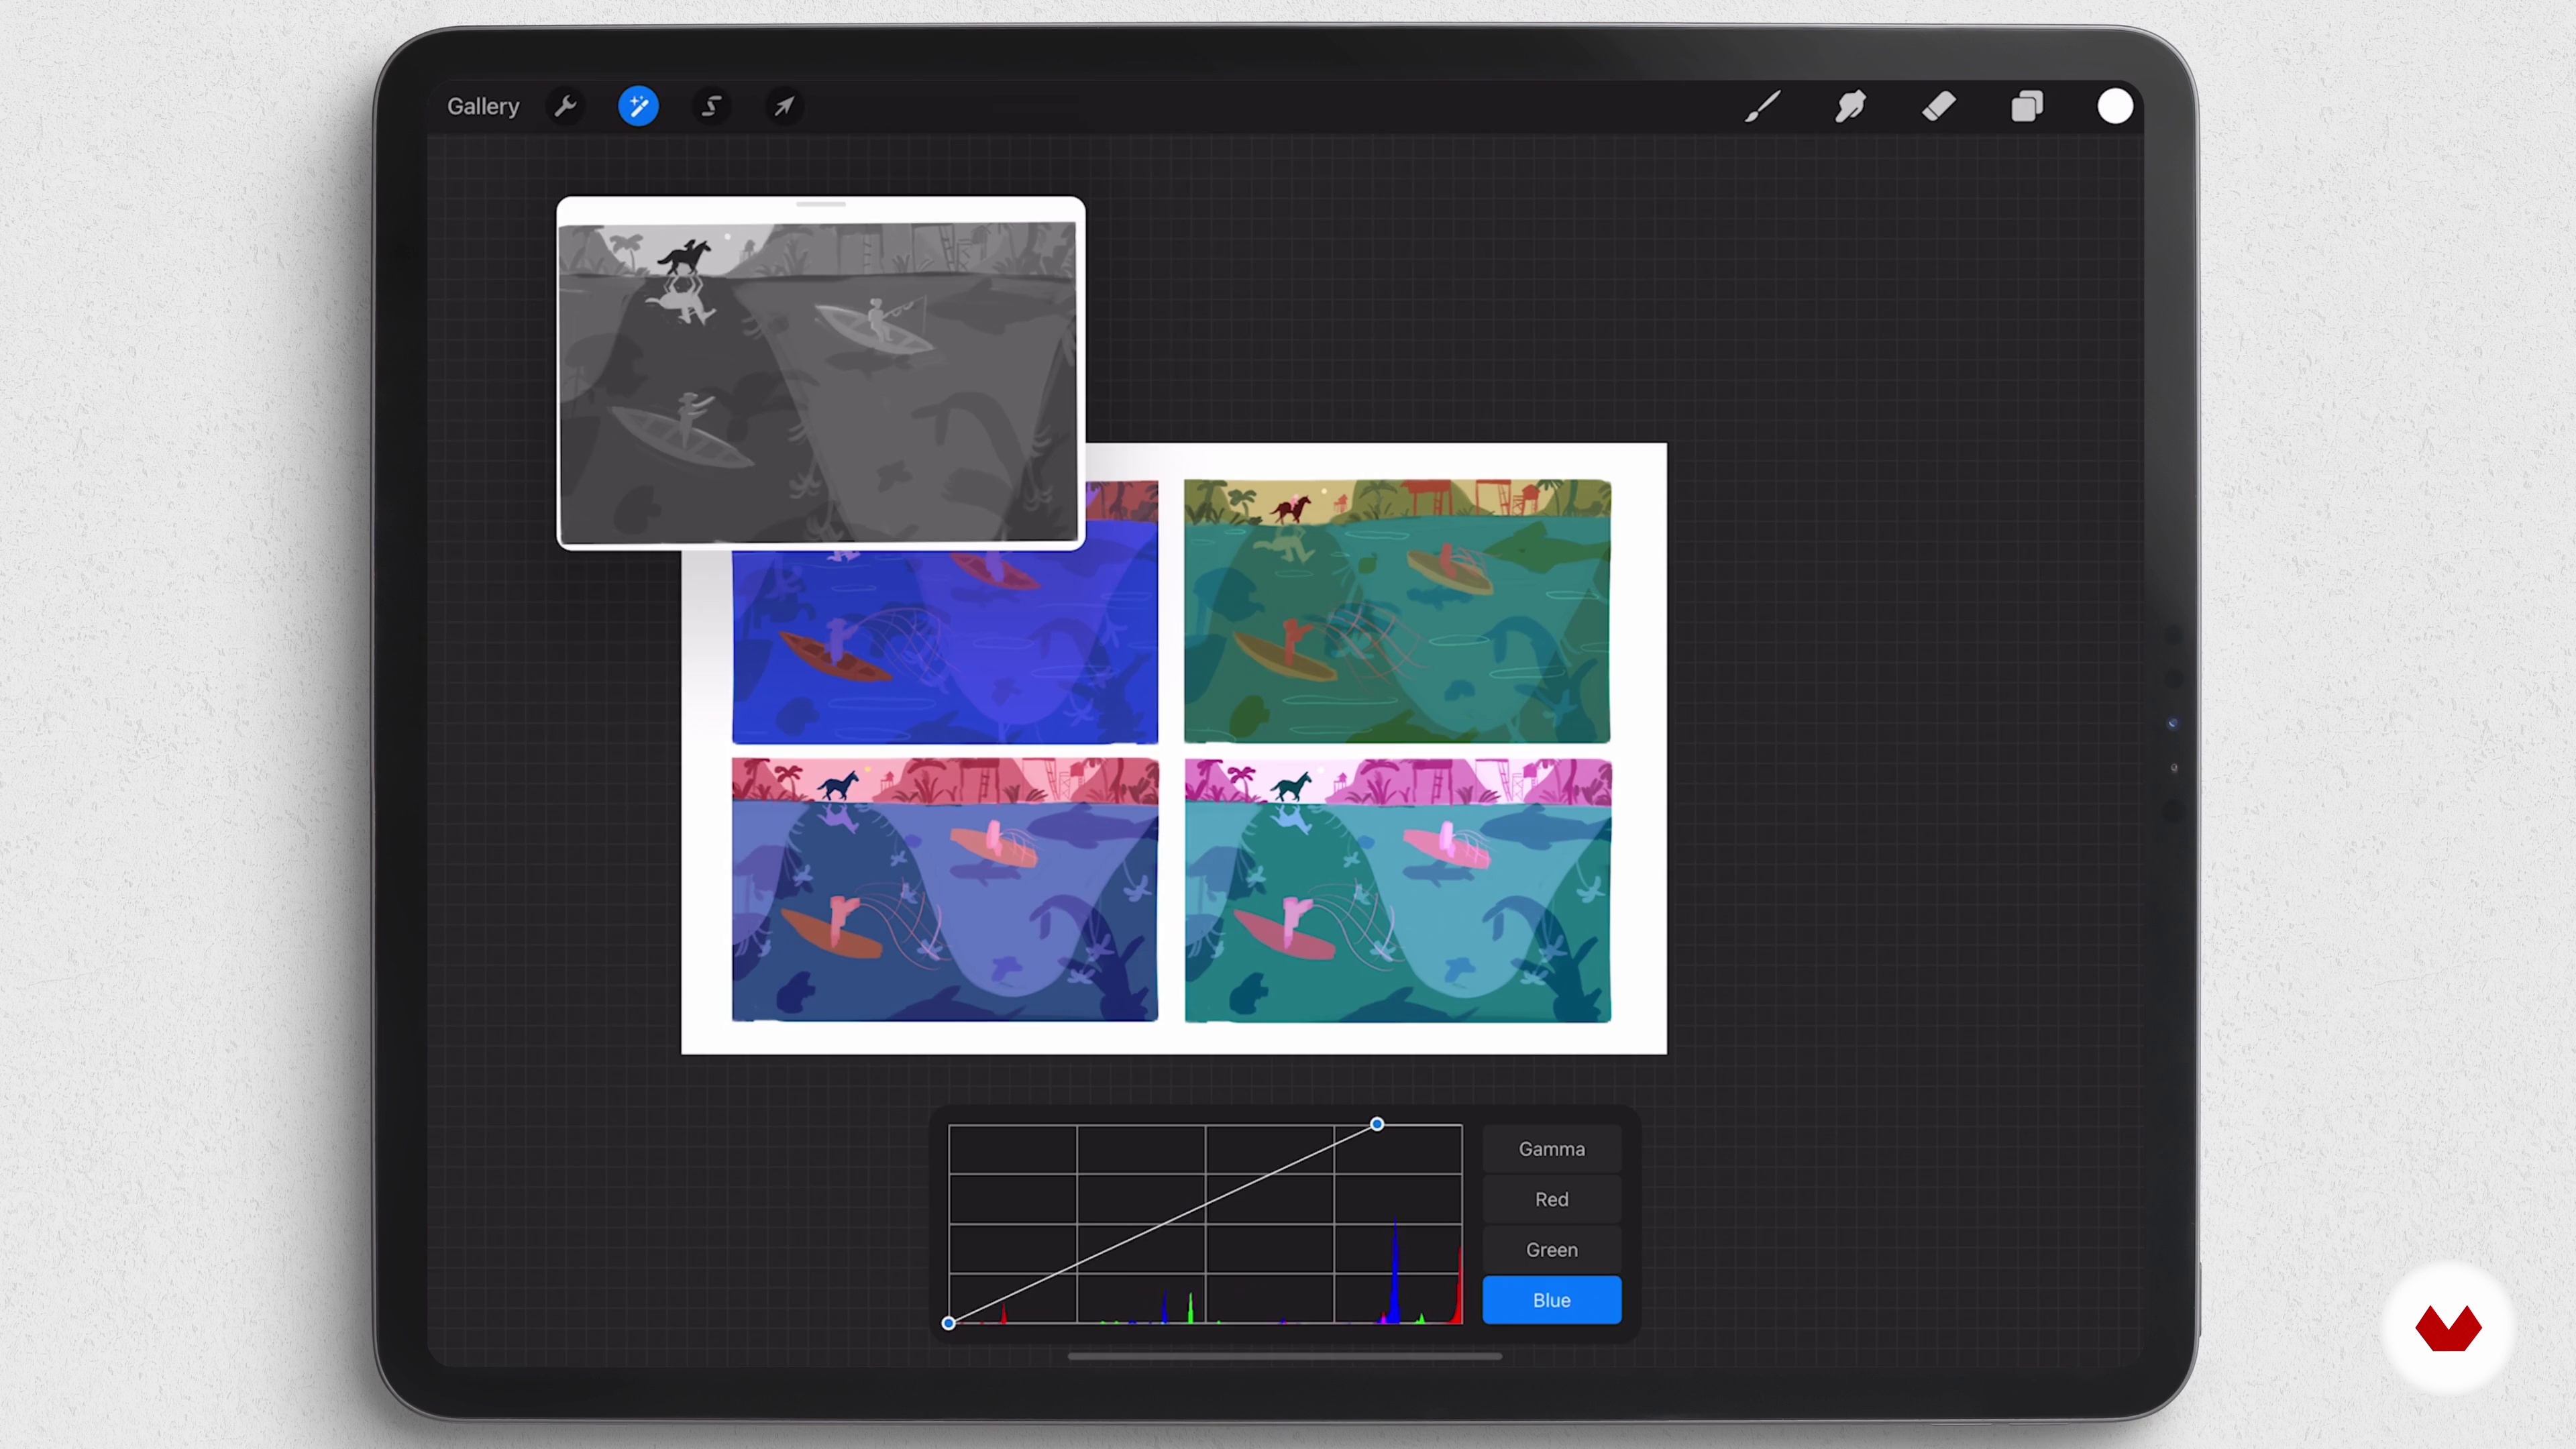
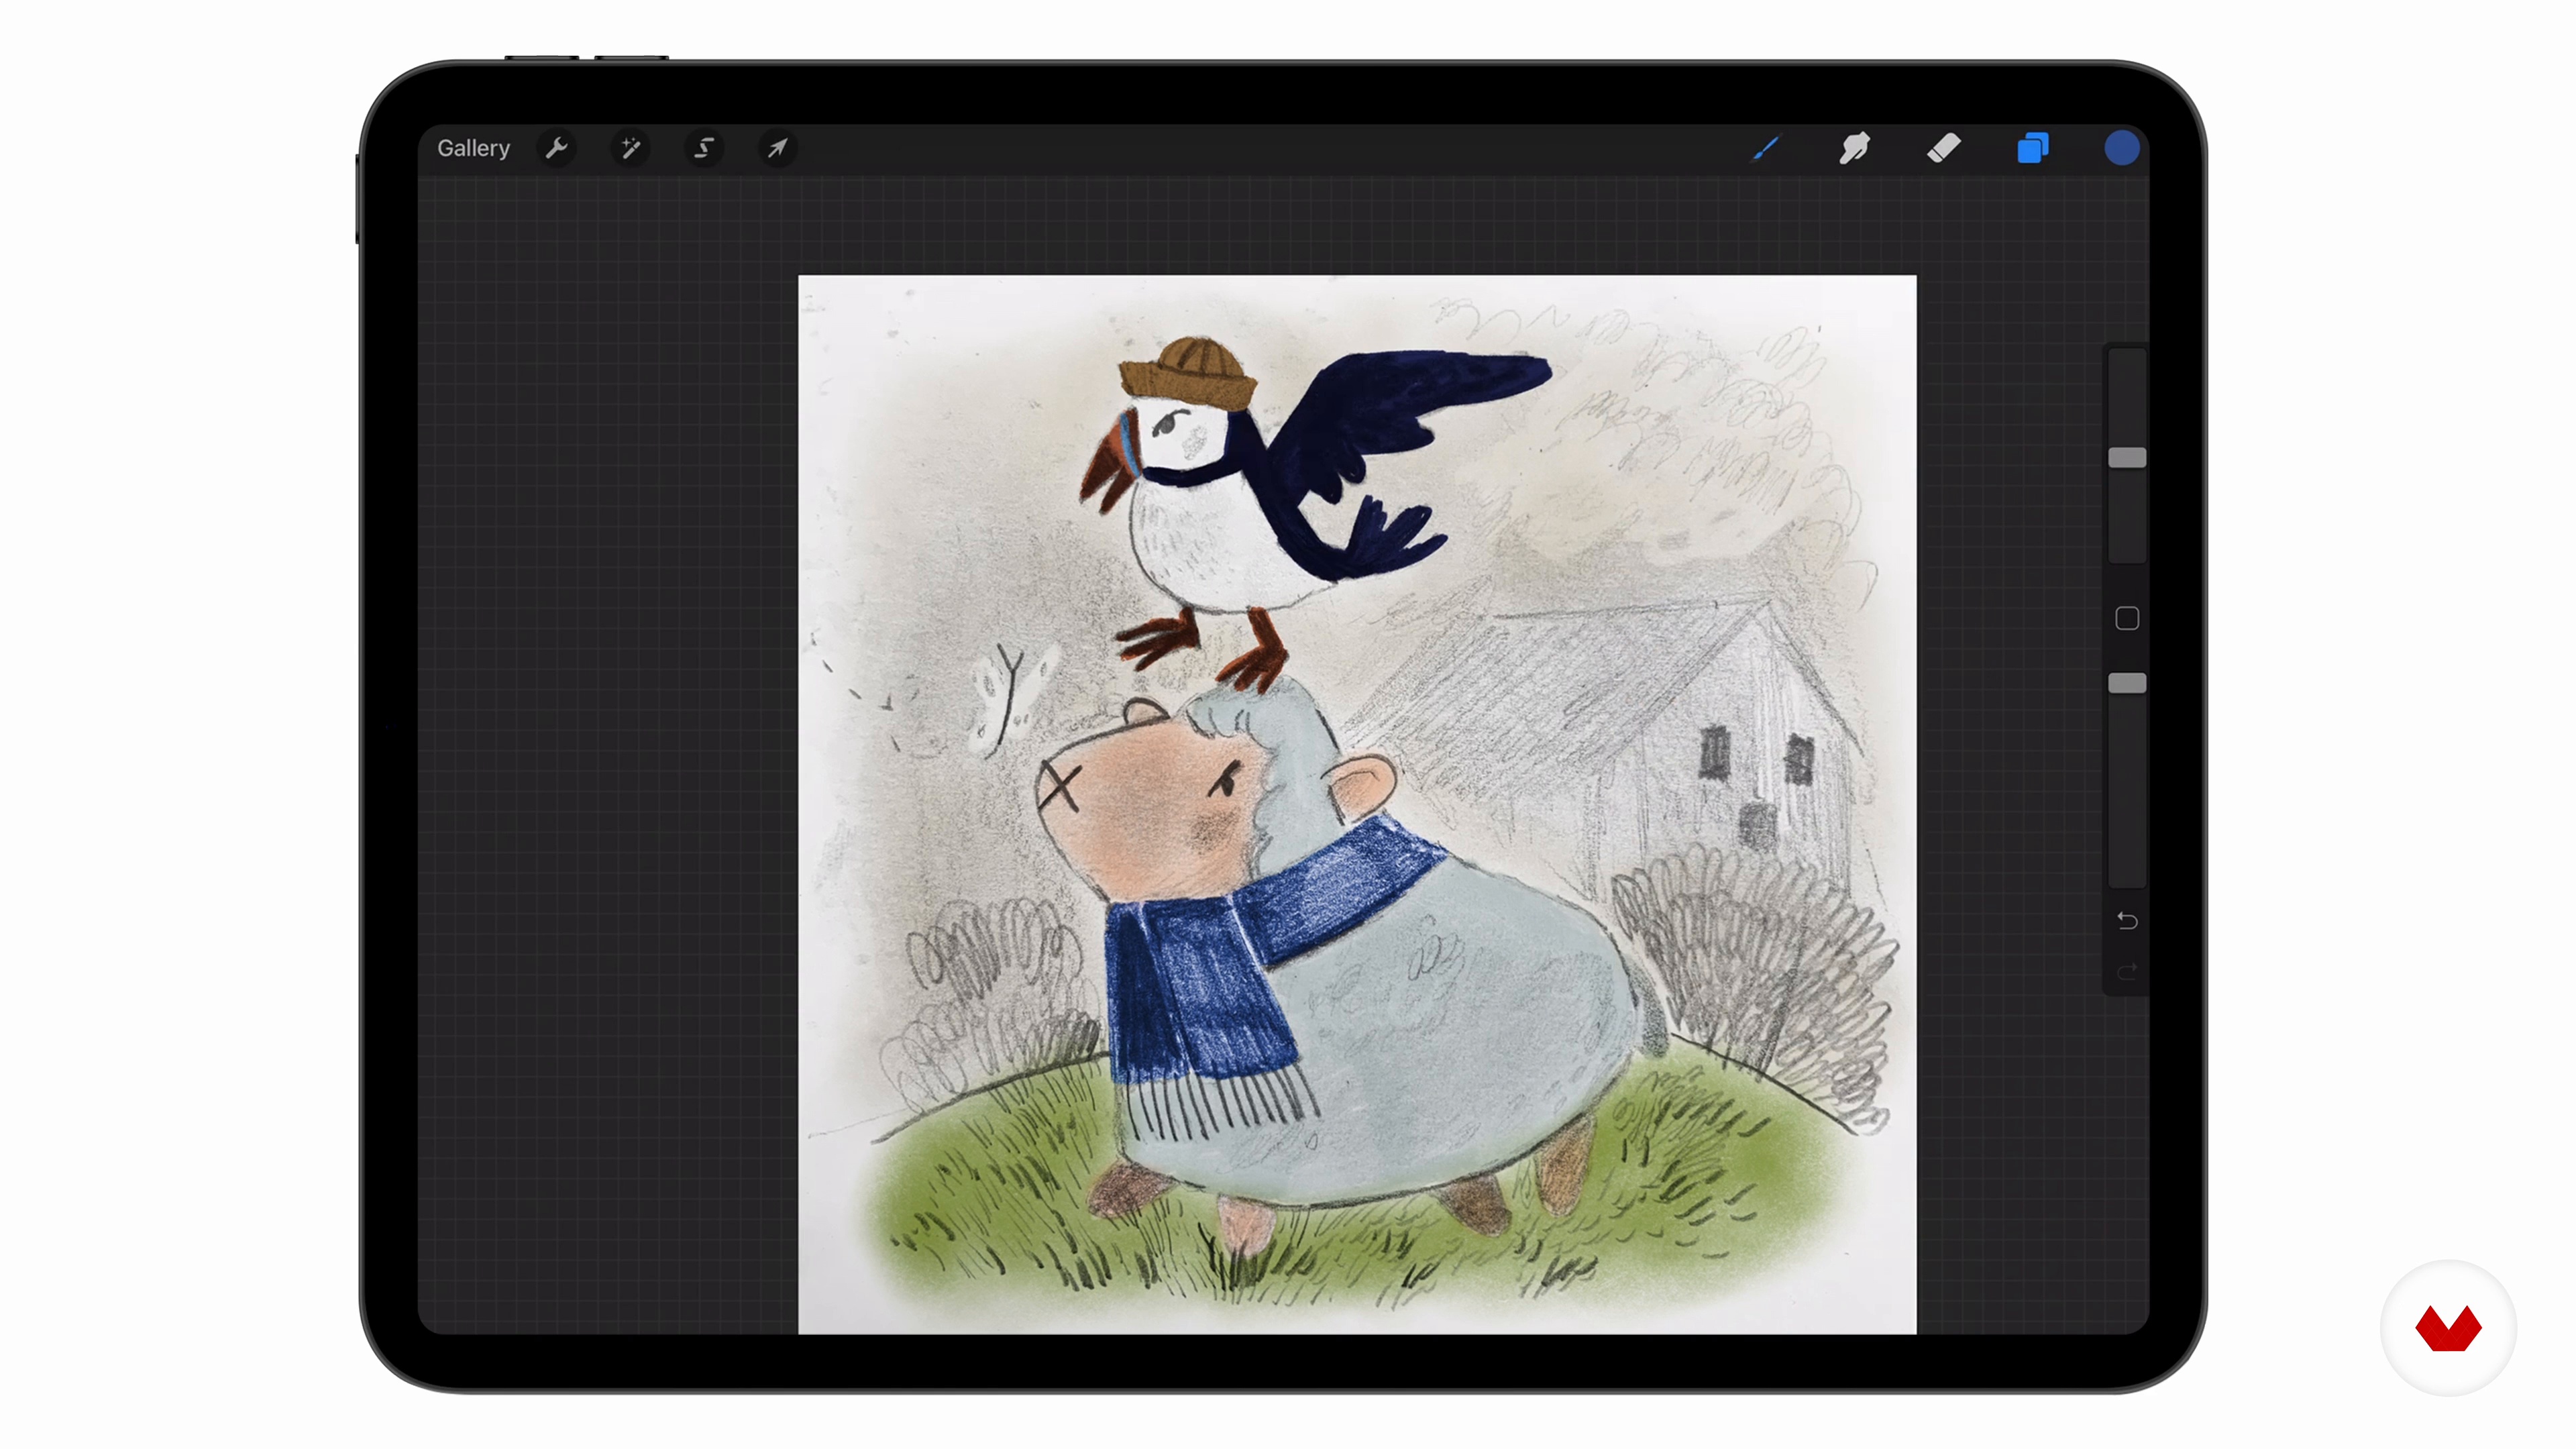
21m
image
14
Digital Touches and Prepping the Final File
I often use the iPad to add finishing touches and fine details before exporting the final file. I will show you what my process is usually like.
8m
image
15
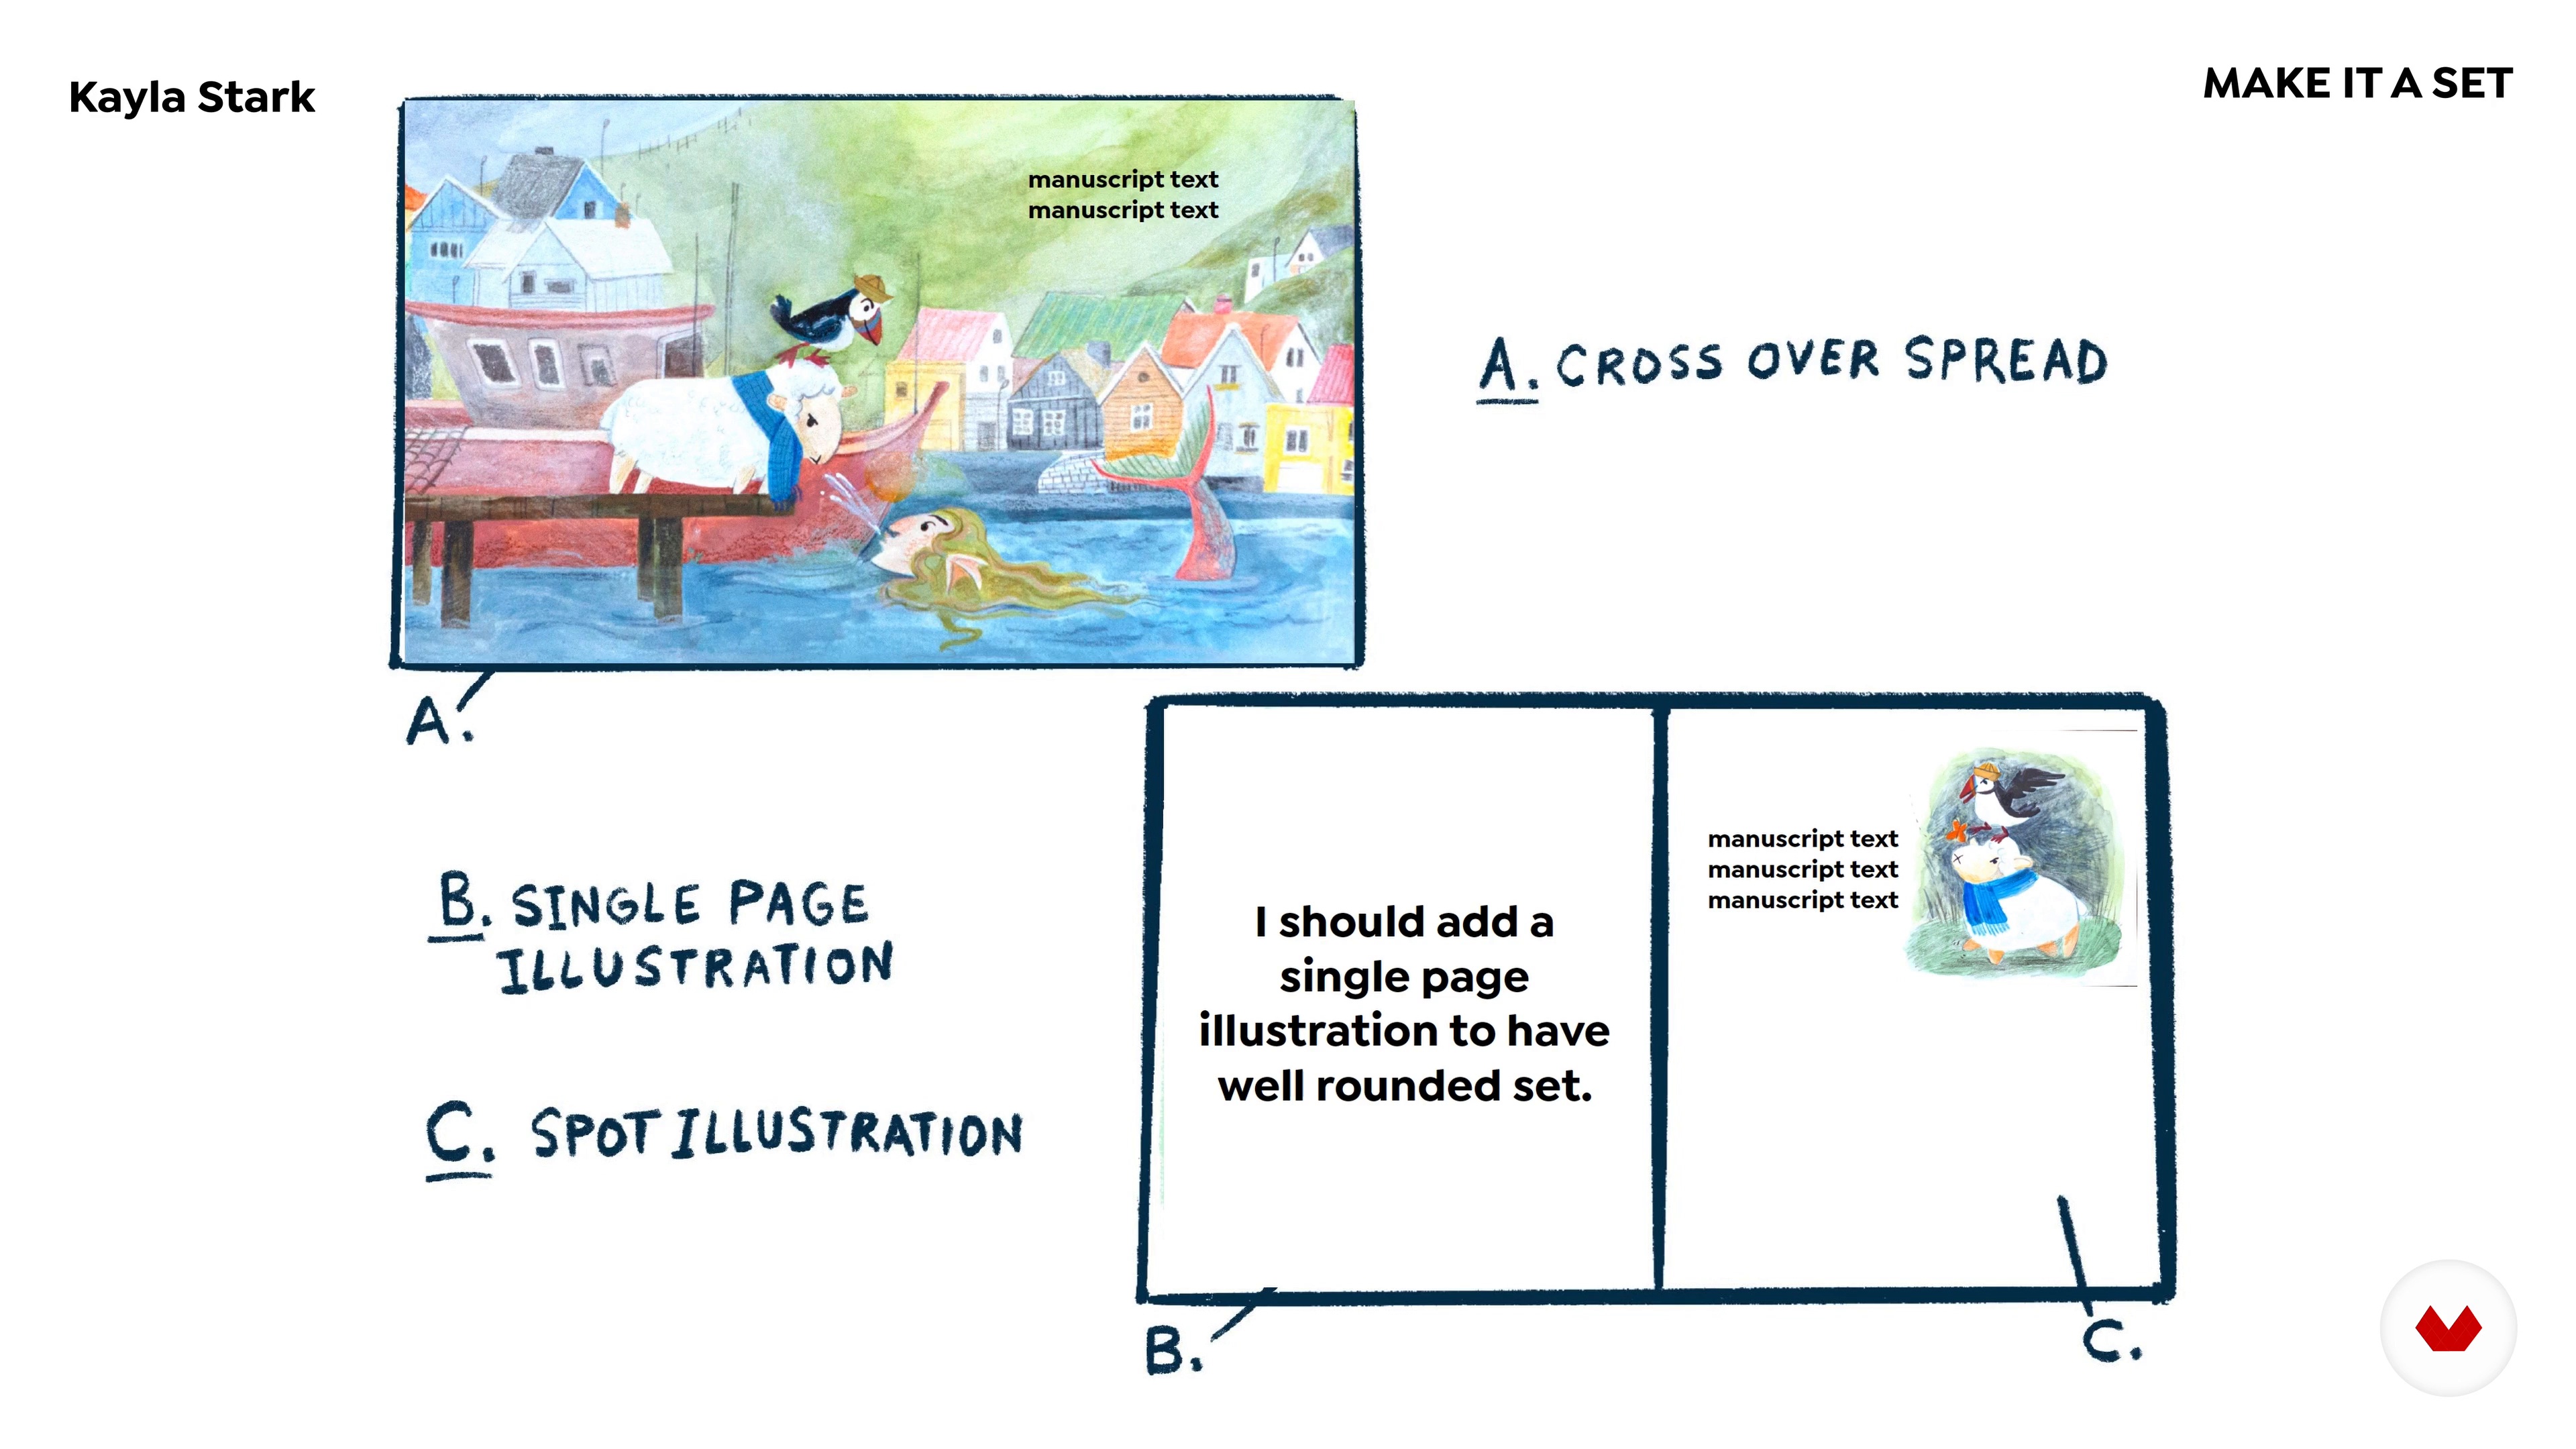
Make It a Set!
Create more illustrations and sketches around your final piece to create a picture book dummy to pitch or just for practicing consistency.
7m
image
16
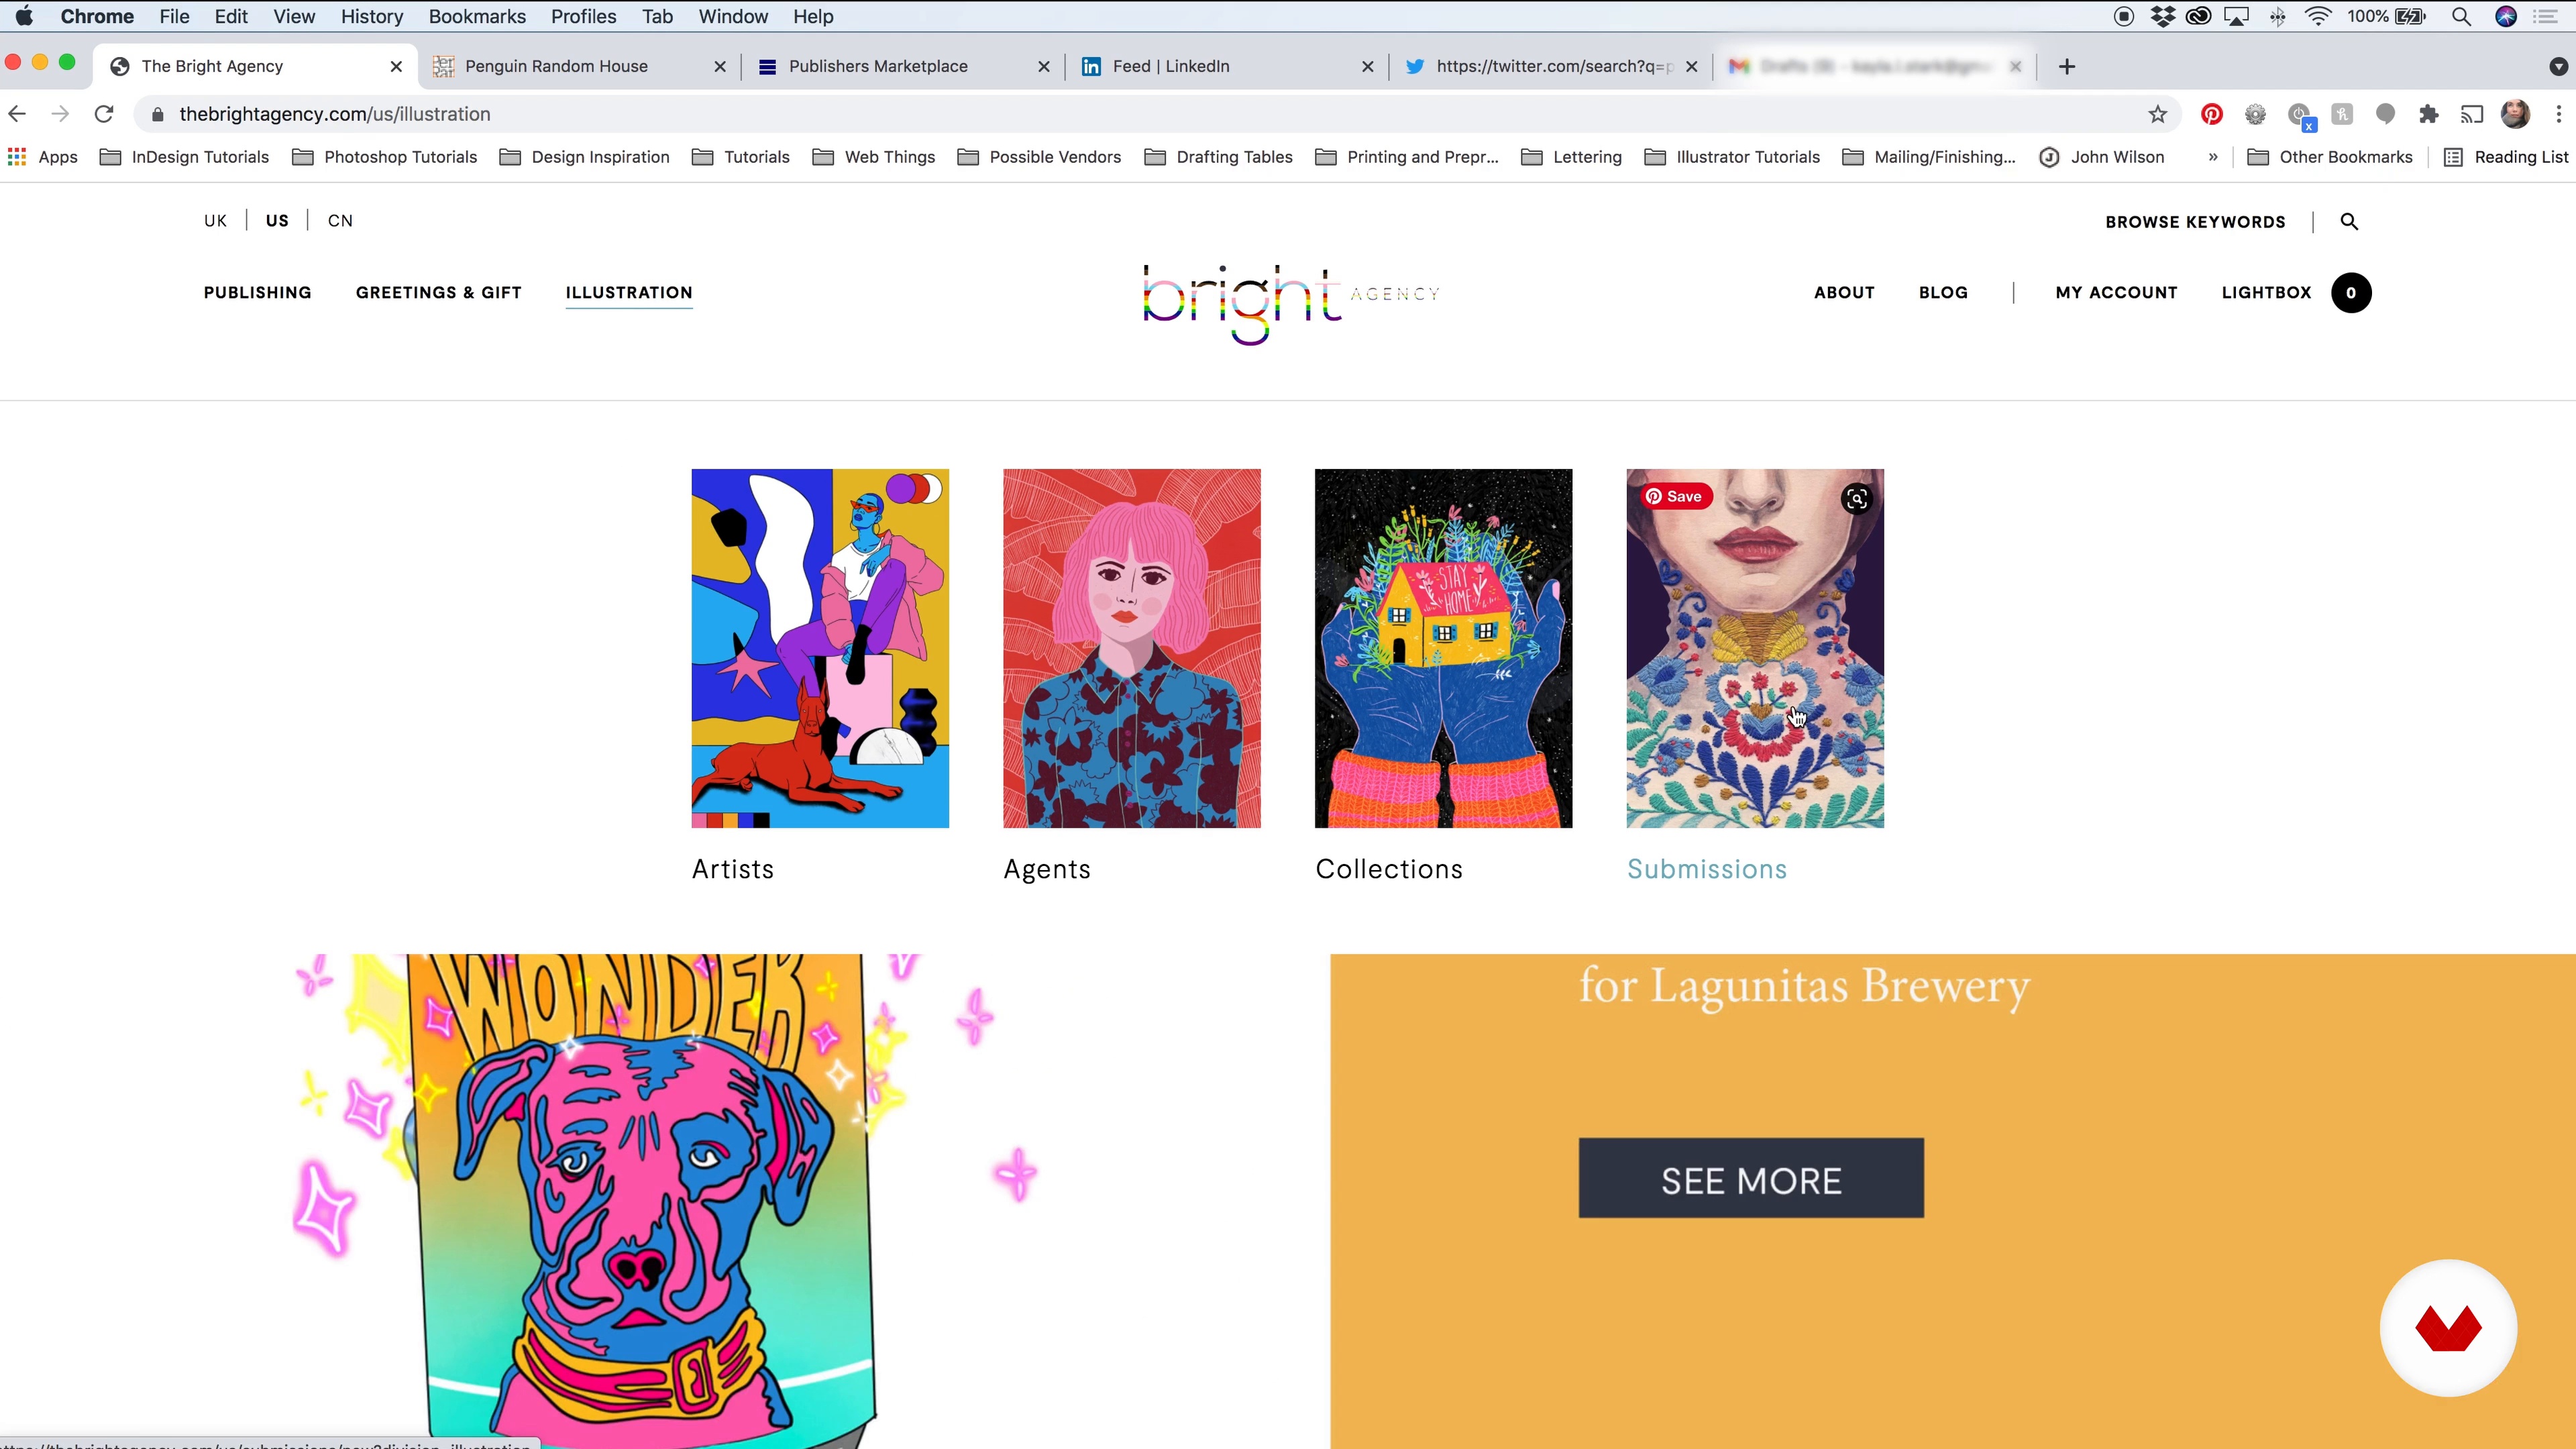
Submit Your Story
I’ll show you where and how to find submission guidelines and contact info online for pitching your book idea or querying an agent.
7m
  • 100% positive reviews (2)
  • 491 students
  • 98 lessons (18h 23m)
  • 112 additional resources (46 files)
  • Online and at your own pace
  • Audio: English, Spanish
  • English · Spanish · Portuguese · German · French · Italian · Polish · Dutch
  • Level: Beginner
  • Unlimited access forever

What is this course's project?

Students will create a fully illustrated sketchbook filled with character explorations and conceptual pieces suitable for a children's book project, integrating essential sketchbook techniques, experimenting with materials, and crafting engaging visual narratives.

Who is this specialization for?

Aspiring children's illustrators, artists seeking to refine their sketchbook techniques, and those interested in incorporating magical realism into their work will benefit. Ideal for individuals building a professional portfolio or exploring experimental illustration techniques using digital tools like Procreate.

Requirements and materials

No extensive prior knowledge is required. Basic necessities include a sketchbook, drawing materials like pencils and pens, and access to Procreate for digital projects. Enthusiasm for children's illustration, creativity, and a willingness to experiment are essential.

Select to get to know your teachers in this specialization course
Read more ↓

Reviews

491 Students
2 Reviews
100% Positive ratings


What to expect from this specialization course

  • Learn at your own pace

    Enjoy learning from home without a set schedule and with an easy-to-follow method. You set your own pace.

  • Learn from the best professionals

    Learn valuable methods and techniques explained by top experts in the creative sector.

  • Meet expert teachers

    Each expert teaches what they do best, with clear guidelines, true passion, and professional insight in every lesson.

  • Certificates
    Plus

    If you're a Plus member, get a custom certificate for every specialization course. Share it on your portfolio, social media, or wherever you like.

  • Get front-row seats

    Videos of the highest quality, so you don't miss a single detail. With unlimited access, you can watch them as many times as you need to perfect your technique.

  • Share knowledge and ideas

    Ask questions, request feedback, or offer solutions. Share your learning experience with other students in the community who are as passionate about creativity as you are.

  • Connect with a global creative community

    The community is home to millions of people from around the world who are curious and passionate about exploring and expressing their creativity.

  • Watch professionally produced courses

    Domestika curates its teacher roster and produces every course in-house to ensure a high-quality online learning experience.


FAQs

Domestika's specialization courses are online classes that provide you with the tools and skills you need to complete a specific project. Every step of the project combines video lessons with complementary instructional material, so you can learn by doing. Domestika's specializations also allow you to share your own projects with other students, creating a dynamic course community.

All specialization courses are 100% online, so once they're published, specialization courses start and finish whenever you want. You set the pace of the class. You can go back to review what interests you most and skip what you already know, ask questions, answer questions, share your projects, and more.

The specialization courses are divided into different modules. Each one includes lessons, informational text, tasks, and practice exercises to help you carry out your project step by step, with additional complementary resources and downloads. You'll also have access to an exclusive forum where you can interact with other students, as well as share your work and your final project, creating a community around the specialization course.

You can redeem the specialization course you received by accessing the redeeming page and entering your gift code.

If you're a Plus member, when you complete a course you've purchased, you'll instantly get your personalized certificate. You can see all your certificates in the Certificates section of your profile. You can download your certificates as PDFs and share the link online. Learn more about certificates.
Children’s Illustration Specialization: From Sketchbook to Digital Art. Illustration course by Domestika

Children’s Illustration Specialization: From Sketchbook to Digital Art

A specialization by multiple teachers
Specialization Course. Berkeley, United States.
Joined April 2002
  • 100% positive reviews (2)
  • 491 students