Specialization

Specialization in Product Photography for E-Commerce

Learn product photography with lighting, composition and design techniques for professional and creative images

Specialization · 7 modules

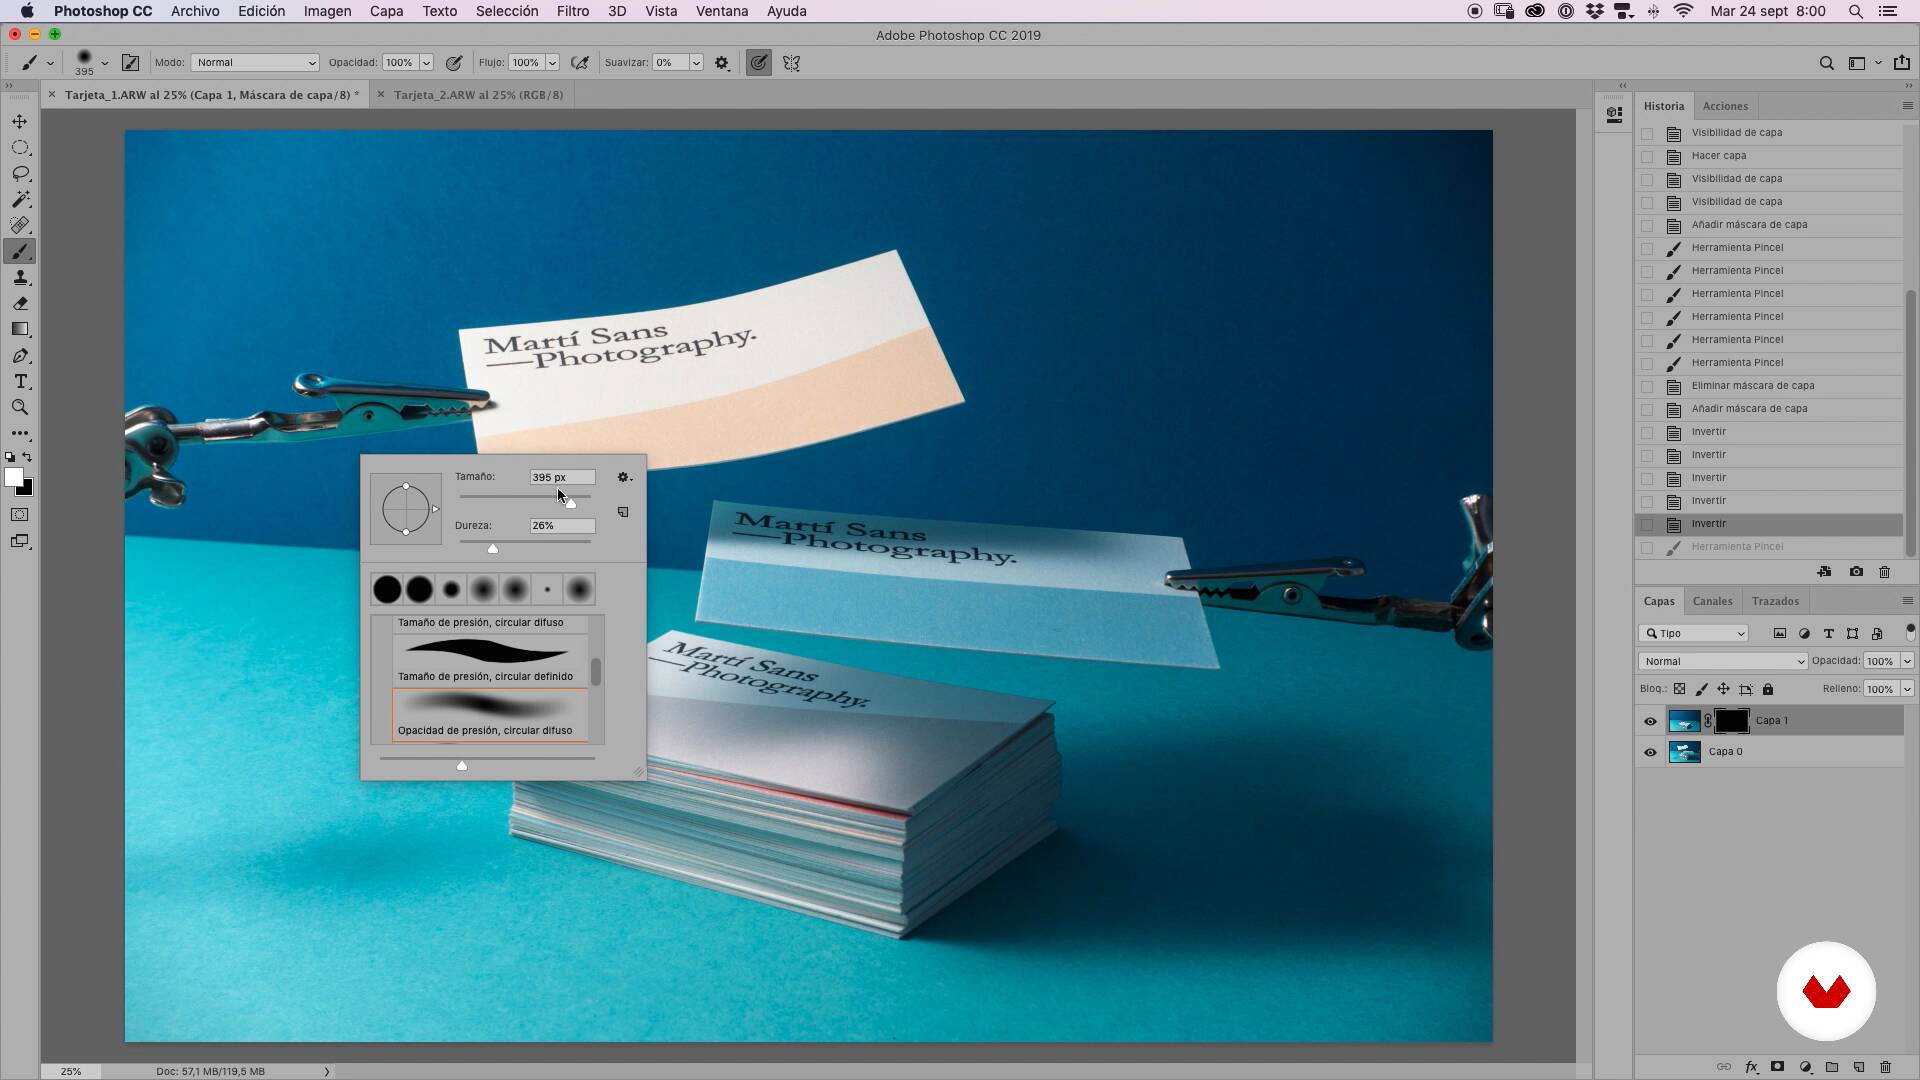
Explore the fascinating world of product photography with this specialization, covering everything from basic principles to advanced creative direction and set design techniques. Learn from Martí Sans, who will guide you through the essentials, from lighting to composition, to highlight the unique characteristics of each object. Discover with Paloma Rincón how to use natural sunlight to create striking images, leveraging shadows and reflections without the need for expensive equipment.

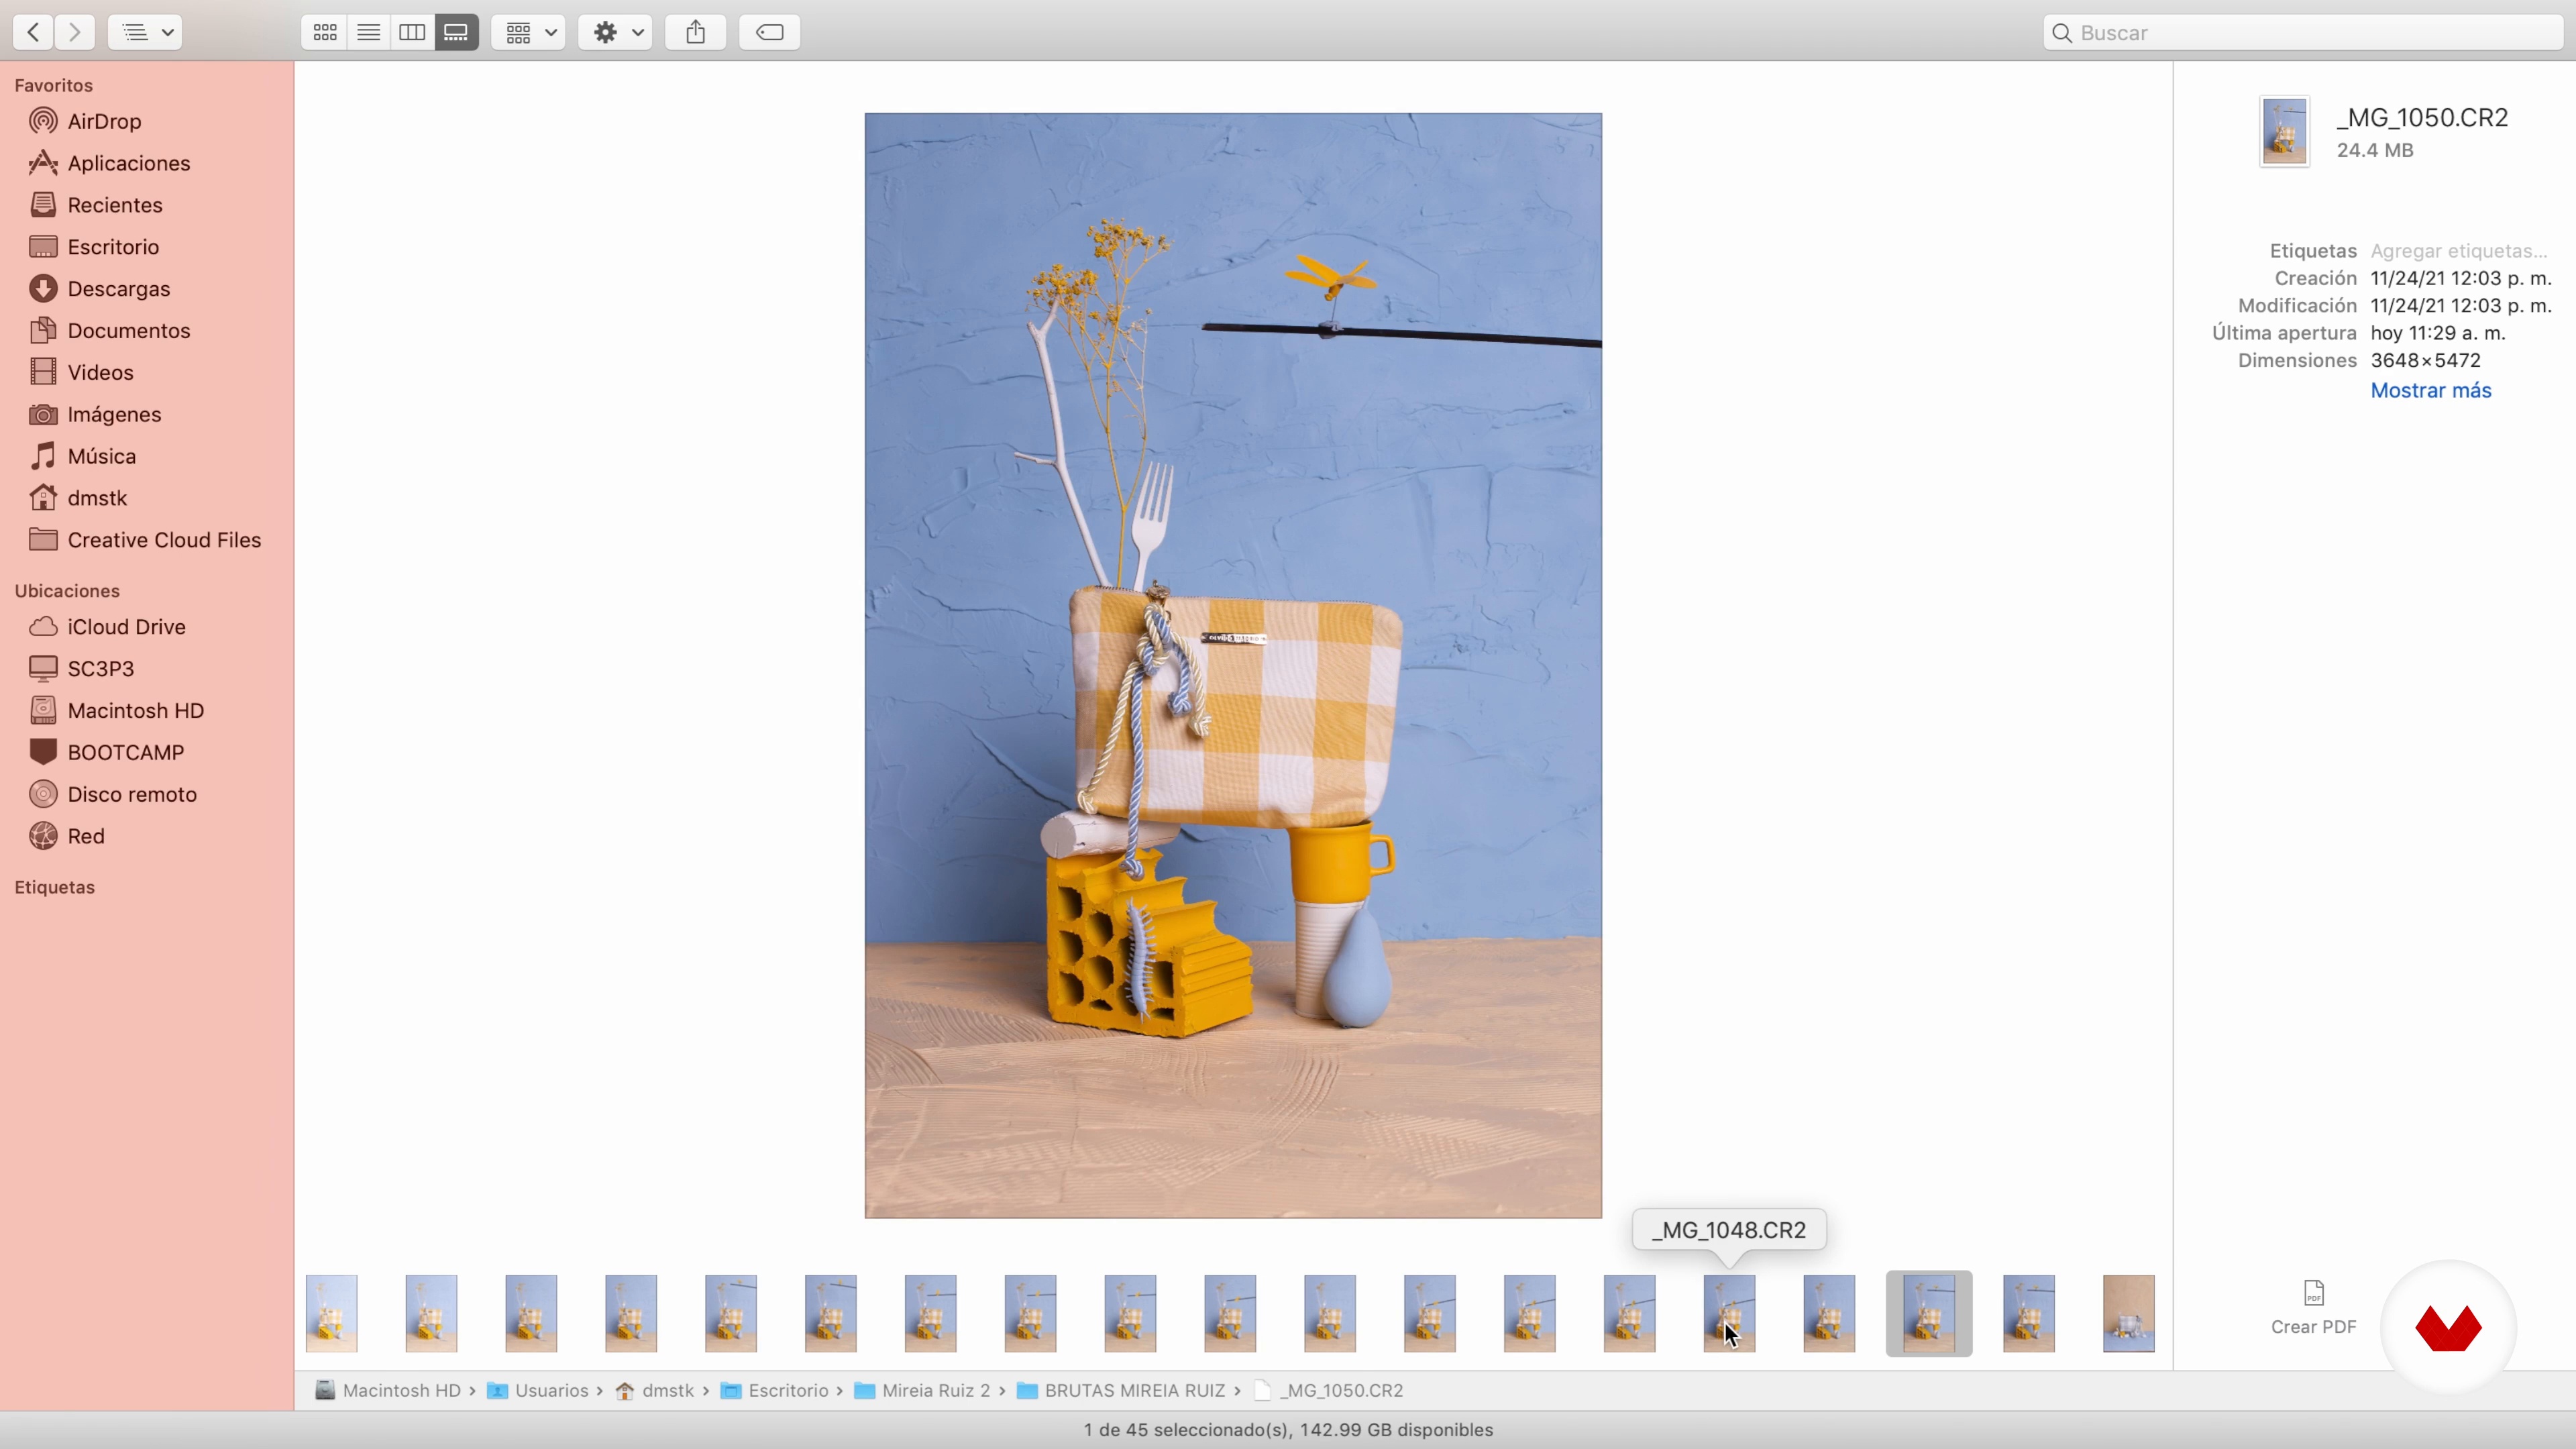
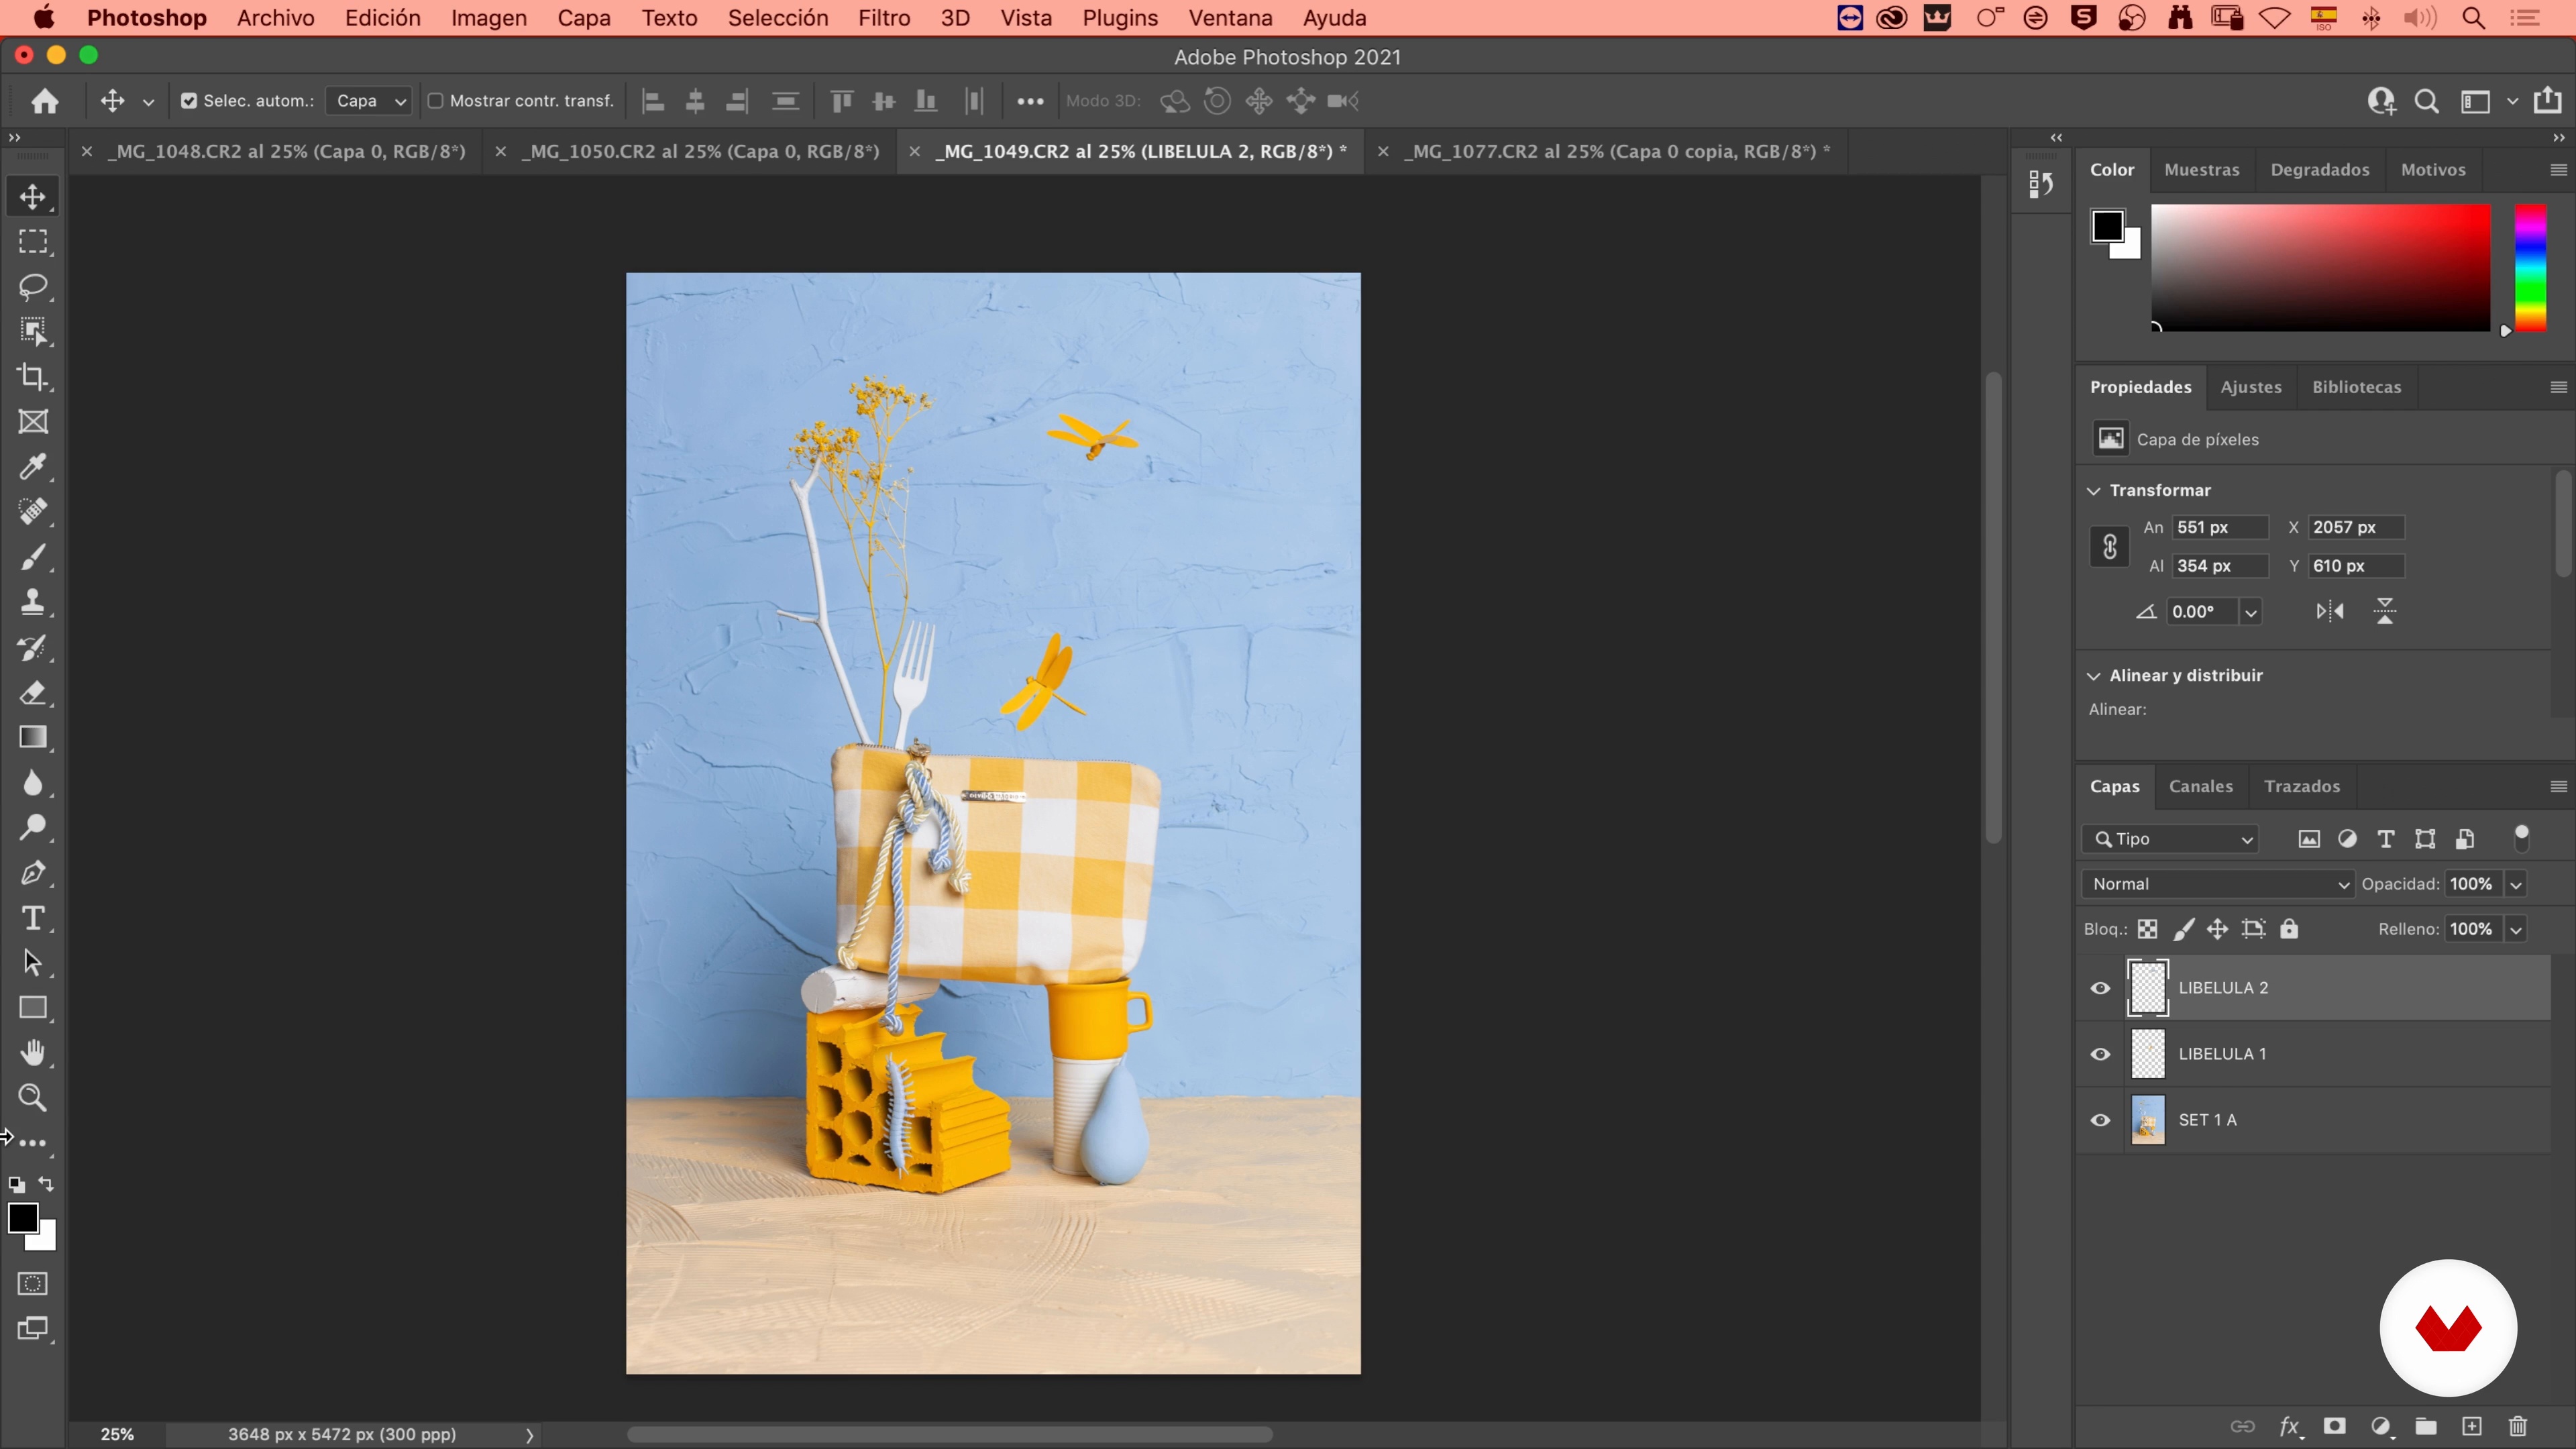
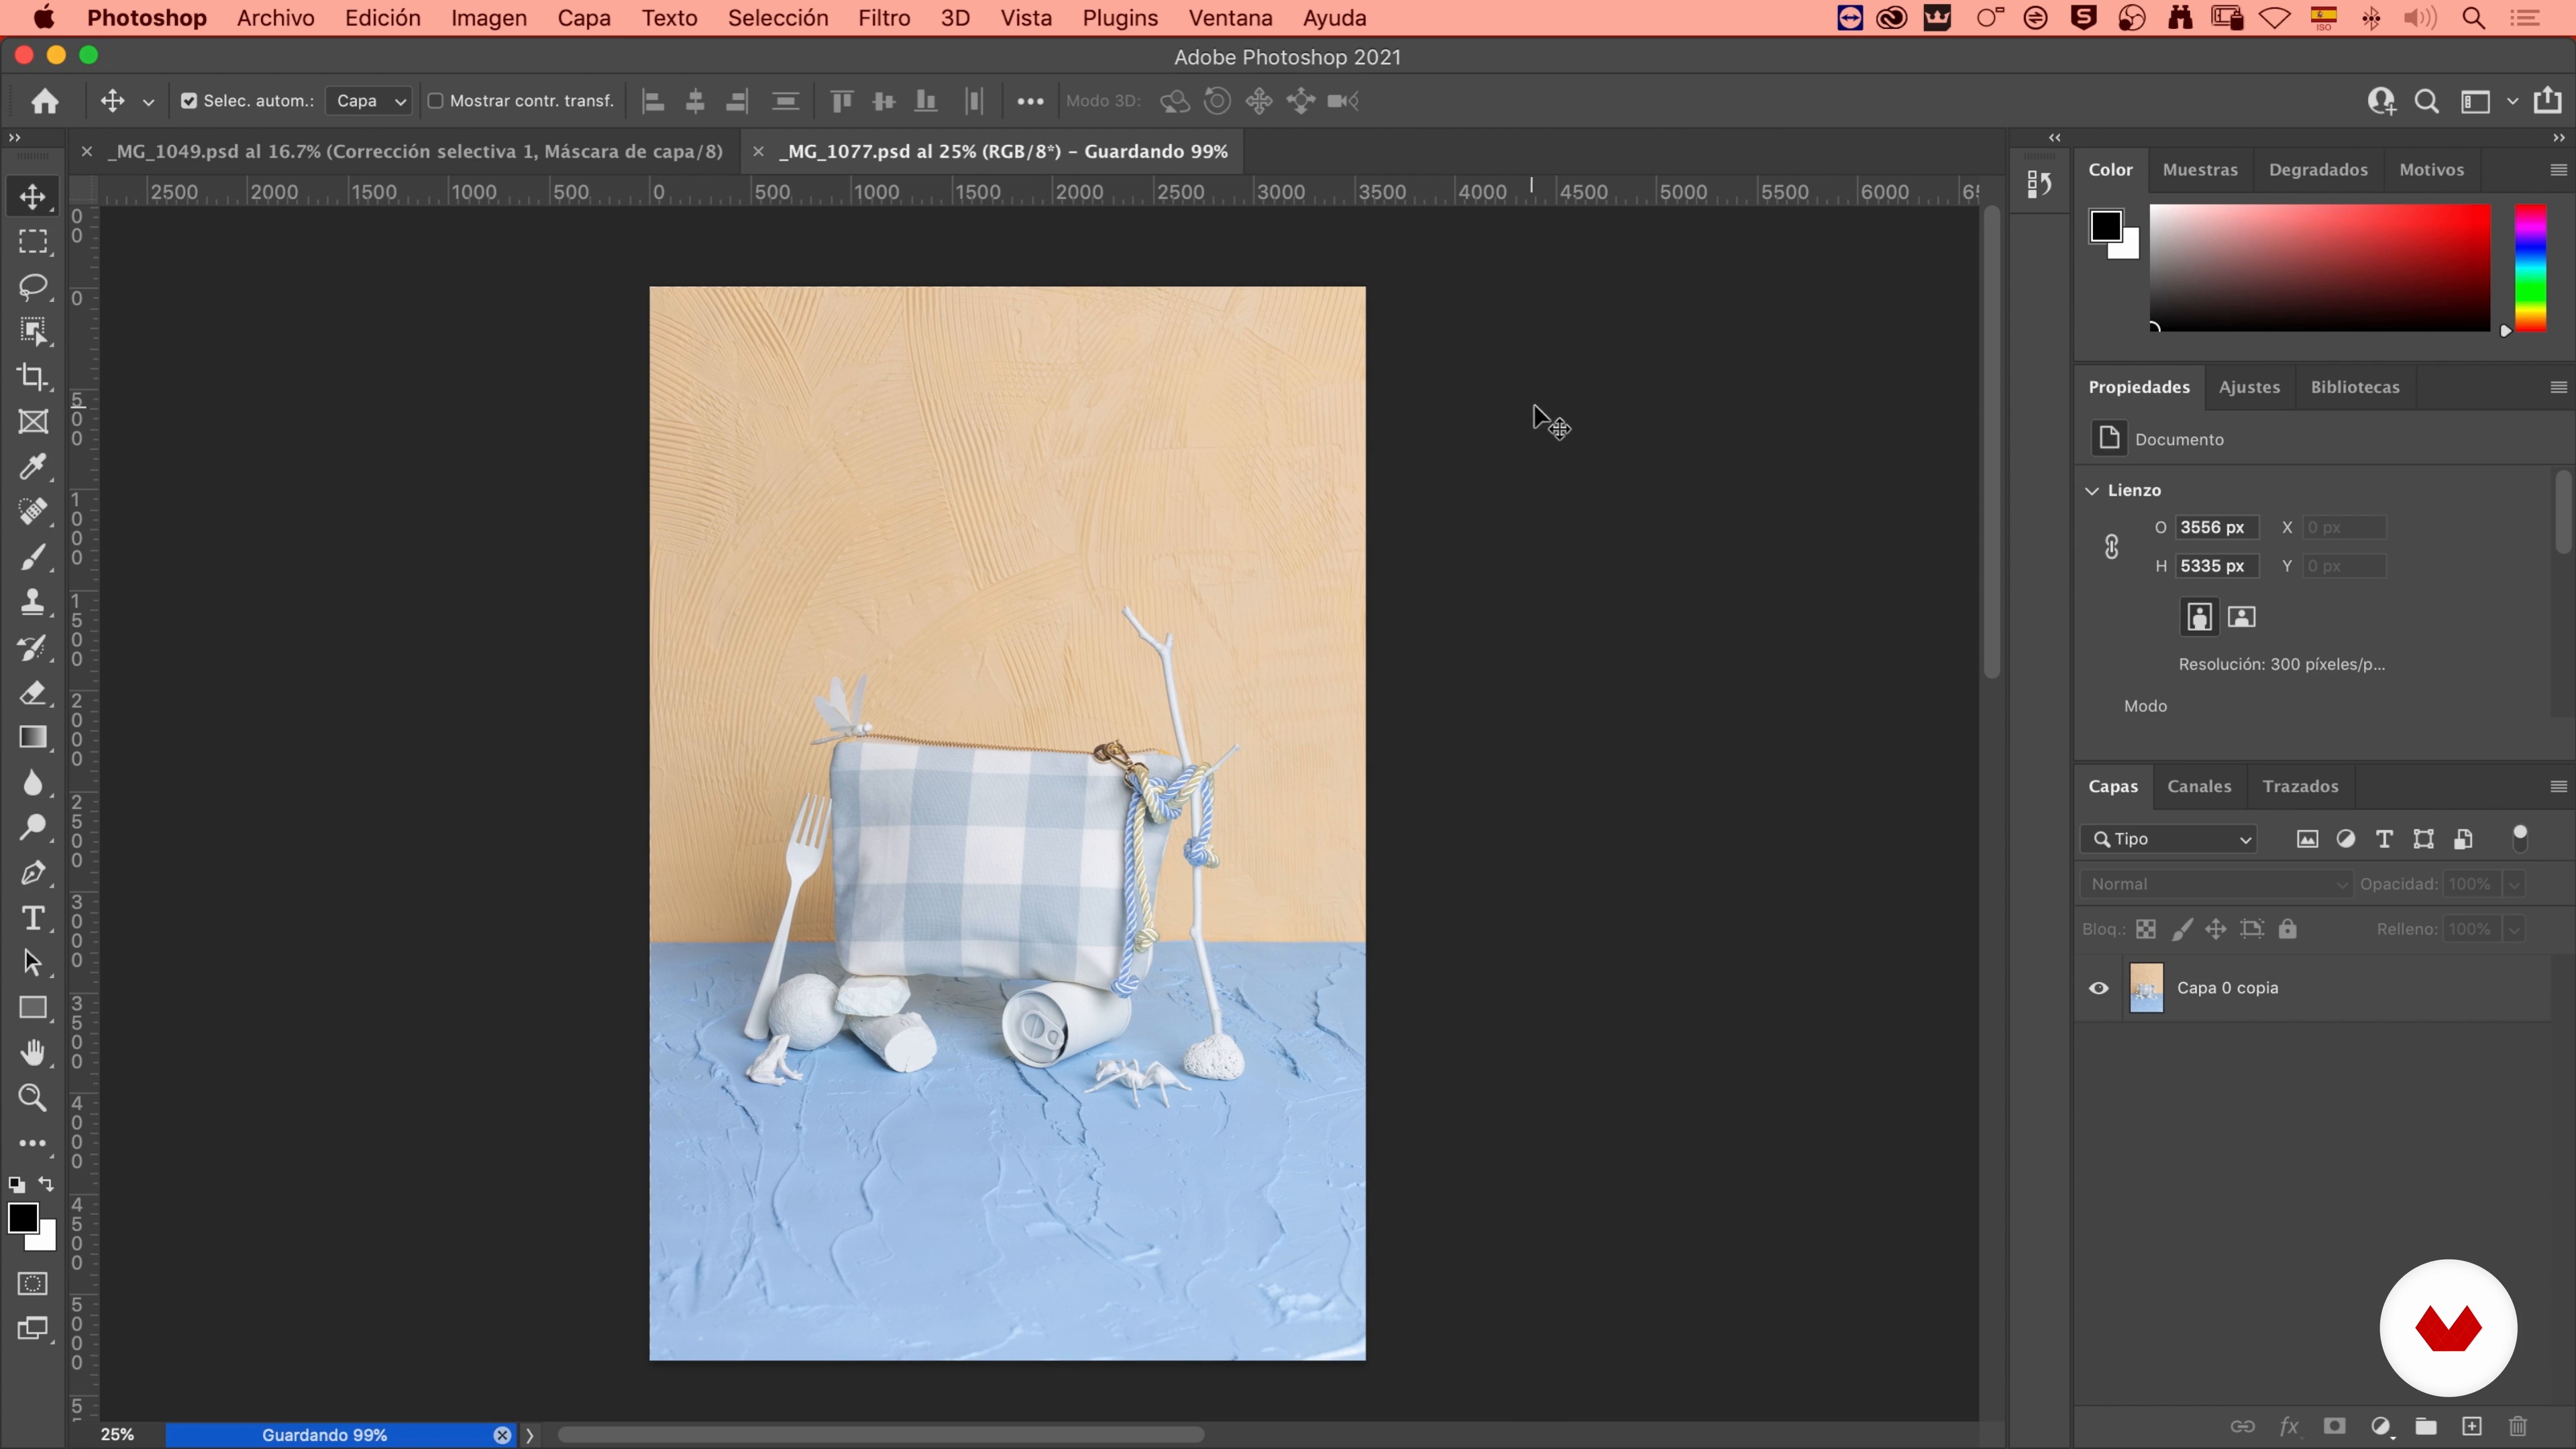
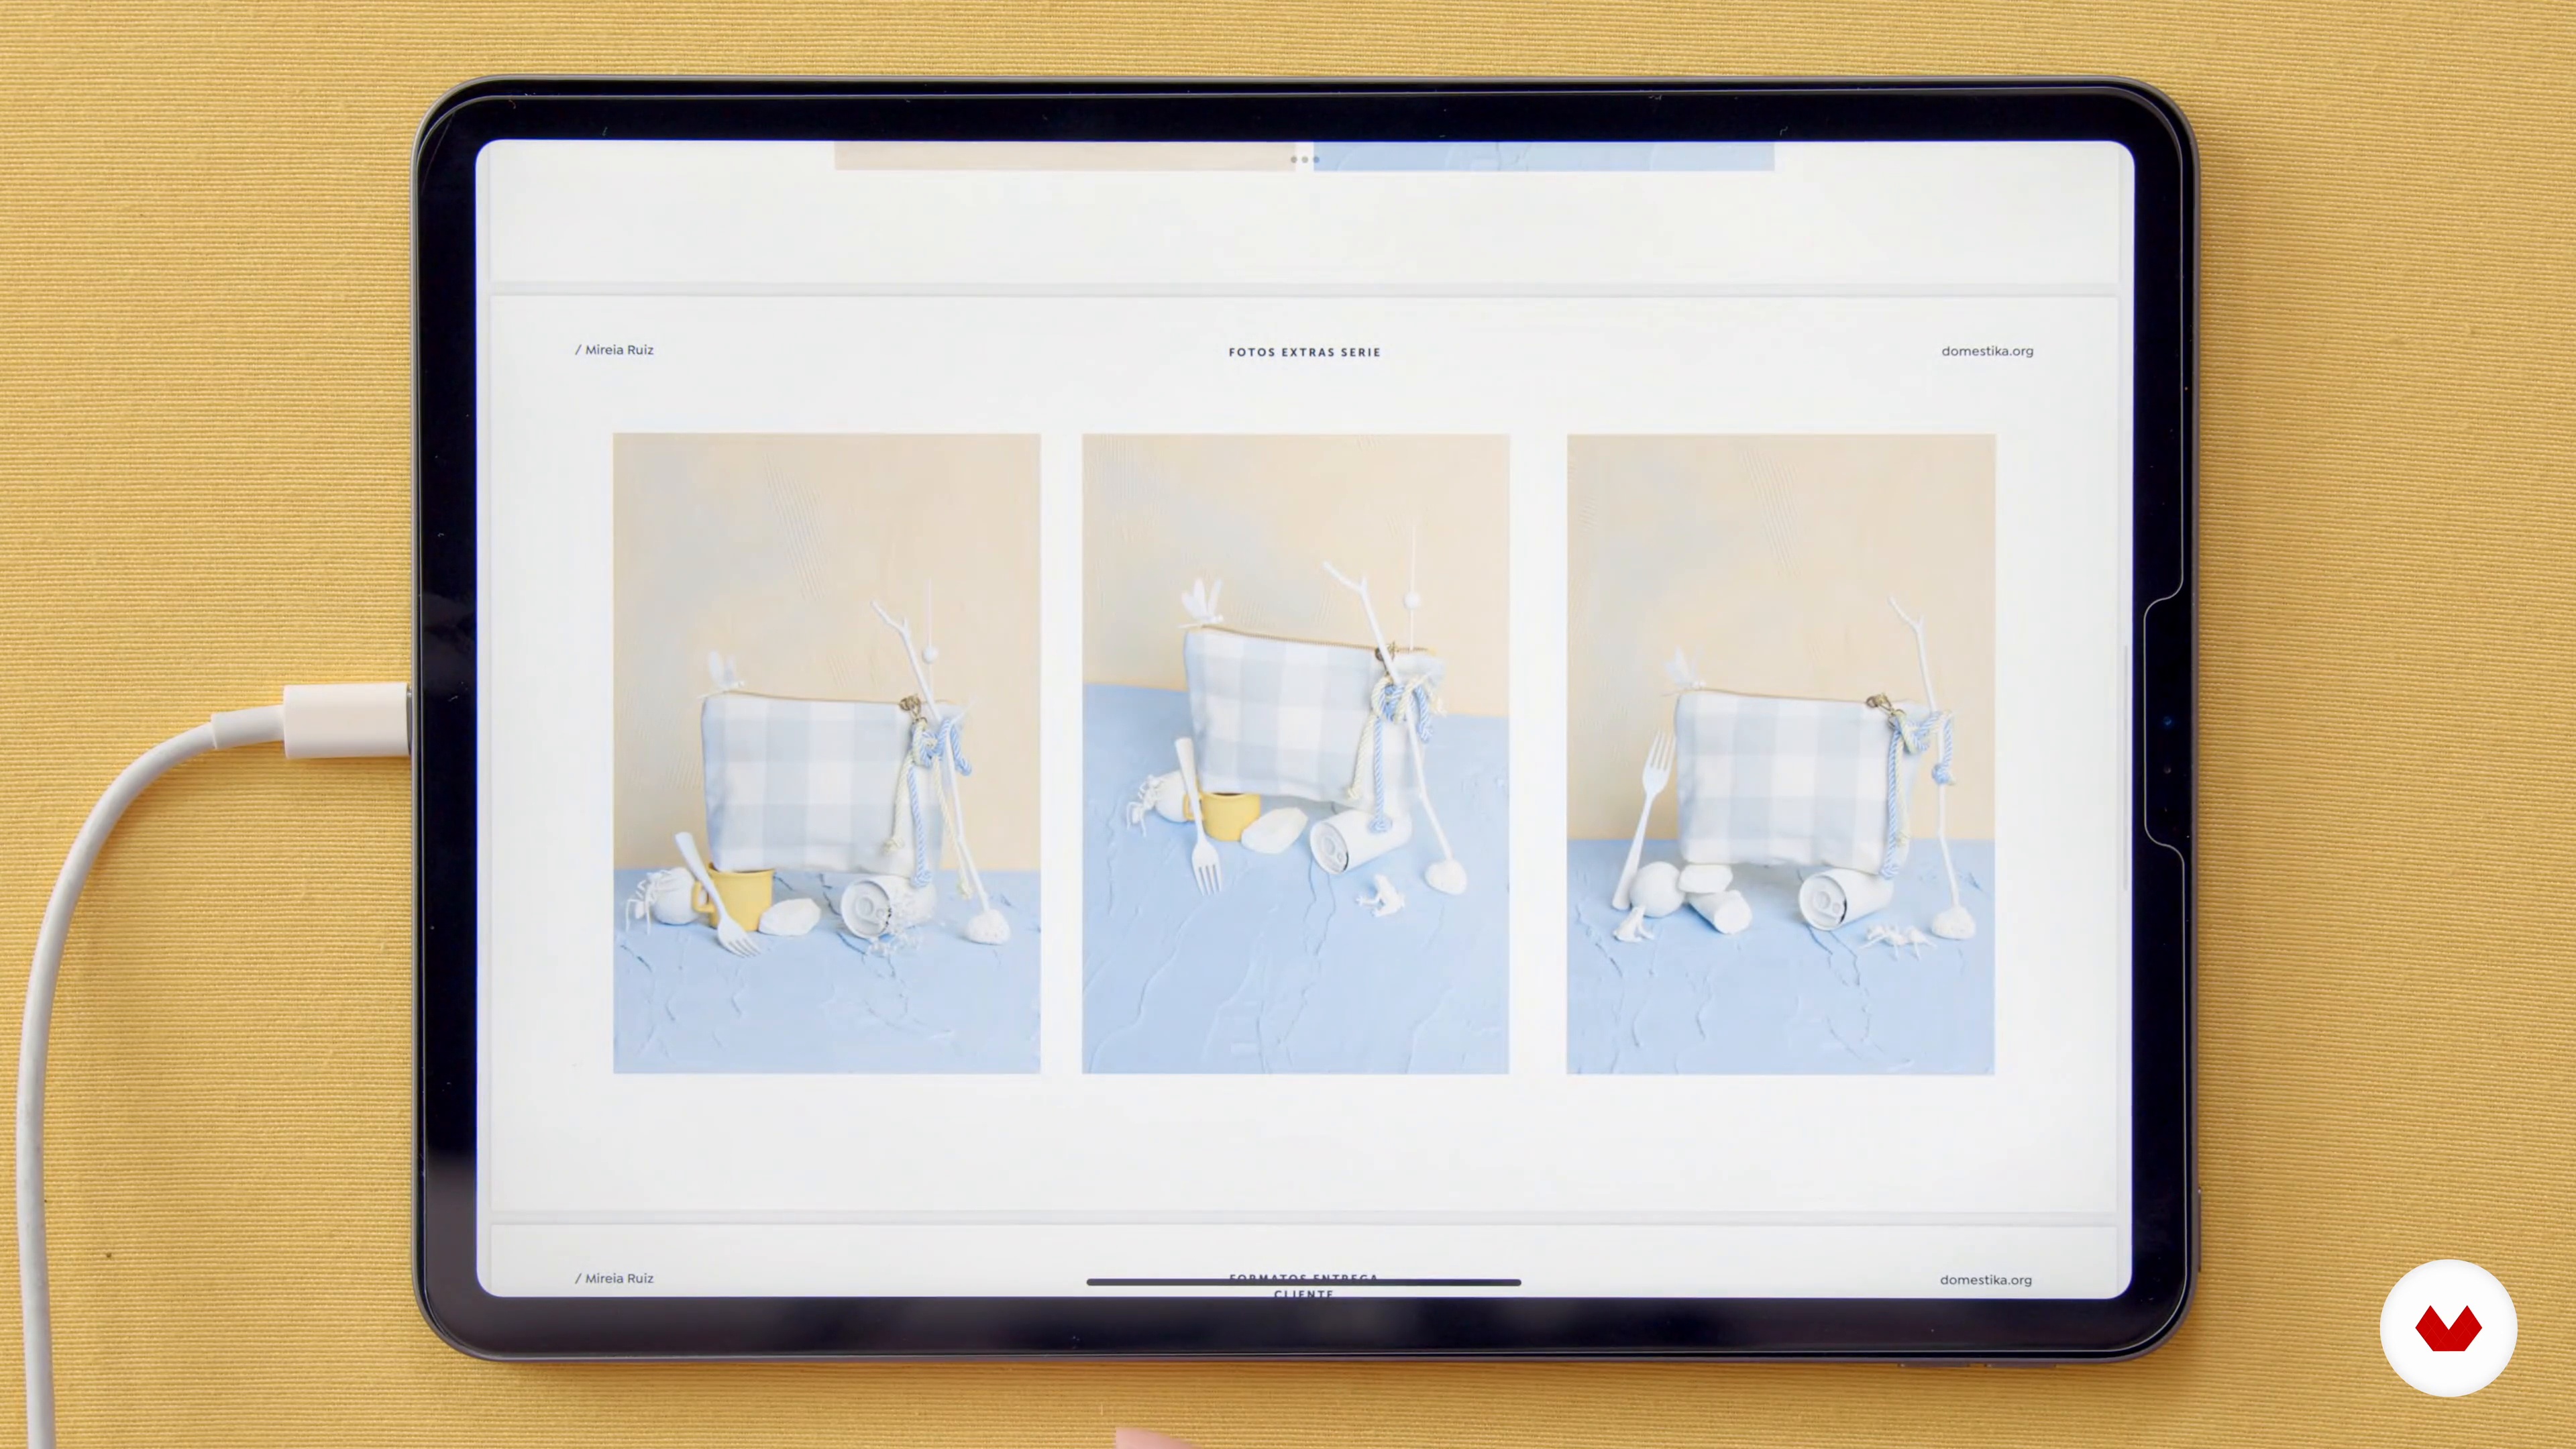
Continue your learning with the creativity of Mireia Ruiz in professional set design, where products come to life in visually compelling settings. Josefina Mogrovejo will help you develop a solid visual concept for your shoots, while I'm Blue I'm Pink will show you the magic of art direction and set design for a unique style. Complete your training with Paola Sanabria, who will teach you how to capture images optimized for e-commerce, ensuring consistency and visual appeal in every photo. Enhance your portfolio and boost your brand image with this comprehensive specialization.

Read more ↓

What will you learn in this specialization?

A total of 7 modules and 83 lessons
A total of 13h 38m of vídeo lessons
Taught by 6 selected expert teachers
image
1
Introduction
Discover how product photography goes beyond simple documentation, becoming a powerful communication tool. You'll learn how to create images that tell stories, express brand identity, and evoke emotions—essential skills in the digital world and eCommerce.
1m
image
2
Influences / Martí Sans
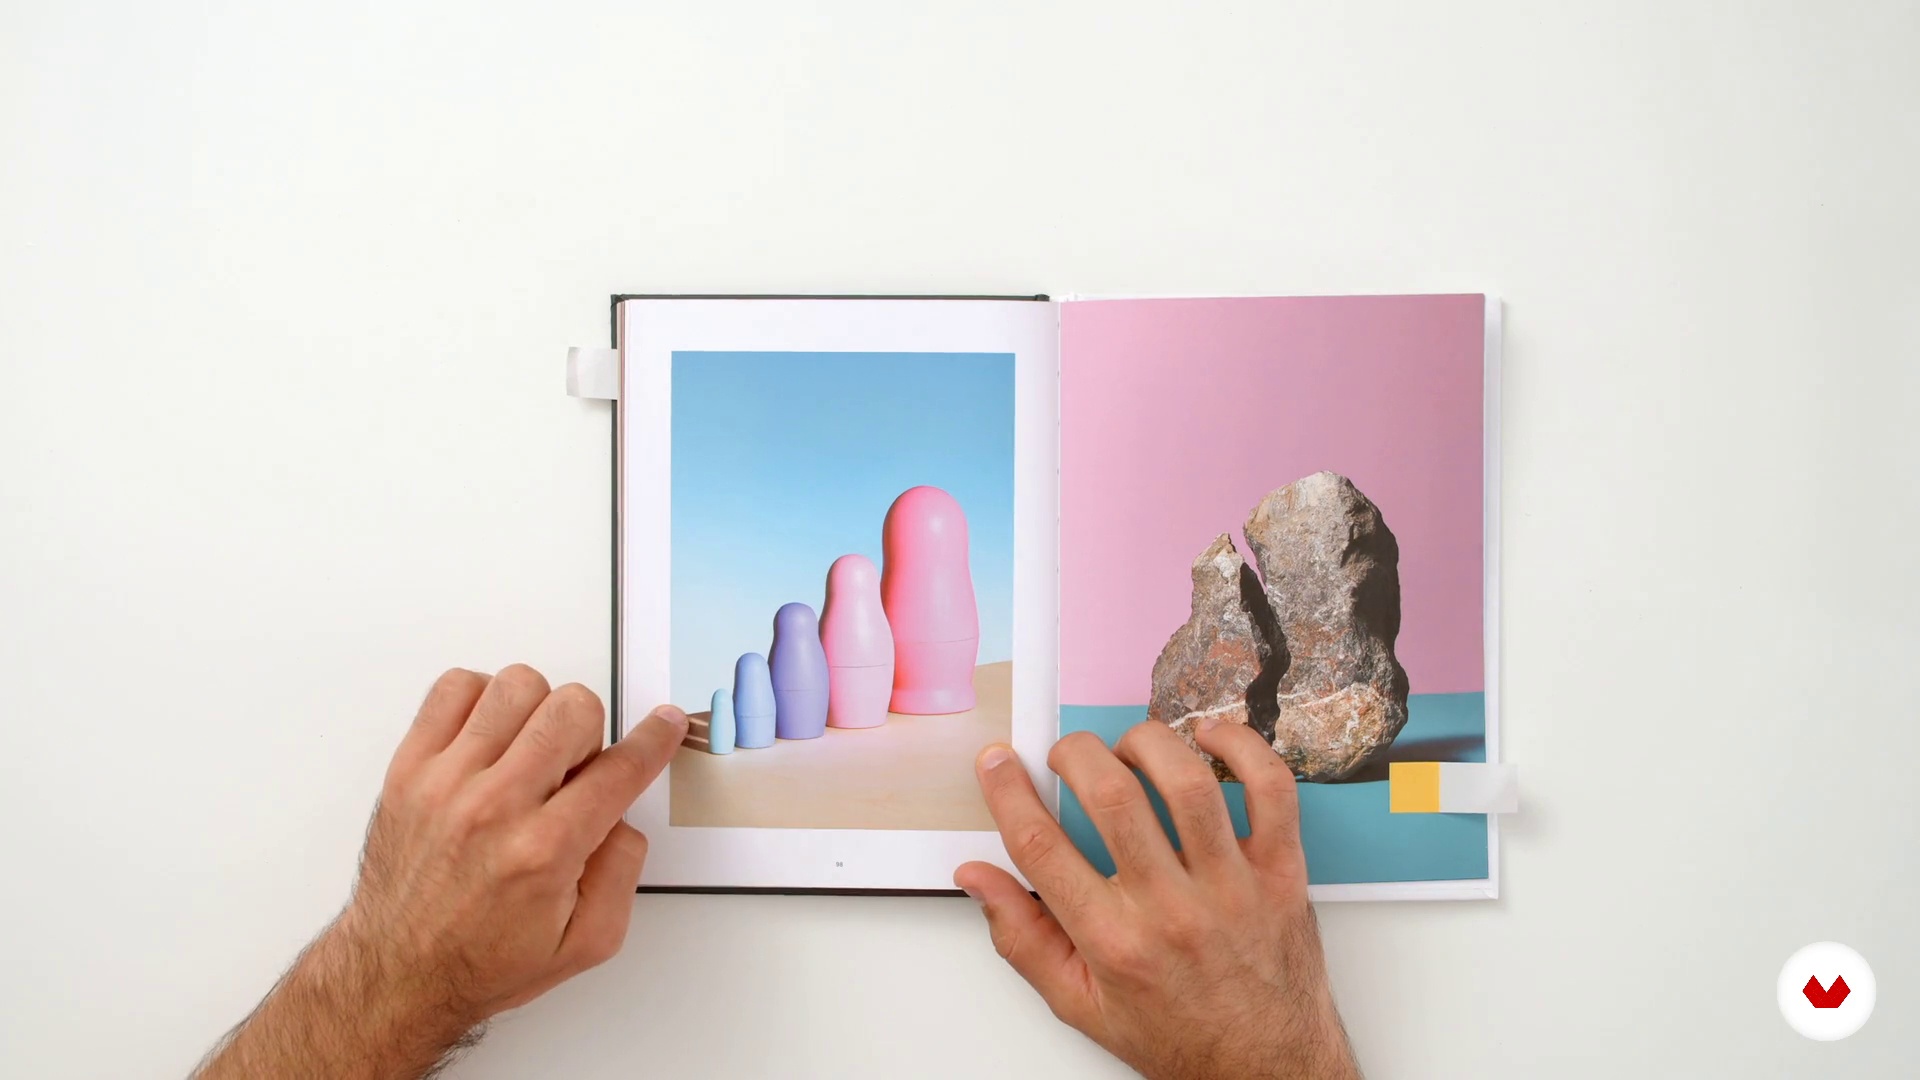
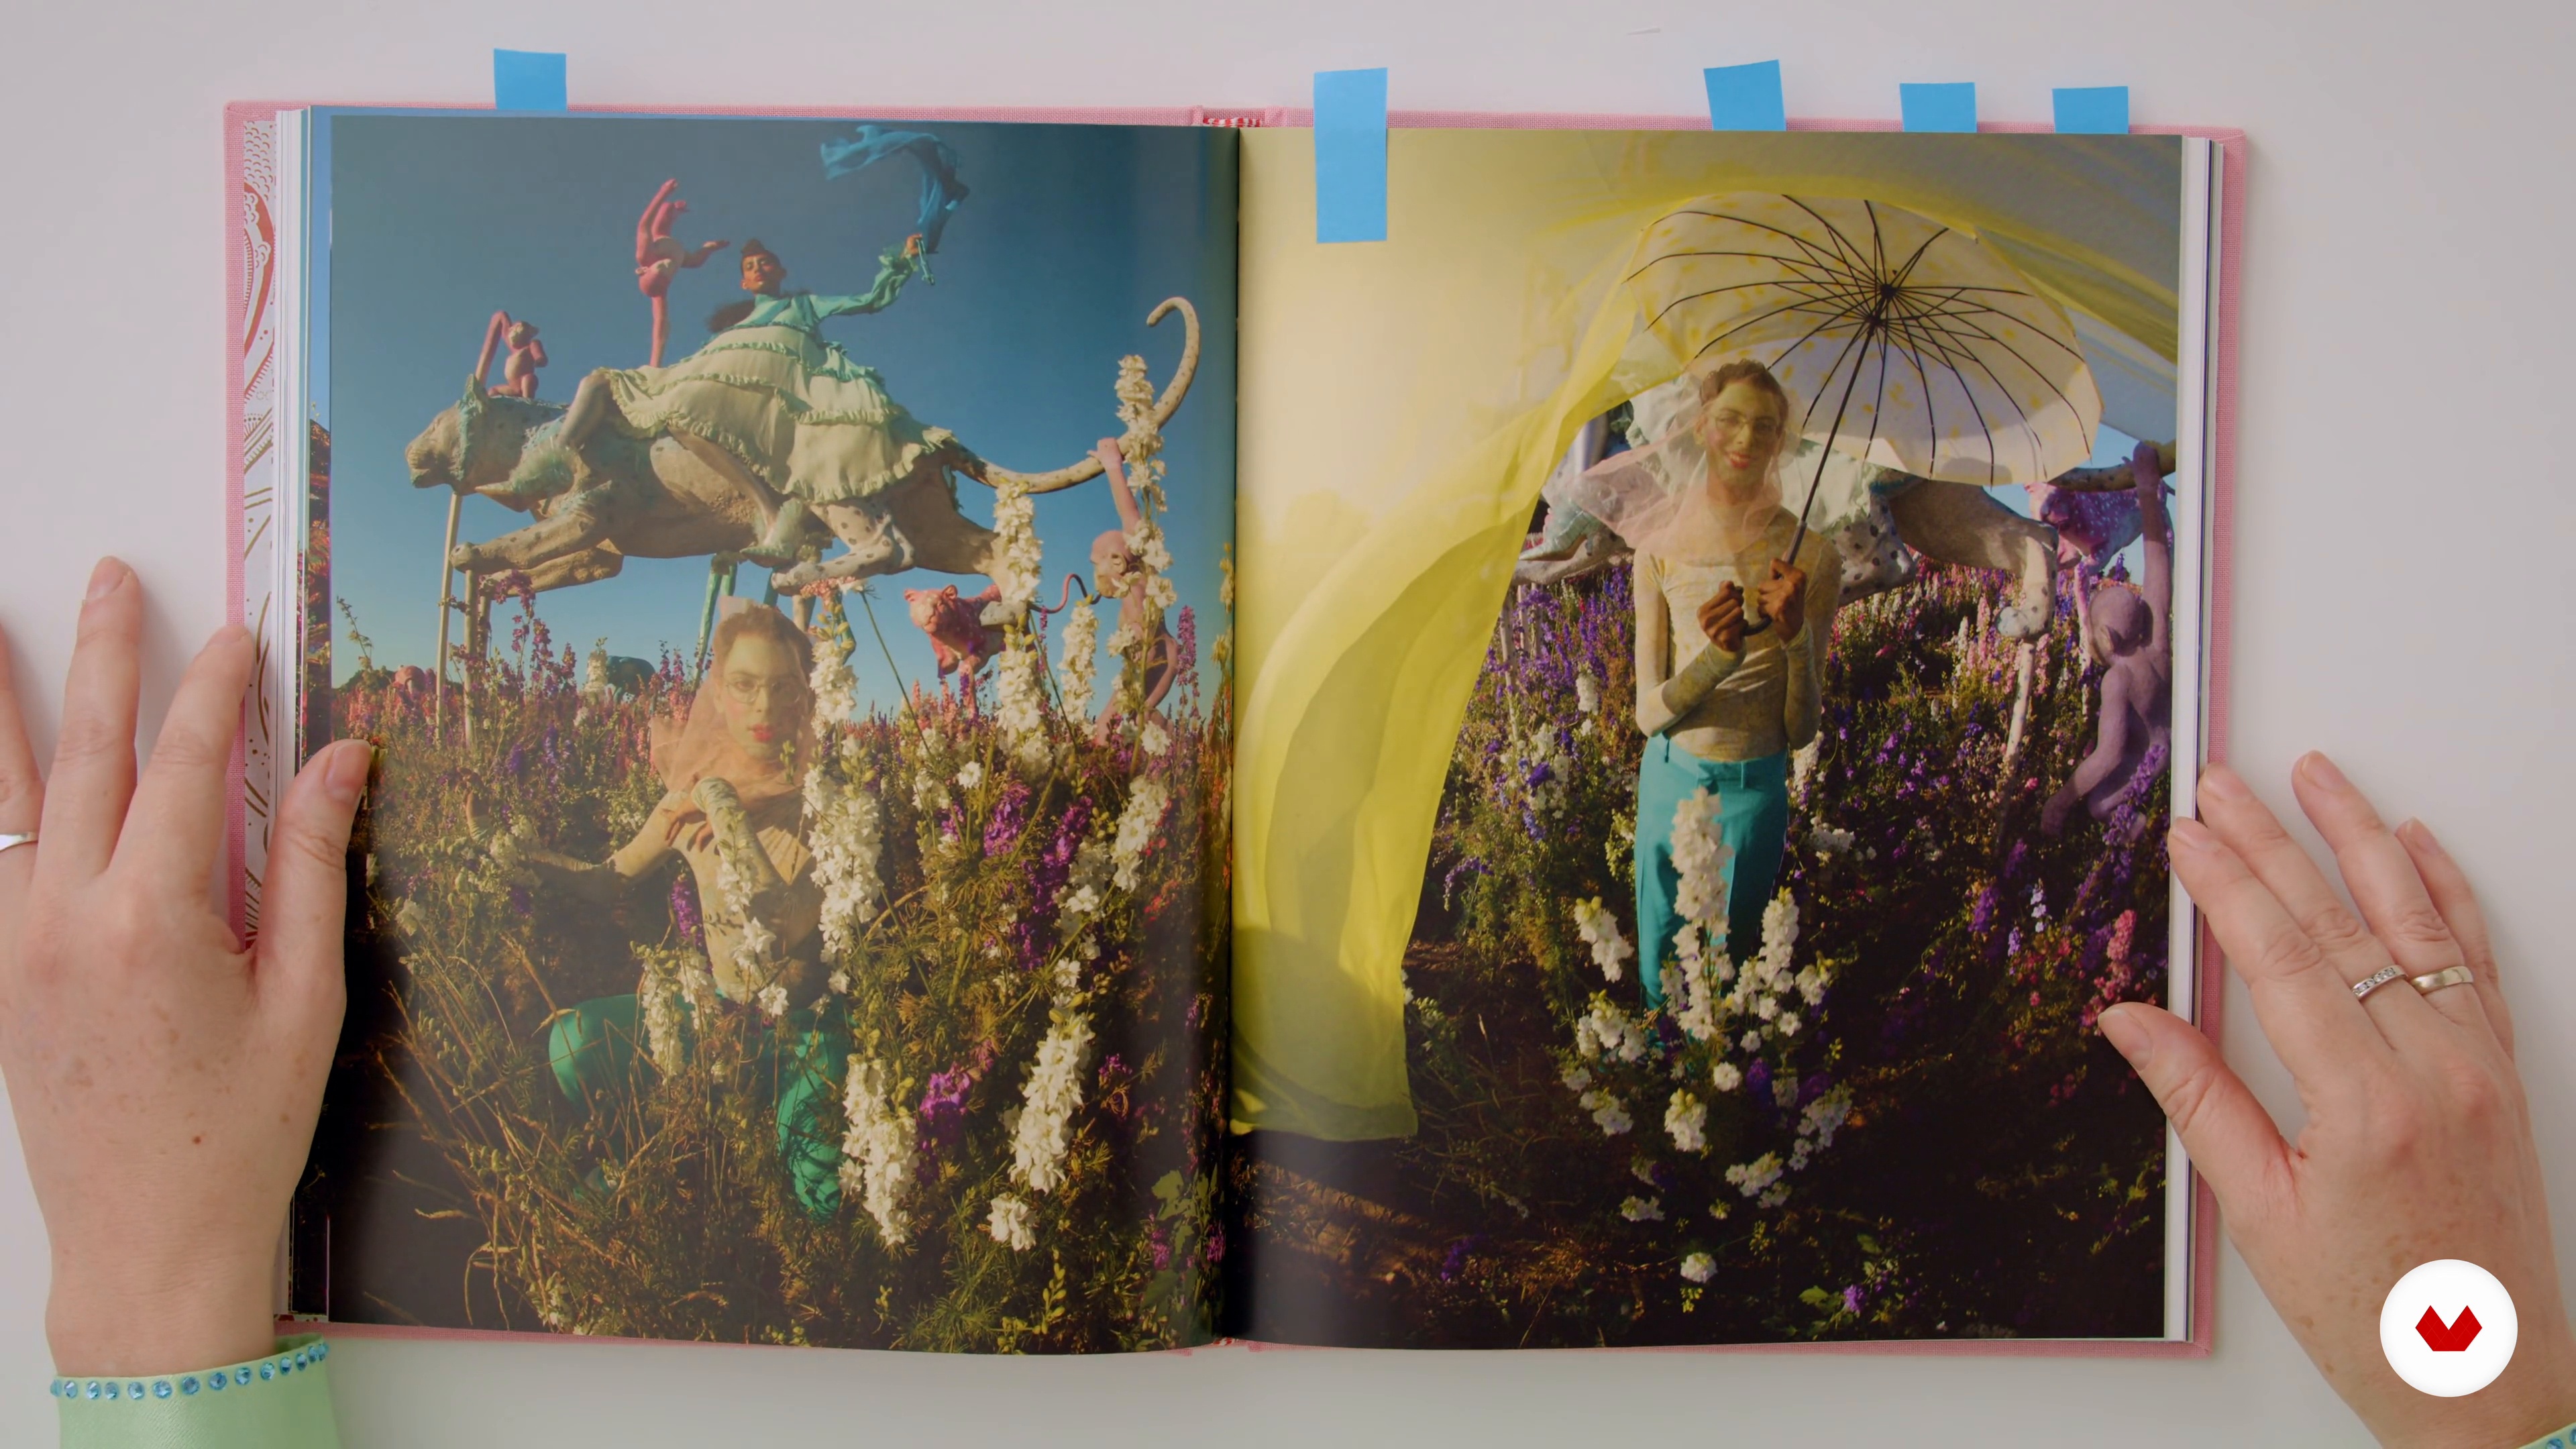
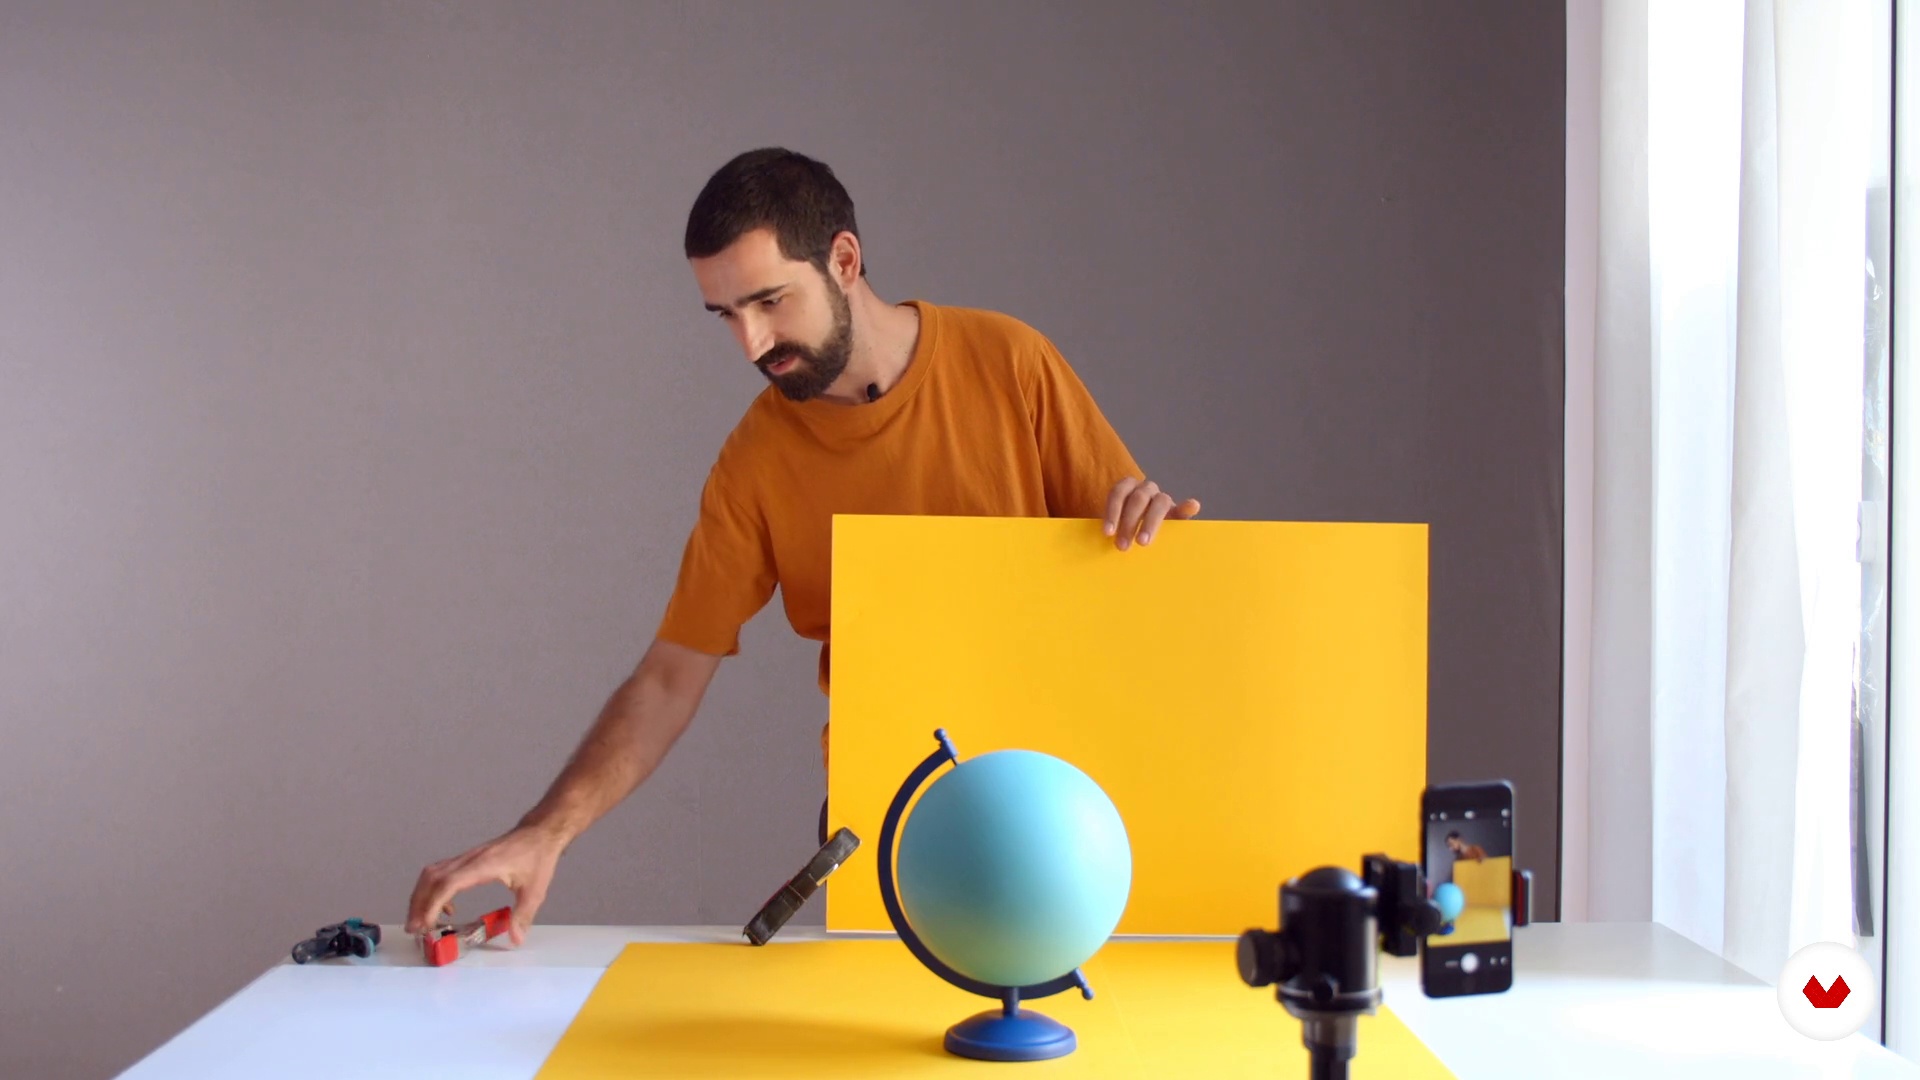
In this second lesson, we'll look at some of my still life photography references. We'll look at a photography book by Aaron Tilley and the work of Swedish photographer Philip Karlberg, as well as that of Mexican photographer Paloma Rincón. I'll also show you a great book for finding color palettes.
2m
image
3
Influences / Paloma Rincón
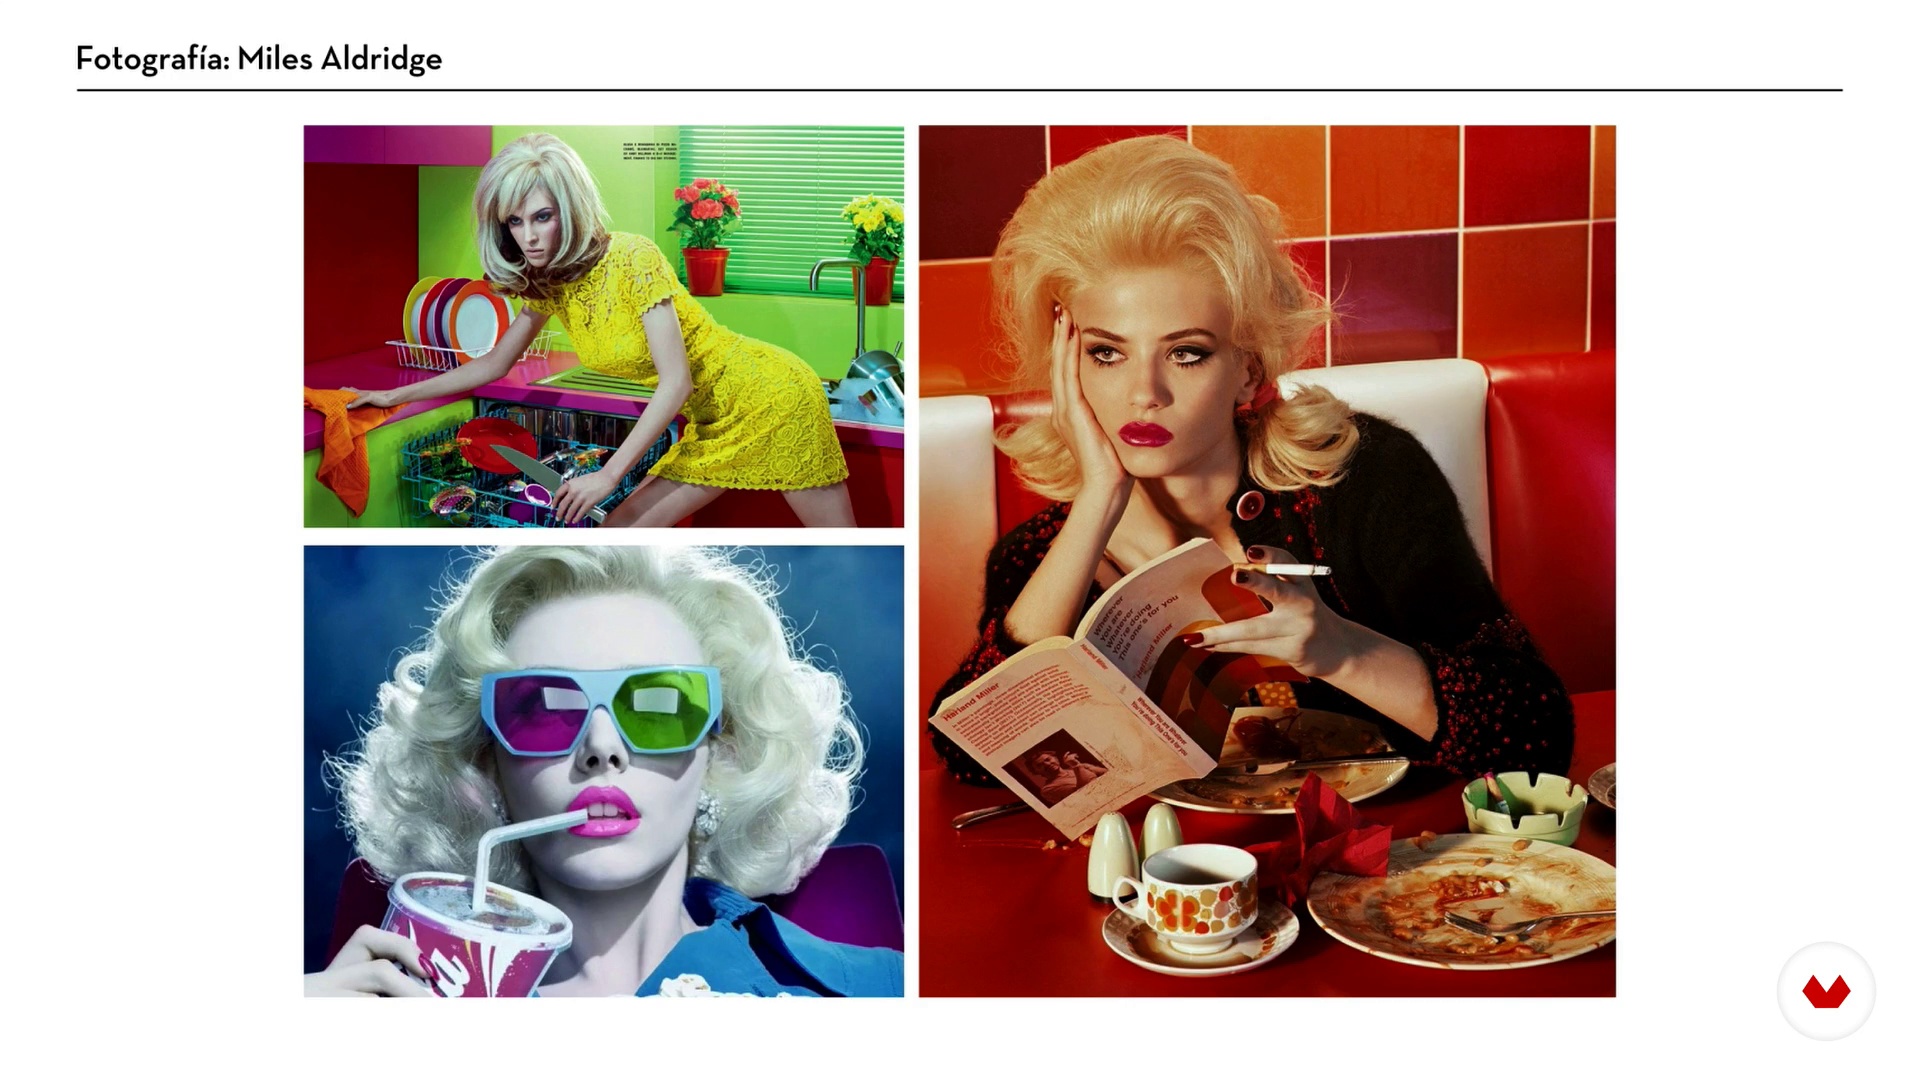
In this lesson, I'm going to talk about some artists from different disciplines whose work I find interesting and that is relevant to the type of imagery and lighting we'll be looking at in this course.
11m
image
4
Influences / Mireia Ruiz
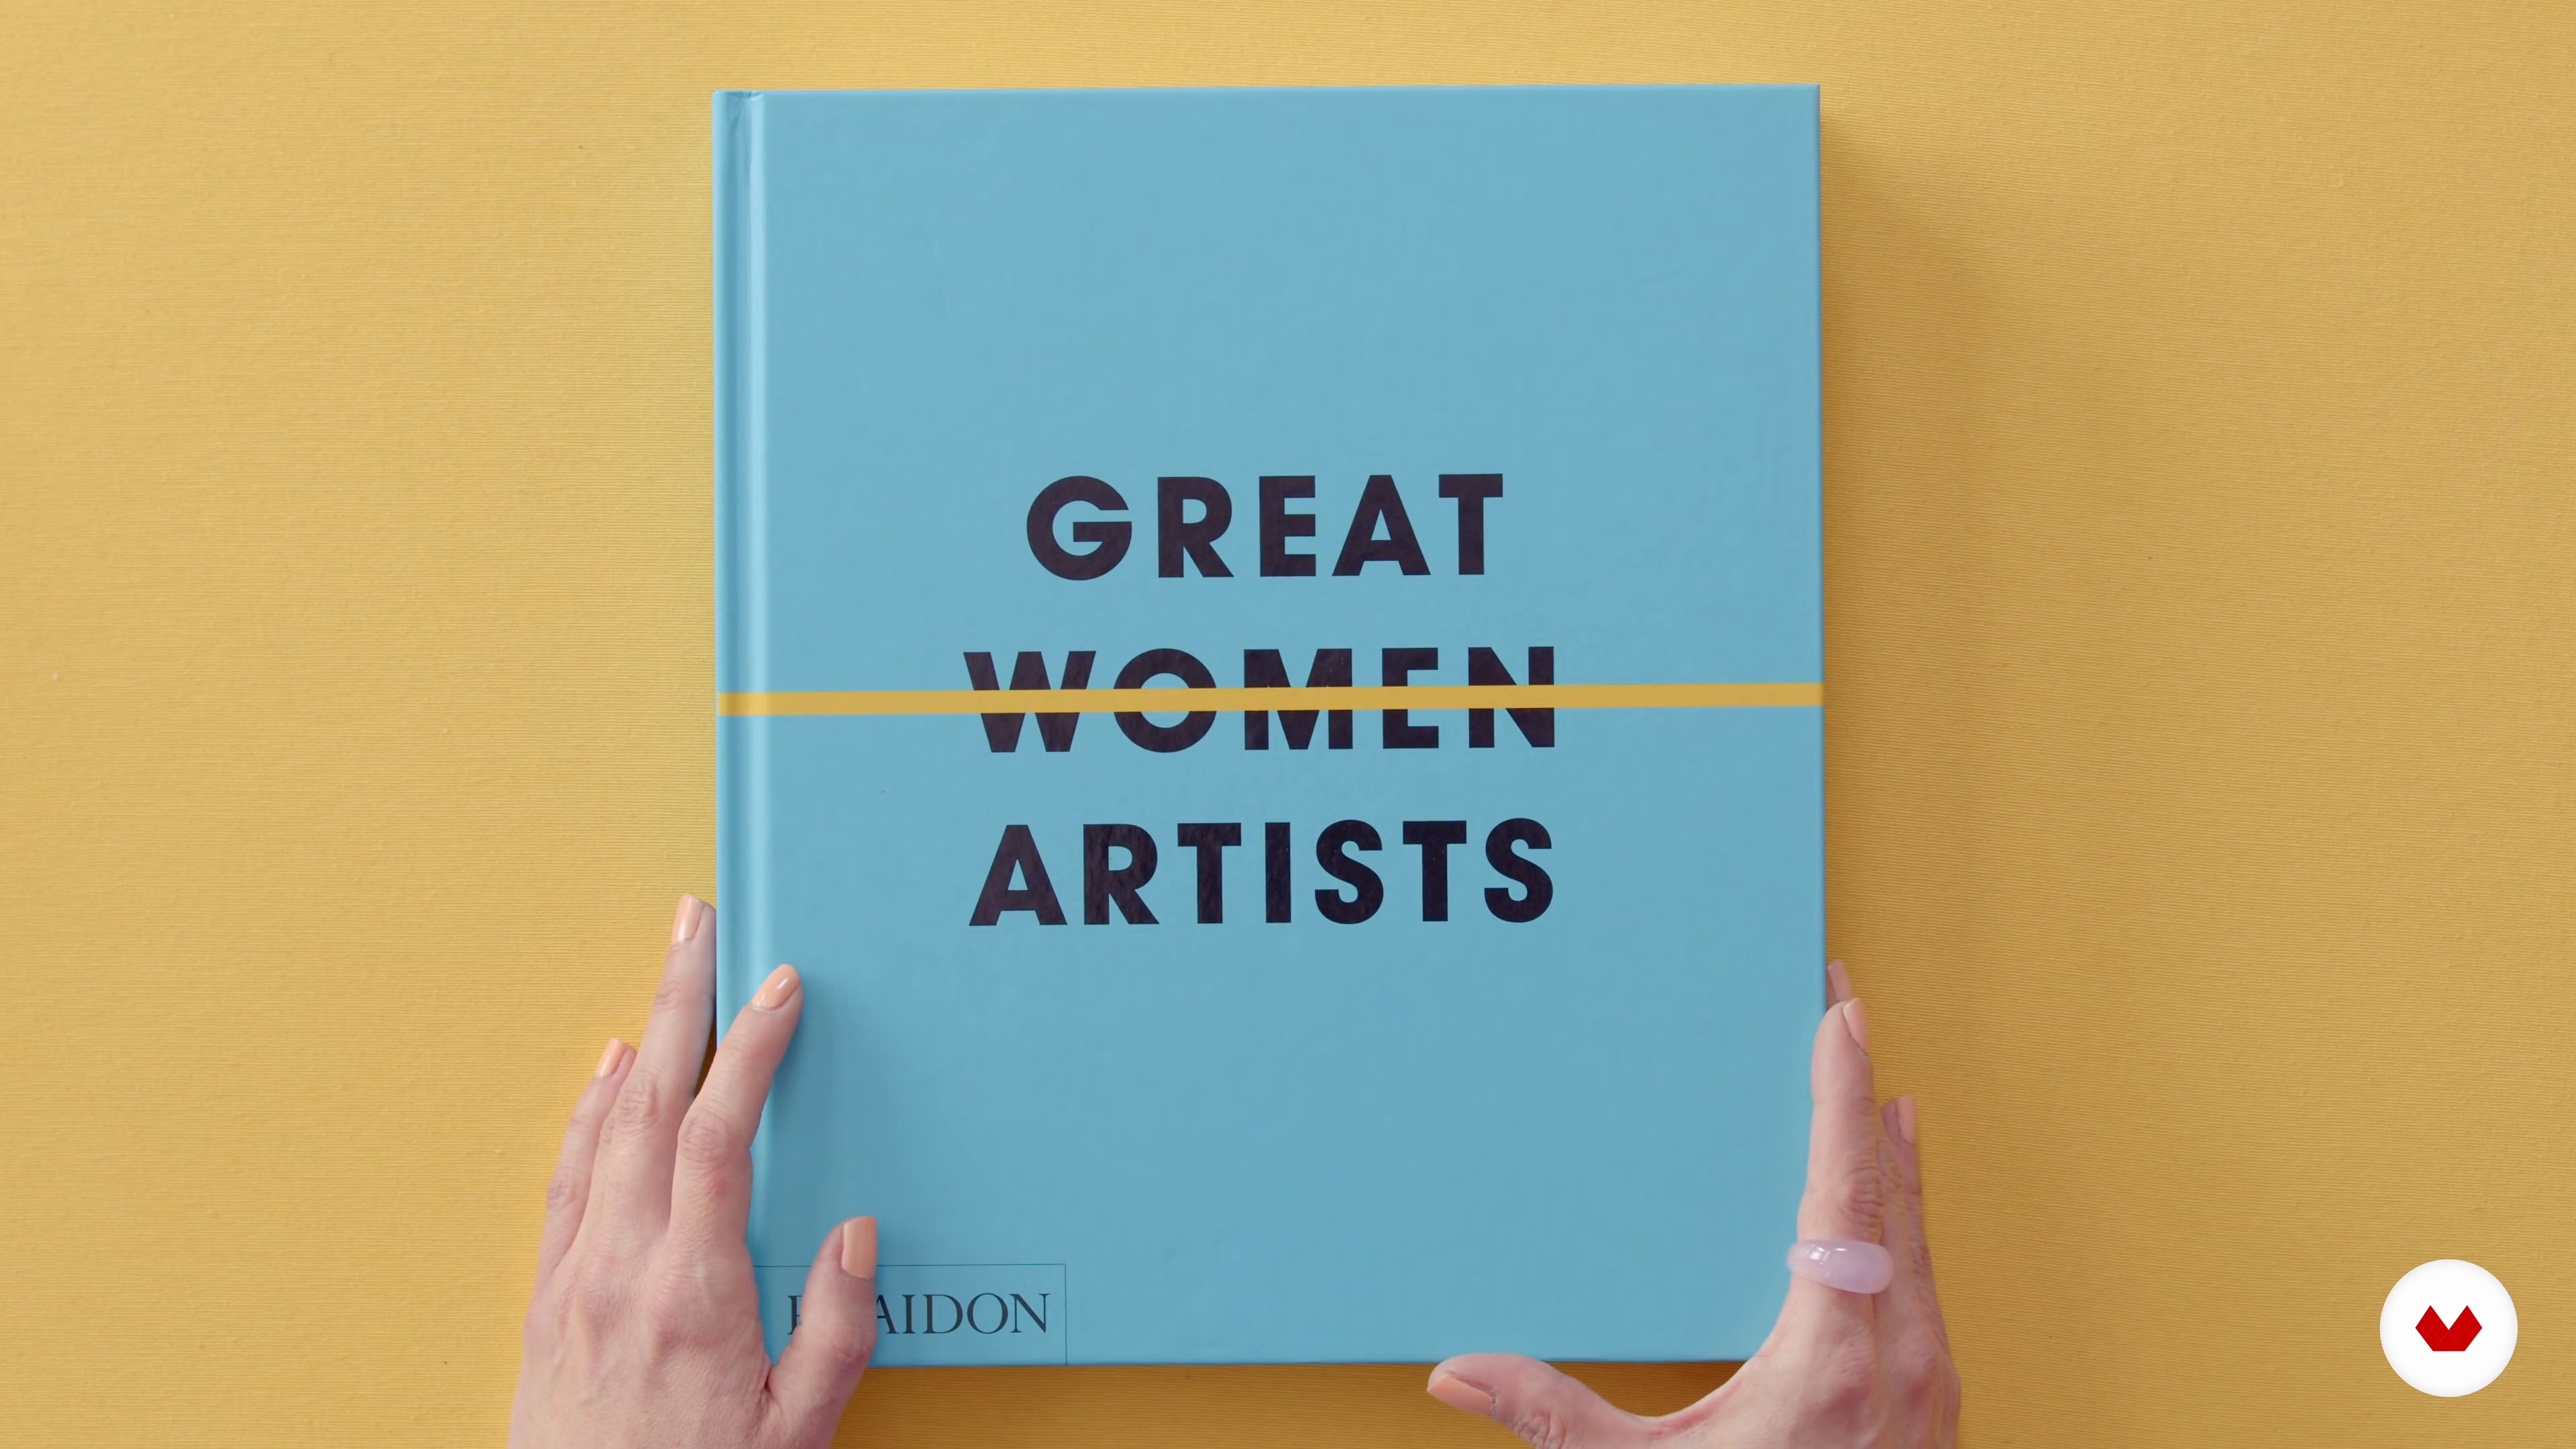
My influences could be divided into two broad groups: those from the artistic field and those specific to set design. In this lesson, I'll talk about both.
5m
image
5
Influences / Josefina Mogrovejo
Now I'll show you some of the artists who influenced and inspired me the most, and who also helped me find my personal aesthetic.
12m
image
6
Influences / I'm Blue I'm Pink
Art has had and continues to have a great influence on our work. Here, we'll show you who our greatest inspirations are and how we seek inspiration for our projects.
9m
image
7
Influences / Paola Sanabria
An essential part of my work is influences—understanding how other people's art can help guide your own and give it a perspective on what you want. Here, I'll tell you who has inspired my career in different aspects of photography.
3m
image
1
The camera
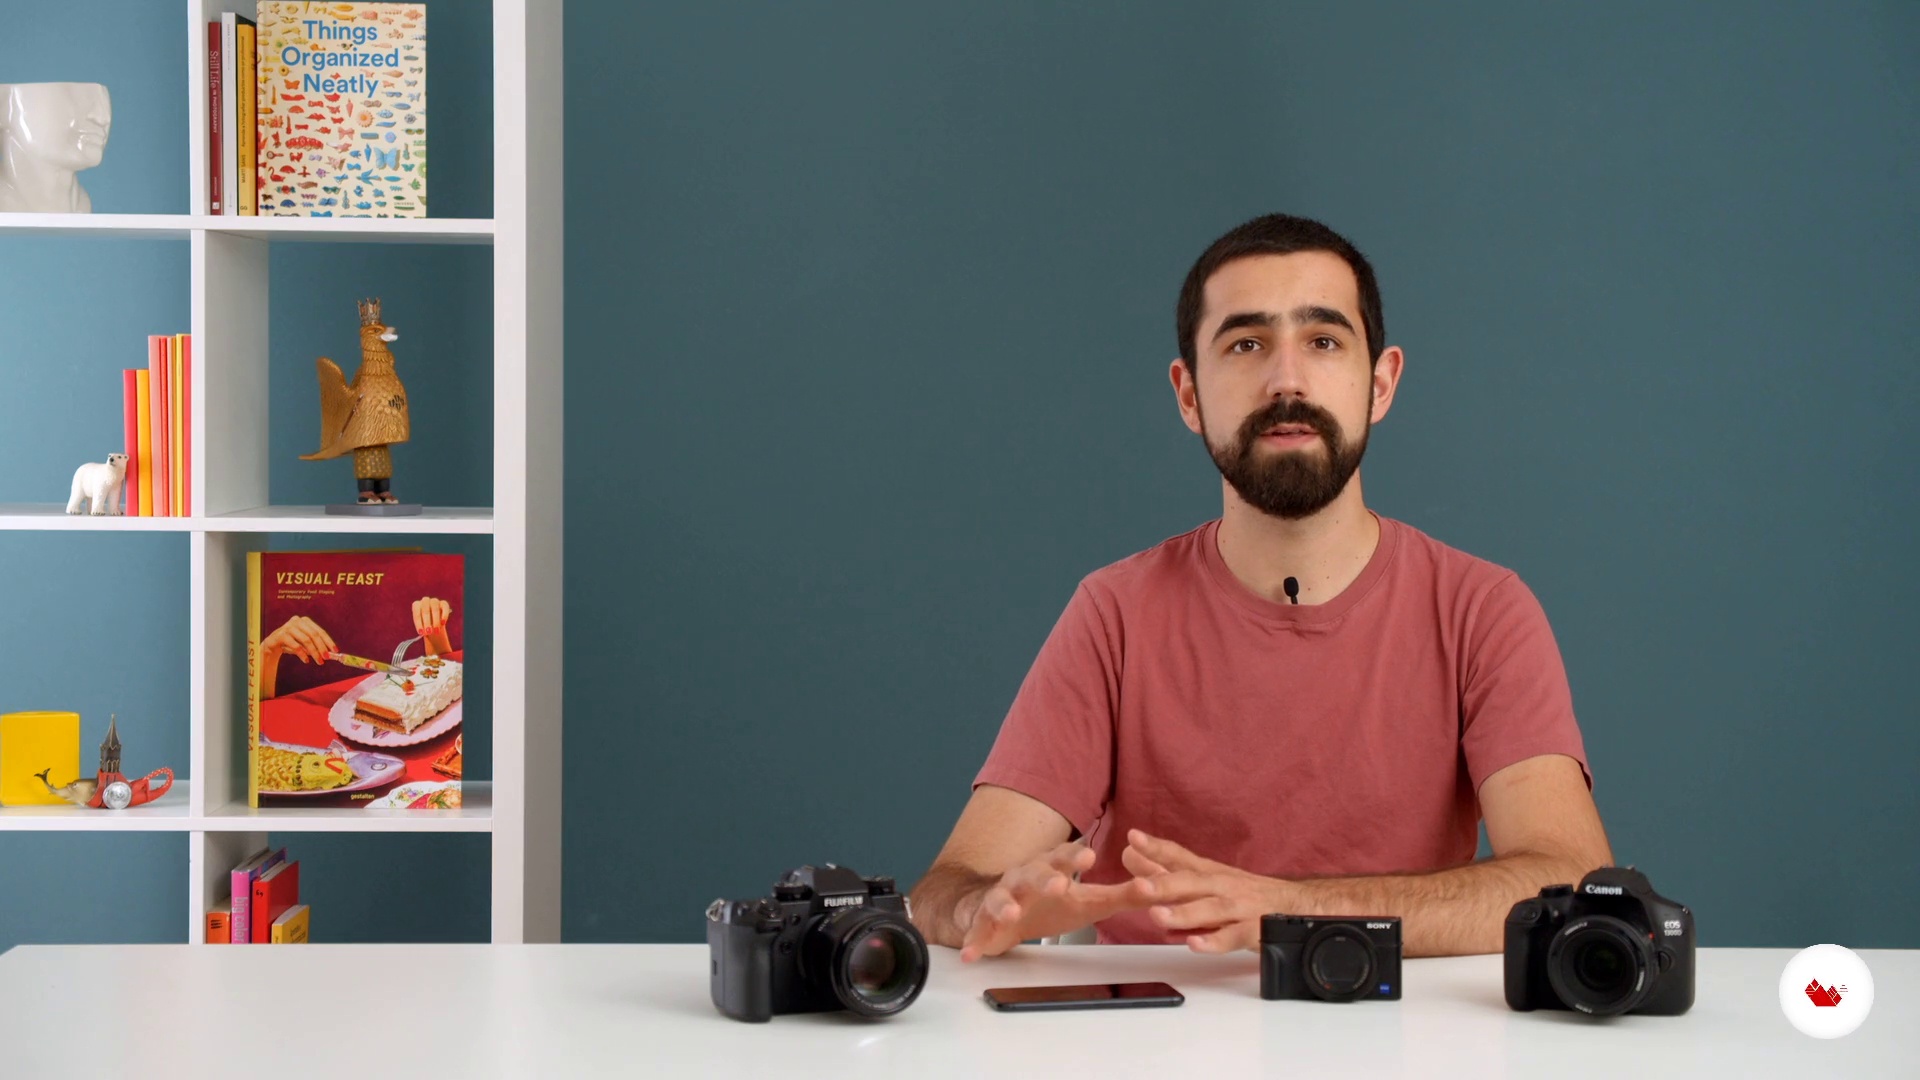
In this first lesson, we'll quickly review the different types of cameras we'll use in the course, and review some basic control parameters (aperture, shutter speed, and ISO). This lesson may be useful to refresh some concepts.
9m
image
2
The color of light
We'll give a basic explanation of how color temperature works in photography and how it can affect our images. We'll look at how to adjust the white balance on our camera, and the advantages of shooting in RAW format.
2m
image
3
Light form
In this lesson, we'll look at how light can take many different forms, and how we can control/master it to achieve the type of lighting we want. We will also see how to use reflectors to create “extra” points of light without another lamp.
2m
image
4
Paper diffusers
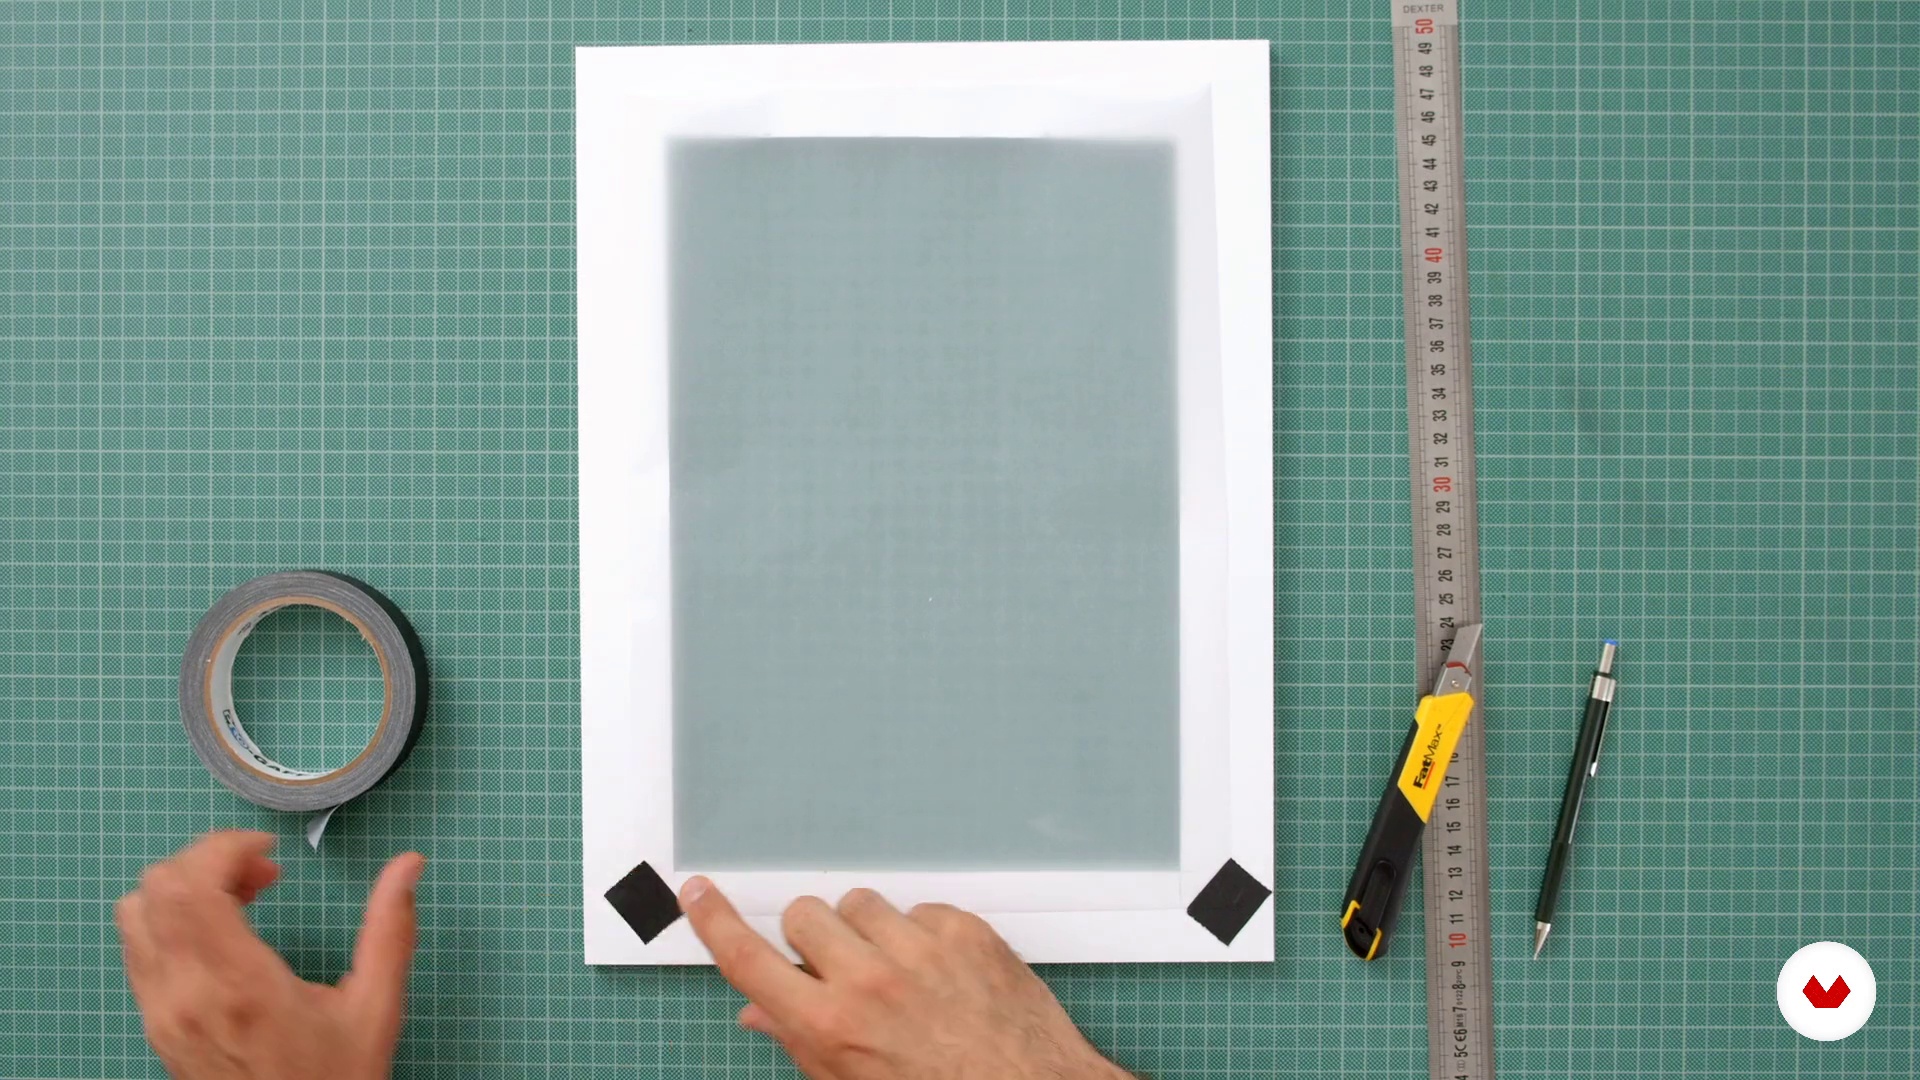
We'll make some homemade diffusers to diffuse the light and create softer shadows. We'll use foam board, tracing paper, and a bit of tape.
2m
image
5
Natural light
We'll look at the basic principles of working with natural light, and how to modify it to achieve the desired lighting.
1m
image
6
Still life with natural light
We will create the still life using natural light on a table, with the mobile phone connected to the computer.
4m
image
7
Postproduction
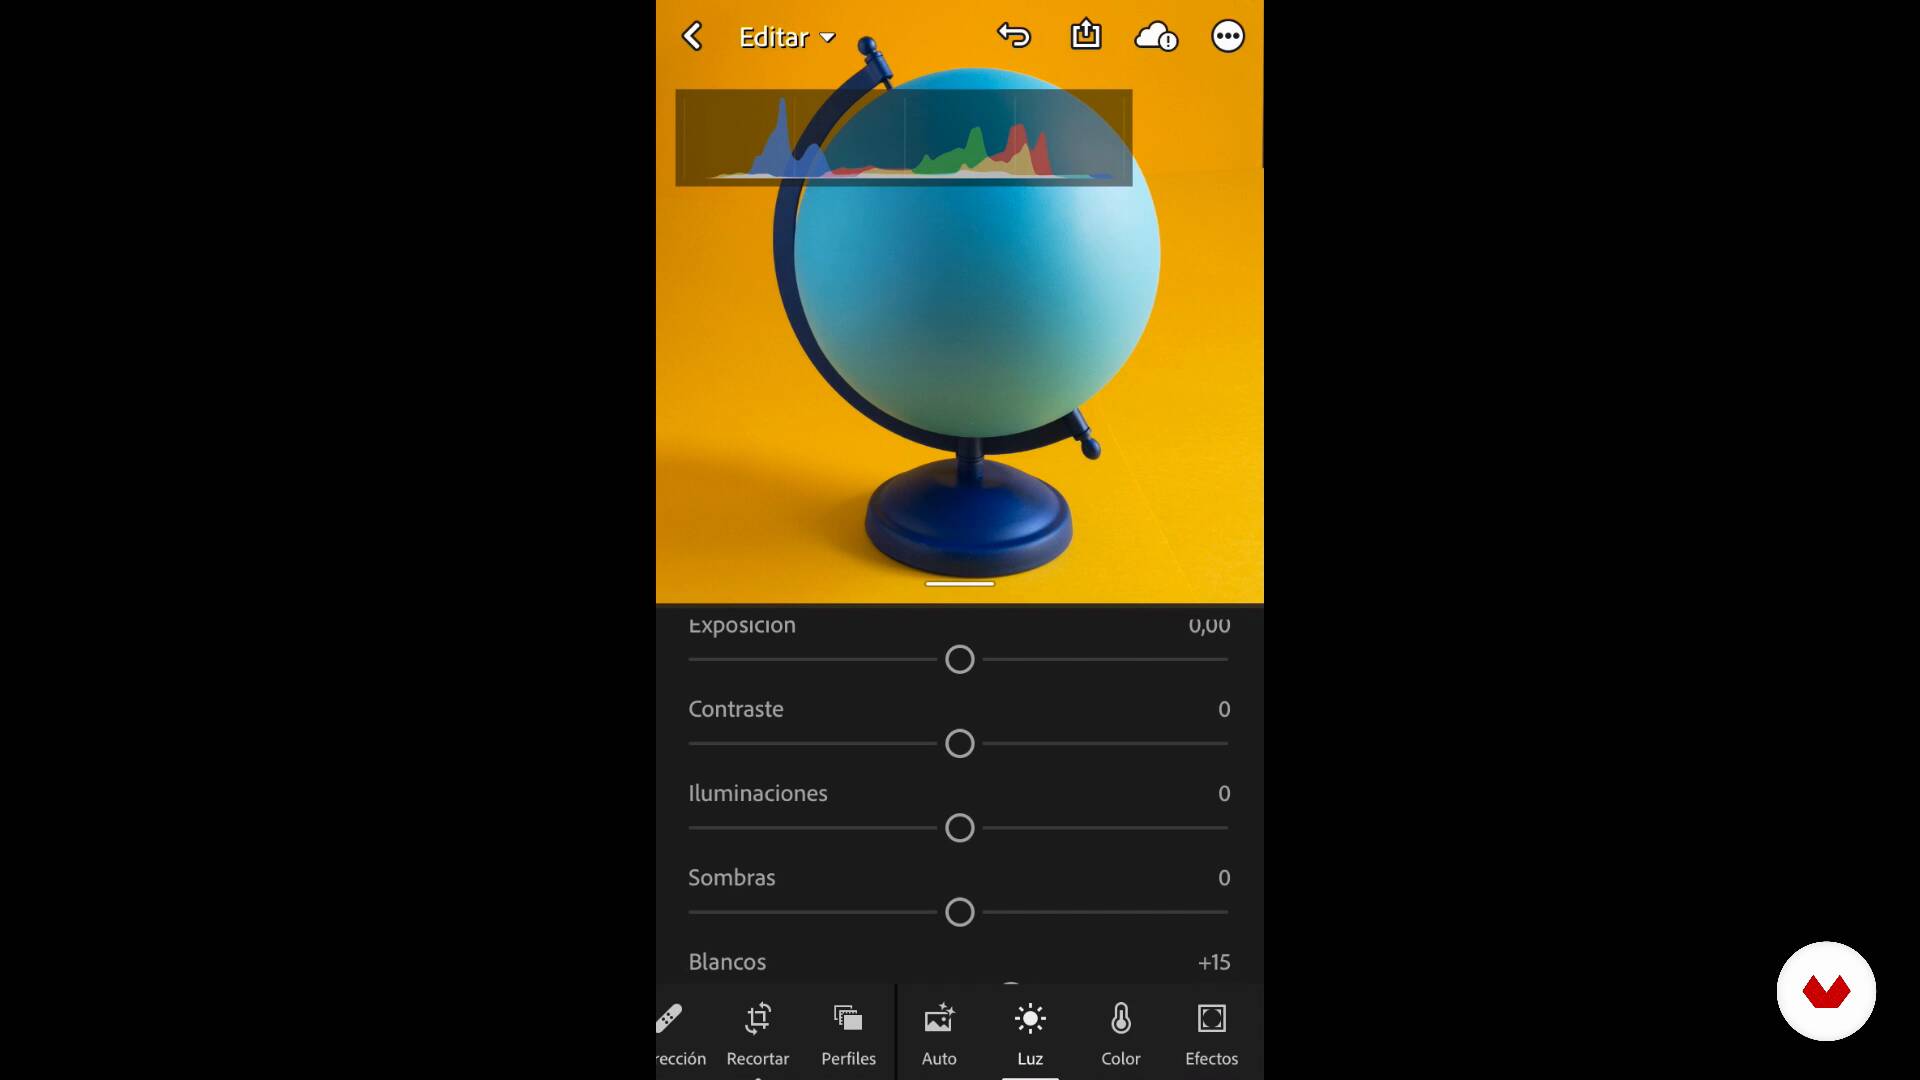
In this lesson we will do the post-production of the photograph taken in the unit.
4m
image
8
Work with lamps
In this lesson, I'll give an introduction to working with conventional photography lights, including the types of bulbs used, and other things to keep in mind.
1m
image
9
Still life with desk lamp
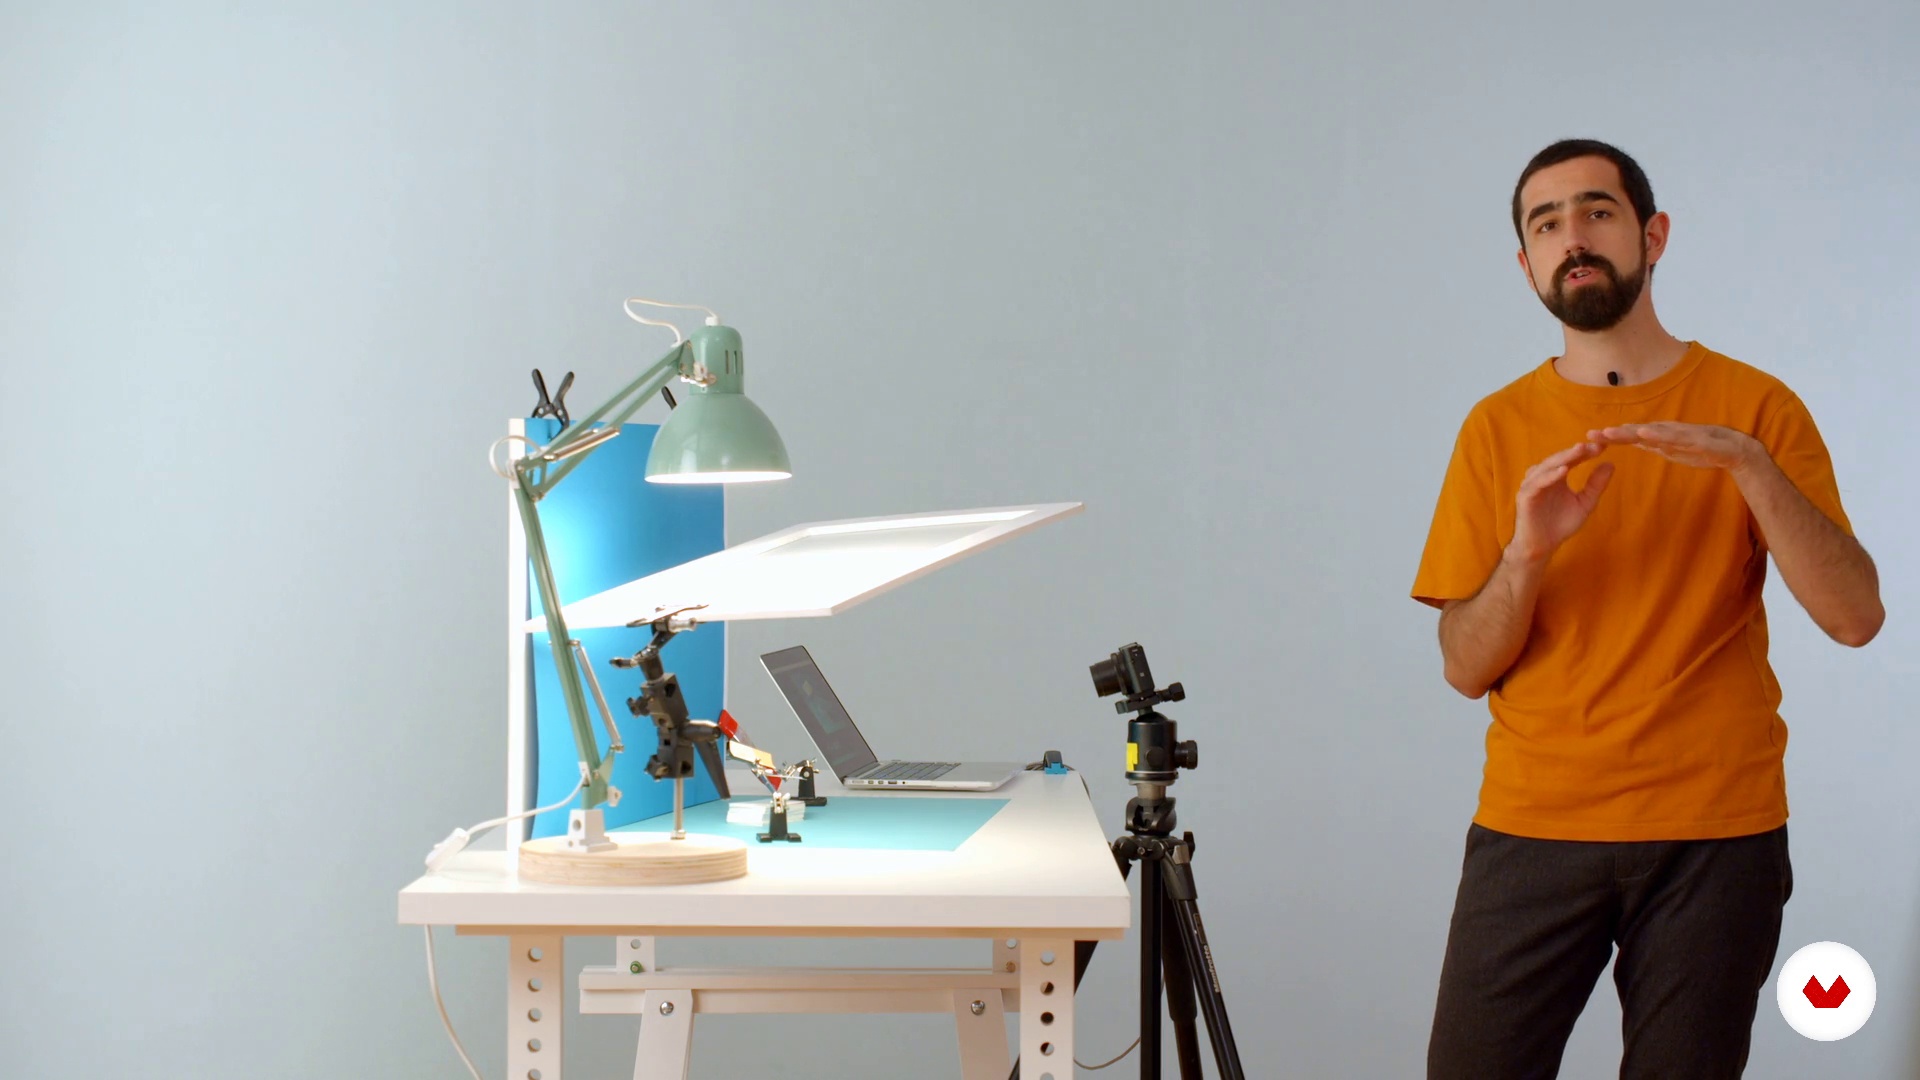
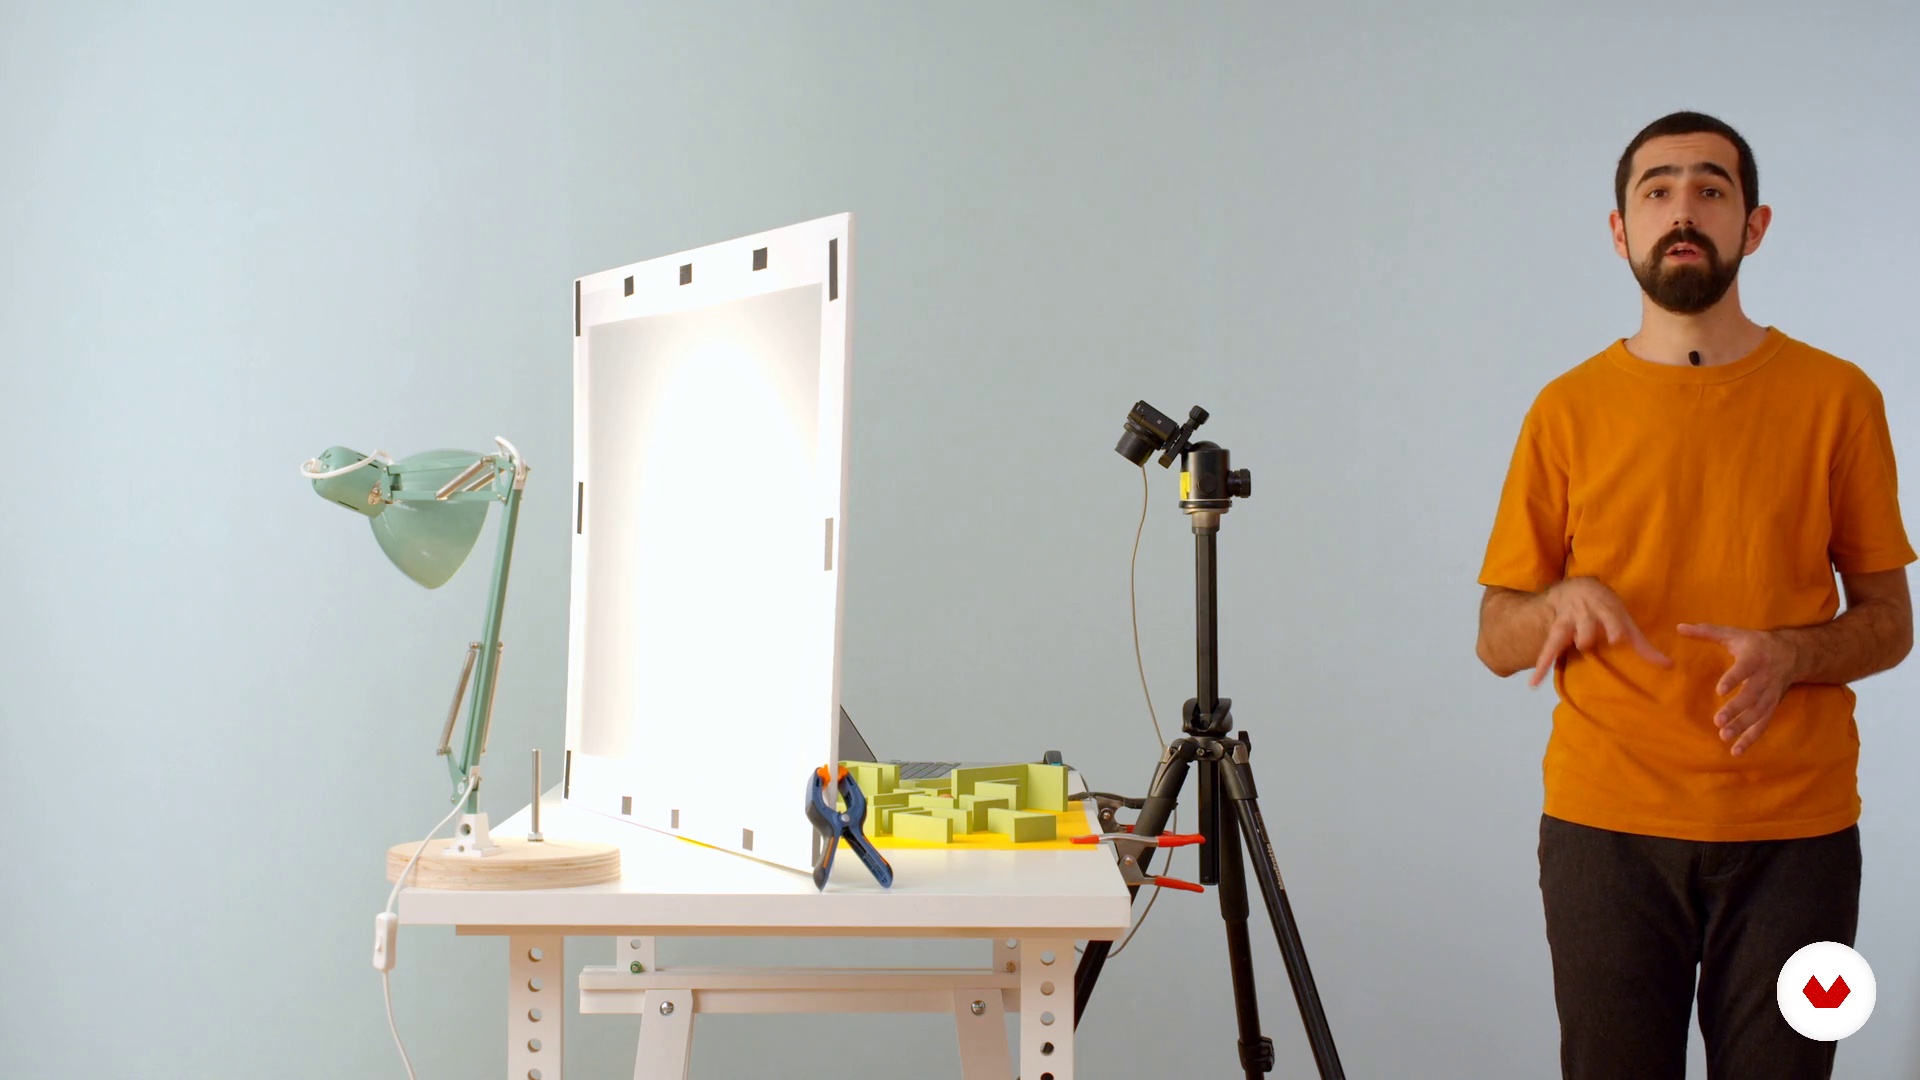
In this unit, we'll see how to create a unique still life of business cards using only a desk lamp with a screw-in bulb.
11m
image
10
Still life in motion with desk lamp
In this second example, we will use the same type of lamp to create a still life with moving elements.
12m
image
11
Postproduction I
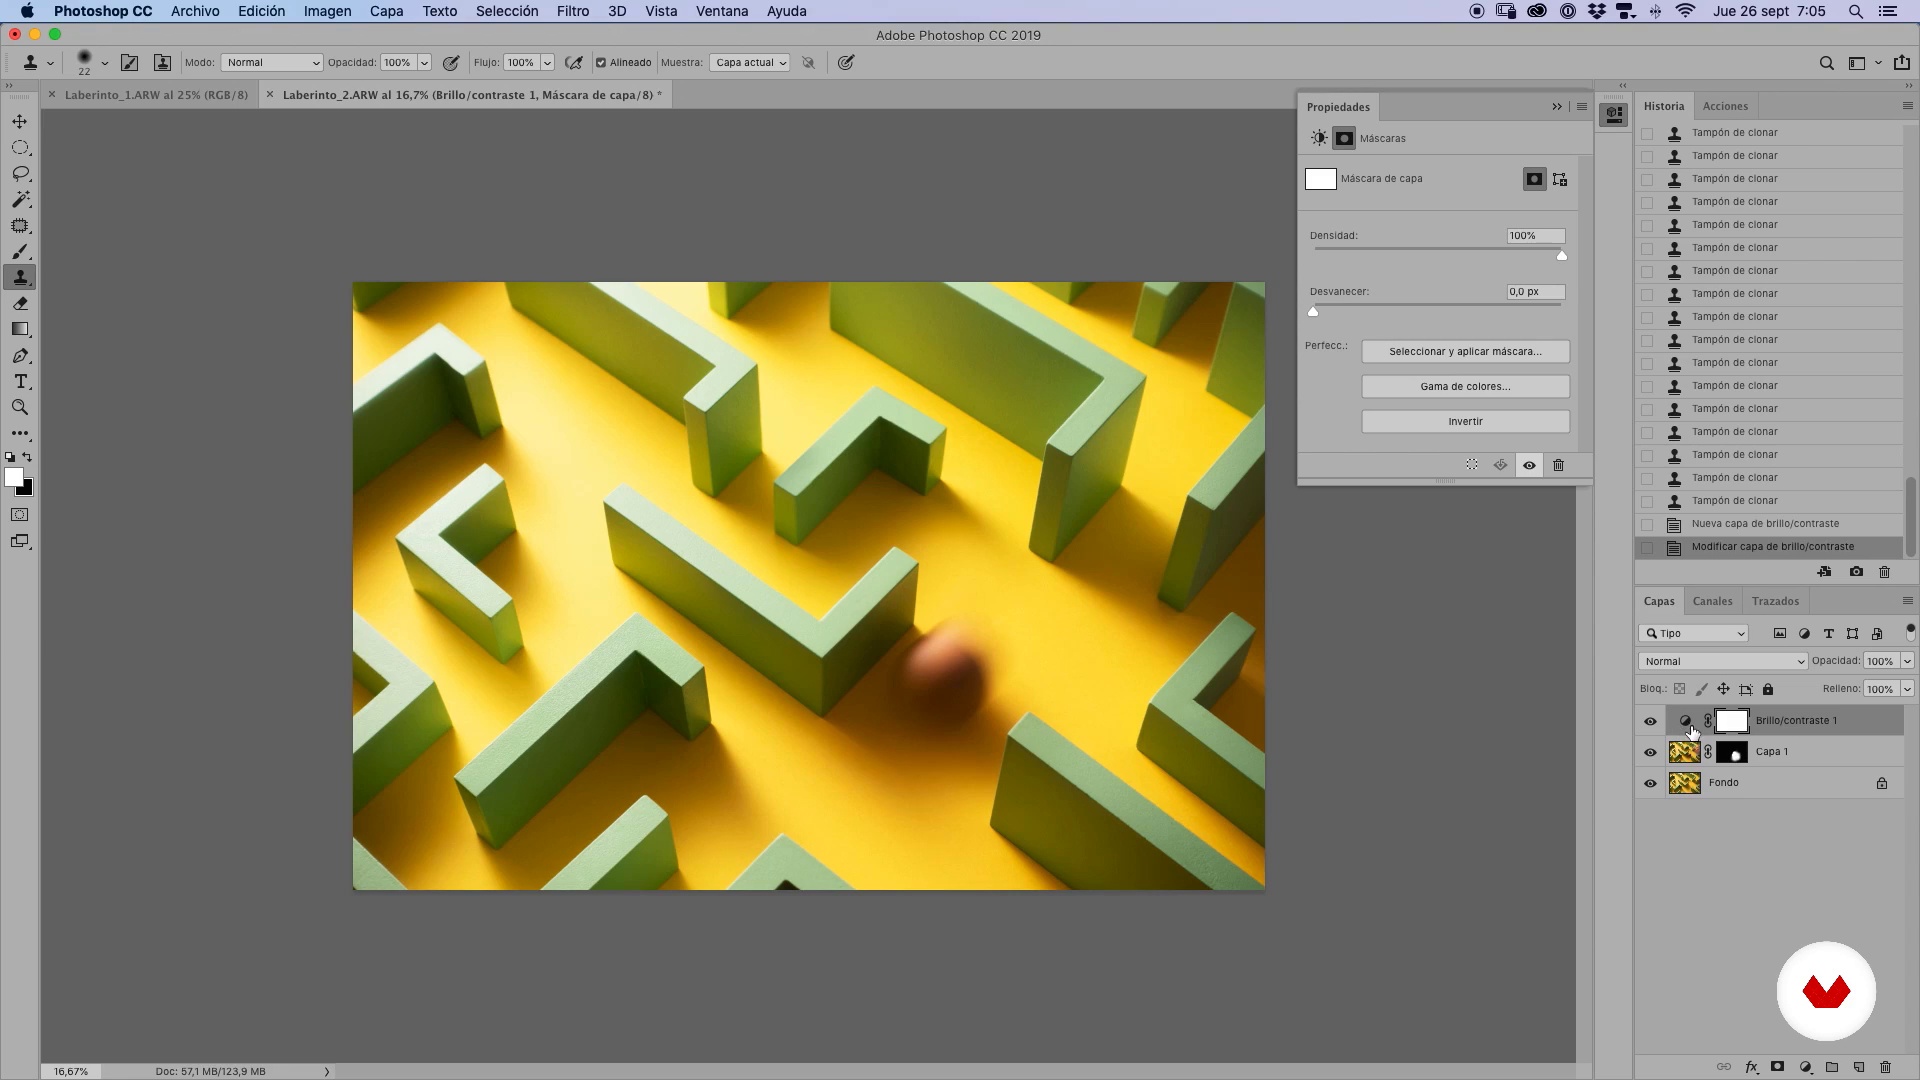
In this lesson we will post-produce a photo taken with a desk lamp.
12m
image
12
Postproduction II
In this lesson we will post-produce a photograph taken with a desk lamp with moving elements.
10m
image
13
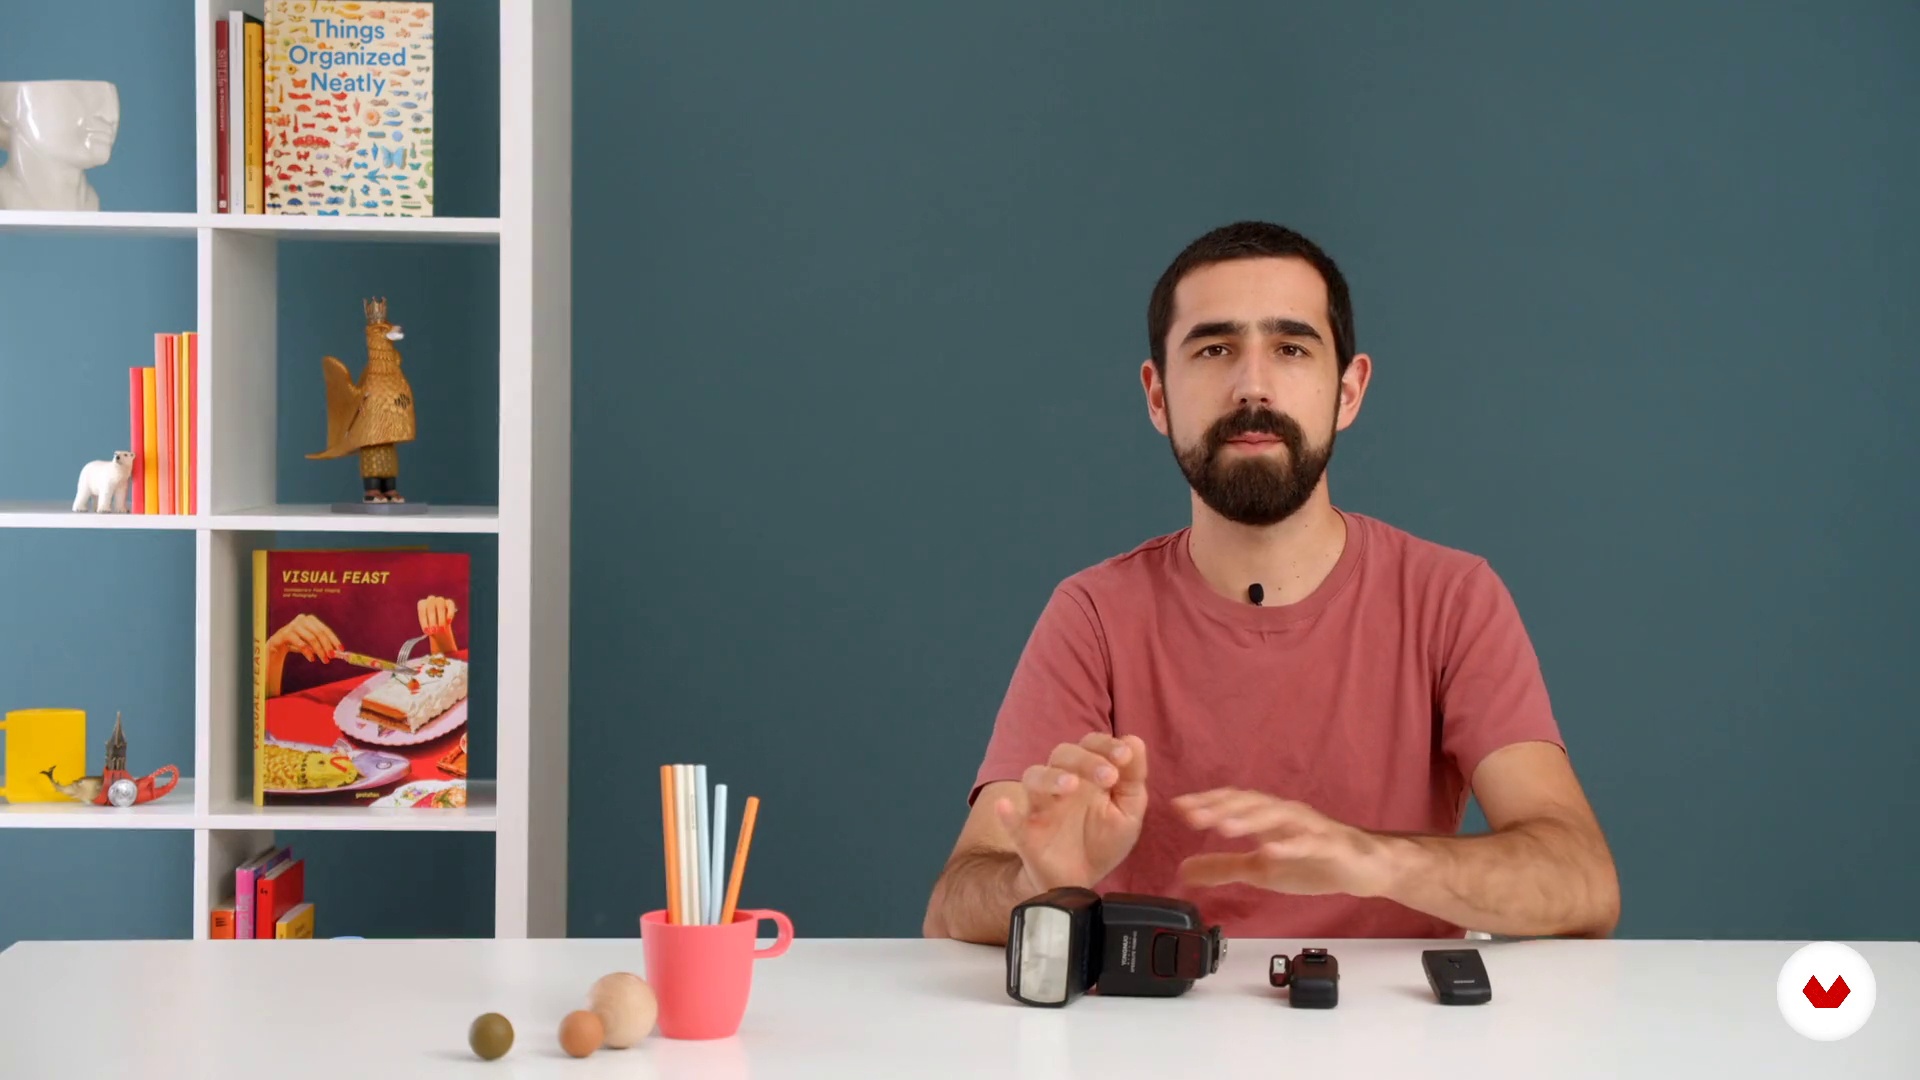
Work with hand flash
In this lesson I will give a basic introduction to how a handheld flash works, and the accessories needed to use it.
1m
image
14
Still life with hand flash
In this lesson, we'll use a handheld flash that sits on top of the camera. We'll see how to use this small flash to illuminate a still life.
10m
image
15
Postproduction
In this lesson we will do the post-production of the photograph taken with handheld flash.
9m
image
16
The studio flash
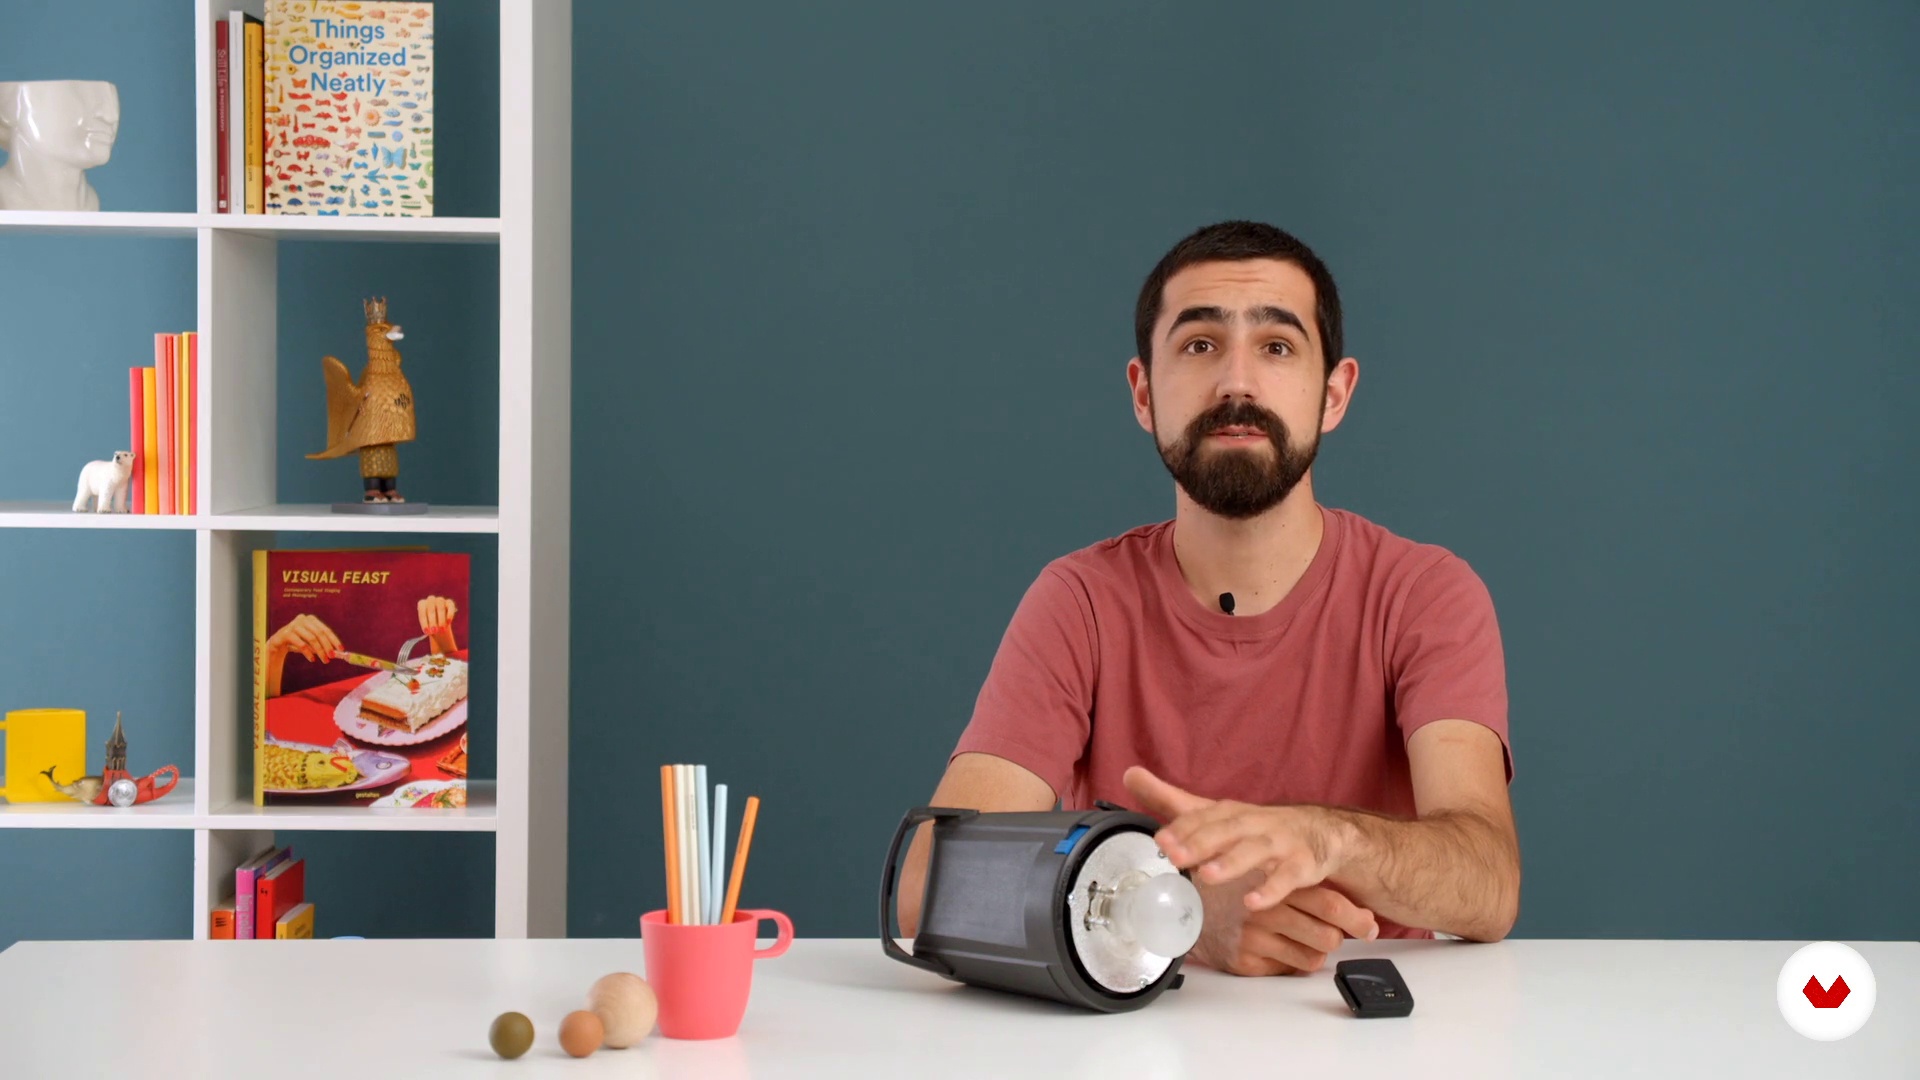
In this lesson I will give an introduction to the basic operation of a studio flash.
1m
image
17
Still life with studio flash
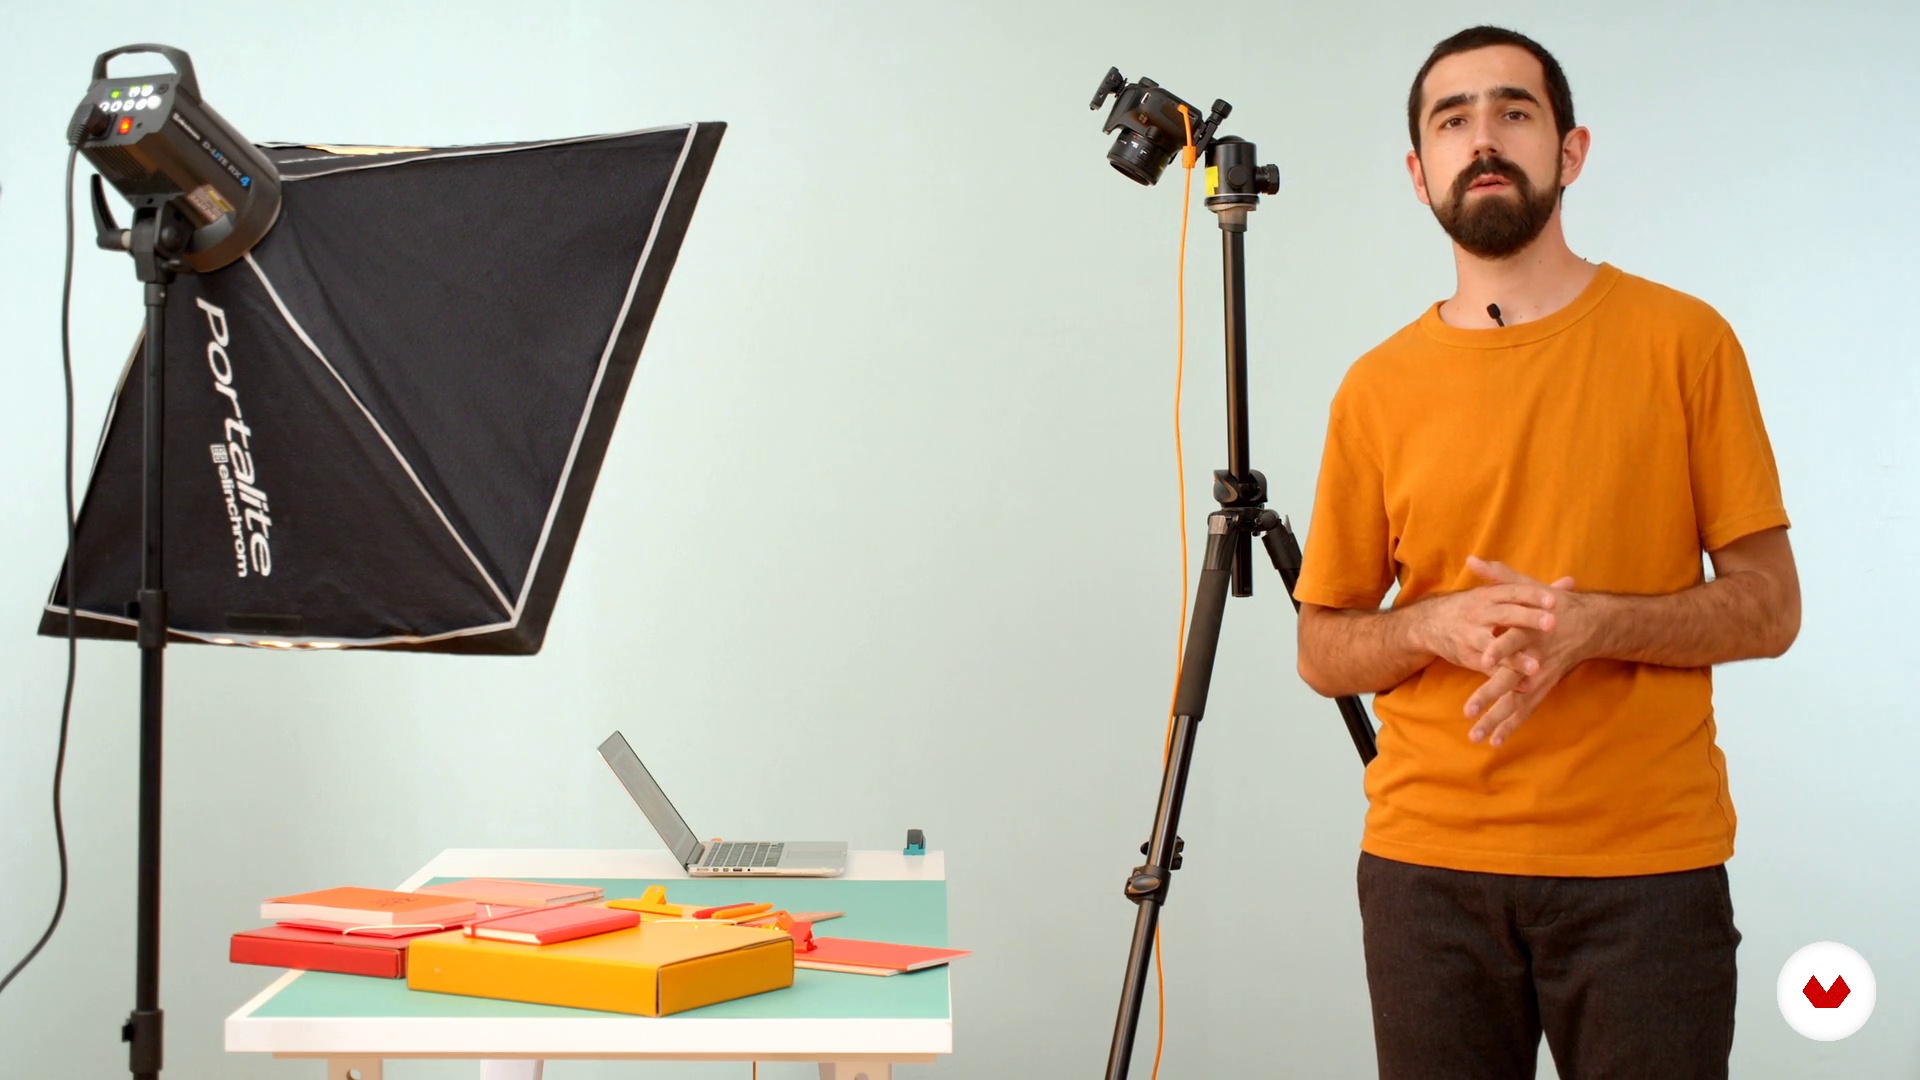
Now we will see how to photograph an object using a studio flash in a simple way.
12m
image
18
Postproduction
In this lesson we will post-produce the photograph taken in the unit with a studio flash.
10m
image
1
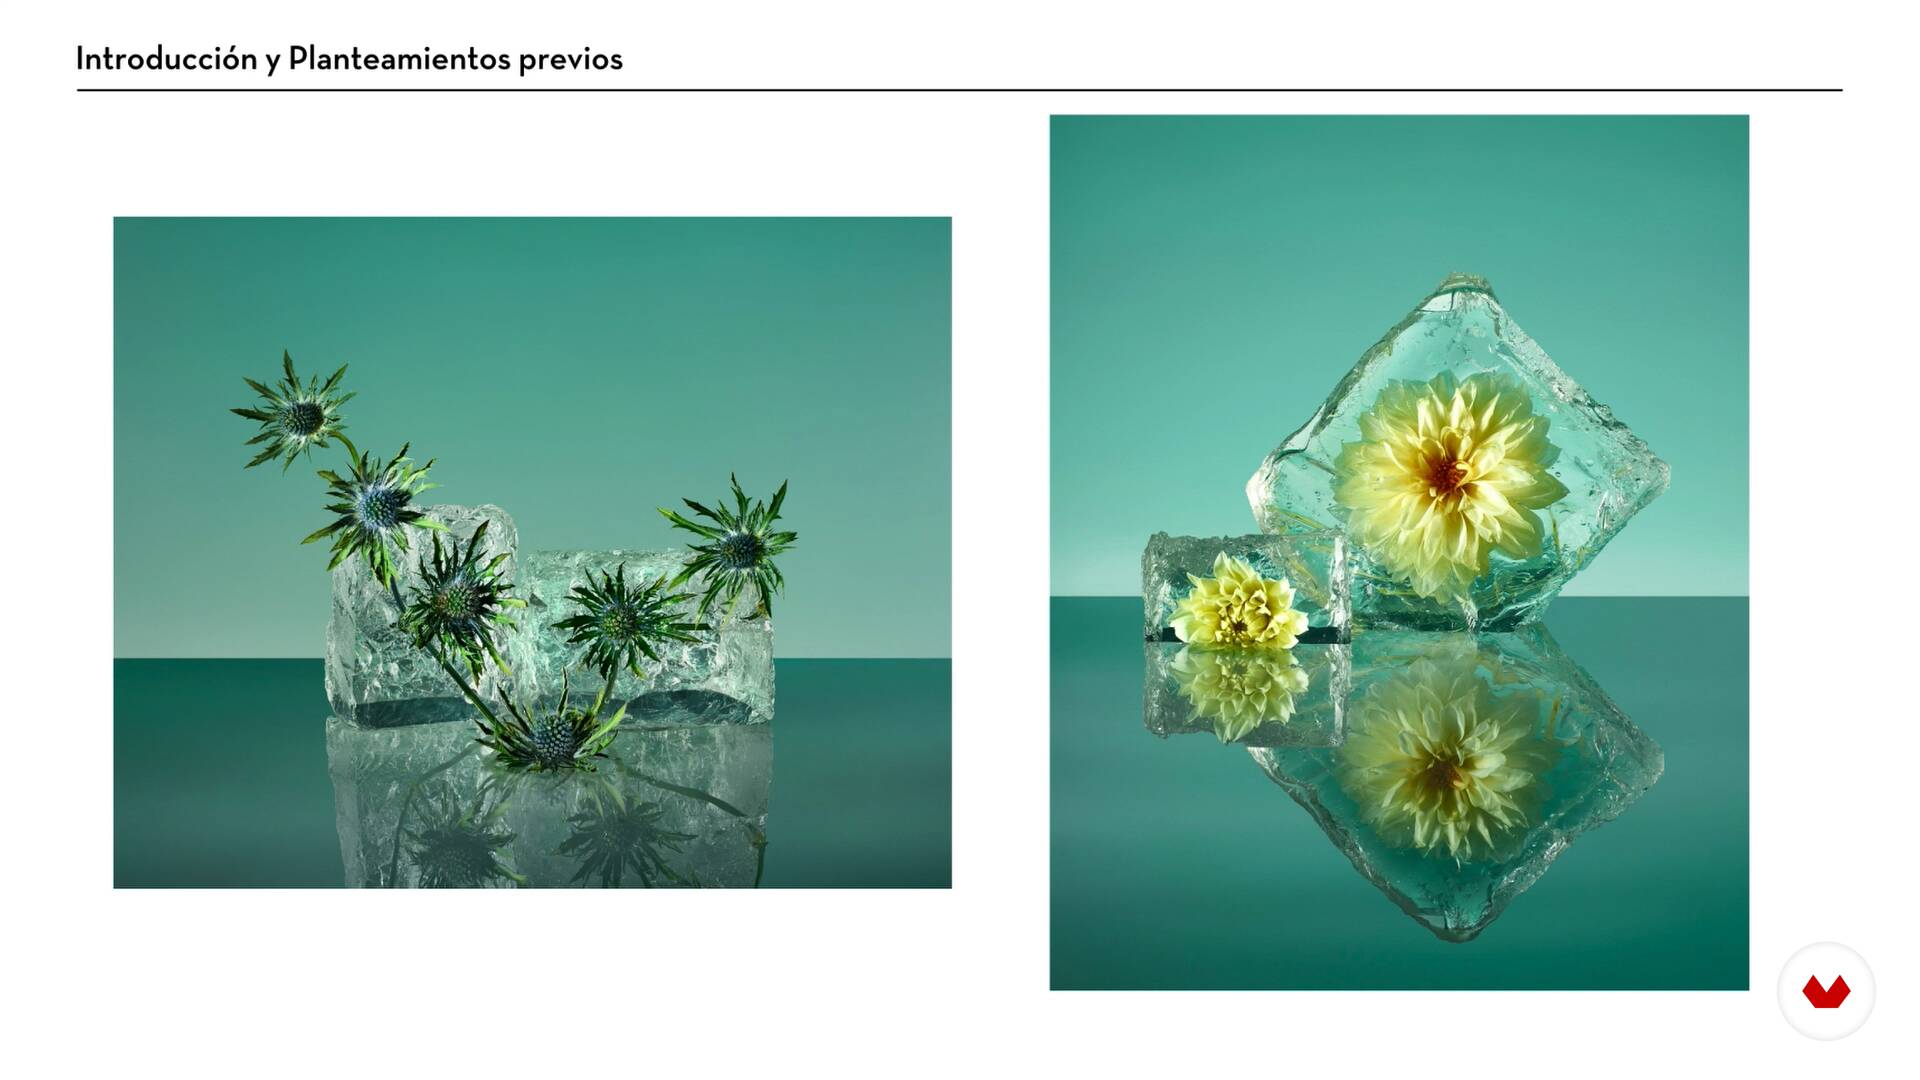
Introduction and previous approaches
In this lesson, I'll talk about how, in my professional development, personal work series have opened the most doors for me to gain commercial work and visibility. I encourage you to imagine your ideal client and create work in that direction.
10m
image
2
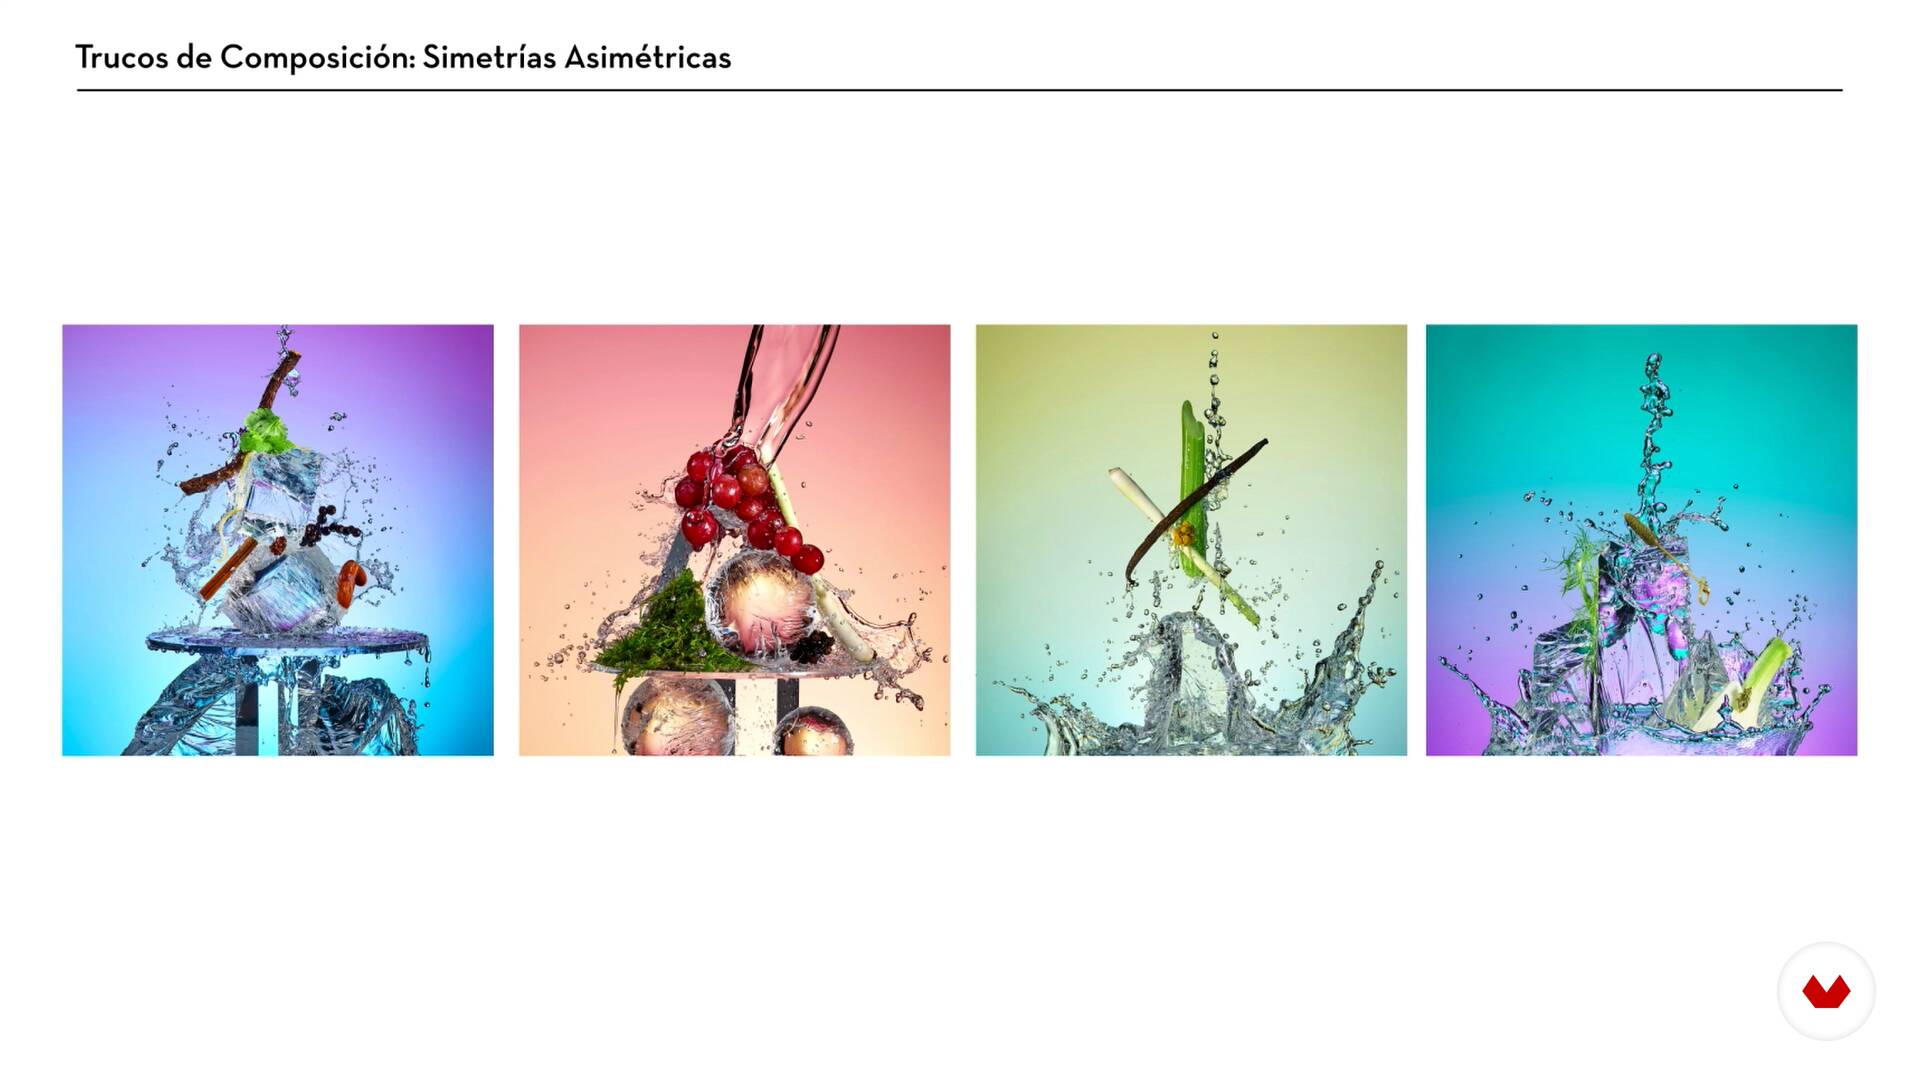
Composition
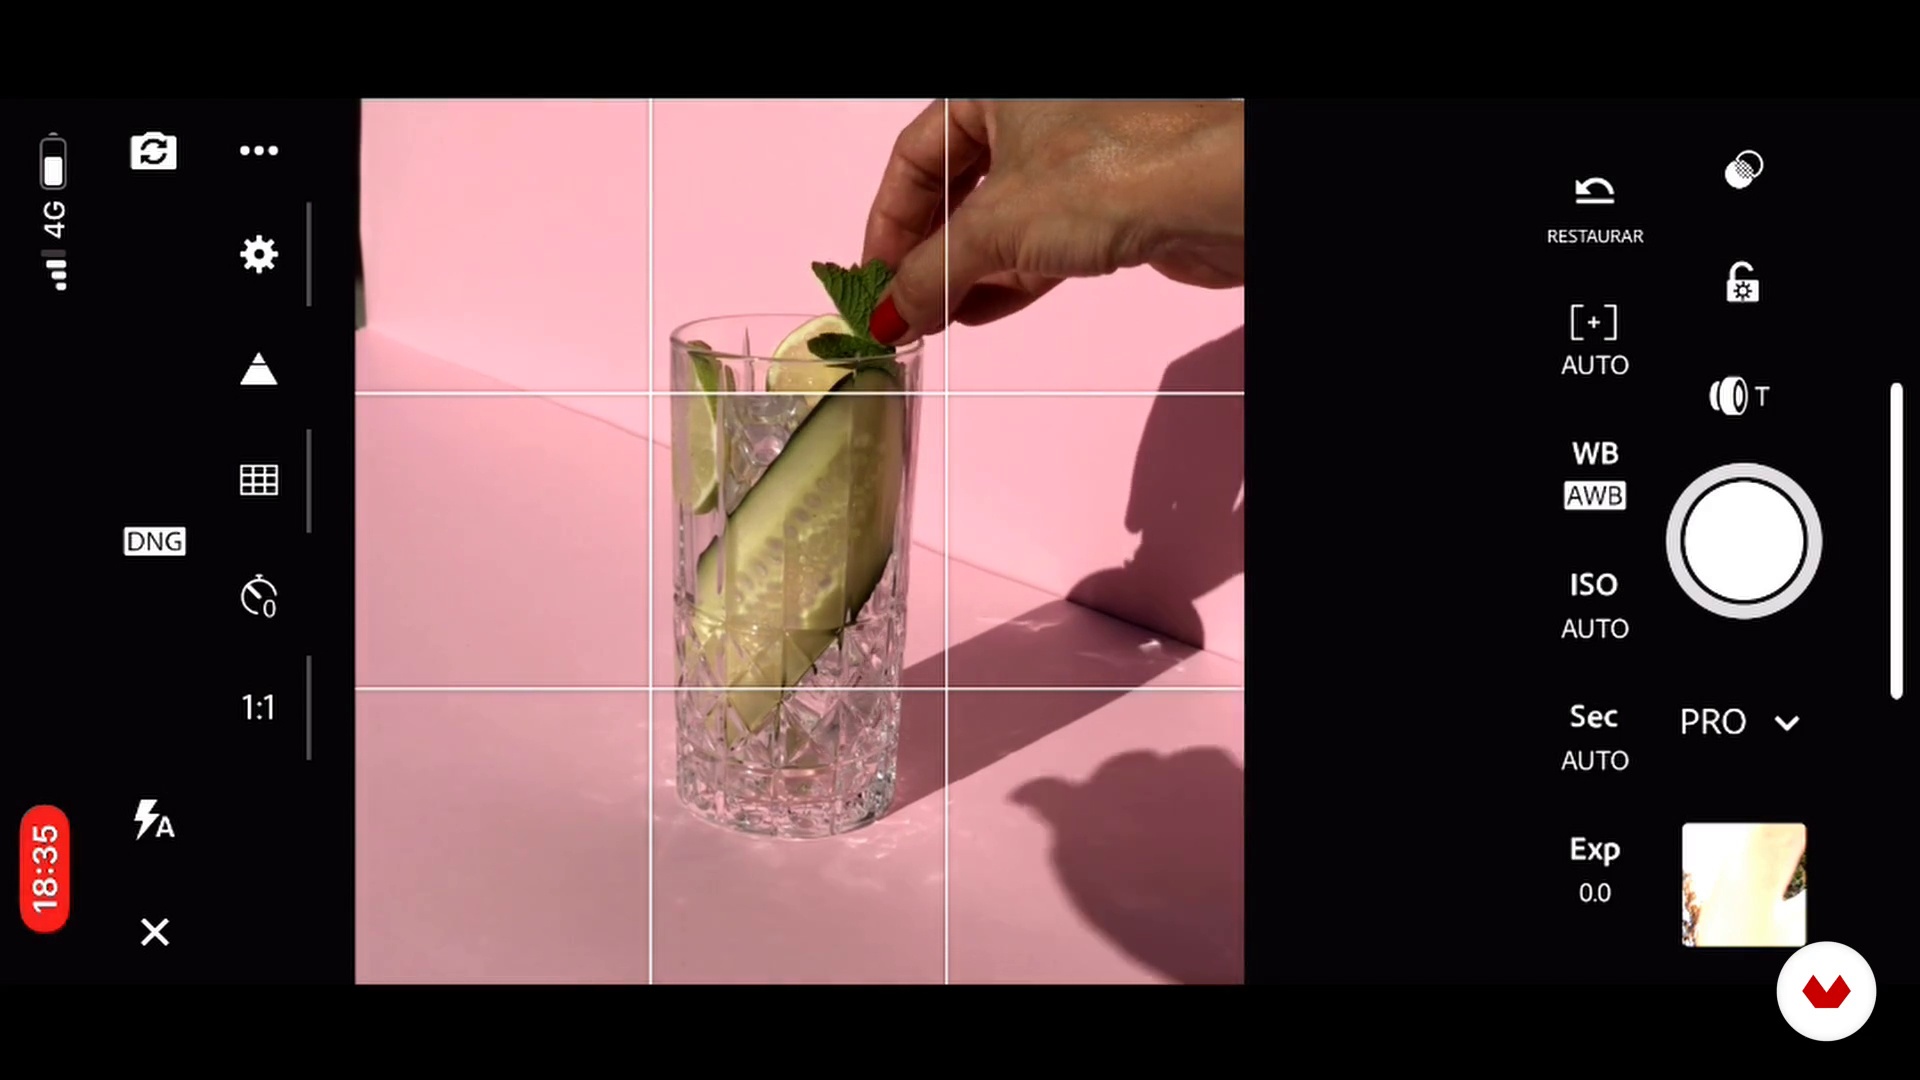
In this lesson, I want to give you some tips that can help you plan your image composition. Beyond the rule of thirds, I want to talk about formats and other options that work very well for simple images for social media.
11m
image
3
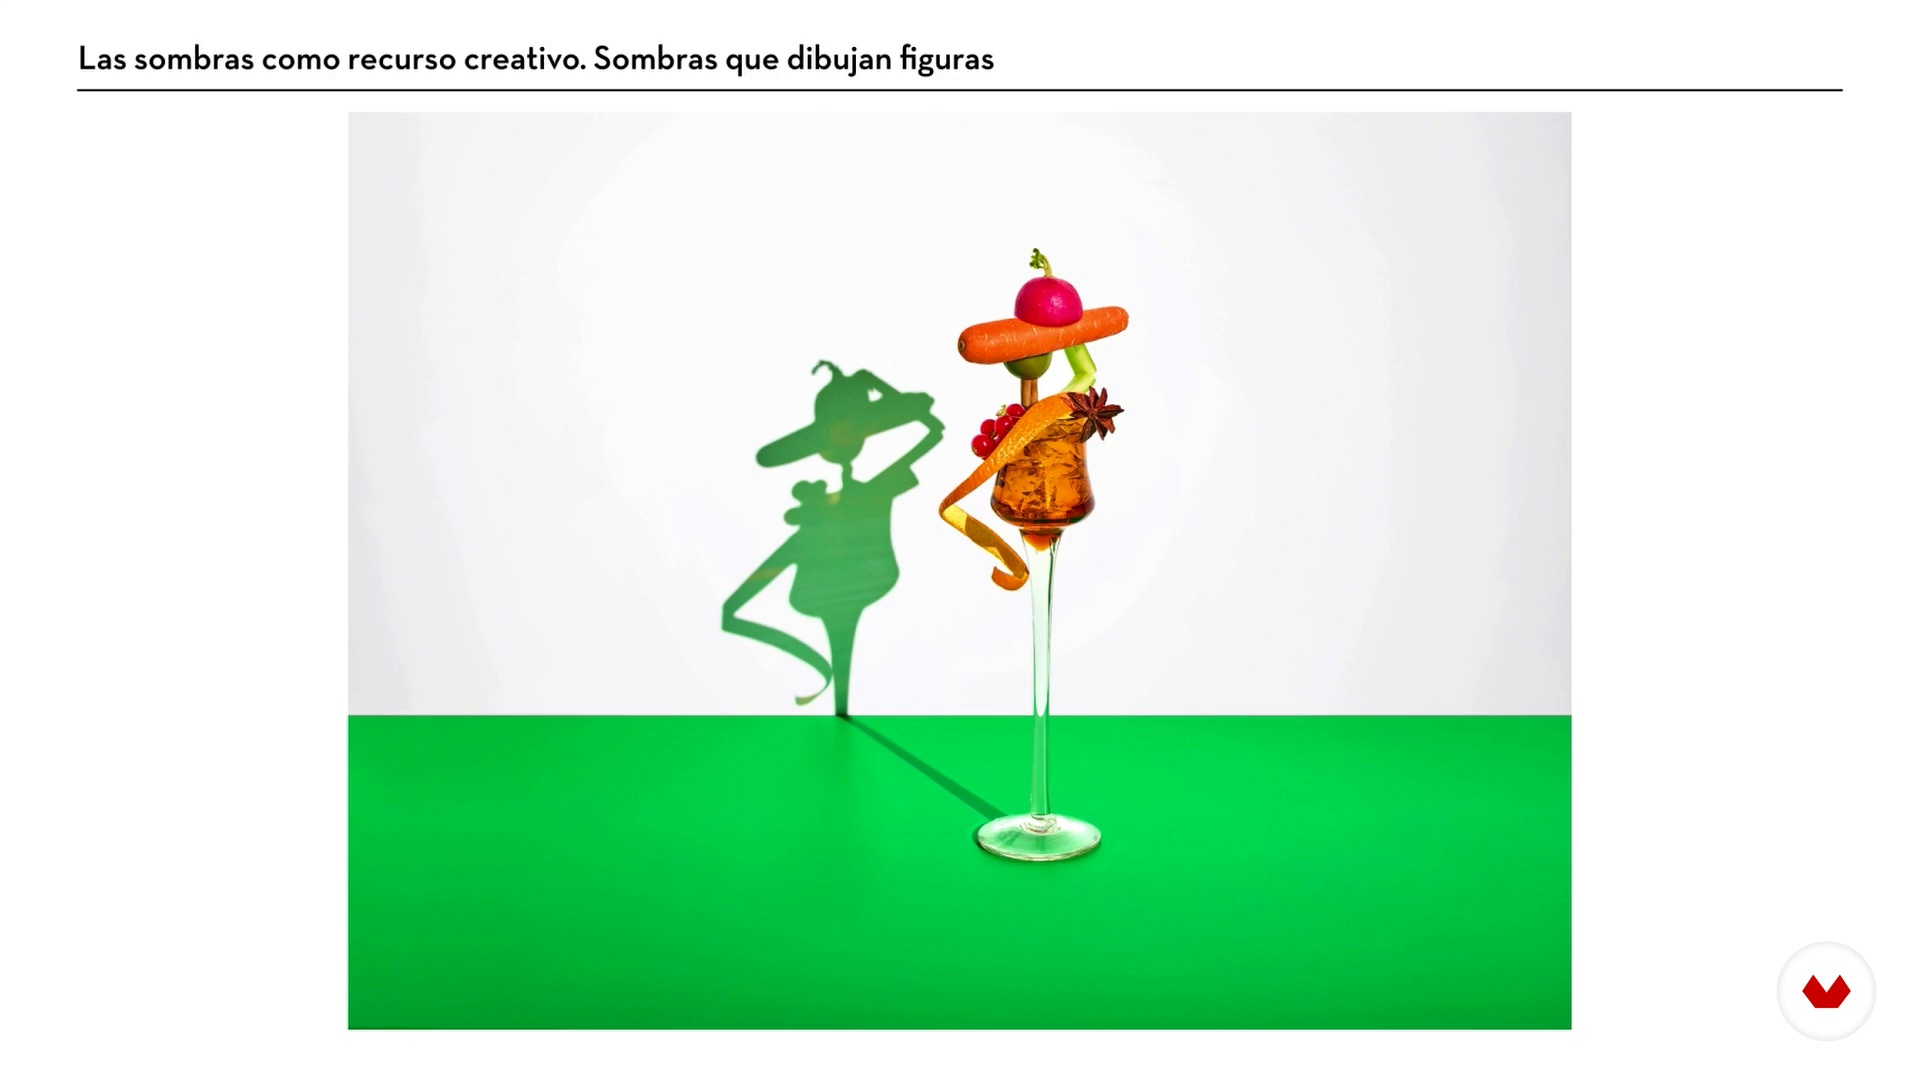
How to use shadows as a creative resource
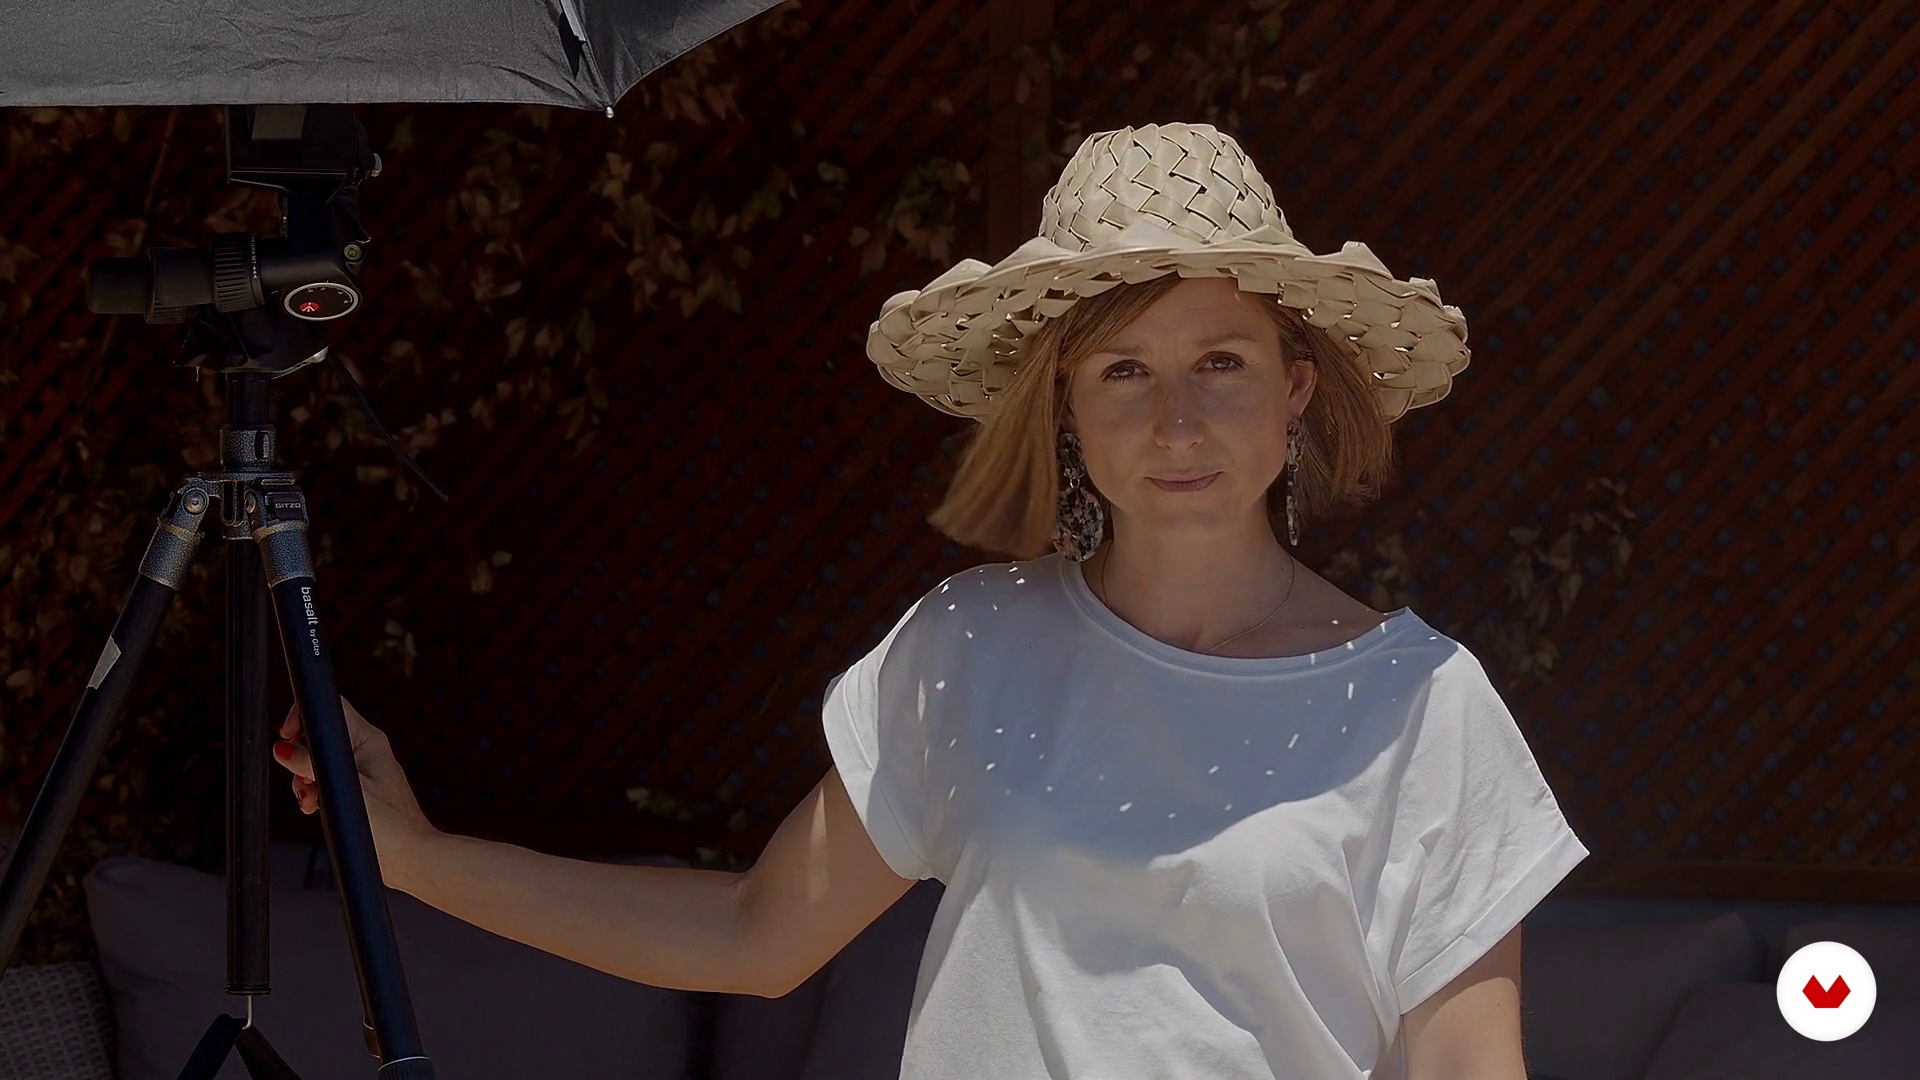
Sunlight casts hard, defined shadows, so they become another element to play with in our composition. In this lesson, I'll show you different ways shadows can work to your advantage in your image.
8m
image
4
Take advantage of the scene
In this lesson, I'll talk about the specifics of hard light, specifically sunlight. We'll also look at how different materials respond to this type of light so that, with this information and that from previous lessons, you can make better decisions when planning your final project.
12m
image
5
Creative development: moodboard and treatment
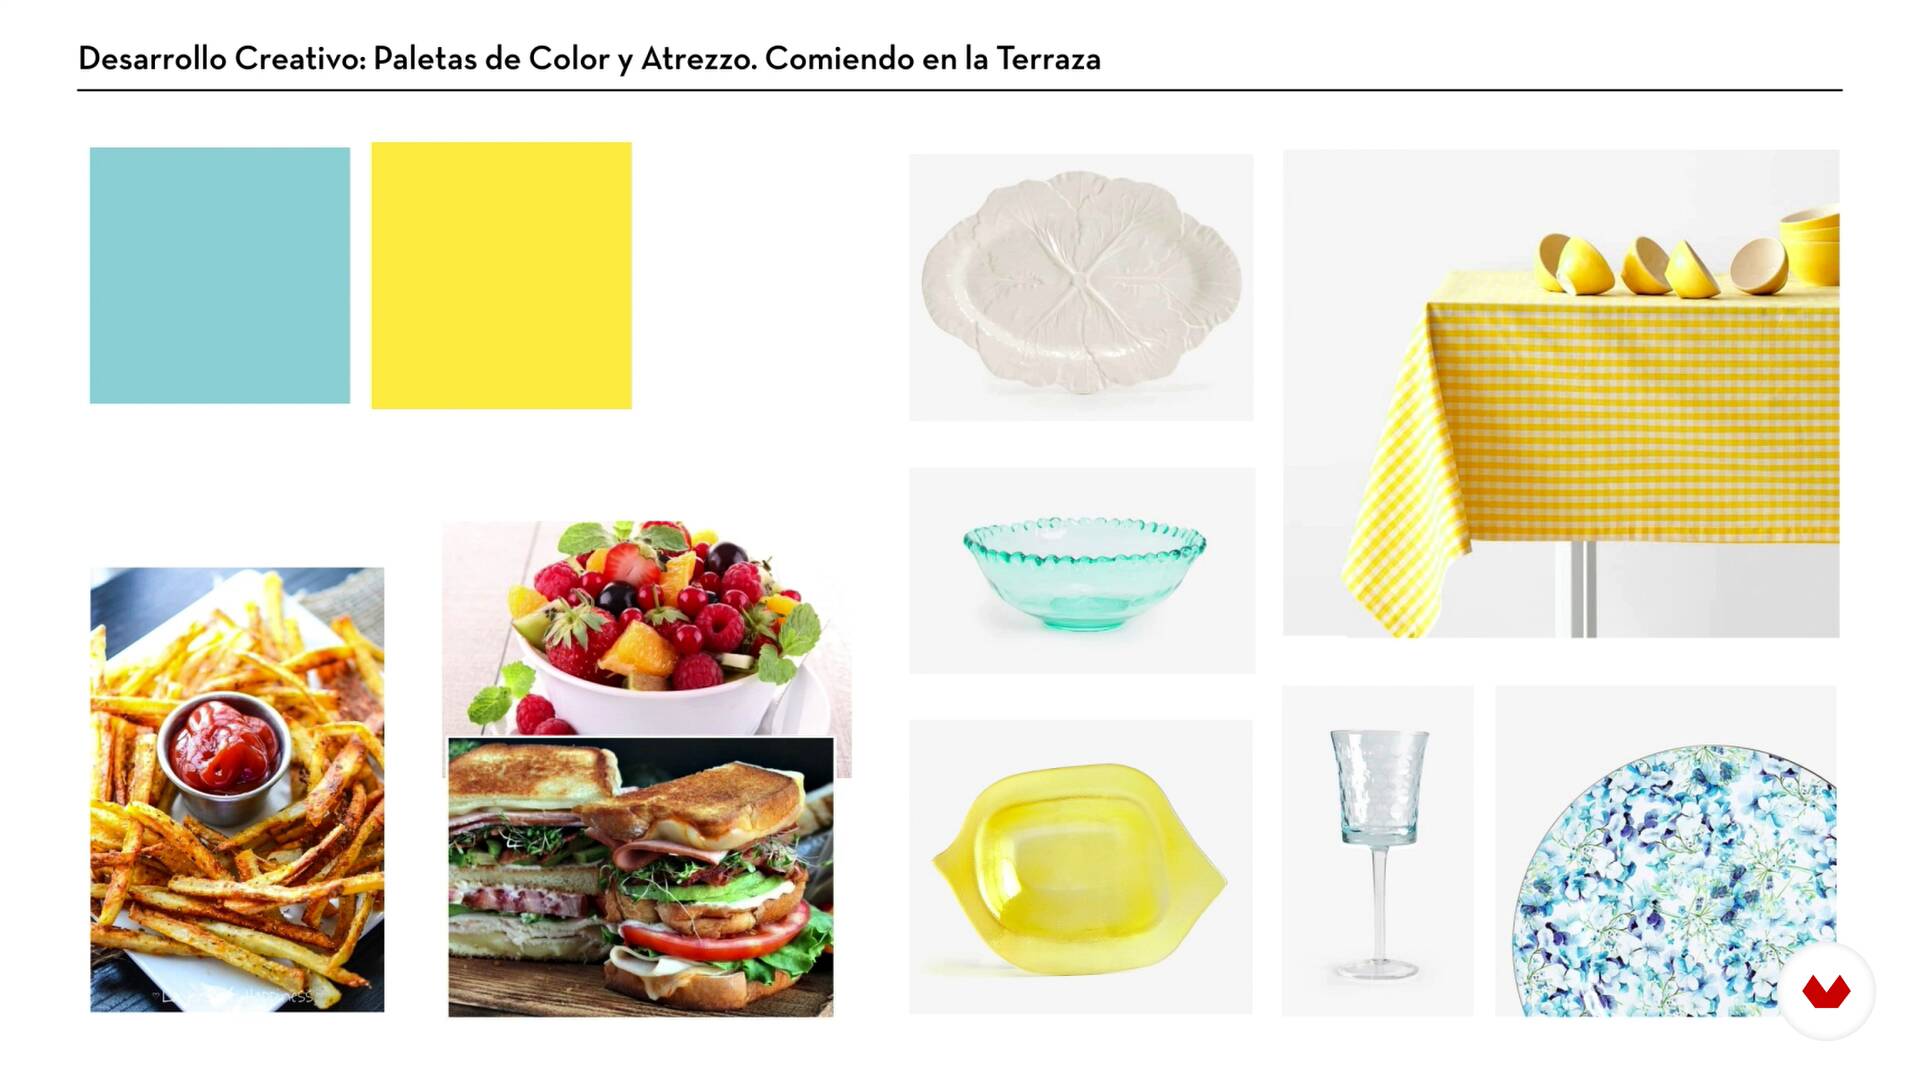
In this lesson, we'll connect the ideas of our imagination with the real world. We'll make decisions about how to execute our photos taking into account everything we've previously learned about sunlight, the materials that best respond to it, and the proposed points of view and composition. We'll start with a mood and develop it into a treatment. This way, we'll be able to prepare and plan everything we need to shoot our photographs.
14m
image
6
materials
In addition to thinking about what we're going to photograph, we need to have everything ready to do it. To do this, I'll tell you the basic materials you'll need to consider.
1m
image
7
Shooting the image with a high point of view (zenith)
In this lesson, we get down to business. I'm going to take the first image. In my case, I decided to take the highest vantage point, focusing on the food during the central hours of the day to ensure short shadows. We will look at the composition process, shooting images in Raw format, and adjusting light with reflectors.
21m
image
8
Shooting the image with a low point of view (isometric and frontal)
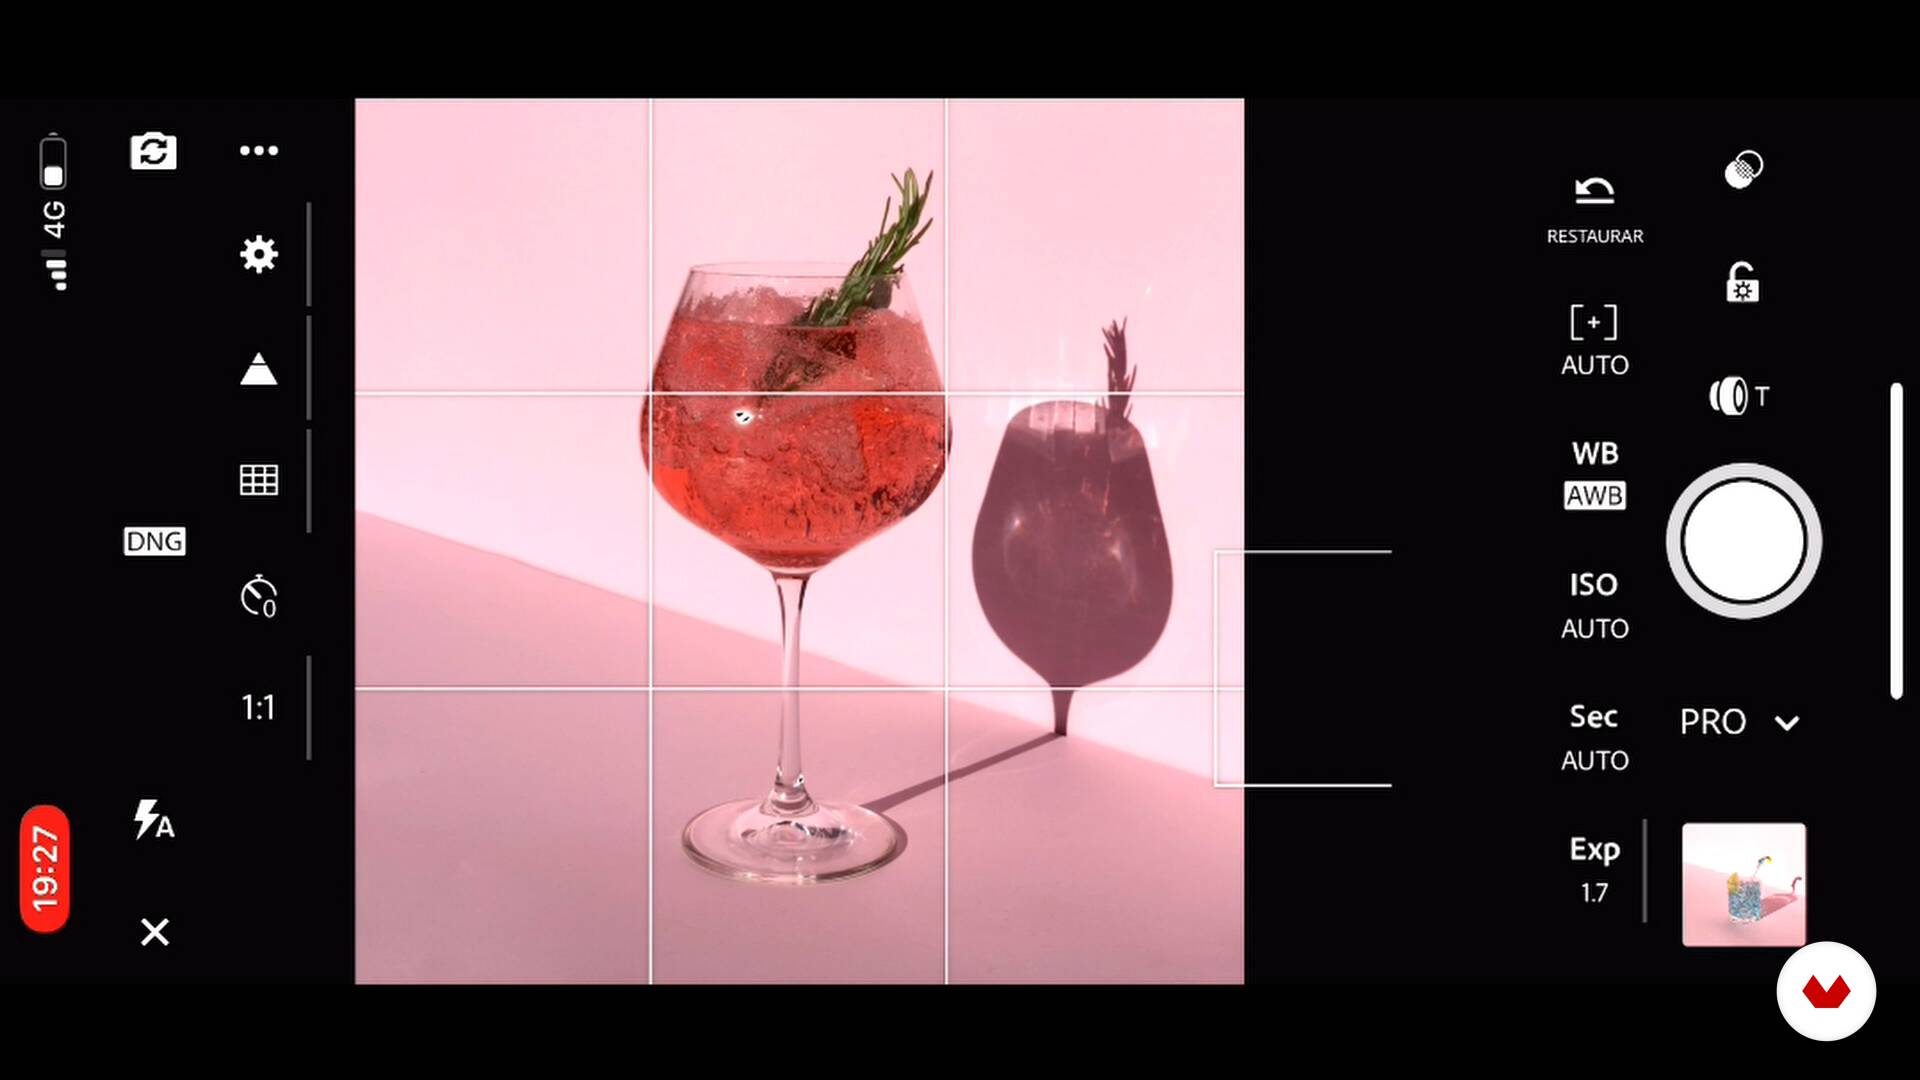
In this lesson, we'll take the second image. In my case, I decided to separate the different cocktails into individual shots, creating a sort of catalog. I'll play with the angle and the incidence of shadows using side lighting and a lower vantage point.
11m
image
9
Shooting the image with a low point of view (isometric and frontal) II
We continue this lesson by shooting different cocktails until we get our final images.
11m
image
10
Retouching and adjustments
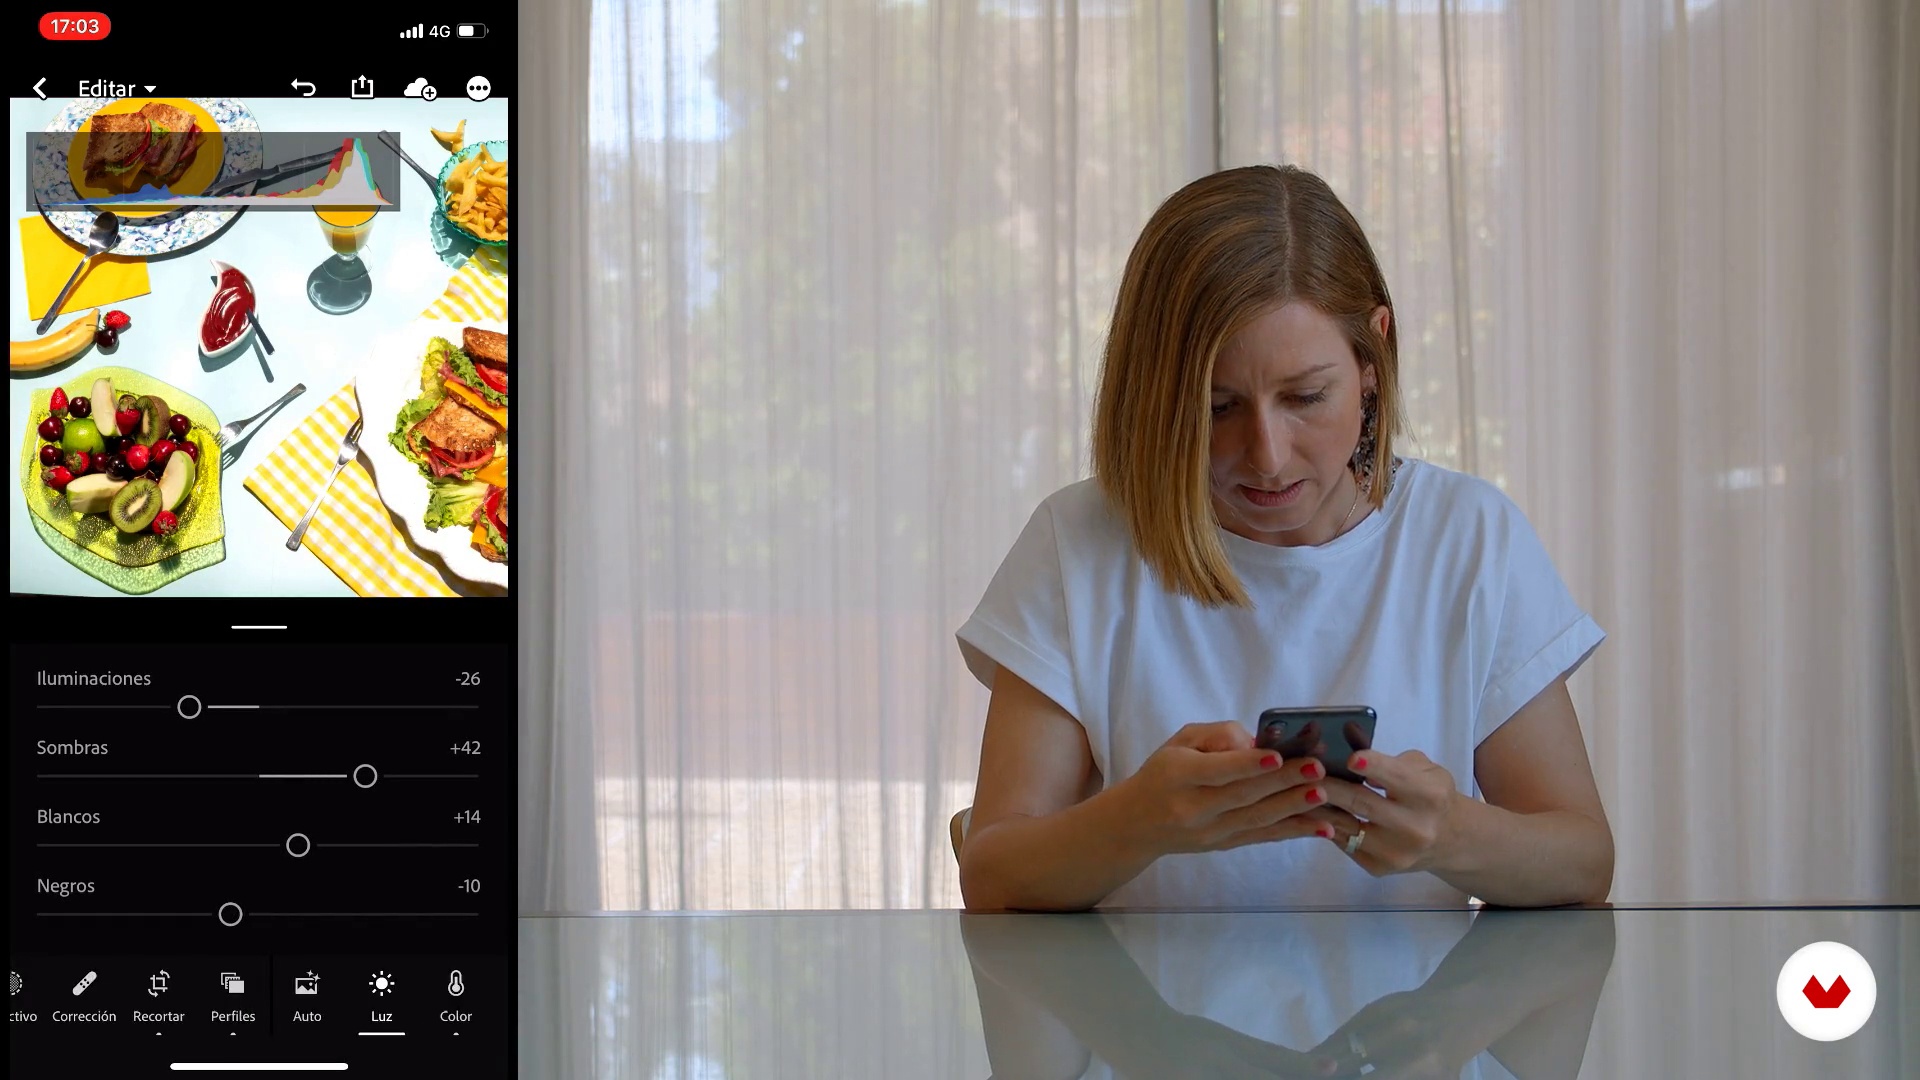
In this lesson, we'll make some basic adjustments to our images, fine-tuning the framing and primarily adjusting lighting and color values. These adjustments can be made using the desktop version of the app or with your favorite processing tool, if it's another one.
21m
image
11
Publication
To find out the best times to post on Instagram, the app offers a series of statistics that give us information about our followers and how to interact with them. In this lesson, we'll explore one of my posts and my statistics to understand the conclusions I've drawn based on this data.
6m
image
1
Materials, brief and product and brand analysis
In this lesson, I'll explain what we'll be doing during the course. Then, I'll talk about how to analyze the product and brand we'll be working with.
12m
image
2
Conceptualization and inspiration
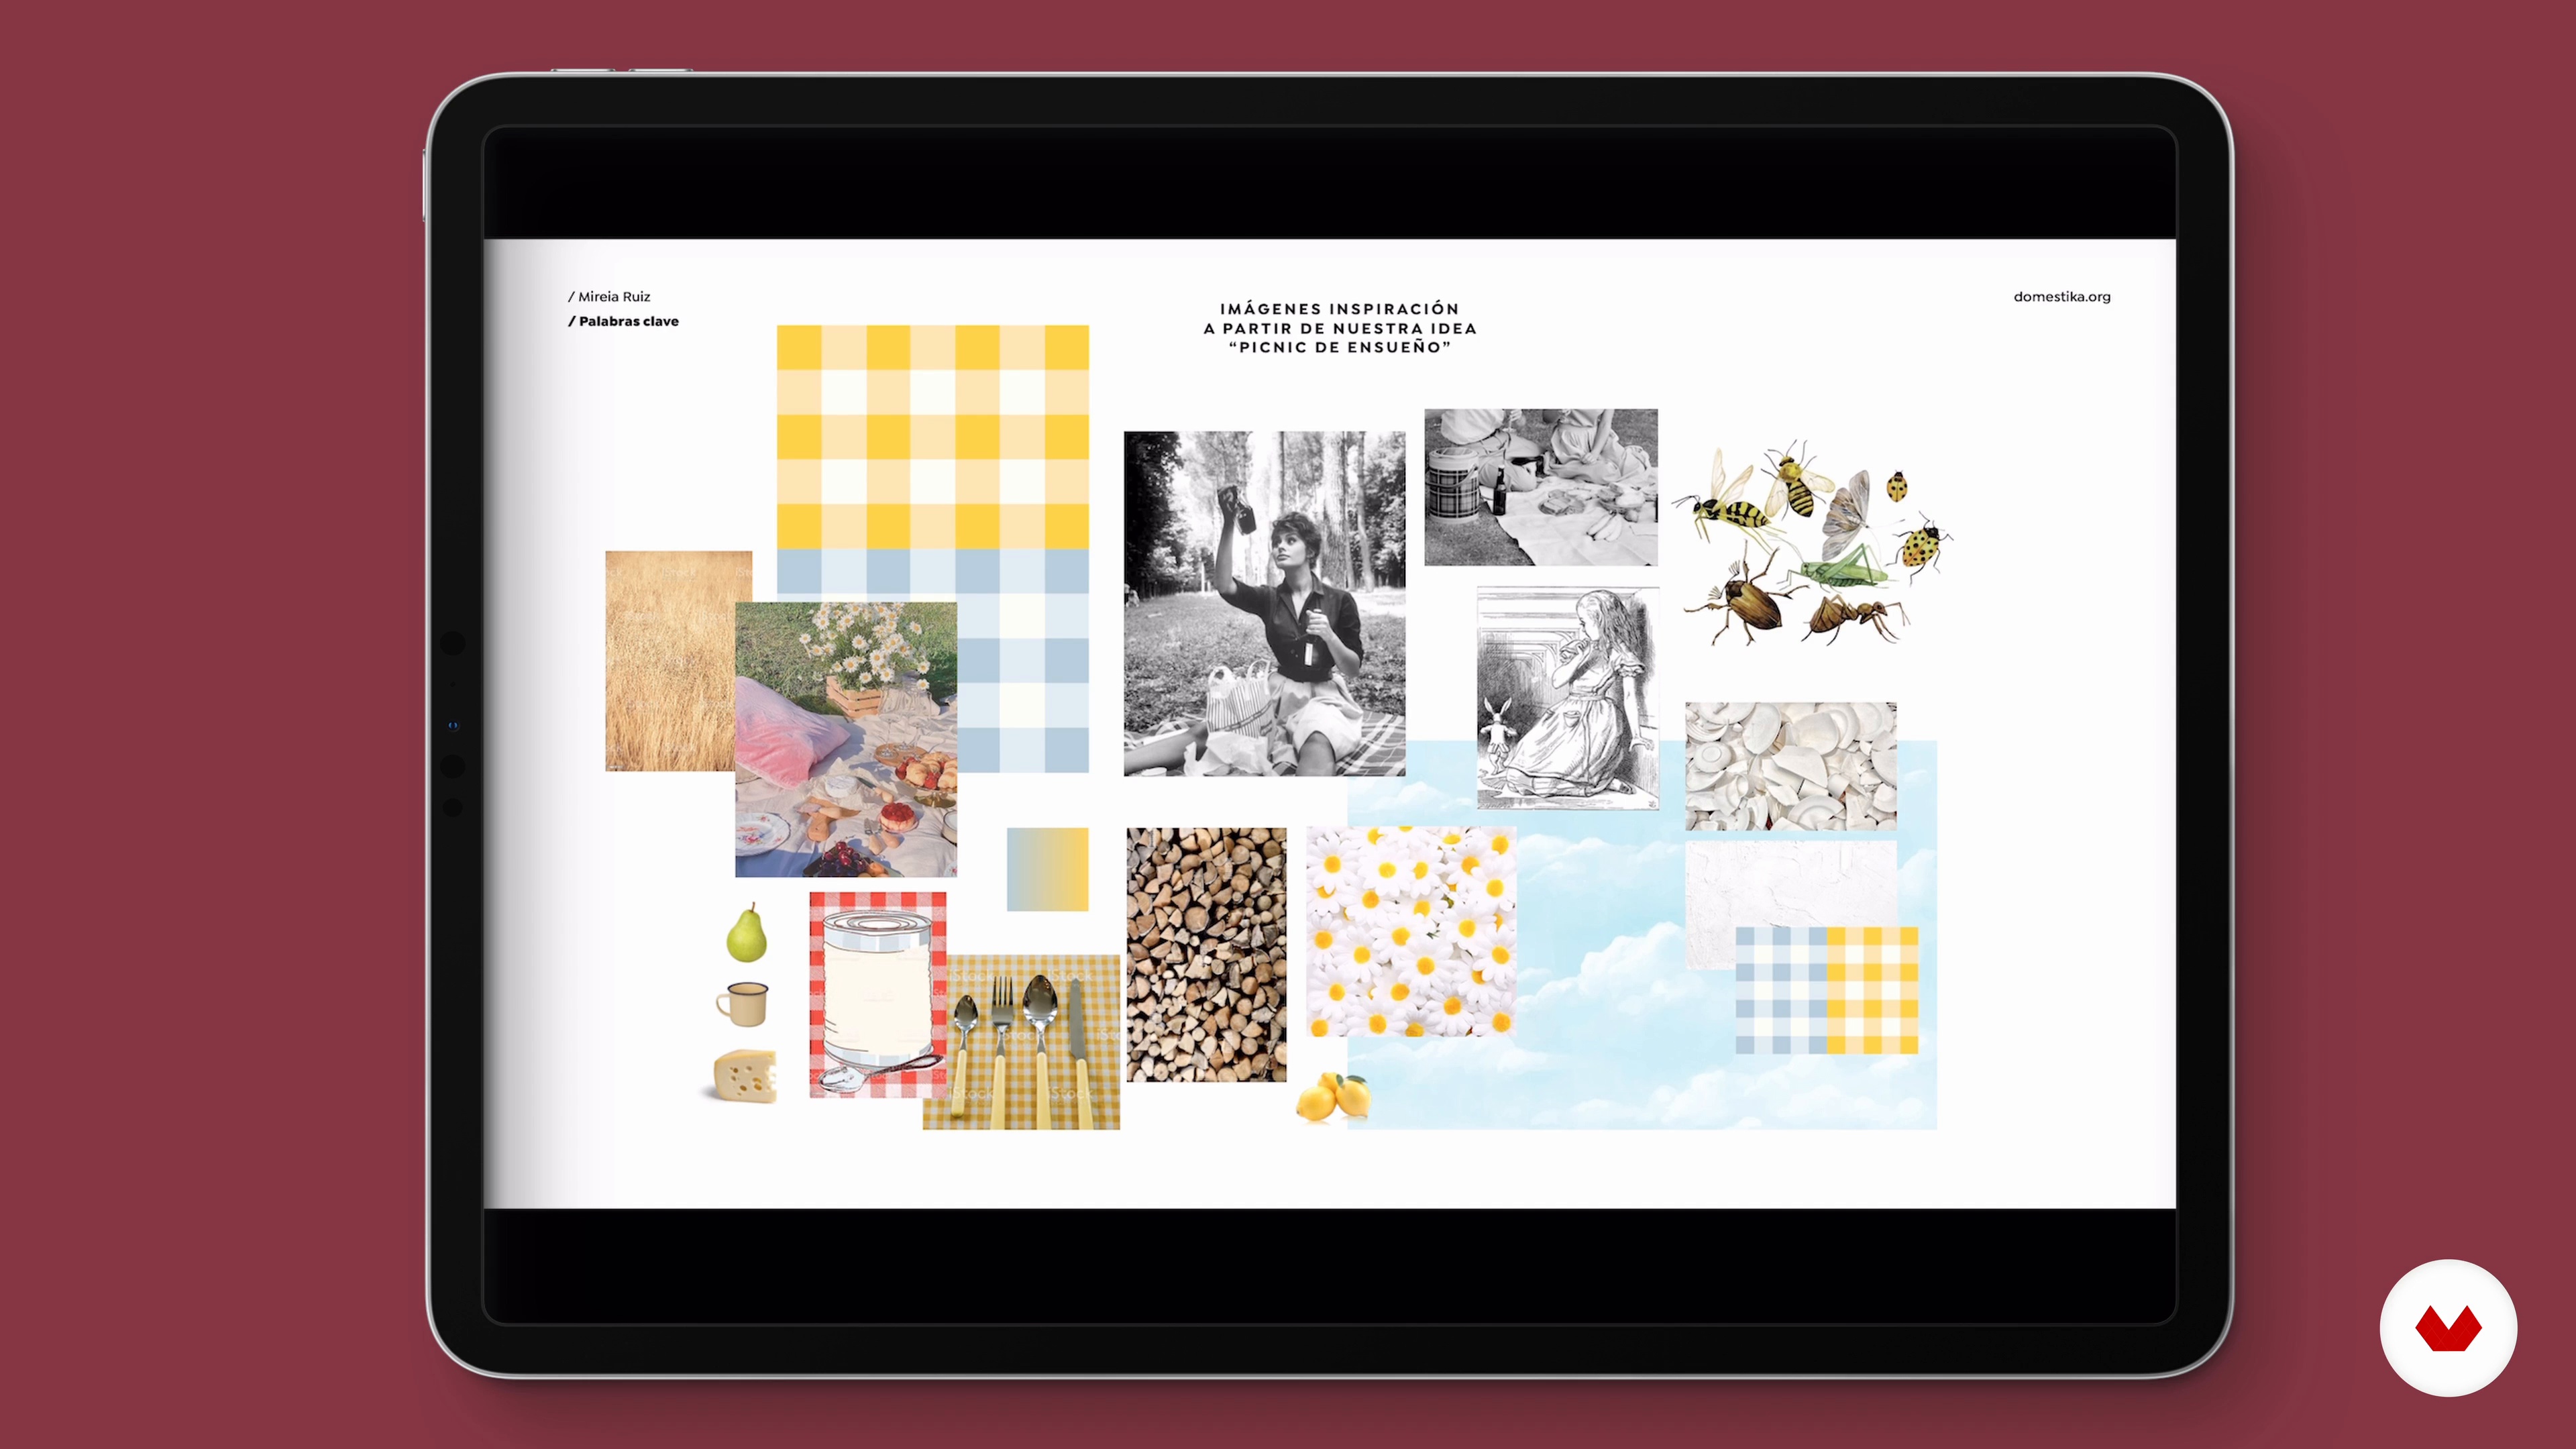
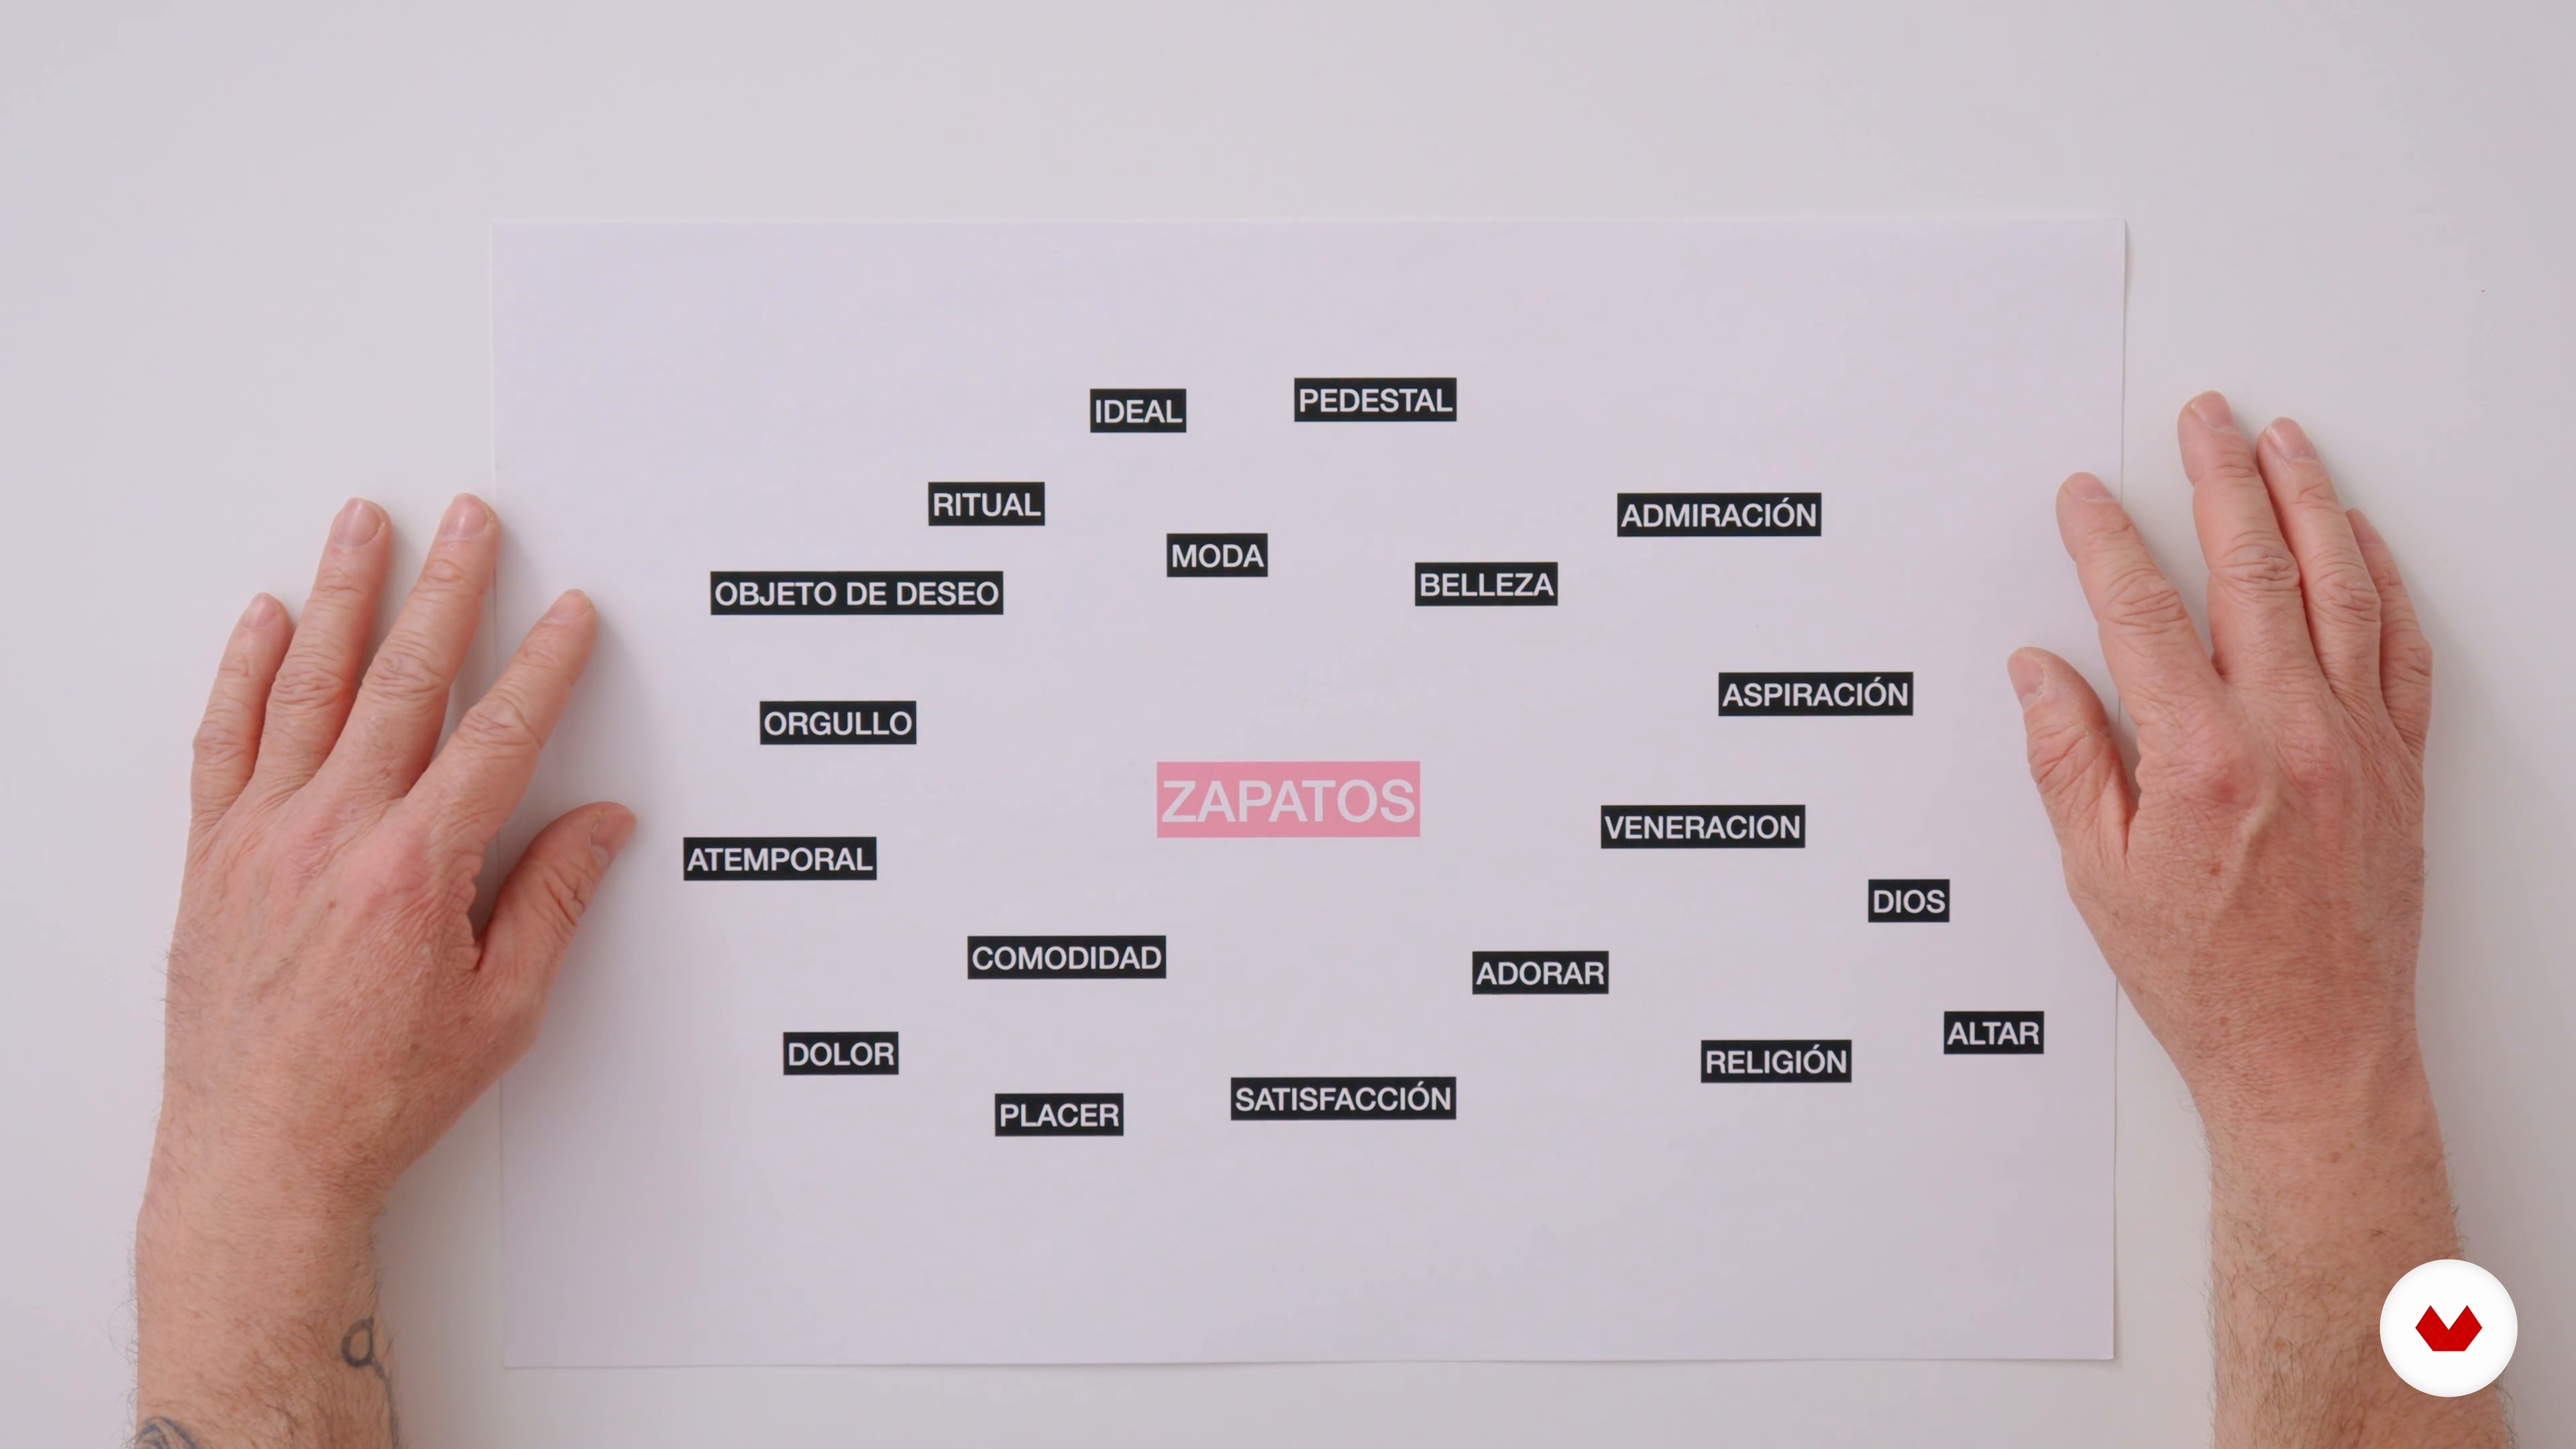
The next step is to find a global concept and extract keywords to transform the idea into objects that communicate it. In this lesson, I'll explain how.
12m
image
3
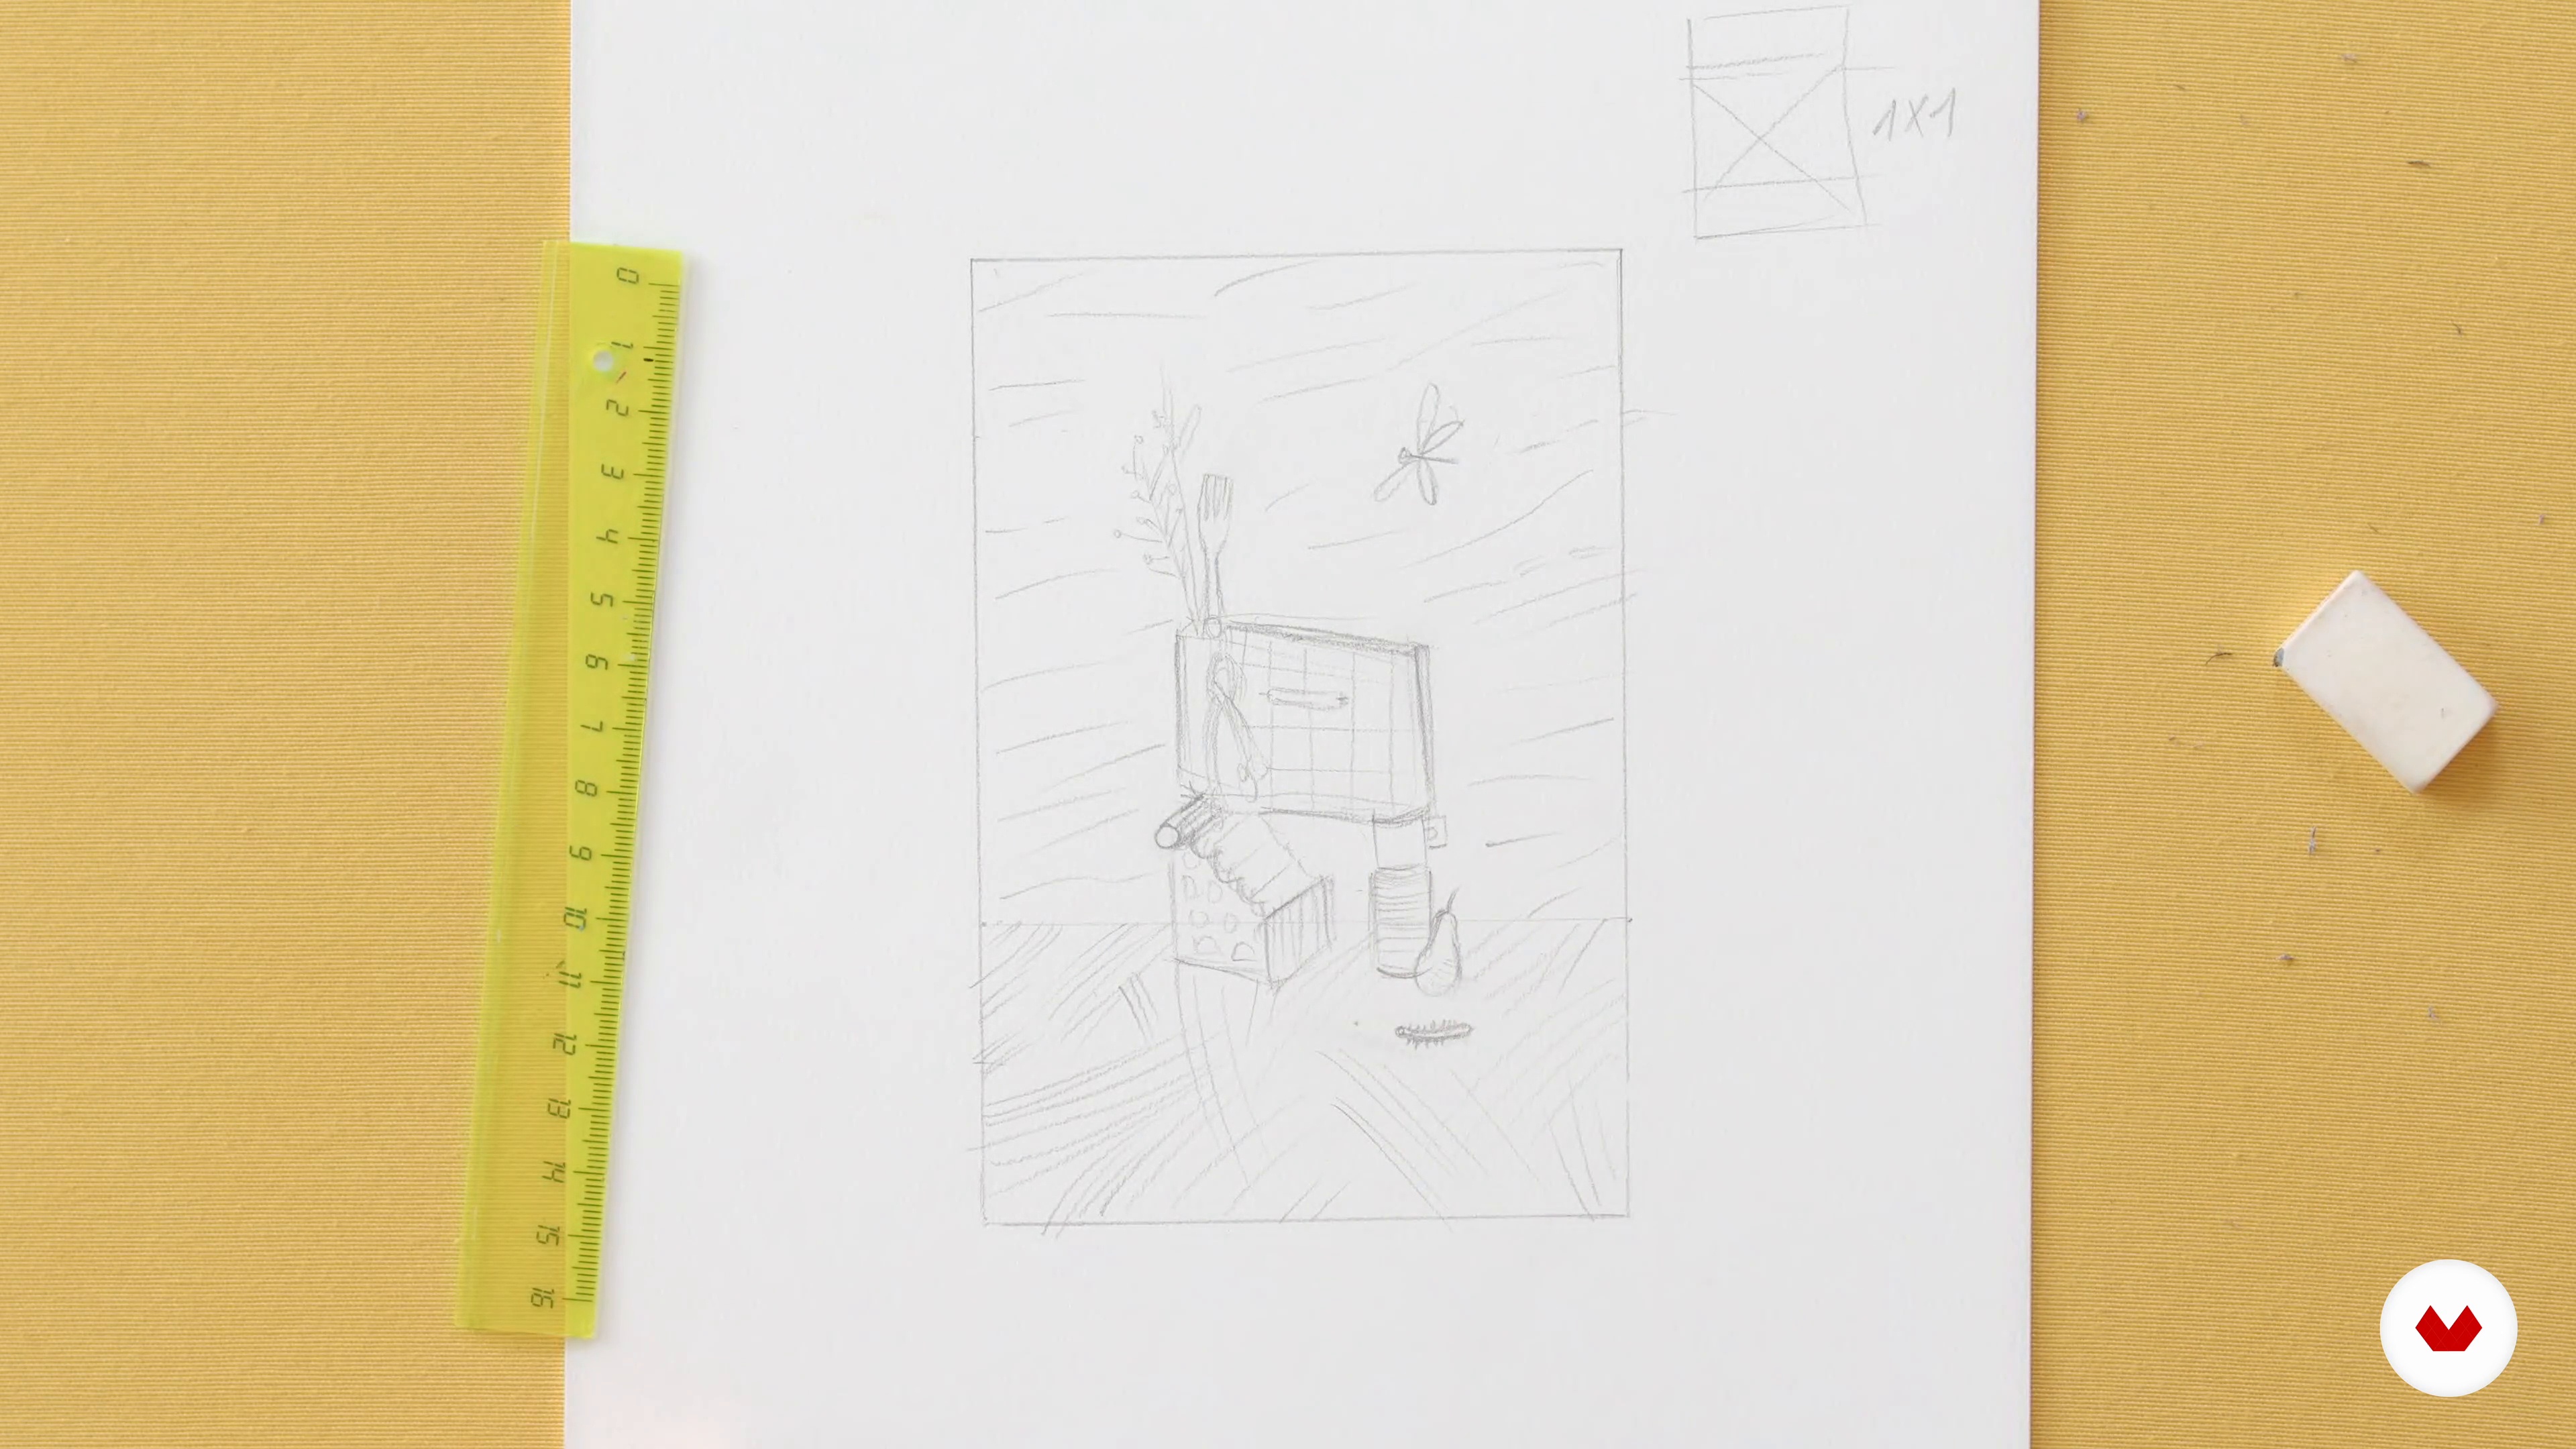
First ideas and sketches
Now comes the time to make sketches. They'll help us communicate with the client, the shooting team, and even facilitate our project development.
17m
image
4
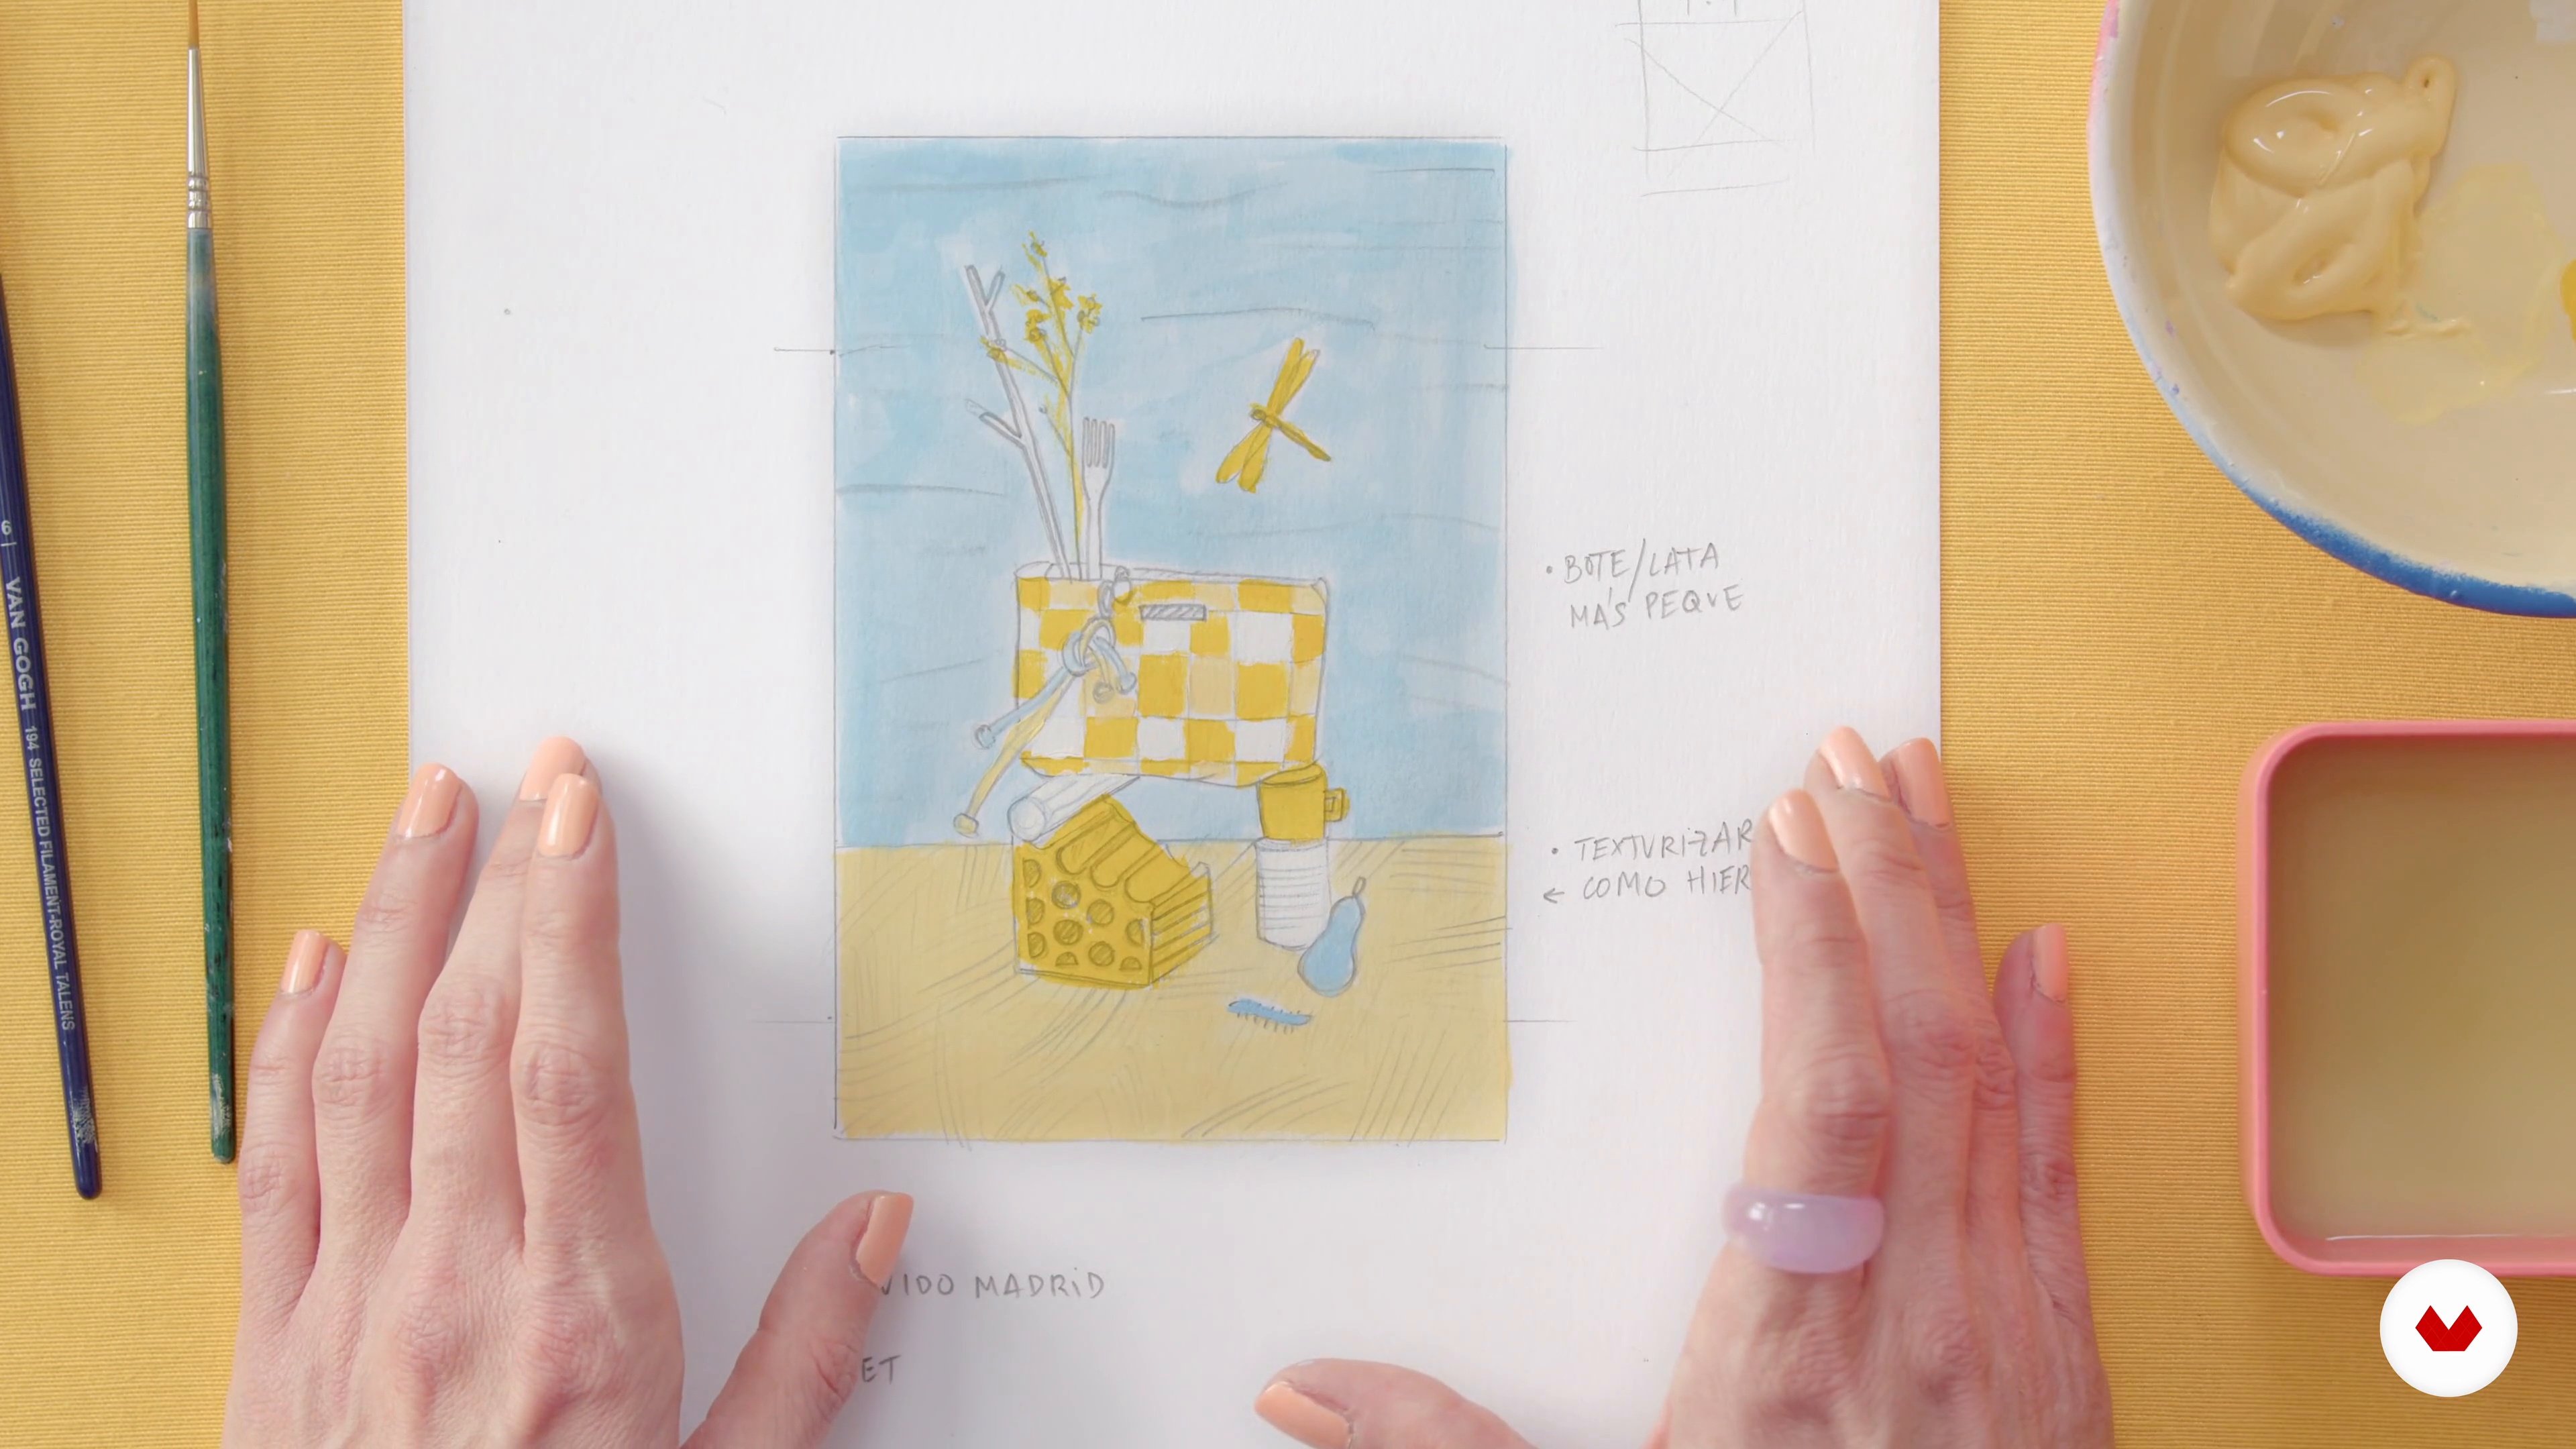
Second sketches with color tests
We color the sketches we like the most, establishing one of the most important tools: the color scheme. Then, we choose the one we like the most to present our idea to the client.
19m
image
5
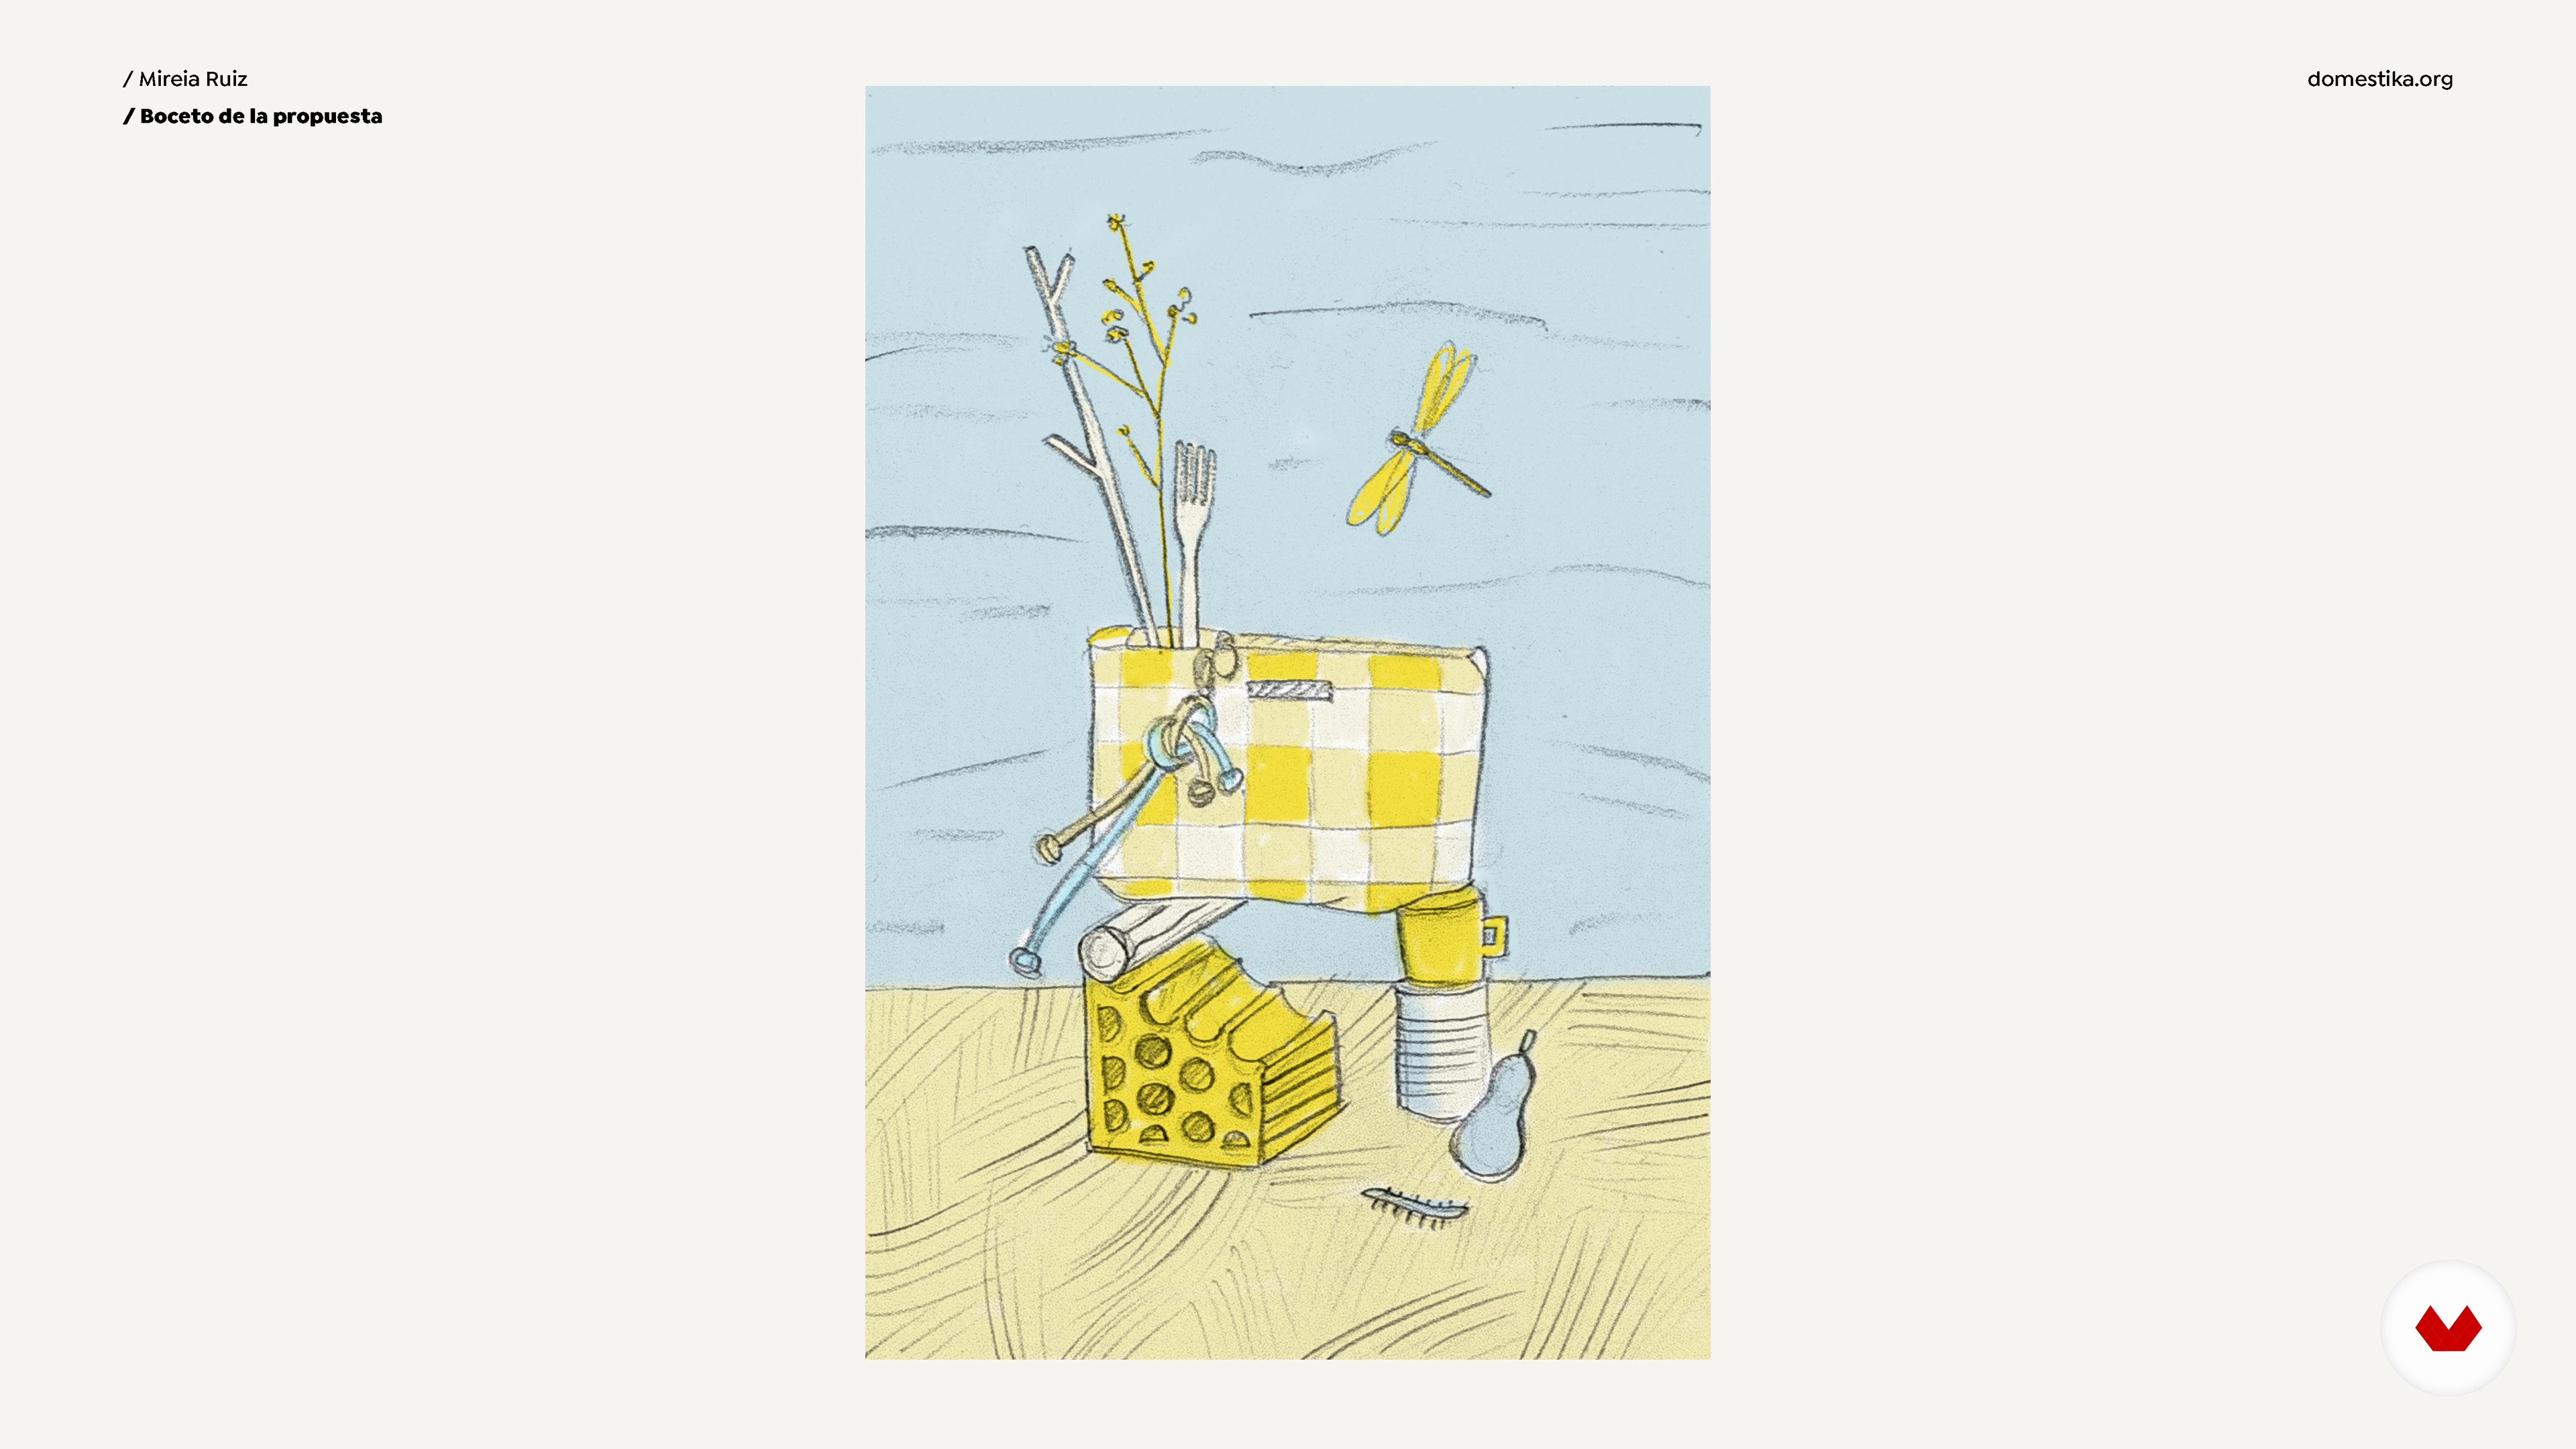
Final sketch and presentation
Next comes the time to choose the final sketch and explain our proposal and the possibilities for the photo series to the client.
9m
image
6
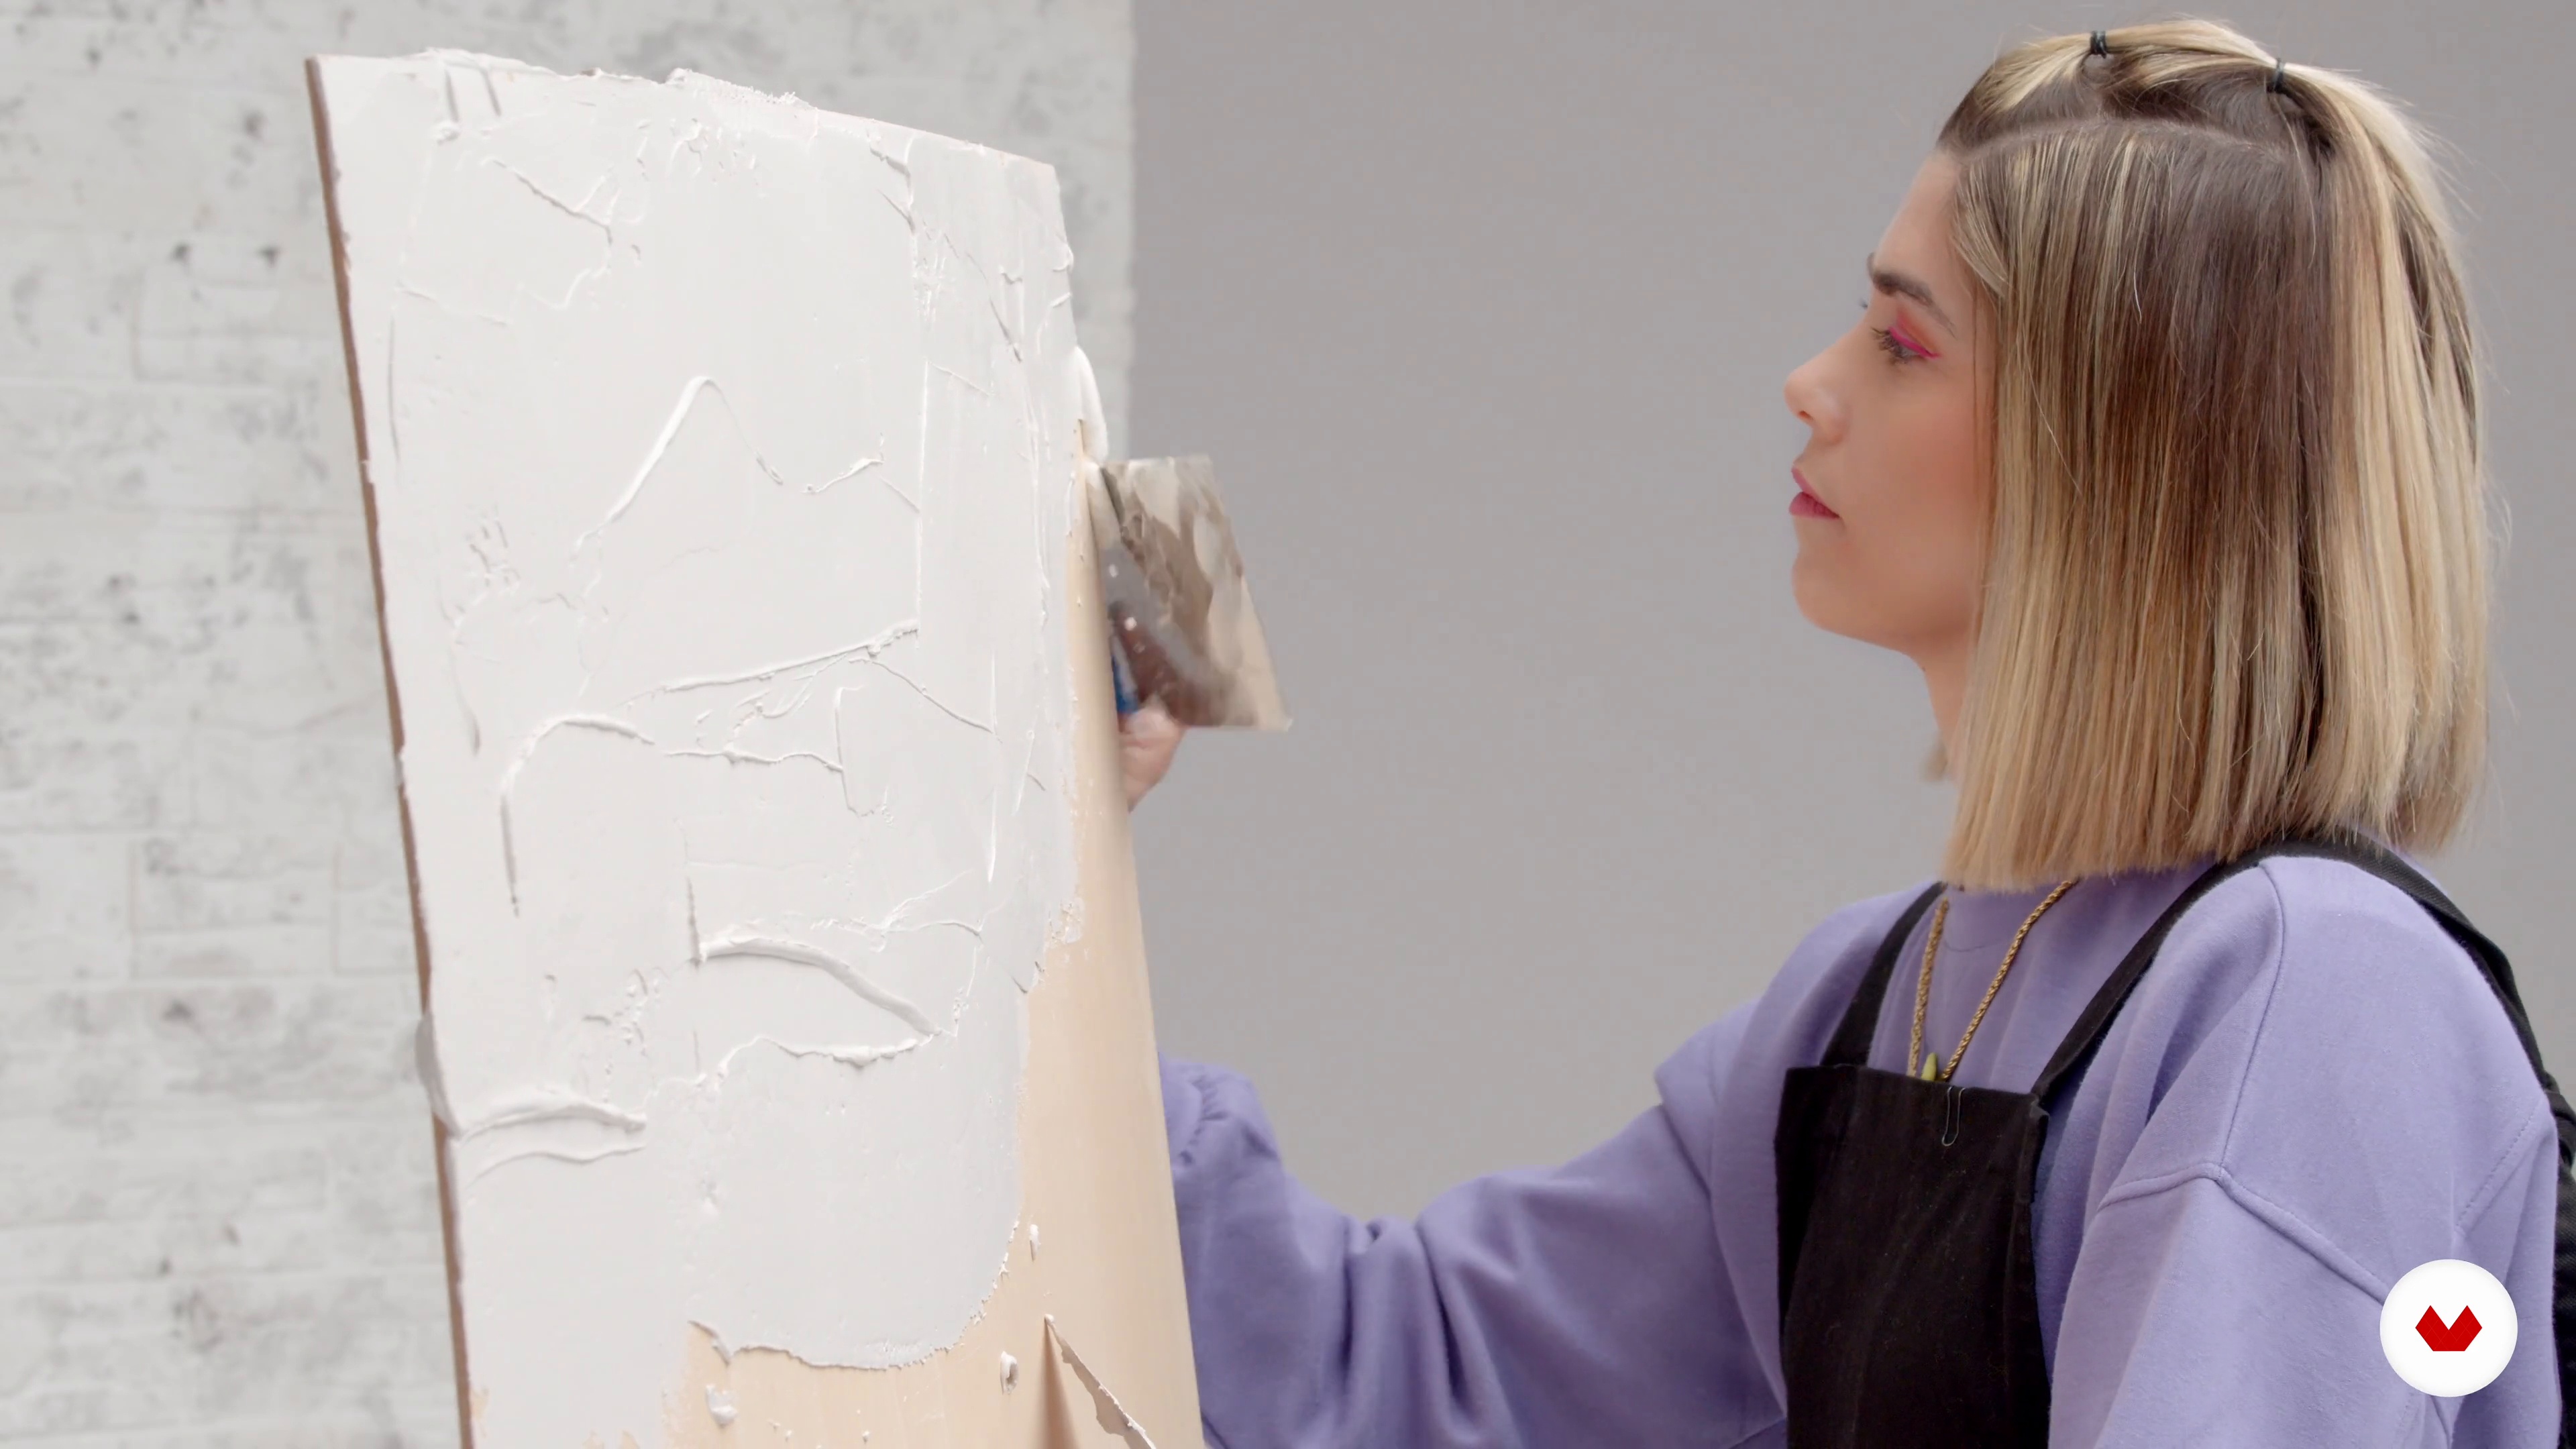
Creation of background and floor 1
The background and the floor are very important. The more creative we are in creating them, the more distinctive our proposal will be. In this lesson, I'll give you tips on how to achieve this.
11m
image
7
Creation of background and floor 2
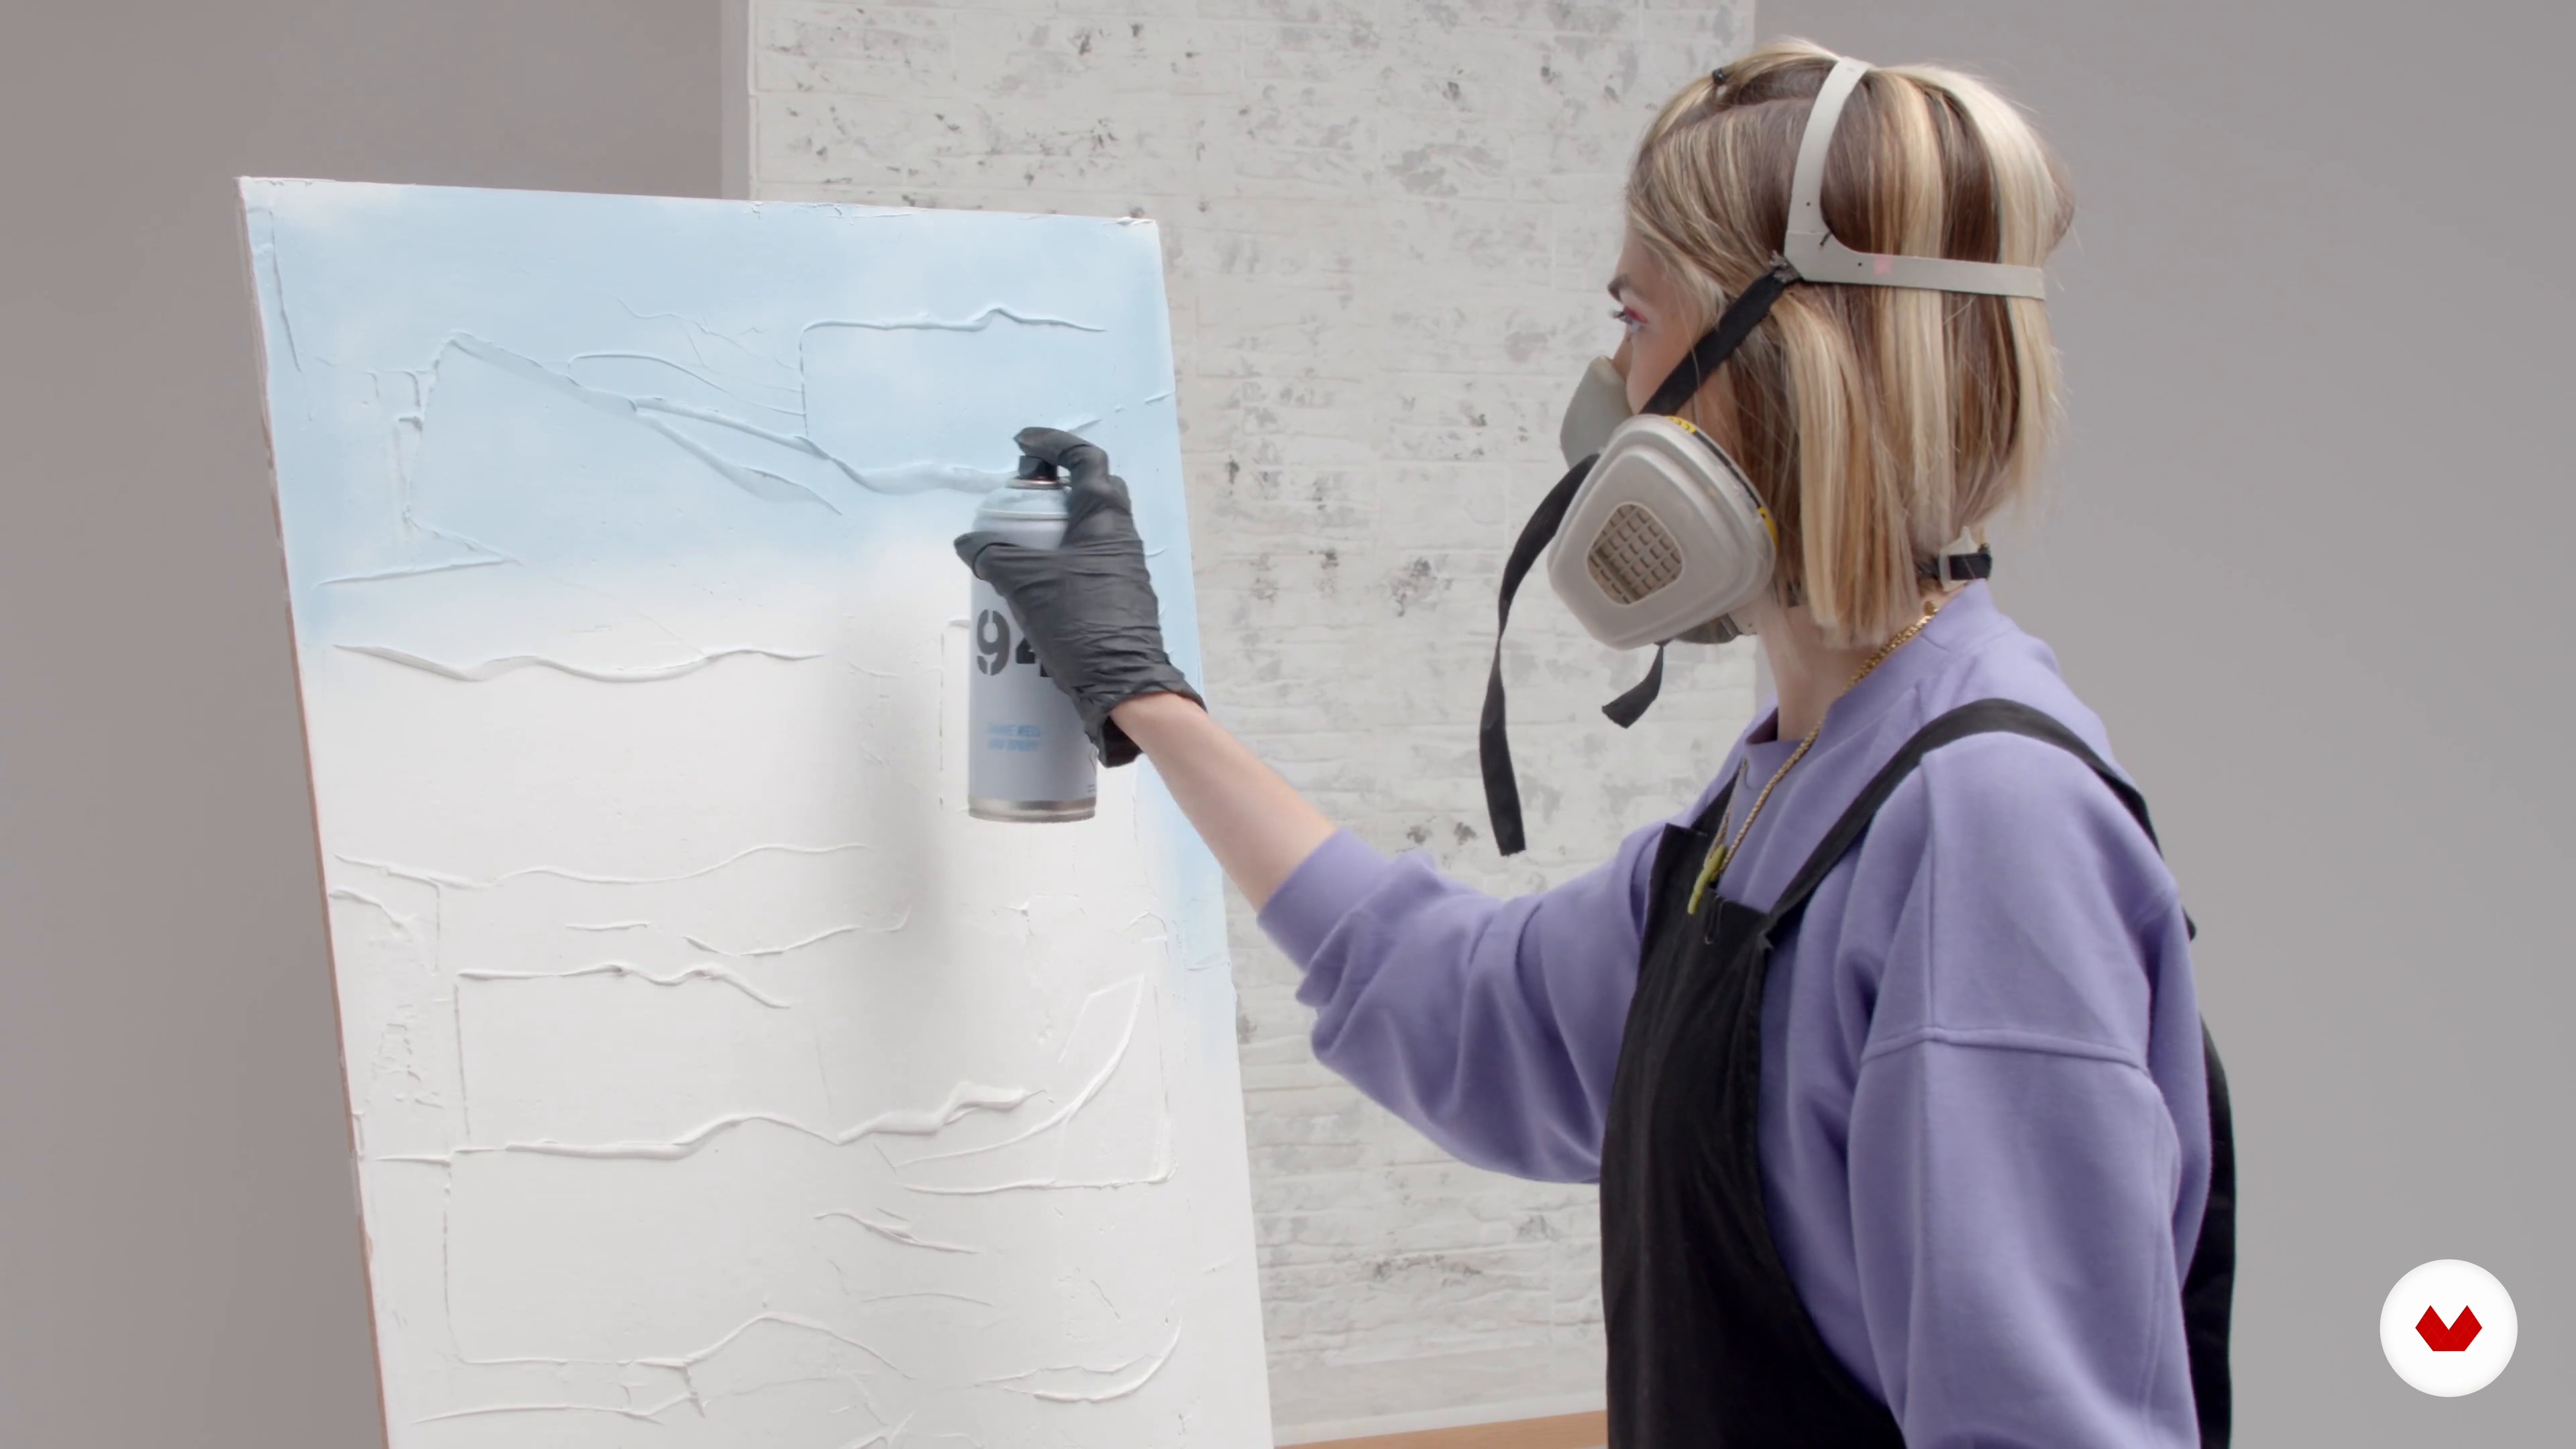
After applying the filler to the plywood and letting it dry, I'm now going to apply color to the background with the spray.
12m
image
8
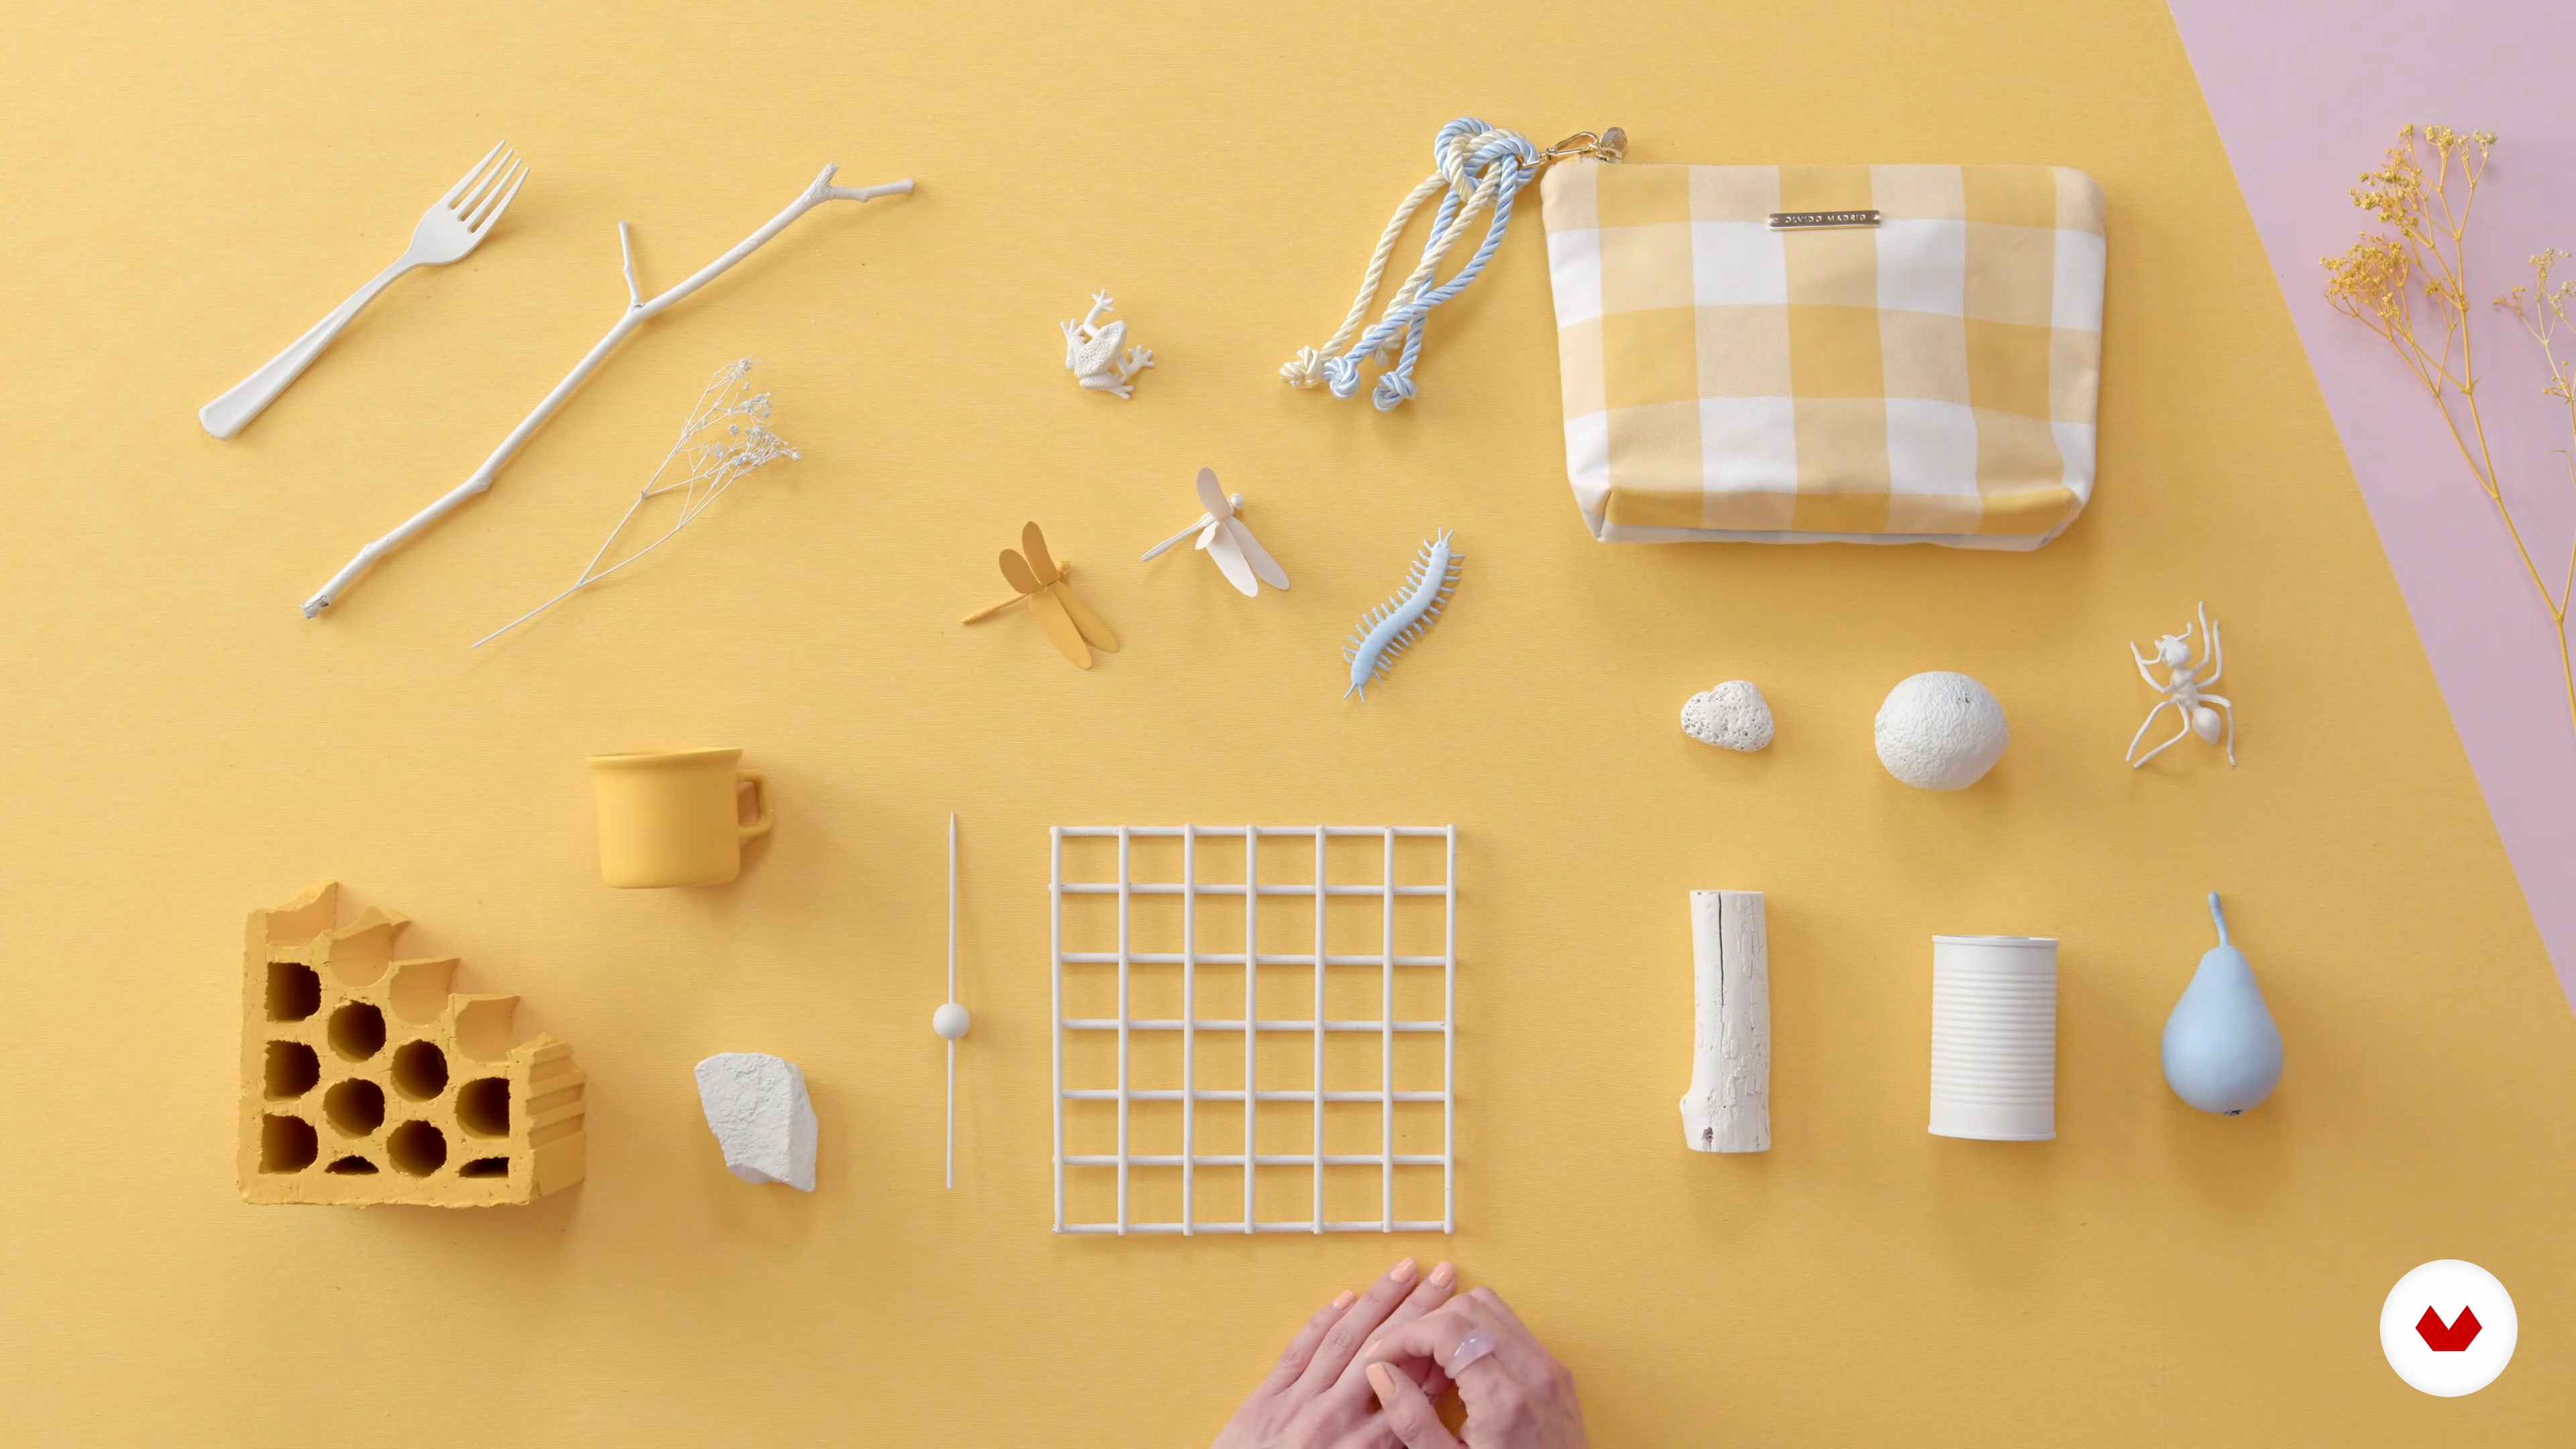
Customization of objects
When looking for objects, it's best to have a variety and extra resources, and adapt them if needed. Once we're done with this process, we'll do a test assembly and move on to painting them.
13m
image
9
Placement of elements and shooting
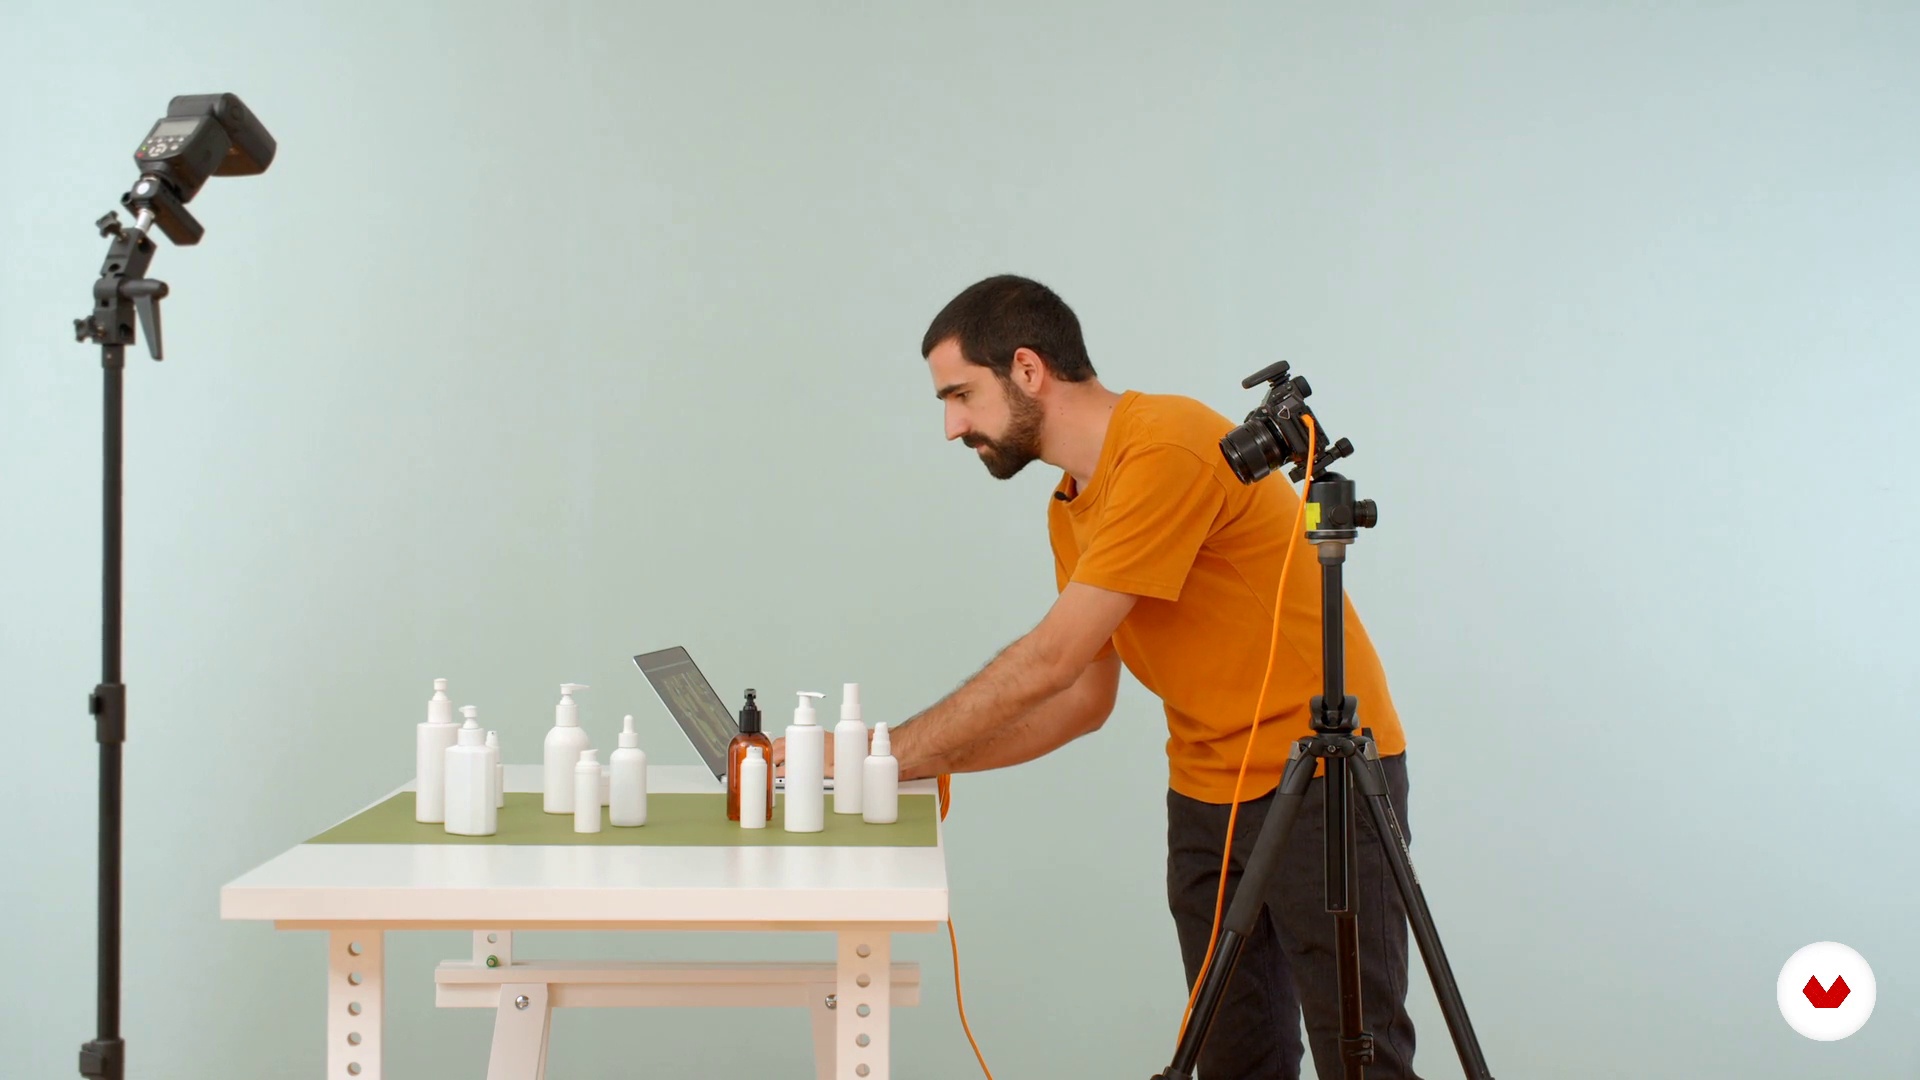
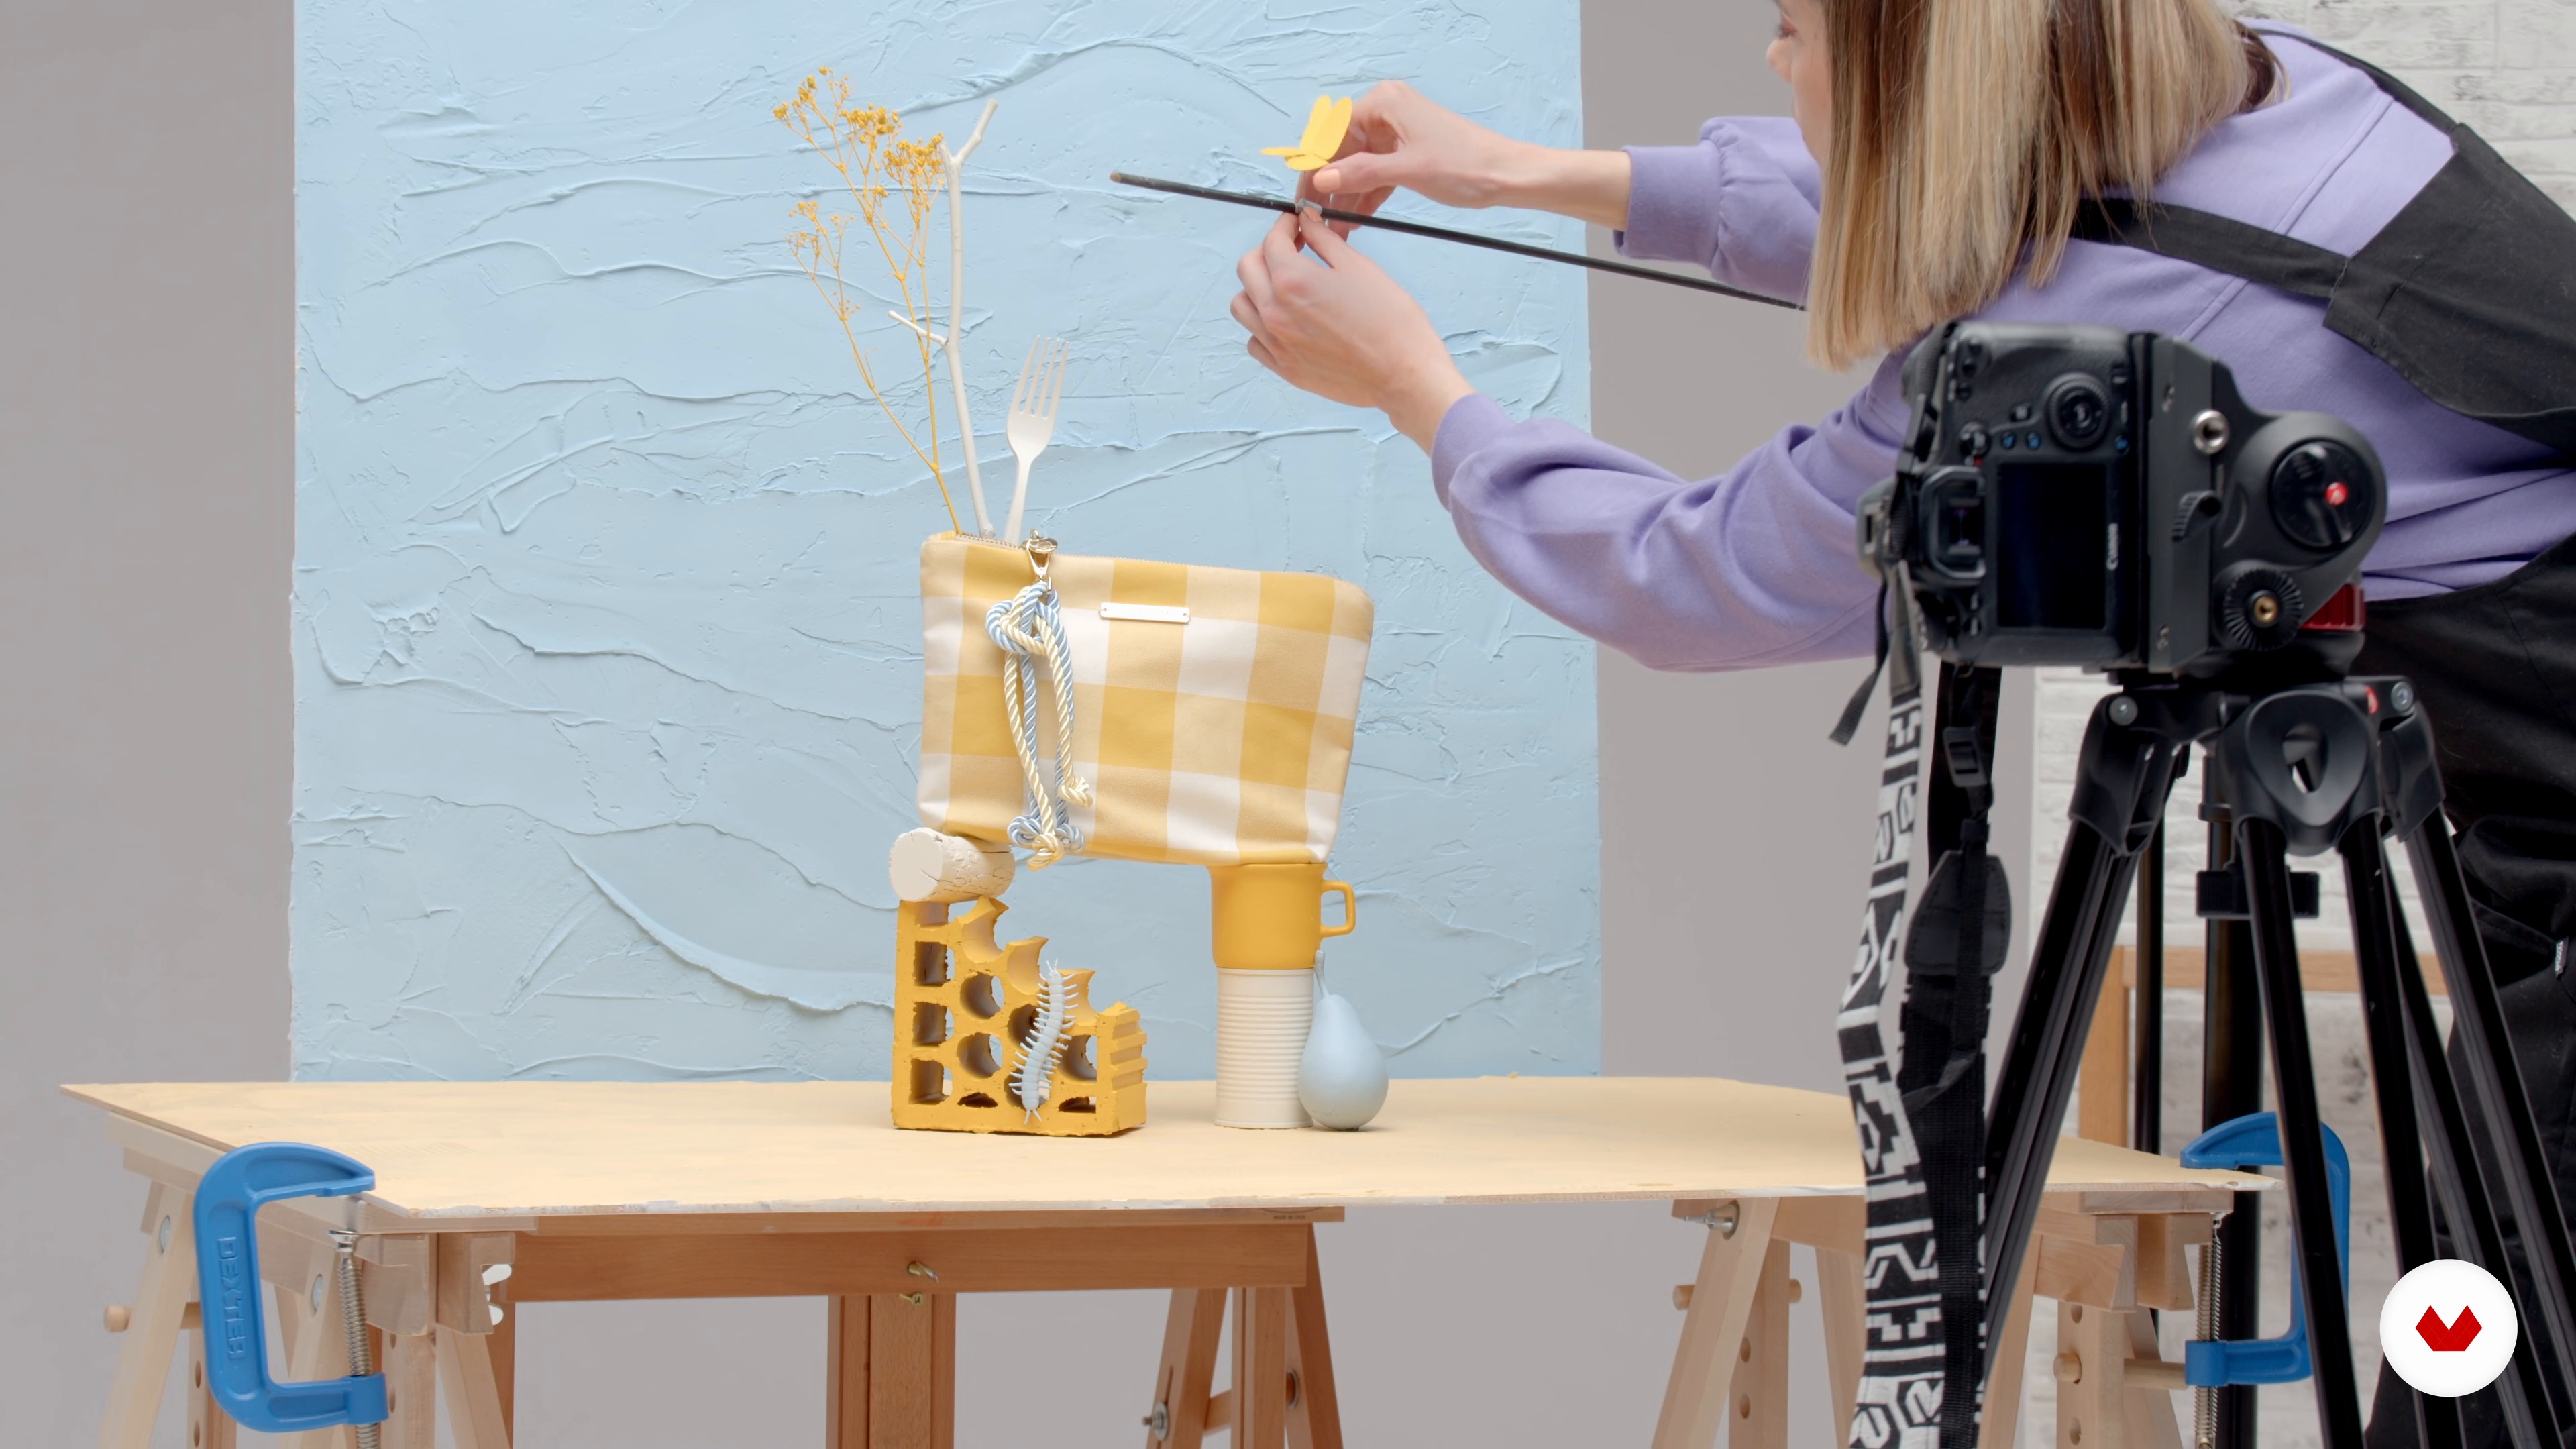
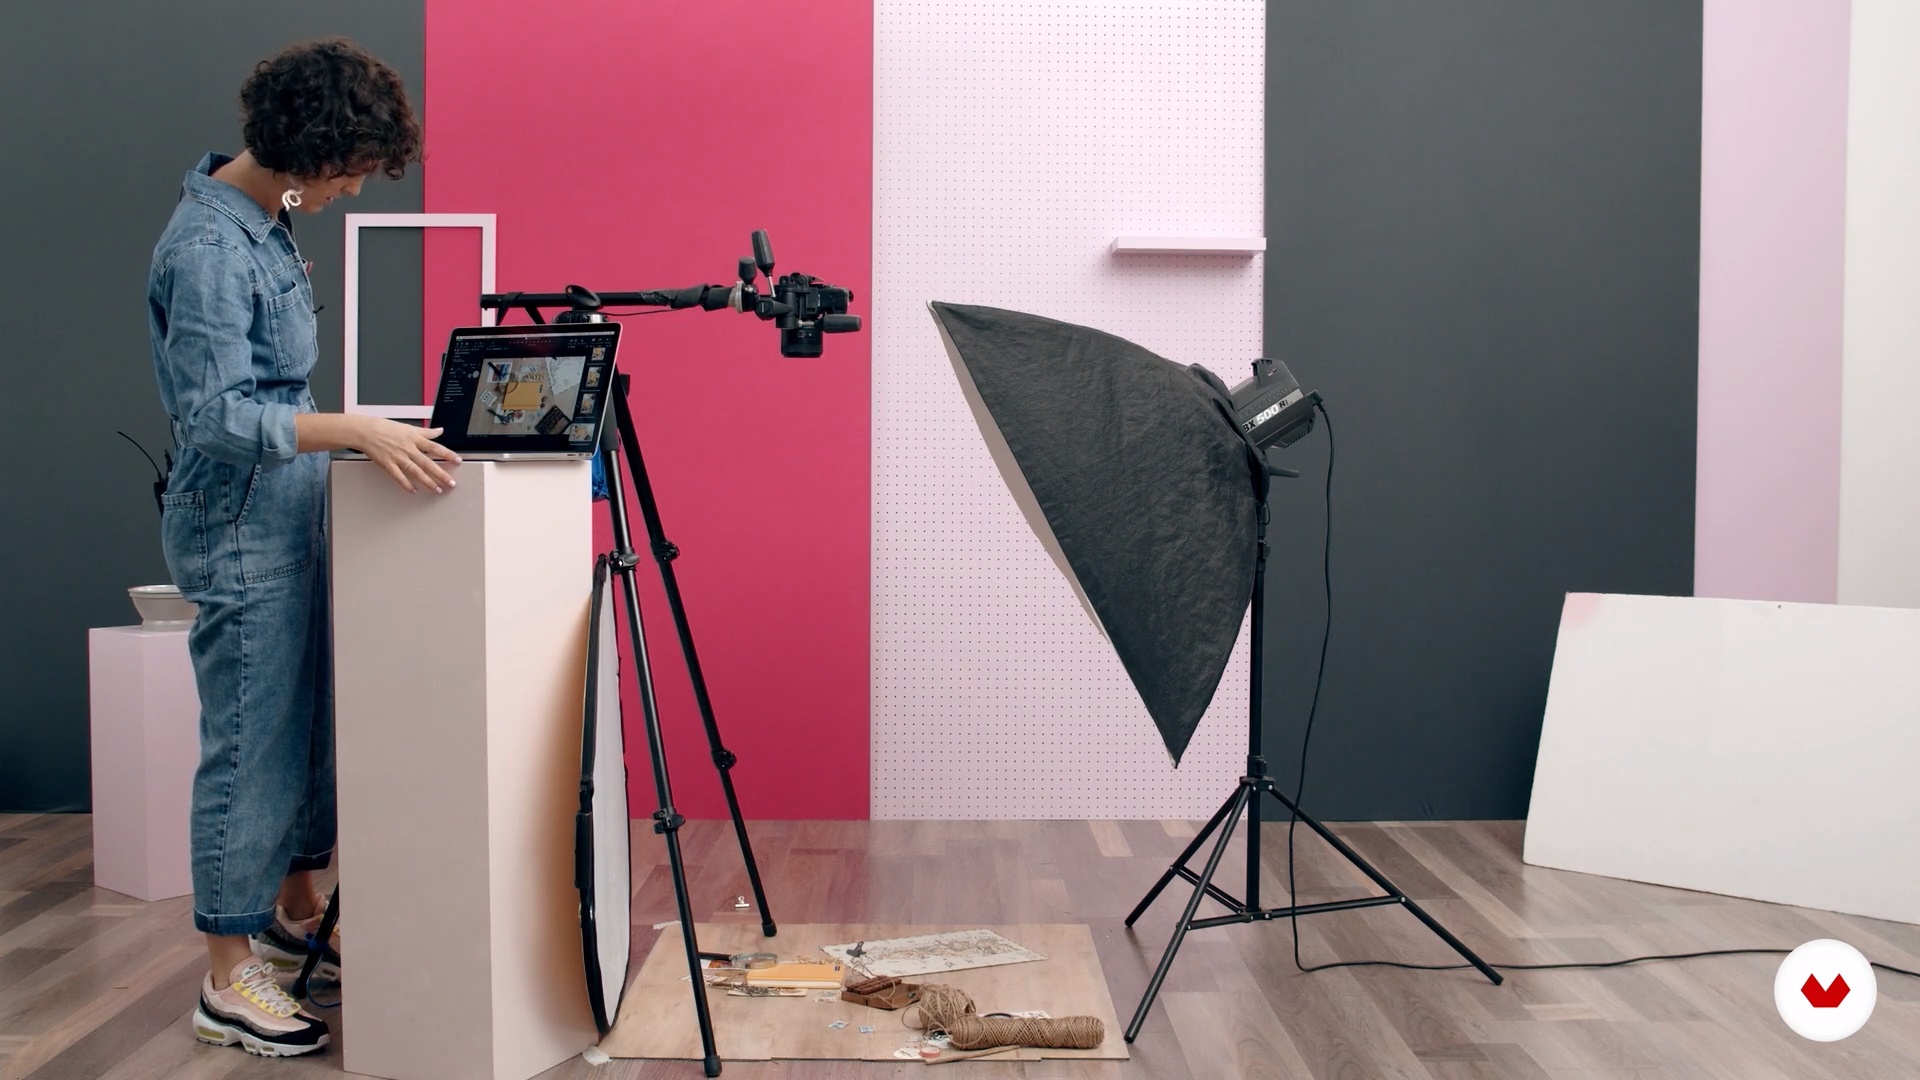
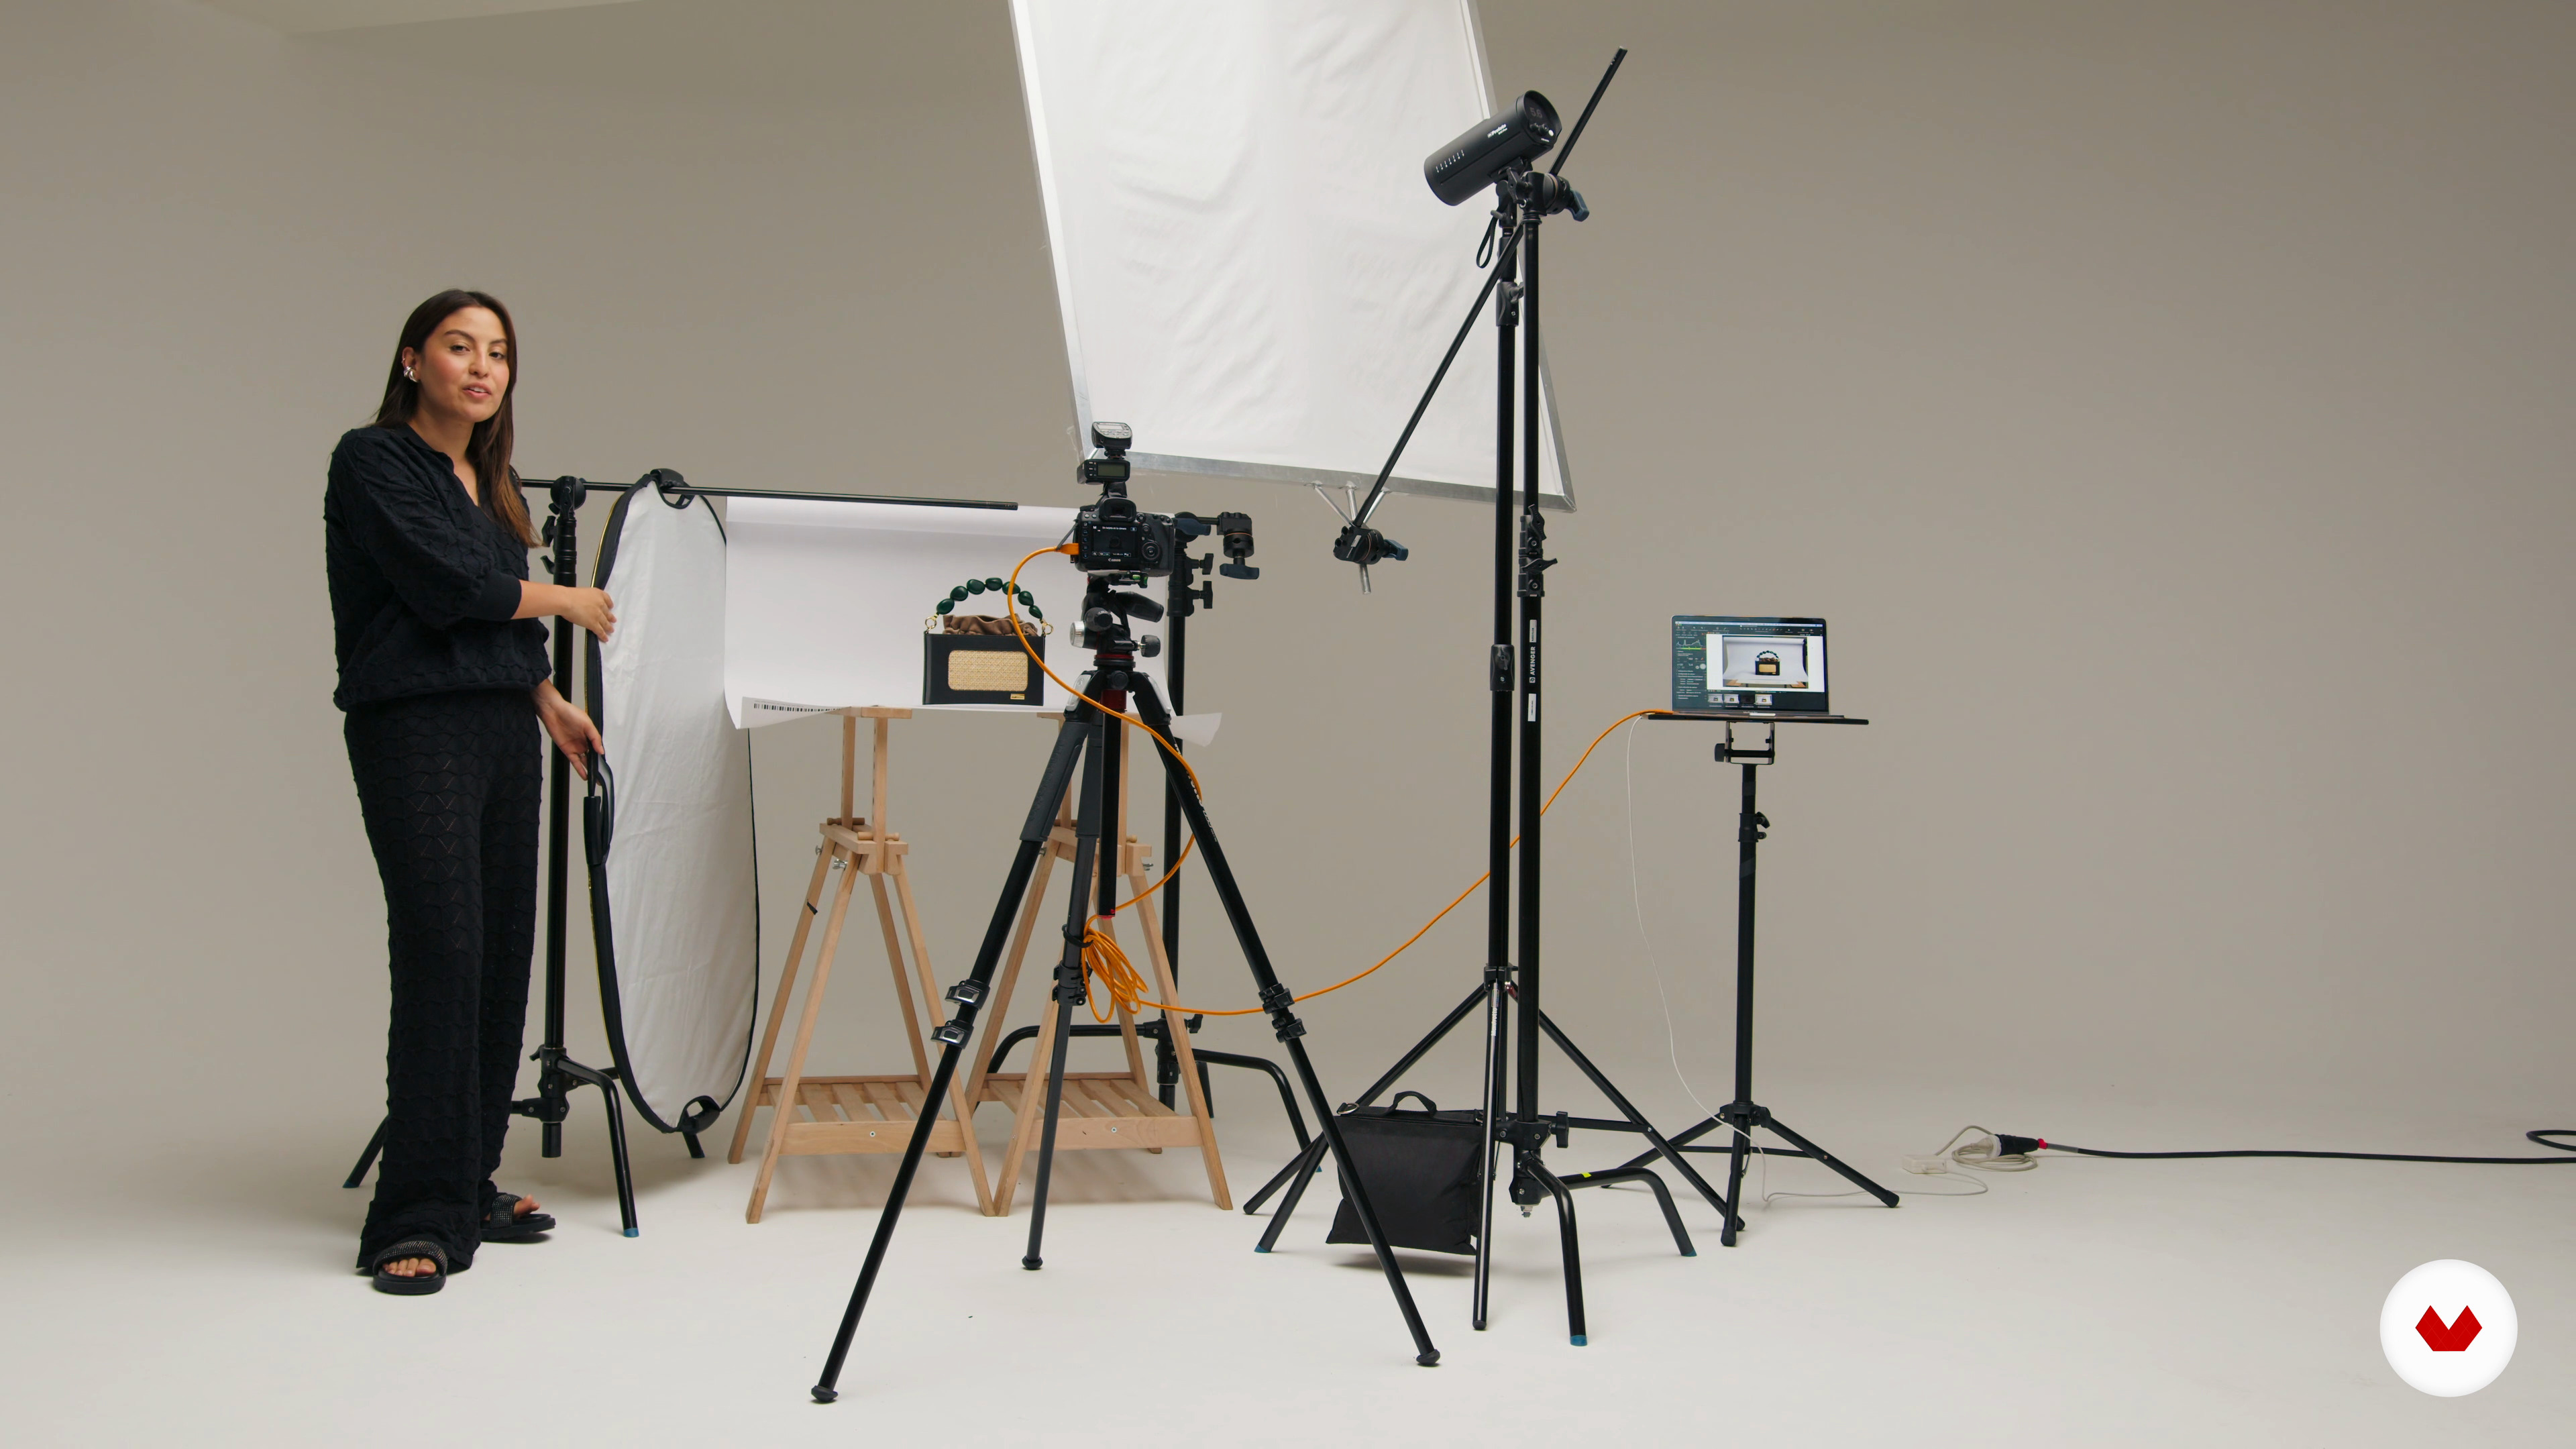
In this lesson, we prepare the table for the shoot with all the necessary elements, the set itself with the product, the lights, the reflectors, the tripod, and the camera.
16m
image
10
Playing with experimentation
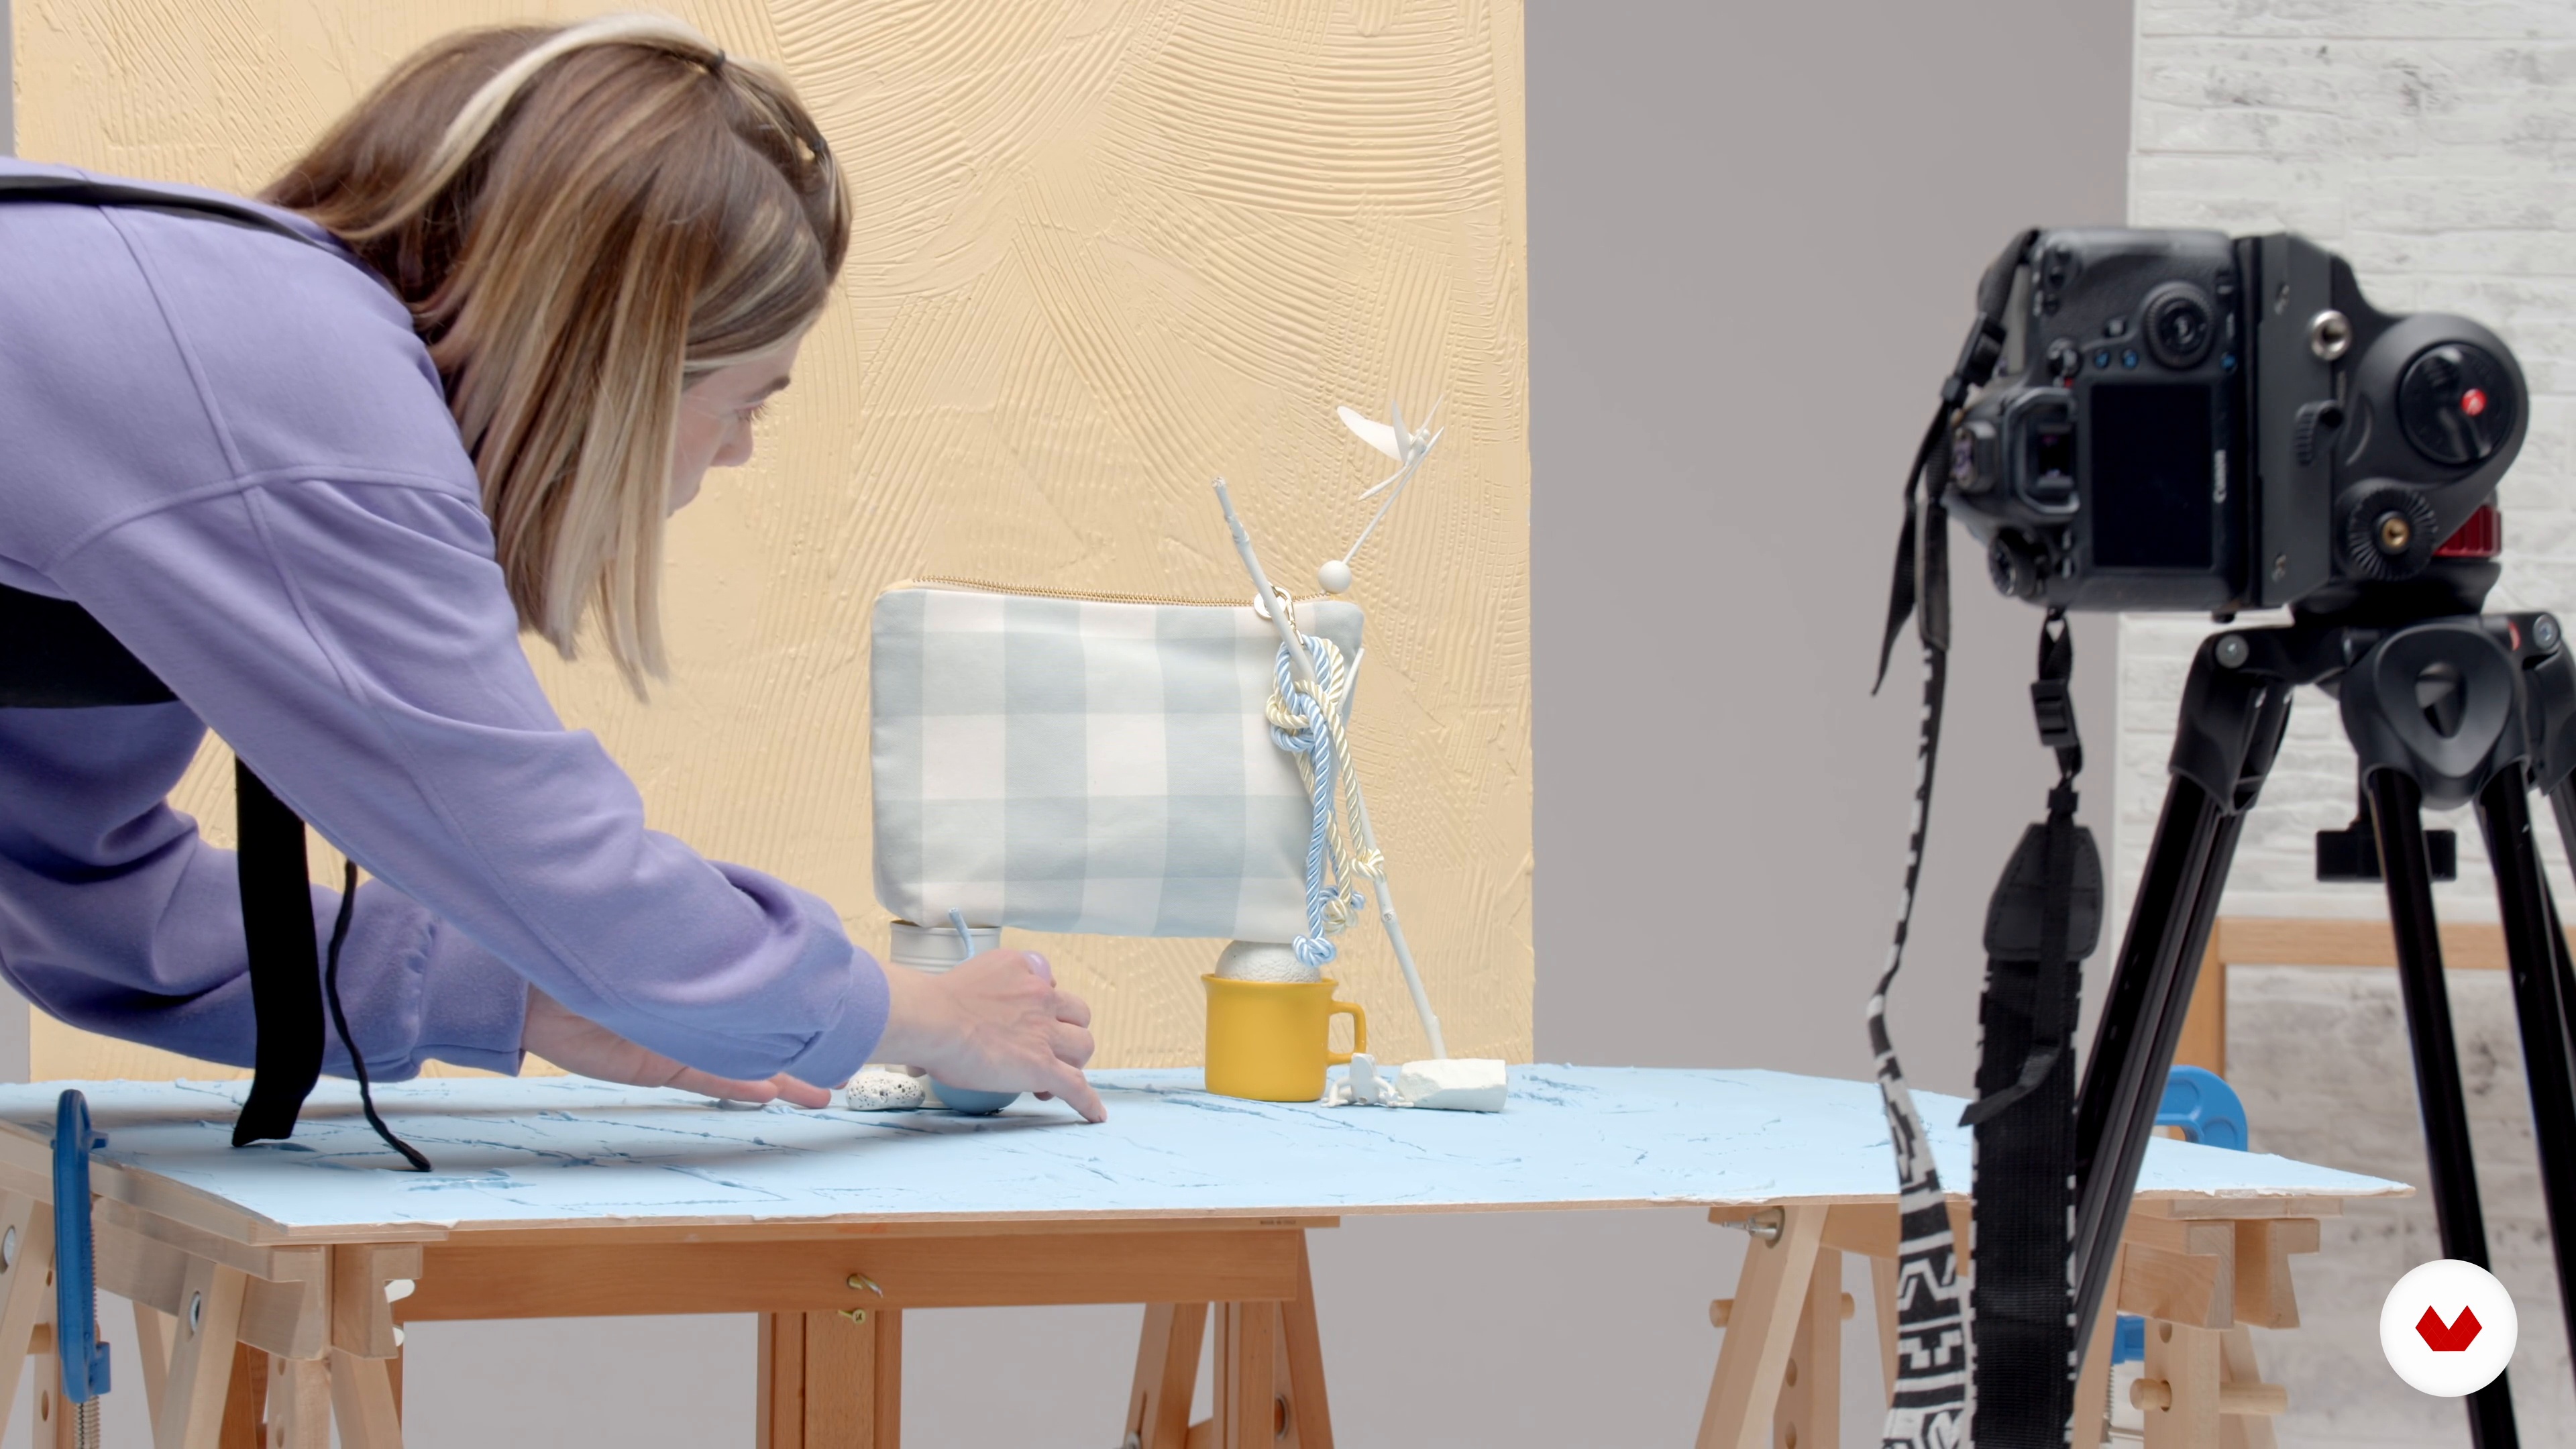
This is the most open-ended part of the project. Once we've photographed the initial sketch, we can play around and create new compositions. This phase can be a pleasant surprise!
17m
image
11
Review and selection
In this lesson, I'll explain how to select the best images, import them into Photoshop, and perform basic retouching to achieve the desired result.
5m
image
12
Corrections and export 1
In this lesson, I'm going to show you how to make some specific adjustments to your PSD before exporting the files.
17m
image
13
Corrections and export 2
I'll continue with this process. Now I'll look for a different plate for the photo I'm working on. When I'm done editing the photo, it'll be time to export it.
11m
image
14
Presentation of your work
In this lesson, I'll teach you how to prepare folders in different formats to send to the client and show them everything we've created.
3m
image
1
Visual Universe and Idea
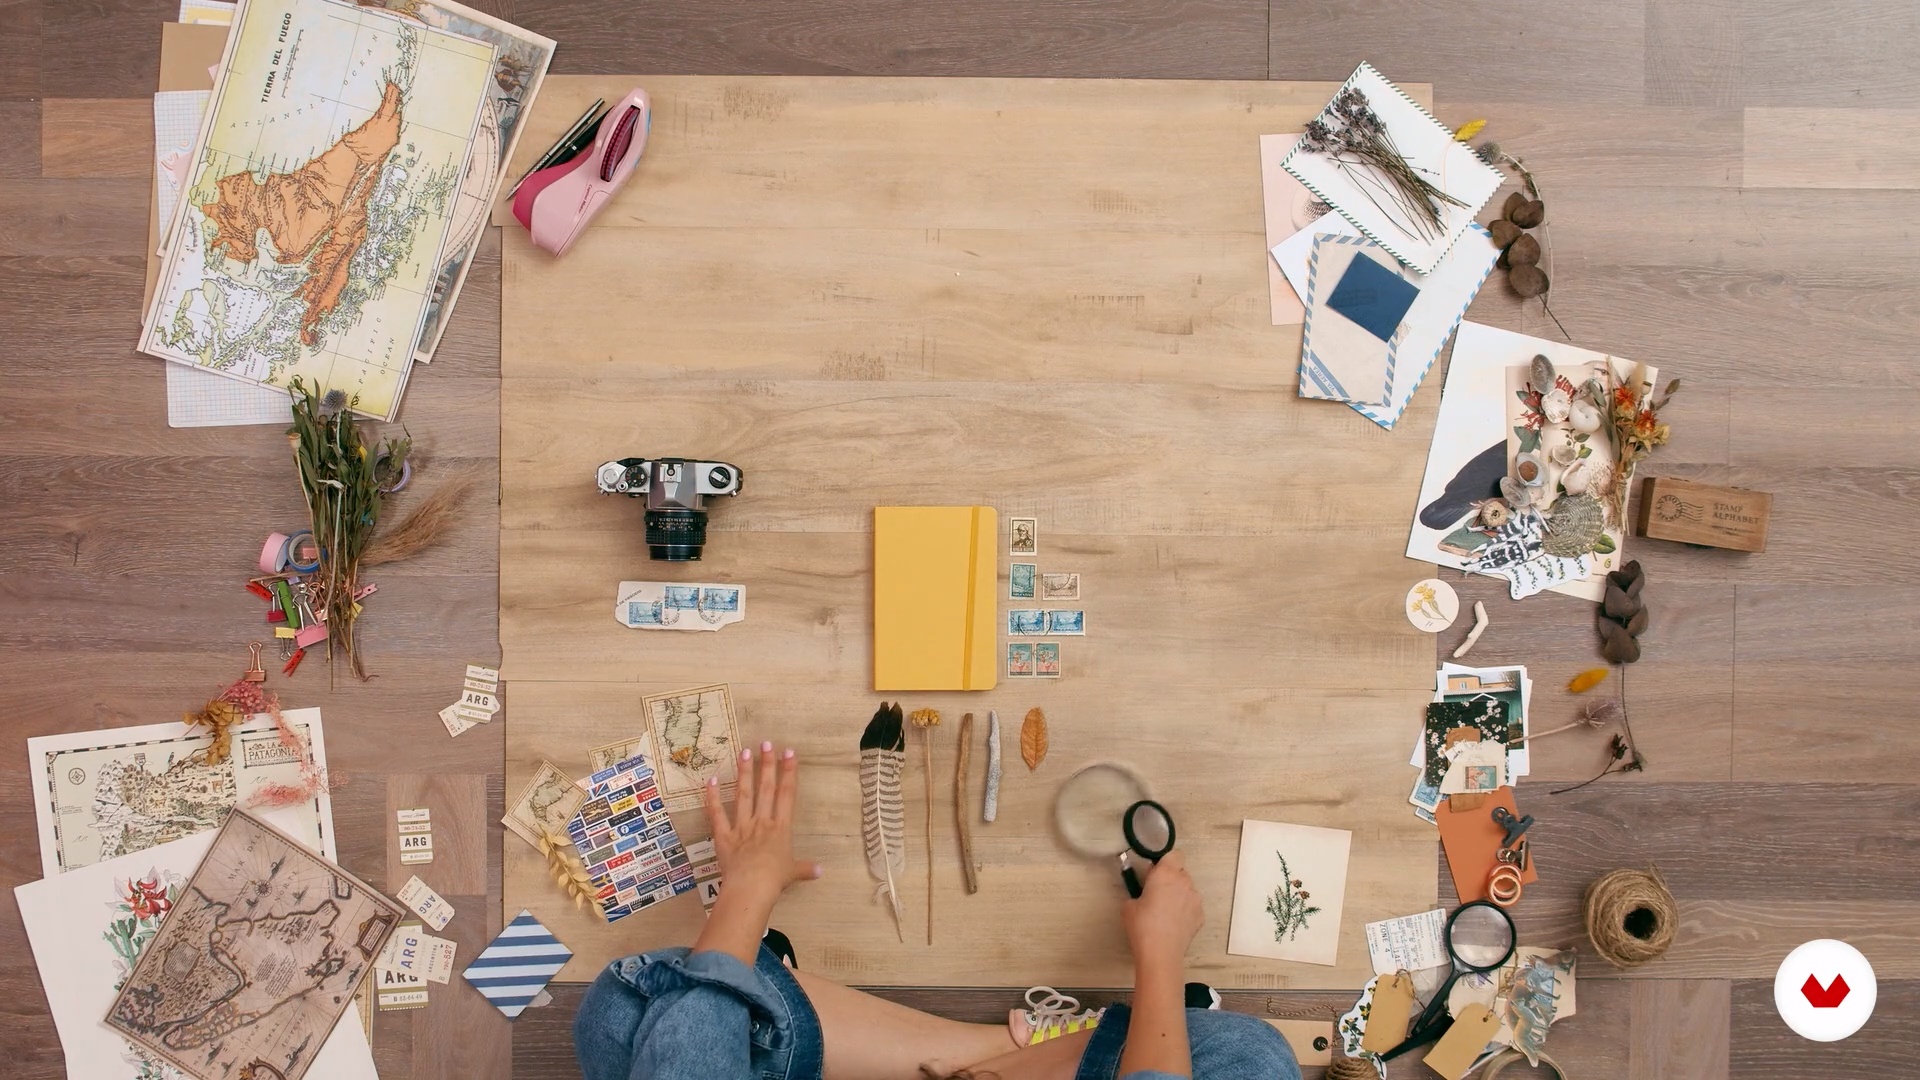
In this lesson, I'll talk about the course project, brainstorm, and teach you how to create a visual universe based on an object of your choice.
13m
image
2
Sensations through Color
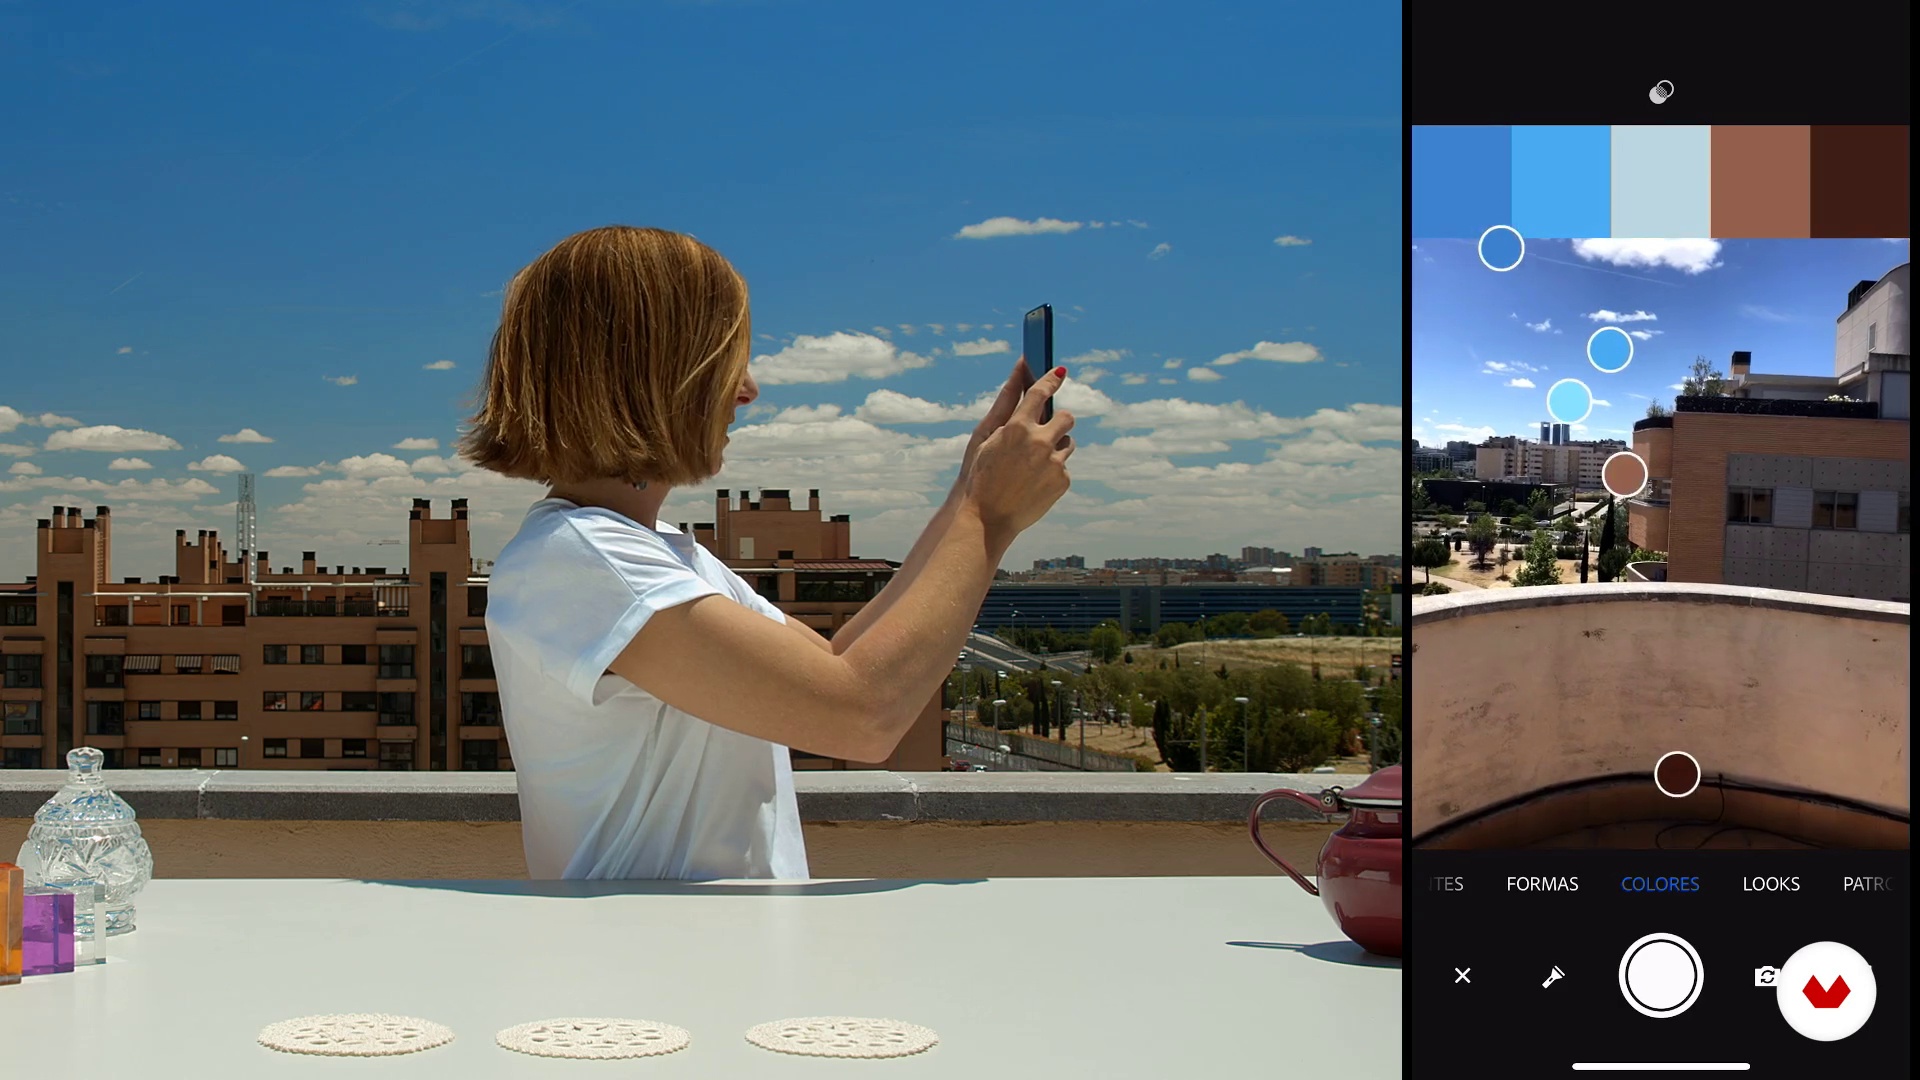
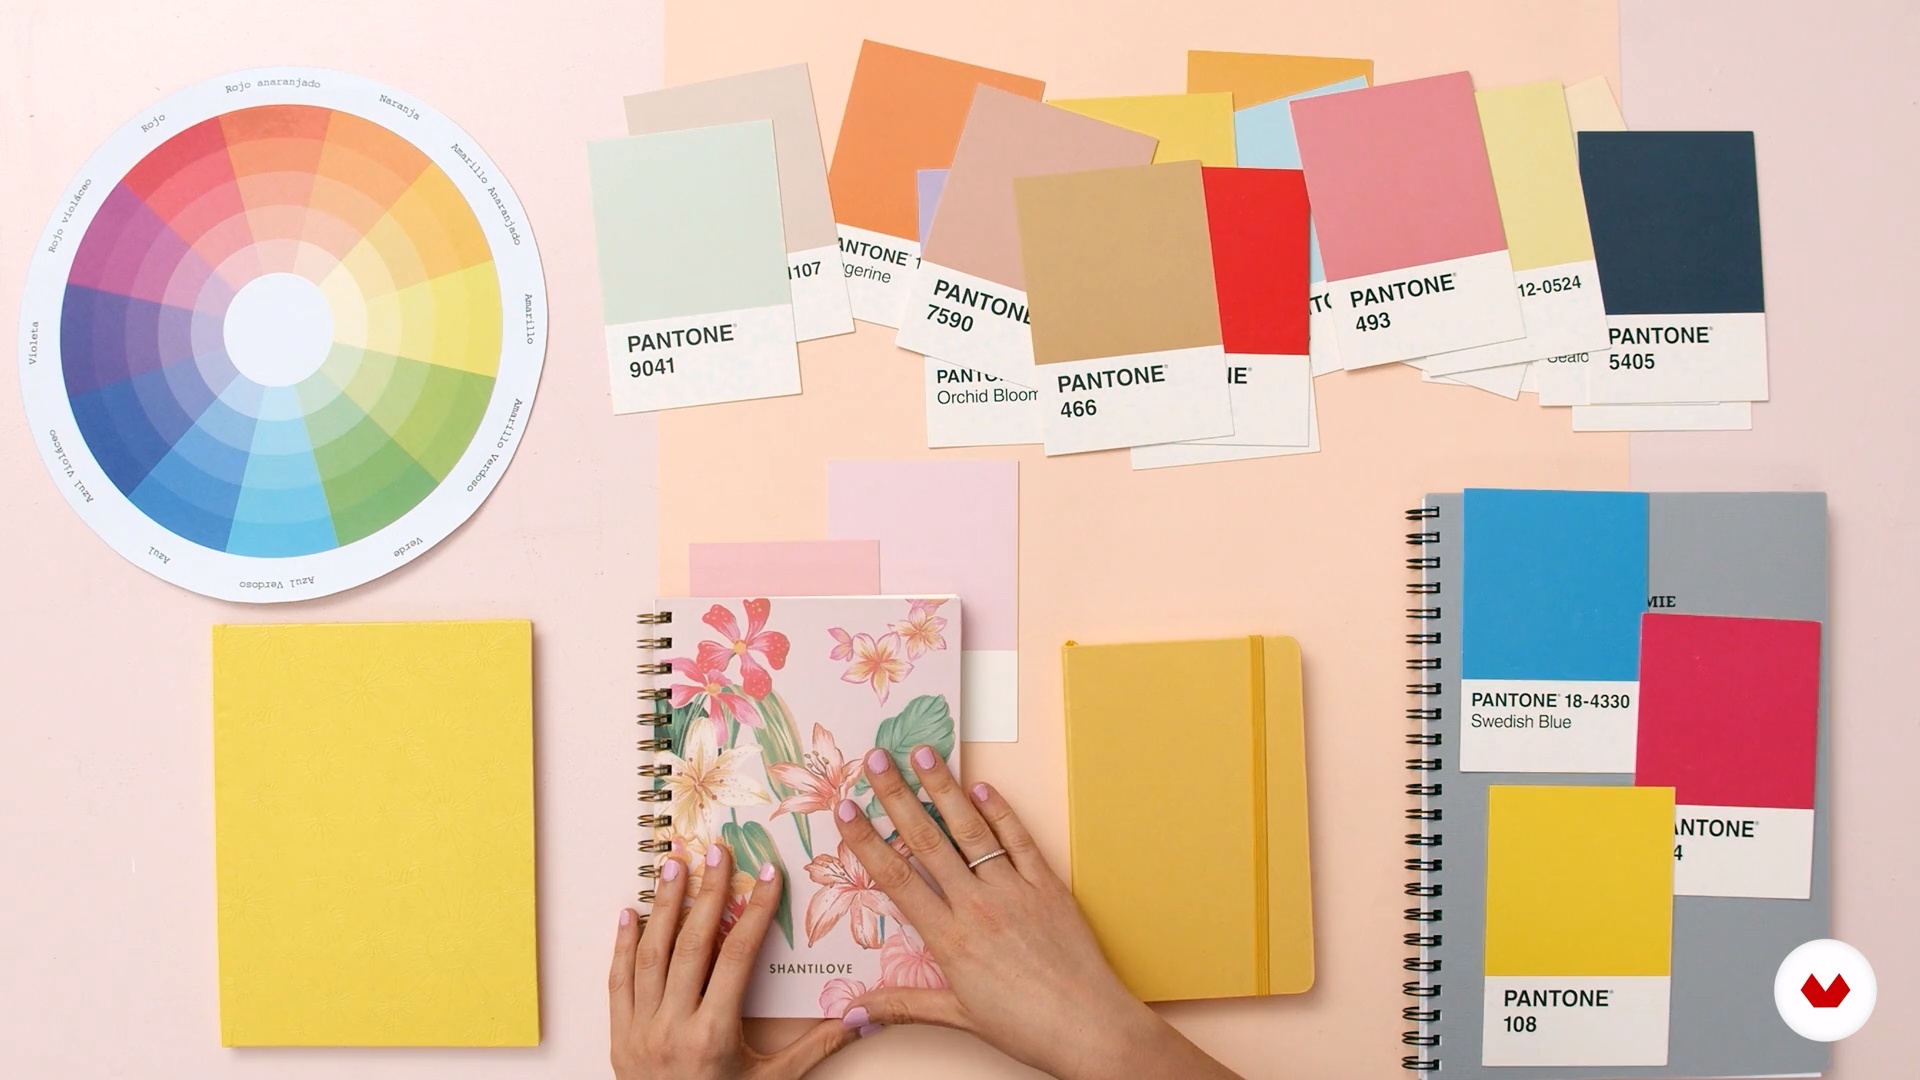
You'll learn how to put together a color palette for your project. I'll teach you color harmonies and the importance of choosing the right colors for your project.
20m
image
3
Mood board
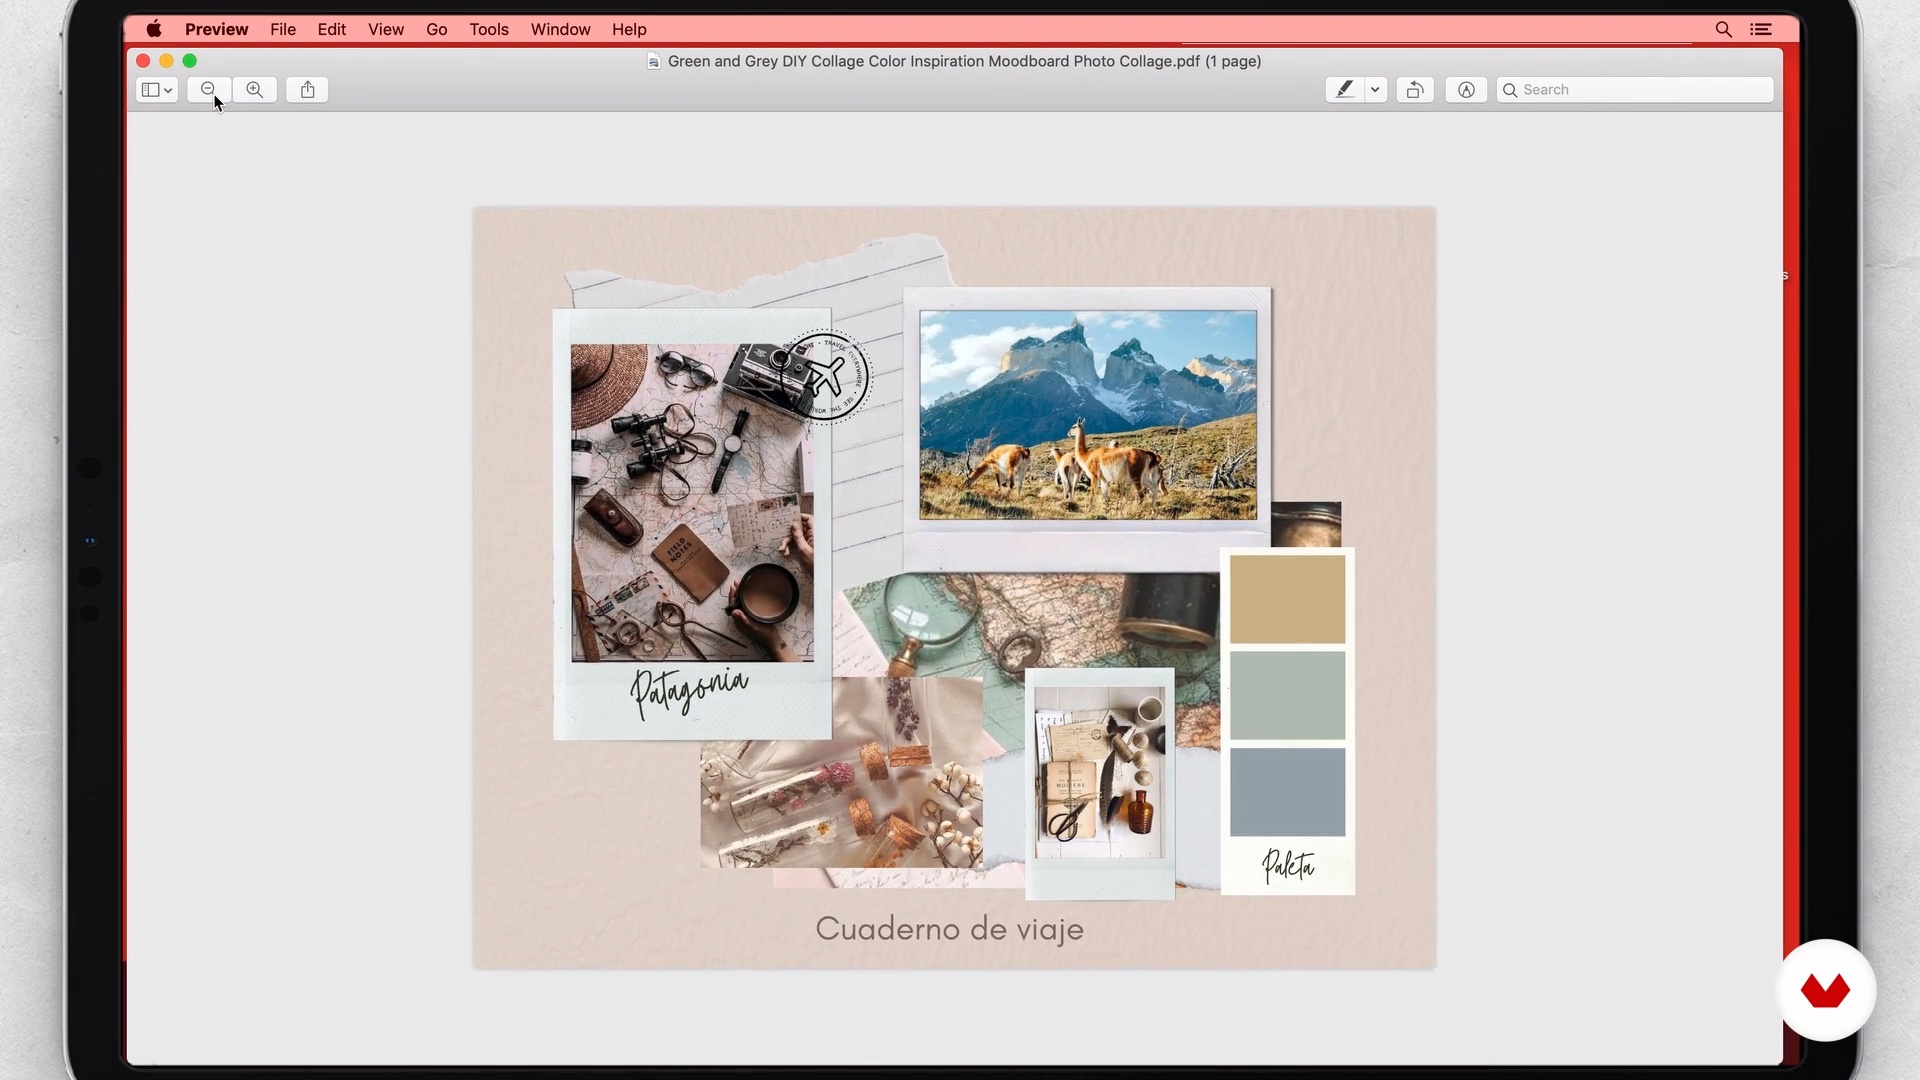
I'll teach you how to create a mood board. You'll learn about my process for selecting images and the steps I follow until I create the final mood board.
17m
image
4
The Search for the Perfect Prop
You'll learn what a prop is. I'll also teach you how to select the right props for your photo. I'll explain how to create a visual universe through textures and elements. You'll see the importance of object shapes when choosing them to complement your product. Join me as I analyze the props in some photographs.
20m
image
5
Shooting Planning and Materials
A good production is impossible without a good pre-production. One of the fundamental conditions for success is not forgetting anything and paying attention to every detail. Here, you'll see everything you need and learn how to transfer all these variables of your project into a pre-production spreadsheet.
6m
image
6
Image Composition and Organization 1
In this lesson, you'll learn how to create visual balance in your images. I'll show you different ways to arrange elements to create a visual setting. You'll see different composition schemes for objects, and we'll analyze the advantages and disadvantages of each.
10m
image
7
Image Composition and Organization 2
You will continue learning everything necessary to achieve a harmonic composition.
11m
image
8
Lighting and Shooting
I'll teach you how to analyze the different types of lighting that an image can have. You'll think about how to incorporate lighting as a resource that gives meaning to your photo. You'll deploy all the props you've collected and position them to put together the final shot. You'll take the photo from a top-down perspective, and I'll explain how to capture it from a computer and a cell phone.
18m
image
9
Selection, Editing and Retouching
You'll learn how to analyze all the images to define the strengths and weaknesses of each one. I'll explain the criteria you need to consider when selecting the final image. Once you've made your selection, you'll learn how to edit the images with Camera Raw and Photoshop. You'll learn how to adjust exposure and correct minor errors to get the image ready to publish. You'll also learn how to edit the images you took with your phone using VSCO.
17m
image
10
Publication
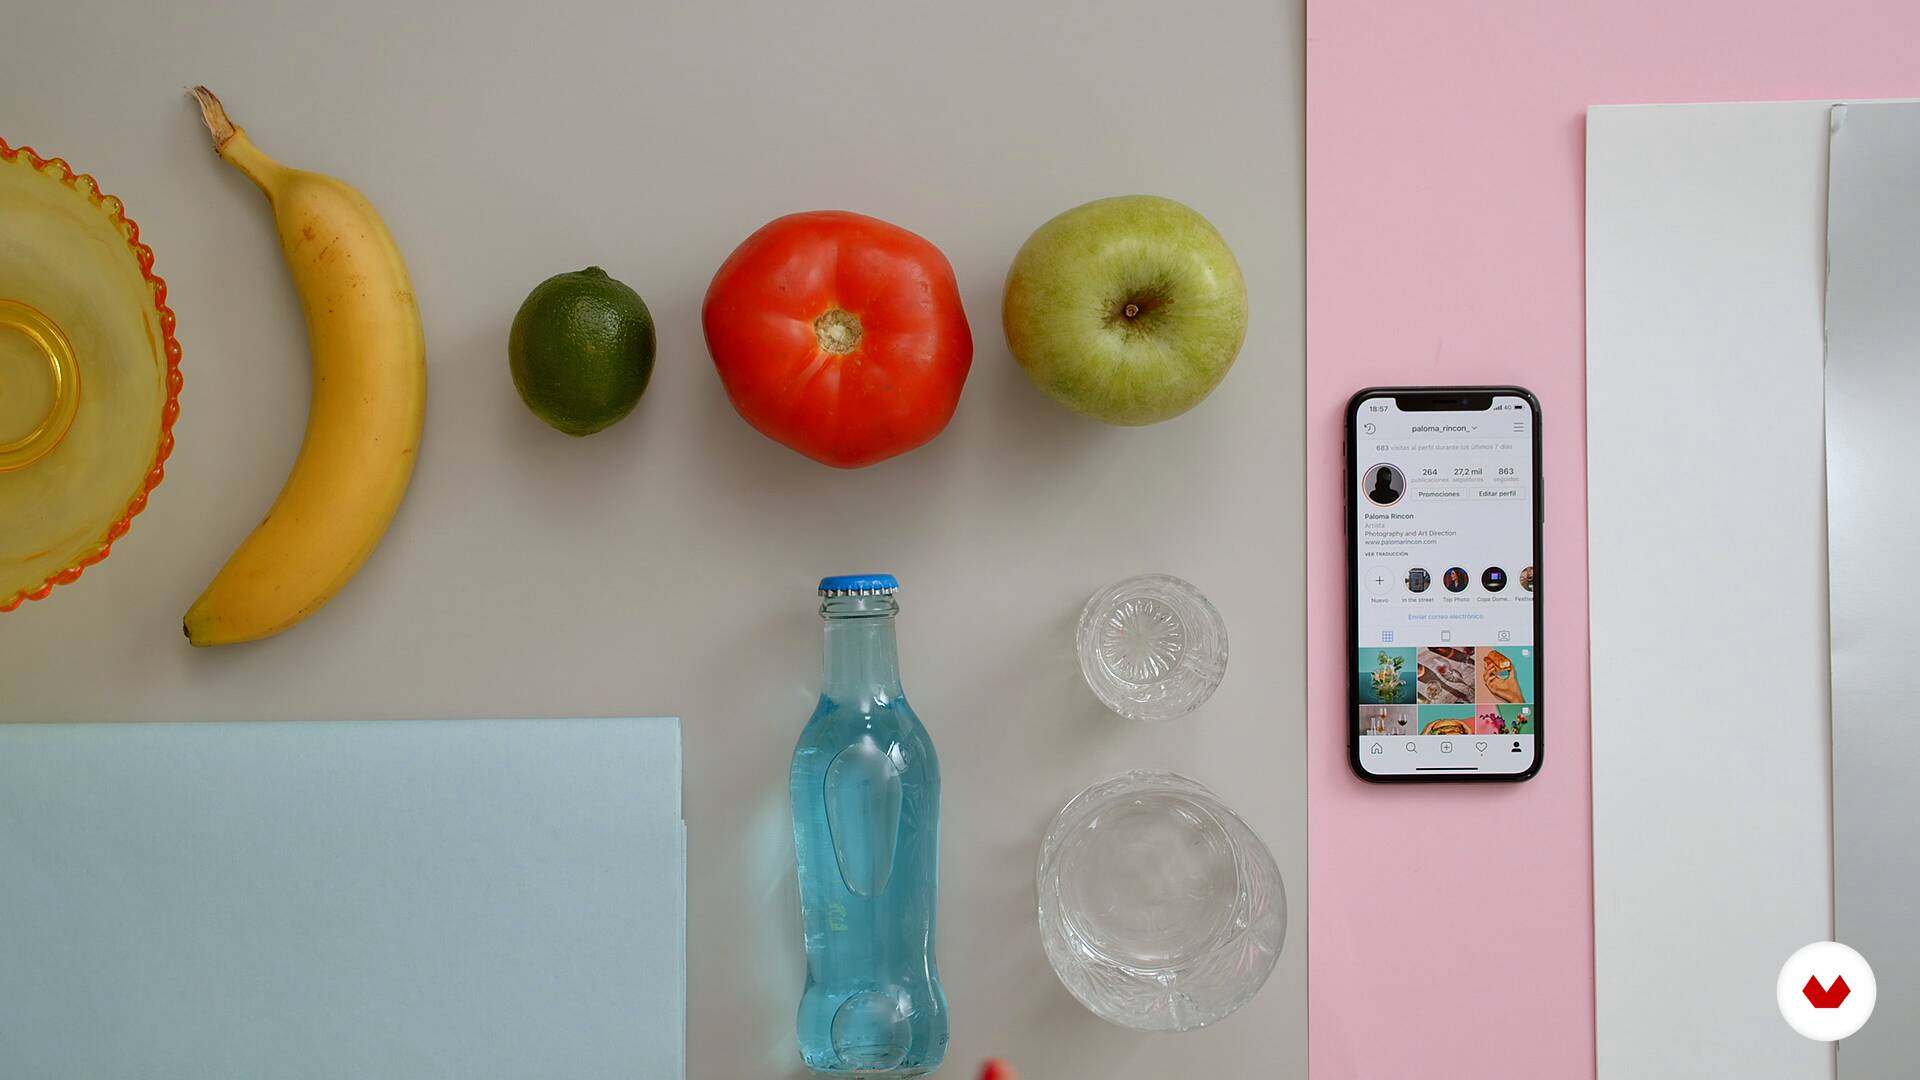
You will close your work by publishing the material you created on Instagram.
3m
image
1
Art direction and set design
Art direction is concerned with visually representing a story that is intended to be communicated through an image. From art direction, set design is developed—the space in which the idea, story, or product will be represented. In this lesson, we'll explain both concepts and what to consider to ensure they work together.
6m
image
2
Brief and schedule
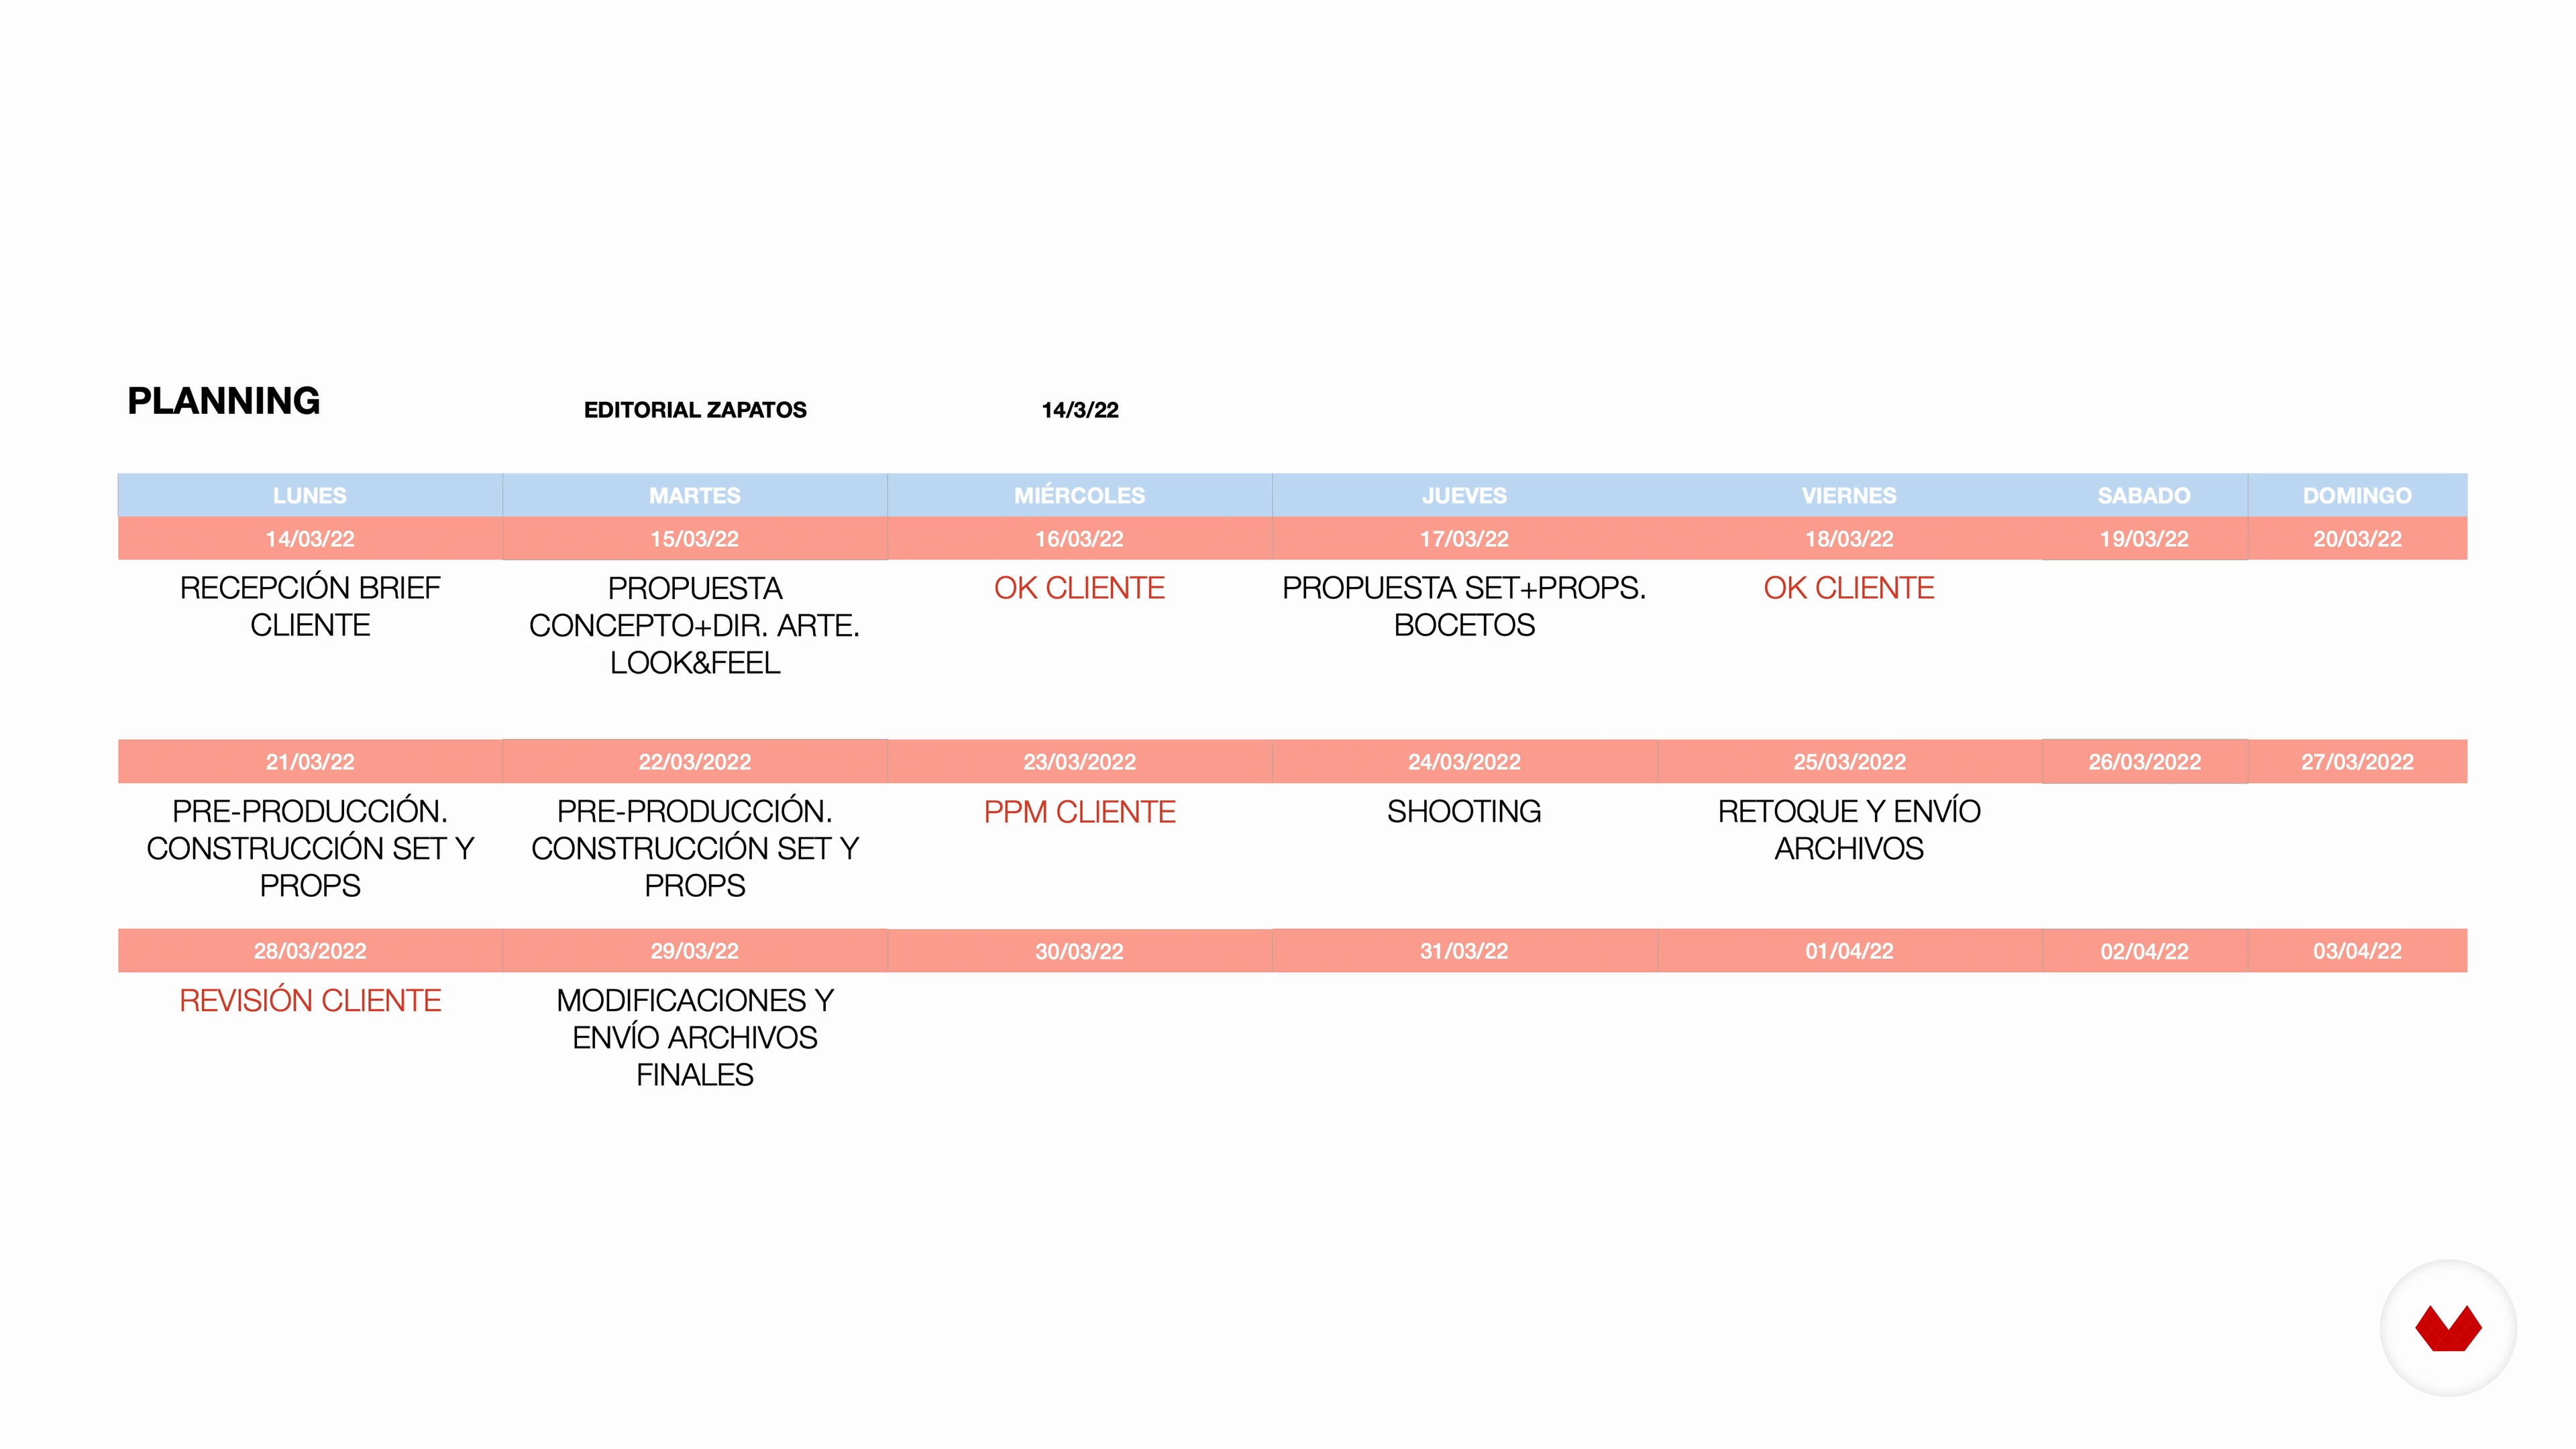
It's important to clearly define what you want to communicate: that's why you create a brief. In this lesson, we'll explain what this document should contain and how to create a delivery schedule to organize your work and ensure a deadline.
3m
image
3
The concept
Once the brief is defined, we can begin searching for a concept for the images. Here, we'll show you how a clear concept helps us flesh out the story we want to convey.
6m
image
4
Mood boards
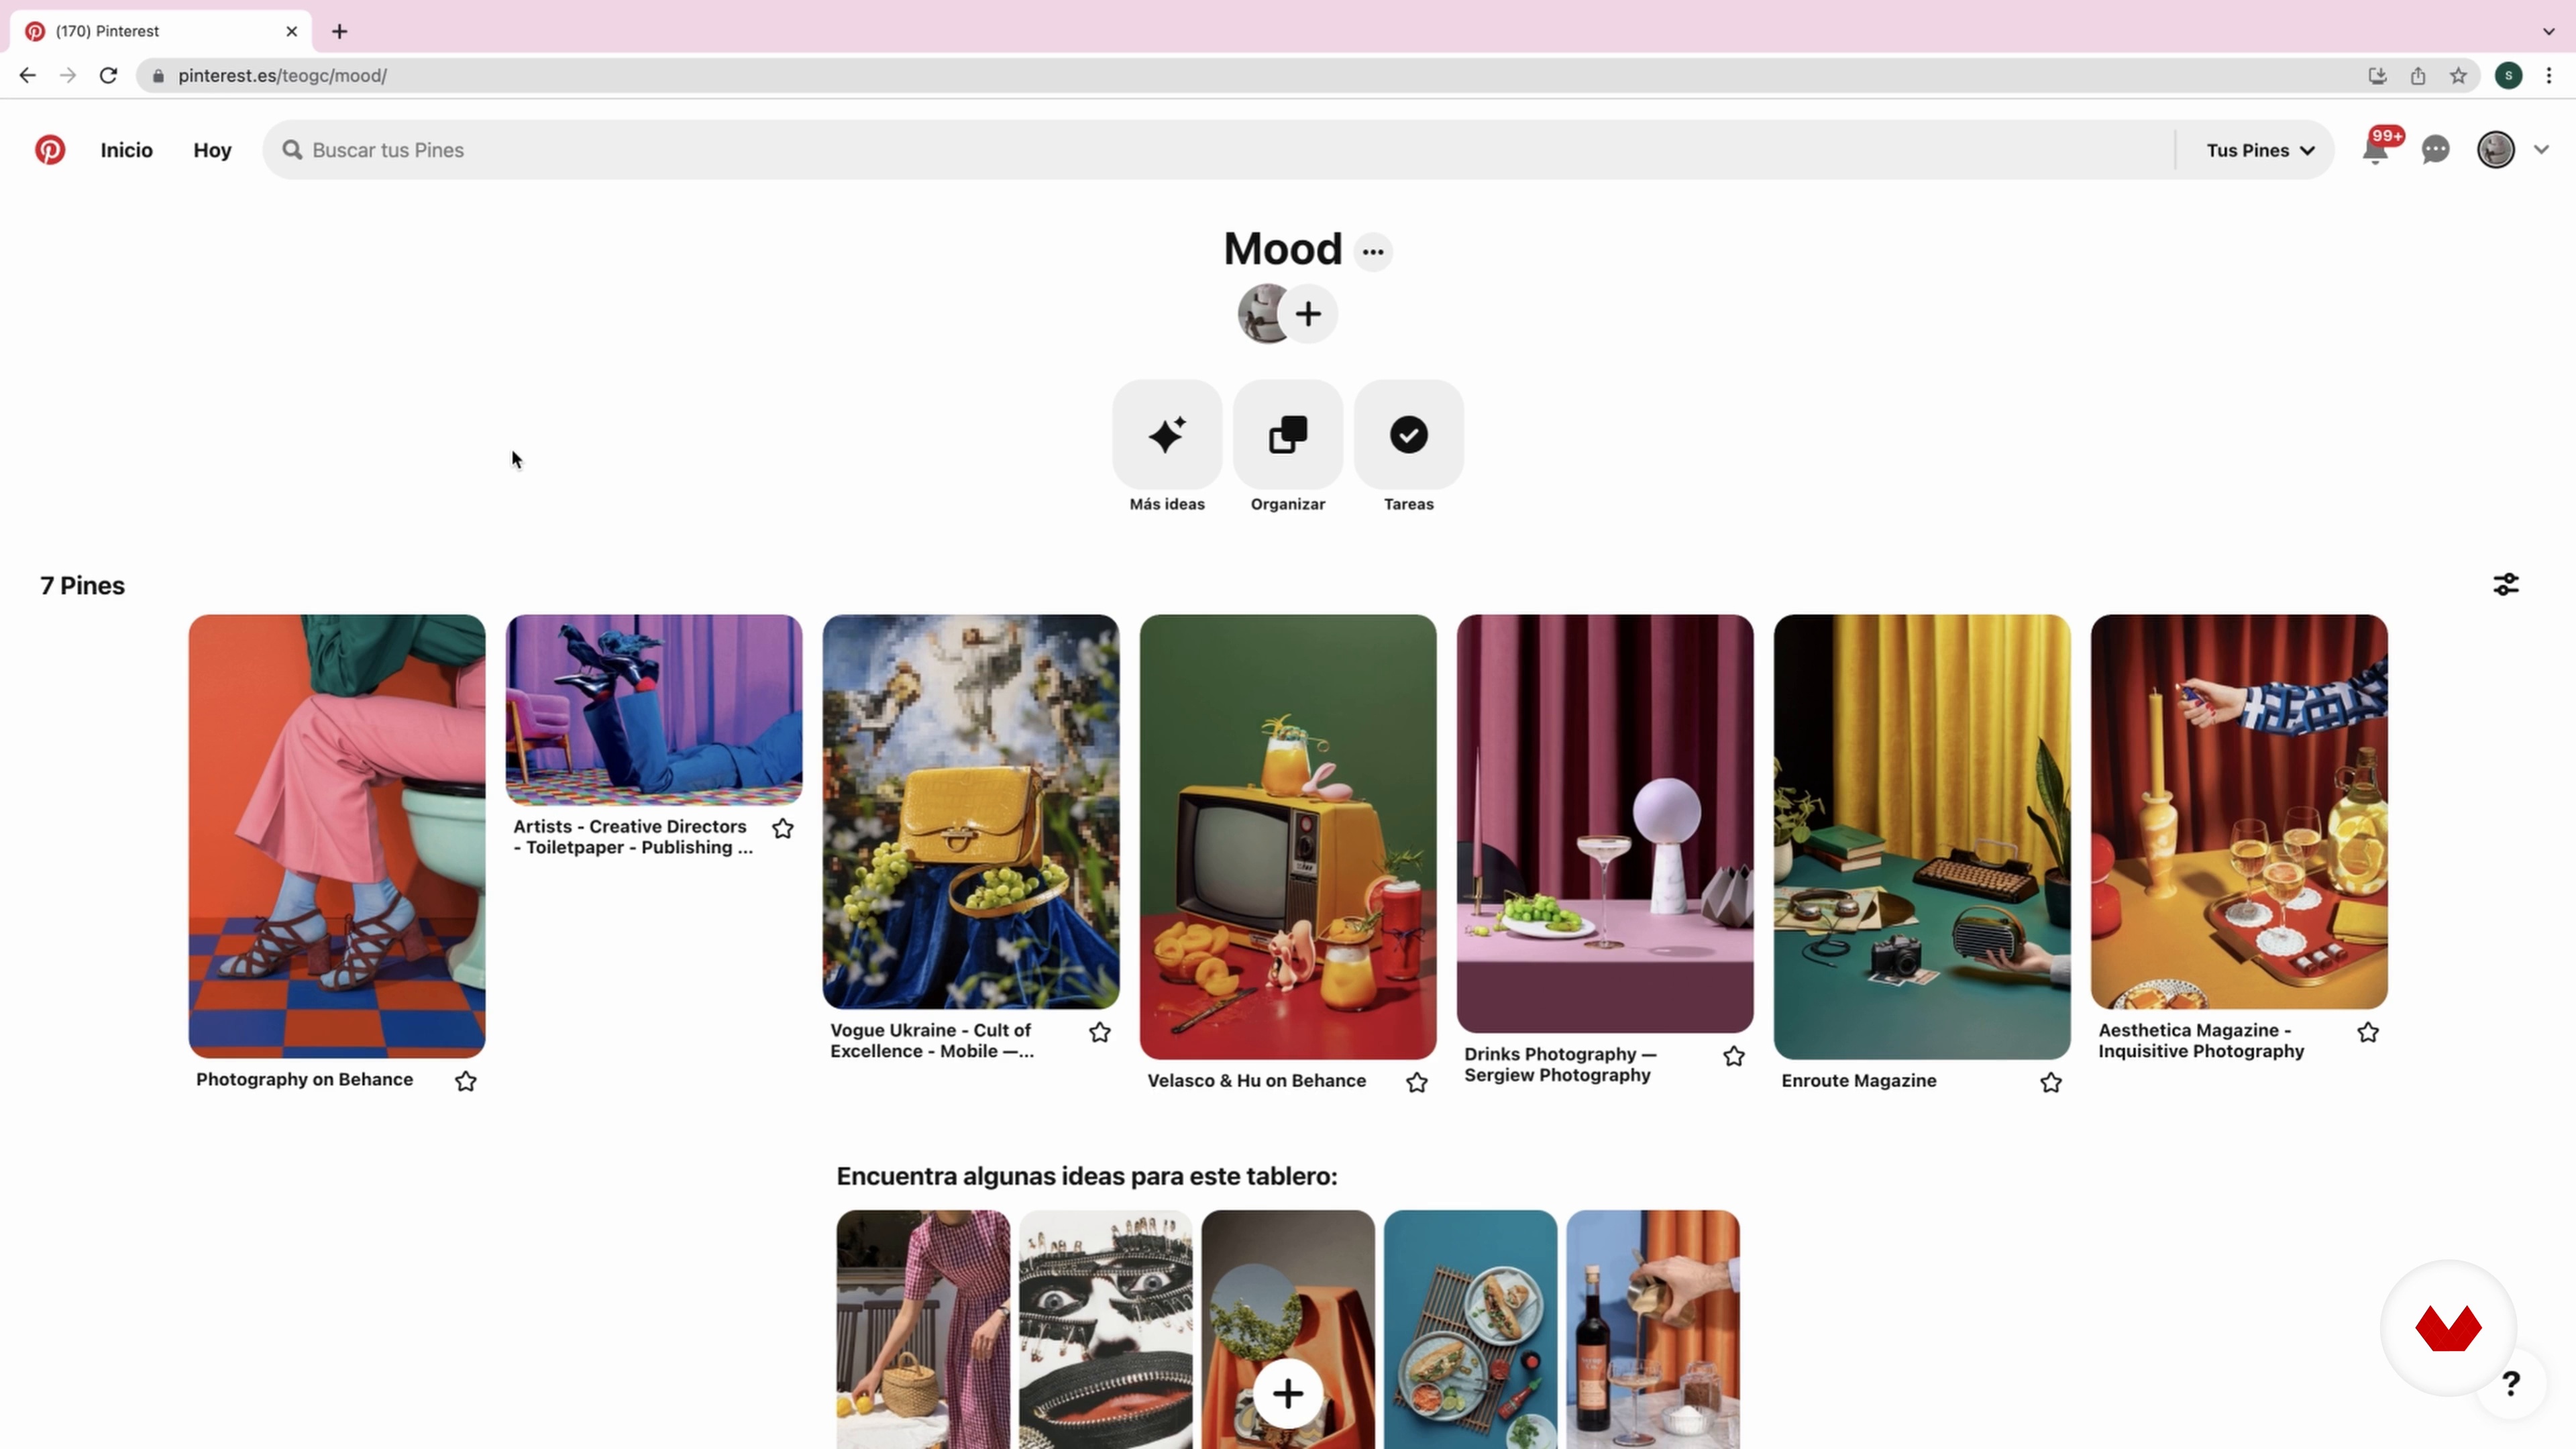
In this lesson, we'll show you how to search for reference images and create inspiration boards for our project. To do this, we'll use Pinterest.
6m
image
5
Colors, textures and props
Here we explain how to choose a color palette that suits your concept. You'll also see why we sometimes choose certain textures and props for our sets.
5m
image
6
The lighting
In this lesson, we'll show you some lighting references and explain how we're going to illuminate our set to enhance the product while giving it volume and sophistication.
1m
image
7
The sketches
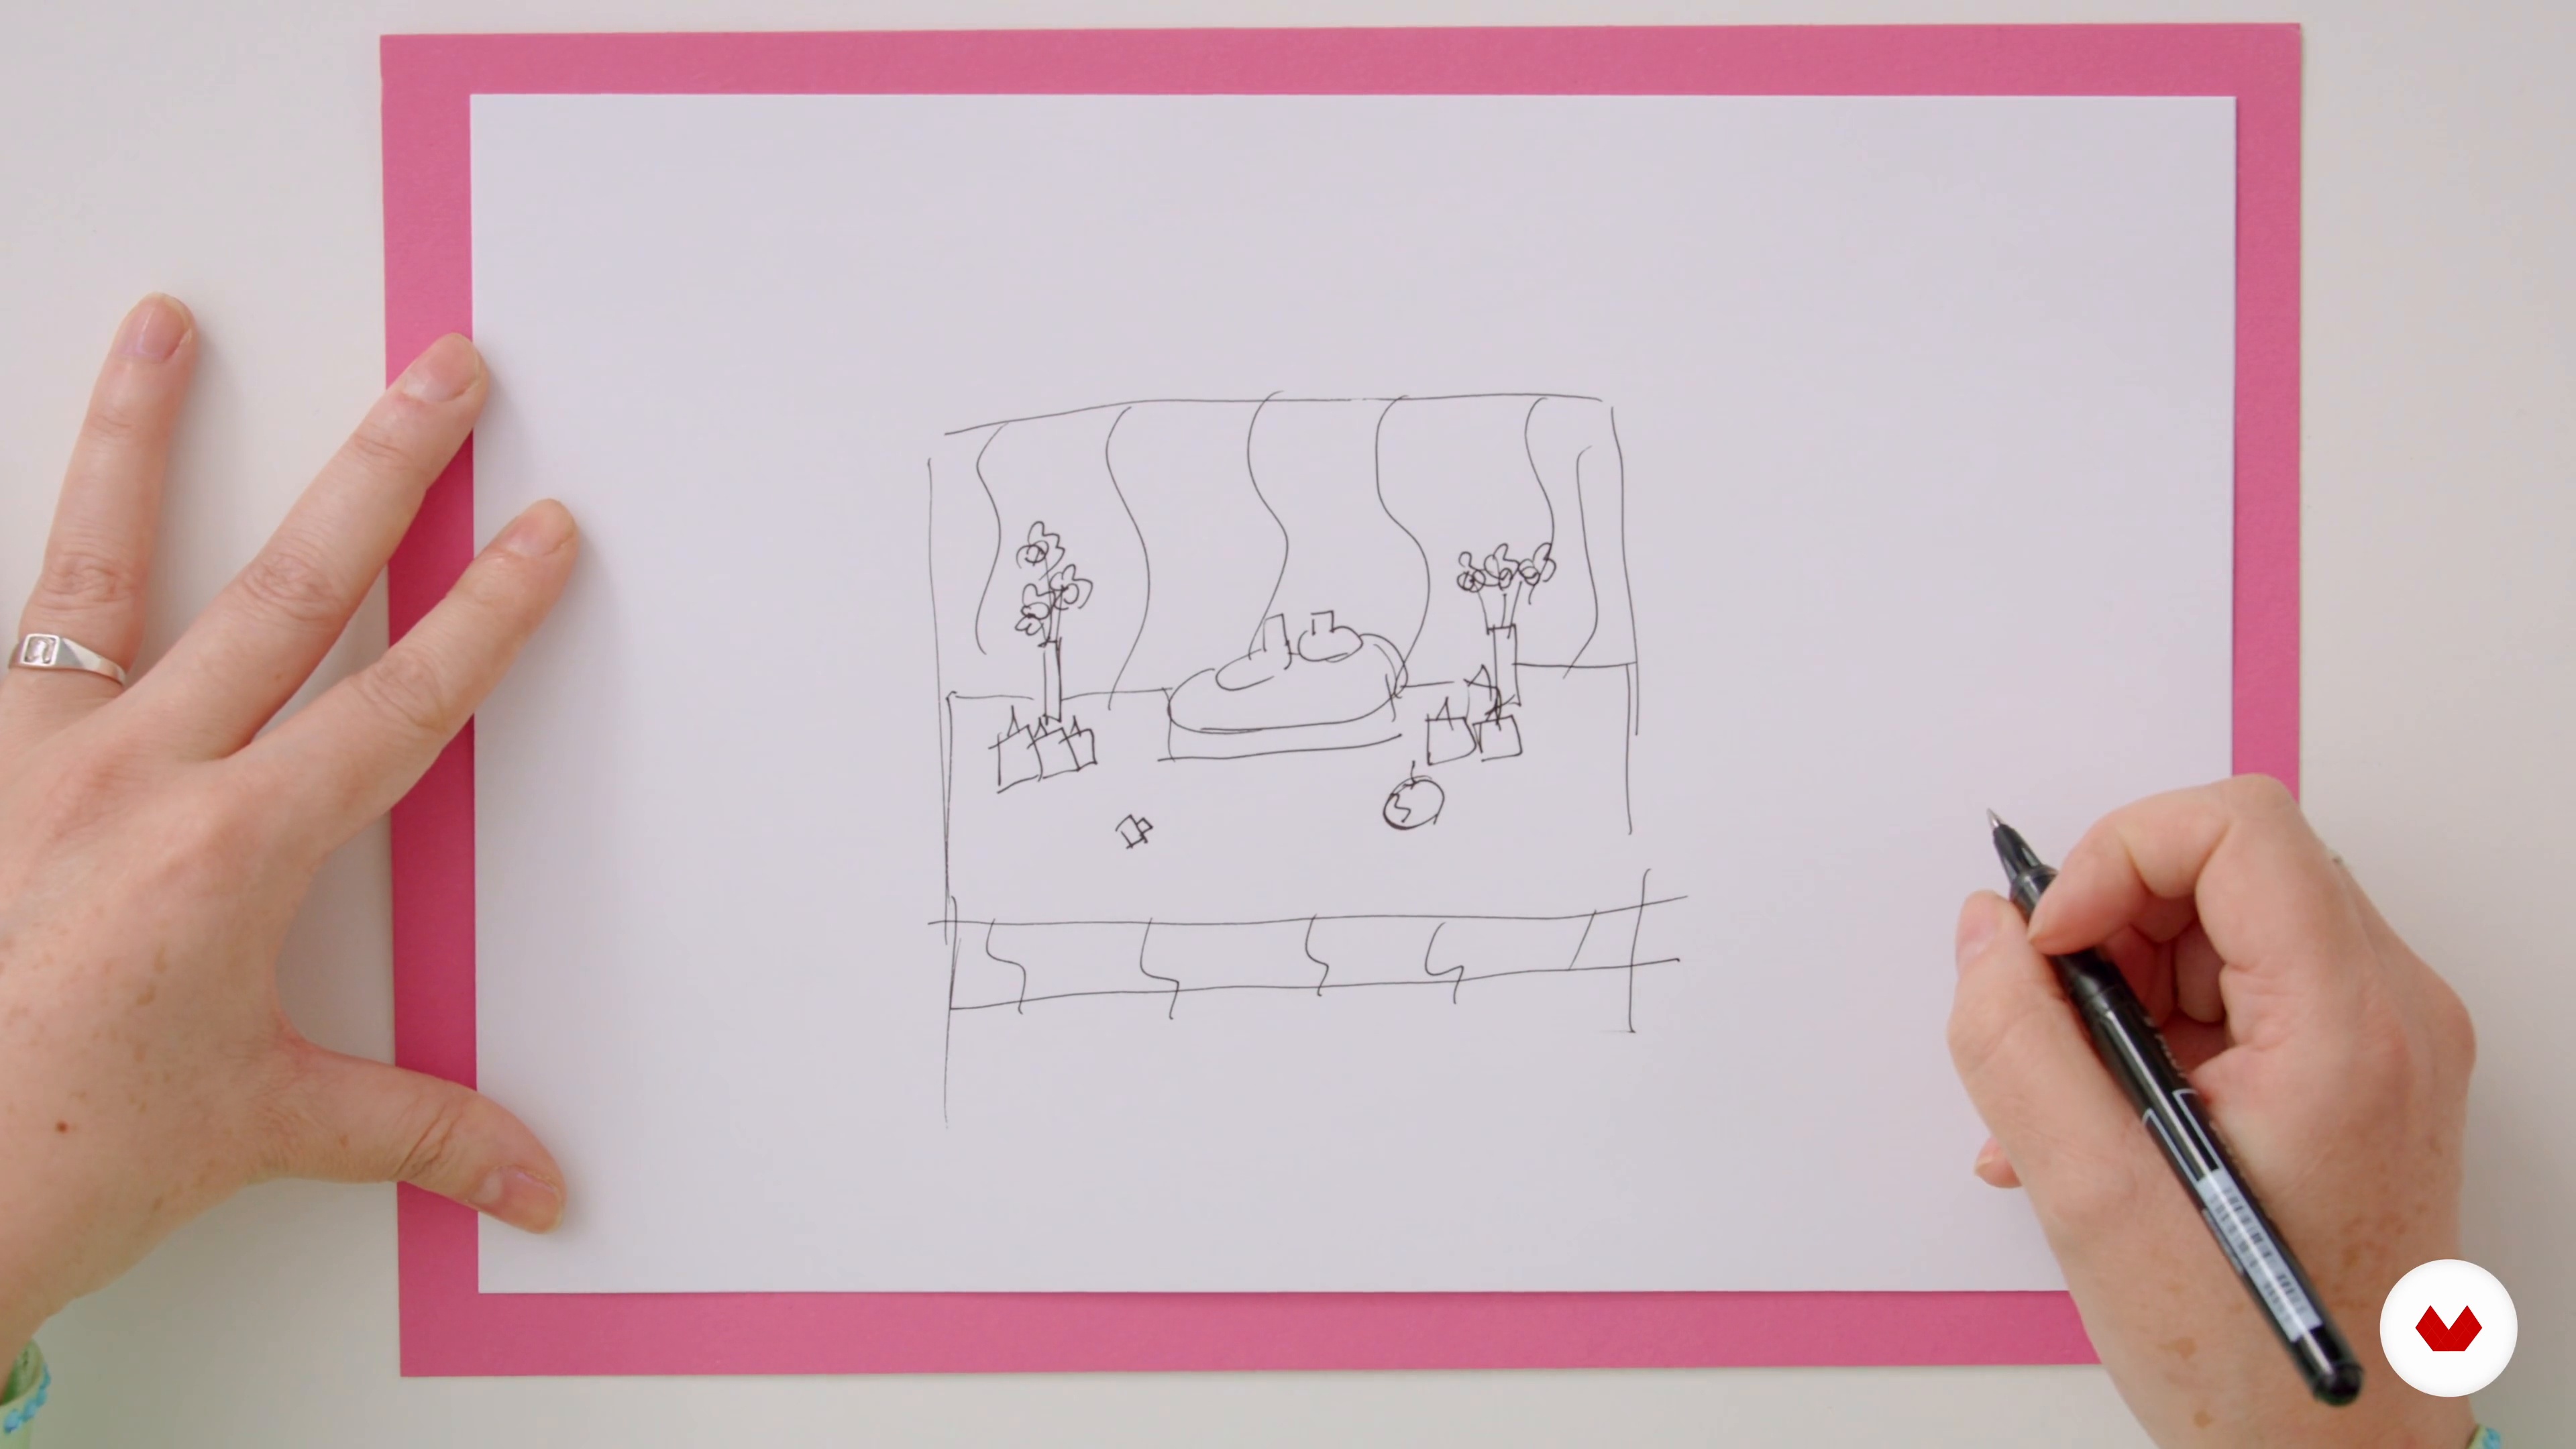
Finally, we'll show you how we create sketches for the set design: first with pen and paper, and then in Photoshop to create a more detailed sketch that allows us to better present the idea to our client.
18m
image
8
The photo shoot
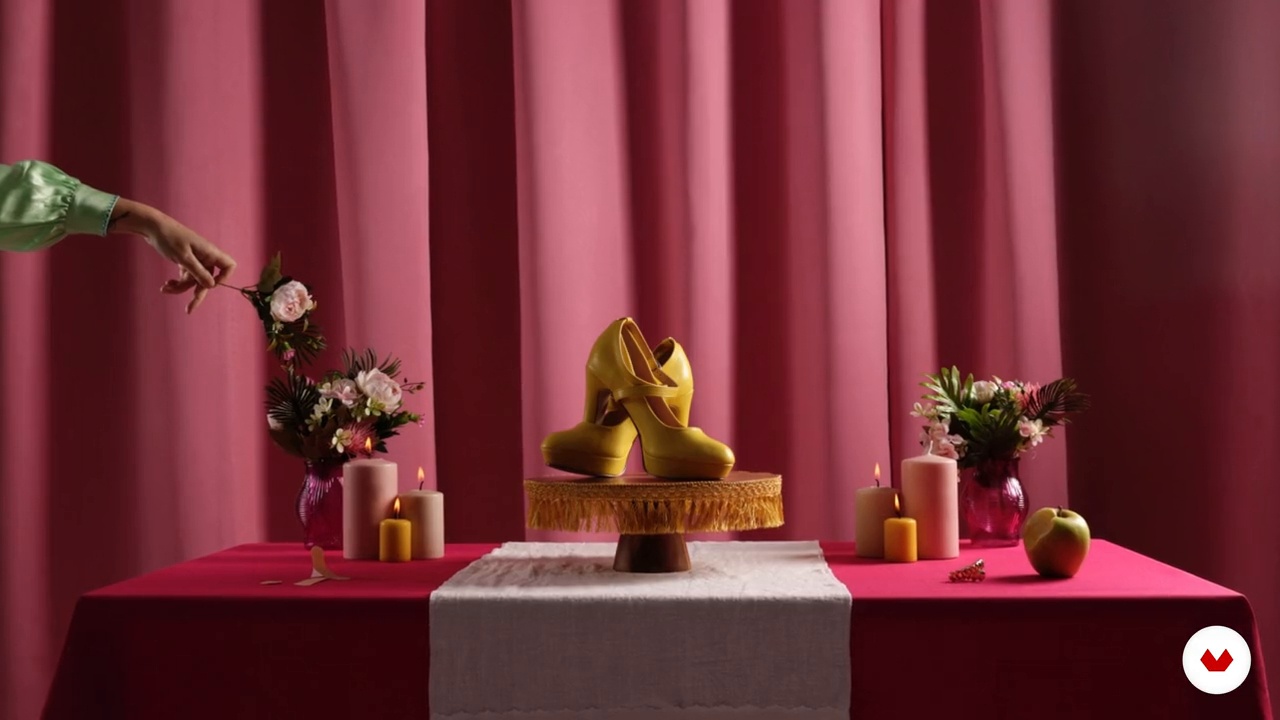
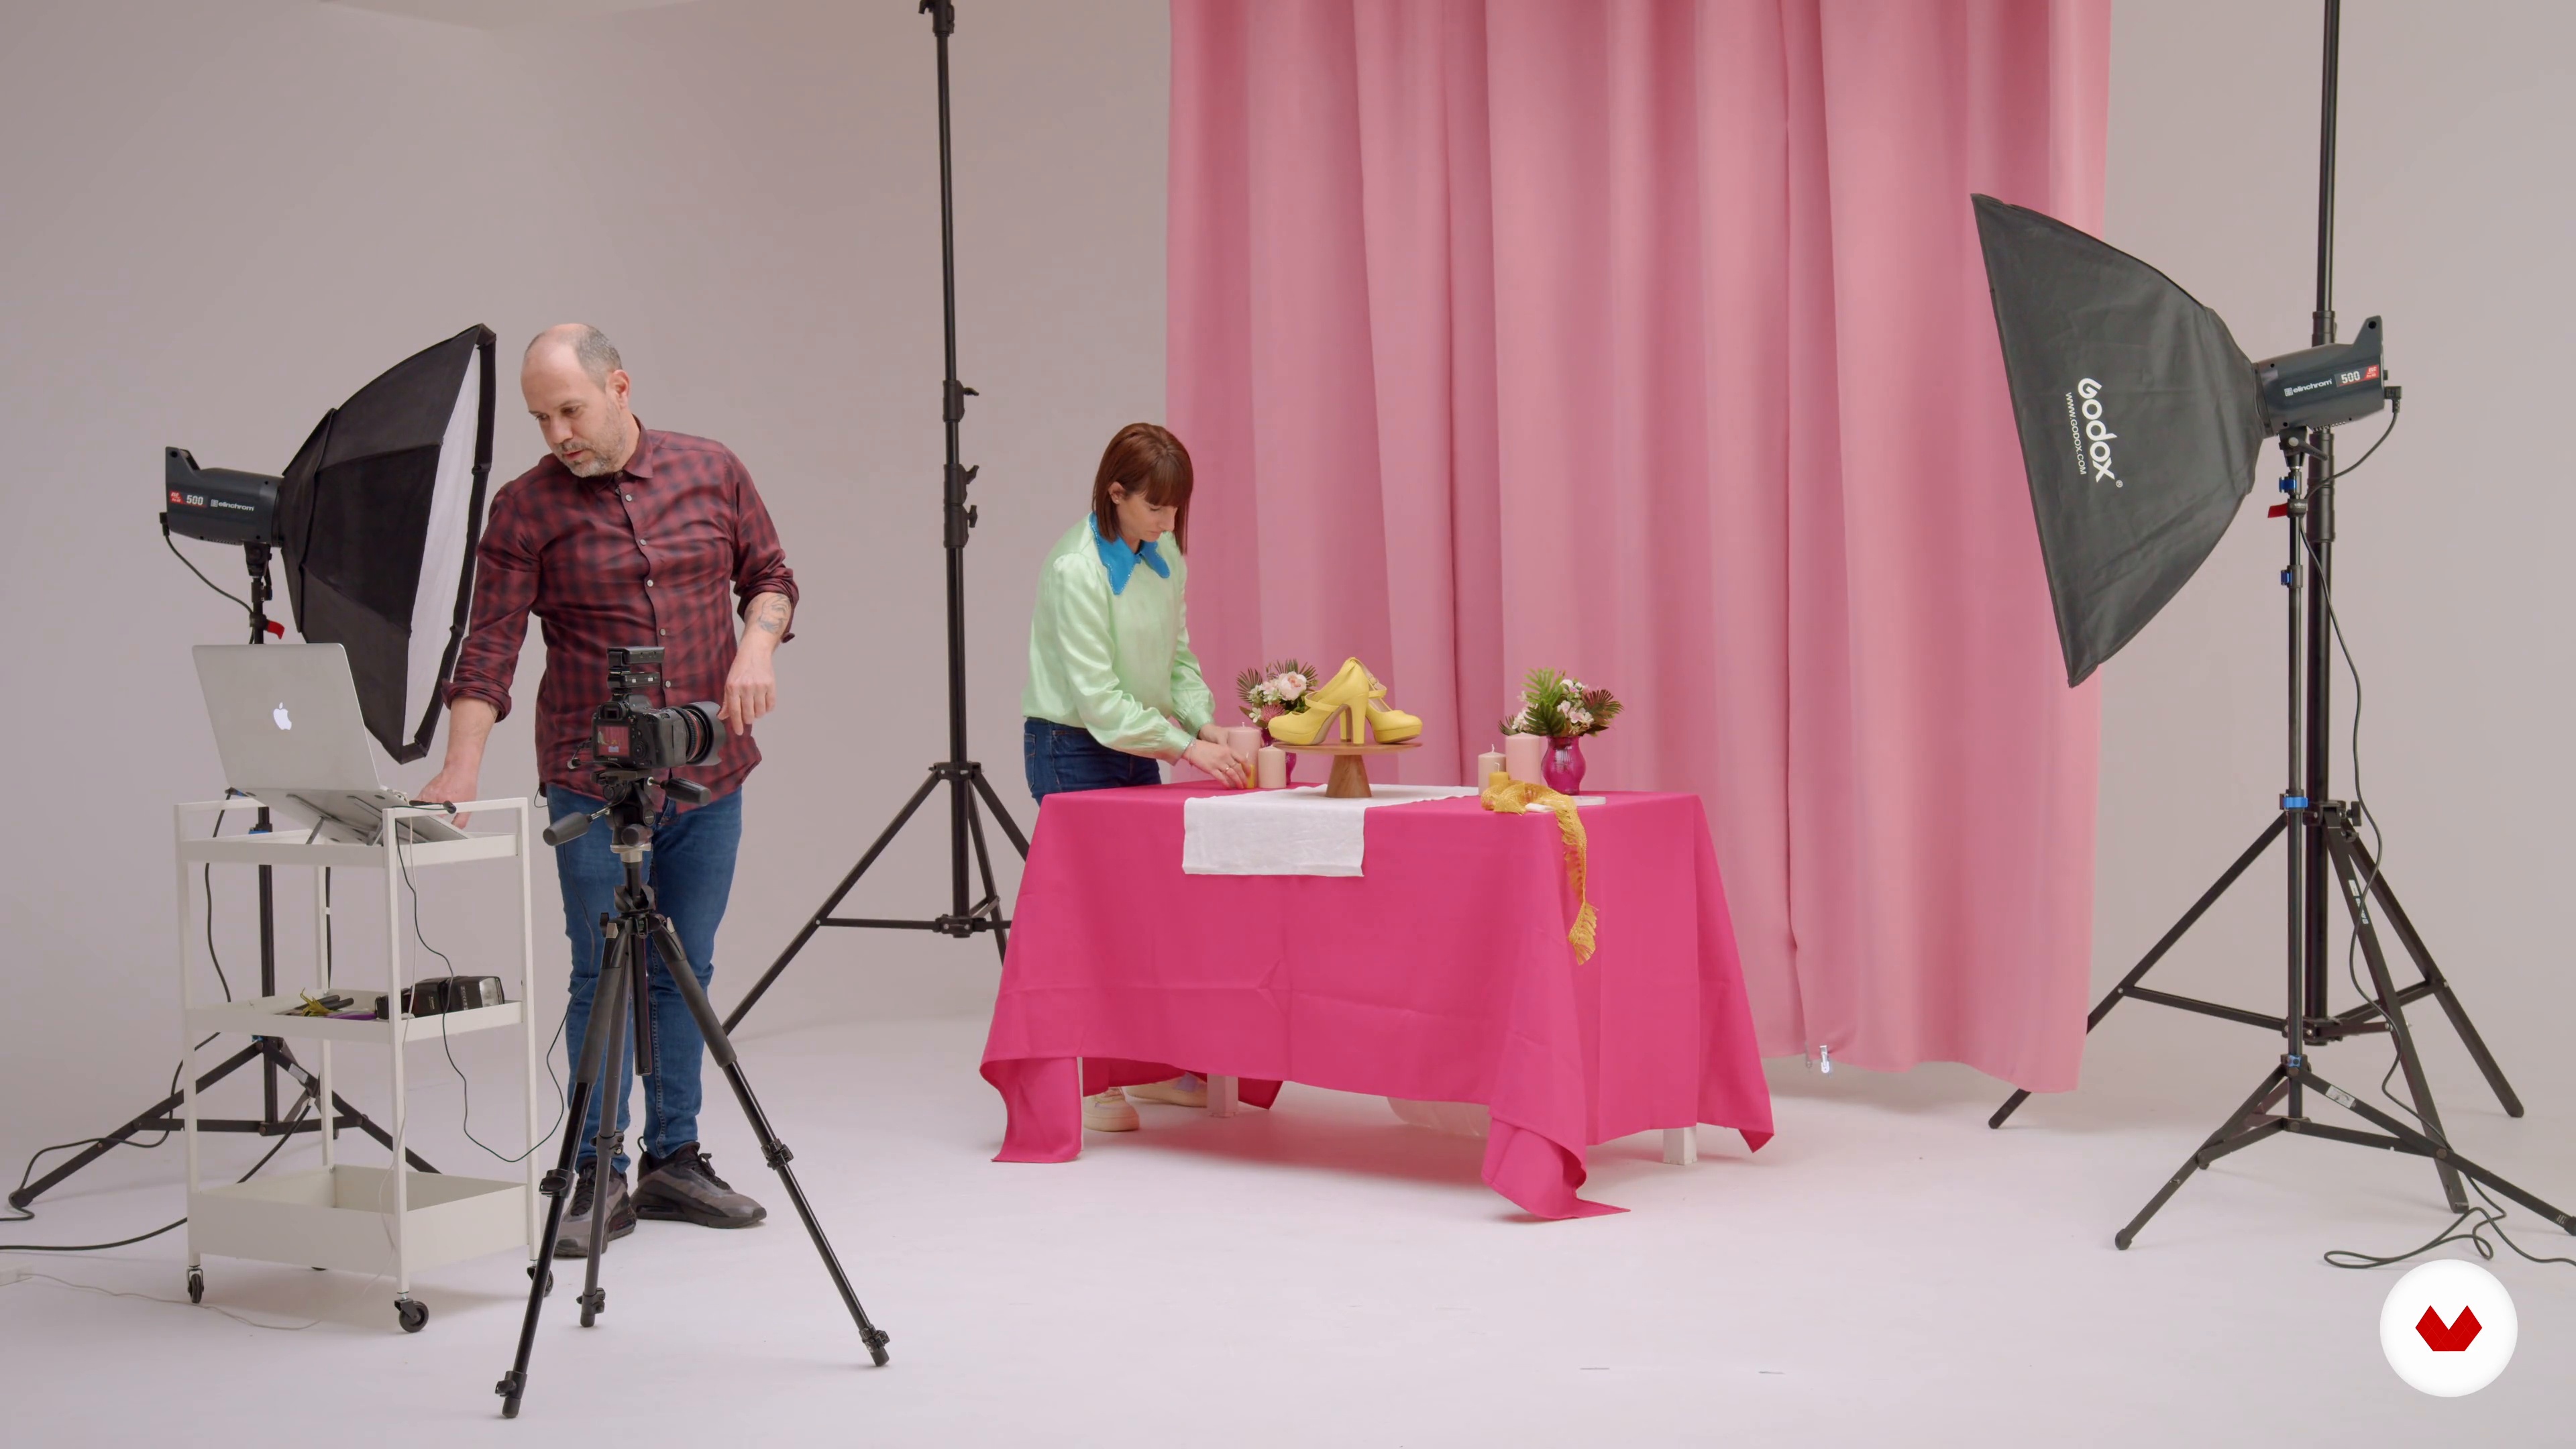
First, we'll set up the set with the shoes and props, keeping in mind how we want to light the objects to create a certain atmosphere in the image.
15m
image
9
Image editing and retouching 1
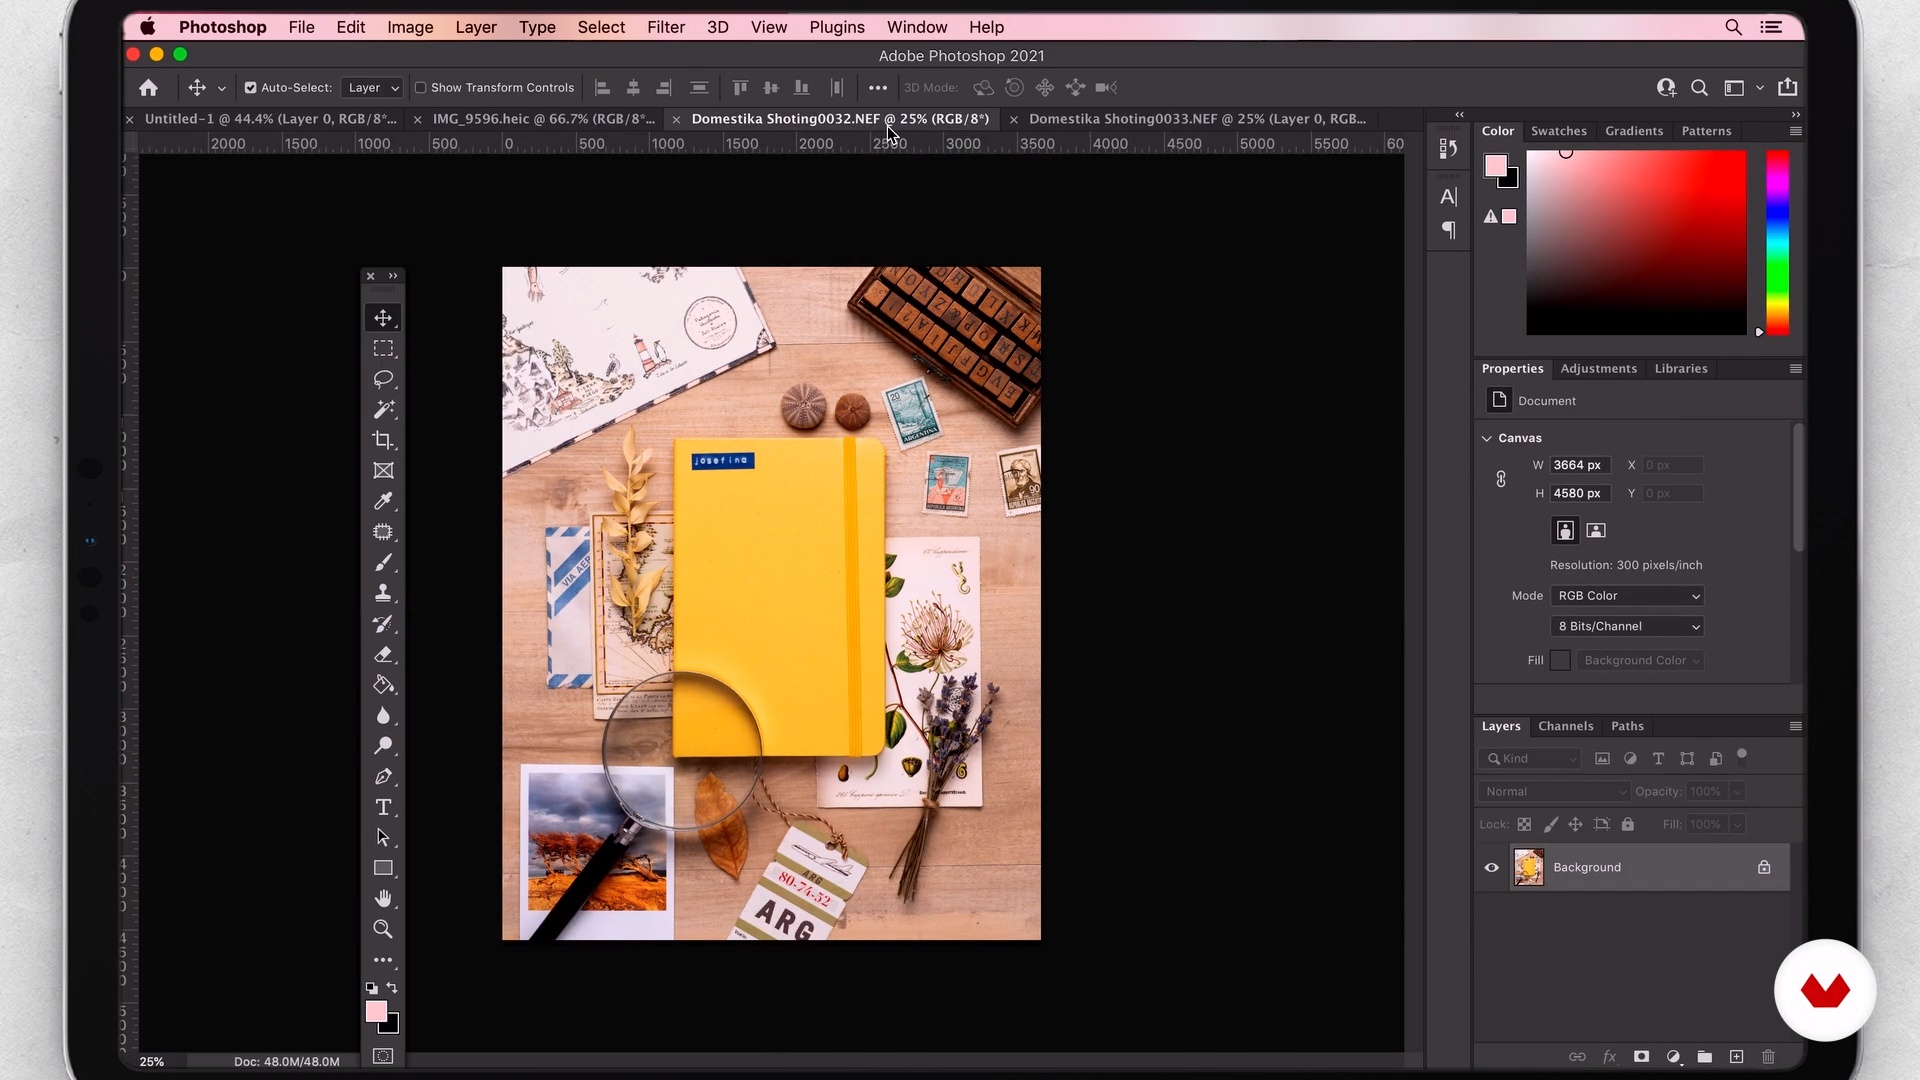
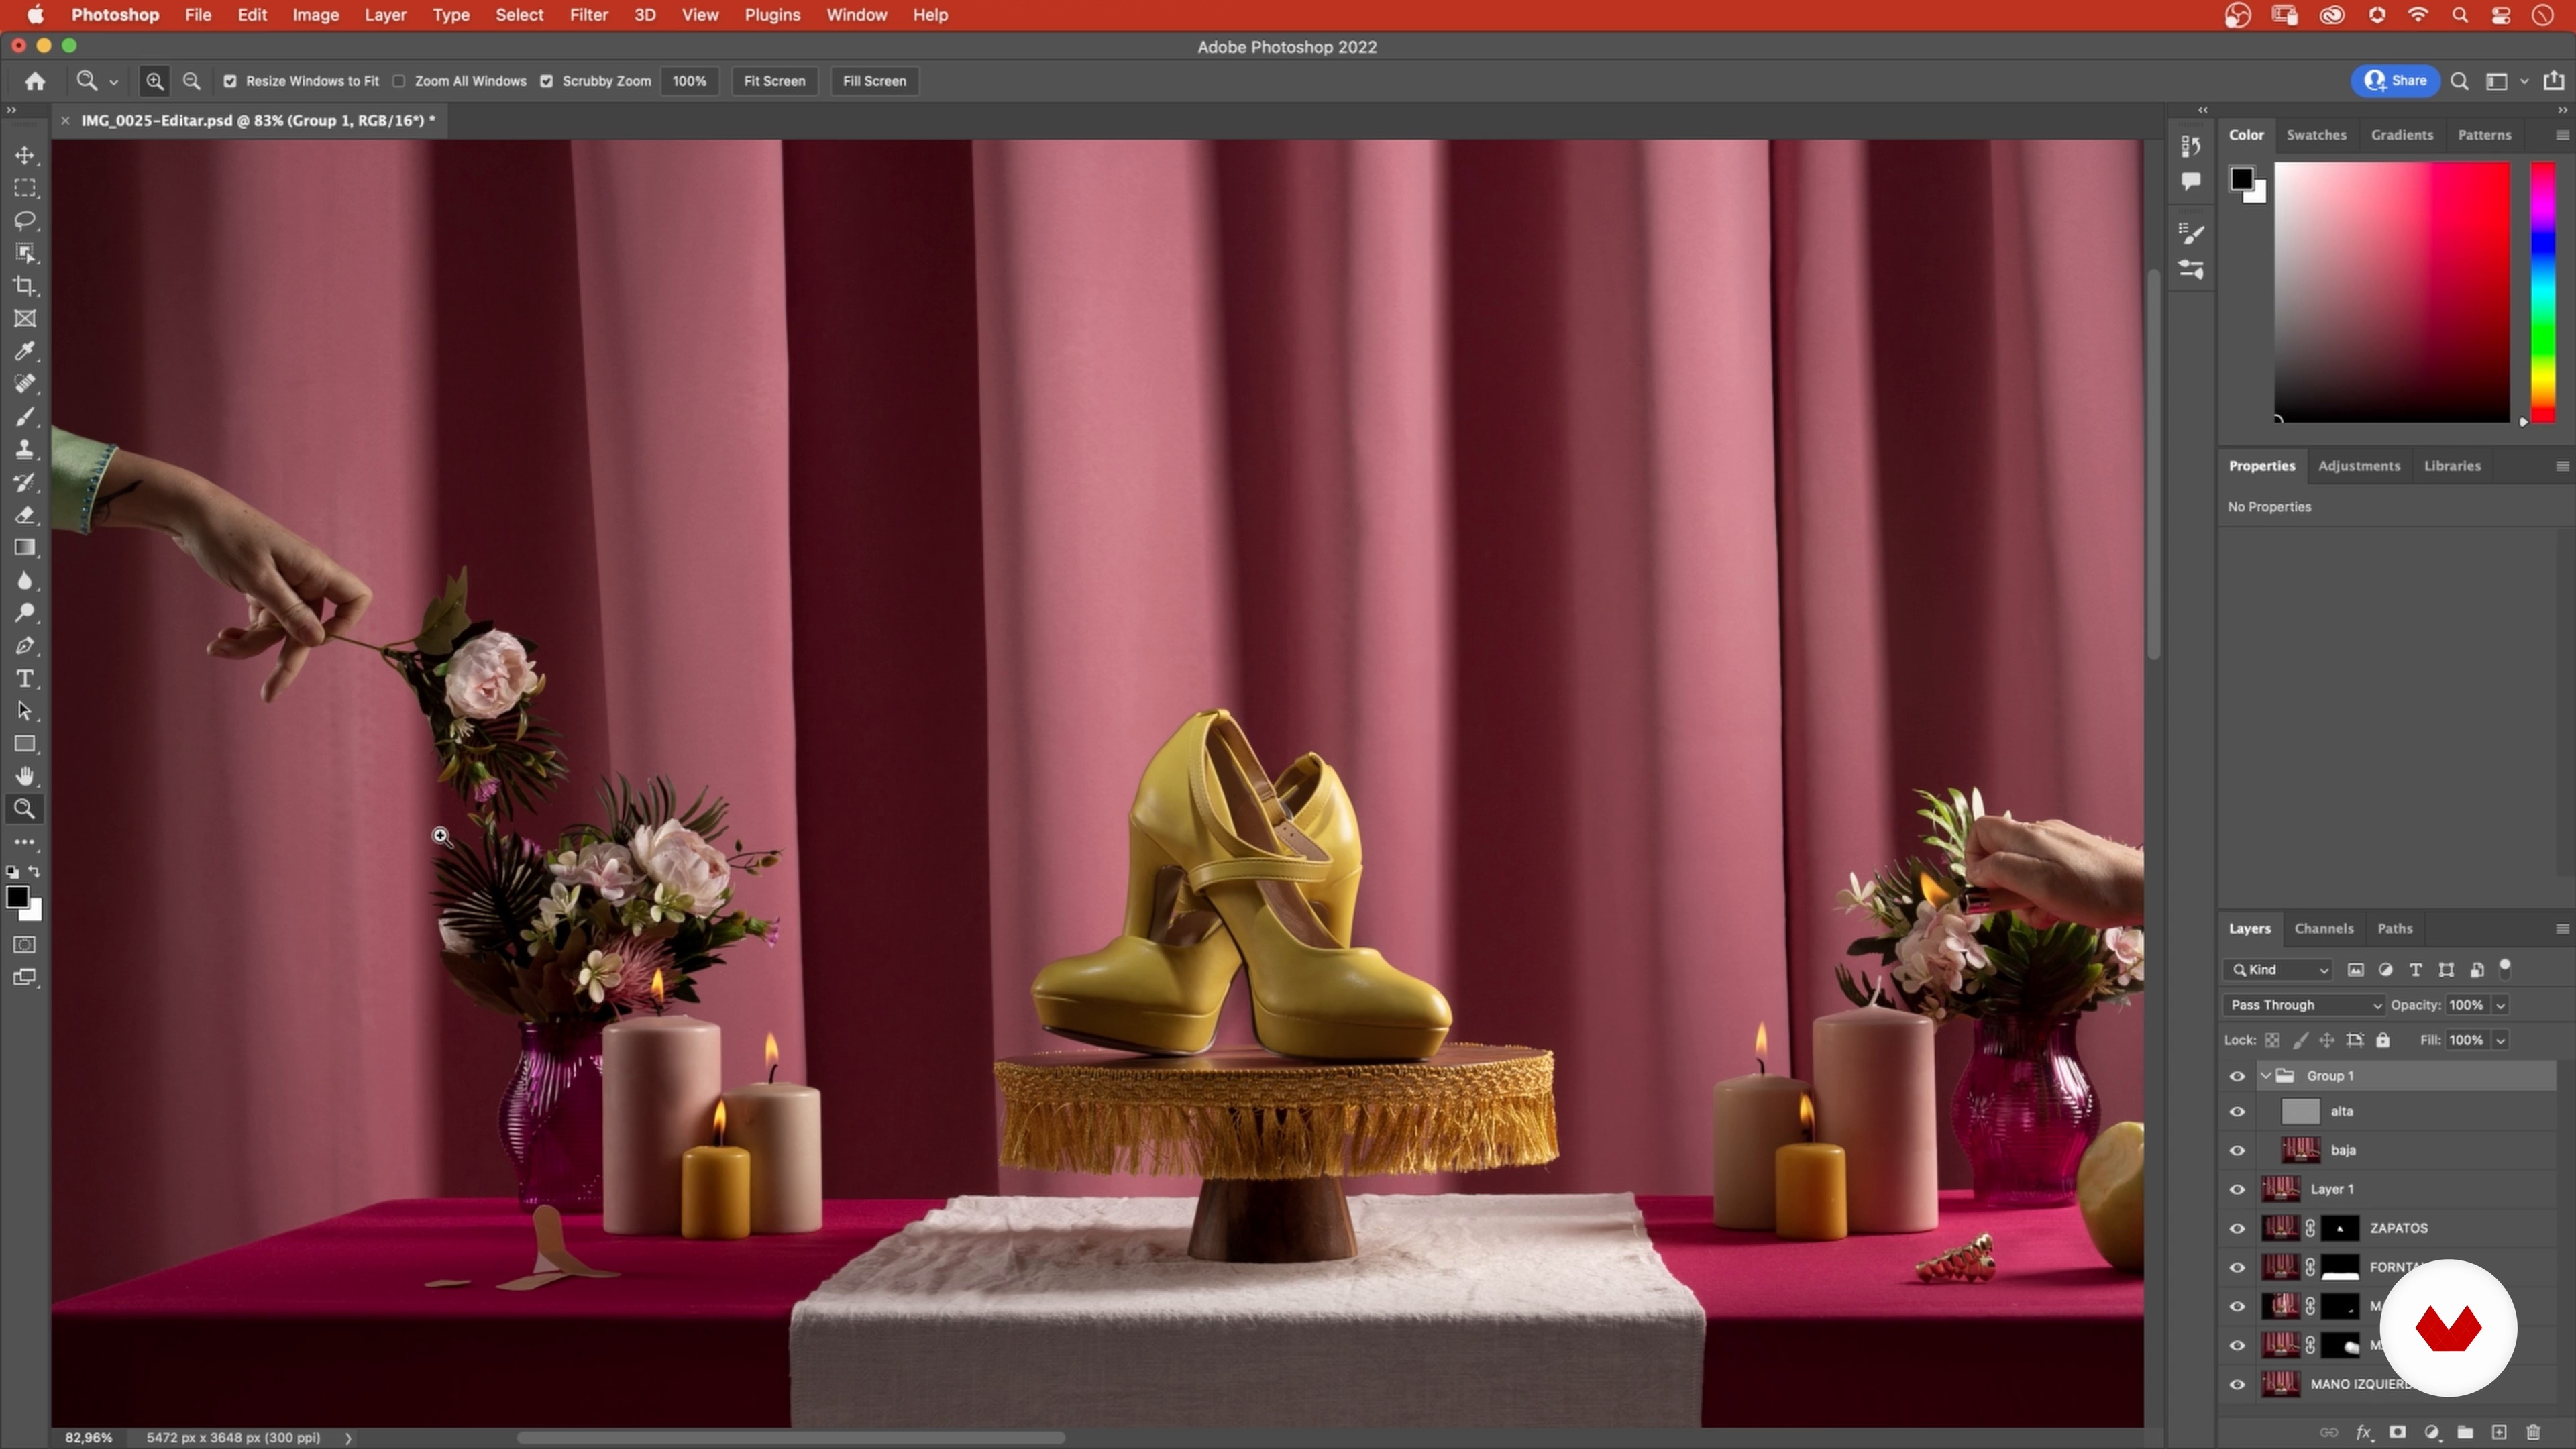
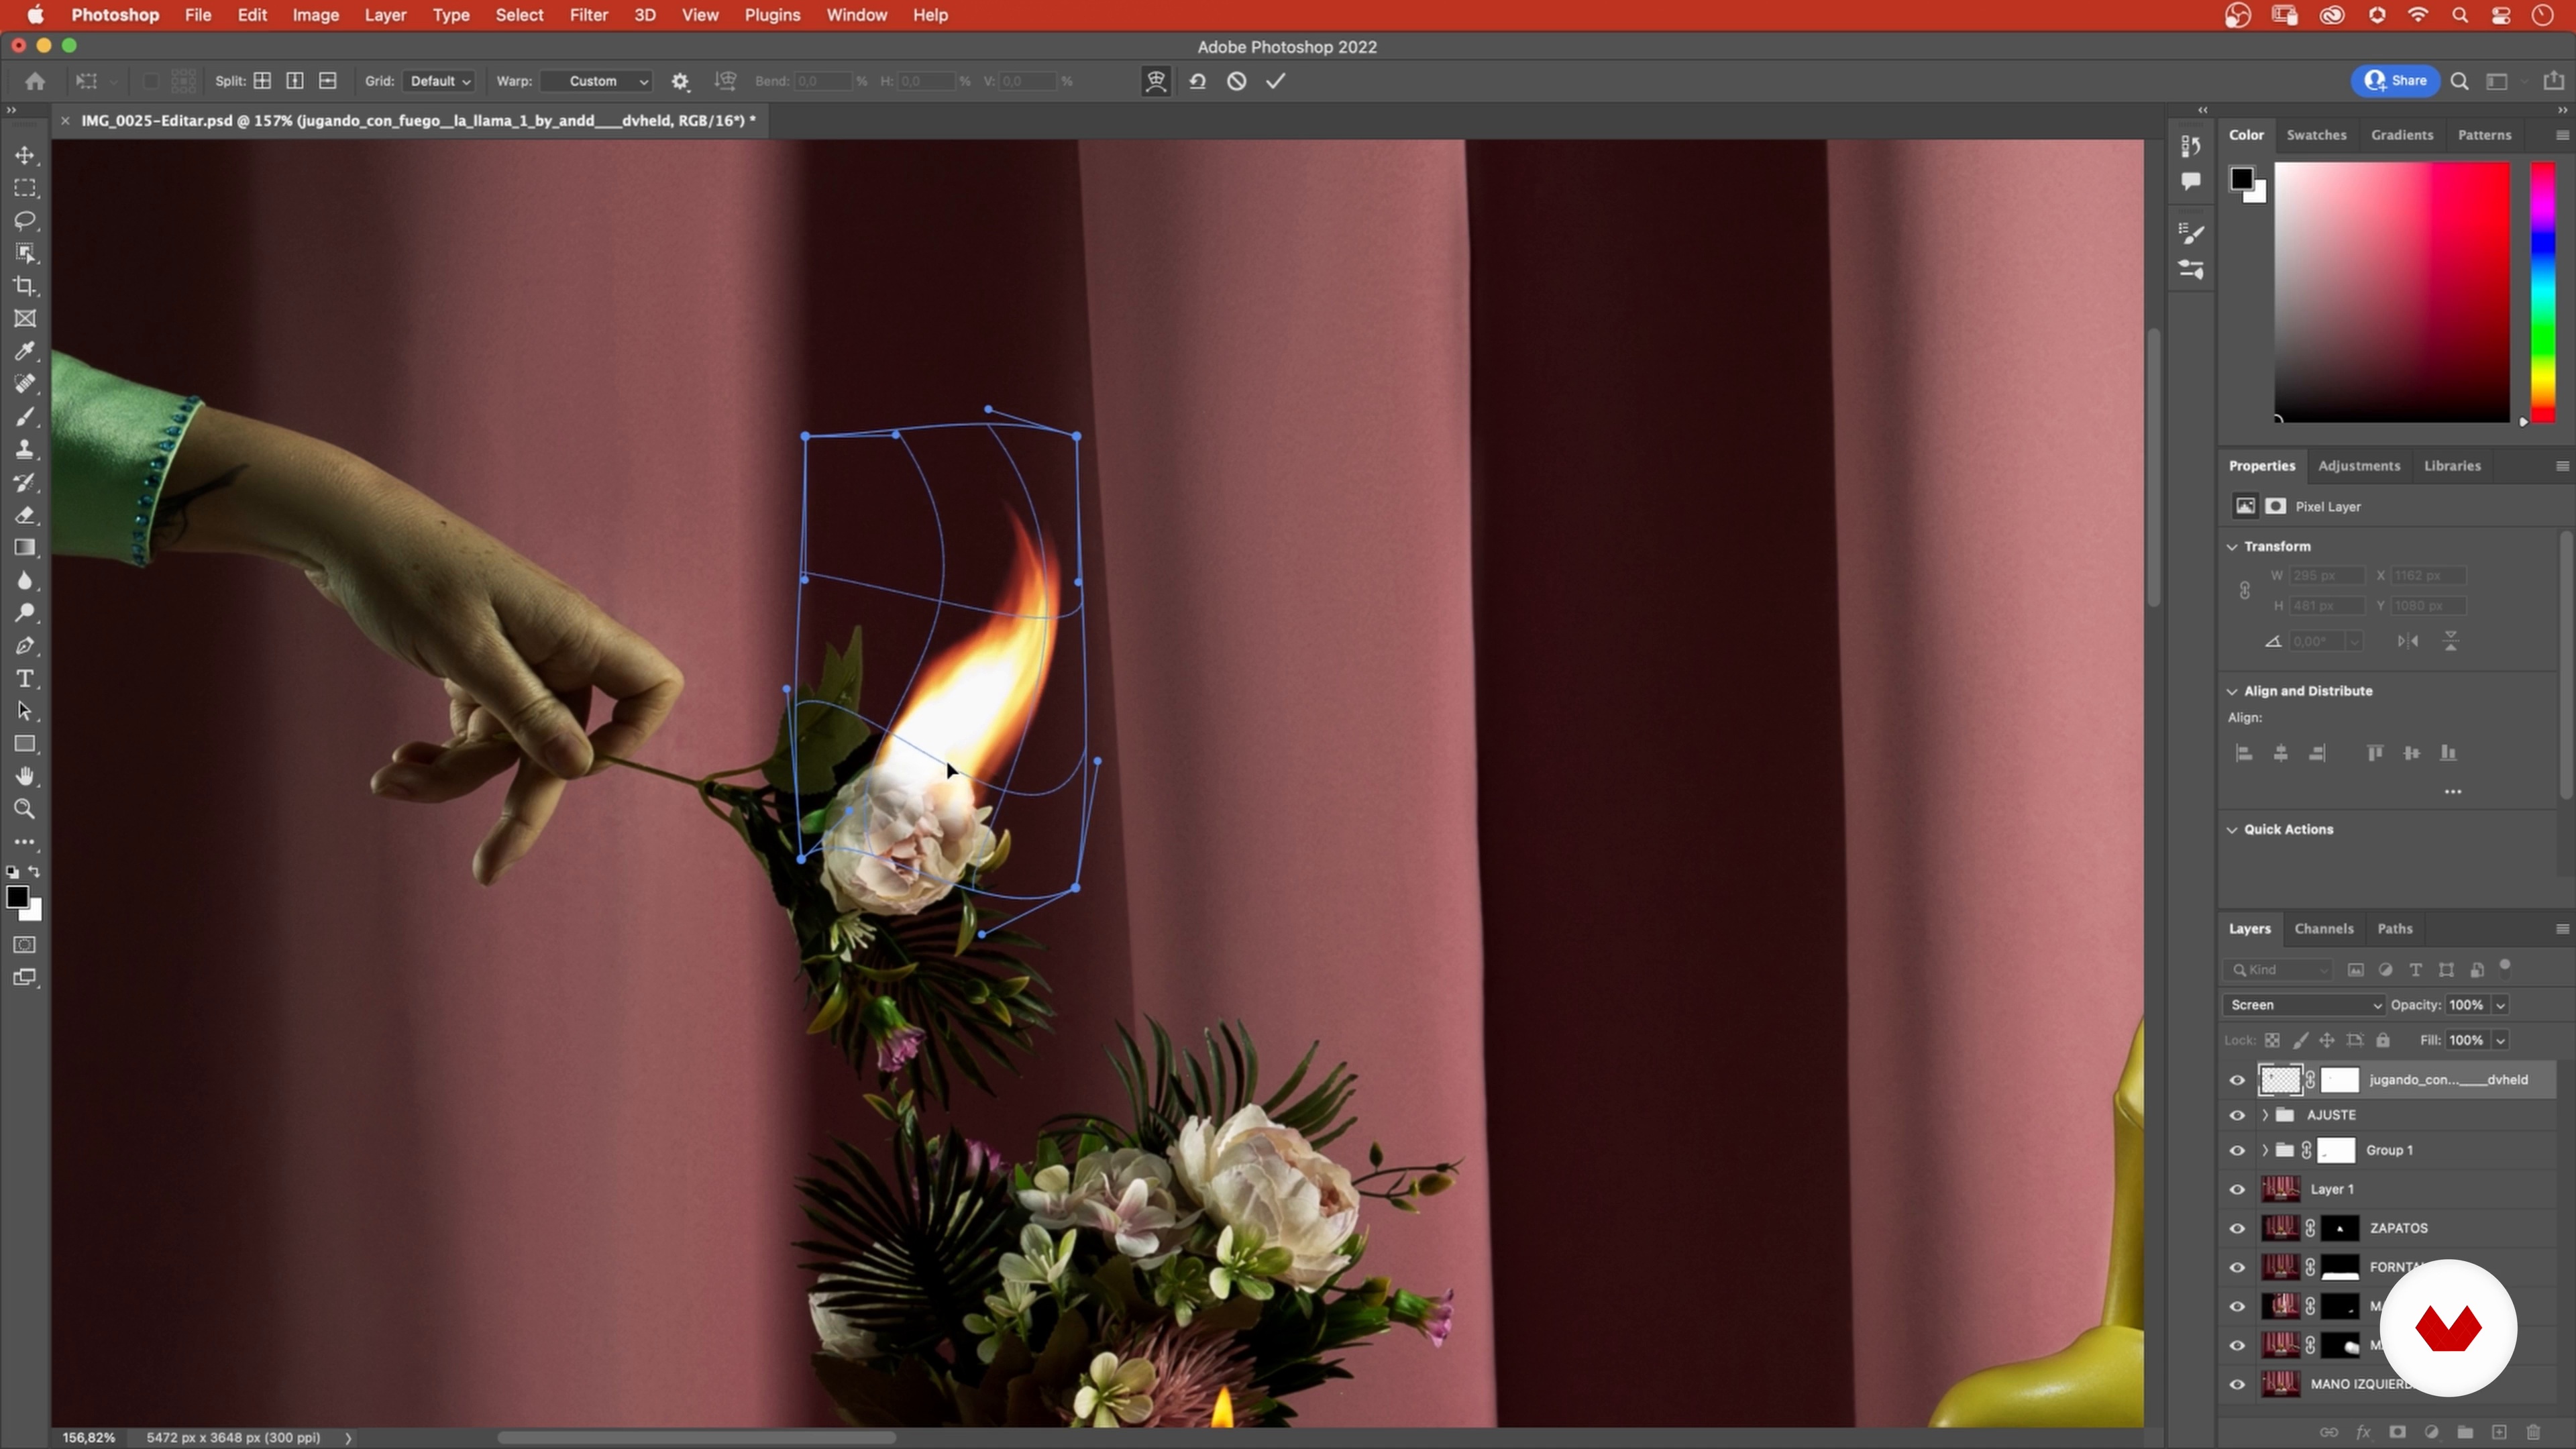
In this lesson, we'll show you how to select images in Lightroom and open them by layer in Photoshop. We'll retouch the photos by cleaning up the various textures and adjusting the lighting in each area. Finally, we'll adjust the image's hue and saturation.
15m
image
10
Image editing and retouching 2
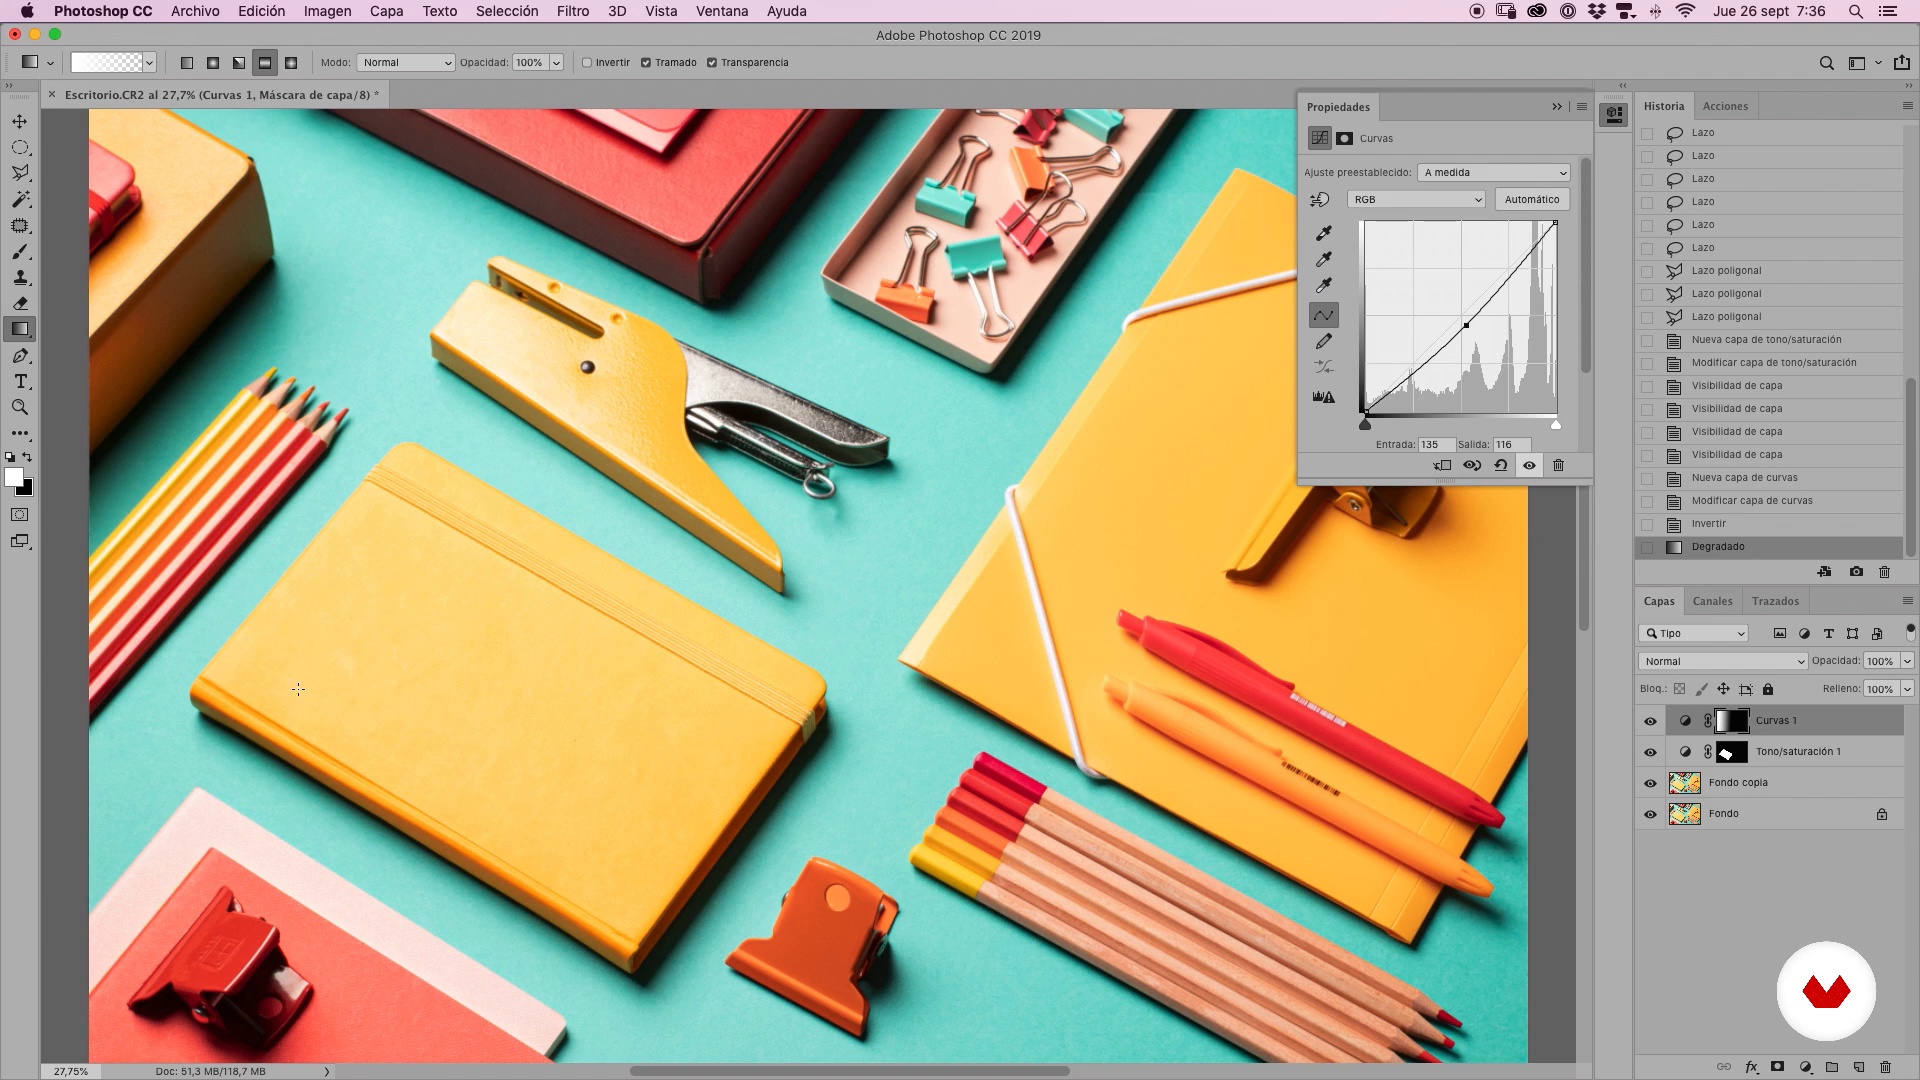
Once the entire image is assembled and clean, we can play with exposure. We'll show you how to retouch lighting and colors to enhance the product and add the finishing touches to our image.
17m
image
11
Examples of other projects
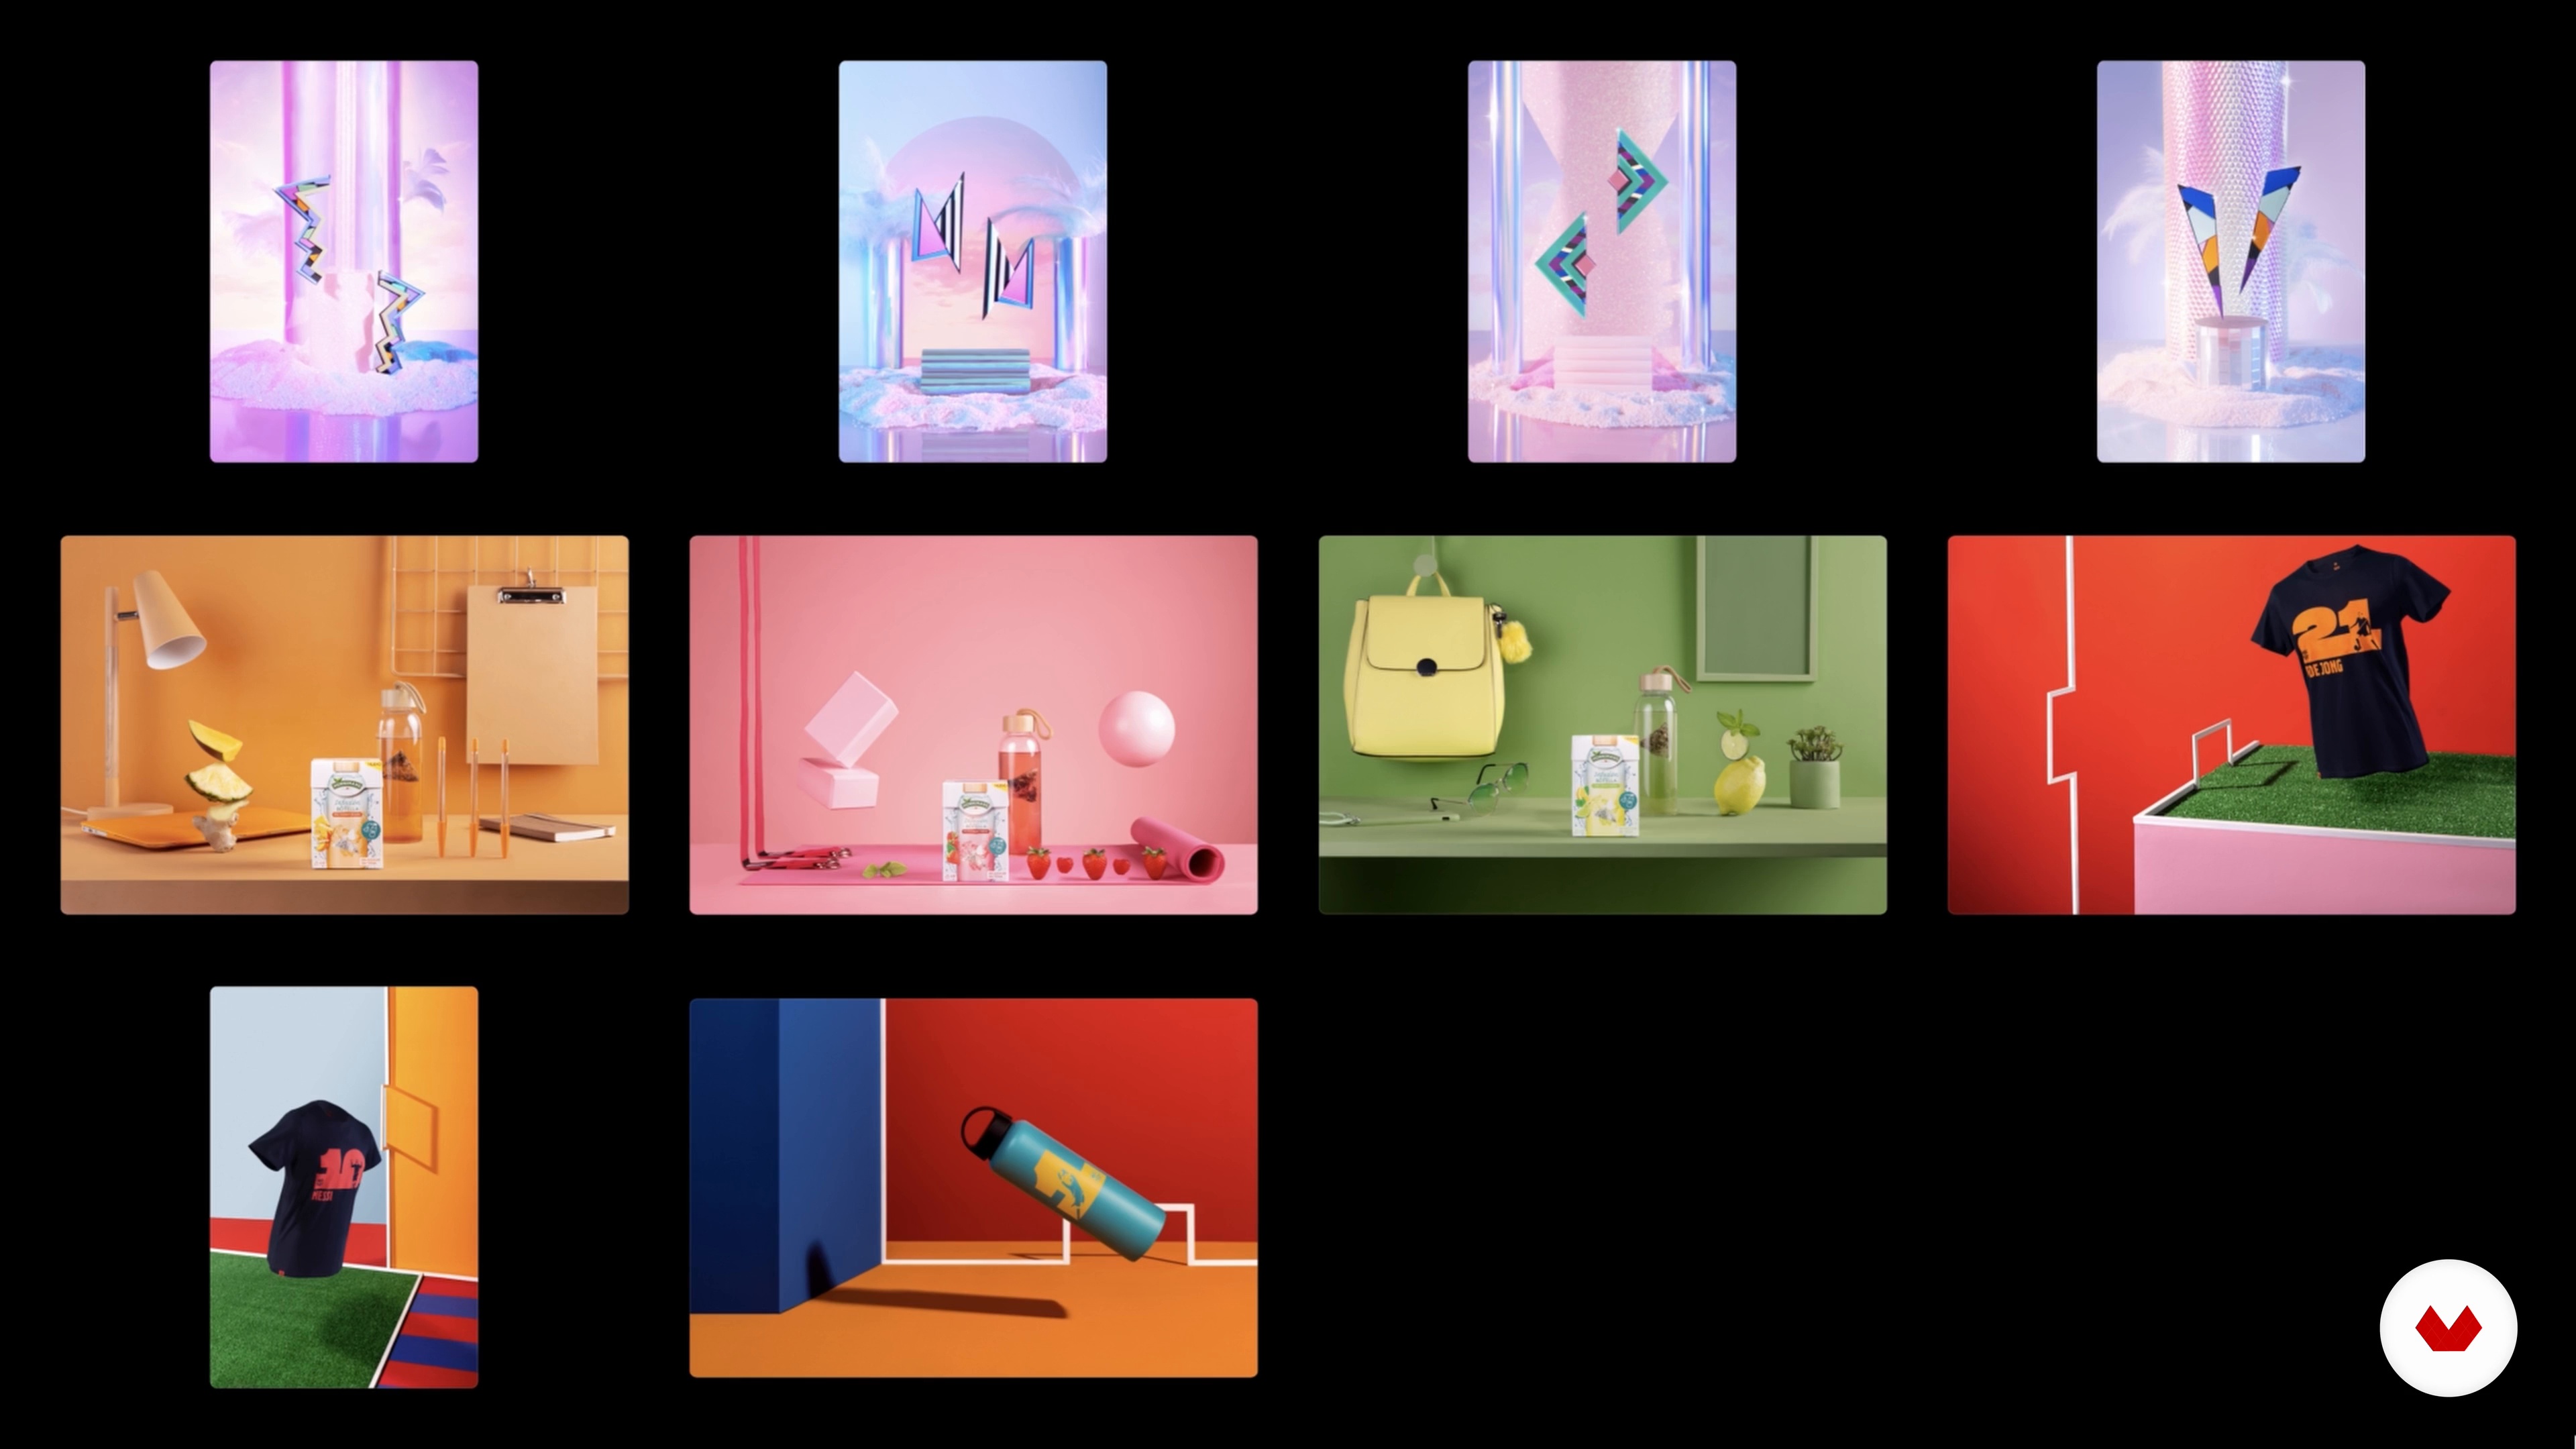
Finally, we want to show you the process you saw in the course applied to other types of projects, explaining what the client asked for in the brief and how we translated it into a concept.
6m
image
1
The language of the product
In this lesson, we'll explore the art of eCommerce product photography, highlighting how to capture the essence of an object and communicate its value to potential customers. You'll learn techniques to enhance details, colors, and textures, transforming each image into a powerful and professional visual narrative.
3m
image
2
Approach to the teams
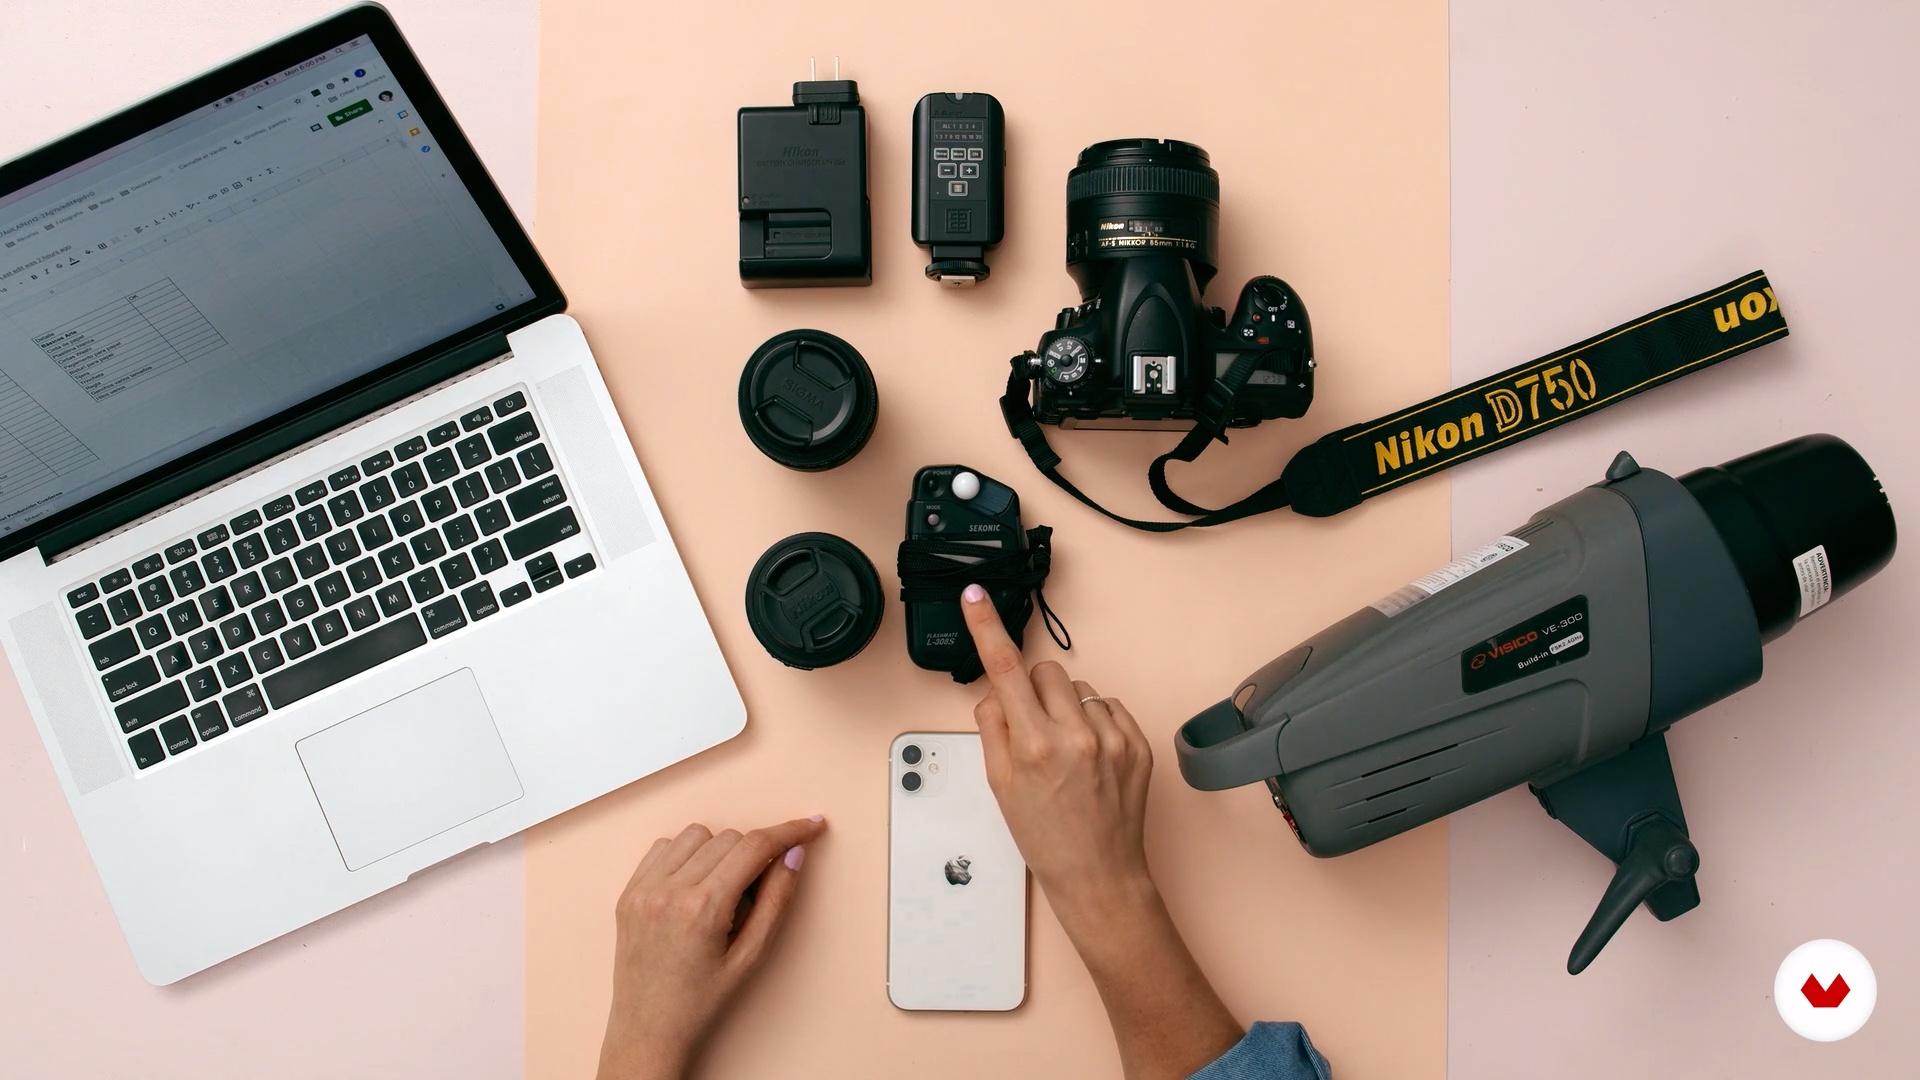
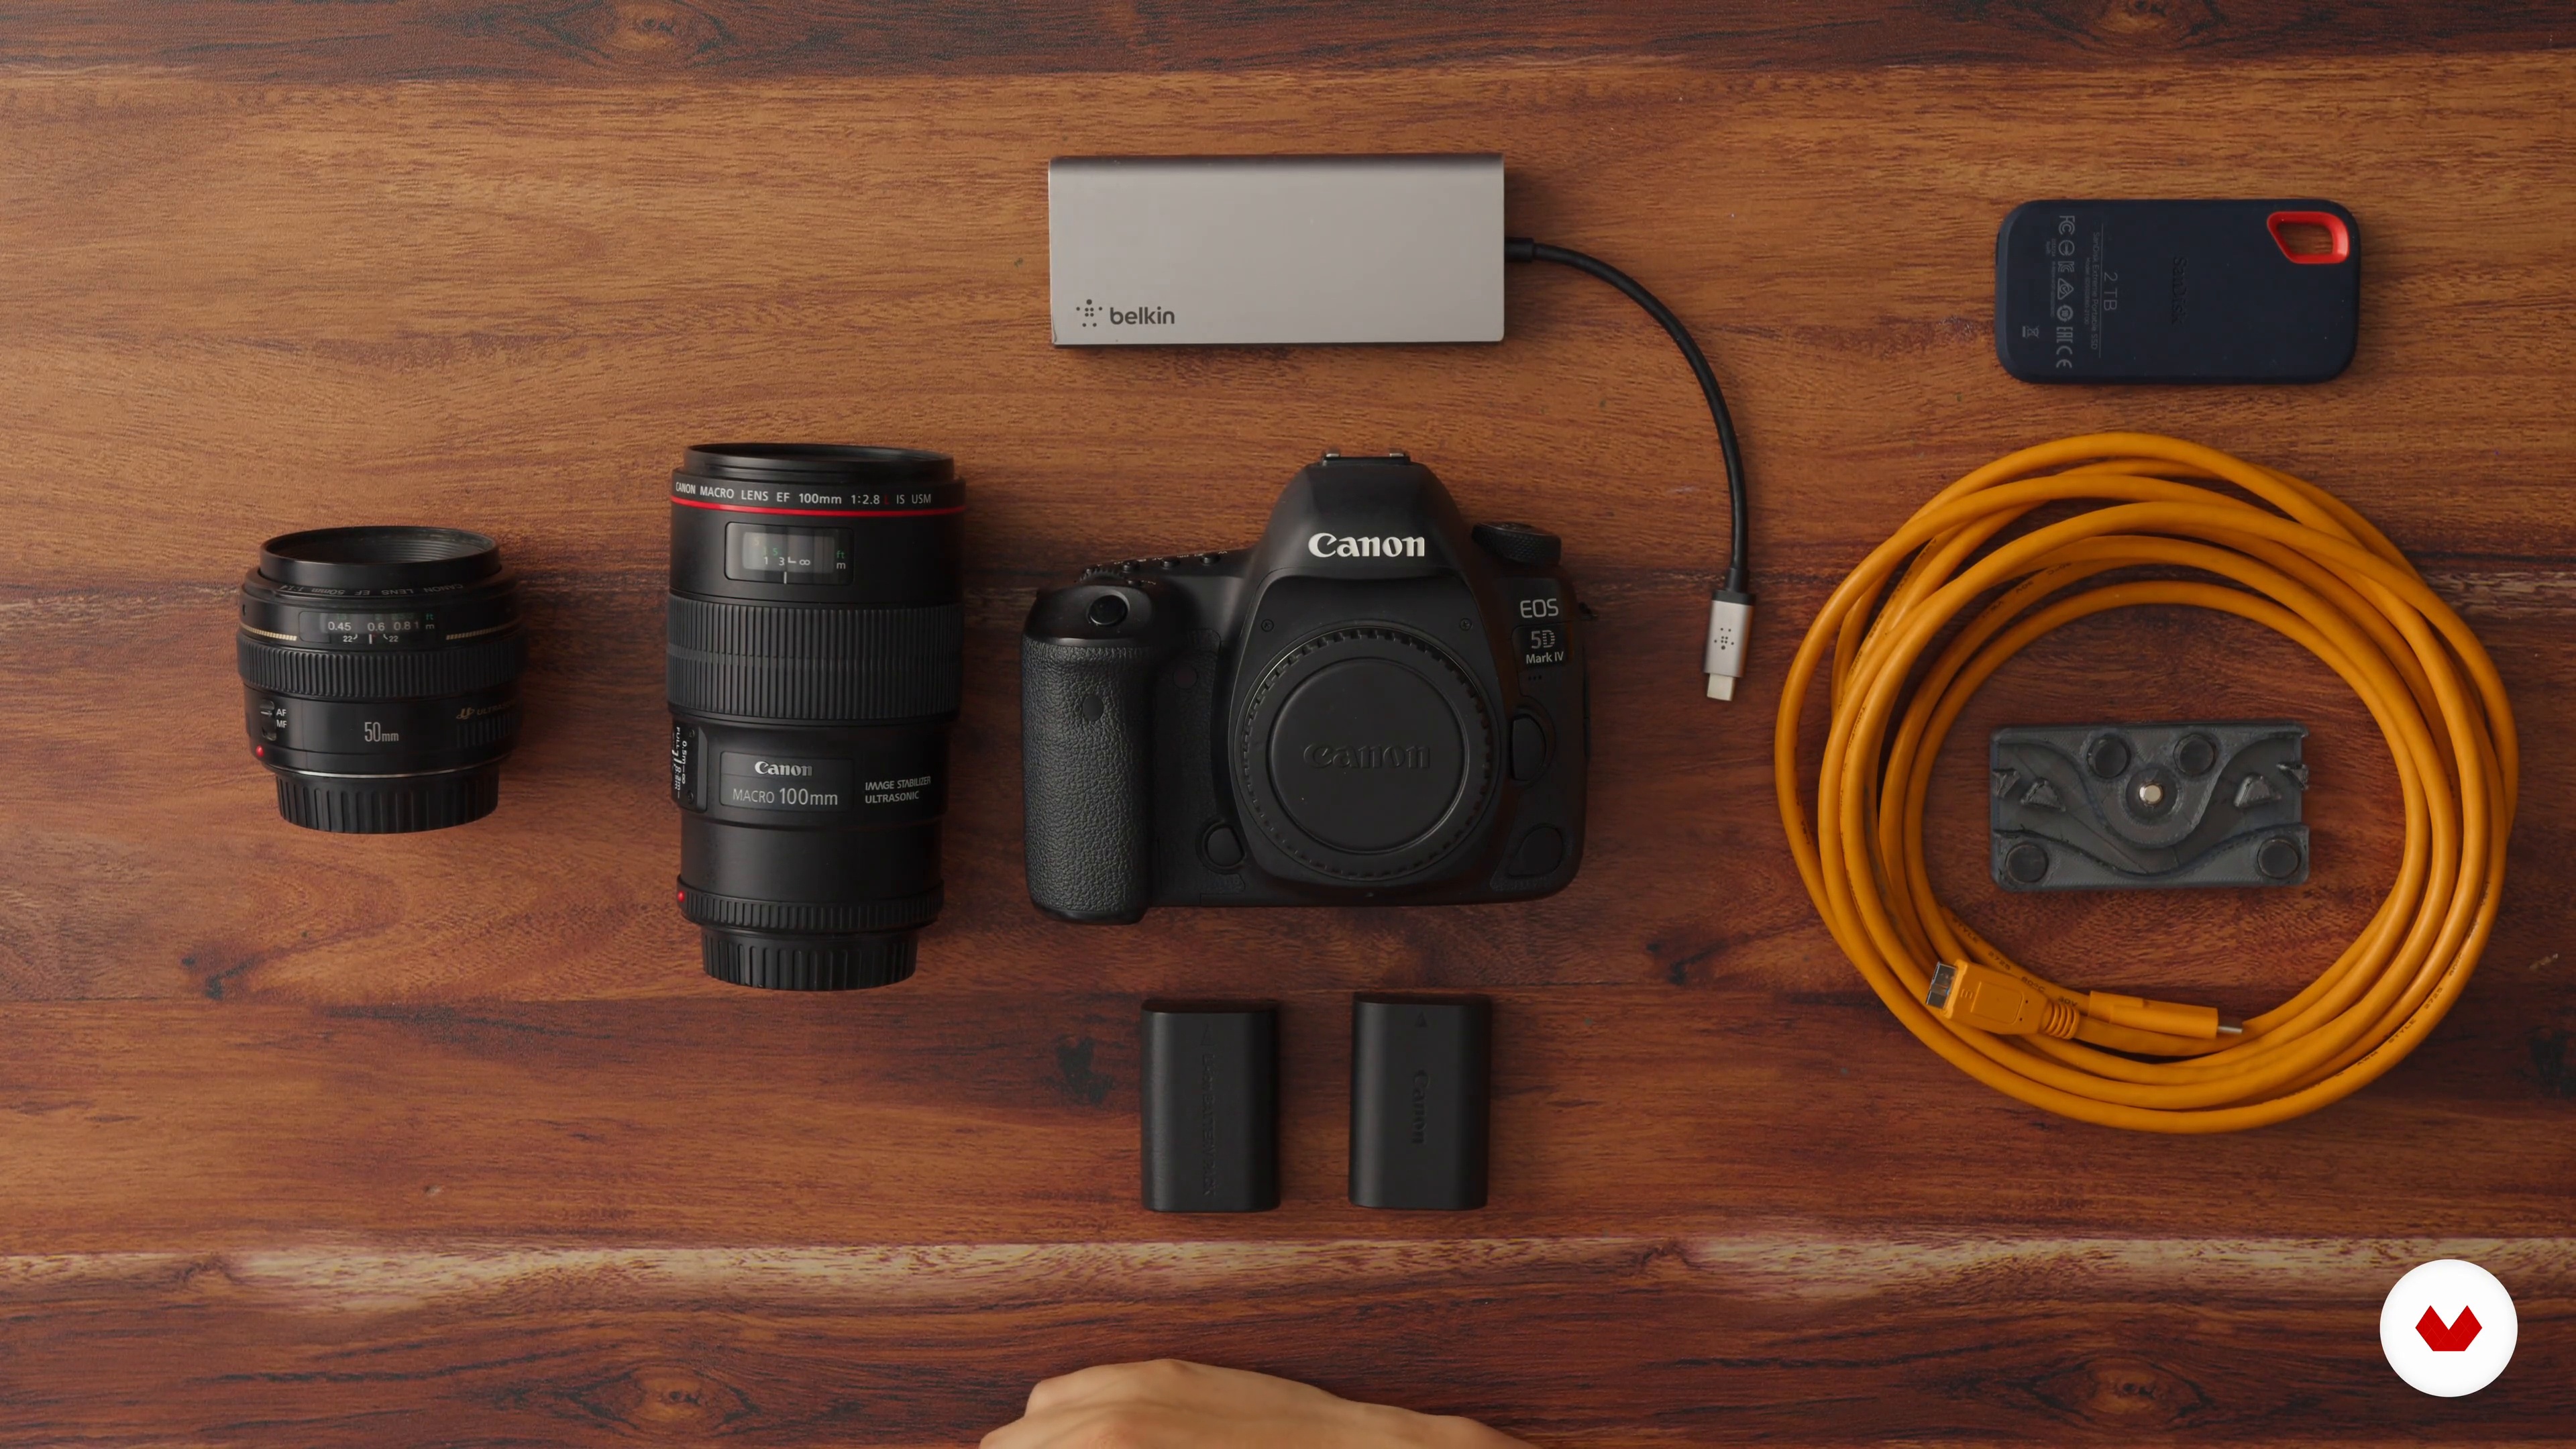
I'll share with you some of the equipment that has been useful to me when creating professional photographs. We'll also review the modifiers, software I use, and on-set tips that can be helpful in production.
11m
image
3
Lighting Basics
In this lesson, I want you to begin to truly understand light, to see its effects on space and on an object. There are different types of light that will be your allies when it comes to bringing your photos to life.
7m
image
4
Light schemes
Ready to start creating lighting setups that will help you start seeing product results? I'll show you everything from a simple one-light setup to a more comprehensive three-light setup.
11m
image
5
Textiles
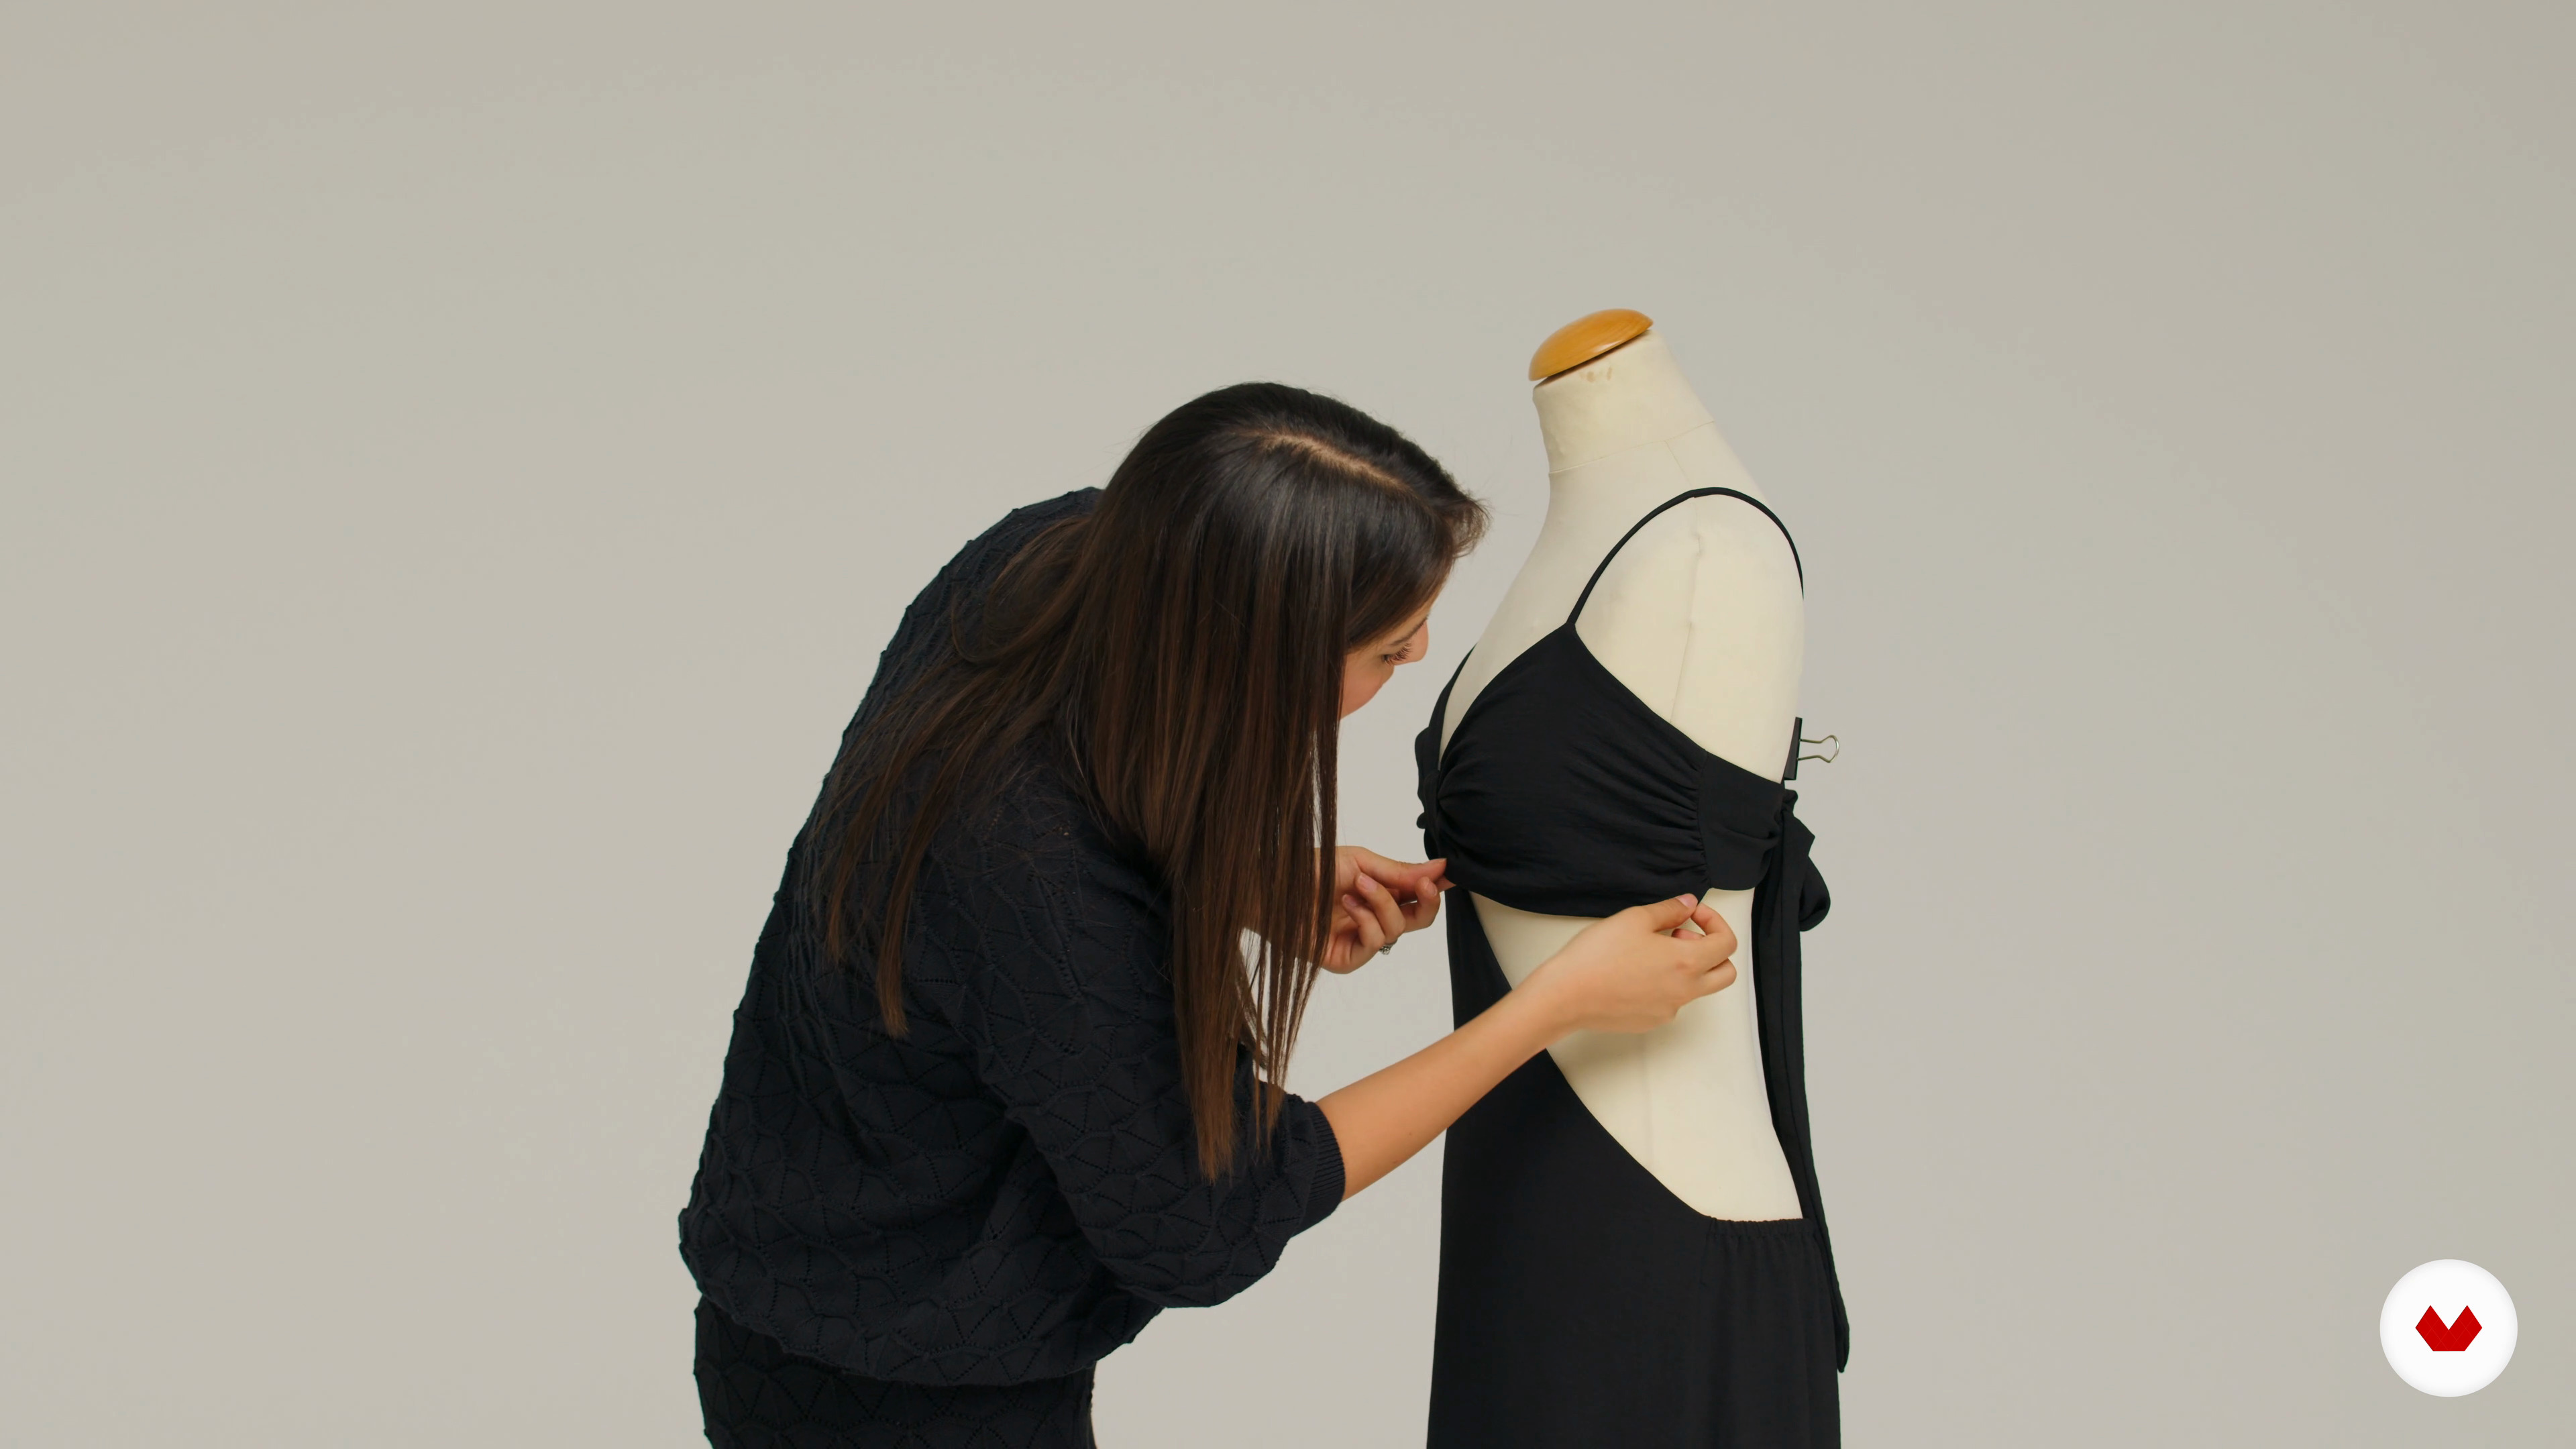
In this lesson, you'll learn how to take photographs of textiles on mannequins using the "ghost" technique, which will allow you to take your textile photography to the next level by delivering a 3D image.
9m
image
6
White product on white
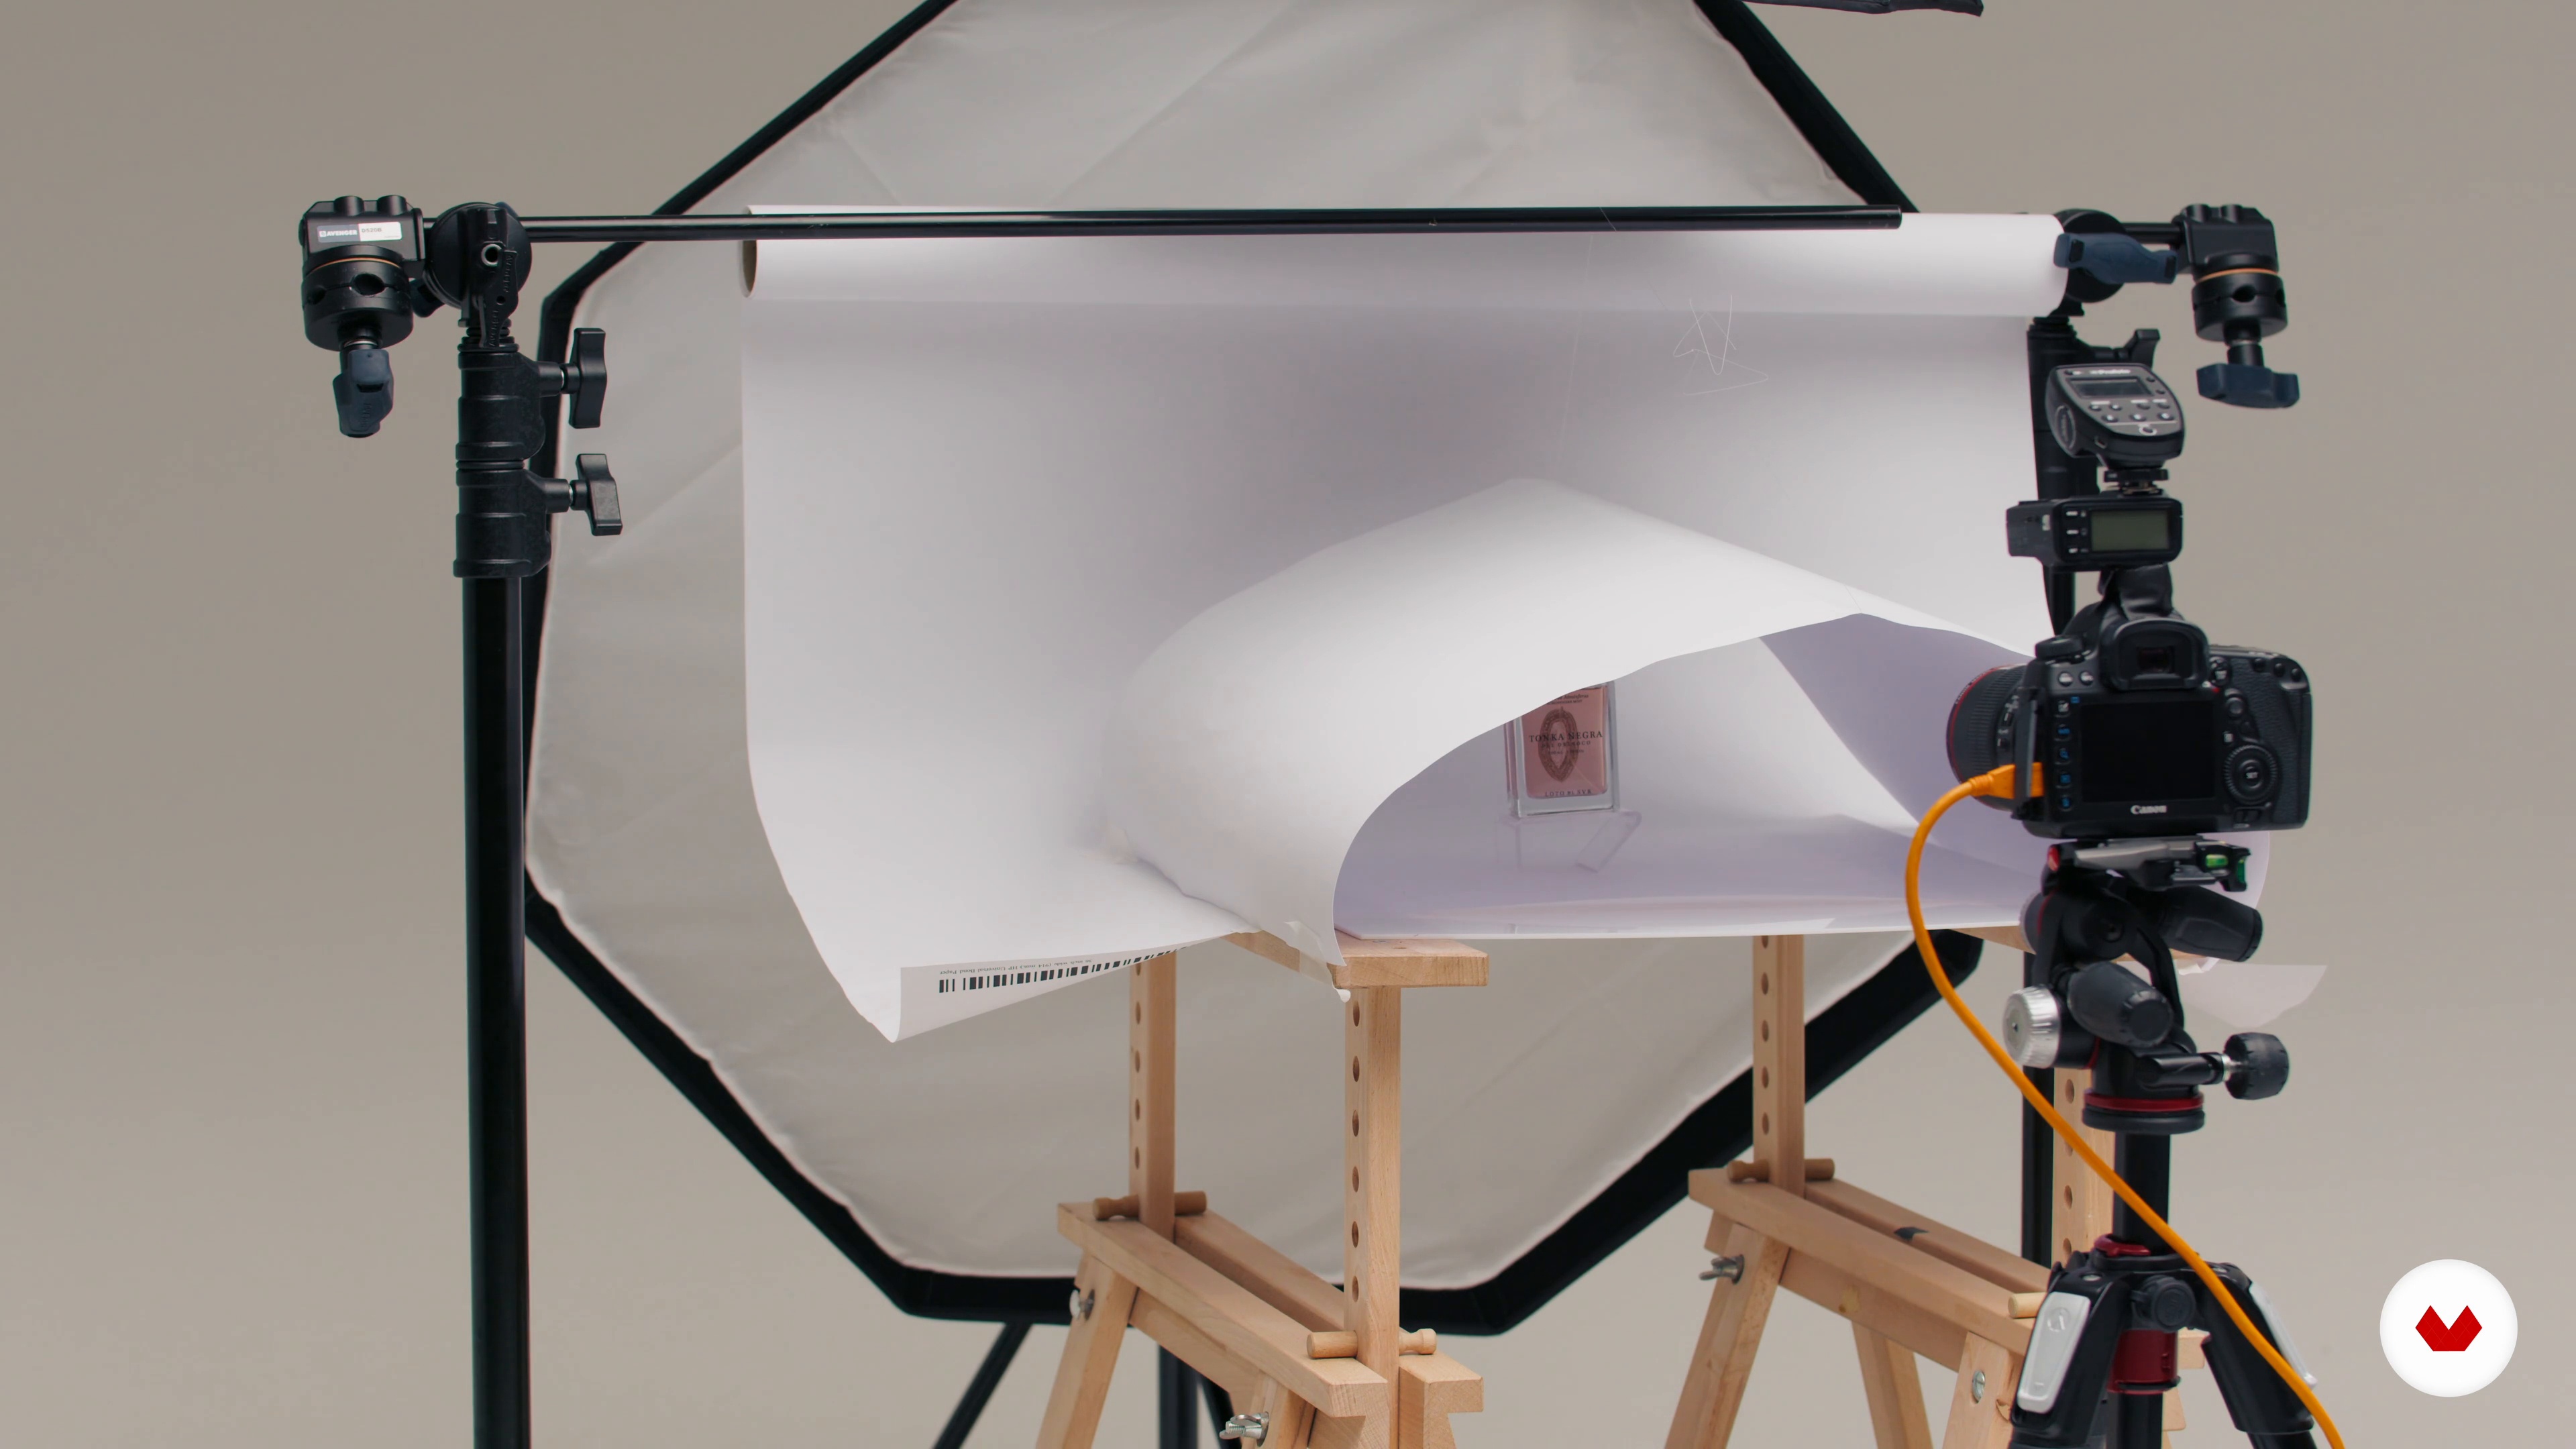
Without a doubt, in the world of e-commerce, you'll come across white-label products. I'll share with you a diagram and some tips that will help you avoid headaches and achieve great results.
5m
image
7
Reflective product
One of the biggest challenges when shooting product photography is materials that, due to their texture and characteristics, reflect everything around them, such as metals and glitter. I'll show you techniques that have allowed me to master this material to the fullest.
4m
image
8
translucent product
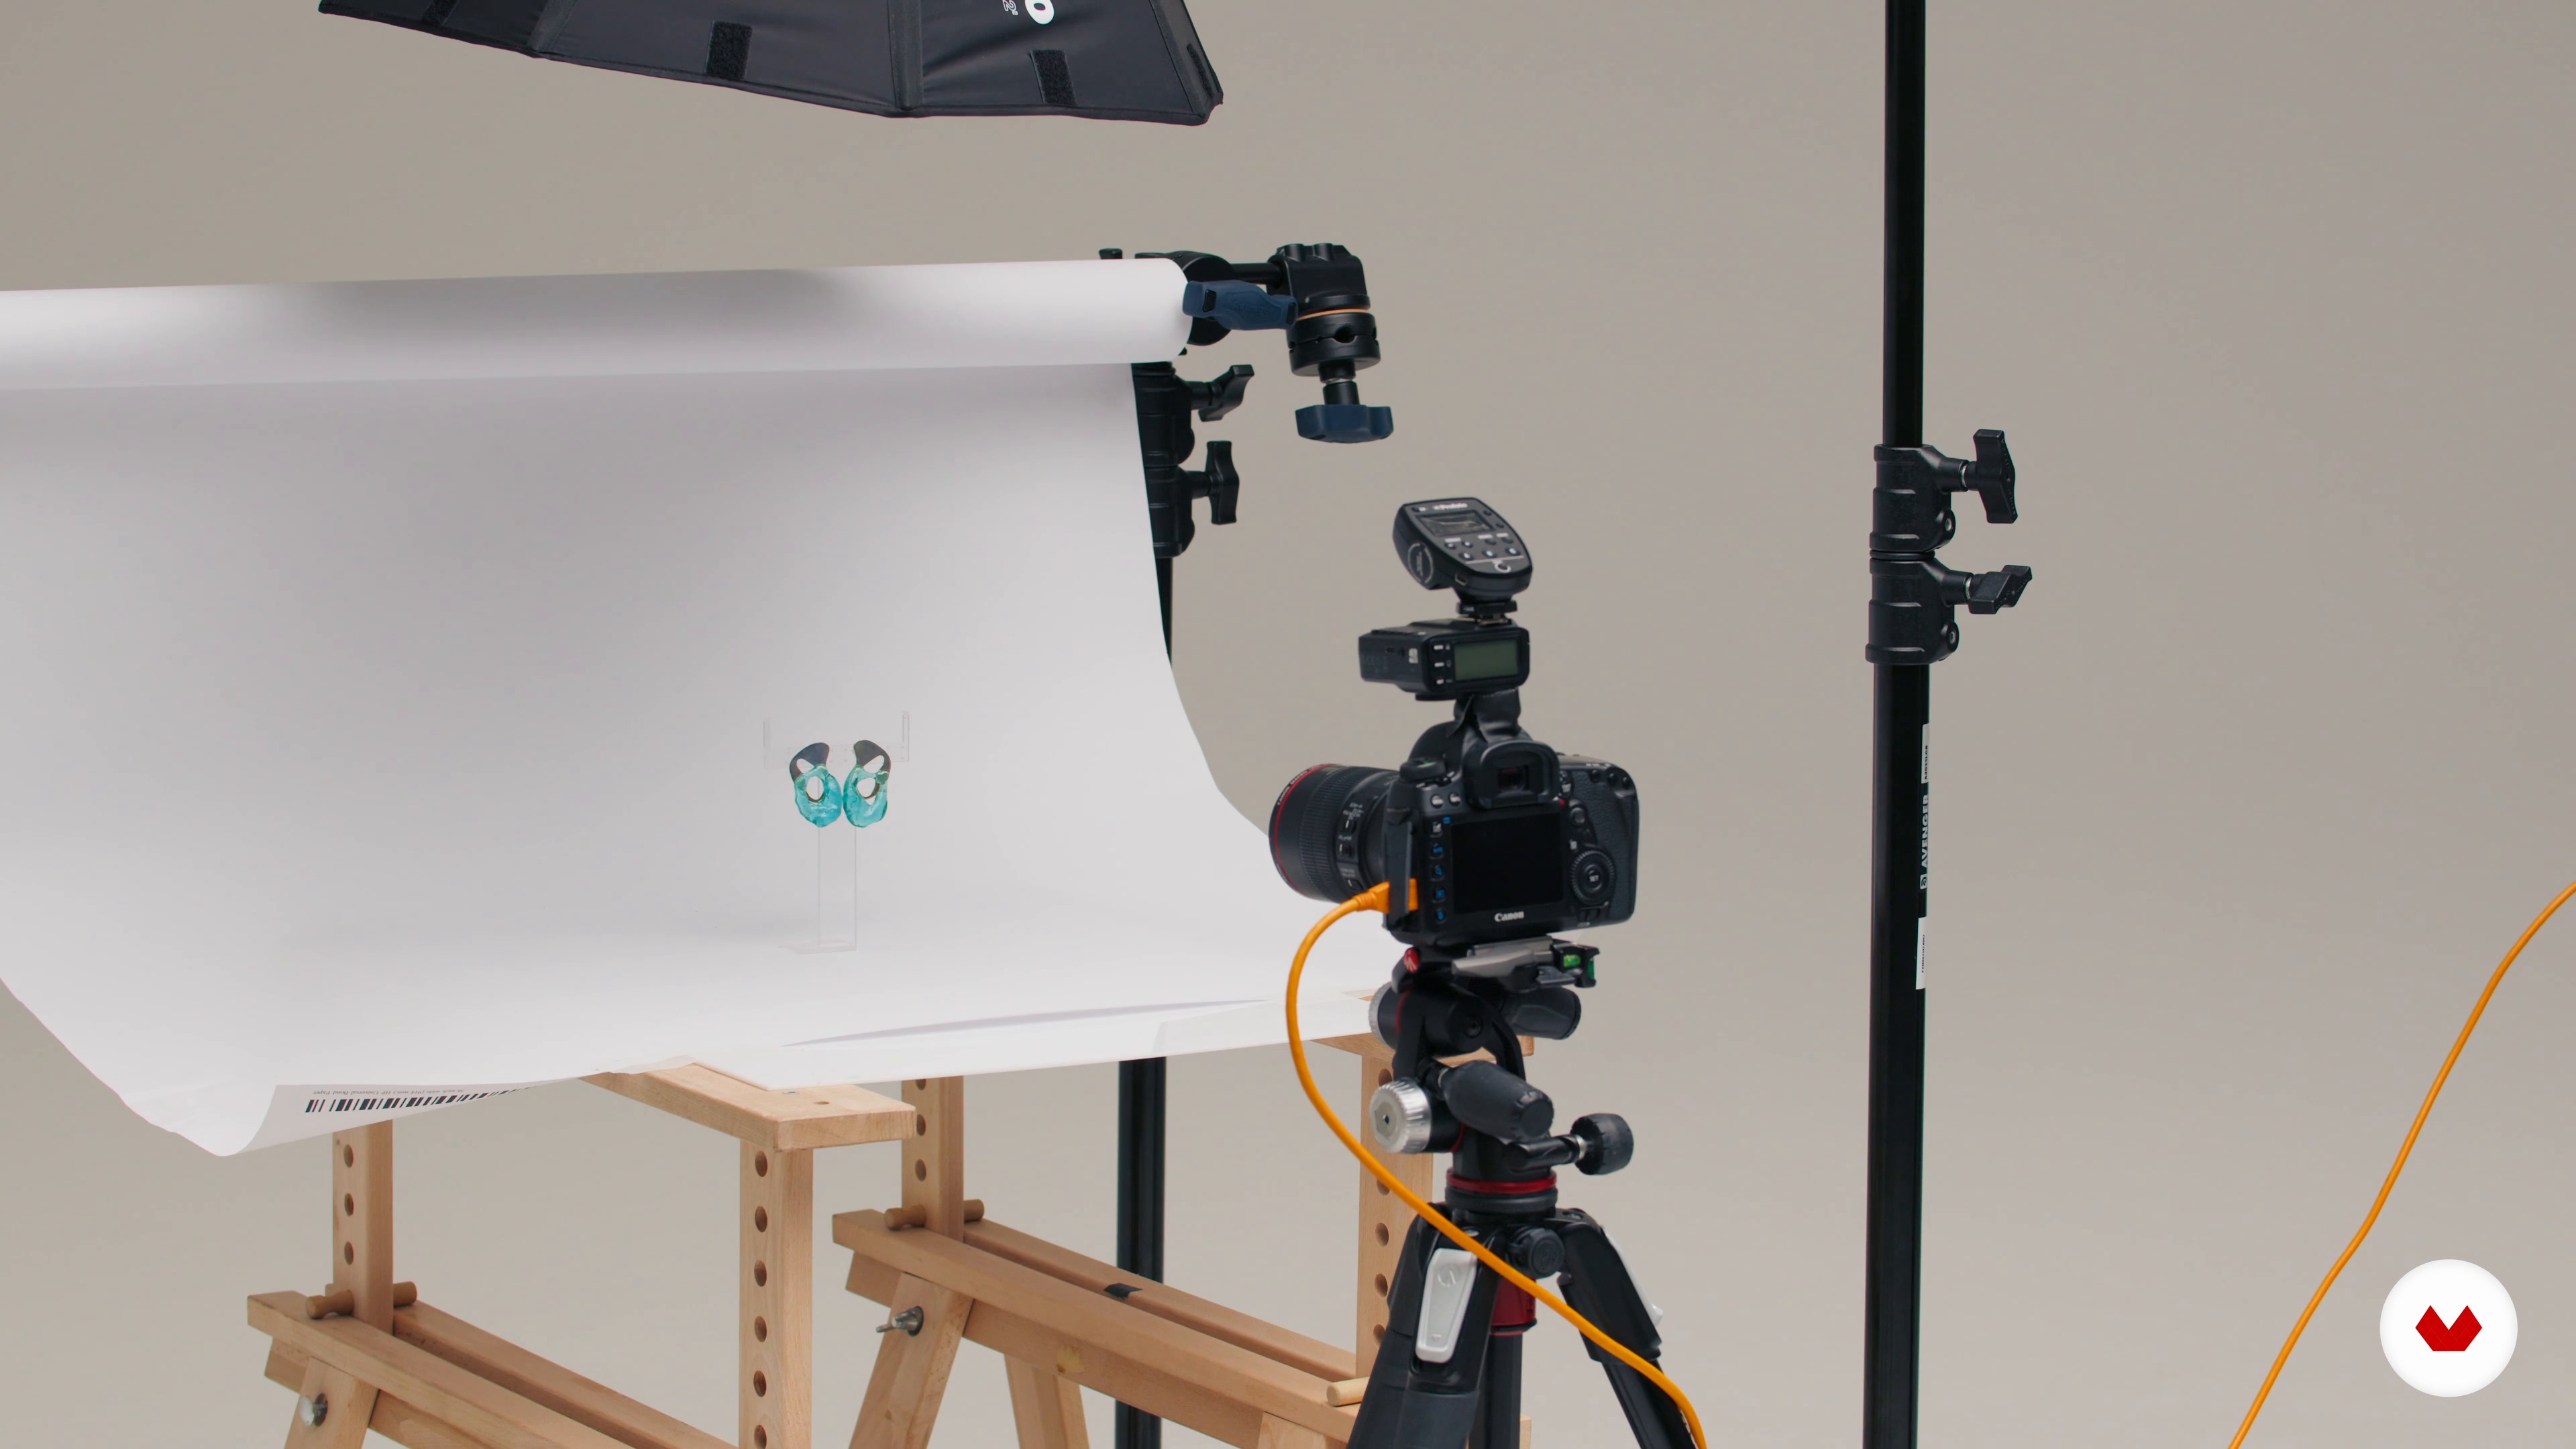
In this lesson, I'll show you some tips that will help you when taking translucent photos. You'll learn a technique that can be a lifesaver when capturing crystals, glass, plastics, and translucent materials.
4m
image
9
Refine product 1
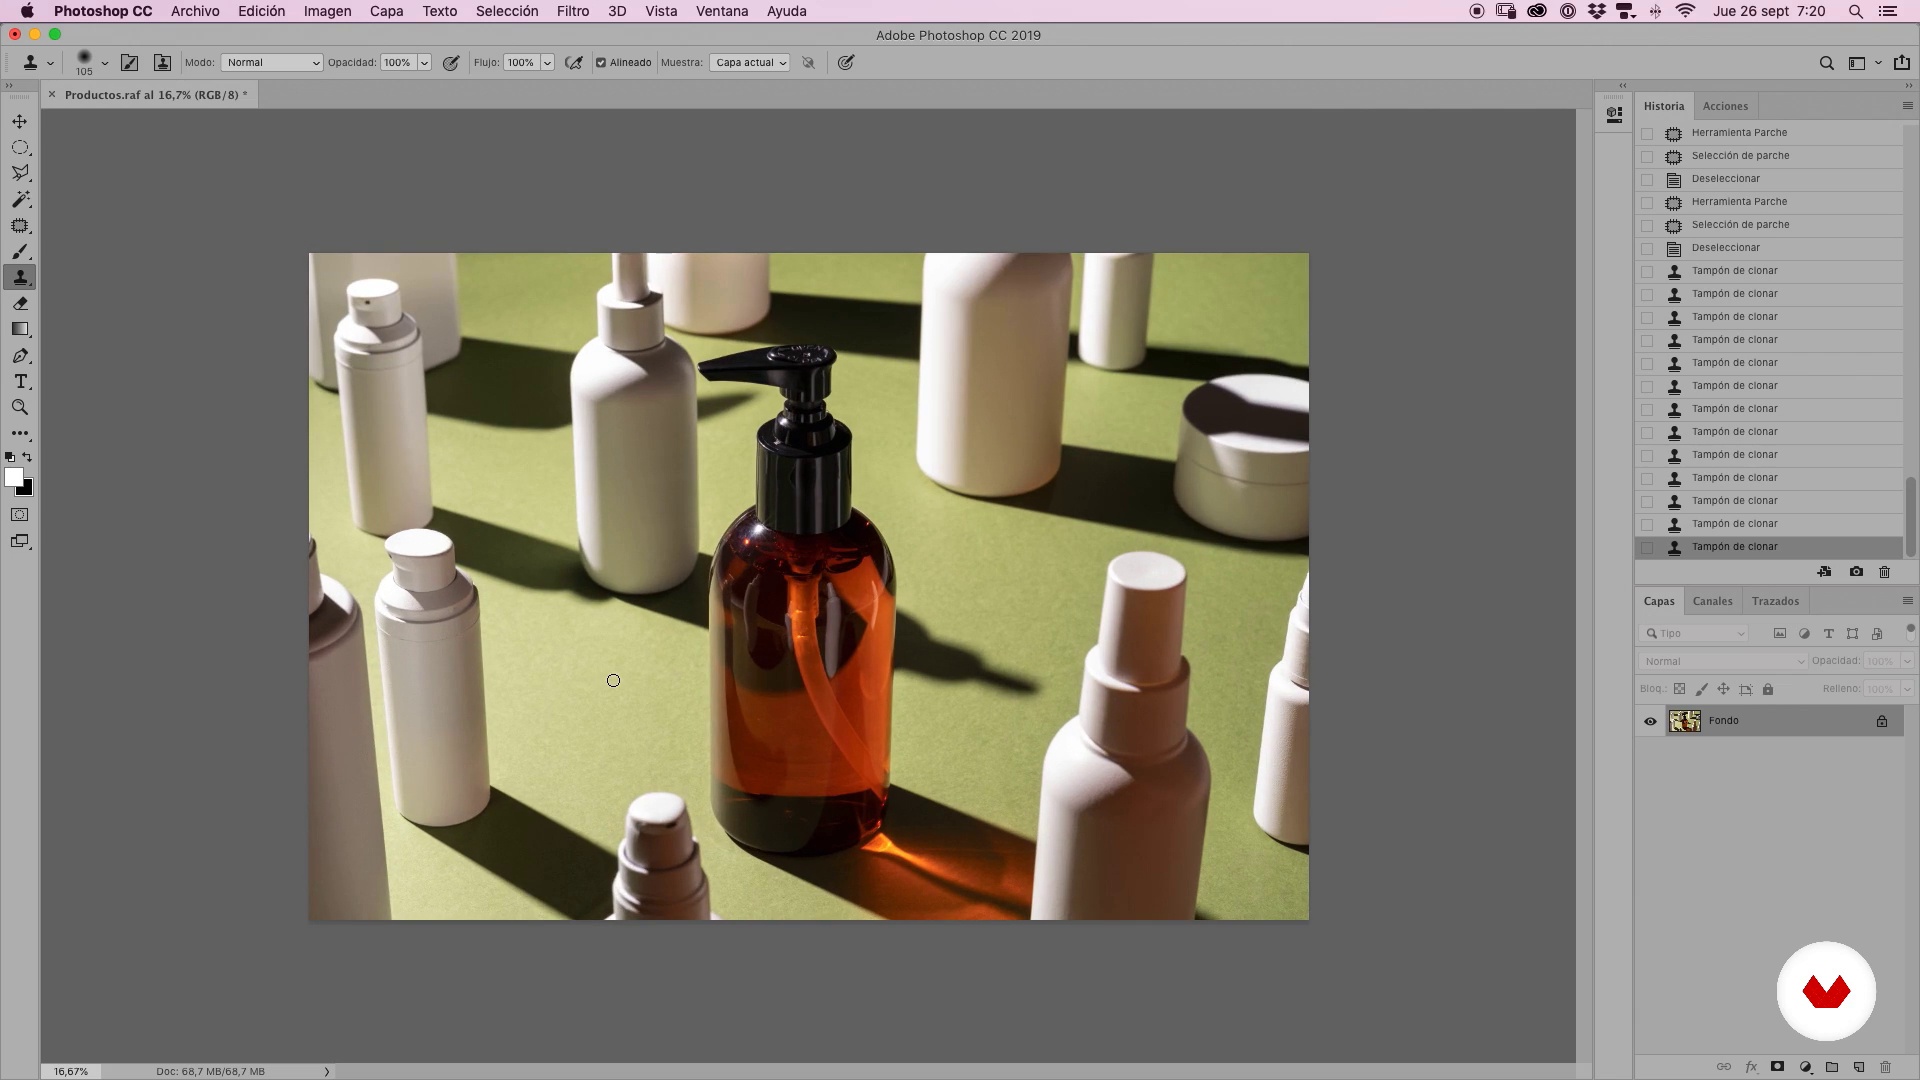
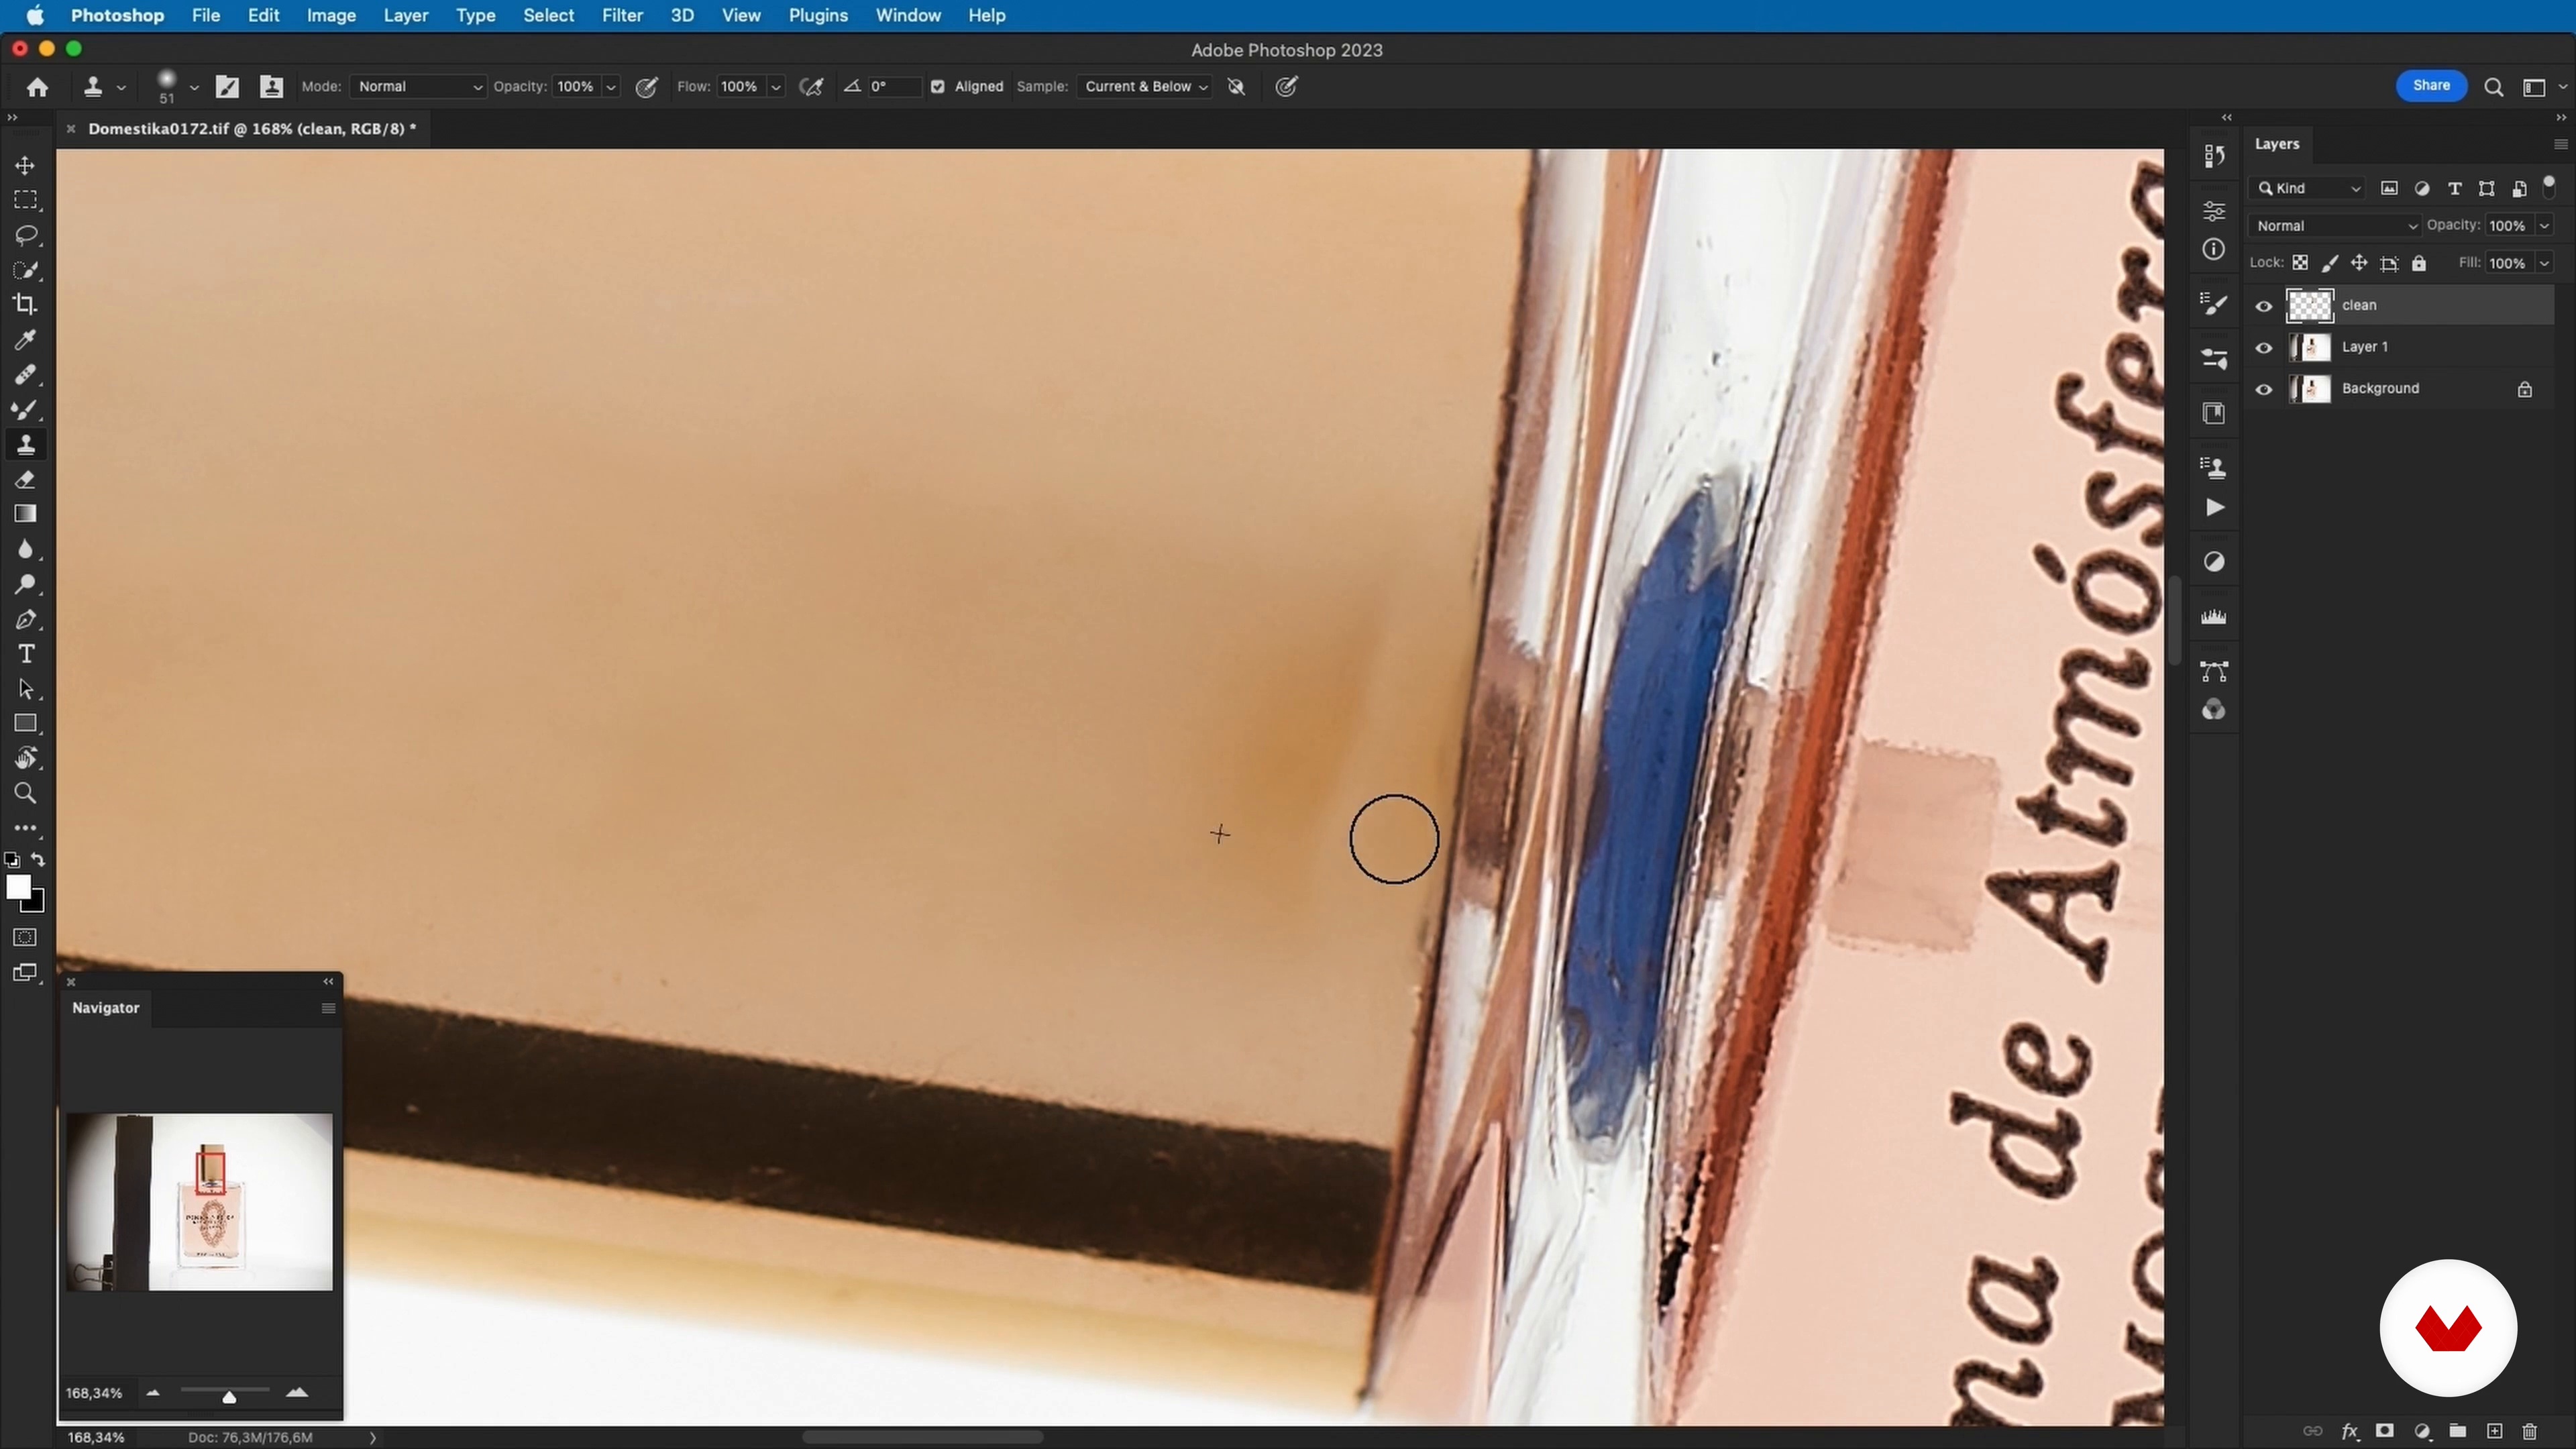
In this lesson, I'll teach you how to retouch product photos in Photoshop to achieve perfect images, although you can apply the techniques with any editing software. We'll use a complex object to demonstrate blemish removal, color adjustments, and frequency separation techniques, focusing on the importance of detail and professional product presentation.
14m
image
10
Refine product 2
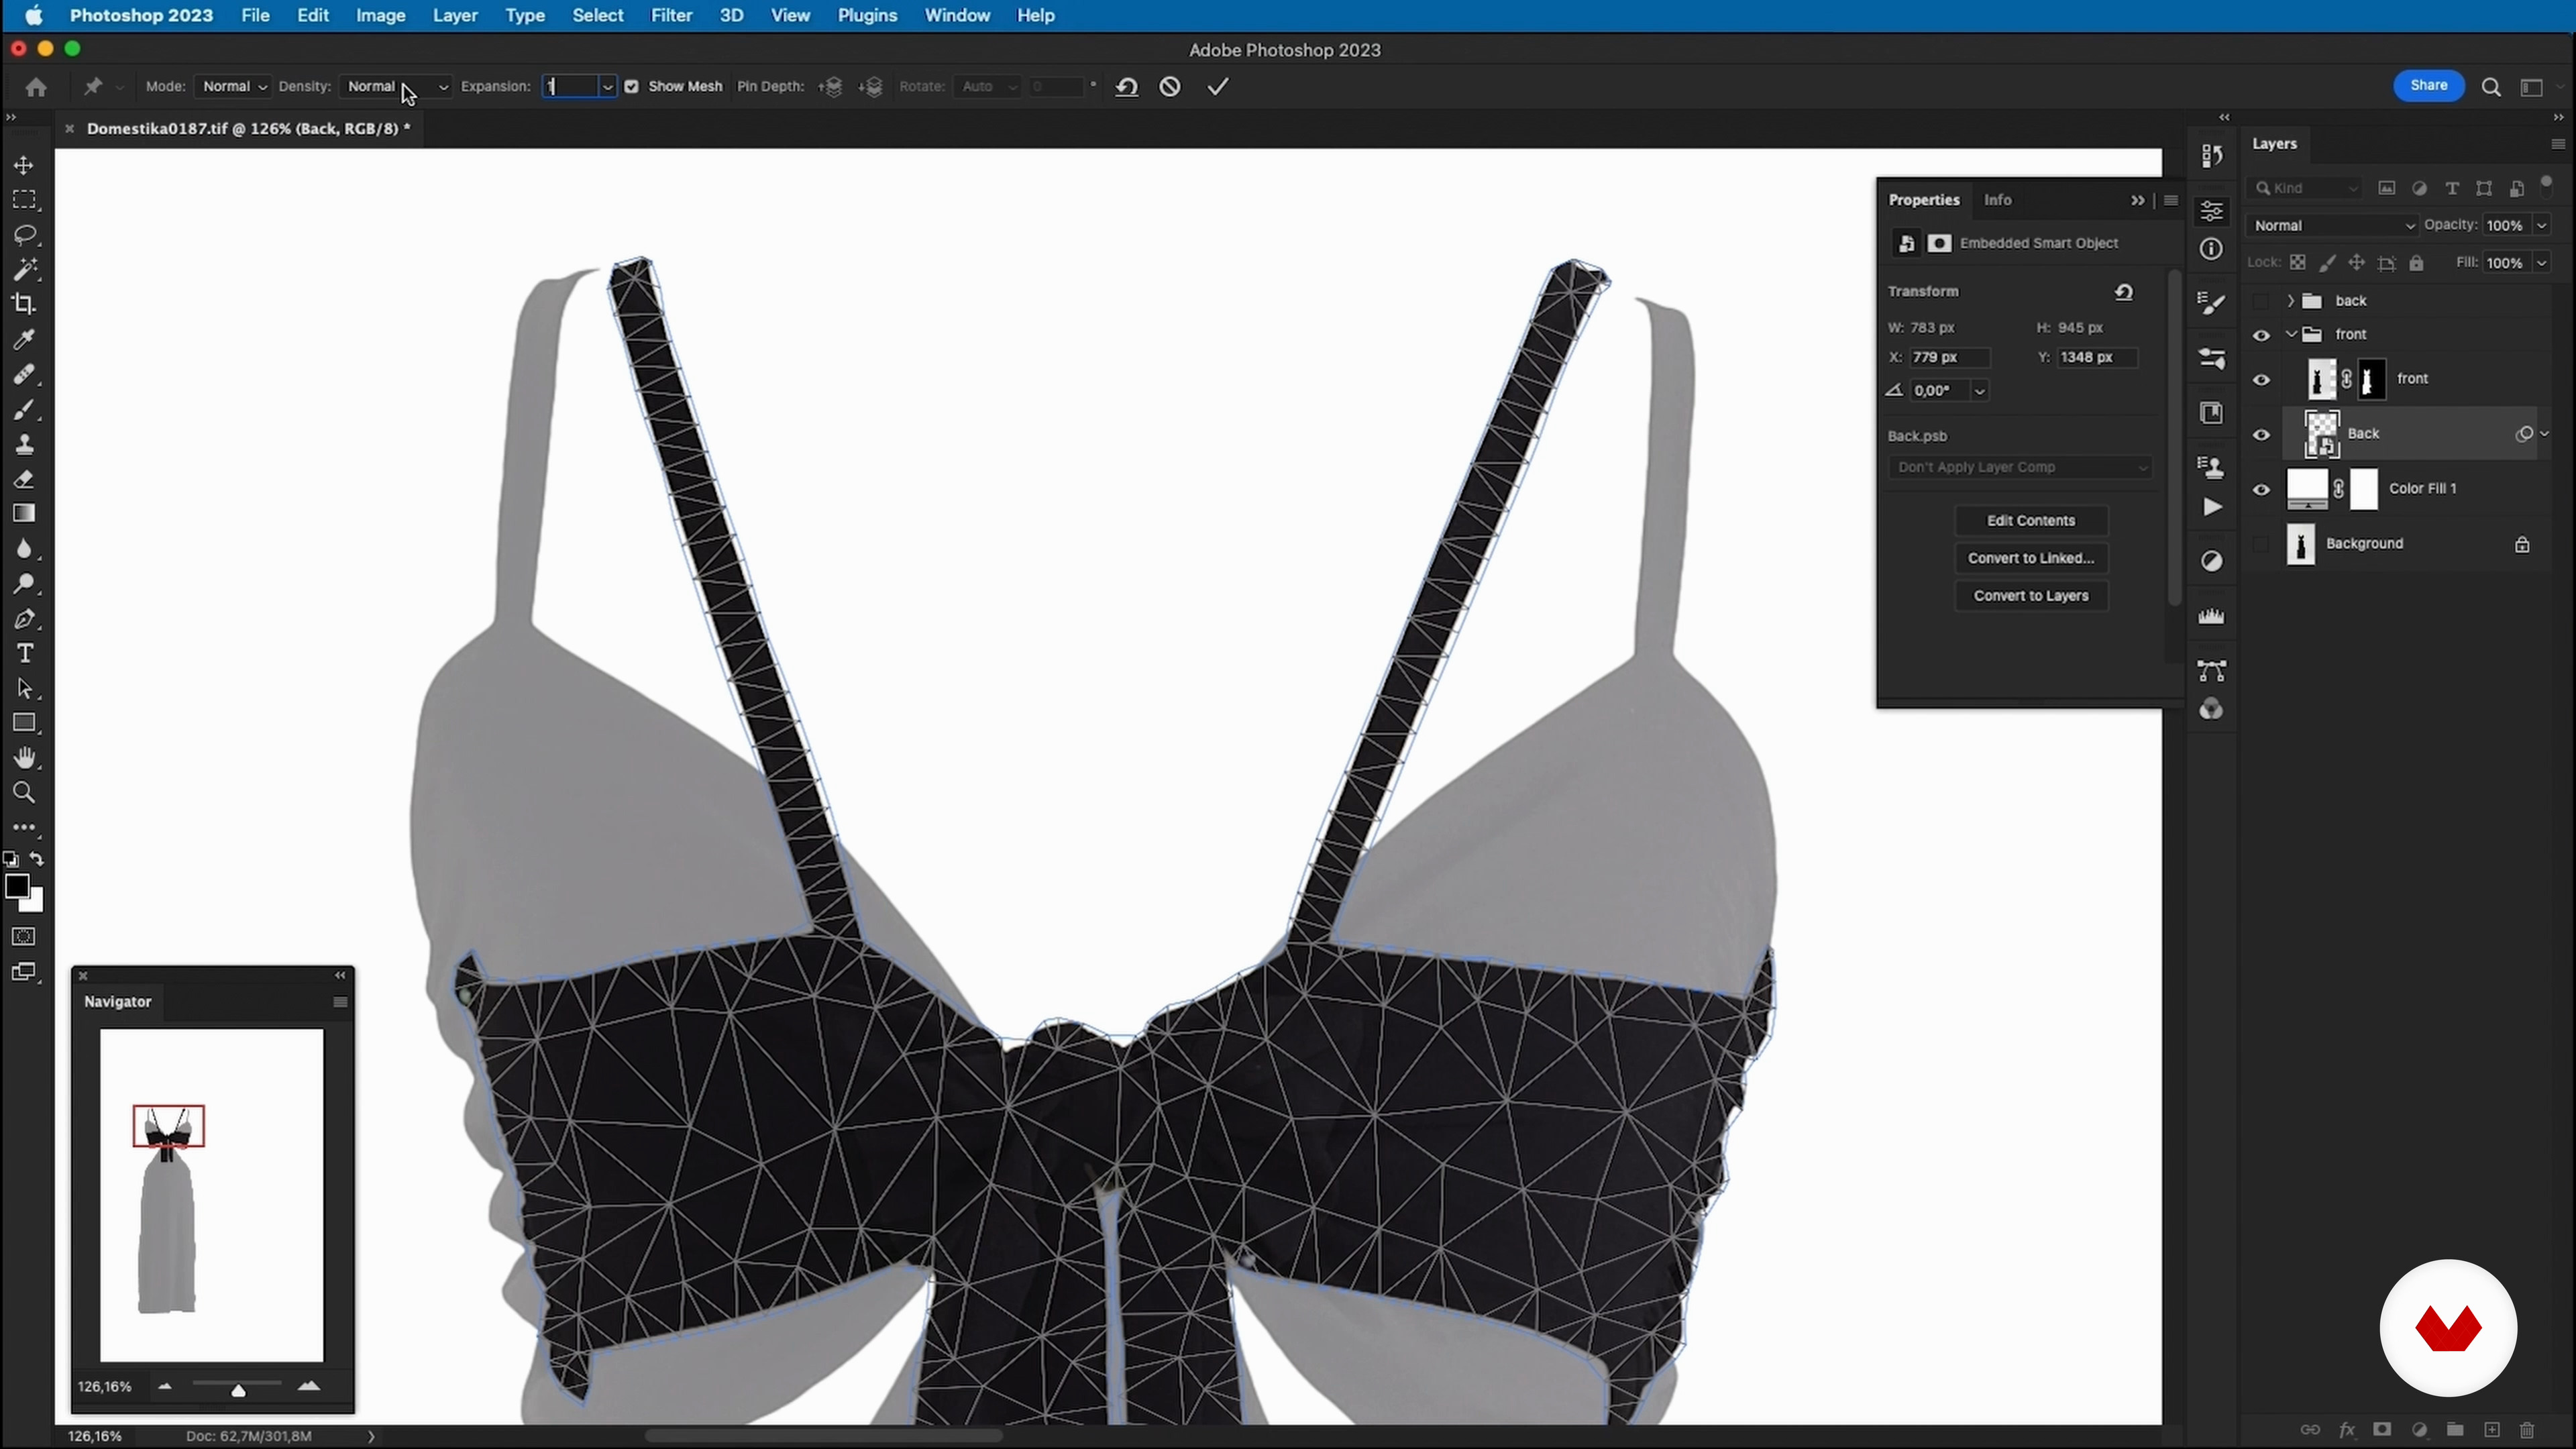
In this second part, I'll show you the Ghost technique, a useful way to impress future clients. We'll use two photographs, the front and back of the dress, and apply precise selection and retouching in Photoshop to achieve a three-dimensional effect. You'll learn how to adjust selections, align layers, and manipulate textures to present the product attractively. This technique not only improves product visualization but also adds professional value to your work.
16m
image
11
Perfect the product 3
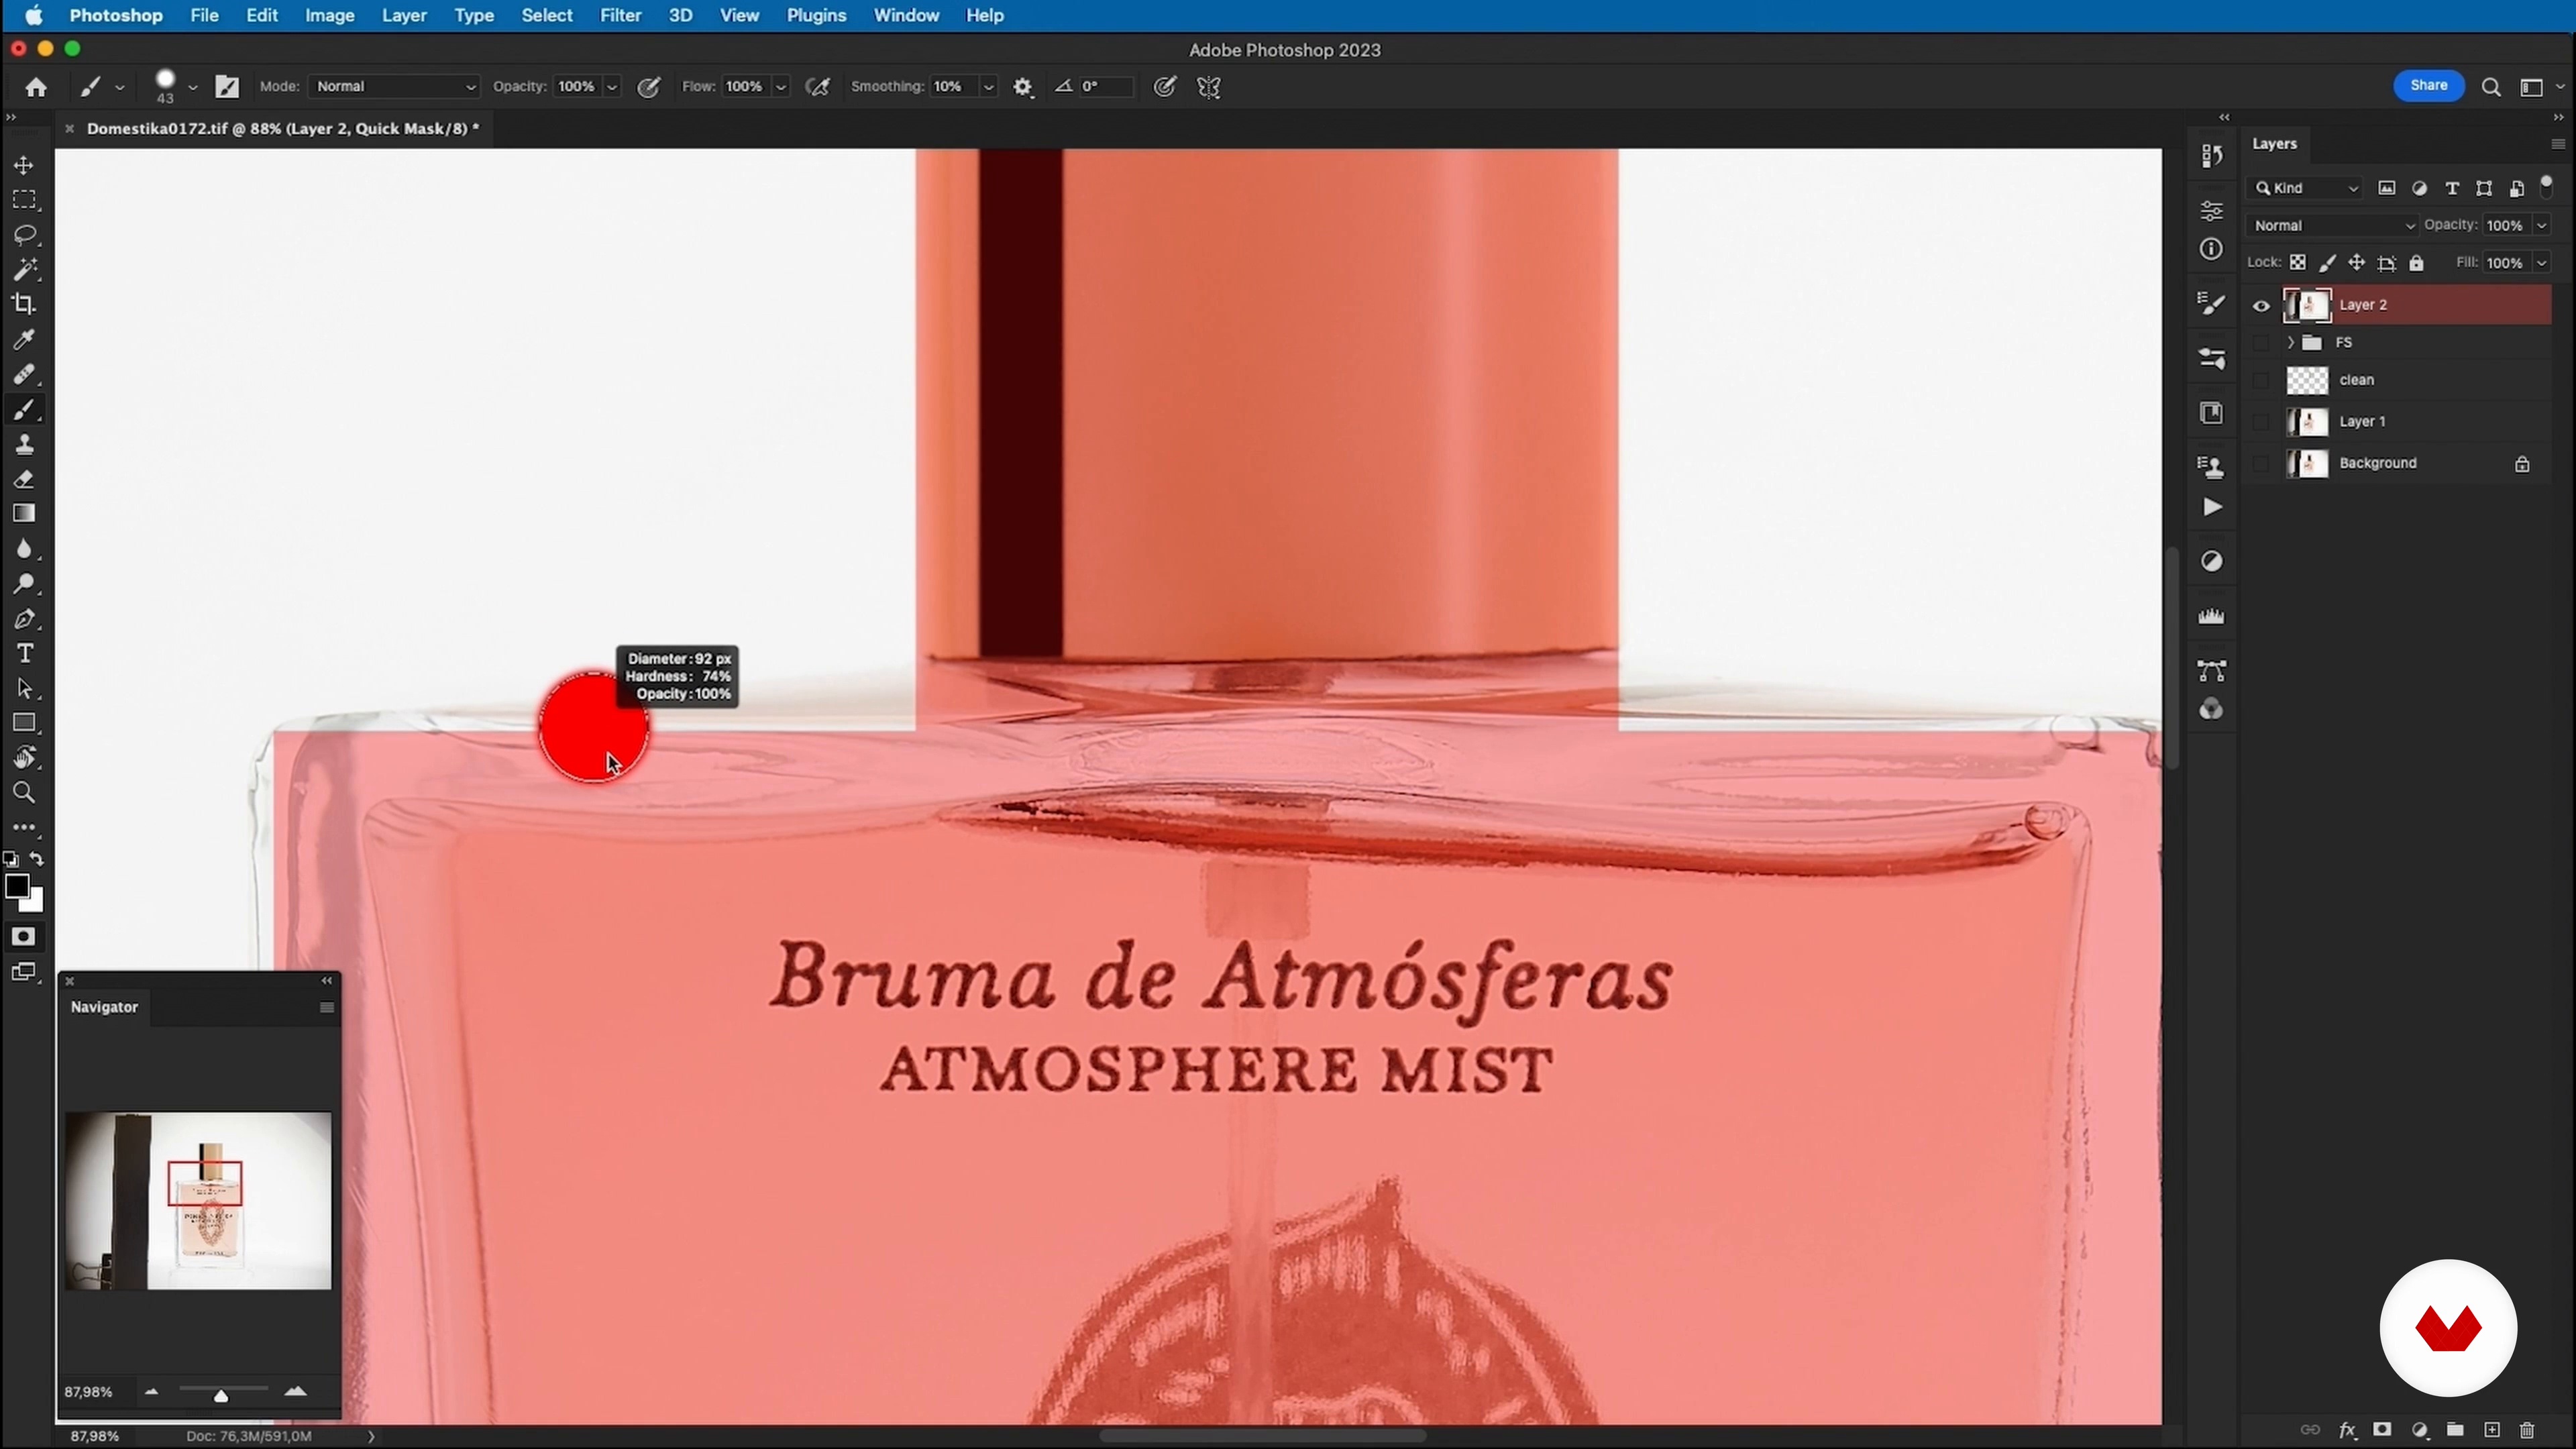
In this step of the process, we'll focus on achieving the perfect white background for our retouched mist photo. We'll use precise selection techniques to isolate the product, carefully adjusting with the brush to capture its transparent and complex shape. After meticulously selecting both the bottle and cap, we'll invert the mask to work only with what's needed, removing imperfections. Finally, we'll place a solid white background beneath our product, ensuring the white is pure and the product is centered, thus showcasing the result of a professionally retouched image on a flawless background.
5m
image
12
The export
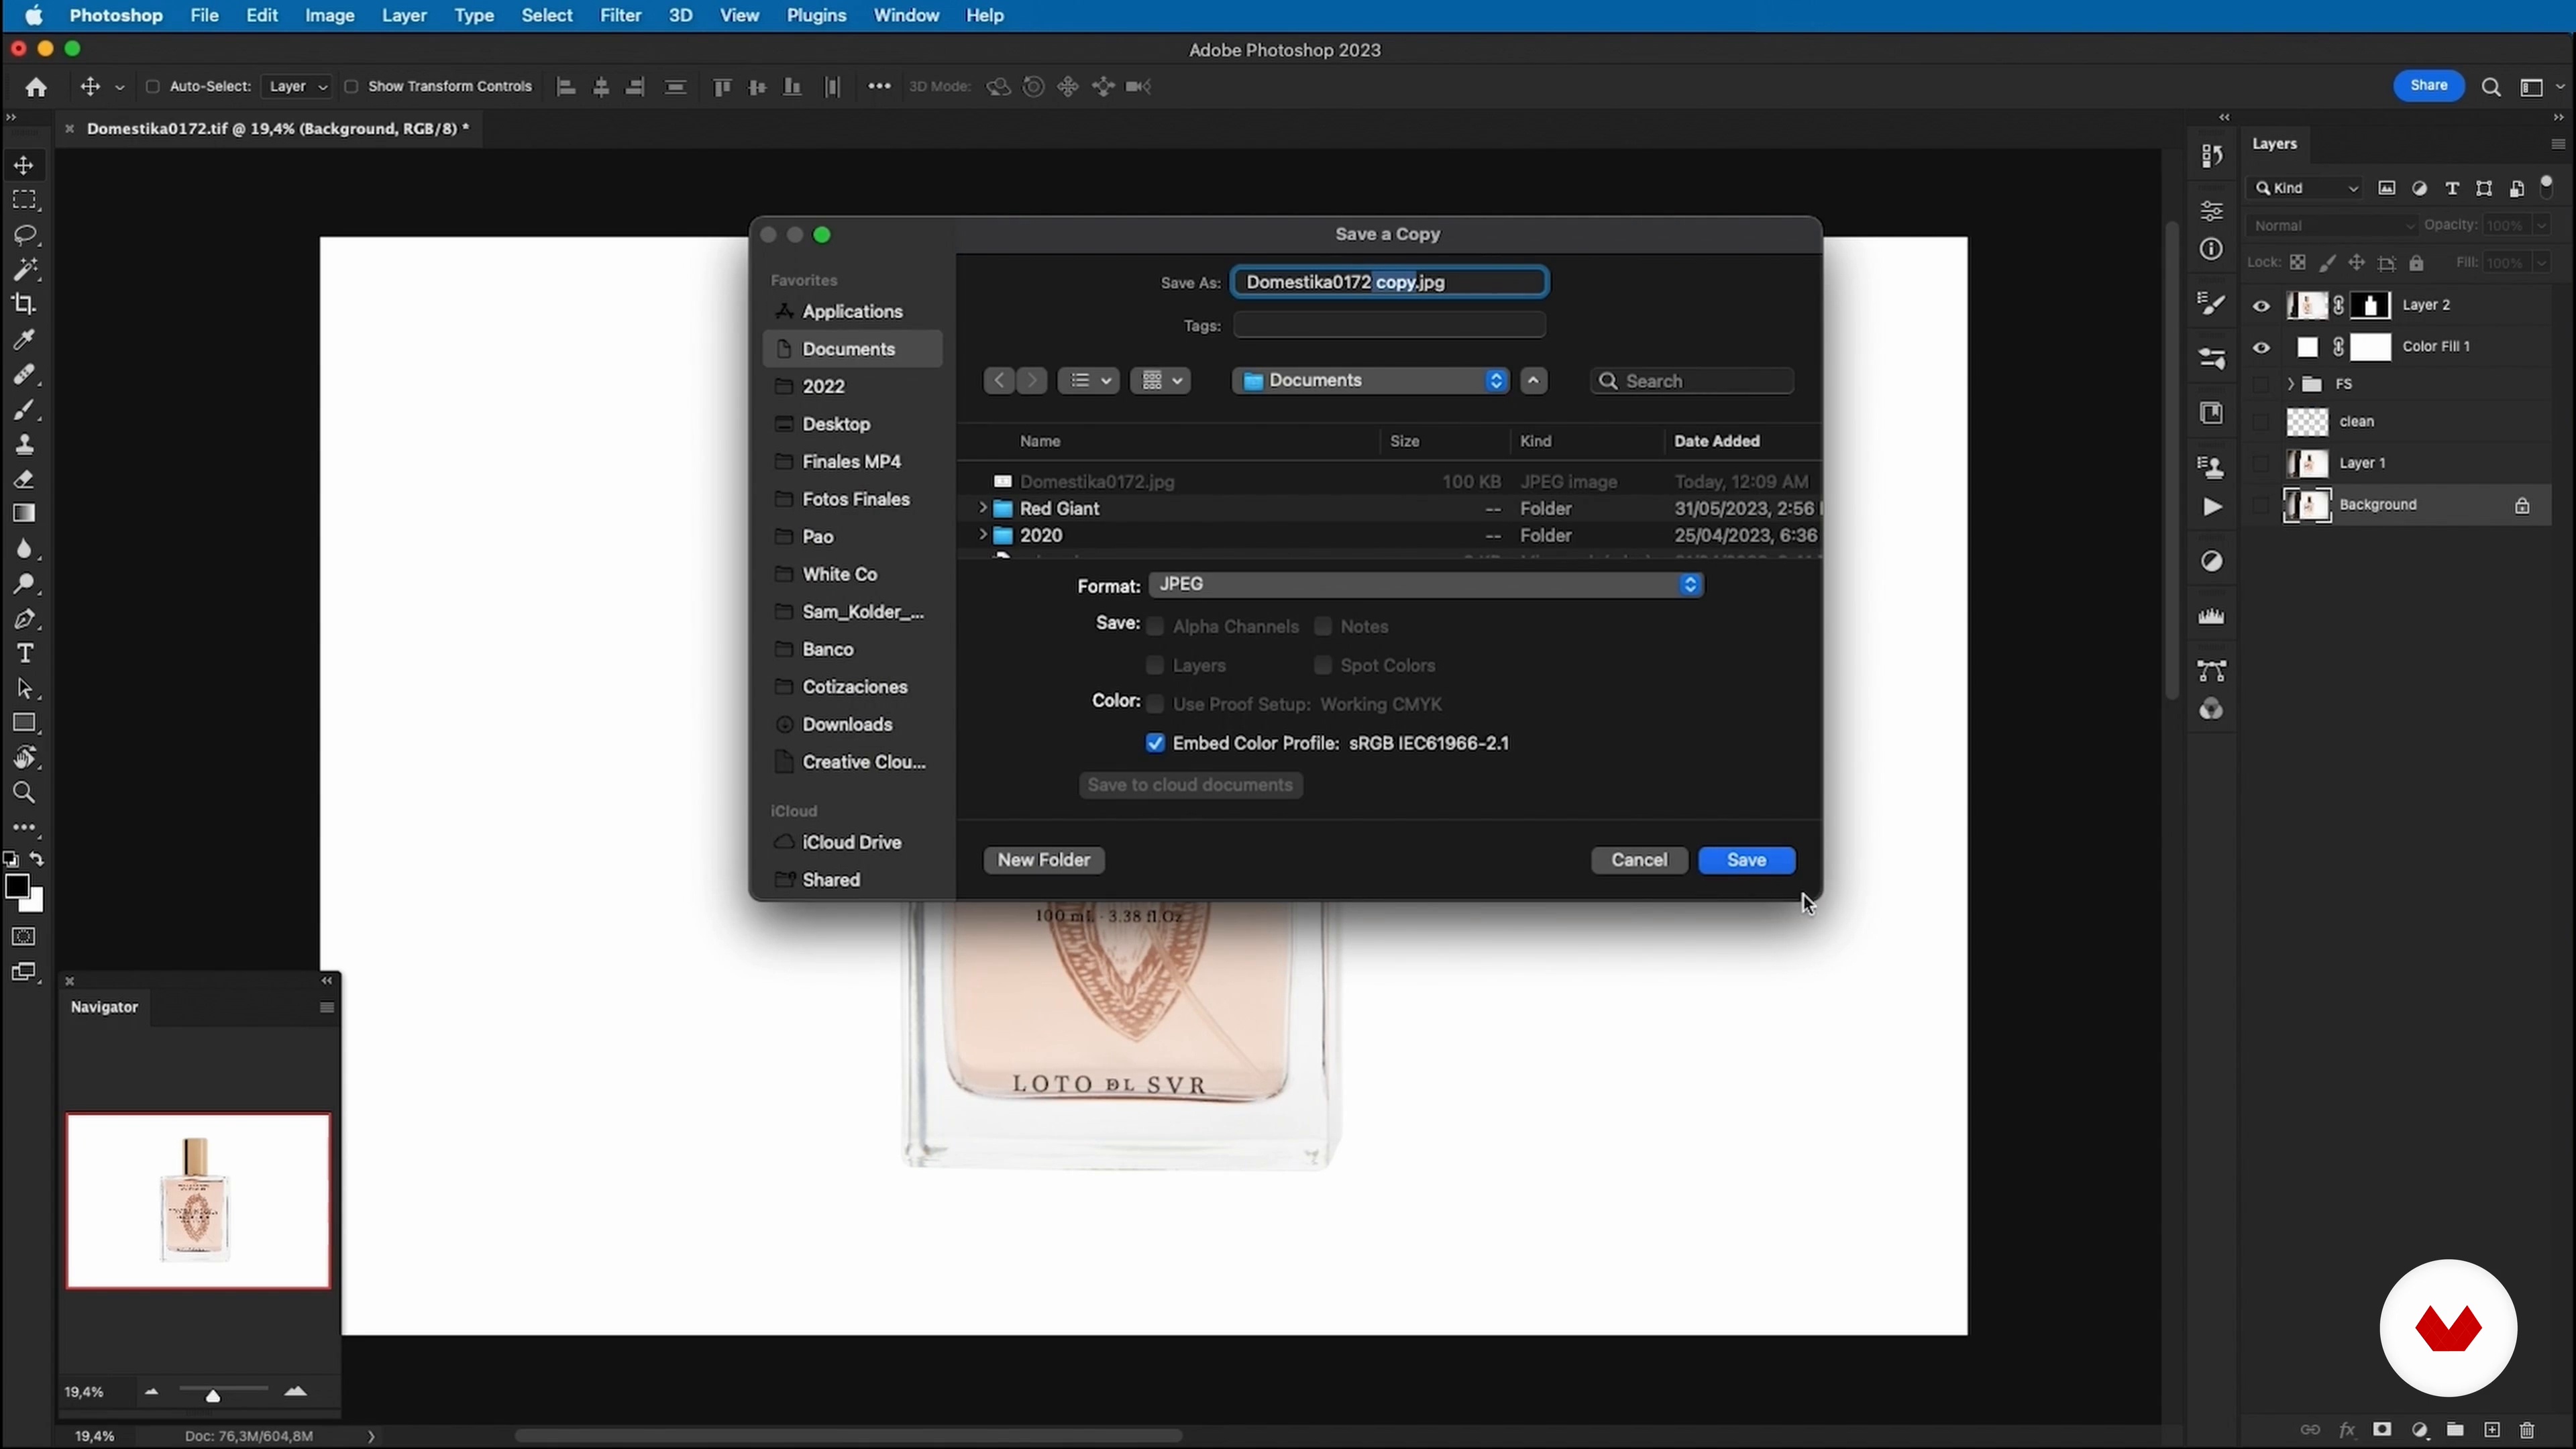
In this lesson, you'll learn how to export your photos for the web in Photoshop, adjusting sizes and quality to optimize uploads. We'll discuss selecting appropriate backgrounds and dimensions, highlighting pure white as a preference for eCommerce, and how to present your images professionally on digital platforms.
3m
  • 100% positive reviews (1)
  • 97 students
  • 83 lessons (13h 38m)
  • 121 additional resources (69 files)
  • Online and at your own pace
  • Audio: Spanish, English
  • Spanish · English · Portuguese · German · French · Italian · Polish · Dutch
  • Level: Beginner
  • Unlimited access forever

What is this course's project?

Capture a series of product photographs, applying lighting and composition techniques to achieve professional-quality images. Learn to work with sunlight and shadows to achieve a natural style. Create custom photo sets that enhance brand identity. Design and execute shoots with clear creative direction and a cohesive visual concept. Produce final images optimized for e-commerce.

Who is this specialization for?

Creative people looking to improve their product photography skills, entrepreneurs looking to optimize their product images for e-commerce, hobbyists interested in mastering lighting and composition, and marketing professionals looking to enhance their visual portfolio.

Requirements and materials

No extensive prior knowledge is required, just a basic understanding of photography. You'll need a camera, preferably a DSLR or mirrorless, access to natural or artificial light, and space to set up your sets. Use editing software to enhance your photos.

Select to get to know your teachers in this specialization course
Read more ↓

Reviews

97 Students
1 Reviews
100% Positive ratings


What to expect from this specialization course

  • Learn at your own pace

    Enjoy learning from home without a set schedule and with an easy-to-follow method. You set your own pace.

  • Learn from the best professionals

    Learn valuable methods and techniques explained by top experts in the creative sector.

  • Meet expert teachers

    Each expert teaches what they do best, with clear guidelines, true passion, and professional insight in every lesson.

  • Certificates
    Plus

    If you're a Plus member, get a custom certificate for every specialization course. Share it on your portfolio, social media, or wherever you like.

  • Get front-row seats

    Videos of the highest quality, so you don't miss a single detail. With unlimited access, you can watch them as many times as you need to perfect your technique.

  • Share knowledge and ideas

    Ask questions, request feedback, or offer solutions. Share your learning experience with other students in the community who are as passionate about creativity as you are.

  • Connect with a global creative community

    The community is home to millions of people from around the world who are curious and passionate about exploring and expressing their creativity.

  • Watch professionally produced courses

    Domestika curates its teacher roster and produces every course in-house to ensure a high-quality online learning experience.


FAQs

Domestika's specialization courses are online classes that provide you with the tools and skills you need to complete a specific project. Every step of the project combines video lessons with complementary instructional material, so you can learn by doing. Domestika's specializations also allow you to share your own projects with other students, creating a dynamic course community.

All specialization courses are 100% online, so once they're published, specialization courses start and finish whenever you want. You set the pace of the class. You can go back to review what interests you most and skip what you already know, ask questions, answer questions, share your projects, and more.

The specialization courses are divided into different modules. Each one includes lessons, informational text, tasks, and practice exercises to help you carry out your project step by step, with additional complementary resources and downloads. You'll also have access to an exclusive forum where you can interact with other students, as well as share your work and your final project, creating a community around the specialization course.

You can redeem the specialization course you received by accessing the redeeming page and entering your gift code.

If you're a Plus member, when you complete a course you've purchased, you'll instantly get your personalized certificate. You can see all your certificates in the Certificates section of your profile. You can download your certificates as PDFs and share the link online. Learn more about certificates.
Specialization in Product Photography for E-Commerce. Photography, and Video course by Domestika

Specialization in Product Photography for E-Commerce

A specialization by multiple teachers
Specialization Course. Berkeley, United States.
Joined April 2002
  • 100% positive reviews (1)
  • 97 students