Specialization

Creative Still-Life Photography Specialization: Master Lighting and Composition

Explore lighting and color techniques to create dynamic still-life photography compositions

Specialization · 7 modules

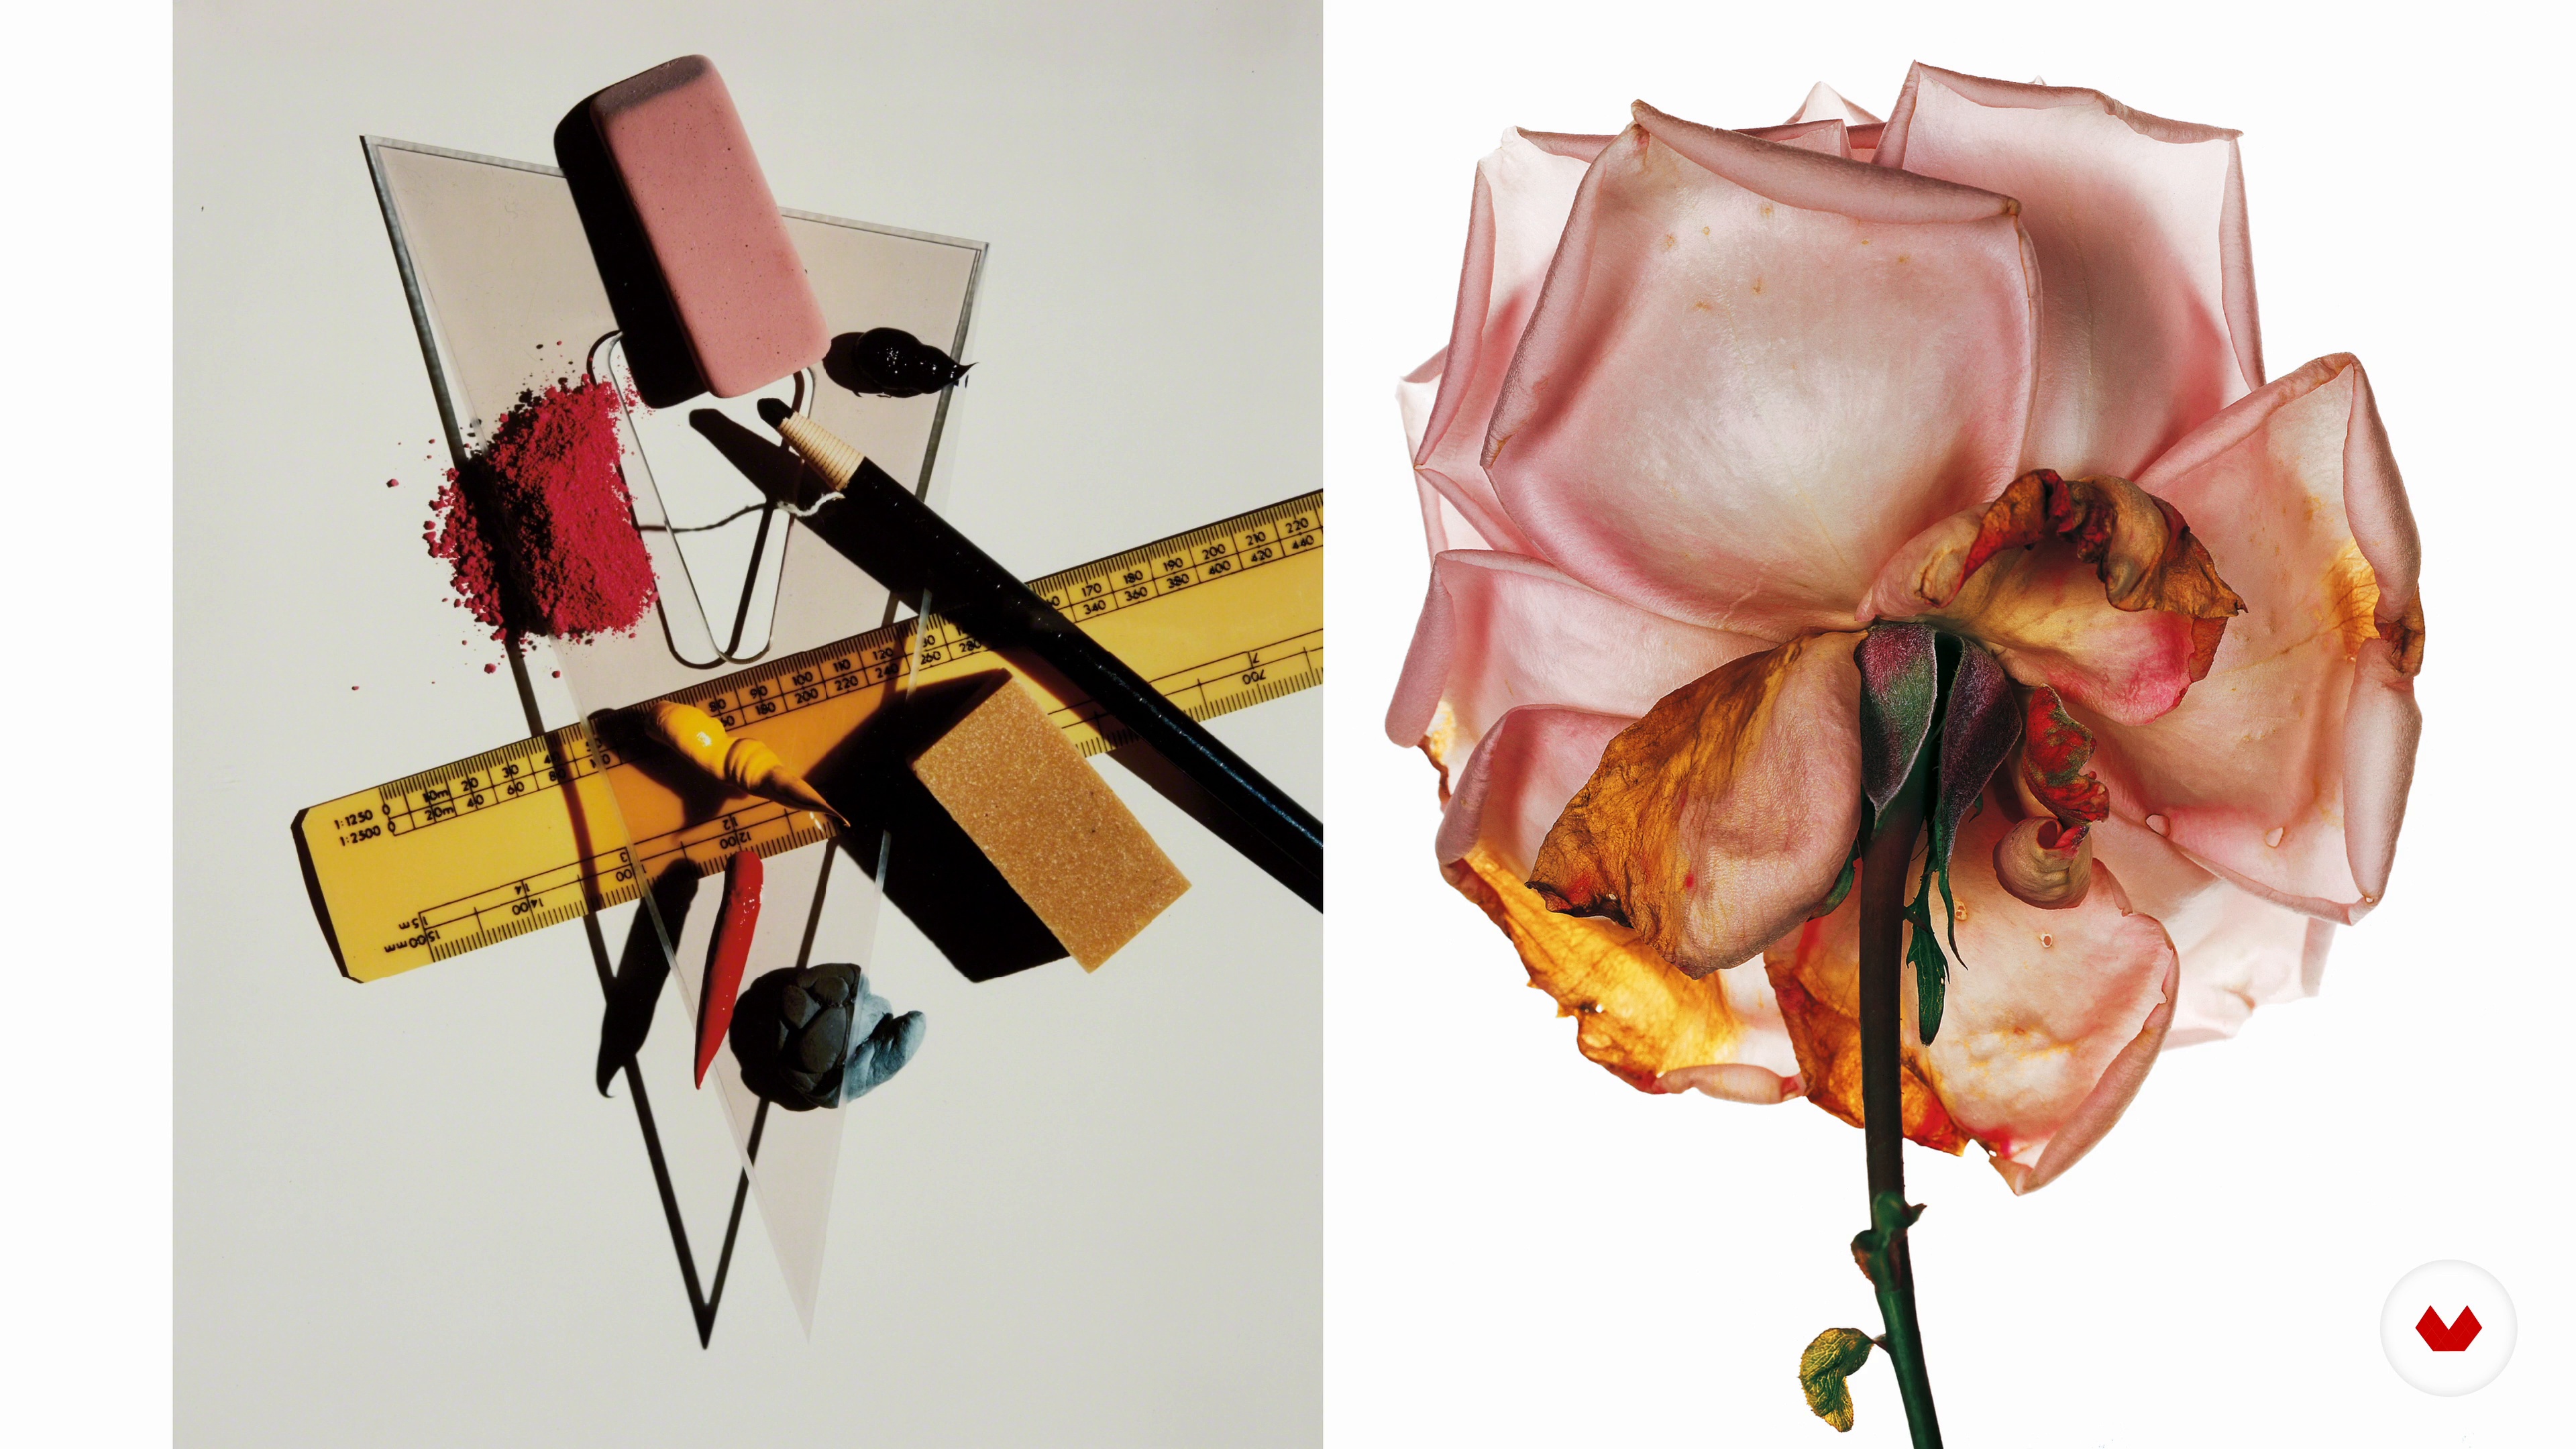
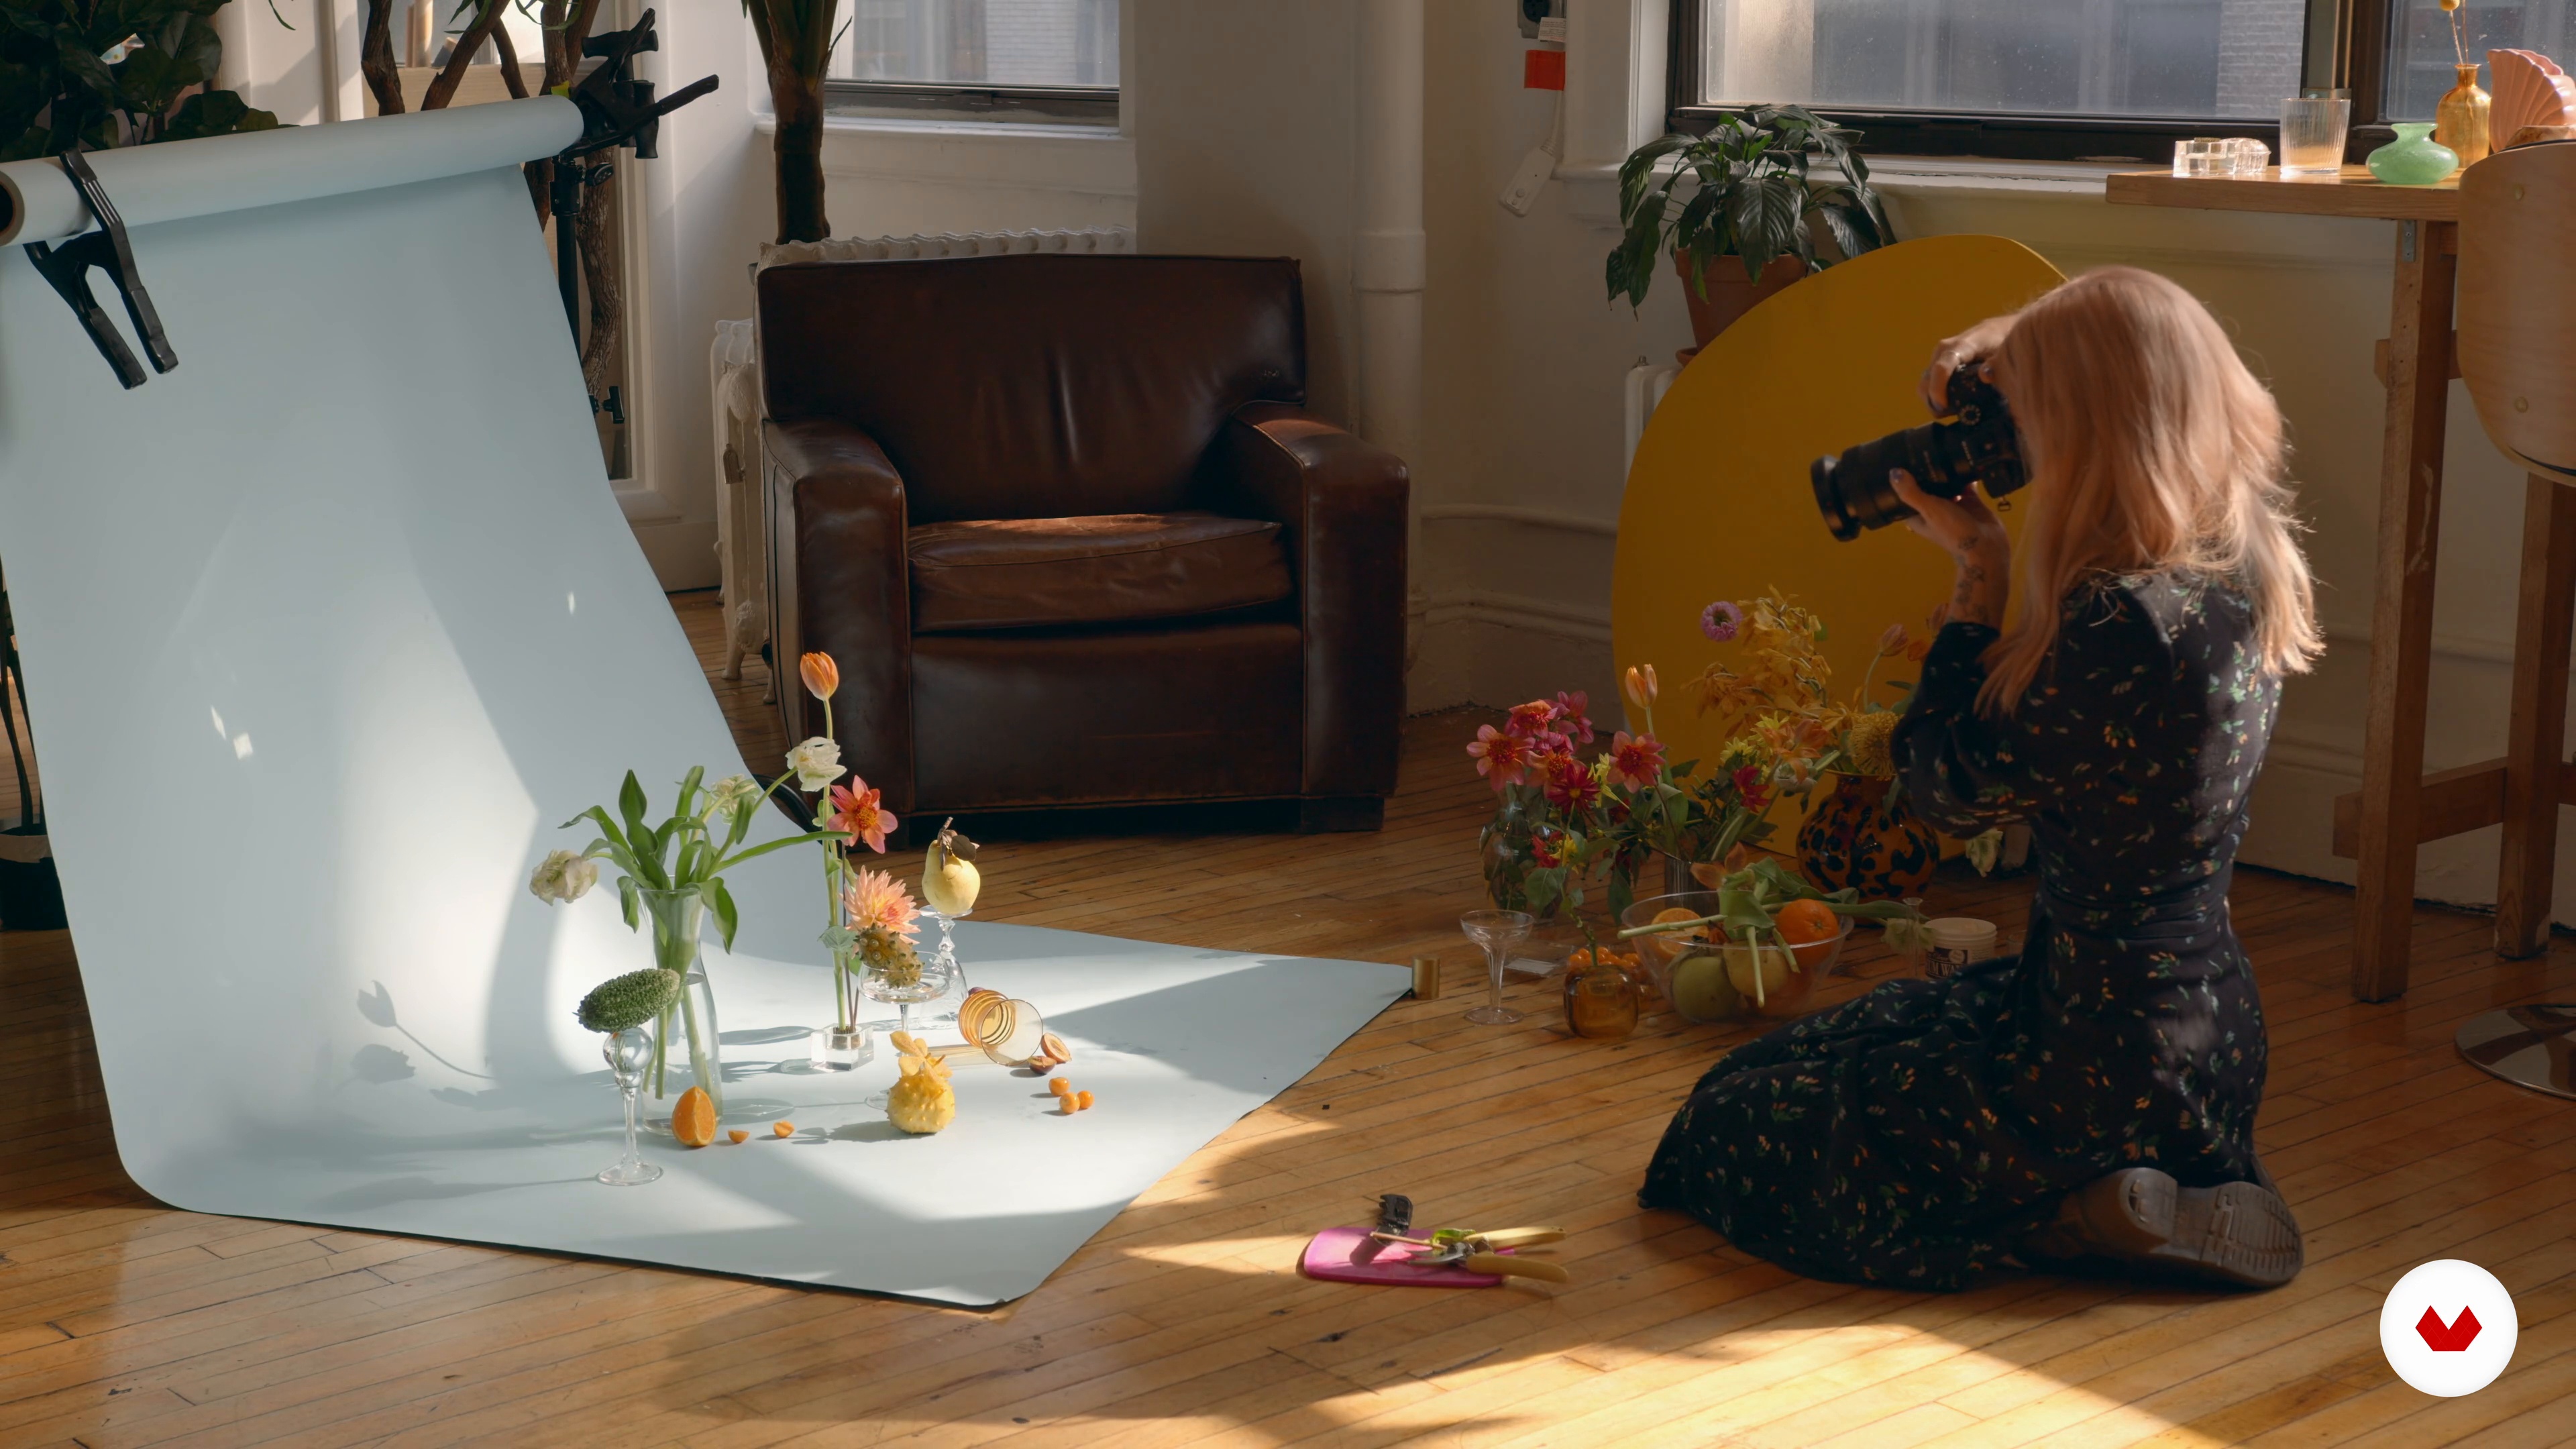
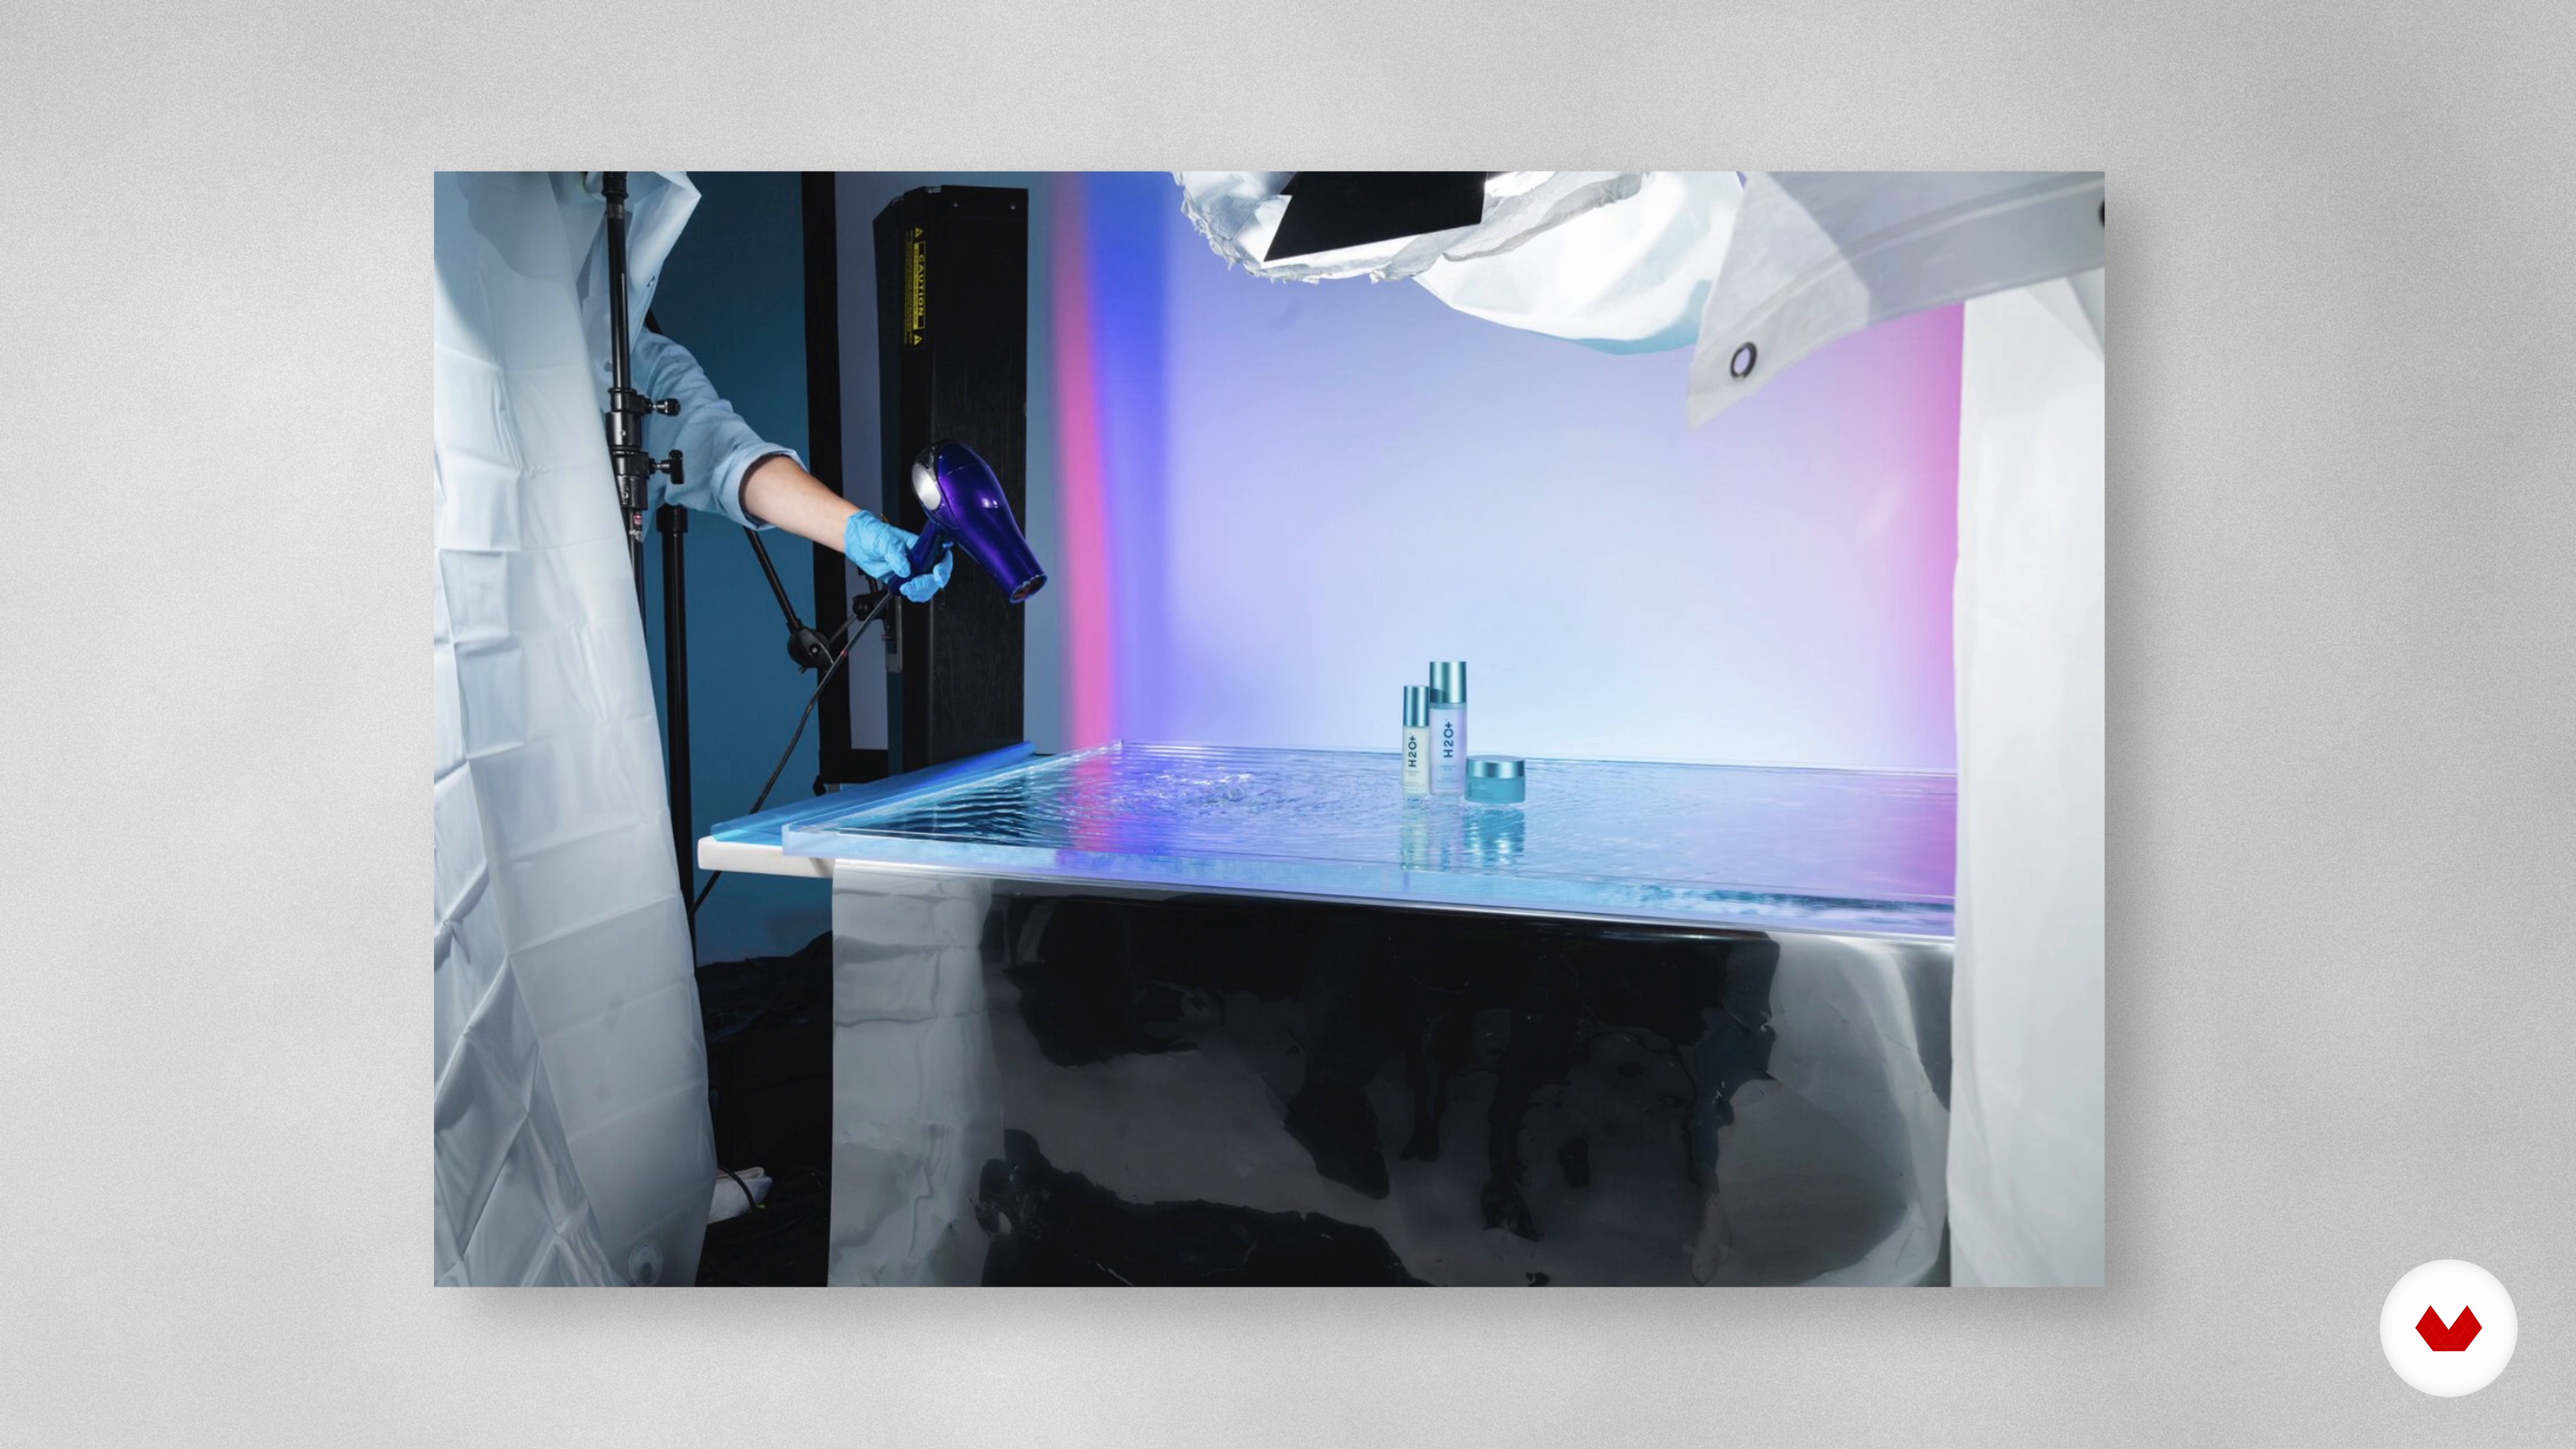
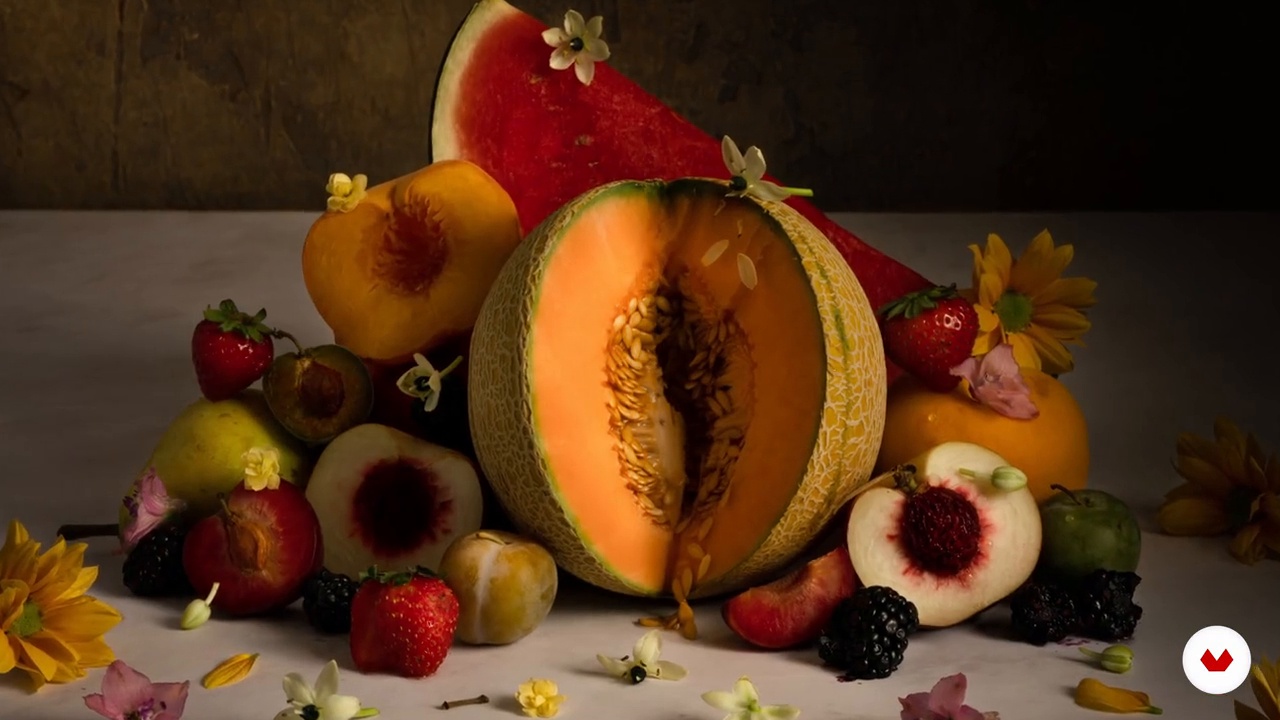
Explore the vibrant world of creative still-life photography with a team of expert photographers, including Amy Currell, Gerard+Belevender, Daniela Constantini, Victoria Jane, Littledrill, and Nicolas Polli. Dive into a variety of styles and techniques, from mastering light and color to conceptual storytelling through imagery. Discover how to create bold, dynamic compositions using contrast and color blocking, and experiment with unconventional styling to push the boundaries of traditional still-life photography.

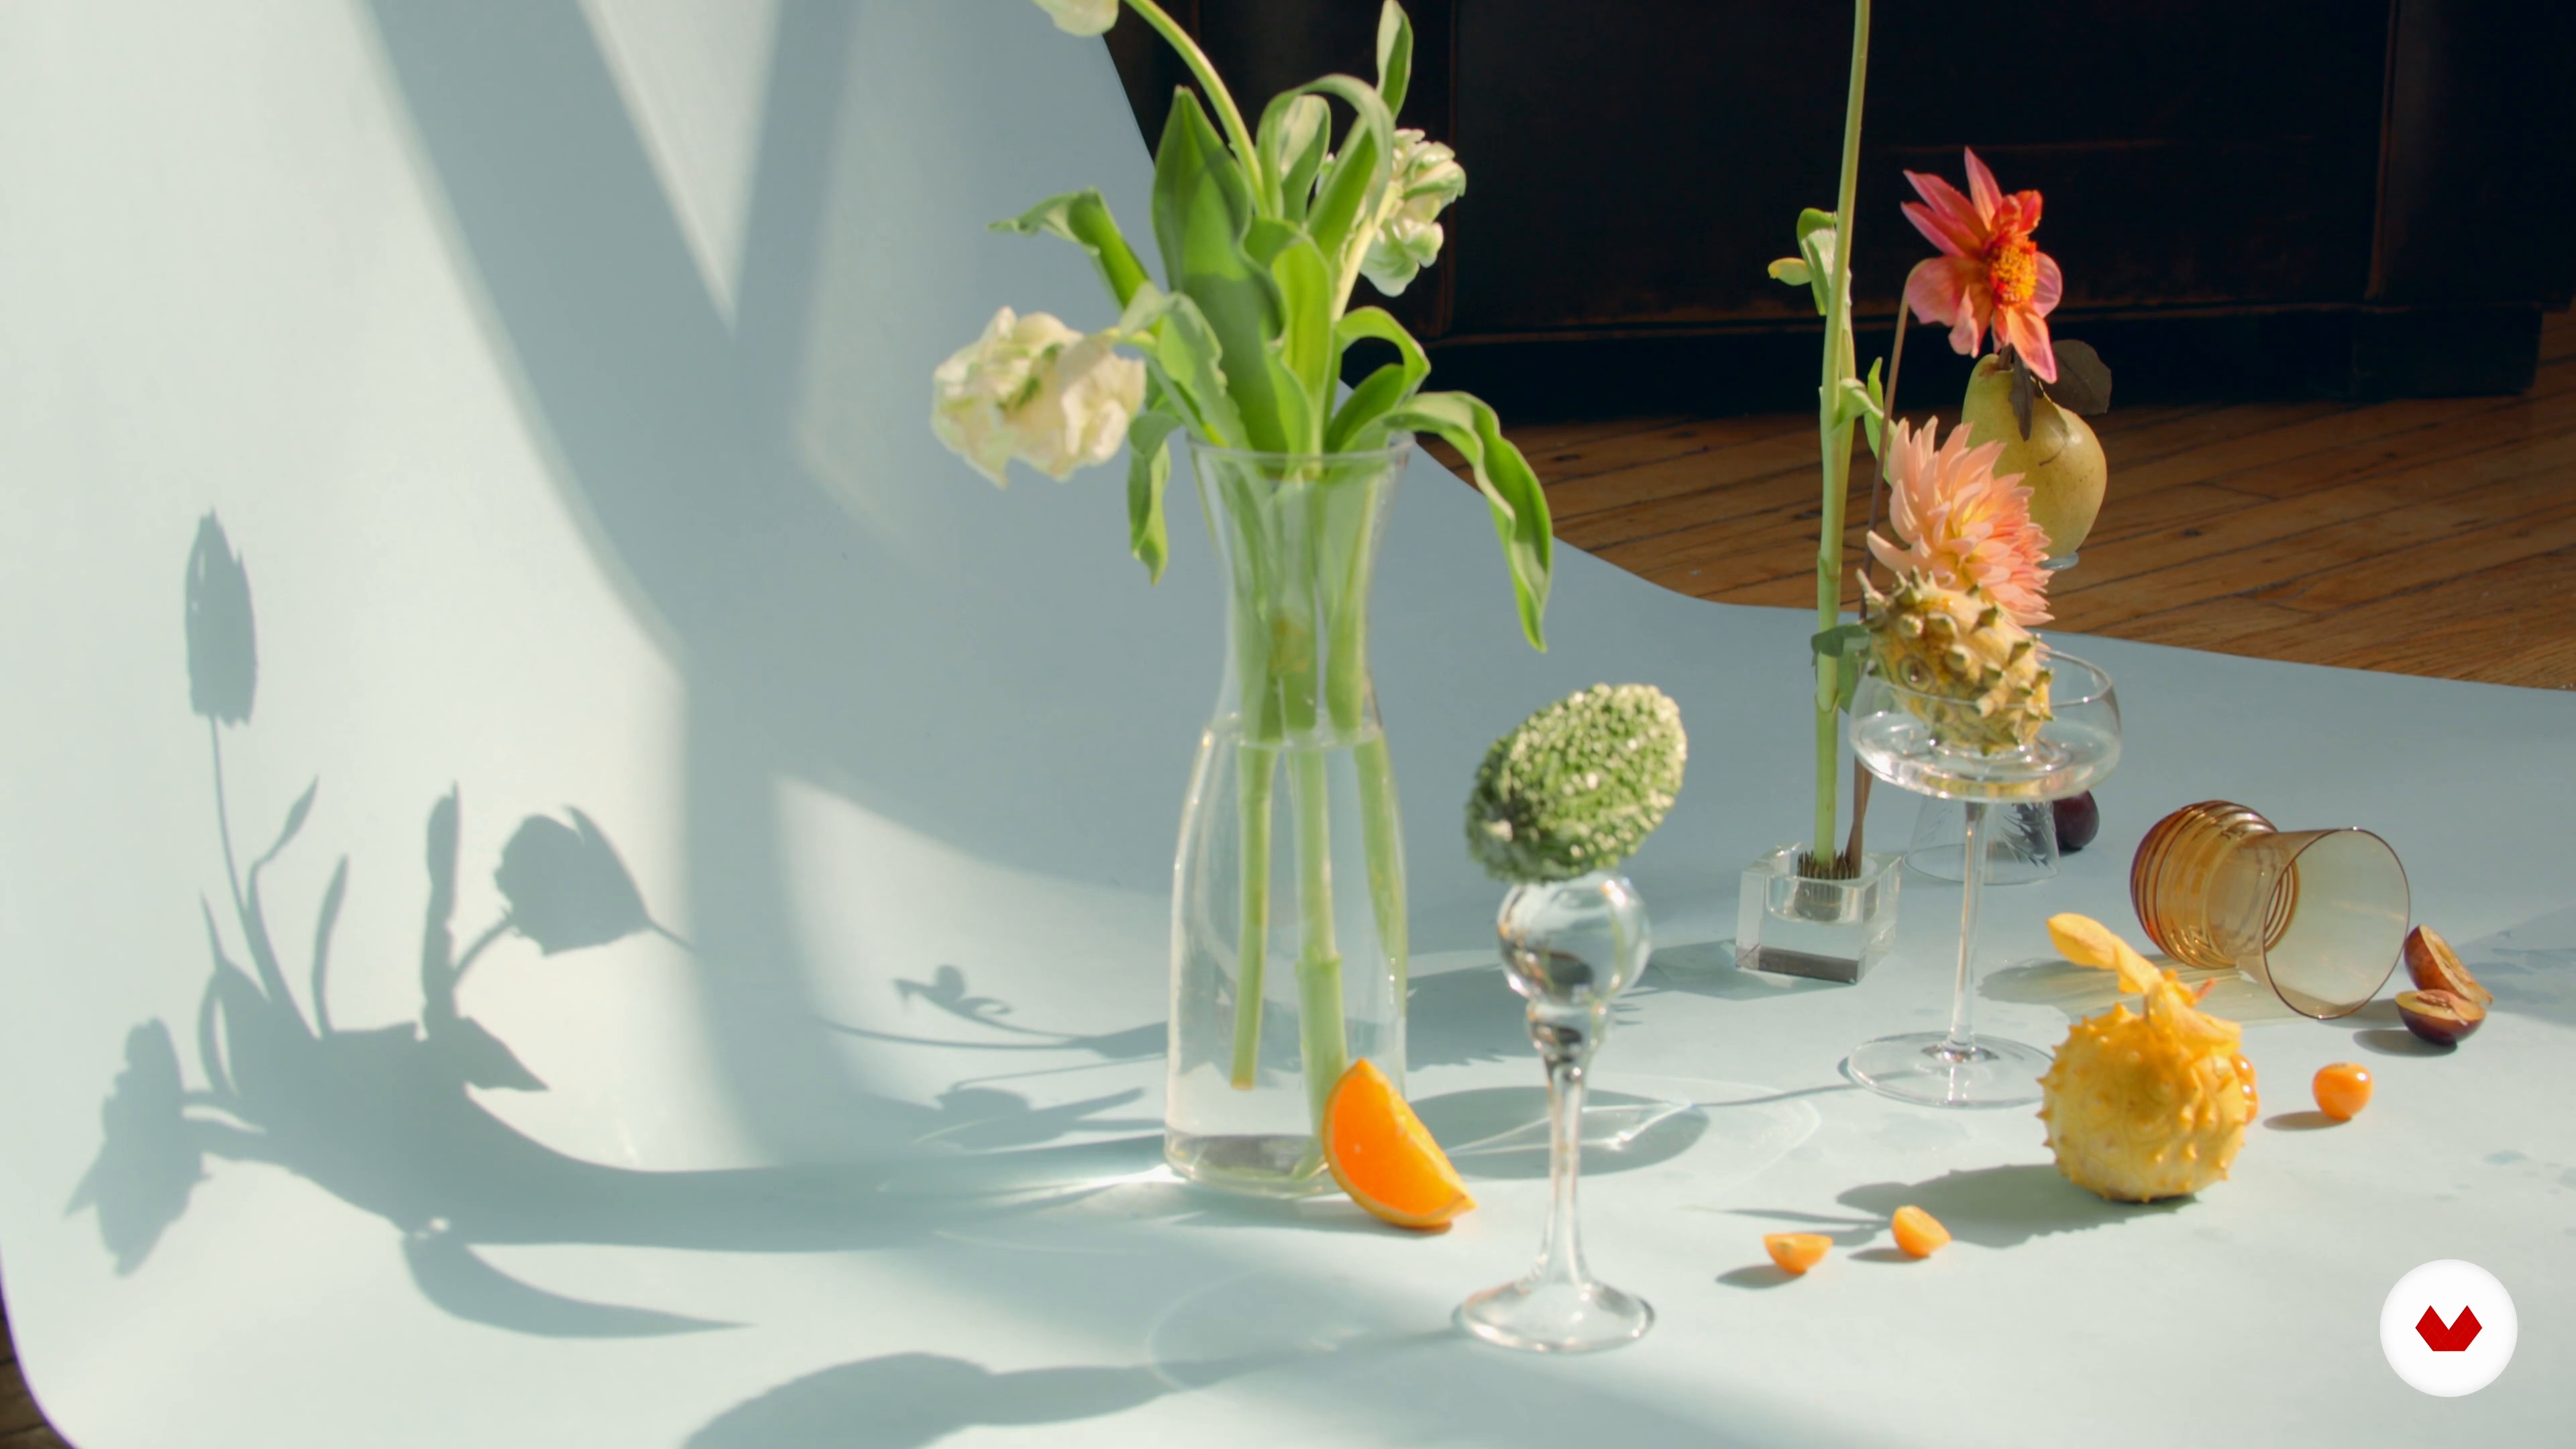
Capture the essence of botanical beauty with natural light techniques and learn how to enhance textures and details. For those drawn to drama, explore chiaroscuro-inspired setups, creating deep contrasts and atmospheric aesthetics. Master flash photography to achieve polished, high-impact images with controlled lighting effects. Each course culminates in a captivating final project, ensuring hands-on experience in crafting visually stunning still-life photographs. This specialization offers a comprehensive journey into the art of still-life photography, perfect for those ready to elevate their creative skills.

Read more ↓

What will you learn in this specialization?
A total of 7 modules and 80 lessons
A total of 12h 44m of vídeo lessons
Taught by 6 selected expert teachers
image
3
Still Life Photography
Here I'll give you an introduction to the basics of still life and product photography. I'll talk about how to work with fashion products and set design to bring these images to life.
5m
image
4
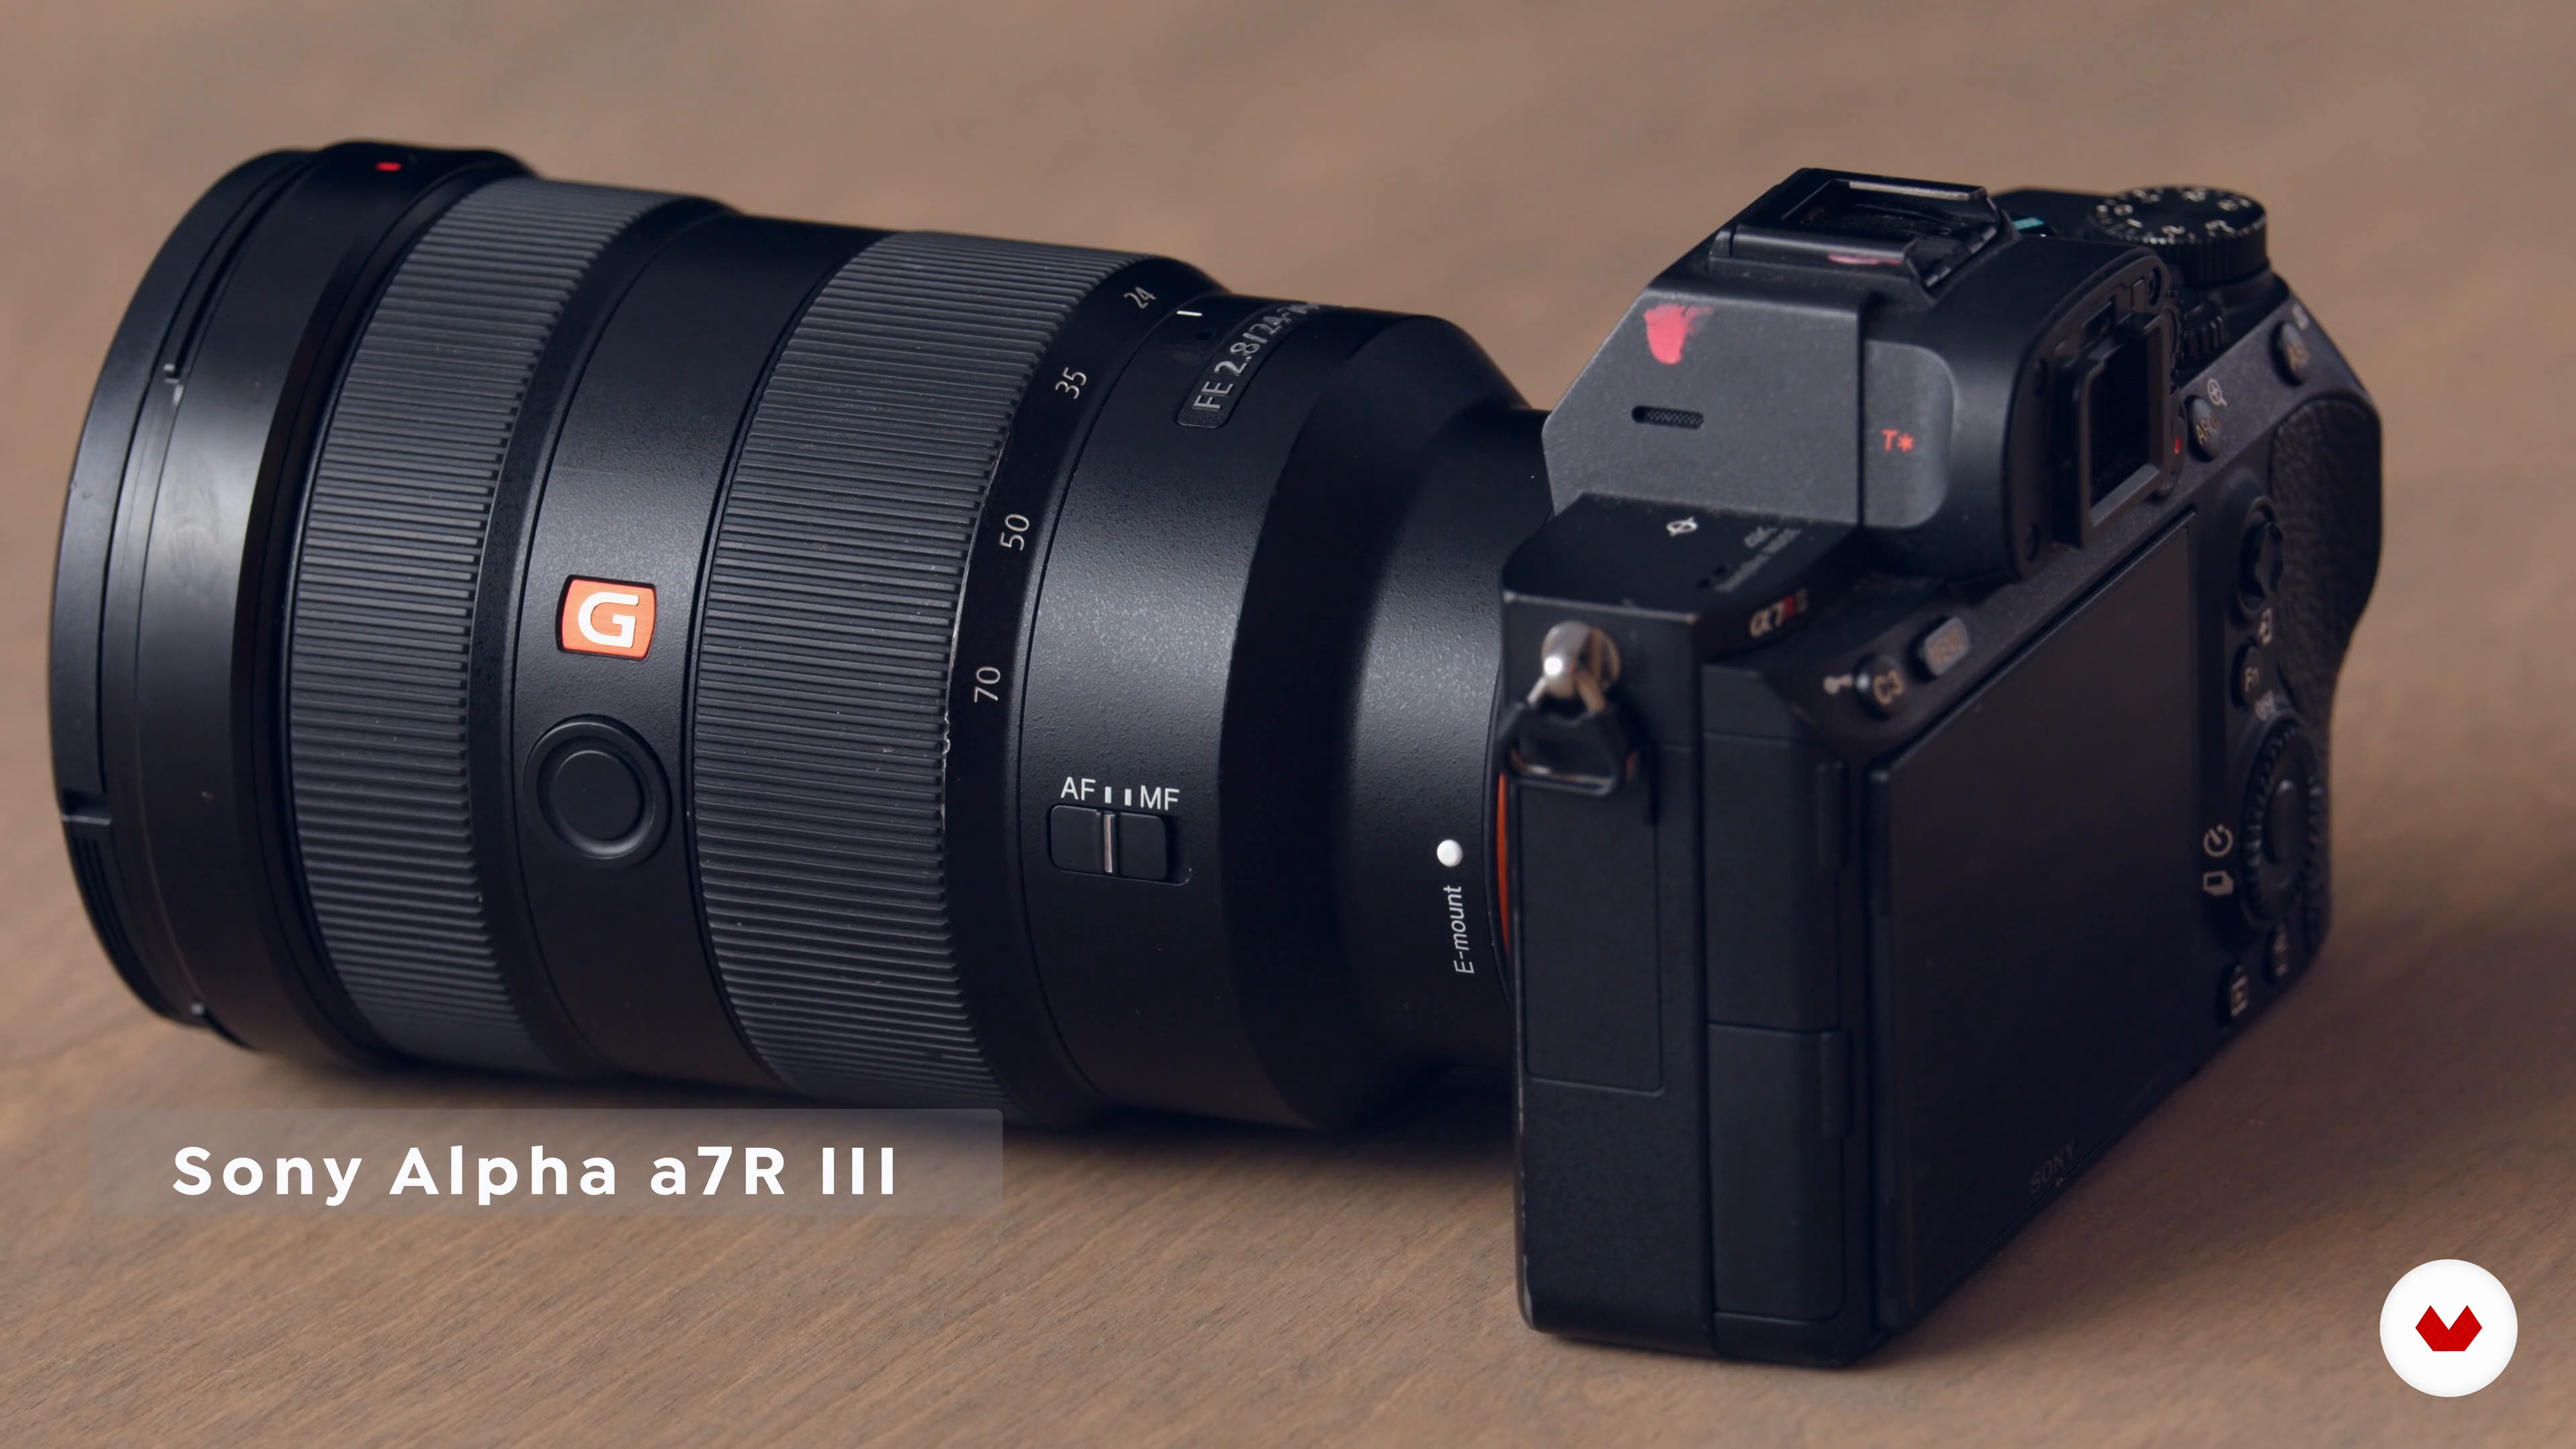
Camera Equipment
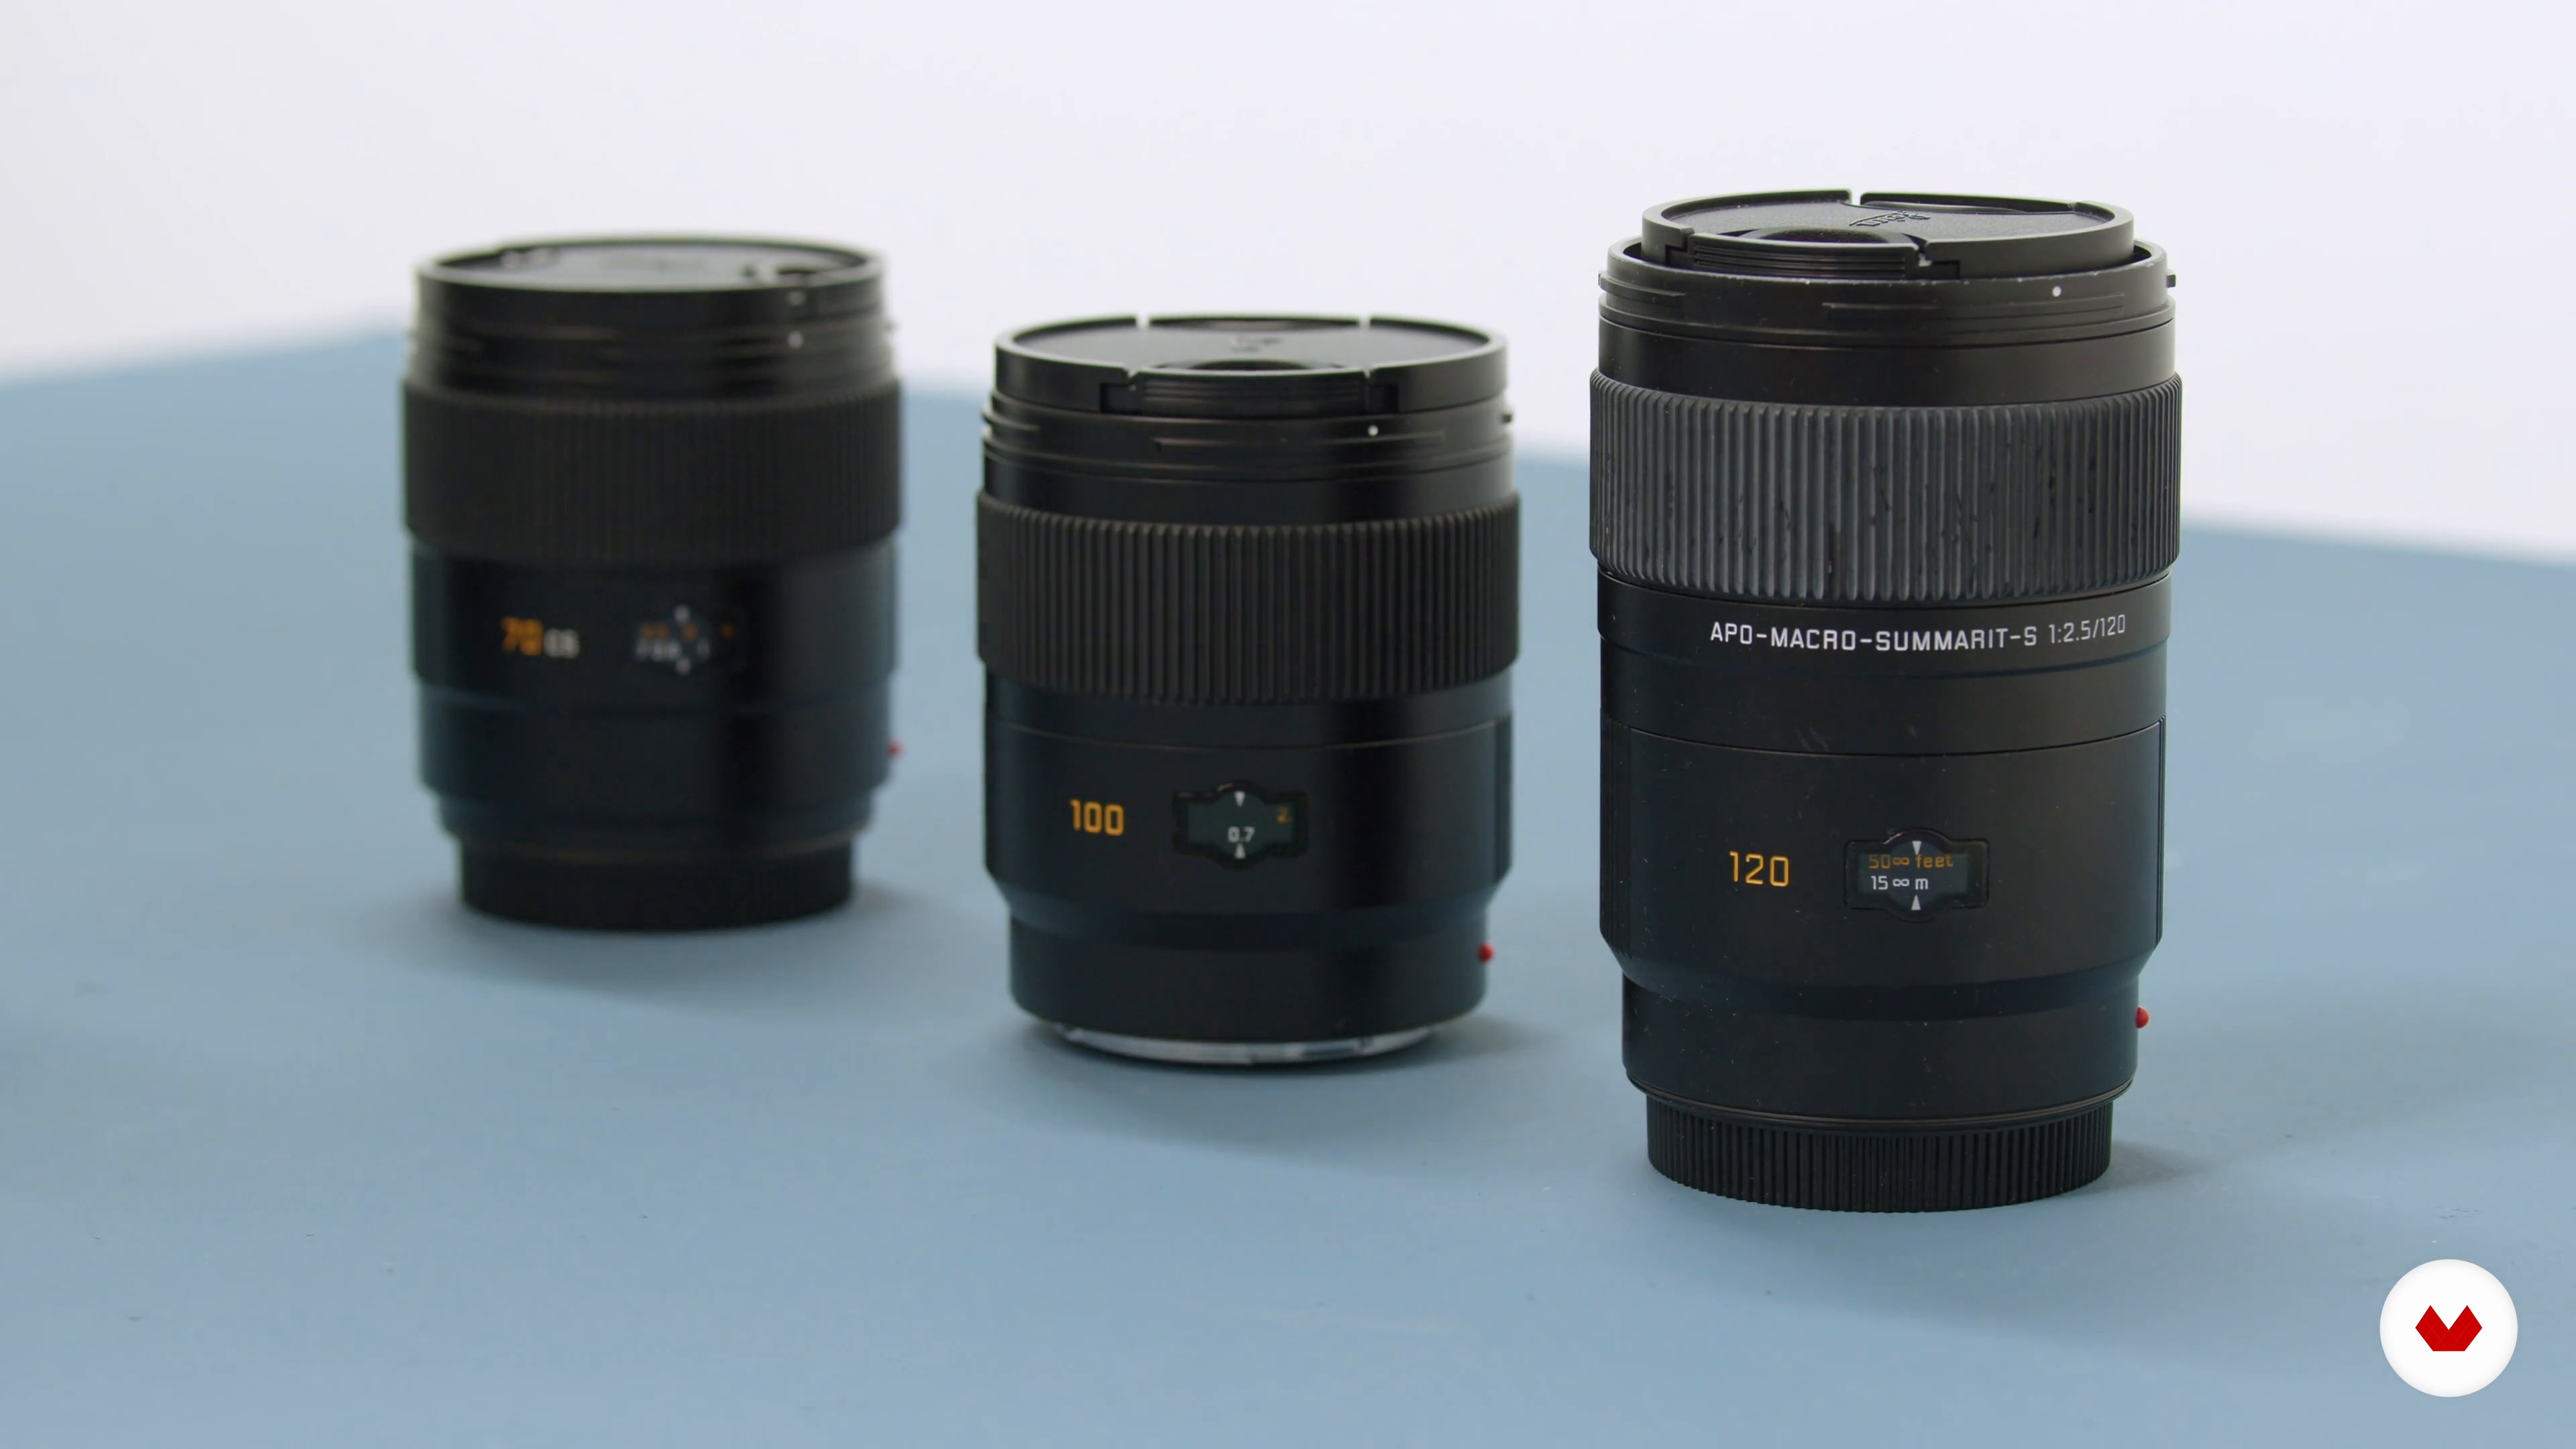
In this lesson, I’ll take you through selecting the right camera and lenses.
3m
image
5
The Principles of Light
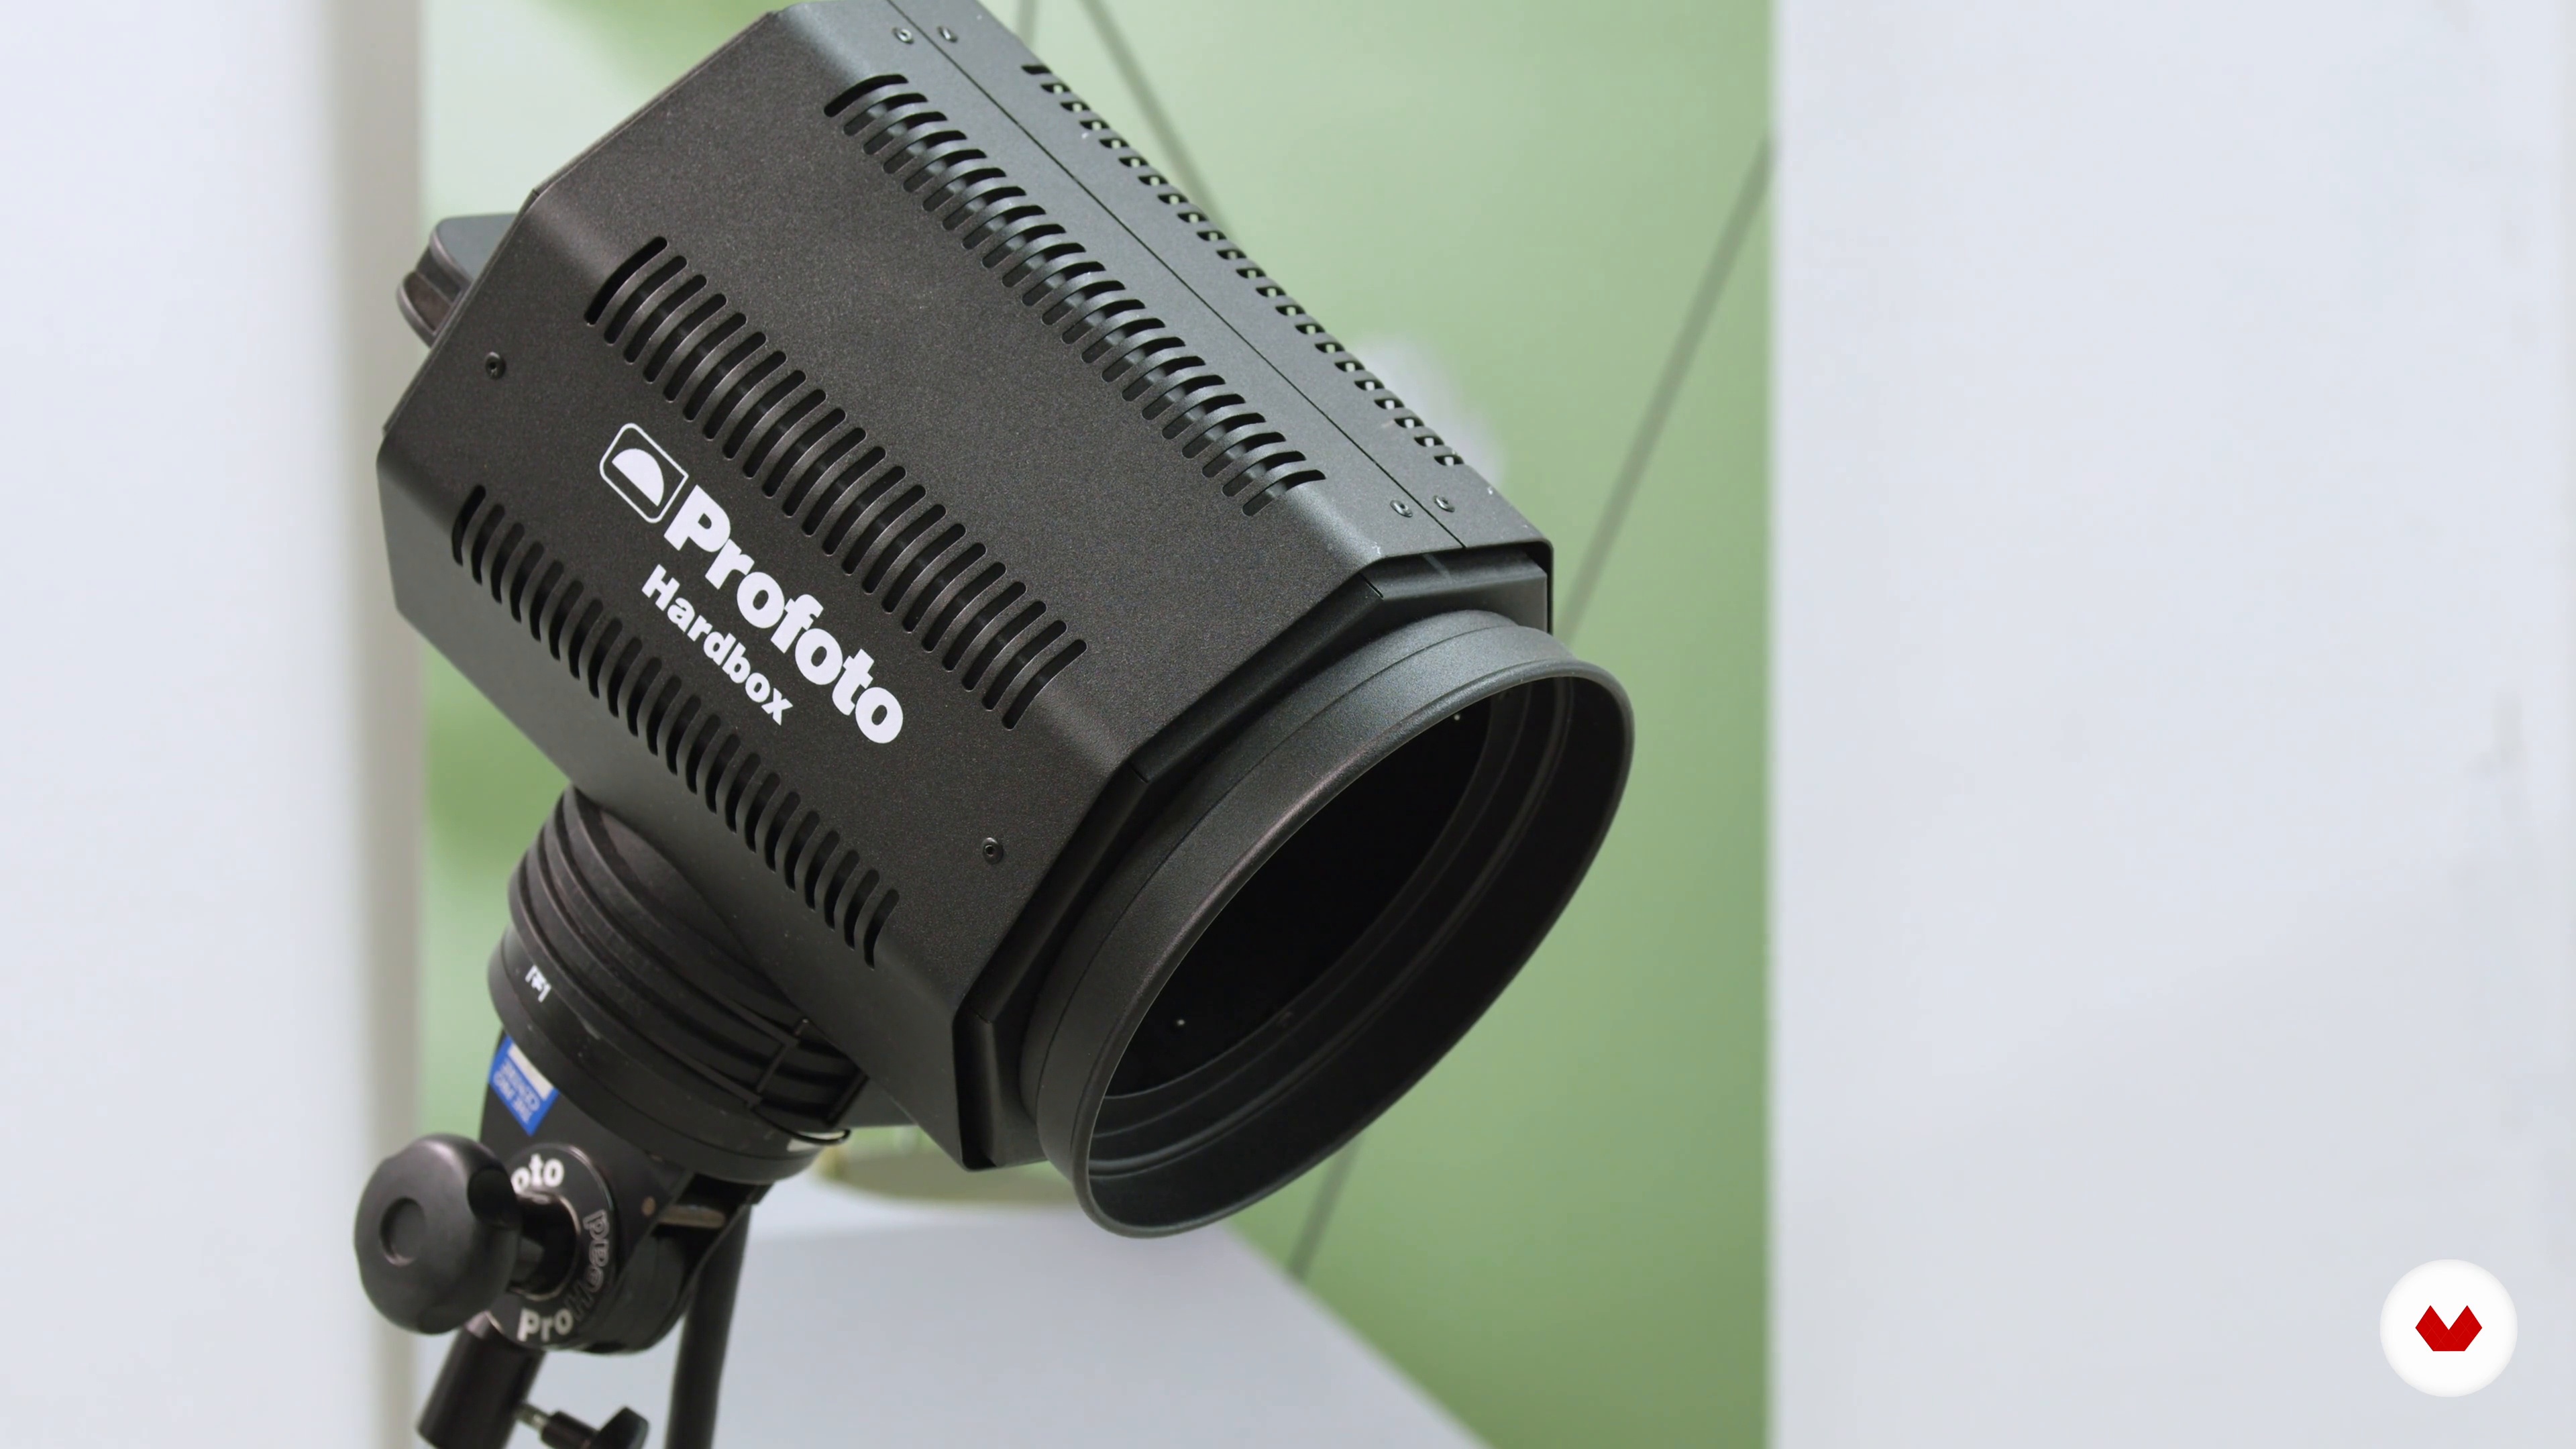
Next, you'll learn the fundamental principles of light and the differences between a soft fill light and a hard light that mimics the sun.
4m
image
6
Developing the Concept
Now that you have an understanding of the basics, it's time to start considering your concept. In this lesson, I will discuss the initial stages of framing your idea and developing it into a visual outcome.You will learn how to approach colour and the ideation process using art reference books and choosing your products.
14m
image
7
Building the Set
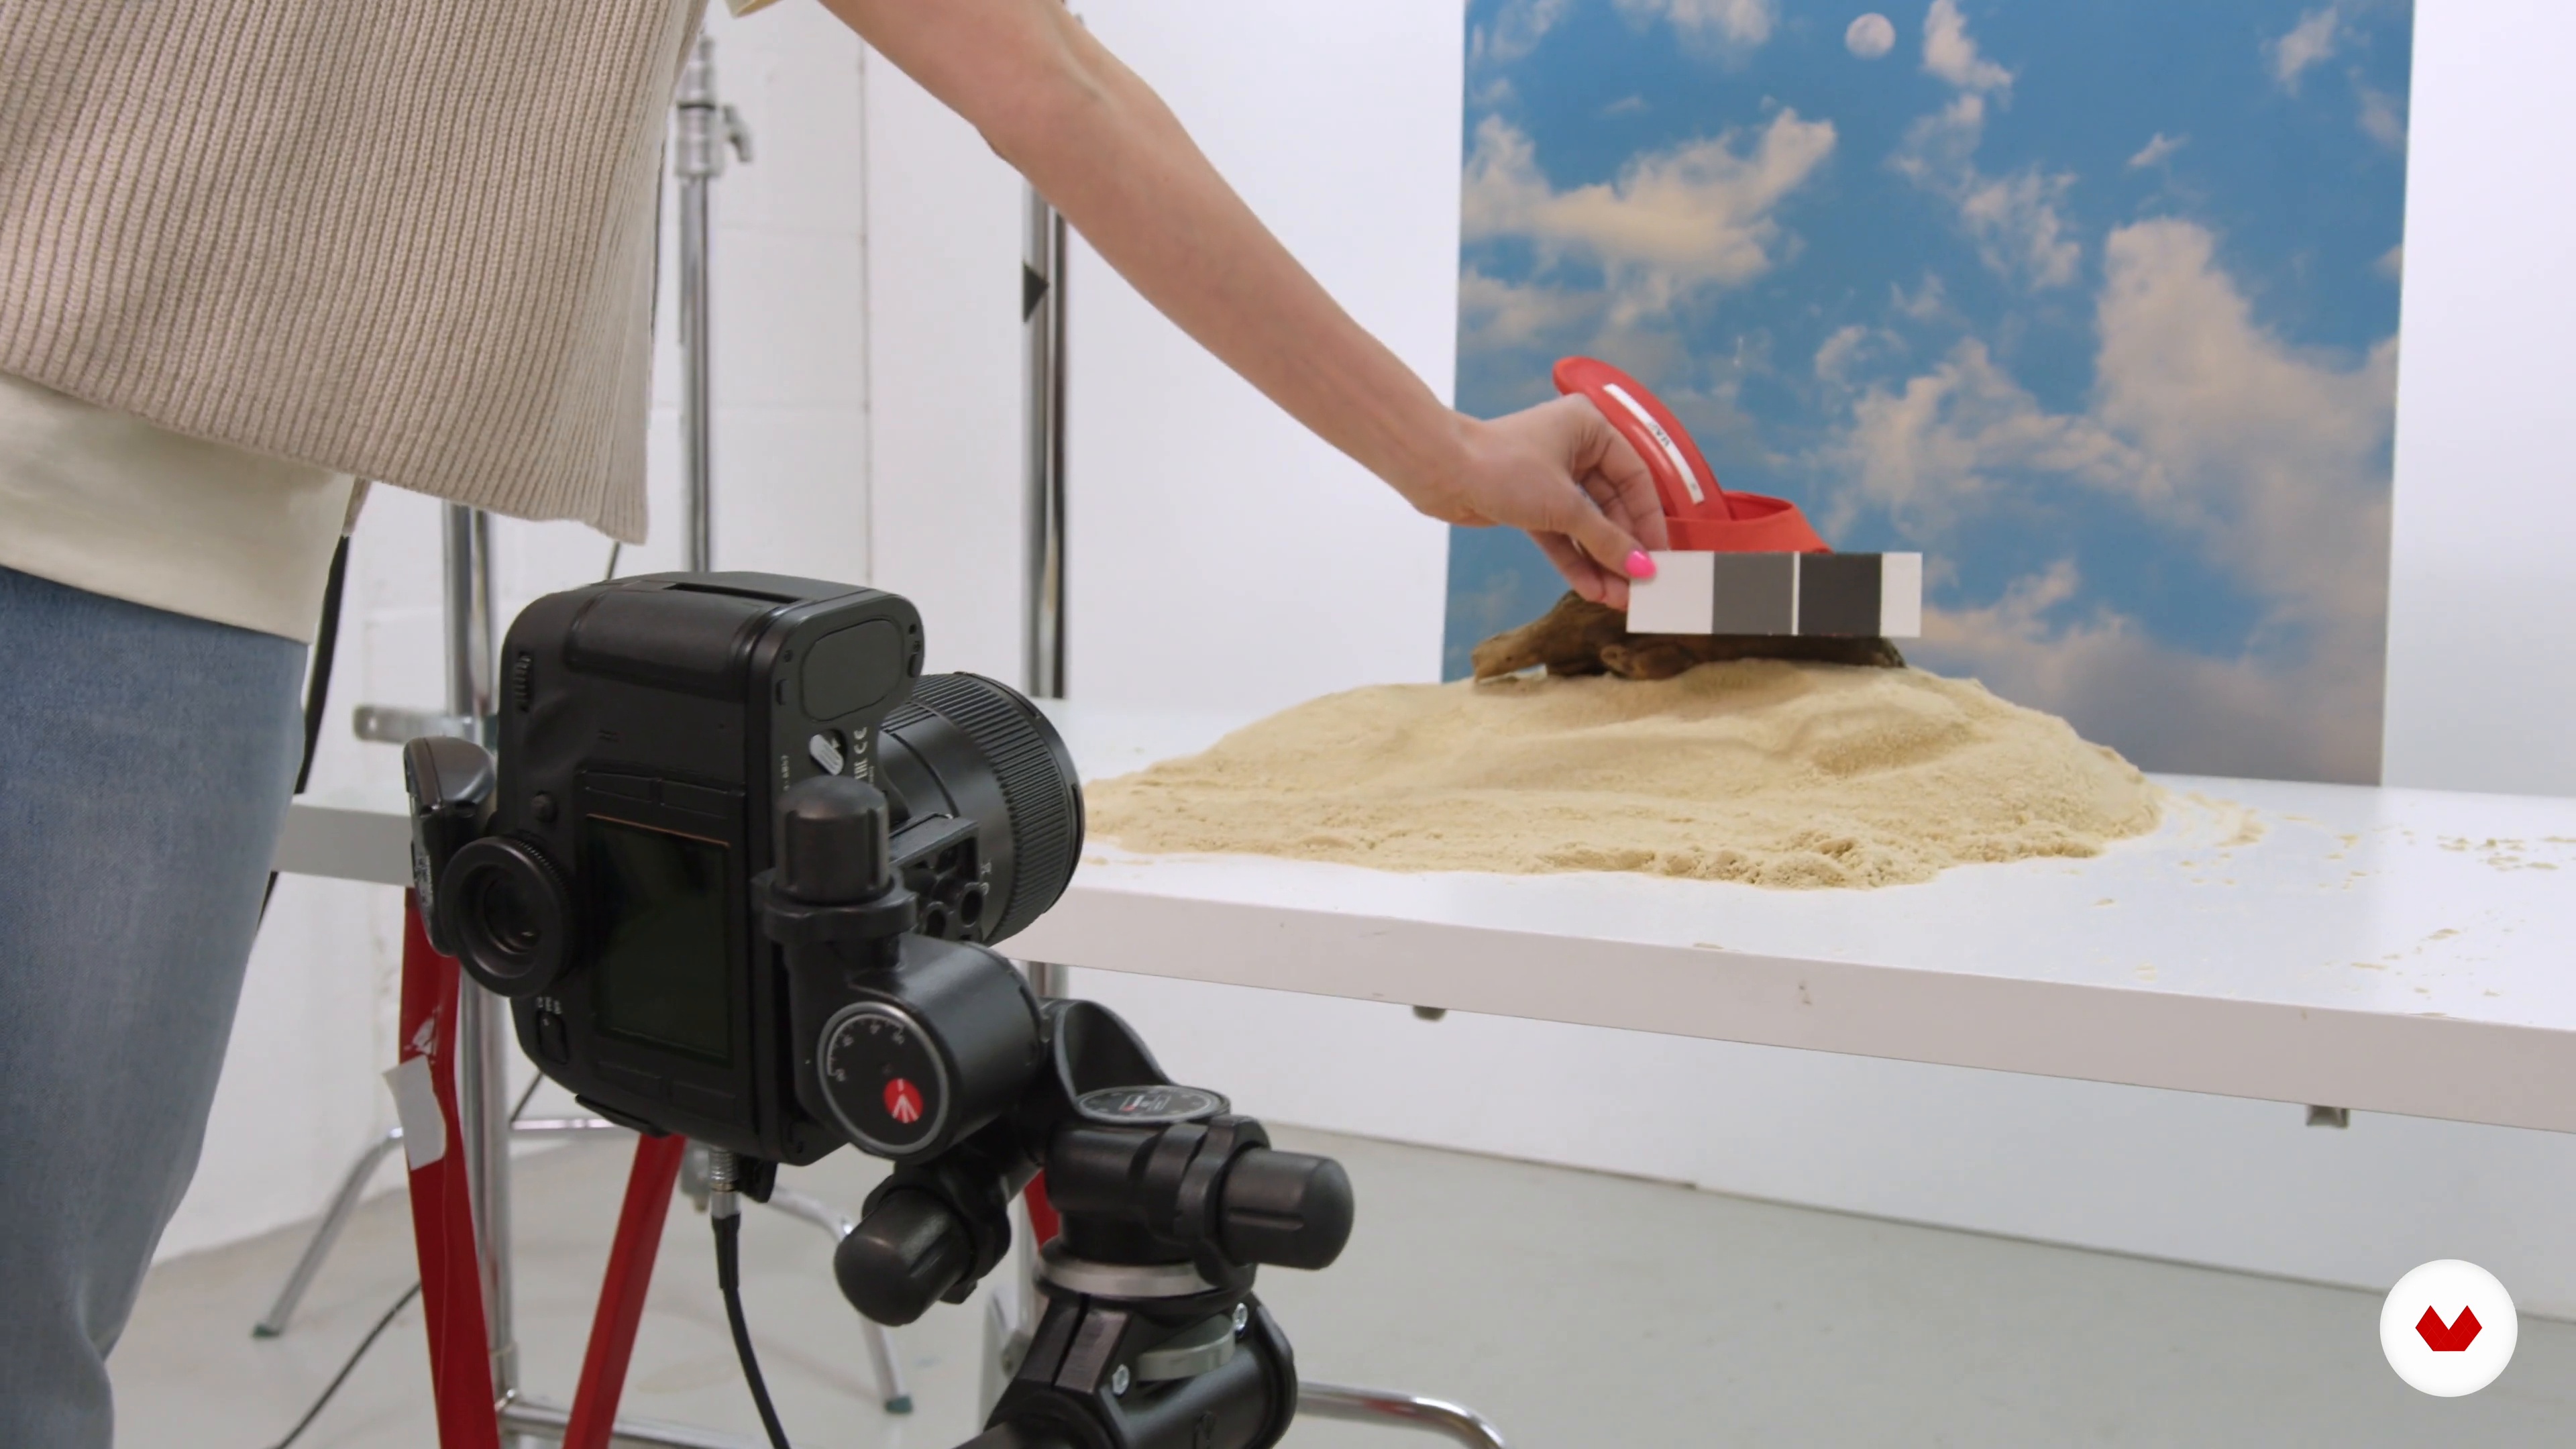
Here I'll demonstrate how to prepare all the necessary elements to photograph the products. First, I'll teach you how to work with the shoes against a beach background. I'll be working in my studio, showing you around and giving you insight into behind-the-scenes tips and tricks.
3m
image
8
Setting Up: Lights and Camera
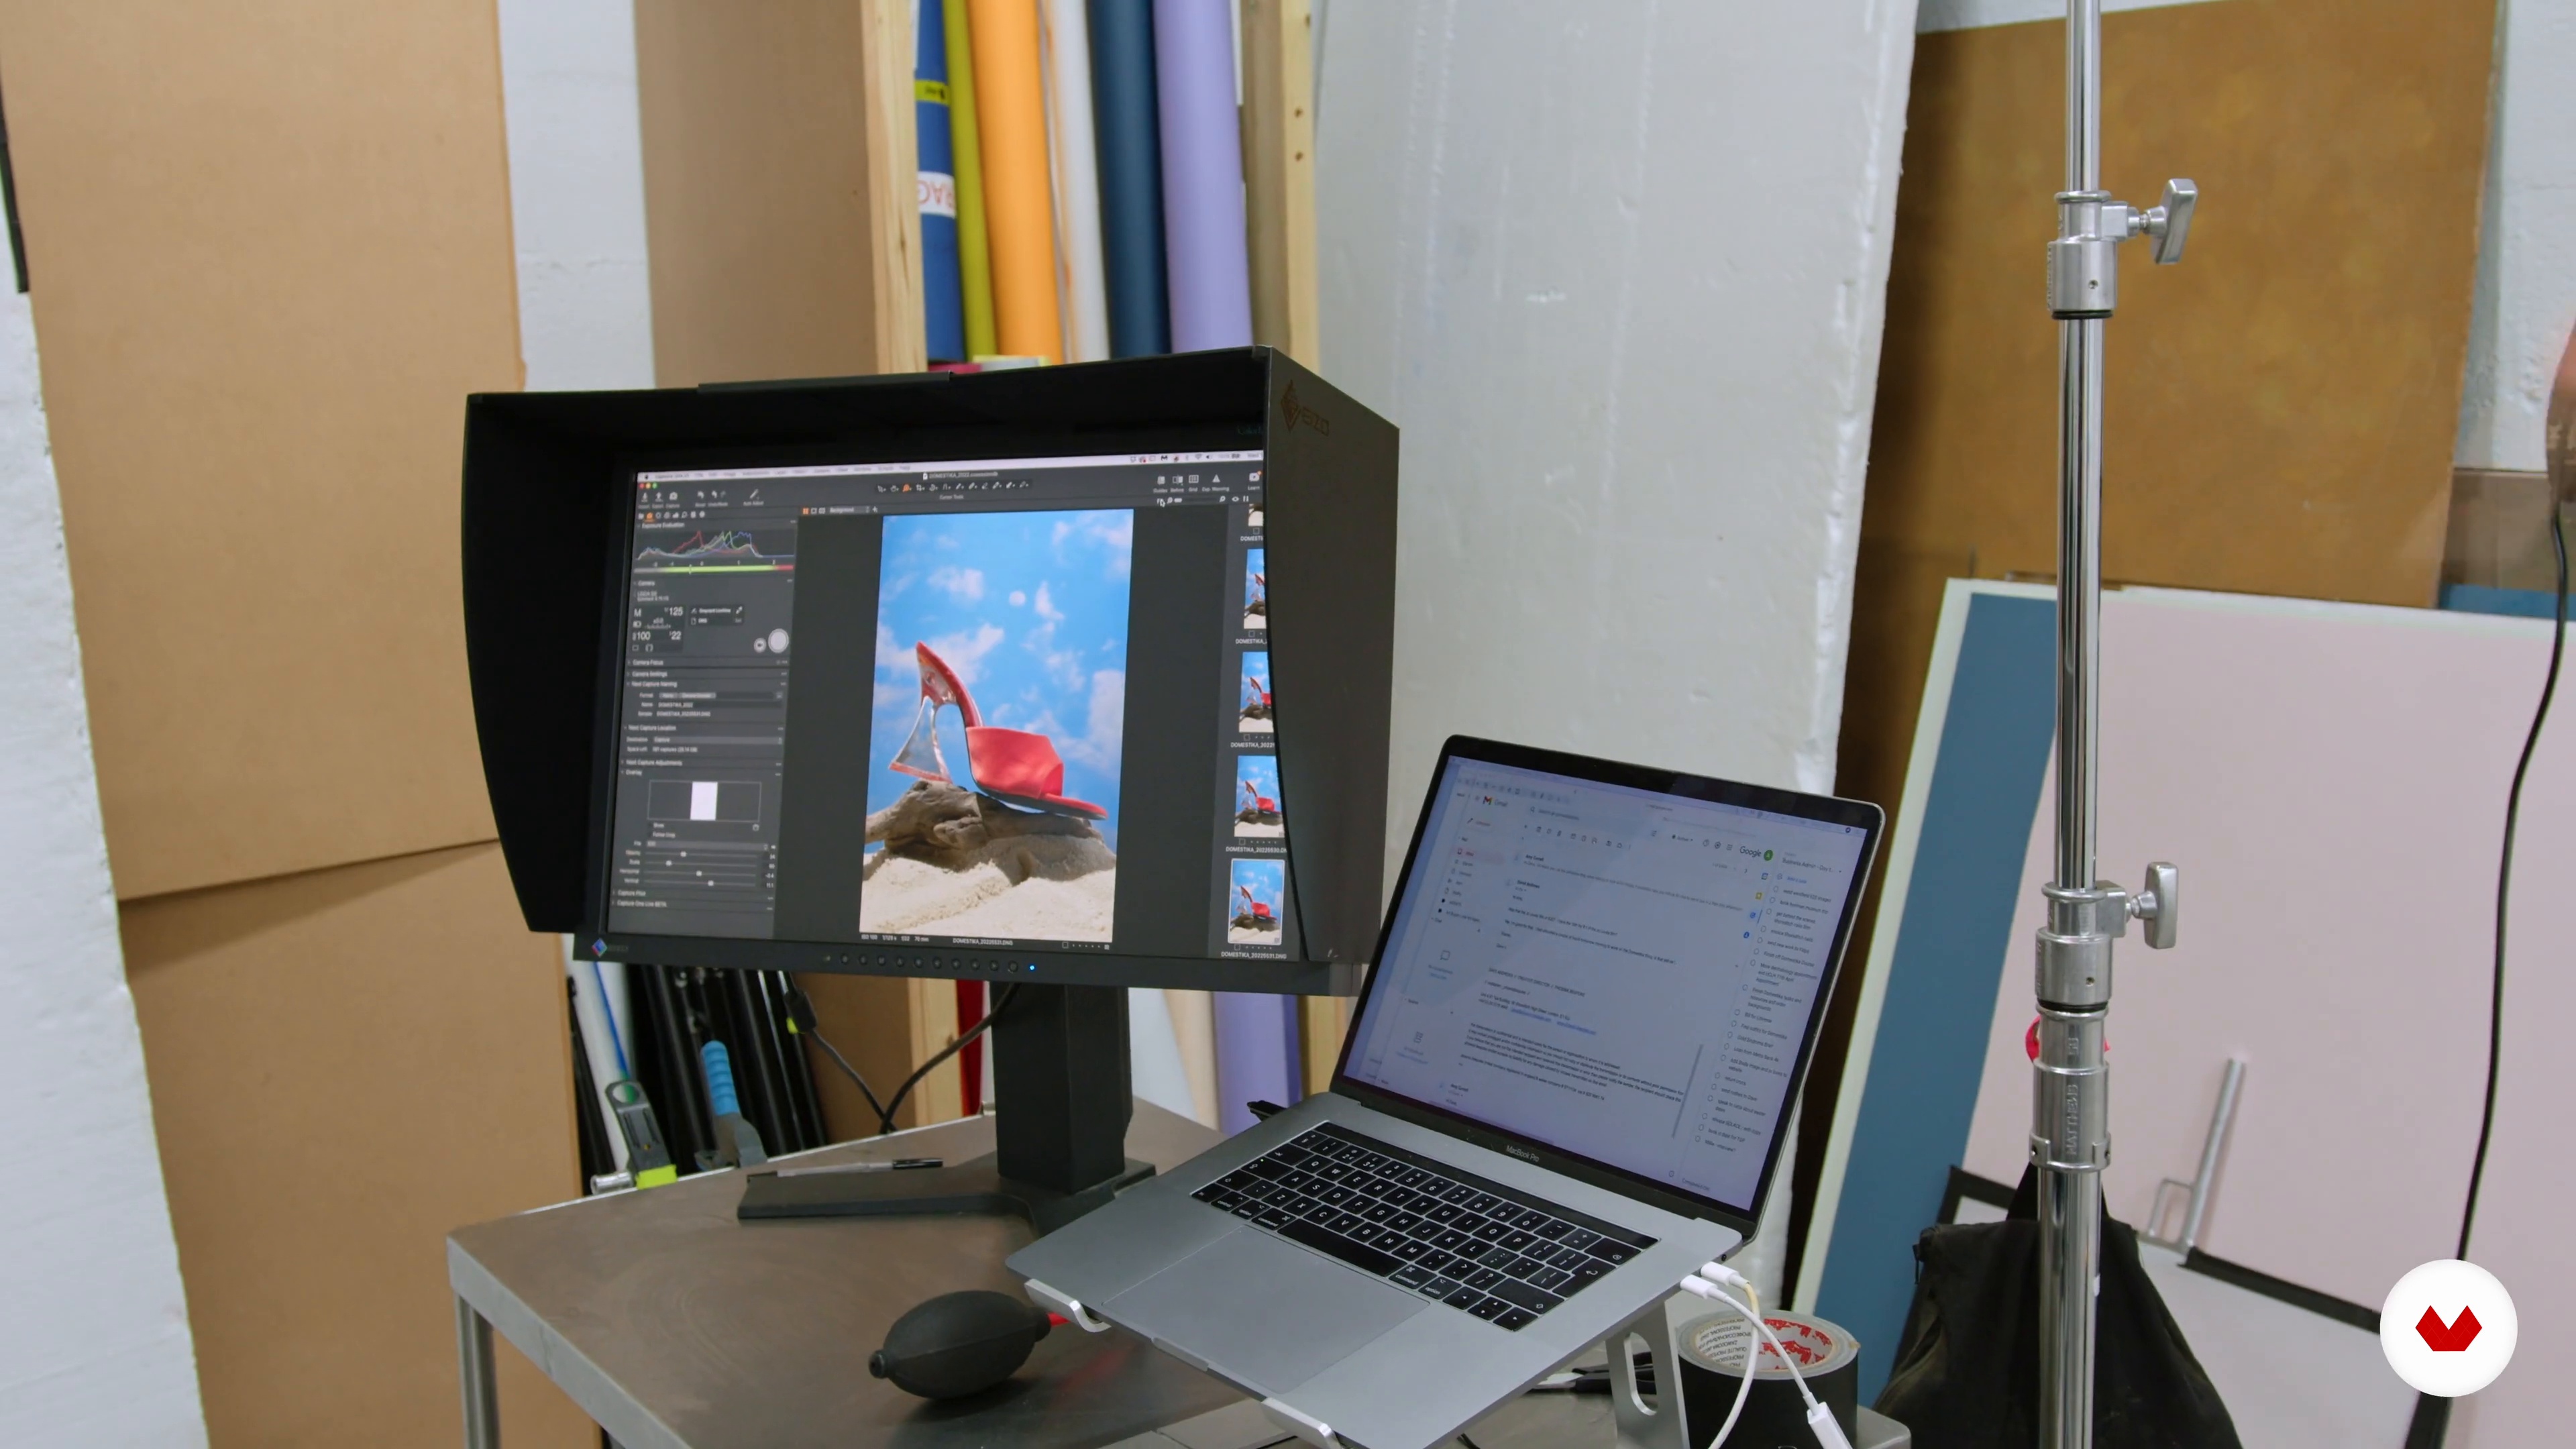
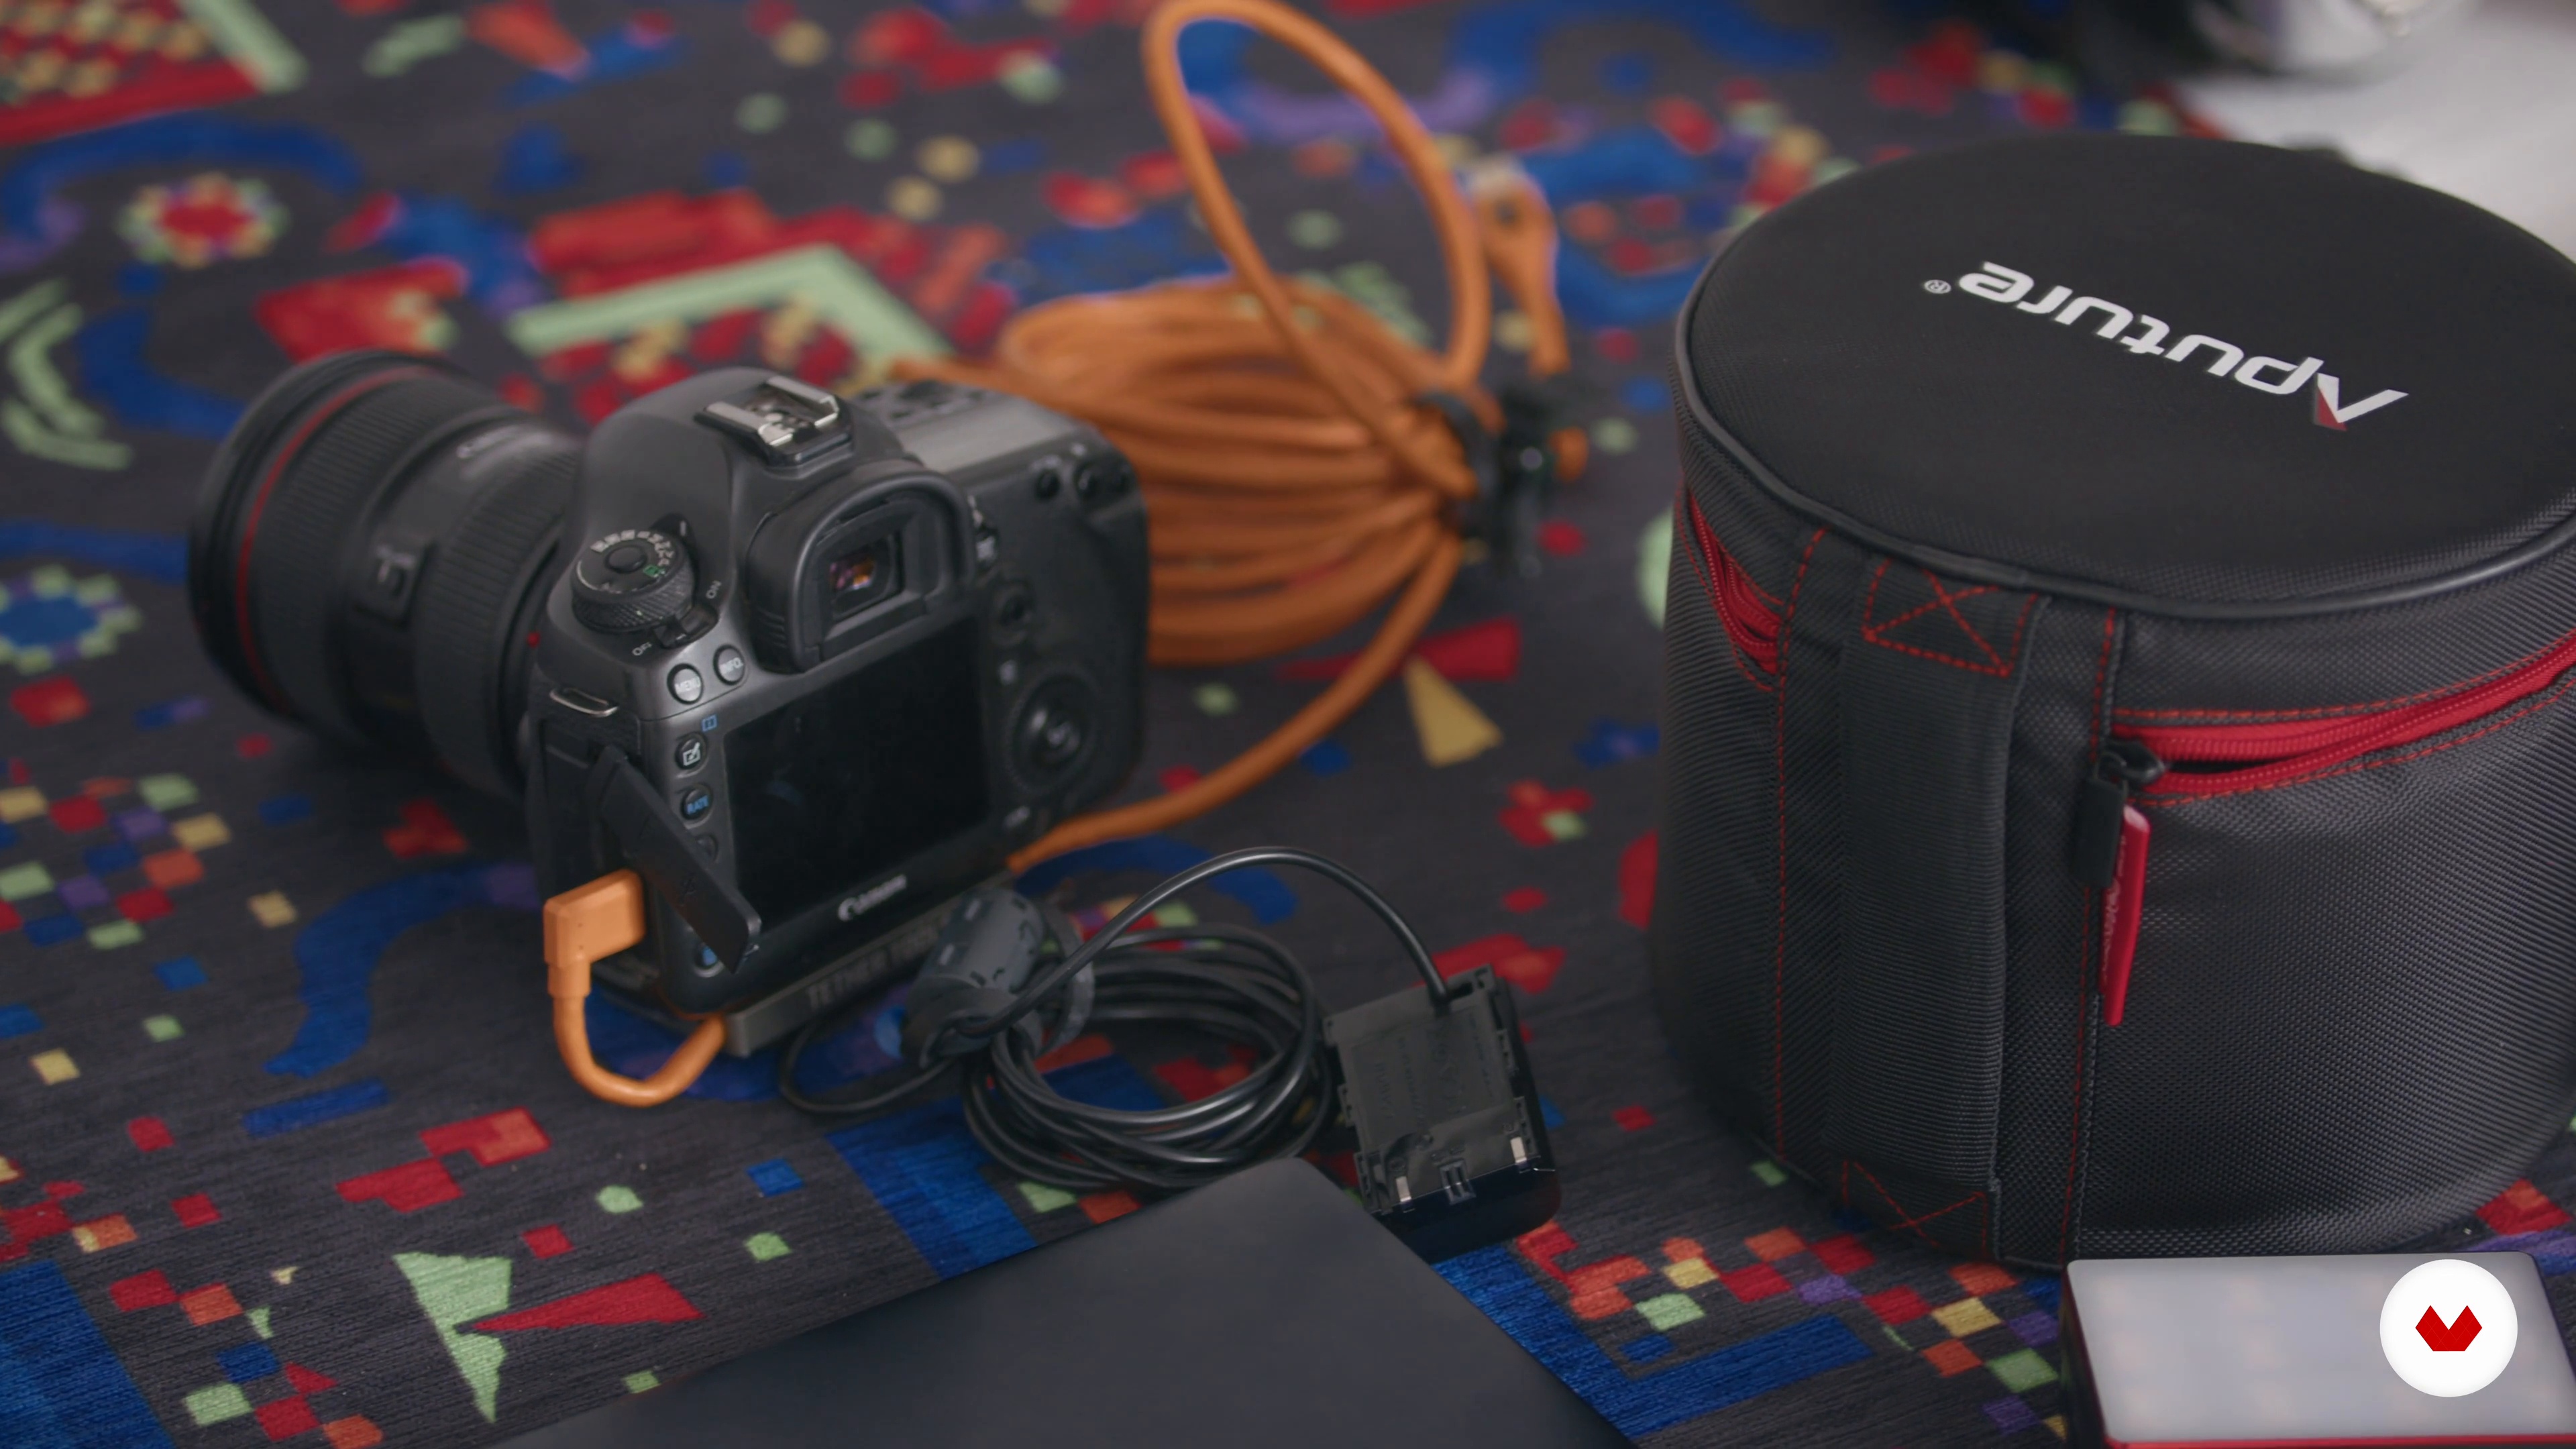
In this lesson, you'll learn how to position the tripod, get the camera connected to the computer, and sync the lights.
4m
image
9
Accessory Image Photo Session
To end this unit, I'll take you through all the steps you need to complete to make your image a reality.
3m
image
10
Preparing the Set
Here you'll see how to change the elements of the set design to move on to the beauty image.
3m
image
11
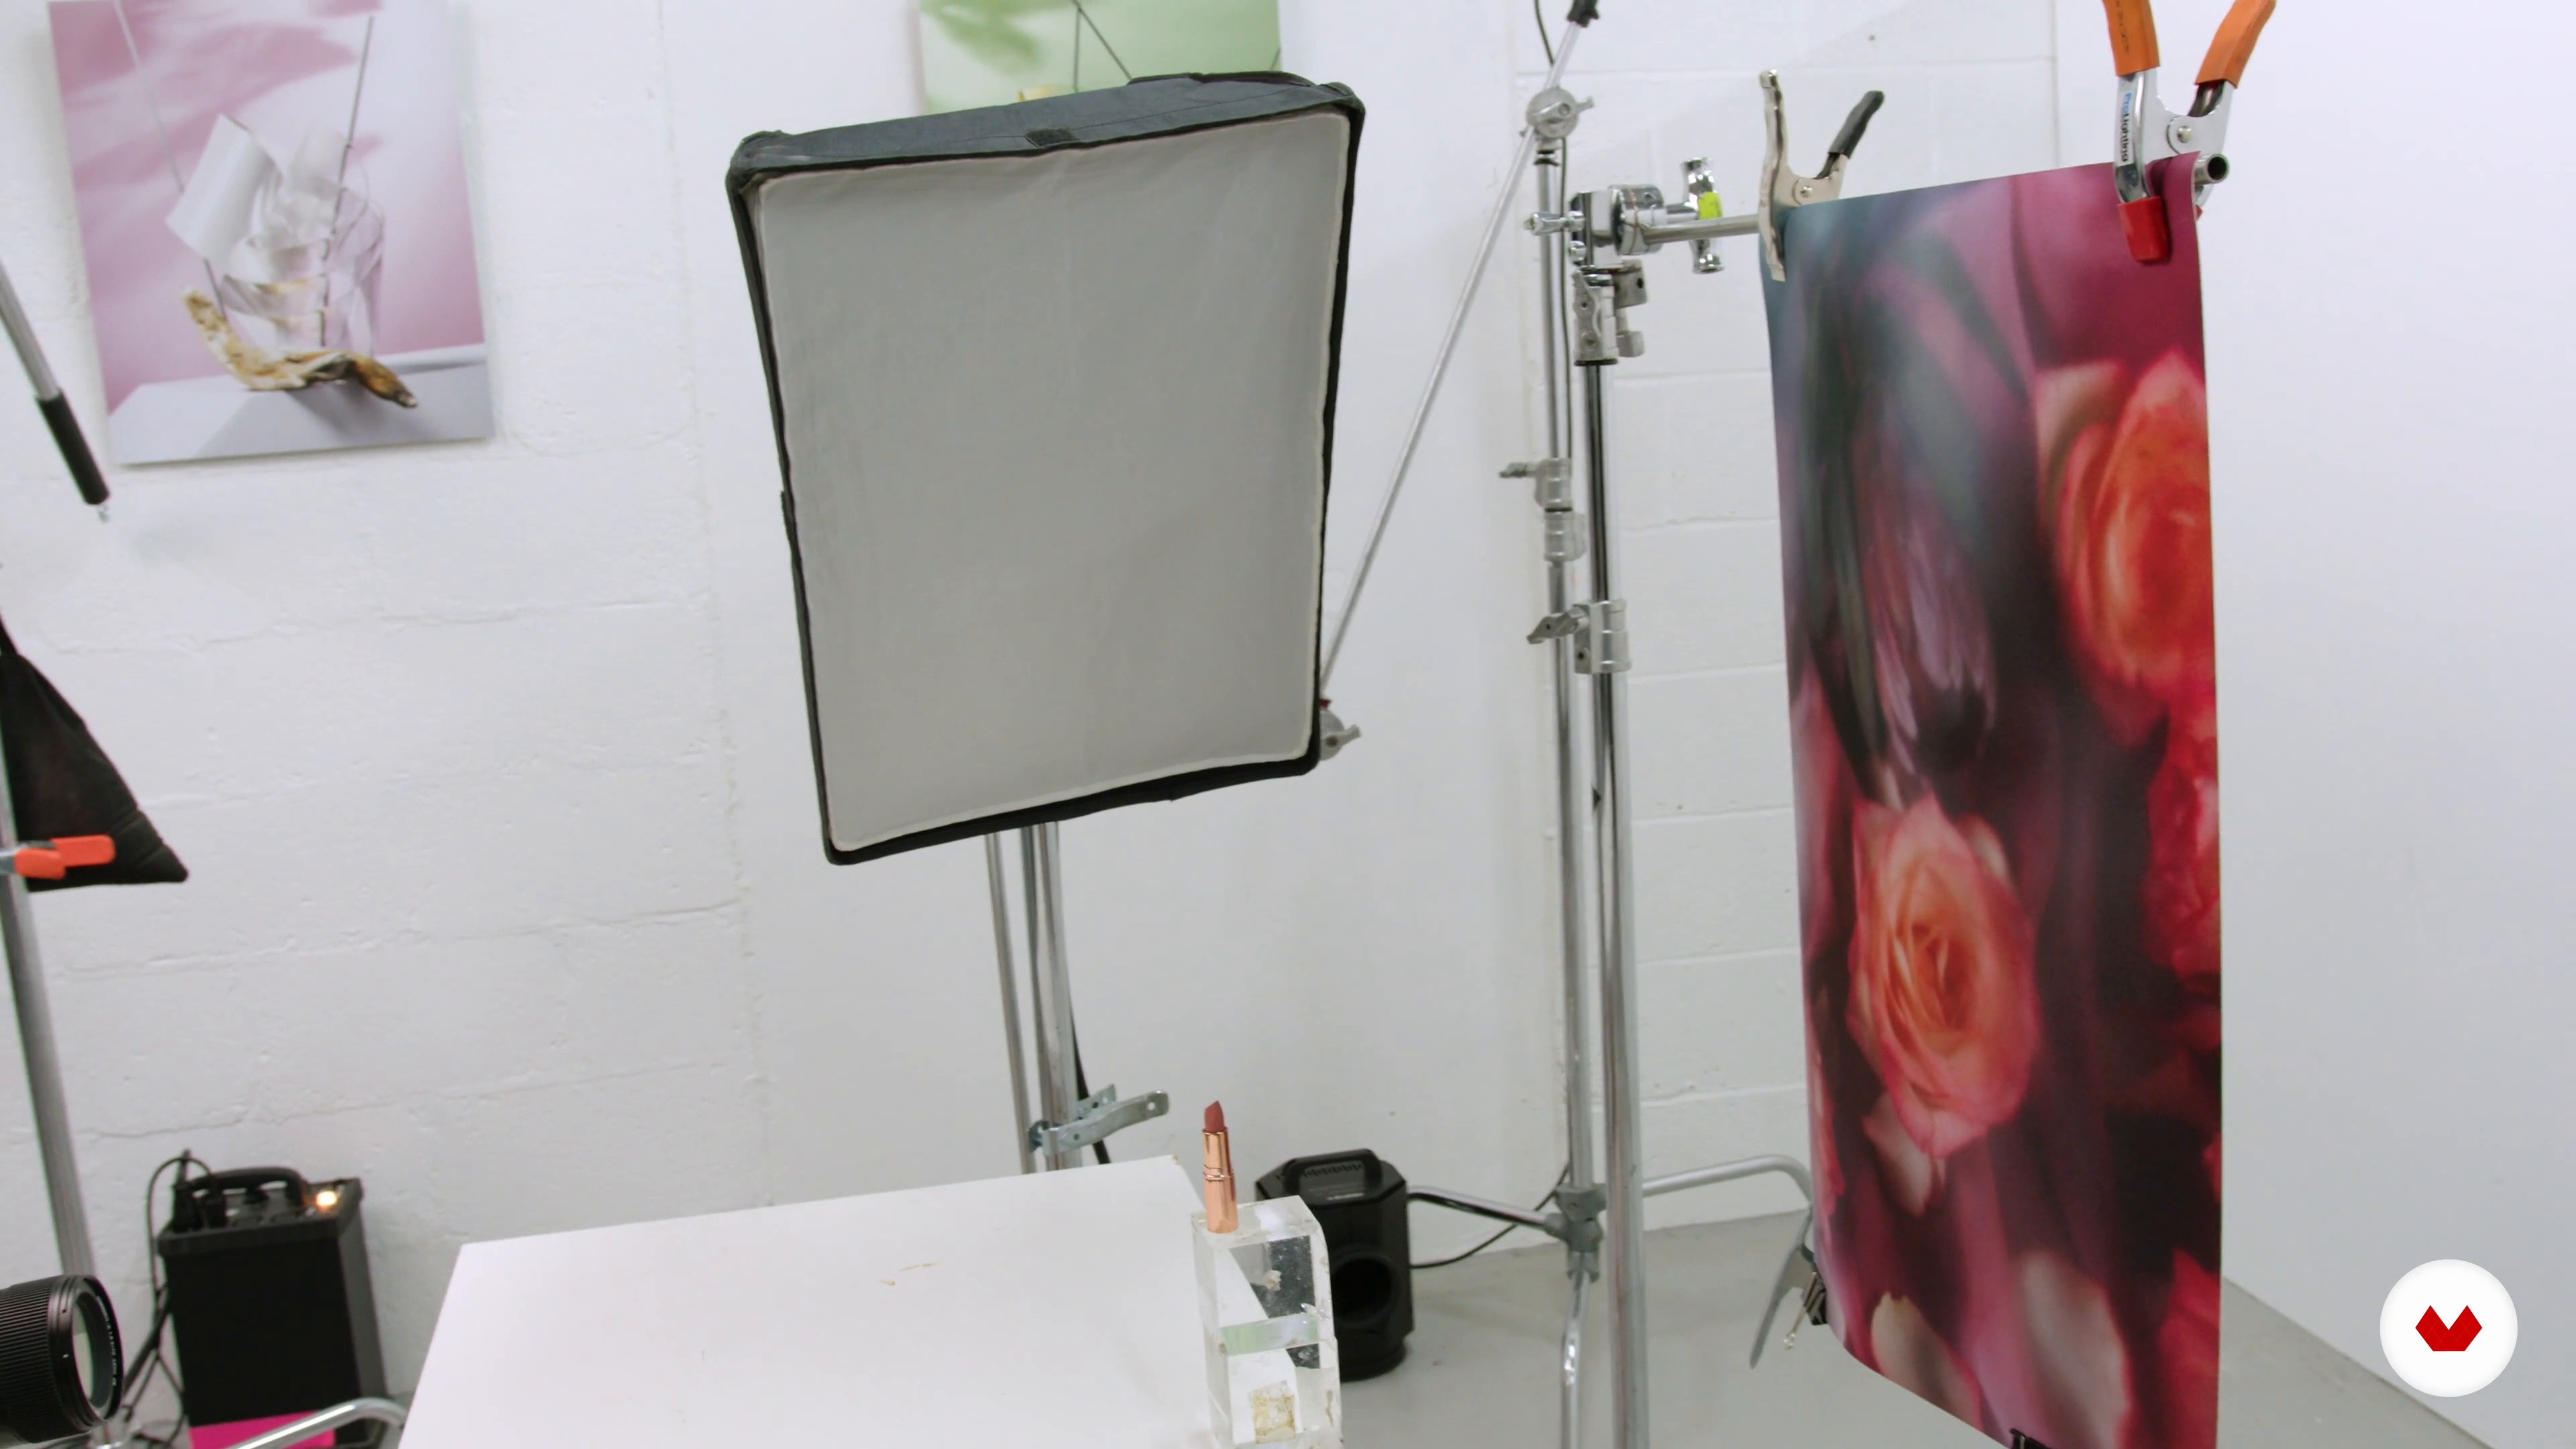
Lighting the Set
Next, I'll demonstrate the effect of changing the light source to soft light. This is much more beneficial when working with gold or silverware.
2m
image
12
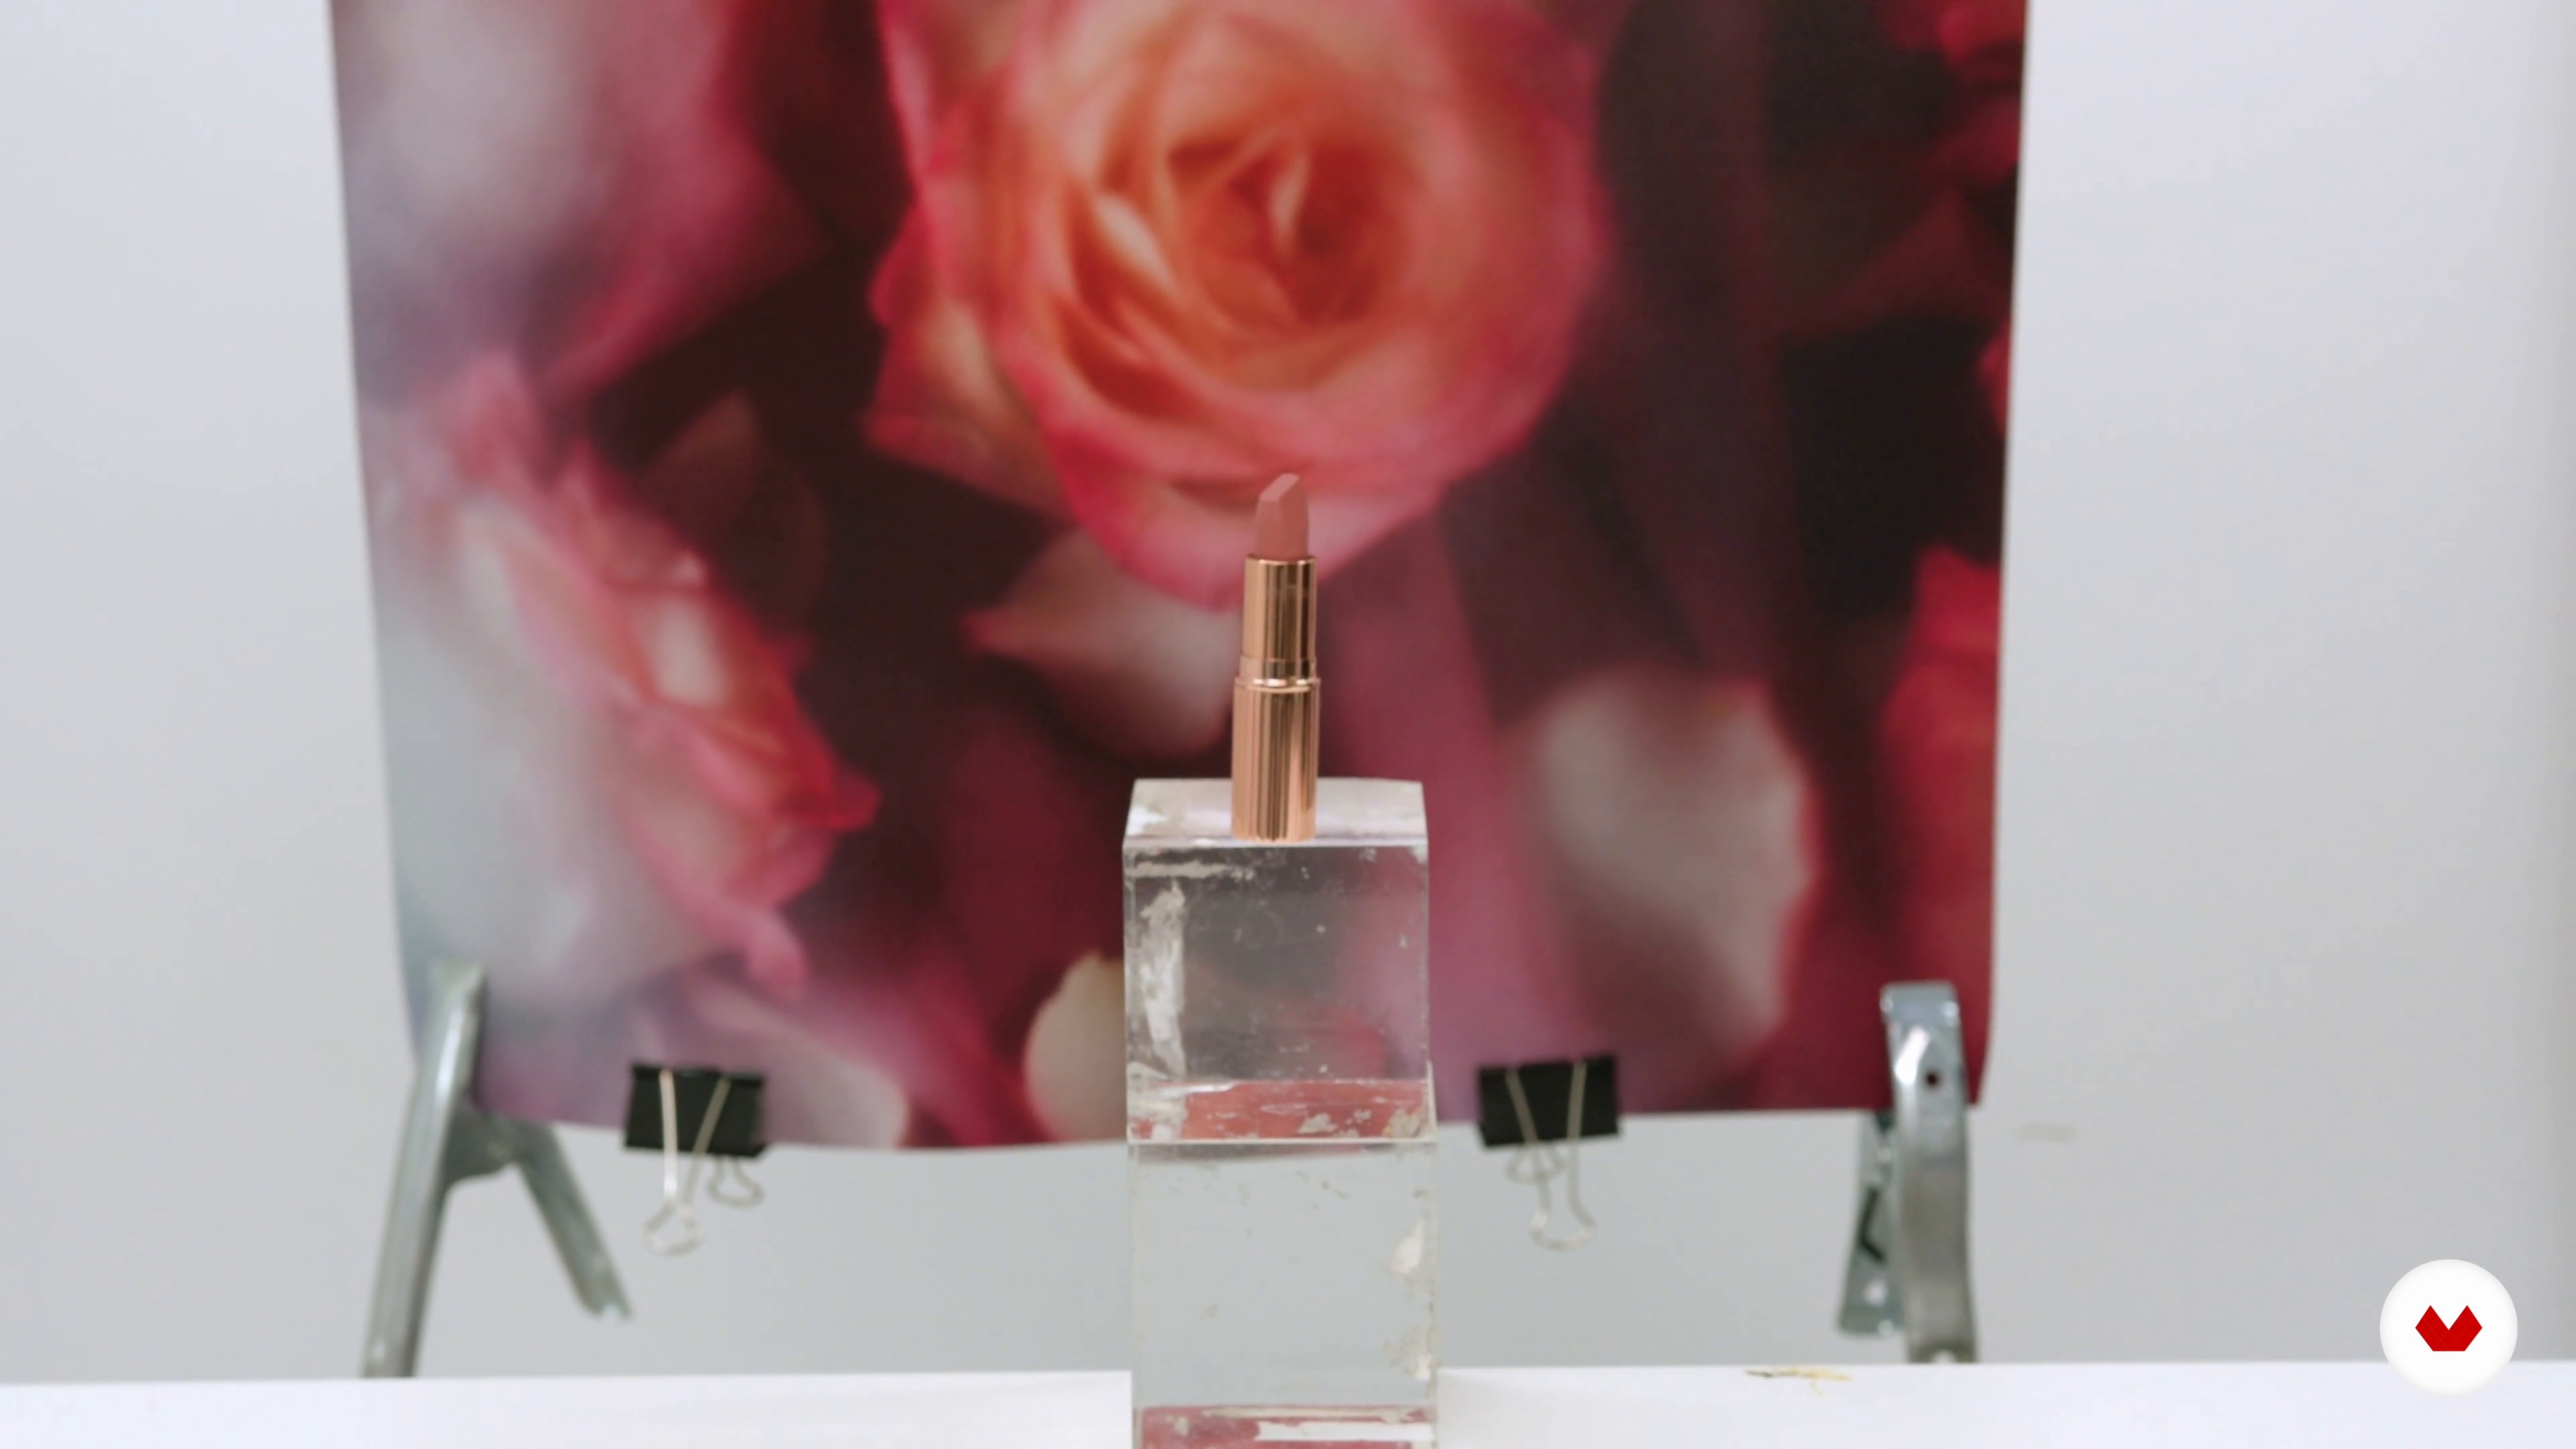
The Beauty Image Photo Session
In this lesson, I'll walk you through the necessary steps to complete to capture all the elements you'll need to realise your image.
3m
image
13
Curating the Images
In this lesson, you'll see how to go through the first capture session and choose the adequate images.
3m
image
14
Balancing Business with the Creative
This lesson is an essential run-through of all the other elements of being a photographer.
6m
image
3
How to Generate Original Ideas
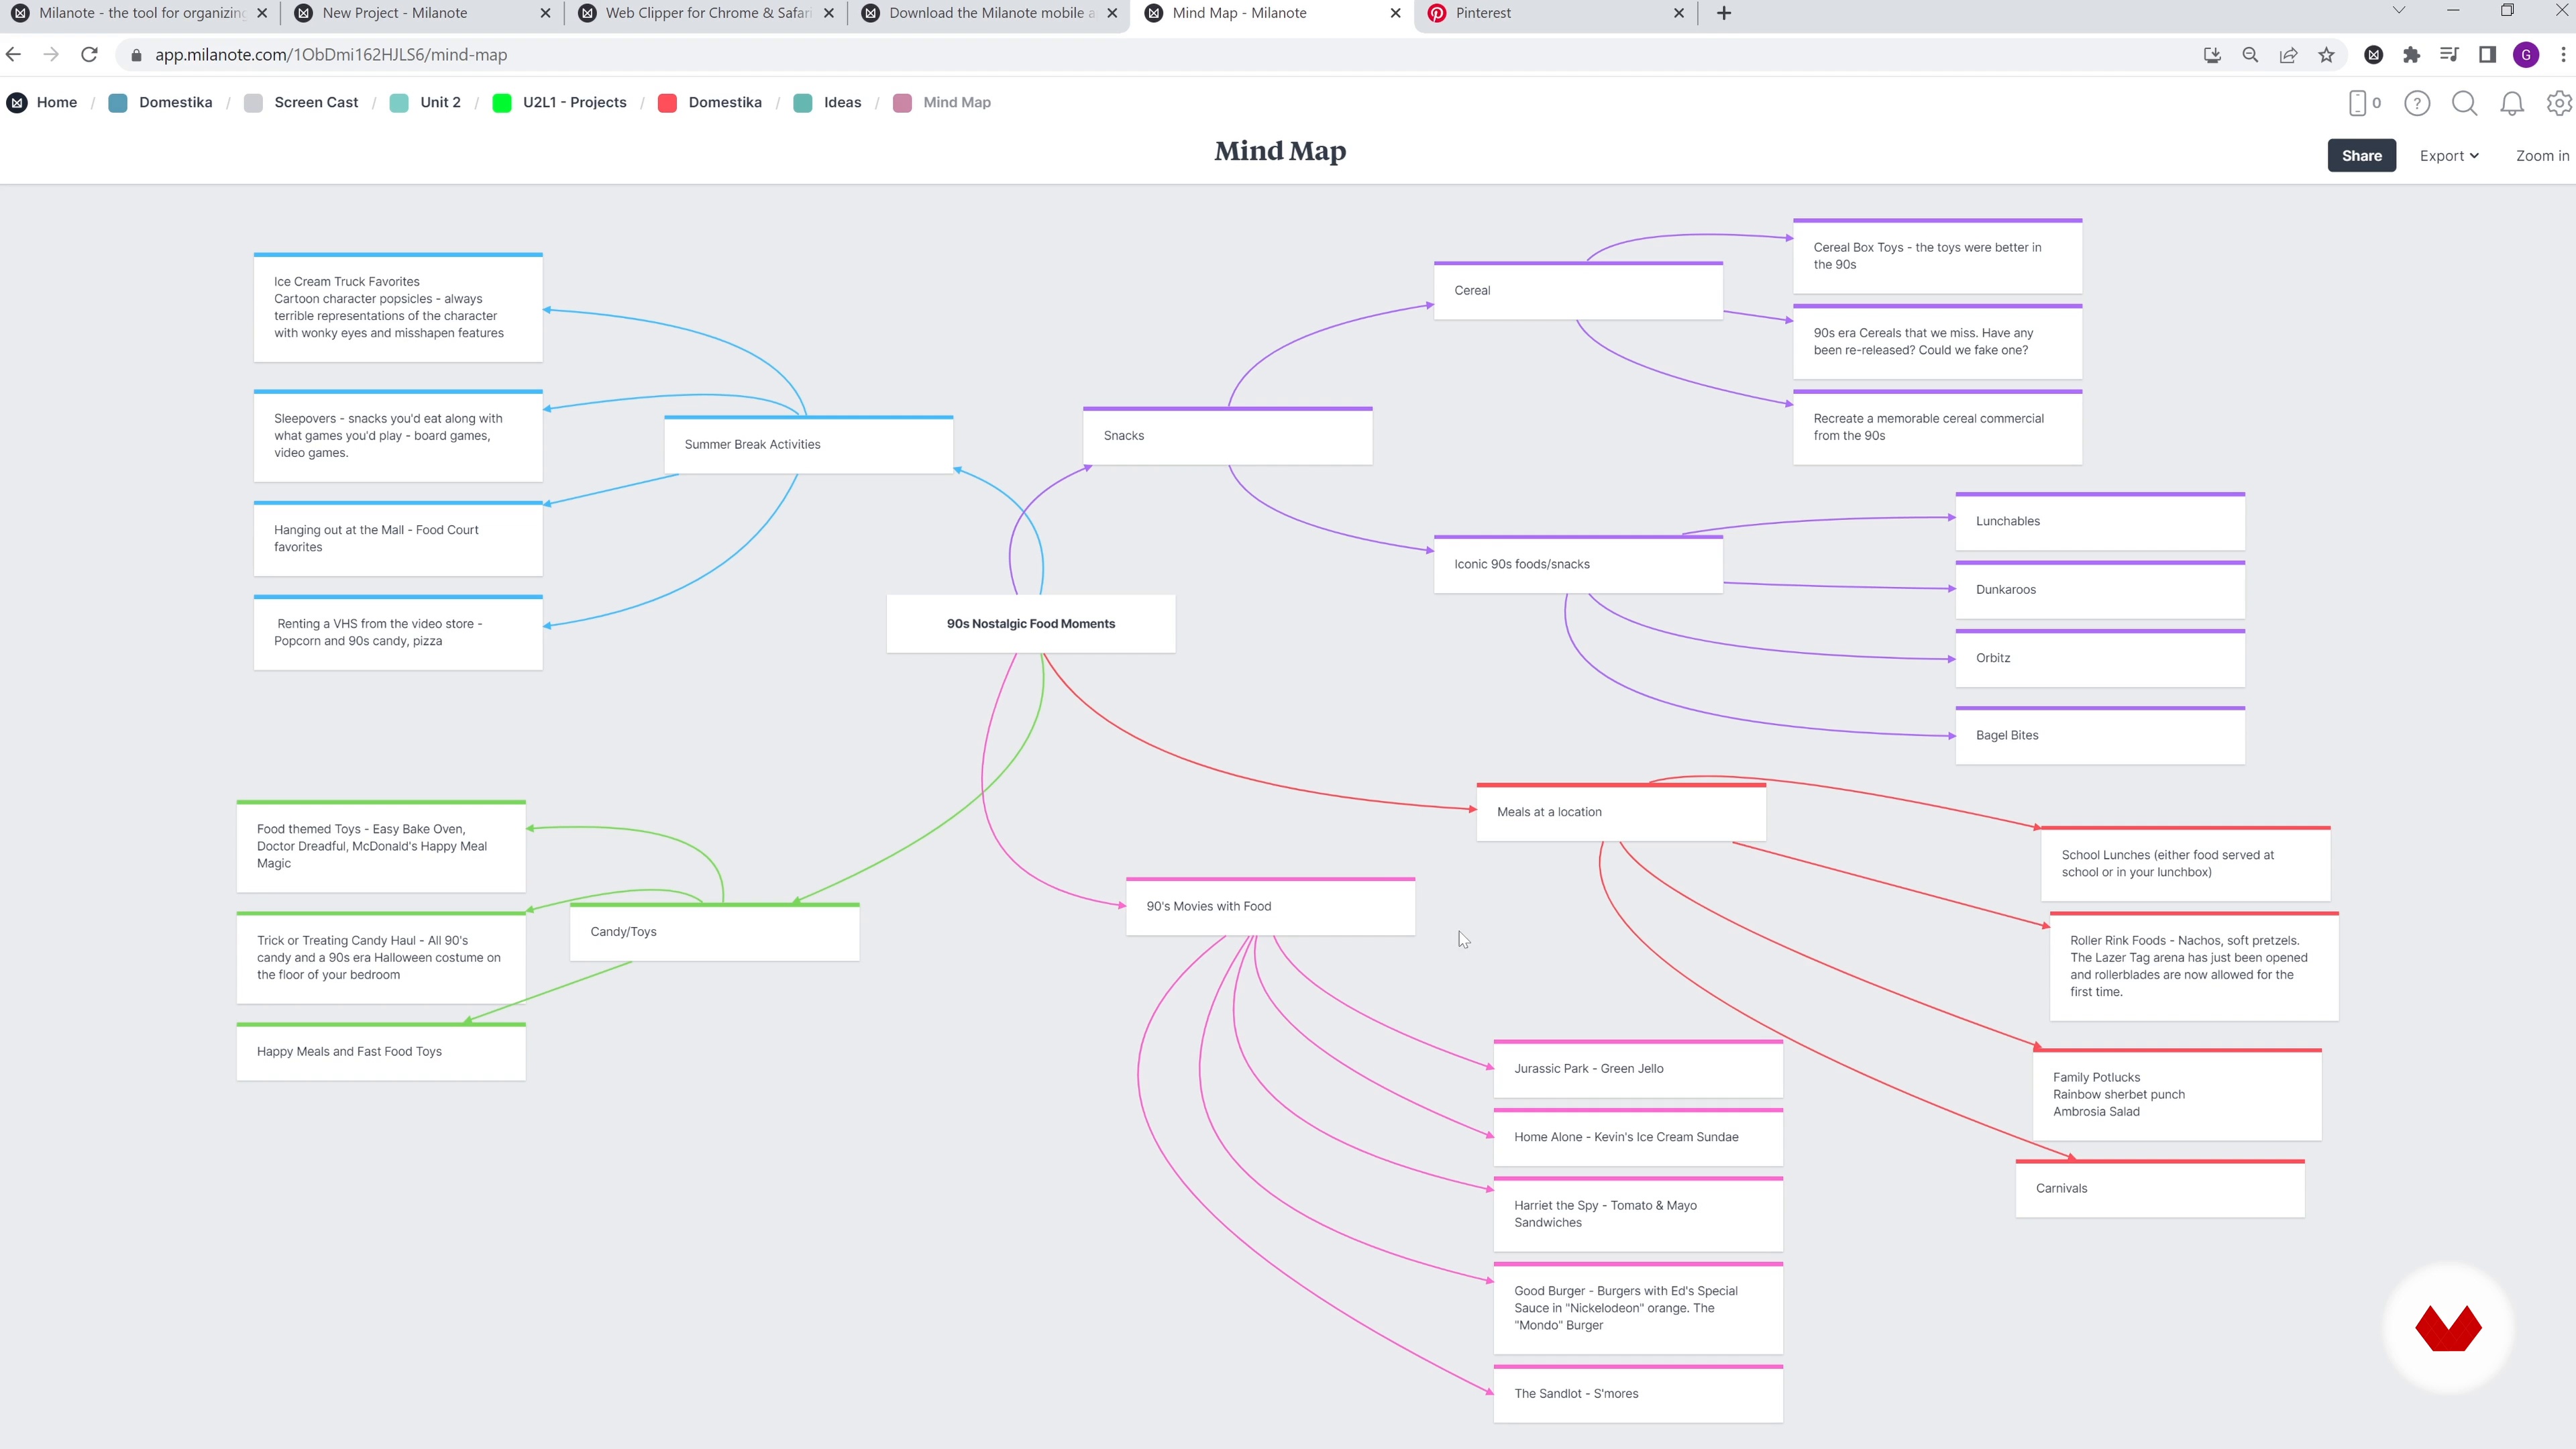
In this lesson, we'll show you how we come up with ideas, and we'll give you some tips for a consistent flow of new ideas. Once you've come up with an idea, it's essential to mind map it further to ensure you're exploring all options.
17m
image
4
Exploring Ideas through Research
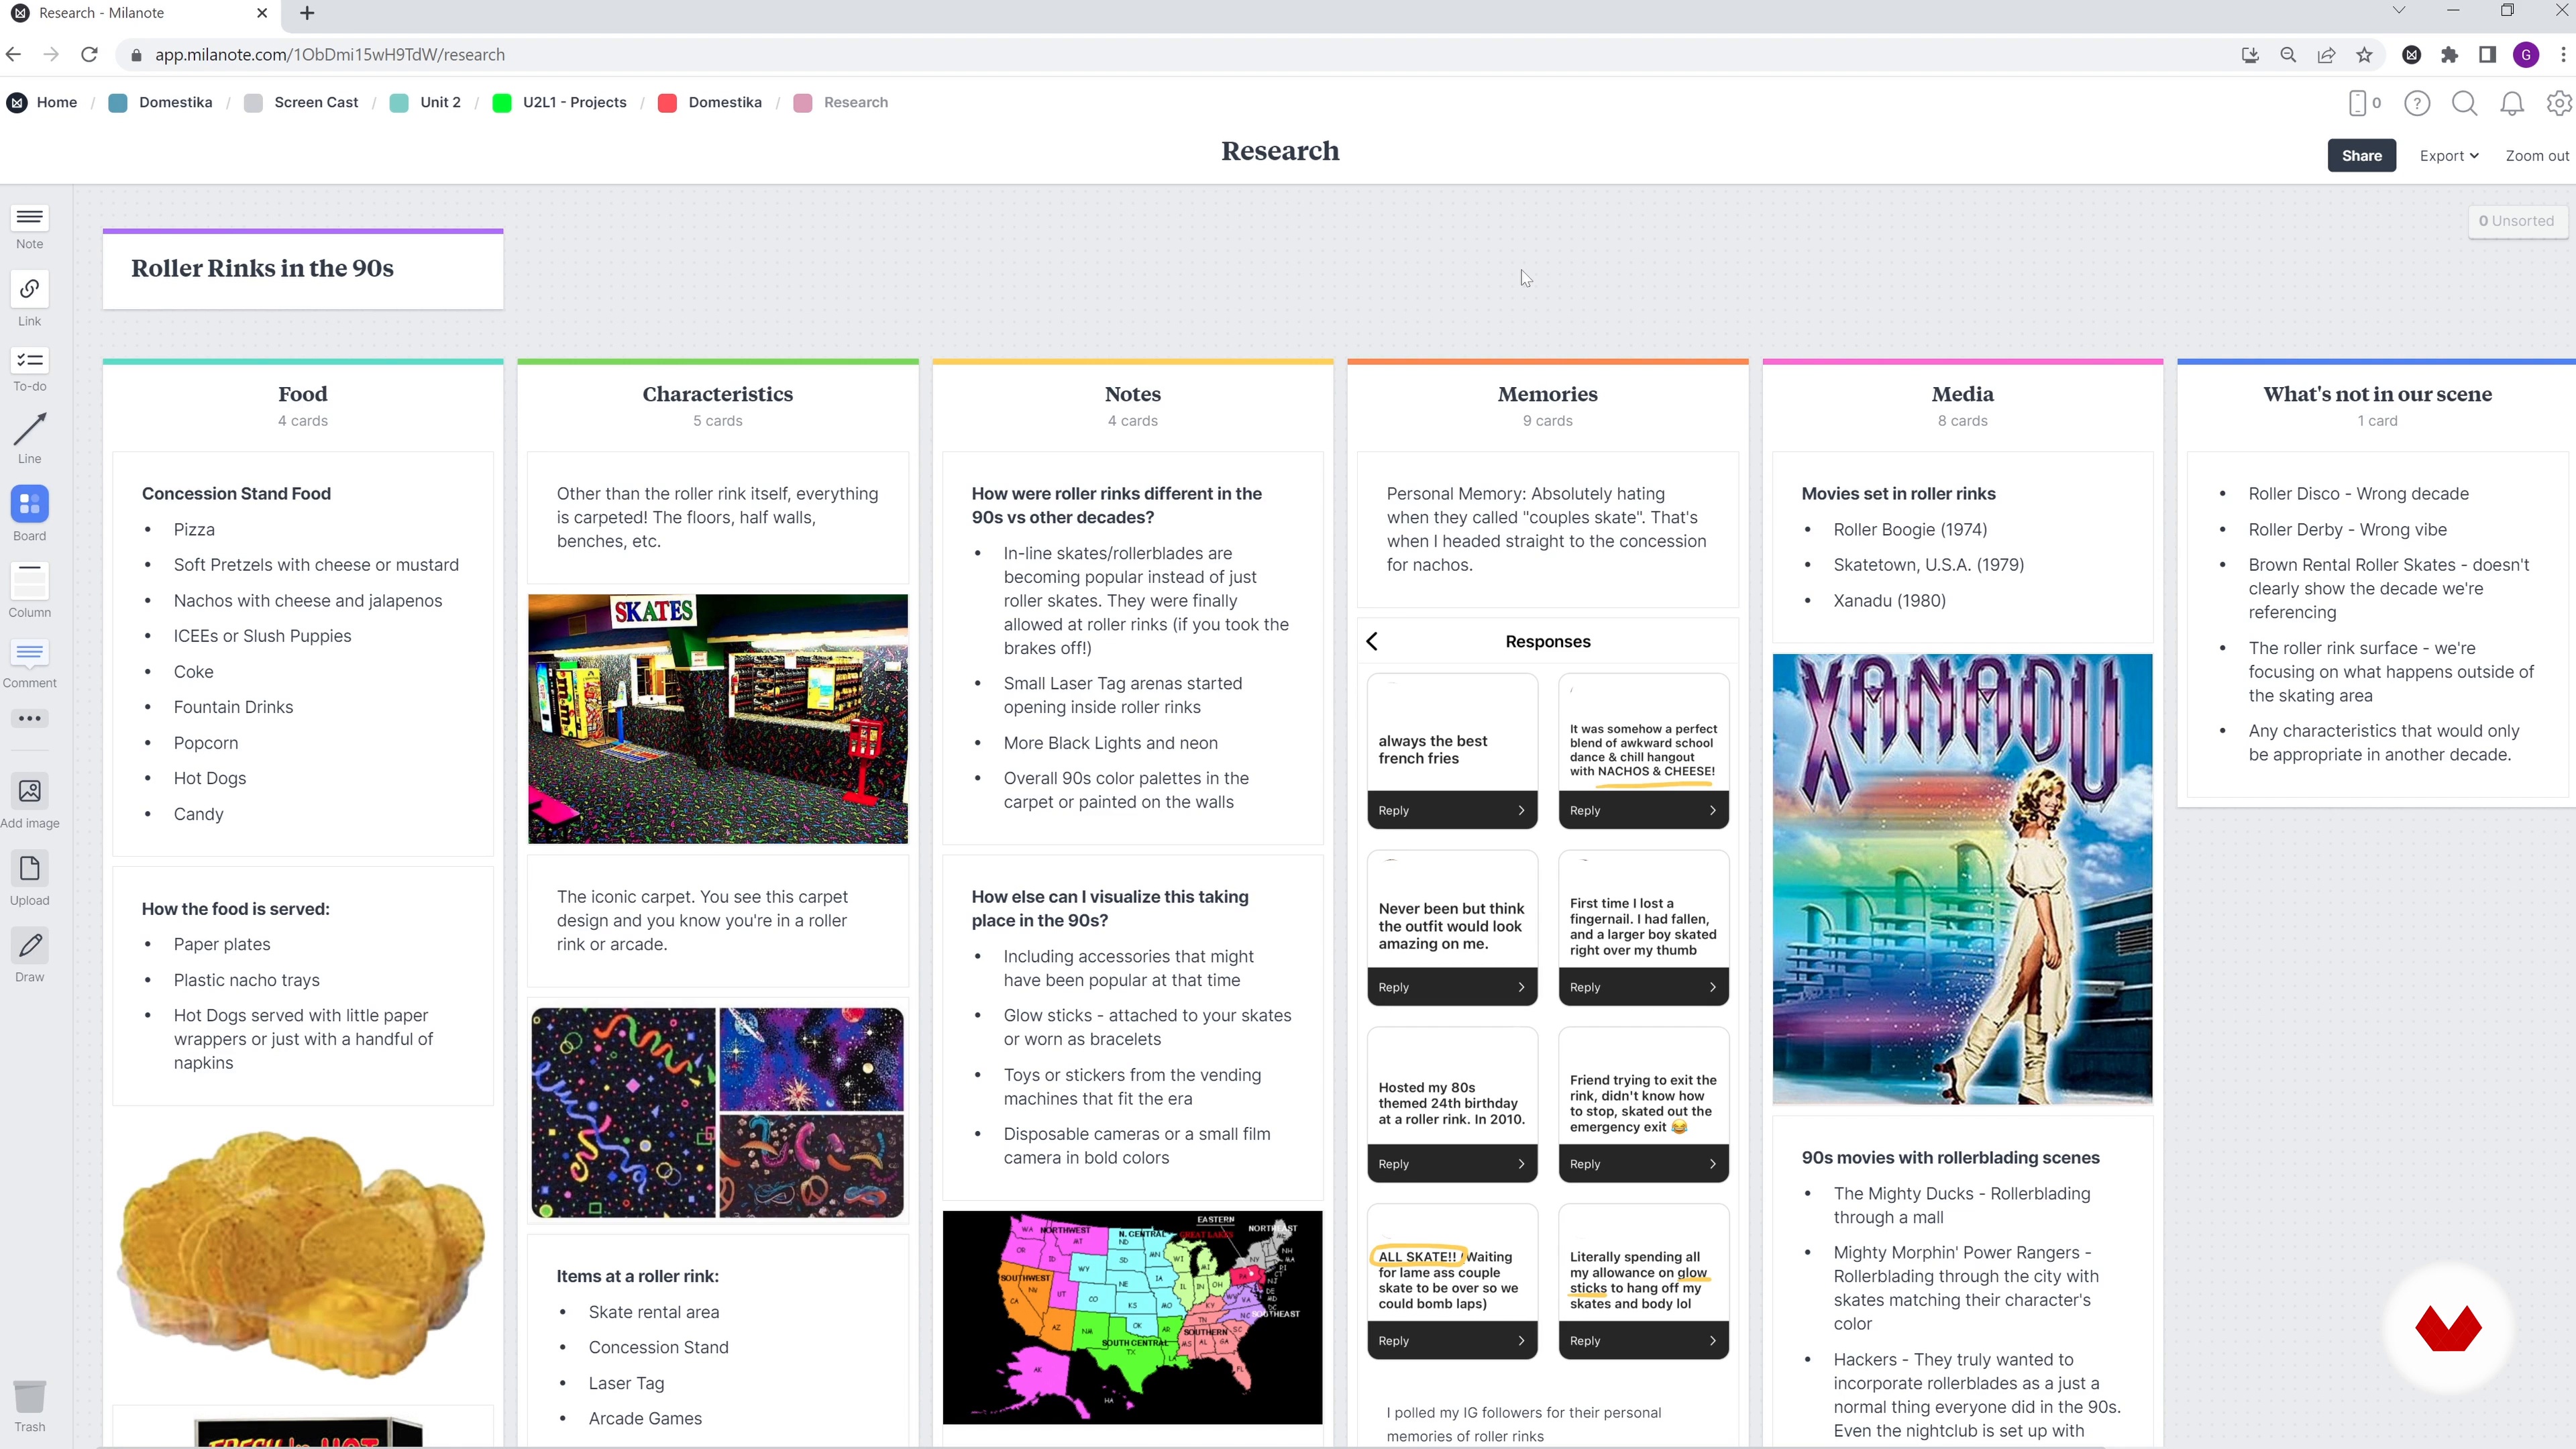
Now that you have your idea, you'll research everything you can about it. You'll look at its history, pop culture influences, personal memories, and anything else related to it.
10m
image
5
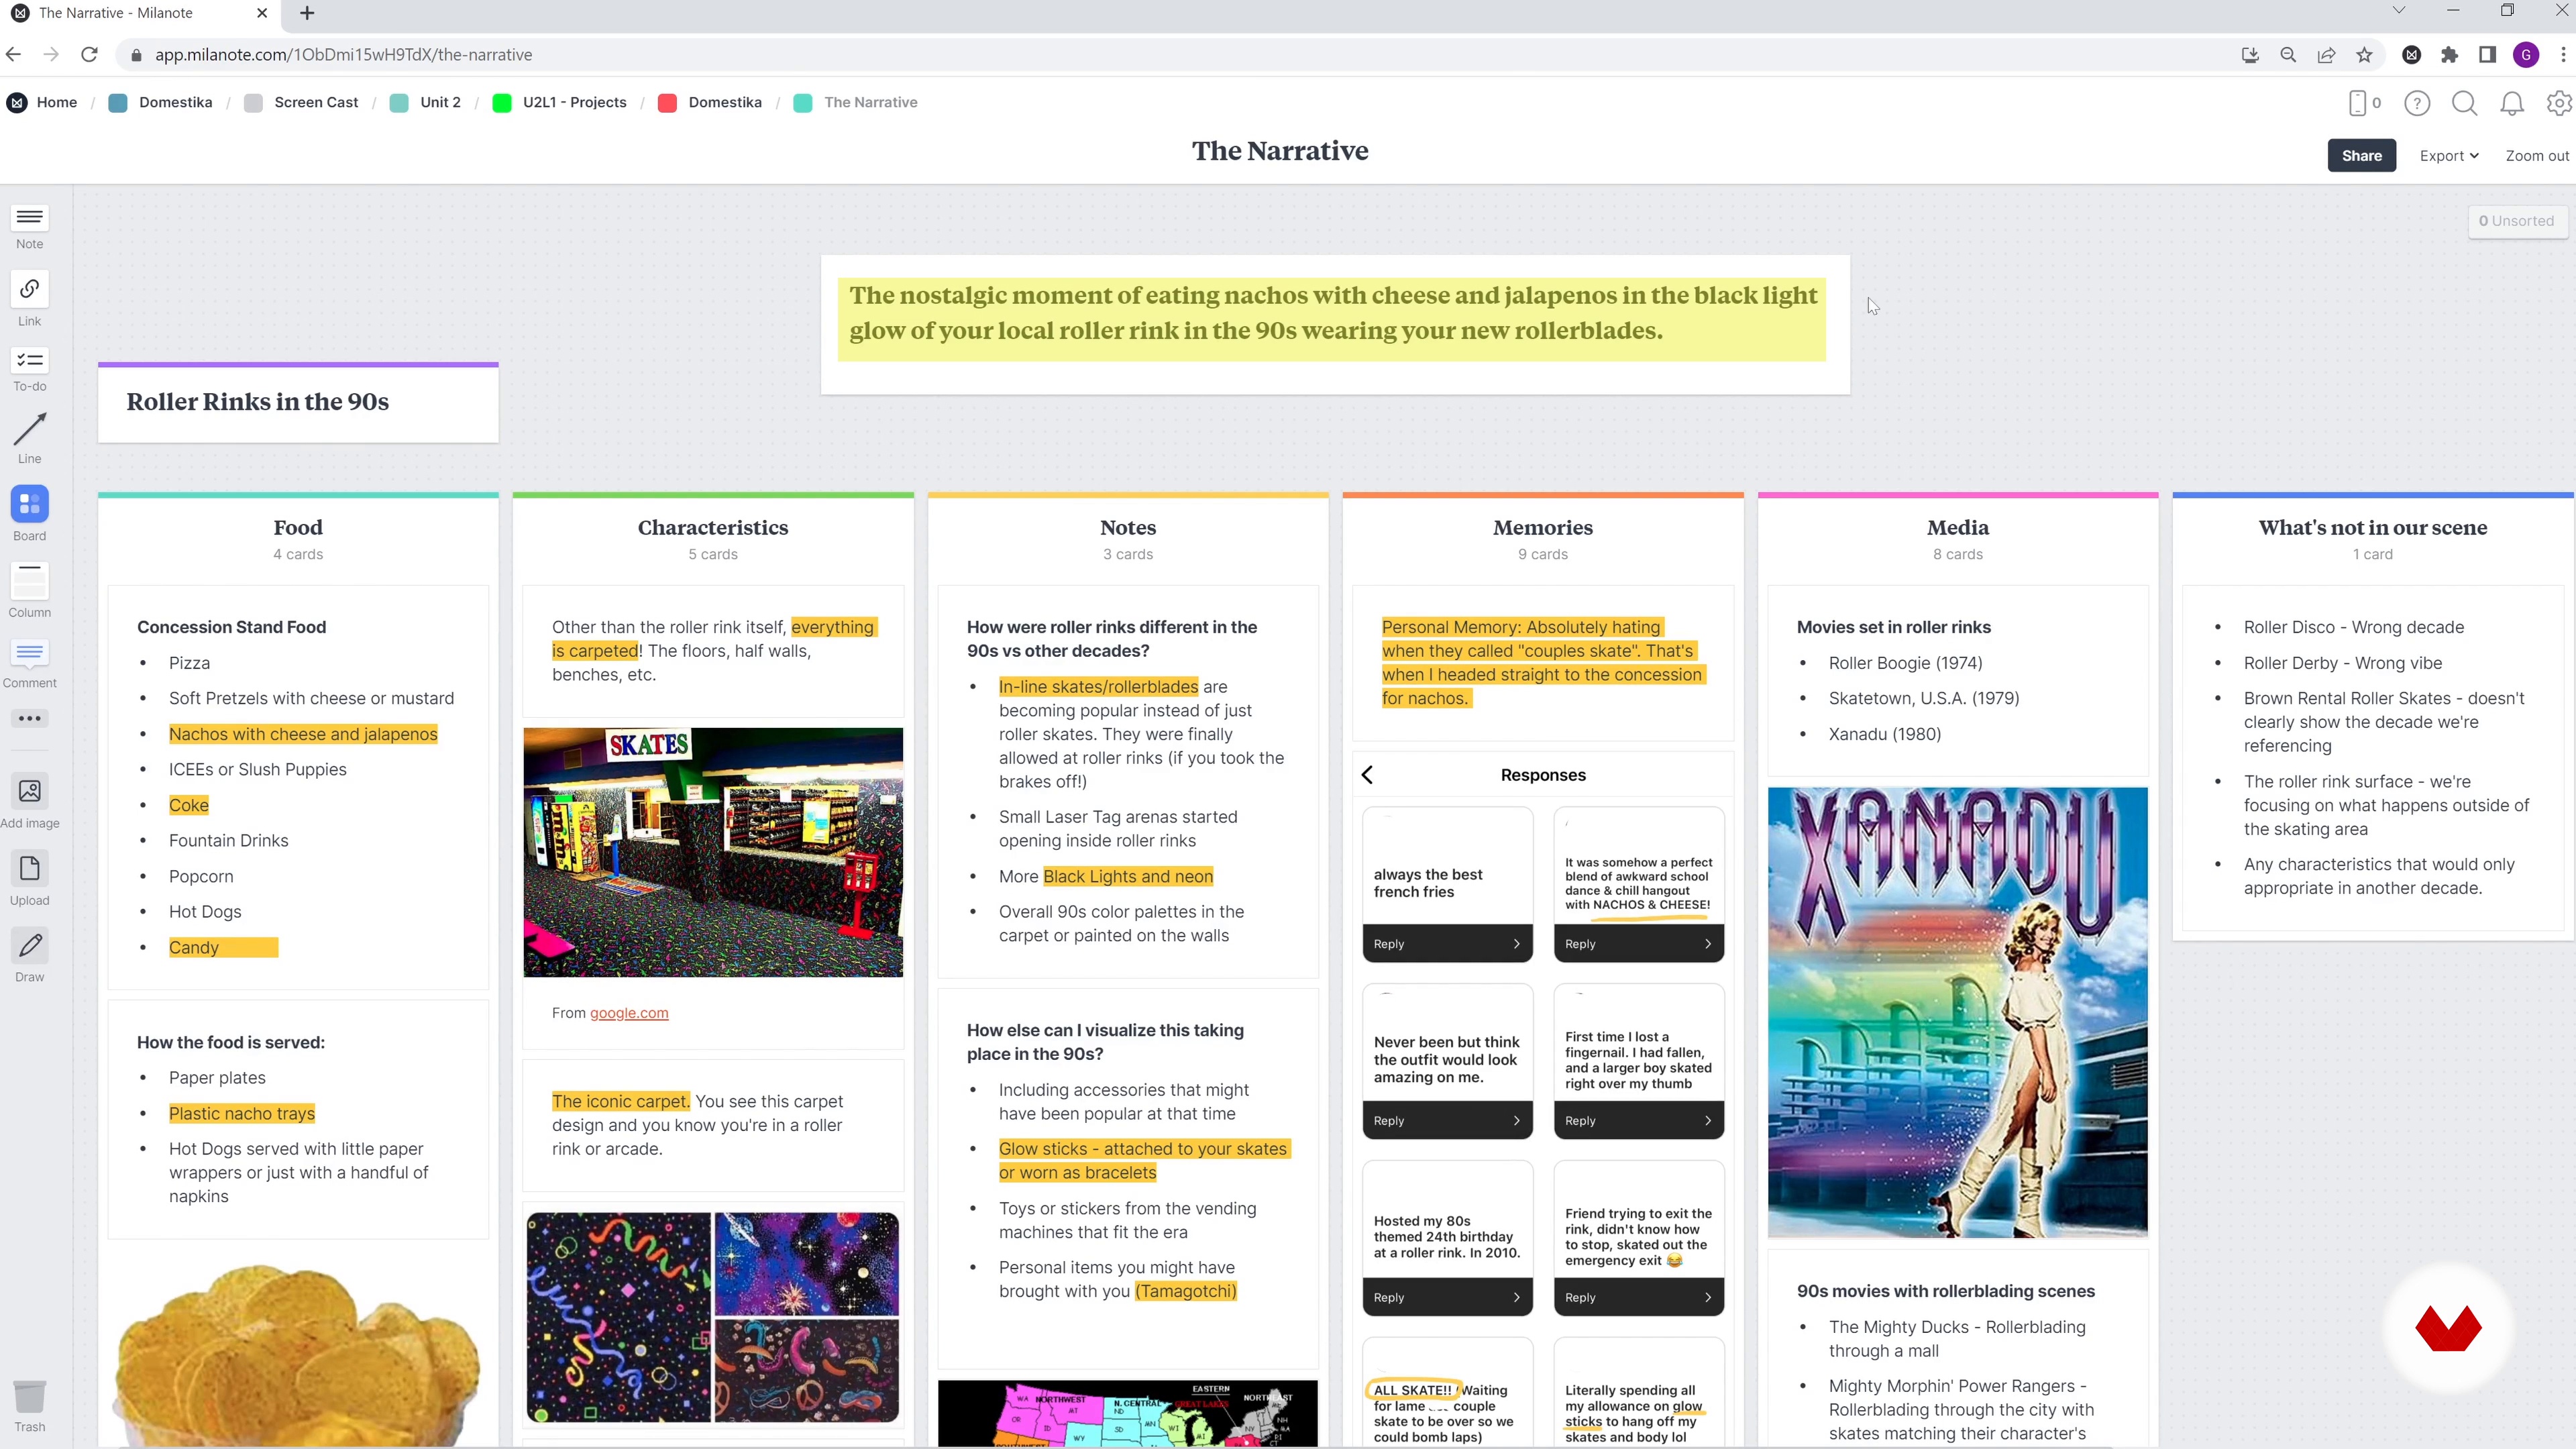
Creating a Narrative
When you're done researching, it's time to write a narrative statement that captures the mood and concept you're trying to emulate. Here, we'll show you how to do this!
3m
image
6
Creating a Mood Board
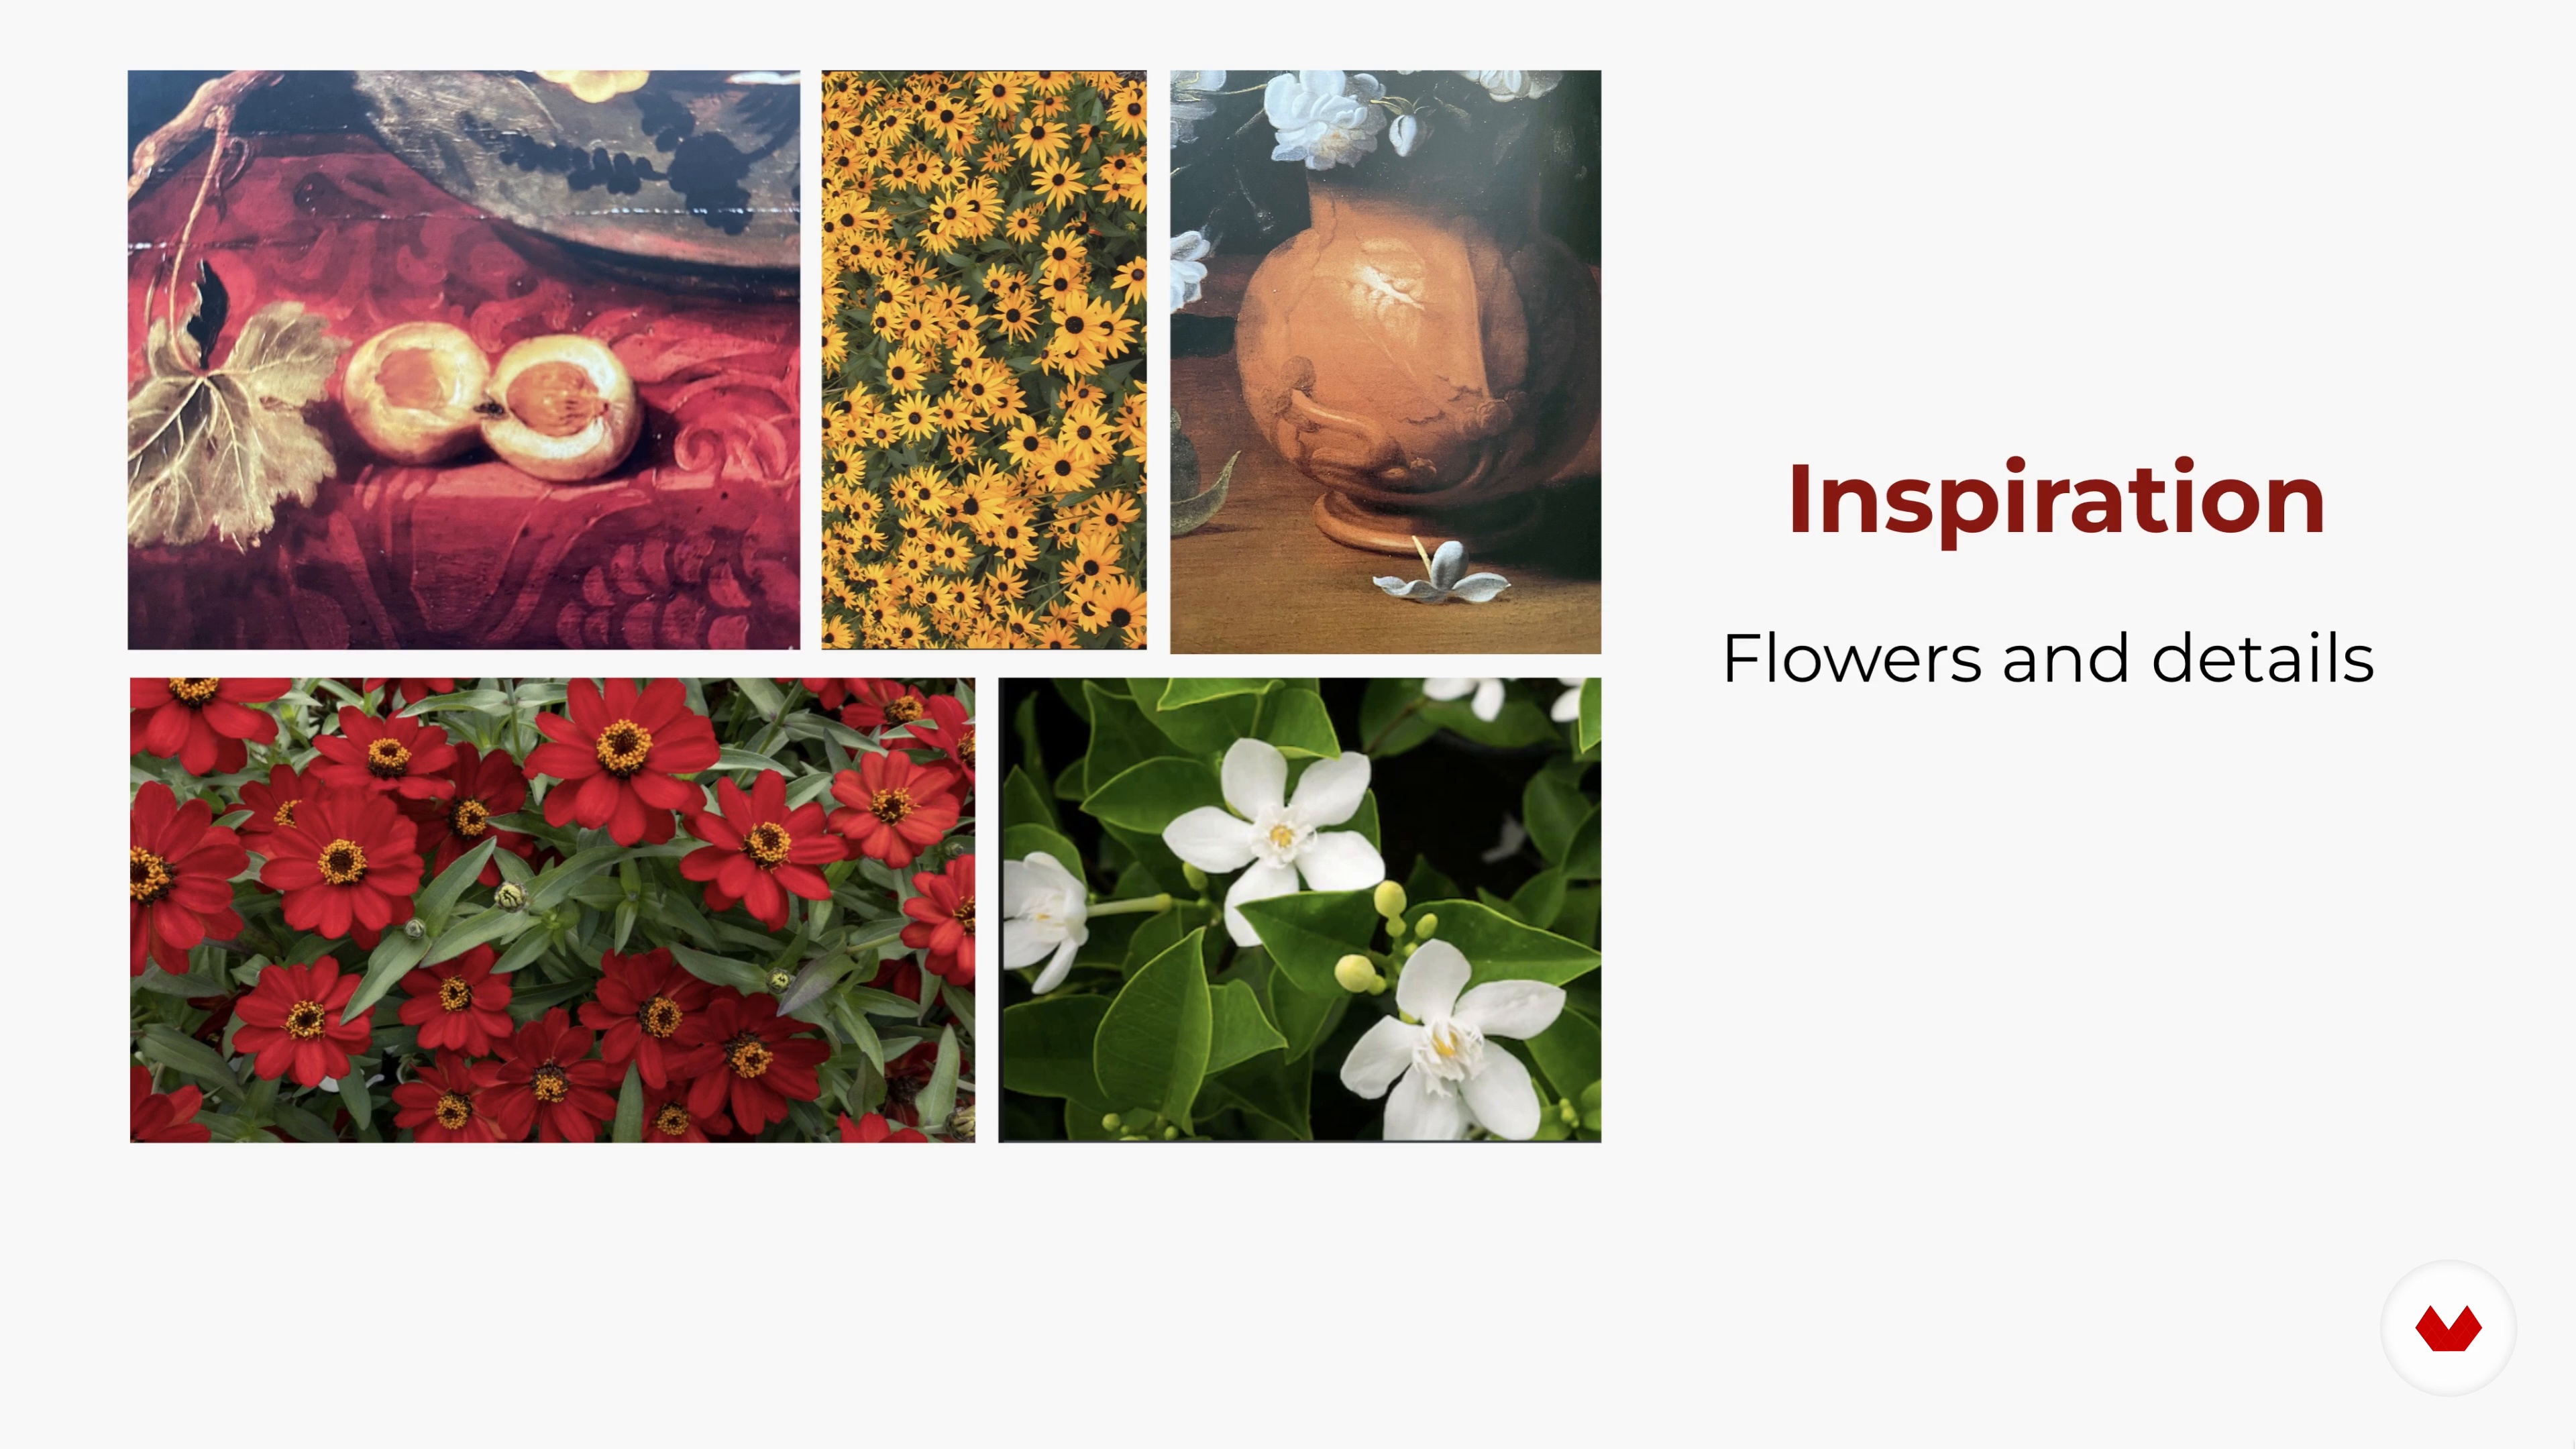
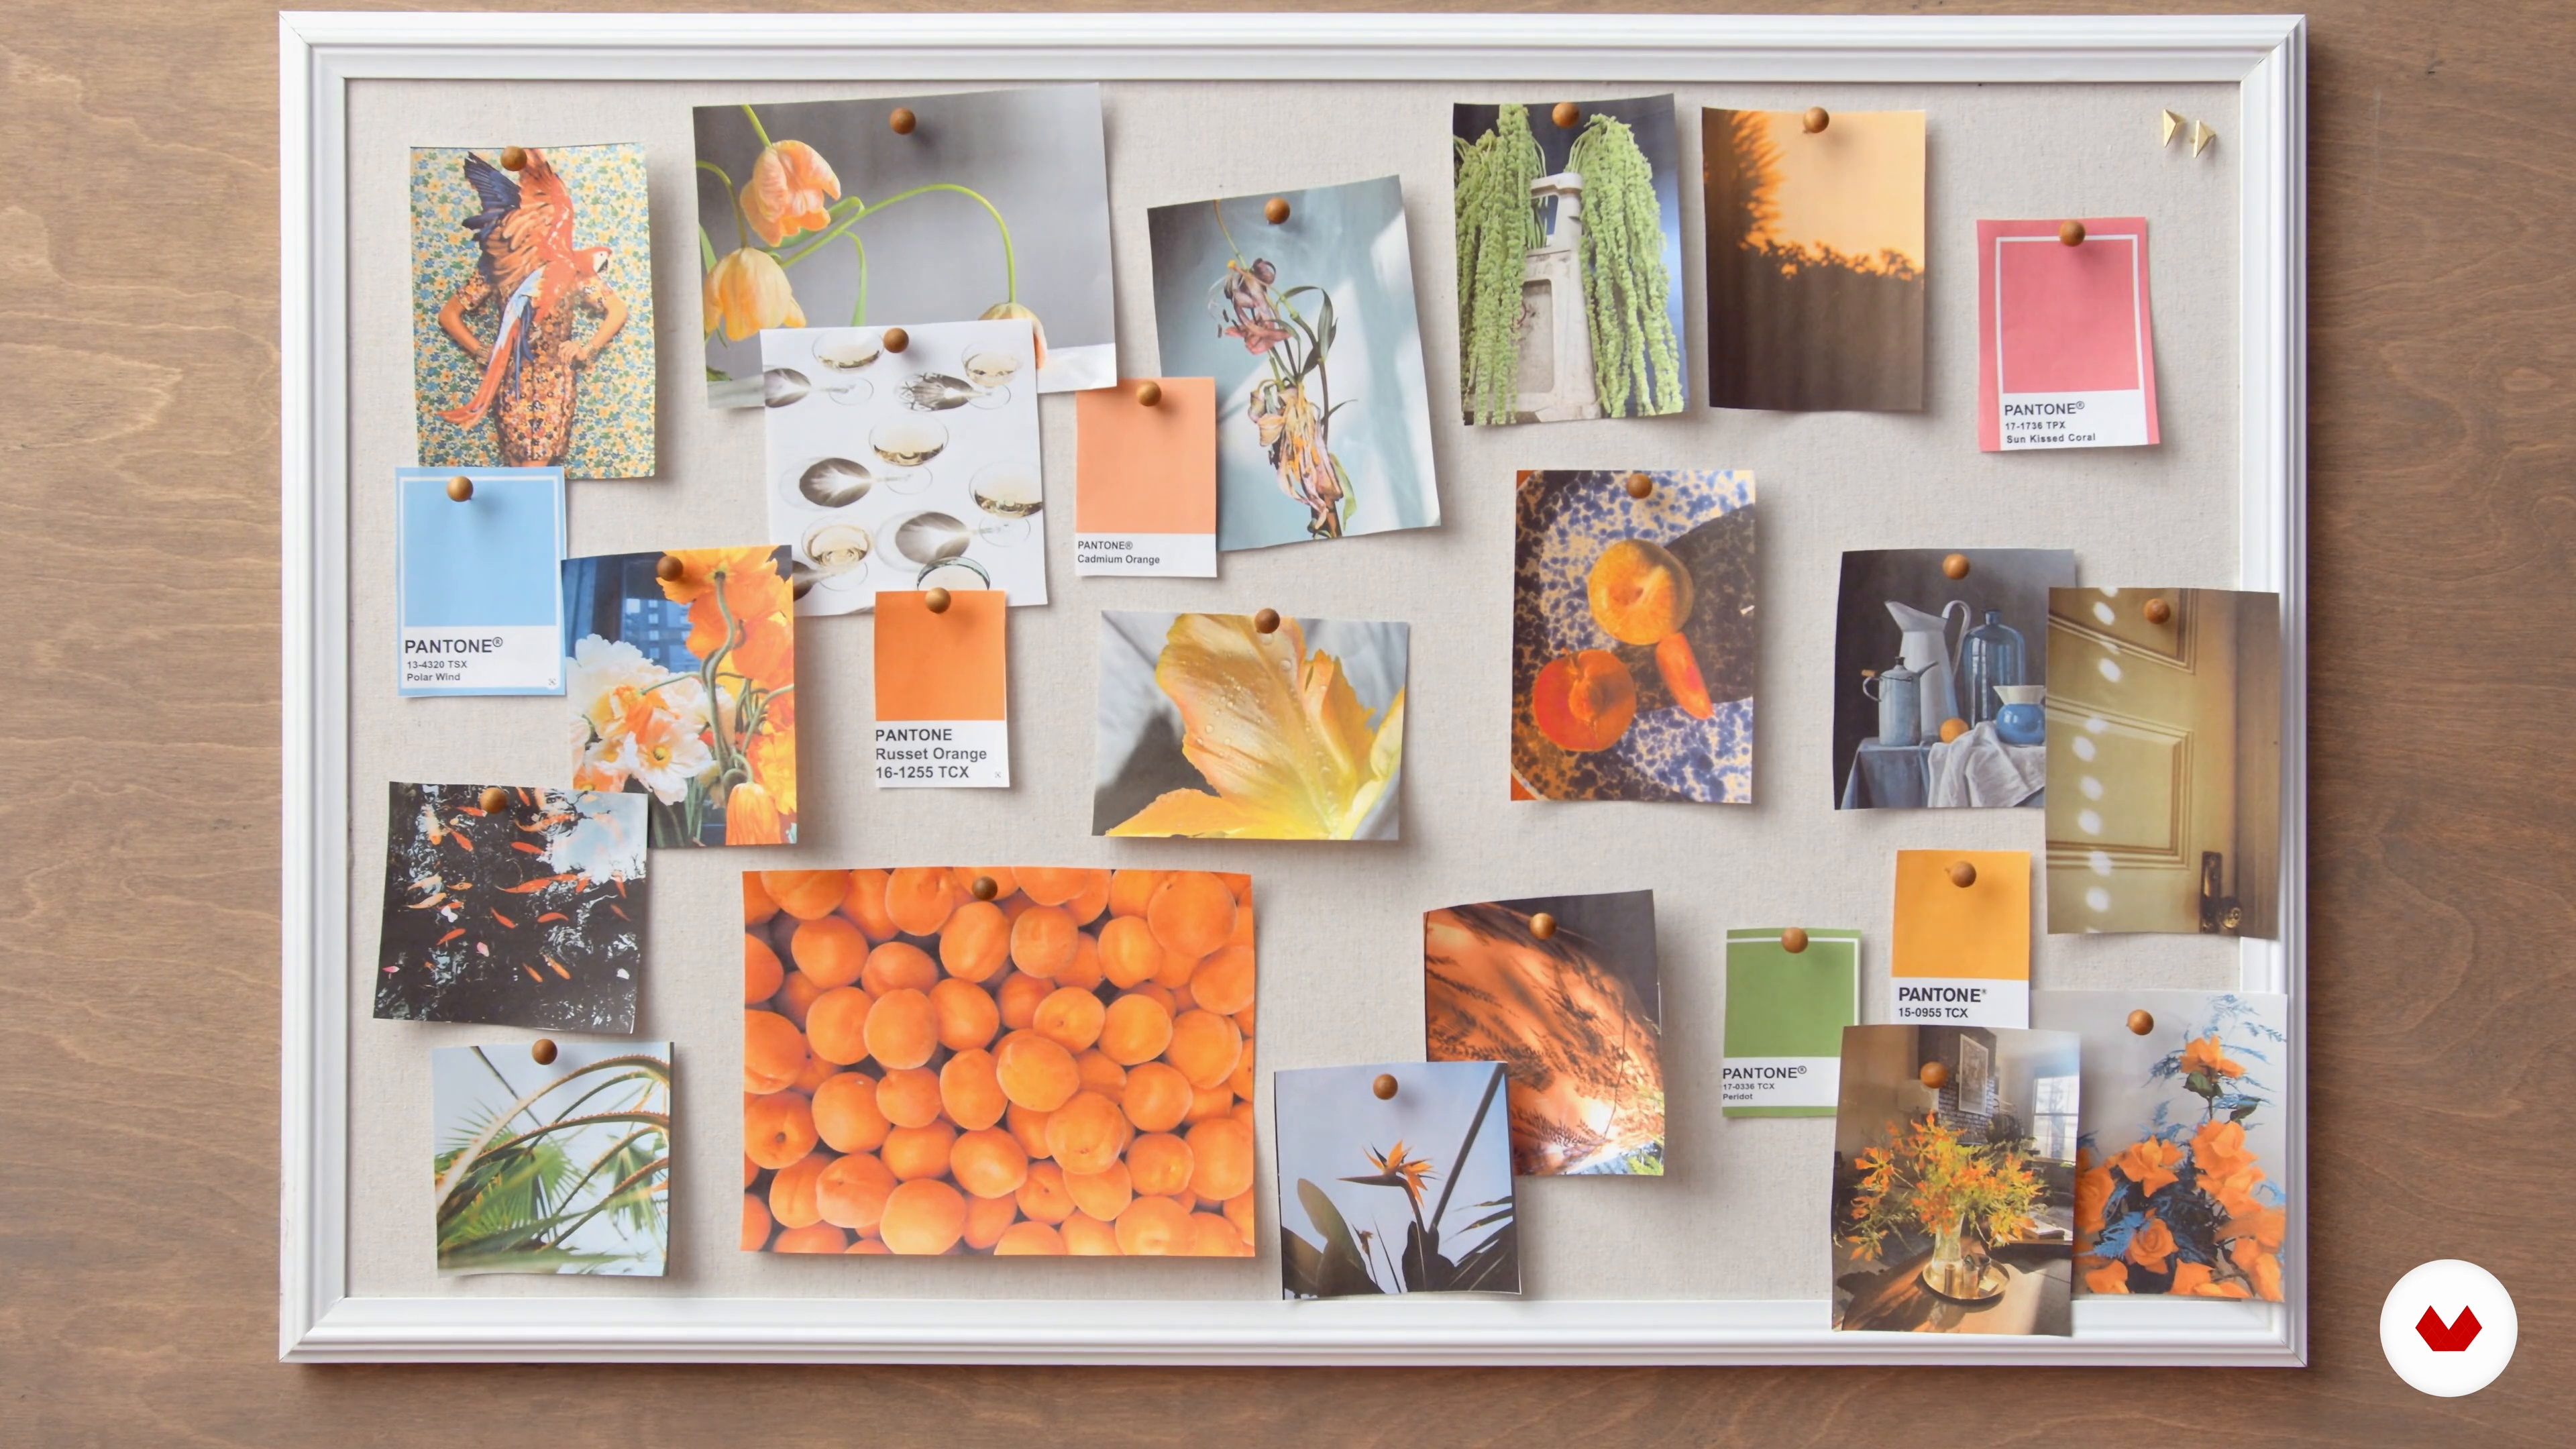
In this lesson, we'll show you how to set up a mood board with references to the overall aesthetic and any notes you've taken during your research.
6m
image
7
Working with Food
In this lesson, we'll discuss all of the various ways you can work creatively with food. You definitely don't need to be a chef! We'll also talk about the food prep you can do beforehand to help your shoot day go smoother and faster.
6m
image
8
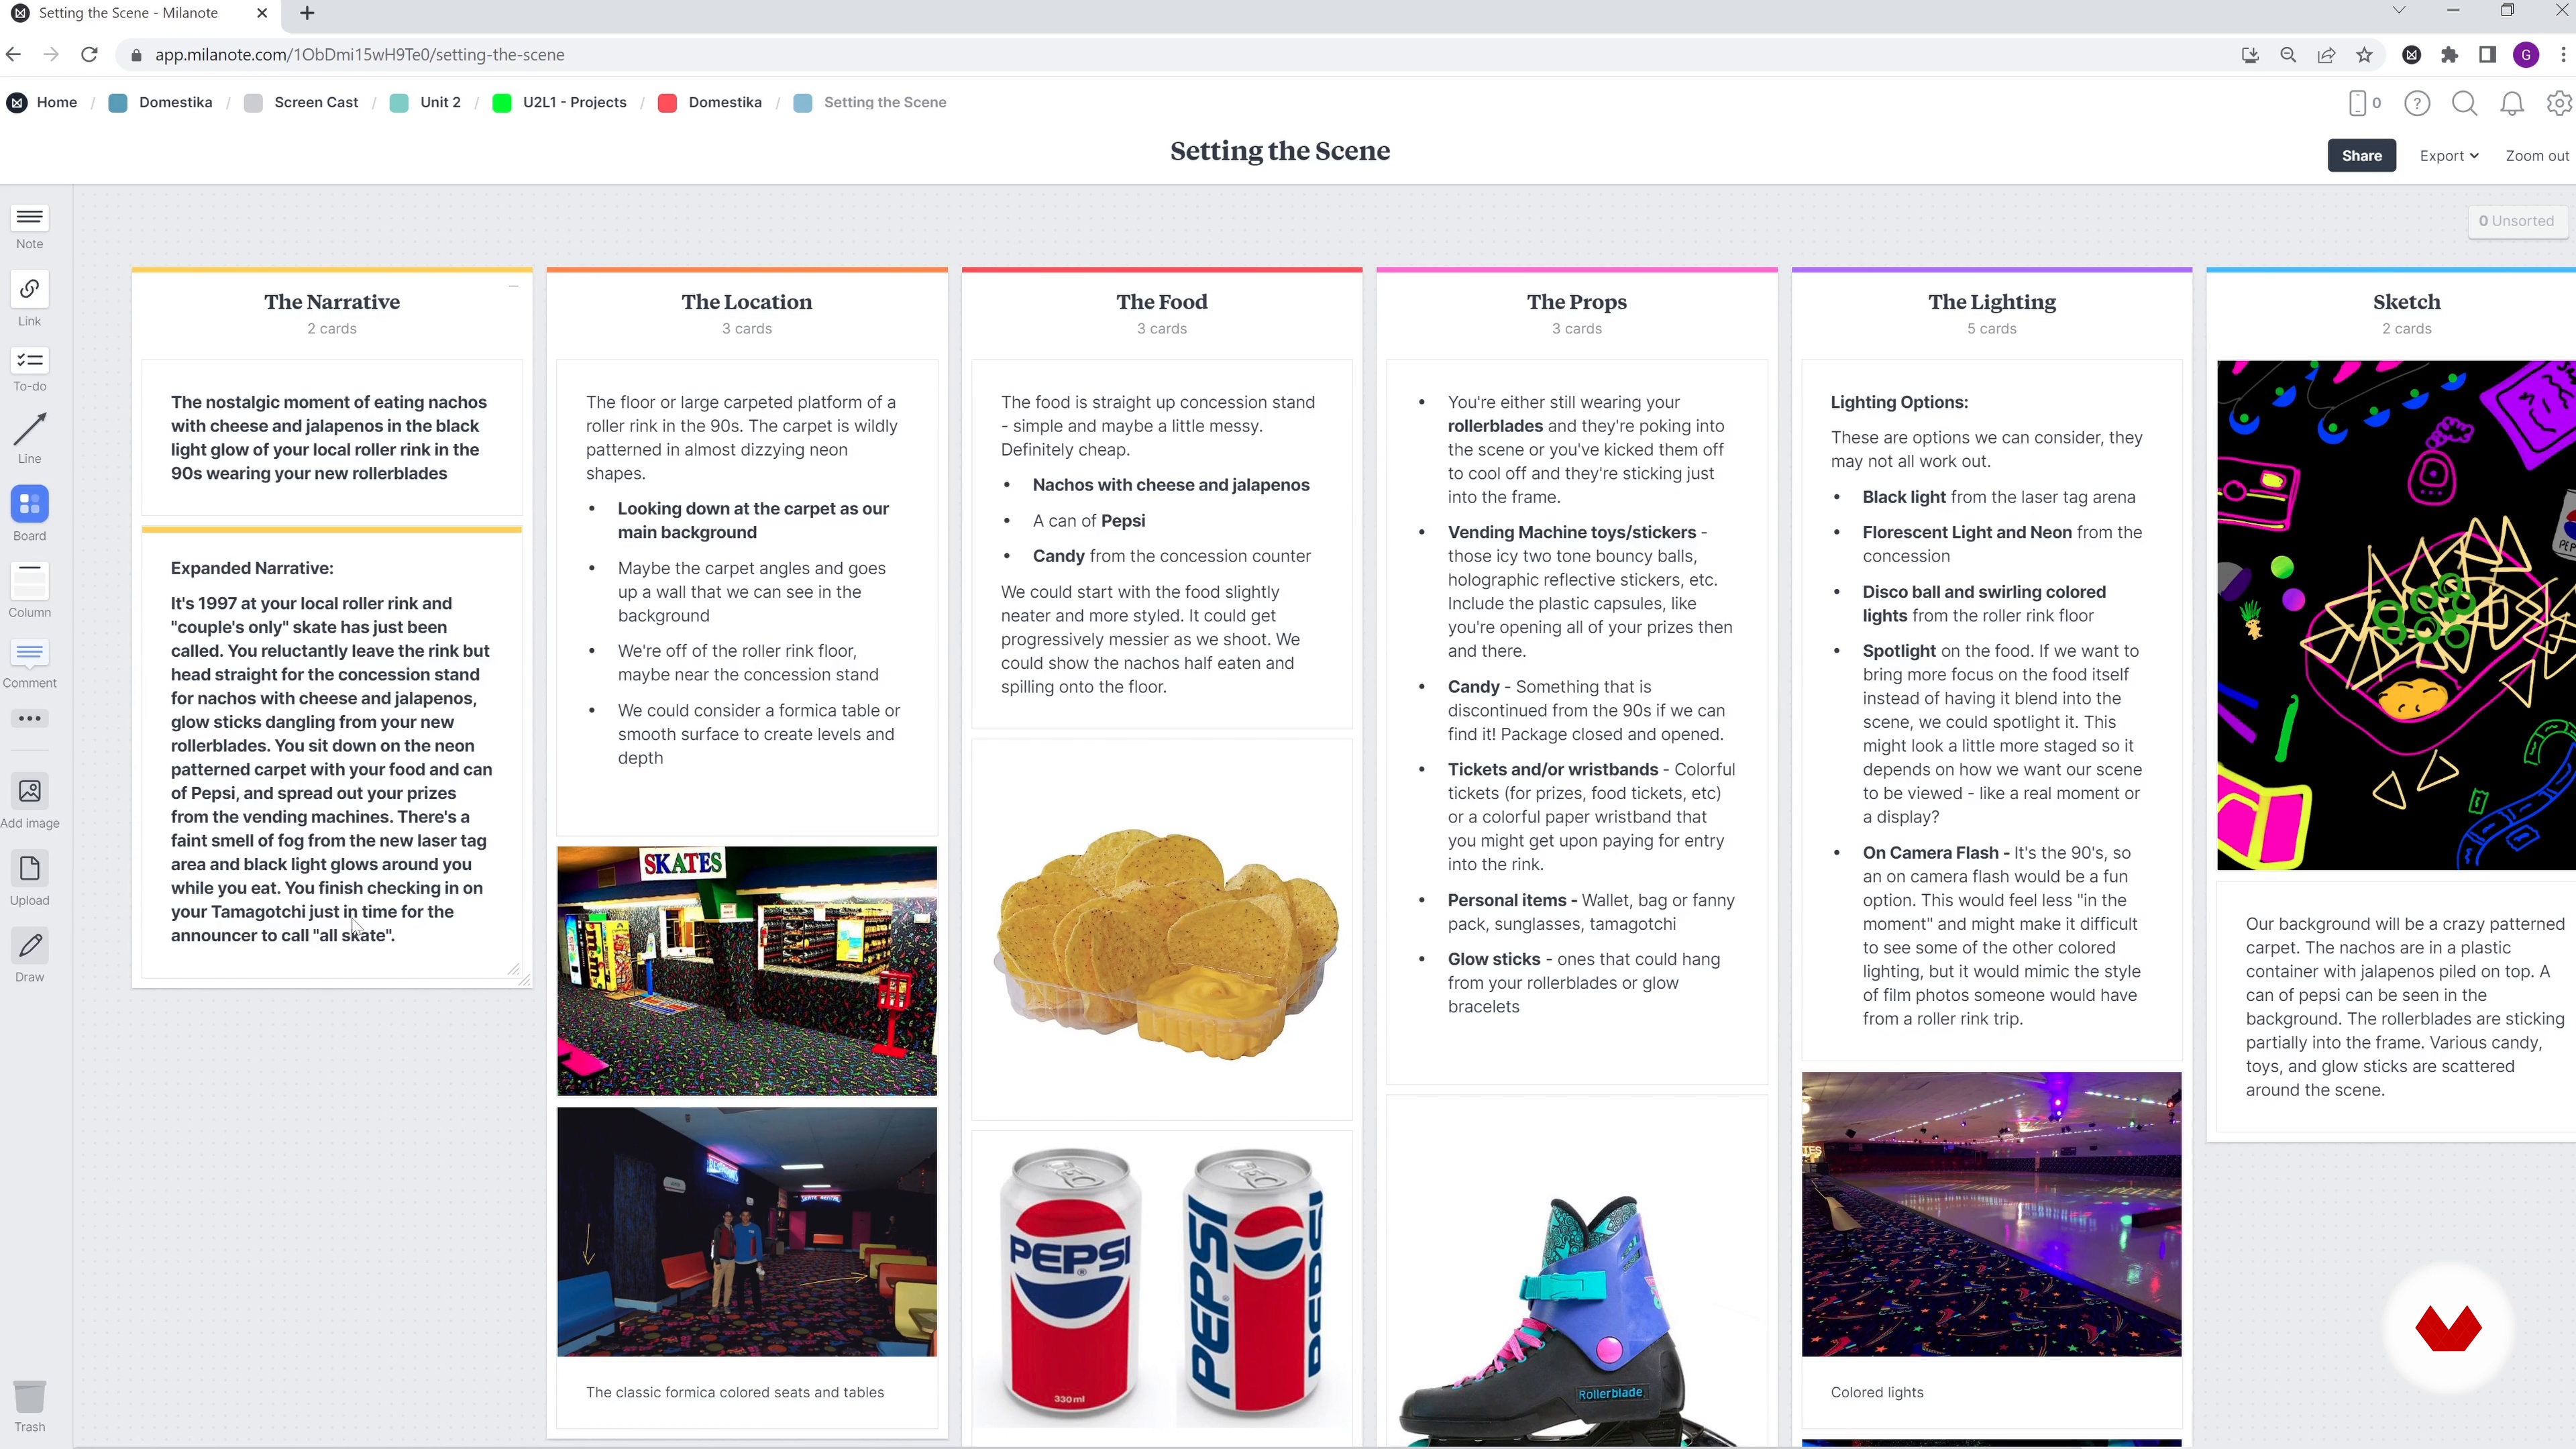
Setting the Scene in Milanote
Using the narrative and mood board as a guide, it's time to start visualizing what a single photo would look like. You'll be asked questions about your scene that will help you design a set that communicates the narrative statement you made.
7m
image
9
Camera Angle, Color Palette, and Lighting
Now we'll teach you how to create a lighting plan and a color palette, and decide on a camera angle for the narrative. These should always be referring back to the narrative statement and mood board.
14m
image
10
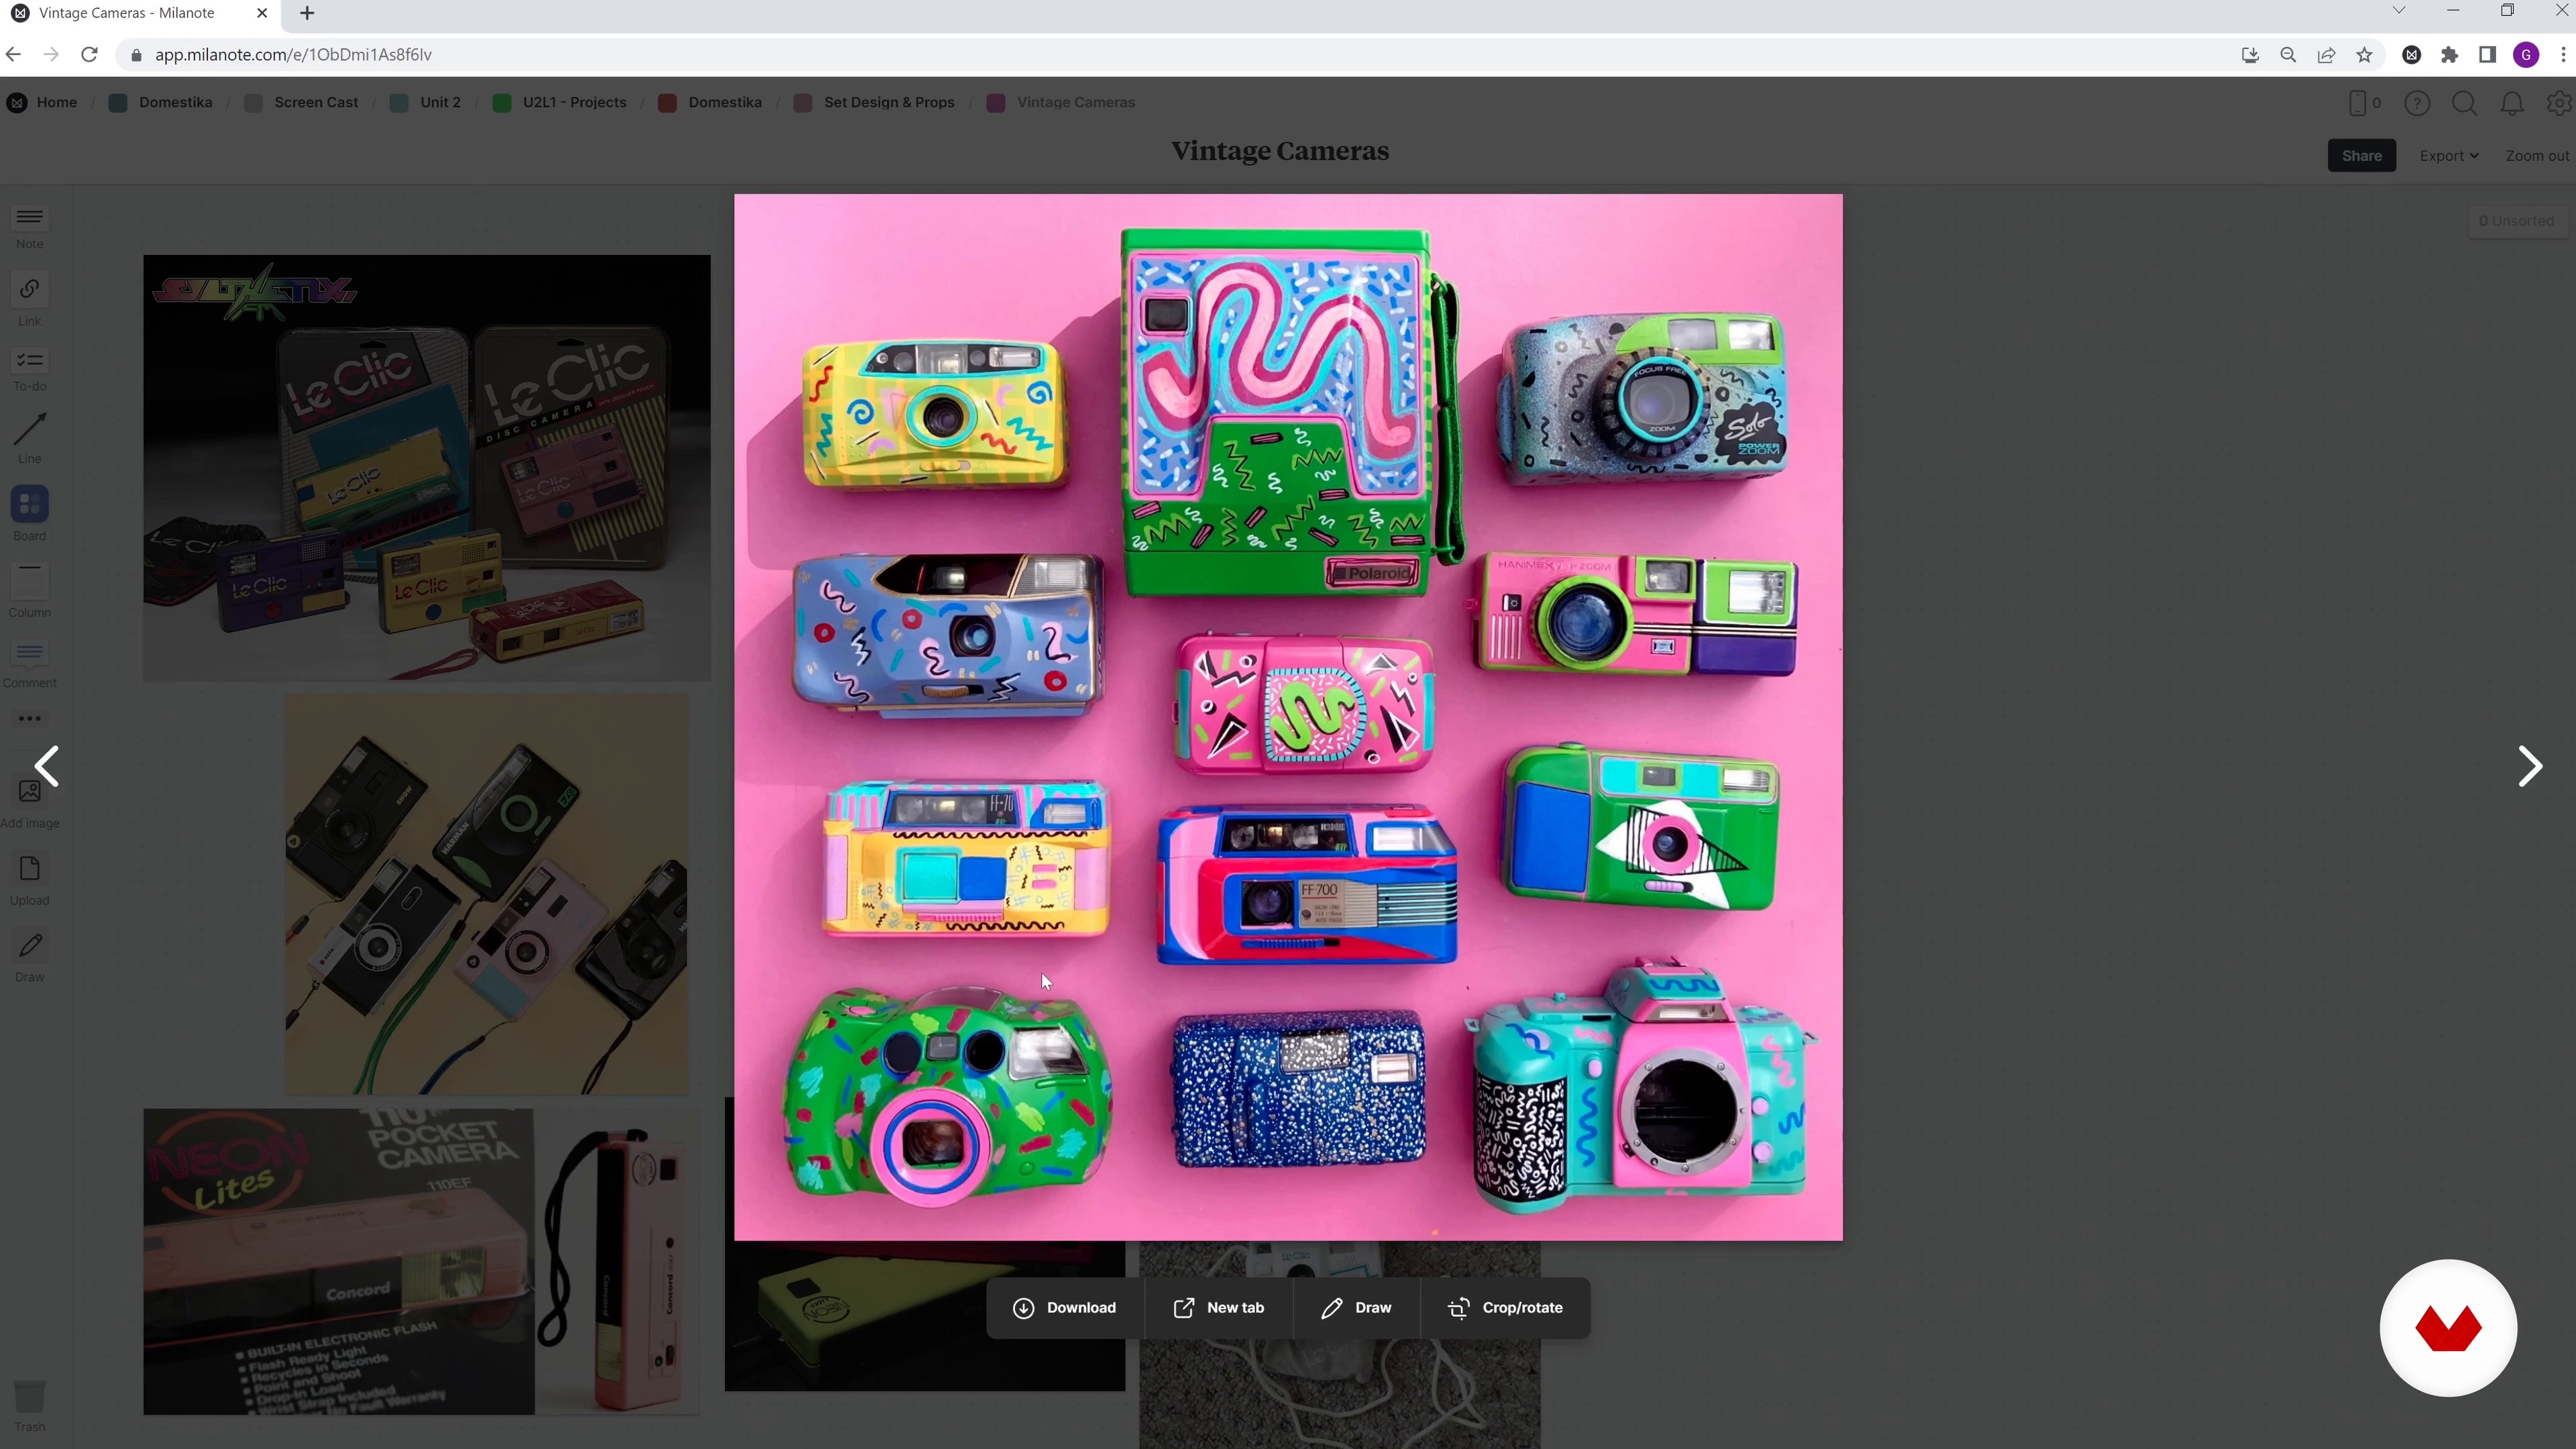
Set Design and Props
Next, you'll learn how to turn your mood board into a real-life set. We'll explore different ways to build sets and teach you some resourceful techniques. In addition, we'll talk about how to find or make props at home.
14m
image
11
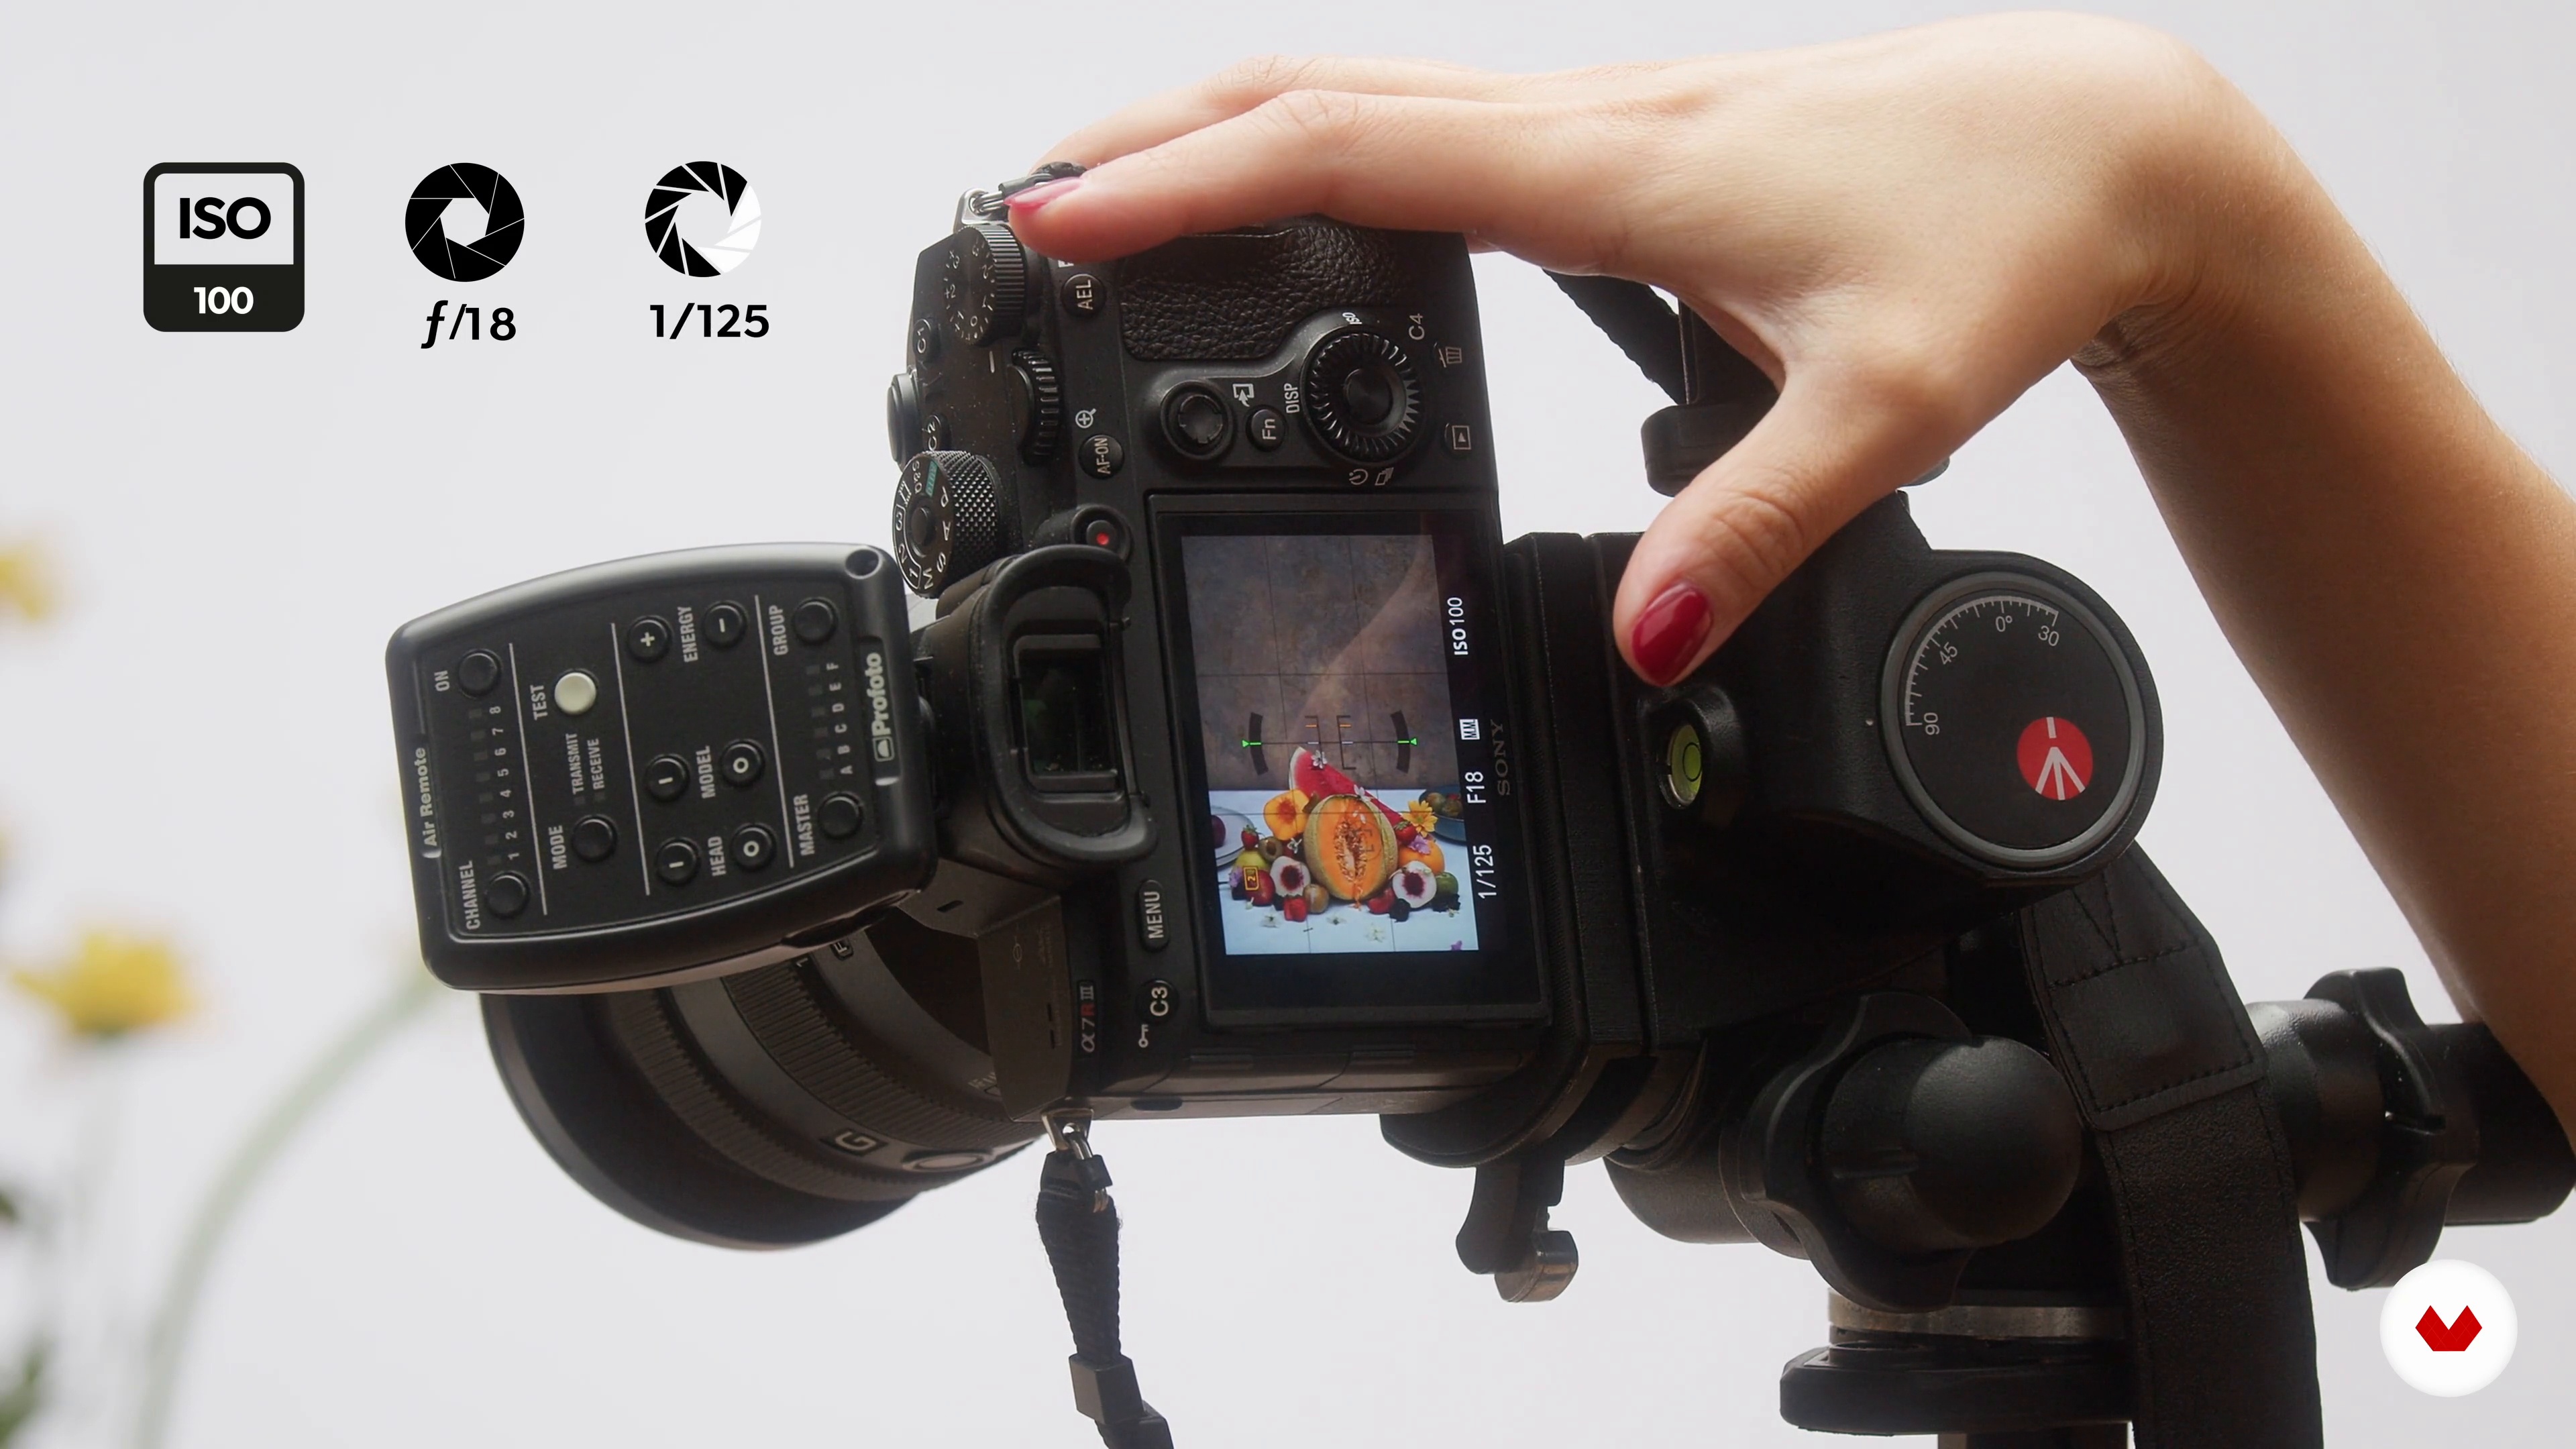
Technical Equipment and Settings
In this lesson, we'll talk about the camera gear and lighting that we'll be using to capture the scene.
4m
image
12
Setting up the Scene with Tethering
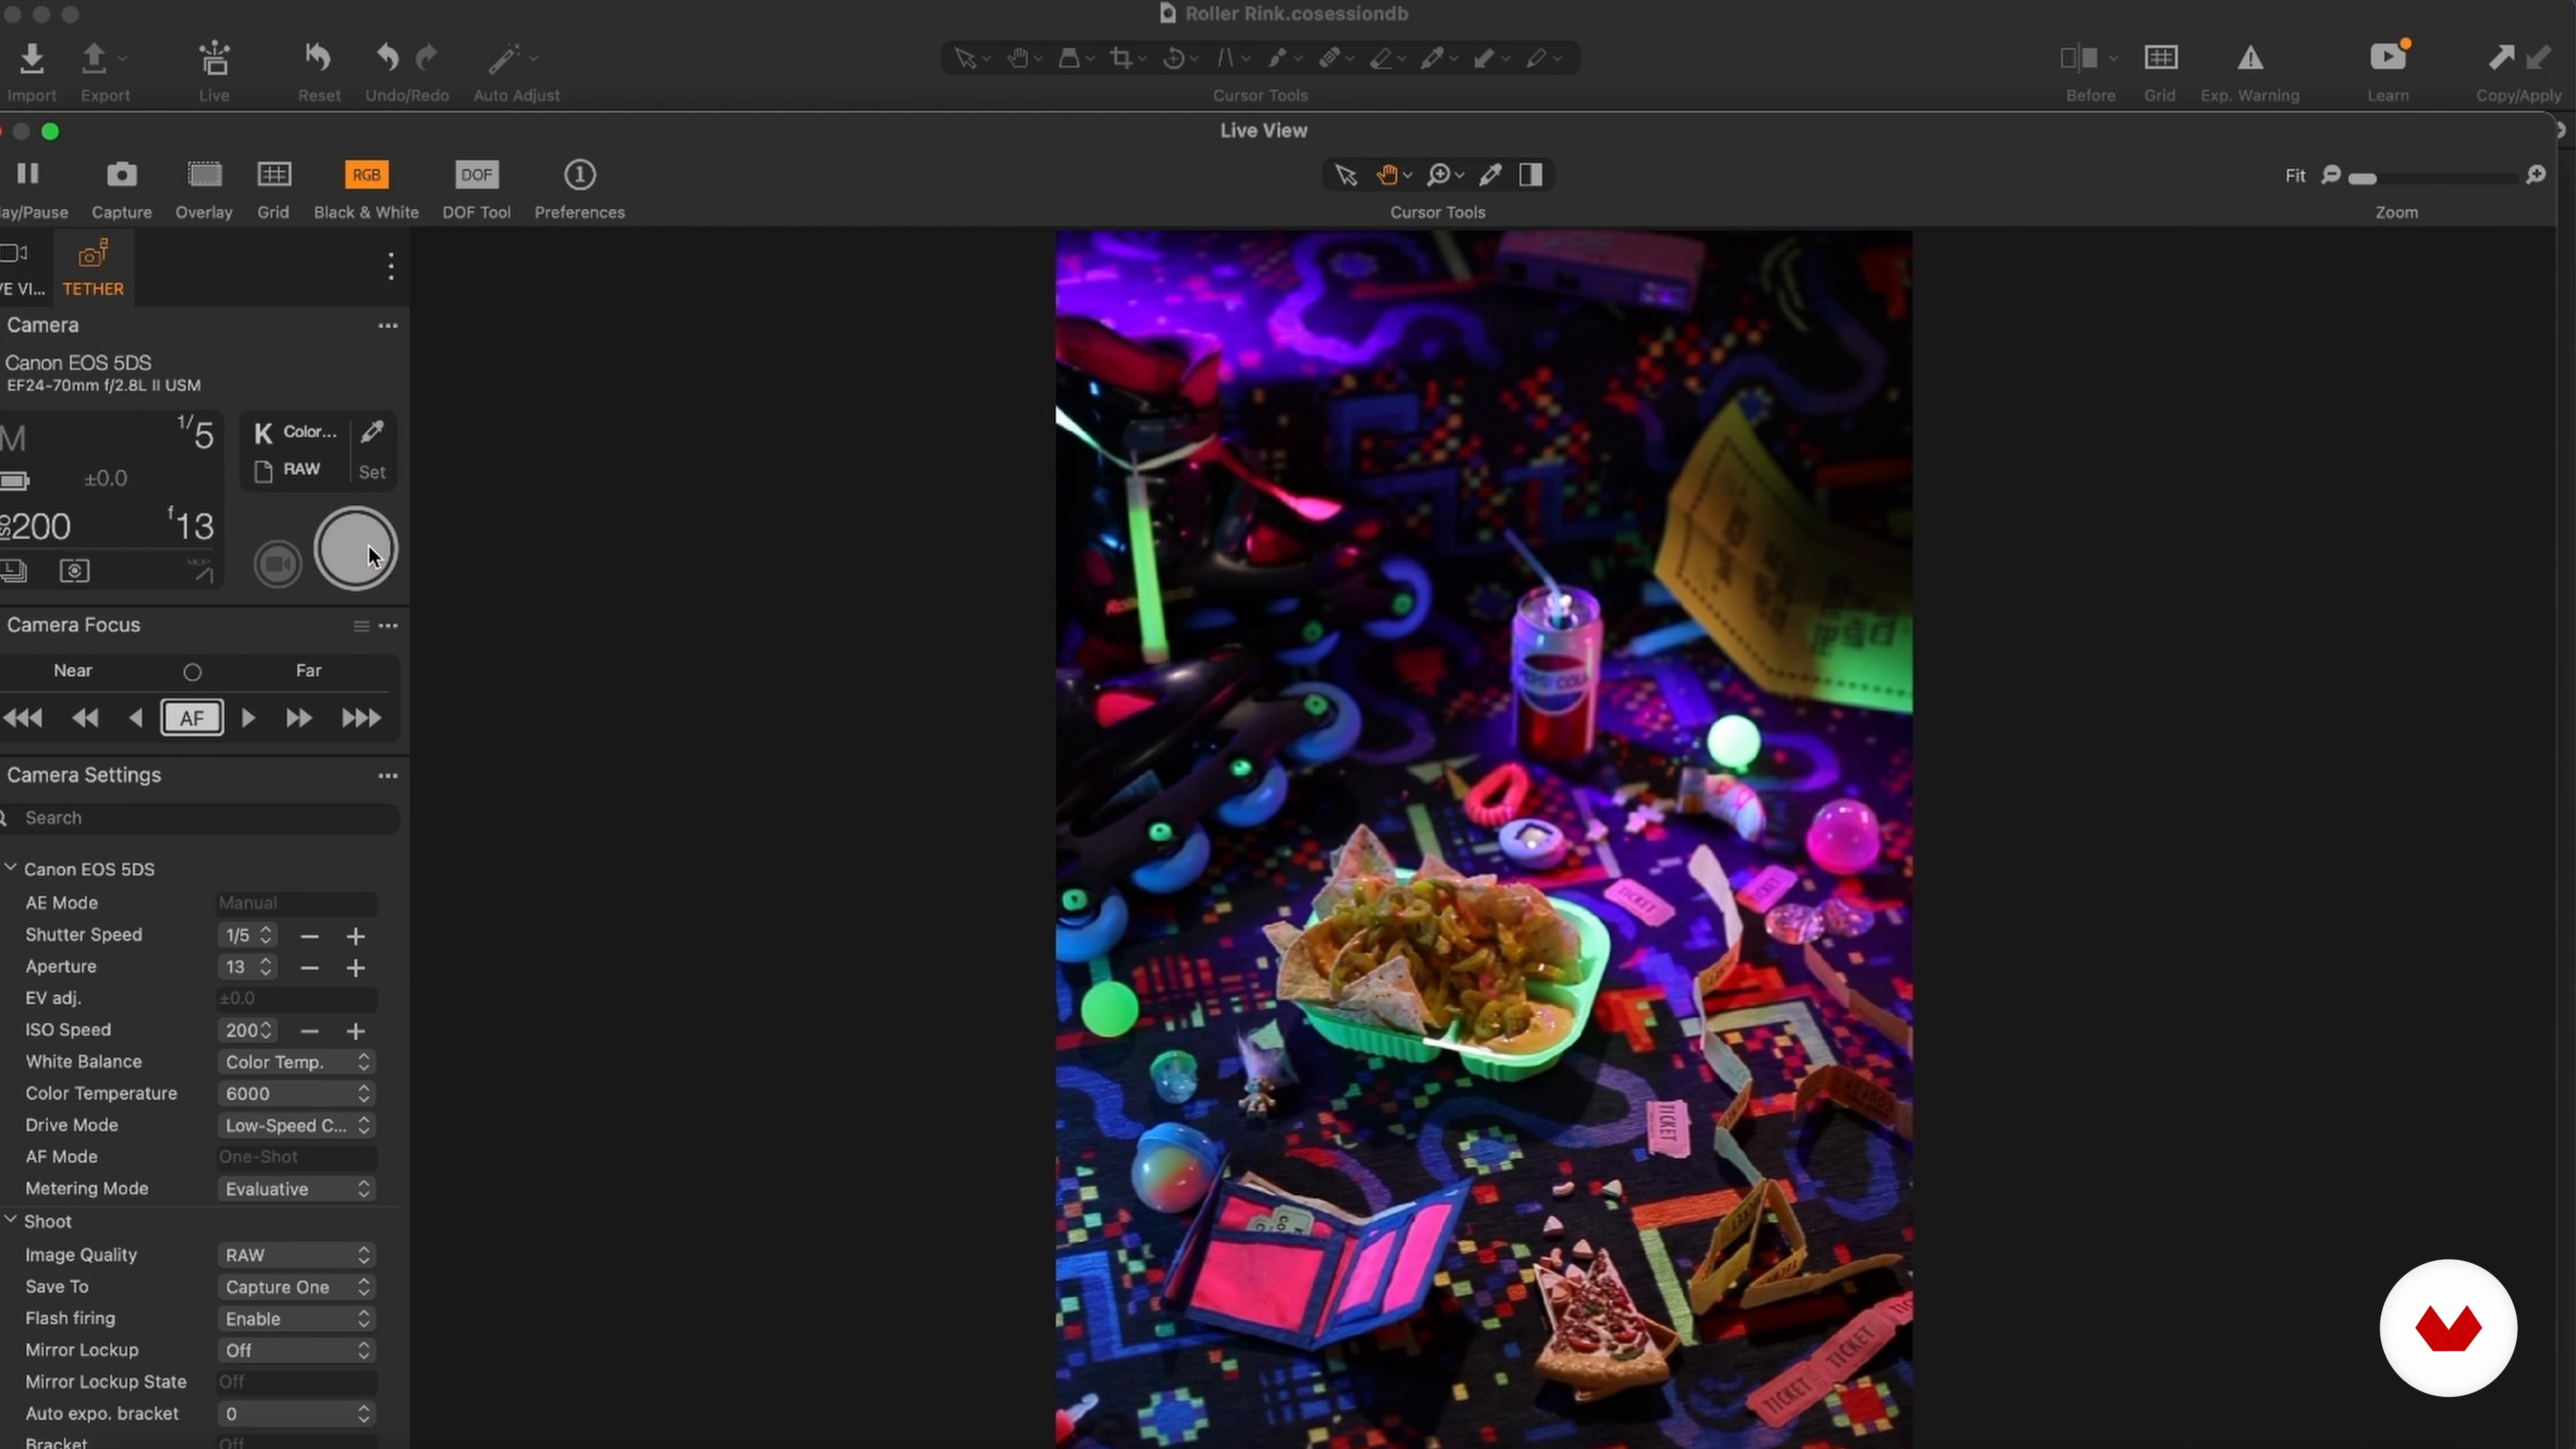
Next, we'll start assembling the set using the mood boards as a reference. In addition, we'll discuss how tethering allows you to compose your scene more easily.
2m
image
13
Lighting and Styling
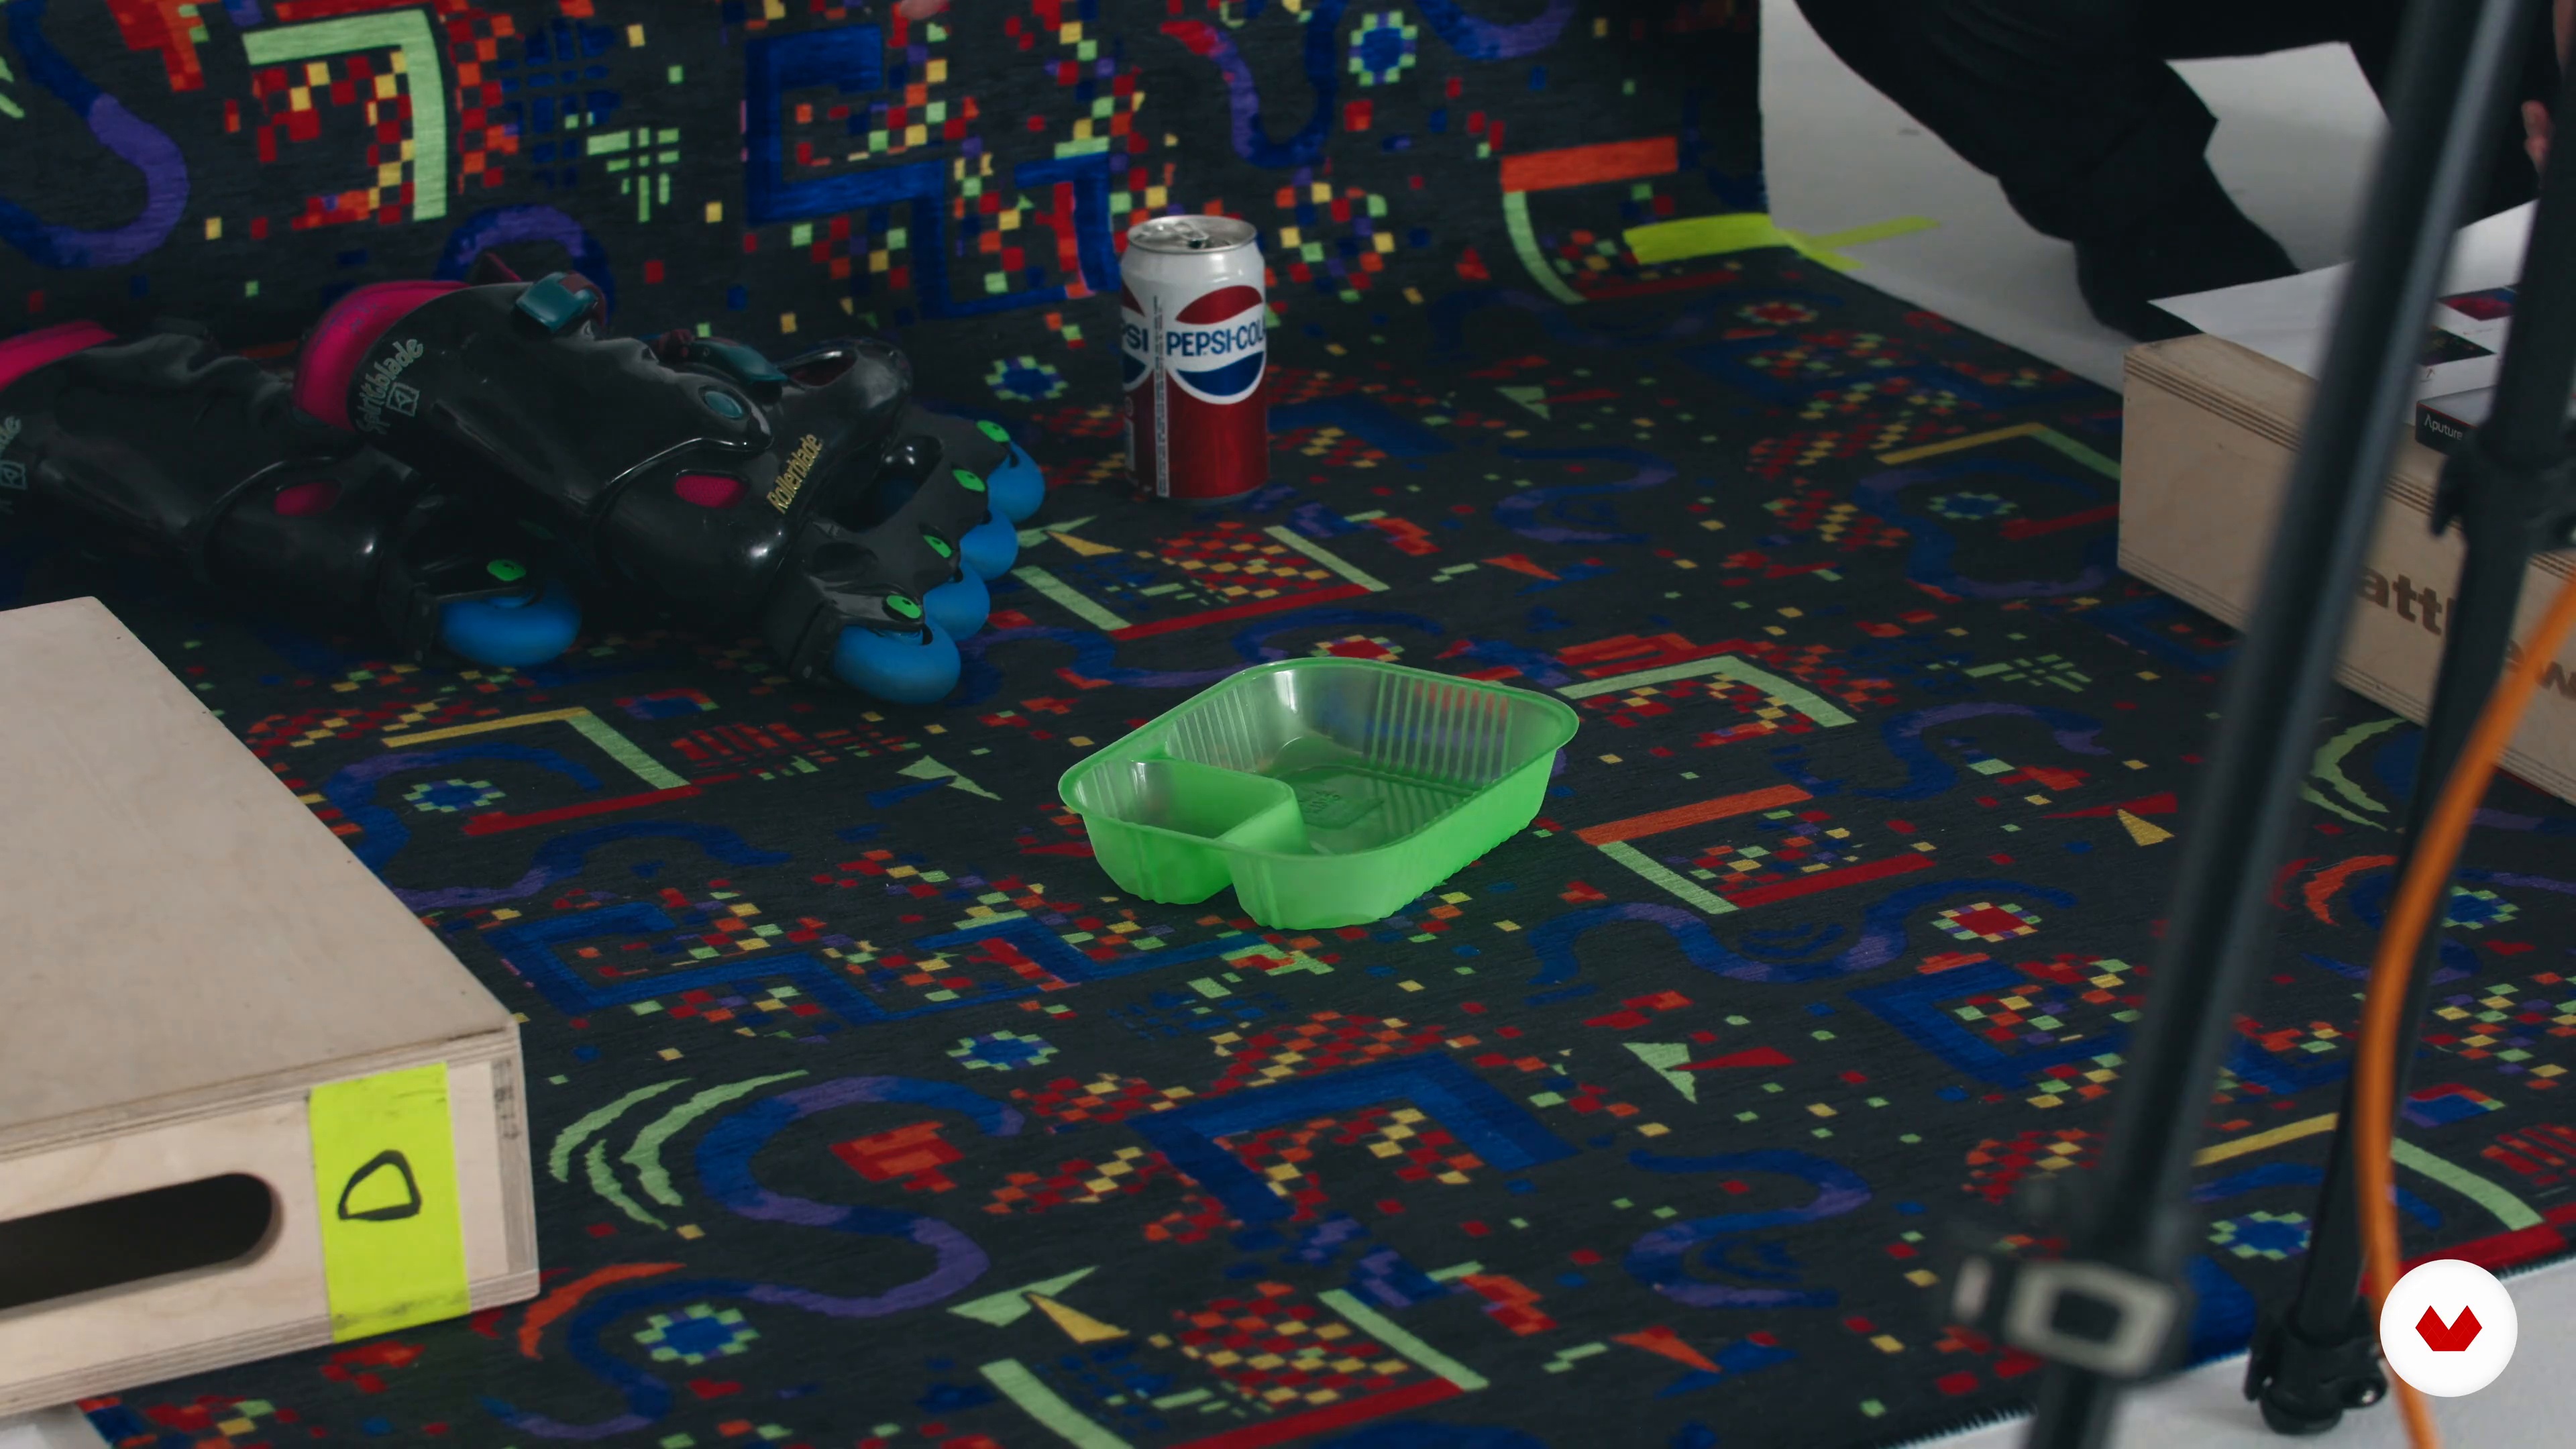
Once the scene has been set, it's time to add in the lighting and style the props to represent the narrative statement.
18m
image
14
Shooting the Final Photo
After a few final touches on the scene, we're ready for the photoshoot! In this lesson, we'll show you how to add the last details and capture the photo.
5m
image
15
Editing the Final Photo 1
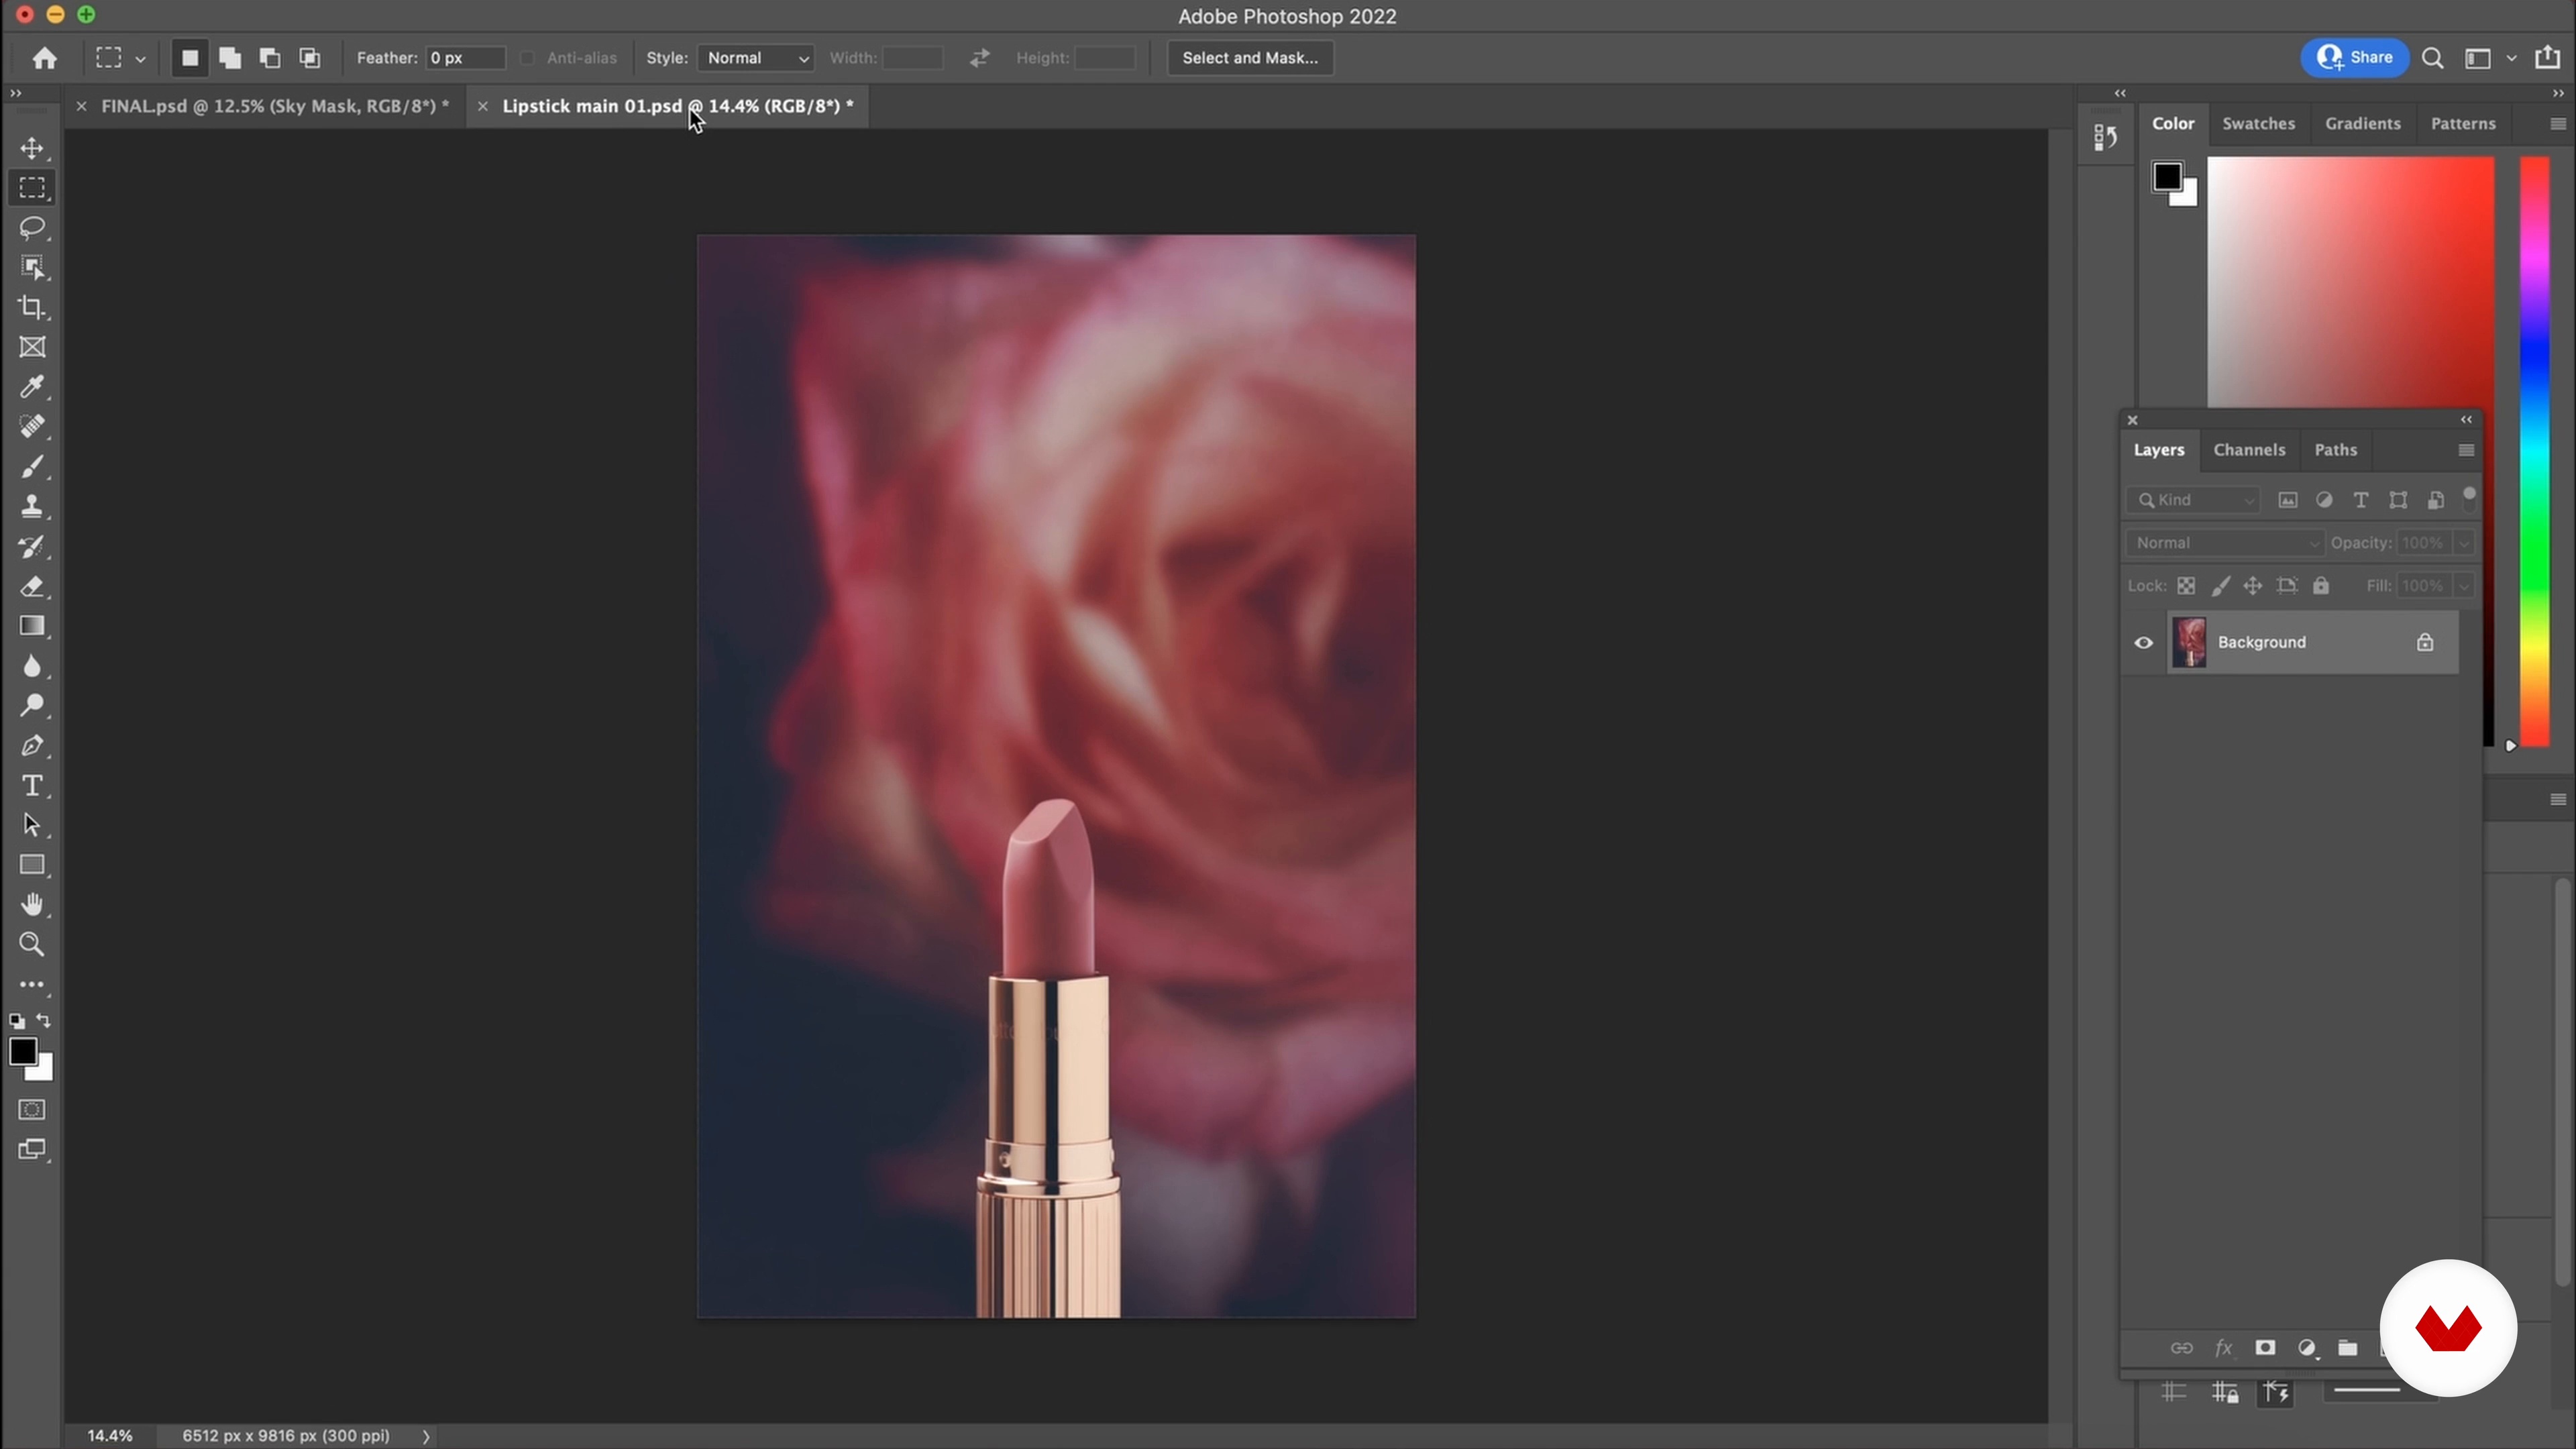
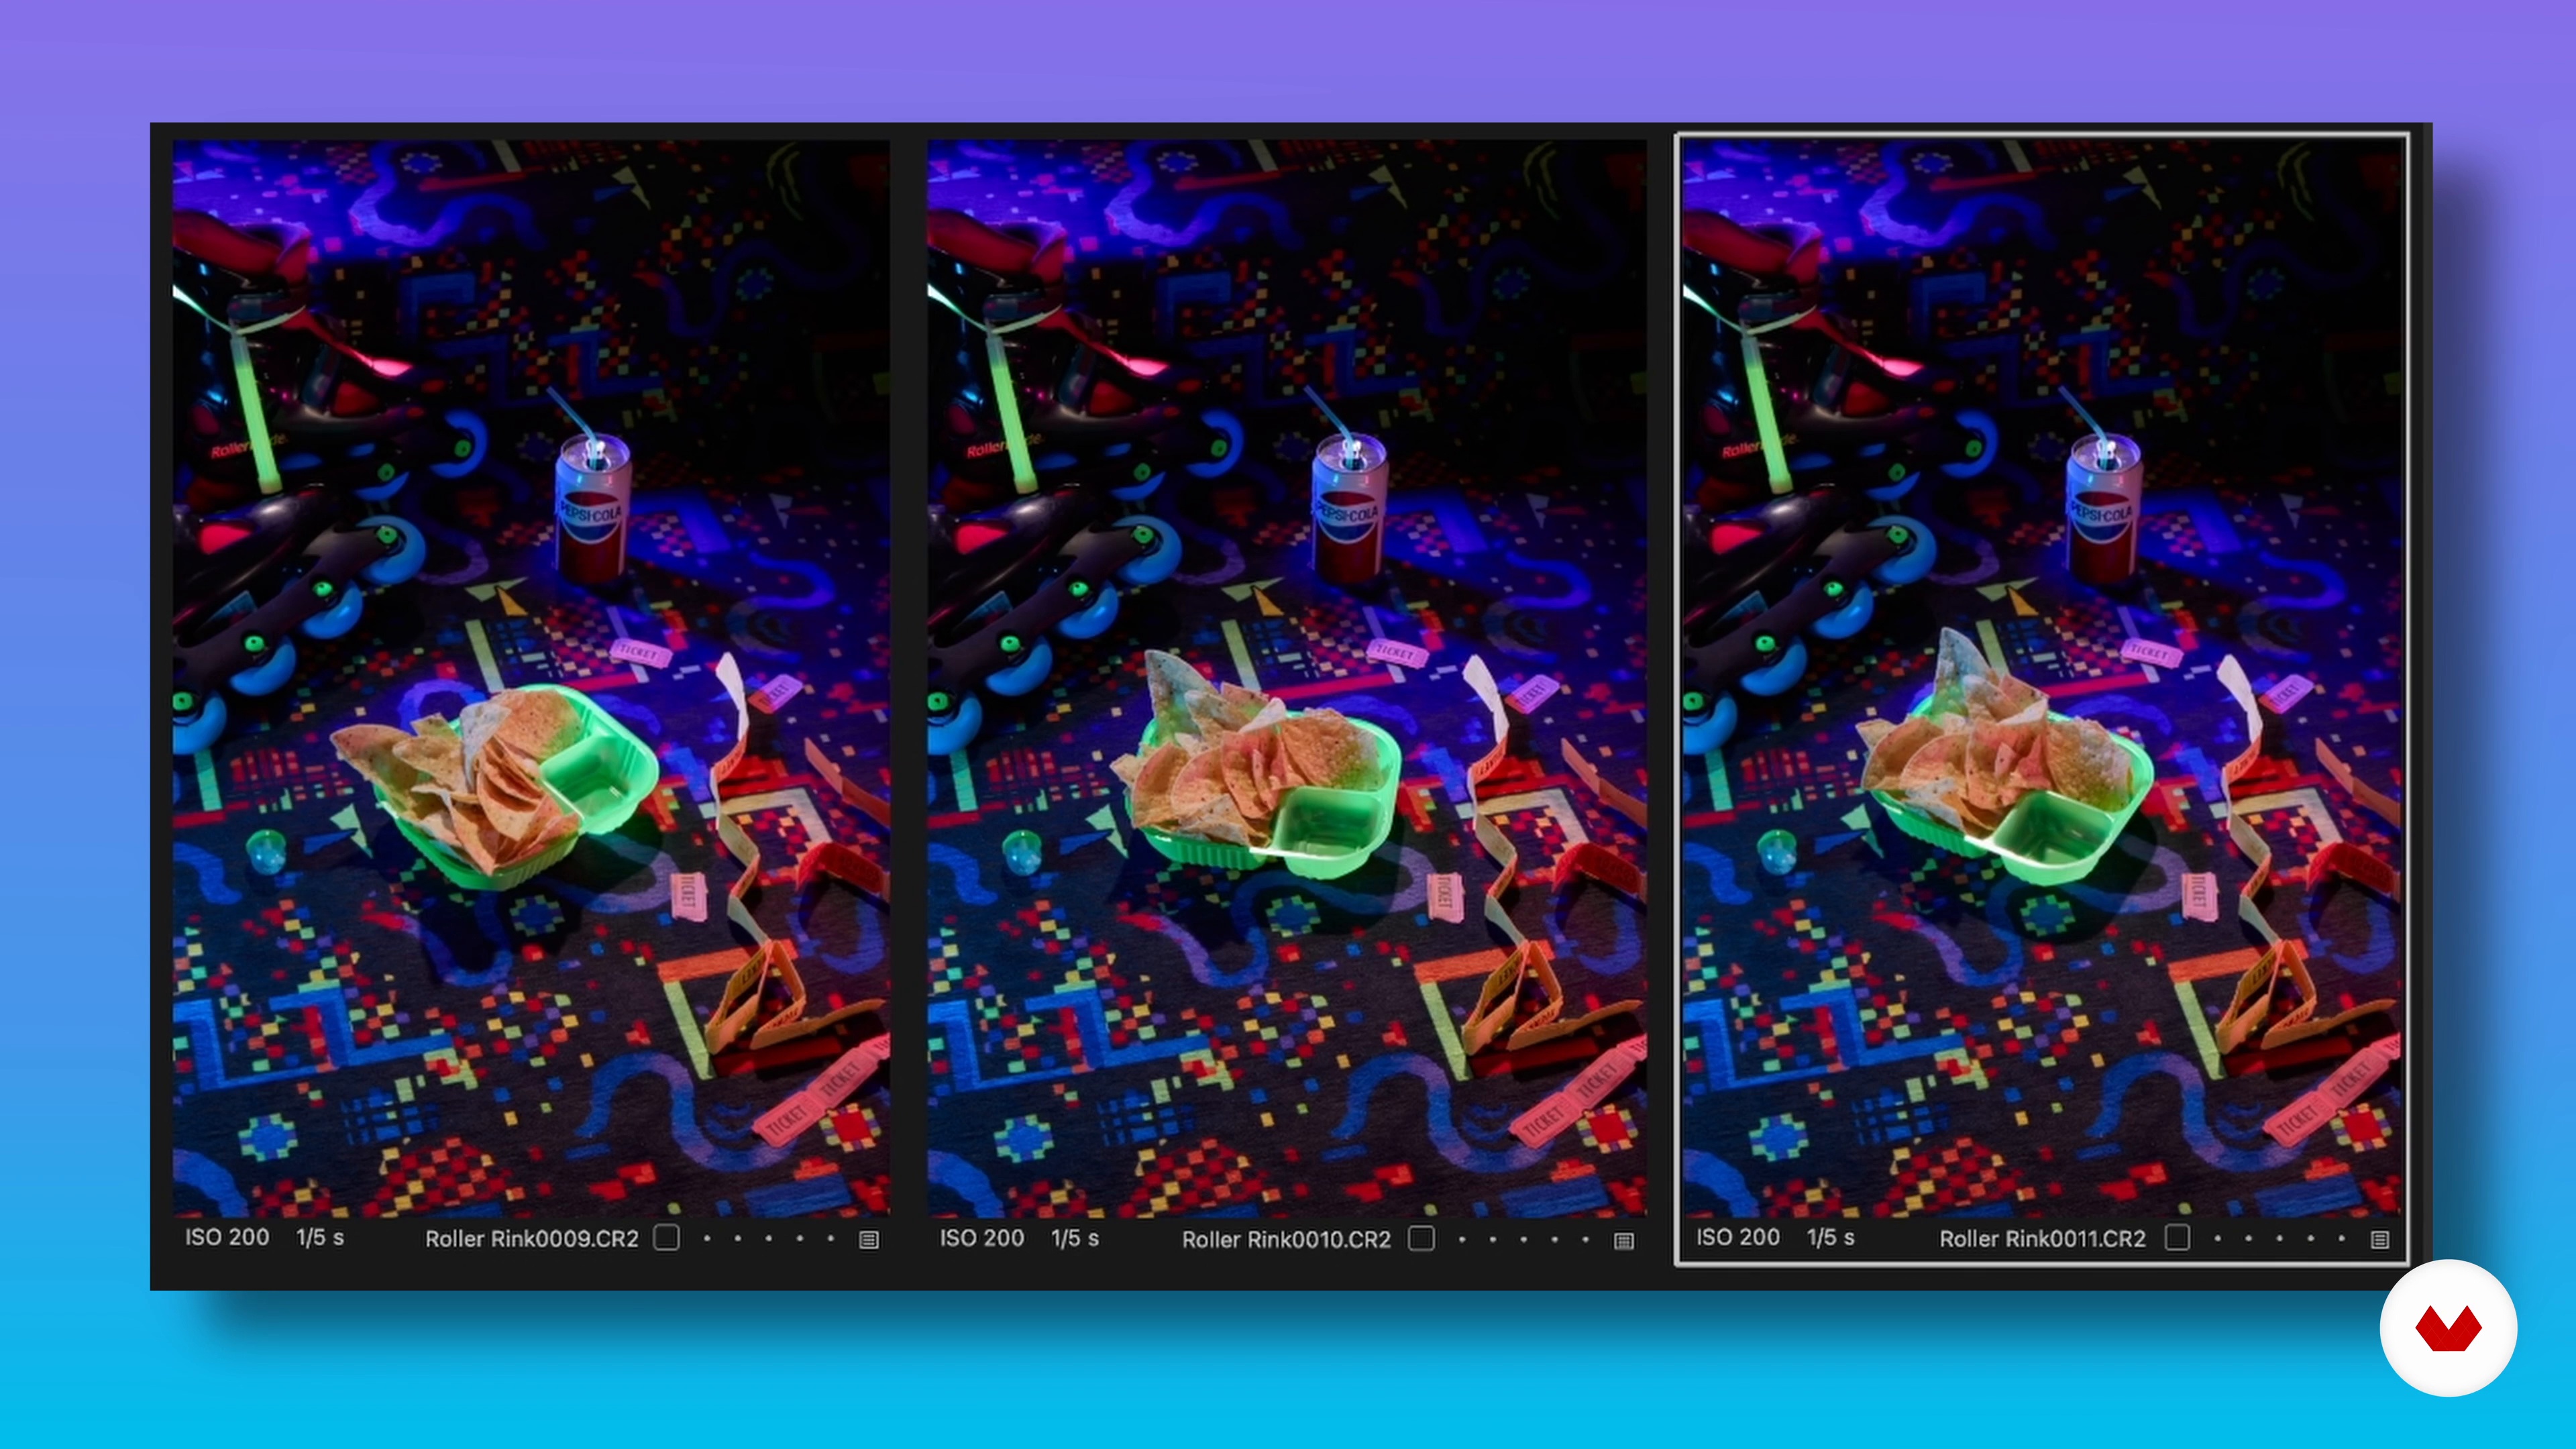
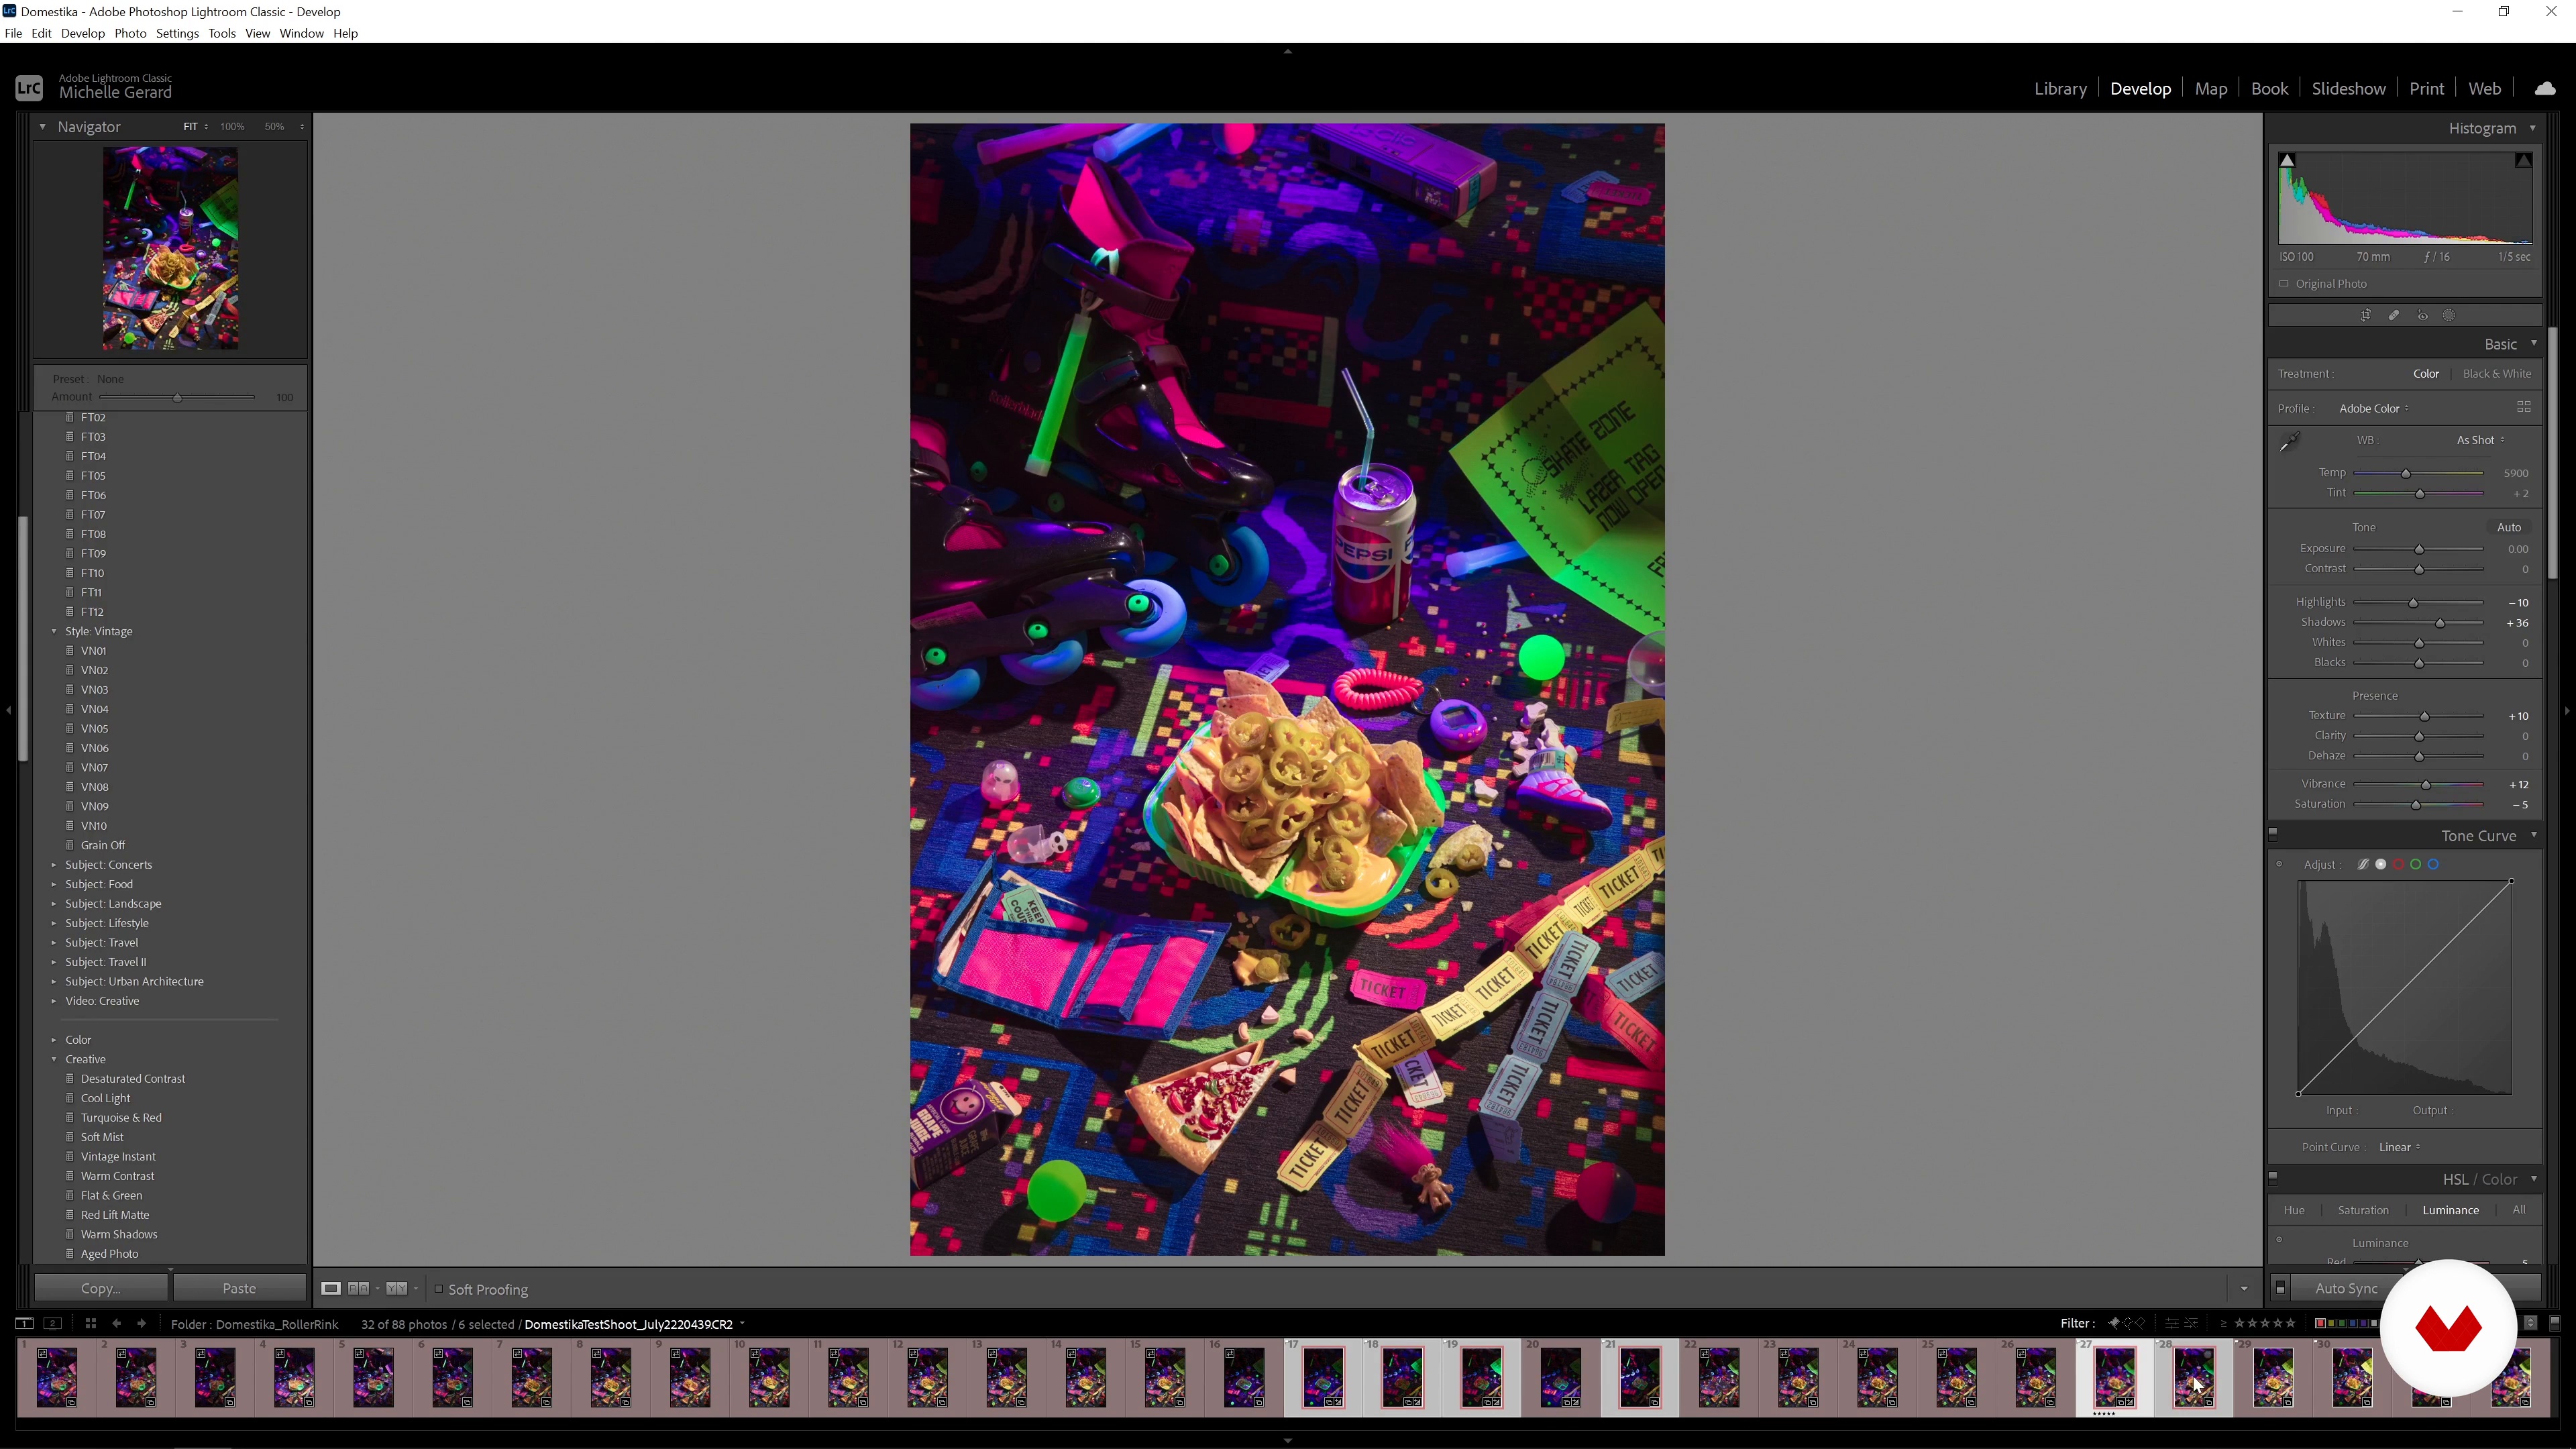
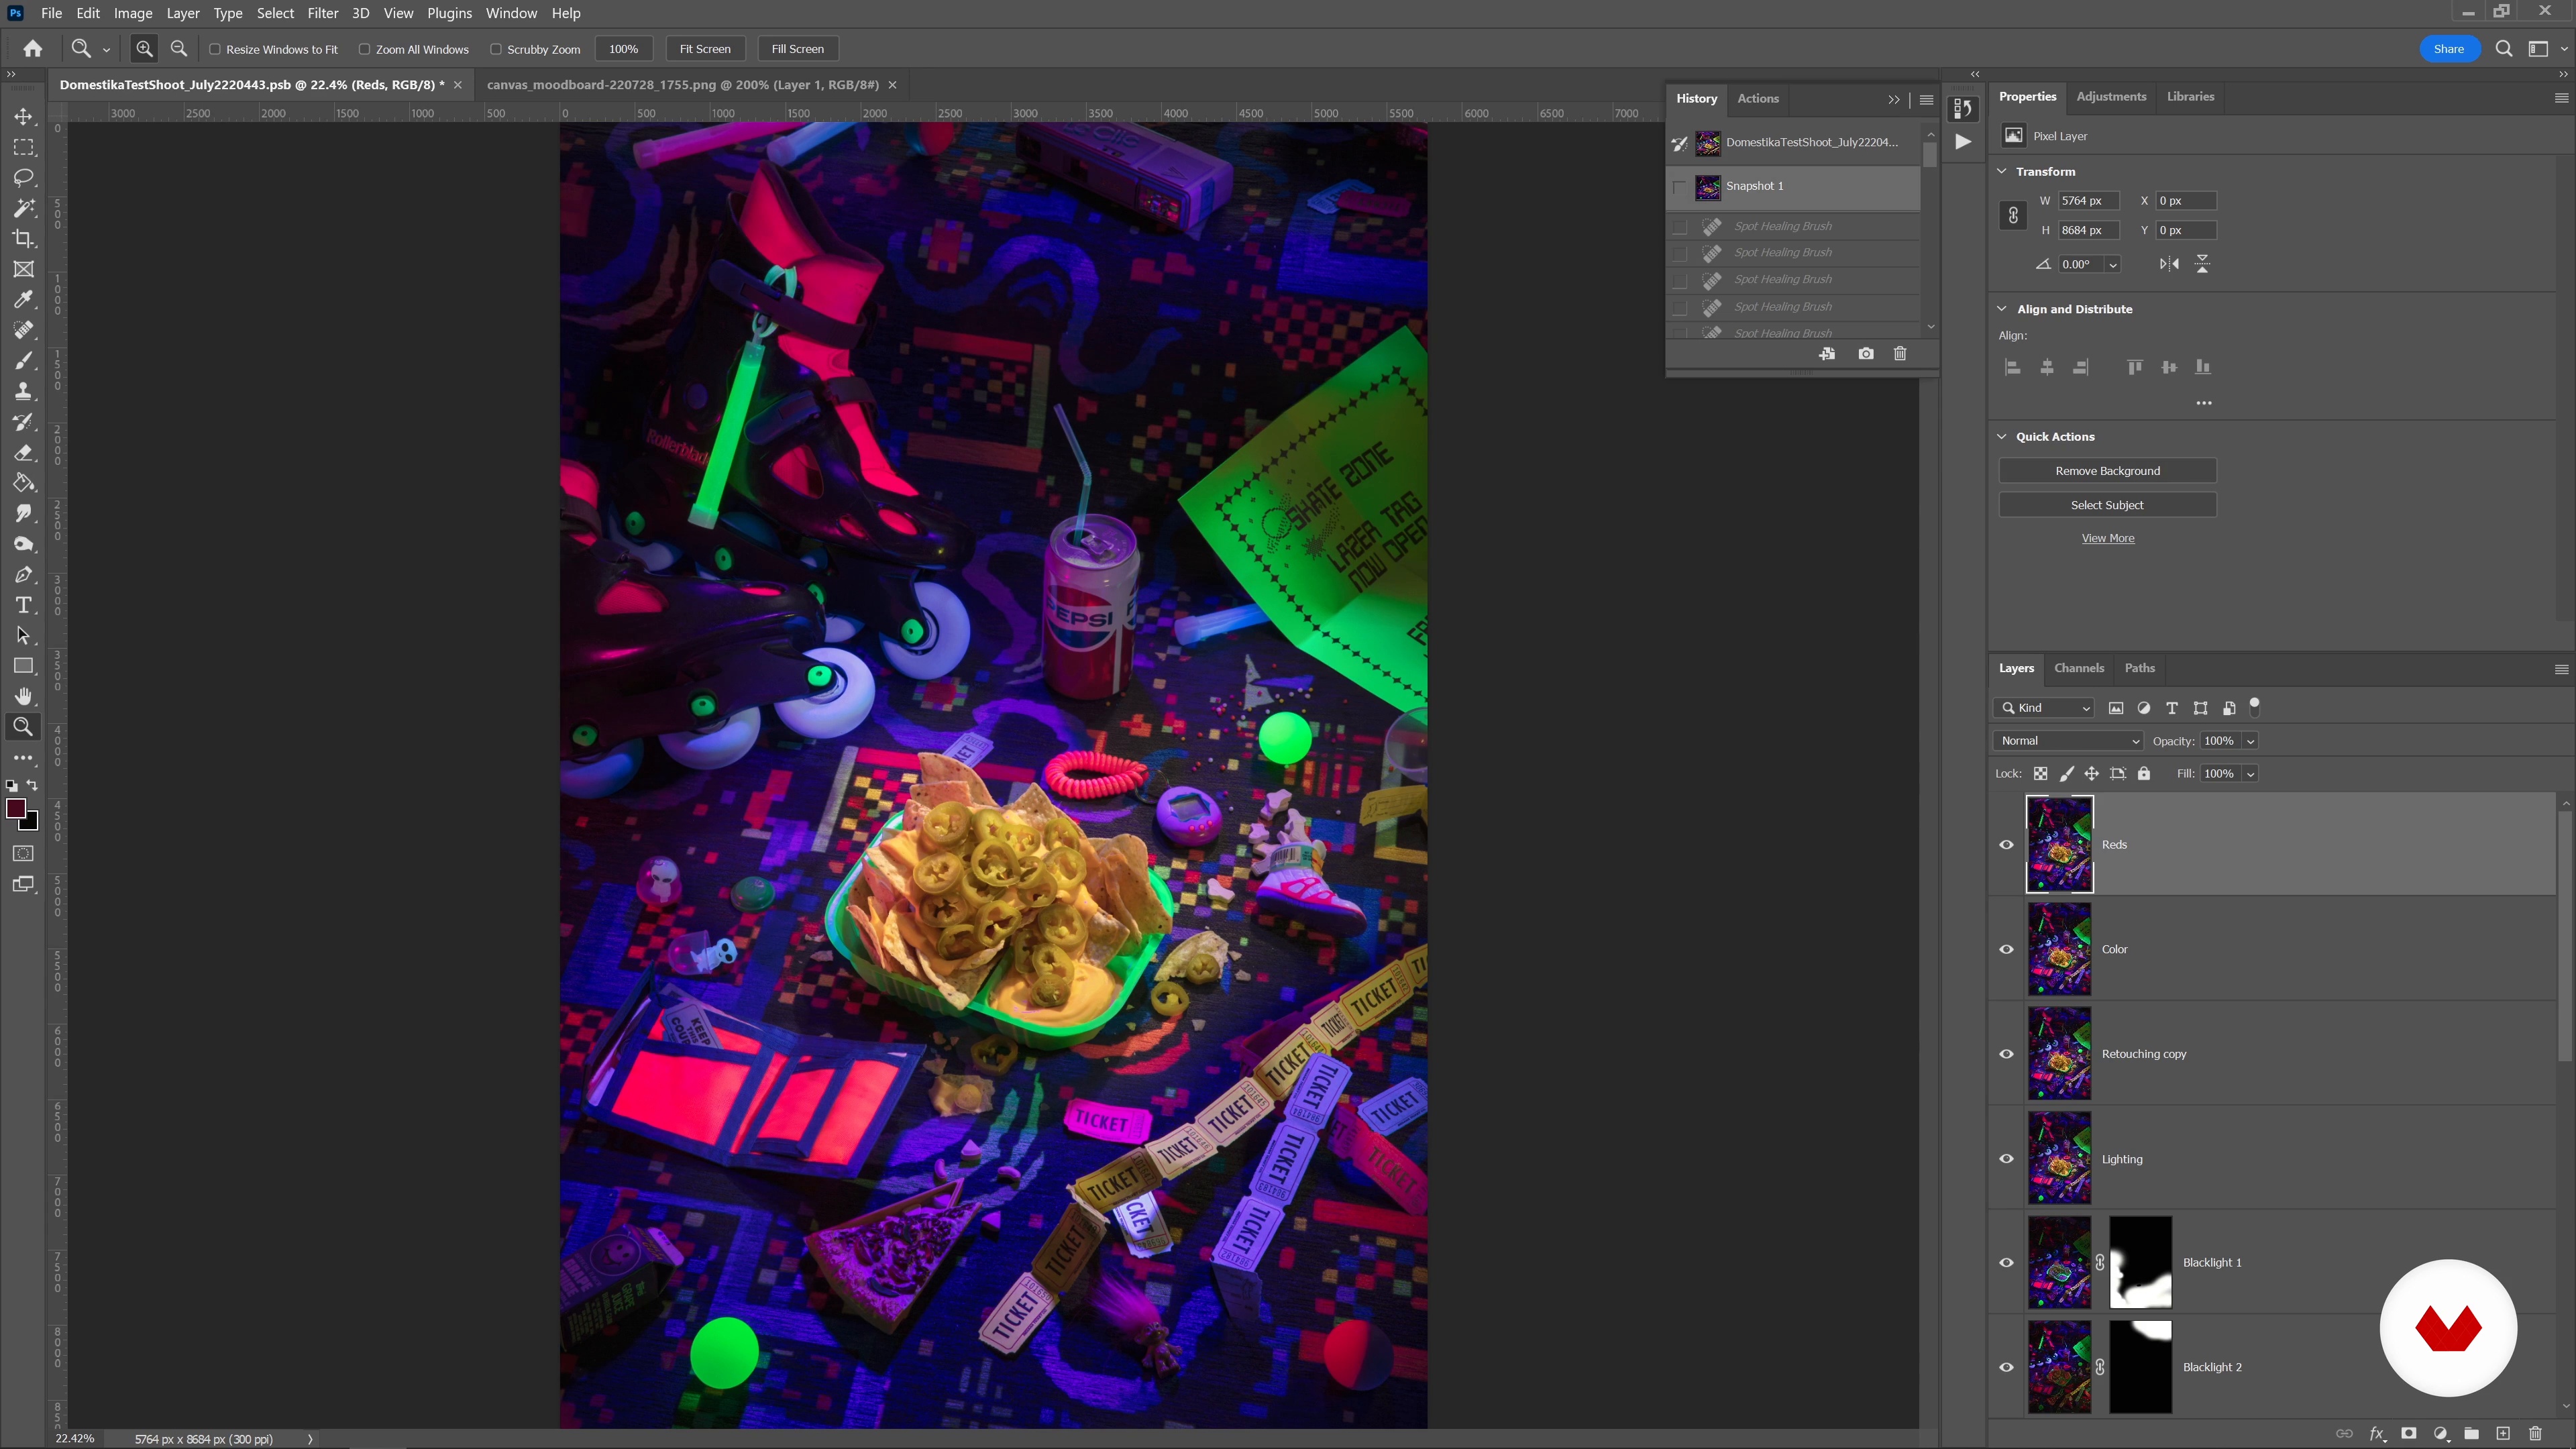
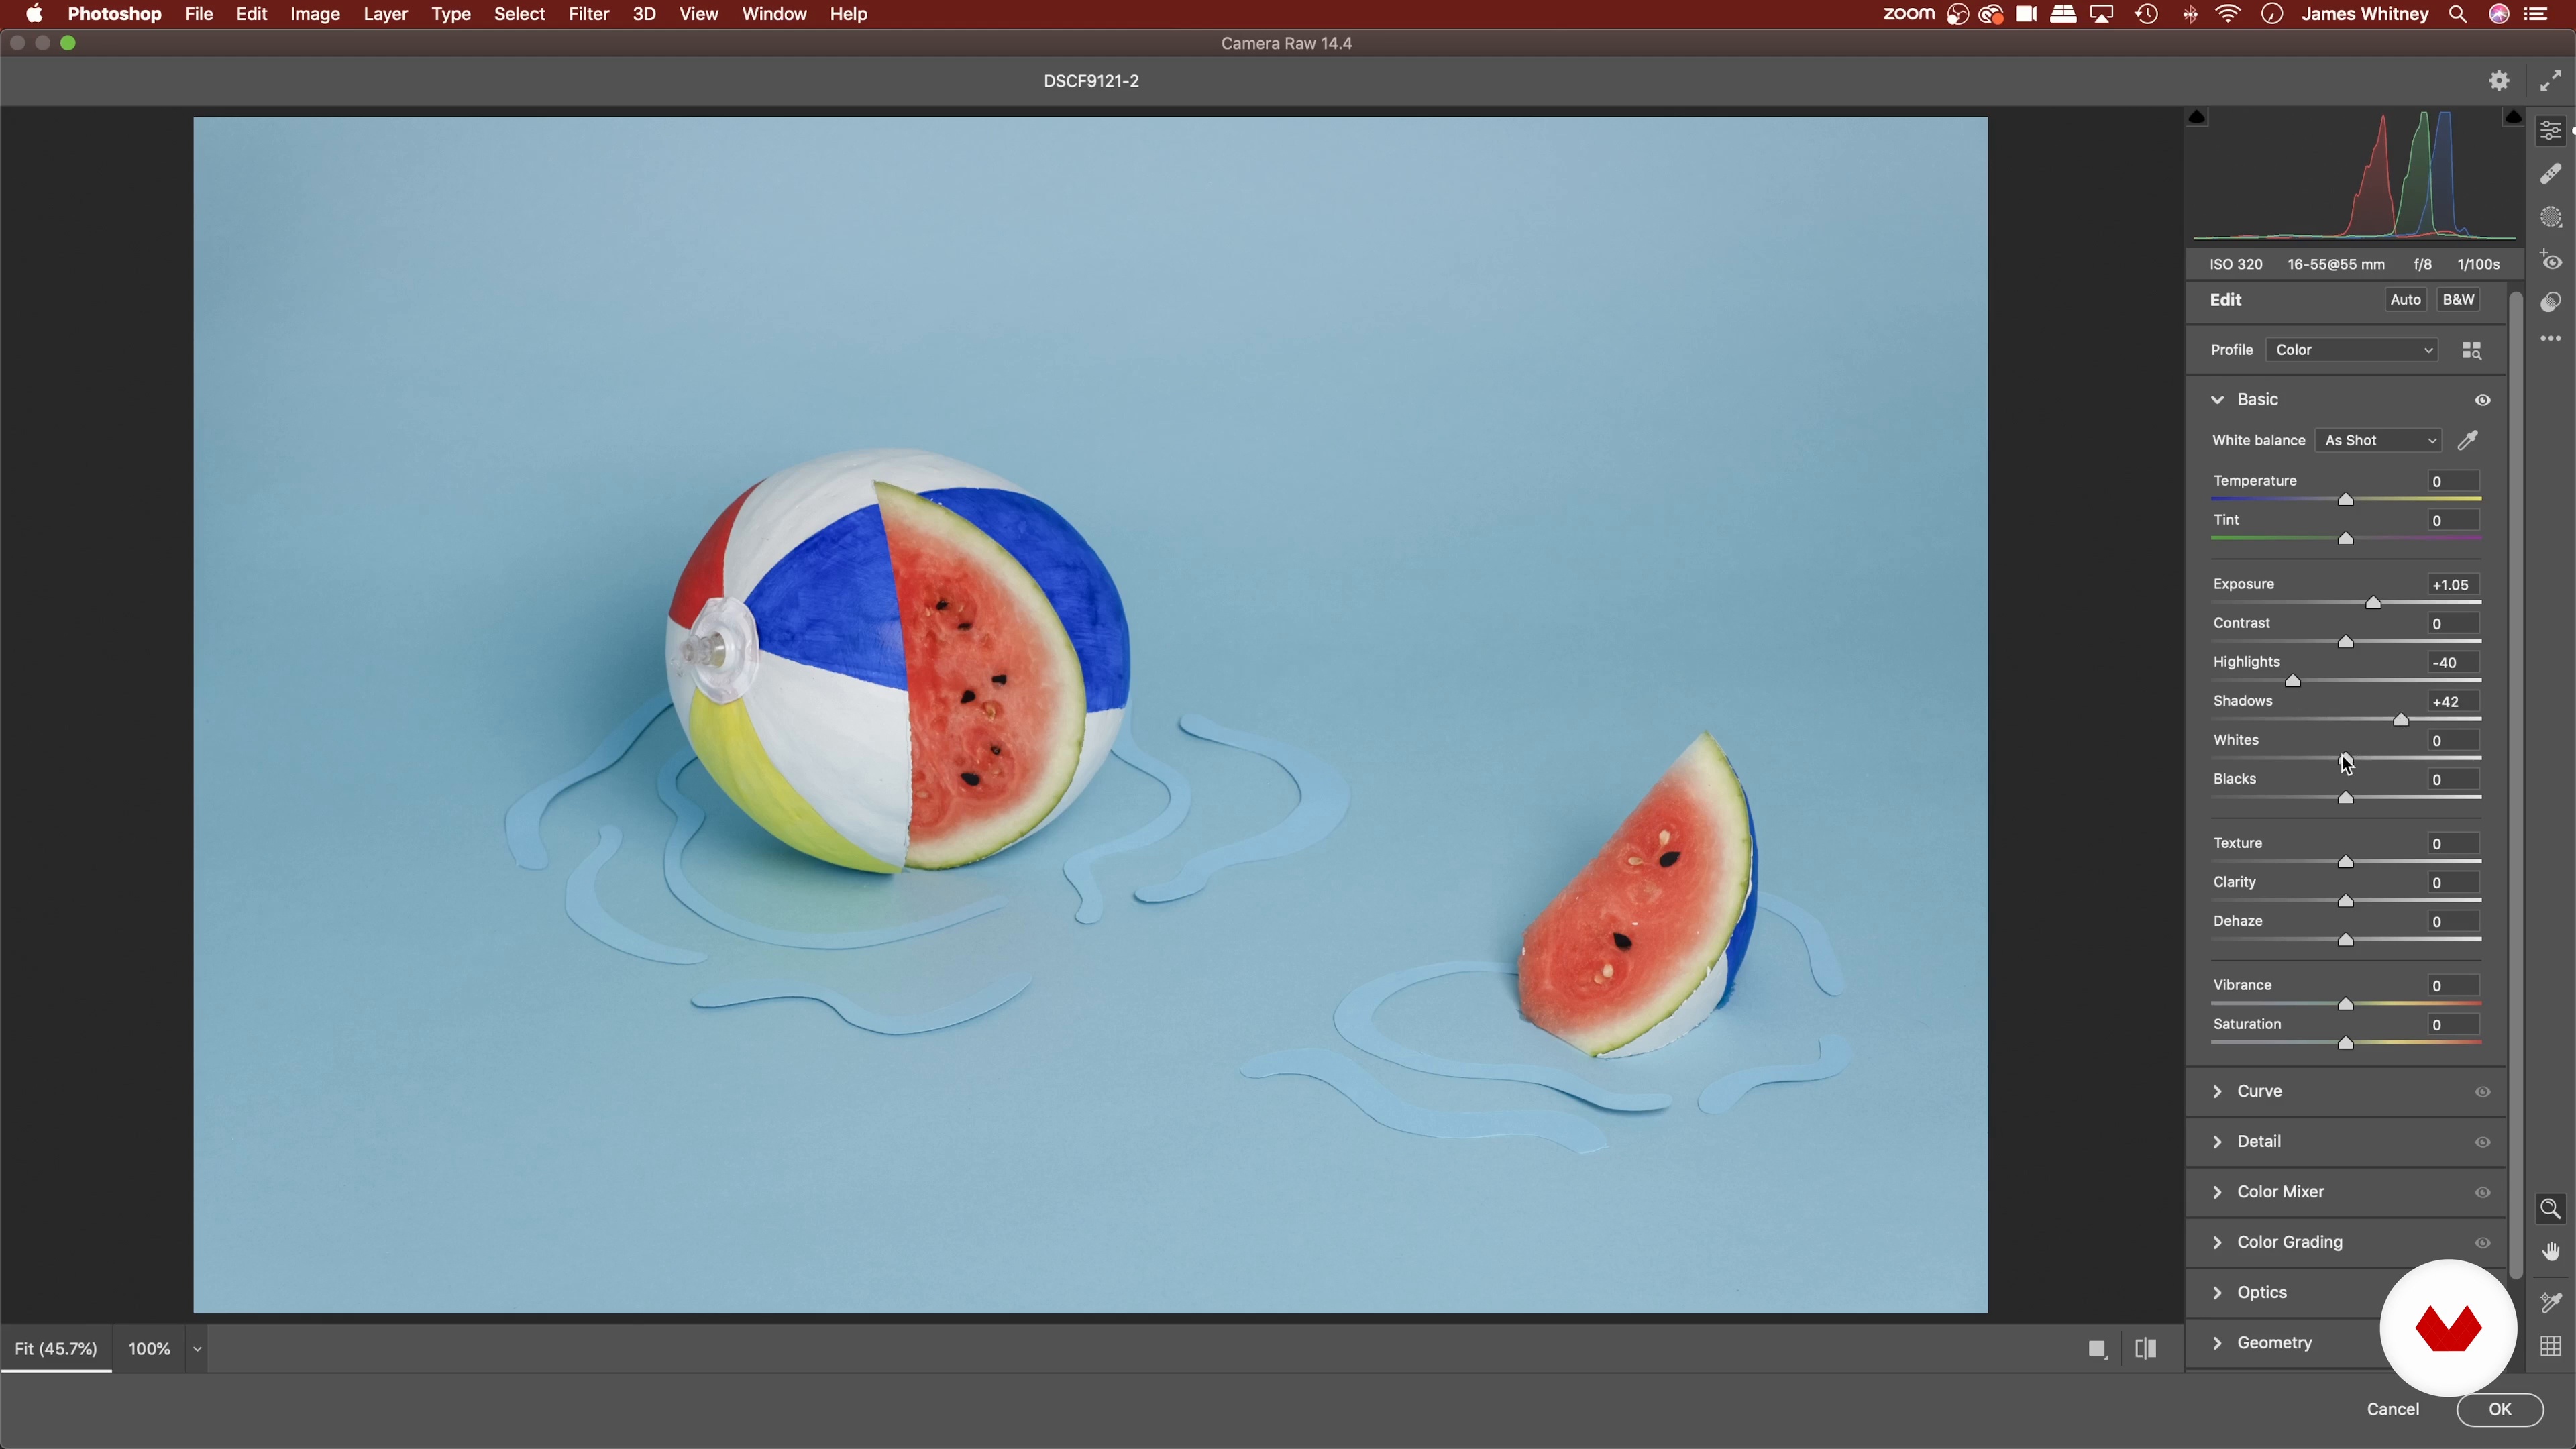
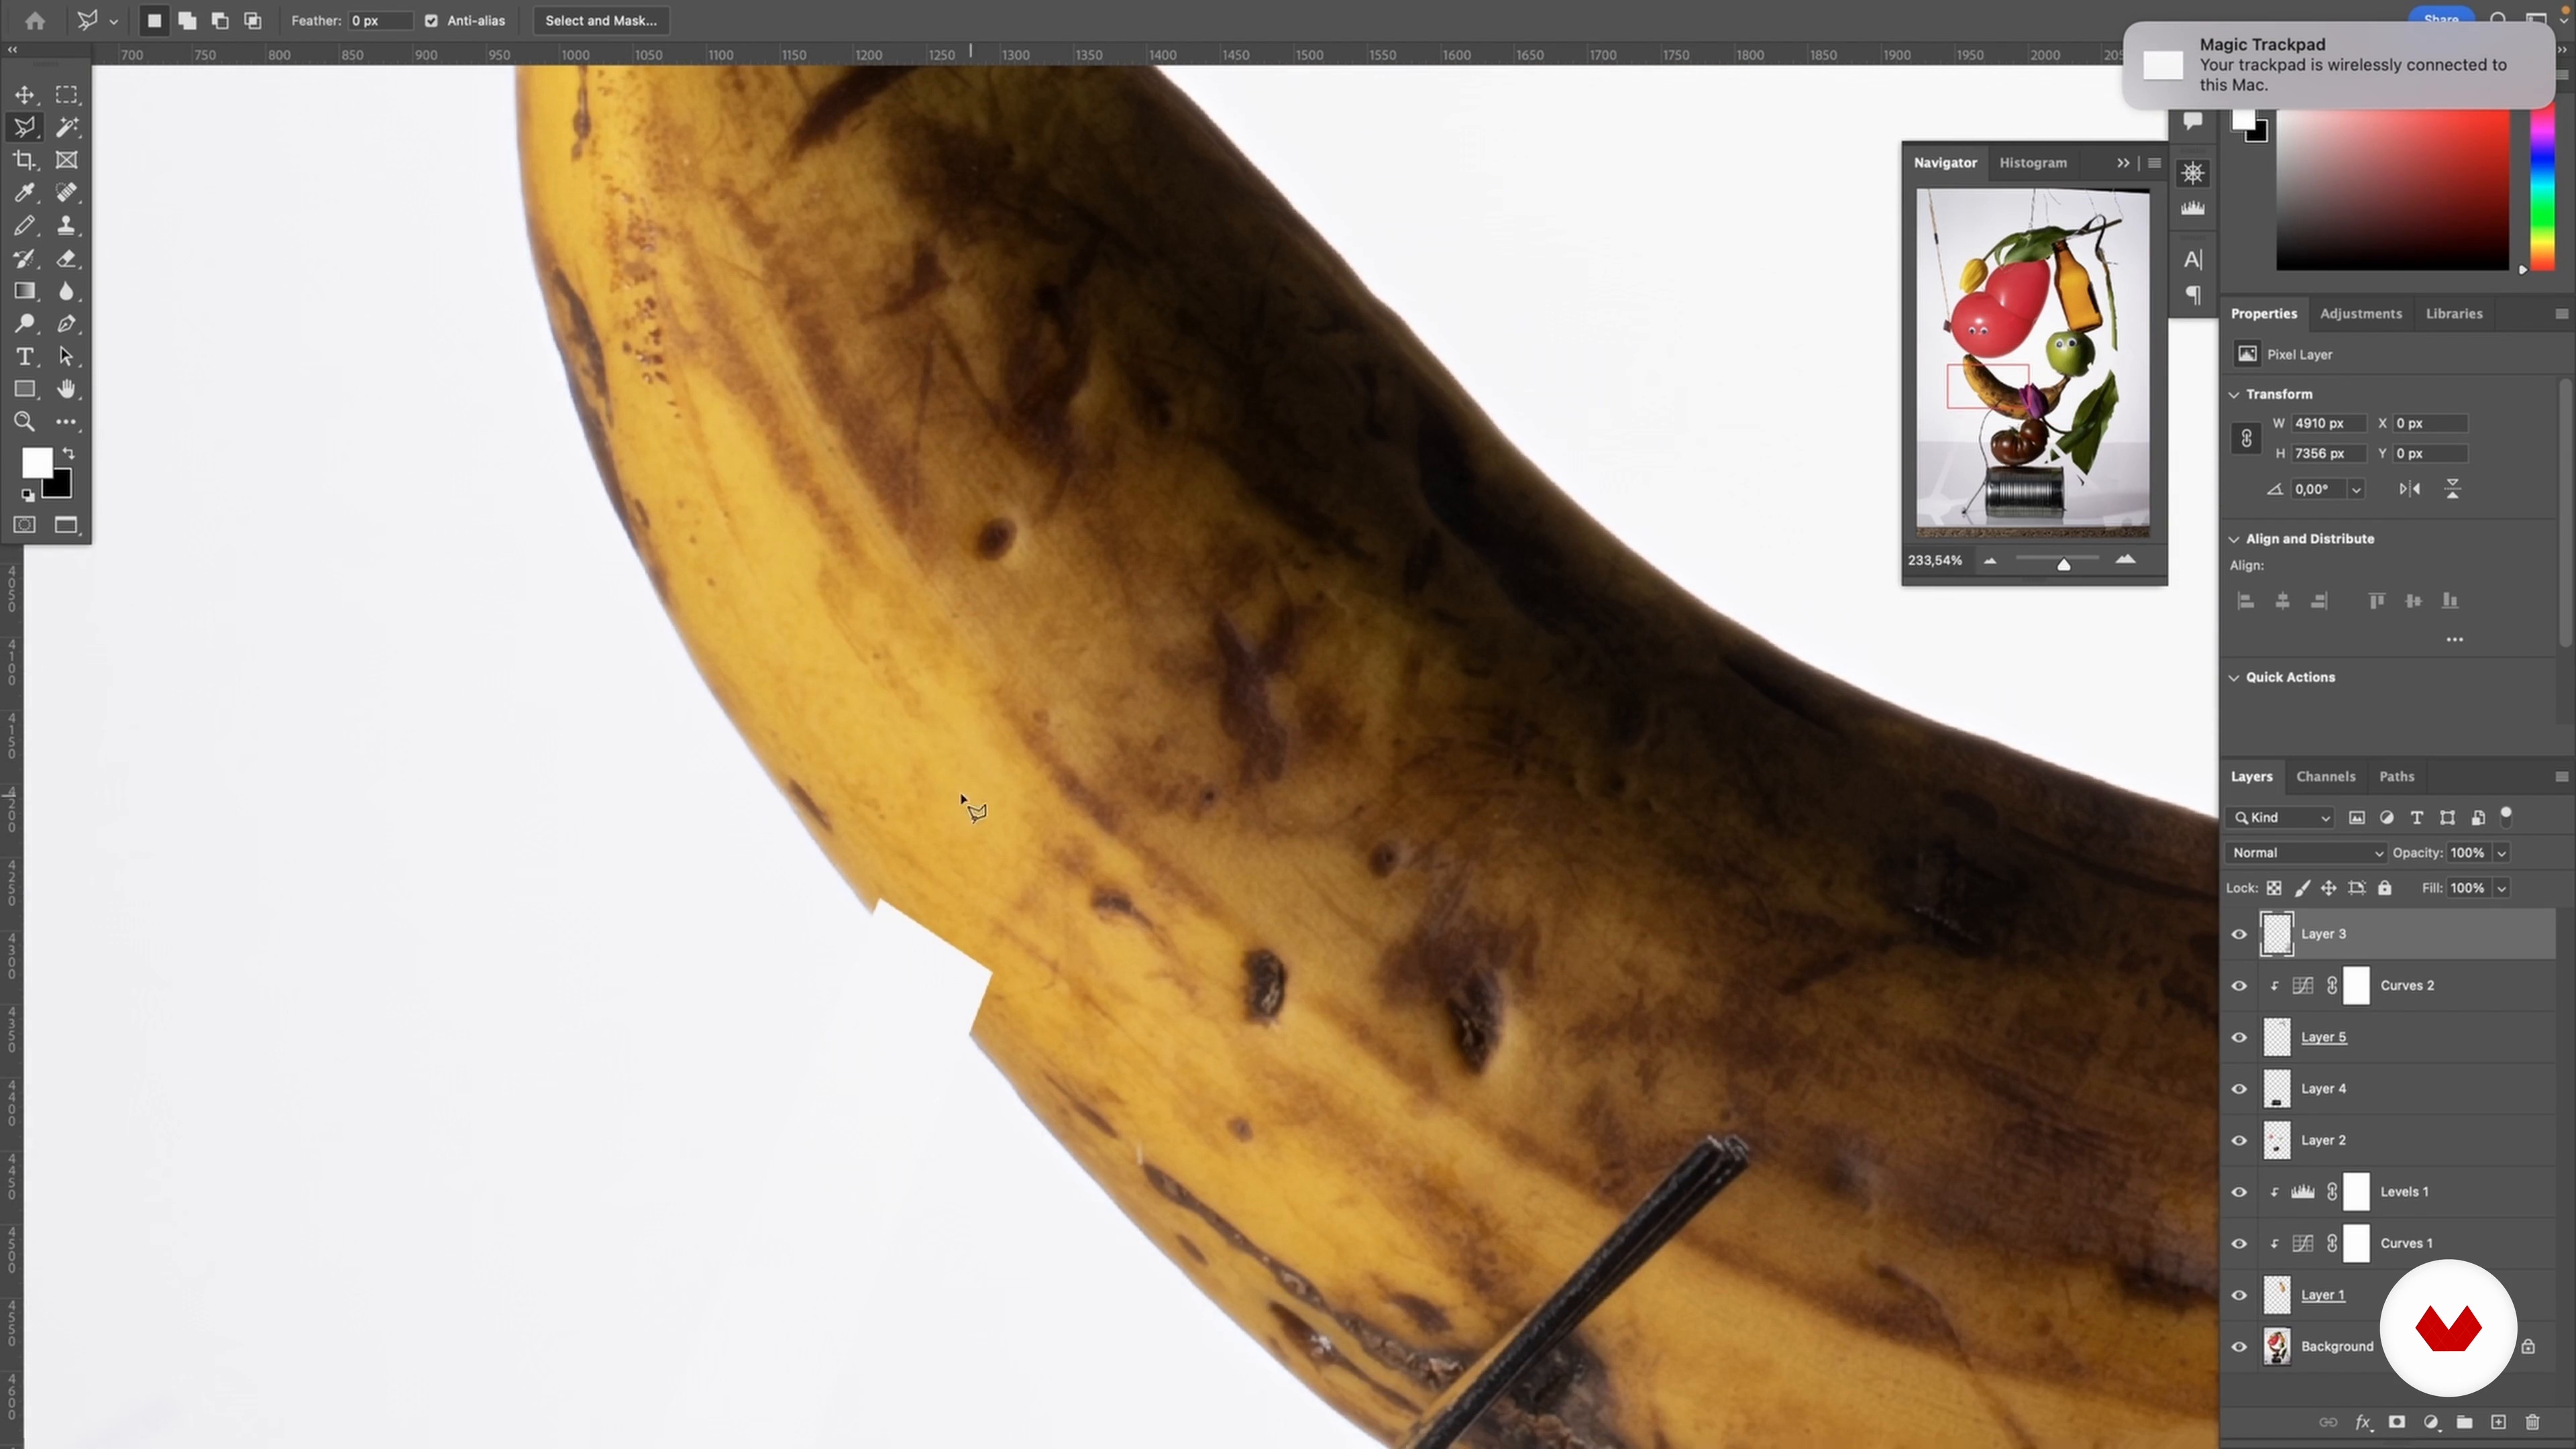
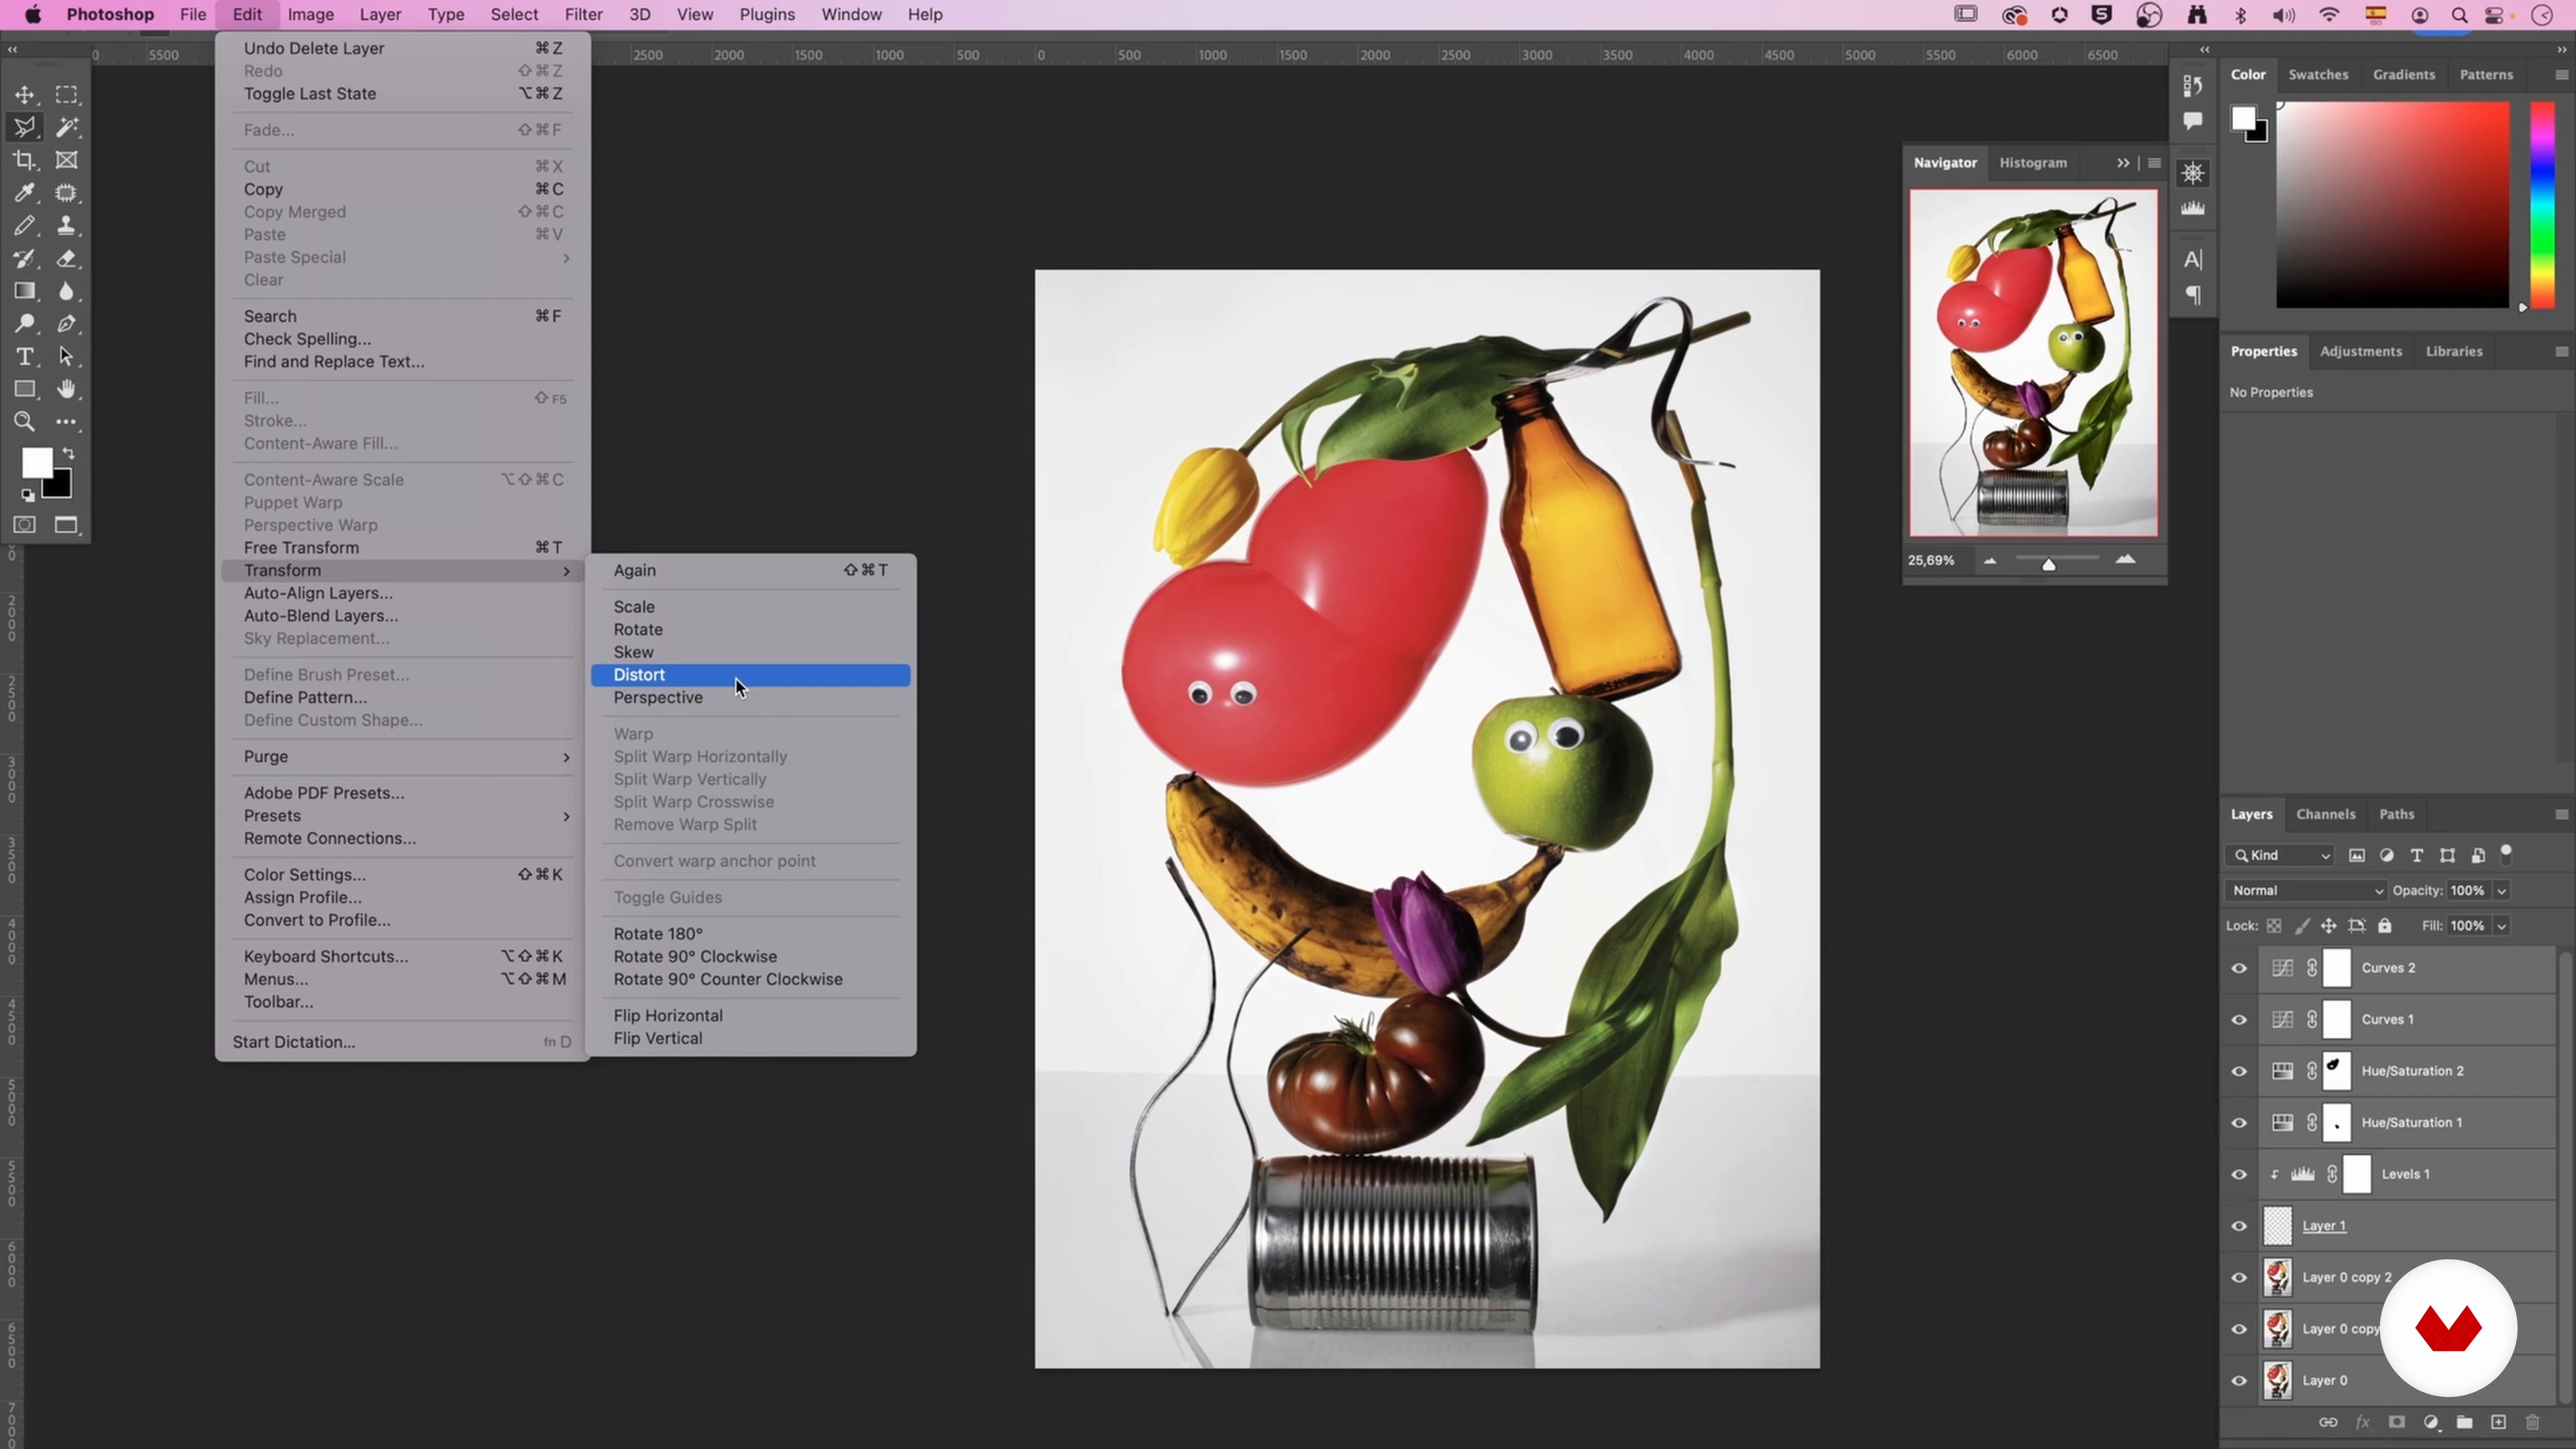
All of our photos will now be loaded into Adobe Lightroom, and we'll review them to choose the best one. Then, we'll discuss how to adjust the basic exposure, color, and sharpness. Next, we'll move to Adobe Photoshop, and open the references to edit the image using color grading, contrast, saturation, and so on.
17m
image
16
Editing the Final Photo 2
Last but not least, we'll teach you how to merge the layers in Photoshop and start working on smaller details in order to clean up and finalize the image.
14m
image
3
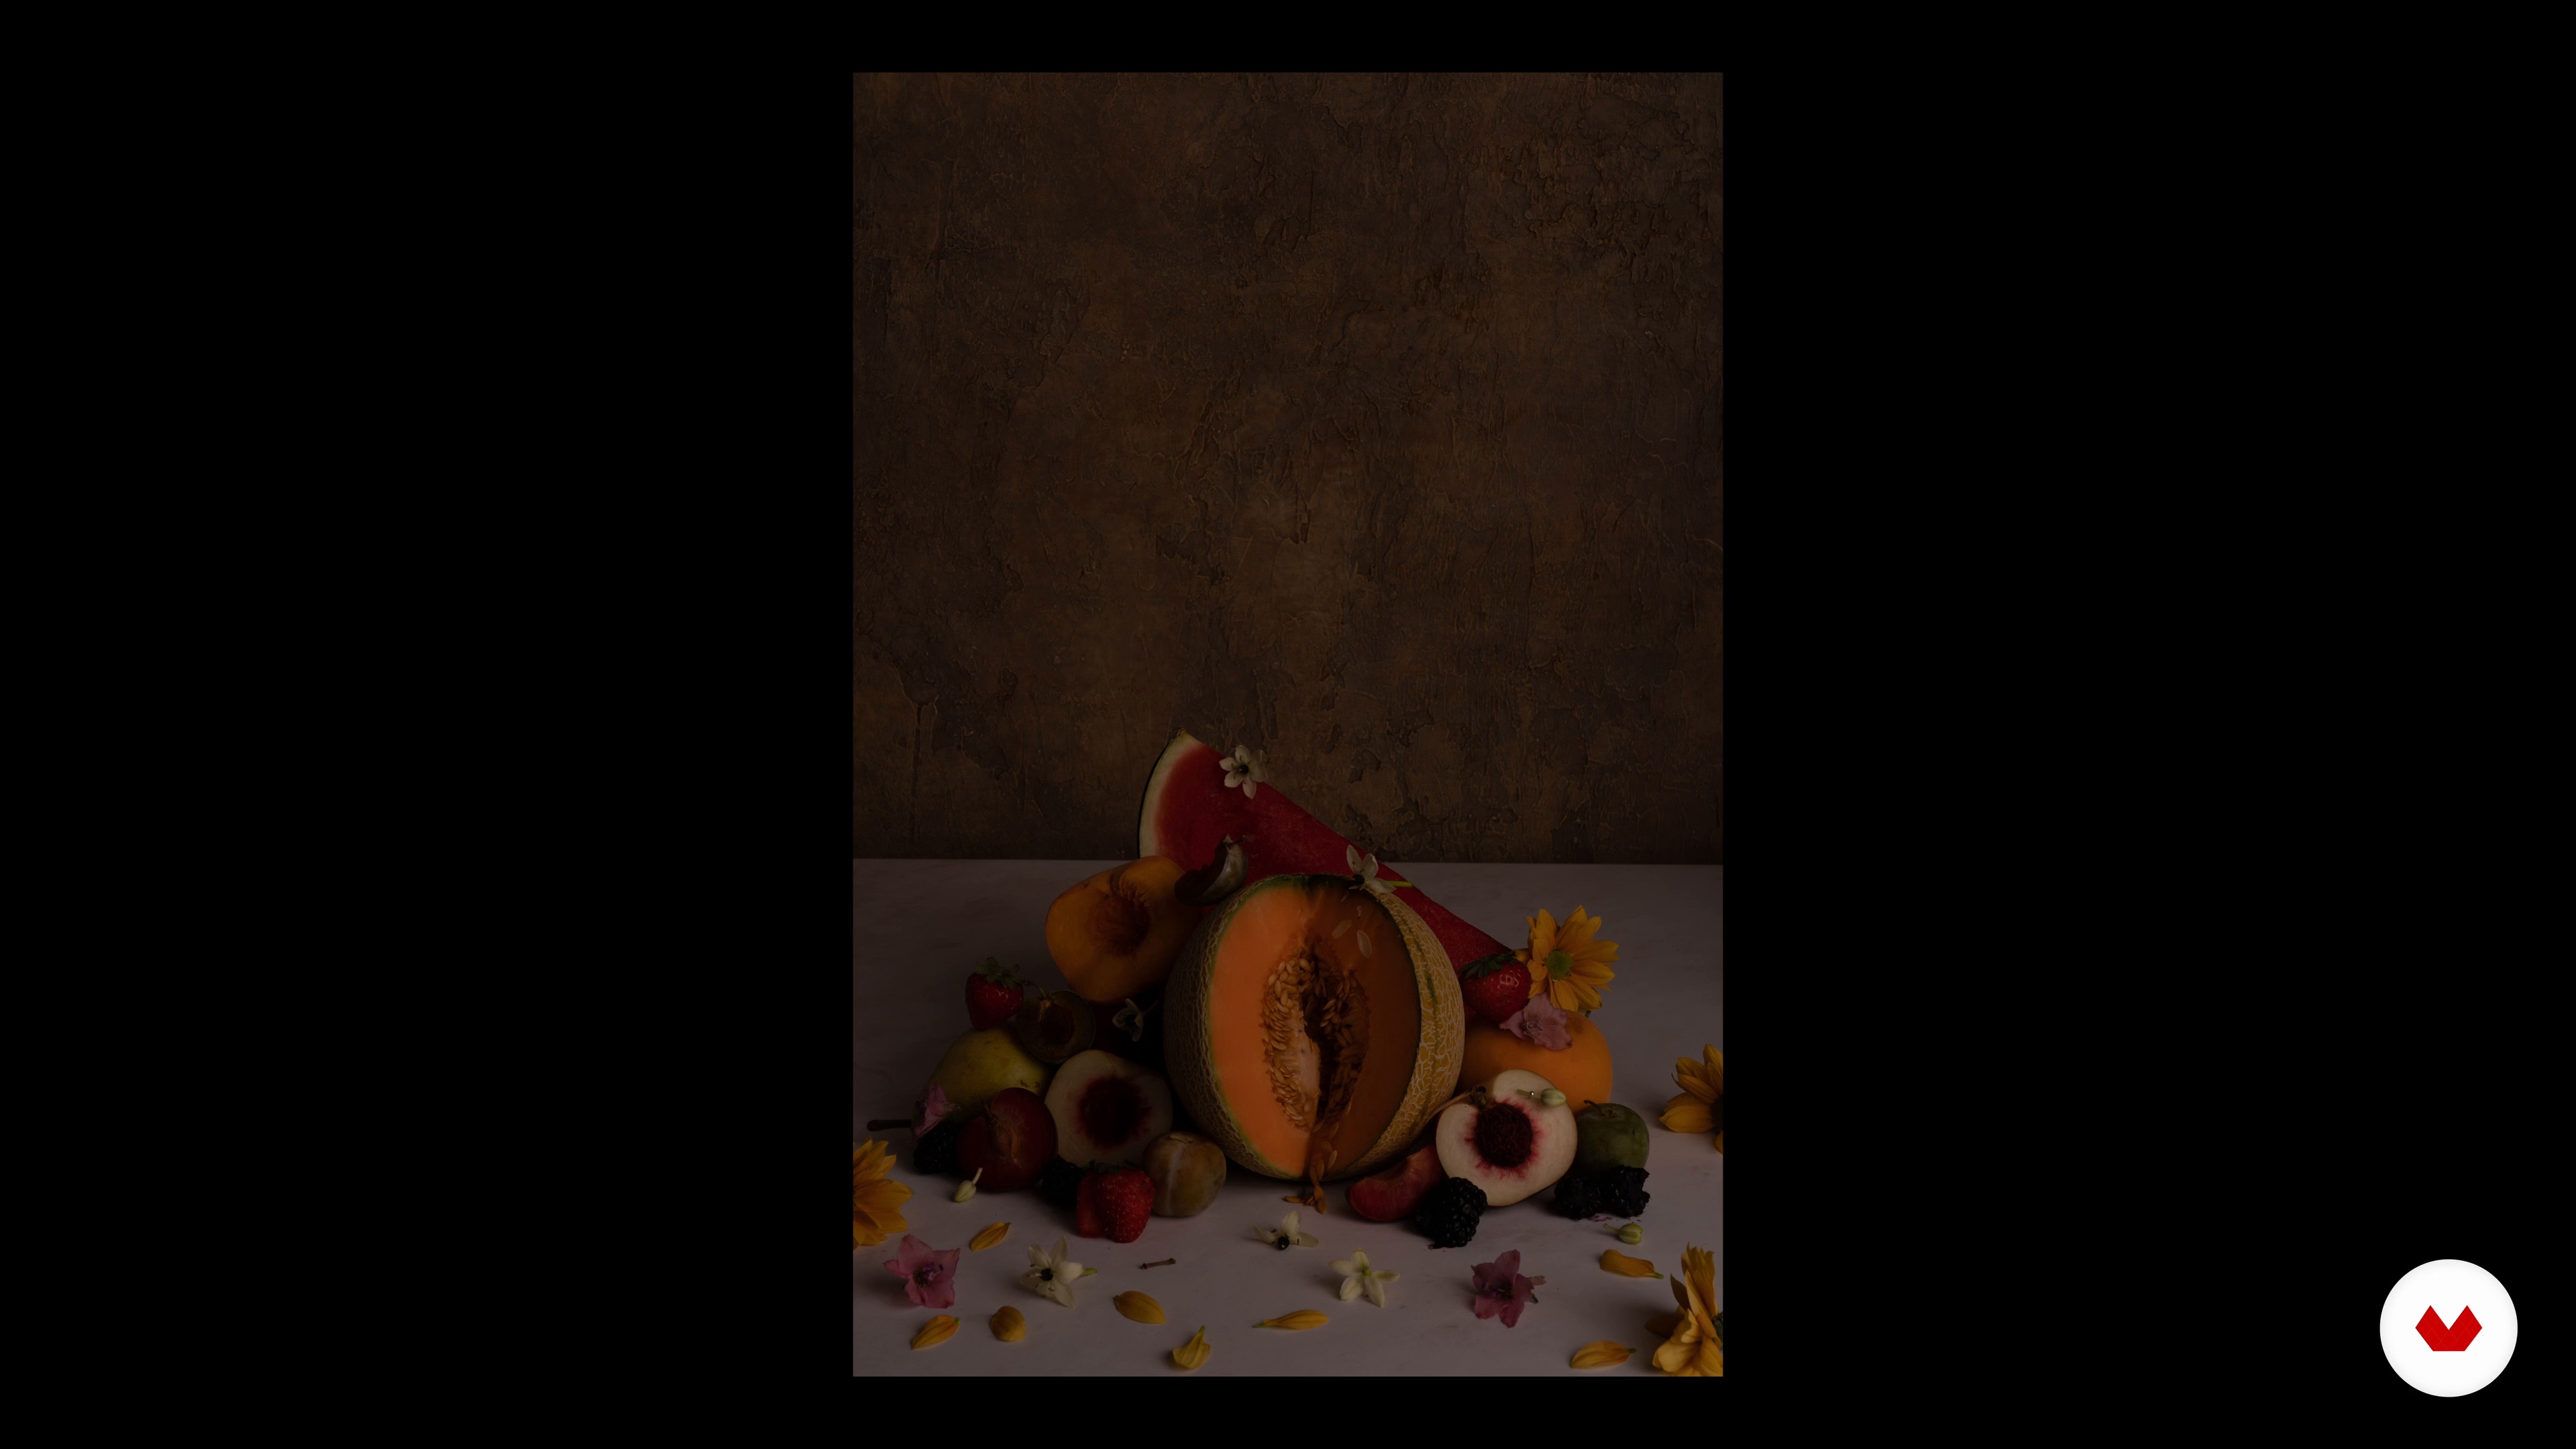
An Inspired Still Life Photograph
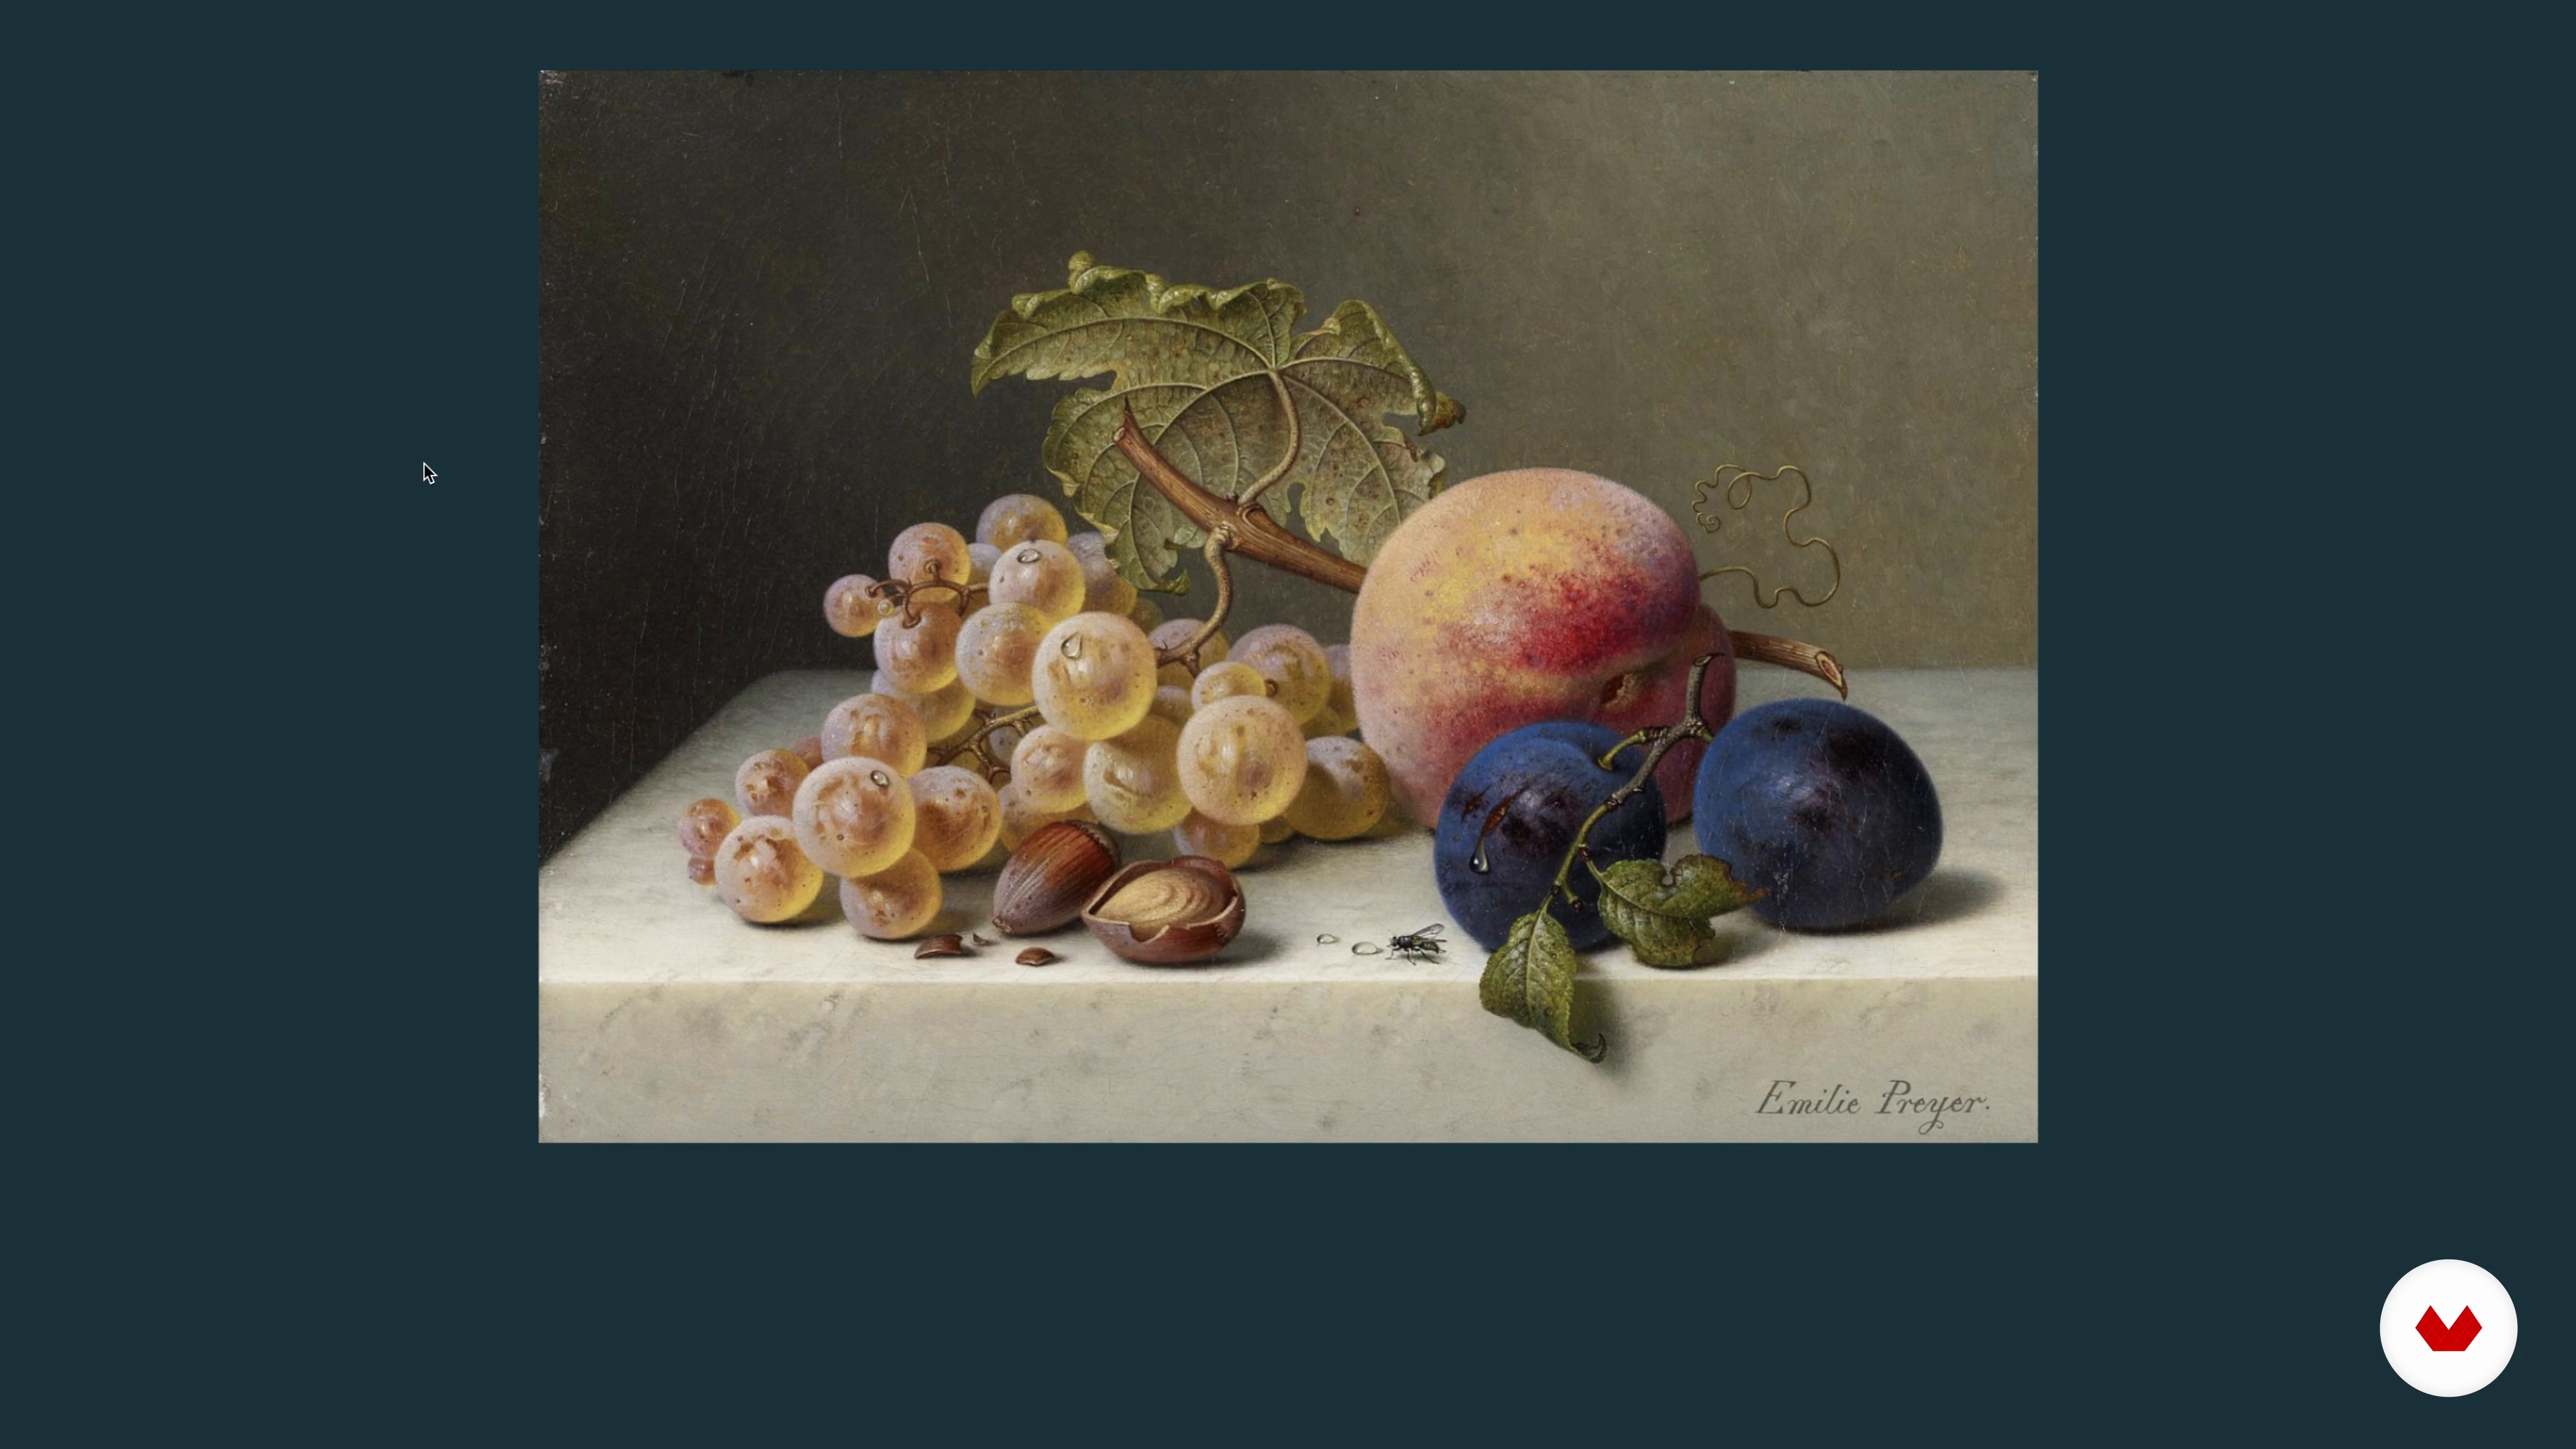
Let's start with the preparations to create an inspired still life photograph. Since the biggest inspiration for this project is the work of master painters from the 17th until the 19th century, I like to pay attention to their composition, use of light, and inanimate objects to create my image.
5m
image
4
The Composition
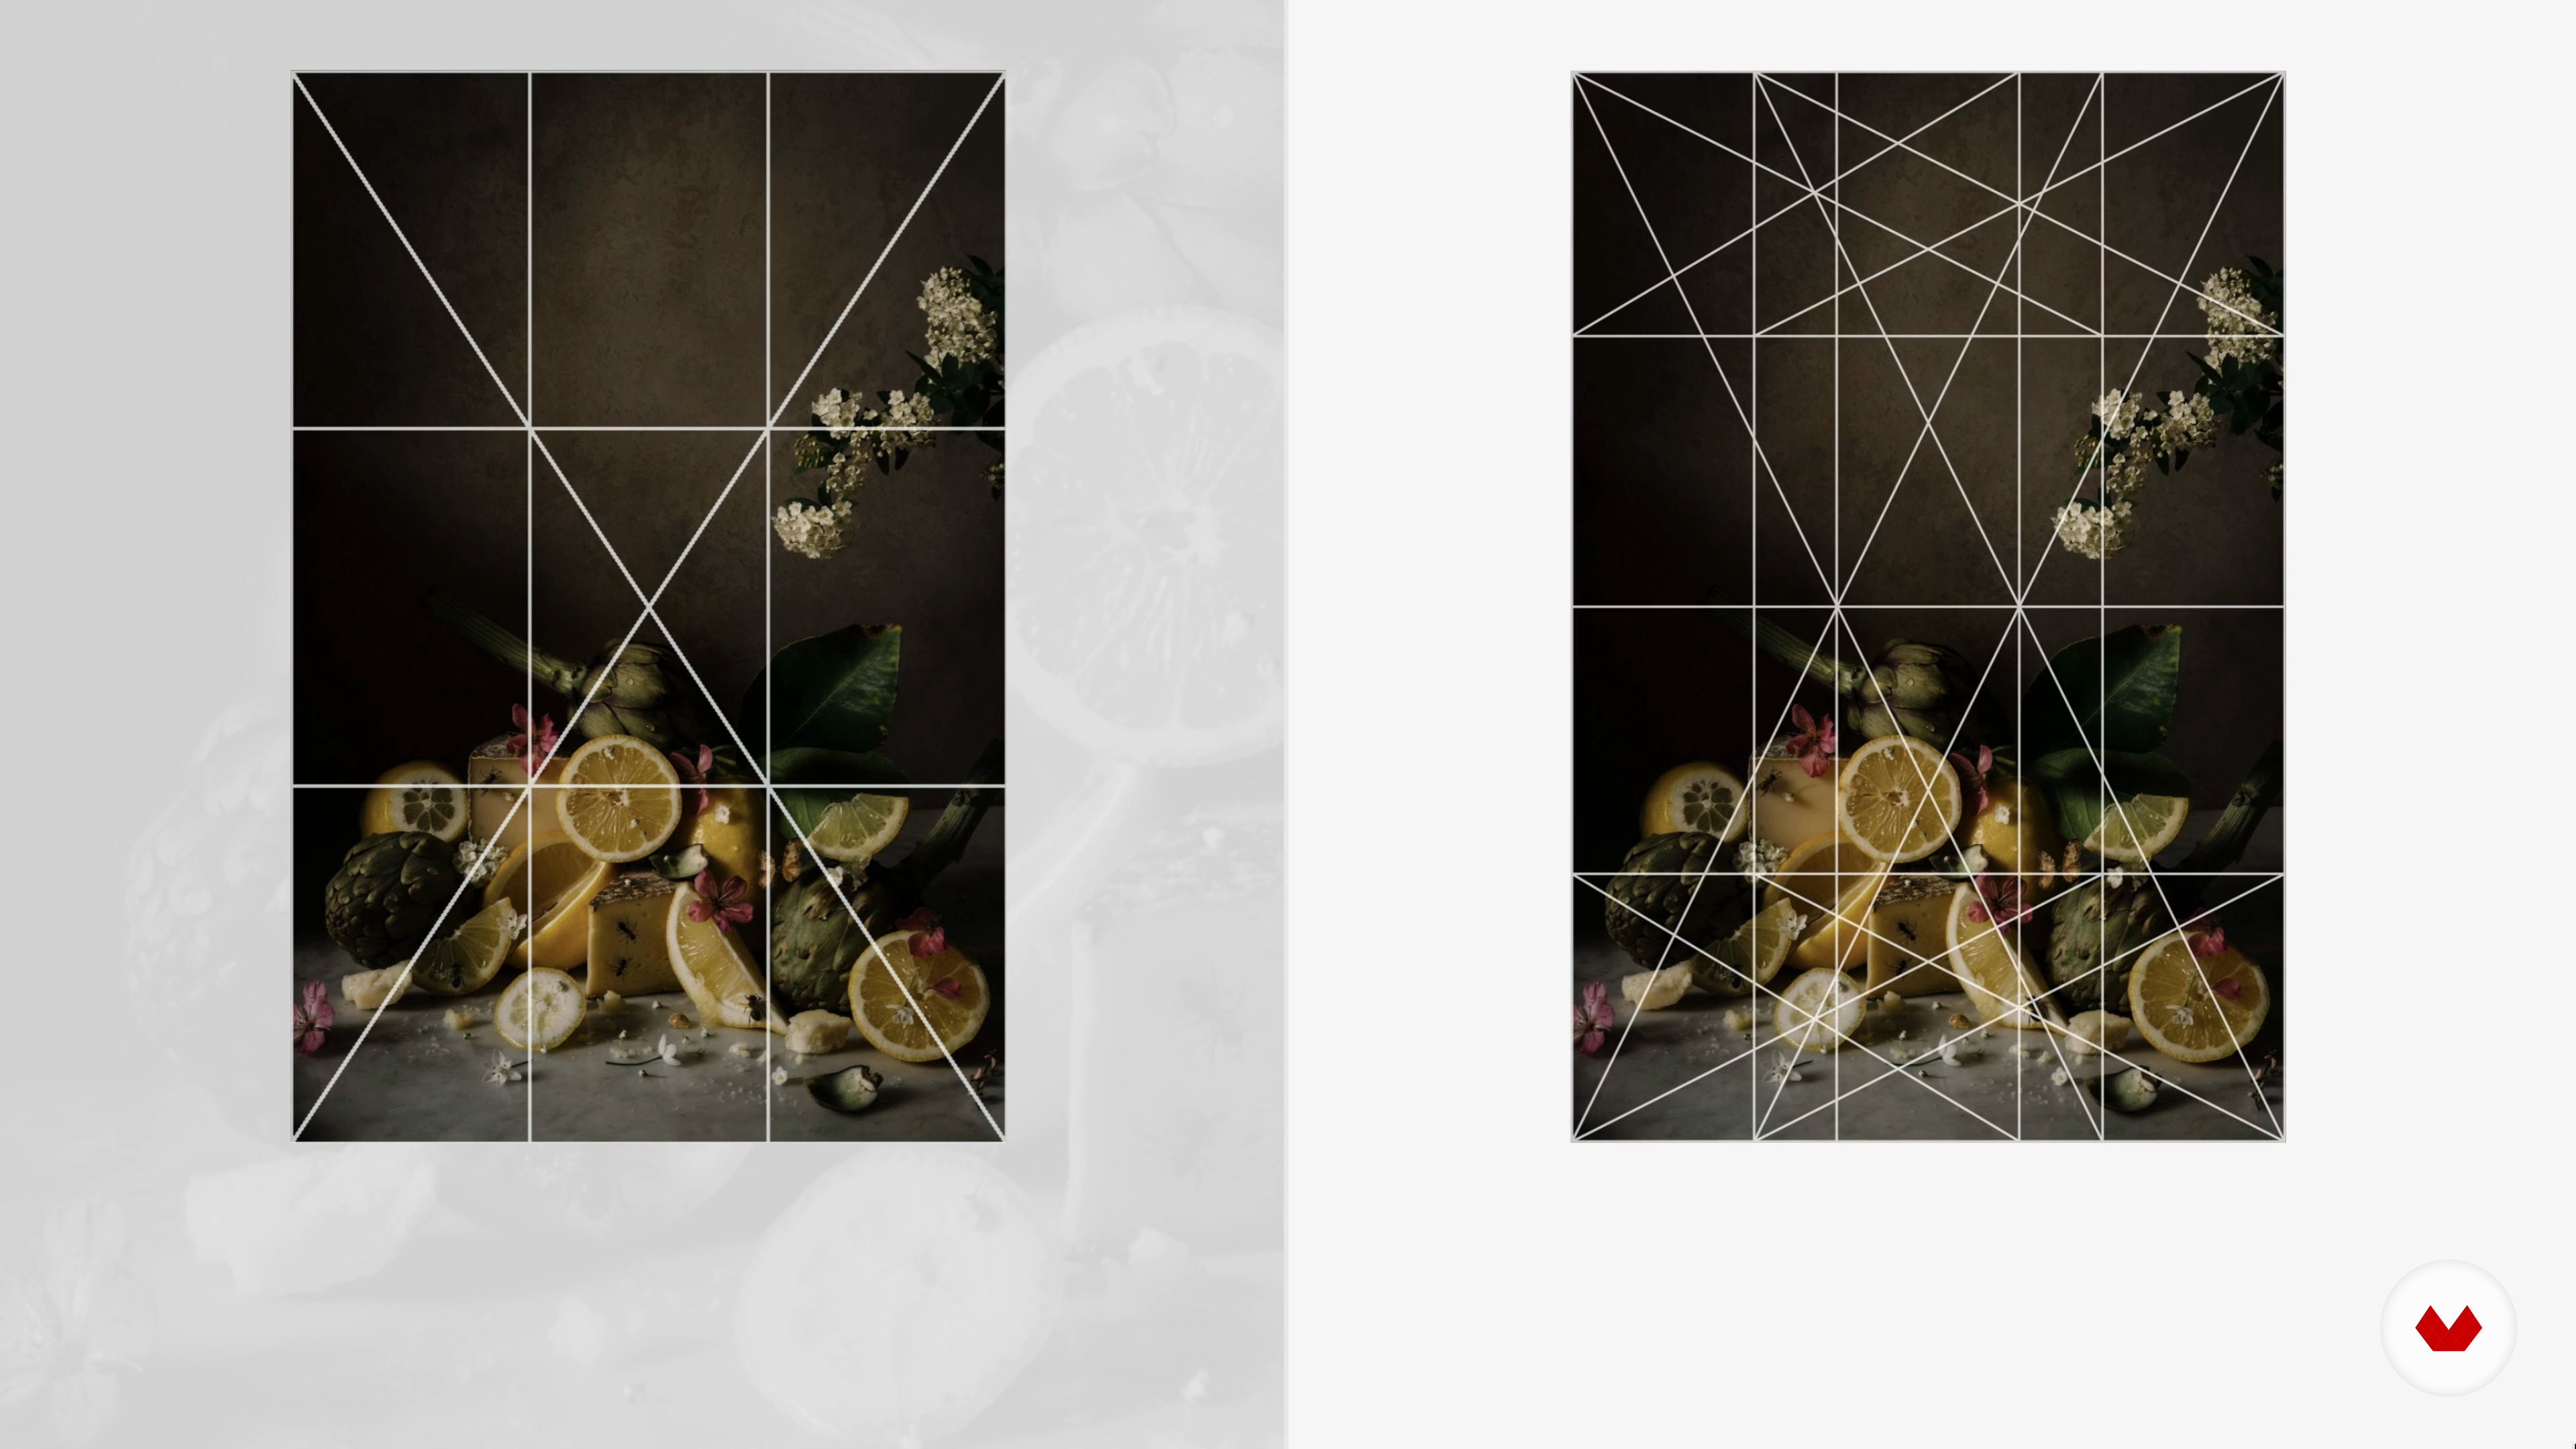
In this lesson, I will cover the composition rules I follow to contrive images with unity, balance, and contrast.
3m
image
5
Color Theory
I will now talk about color theory and provide you with examples of applied color in my still life work.
3m
image
6
Creating a Mood Board
It's really useful to create a mood board, as it can help you know in advance if the colors you are going to work with actually work together. It can also remind you of details that you don't want to forget and it helps you materialize your ideas.
3m
image
7
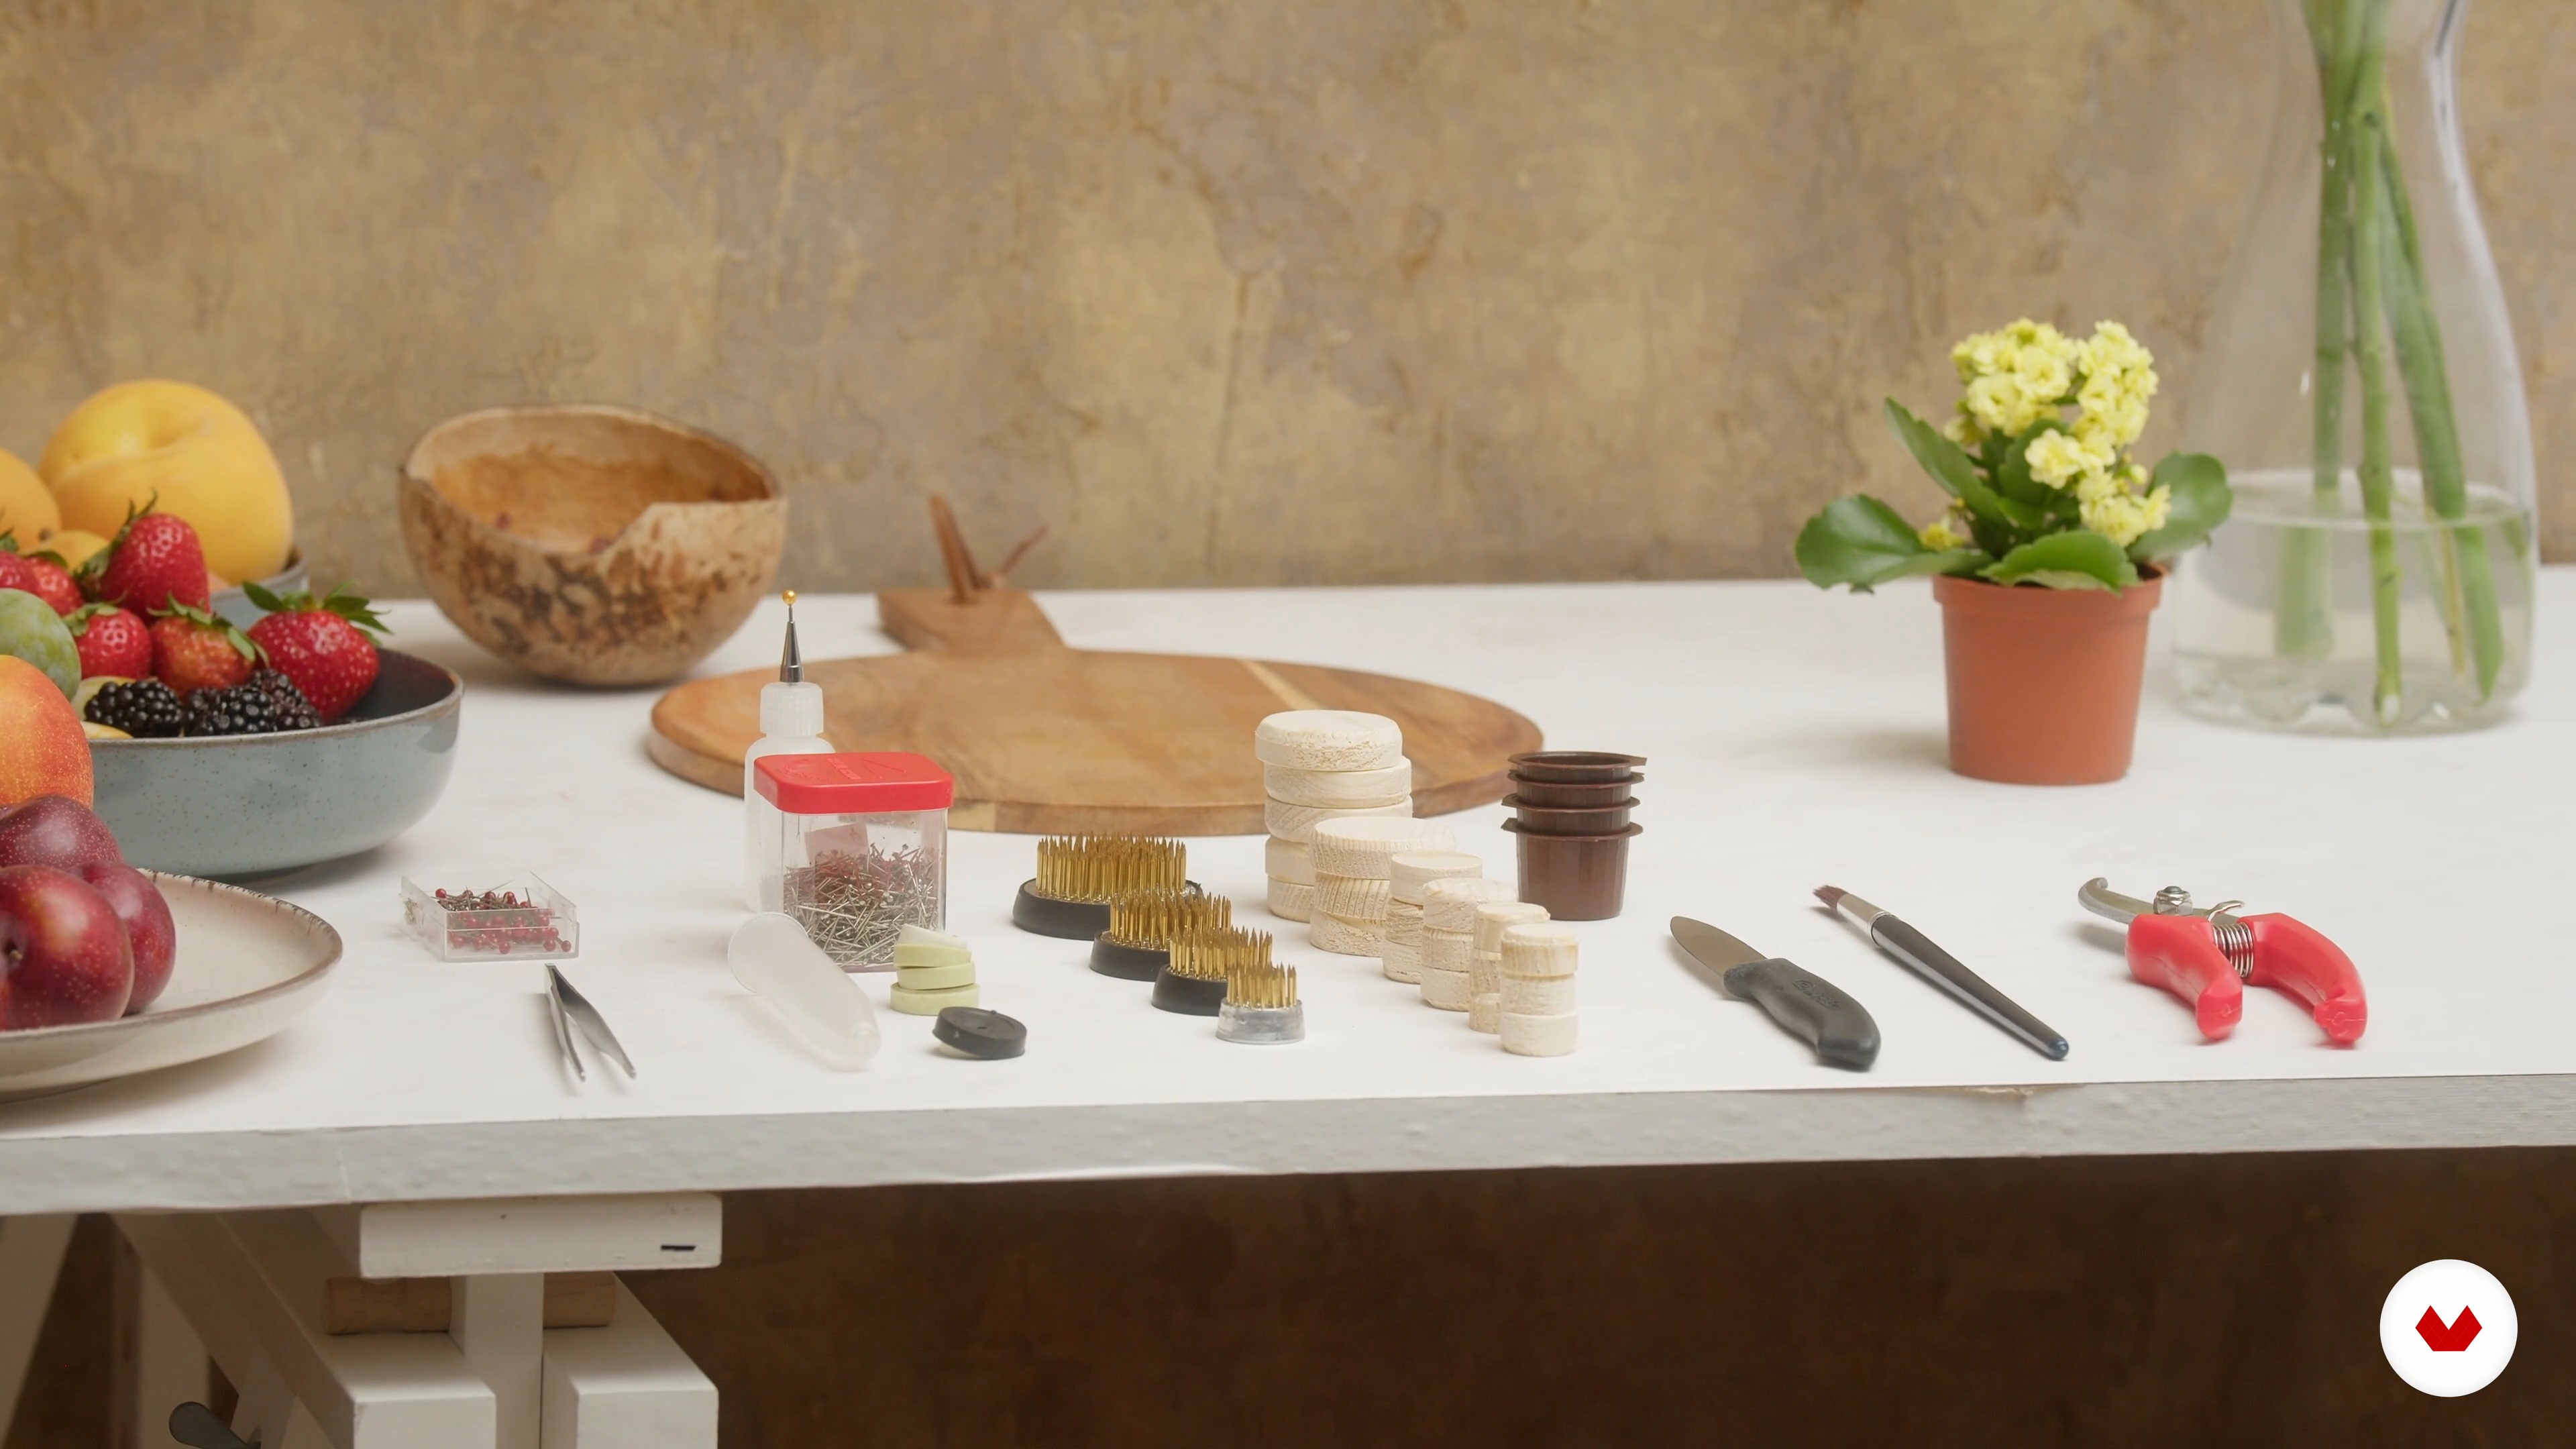
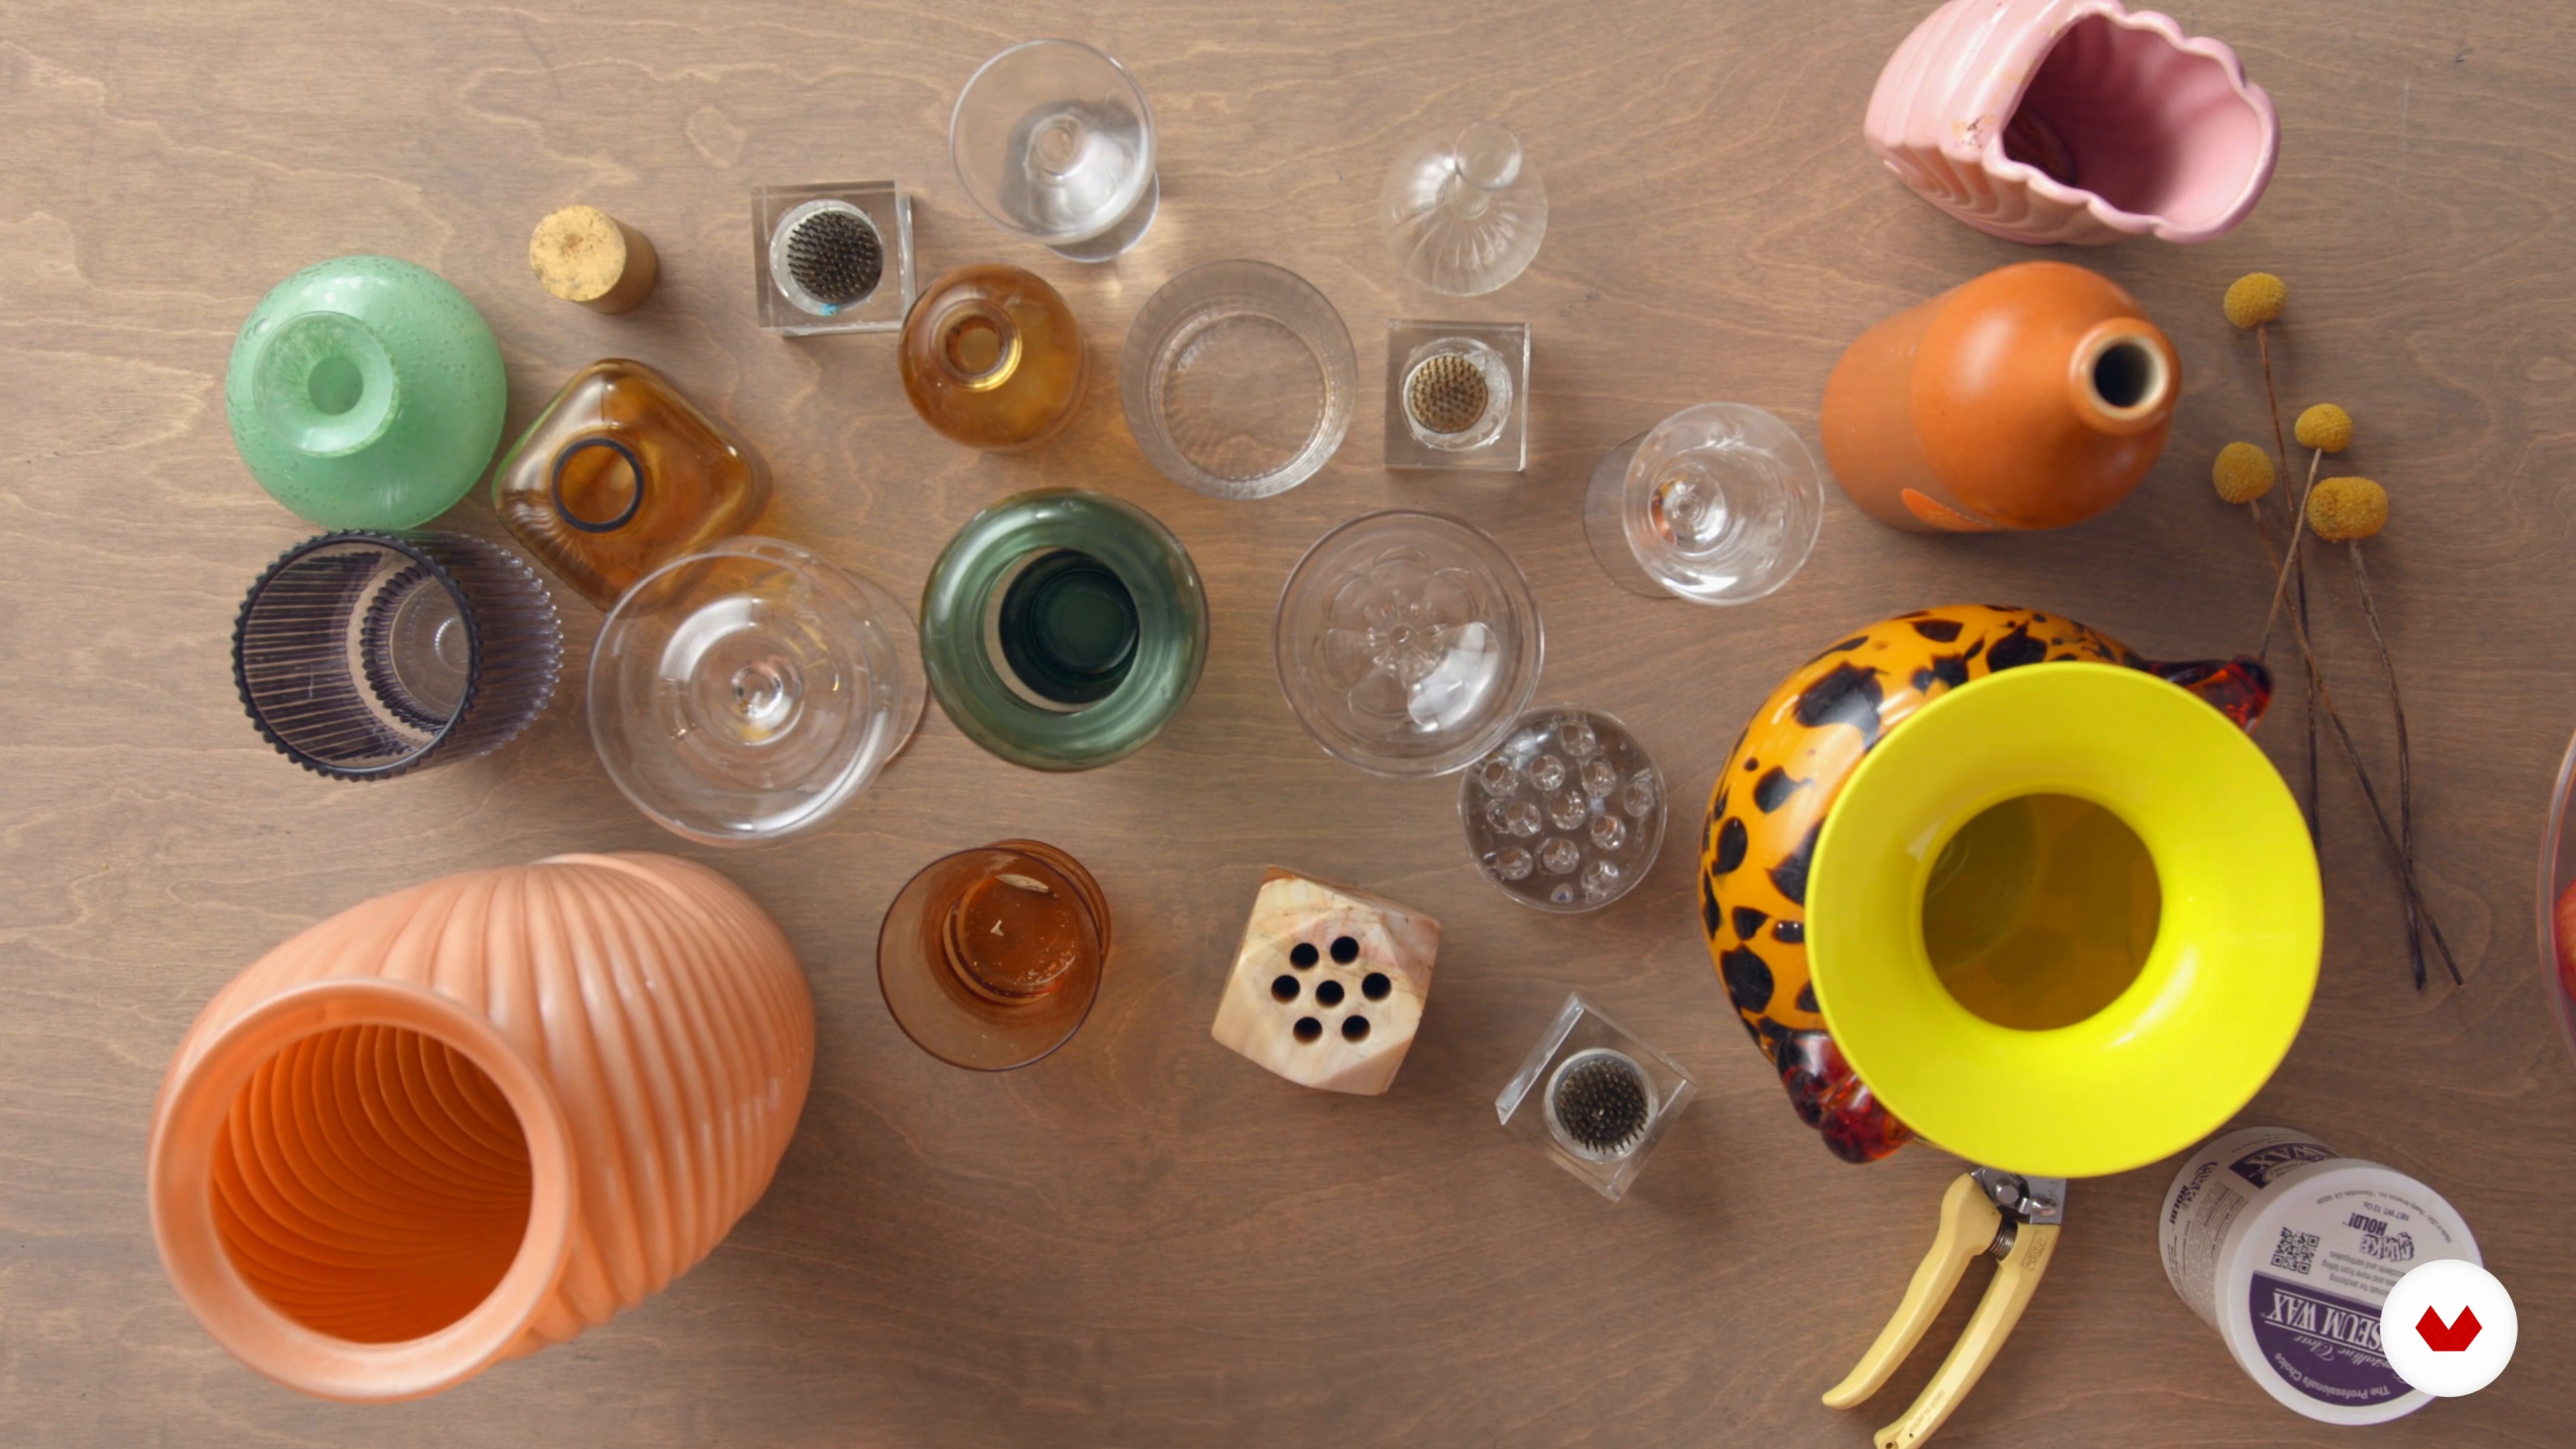
The Materials
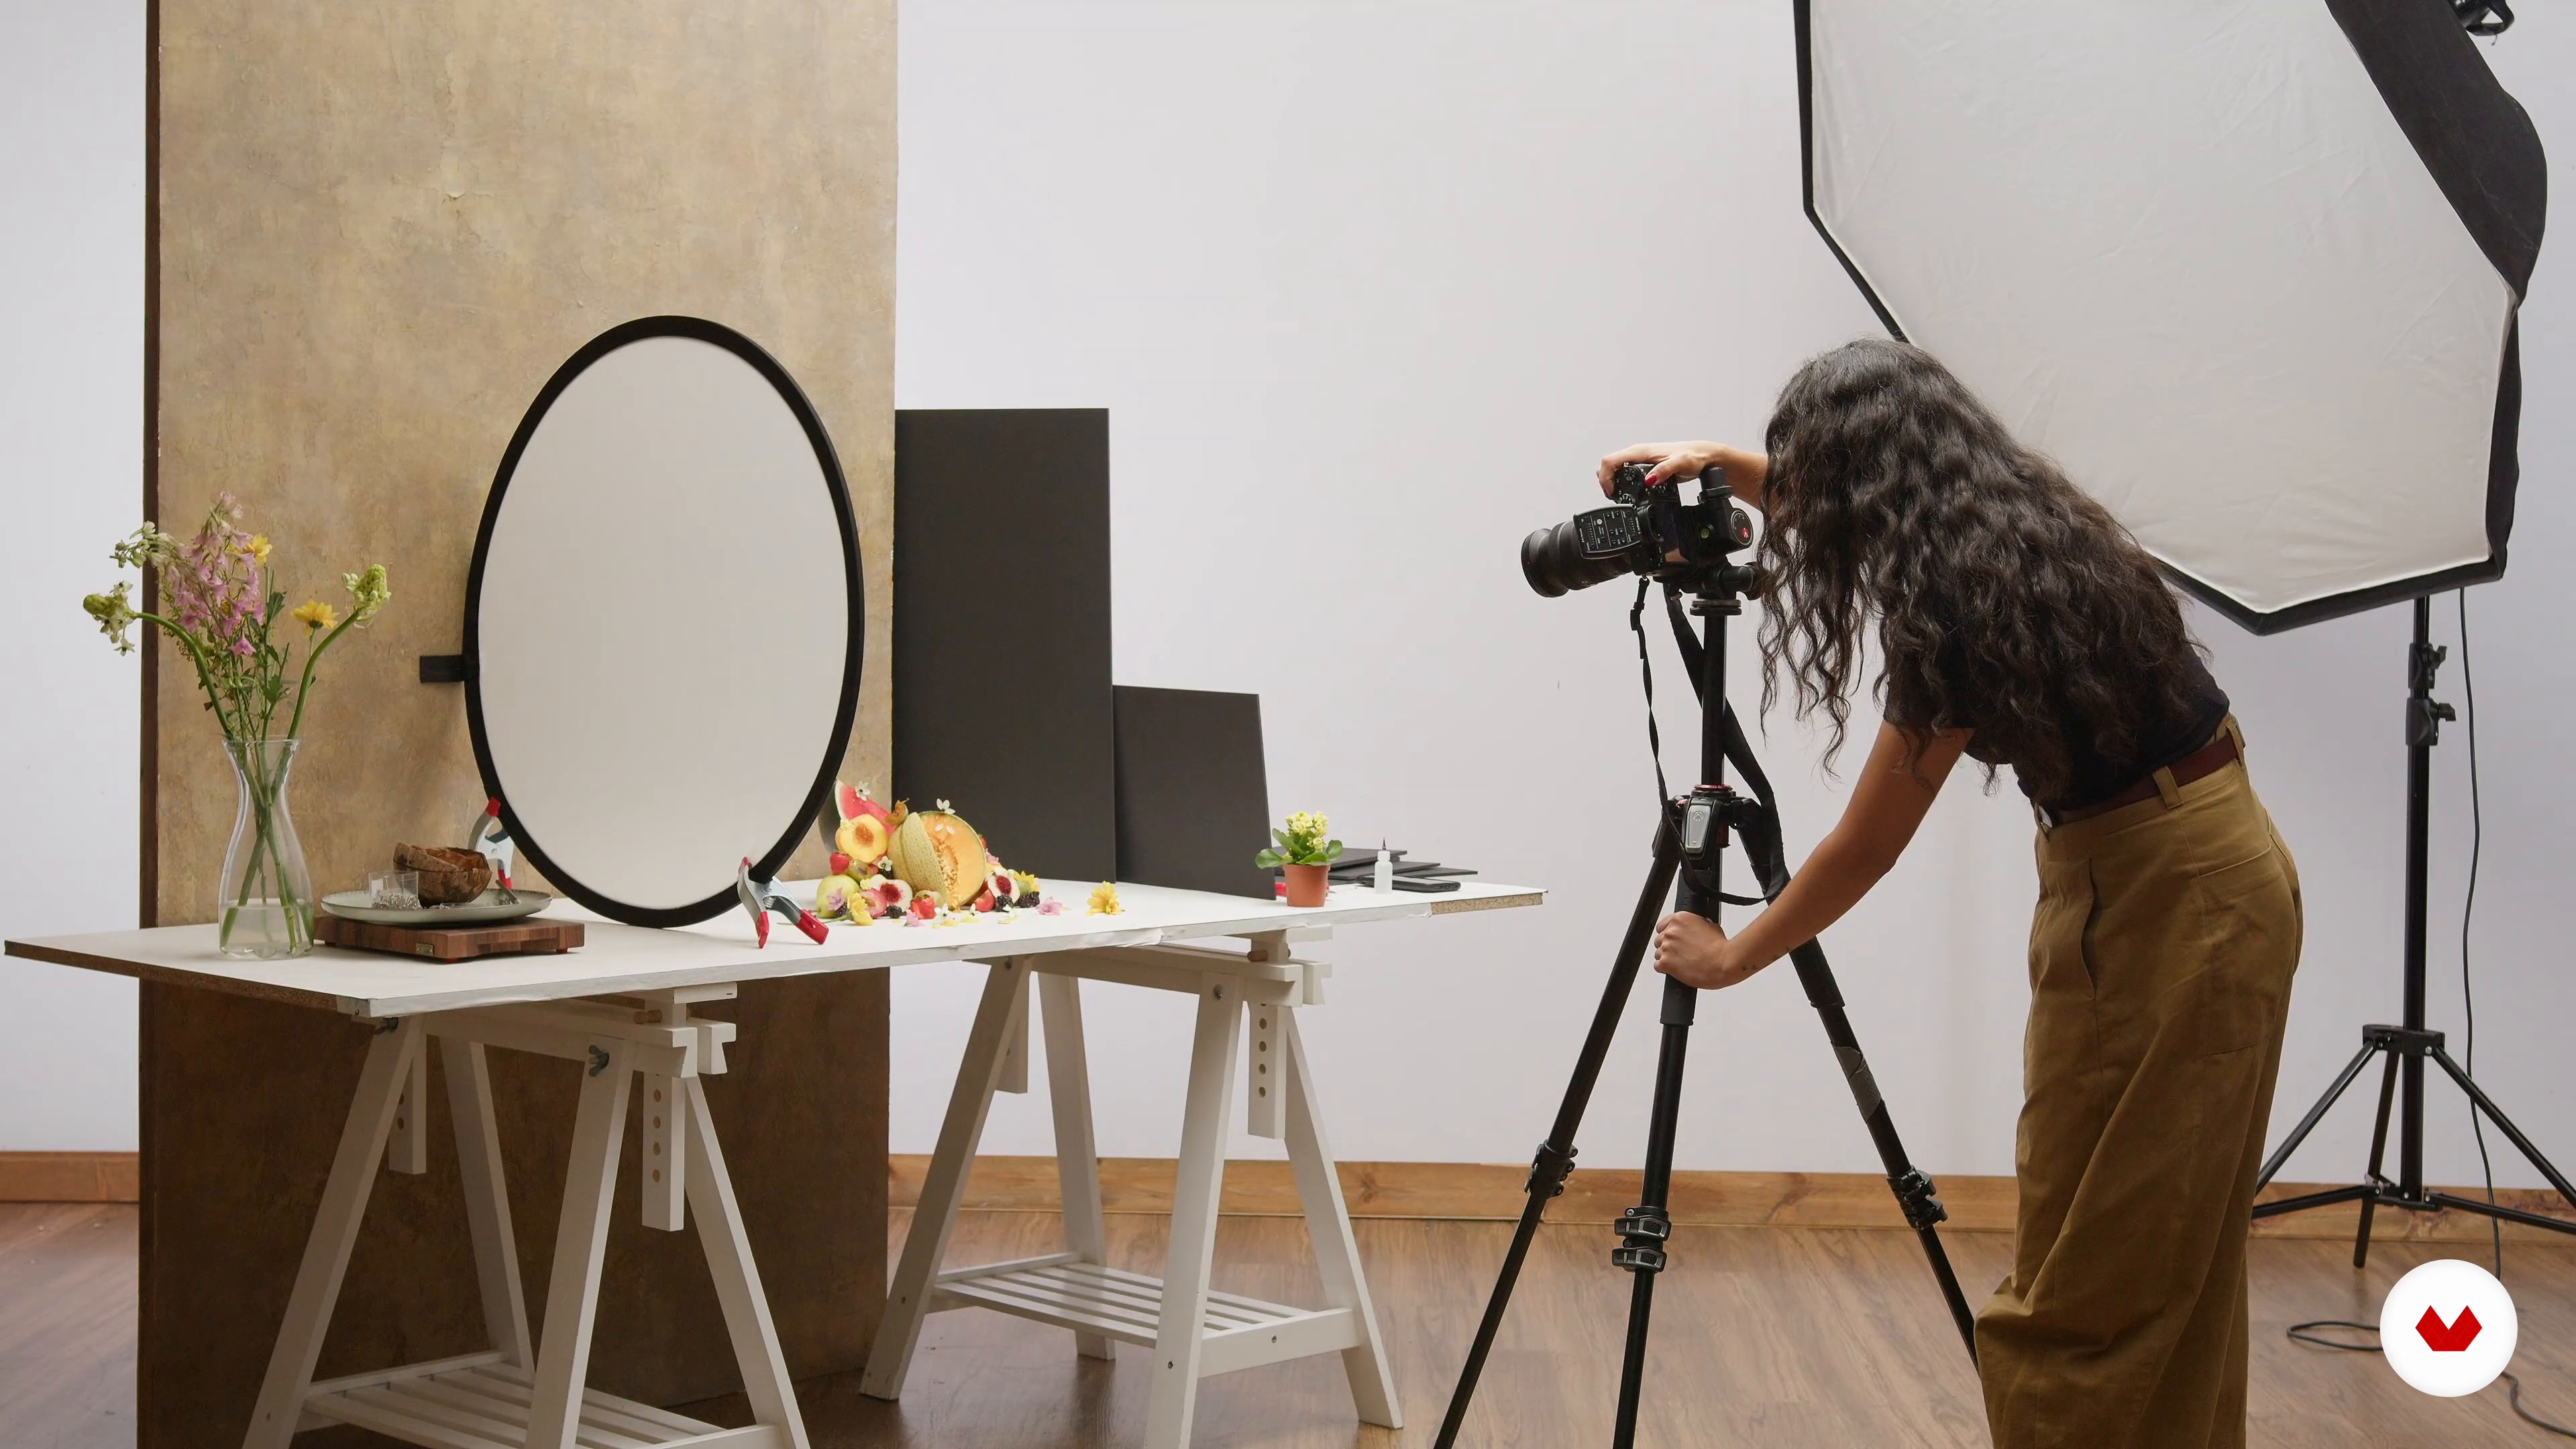
To create a still life photograph, it's useful to have additional tools to help you keep objects in place, level different objects, bring in height and different layers, and add details. Some photography props can also help bounce or block light. Let me show you the materials I will use!
8m
image
8
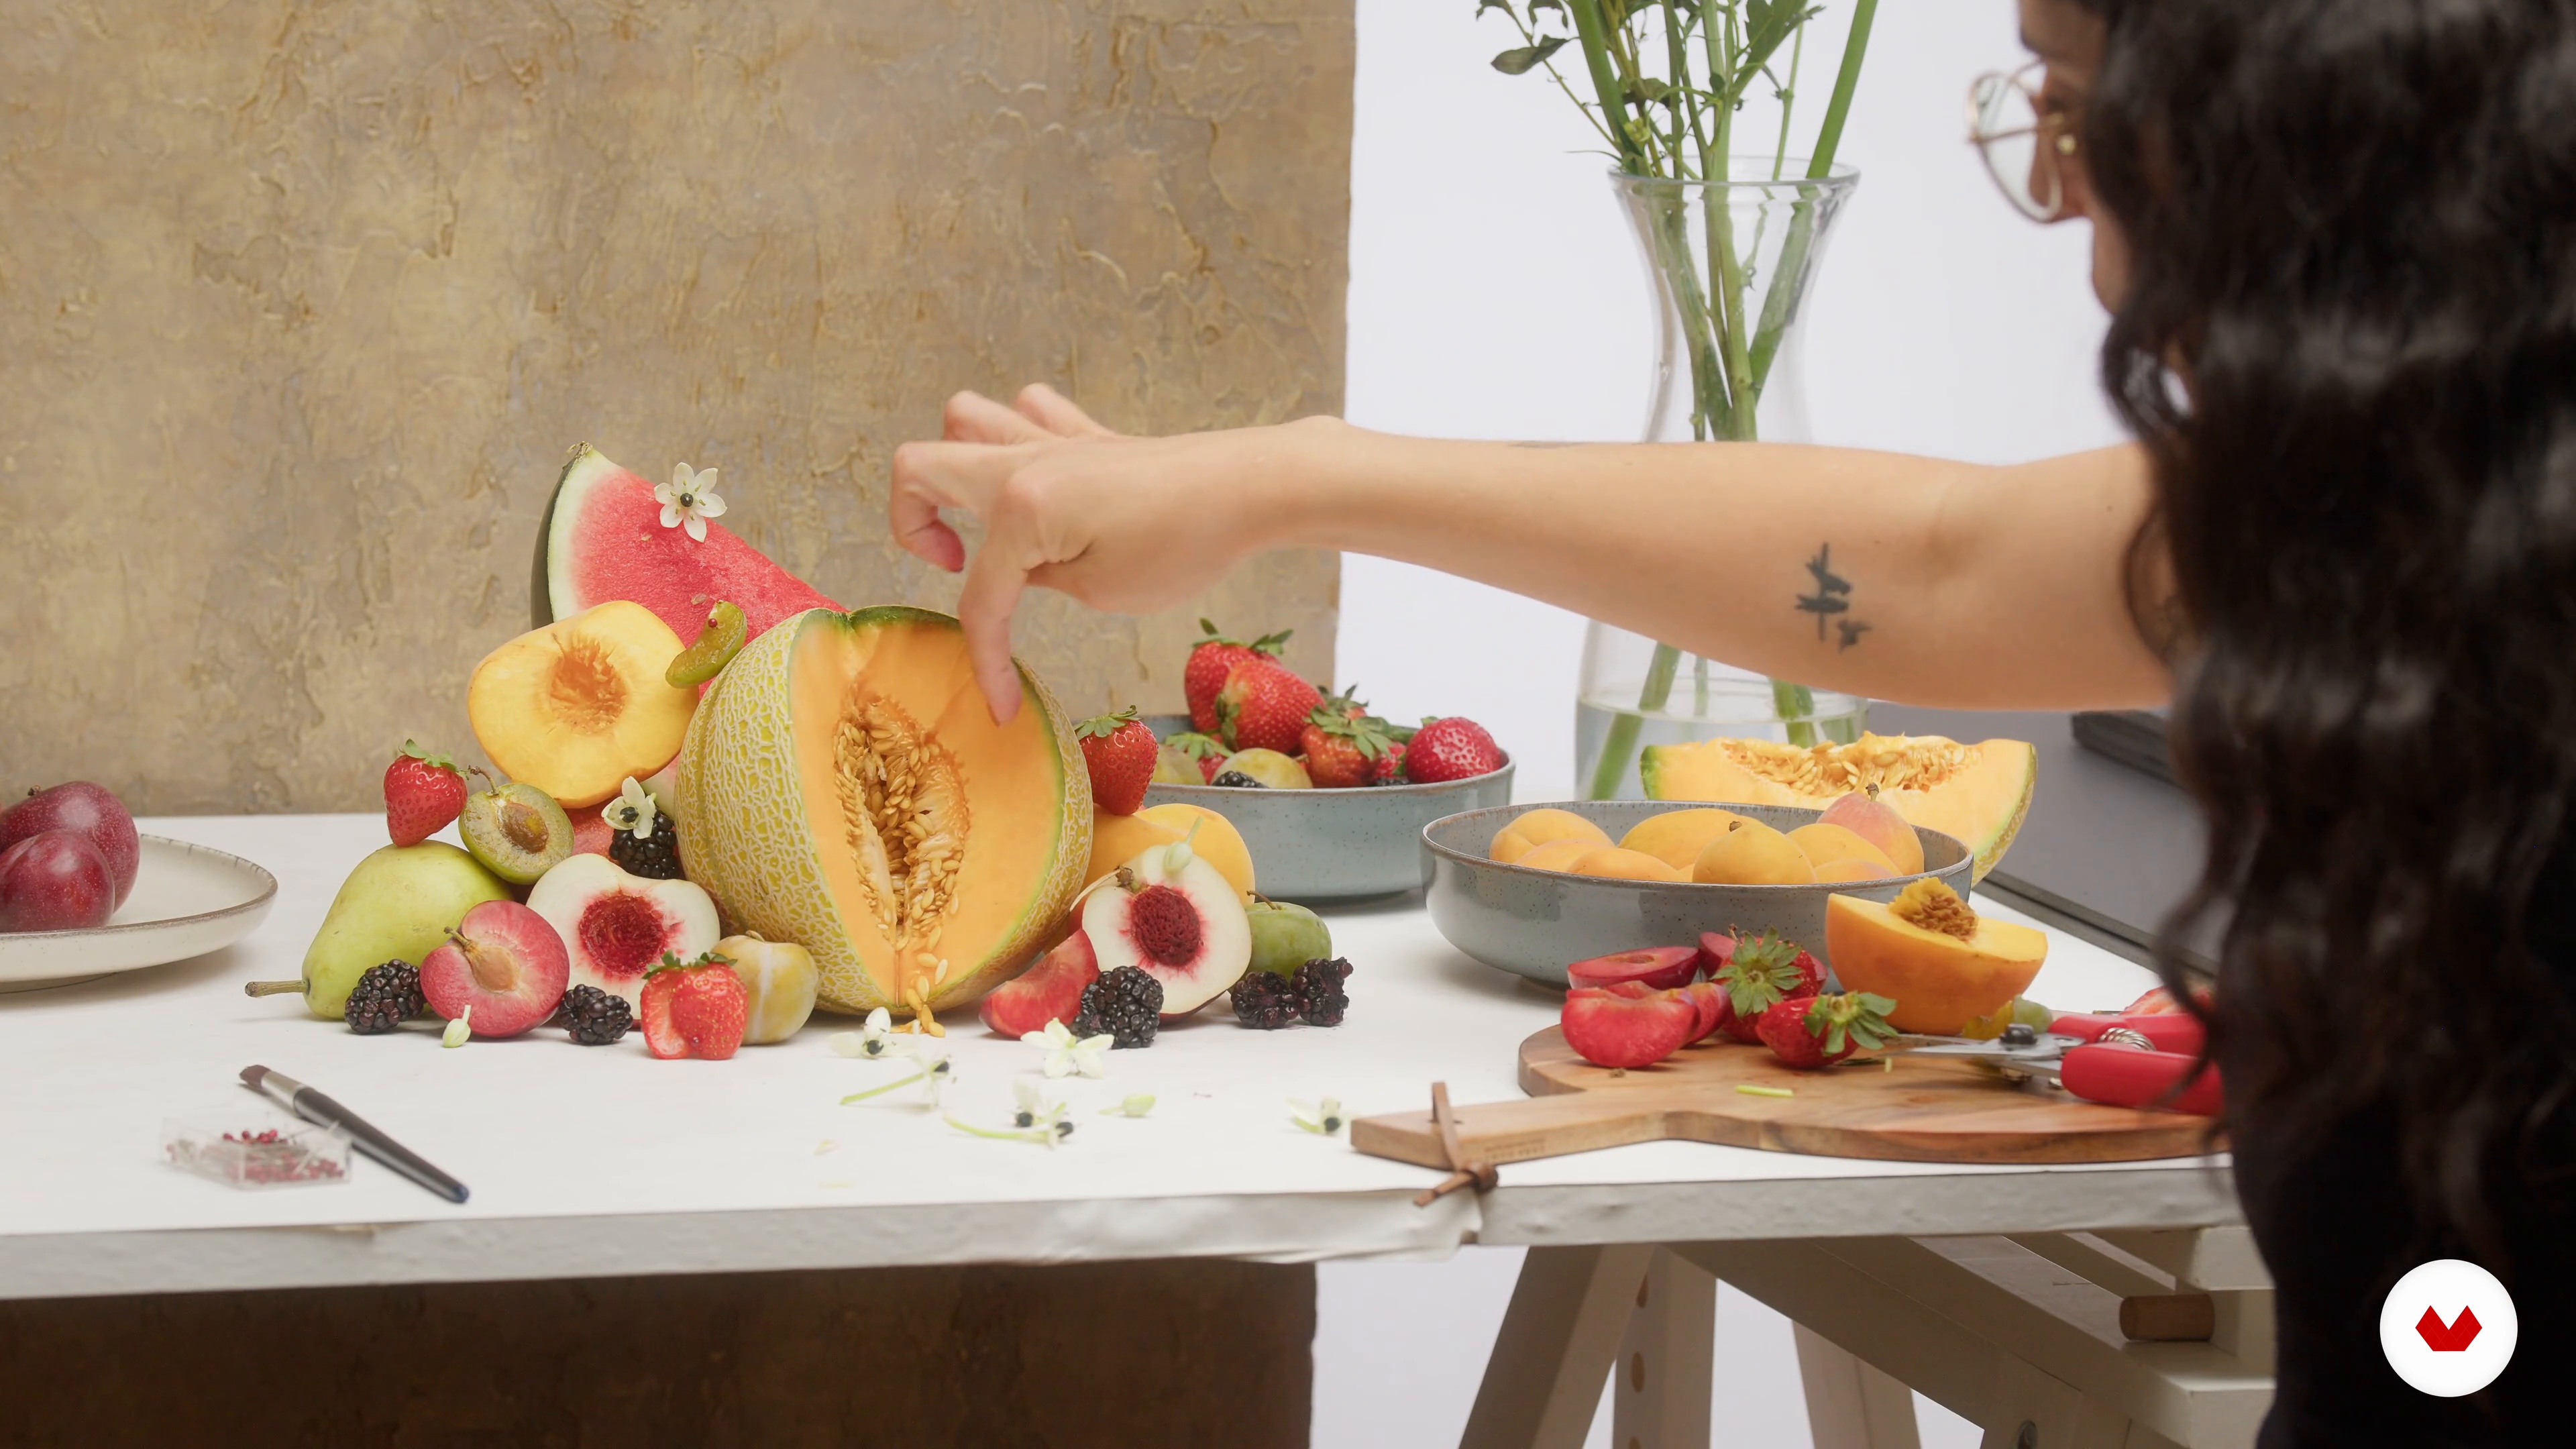
The Styling
A big part of the success of a still life will fall within the scope of styling. So, take the time to arrange the object you will photograph, consider the composition rules I covered earlier, and begin to get creative with the arrangement.
13m
image
9
Framing and Camera Angles
After the styling is done and all the elements are in perfect symmetry, it's time to frame the scene. As I do so, I will explain the camera lens I use to shoot still lifes and why.
4m
image
10
The Lighting
Once I have the set and the framing, I will work on the lighting. I will show you how I usually arrange the lights to achieve the light you have seen throughout my work.
8m
image
11
Photoshoot of a Still Life
Now that I have arranged the scene, the styling is done, and I have set the camera and lights, it's time to shoot! The still lifes I build can only be shot from two different angles, a 45-degree angle and a frontal shot. I will demonstrate both and the advantages of having variety.
3m
image
12
Selection and Lightroom Adjustments
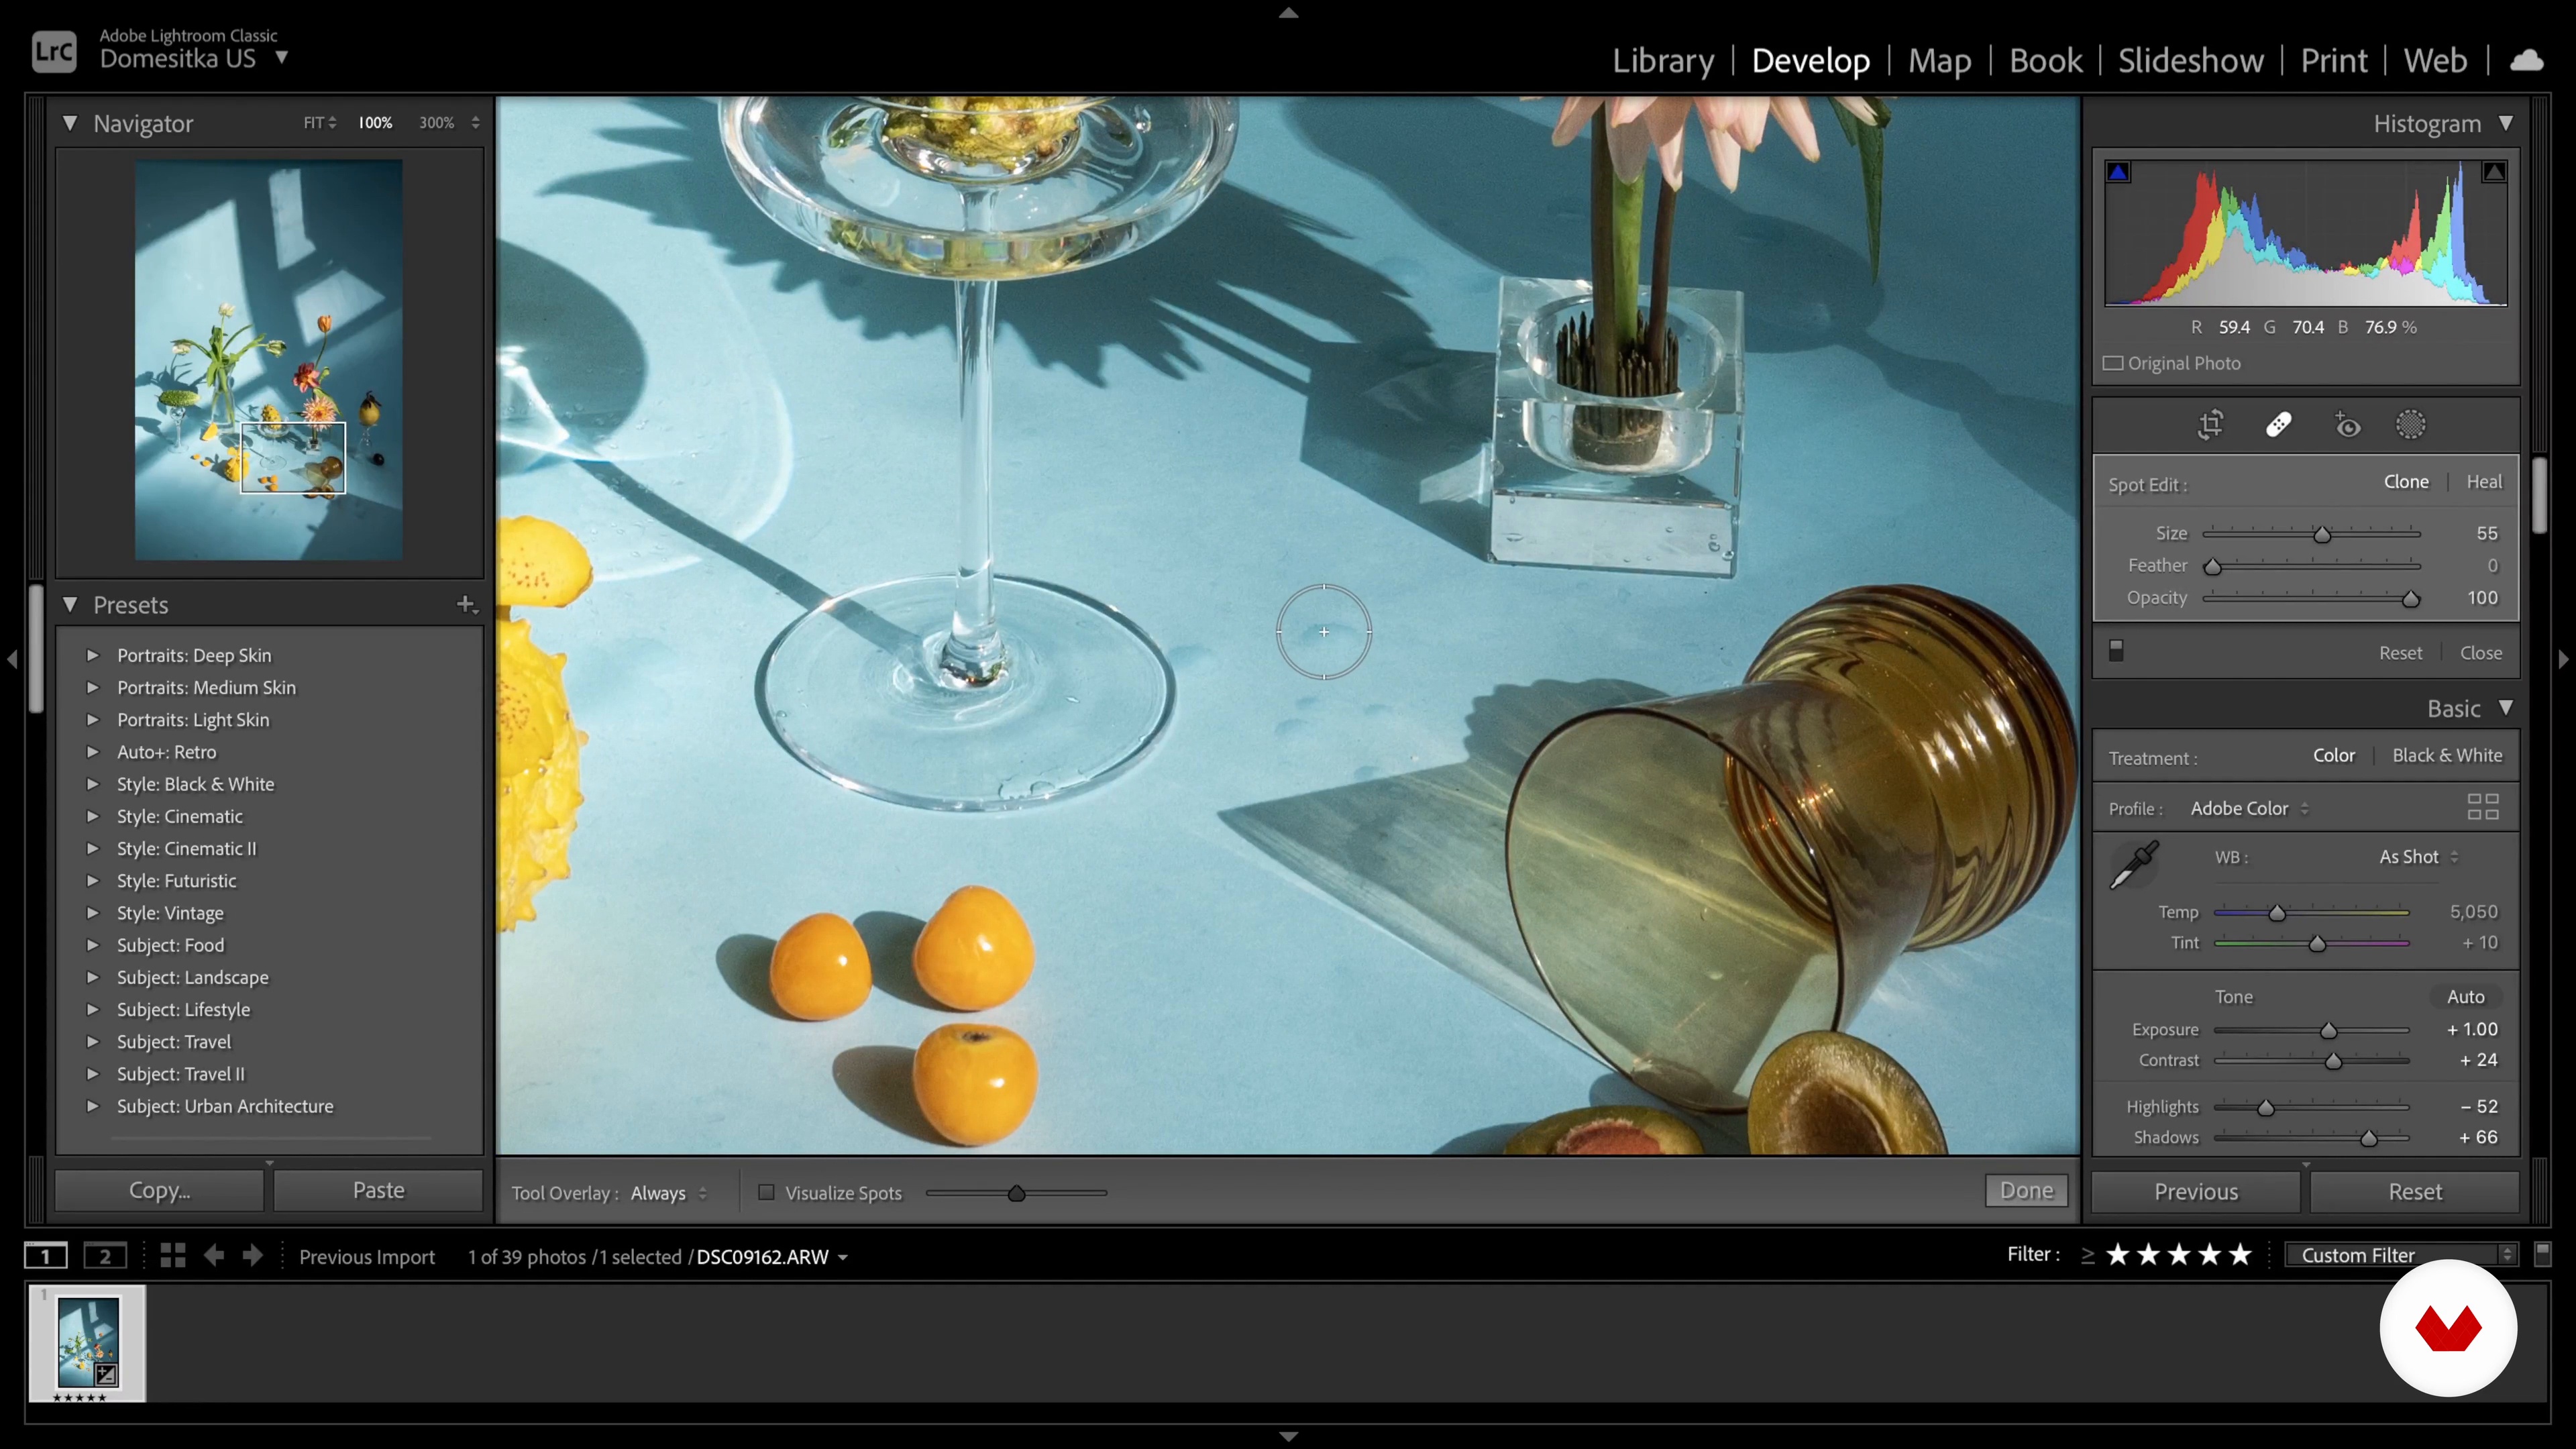
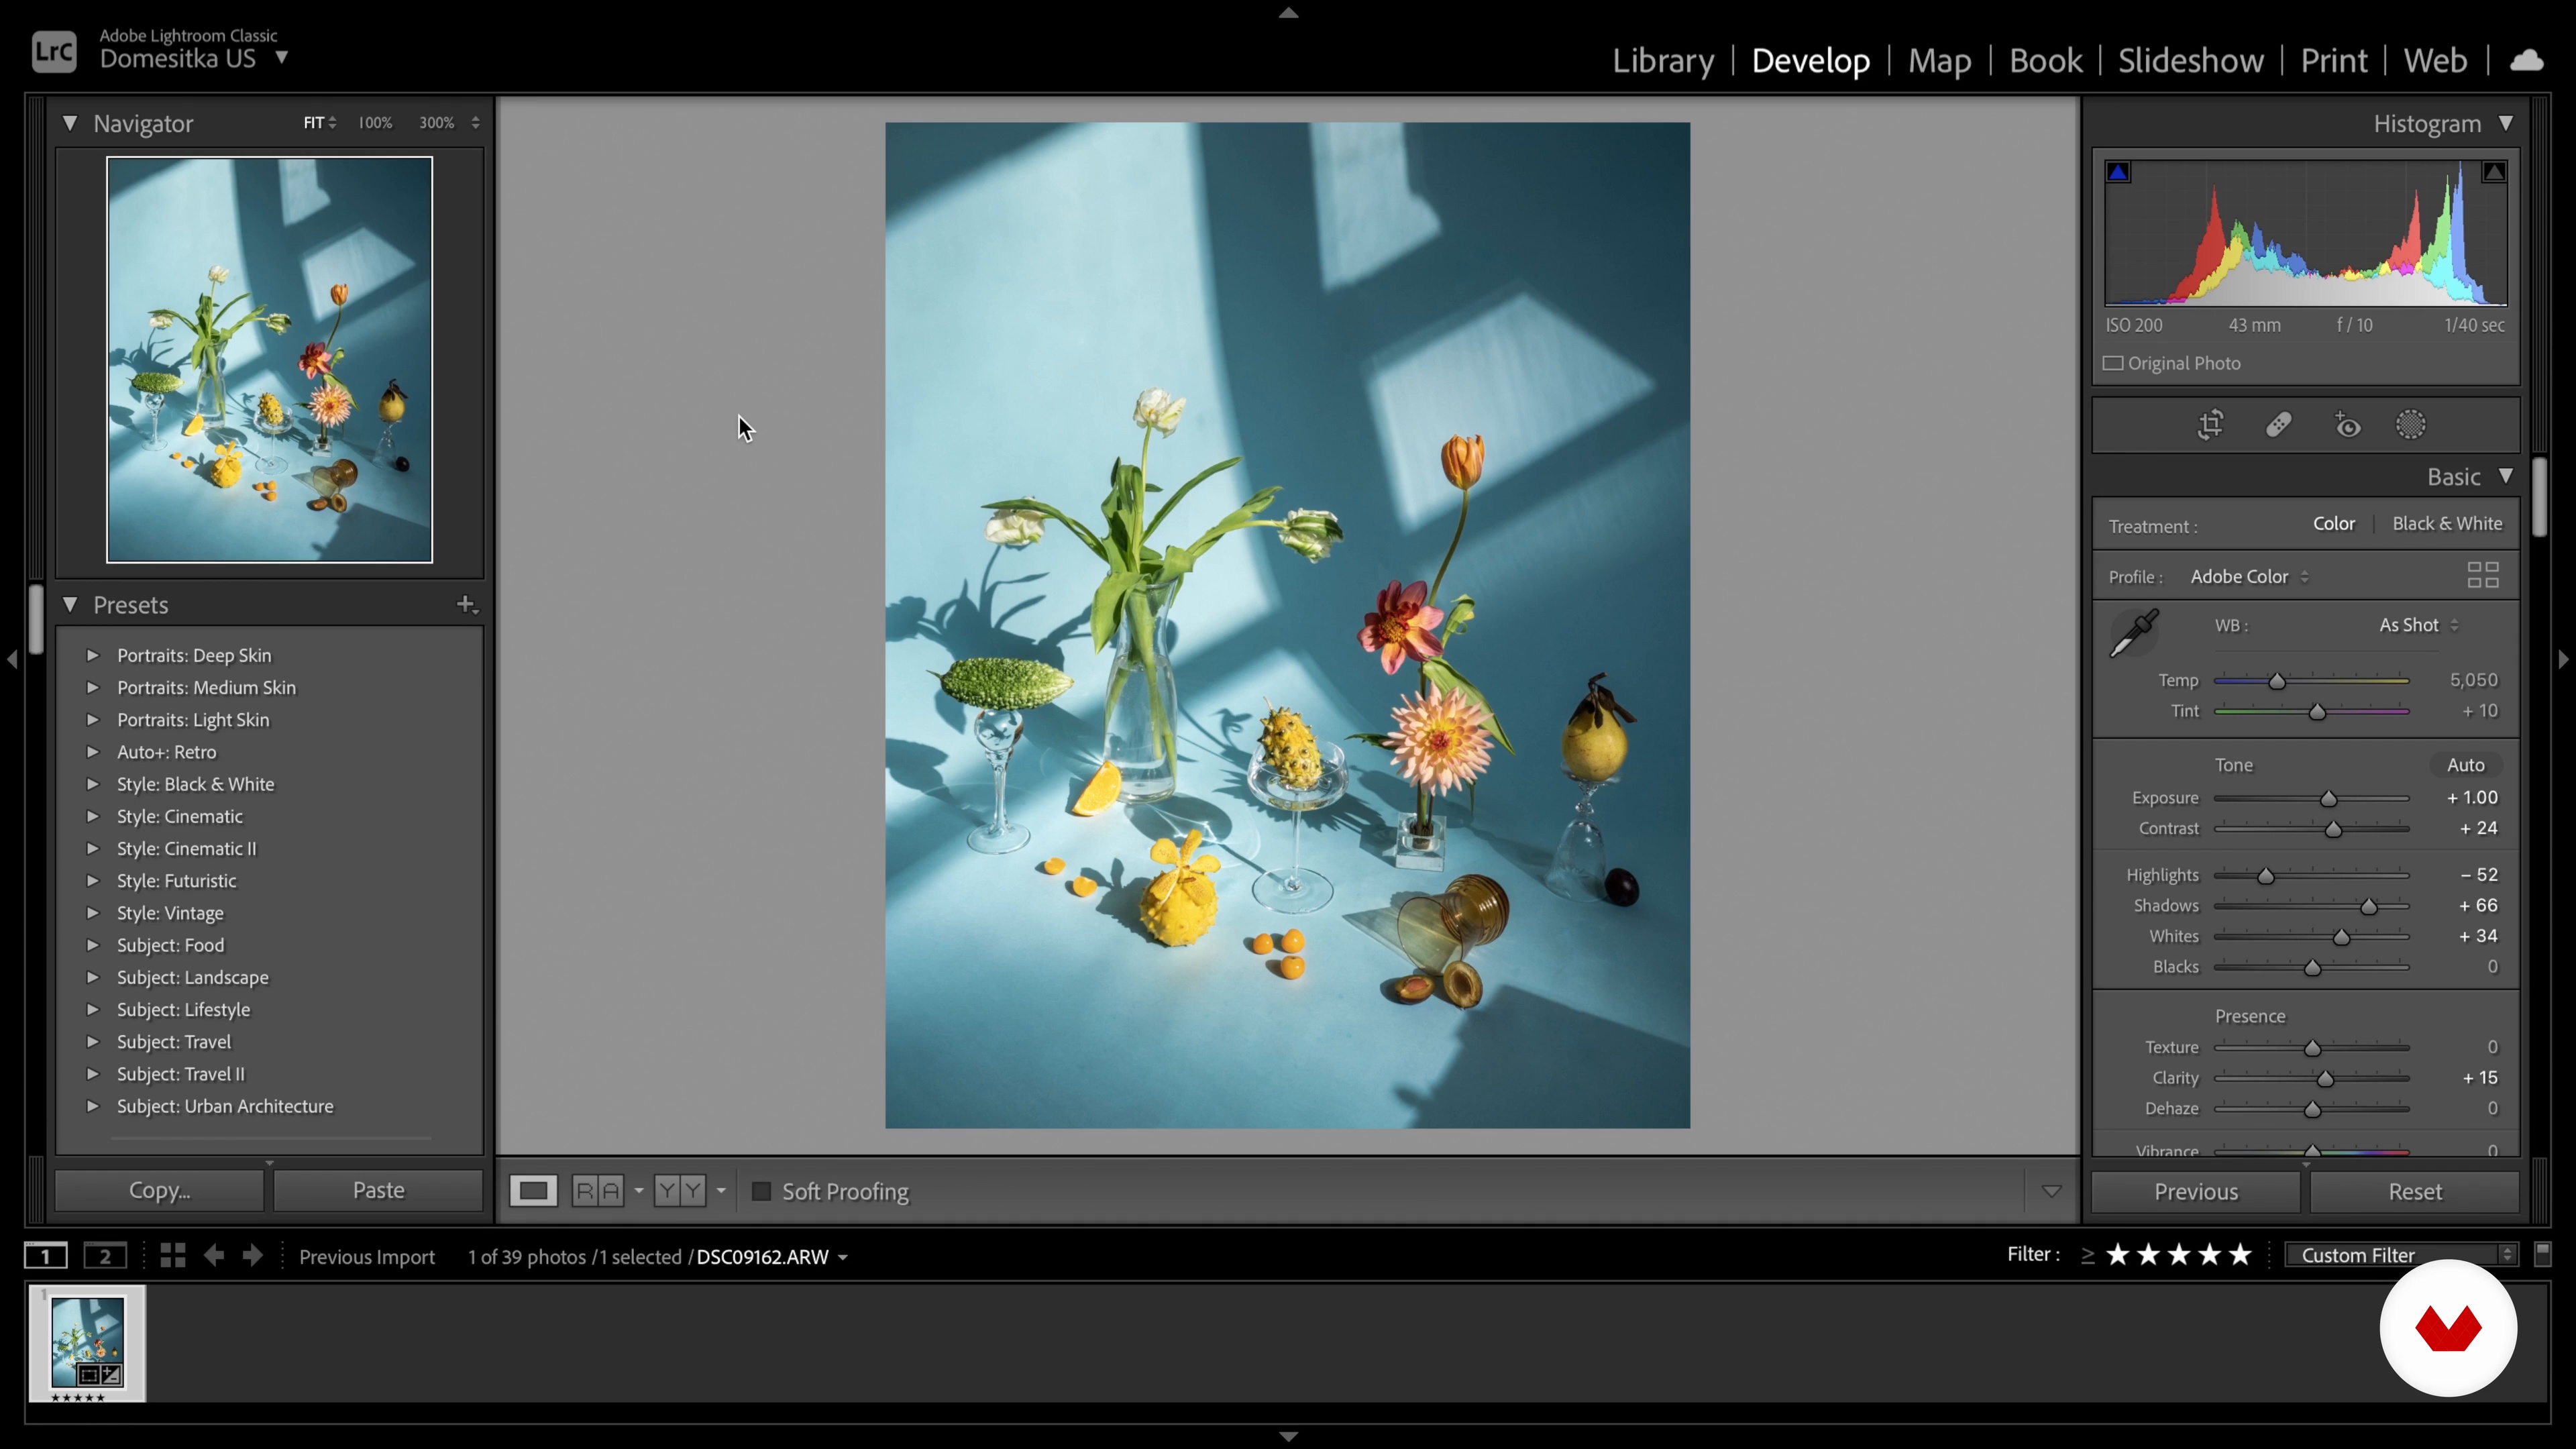
After the photoshoot, the next step is to select the final image and make some corrections. Let me show you how I start the editing process in Lightroom.
11m
image
13
Photoshop and Exporting
Once the necessary adjustments and corrections are done, the image has to be exported for publication, either on social media, on a website, or in print. Here I will share my tips on that.
12m
image
14
Publishing, Editing, and Sequencing Your Work
In this lesson, I will briefly cover why sequencing your work is important. Proper space for the proper image: I recommend keeping that in mind.
4m
image
3
Preproduction for Your Creative Still Life
In this lesson, we will introduce you to our creative process, starting with brainstorming and putting together a mood board that will guide us through the creation of the project.
9m
image
4
Sketching
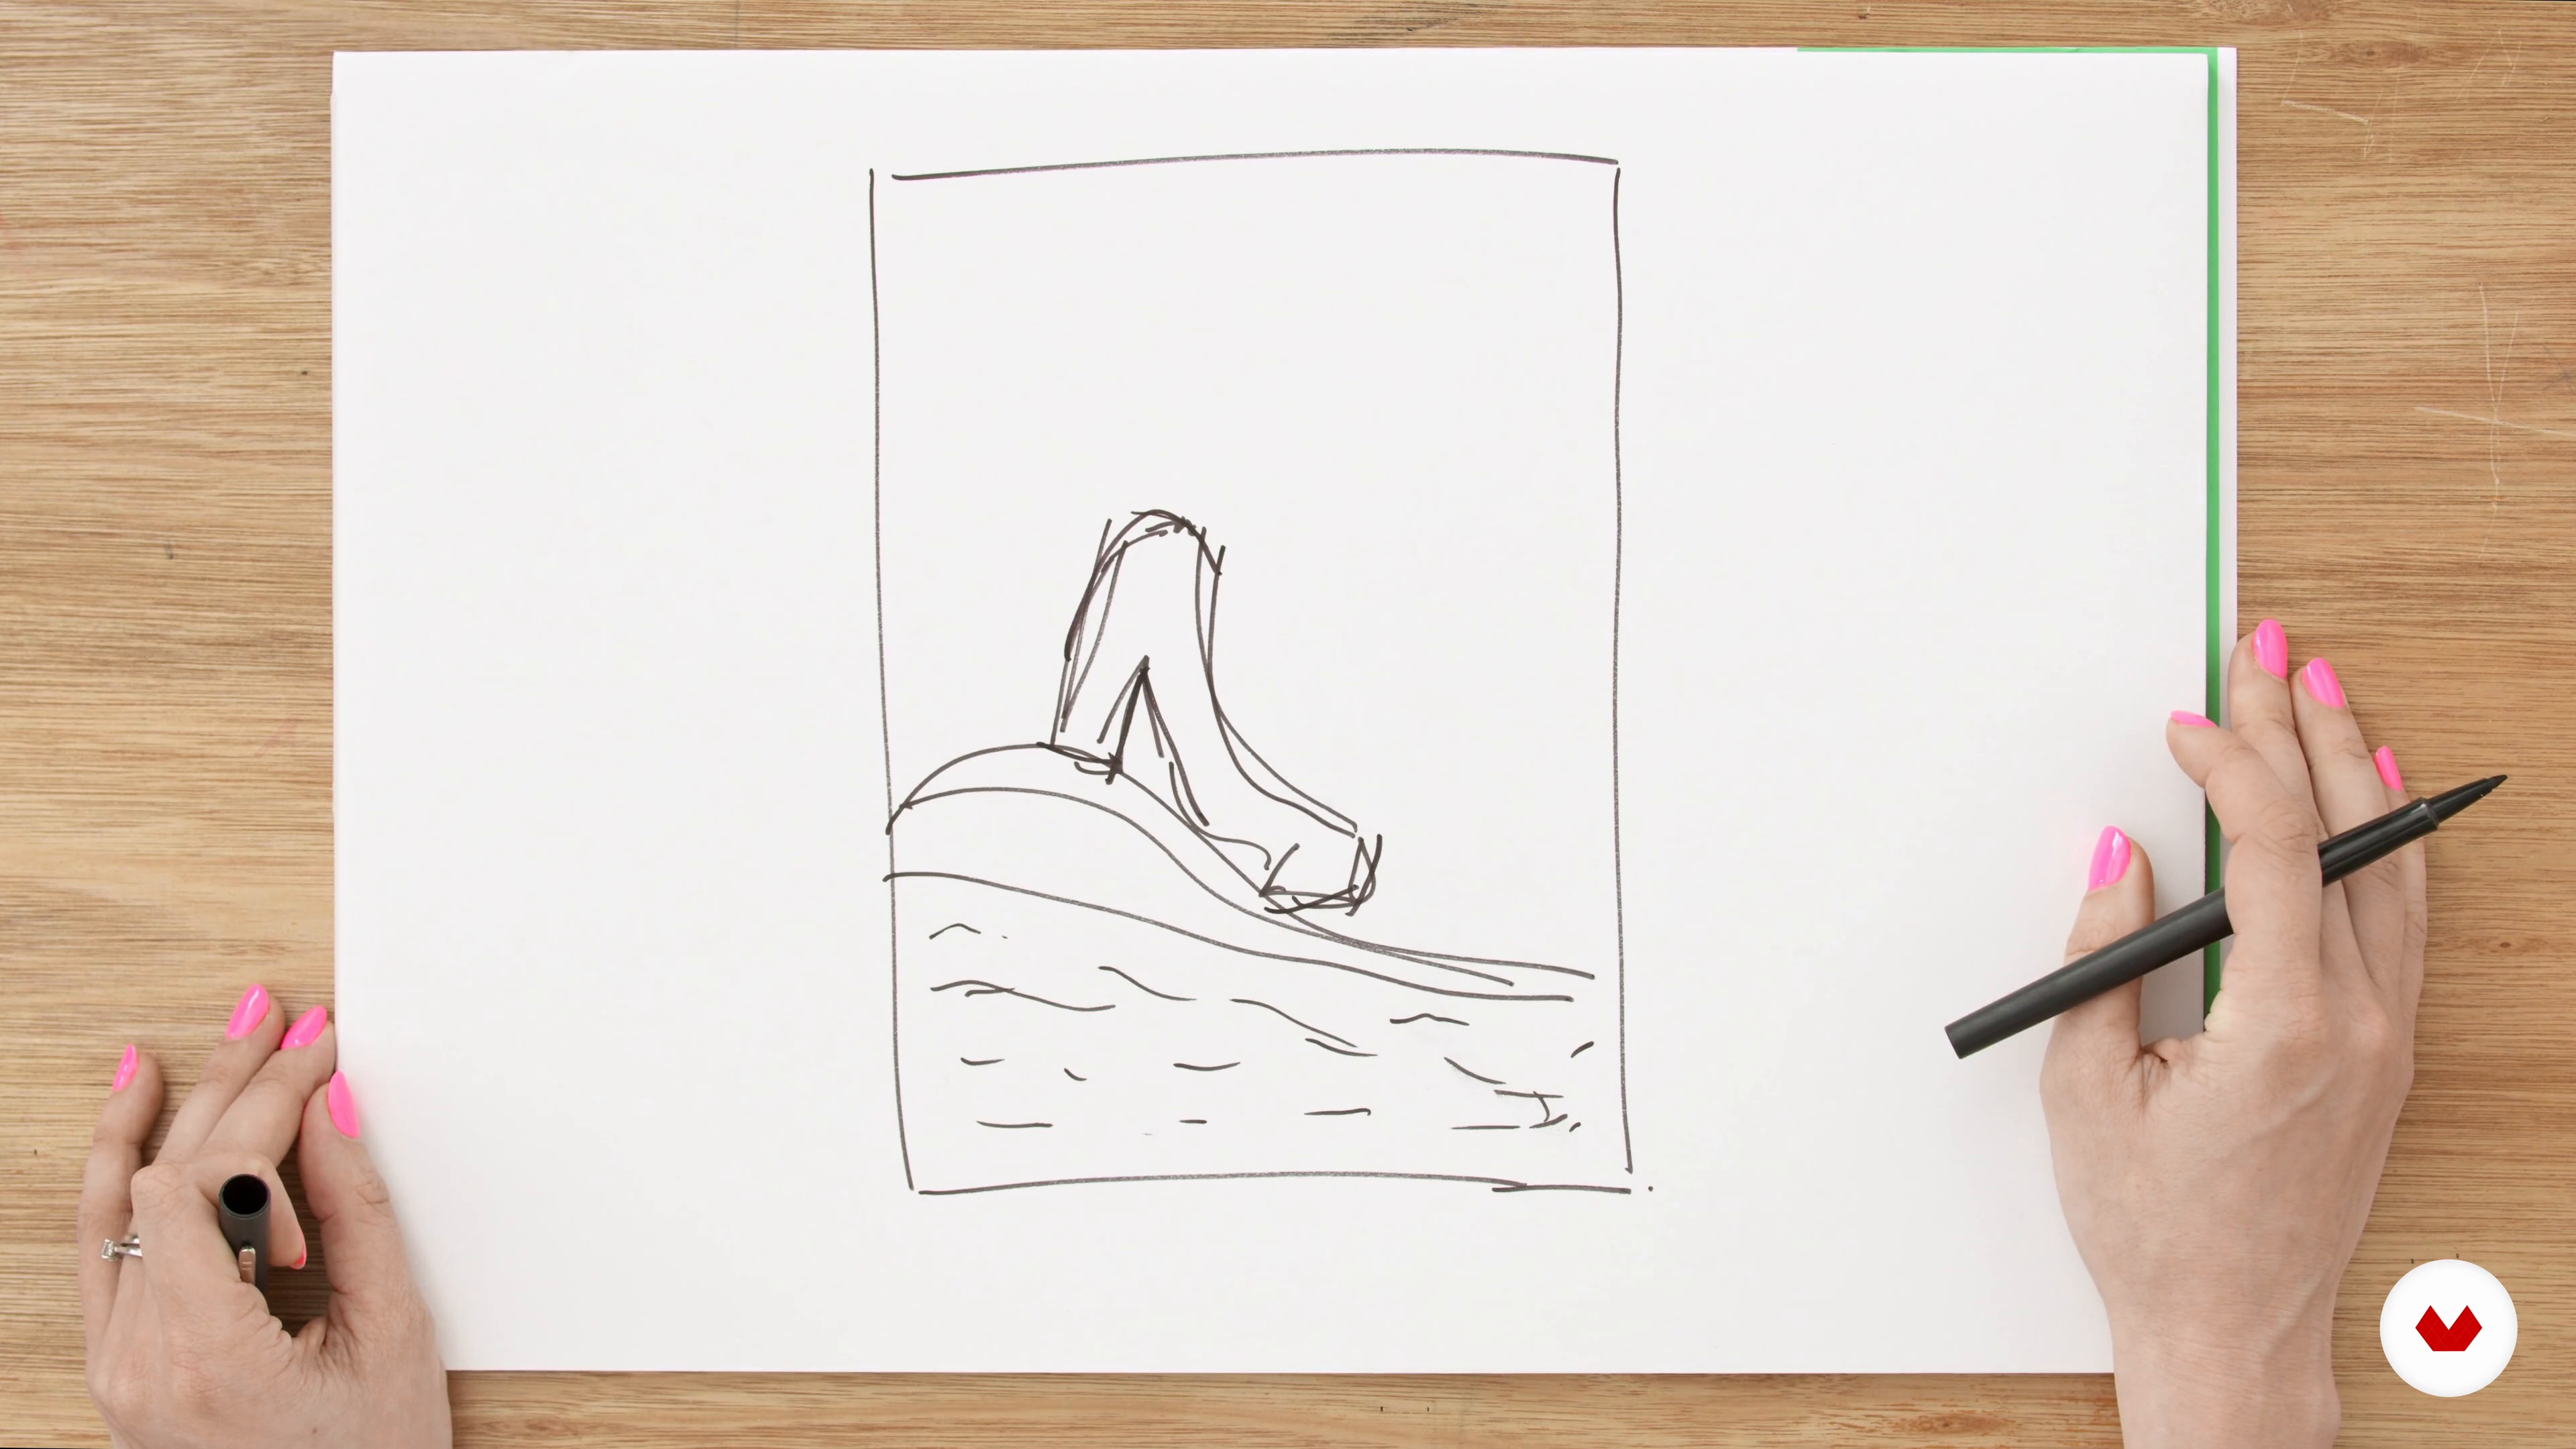
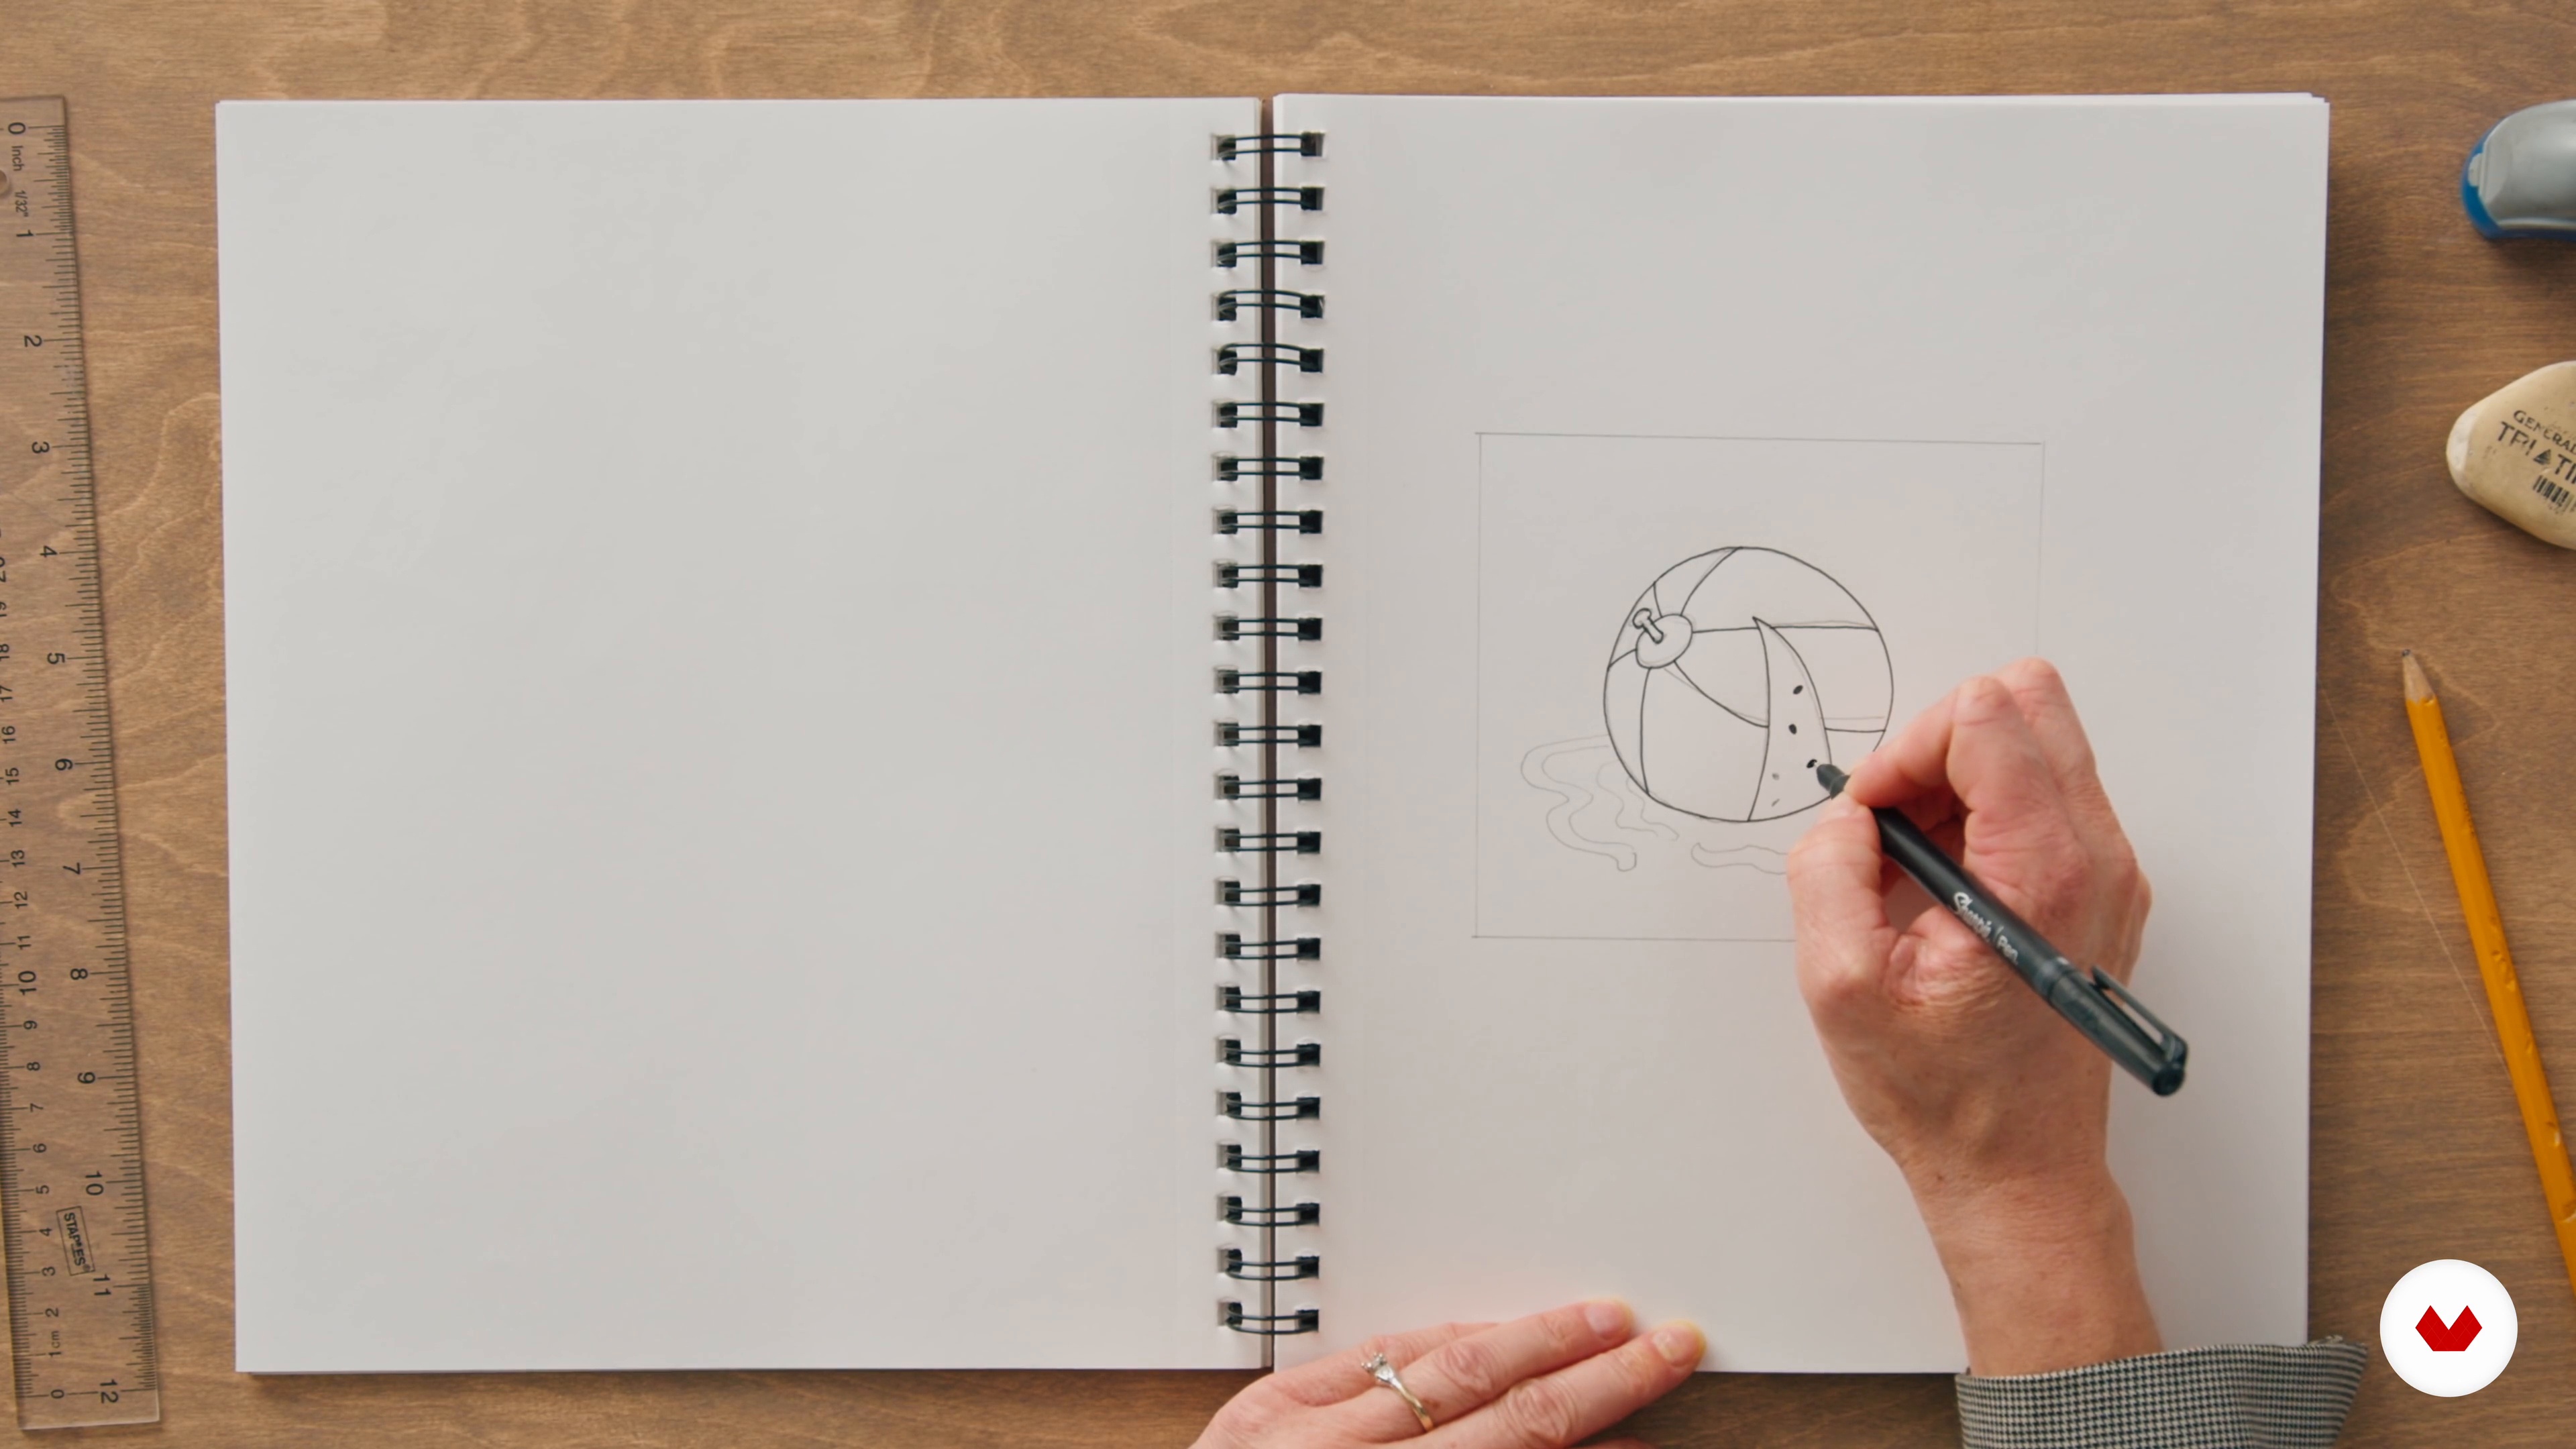
Next, we will share with you our sketching process that will help you find your concept.
9m
image
5
Searching and Building Props
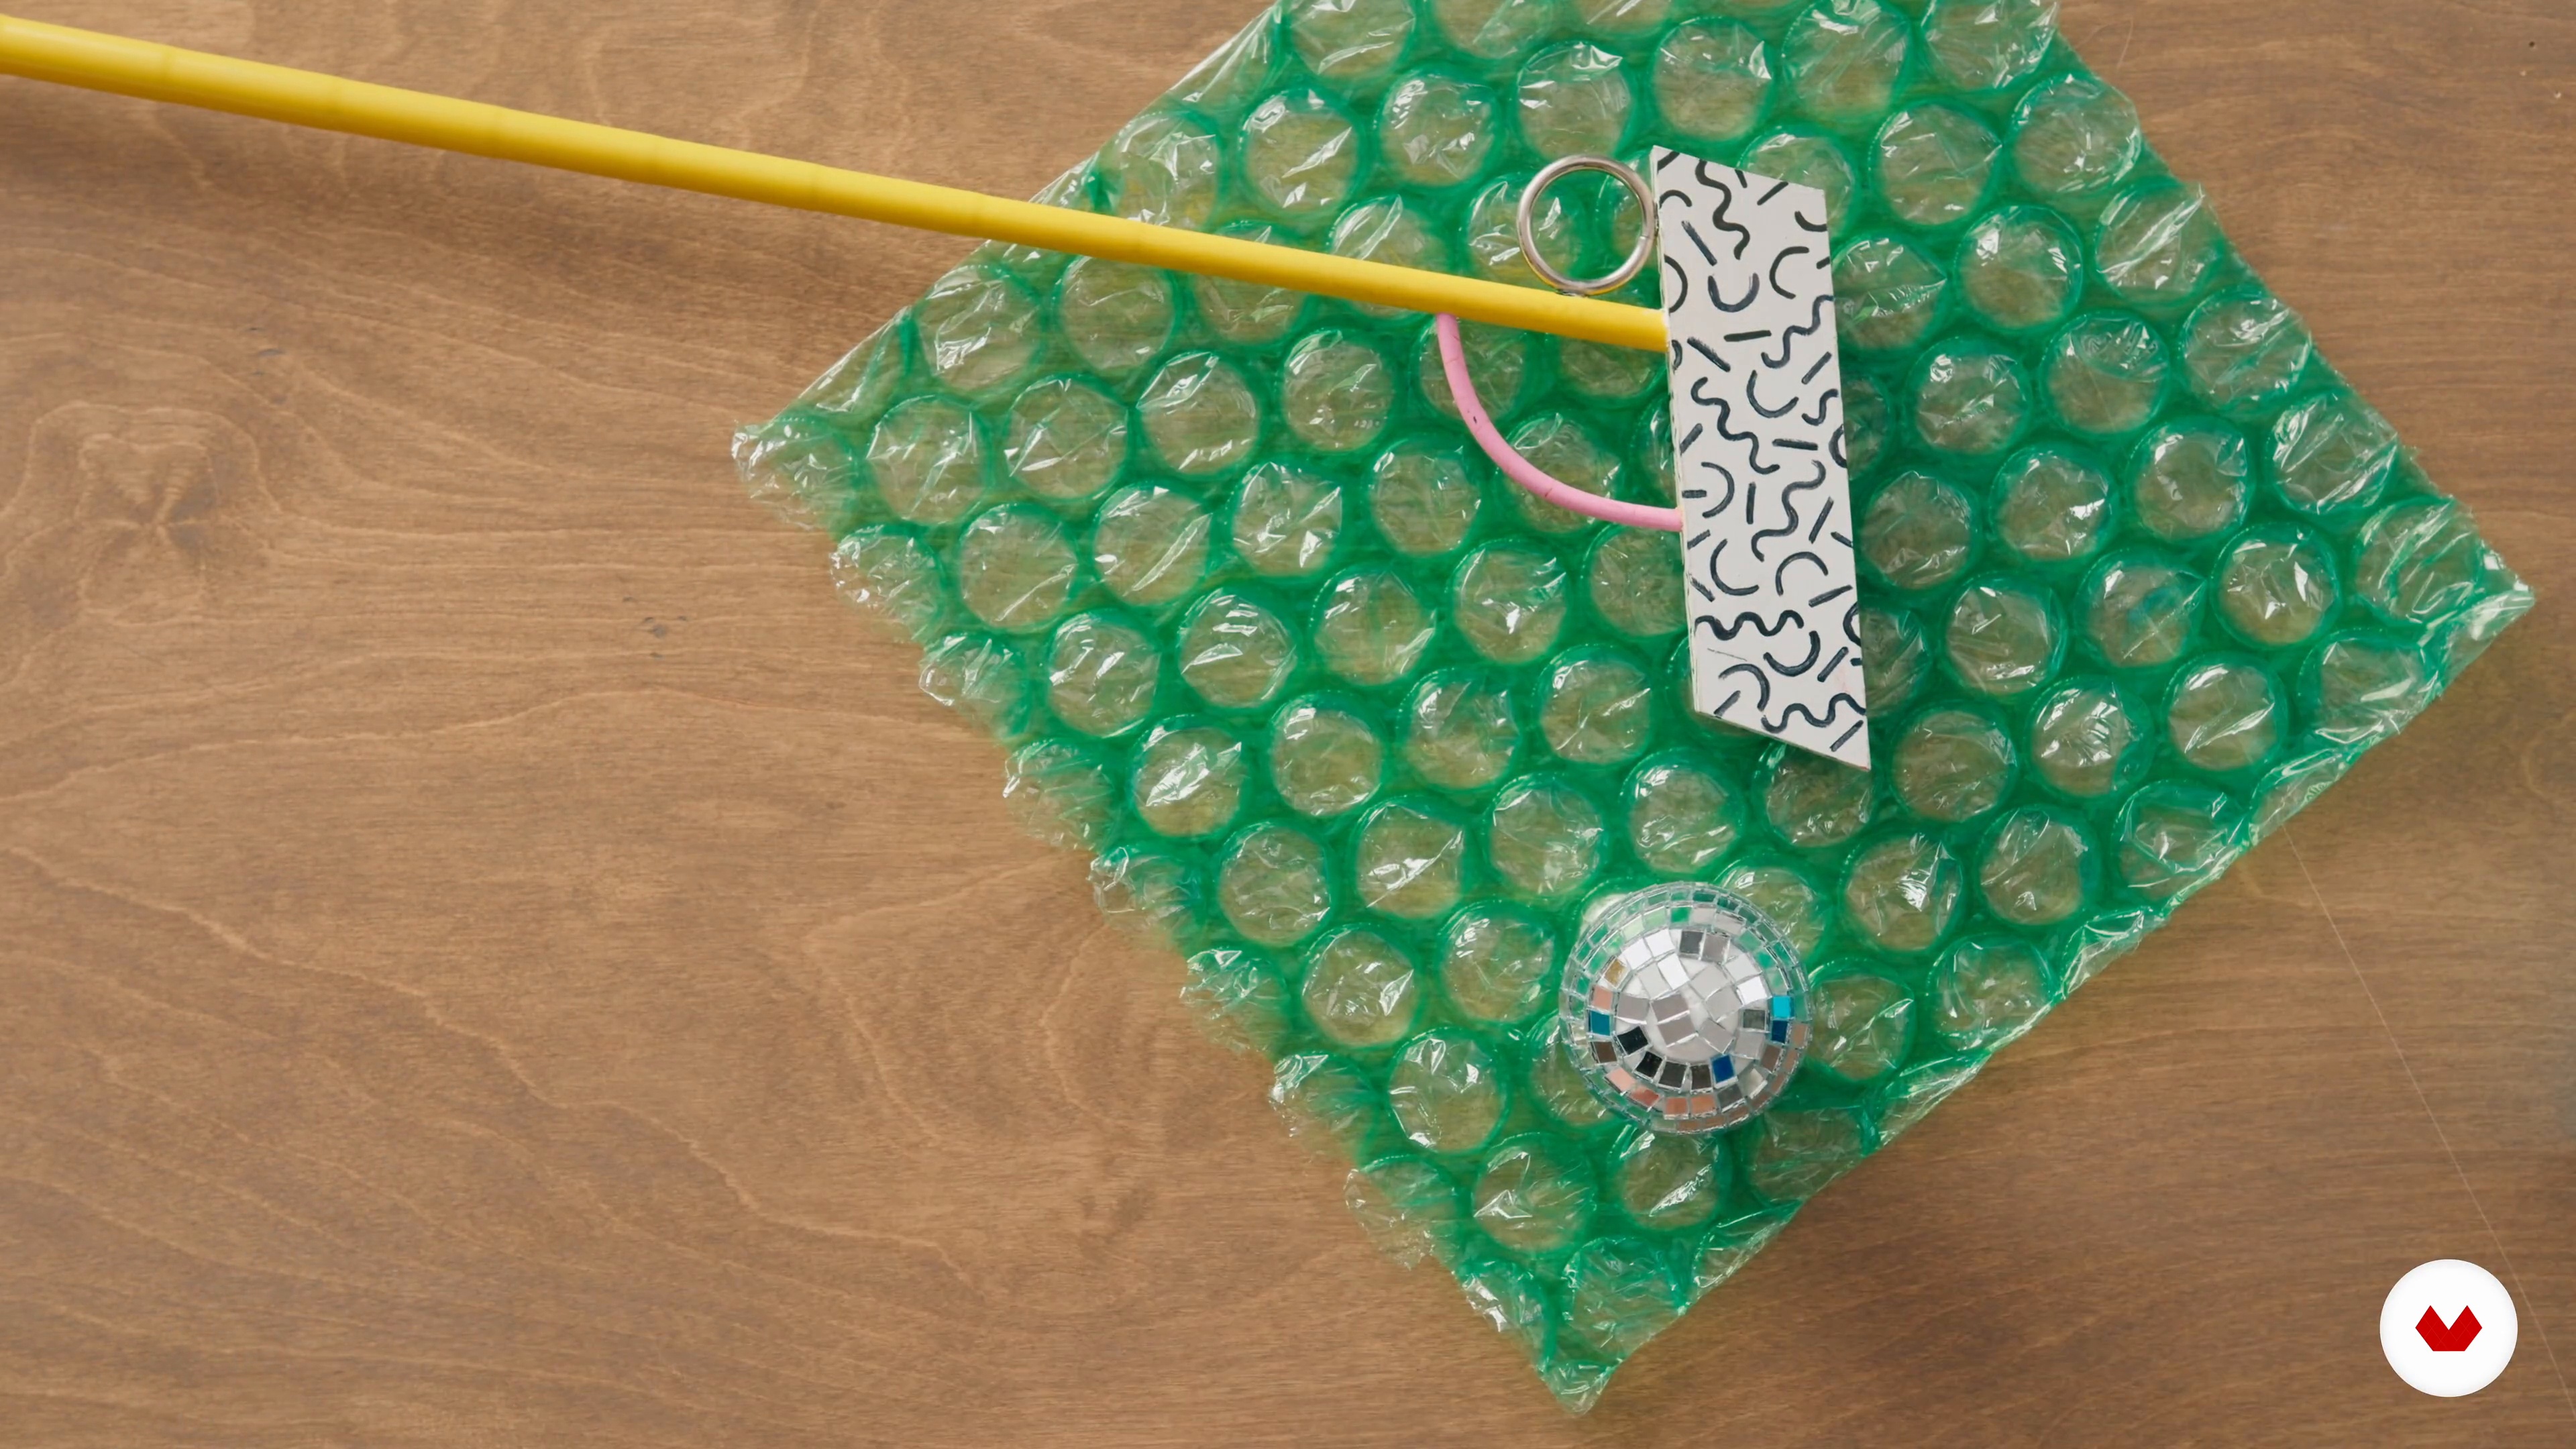
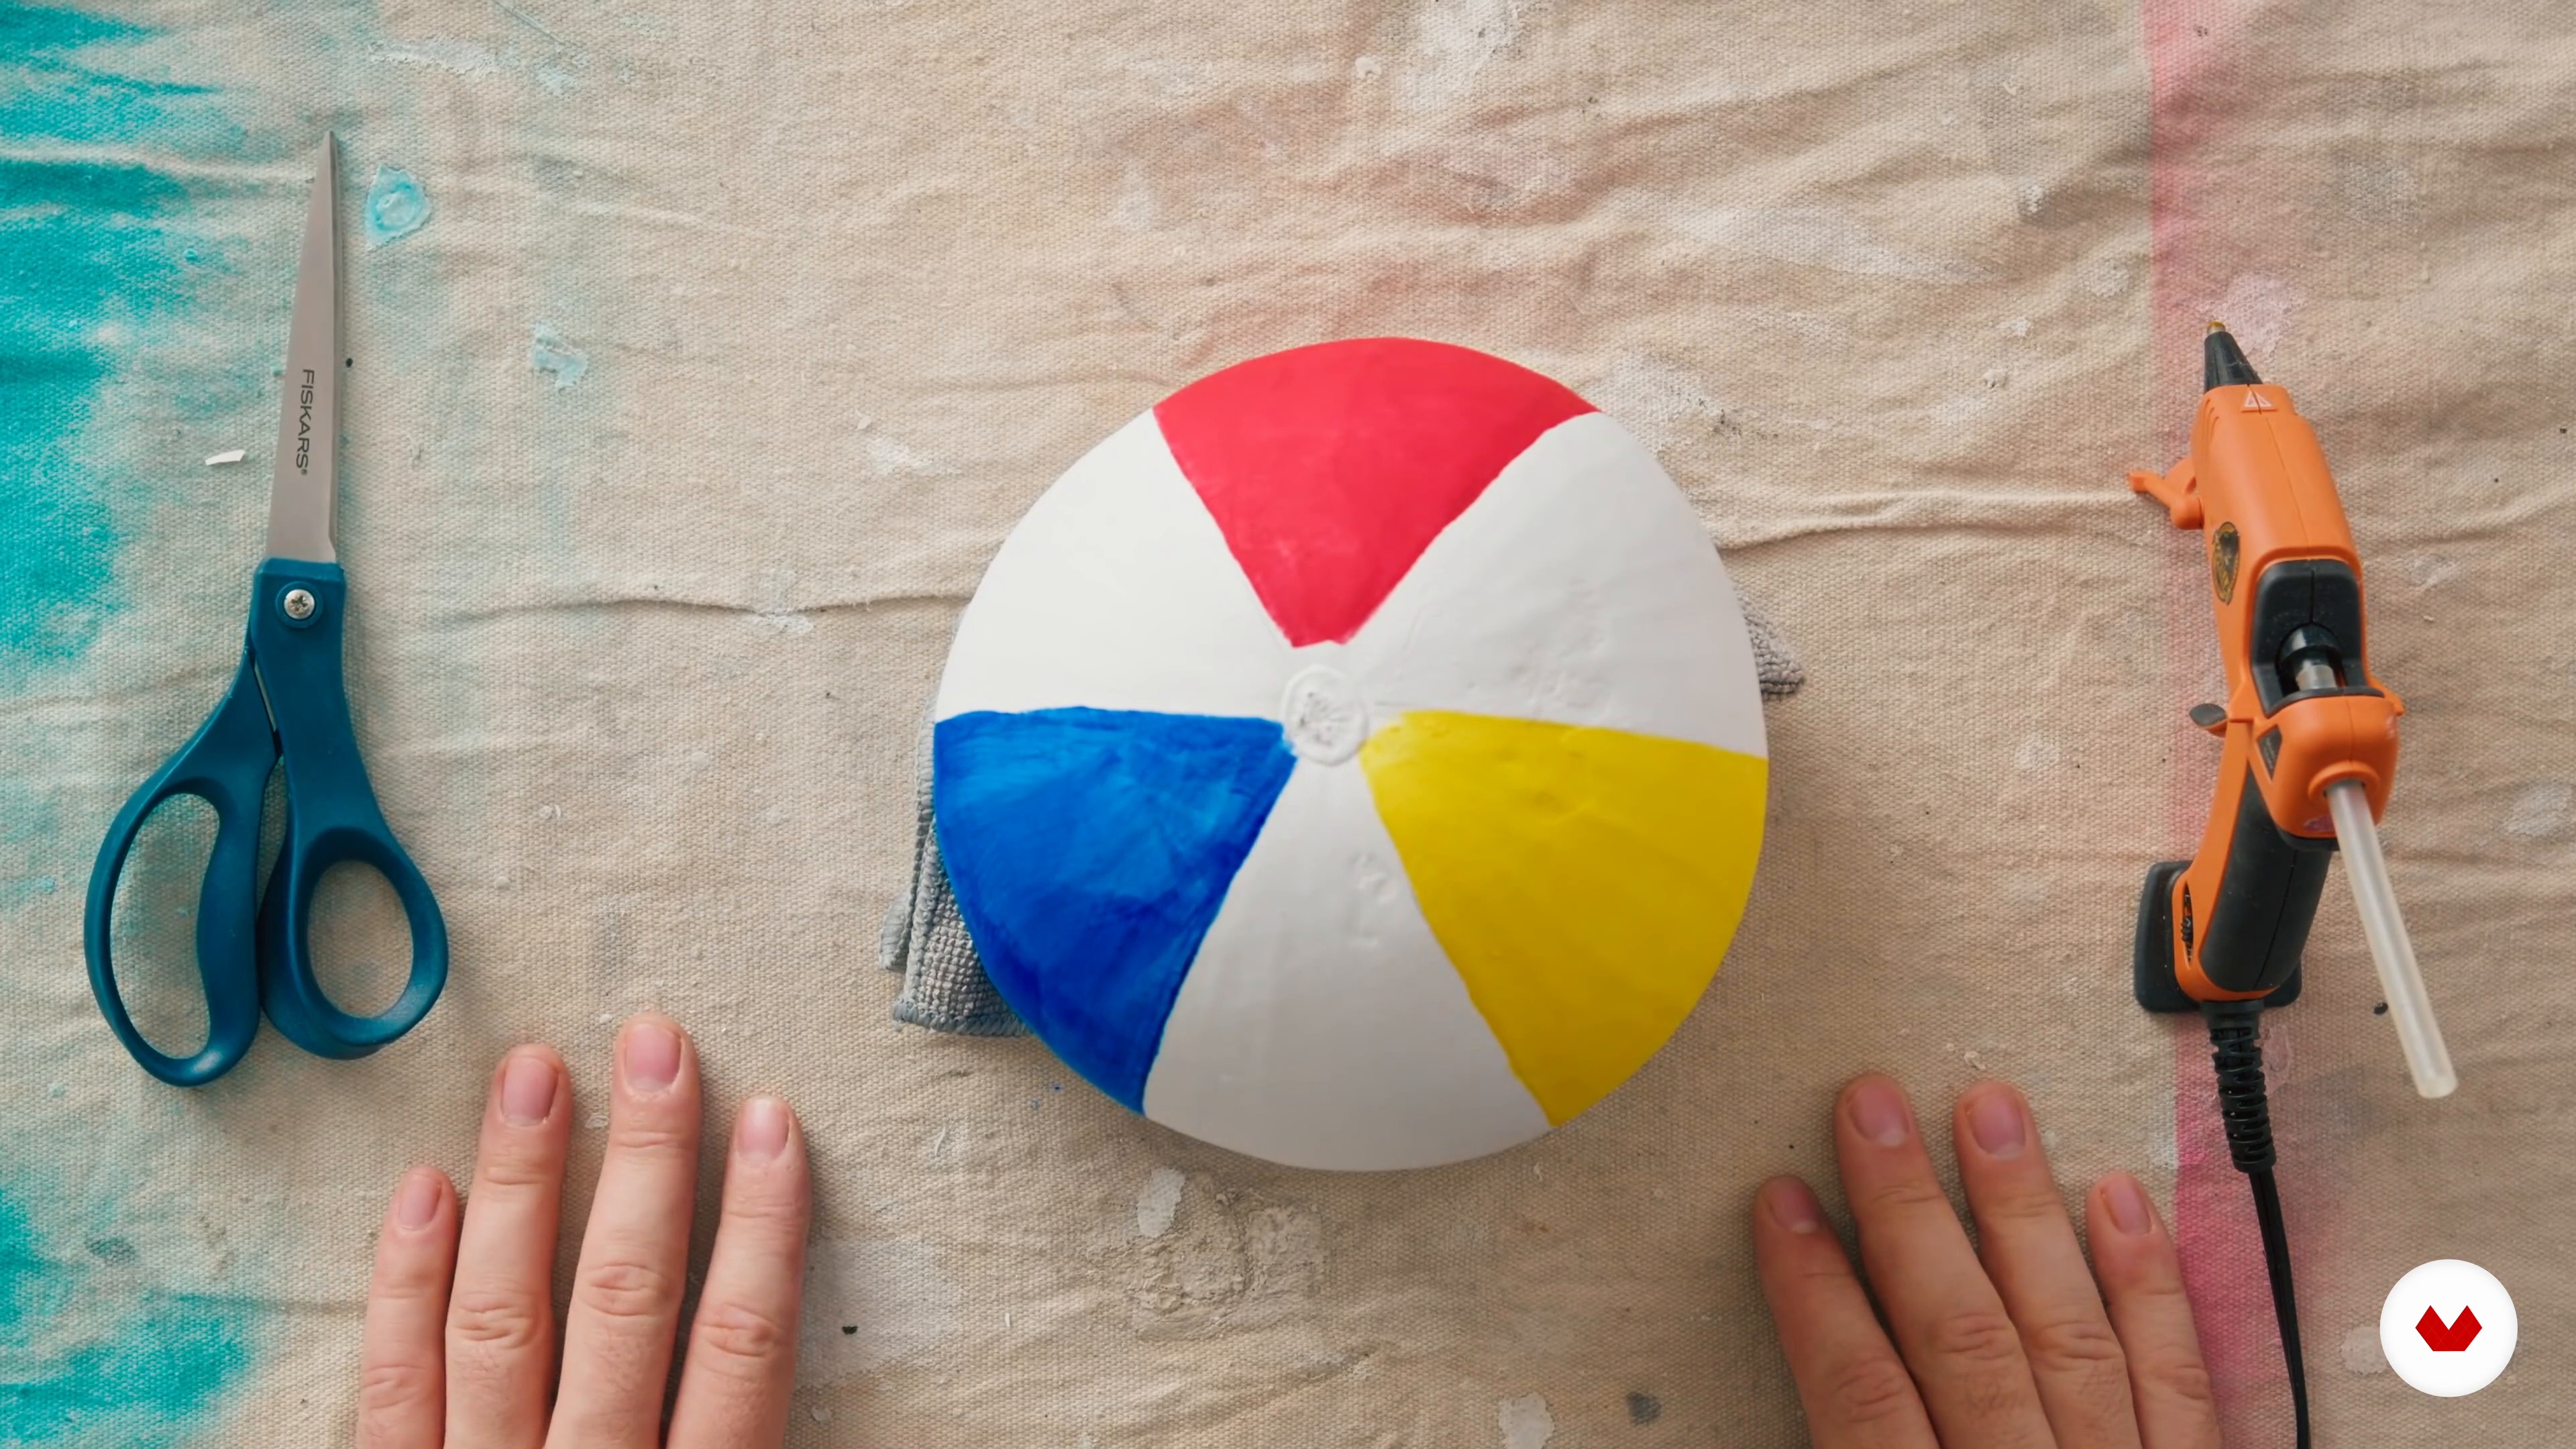
Let's now go over the construction aspect of pre-production and discuss creative solutions for props building.
13m
image
6
Building the Prop and Set
First, we will build our backdrop and the "stage" for where we will be styling our props and styling elements.
20m
image
7
Styling, Lighting, and Shooting
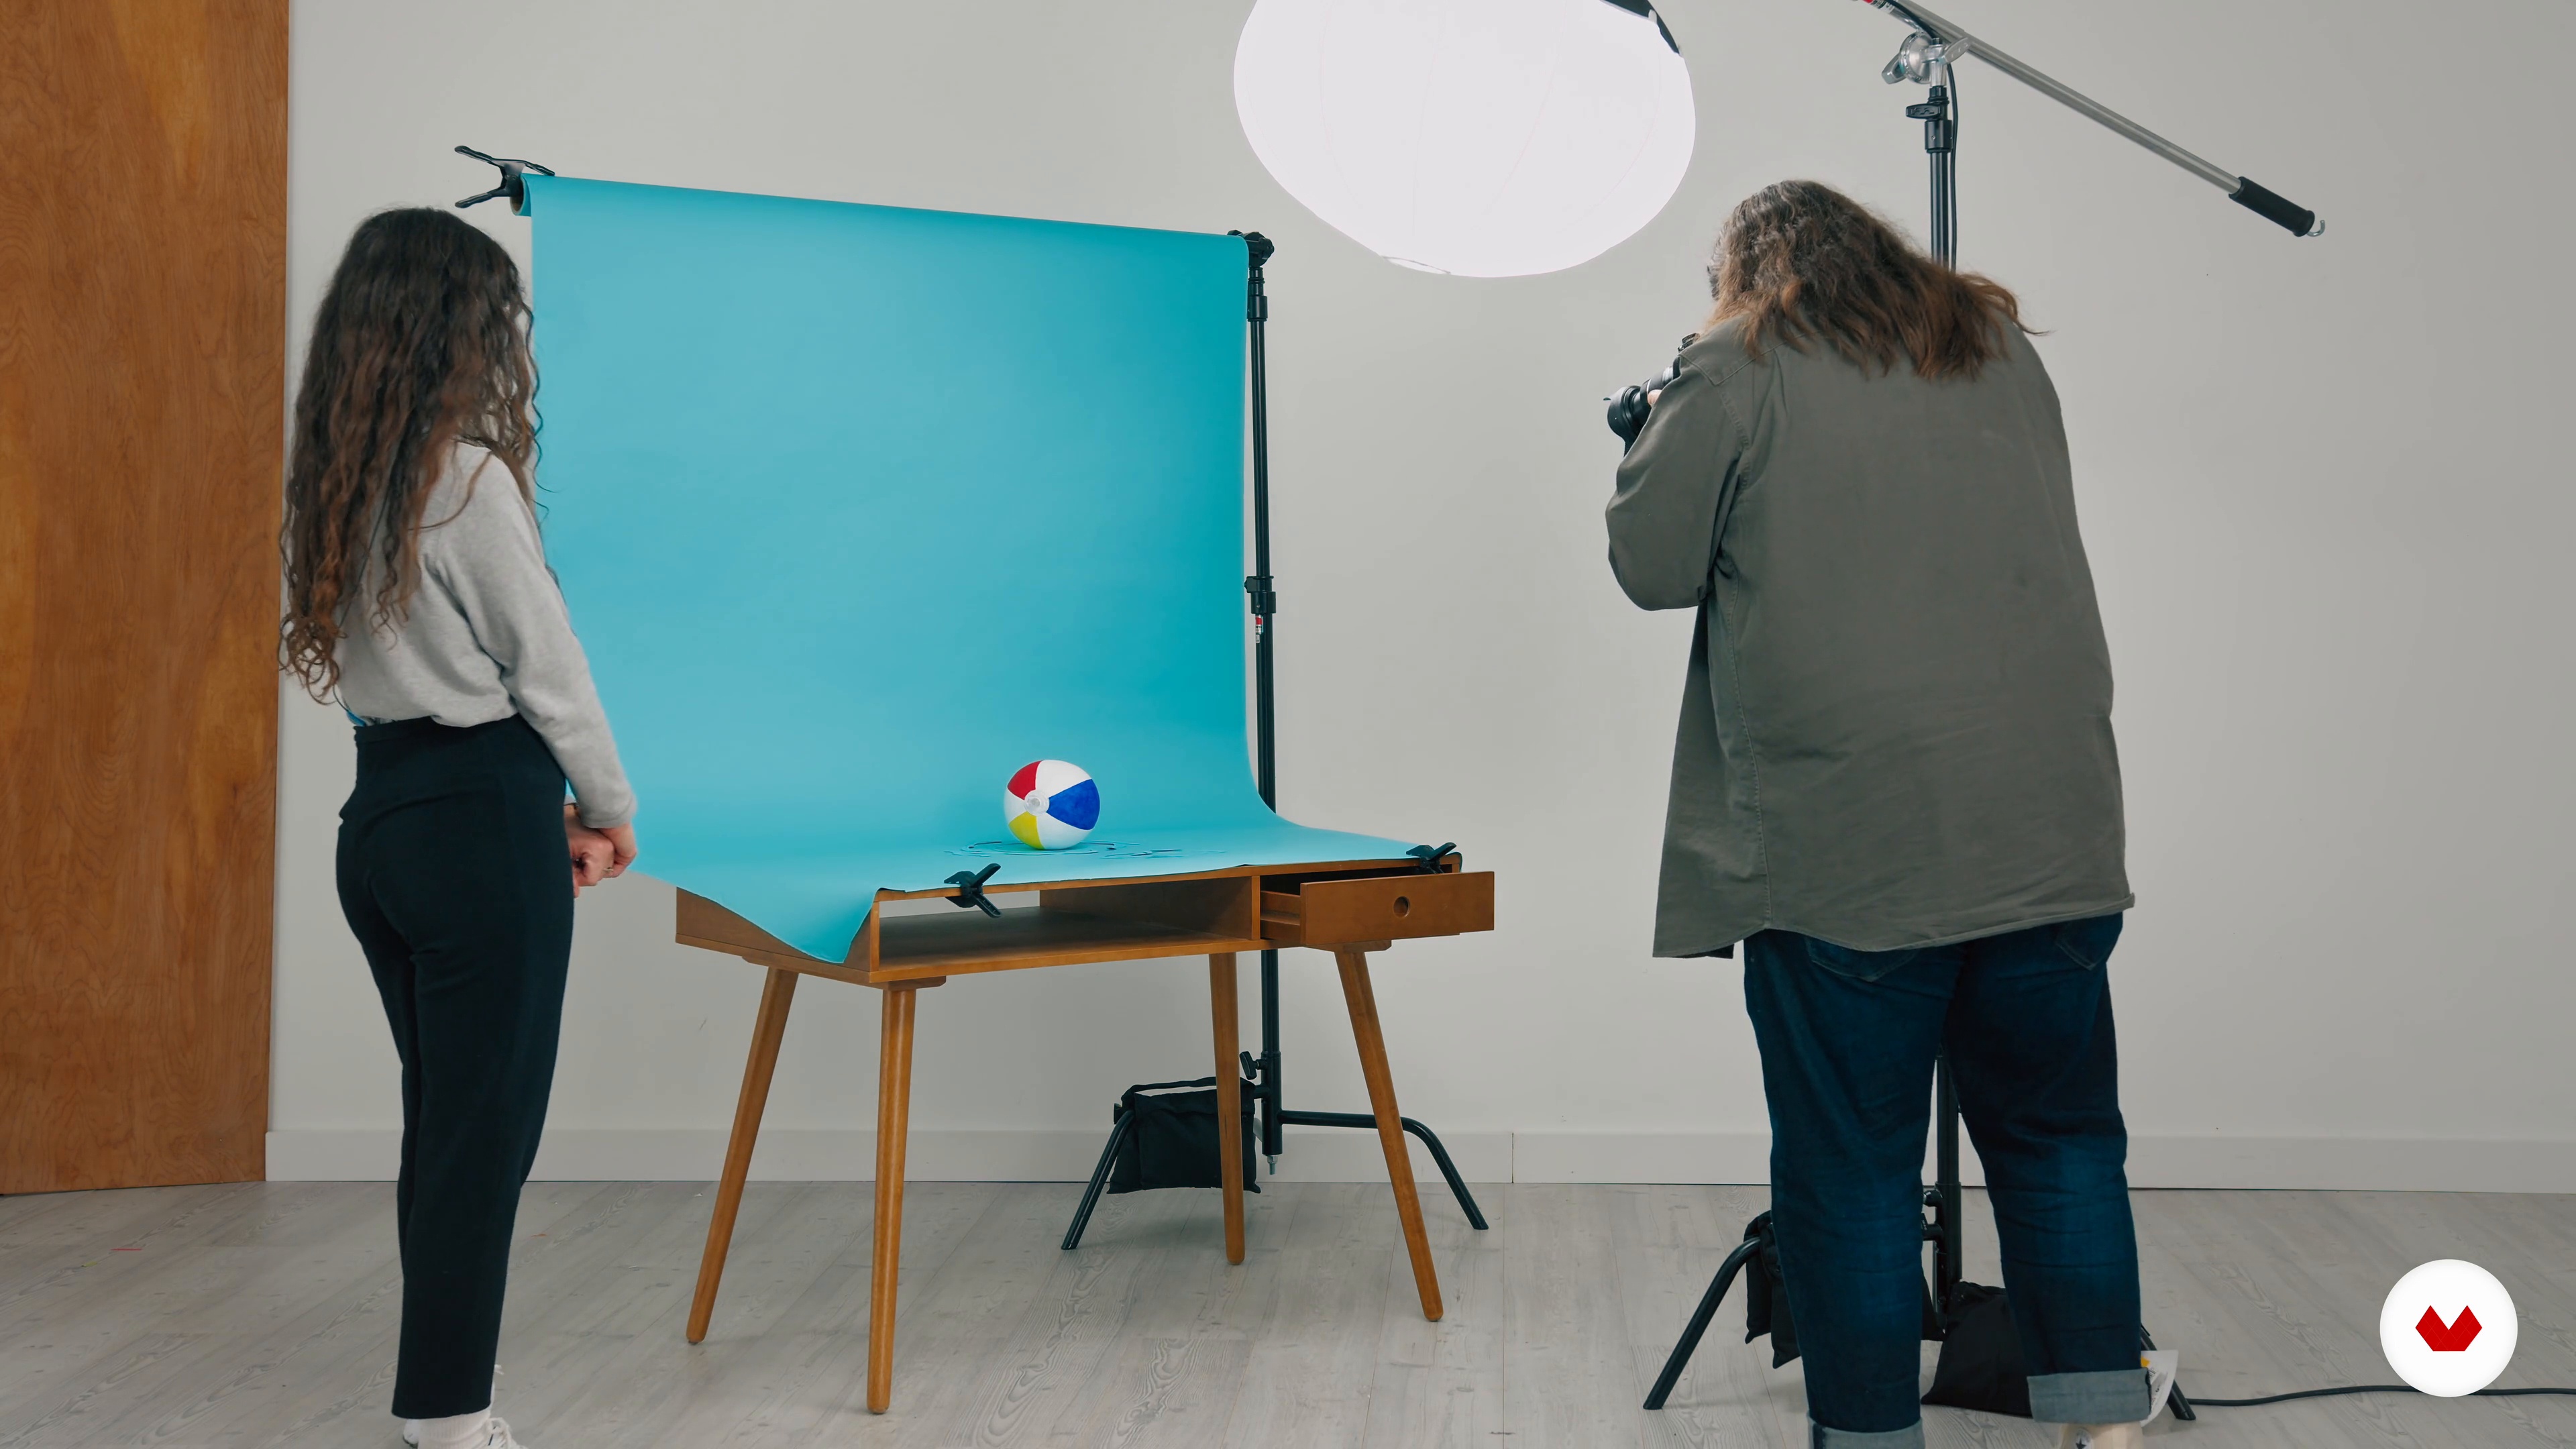
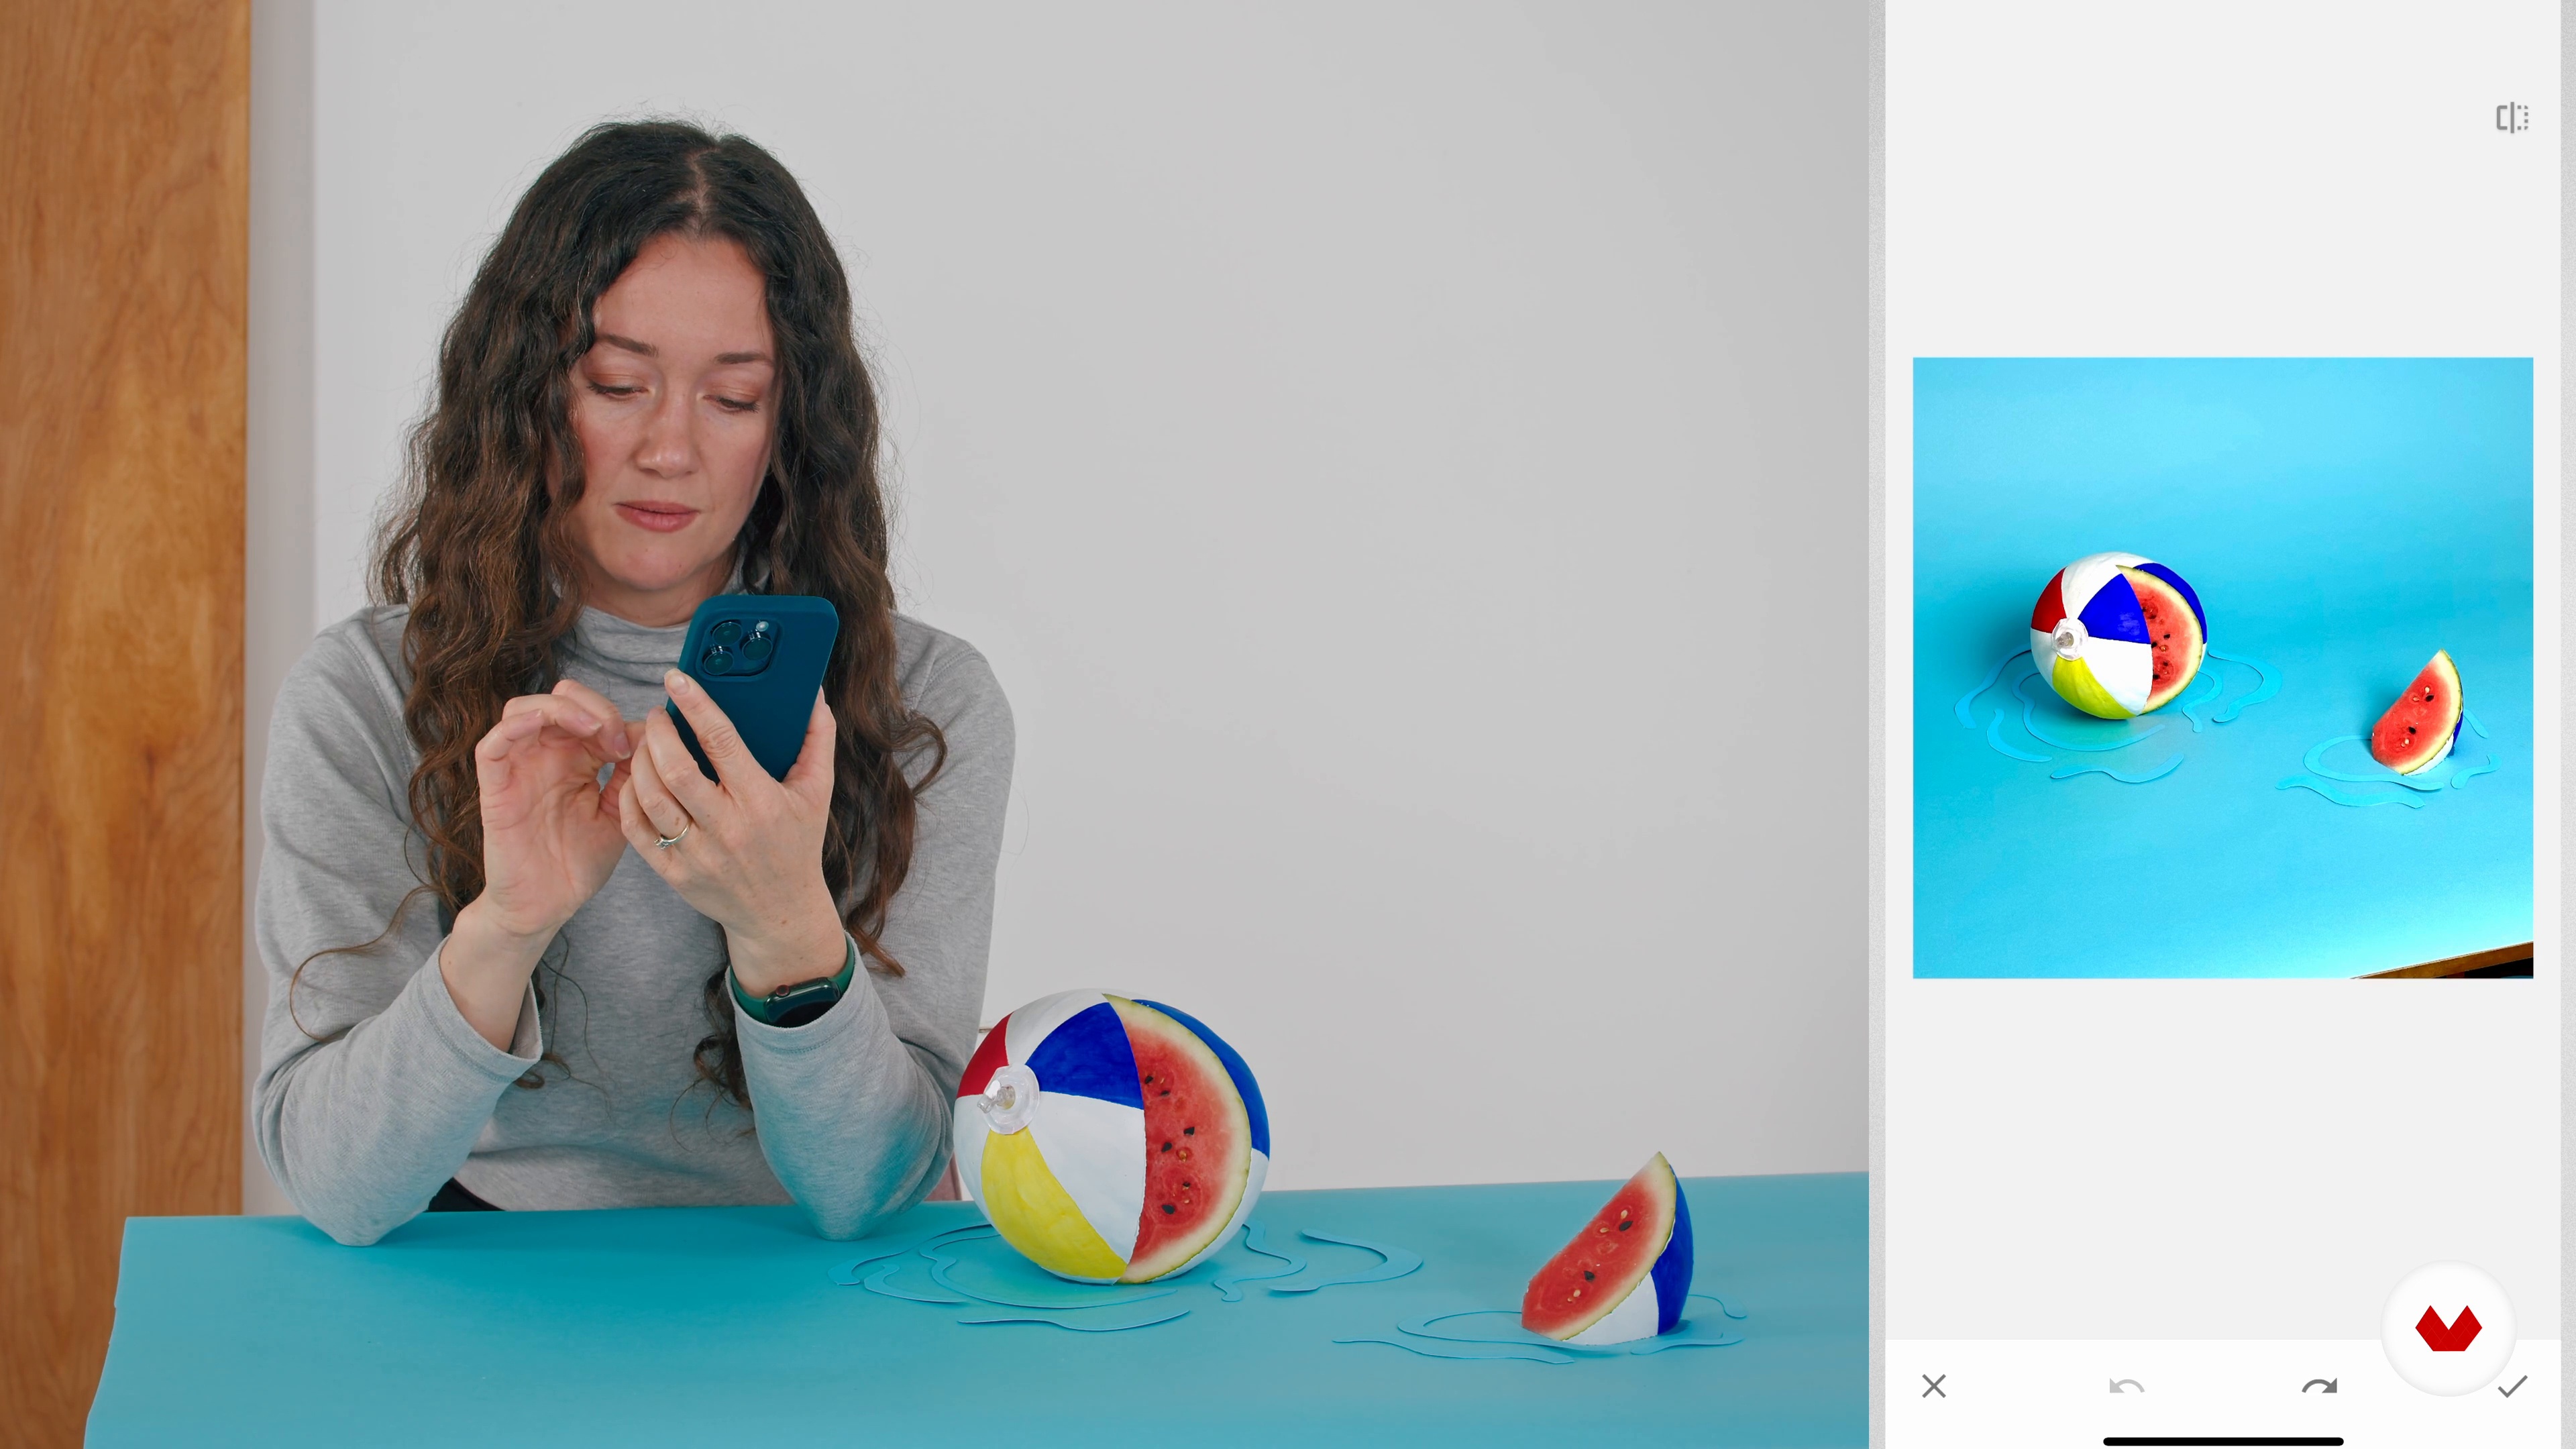
It's time to shoot! First, we will set up the lighting to work with a DSLR camera. Working with constant light sources means that you can shoot with either a cell phone or a DSLR camera. If you're shooting with a camera, it's still handy to get cell phone shots to share with the client, or on social media.
19m
image
8
Shooting and Editing with a Smartphone
Let's now take some pictures with the smartphone. We will also go through some lighting options you can use and show you how to edit the photos on your smartphone.
9m
image
9
DSLR Photo Editing
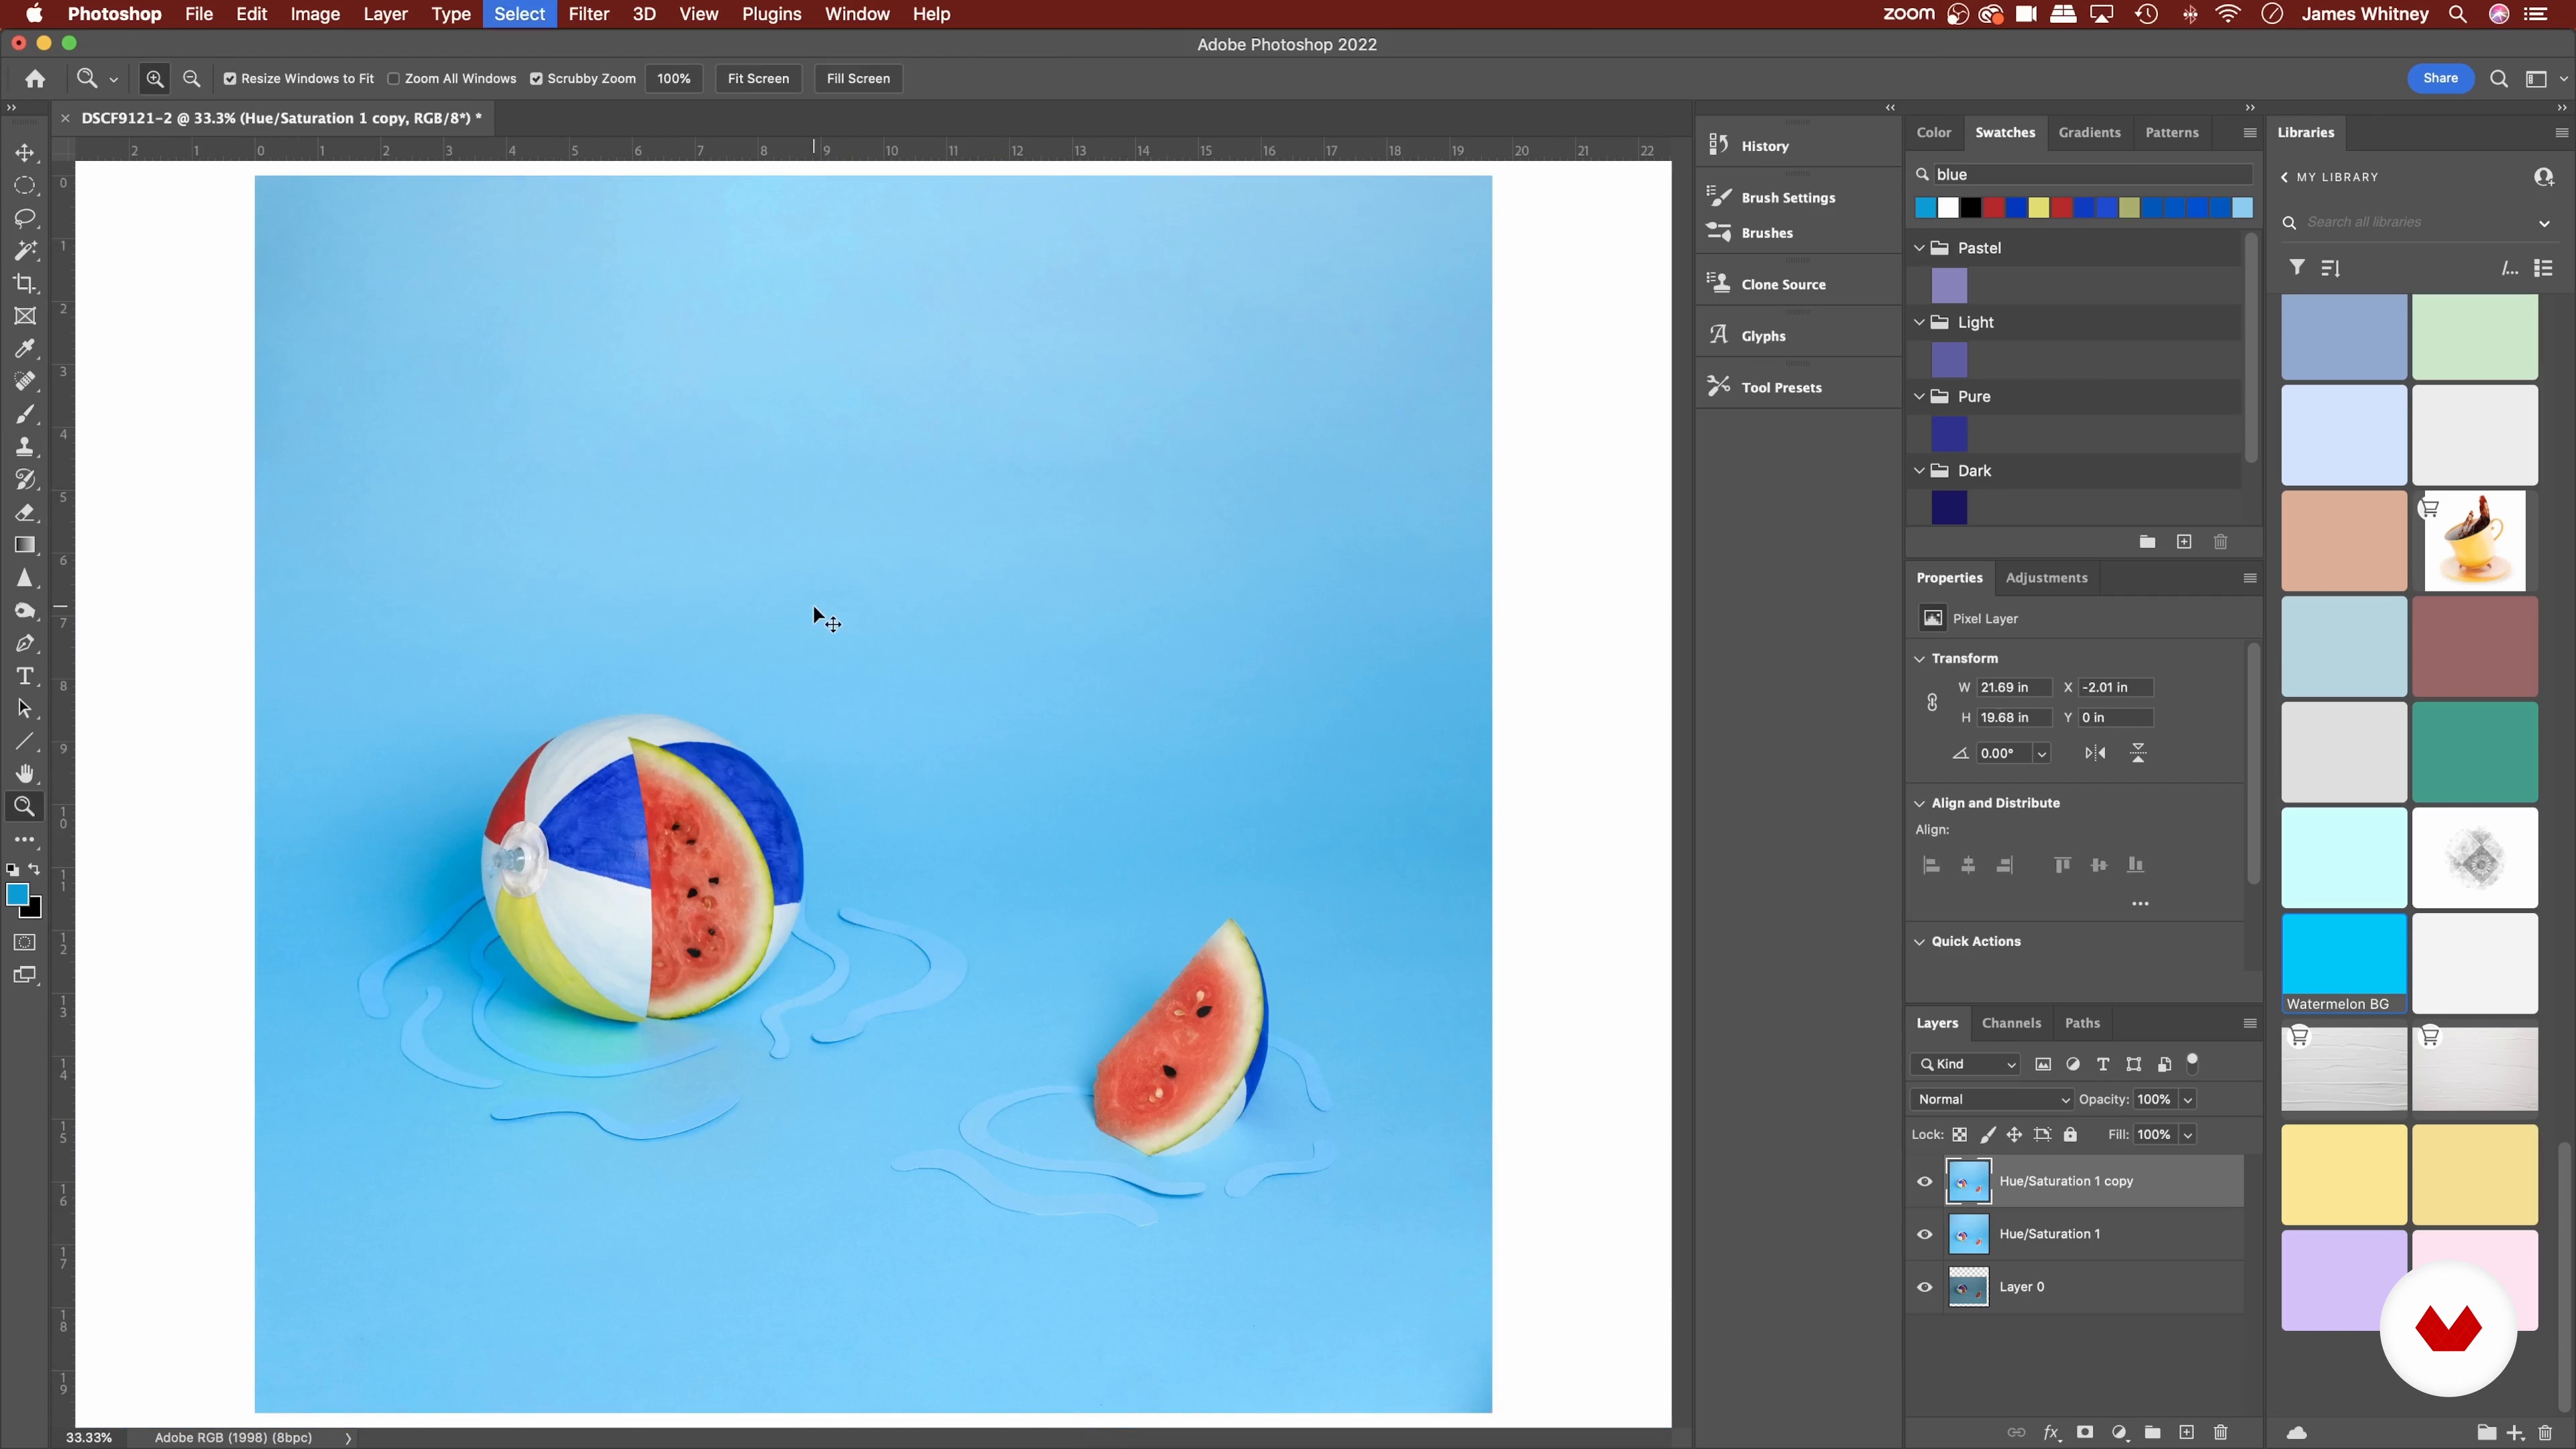
In this lesson, we will show you how we make the overall adjustments, whatever is necessary—crop, adjust levels, color balance, etc. We will go over a few more involved Photoshop techniques.
8m
image
10
Detailed Retouching 1
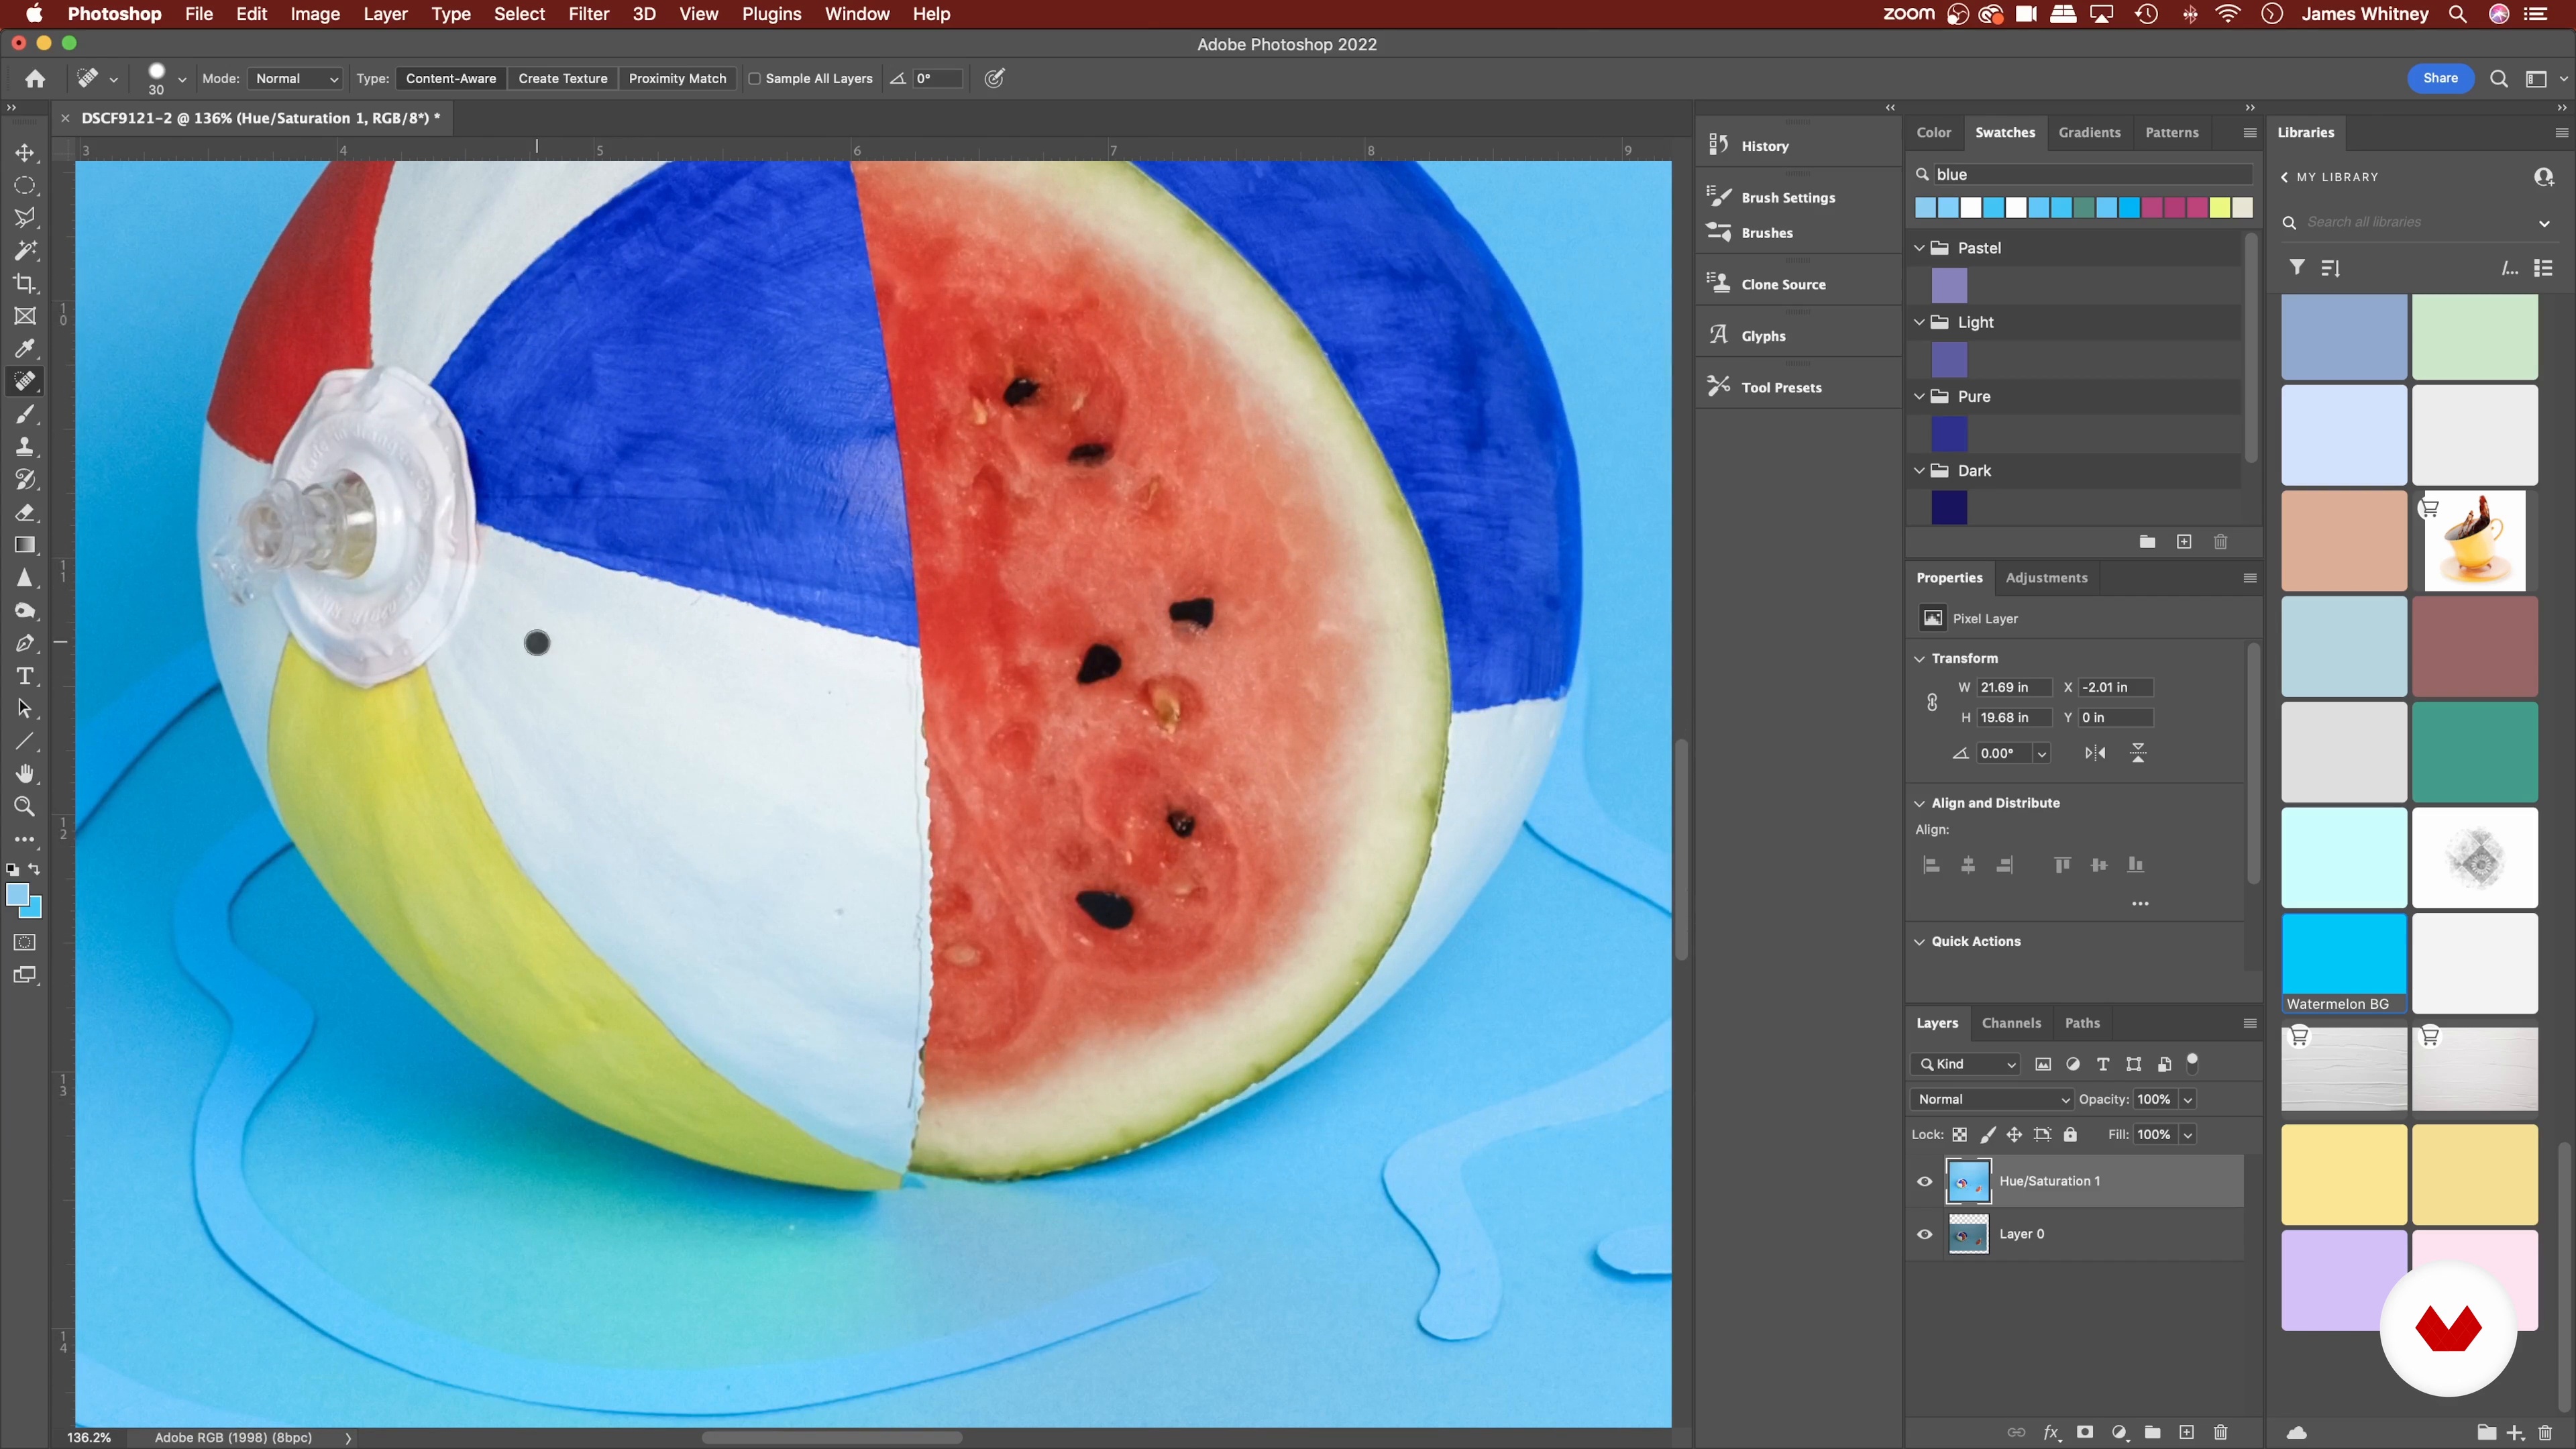
Finally, we will pixel-peep our photo and apply some detailed edits to give the image a clean and finished look.
18m
image
11
Detailed Retouching 2
You will see how easily you can execute your creative concepts! We hope that you're now inspired to develop your own unique ideas.
15m
image
3
Plan your photo (sketch, moodboard and references)
It’s time to plan your photo for the final project. You will sketch first and then create a moodboard and find references to help you understand how you want to create your composition.
20m
image
4
Behind the scenes of a composition
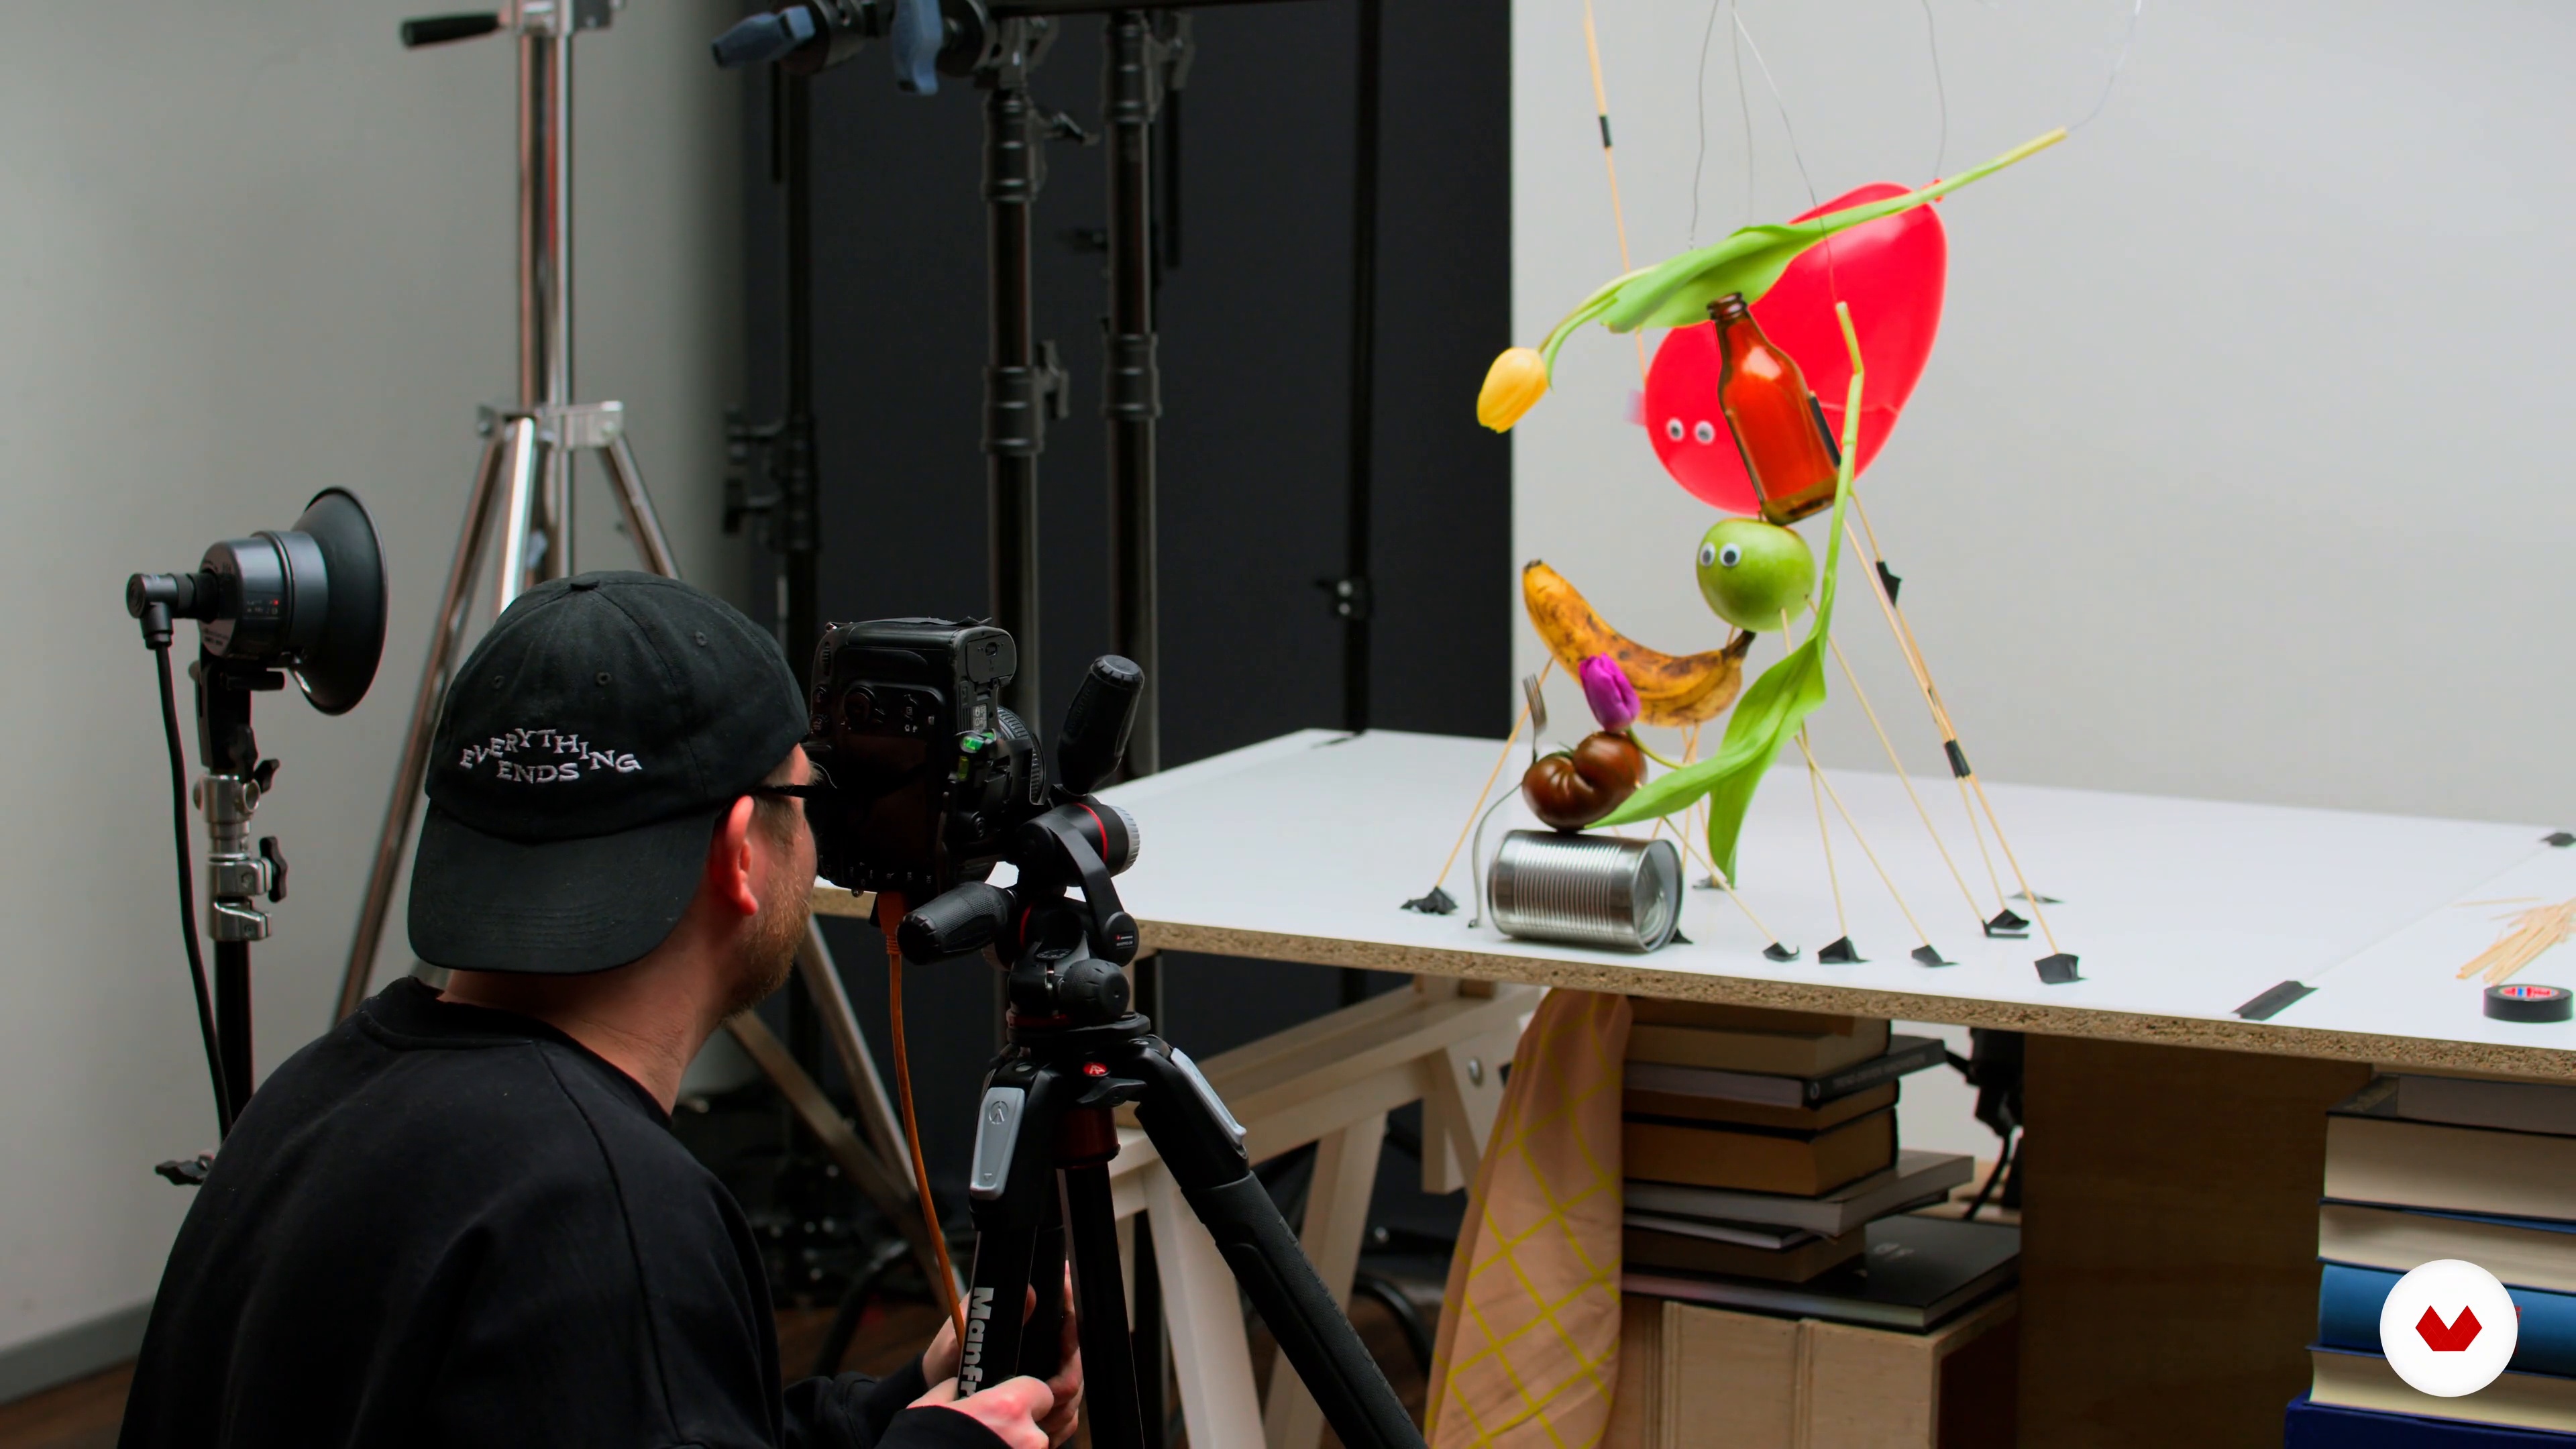
In this lesson I will show you some examples in my practice with the technique of “Showing the results and then showing the behind the scenes”. In this way we can “easily” understand what is behind the construction of an image and how we reach the final image.
13m
image
5
Materials for the course
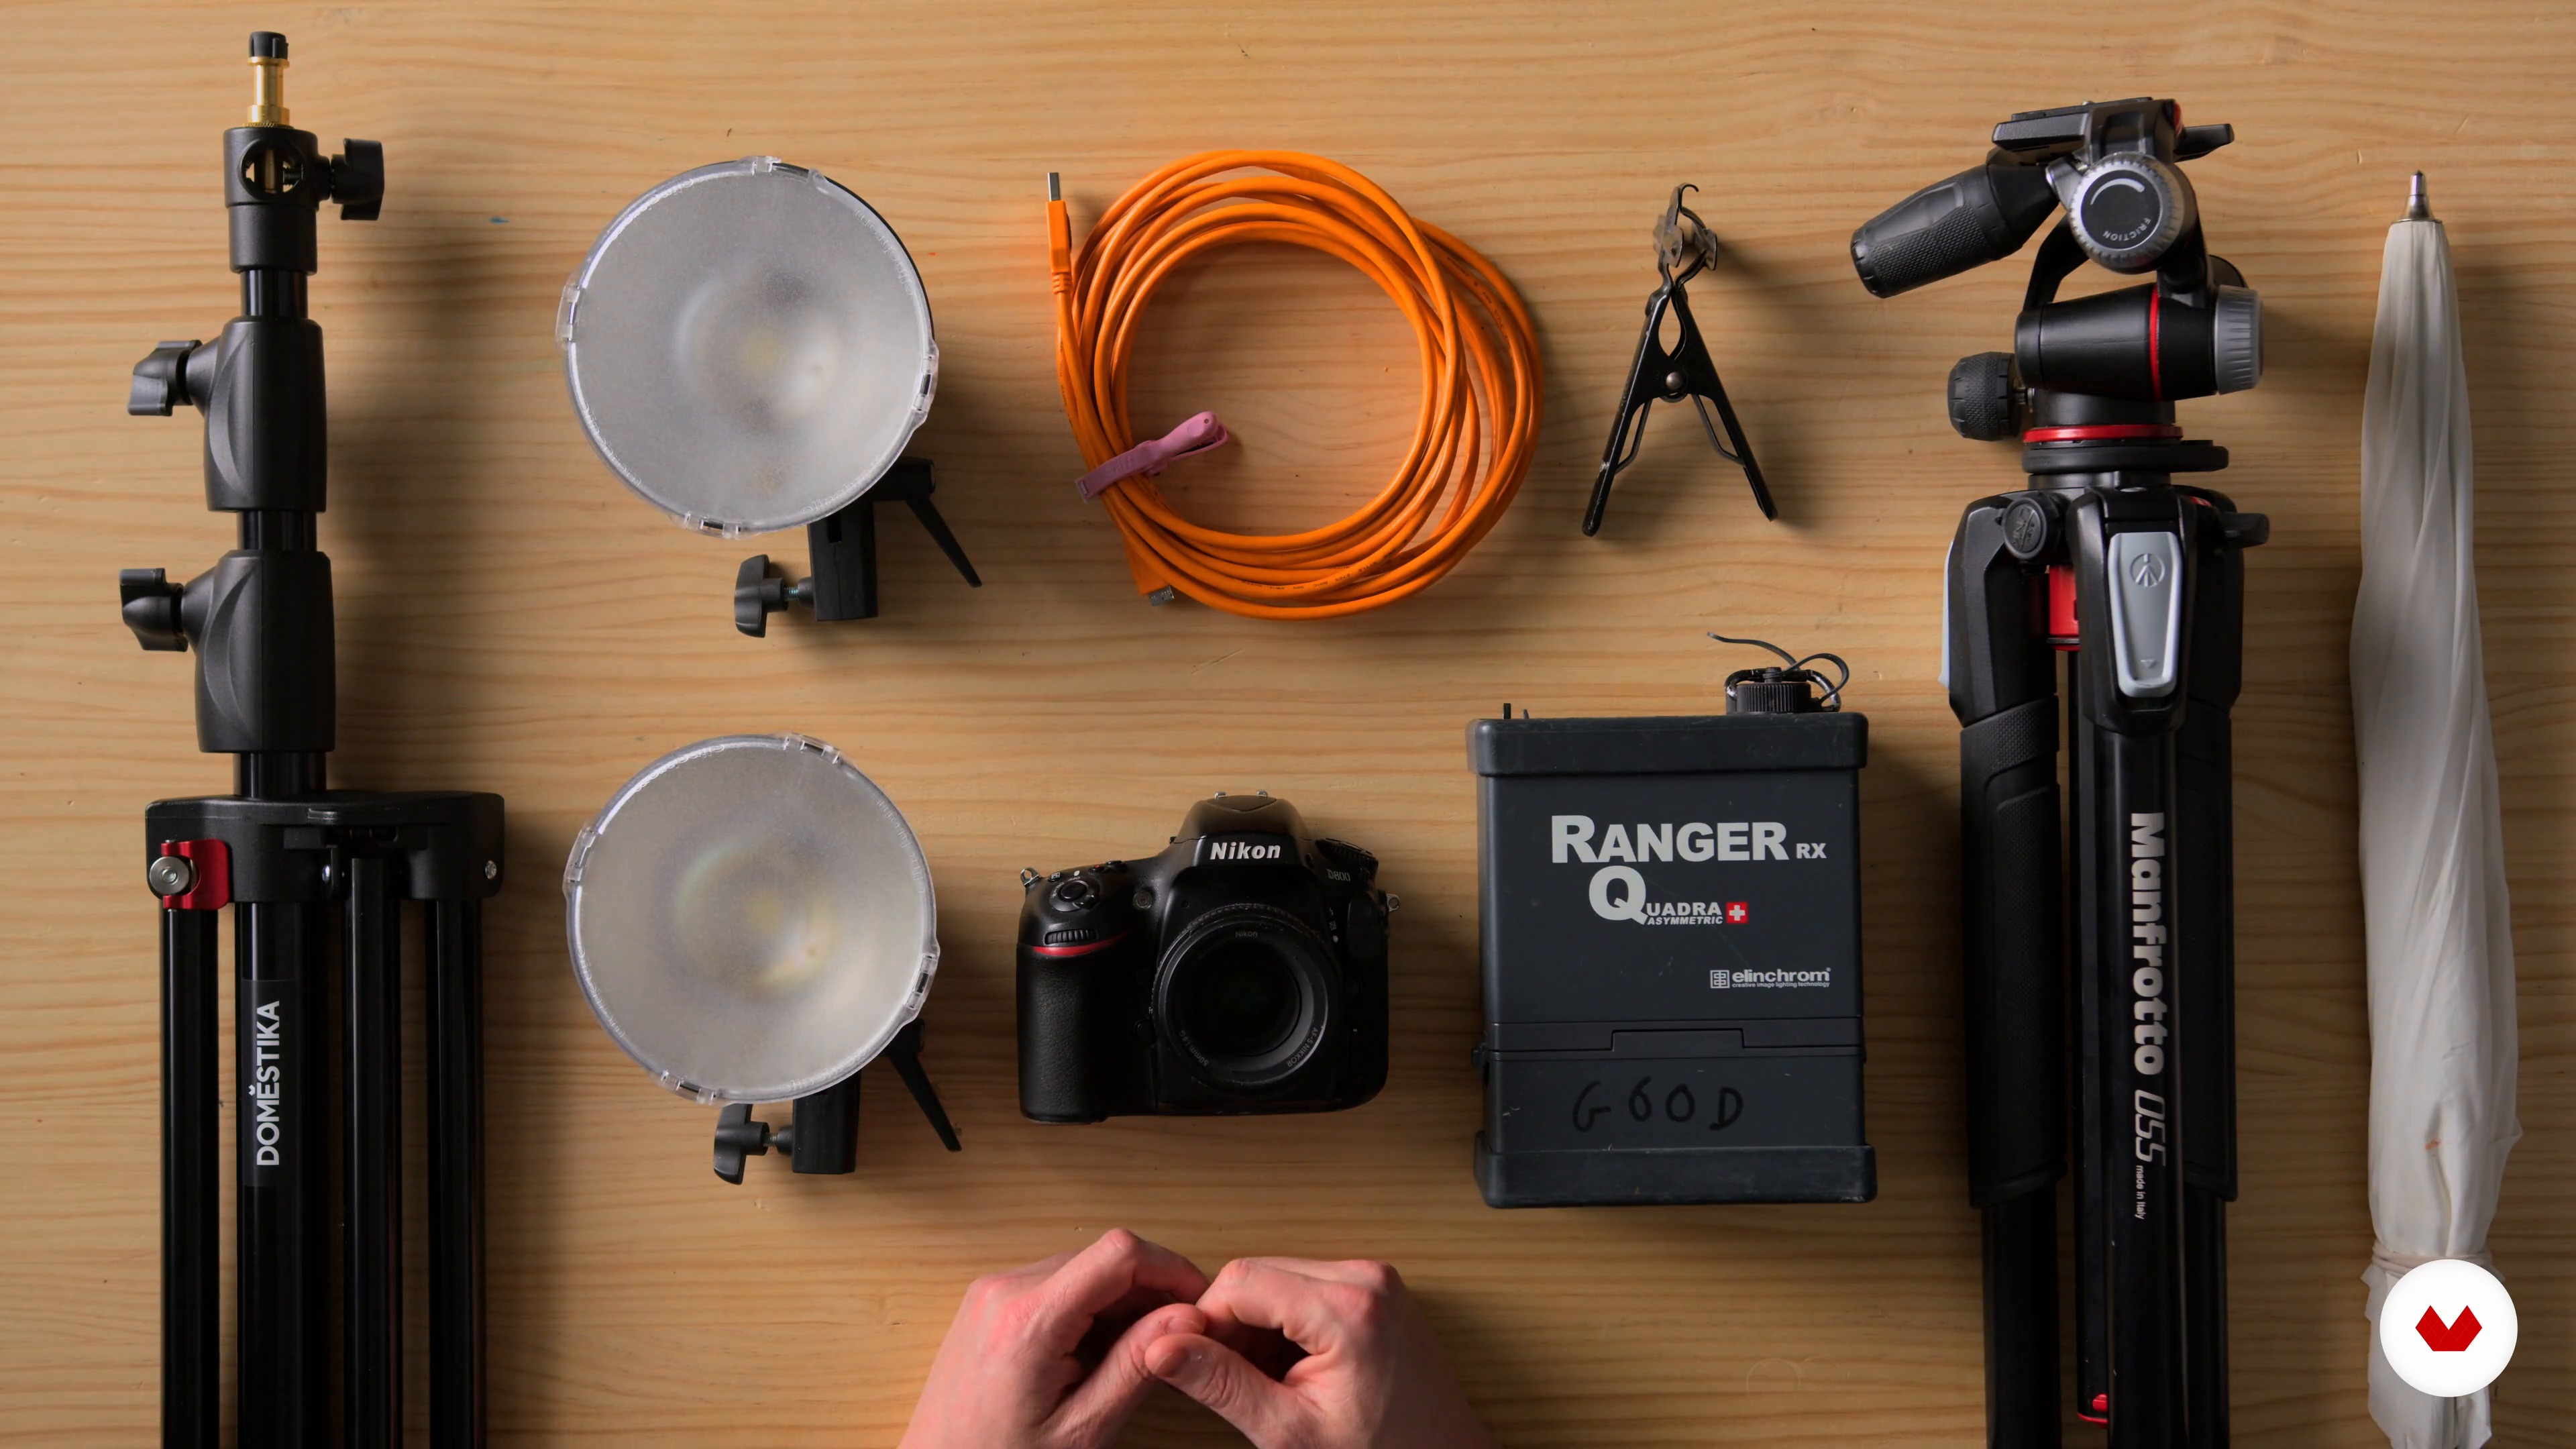
In this lesson we will get ready for the shooting, be sure to have all the essentials in order to be ready to shoot, from A to Z.
11m
image
6
Testing the light with a simple still life example composition 1
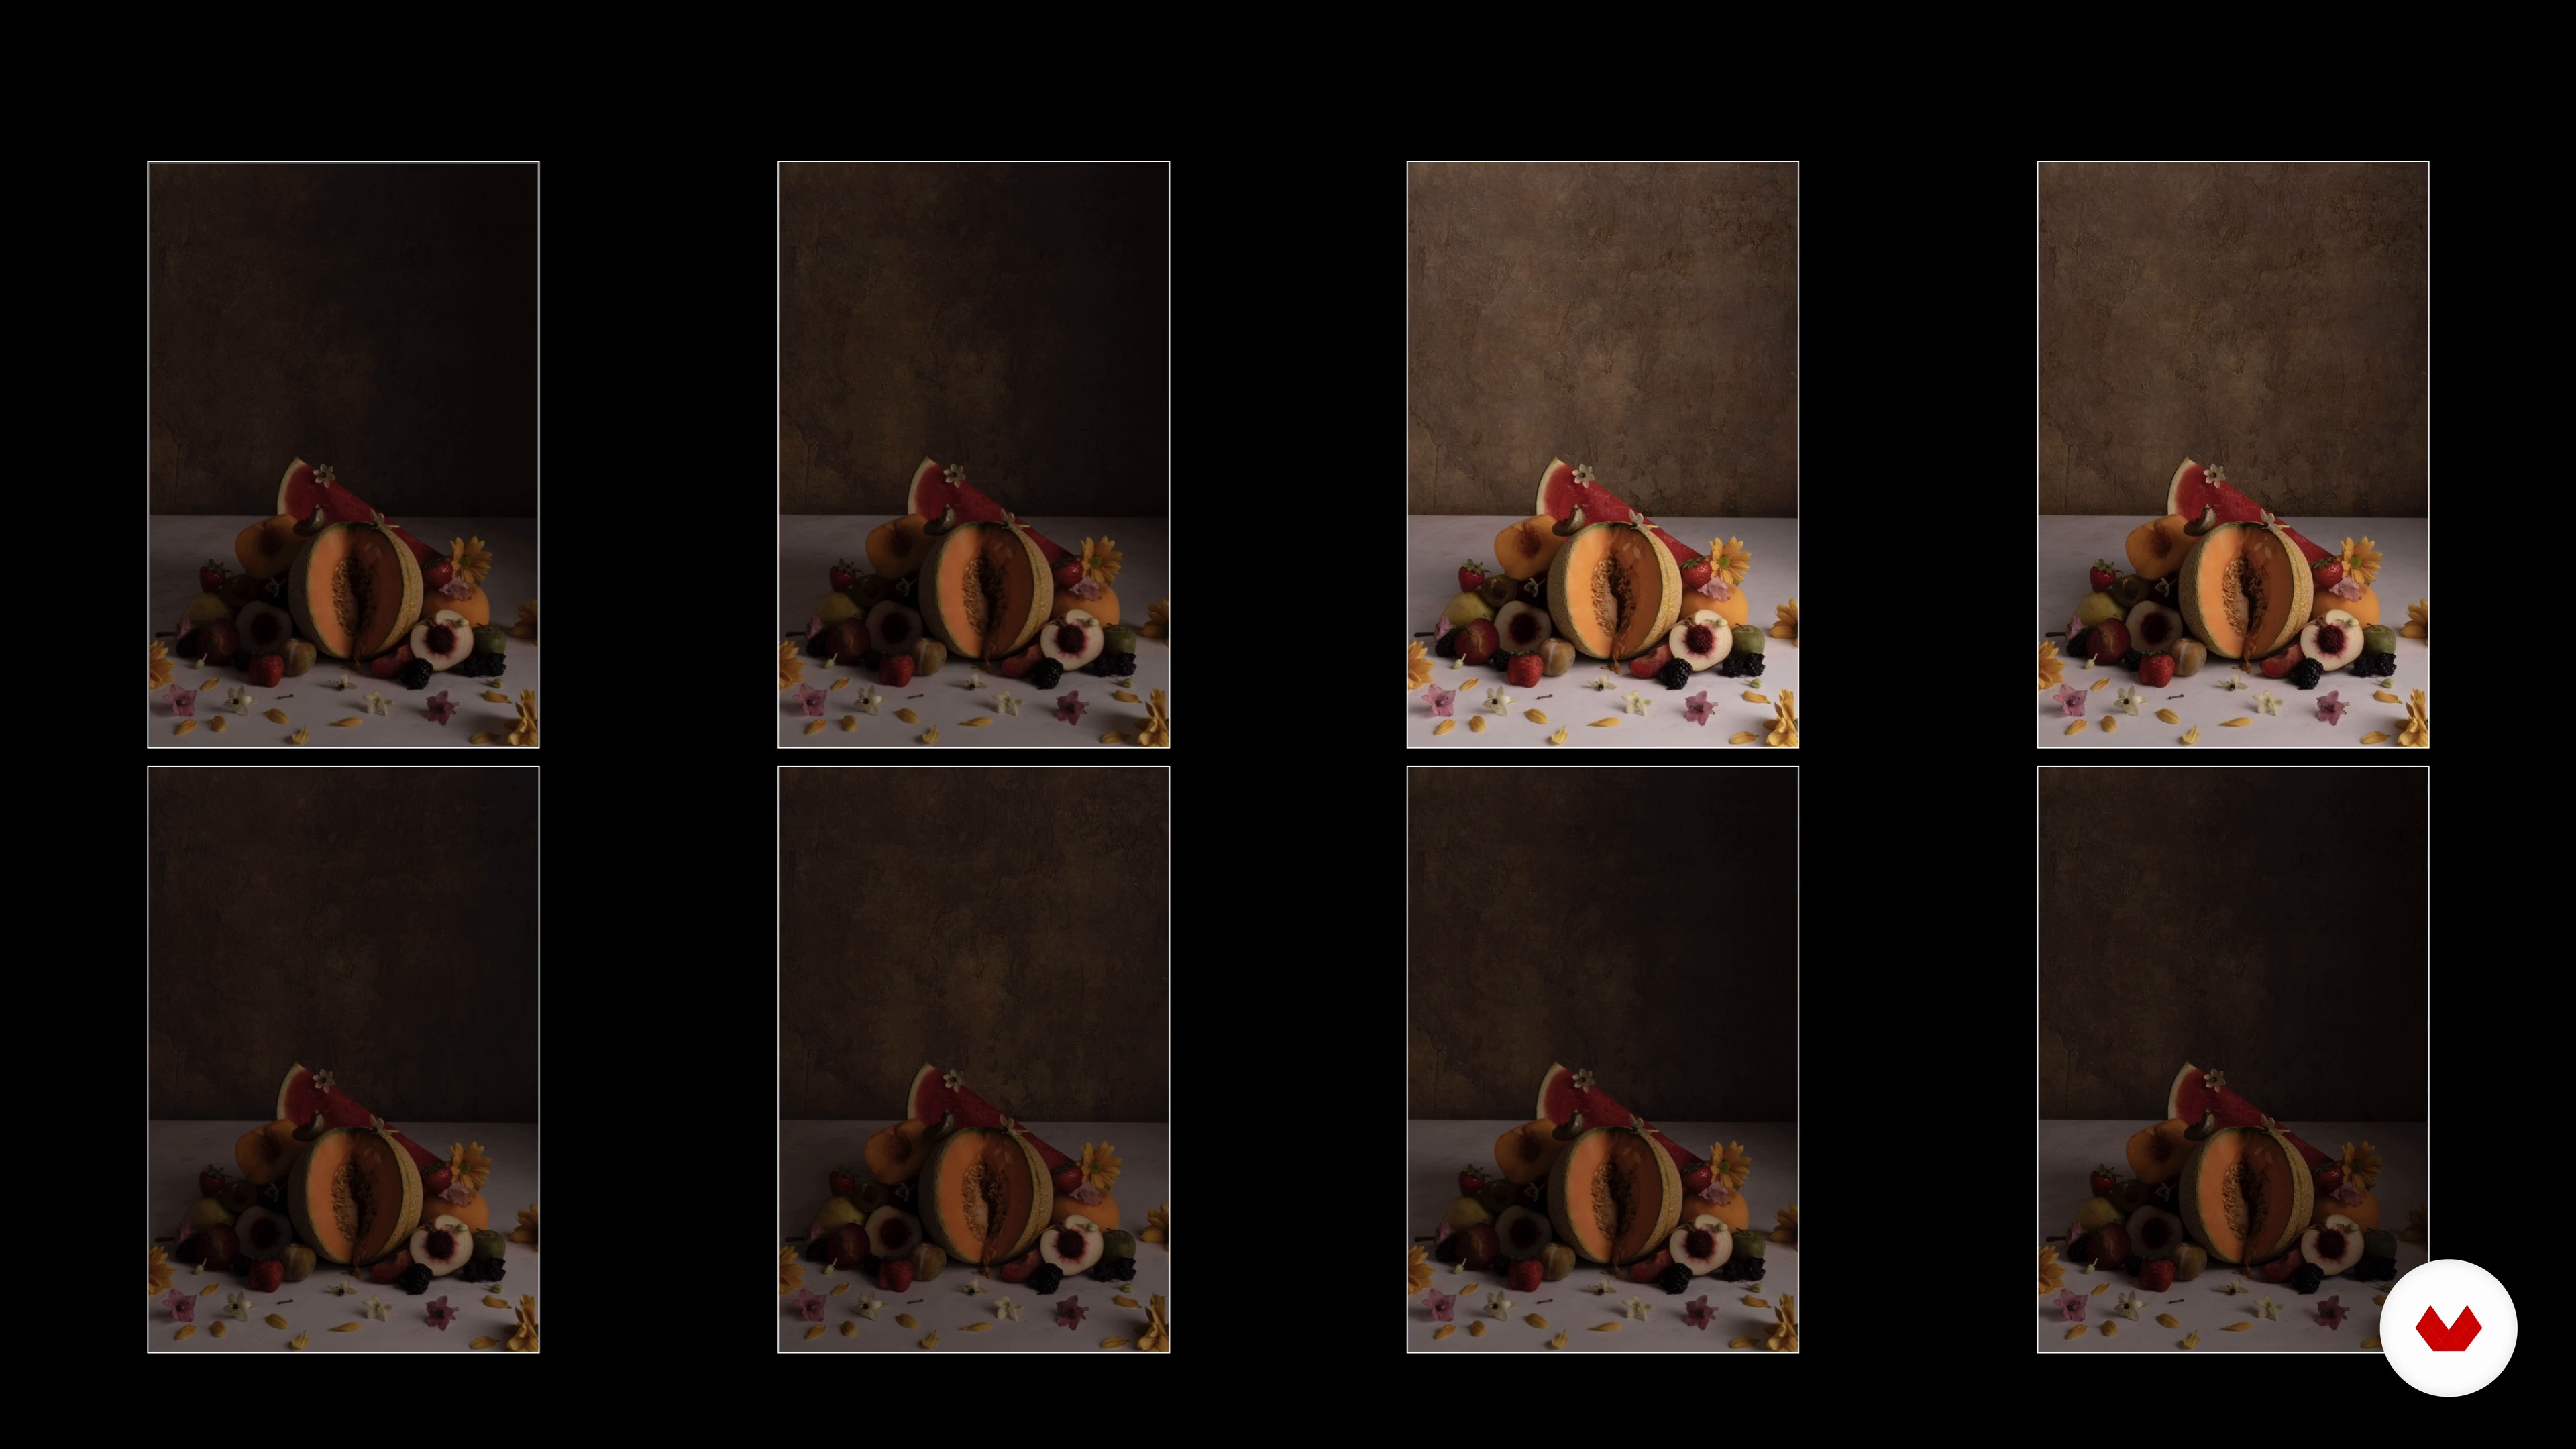
Before starting to work on our final image, I want to make sure we are technically on the same page! We will learn about lighting in order to understand how flashlights are responding in certain situations.
17m
image
7
Testing the light with a simple still life example composition 2
We continue exploring interesting concepts in this part of the lesson. Don’t miss it!
9m
image
8
Practicing flashlight with different materials
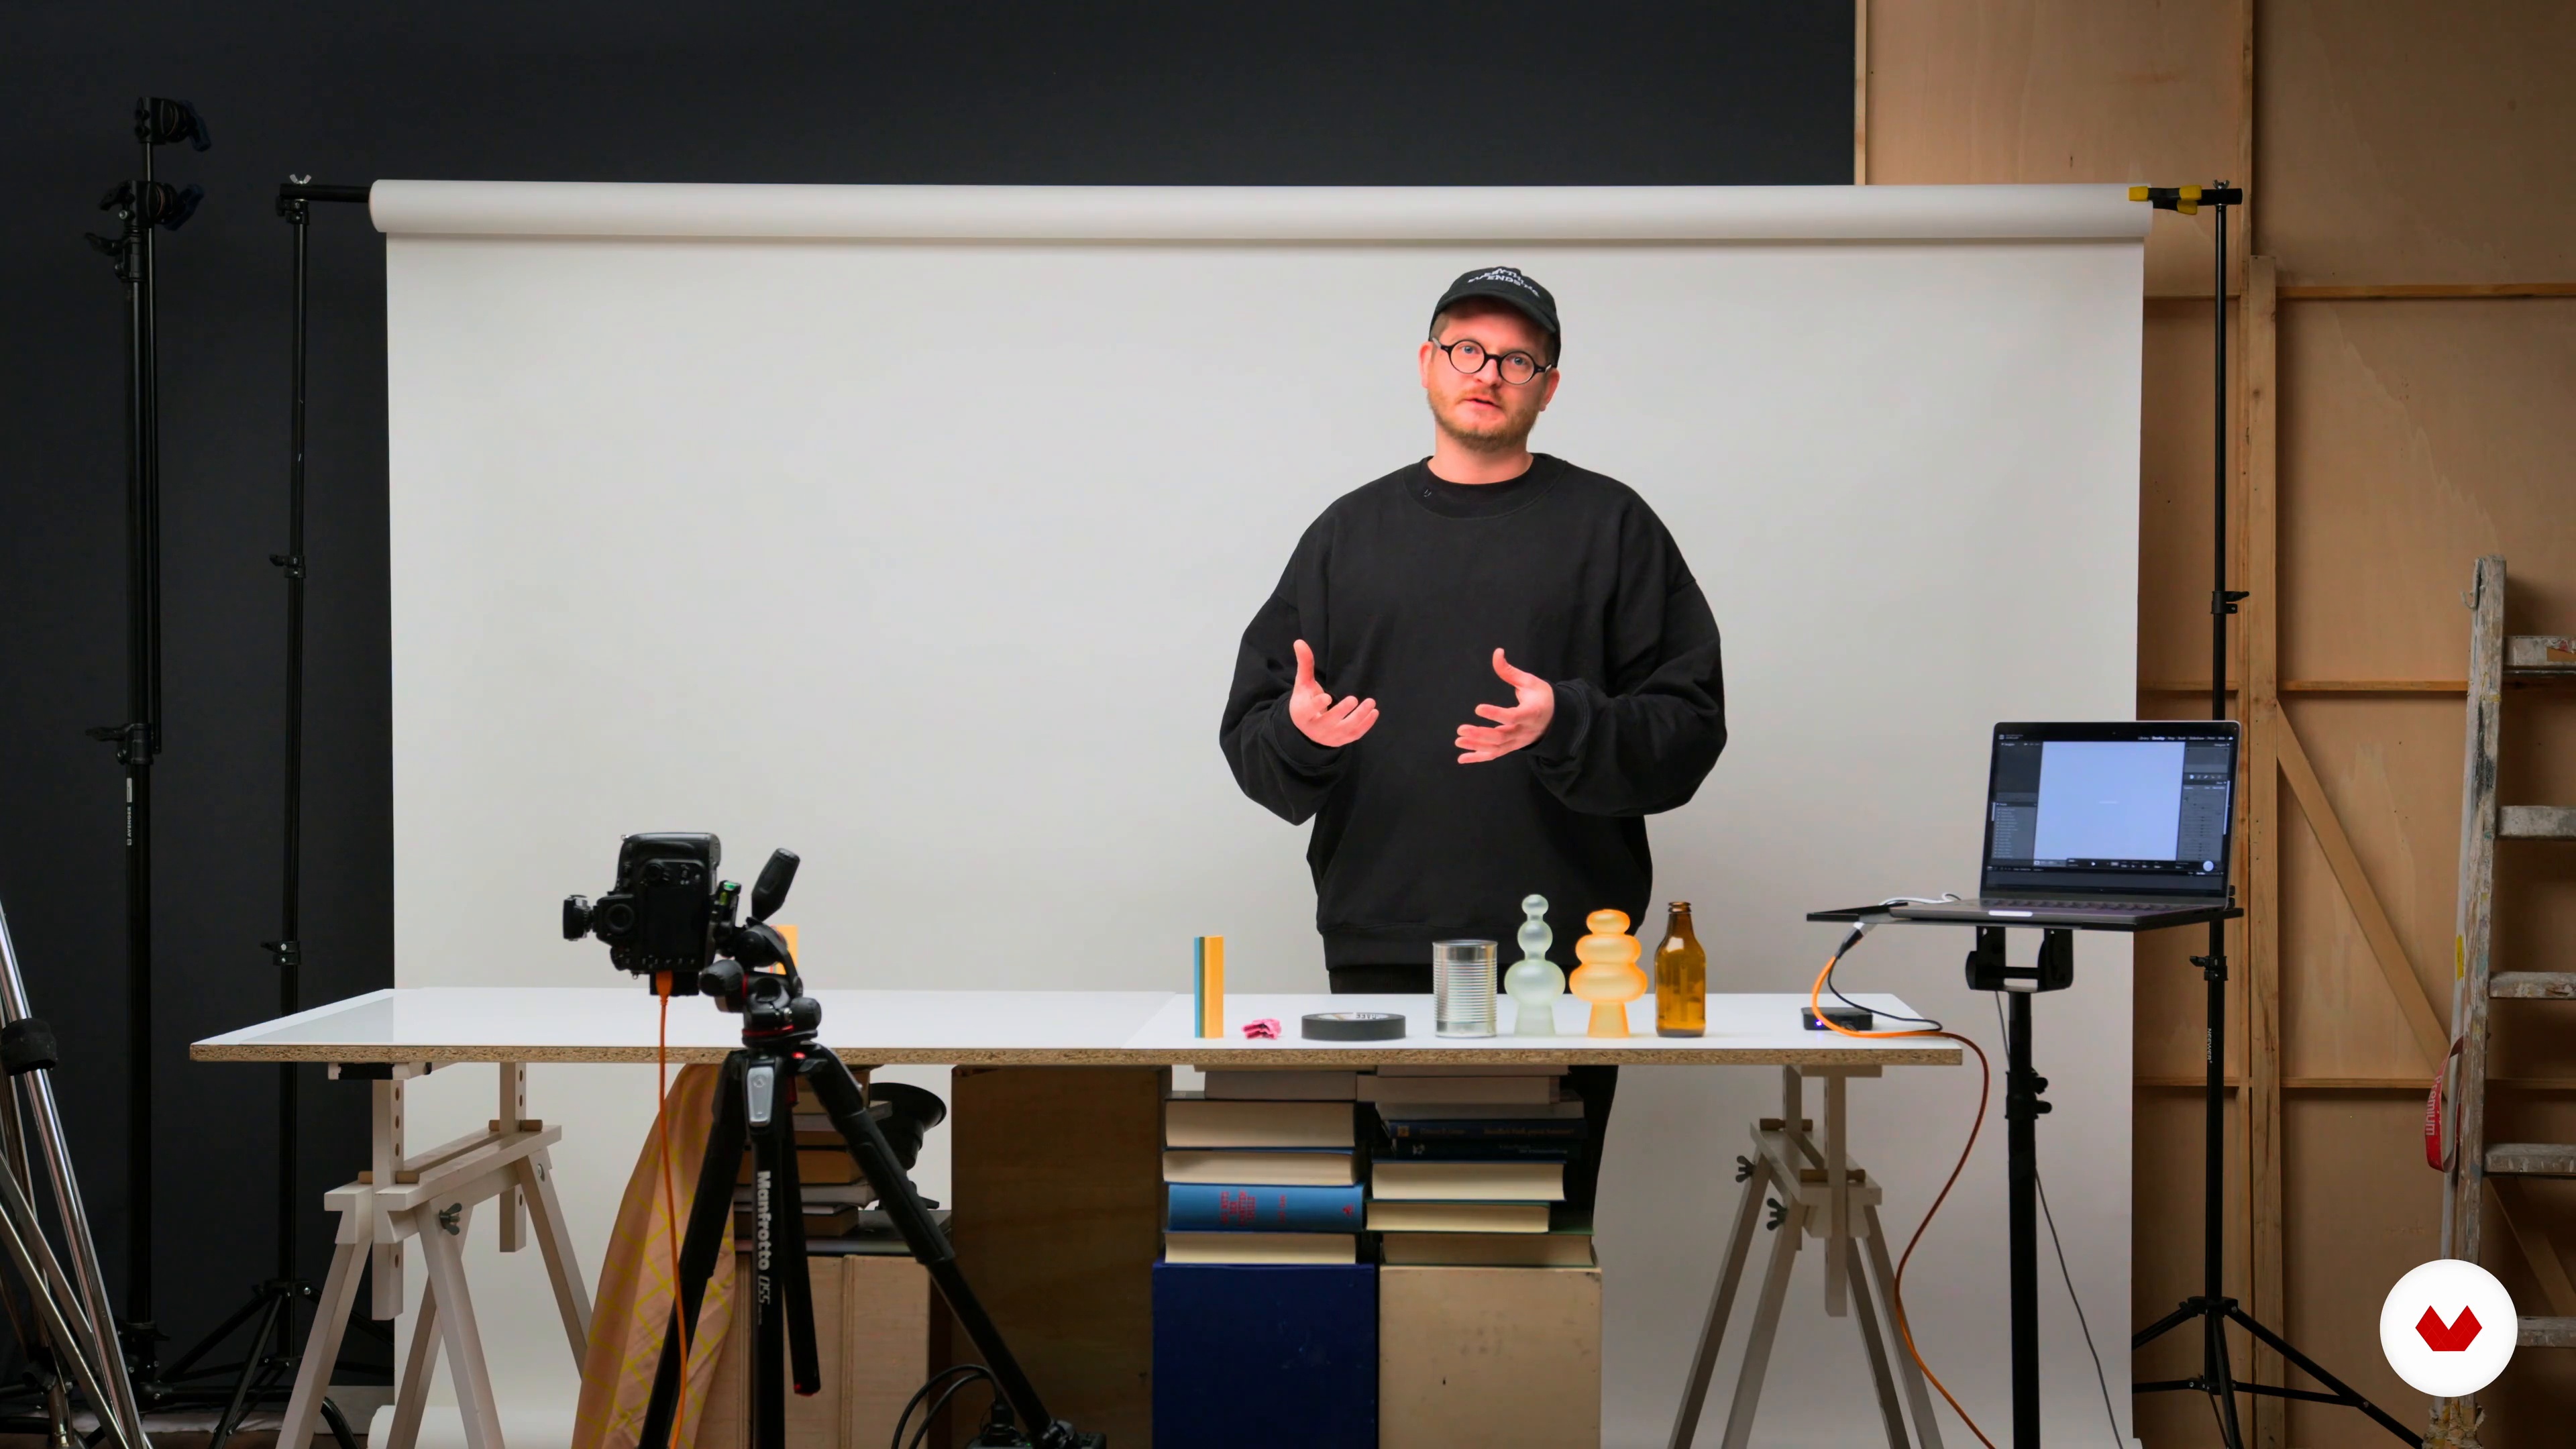
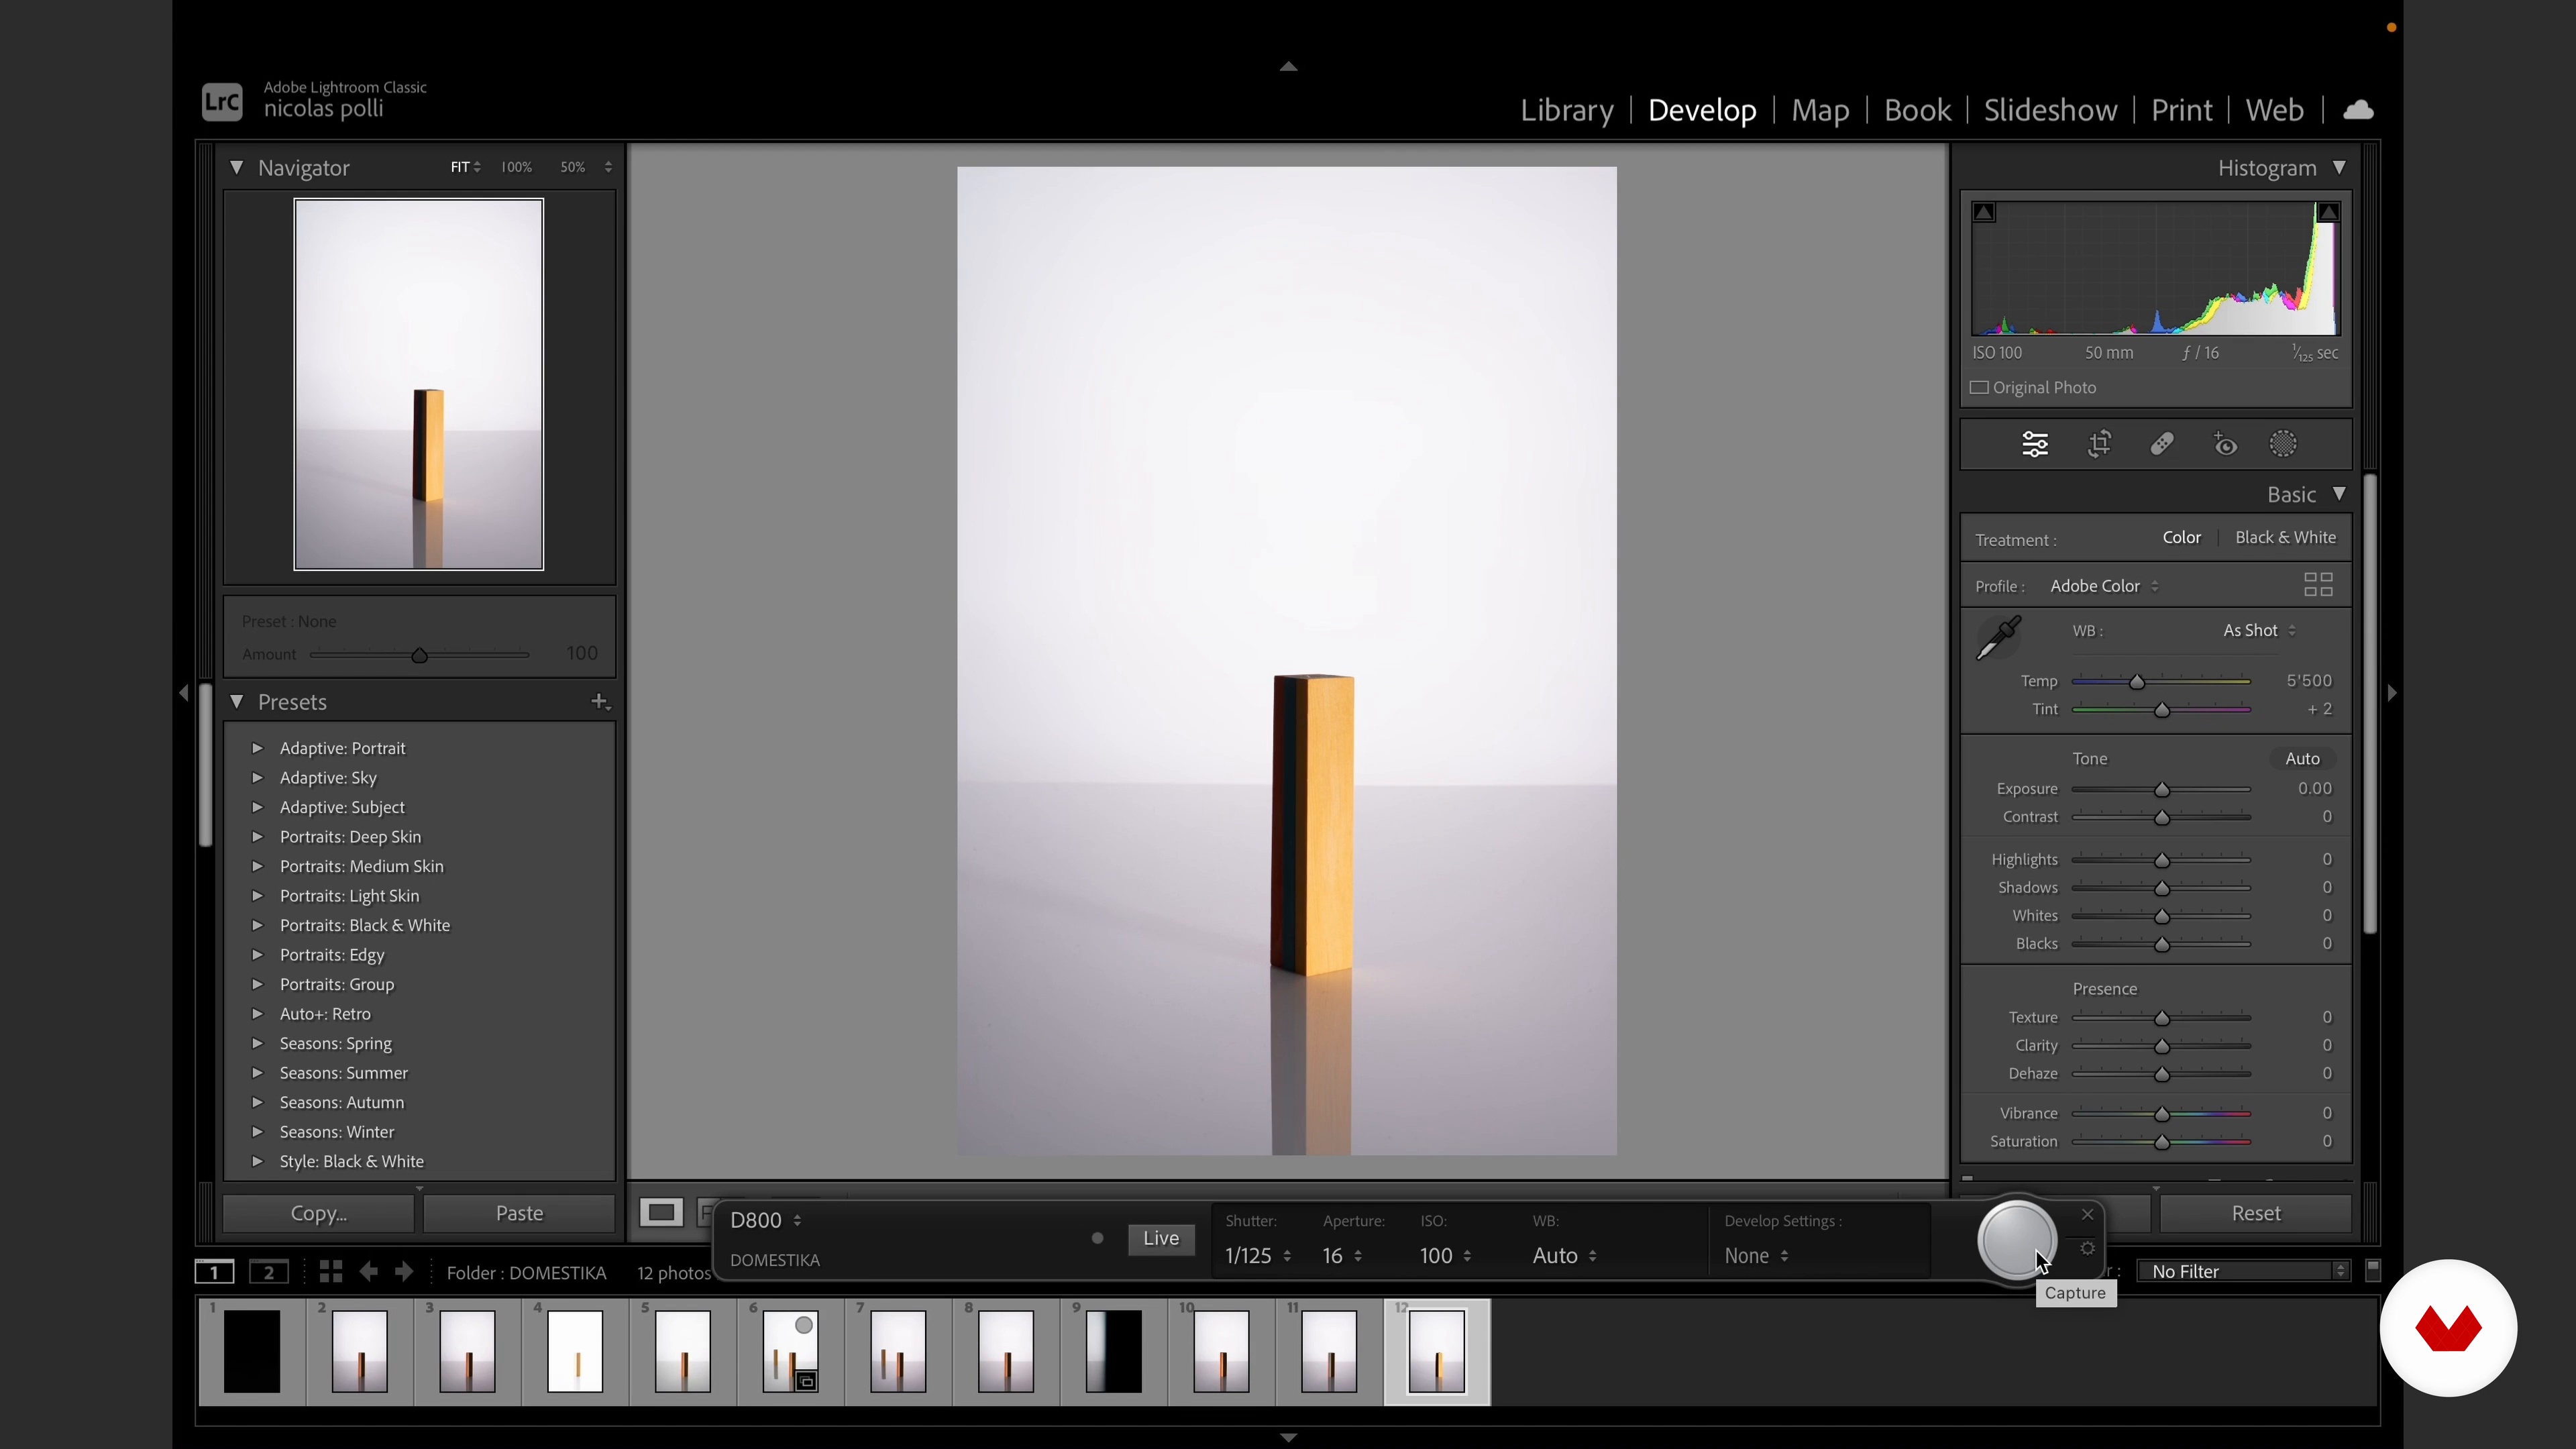
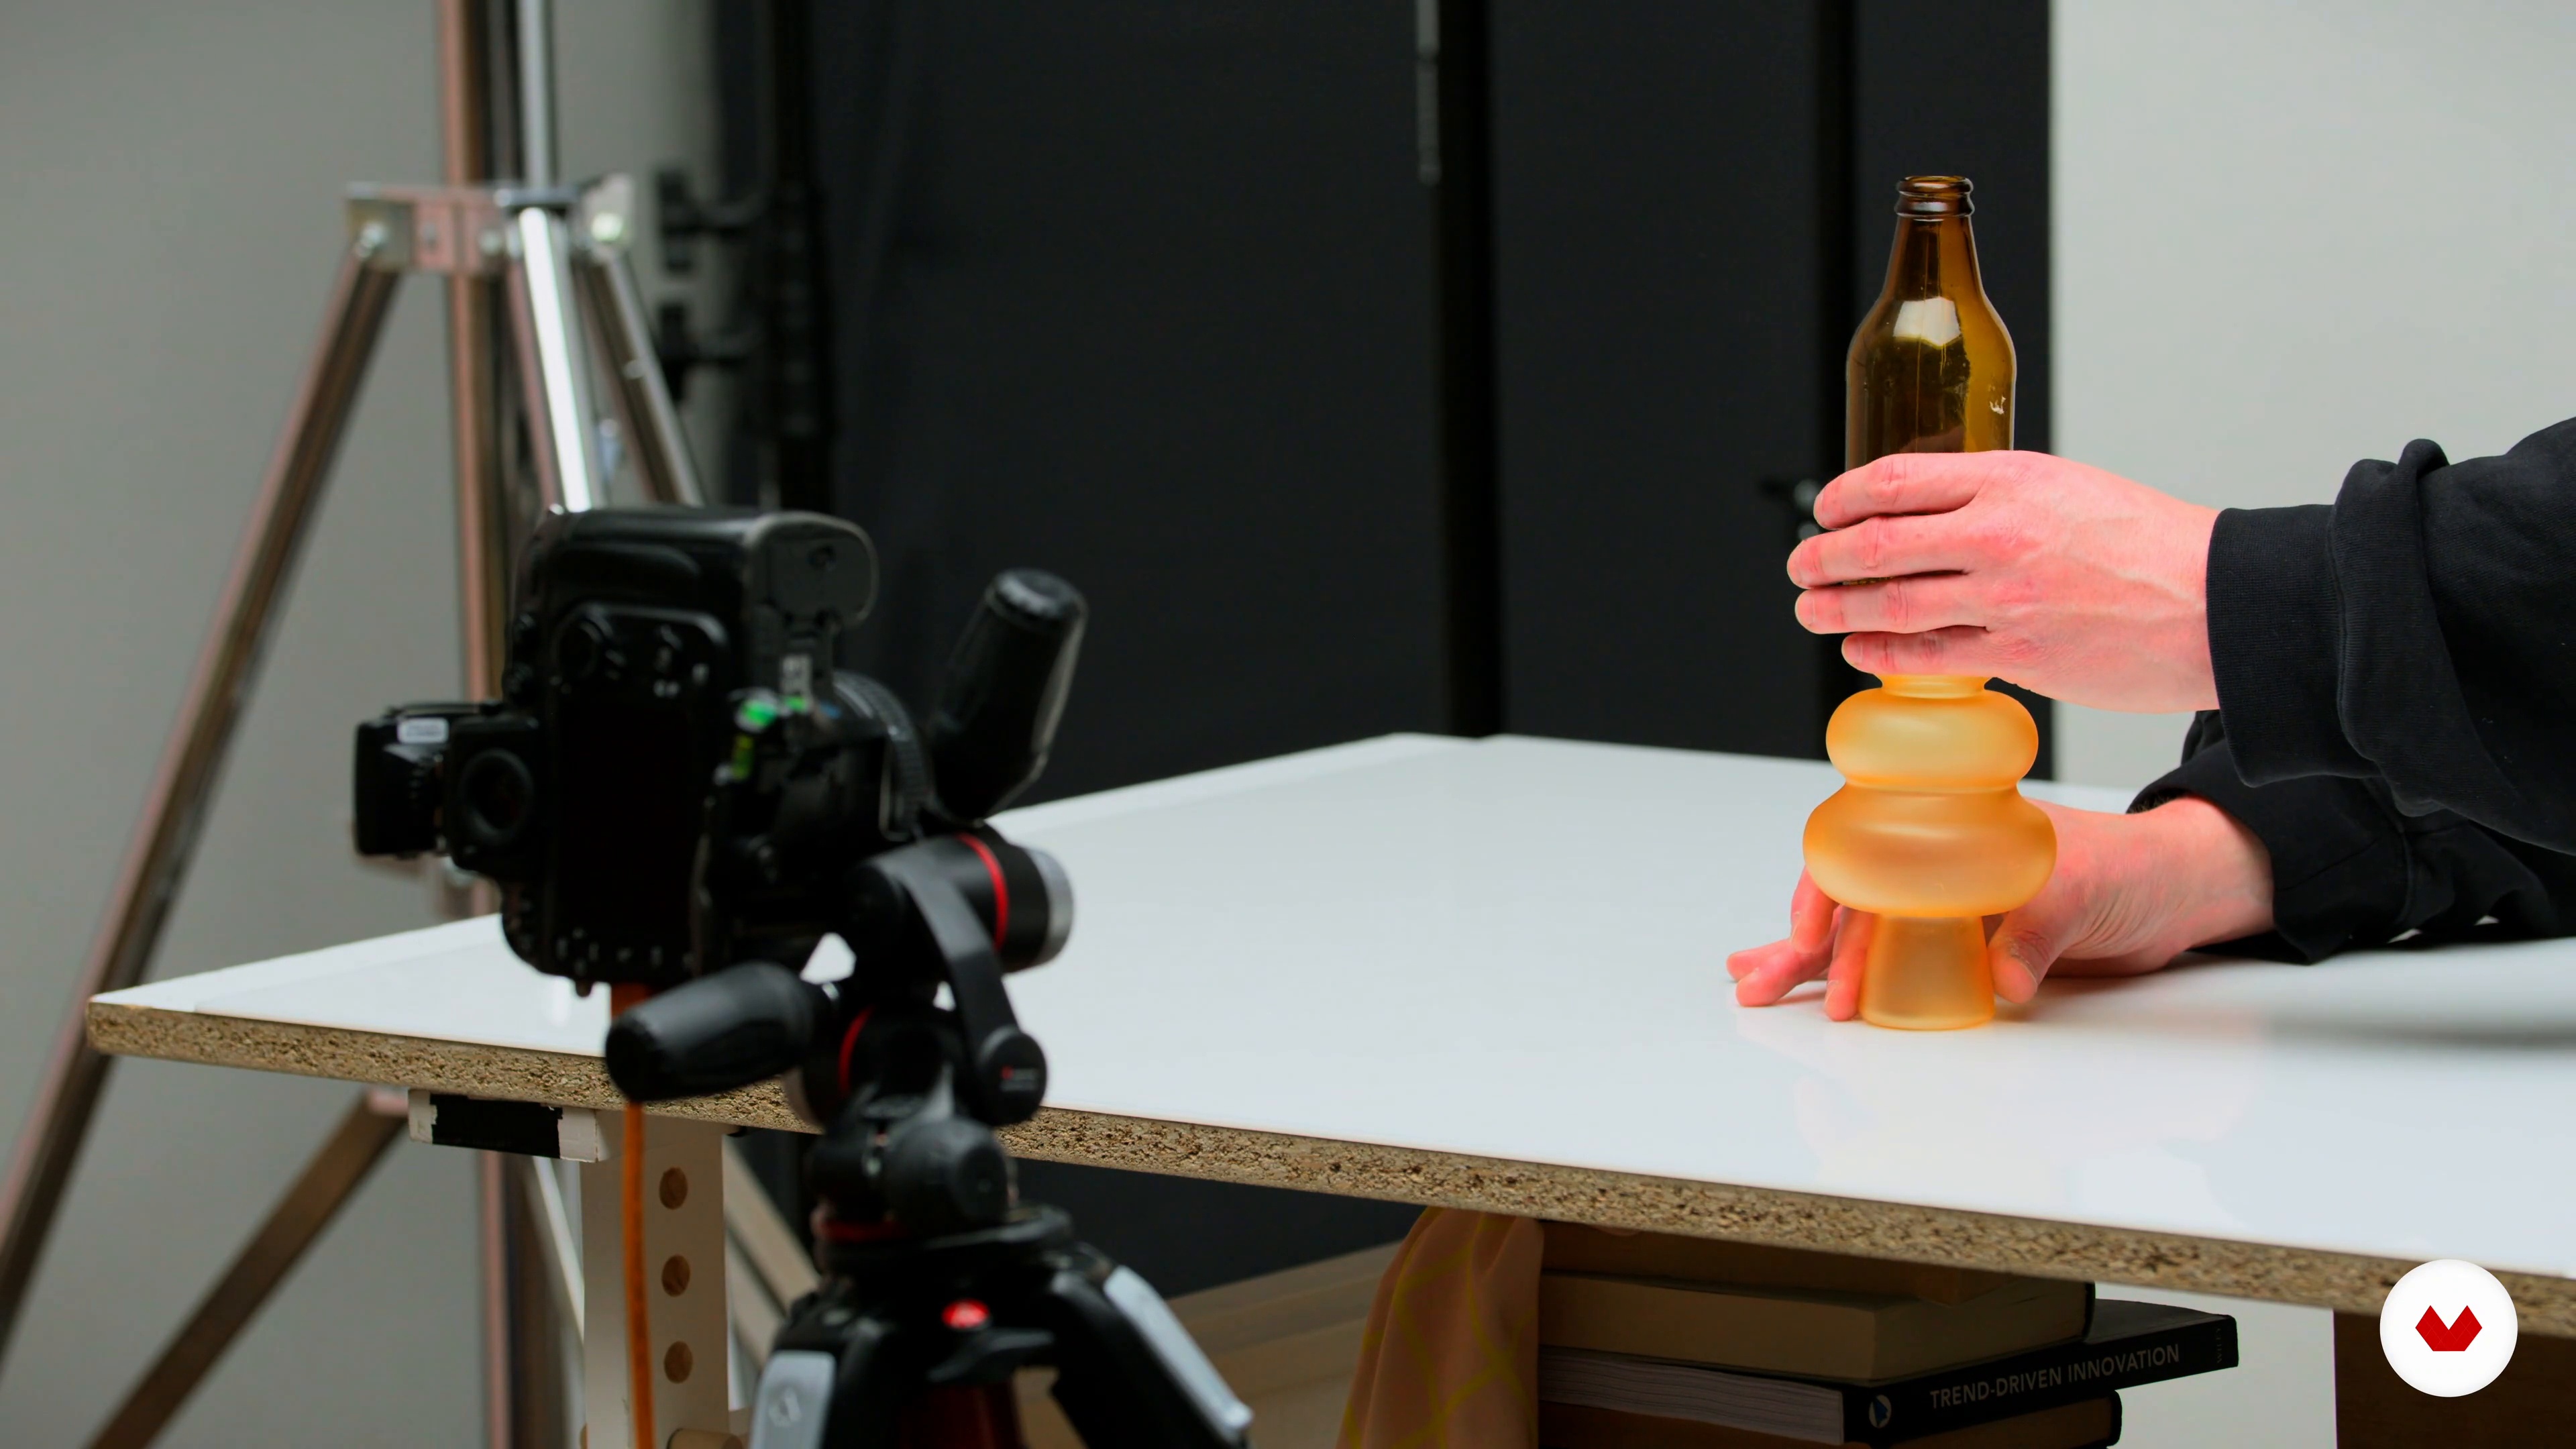
How flash light reacts with certain surfaces? We will take a picture of a piece of wood, a can and a glass and learn from this experiences o we know how to position the lights and set our camera when we take our final project photo.
9m
image
9
Teaching about stacking with life example composition
To finish this unit, we will have a look into the technique of stacking. For this, we will use the exercises from the previous lessons. Let’s dive in!
12m
image
10
Scouting for materials (for the subject of your photo)
As you will do for subjects you want to photograph in the case of a portrait, in still life photography is really important to imagine what you want in your picture. In this lesson we will talk about the importance of finding the right materials for your composition.
9m
image
11
Setting up your space for our Final Project and Building up your composition 1
And now.. it is time to shoot! In this lesson I will teach you how to prepare the set, the tricks that come with transforming your sketches into a real image, and the hazard that comes once we start really shooting.
20m
image
12
Setting up your space for our Final Project and Building up your composition 2
We keep exploring fascinating concepts in this stage of the lesson. Make sure to keep going!
14m
image
13
Shooting our Final Project with stacking technique
For the last lesson of our third unit, we will finally build up our composition as now we have all the technical skills we need, as well as a set ready to go. We will build up together our final composition in relation to the sketches, understanding where is important to improvise and what elements/points we need to take into consideration.
19m
image
14
Selecting and analyzing the pictures (Adobe Bridge)
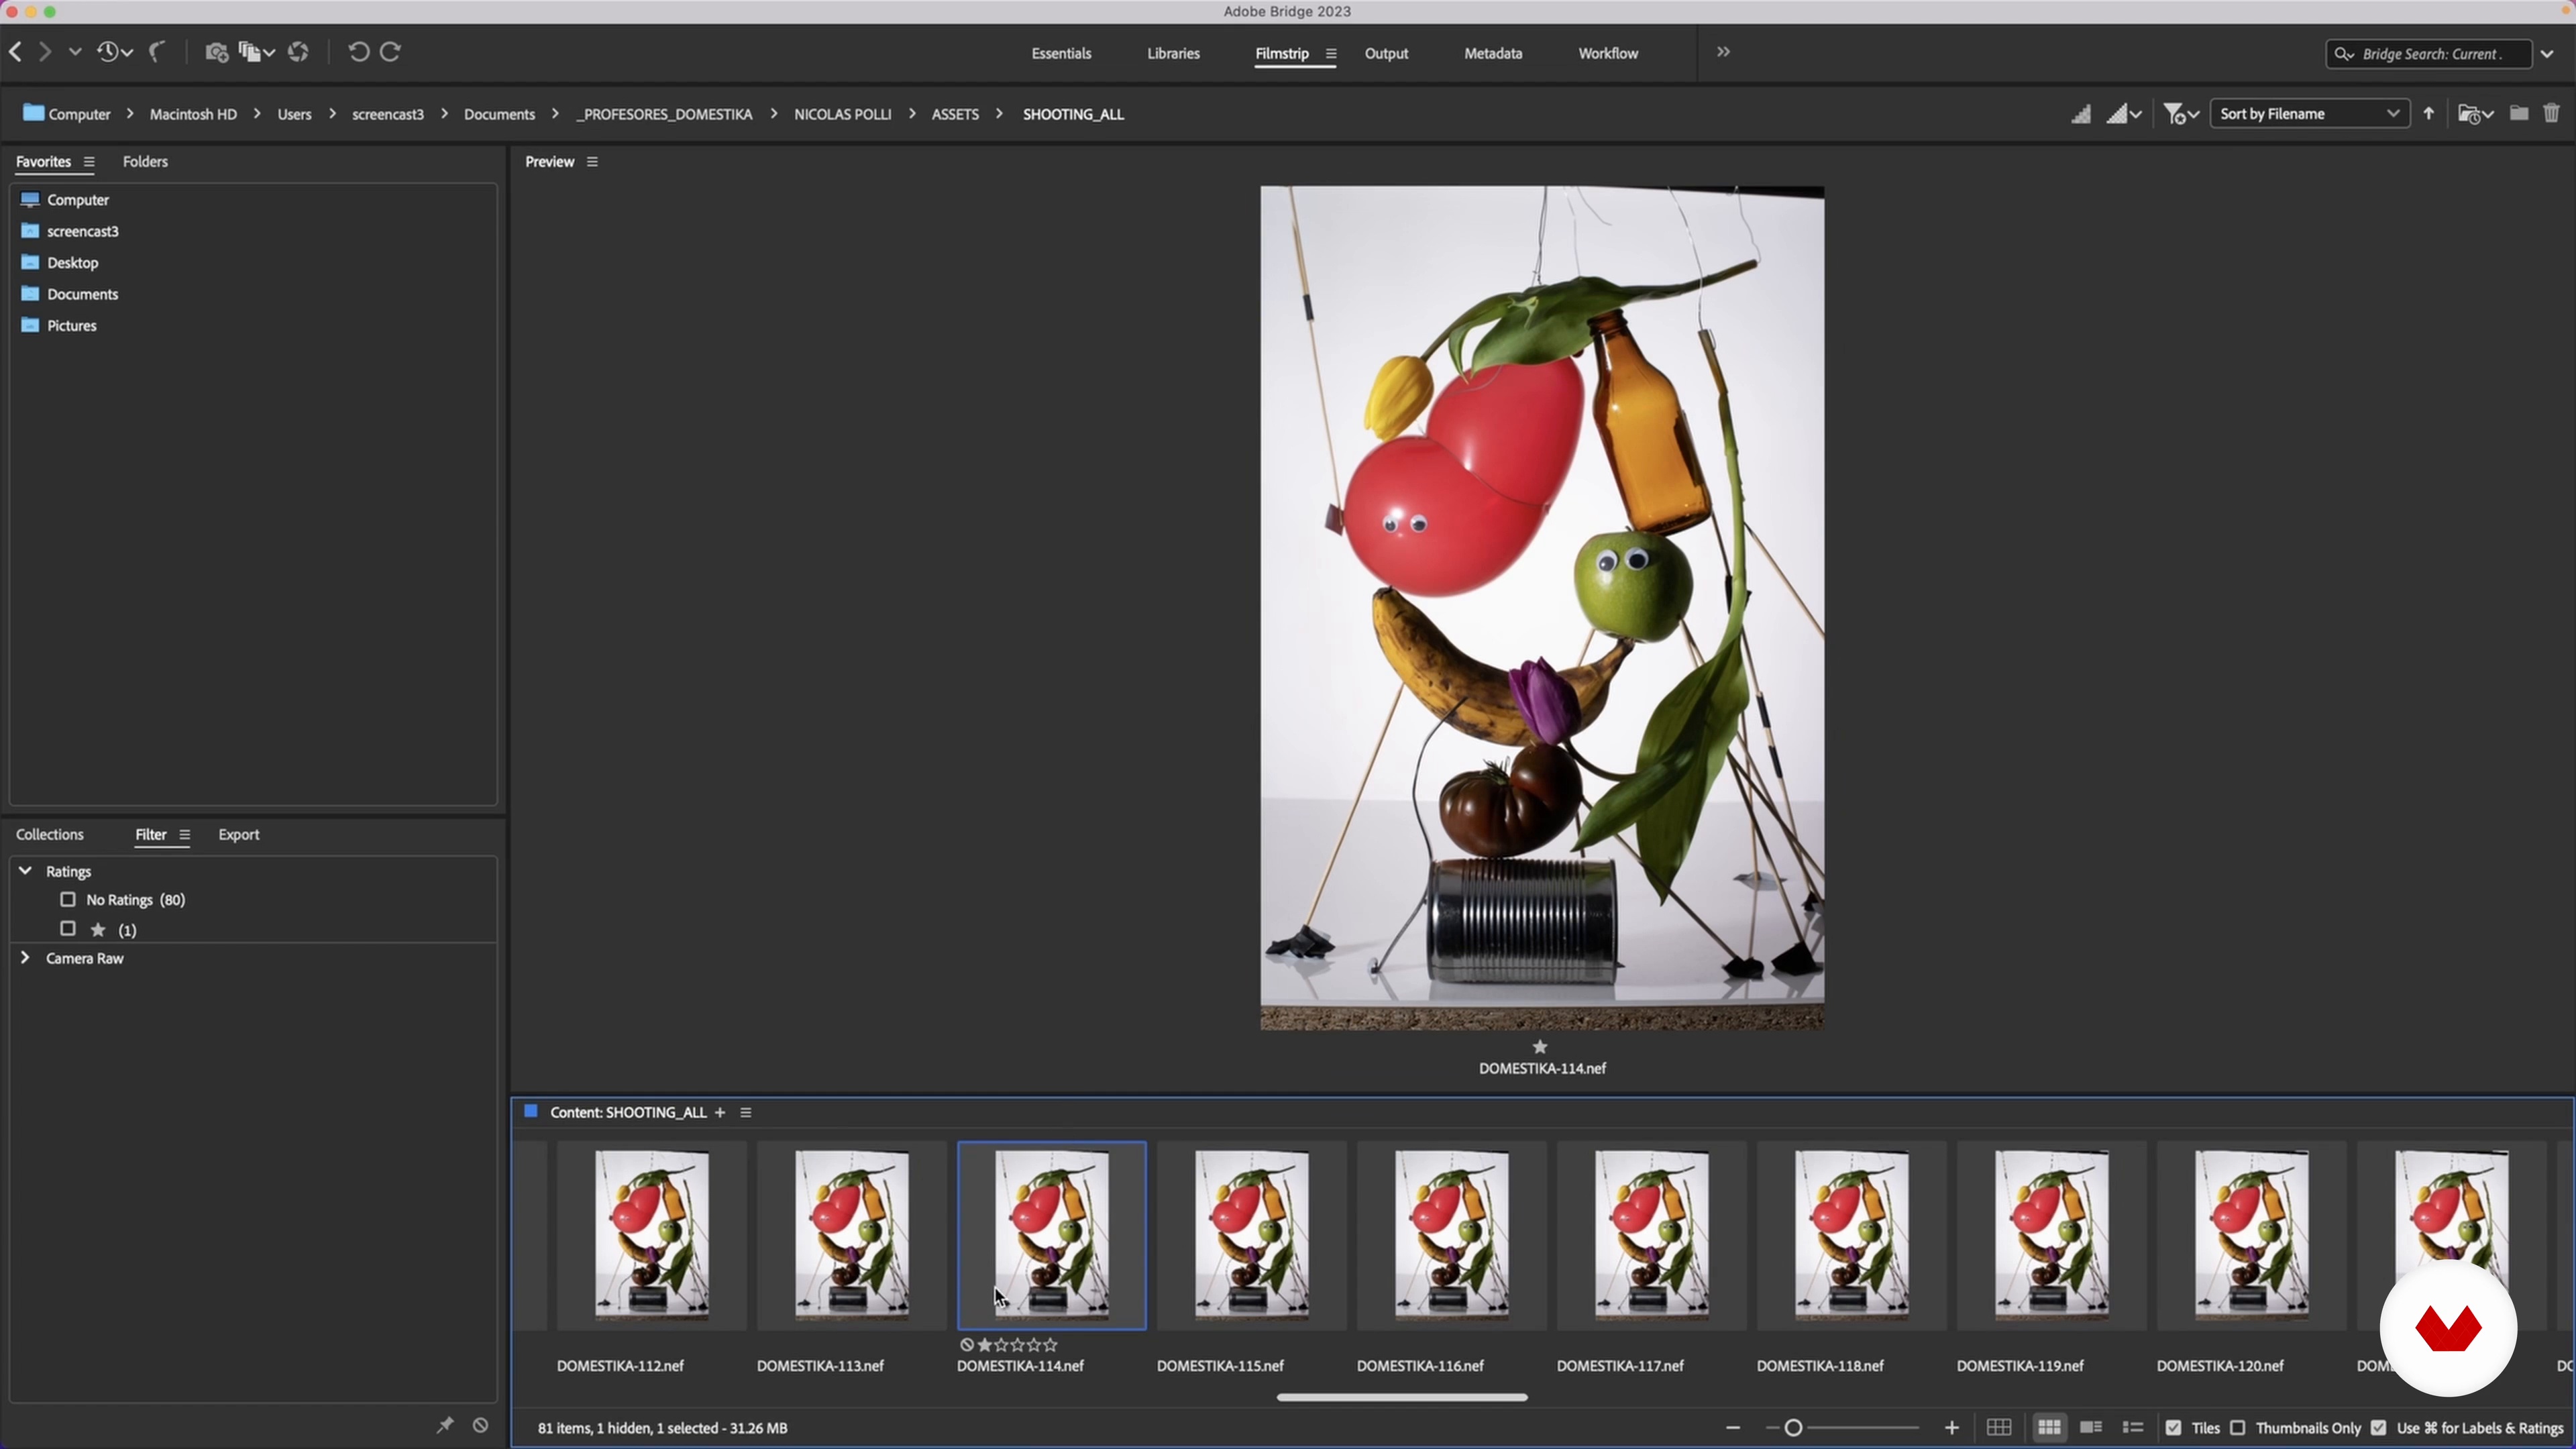
In this lesson we will select the images for the final photo, we will separate them between images for the stacking and images for details and we will separate them as well into different stackings. Let’s take a look!
10m
image
15
Stacking technique (Helicon Focus software)
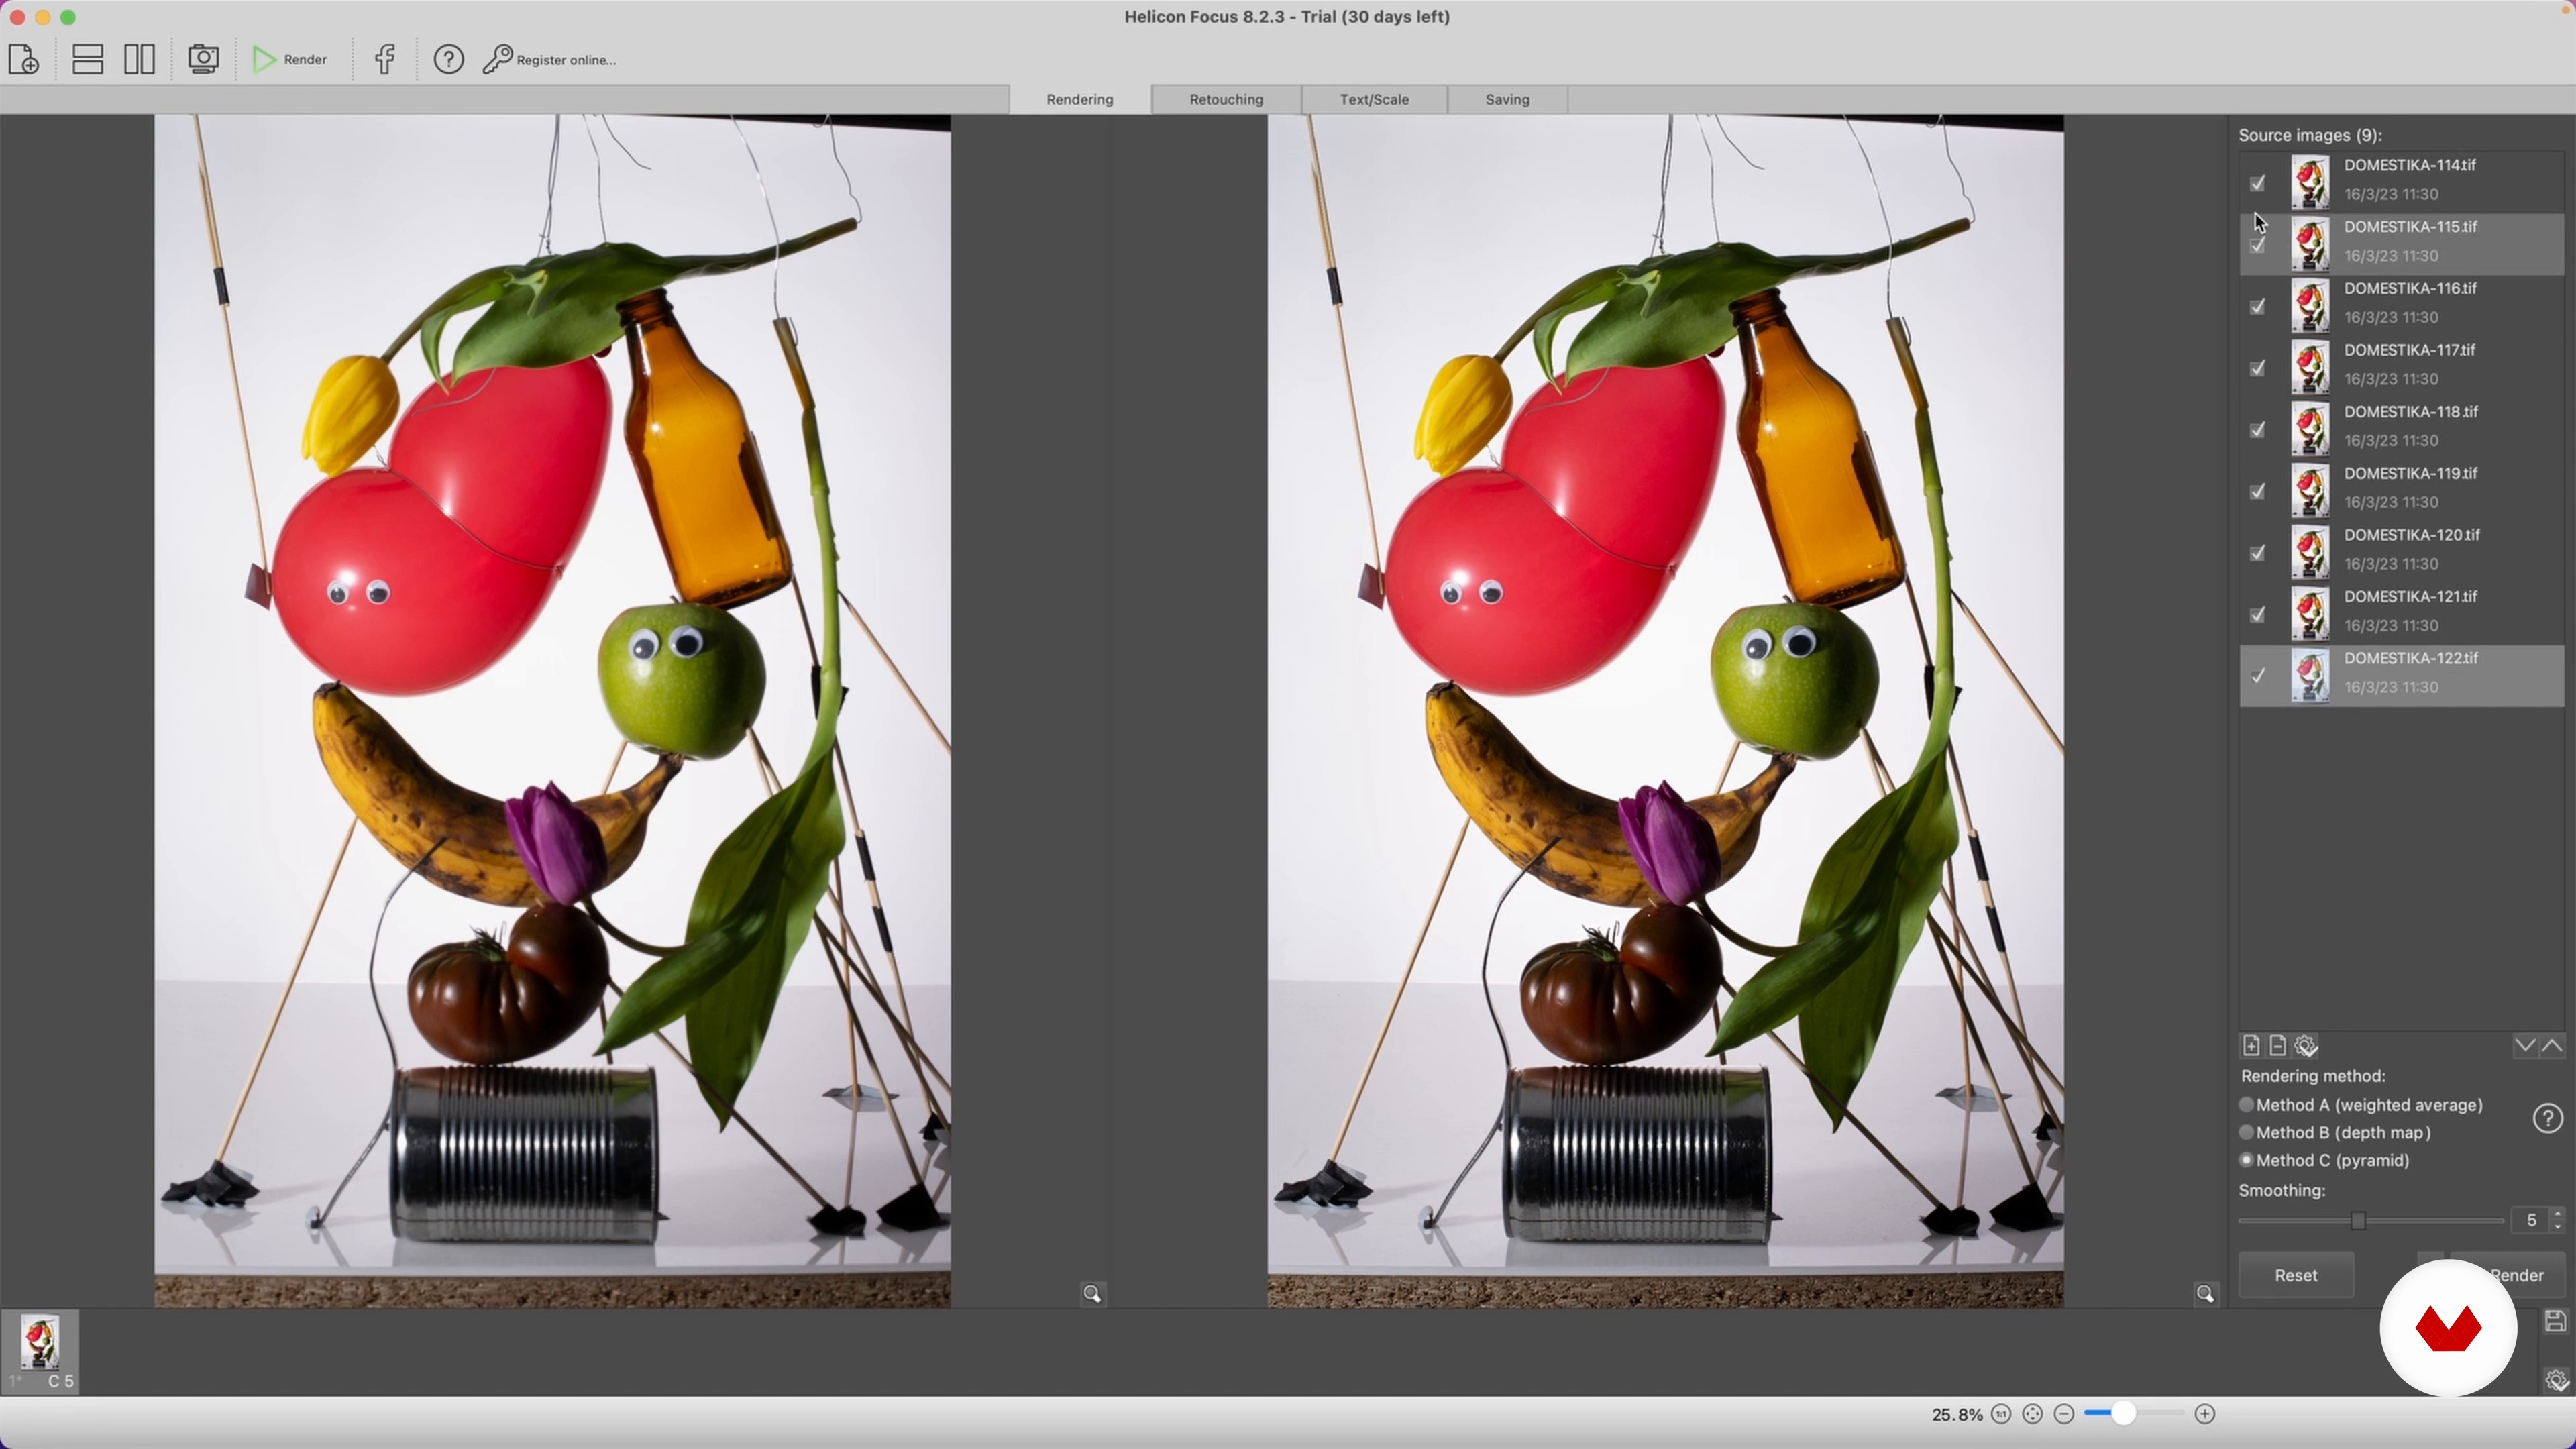
Now that we selected the images, it is time to put them together! Stacking is for me the “skeleton” of our final composition, as we normally do this process with the image with the overall best lighting. In this lesson we will use the program Helicon Focus.
4m
image
16
Final touches (Photoshop) 1
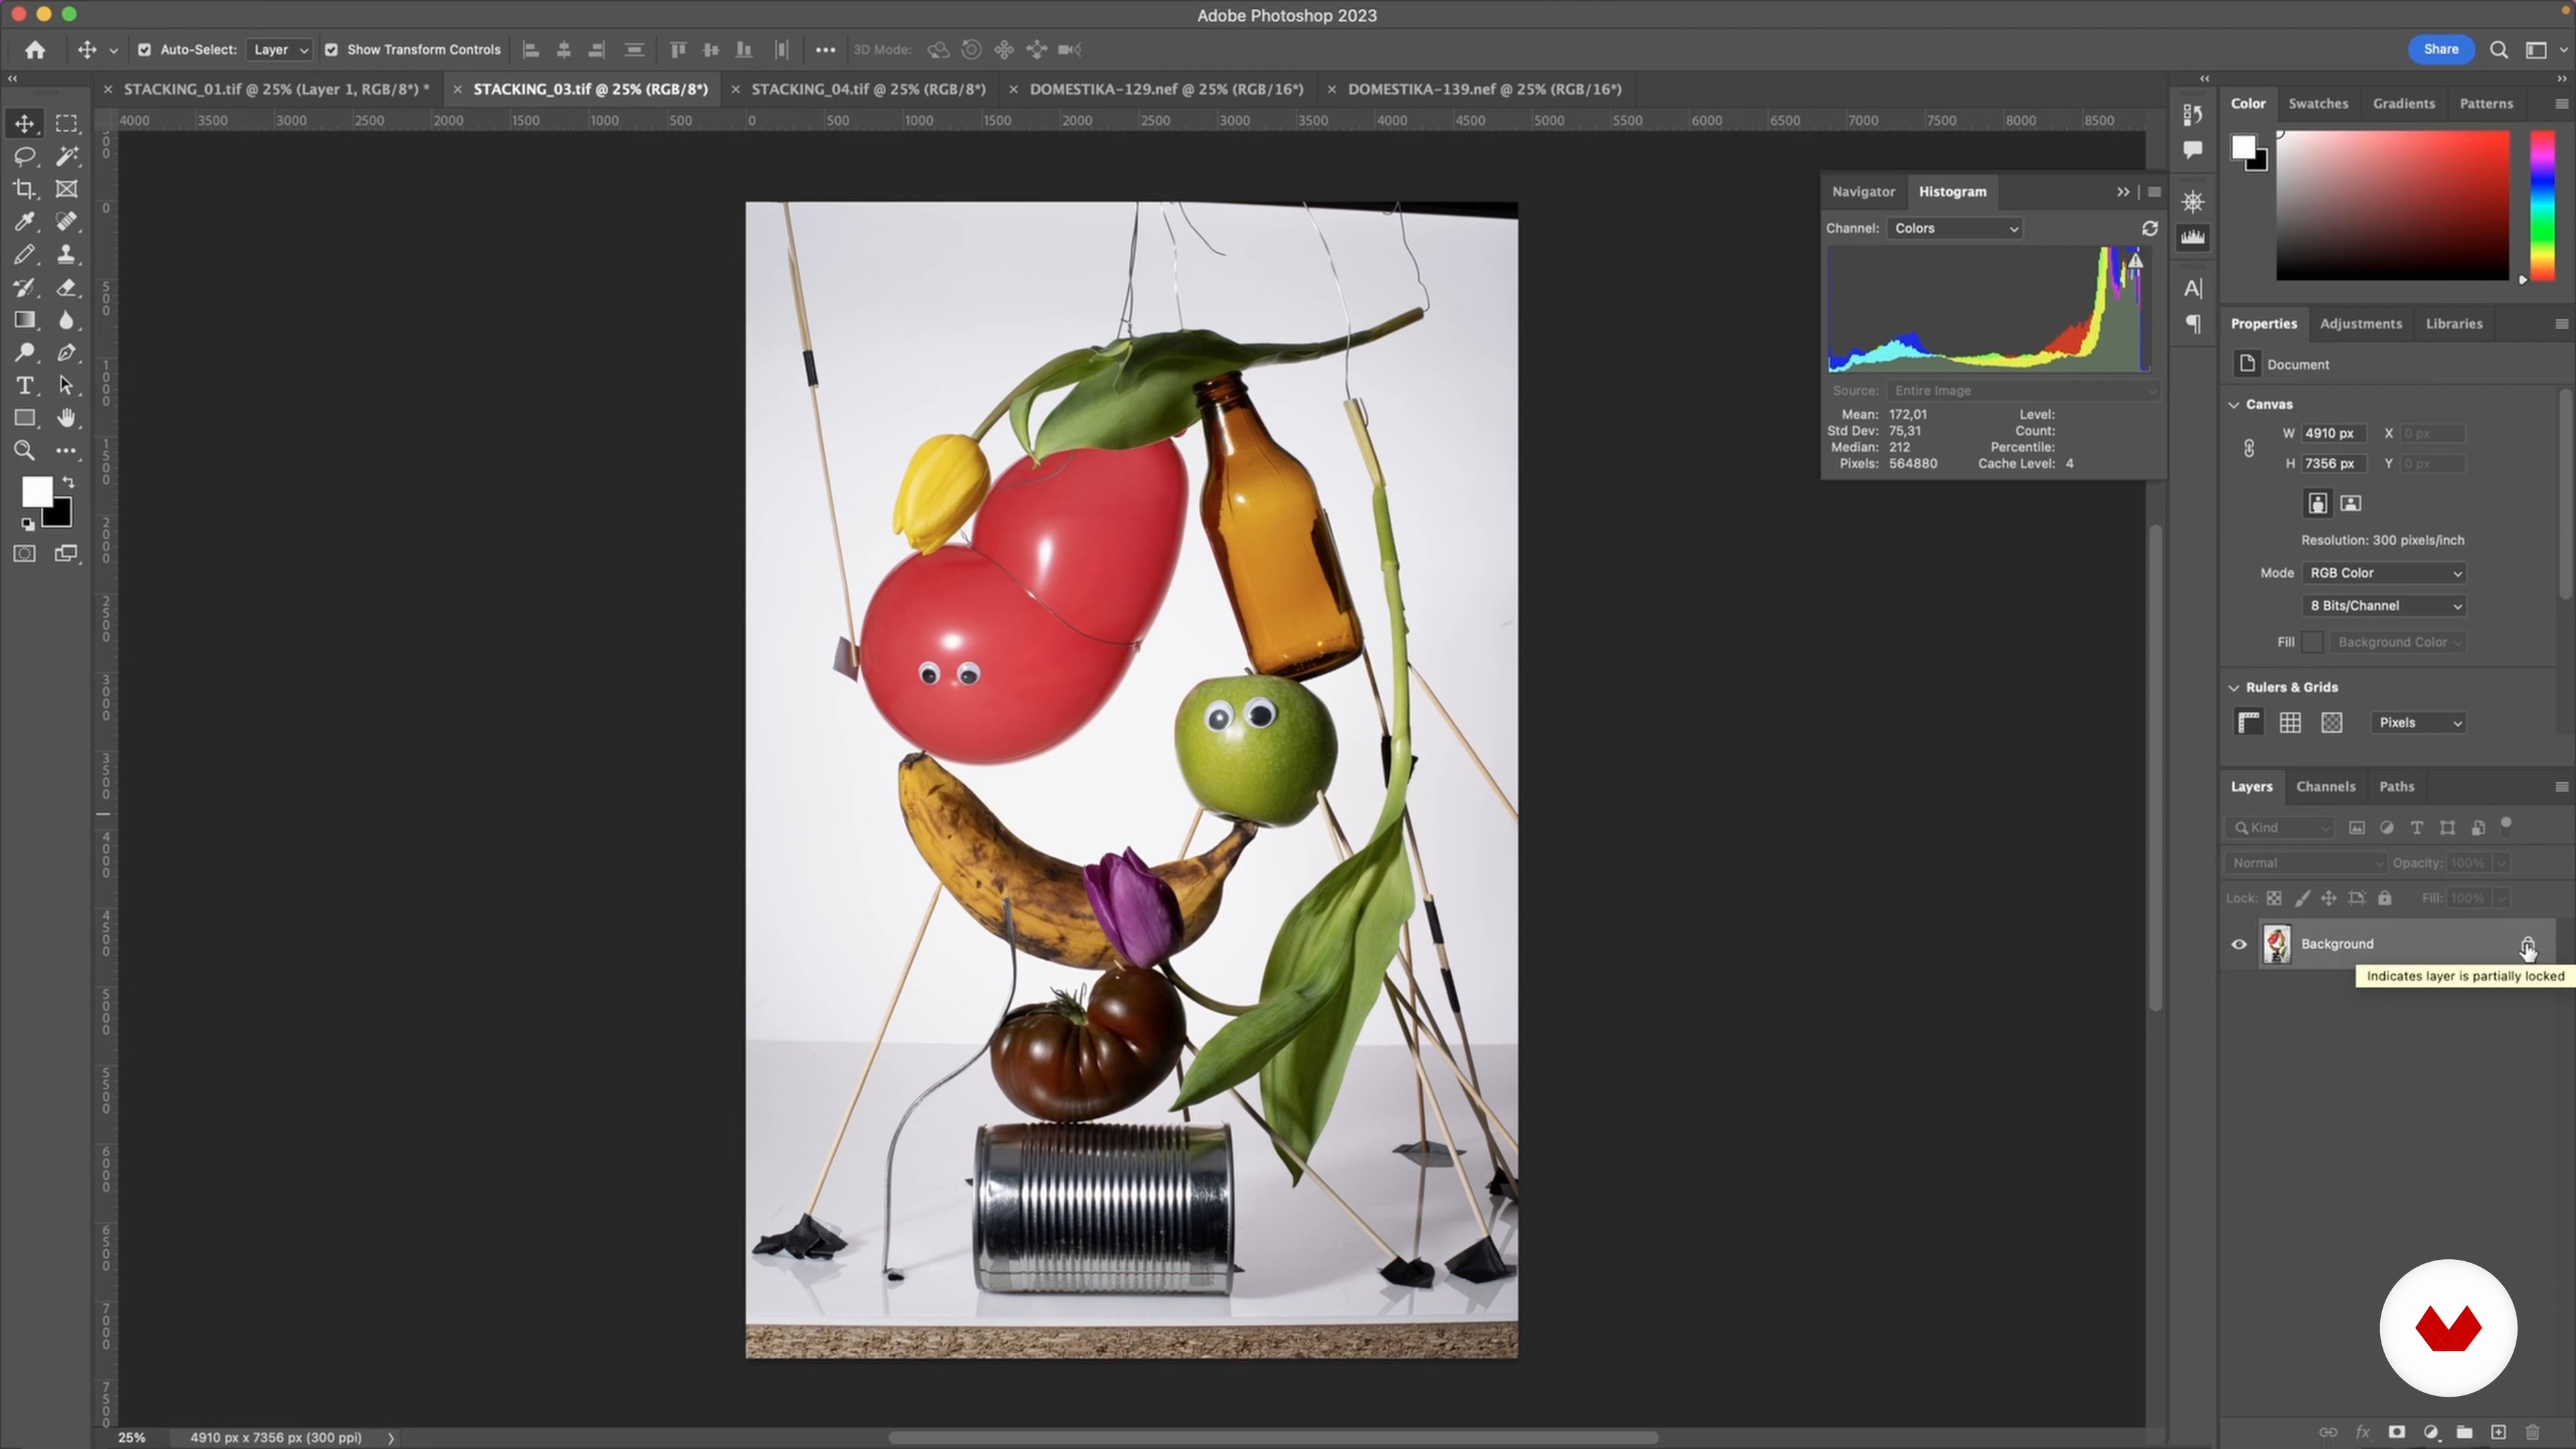
After stacking the images that need to be attached together is the moment to import your process into Photoshop. This is the main program I use to put the different elements together, as well as prepare the final image, contrasting or working on the lights/colors, in order to finalize our image!
20m
image
17
Final touches (Photoshop) 2
We continue delving into interesting ideas in this part of the lesson. Pay close attention!
20m
image
18
Final touches (Photoshop) 3
The third part
20m
image
19
Final touches (Photoshop) 4
No three without four :)
14m
  • 126 students
  • 80 lessons (12h 44m)
  • 87 additional resources (33 files)
  • Online and at your own pace
  • Audio: English, Spanish
  • Spanish · English · Portuguese · German · French · Italian · Polish · Dutch
  • Level: Beginner
  • Unlimited access forever

What is this course's project?

Students will craft a captivating still-life photograph that demonstrates effective lighting and color balance. By manipulating light, backgrounds, and compositions, learners will create dynamic product shots that enhance visual impact and storytelling through carefully arranged objects, colors, and lighting techniques.

Who is this specialization for?

Aspiring photographers, creative professionals, and hobbyists passionate about still-life photography will find this specialization ideal. It suits those eager to explore lighting, composition, storytelling, and innovative techniques to create captivating and visually impactful images.

Requirements and materials

No extensive prior knowledge is required. Basic necessities include a camera, tripod, and lighting equipment. Access to editing software is beneficial. Gather simple props and backgrounds to enhance creativity. A passion for photography and willingness to explore new techniques is essential.

Select to get to know your teachers in this specialization course
Read more ↓

What to expect from this specialization course

  • Learn at your own pace

    Enjoy learning from home without a set schedule and with an easy-to-follow method. You set your own pace.

  • Learn from the best professionals

    Learn valuable methods and techniques explained by top experts in the creative sector.

  • Meet expert teachers

    Each expert teaches what they do best, with clear guidelines, true passion, and professional insight in every lesson.

  • Certificates
    Plus

    If you're a Plus member, get a custom certificate for every specialization course. Share it on your portfolio, social media, or wherever you like.

  • Get front-row seats

    Videos of the highest quality, so you don't miss a single detail. With unlimited access, you can watch them as many times as you need to perfect your technique.

  • Share knowledge and ideas

    Ask questions, request feedback, or offer solutions. Share your learning experience with other students in the community who are as passionate about creativity as you are.

  • Connect with a global creative community

    The community is home to millions of people from around the world who are curious and passionate about exploring and expressing their creativity.

  • Watch professionally produced courses

    Domestika curates its teacher roster and produces every course in-house to ensure a high-quality online learning experience.


FAQs

Domestika's specialization courses are online classes that provide you with the tools and skills you need to complete a specific project. Every step of the project combines video lessons with complementary instructional material, so you can learn by doing. Domestika's specializations also allow you to share your own projects with other students, creating a dynamic course community.

All specialization courses are 100% online, so once they're published, specialization courses start and finish whenever you want. You set the pace of the class. You can go back to review what interests you most and skip what you already know, ask questions, answer questions, share your projects, and more.

The specialization courses are divided into different modules. Each one includes lessons, informational text, tasks, and practice exercises to help you carry out your project step by step, with additional complementary resources and downloads. You'll also have access to an exclusive forum where you can interact with other students, as well as share your work and your final project, creating a community around the specialization course.

You can redeem the specialization course you received by accessing the redeeming page and entering your gift code.

If you're a Plus member, when you complete a course you've purchased, you'll instantly get your personalized certificate. You can see all your certificates in the Certificates section of your profile. You can download your certificates as PDFs and share the link online. Learn more about certificates.
Creative Still-Life Photography Specialization: Master Lighting and Composition. Photography, and Video course by Domestika

Creative Still-Life Photography Specialization: Master Lighting and Composition

A specialization by multiple teachers
Berkeley, United States.
Joined April 2002
  • 126 students