

Specialization

Creative Floral Design Specialization

Learn to create floral bouquets from scratch combining colors, shapes and textures with professional techniques

Specialization · 6 modules

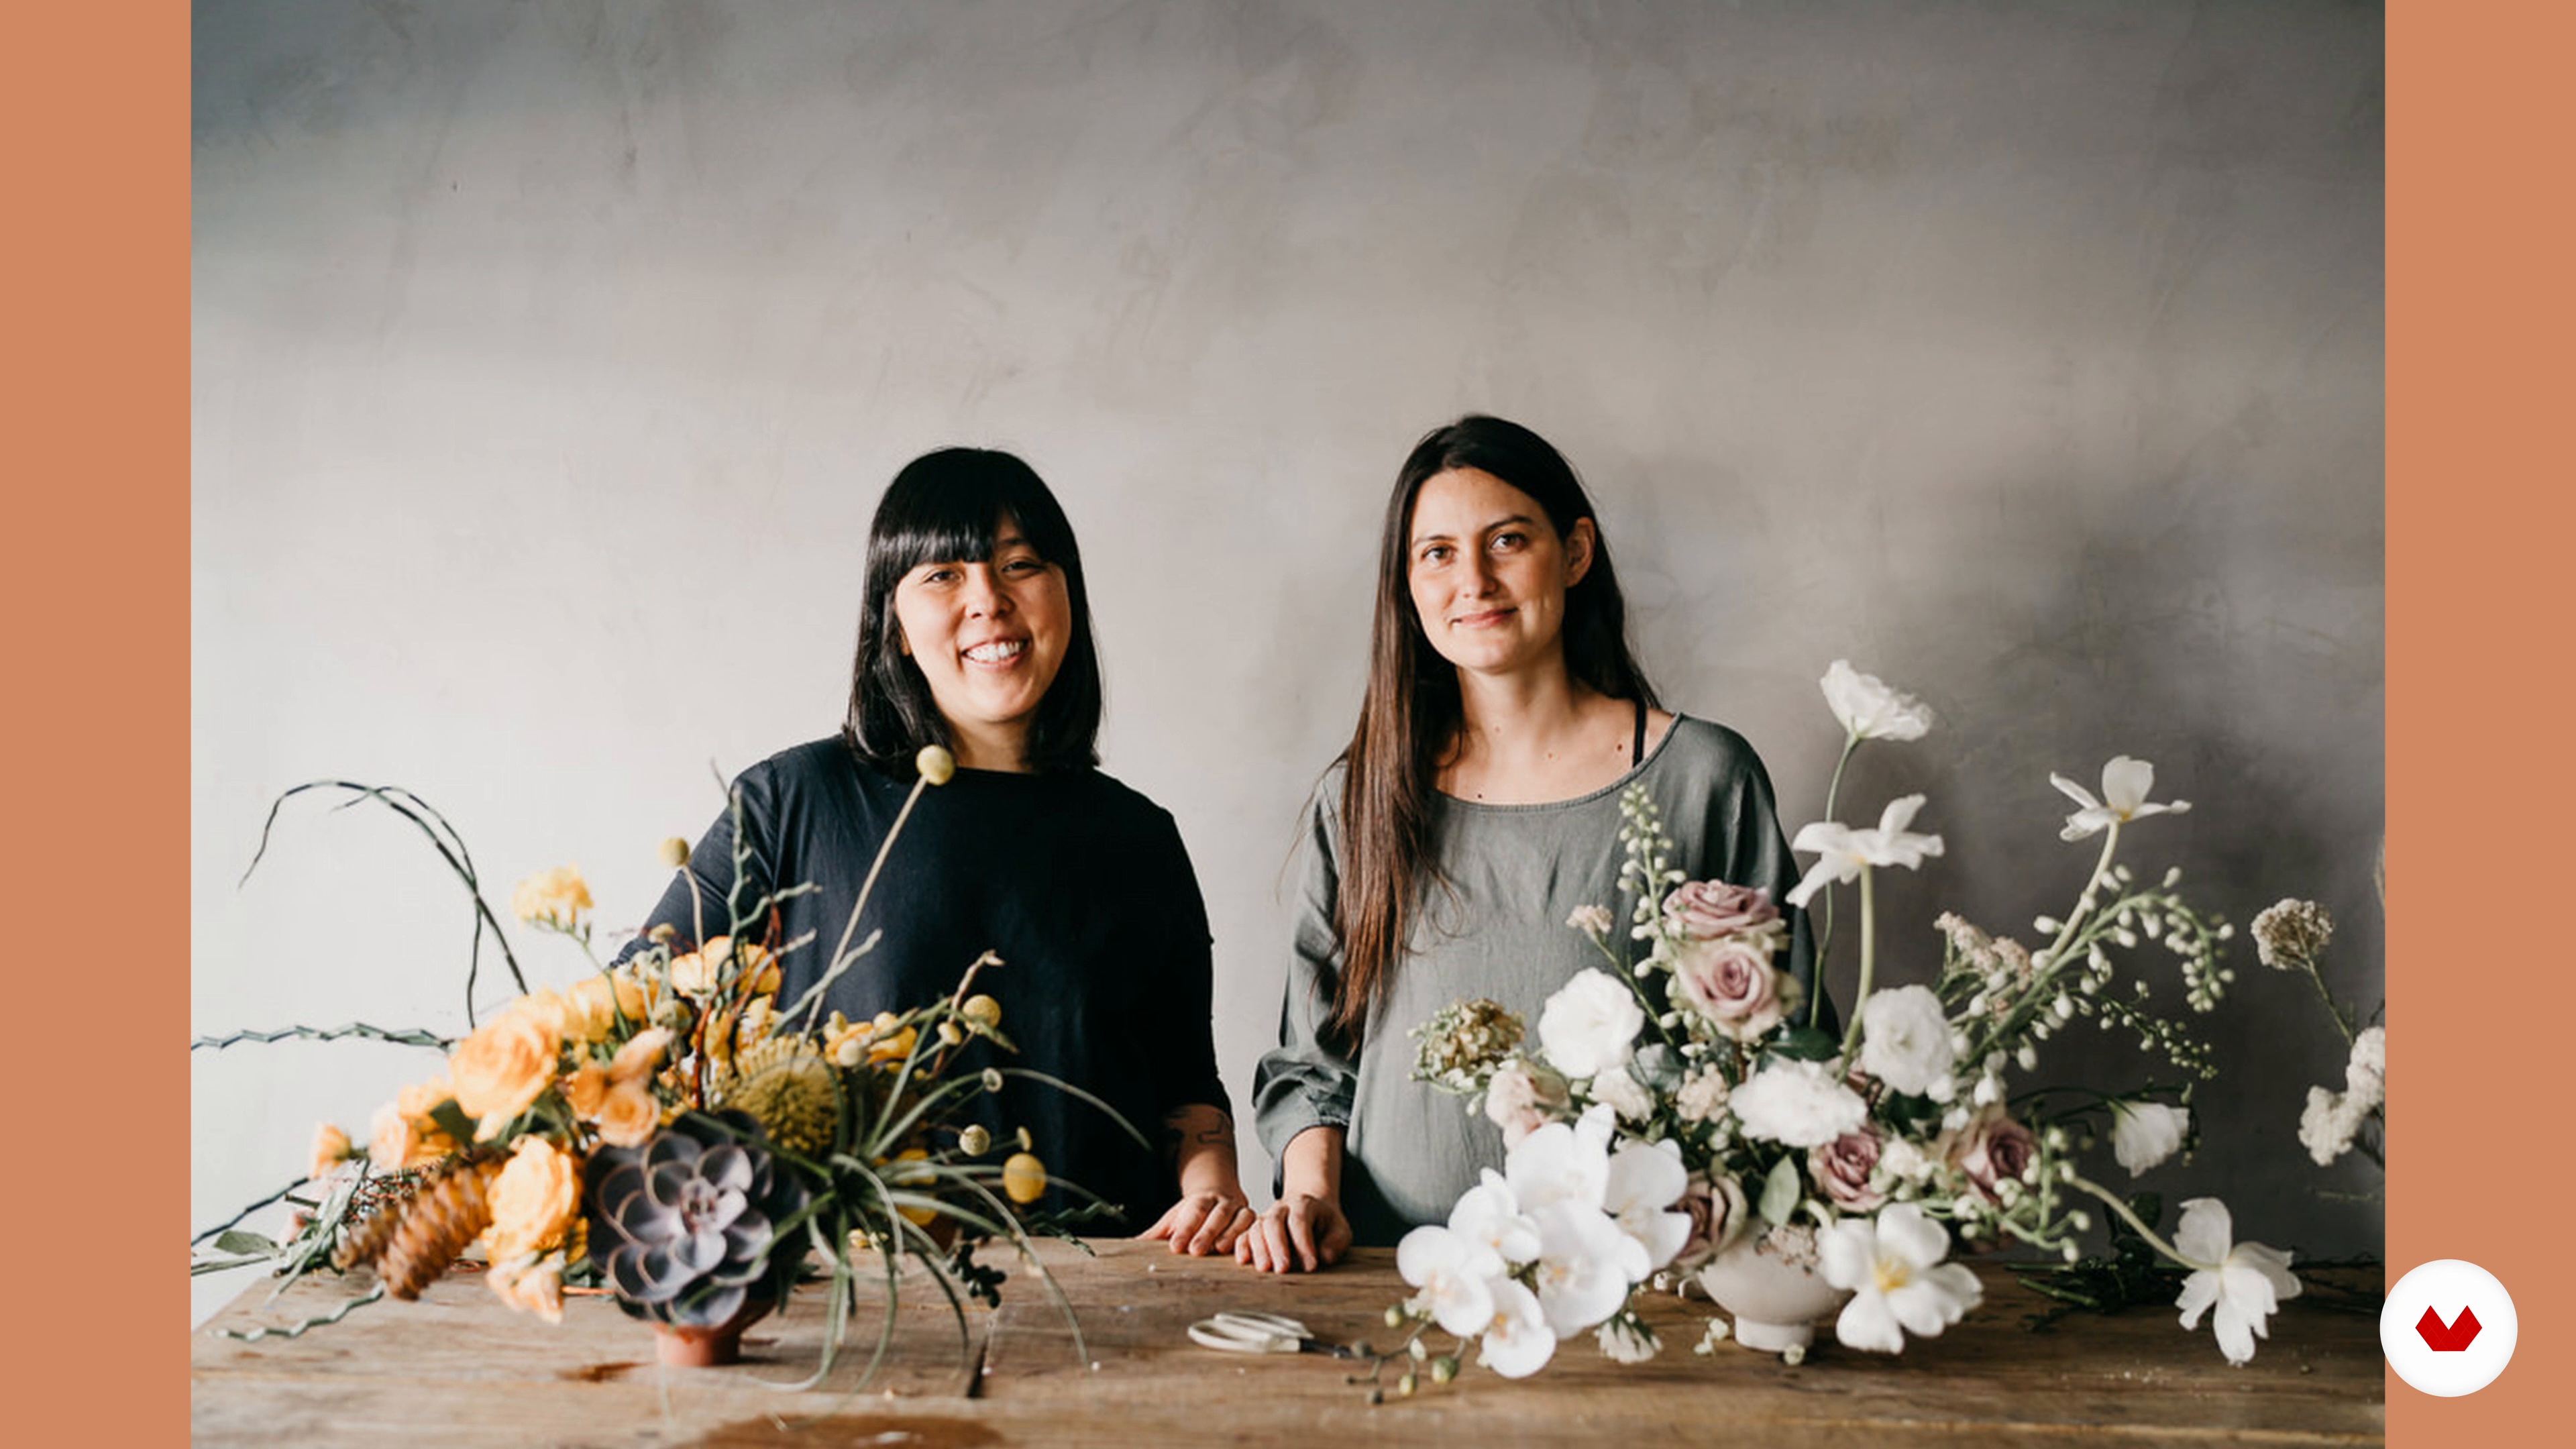
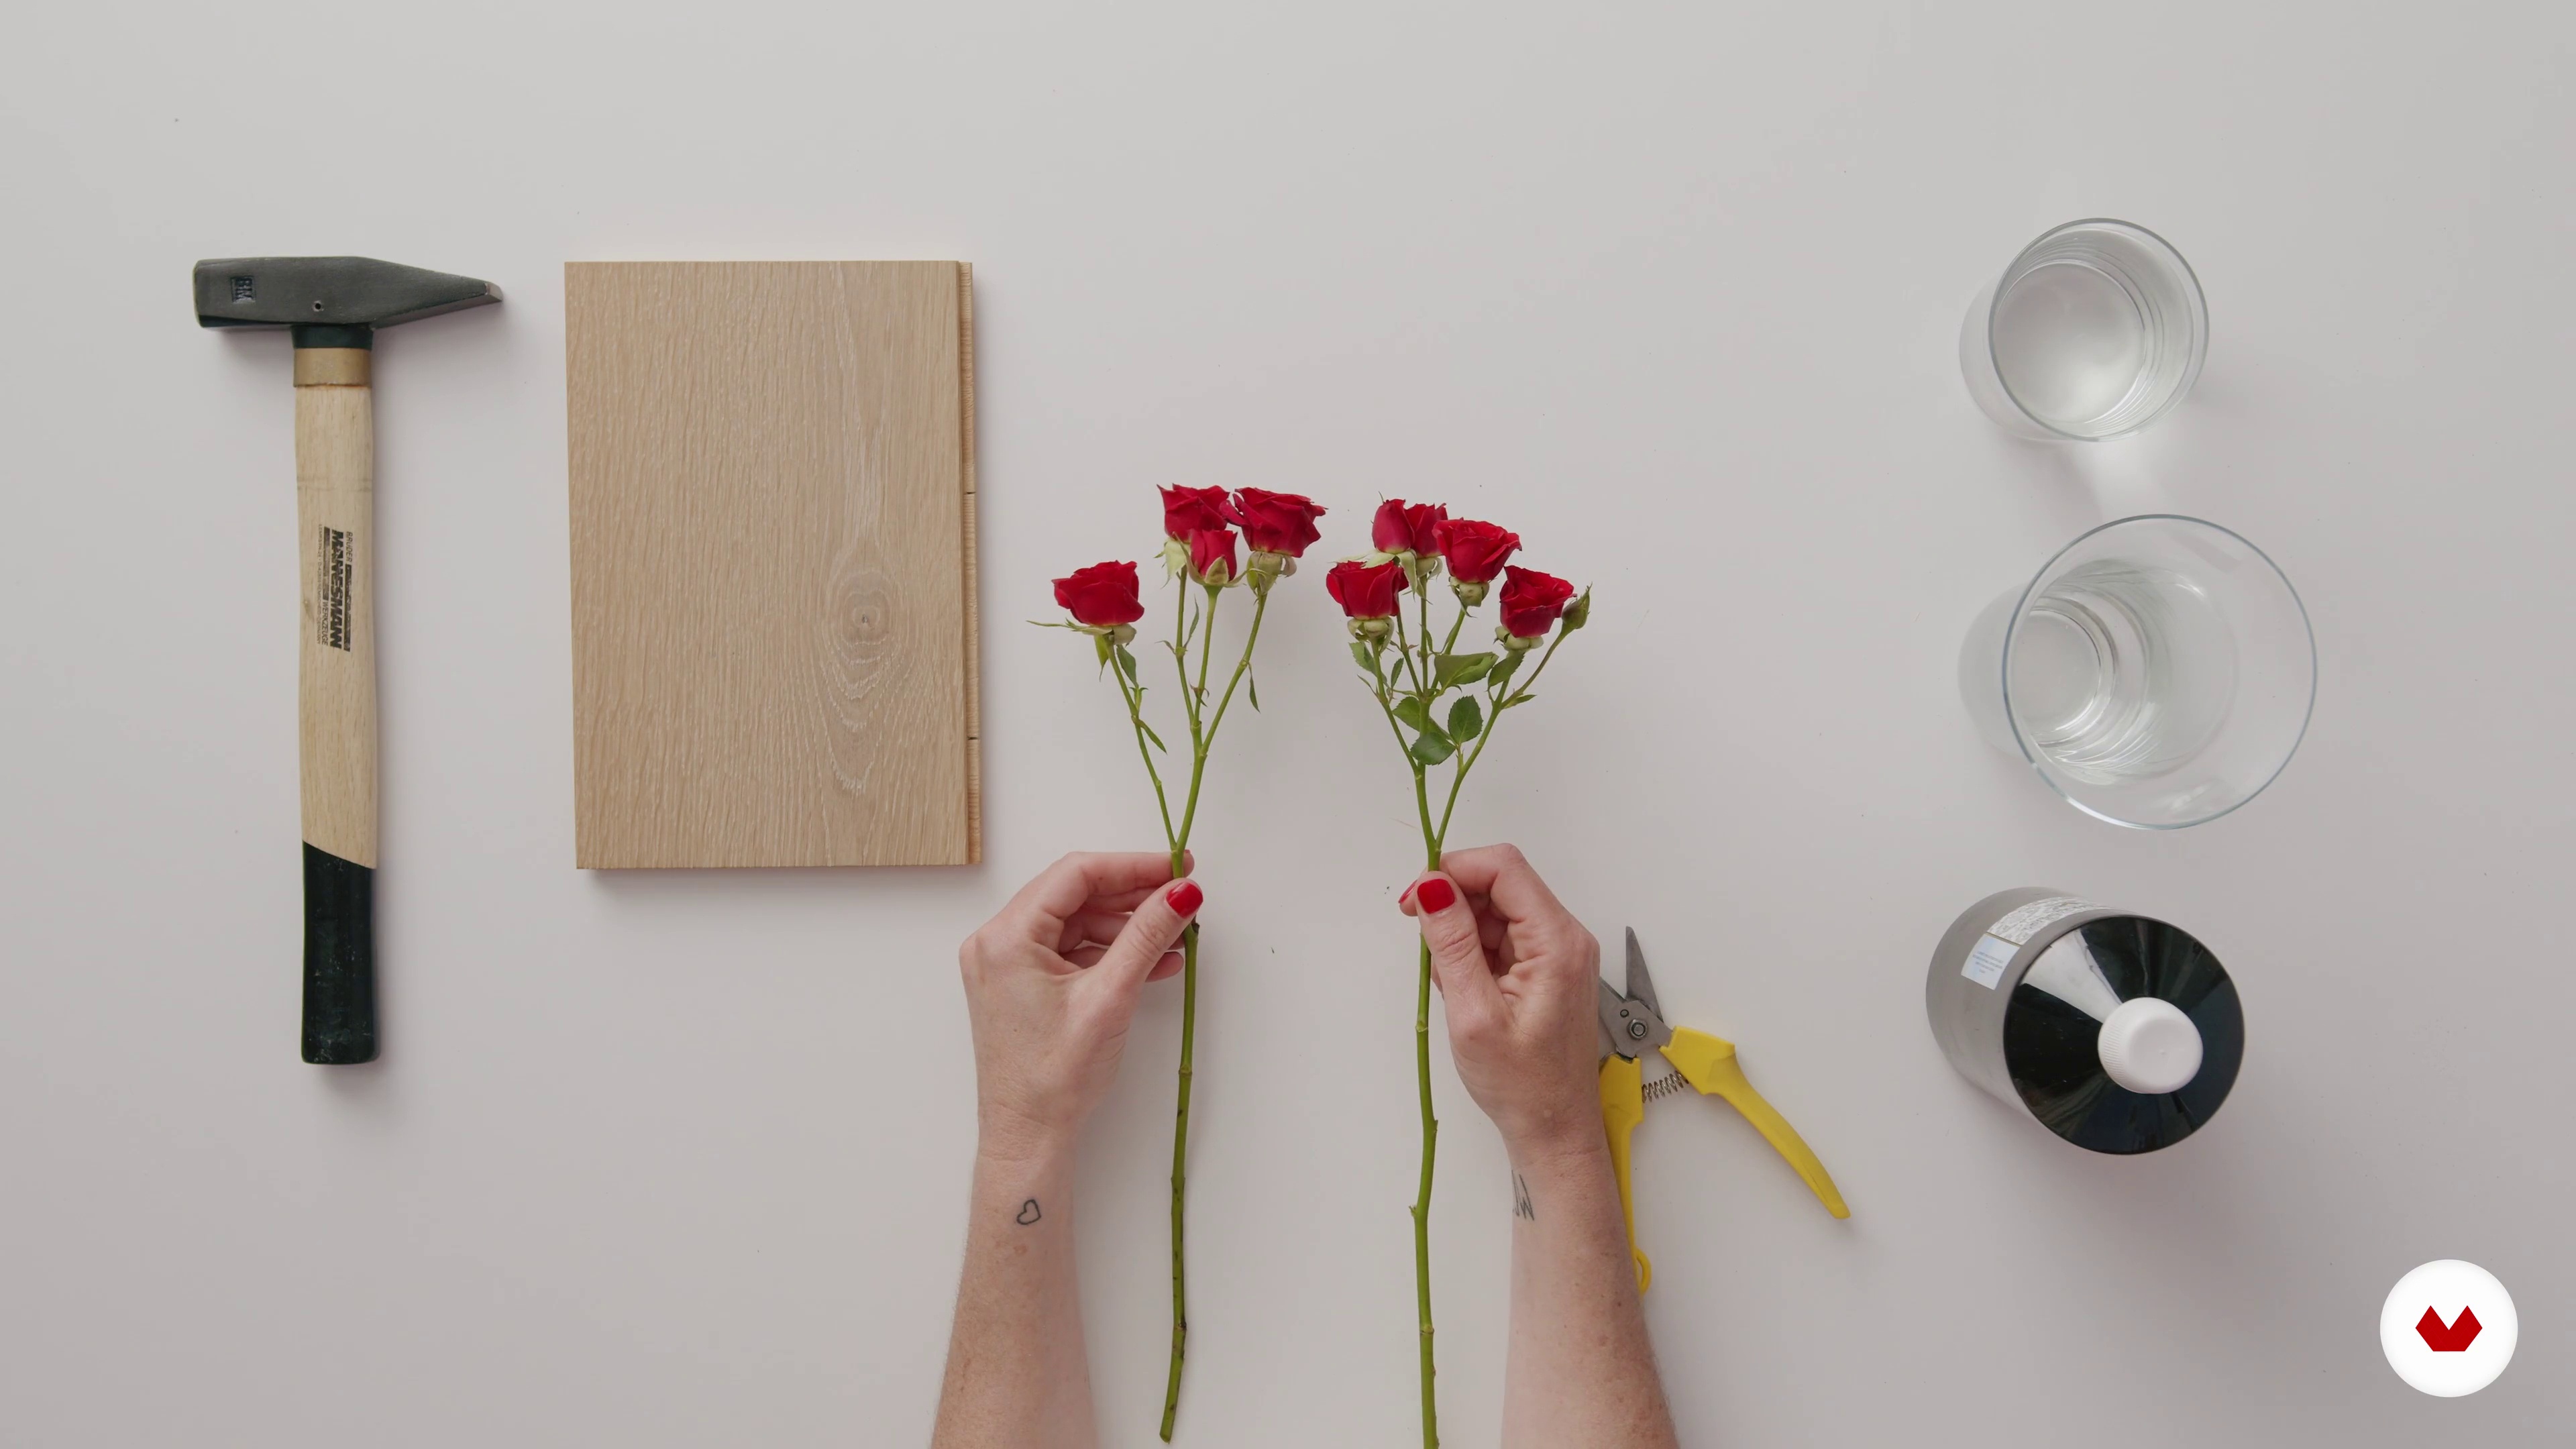
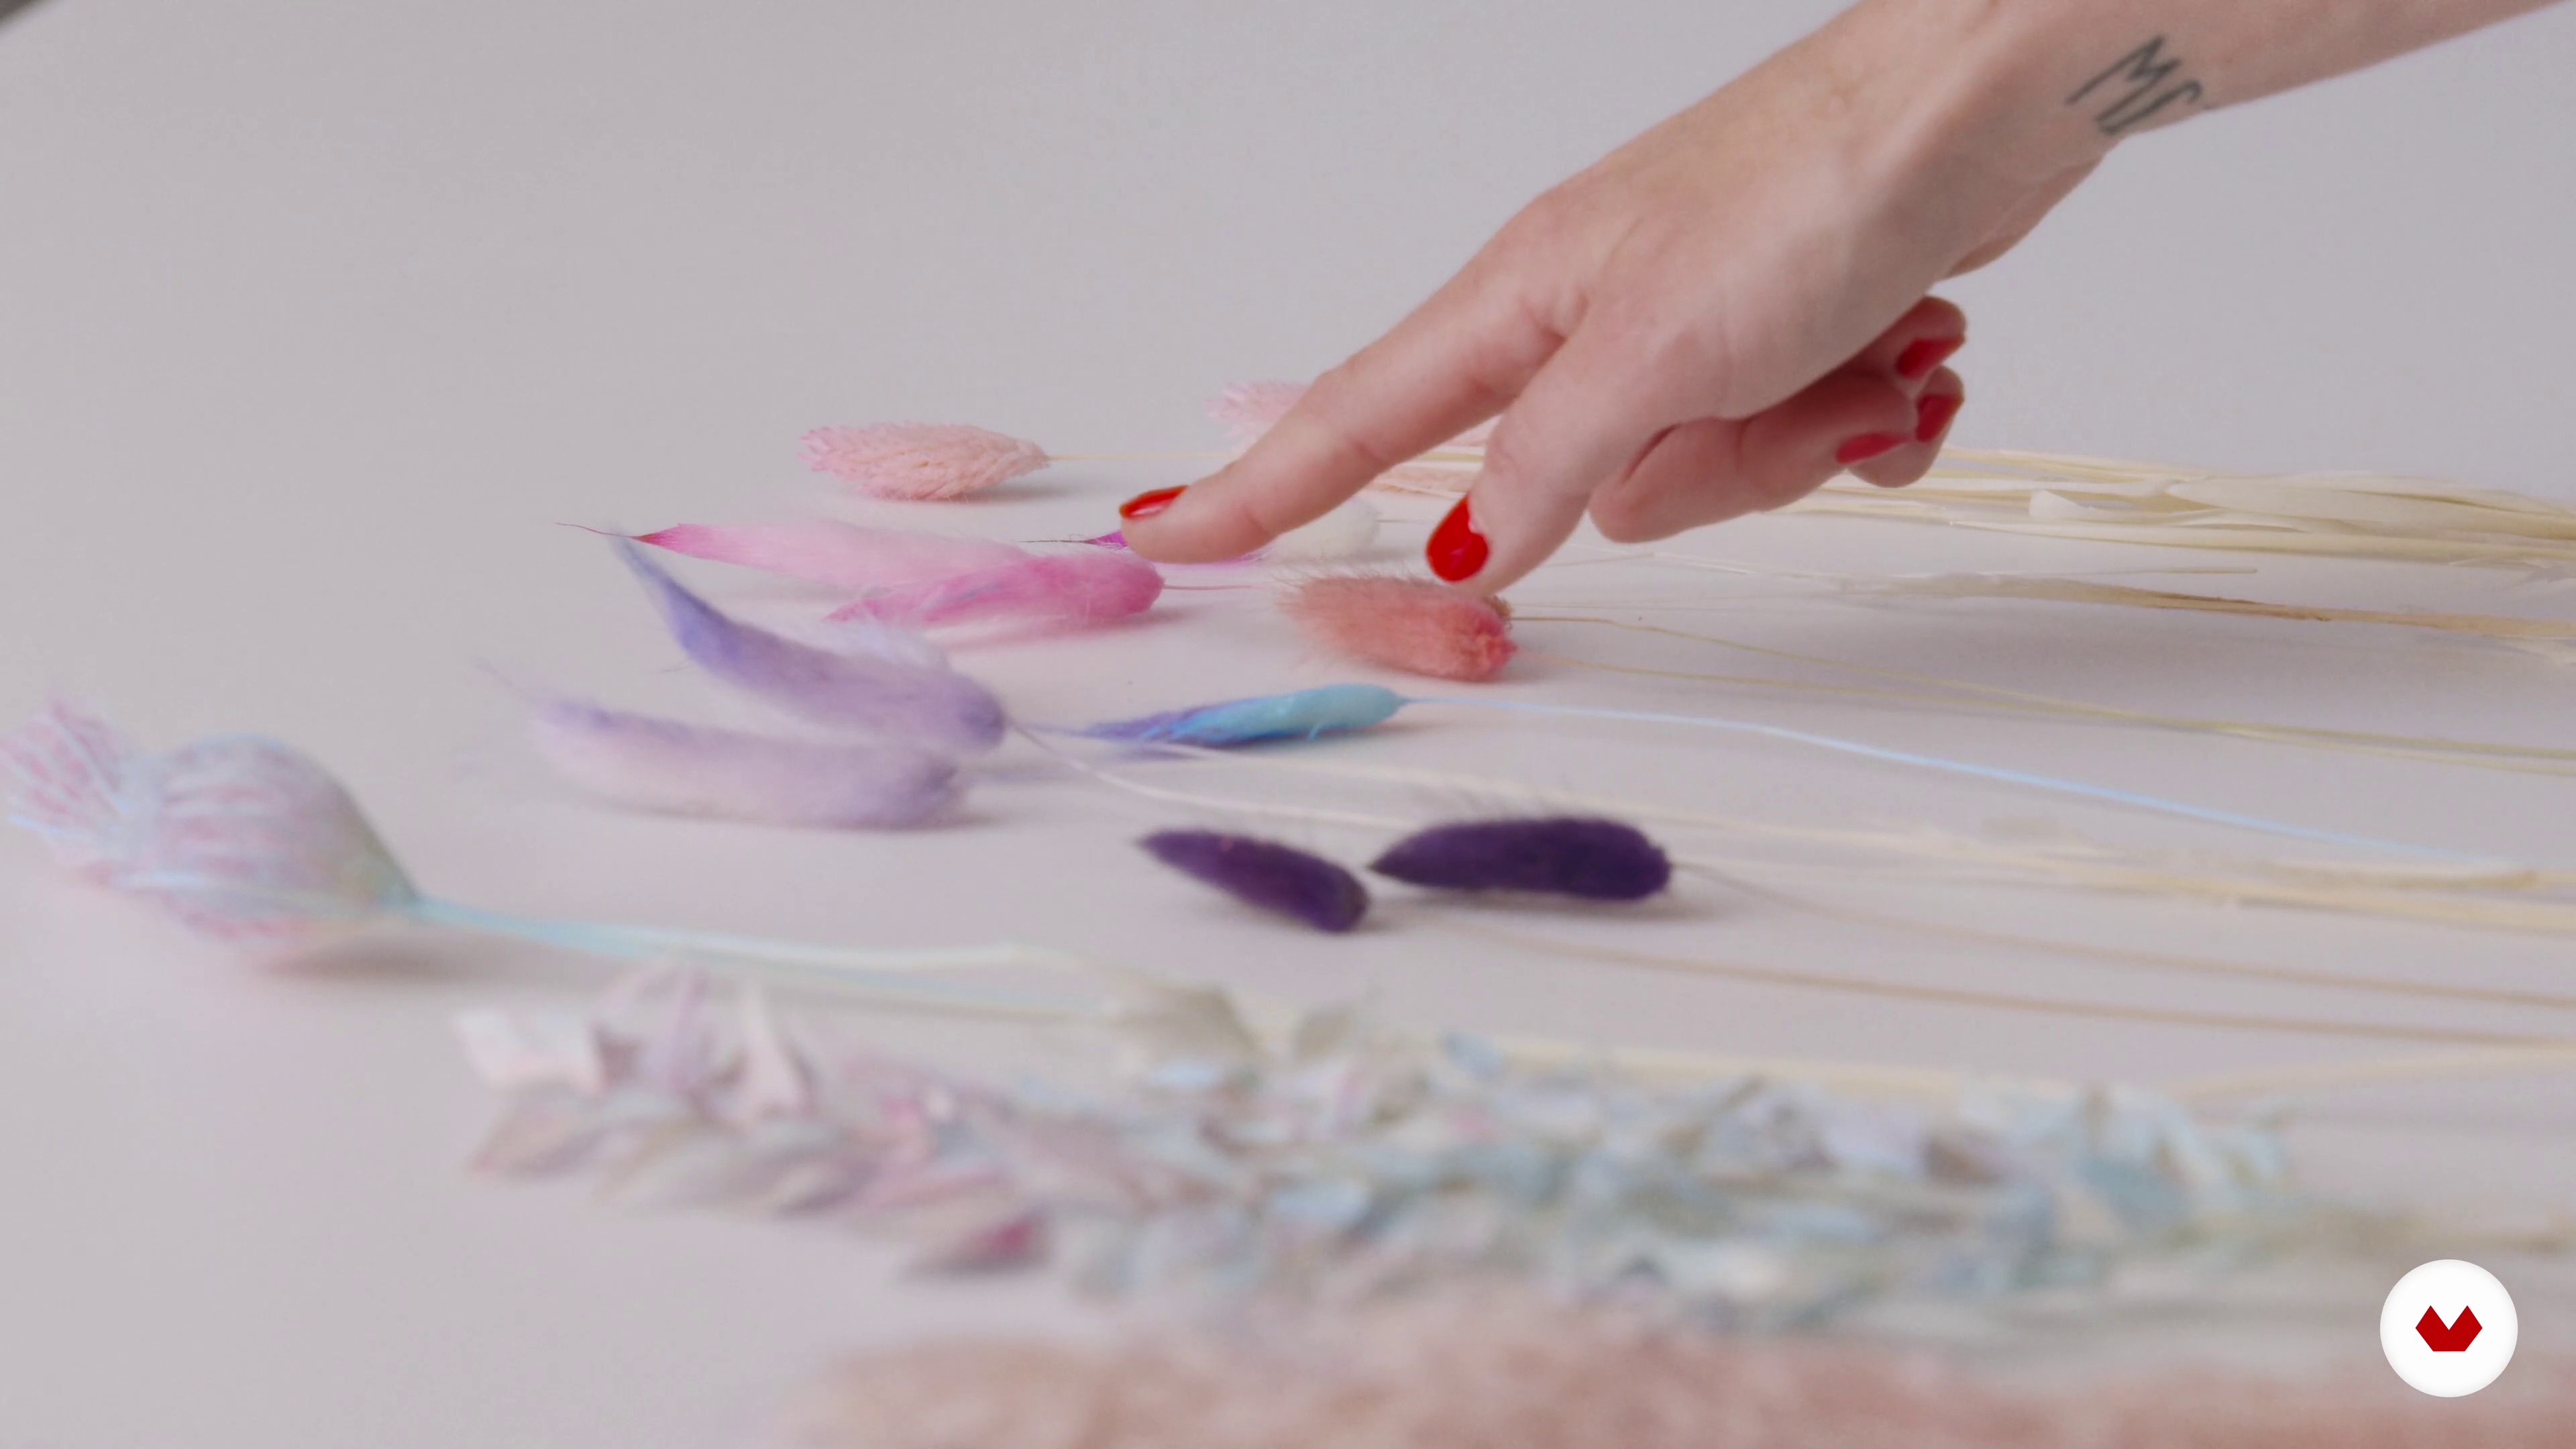
Embark on a creative and professional journey in floral art with this specialization that combines tradition and innovation. Learn to design everything from bouquets to floral headpieces, utilizing tying, anchoring, and composition techniques. Explore how to select the right flowers for each occasion, maximizing their beauty and harmony through color, texture, and shape. Classes are taught by Savia Bruta Flower School, ORA The Floral Agency, Daniel Ruiz, and Violeta Gladstone.

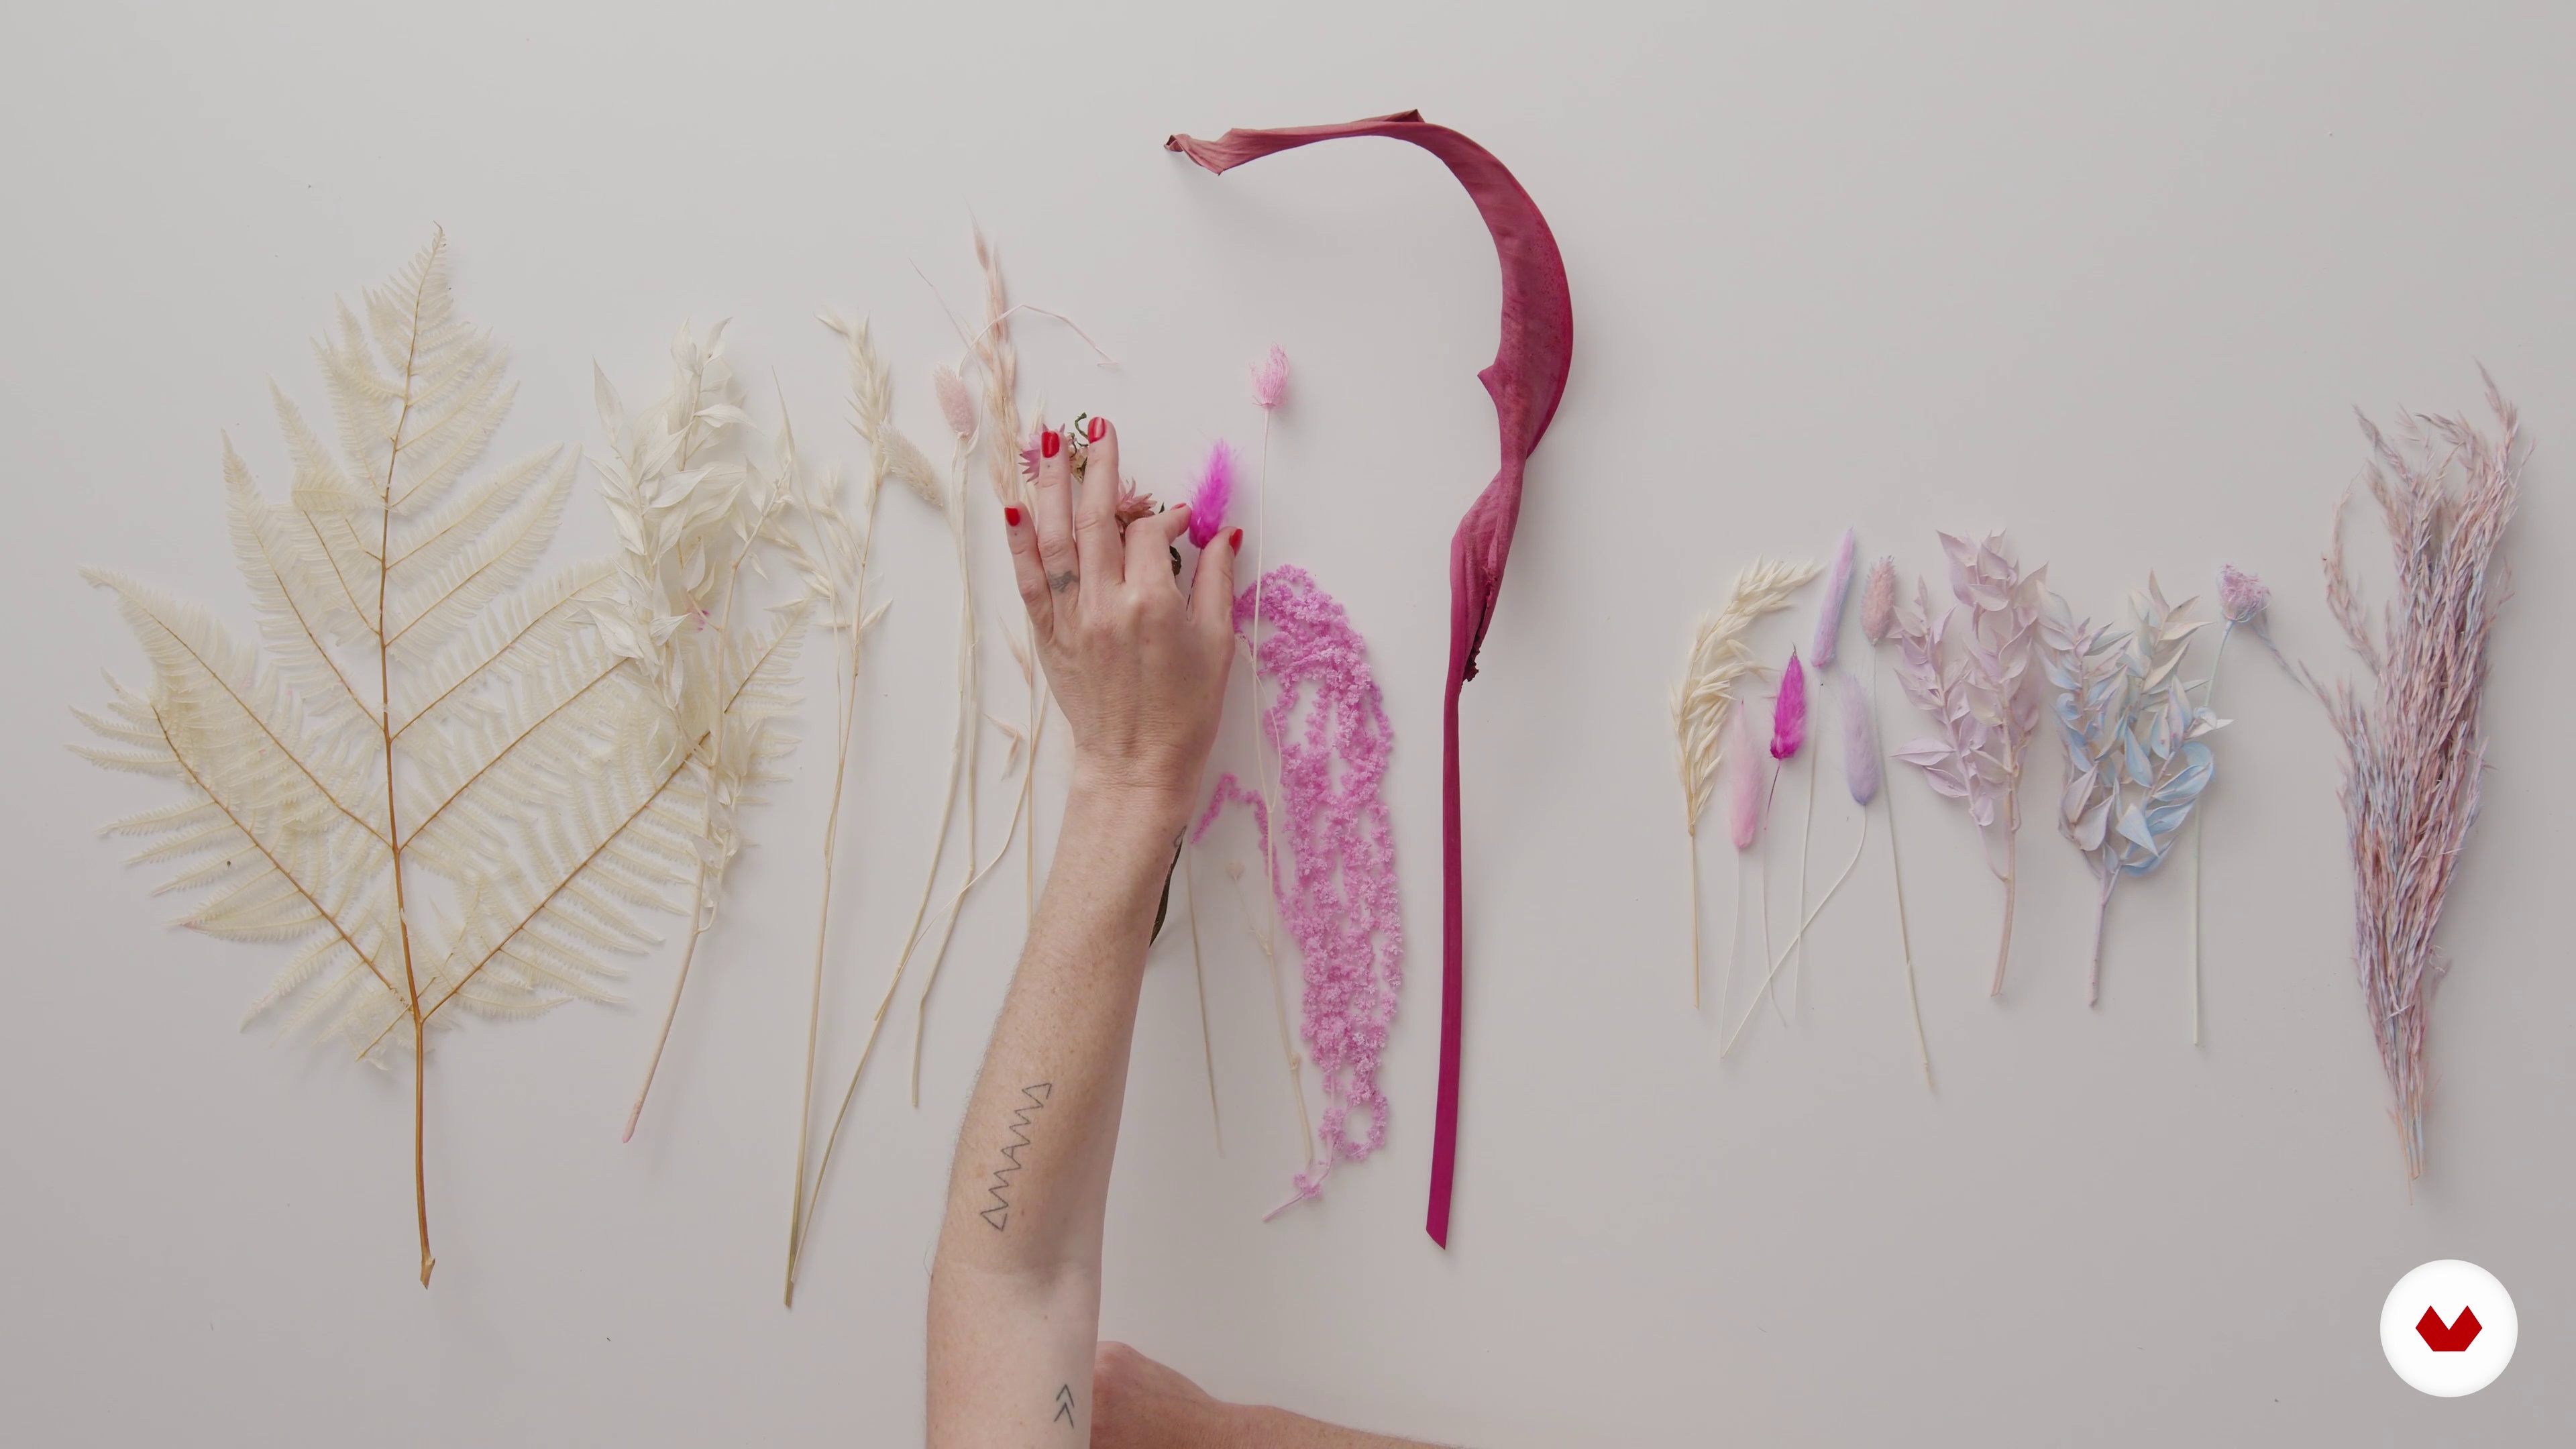
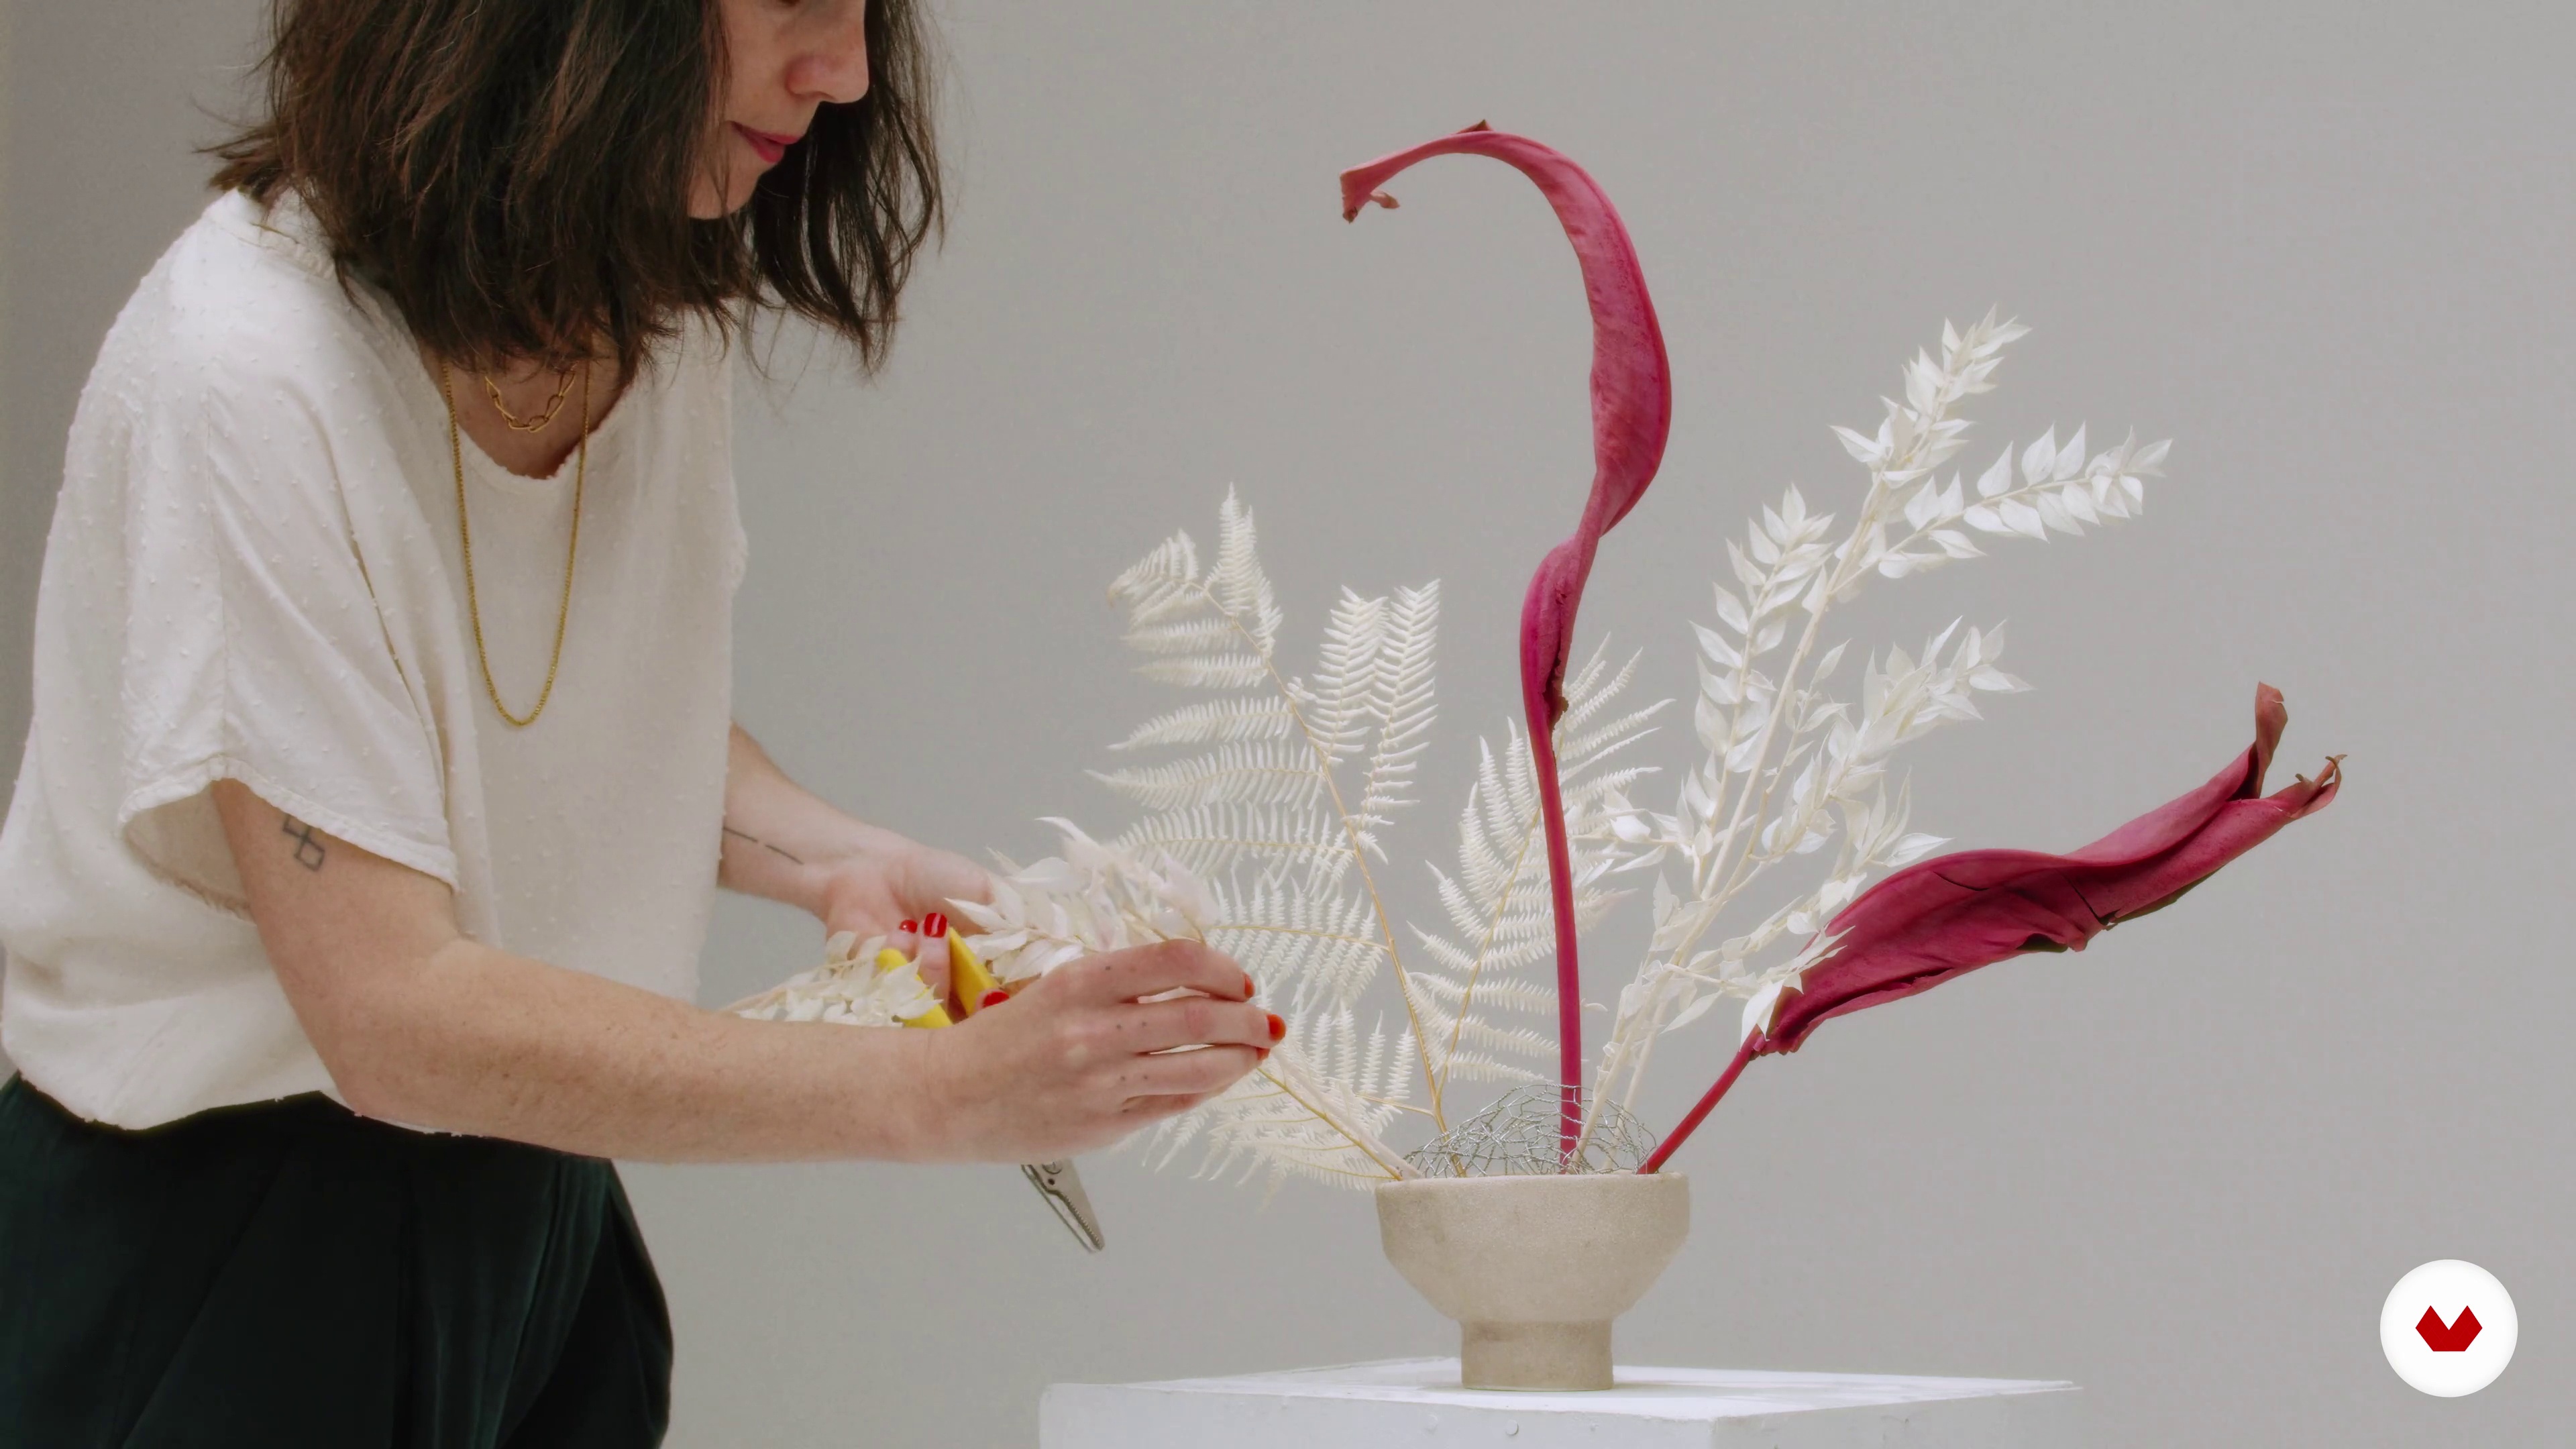
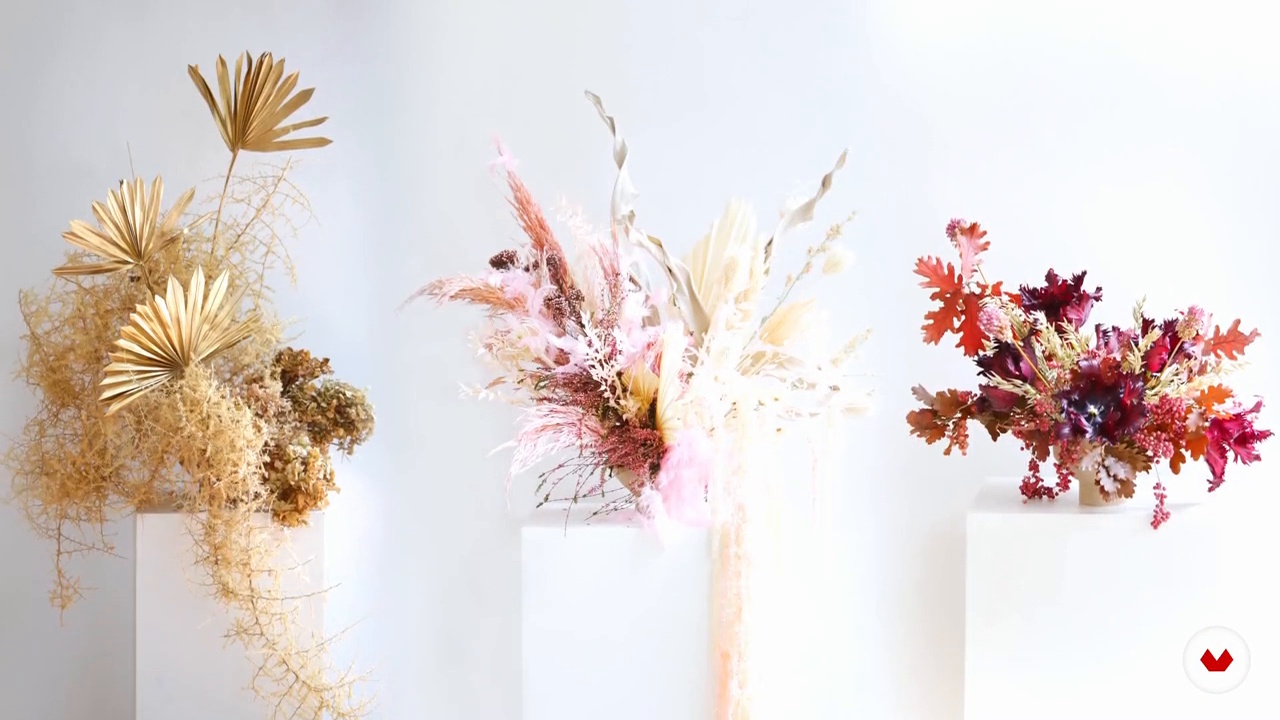
Discover the impact of sustainability on floral design by working with fresh, dried, and preserved flowers. Learn to tell visual stories through environmentally friendly and narratively meaningful compositions. The approach goes beyond aesthetics, providing the tools necessary to create meaningful floral installations. Acquire the skills to design unique centerpieces and floral accessories that enhance any event or space, ensuring that each creation is a lasting and meaningful work of art.

Read more ↓

What will you learn in this specialization?
A total of 6 modules and 65 lessons
A total of 12h 24m of vídeo lessons
Taught by 4 selected expert teachers
History of bouquets
3
History of bouquets
In this lesson, I'll tell you the history of bouquets and how they've accompanied us for millennia. We'll review the different bouquets that exist, in form and style, and finally, we'll look at their commercial uses.
7m
Flower typologies
4
Flower typologies
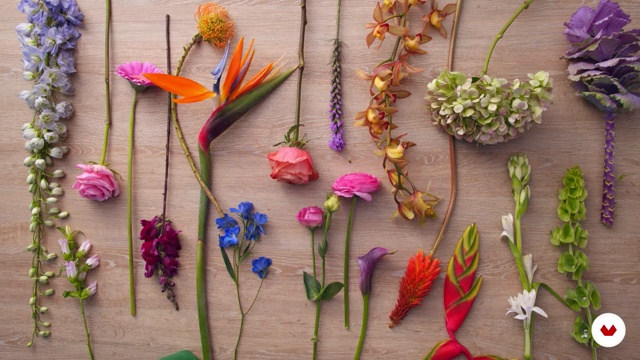
Next, I'll show you the different flower shapes and styles we'll be using. Using this formula, we'll summarize the main characteristics of each flower and can use other species available in our environment or season.
8m
Color range 1
5
Color range 1
The difference between a flower seller and a floral designer is design. In this course, I'll show you some of the fundamentals of design applied to the exercises you'll complete.
14m
Color range 2
6
Color range 2
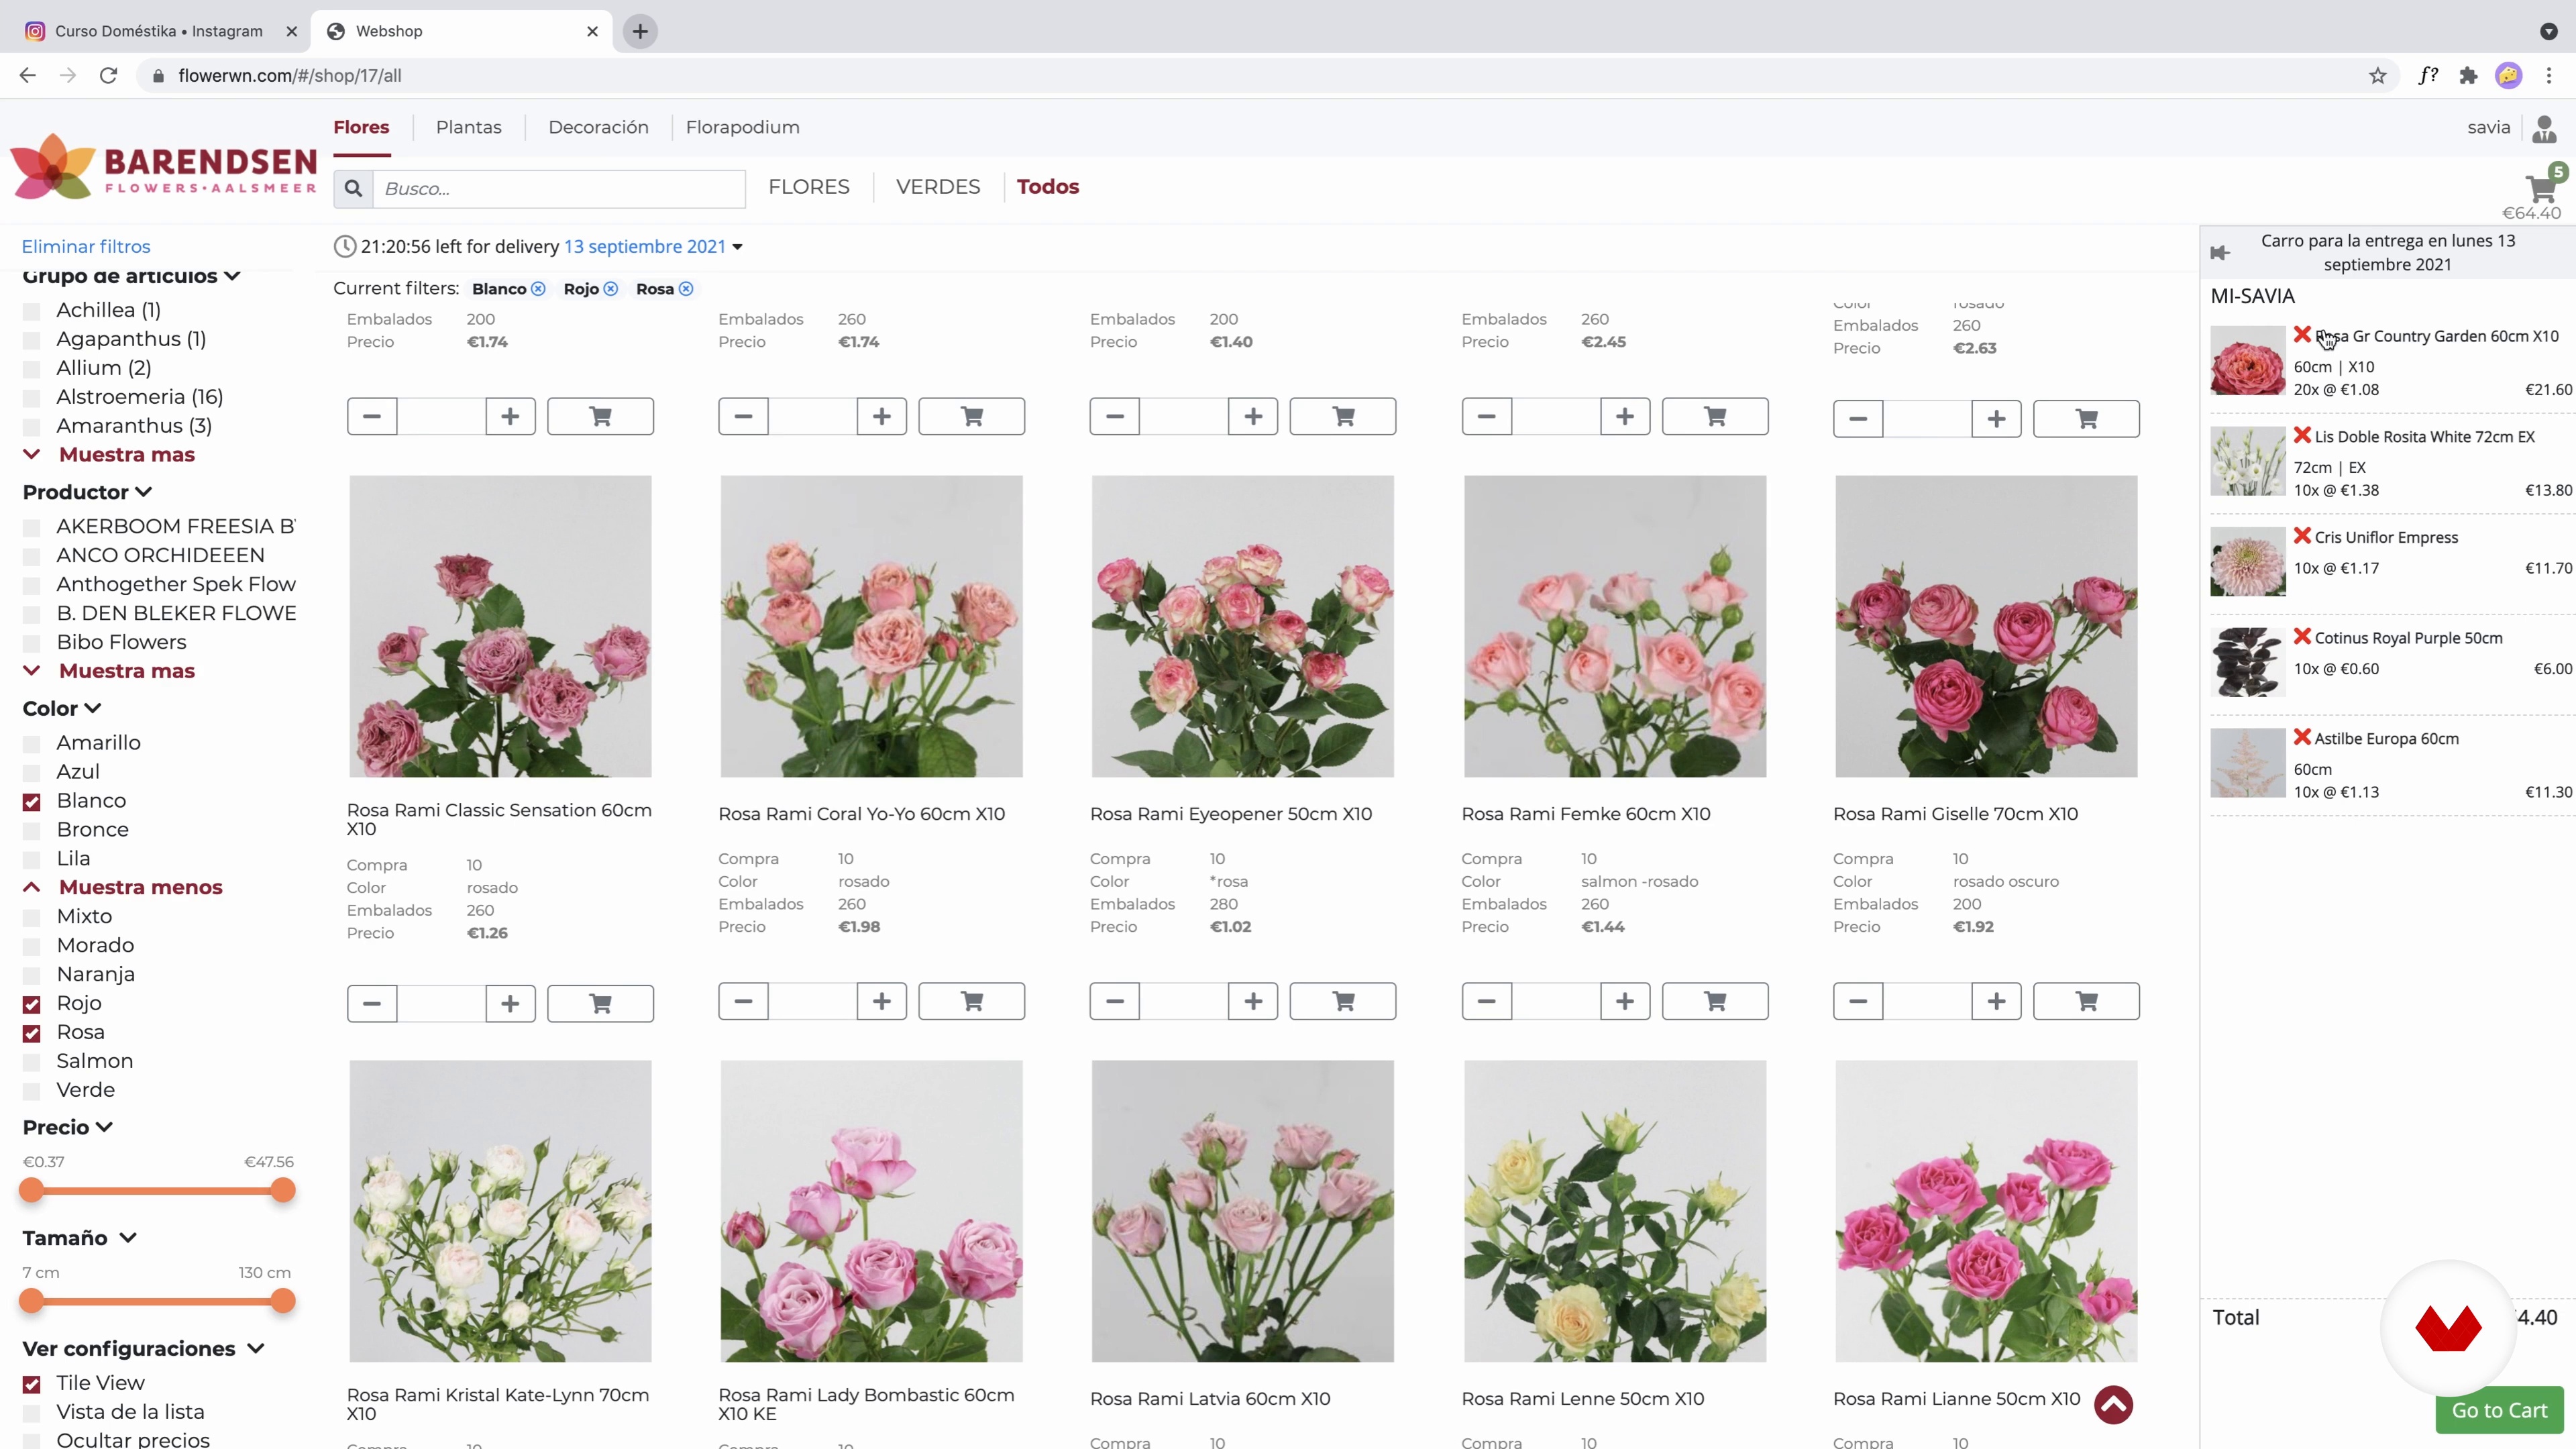
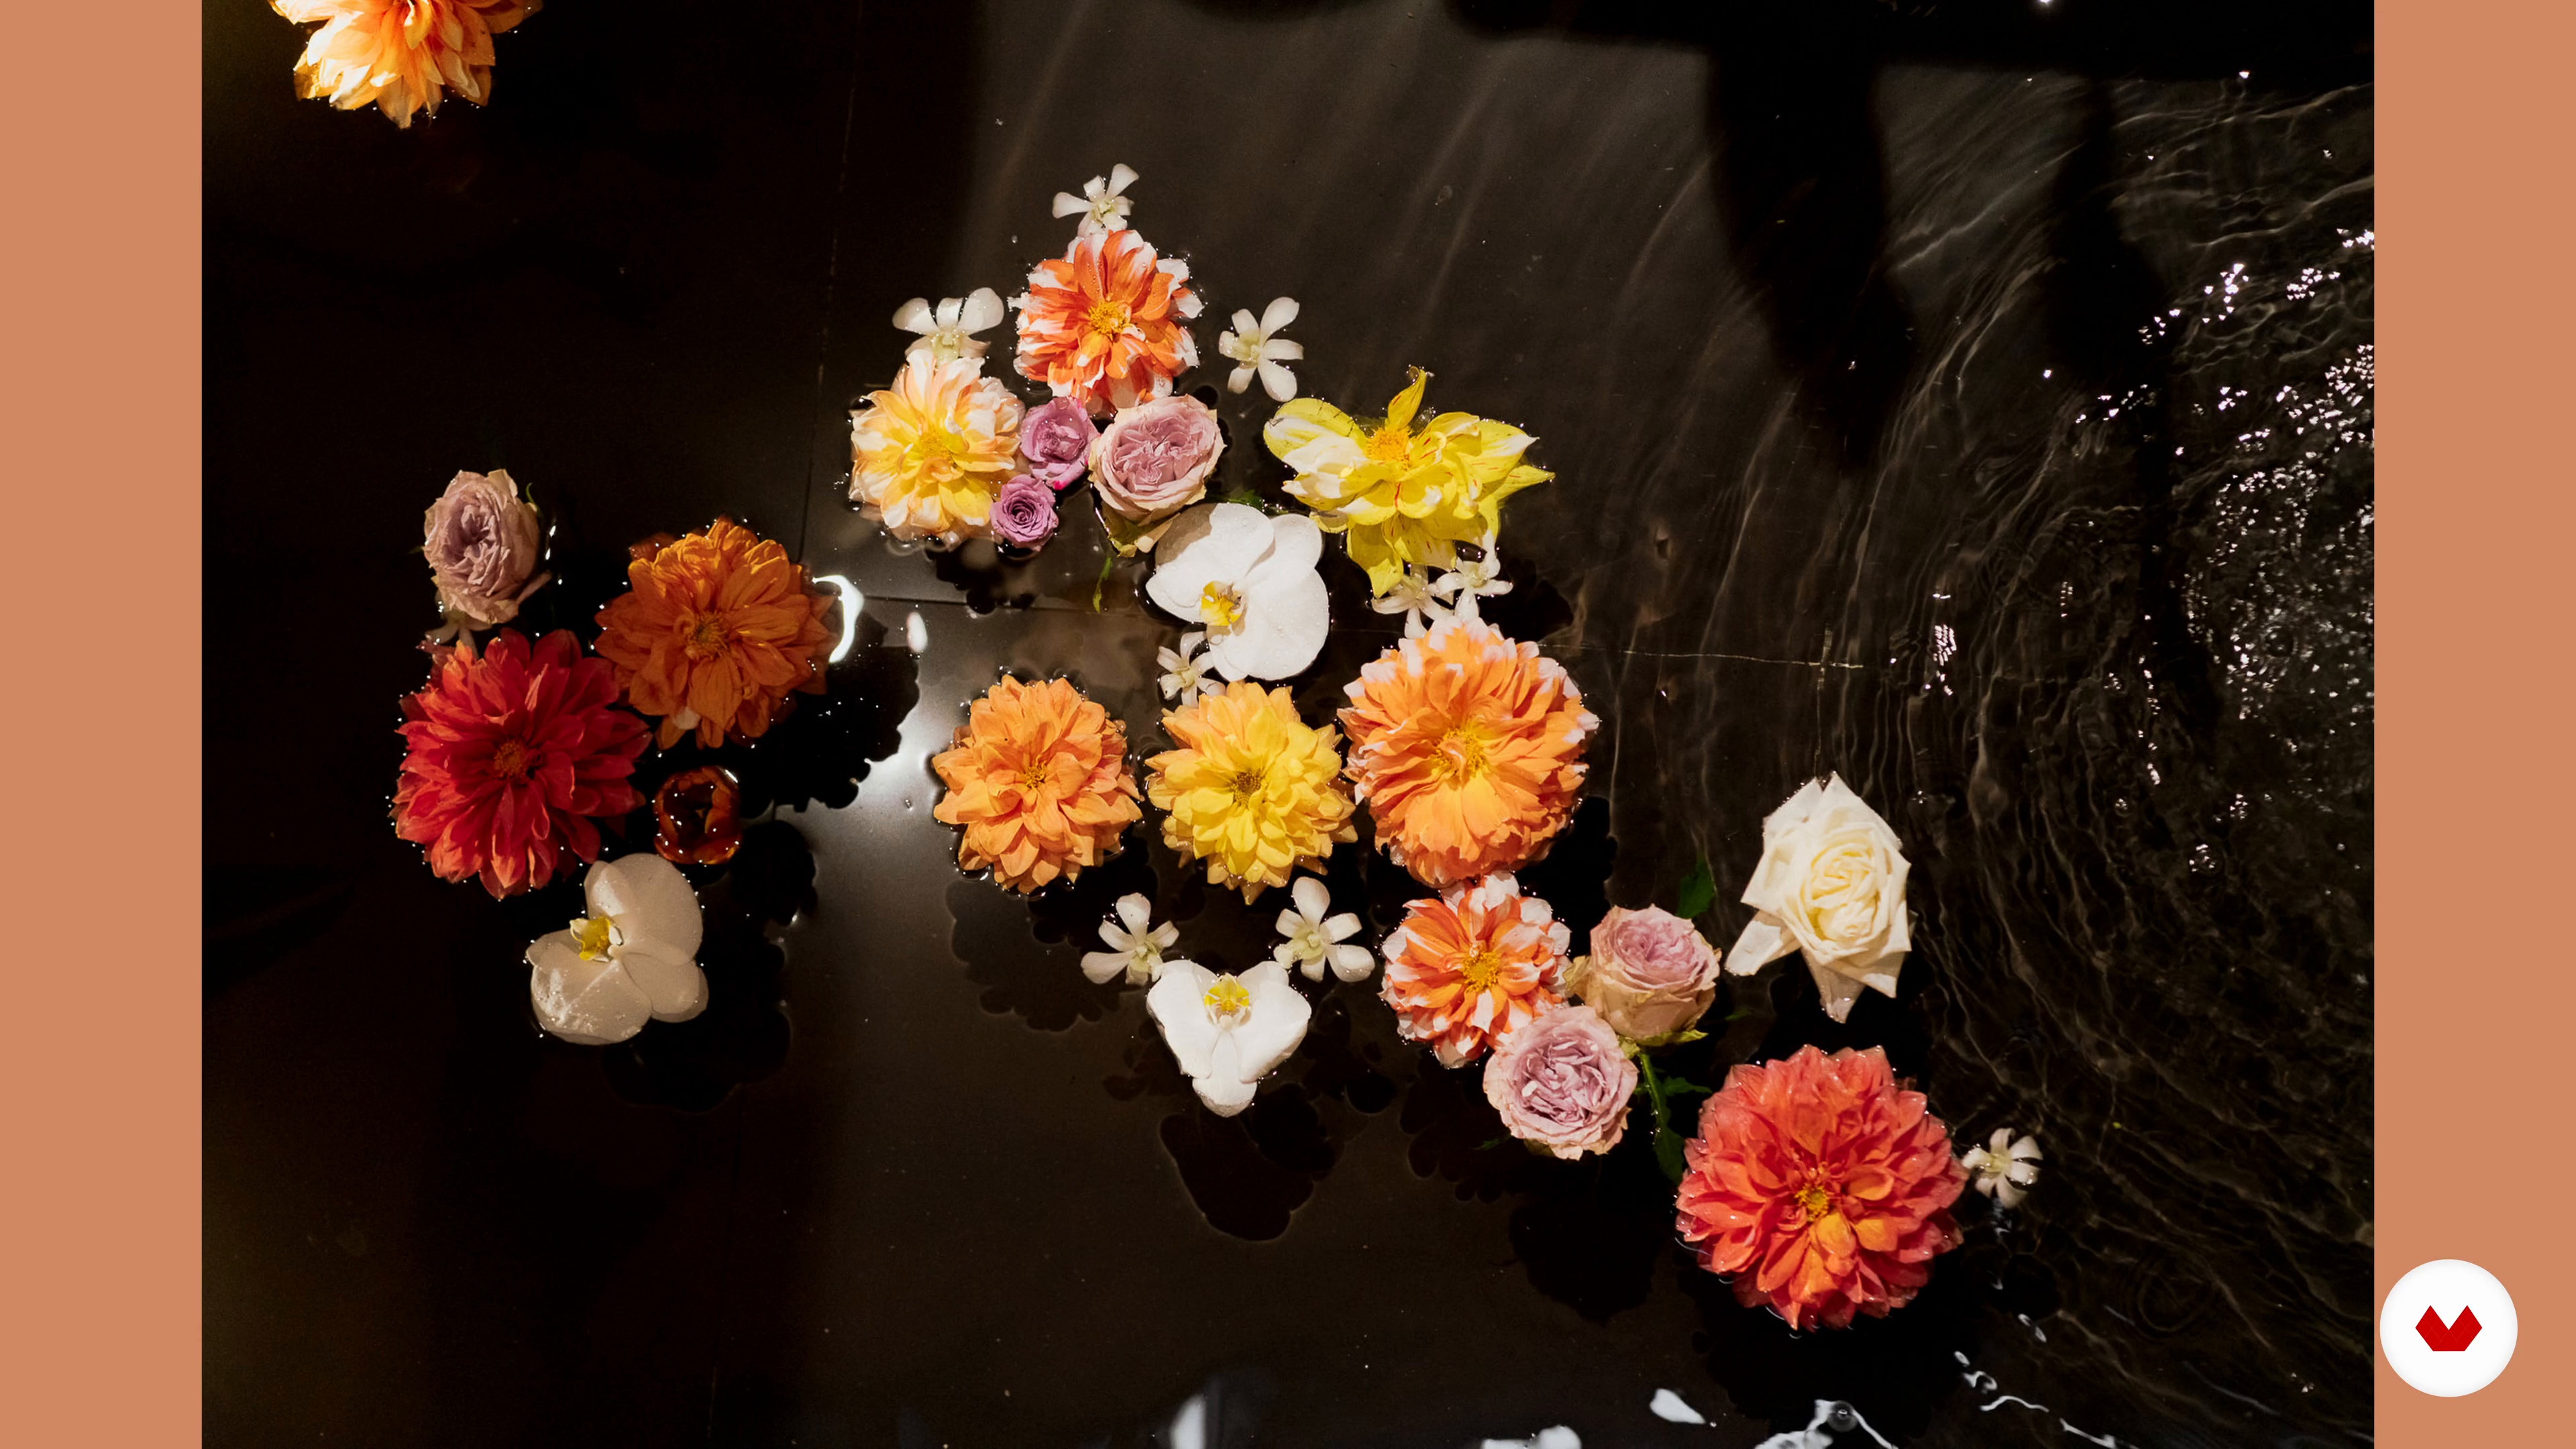
Now I'll explain how I was inspired to choose the color scheme for the circular and vertical bouquets. I'll also tell you how I use Instagram and a flower auction website.
11m
Materials 1
7
Materials 1
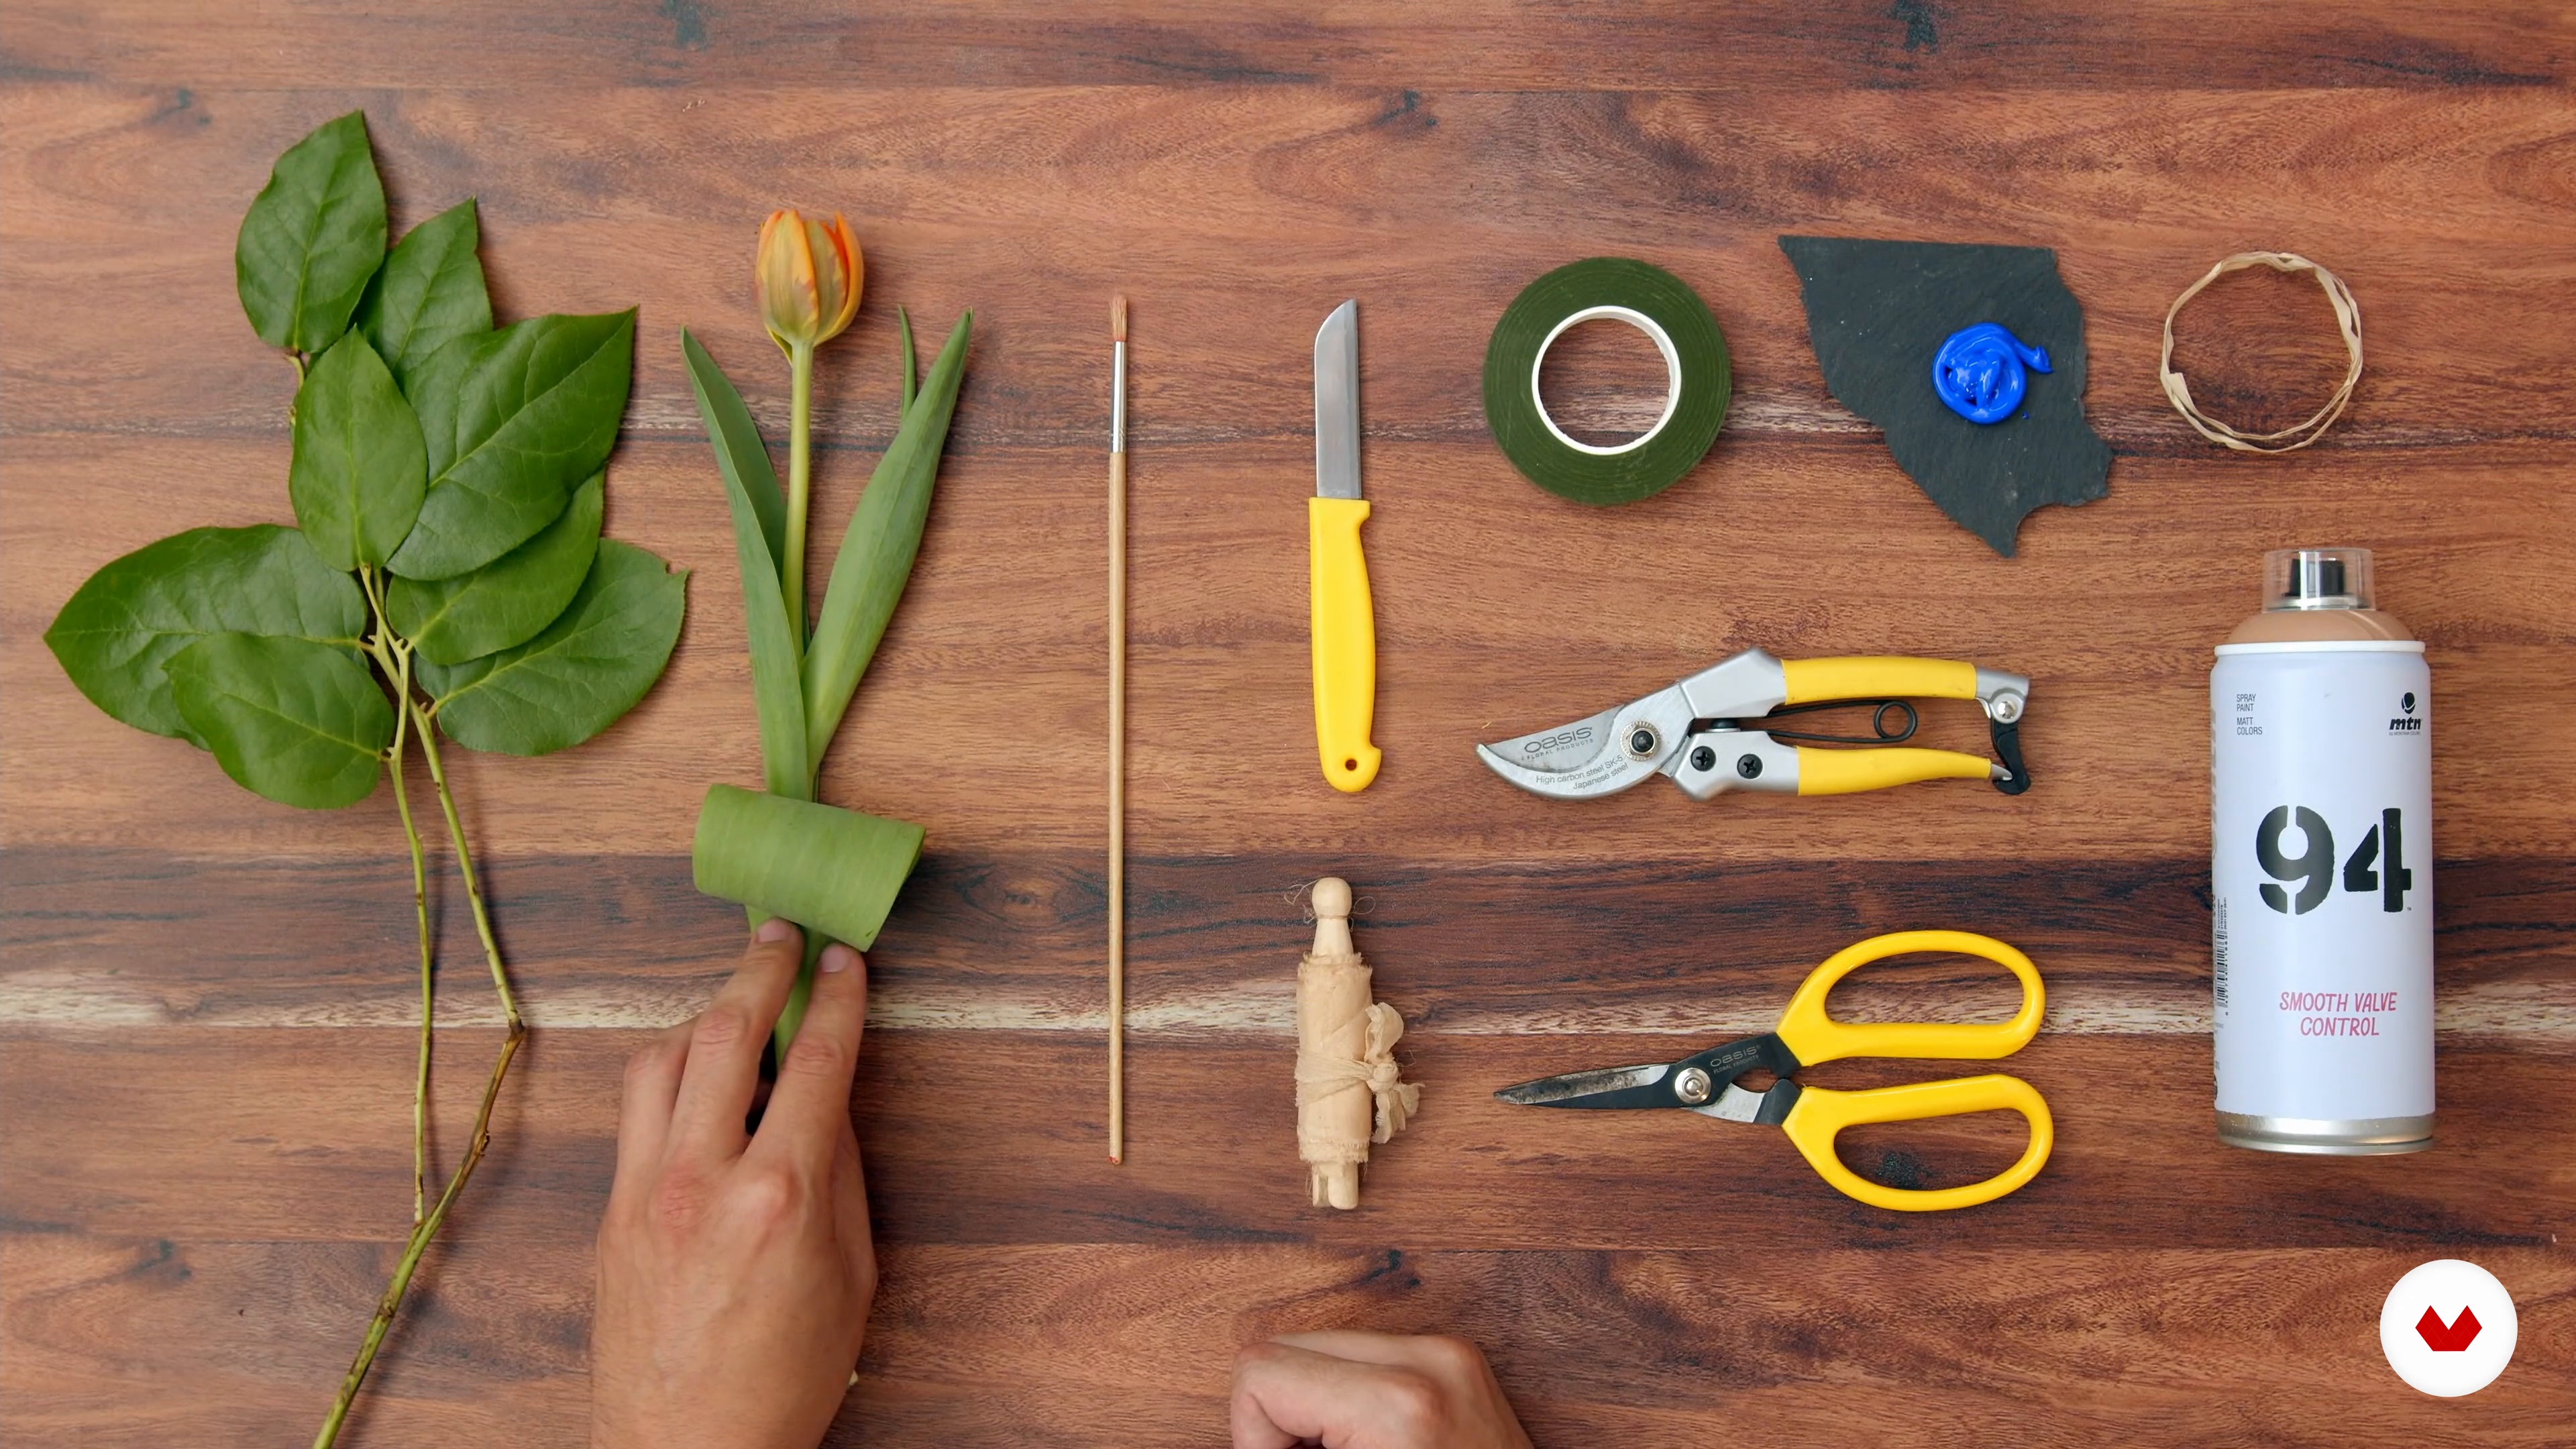
In this lesson, I'll teach you how to select materials based on the type of work we're going to do and the different preparations each requires.
14m
Materials 2
8
Materials 2
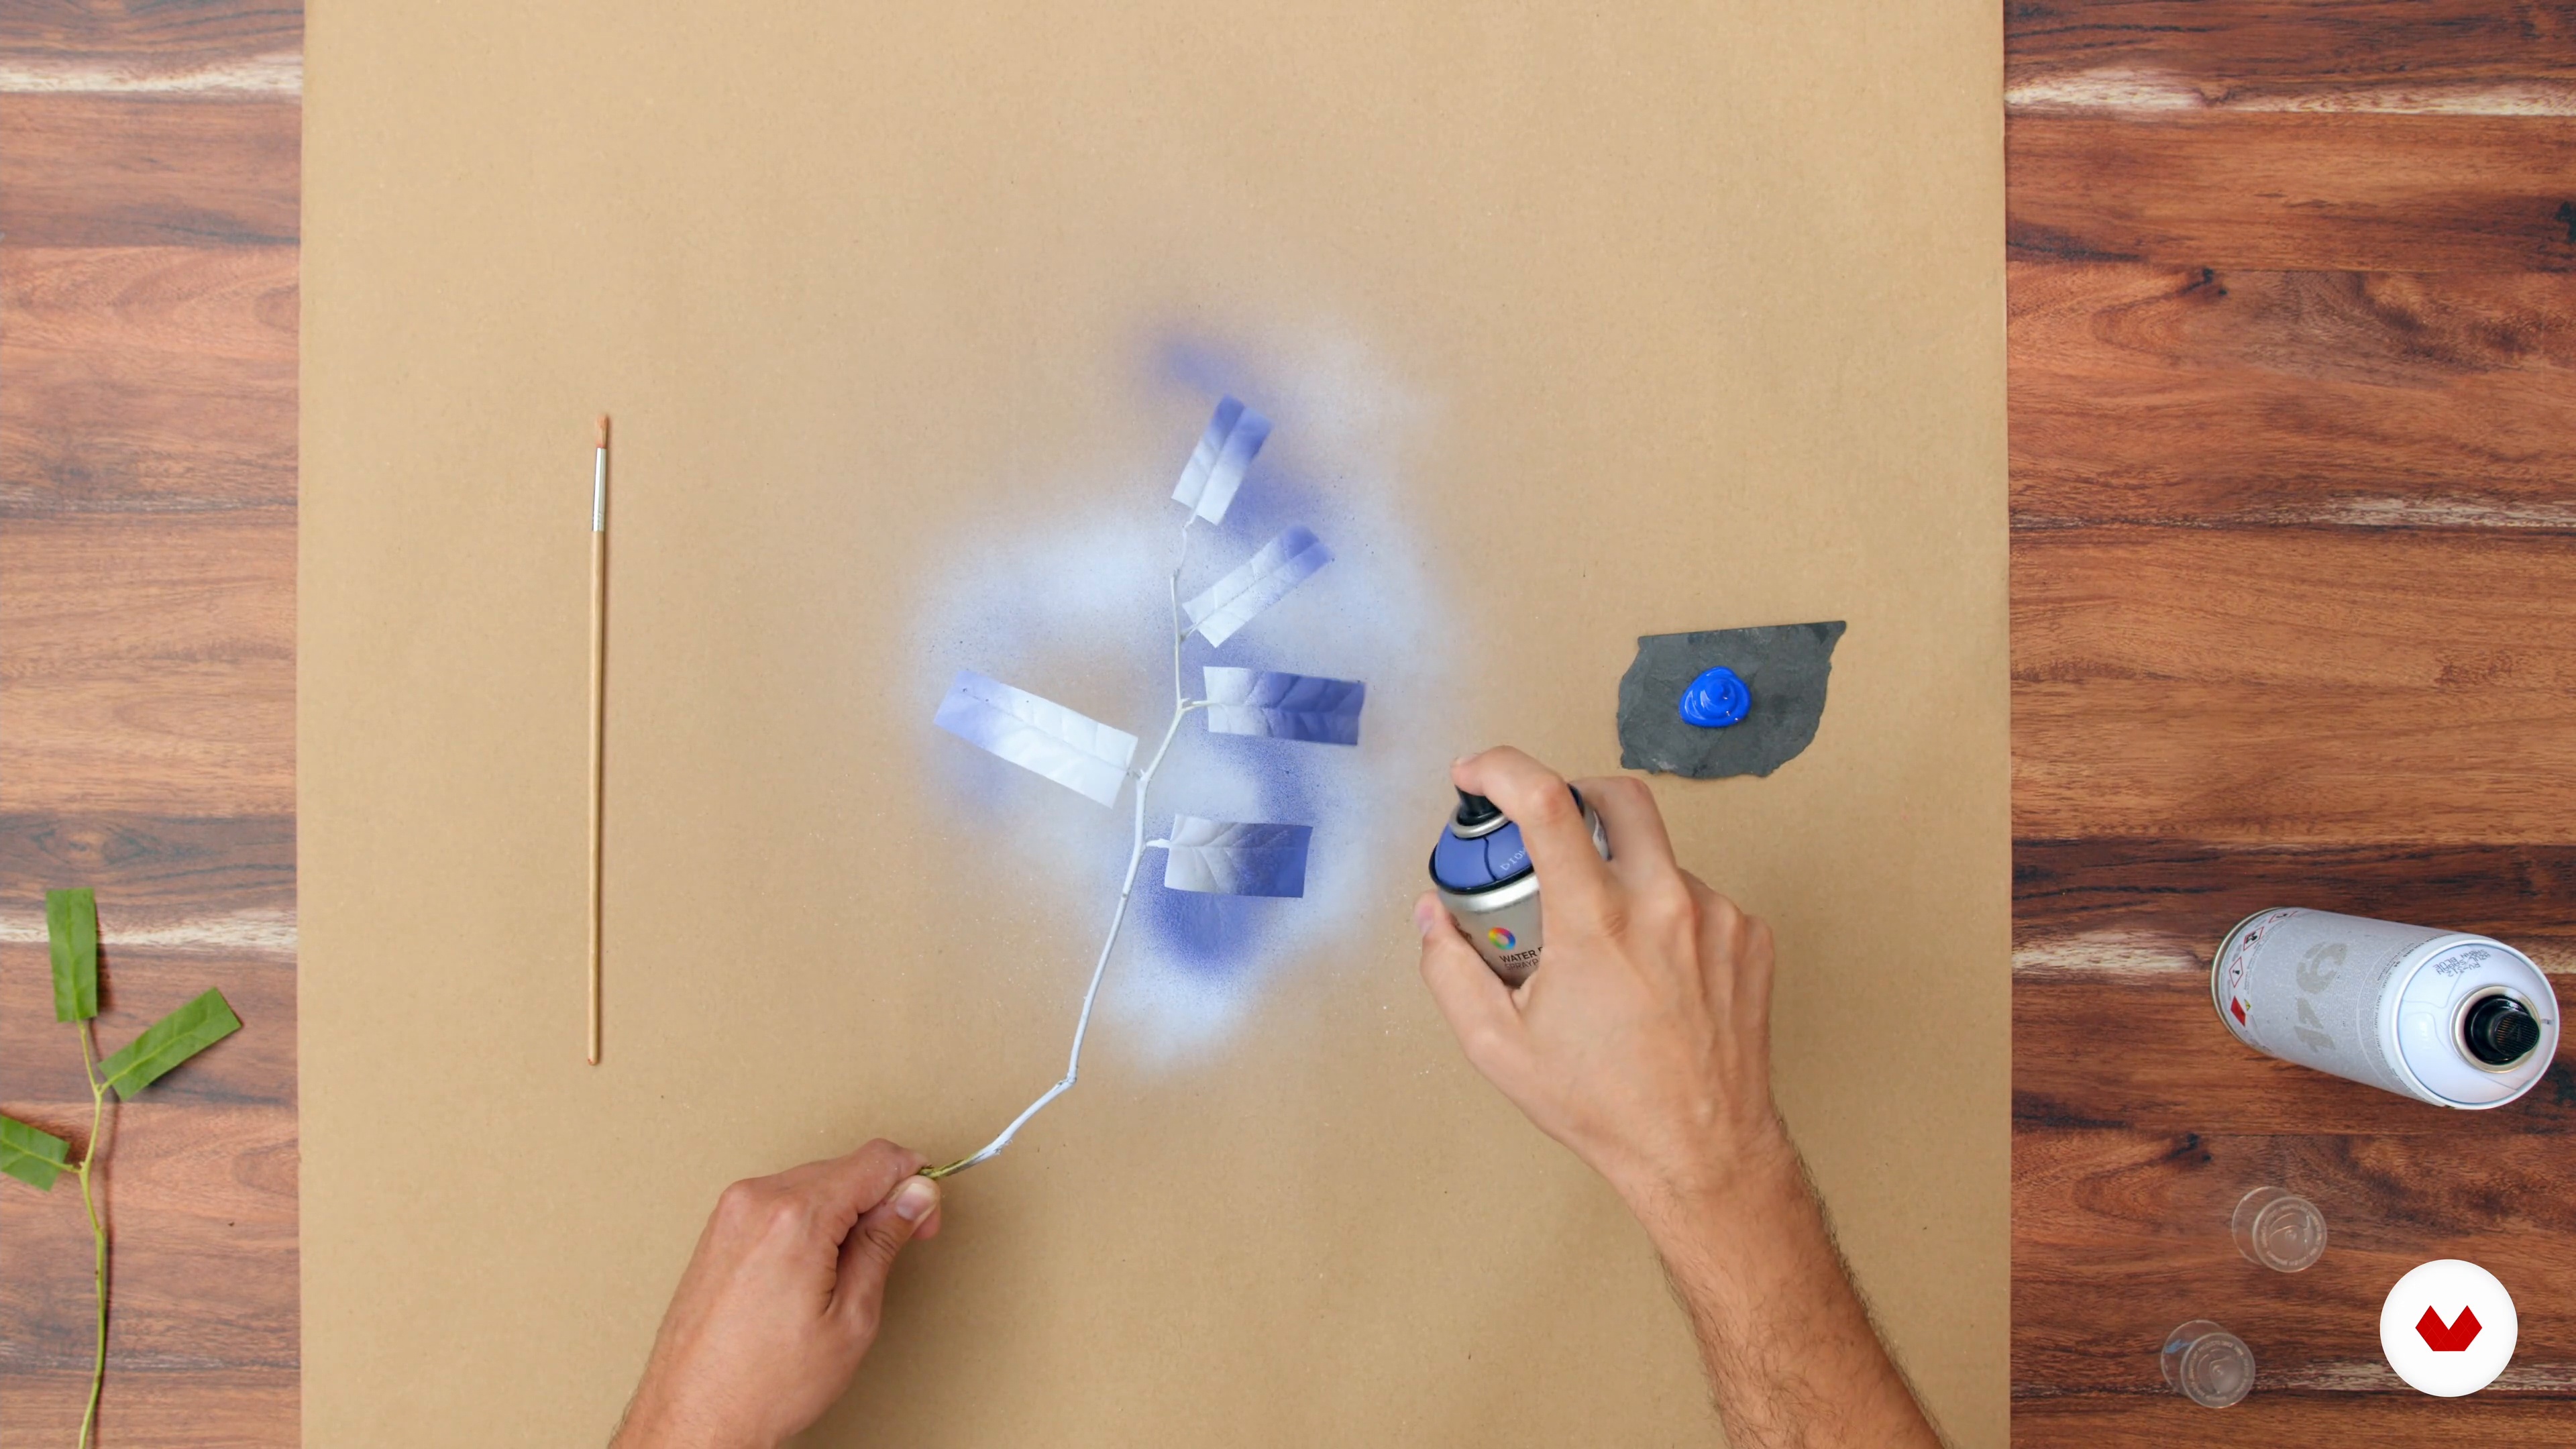
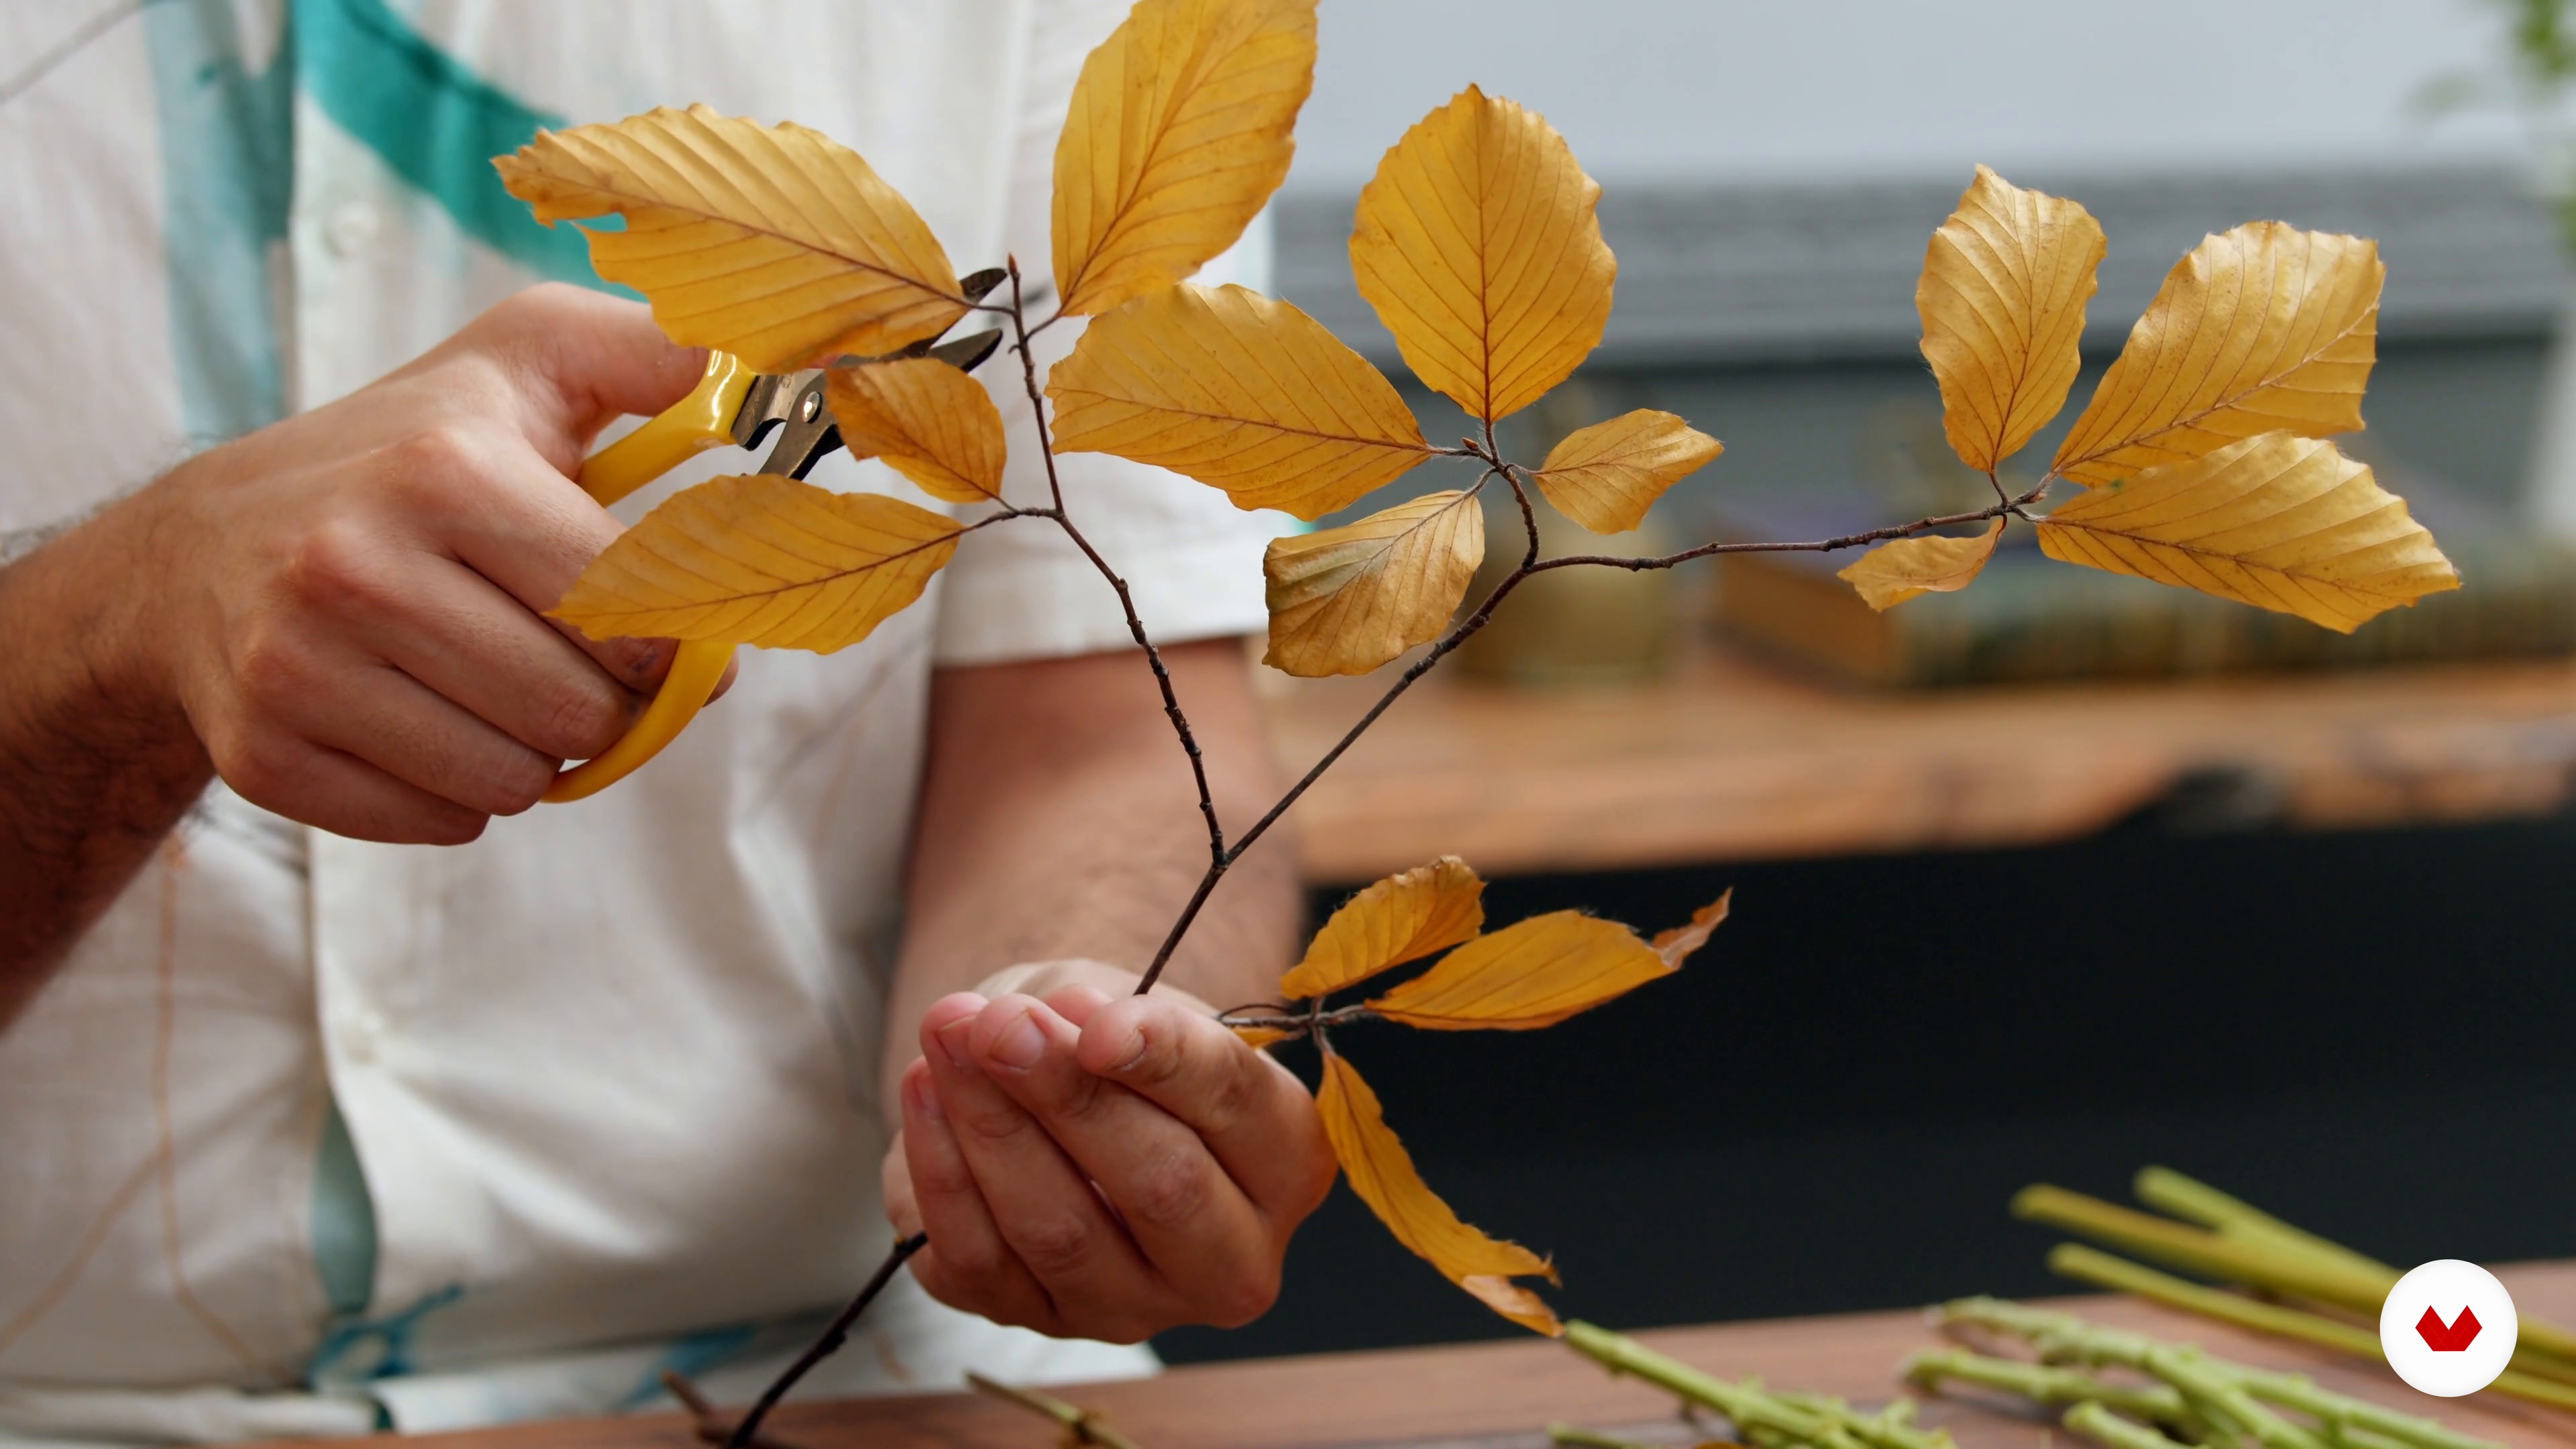
After explaining the different materials, now I'm going to show you how to paint the greens.
10m
Circular bouquet 1
9
Circular bouquet 1
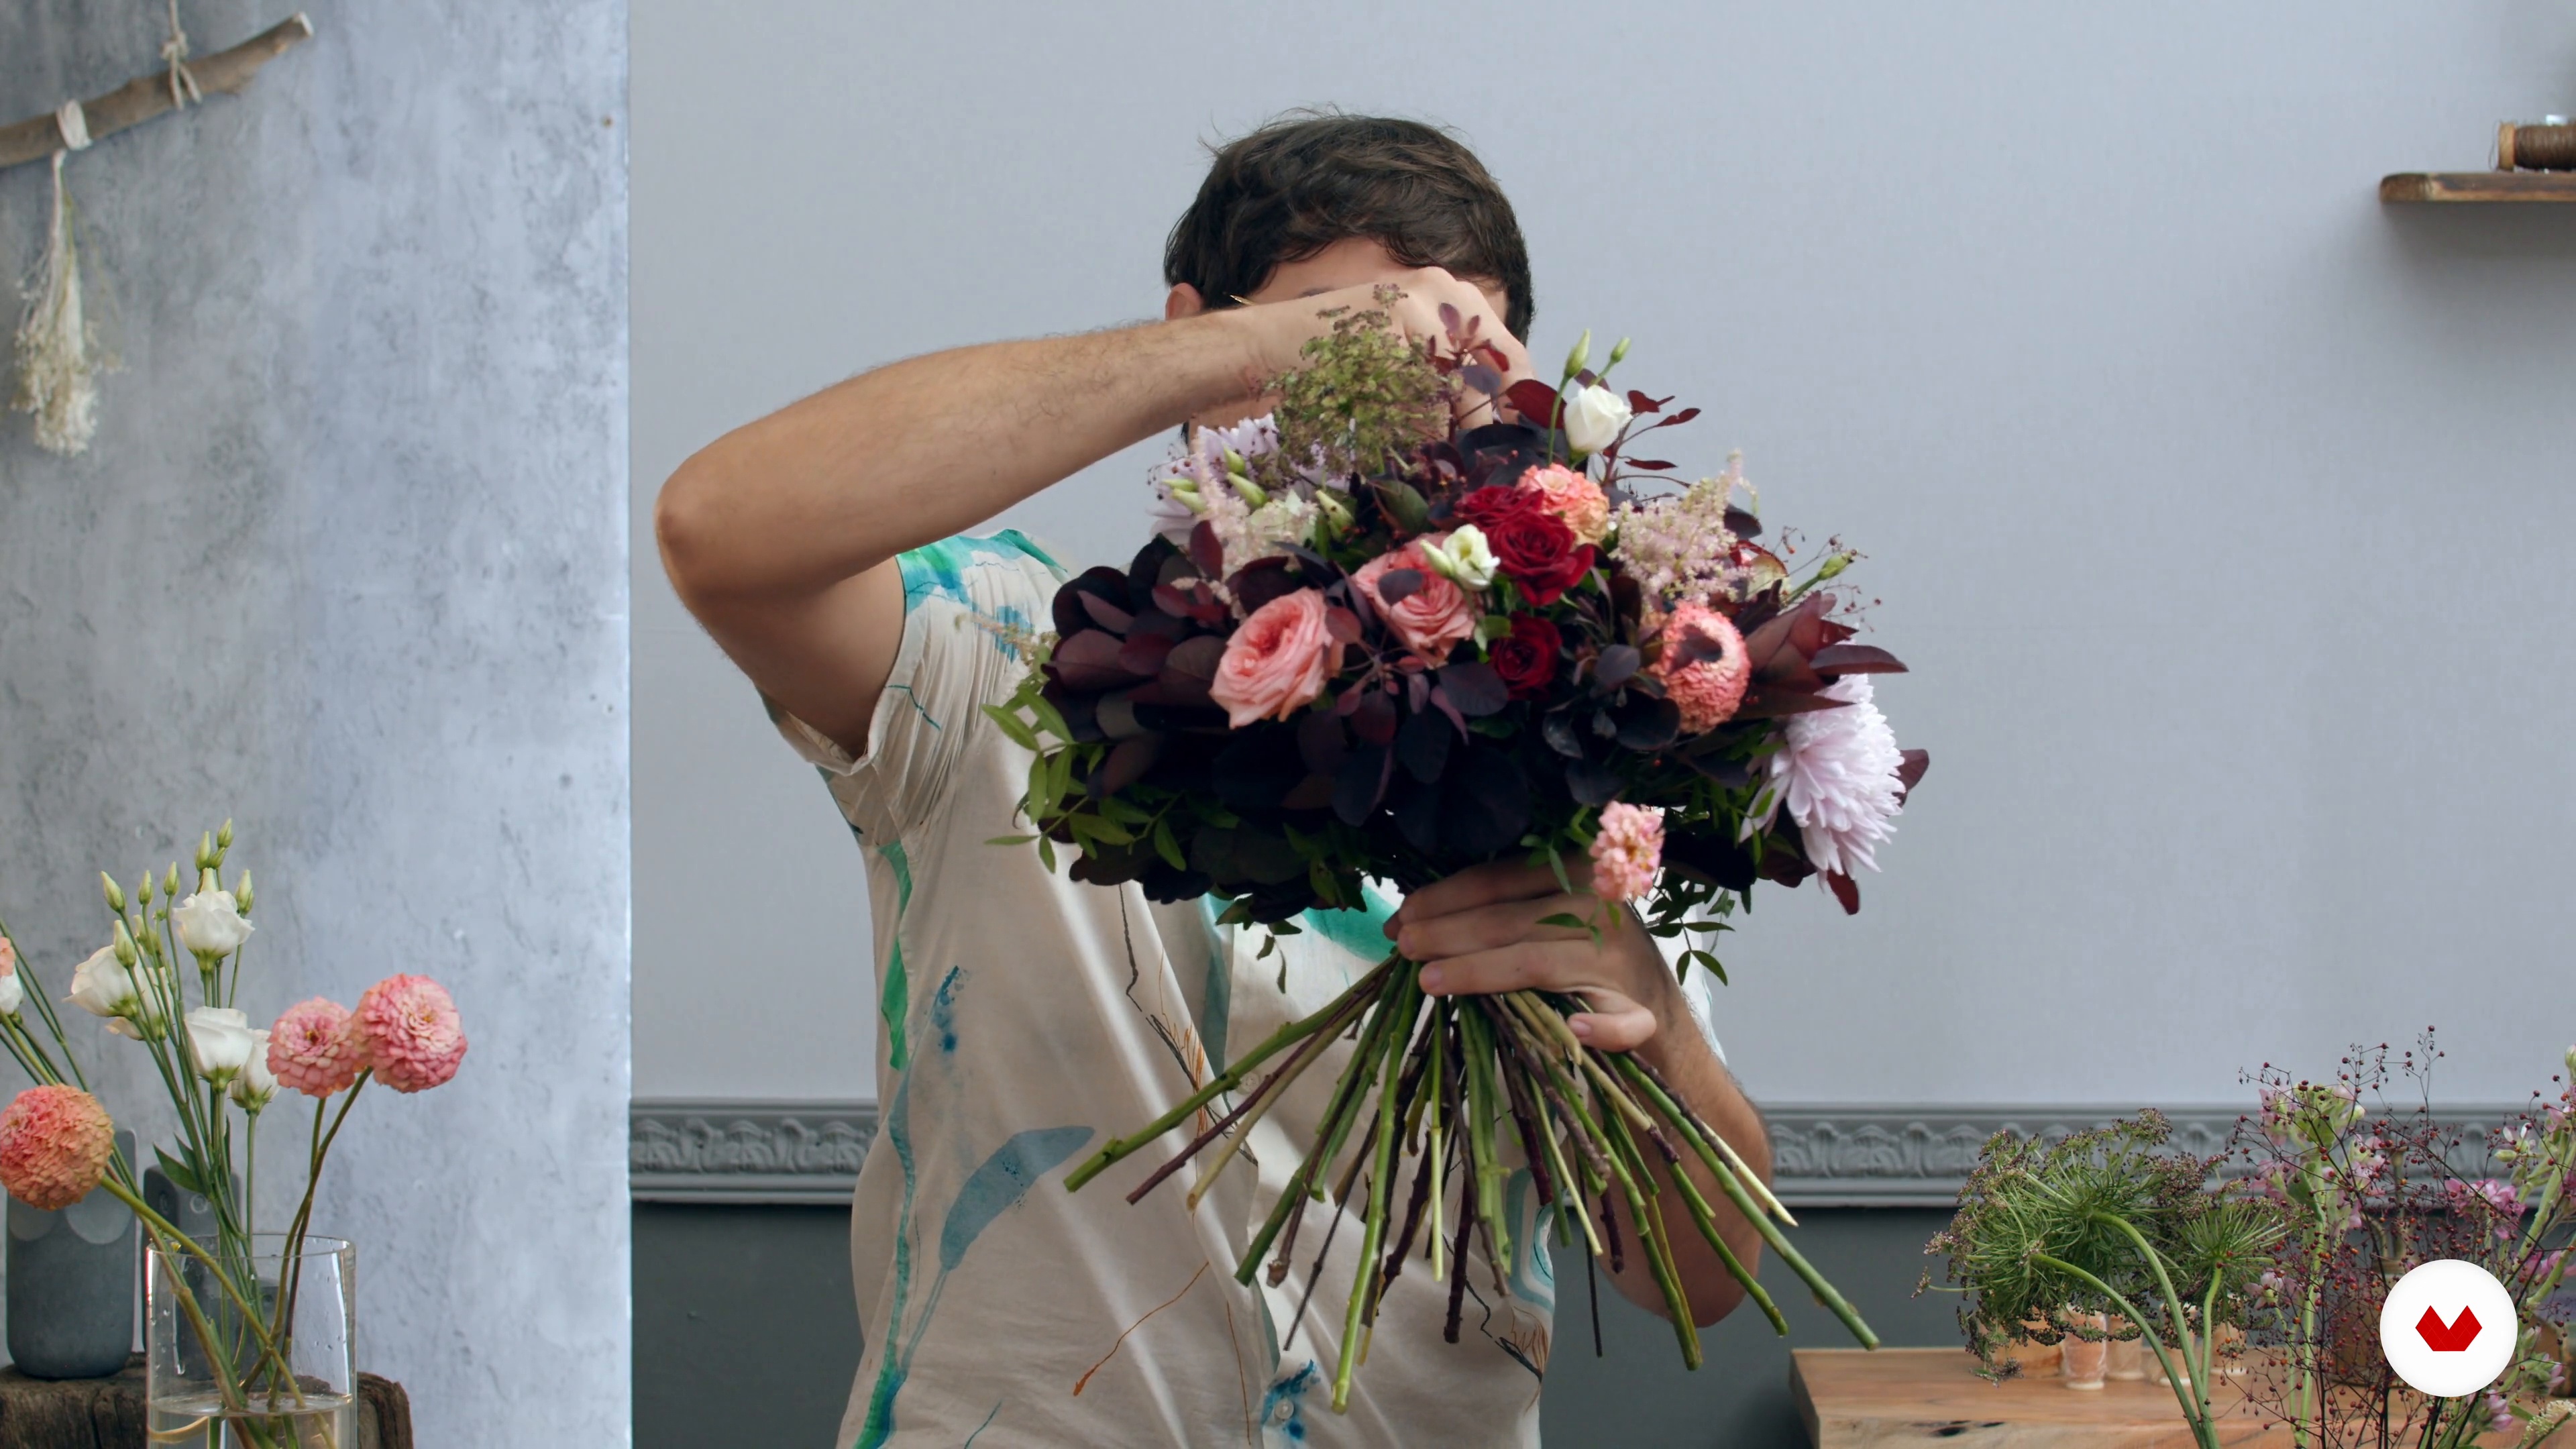
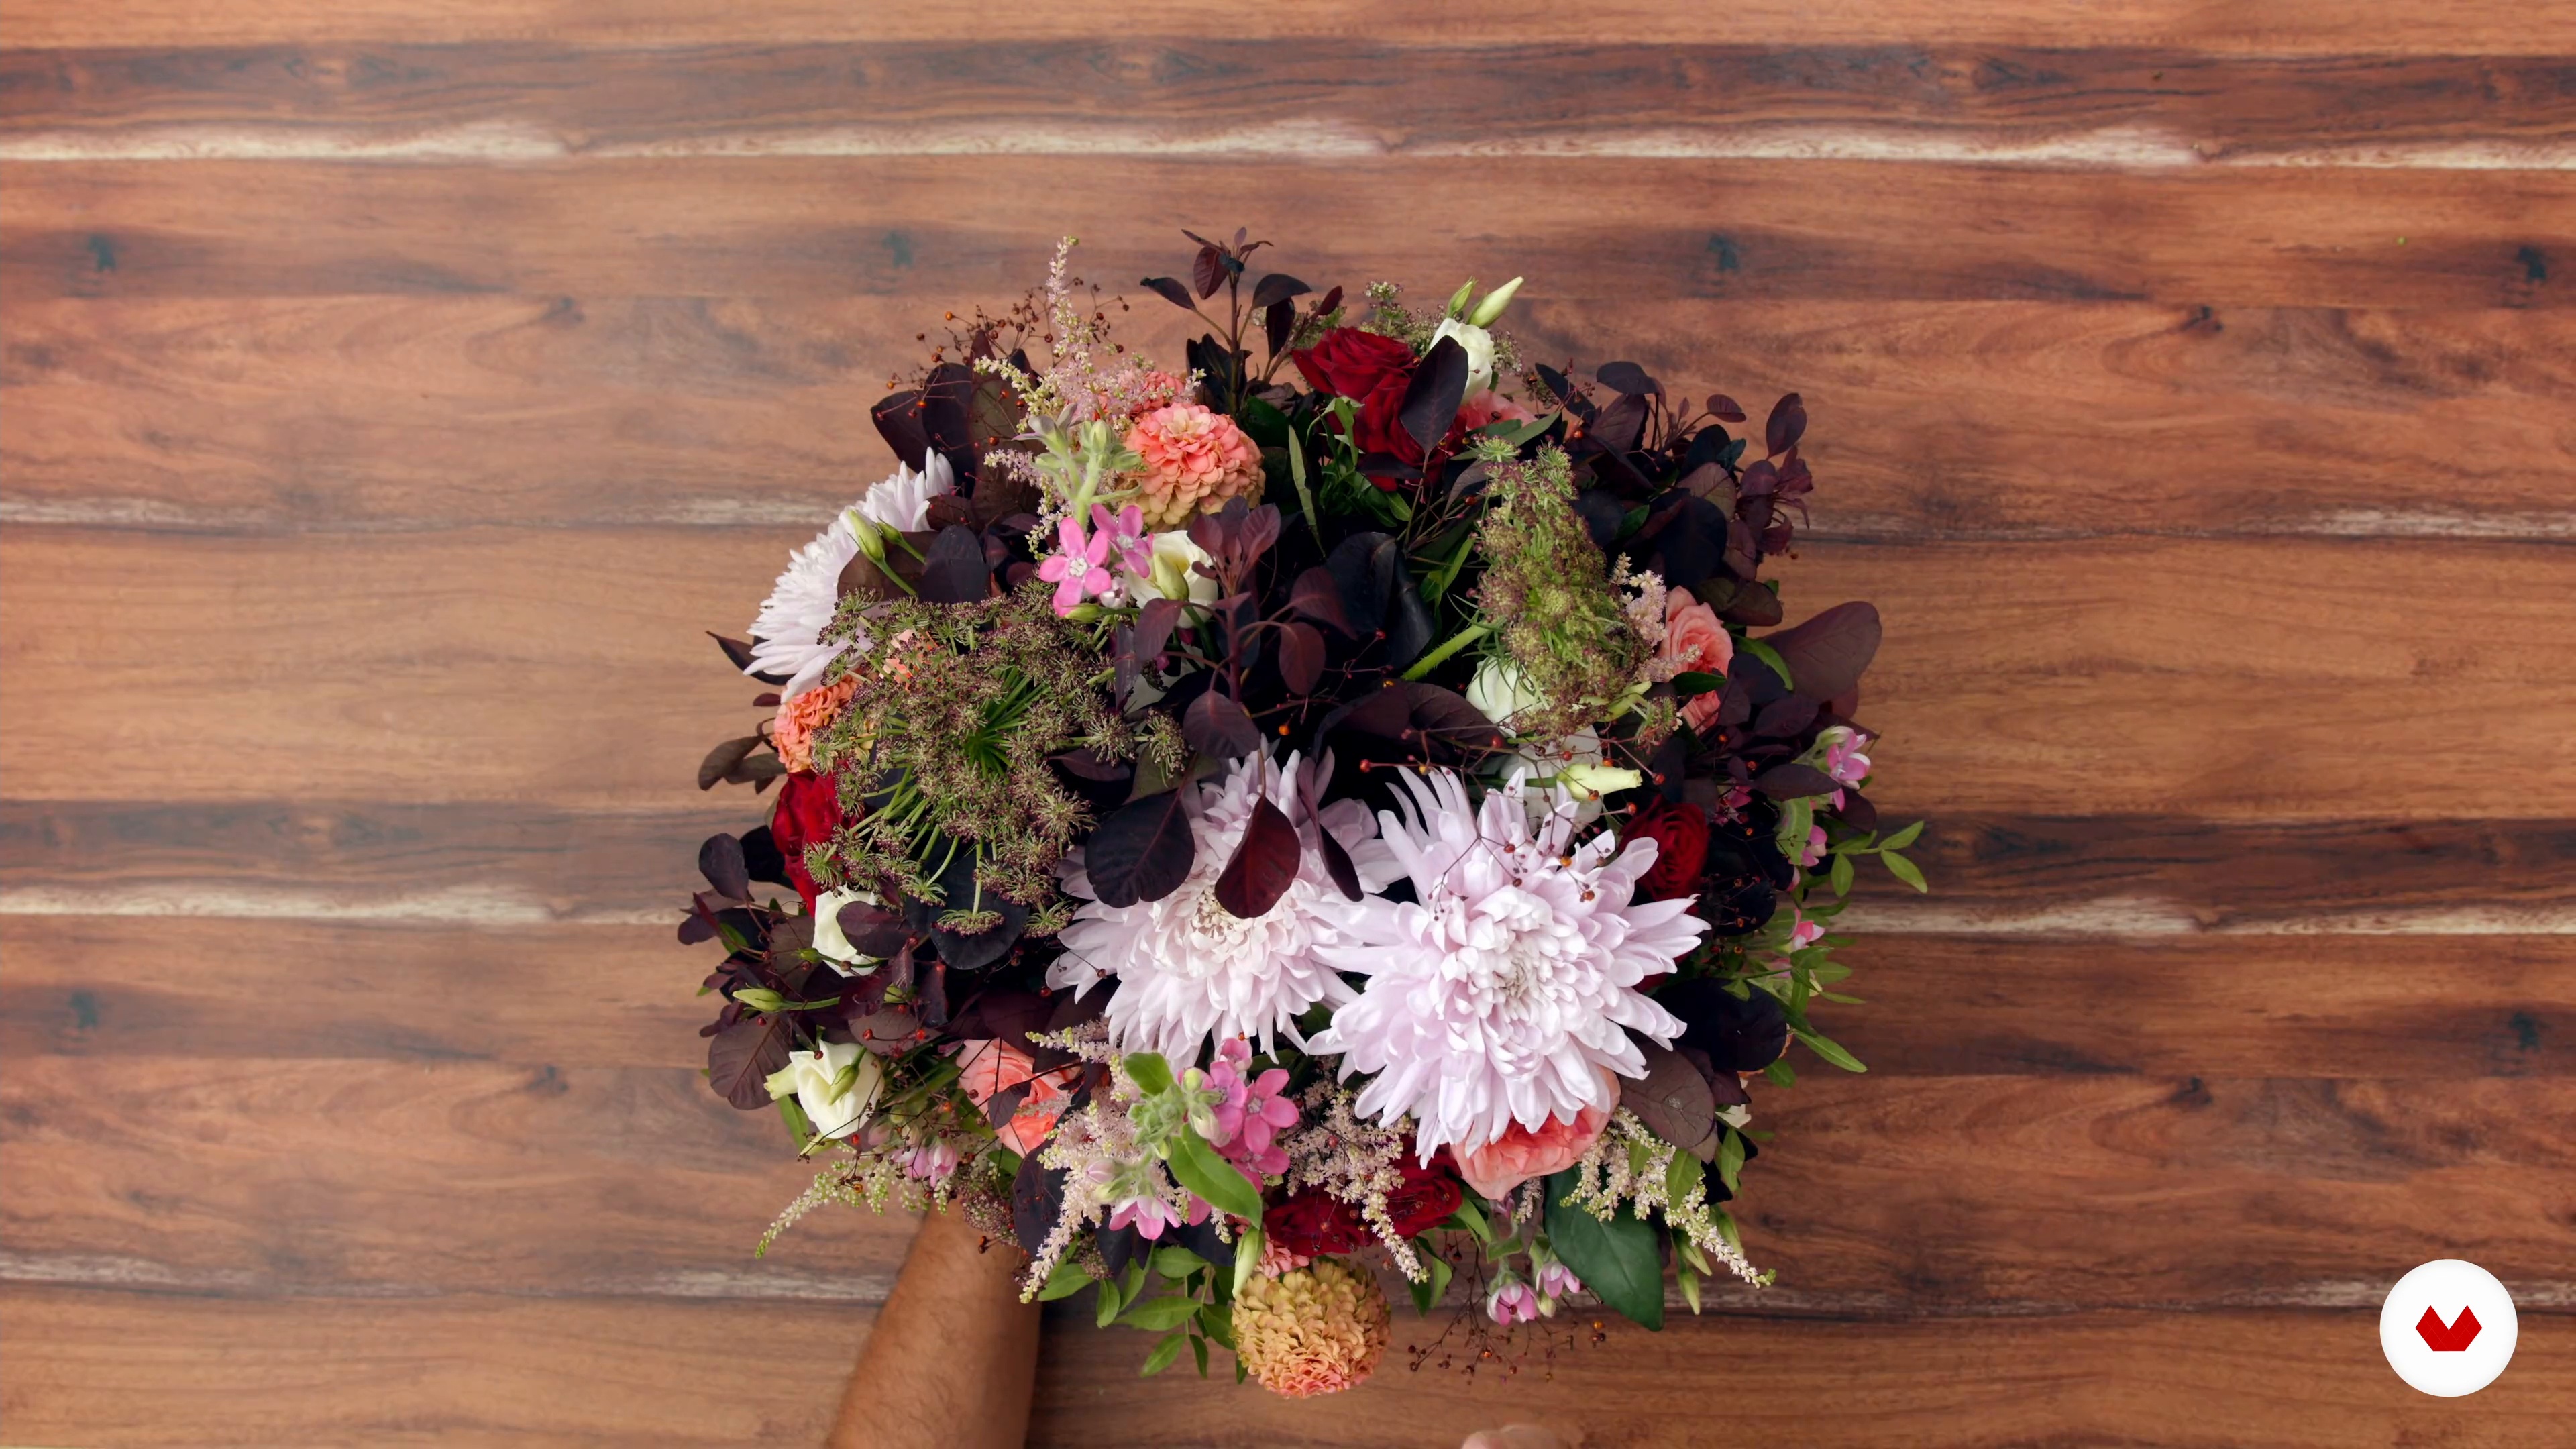
In this lesson, I'll show you how to make a circular bouquet using the spiral technique. This technique allows you to create the bouquet and put intention into the placement of the materials. I'll also explain how to incorporate wedge-shaped greenery; these will help keep the bouquet from becoming too compact.
18m
Circular bouquet 2
10
Circular bouquet 2
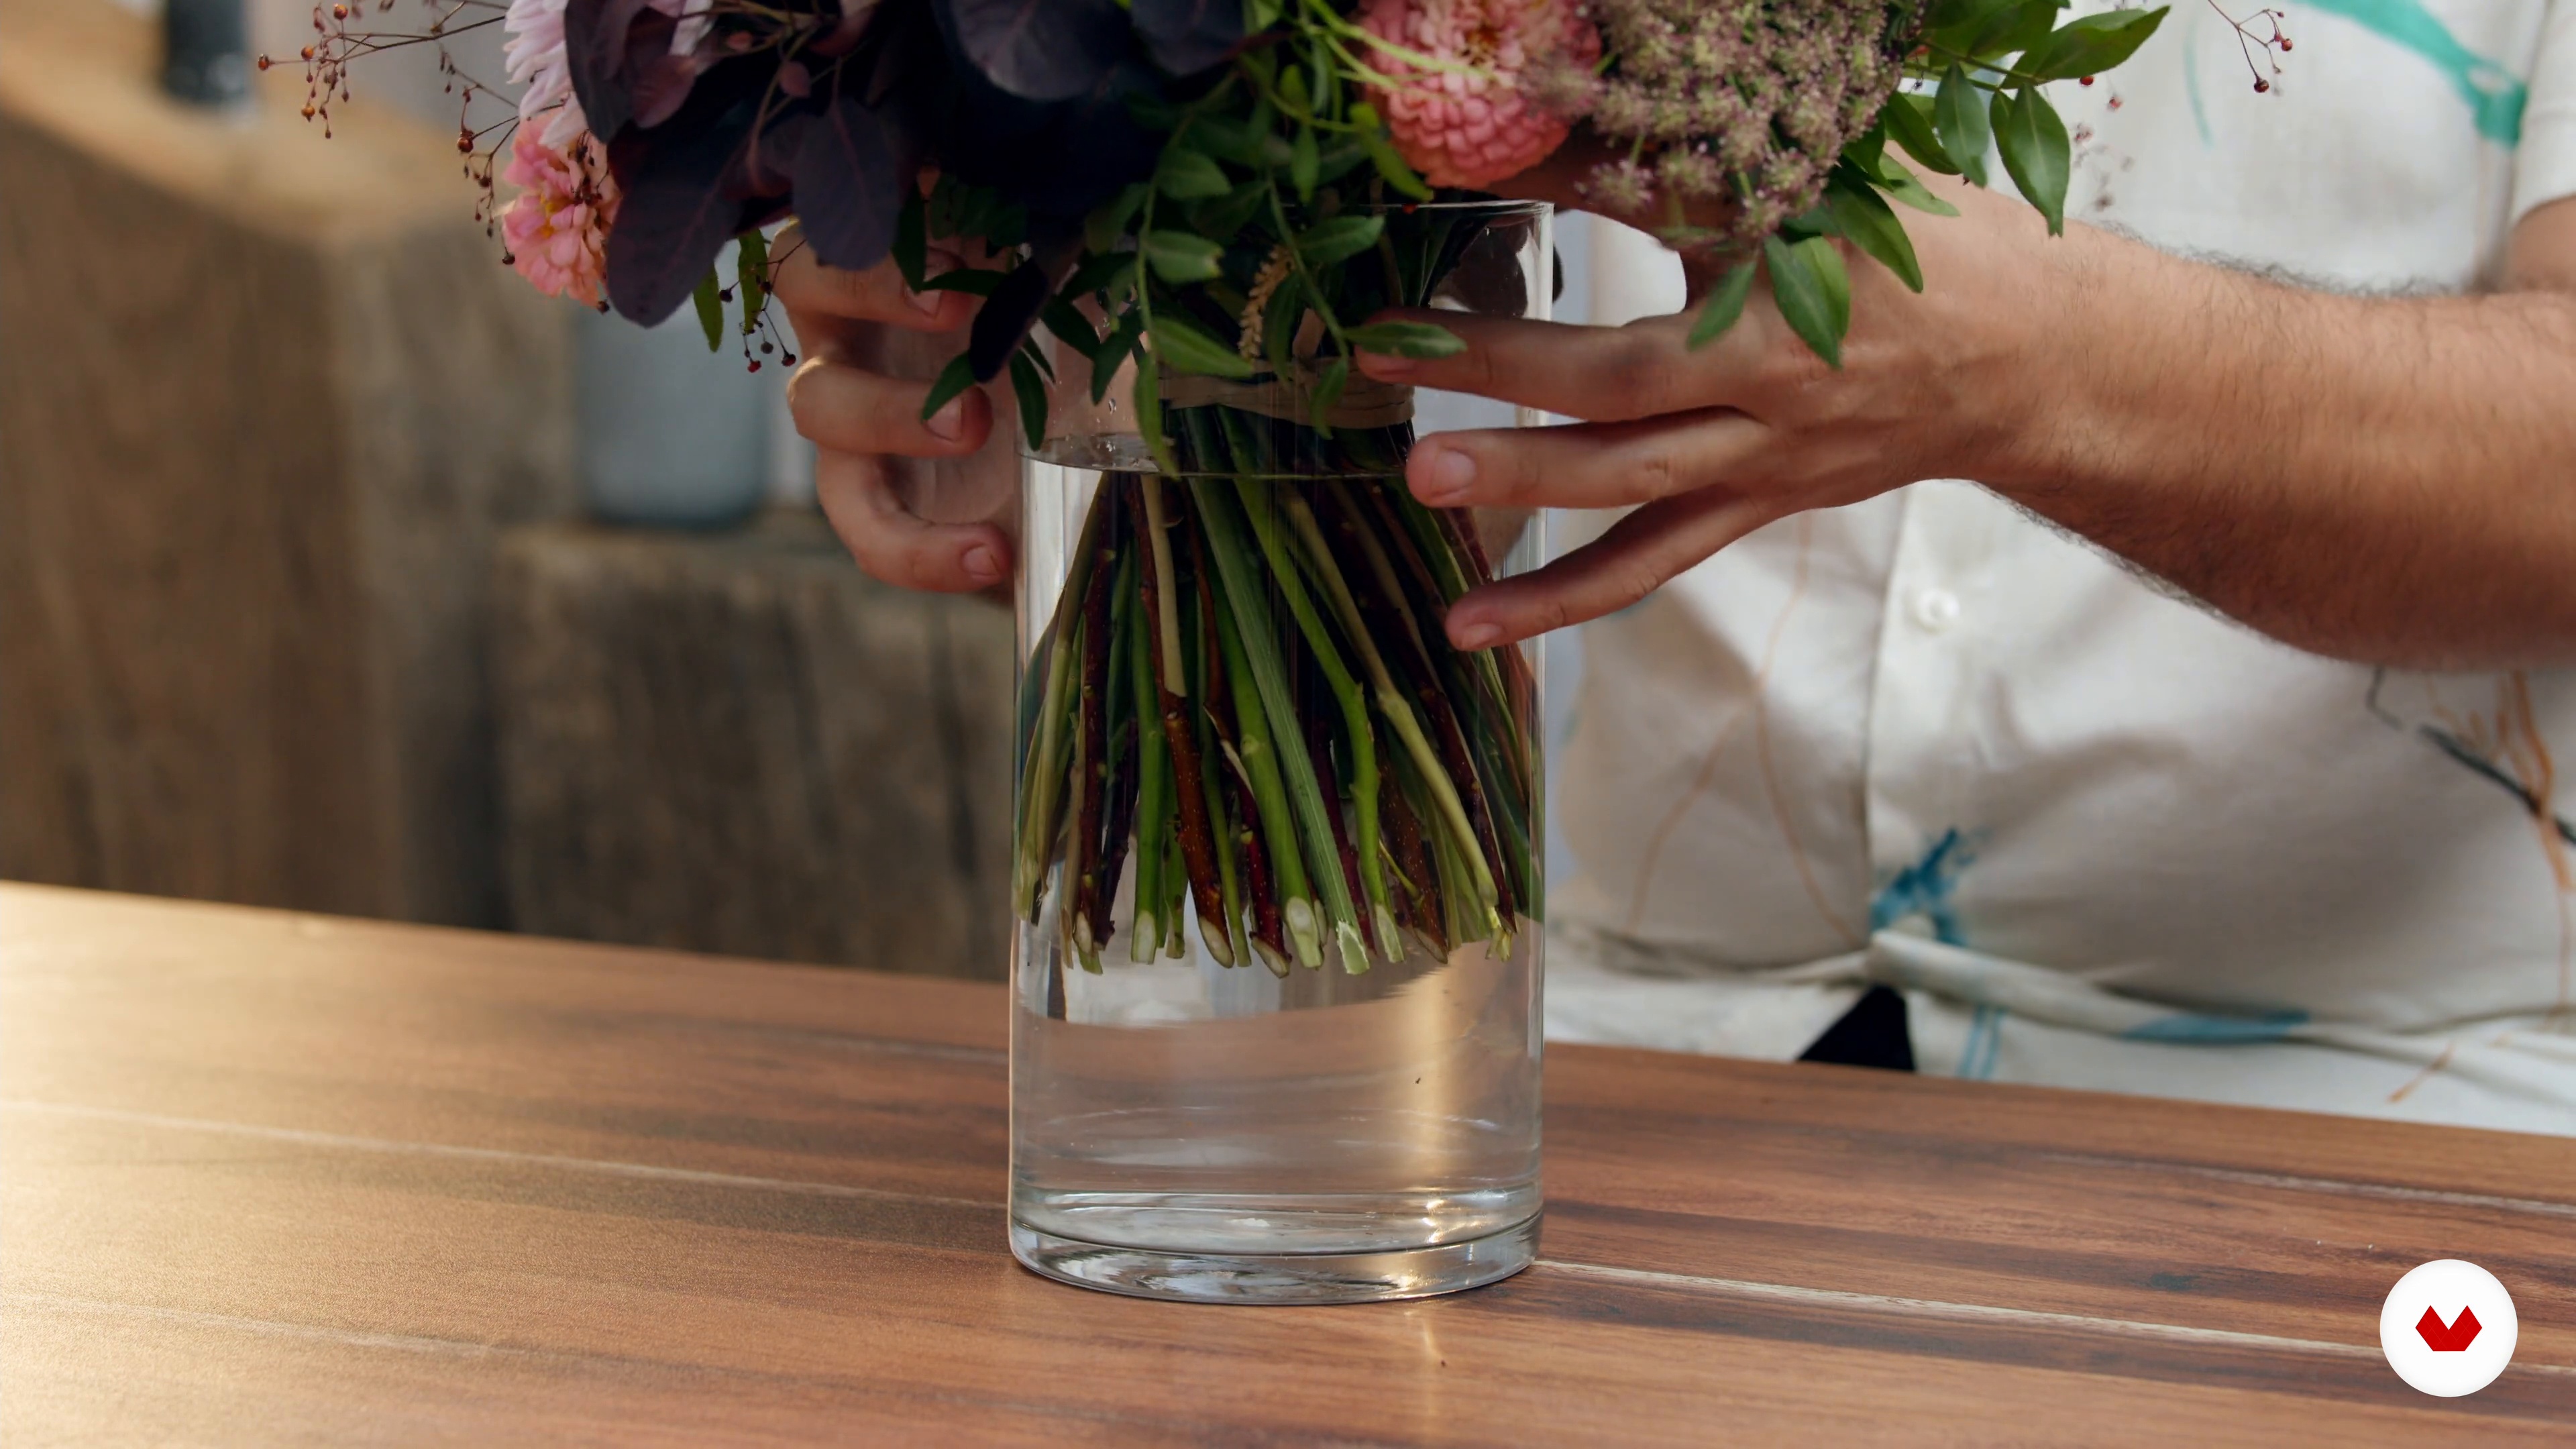
Once the bouquet is finished, it's time to tie it and cut the stems.
6m
Vertical bouquet
11
Vertical bouquet
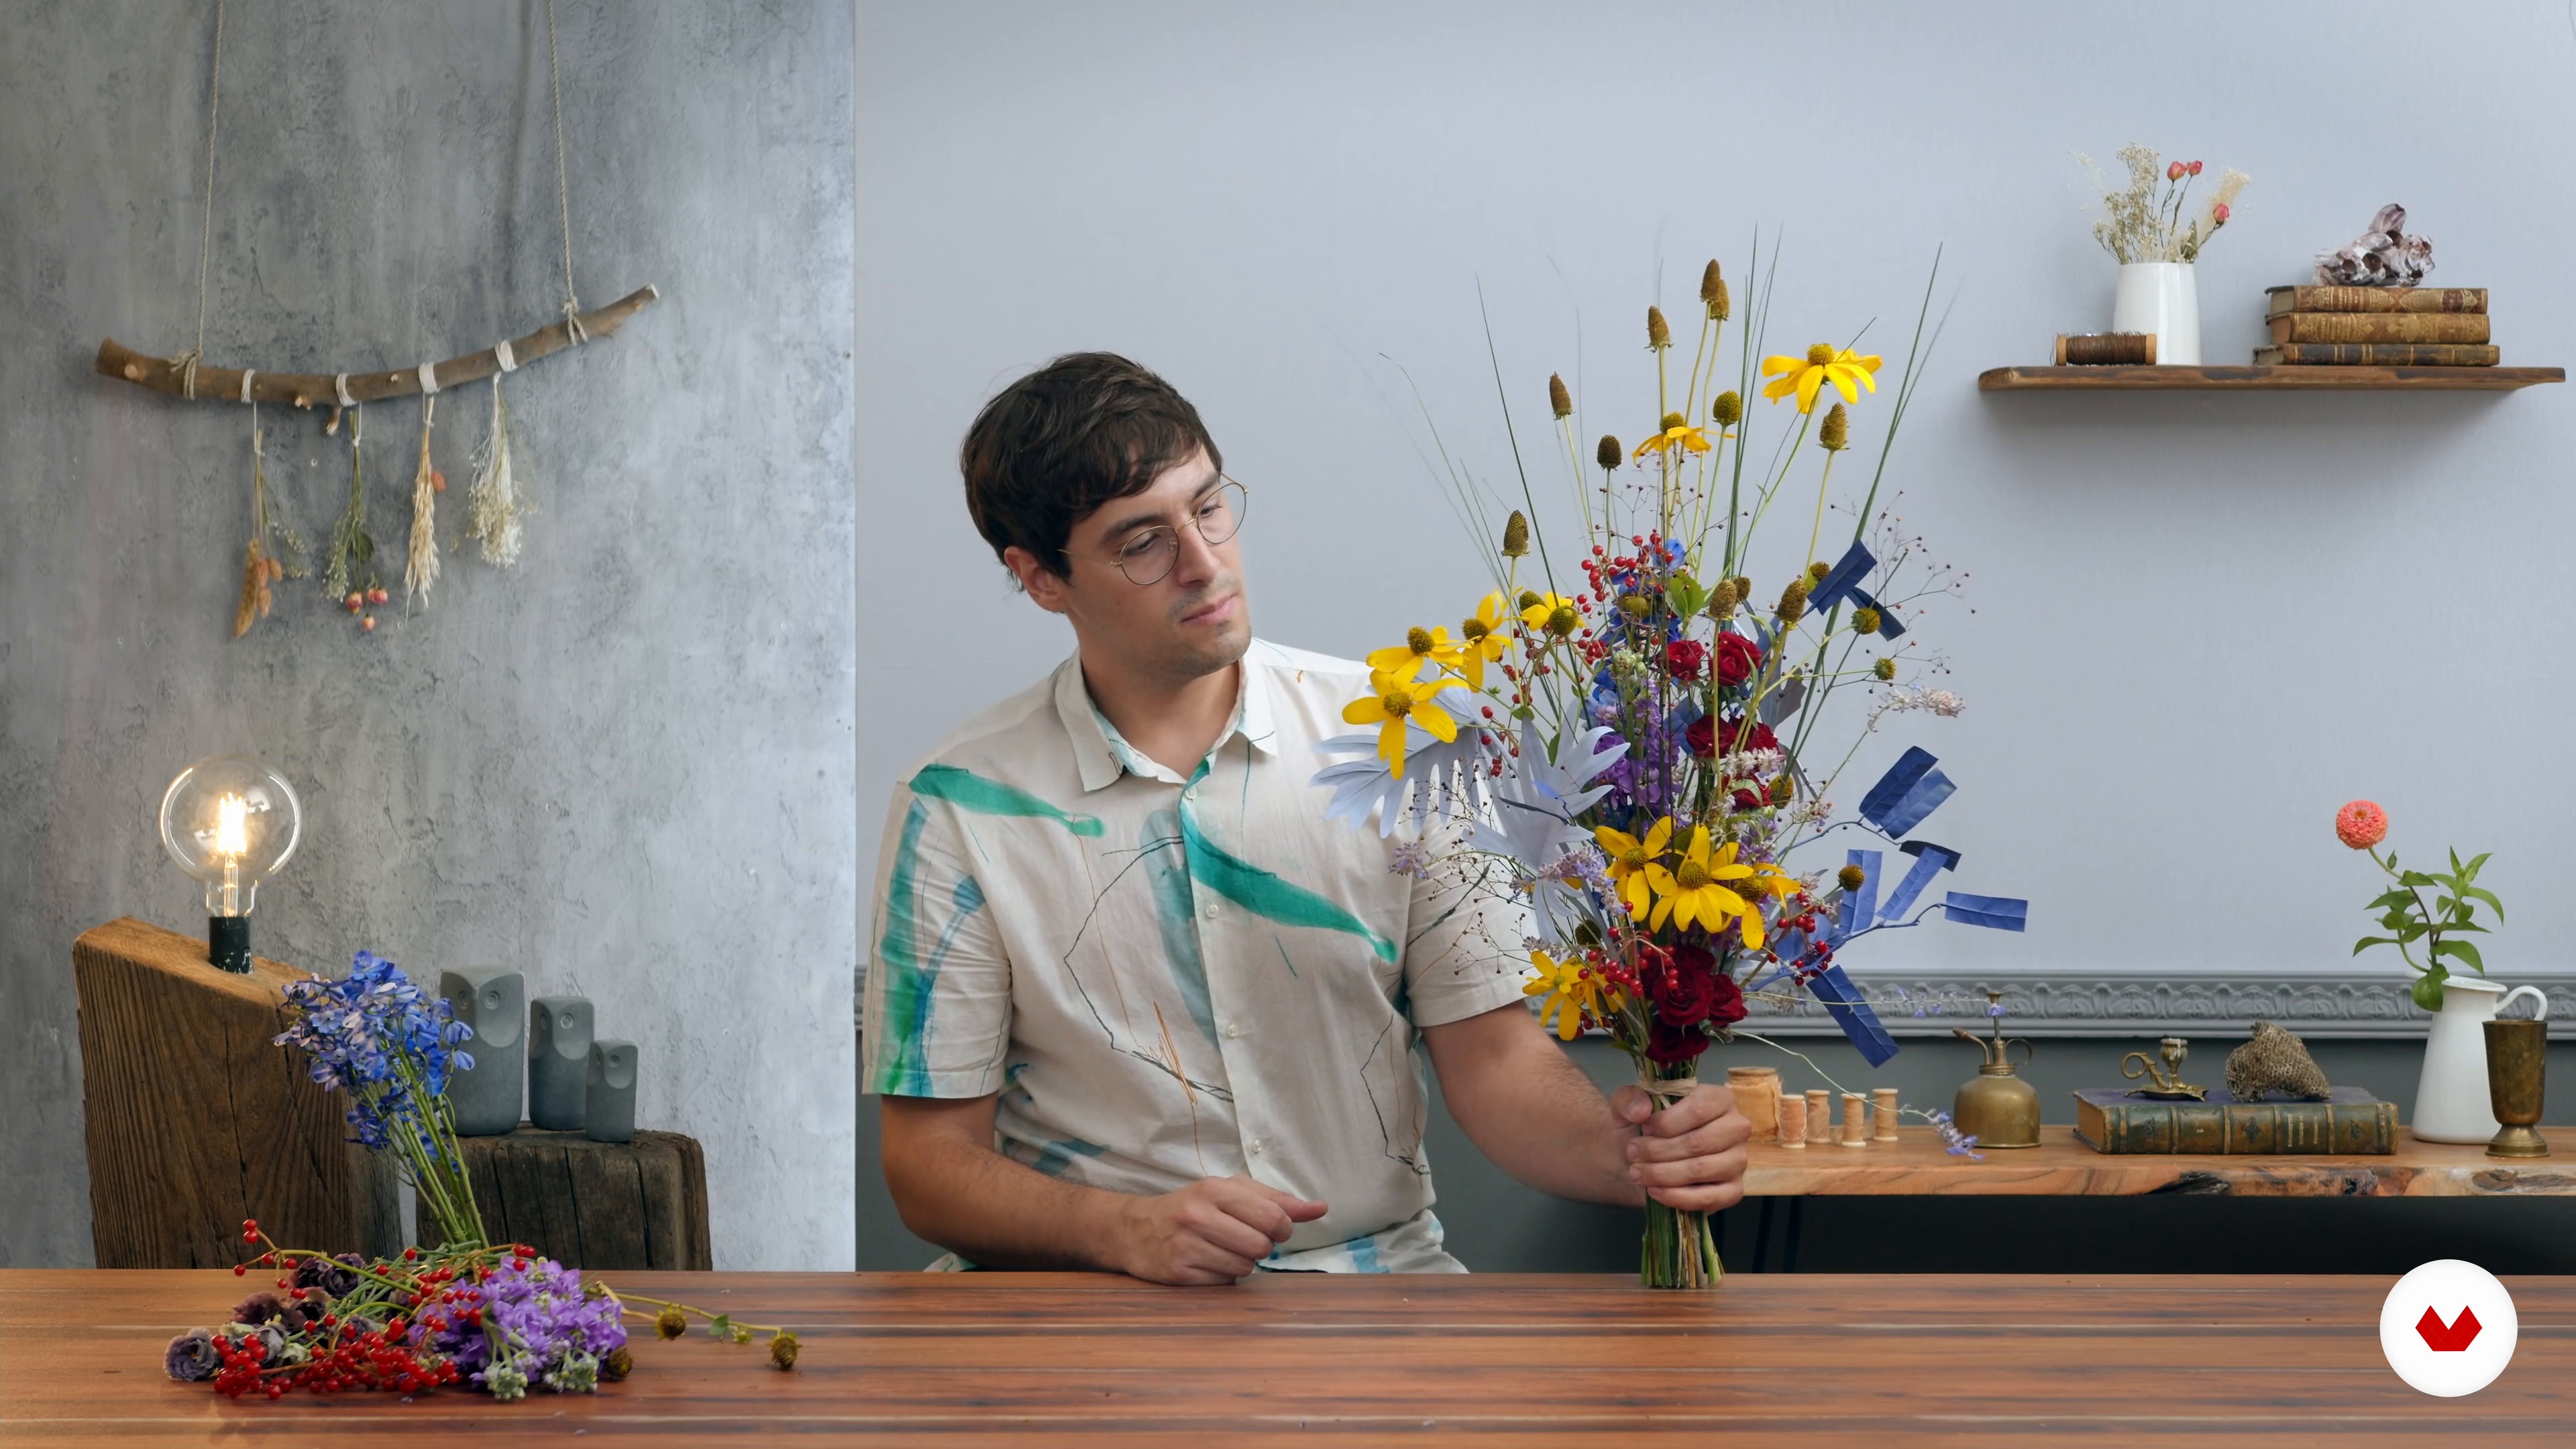
In this lesson, we'll make a vertical bouquet using the parallel technique. This technique allows for elongated bouquets, and it also gives the materials an upward feel.
18m
Horizontal bouquet 1
12
Horizontal bouquet 1
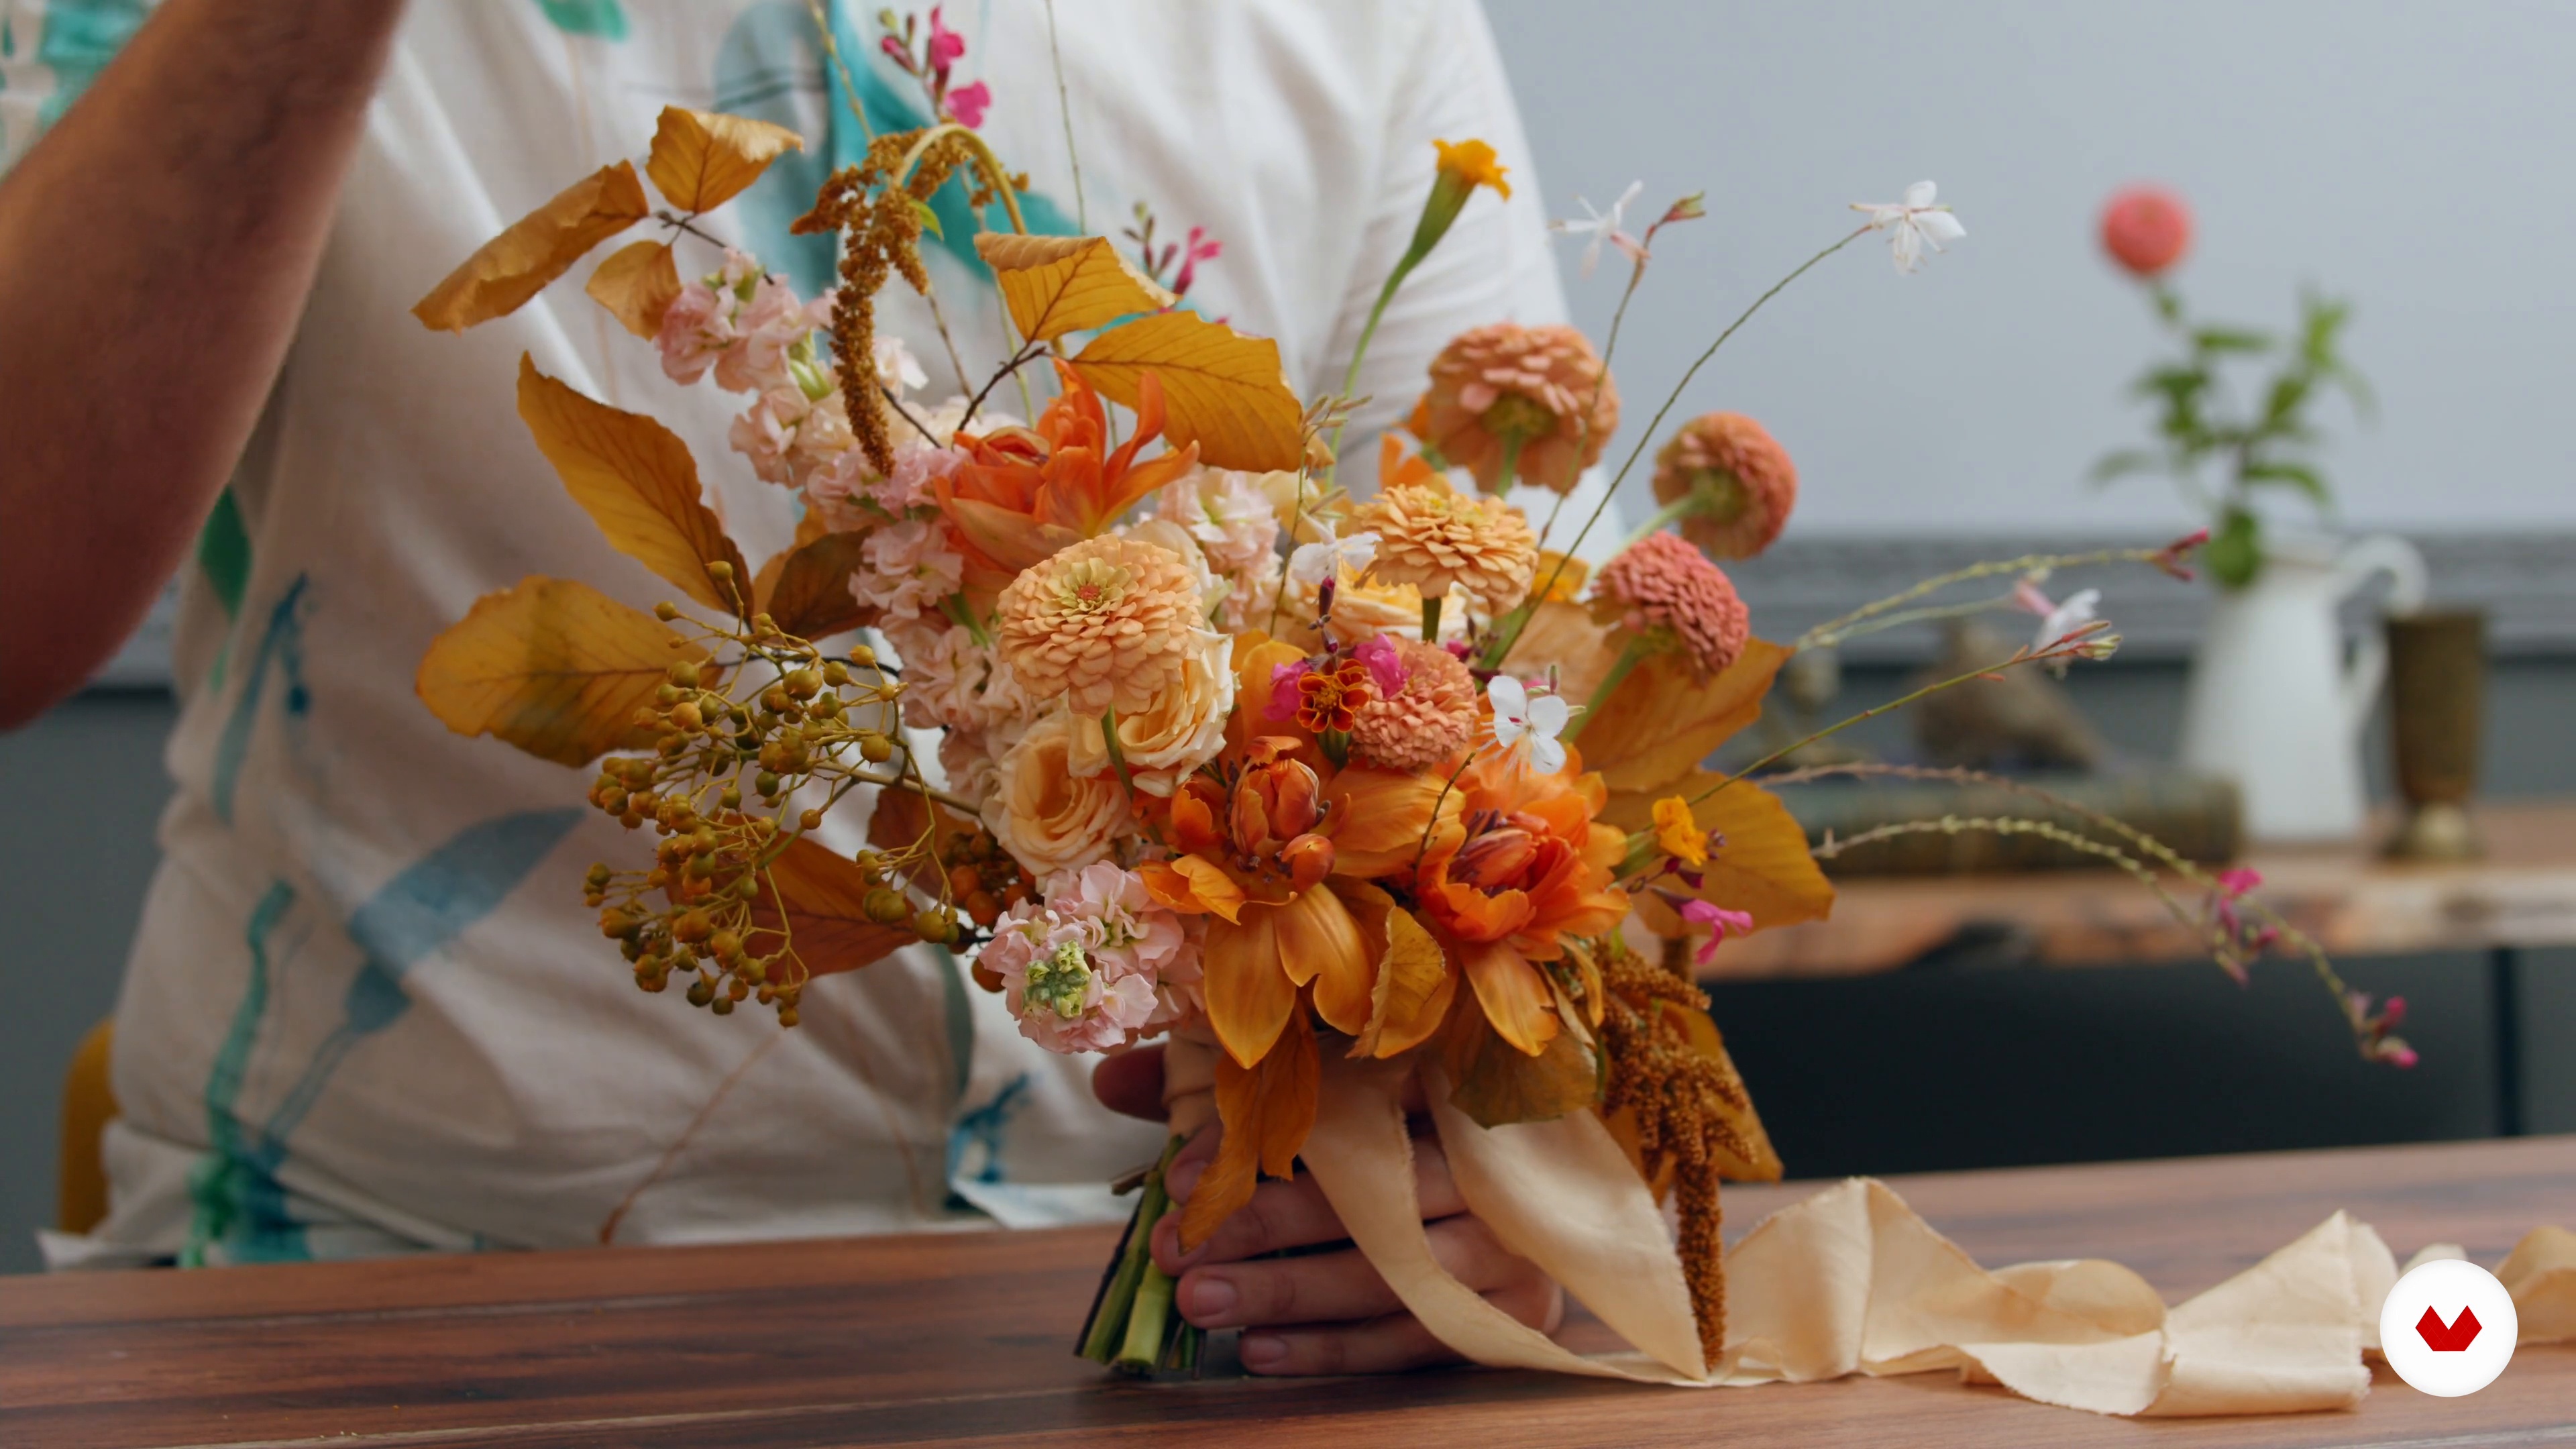
Finally, we'll make a horizontal bouquet using the braiding technique. This technique allows for this shape and creates a very airy bouquet without the need for wedge greenery.
14m
Horizontal bouquet 2
13
Horizontal bouquet 2
We continue working little by little adding elements until we finish the horizontal bouquet.
17m
Conservation
14
Conservation
In this lesson, I'll tell you everything you need to know to keep your bouquet in perfect condition: water, temperature, and preservatives for cut flowers, stem trimming, and more.
5m
Photography
15
Photography
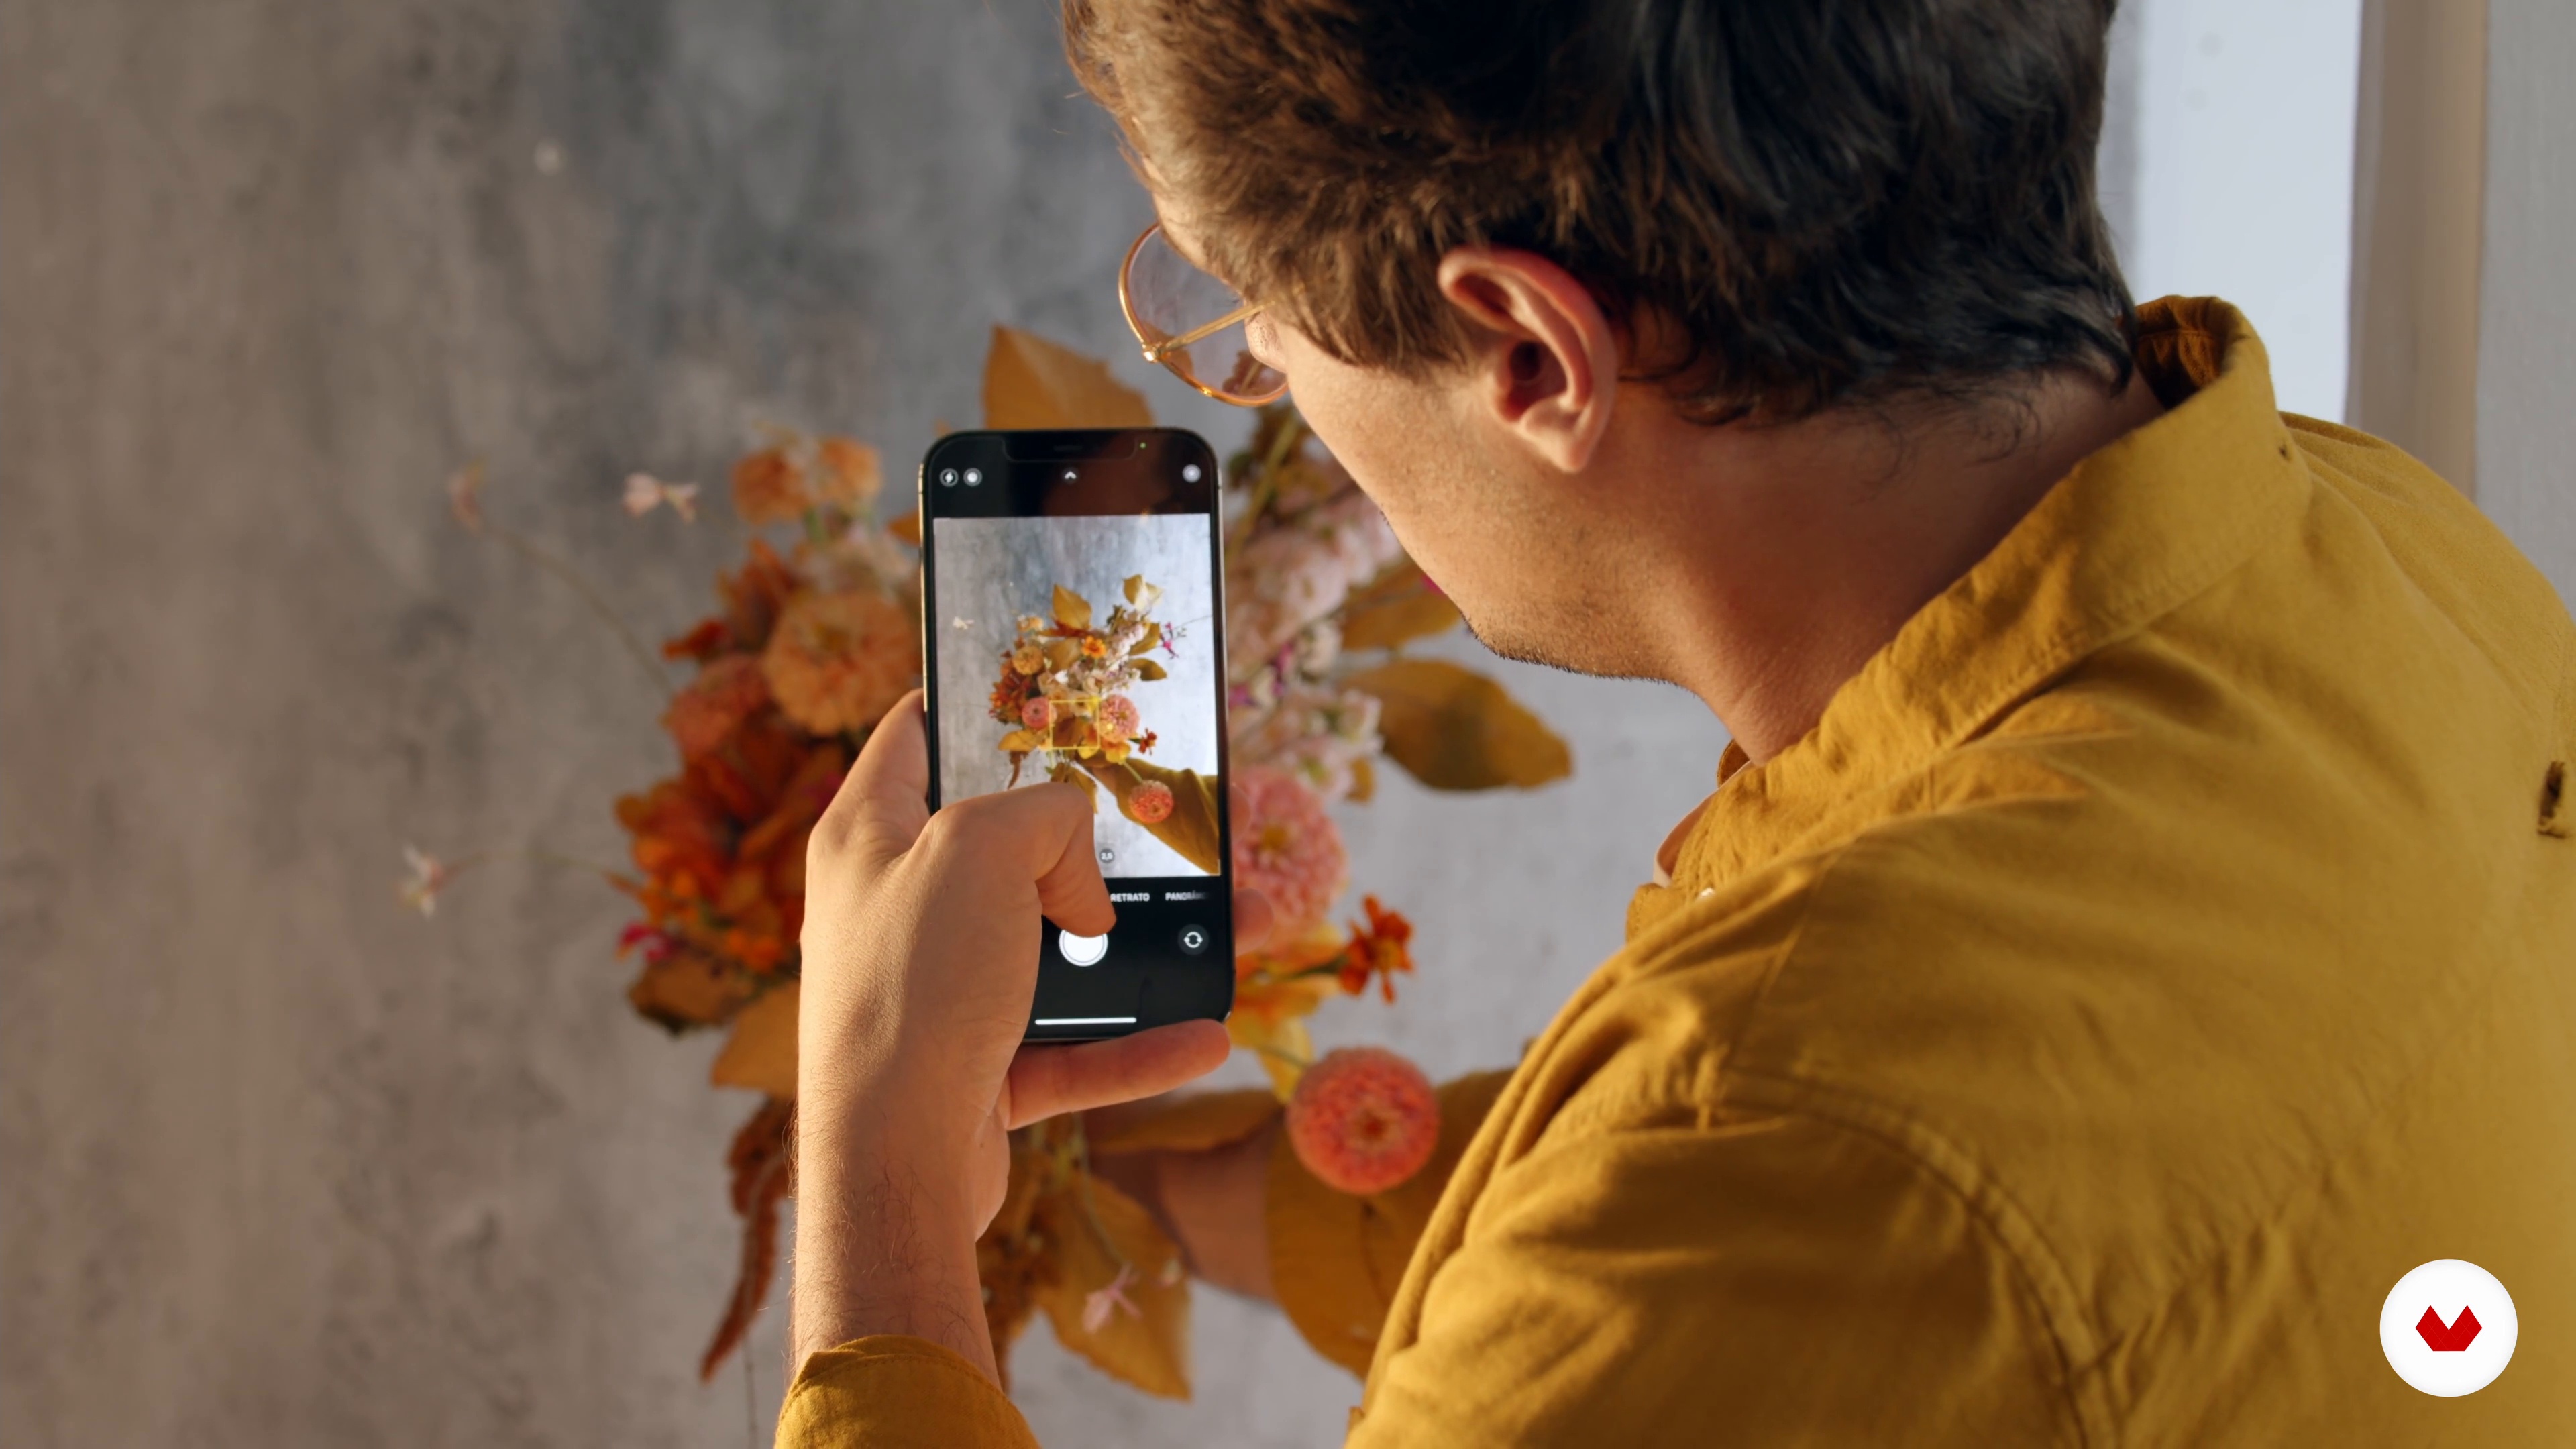
Next, I'll show you how to take the most professional photograph possible using the tools at your disposal.
8m
Shipment
16
Shipment
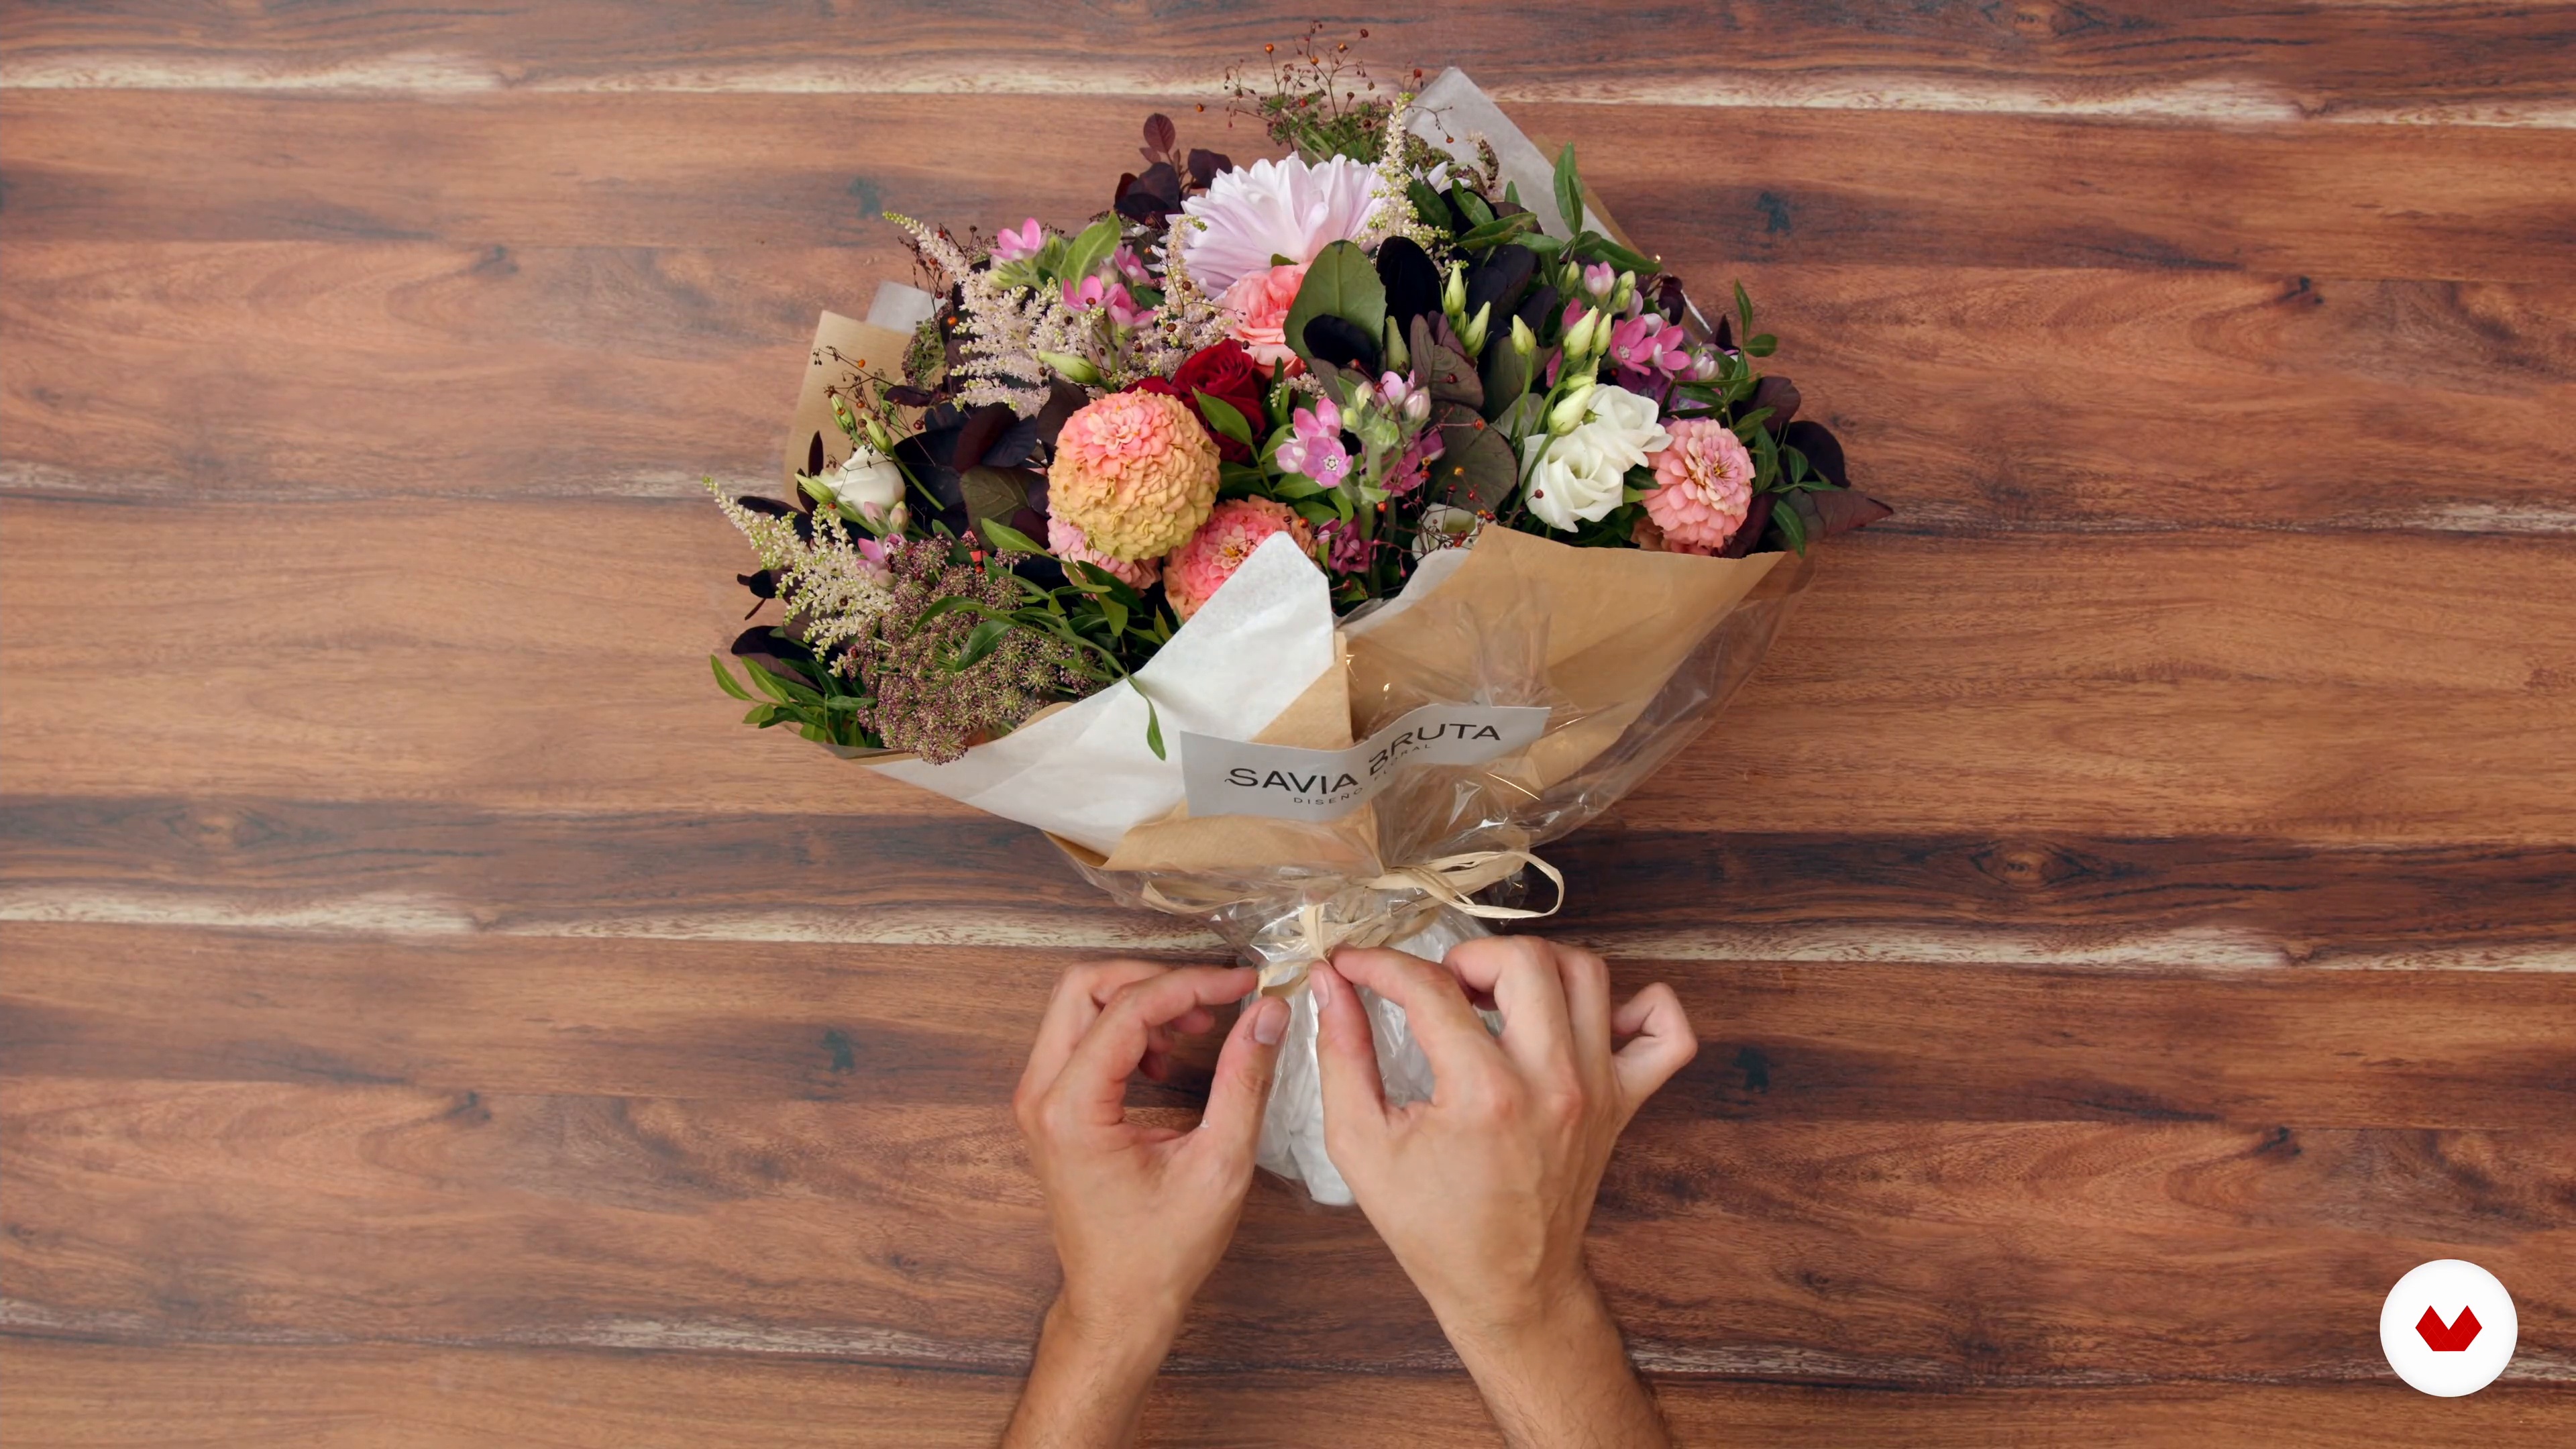
Finally, I'll show you how to wrap and package your bouquet so it doesn't get ruined in transit.
7m
Classification of flowers. Part 1
4
Classification of flowers. Part 1
In this lesson, I'll explain the five types of flowers that exist in the harmony of an arrangement. I'll also talk about what the stem of the flower itself communicates and what purpose it serves within the arrangement. The success of a composition lies in its varieties. Say no to the recipe book!
17m
Classification of flowers. Part 2
5
Classification of flowers. Part 2
Here I continue showing you complementary flowers and dried flowers. I'll also show you how to add a flirty touch to your arrangements.
6m
Theory of color
6
Theory of color
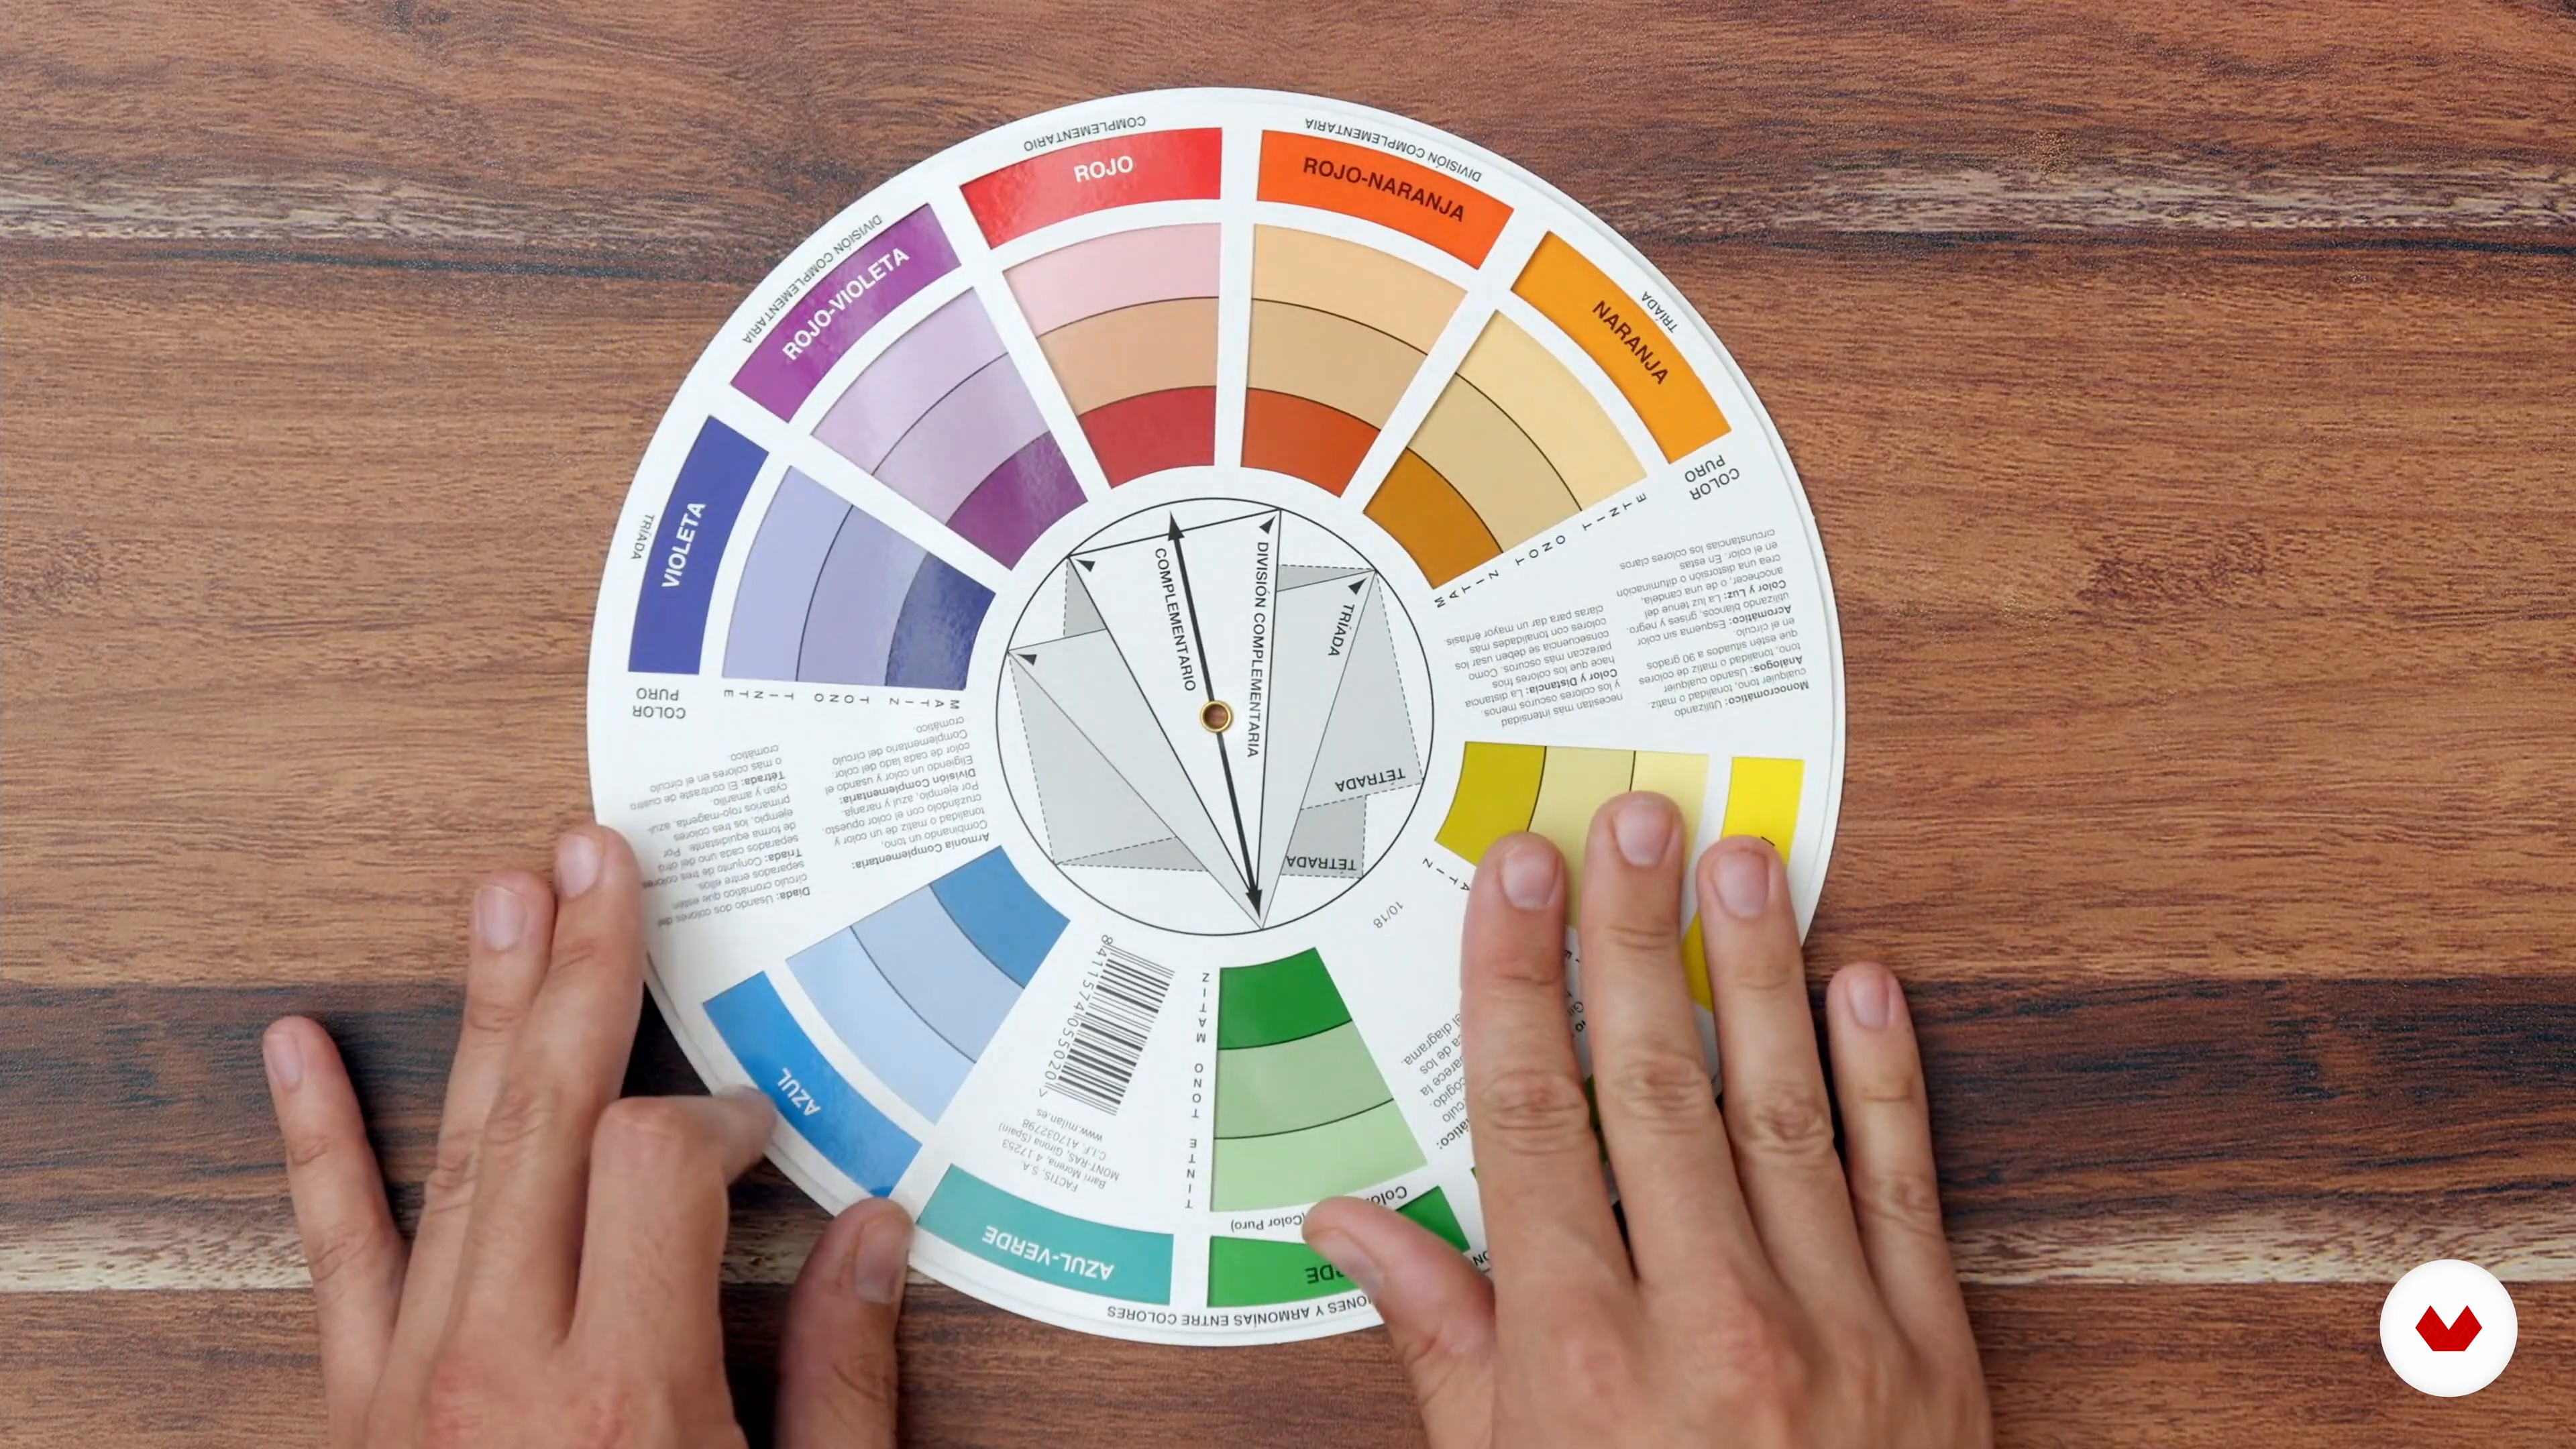
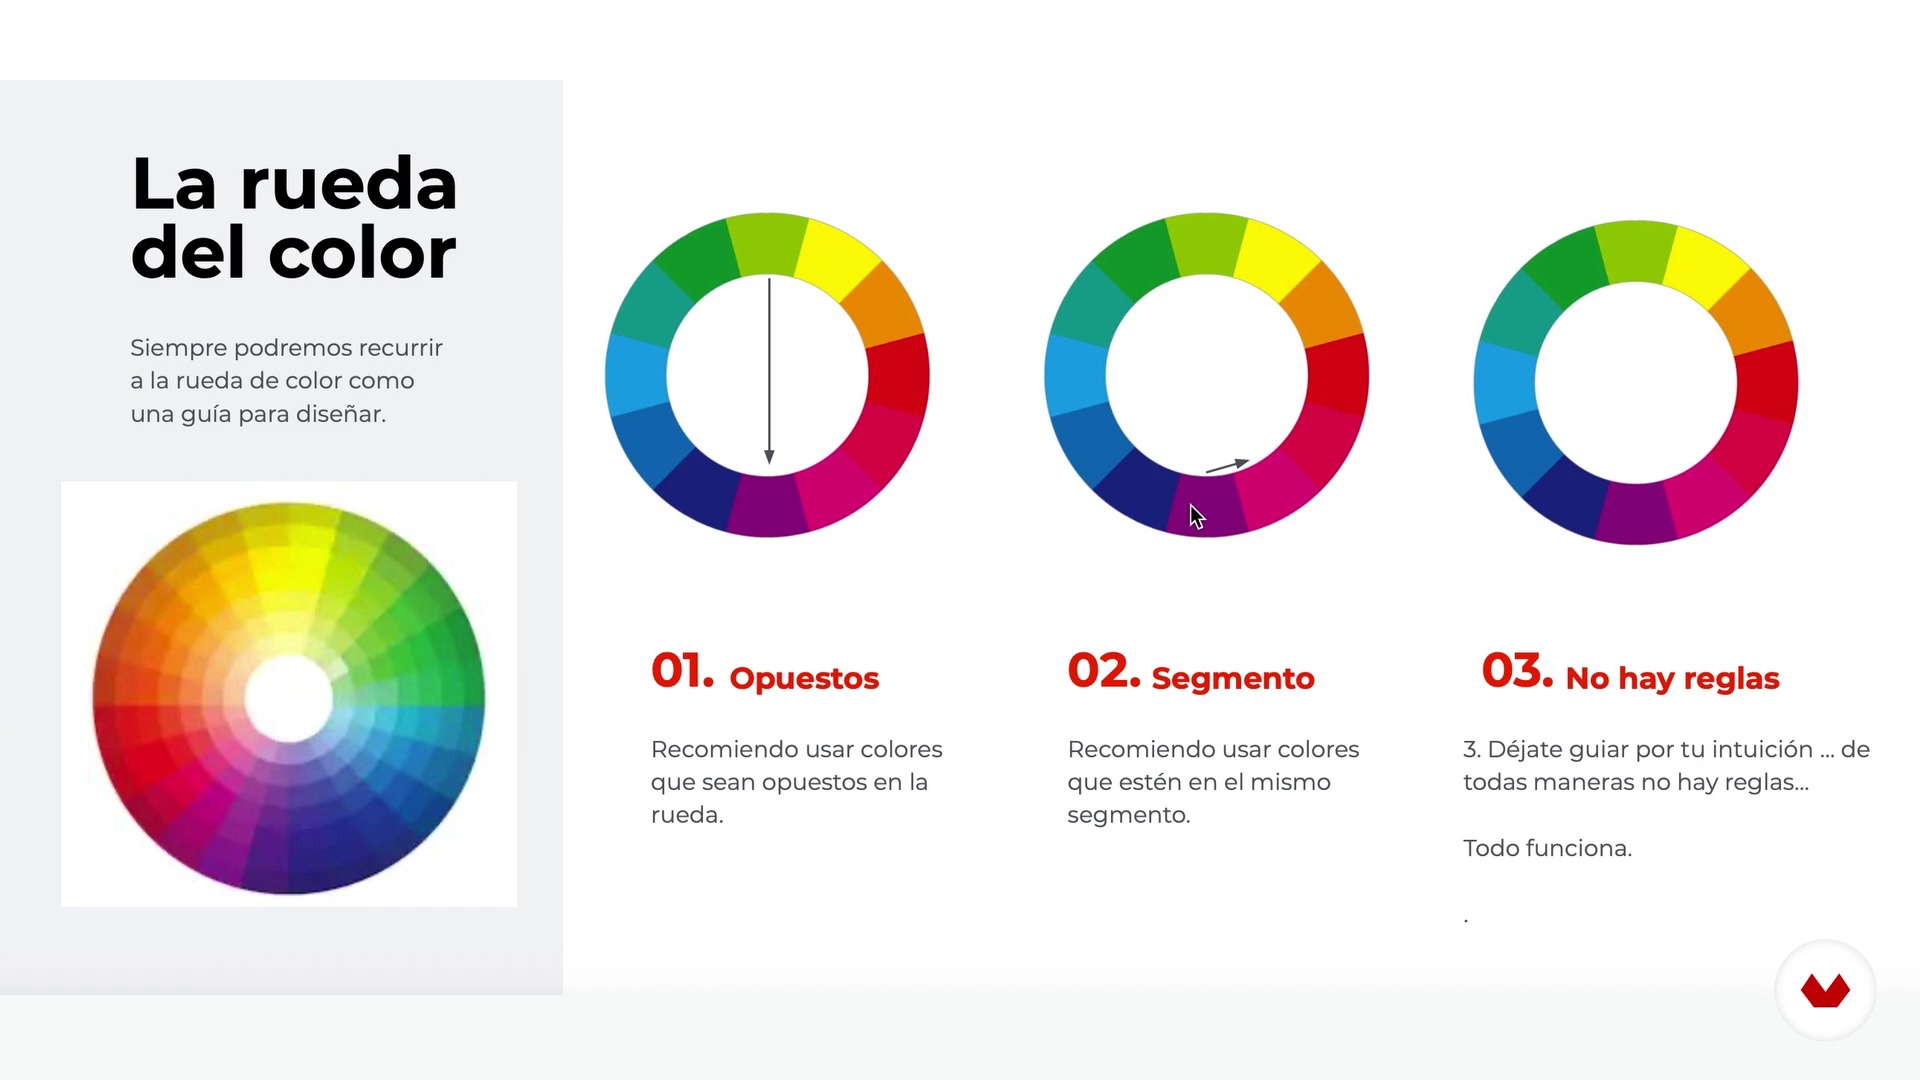
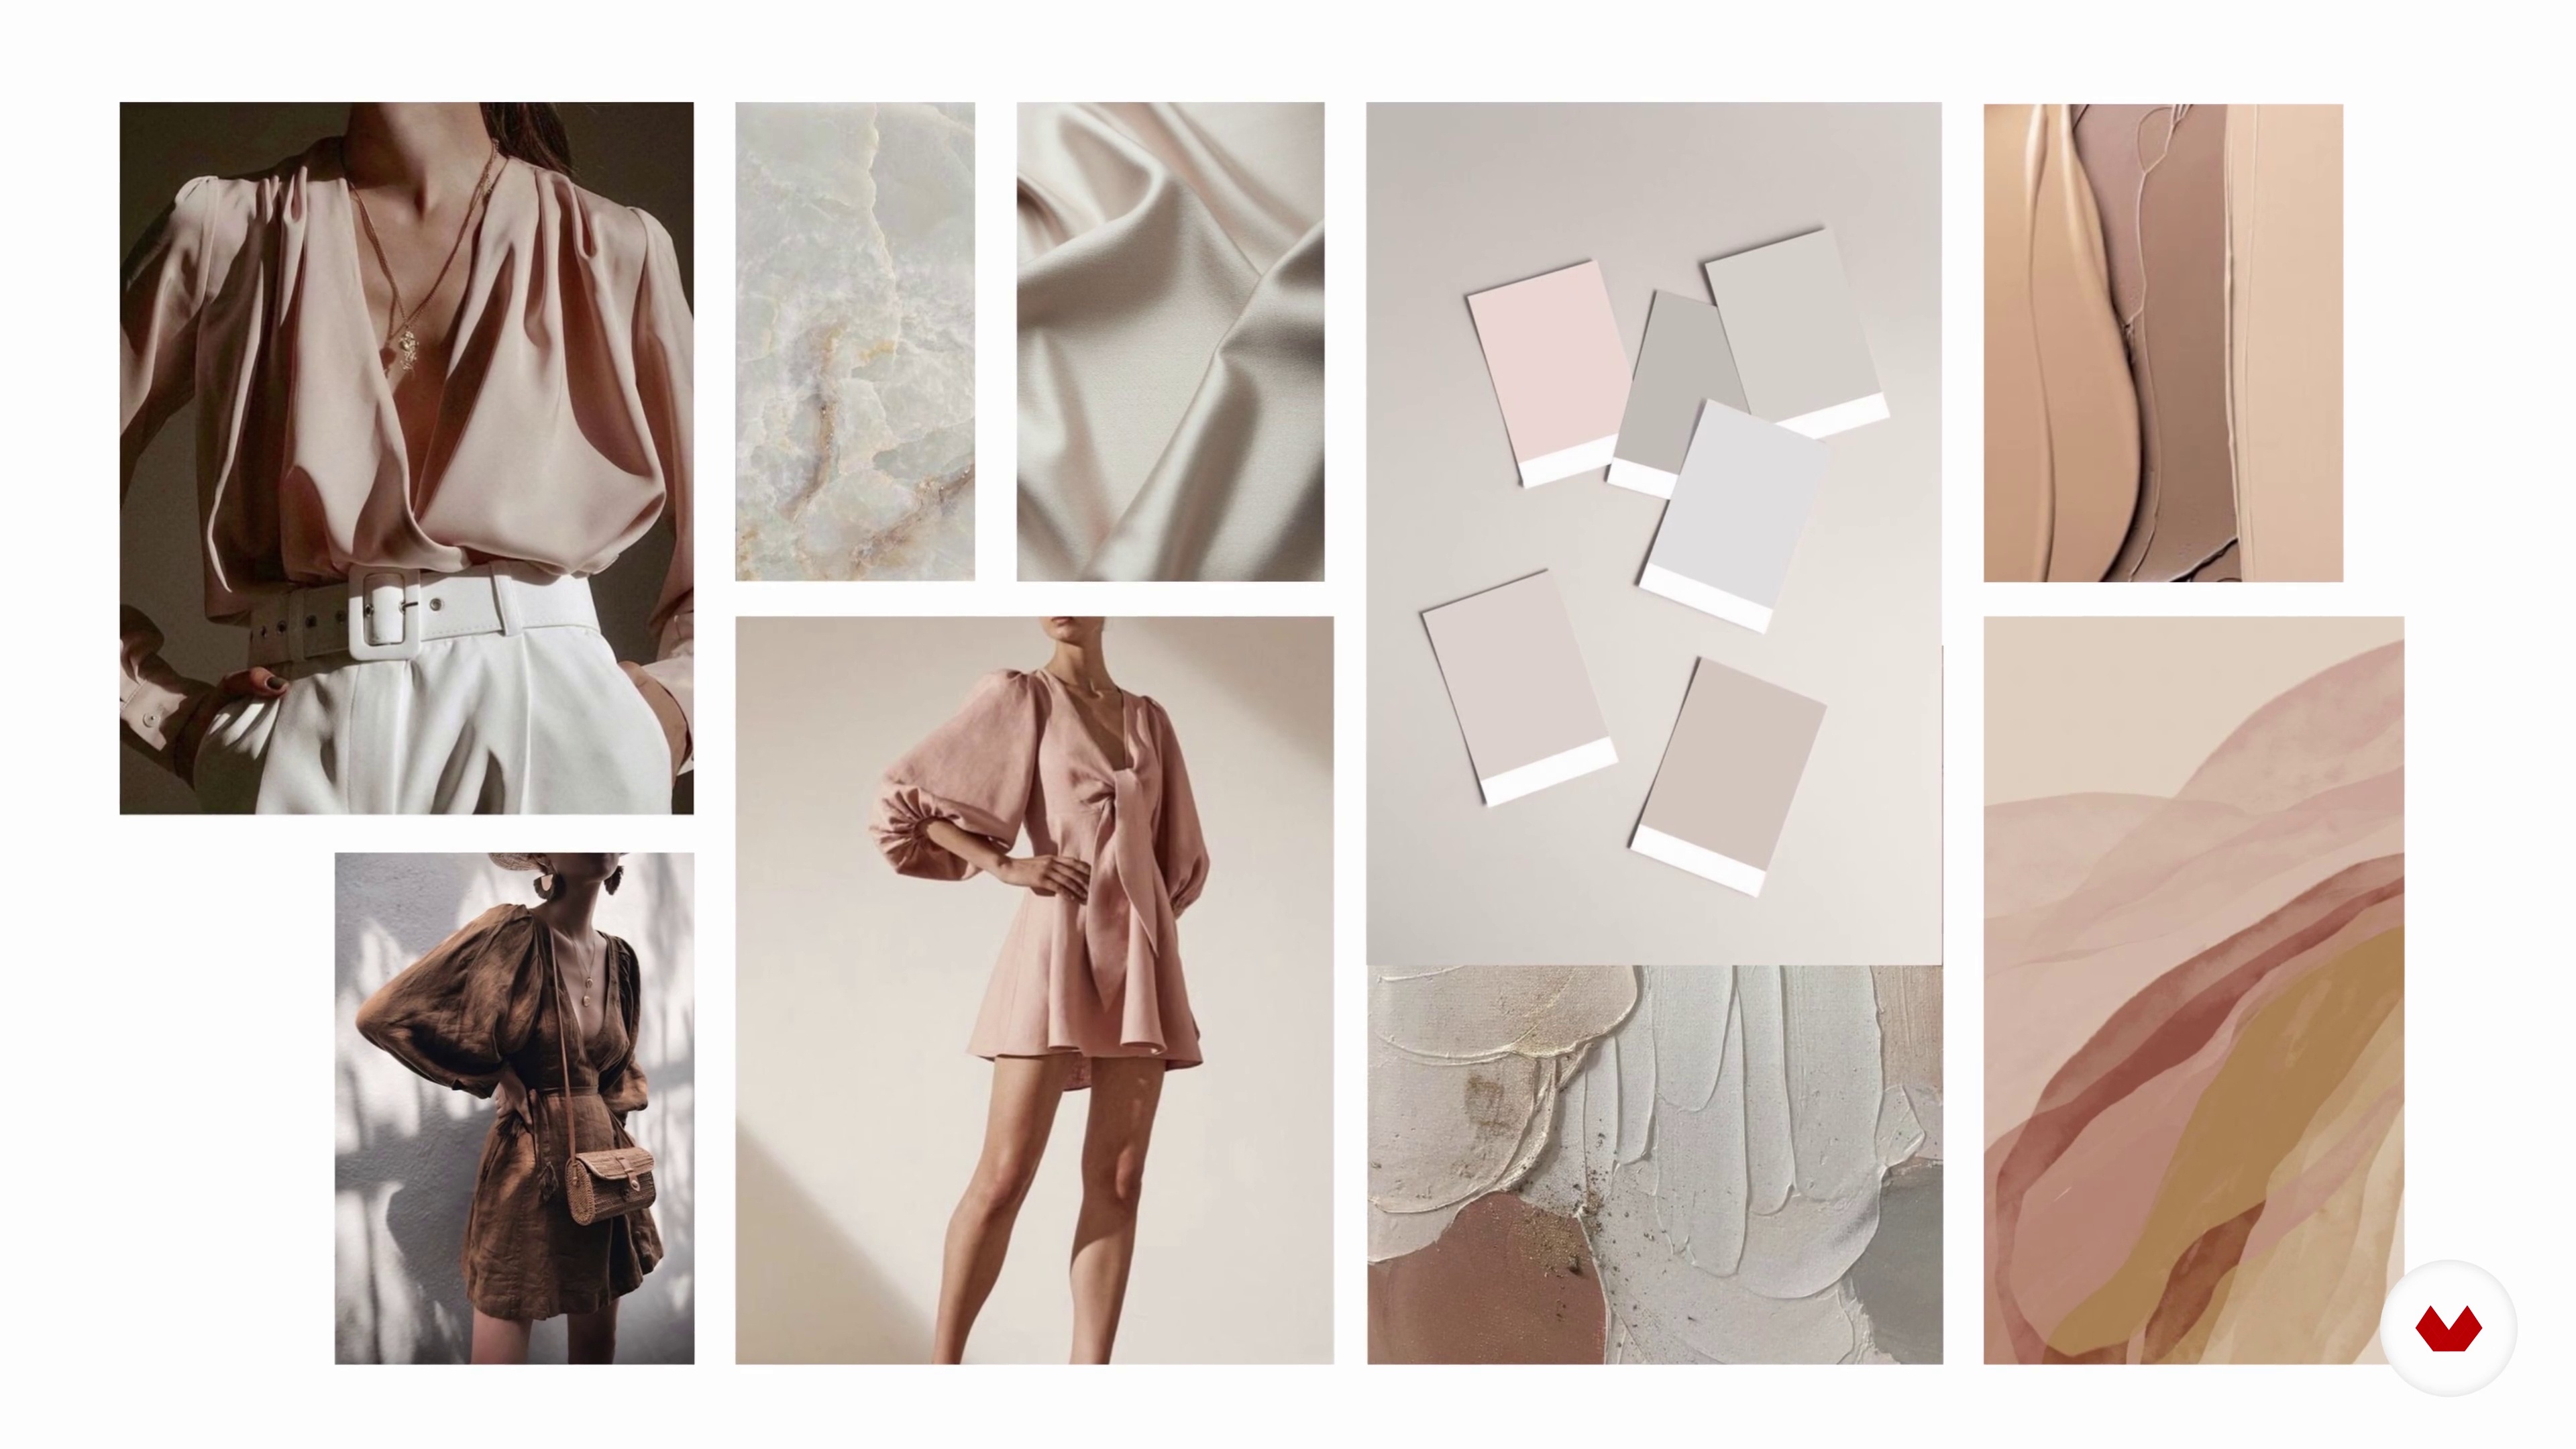
Here I will explain the mechanisms I use to choose a color palette and achieve coherence in order to design a balanced composition.
11m
Composition techniques. Part 1
7
Composition techniques. Part 1
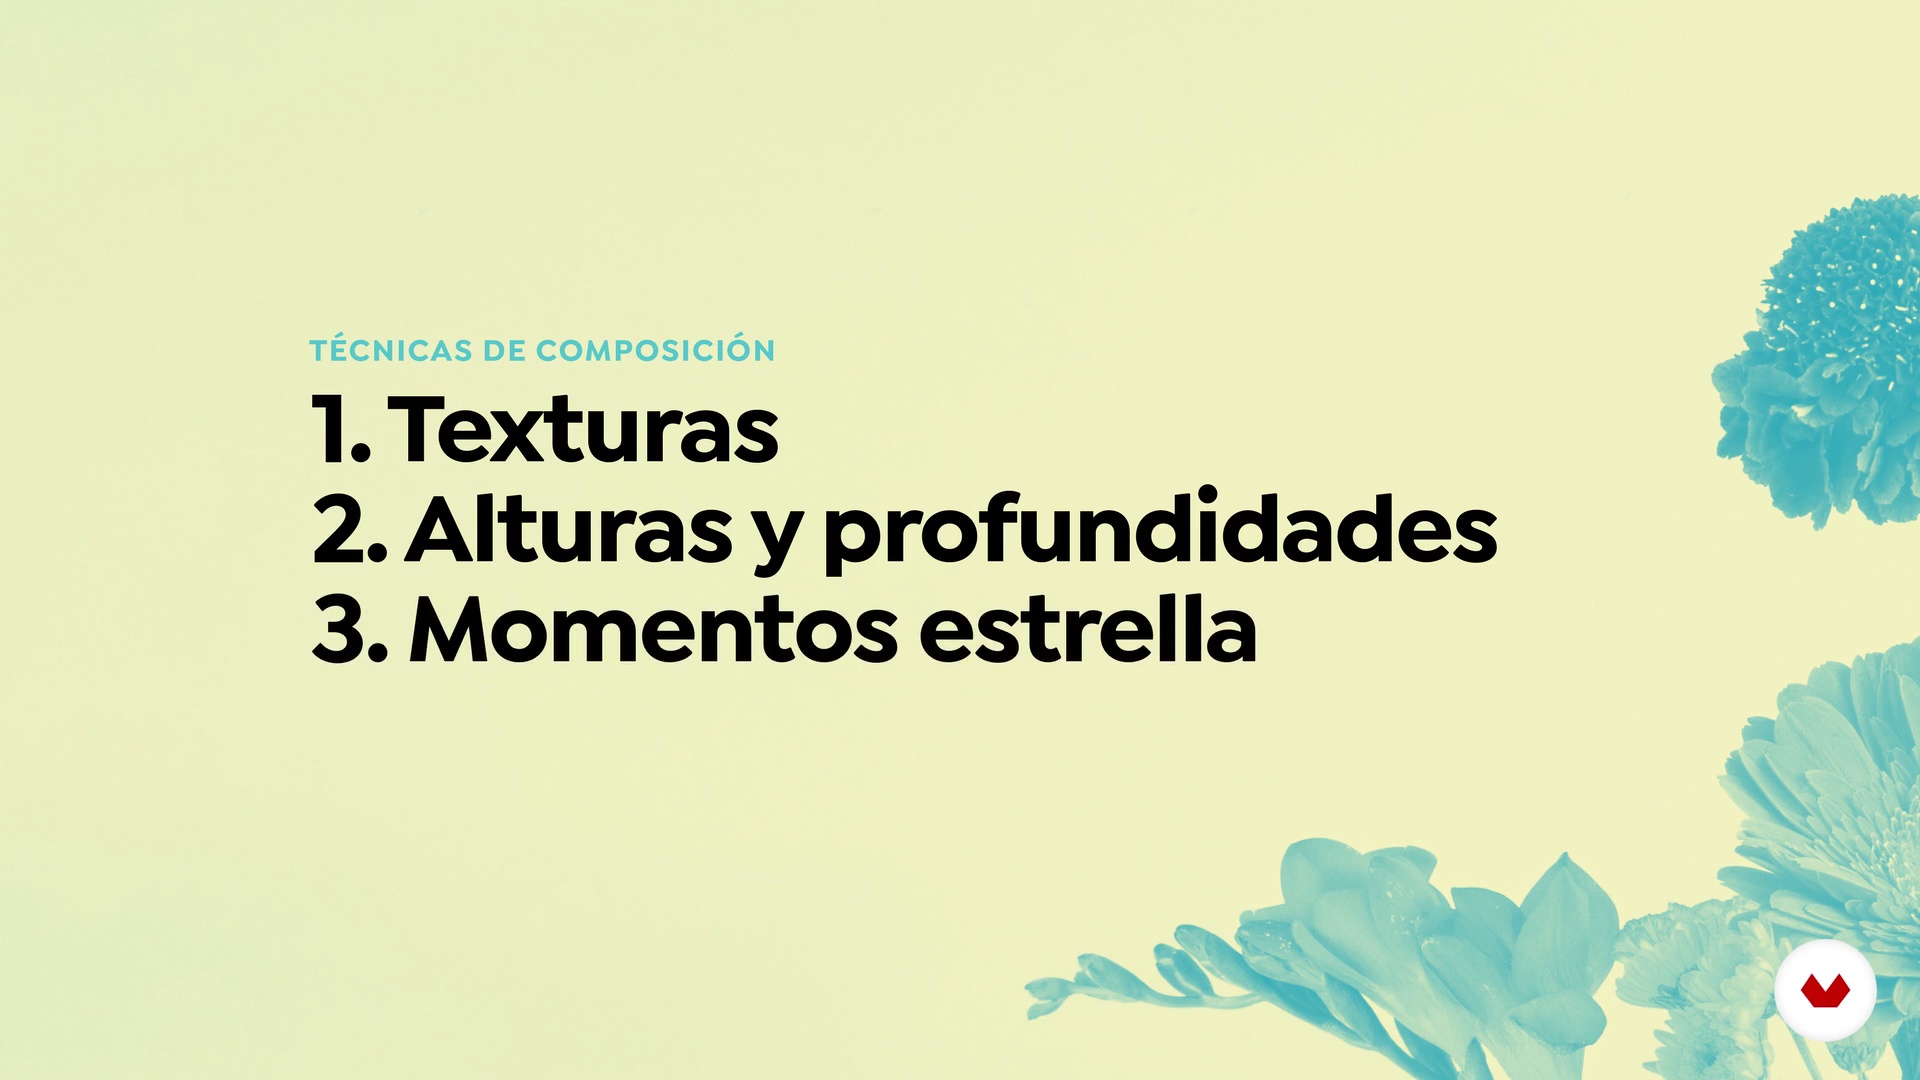
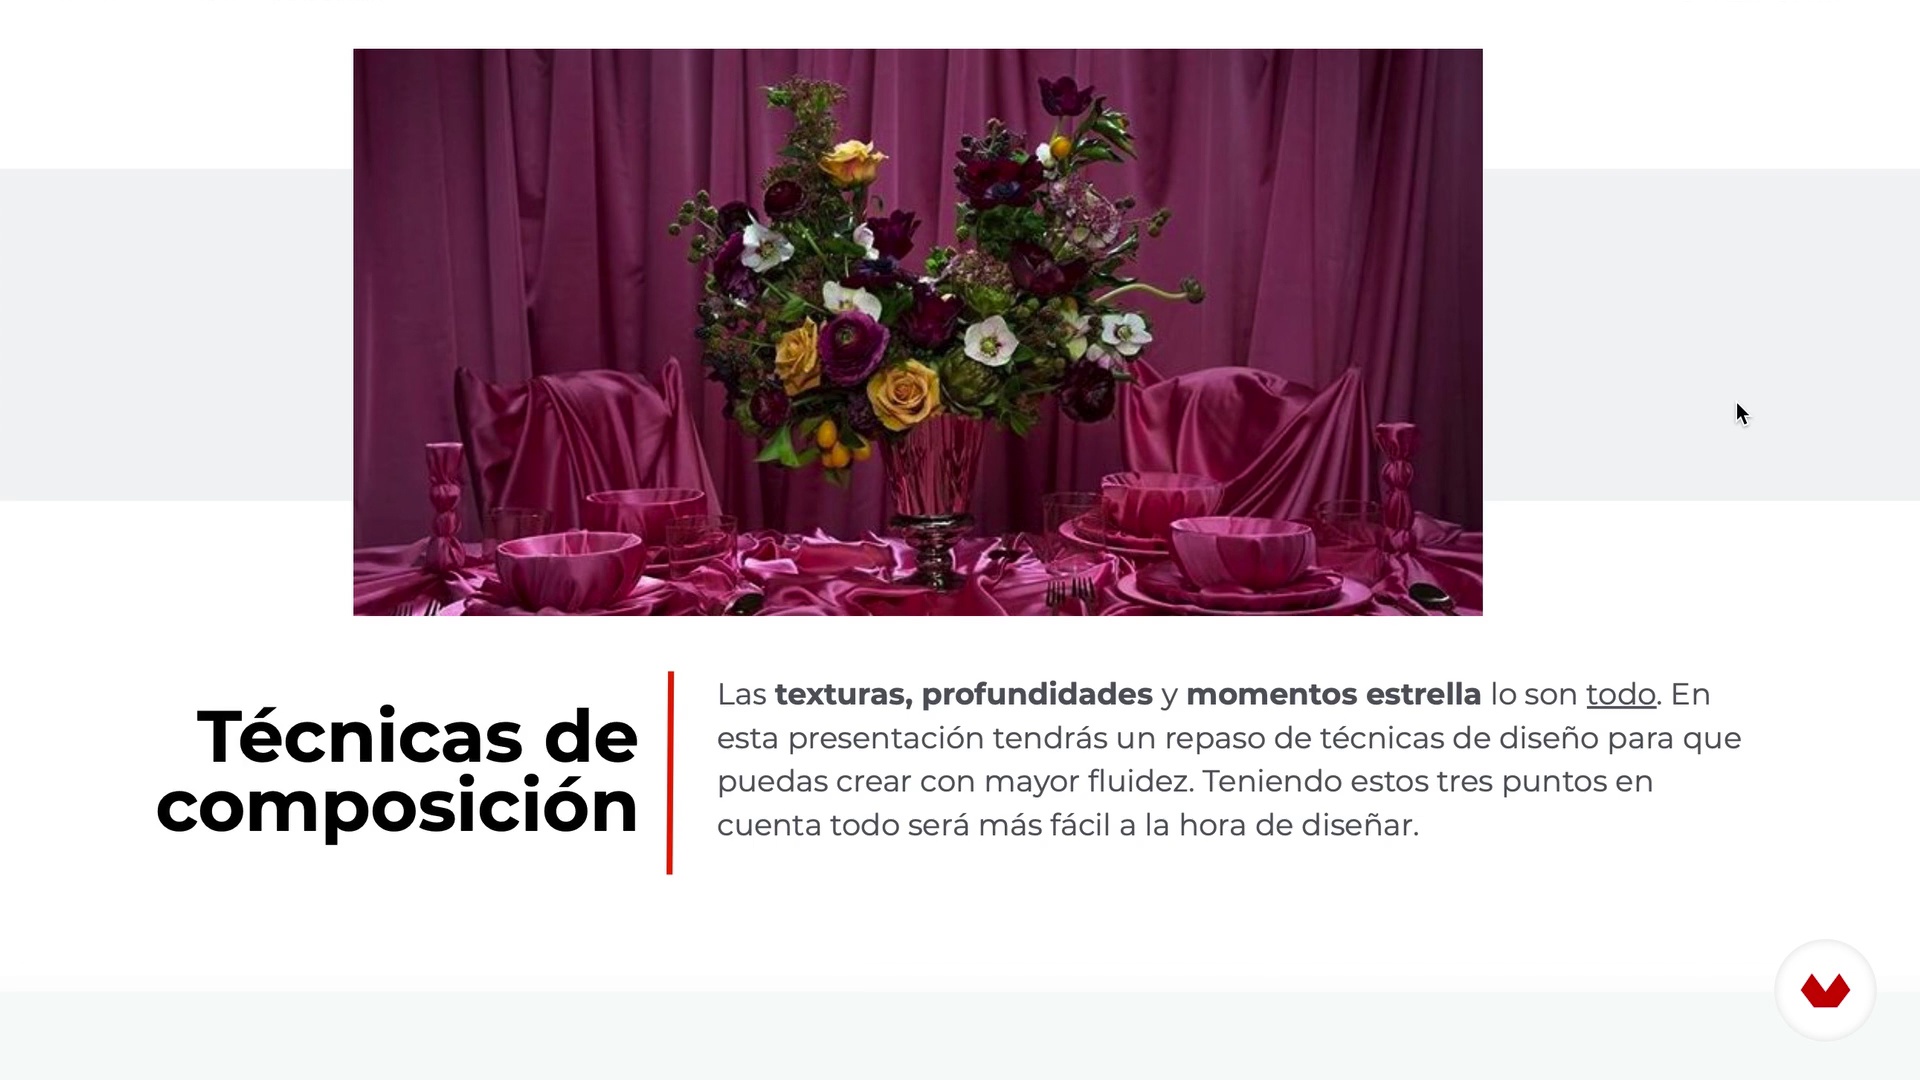
In this lesson, I'm going to talk about four important concepts: textures, height, depth, and highlights. All of these are very important when composing a floral arrangement. Before that, I'm going to tell you what we should leave at the door and never let floral design in again.
10m
Composition techniques. Part 2
8
Composition techniques. Part 2
Keeping in mind what we're leaving behind, I'll tell you about the new concepts we need to consider when creating floral arrangements.
11m
Brainstorming session
9
Brainstorming session
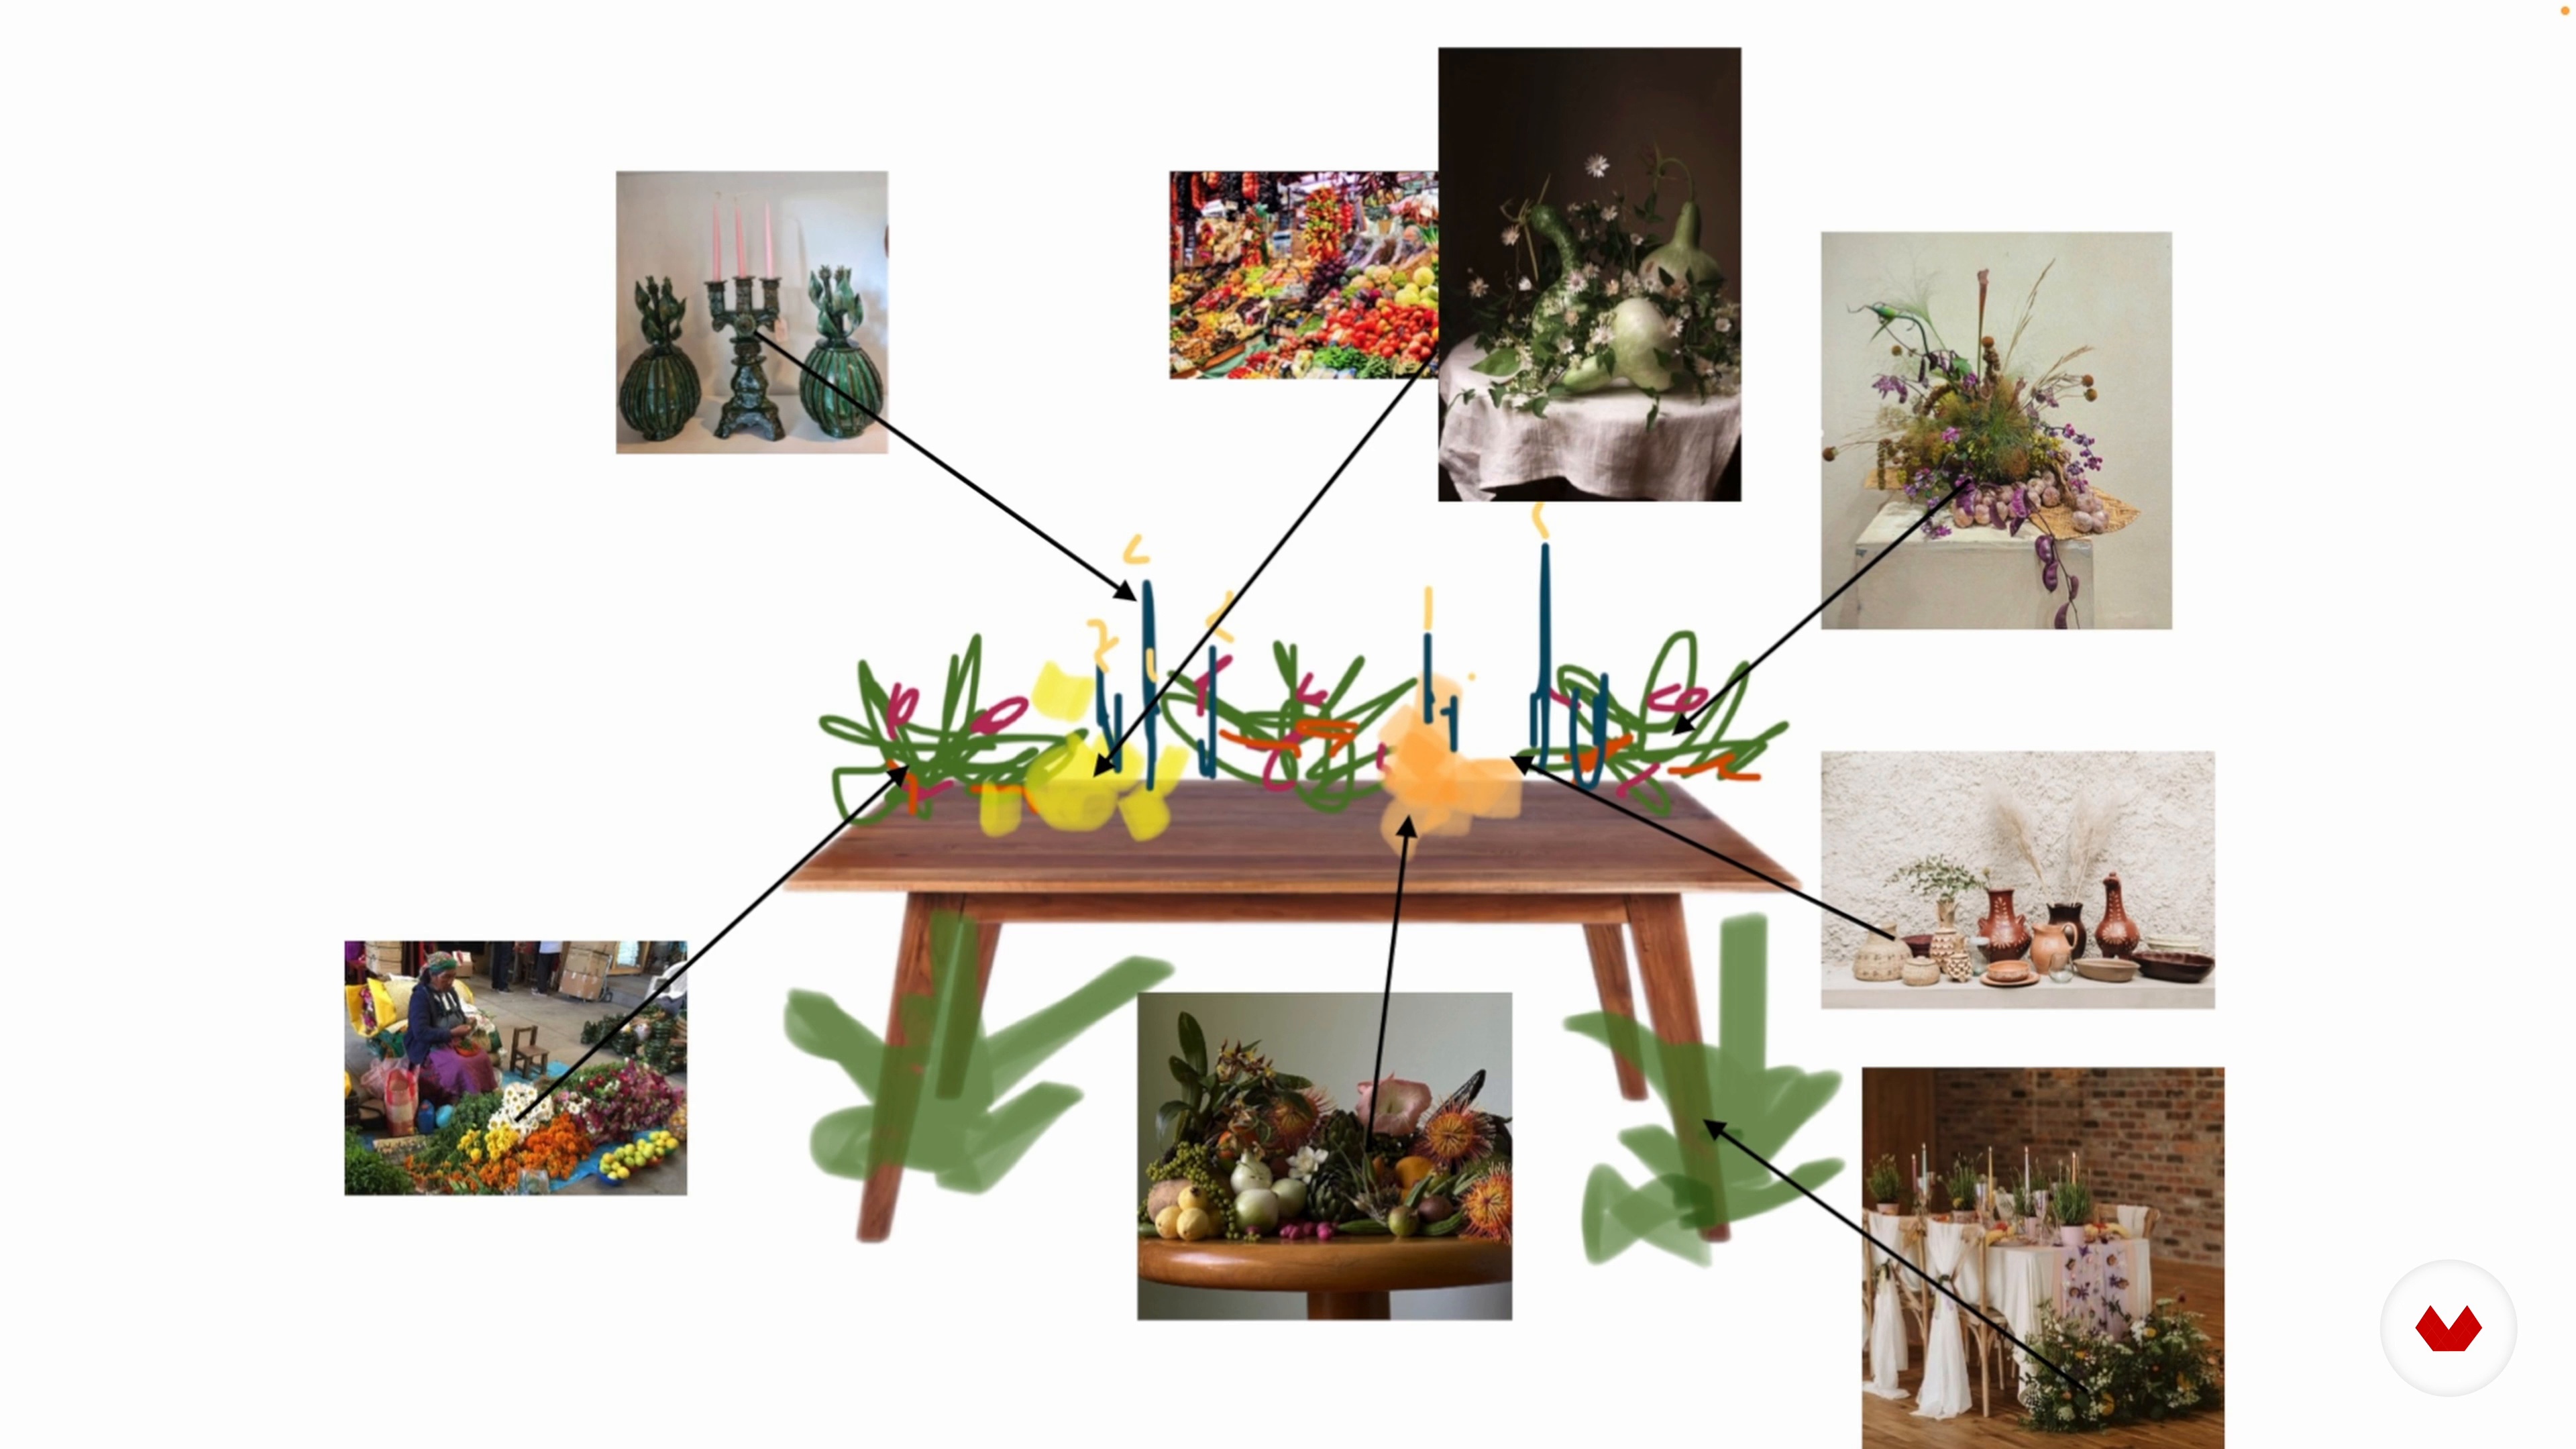
In this lesson, I'll explain the creative process my team takes to begin building on a series of references and ideas. Here, I'll share the concept on which I'll base the final project of the course.
18m
Materials and tools
10
Materials and tools
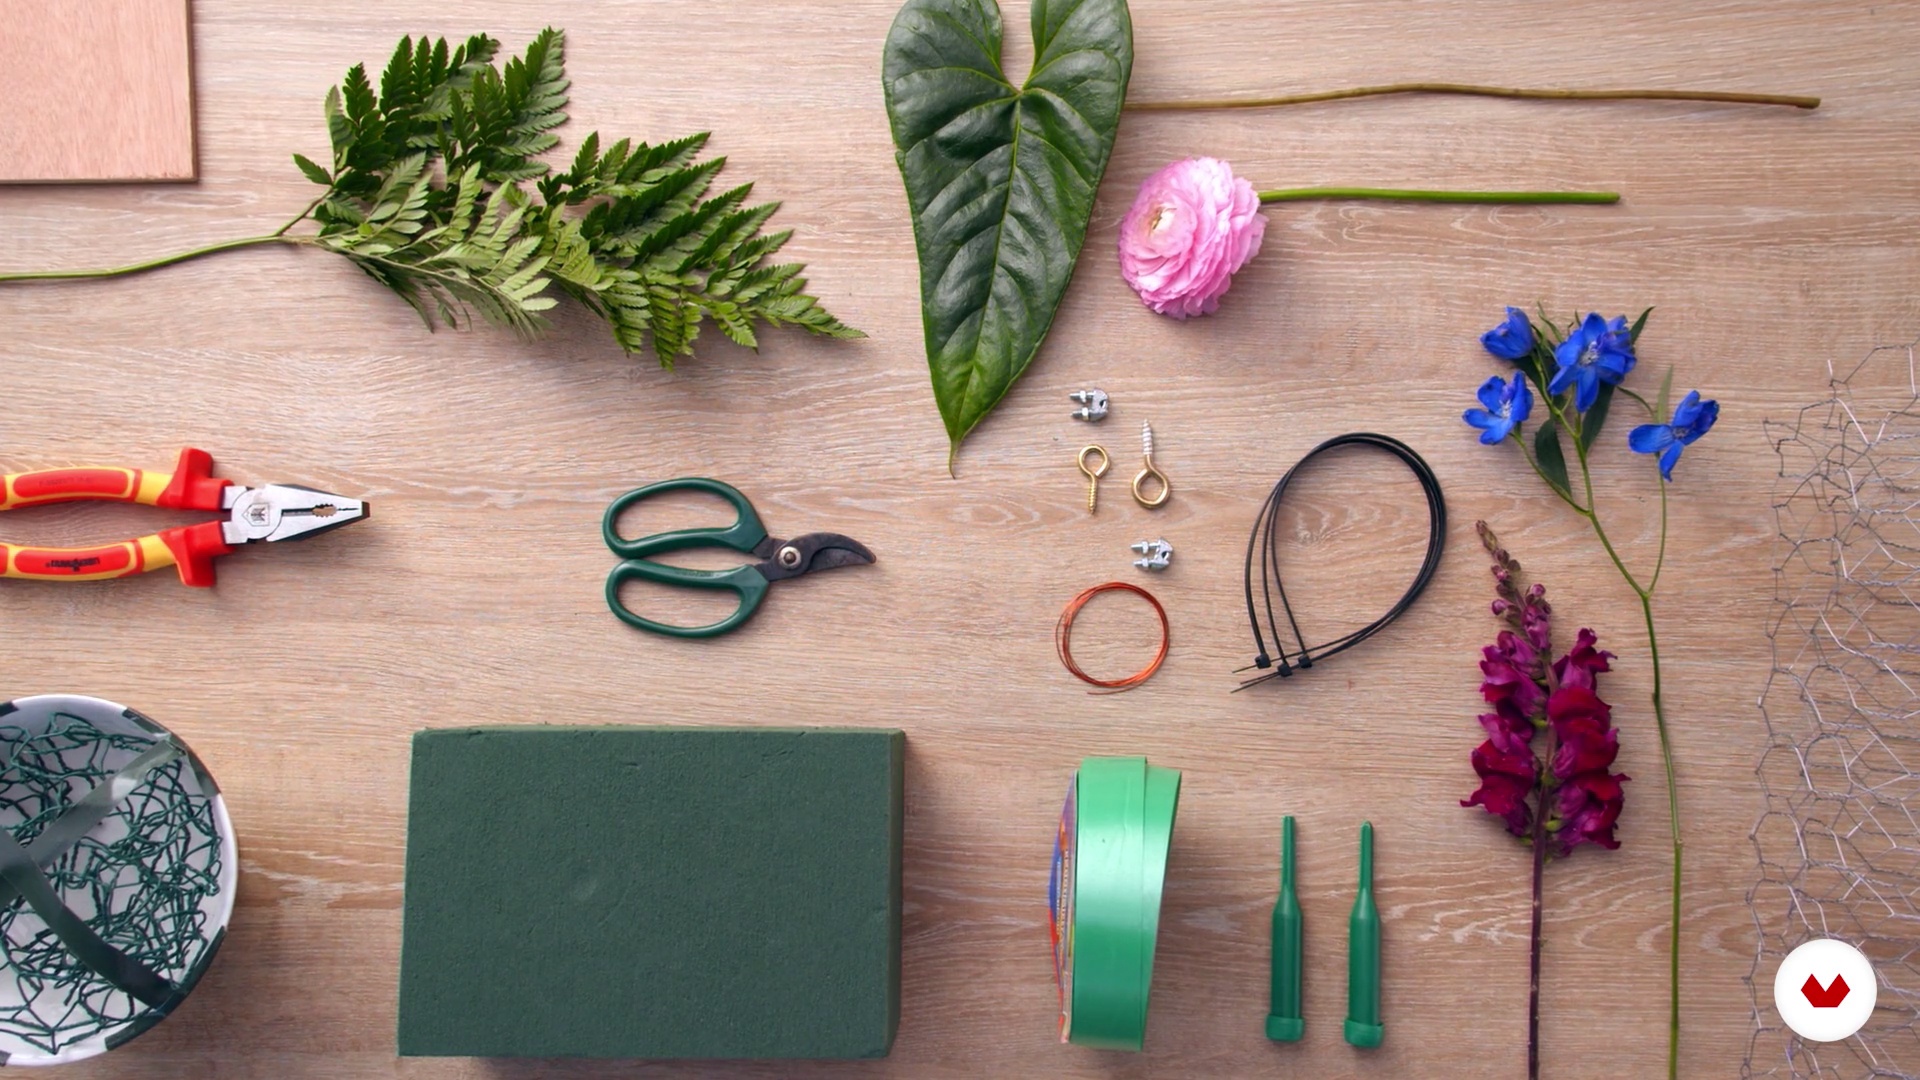
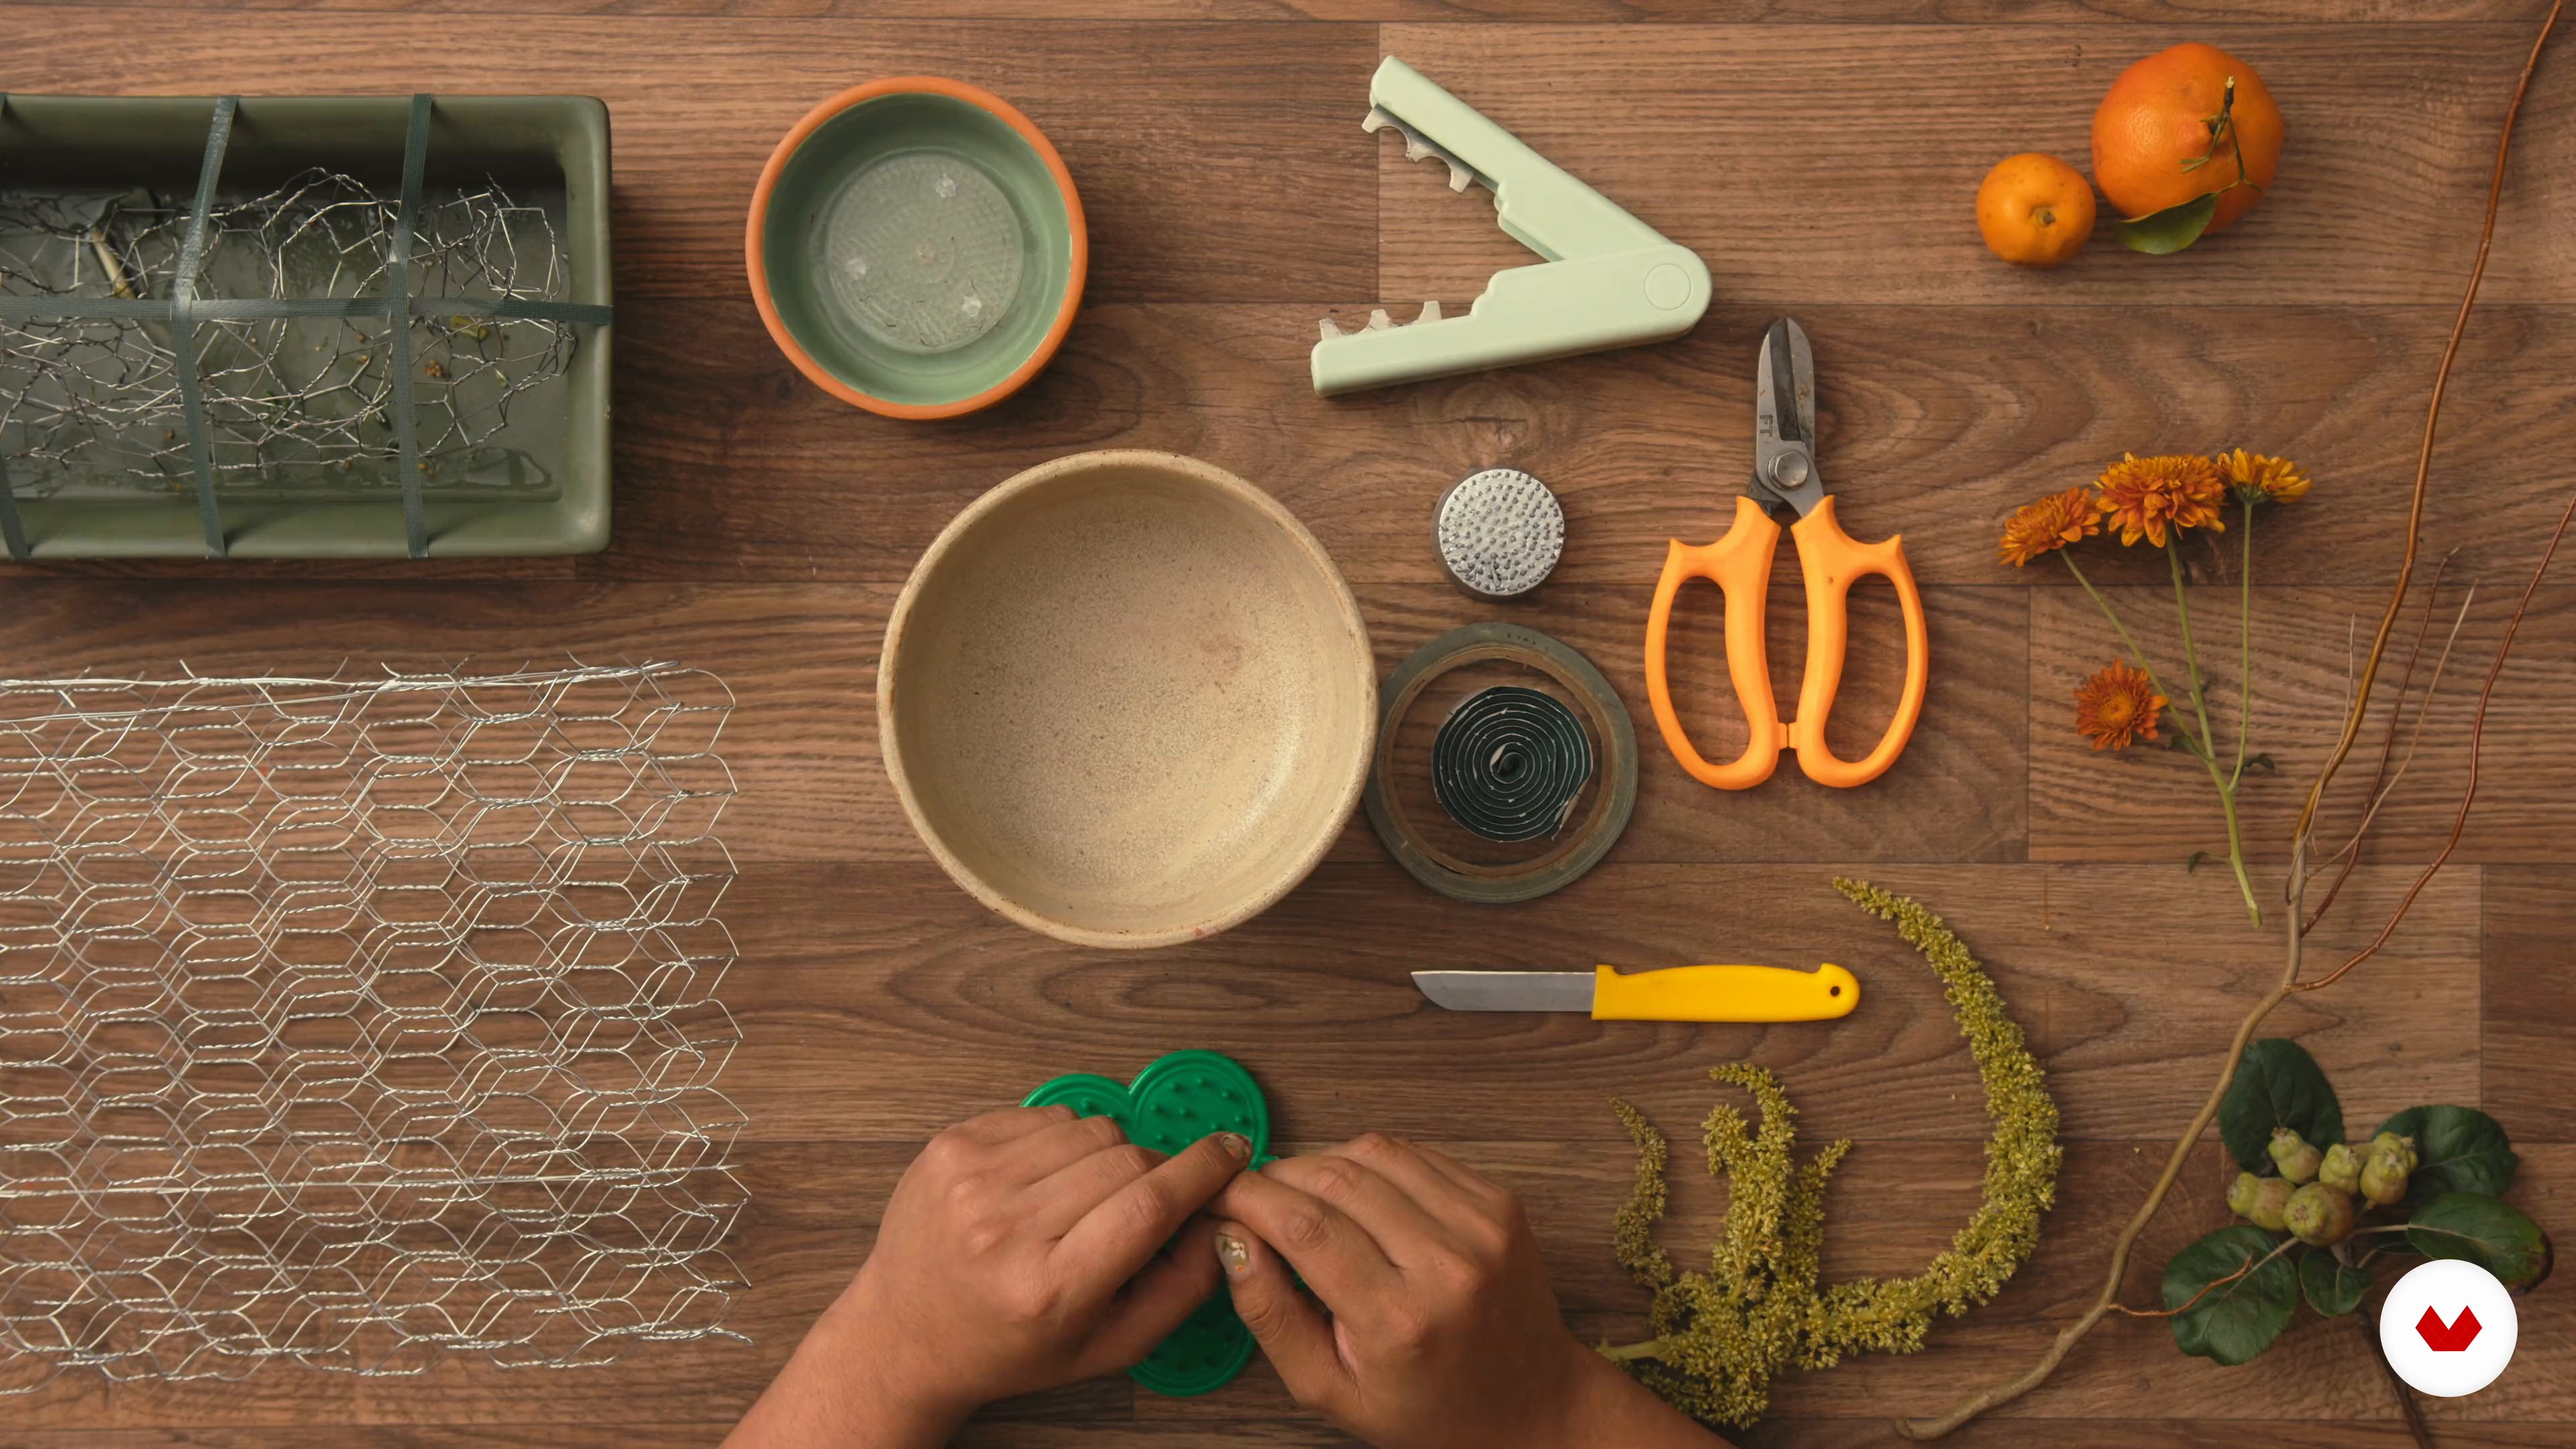
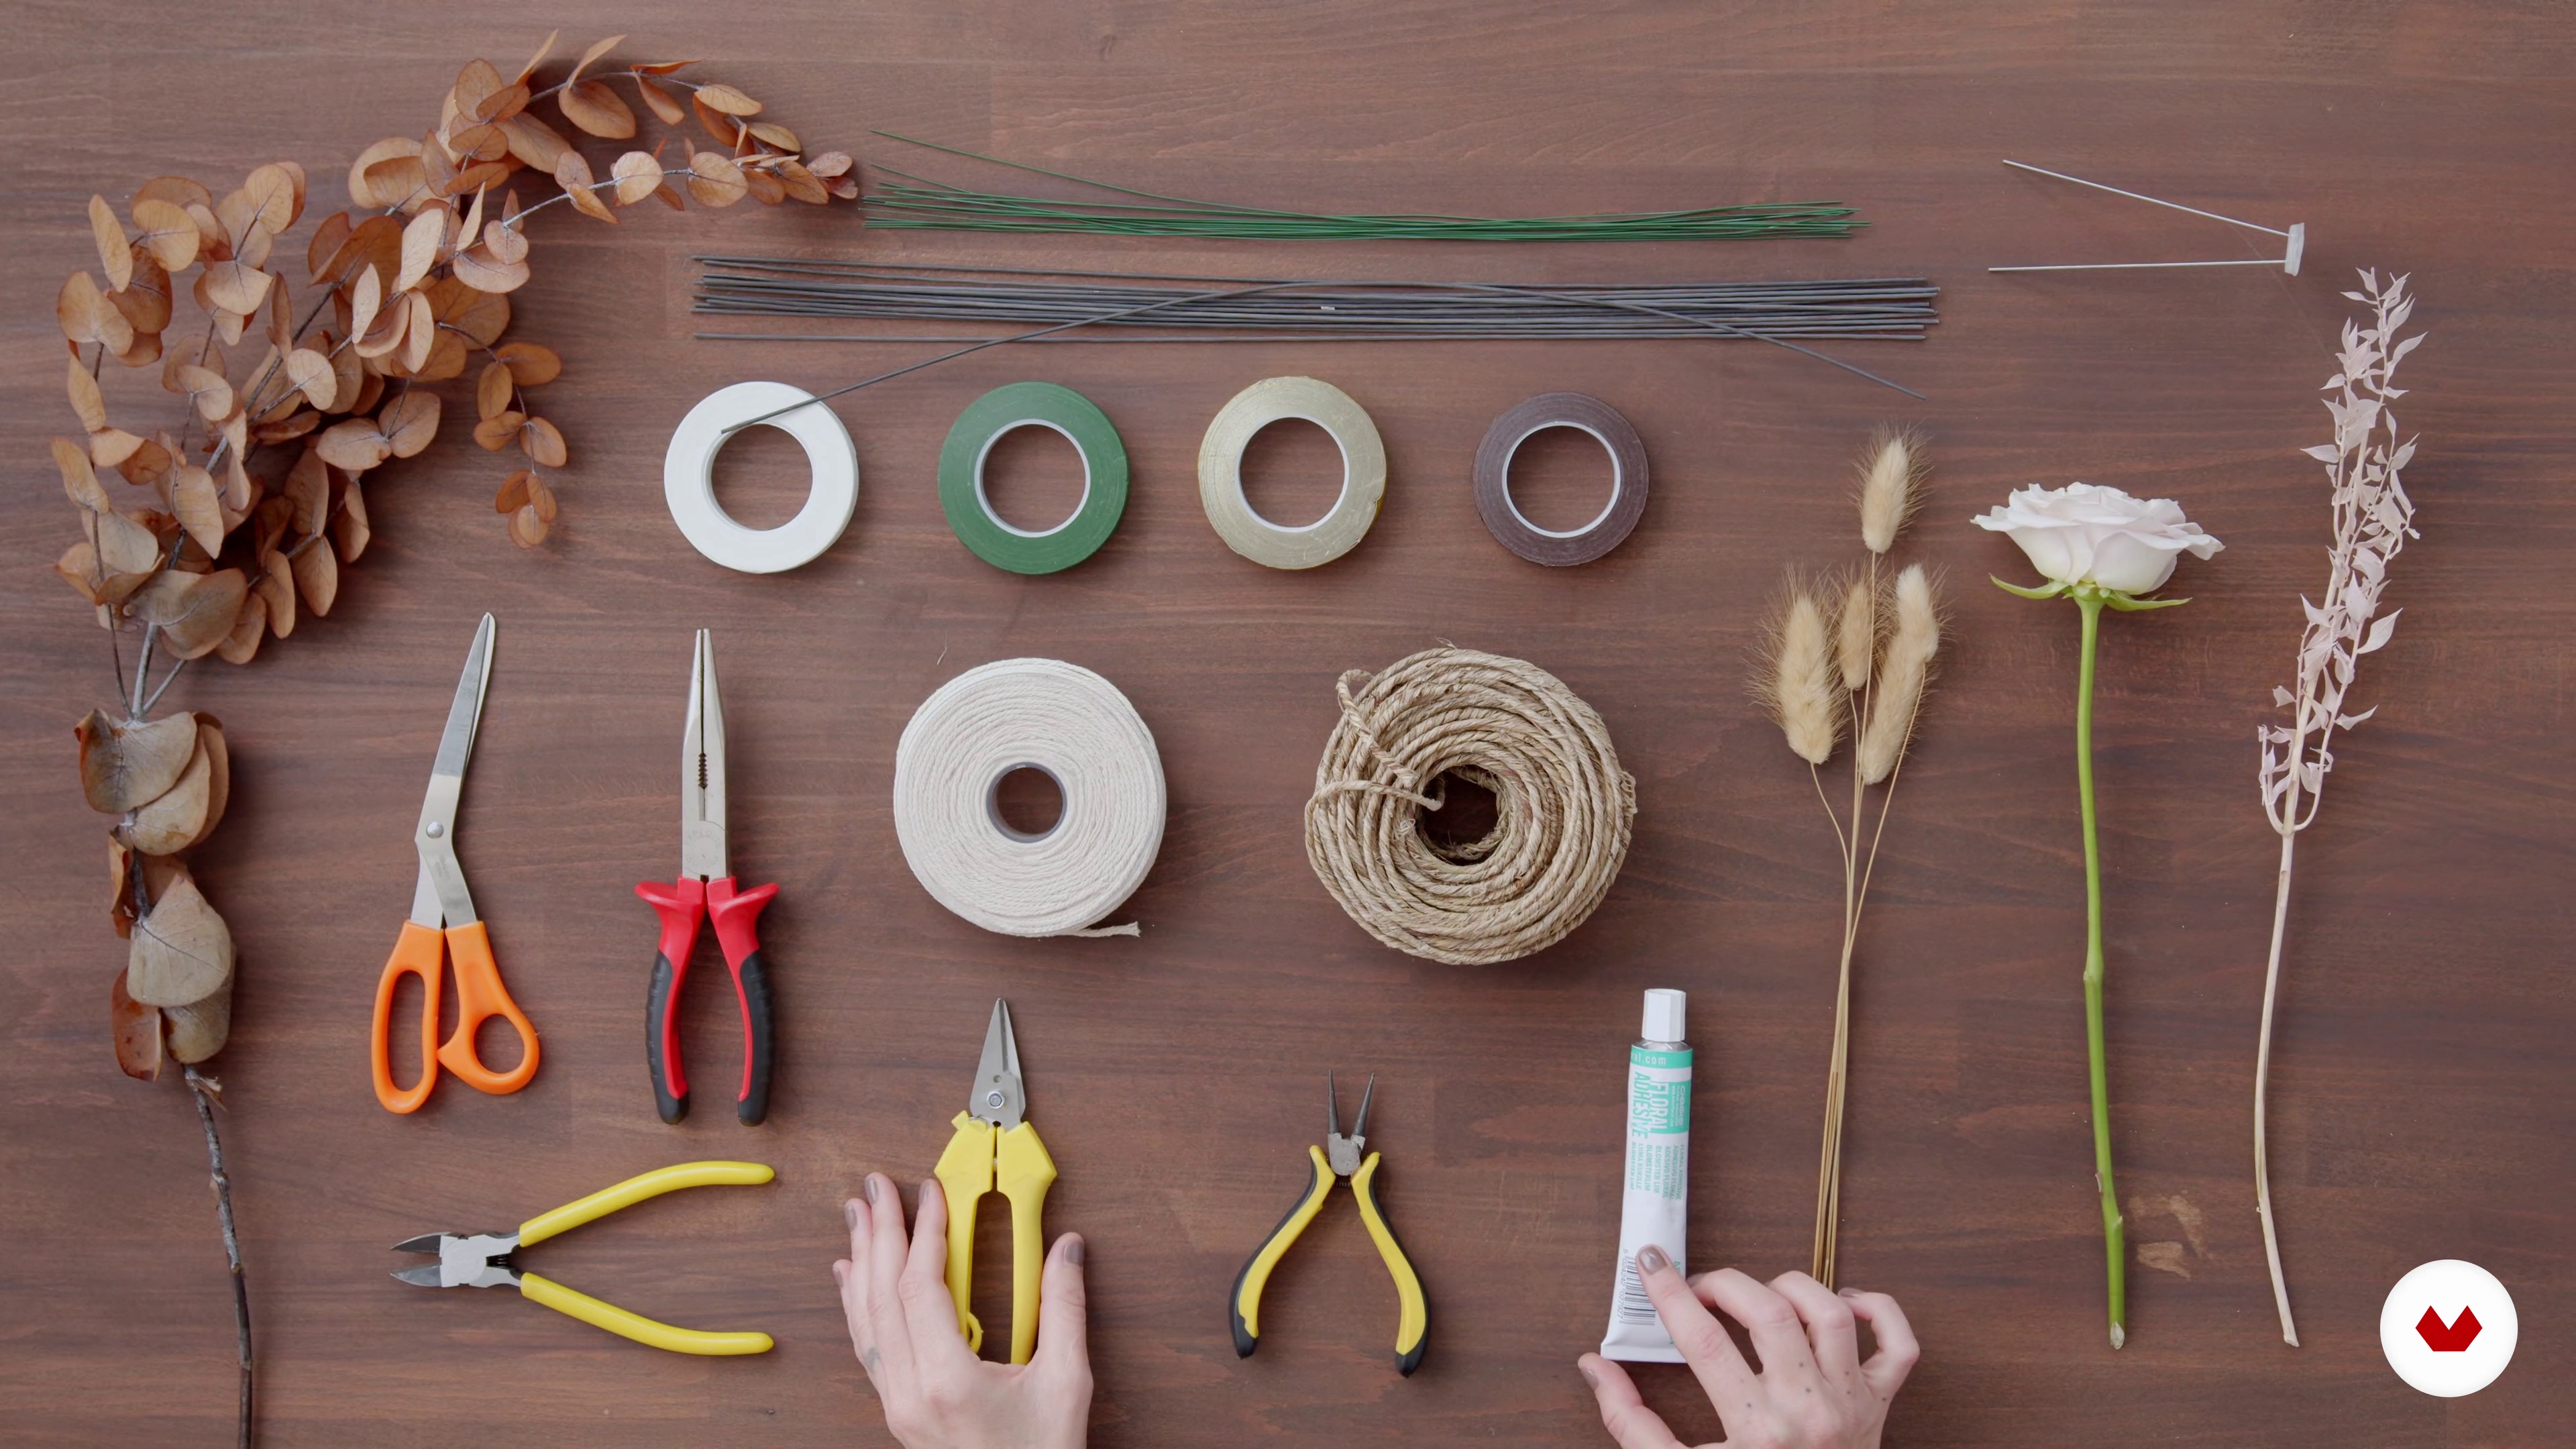
In this lesson I'm going to tell you what materials and tools we need to develop the course.
5m
Hydration and care of the flower
11
Hydration and care of the flower
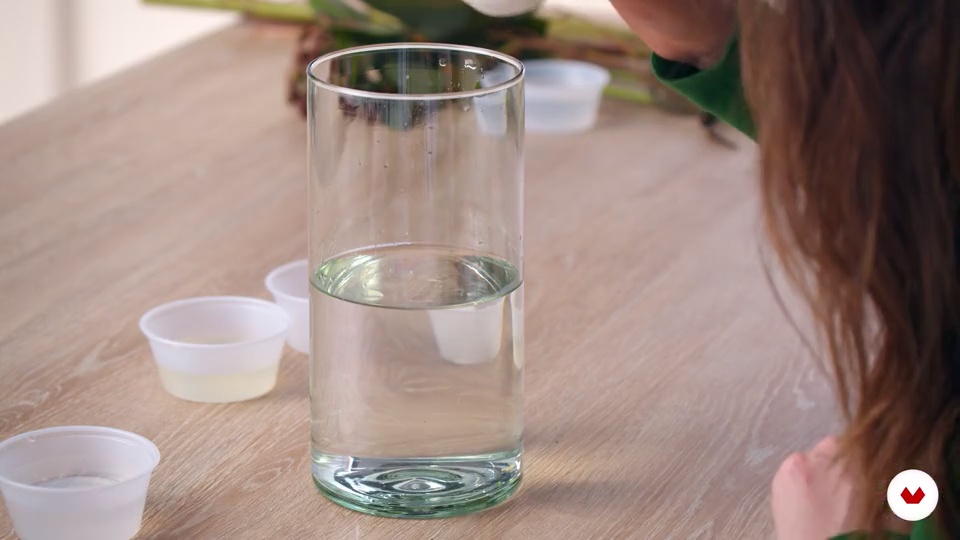
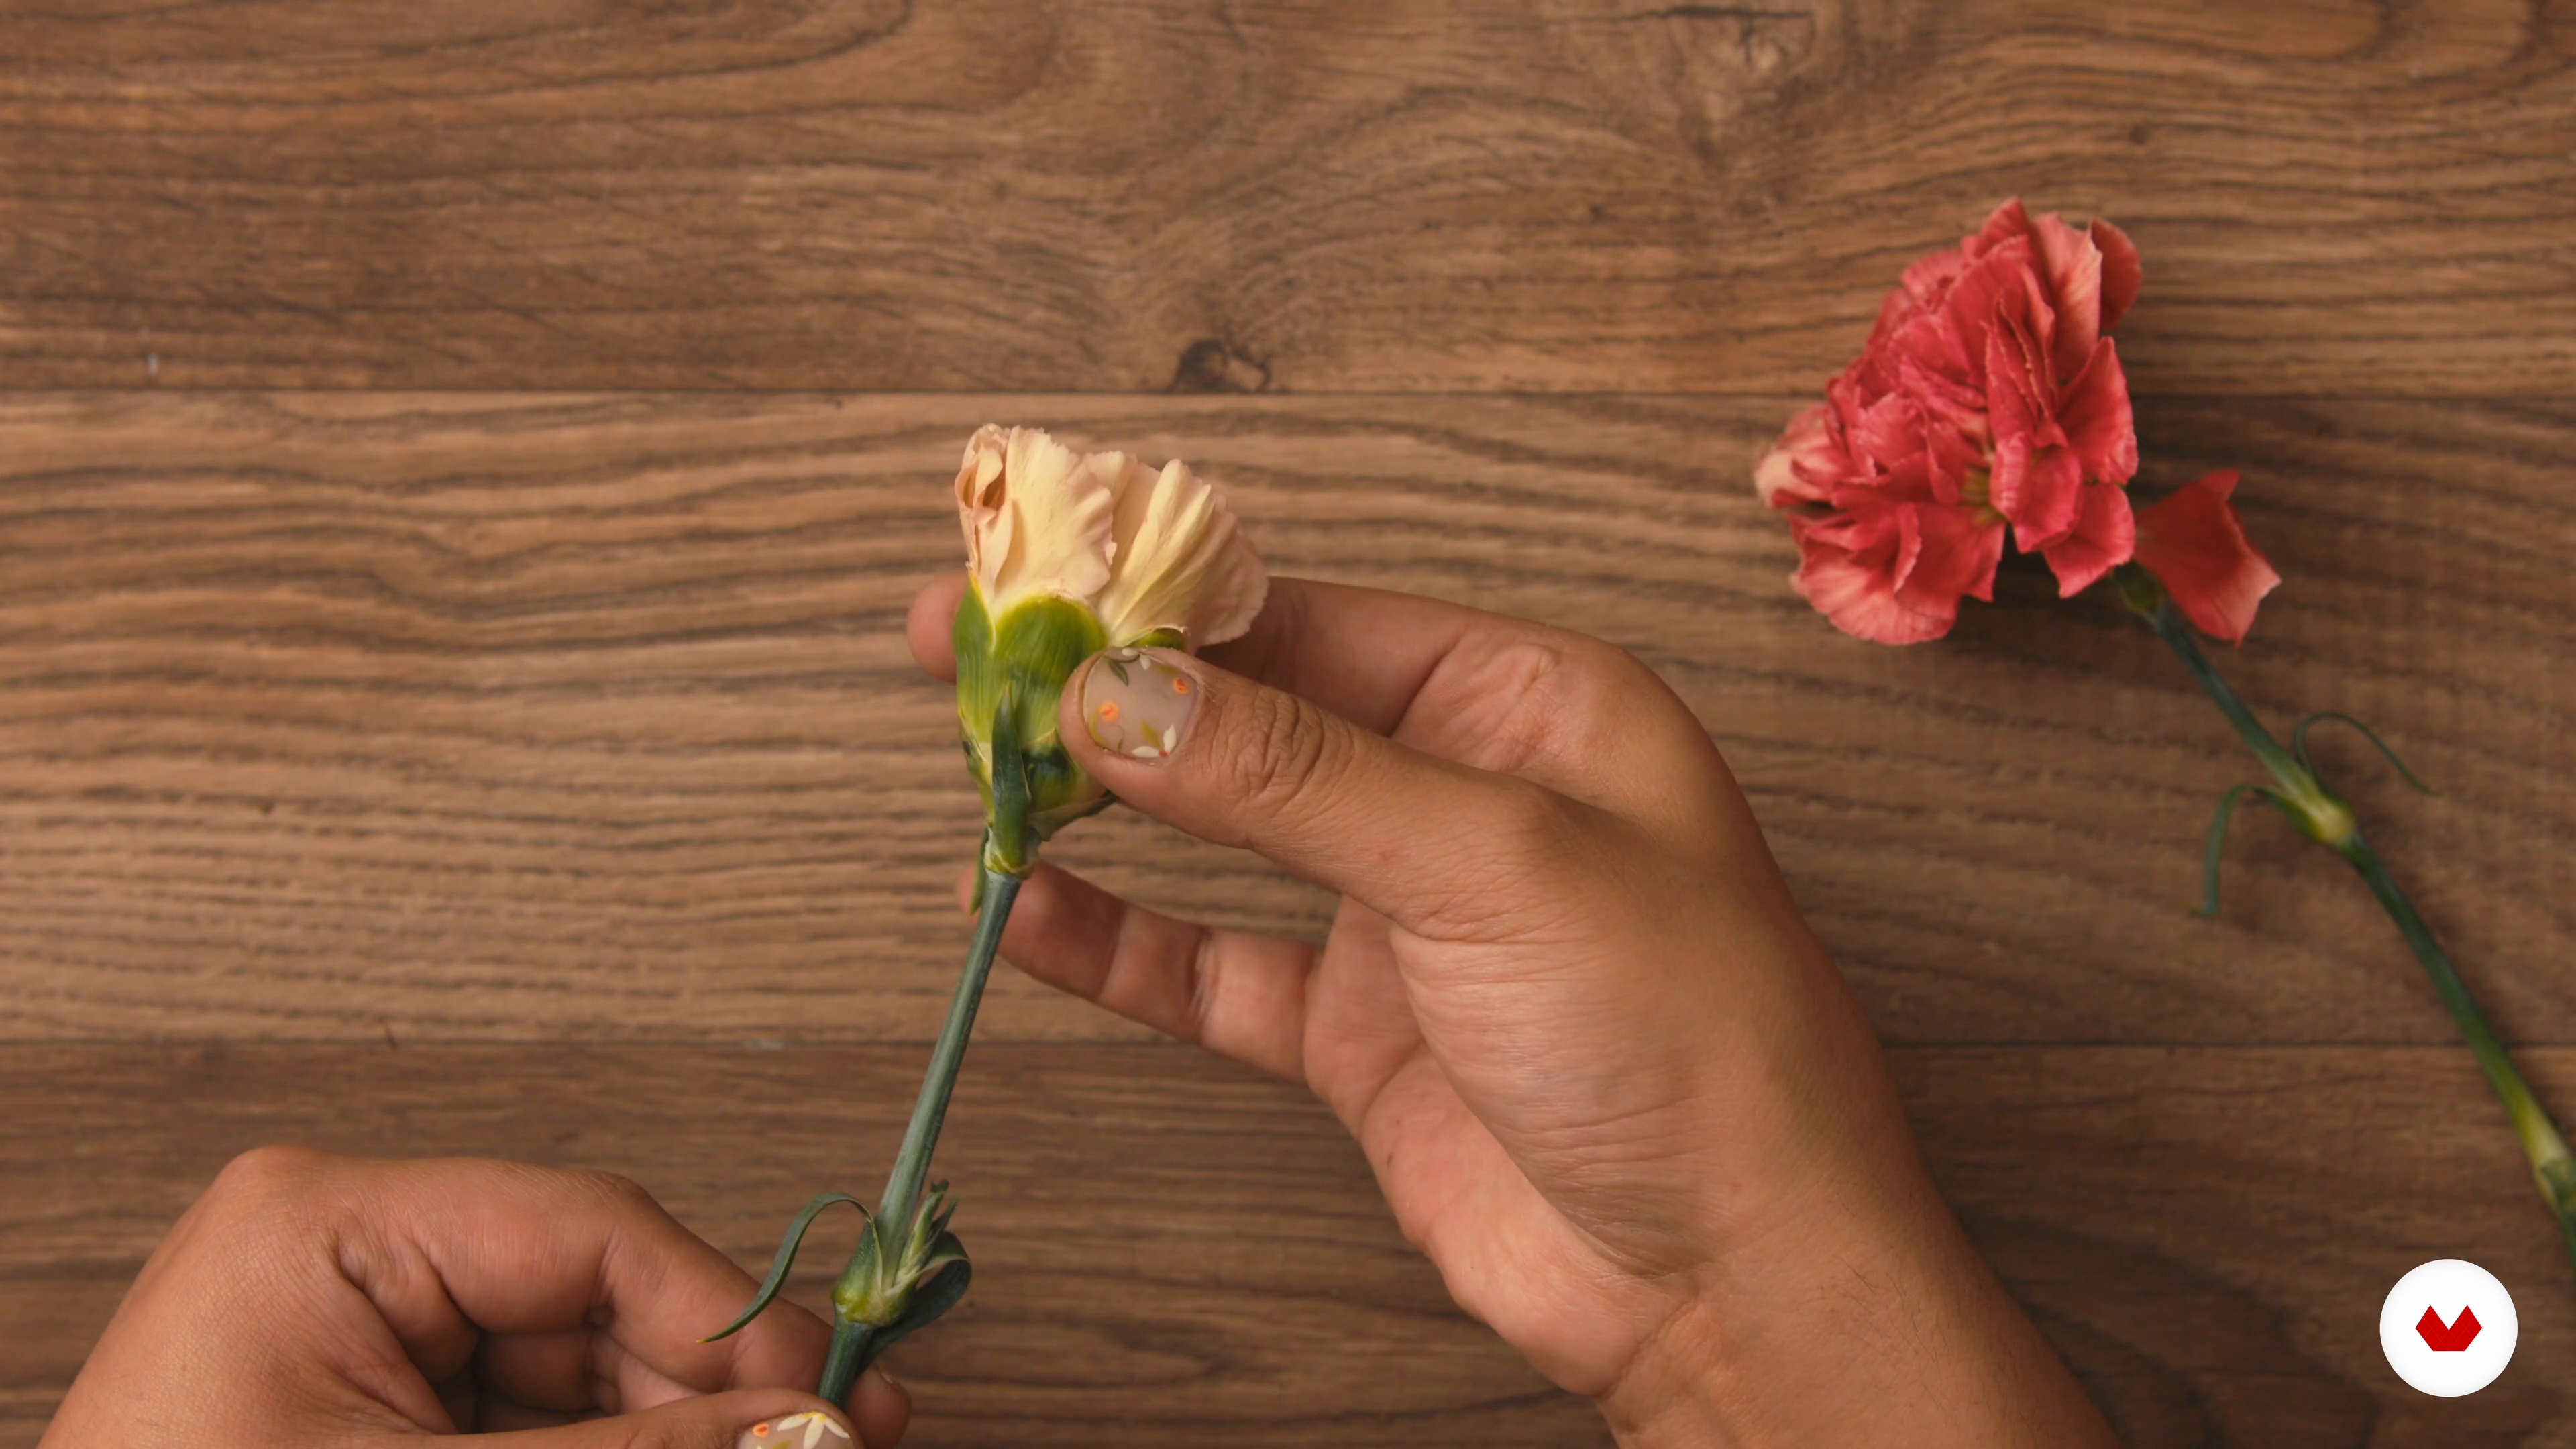
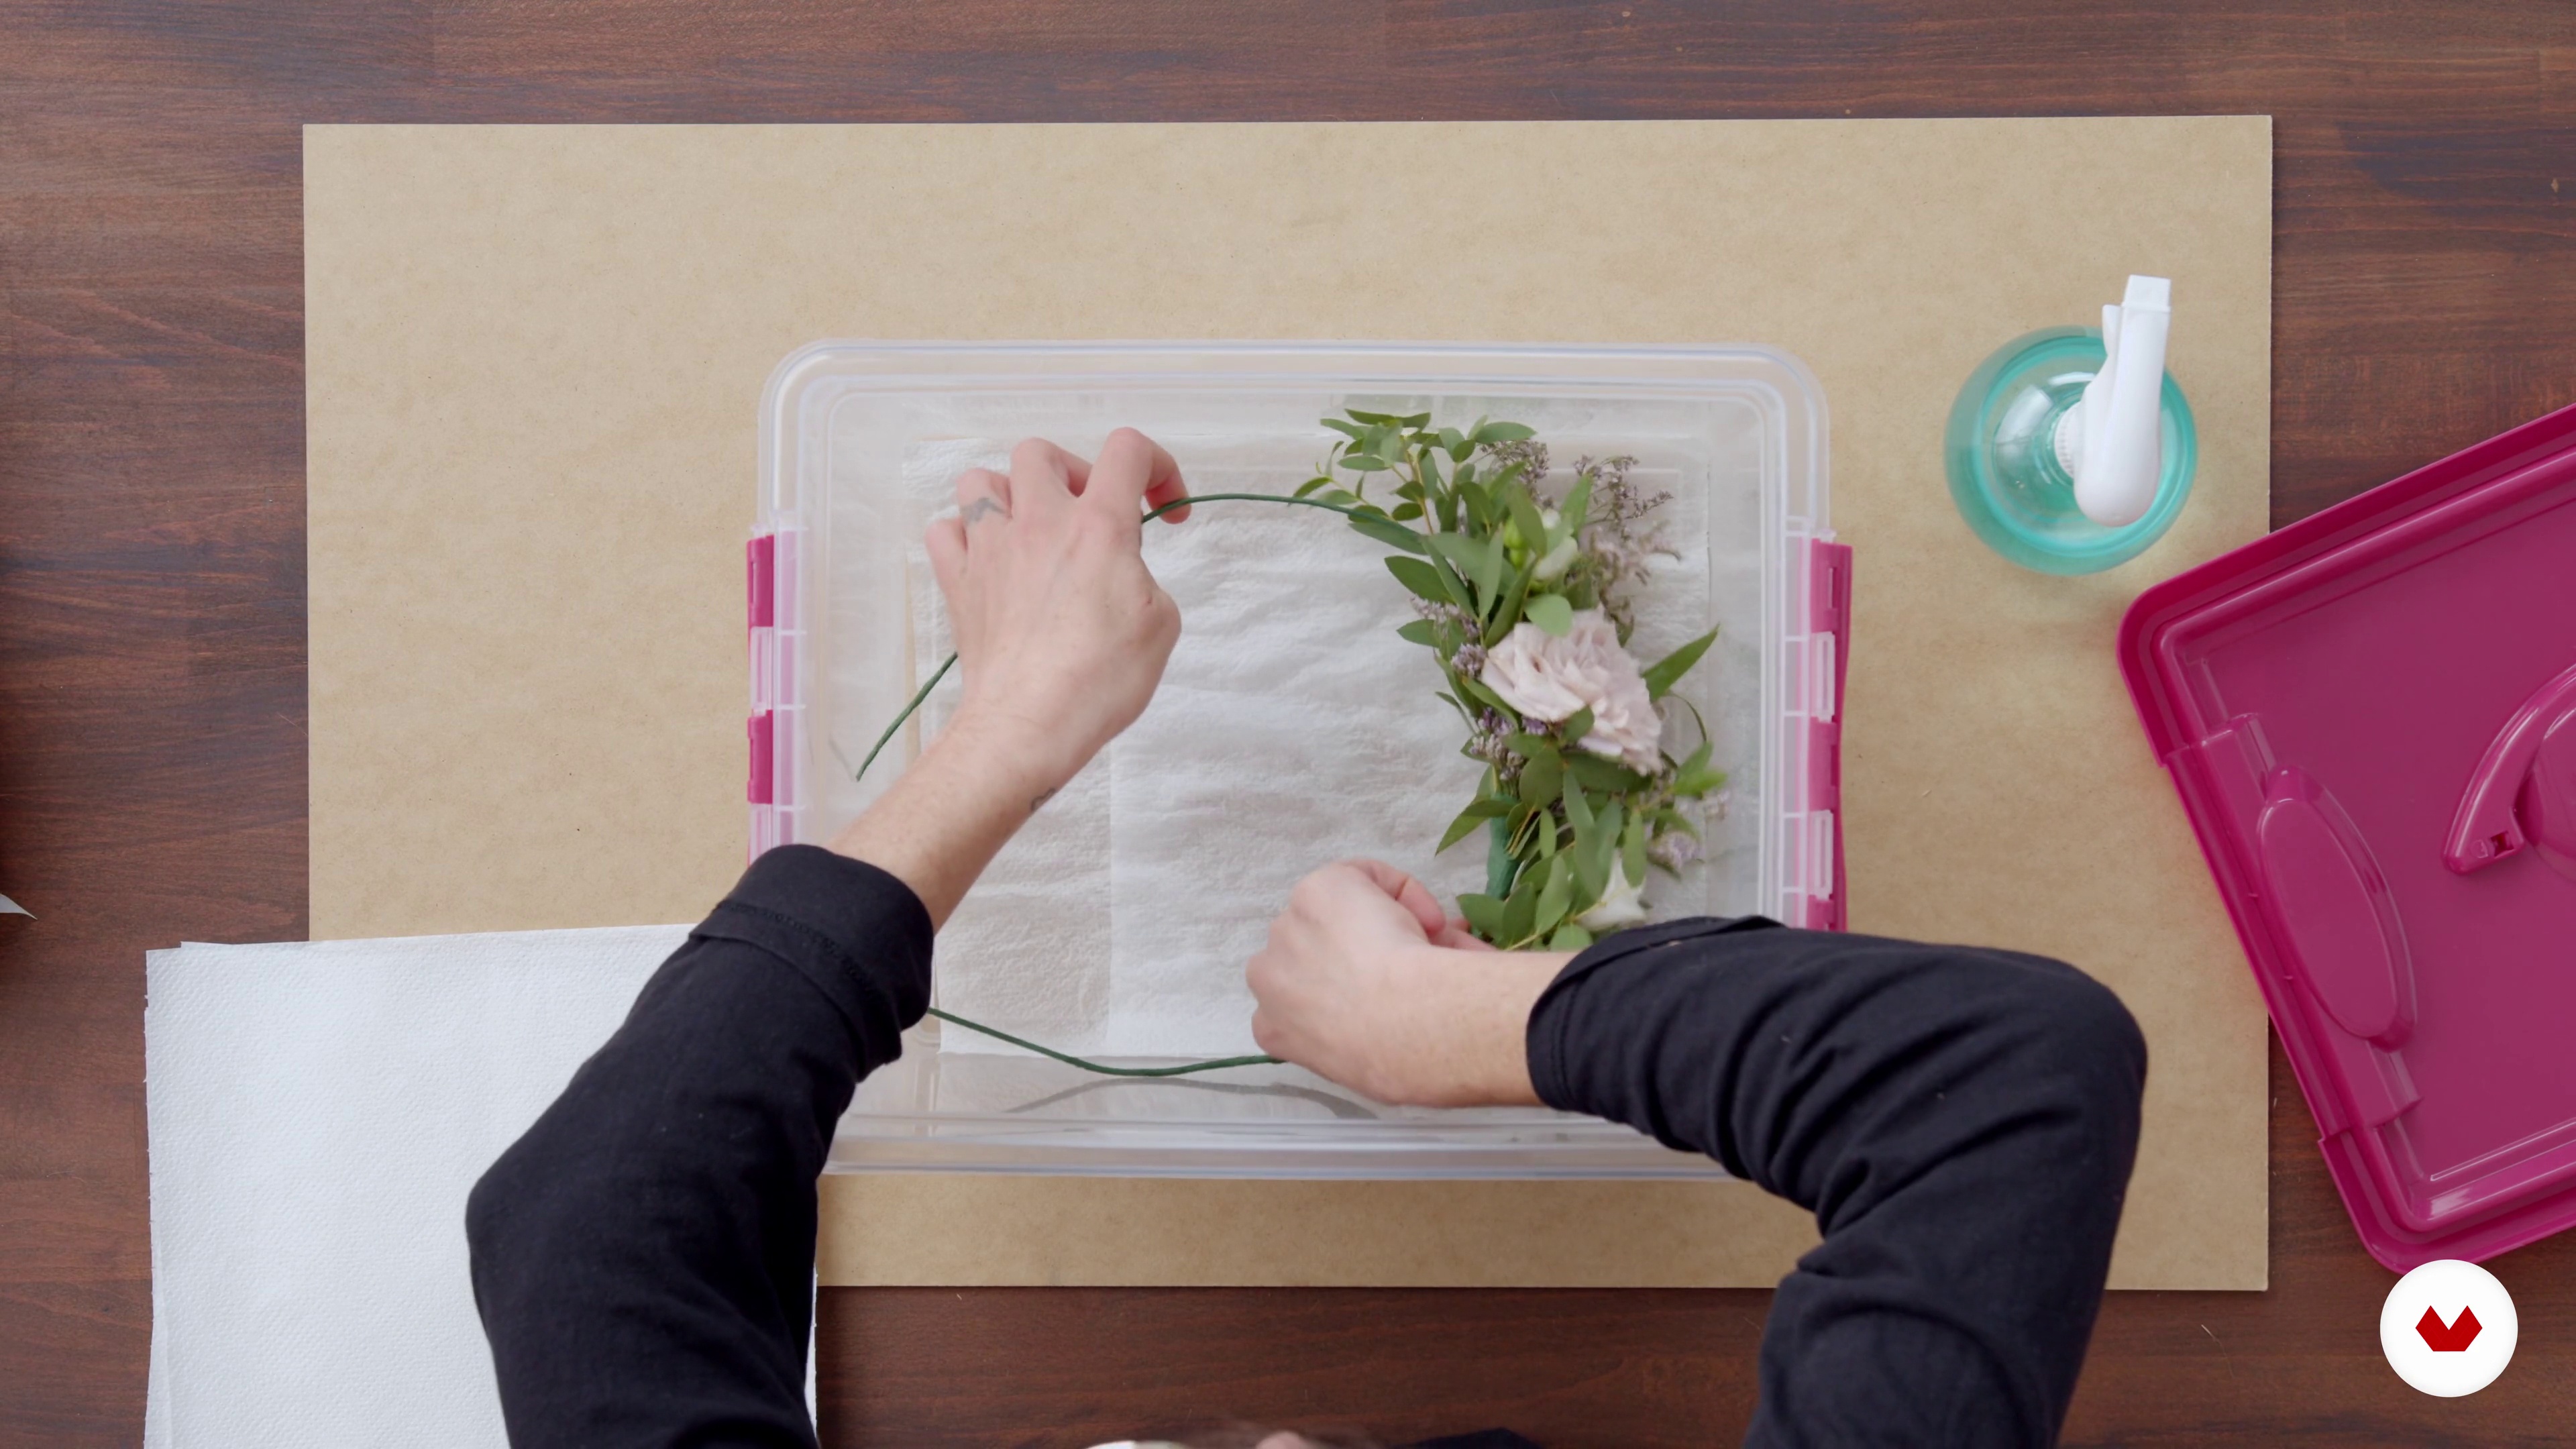
Now I'm going to tell you how to prepare the flowers before making the arrangements. Peeling and moisturizing them are essential steps to ensure our creations remain flawless, fresh, and long-lasting in the subsequent steps.
13m
Arrangements with oasis. Part 1
12
Arrangements with oasis. Part 1
In this lesson, I'll explain the pros and cons of using oasis flowers in floral arrangements. I'll create an elongated centerpiece using oasis flowers, keeping in mind the look I'm going for in my tablescape.
17m
Arrangements with oasis. Part 2
13
Arrangements with oasis. Part 2
In this part I will continue placing the foliage of the composition in oasis.
13m
Arrangements with chicken wire or chicken wire
14
Arrangements with chicken wire or chicken wire
Here I'll explain how to use chicken wire for your floral arrangements. These will also be part of the table we conceptualized earlier, so they should be consistent with the color scheme and theme we need to create the table setting.
12m
Floral cloud
15
Floral cloud
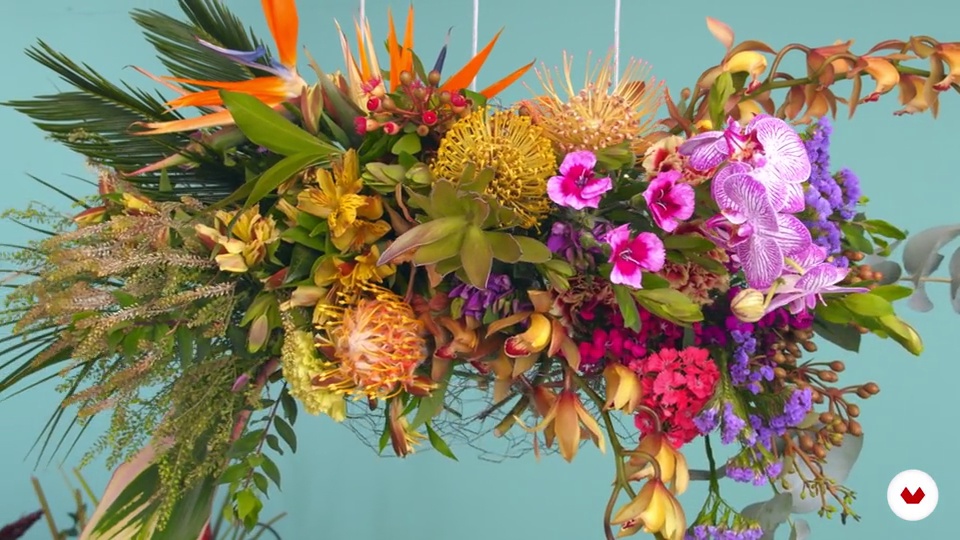
Here, I'll give you a detailed step-by-step guide on how to create a floral cloud. I'll explain what you should consider before creating the cloud, such as analyzing where it will be hung and with what. We'll discuss what type of flowers and foliage are appropriate for this type of arrangement, all while keeping in mind our table settings.
16m
Assembling the table
16
Assembling the table
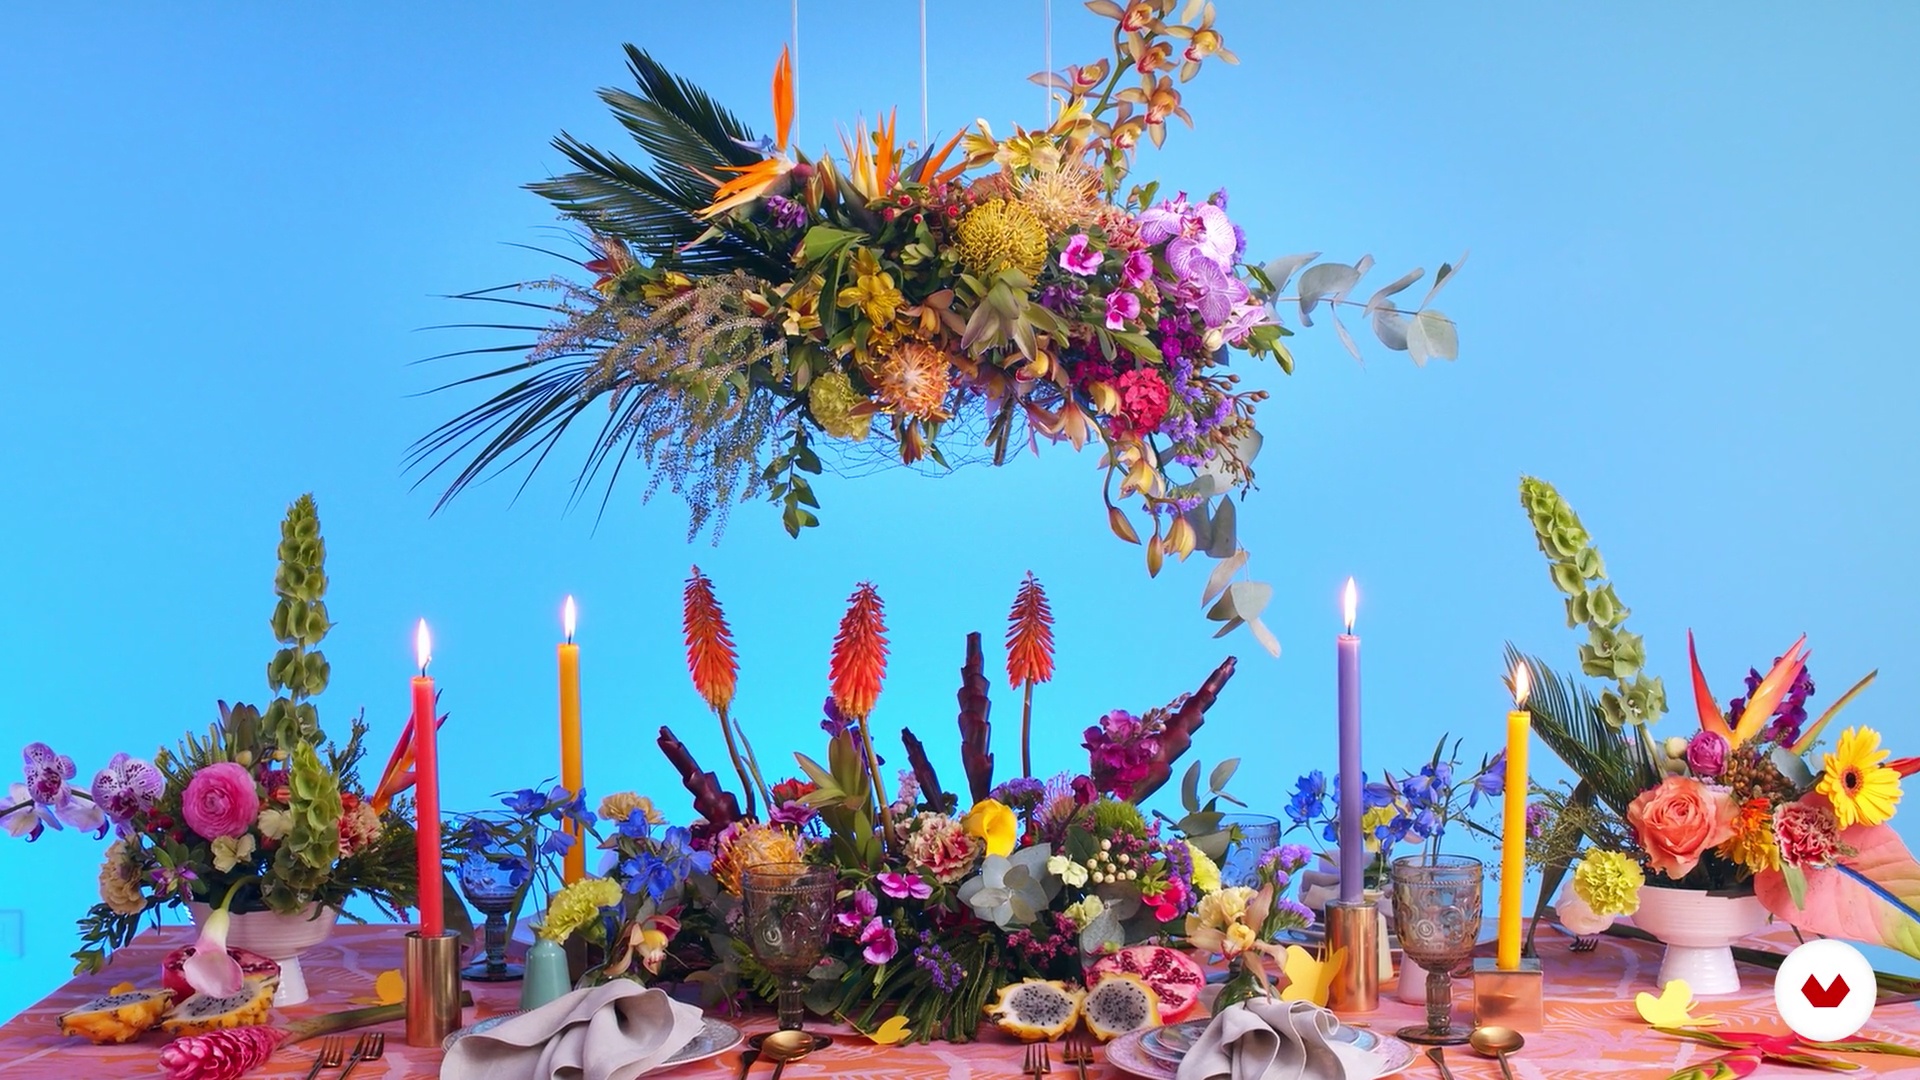
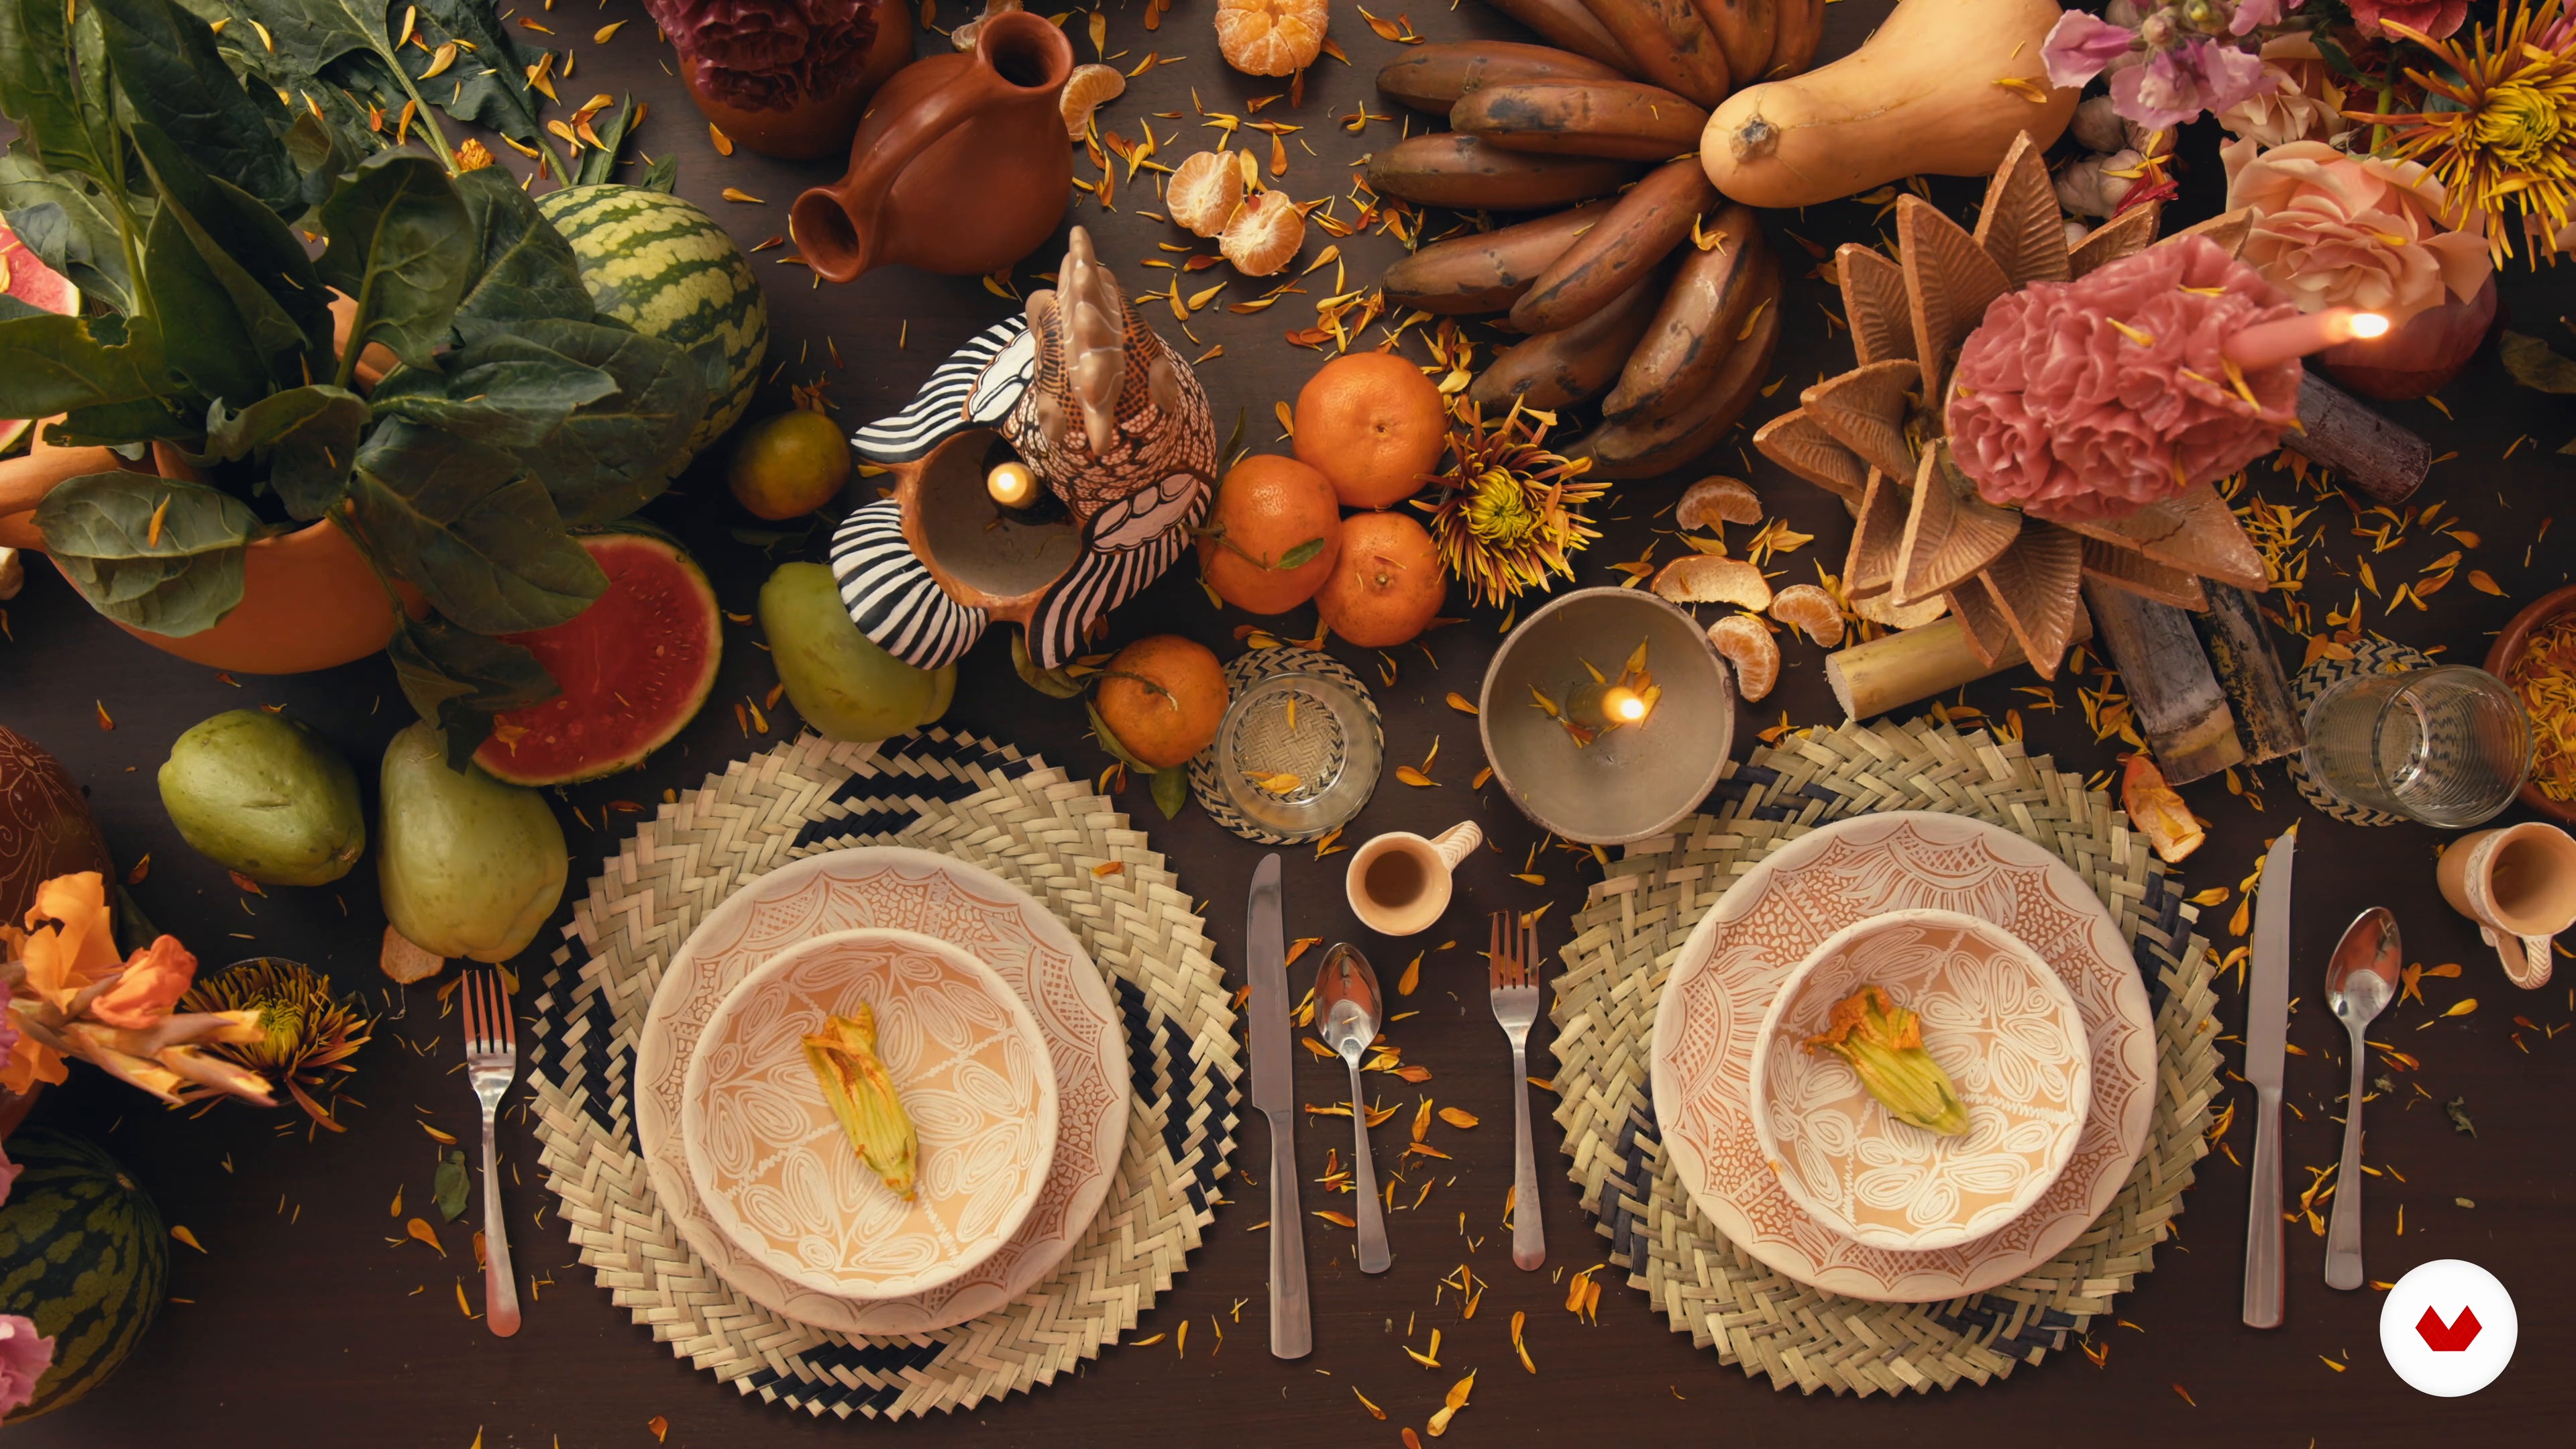
In this lesson, I'll explain the different decorative elements of a table. Then, I'll arrange the floral arrangements to create the tablescape we had planned. I'll talk about using mix-and-match place settings, some ways to position them, and the use of candles to create height effects.
9m
Organic style
3
Organic style
In this lesson, I'm going to begin explaining organic floral design through the elements that nature offers us, such as shapes, space, colors... I'll also talk to you about seasonal flowers.
9m
Materials and tools
4
Materials and tools
Now I'm going to tell you what tools you need to get into the world of floral styling.
2m
How to buy flowers and foliage
5
How to buy flowers and foliage
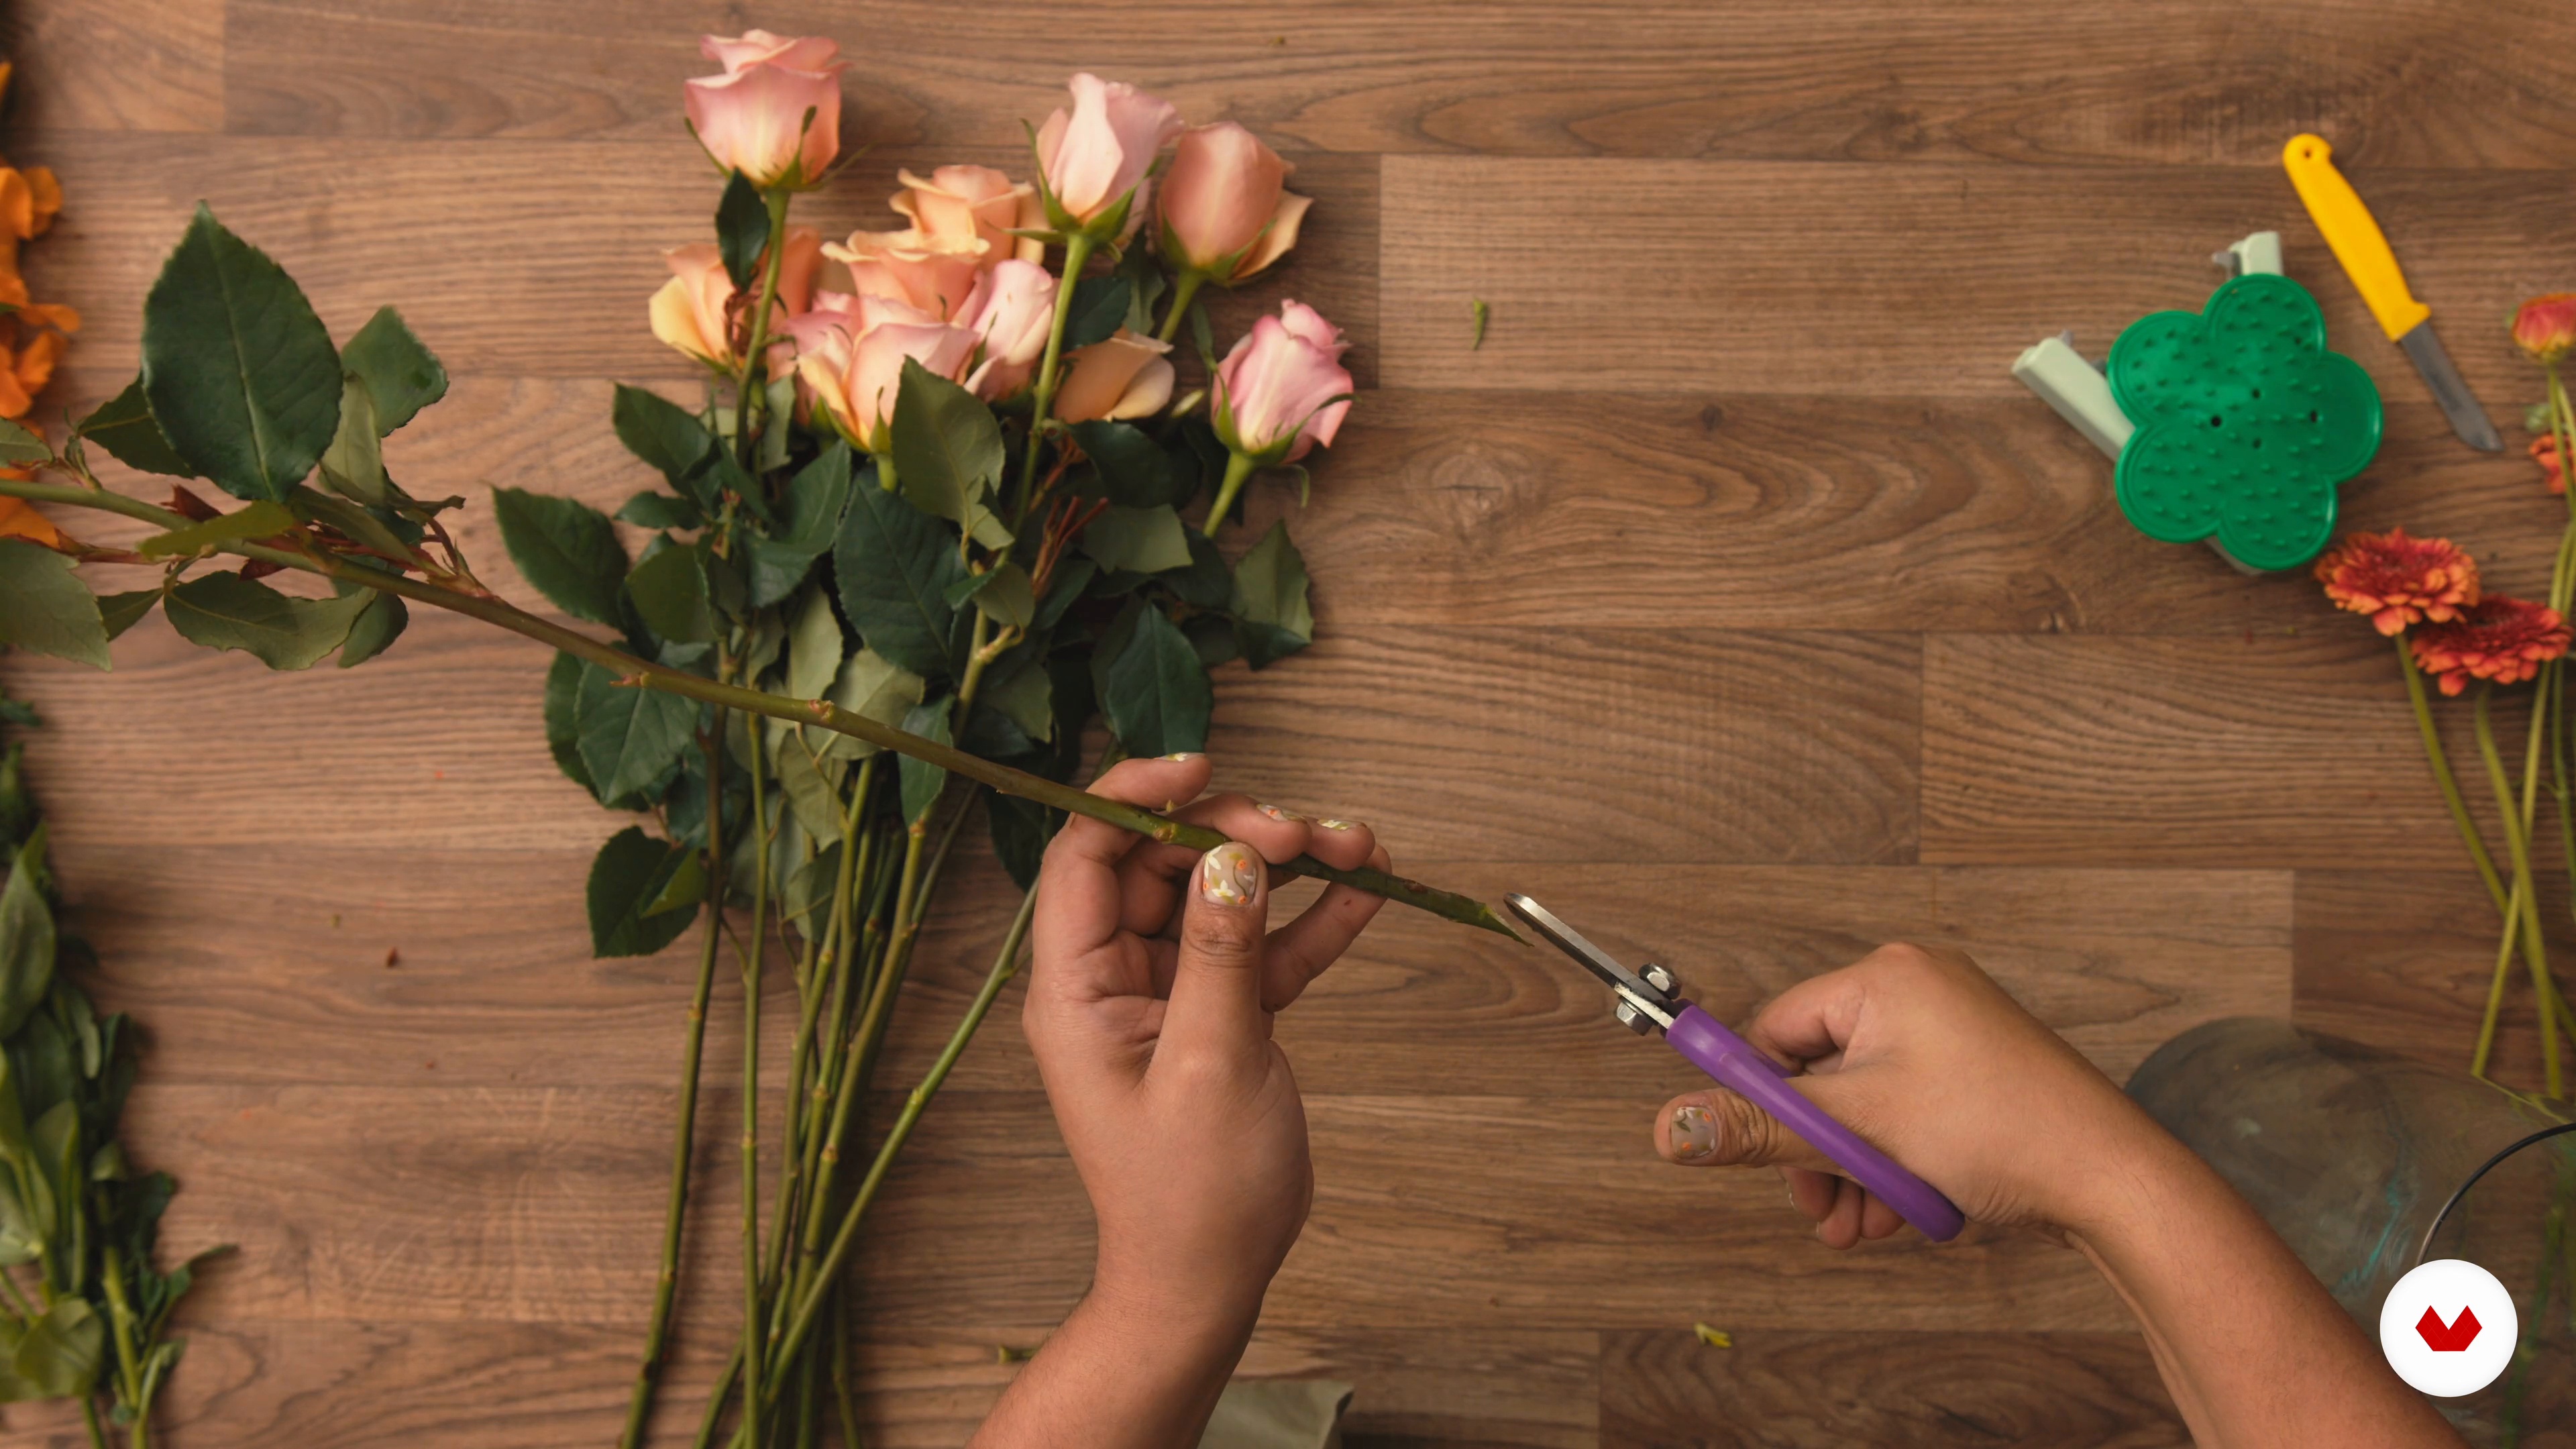
Have you ever bought flowers before? No? Don't worry! In this lesson, you'll learn the basics you need to know to successfully purchase flowers from your supplier.
6m
How to develop your idea
6
How to develop your idea
In this lesson, we prepare to begin our project. I'll share my process for transforming an idea into a floral design.
9m
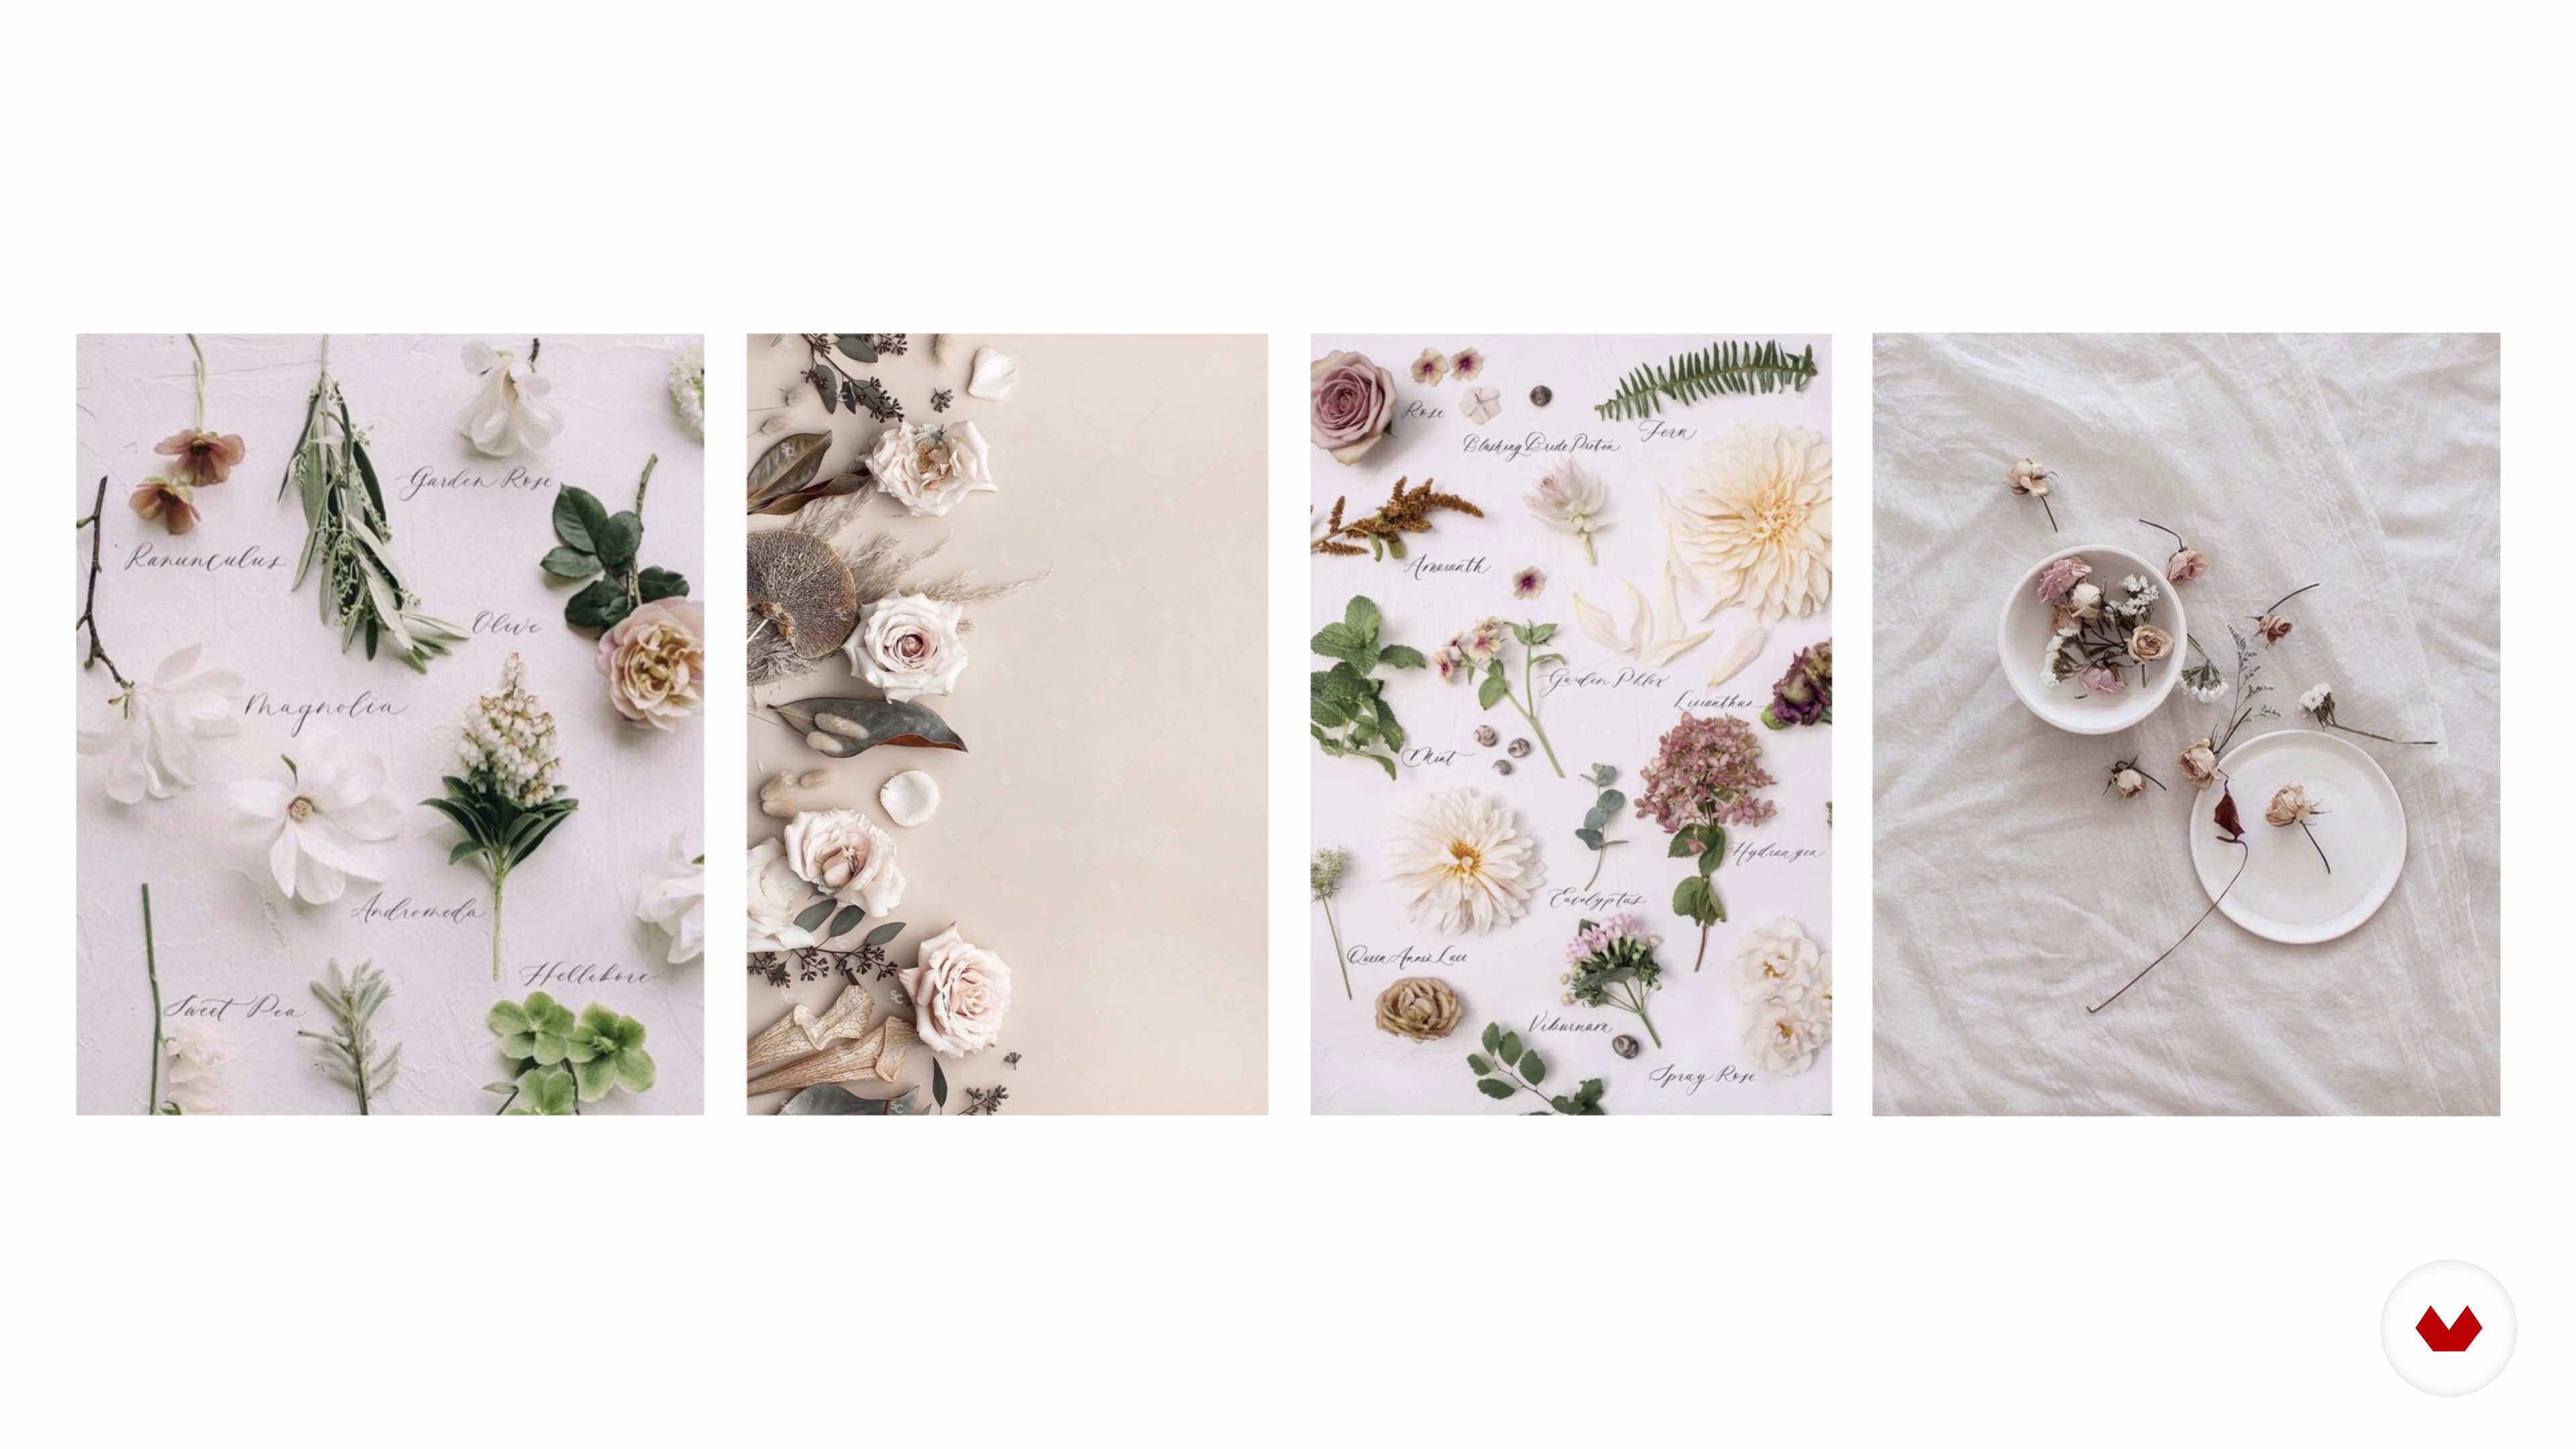
Creation of the mood board
7
Creation of the mood board
Now I'm going to show you the basics of what you should look for and how to organize that inspiration to achieve a coherent story.
10m
How to condition flowers and foliage
8
How to condition flowers and foliage
Finally, I want to show you how to condition flowers and foliage so that they are properly hydrated and can last much longer.
17m
Centerpiece with curly mesh 1
9
Centerpiece with curly mesh 1
In this lesson, I'll teach you how to create a centerpiece using a natural mesh made from branches and how to make the floral piece diverse, organic, and vibrant.
18m
Centerpiece with curly mesh 2
10
Centerpiece with curly mesh 2
I'm continuing to create my centerpiece design, which I started in the previous video. Follow along step-by-step so you can apply the concepts you've learned to your project.
9m
Floral Island with Chicken Wire
11
Floral Island with Chicken Wire
In this lesson, you'll learn how to make floral islands with chicken wire. These are super versatile for creating installations or for creating a more abundant tablescape or layout.
20m
Kenzan technique
12
Kenzan technique
Let's move on to a new technique. In this case, I'll teach you how to use the kenzan technique and the tips to make your design more natural.
10m
Minimalist floral styling
13
Minimalist floral styling
In this lesson, I'll teach you how to create a minimalist floral design by using a few elements on the table to tell the story in a more conceptual way.
11m
Maximalist floral styling
14
Maximalist floral styling
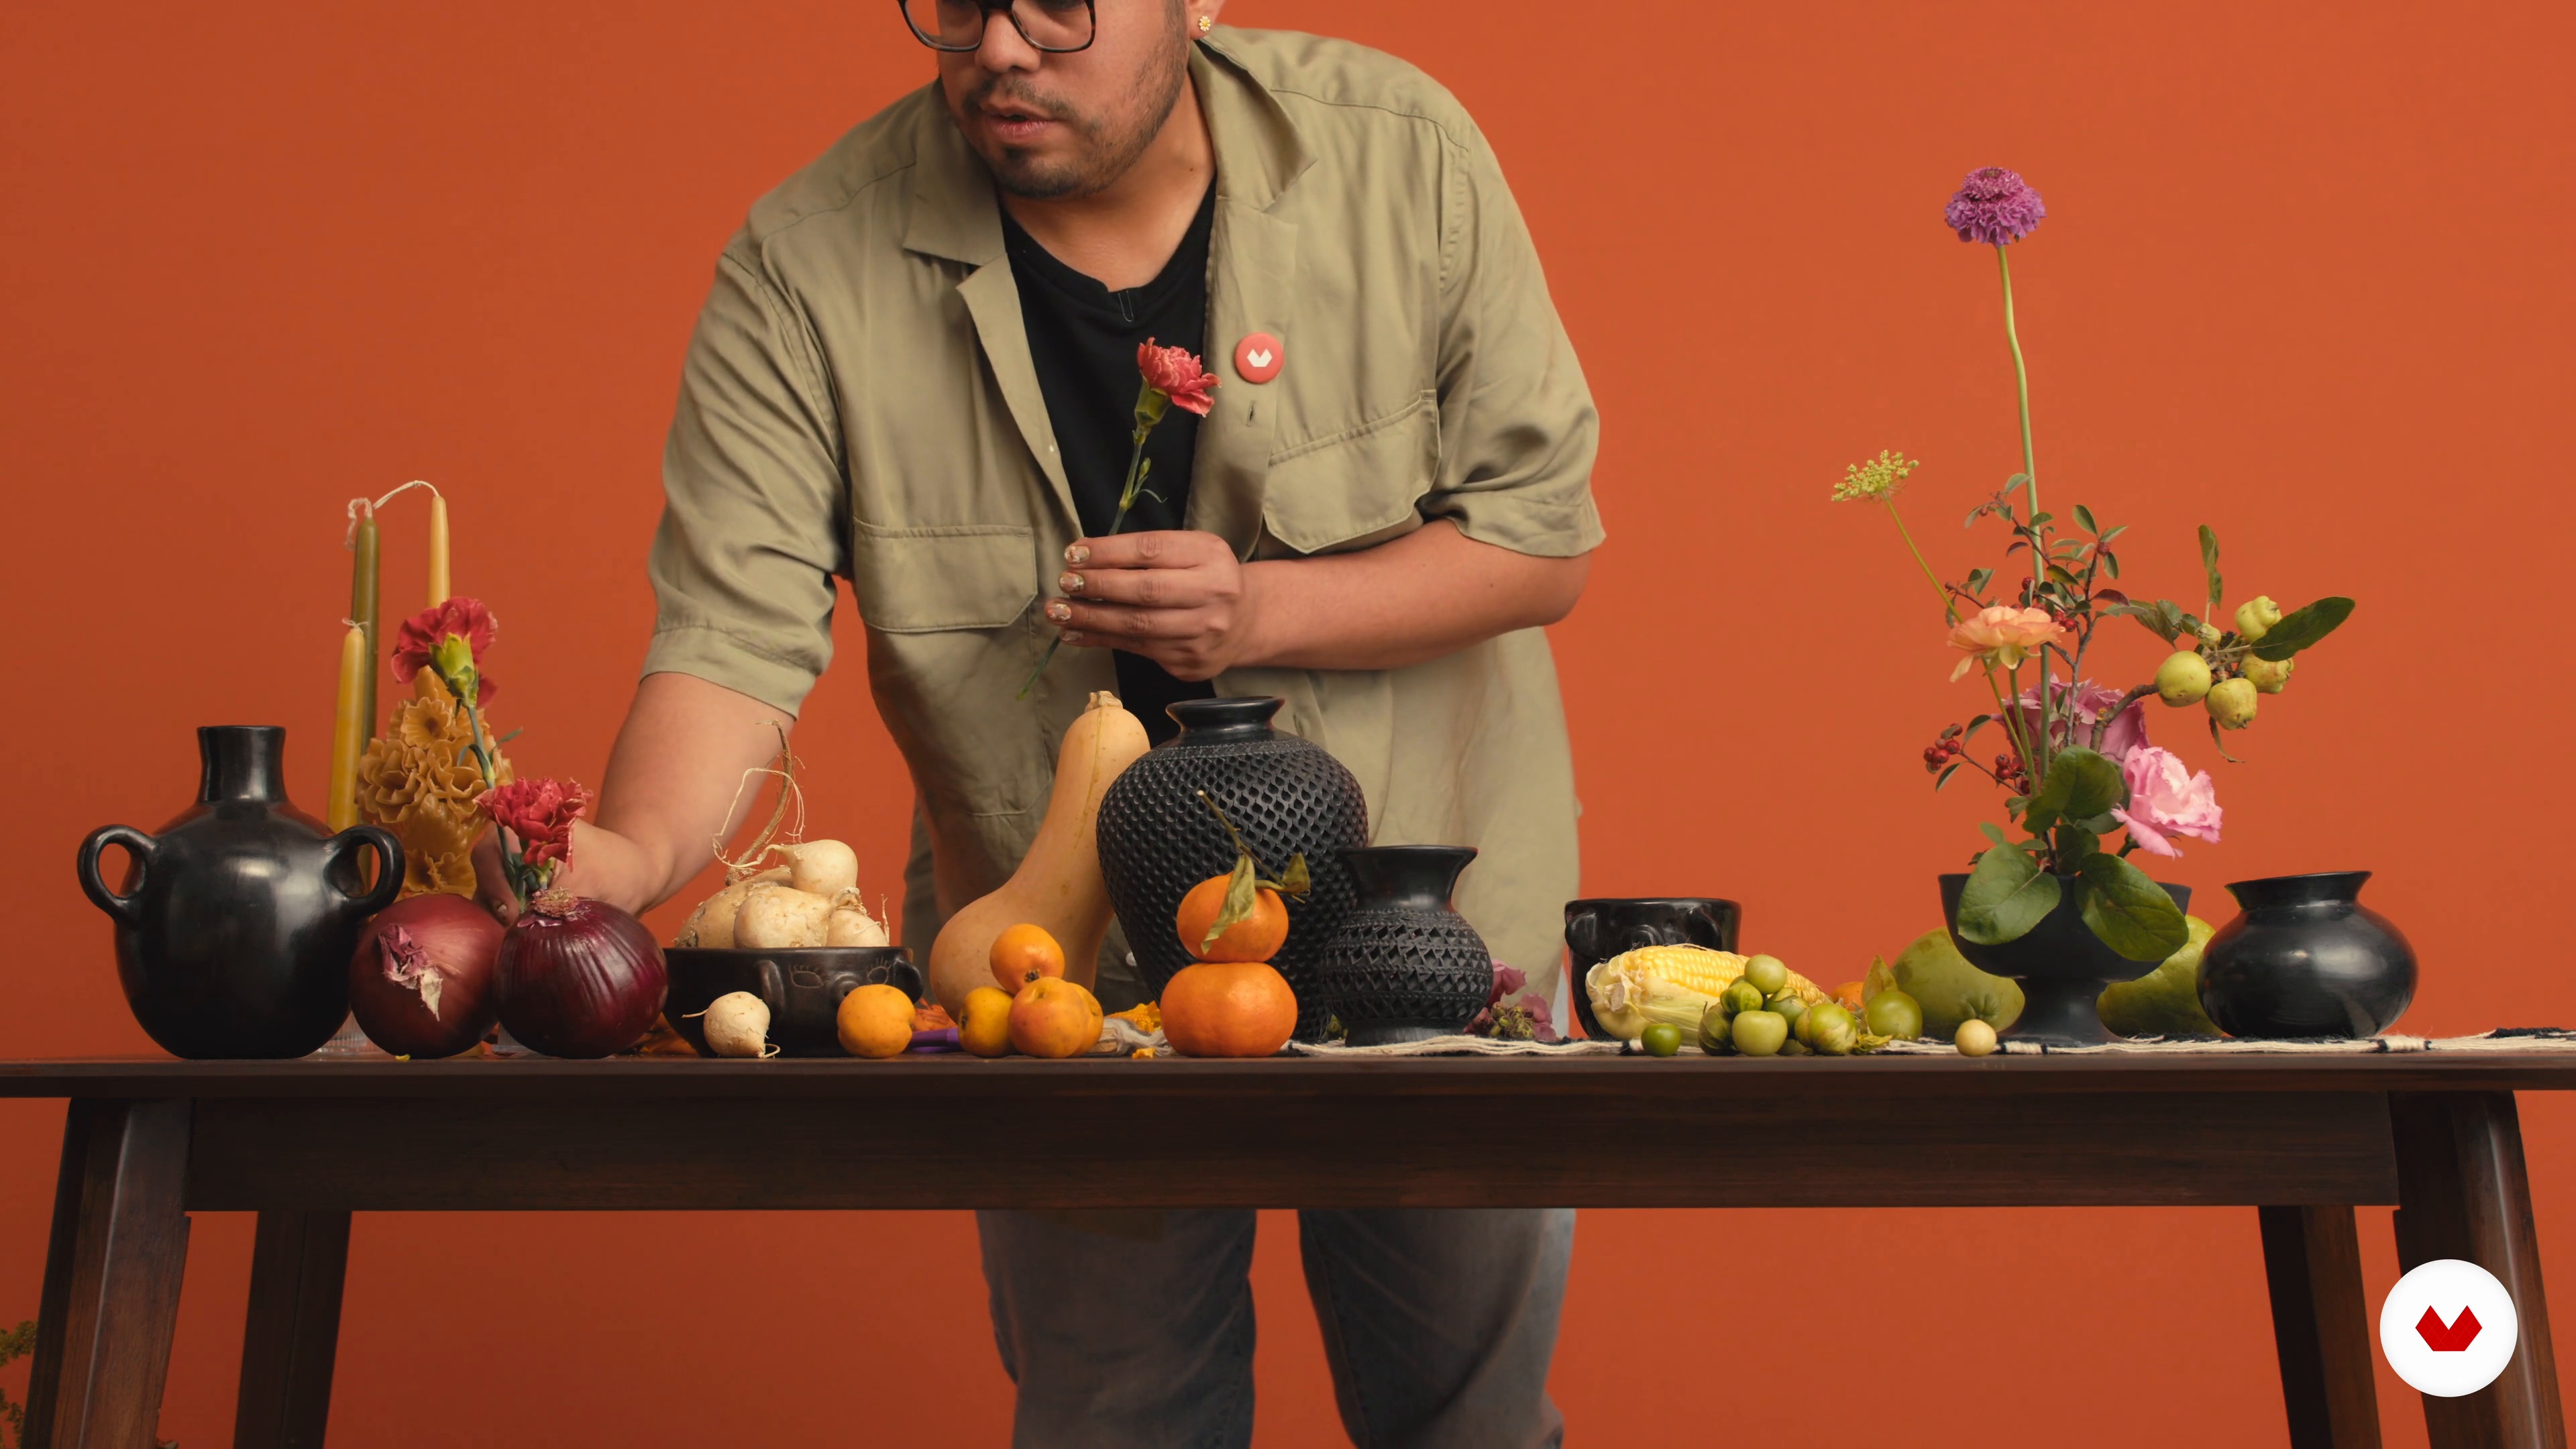
With the floral design elements I've shown you, it's time to create a bountiful tablescape inspired by the markets of Oaxaca. I'll show you how to build this look and the key elements to make each piece stand out.
9m
Tools and materials
3
Tools and materials
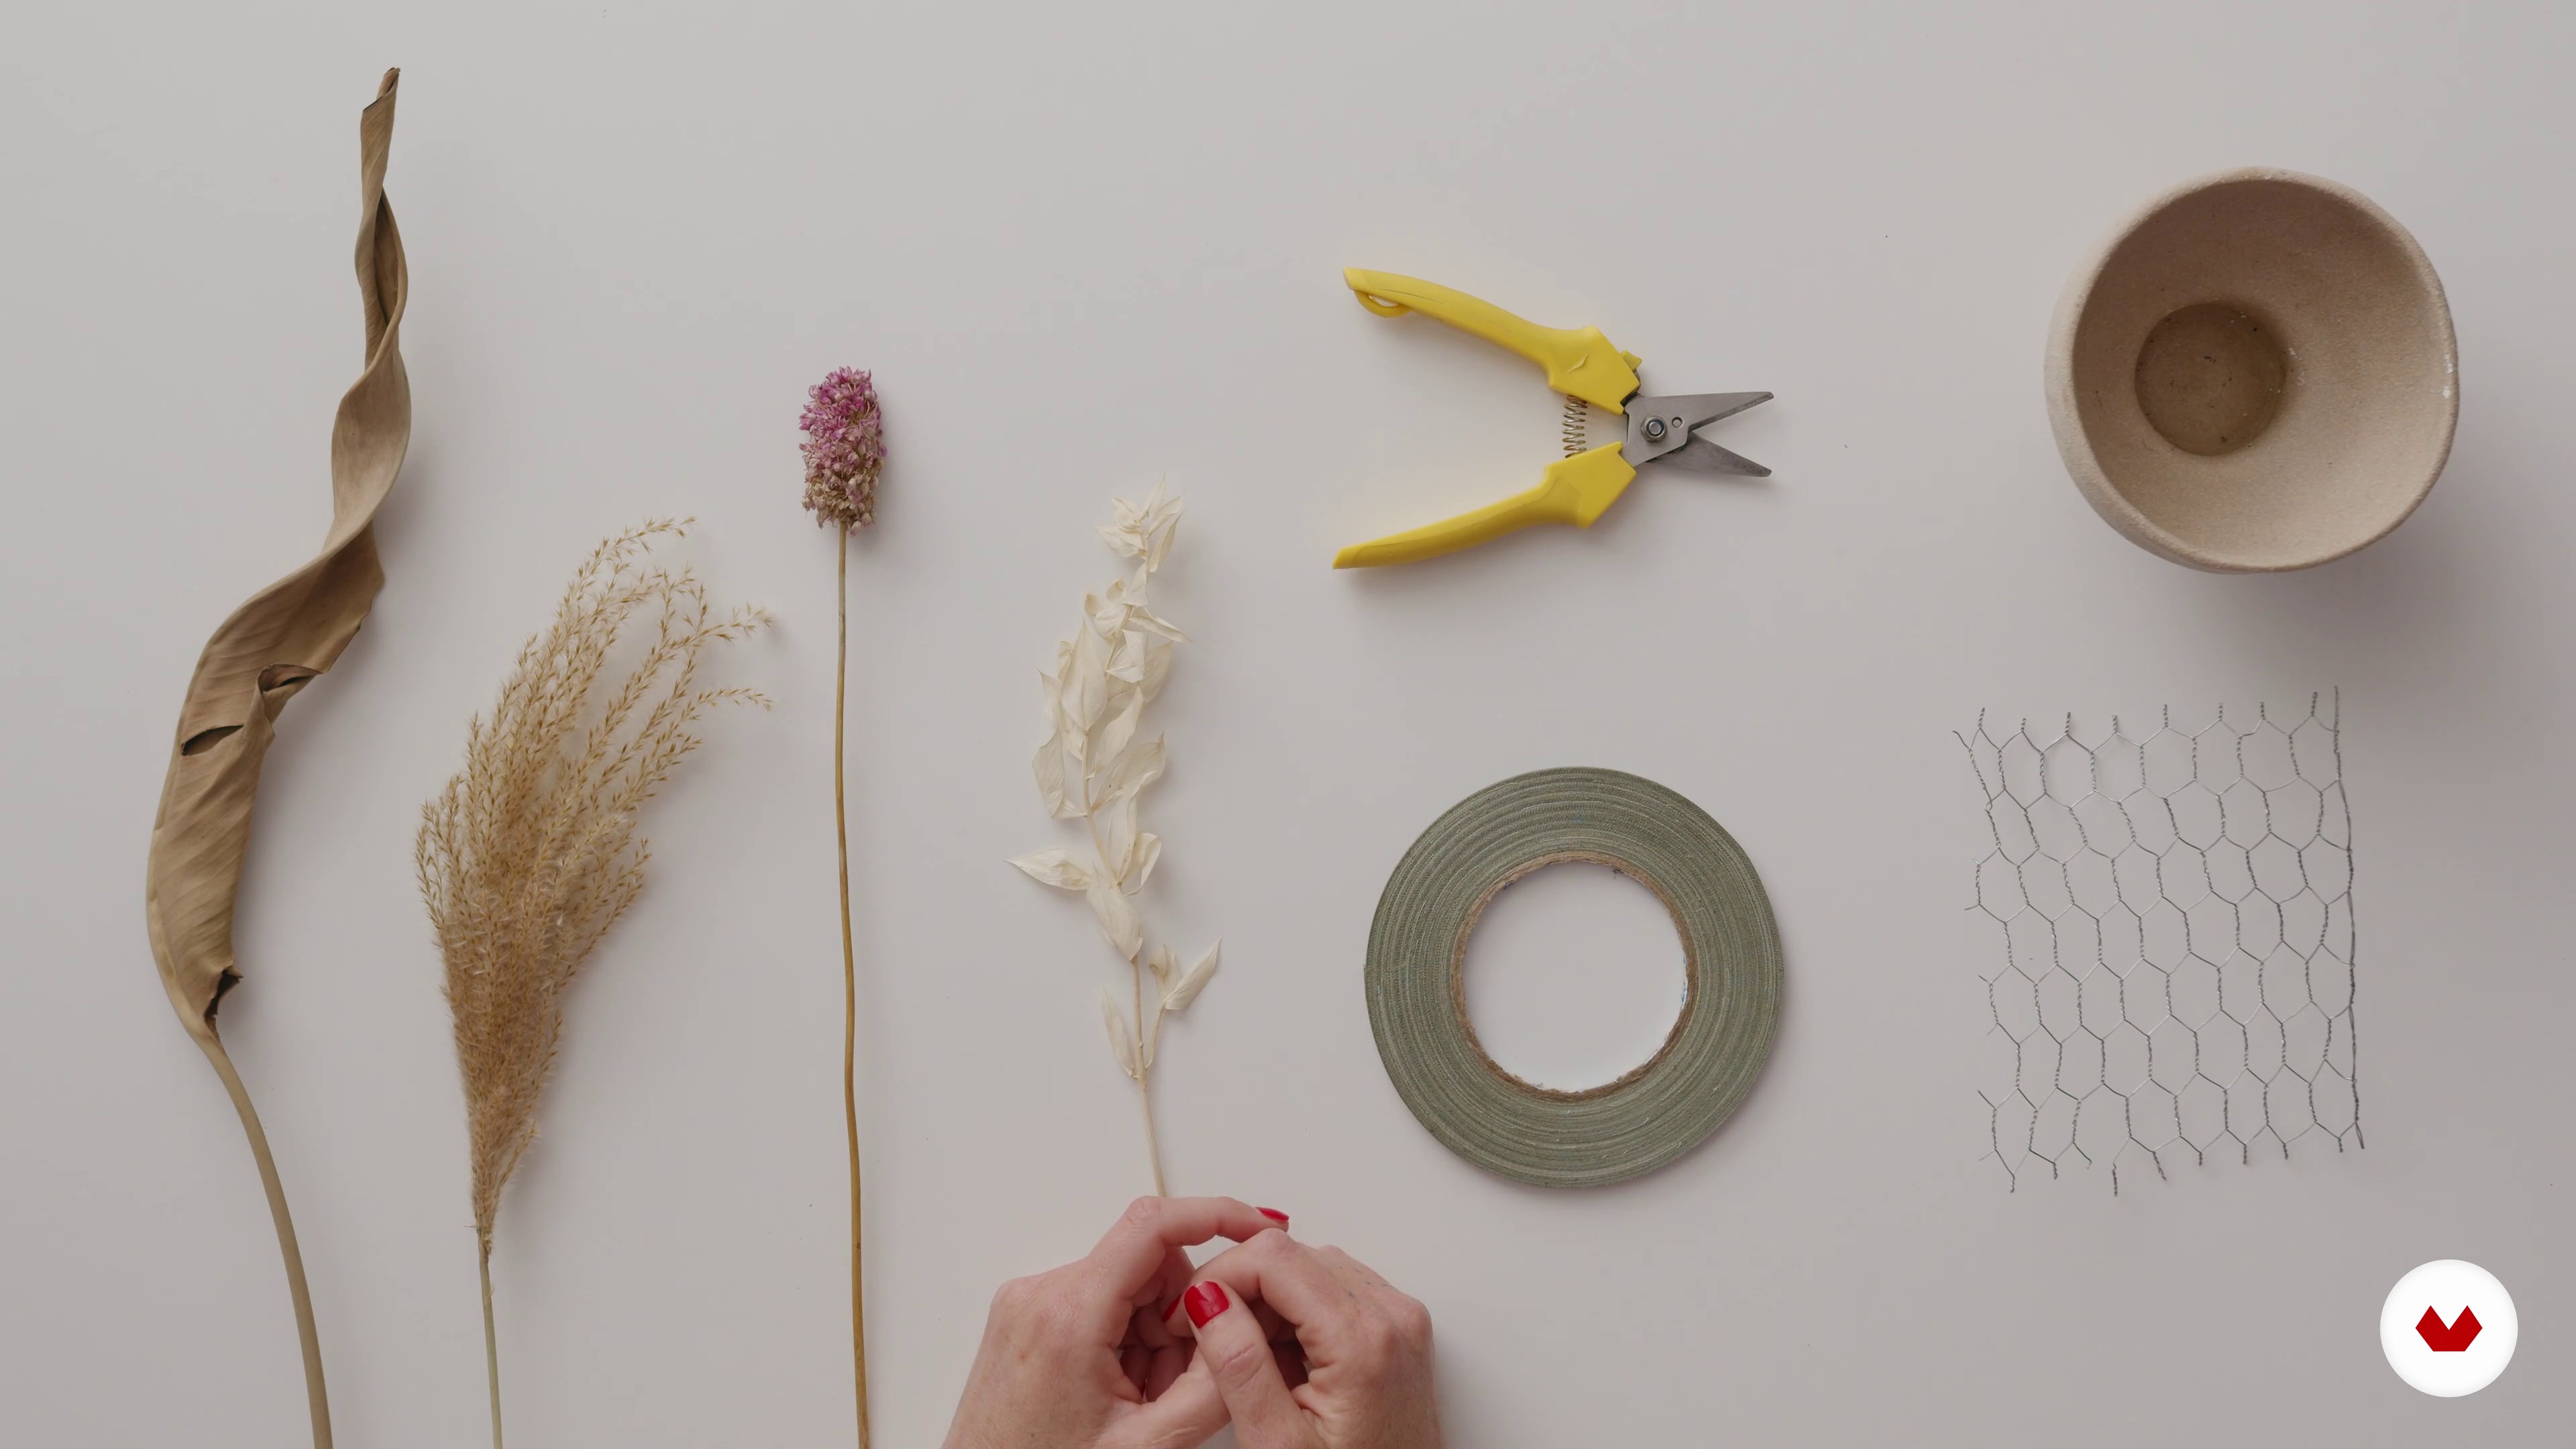
The materials for making floral arrangements with dried flowers are very specific. In this lesson, I'll teach you all the technical materials we need, what they are, where to get them, and what each one is used for.
6m
Types of flowers and colors
4
Types of flowers and colors
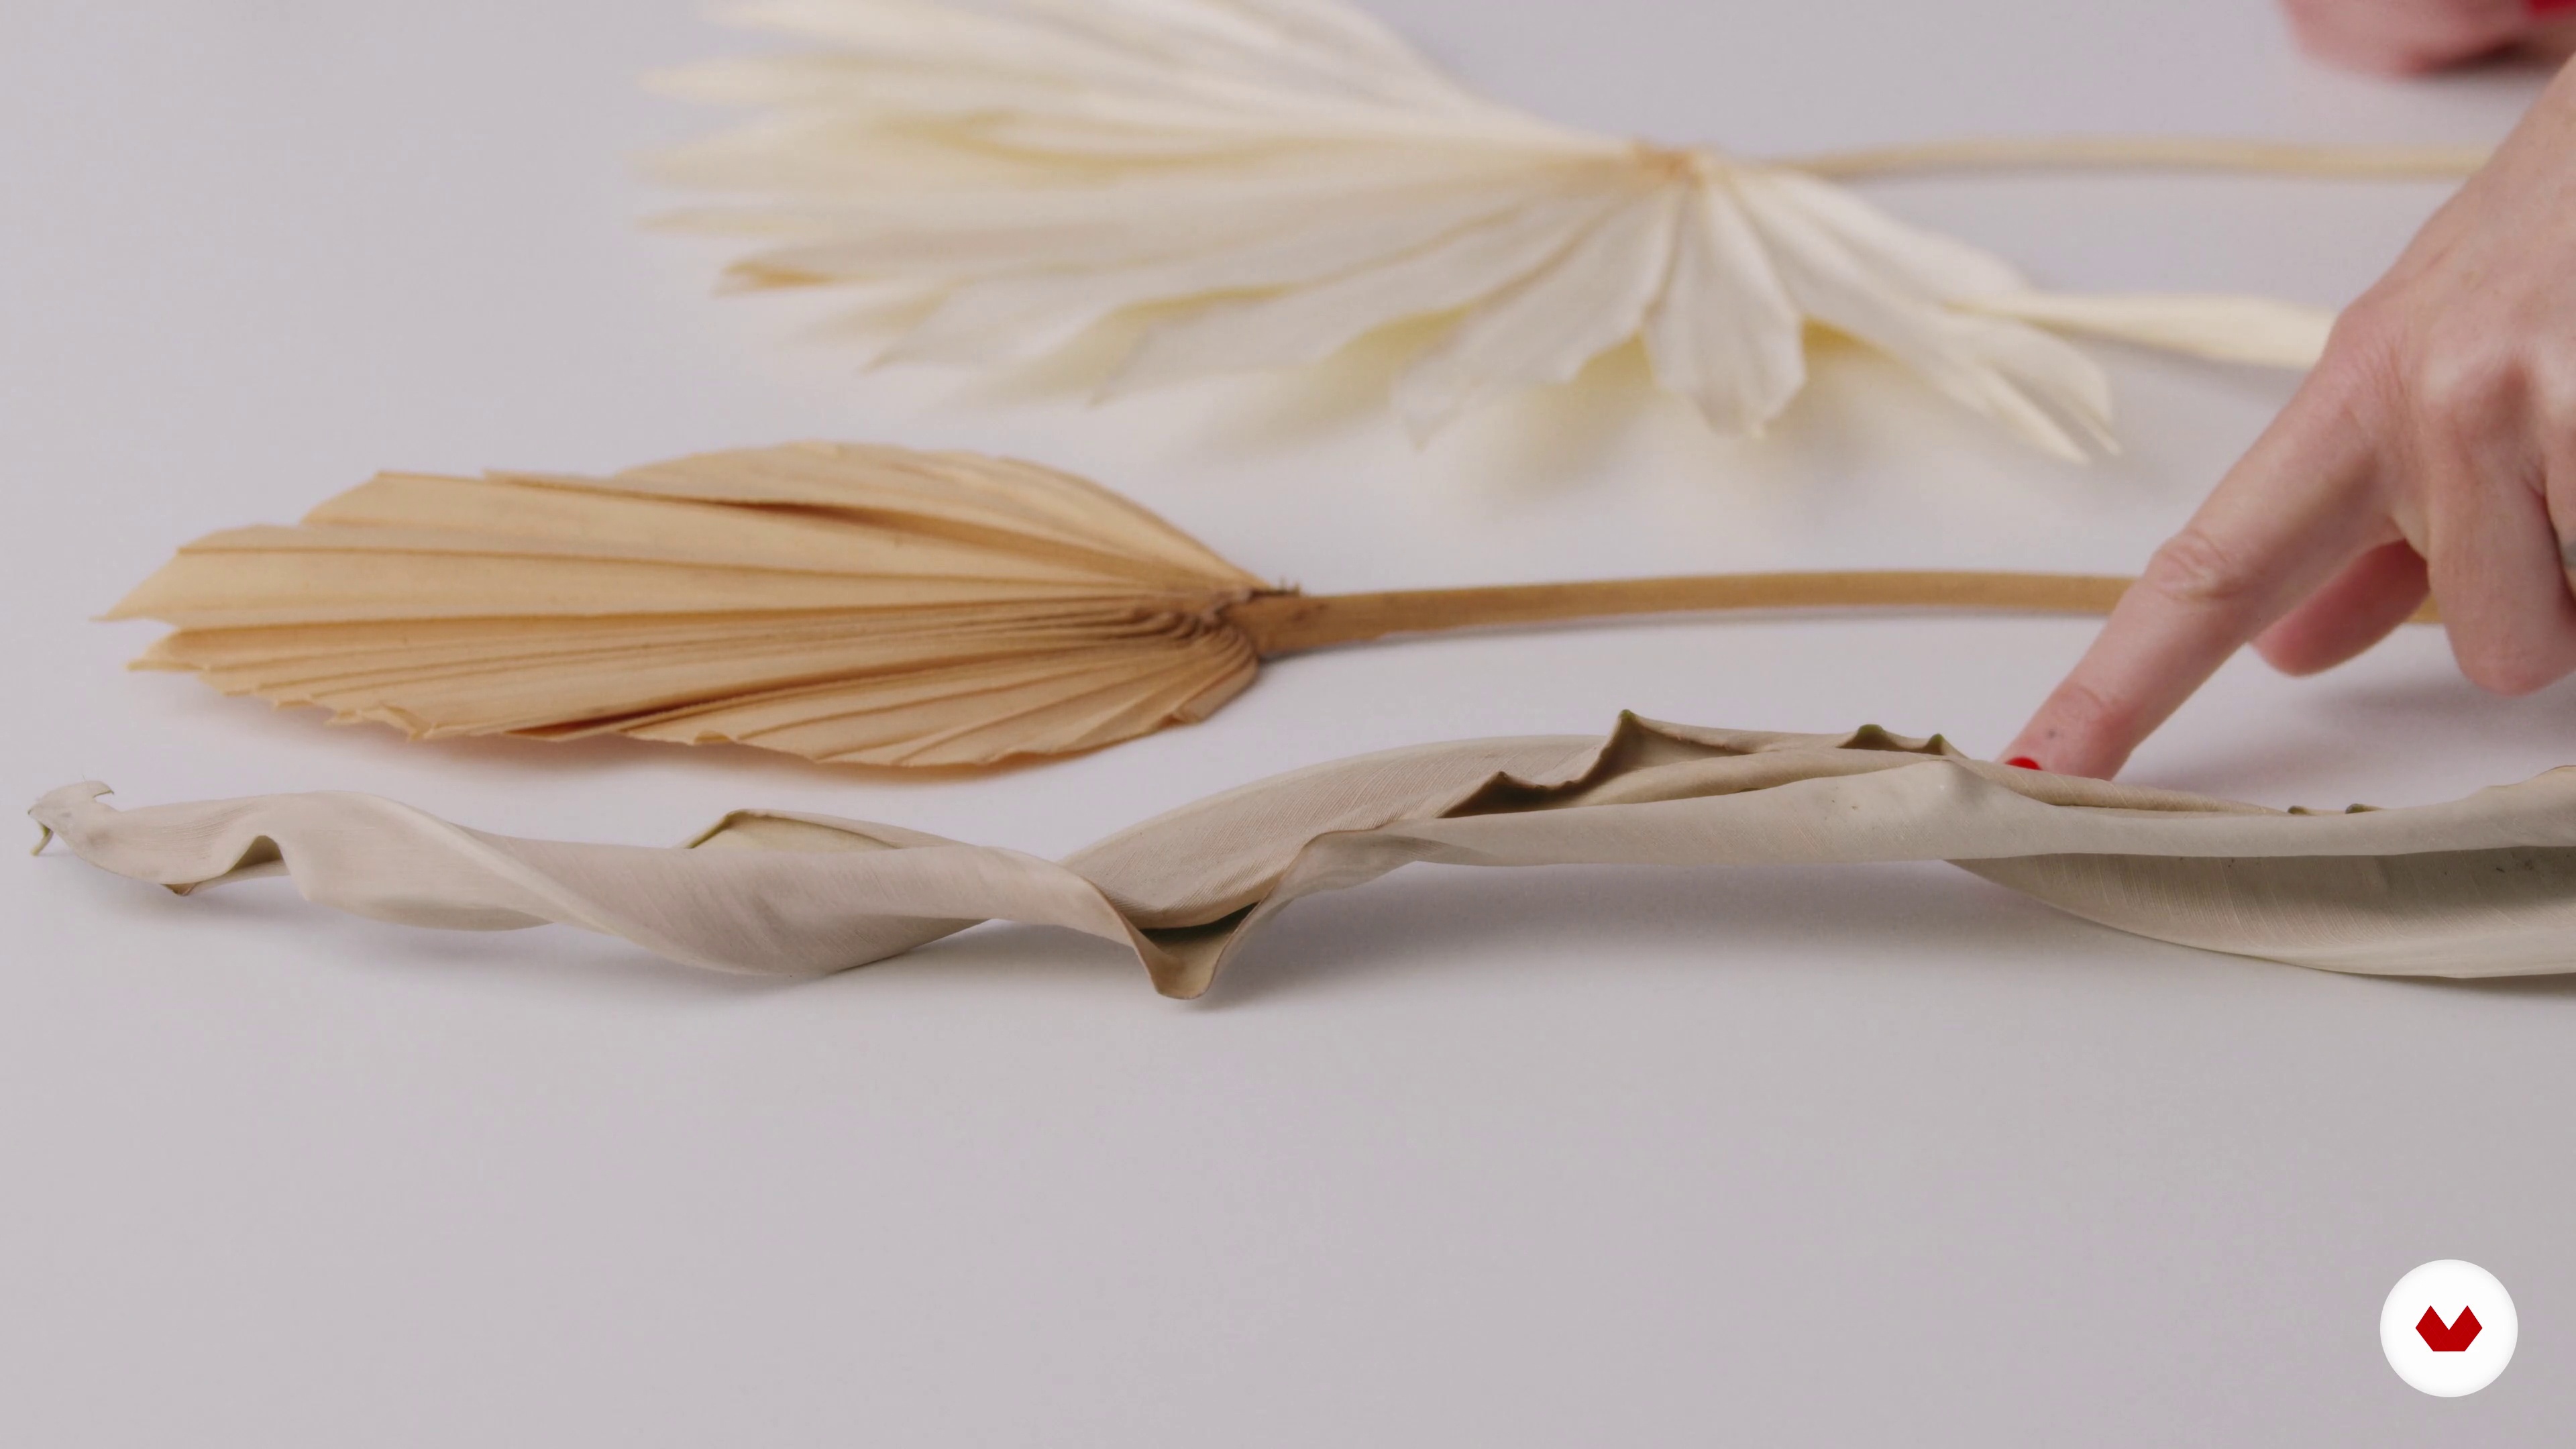
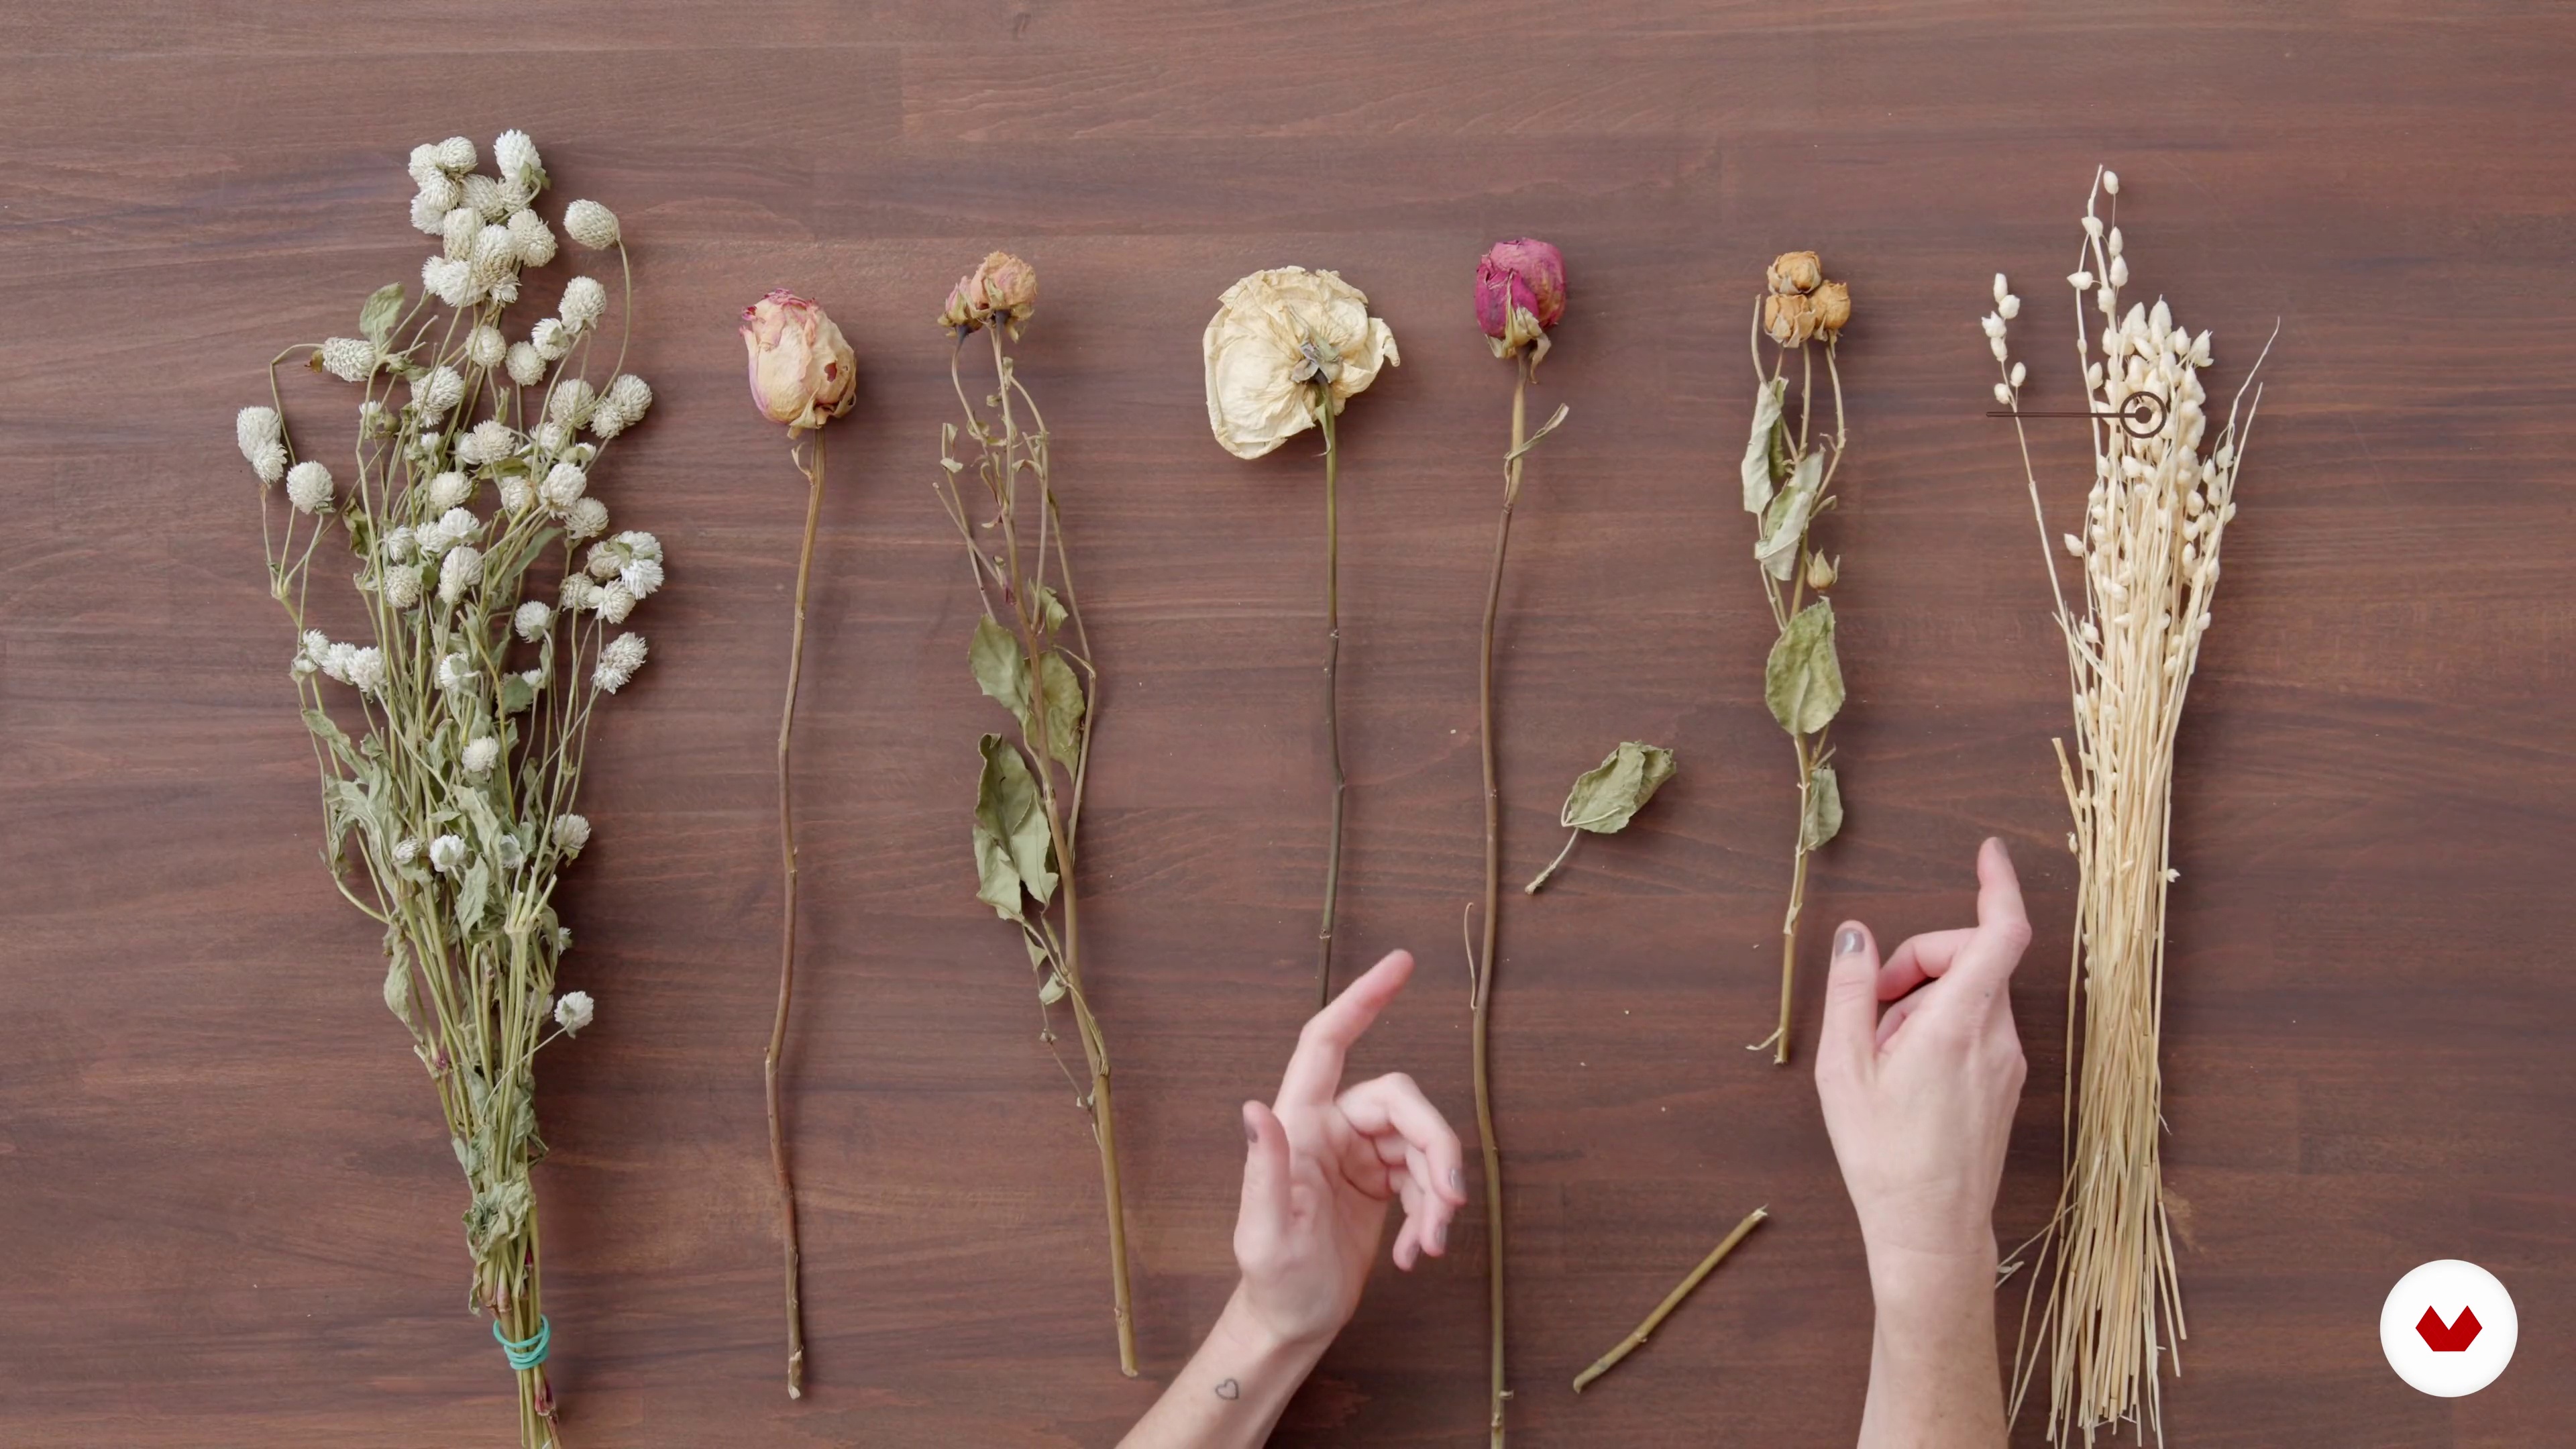
Now I'm going to show you the different types of flowers and greenery that work well for creating floral arrangements. We'll give you a basic overview of these flowers and greenery to understand their characteristics and how we can manipulate them to work better. I'll also talk about colors, associating them with different flowers and herbs, and explain how to manipulate them to achieve the desired color.
13m
Handling flowers: dried and preserved
5
Handling flowers: dried and preserved
In this lesson, I'll teach you how to handle fresh flowers so they stay beautiful longer through drying and preservation processes. I'll teach you how to choose the right drying process for each type of flower and show you how to preserve flowers with glycerin.
20m
Handling flowers: dyed with dyes and spray
6
Handling flowers: dyed with dyes and spray
Next, I'll teach you techniques for dyeing and painting dried and preserved flowers and leaves to add different touches of color to your arrangements. I'll show you step by step each technique, taking the opportunity to prepare the materials for the final project.
15m
Design process: development of the initial idea
7
Design process: development of the initial idea
In this lesson, we'll walk through my process for defining project designs. To do this, we'll brainstorm to assess the type of arrangement we need based on the location, the colors we can choose, and the floral materials we use to create those colors. This will help you learn how to choose the type of arrangement, the colors and their variations, and the floral materials you'll use.
8m
First arrangement: frontal 1
8
First arrangement: frontal 1
It's time to make the front arrangement. First, I'll show you how to prepare the vase for the centerpiece. Then, I'll begin designing while explaining and demonstrating the basic design principles and specifics of this type of arrangement.
20m
First arrangement: frontal 2
9
First arrangement: frontal 2
We continue with the design of the front arrangement project.
20m
Second arrangement: 360º
10
Second arrangement: 360º
Next, we'll create the 360-degree floral arrangement. Using the previously selected and manipulated materials, I'll begin designing the floral centerpiece while explaining and demonstrating the basic design principles and specifics of this type of arrangement.
18m
Final touches
11
Final touches
In this lesson, we'll work on the final touches of the two flower arrangements. Once finished, we'll compare them.
12m
Maintenance and last tips
12
Maintenance and last tips
Before we finish, I'll give you some tips to ensure your arrangements last as long as possible. I'll show you how to introduce fresh flowers for a photoshoot, and finally, we'll review the basic principles of composition.
6m
Types of flowers and color
4
Types of flowers and color
Floral wreaths can be made with different types of flowers. In this lesson, I'll tell you which flowers are best suited for the type of wreath you want to make. We'll need to consider both color and durability.
7m
Order and analysis
5
Order and analysis
Now we're going to learn how to work with a specific assignment and the aspects we need to analyze to create the . In this lesson, I'll teach you the method I use to break down and fully understand the client.
7m
Mood board: define shape, material and color
6
Mood board: define shape, material and color
In this lesson, I'll teach you how to create a . This will help us both show the client our design proposal and define the design we're going to create.
4m
Technical materials
7
Technical materials
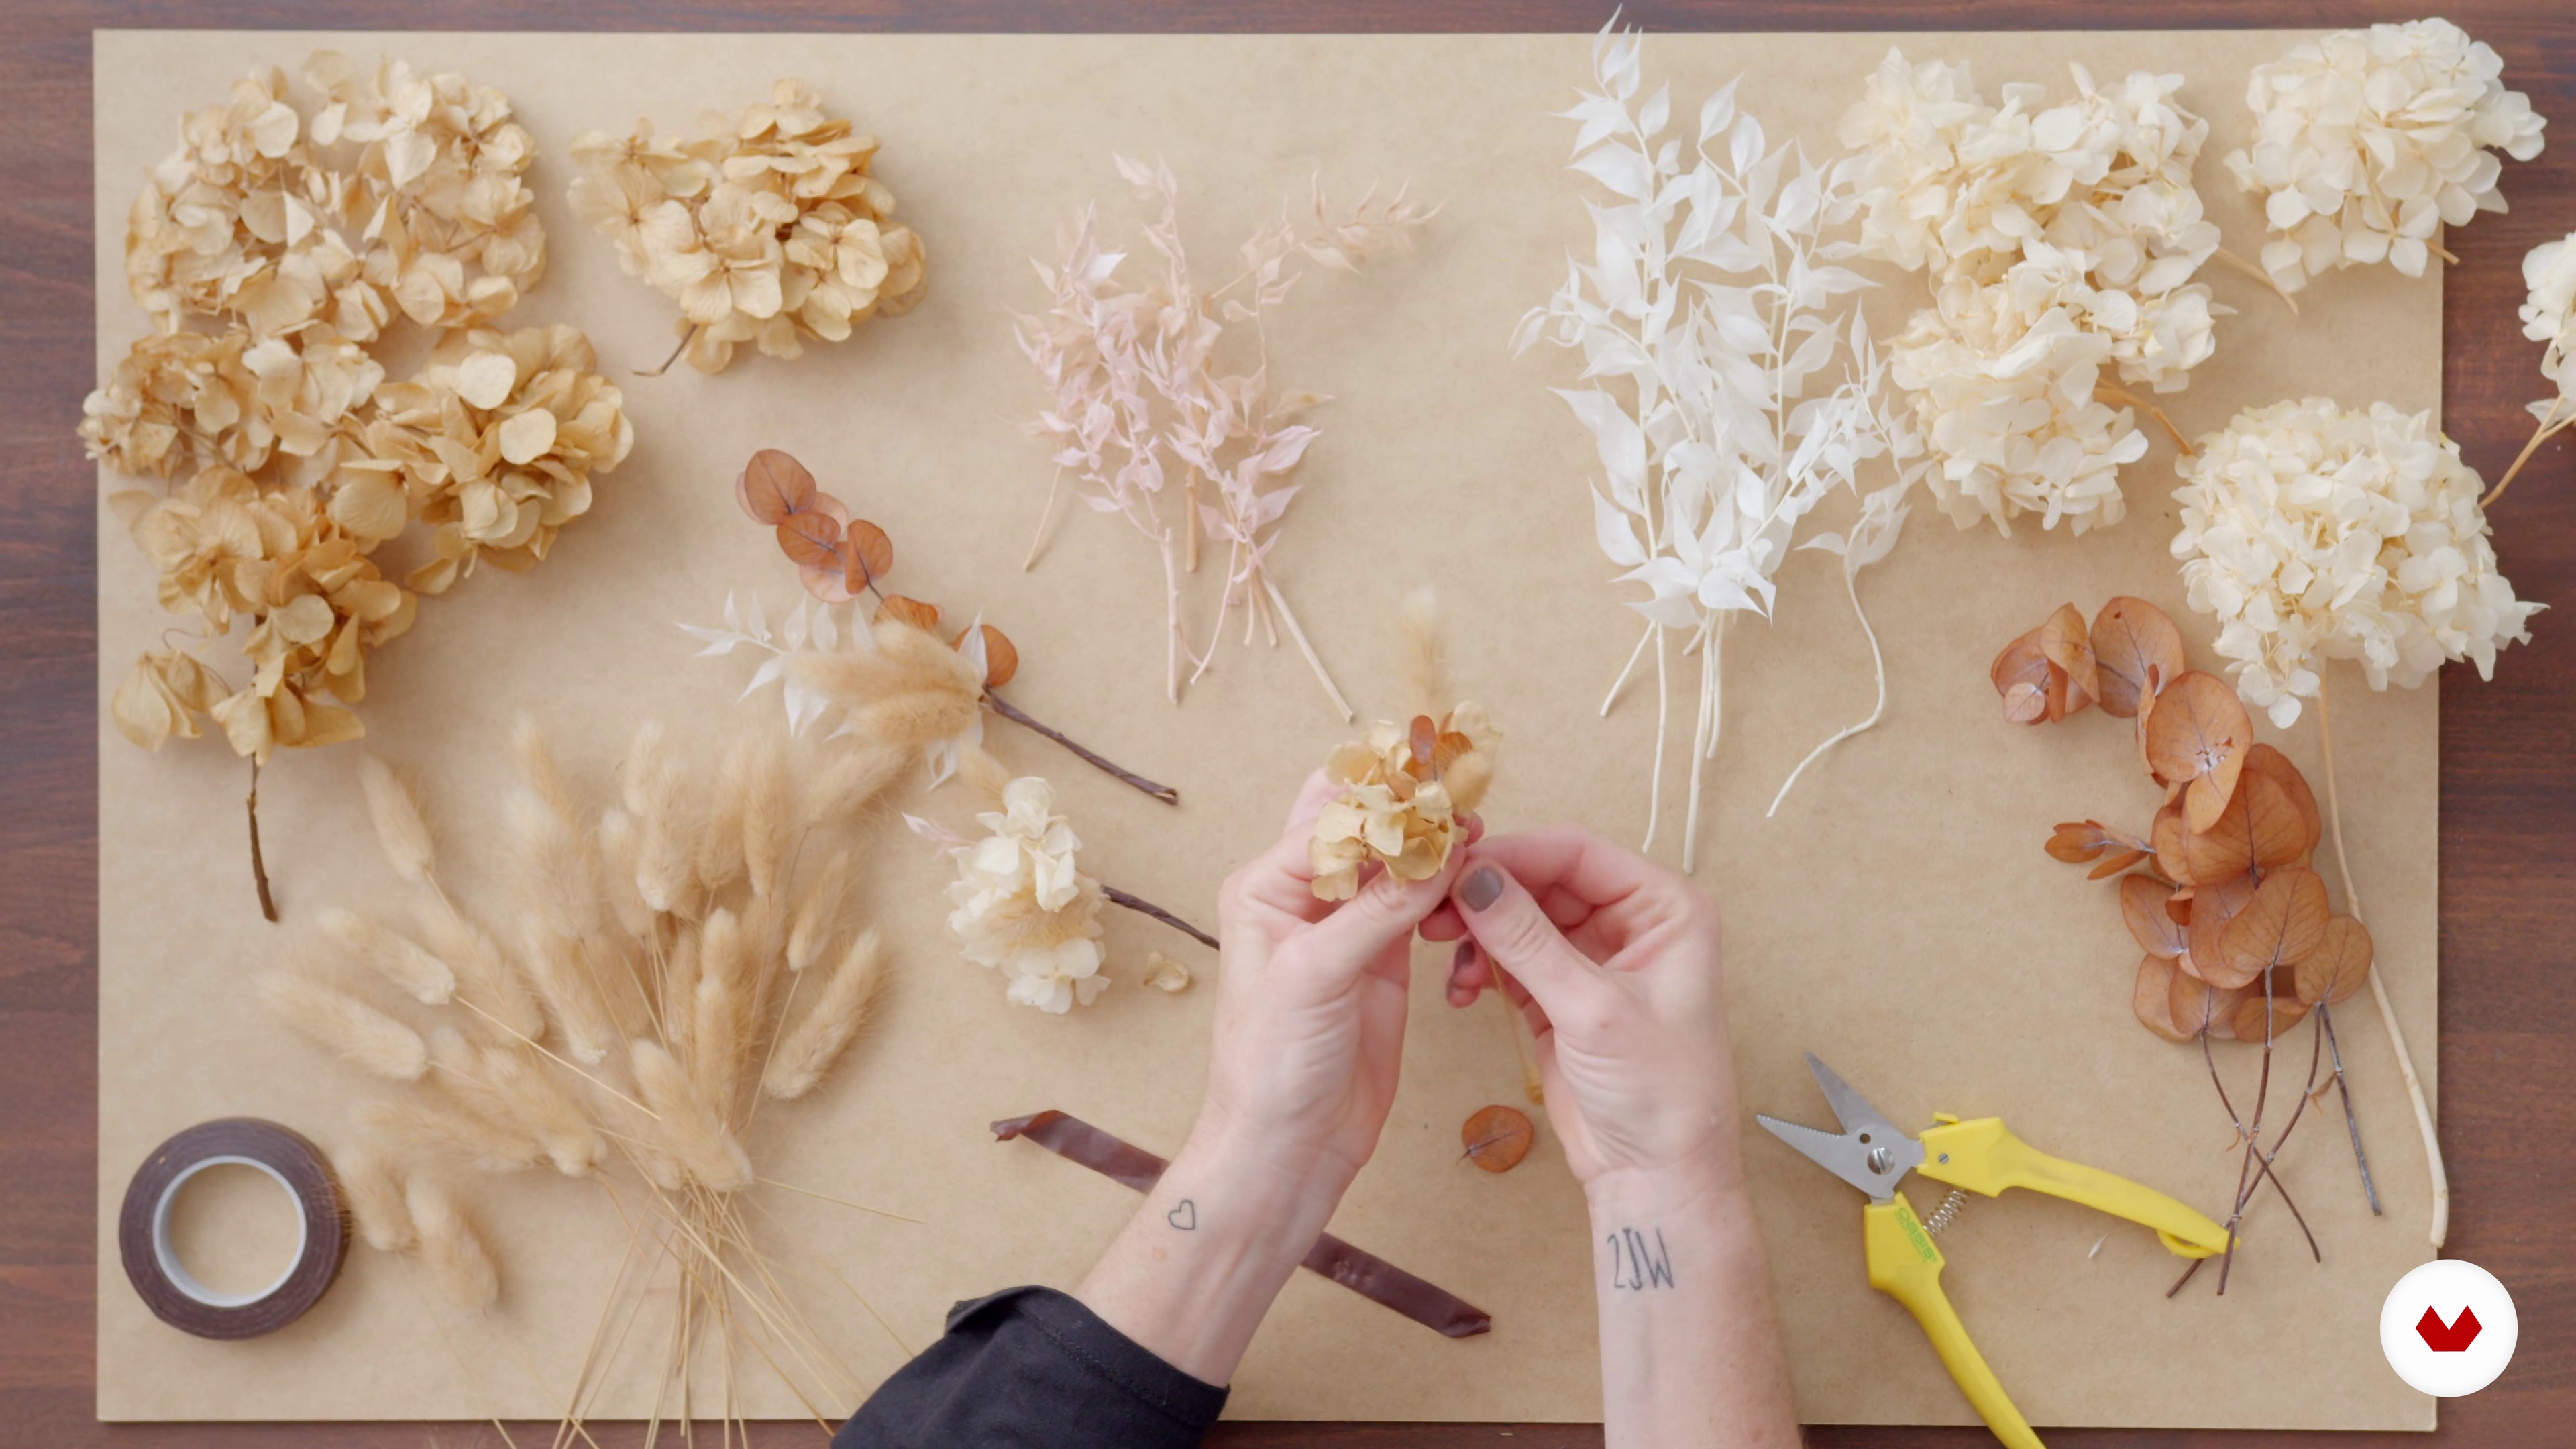
The materials for making flower crowns are very specific. In this lesson, I'll show you all the technical materials we need, where to get them, and what each one is used for.
3m
Execution of the base
8
Execution of the base
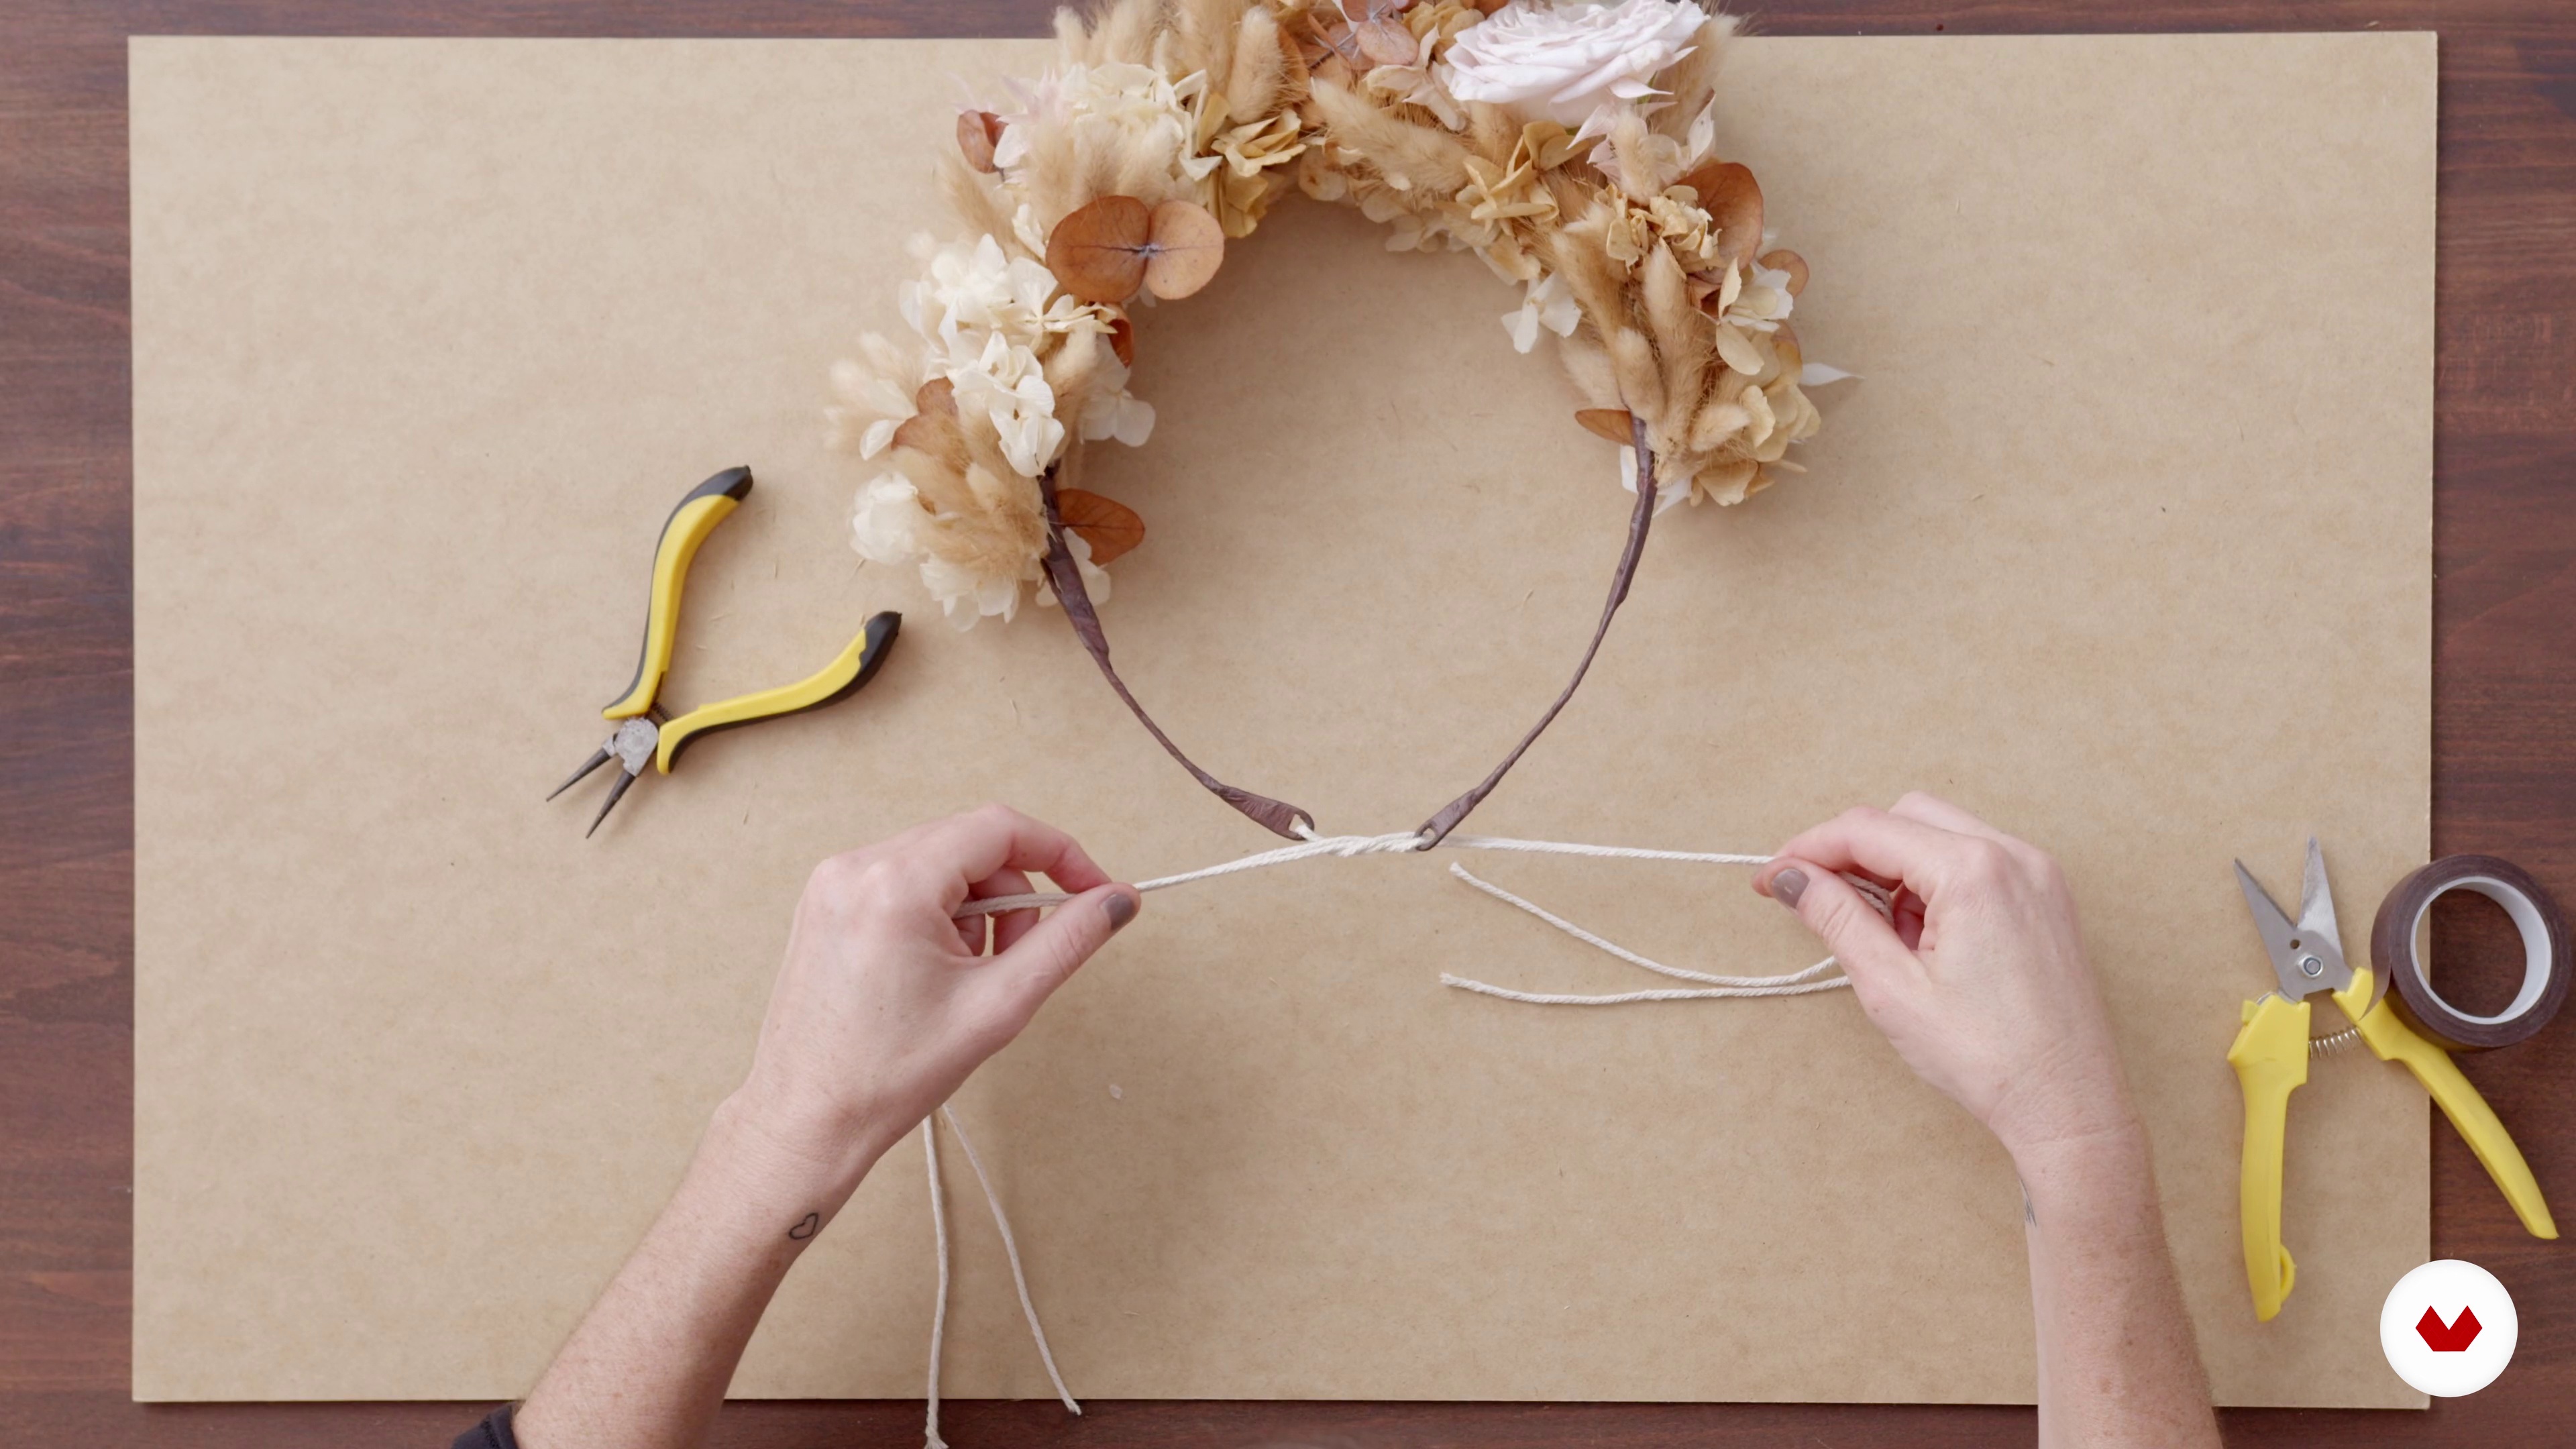
In this lesson, we'll get started and teach you how to prepare the base of your floral wreath. We'll consider both the design and the volume and weight it needs to support.
8m
Bouquet preparation
9
Bouquet preparation
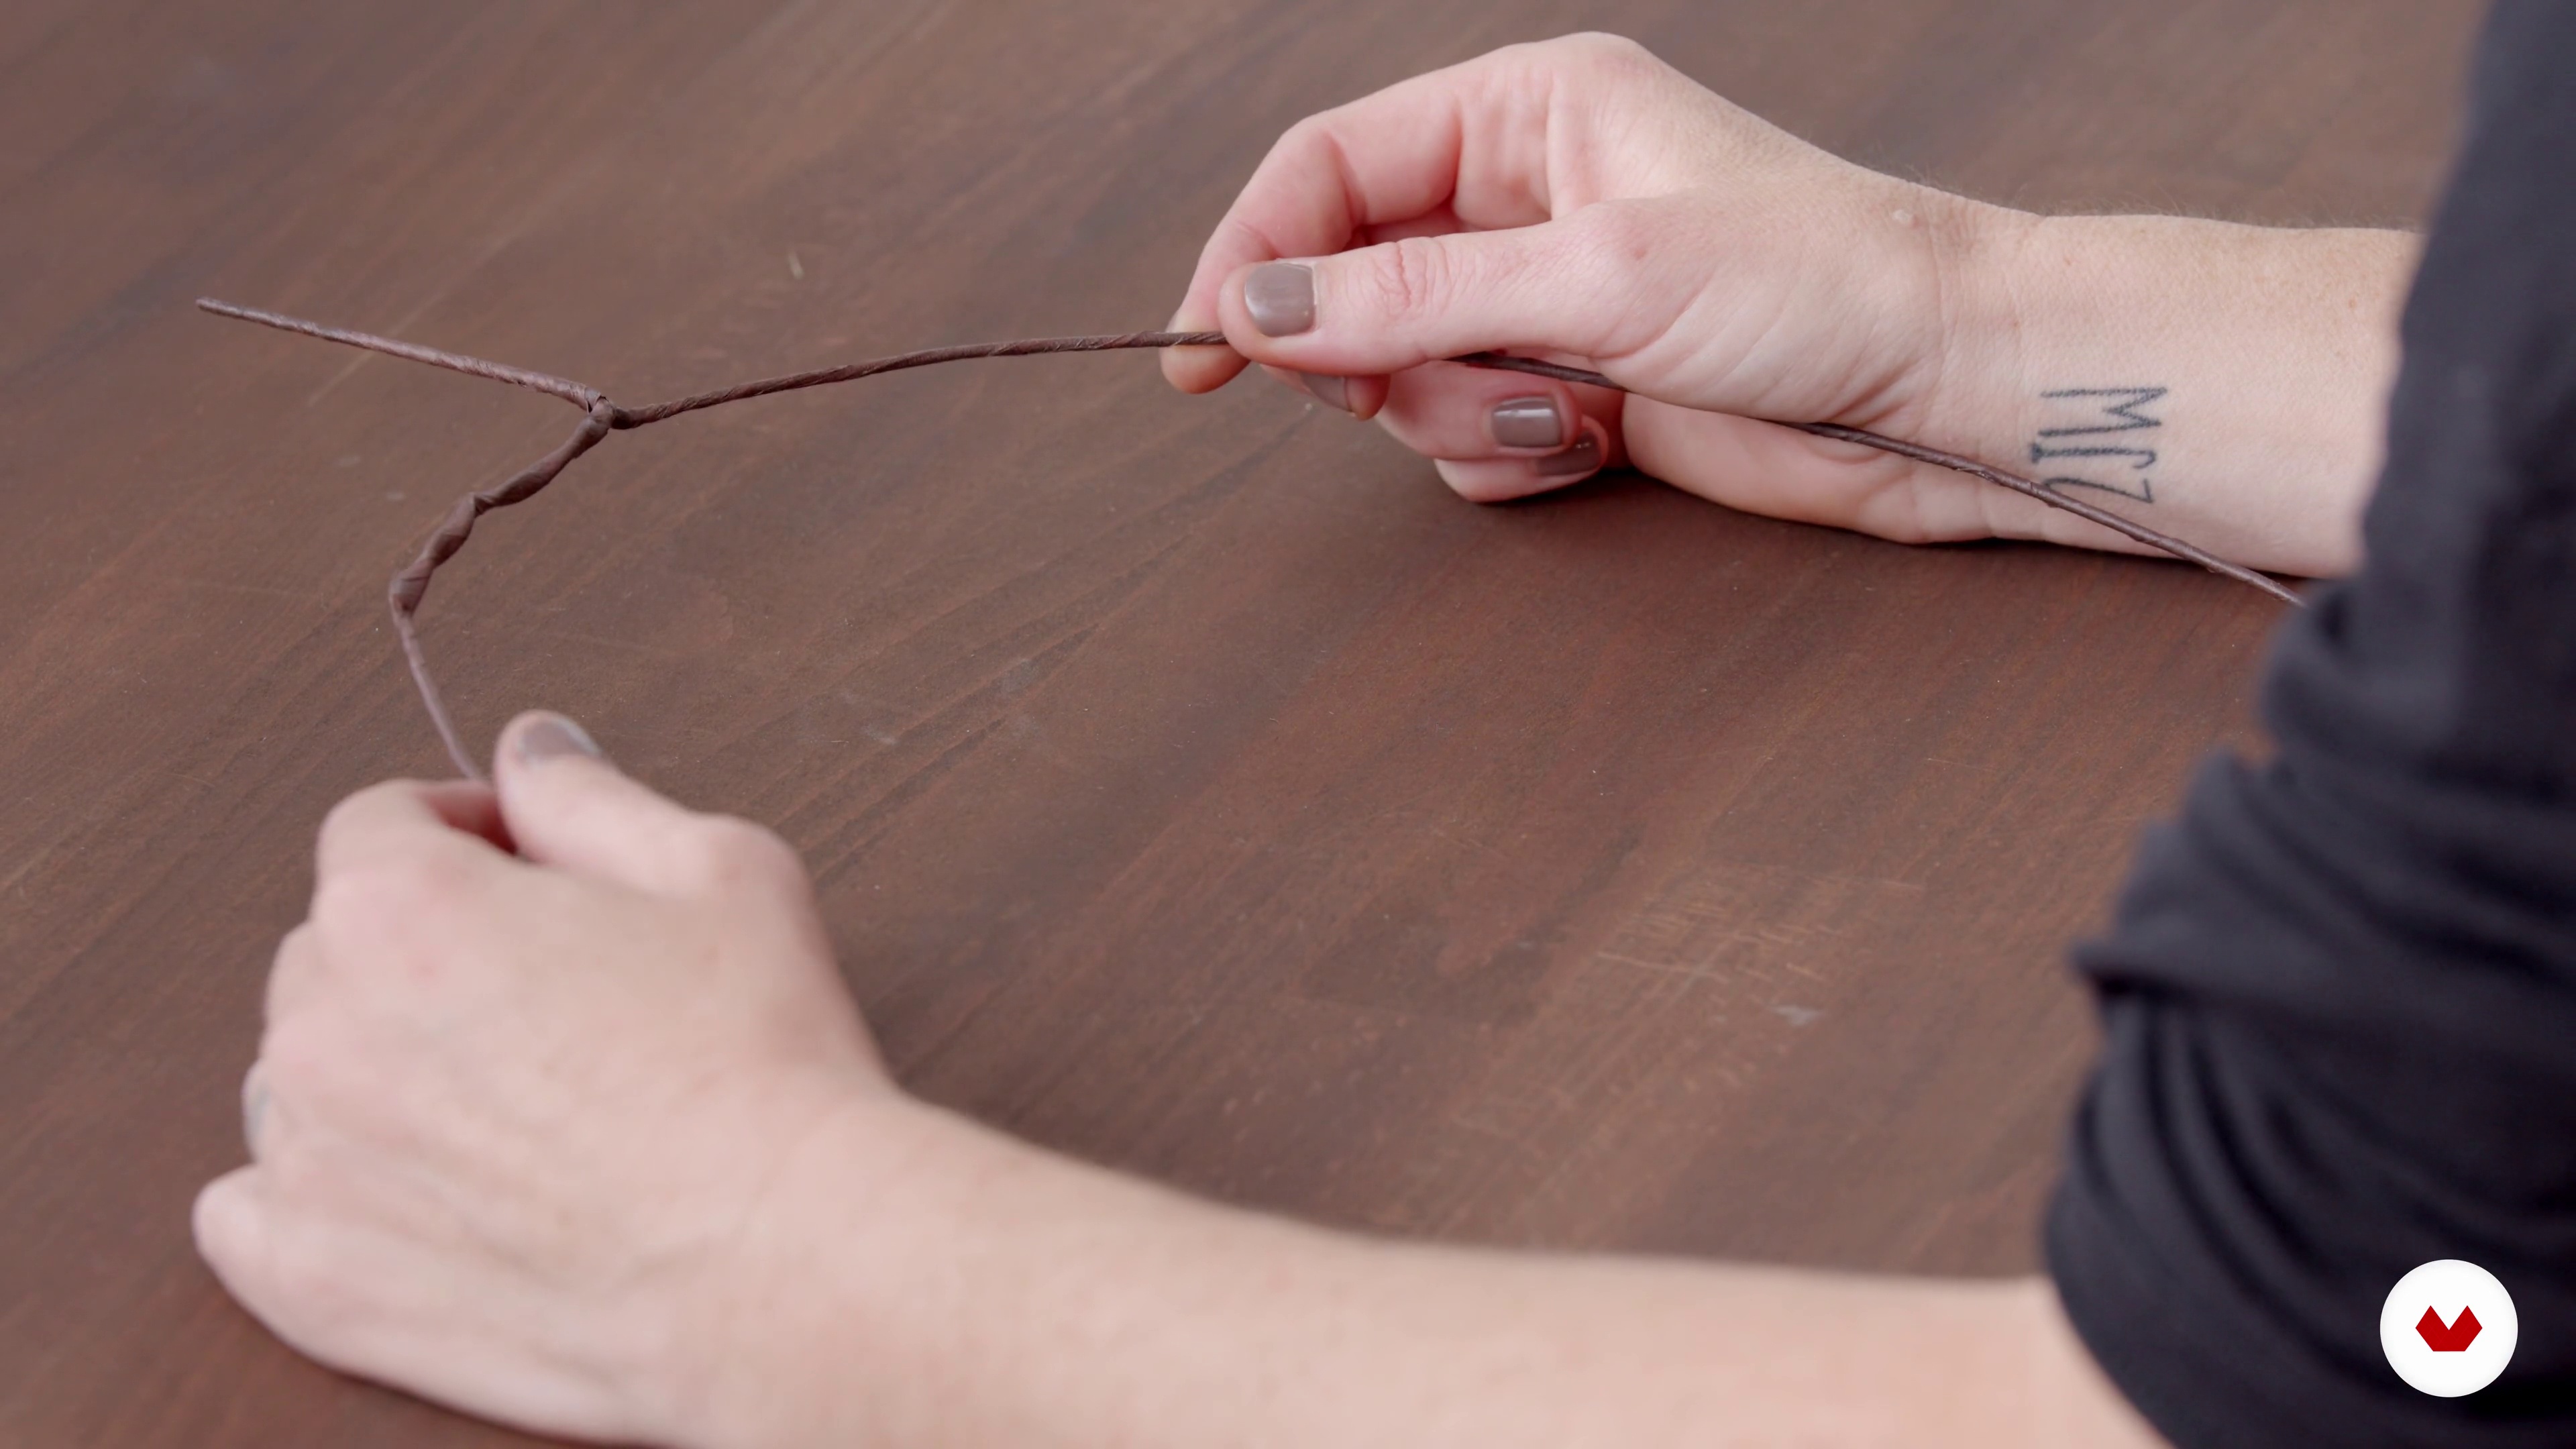
Now I'll show you how to wire the floral material we'll be working with. The use of these techniques will depend on the type of flower and wreath you choose. It's a necessary step and should always be done to have everything ready when we start designing.
17m
Assembling the crown
10
Assembling the crown
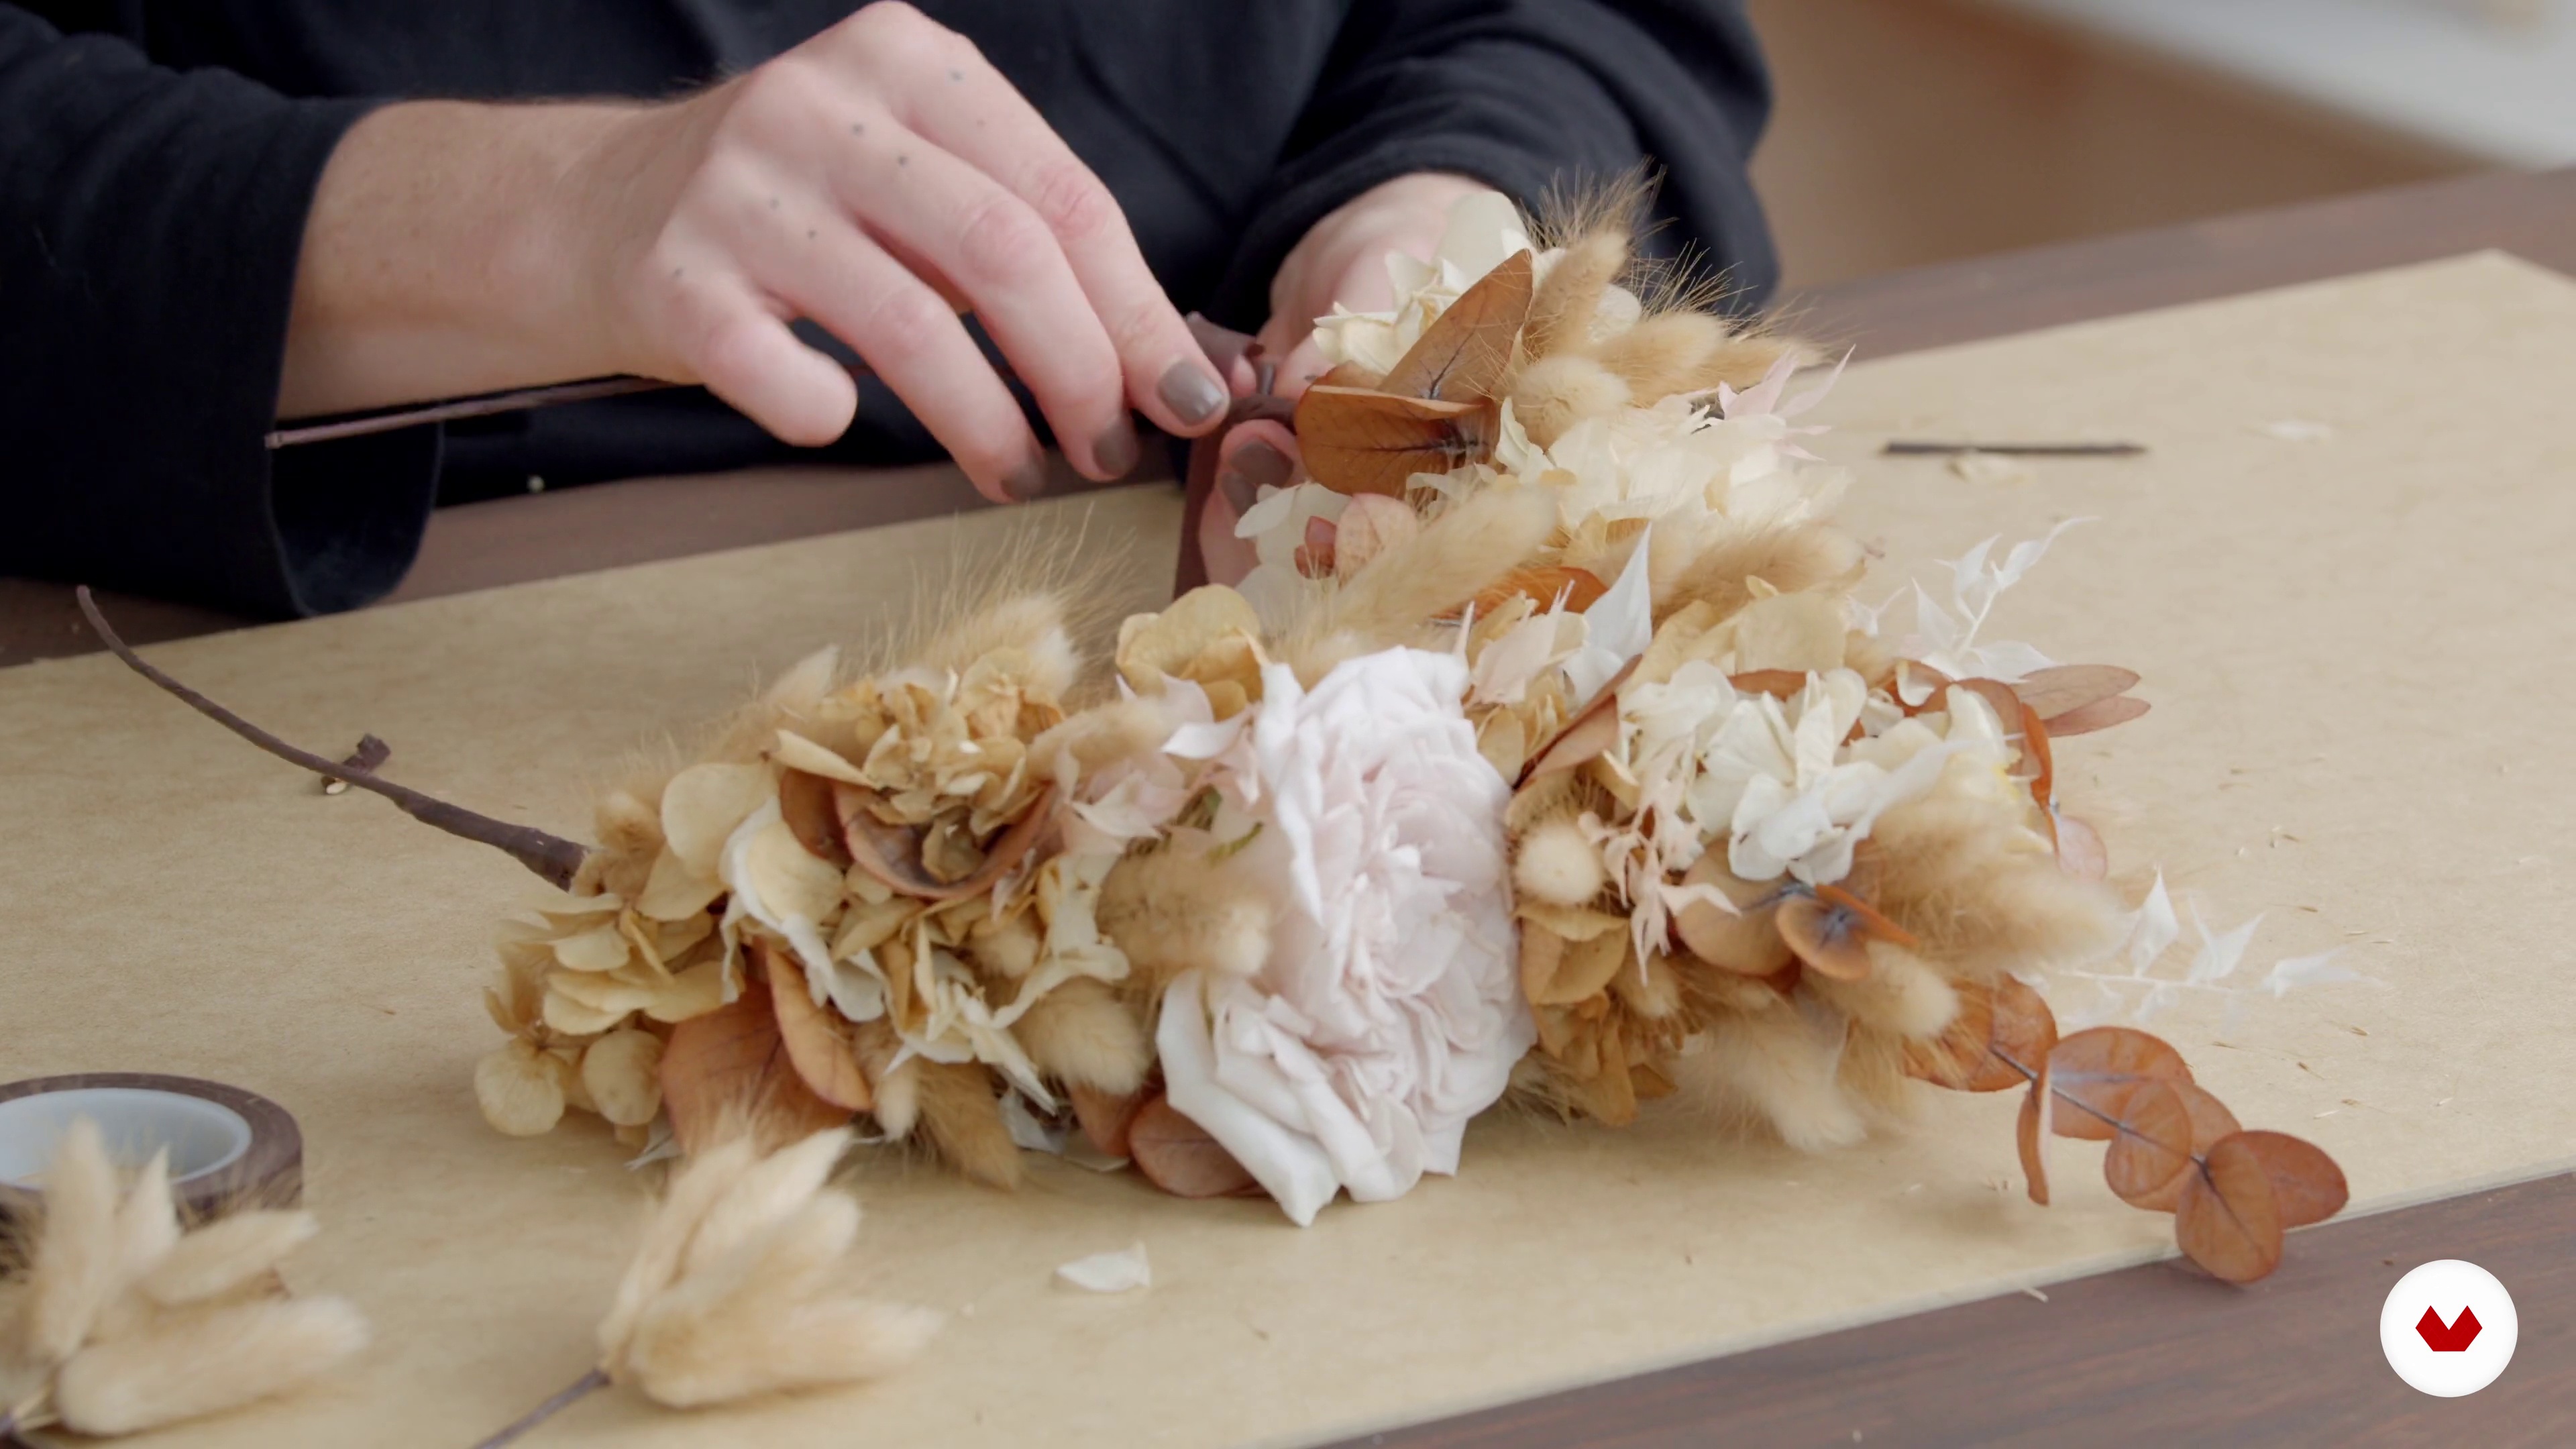
In this lesson, we'll assemble the wreath. I'll show you how to arrange the flowers harmoniously on the base frame and tell you what to keep in mind when assembling it.
19m
Finishing and touch-ups
11
Finishing and touch-ups
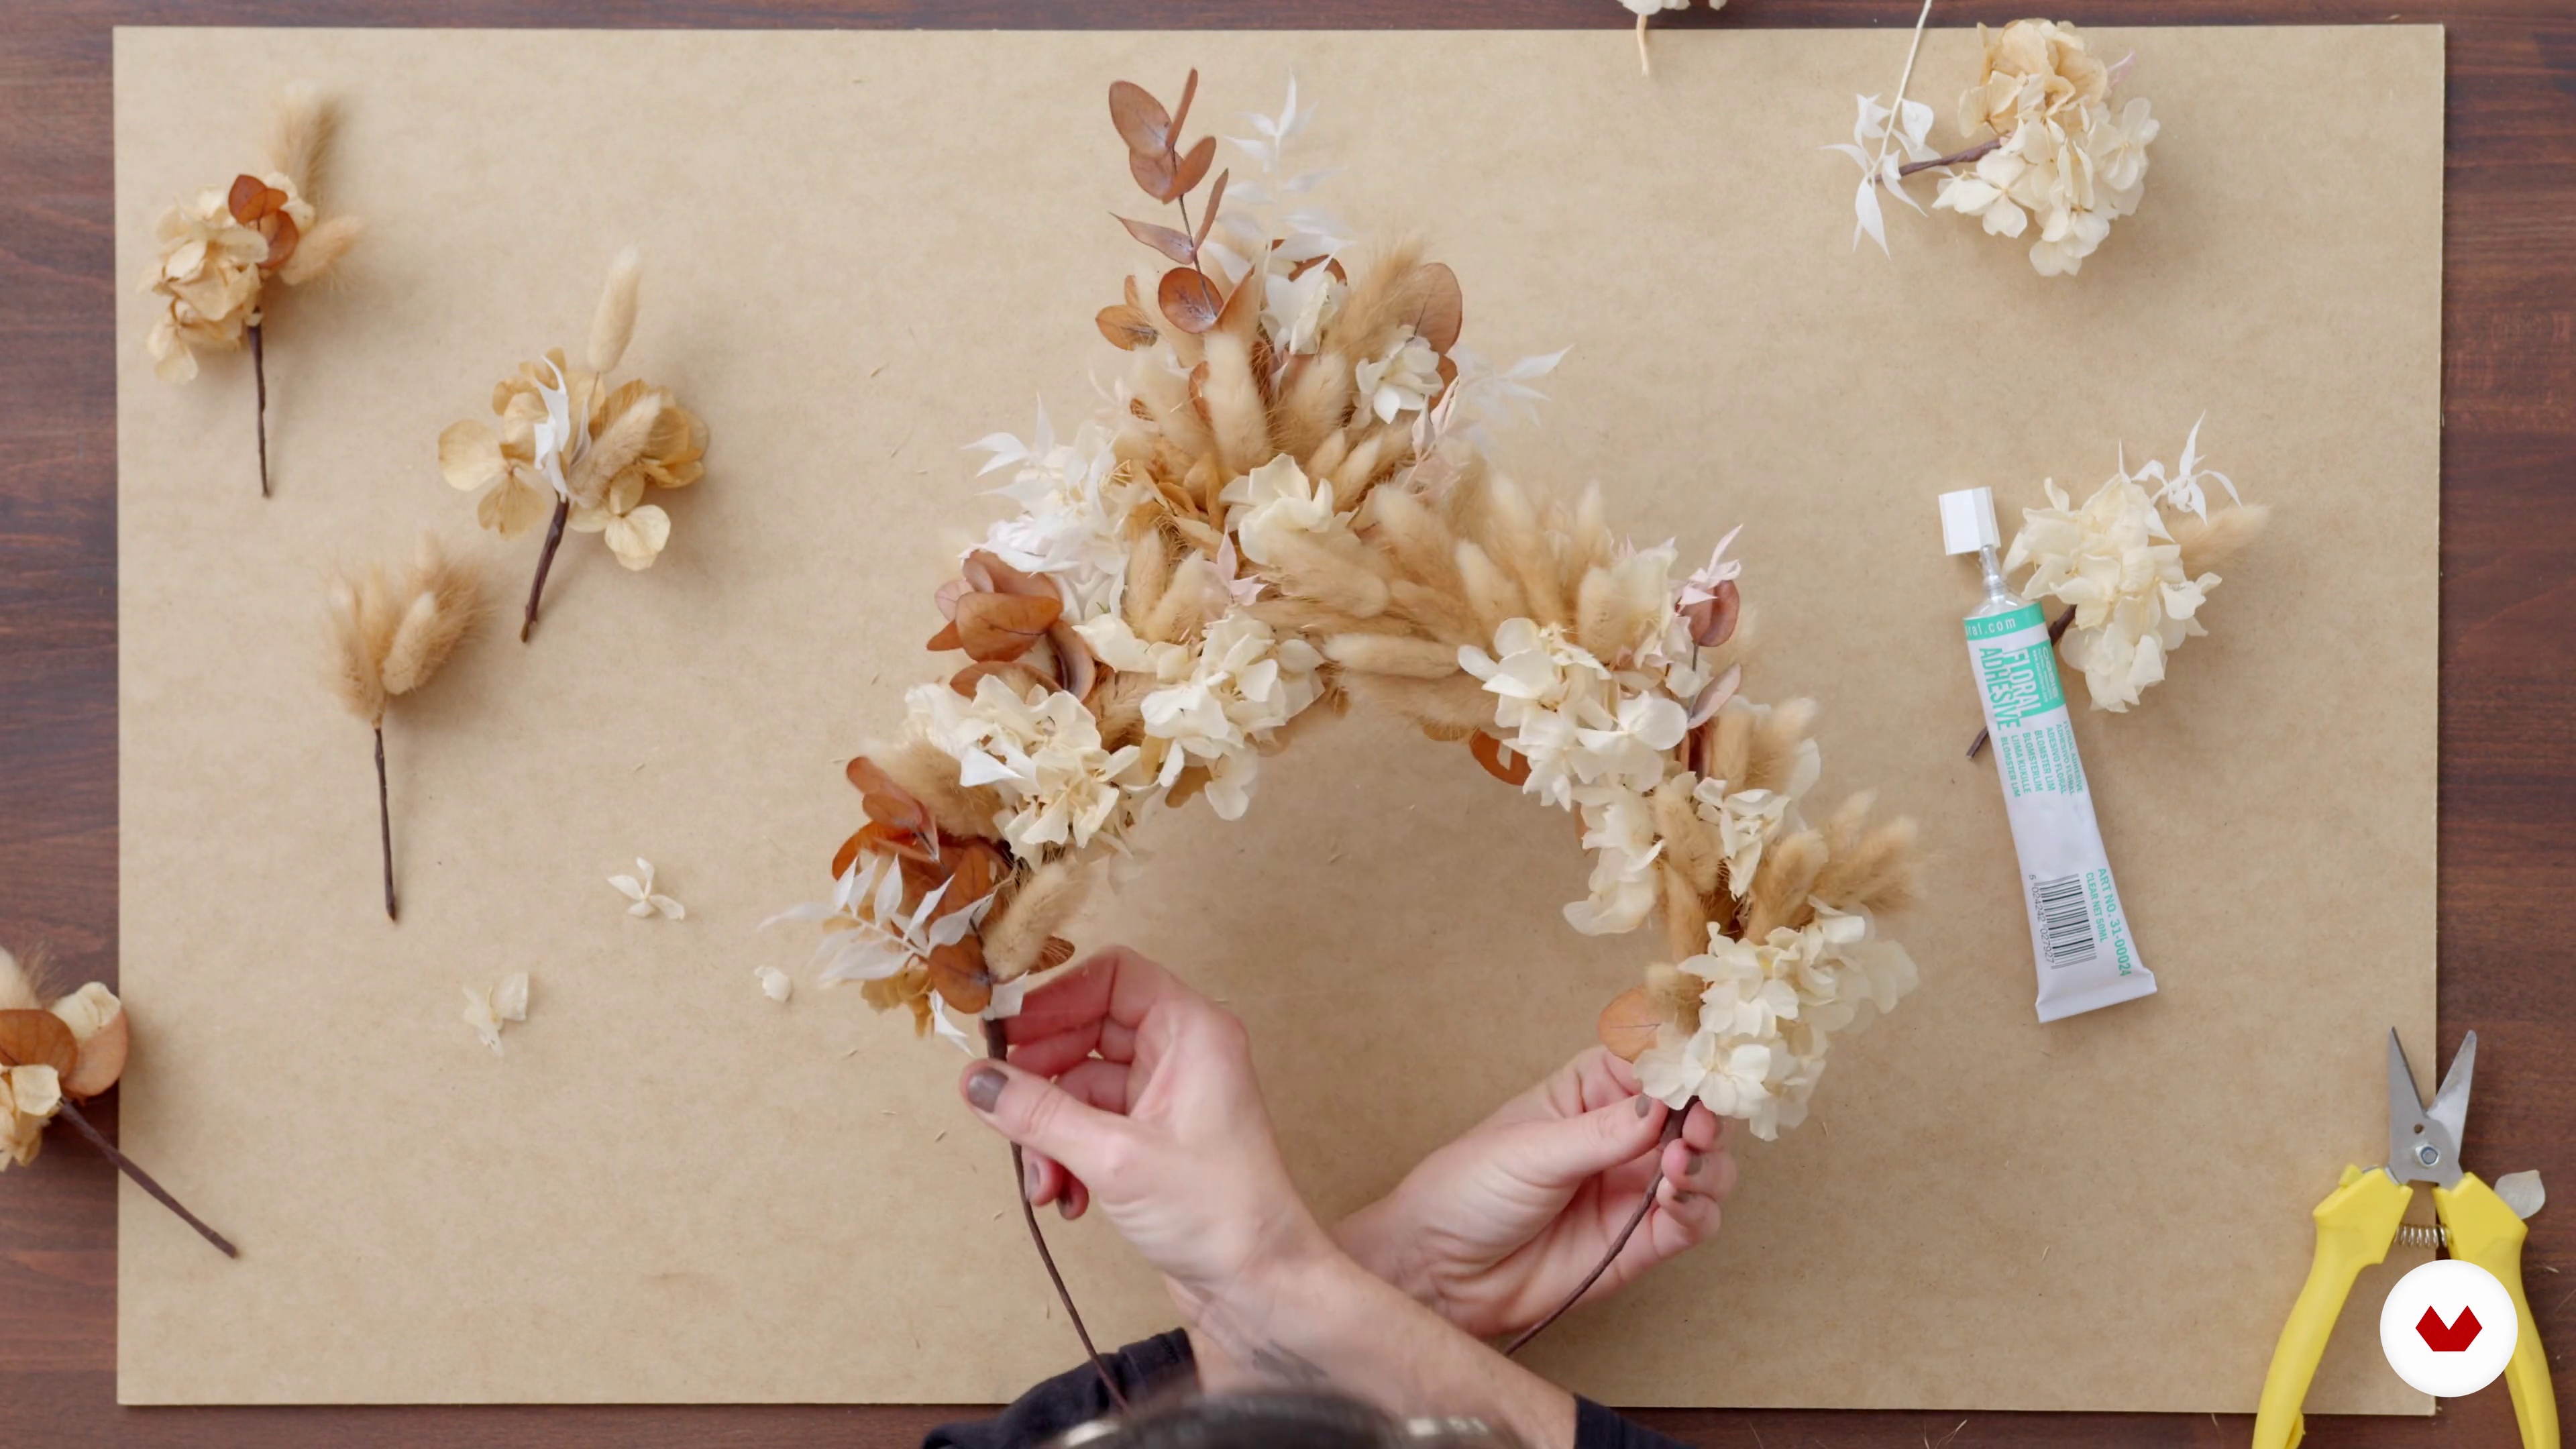
In this lesson, I'll teach you how to make the final touches so we can deliver a wreath in perfect condition, ready to be used.
5m
Enclosure
12
Enclosure
In this lesson, I'll teach you how to create a crown closure, taking into account factors such as the client's head size, the type of headband that best matches the design, and practicality and comfort. This is resolved with the final touches and closure type.
5m
Crown care
13
Crown care
In this lesson, I'll teach you how to care for your wreath and keep it in good condition.
3m
  • 100% positive reviews (8)
  • 903 students
  • 65 lessons (12h 24m)
  • 71 additional resources (24 files)
  • Online and at your own pace
  • Audio: Spanish, English
  • Spanish · English · Portuguese · German · French · Italian · Polish · Dutch · Turkish · Indonesian · Romanian
  • Level: Beginner
  • Unlimited access forever

What is this course's project?

You'll create a personal floral bouquet following all the steps of professional design: concept, flower selection, composition, and technical execution, achieving a harmonious and expressive result that reflects your style and acquired skills.

Who is this specialization for?

Creative individuals with a passion for floral design, interested in exploring modern and traditional techniques while developing skills in sustainability and visual storytelling, will find this specialization the perfect opportunity to expand their knowledge of floral decoration and design.

Requirements and materials

No extensive prior knowledge is required. A willingness to learn, creativity, and basic materials such as scissors, wire, floral tape, and a variety of flowers are all necessary. Having a suitable workspace to comfortably create designs is ideal.

Requirements and materials for Creative Floral Design Specialization
Select to get to know your teachers in this specialization course
Read more ↓

Reviews

903 Students
8 Reviews
  • More reviews


What to expect from this specialization course

  • Learn at your own pace

    Enjoy learning from home without a set schedule and with an easy-to-follow method. You set your own pace.

  • Learn from the best professionals

    Learn valuable methods and techniques explained by top experts in the creative sector.

  • Meet expert teachers

    Each expert teaches what they do best, with clear guidelines, true passion, and professional insight in every lesson.

  • Certificates

    Plus

    If you're a Plus member, get a custom certificate for every specialization course. Share it on your portfolio, social media, or wherever you like.

  • Get front-row seats

    Videos of the highest quality, so you don't miss a single detail. With unlimited access, you can watch them as many times as you need to perfect your technique.

  • Share knowledge and ideas

    Ask questions, request feedback, or offer solutions. Share your learning experience with other students in the community who are as passionate about creativity as you are.

  • Connect with a global creative community

    The community is home to millions of people from around the world who are curious and passionate about exploring and expressing their creativity.

  • Watch professionally produced courses

    Domestika curates its teacher roster and produces every course in-house to ensure a high-quality online learning experience.


FAQs

You’ll master innovative techniques in composition, color use, texture, and movement, plus how to integrate decorative elements to create modern, asymmetrical, and personalized floral designs inspired by current trends and international artistic references.

This course is designed for intermediate learners—perfect if you already know the basics of floral design and want to refine your skills and creativity with advanced, contemporary approaches.

You’ll need fresh and dried flowers, tropical and wild foliage, floral foam (oasis), chicken wire mesh, floral tape, pliers, water picks, and decorative items like fruits or textiles depending on the project.

You’ll be able to design asymmetrical arrangements, hanging installations, floral wreaths, themed centerpieces, and compositions featuring color blocking, varied textures, and creative use of foliage and decorative accents.

The focal flower is the centerpiece of your arrangement, chosen for its color, size, or symbolism, guiding the viewer’s eye and adding expression and character.

Tropical foliage is sturdier, with deep green tones and large leaves, while wild foliage is more delicate, with varied shapes and colors, adding natural texture and movement to your design.

You’ll use the color wheel to mix complementary and analogous colors, create pops of color, and smooth transitions, achieving visual harmony and energy in your floral arrangements.

Information about the course and certificate


Creative Floral Design Specialization. Craft course by Domestika

Creative Floral Design Specialization

A specialization by multiple teachers
Berkeley, United States.
Joined April 2002
  • 100% positive reviews (8)
  • 903 students