Specialization

Product Photography Specialization: Lighting, Styling, and Storytelling

Master product photography for advertising with techniques in lighting, styling, and storytelling to enhance brand identity

Specialization · 6 modules

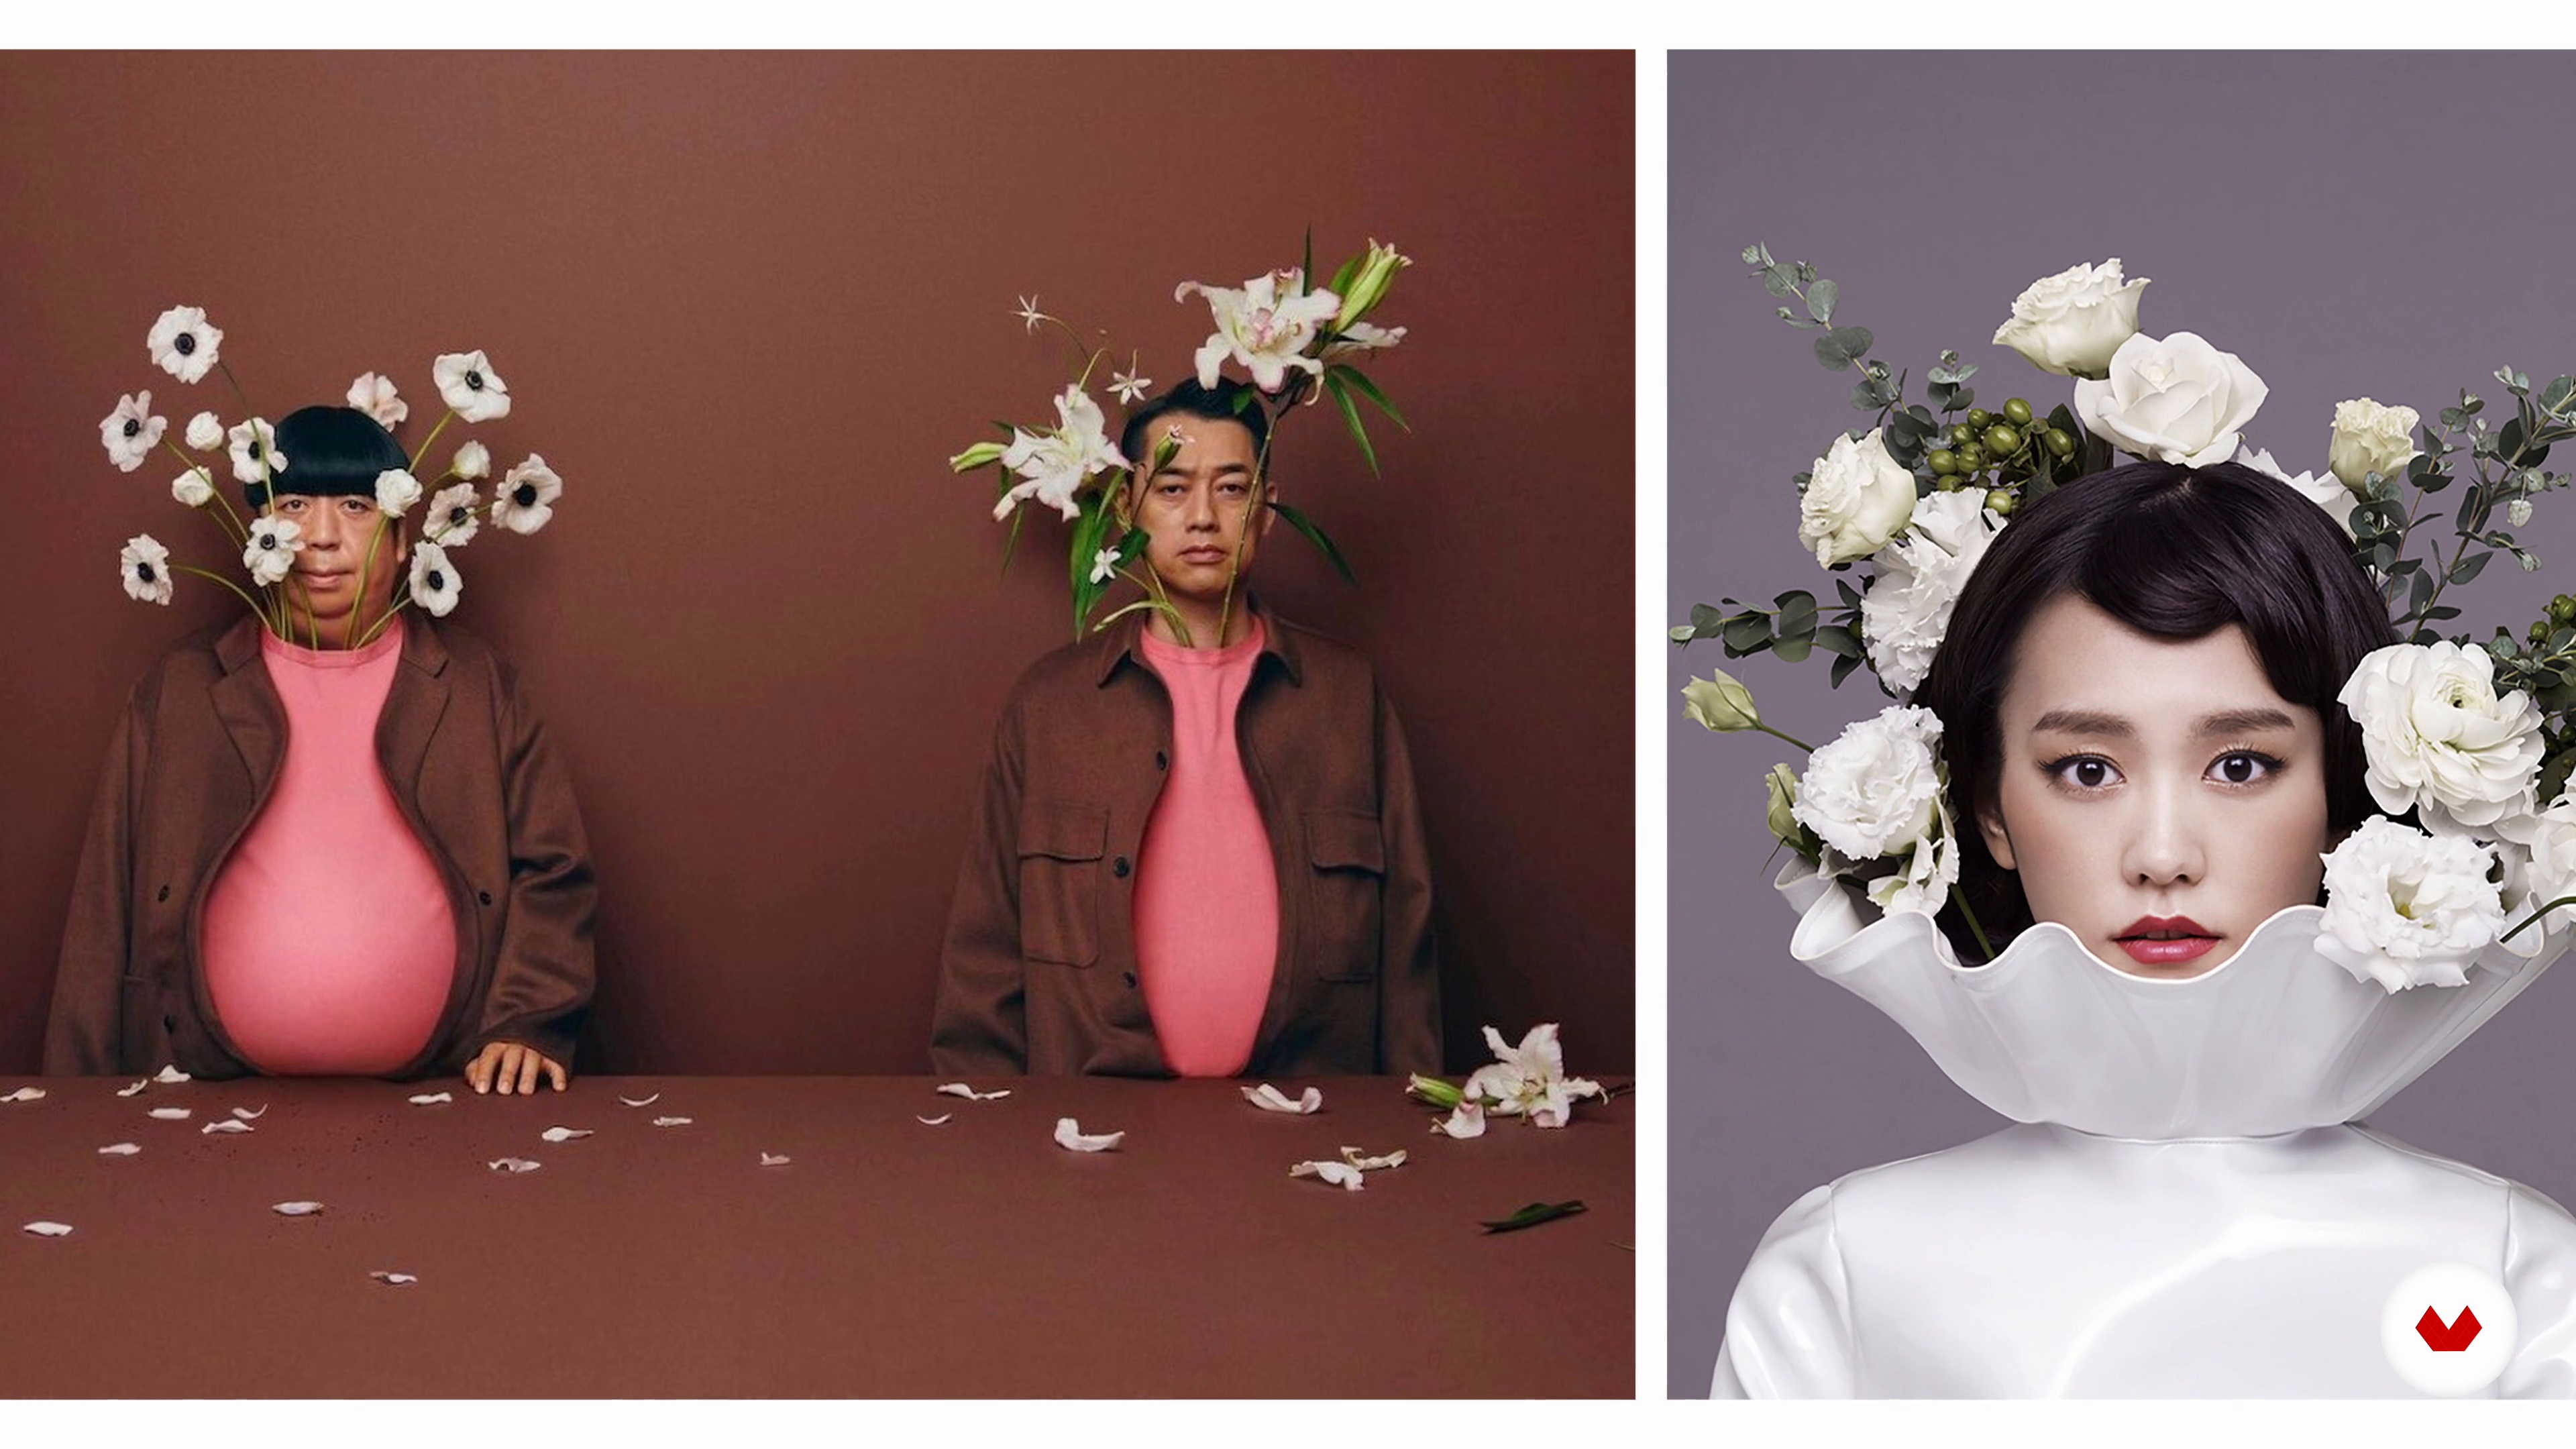
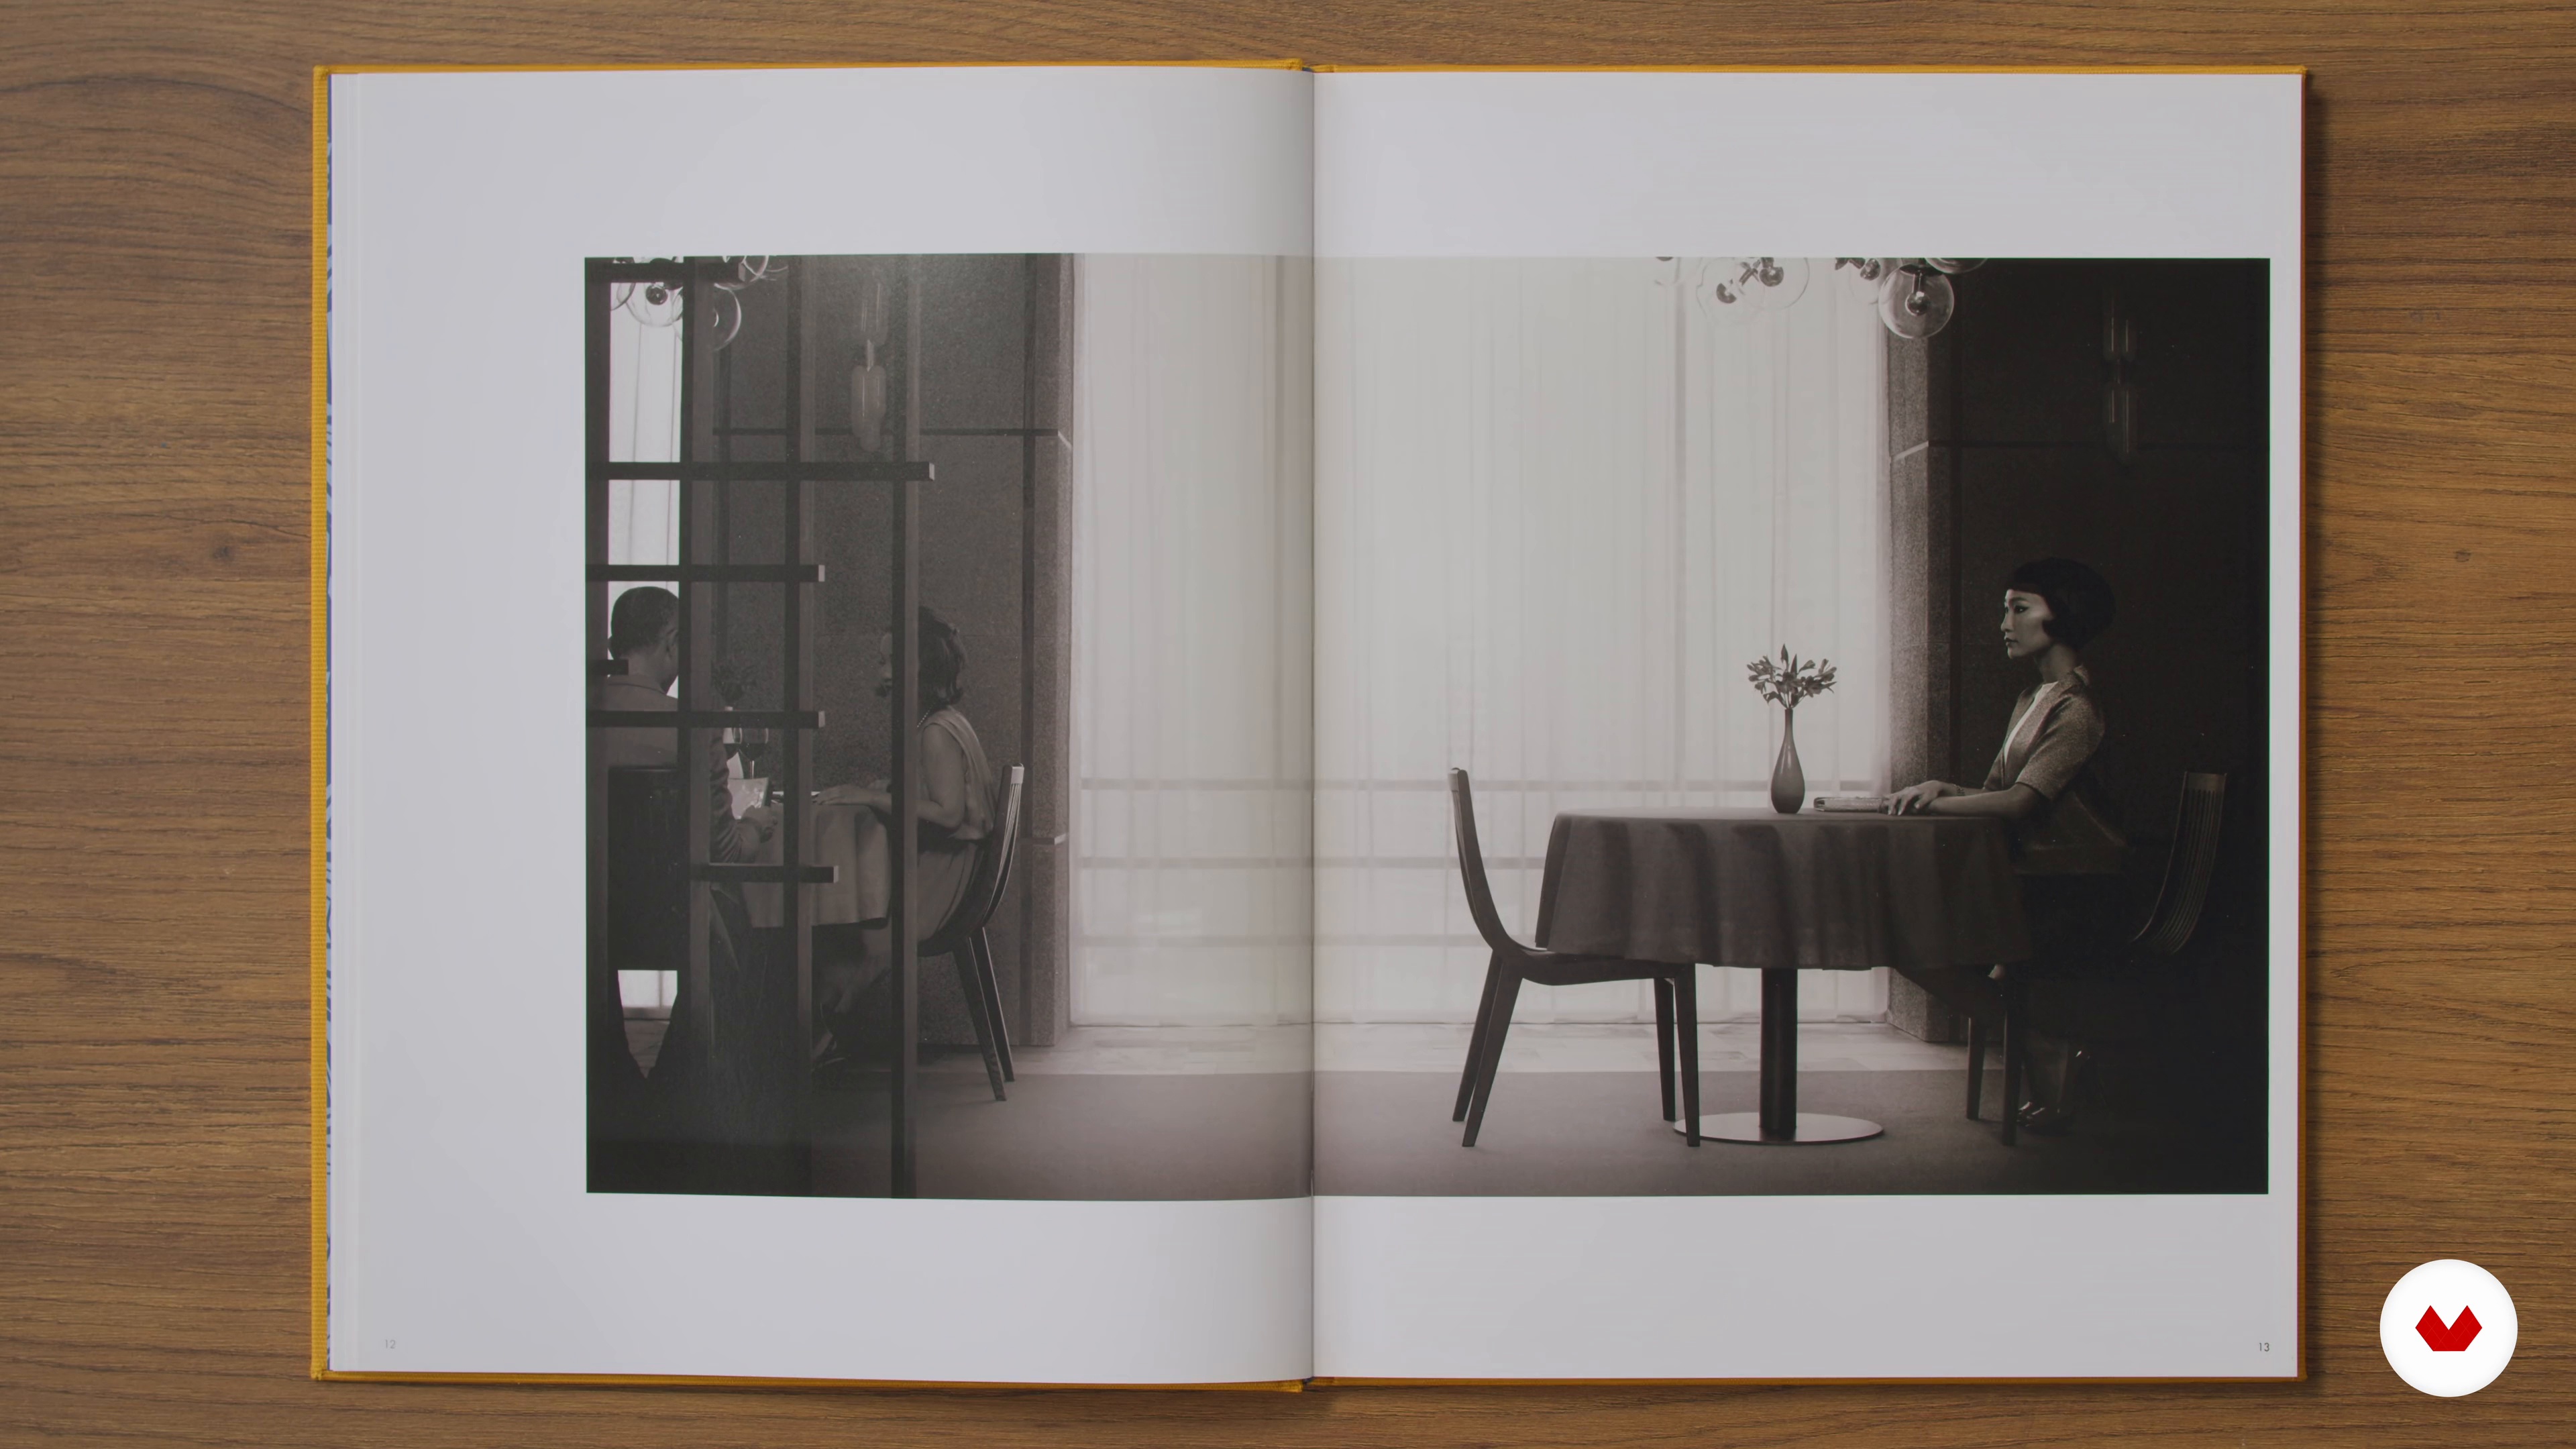
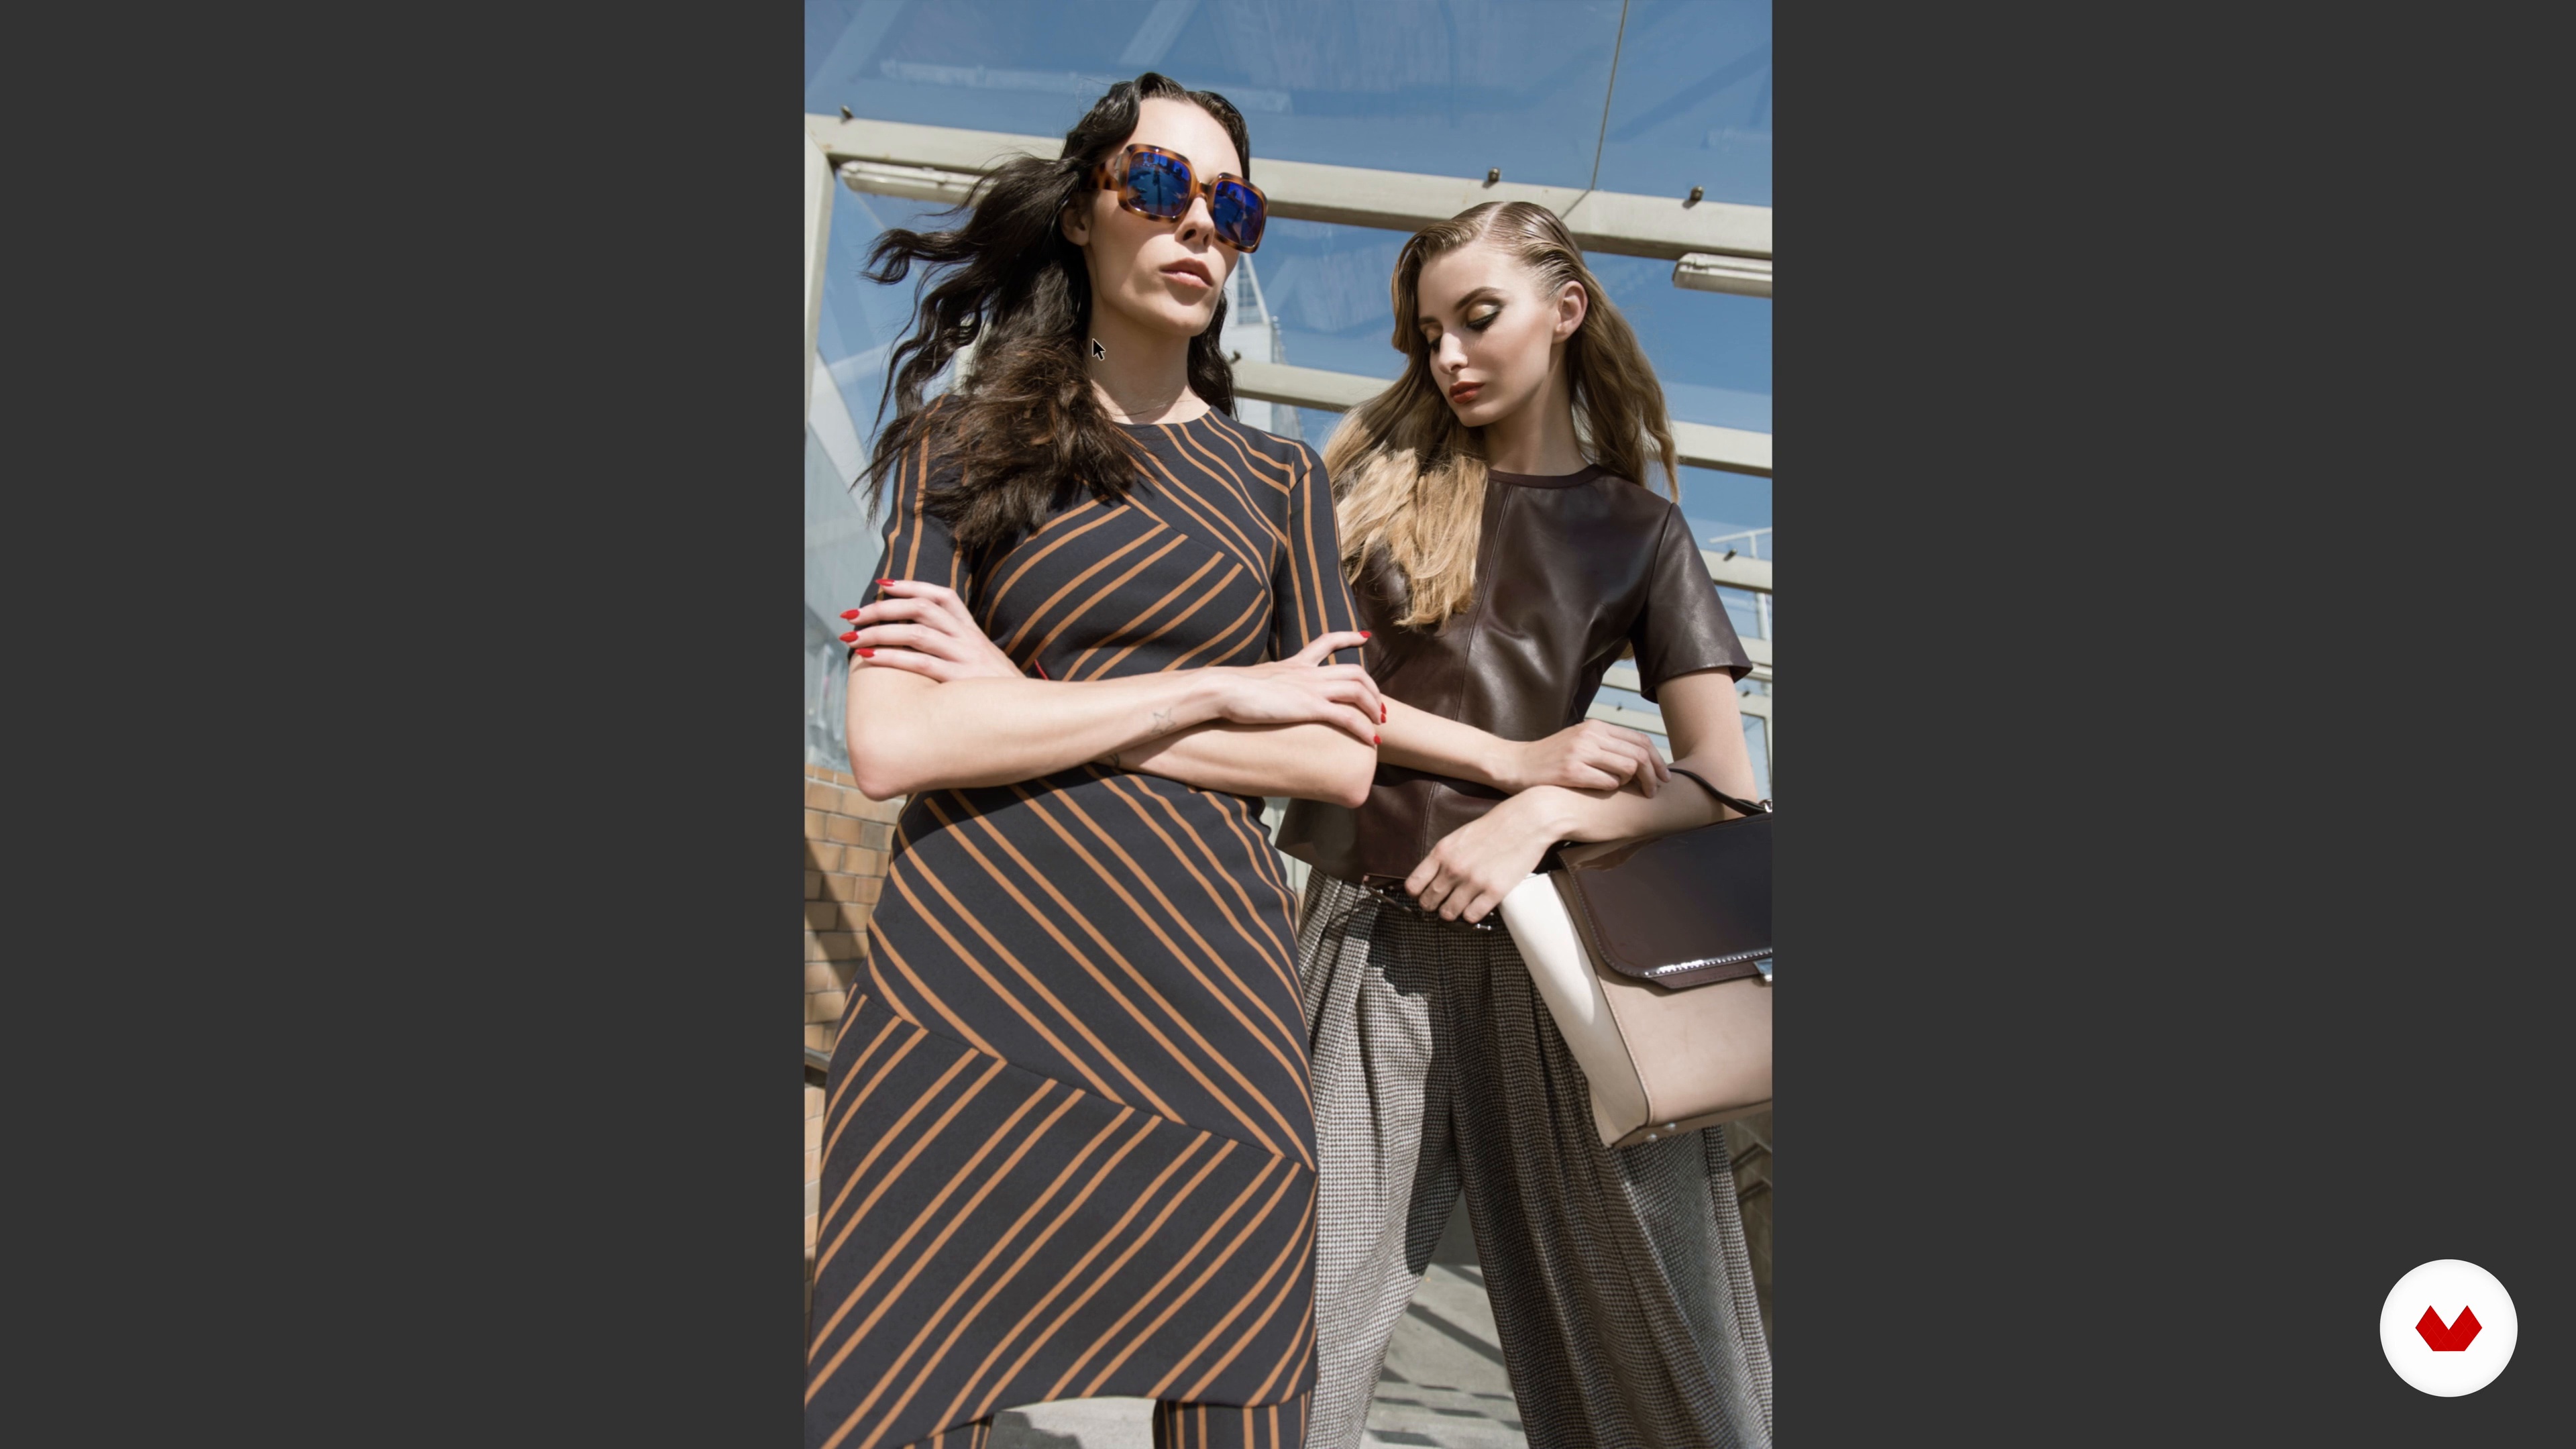
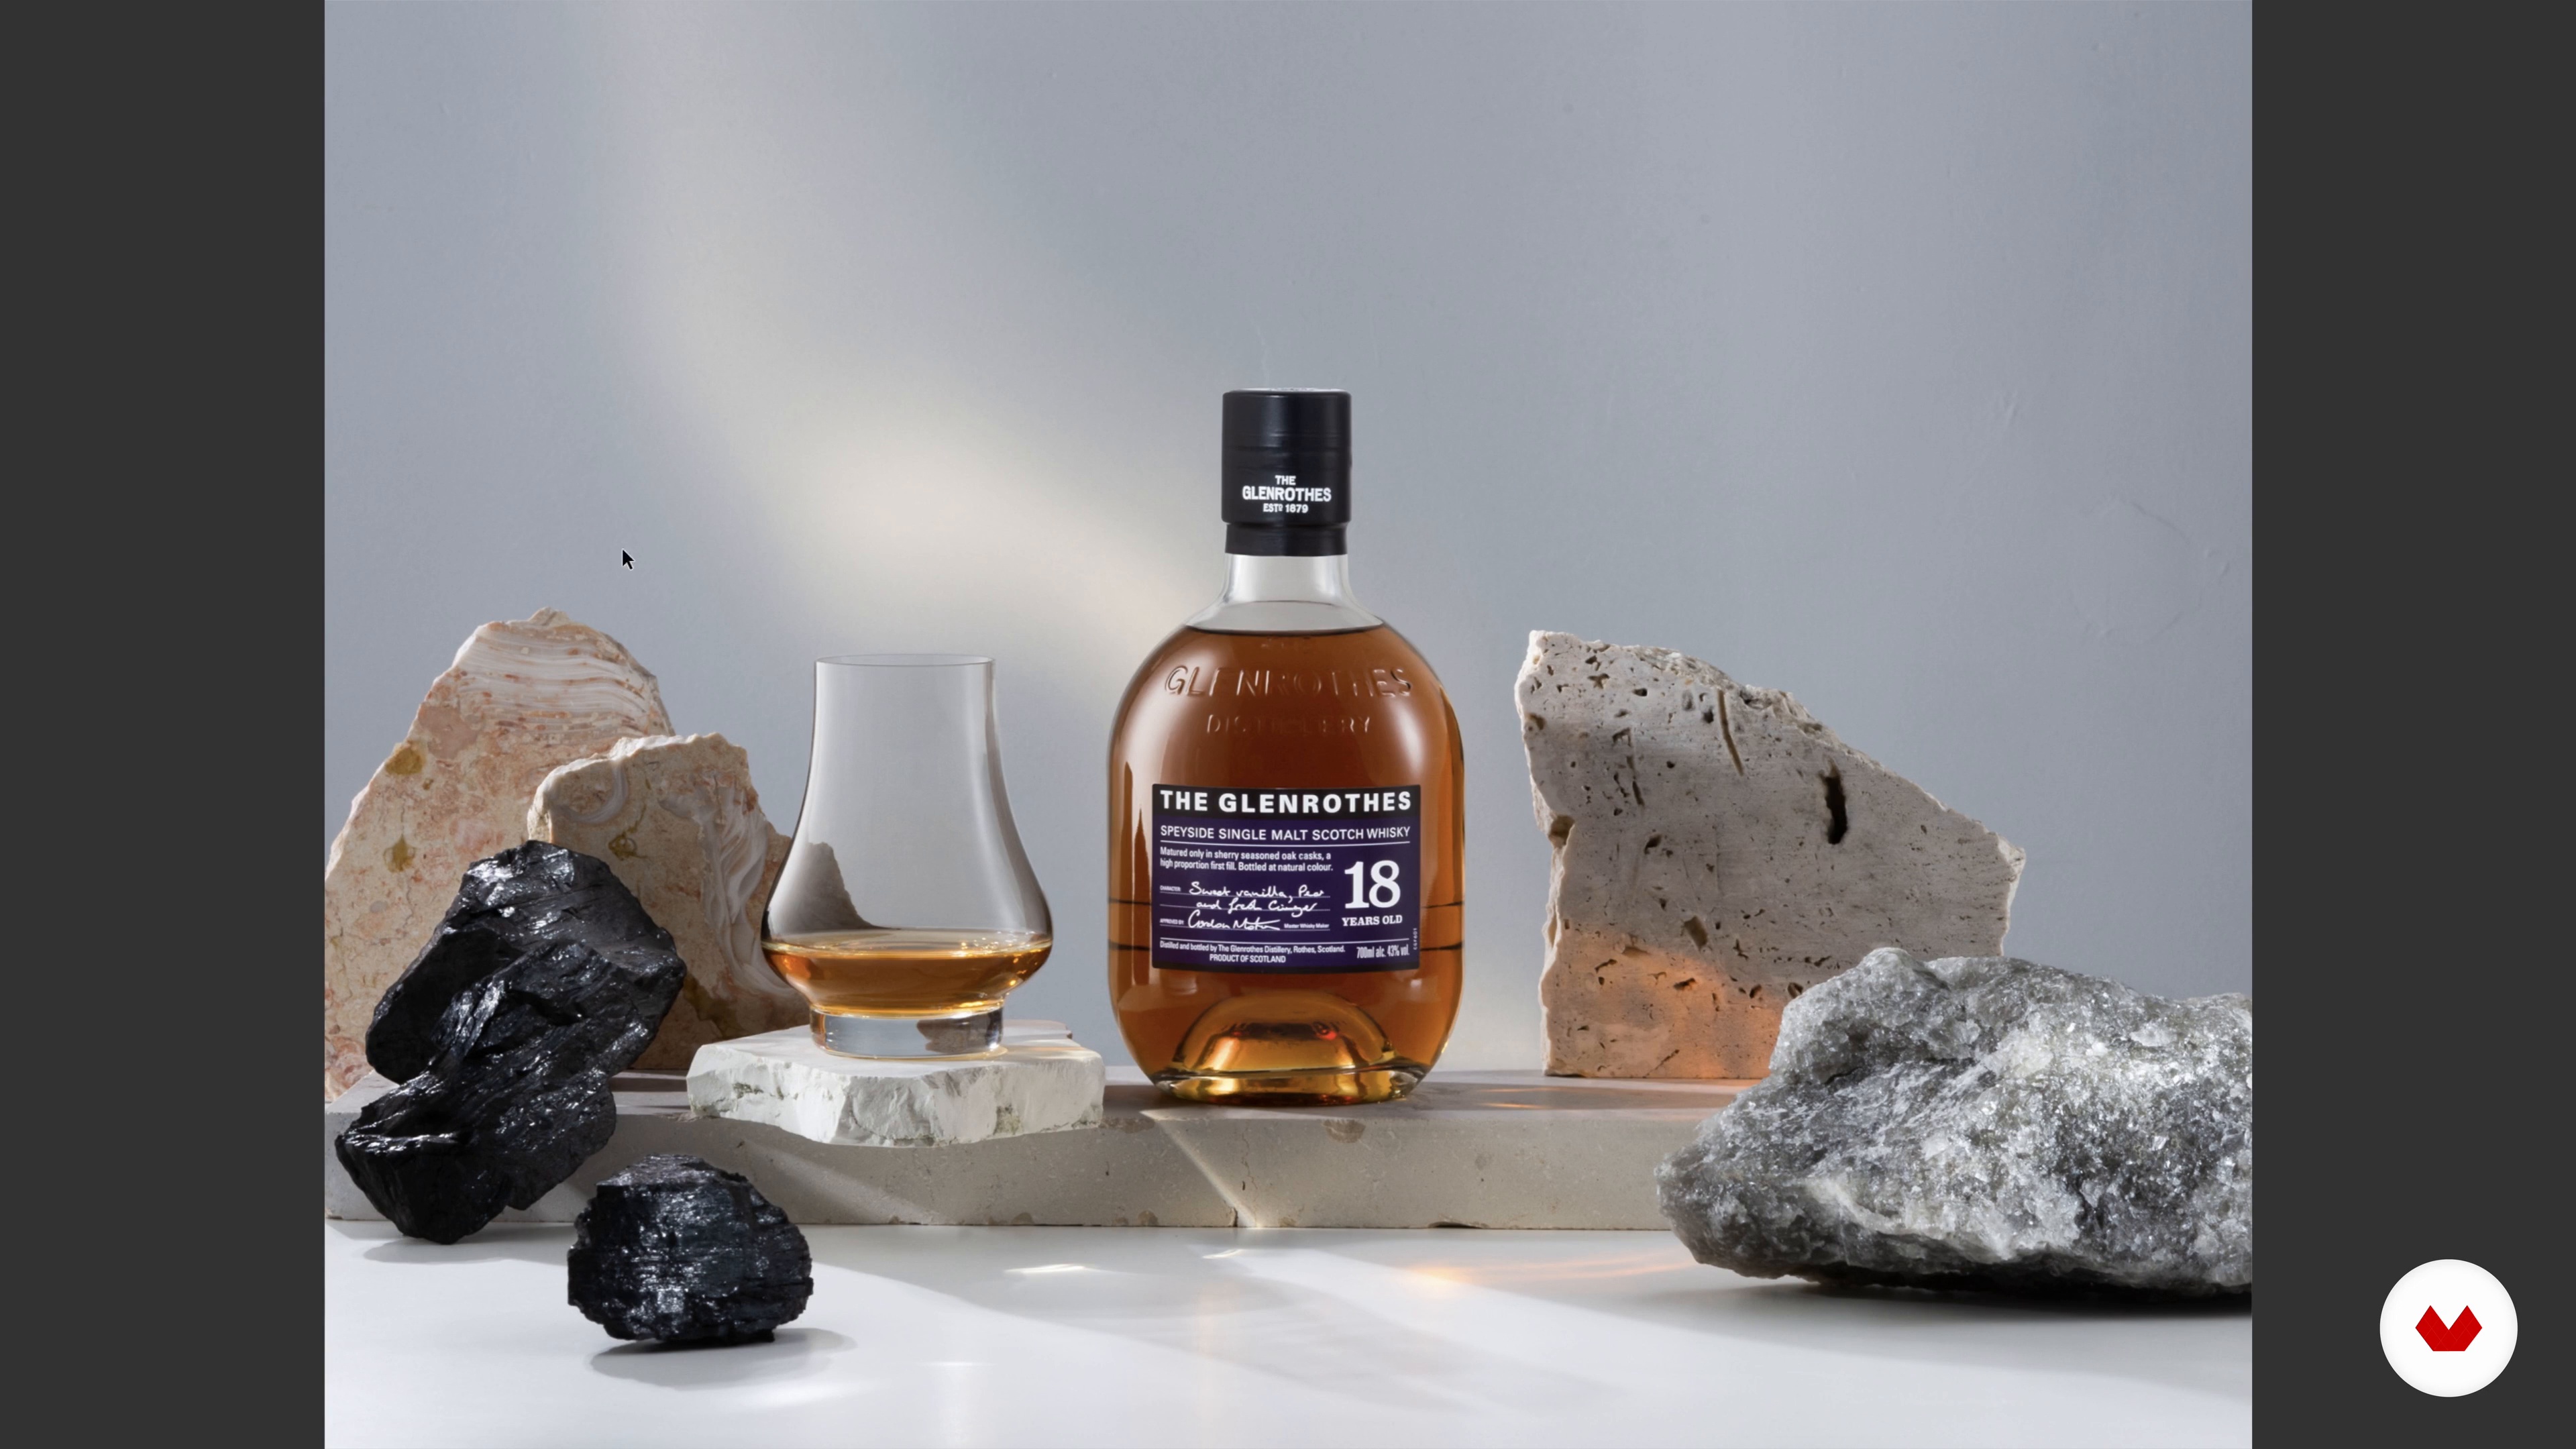
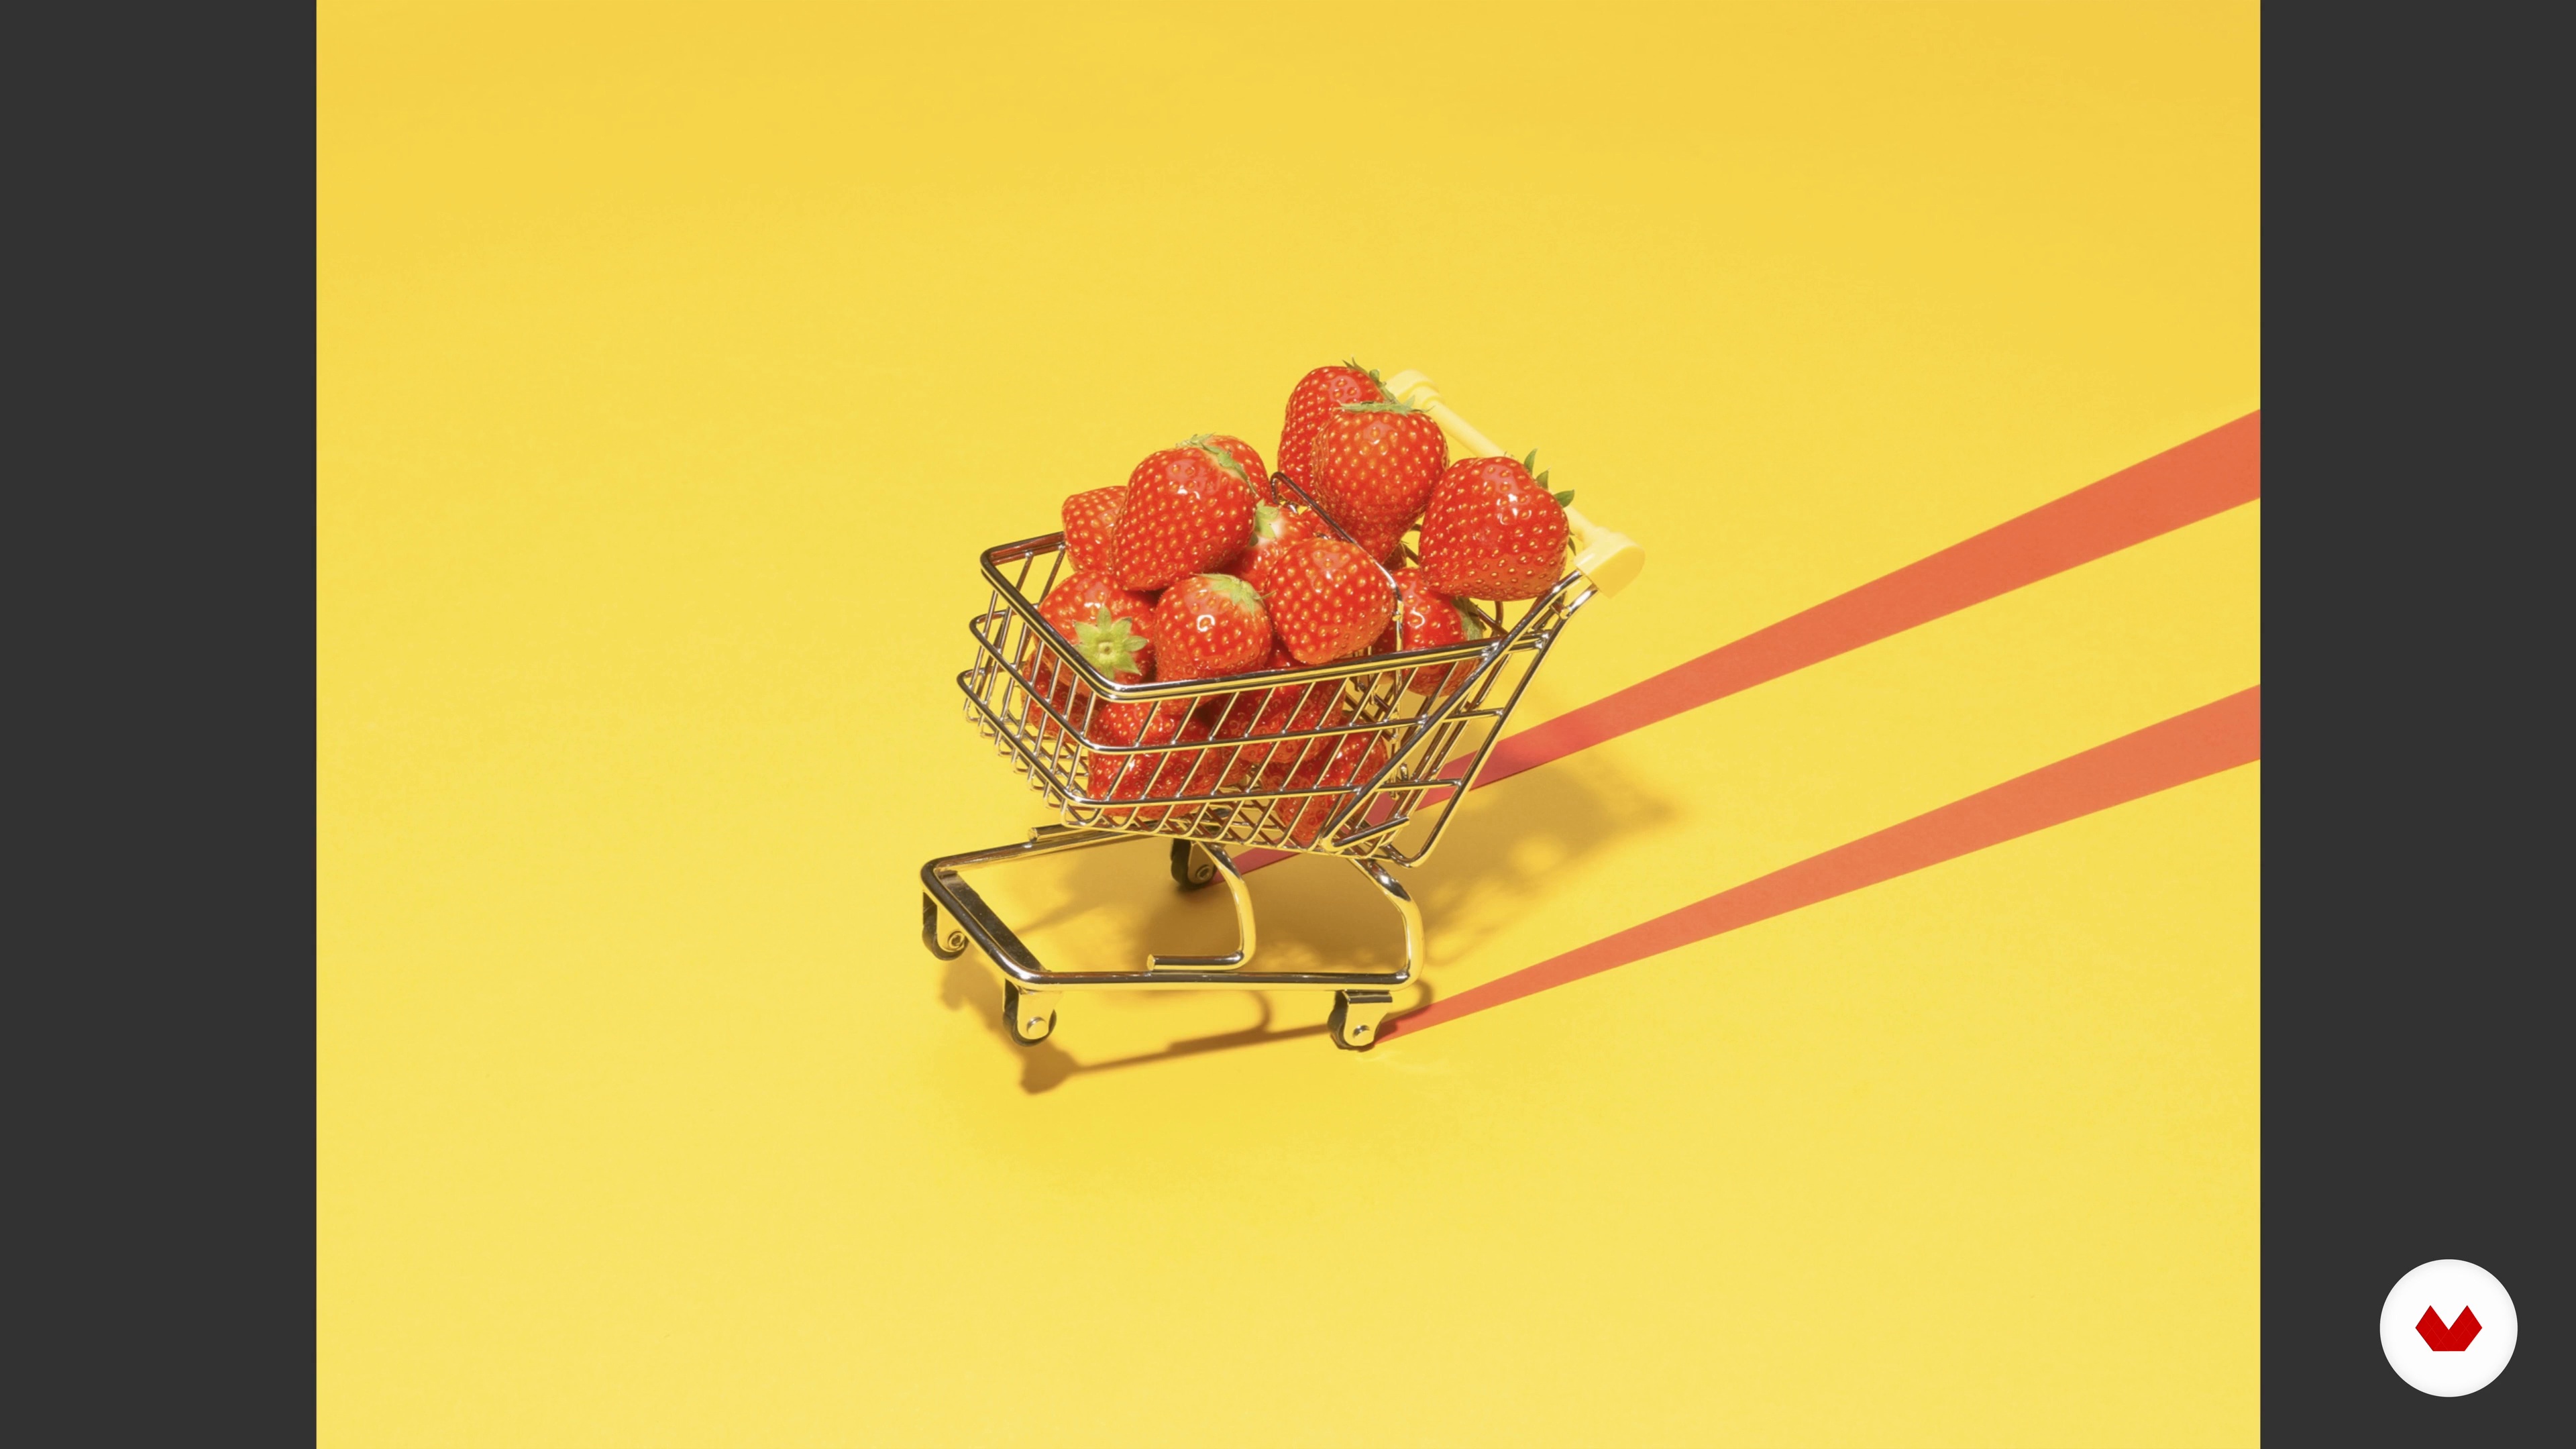
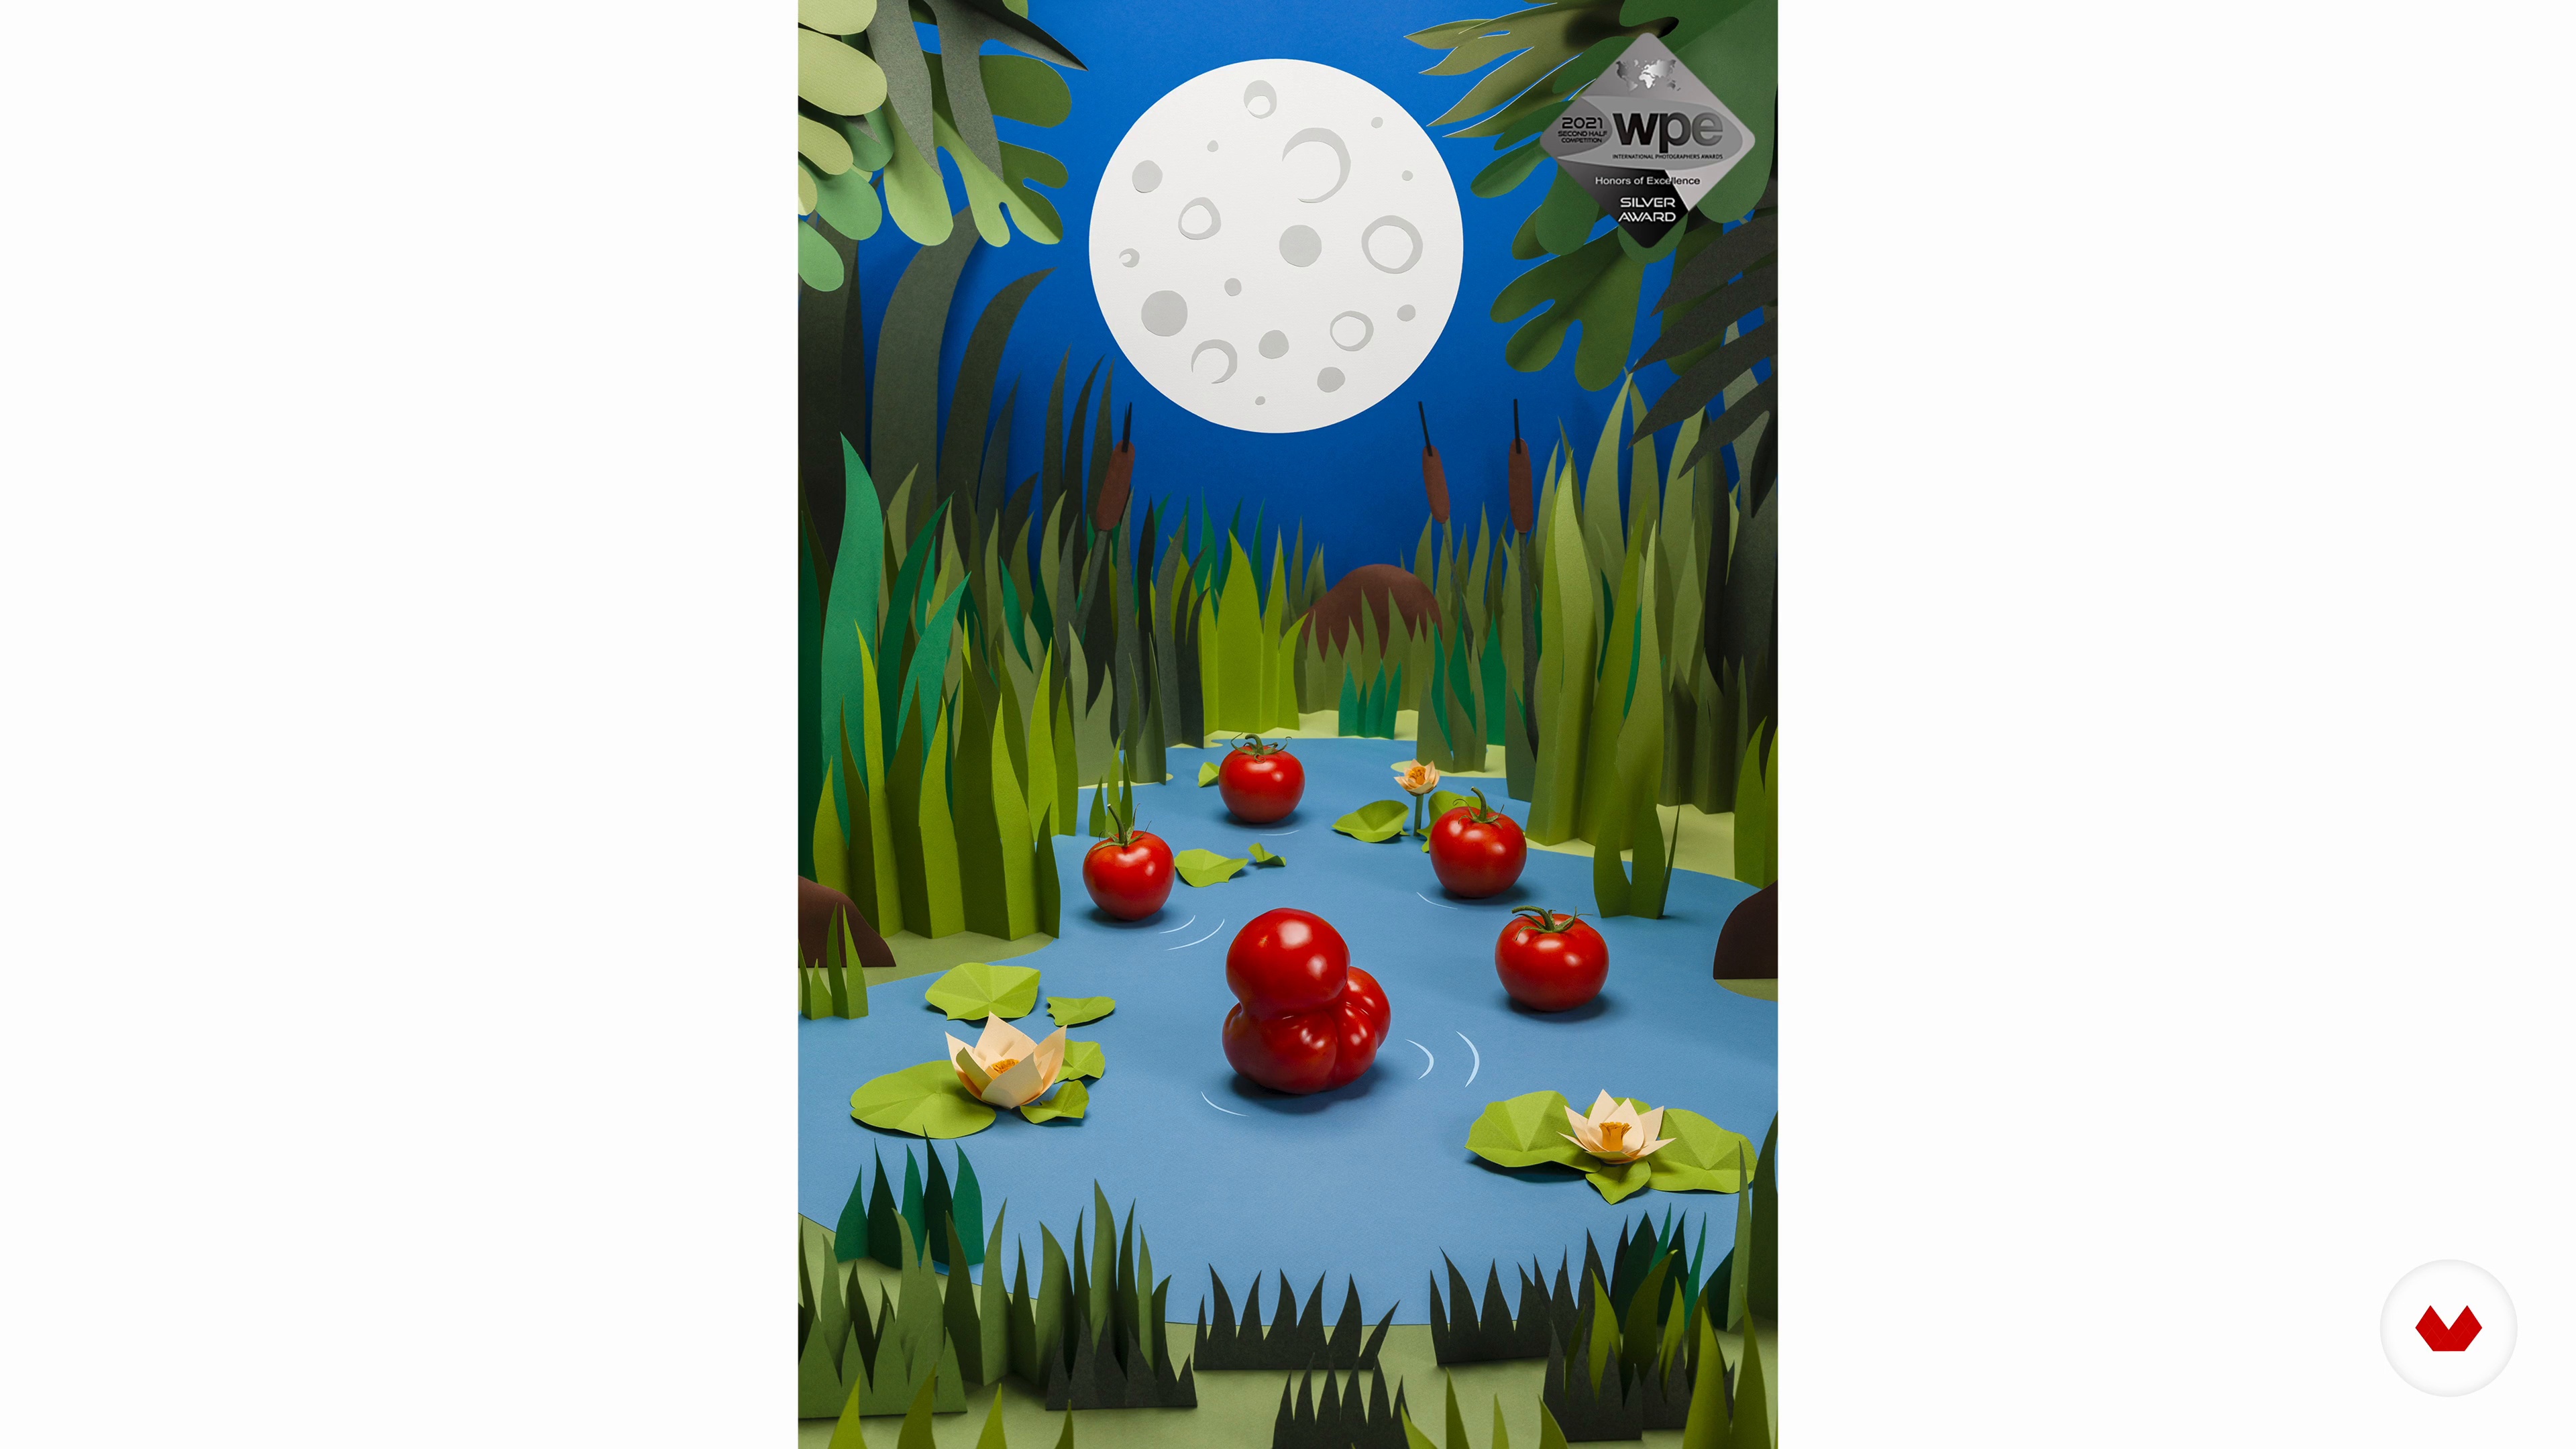
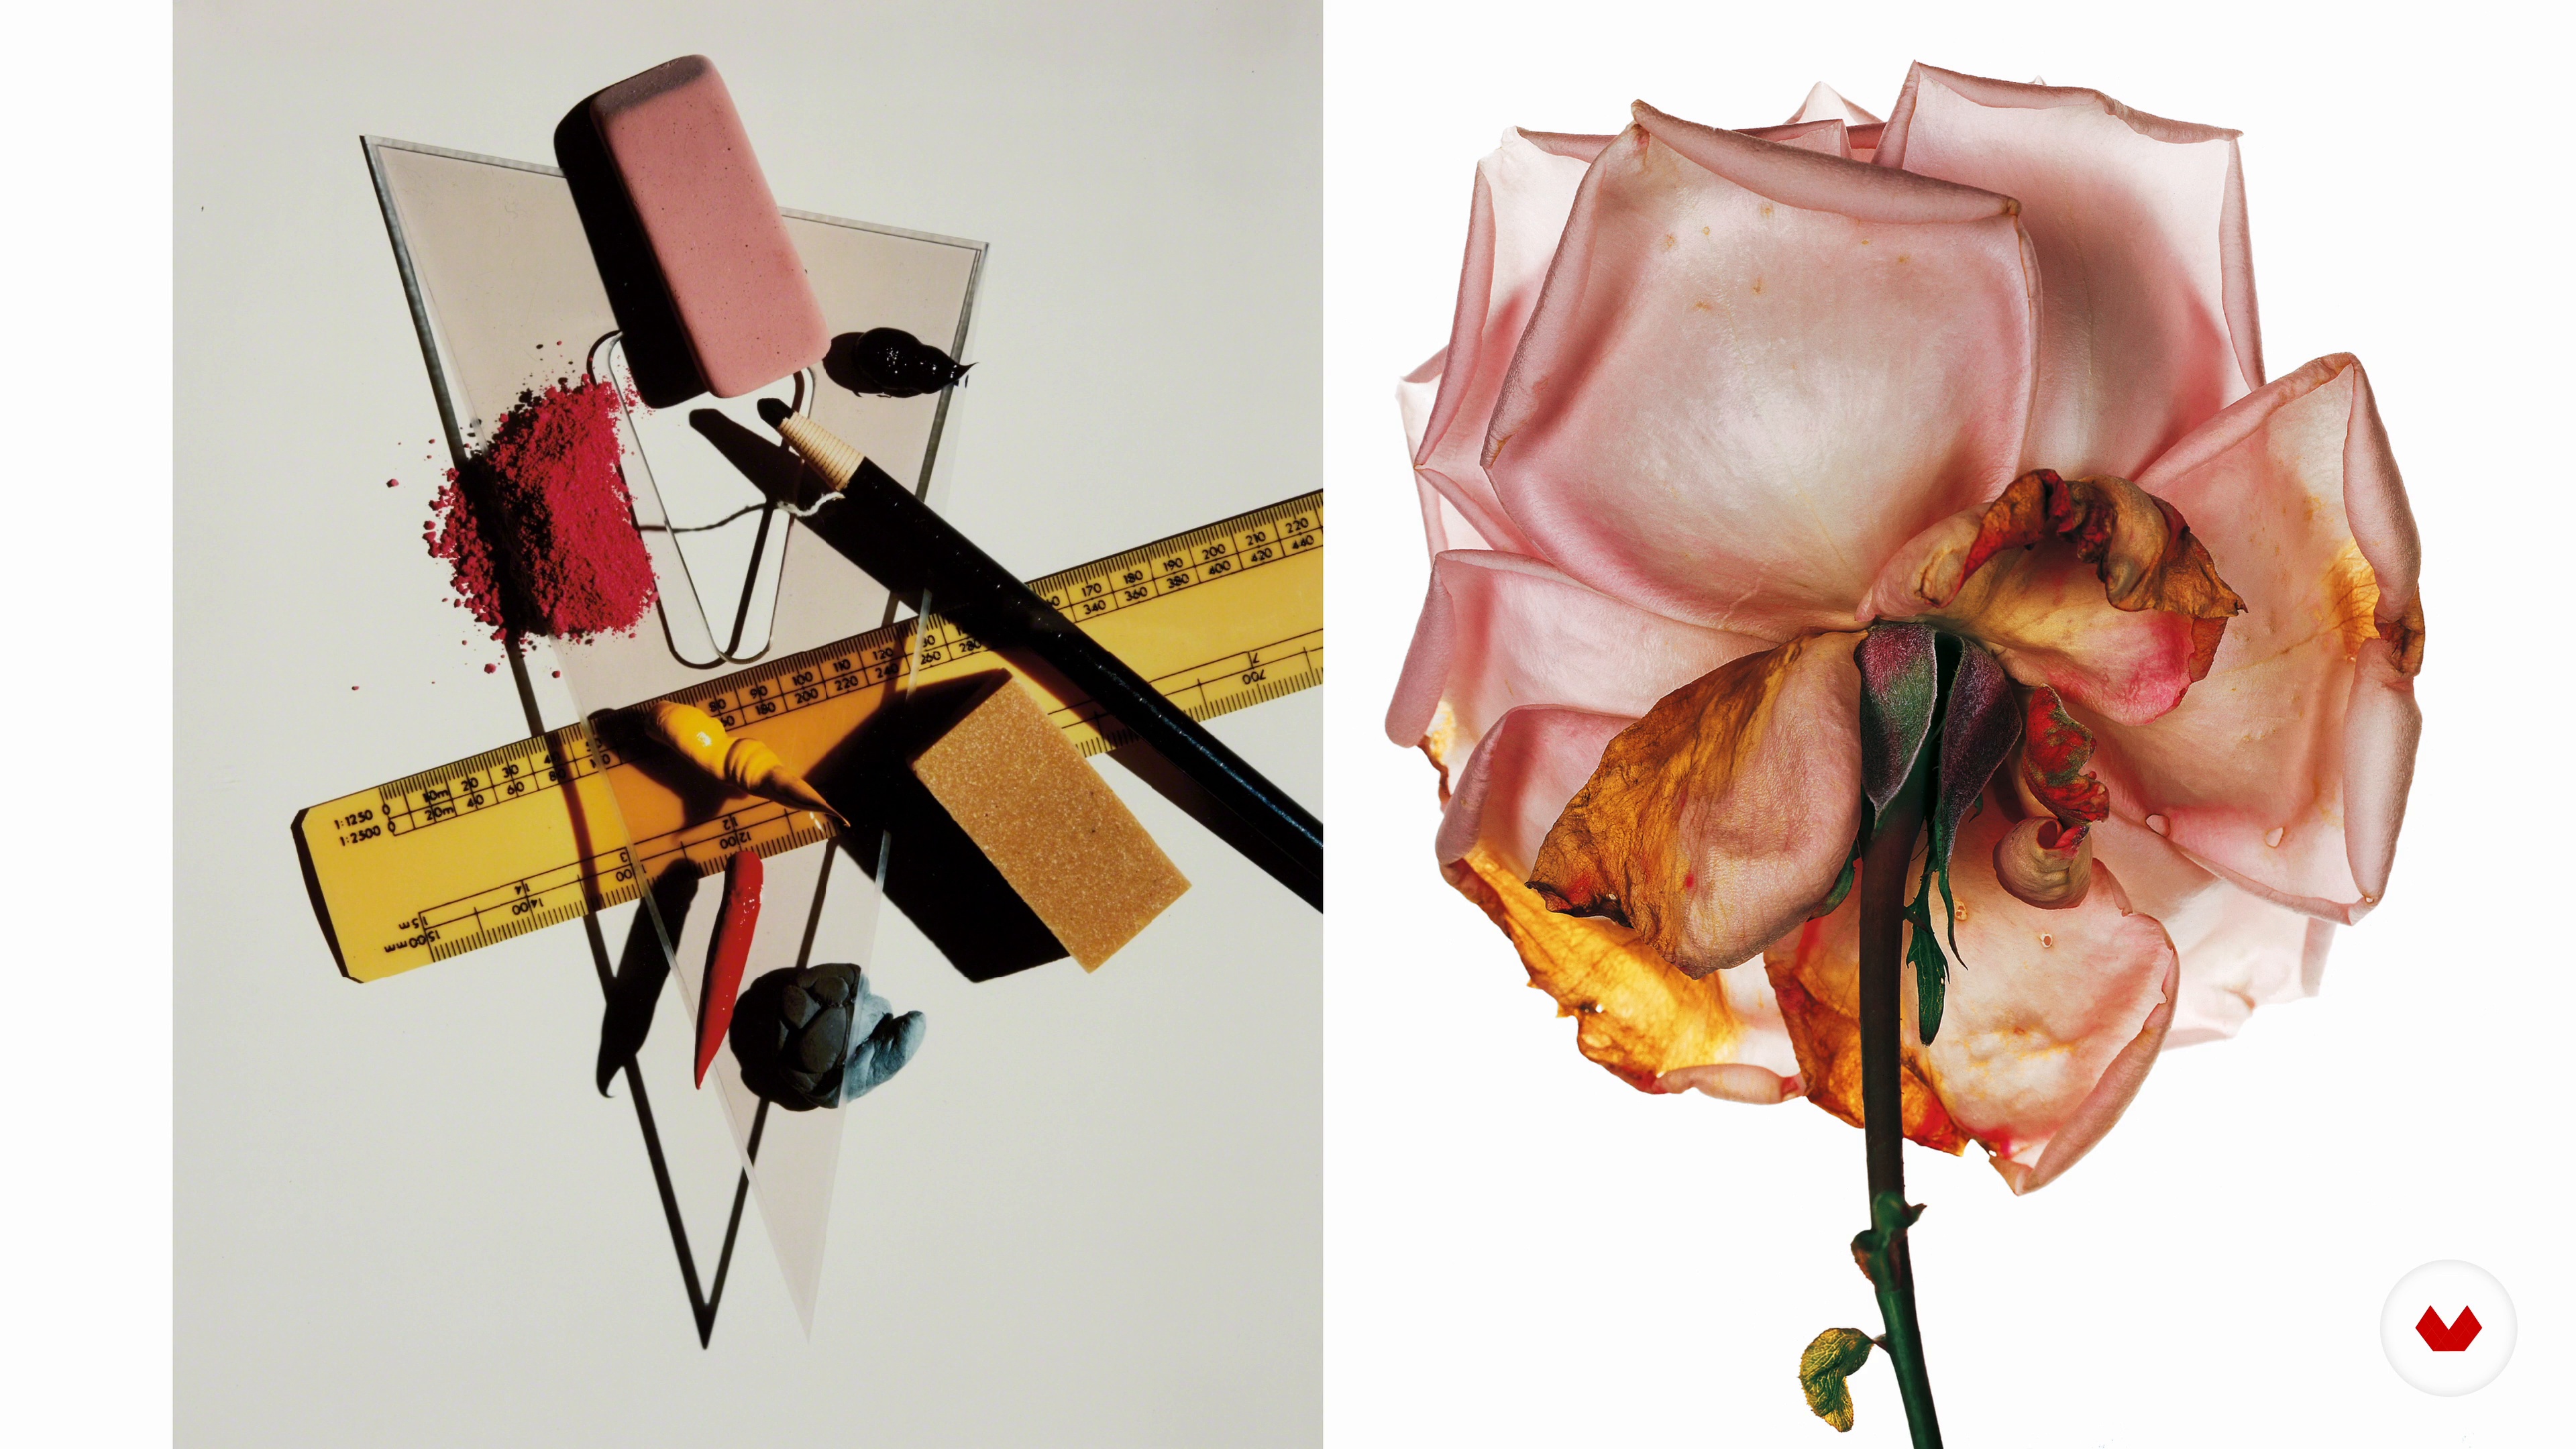
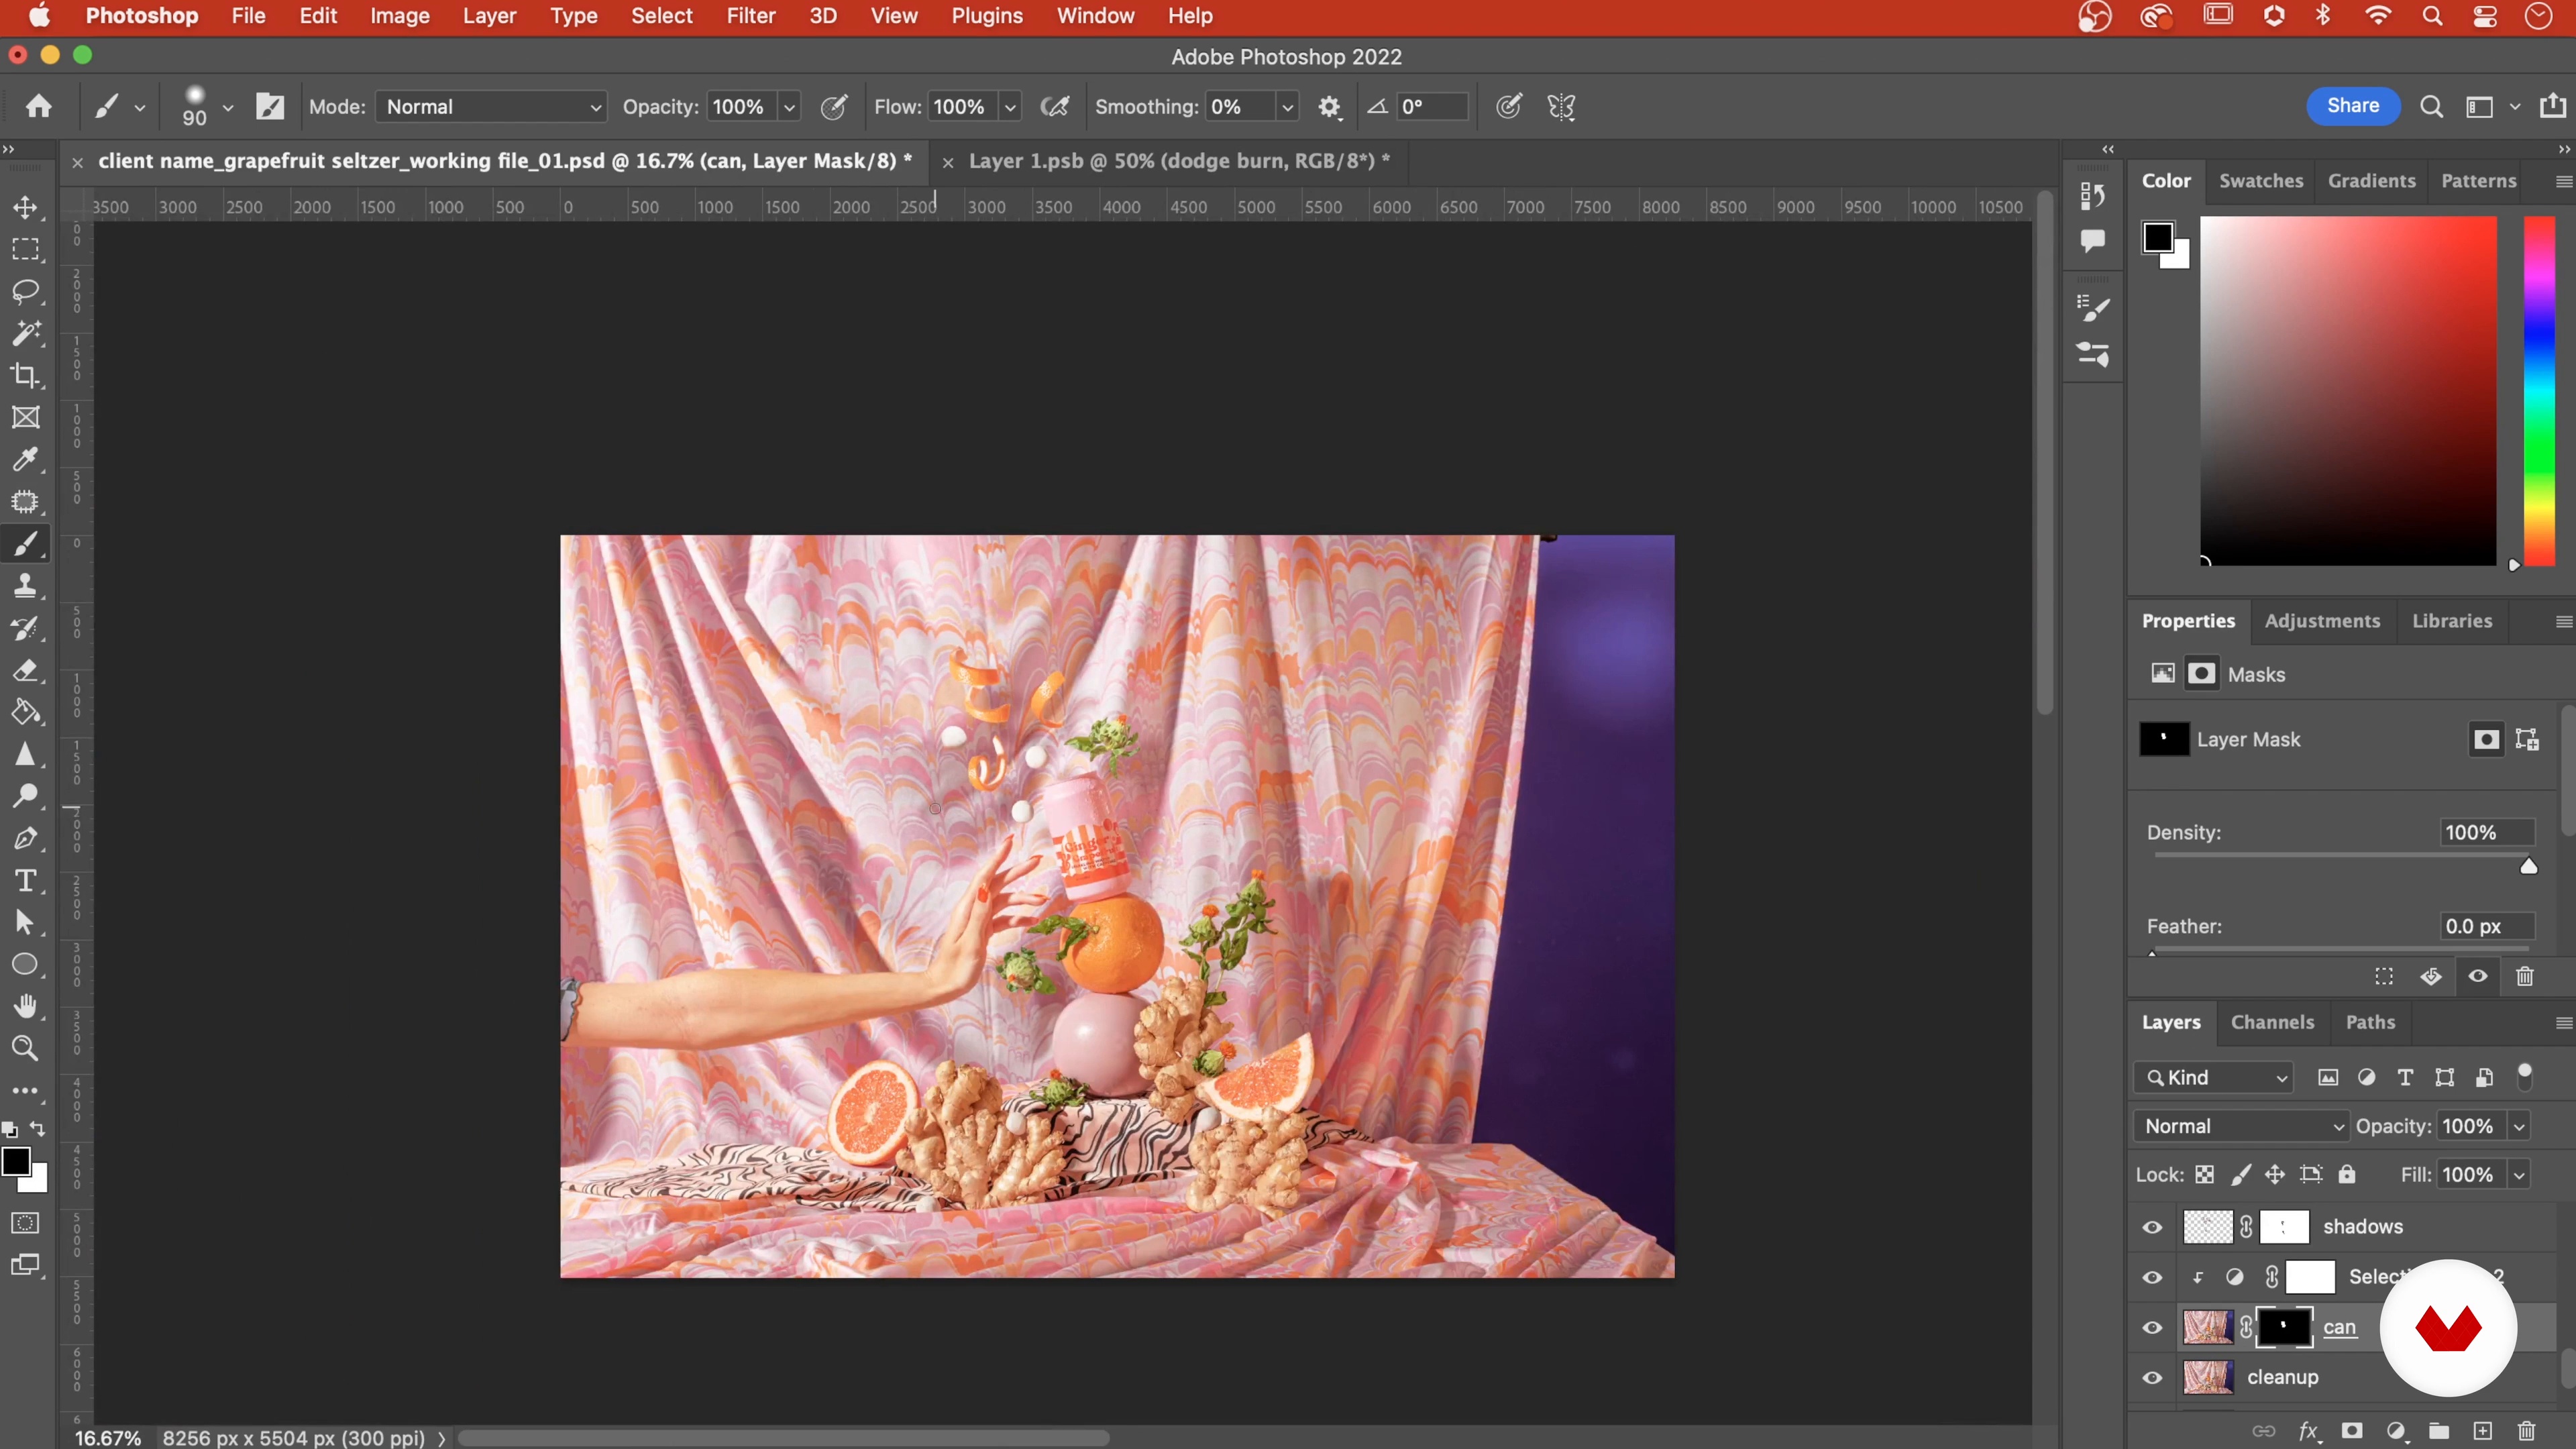
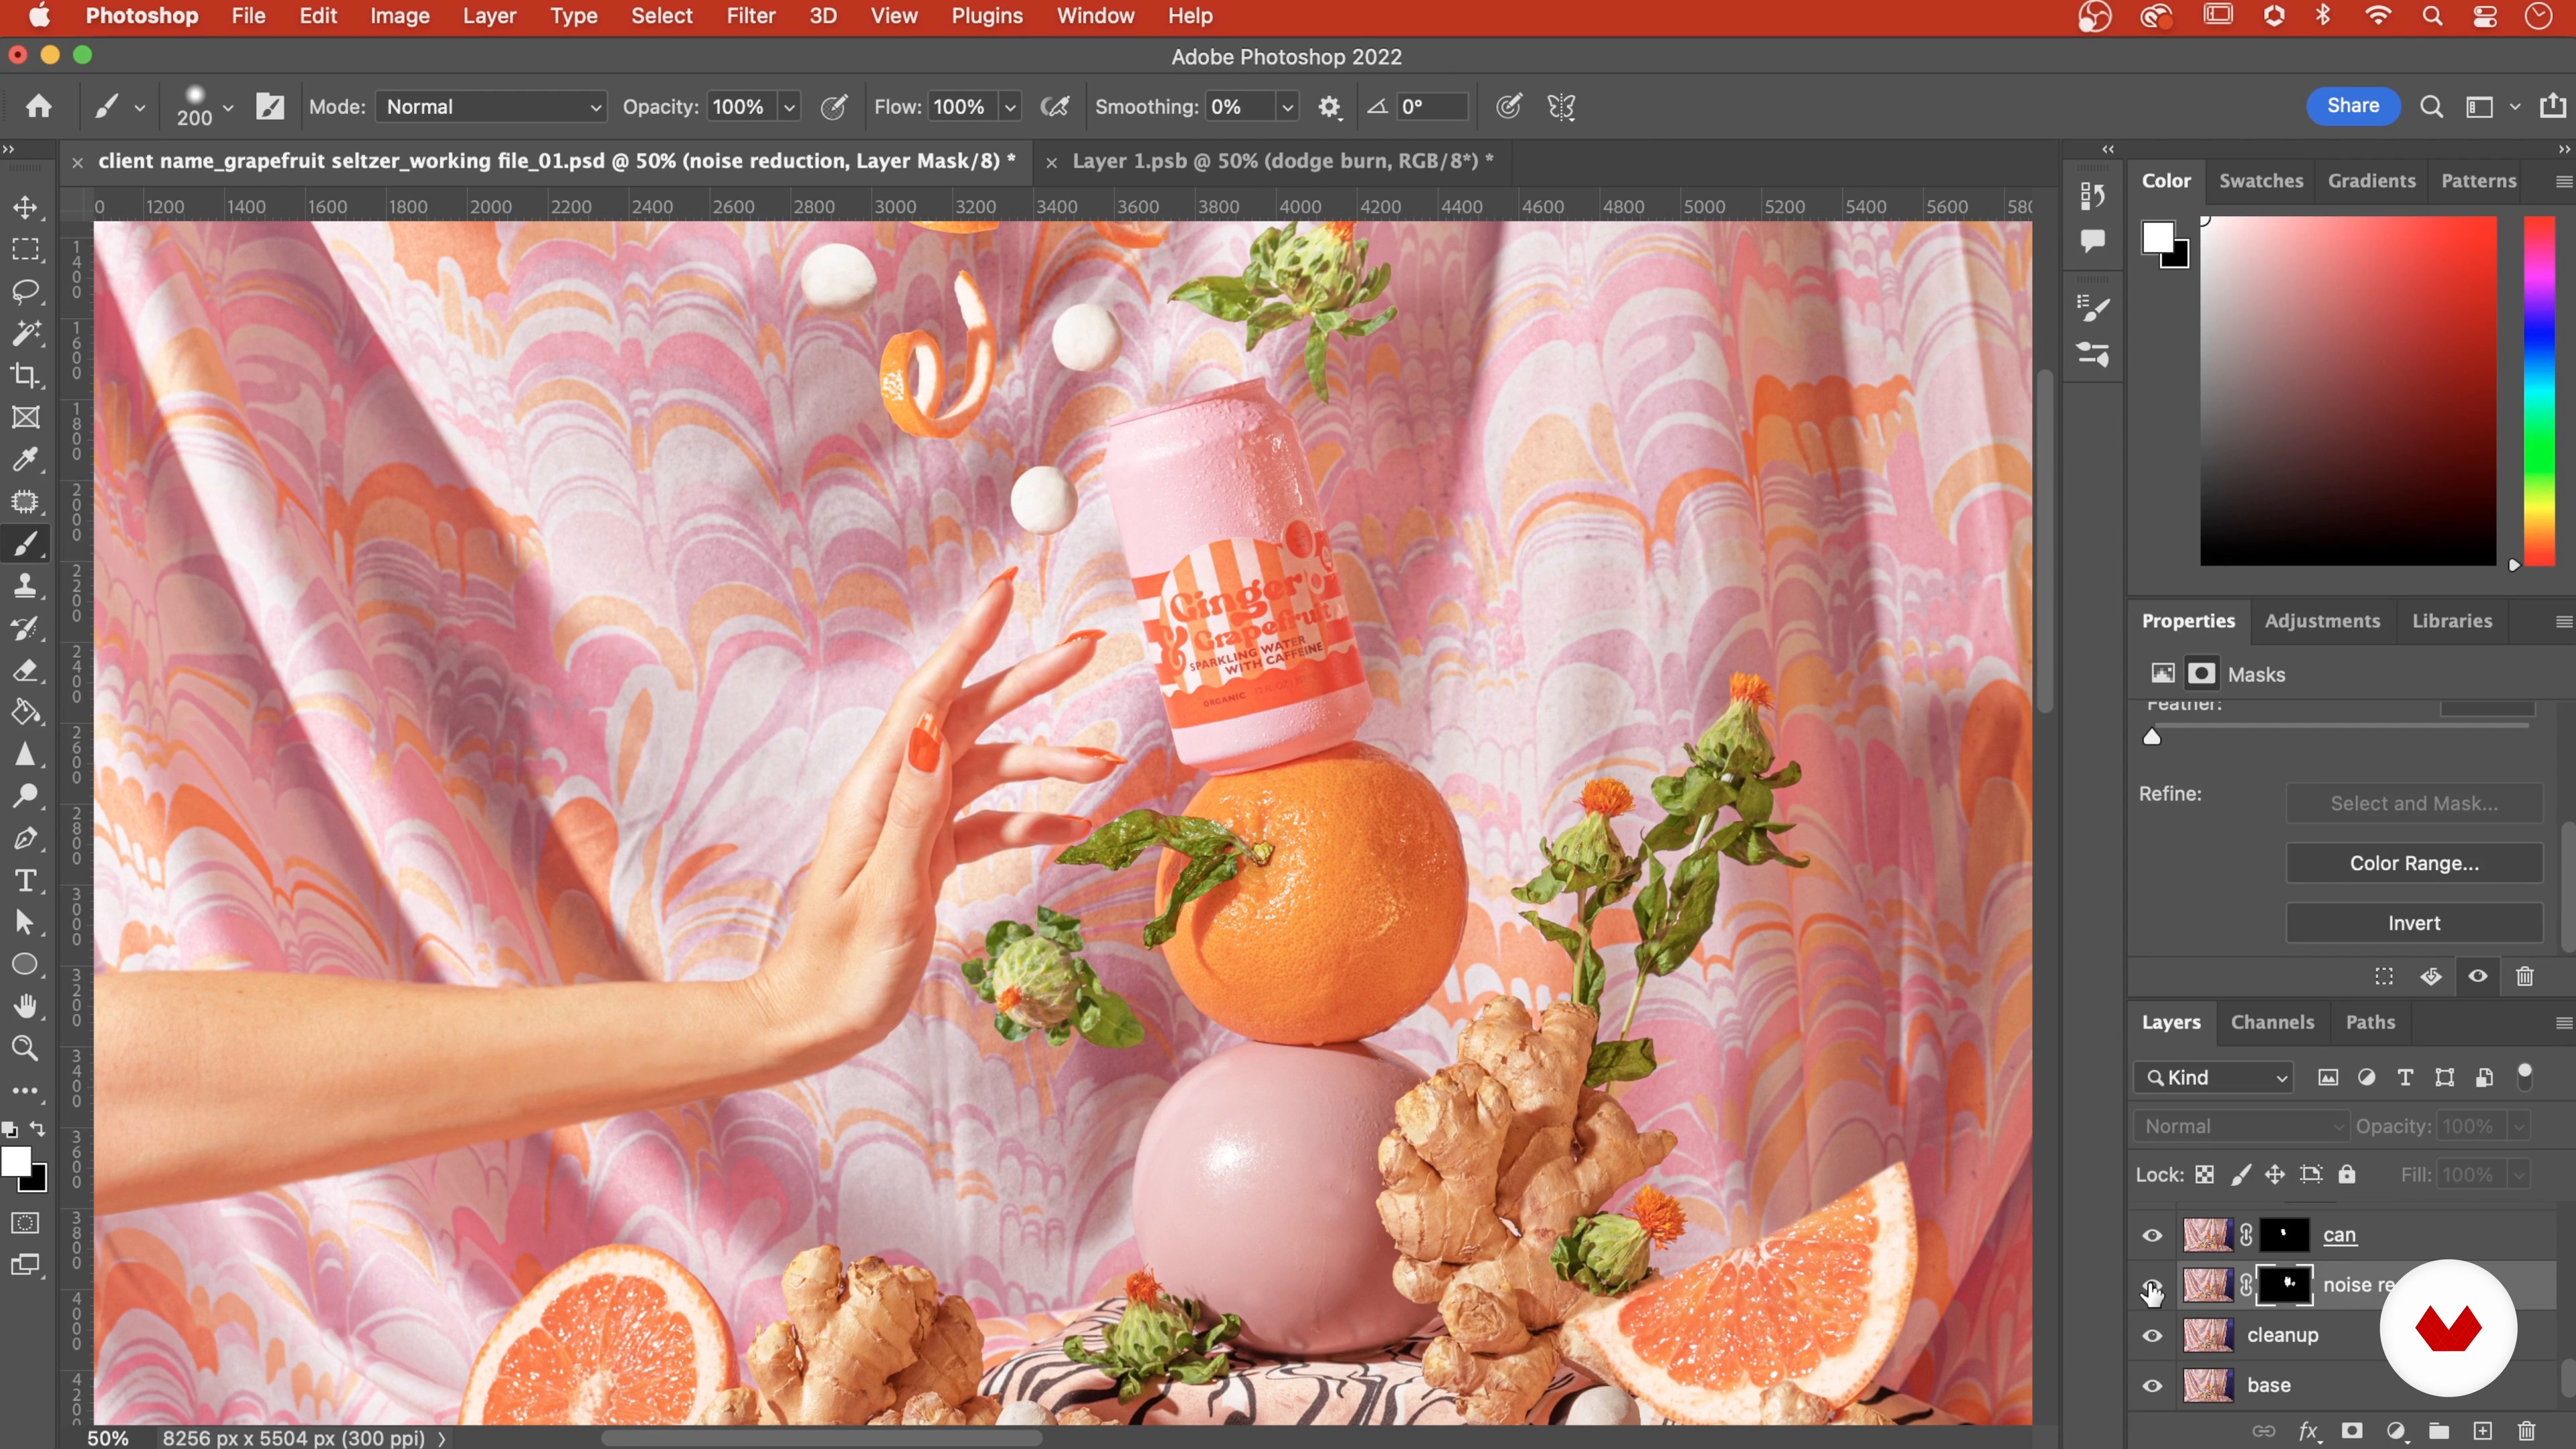
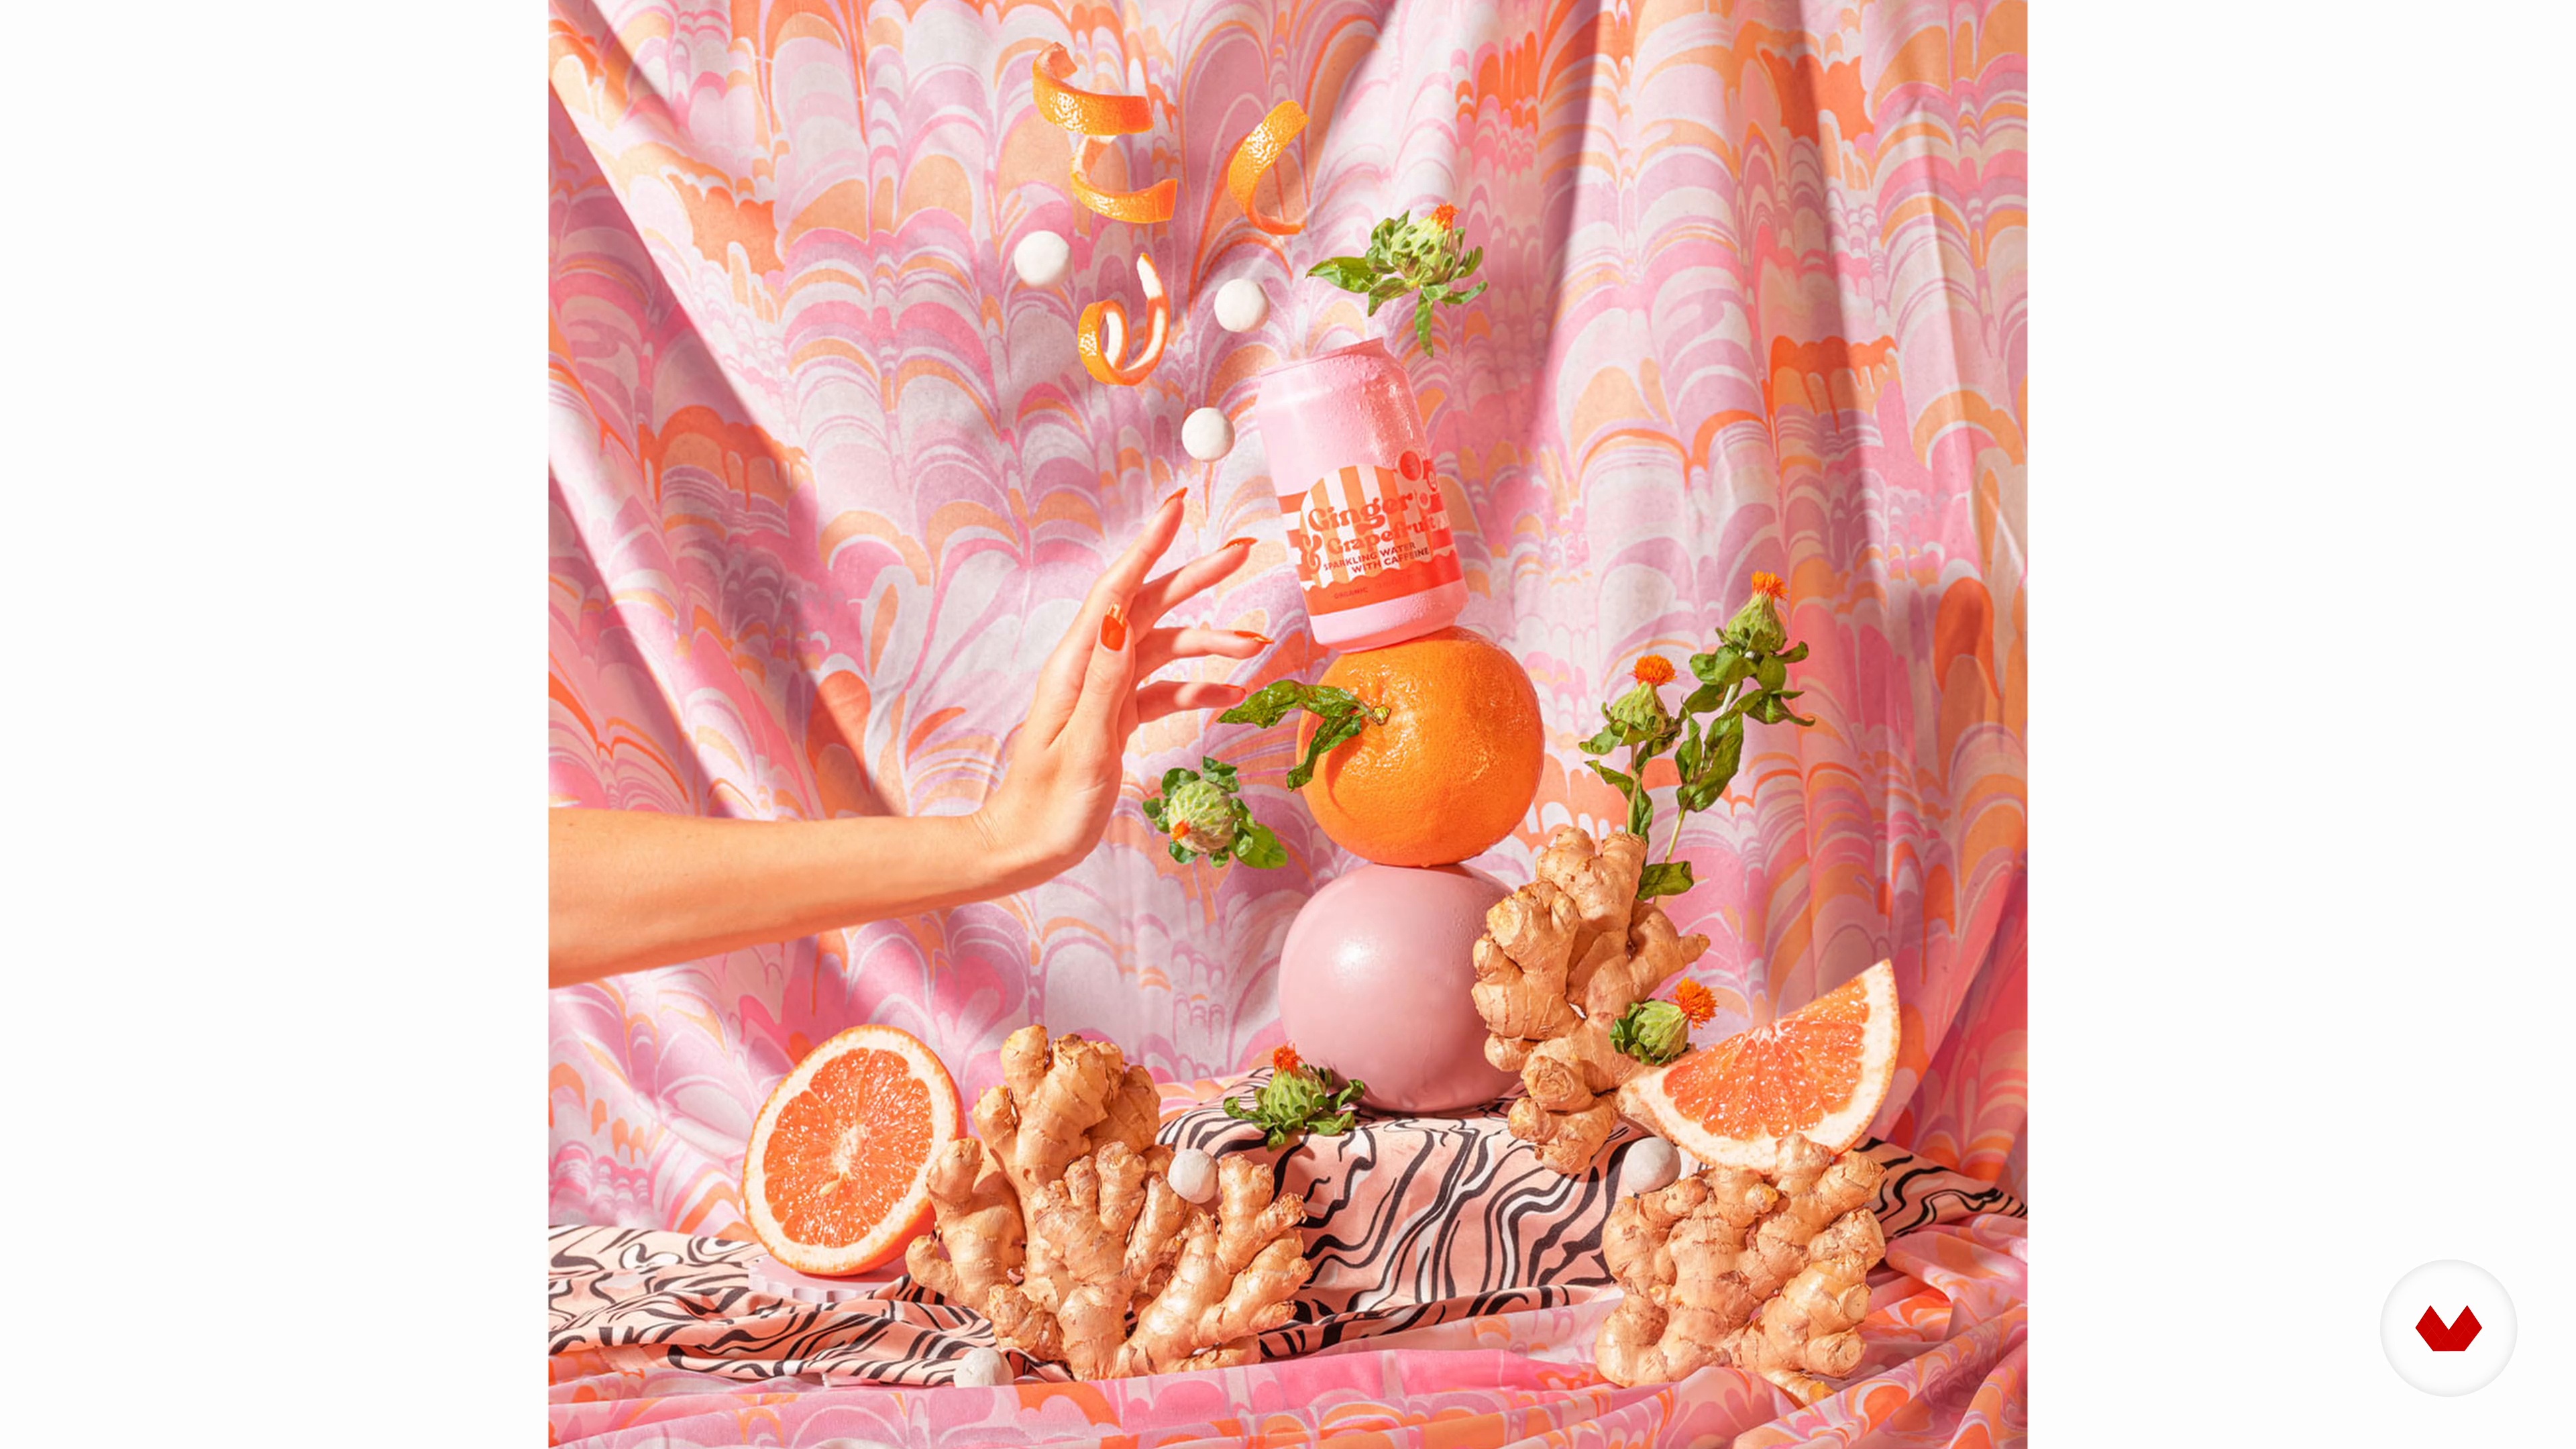
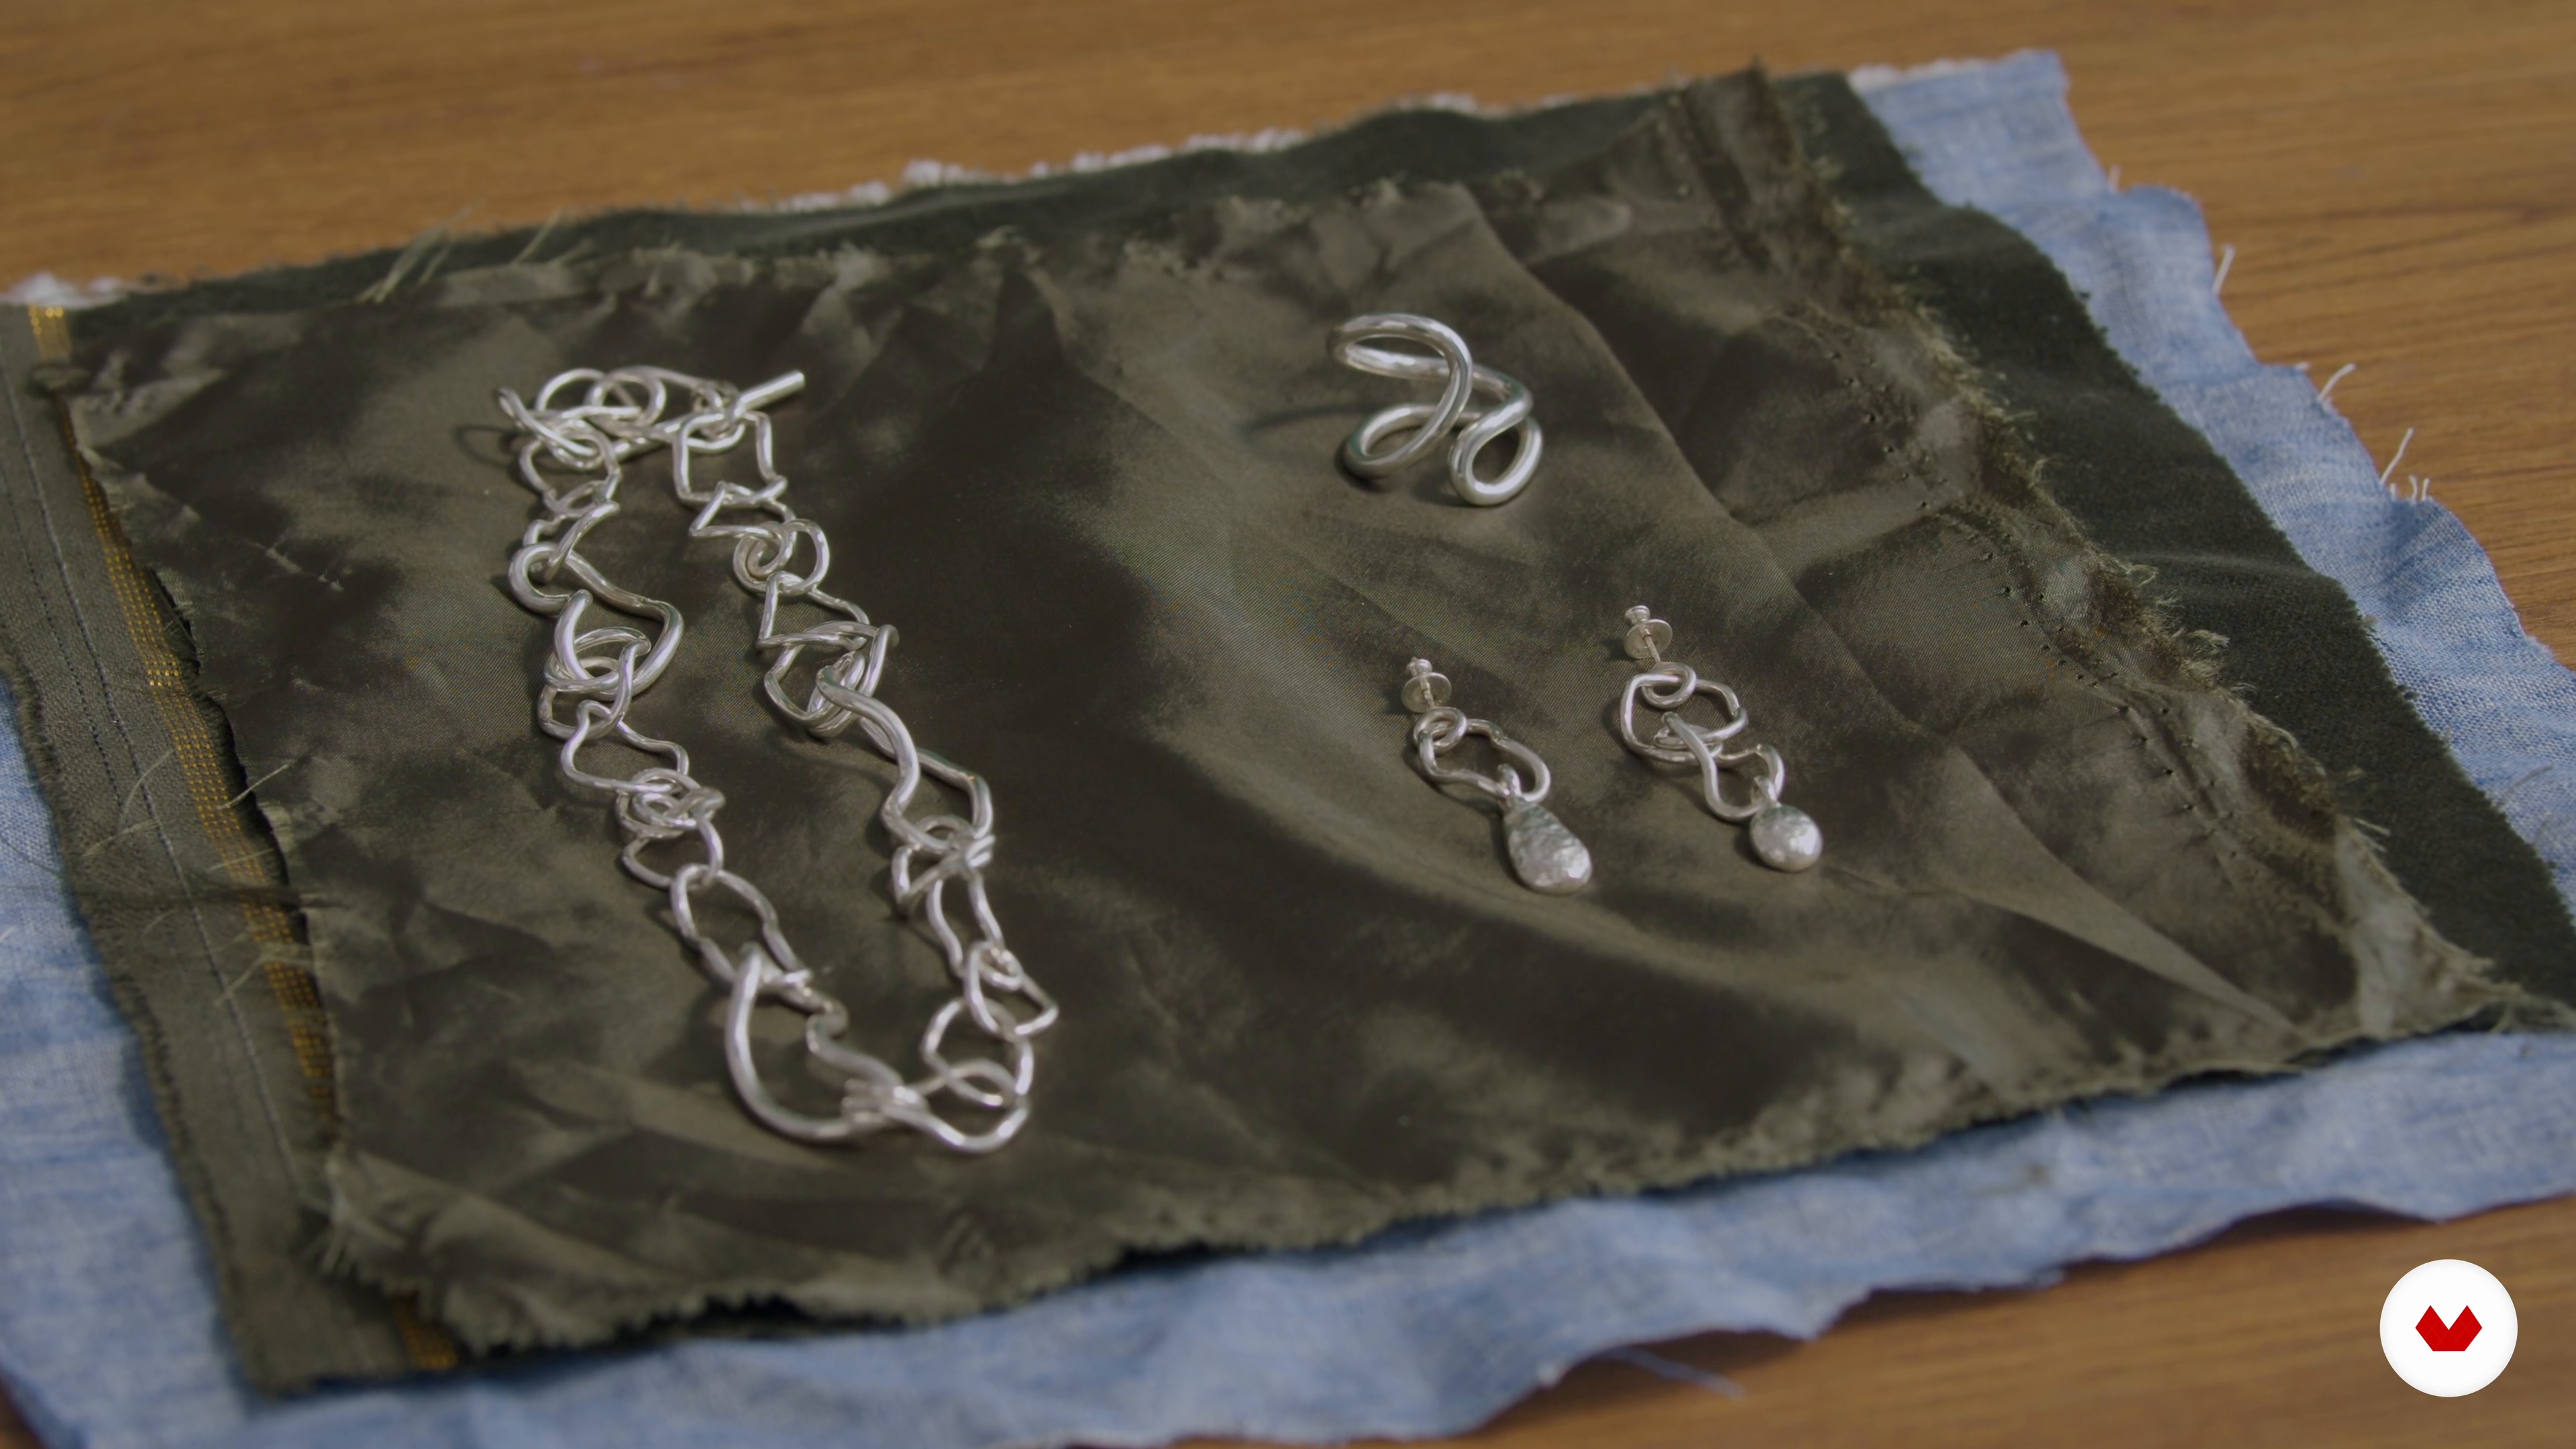
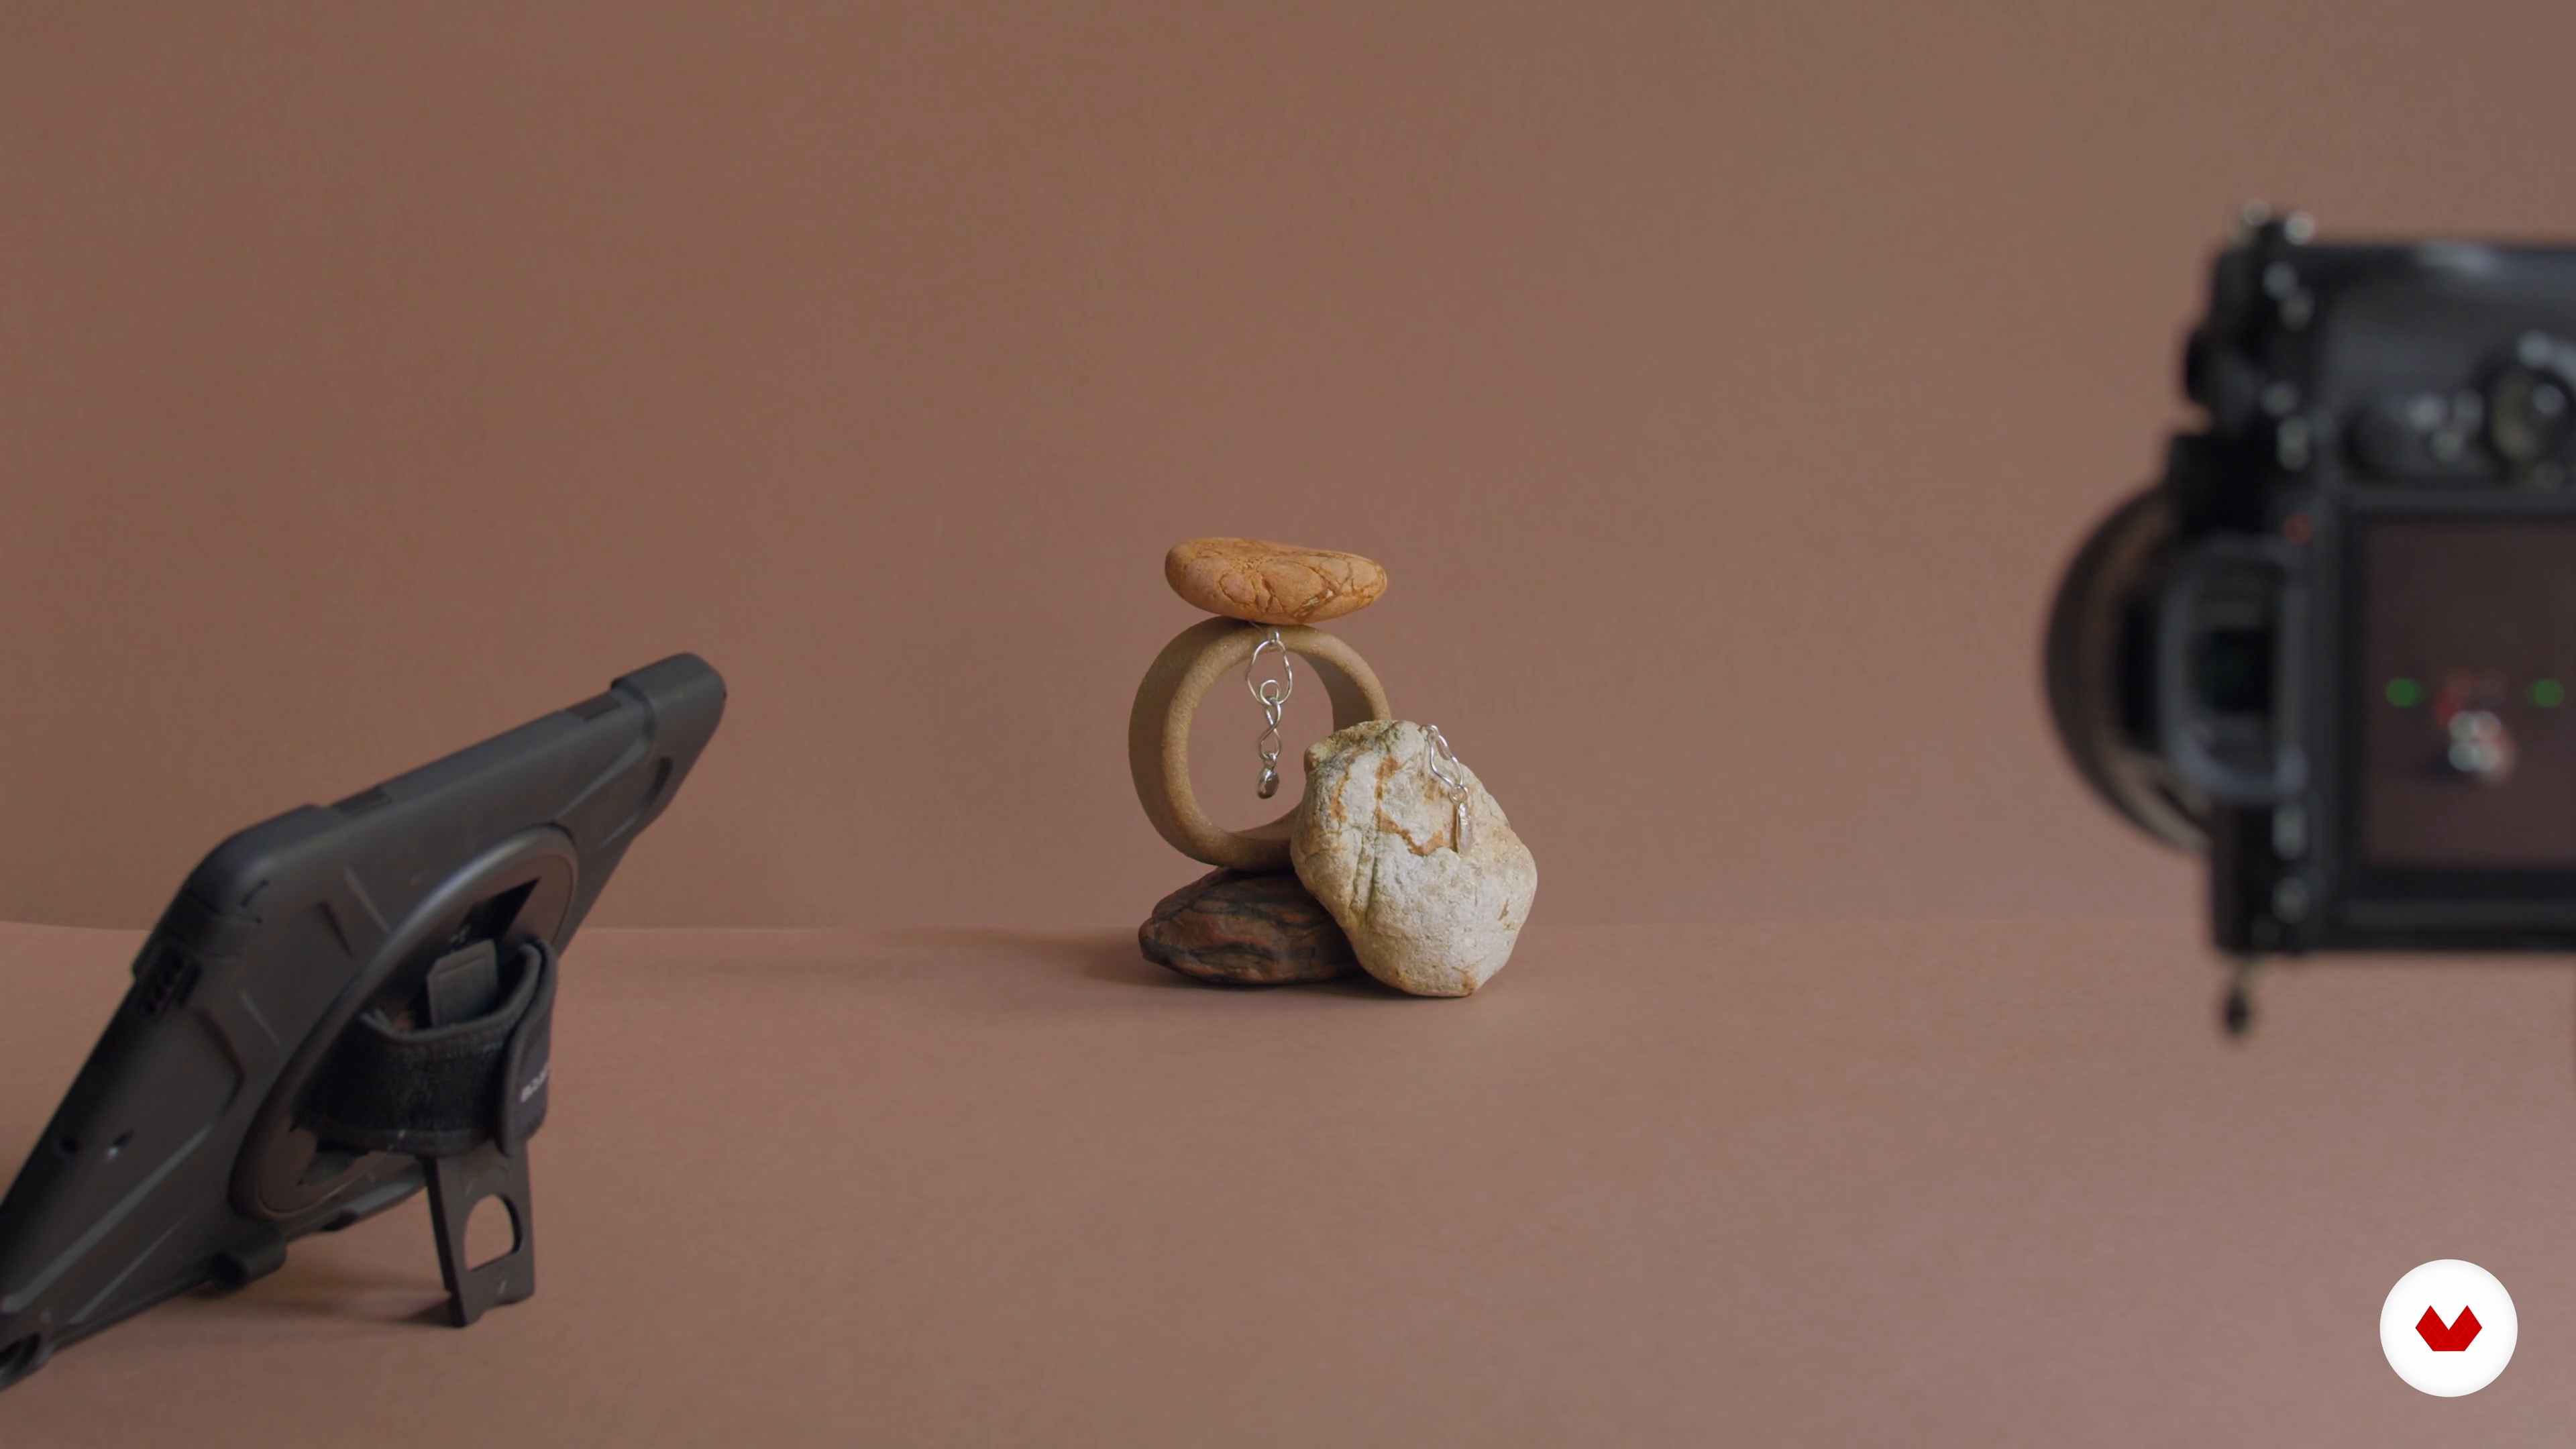
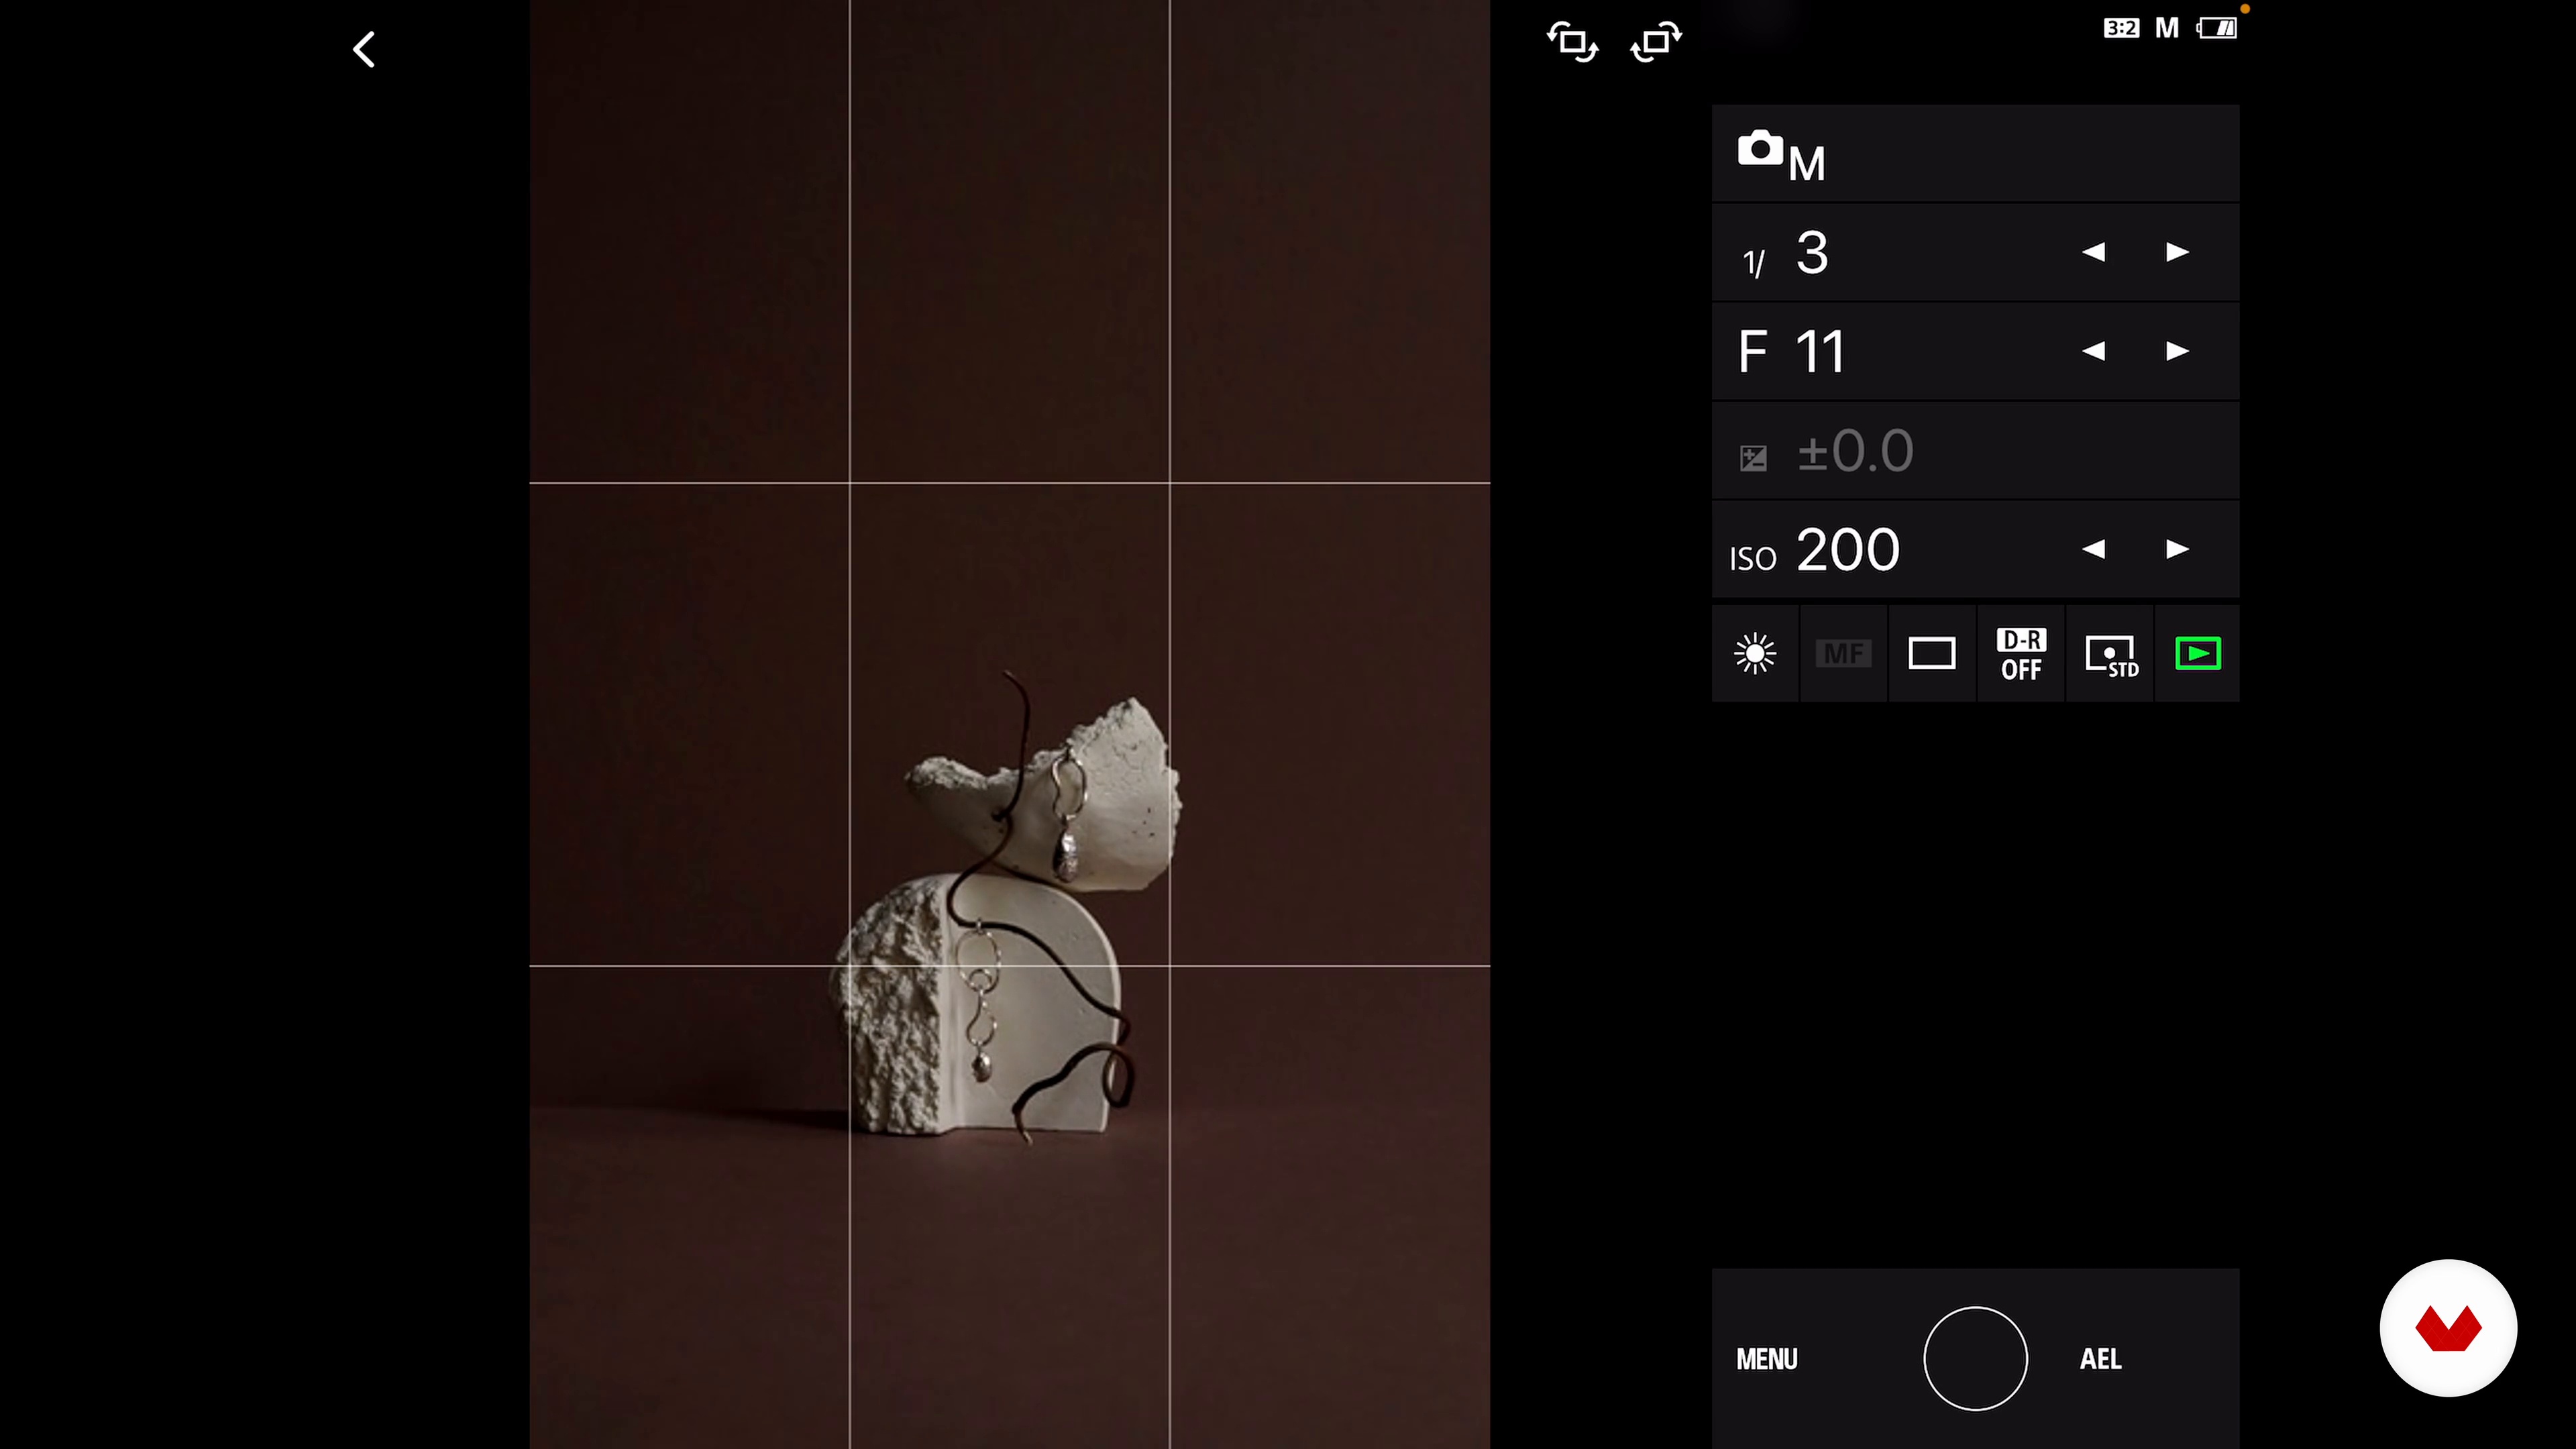
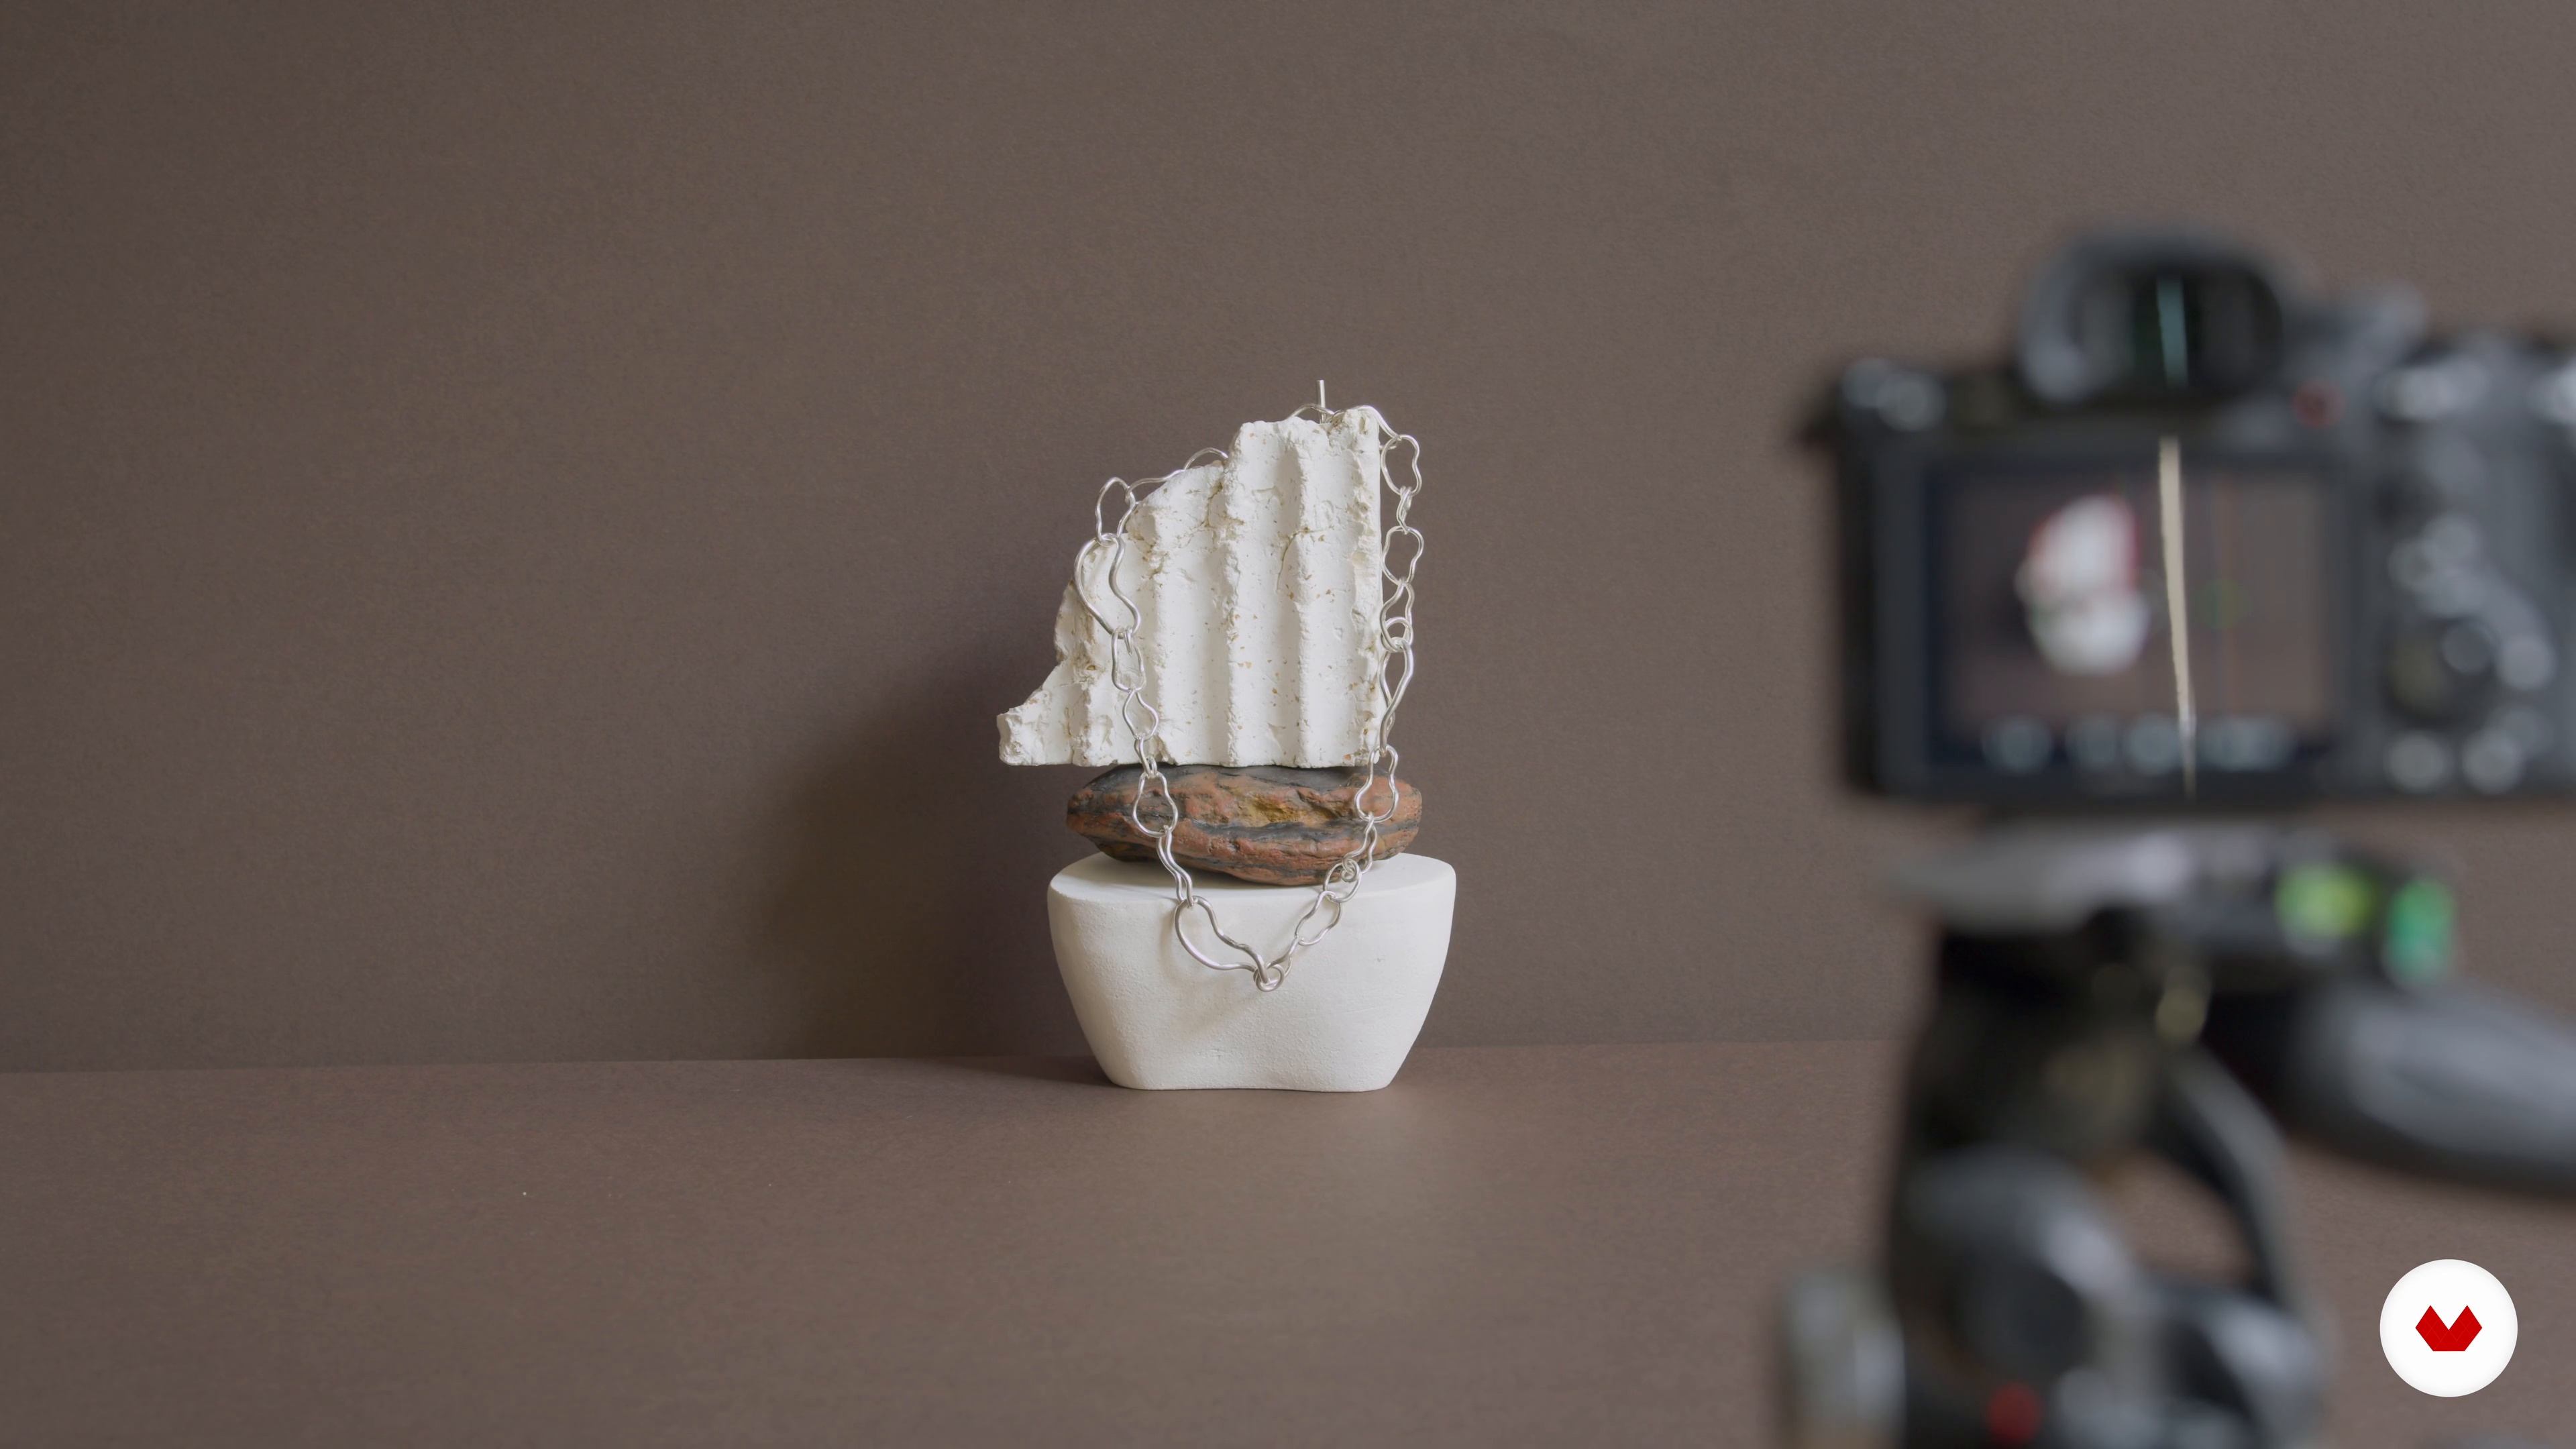
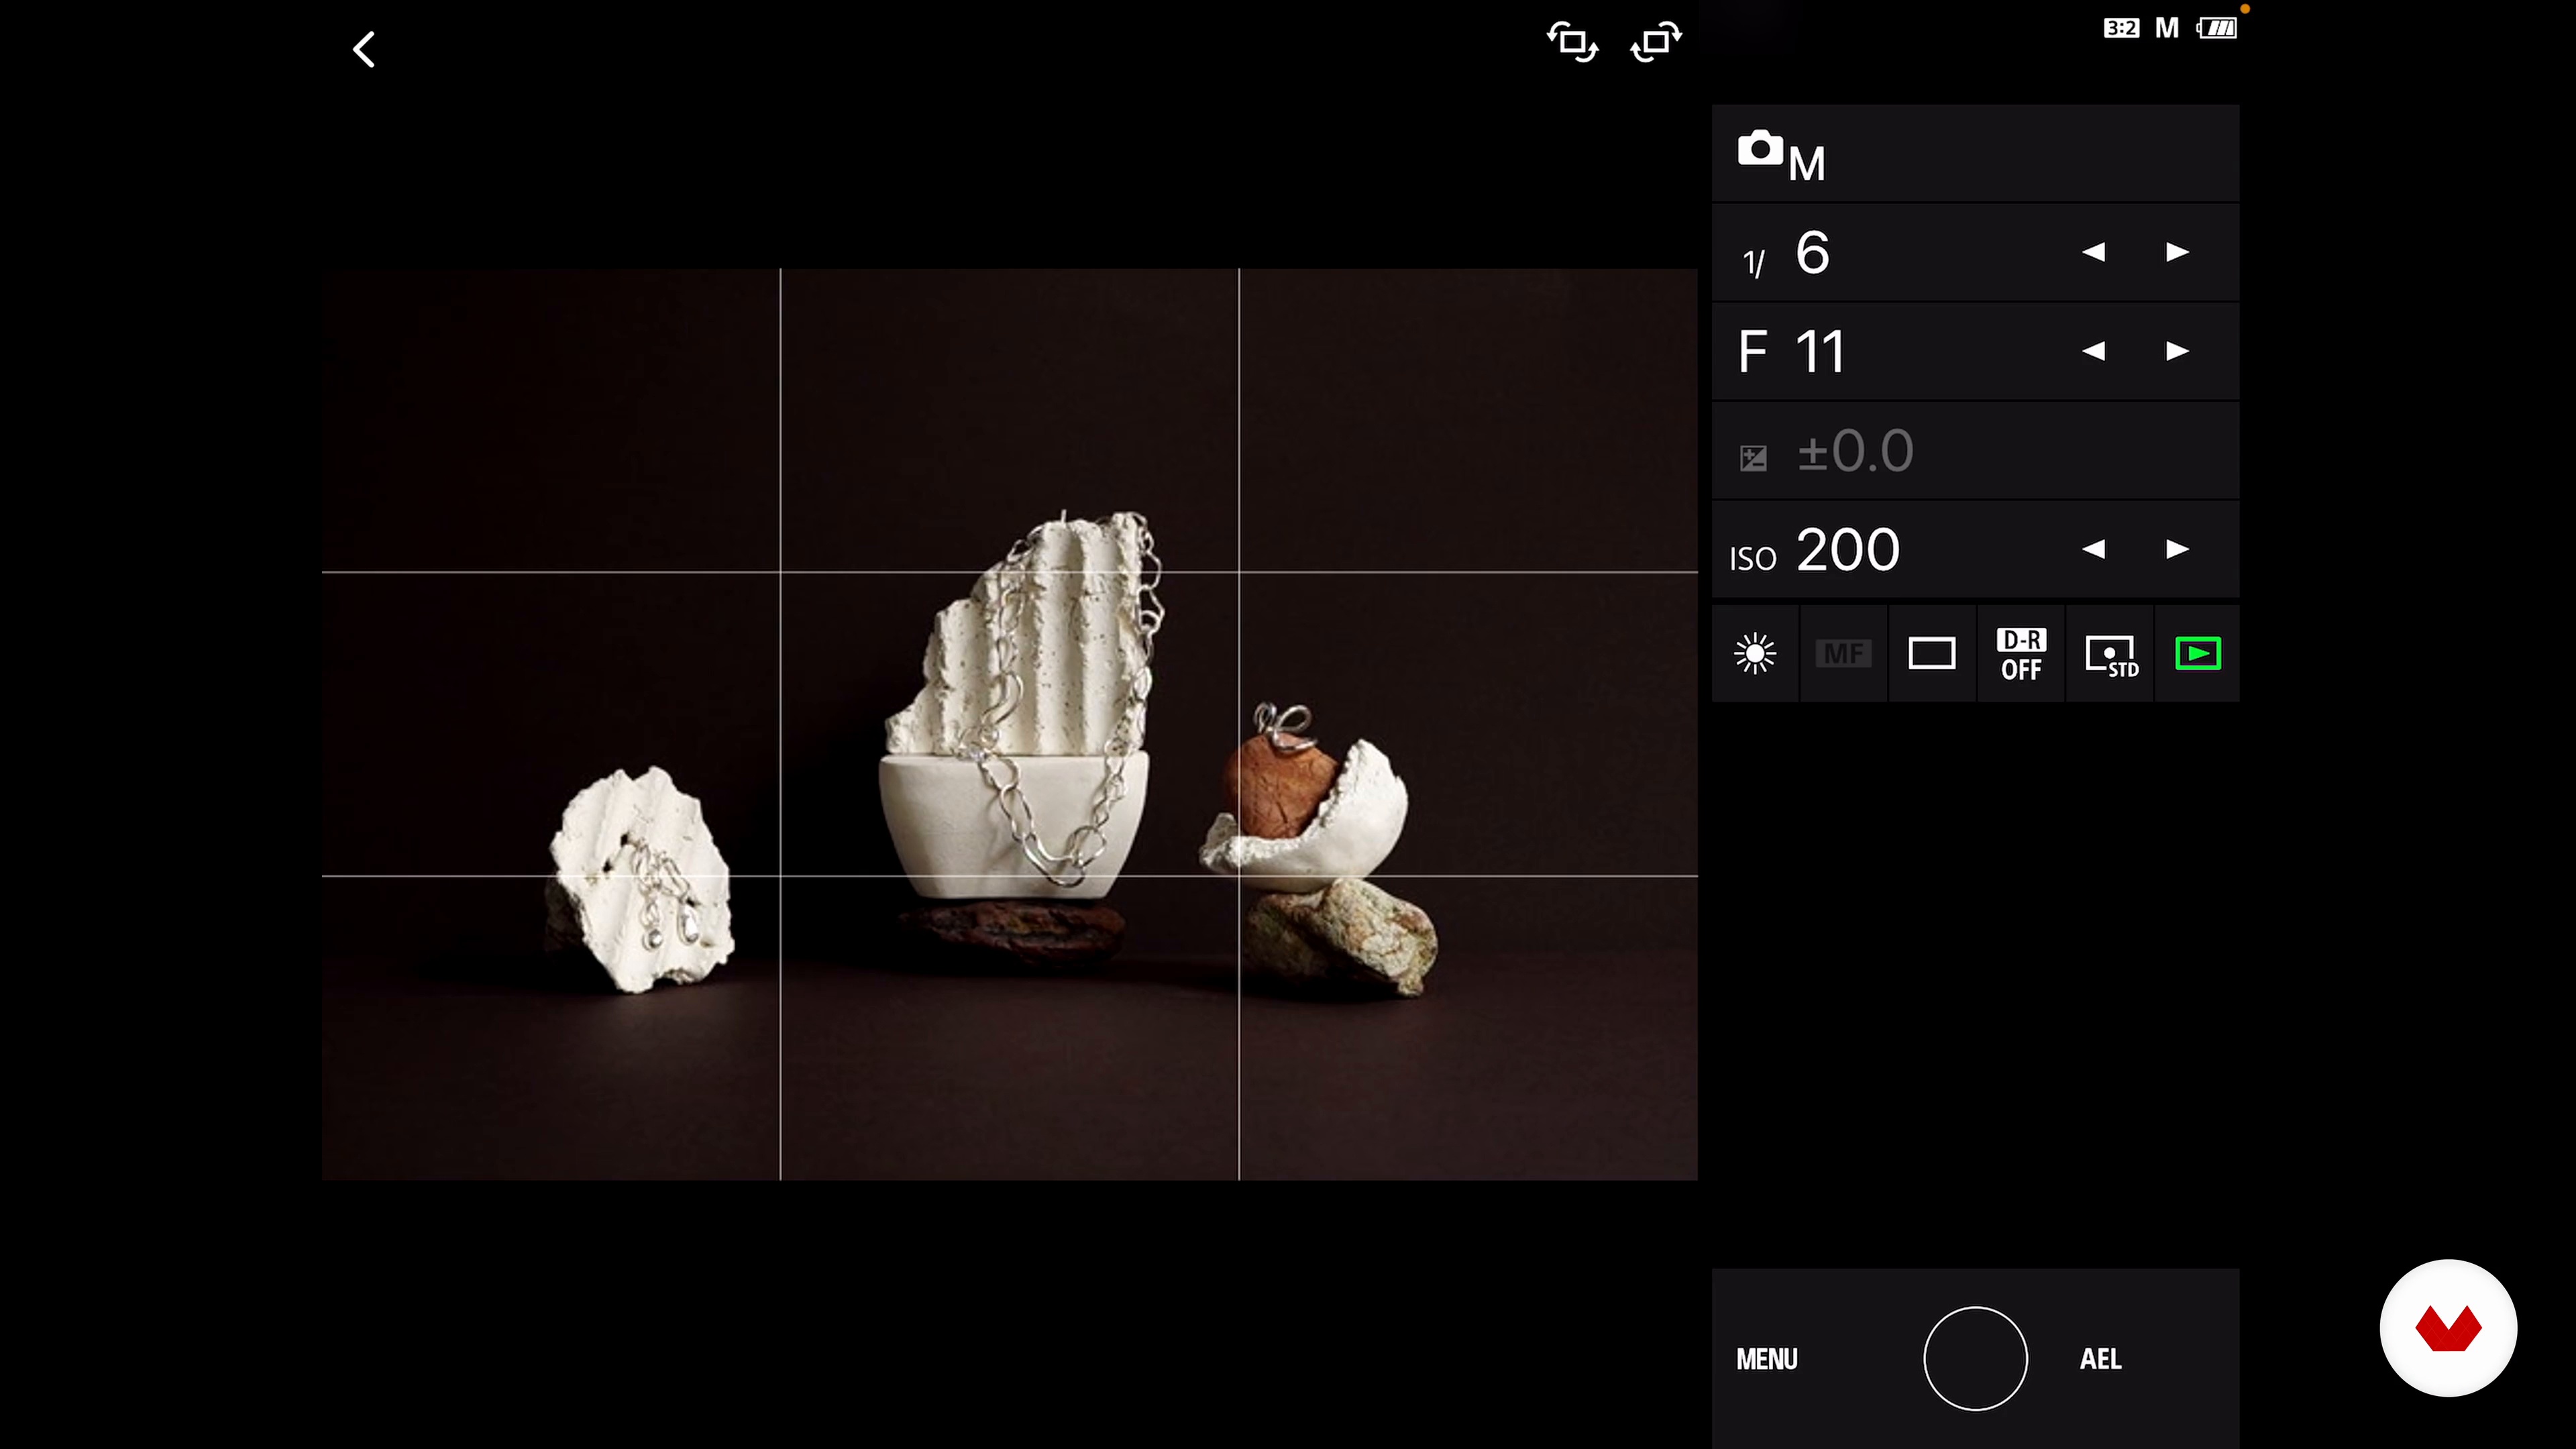
Embark on a creative journey through the world of product photography, tailored for photographers and designers aiming to elevate their work. This specialization offers a comprehensive dive into the art of capturing eye-catching images that communicate brand identity and emotion. With five expertly crafted courses, discover how to design and execute product photos that not only highlight objects but also convey powerful narratives. From mastering lighting and styling to honing post-production skills, each course offers hands-on guidance.

Guided by industry leaders Tibor Galamb, Amy Currell, Weekend Creative, Lizzie Darden, and Gabriela Silveira, explore diverse techniques and styles. Whether focusing on vibrant still-life compositions, intricate jewelry shots, or professional studio setups, there's a wealth of knowledge to absorb. Unleash your creativity as you learn to produce images that are both visually stunning and commercially viable. By the end, you'll have the skills and confidence to create a polished portfolio that showcases your unique artistic voice and readiness to tackle real-world projects.

Read more ↓

What will you learn in this specialization?

A total of 6 modules and 74 lessons
A total of 12h 10m of vídeo lessons
Taught by 5 selected expert teachers
image
3
Introduction to Advertising Product Photography
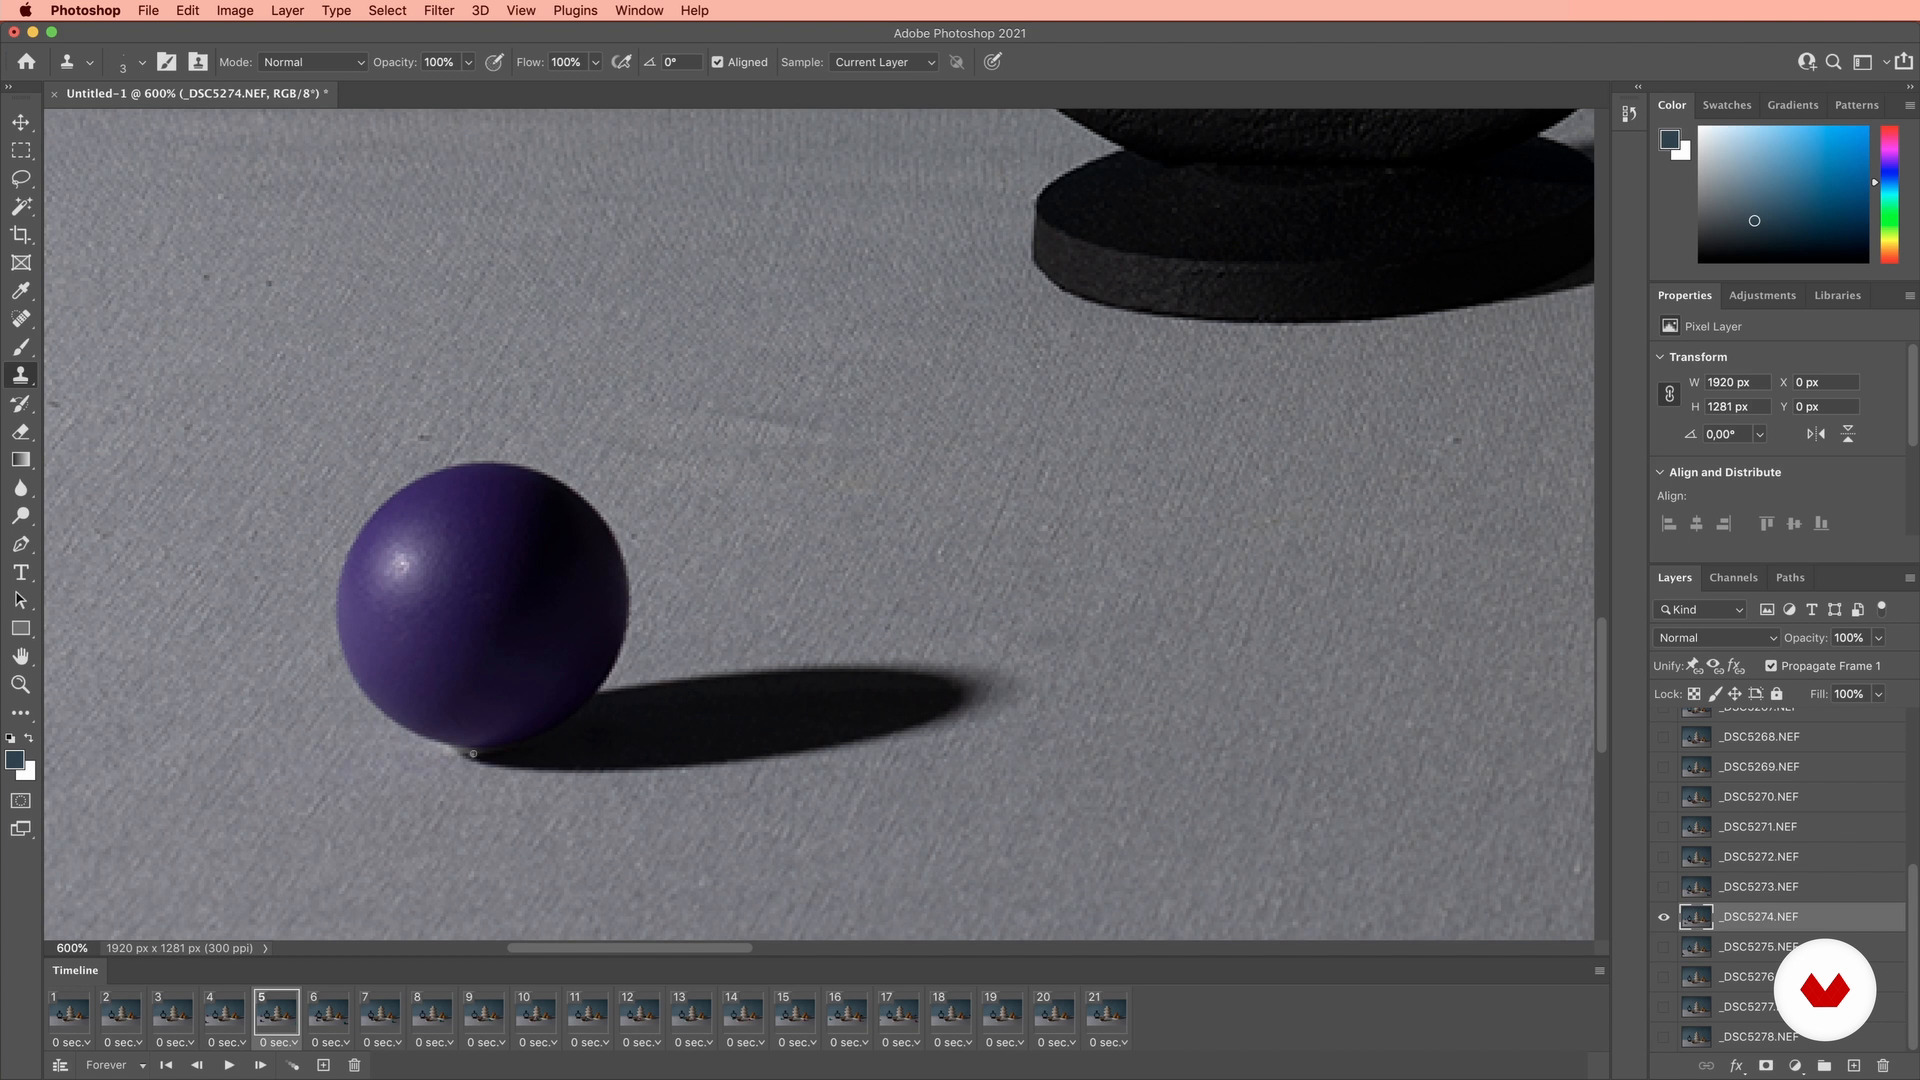
Originally I wanted to become a fashion photographer so I could work with models and maybe take pictures of glamorous jewellery, perfumes or watches on the side. This changed over the years for the best if you ask me now, looking back. In this lesson, I will tell you more about the universe of advertising product photography and what you need to know to sell your product in a very creative way.
9m
image
4
Basics of Photography, Shadow and Light
These are the very basics of photography and it covers a huge part of knowledge that you need to acquire if you want to create amazing images with a camera. Learning how to use your camera and taking advantage of lighting and shadows are also key elements for the photo shooting and enhancing the qualities of your products. Let’s see how I use them.
17m
image
5
Art Direction, Composition and Colour 1
Colours and props are a vital element for a photo composition. It can be a powerful tool or completely ruin your picture, if not well balanced. In this lesson we will see the basics of art direction, composition and colour and have them as a strong ally for our photo shooting.
16m
image
6
Art Direction, Composition and Colour 2
Let's now focus on how to use colour to enhance our images.
9m
image
7
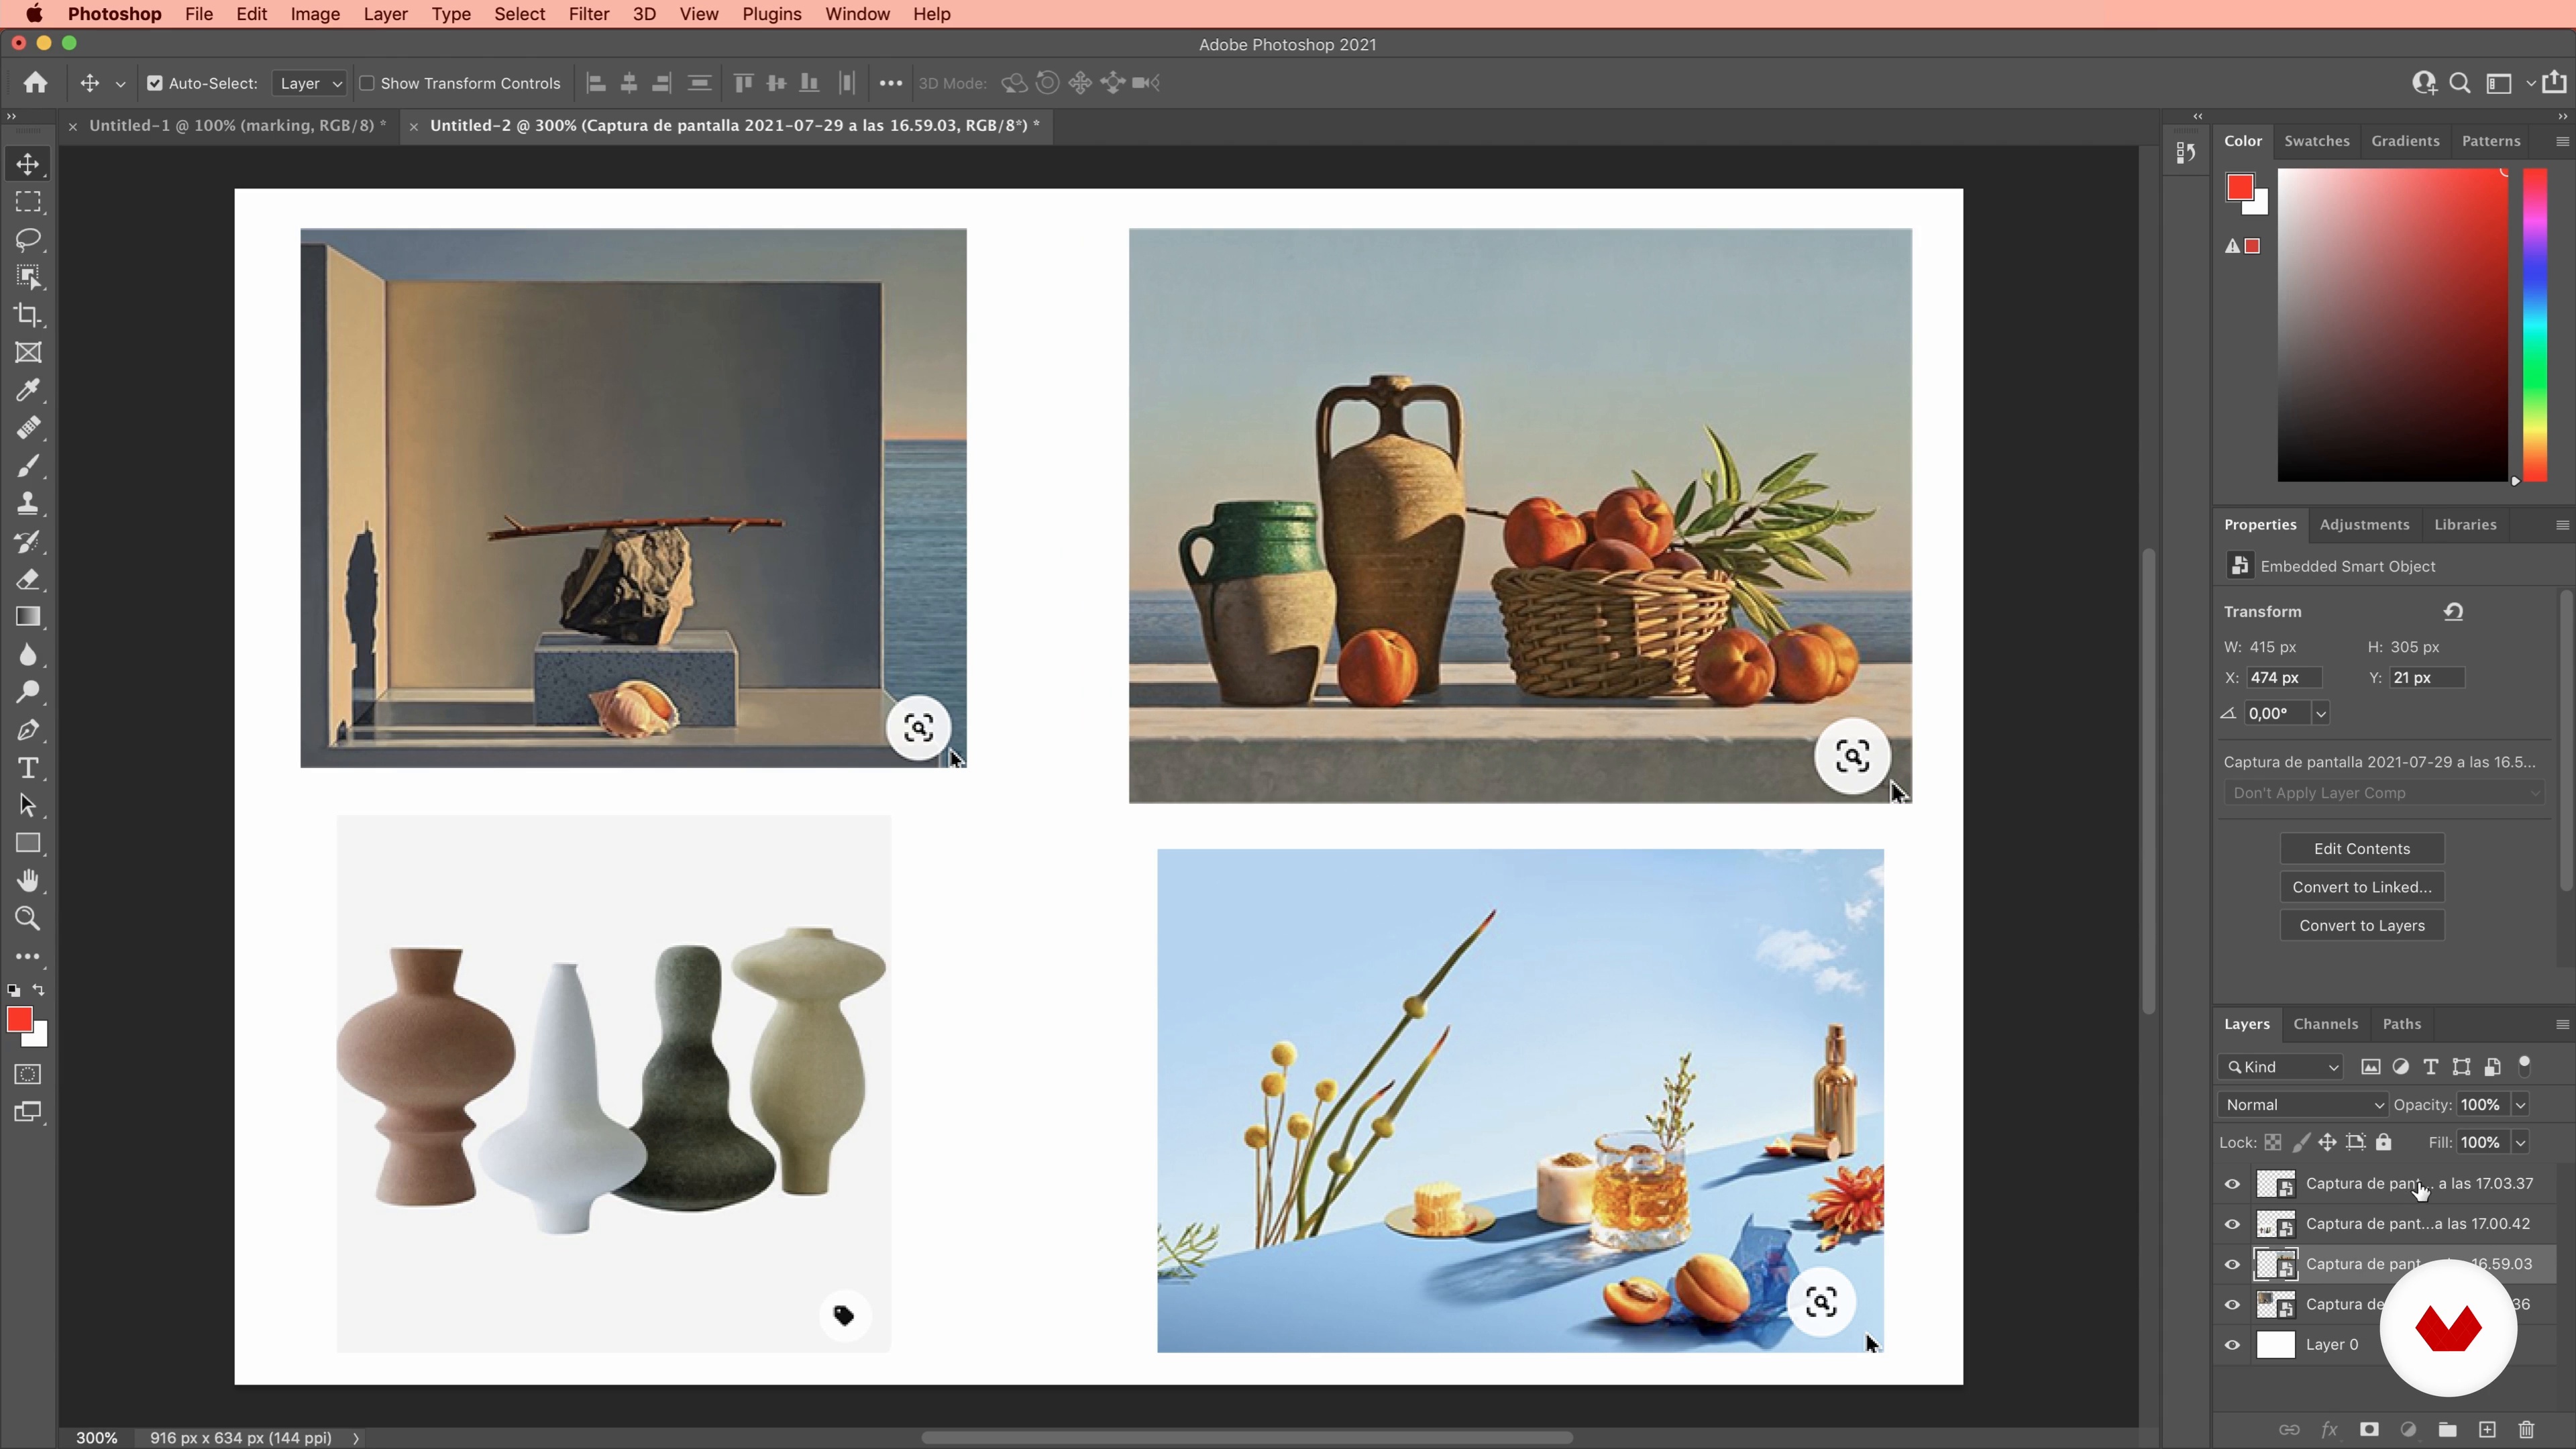
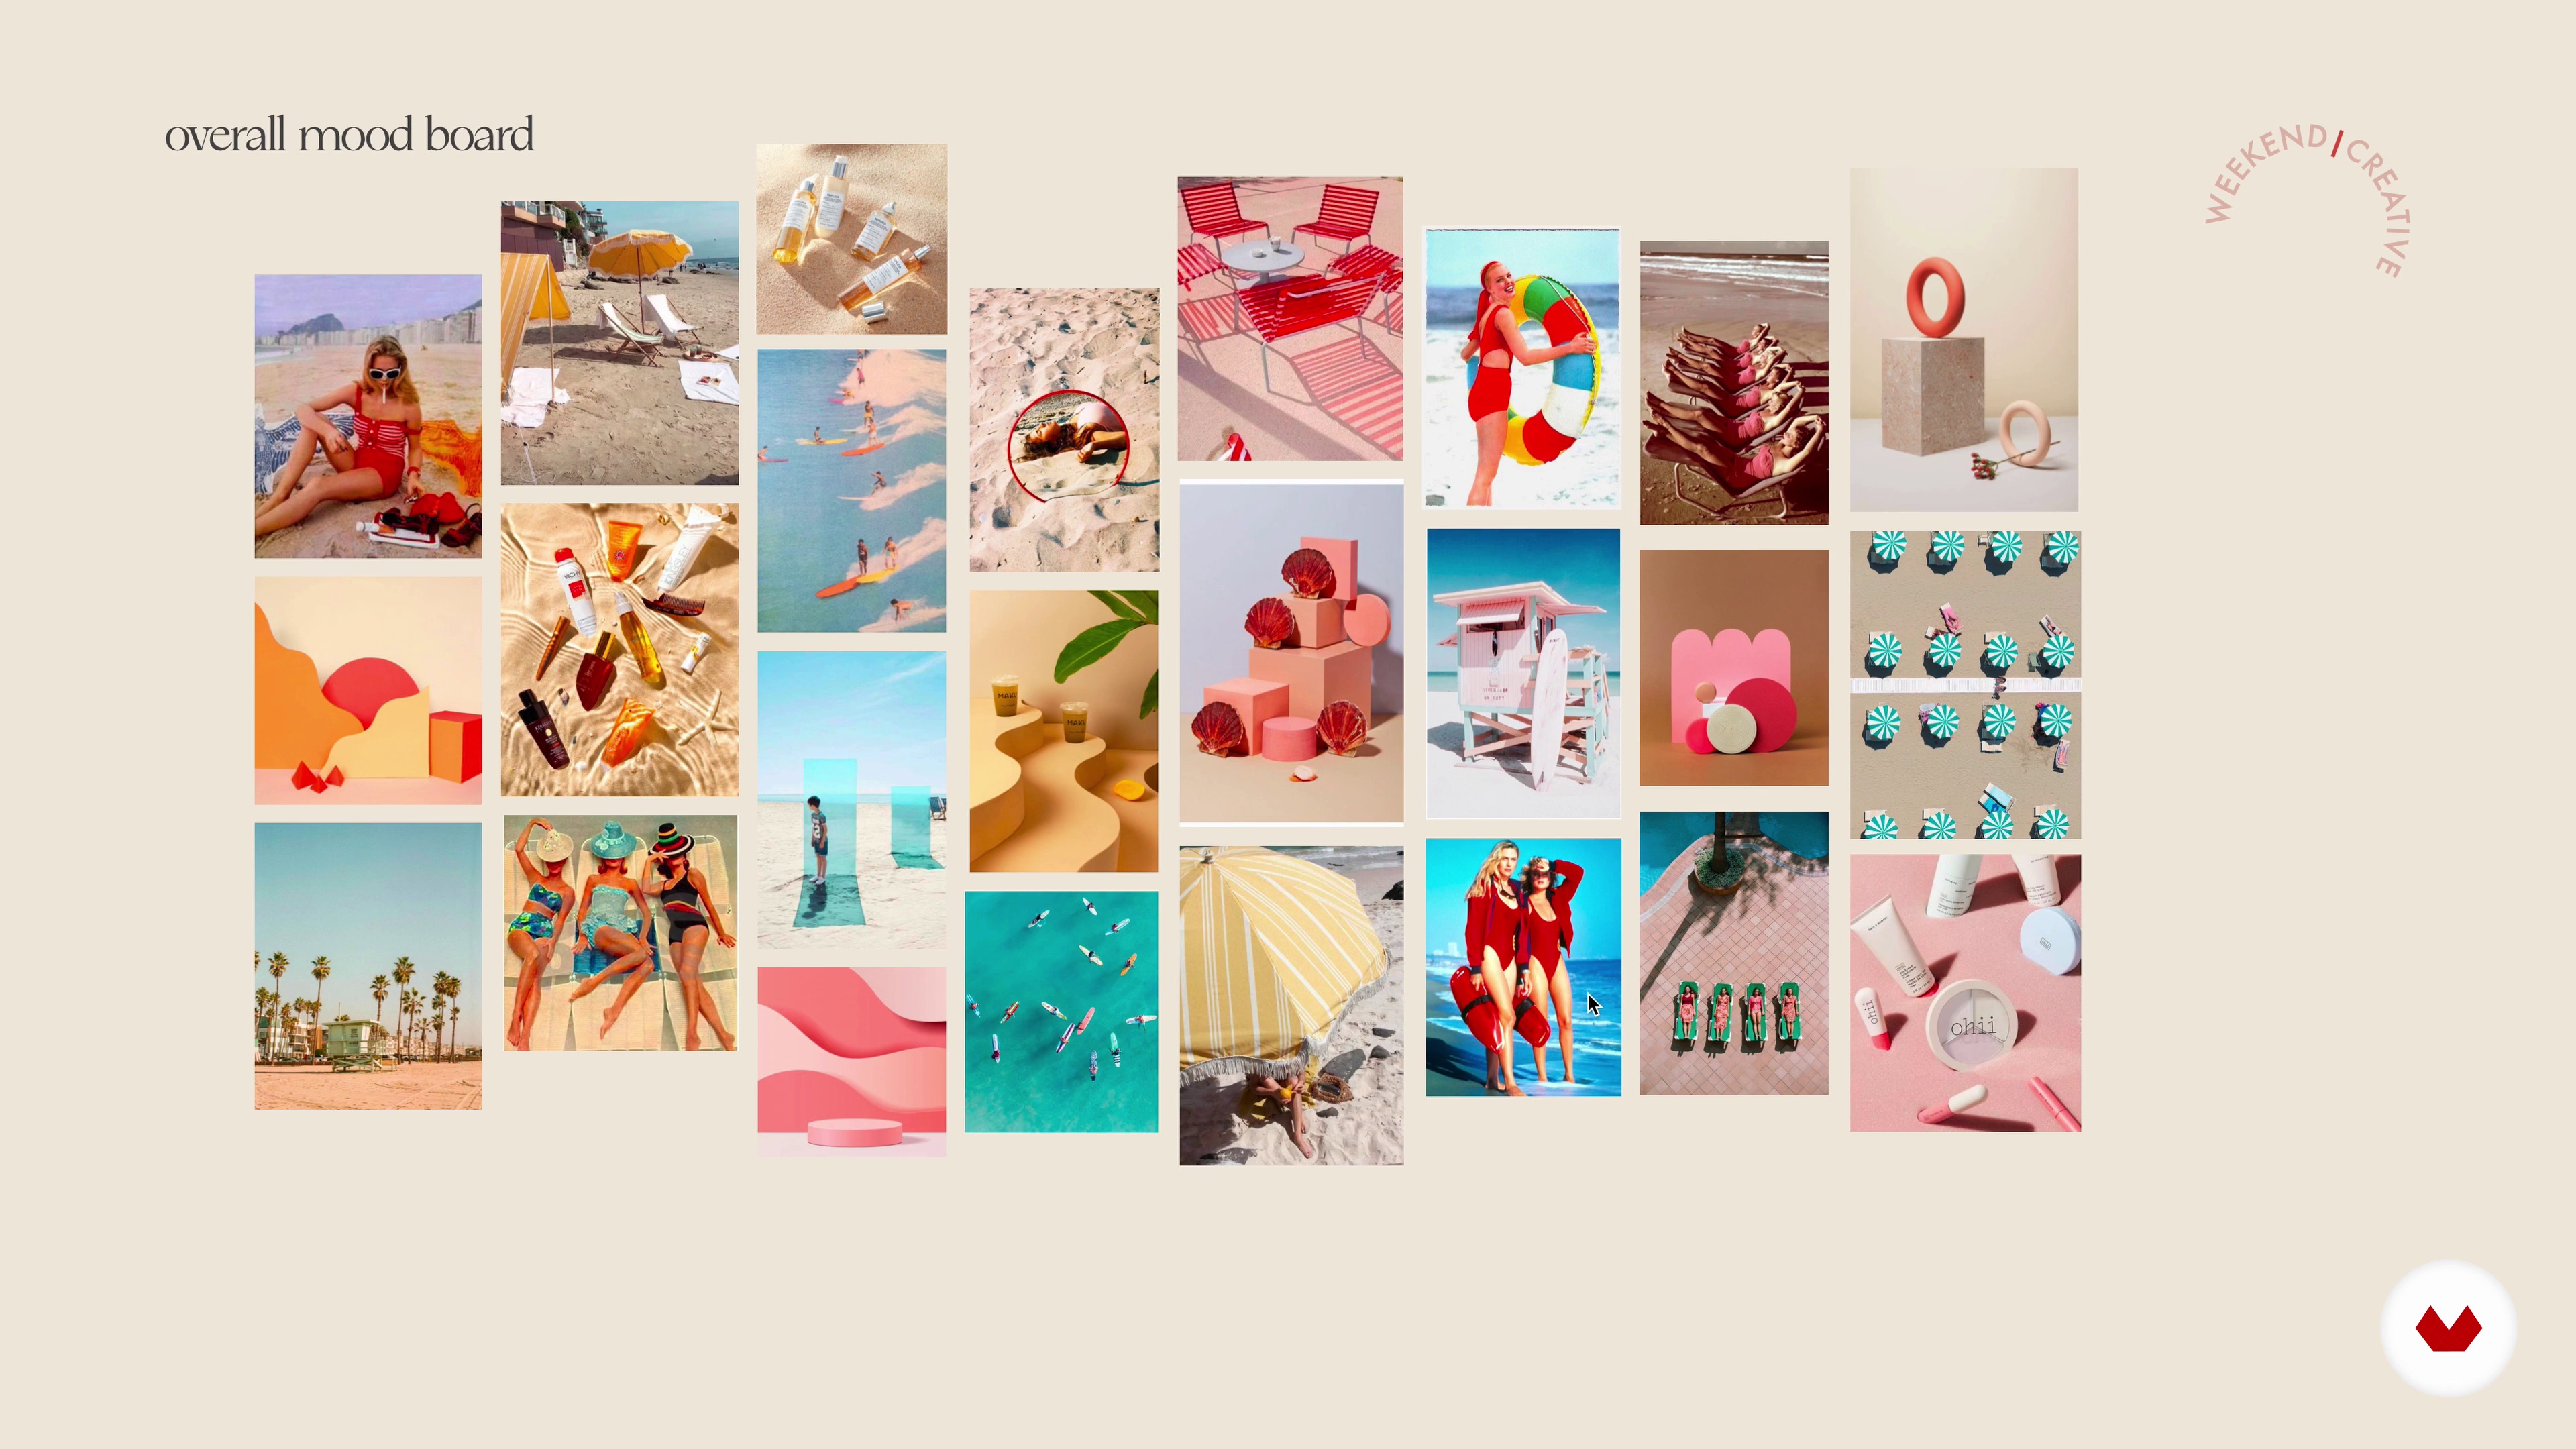
Defining the Concept and Creating a Mood Board 1
In this lesson we will go from the idea to the concept. We will need to figure out how to promote the certain product, what props, colours and materials would compliment it.
17m
image
8
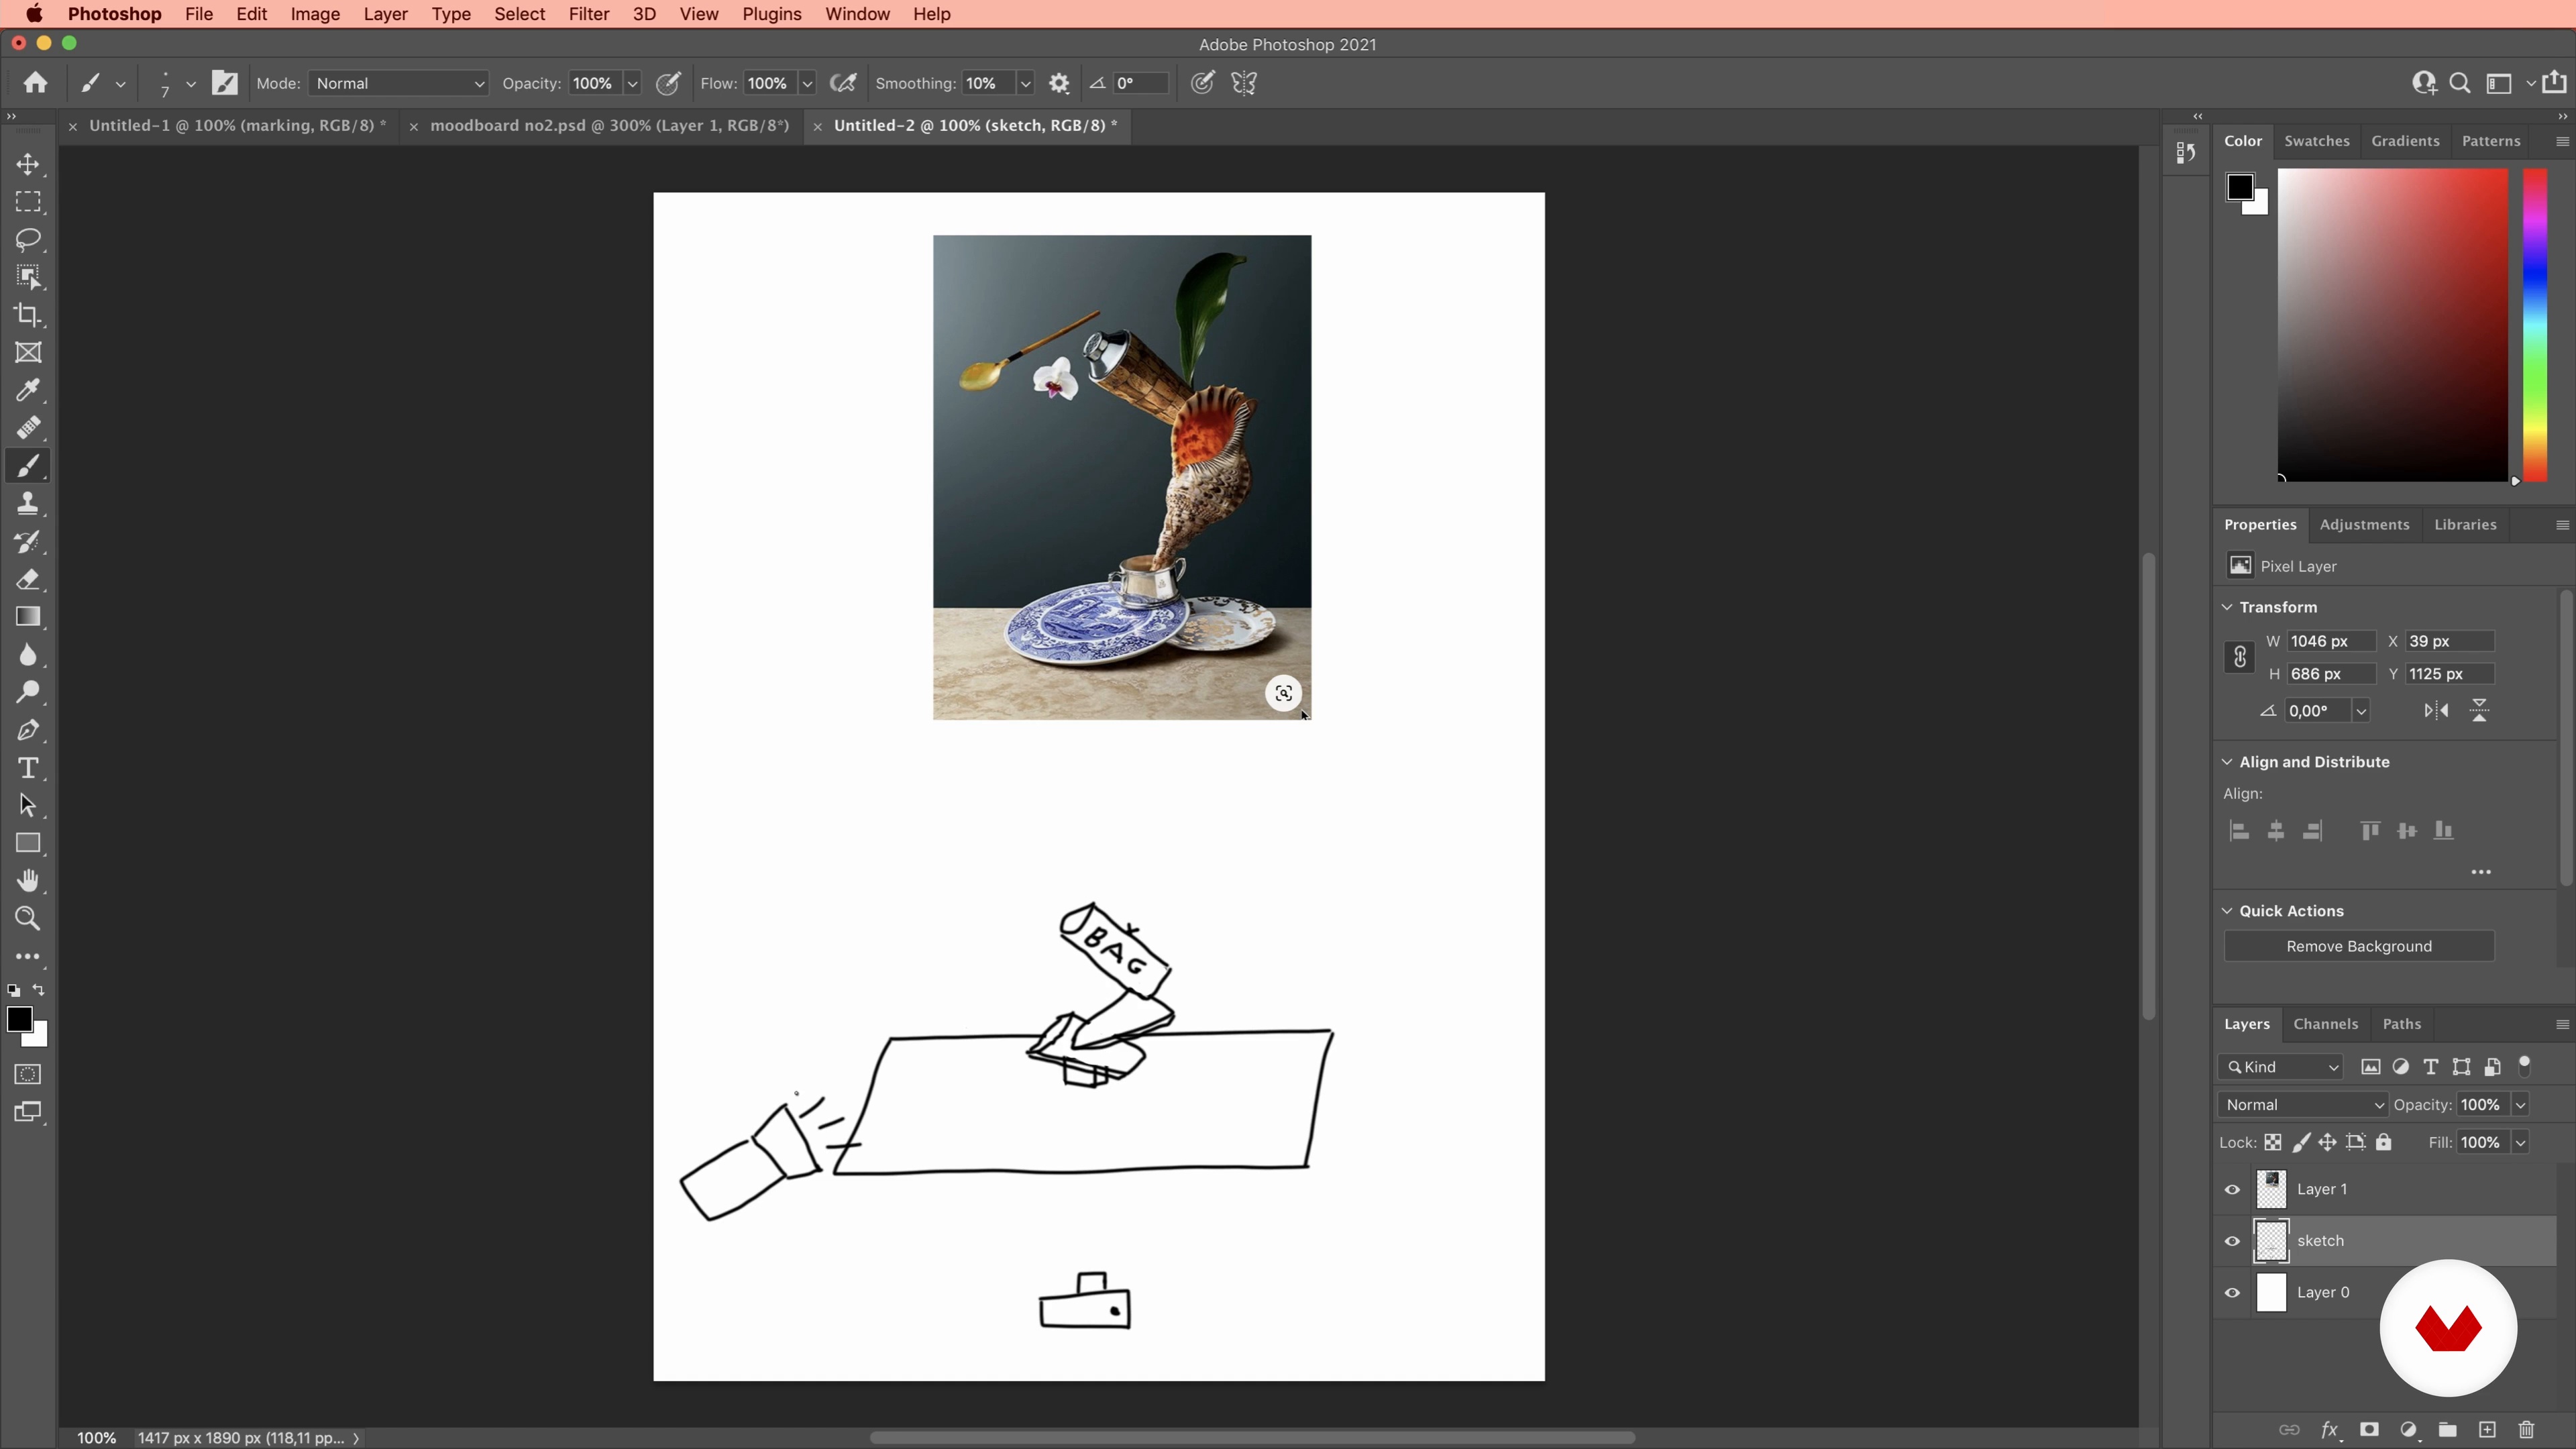
Defining the Concept and Creating a Mood Board 2
In this part of the lesson, I will move on to Photoshop to start sketching the sets.
7m
image
9
Introduction to Materials and Equipment
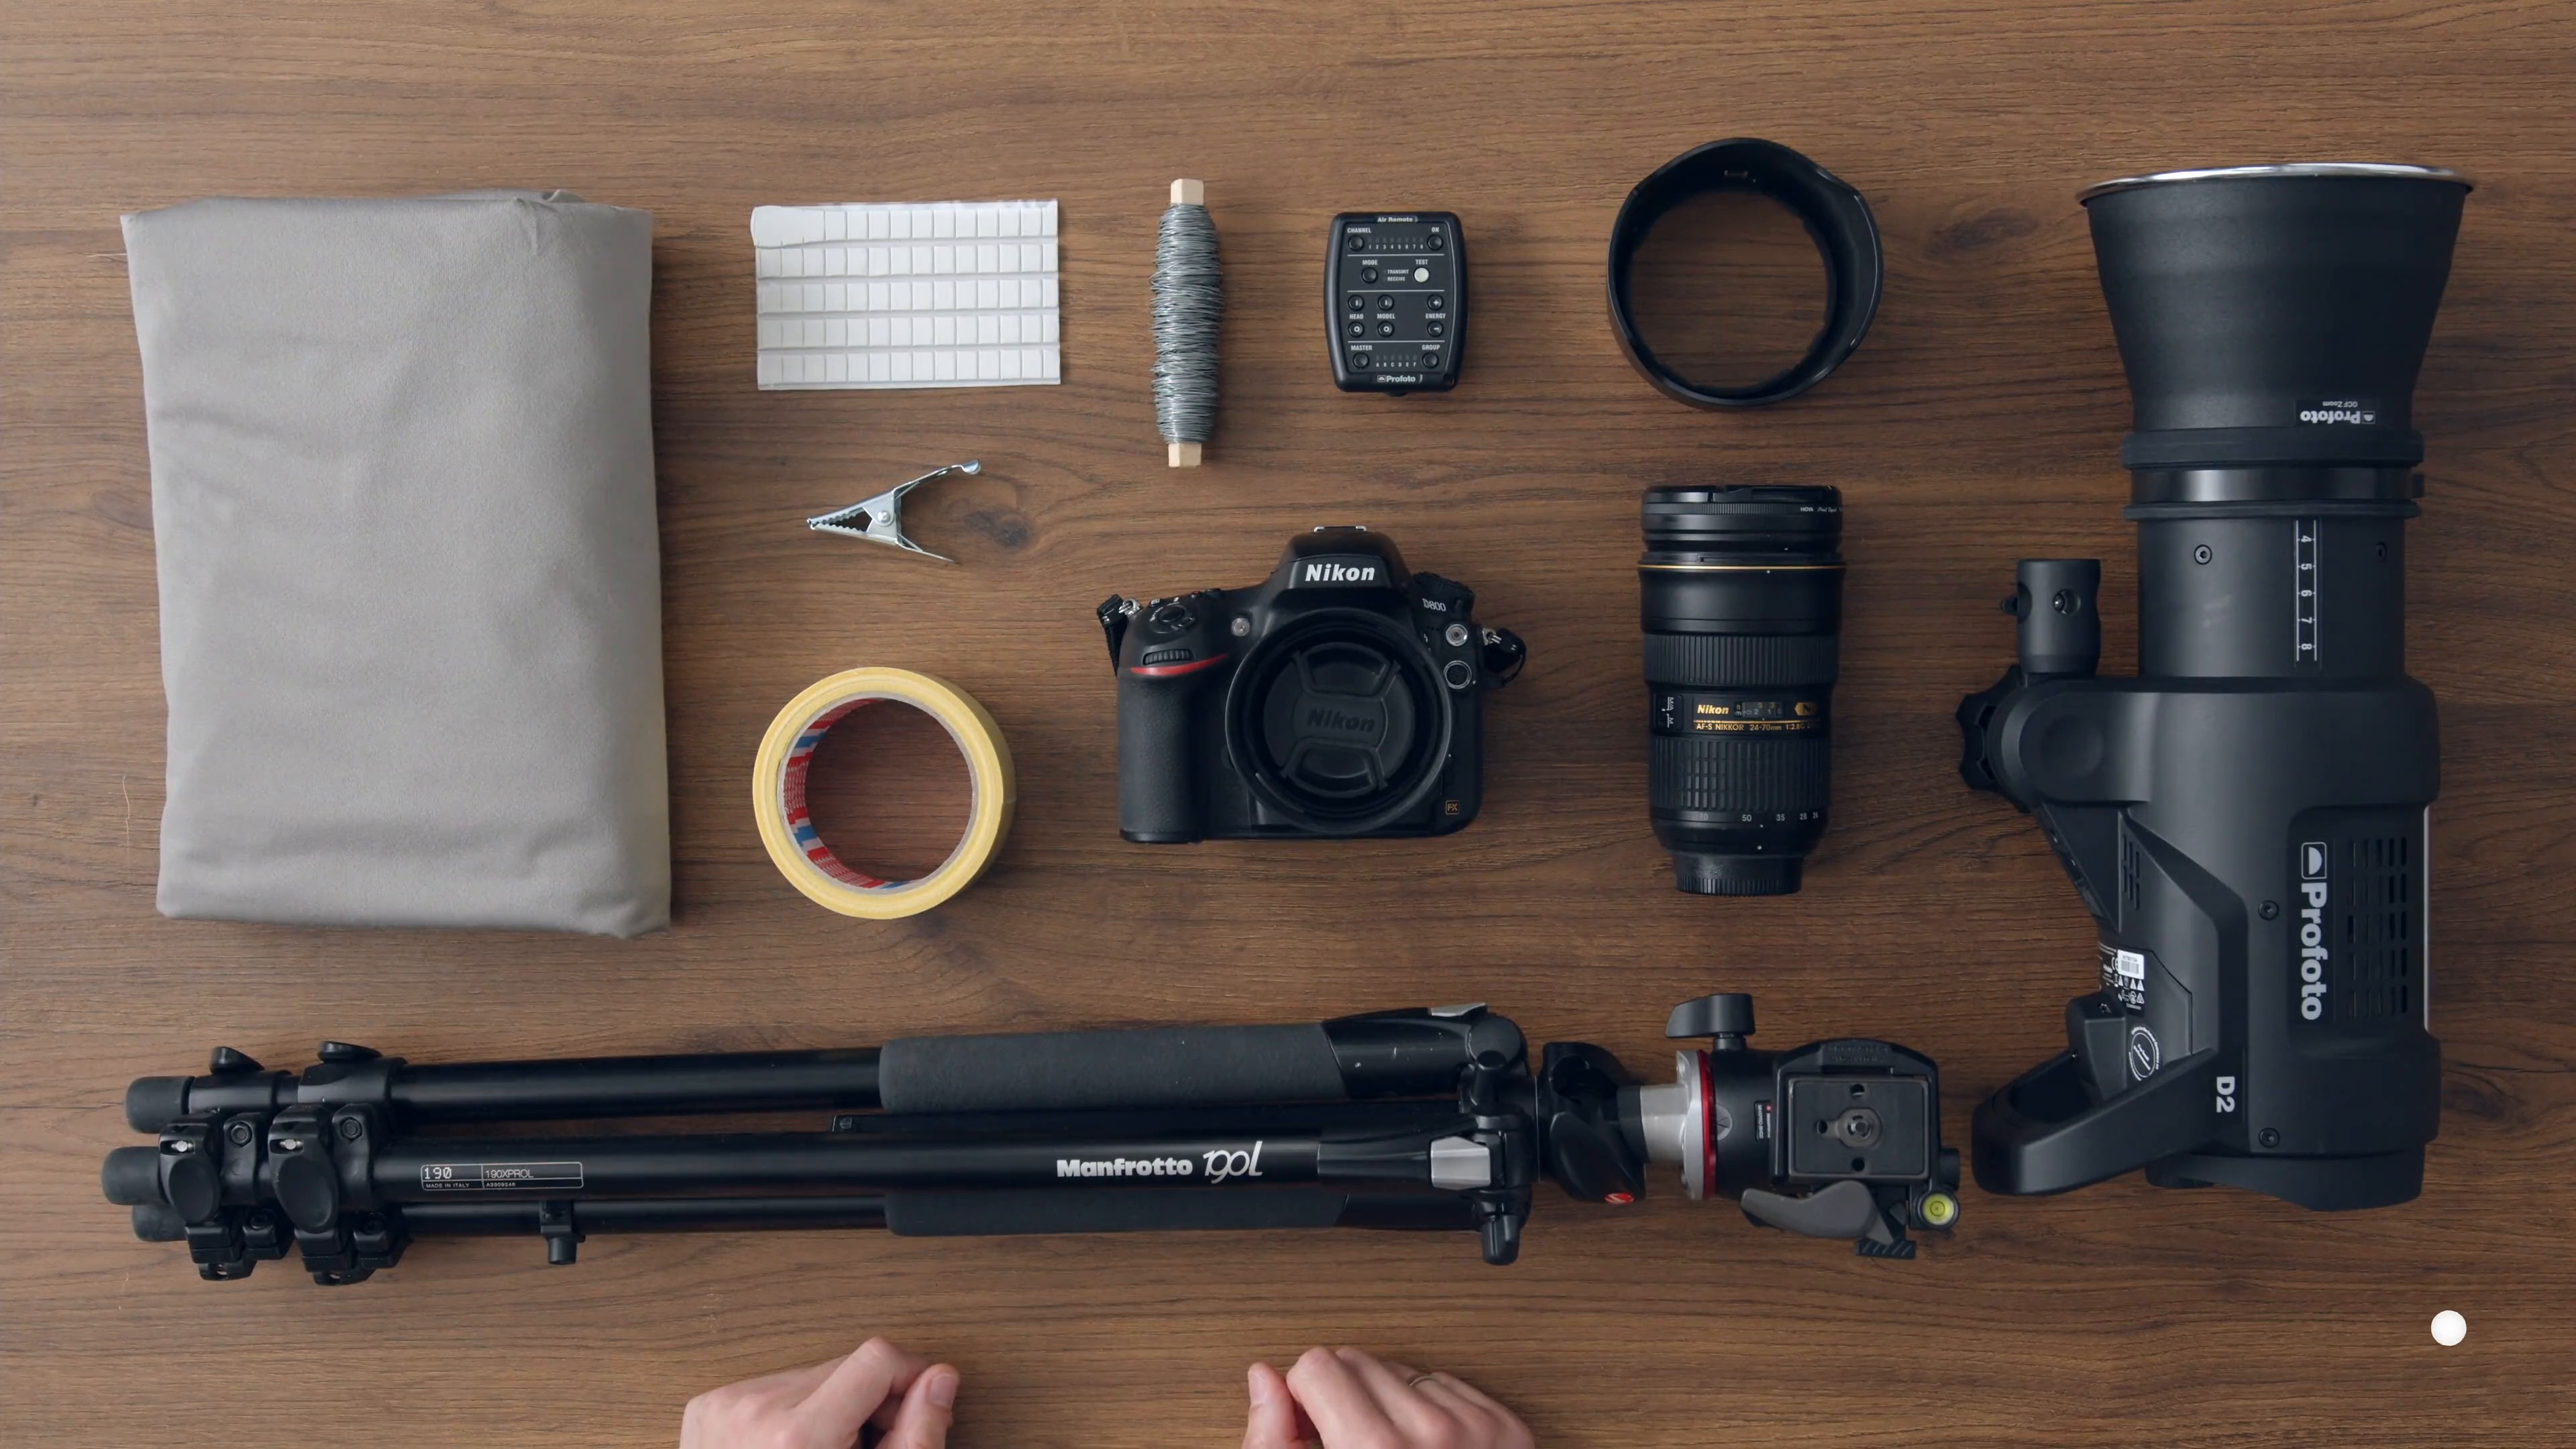
In this lesson I will be talking about all the photography gear that we will use for the photoshoot, such as camera / phone, tripod, lighting equipment, etc. Also we will go through all the materials and props that I need to compose my sets.
6m
image
10
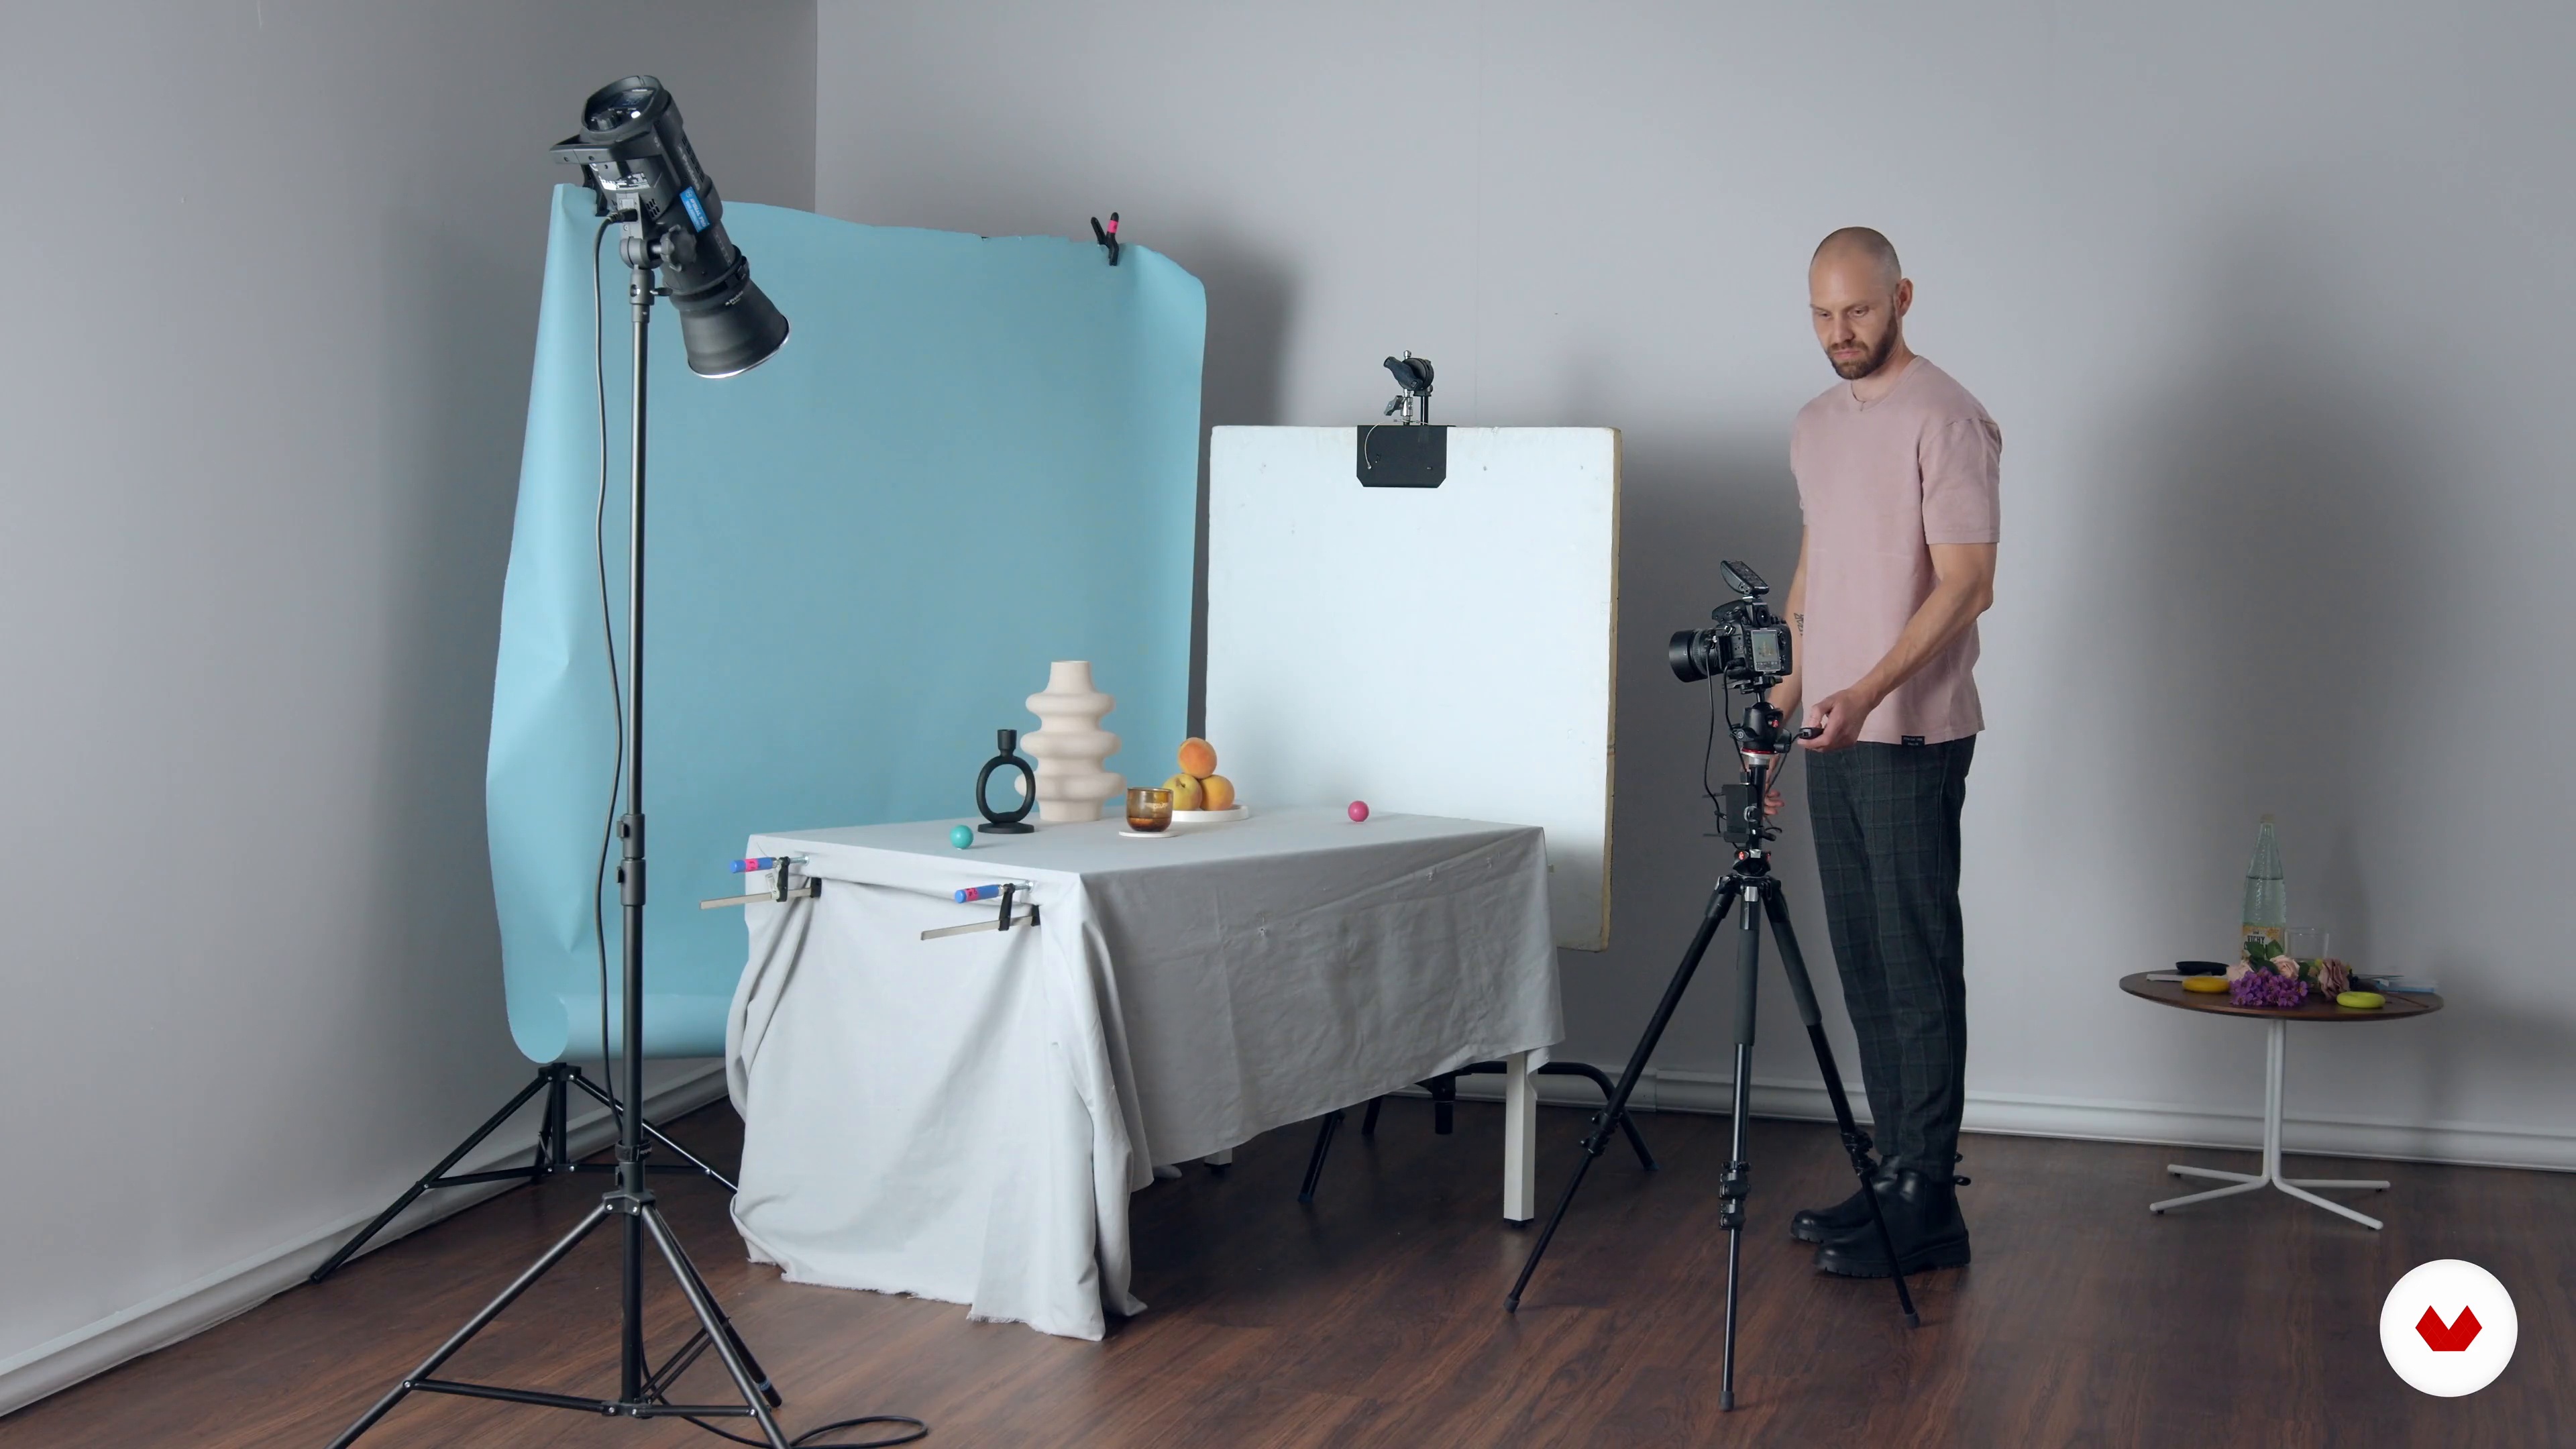
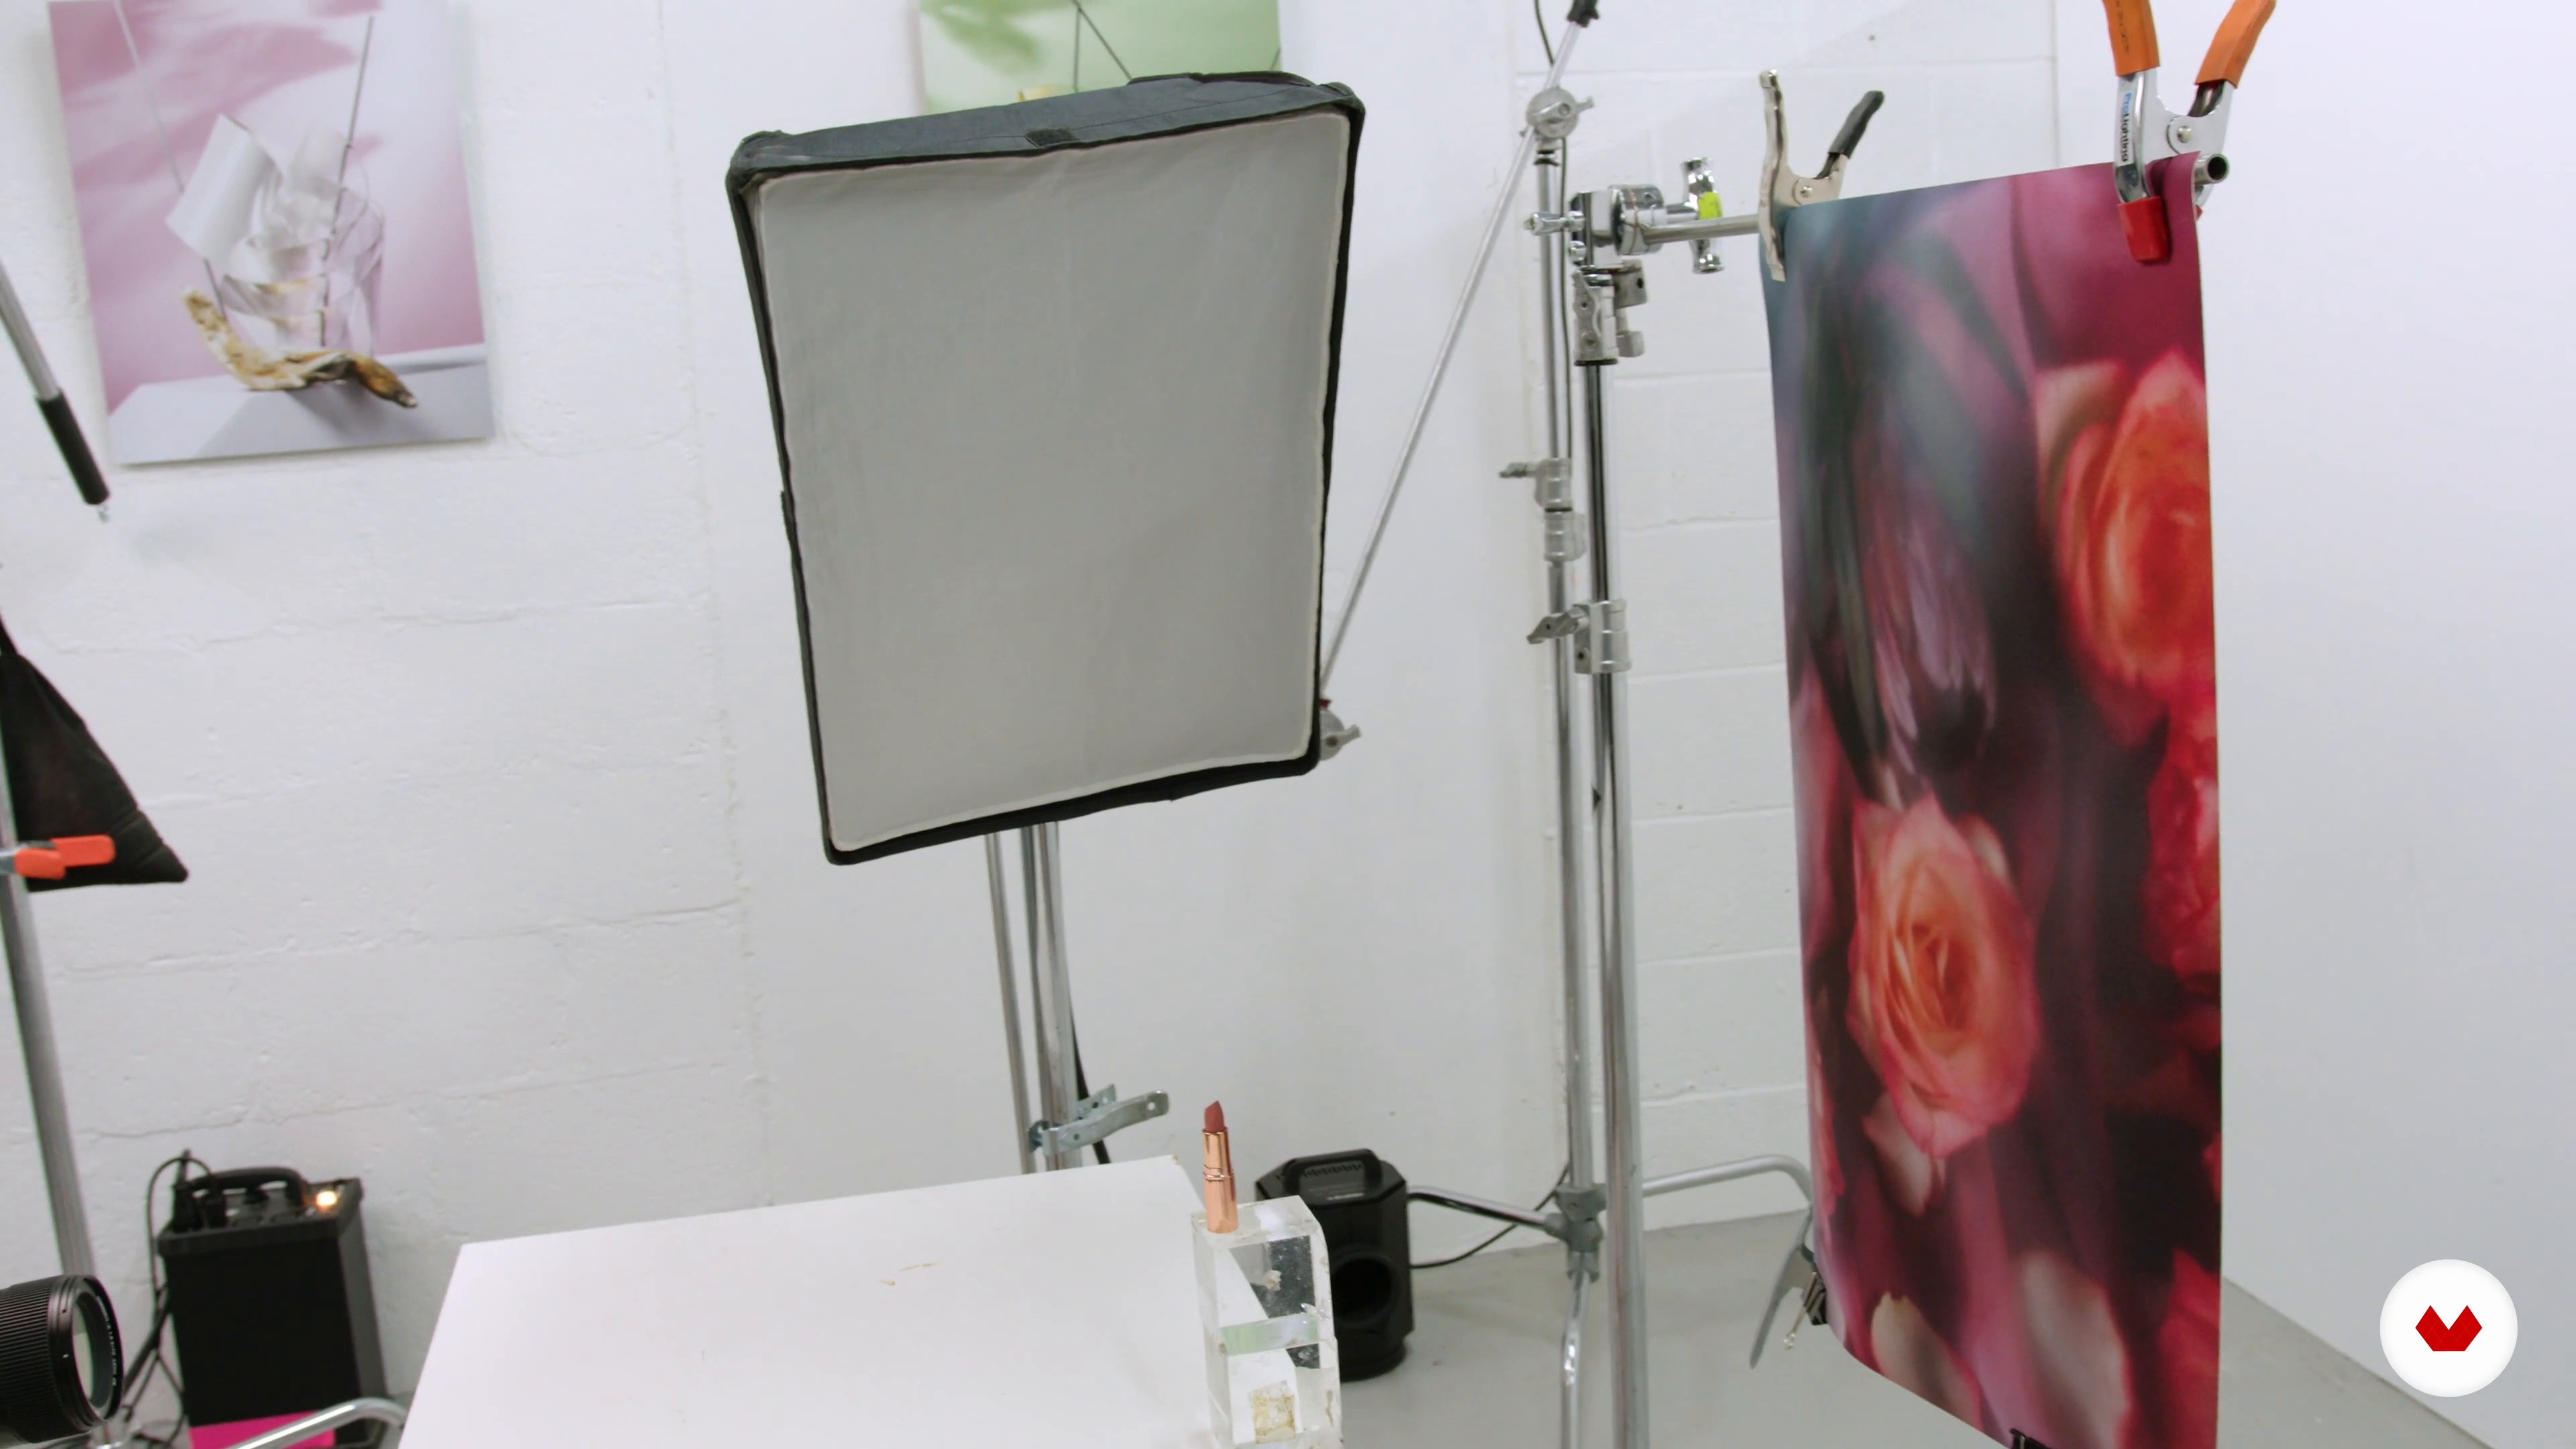
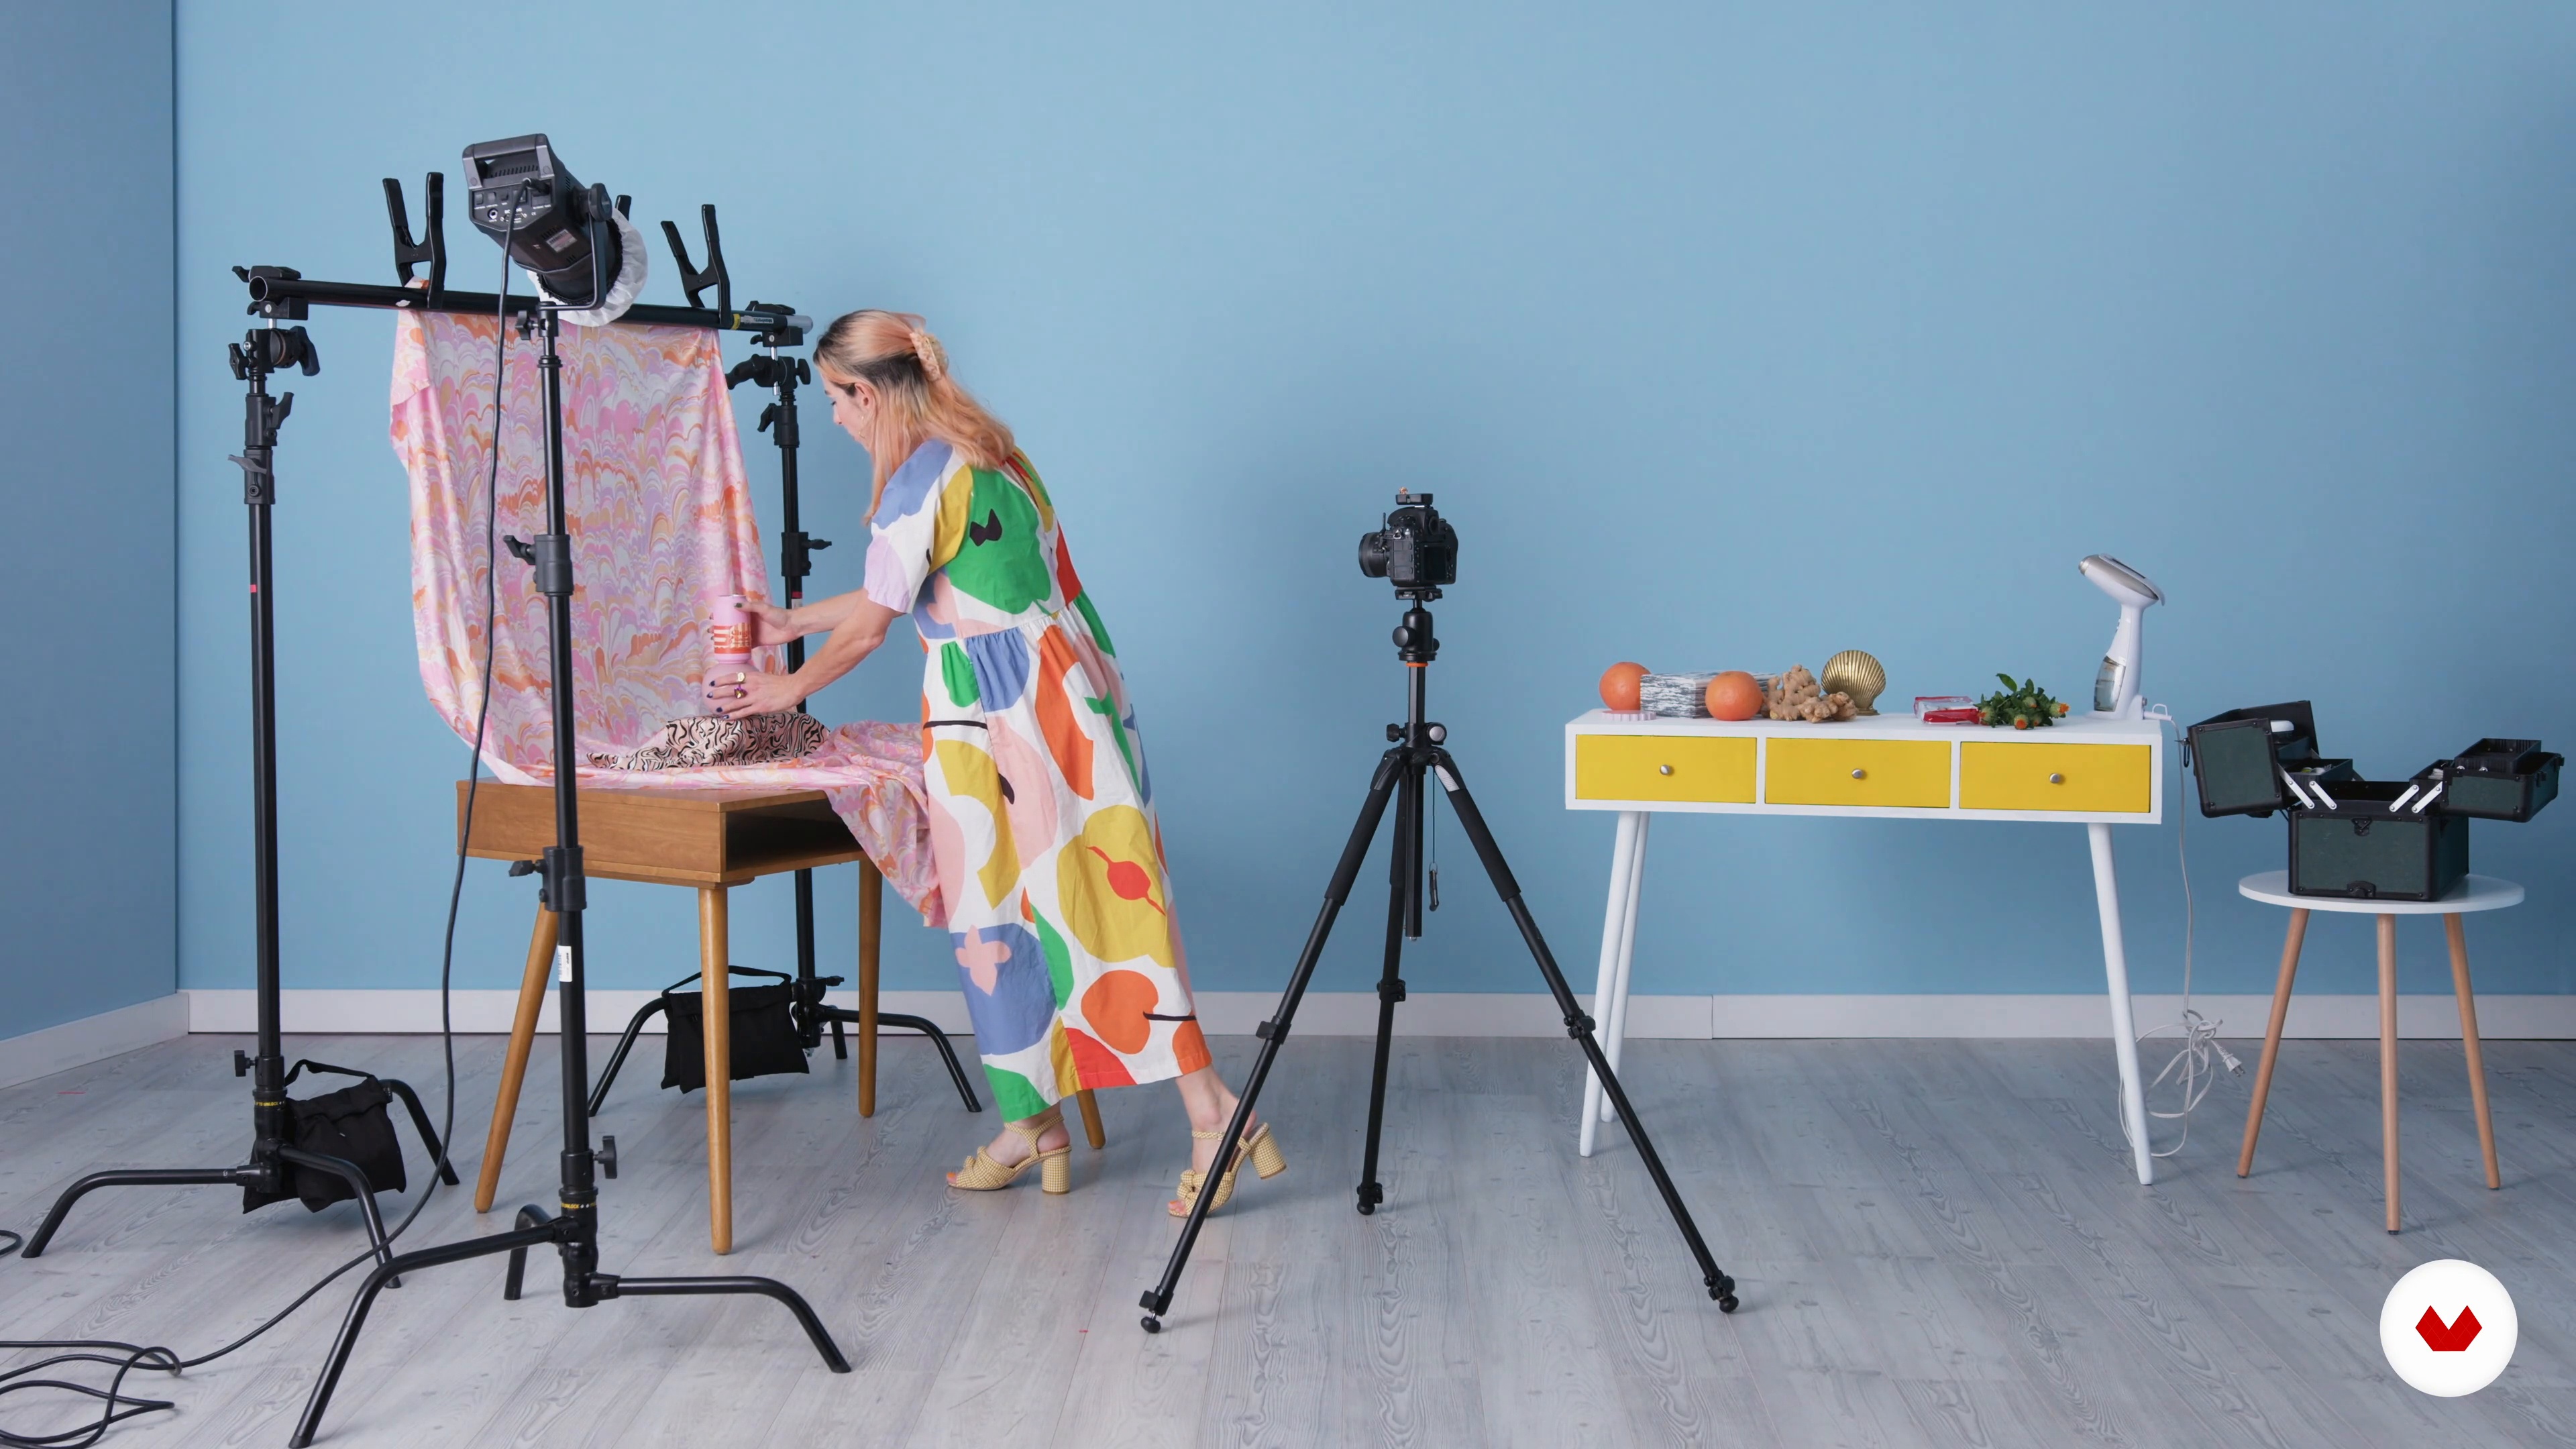
Setting up Lighting and Set for First Image
Most of the photographers do not design their own set, there is a set designer for that job in the team. It is not an easy one to do, that's why it’s a separate profession. However, I’ve learned that sometimes you have to do everything alone. In this lesson, I’ll share some tips on how to set up lighting and design your set to arrange the photo shooting of our first product.
13m
image
11
Shooting the First Product
Finally when everything is ready we can start fine tuning our first product for the first image.
12m
image
12
Setting up Lighting and Set for the Second Image
In this lesson, I will change the set, props and product completely so it means I have to change the light accordingly. Let’s see how I do it.
14m
image
13
Shooting the Second Product
Here you will see how I adjust the set and the camera to capture the second image.
6m
image
14
Shooting a Frame Animation
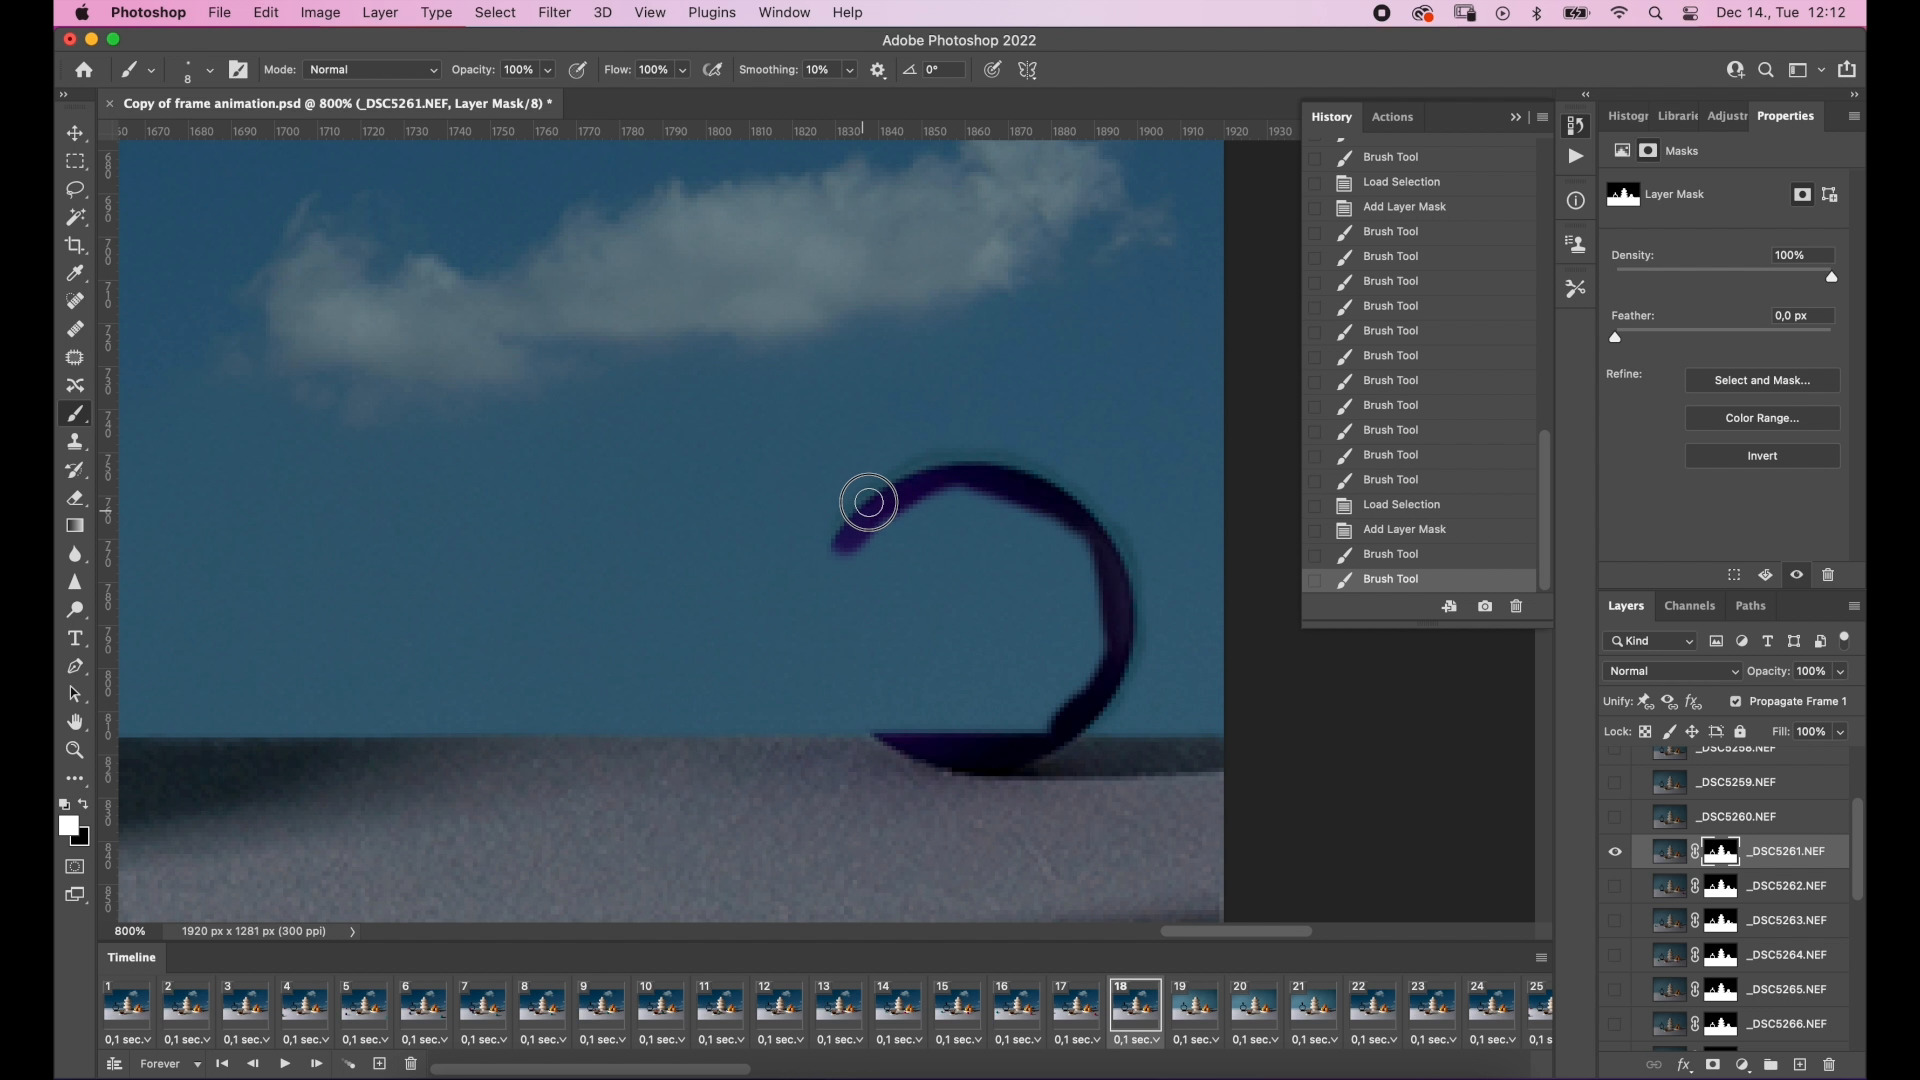
In this lesson, you will see how to create a frame animation using the same setup that we used in our previous photo shooting.
7m
image
15
Image Selection and Retouching 1
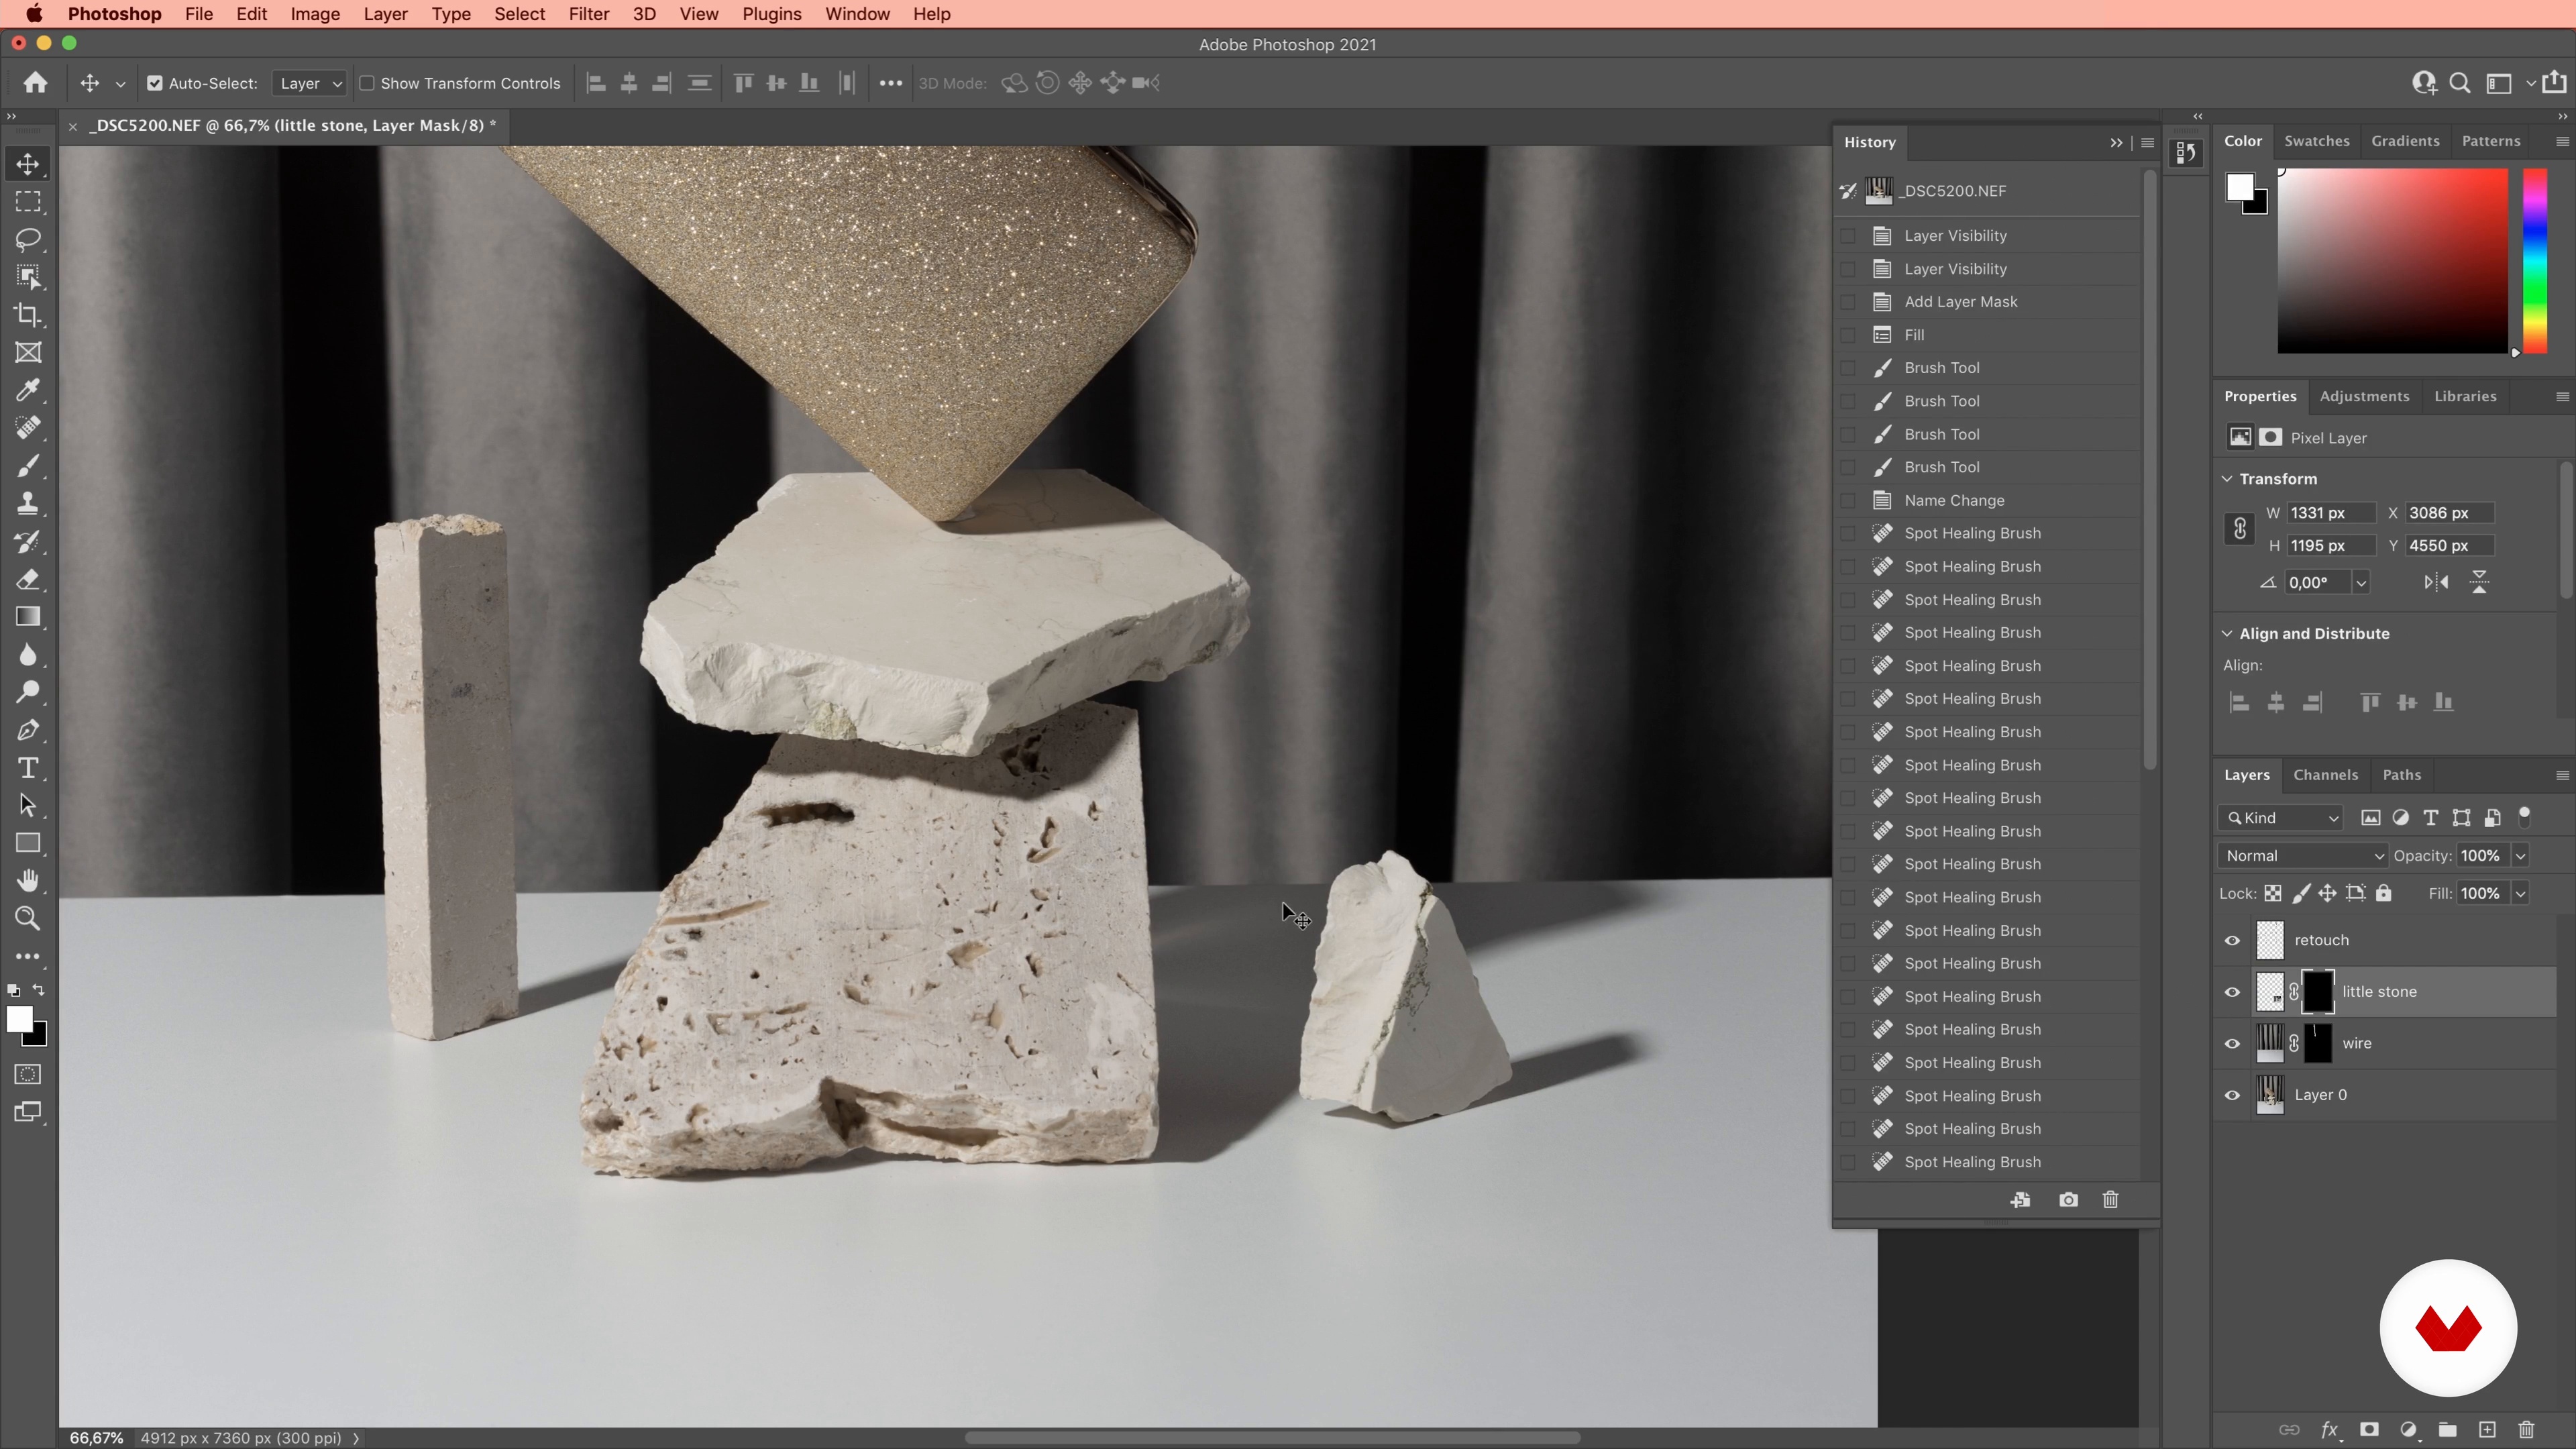
It’s time to select the best images from our photoshoots. In this lesson I will show you what criteria you should use to select the images and how to edit and retouch it using Photoshop.
20m
image
16
Image Selection and Retouching 2
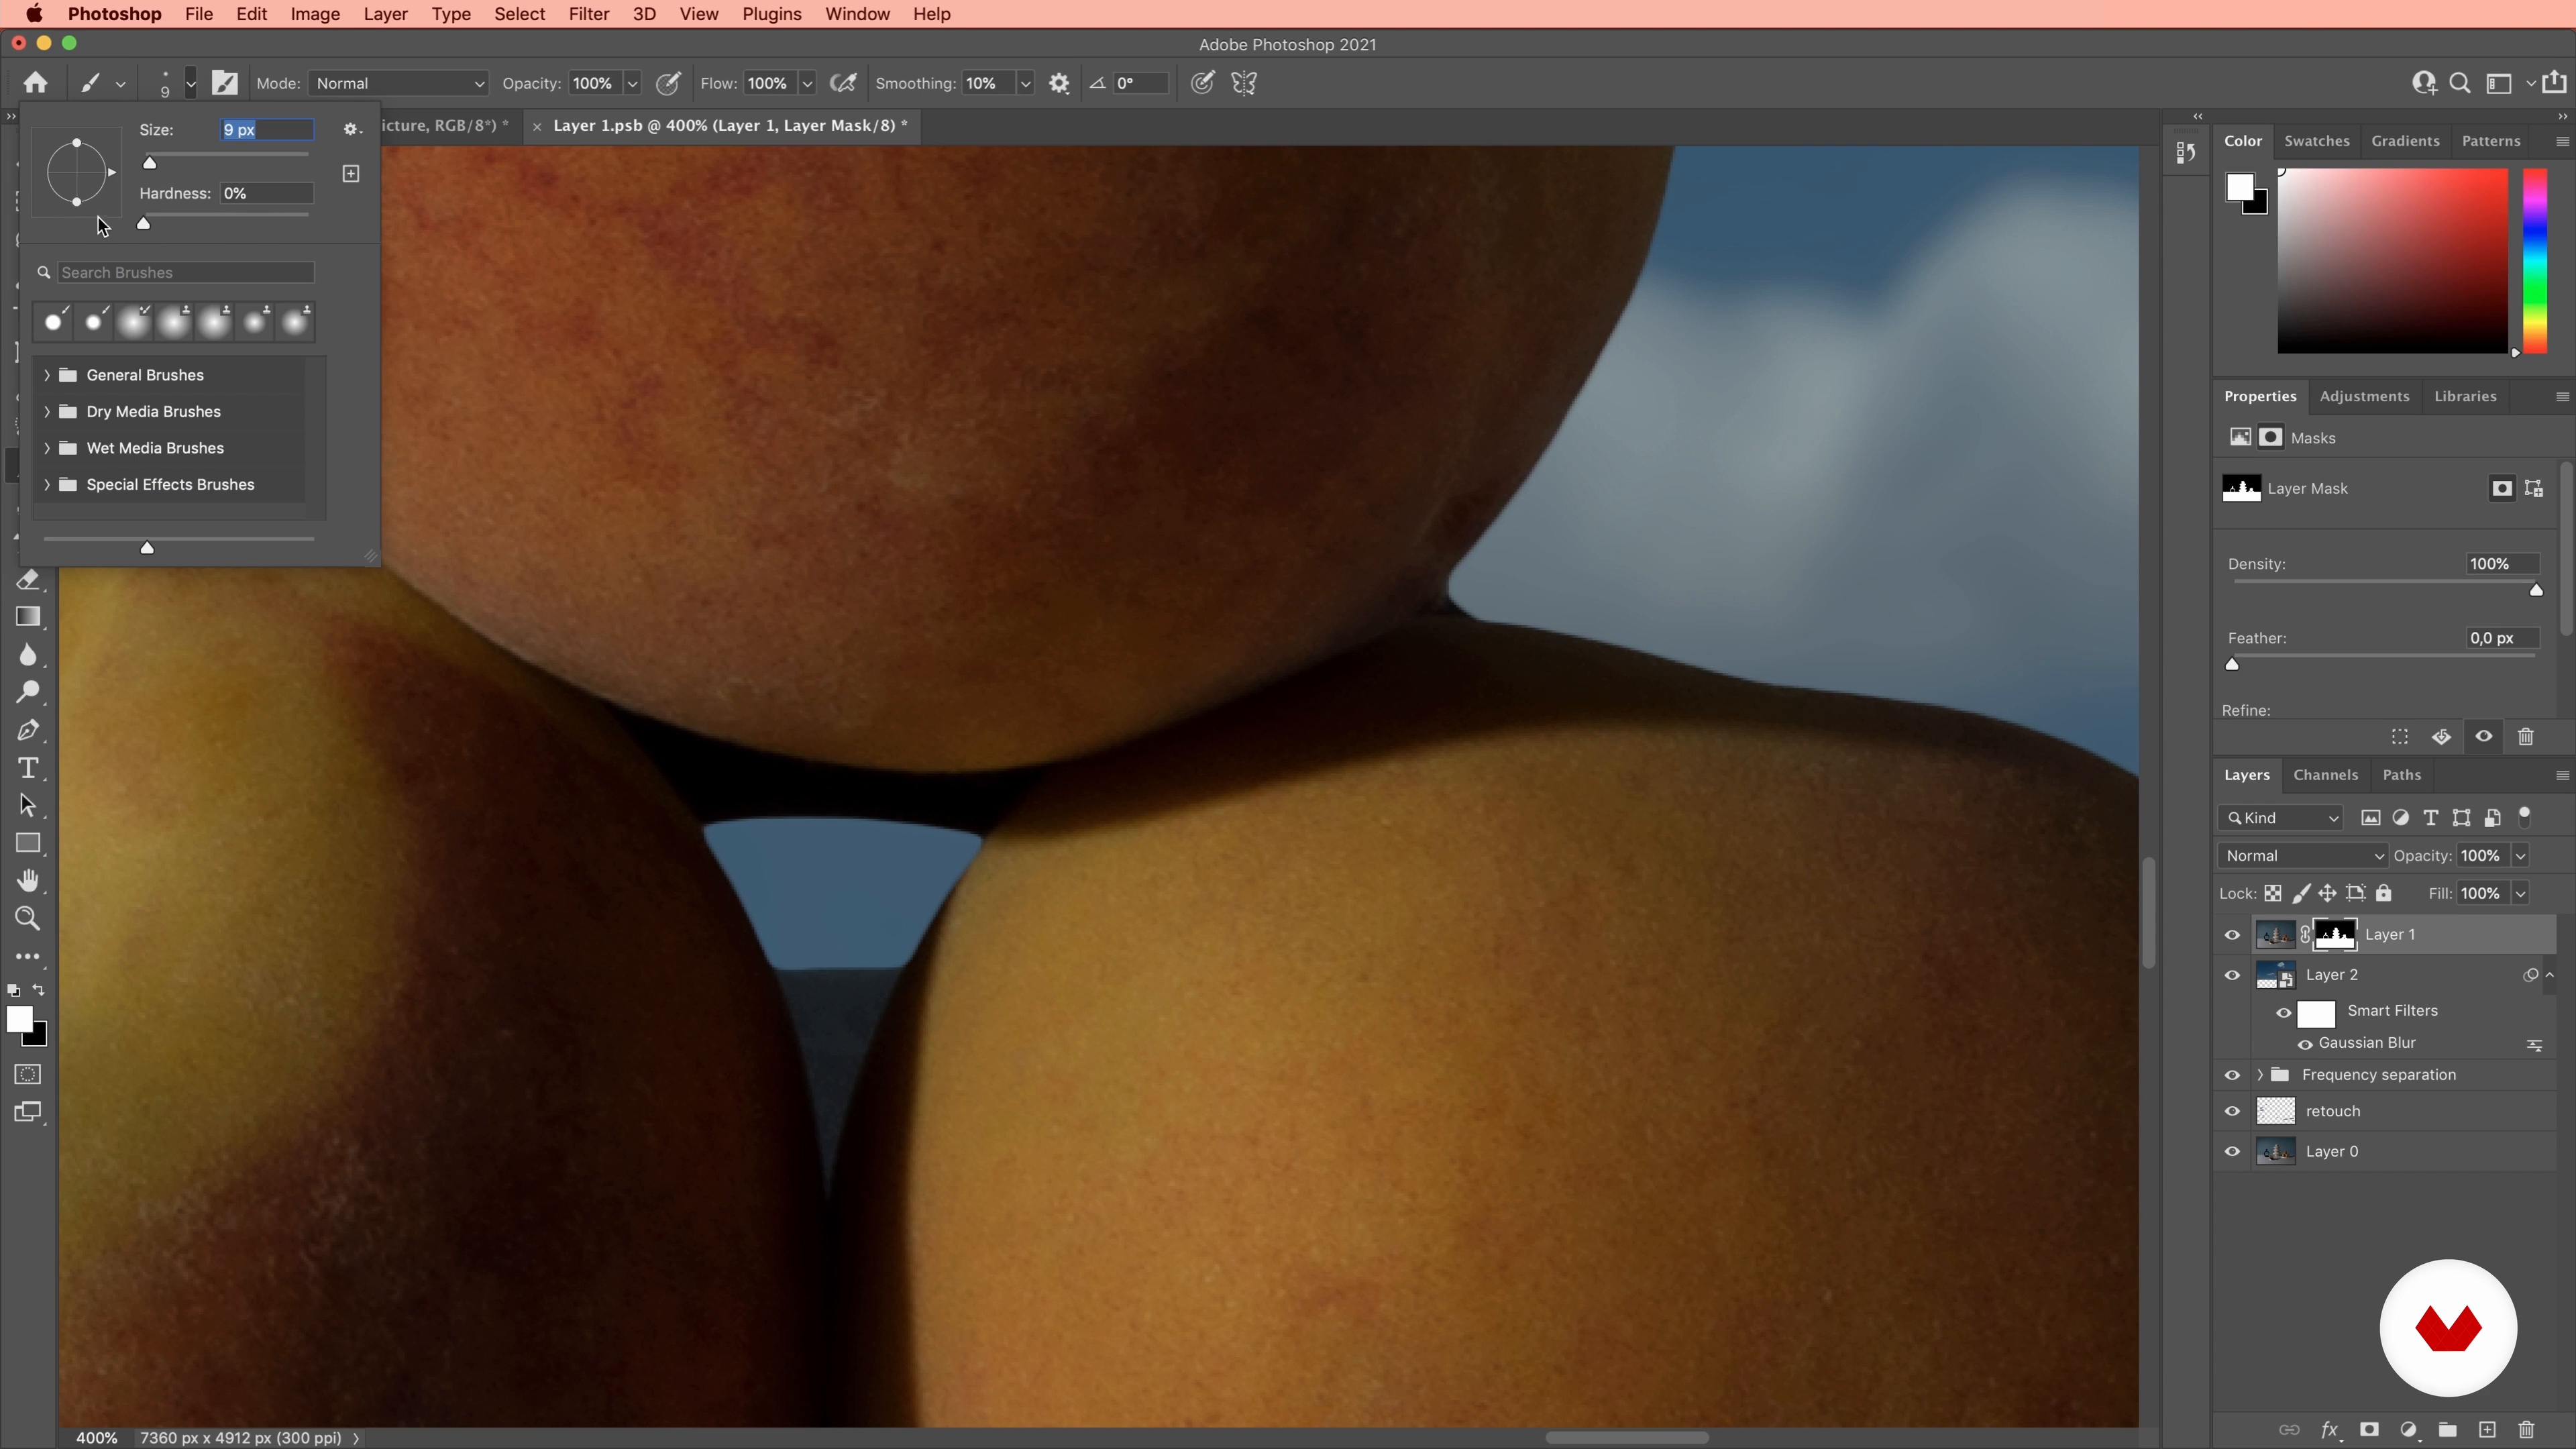
Let's start retouching the second picture.
20m
image
17
Image Selection and Retouching 3
Now, I´ll show you how to make a frame animation.
9m
image
18
Promoting Your Work and Attracting Clients
In this lesson I'm gonna give you some tips and advices on how to promote your work and how to attract clients through personal experiences.
10m
image
19
To learn more: Updated Frame Animation
I have created an updated version of the Frame animation which matches better the original picture. In the attached Photoshop Editing video you can see how I changed the background, animated the video, and rendered it GIF and video format. I hope it will inspire you to create a bit more advanced animations.
31m
image
3
Still Life Photography
Here I'll give you an introduction to the basics of still life and product photography. I'll talk about how to work with fashion products and set design to bring these images to life.
5m
image
4
Camera Equipment
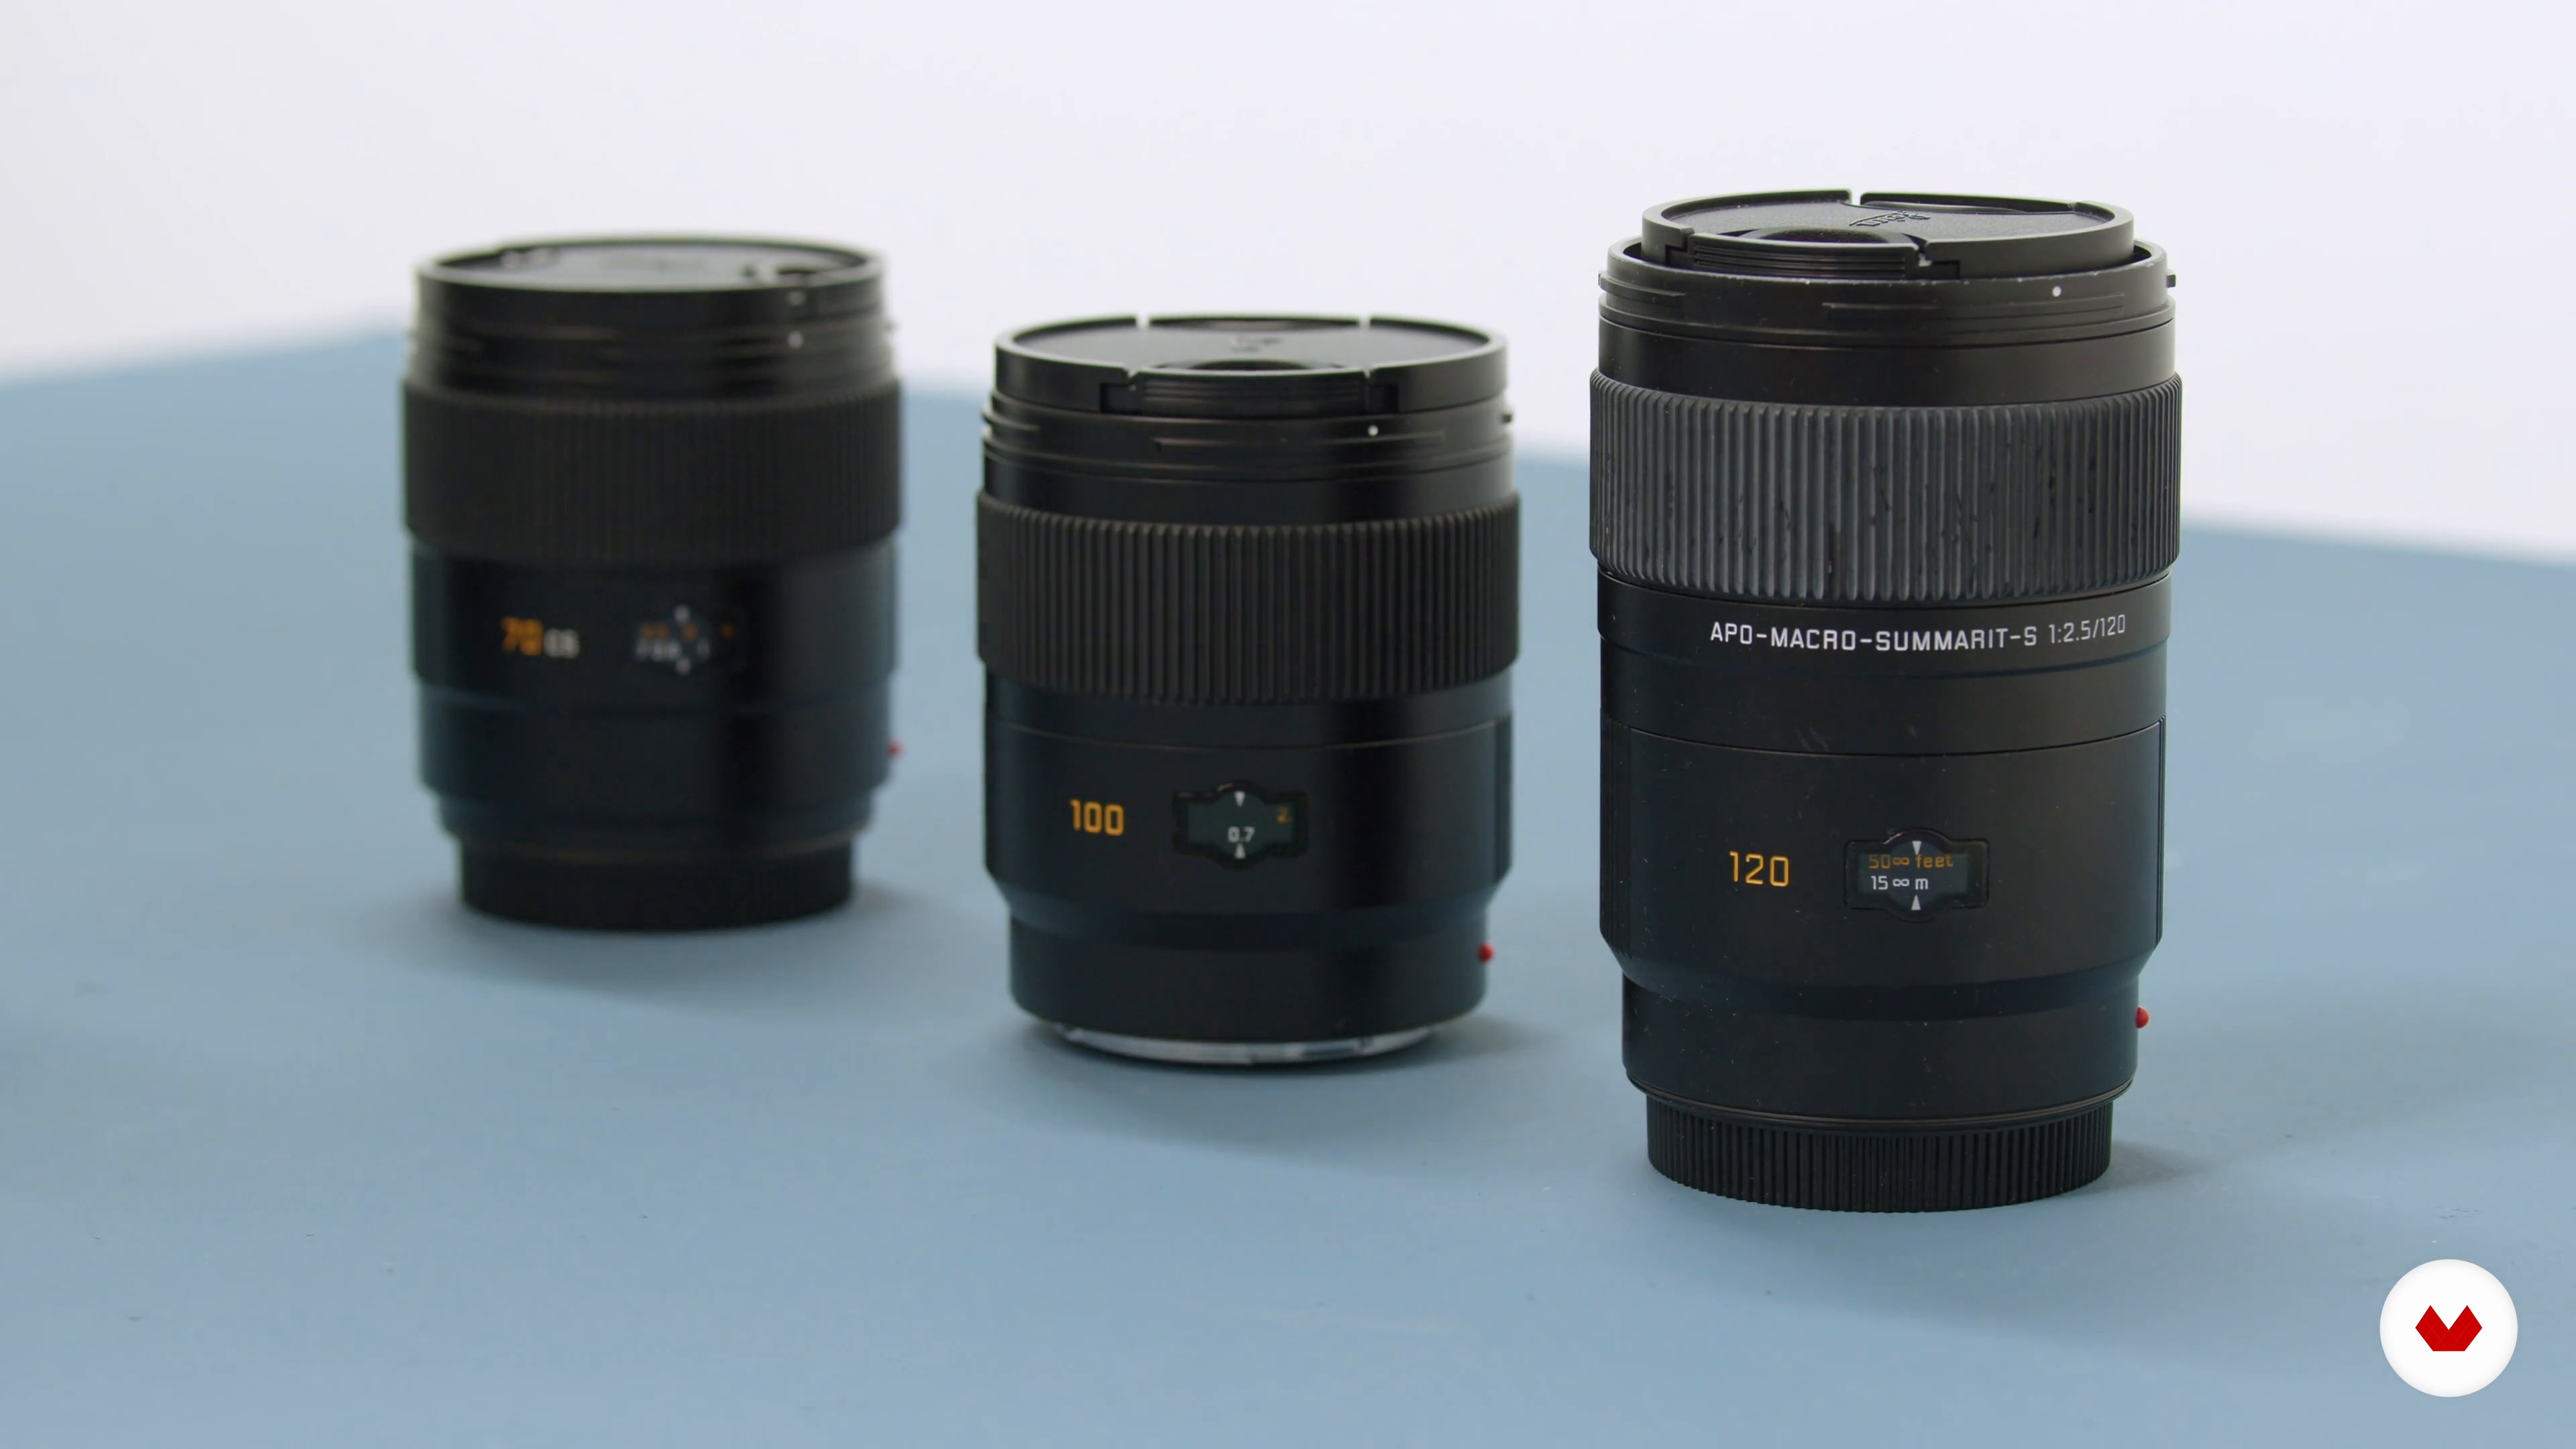
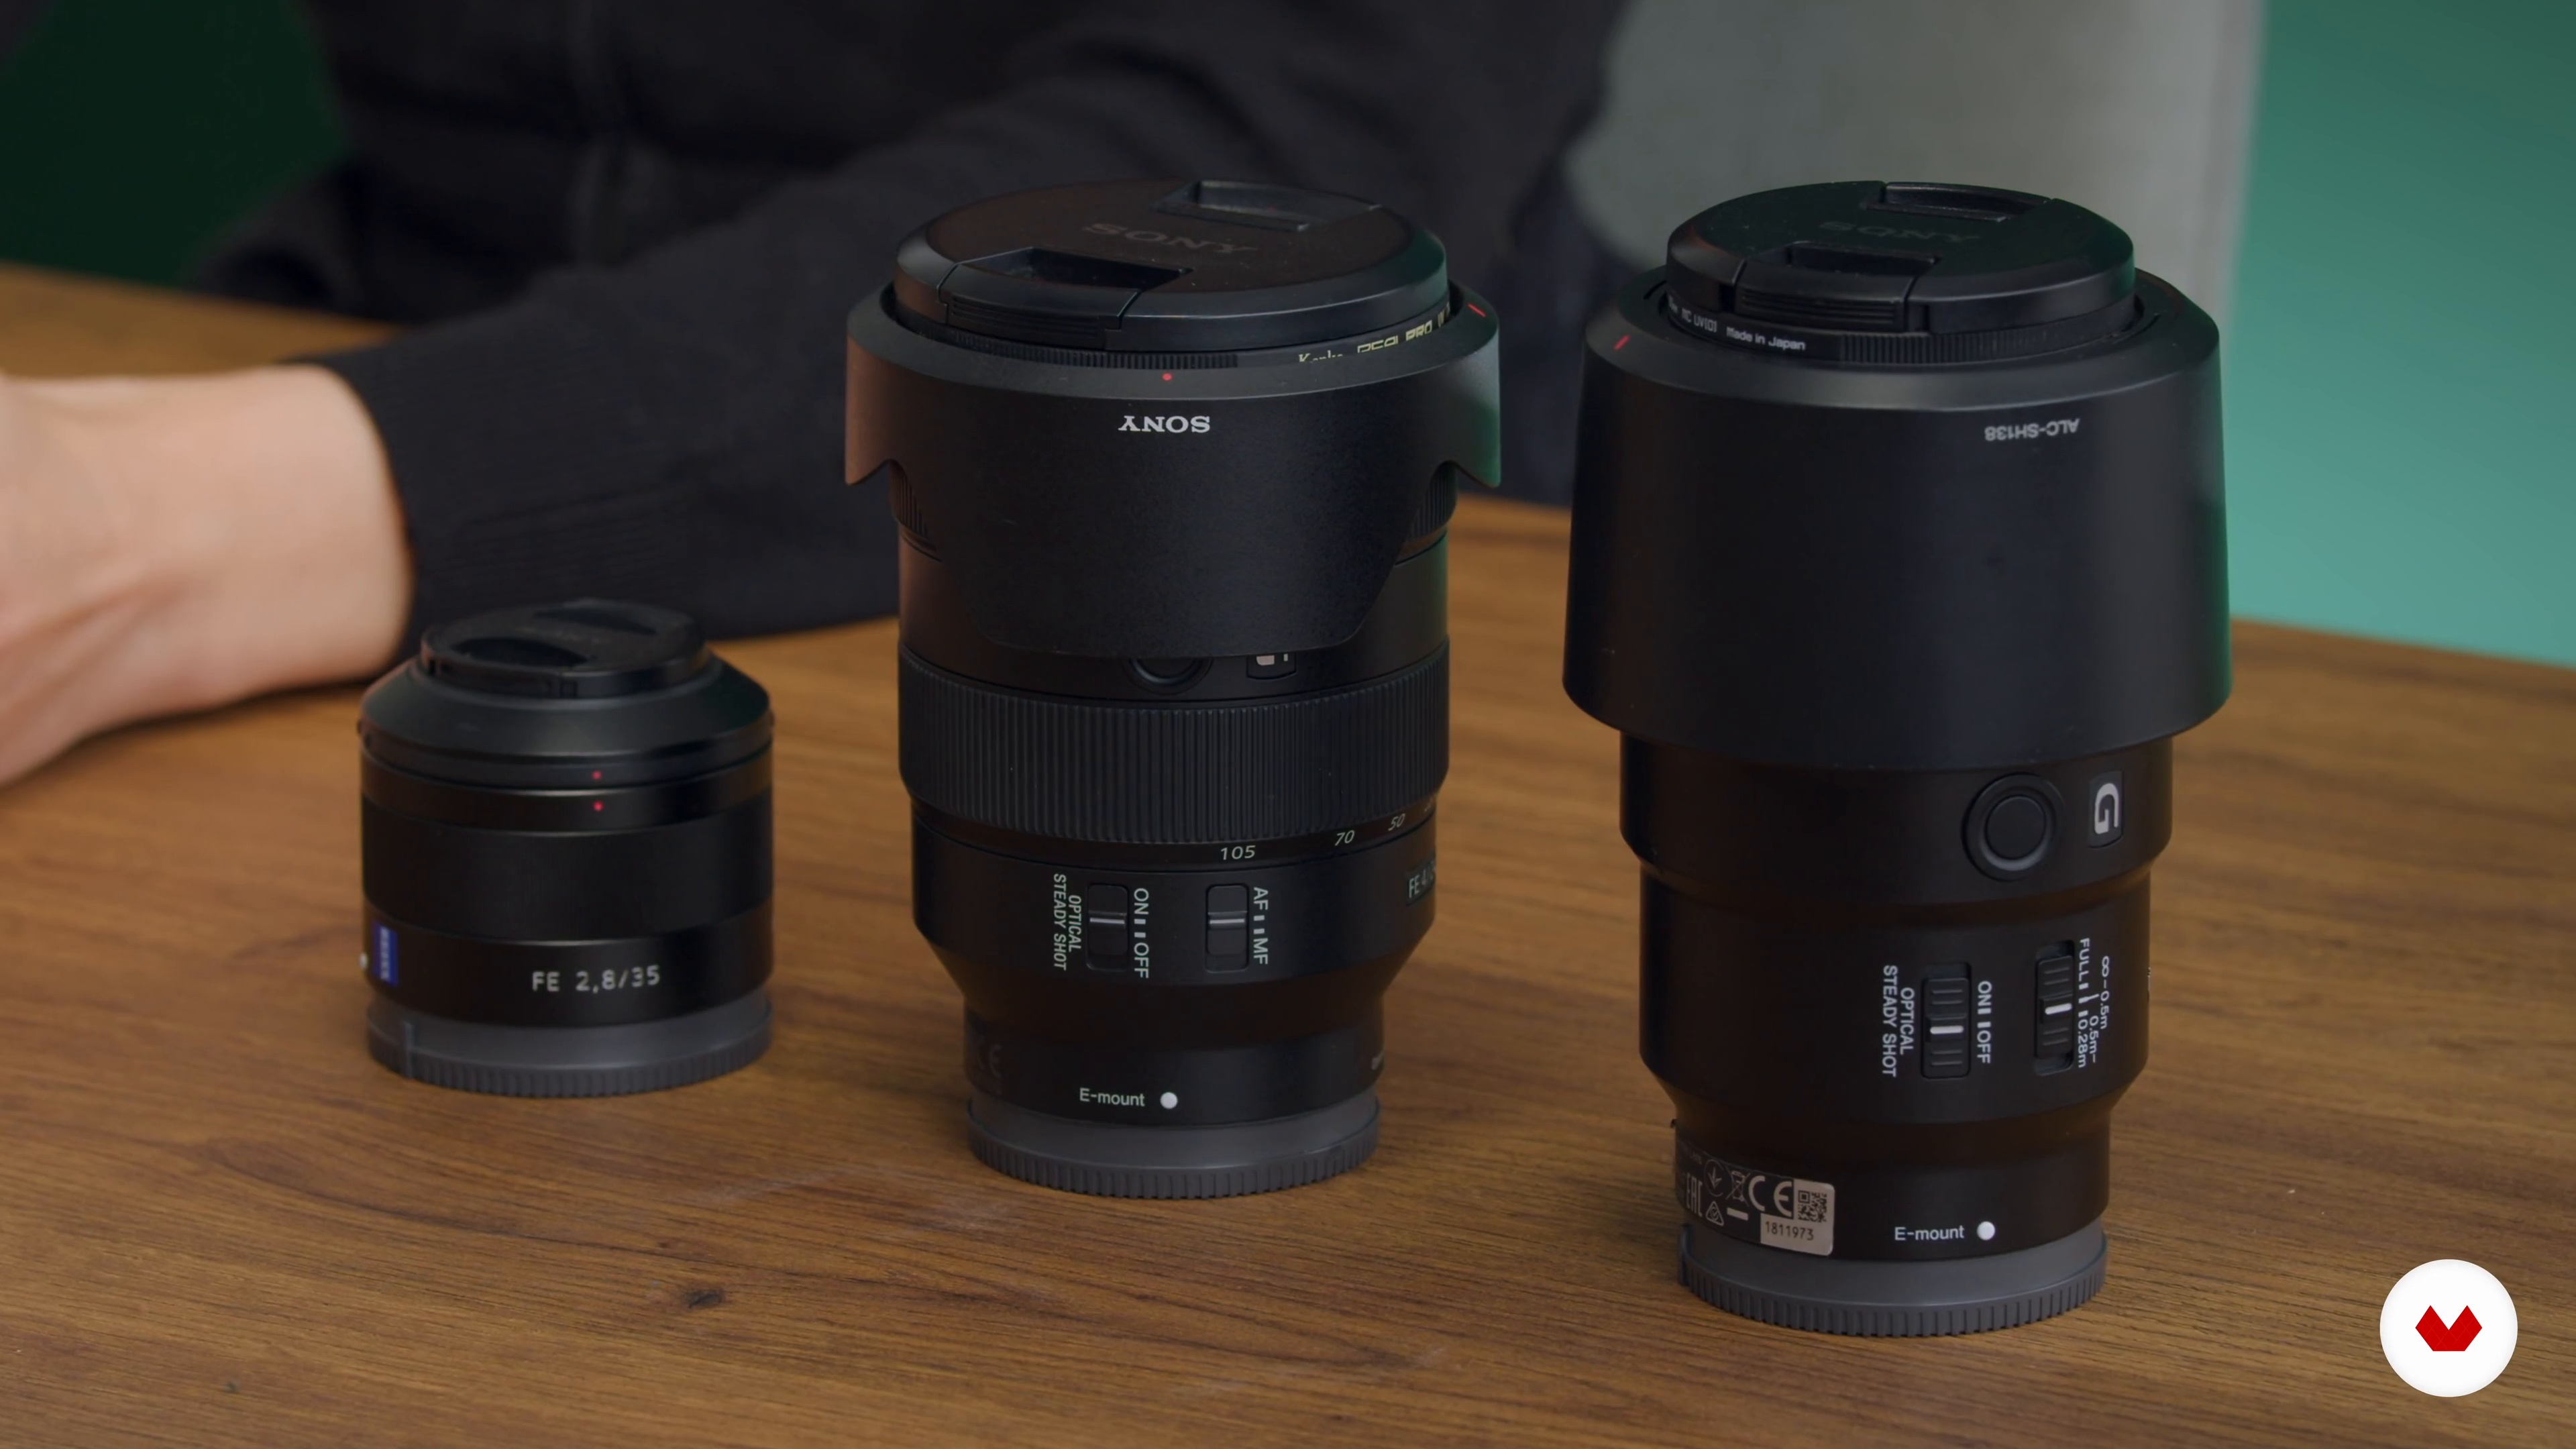
In this lesson, I’ll take you through selecting the right camera and lenses.
3m
image
5
The Principles of Light
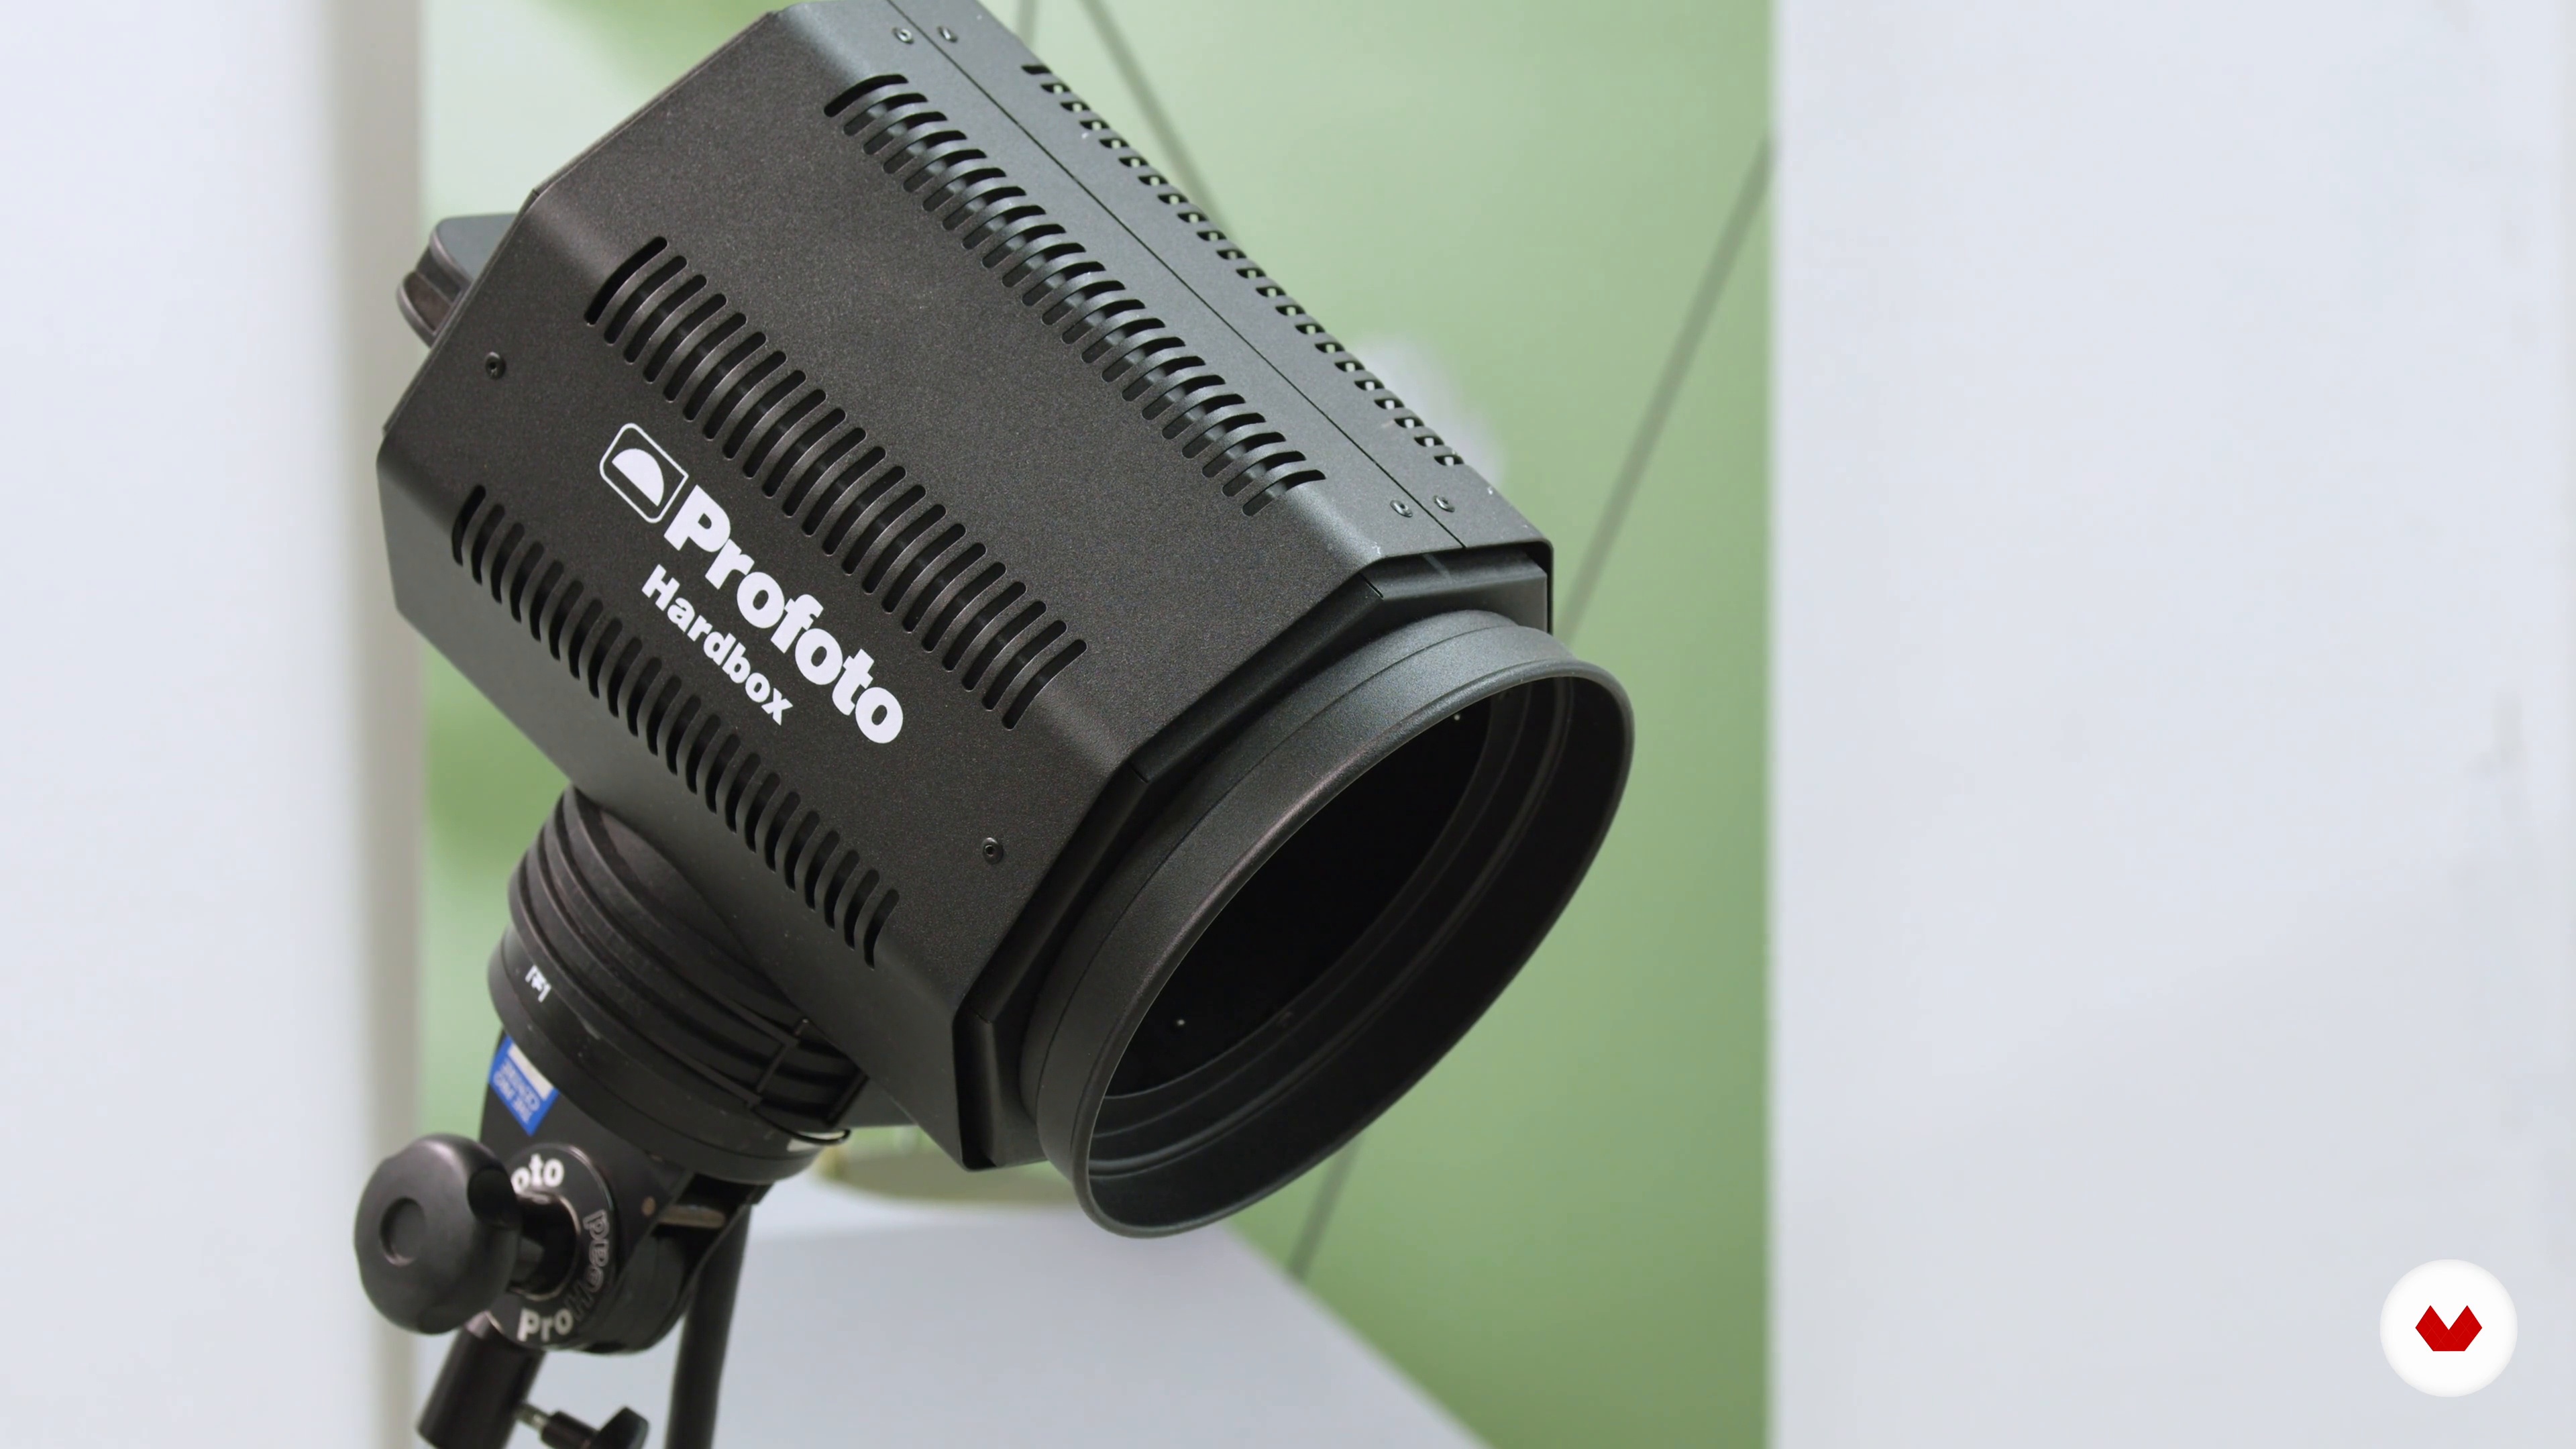
Next, you'll learn the fundamental principles of light and the differences between a soft fill light and a hard light that mimics the sun.
4m
image
6
Developing the Concept
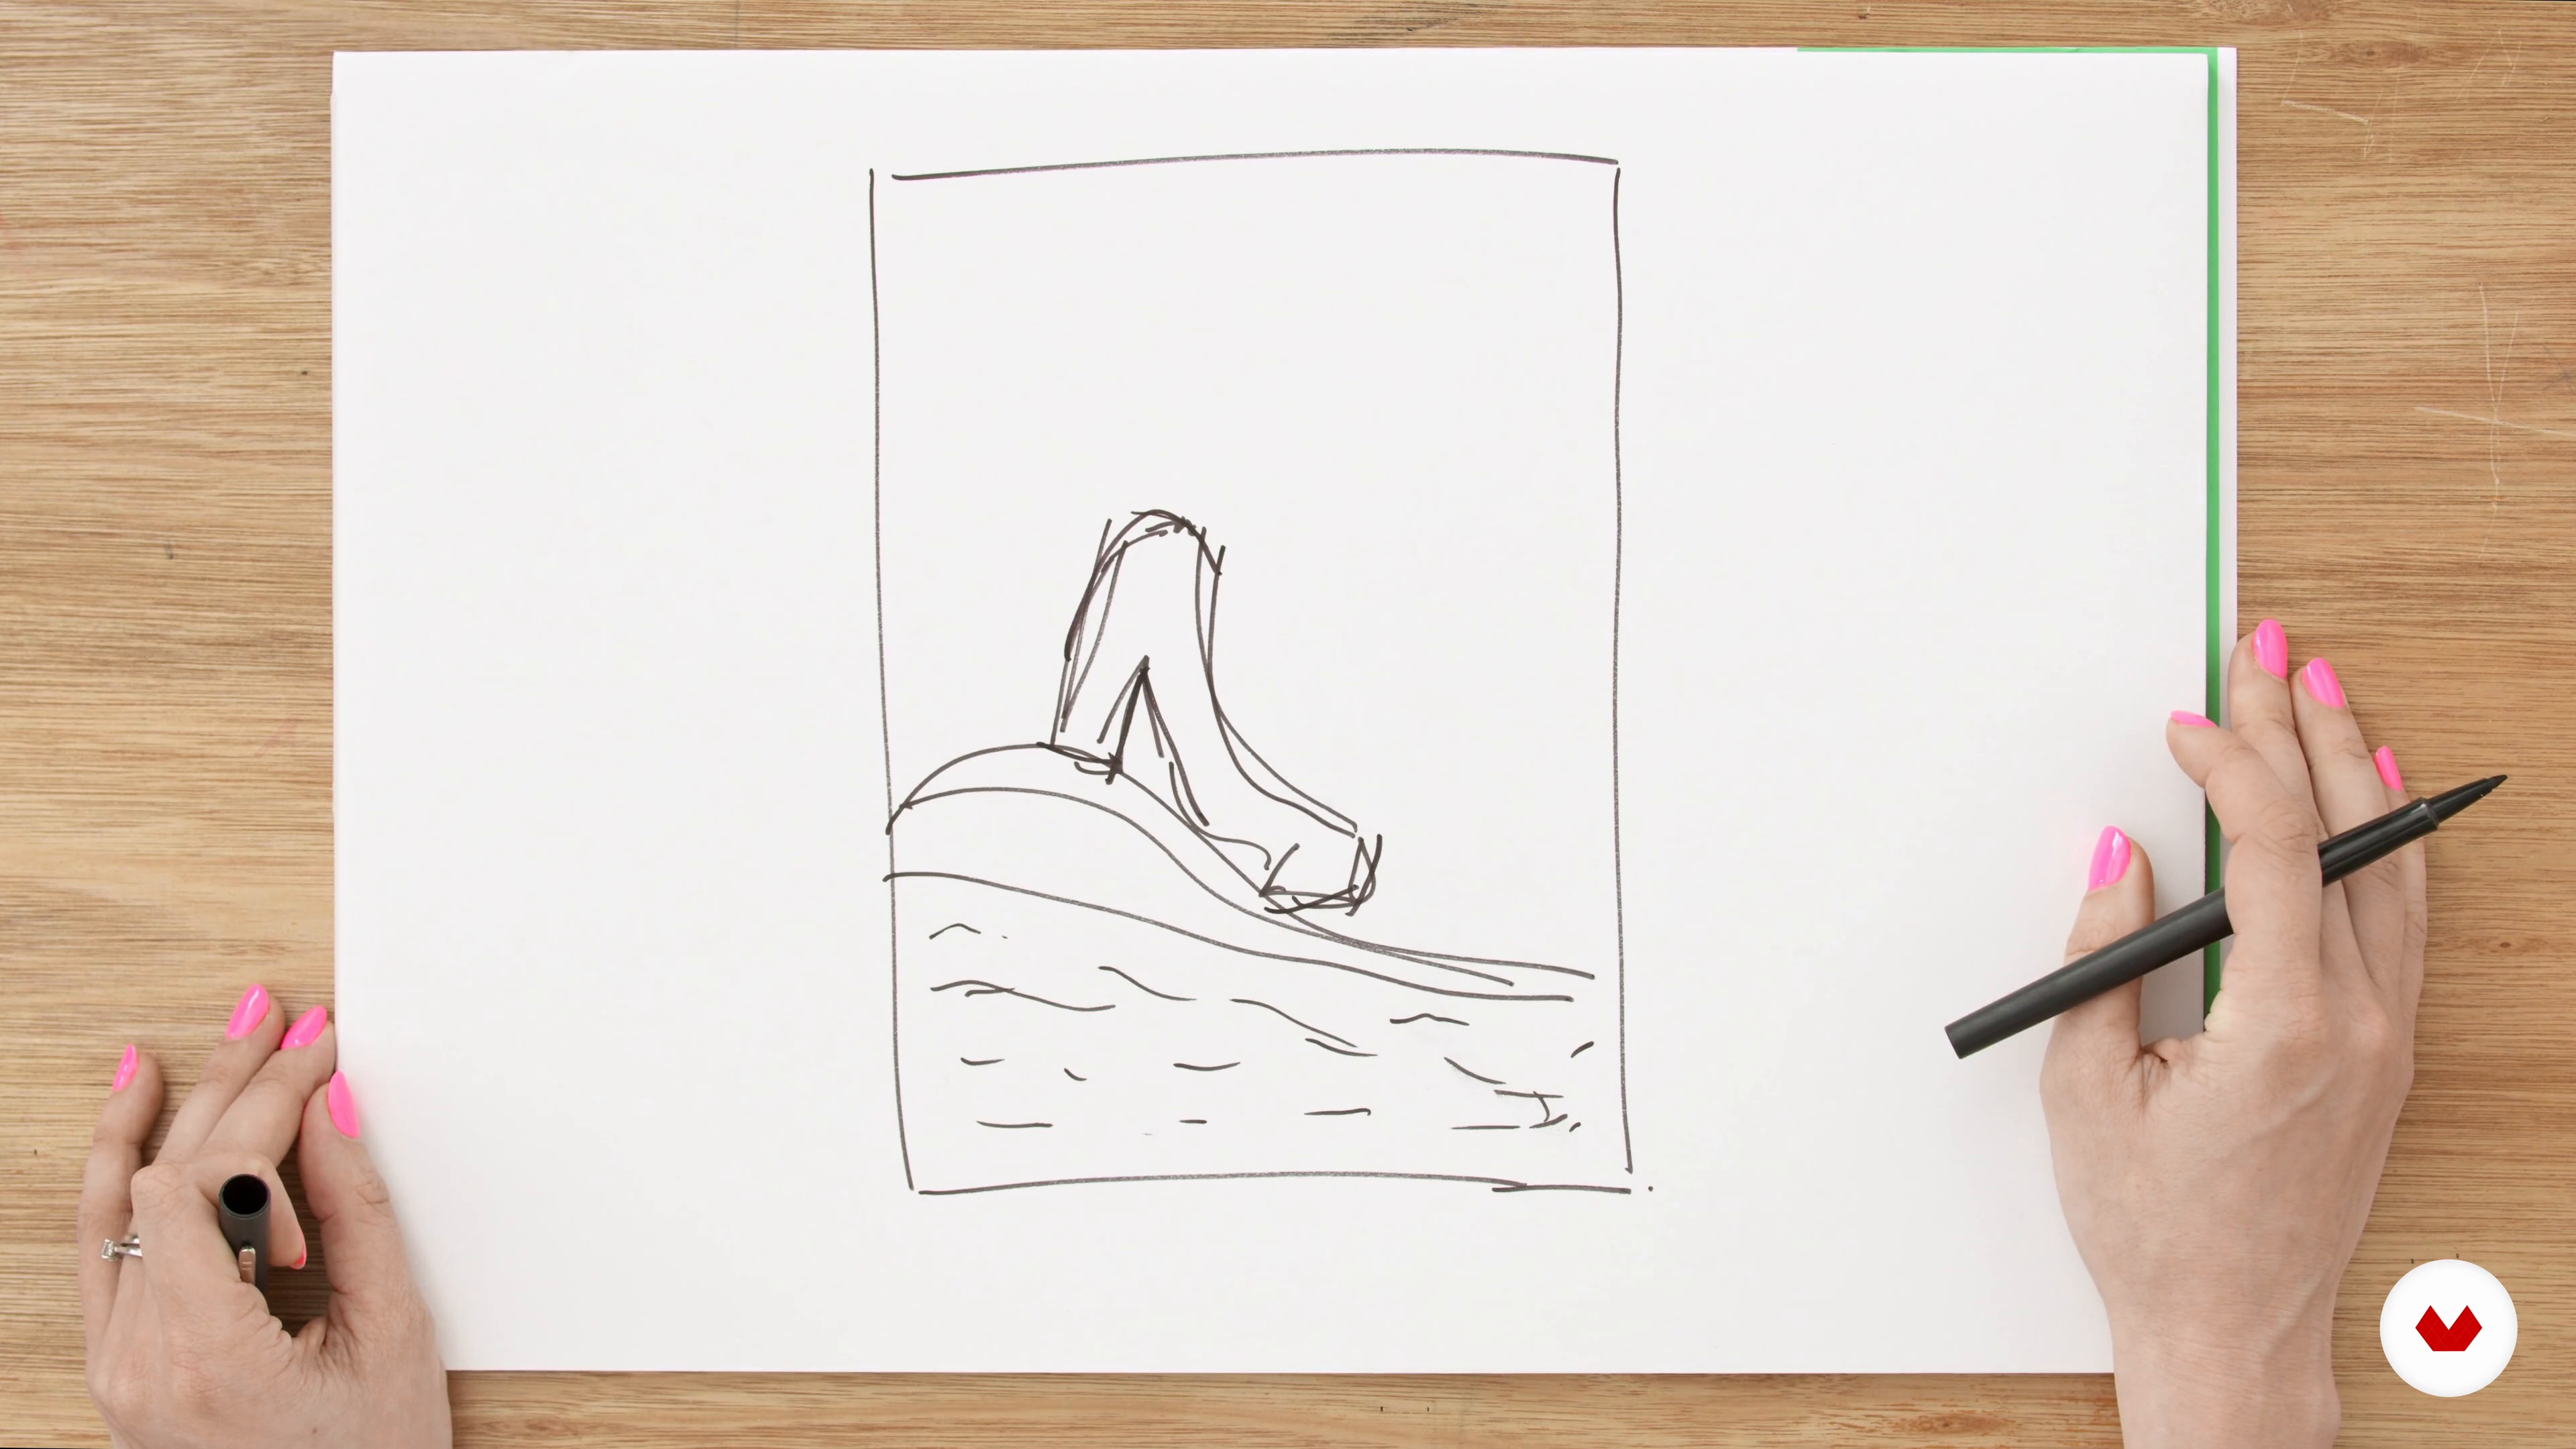
Now that you have an understanding of the basics, it's time to start considering your concept. In this lesson, I will discuss the initial stages of framing your idea and developing it into a visual outcome.You will learn how to approach colour and the ideation process using art reference books and choosing your products.
14m
image
7
Building the Set
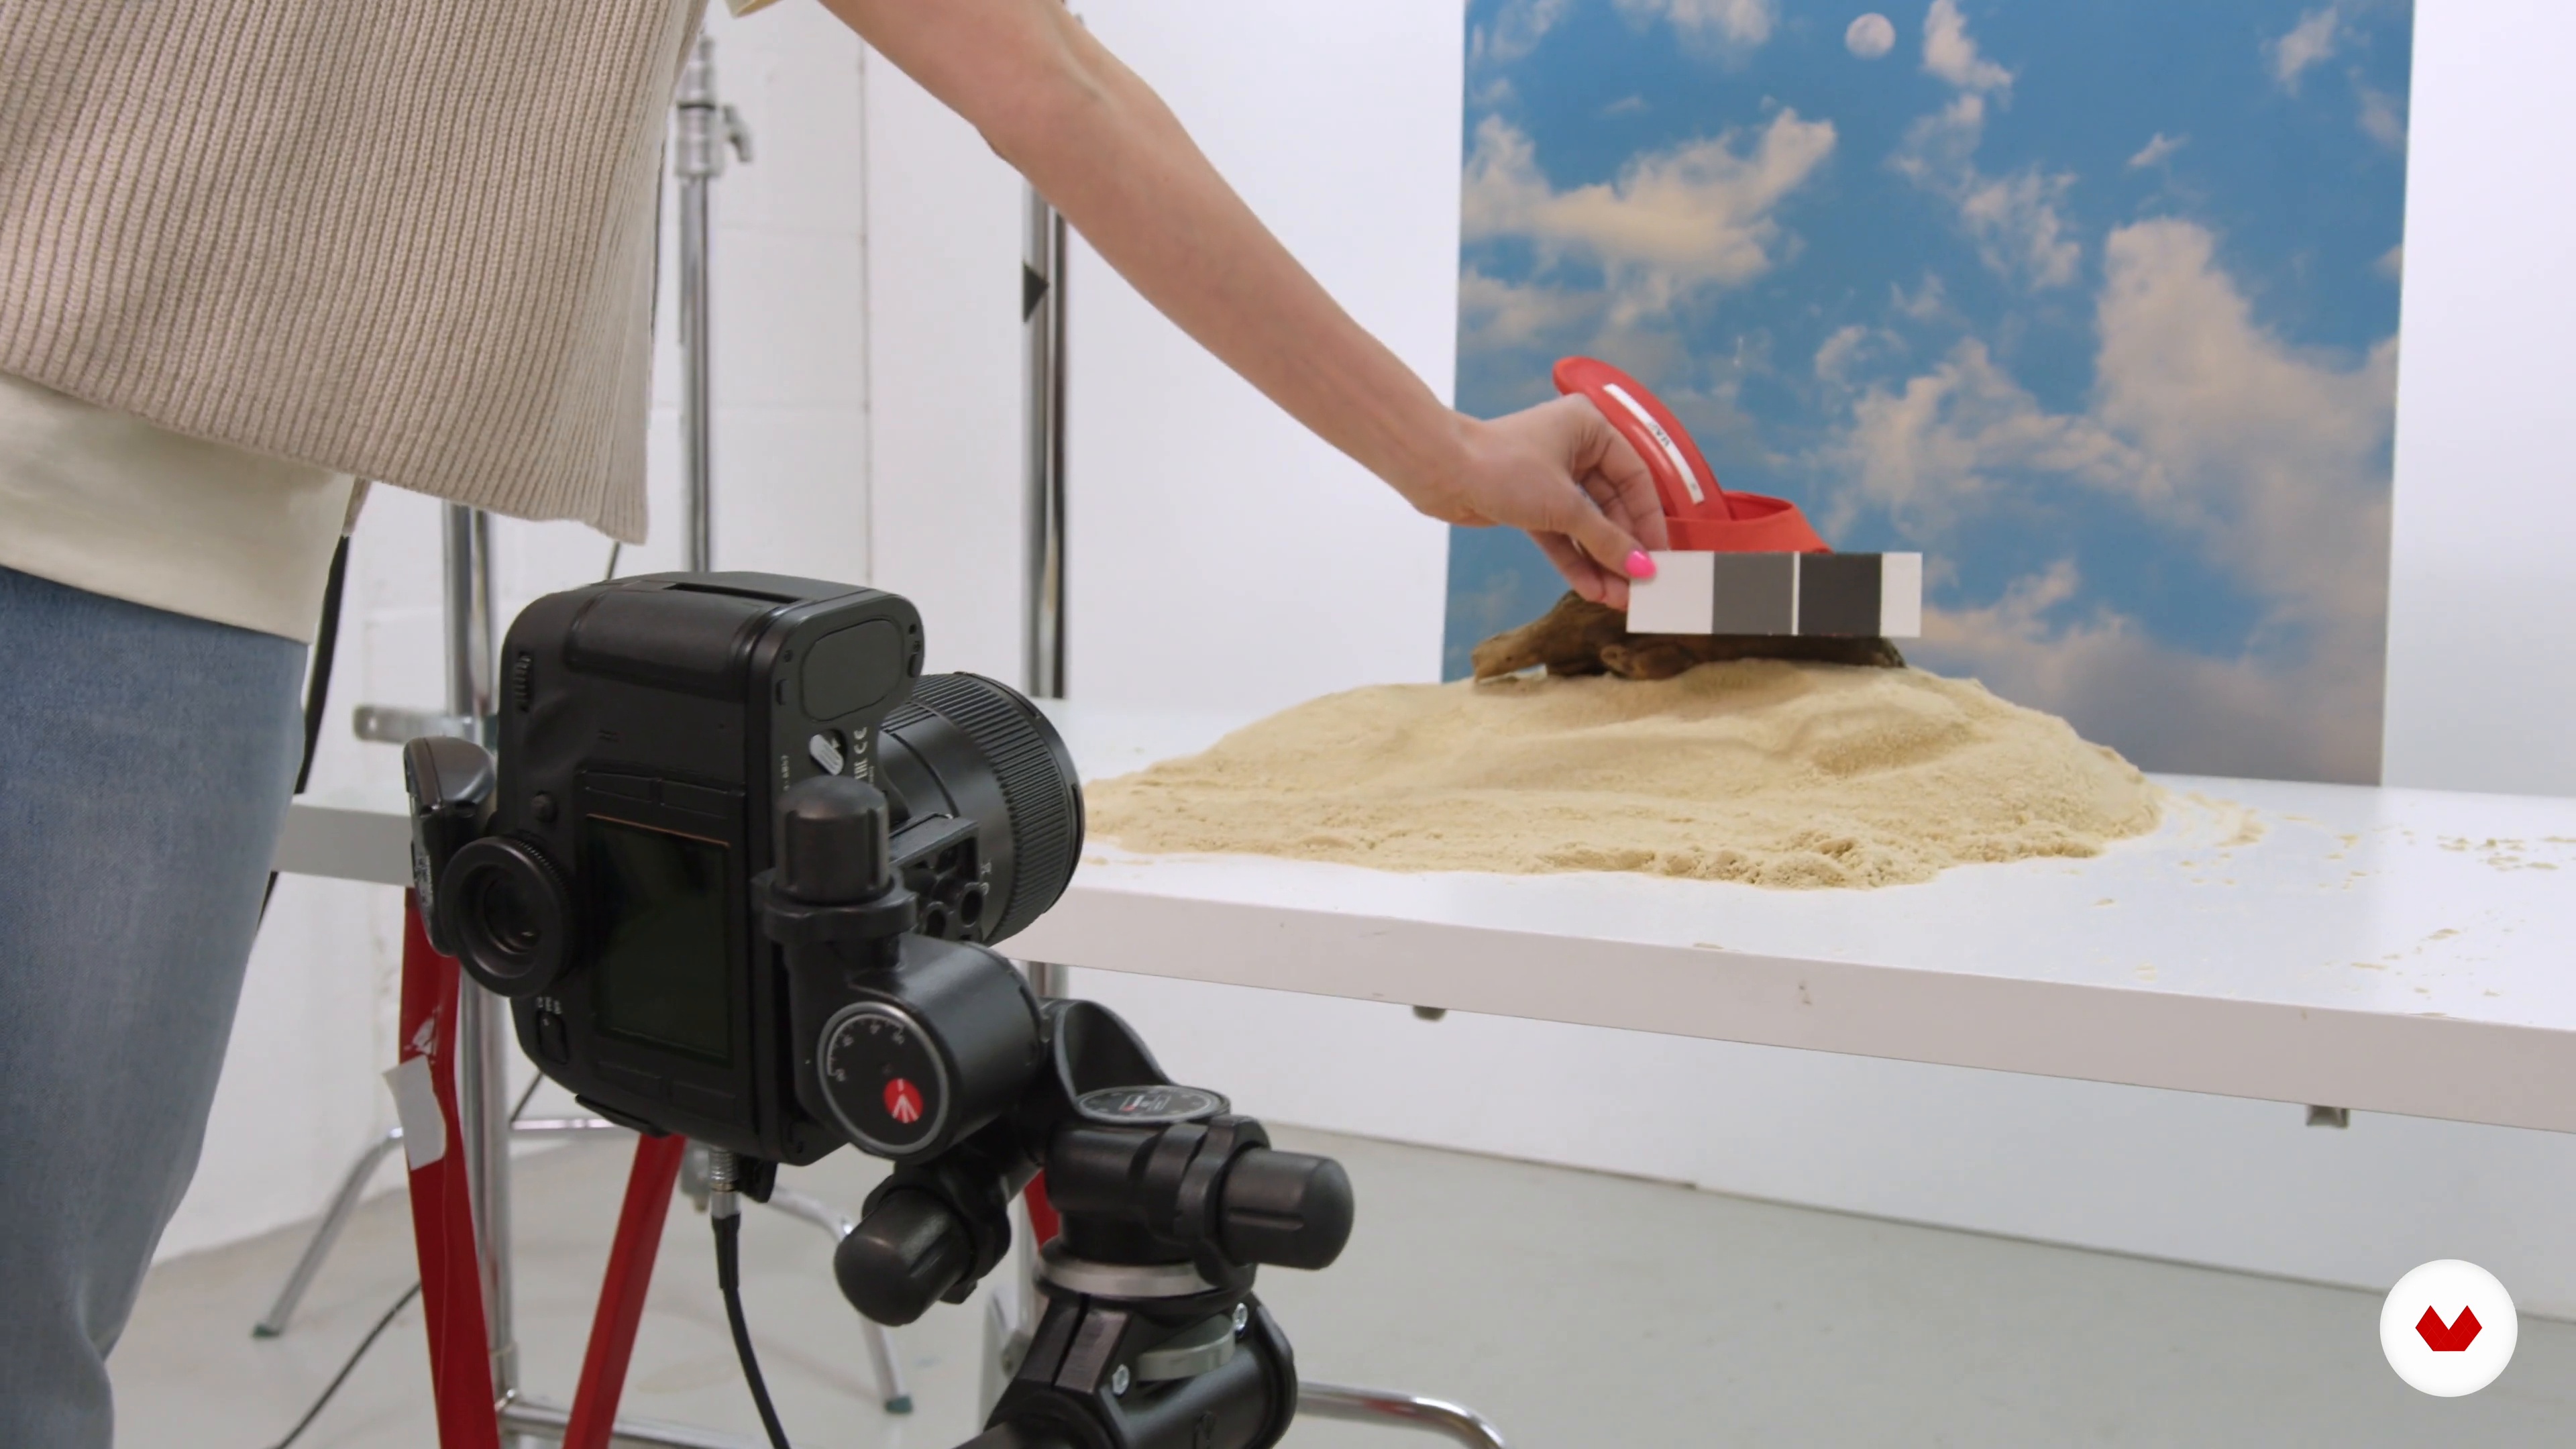
Here I'll demonstrate how to prepare all the necessary elements to photograph the products. First, I'll teach you how to work with the shoes against a beach background. I'll be working in my studio, showing you around and giving you insight into behind-the-scenes tips and tricks.
3m
image
8
Setting Up: Lights and Camera
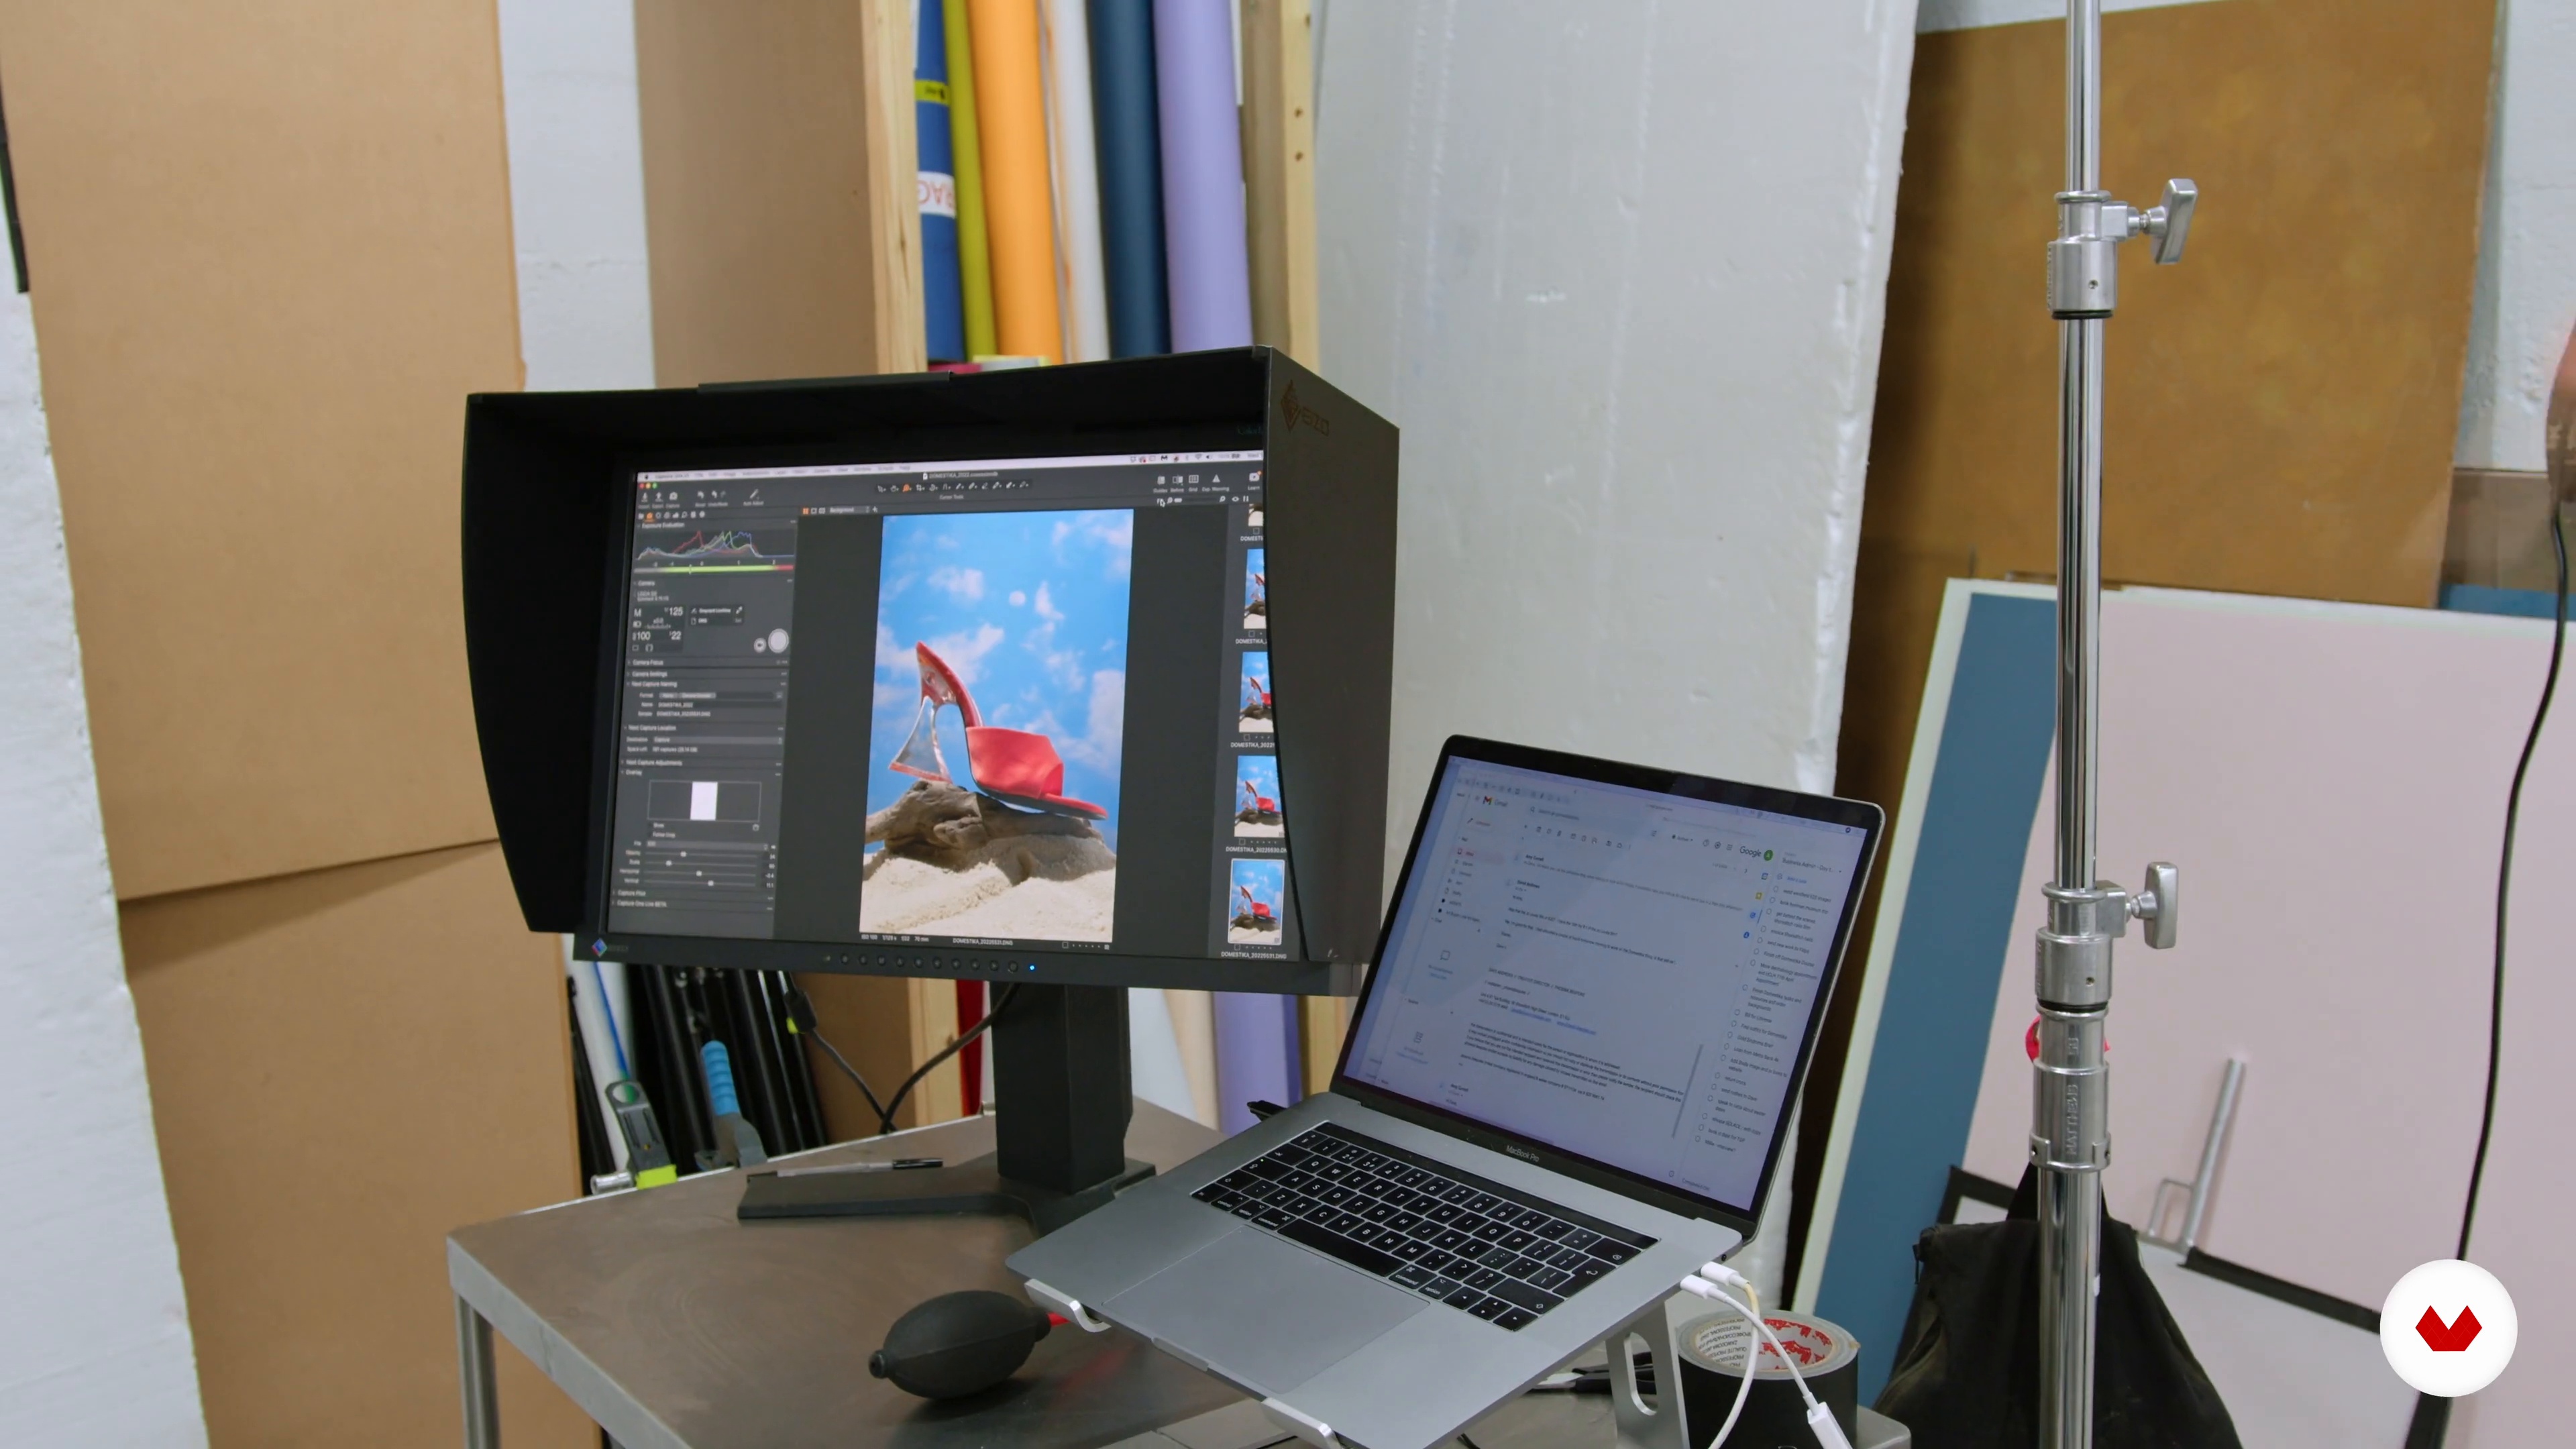
In this lesson, you'll learn how to position the tripod, get the camera connected to the computer, and sync the lights.
4m
image
9
Accessory Image Photo Session
To end this unit, I'll take you through all the steps you need to complete to make your image a reality.
3m
image
10
Preparing the Set
Here you'll see how to change the elements of the set design to move on to the beauty image.
3m
image
11
Lighting the Set
Next, I'll demonstrate the effect of changing the light source to soft light. This is much more beneficial when working with gold or silverware.
2m
image
12
The Beauty Image Photo Session
In this lesson, I'll walk you through the necessary steps to complete to capture all the elements you'll need to realise your image.
3m
image
13
Curating the Images
In this lesson, you'll see how to go through the first capture session and choose the adequate images.
3m
image
14
Balancing Business with the Creative
This lesson is an essential run-through of all the other elements of being a photographer.
6m
image
4
What Makes an Image Eye-Catching: Principles of Photography
To create eye-catching imagery, you’ll need to understand the various principles of photography. In this lesson, we’ll go over what these principles are and how you can apply them in your work.
4m
image
5
Choose Your Product: Research
Here we will go over how to select a product based on your interests or what might be missing in your portfolio. Once you’ve chosen your product, you will carry out the entire research process.
4m
image
6
Shoot Plan and Developing Concepts
Once the research phase is over, it’s time to develop your own unique concepts and create a shoot plan that will help you stay organized on the shooting day.
14m
image
7
Set Design
It’s time to build your sets. Here we will go over what tools and materials you need to execute your designs.
5m
image
8
Props
Here we will go over where to look for props and tips for creating or modifying your own, as well as some styling tips.
4m
image
9
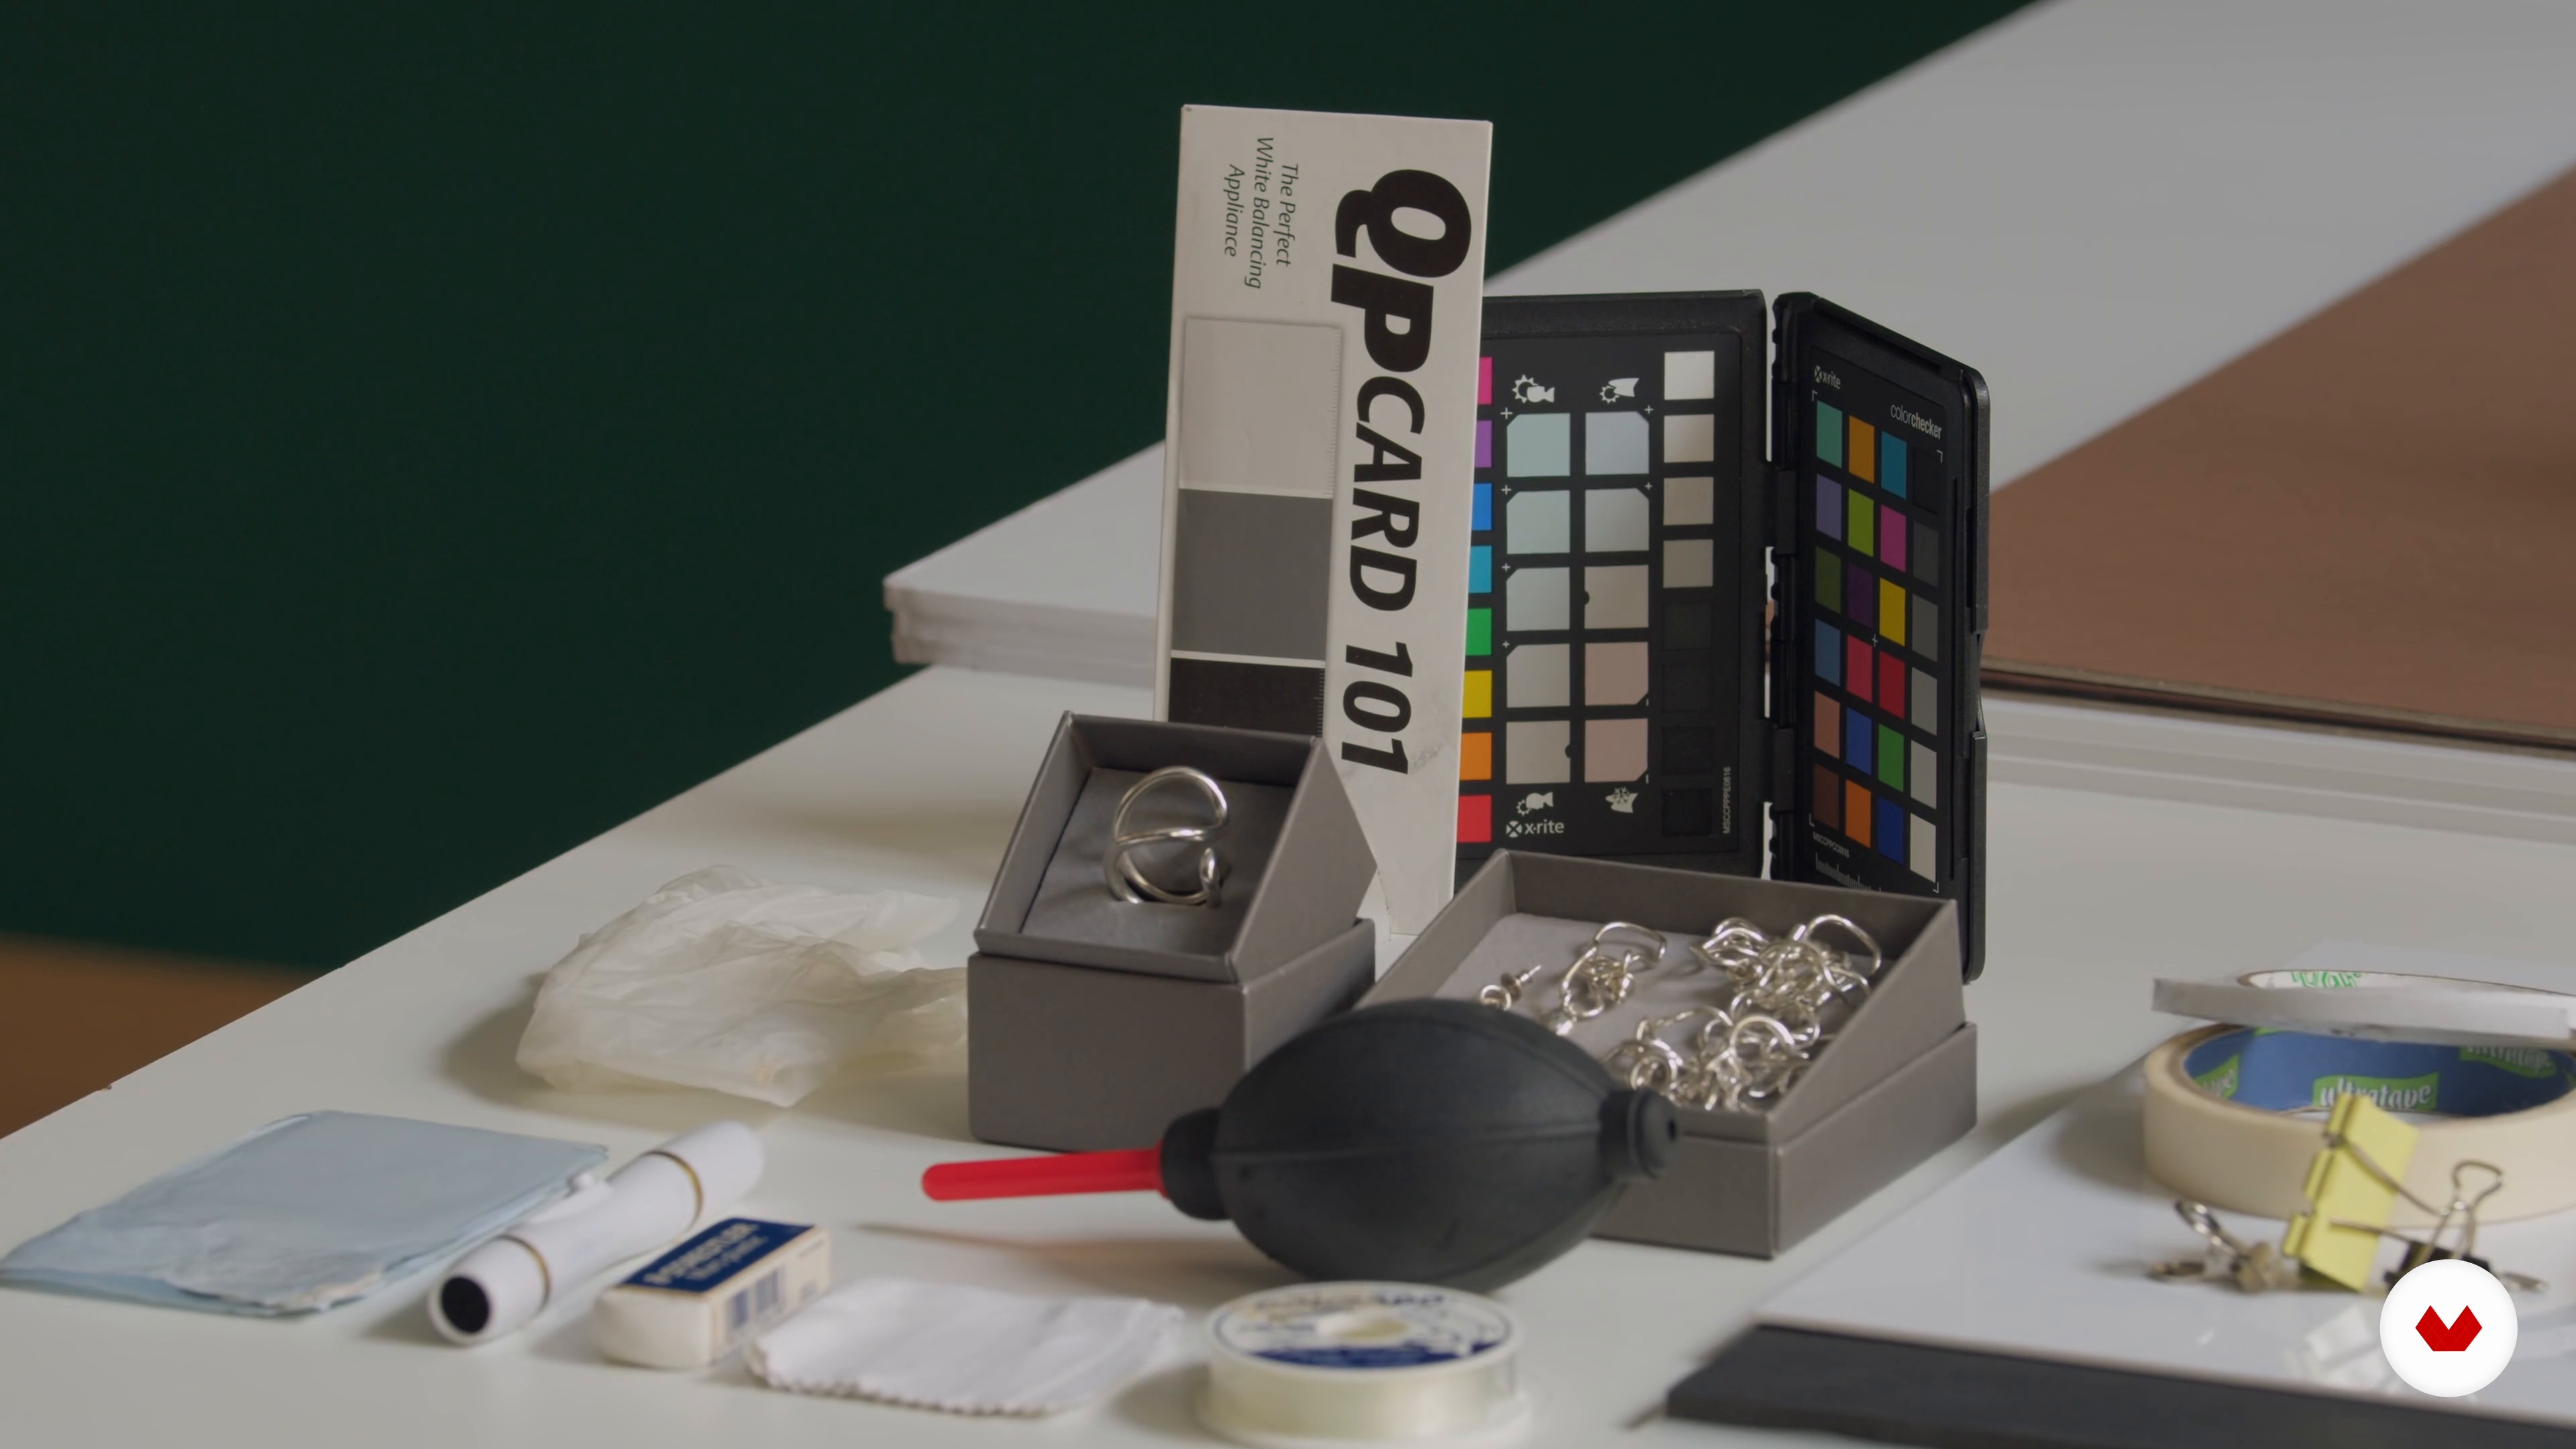
Photo Kit and Tools
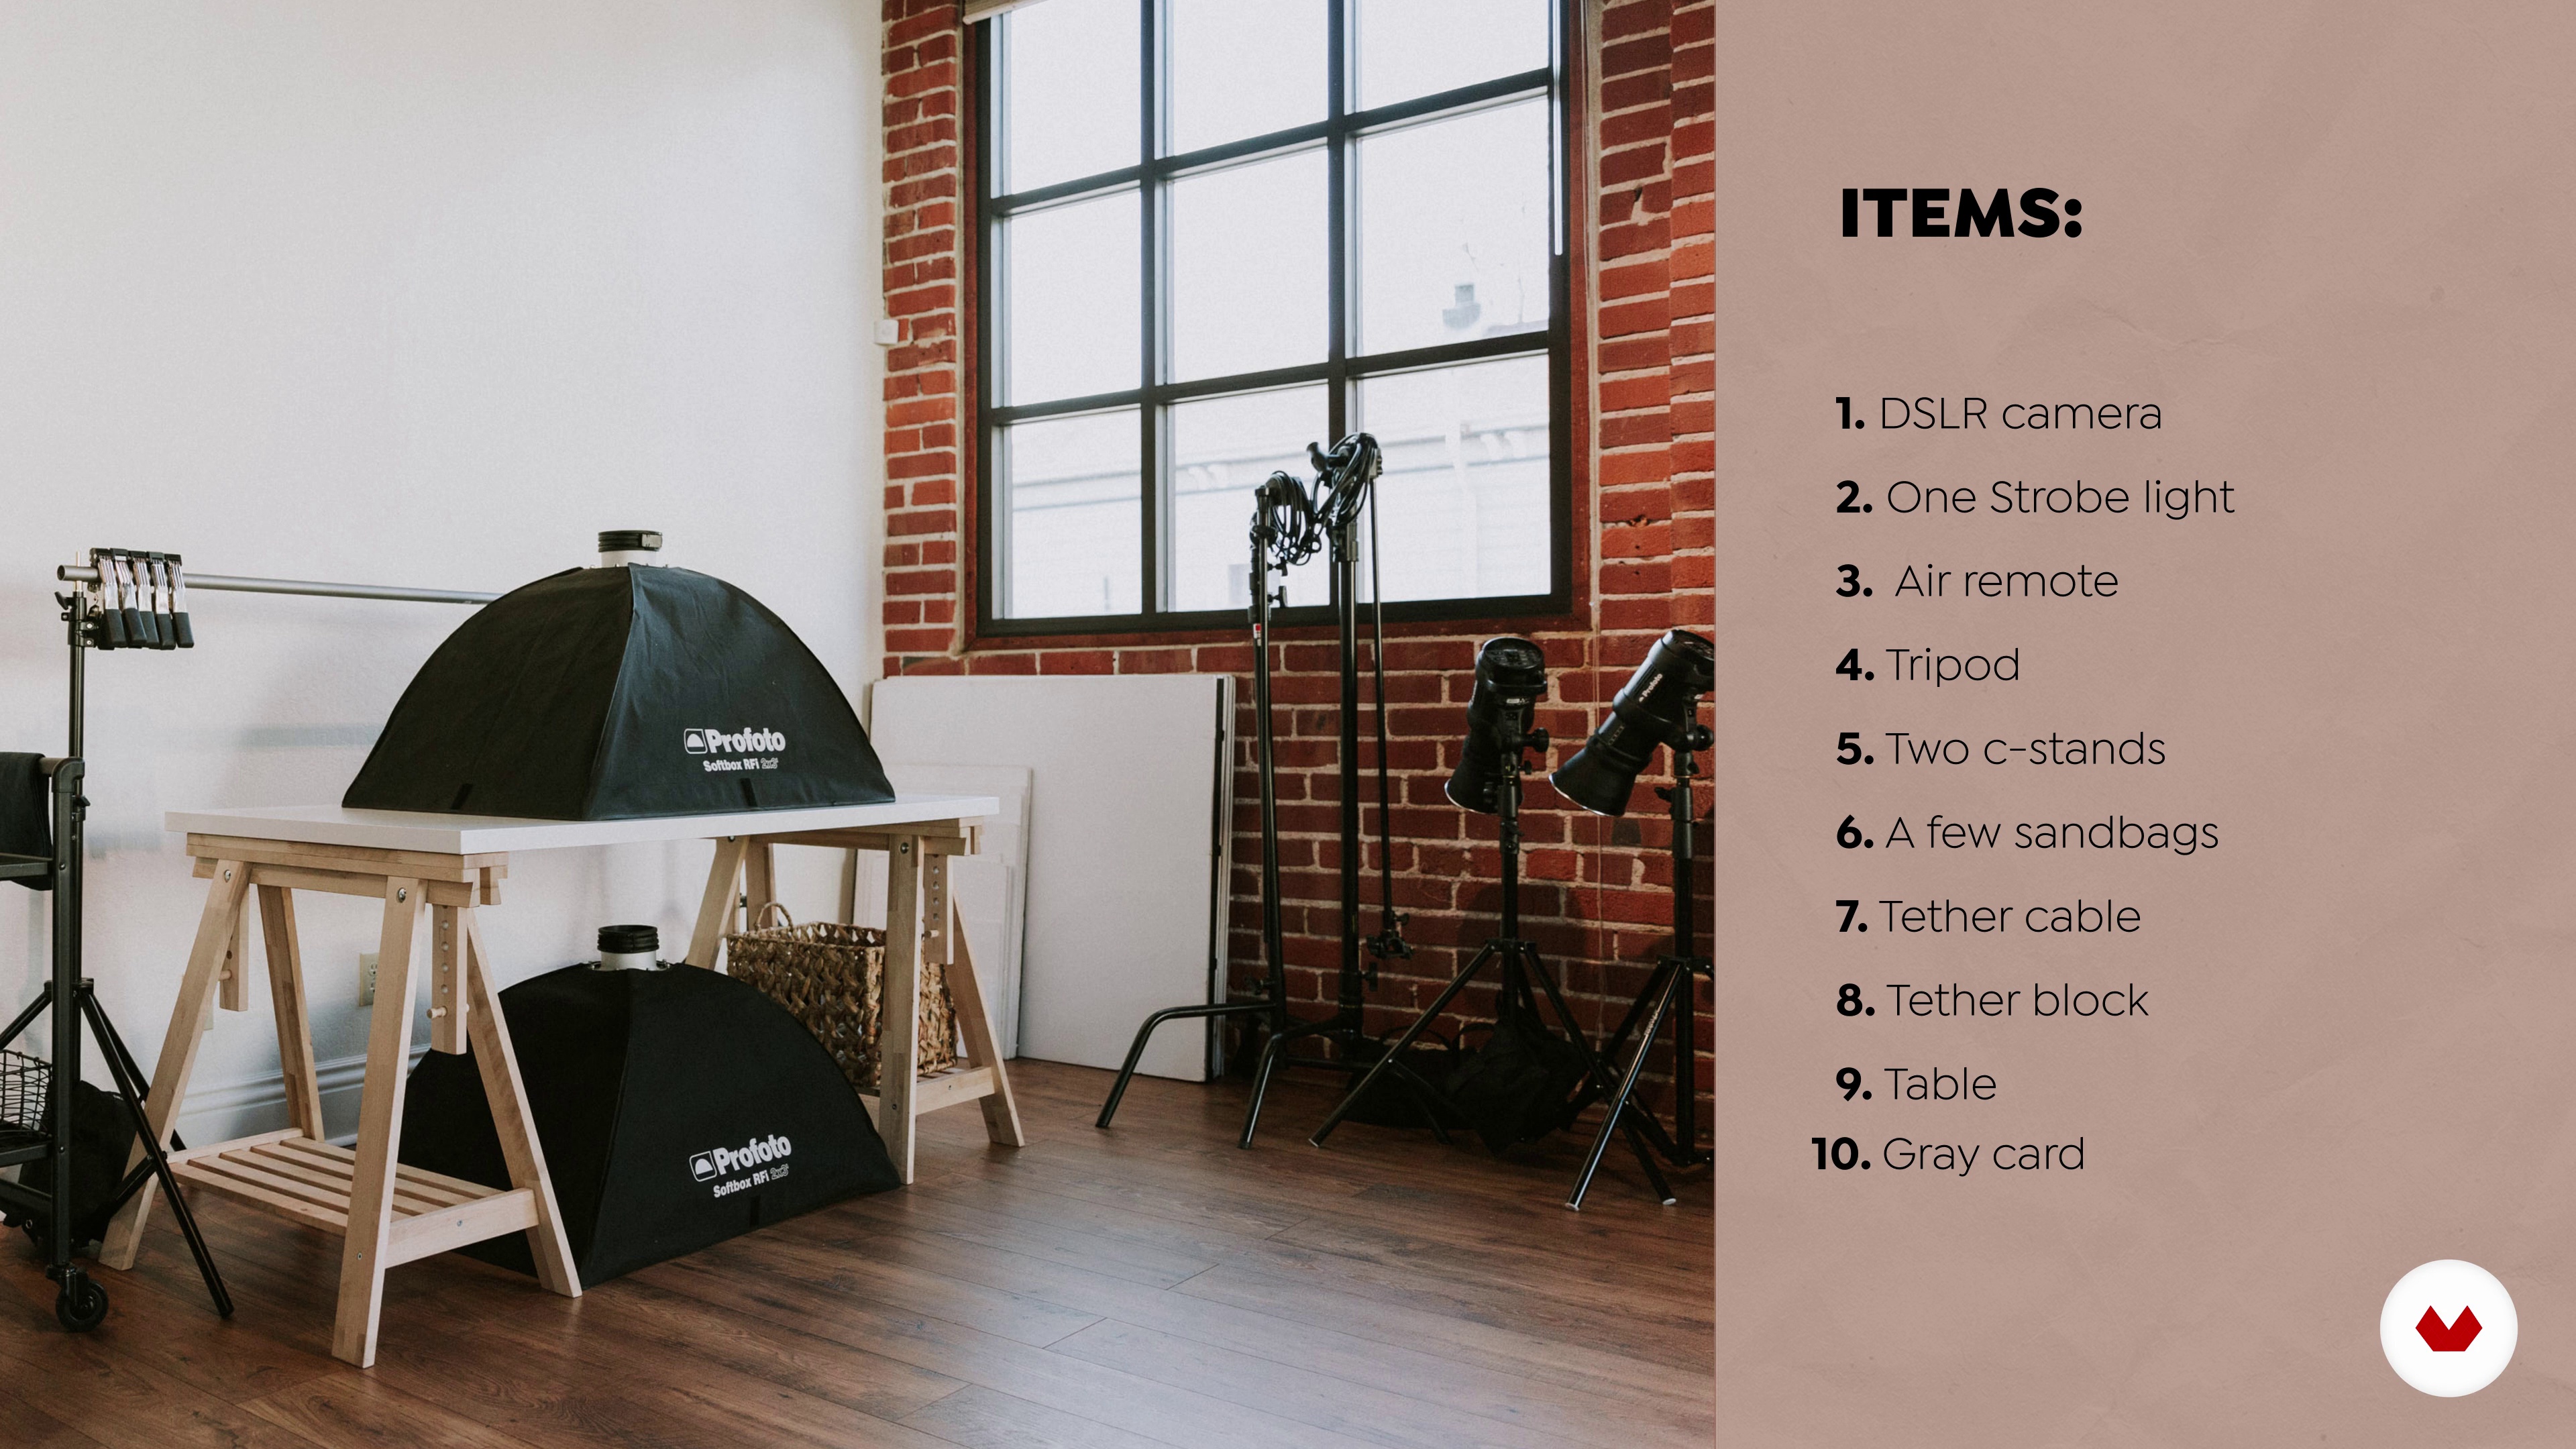
Here we will go over how to build your photo kit and the tools and equipment that we will be using to set up and execute our shoot for this course.
2m
image
10
Setting Up
Now that you’ve gathered all of your materials, tools, and gear, let’s talk about some shooting basics for product photography. Here we’ll go over tethering, camera settings, and lighting.
8m
image
11
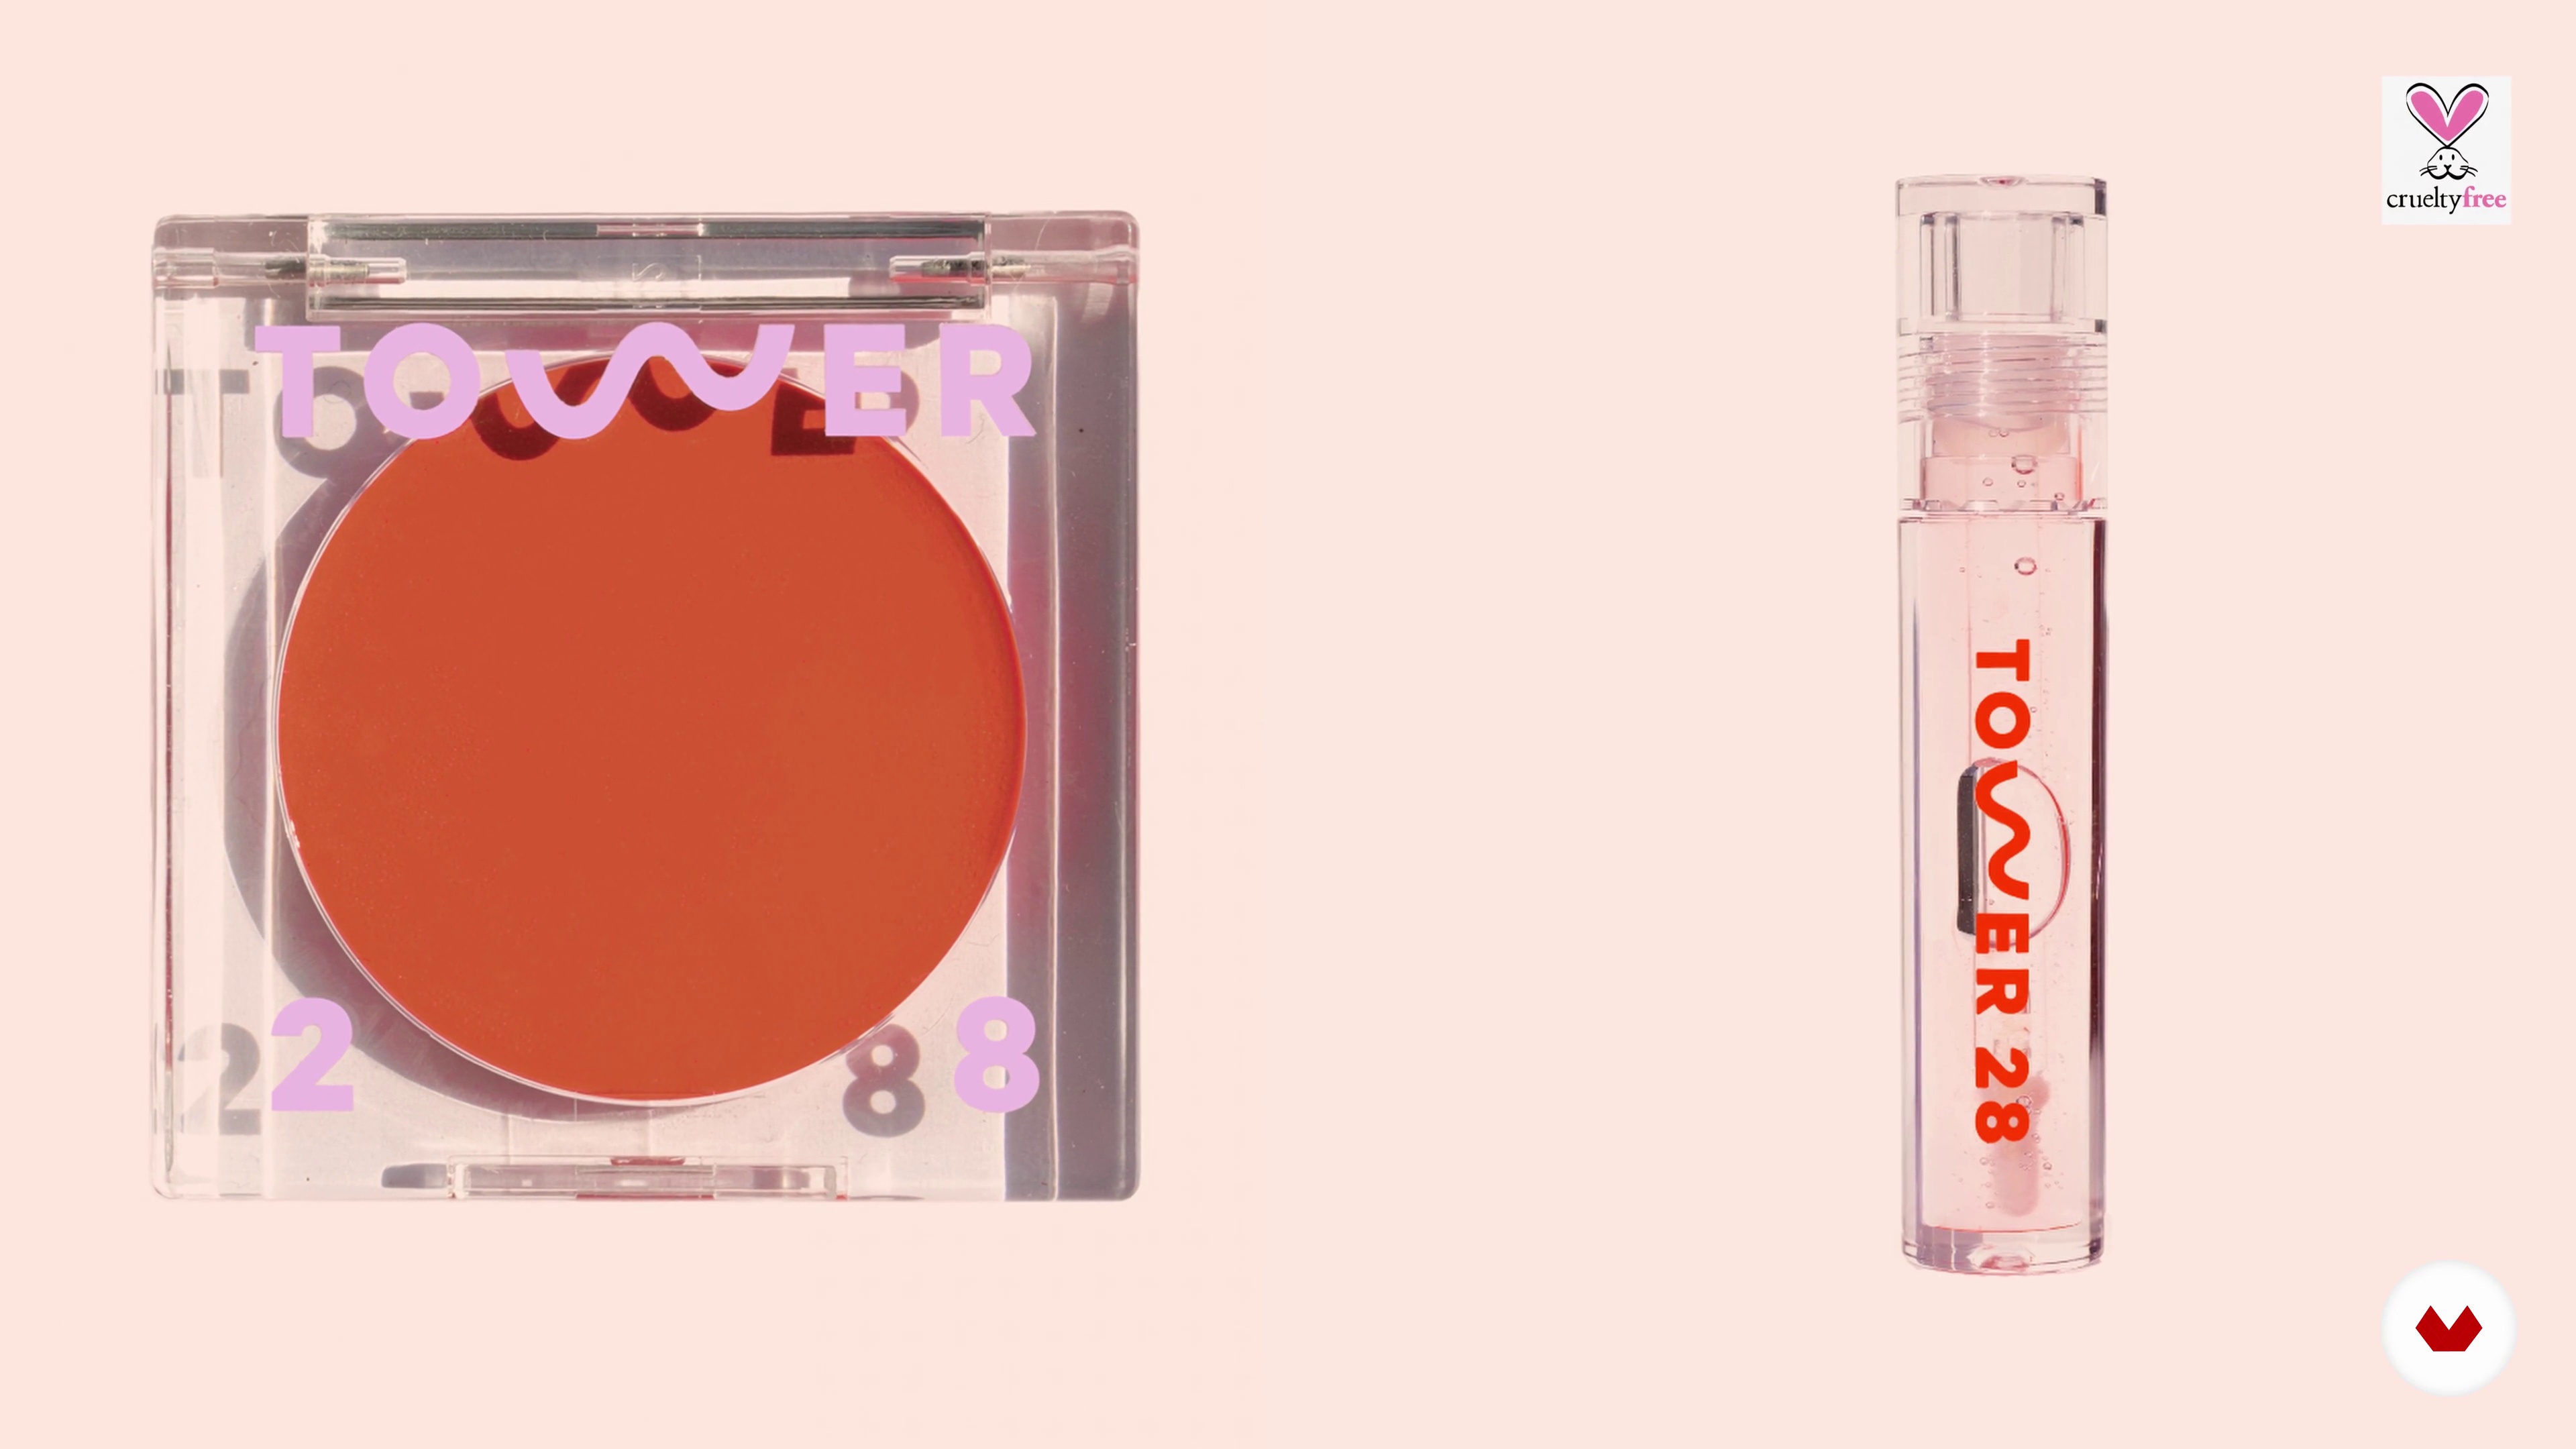
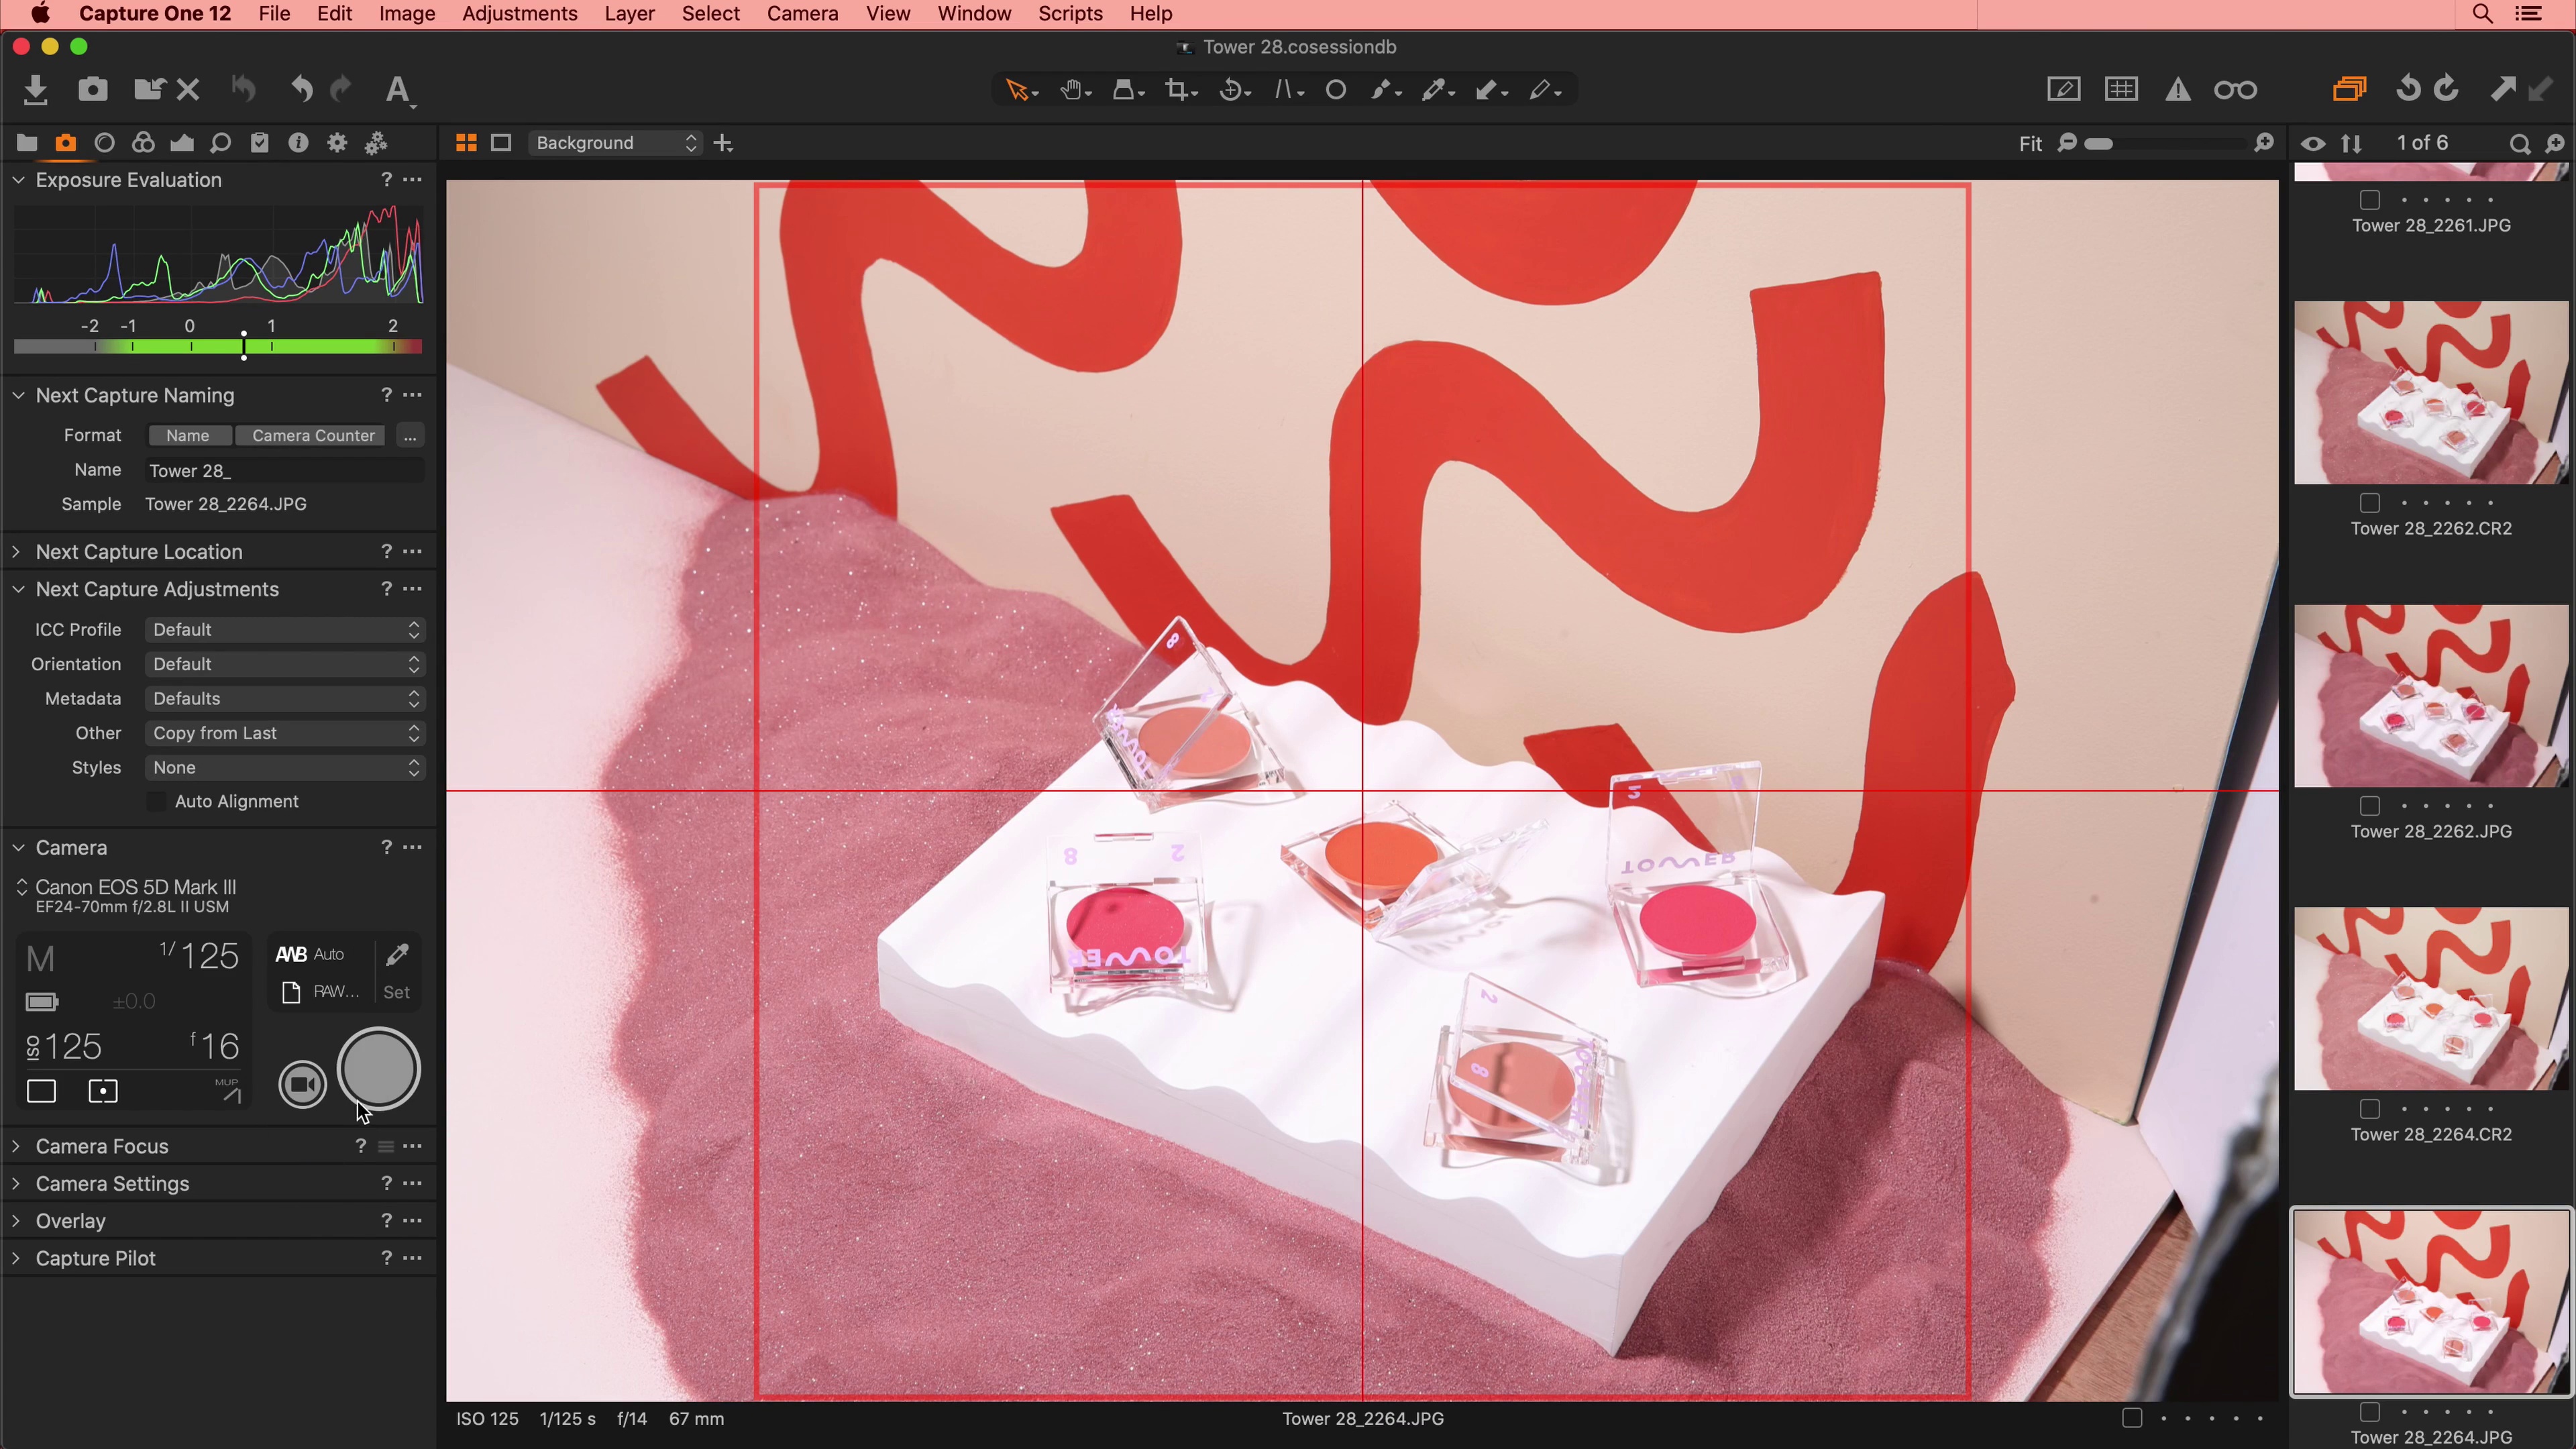
Shooting Still: Instagram Feed
For our first still, we will be focusing on capturing an image for Tower 28’s Instagram feed, featuring their BeachPlease Luminous Tinted Balm.
16m
image
12
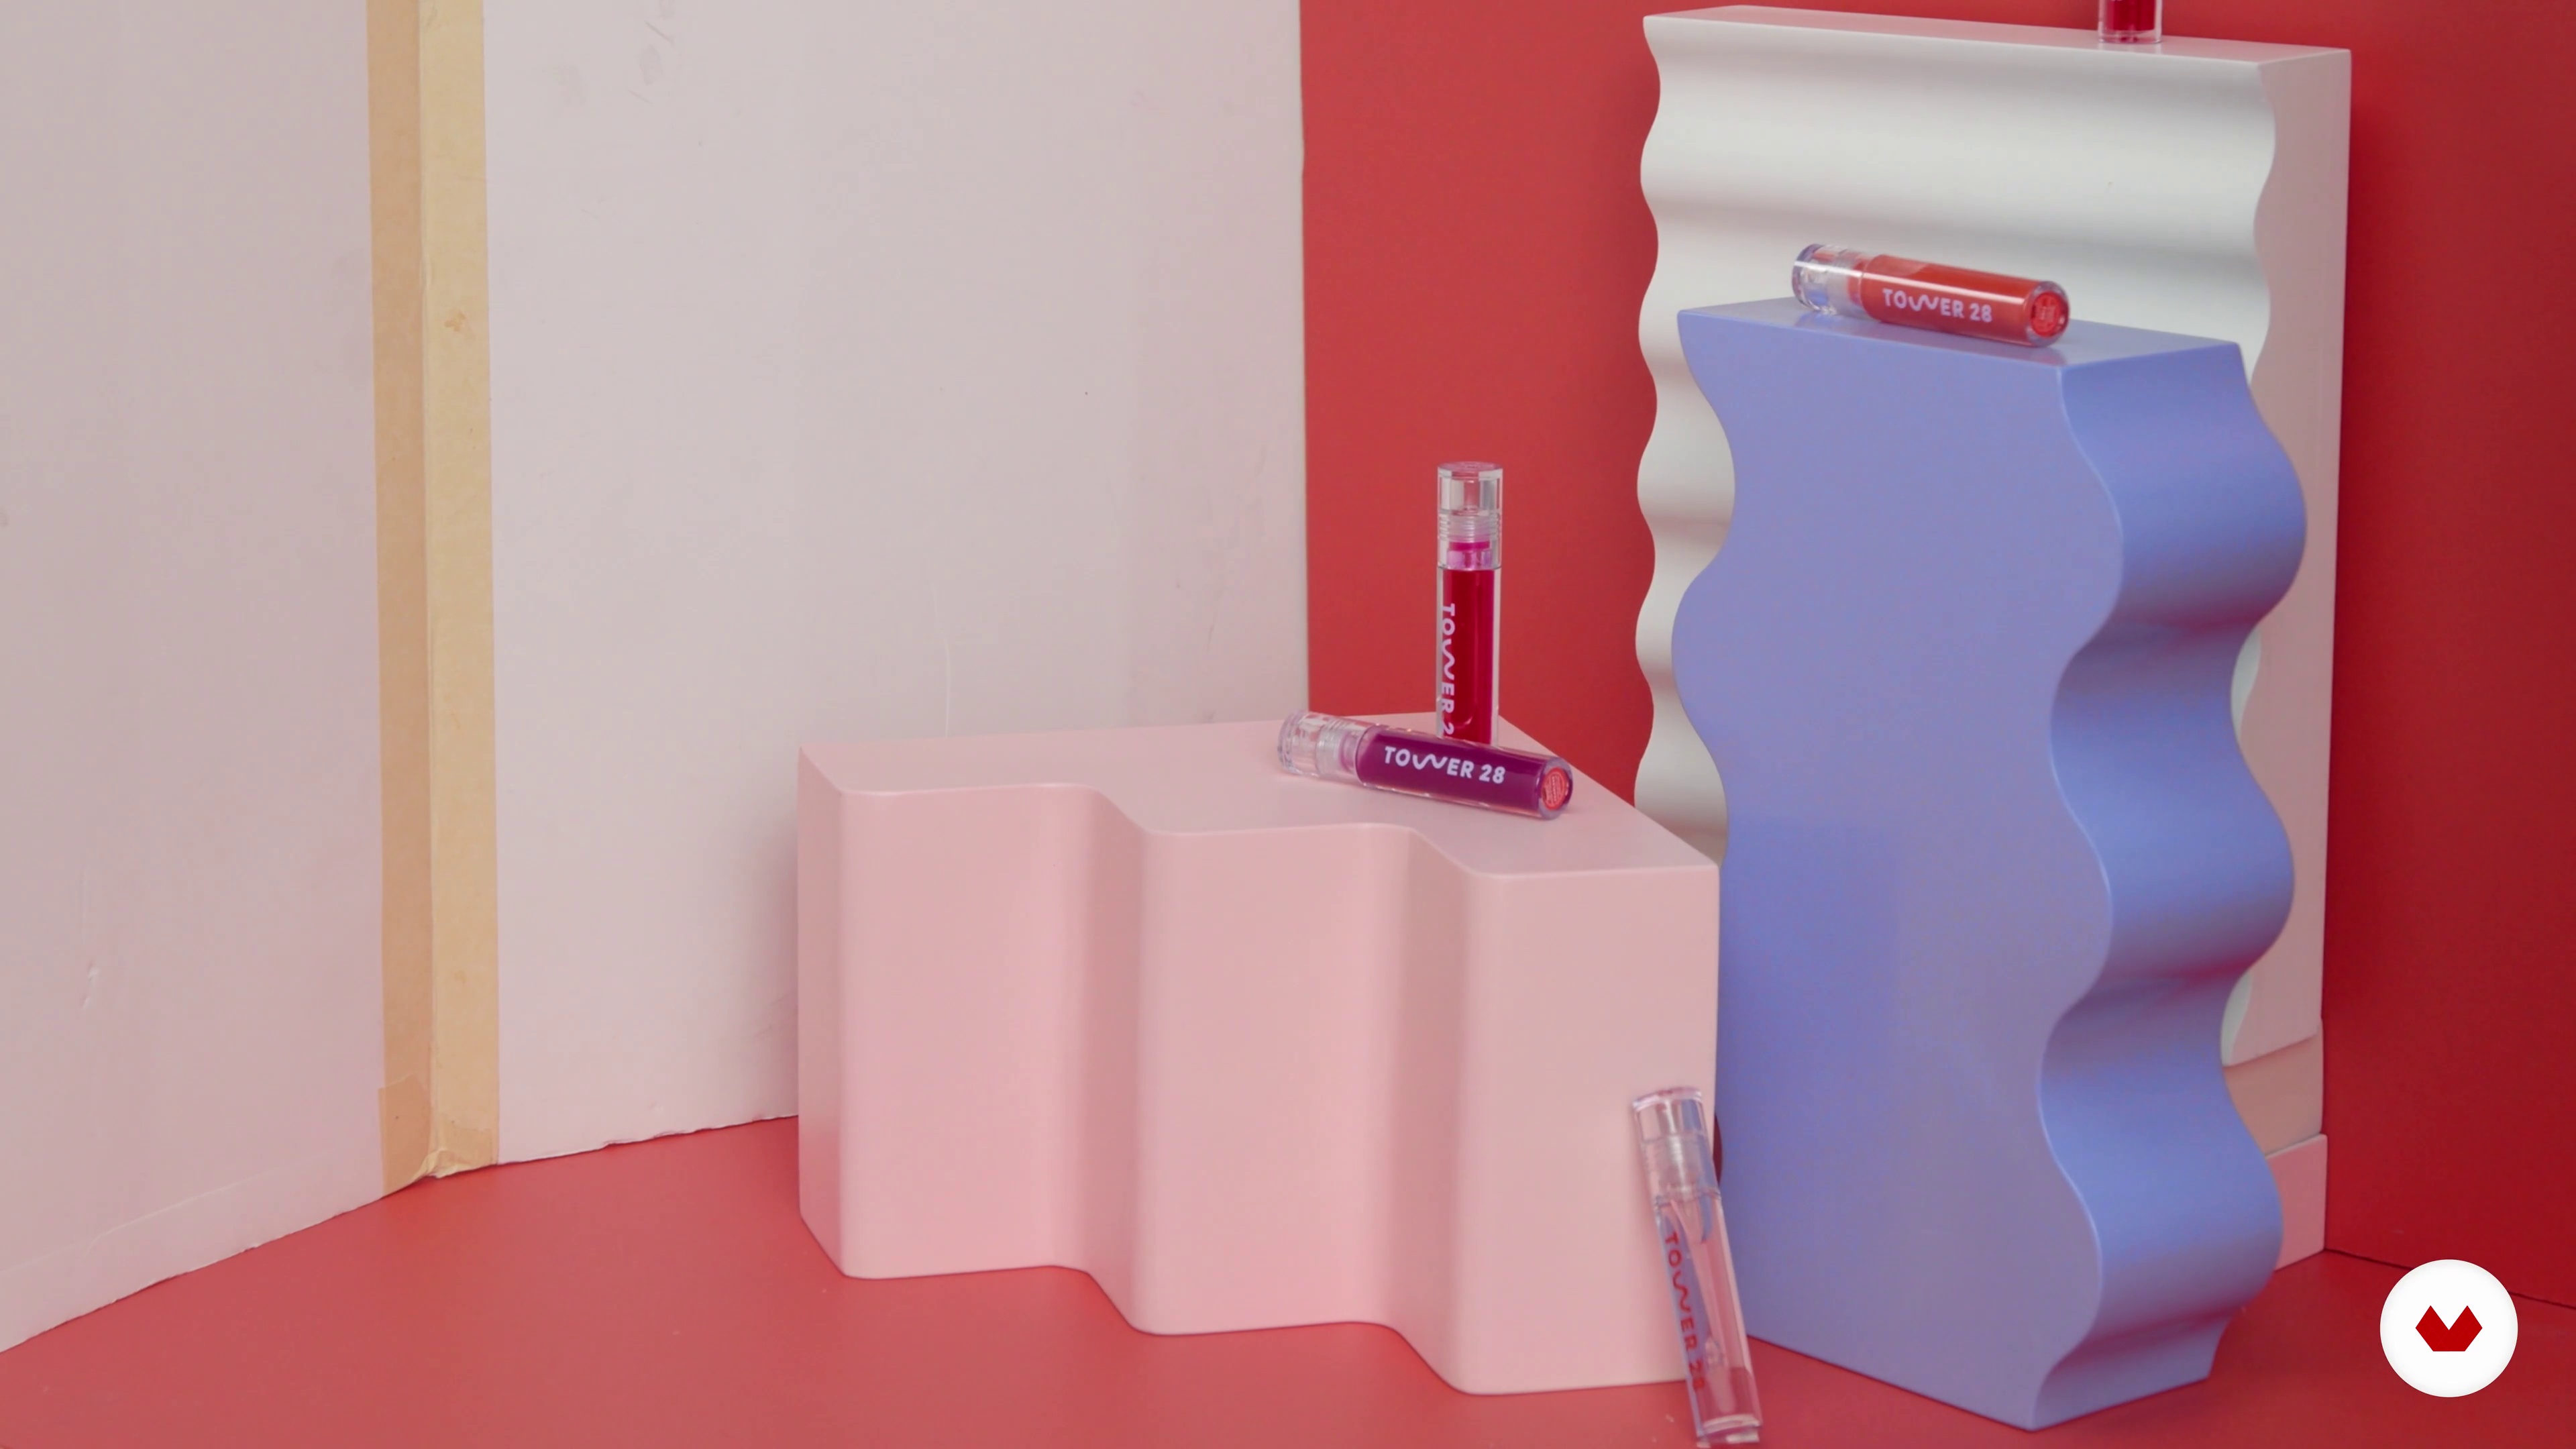
Shooting Still: Instagram Story
Next, we’ll share how we set up our scene for our second still. This image will be made specifically for Tower 28’s Instagram Story and will feature their Shine On Lip Jelly.
10m
image
13
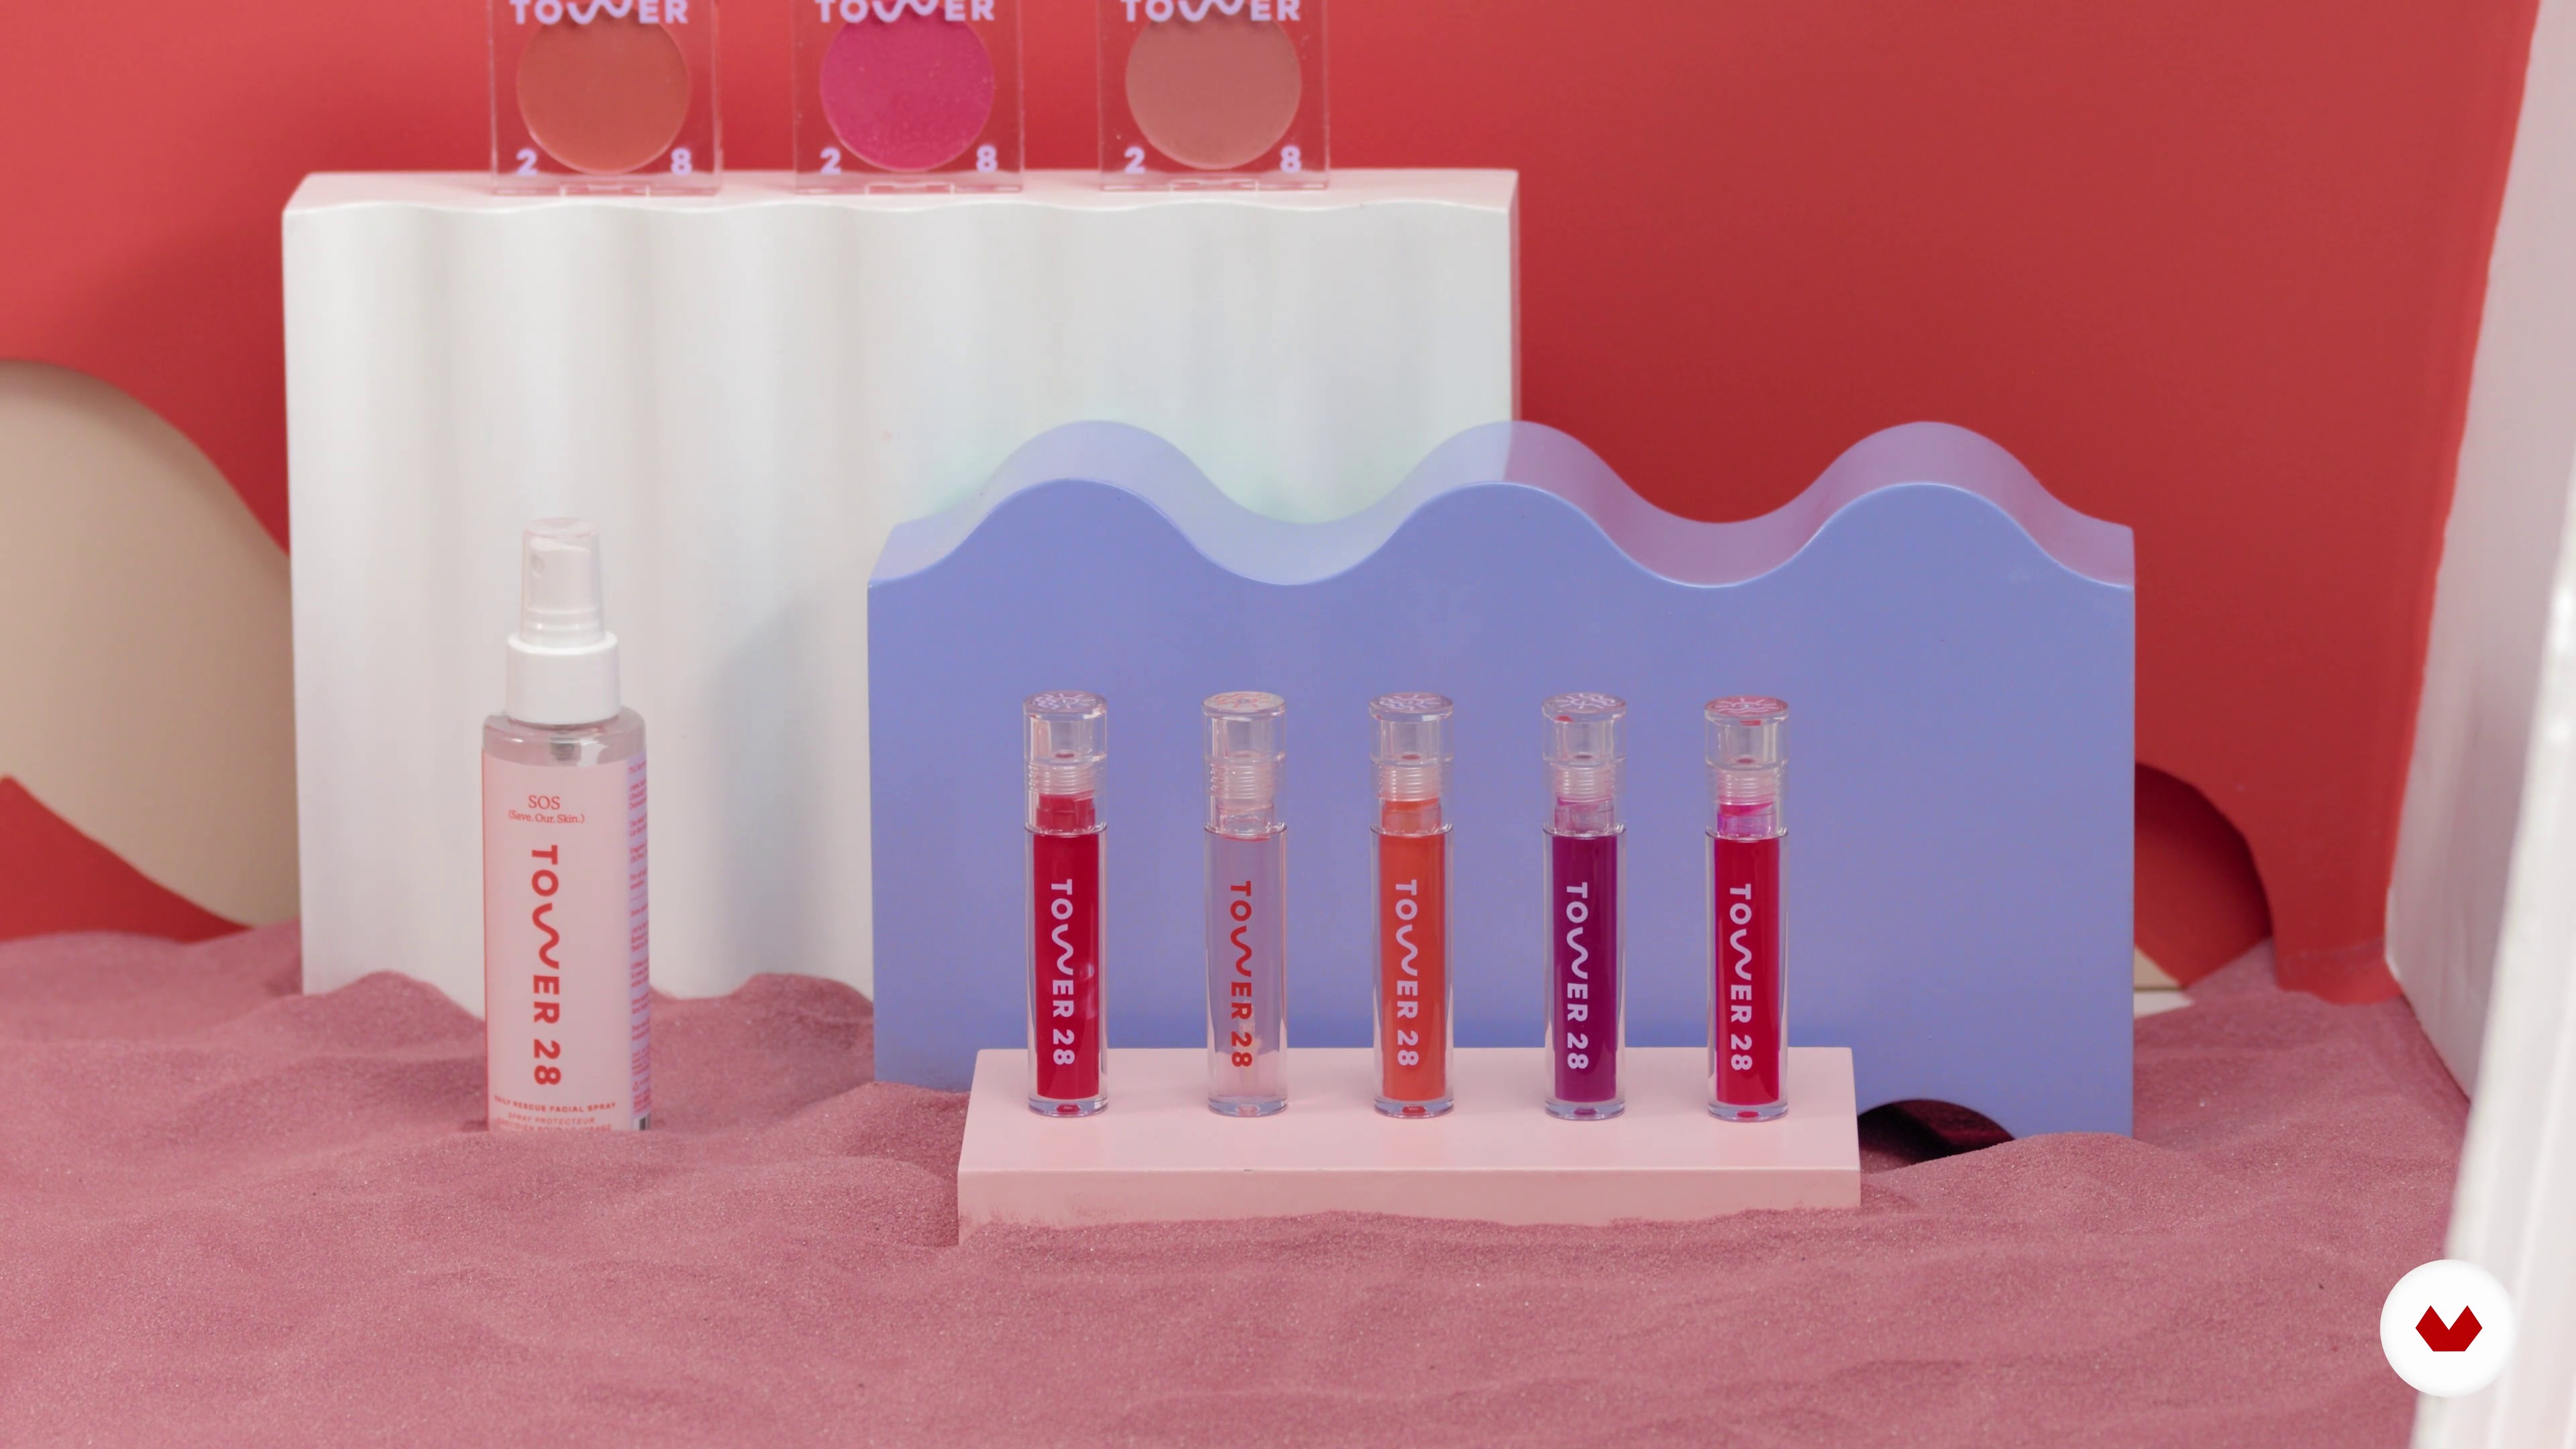
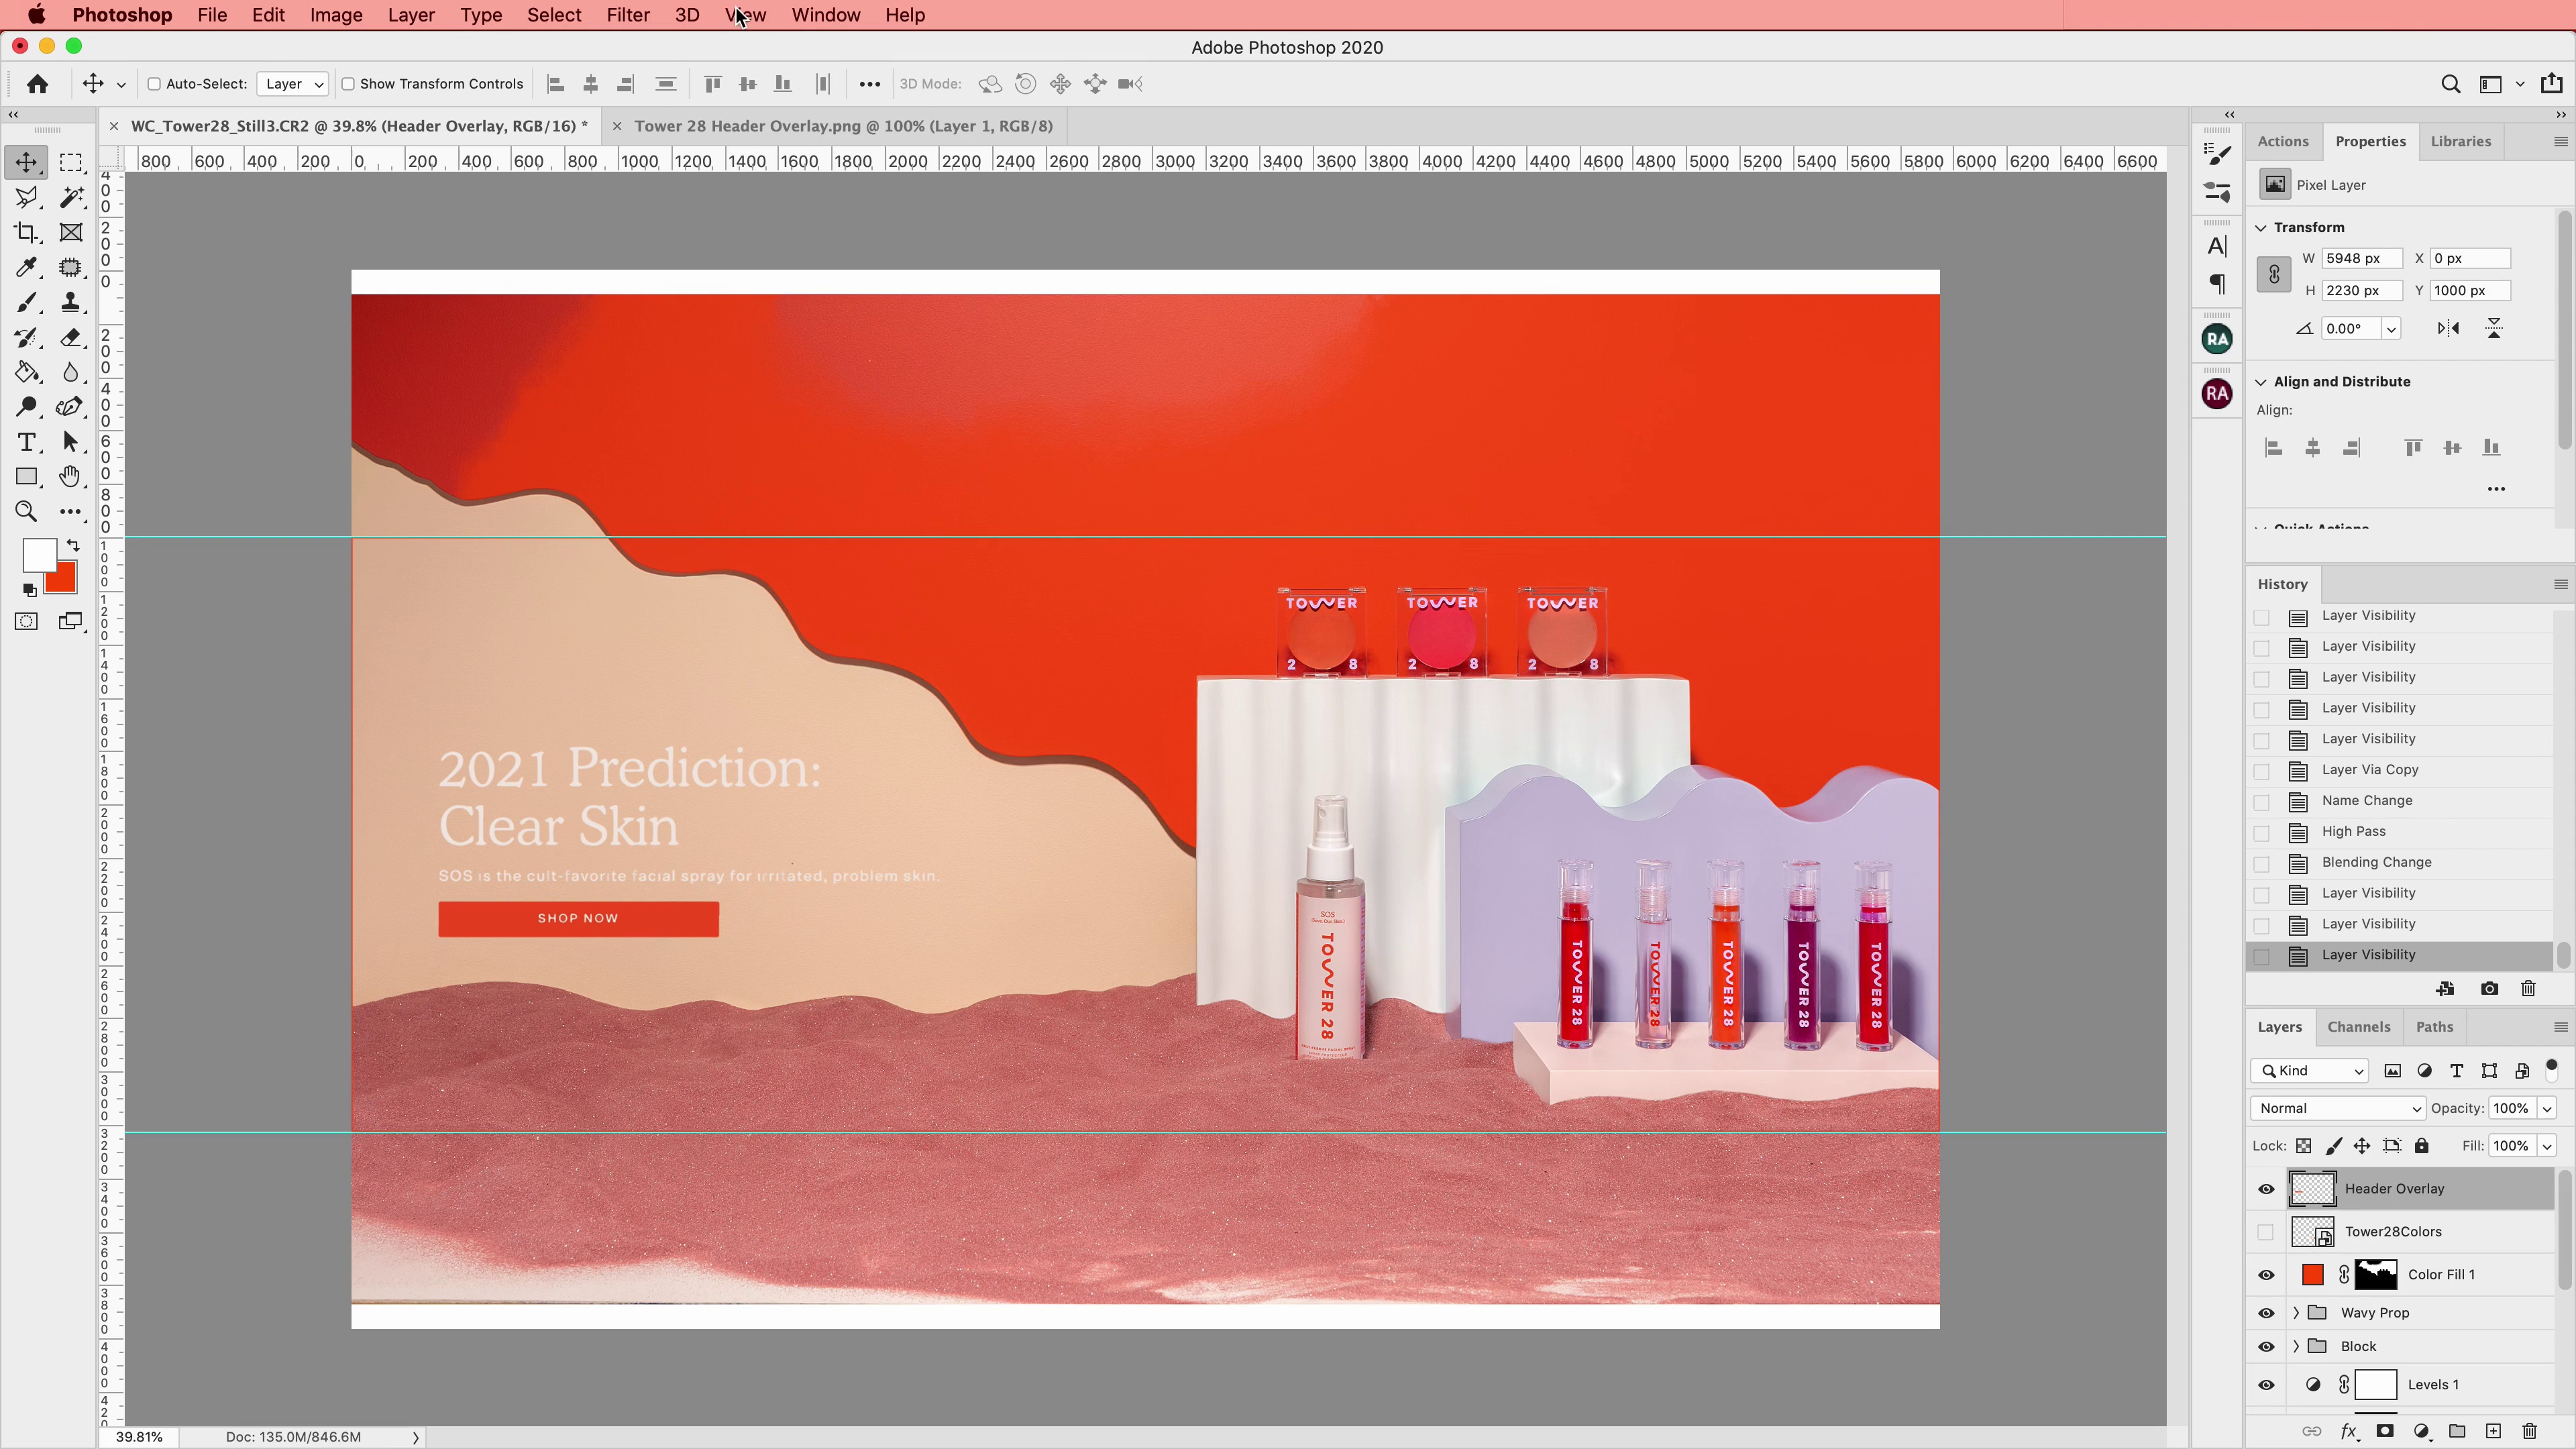
Shooting Still: Website Header
Lastly, we’ll show you how we set up our third and final still, which will be used as the “hero” image on Tower 28’s website.
6m
image
14
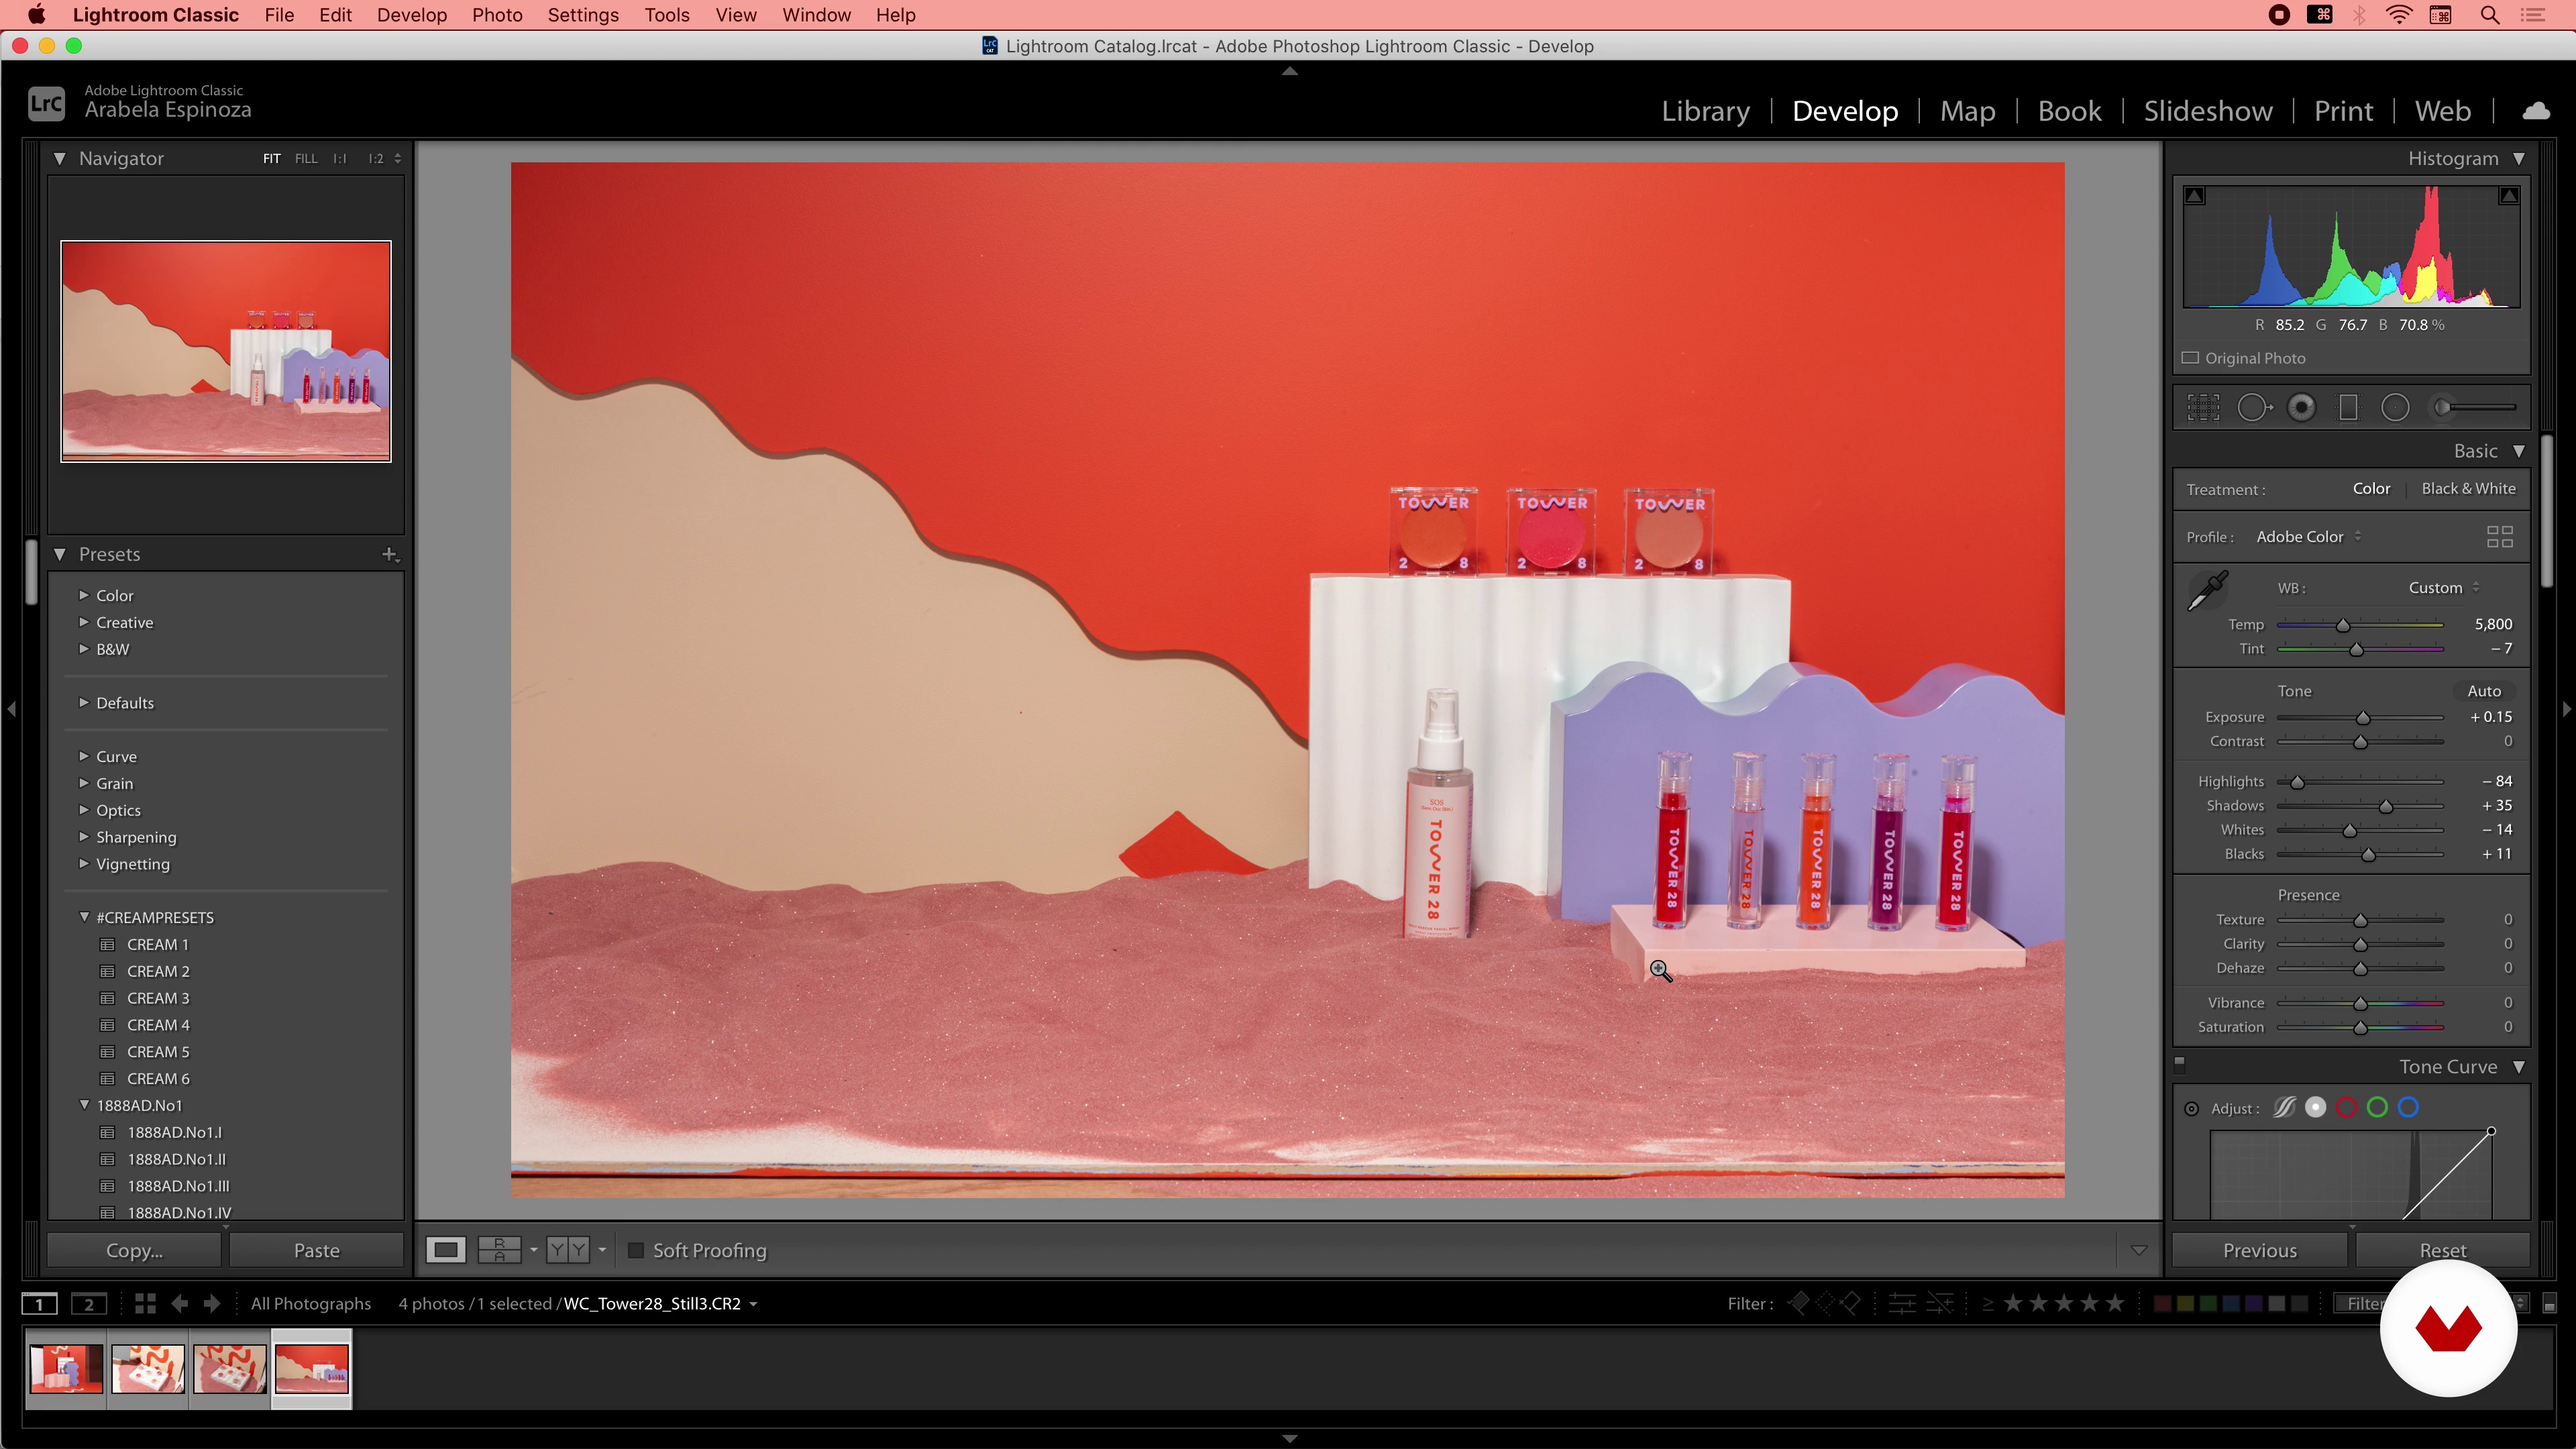
Editing Workflow in Lightroom
In this lesson, we will show you our editing workflow starting in Lightroom.
8m
image
15
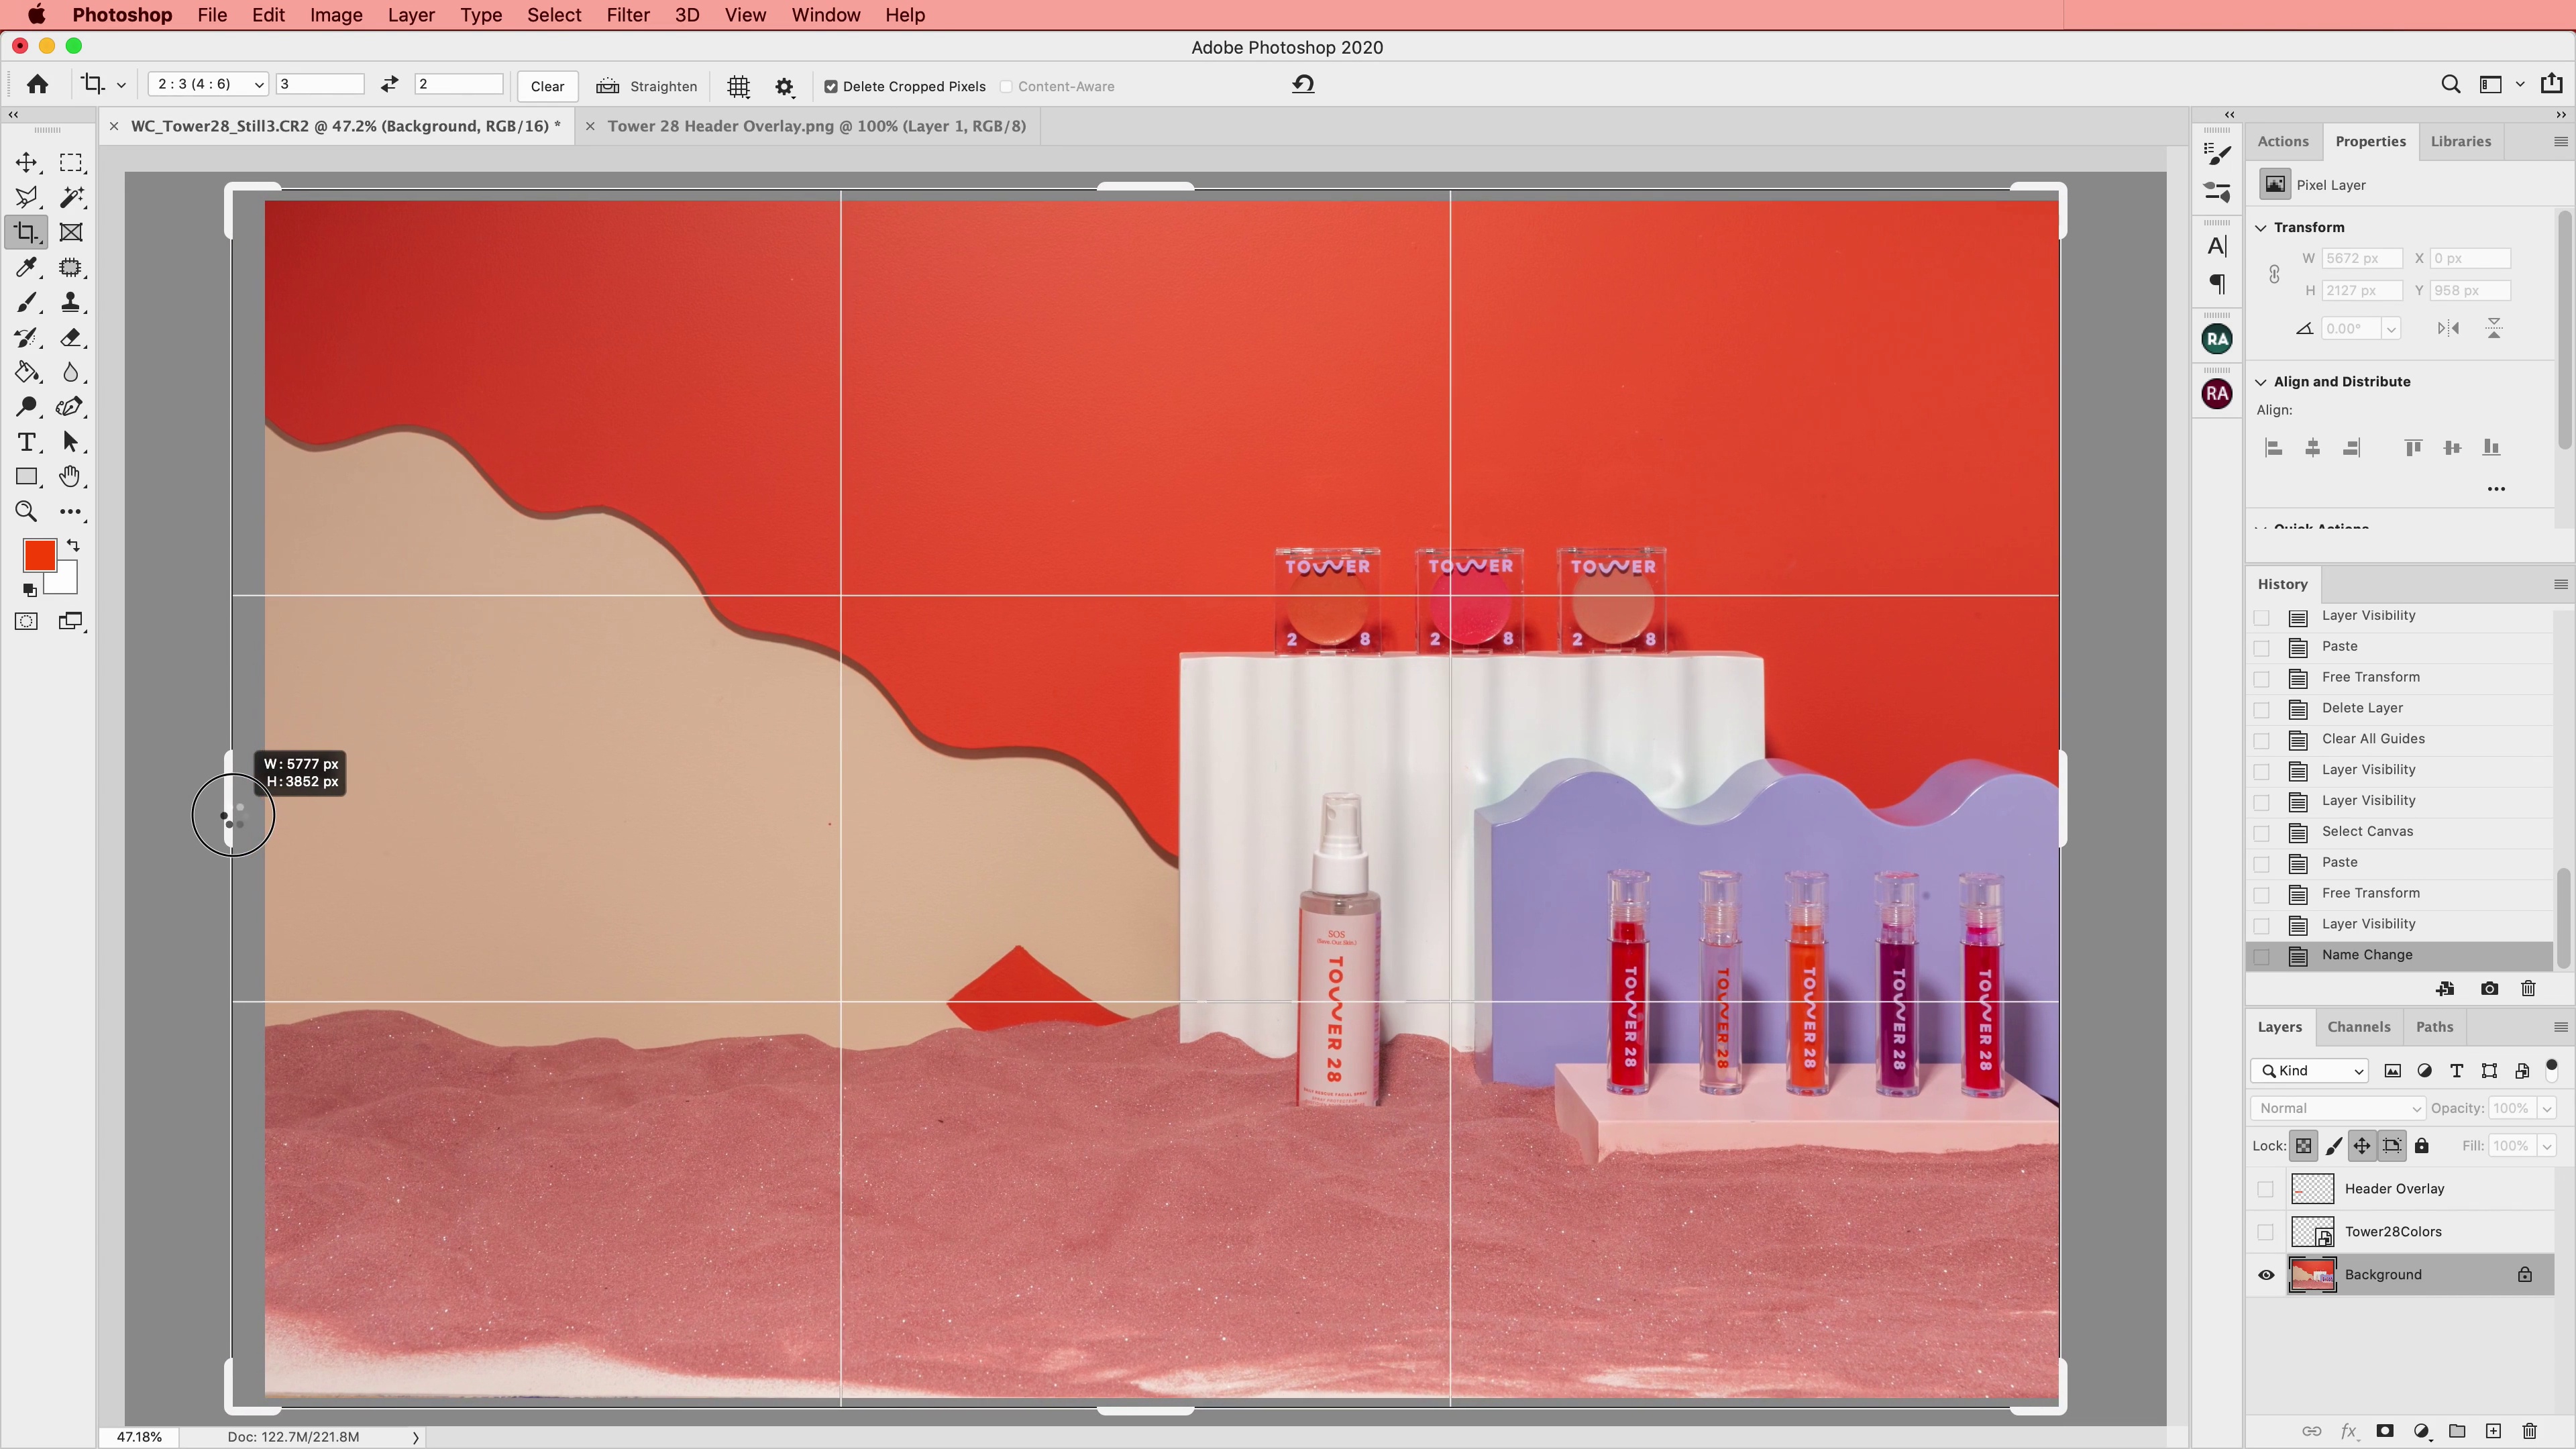
Retouching and Exporting in Photoshop 1
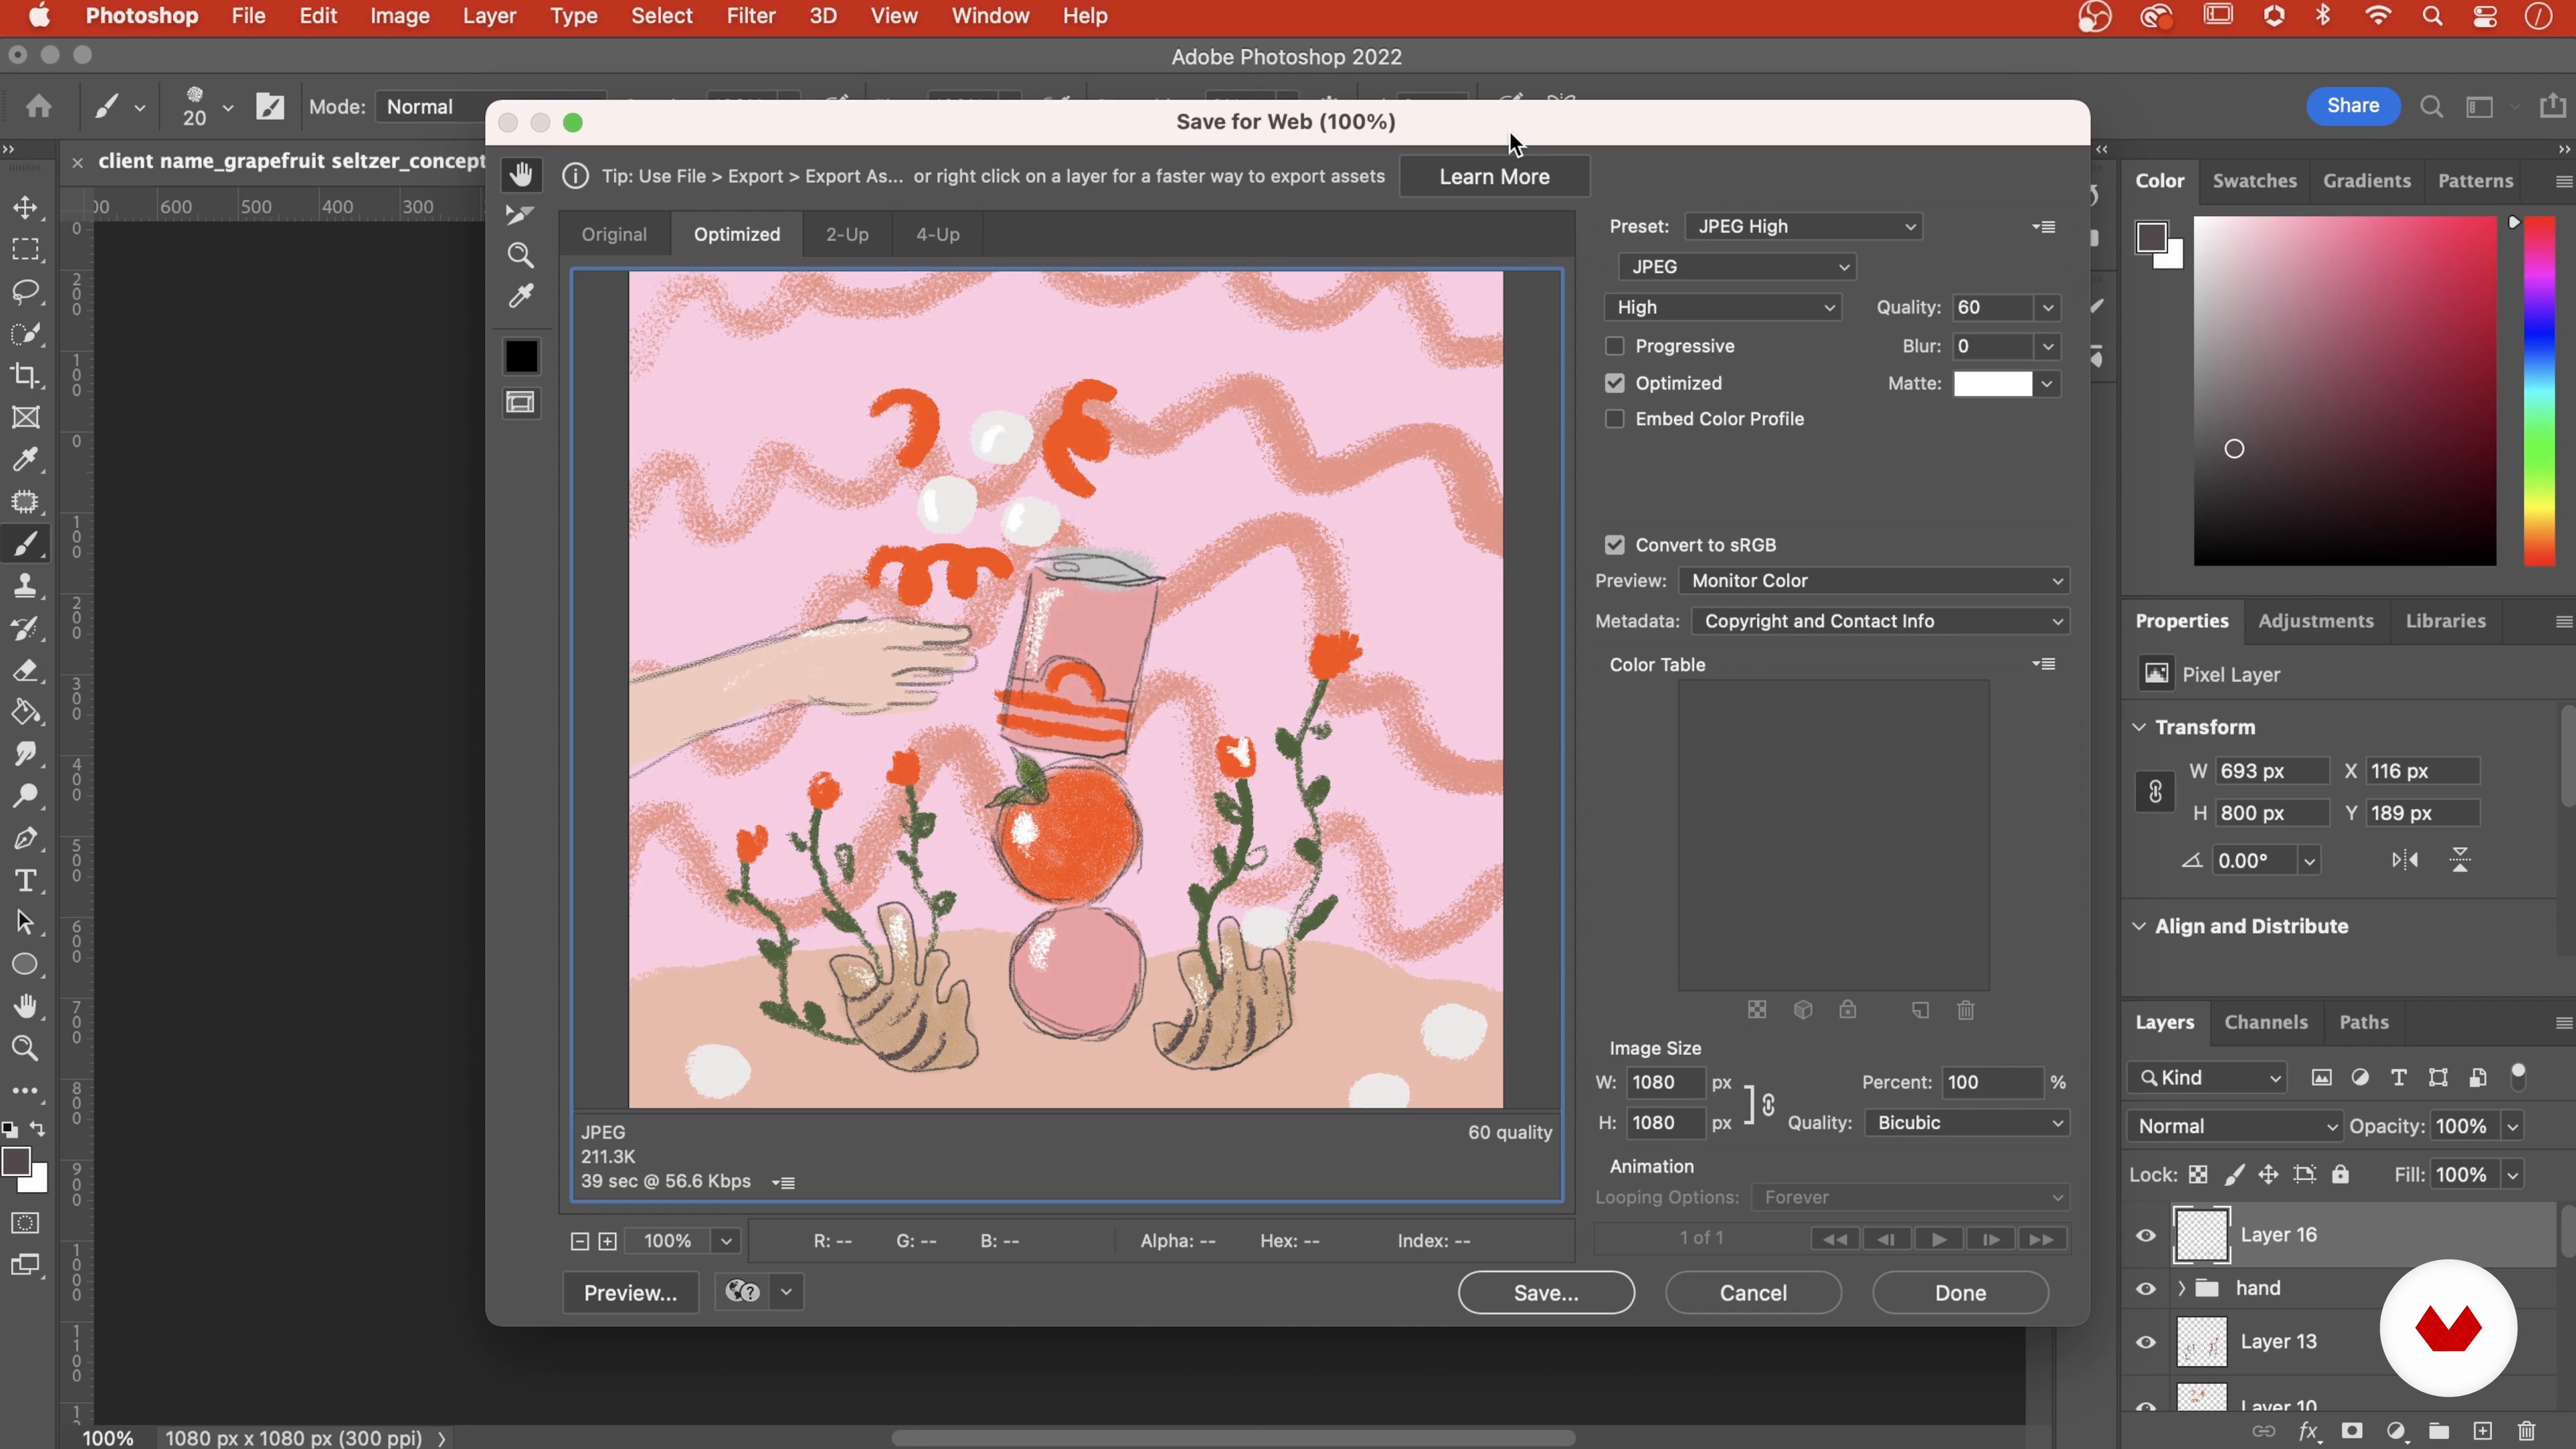
Next, we will show you how we finalize our images in Photoshop using all of our favorite retouching techniques. We will also go over how to export your images for the web.
20m
image
16
Retouching and Exporting in Photoshop 2
Let's smoothen out the composition even more.
14m
image
17
Retouching and Exporting in Photoshop 3
Let's focus now on retouching the second still.
19m
image
18
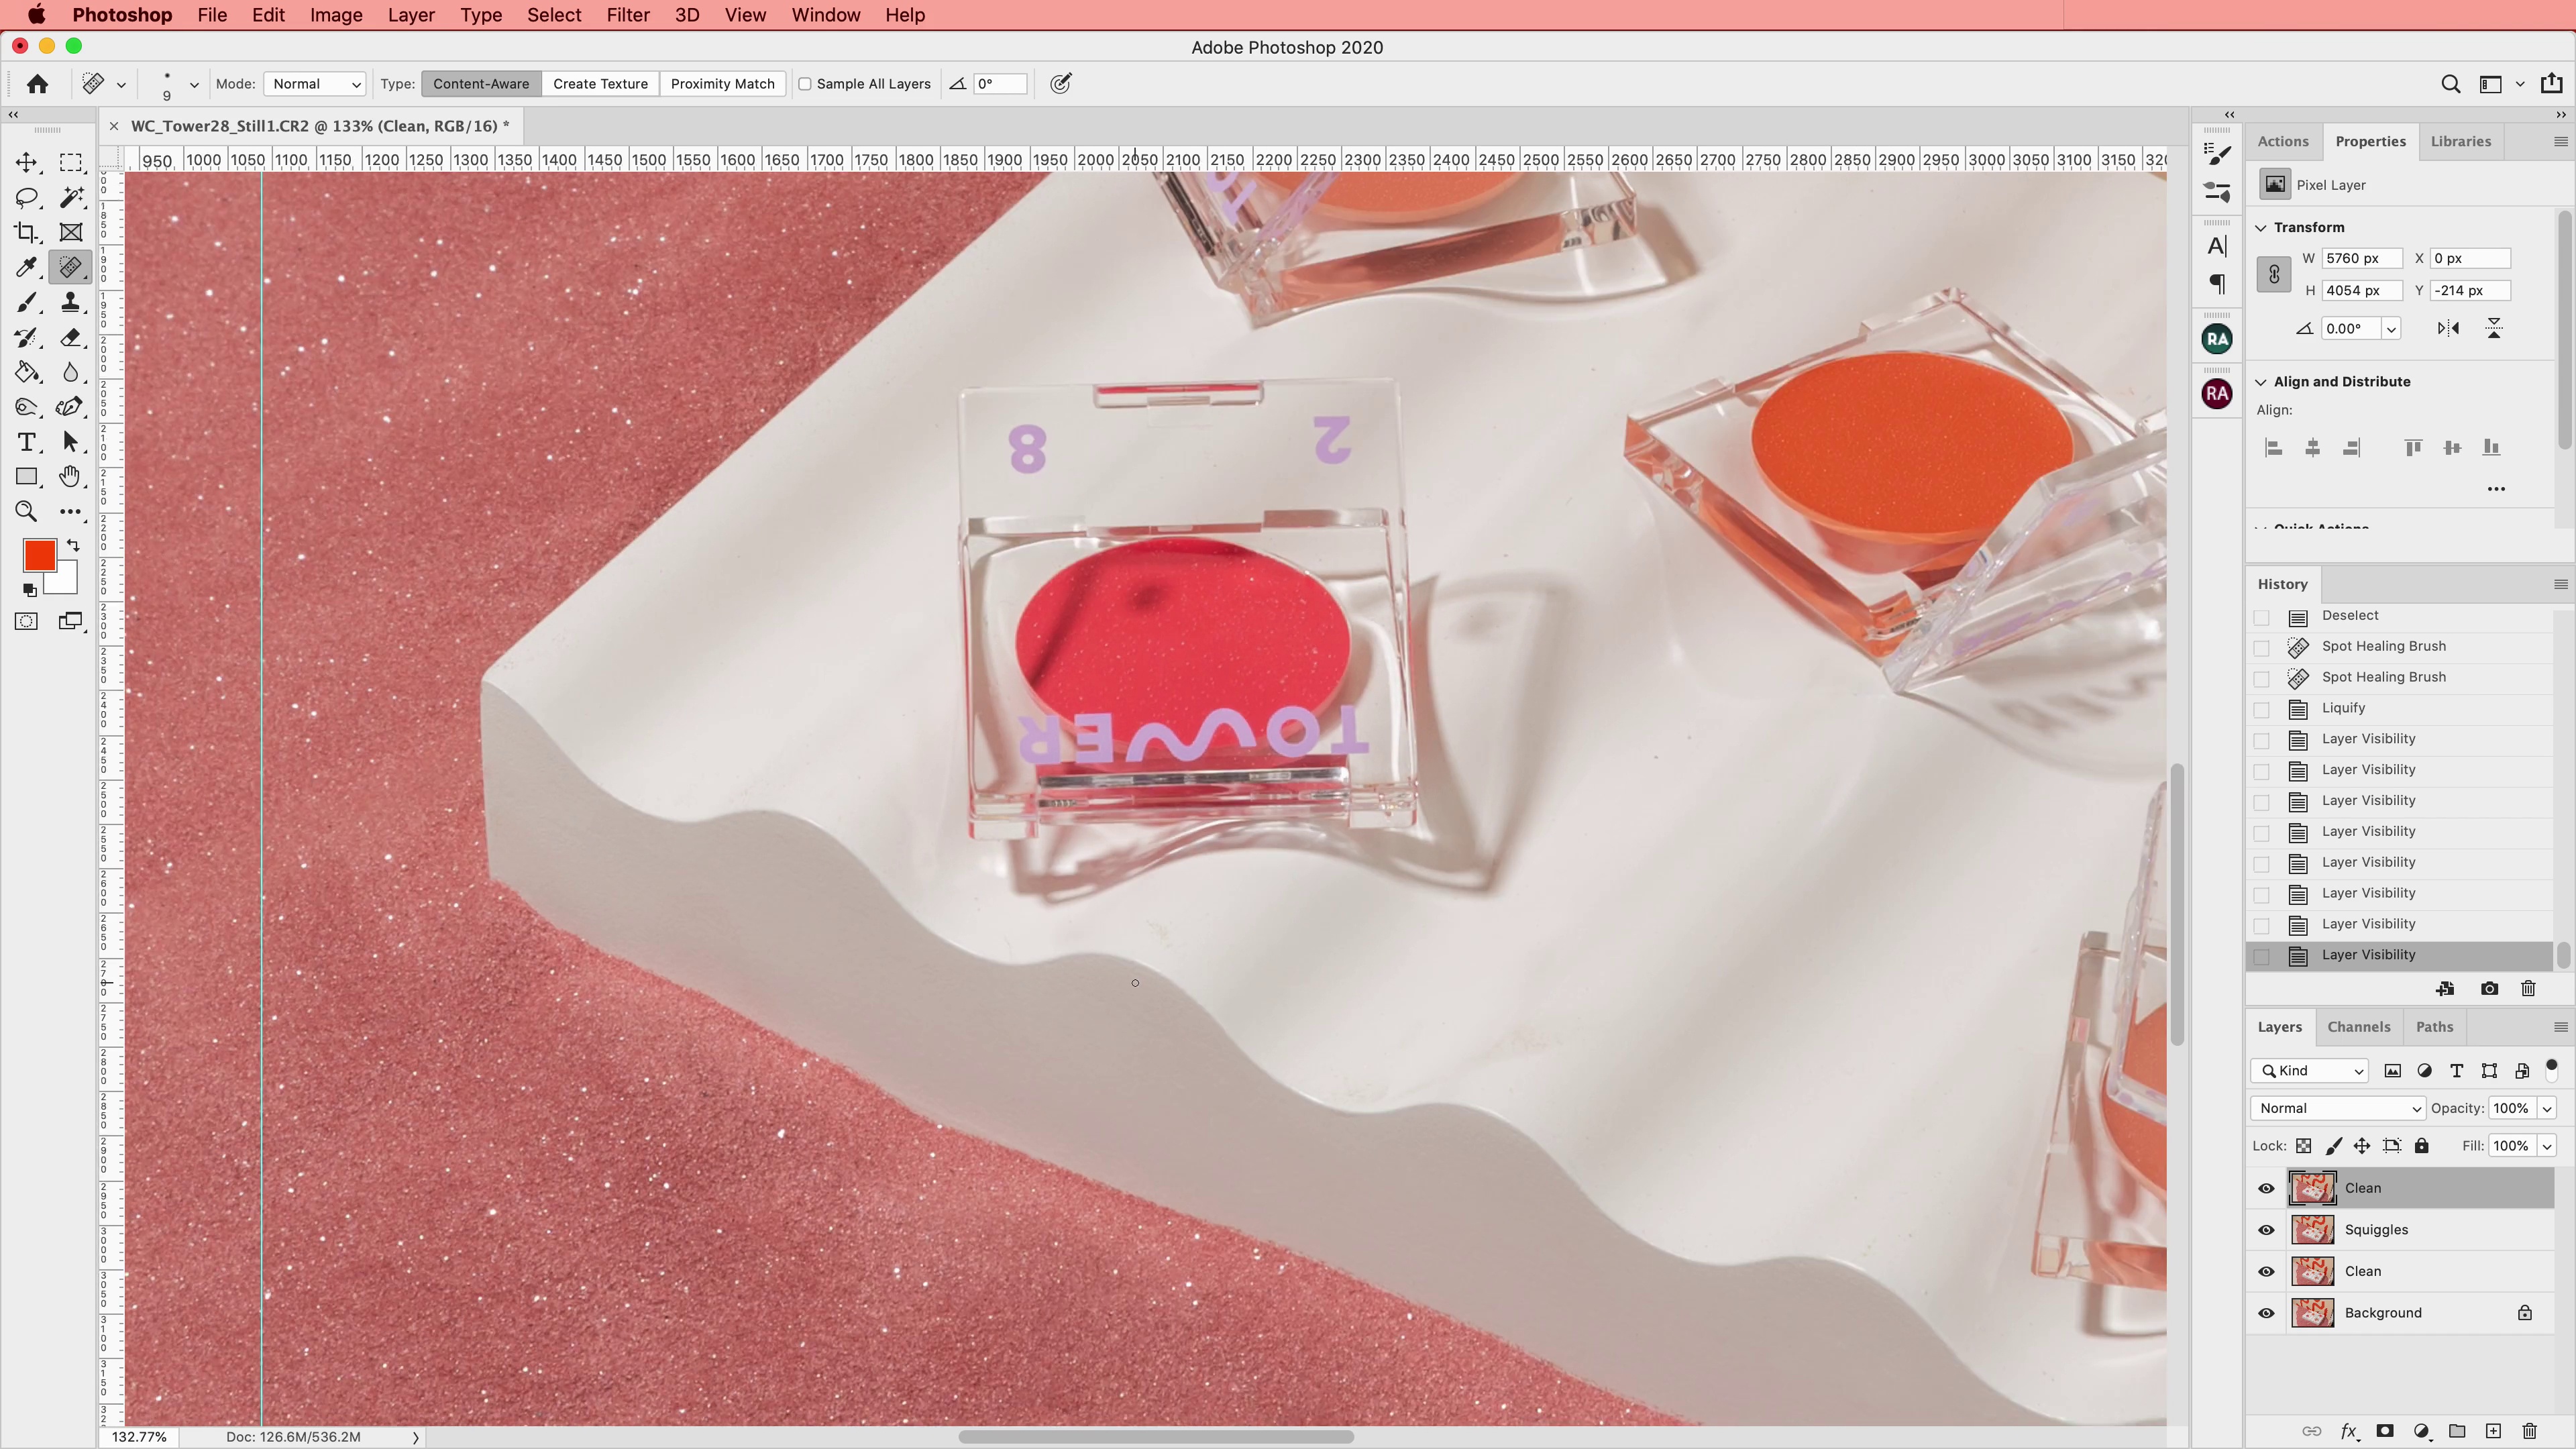
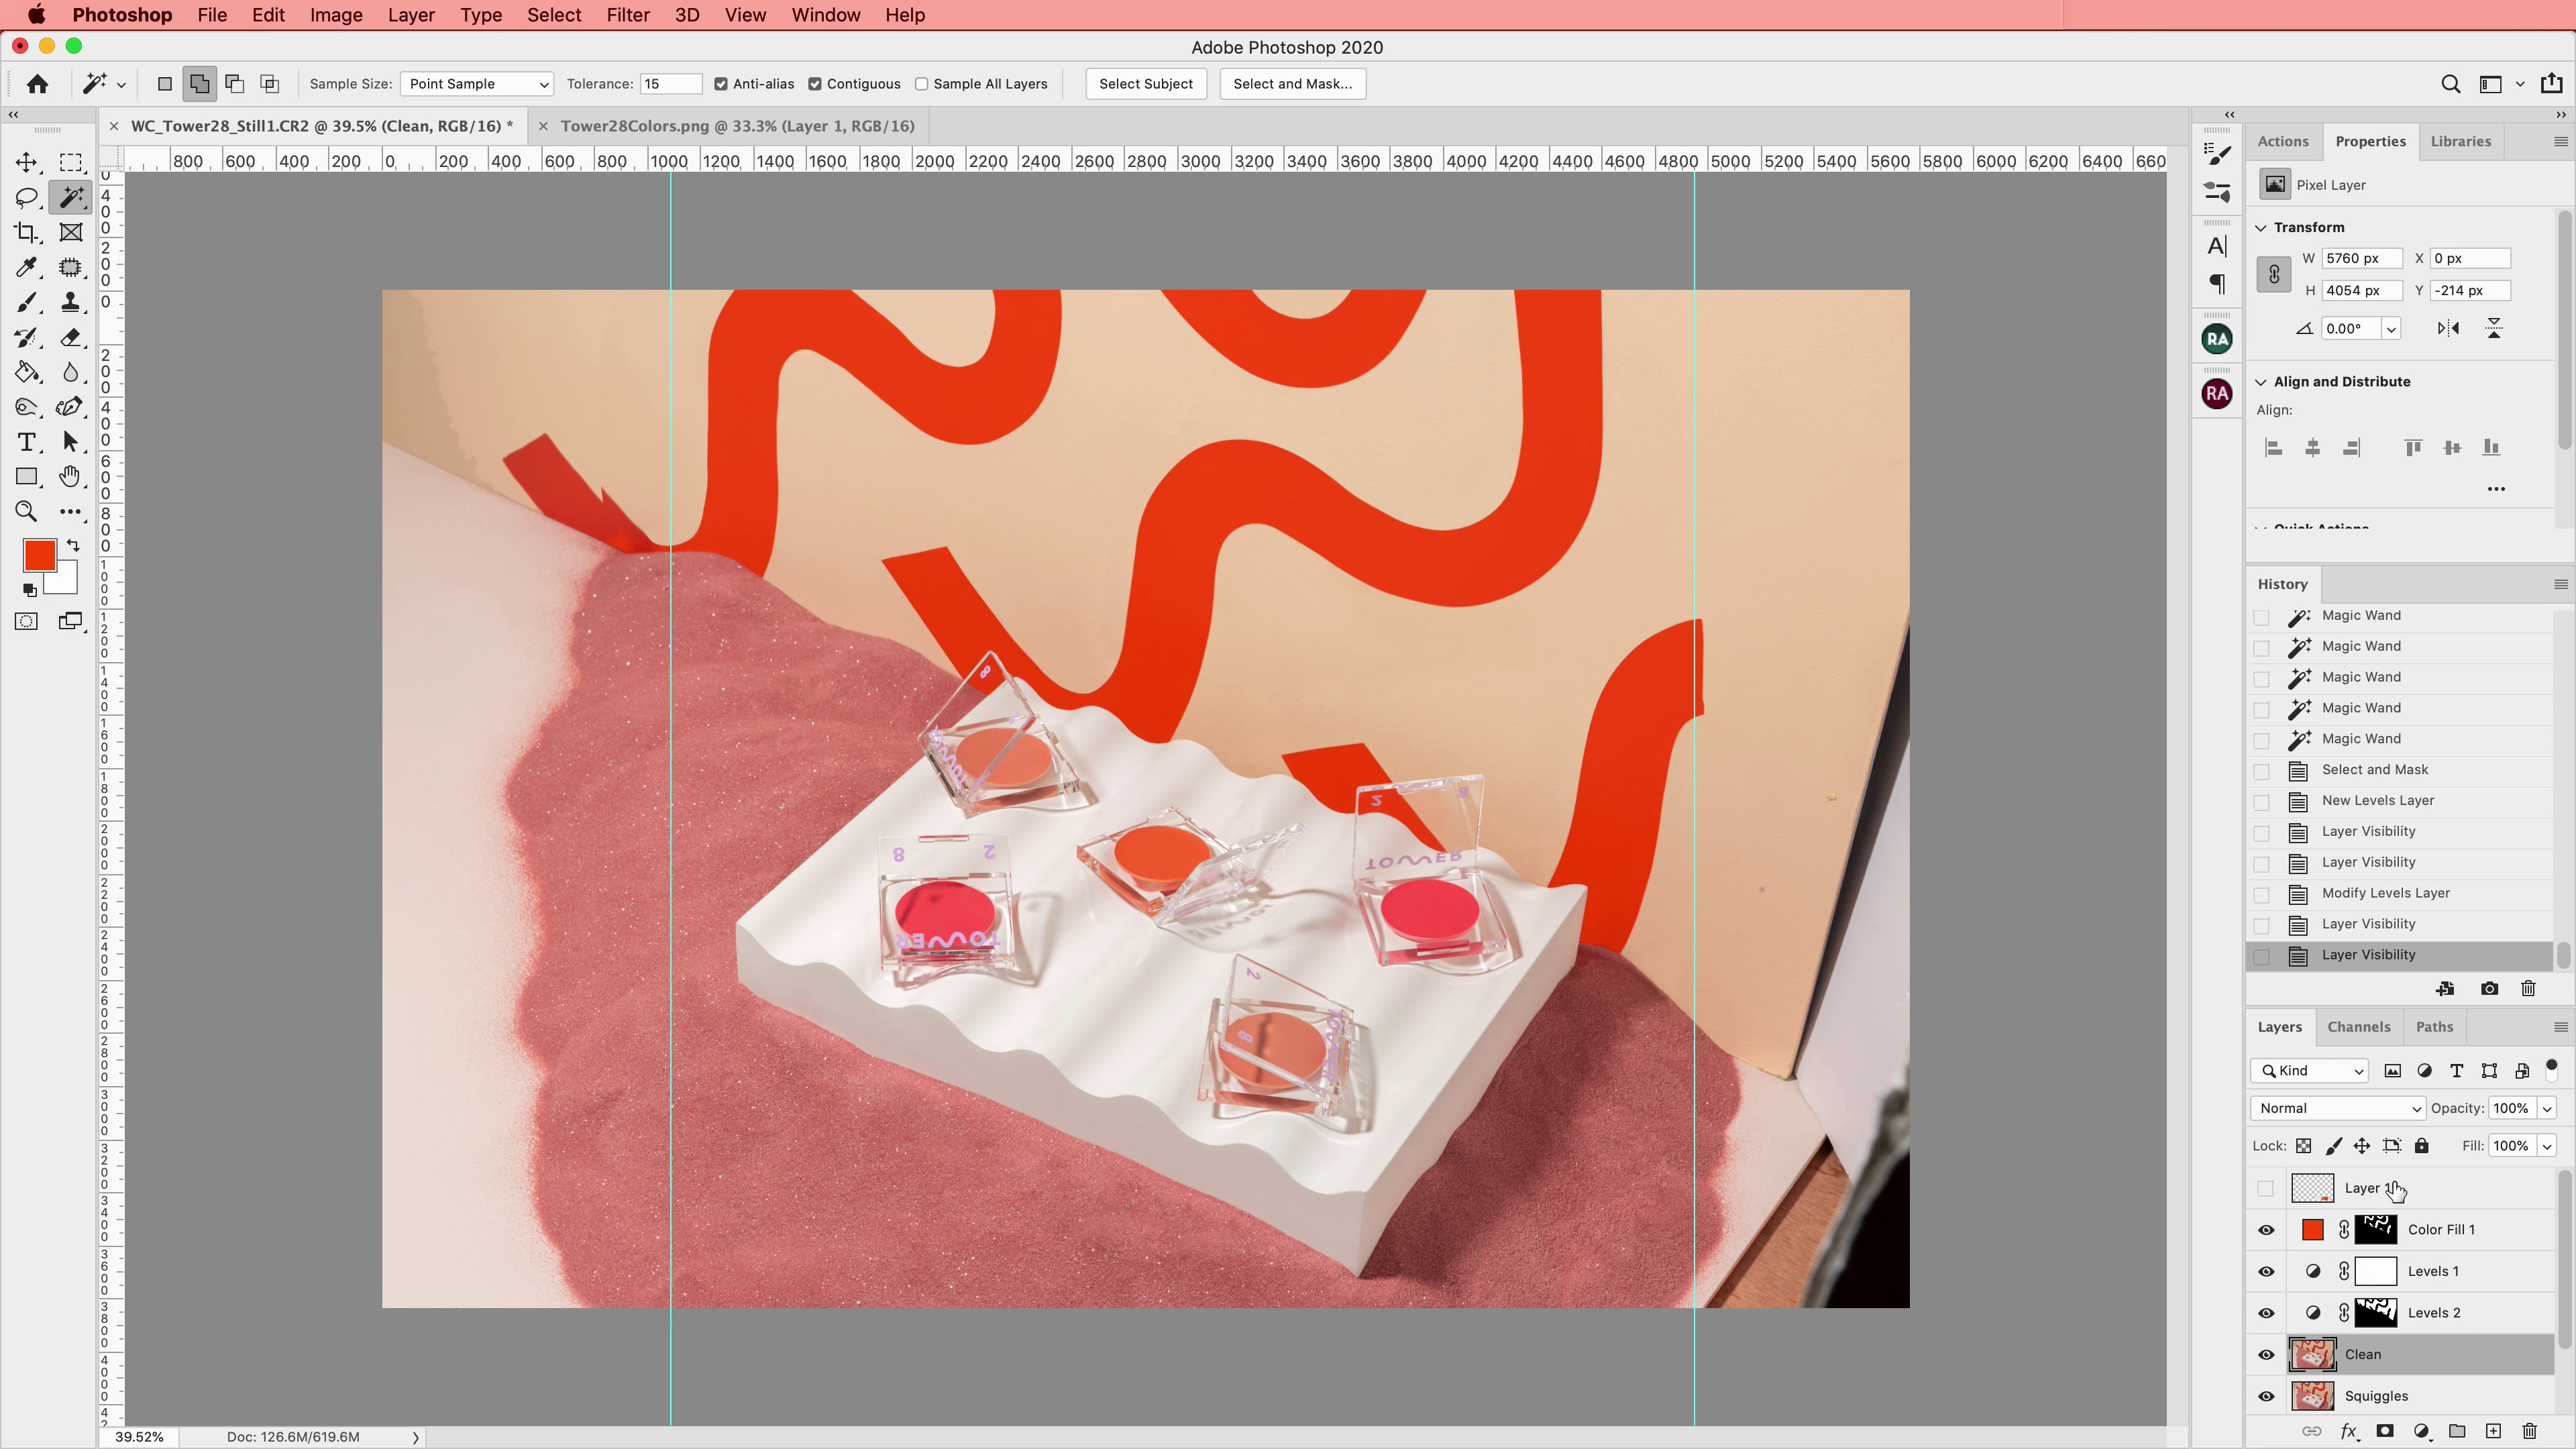
Retouching and Exporting in Photoshop 4
At this stage, I want the squiggles in this still to look right, so I am going to keep refining them until I am happy with the result. You will see how I apply different tools to give them the look we are looking for. Also, I want to make sure that the colors are consistent with those of the brand.
19m
image
19
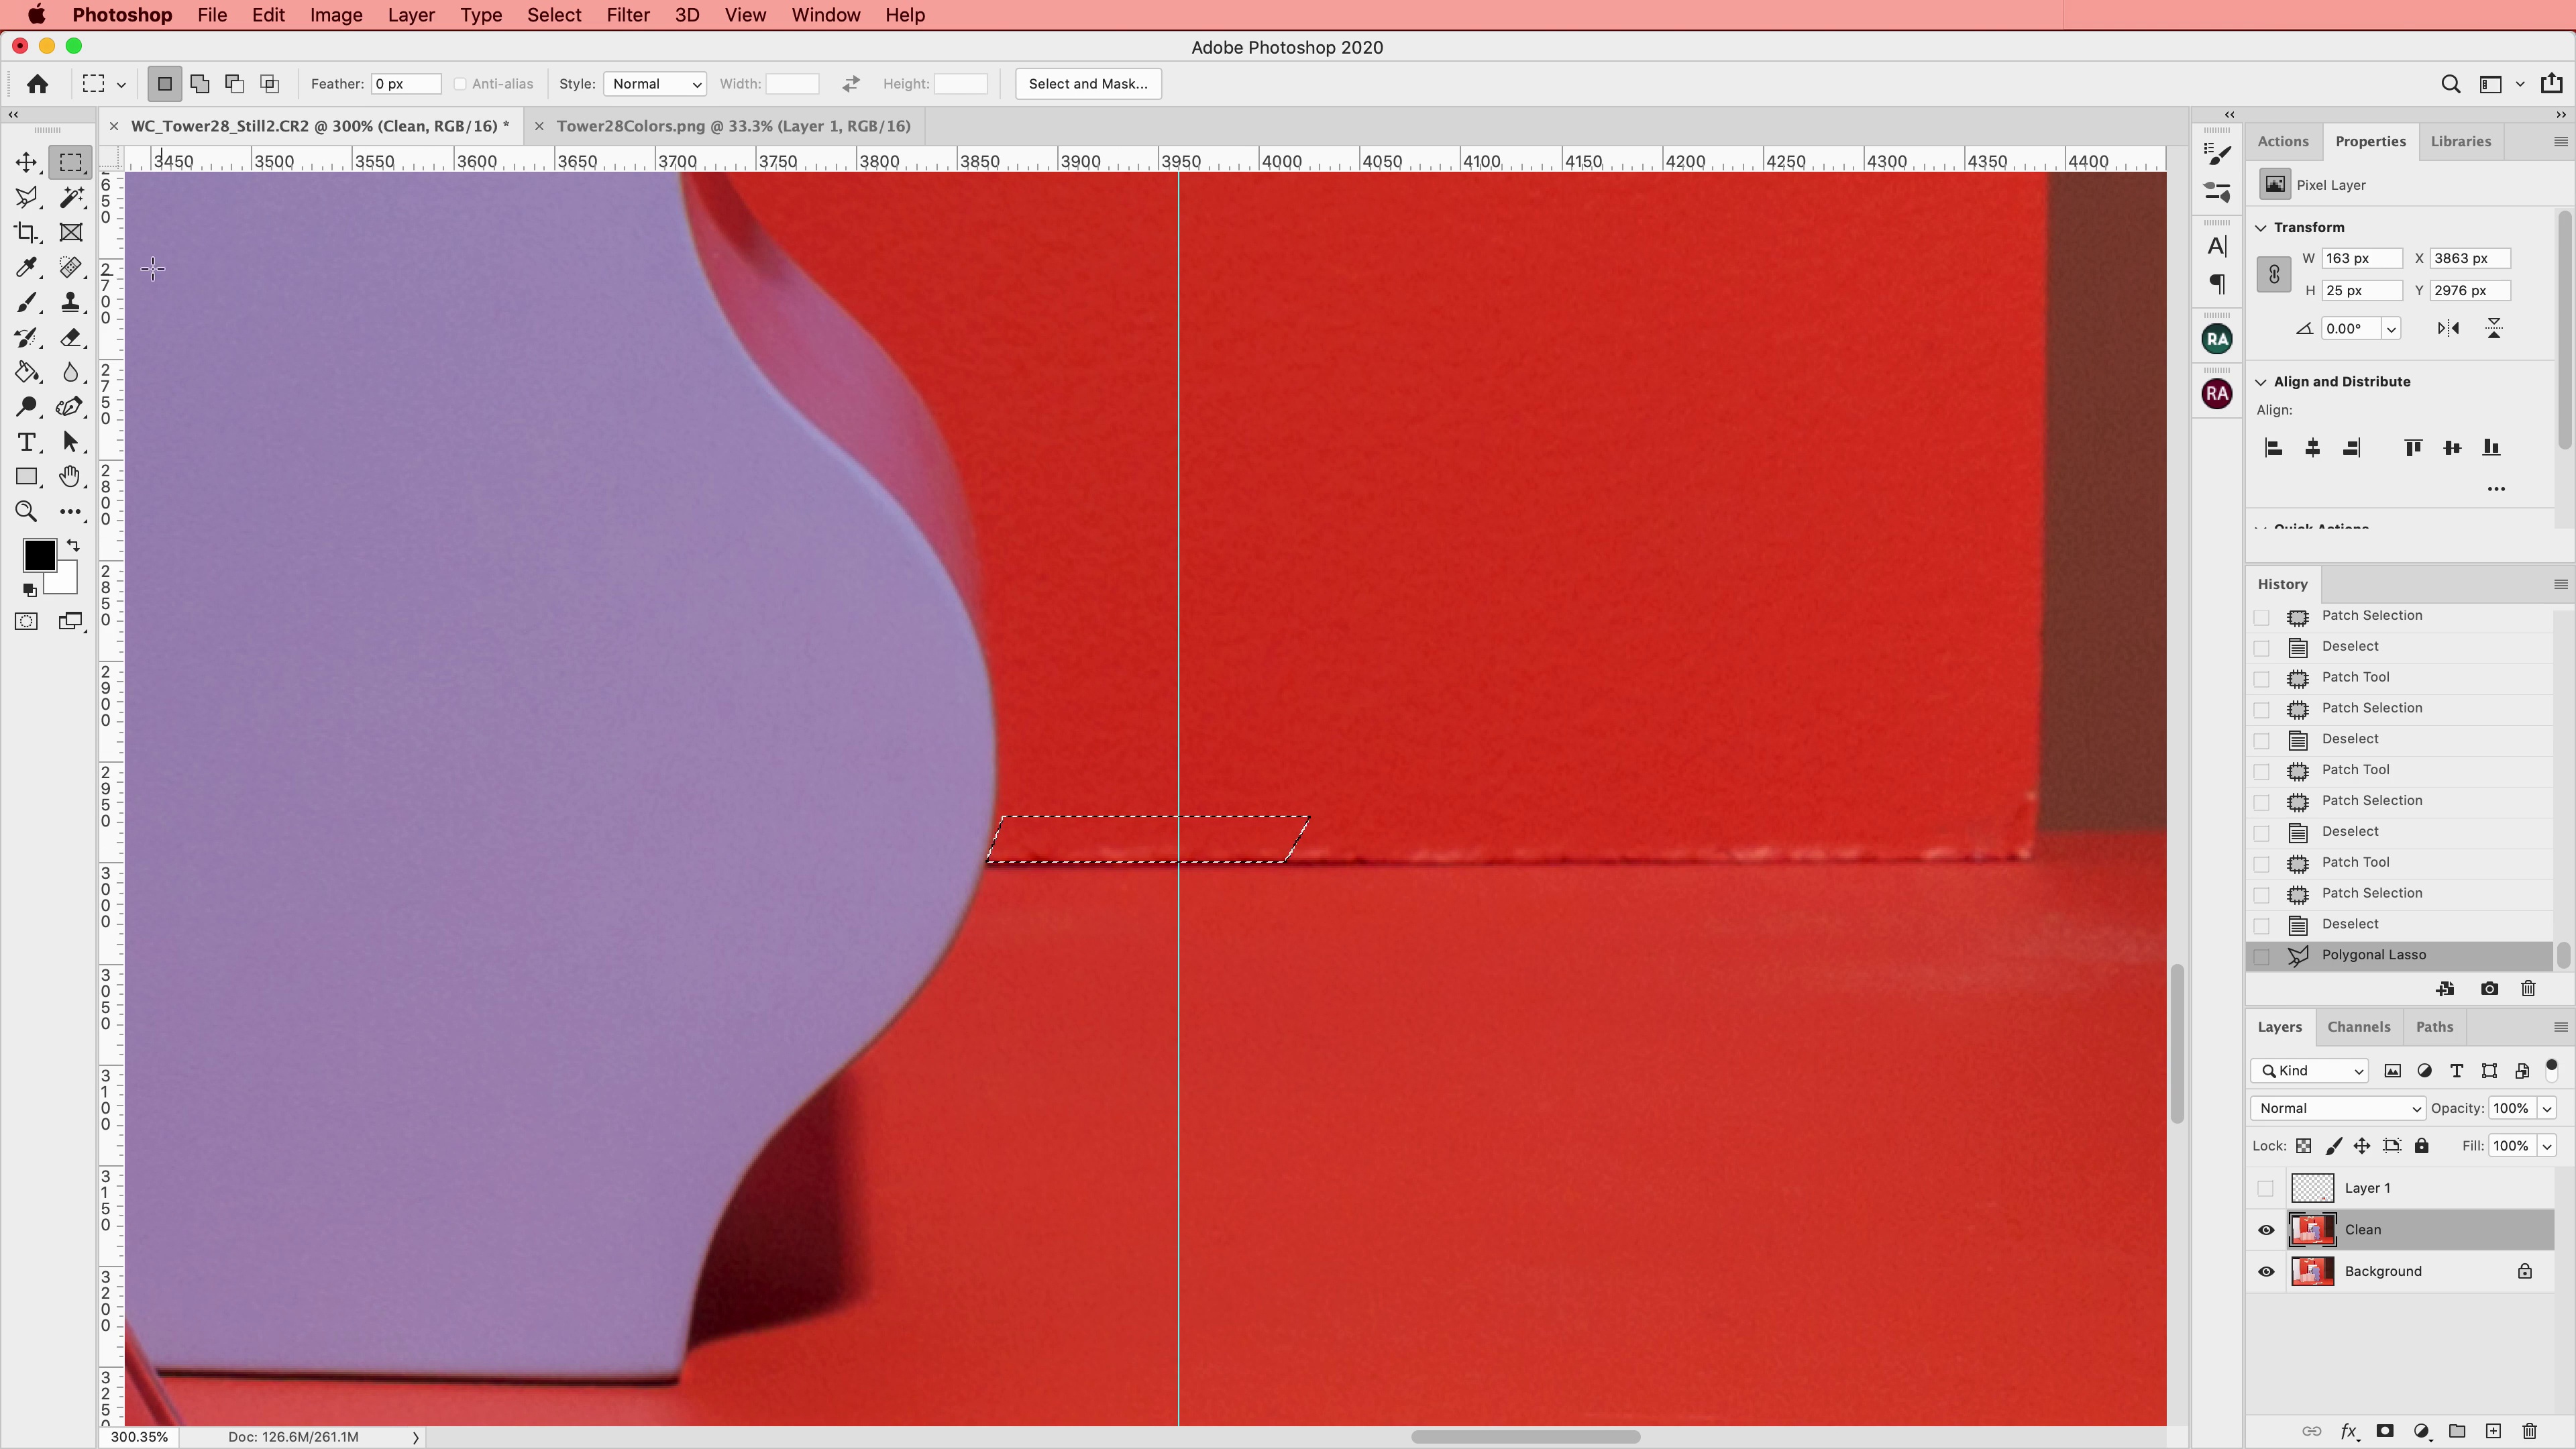
Retouching and Exporting in Photoshop 5
Now I am going to remove all unwanted dust, smudges, and blemishes in the still. I will also fix the placement of some props, and I will make sure that the color palette is right, once again.
18m
image
20
Sharing Your Work
In this lesson, you will learn the importance of sharing your work online and what social media platforms to consider publishing to.
1m
image
3
Developing a Concept
Let's discuss how to develop a solid conceptual idea for a product photo that can stand alone or be a part of a series of campaign photos.
14m
image
4
Preparing the Studio Space: Studio Setup
I'll teach you how to prepare your home shooting space to ensure your shooting goes as smoothly and efficiently as possible.
5m
image
5
On-set Styling Tips
To begin with, I'll share some essential on-set styling tips and things to keep in mind while we shoot.
3m
image
6
Shooting the Photos
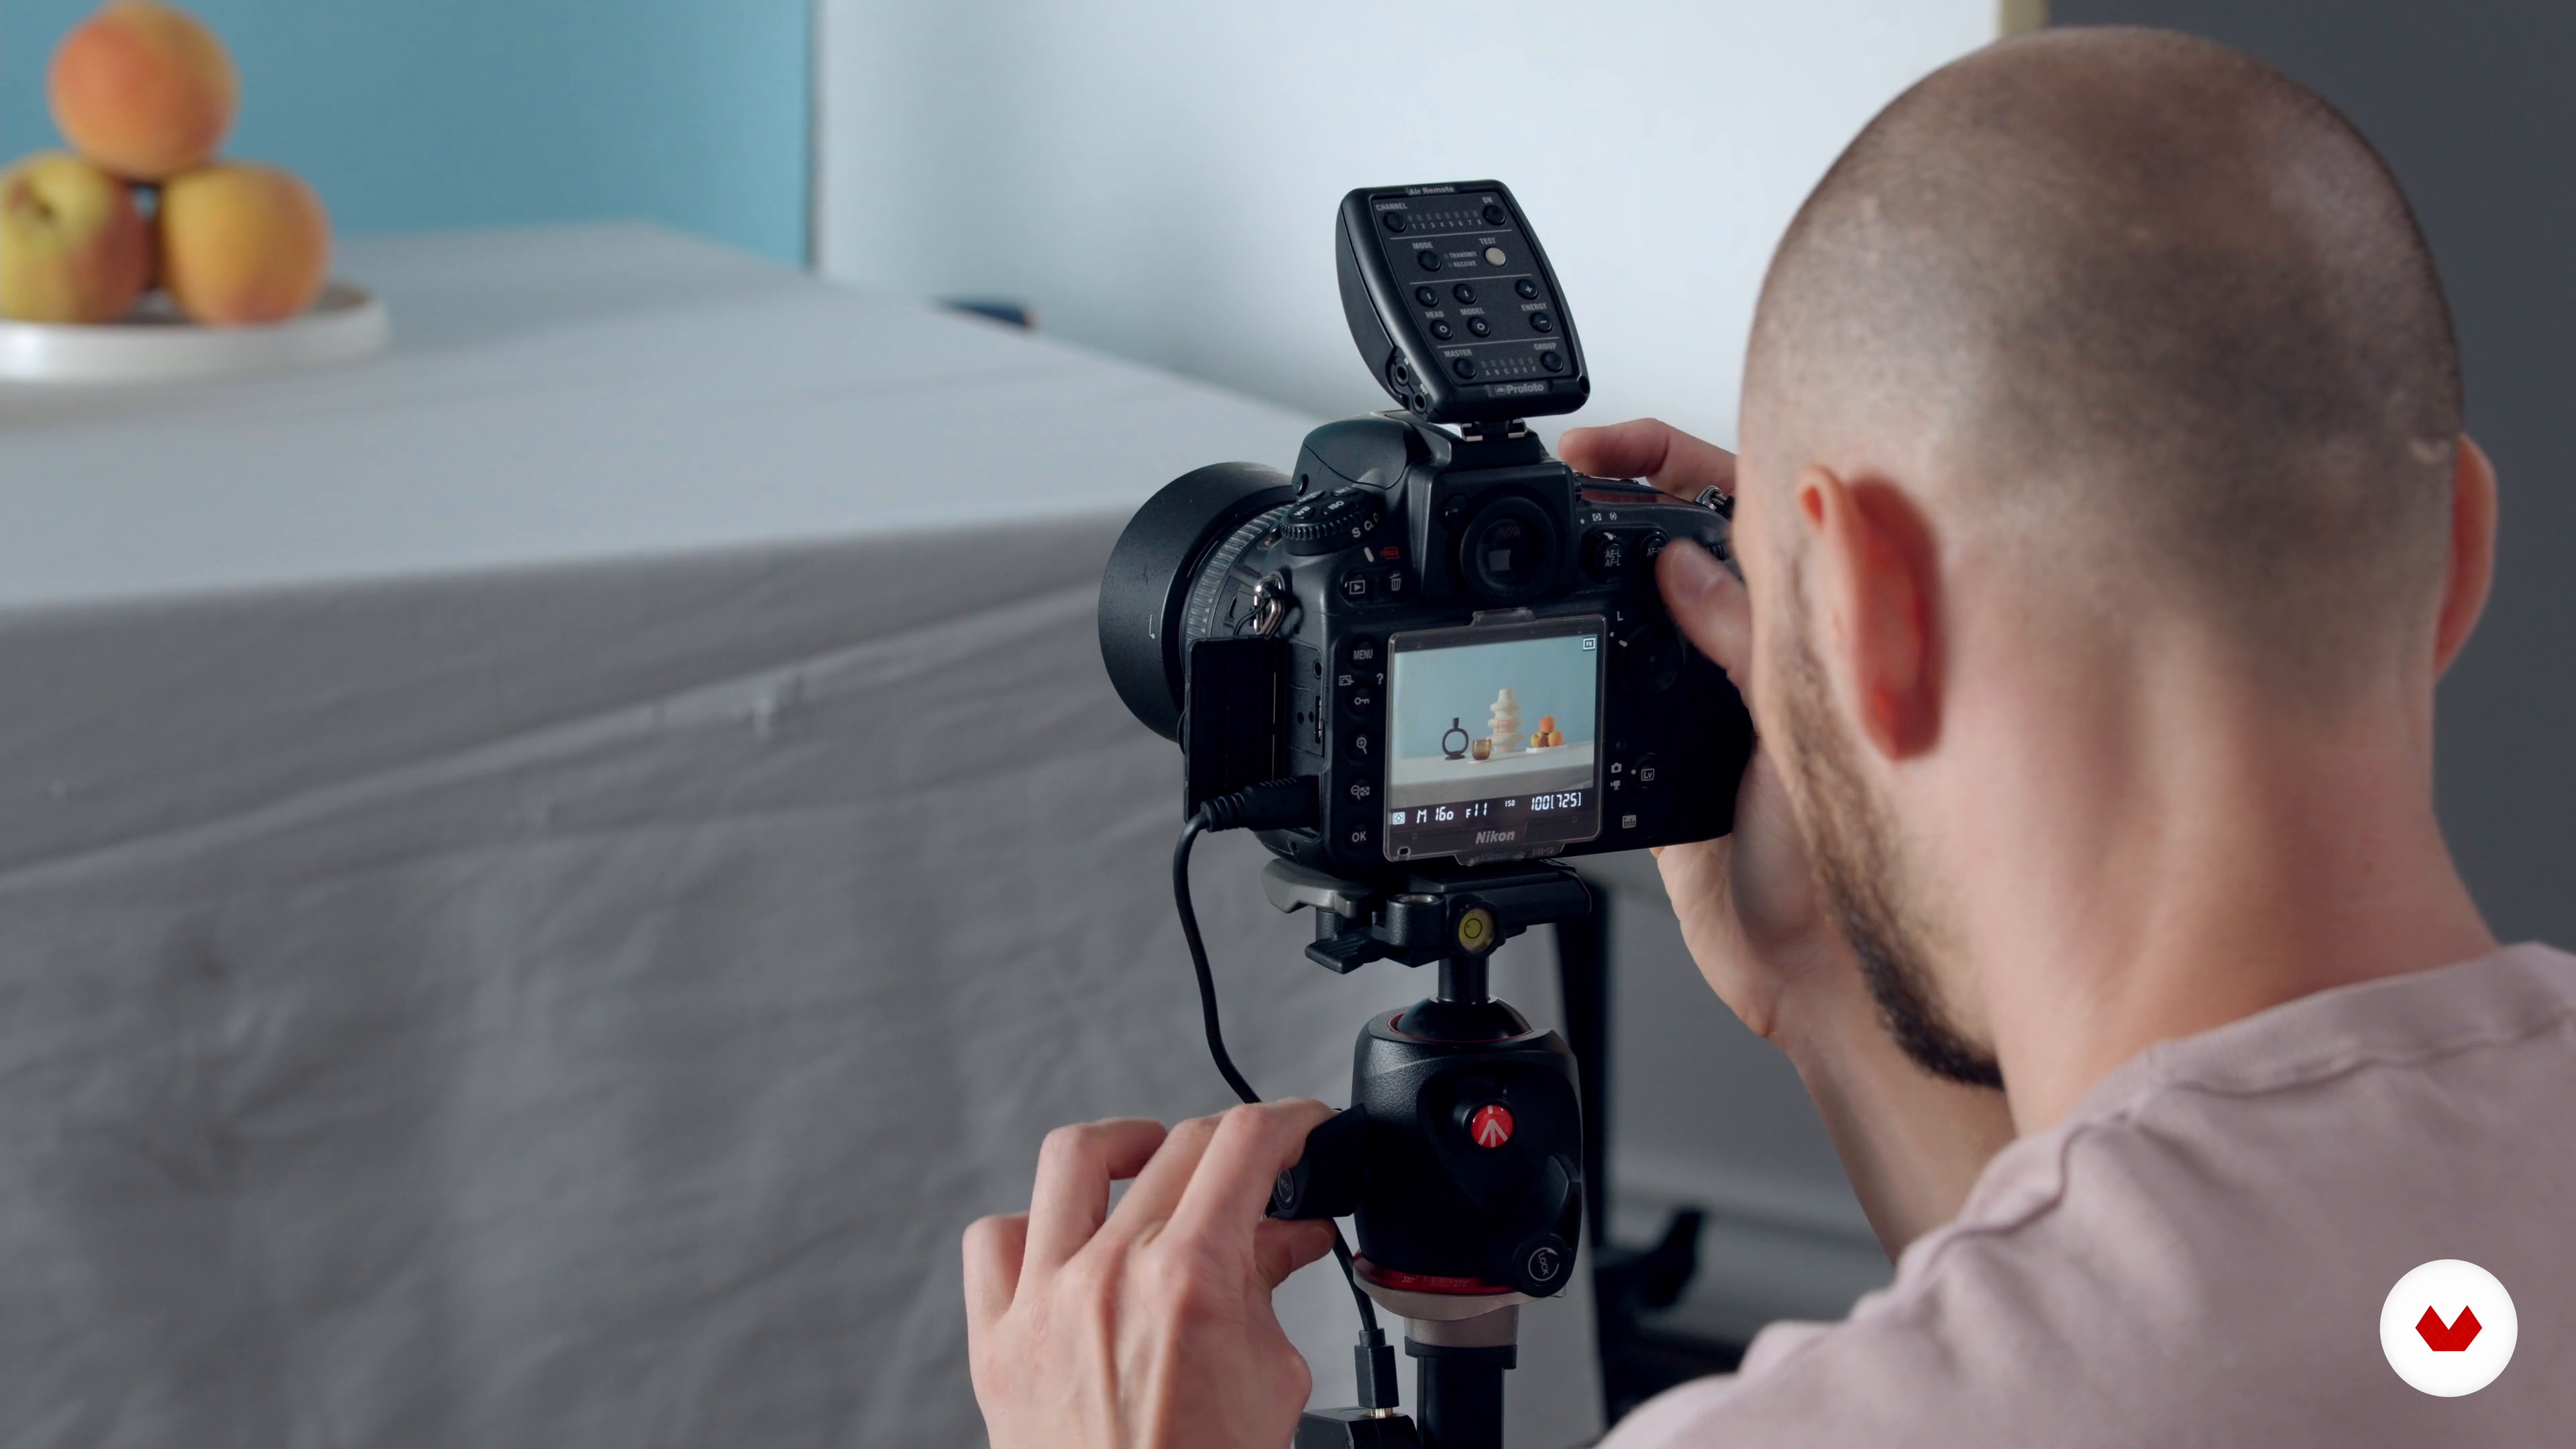
During this lesson, you'll learn everything about lighting and camera settings for shooting. I'll also talk about the importance of shooting products from different angles to easily swap out the final image per client request.
6m
image
7
First Photo Edits, the Basics
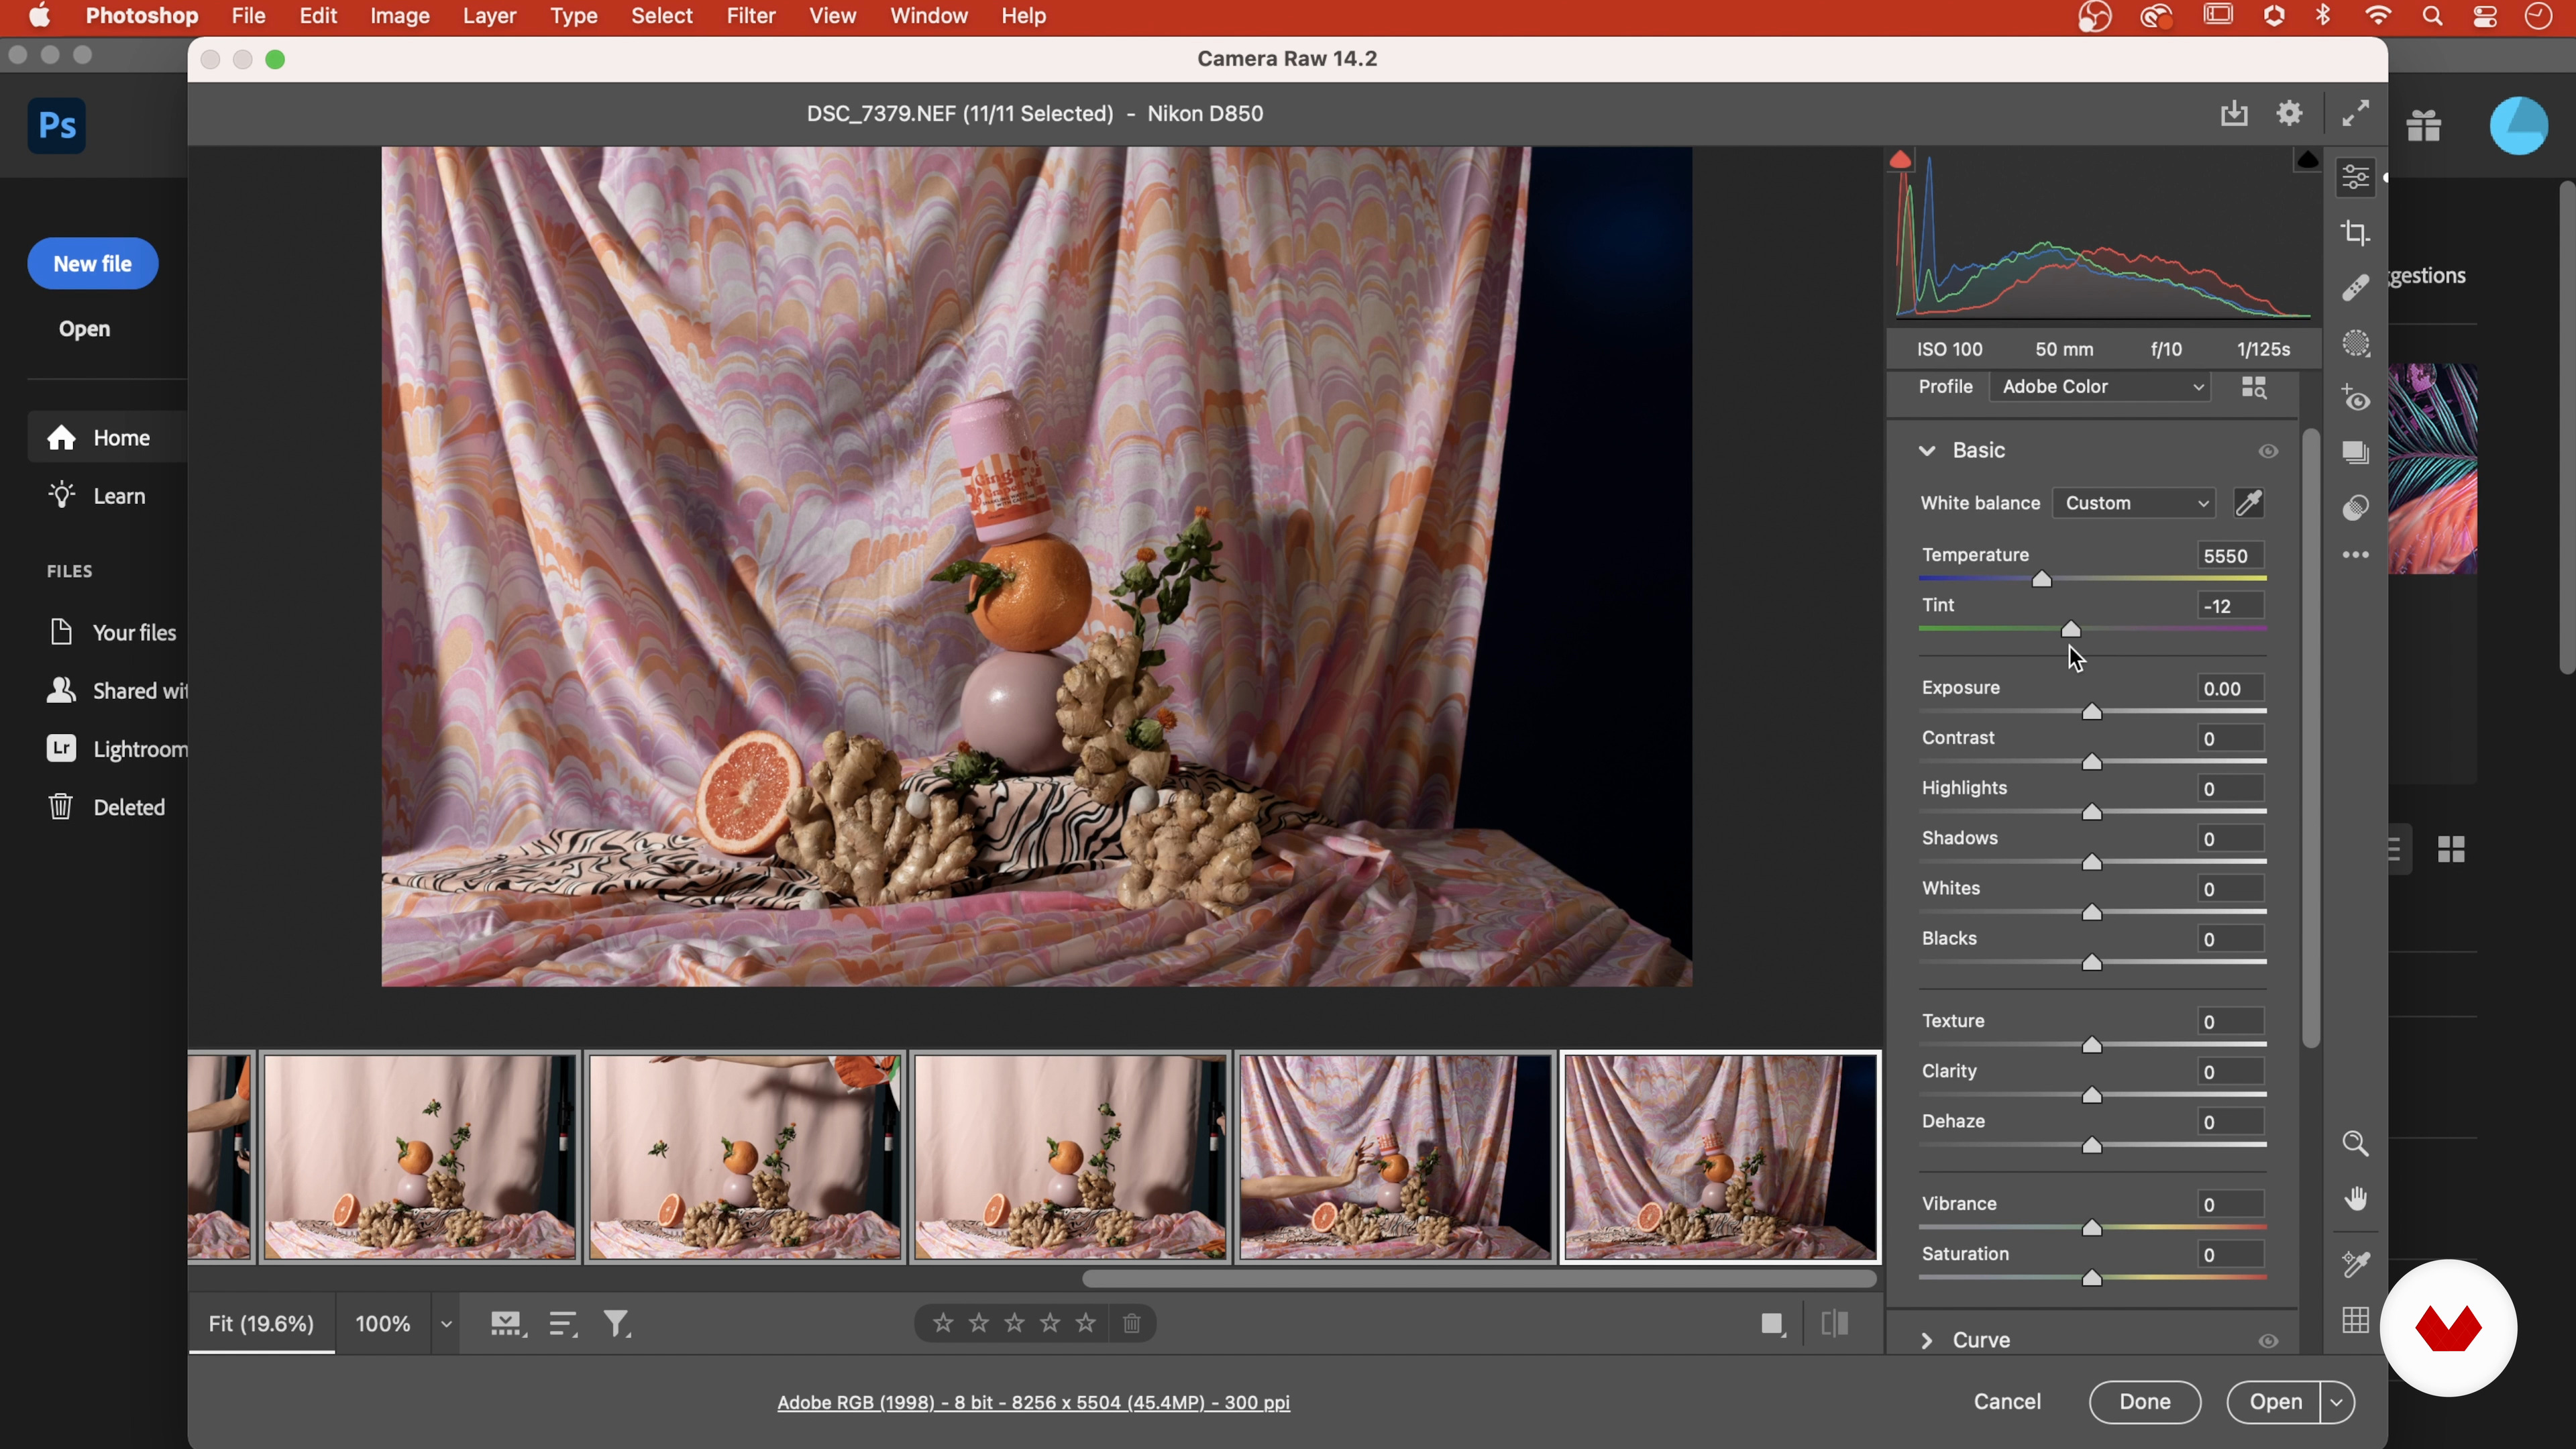
In this lesson, you'll see how to edit your final project image, starting with initial base edits like the color correction in camera RAW, white balancing, etc.
6m
image
8
Layers and Masking 1
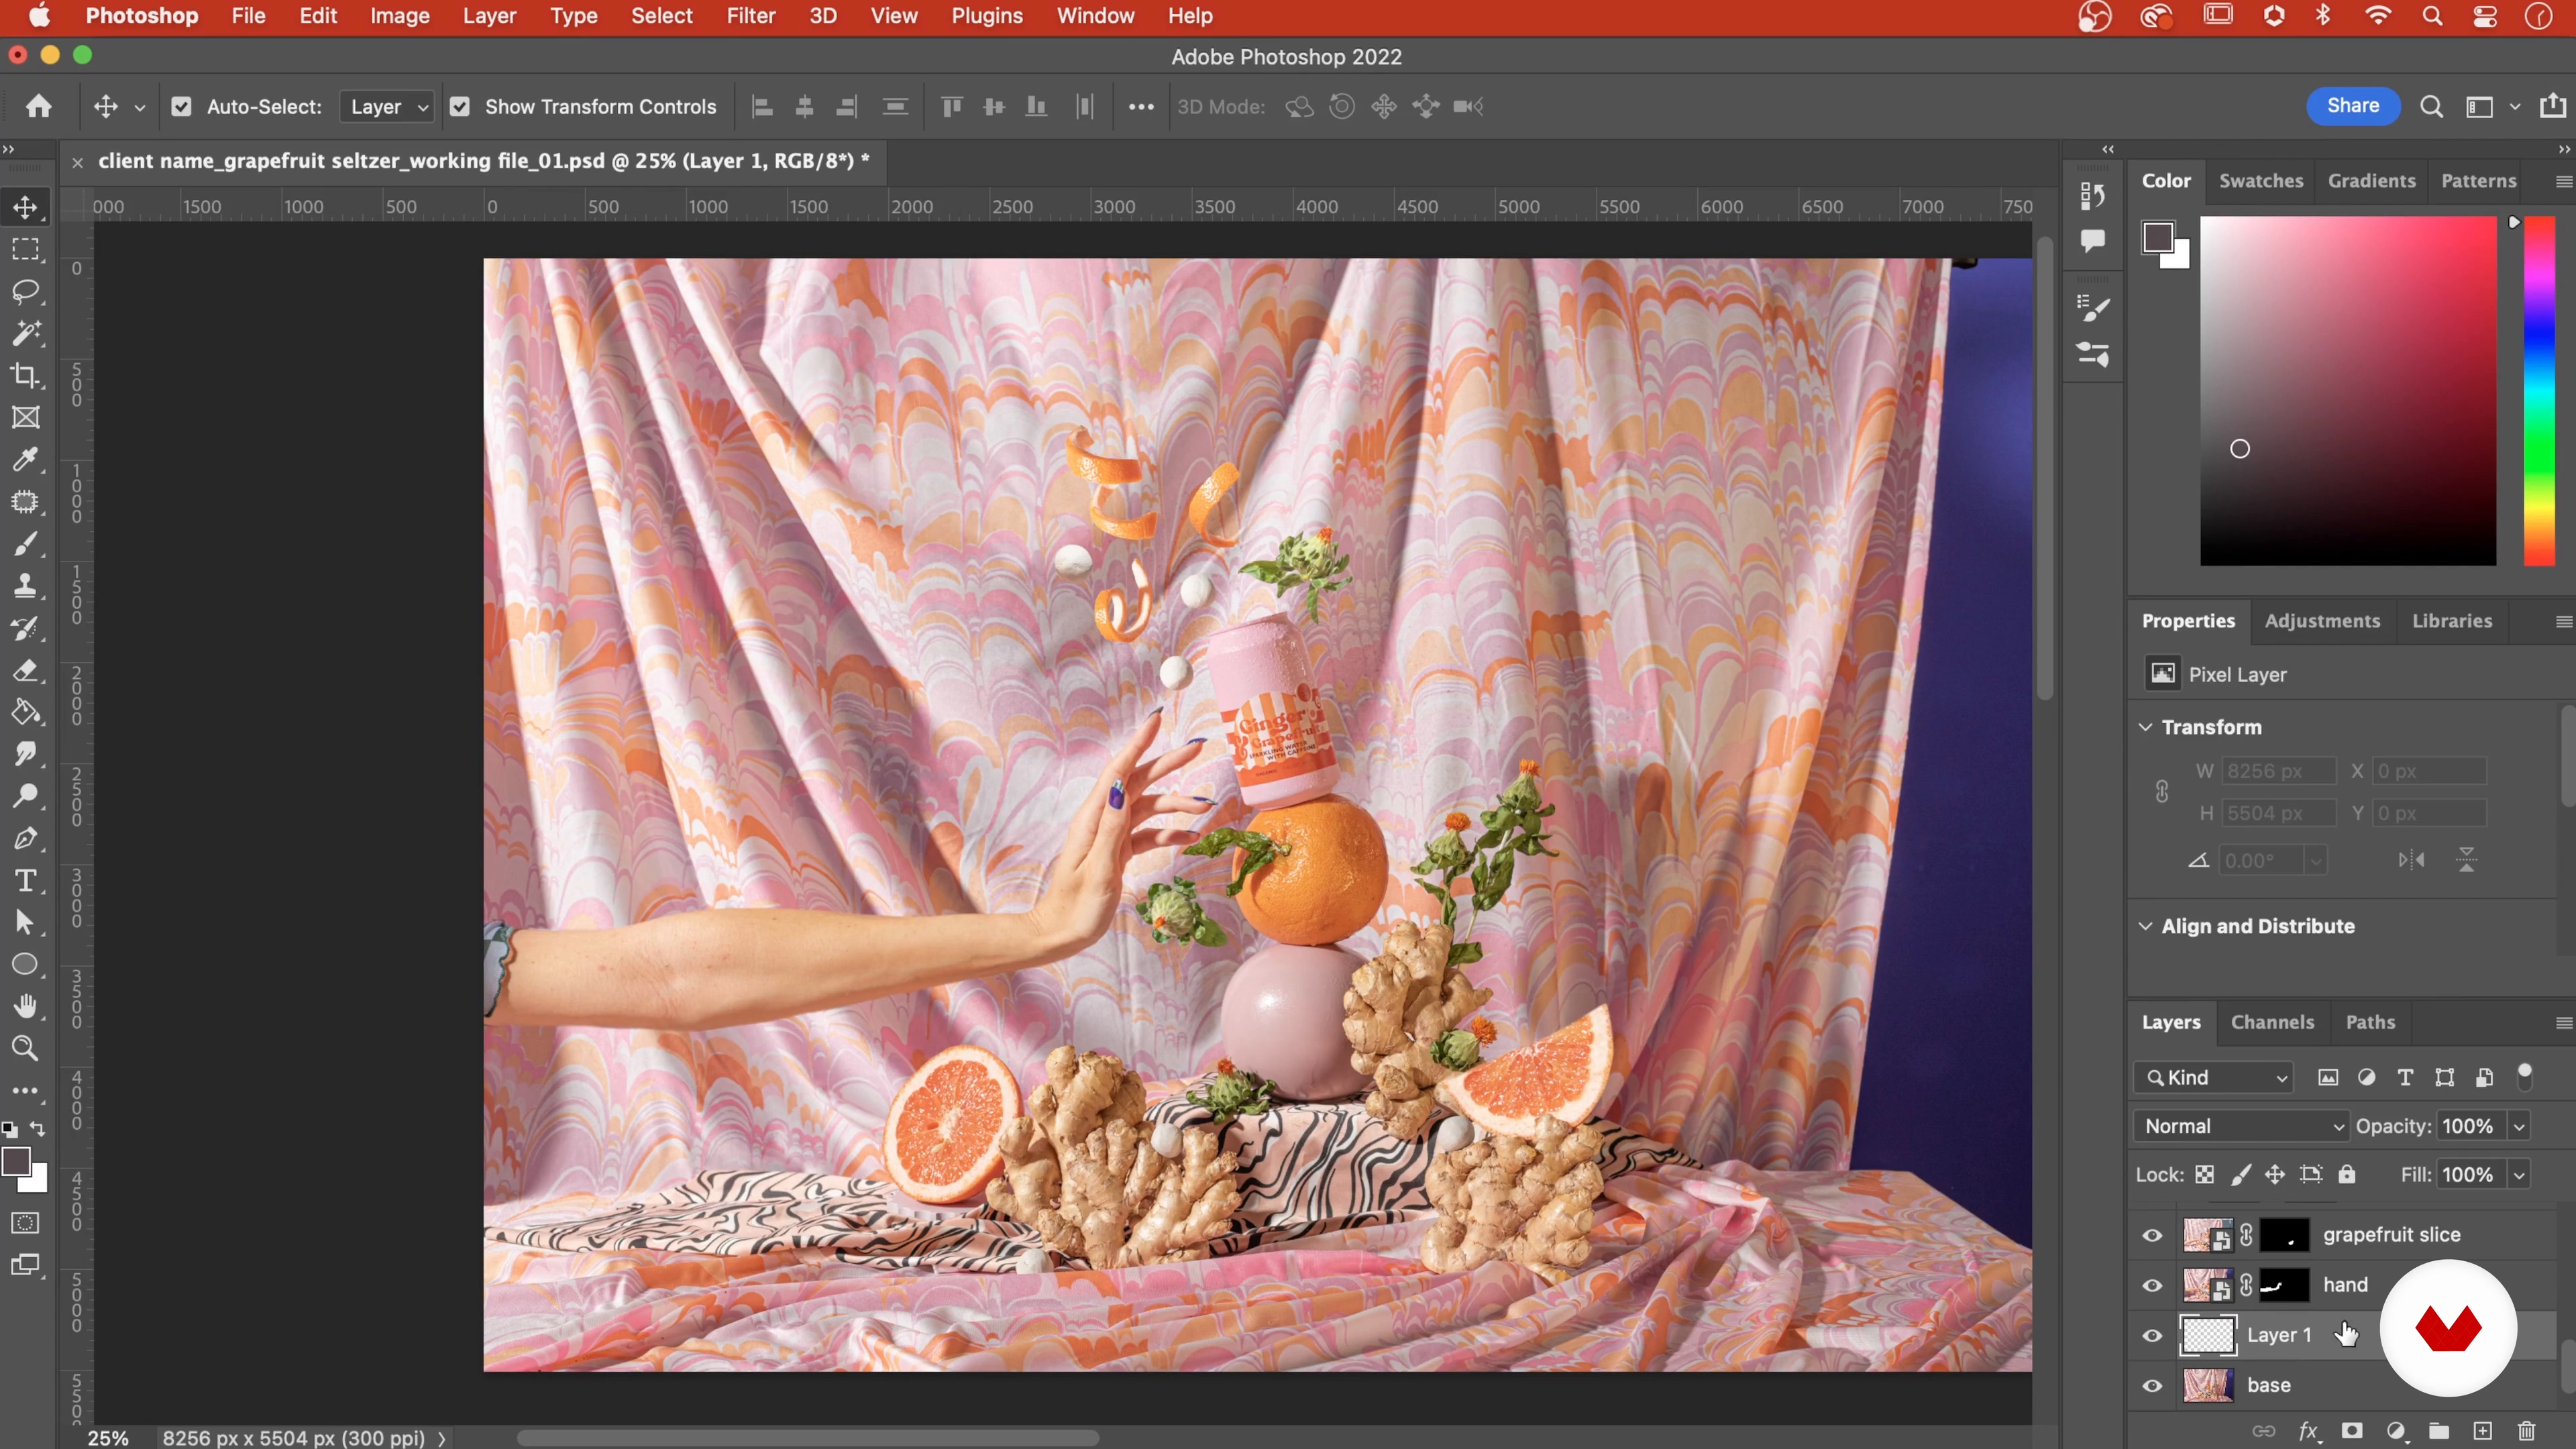
You'll learn to import layers as smart objects and the masking basics to combine separate photos into one composition.
18m
image
9
Layers and Masking 2
During this second part of the lesson, I'll continue showing you how to work whit the edition of the photo.
12m
image
10
Final Edits: Revisiting the Design
In this lesson, I'll continue showing you how to make edits in Photoshop to make your product shine. You'll learn everything you need to know about contrast, color theory, and hierarchy.
3m
image
11
Final Touch-ups and Exporting
Now, you'll see how to do some last-minute touch-ups to the photo as a whole and export your final photo for client sharing.
8m
image
3
Conceptualisation
Let's start by defining the concept. In this lesson, you will learn how to create a strong concept for your photoshoot, where you will capture commerce photography, styled still life, and group styled still life. This concept will serve as a basis to start from and a great foundation for the day. You will develop this using mood boards which can be used as a good reference point.
4m
image
4
Sourcing Props and Backgrounds
In this lesson, you will learn how to source props and backgrounds that will help your products stand out.
7m
image
5
Camera Skills
Next, I will show you how to get the most out of your camera using manual exposure.
7m
image
6
Preparing the Set
To end this unit, I will talk about how to prepare your studio, what materials you might need, and the effectiveness of tethering for still life photography.
11m
image
7
Product Photography for E-commerce
In this lesson, I will demonstrate how to take photographs of small objects for e-commerce and catalogue images. You will learn tips and tricks to harness natural light and effectively capture stable and crisp images.
15m
image
8
Styled Still Life Photography: One Object 1
Next, I'll teach you how to create styled still life photography for one object. I will uncover my creative process from organising the set and preparing my tools, to perfecting the composition.
12m
image
9
Styled Still Life Photography: One Object 2
As I continue to manipulate the compositions of my shots, I will consider aspects such as height, texture, prop placement, and light to best enhance the appearance of the earrings. You will see how simple adaptations can dramatically change the effect of a photograph. After all, small changes yield powerful results. I will share more tips and tricks related to this intricate process, such as taking reference photos and managing the focal points of your camera.
12m
image
10
Styled Still Life Photography: Grouped Objects 1
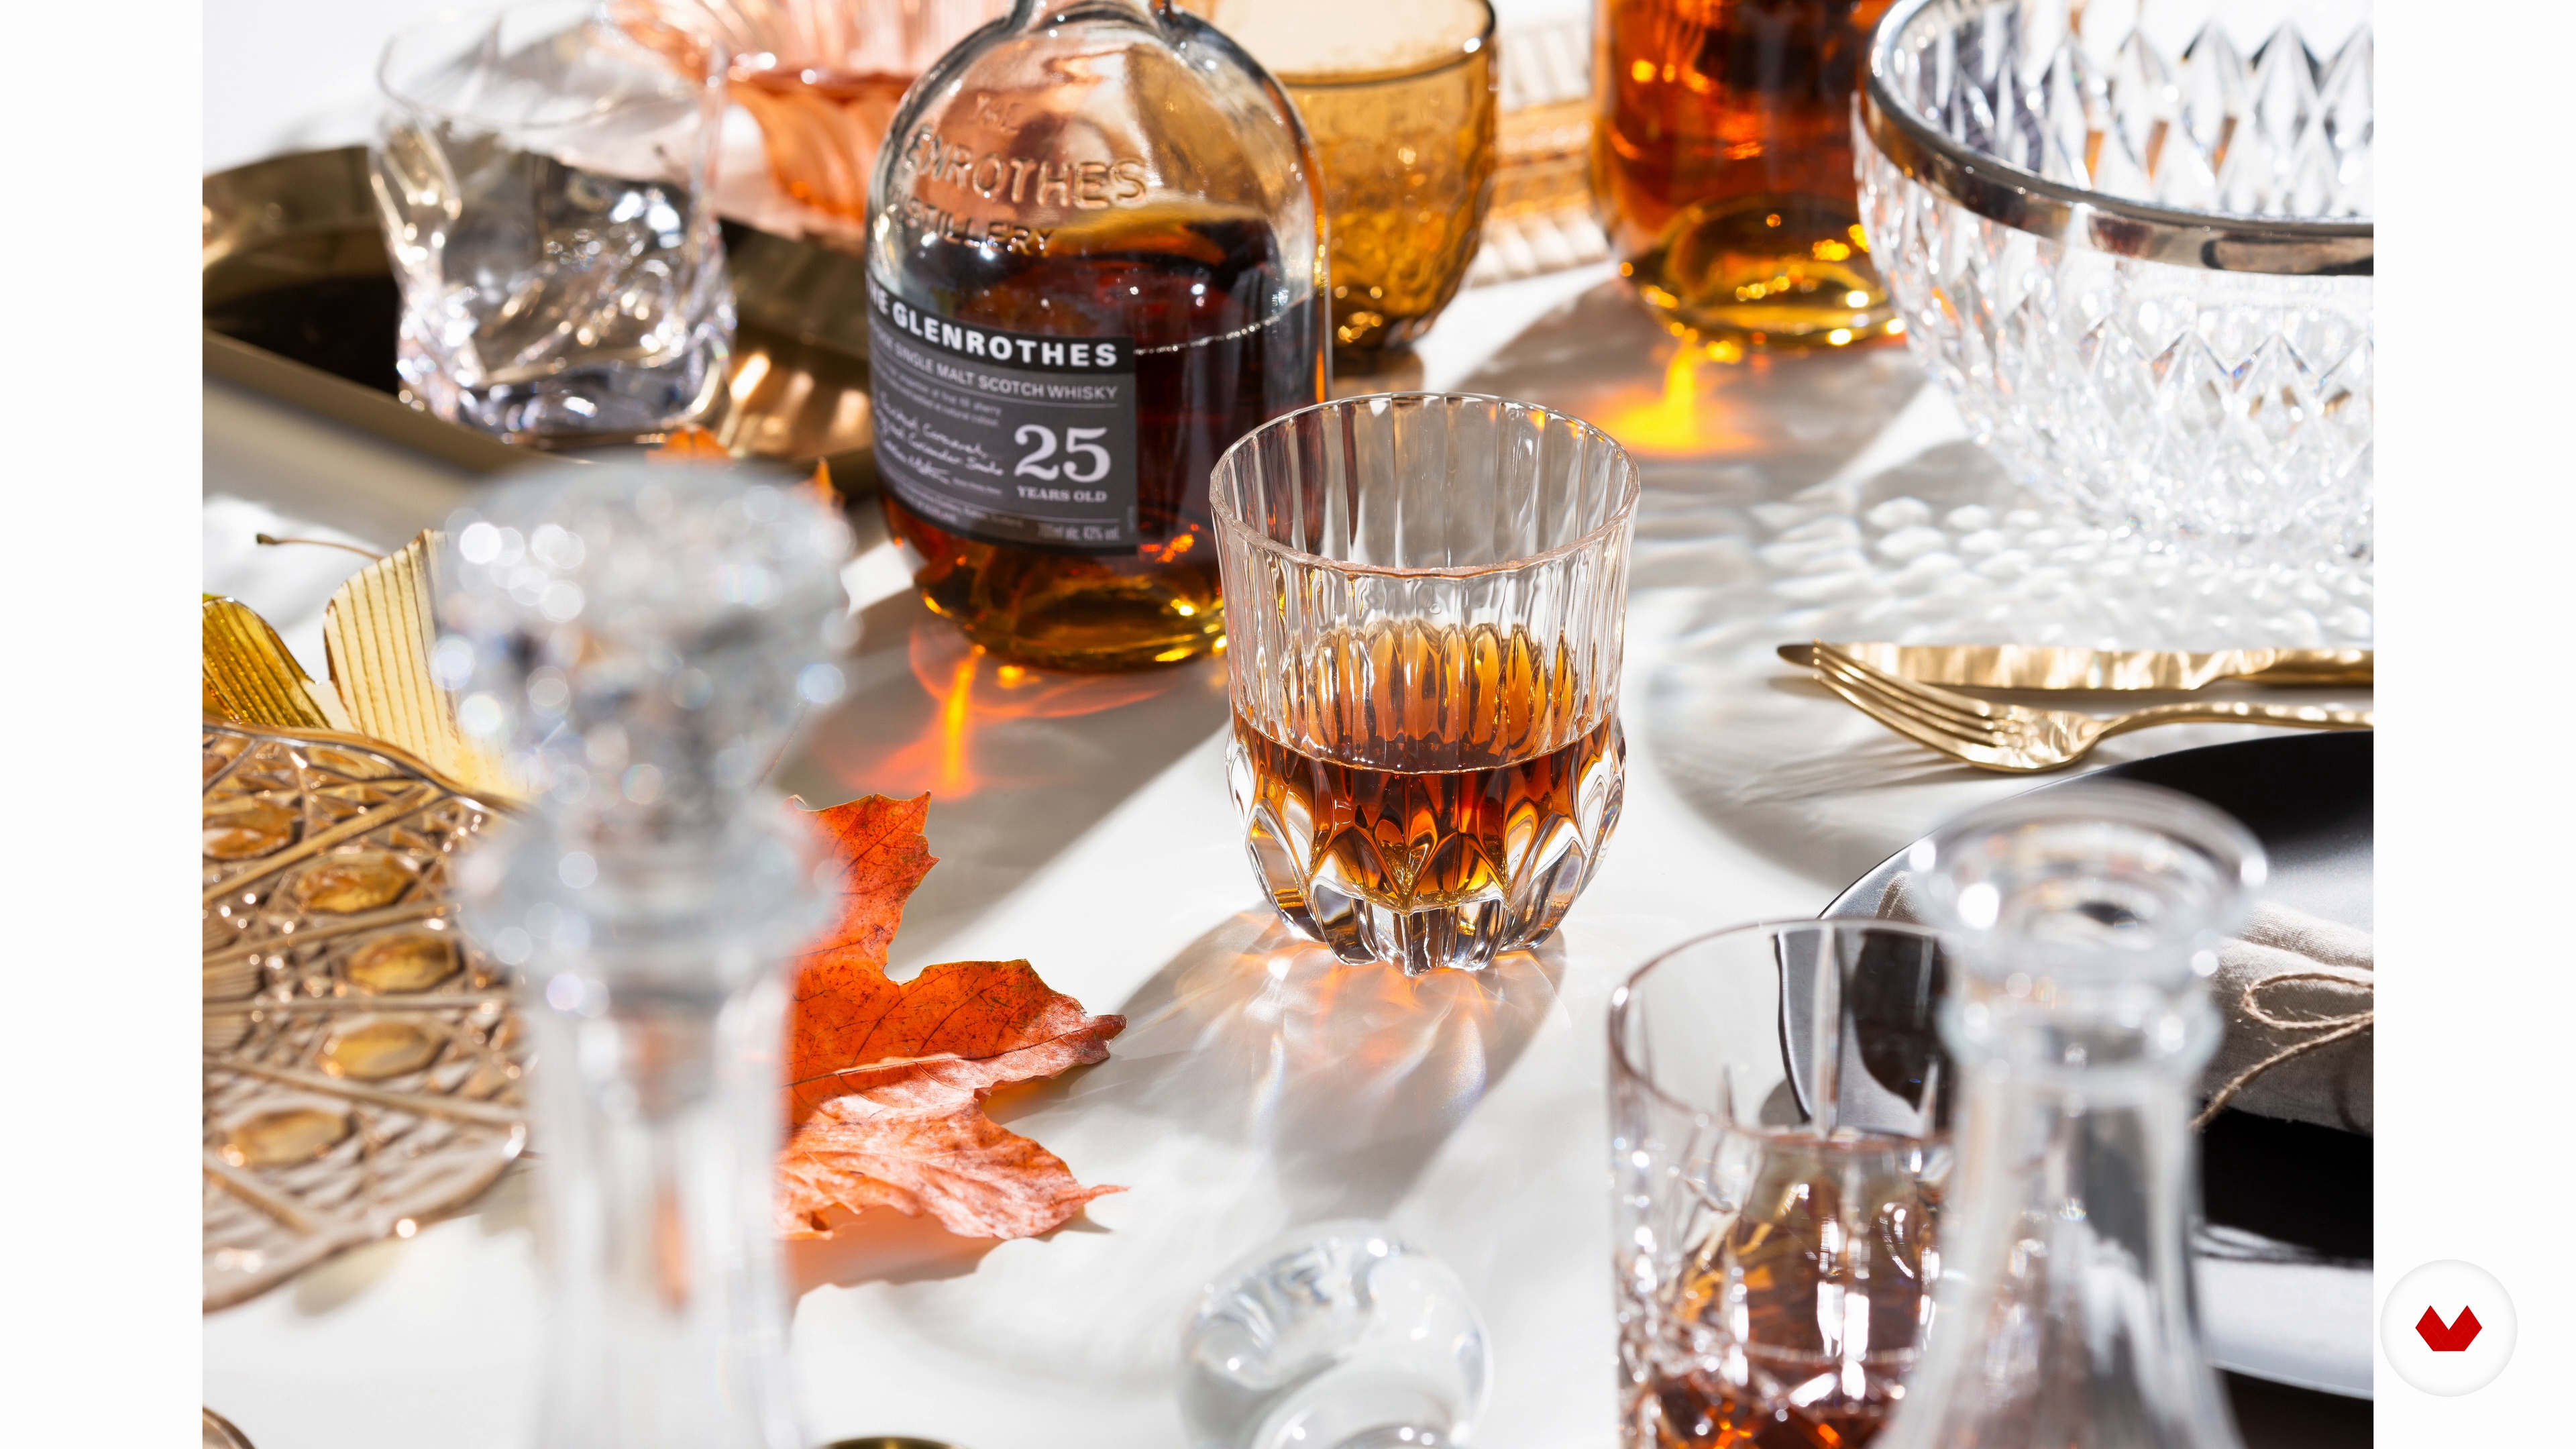
Here you’ll learn how to create a more complex styled set for groups of objects. As with the previous lesson, you will see my step-by-step process behind this delicate balancing act. I will share a few composition basics that I use a lot, such as instilling an element of drama with my composition to contrast with the minimalist set. I will also teach you the art of balancing colours and textures.
11m
image
11
Styled Still Life Photography: Grouped Objects 2
In this lesson, I will adjust the final elements of my composition to ensure that it is aligned with the brief and concept, which in my case is liquid. Once the composition is complete, I will model how to adjust the camera placement, angle, and settings, before playing around to capture different shots.
11m
image
12
Selecting the Final Images 1
Next, I’ll go through the images I’ve taken throughout this course. I will discuss themes such as file management, workflow, and how to select the best ones for editing. In this lesson, you will learn how to set up Adobe Lightroom Classic and import the photos ready for the selection process.
11m
image
13
Selecting the Final Images 2
Here I will continue to move through the selection process for the styled still life captures of individual and grouped objects. As I do this, notice how I keep my concept in mind: I'm looking for a crisp-edged, clean shot of the product to conform to the commercial nature of the brief. Let's get down to the nitty-gritty!
10m
image
14
Editing in Adobe Lightroom
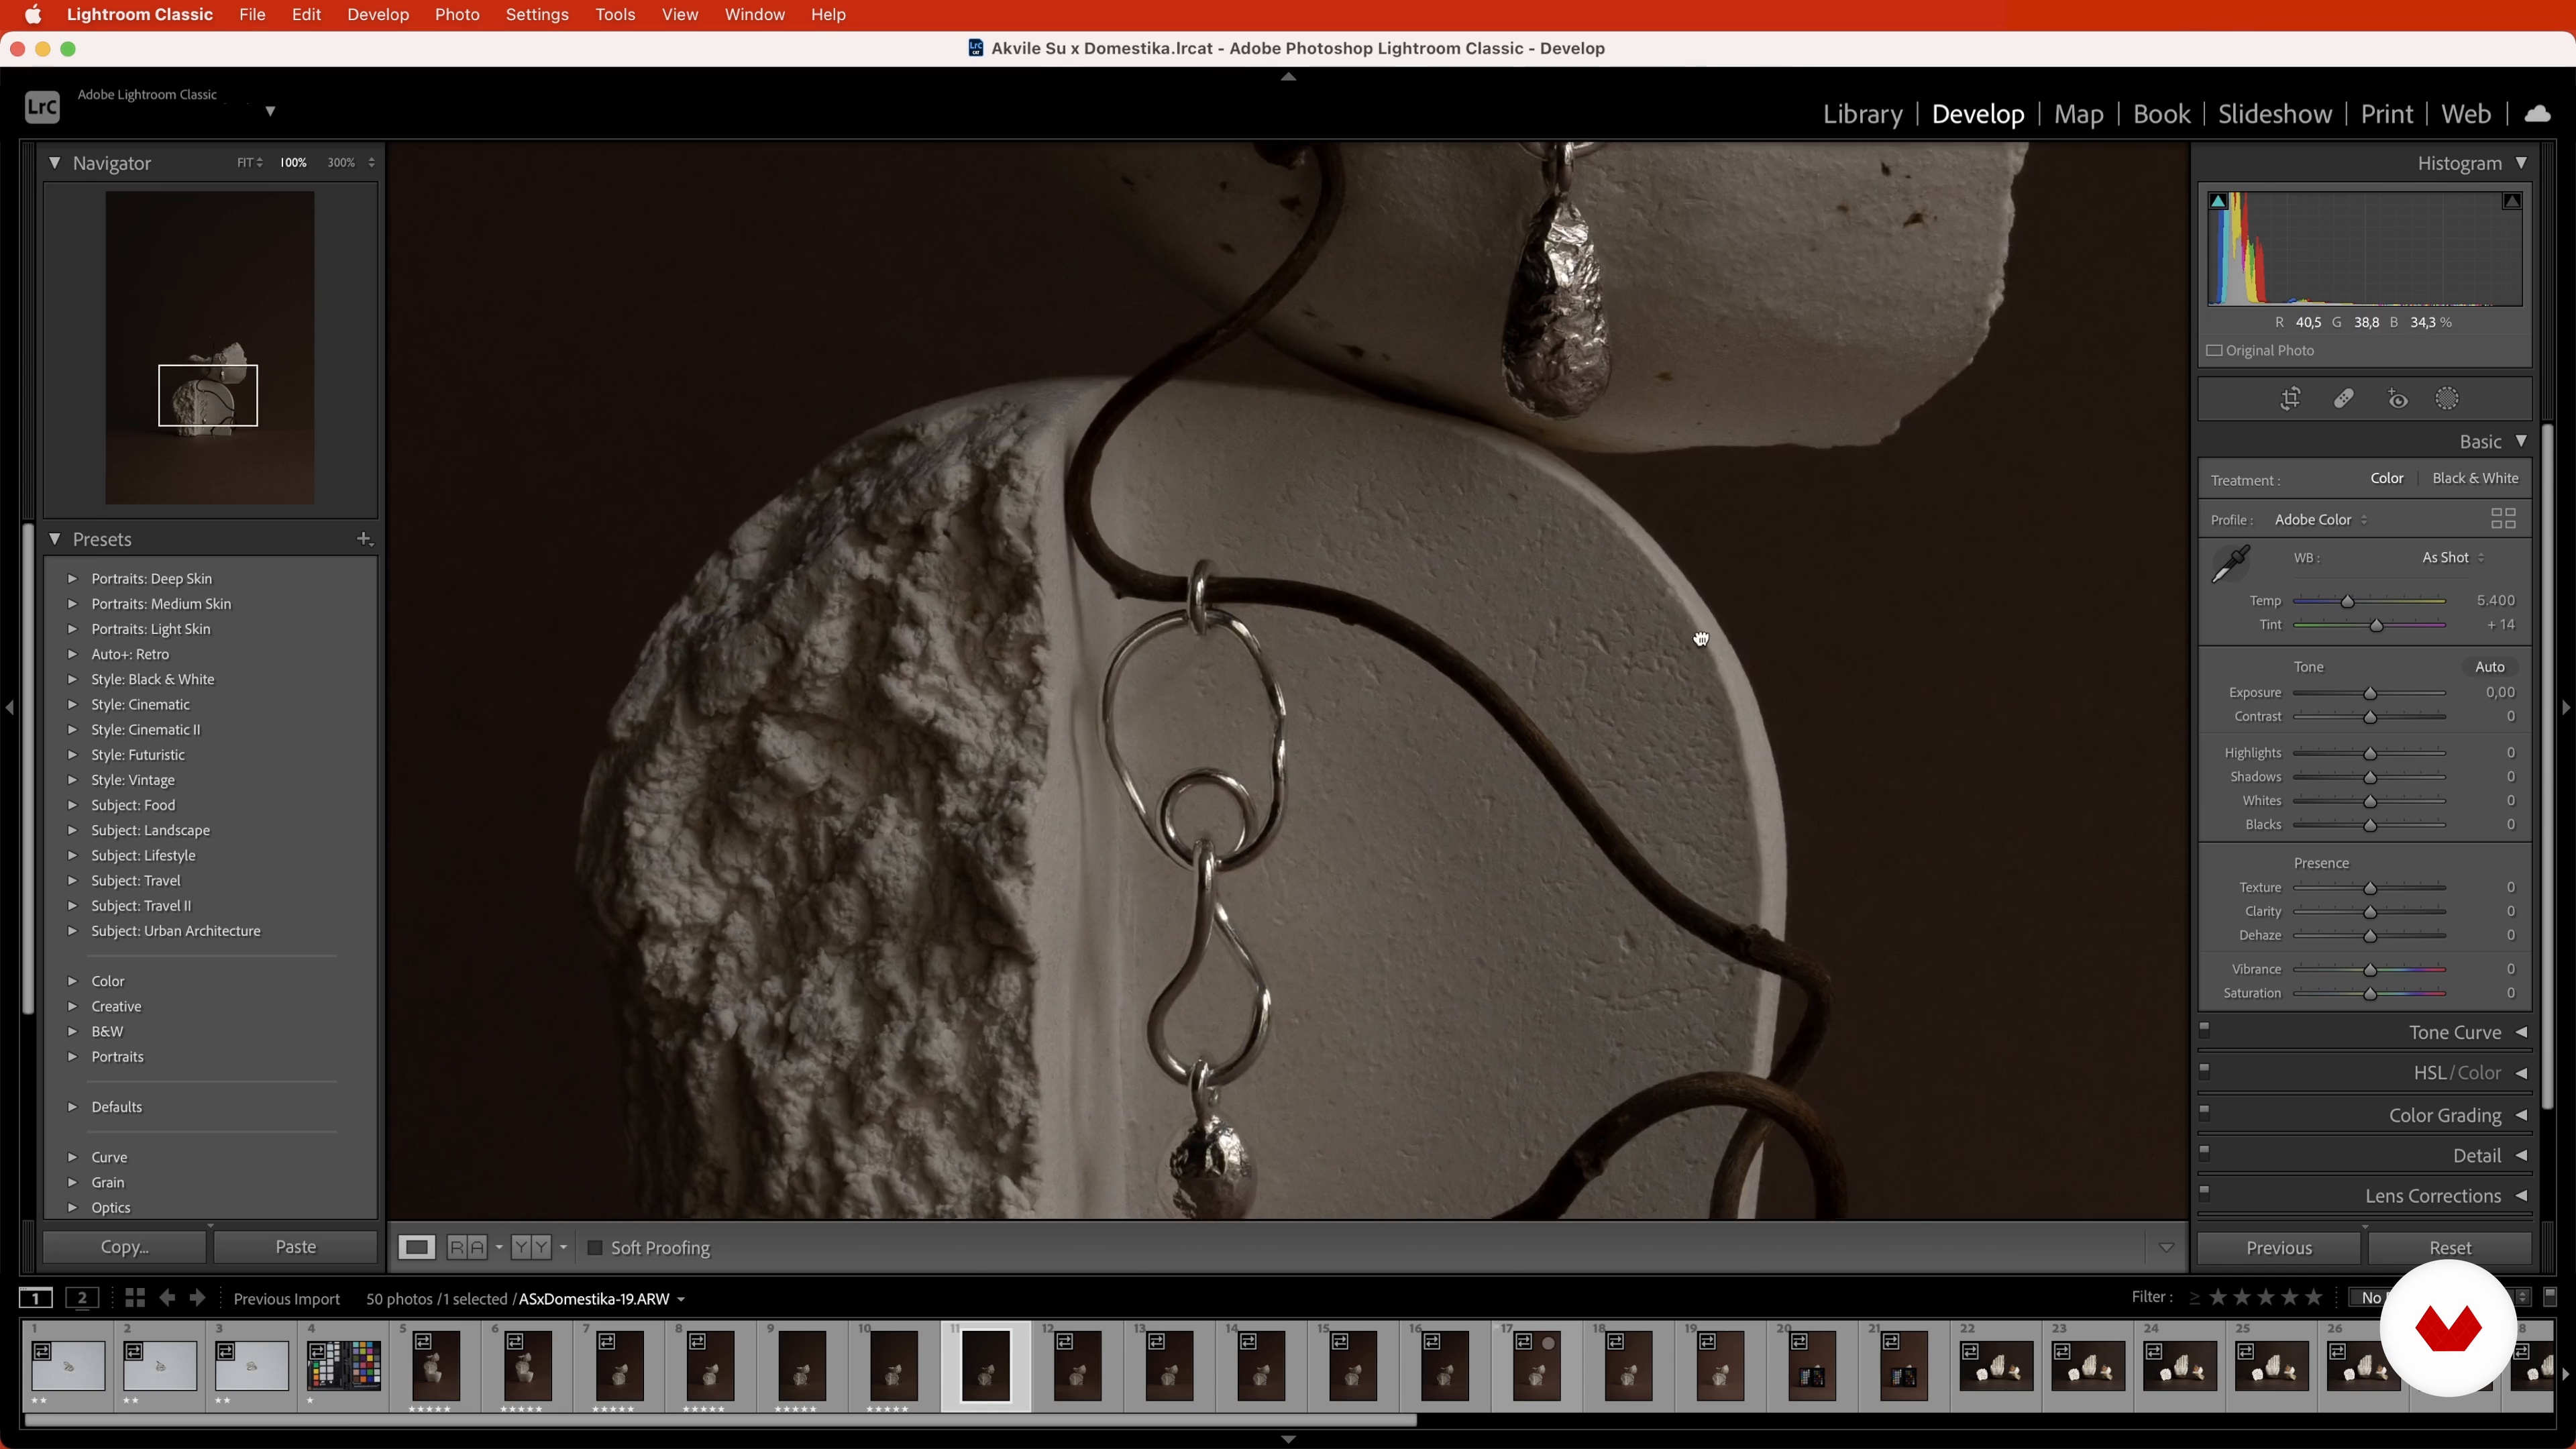
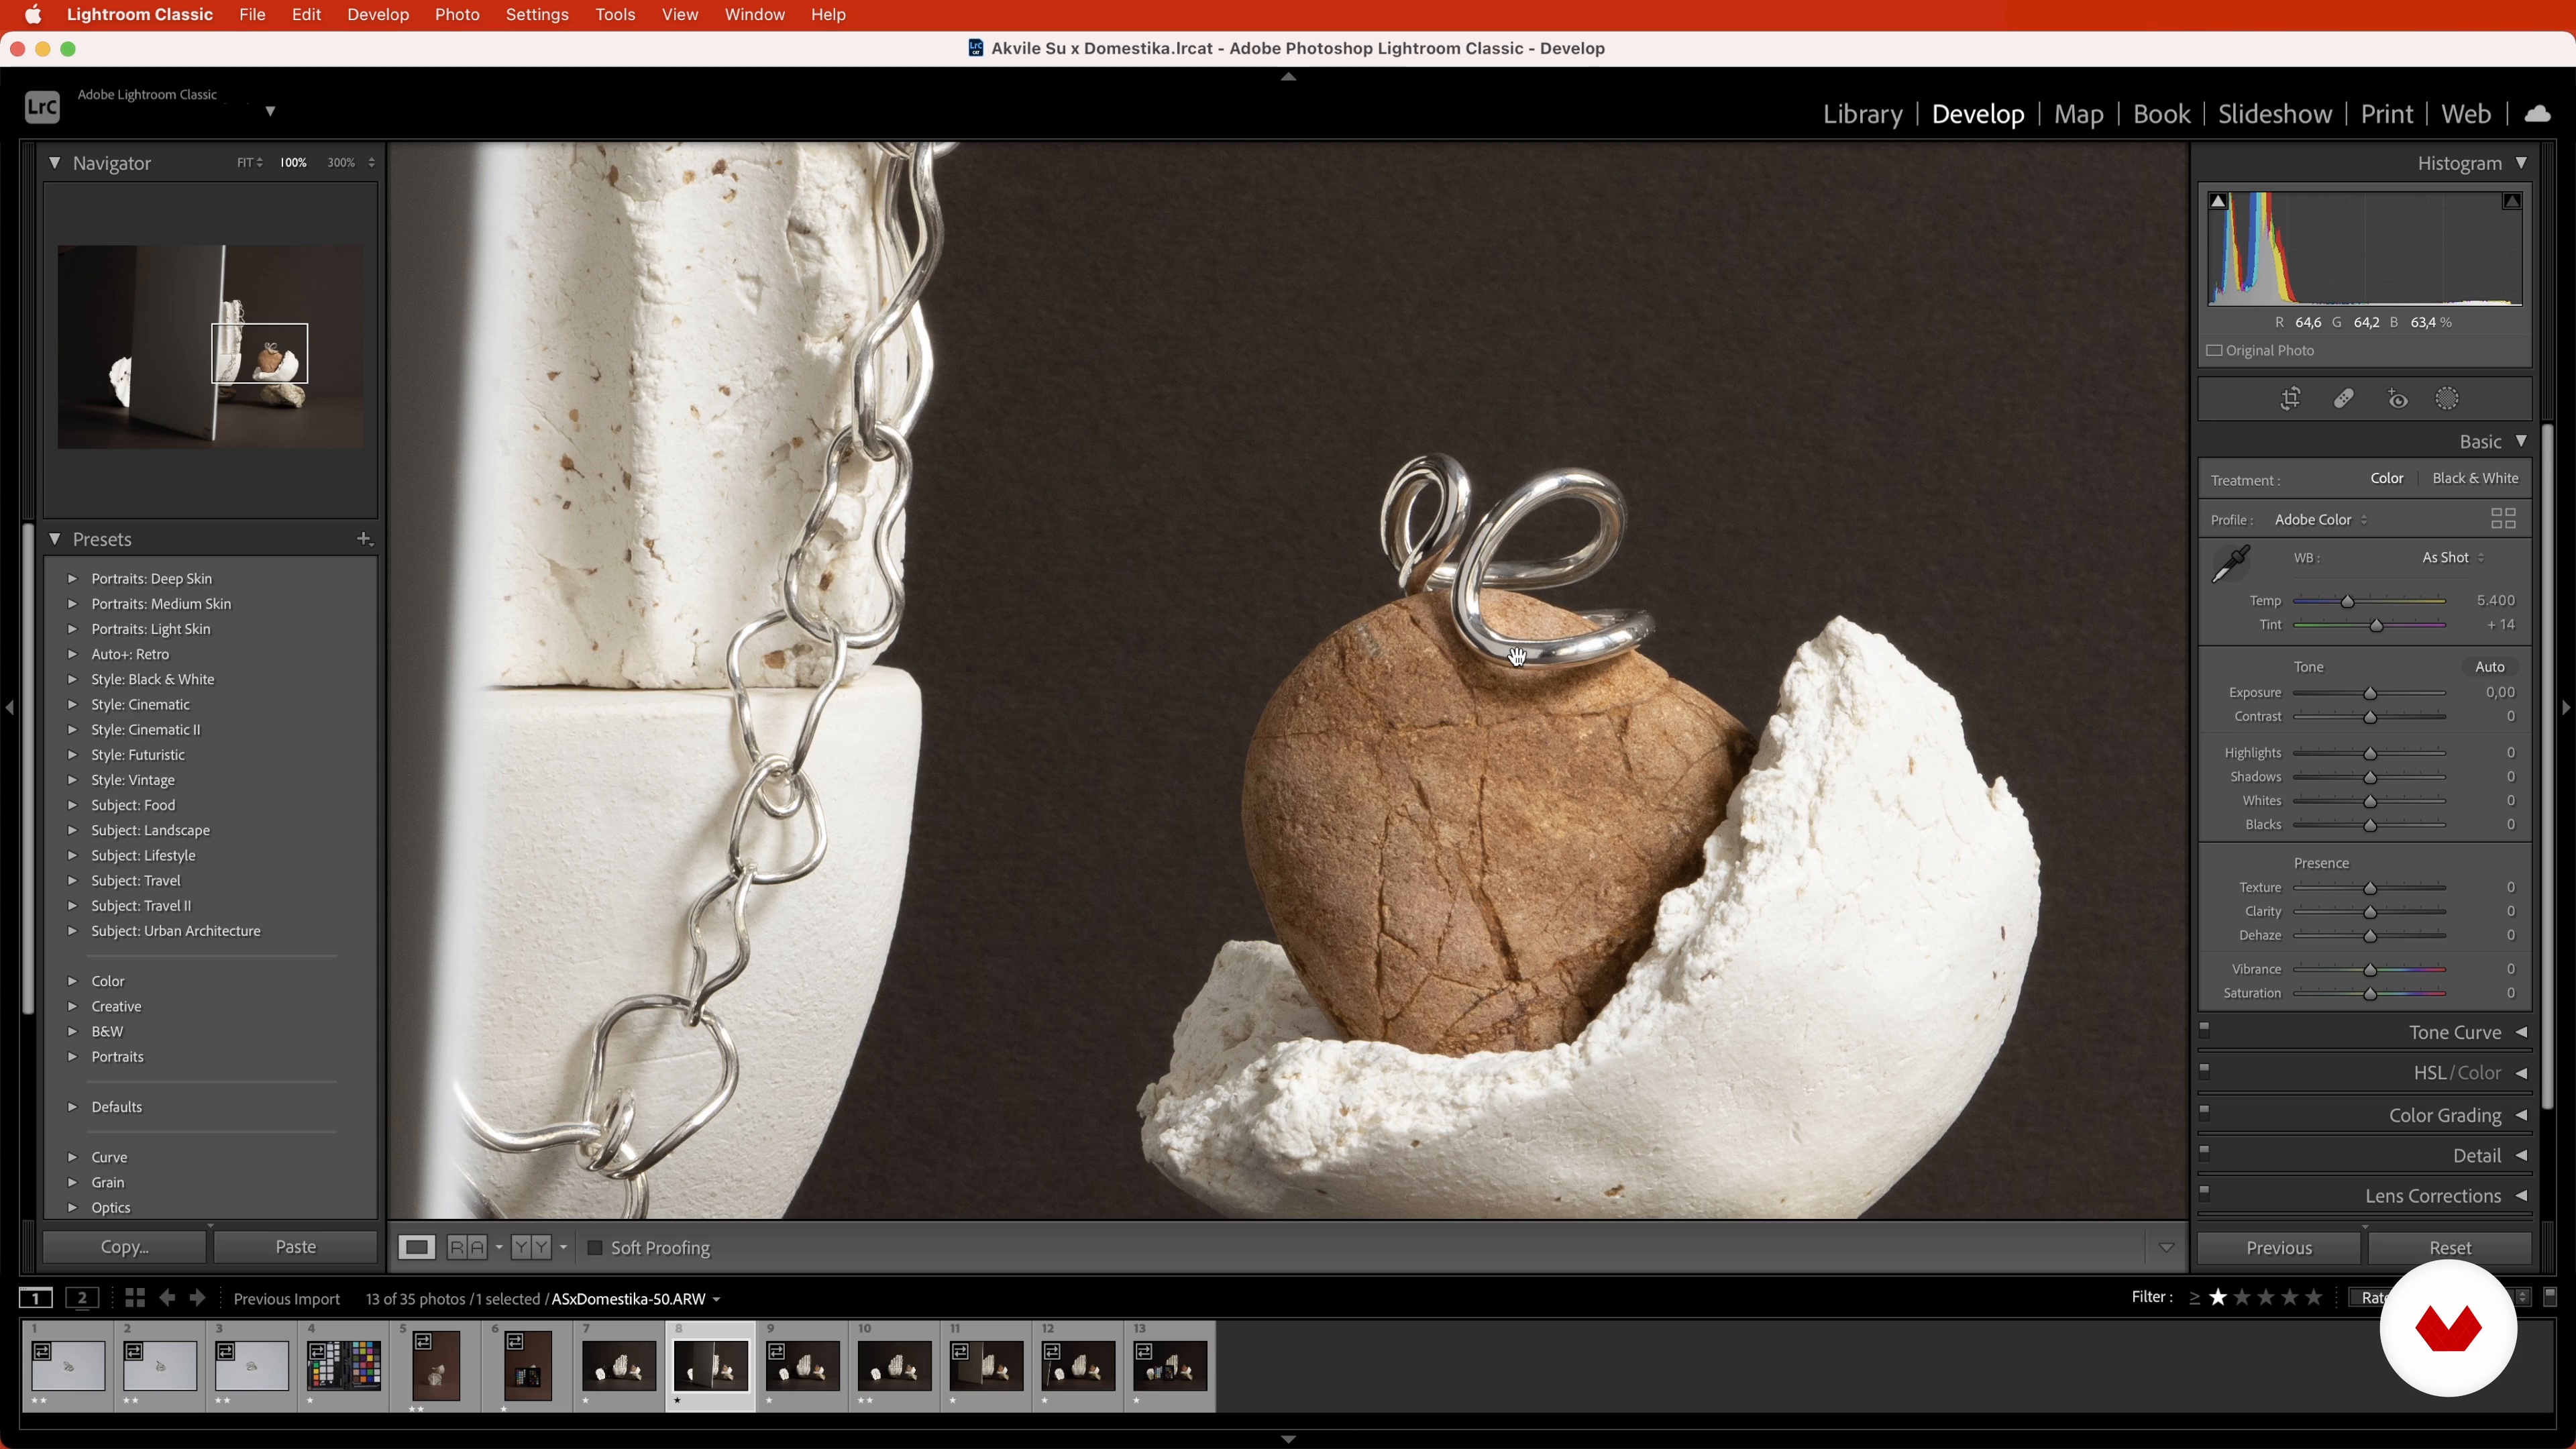
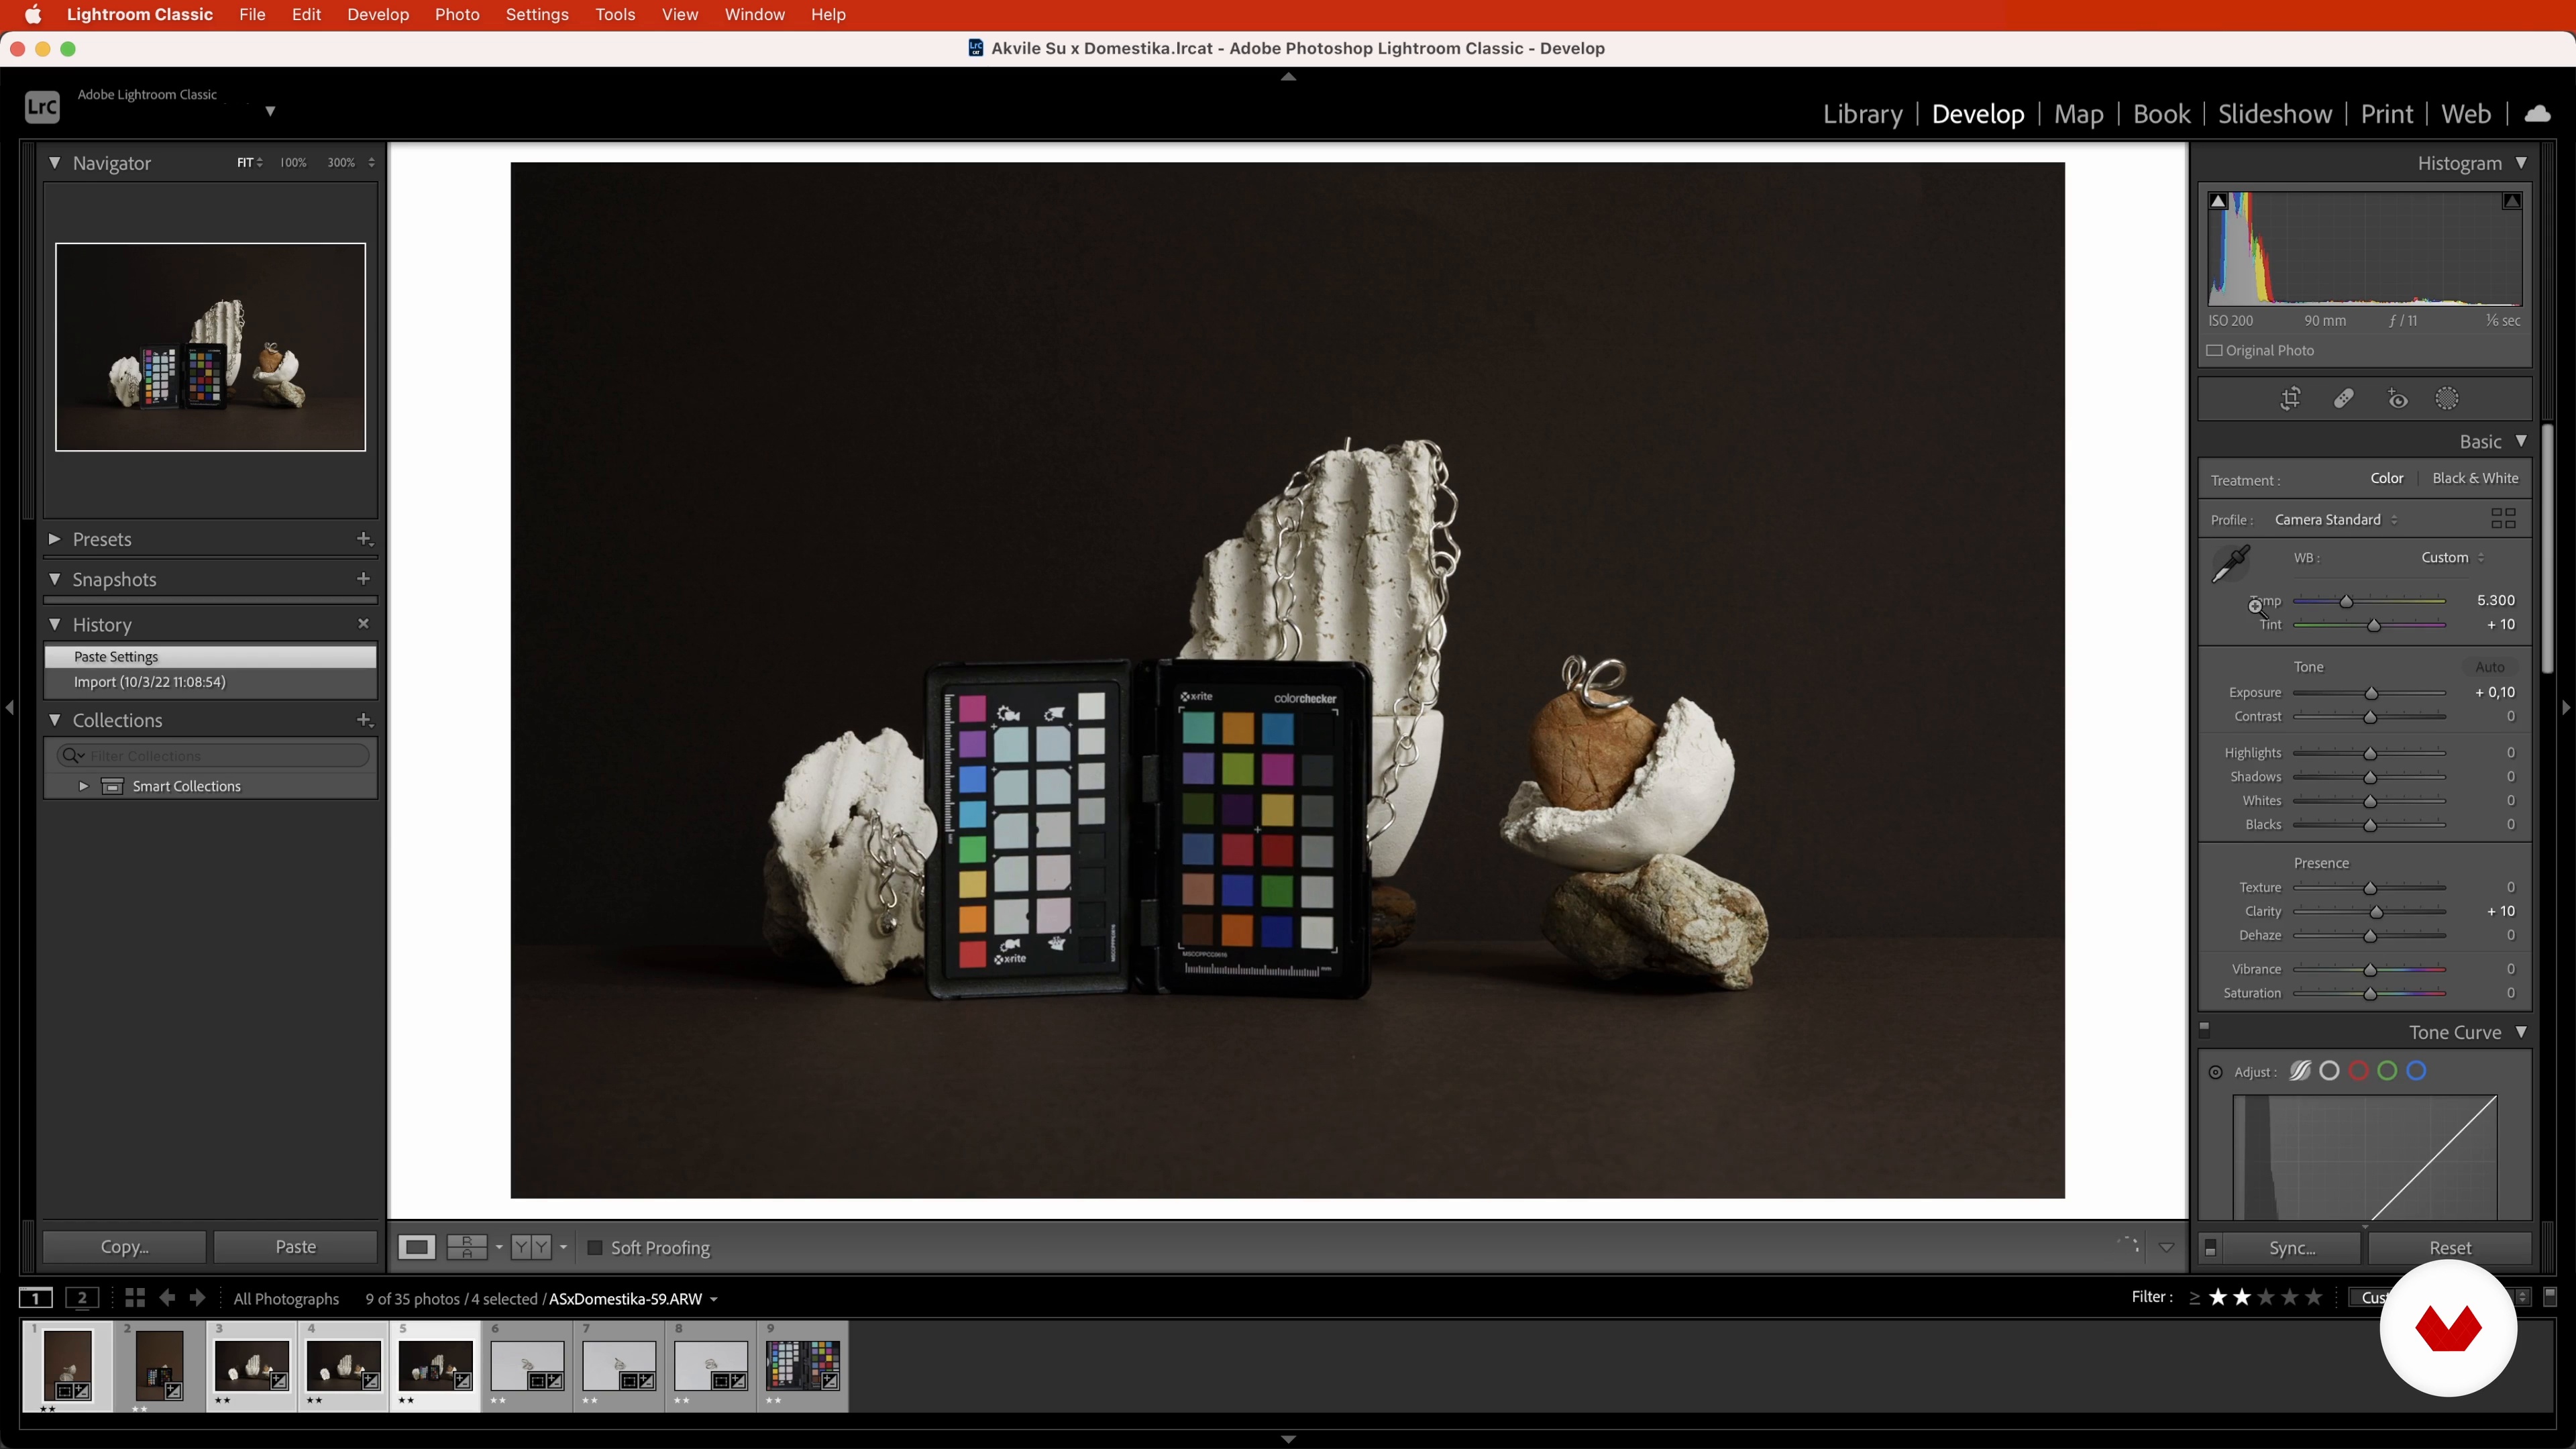
In this lesson, you’ll learn how to colour correct your images in Adobe Lightroom Classic with an explanation of how your environment can affect your editing.
18m
image
15
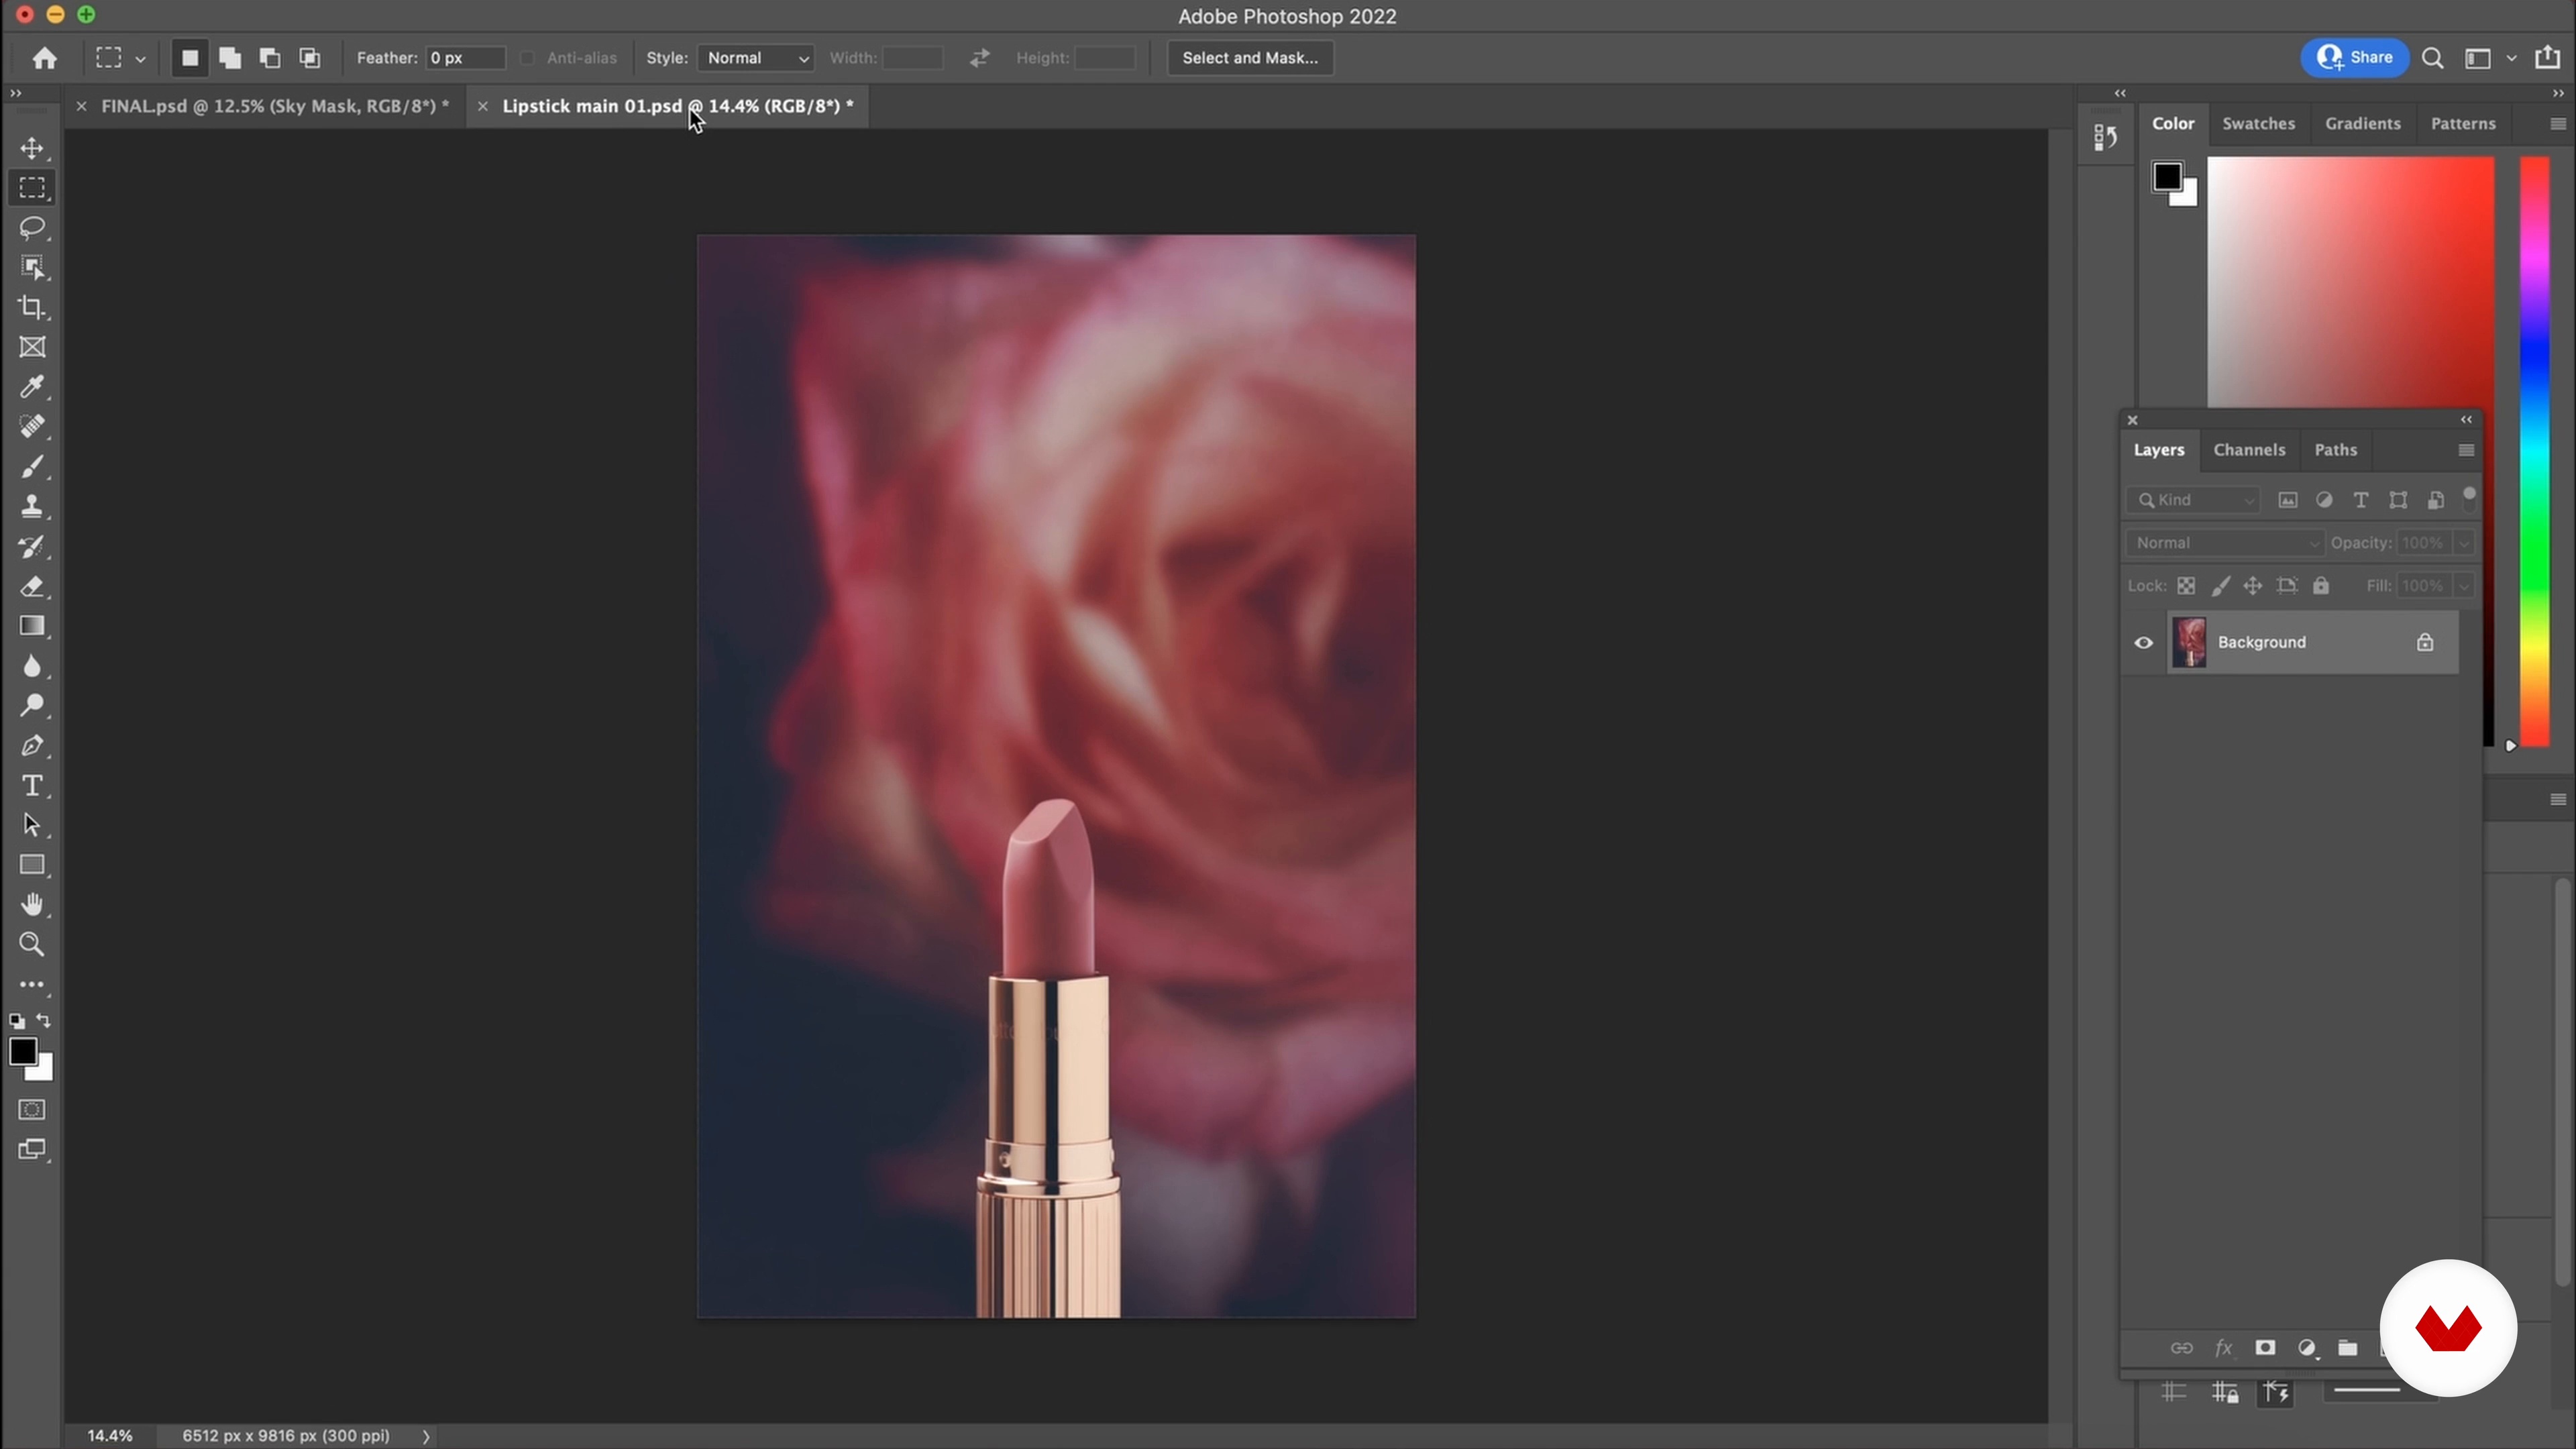
Finishing Touches in Adobe Photoshop
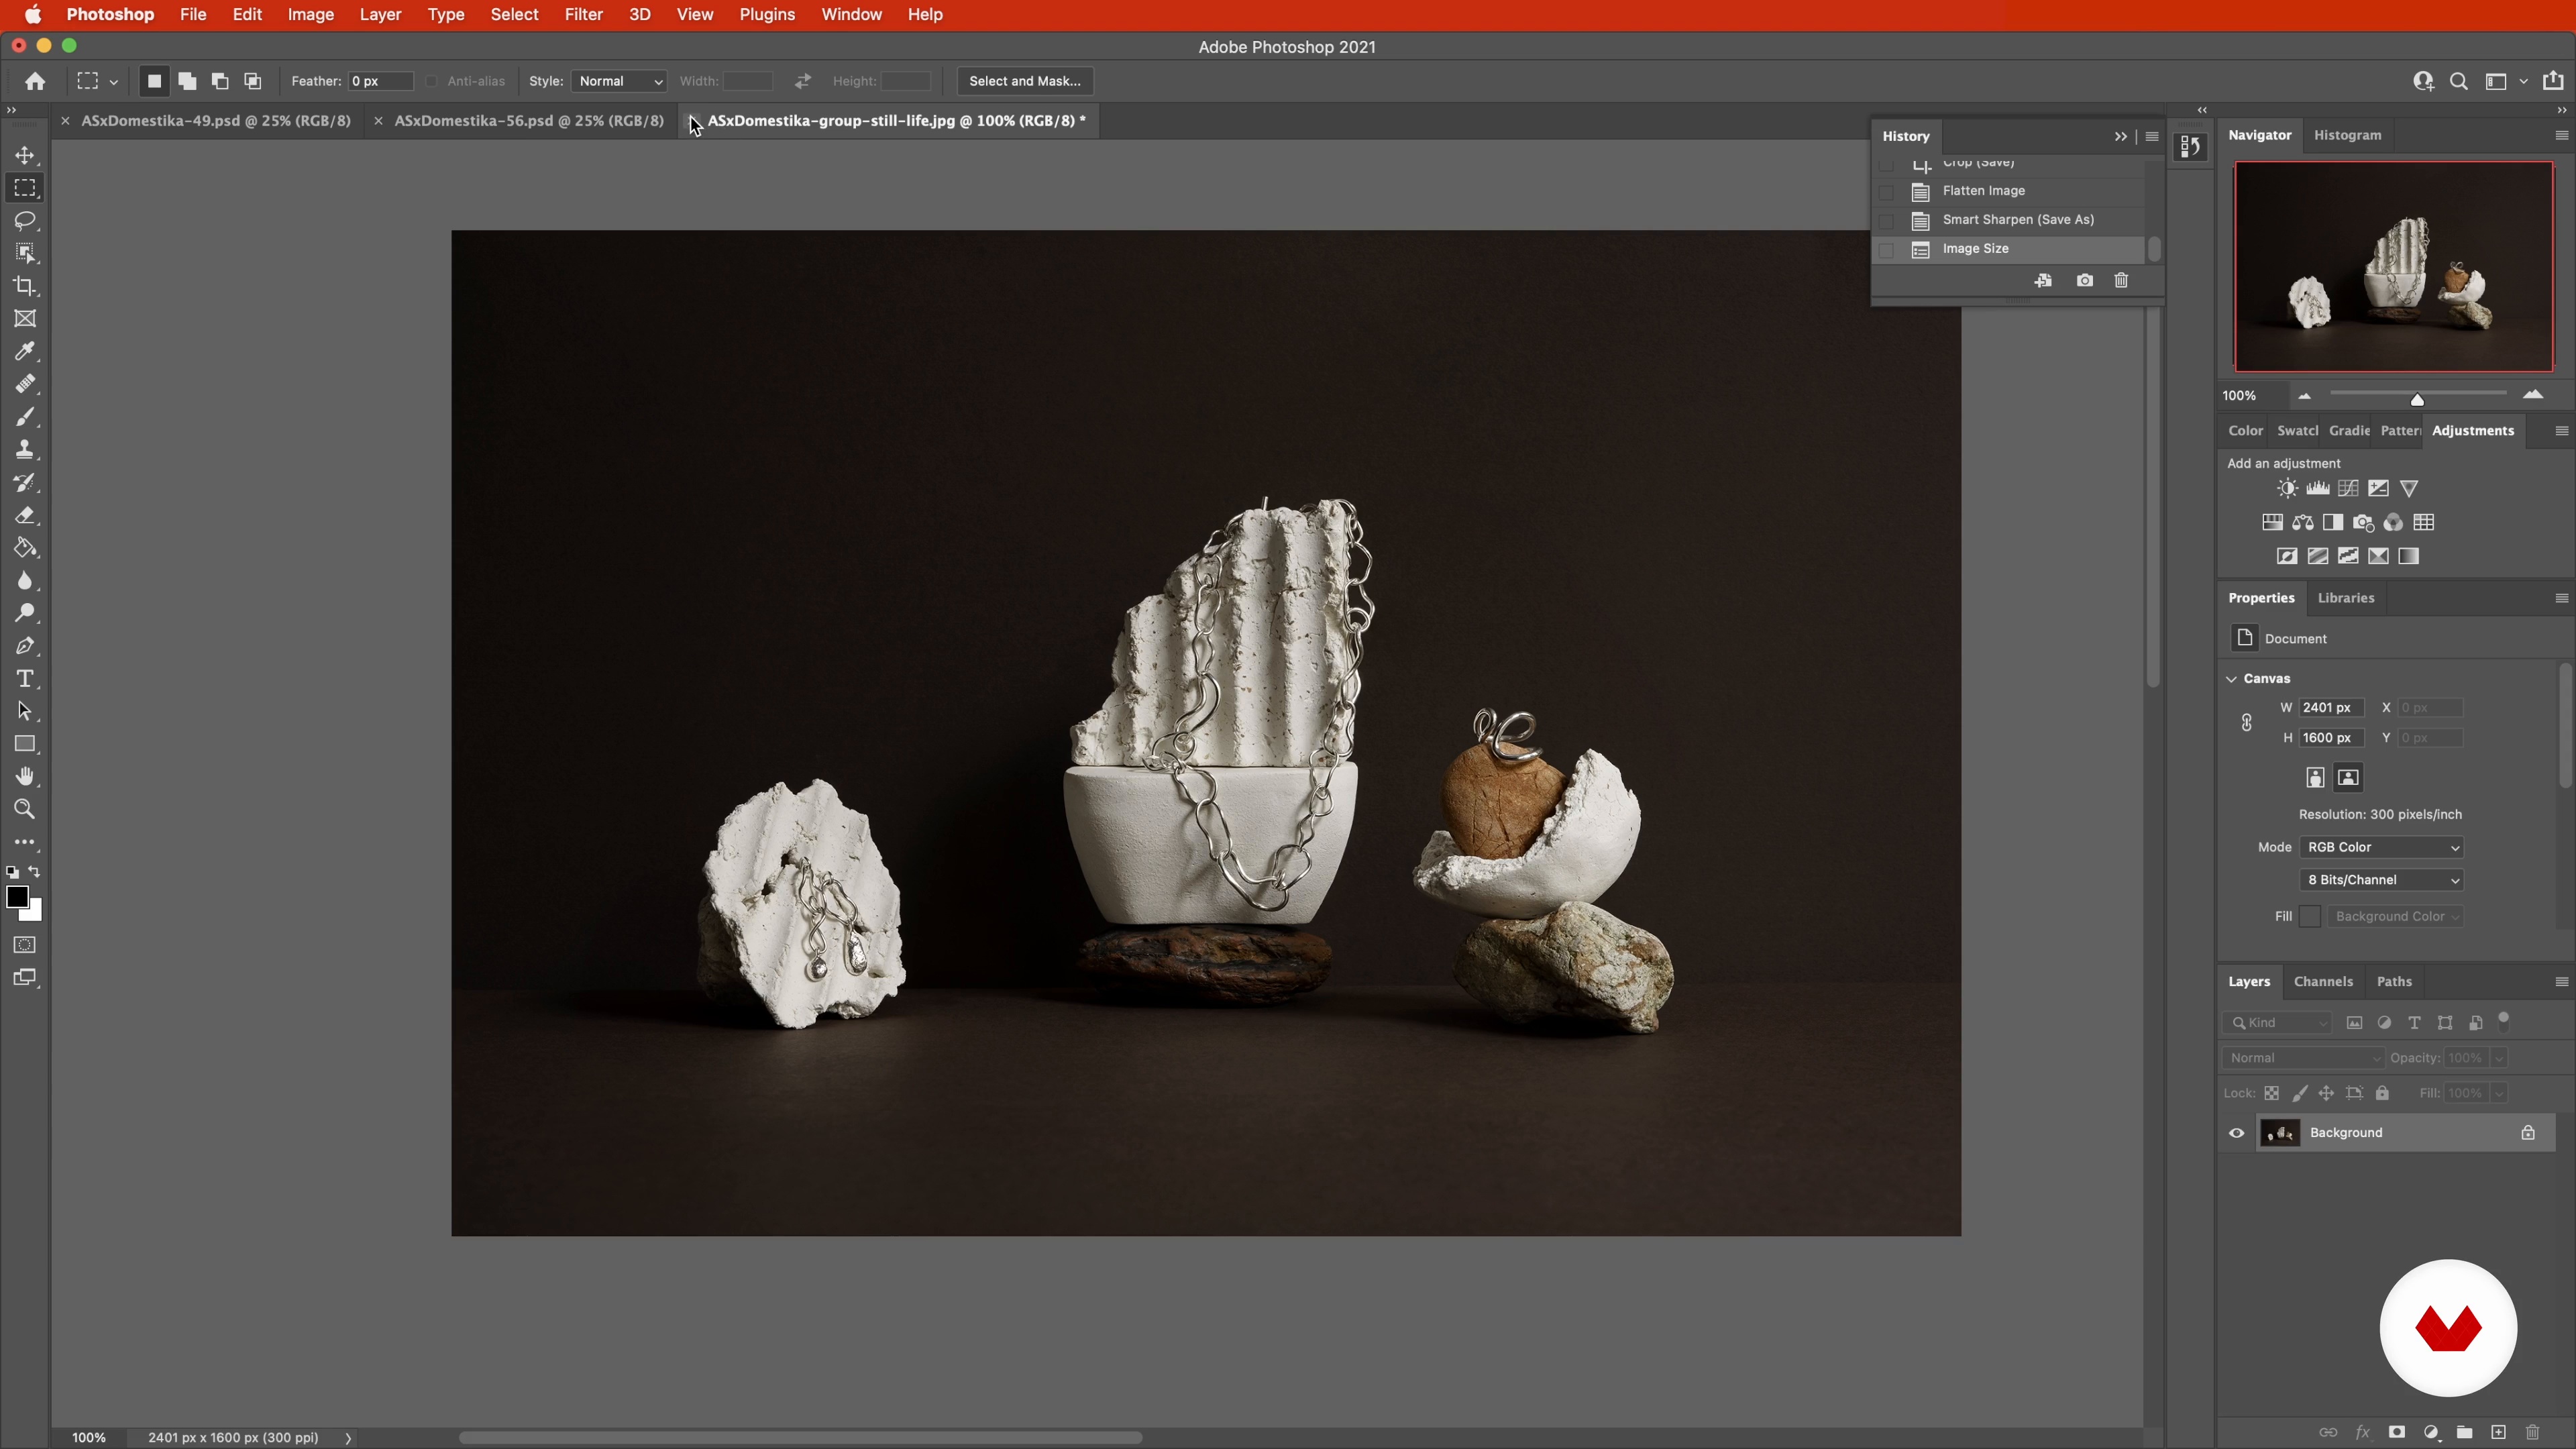
Finally, I will teach you how to clean up your images in Adobe Photoshop and enhance them even further using adjustment layers and masks.
16m
  • 84 students
  • 74 lessons (12h 10m)
  • 85 additional resources (21 files)
  • Online and at your own pace
  • Audio: English, Spanish
  • Spanish · English · Portuguese · German · French · Italian · Polish · Dutch
  • Level: Beginner
  • Unlimited access forever

What is this course's project?

Create a stunning product photography project by mastering creative direction, lighting, and composition. Develop impressive images that elevate brand identity. You'll complete a portfolio showcasing diverse styles and techniques, perfect for real-world branding and advertising needs.

Who is this specialization for?

Photographers, designers, and creatives seeking to master the art of product photography will find this specialization ideal. It offers a comprehensive learning experience focused on conceptual, visually impactful images that highlight brand identity and emotion through lighting, styling, and storytelling.

Requirements and materials

No extensive experience needed, just enthusiasm for product photography. A camera, basic lighting equipment, and editing software will be your tools. Familiarity with photography concepts helps, but creativity and willingness to explore are your best assets.

Select to get to know your teachers in this specialization course
Read more ↓

What to expect from this specialization course

  • Learn at your own pace

    Enjoy learning from home without a set schedule and with an easy-to-follow method. You set your own pace.

  • Learn from the best professionals

    Learn valuable methods and techniques explained by top experts in the creative sector.

  • Meet expert teachers

    Each expert teaches what they do best, with clear guidelines, true passion, and professional insight in every lesson.

  • Certificates
    Plus

    If you're a Plus member, get a custom certificate for every specialization course. Share it on your portfolio, social media, or wherever you like.

  • Get front-row seats

    Videos of the highest quality, so you don't miss a single detail. With unlimited access, you can watch them as many times as you need to perfect your technique.

  • Share knowledge and ideas

    Ask questions, request feedback, or offer solutions. Share your learning experience with other students in the community who are as passionate about creativity as you are.

  • Connect with a global creative community

    The community is home to millions of people from around the world who are curious and passionate about exploring and expressing their creativity.

  • Watch professionally produced courses

    Domestika curates its teacher roster and produces every course in-house to ensure a high-quality online learning experience.


FAQs

Domestika's specialization courses are online classes that provide you with the tools and skills you need to complete a specific project. Every step of the project combines video lessons with complementary instructional material, so you can learn by doing. Domestika's specializations also allow you to share your own projects with other students, creating a dynamic course community.

All specialization courses are 100% online, so once they're published, specialization courses start and finish whenever you want. You set the pace of the class. You can go back to review what interests you most and skip what you already know, ask questions, answer questions, share your projects, and more.

The specialization courses are divided into different modules. Each one includes lessons, informational text, tasks, and practice exercises to help you carry out your project step by step, with additional complementary resources and downloads. You'll also have access to an exclusive forum where you can interact with other students, as well as share your work and your final project, creating a community around the specialization course.

You can redeem the specialization course you received by accessing the redeeming page and entering your gift code.

If you're a Plus member, when you complete a course you've purchased, you'll instantly get your personalized certificate. You can see all your certificates in the Certificates section of your profile. You can download your certificates as PDFs and share the link online. Learn more about certificates.
Product Photography Specialization: Lighting, Styling, and Storytelling. Photography, and Video course by Domestika

Product Photography Specialization: Lighting, Styling, and Storytelling

A specialization by multiple teachers
Berkeley, United States.
Joined April 2002
  • 84 students