Specialization

Manga Character Illustration Specialization

Design manga characters by integrating anatomy, proportions, and expressions to create unique and distinctive personalities

Specialization · 6 modules

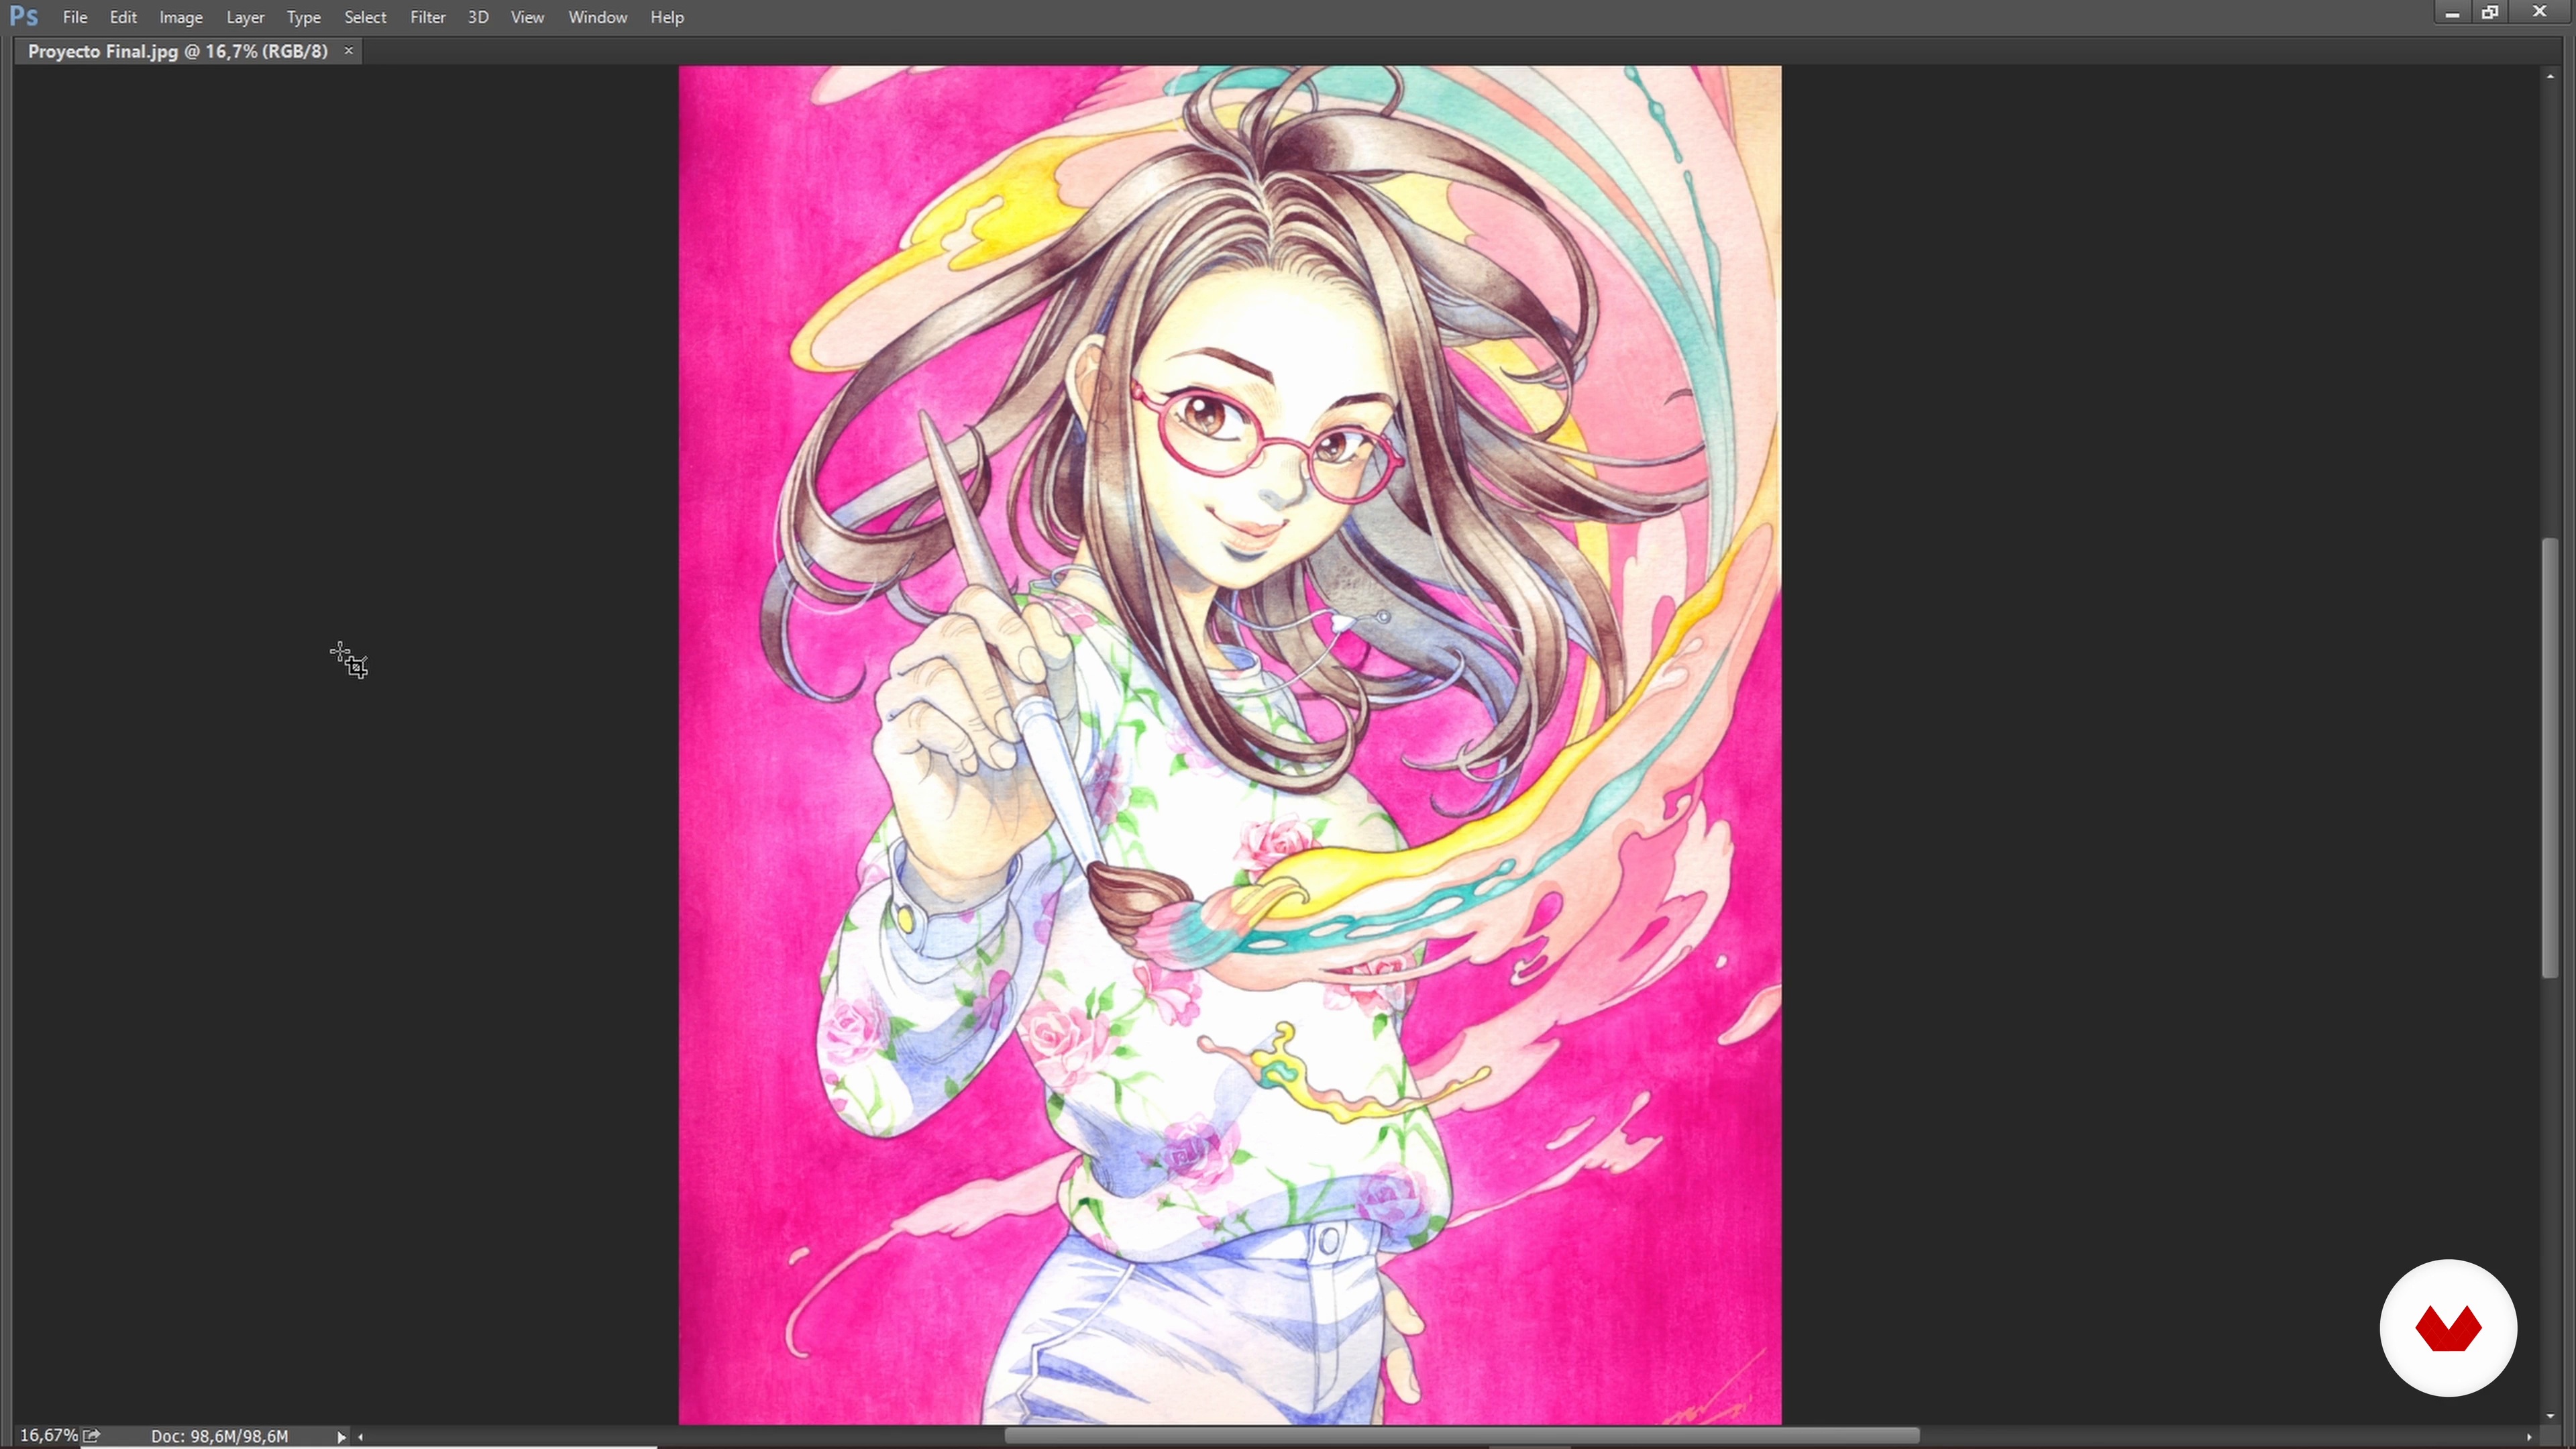
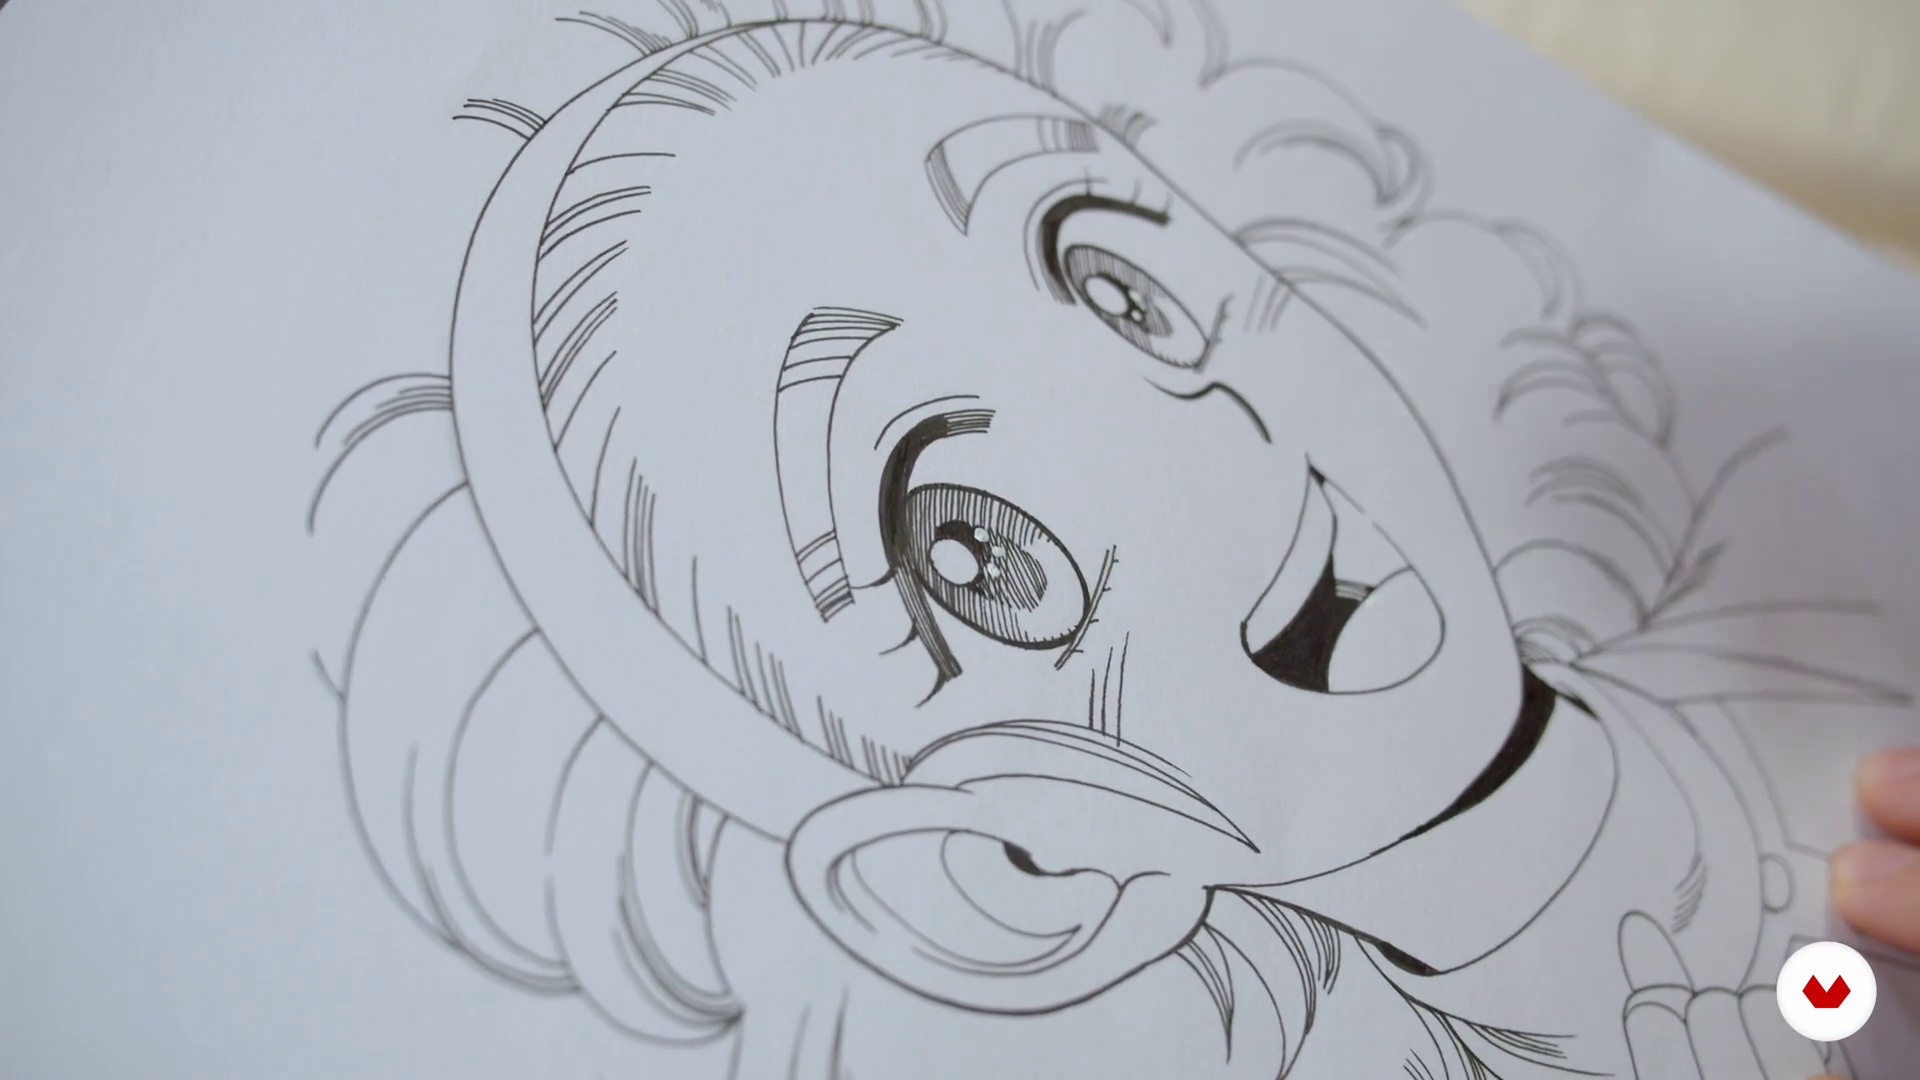
Delve into the fascinating world of manga character illustration with a specialization designed to enhance your creative skills. Learn to conceptualize and bring original characters to life, discovering the key anatomy, proportions, and facial expressions that make manga protagonists unique. Develop an authentic style while exploring visual narratives and page structures, essential for telling captivating stories. Experiment with traditional techniques like watercolor to capture emotions and transition to digital coloring, mastering tools and workflows that will enrich your illustrations.

The specialization brings together talented instructors such as Andrea Jen, Akimaro, Carolina Cardona, and Catalina Carlesi, who will guide you step by step in your artistic evolution. From character creation to their integration into visual narratives, you will advance confidently through advanced digital illustration techniques. This journey culminates with the creation of a complete manga project, where you will apply everything you have learned, from conceptual design to final execution. Develop a professional portfolio that reflects your mastery of the manga style, opening doors to new opportunities in the world of art and illustration.

Read more ↓

What will you learn in this specialization?
A total of 6 modules and 74 lessons
A total of 12h 37m of vídeo lessons
Taught by 4 selected expert teachers
image
3
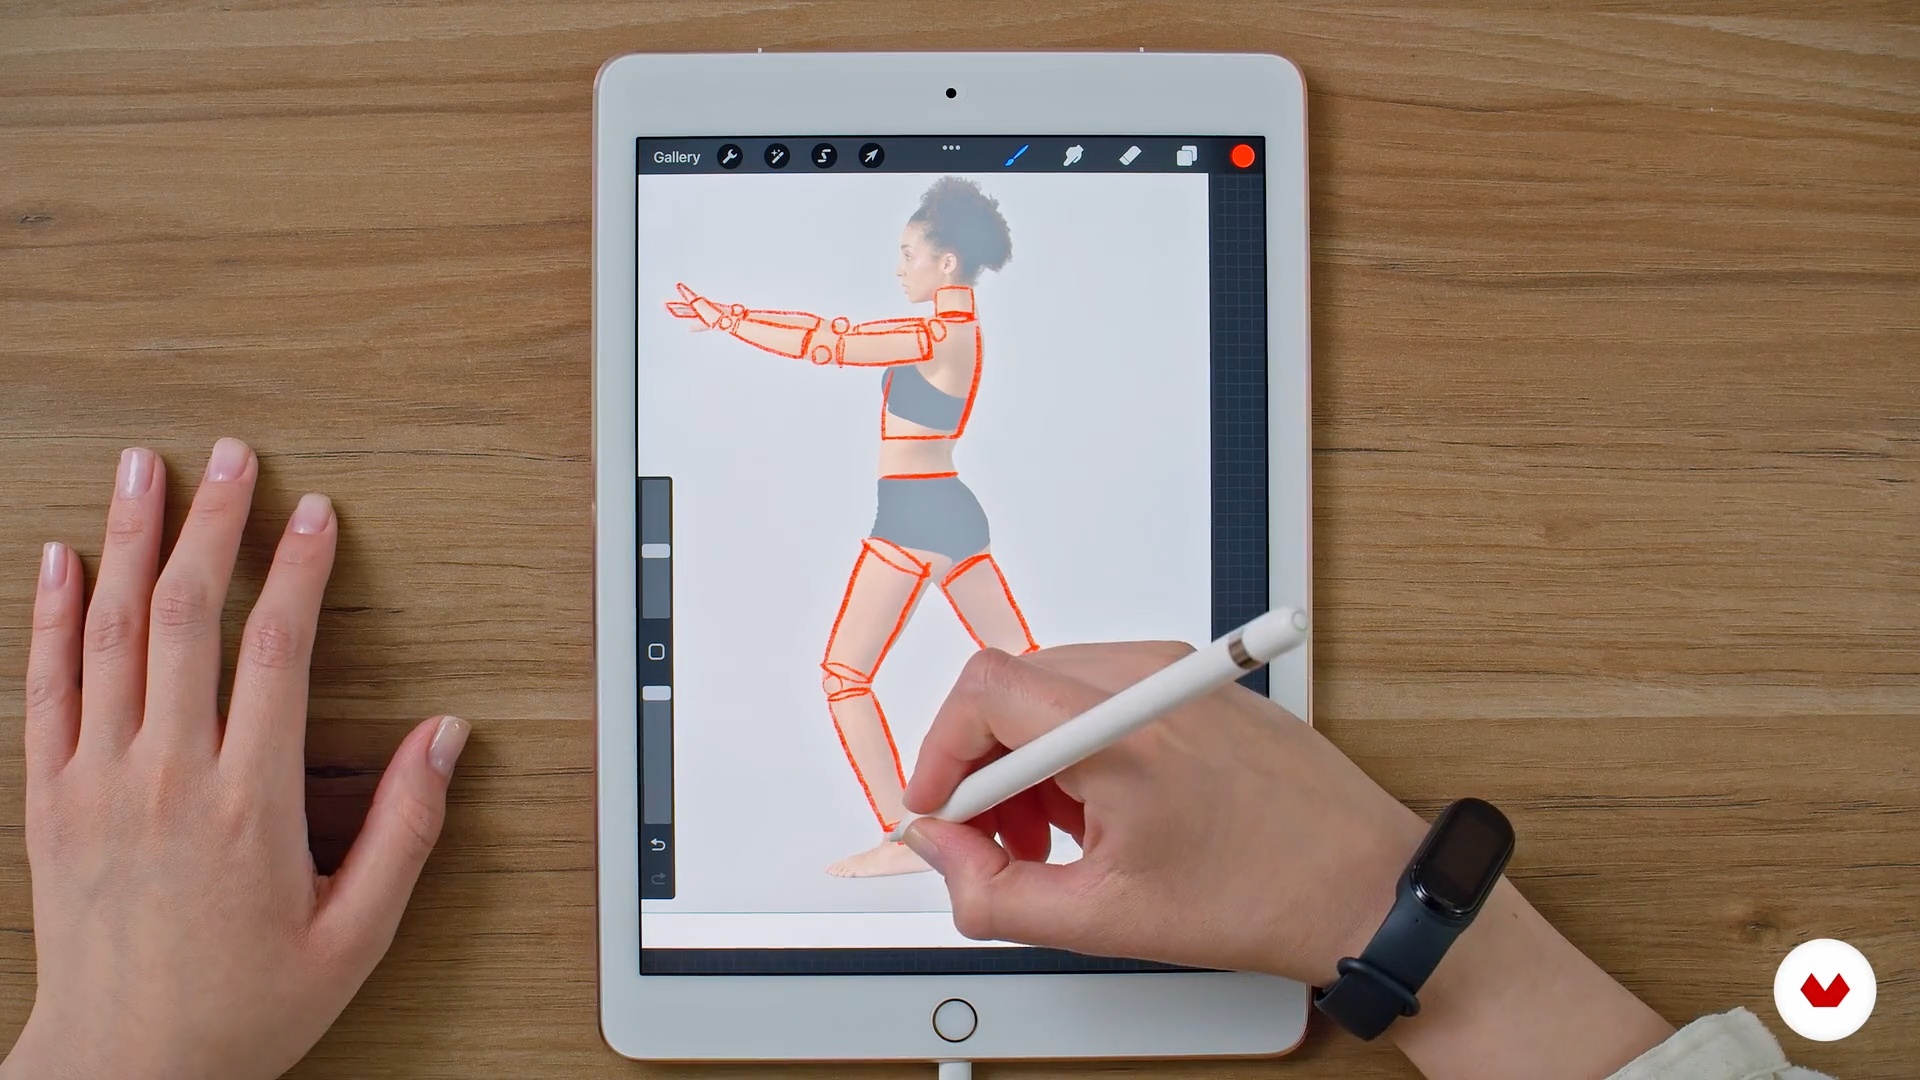
The Characters: the Human Figure 1
In this lesson, you'll learn the basics you'll need to draw a manga-style character. I'll also give you some tips on how to enhance their expressiveness.
16m
image
4
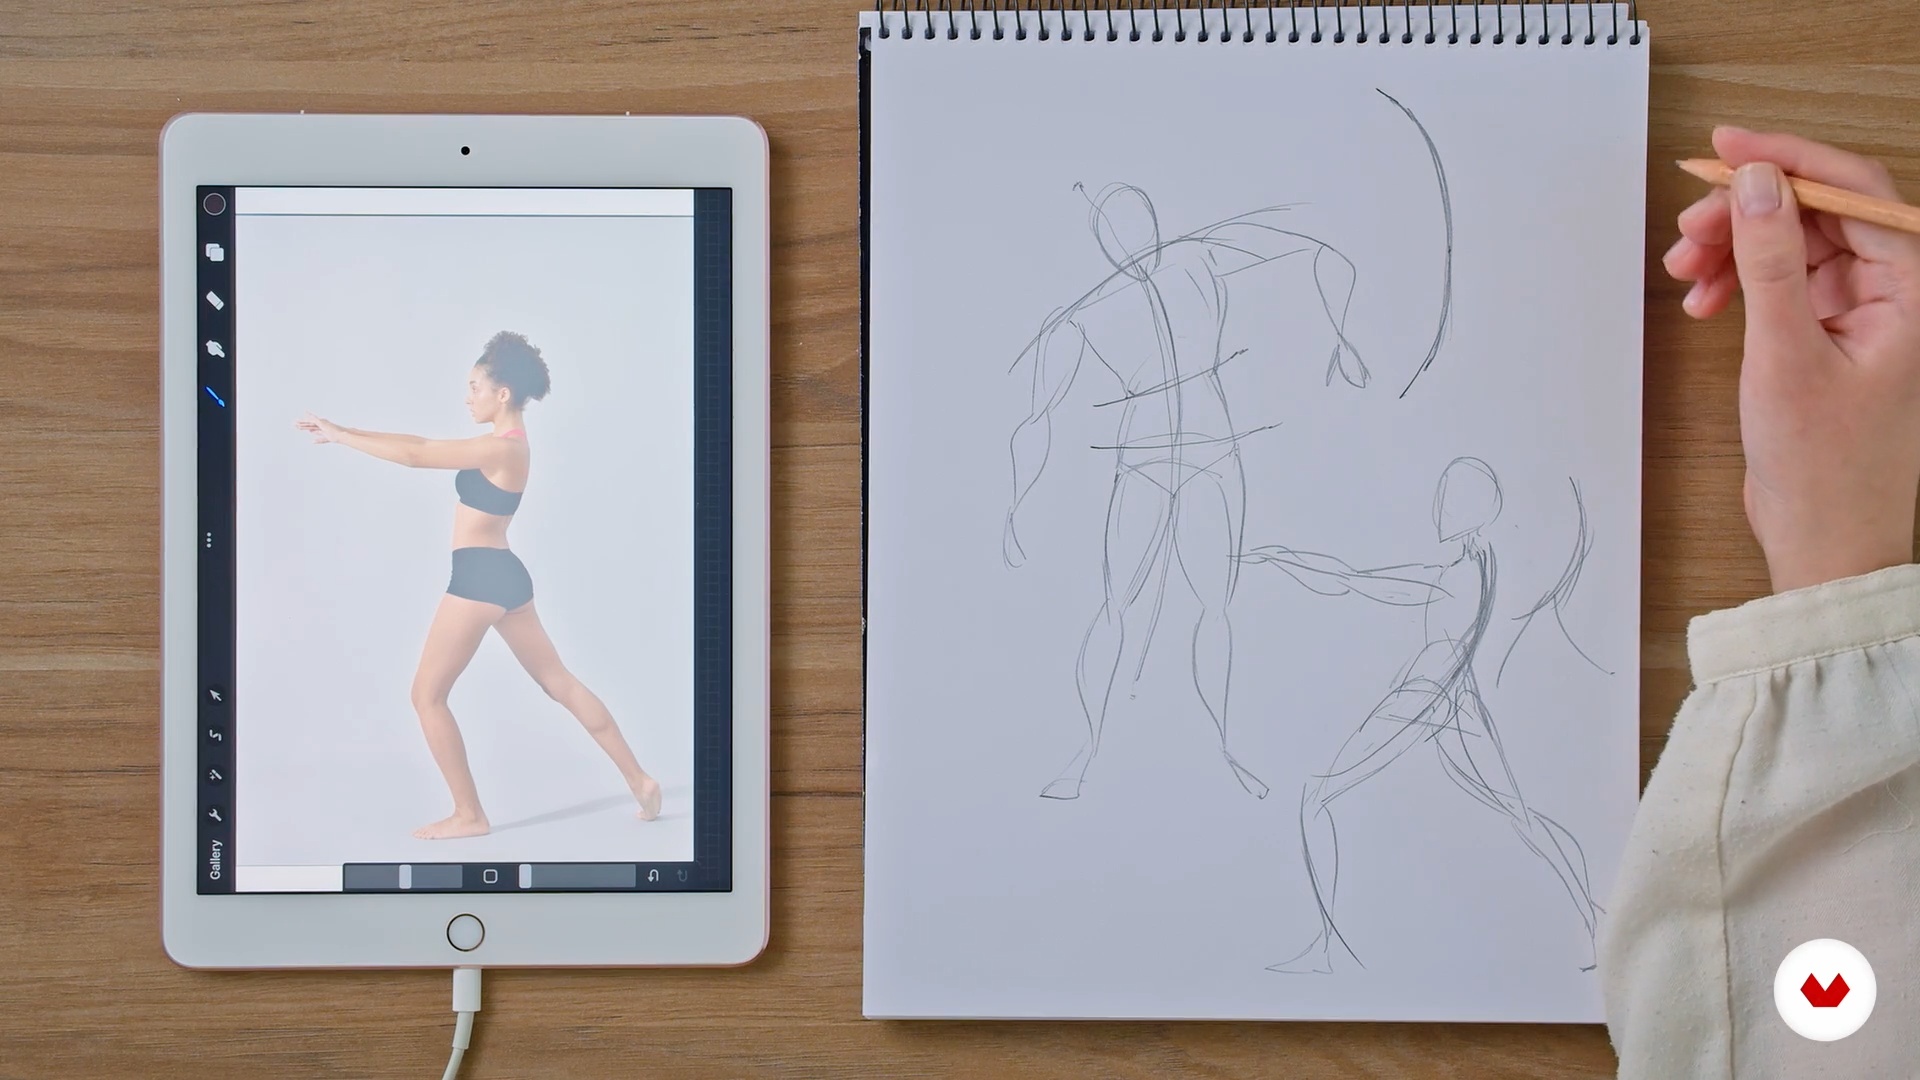
The Characters: the Human Figure 2
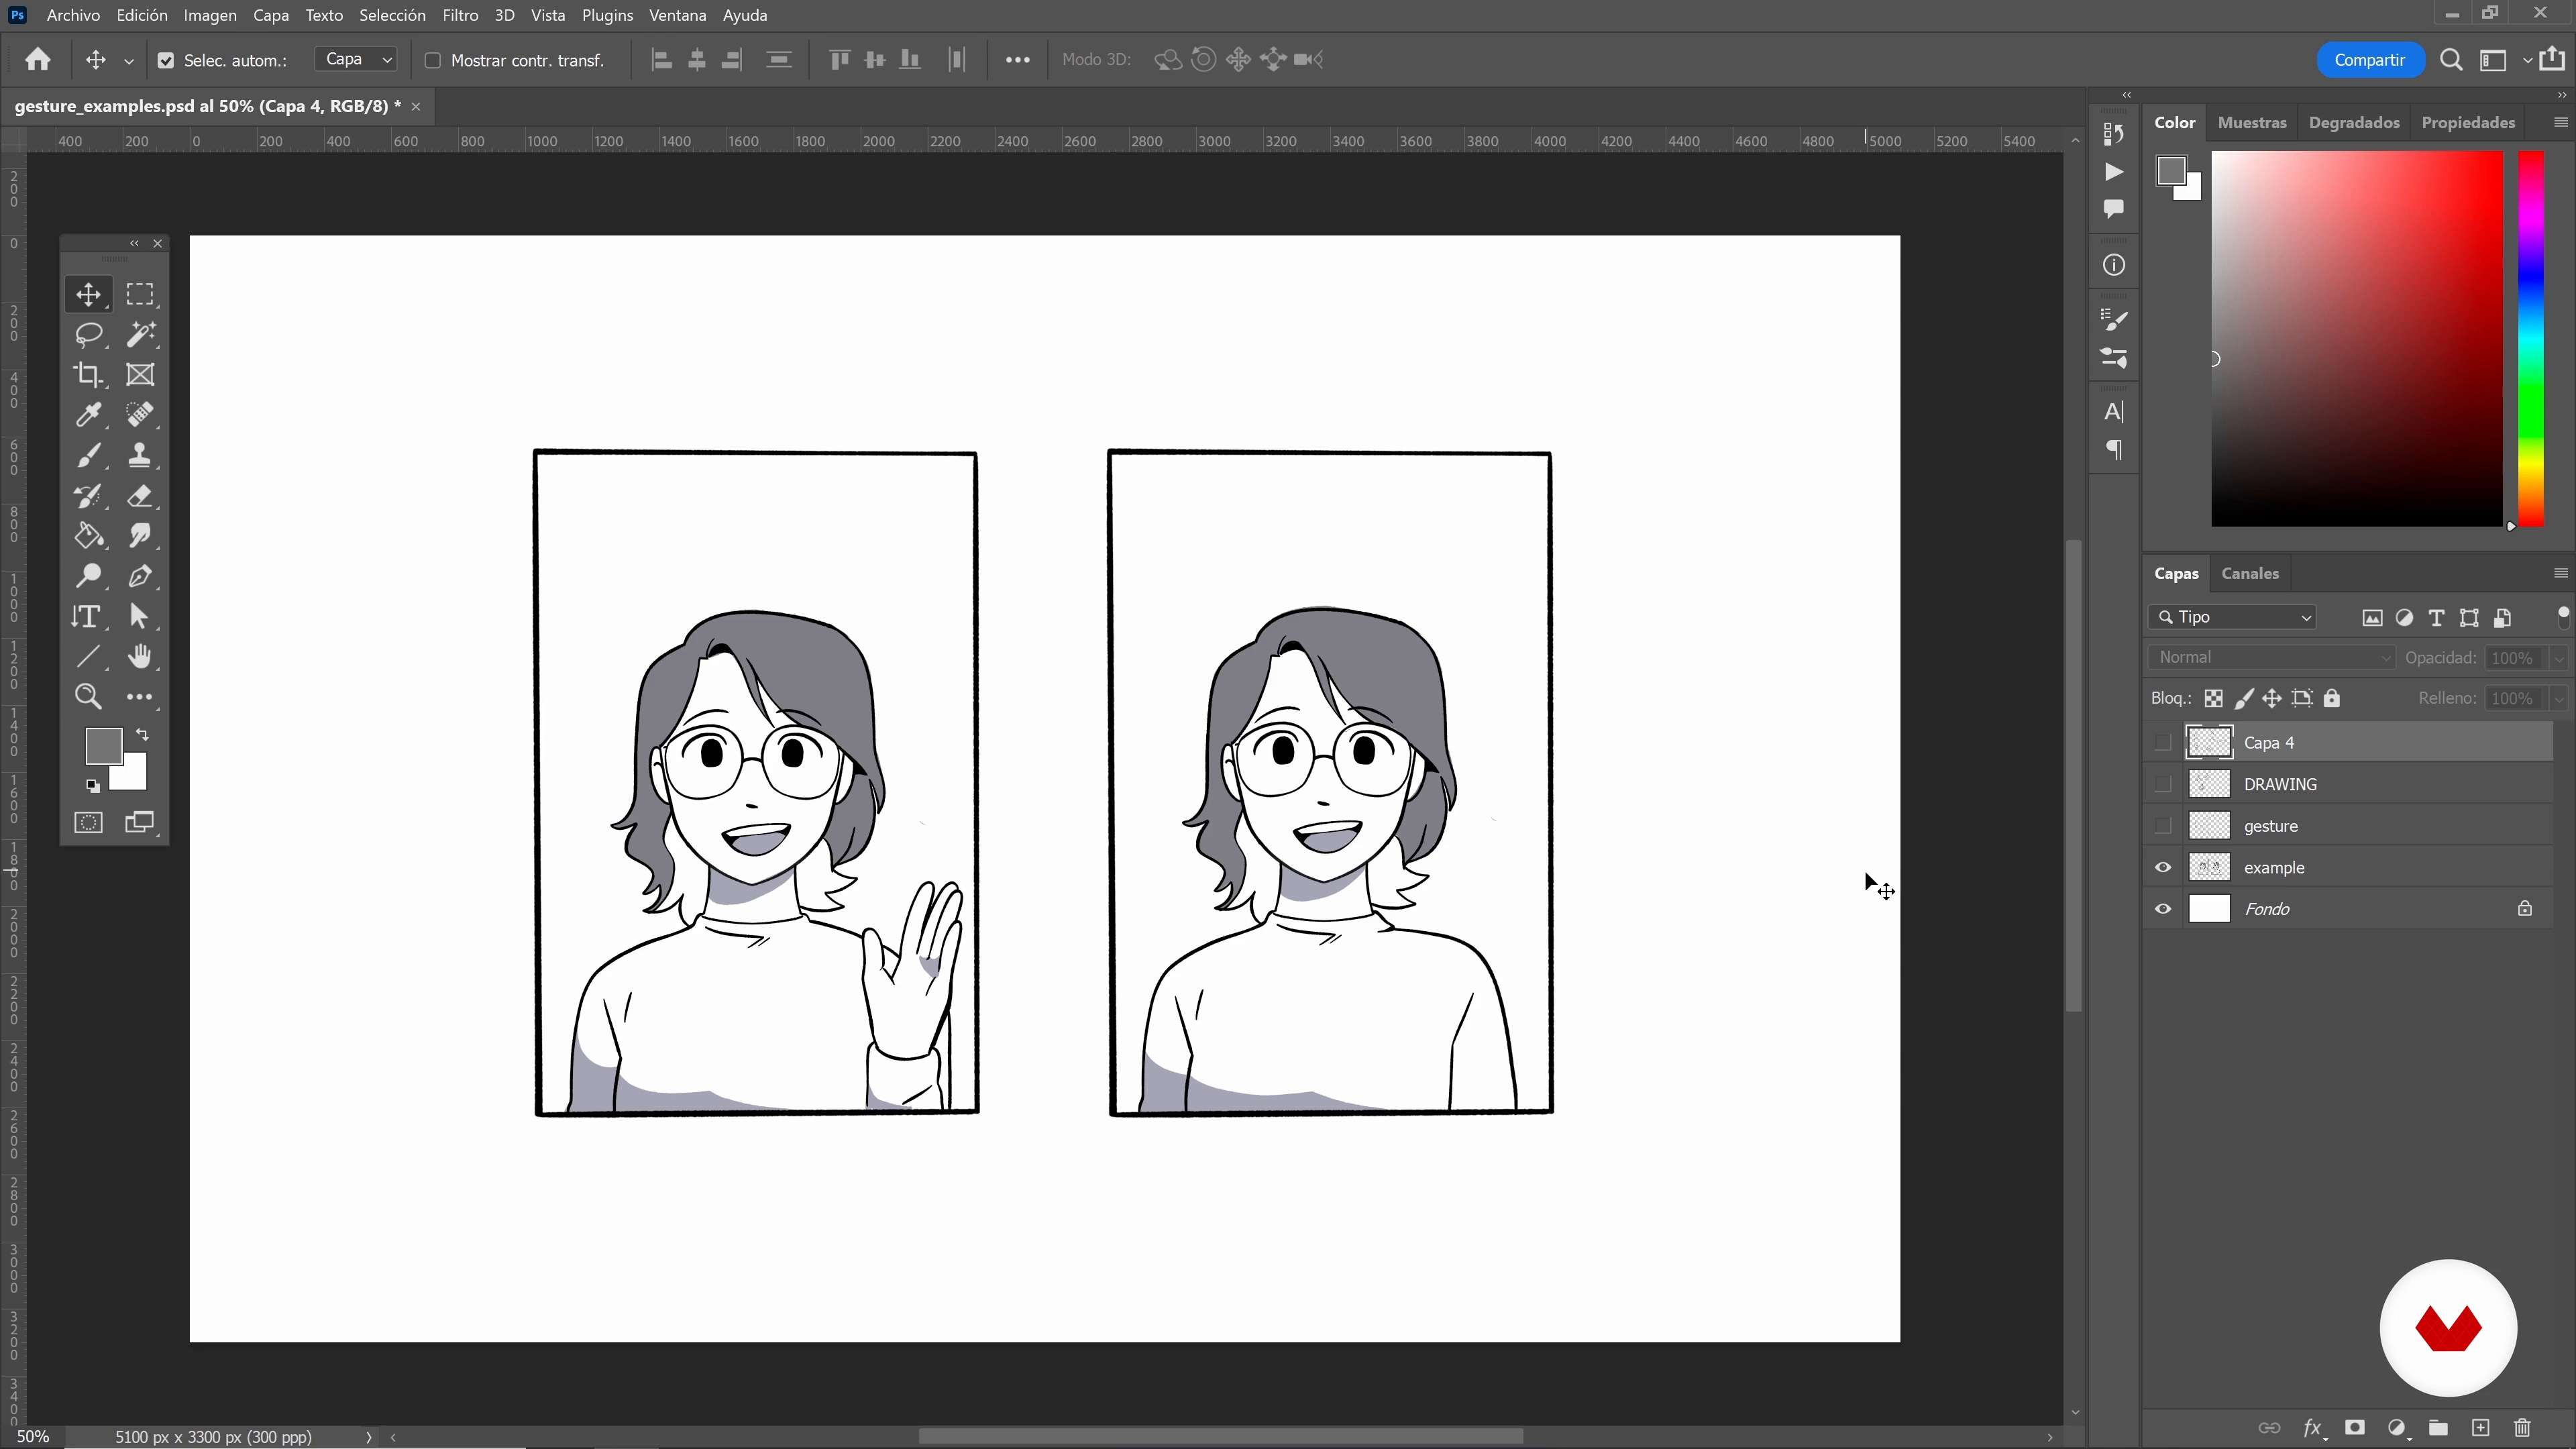
During this second part of the lesson, I'll show you how to do gesture drawing. Gesture drawing will be a great help in adding movement to your characters.
8m
image
5
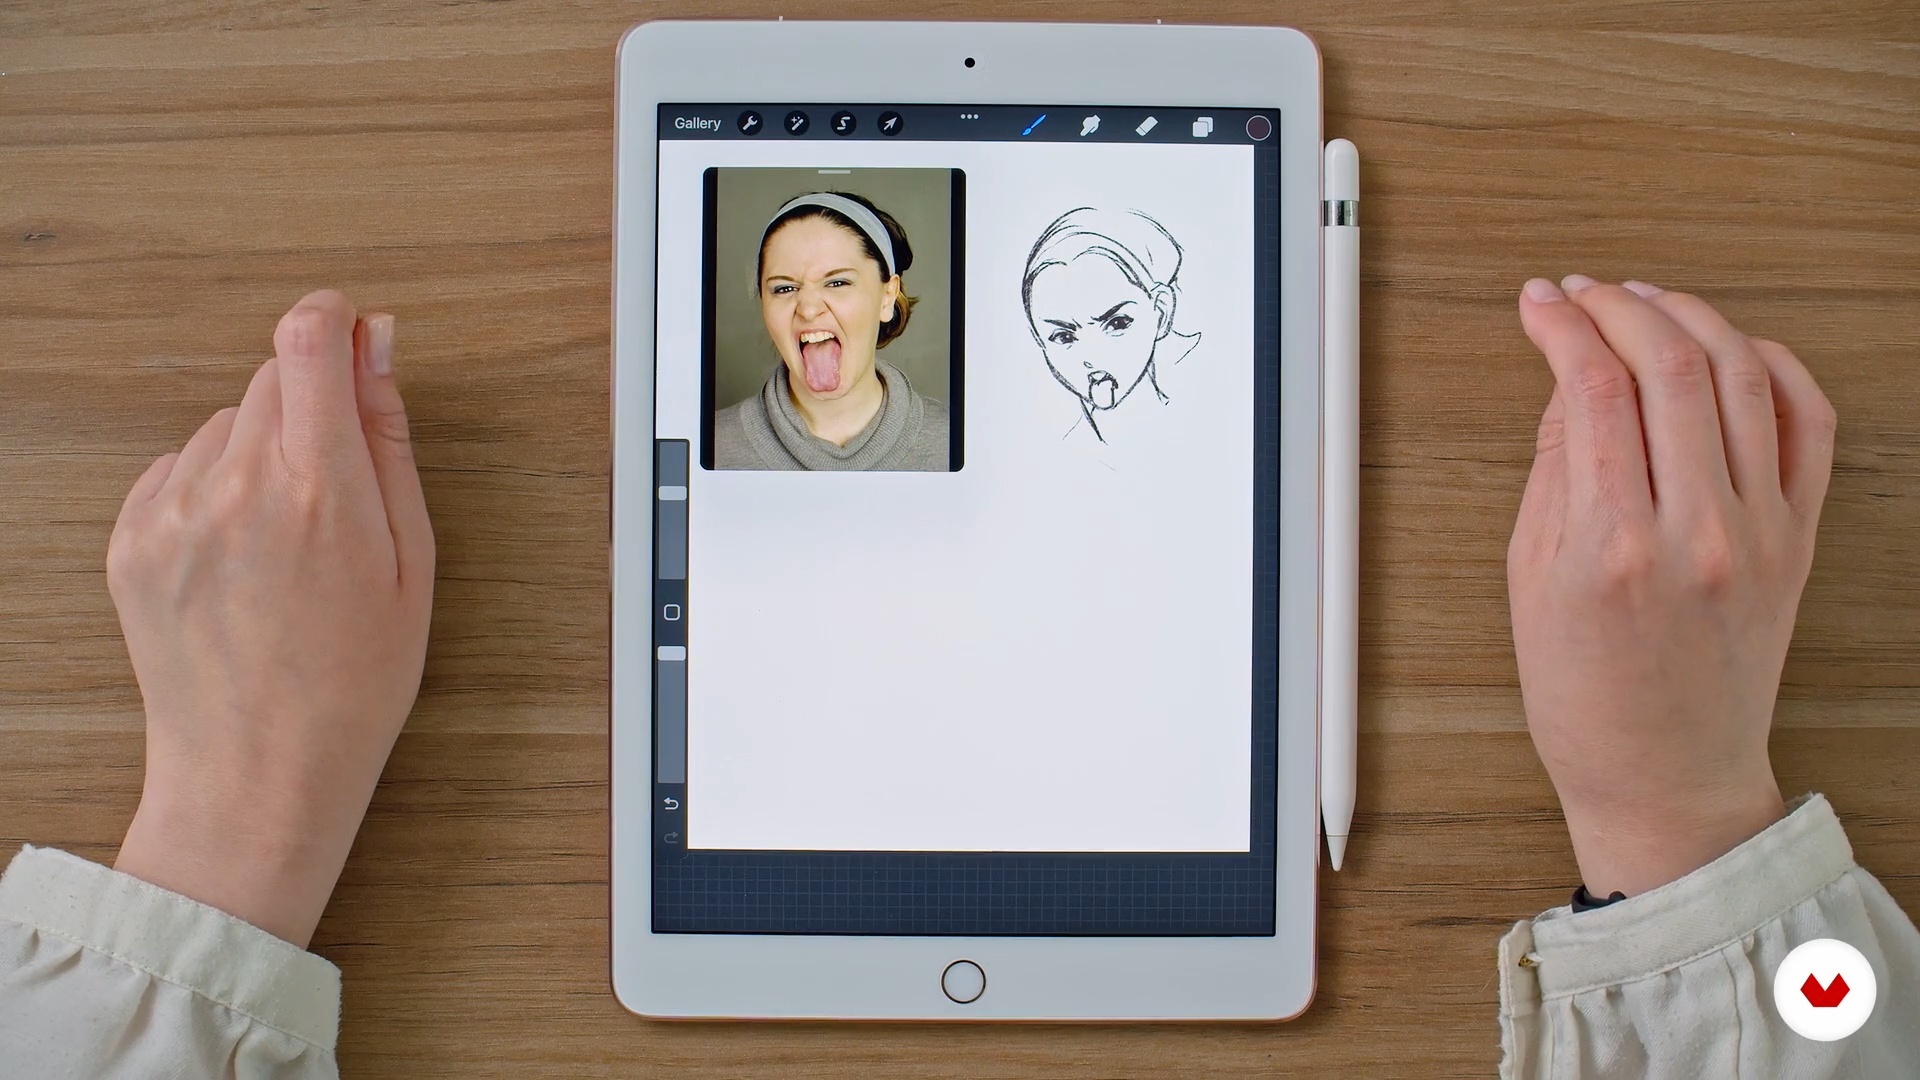
Character and Expressions
A character not only expresses how they feel through their facial expressions, but they can also do so with their body. To bring characters to life, you need to practice, study, and observe expressions. In this lesson, I'll teach you how.
13m
image
6
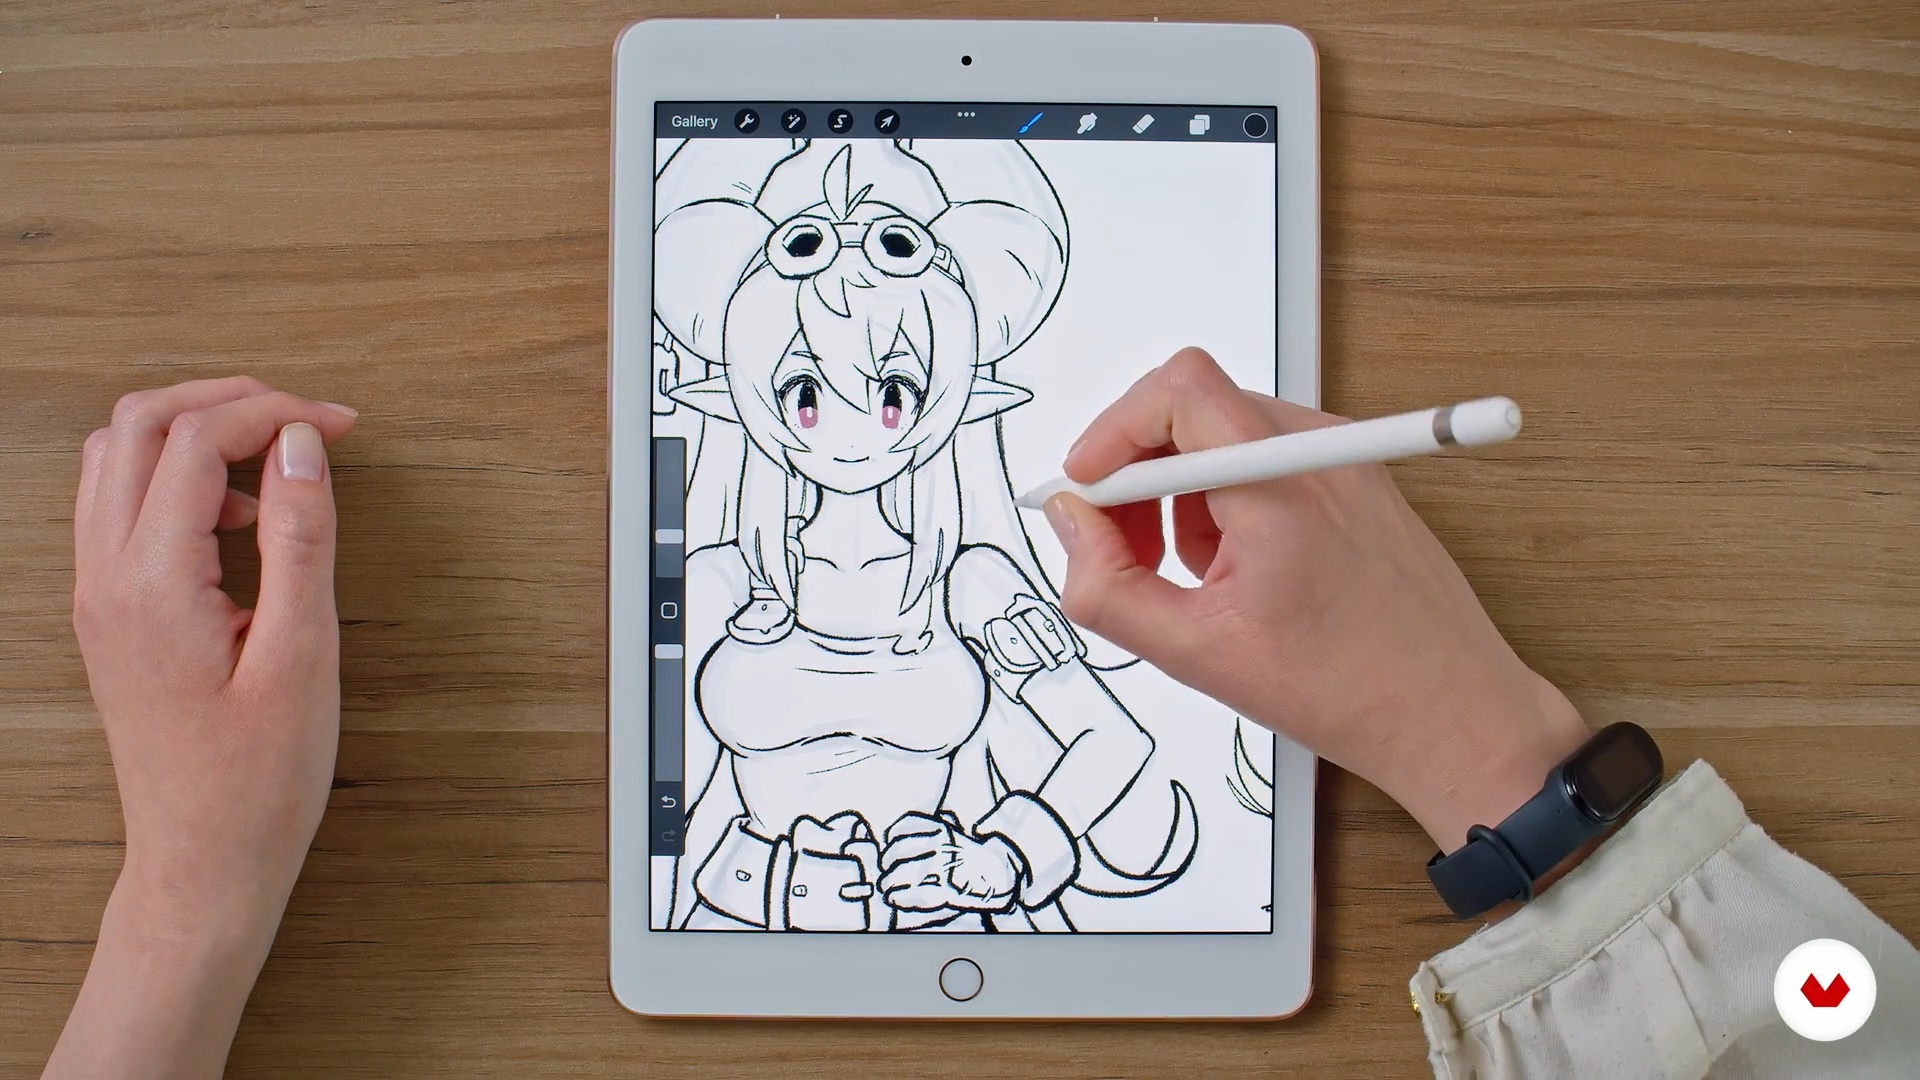
Digital Inking
Now I'll talk about digital inking and the line values you can apply to your digital or scanned sketch. I use Procreate for this process, but you can use any software you prefer.
6m
image
7
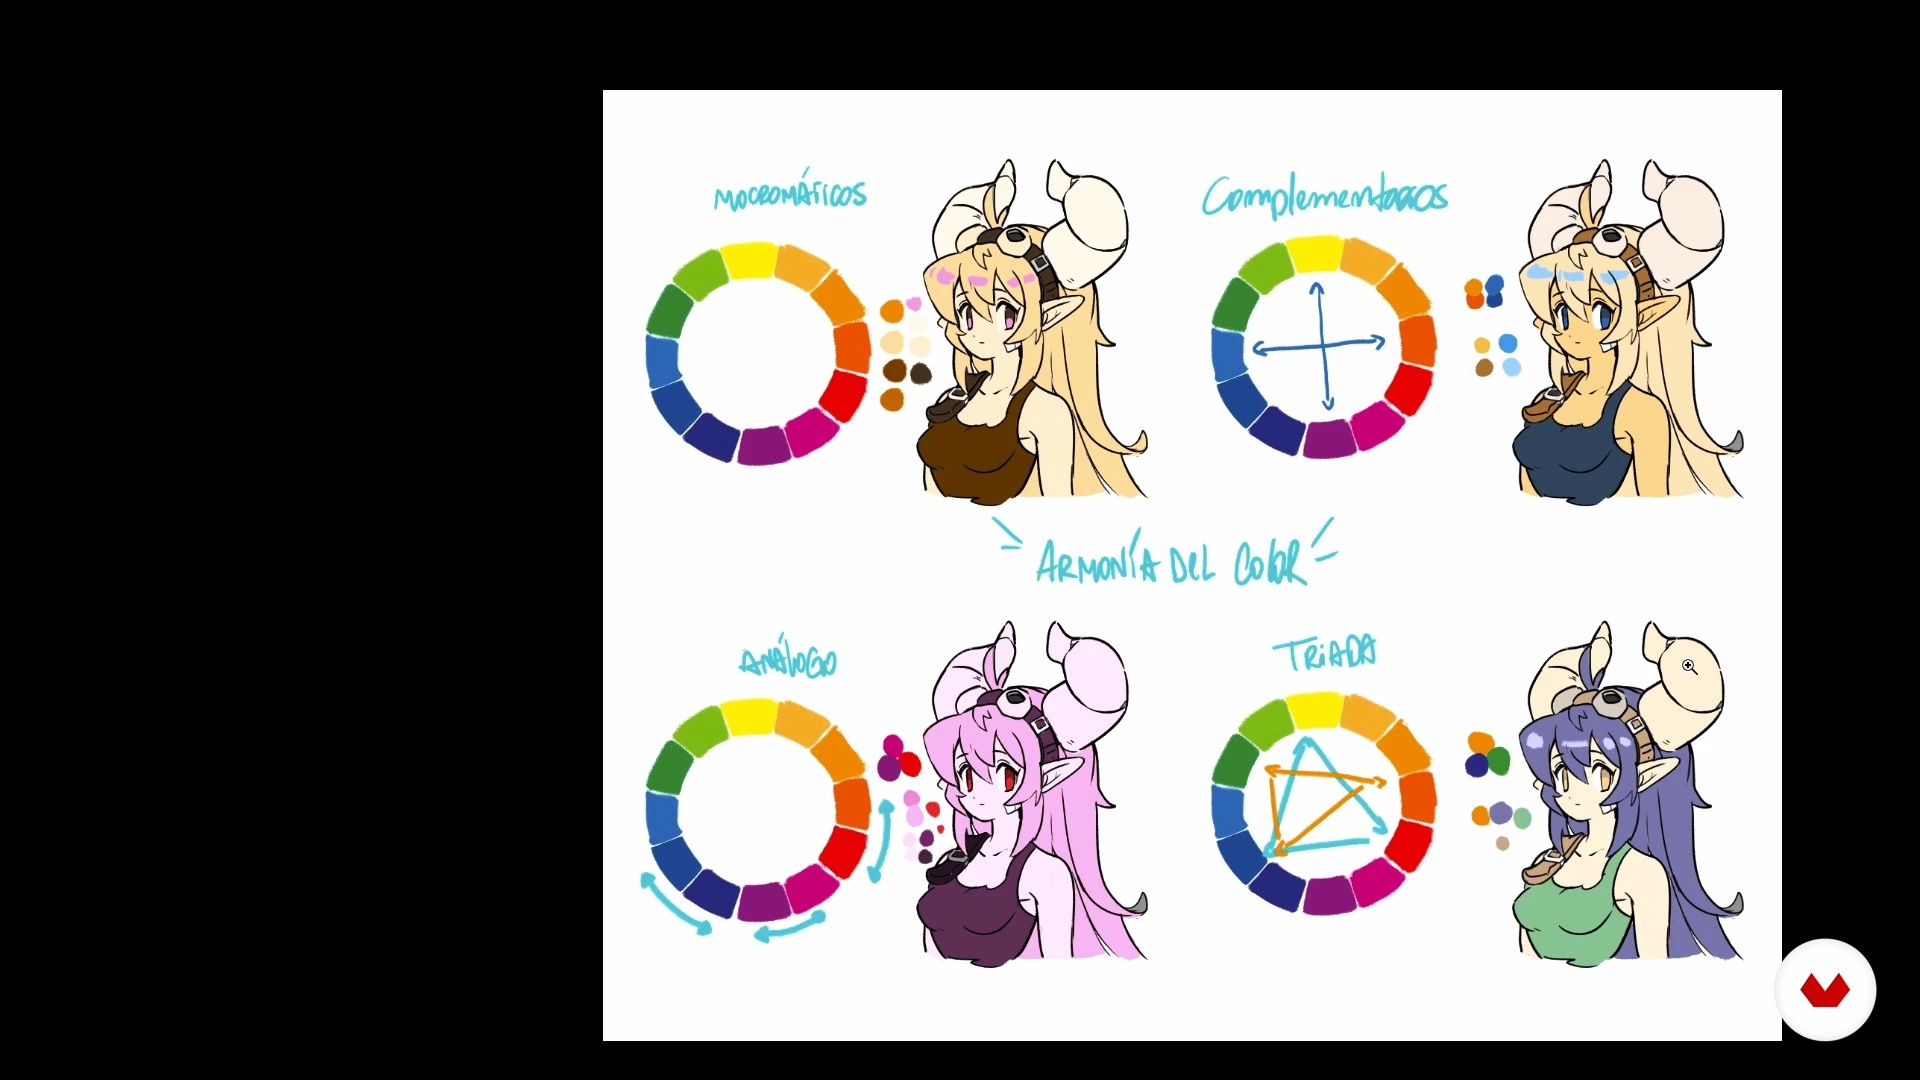
The Color
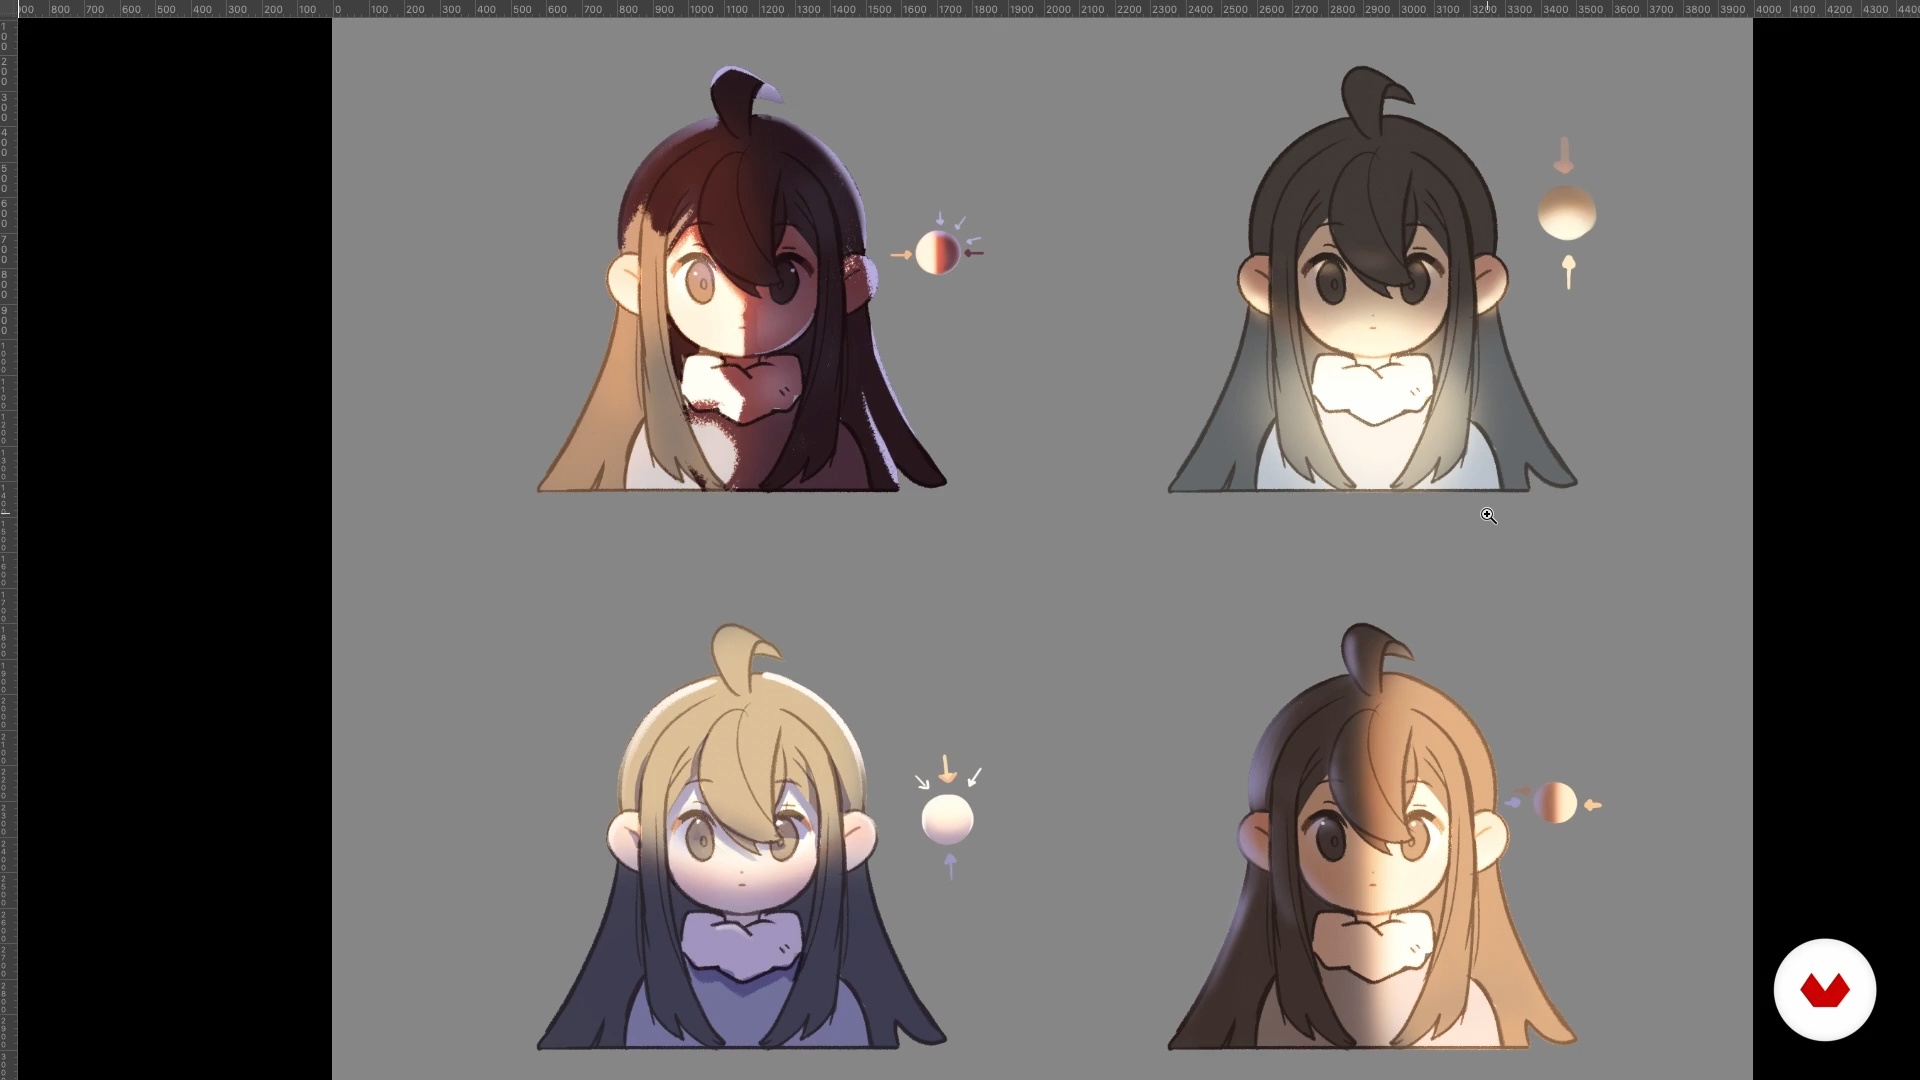
The world of color is vast, but also very beautiful to explore. Therefore, in this lesson, I'll give you some basics about the behavior of color and explain how to apply it to anime/manga-style characters.
18m
image
8
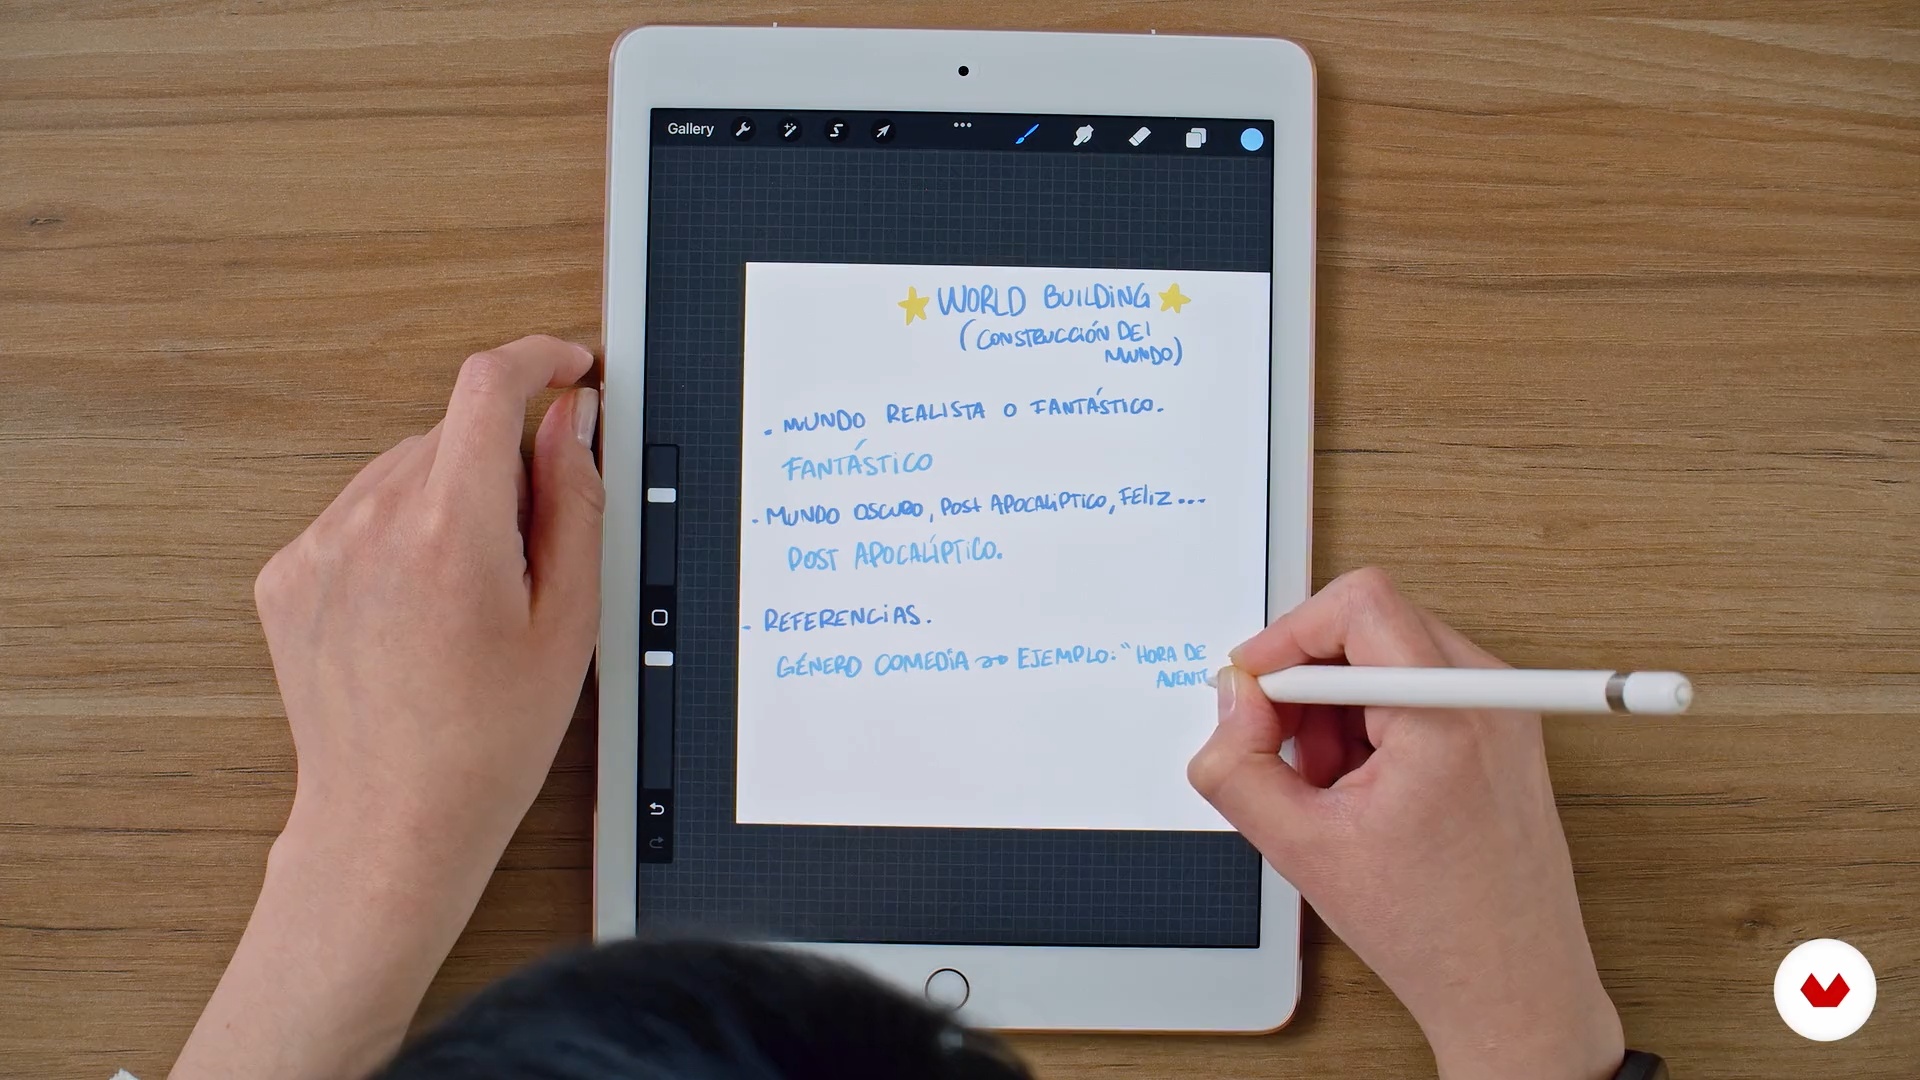
Elaboration of the Character and the Environment
Now I'm going to show you what you need to create the character and their environment. These concepts go hand in hand, as one will help you create the other and vice versa. Bring that idea you have in mind to life and start creating your project!
8m
image
9
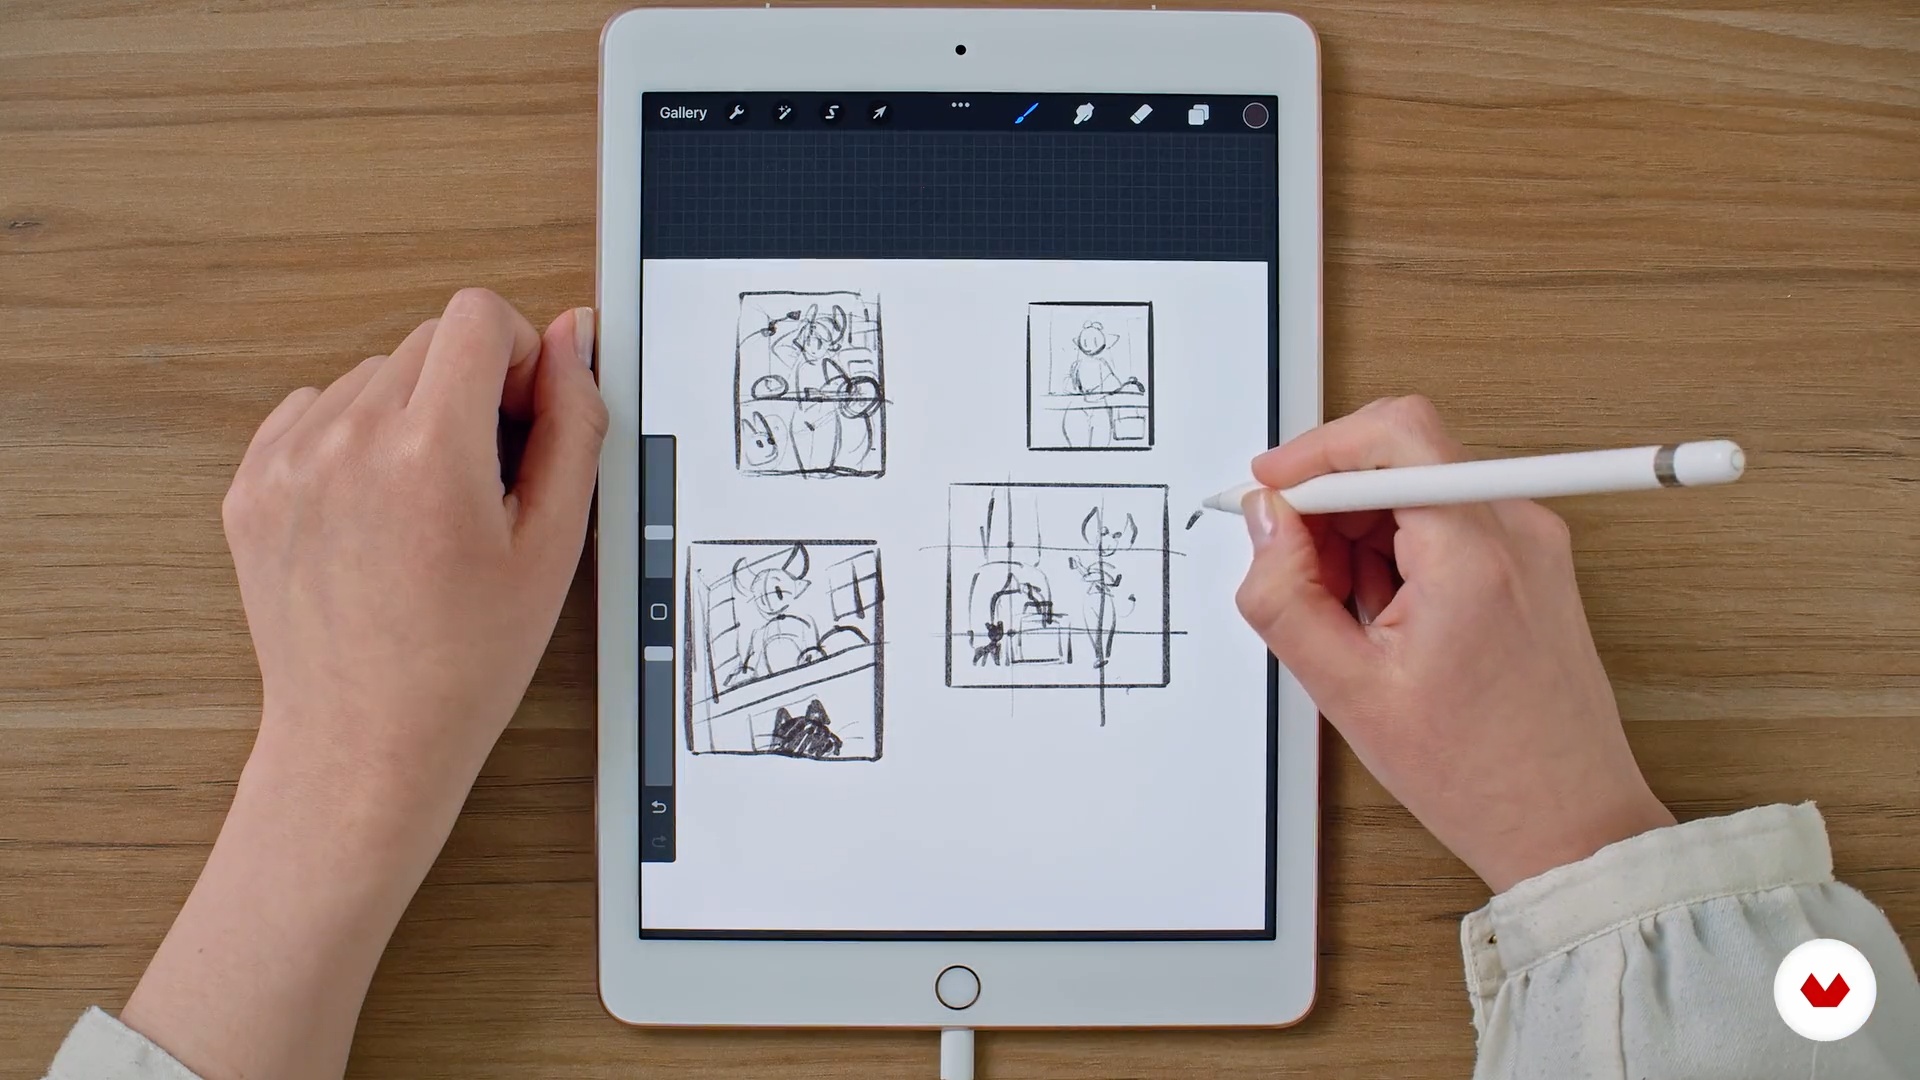
The Sketch
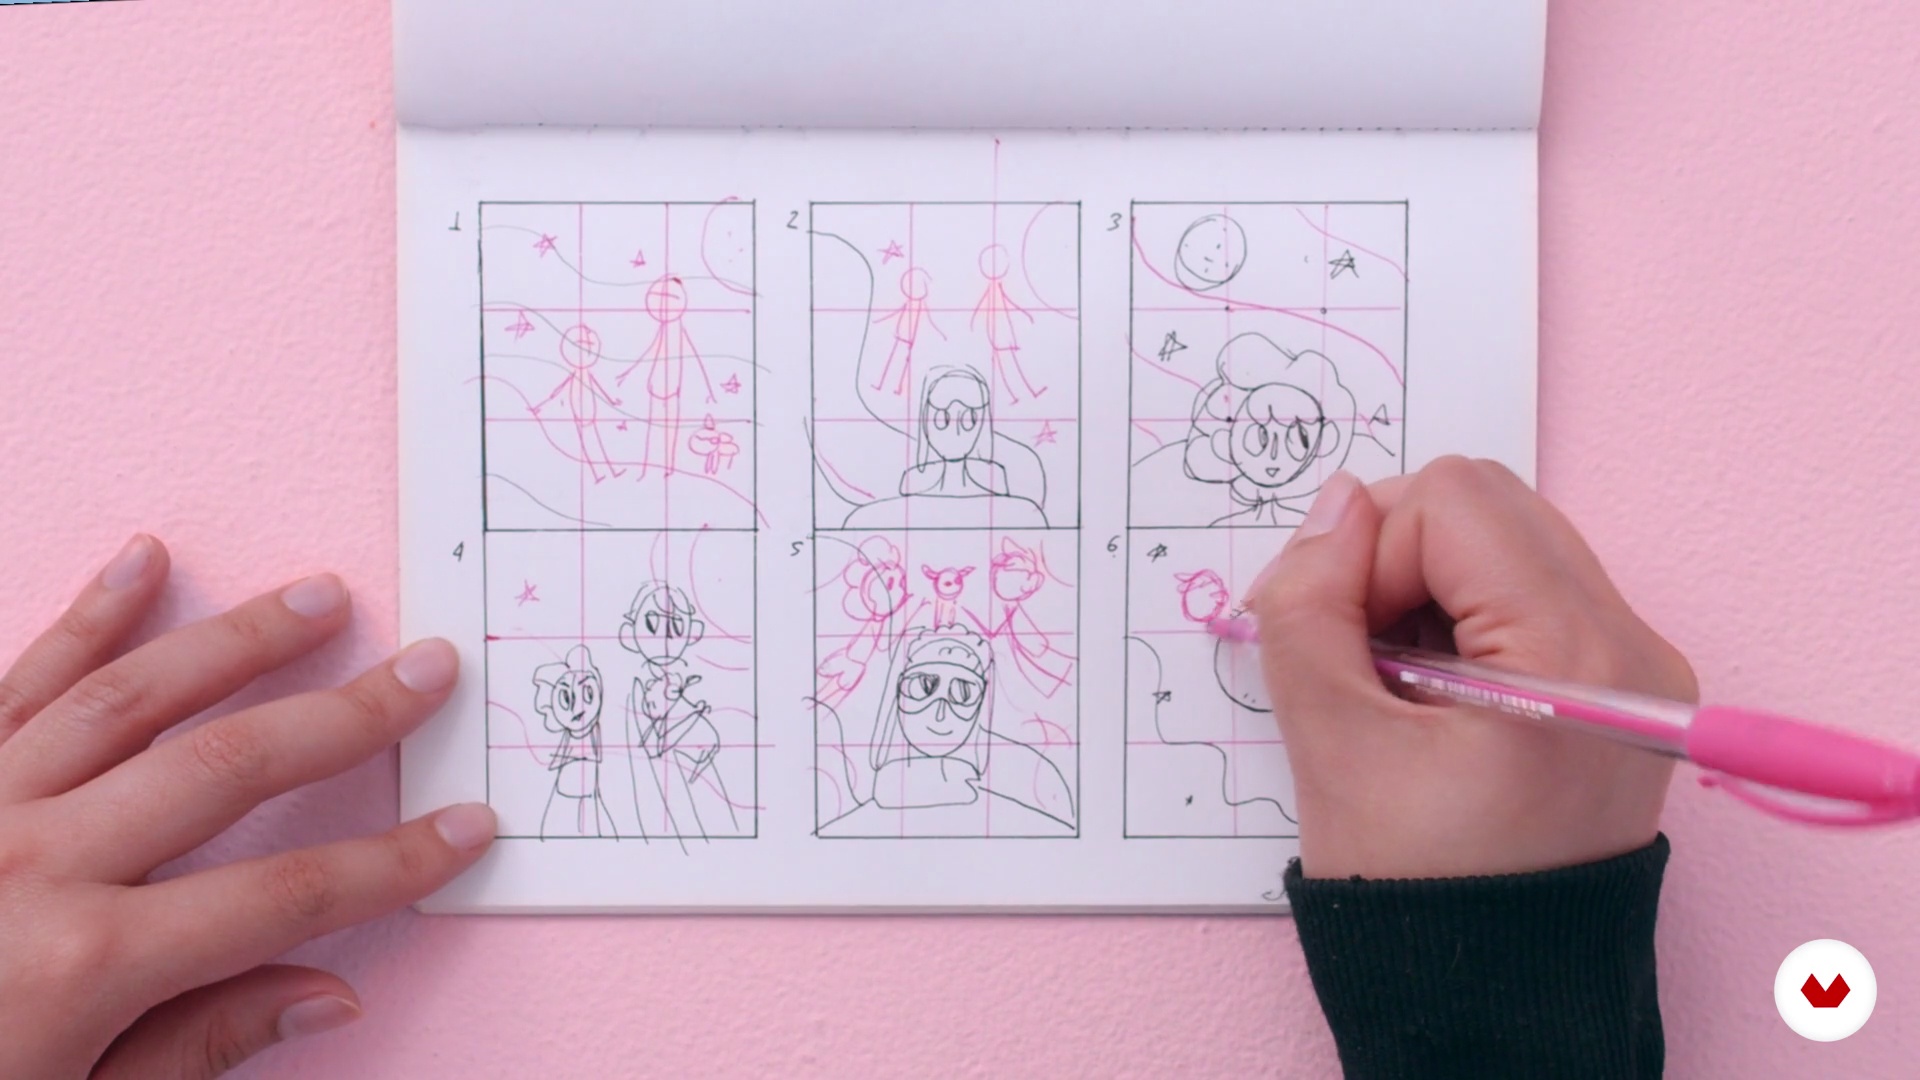
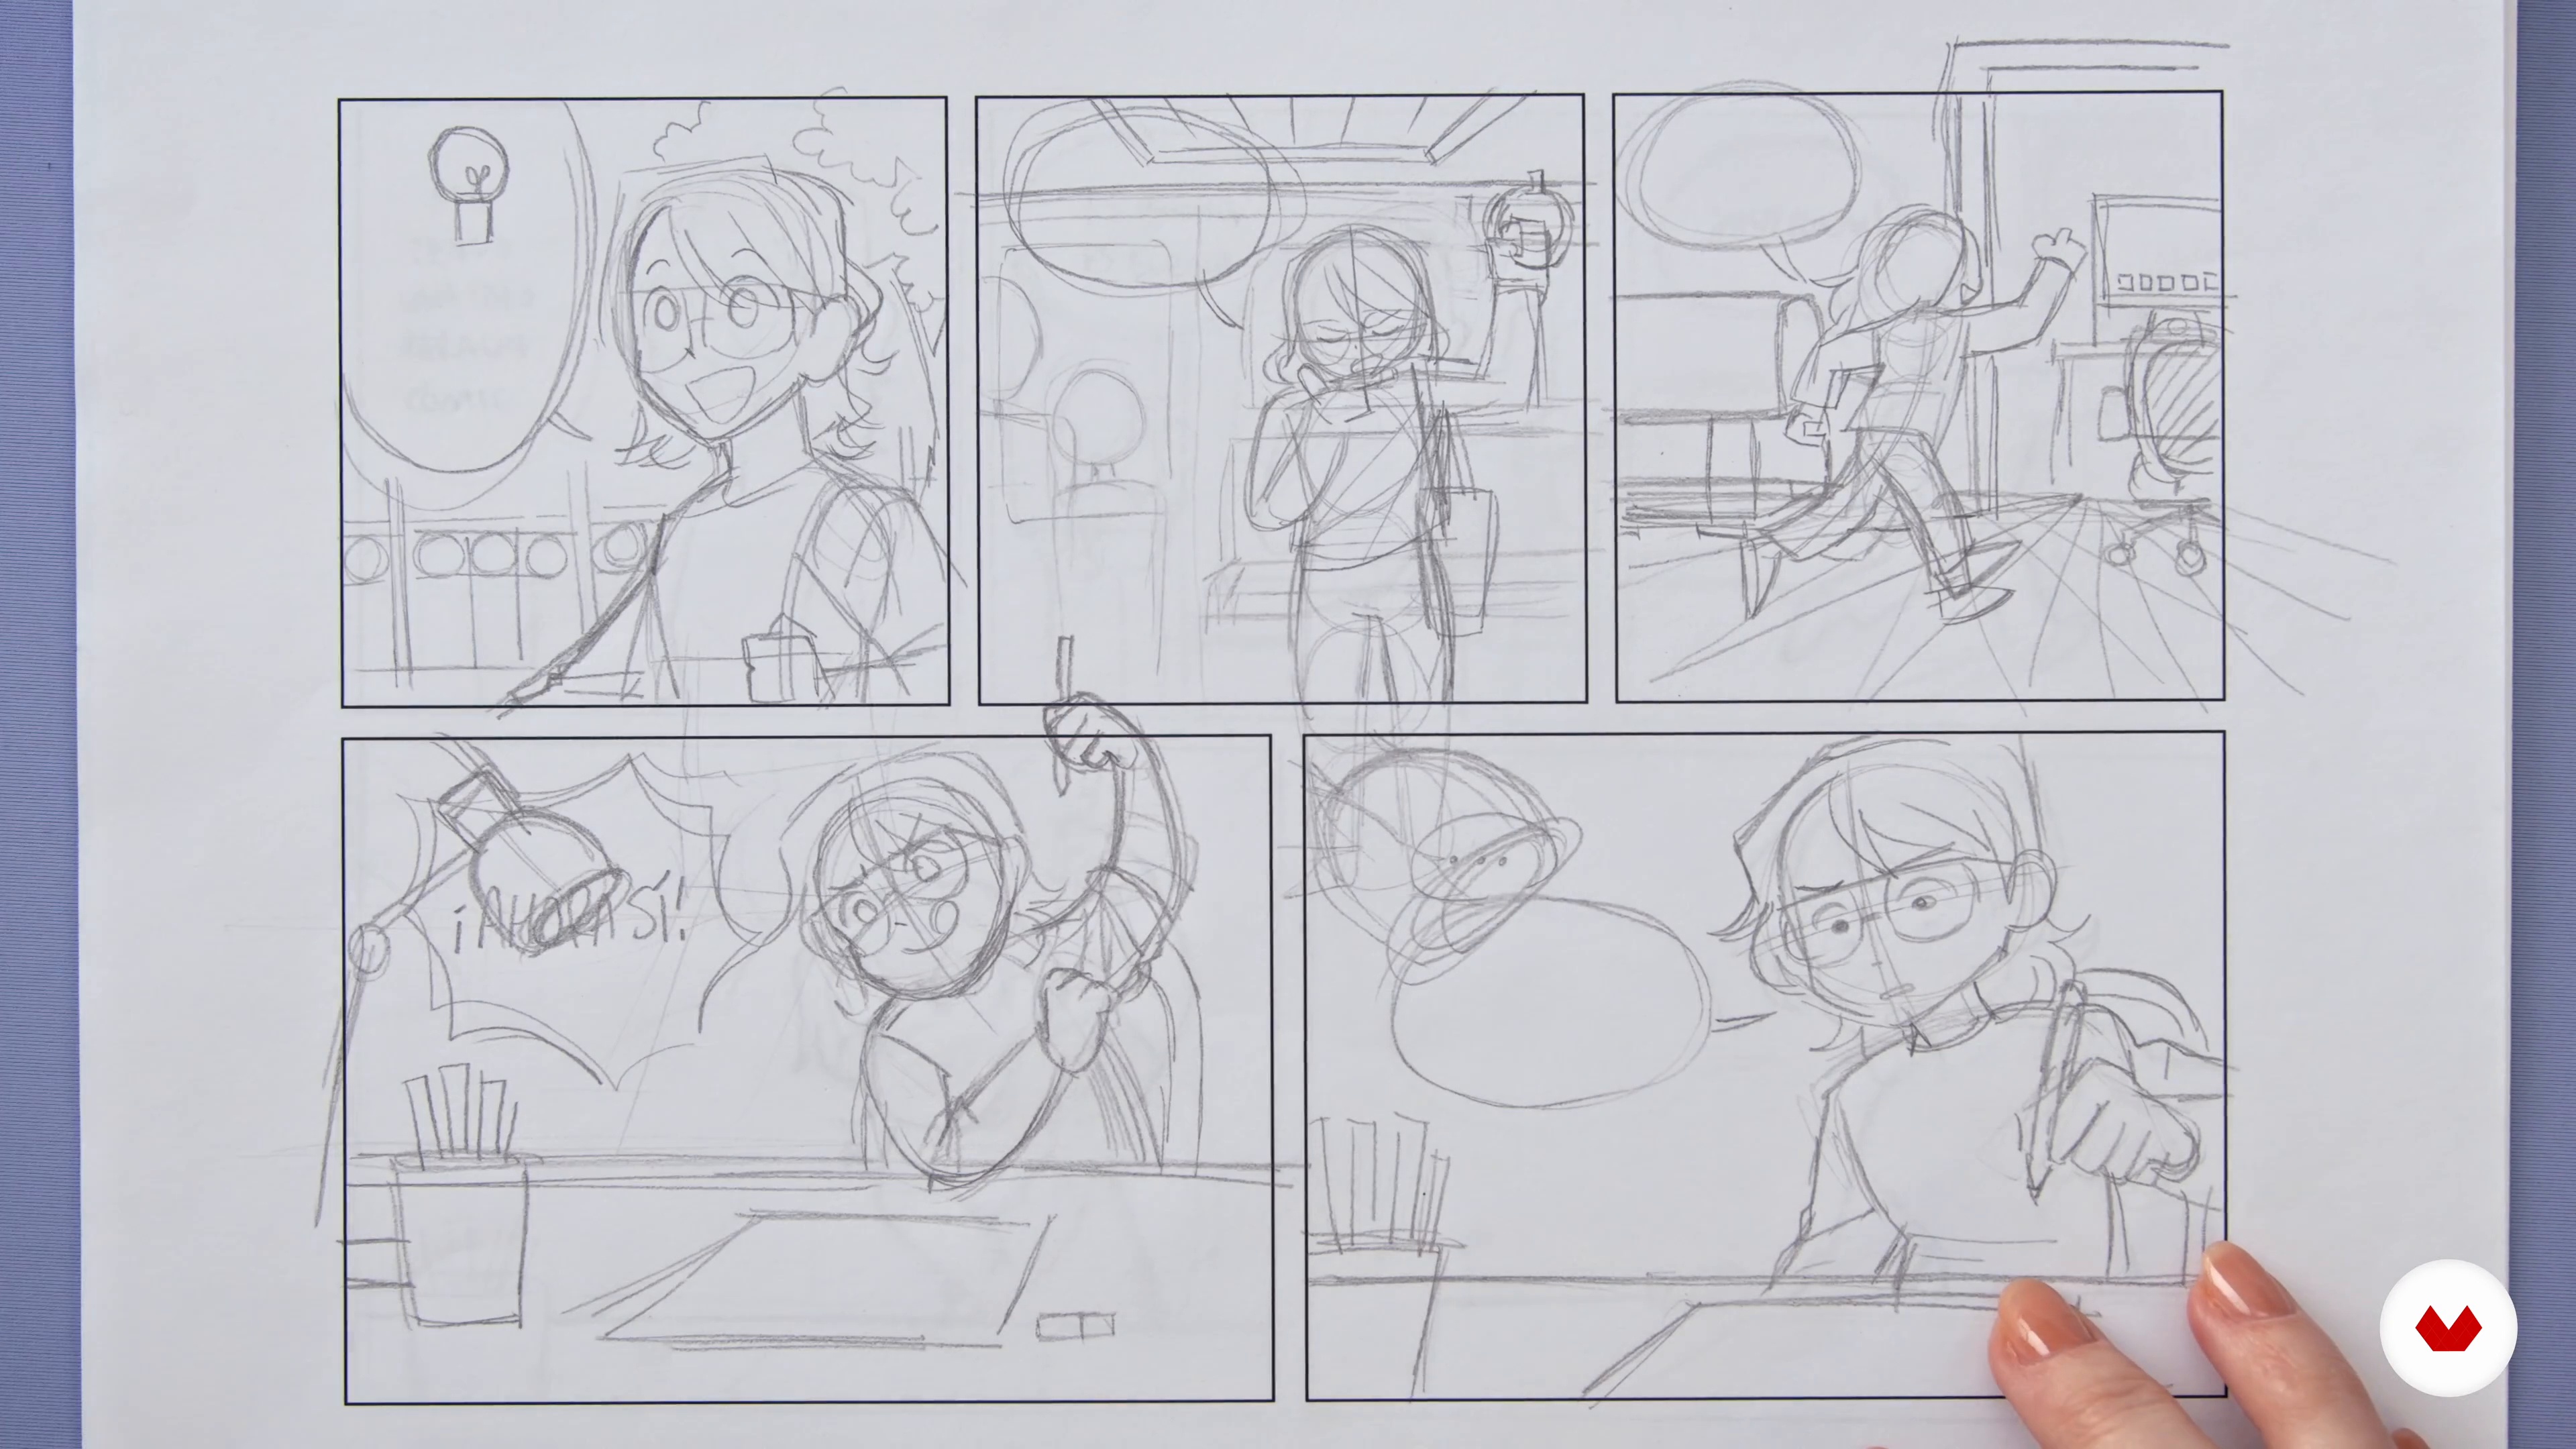
Let's get started. In this lesson, I'll show you how to start sketching your ideas and explain the concept of a "thumbnail."
13m
image
10
The Drawing: Scale, Gray Scale and Color
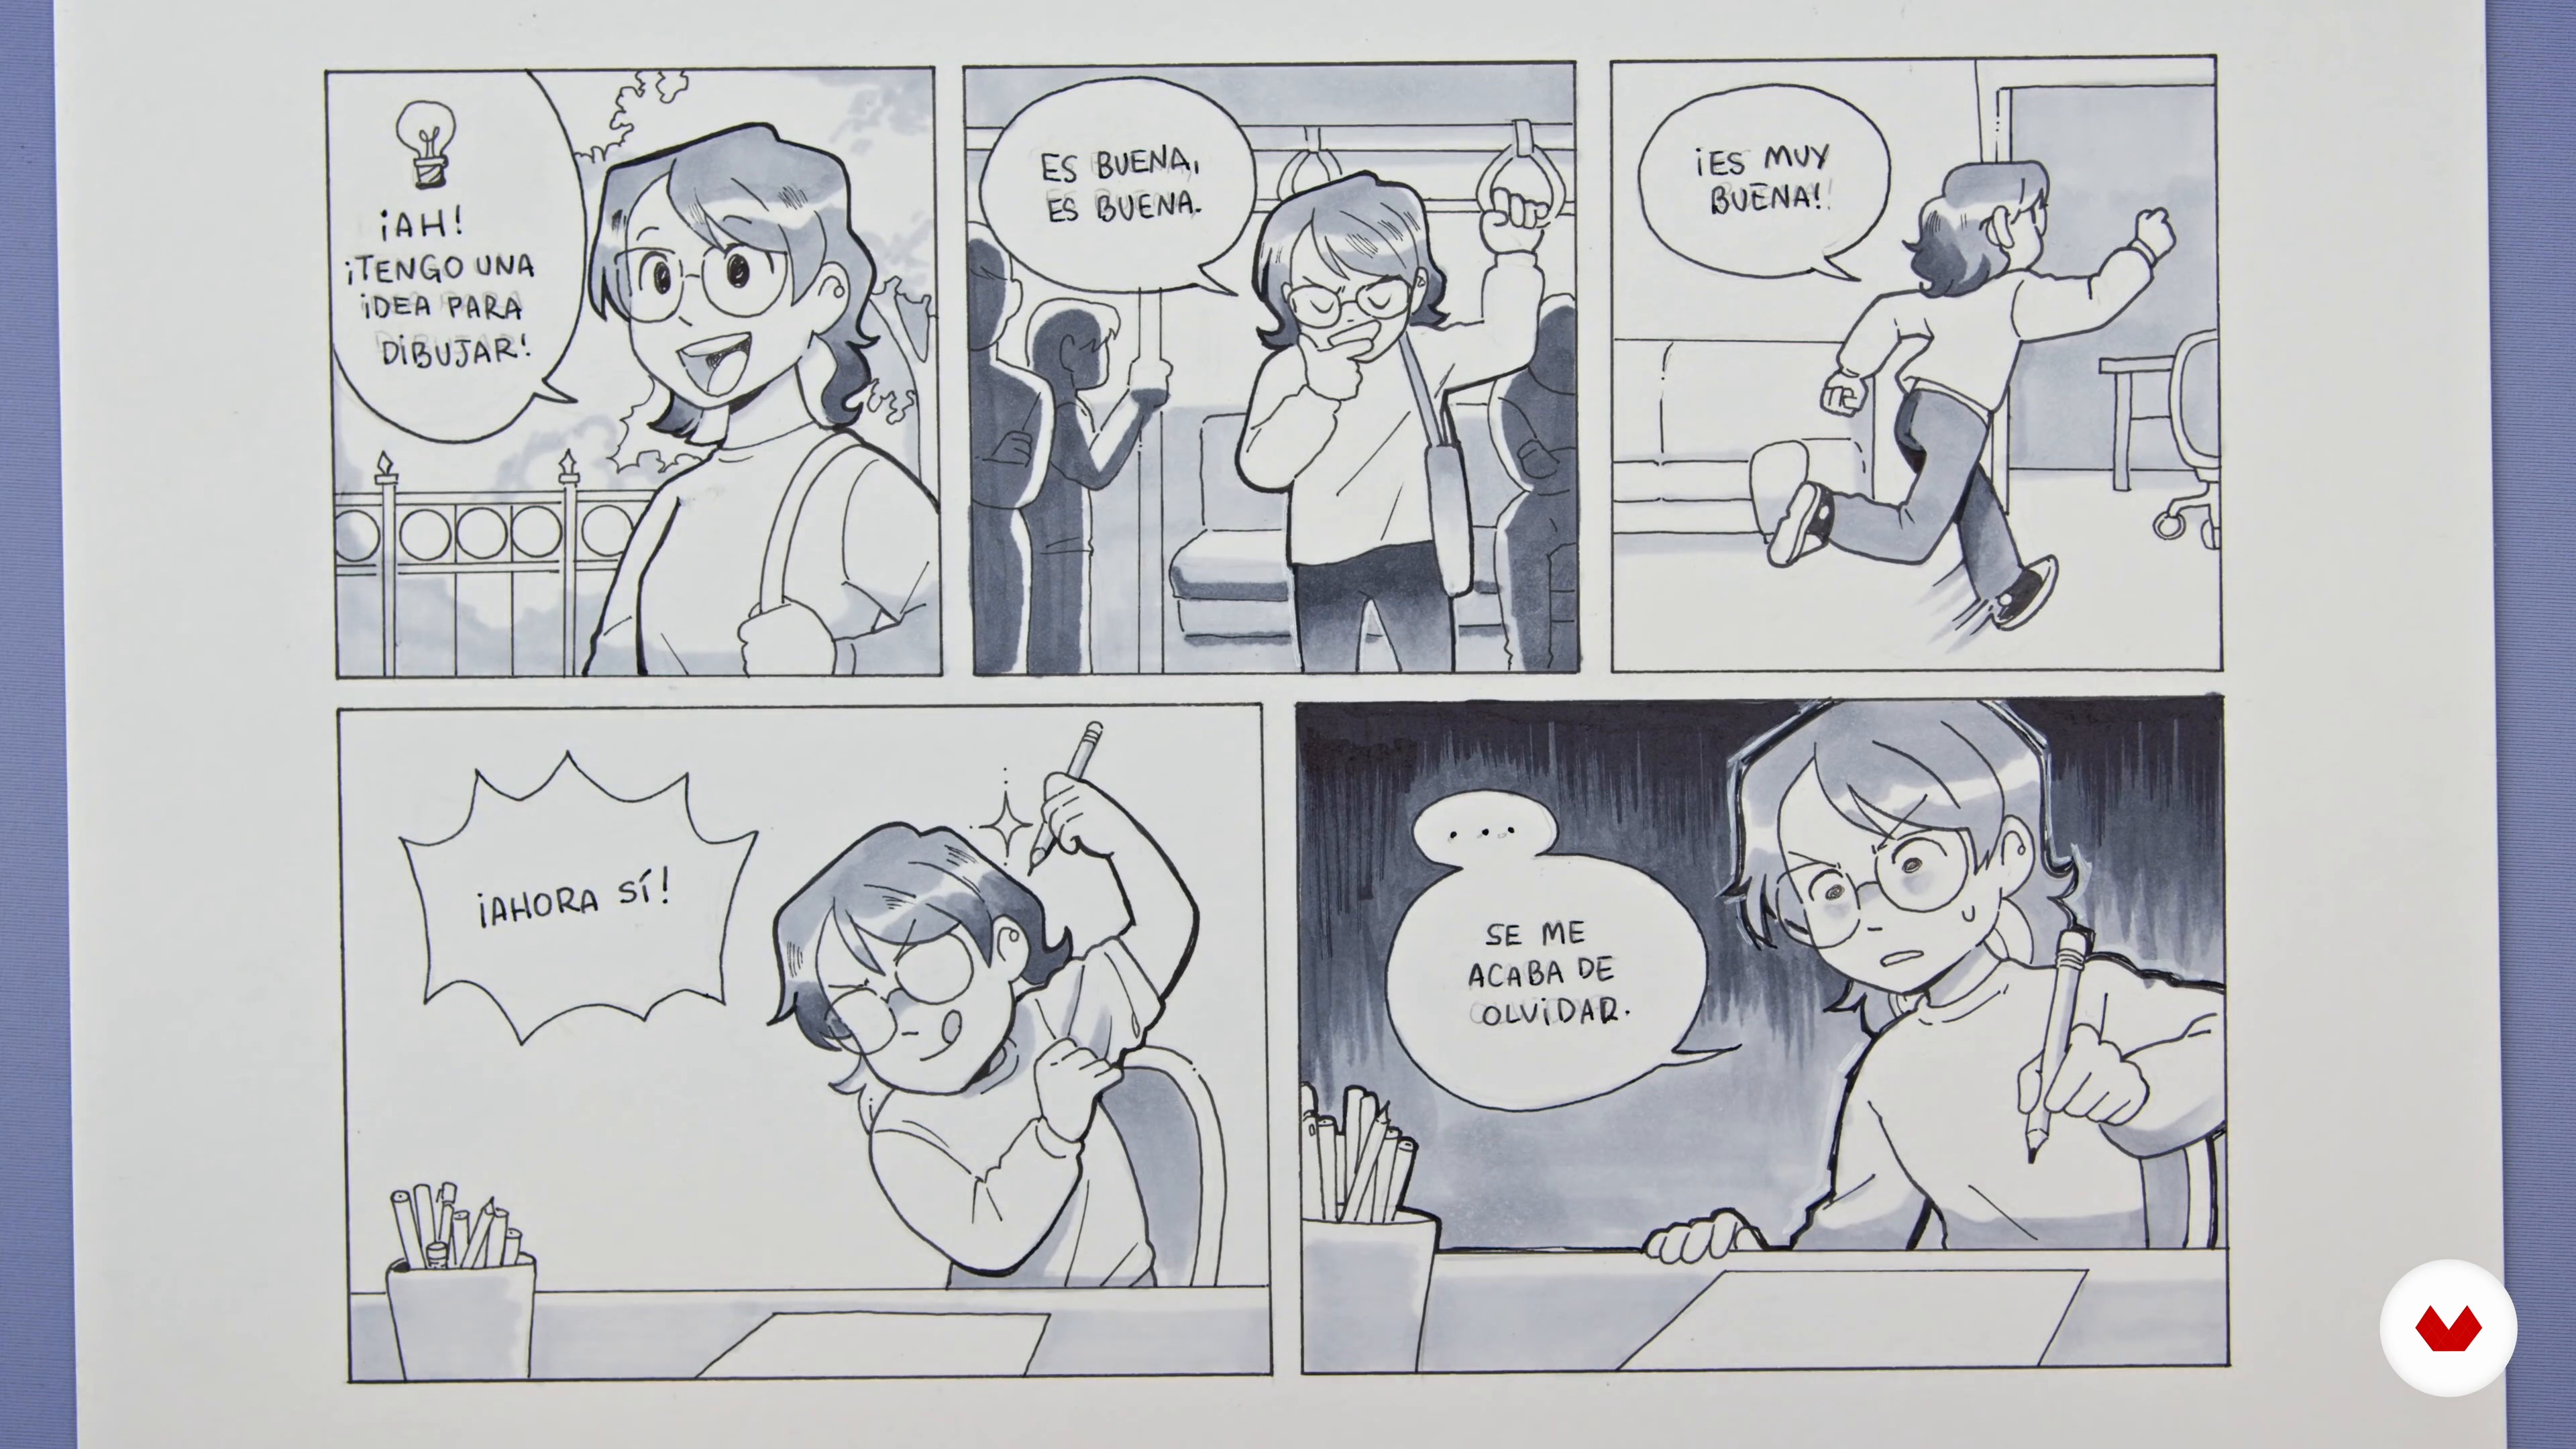
Once you've chosen your idea, it's time to start working on a larger scale. So, I'll show you how to apply grayscale and then color.
16m
image
11
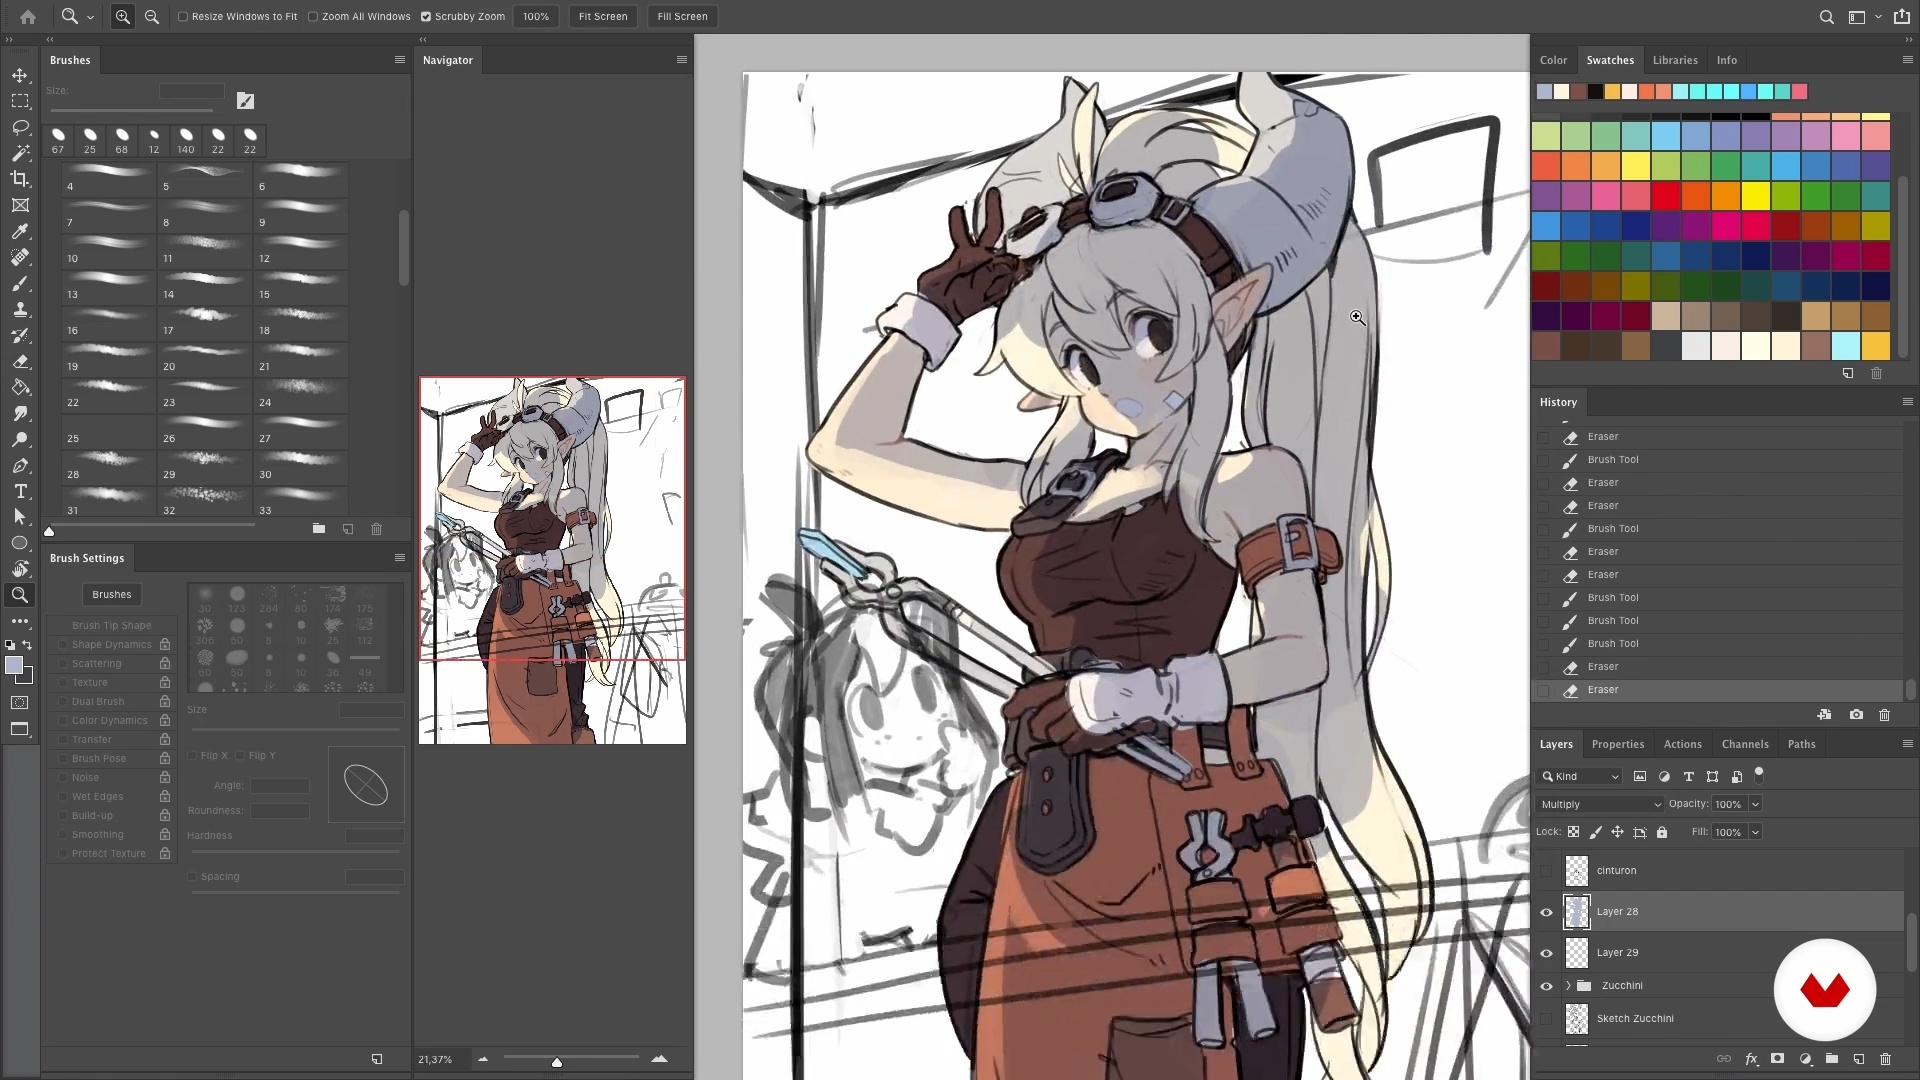
Lights and Shadows 1
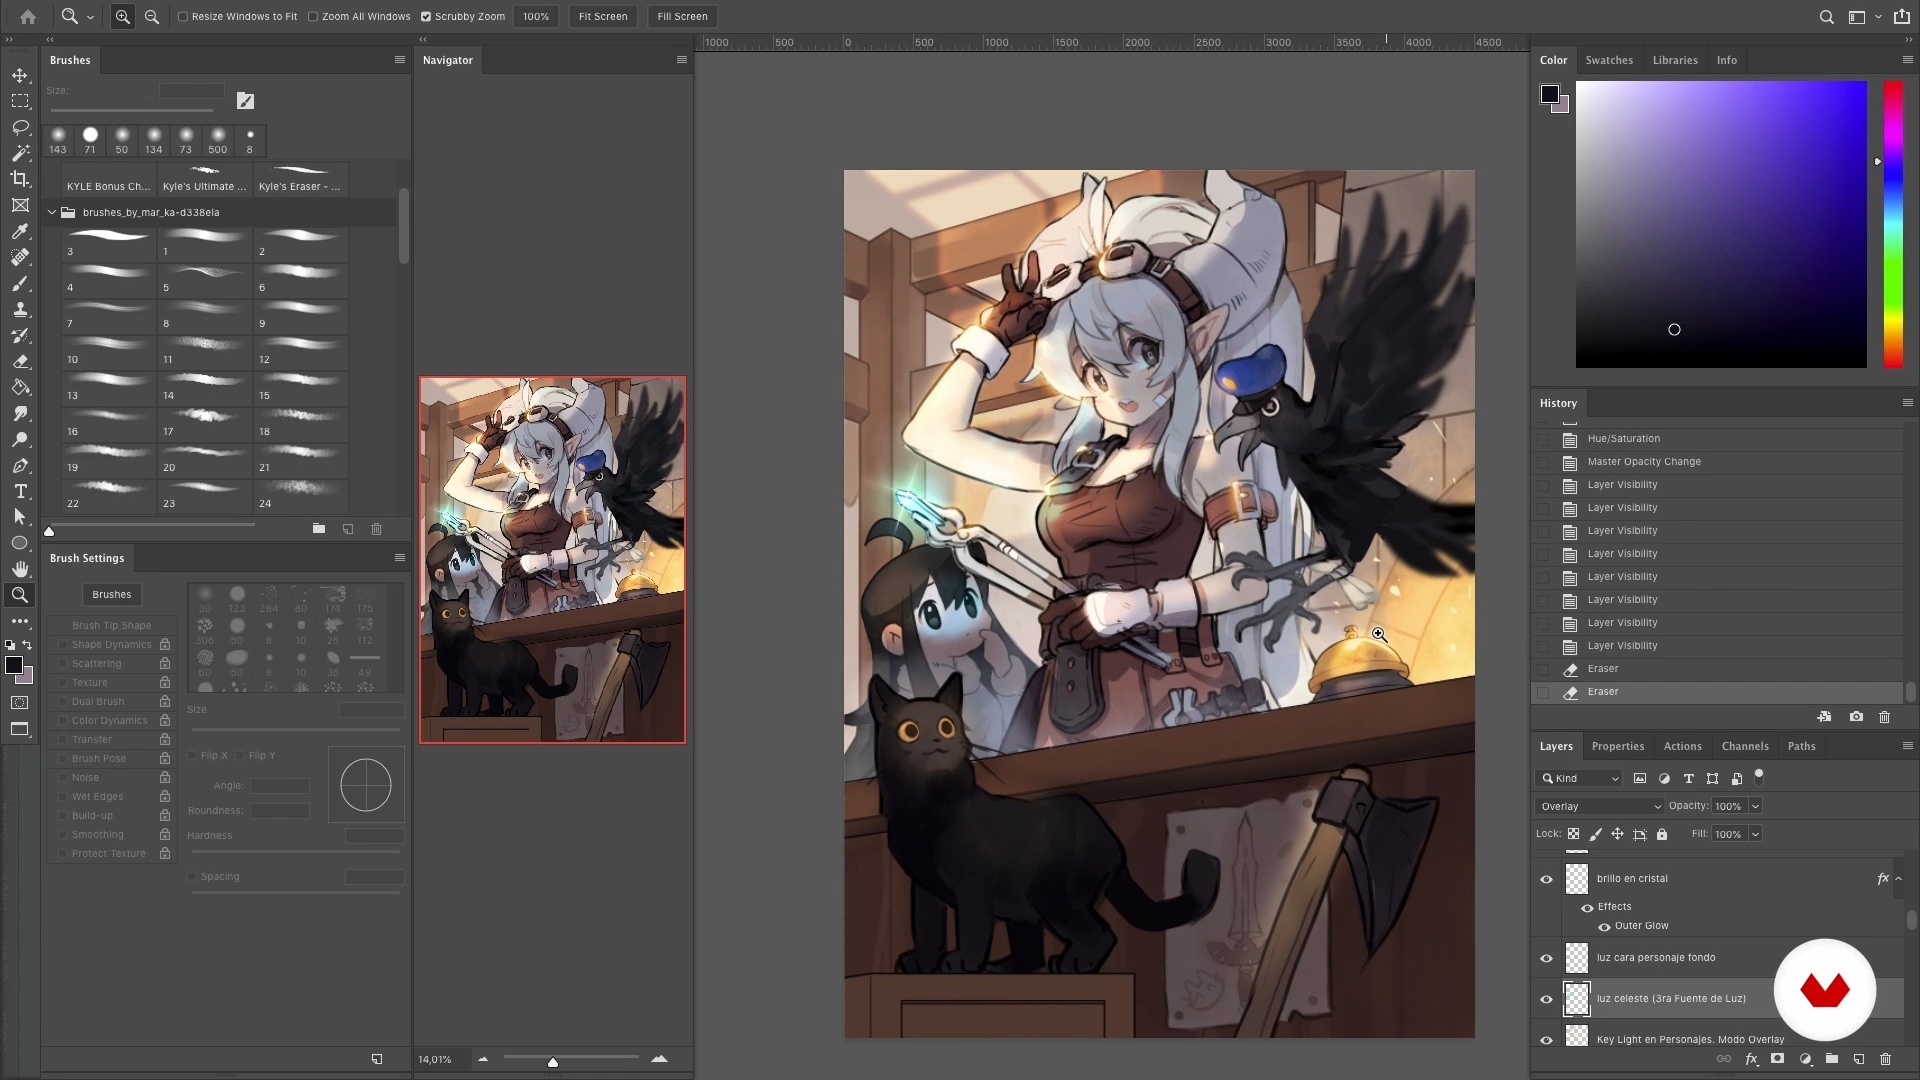
Light and shadow will be your best allies for adding atmosphere to your illustration. I'll show you how to apply them depending on the situation you want to replicate, and how you can create light and shadow with different layer modes.
17m
image
12
Lights and Shadows 1
I'll continue showing you how to add highlights and shadows to your illustration for a better result. We're almost there!
6m
image
13
Final Details: the Render
Finally, I'll explain how to use the latest digital resources to help you get the most out of your illustration.
9m
image
14
Illustration Projection
Are you making the most of your illustrations? In this lesson, I'll explain everything you need to know to make the most of your illustrations. I'll also tell you what to expect from social media and what to focus on when posting online.
10m
image
15
Empower Illustration
In this lesson, I'll show you what you can consider to enhance your drawing ideas. I'll also share drawing challenges to help you imagine situations for your characters.
7m
image
3
Search your library
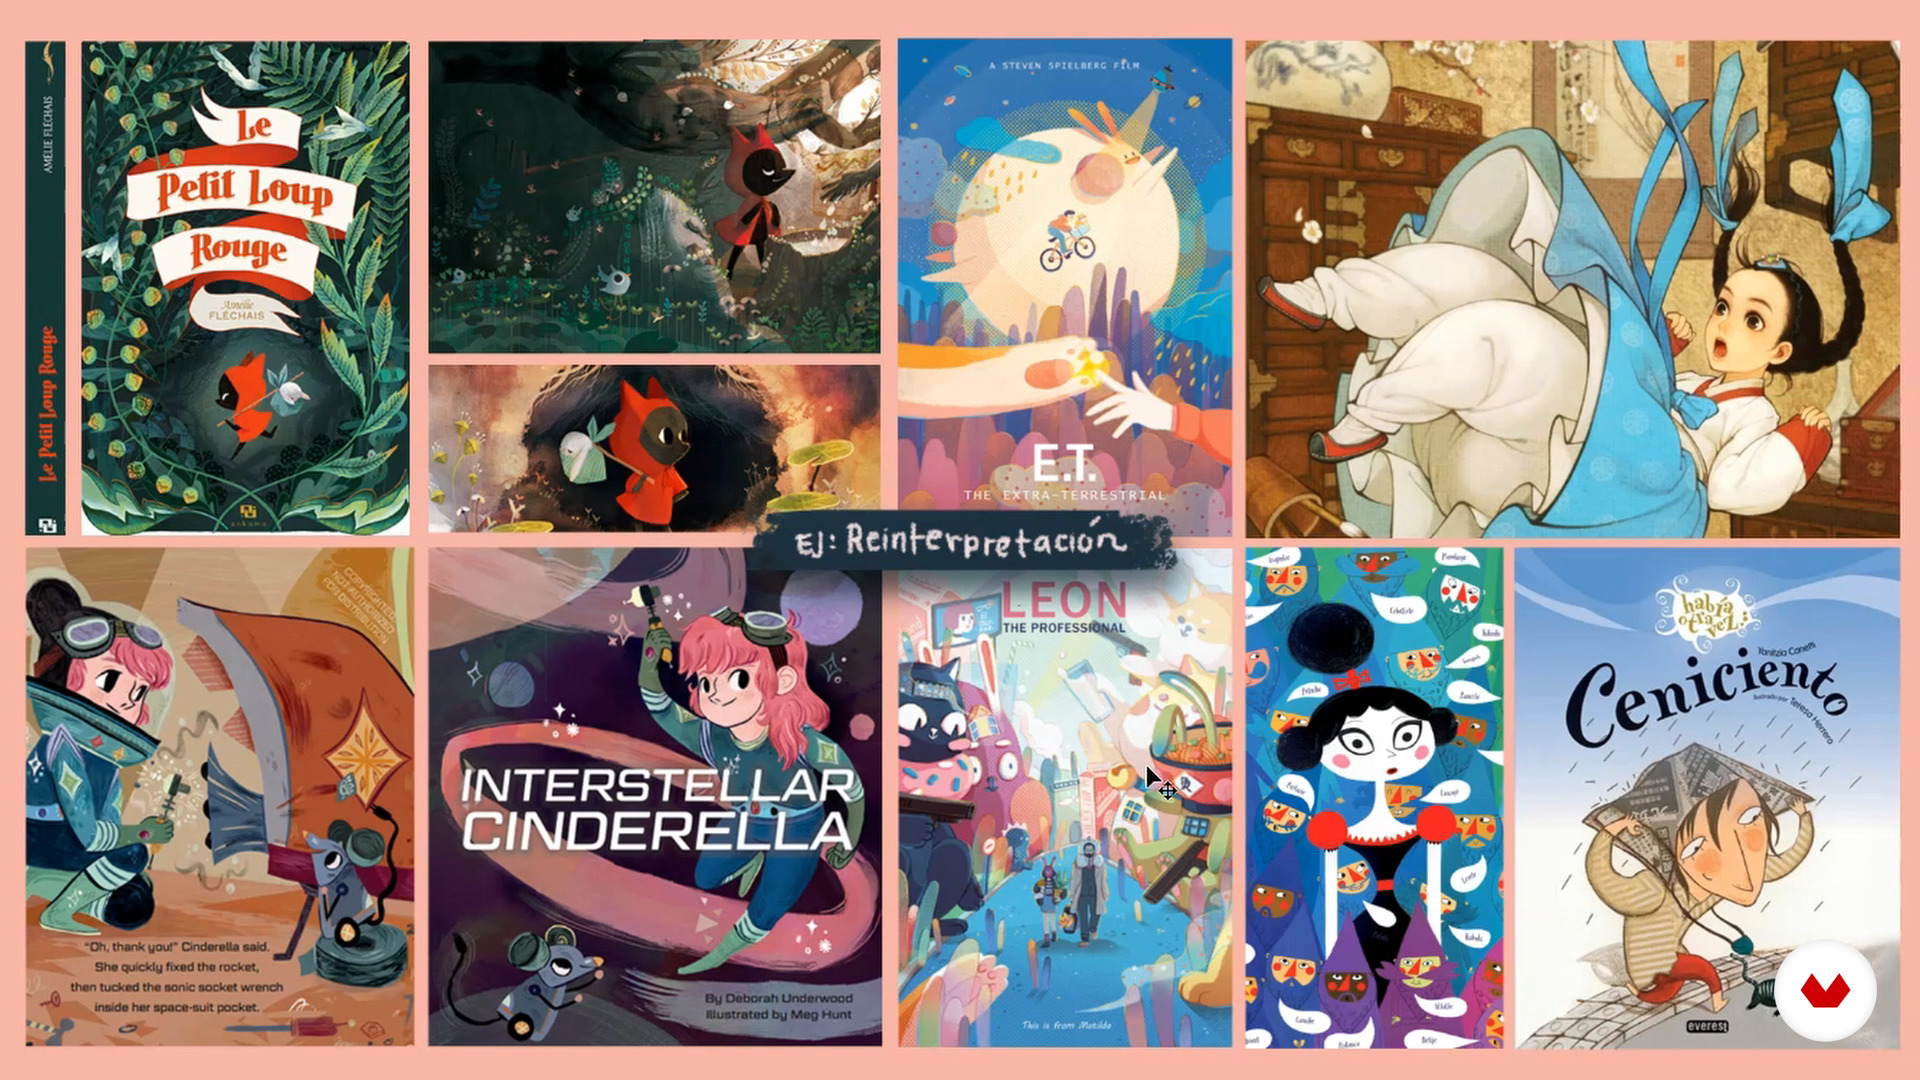
For this lesson, I chose my favorite book: The . I'll show you my favorite parts and some illustrations that will inspire me to create my project. You can do this same process with whatever book, comic, cartoon, manga, etc. you choose to work with. I invite you to choose your source of inspiration!
5m
image
4
Mood board
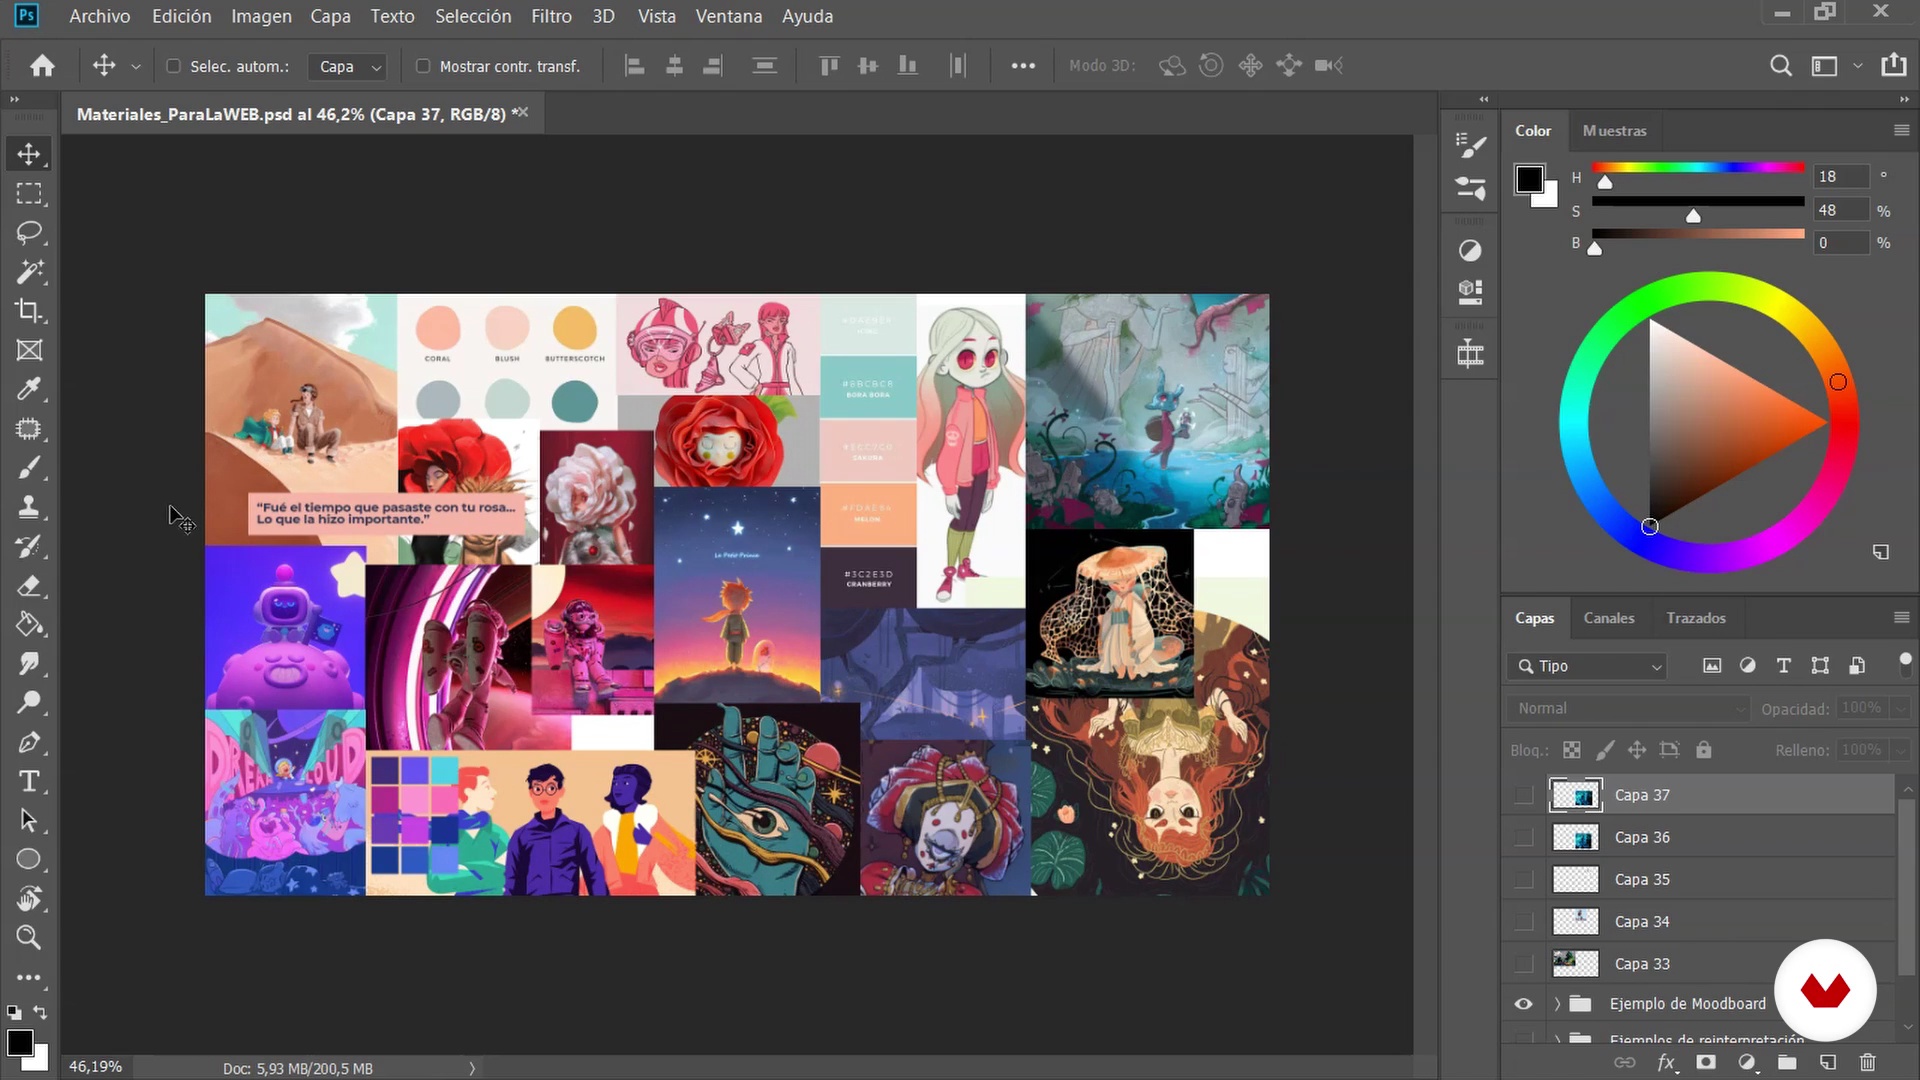
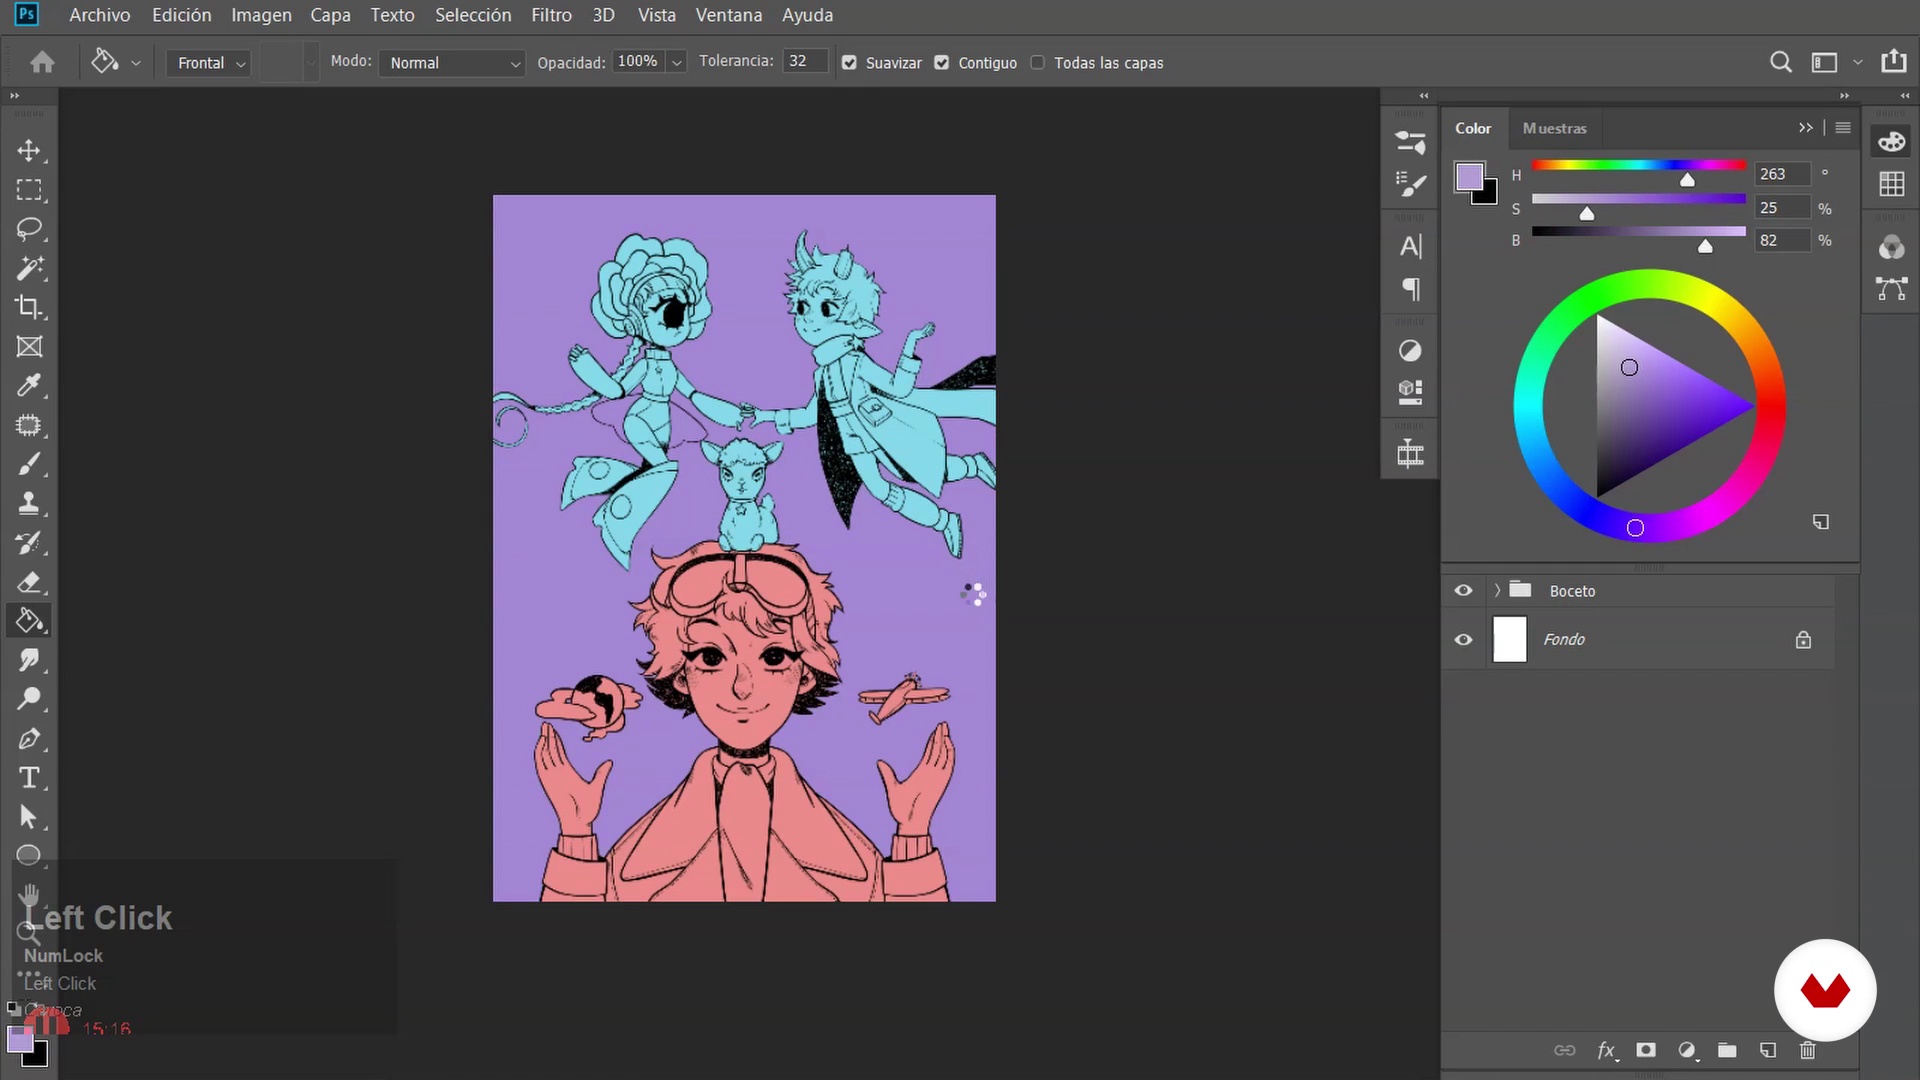
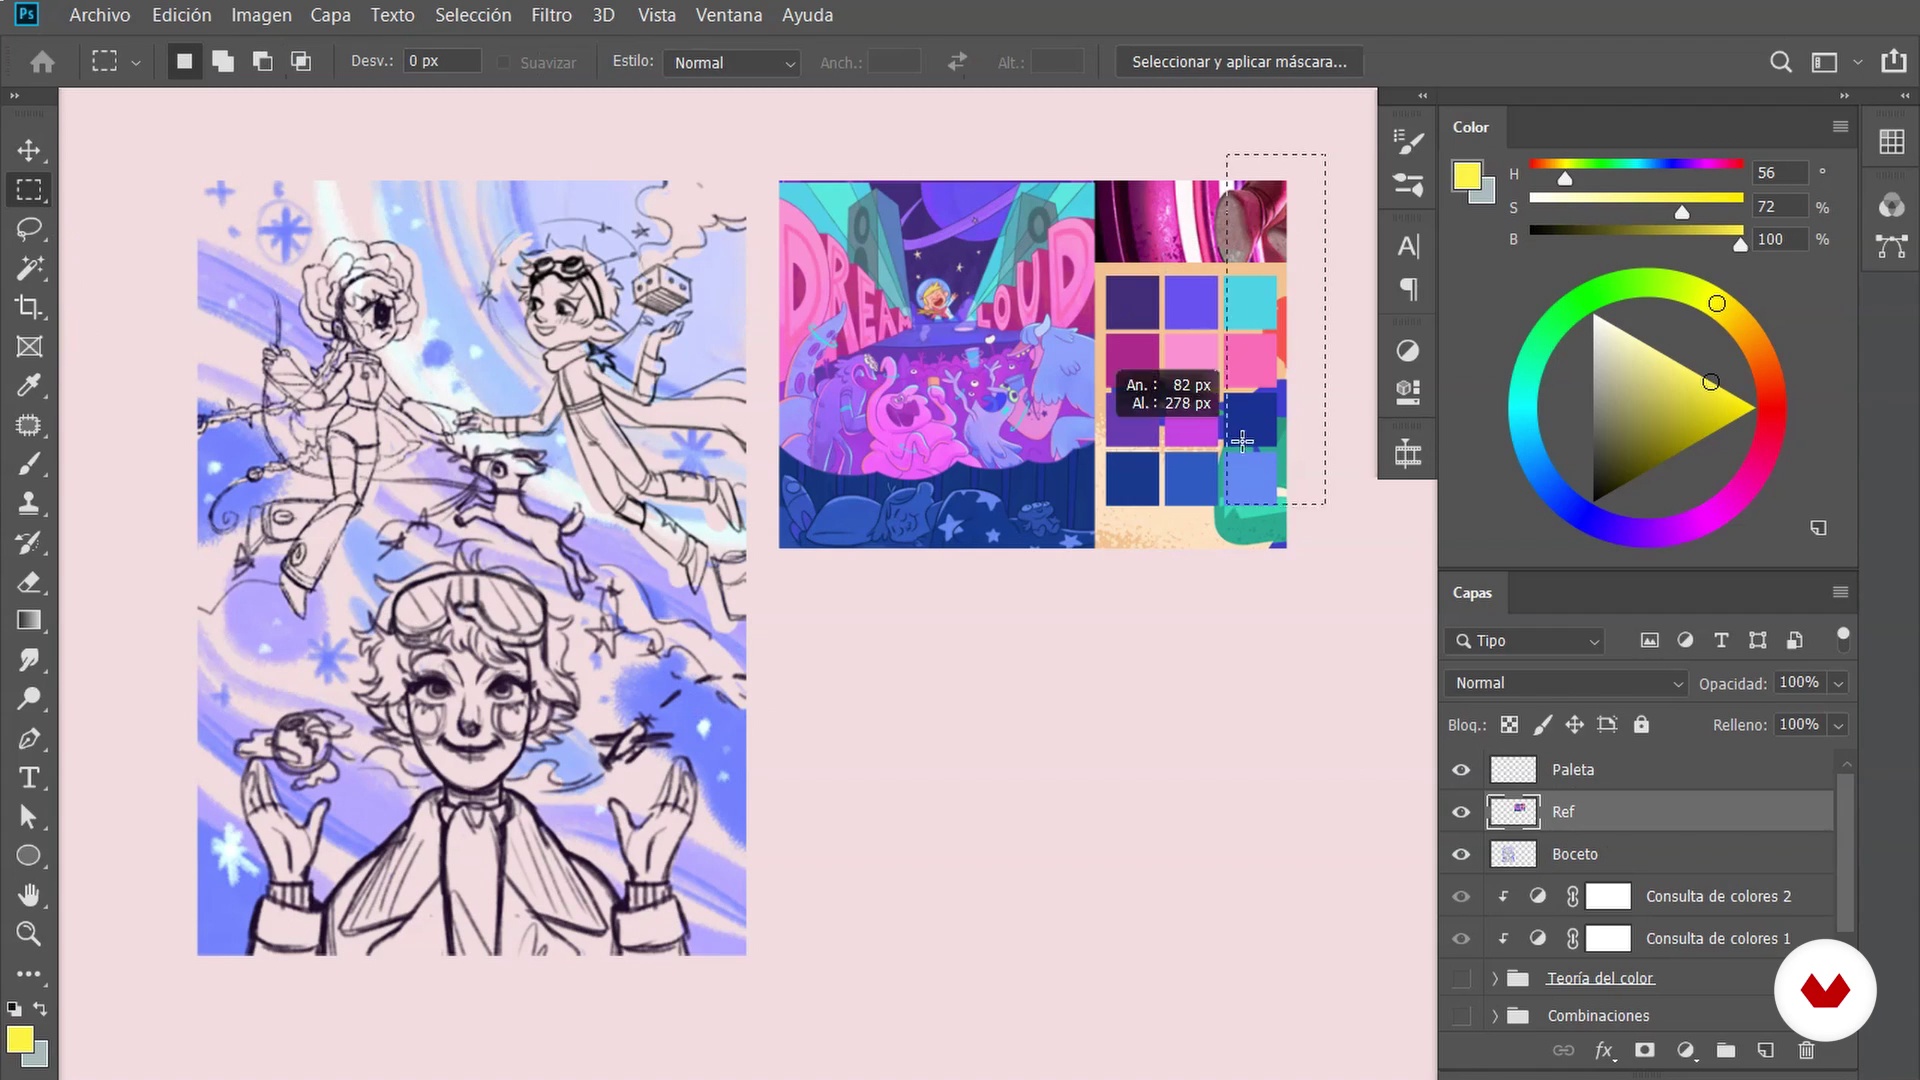
You're going to prepare your mood board. You decide how to do it. It can be with clippings on a piece of paper, or on a blank canvas in Photoshop. I'll show you how to gather references for the characters you want to draw, text fragments, photos with colors you like, photos of expressions... whatever truly inspires you. This will be your basis for starting to draw. The more you draw on images, the more ideas will come.
3m
image
5
The sketch
Now, bring your drawing materials and start sketching. I recommend not using a pencil and eraser; it's better not to have the ability to erase, as this way you'll learn more quickly from your mistakes.
7m
image
6
Digital sketch
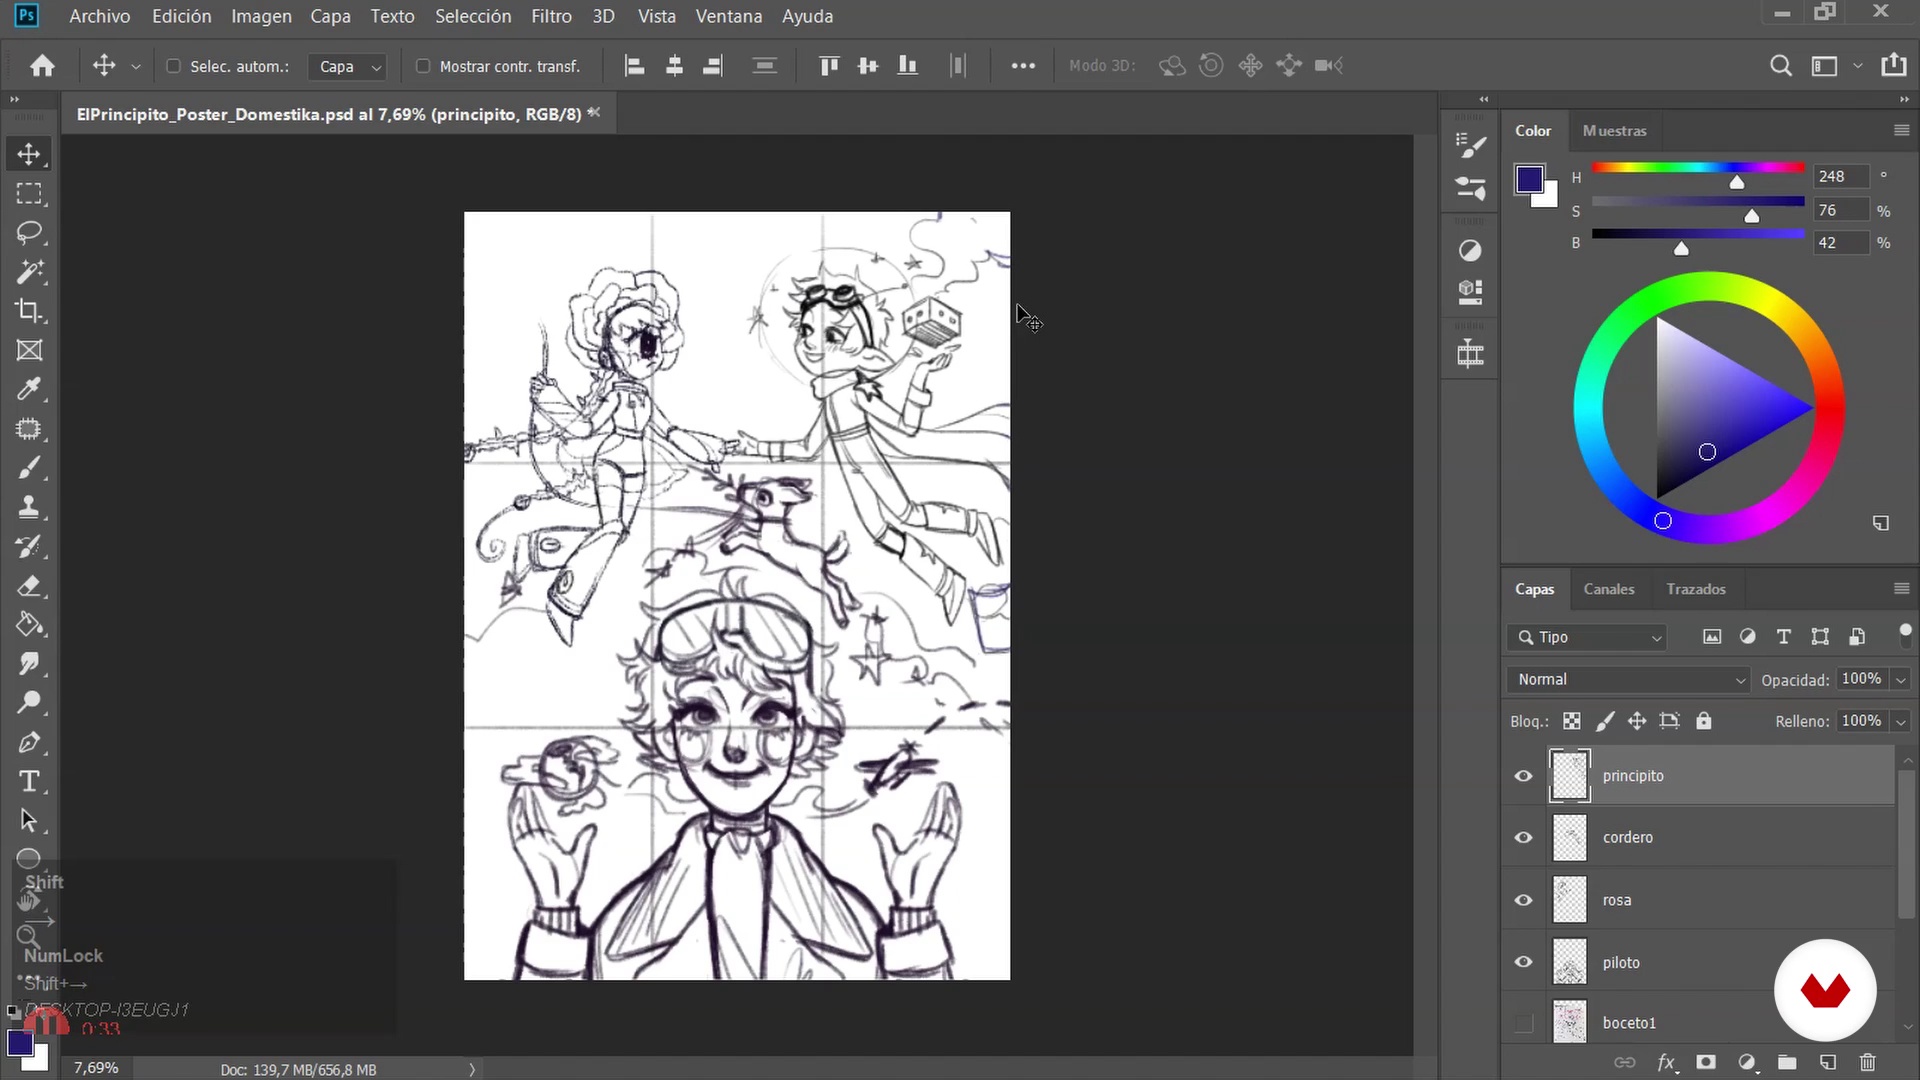
You've already chosen one of the sketches you made. In this lesson, I'll show you how to best digitize that sketch so you can get the most out of it.
10m
image
7
Lines and base color
You're now ready to start the lines and apply the color. Don't worry about perfect lines. I'll show you how to use a dry brush to make it look like you're doing it with a pencil and add texture.
20m
image
8
Color palette
This lesson is very important. You'll understand color and how to use it, helping you create engaging illustrated pieces. Finally, you'll be able to choose the perfect color palette for your final project.
17m
image
9
Color application 1
The most fun part has arrived... Coloring!
17m
image
10
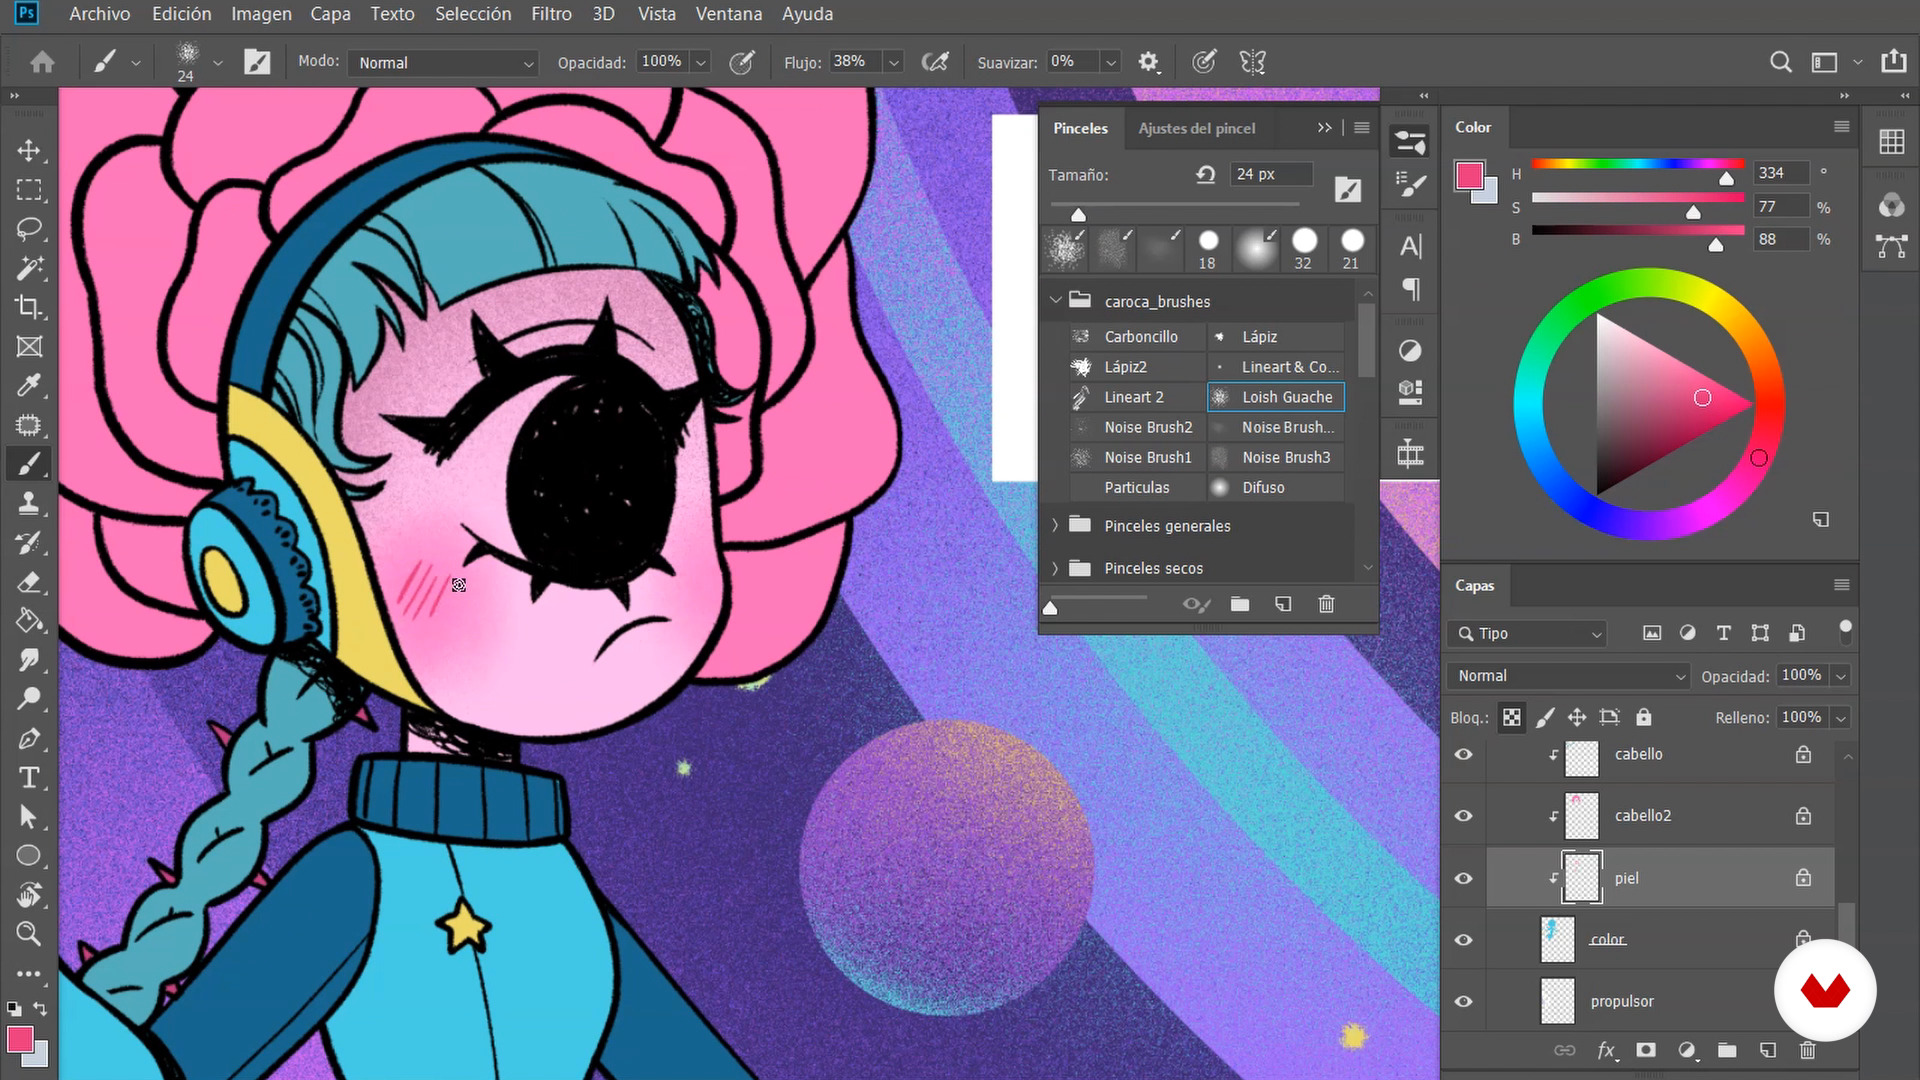
Color application 2
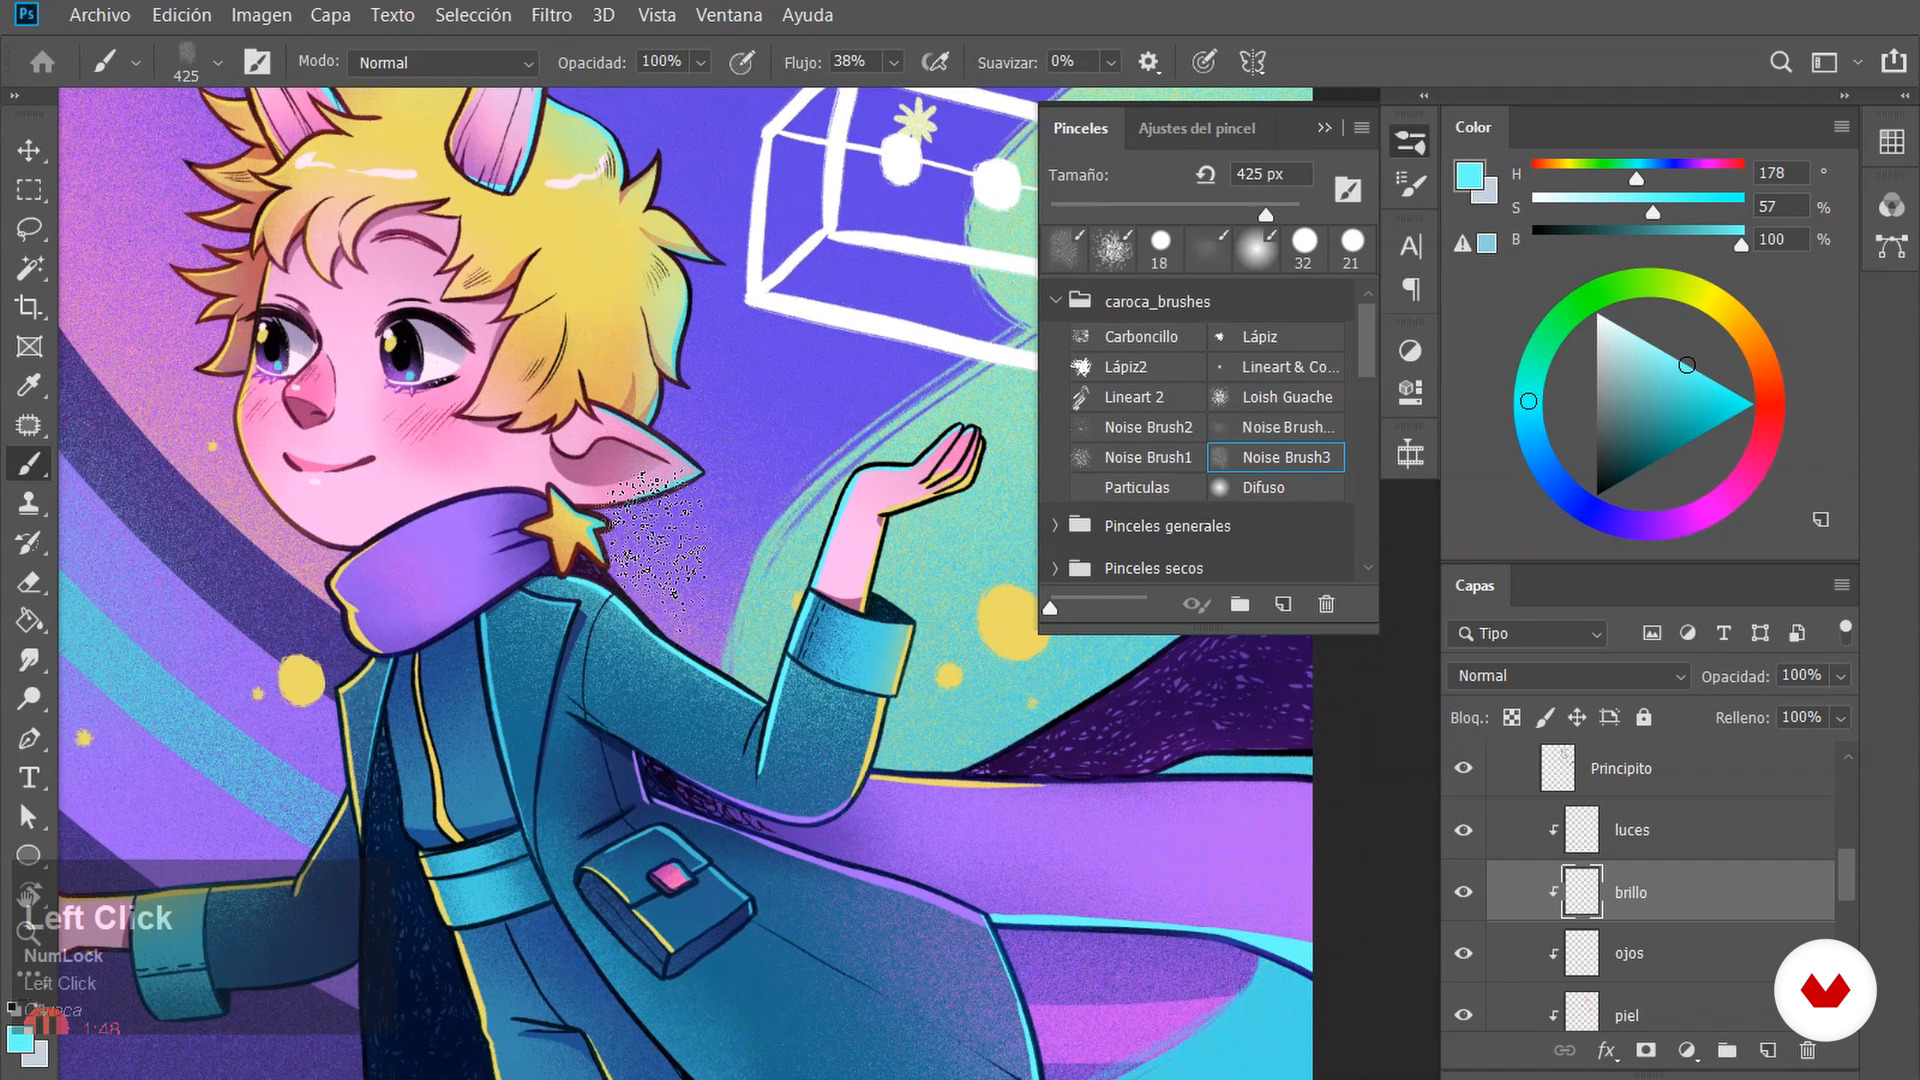
You'll learn how to use shadows and highlights to color the lines of some of the illustration's details. I'll show you how to apply highlights with blue and yellow, and you'll also see how to blur some details to achieve a blend in the illustration.
19m
image
11
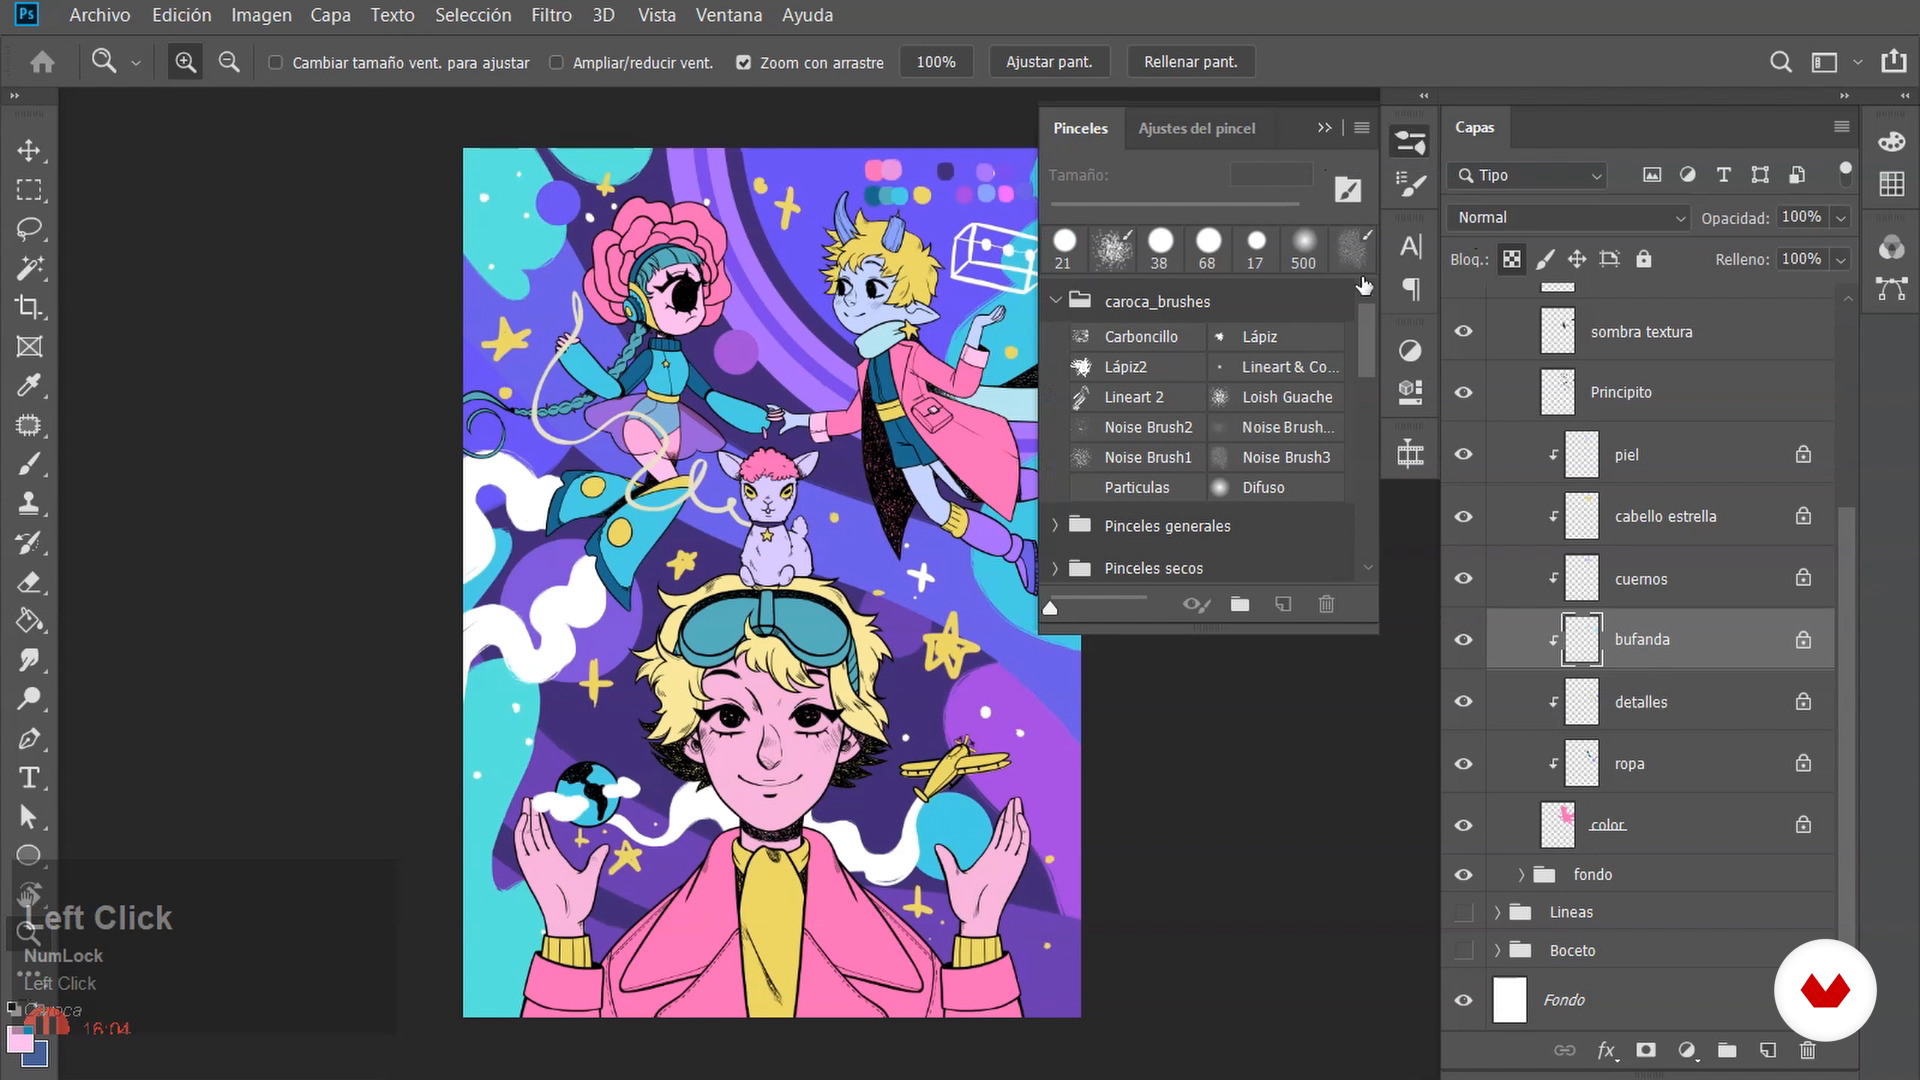
Color 3 application
Finally, I'll finish showing you my color application technique until I reach the final color scheme I want. However, this won't be the final result, as I'll still add the finishing touches to give the illustration more personality and my distinctive personal touch in the next unit.
19m
image
12
Final effects
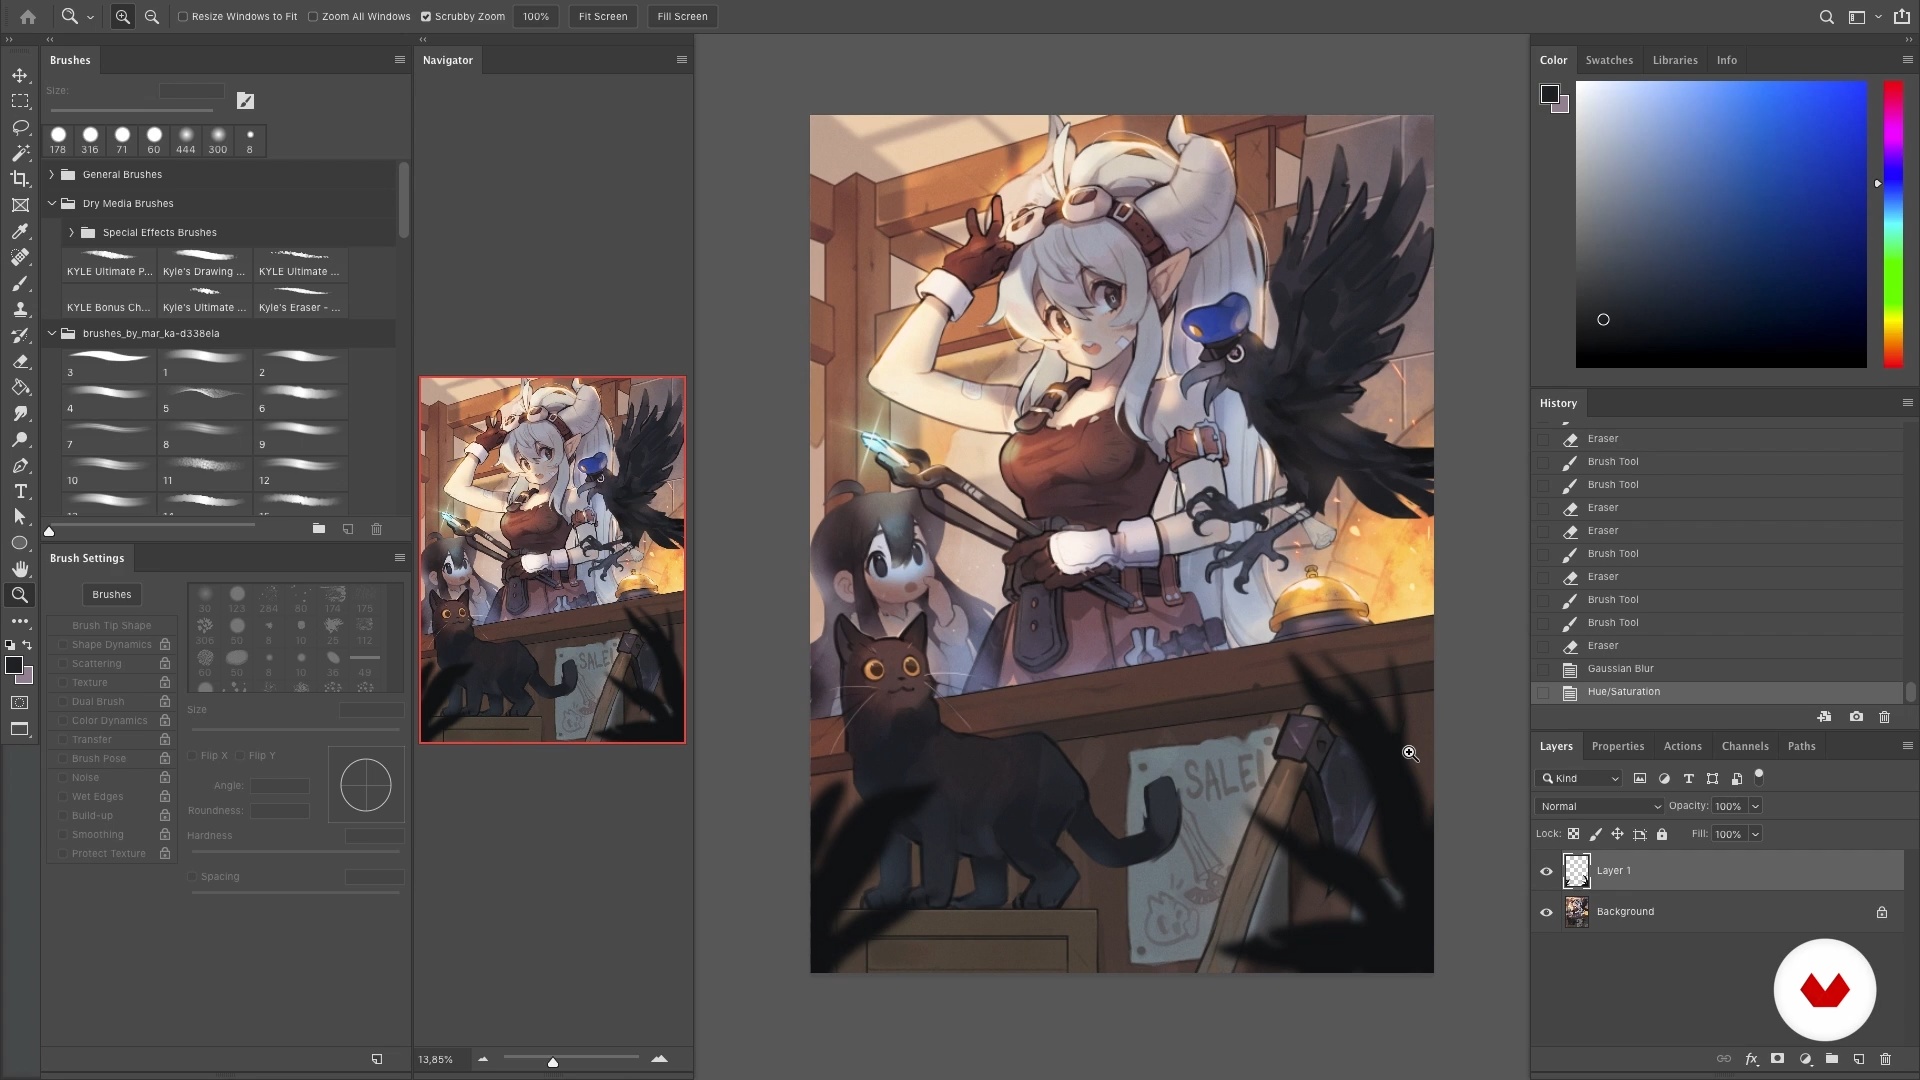
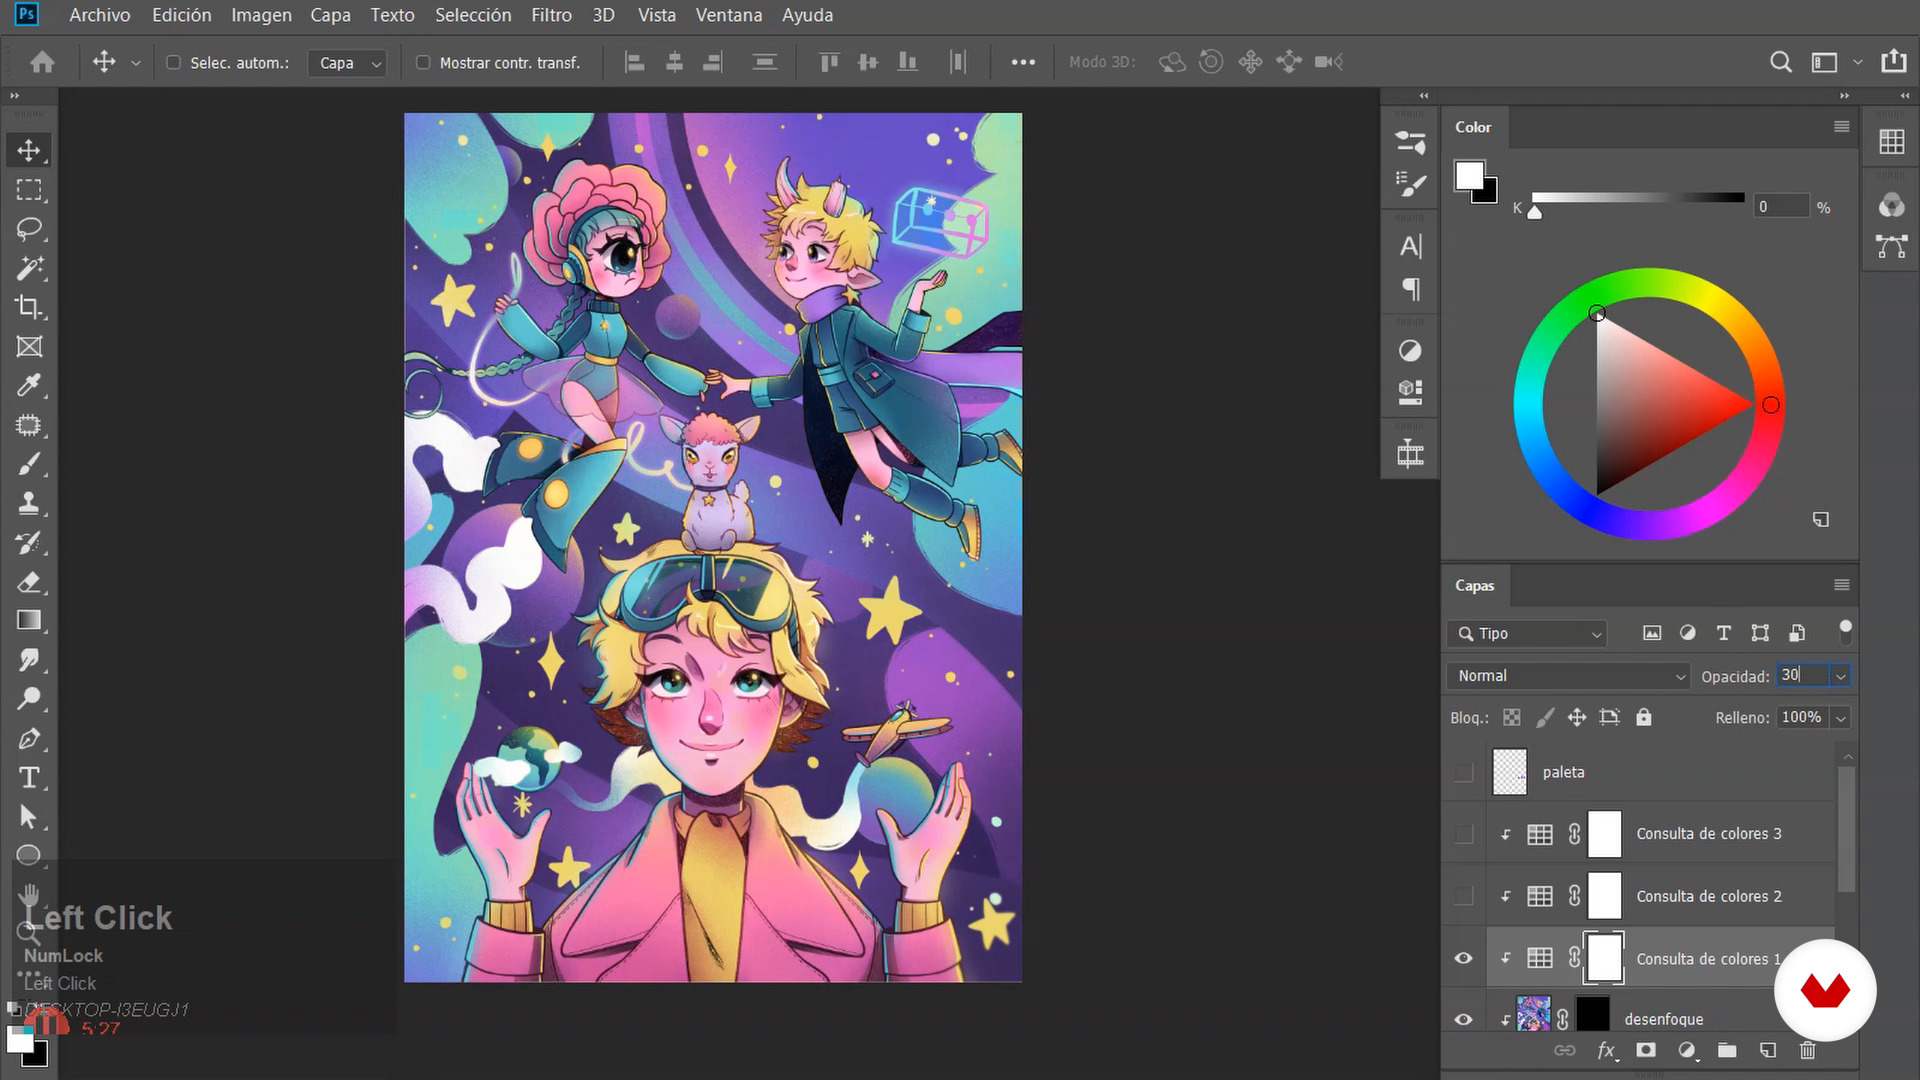
Your lines, color, and background are ready—now it's time for the finishing touches! In this lesson, I'll show you how to fine-tune them so your illustration looks amazing.
6m
image
13
Export for printing
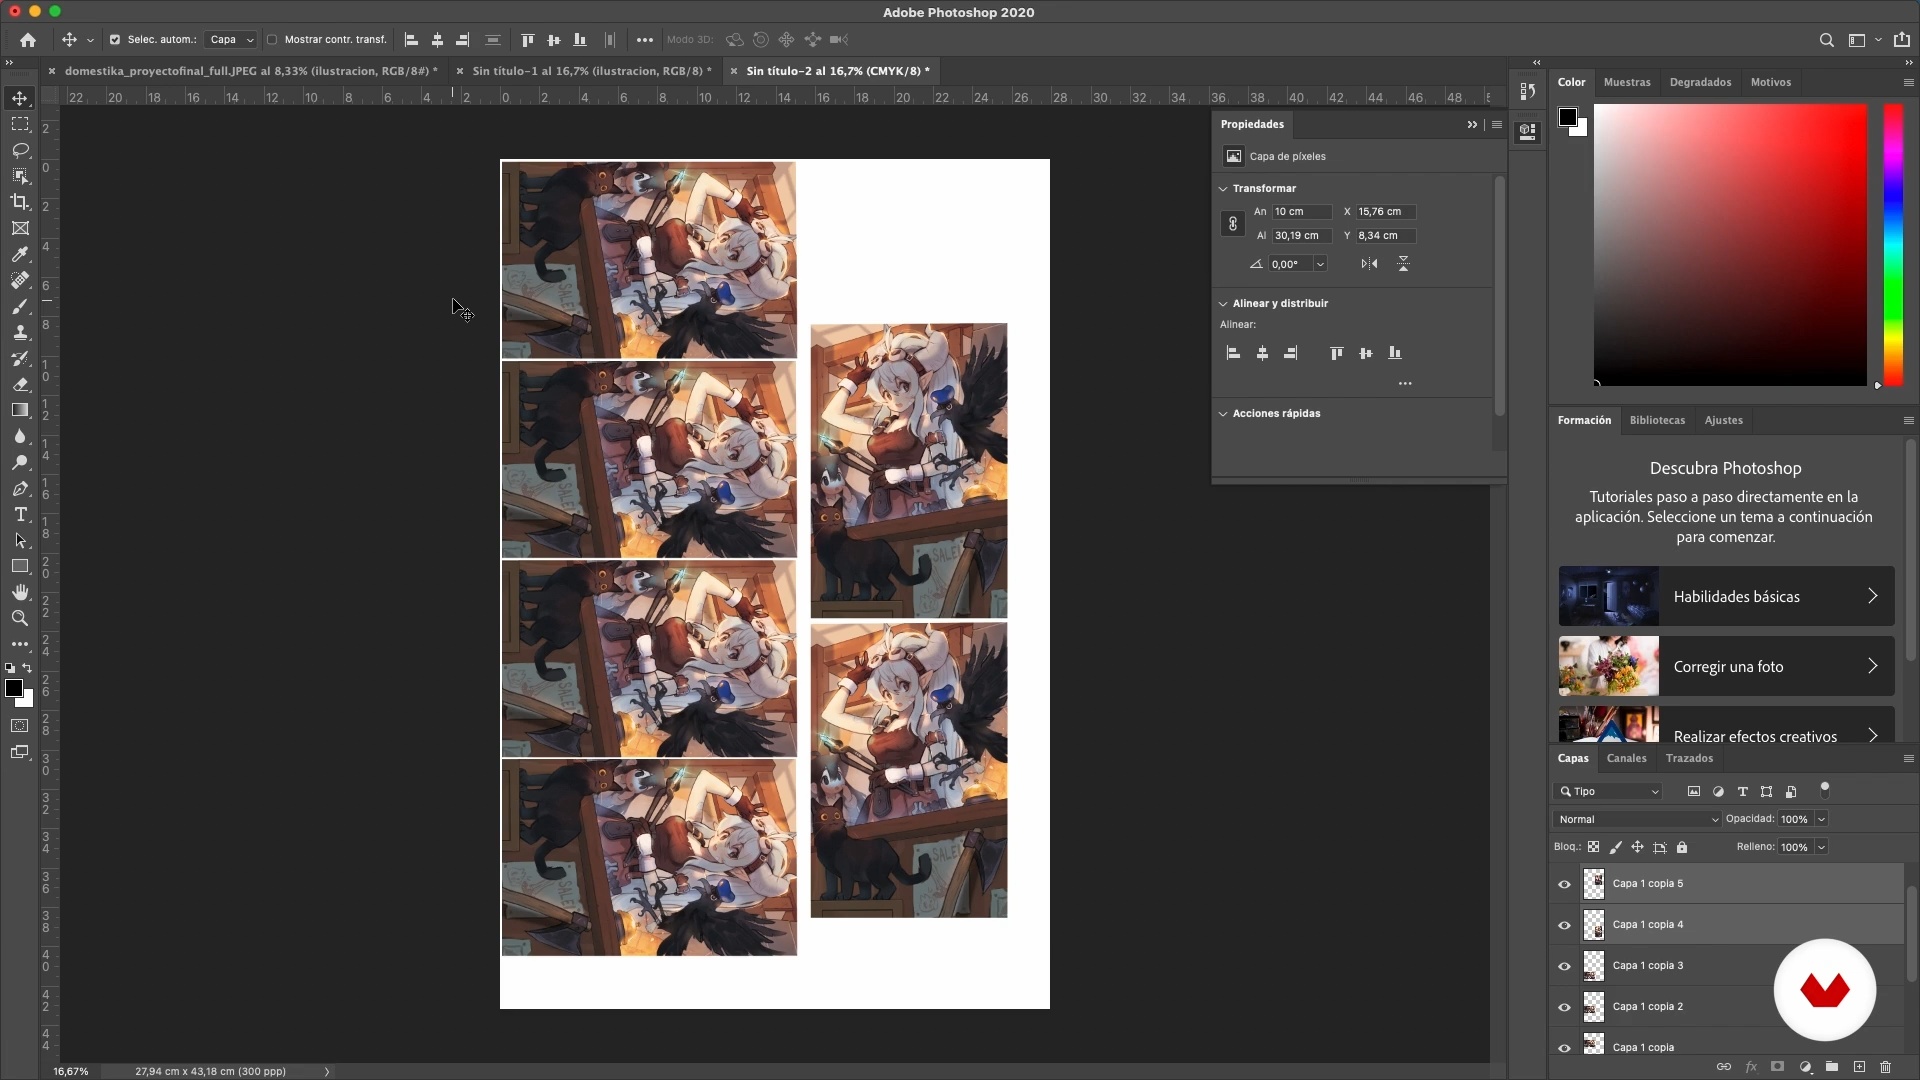
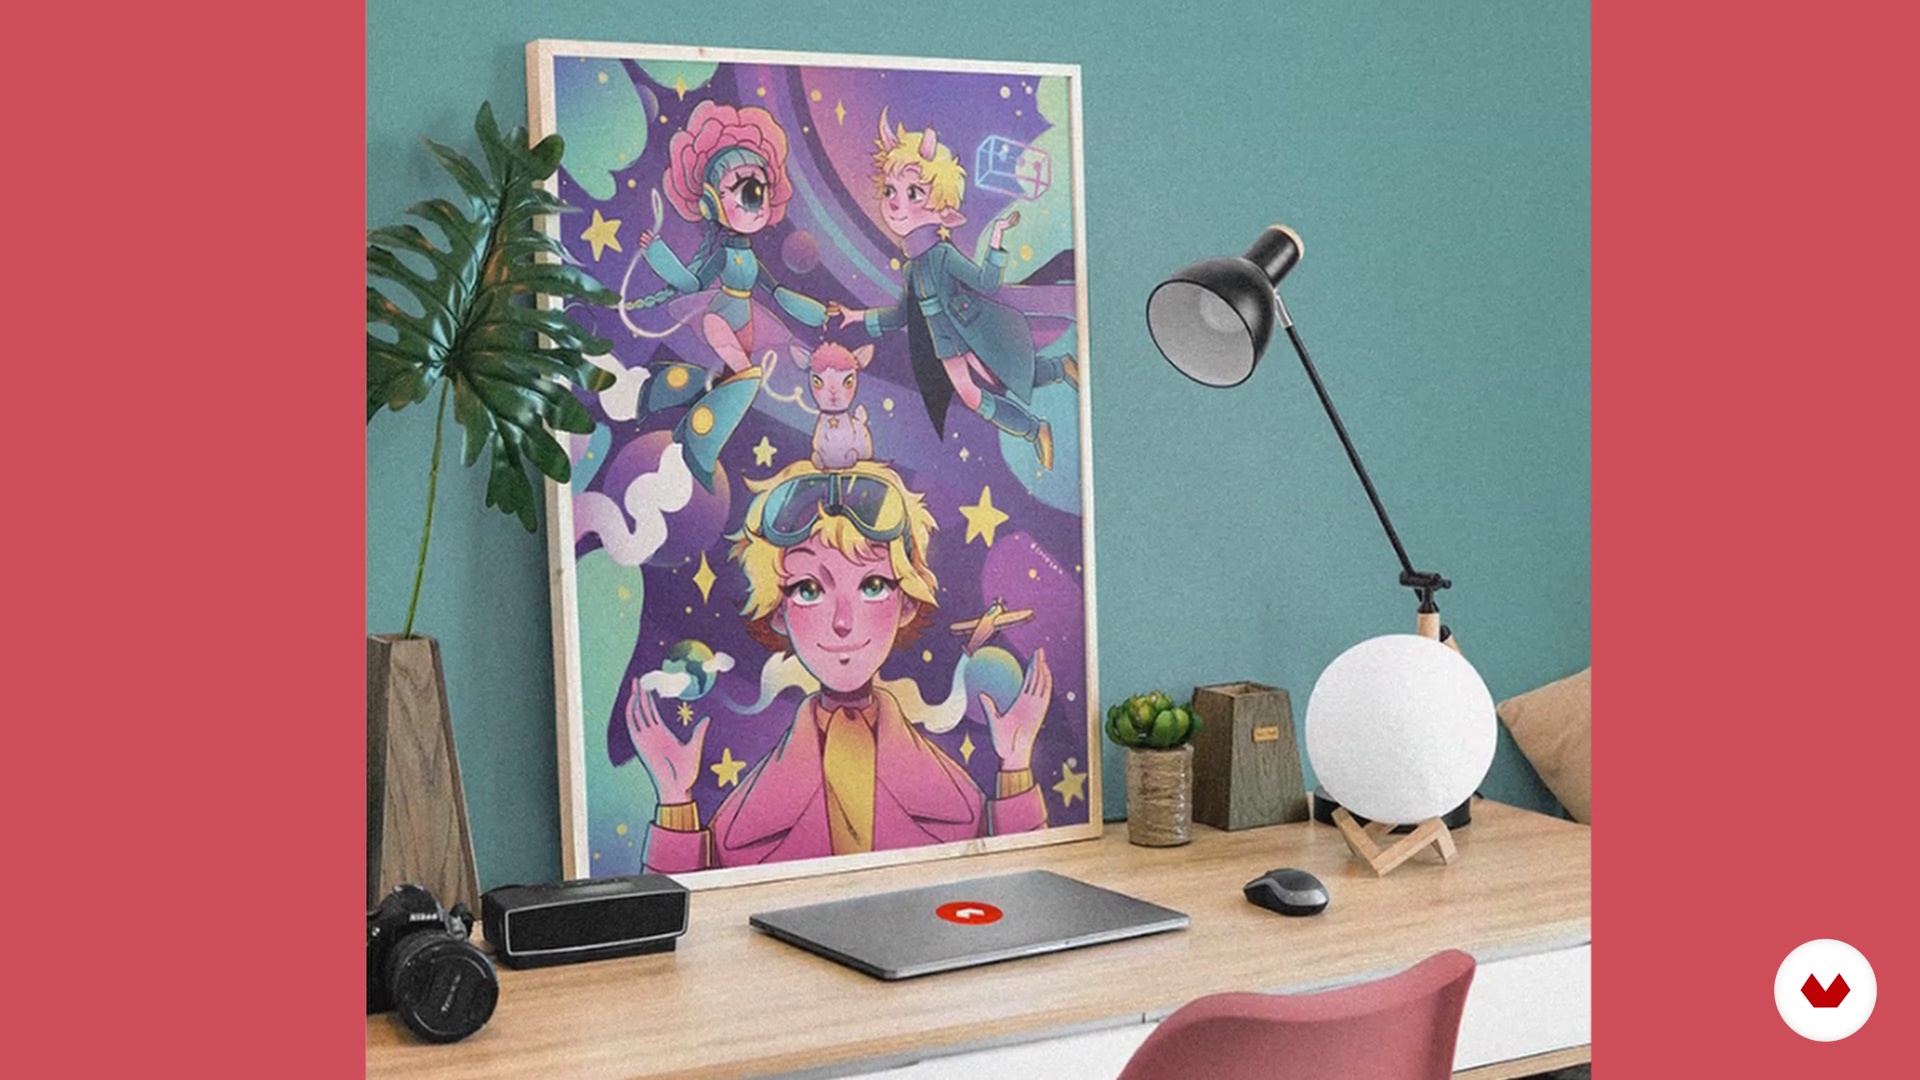
Now that you have your illustration ready, I'll show you how to prepare it for printing. It won't be long until you have it on your bedroom wall.
3m
image
14
Export for digital media
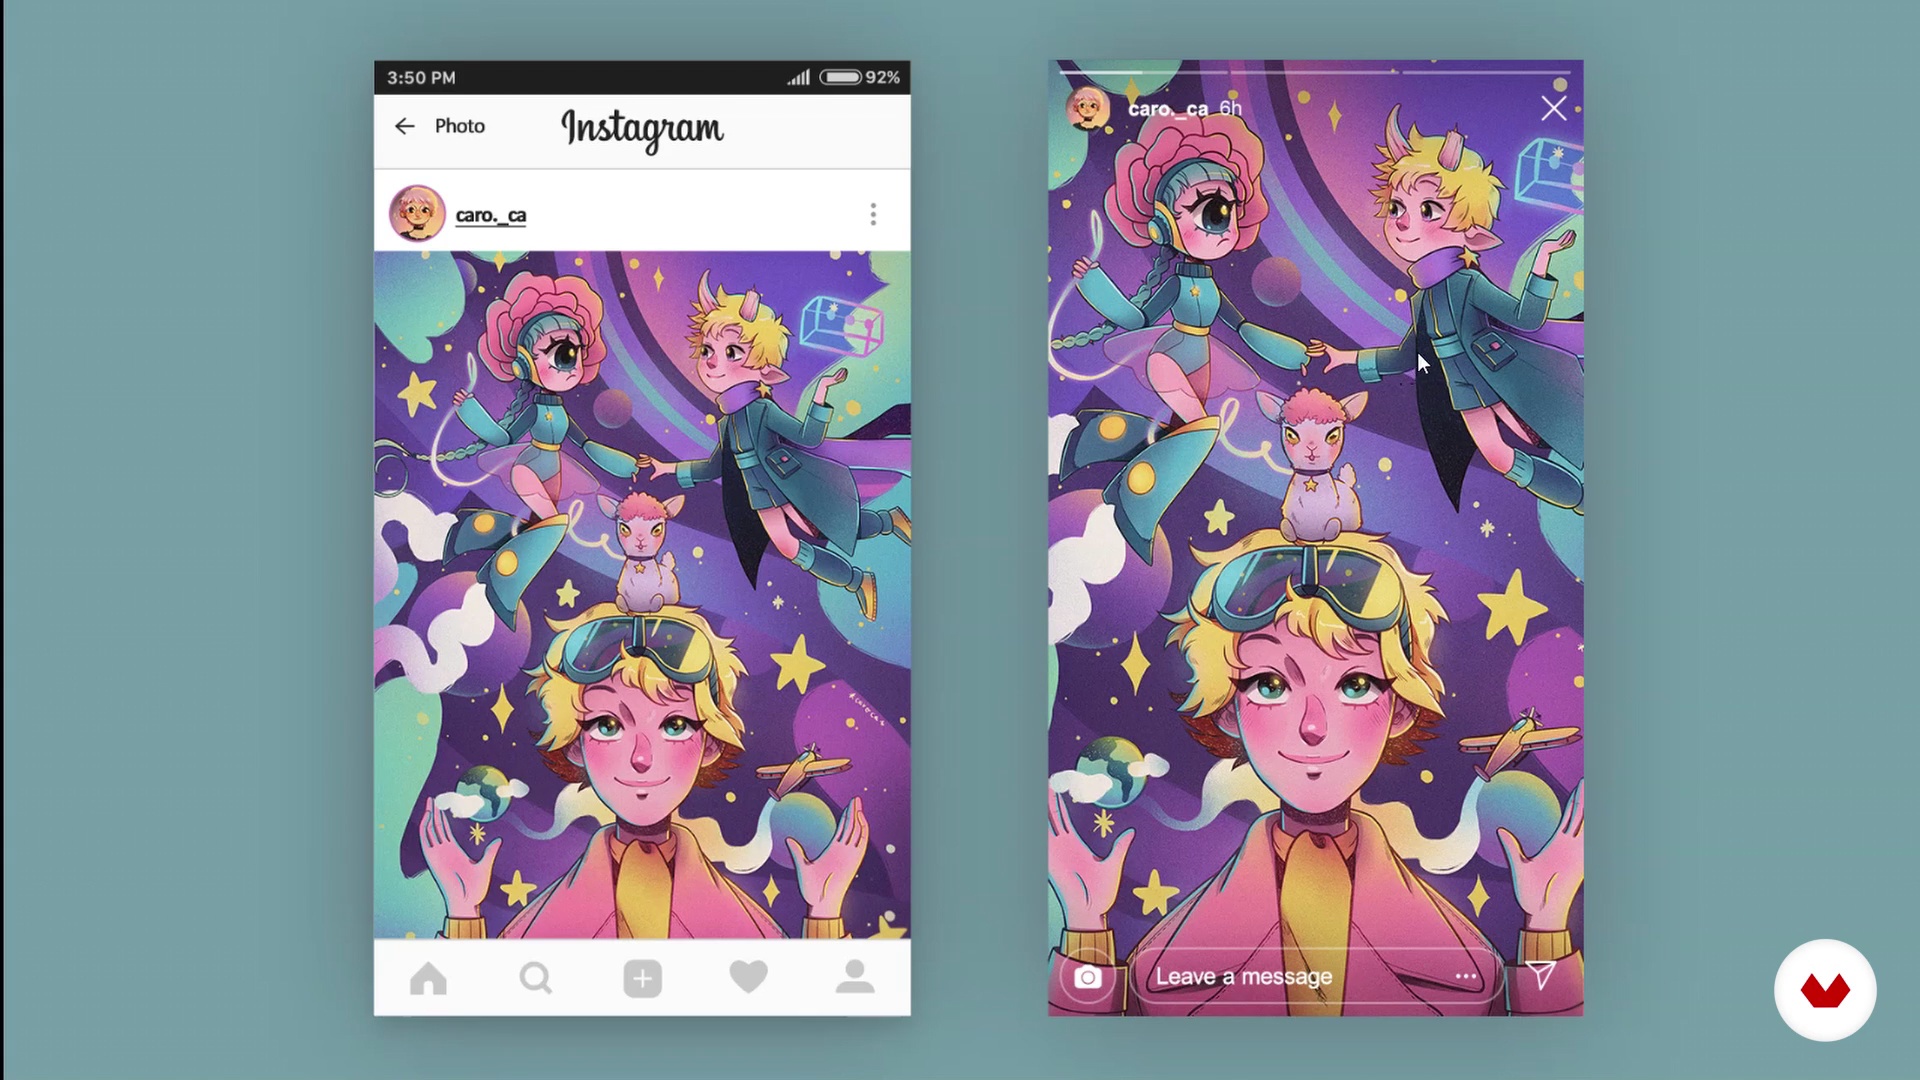
Finally, you'll learn how to export your final project to upload to your portfolio and showcase it on any social media platforms you choose.
2m
image
3
The project
Let's begin this adventure! In this lesson, I'll tell you what the course project will be. I'll also tell you what you'll need to complete it.
3m
image
4
Stories and comics
Stories are important—or rather, vital. Therefore, I'm going to talk to you about the importance of storytelling. I'll also explain the different types of comics that exist.
4m
image
5
Think in vignettes
How do you imagine your comic? It's time to show you how to think through anecdotes step by step, then turn them into vignettes. At the end, I'll explain how to choose the right anecdote to illustrate.
7m
image
6
Components and composition
Every artist starts with a canvas. In this lesson, I'll share some tips for visual composition, especially for comics.
9m
image
7
Basic anatomy
Before starting the project, I'll show you the basics of drawing proportions and shapes. I'll also give you some tips to help you avoid struggling with anatomy.
11m
image
8
Body language
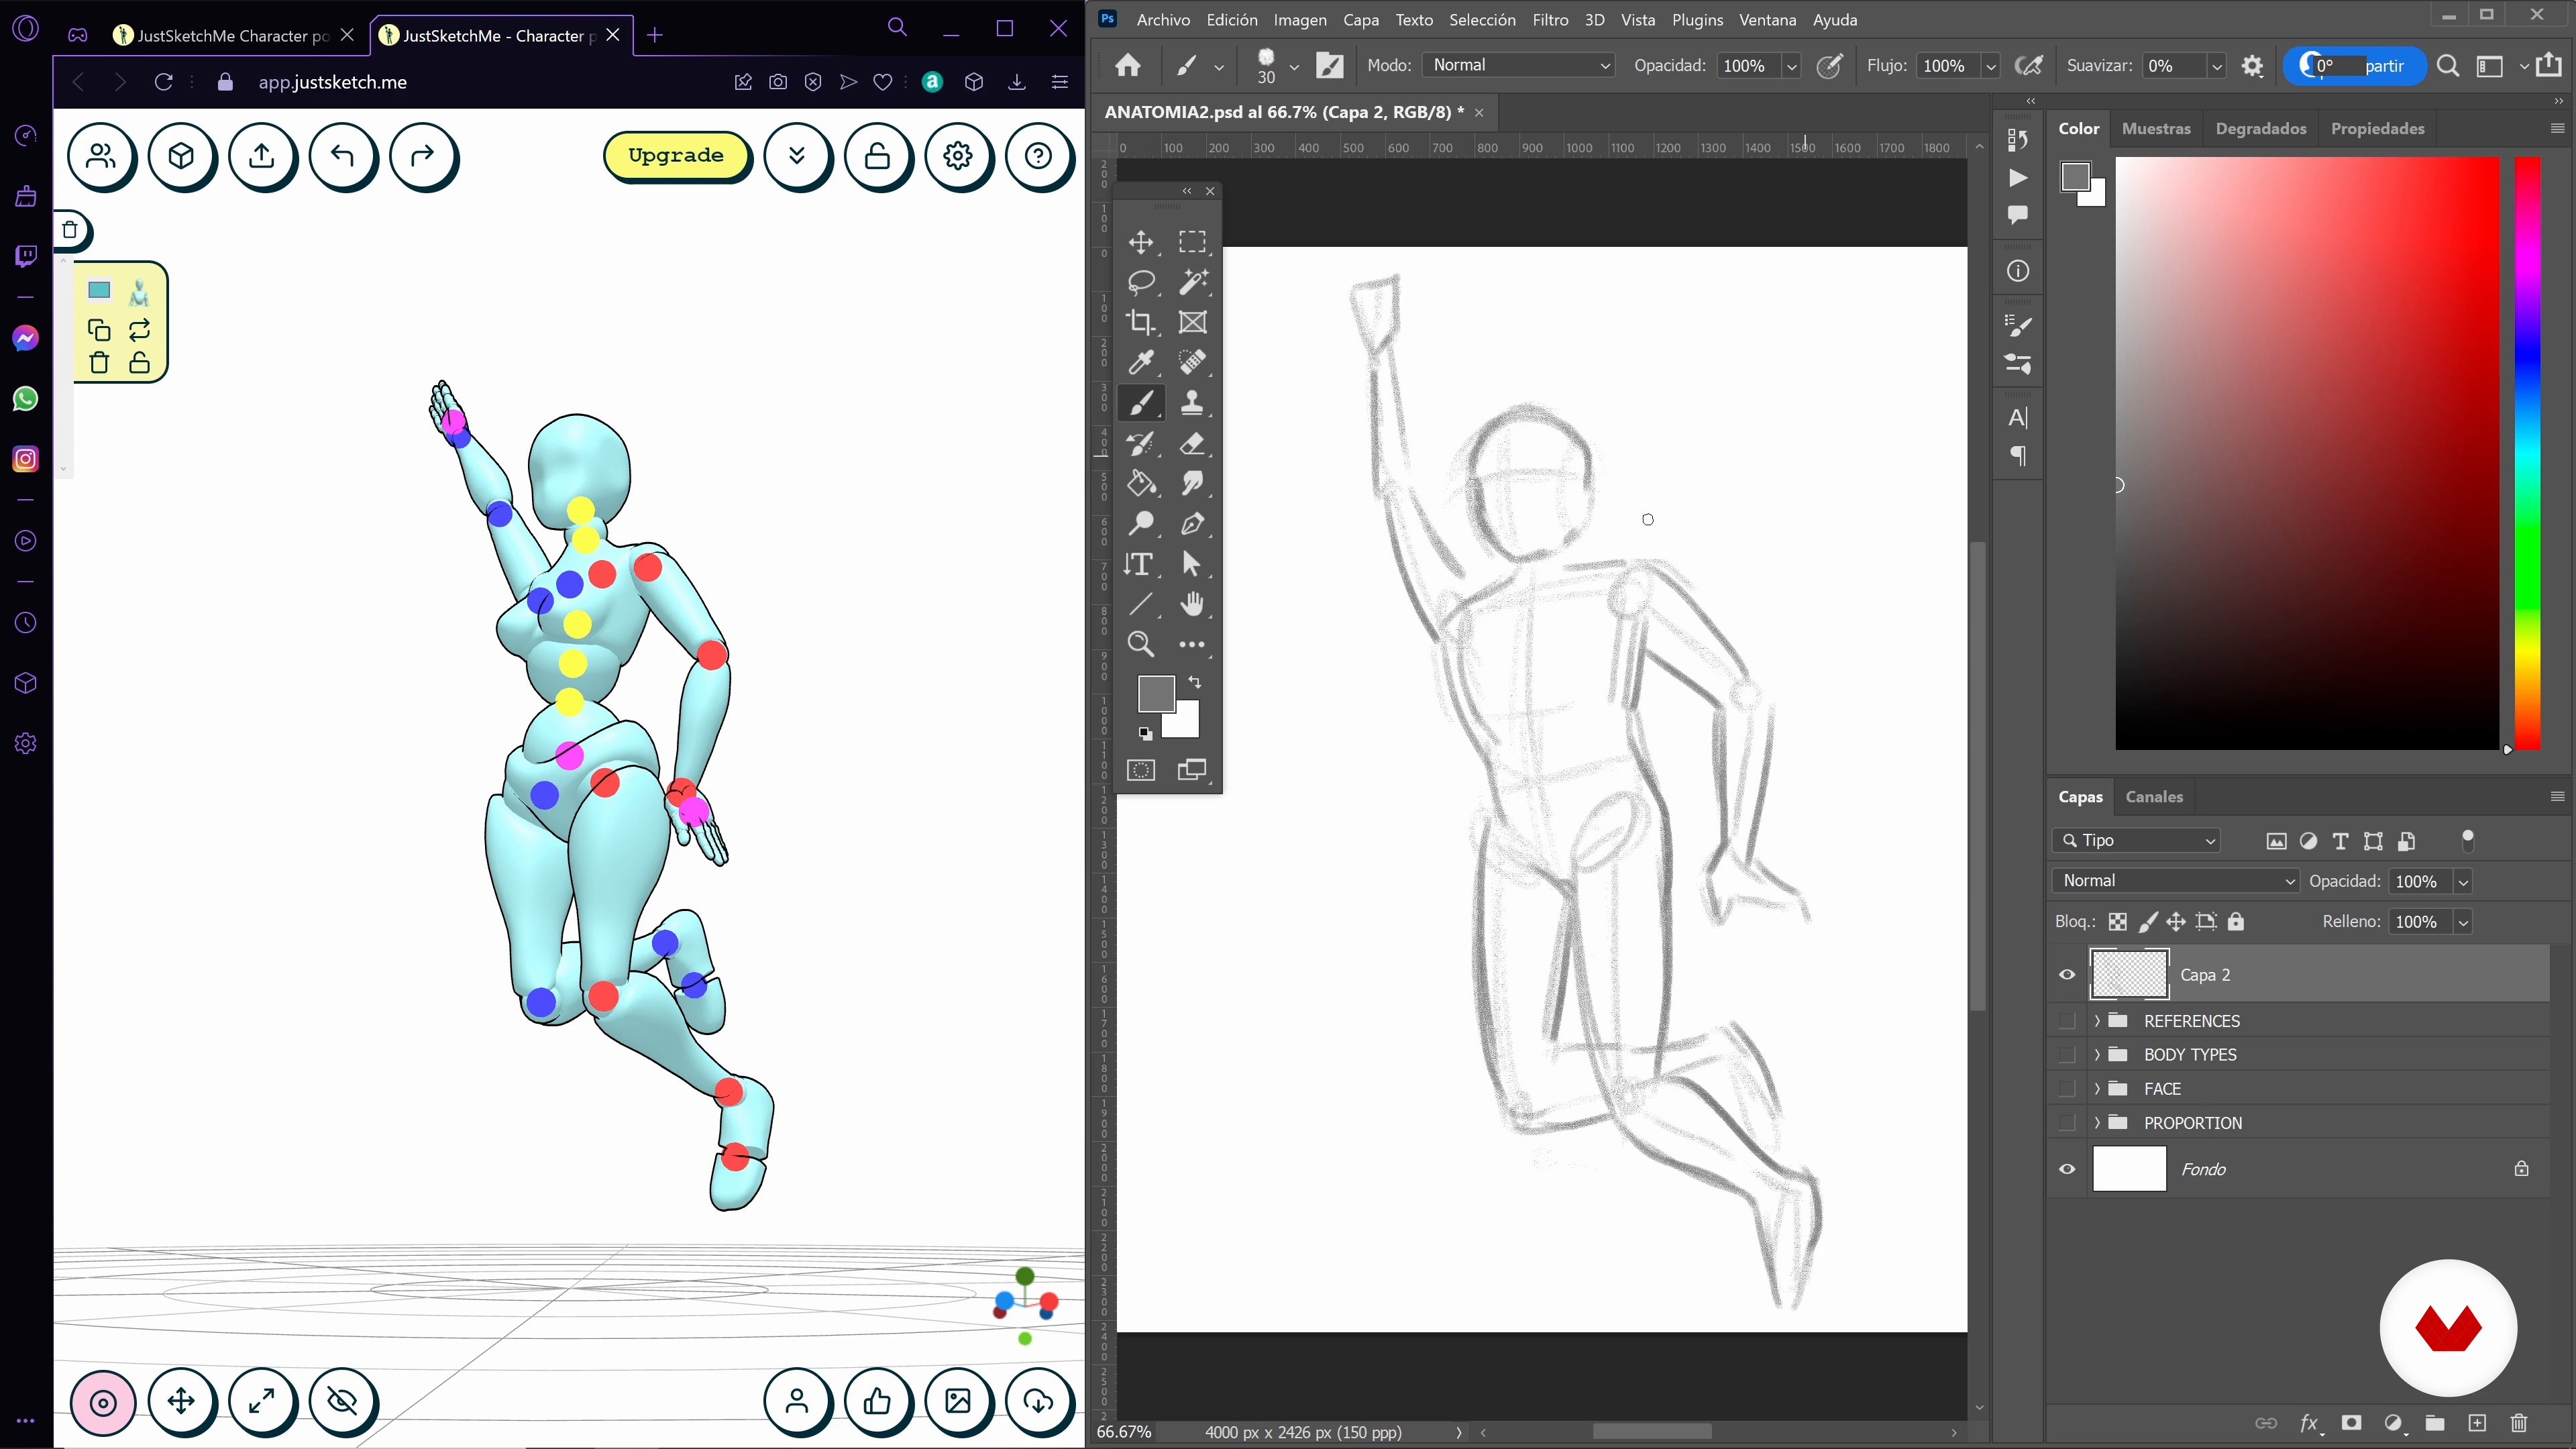
Comics tell a story, and to tell it well, you need movement. In this lesson, I'll show you how to achieve dynamic poses.
7m
image
9
From thumbnail to sketch
It's time to start making your ideas a reality. For that reason, in this lesson, you'll learn how to create your first thumbnails. I'll also show you my process for choosing which thumbnail best defines the idea I want to convey. Once you've chosen the thumbnail, you'll see how to clean it up to create a final sketch.
5m
image
10
Polish the comic
Have you ever wondered how to make your comic look amazing? In this lesson, I'll show you some ways to polish your comic to make it as presentable as possible.
11m
image
11
Scan and digitize
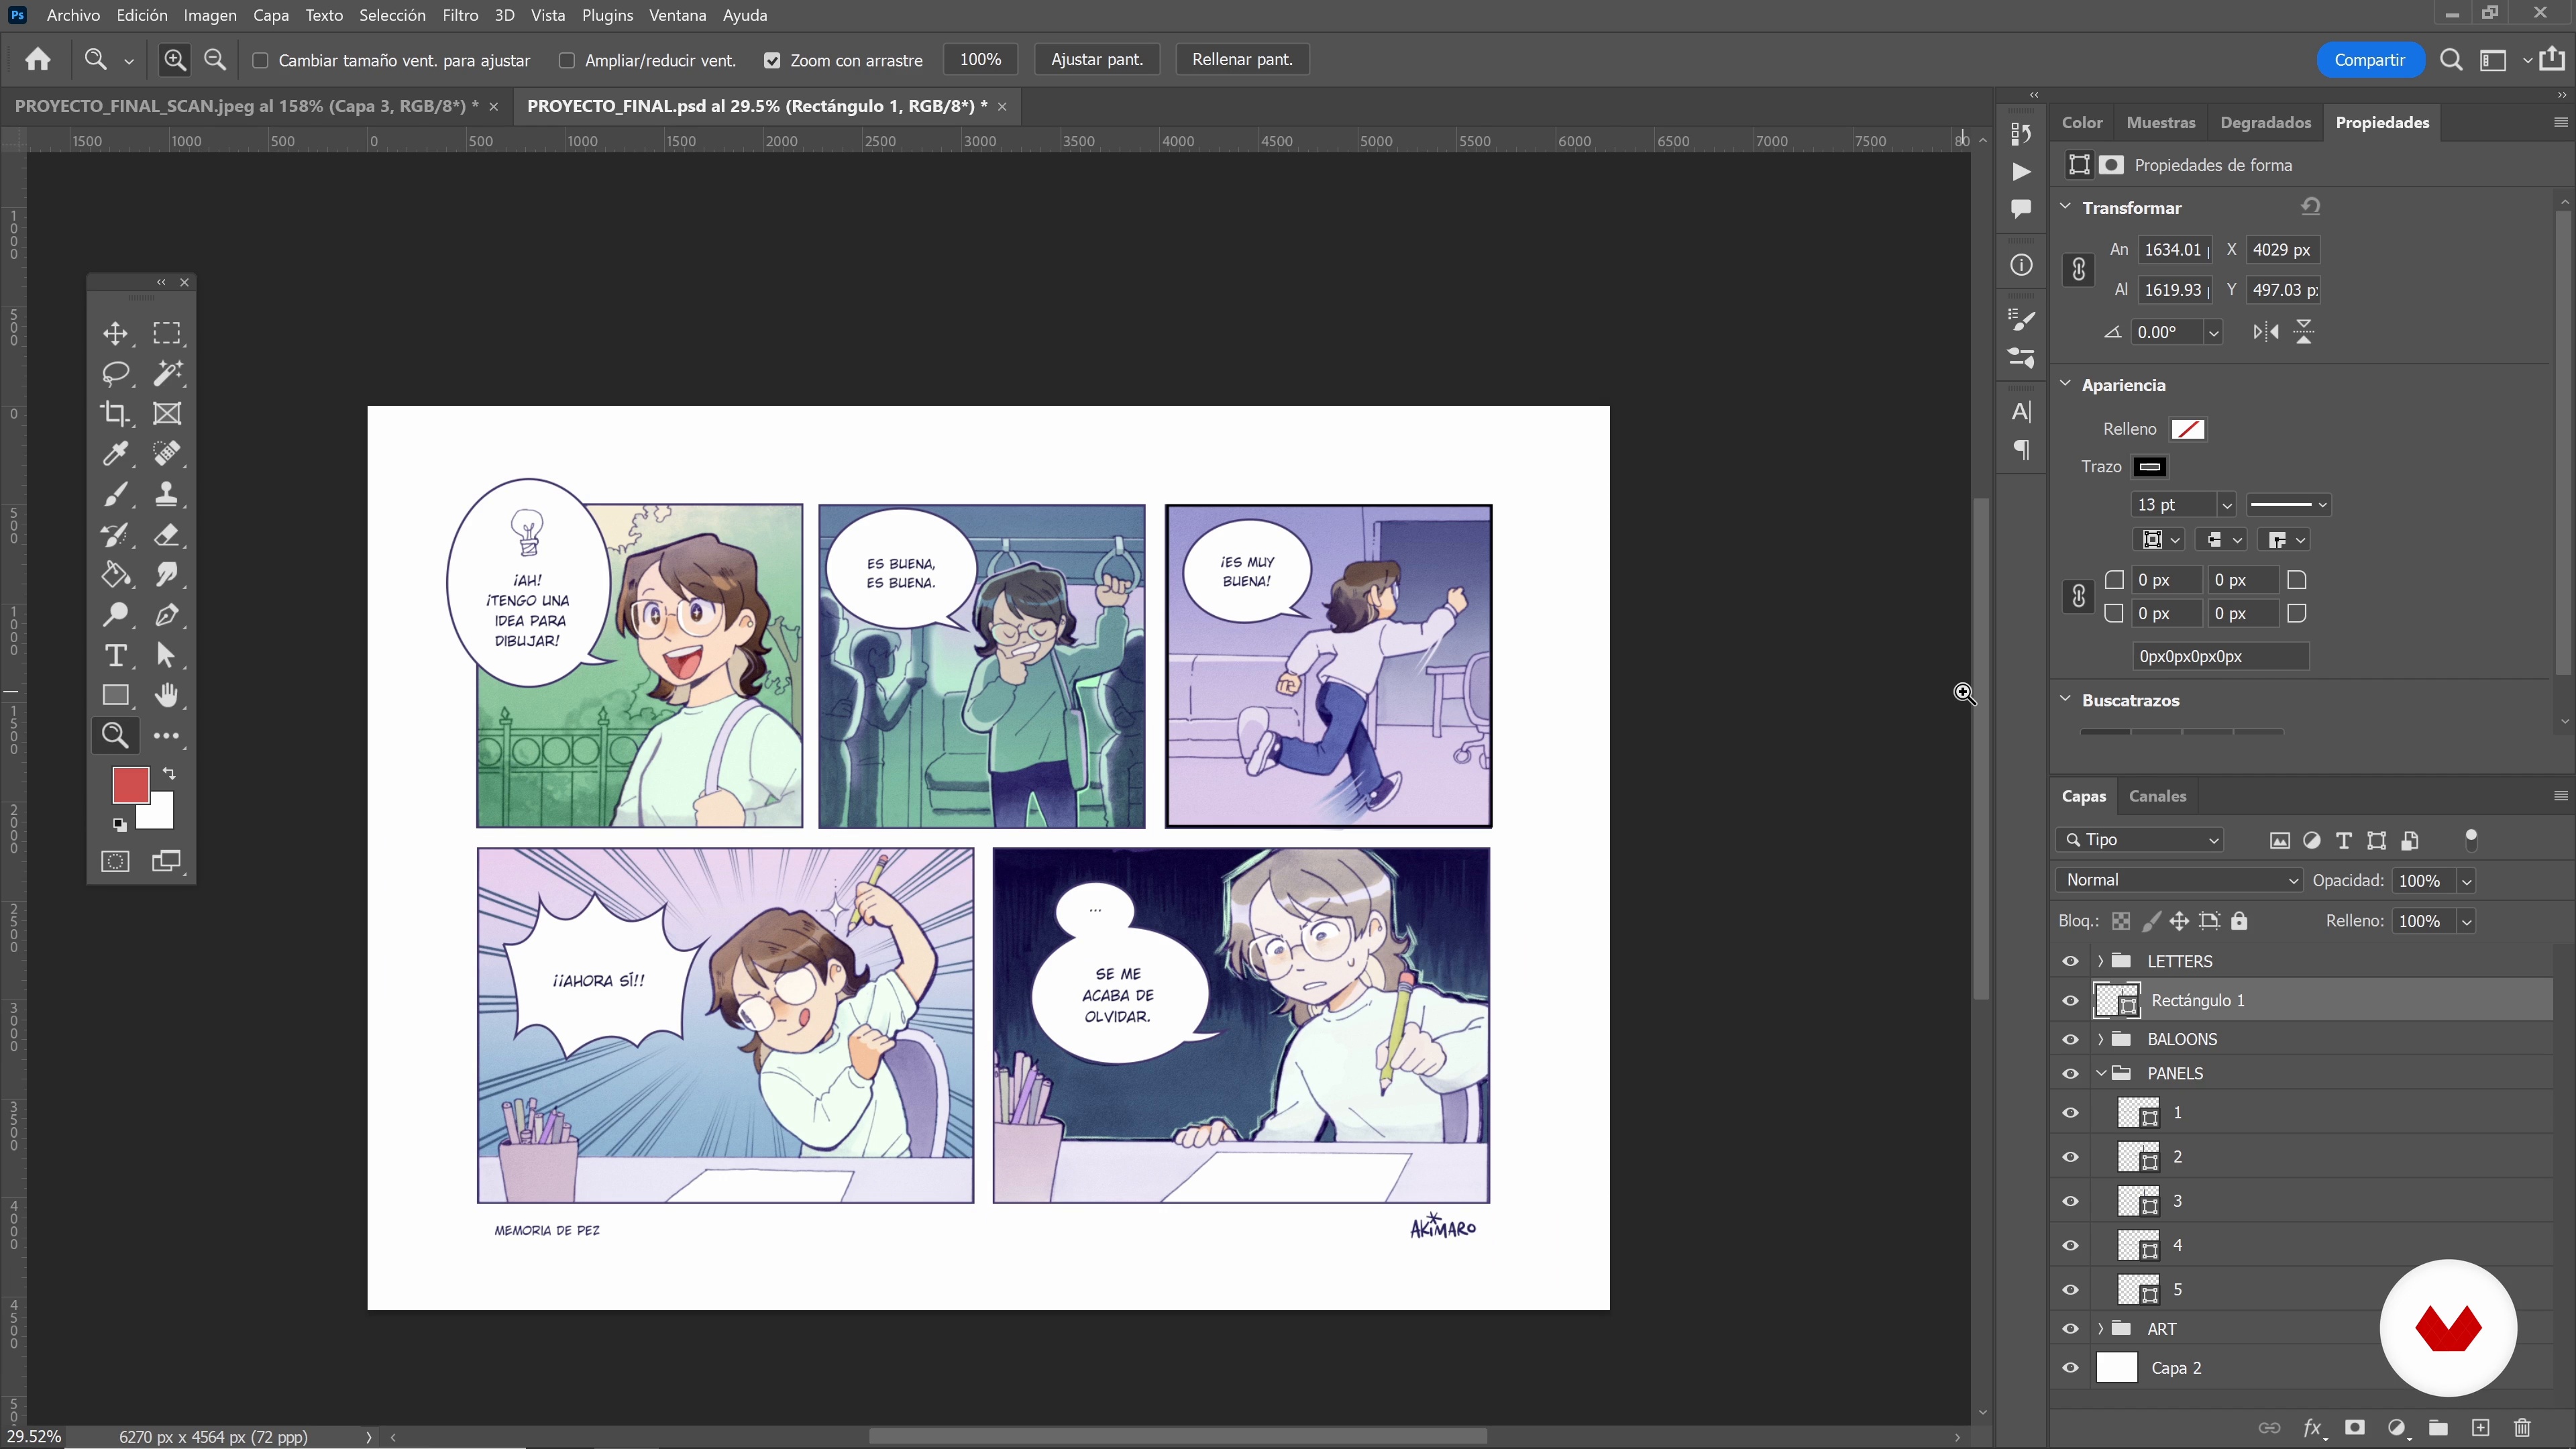
Now you'll see how to convert the finished comic to digital format, either with the help of a scanner or with digital art tools. I'll be using Photoshop.
8m
image
12
Creative Techniques and Publishing
How to stay creative? In this lesson, I'll teach you some techniques to achieve this. I'll also show you where and how you can start sharing your work with potential readers.
2m
image
3
The Materials
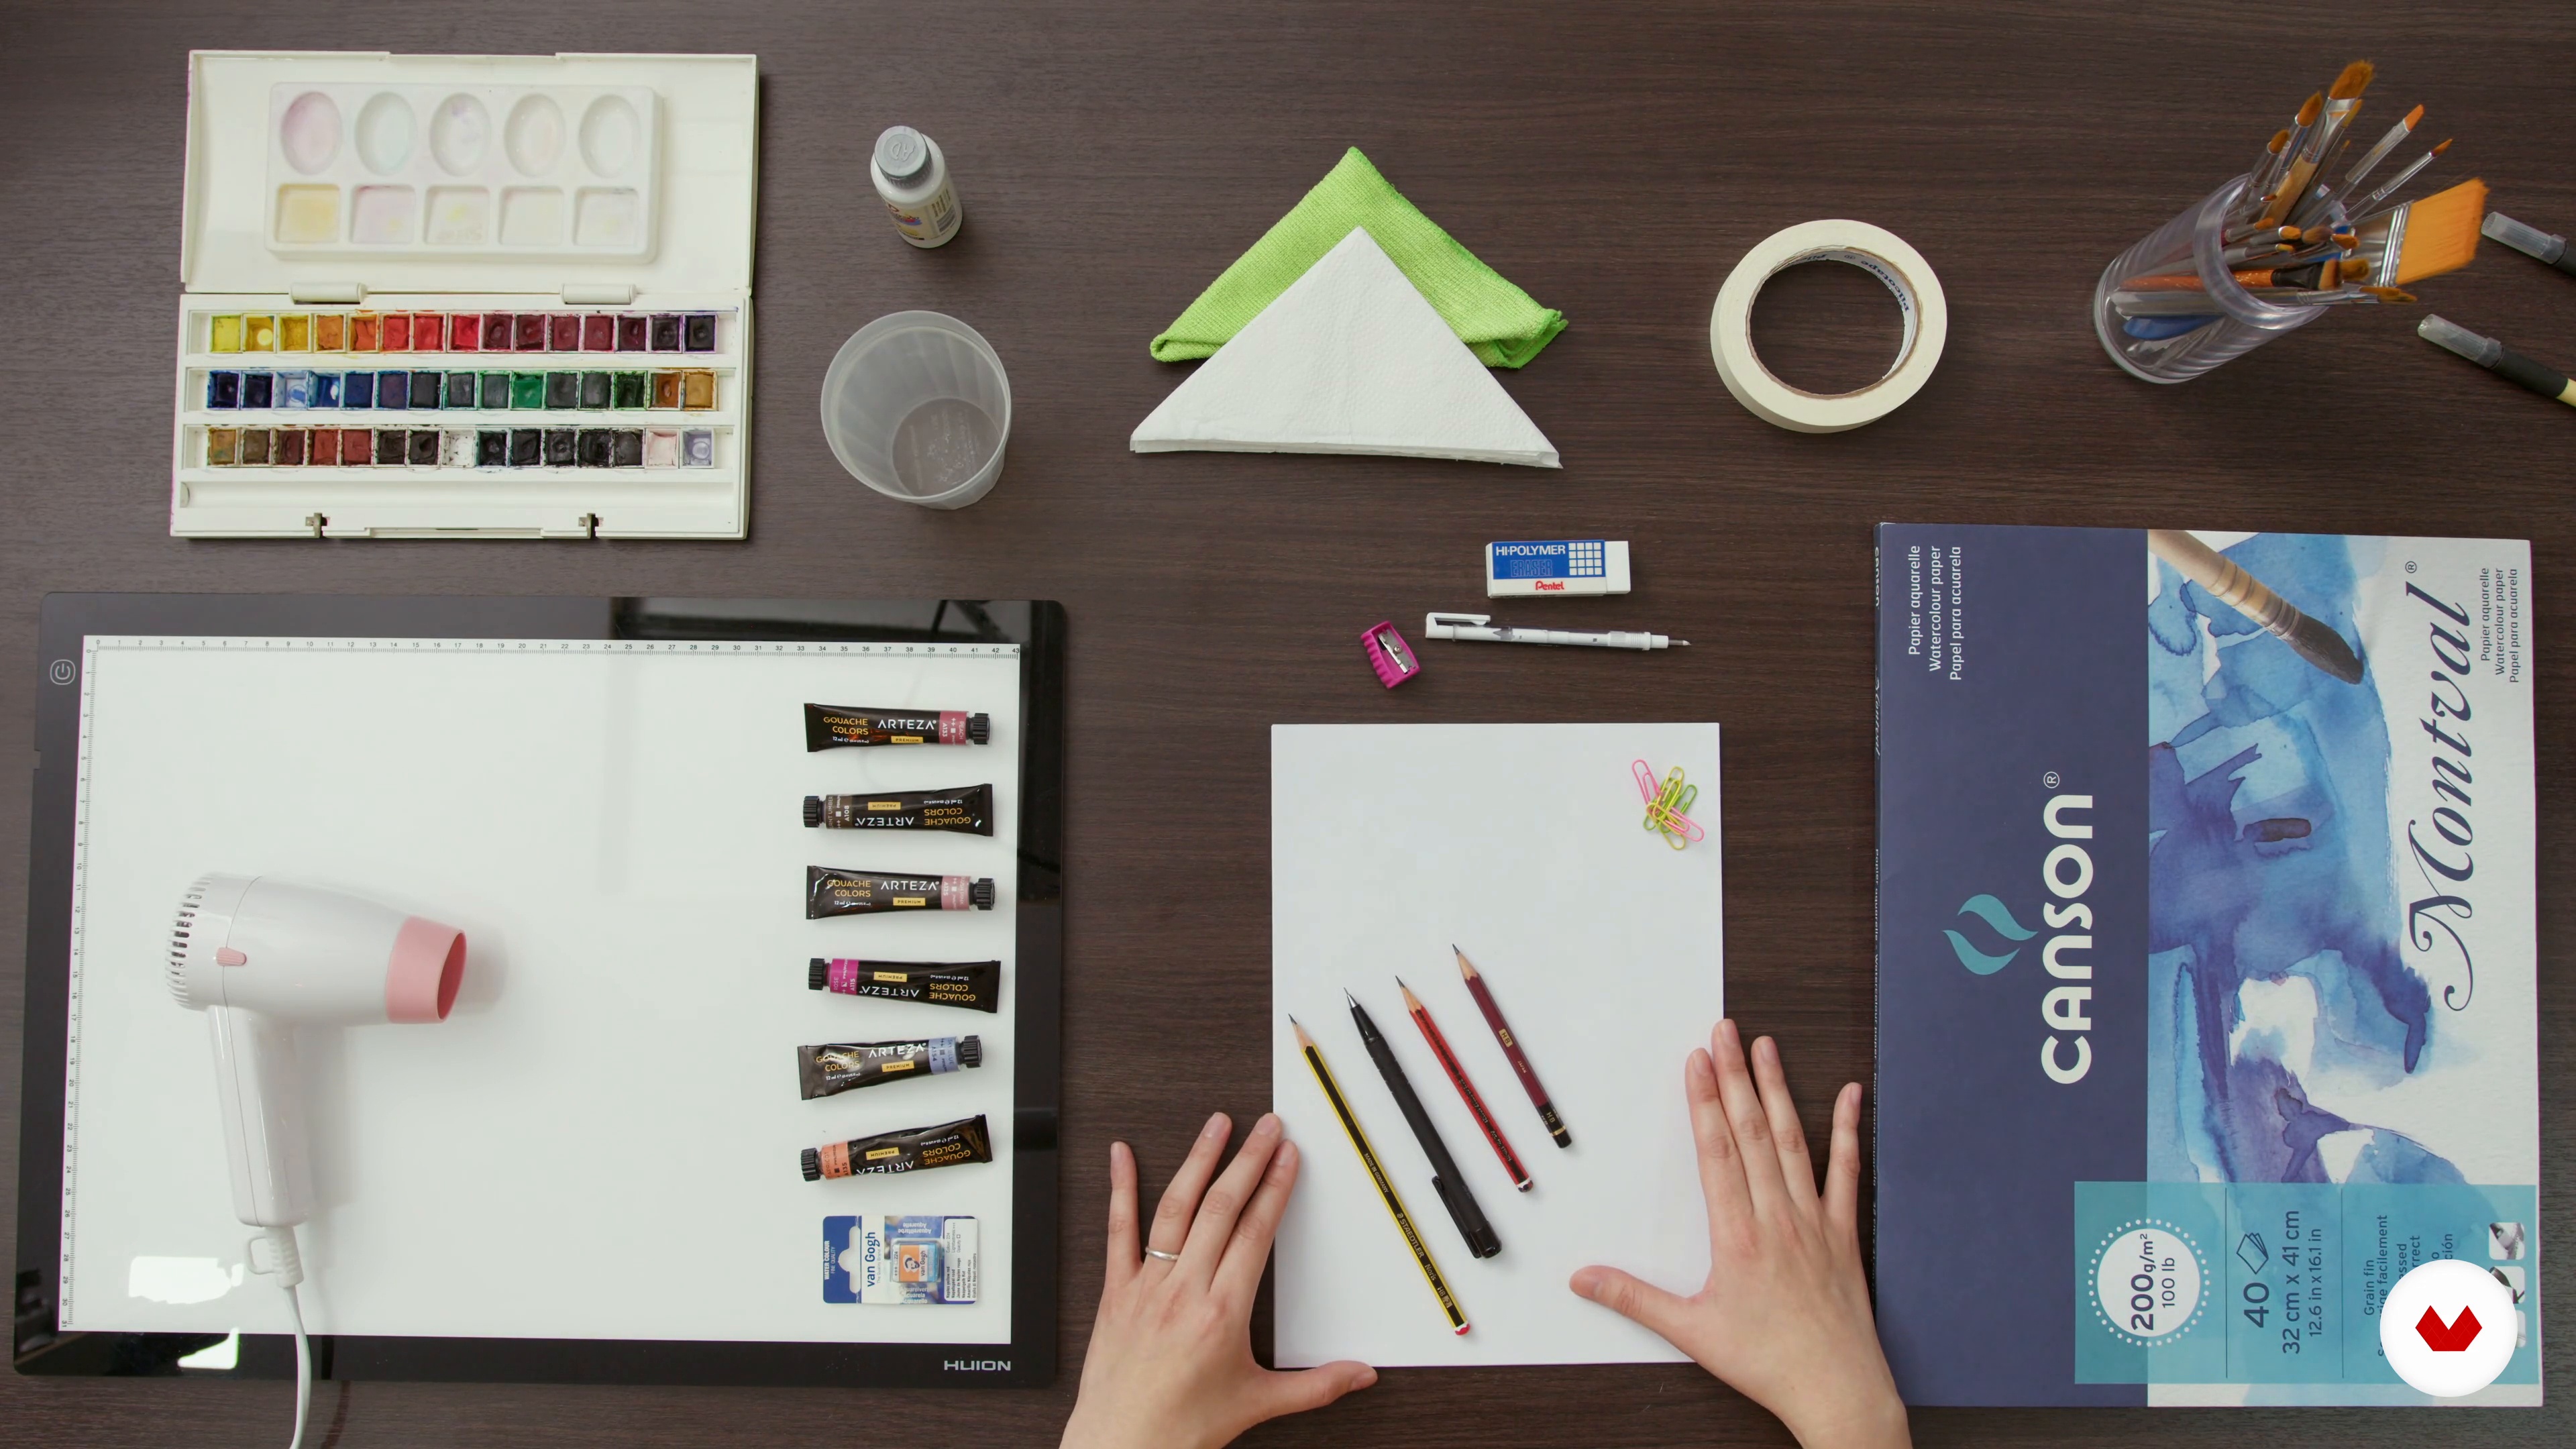
Before starting any project, it's important to know what you'll need. So, in this lesson, I'll explain in detail the materials you'll need to work.
6m
image
4
Who Am I Going to Draw?
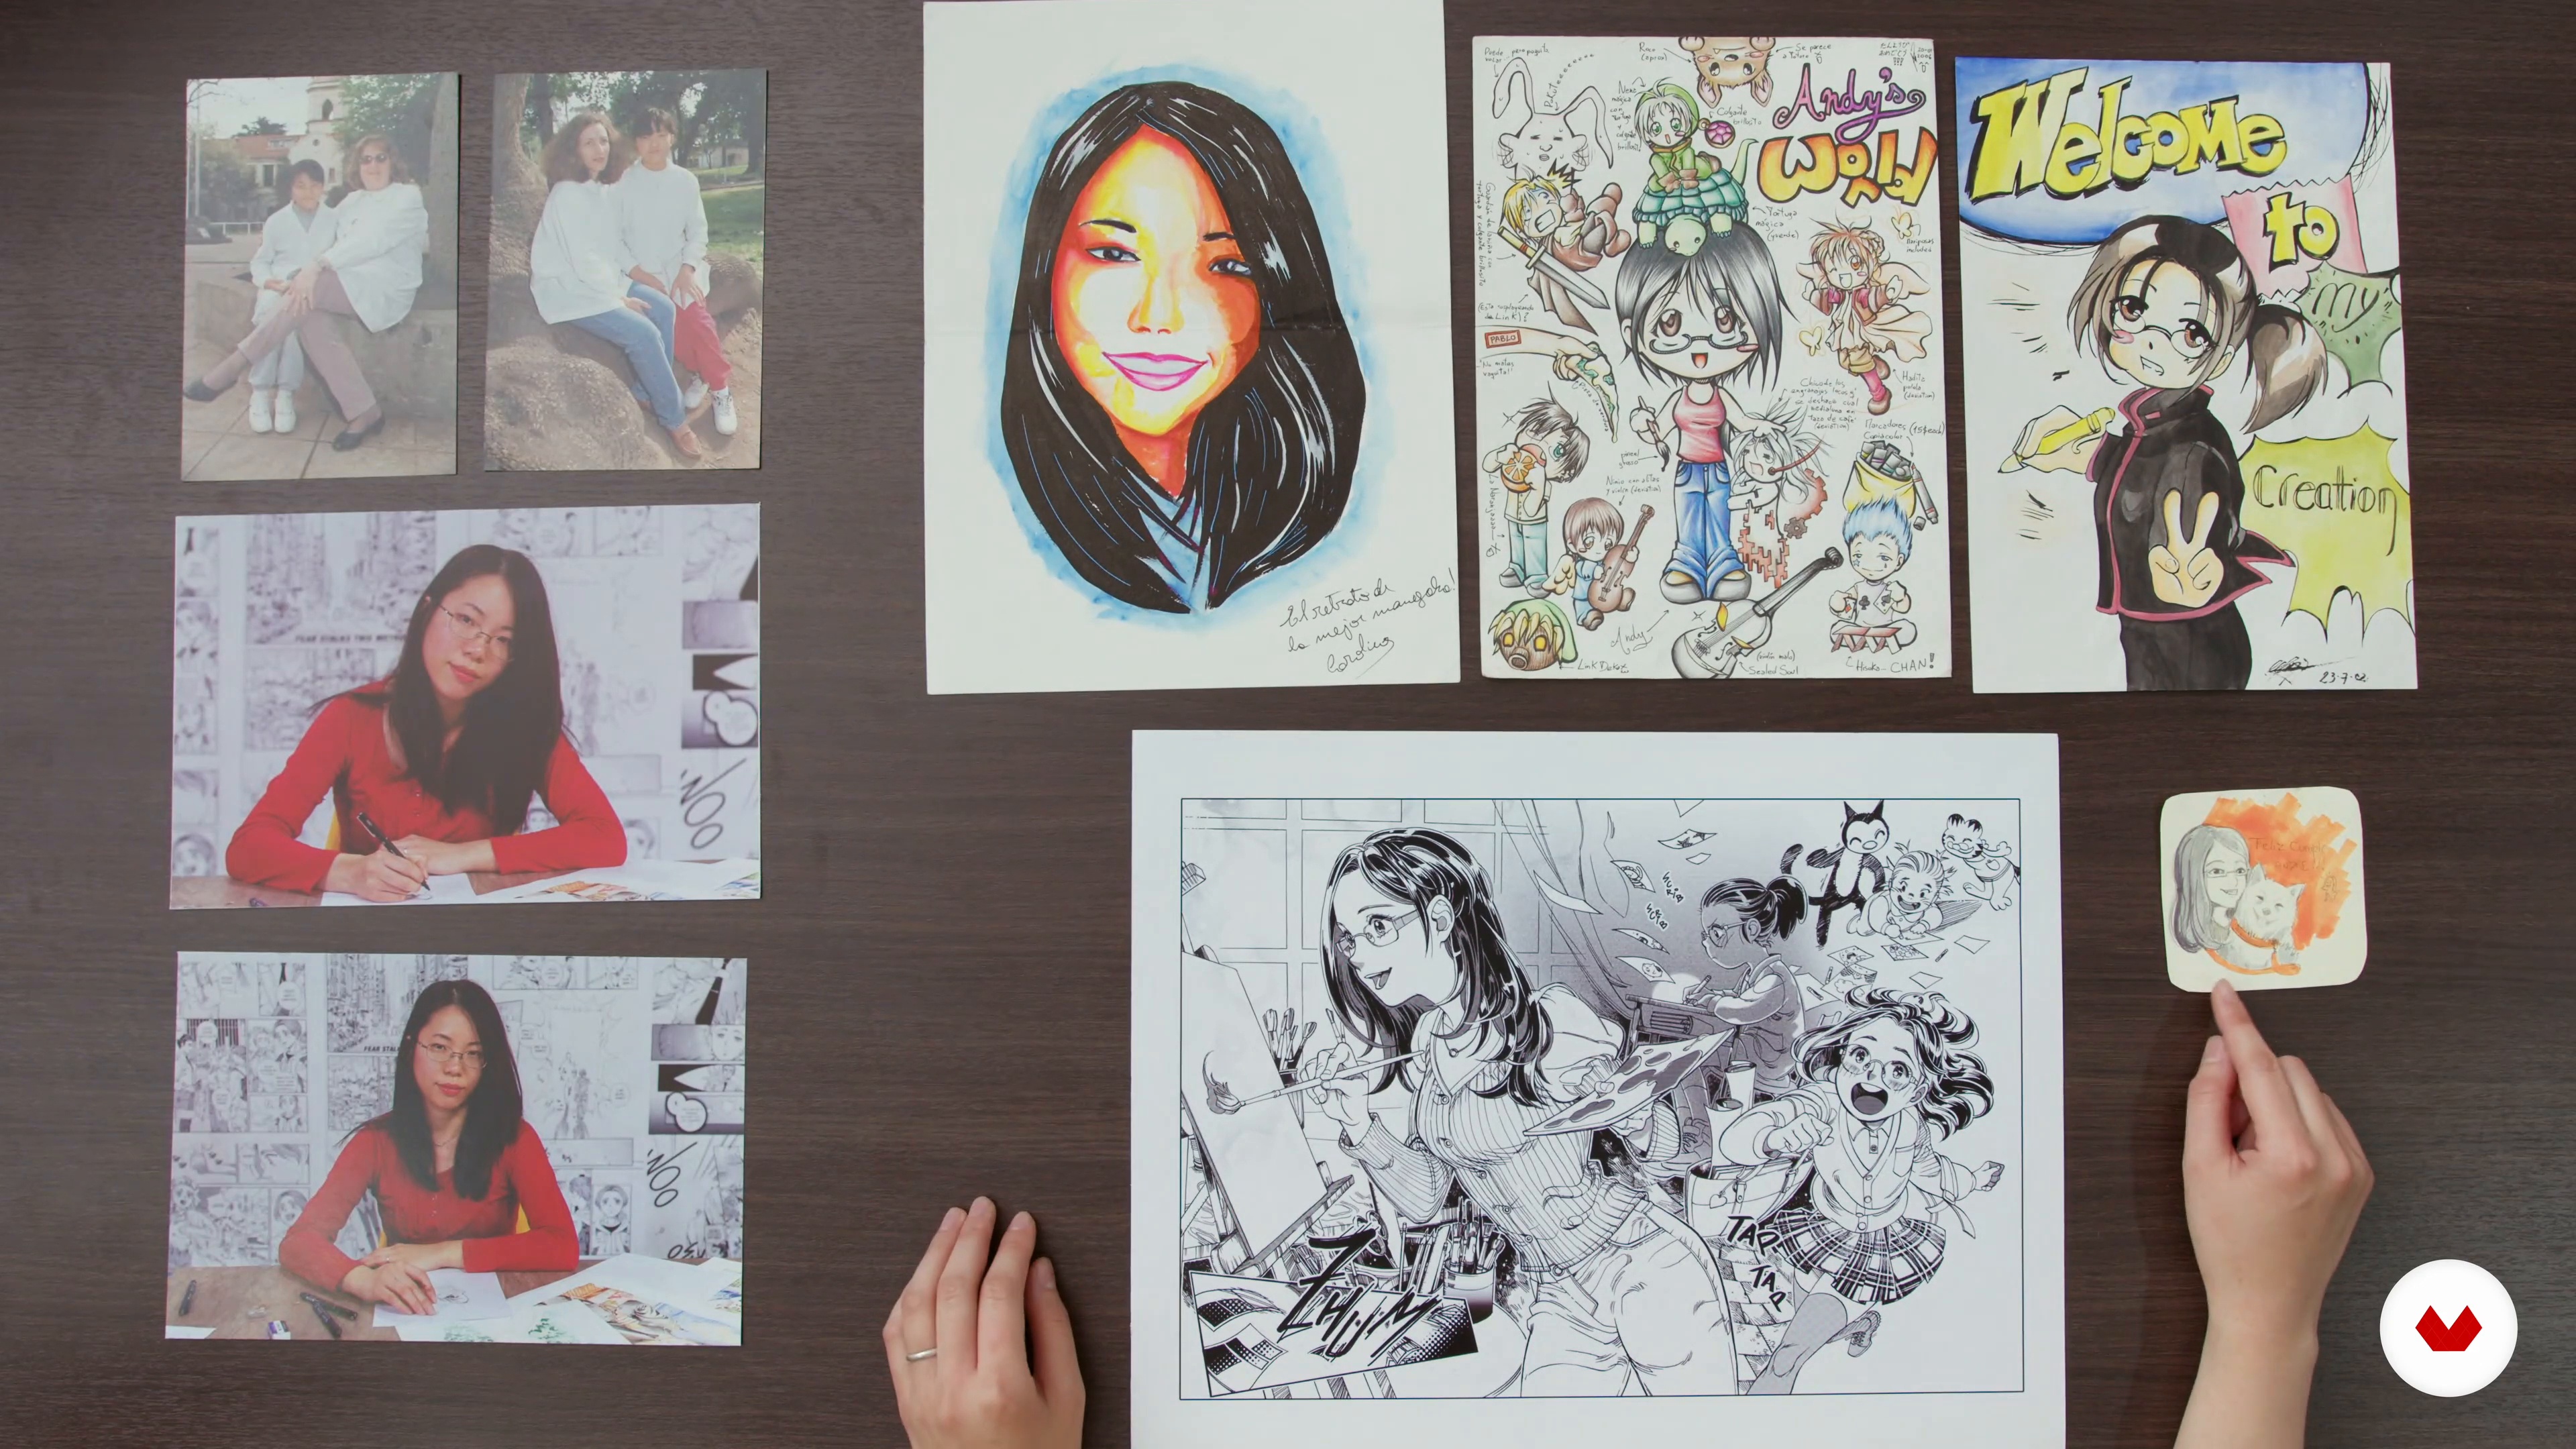
I'll explain how I decide who to photograph and why. You can photograph yourself, a friend, or a family member, but you'll need to have all the reference images (including props, objects, pets, etc.) you need to create the portrait.
3m
image
5
Head
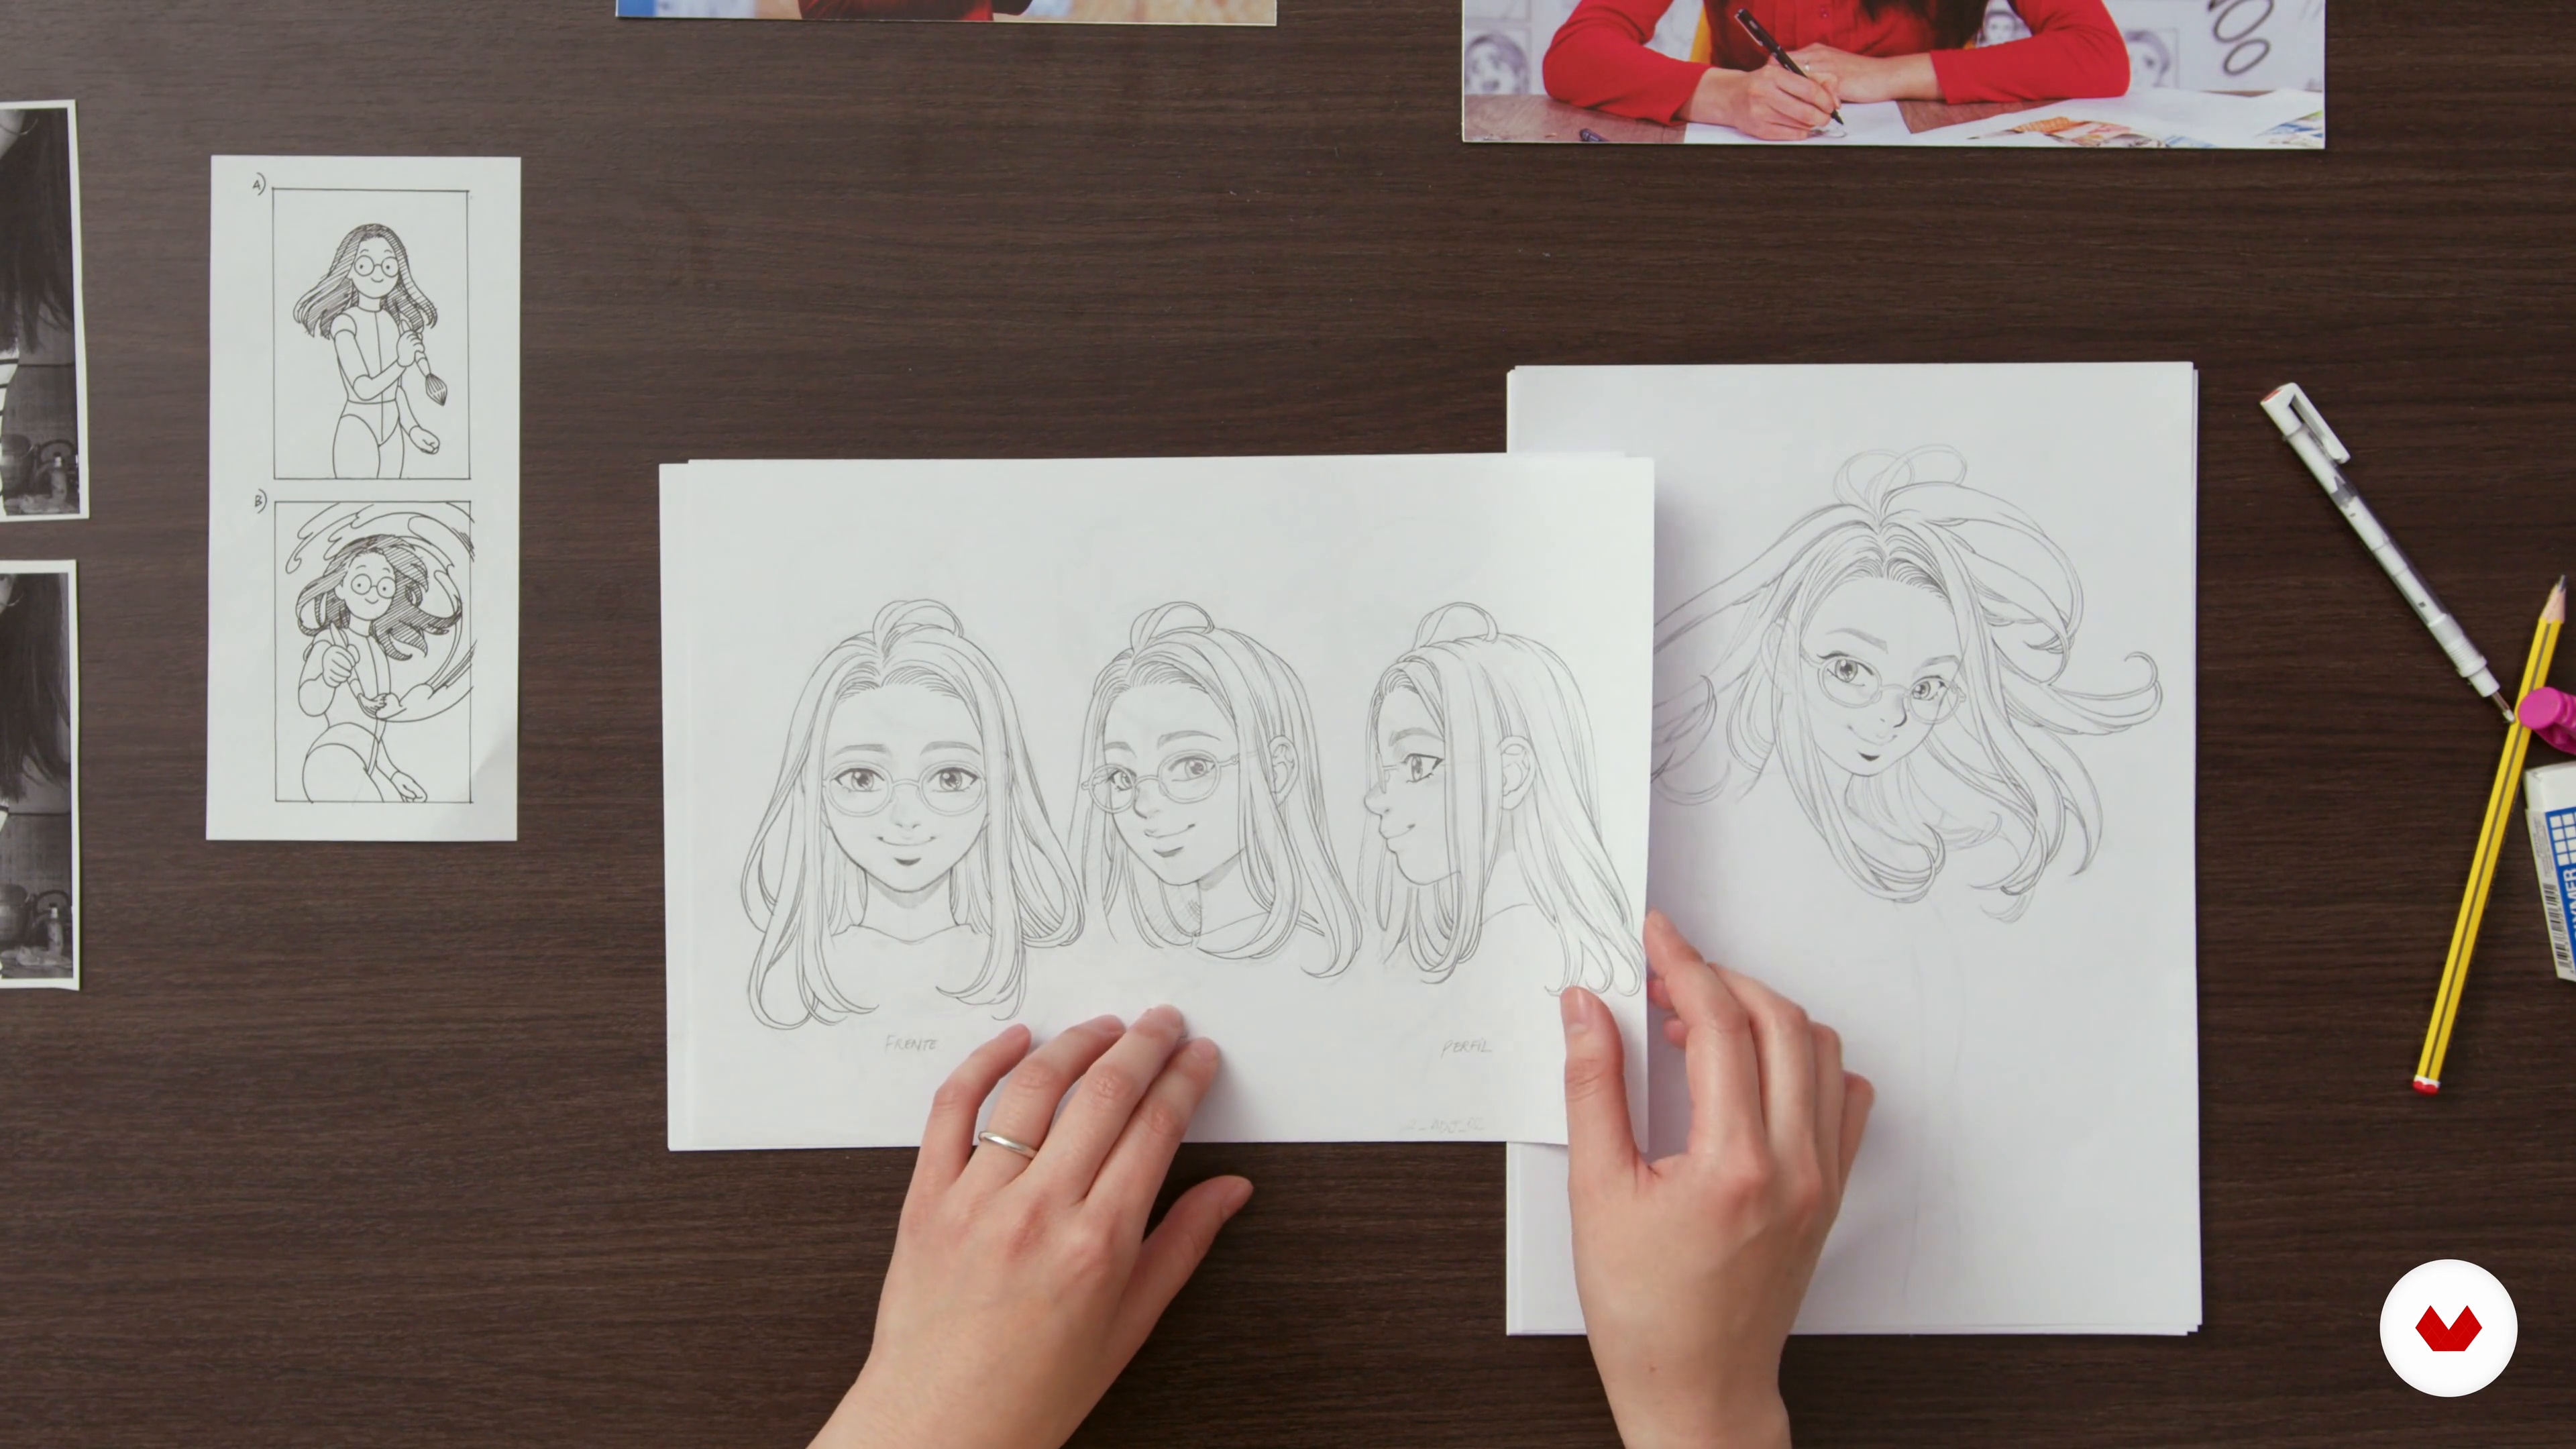
In this lesson I will explain how I synthesize and translate my facial features into manga-style drawings.
19m
image
6
The Torso, Arms, and Hands
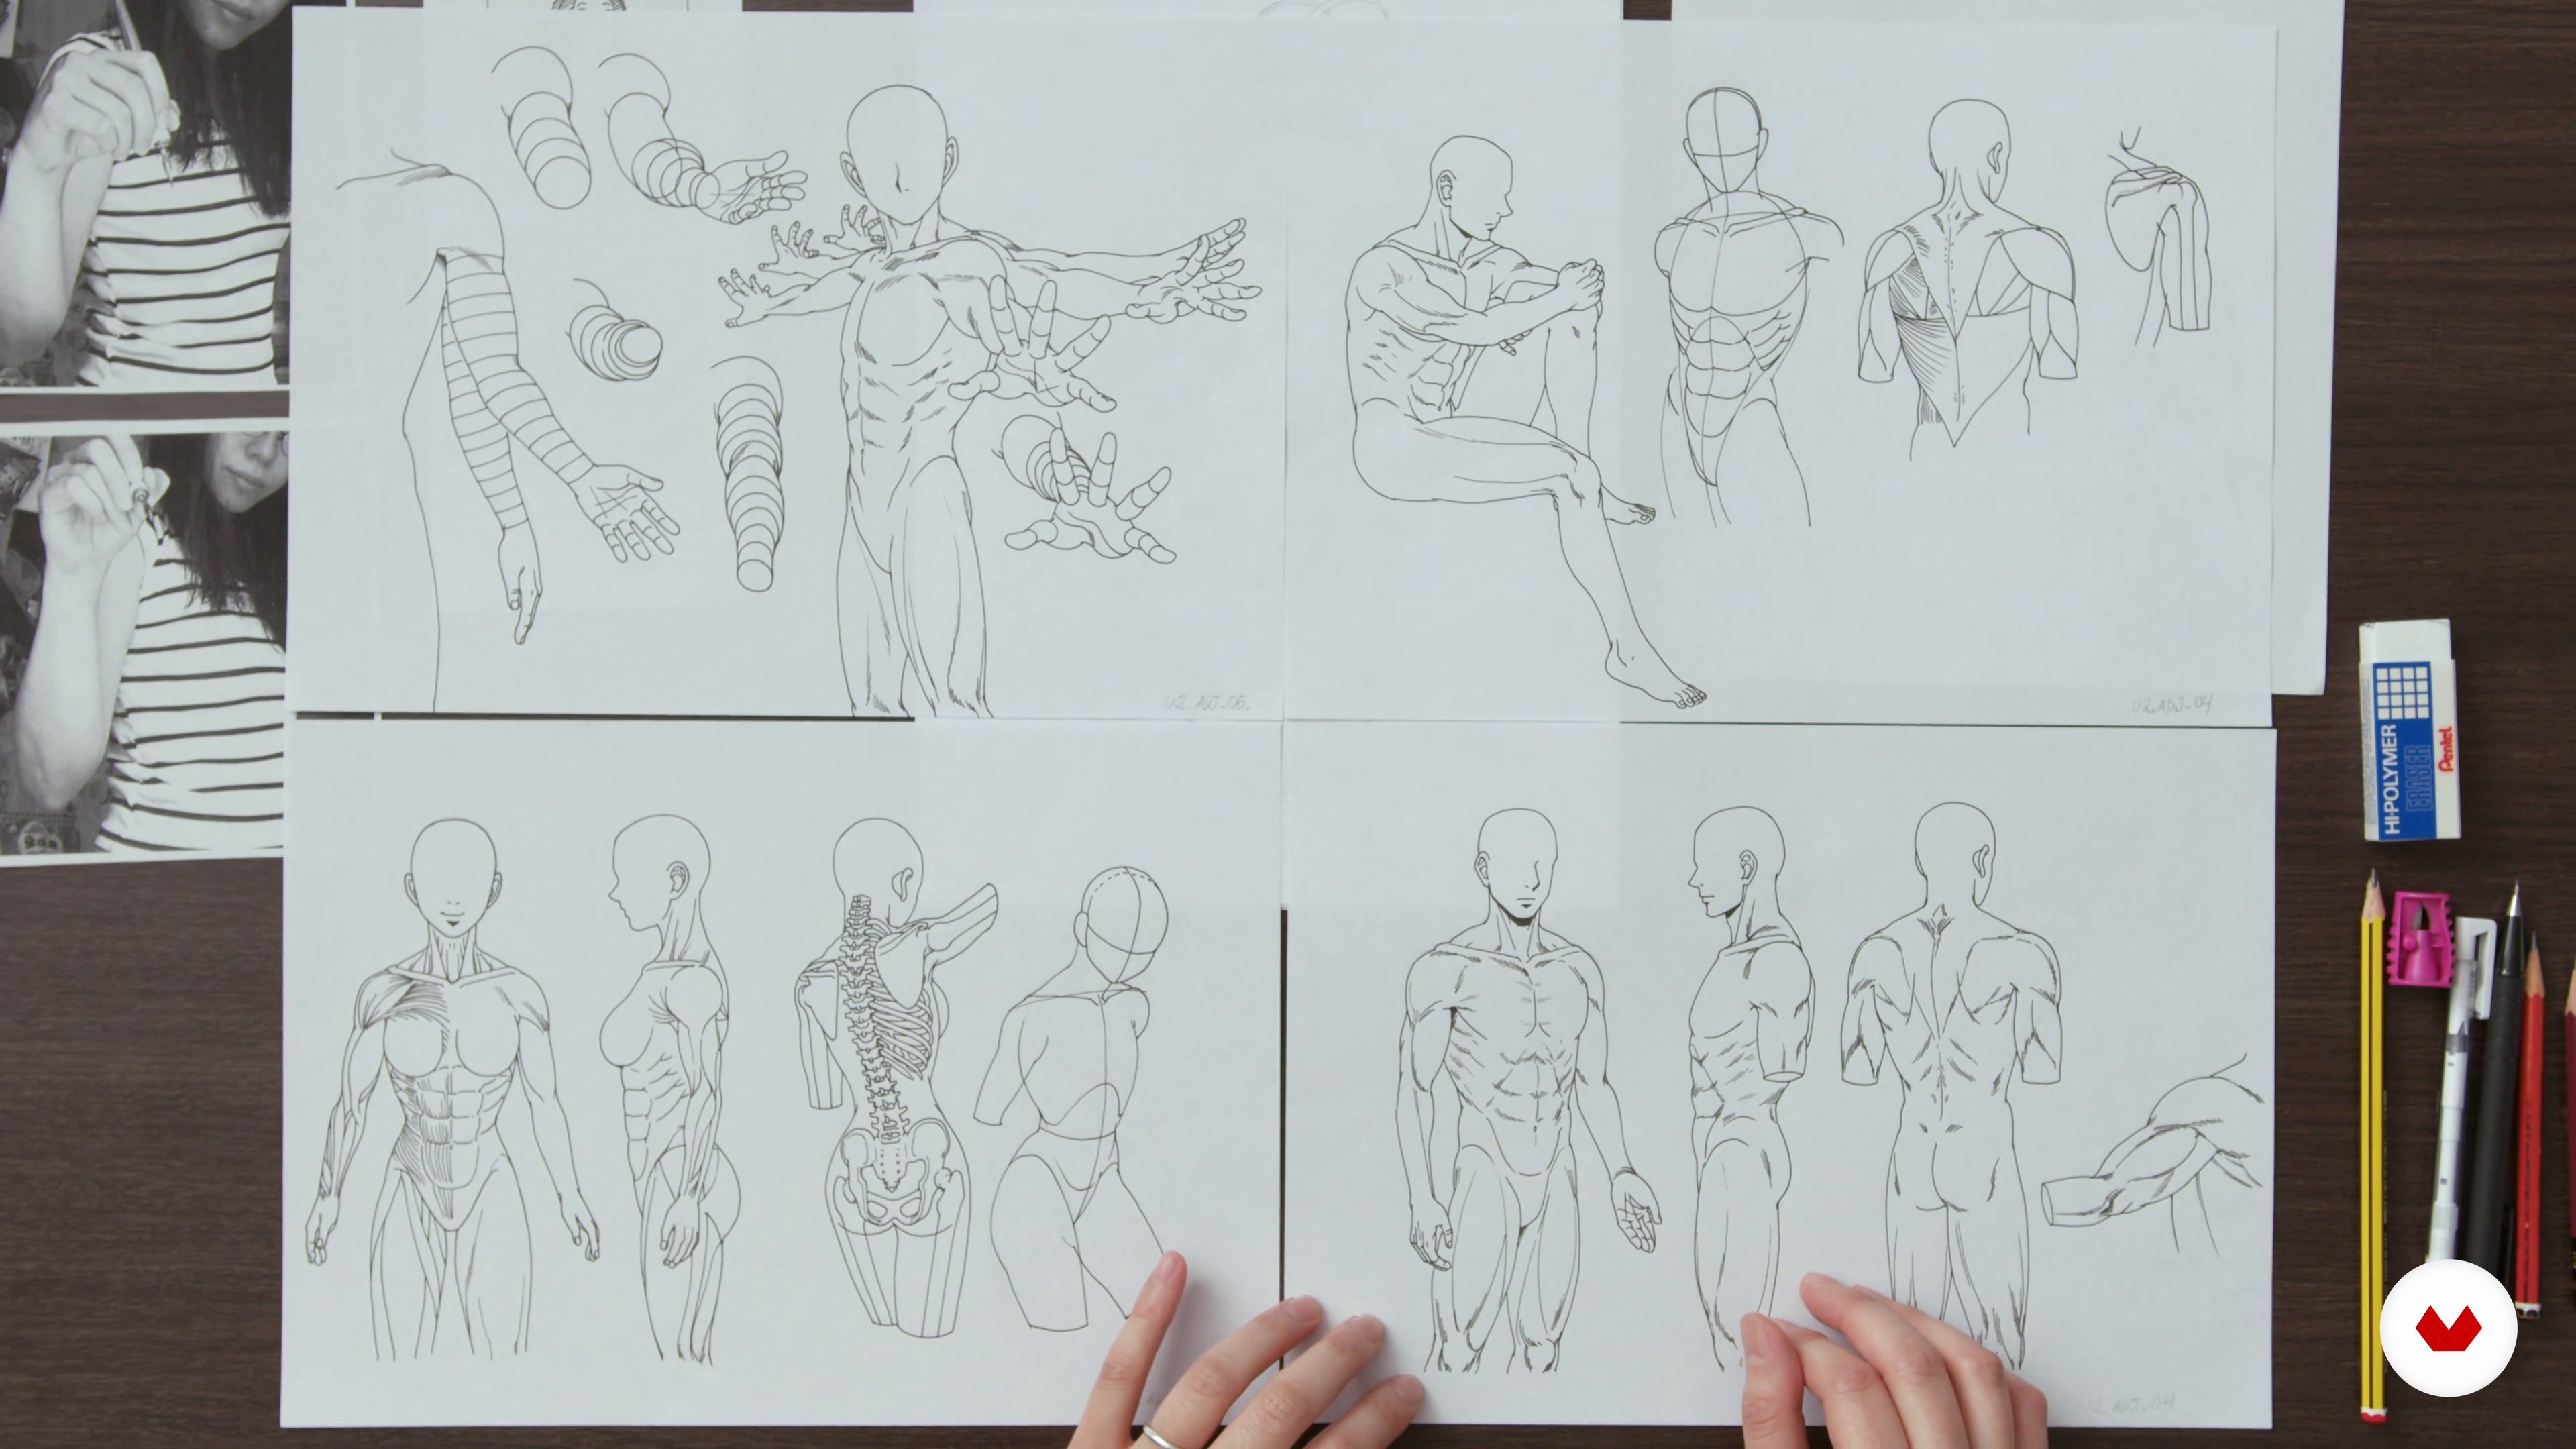
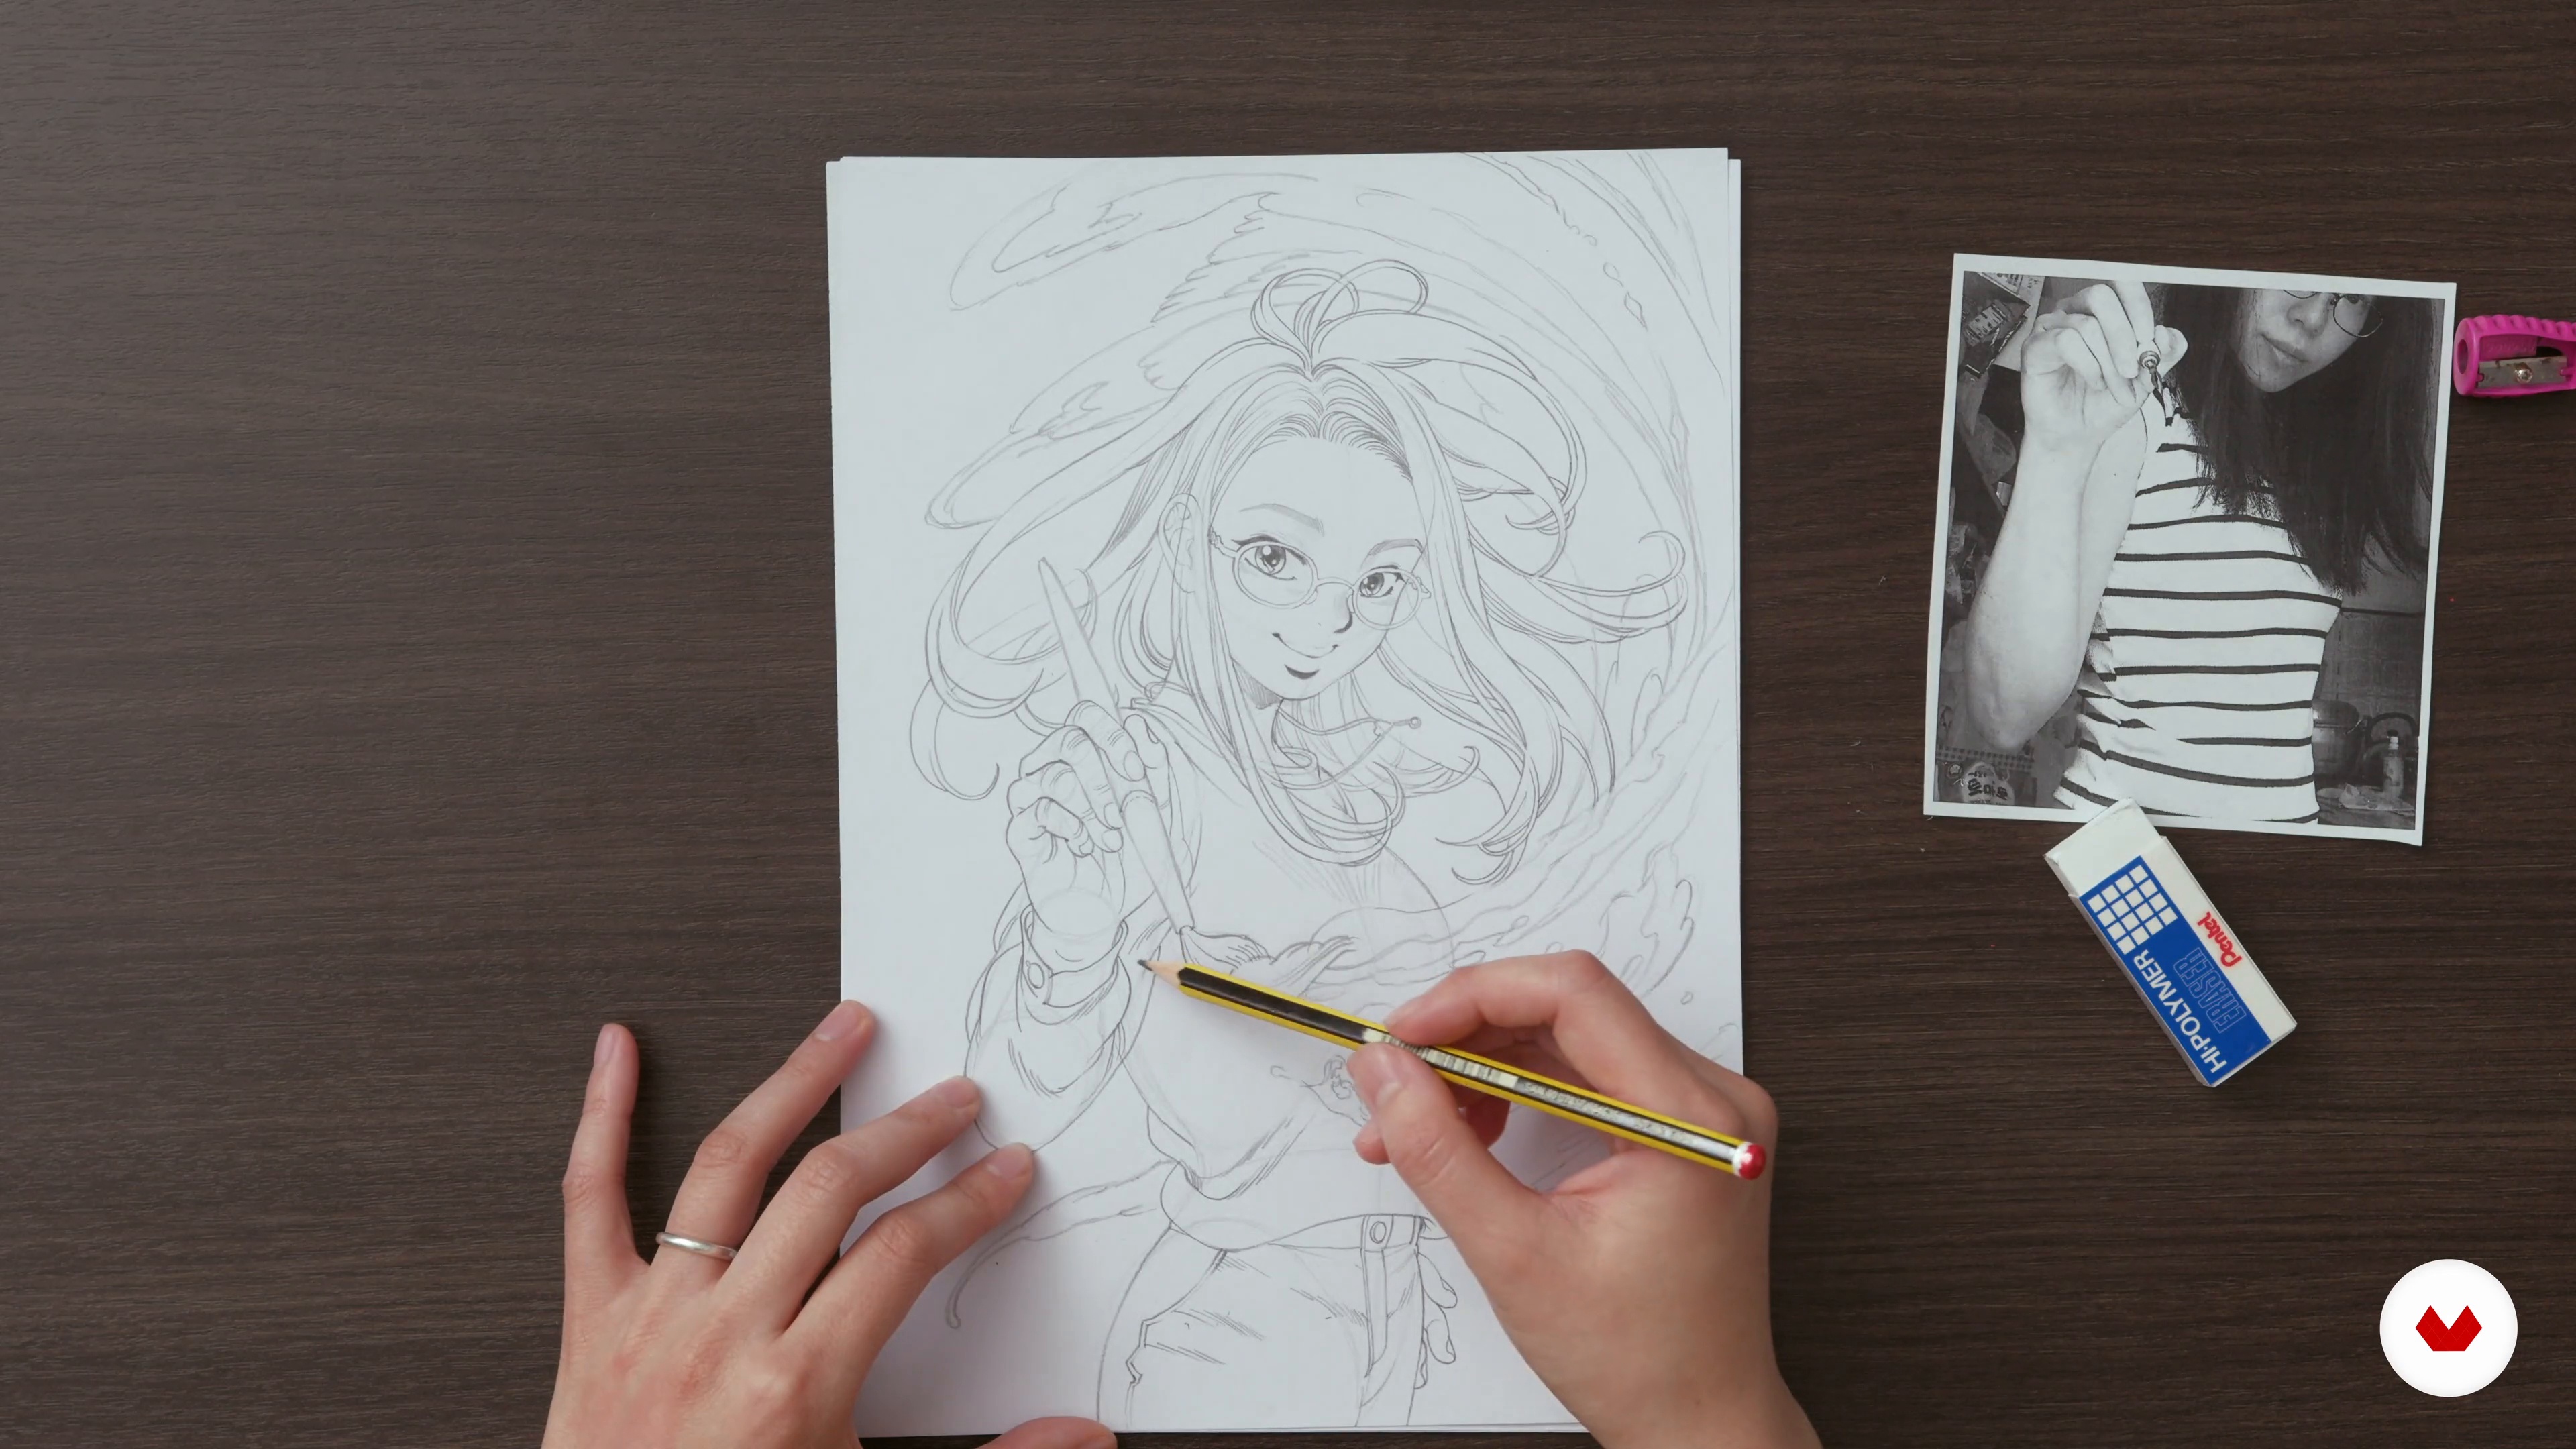
In this lesson, I'll explain how to draw the torso, arms, and hands in dynamic positions. I'll also show you in detail how to foreshorten the hands to create dynamism and depth.
9m
image
7
Additional Details and Objects
Now I'll show you how I complete the portrait with details and decorative objects that add identity to the work.
9m
image
8
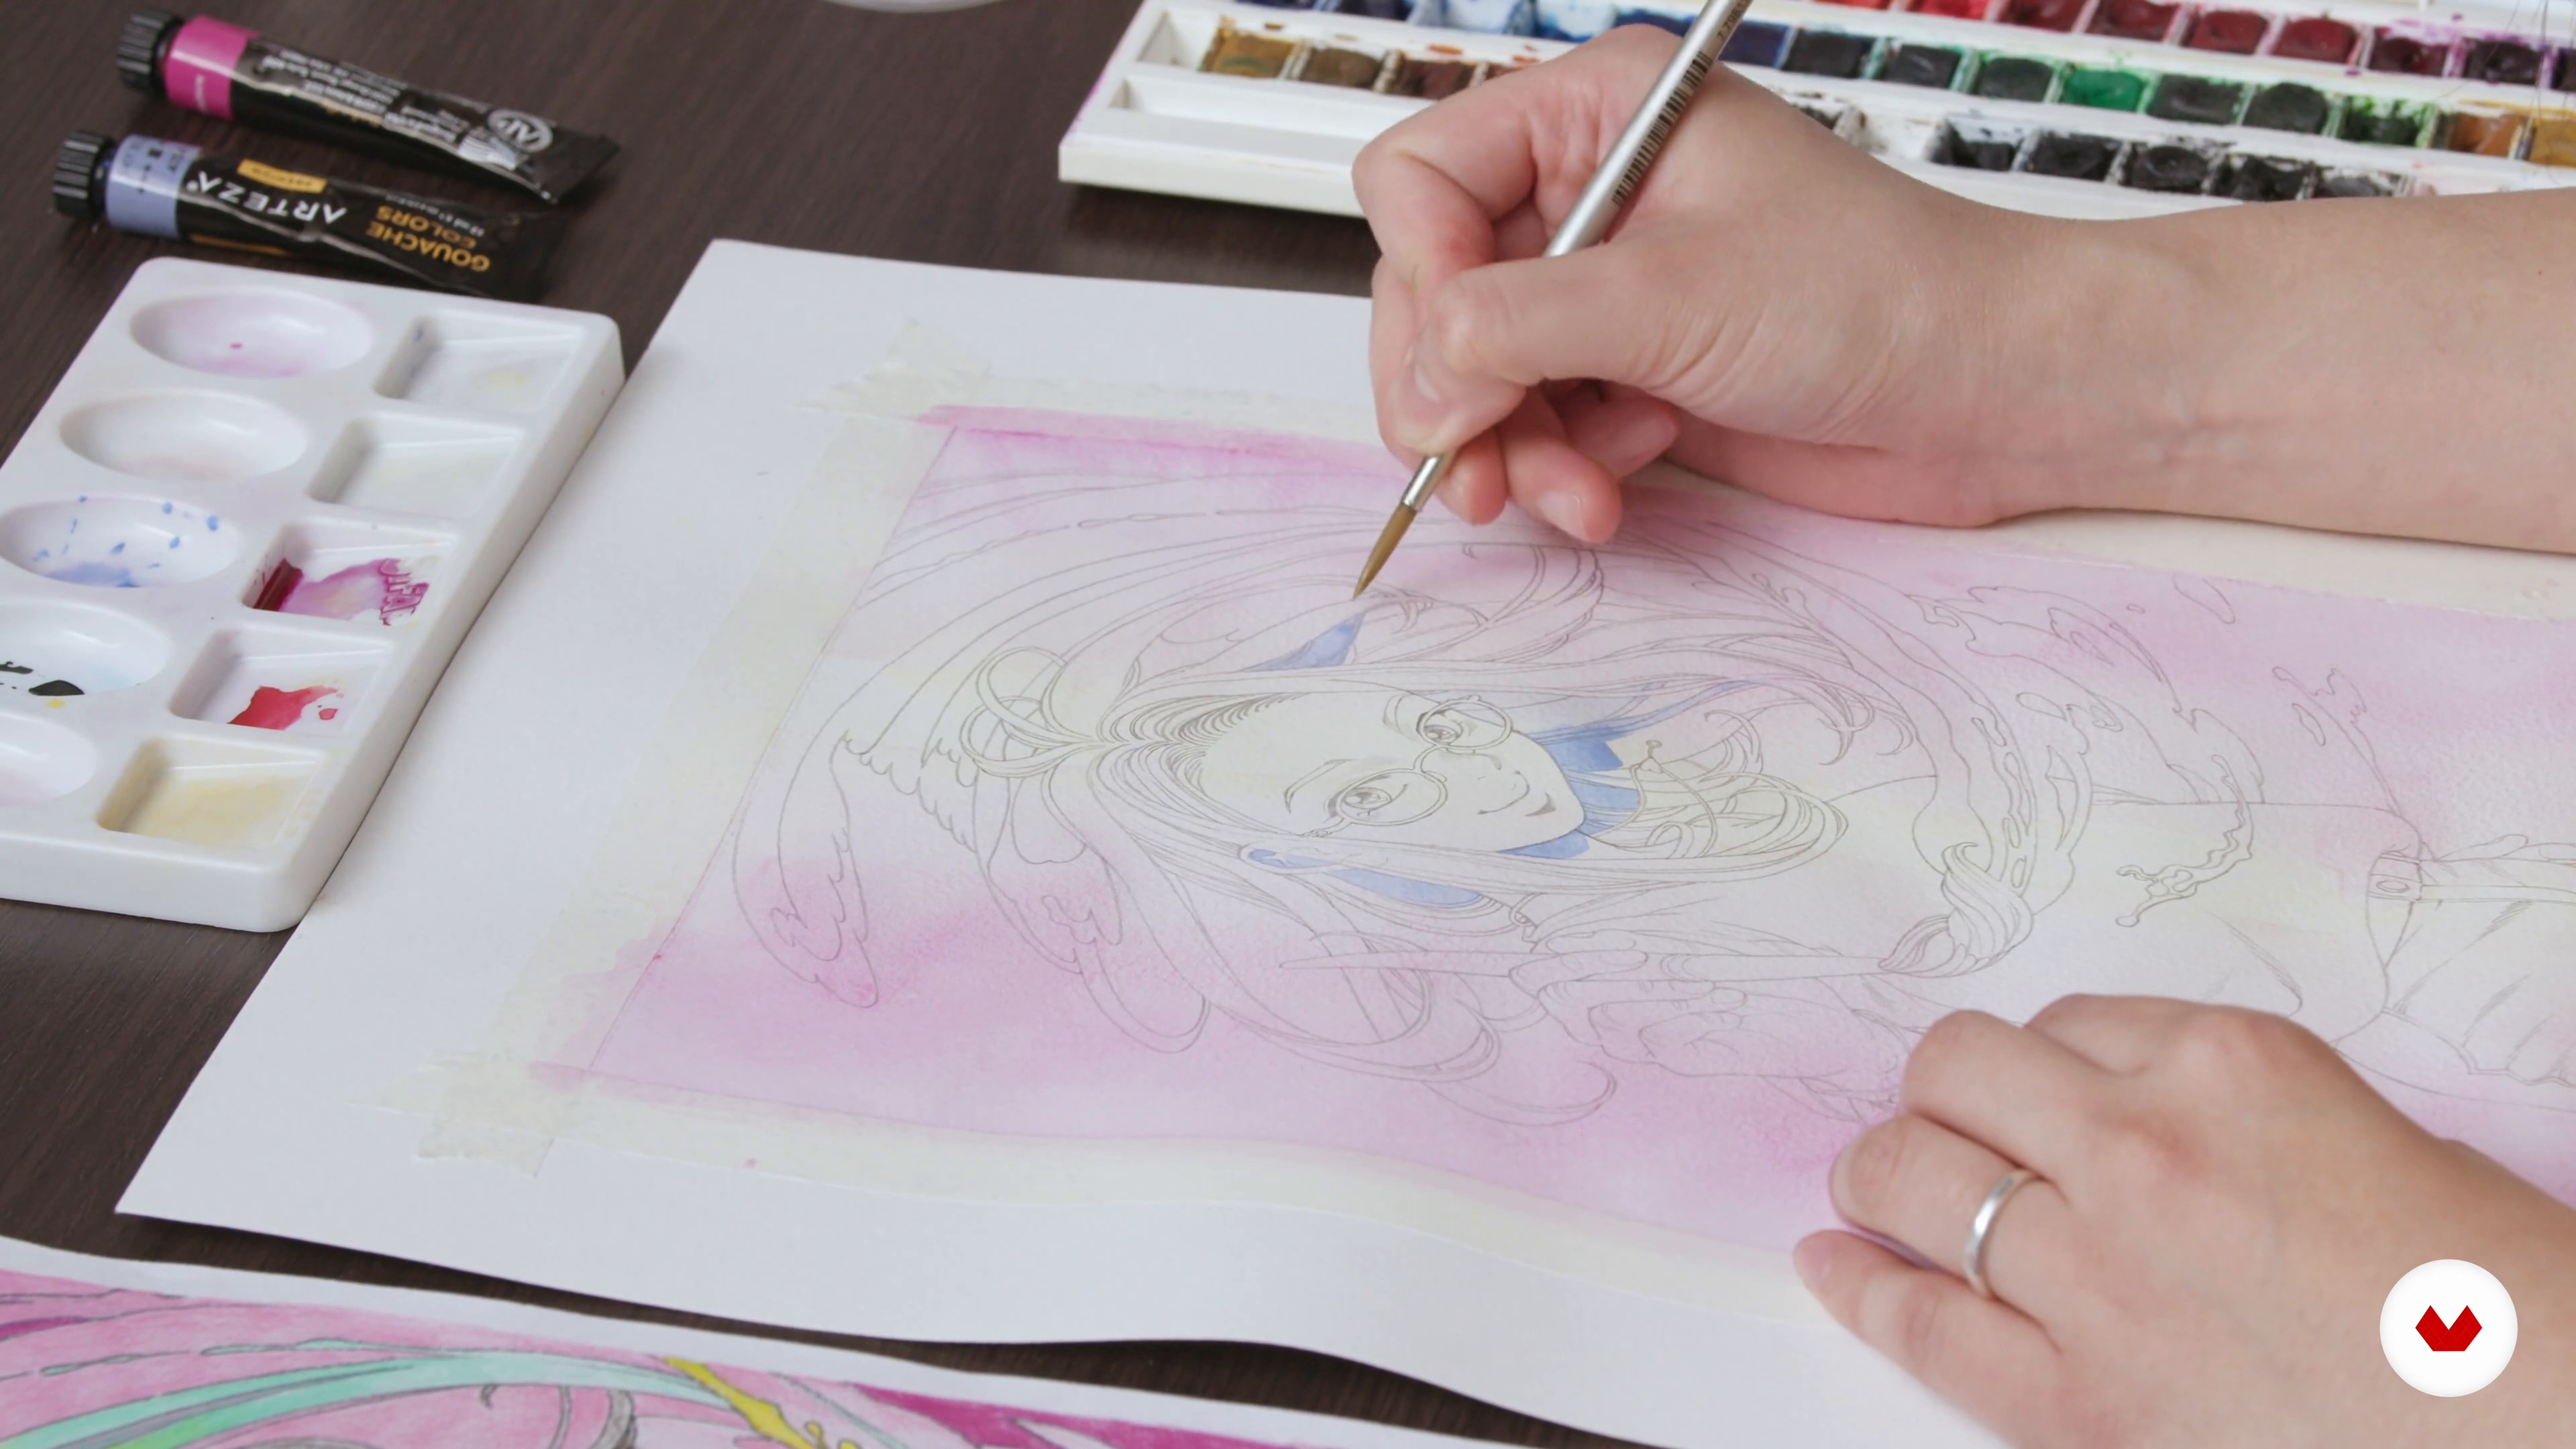
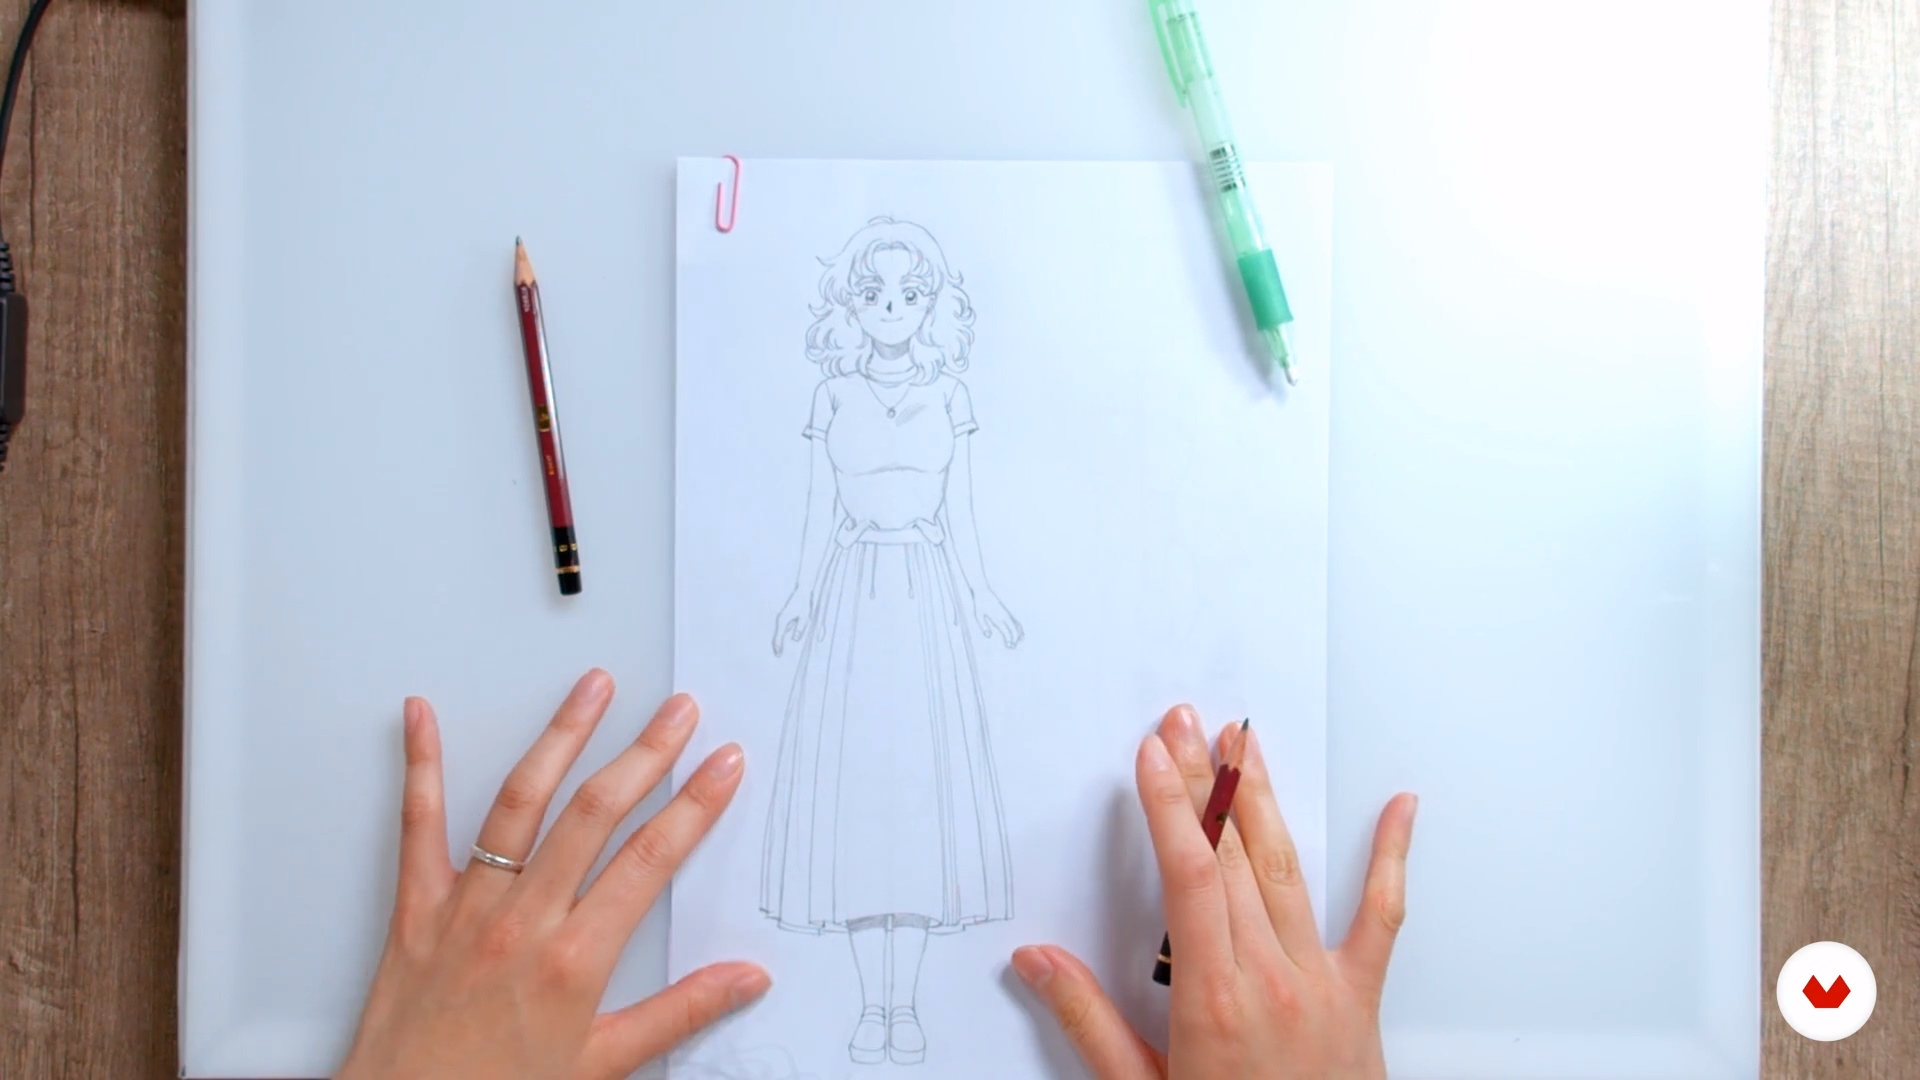
The Outline
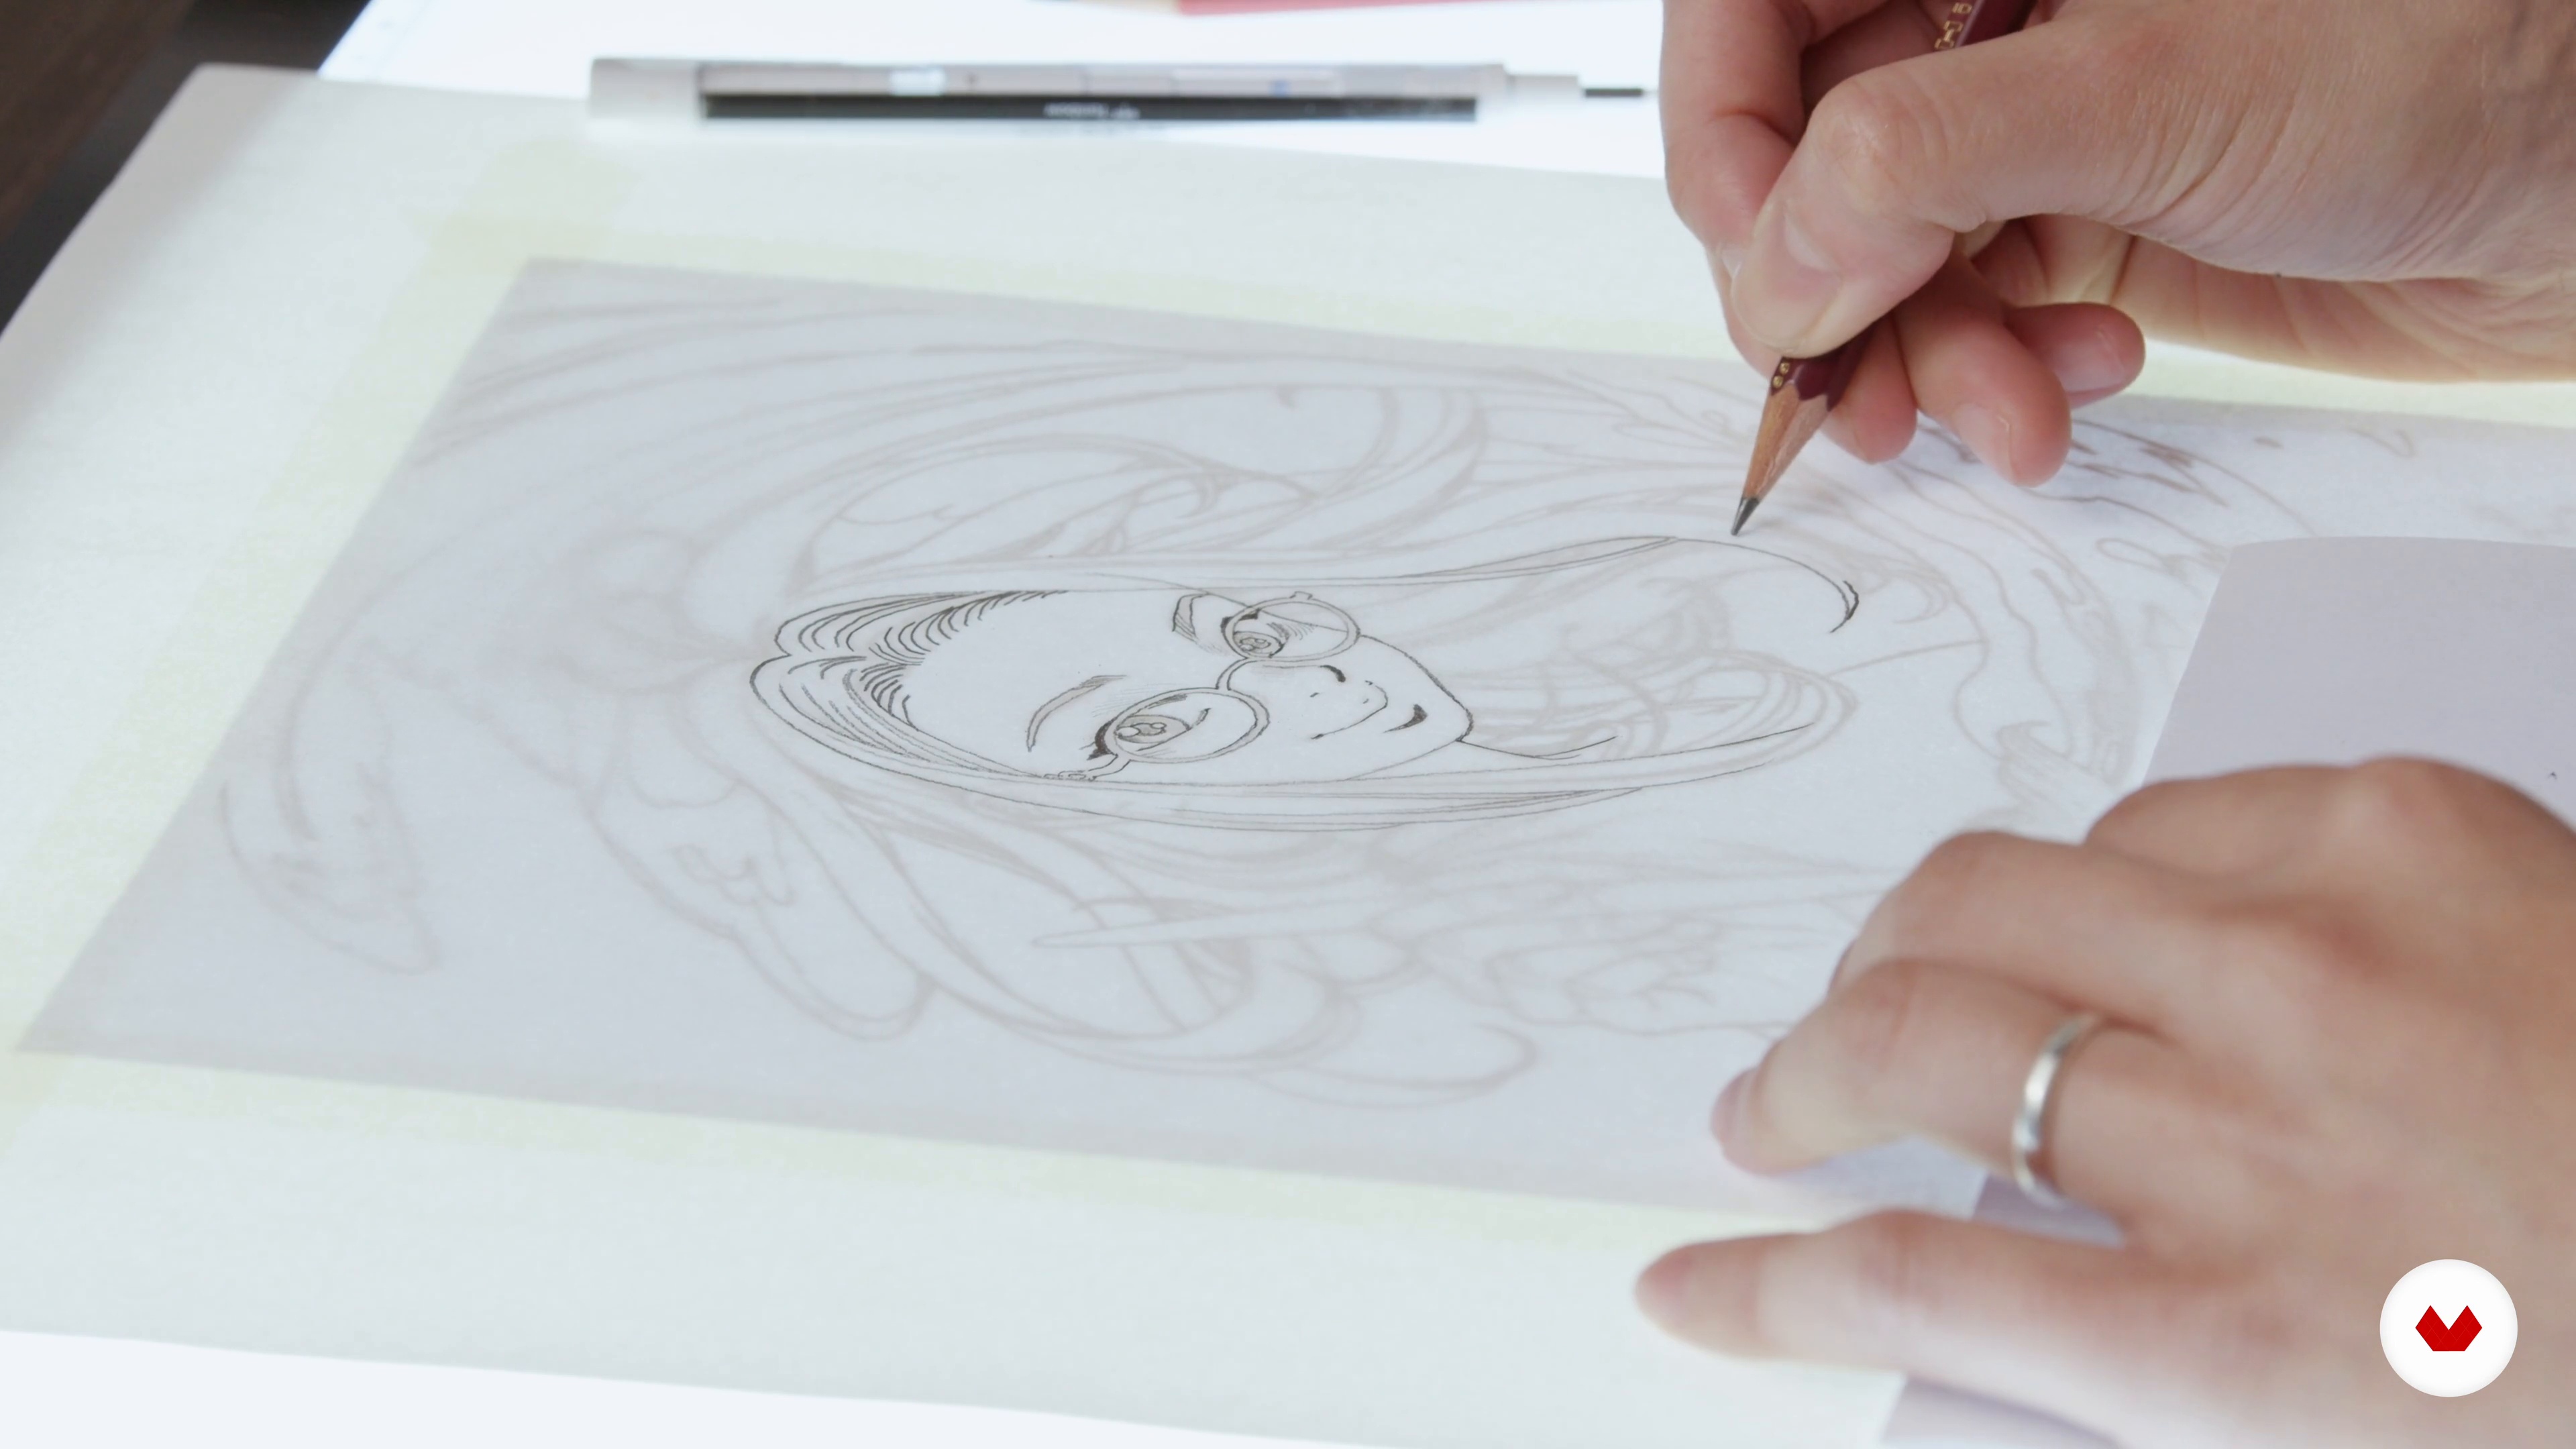
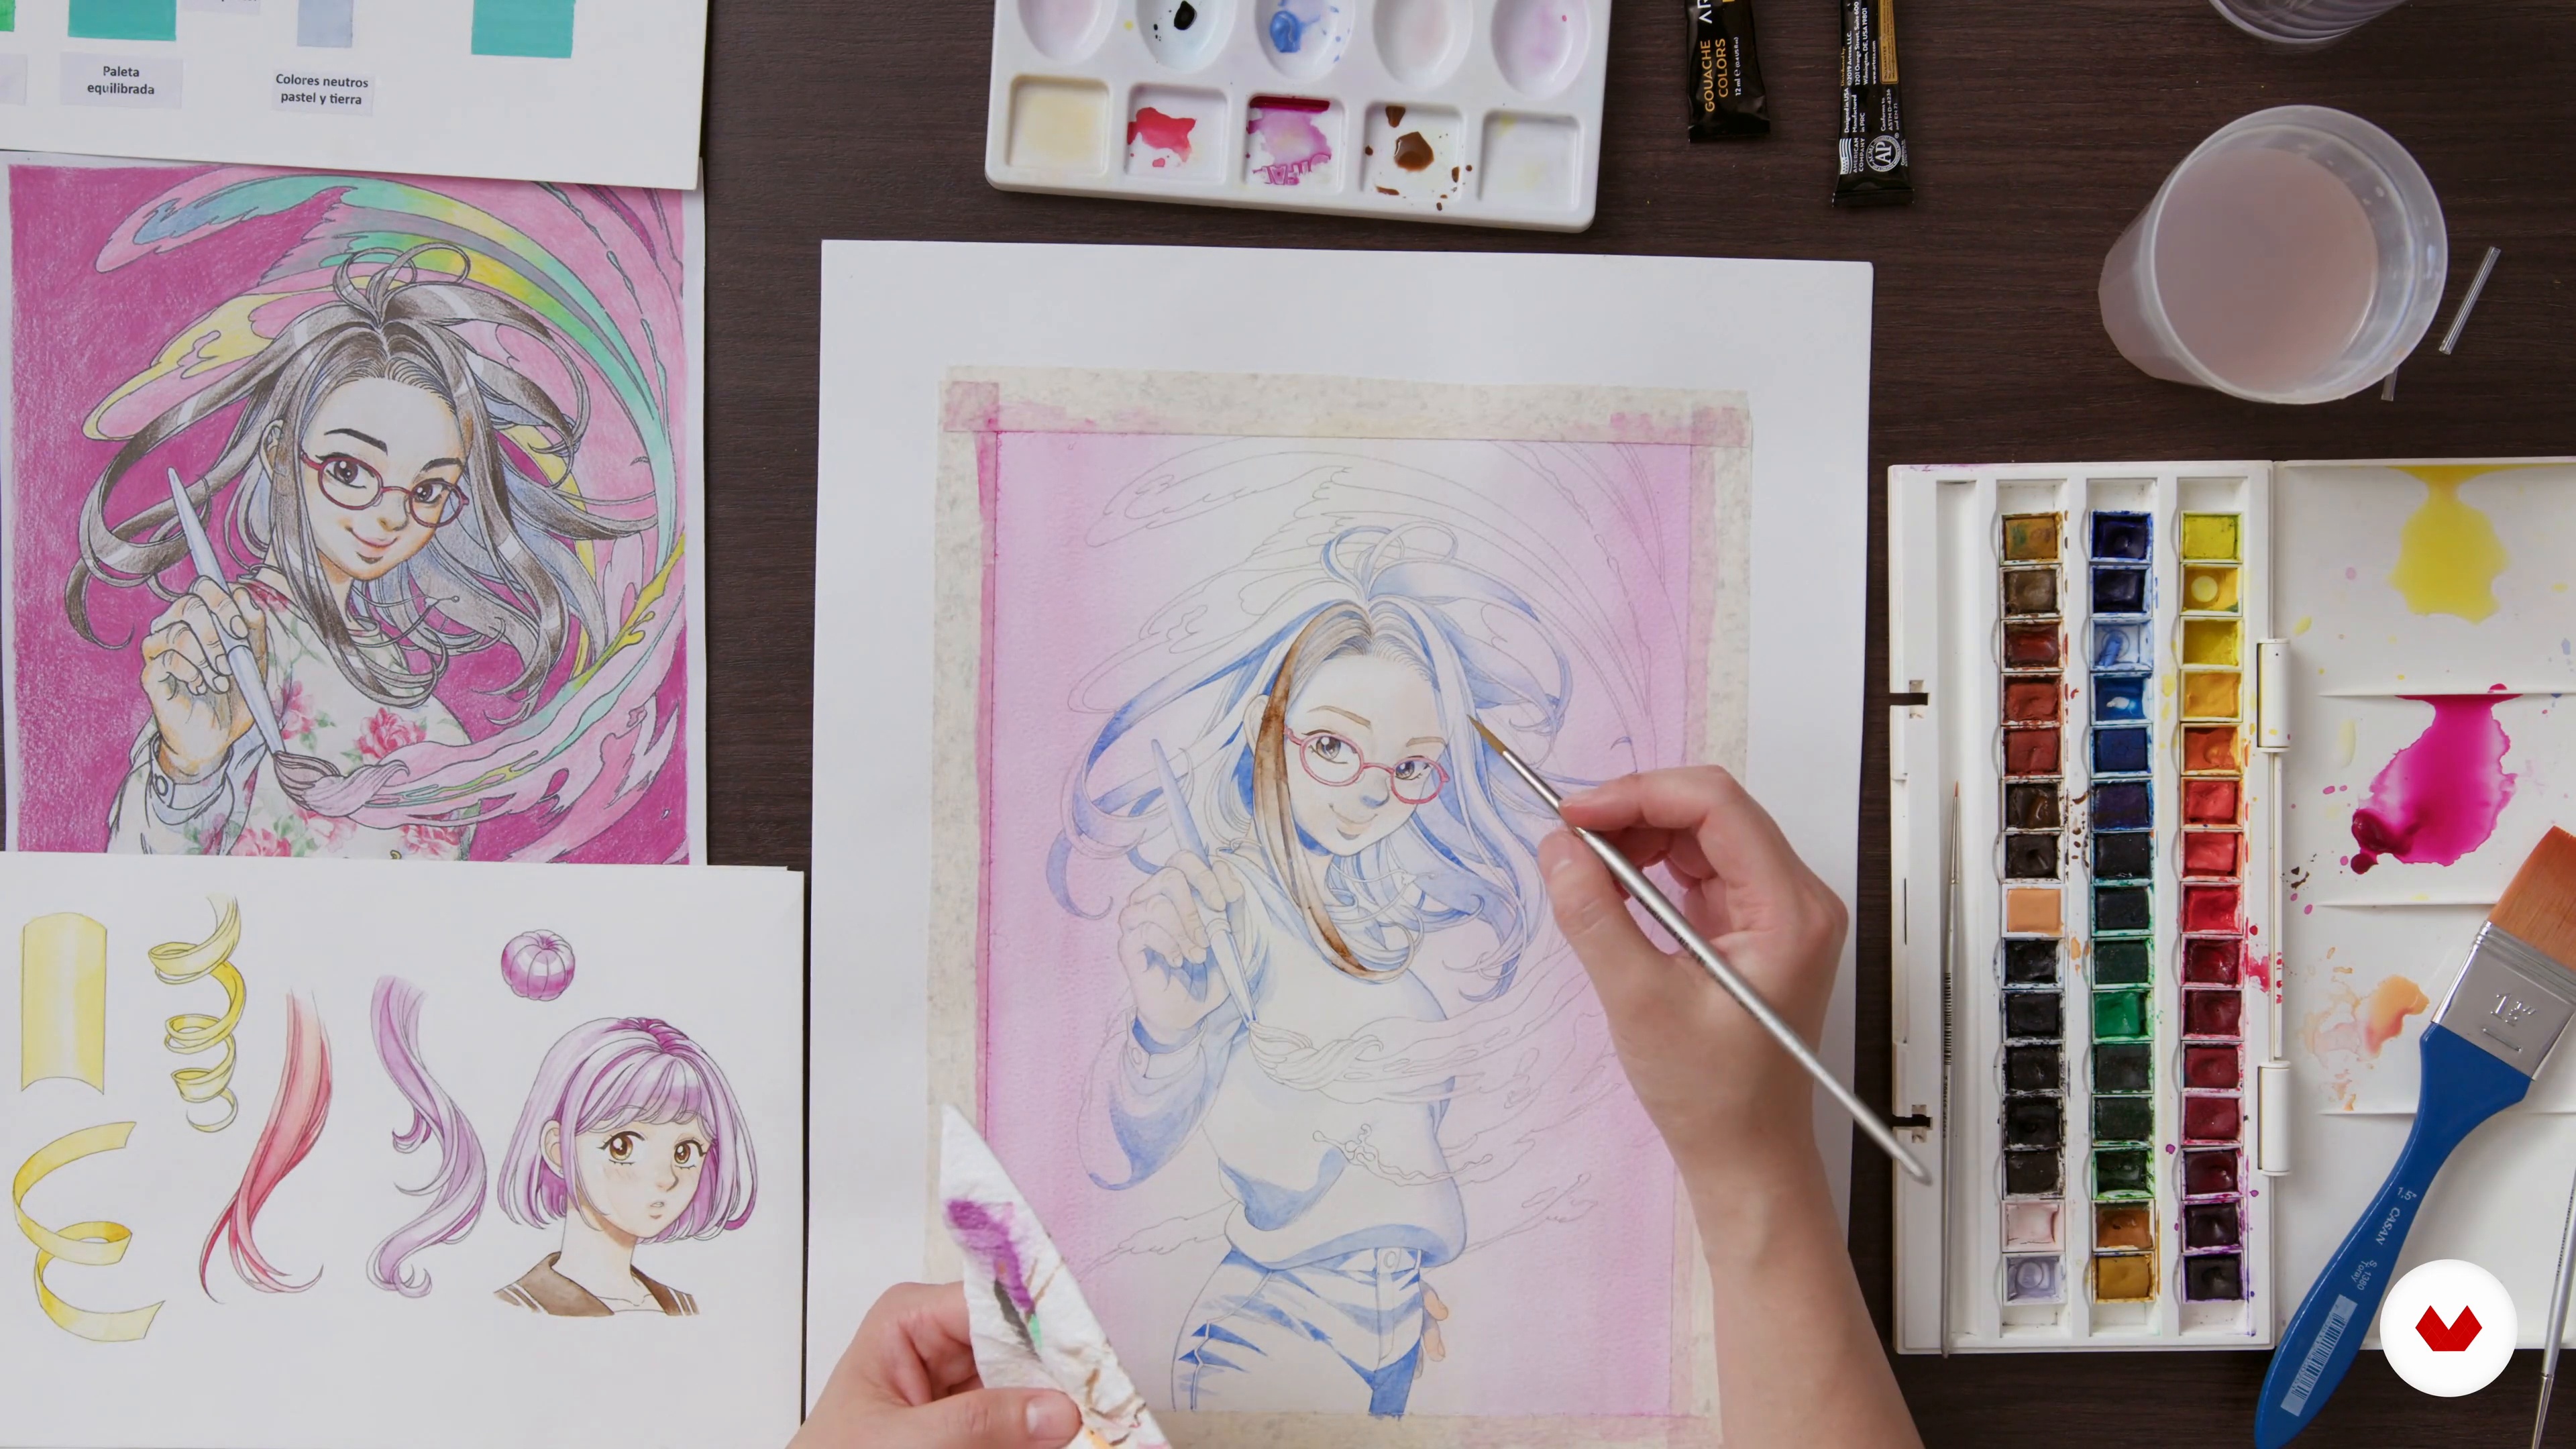
Finally, you'll see how to clean up the portrait using a light board and onto watercolor paper. You'll also learn the considerations before coloring the drawing.
15m
image
9
Color Theory and Choice of Palette 1
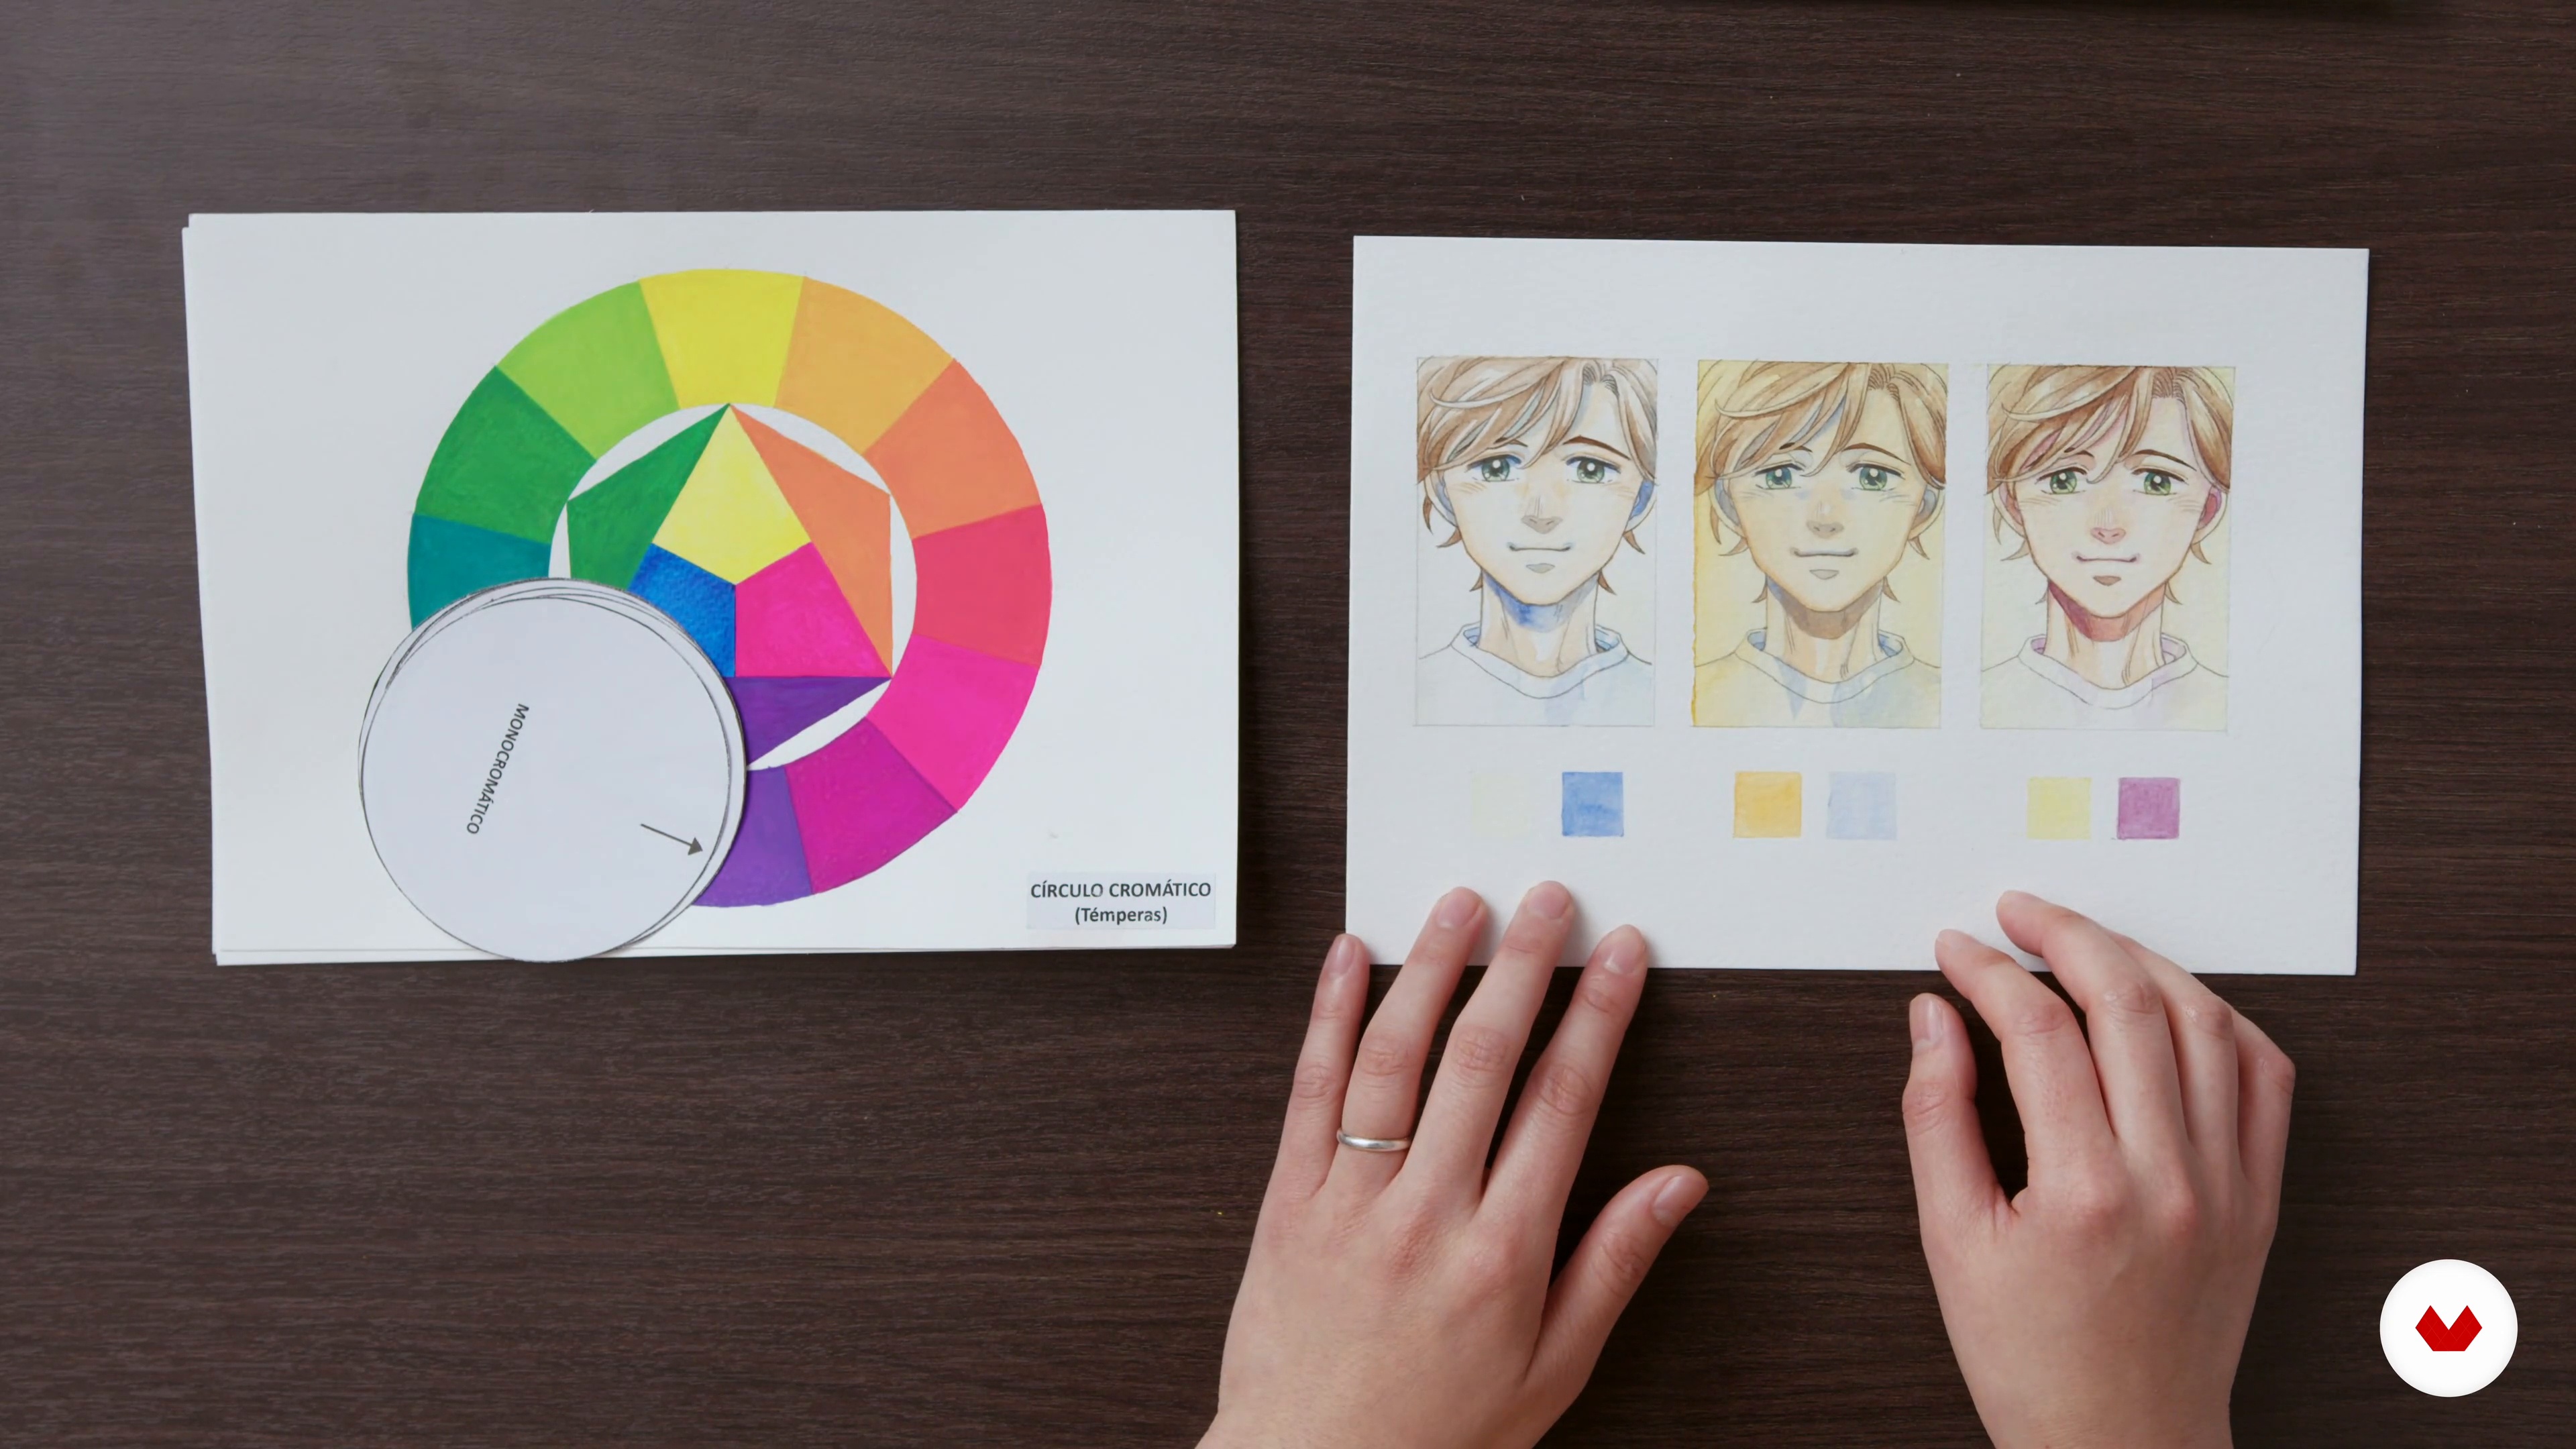
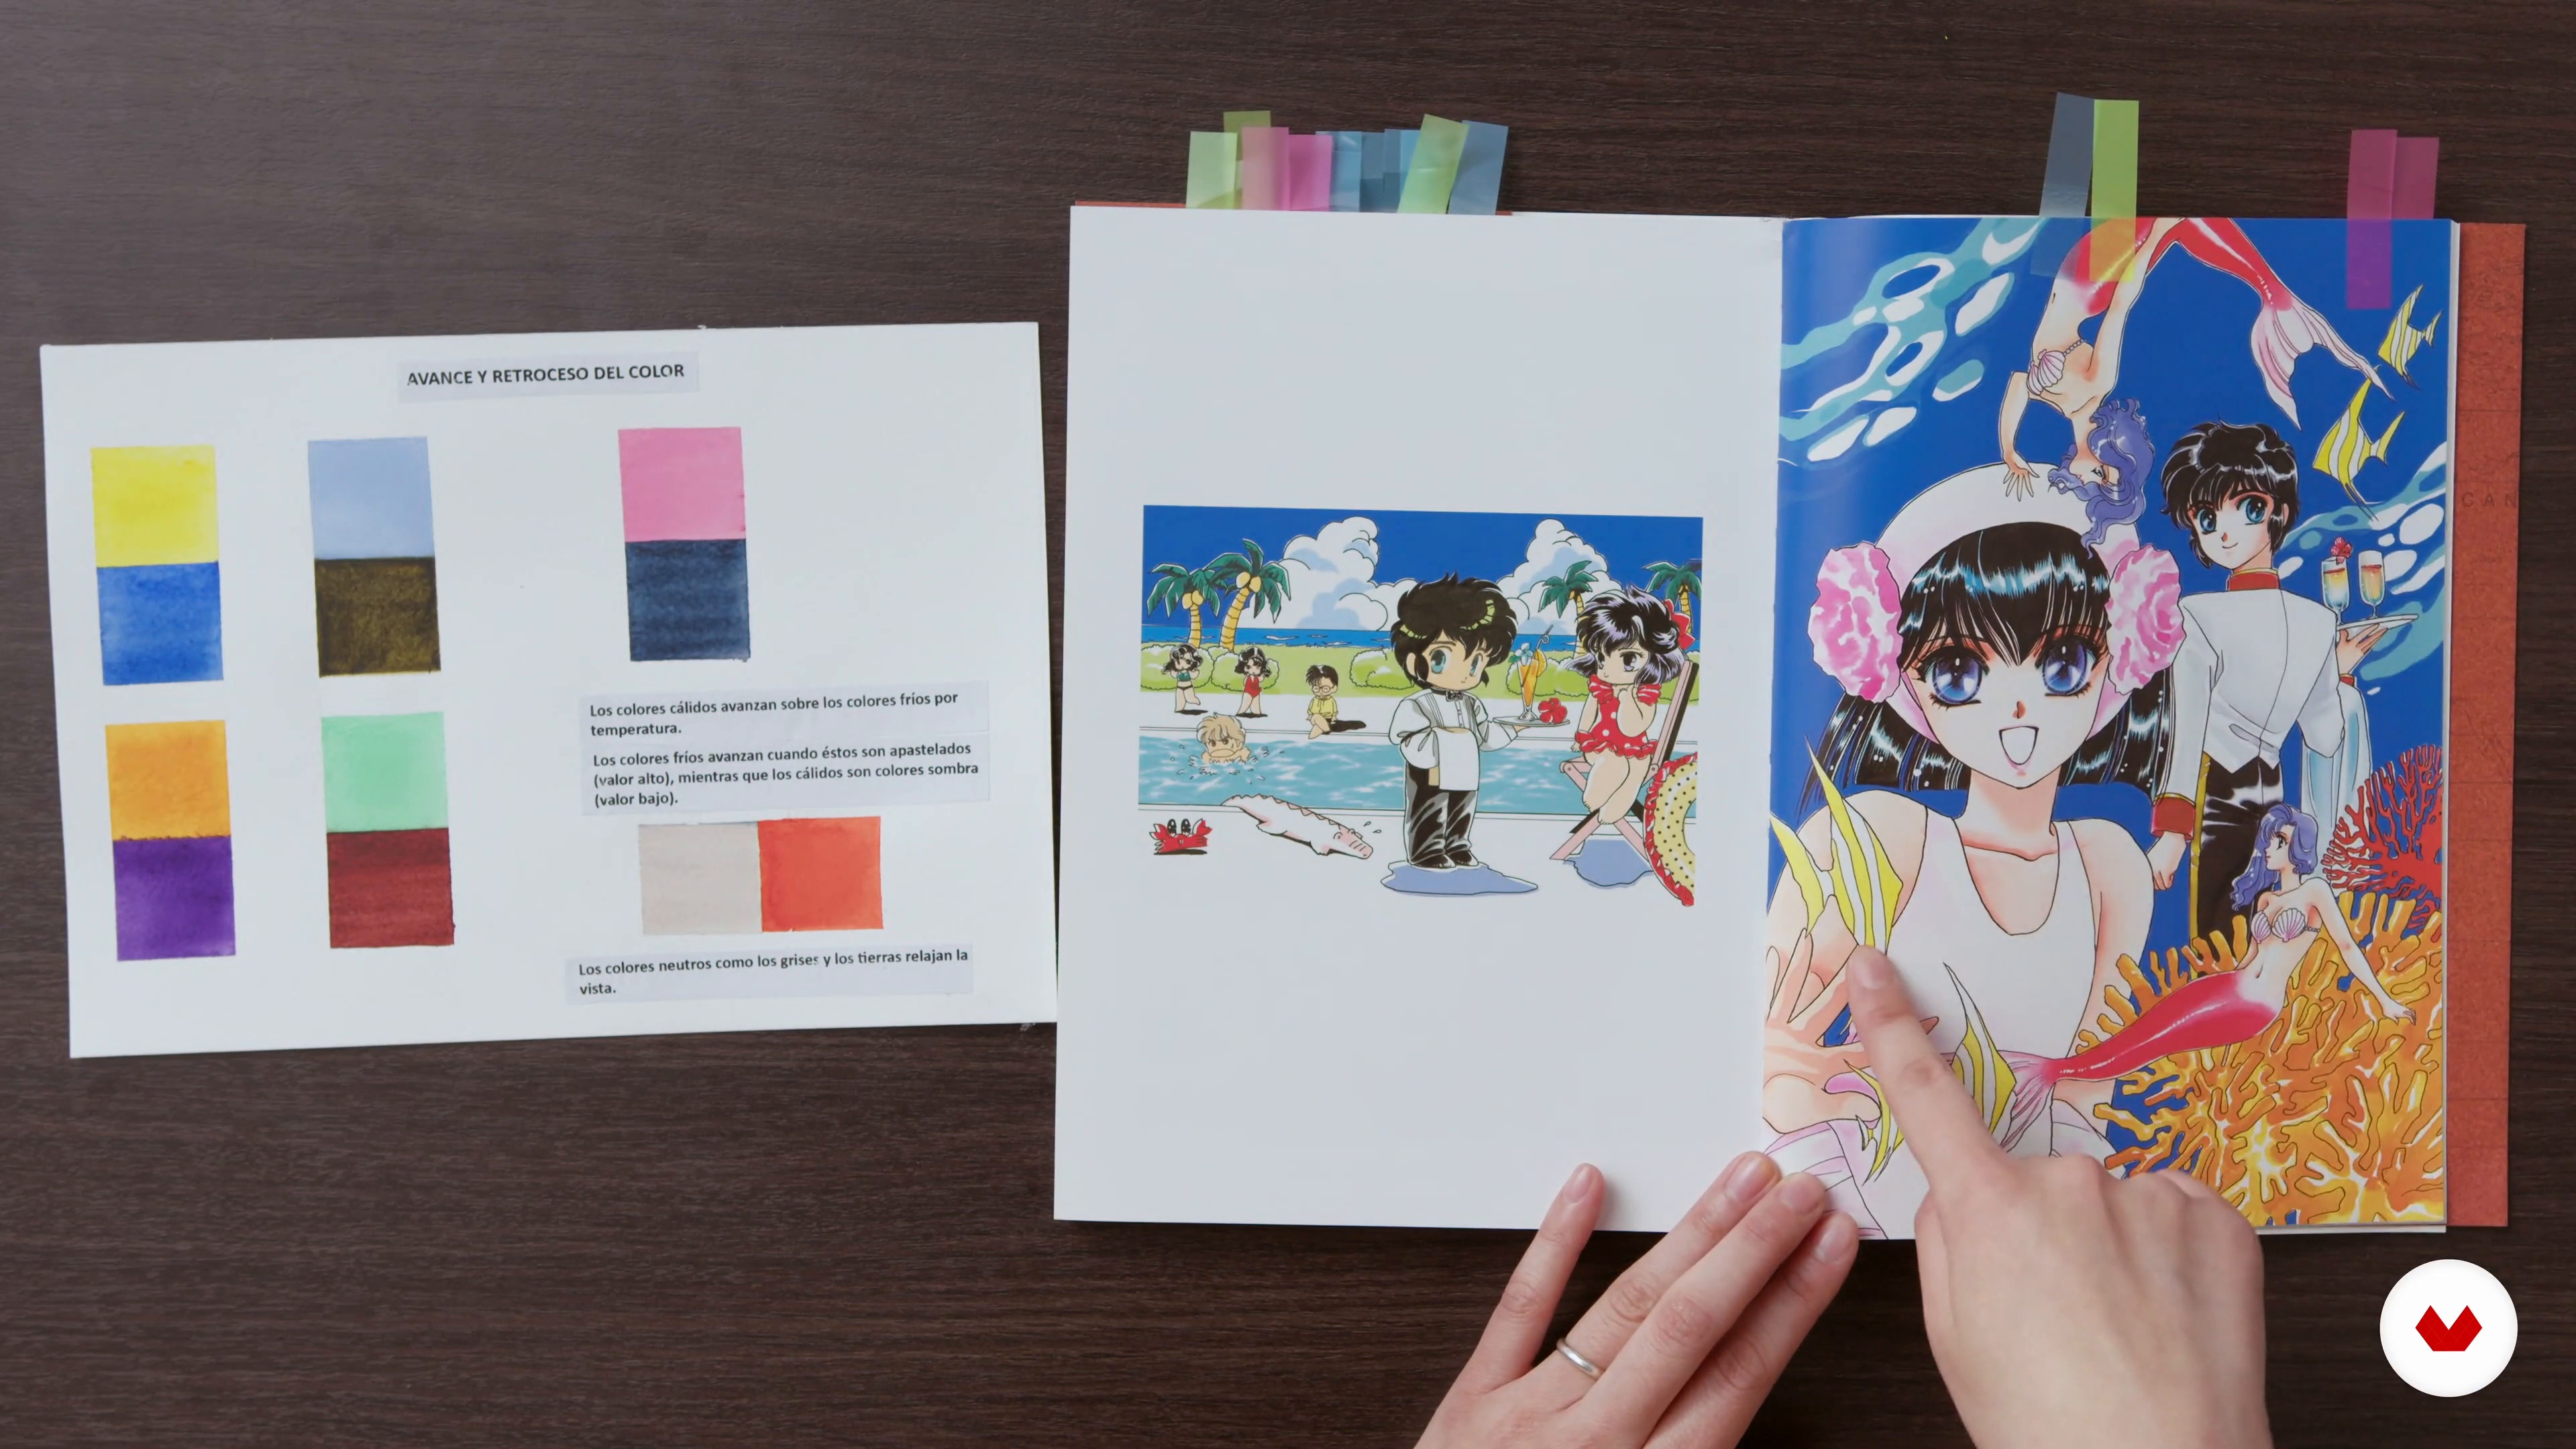
In this lesson, I'll explain color theory through the color wheel. Then, I'll explain which colors advance and recede based on temperature and saturation.
17m
image
10
Color Theory and Choice of Palette 2
In this second part of the lesson, you'll learn how to choose a color palette for your project, and I'll explain why. This knowledge will allow you to choose the color palette you use in your project.
19m
image
11
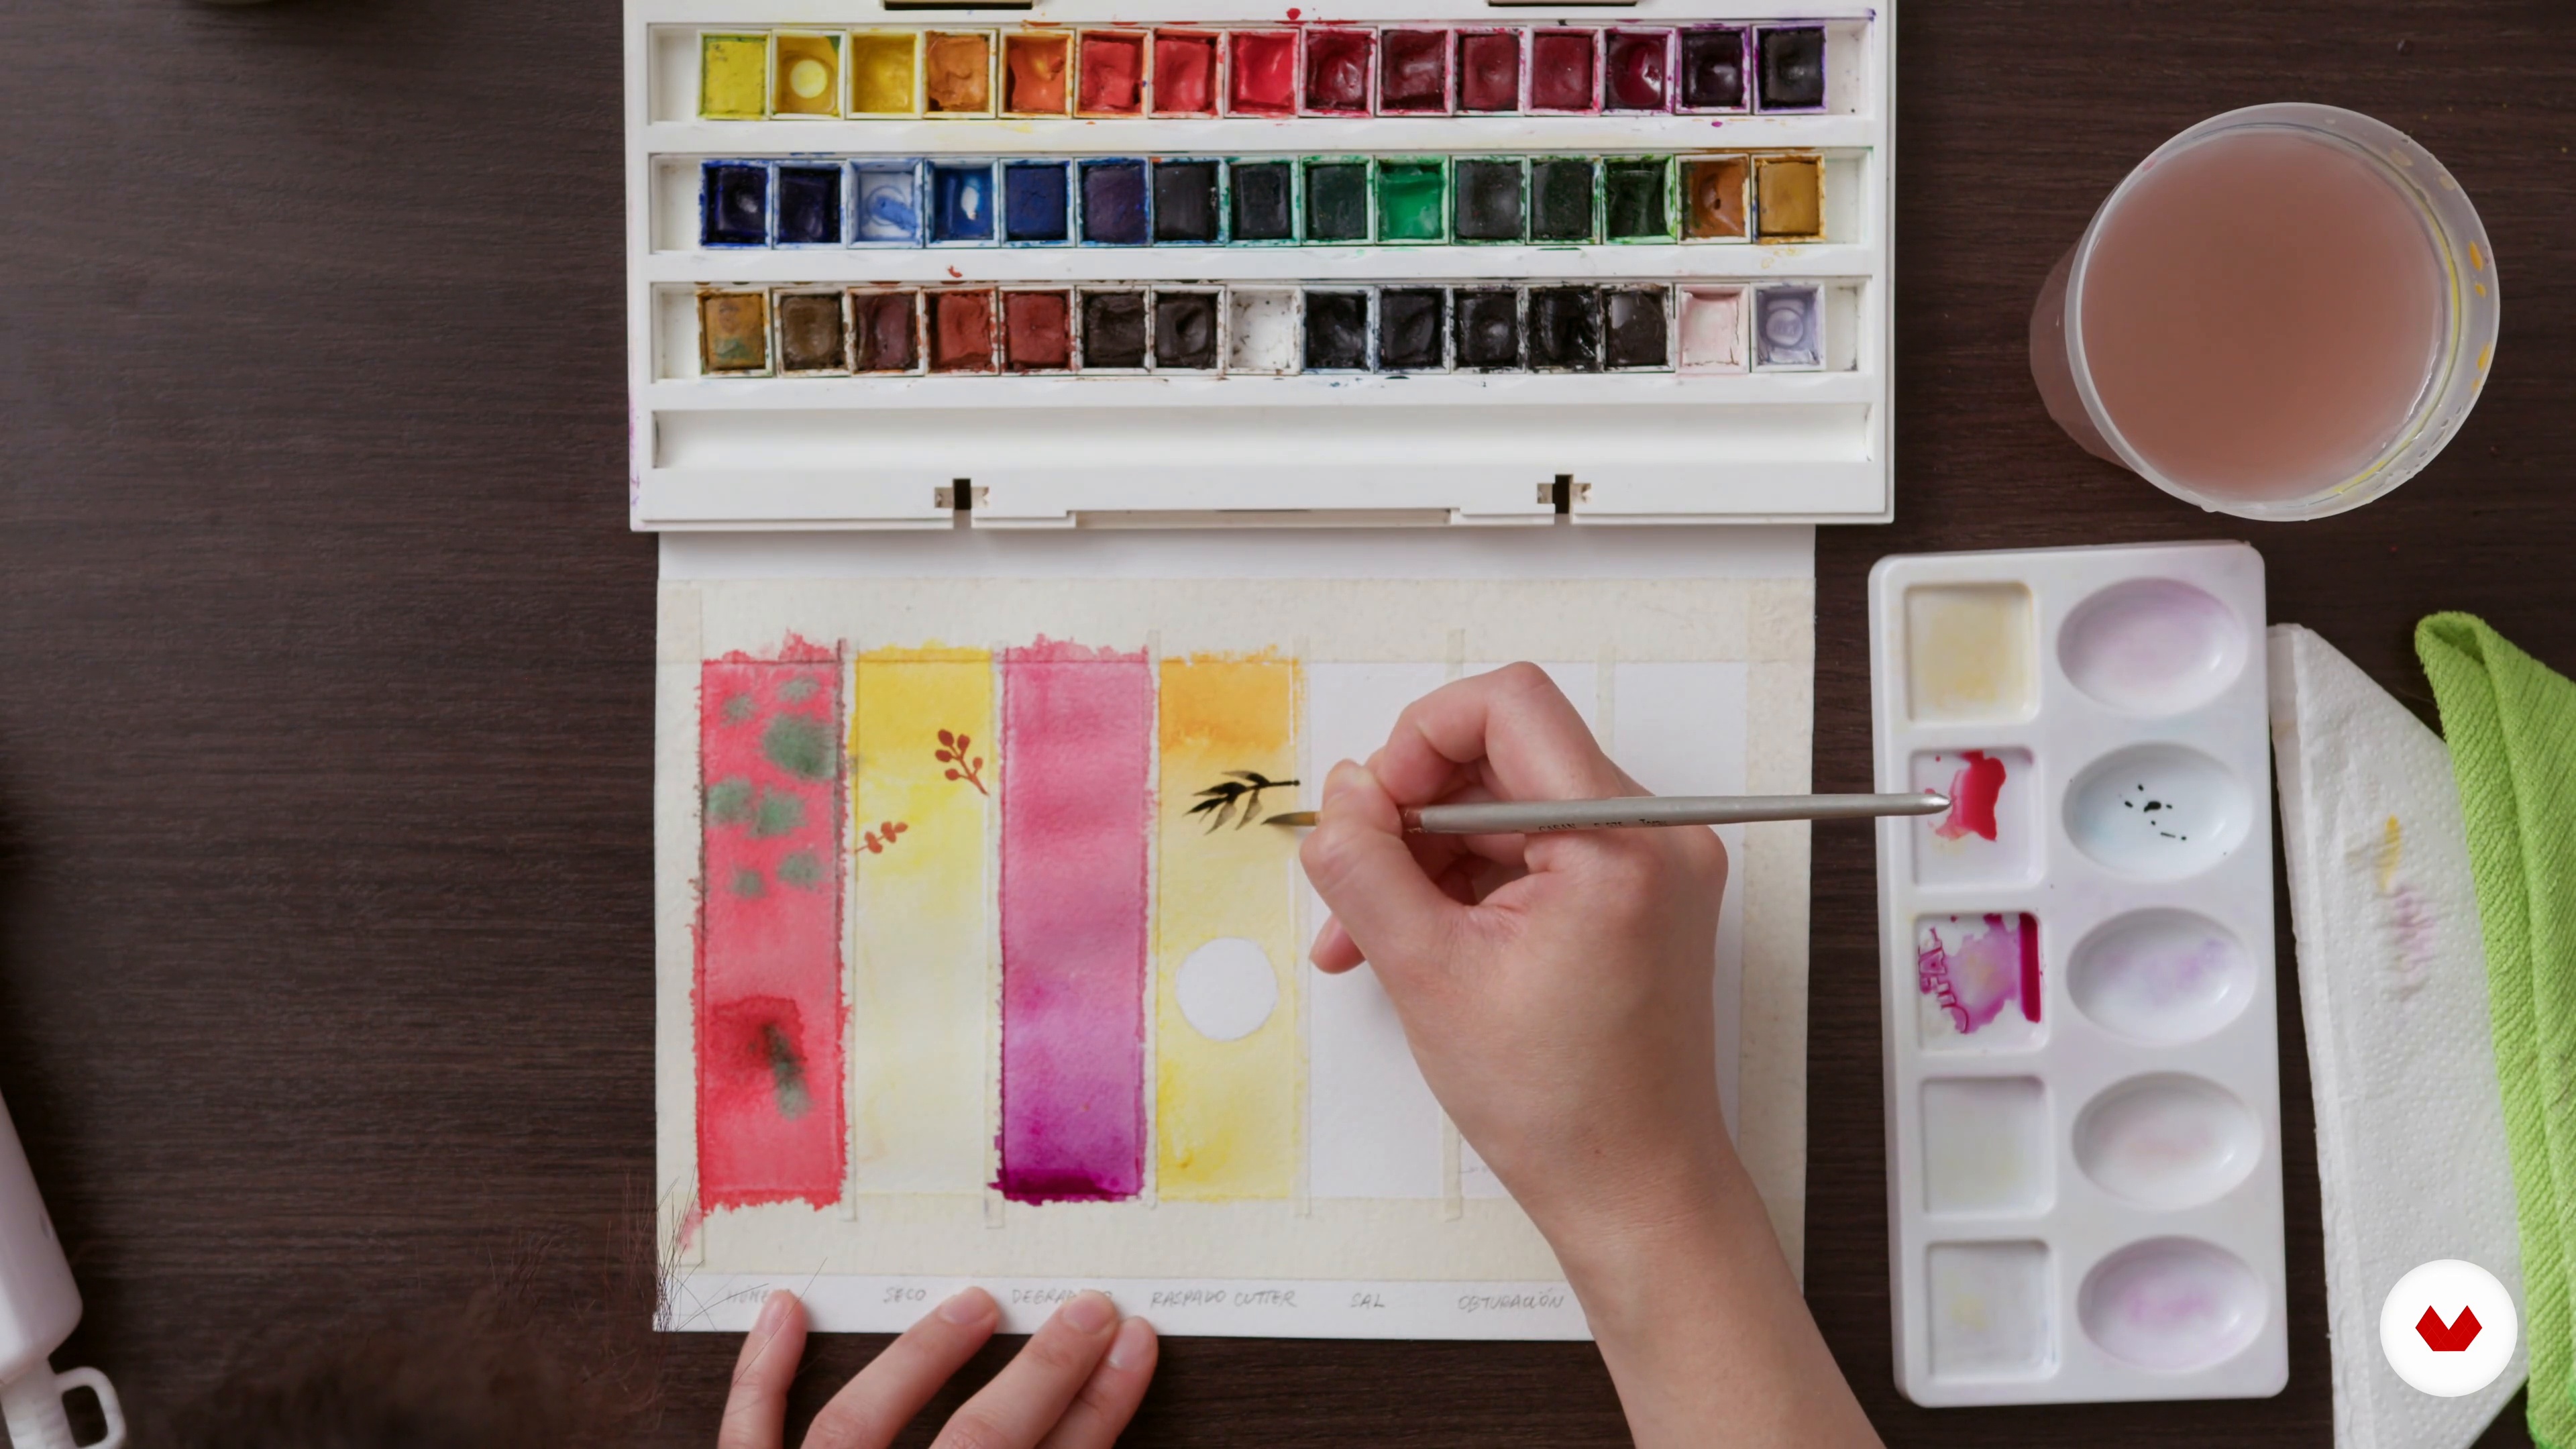
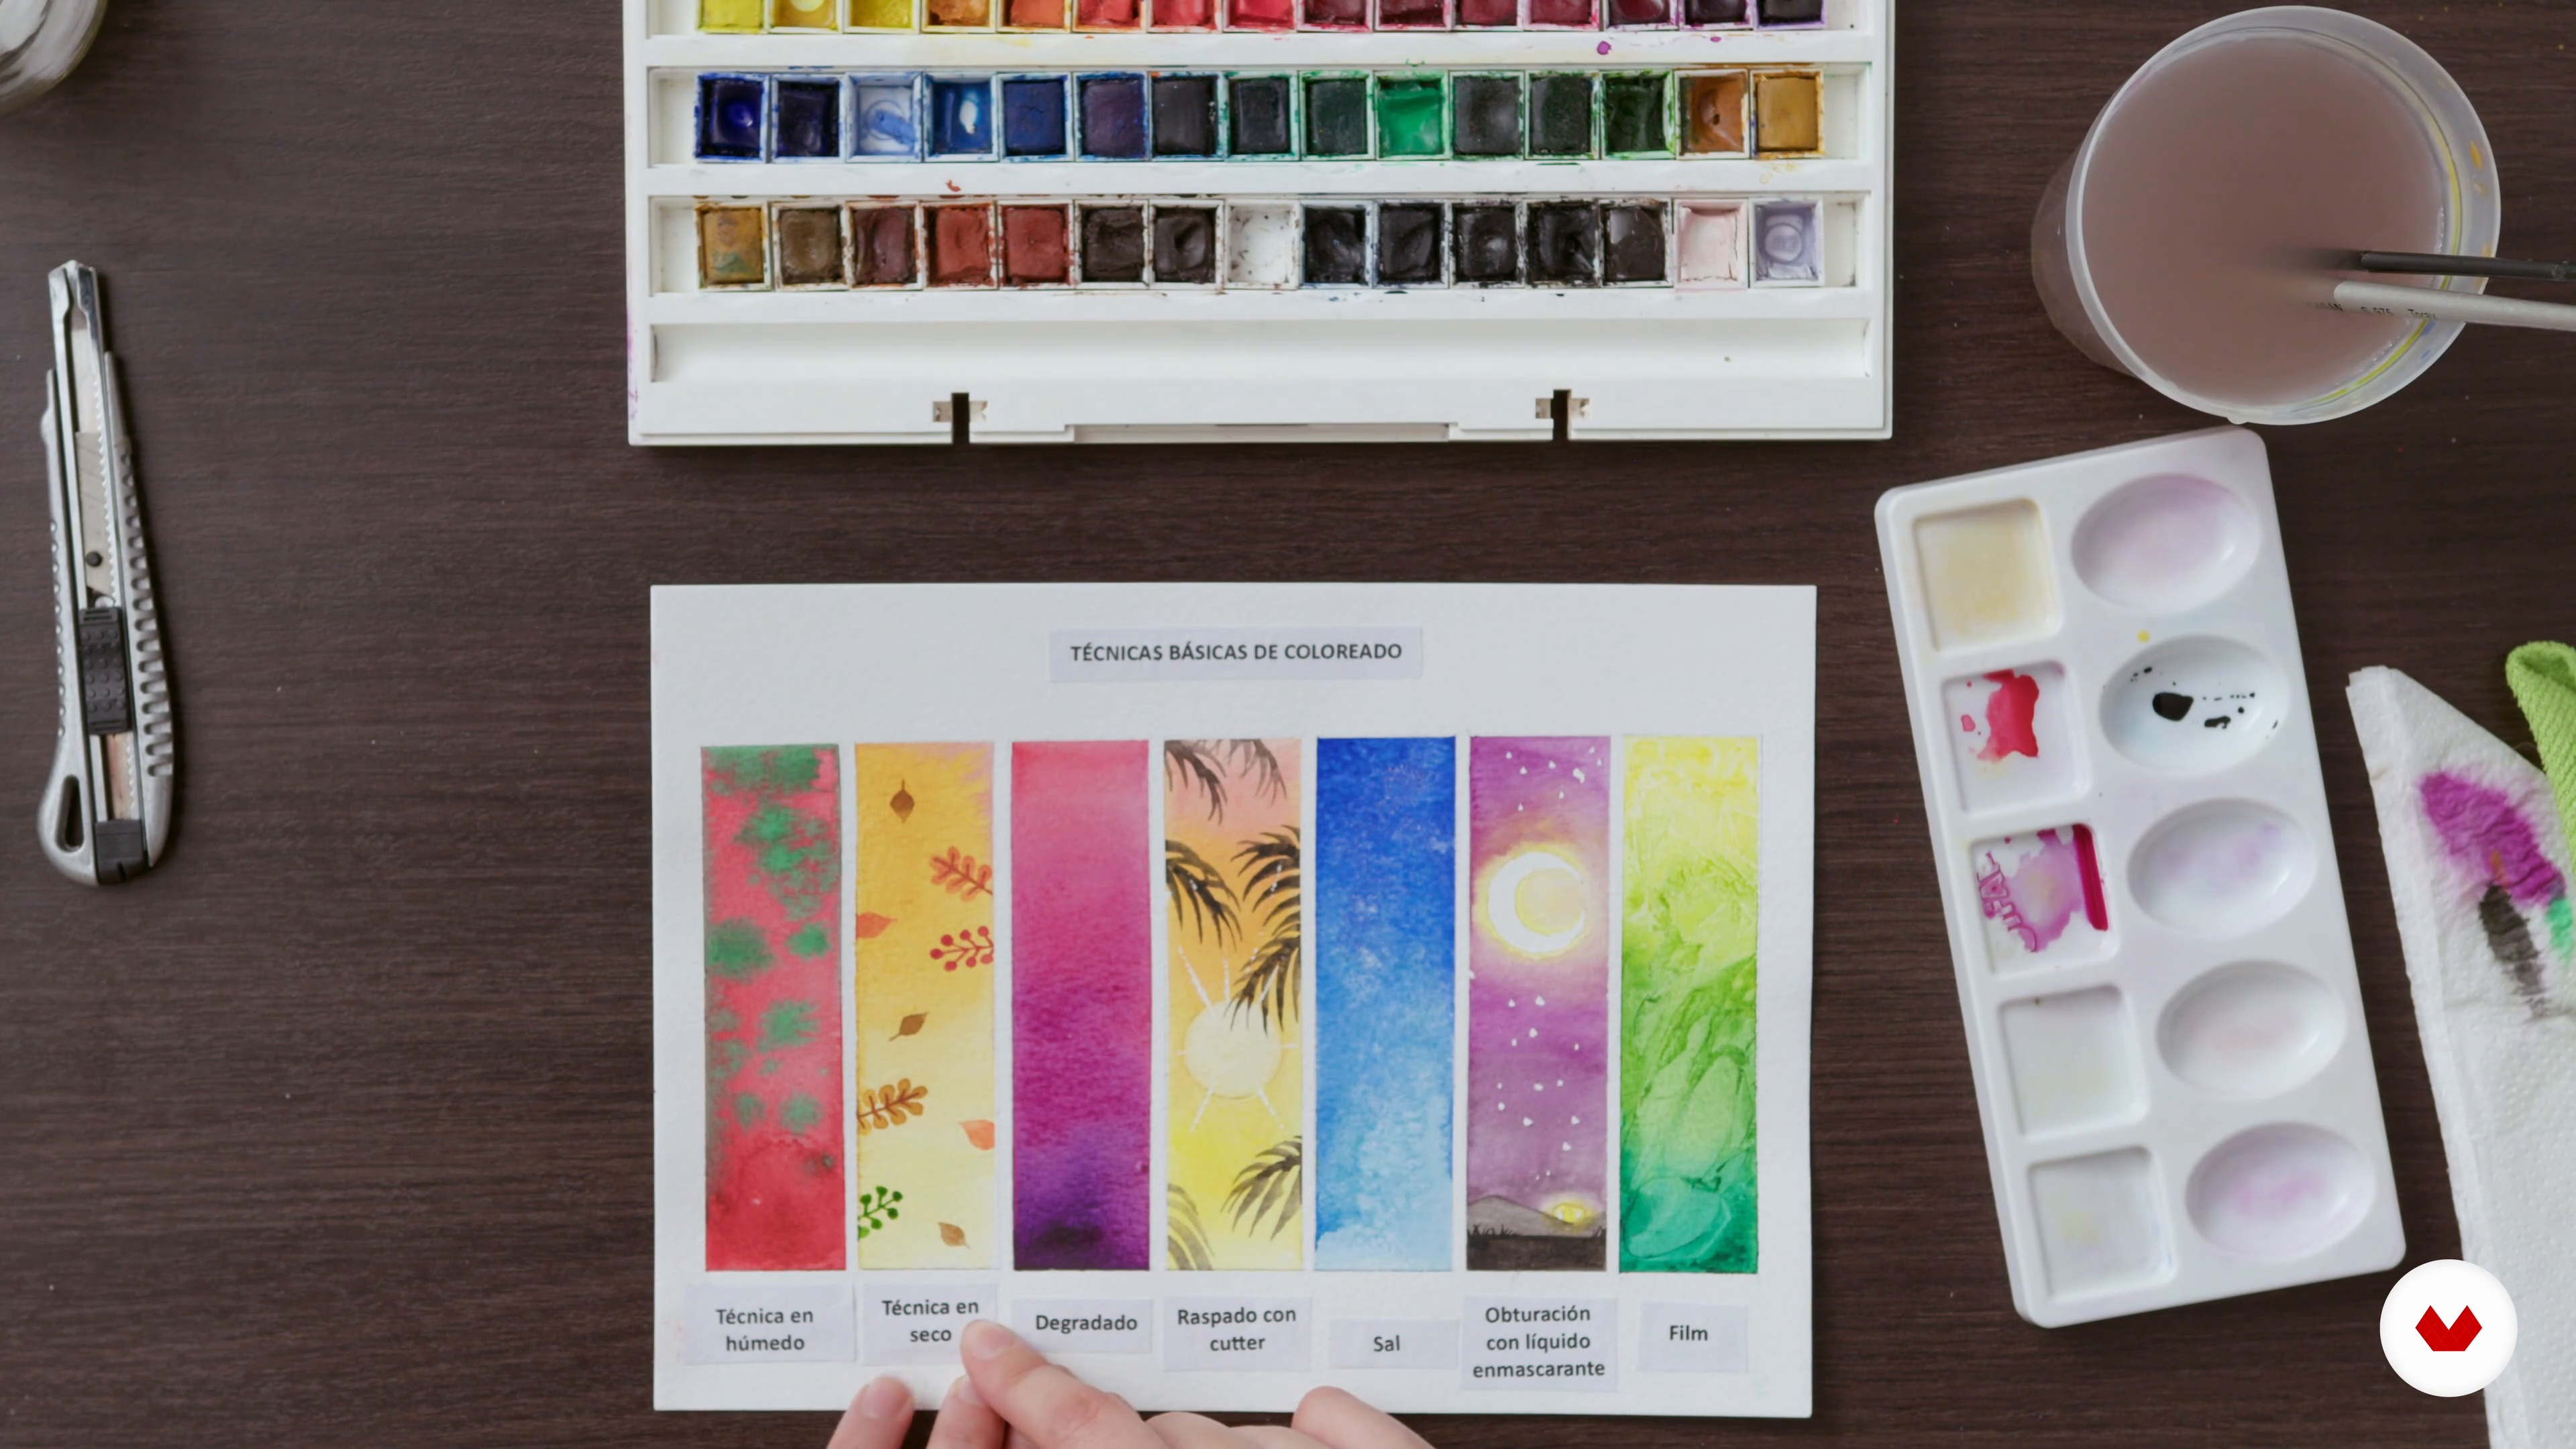
Basic Coloring Techniques 1
I'll introduce you to basic wet and dry watercolor techniques. I'll also show you how I'll select the ones I'll use for the project and explain why.
19m
image
12
Basic Coloring Techniques 2
I'll continue to talk to you about basic wet and dry watercolor techniques. I'll share some tips to help you do them easily.
12m
image
13
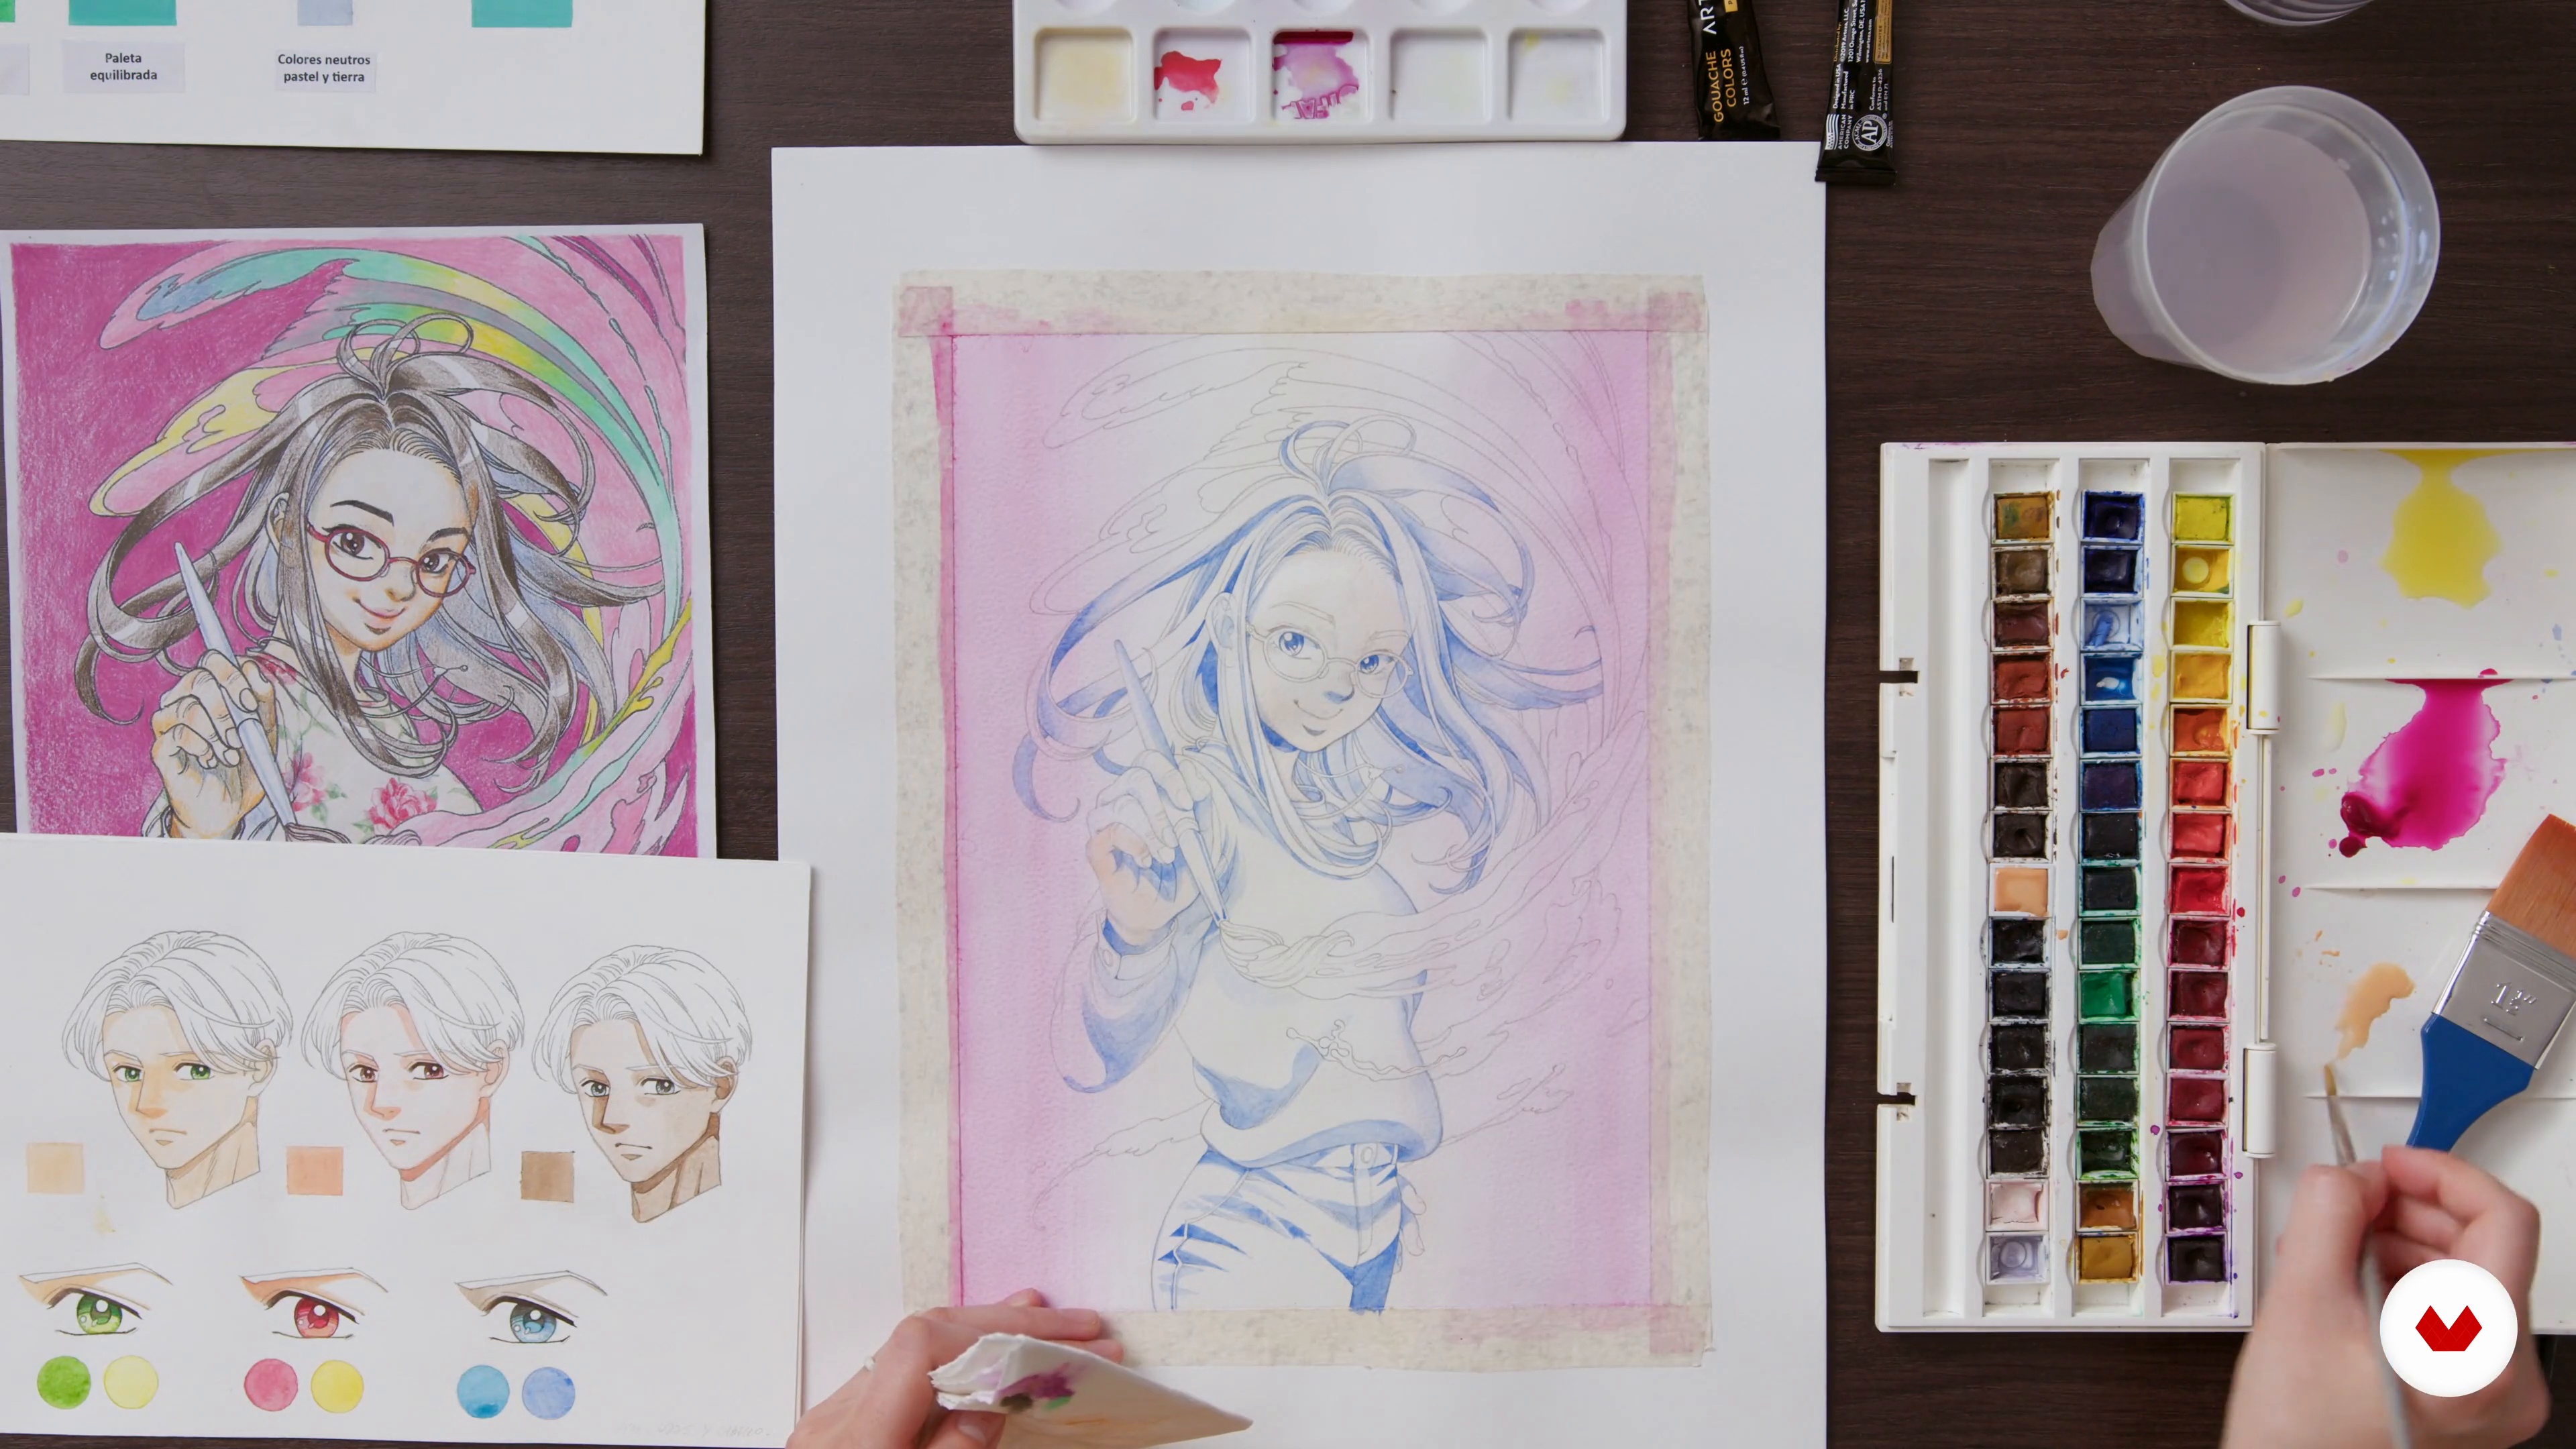
Color Temperature and Shadows
During this lesson, you will see how I use watercolors to determine the temperature of the drawing and the coloring of the shadows in the figure.
16m
image
14
Coloring the Skin, Eyes, and Hair 1
Now I'll show you the process of coloring skin and eyes. I'll give you some tips for using watercolors so you can create a base and midtones suitable for your projects.
8m
image
15
Coloring the Skin, Eyes, and Hair 2
In this second part of the lesson, you'll learn how to color your hair. Remember, your hair can be any color you want!
12m
image
16
Coloring the Dress and Final Details 1
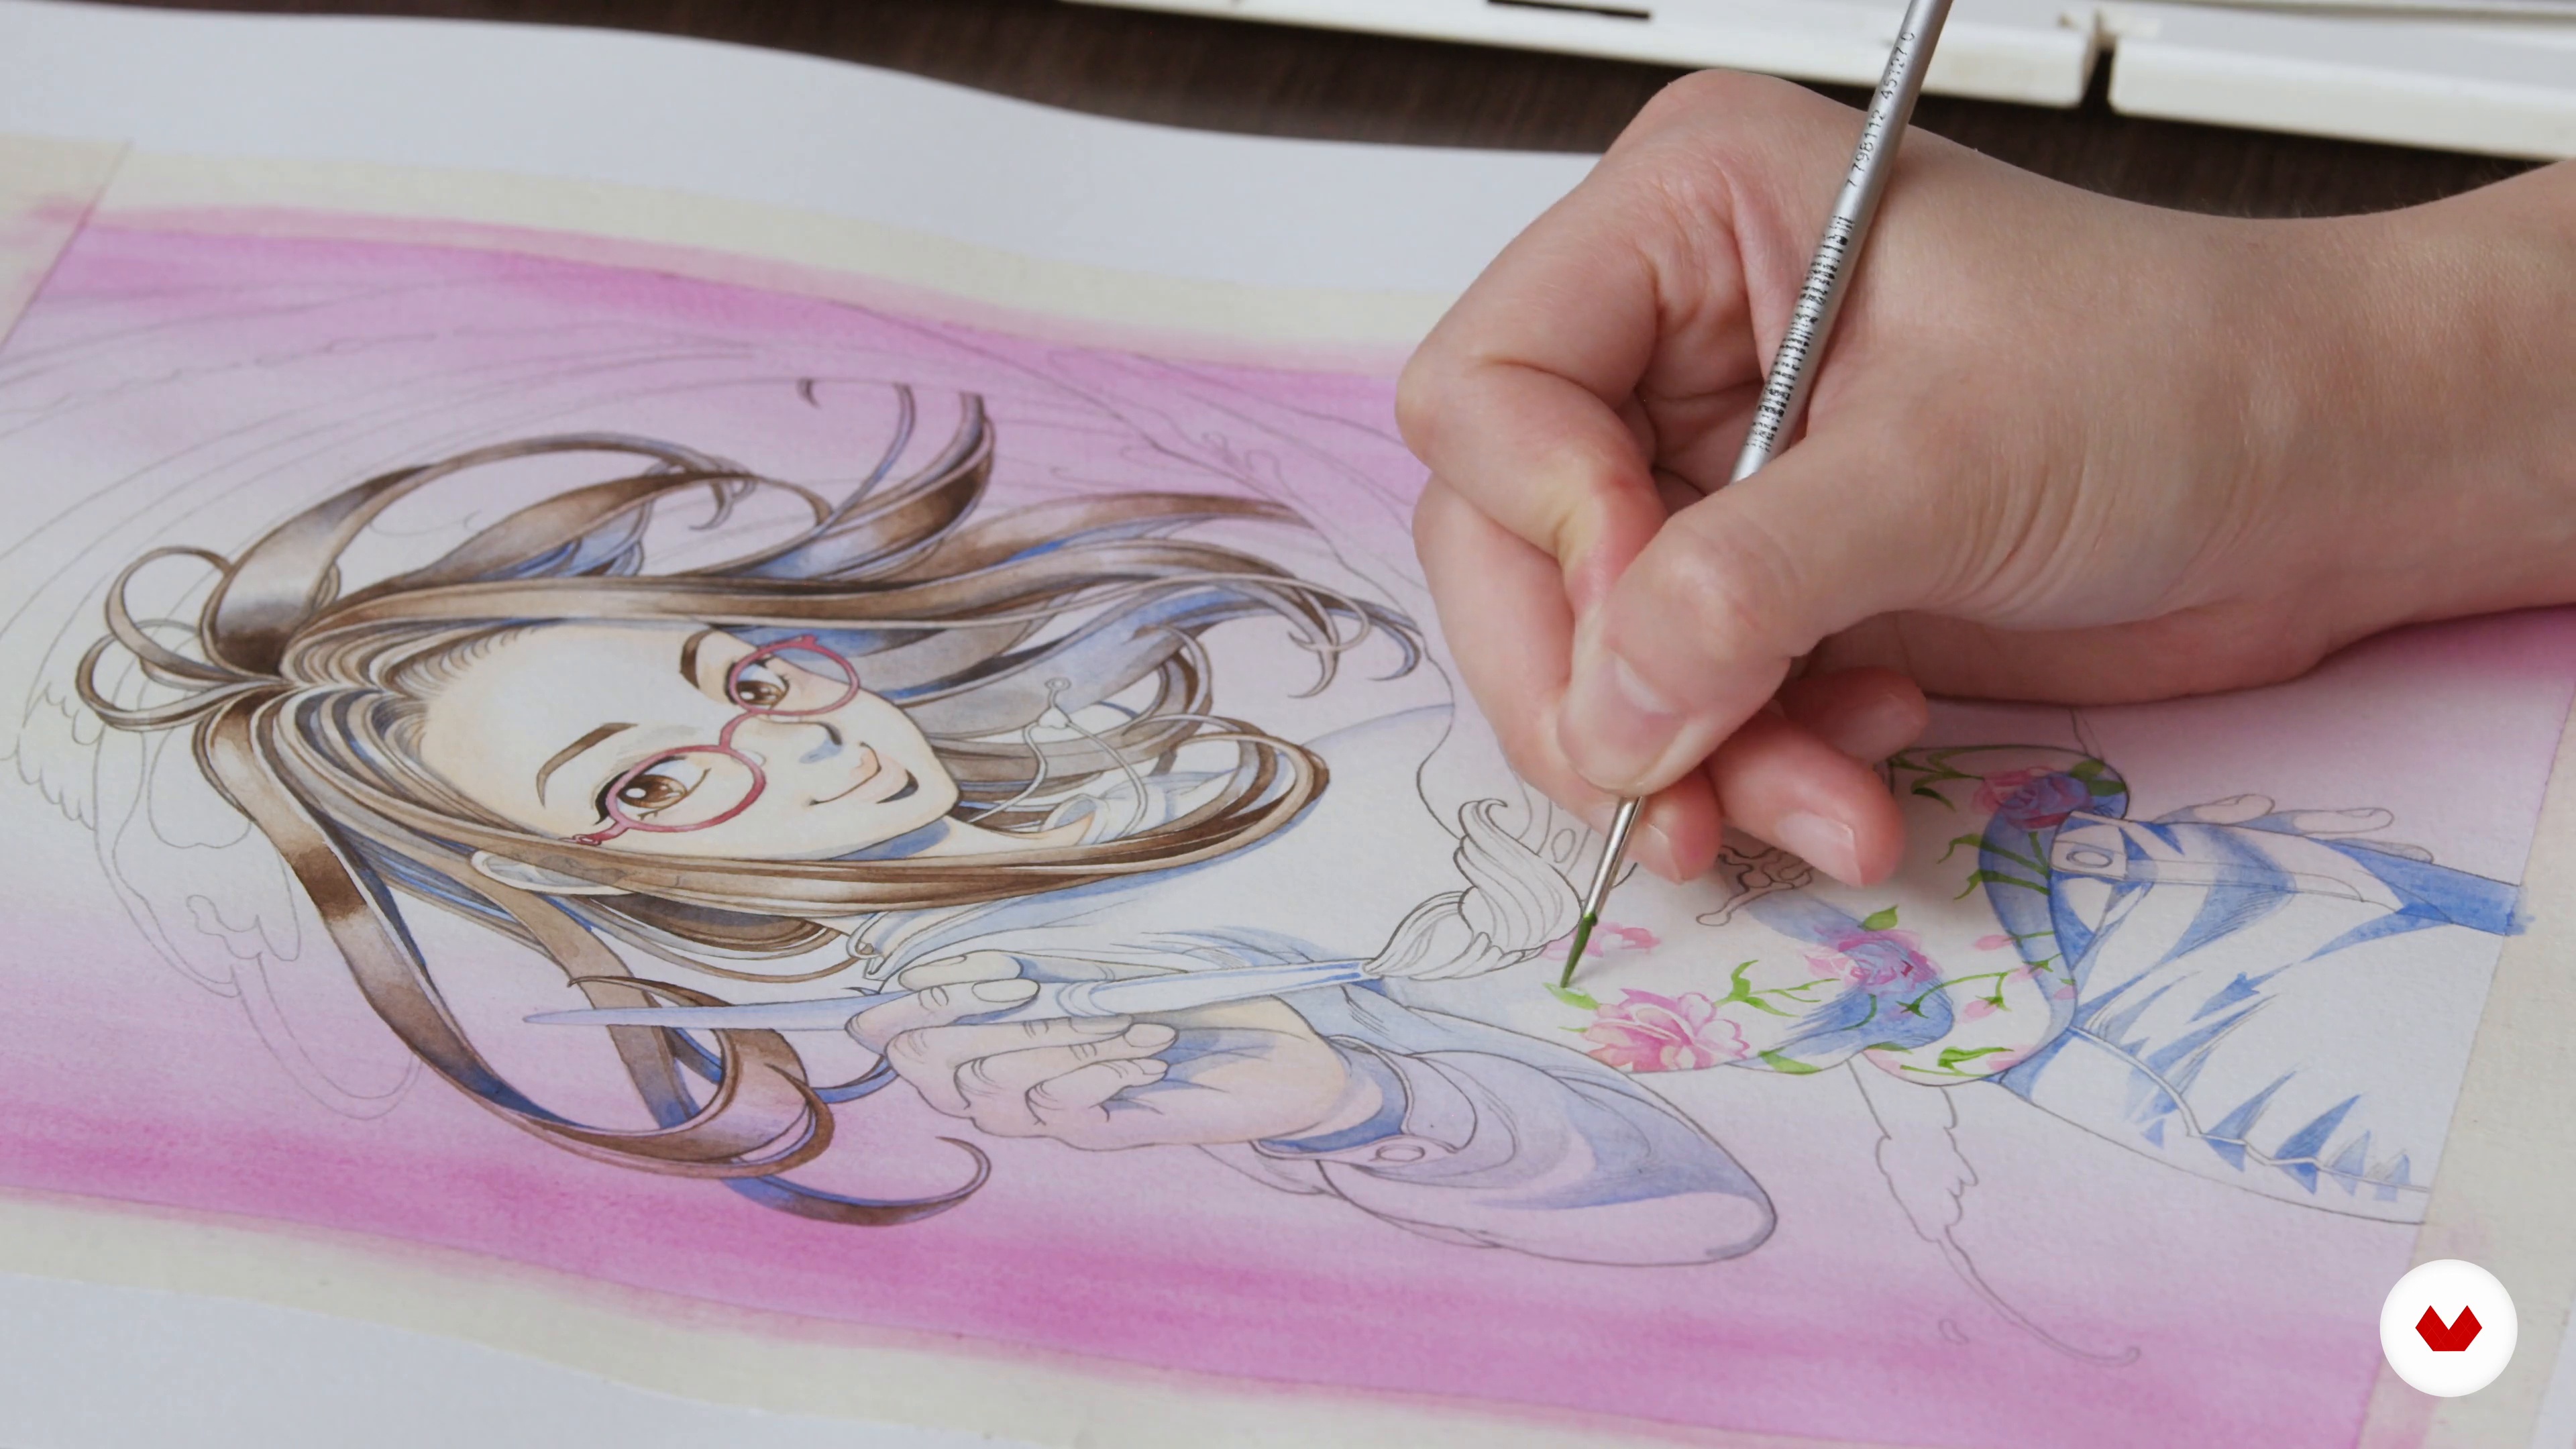
To conclude this unit, you'll see how to use watercolors on clothing until you finish the drawing with final details.
14m
image
17
Coloring the Dress and Final Details 2
To conclude this unit, I'll show you how to add the final details to your portrait. I'll share my best tips to ensure the entire project is perfect.
13m
image
18
Drawing Cleanup
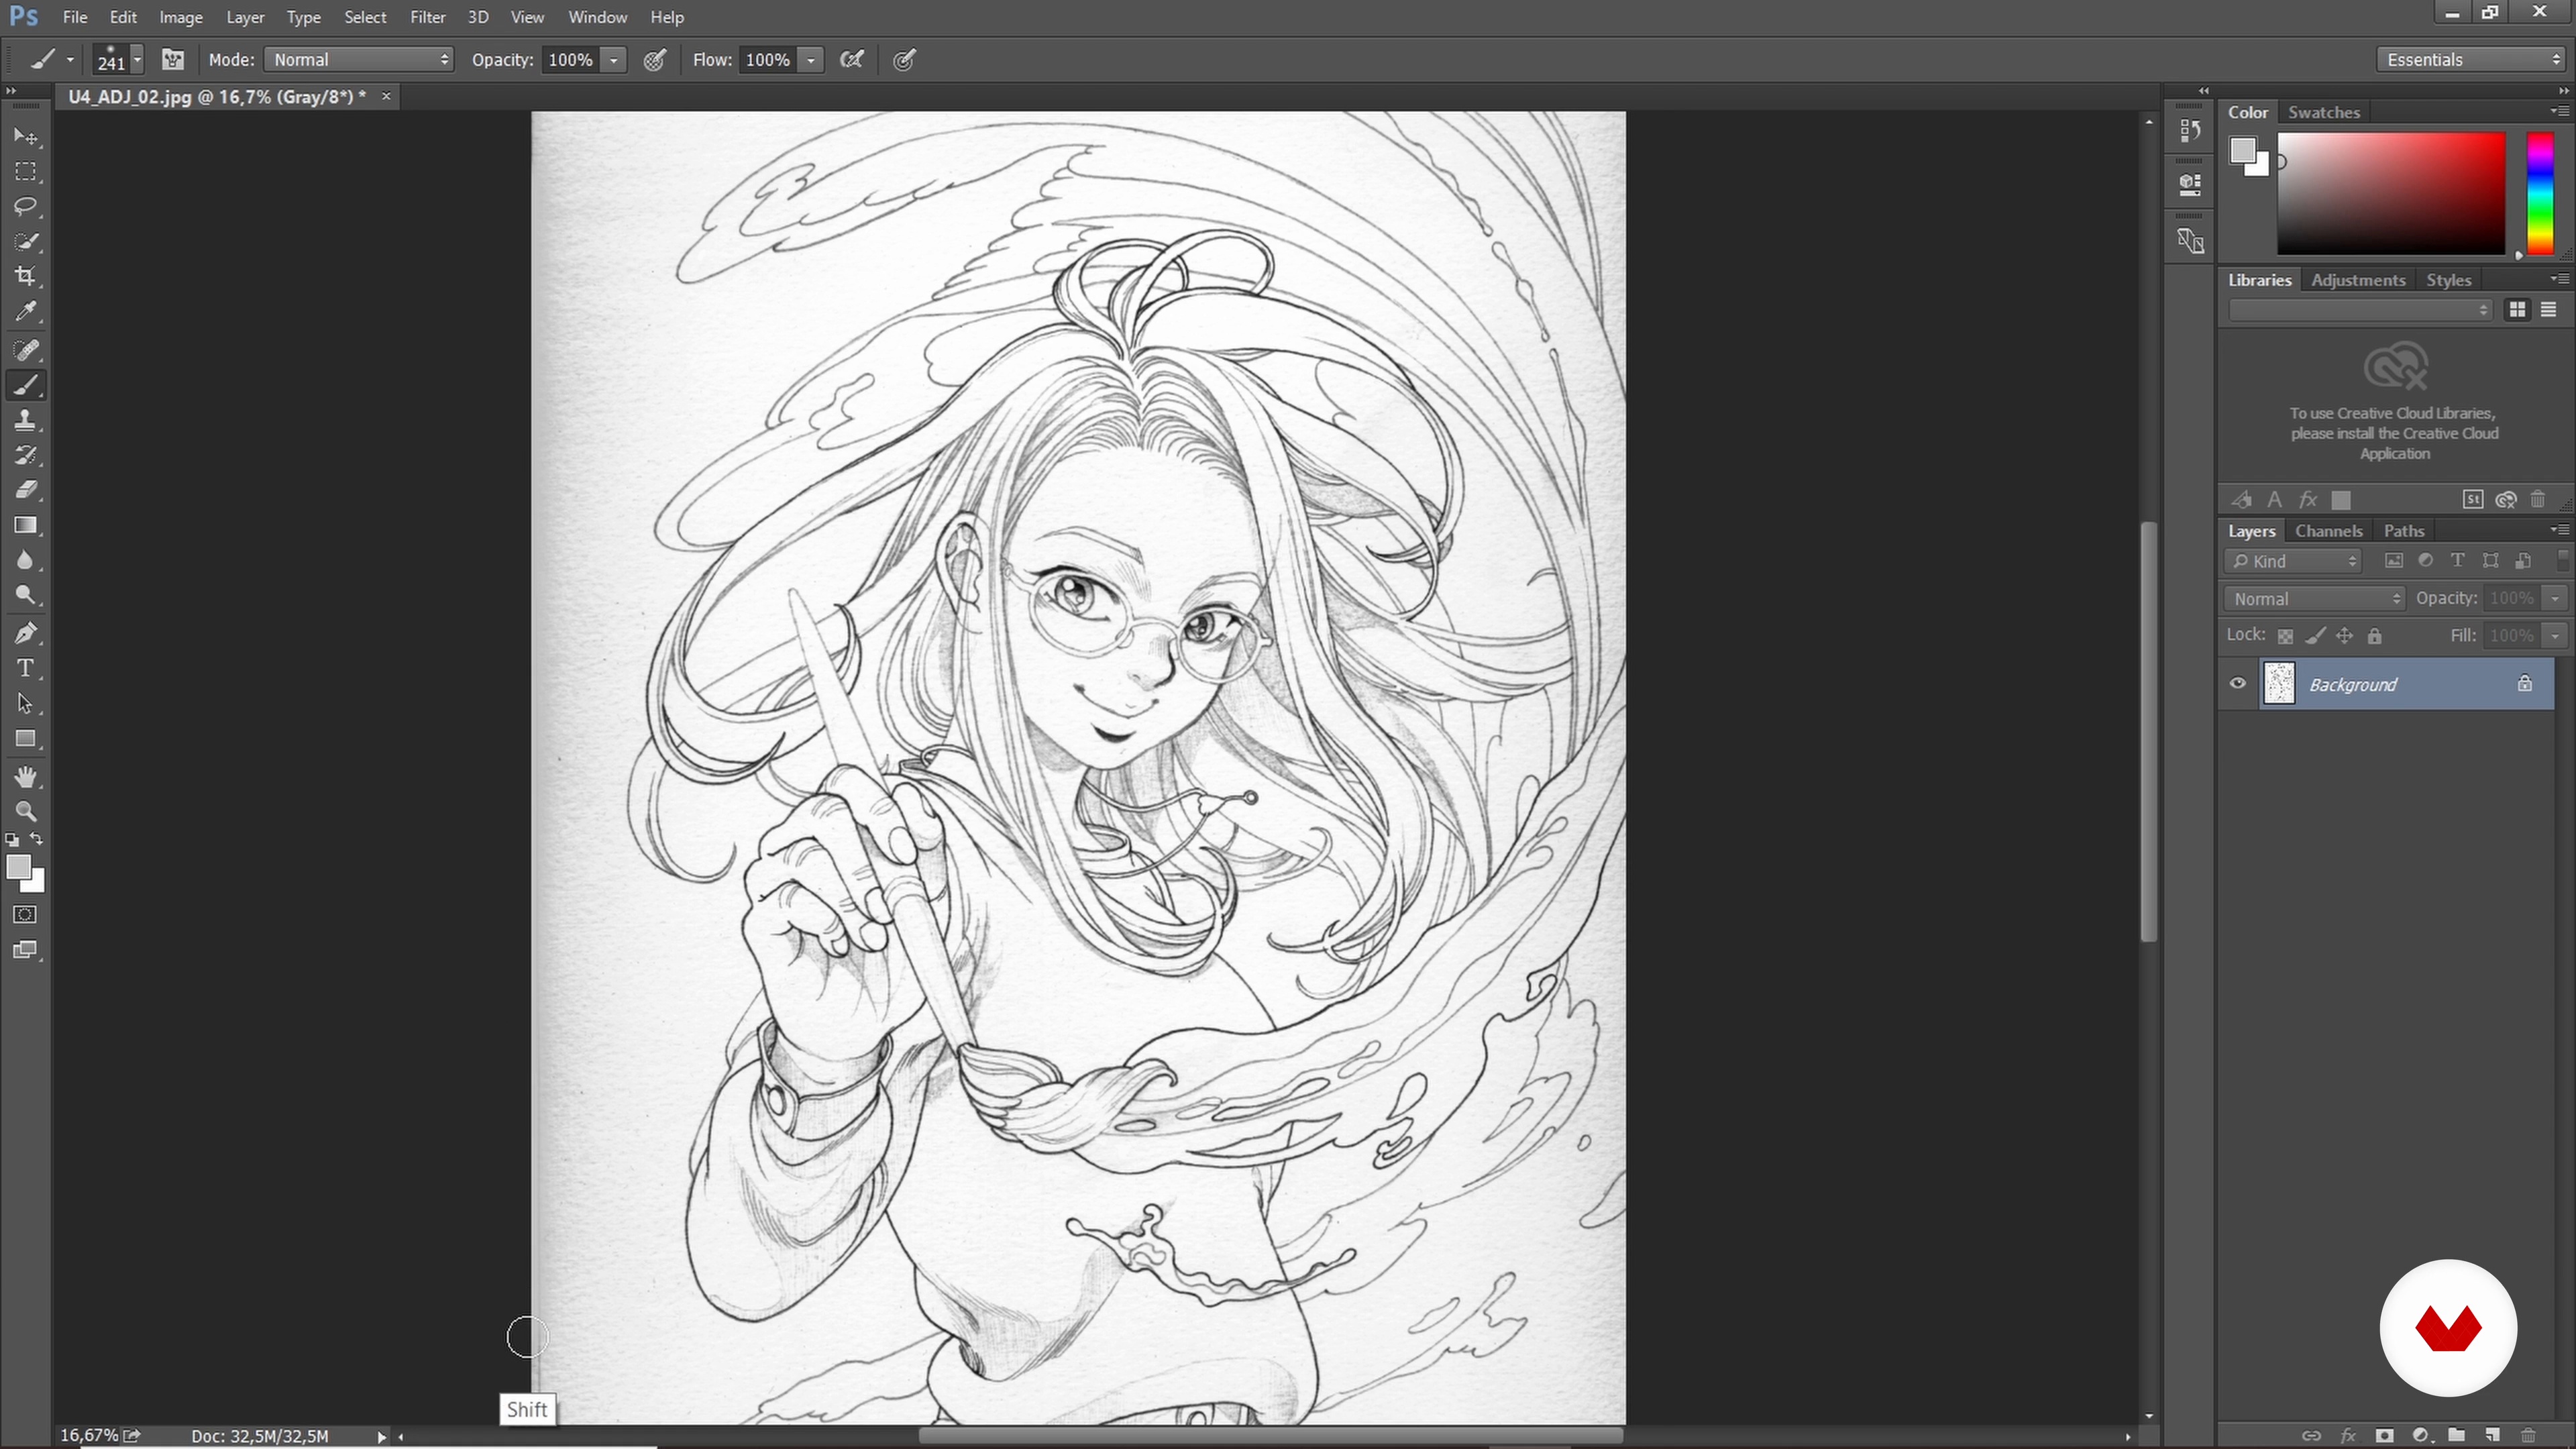
In this lesson, you'll learn how to clean impurities from a black and white image using Adobe Photoshop.
7m
image
19
Color Settings
Now you'll see how to adjust the tonality of an already colored image using Adobe Photoshop.
10m
image
3
What are we going to do?
In this lesson, I'll walk you through the step-by-step process of the project we'll be working on throughout the course. You'll create the character's concept and aesthetic, basic expressions and their intensities, representation of moving poses, and, finally, the technical sheet.
1m
image
4
Introduction to manga I
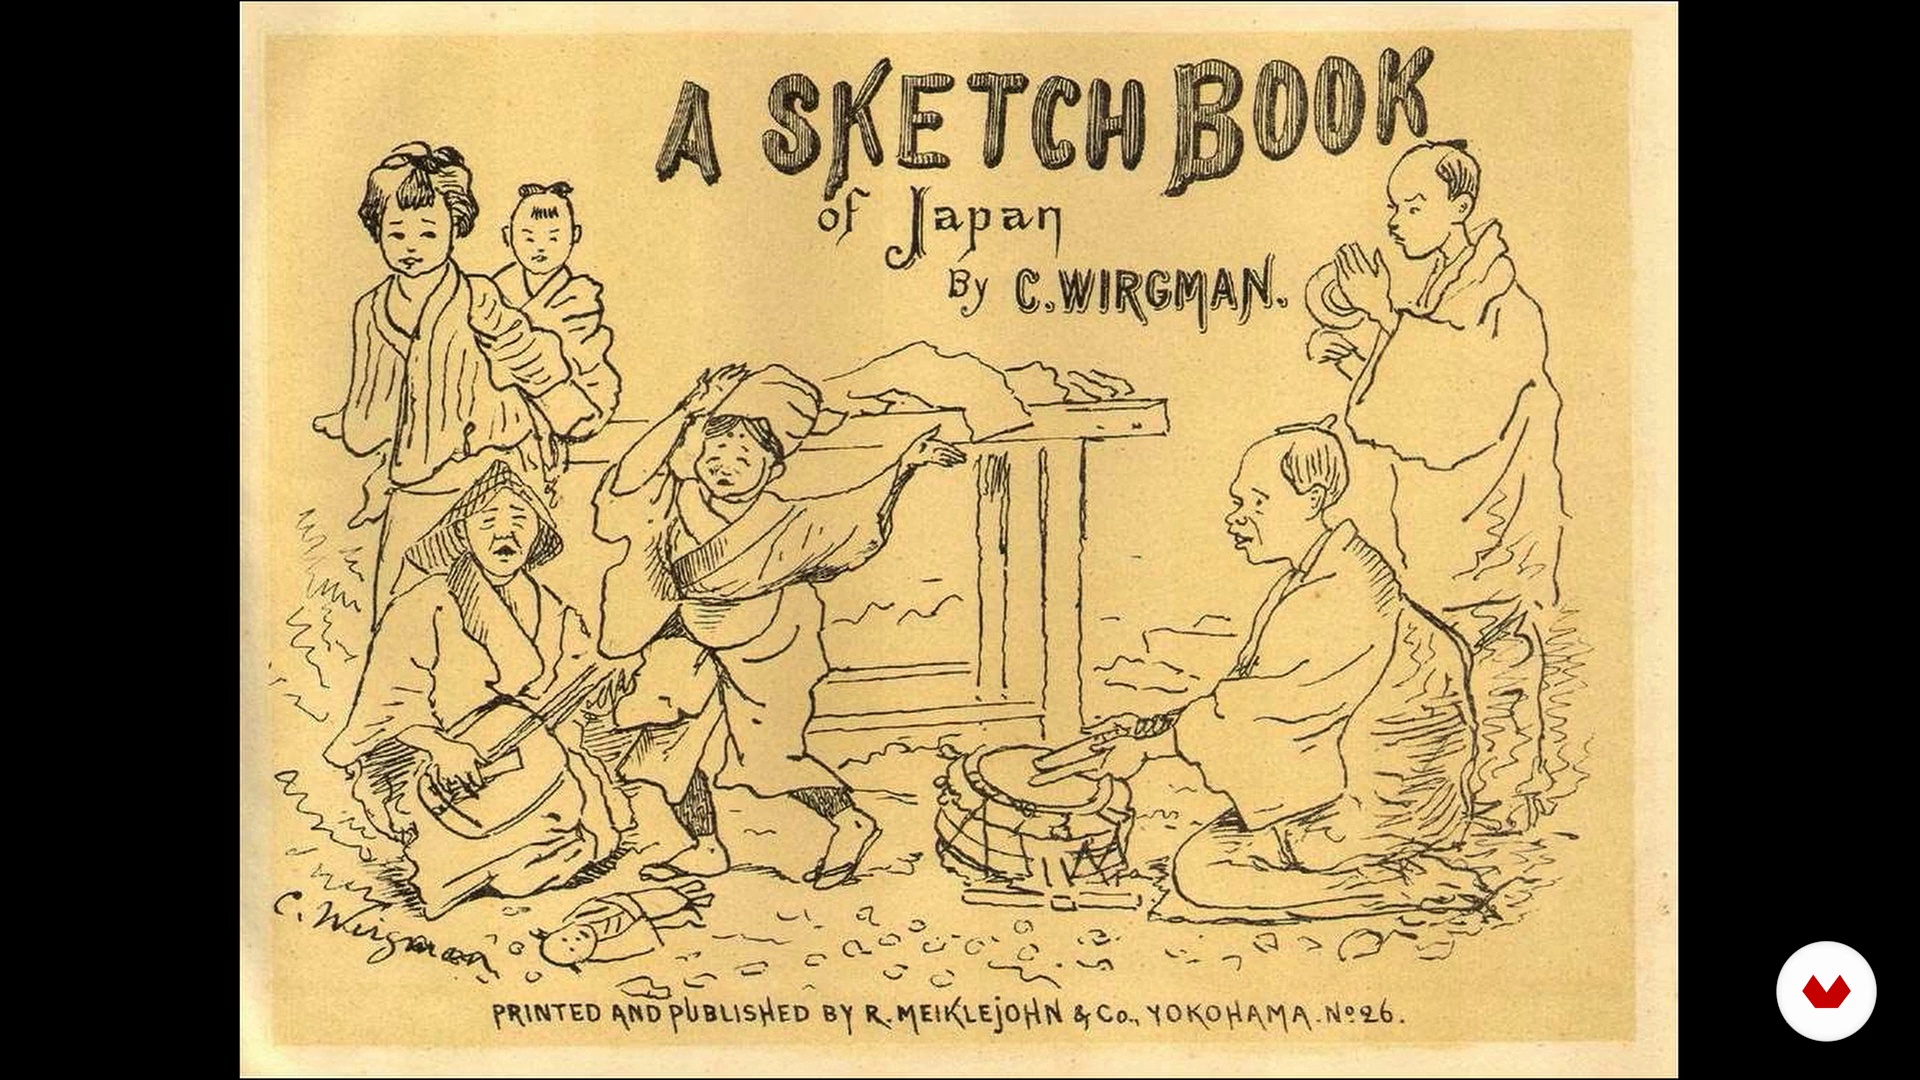
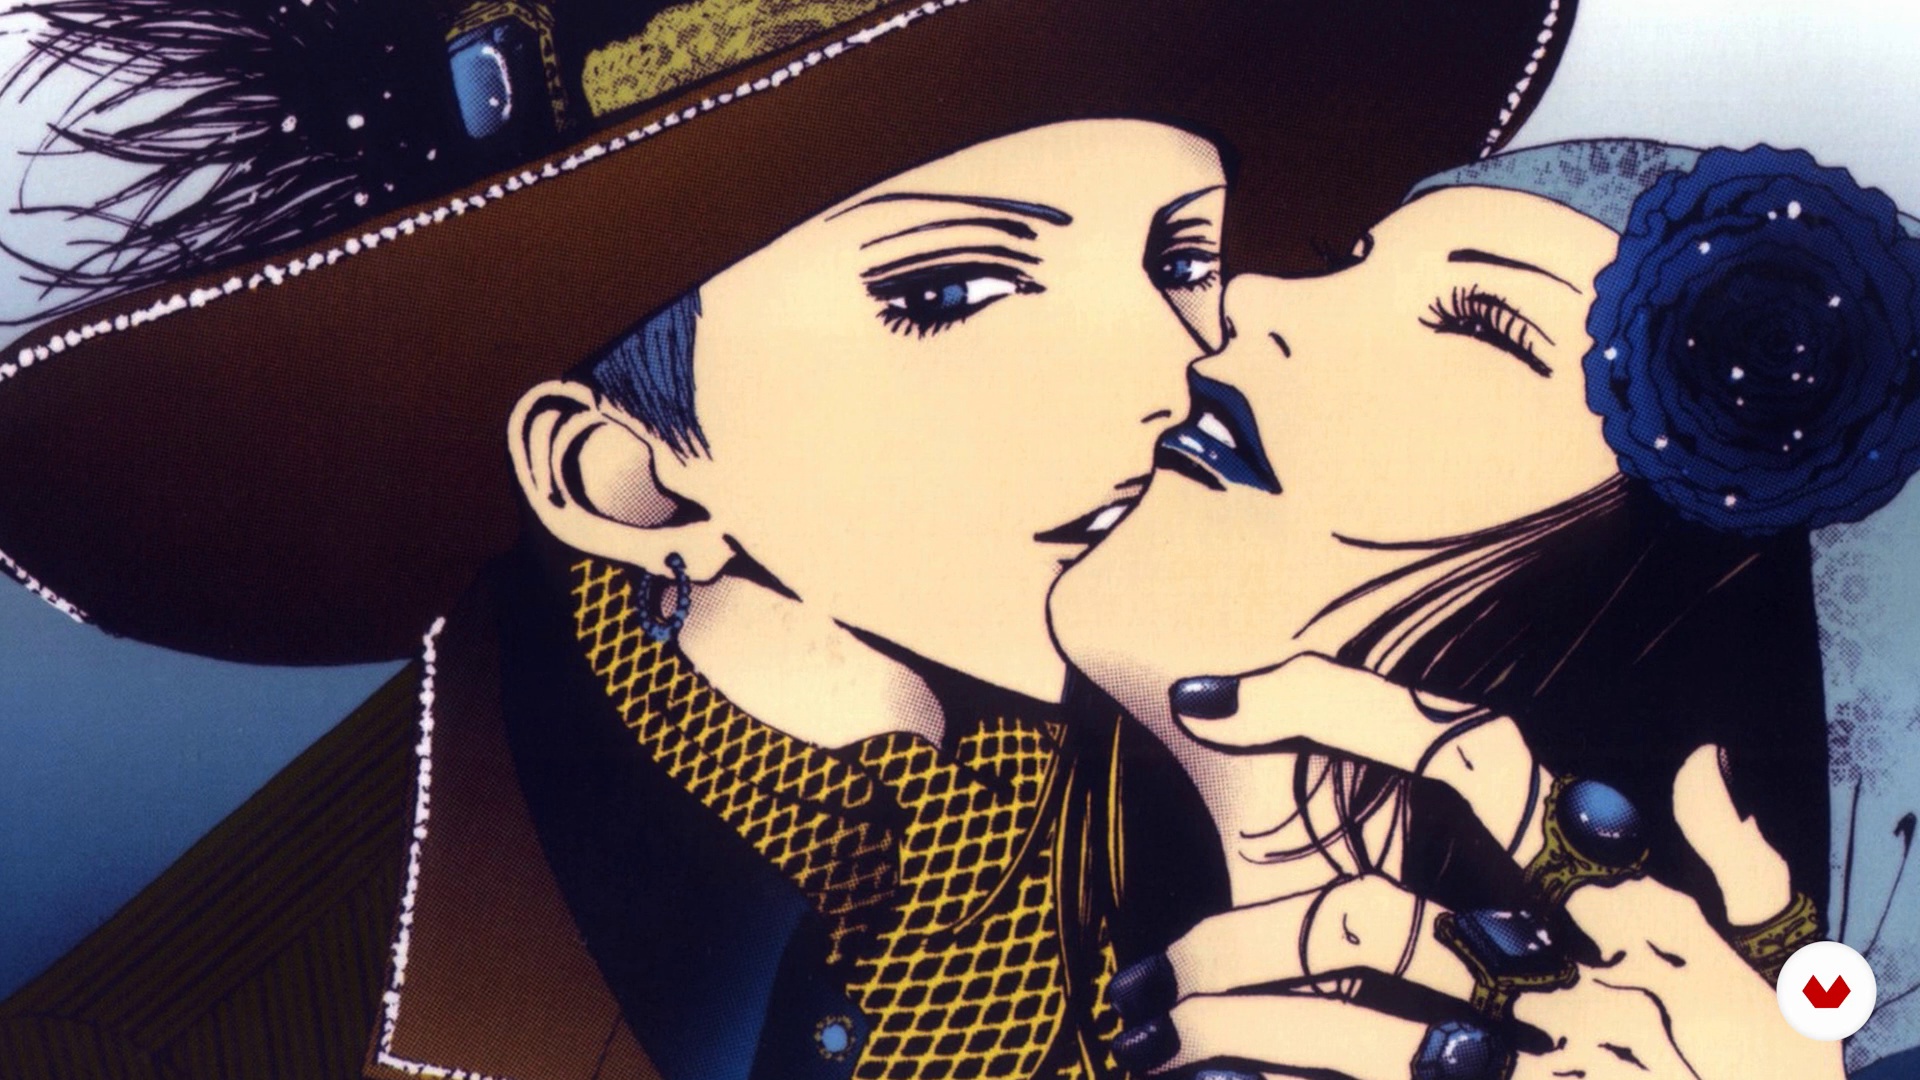
In this lesson, I'll briefly tell you about the origins of manga, who its notable artists were, and how it has shaped Japanese society. We'll explore why manga characters are popular and appreciated both in Japan and around the world.
9m
image
5
Introduction to manga II
Second part of the lesson.
9m
image
6
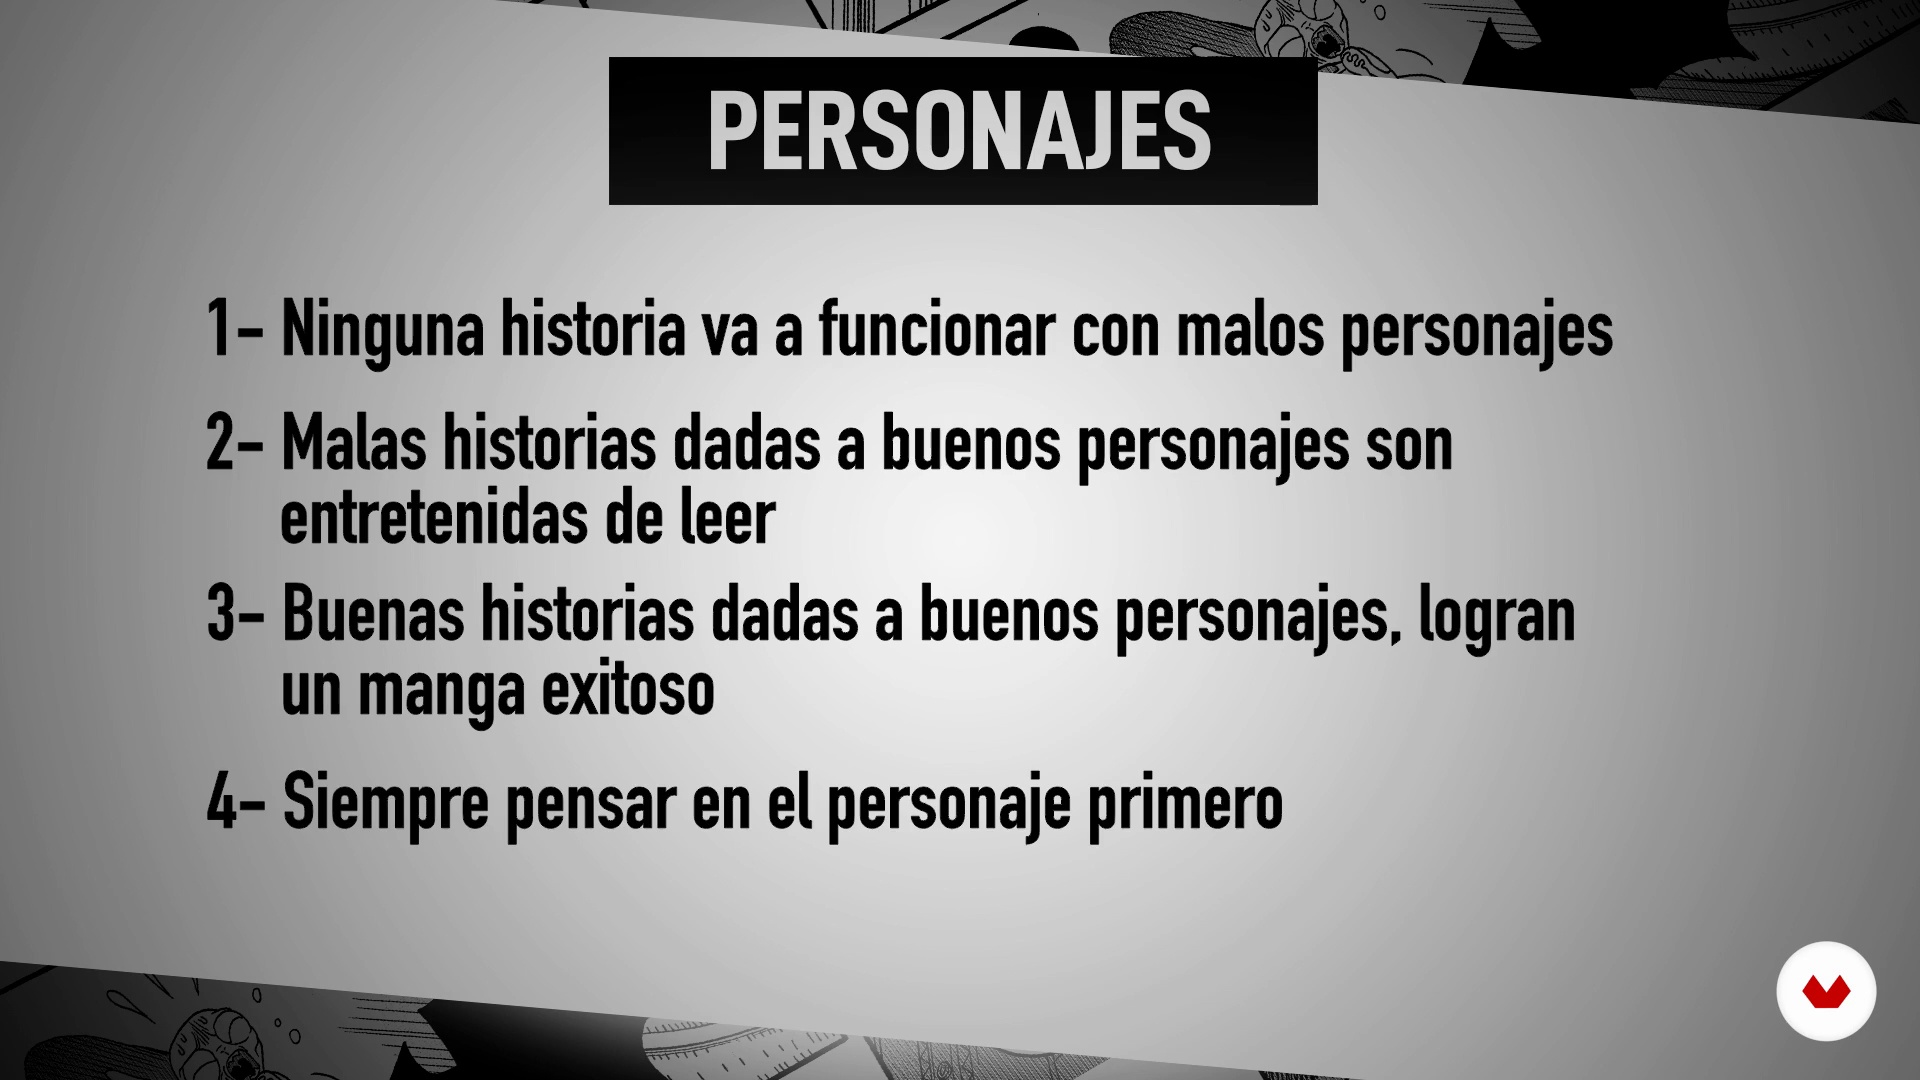
Importance of the characters and how to create them
To create good characters and a great manga, there are key points to keep in mind. I'll review my personal experience creating characters for comics and manga.
7m
image
7
Materials
In this video I will show you the essential materials you will need to work.
1m
image
8
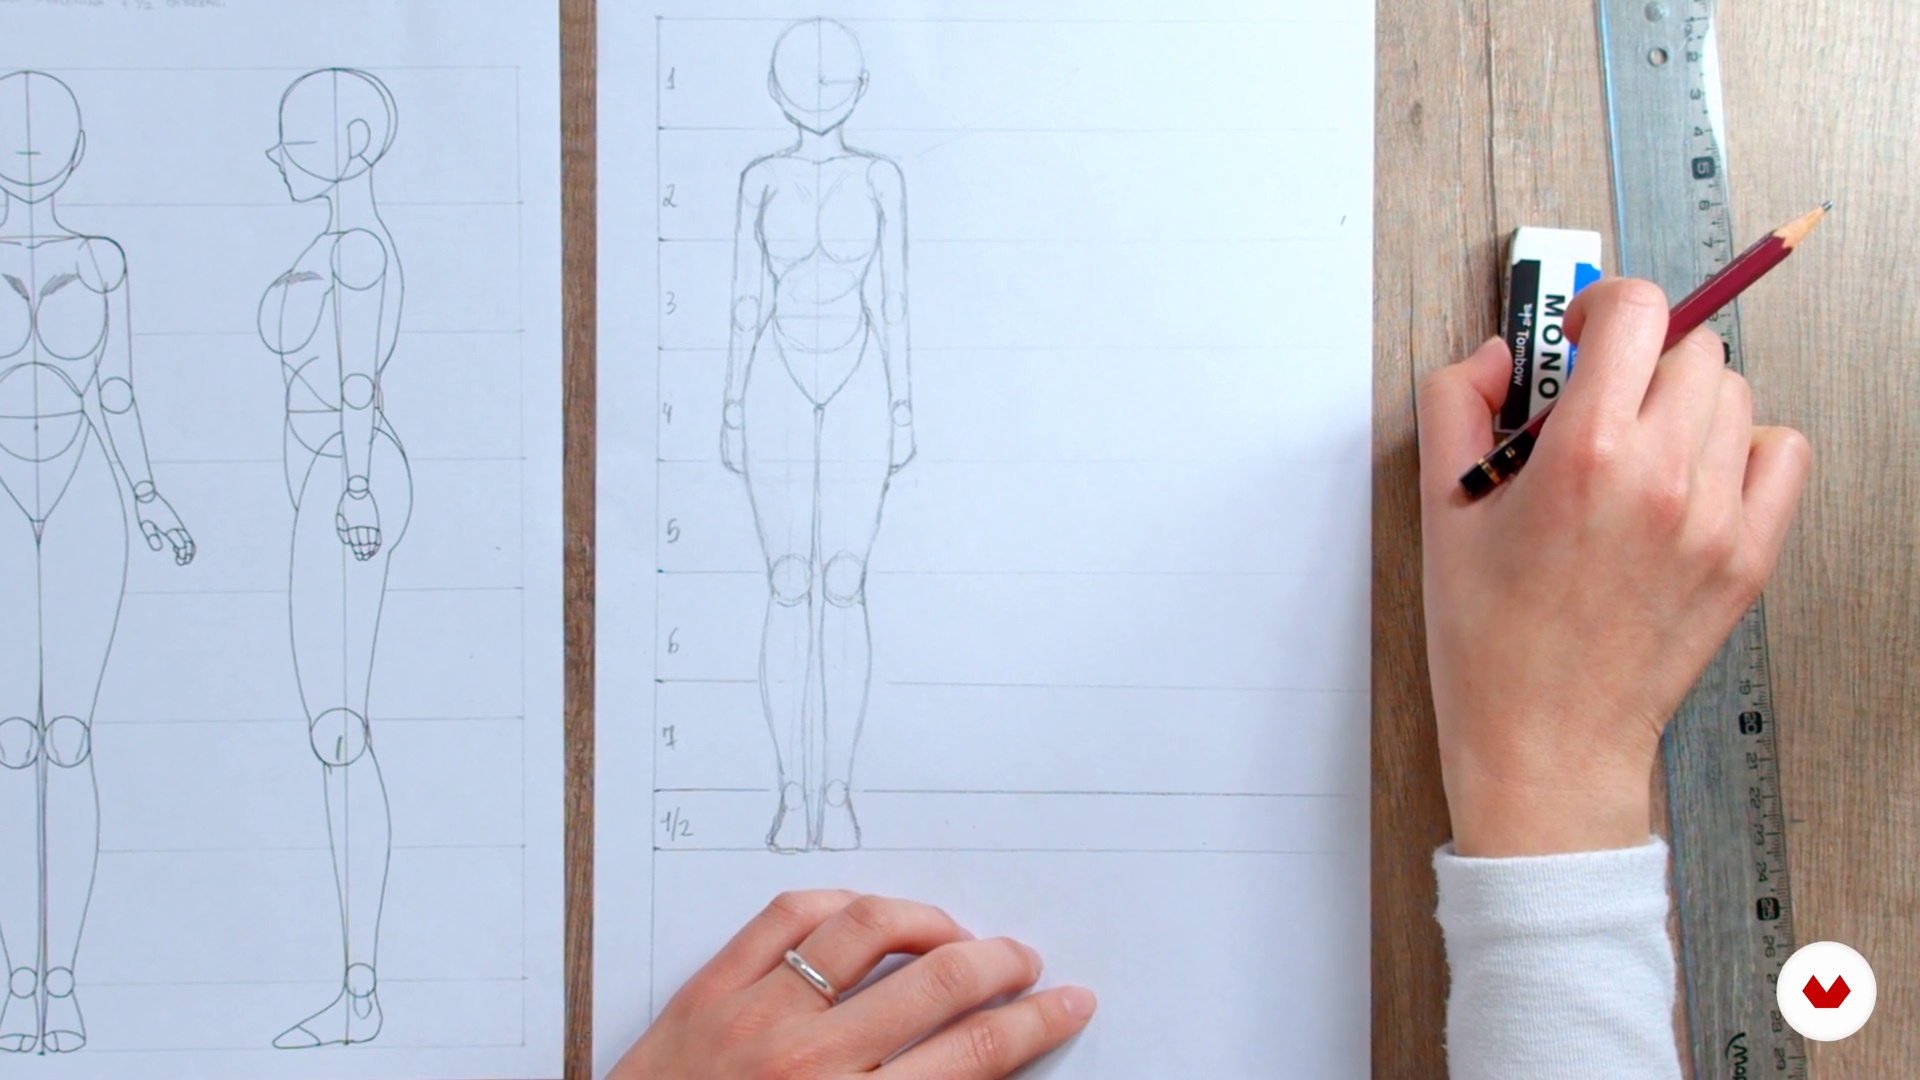
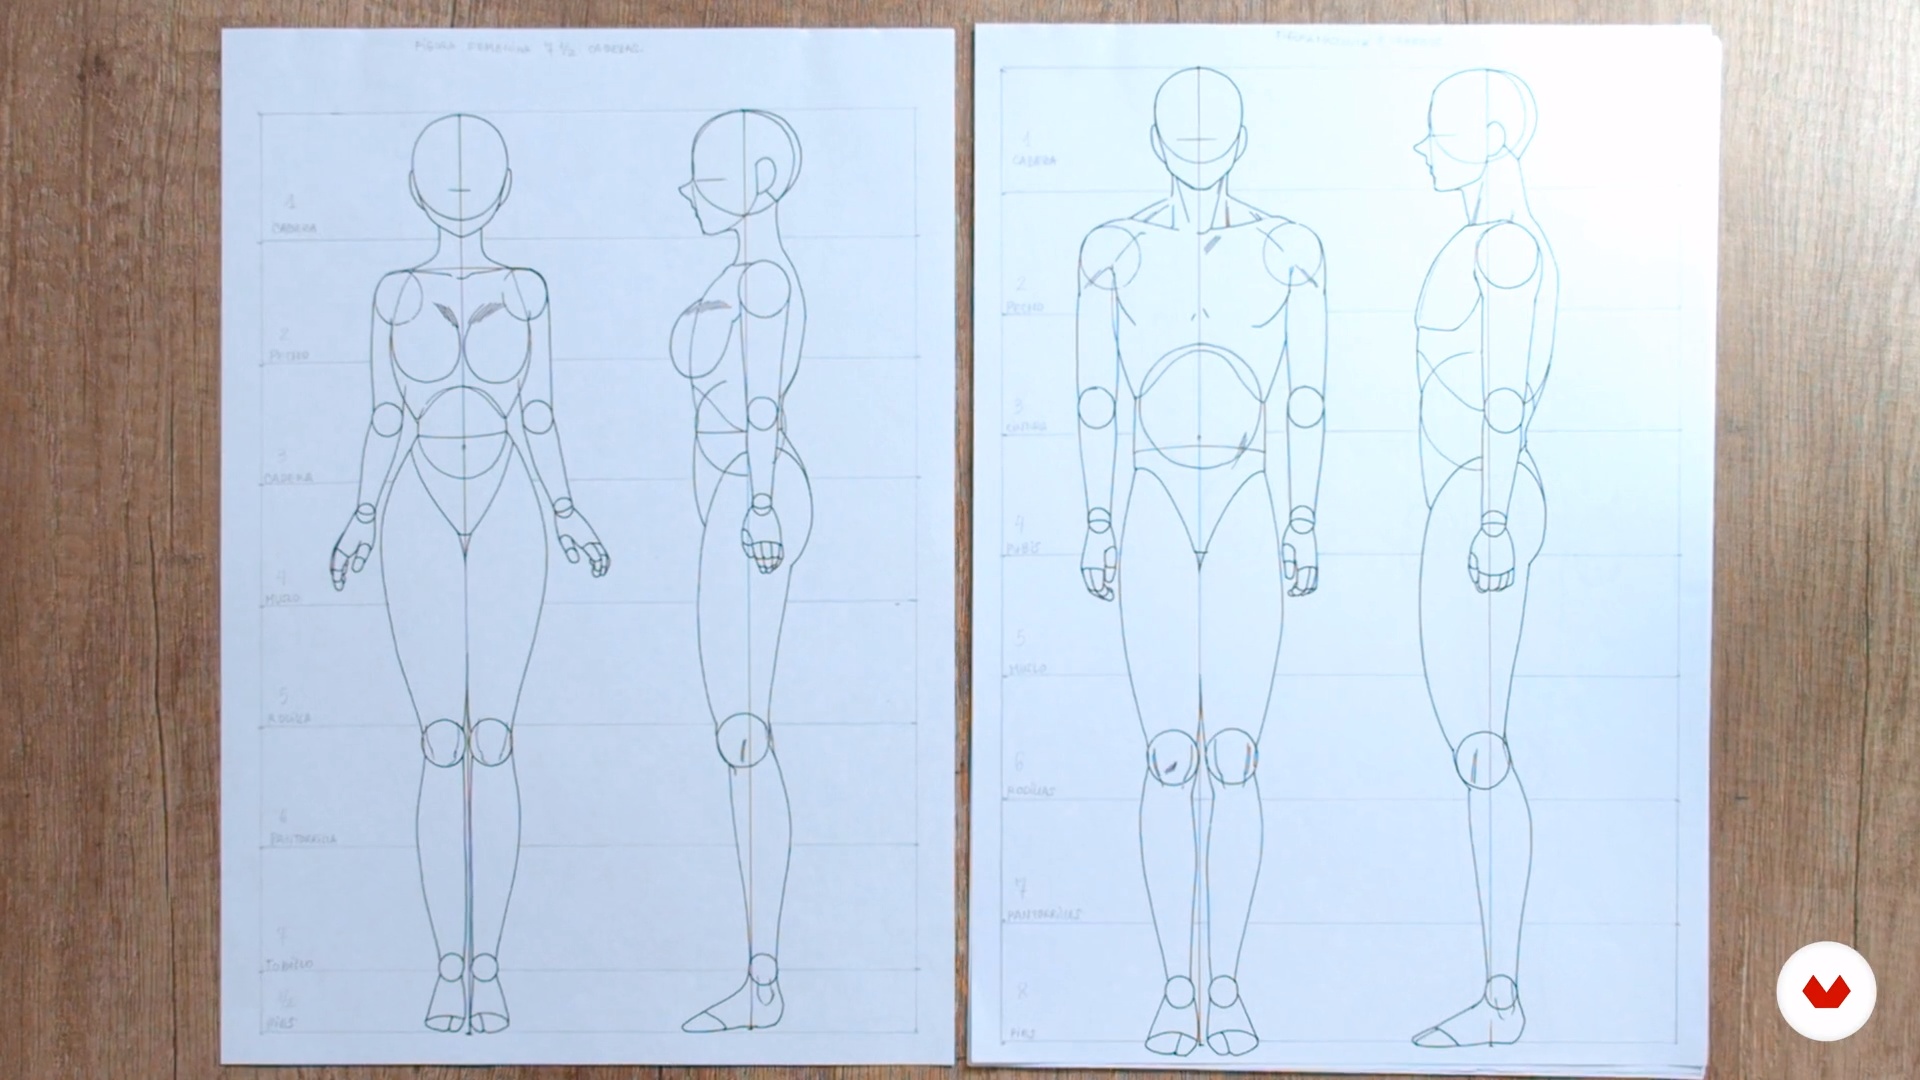
Bodies and archetypes I
In this lesson you will see how I draw prototypes of the female and male bodies from the front, profile, and back.
15m
image
9
Bodies and archetypes II
Second part of the lesson.
12m
image
10
Bodies and archetypes III
Third part of the lesson.
15m
image
11
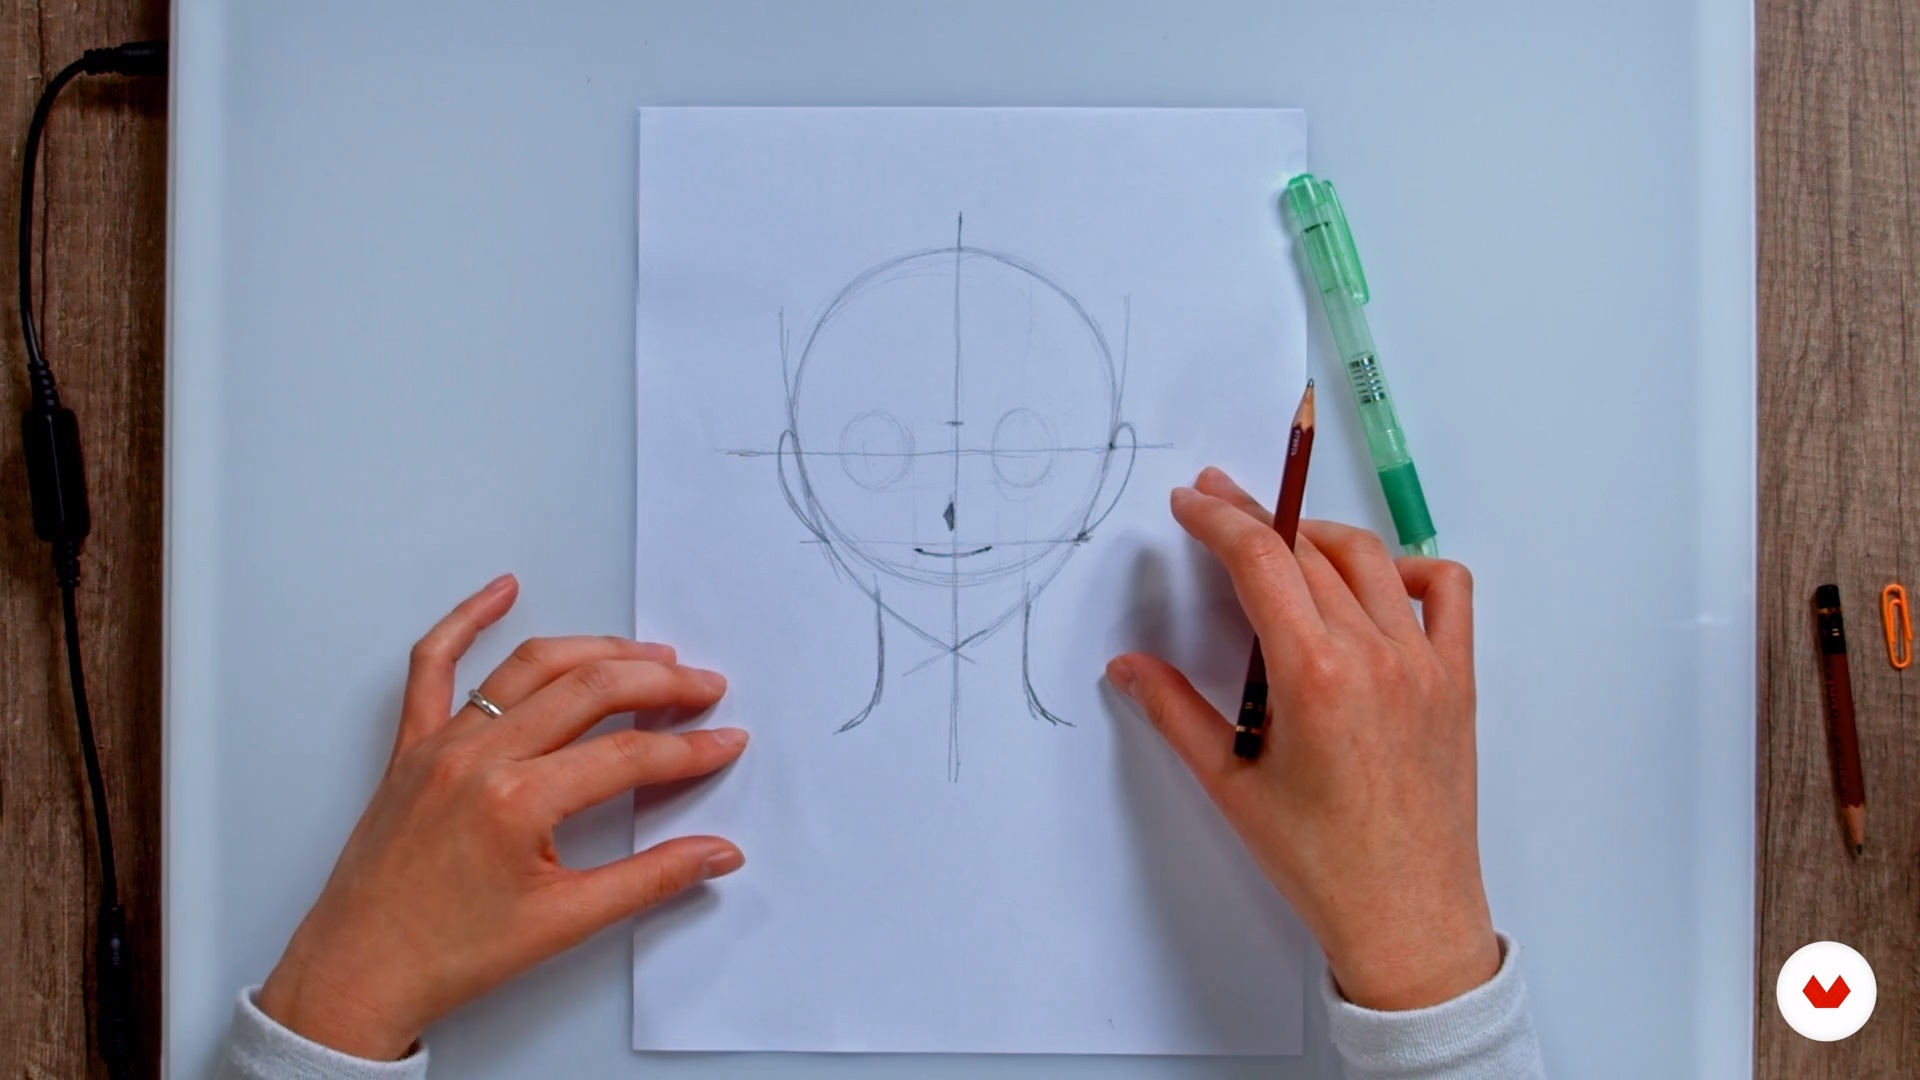
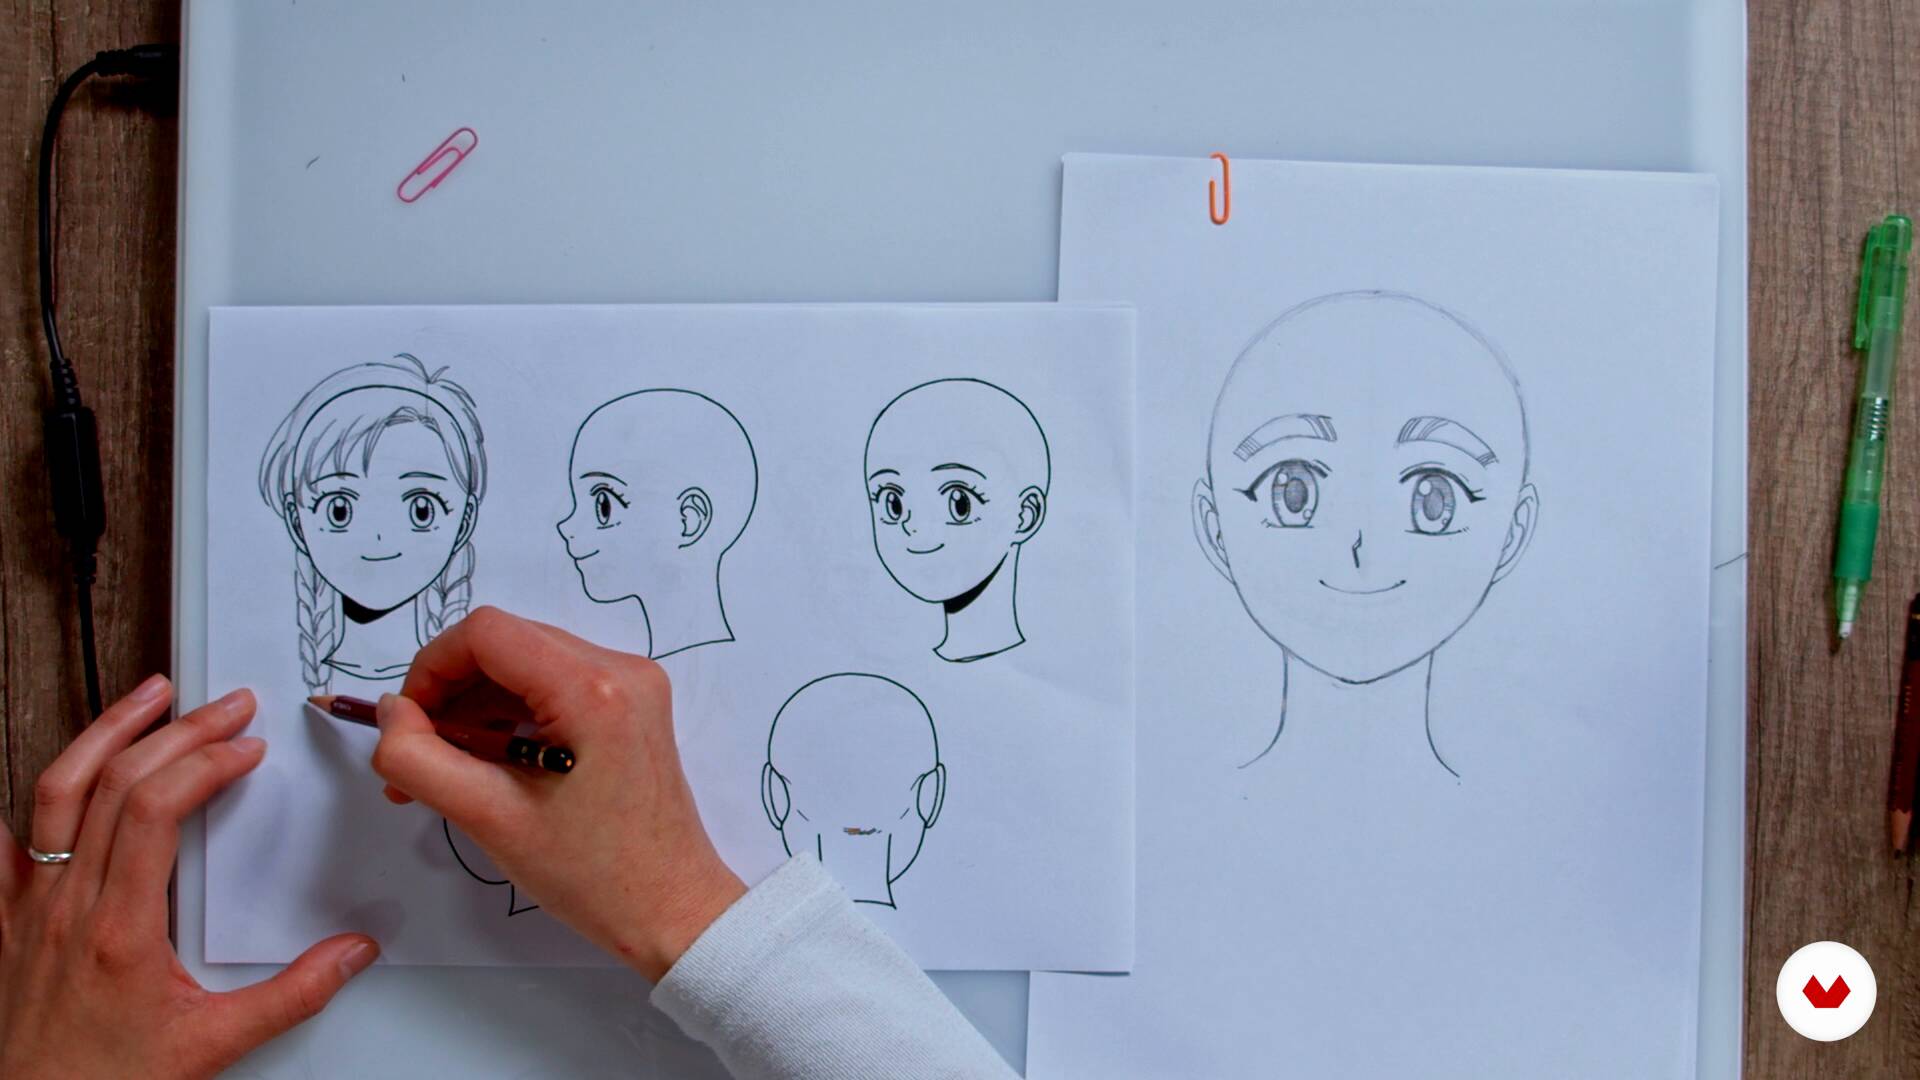
Faces and heads I
In this lesson, I'll show you how to draw prototypes of male and female heads from the front, three-quarters, profile, and back. We'll also cover how to draw the eyes, nose, and mouth. Finally, I'll explain how I draw hair and how it can accentuate the character's personality.
12m
image
12
Faces and heads II
Second part of the lesson.
12m
image
13
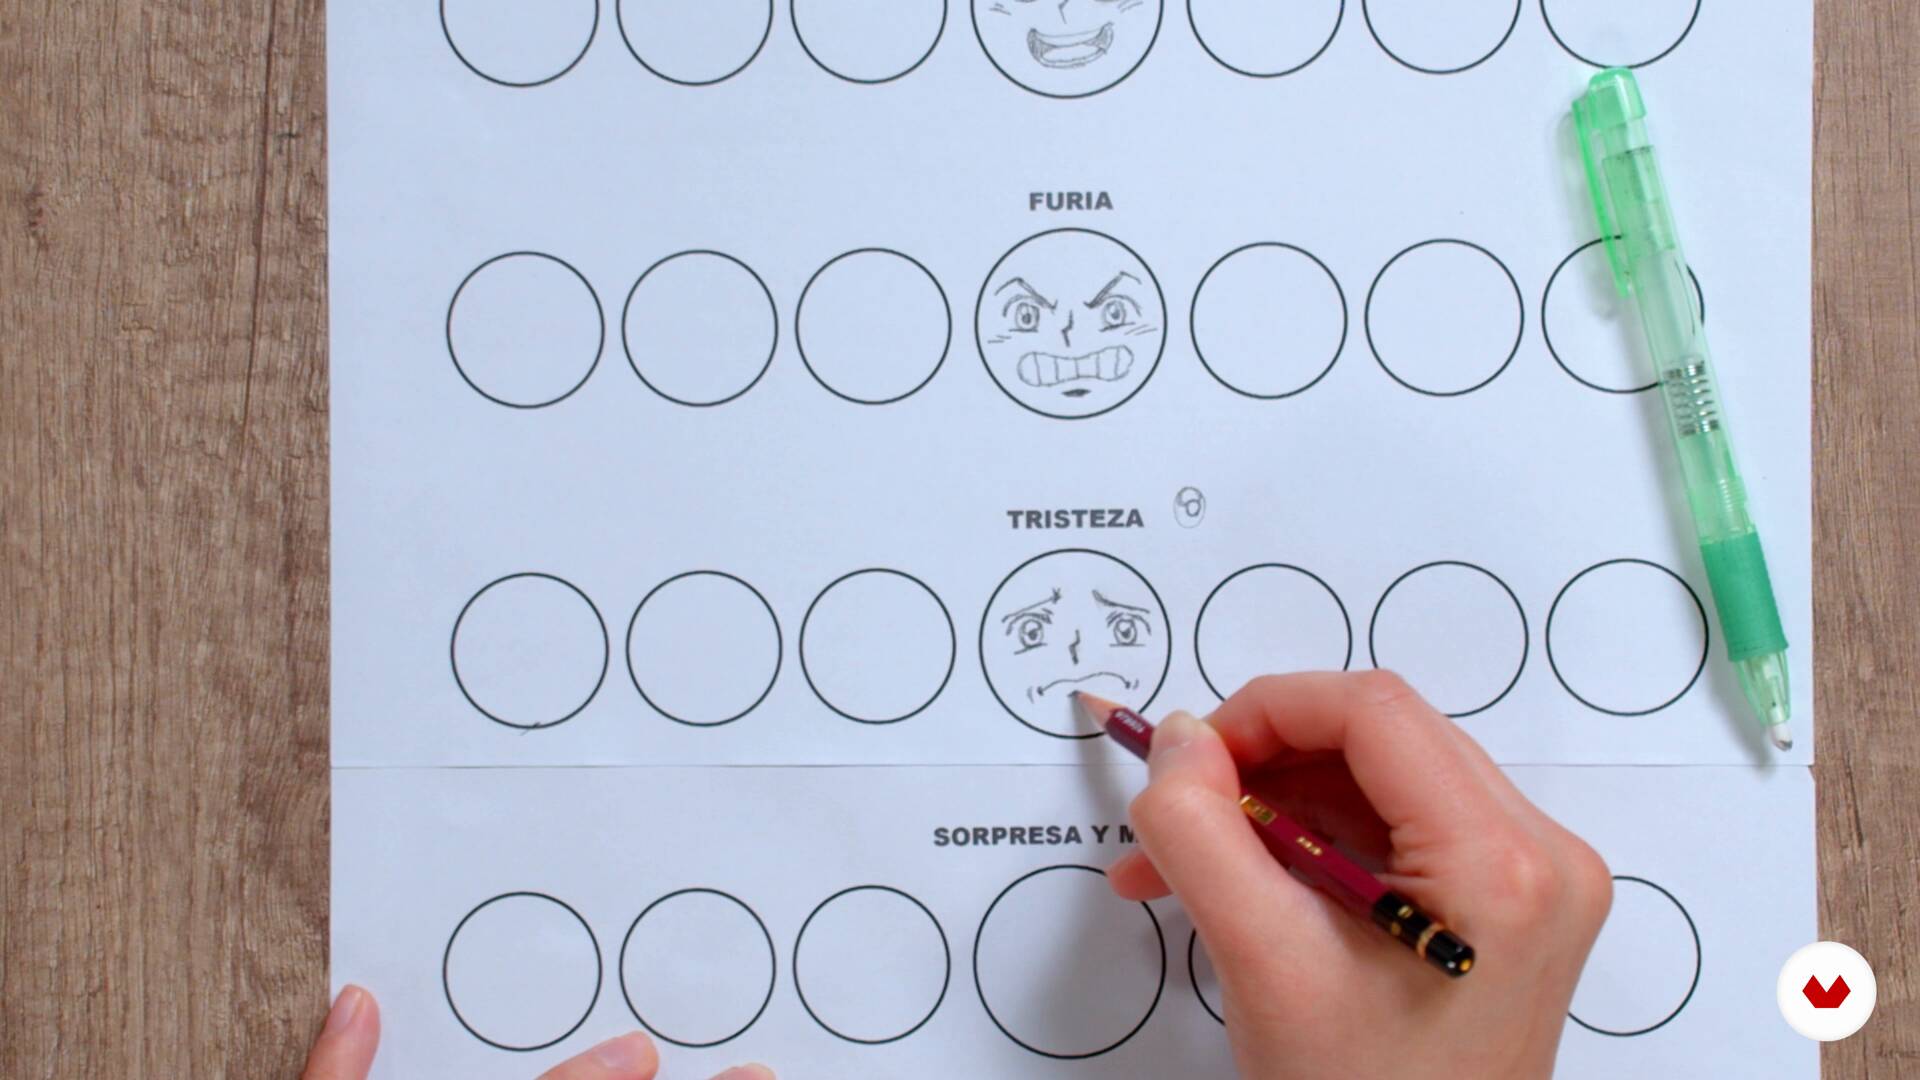
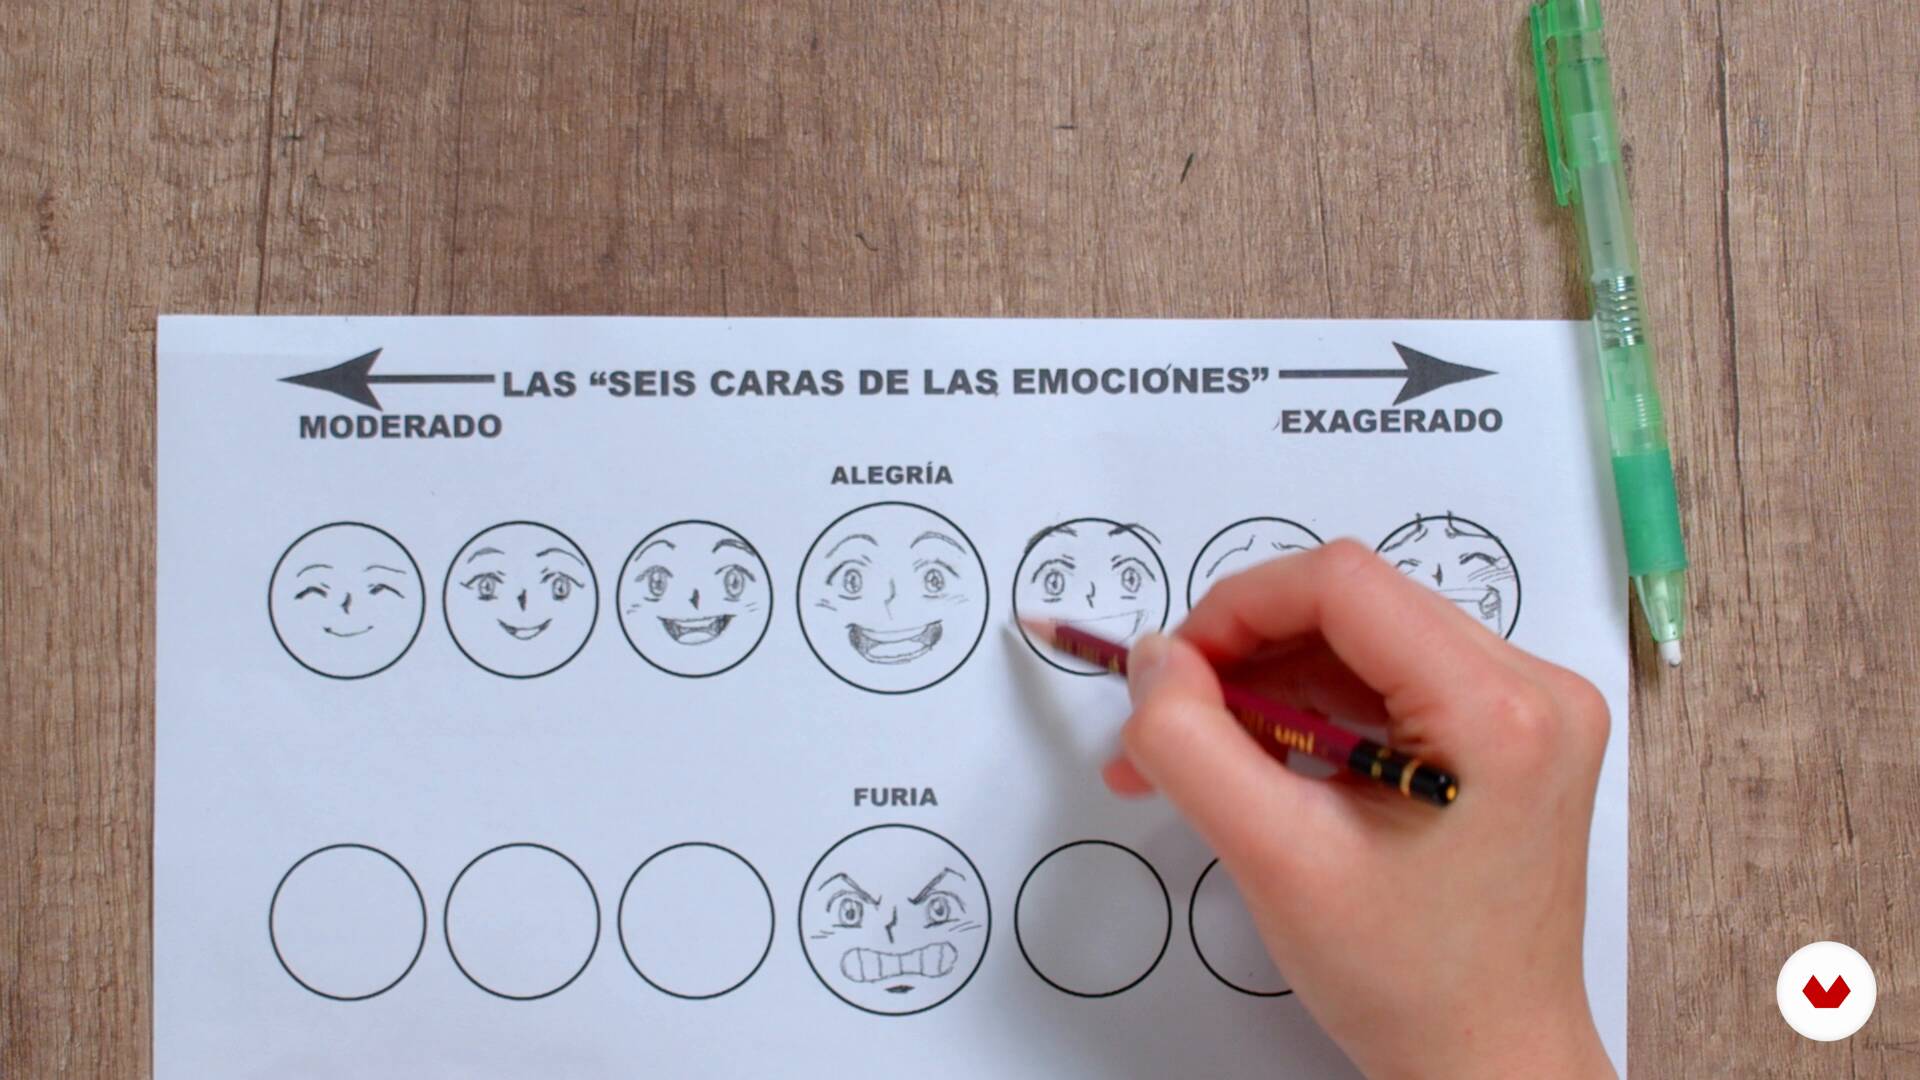
Face Expressions I
In this lesson, I'll show you how to draw the six basic emotions and their intensities. These are essential skills for drawing manga: joy, anger, sadness, surprise/fear, hatred, and anxiety.
9m
image
14
Face Expressions II
Second part of the lesson.
9m
image
15
Movement
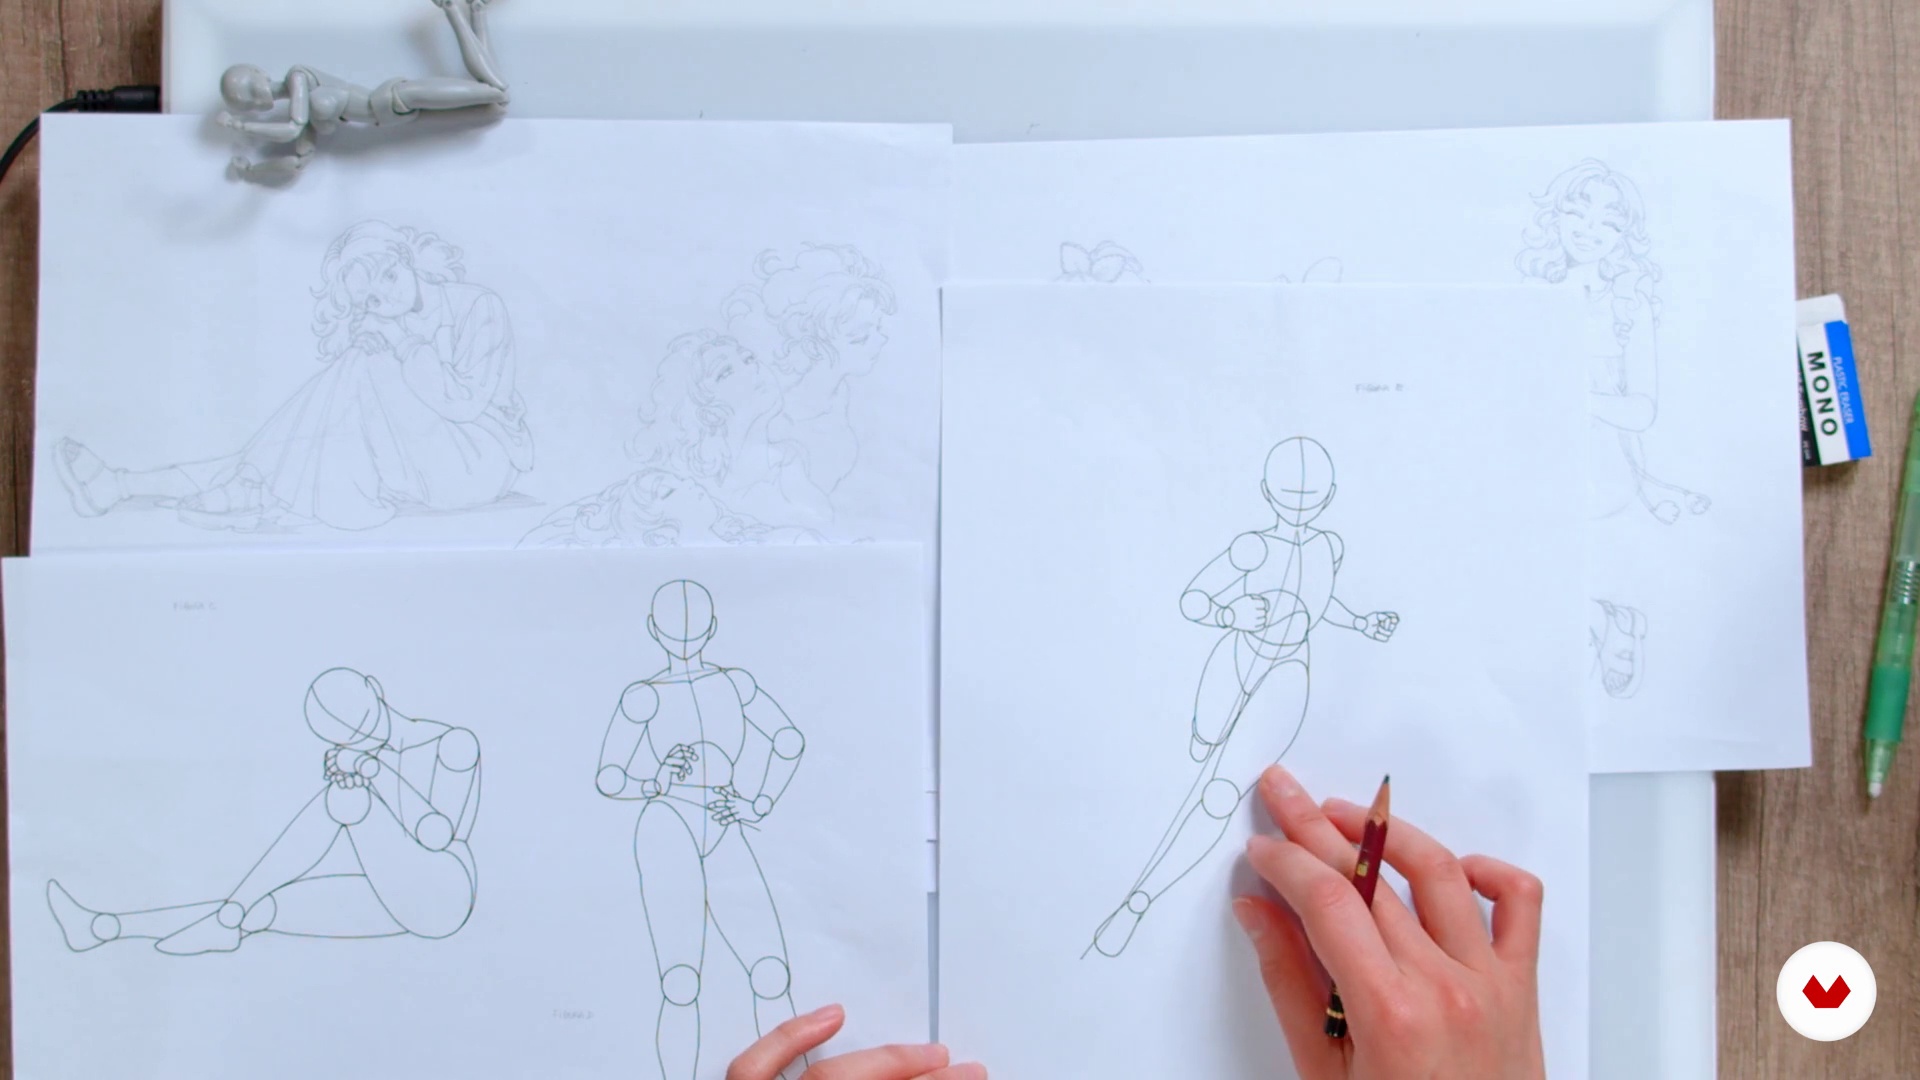
In this lesson, I'll show you how I draw characters in action, such as running or performing a special power, and we'll also see them in everyday poses, such as reading a book, eating, etc.
10m
image
16
Passed to ink
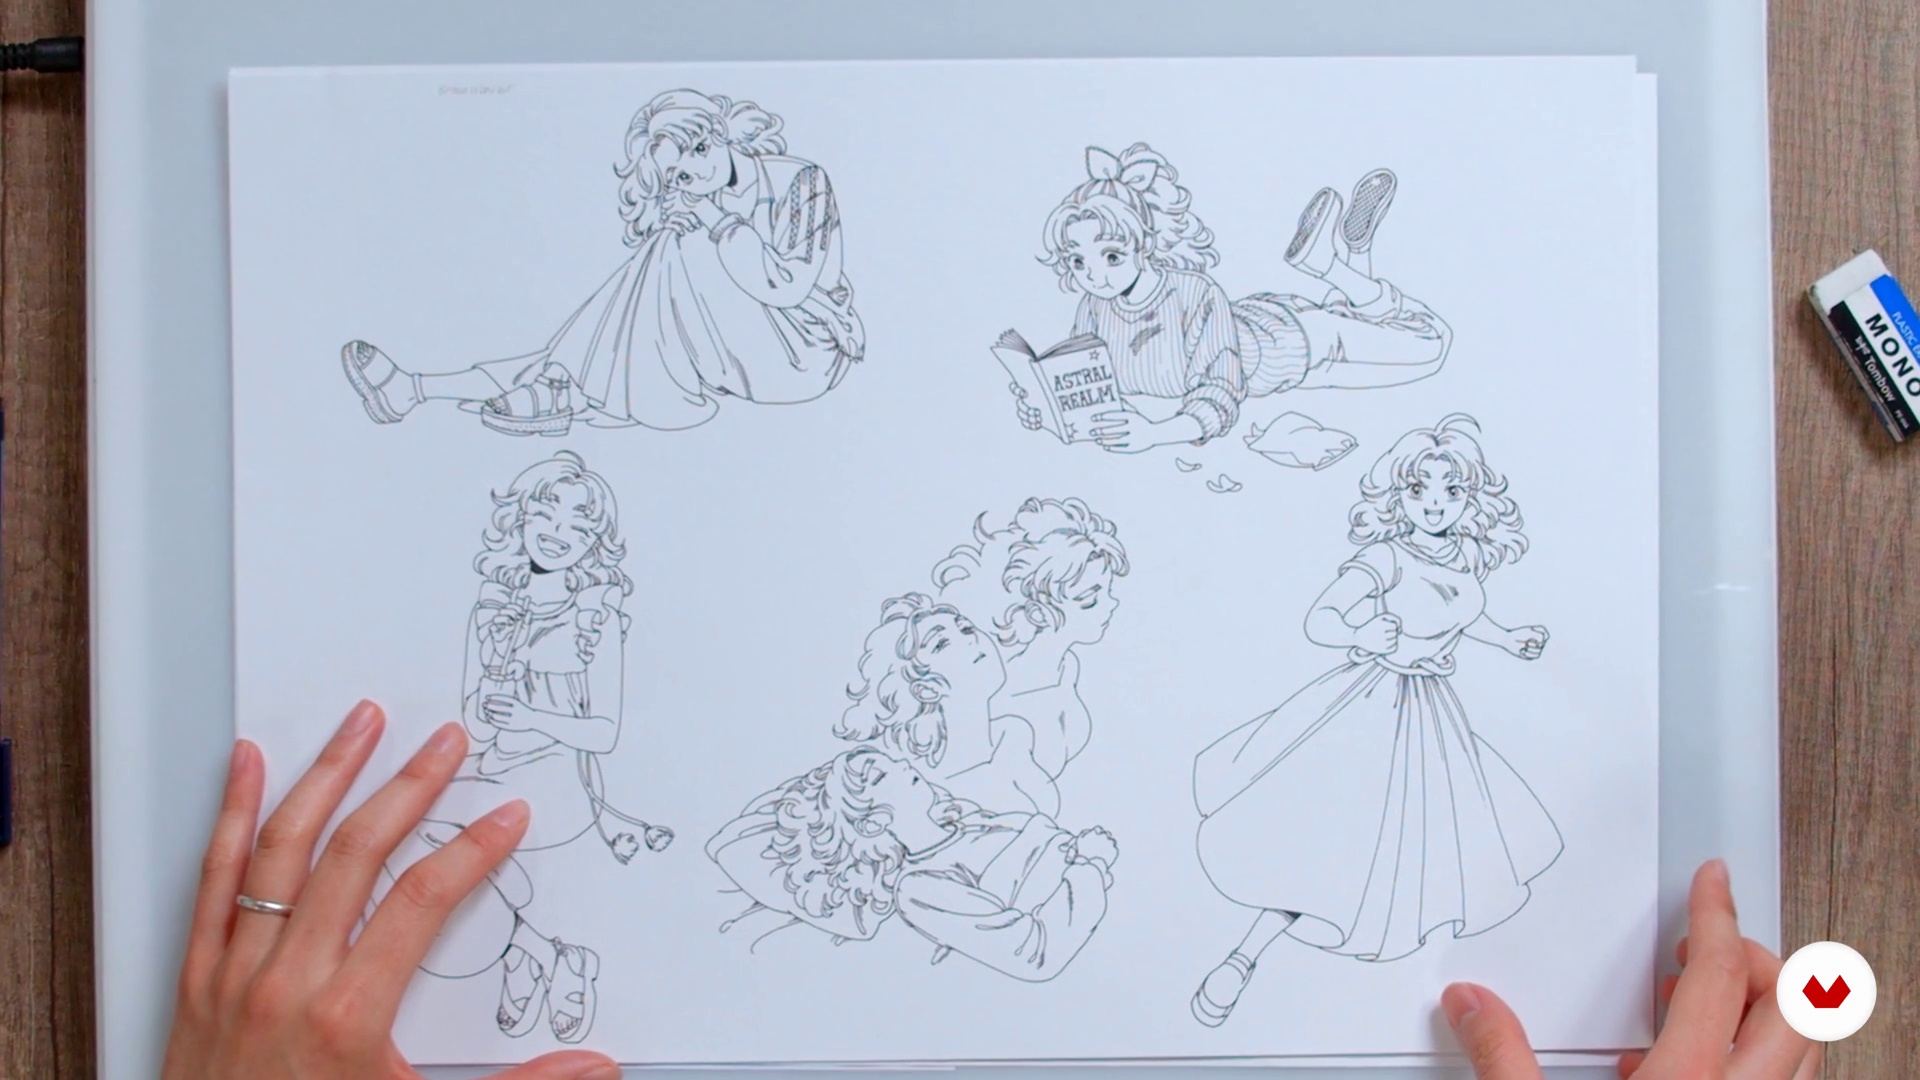
In this lesson, I'll show you how I ink character drawings using a simple microfiber cloth and a black marker. I'll also show you other alternative tools I use when working on manga, such as pens, brushes, and more.
7m
image
17
Data sheet
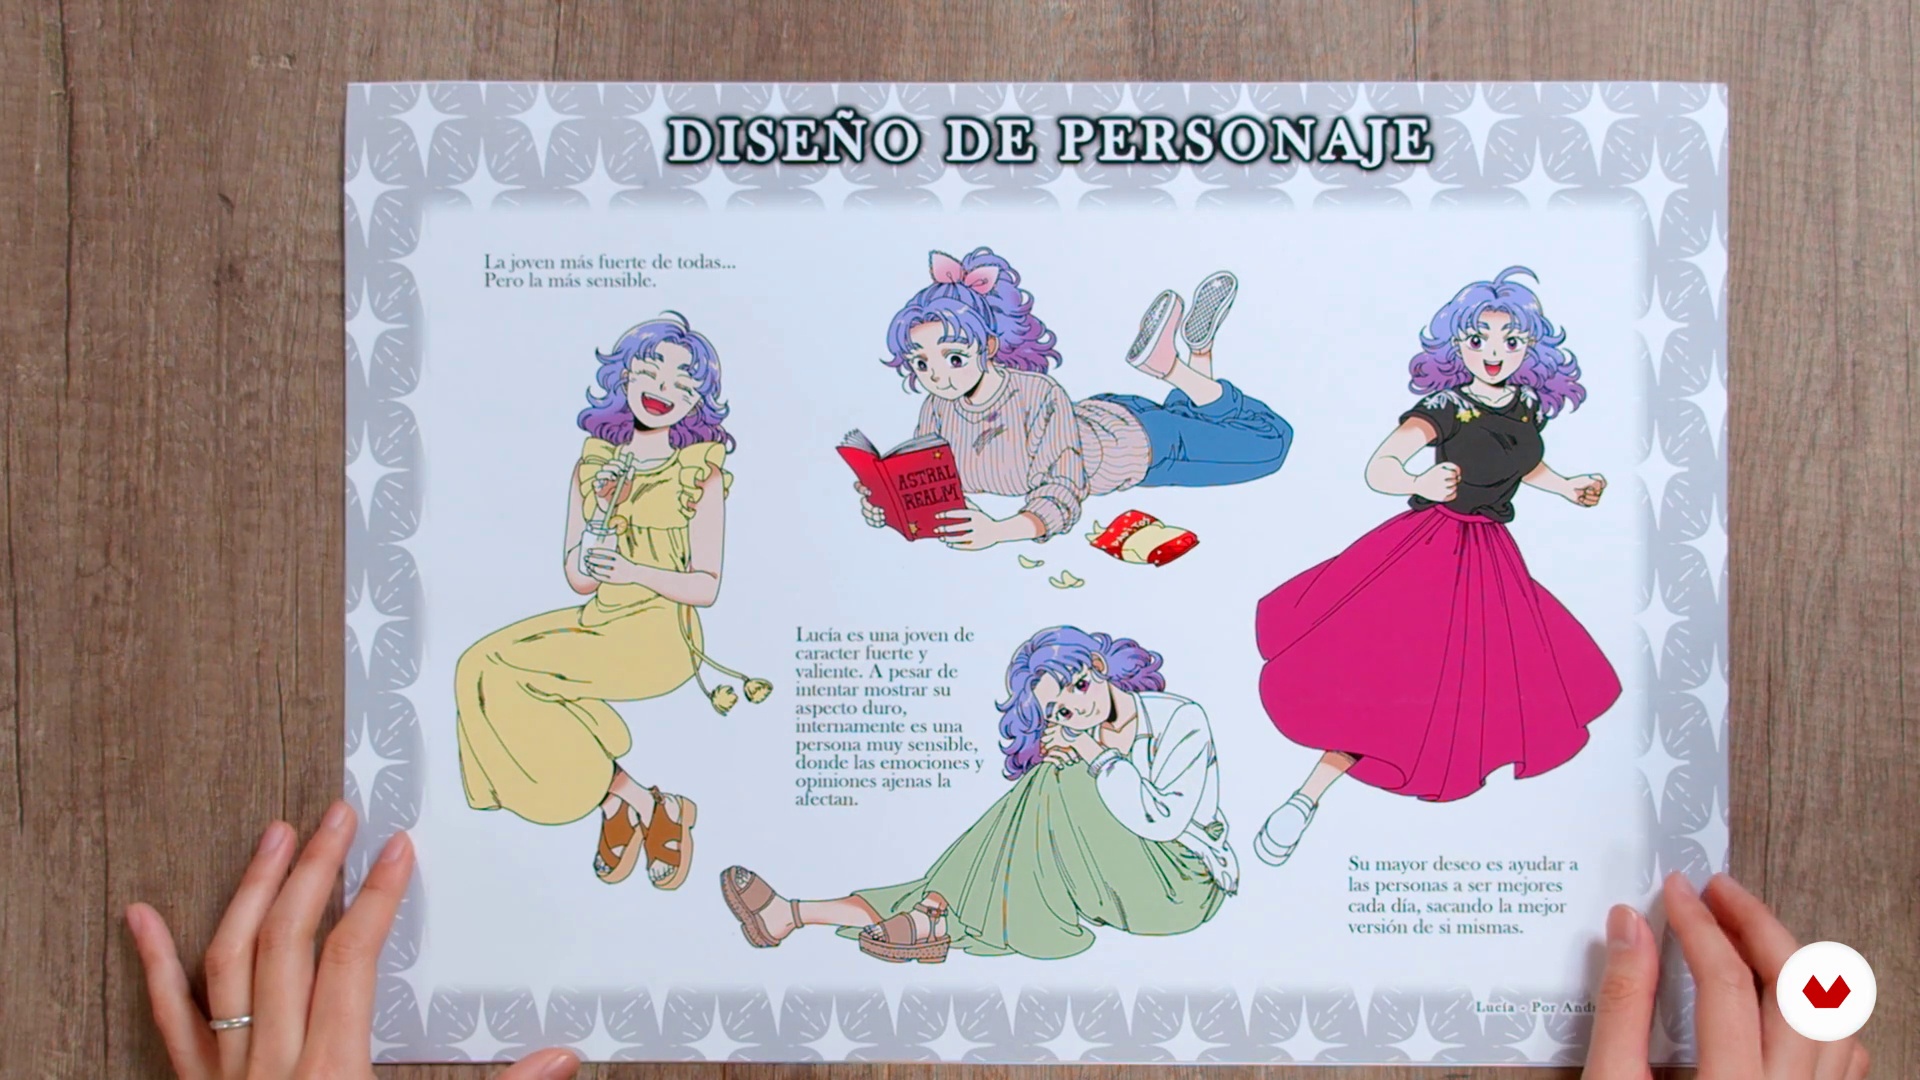
In this lesson, I'll explain how to finalize and present your character sheet. We'll look at some examples using different techniques and concepts.
5m
image
18
Last conclusions
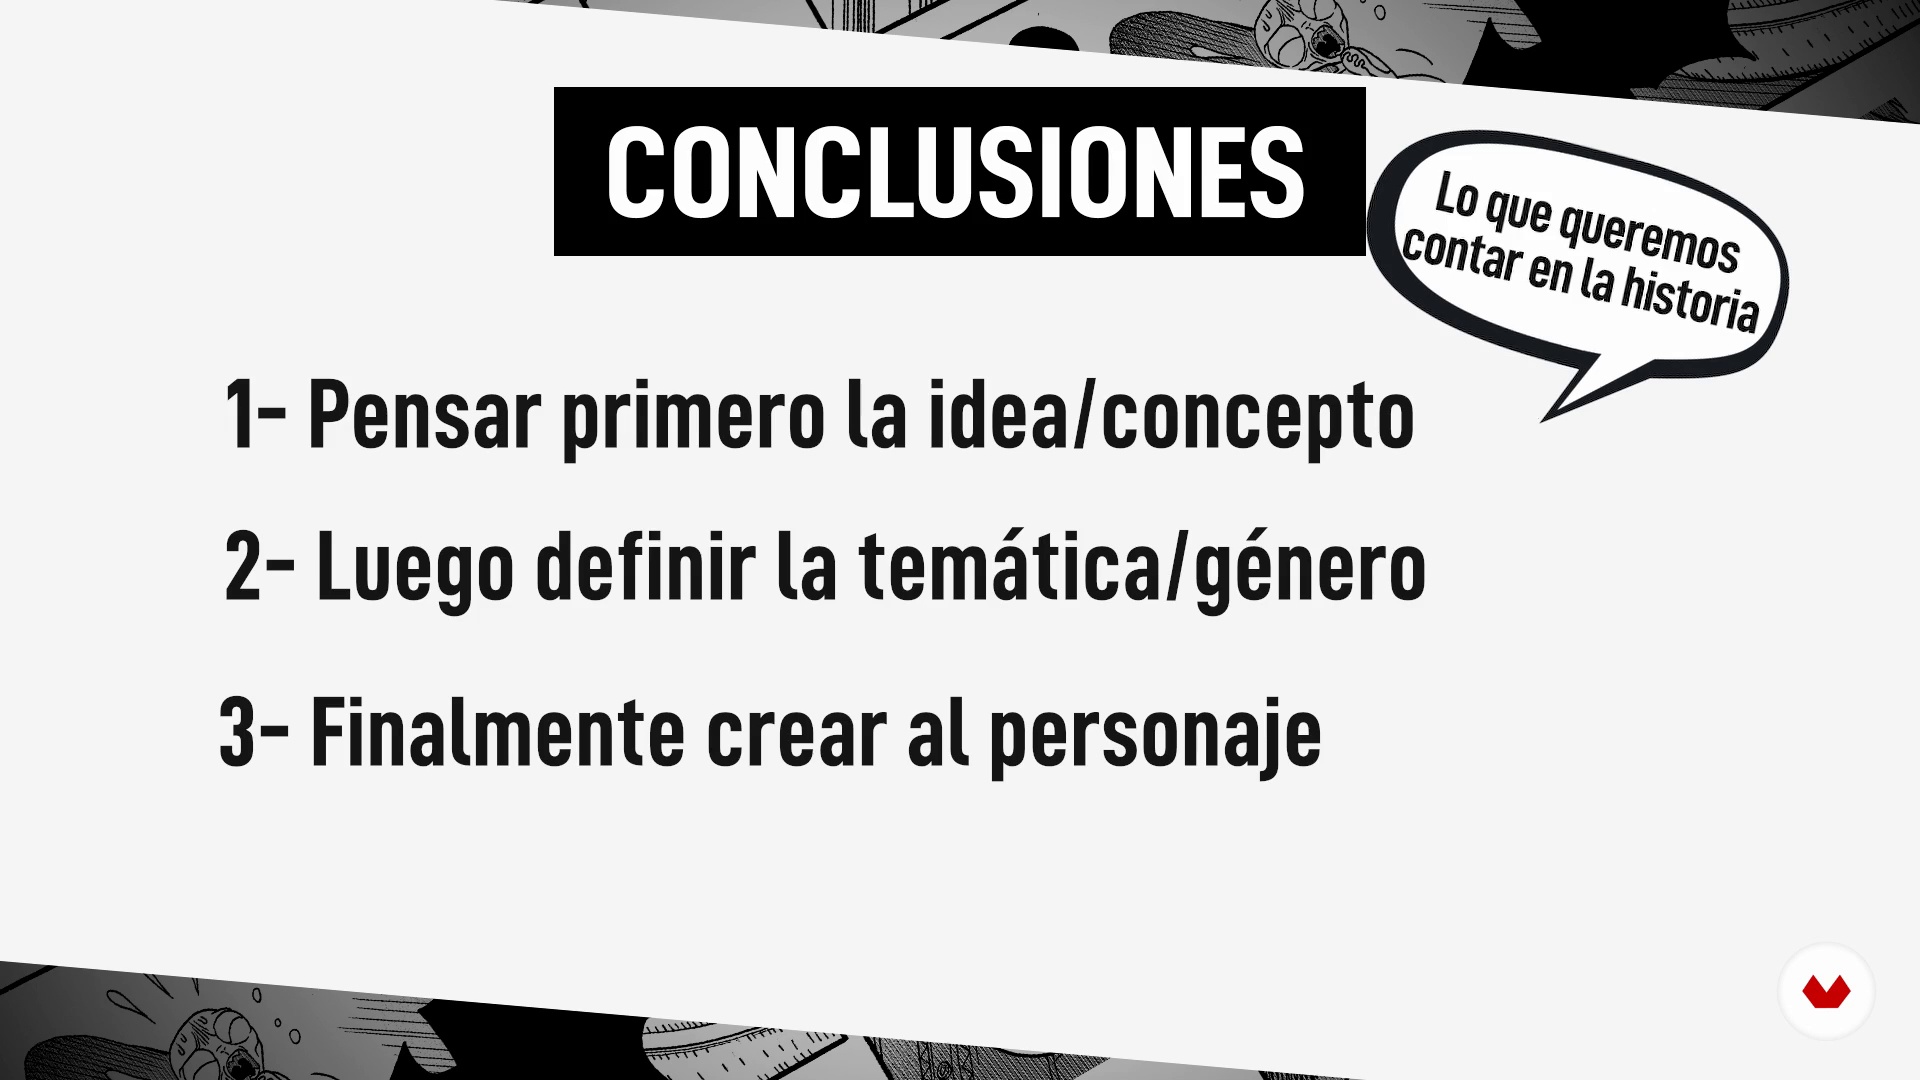
In this lesson, we'll review the most important concepts we covered in the course, and I'll give you some tips that have been very helpful to me as an artist.
2m
  • 107 students
  • 74 lessons (12h 37m)
  • 122 additional resources (68 files)
  • Online and at your own pace
  • Audio: Spanish, English
  • Spanish · English · Portuguese · German · French · Italian · Polish · Dutch
  • Level: Beginner
  • Unlimited access forever

What is this course's project?

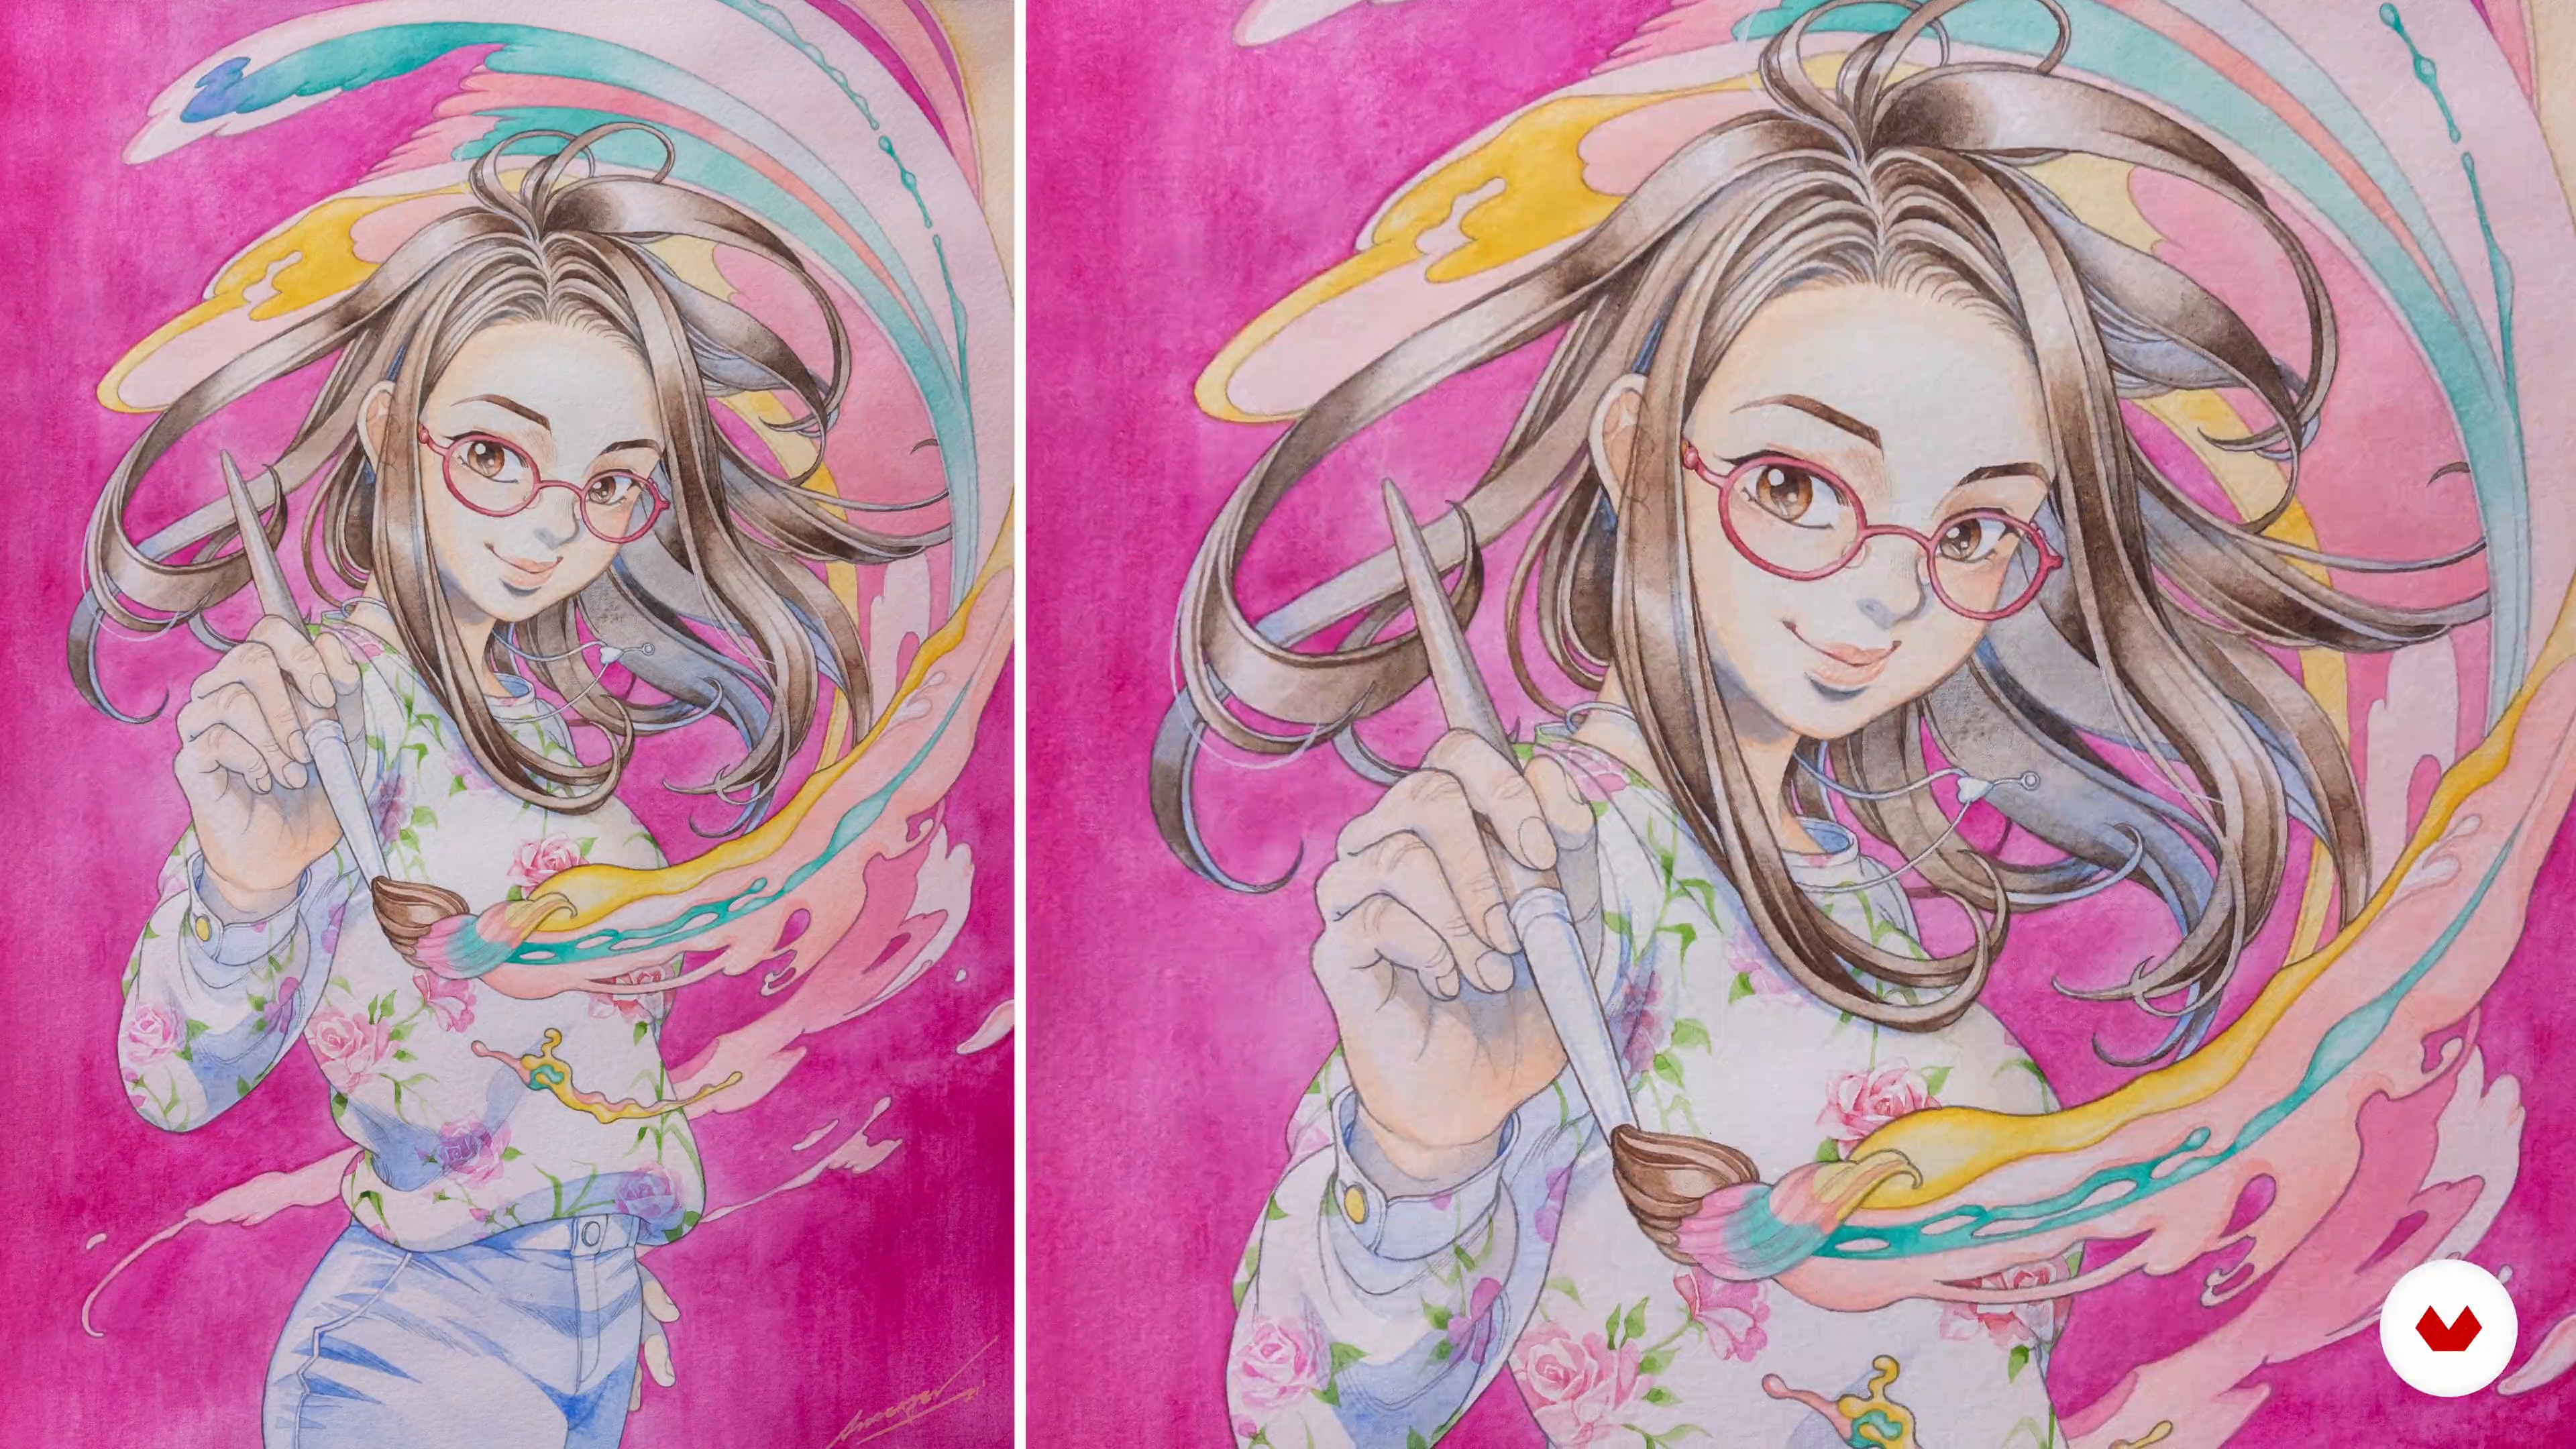
Design a complete manga character with model sheets, multiple views, and diverse expressions, laying the groundwork for future visual narratives. Learn to conceptualize and create original characters with distinctive personalities, mastering key elements such as anatomy and proportions.

Who is this specialization for?

Ideal for manga-loving artists looking to hone their skills, acquire advanced techniques, and develop complete projects. Graphic designers, illustrators, and creatives interested in exploring the art of manga will find inspiration and tools to create unique works.

Requirements and materials

No extensive prior knowledge is required; just an interest in manga and a willingness to learn. It's recommended to have access to basic materials such as pencils, paper, and watercolors, as well as a device with digital illustration software for advanced practice.

Select to get to know your teachers in this specialization course
Read more ↓

What to expect from this specialization course

  • Learn at your own pace

    Enjoy learning from home without a set schedule and with an easy-to-follow method. You set your own pace.

  • Learn from the best professionals

    Learn valuable methods and techniques explained by top experts in the creative sector.

  • Meet expert teachers

    Each expert teaches what they do best, with clear guidelines, true passion, and professional insight in every lesson.

  • Certificates
    Plus

    If you're a Plus member, get a custom certificate for every specialization course. Share it on your portfolio, social media, or wherever you like.

  • Get front-row seats

    Videos of the highest quality, so you don't miss a single detail. With unlimited access, you can watch them as many times as you need to perfect your technique.

  • Share knowledge and ideas

    Ask questions, request feedback, or offer solutions. Share your learning experience with other students in the community who are as passionate about creativity as you are.

  • Connect with a global creative community

    The community is home to millions of people from around the world who are curious and passionate about exploring and expressing their creativity.

  • Watch professionally produced courses

    Domestika curates its teacher roster and produces every course in-house to ensure a high-quality online learning experience.


FAQs

Domestika's specialization courses are online classes that provide you with the tools and skills you need to complete a specific project. Every step of the project combines video lessons with complementary instructional material, so you can learn by doing. Domestika's specializations also allow you to share your own projects with other students, creating a dynamic course community.

All specialization courses are 100% online, so once they're published, specialization courses start and finish whenever you want. You set the pace of the class. You can go back to review what interests you most and skip what you already know, ask questions, answer questions, share your projects, and more.

The specialization courses are divided into different modules. Each one includes lessons, informational text, tasks, and practice exercises to help you carry out your project step by step, with additional complementary resources and downloads. You'll also have access to an exclusive forum where you can interact with other students, as well as share your work and your final project, creating a community around the specialization course.

You can redeem the specialization course you received by accessing the redeeming page and entering your gift code.

If you're a Plus member, when you complete a course you've purchased, you'll instantly get your personalized certificate. You can see all your certificates in the Certificates section of your profile. You can download your certificates as PDFs and share the link online. Learn more about certificates.
Manga Character Illustration Specialization. Illustration course by Domestika

Manga Character Illustration Specialization

A specialization by multiple teachers
Berkeley, United States.
Joined April 2002
  • 107 students