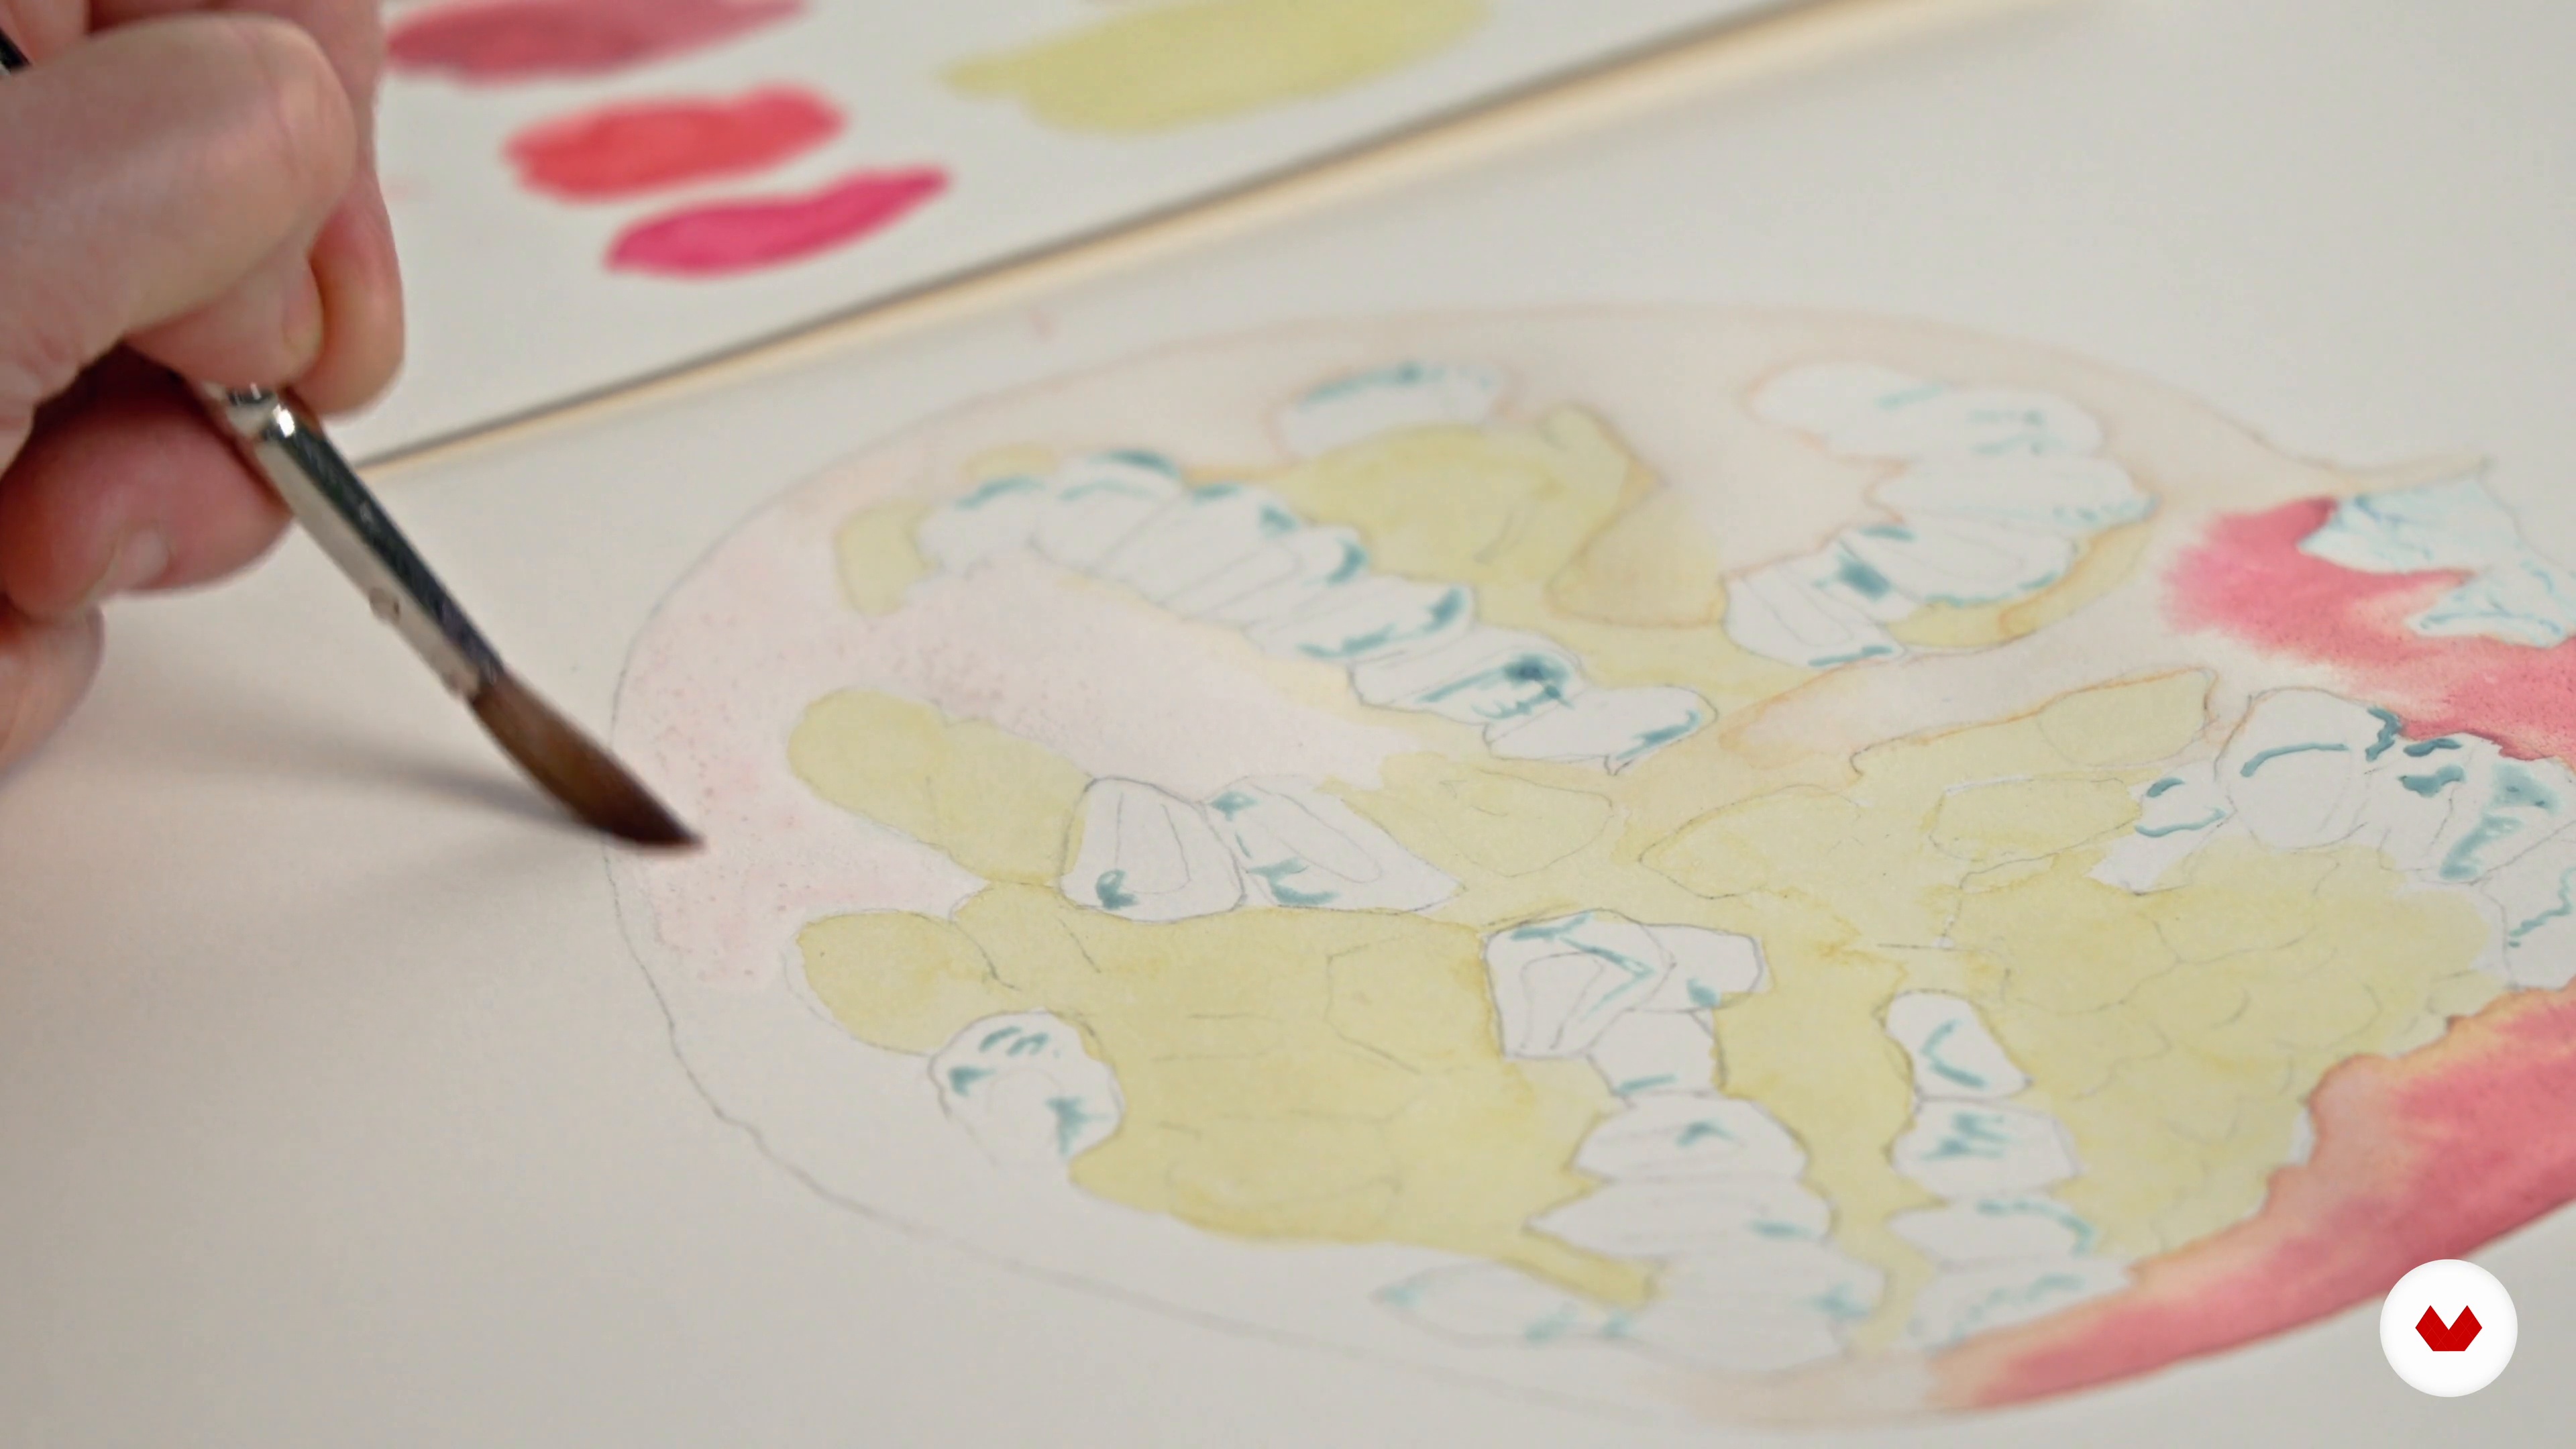
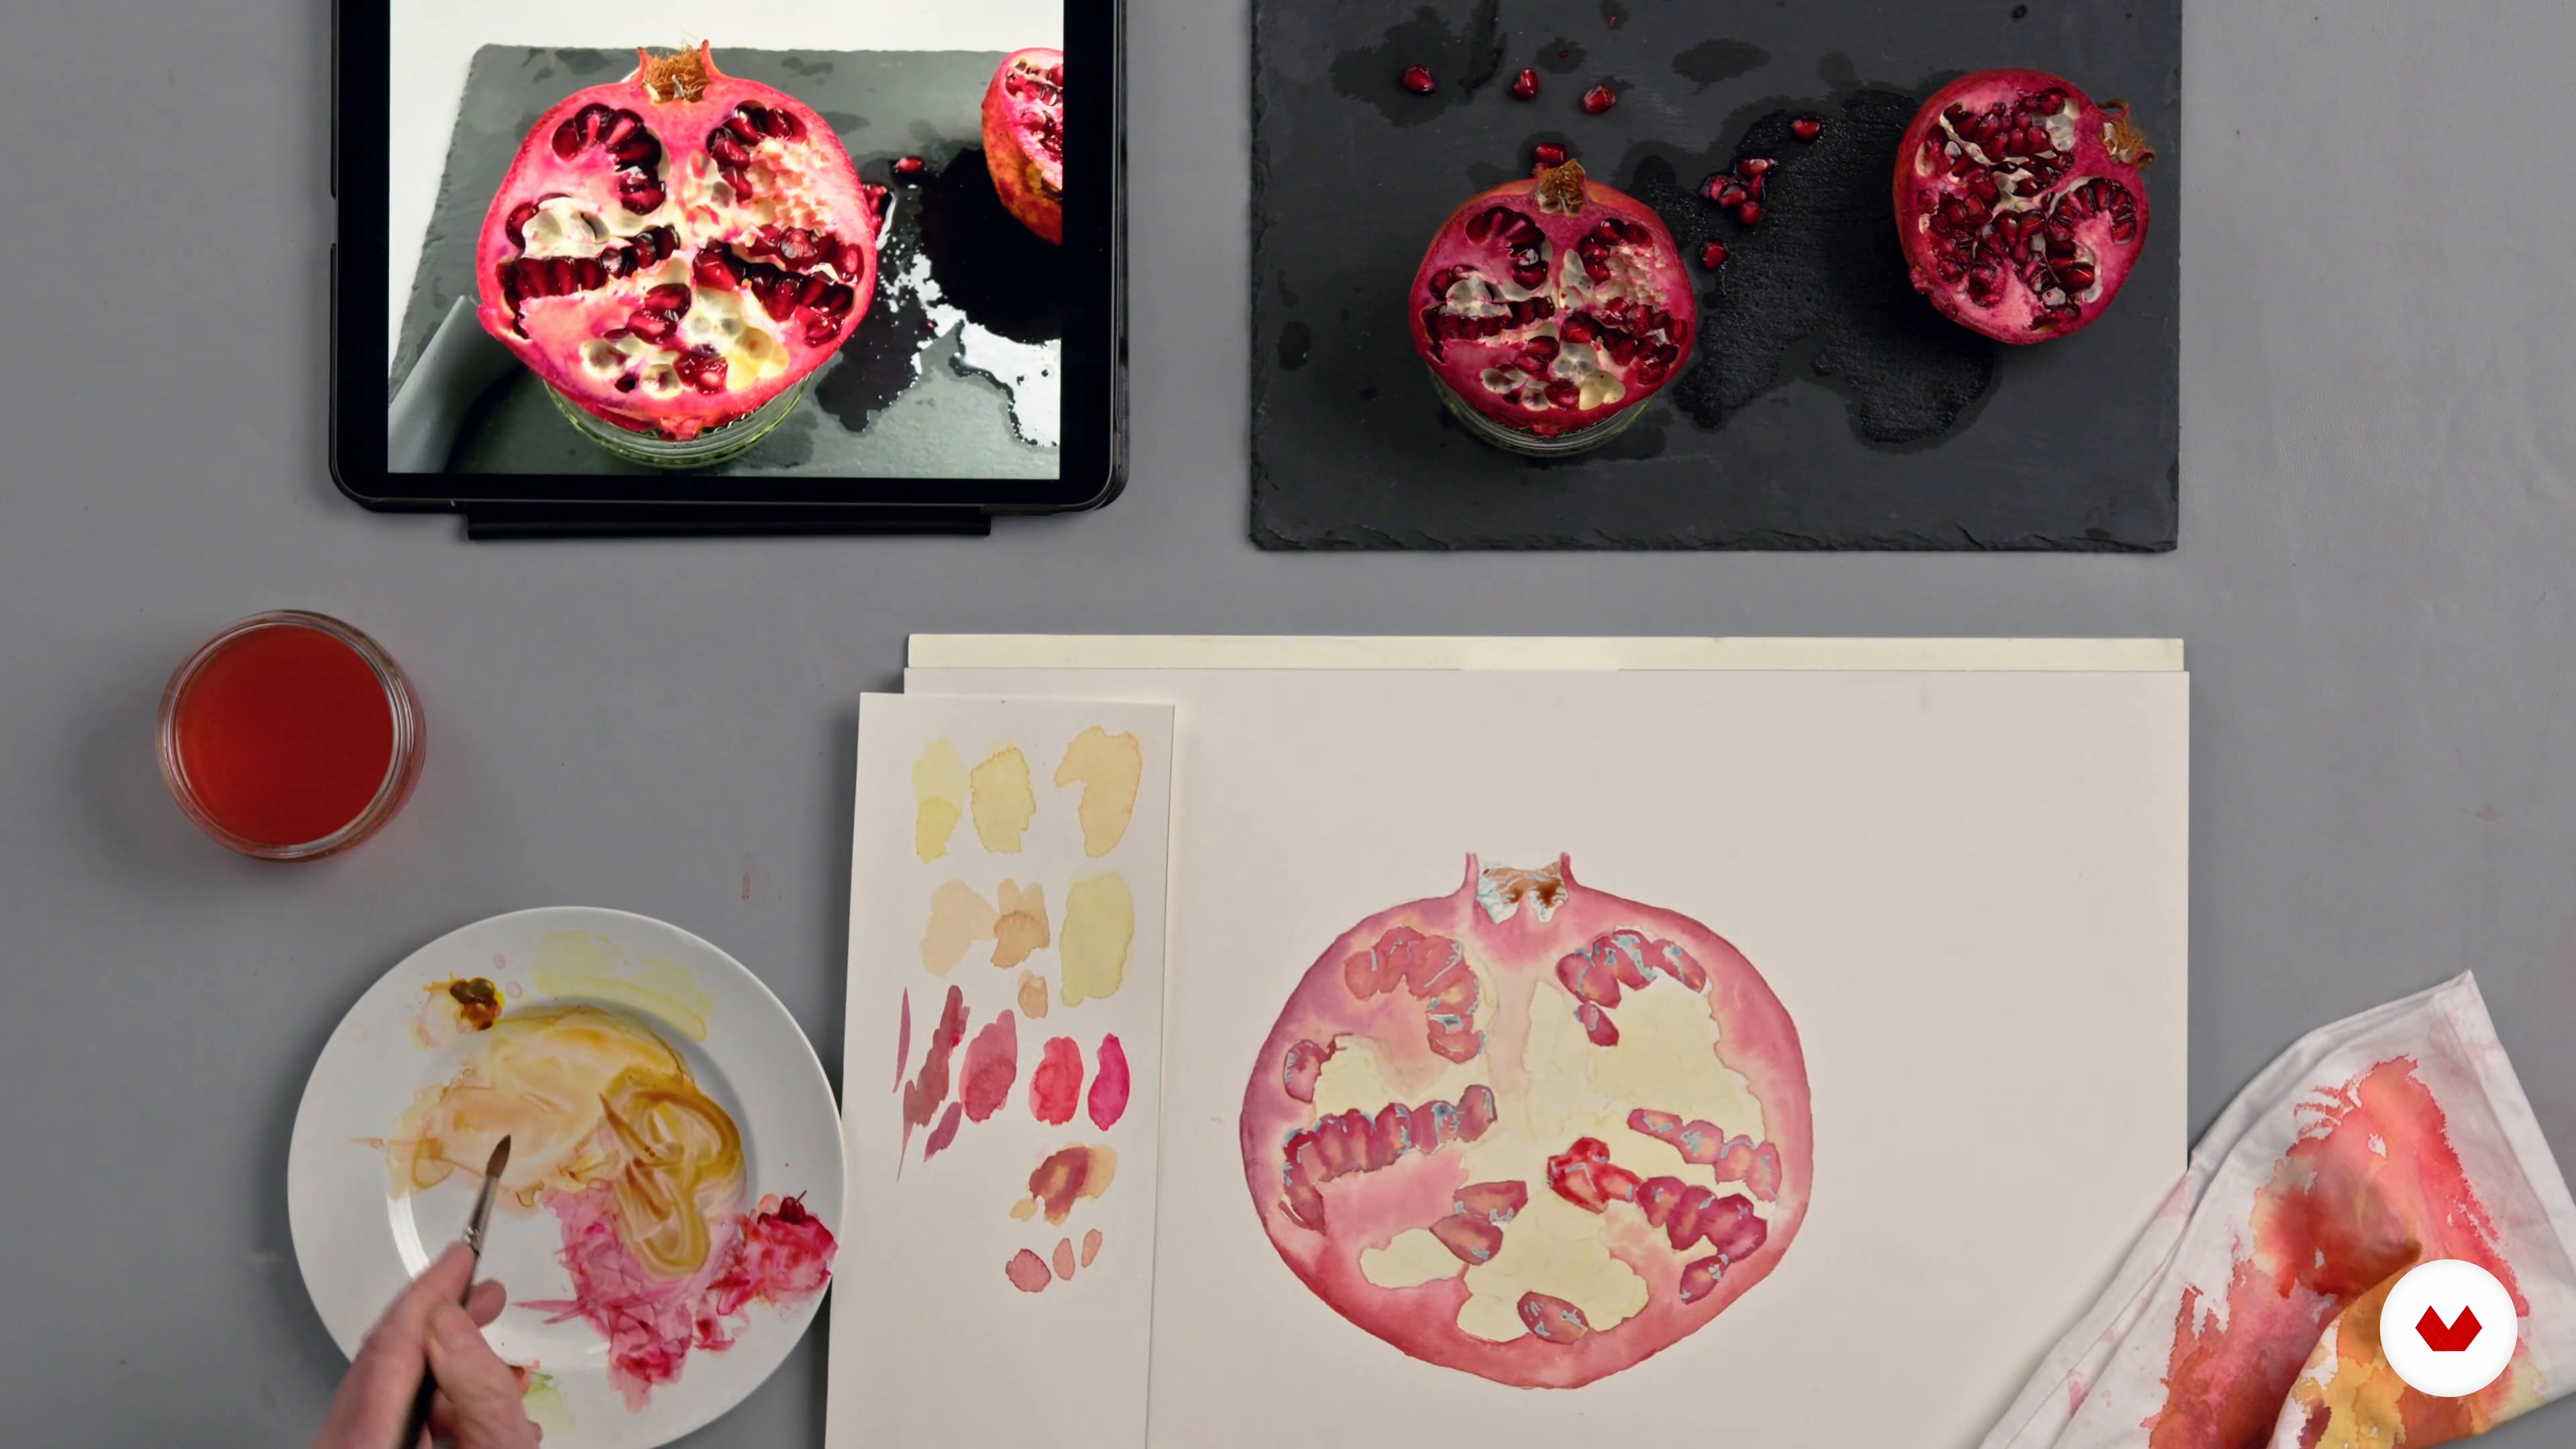
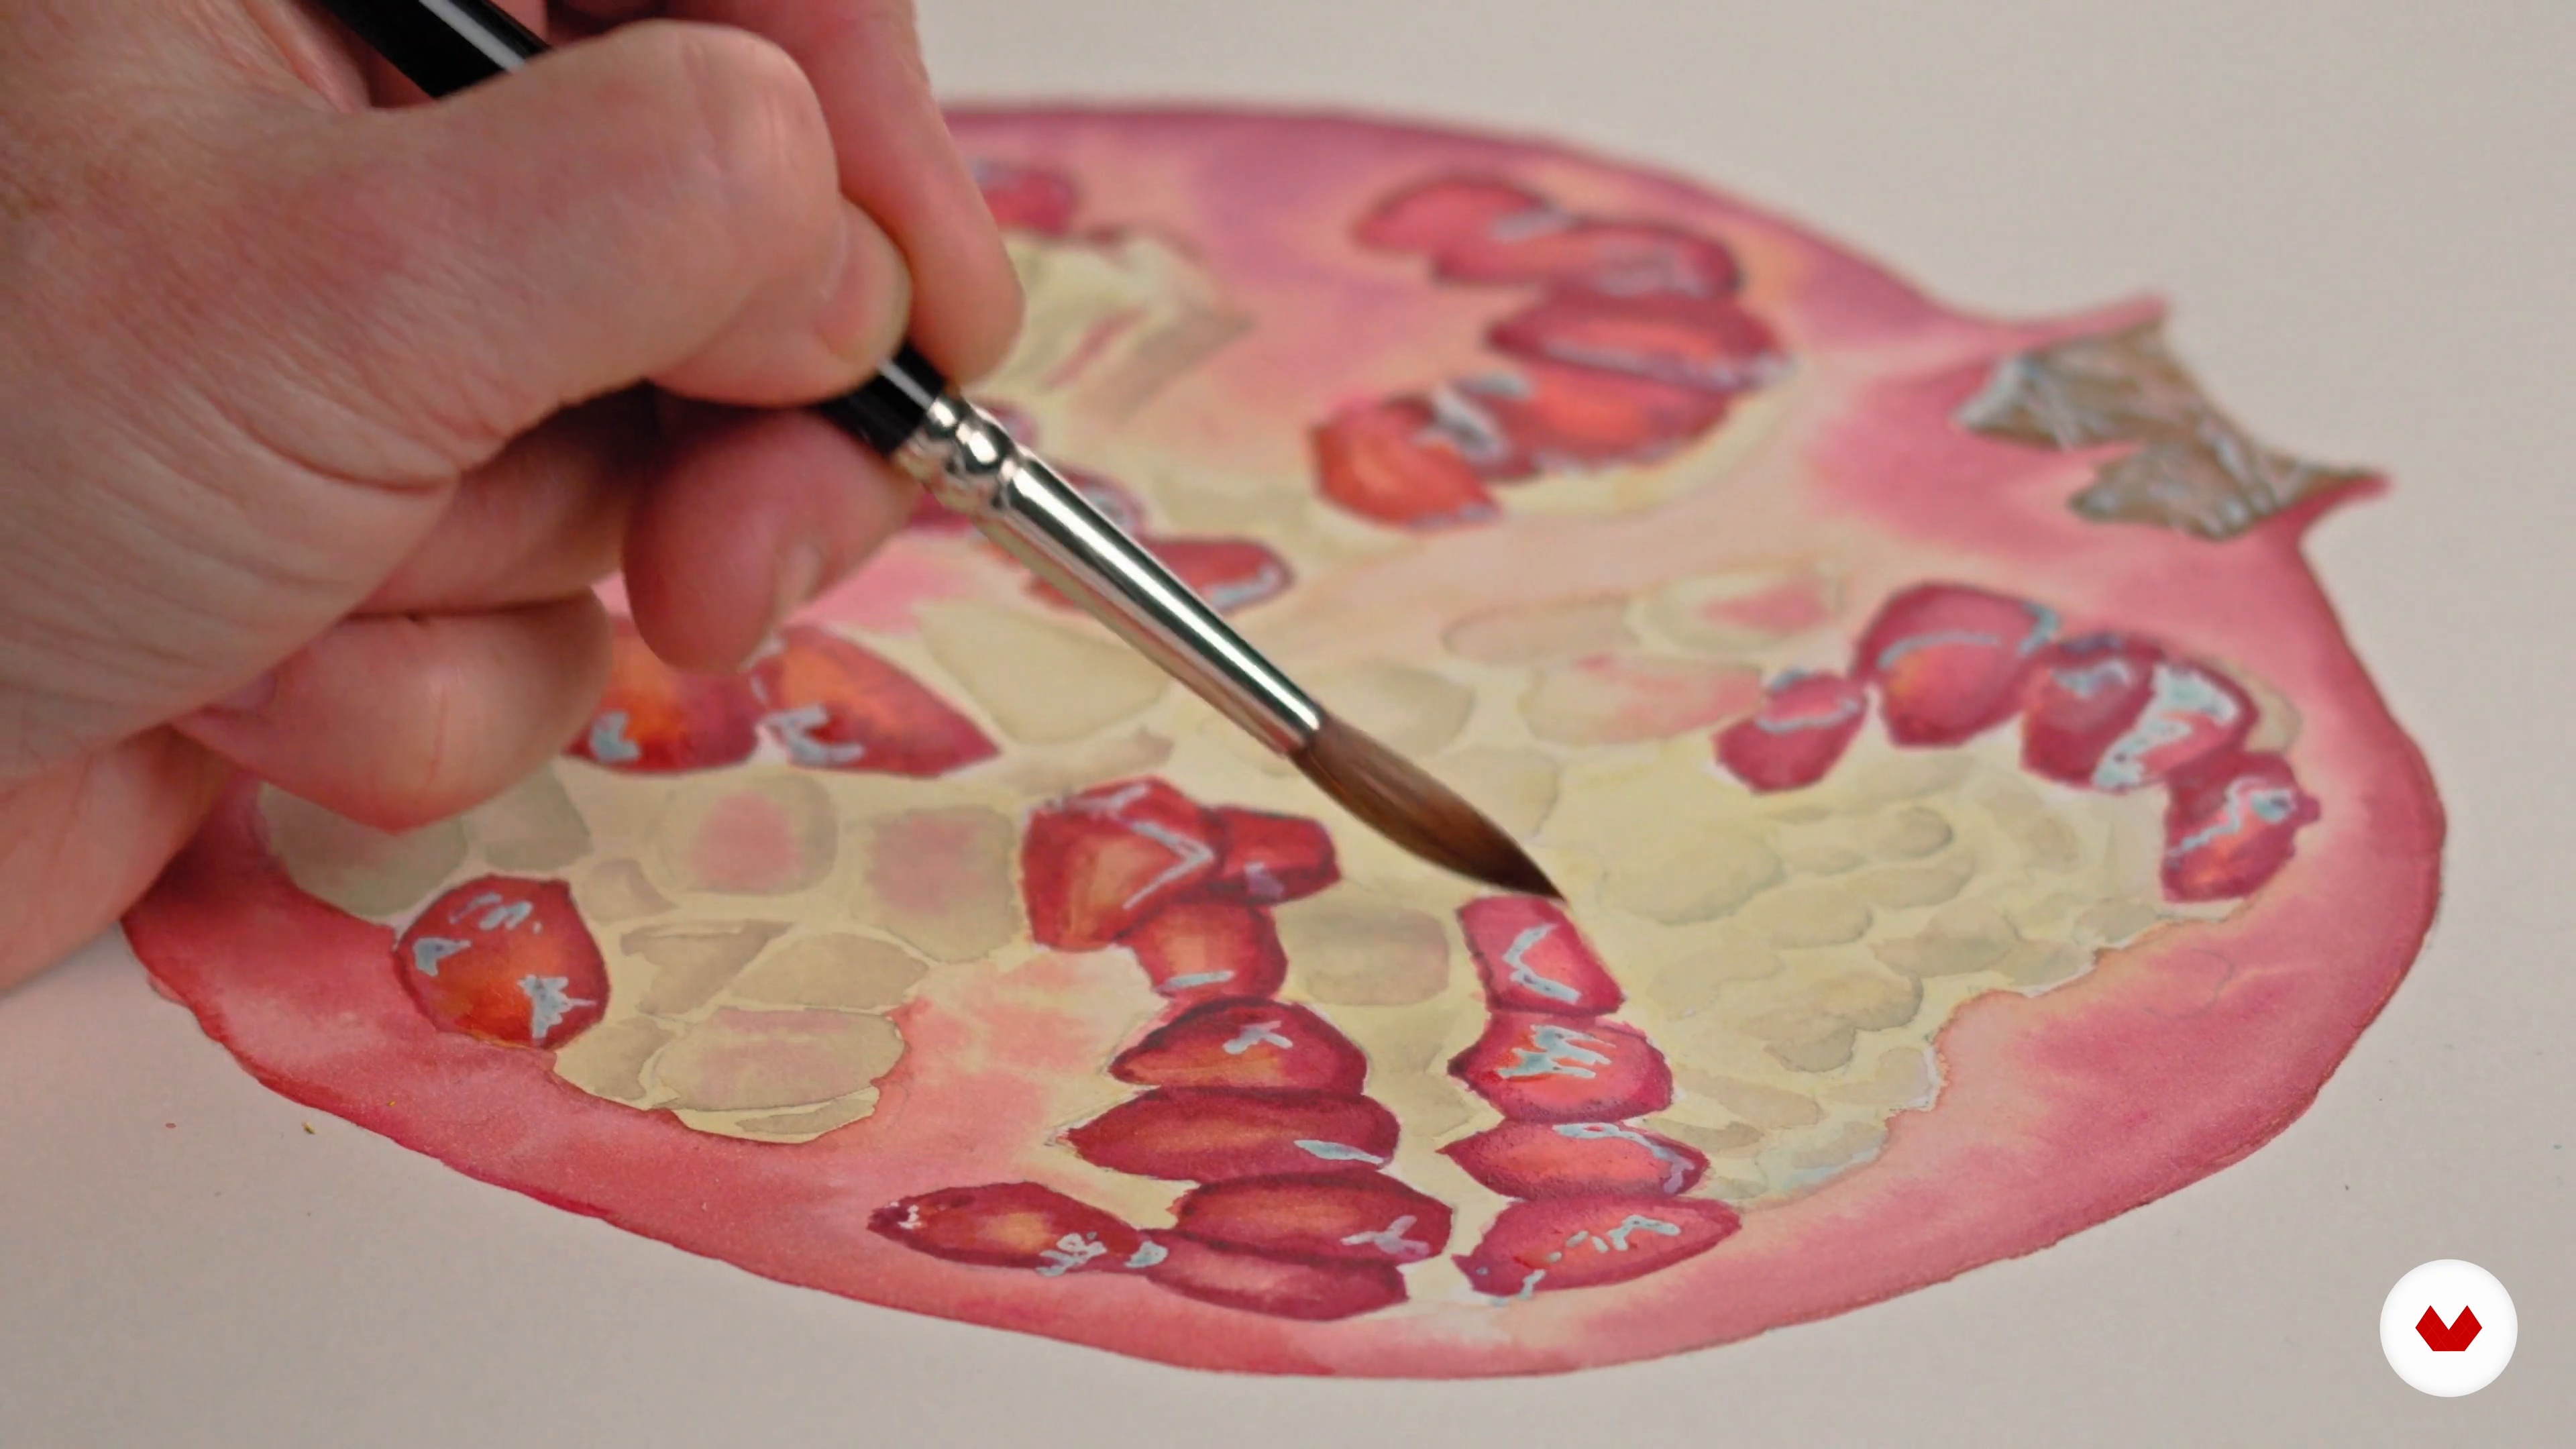
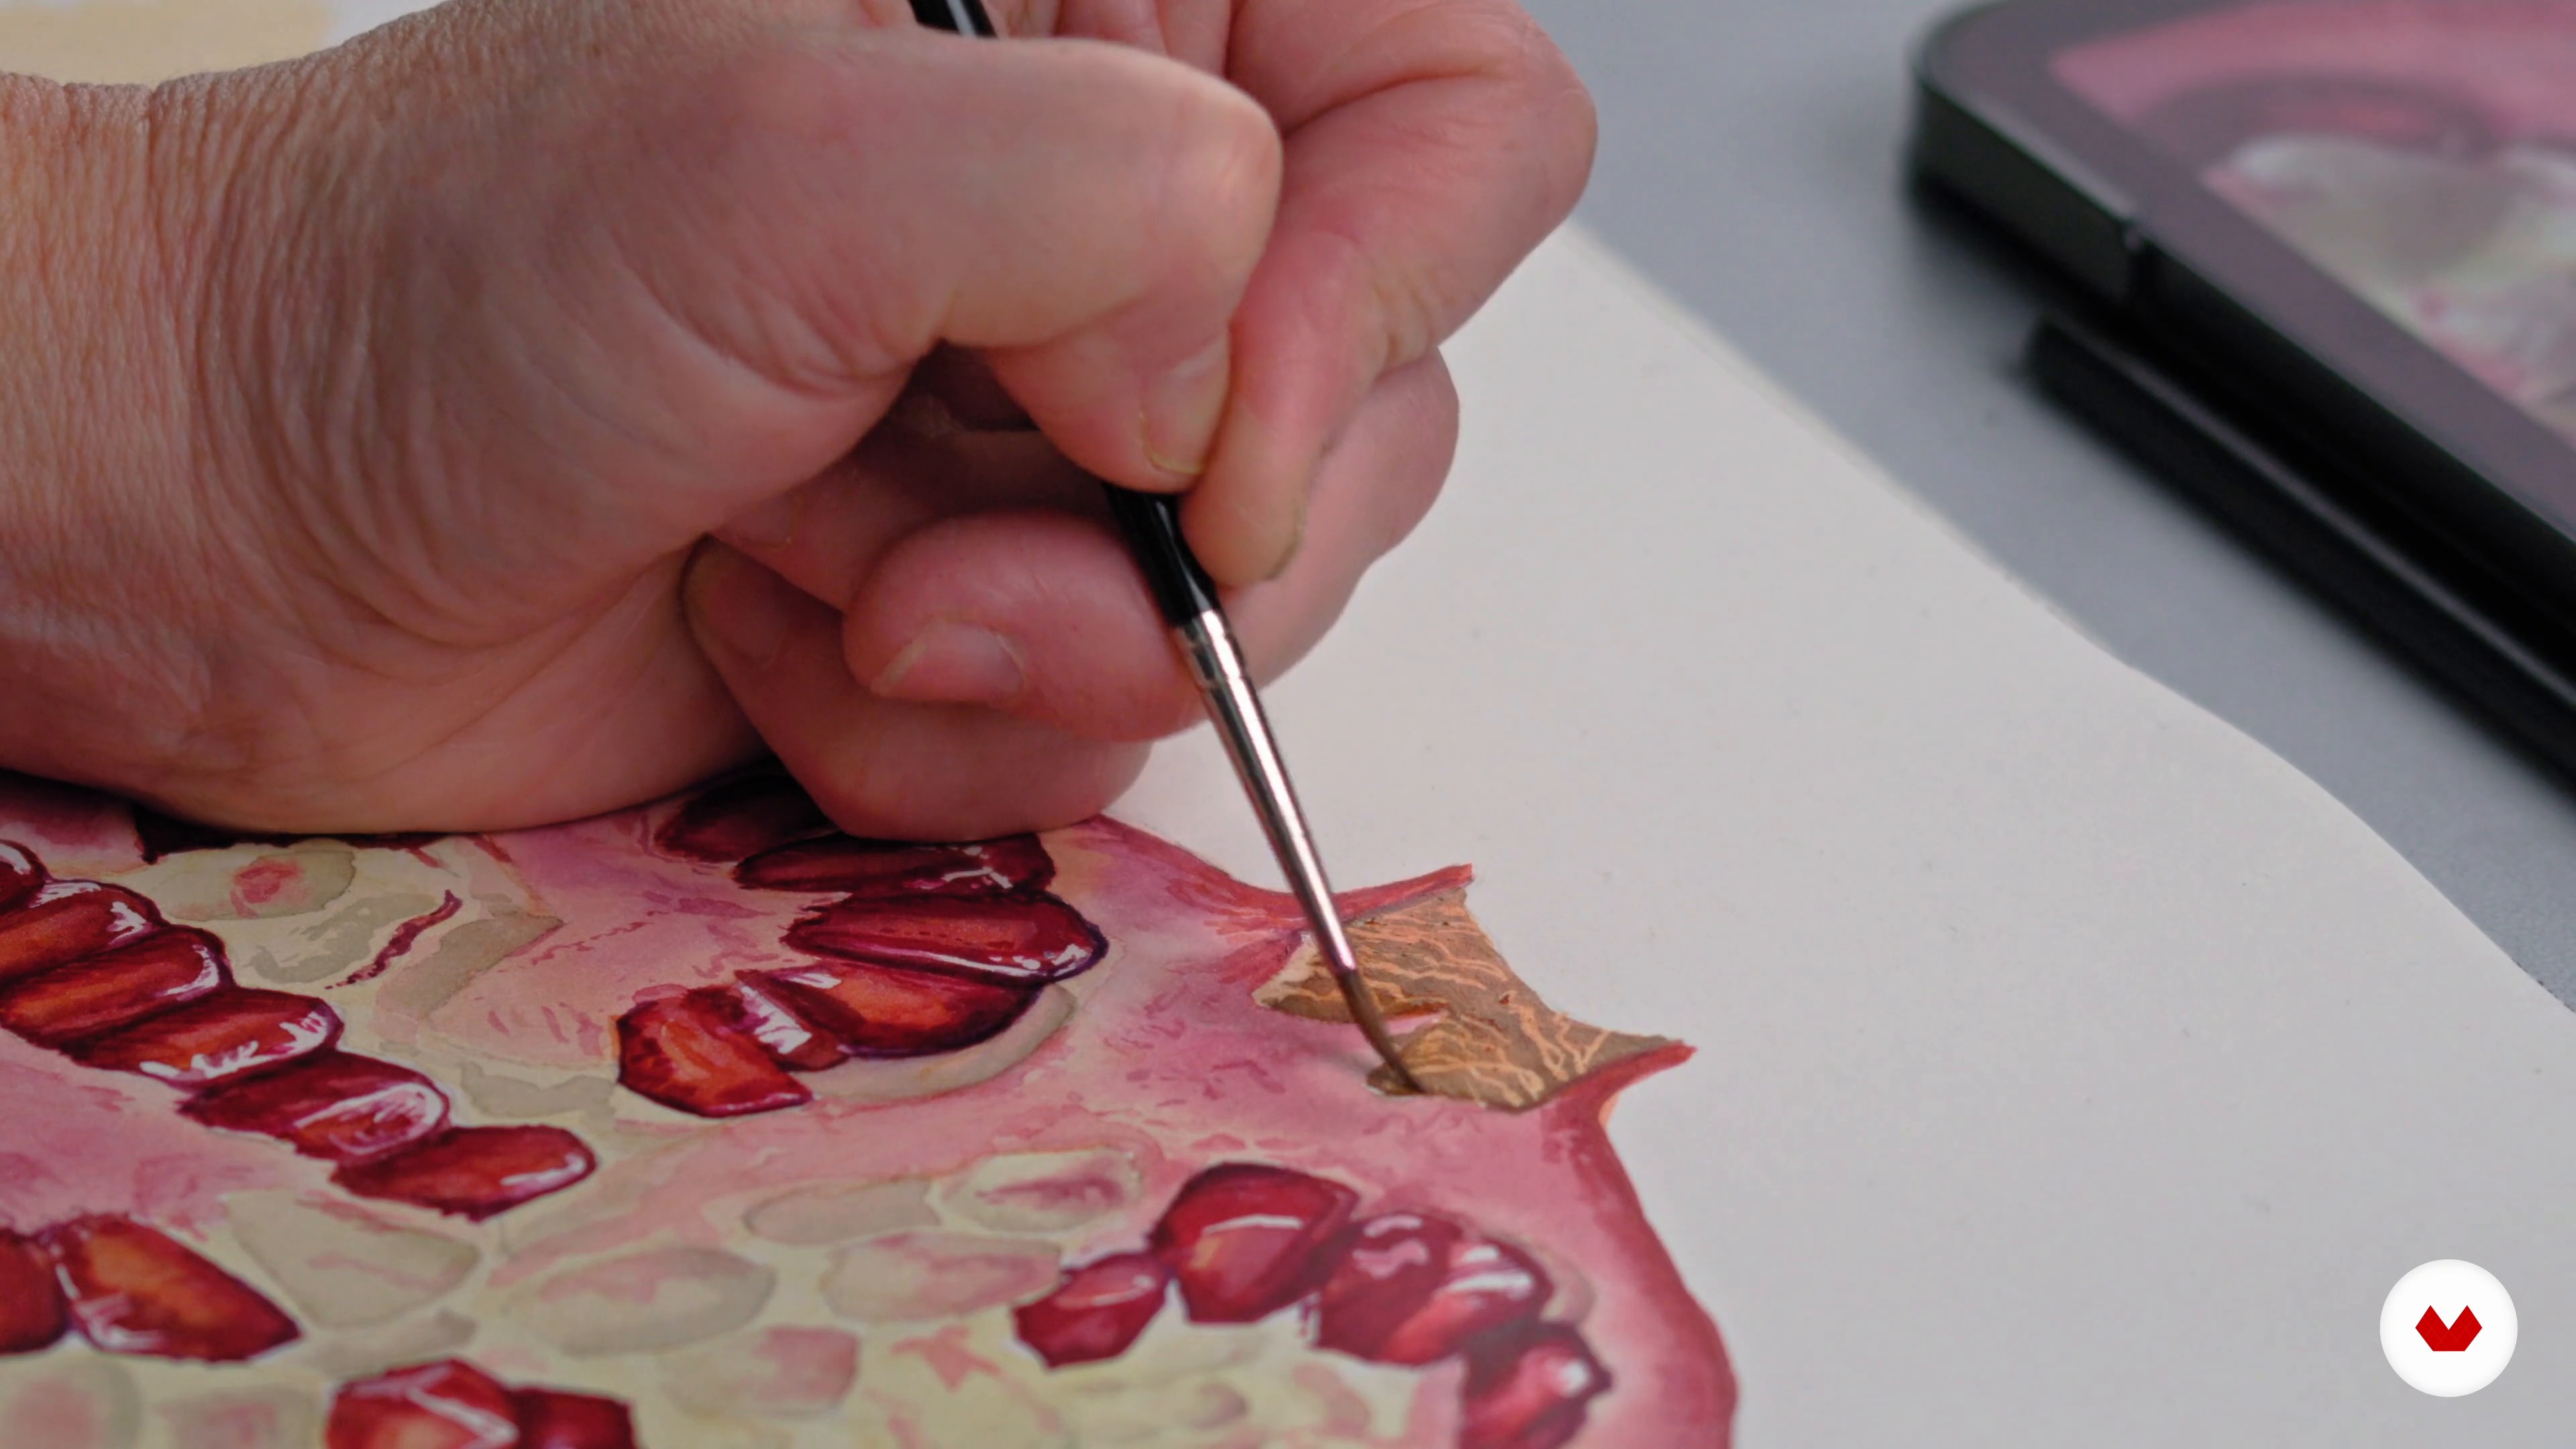
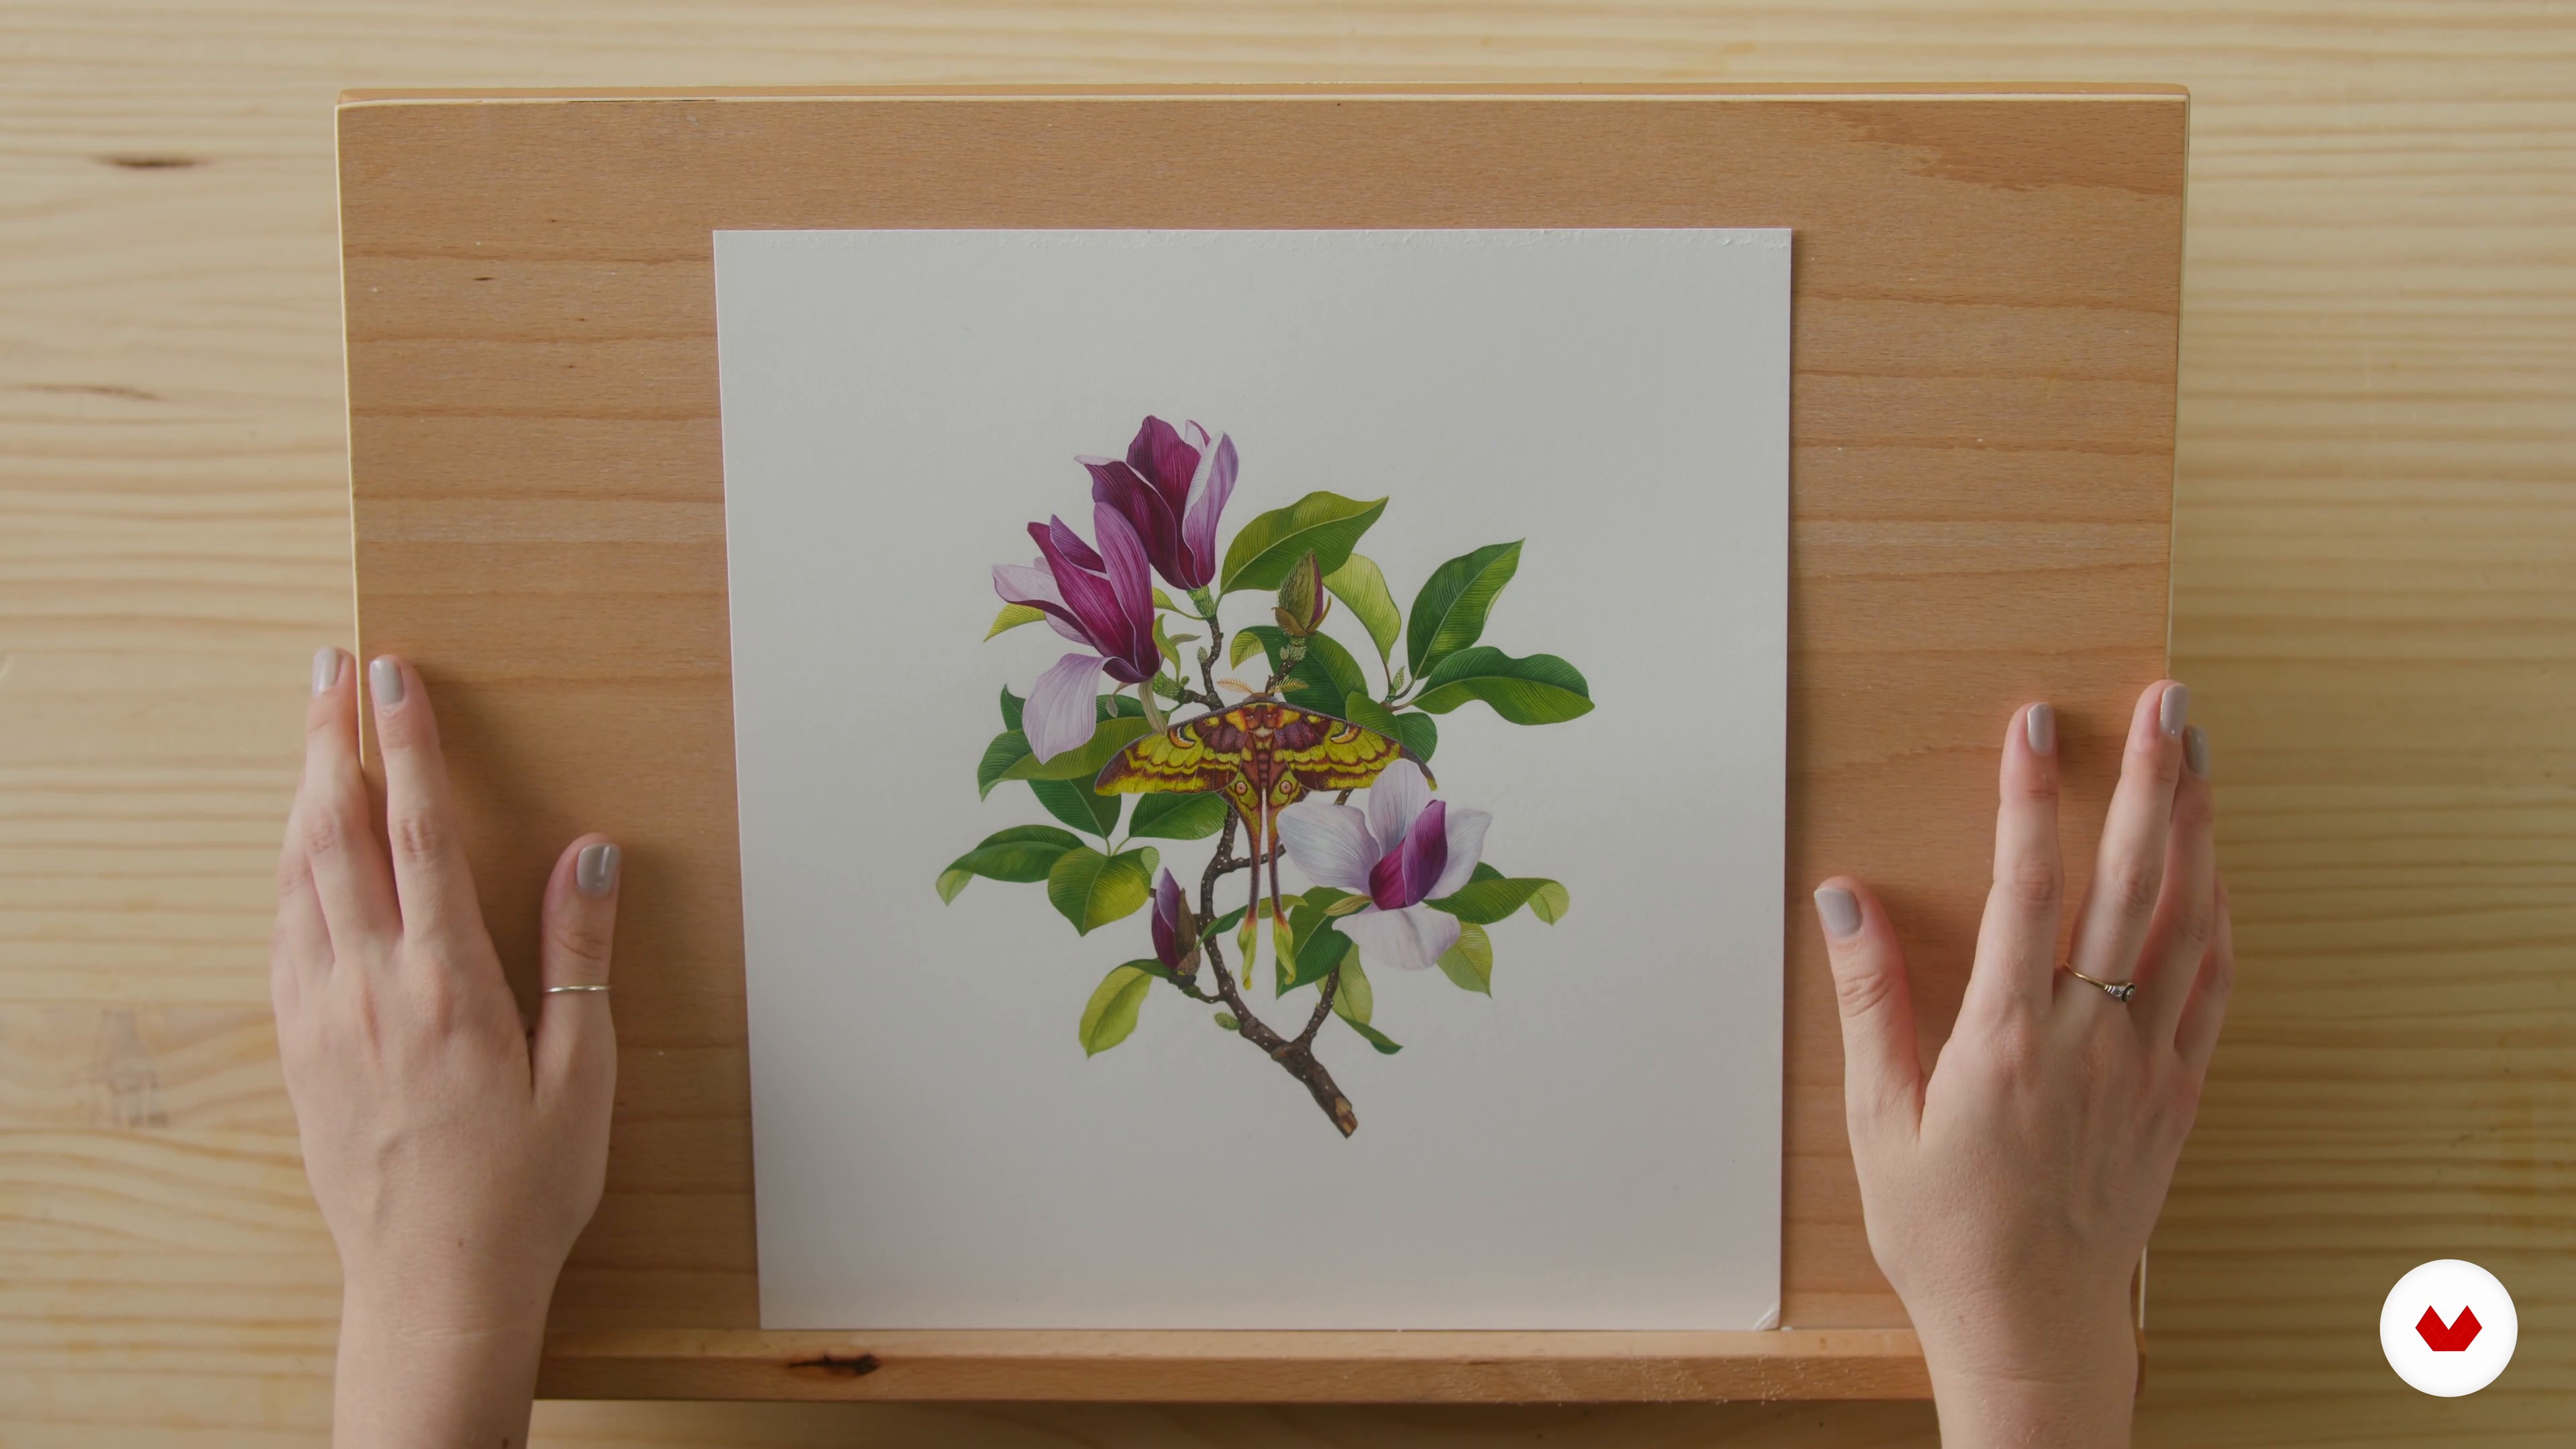
Specialization

Specialization in Botanical and Naturalistic Illustration Techniques

Develop botanical illustration skills with watercolor, gouache, and ink techniques, blending realism and artistic expression

Specialization · 7 modules

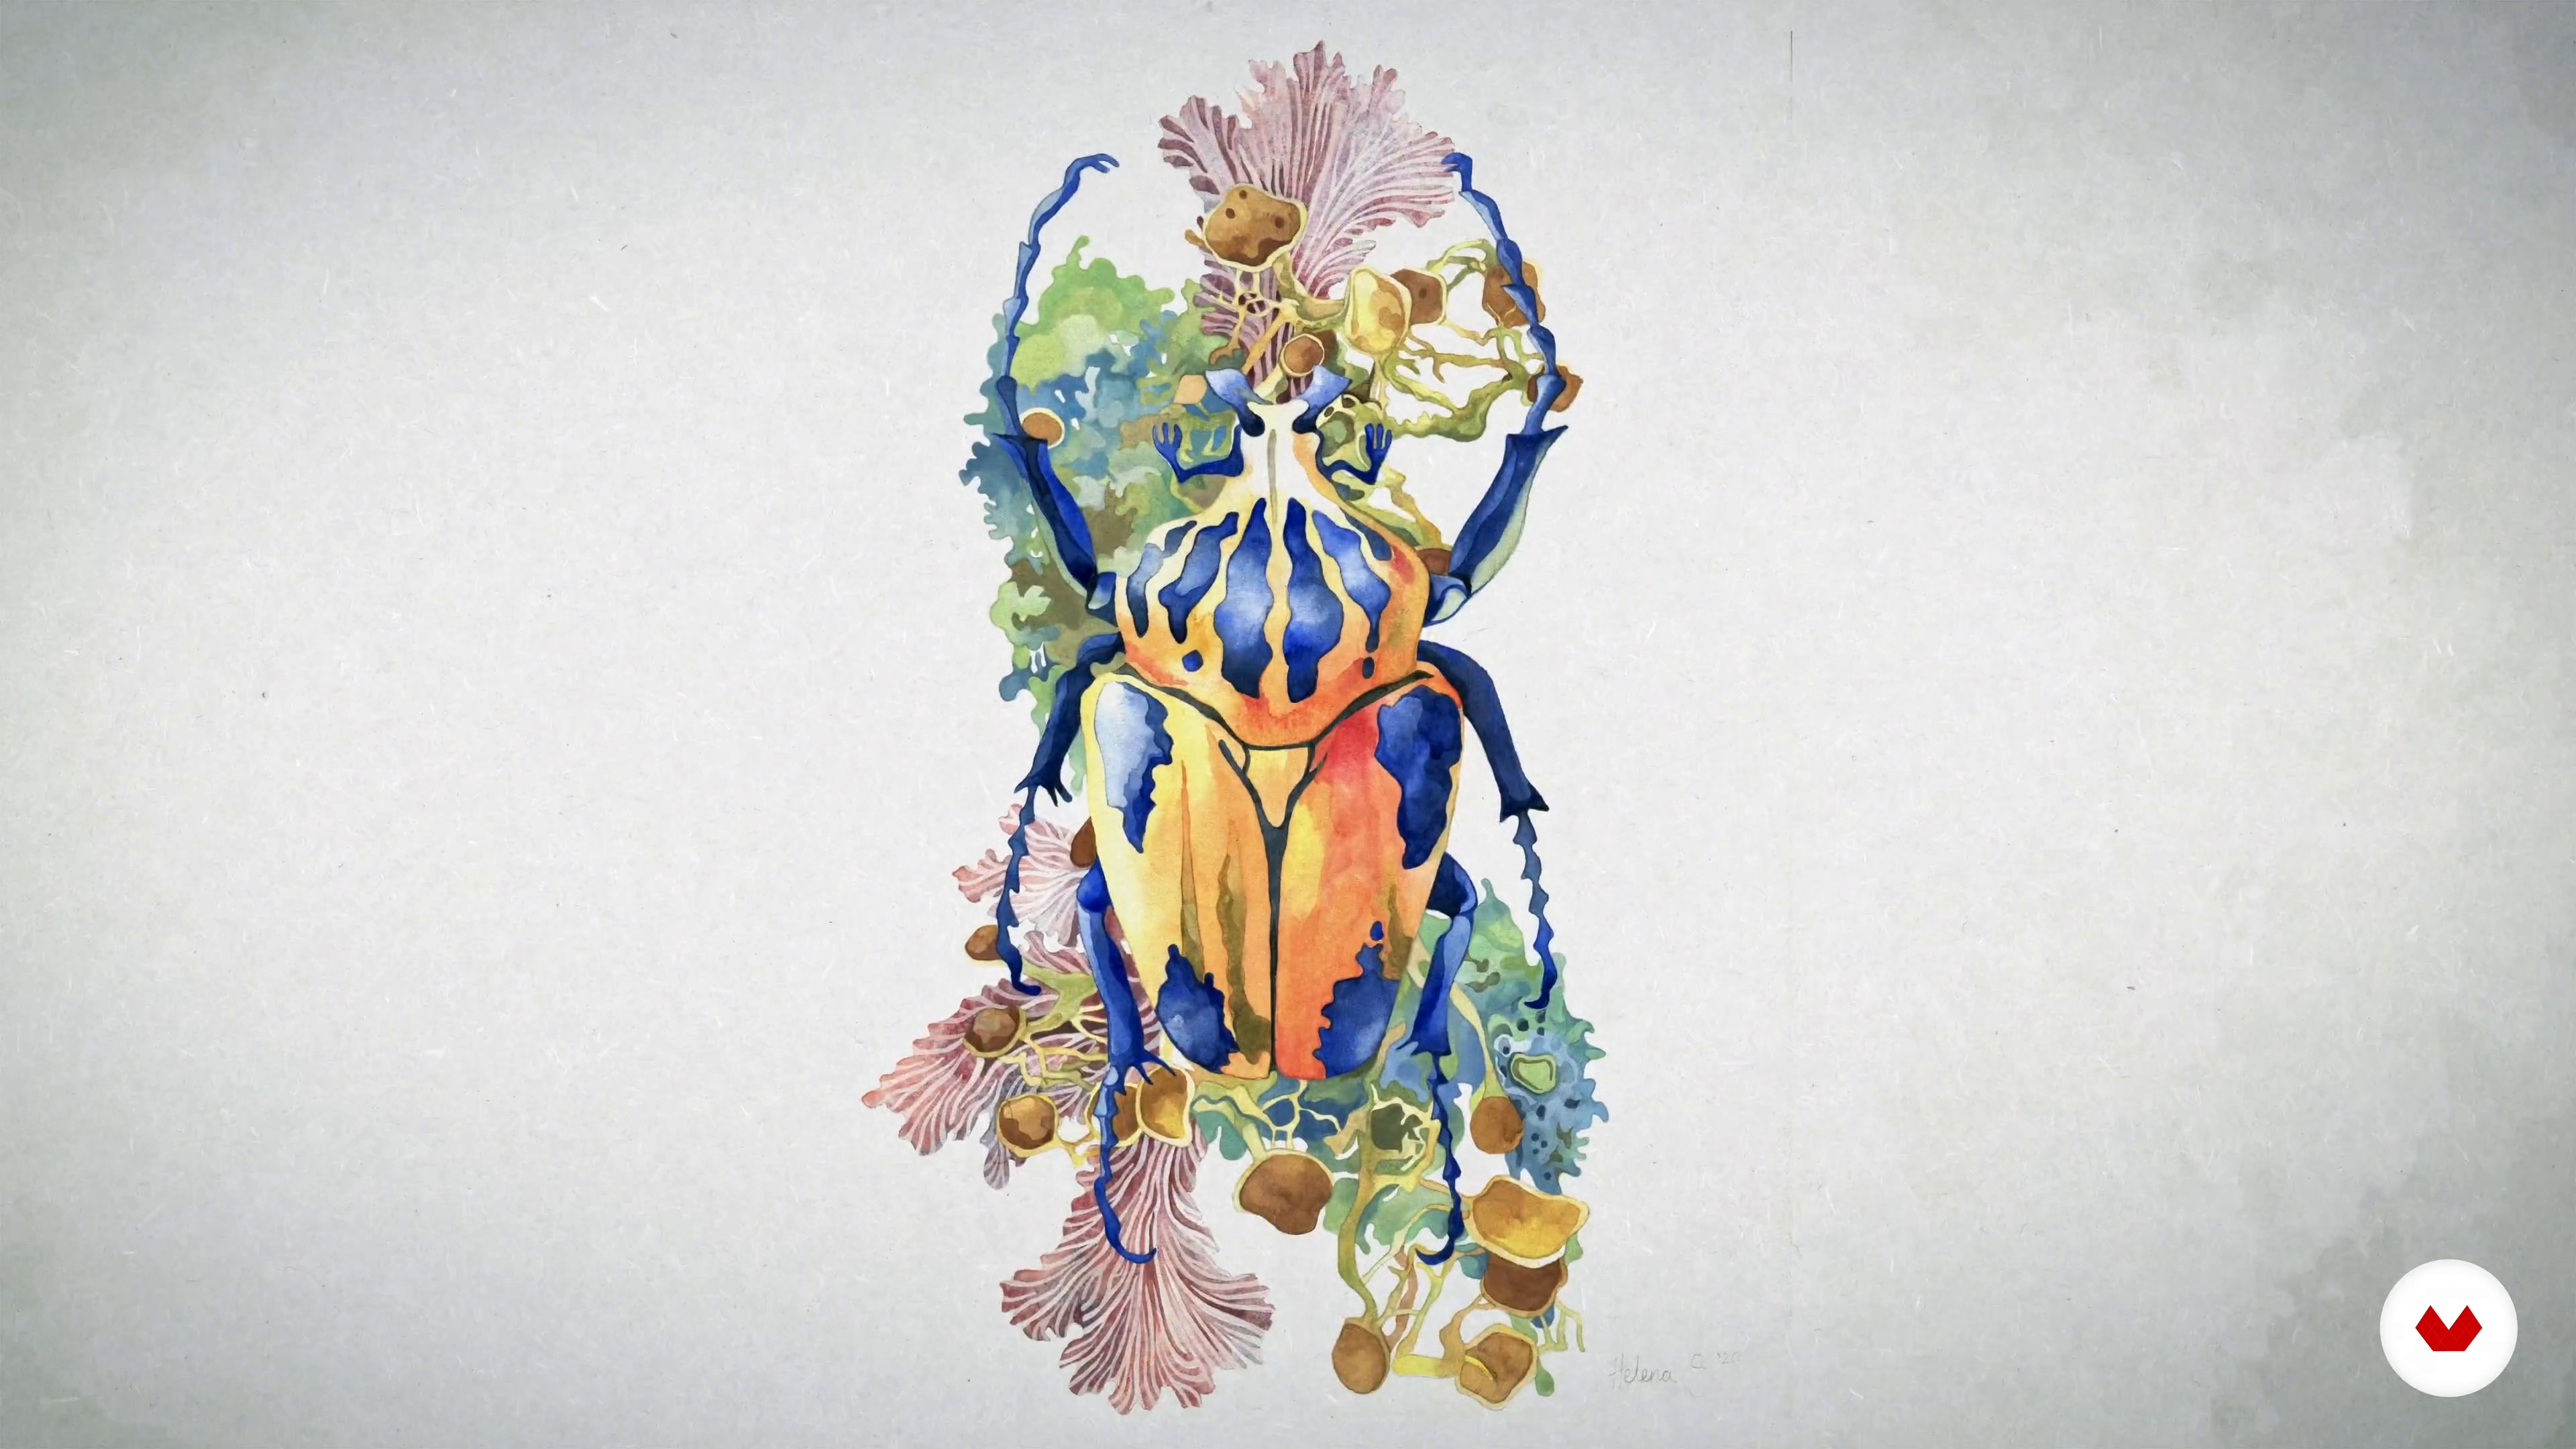
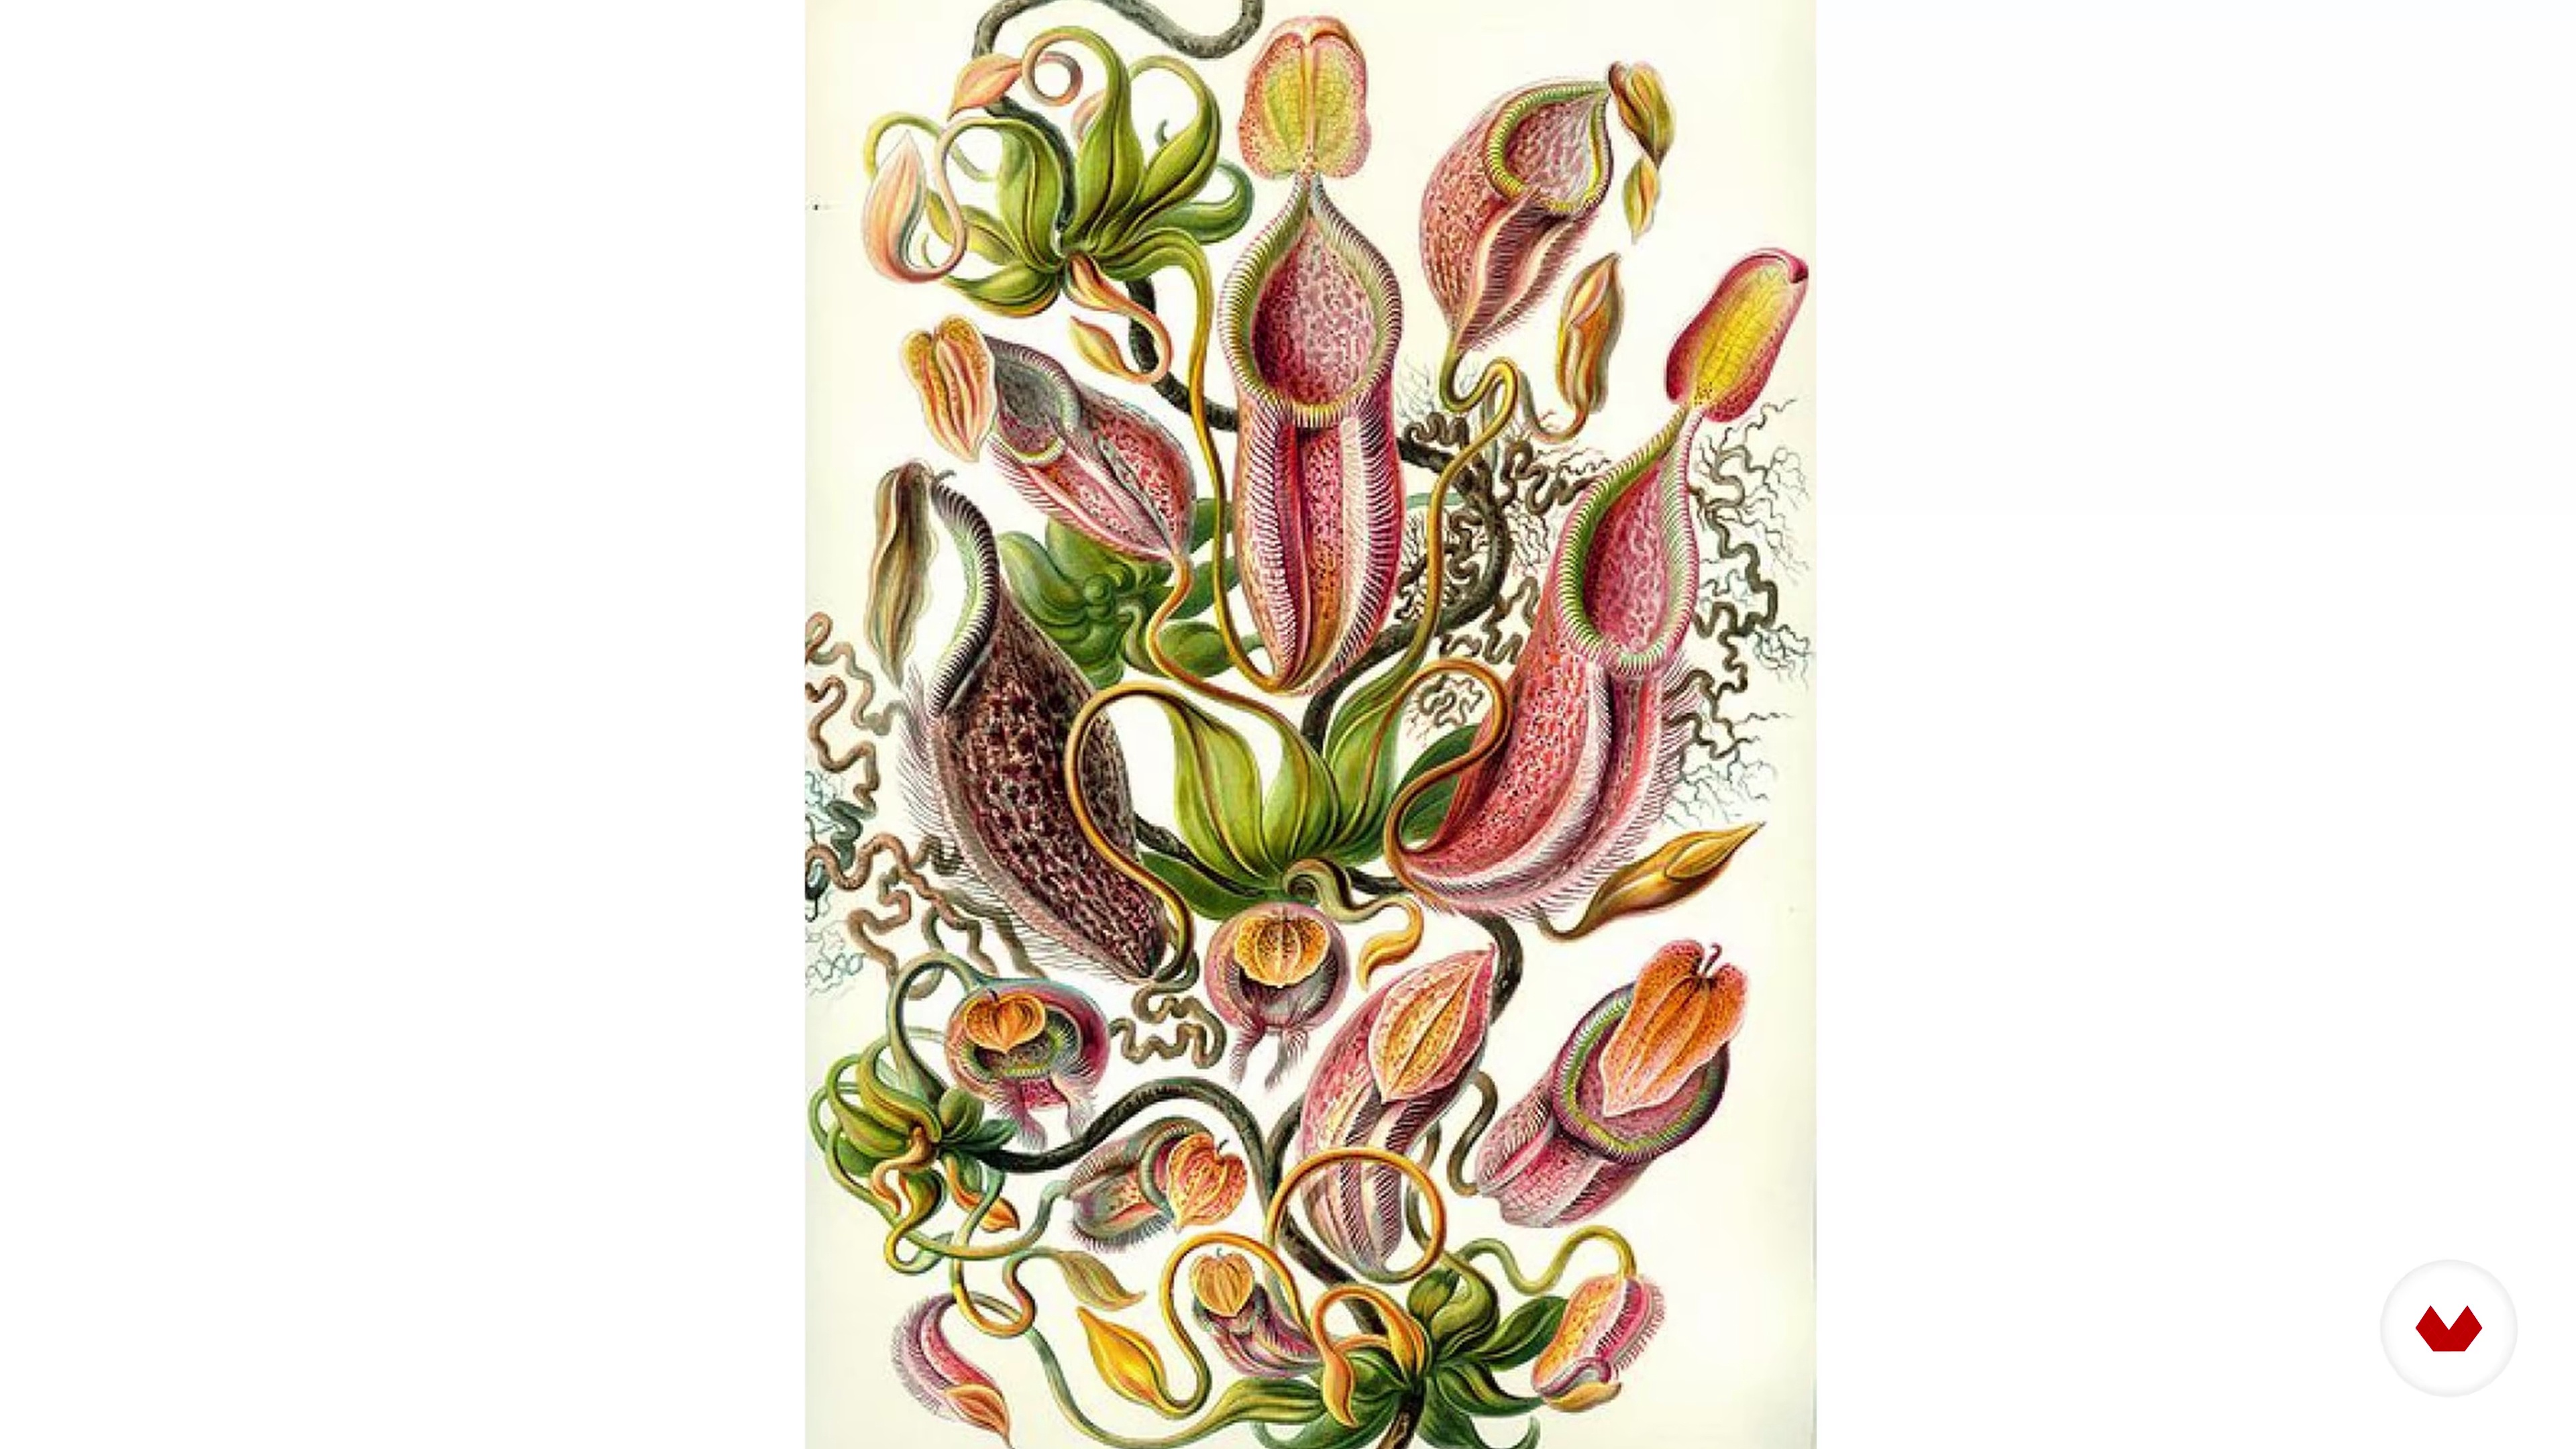
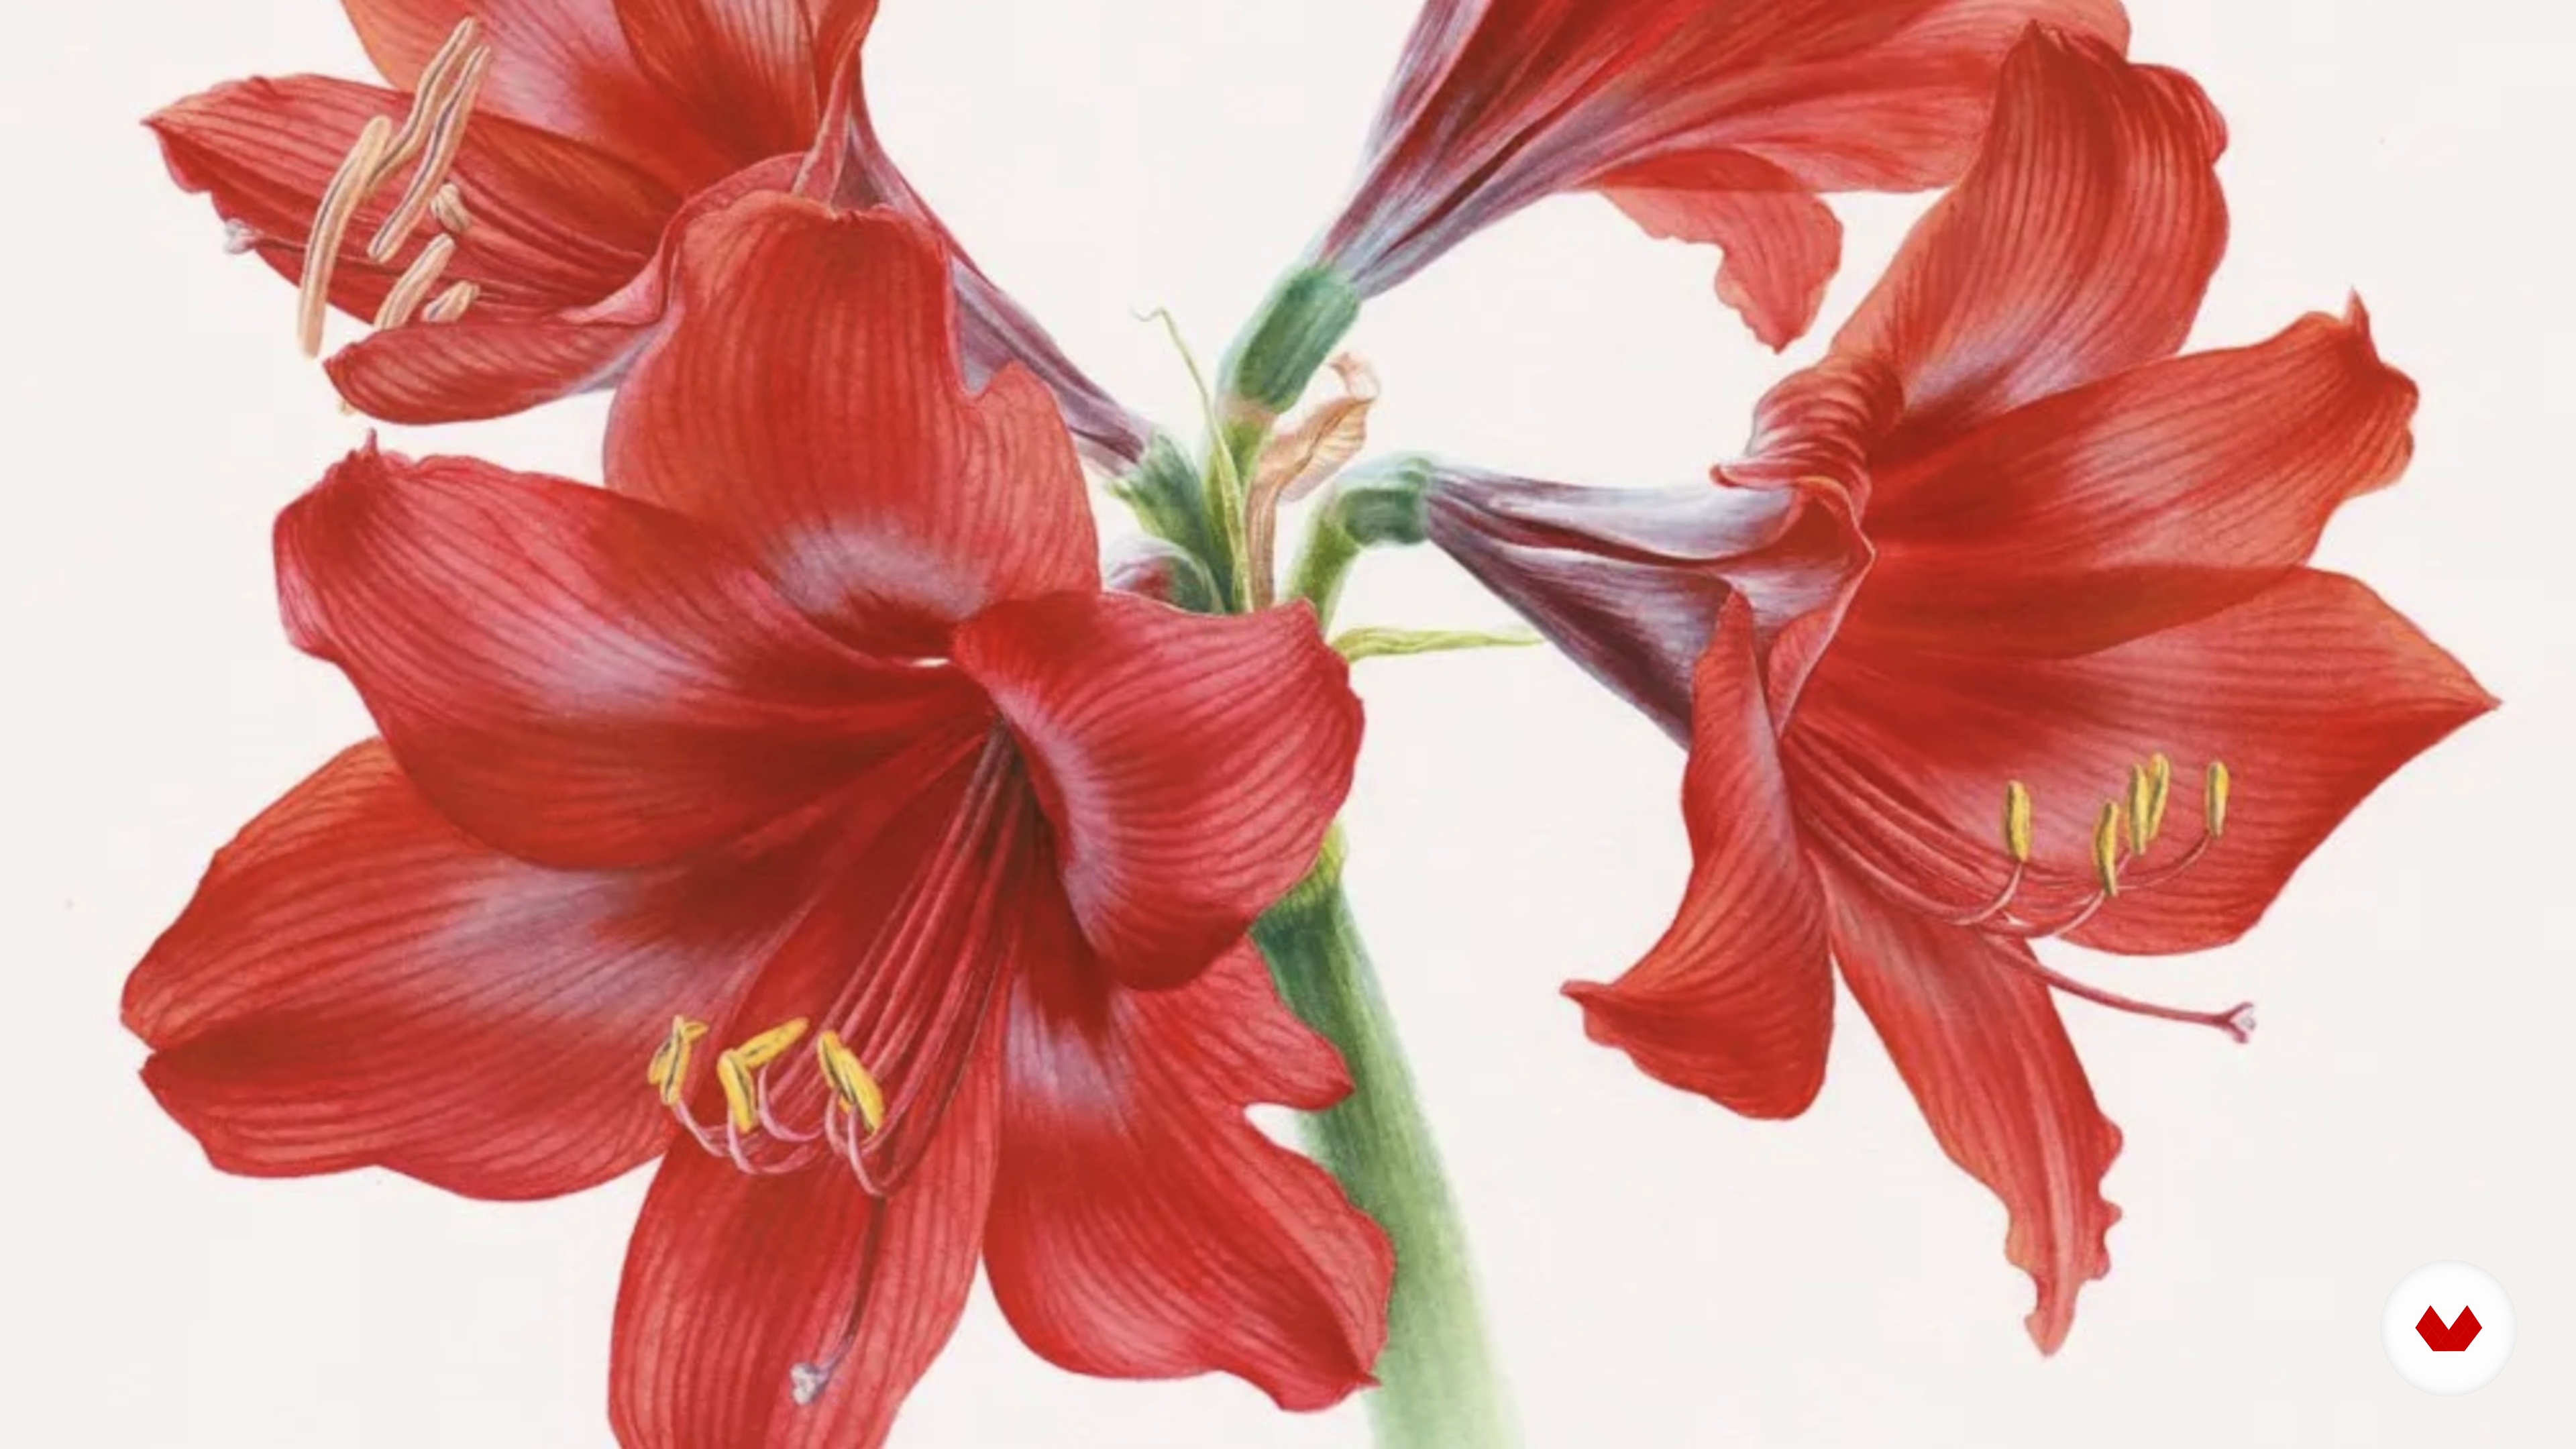
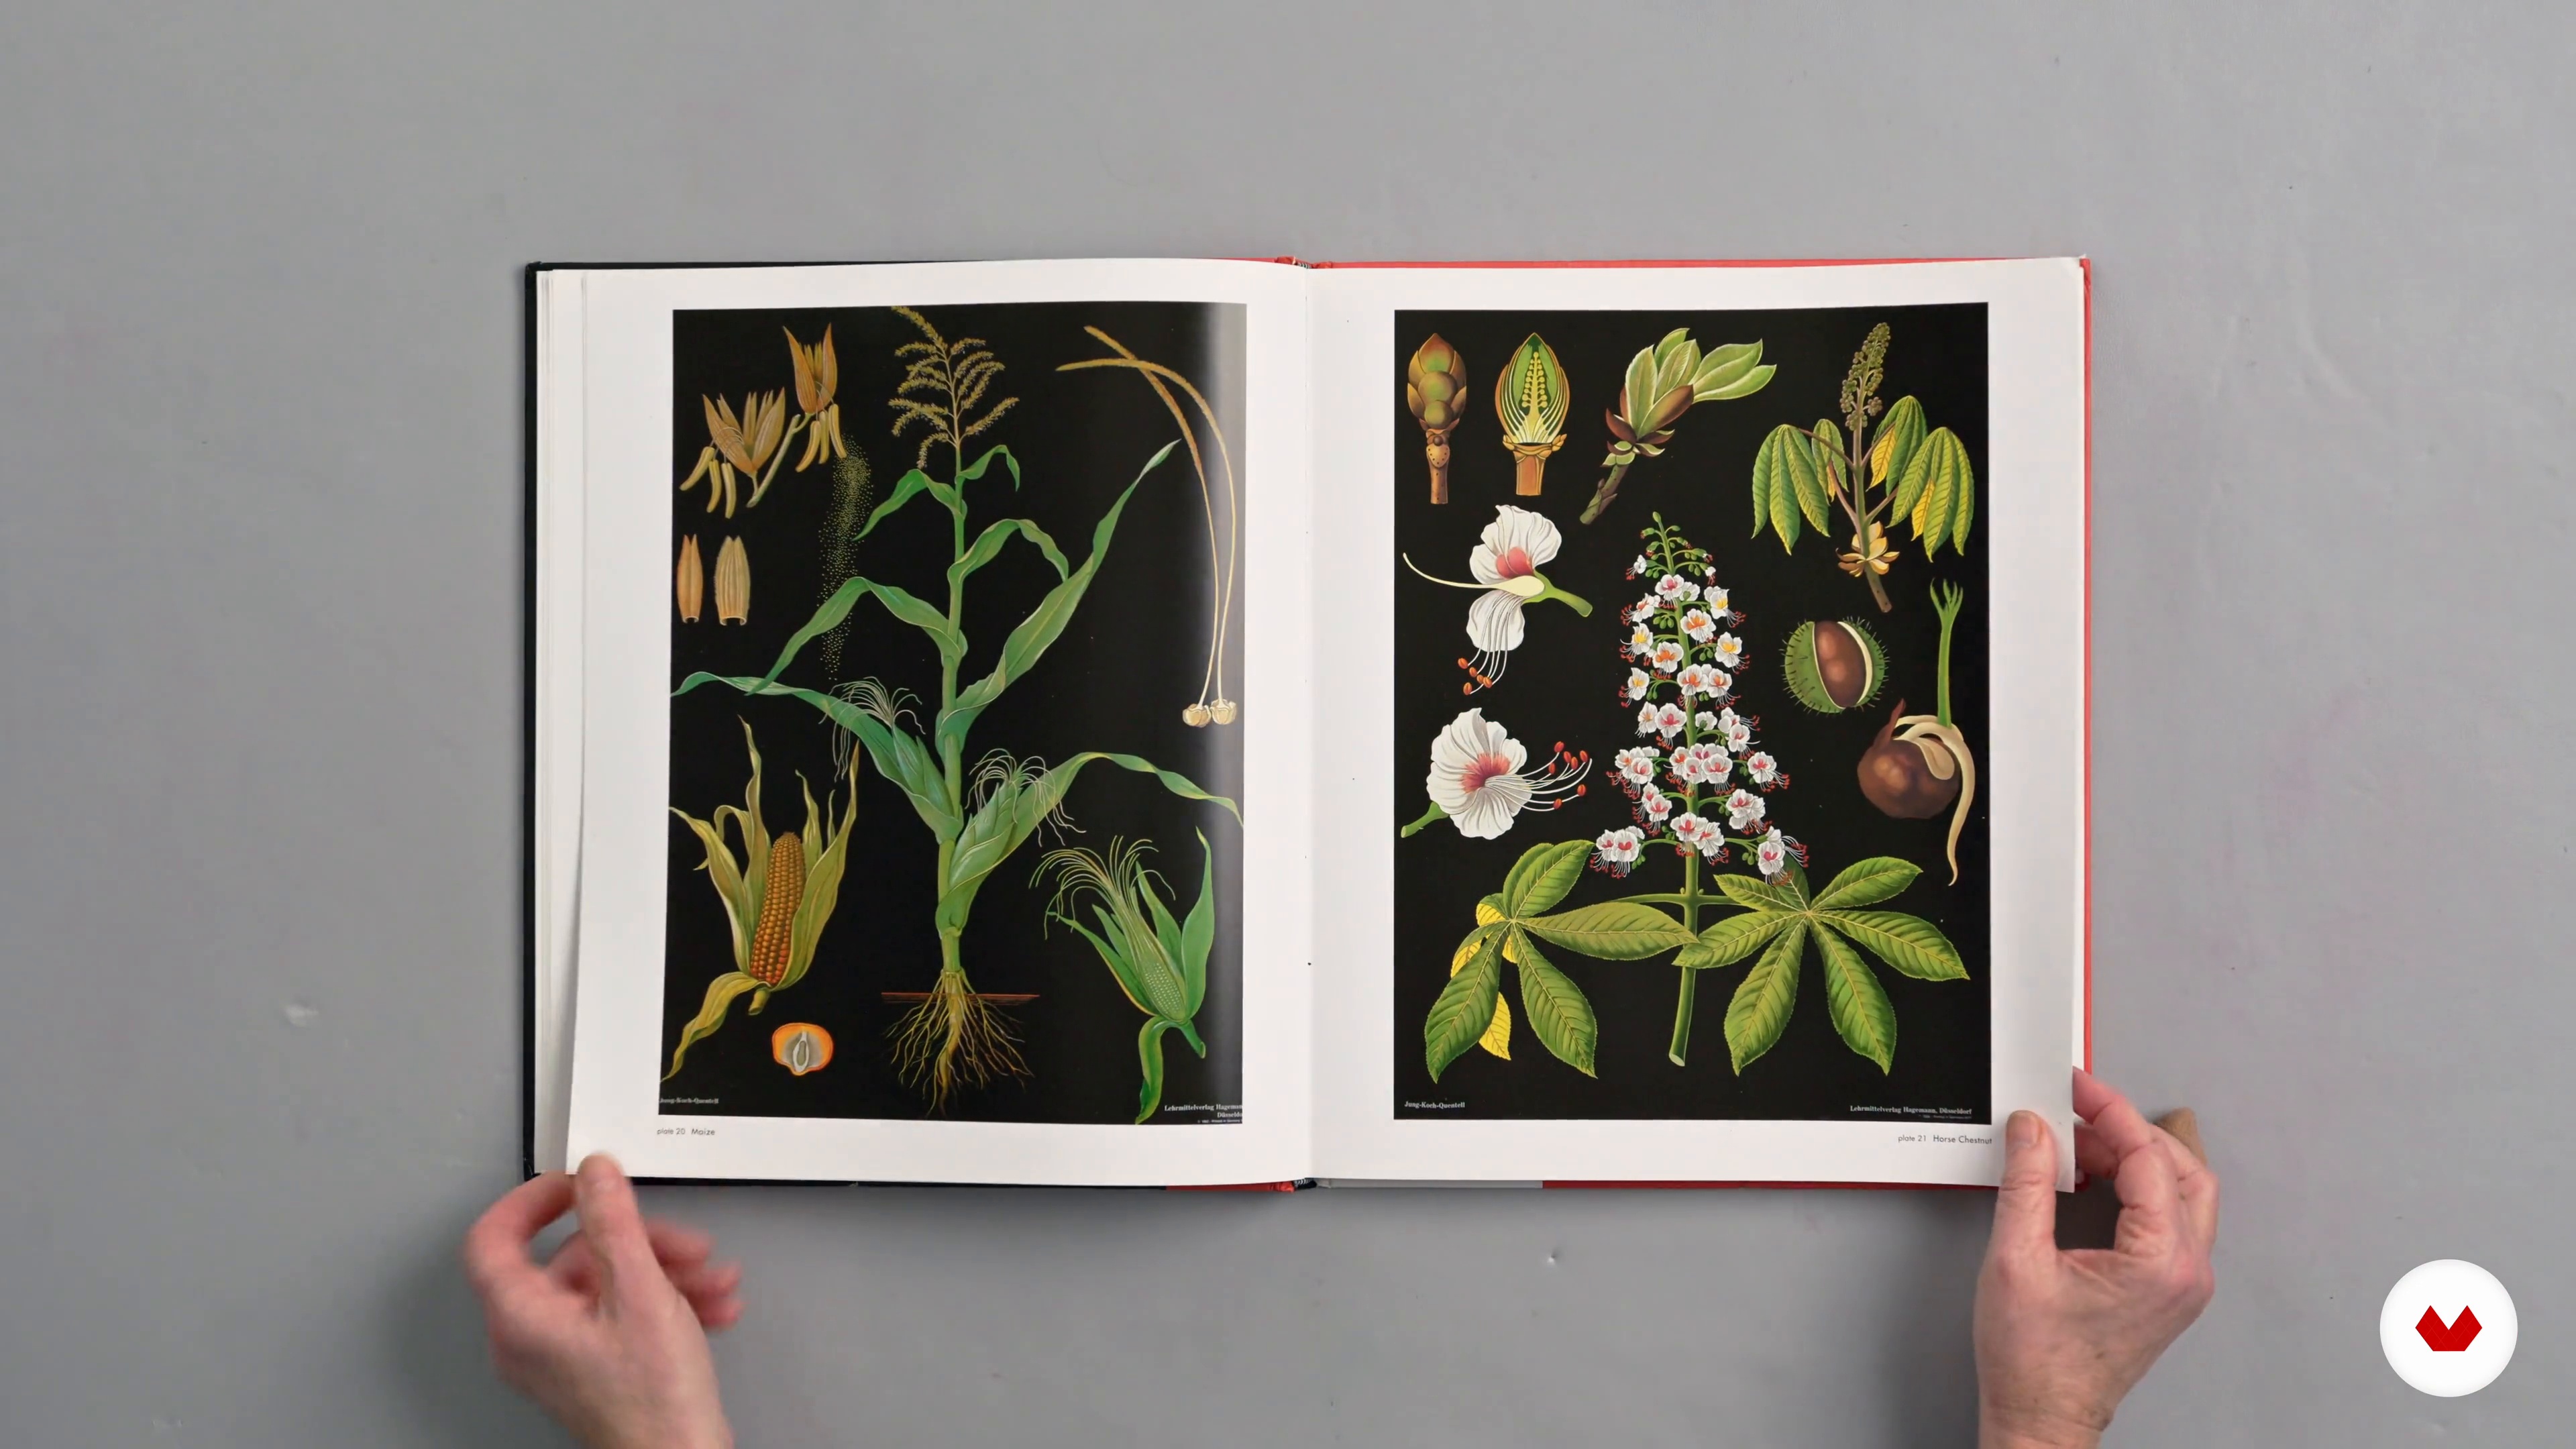
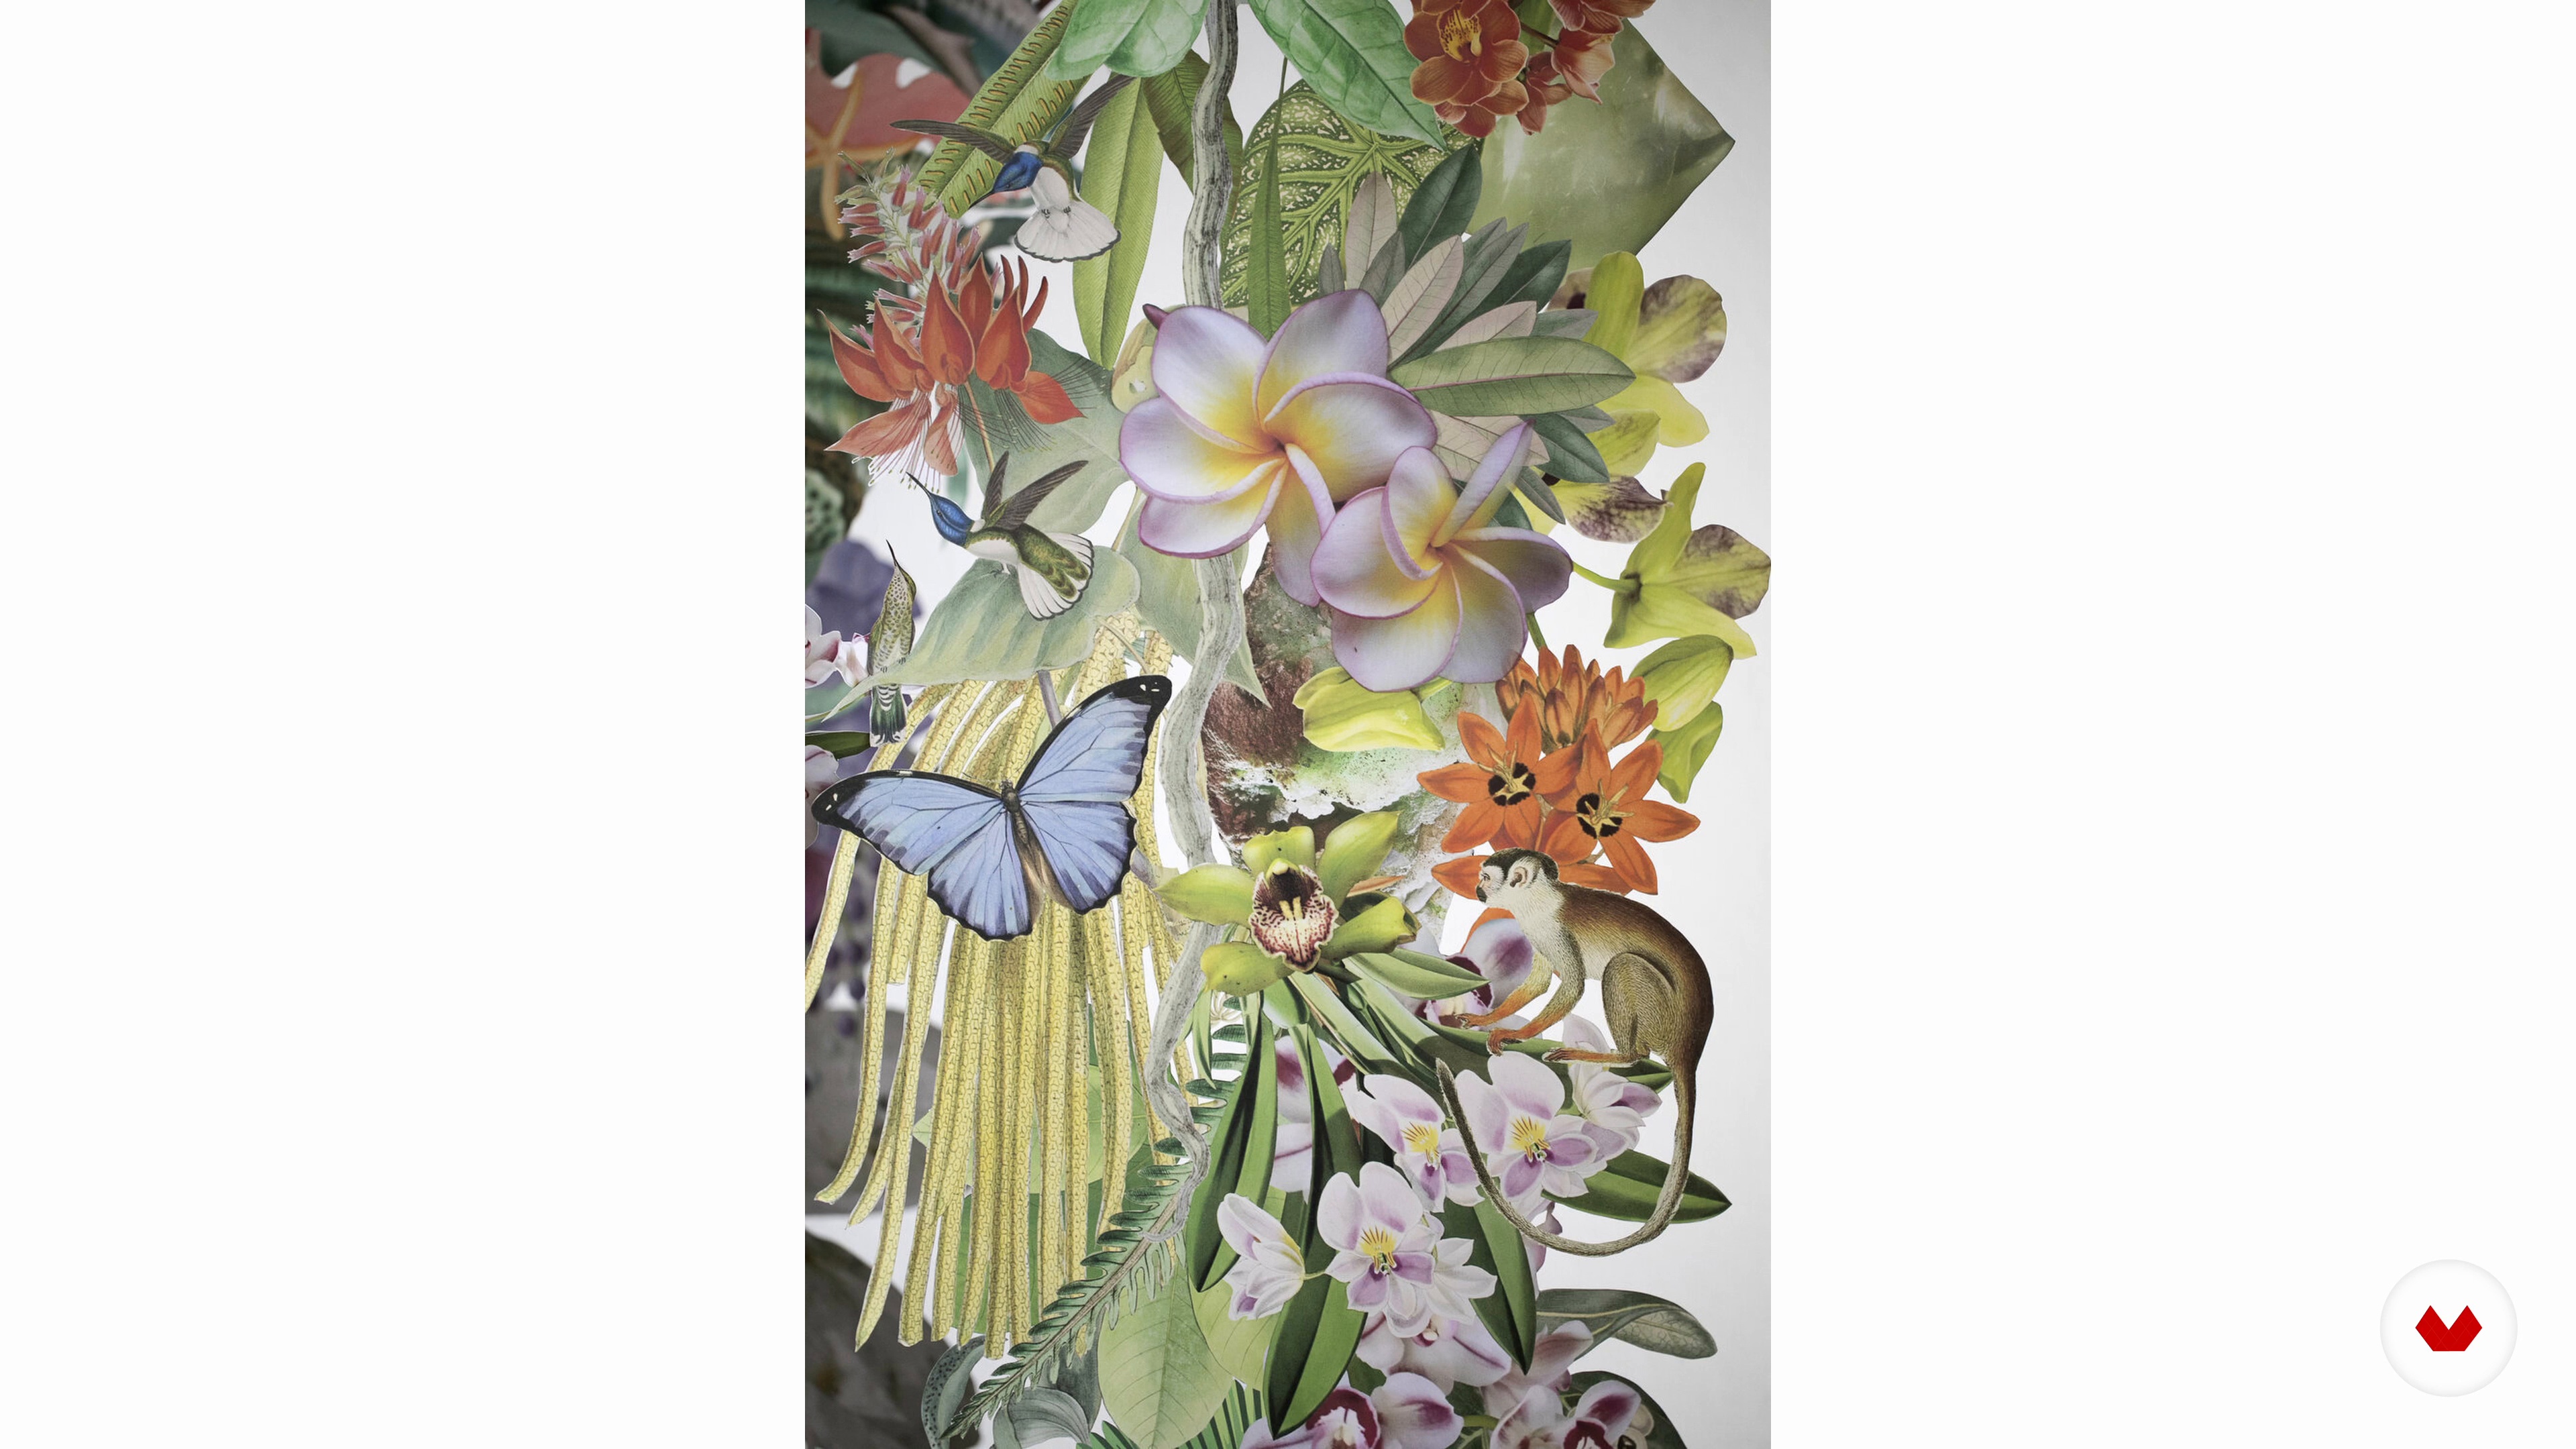
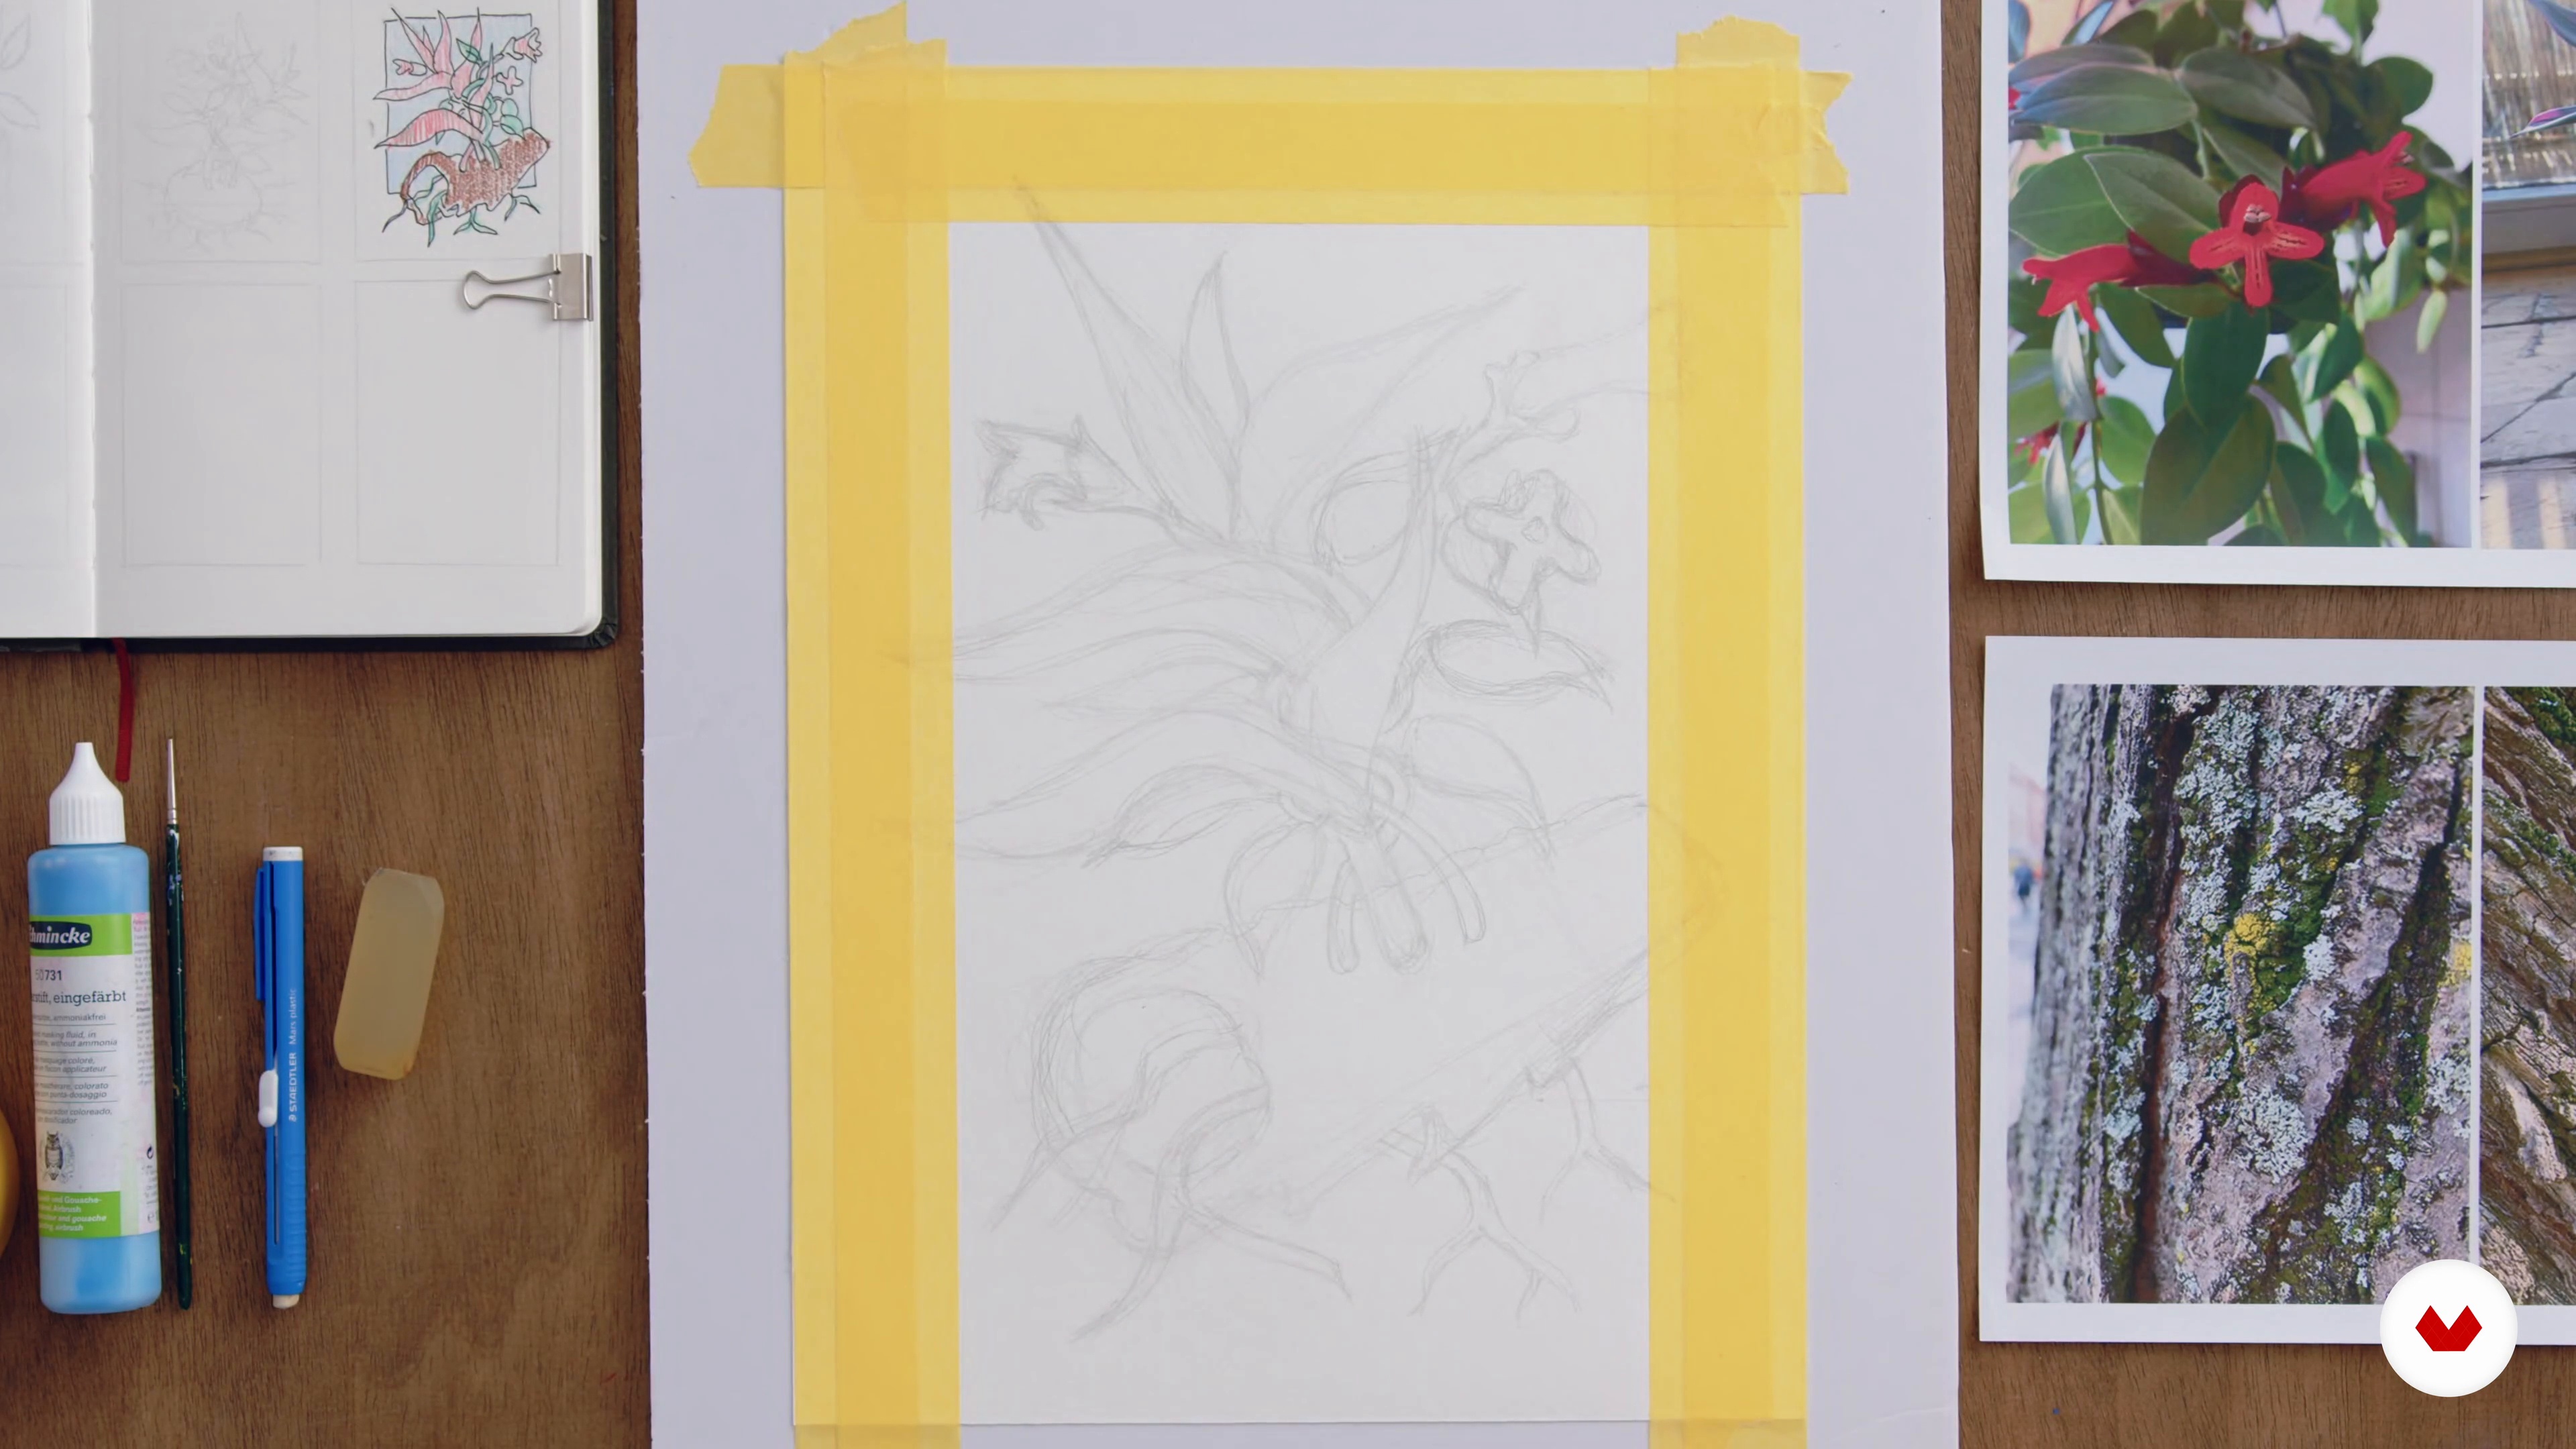
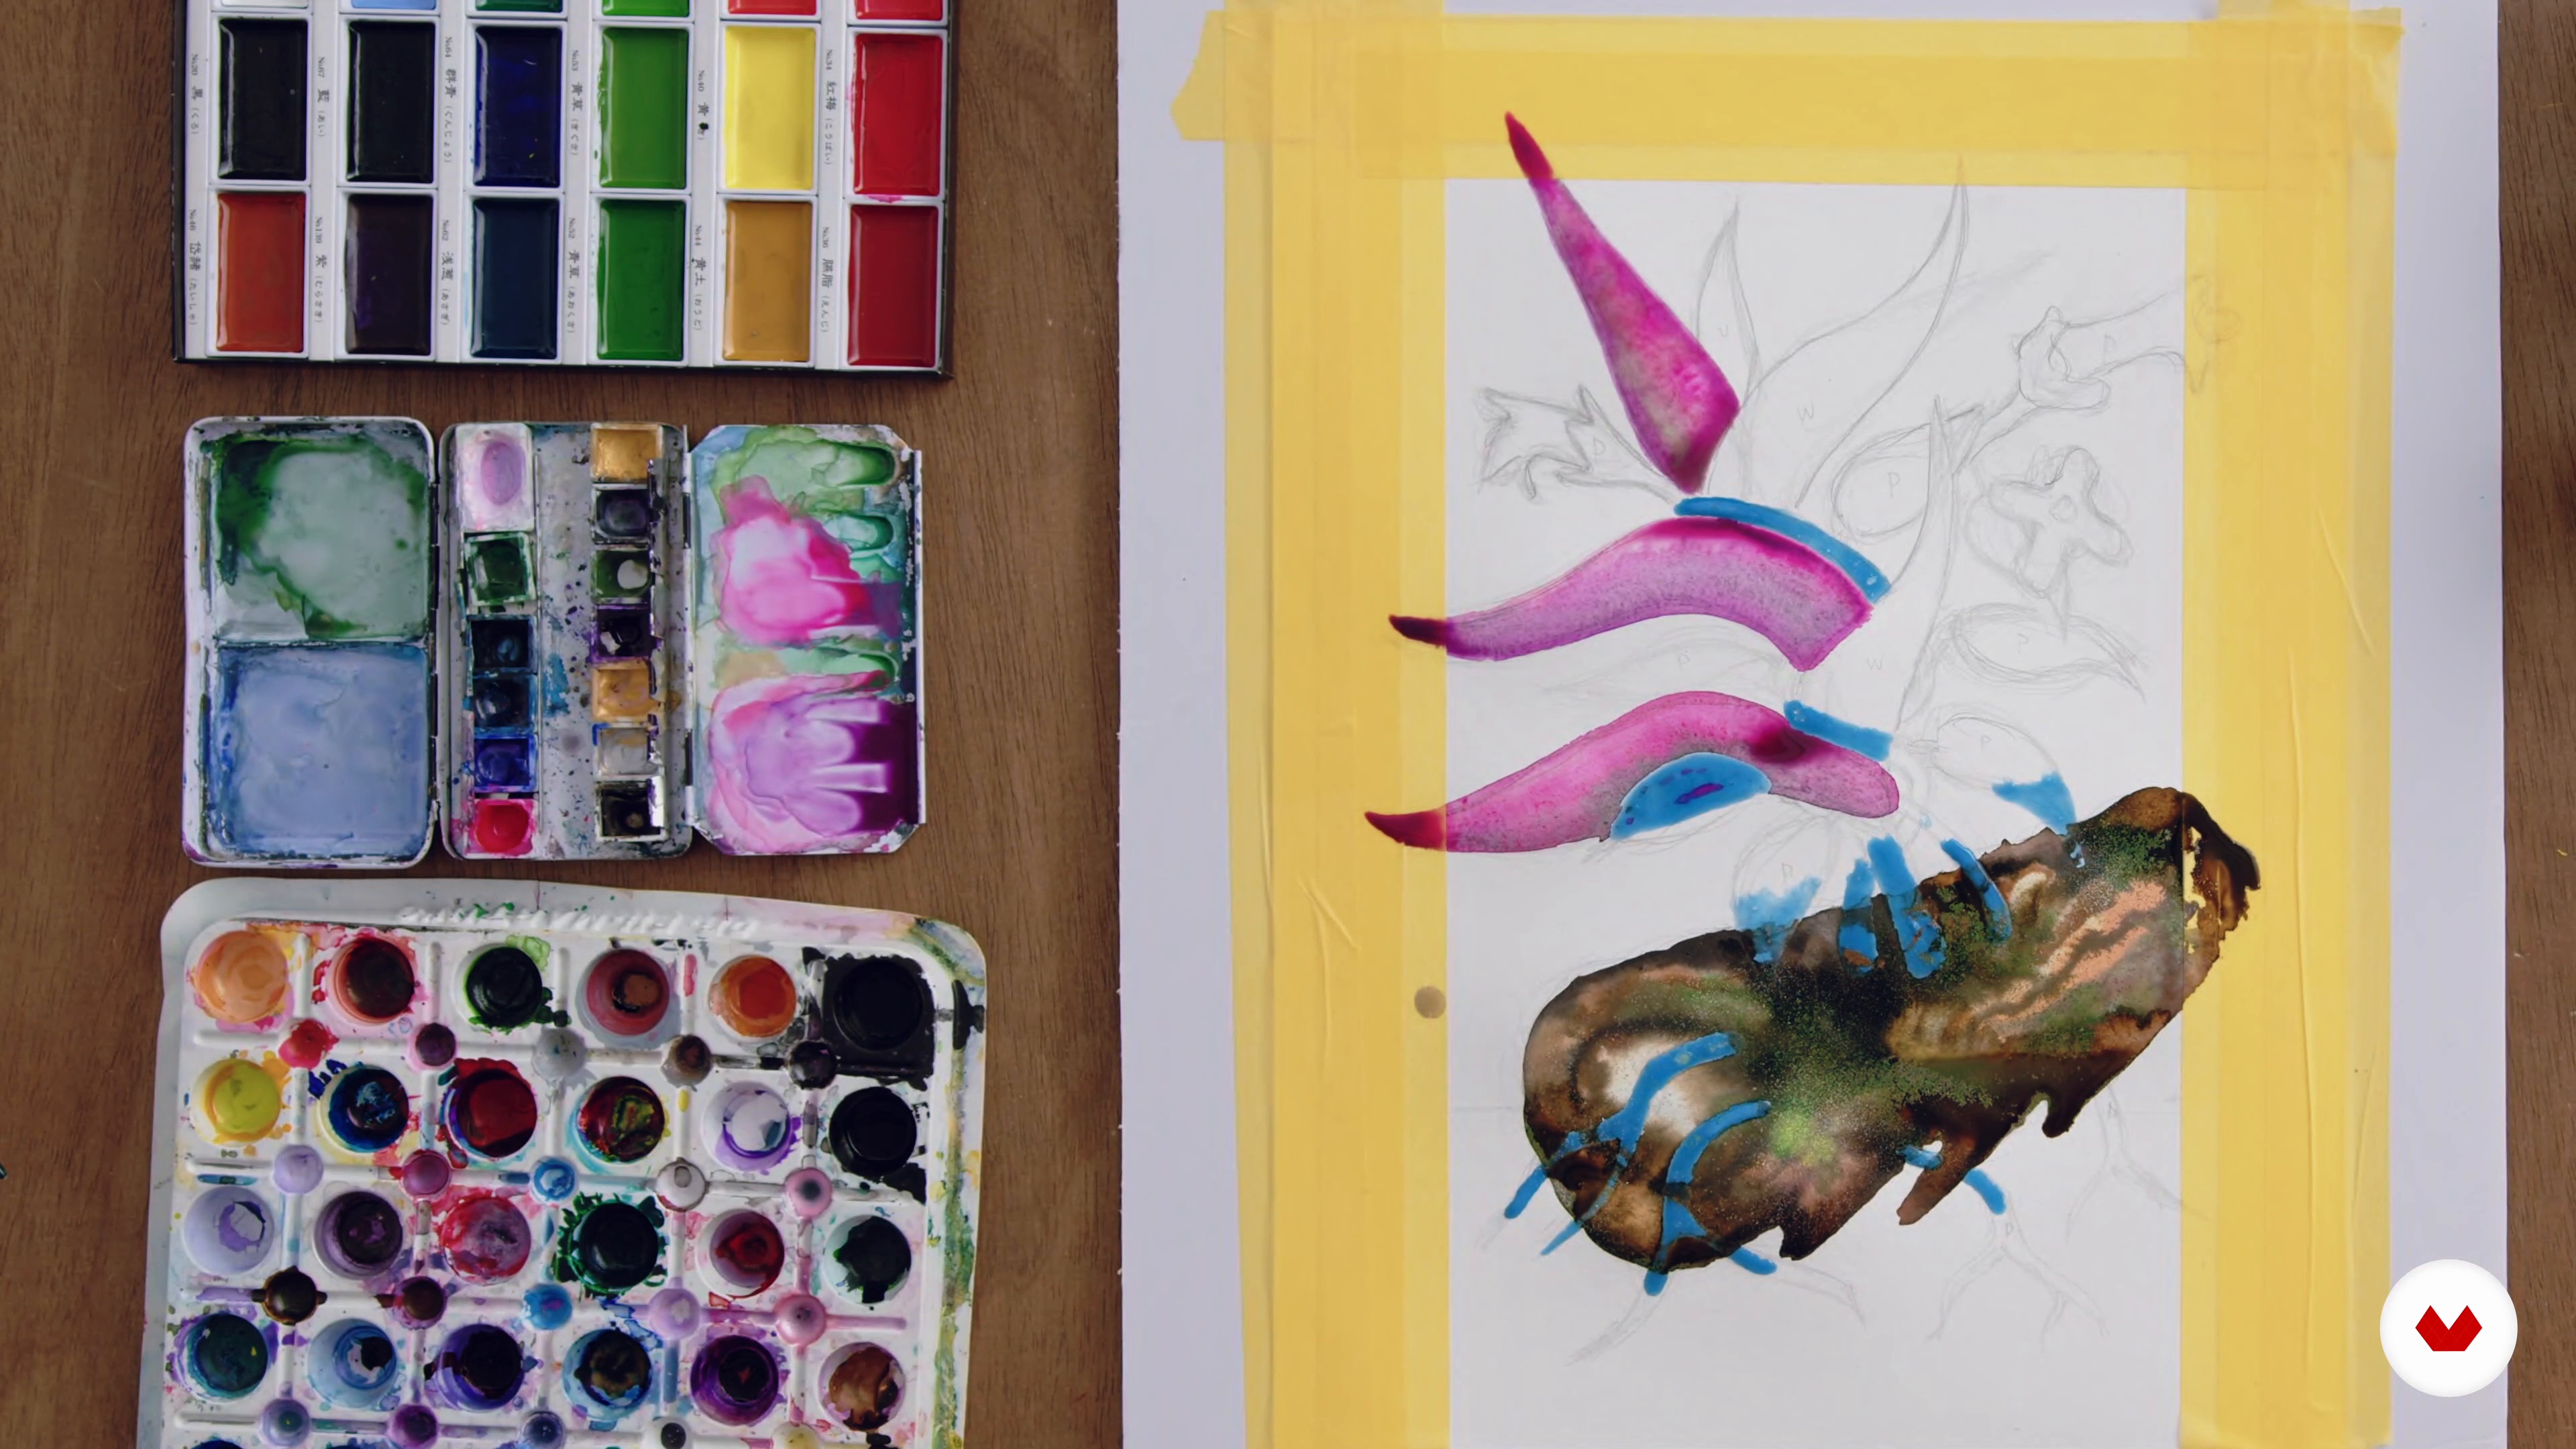
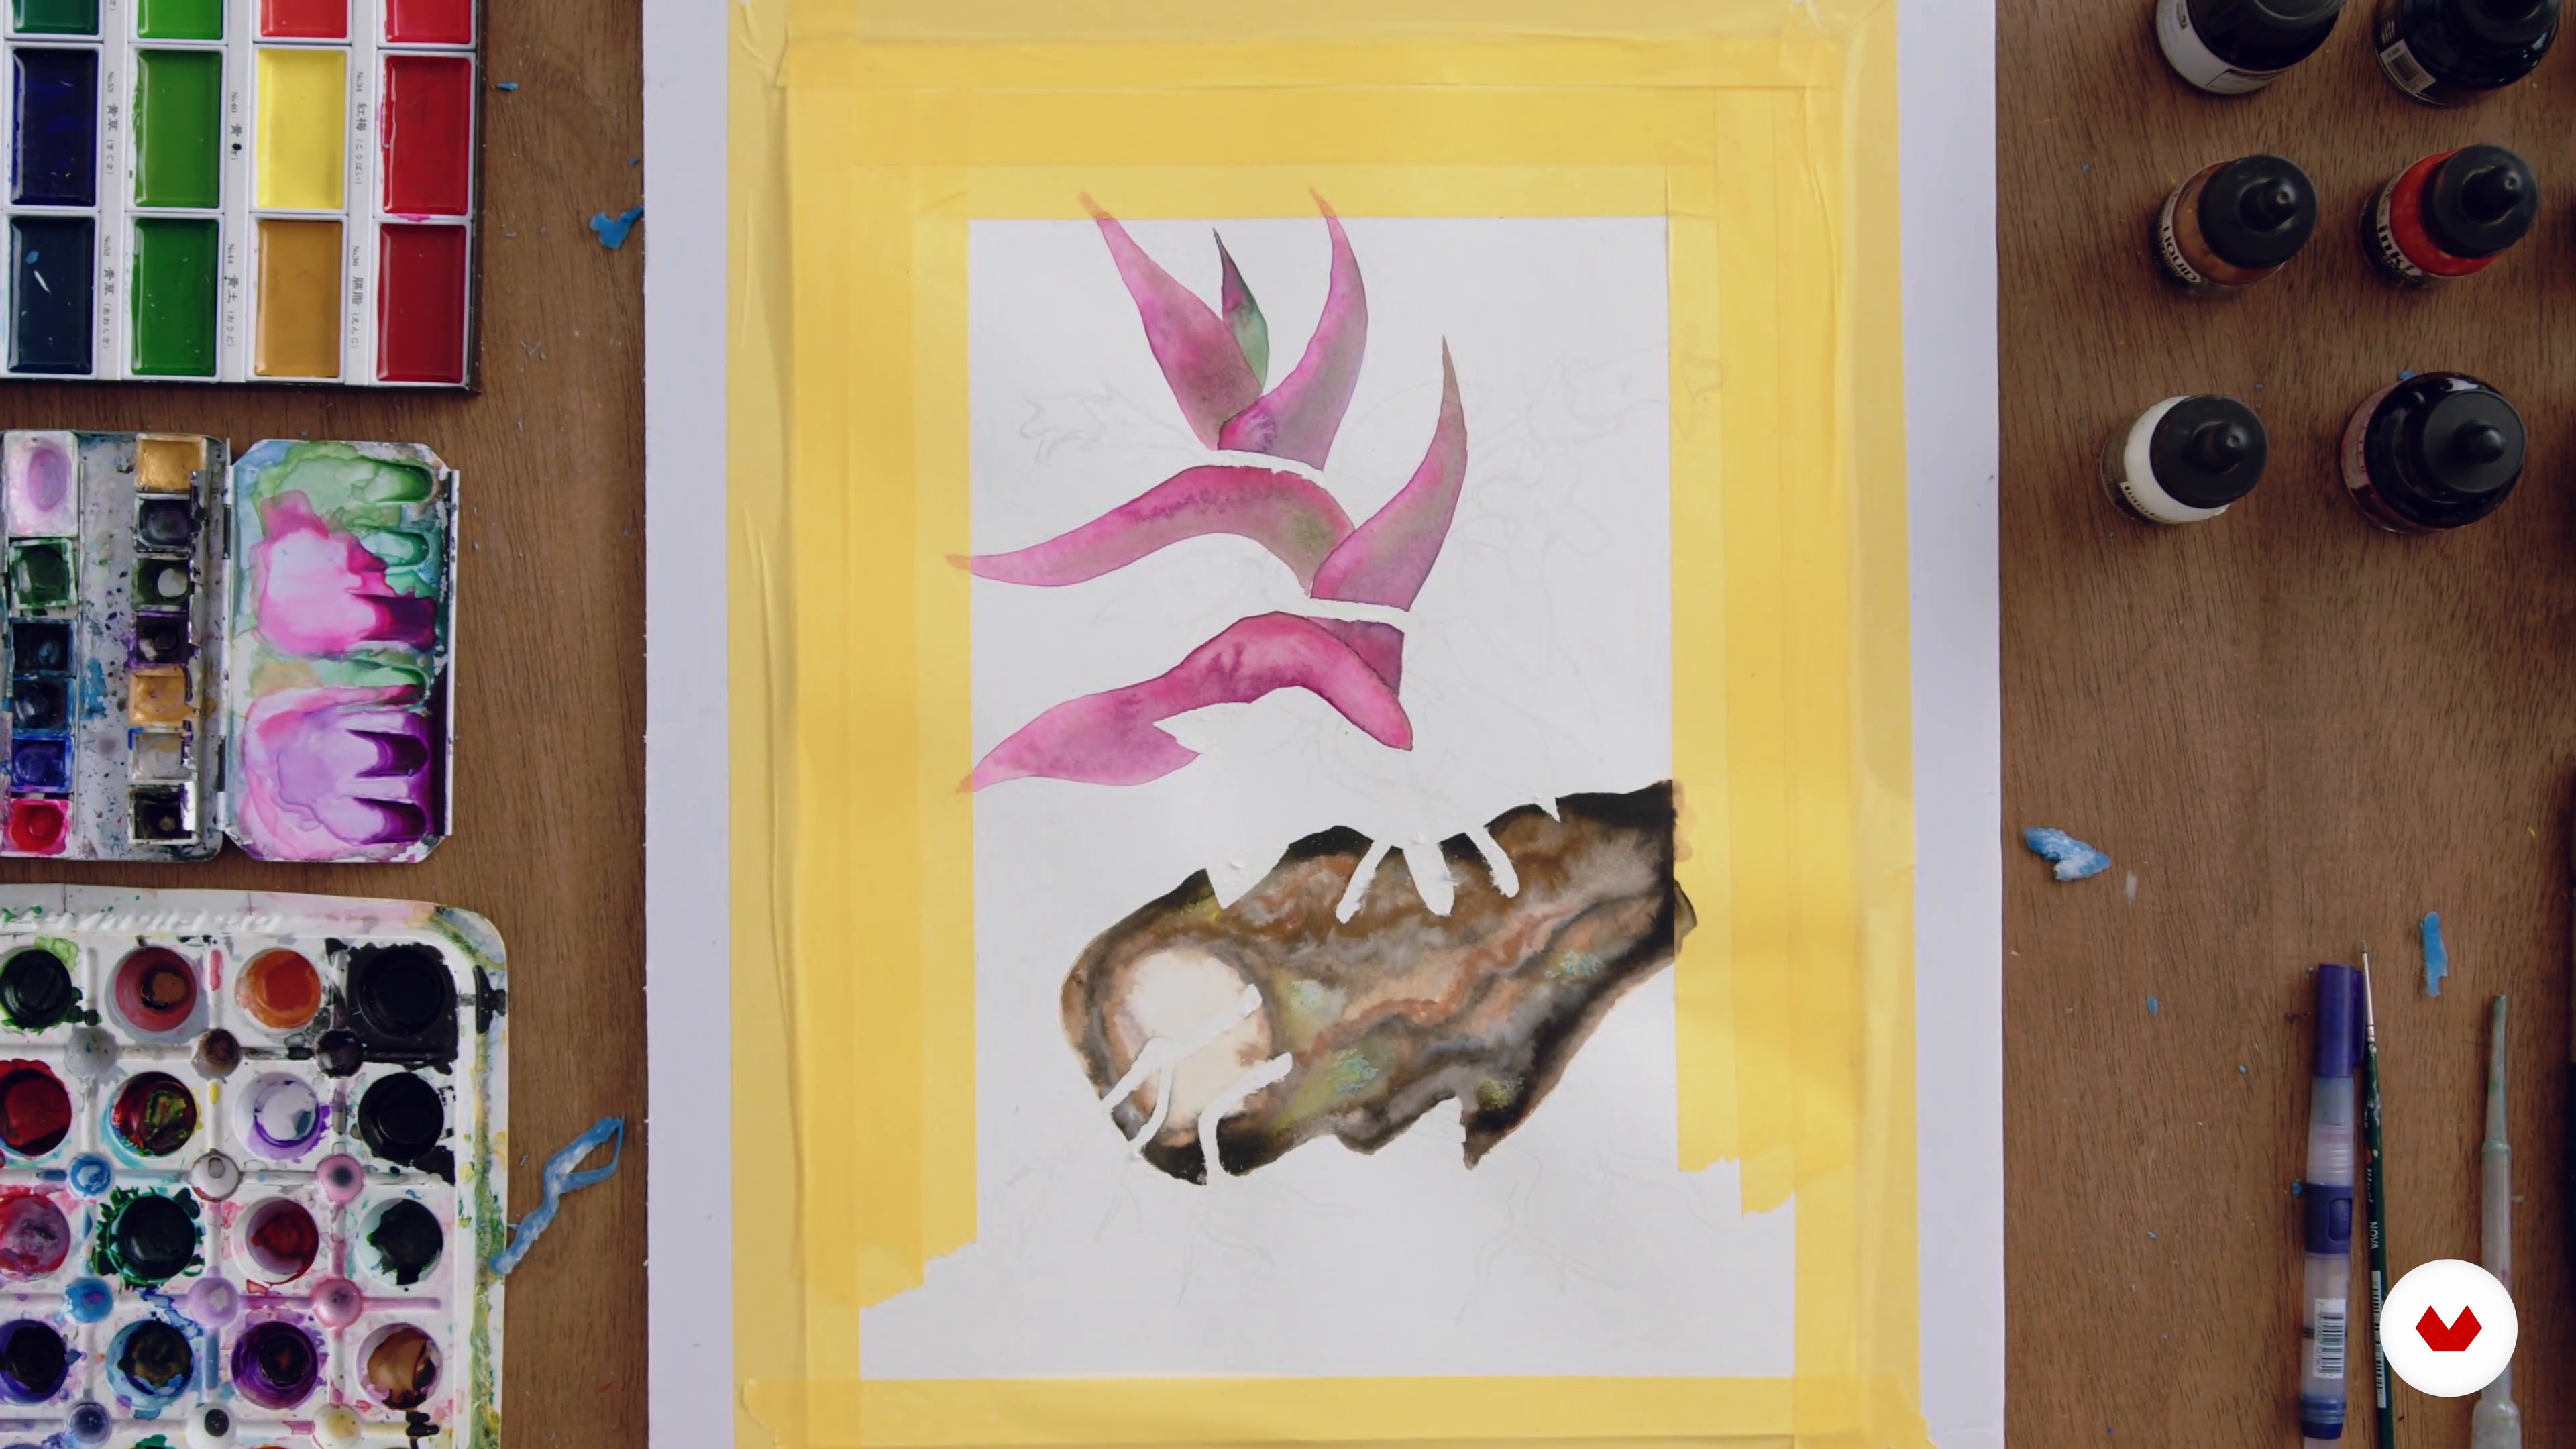
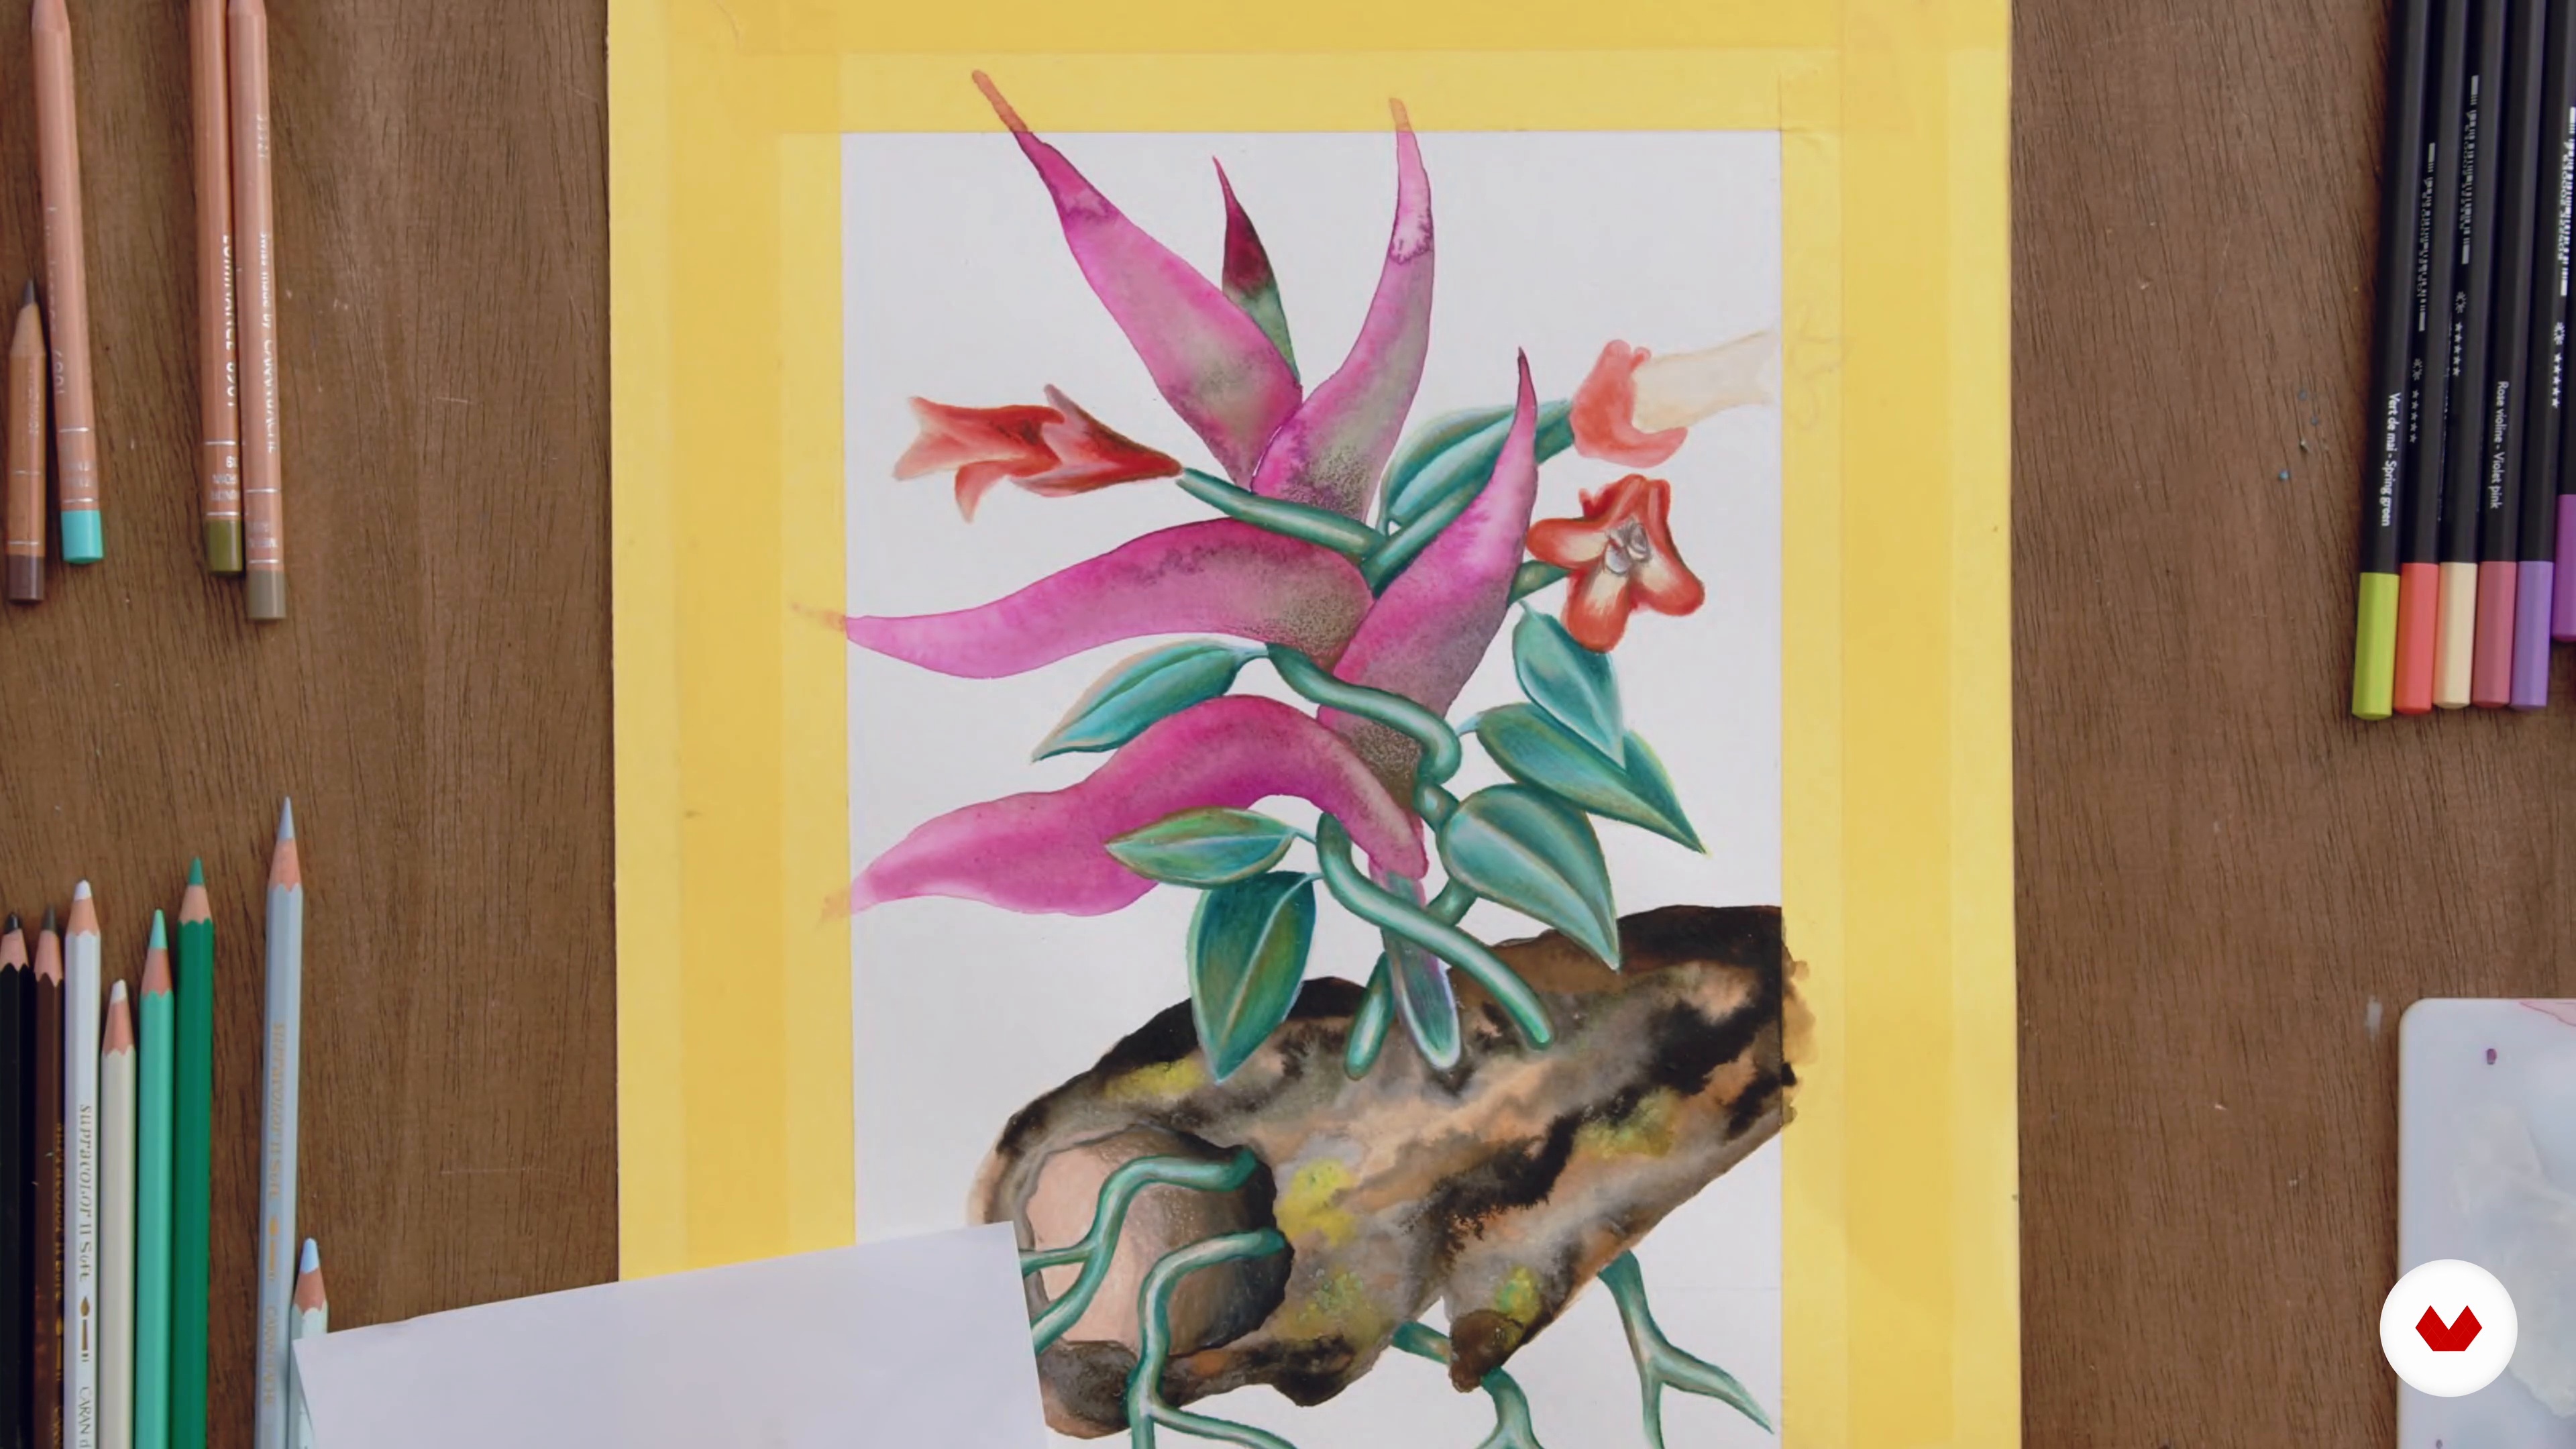
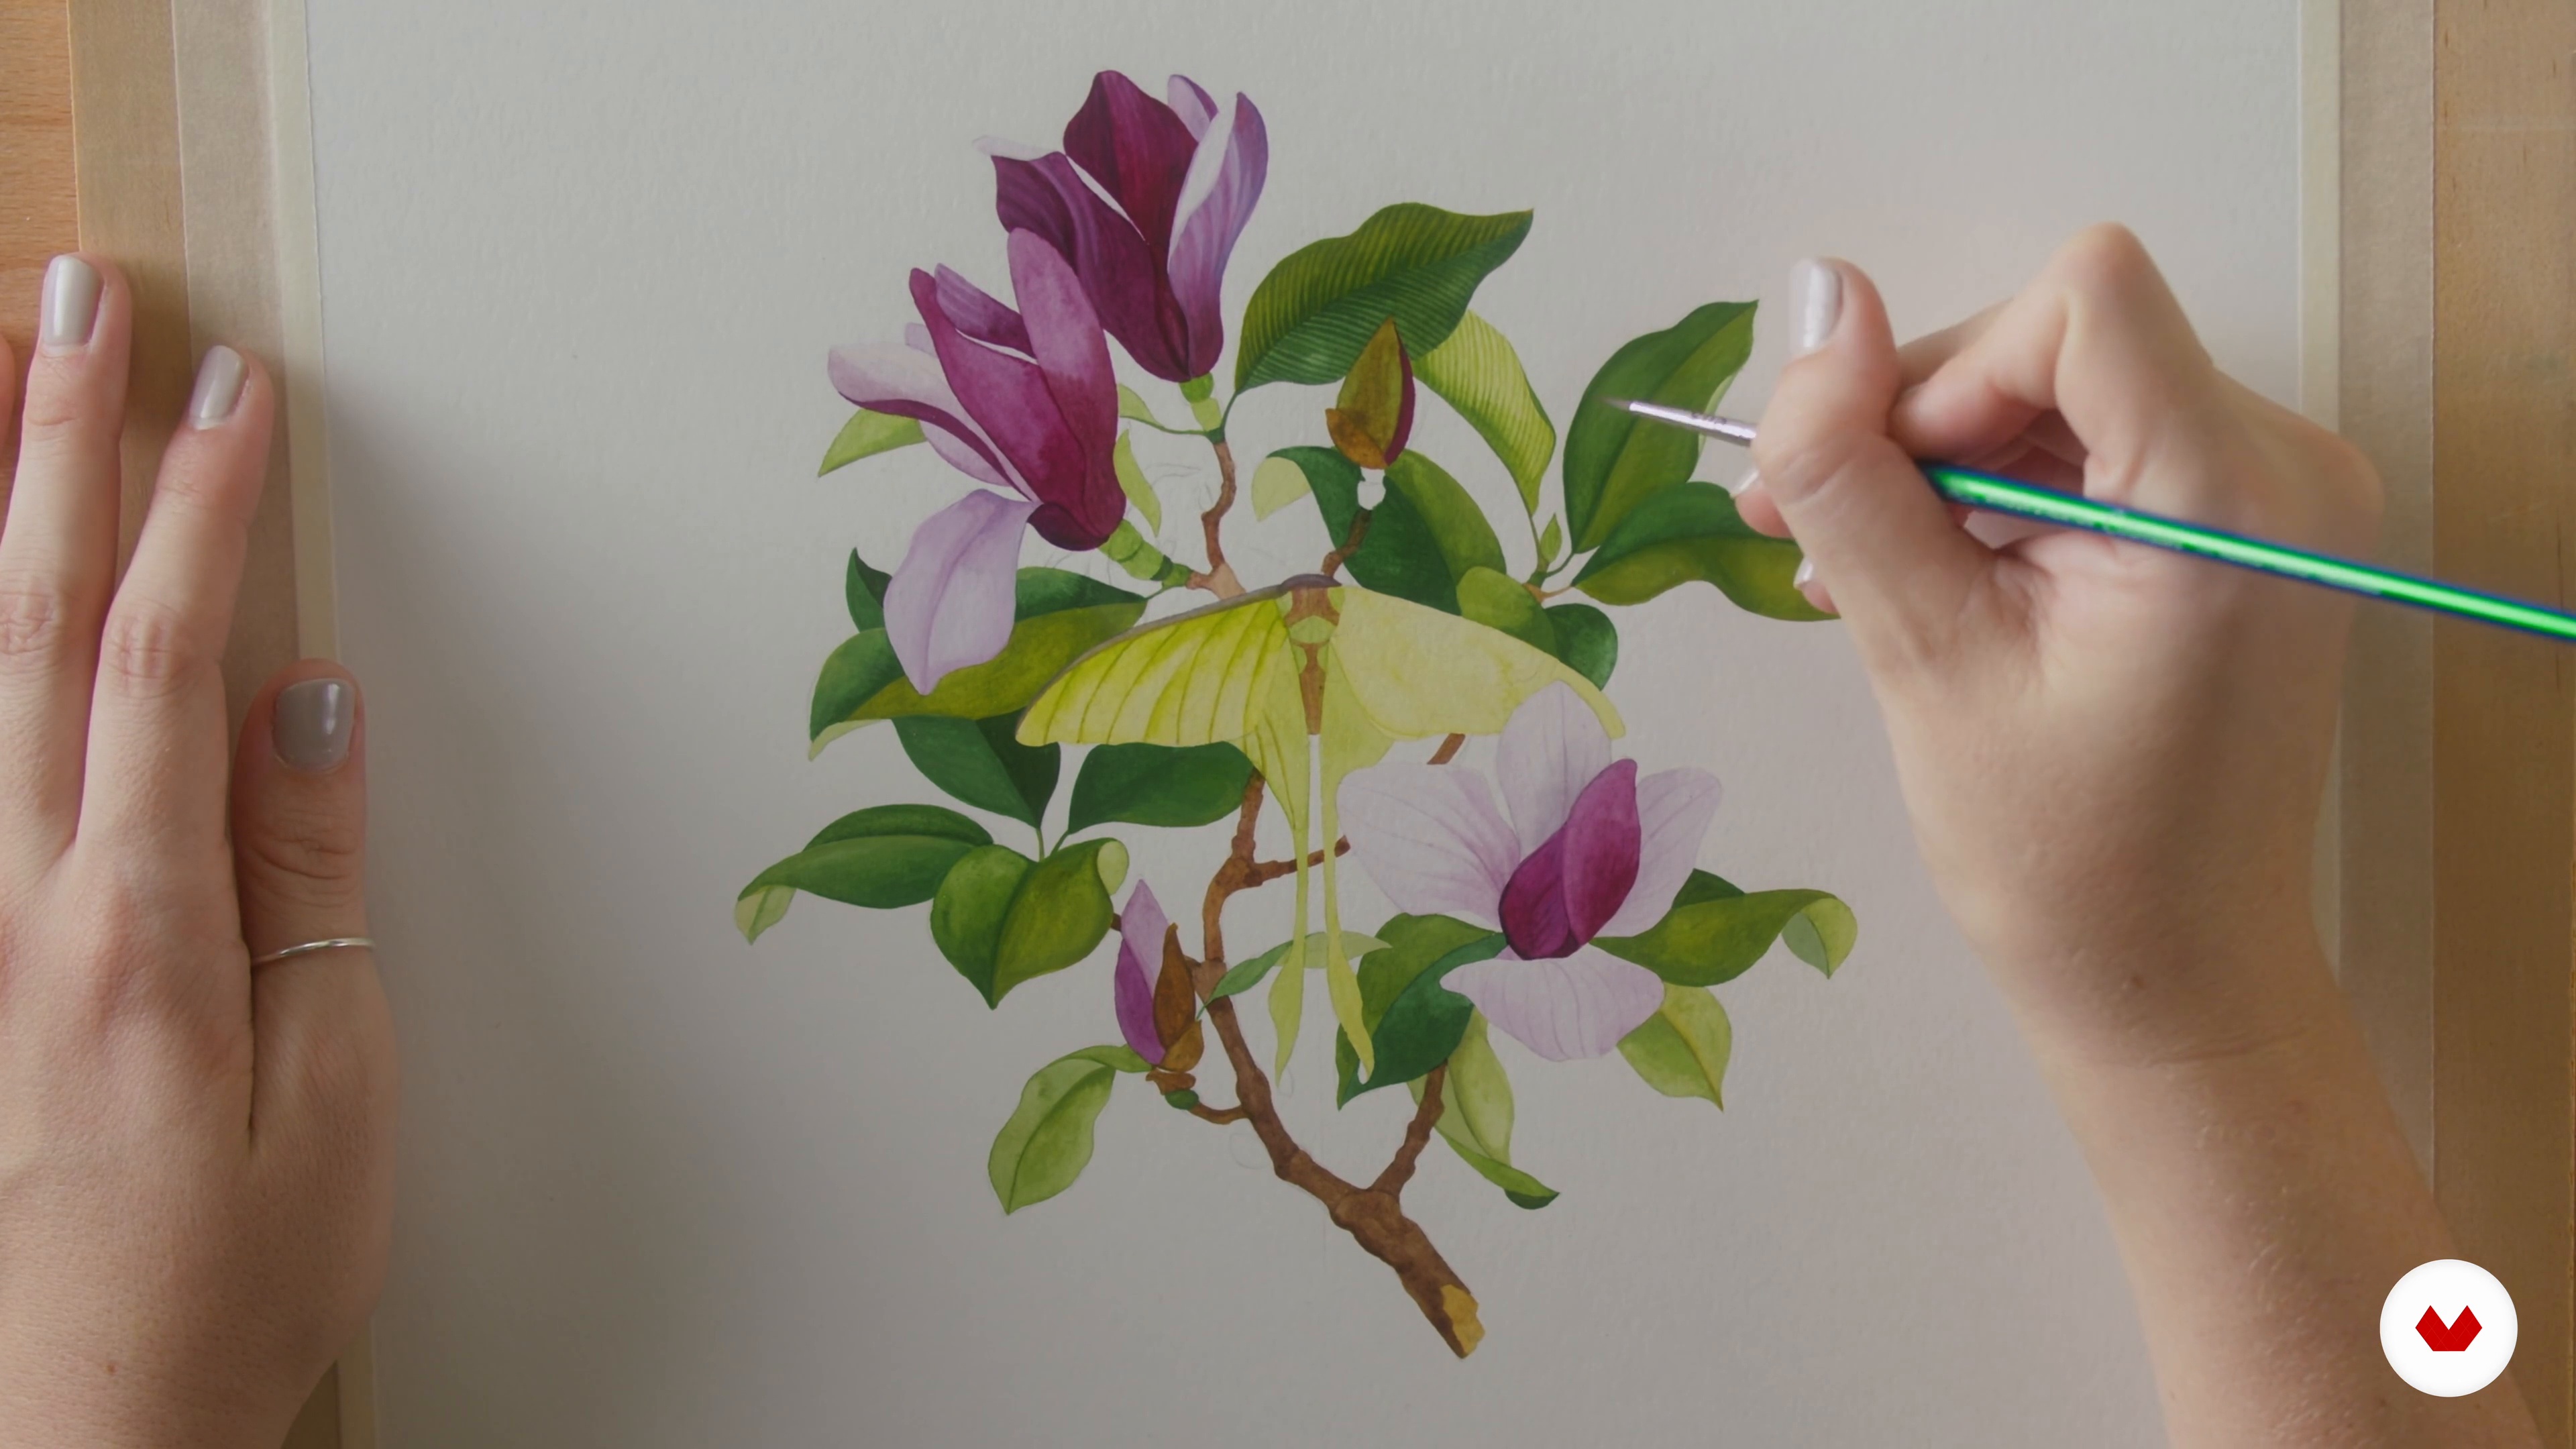
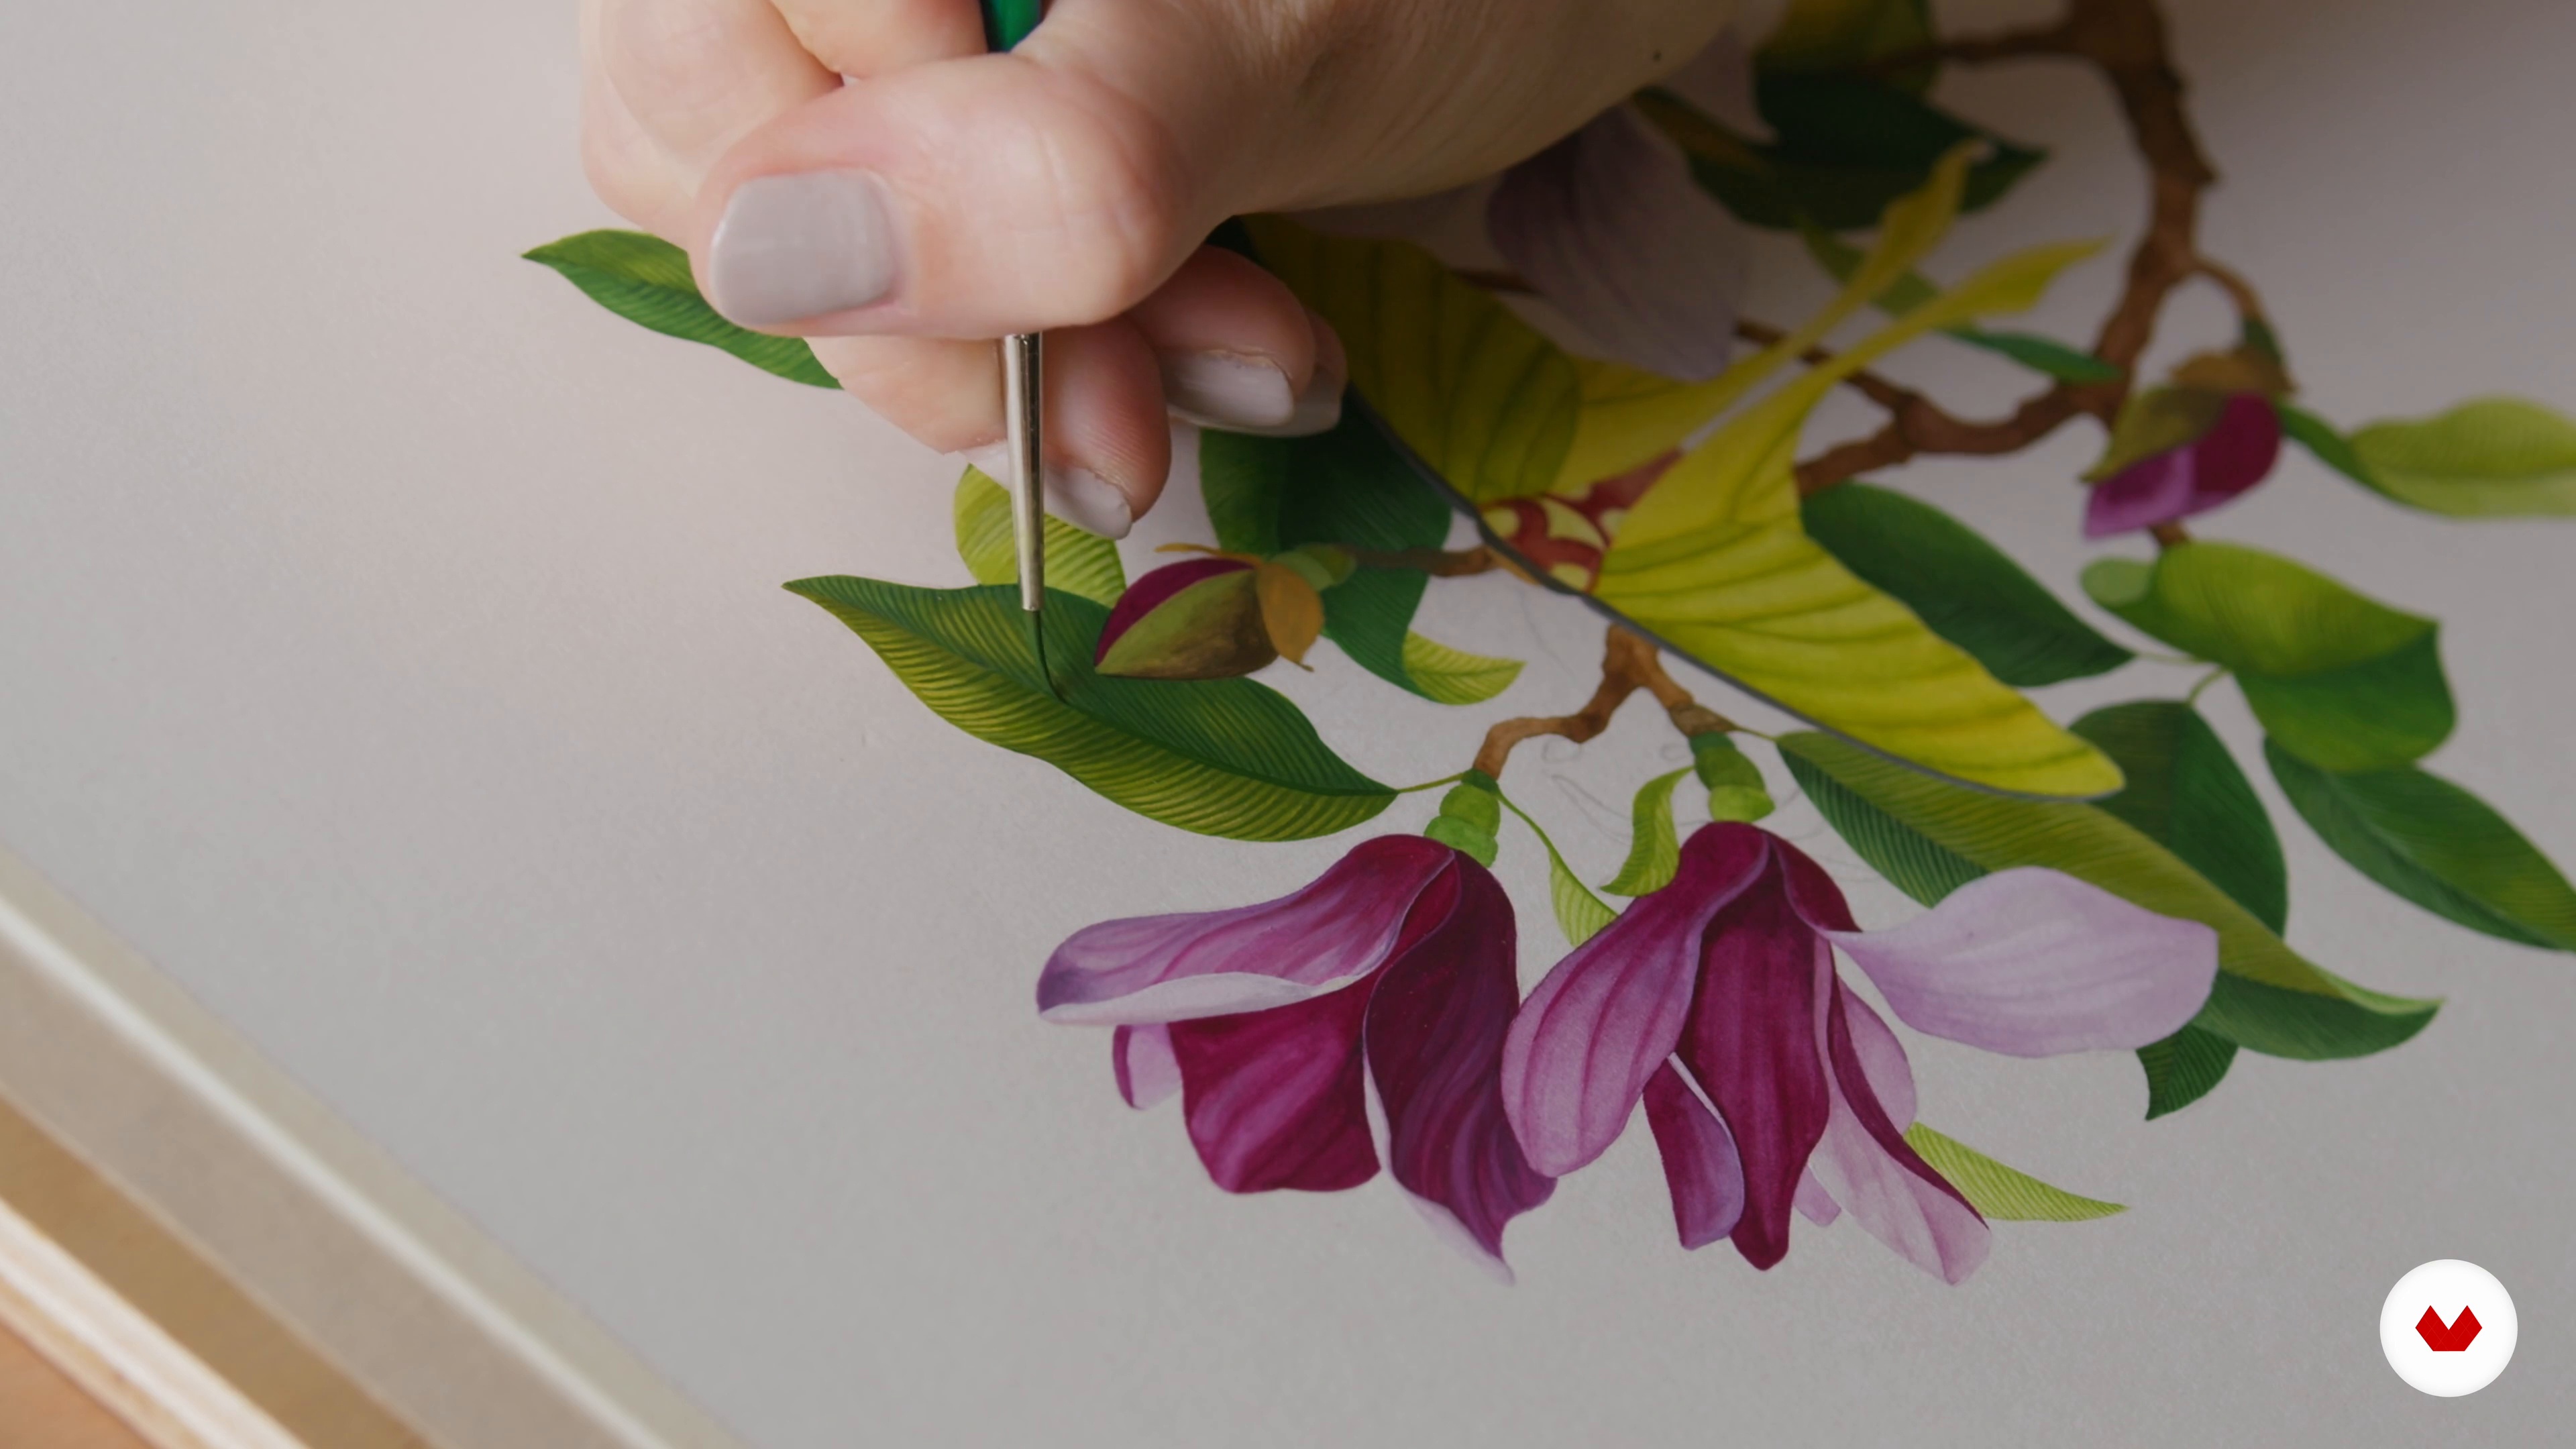
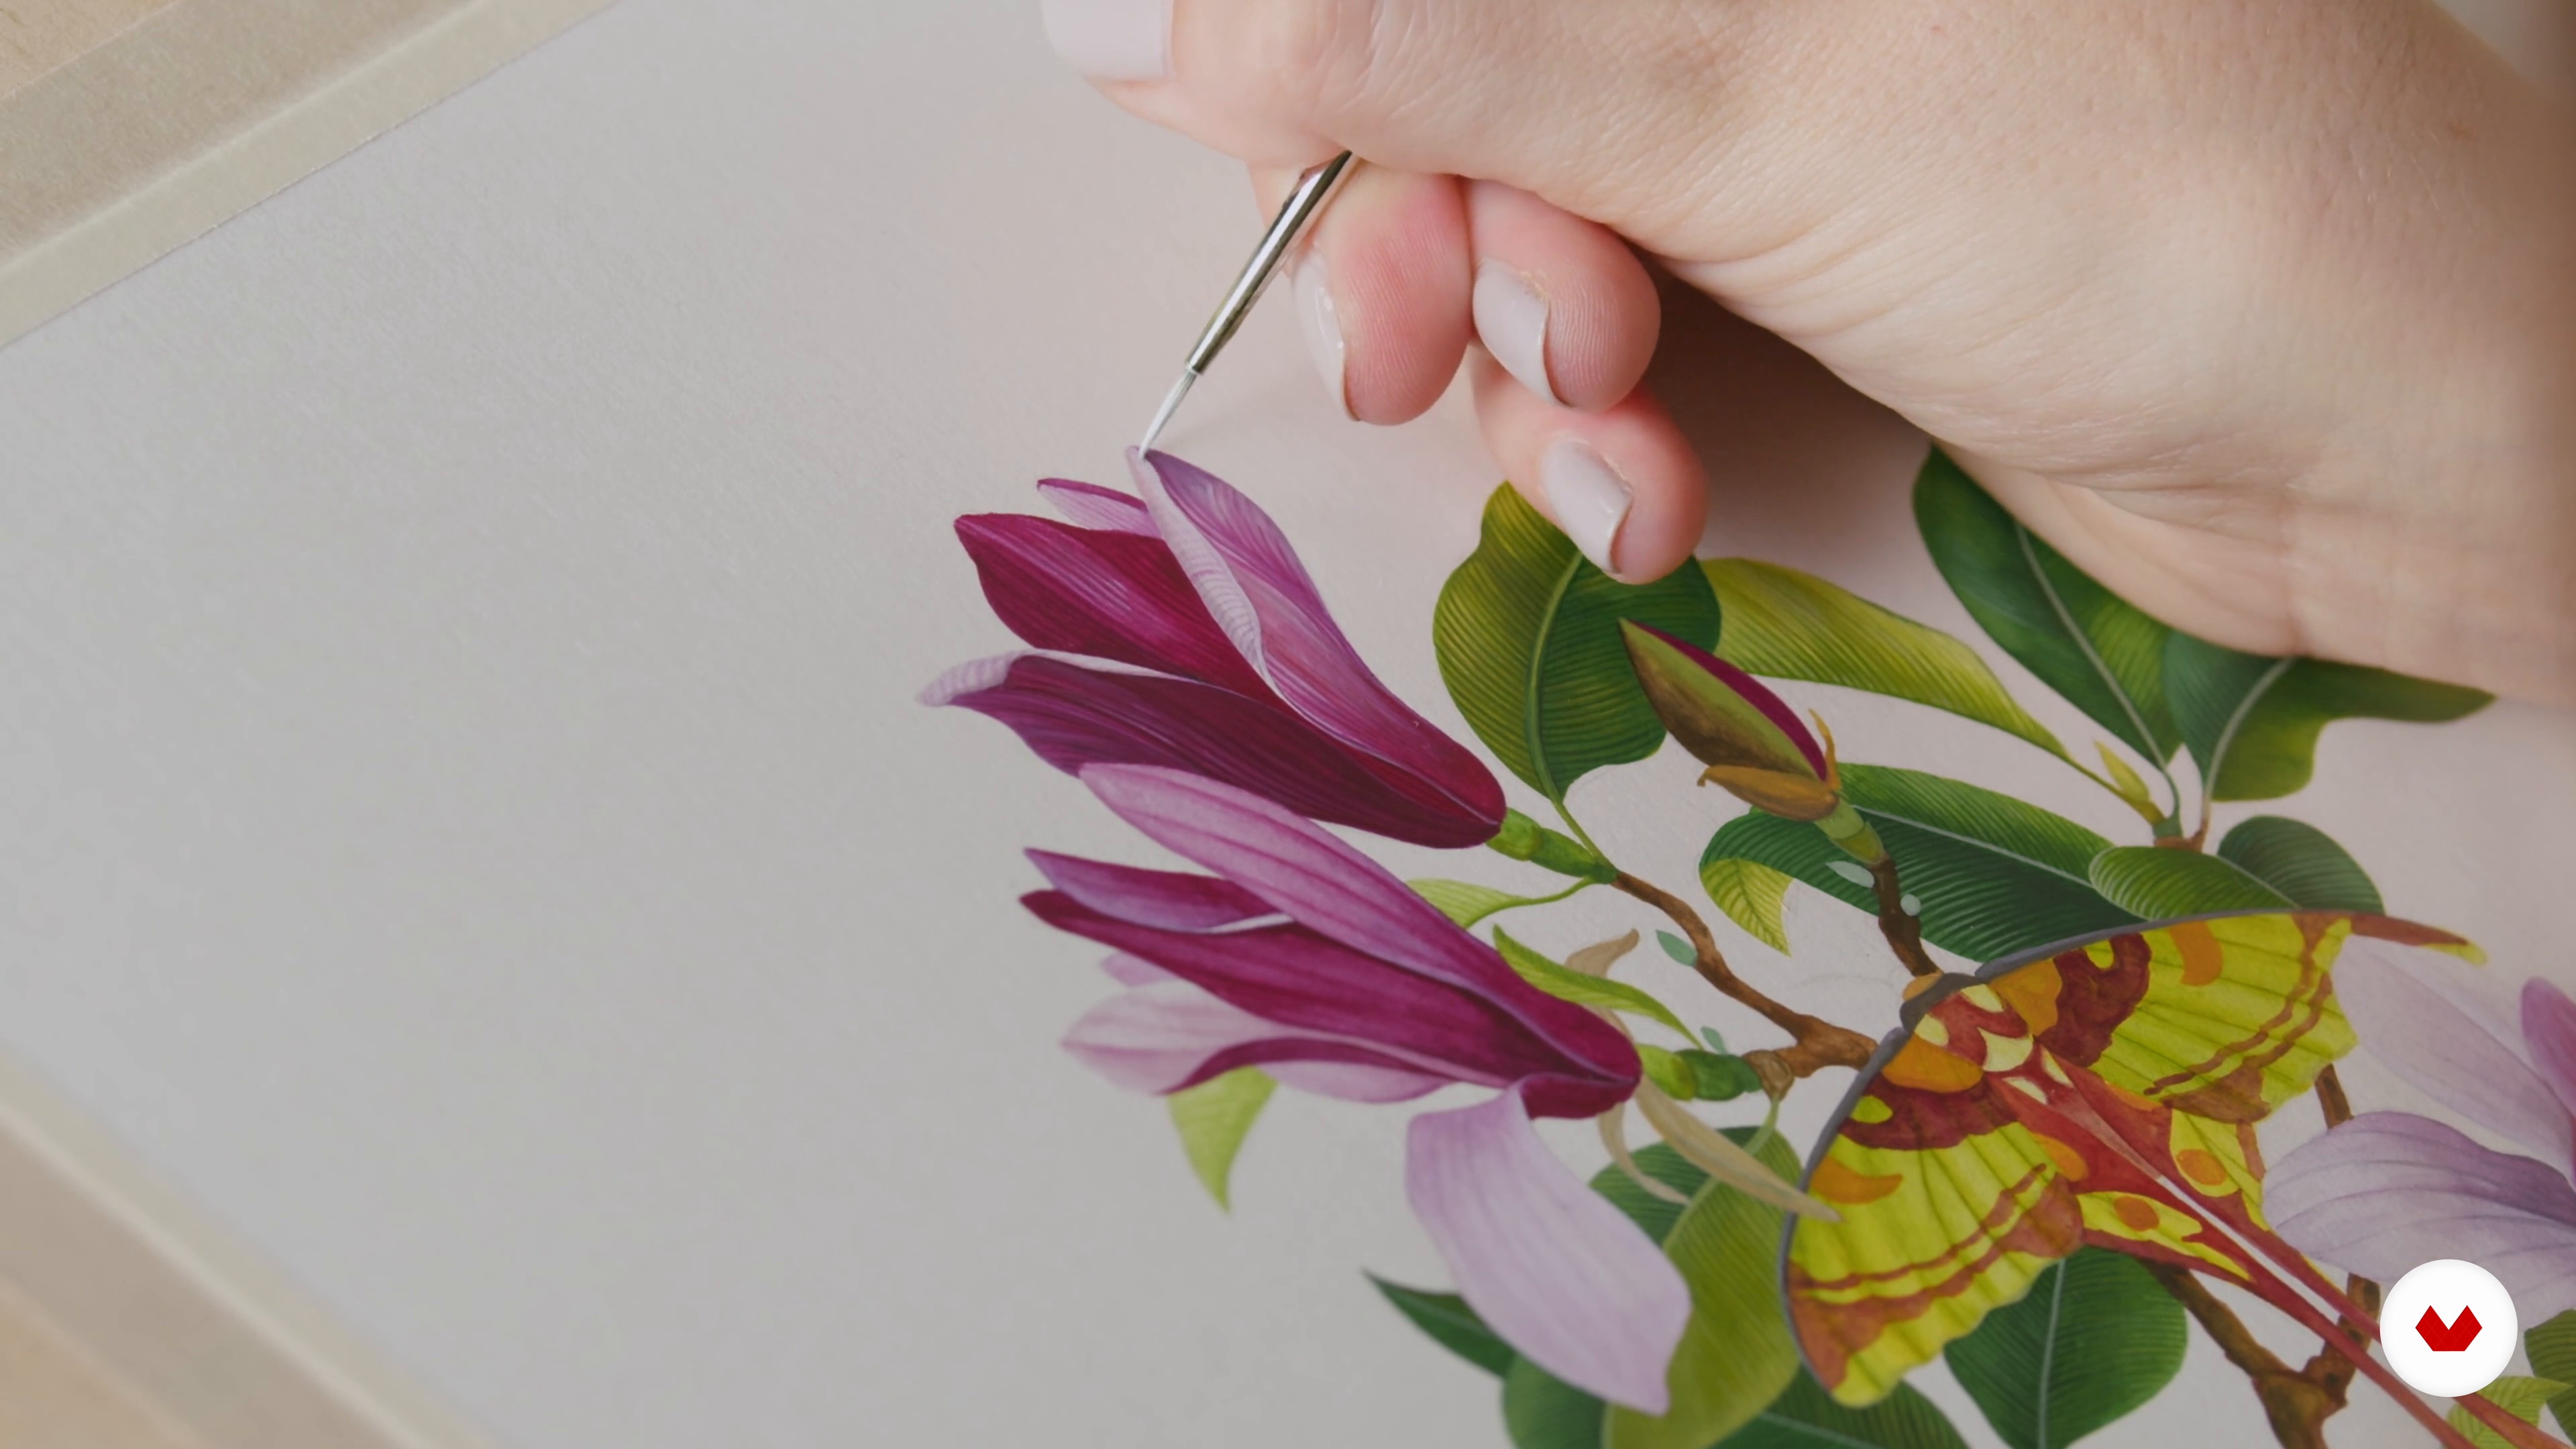
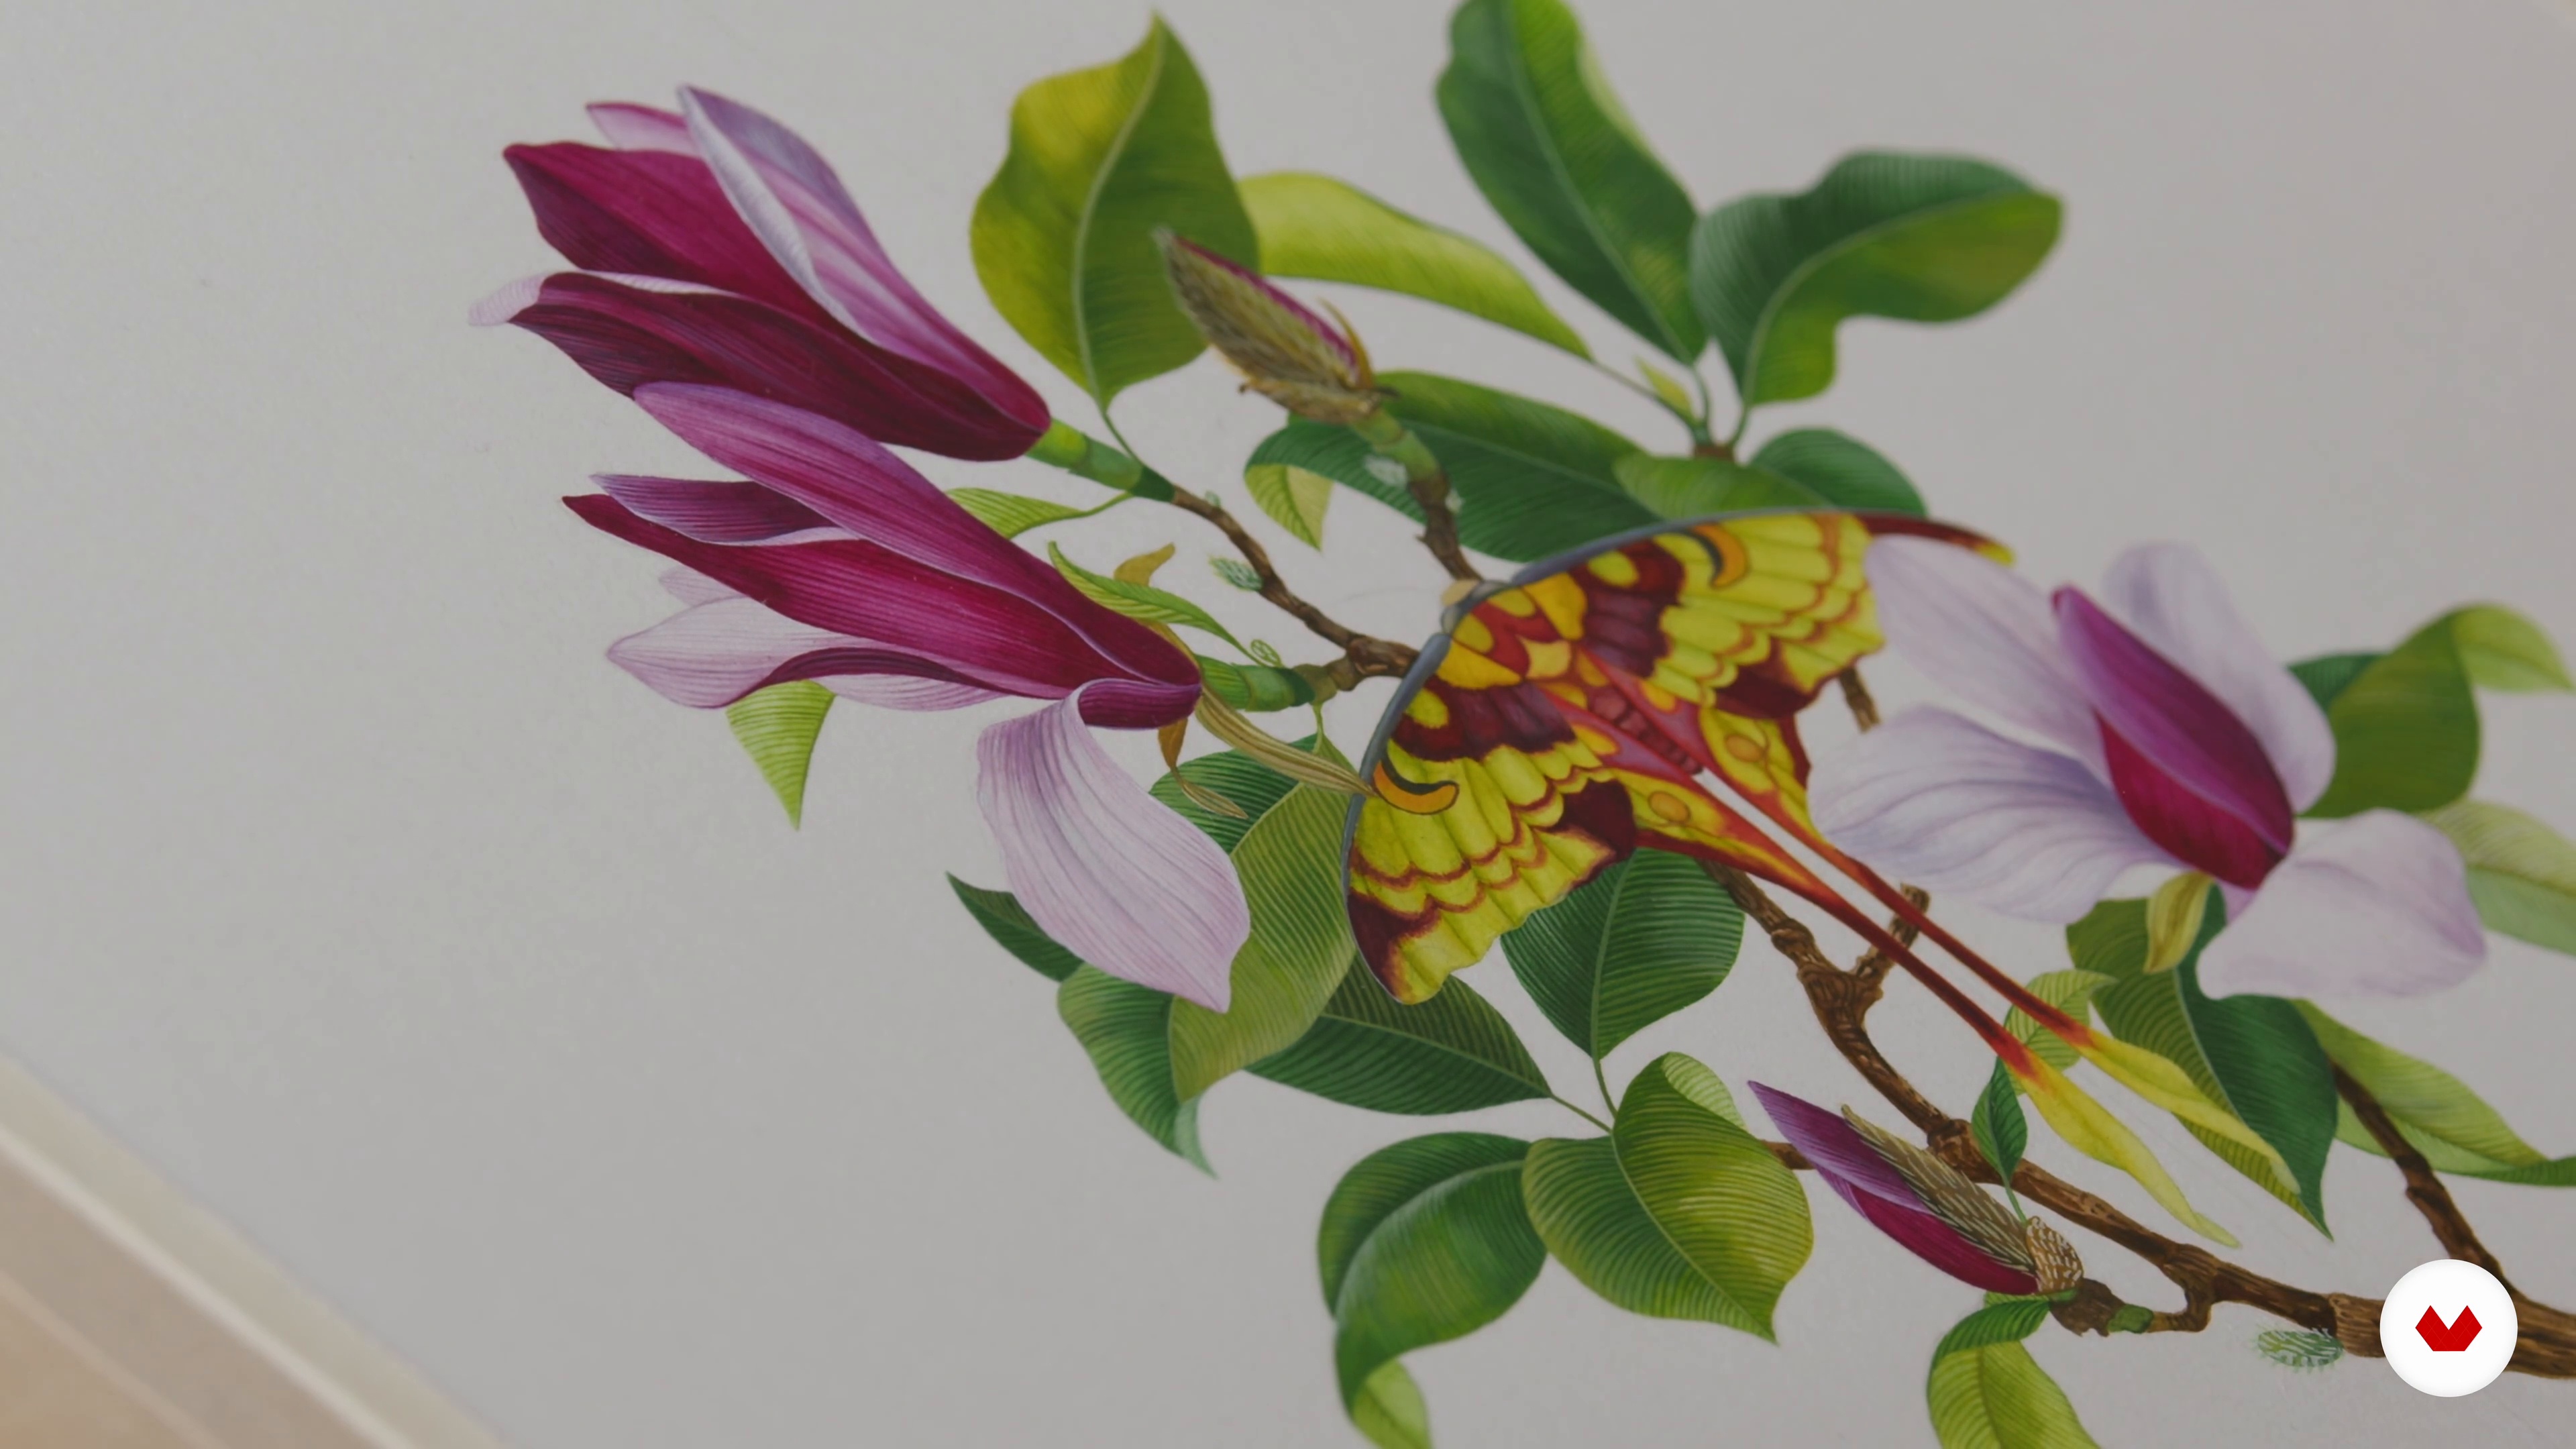
Immerse yourself in the world of botanical and naturalistic illustration, where you can develop your artistic skills from sketching to advanced techniques. This specialization offers a unique journey through various media, including watercolor, gouache, and ink. Dive into traditional, contemporary, and meditative styles as you hone your ability to capture the intricate beauty of nature. Embrace a meditative approach to botanical illustration, developing mindfulness while mastering fundamental drawing techniques. Experience the joy of connecting deeply with nature through realistic representations and scientific observation methods.

Guided by expert instructors Lapin, Katerina Kolberg, Julia Trickey, Helena Smyth, Rommy González, and Georgina Taylor, you'll learn to balance scientific precision with artistic expression. Explore the vibrant world of botanical watercolors, creating compositions that blend art and science. Experiment with contemporary techniques, crafting a personal visual language that reflects your unique style. By the end of this specialization, you'll have a rich portfolio showcasing your mastery of botanical art, ready to inspire further creative ventures.

Read more ↓

What will you learn in this specialization?

A total of 7 modules and 115 lessons
A total of 1d 1h 25m of vídeo lessons
Taught by 6 selected expert teachers
image
1
Introduction
Trace the lineage of botanical illustration—from medieval herbals to modern expression—and discover how close observation and watercolor unite science with soul. As your brush meets the page, you’ll uncover unseen beauty and forge a deeper bond with the natural world.
2m
image
2
Influences | Lapin
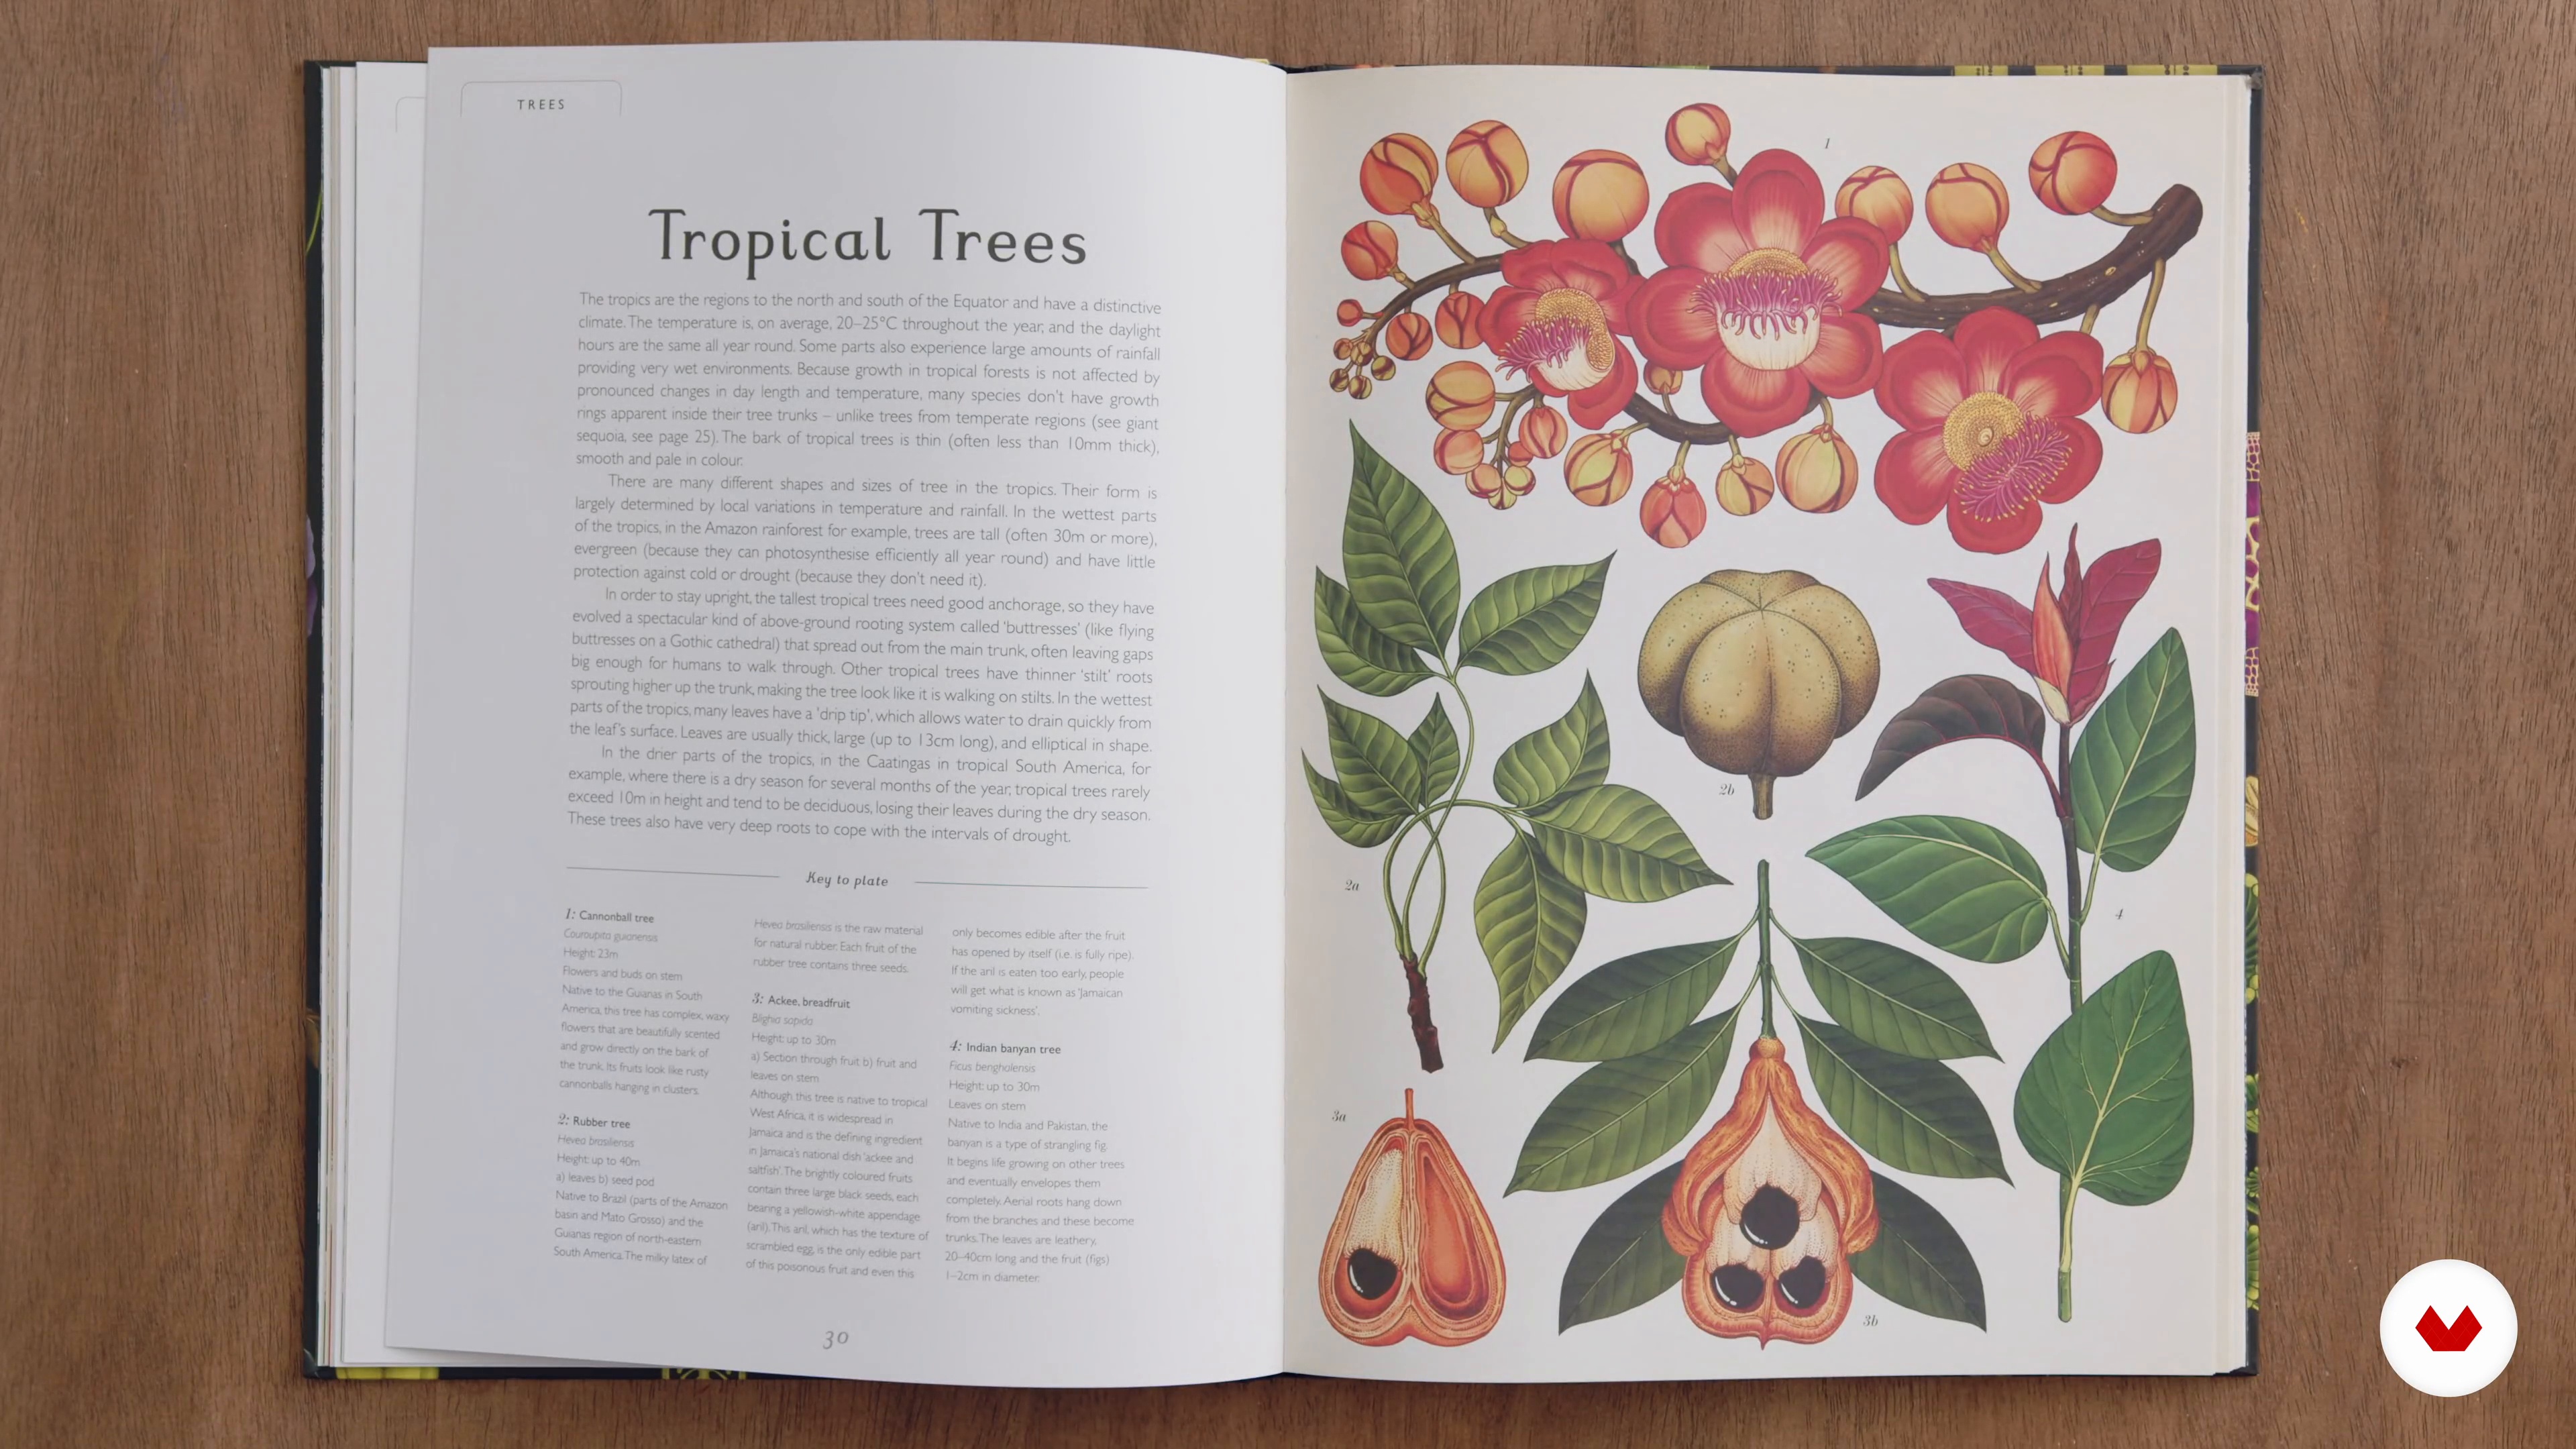
To be creative, you need curiosity and patience. Watching what other artists have done over the centuries is a great inspiration. Making art is like alchemy, in that you mix all your influences with time and a lot of practice to find your own language. In this lesson, I will talk about some of my influences, from scientist expeditions and naturalist illustrators, to Art Nouveau, and the influence of contemporary artists. But actually, many more artists inspired me along my career. I will share some more influences in the additional resources.
18m
image
2
Influences | Katerina Kolberg
Now, I would like to share with you the works of other artists that became a great inspiration for me.
14m
image
2
Influences | Julia Trickey
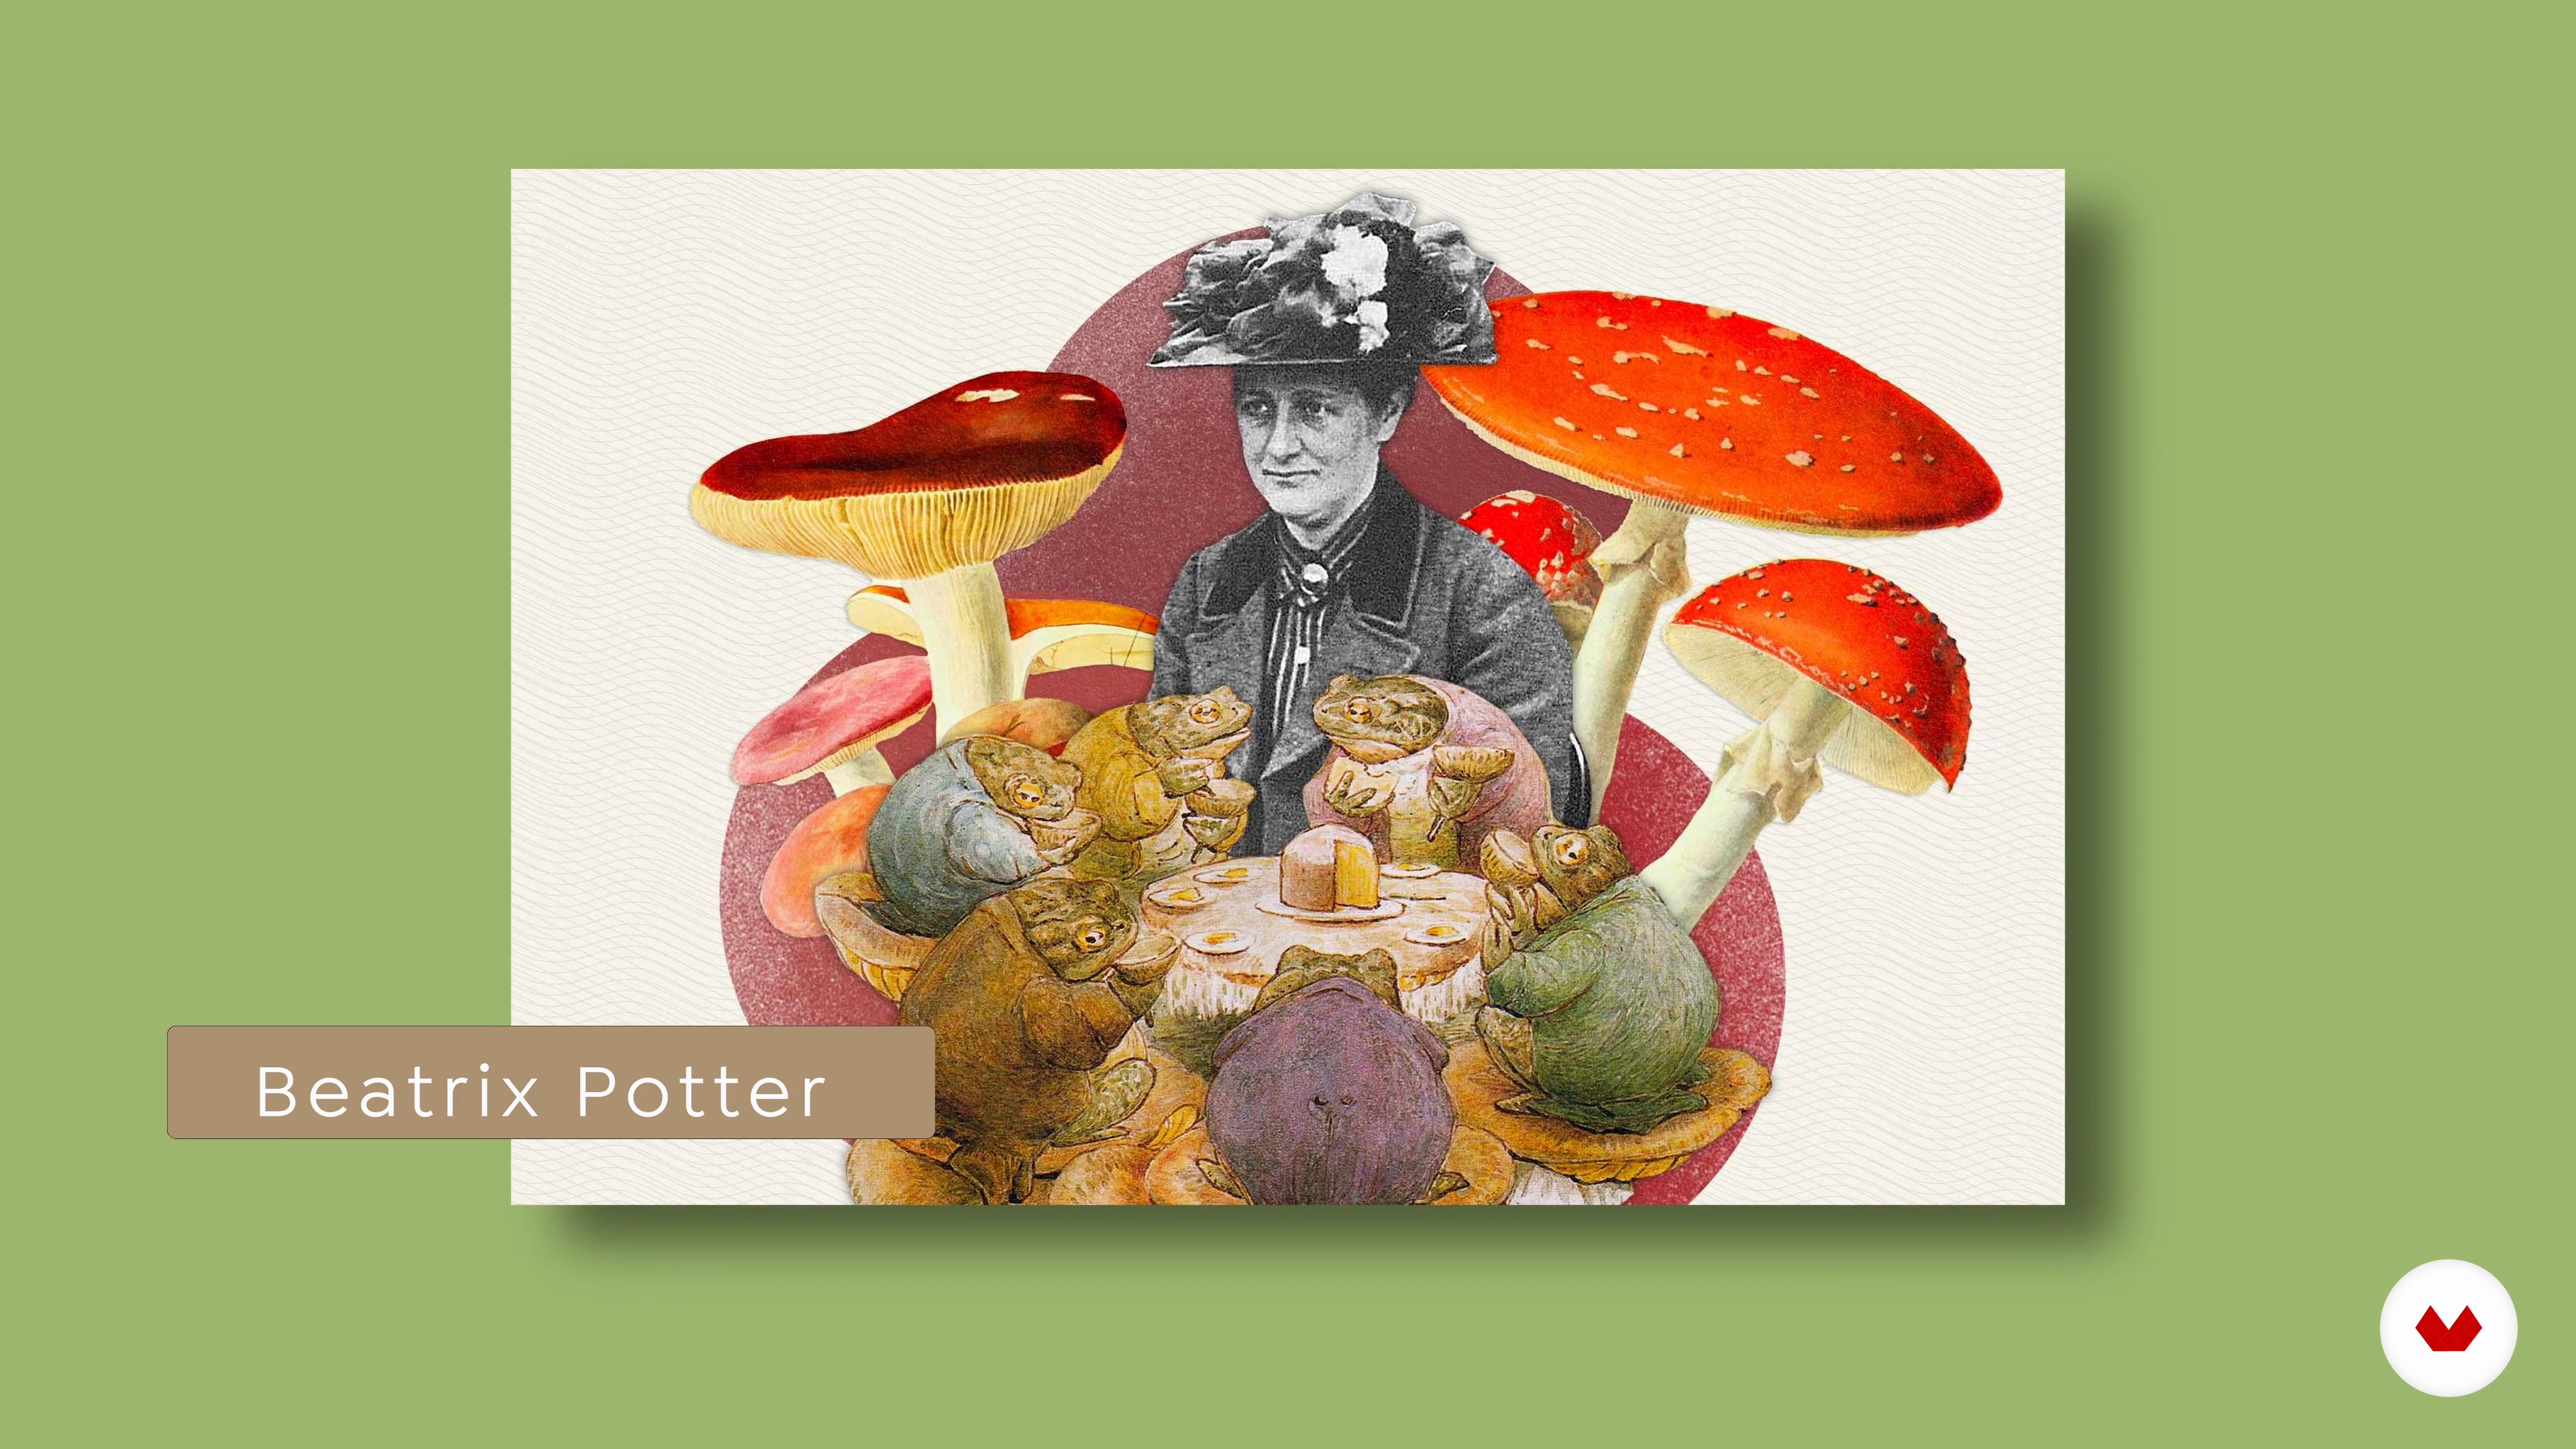
There has always been a demand for accurate portrayals of plants to aid identification, given their use for medicinal purposes and for dyeing fabrics. Although Botanical Art as an art form goes back hundreds of years, there are many contemporary botanical artists still painting in this realistic style. Here I will introduce you to some of my favourites and explain what I admire about their work.
7m
image
2
Influences | Helena Smyth
Are you curious to know more about my inspirations? I’ll share four different artists whose works in the botanical world I’ve really admired over the years.
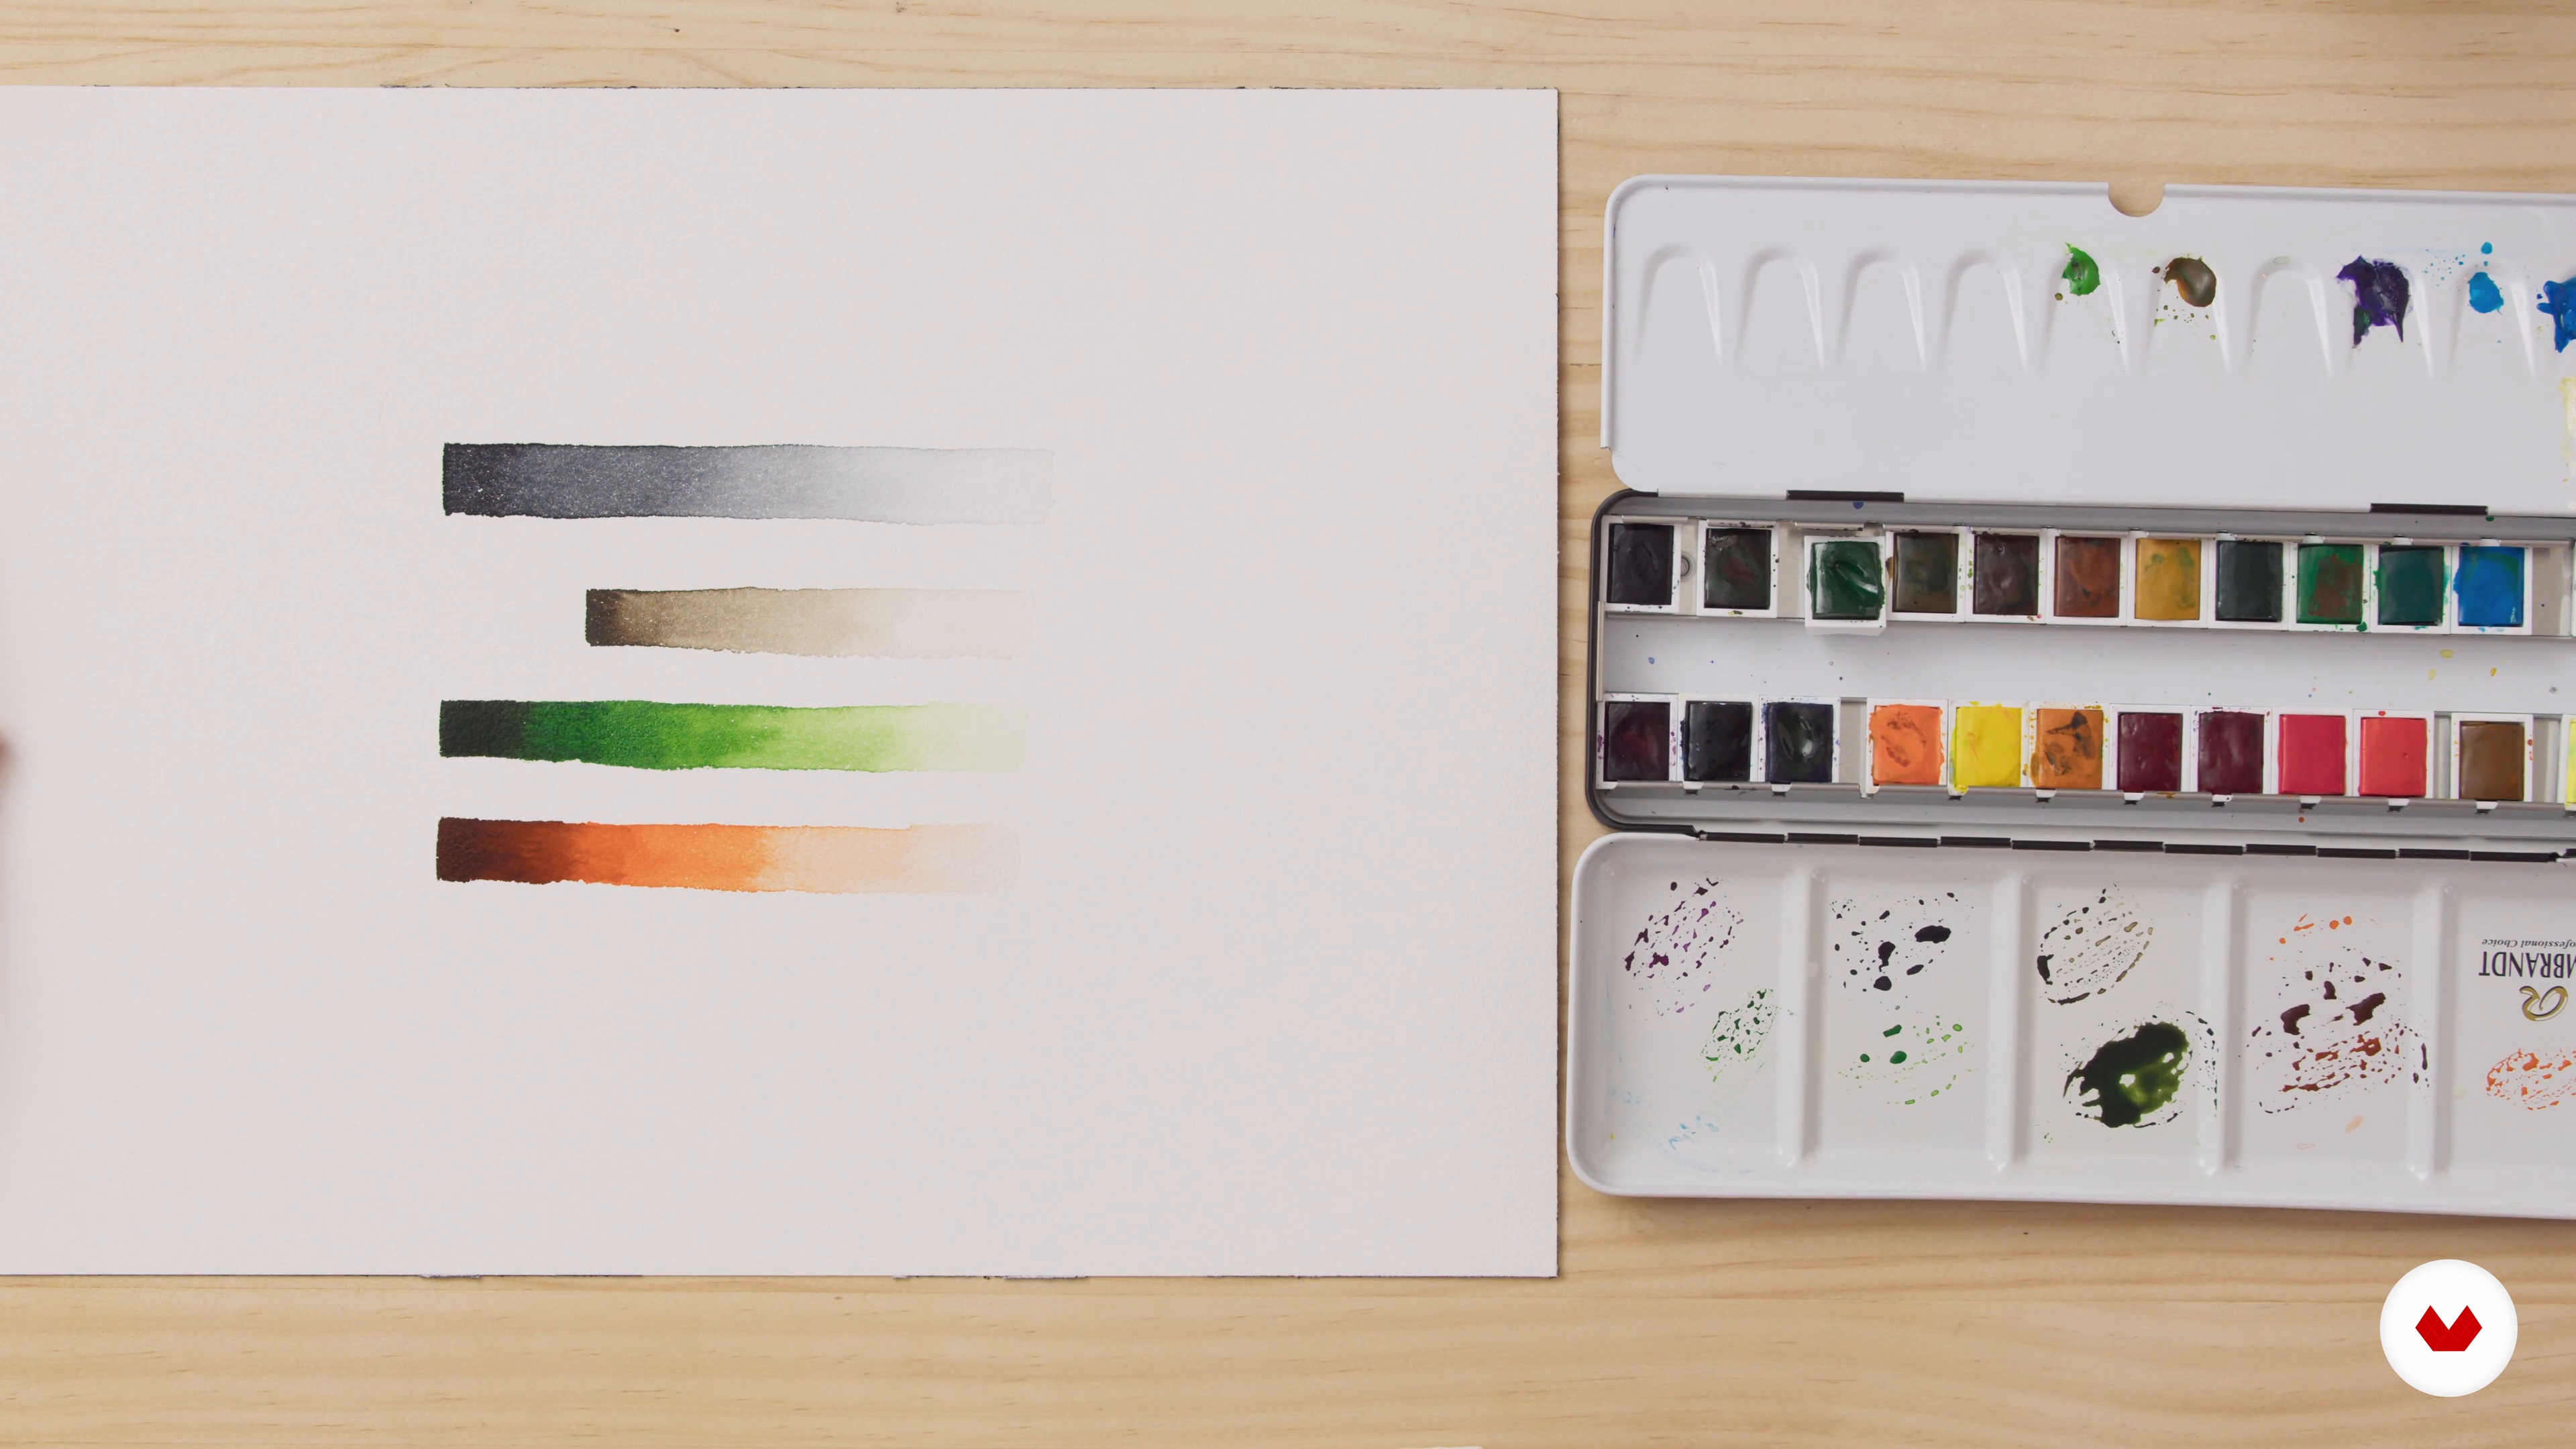
6m
image
2
Influences | Rommygon
Aside from nature itself, there are other important influences that have shaped my work. I invite you to discover some of them, maybe they will also inspire you!
12m
image
2
Influences | Georgina Taylor
Now I will talk about some of my favourite Naturalist painters whose work inspires me and influences my painting style.
3m
image
4
Line Techniques: The Geometry of Plants
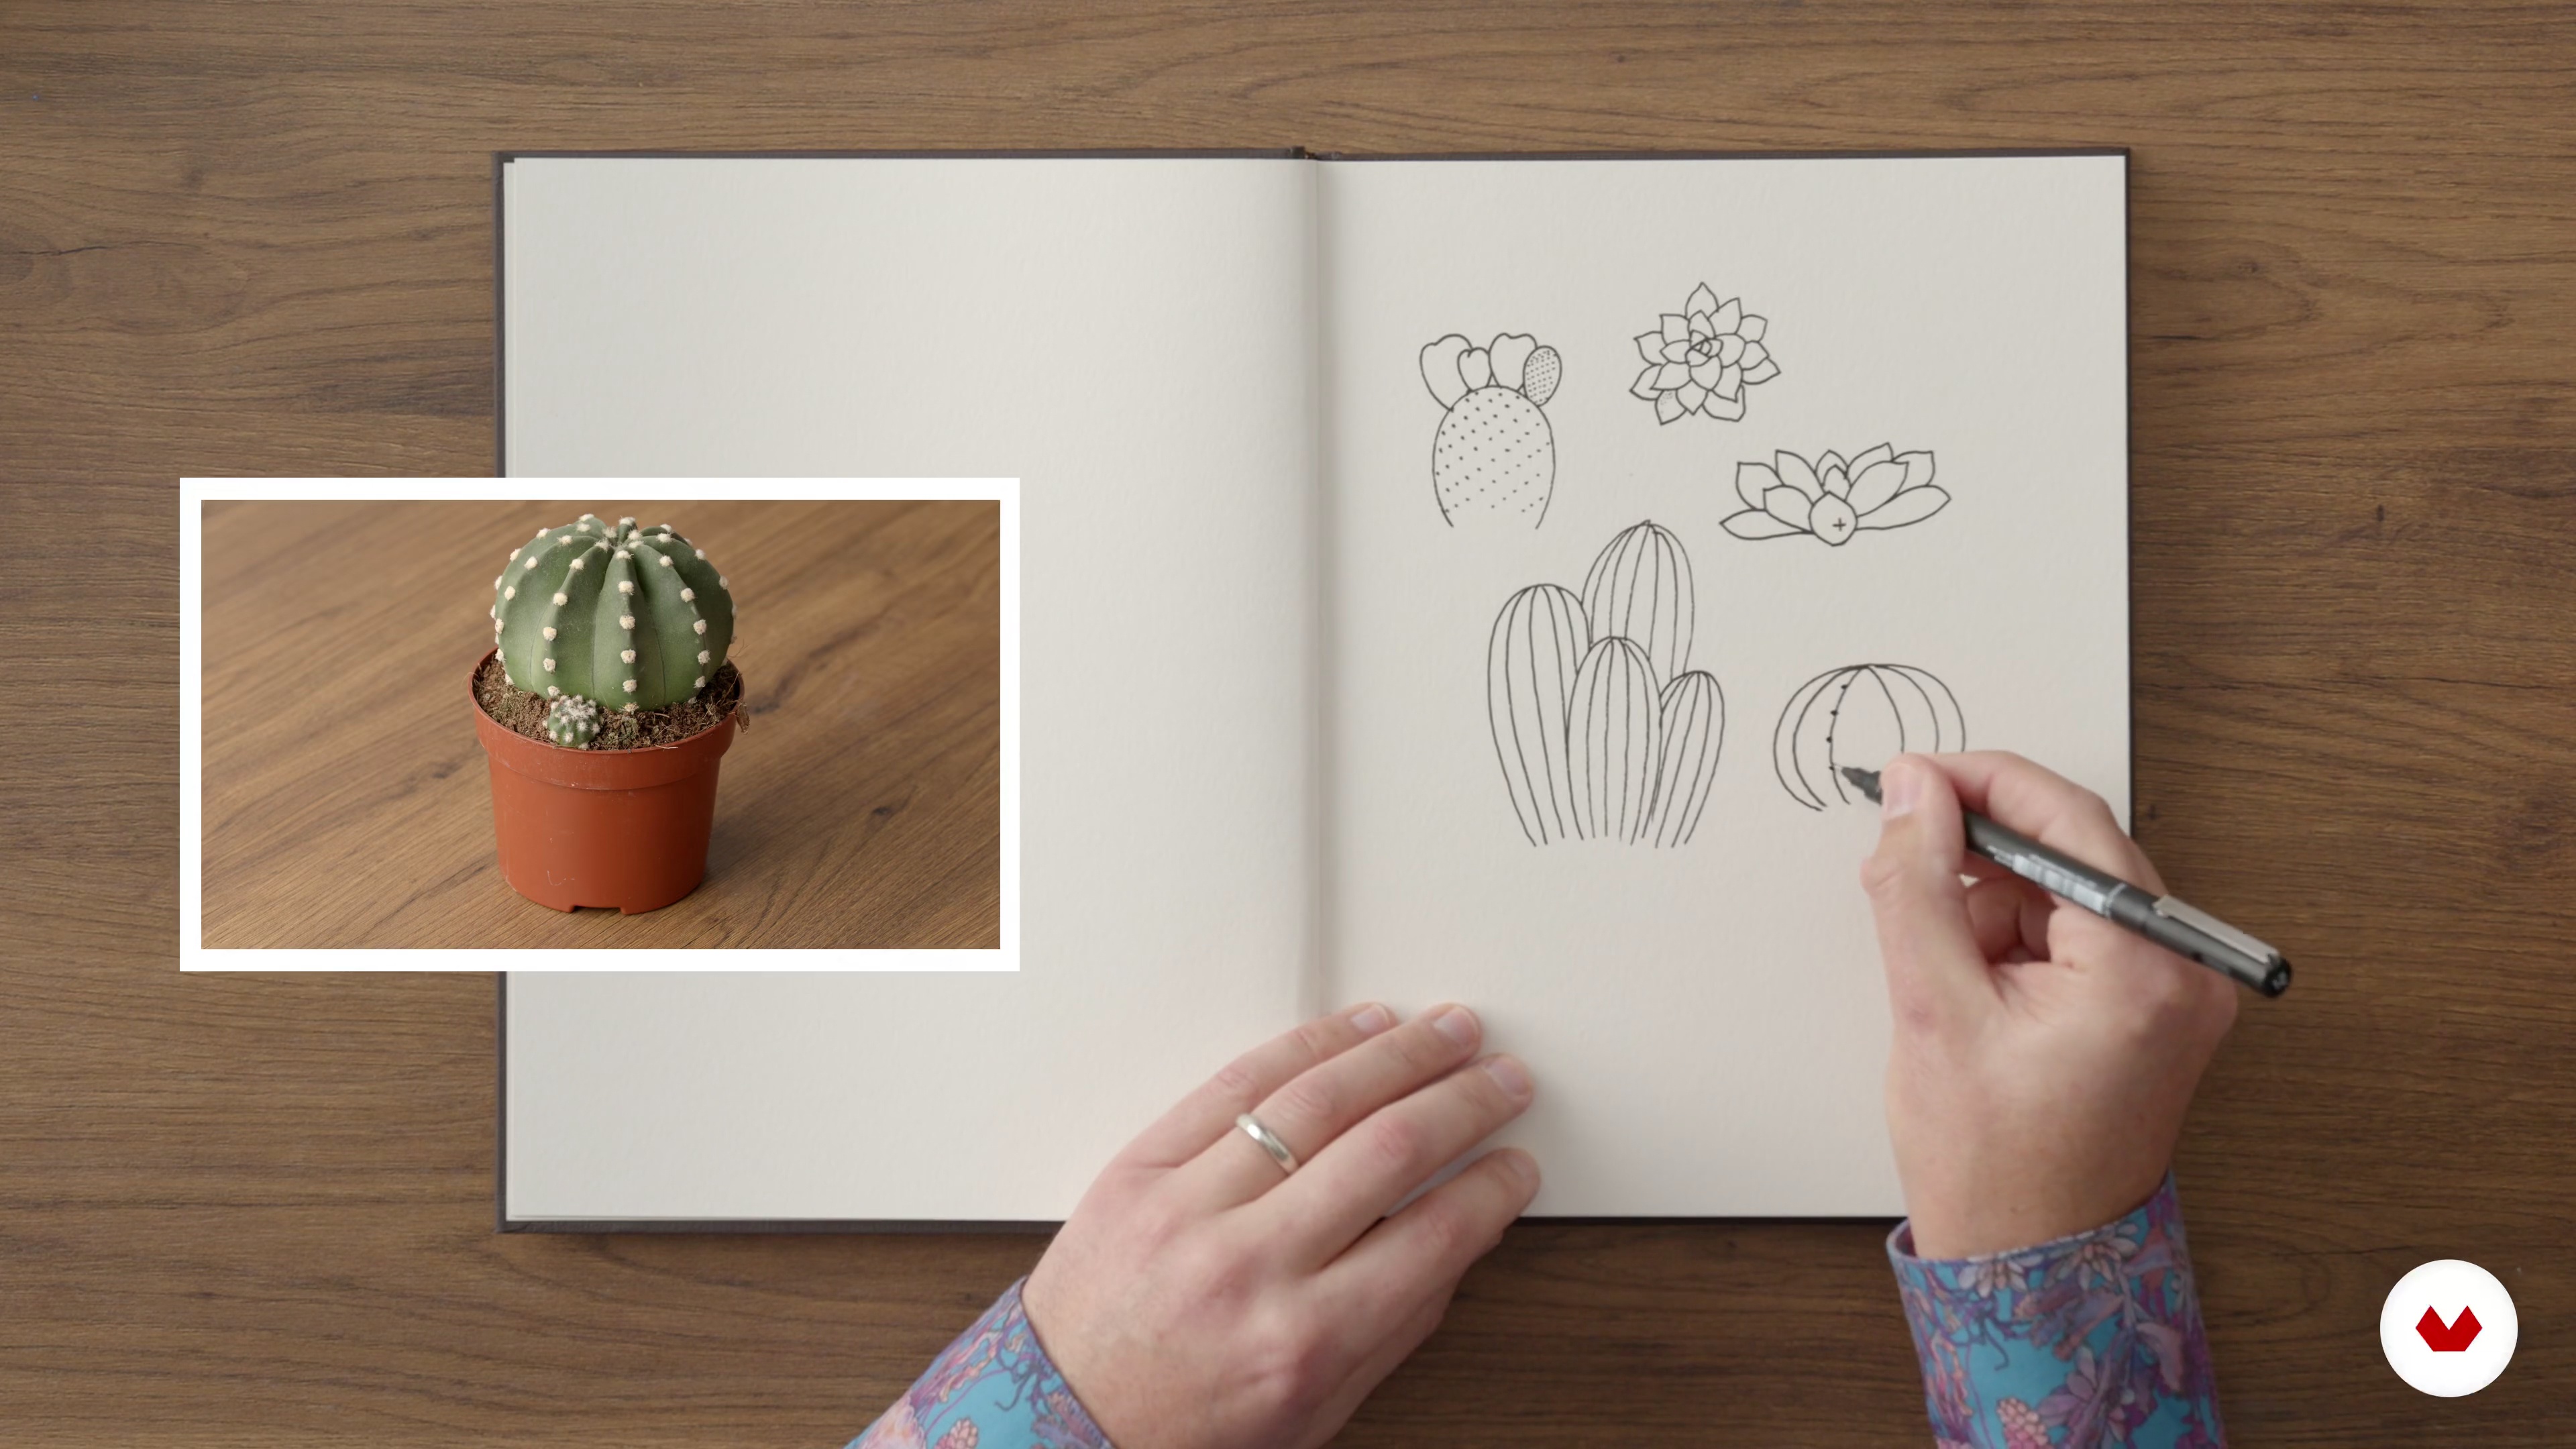
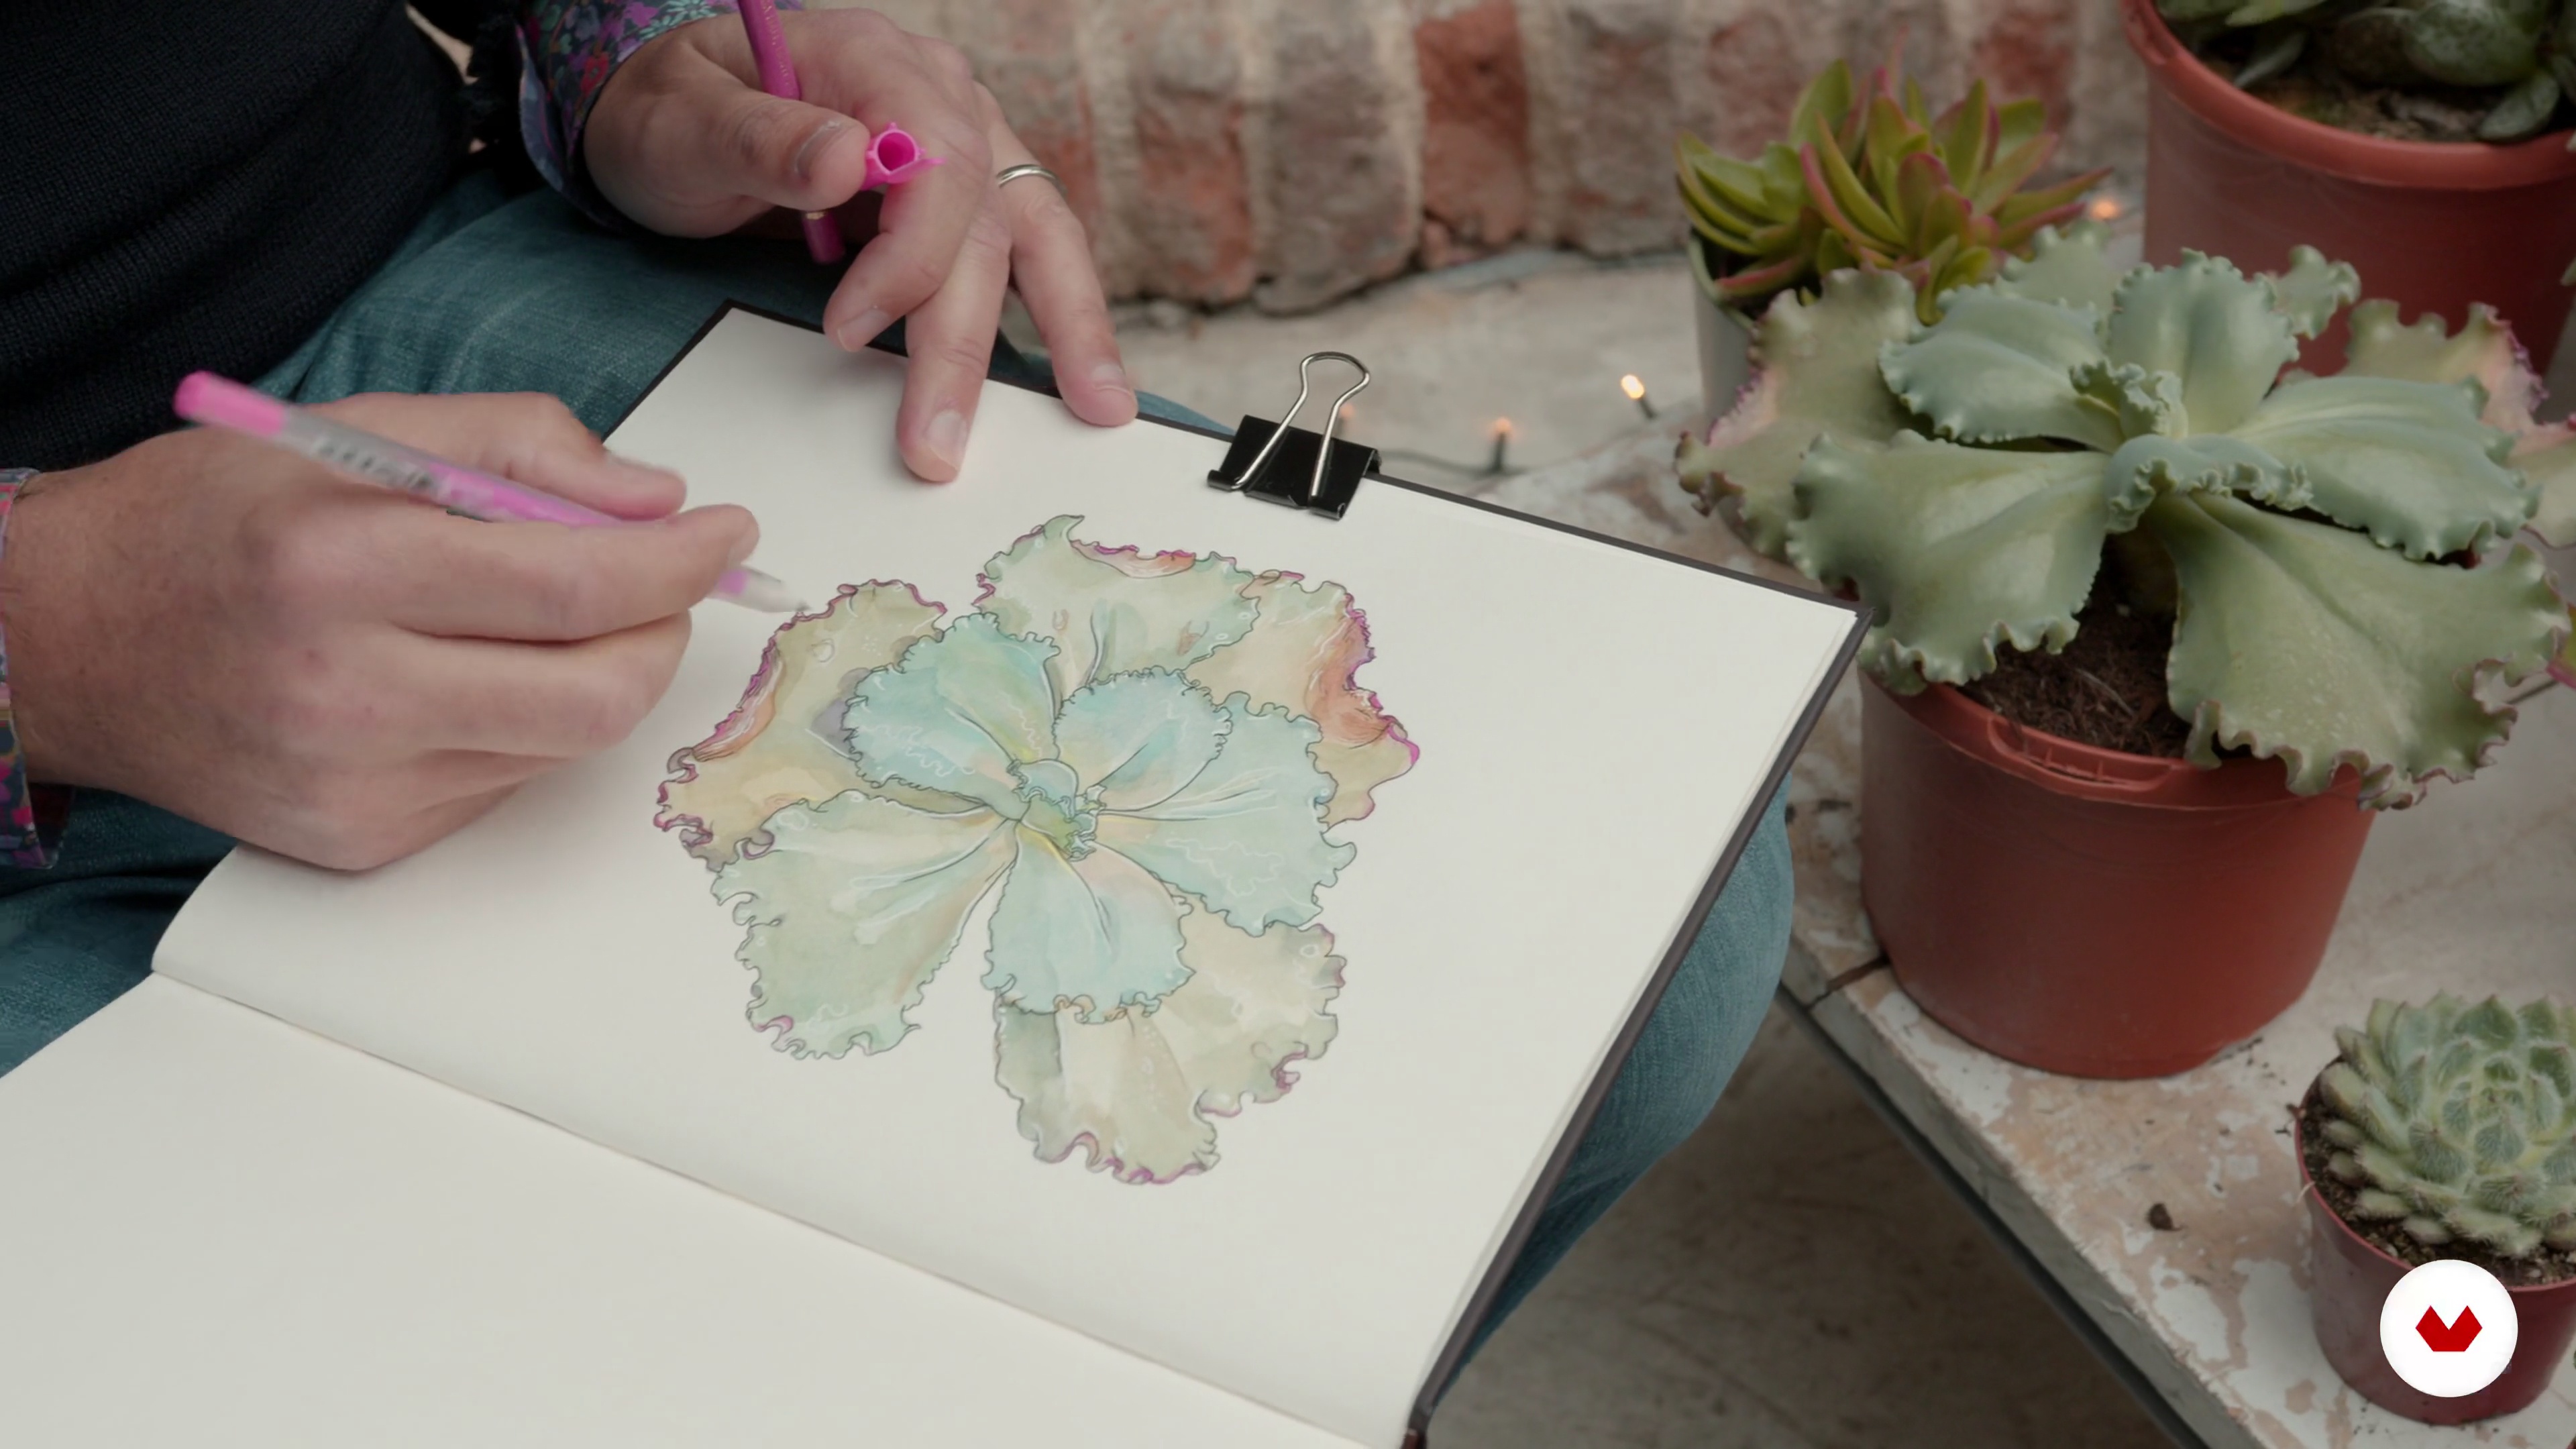
In this lesson you will sum up the geometry of several plants to understand their architecture. To draw a plant you need to understand it. The understanding comes from observation and comparison with what you already know. To accurately draw one species, you need to highlight the specificities that make this plant immediately identifiable, describing the geometry, shapes, distribution of its leaves for exemple. I will create some very quick sketches summing up different kinds of succulents and cactus, doing some sketches from the top or from the side.
12m
image
5
Line Techniques: Drawing Leaf by Leaf
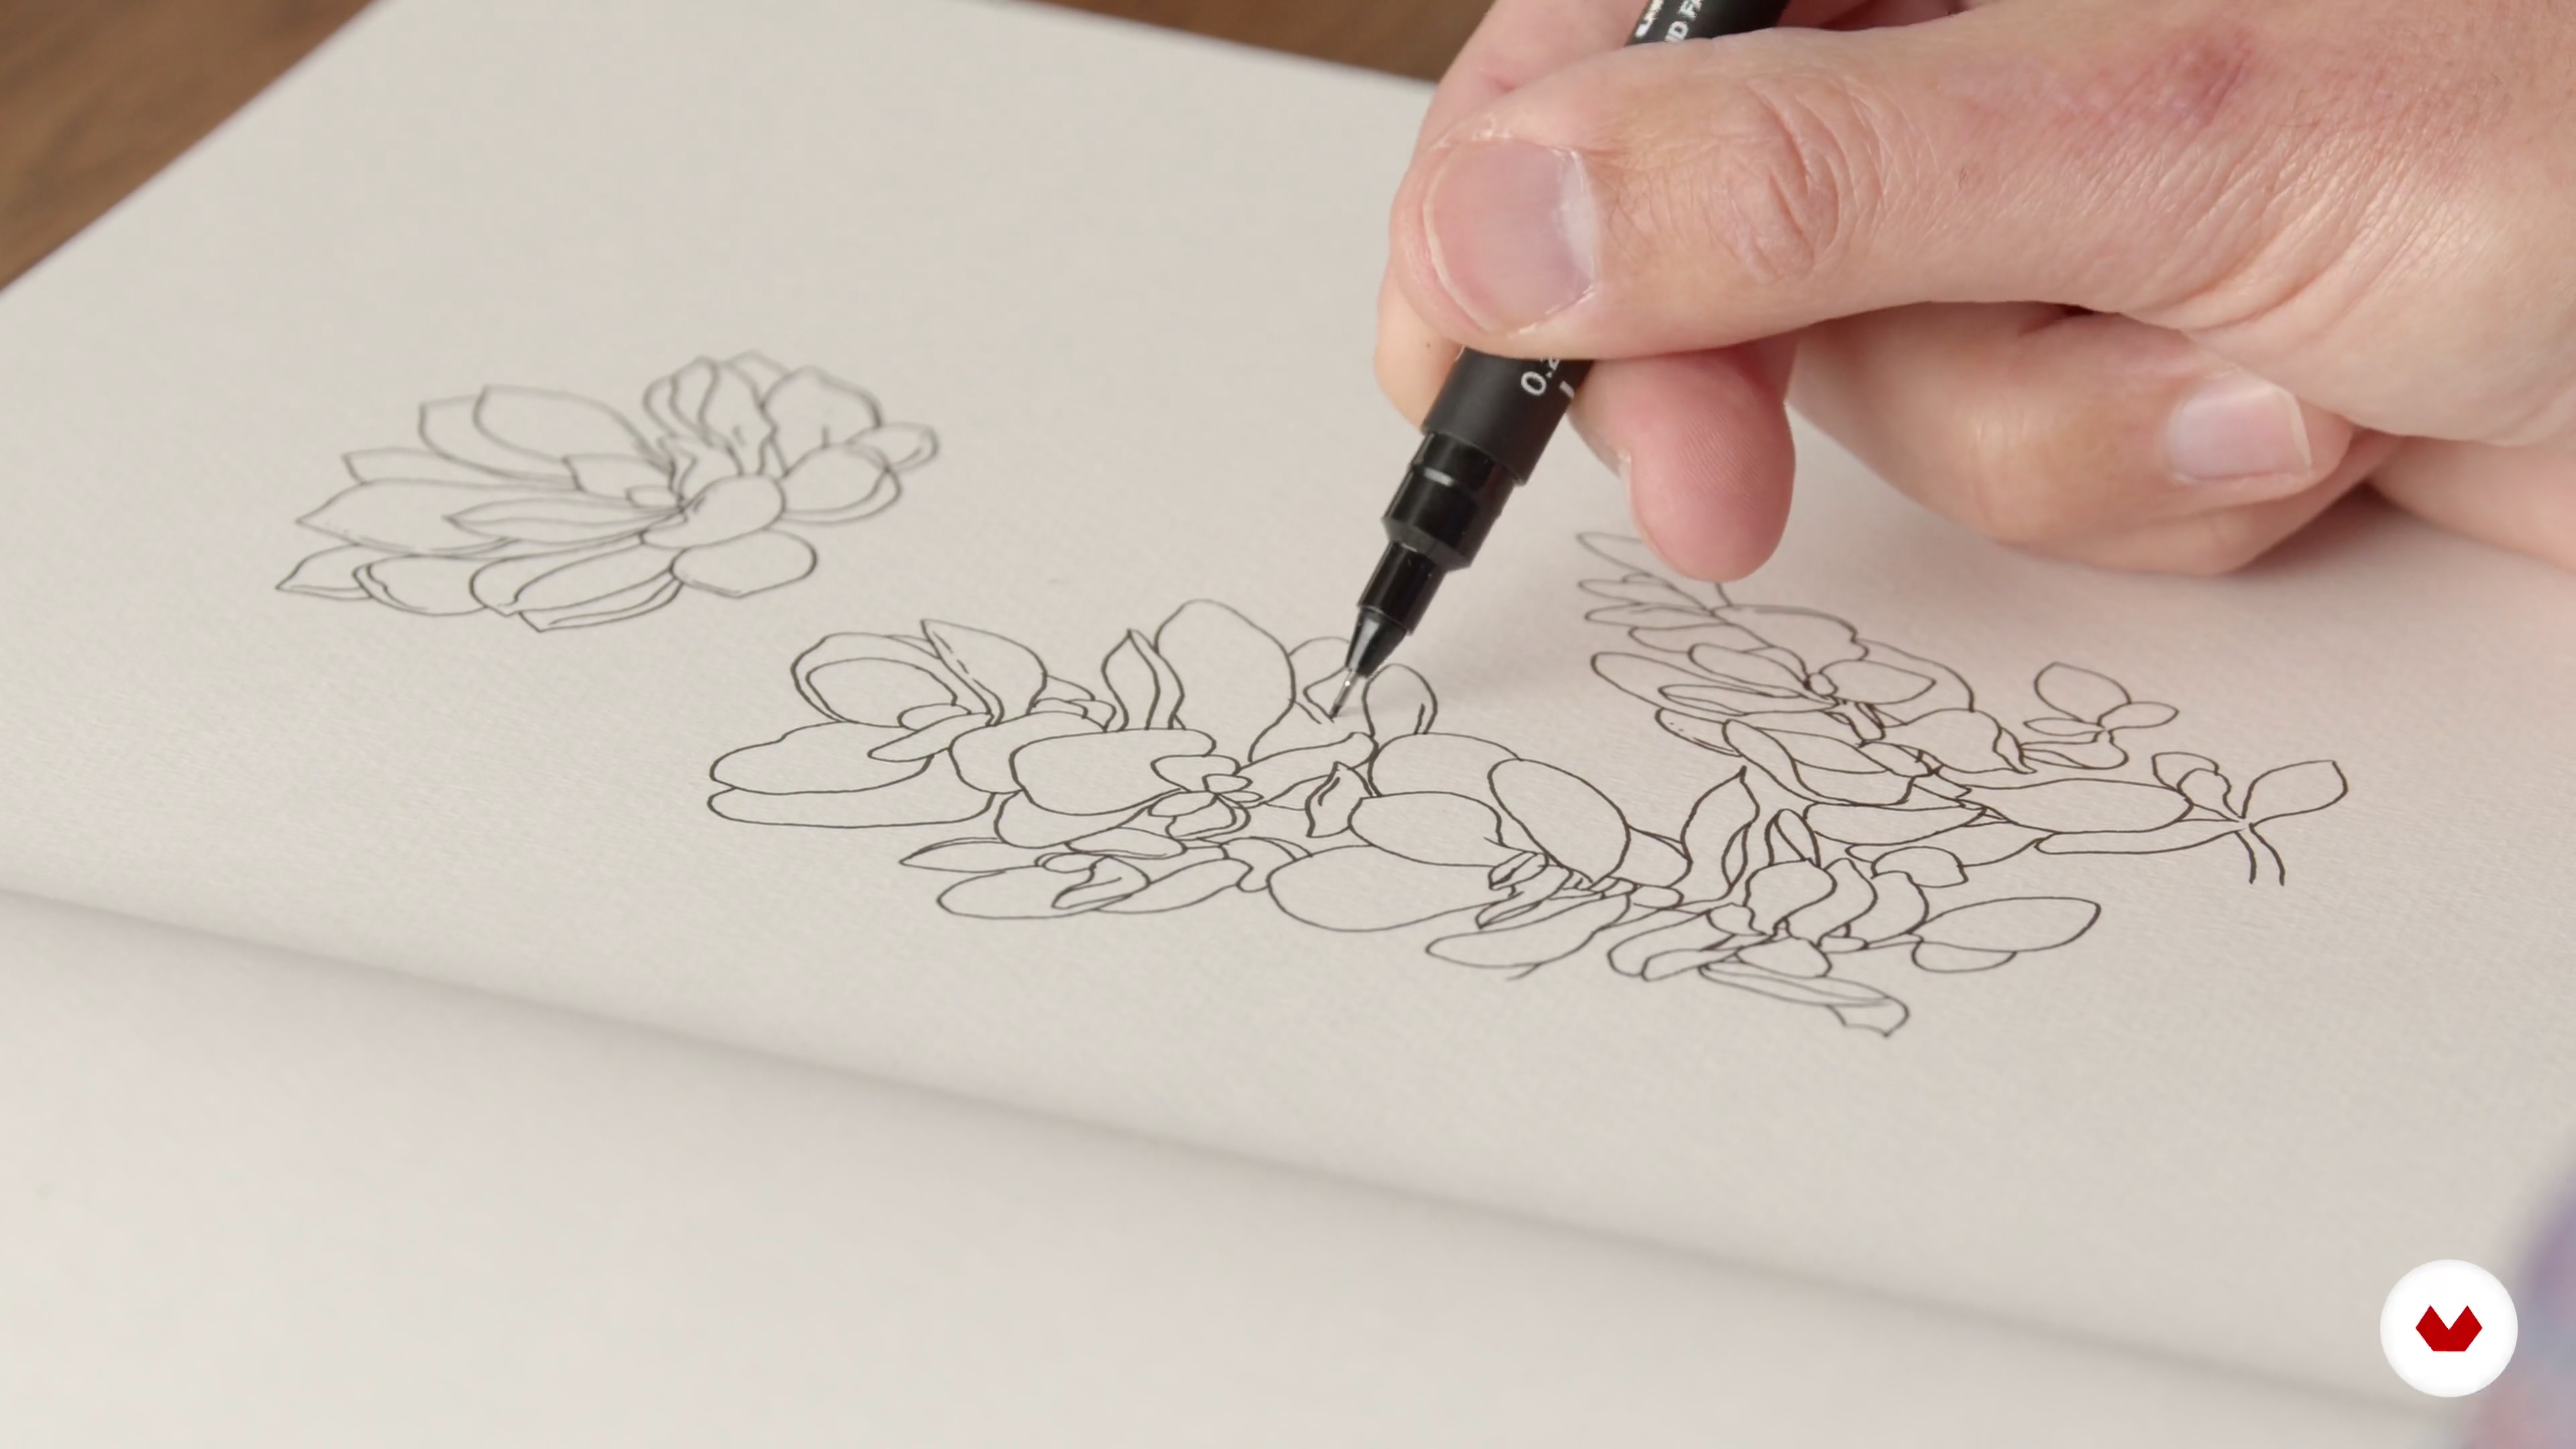
Here you will use black fineliner for the contour drawing without any previous construction. We will start directly with fineliner from the foreground, the closest part of the plant. You need to visualise first your composition to be sure it will fit in your page. Then, you will project the line you will draw on the paper. Your line must be confident and regular, avoid "hairy lines". If a line turns wrong, don’t try to save it, go for the next one. Once you draw one leaf, continue with the next one, comparing scale, angles and shape.Your first element will be your scale for the all drawing. For now, we only focus on the contour. We are not using etching for the value or shades. This will be done afterwhile with the color. This is to me the most meditative part of the process, when you depict every leaf, very precisely, slowly, spending half of the time looking at the plant. You need to relax. If you get tired from so much concentration, you can take a break and follow on the next day. No hurries, your model is very patient…
19m
image
6
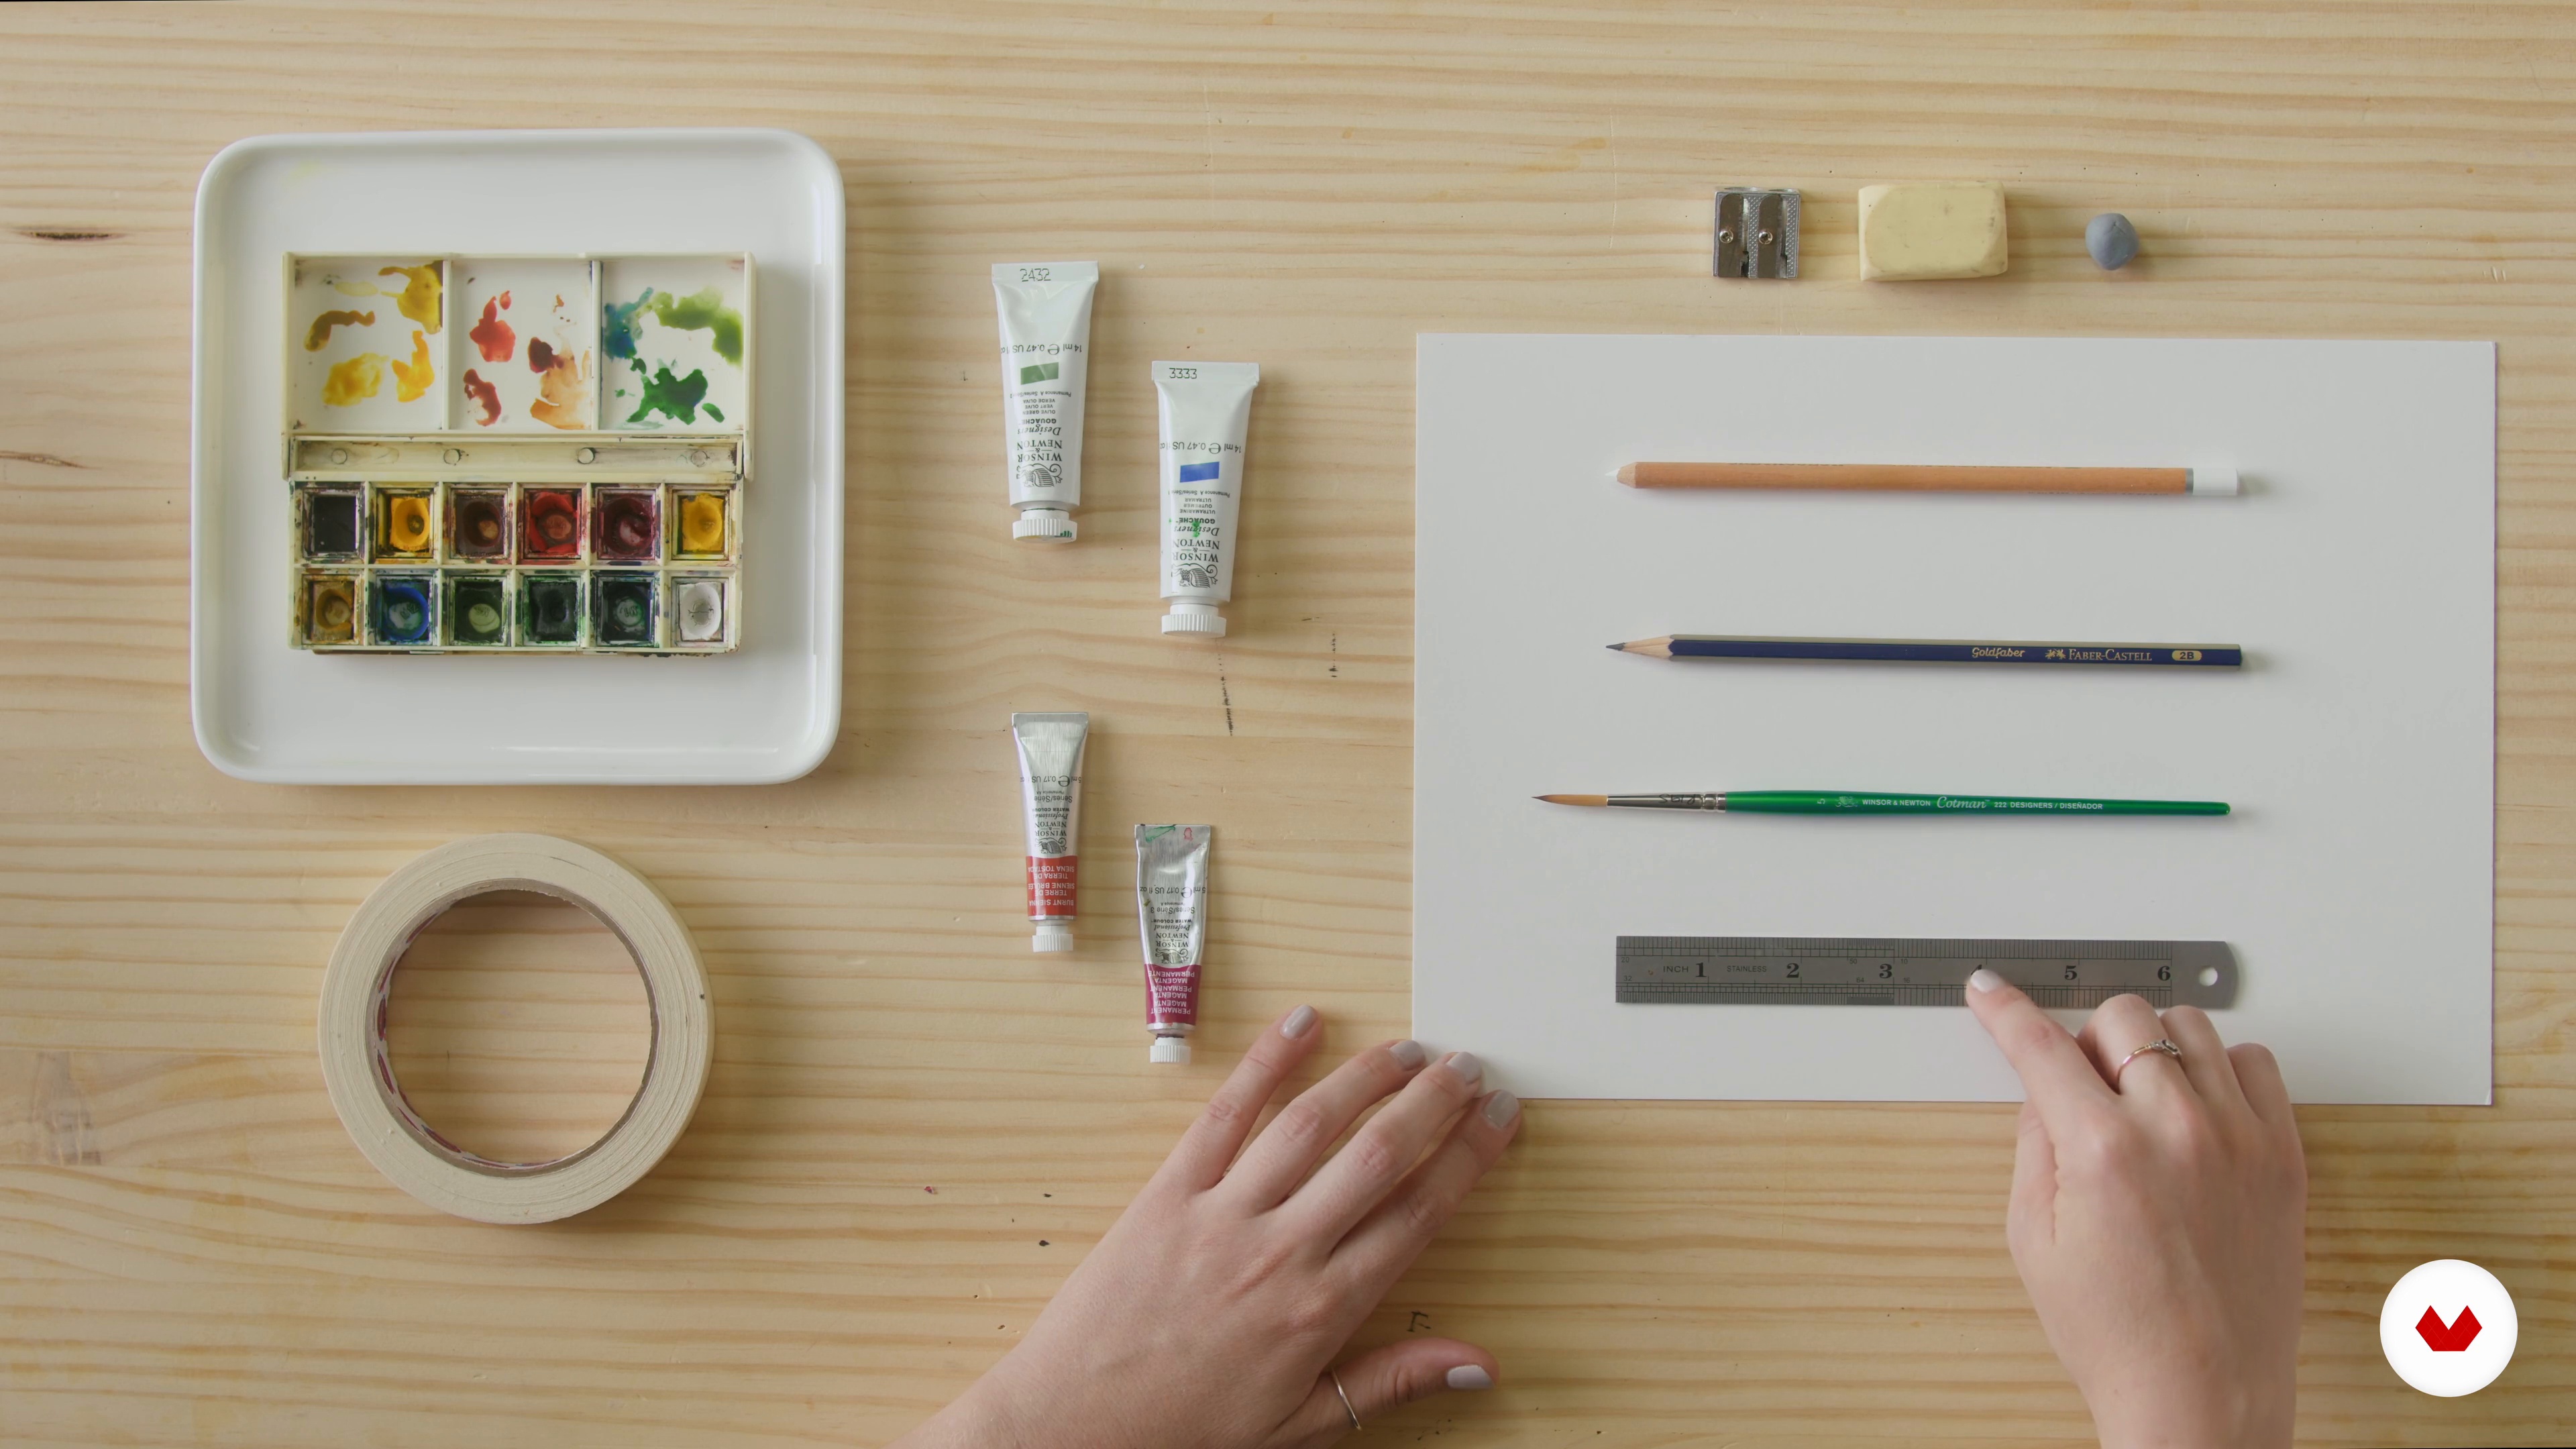
The Materials
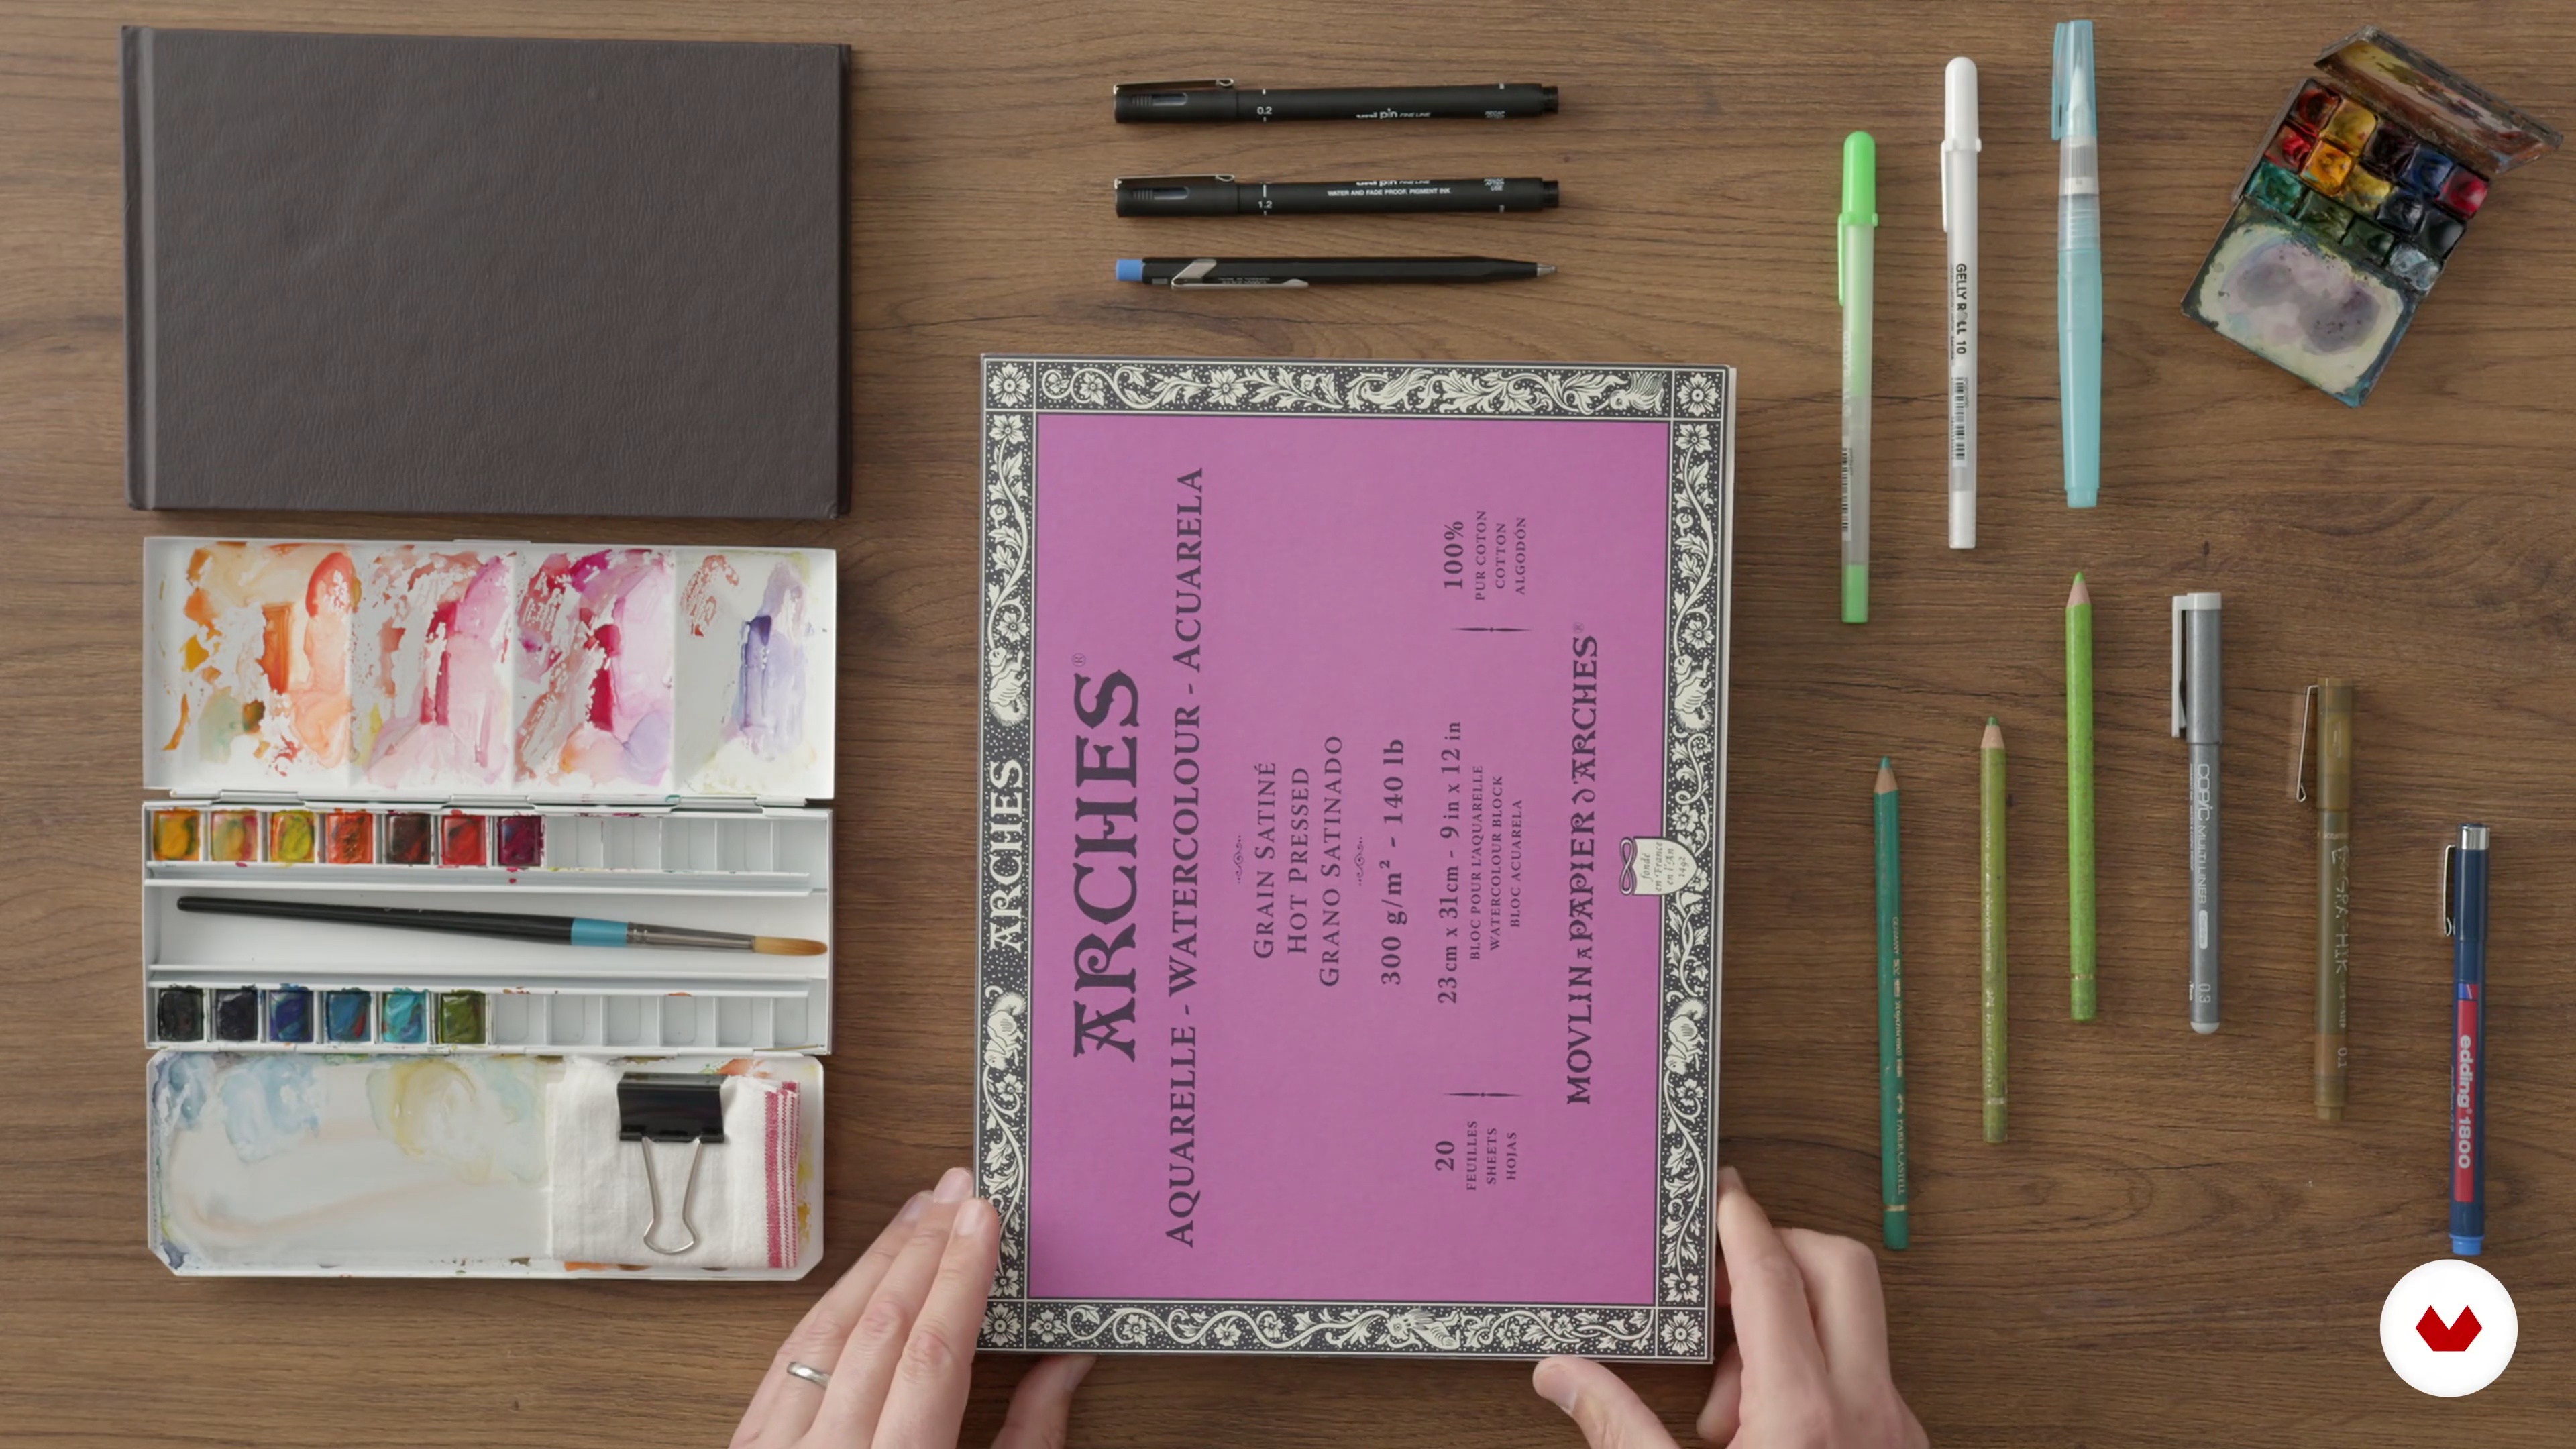
In this lesson you will learn about my sketching gear, including black fineliner, a tiny watercolor travel set (when I am painting outdoor) and a bigger watercolor set (while painting at my studio), two waterbrushes, colour pencils, colour fineliners, a sketchbook or some hot pressed 100 % cotton paper. You need very few materials to create, it’s all about observation and practice.
6m
image
7
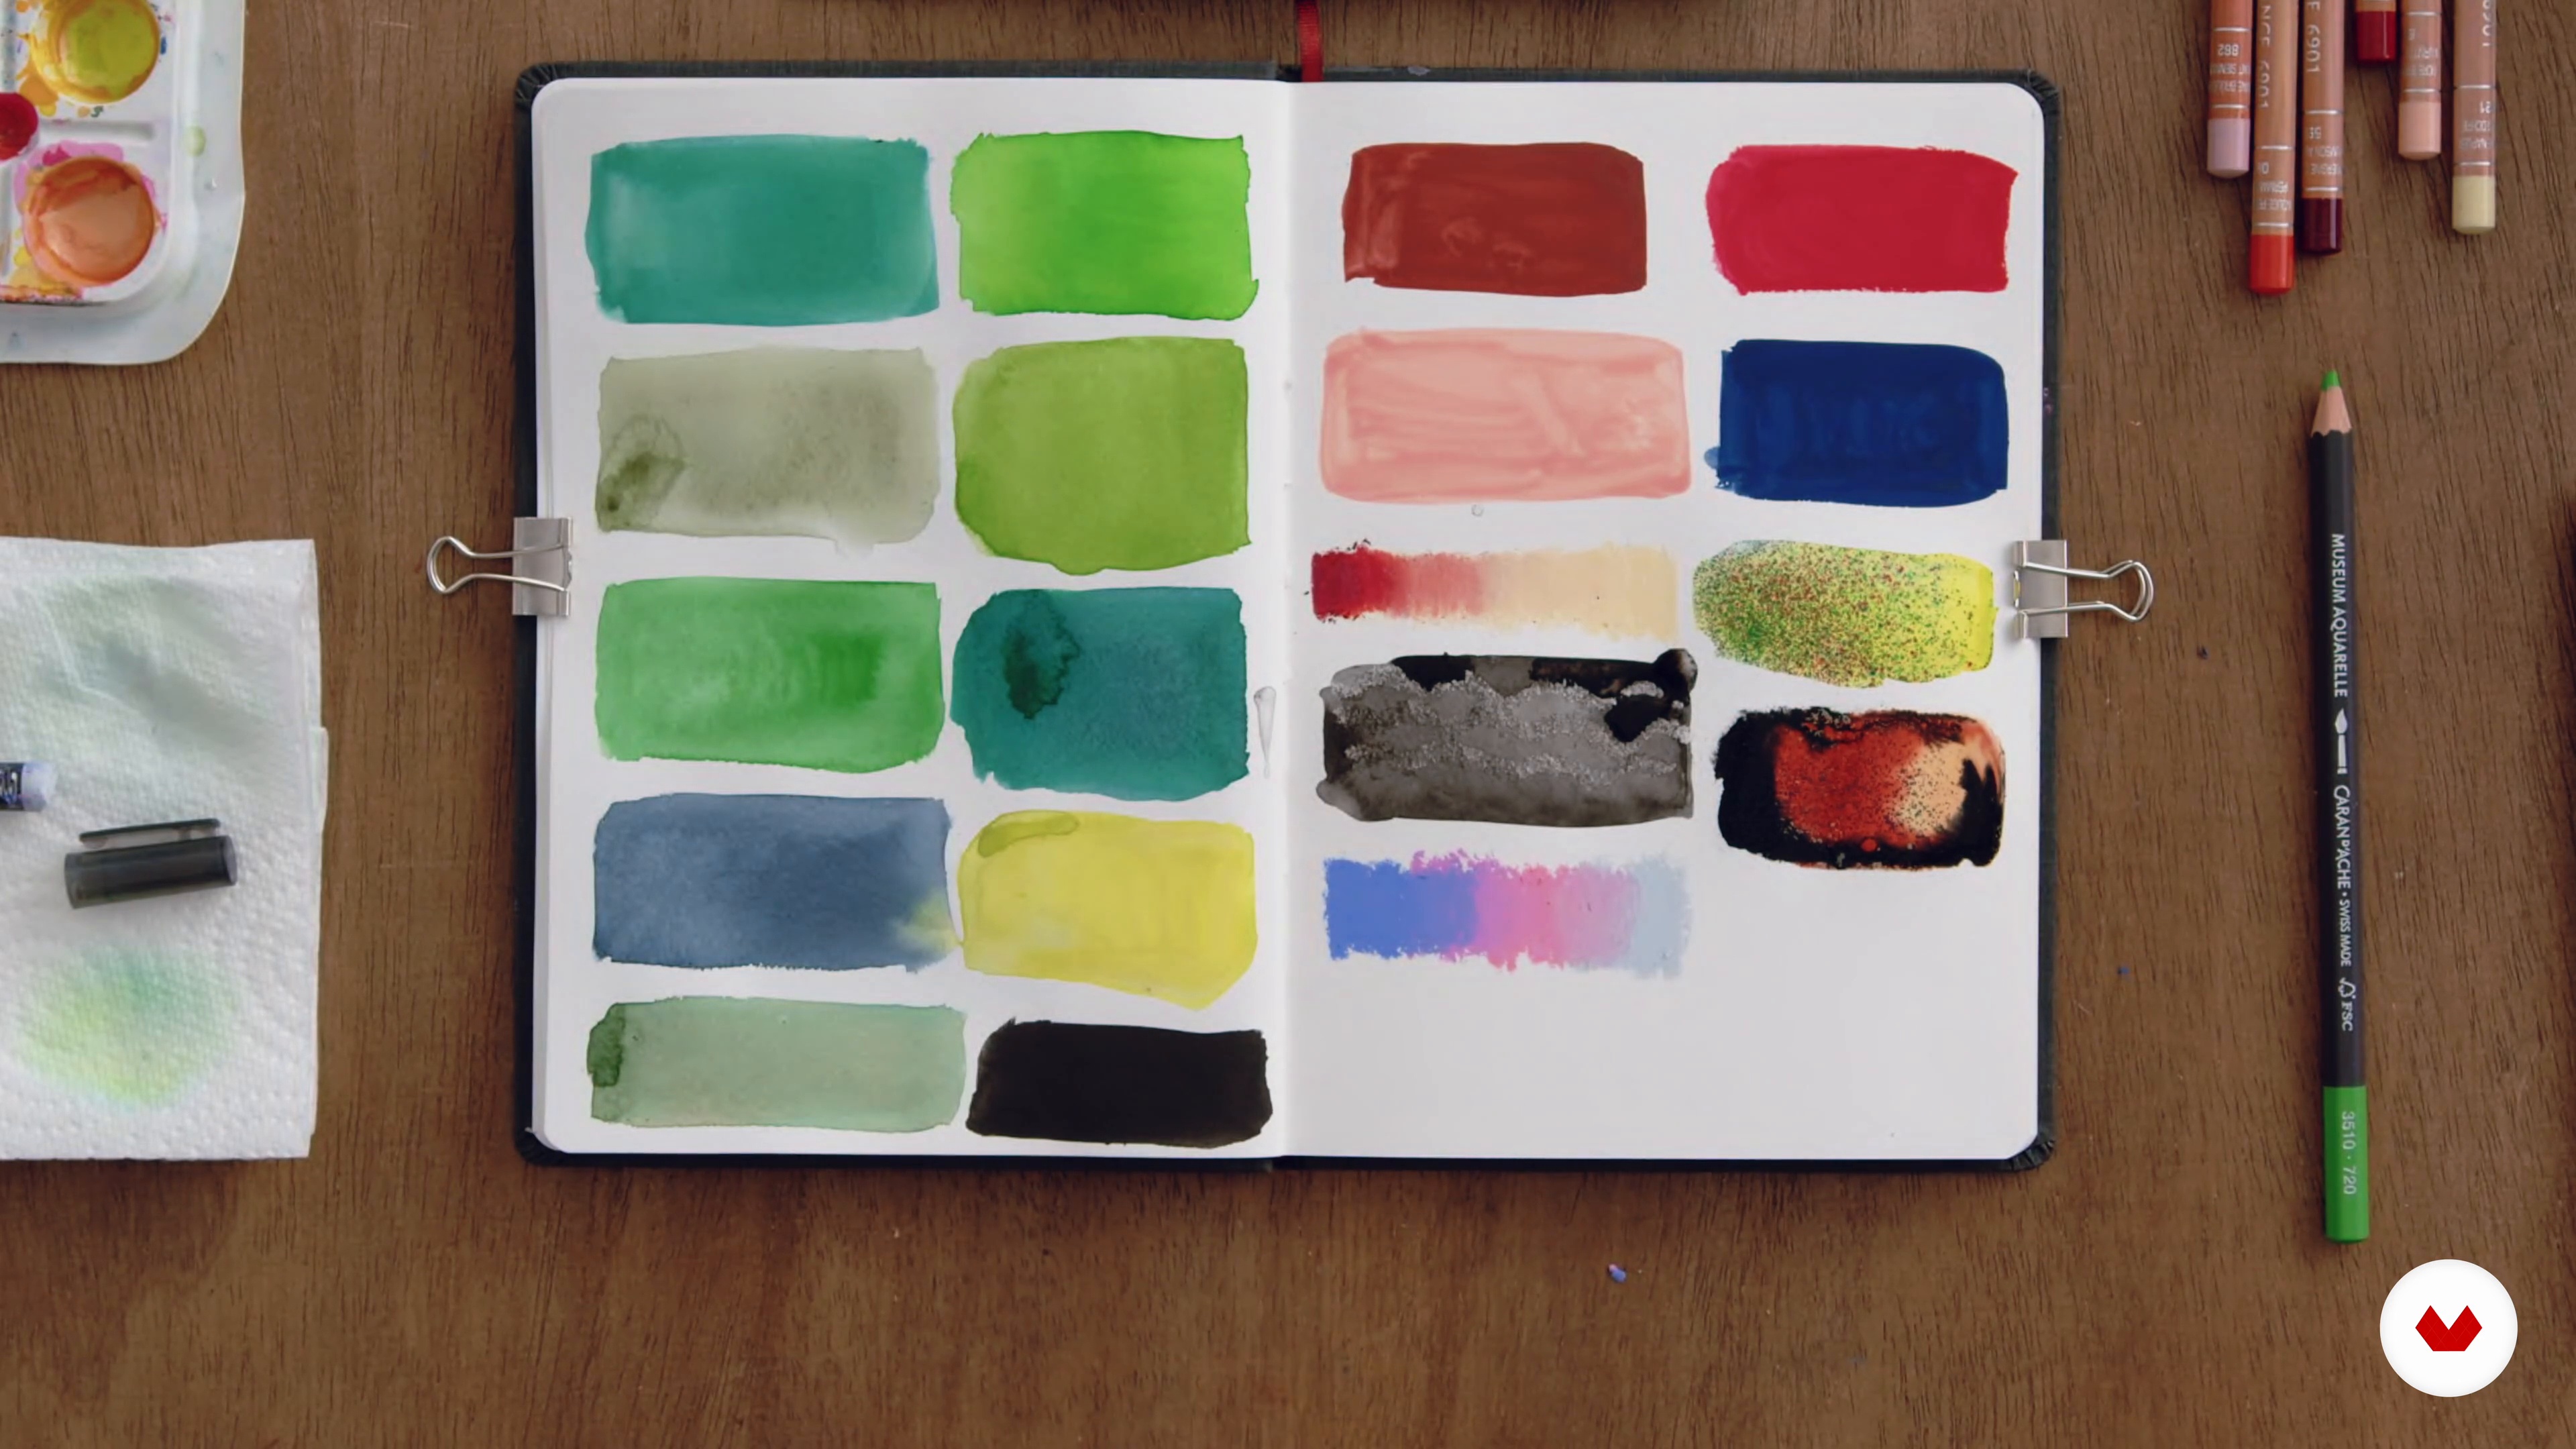
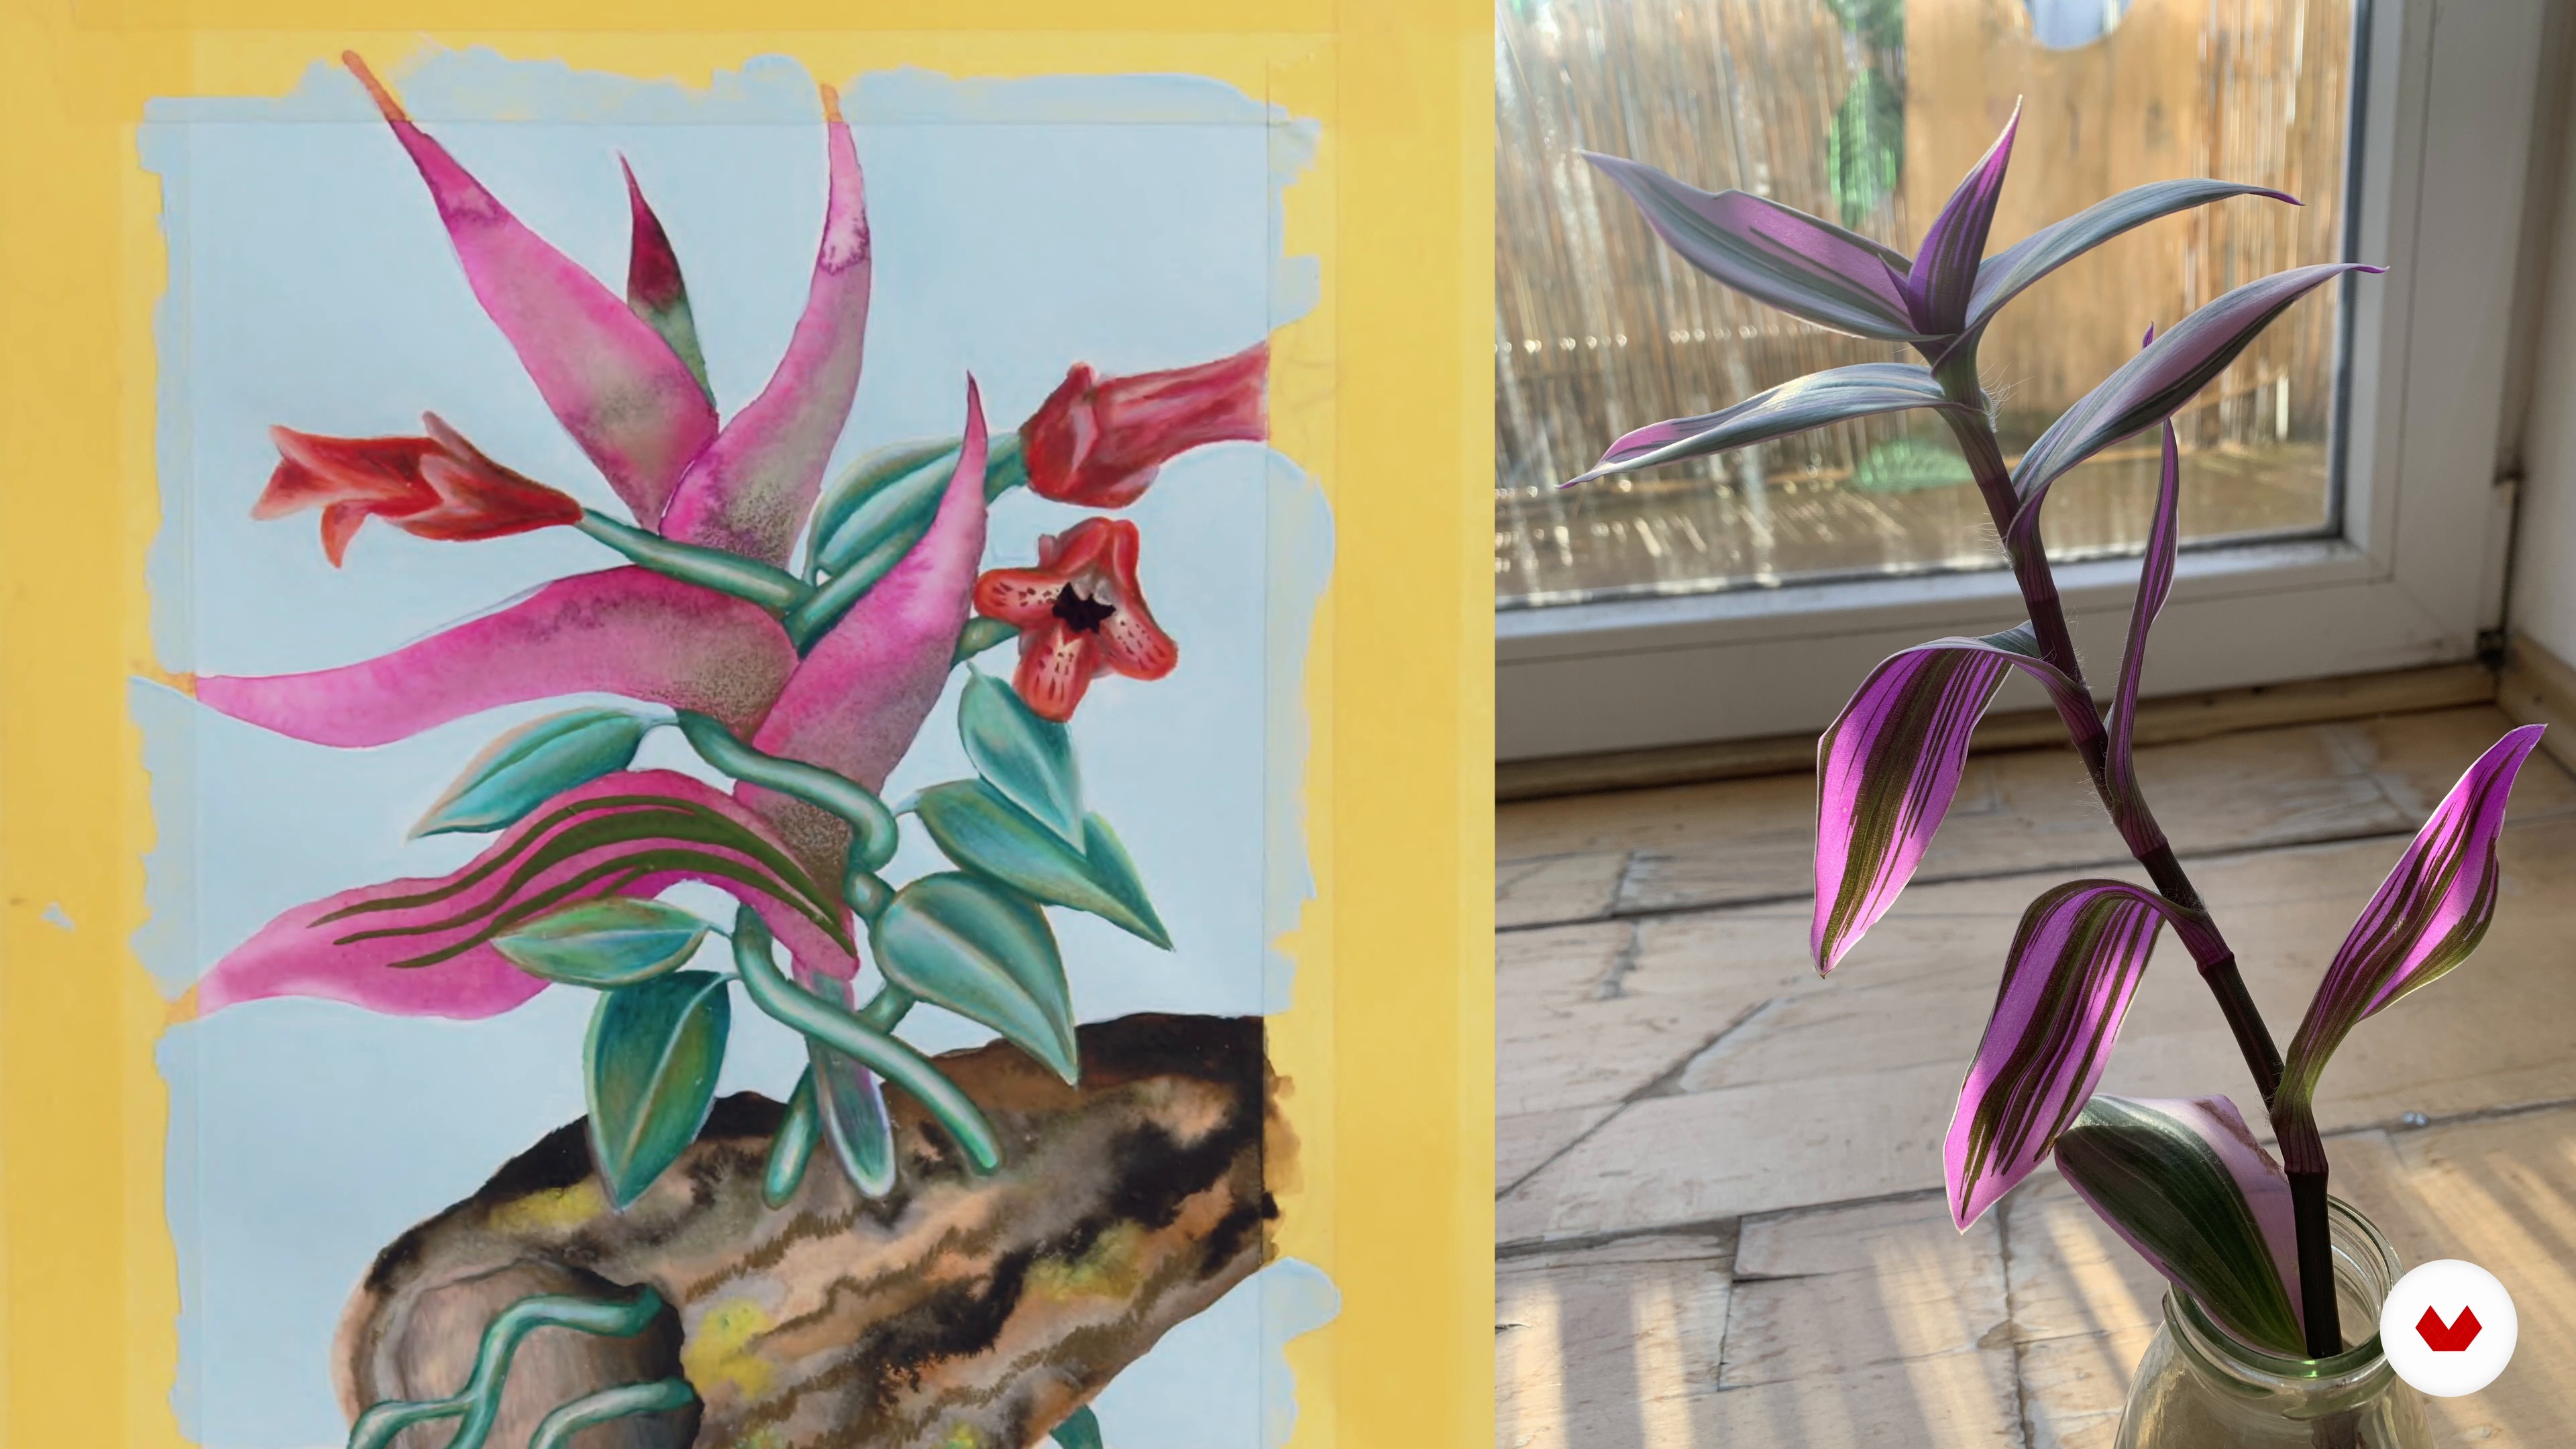
Colour Techniques: Create Your Greens
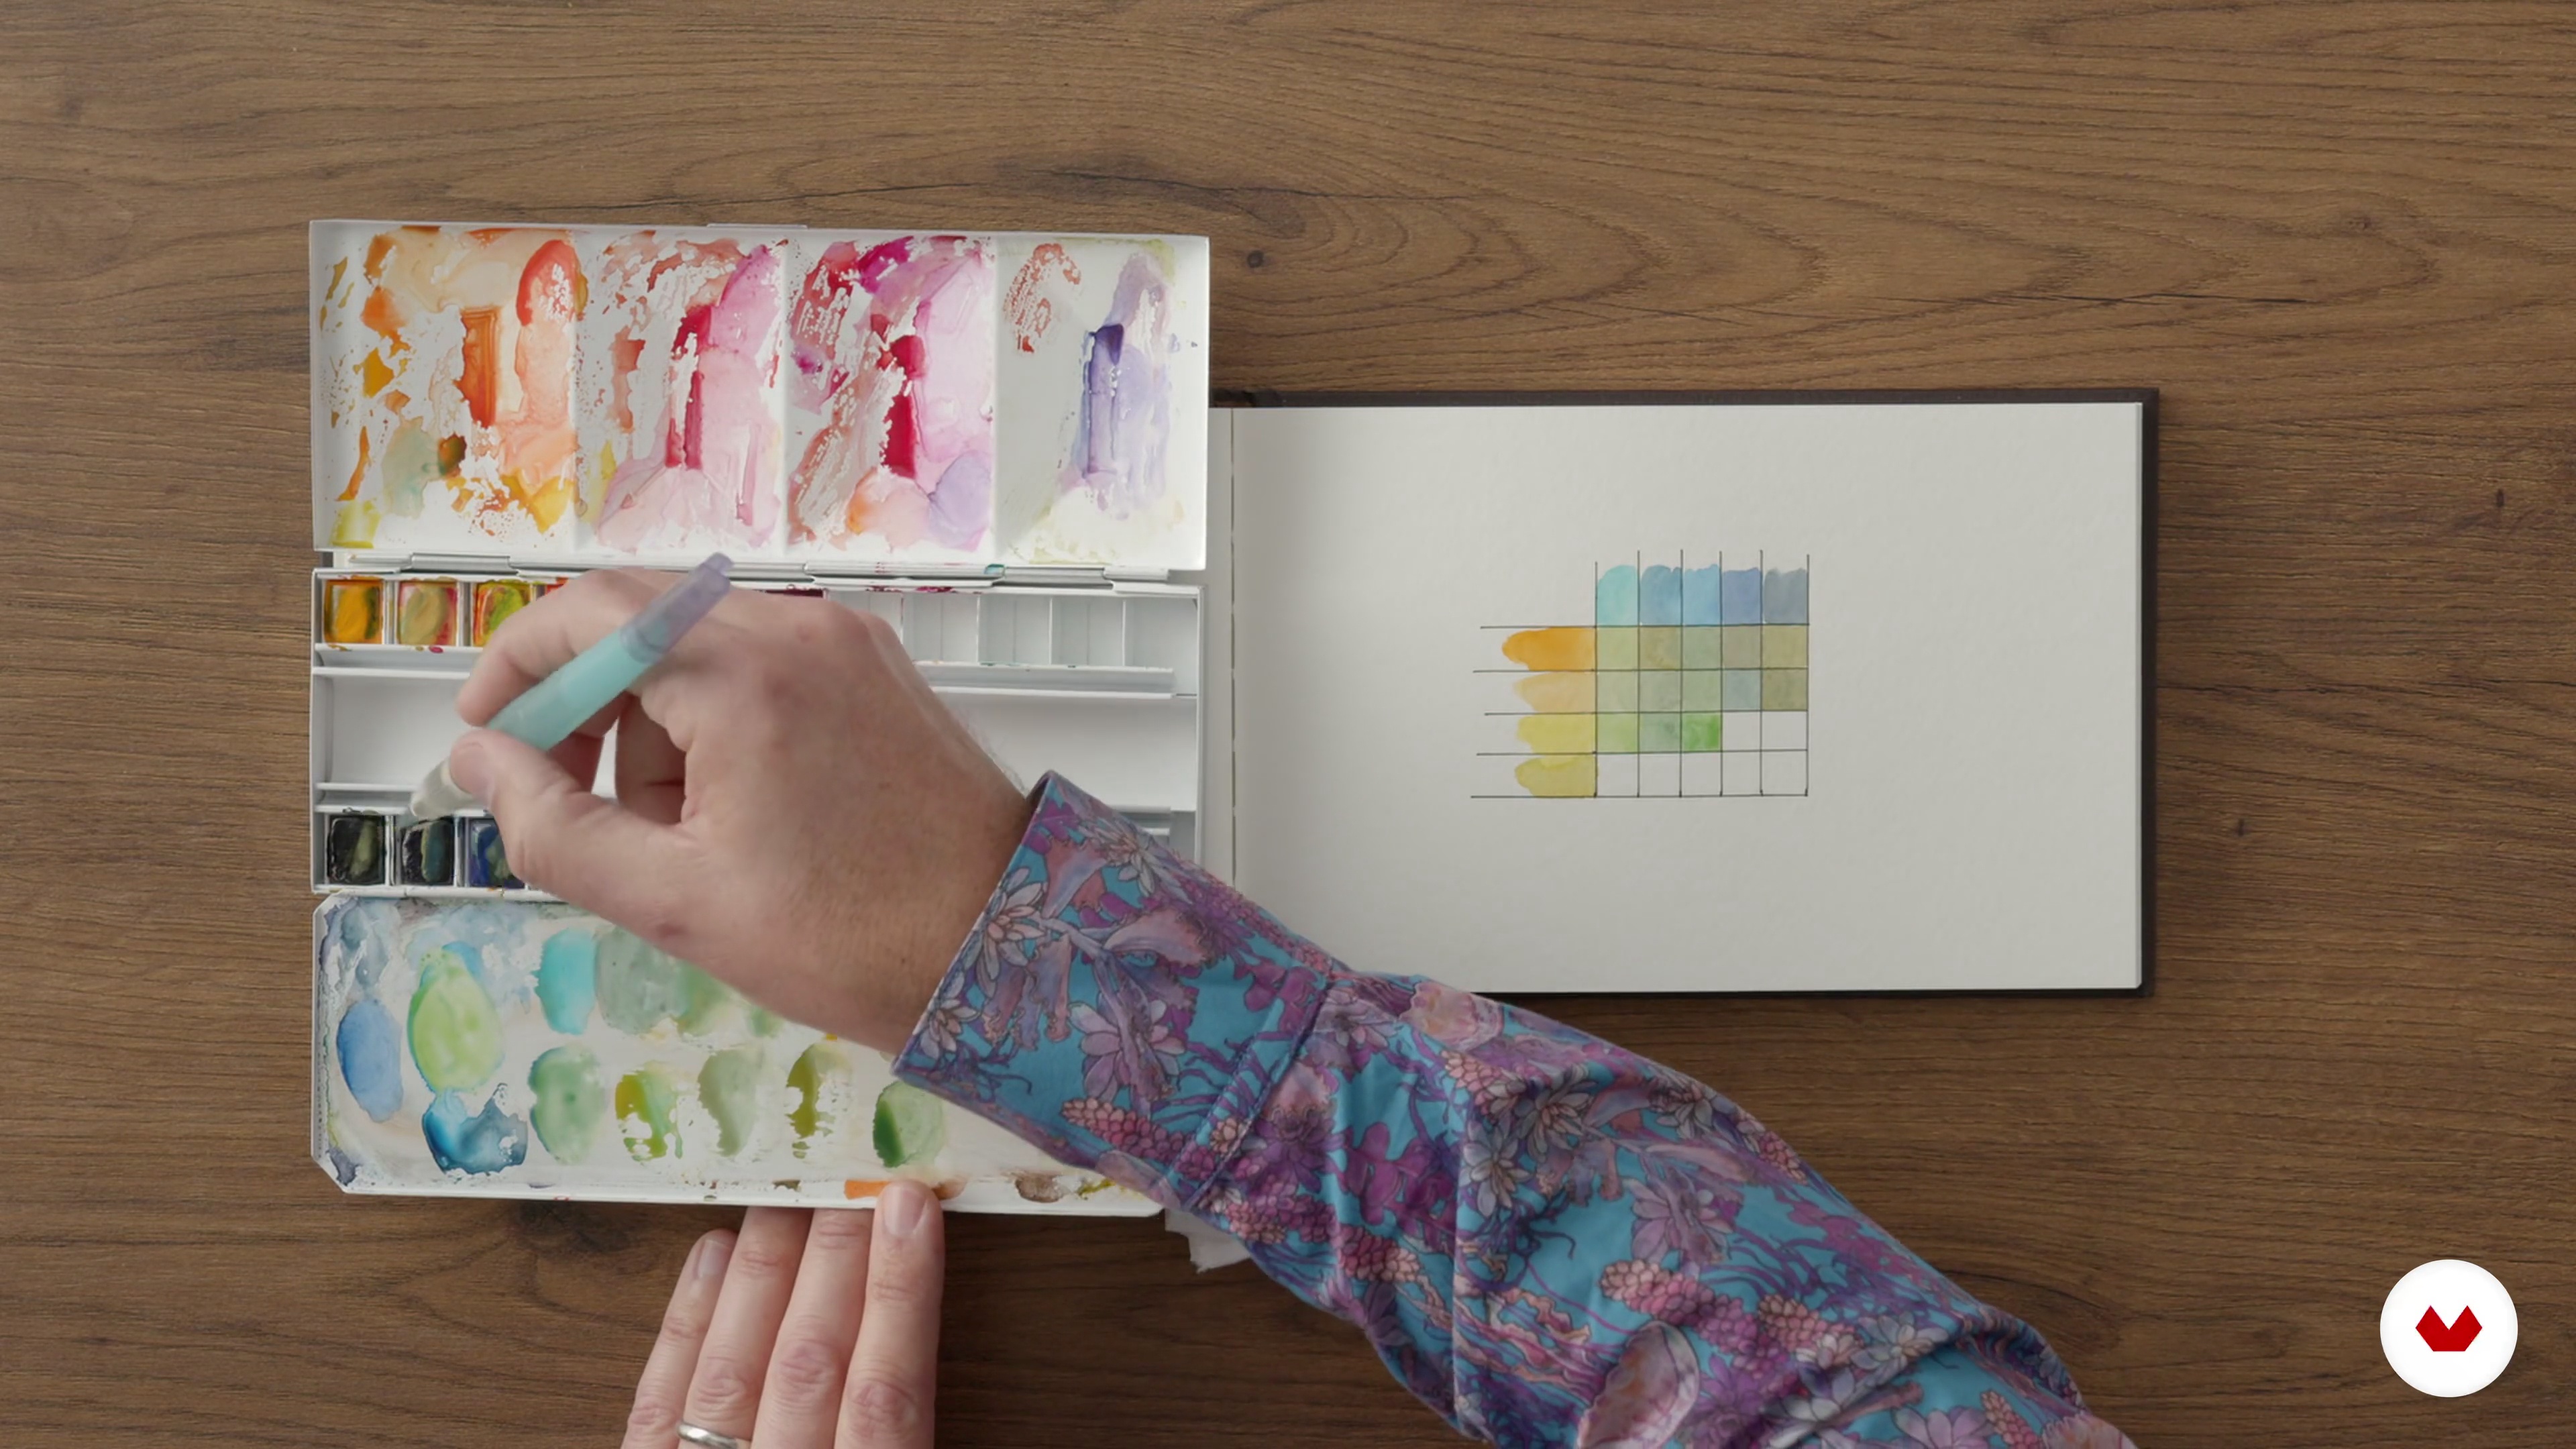
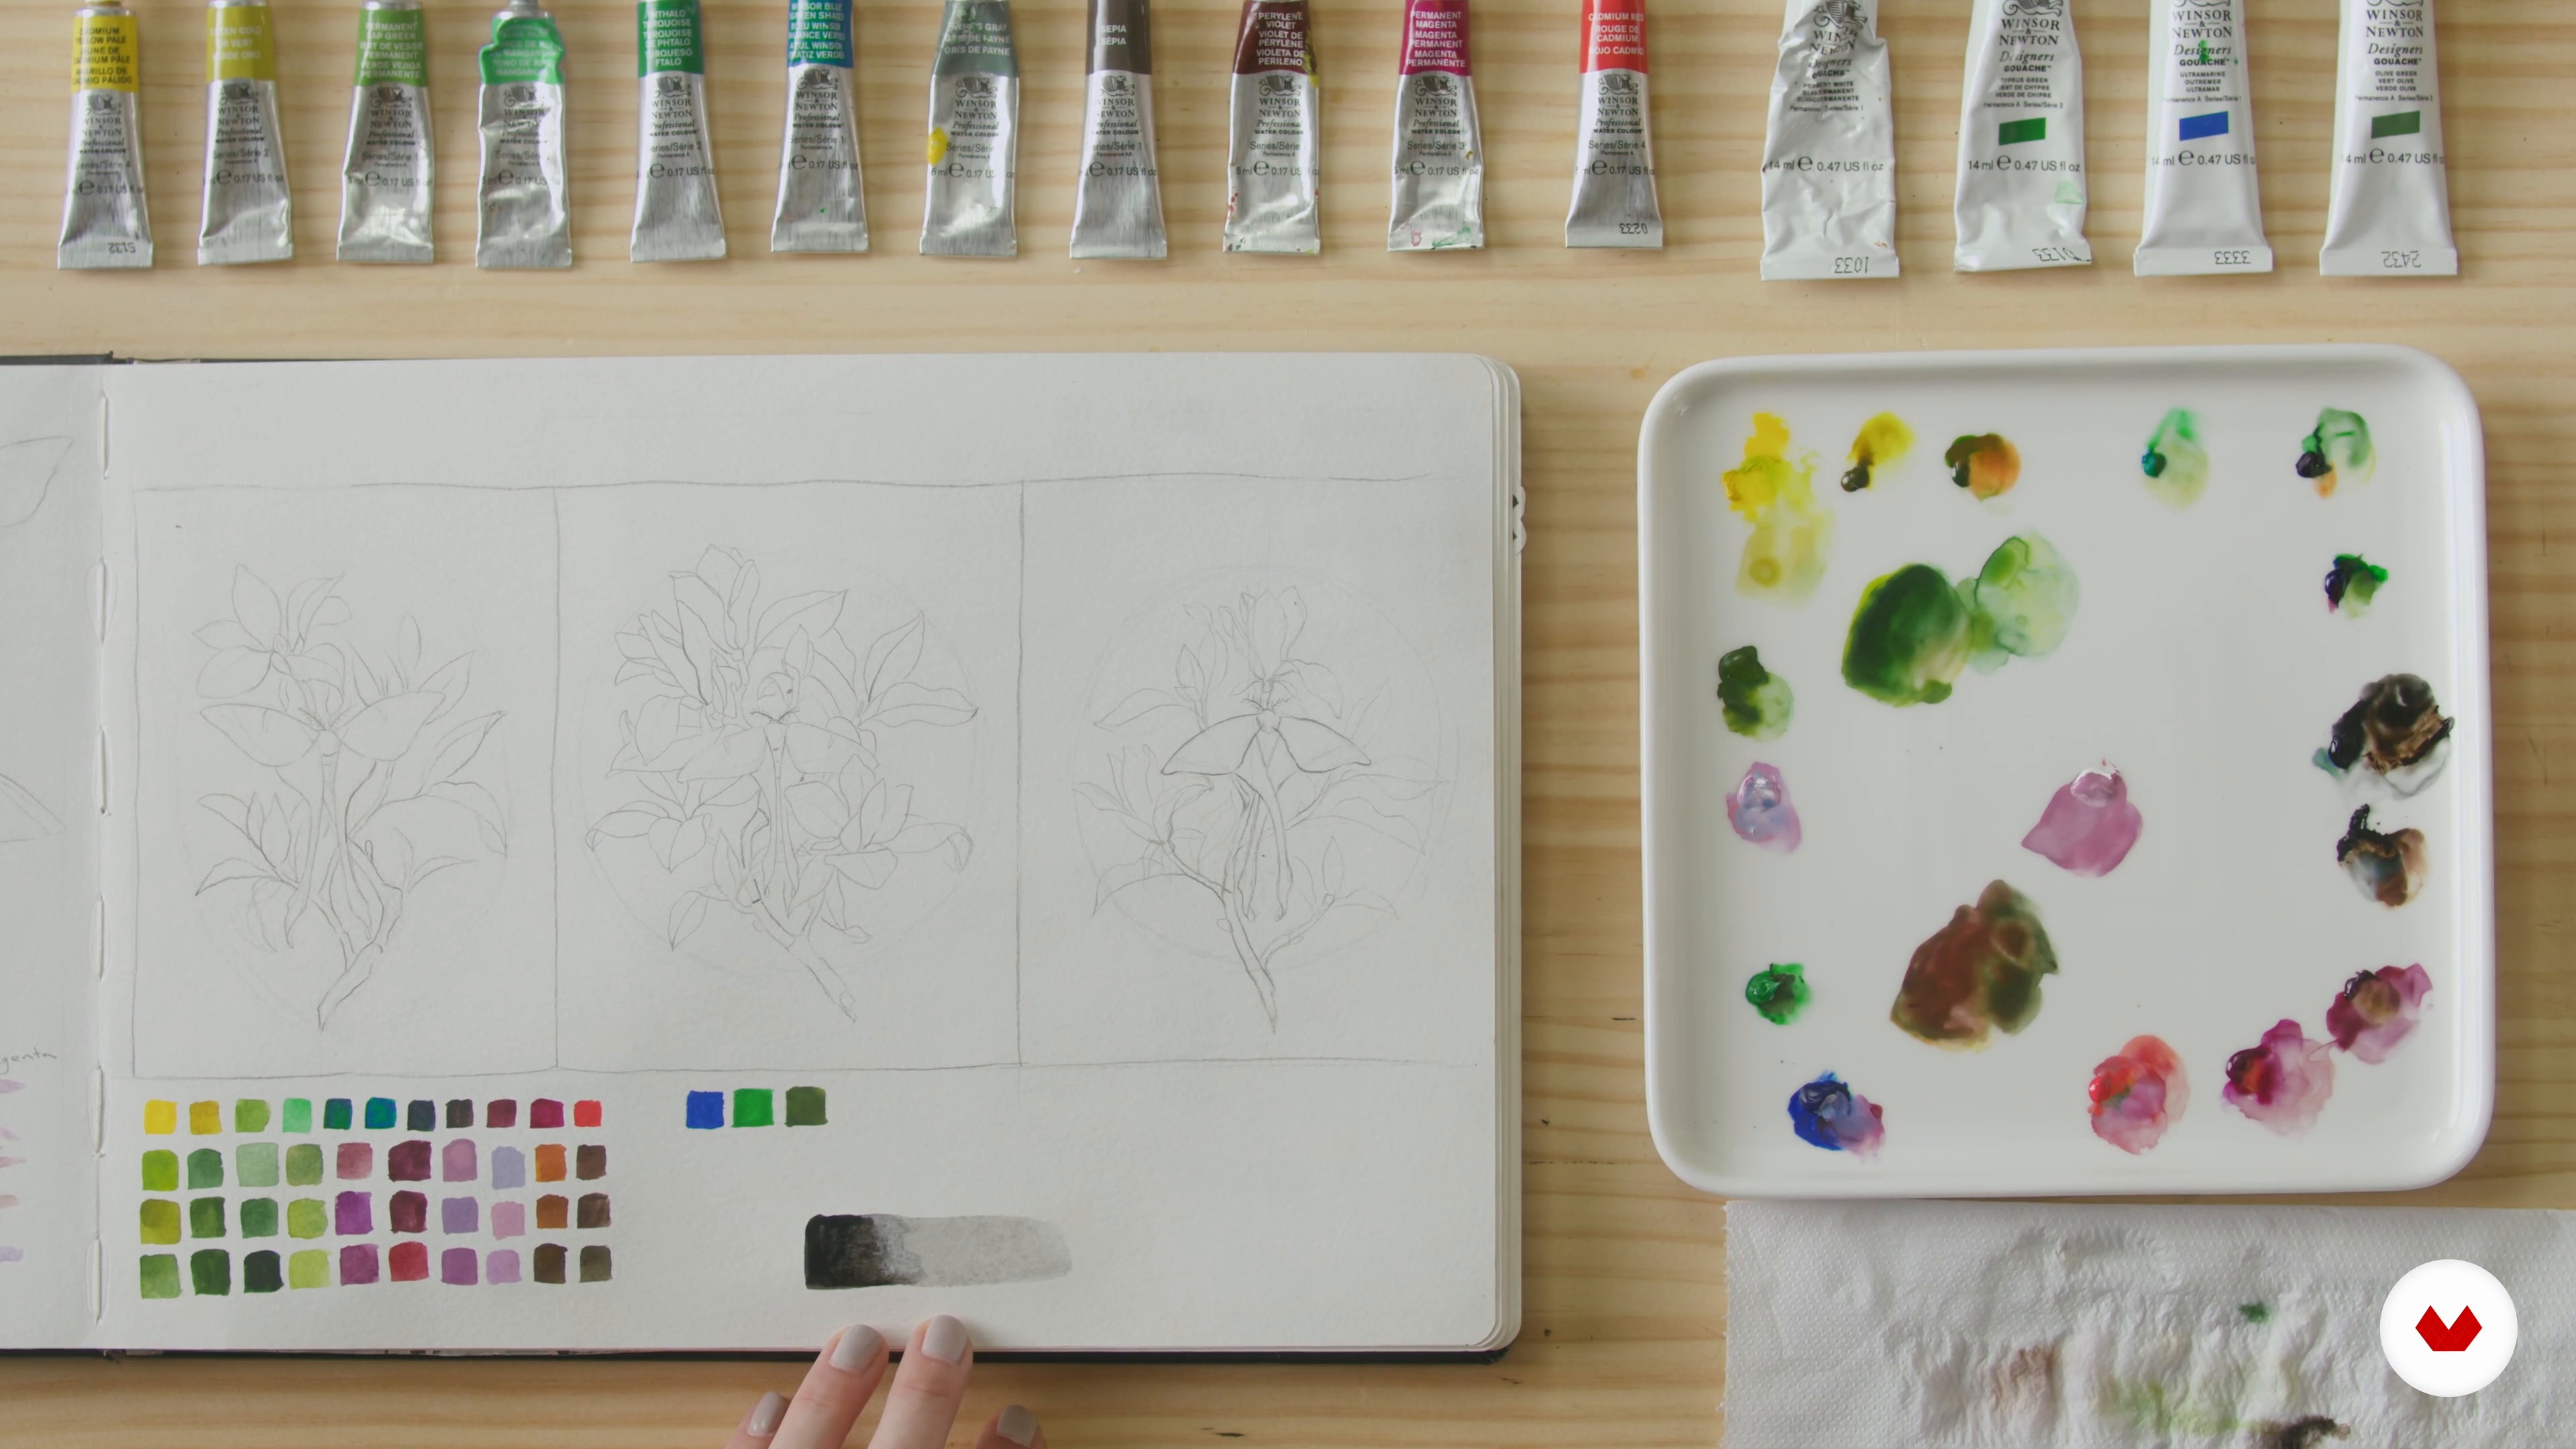
In this lesson you will compose your own greens, a tricky color that is actually everything except green. We will create a small table of four by five boxes. • On the horizontal, we will use four different yellows: cadnium yellow deep, Naples yellow medium, primary yellow and green gold. • On the vertical, five kinds of blue: turquoise cobalt, cobalt blue, primary blue, faience blue (or ultramarine) and indigo. At the intersection in the boxes, you will mix the two pigments with half water dilution. I usually do not use too much pigment, I want the watercolor to be light to keep reading the linework. This will be an average, the color may change depending on the proportion of both pigments. It will then help you to get the closest color of the plant you are observing.
16m
image
8
Drawing from Observation: Line Work
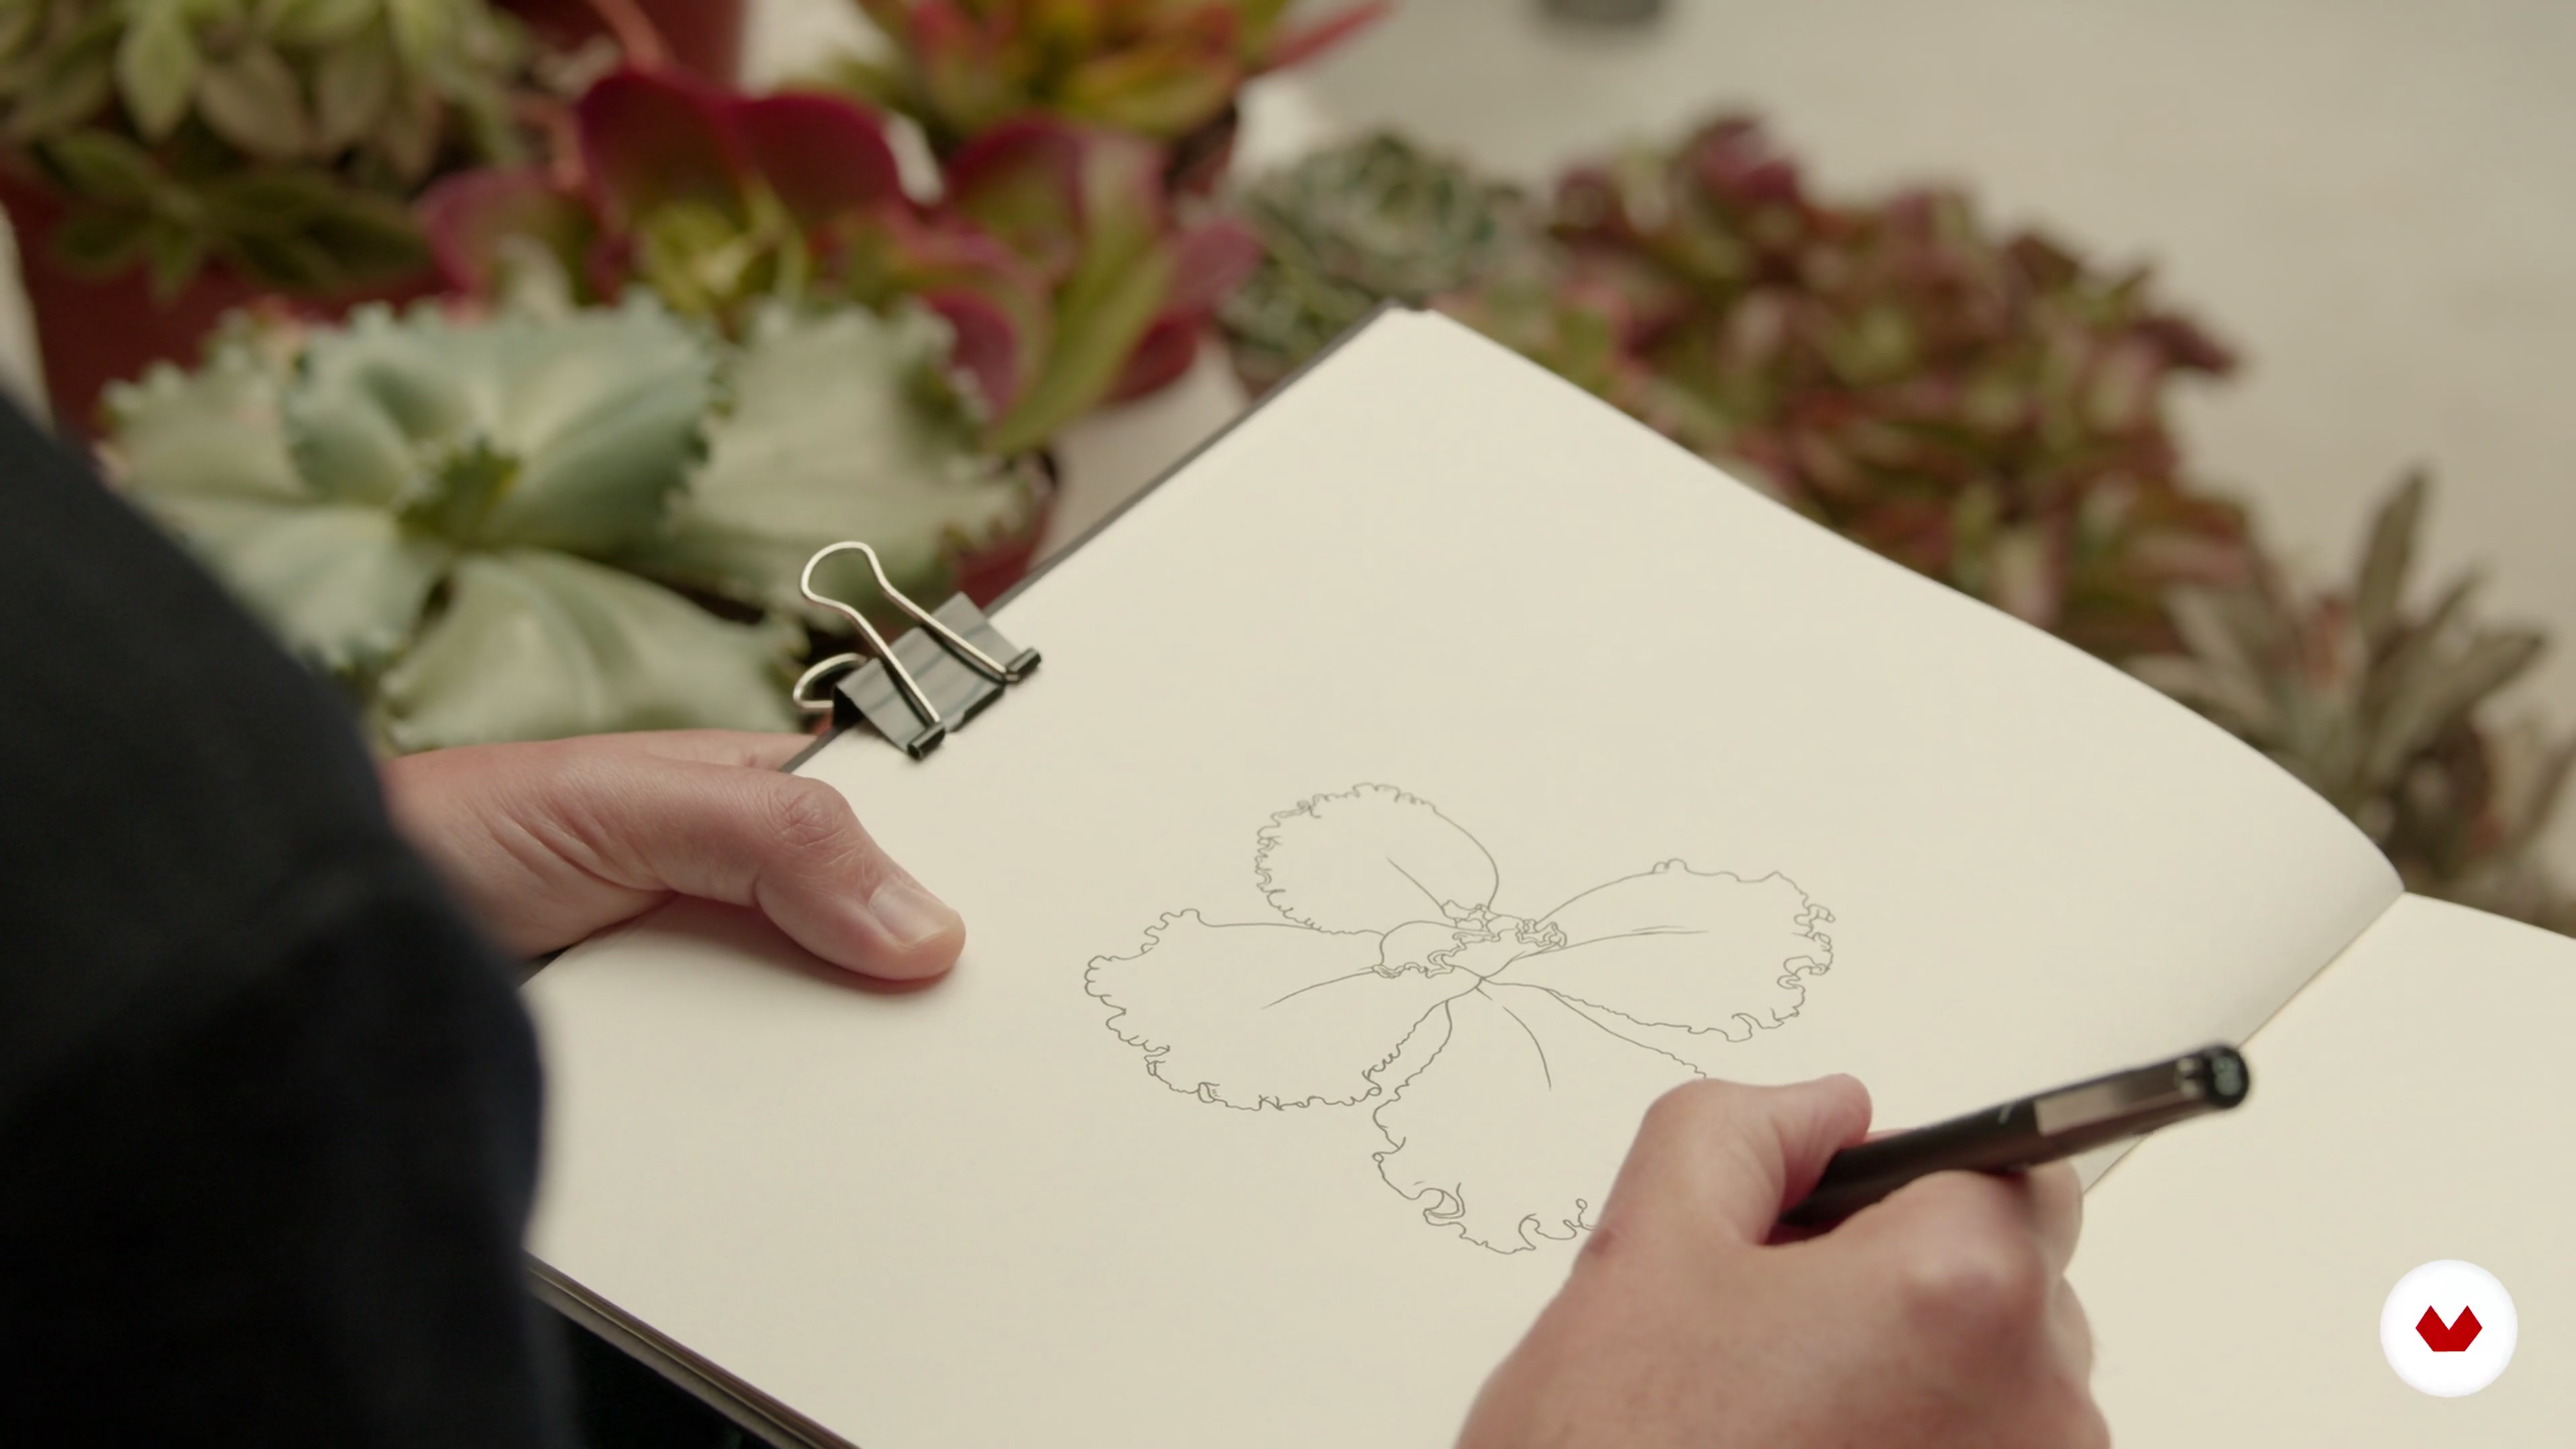
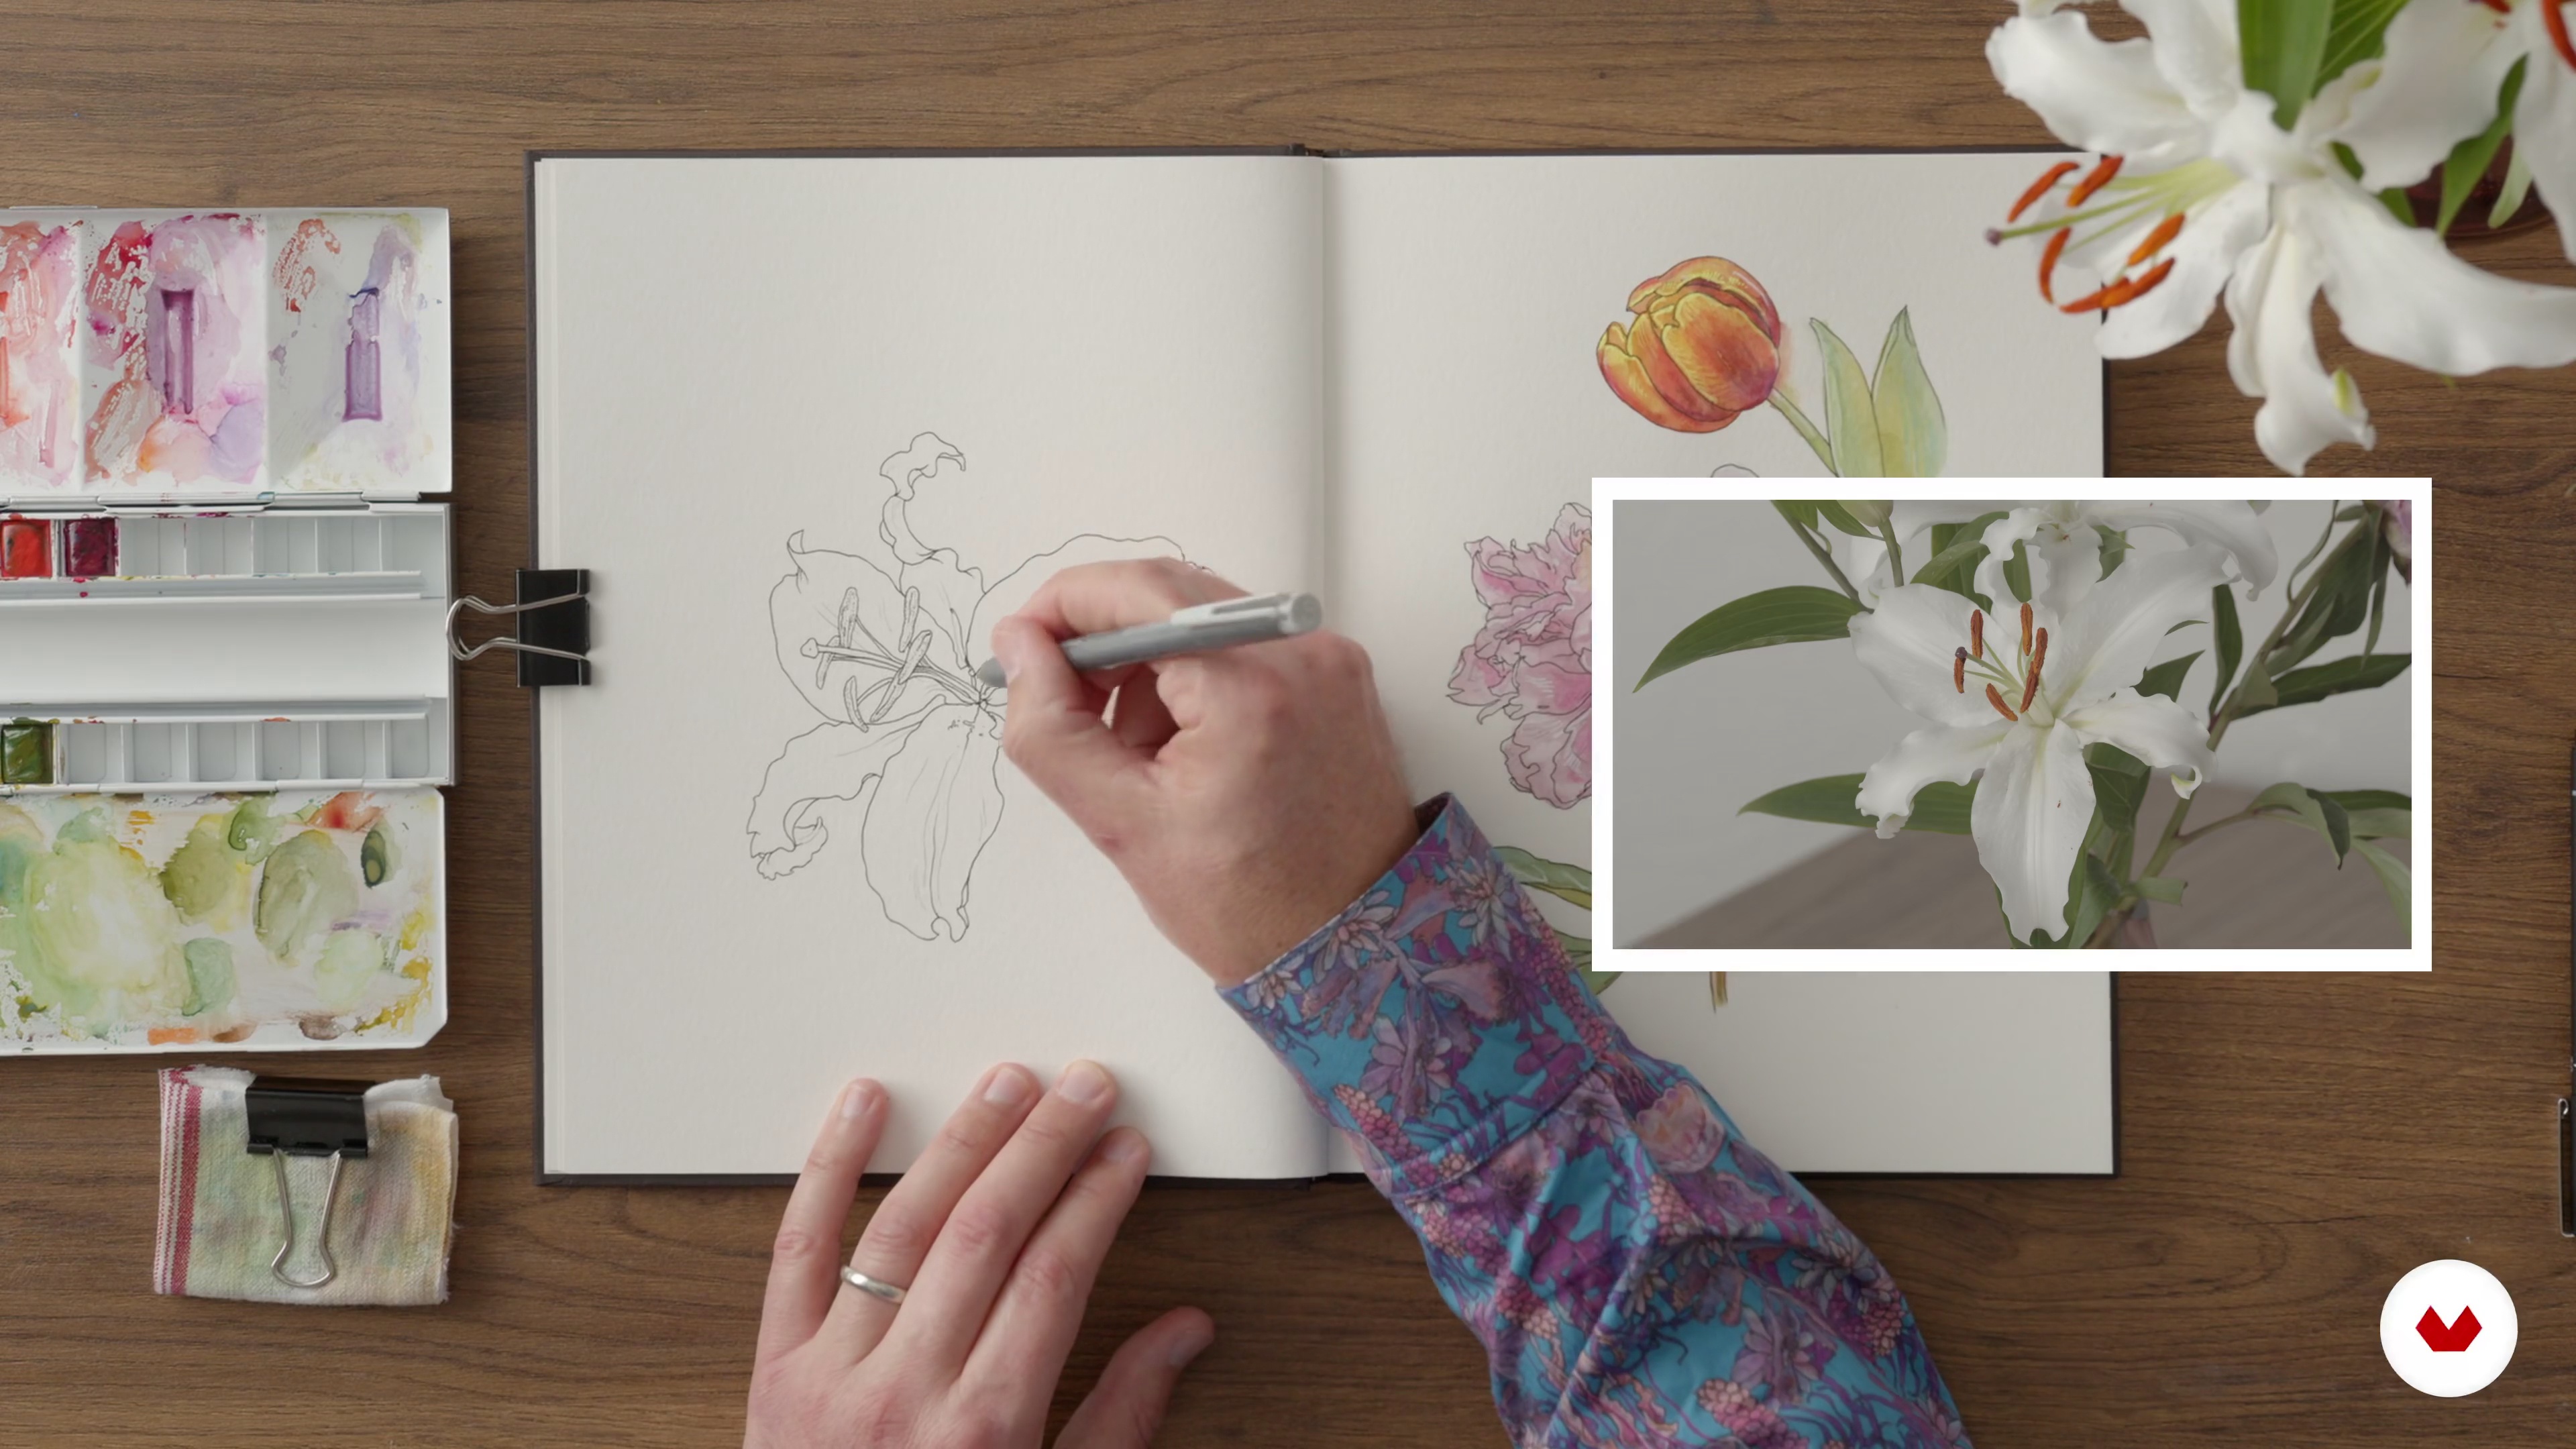
In this lesson, I will tell you the importance of working from direct observation instead of a photography. A picture is already a filter of reality, it flattens everything and will reduce the colors and scale perceptions. I know that it is more complicated to work from life than from a picture, you would need more practice to be happy with the outcome. But remember that the process is much more important than the final drawing. It is all about contemplation. You first need to observe, to choose your model and to turn around it to define the best point of view. Before starting with fineliner, breath quietly, and visualise the lines, the geometry, the composition on your page. Take your time. To me, botanical illustration is about time. You need to disconnect. The plant is filling all your vision field. You feel the tensions in the stalks, how leaves are searching for light, respecting an intimate distance between each other. Now that you created this sensitive connection between the plant and you, you are ready for the line work. Start with the closest element and mind the proportion and where to draw it on the page to be able to draw all of it.
3m
image
9
Colour and Texture: Green
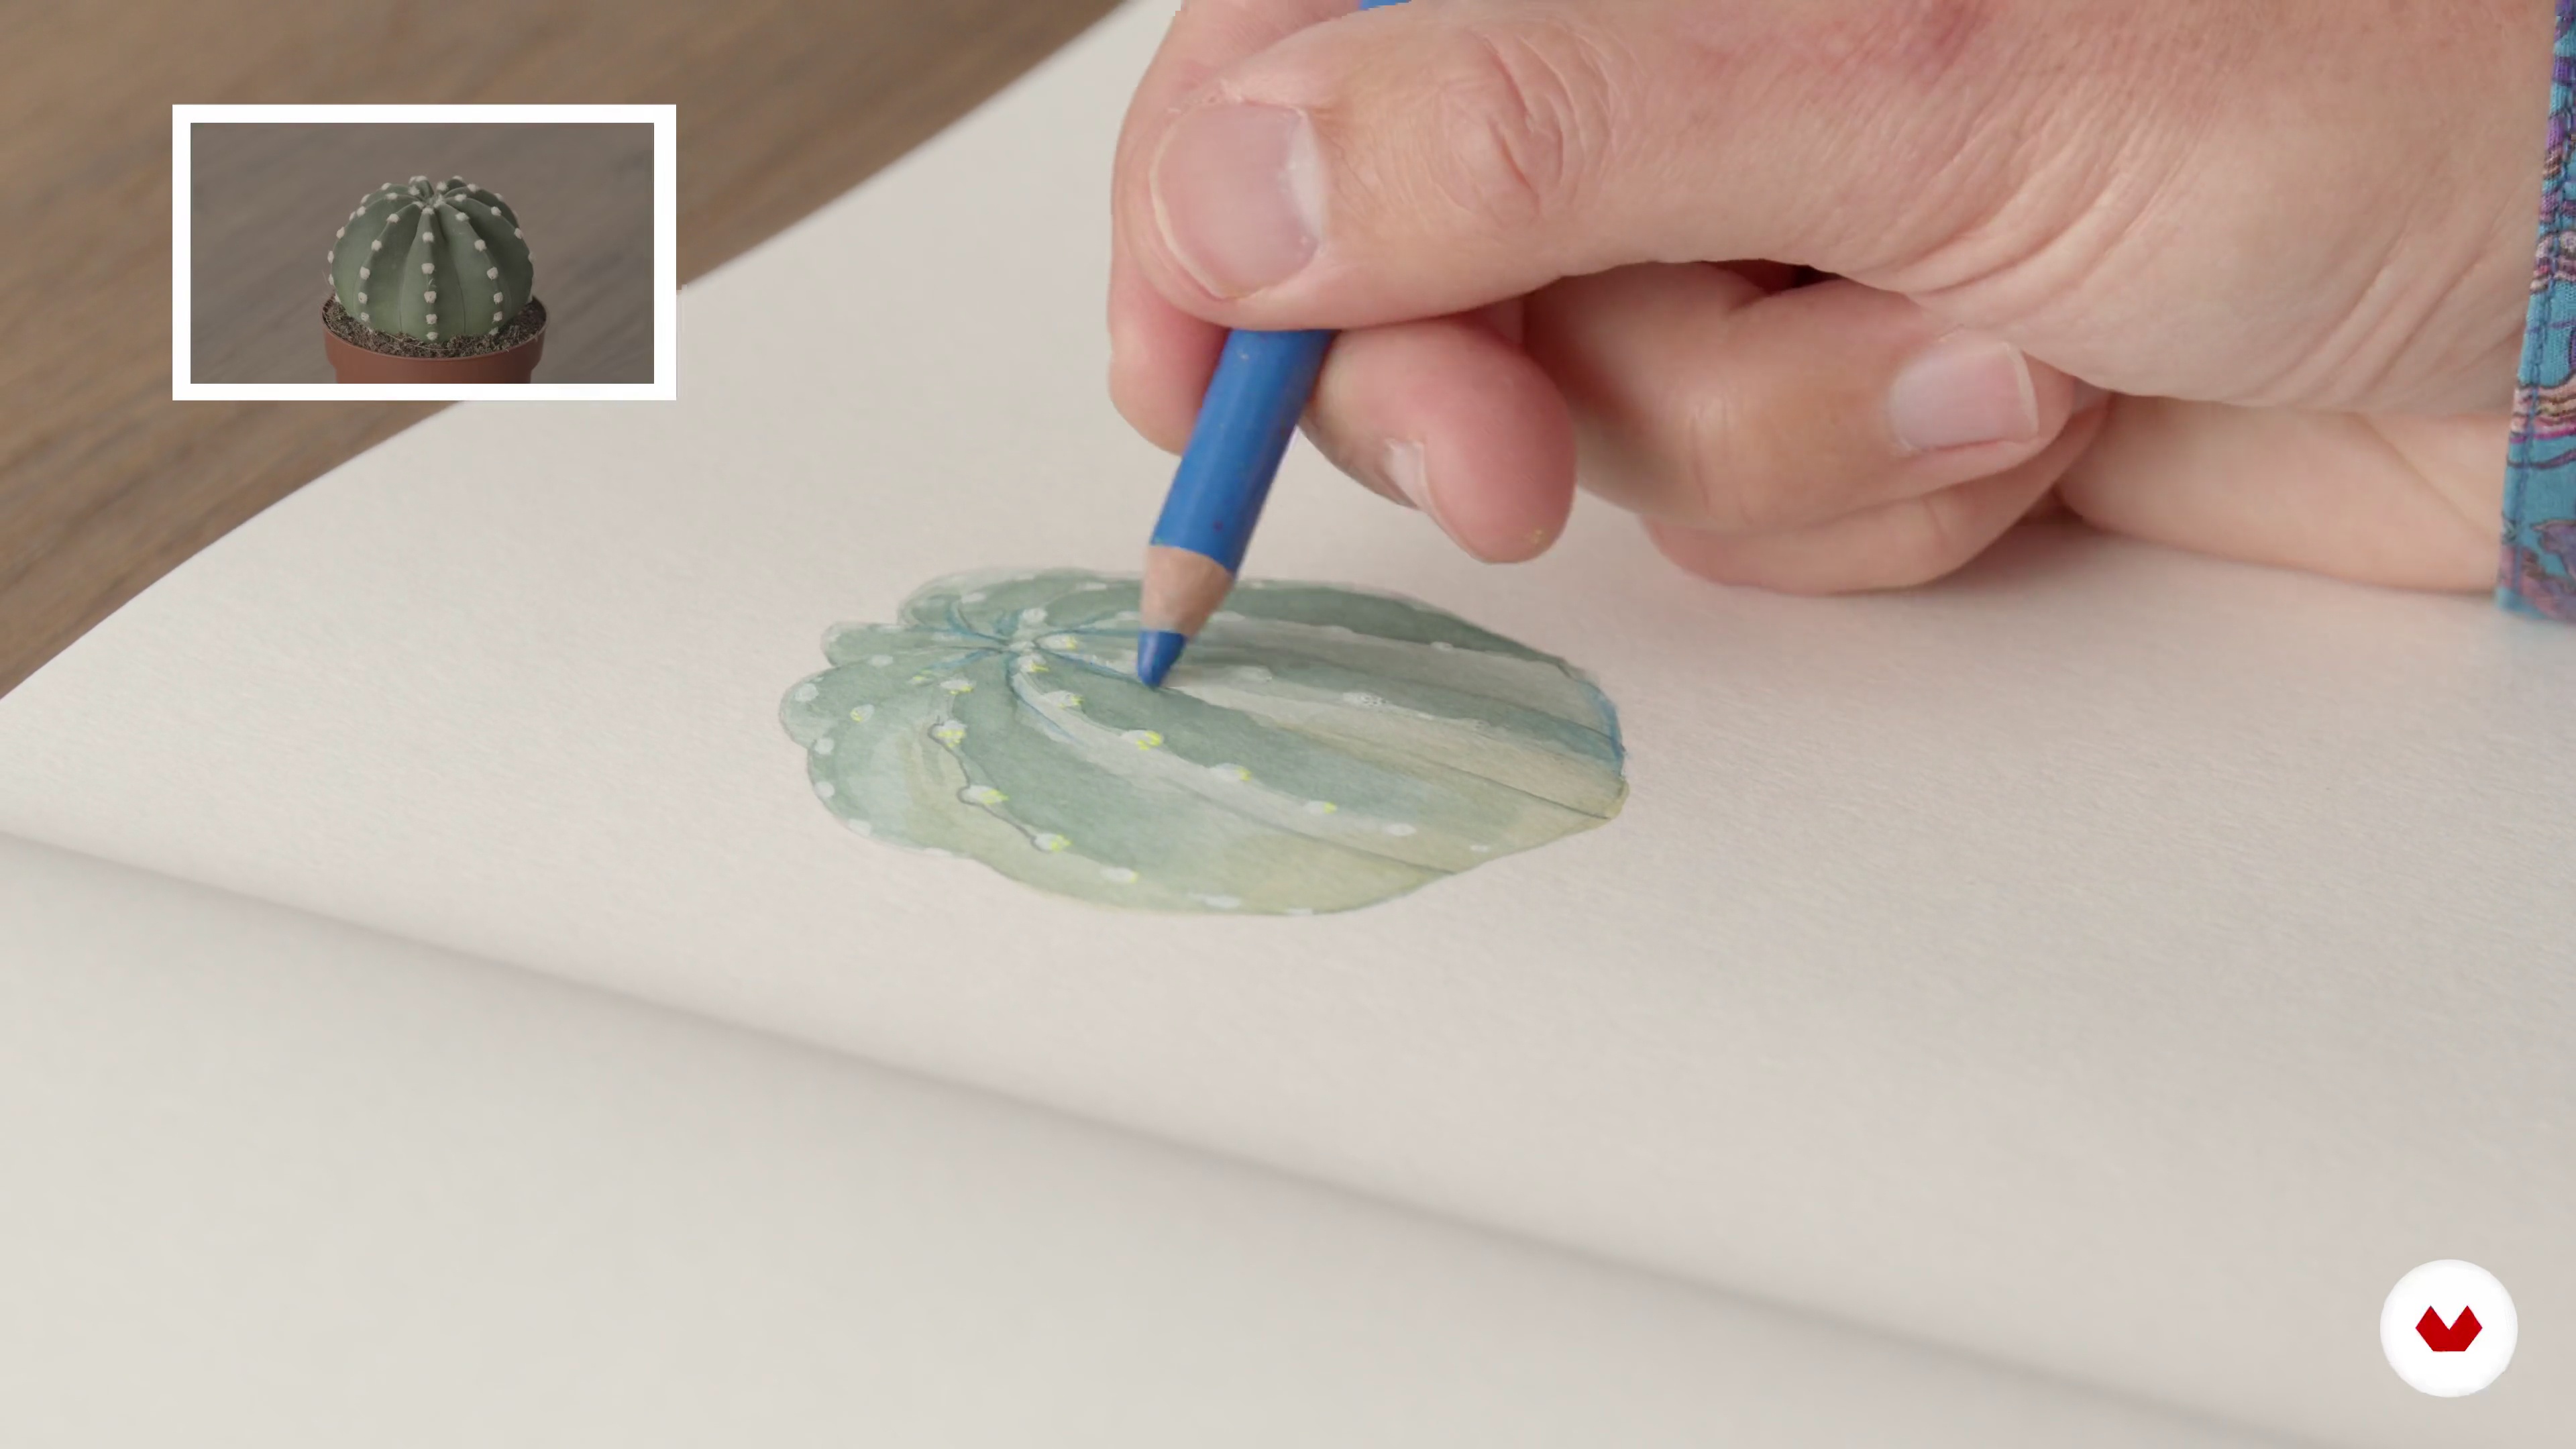
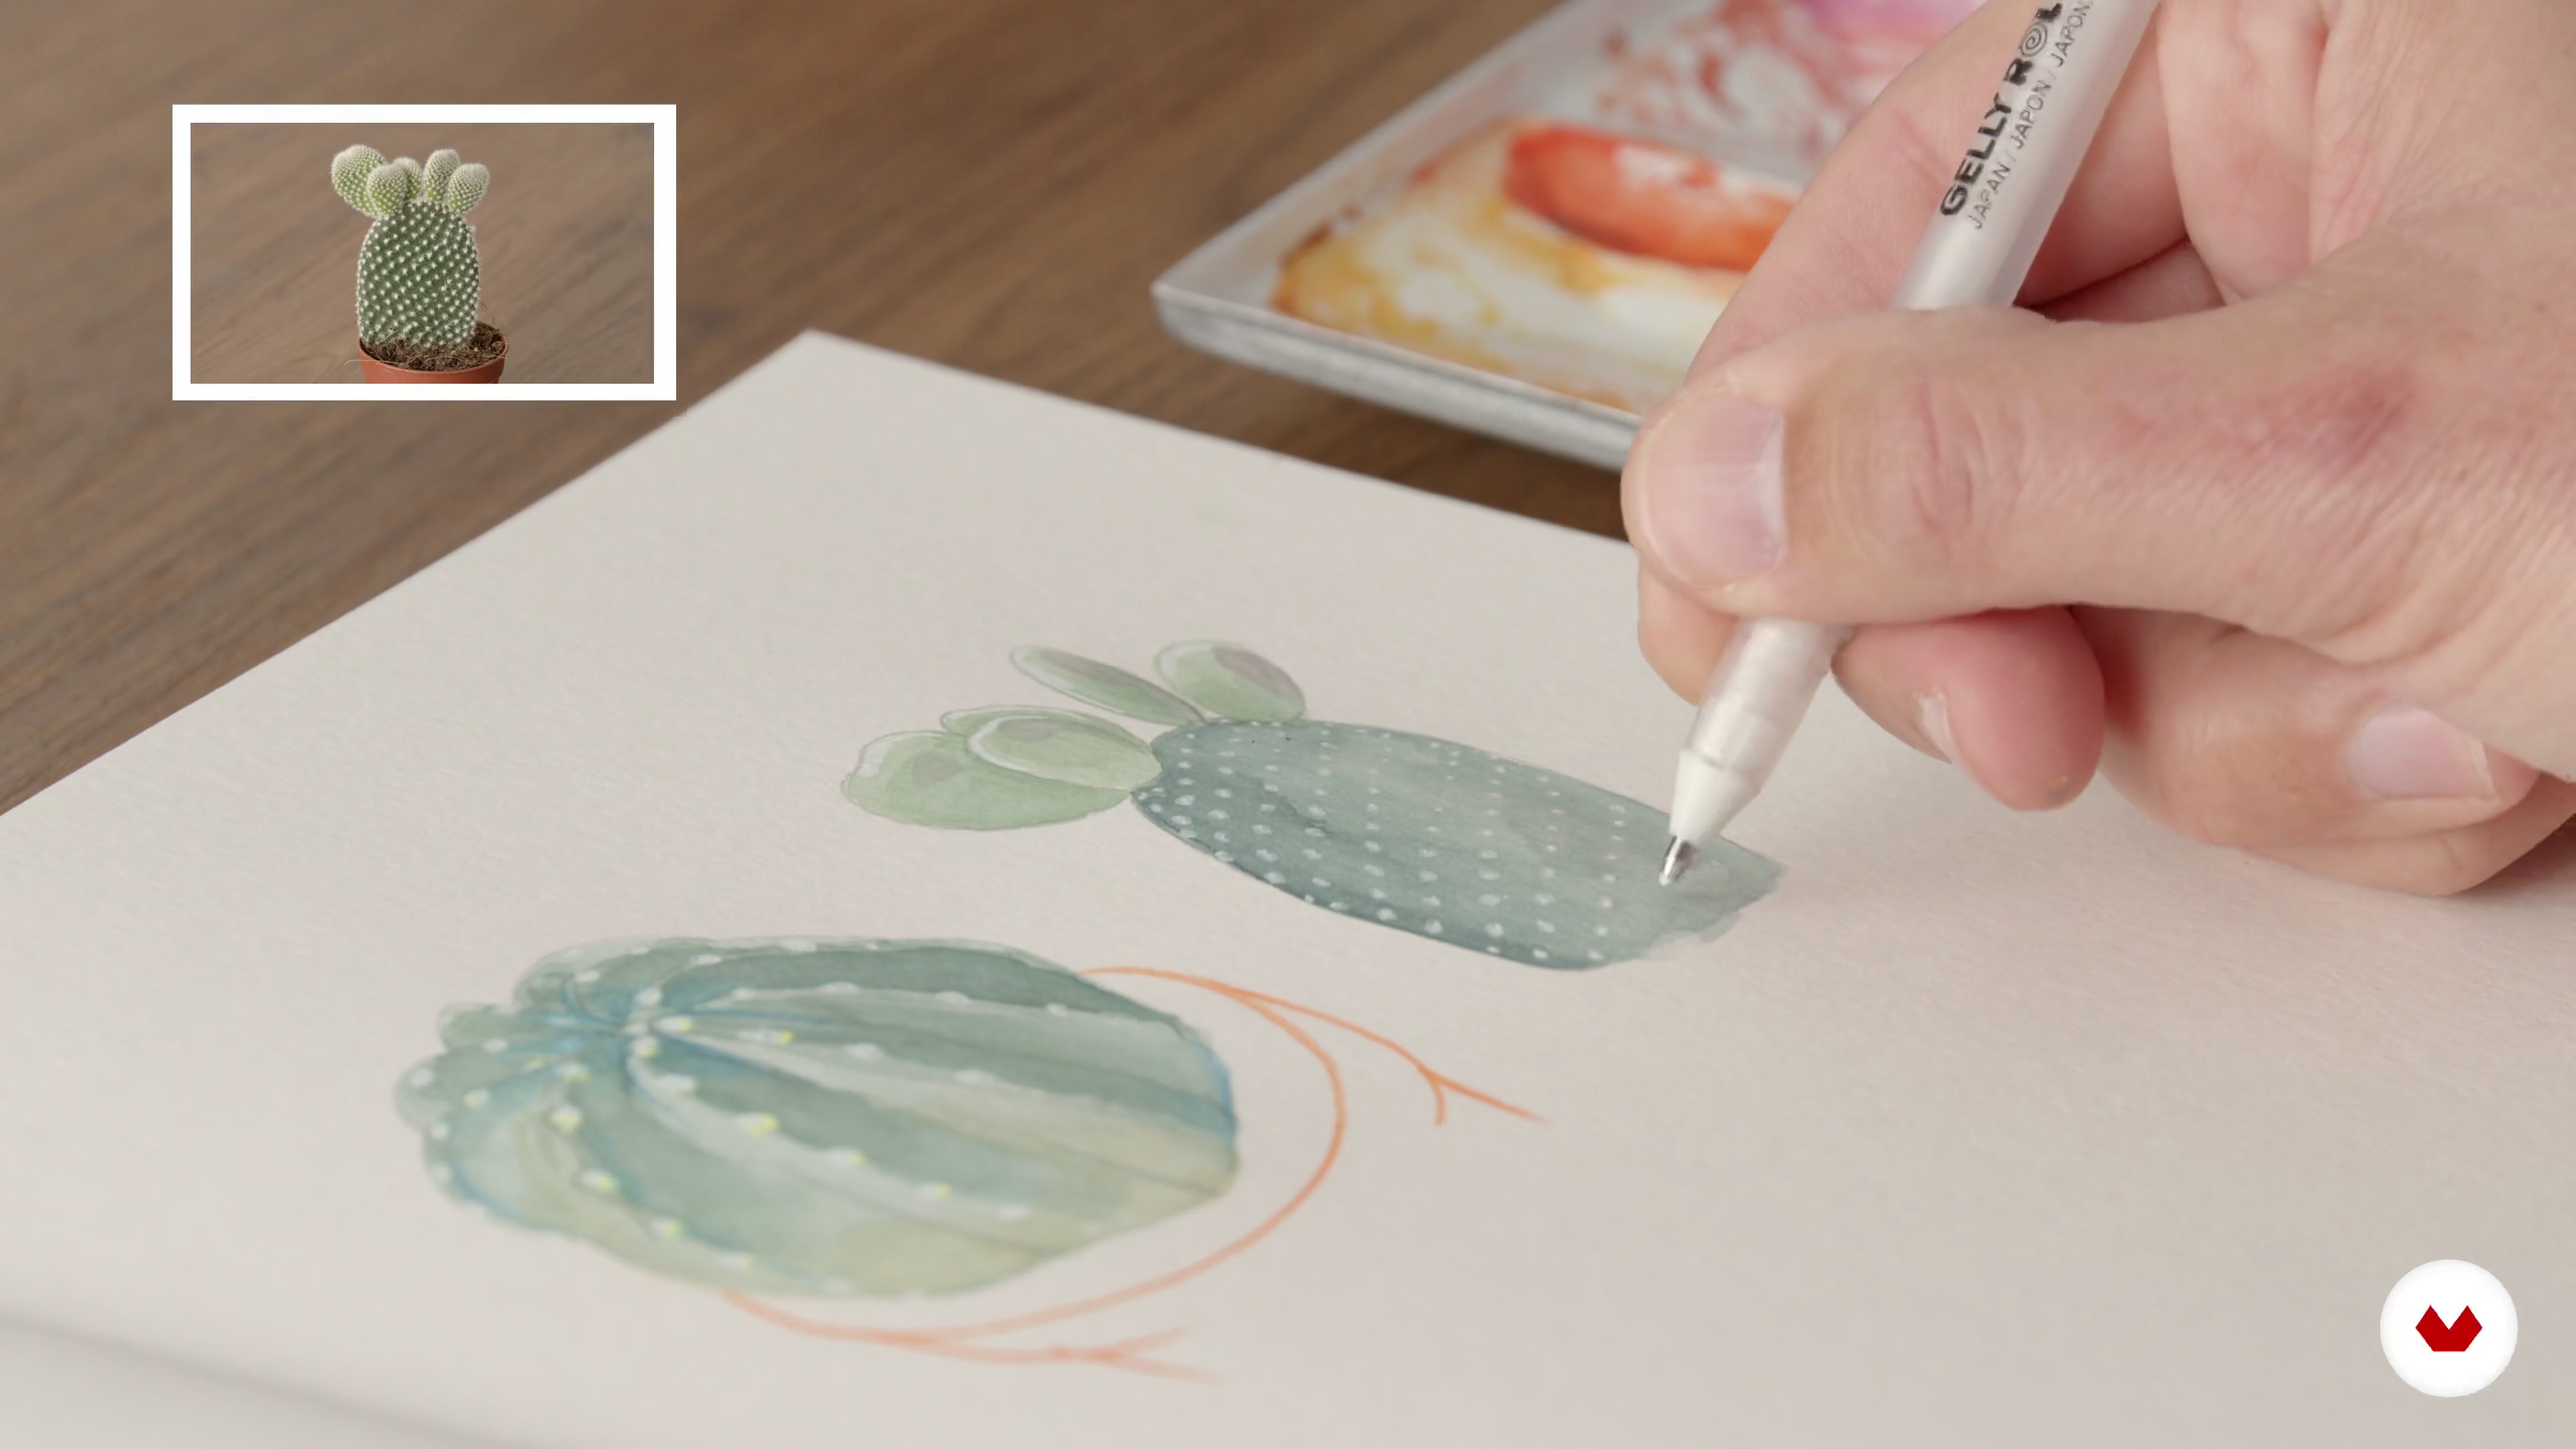
On the previous line drawing, we are going to paint the color and to add textures and reflections. What seems to be green is much more subtle. Looking closer, you'll see yellow, blue, ochre, even orange or purple. These are all the colors that we will paint over the line work in this lesson. I recommend that you have the color chart we did in the previous unit at hand to compose your own greens. The first layer is quite light. Watercolor is about layering tones, from light to dark. We will layer the colors to create texture, volume and shade, first with watercolor (no more than three or four layers) and then with color pencils for some highlights. Using contrasts of complementary colors or cold and warm colors will give strength to your drawing. Finally, we will use Gelly Roll for the lights or reflection. You know when your drawing is over when you can feel unity in it, harmony in the balance of colors.
4m
image
10
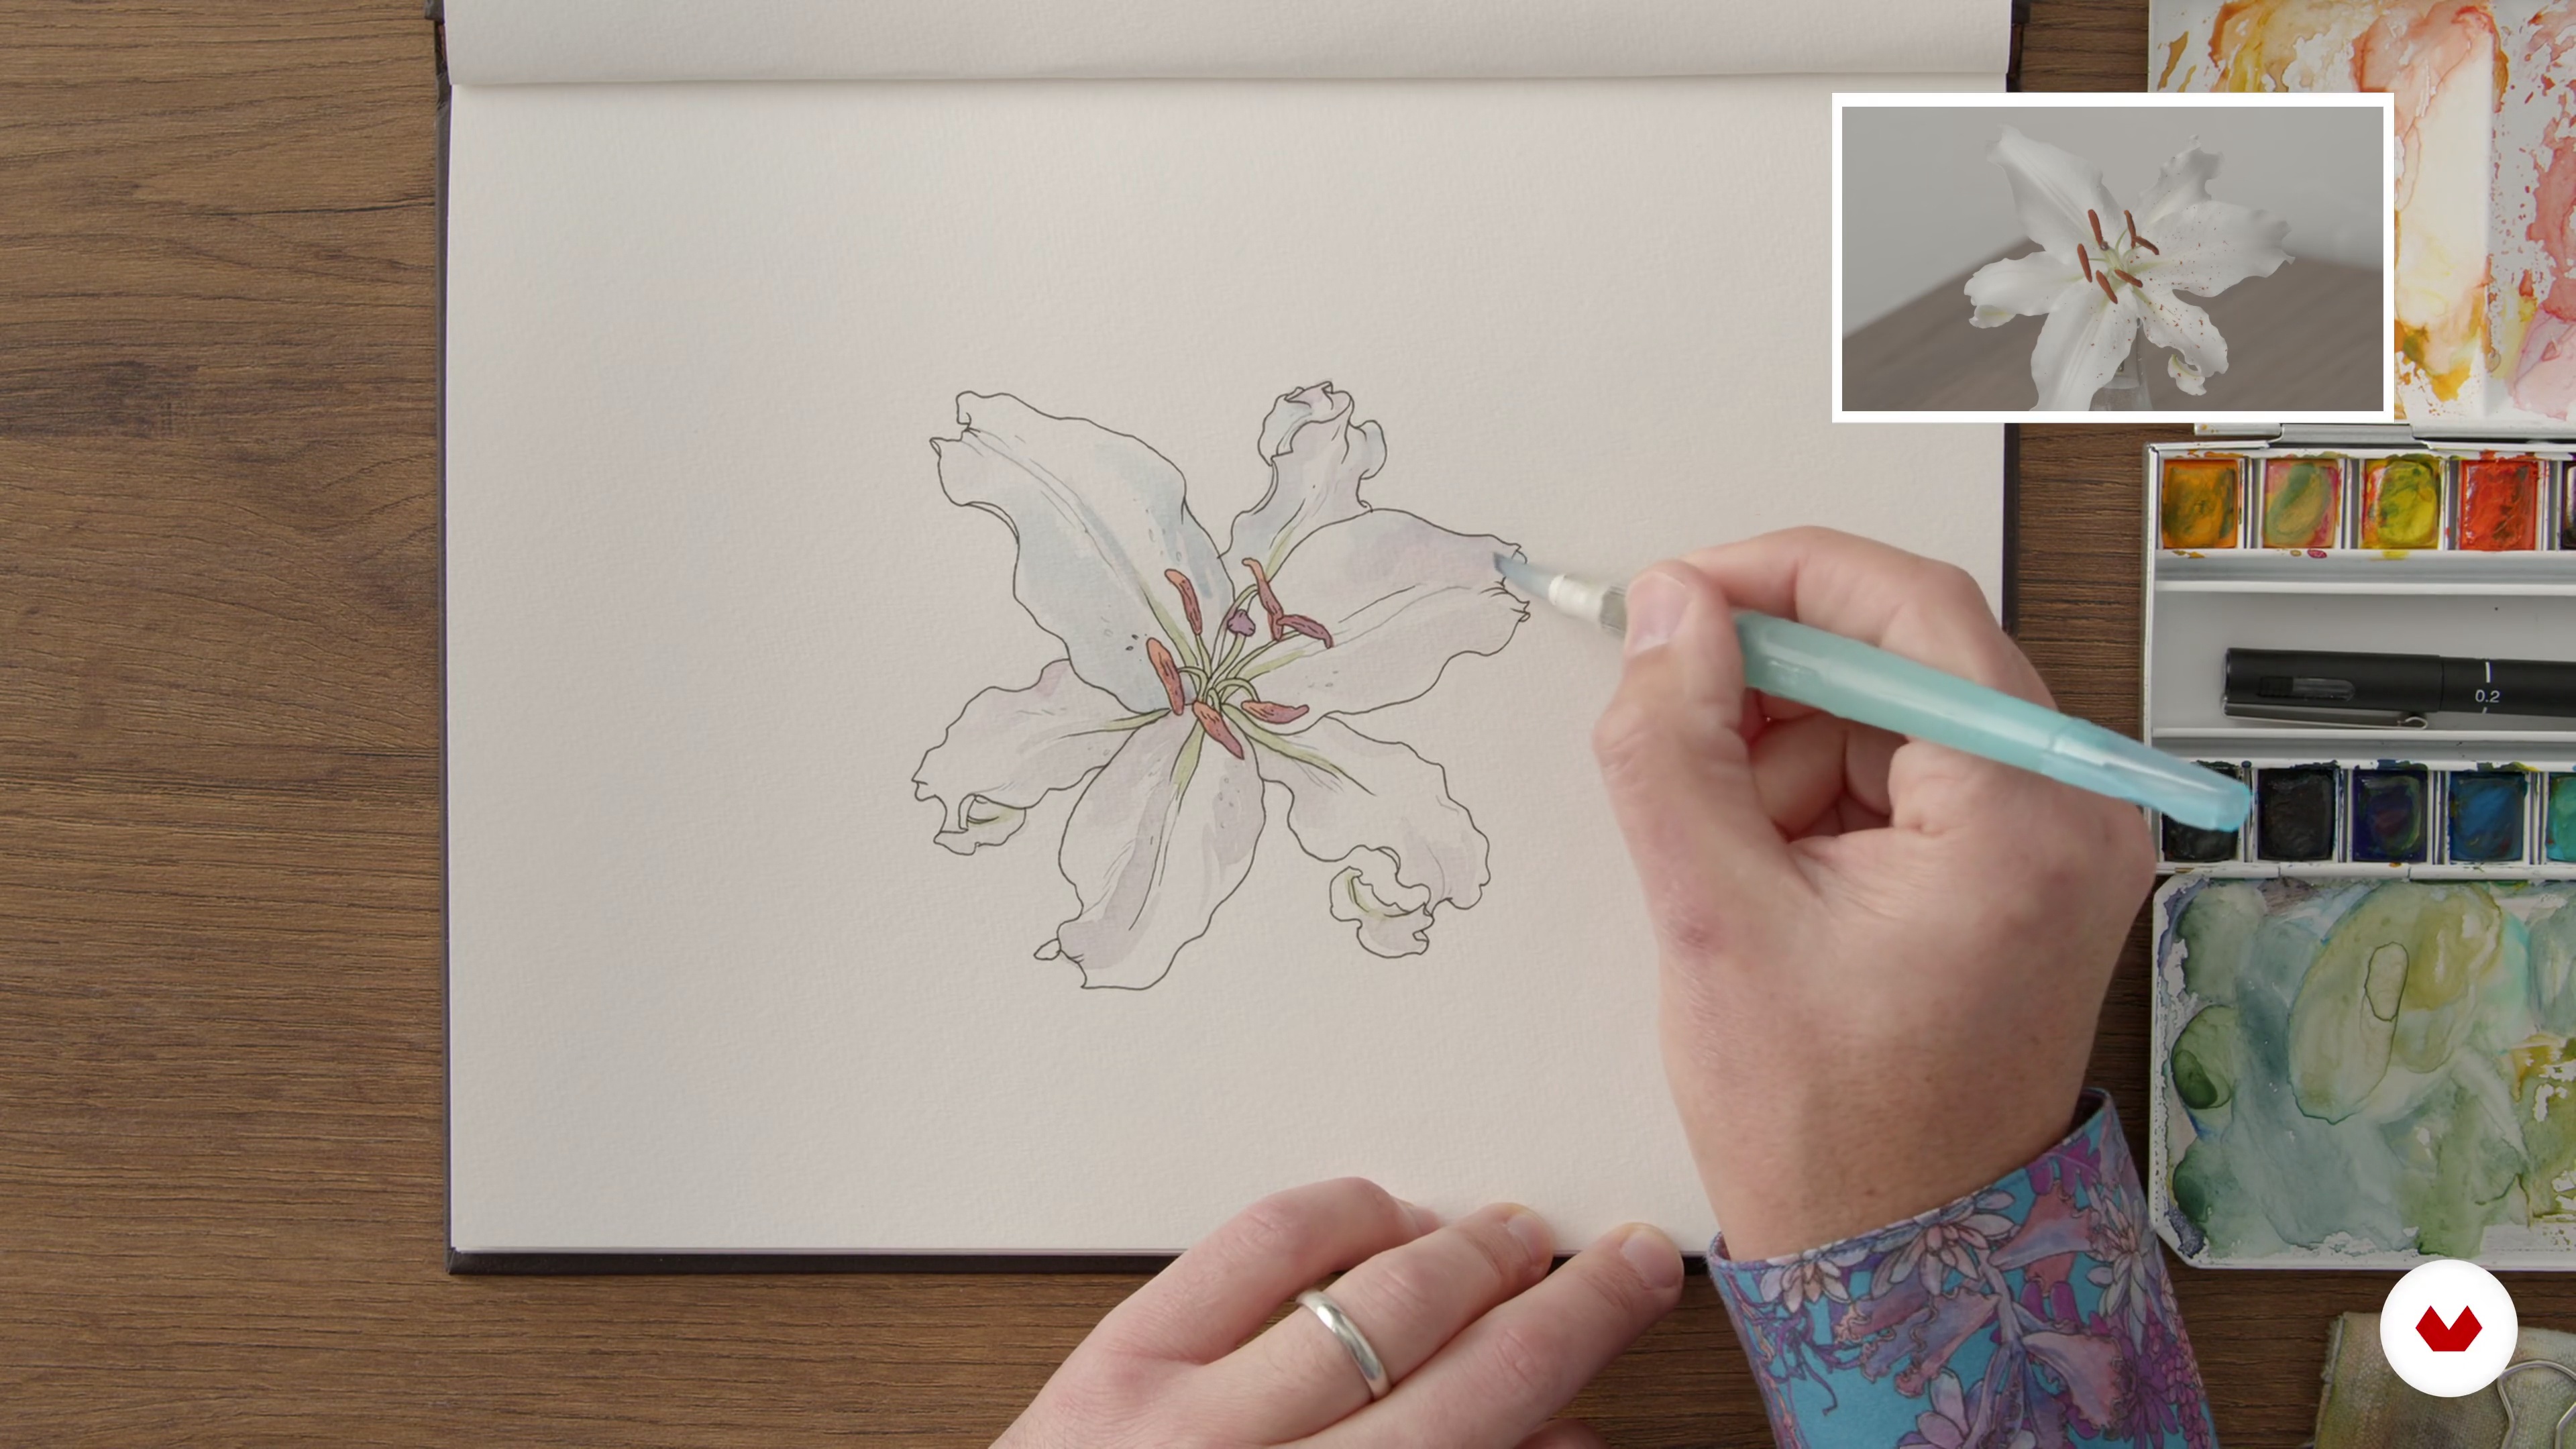
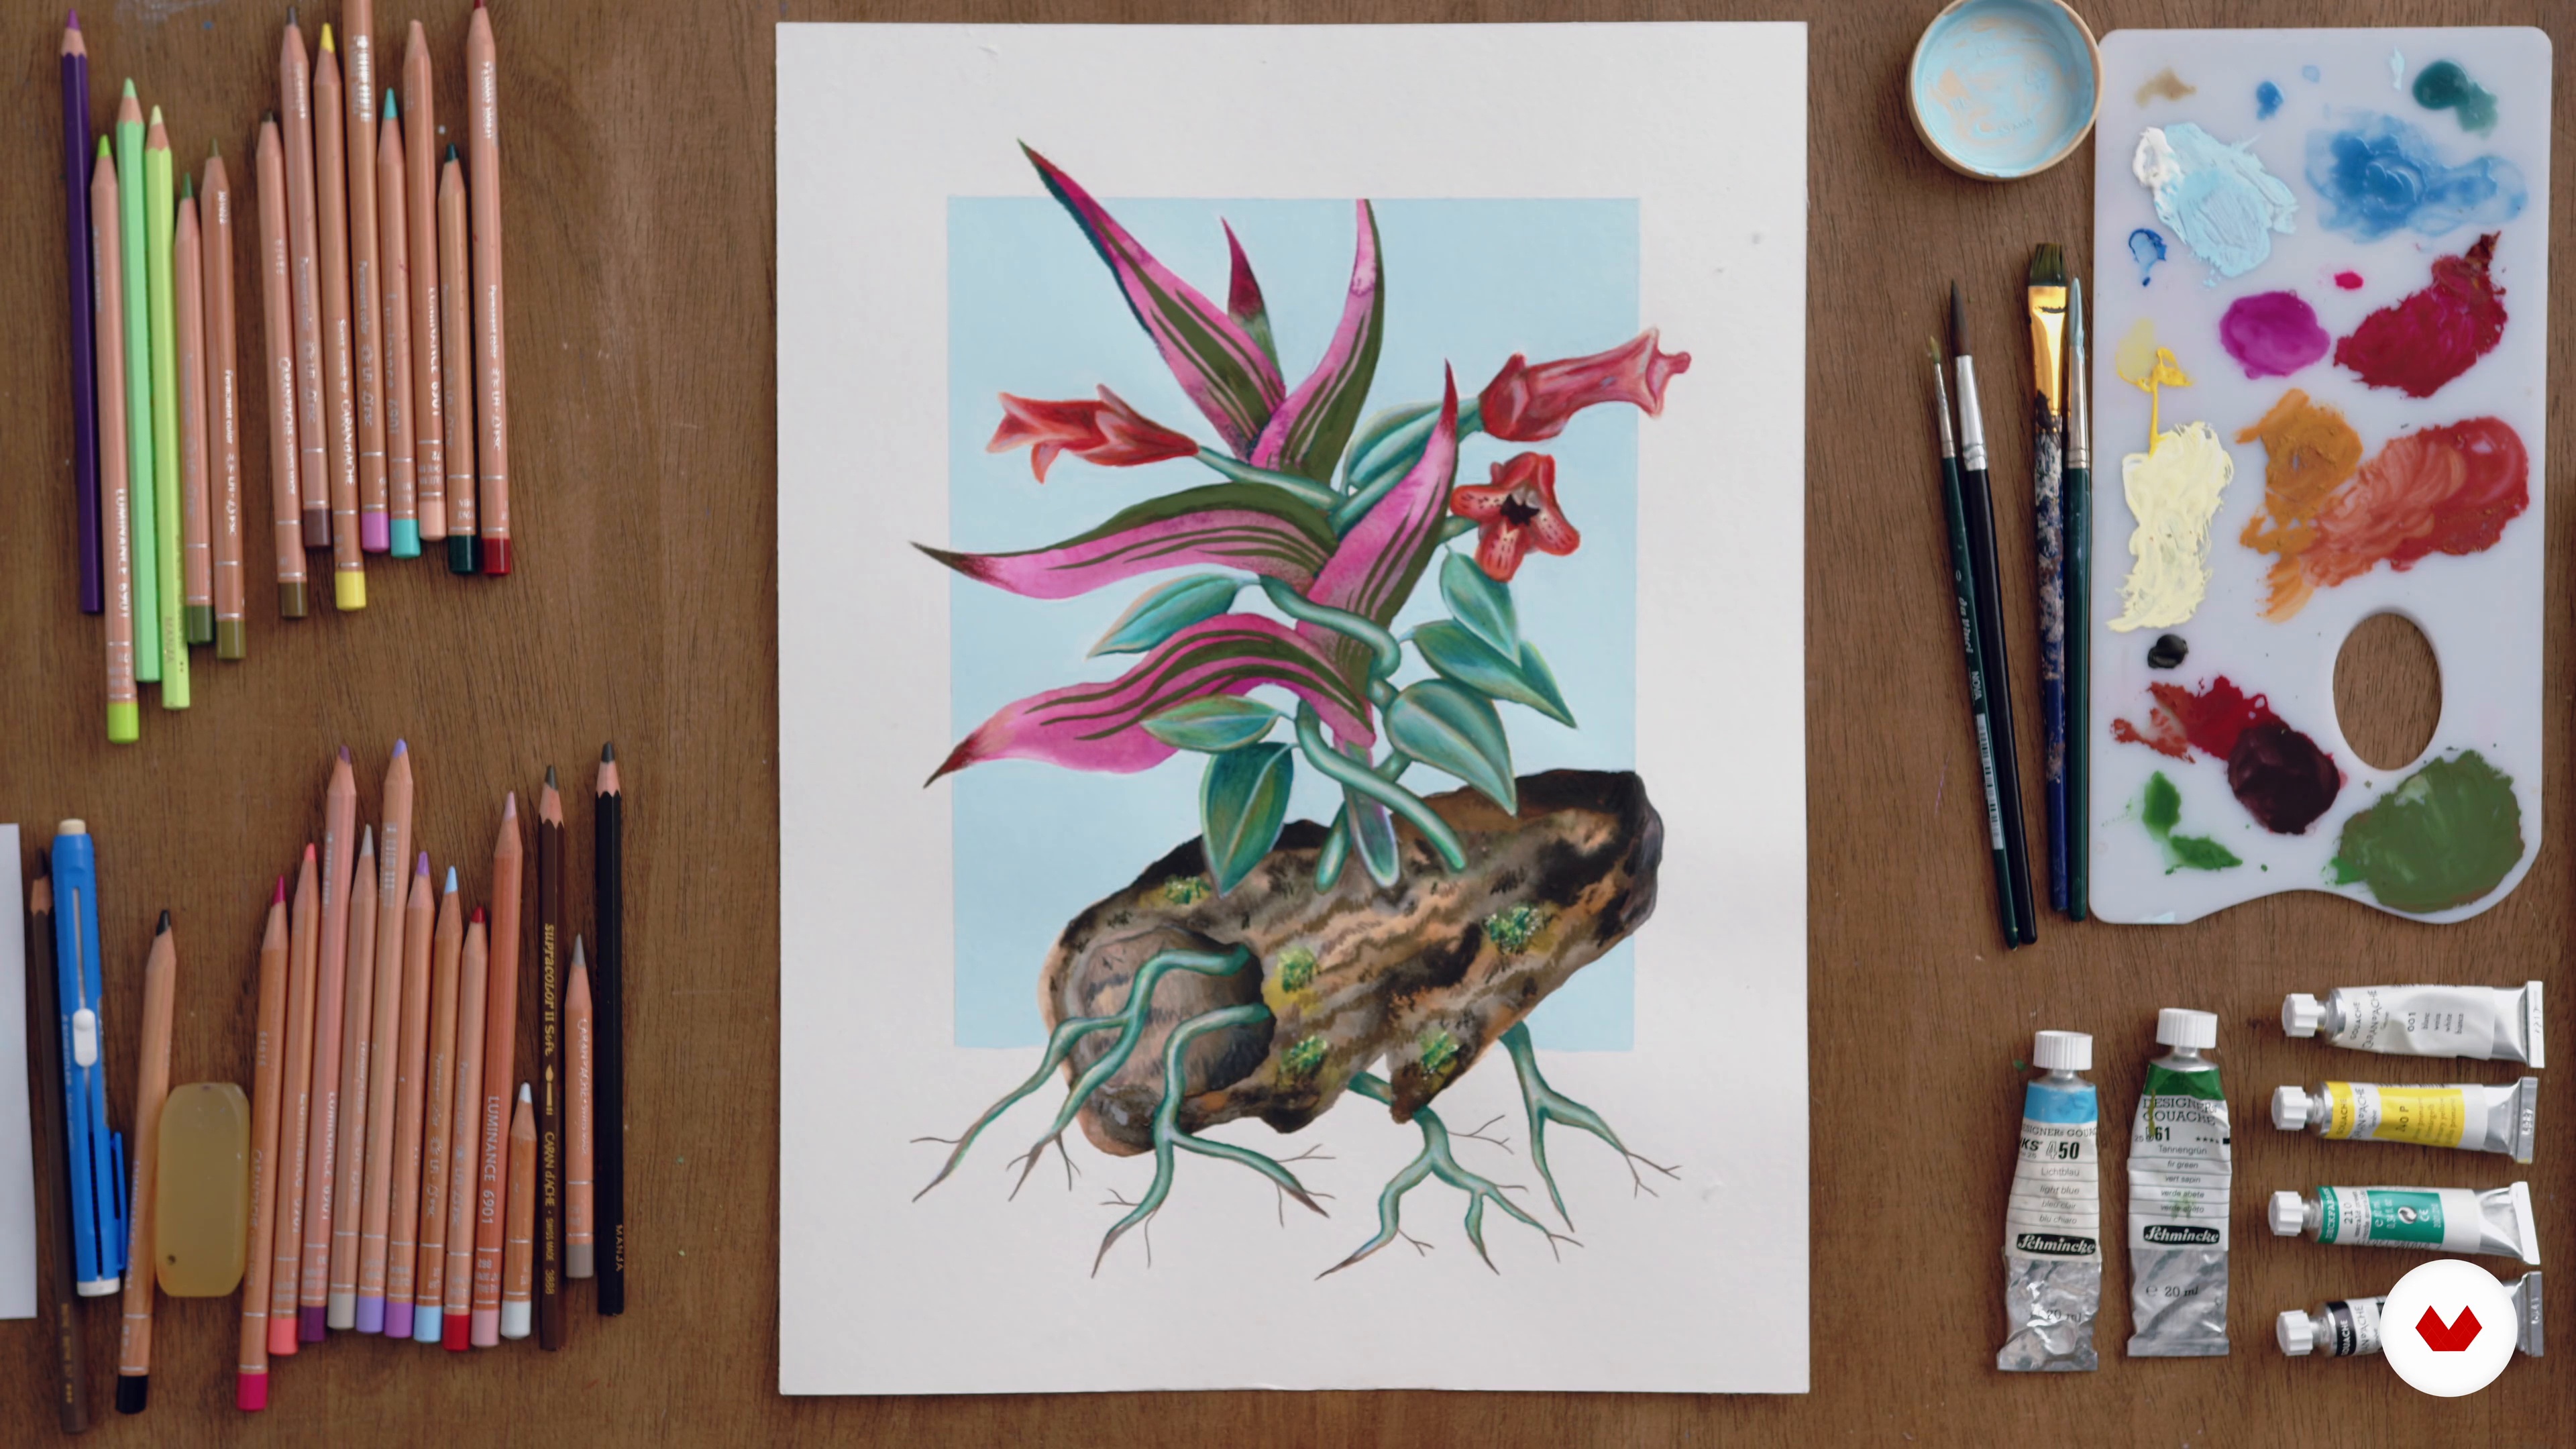
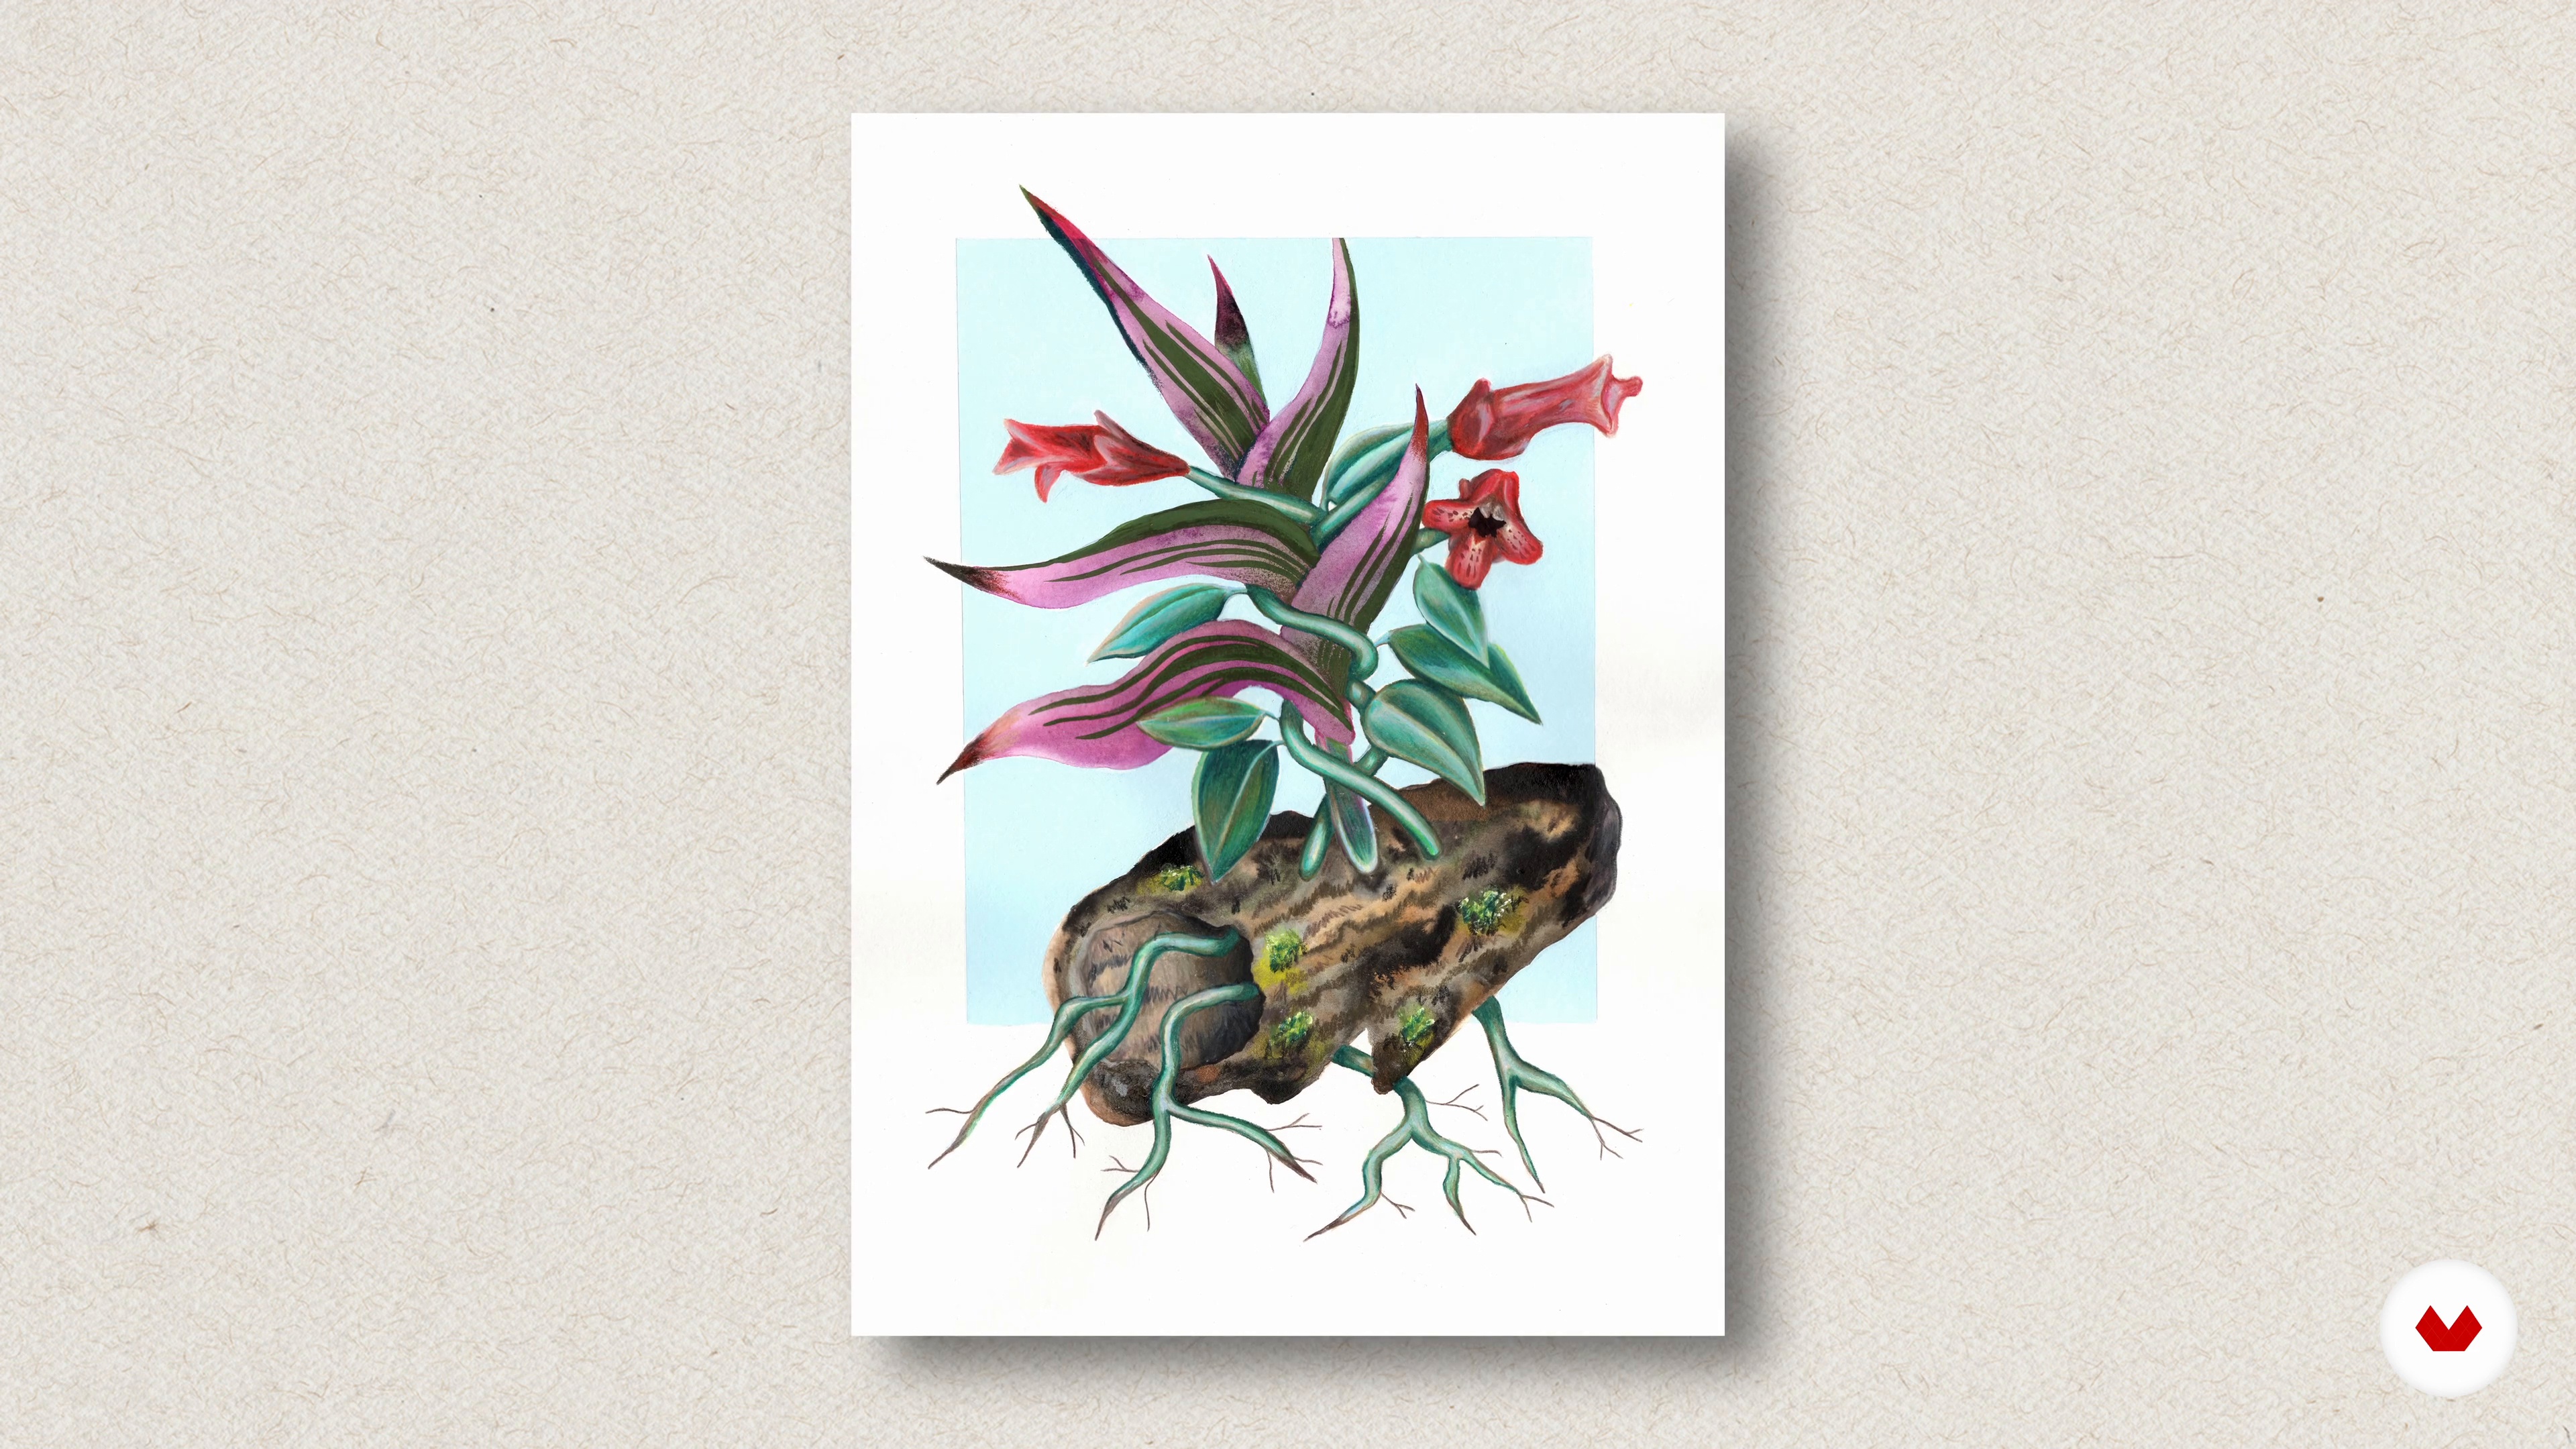
Colour and Texture: Bright Colours 1
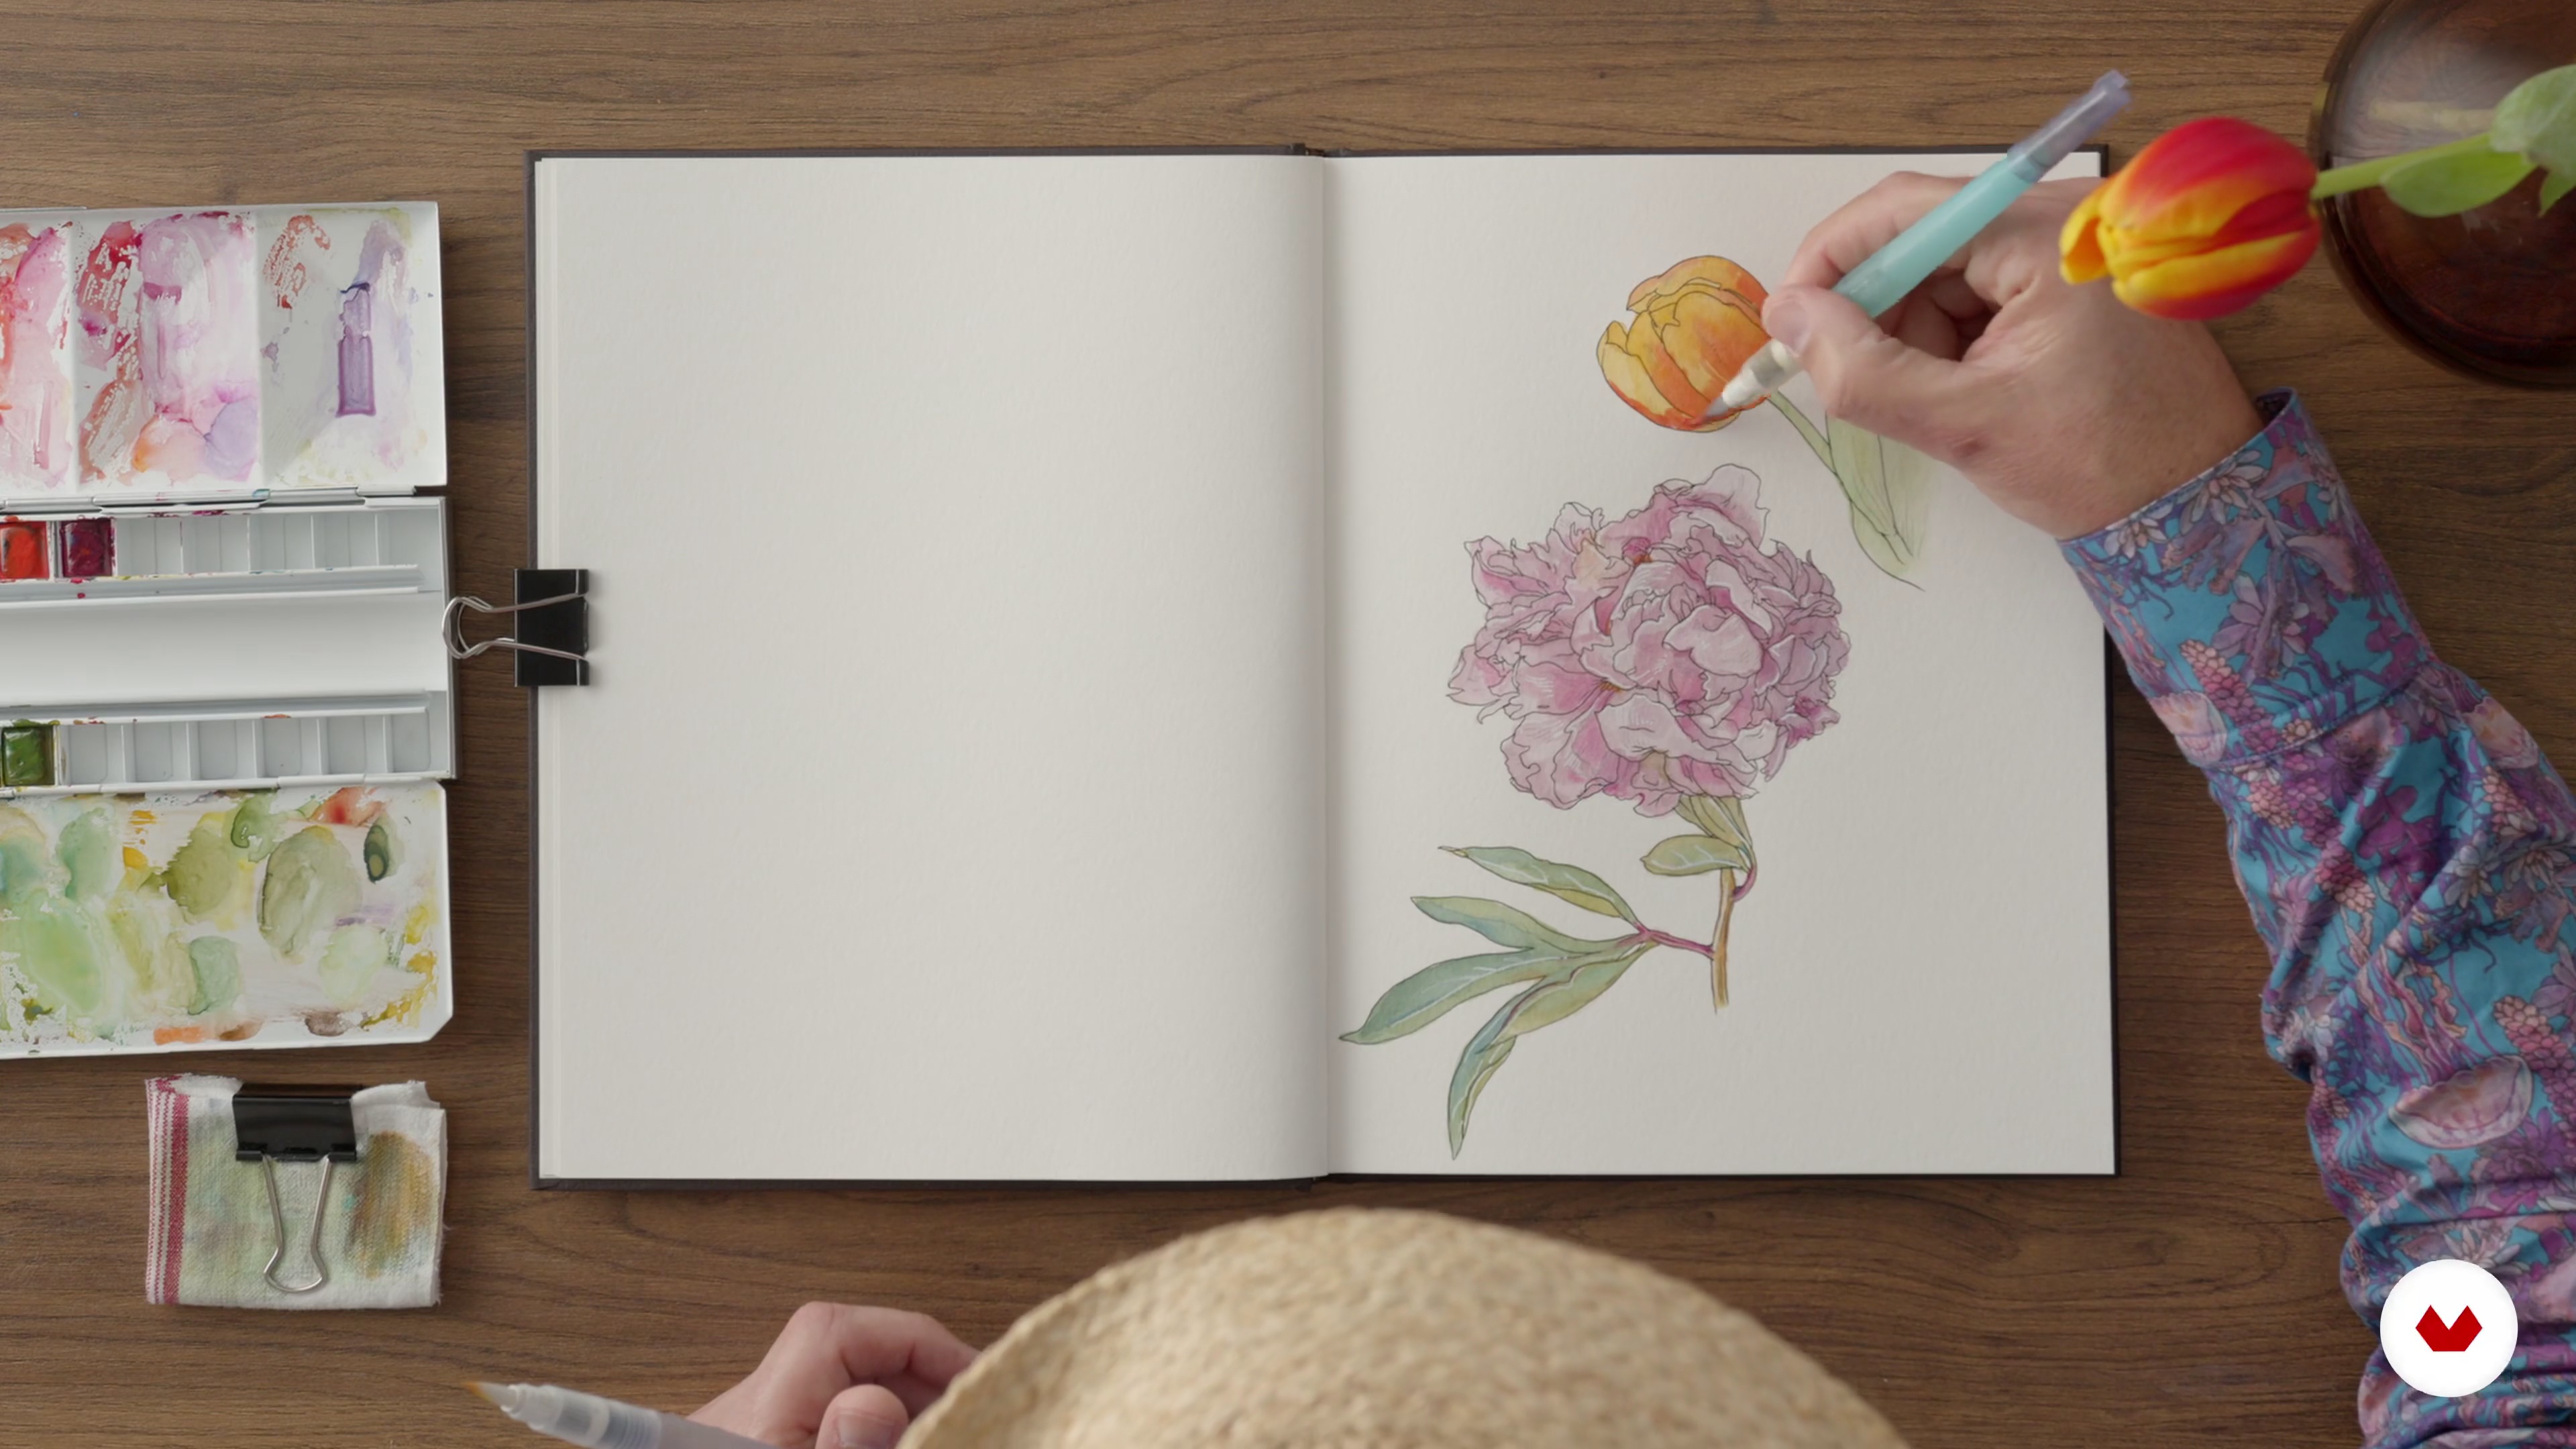
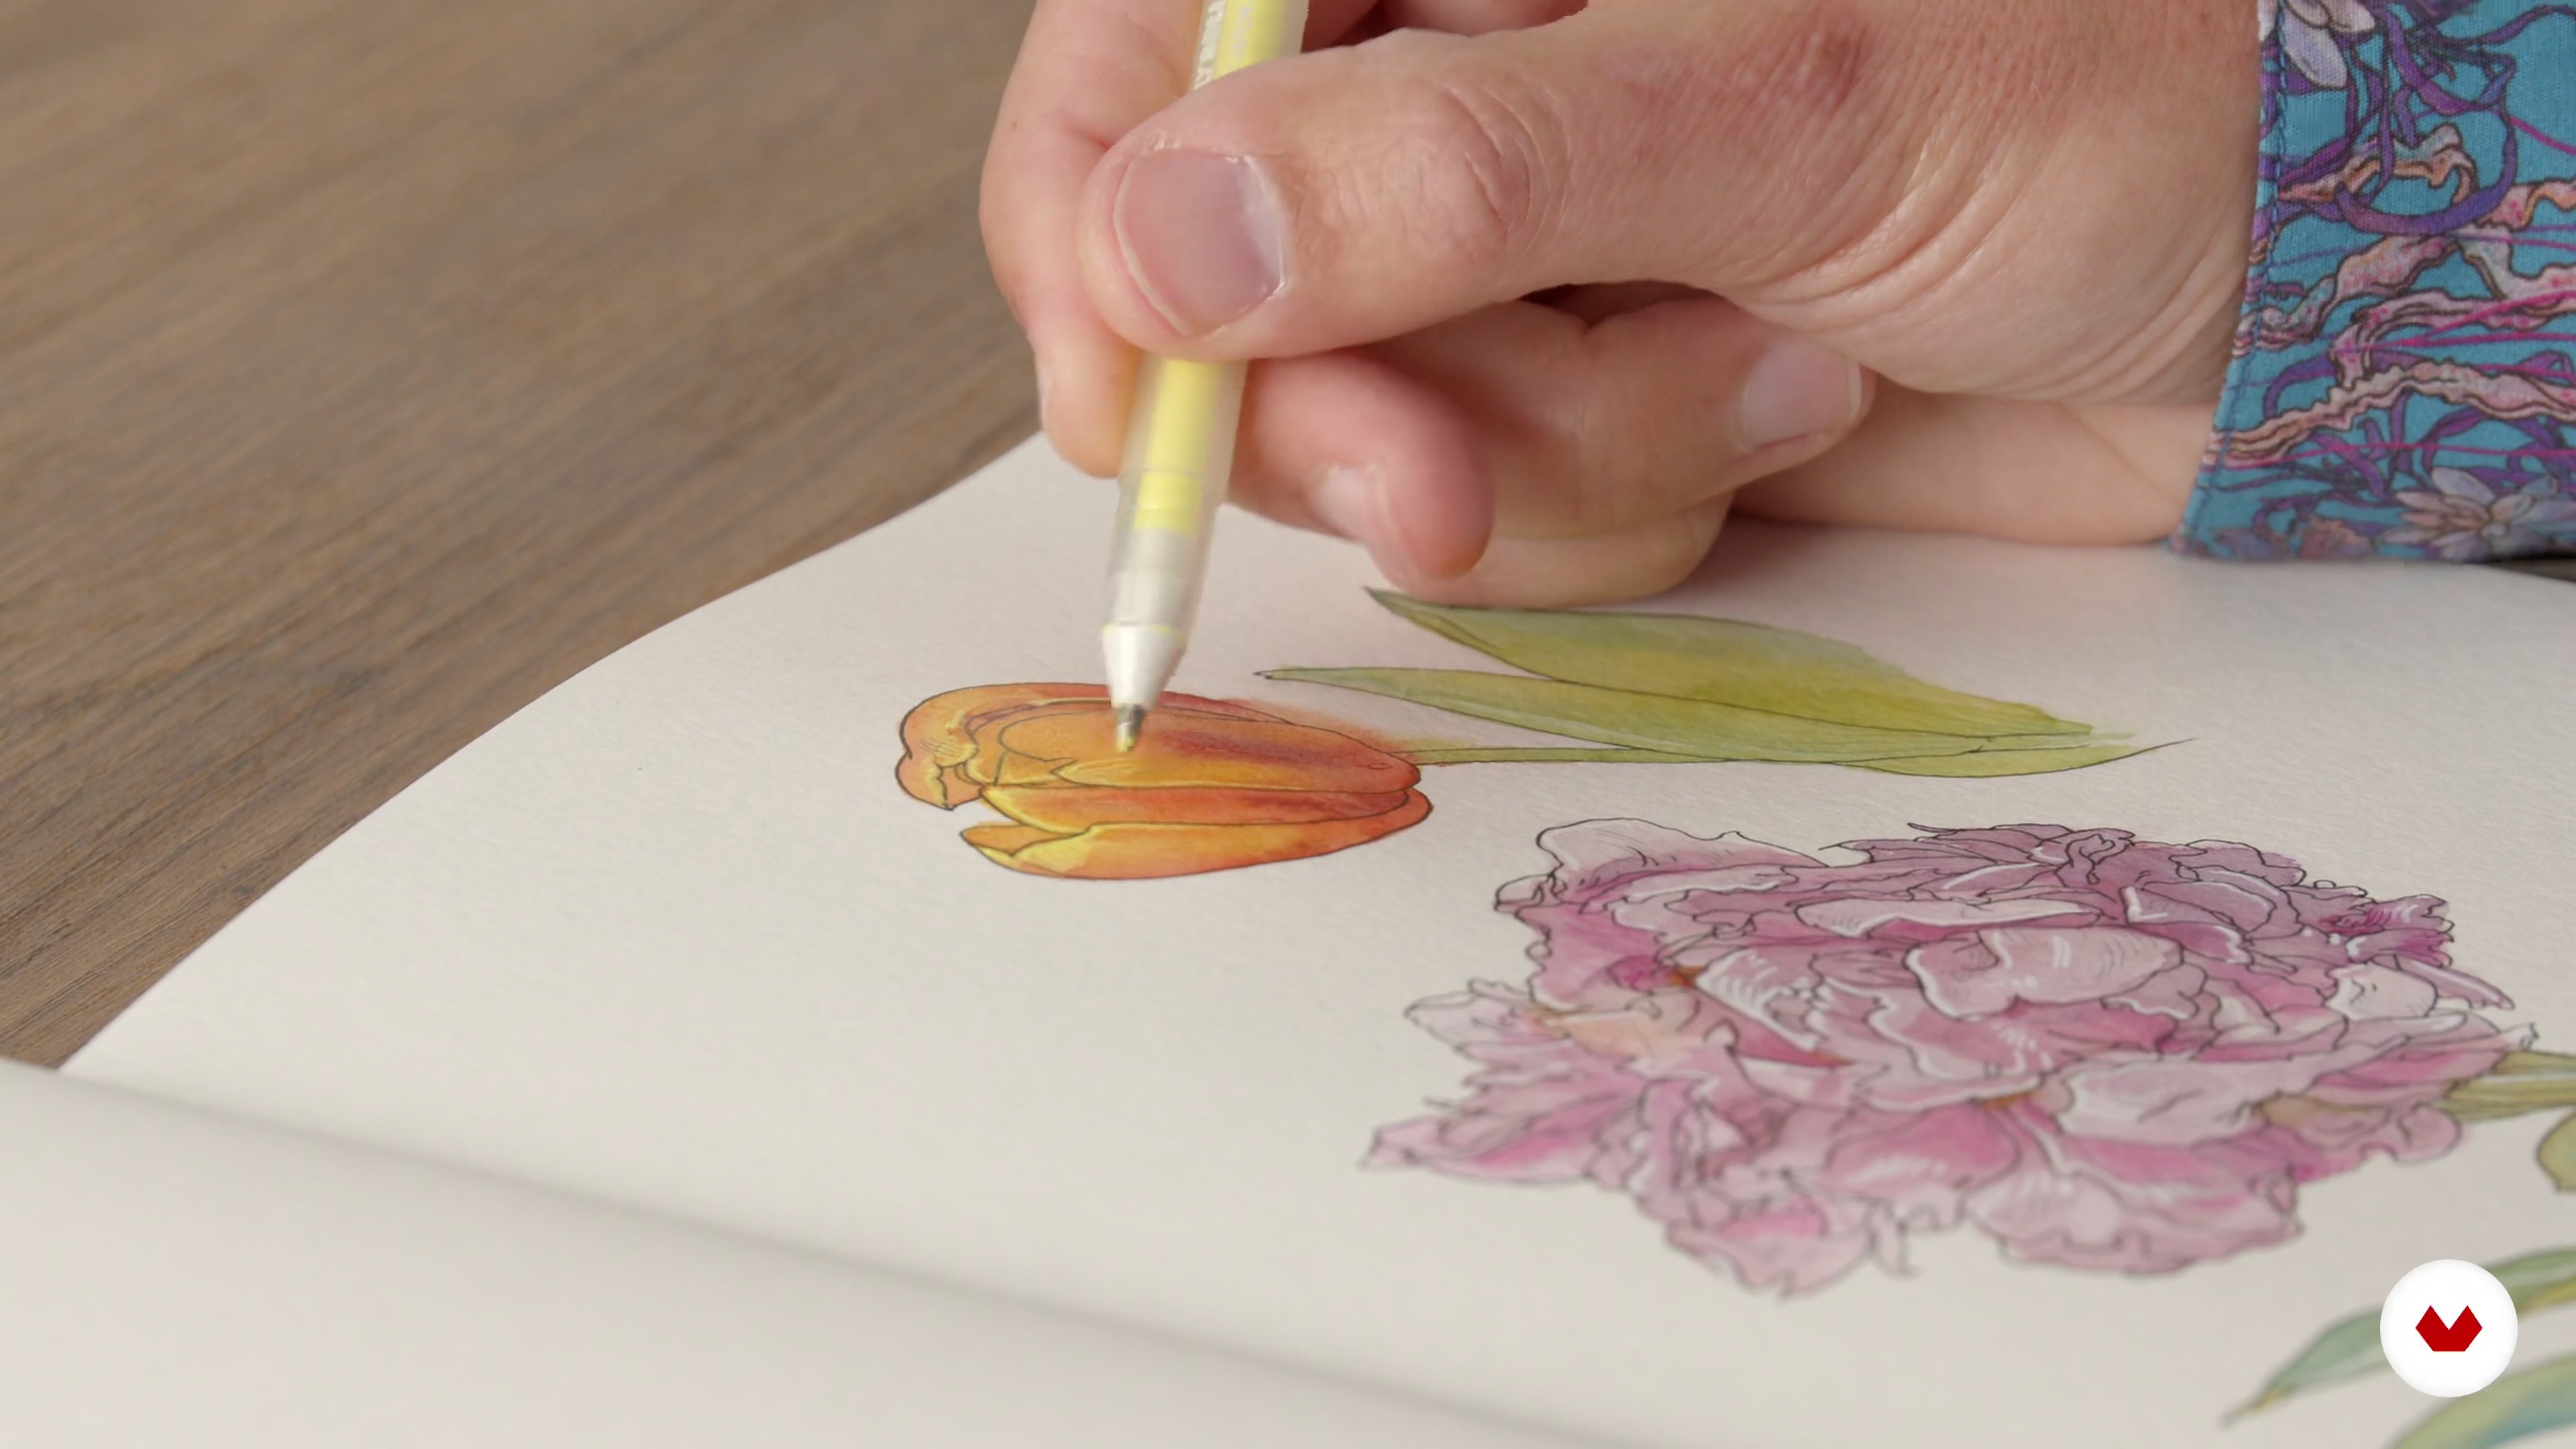
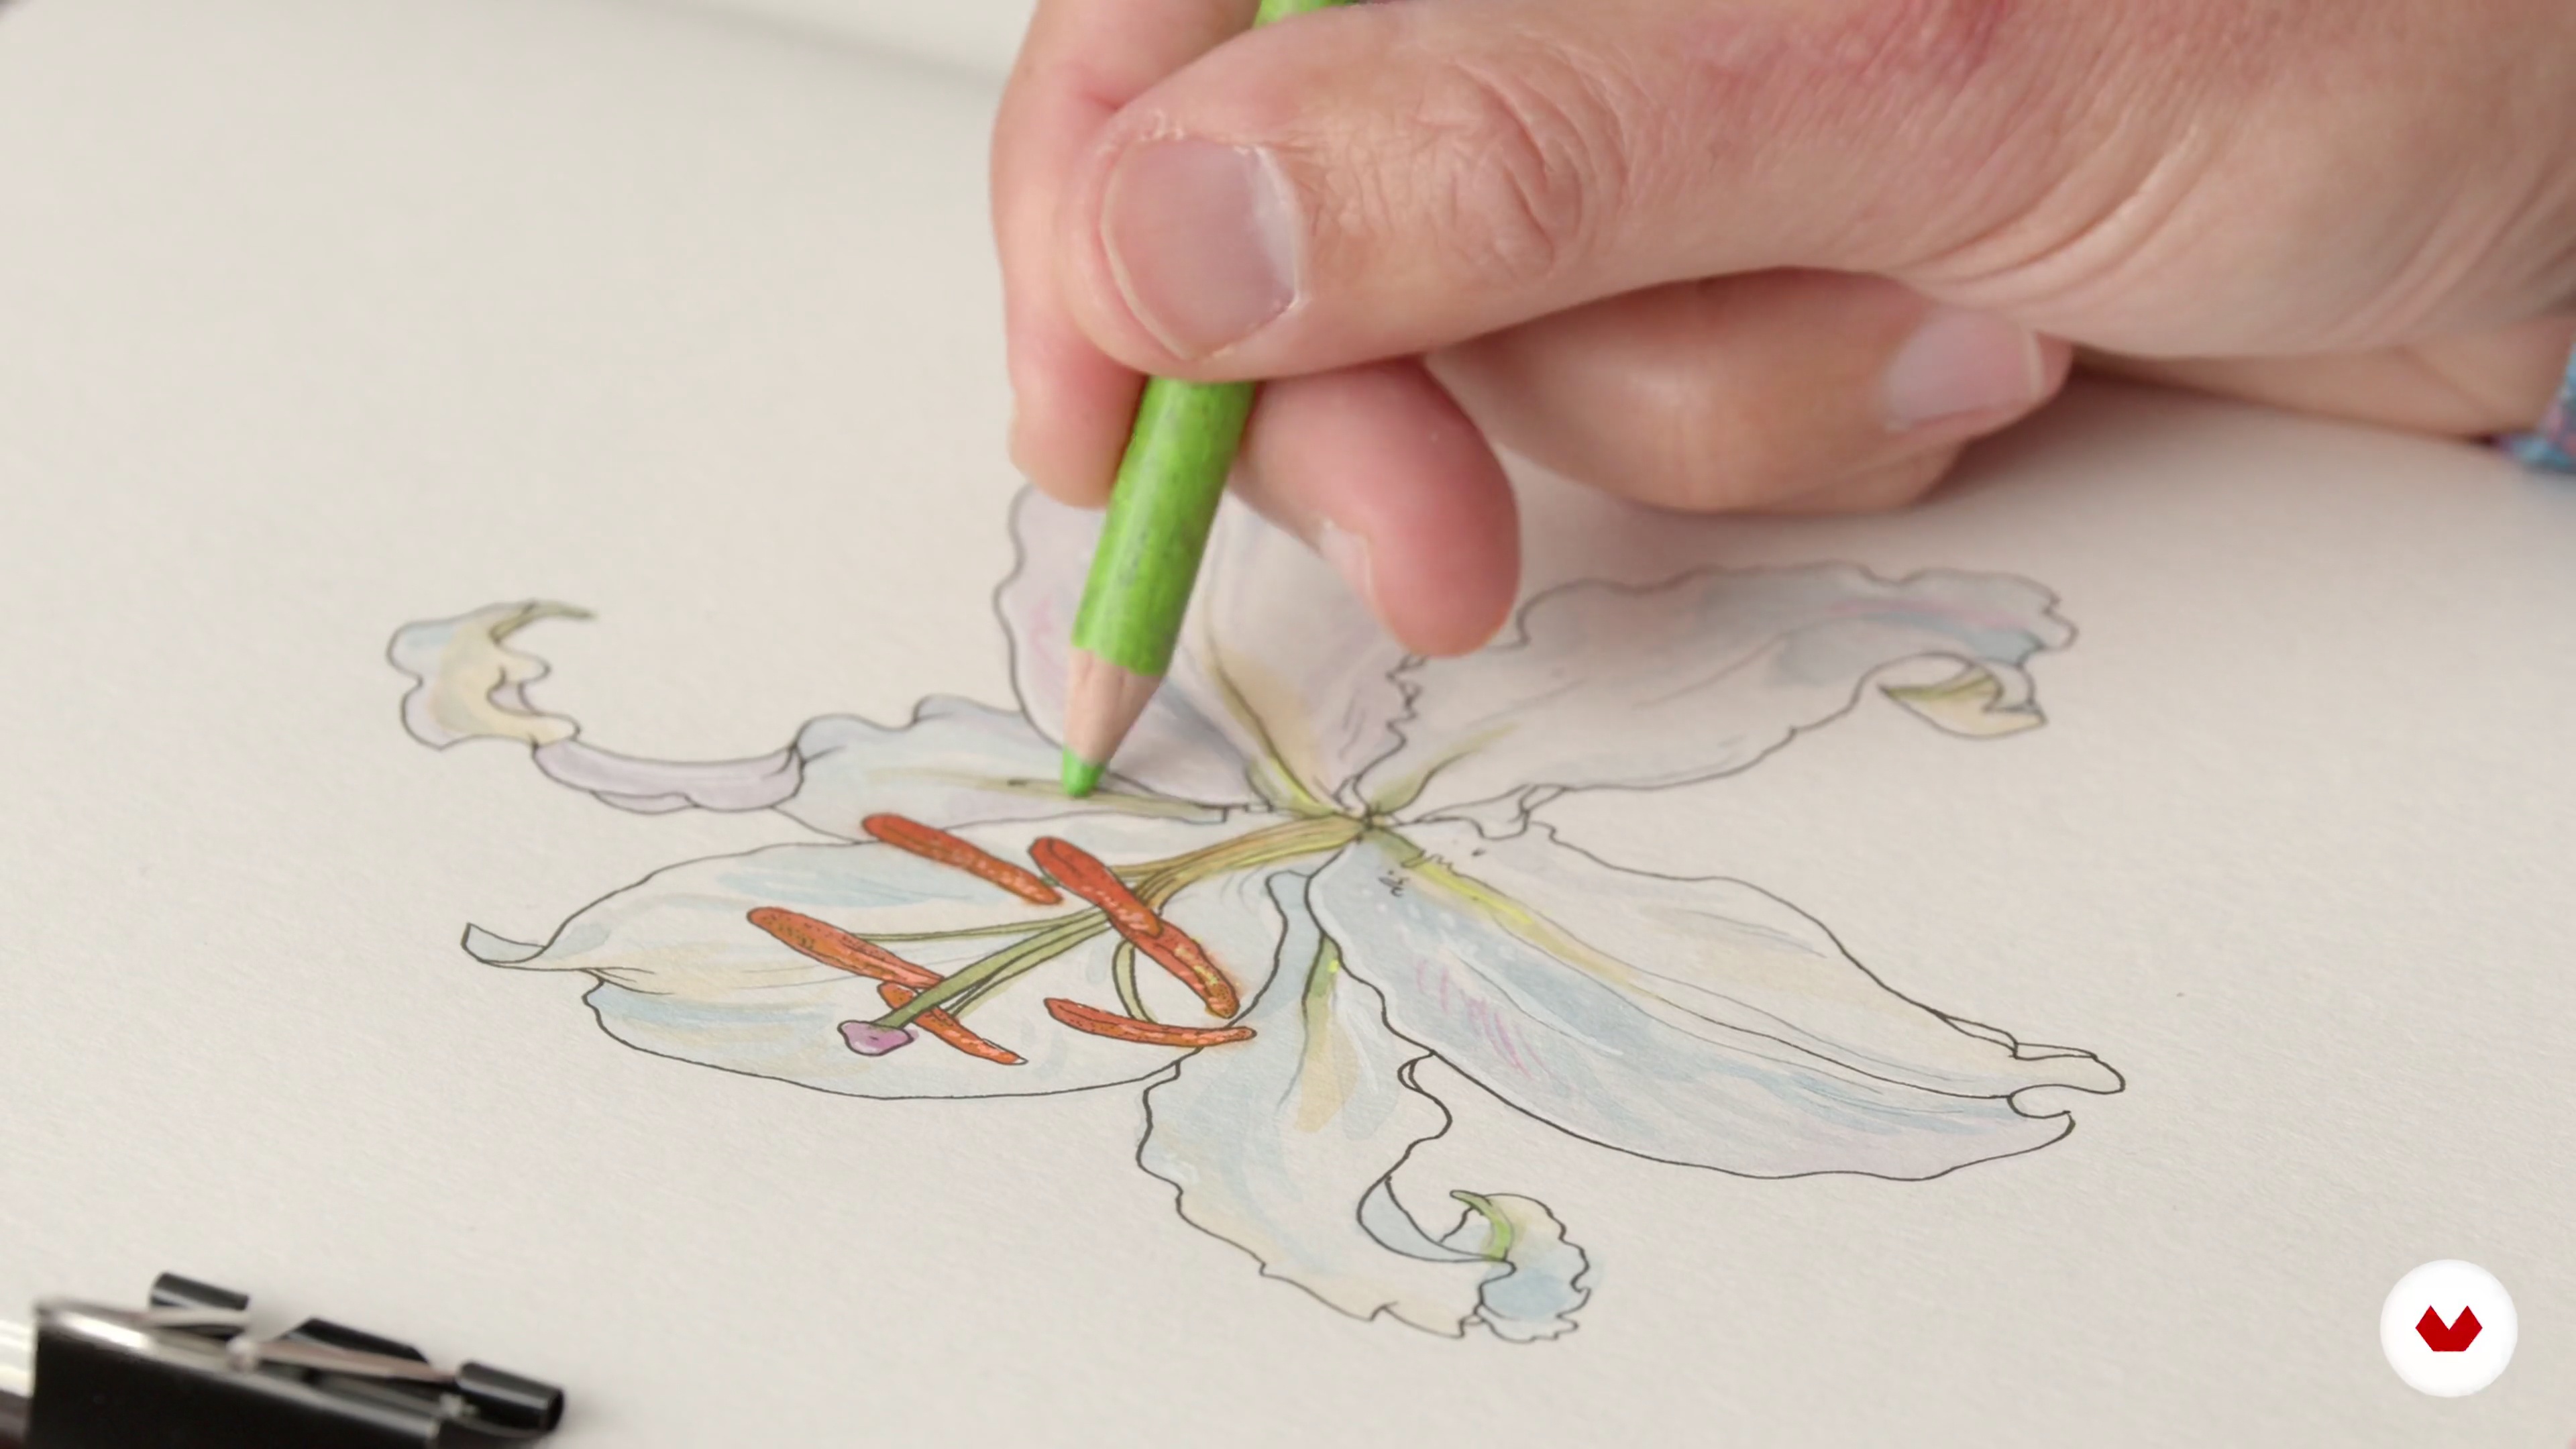
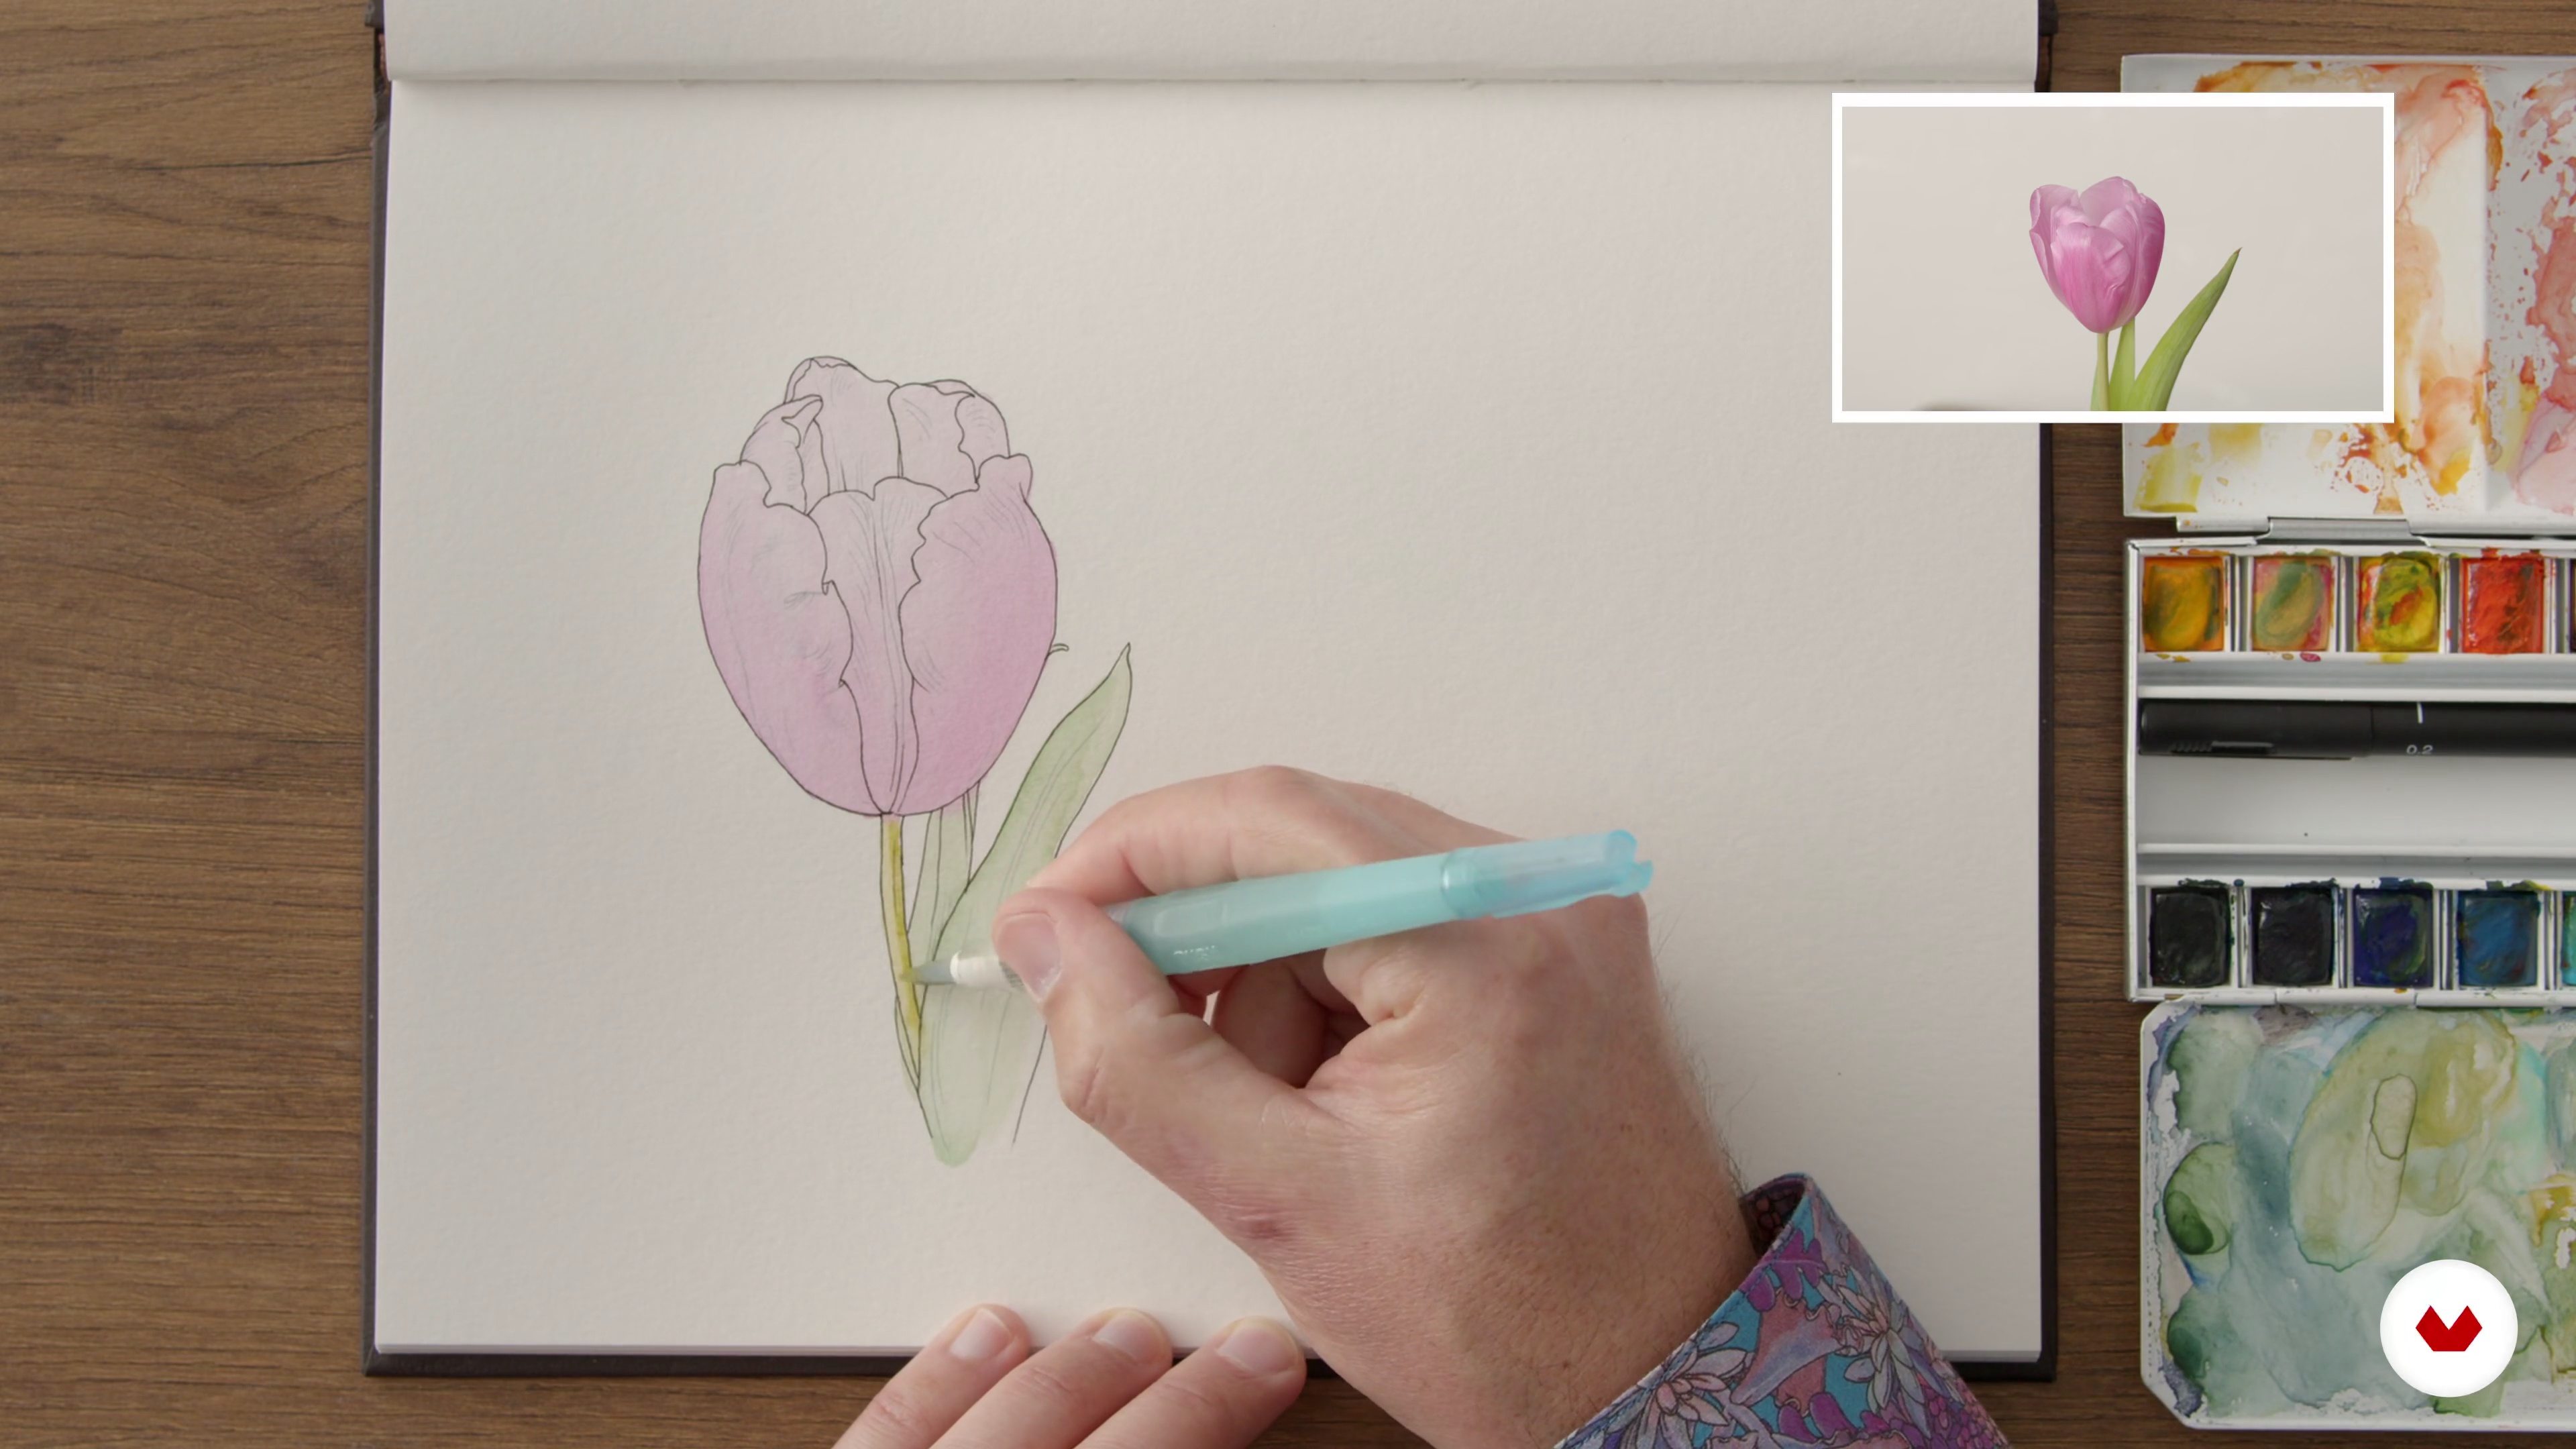
In this lesson, we will sketch flowers and catch bright colors. The process remains very similar. We start with close observation to understand the geometry and to look for the best point of view. We stand very close to the flower and draw first with fineliner, starting by the foreground. But for the color, we will apply some much brighter colors. Flowers are the most elaborated evolution of botanic, to allow successful reproduction and genetic diversification. The flower must be easy to spot in a field or a wood and attractive to insects or birds to be functional. So, our illustration must be as spectacular, colorful and attractive as those flowers. The watercolor must be brighter than what you see. First of all, because once dry the watercolor will lose 10 - 15 % of its intensity, and also because from my experience, a subject will always look more realistic when pushing a bit its characteristics. You have to look for the right balance between caricature and realism. My illustrations are somewhere in between, an interpretation of what I see to focus on the singularity of my model. And finally, we will apply my final touch: fluorescents Gelly Rolls, just a pinch, so that we don't make it look too artificial.
18m
image
11
Colour and Texture: Bright Colours 2
We will draw a few more detailed lines and apply a basic layer of colur to our drawing.
14m
image
12
Colour and Texture: Bright Colours 3
In this third part of the lesson, we will add different shades and more details to our drawing.
15m
image
13
Colour and Texture: Bright Colours 4
Let's continue applying colour and texture to our composition.
11m
image
14
Colour and Texture: Bright Colours 5
Fifth part of the lesson, where I will focus on adding light and brightness to the flower.
11m
image
15
Colour and Texture: Bright Colours 6
In this sixth part, we start working on the orchid.
12m
image
16
Colour and Texture: Bright Colours 7
We continue applying details to our illustration in this last video of the lesson.
12m
image
17
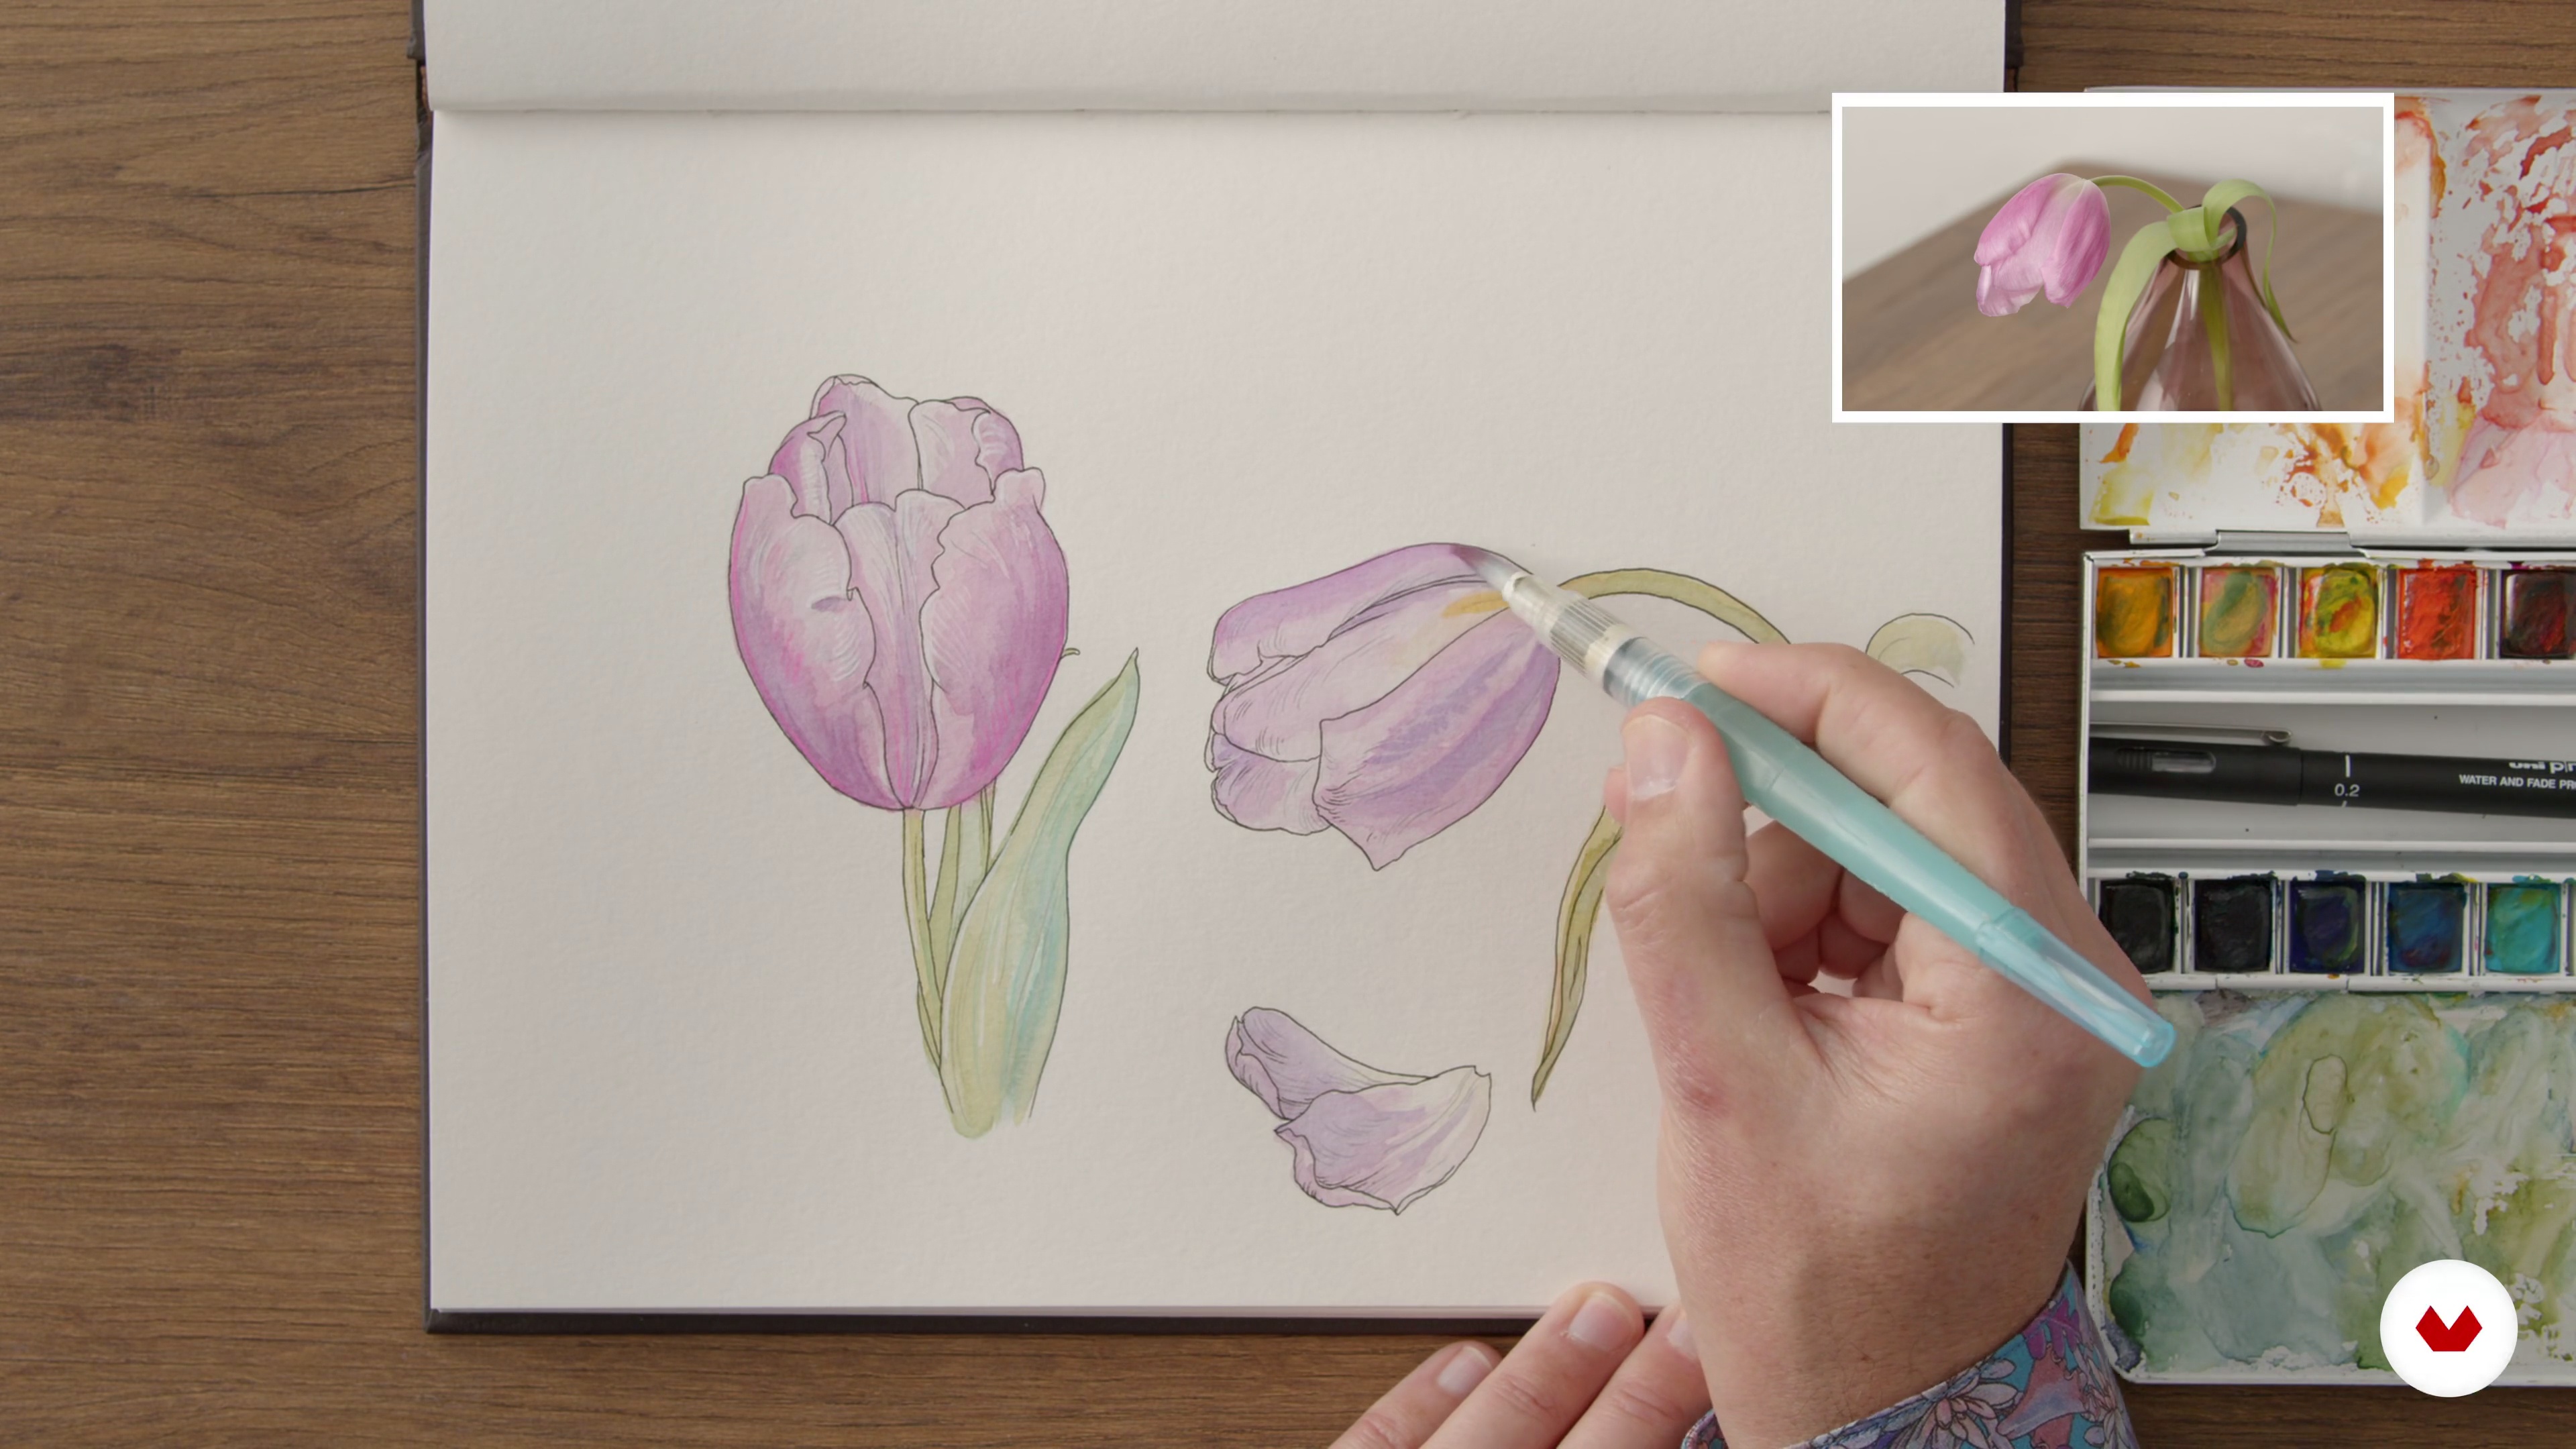
Cactus Illustration 1
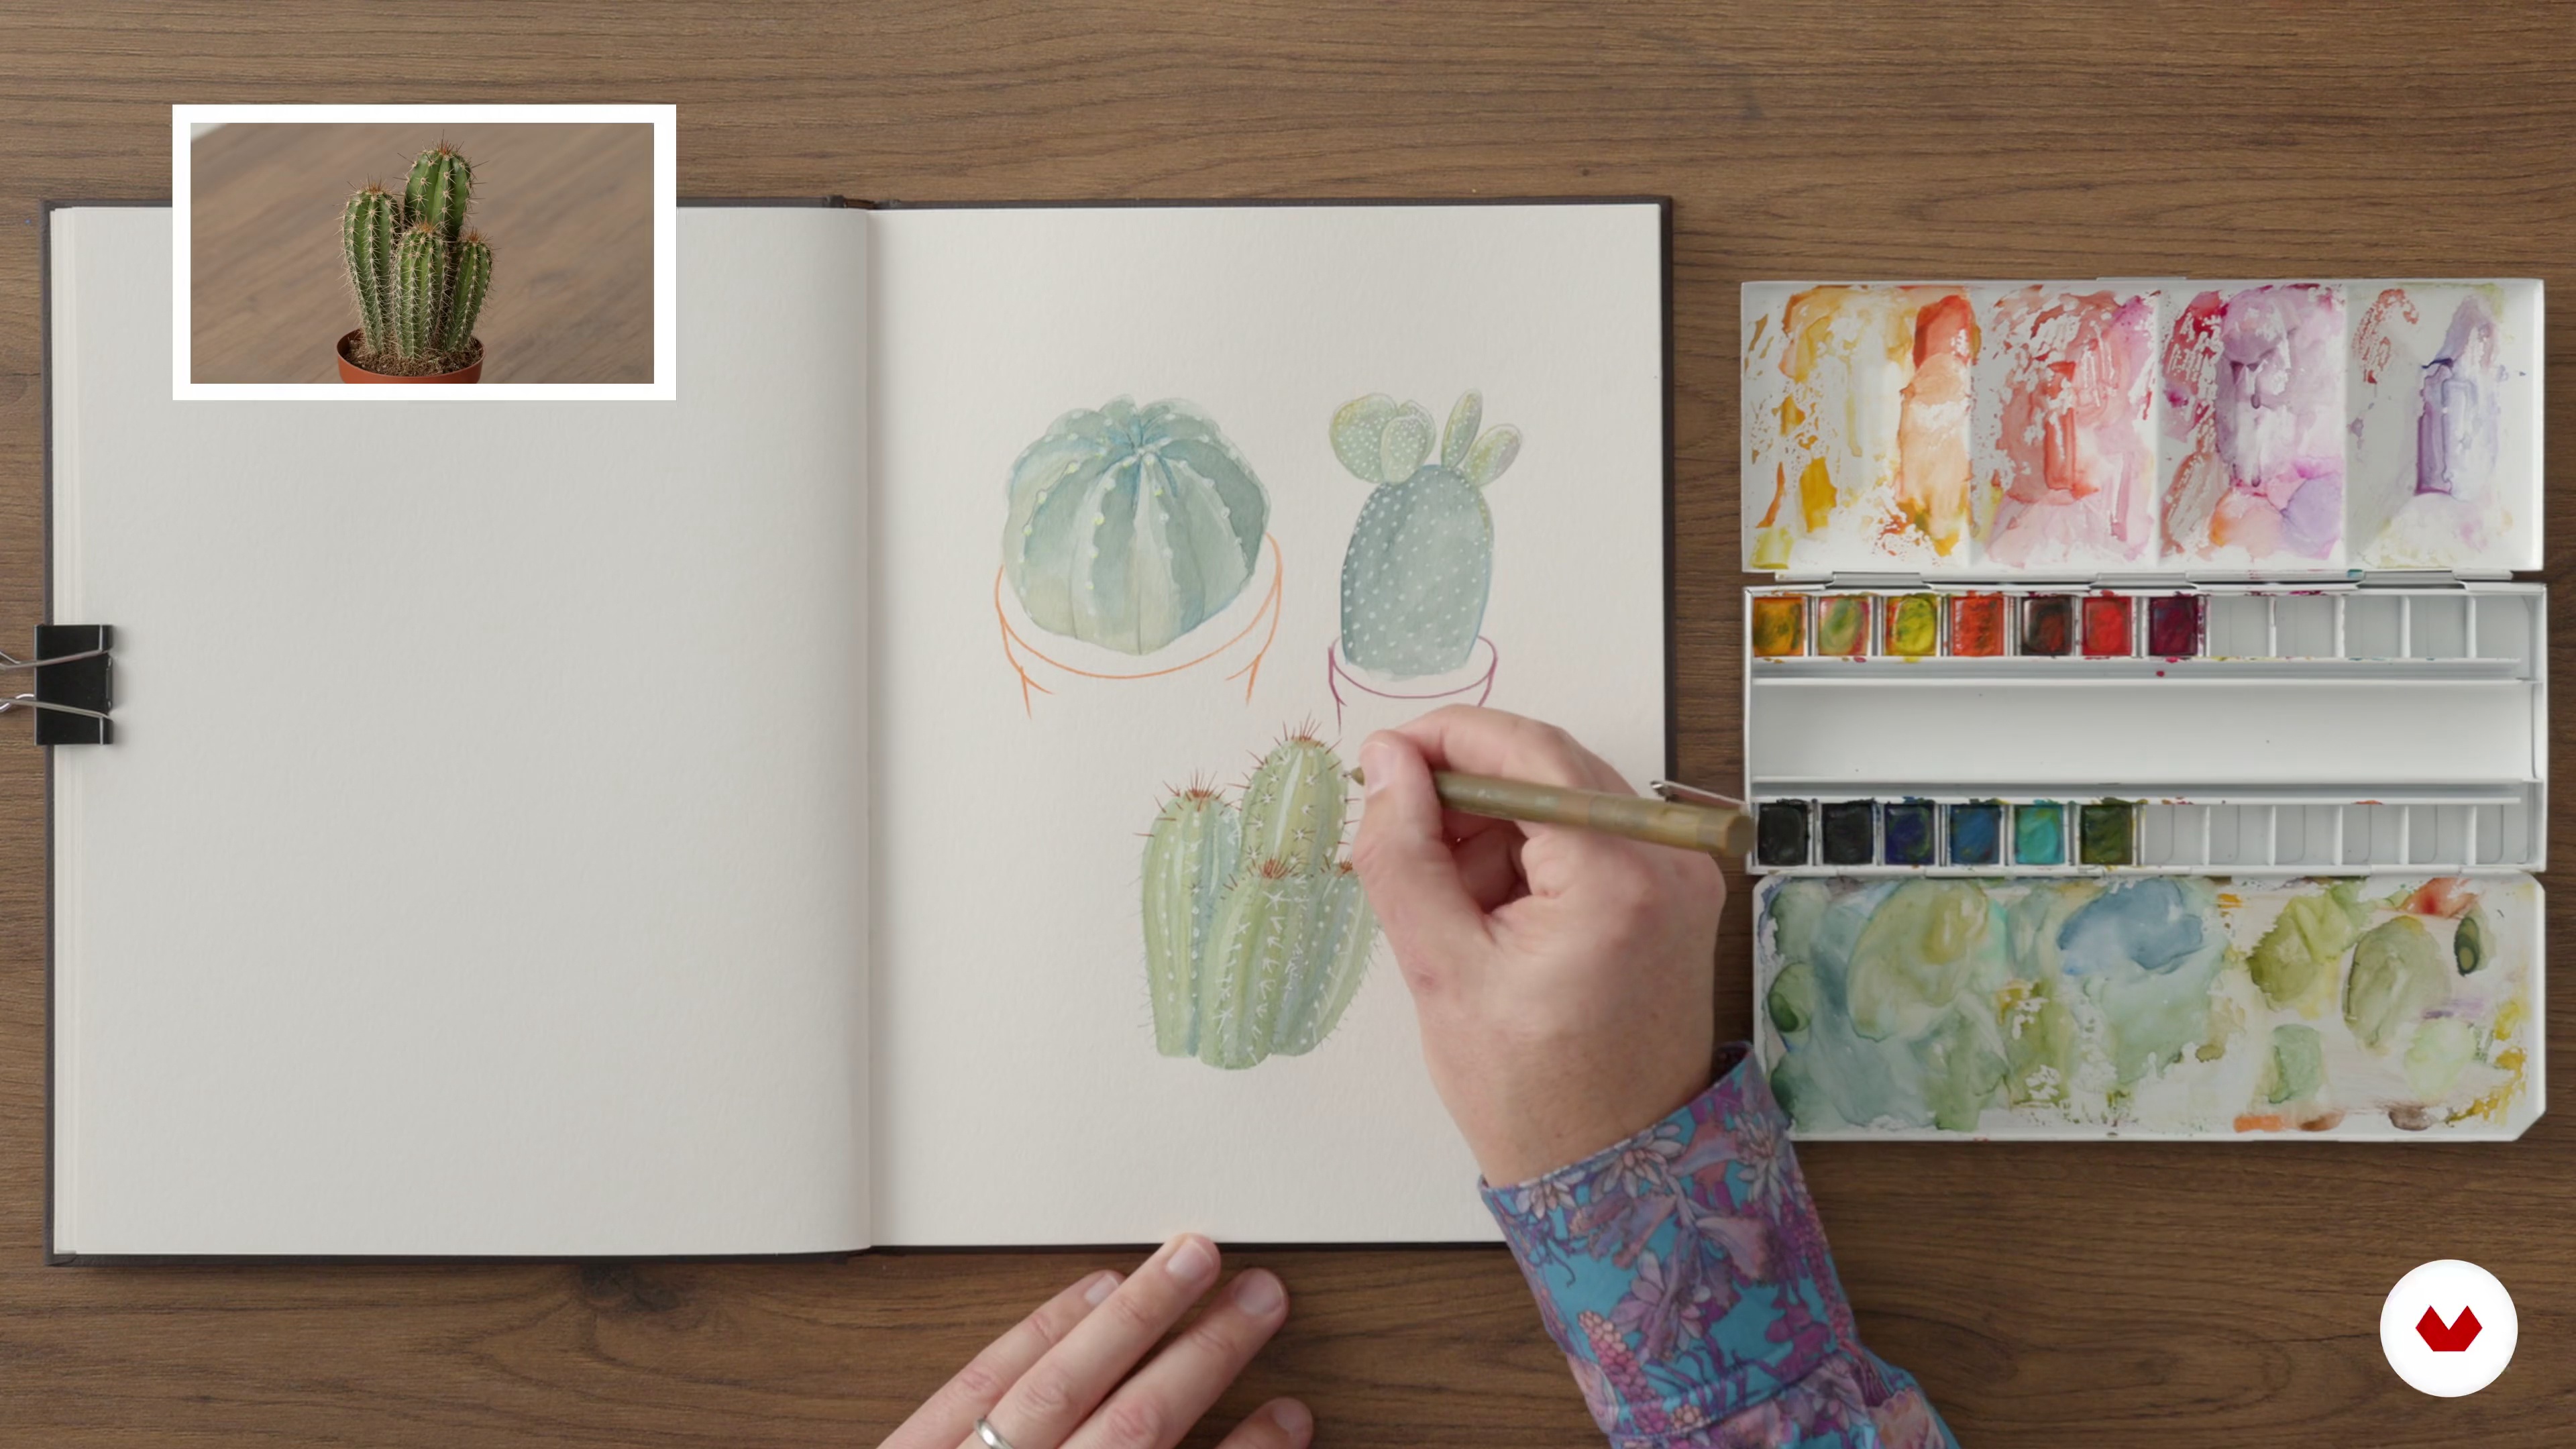
Depicting a cactus accuarately, with all its thorns, with a fineliner is super challenging. So I invite you to experiment a different method, starting with the watercolor and then adding some details over the color. We start with the main shape with light tones and over it we create the volume. From the big shape to the detail, the opposite of what we study before for succulents or flowers. Once the color is over, we can draw some more details with fineliner (thorns in grey, brown, yellow…) or Gelly Roll. It is more about painting the feeling of each cactus, you need to simplify it a bit and find a rhythm or vibration that will represent them.
14m
image
18
Cactus Illustration 2
Second part of the lesson, where I will keep applying volume and details to the cacti.
12m
image
19
Cactus Illustration 3
Third and last part of the lesson. I will work on a third cactus applying the same method.
20m
image
20
Decay Study 1
We will sketch together the same flower day after day and observe how its colors and appearance evolve.
20m
image
21
Decay Study 2
Second part of this lesson, focused on portraying the everyday decay of the flowers.
18m
image
22
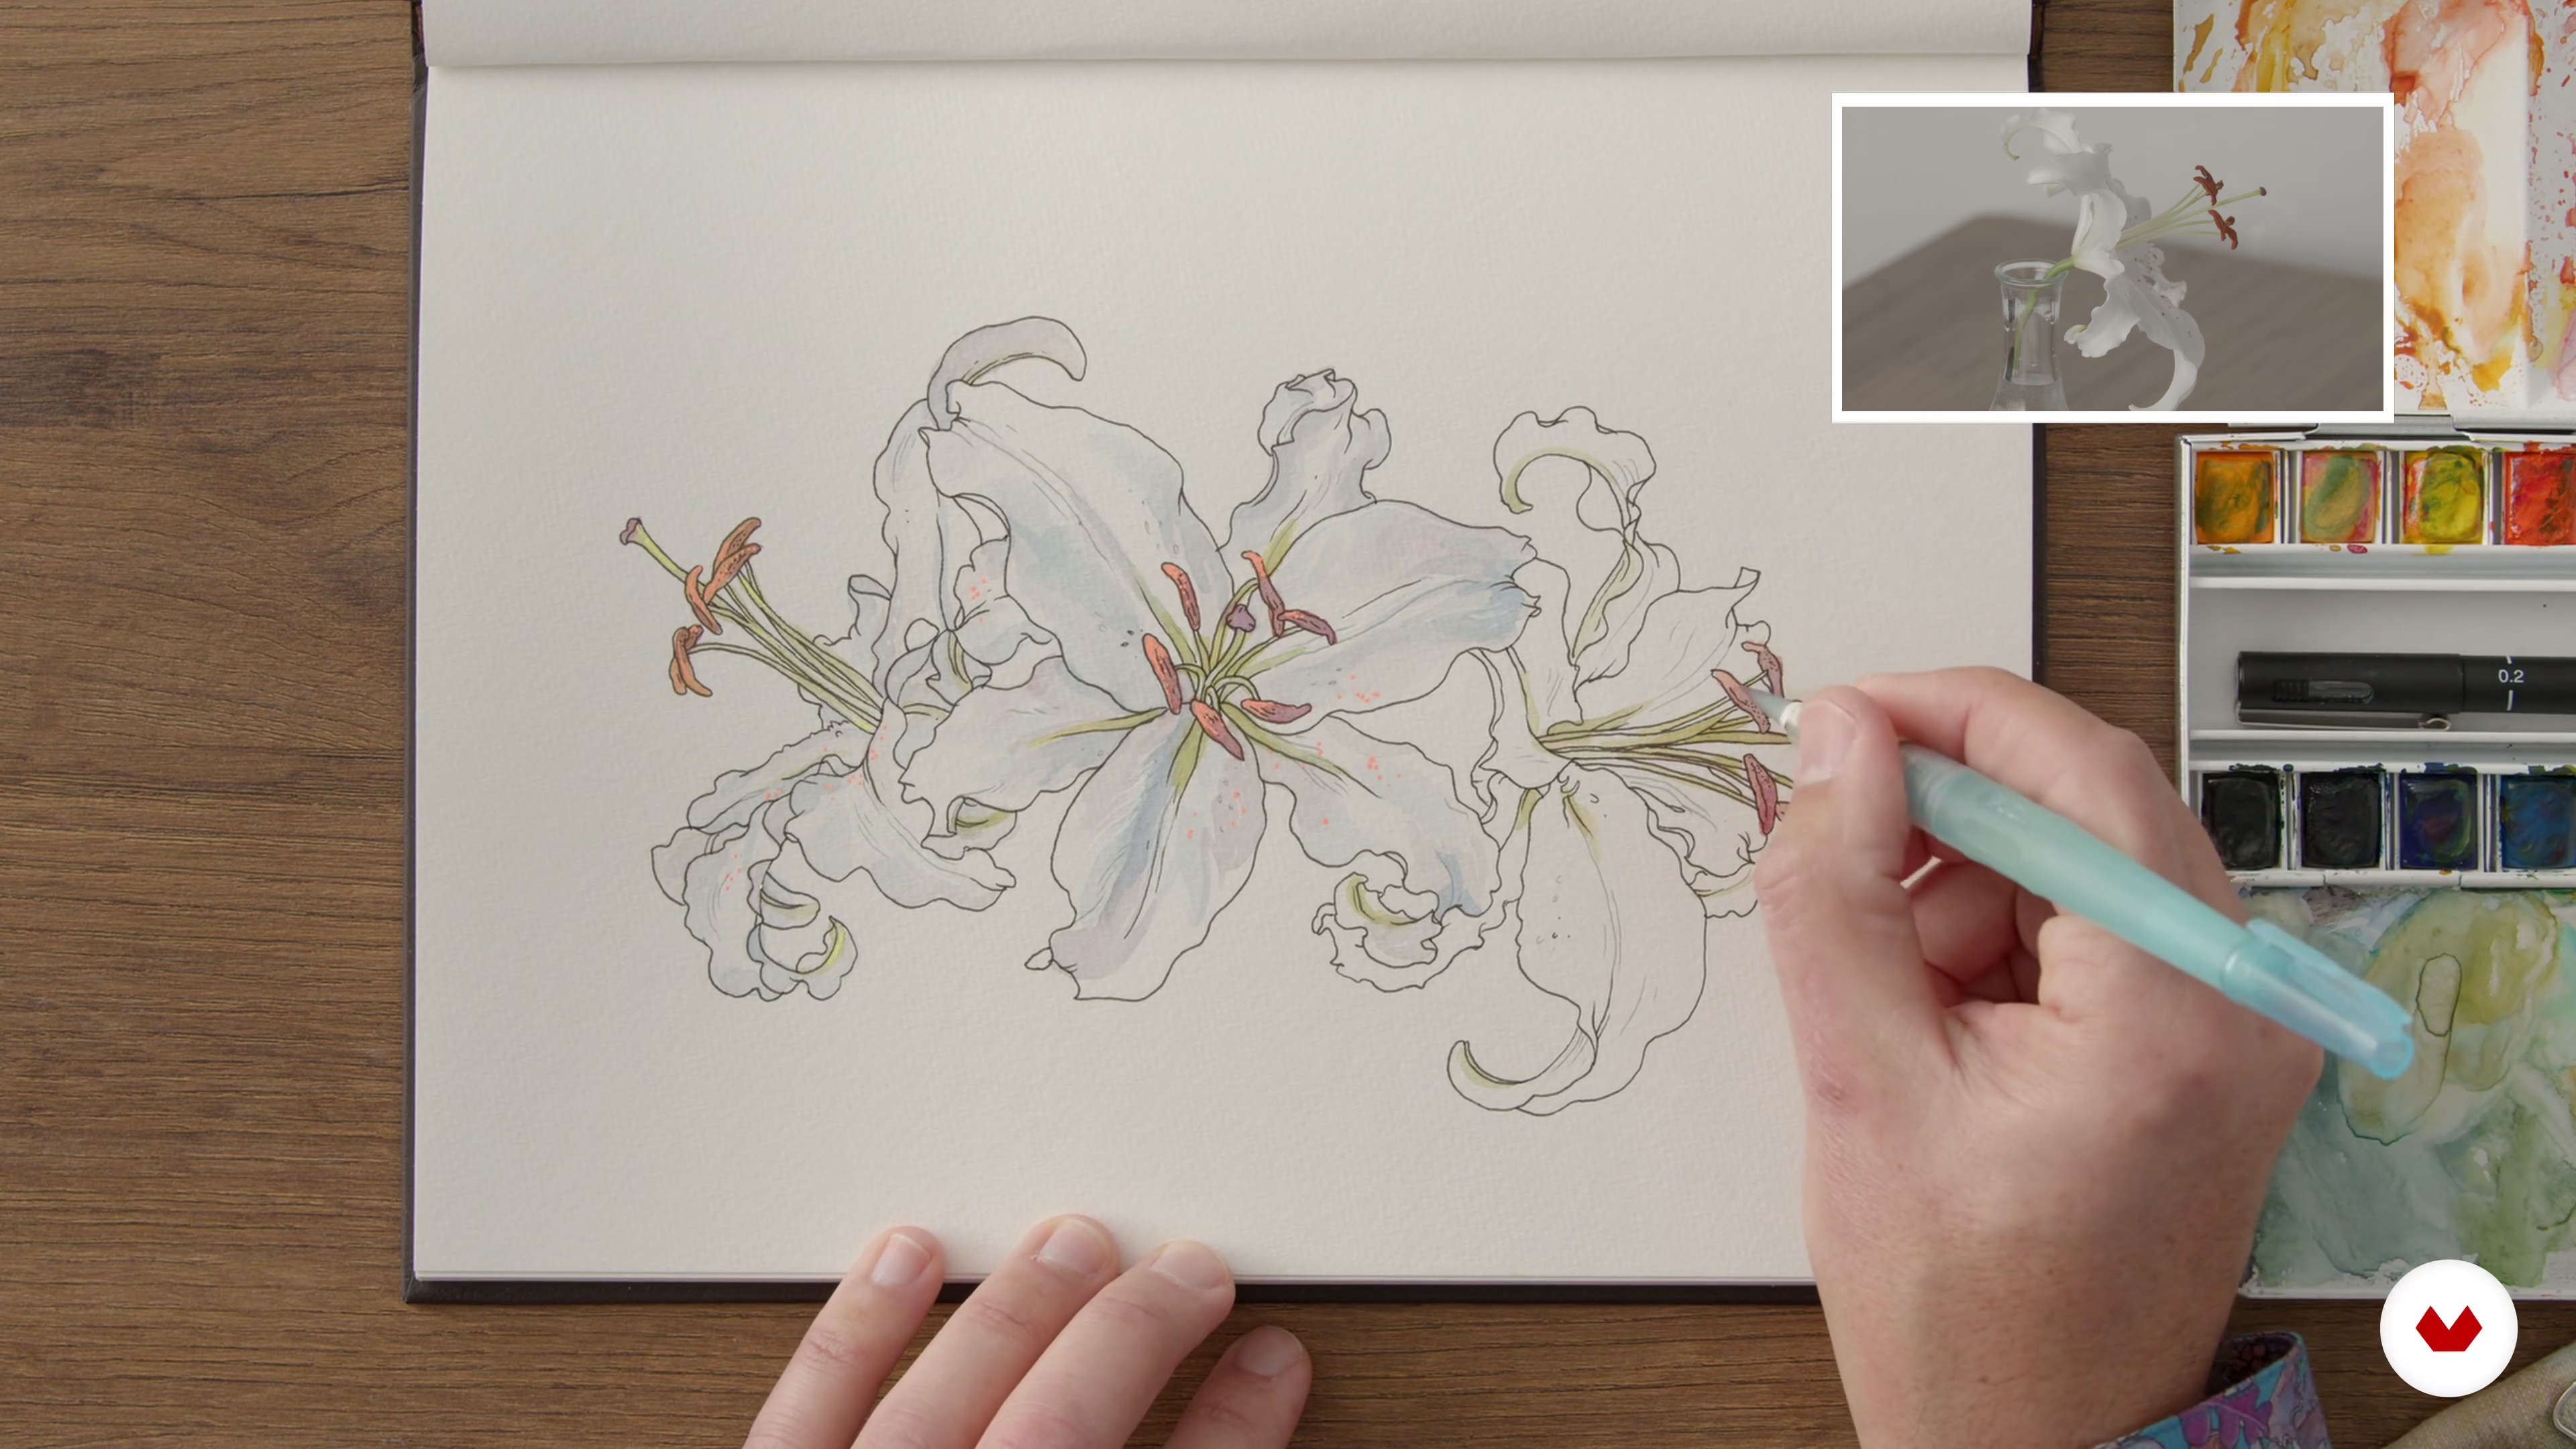
Botanical Composition 1
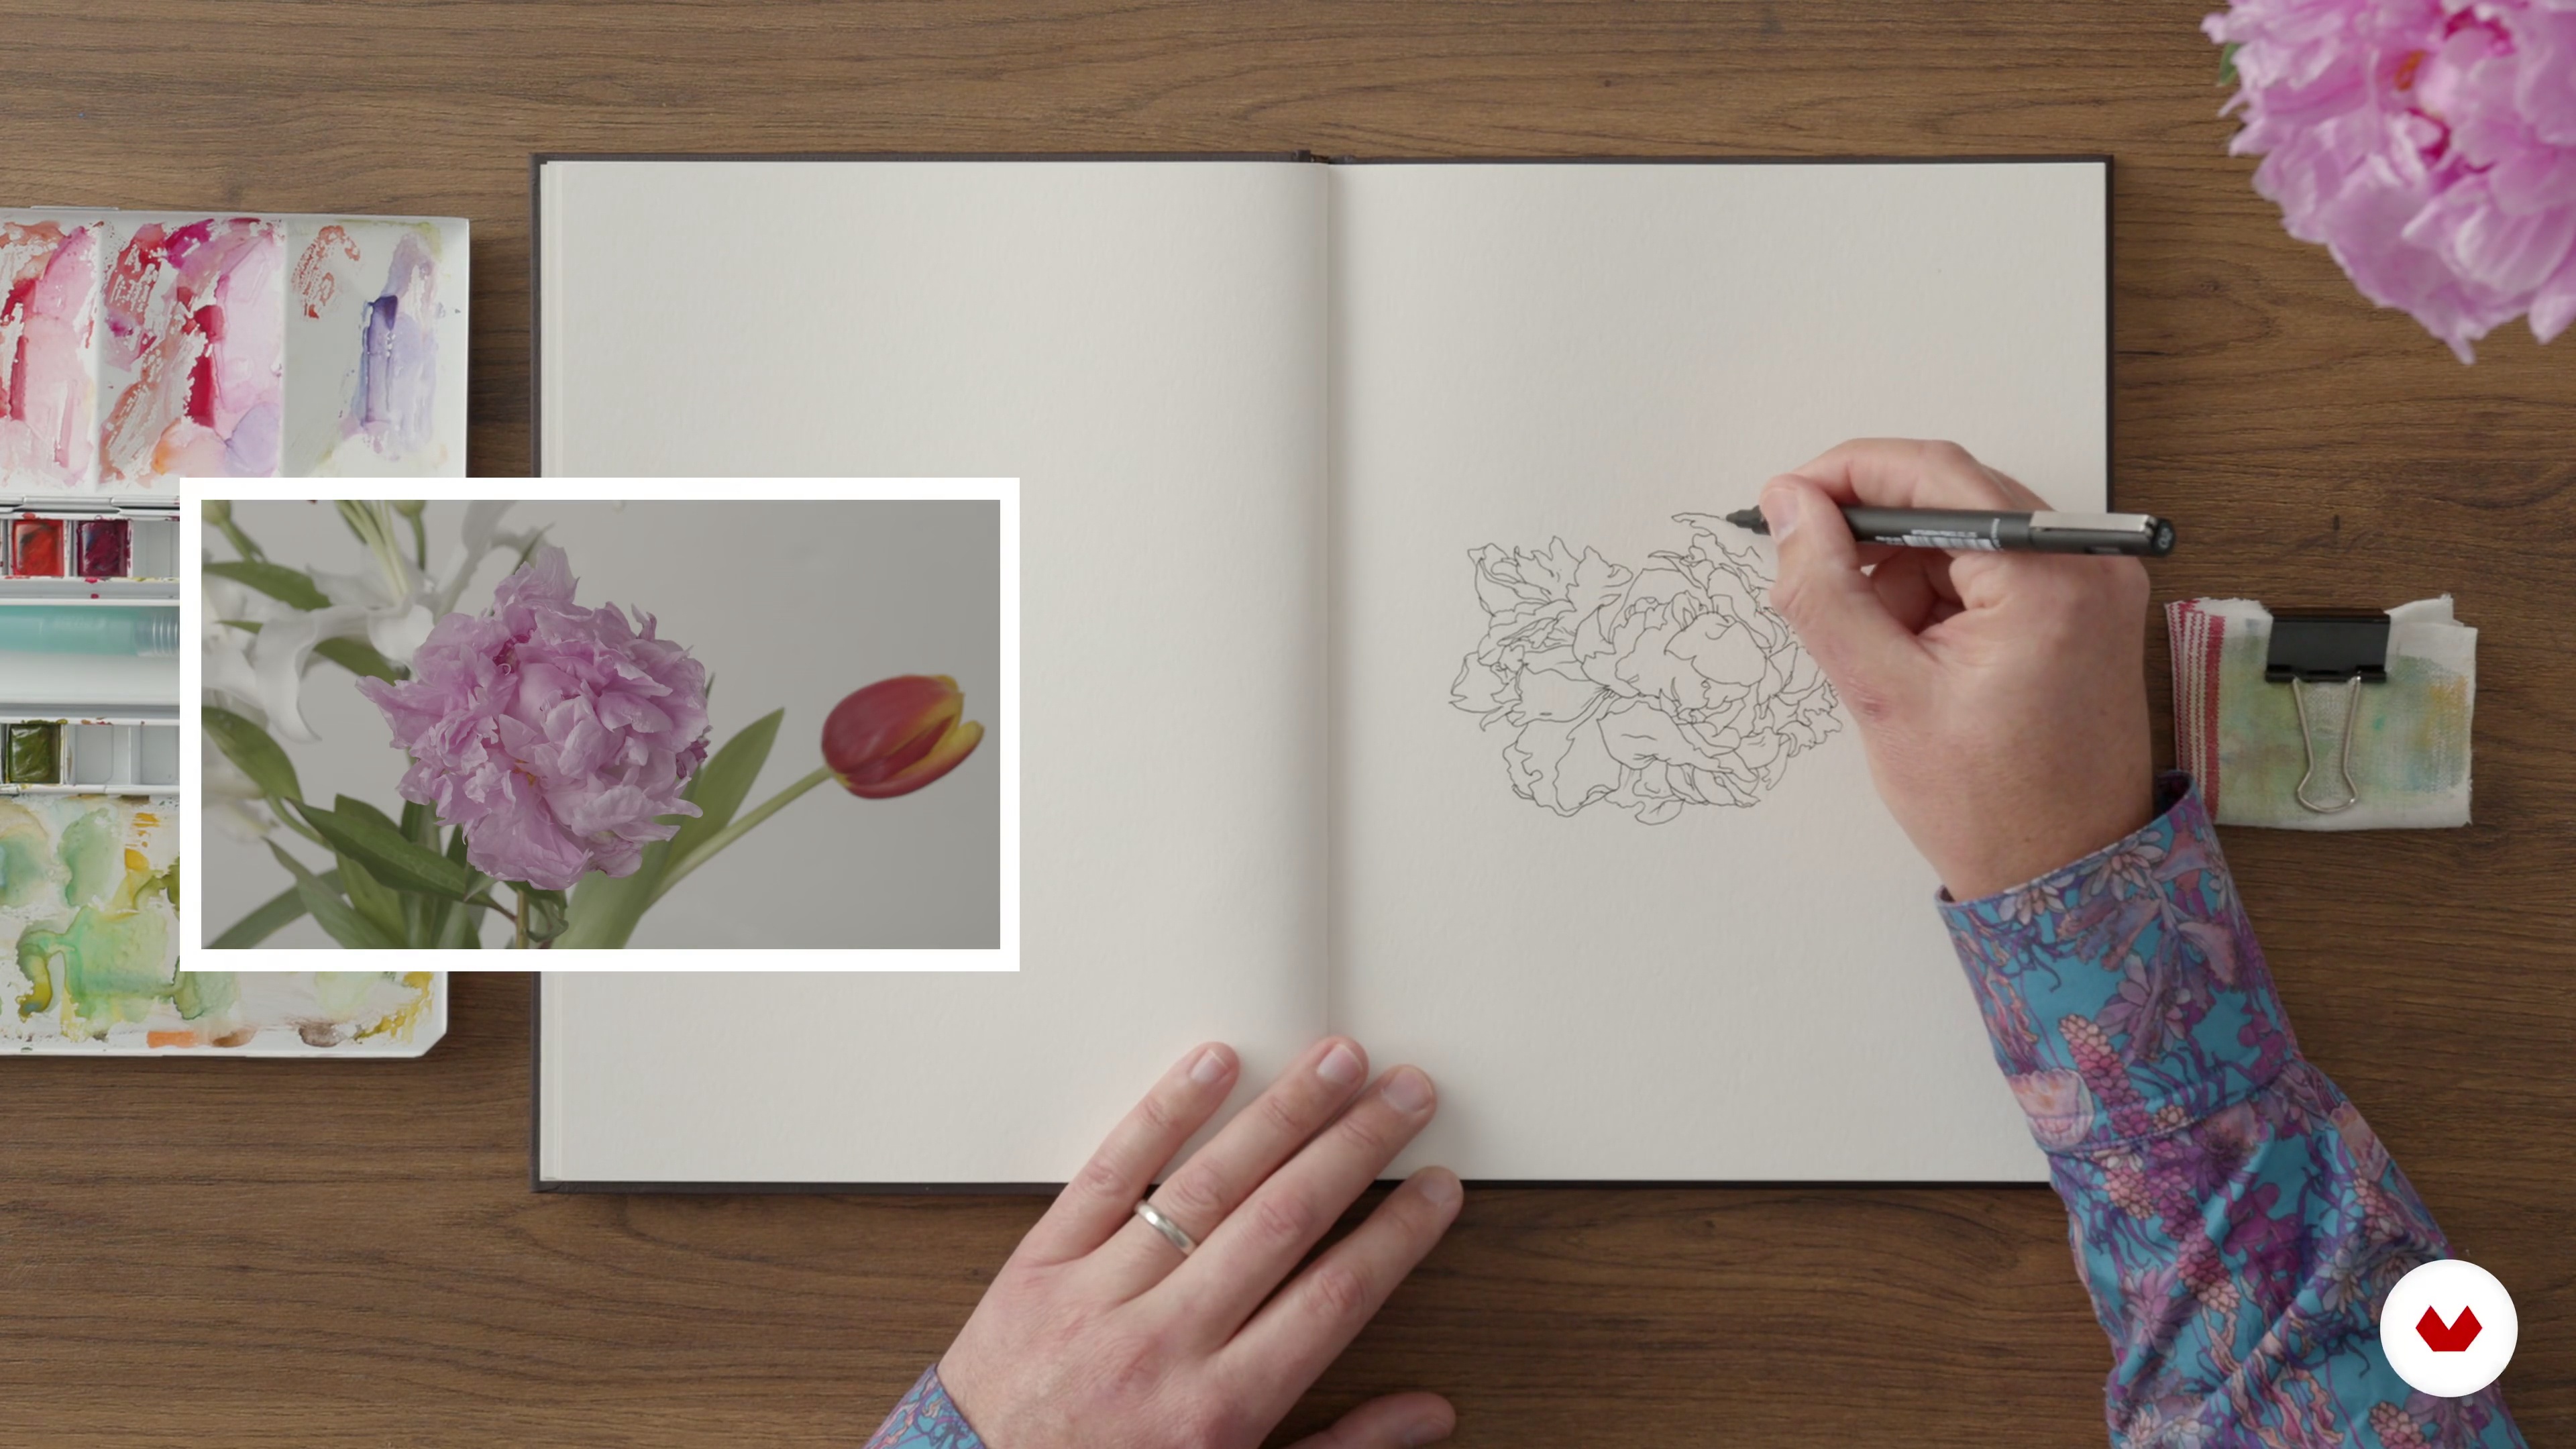
We will create a composition by turning the same flower around and drawing it from different angles. You have an infinity of possibilities.
17m
image
23
Botanical Composition 2
Second part of the lesson.
17m
image
24
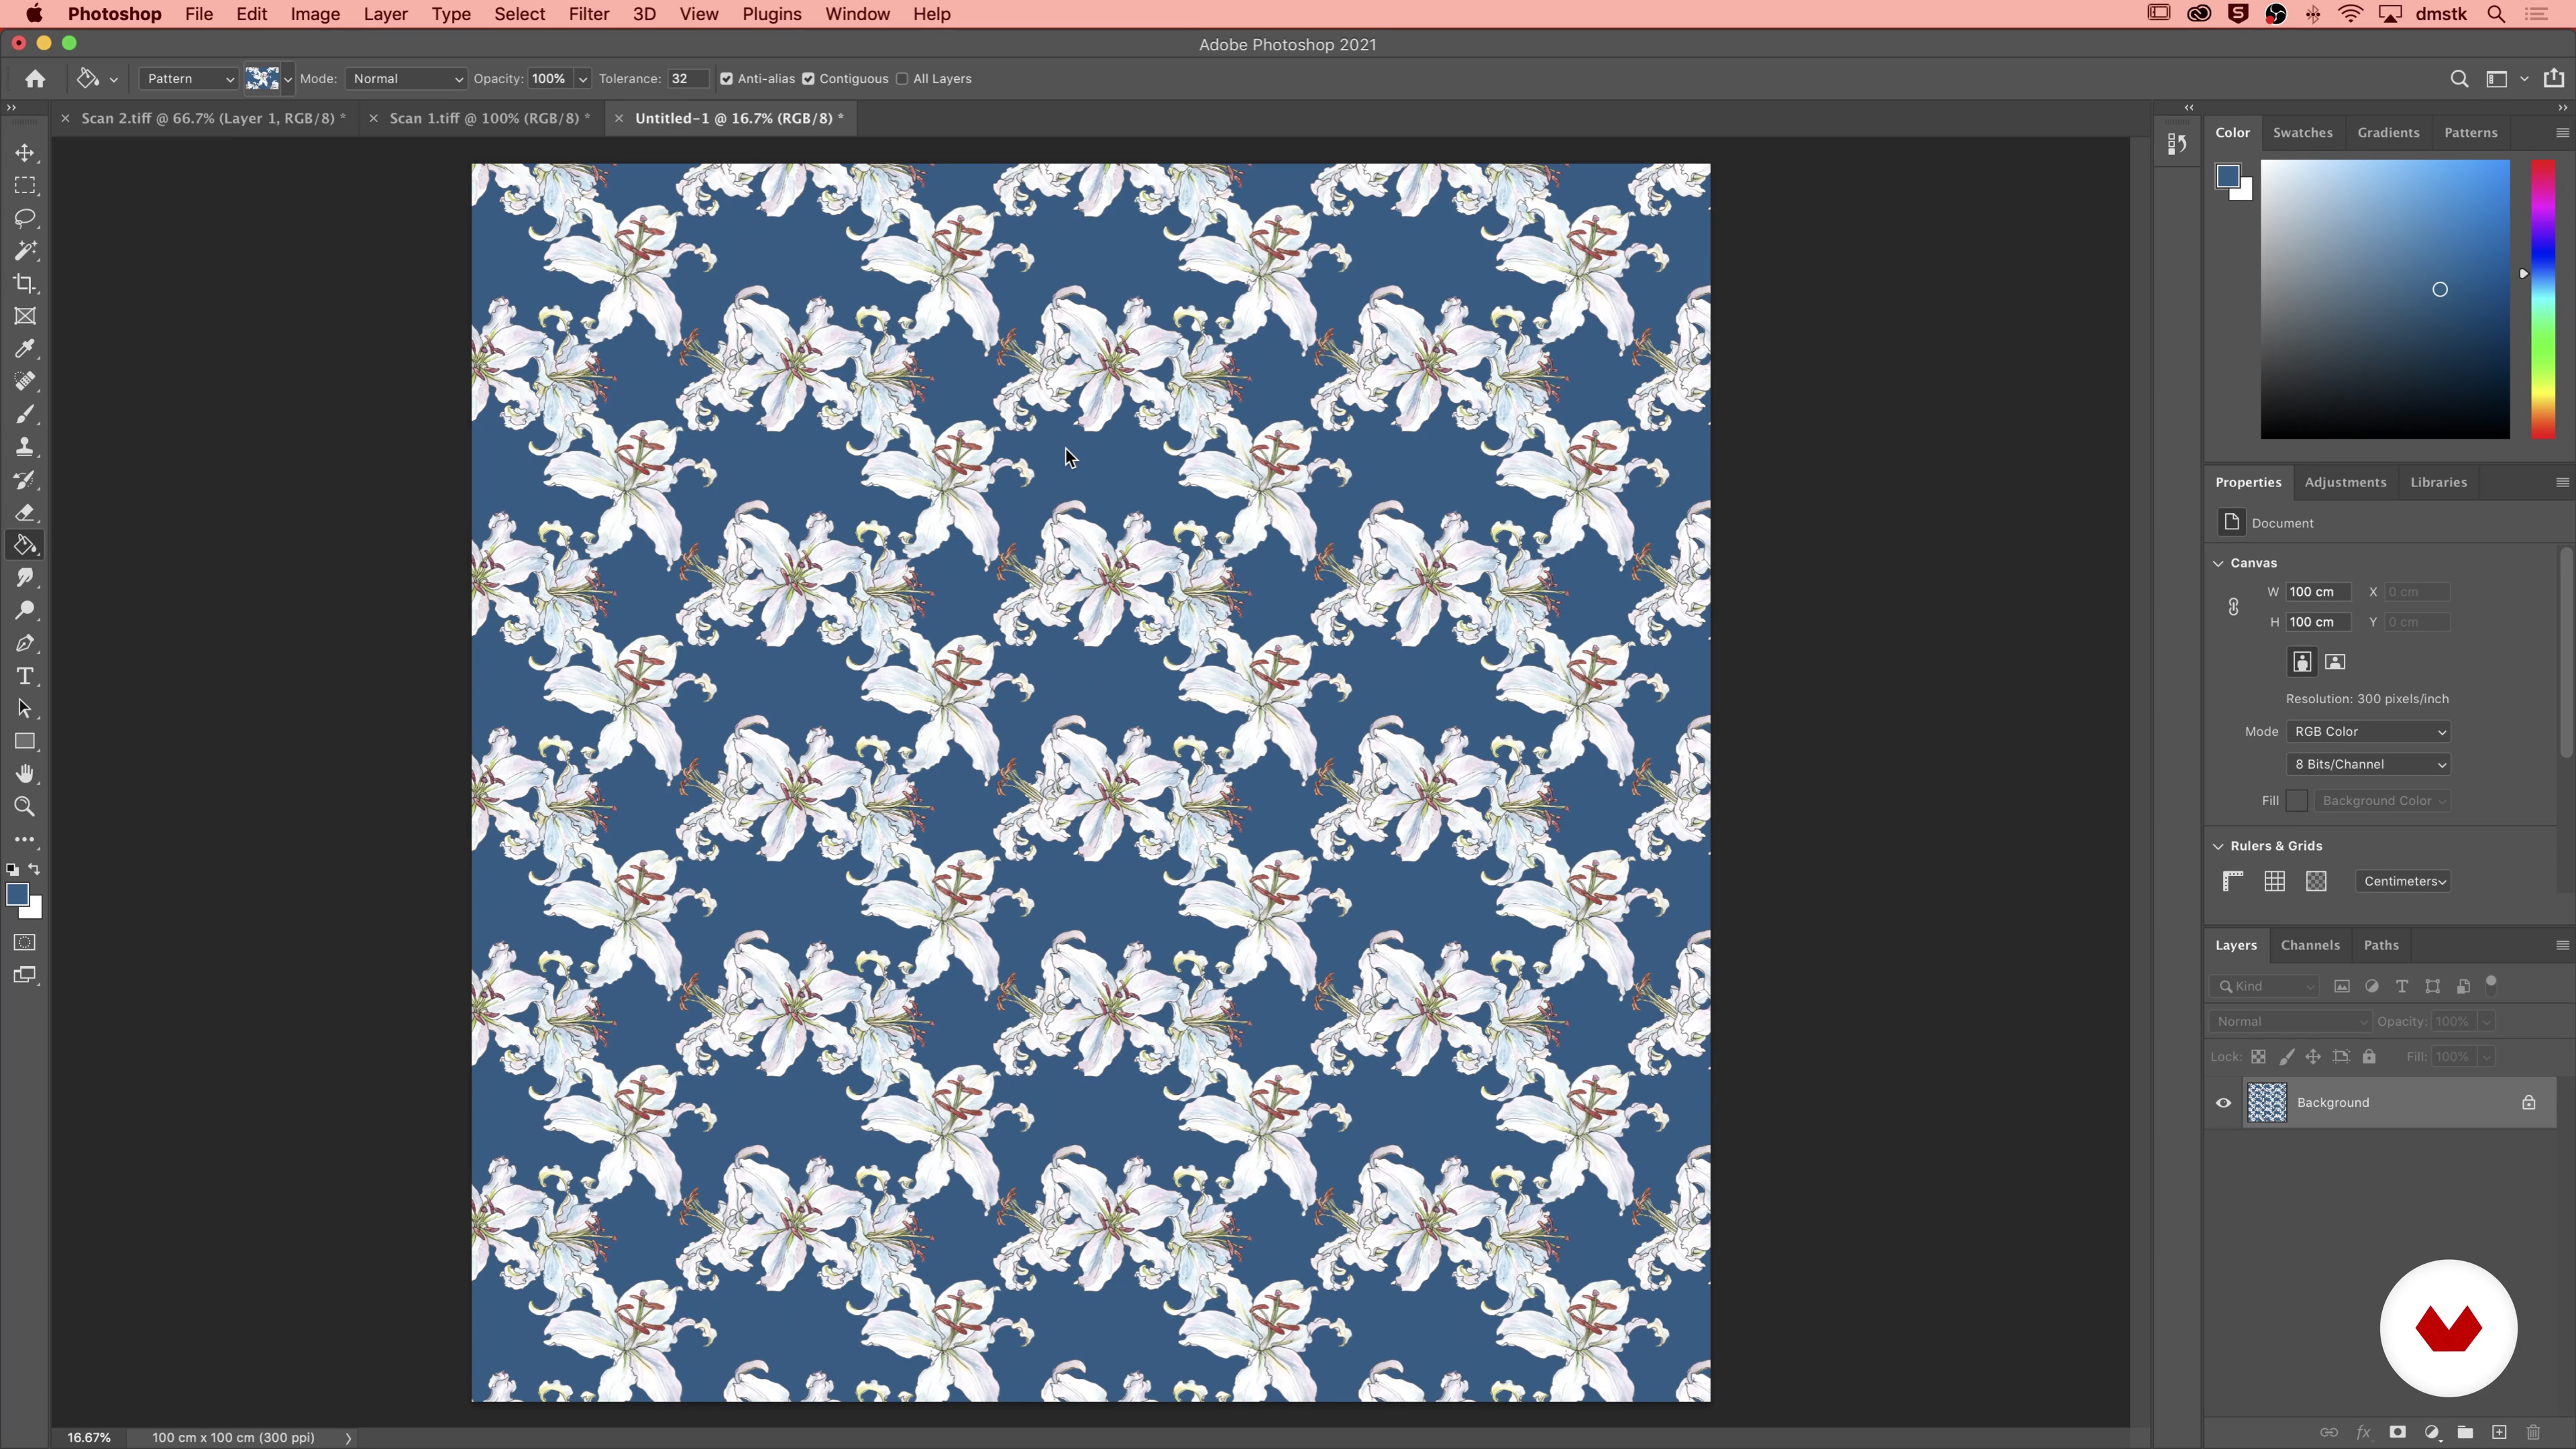
Creating a Pattern
Nowadays, it is super easy to print your drawing on fabric through platforms like Spoonflower. In this short demo, I will show you how to transfer your botanical drawing to a computer and use Photoshop to create a pattern that you will be able to print on textile or wallpaper.
8m
image
3
The Materials
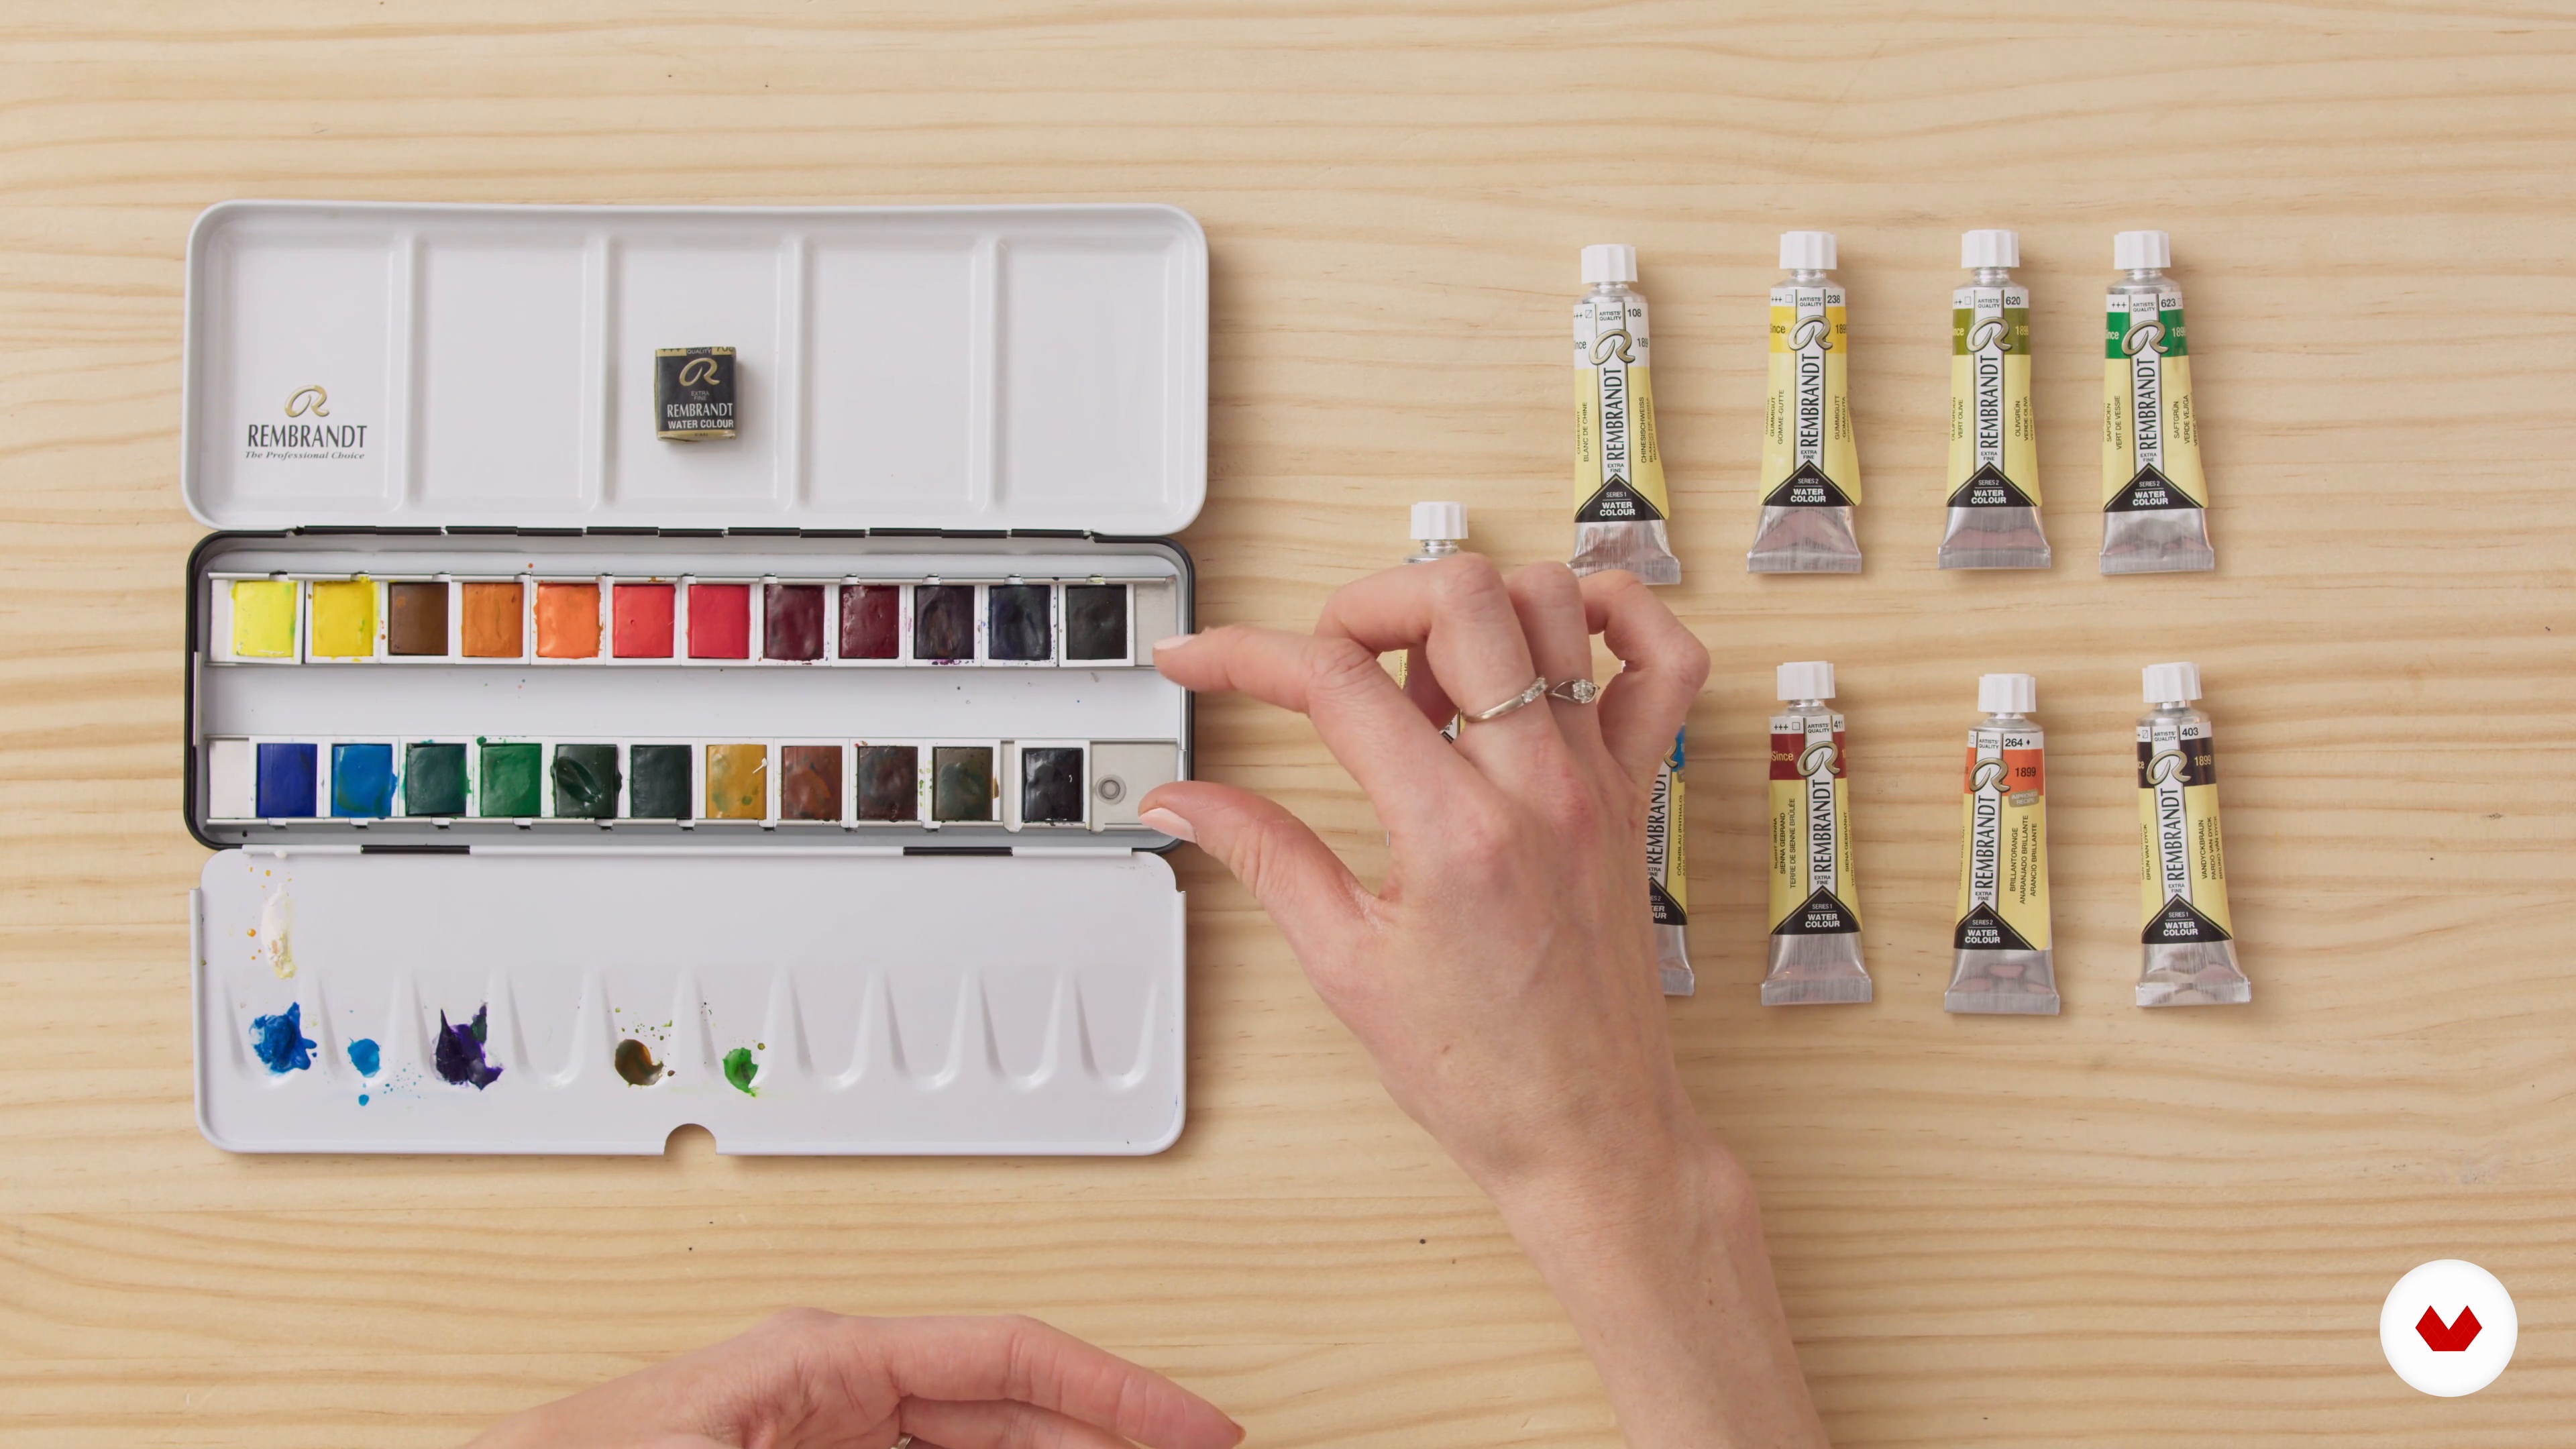
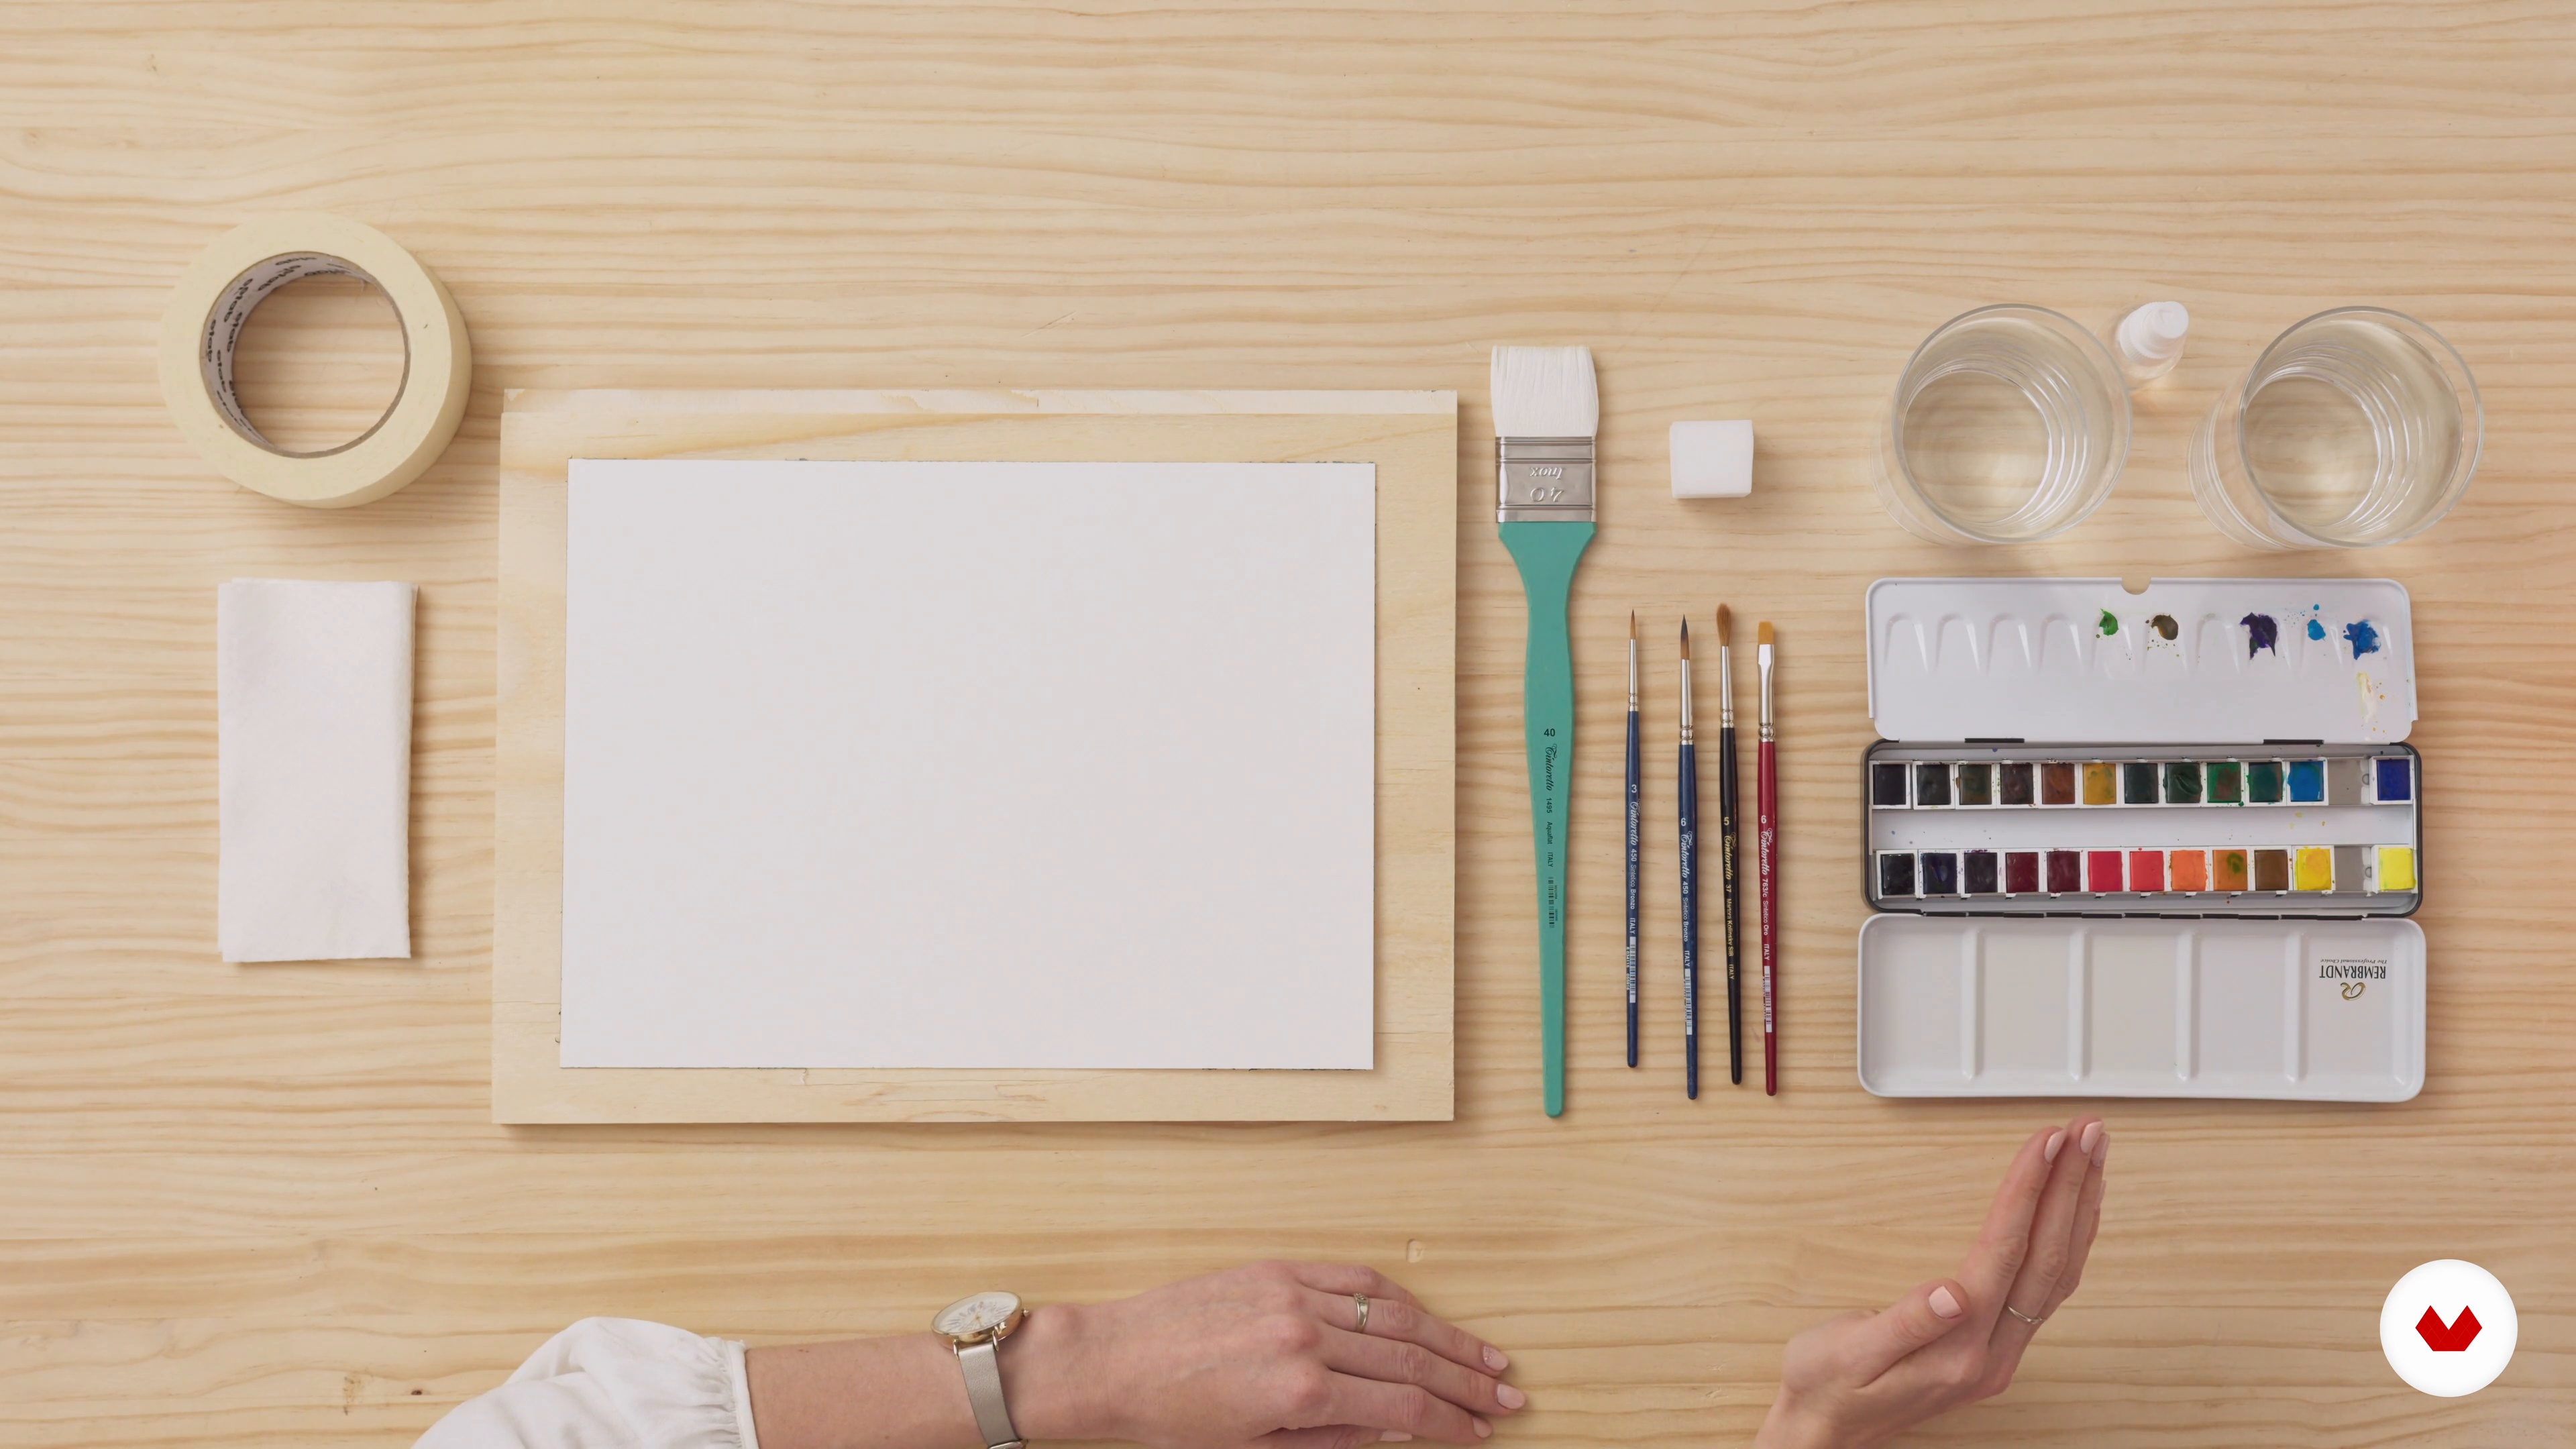
In this lesson, I will show you which paper, paints, and other items I use. We will take a closer look at the brushes and I will give you a brief description of how I use each of them.
19m
image
4
Basic Techniques 1
We will start with the basics. First, I will talk about colour and value and show you how to mix the right colour for your tasks.
10m
image
5
Basic Techniques 2
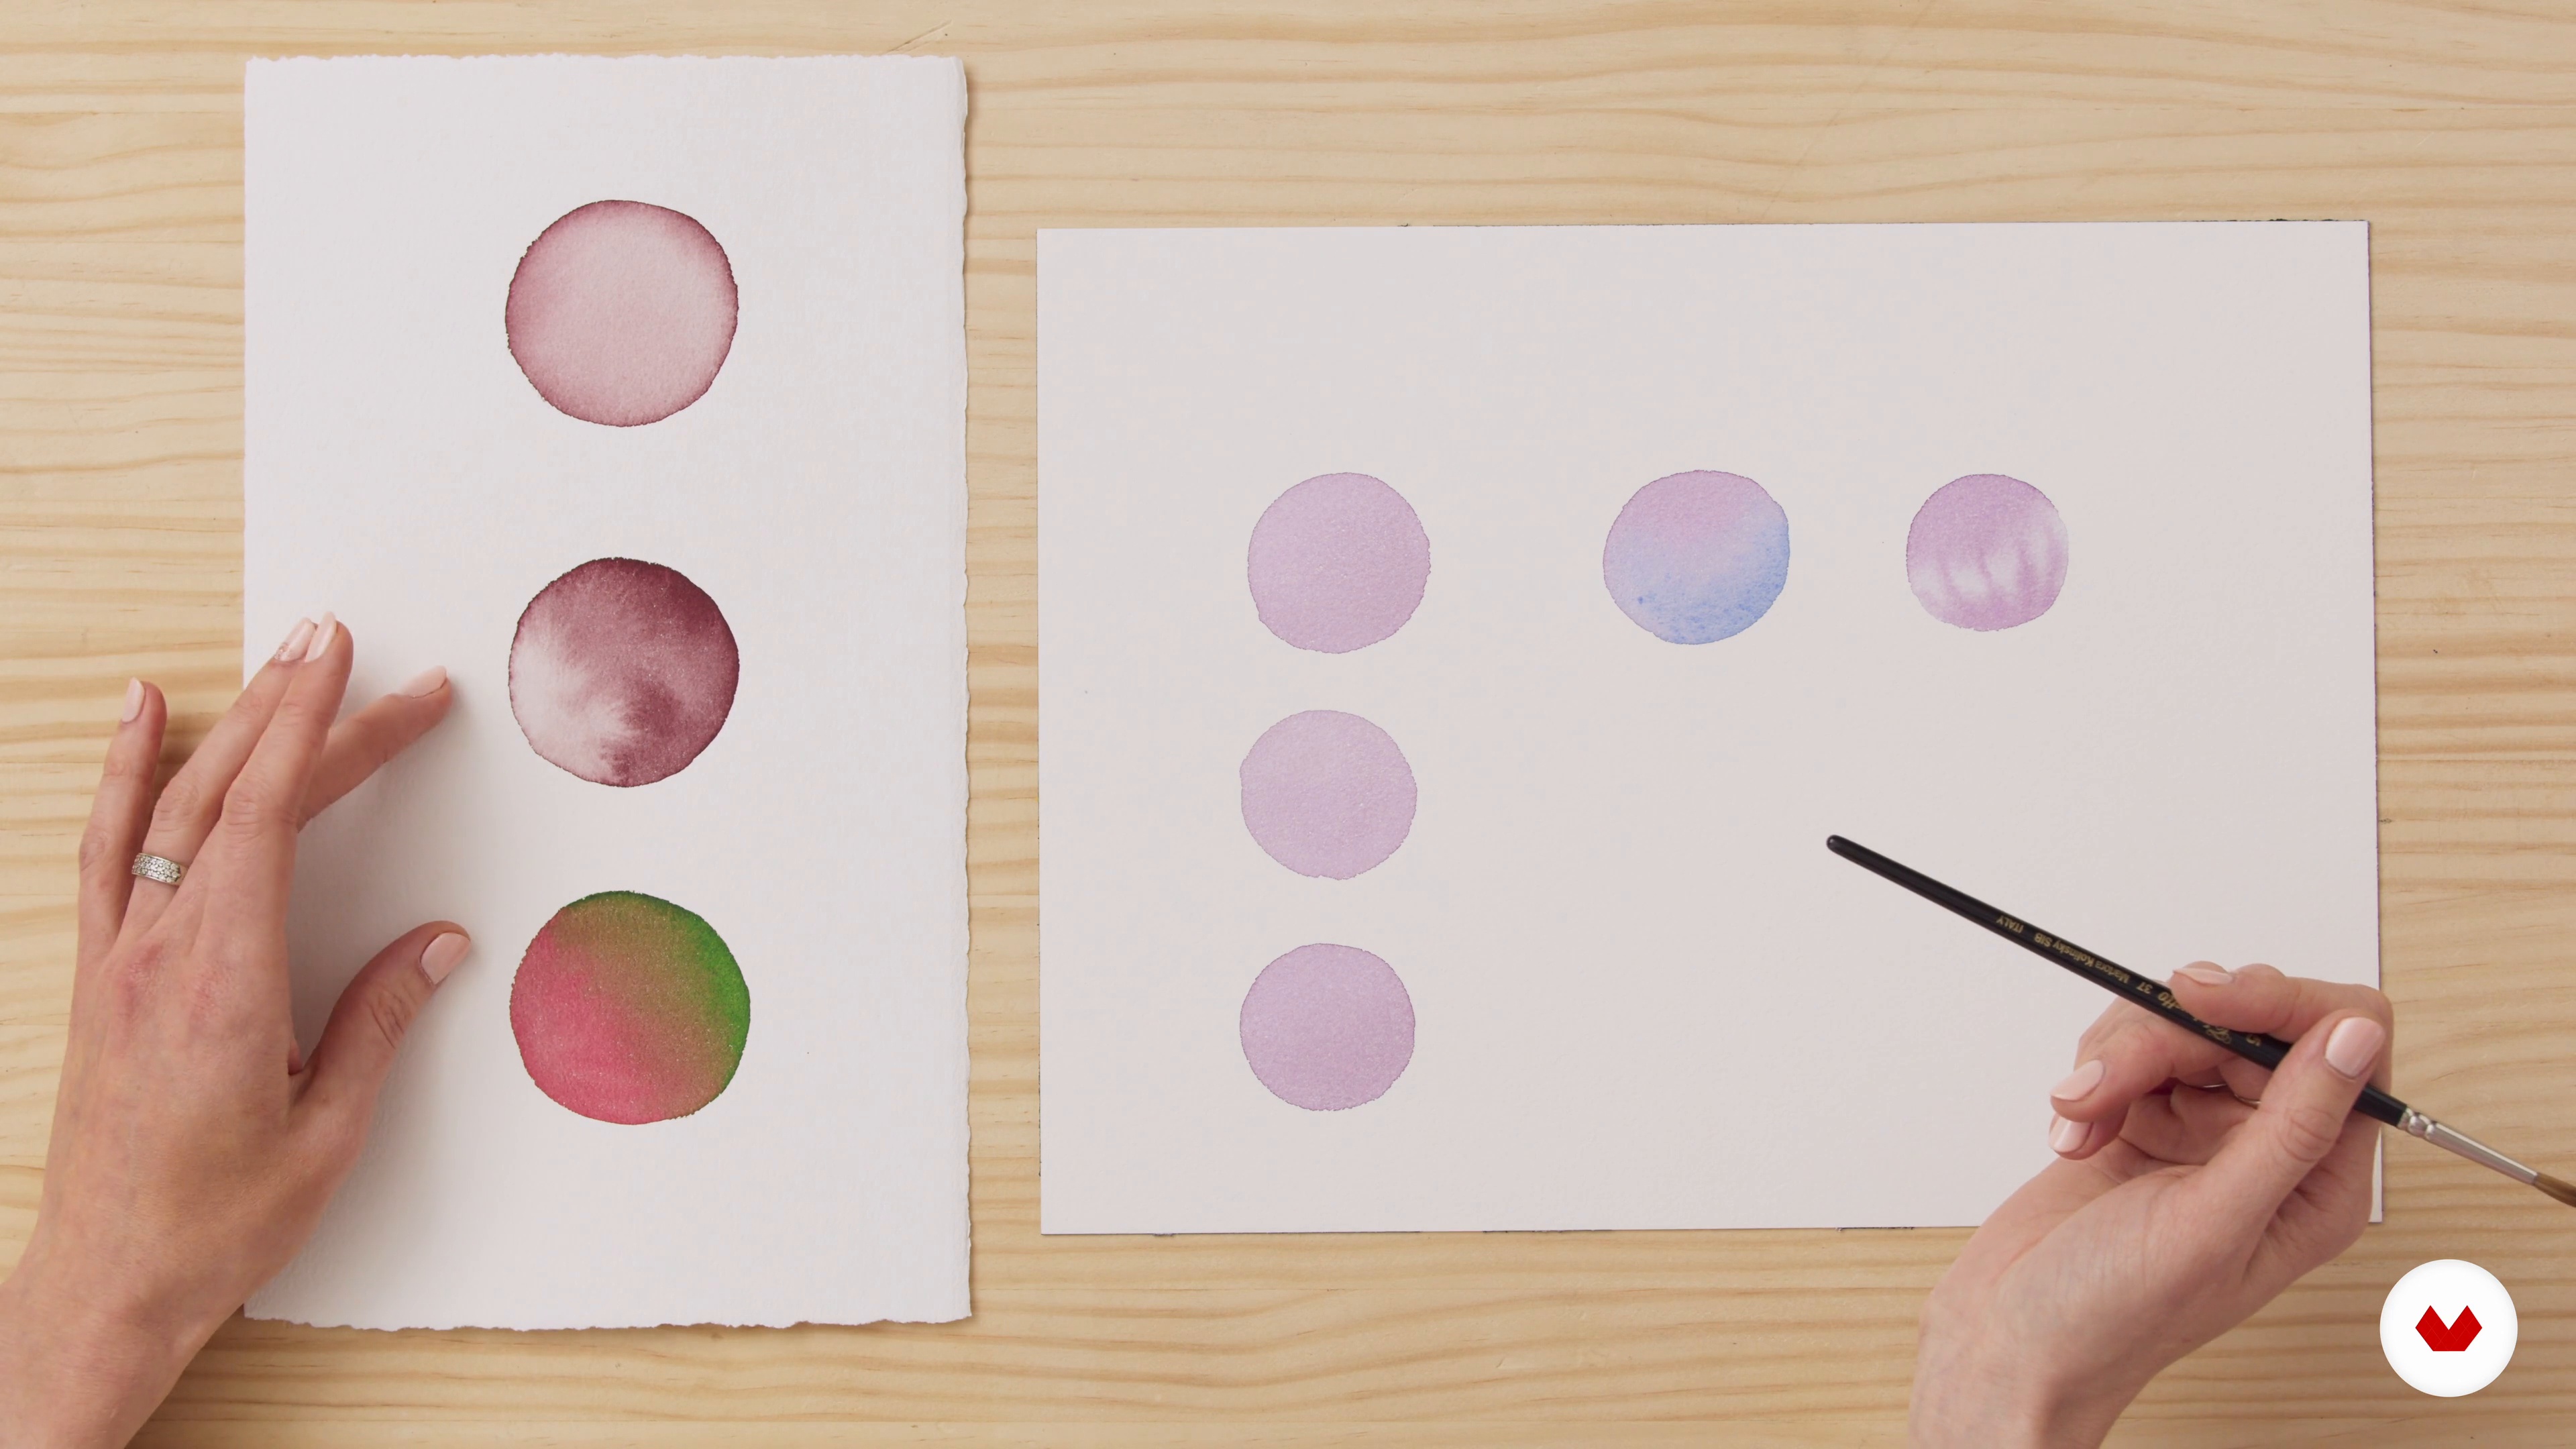
Now, I will paint different types of washes and explain the key to success when it comes to even watercolour wash.
13m
image
6
Painting Wet on Wet 1
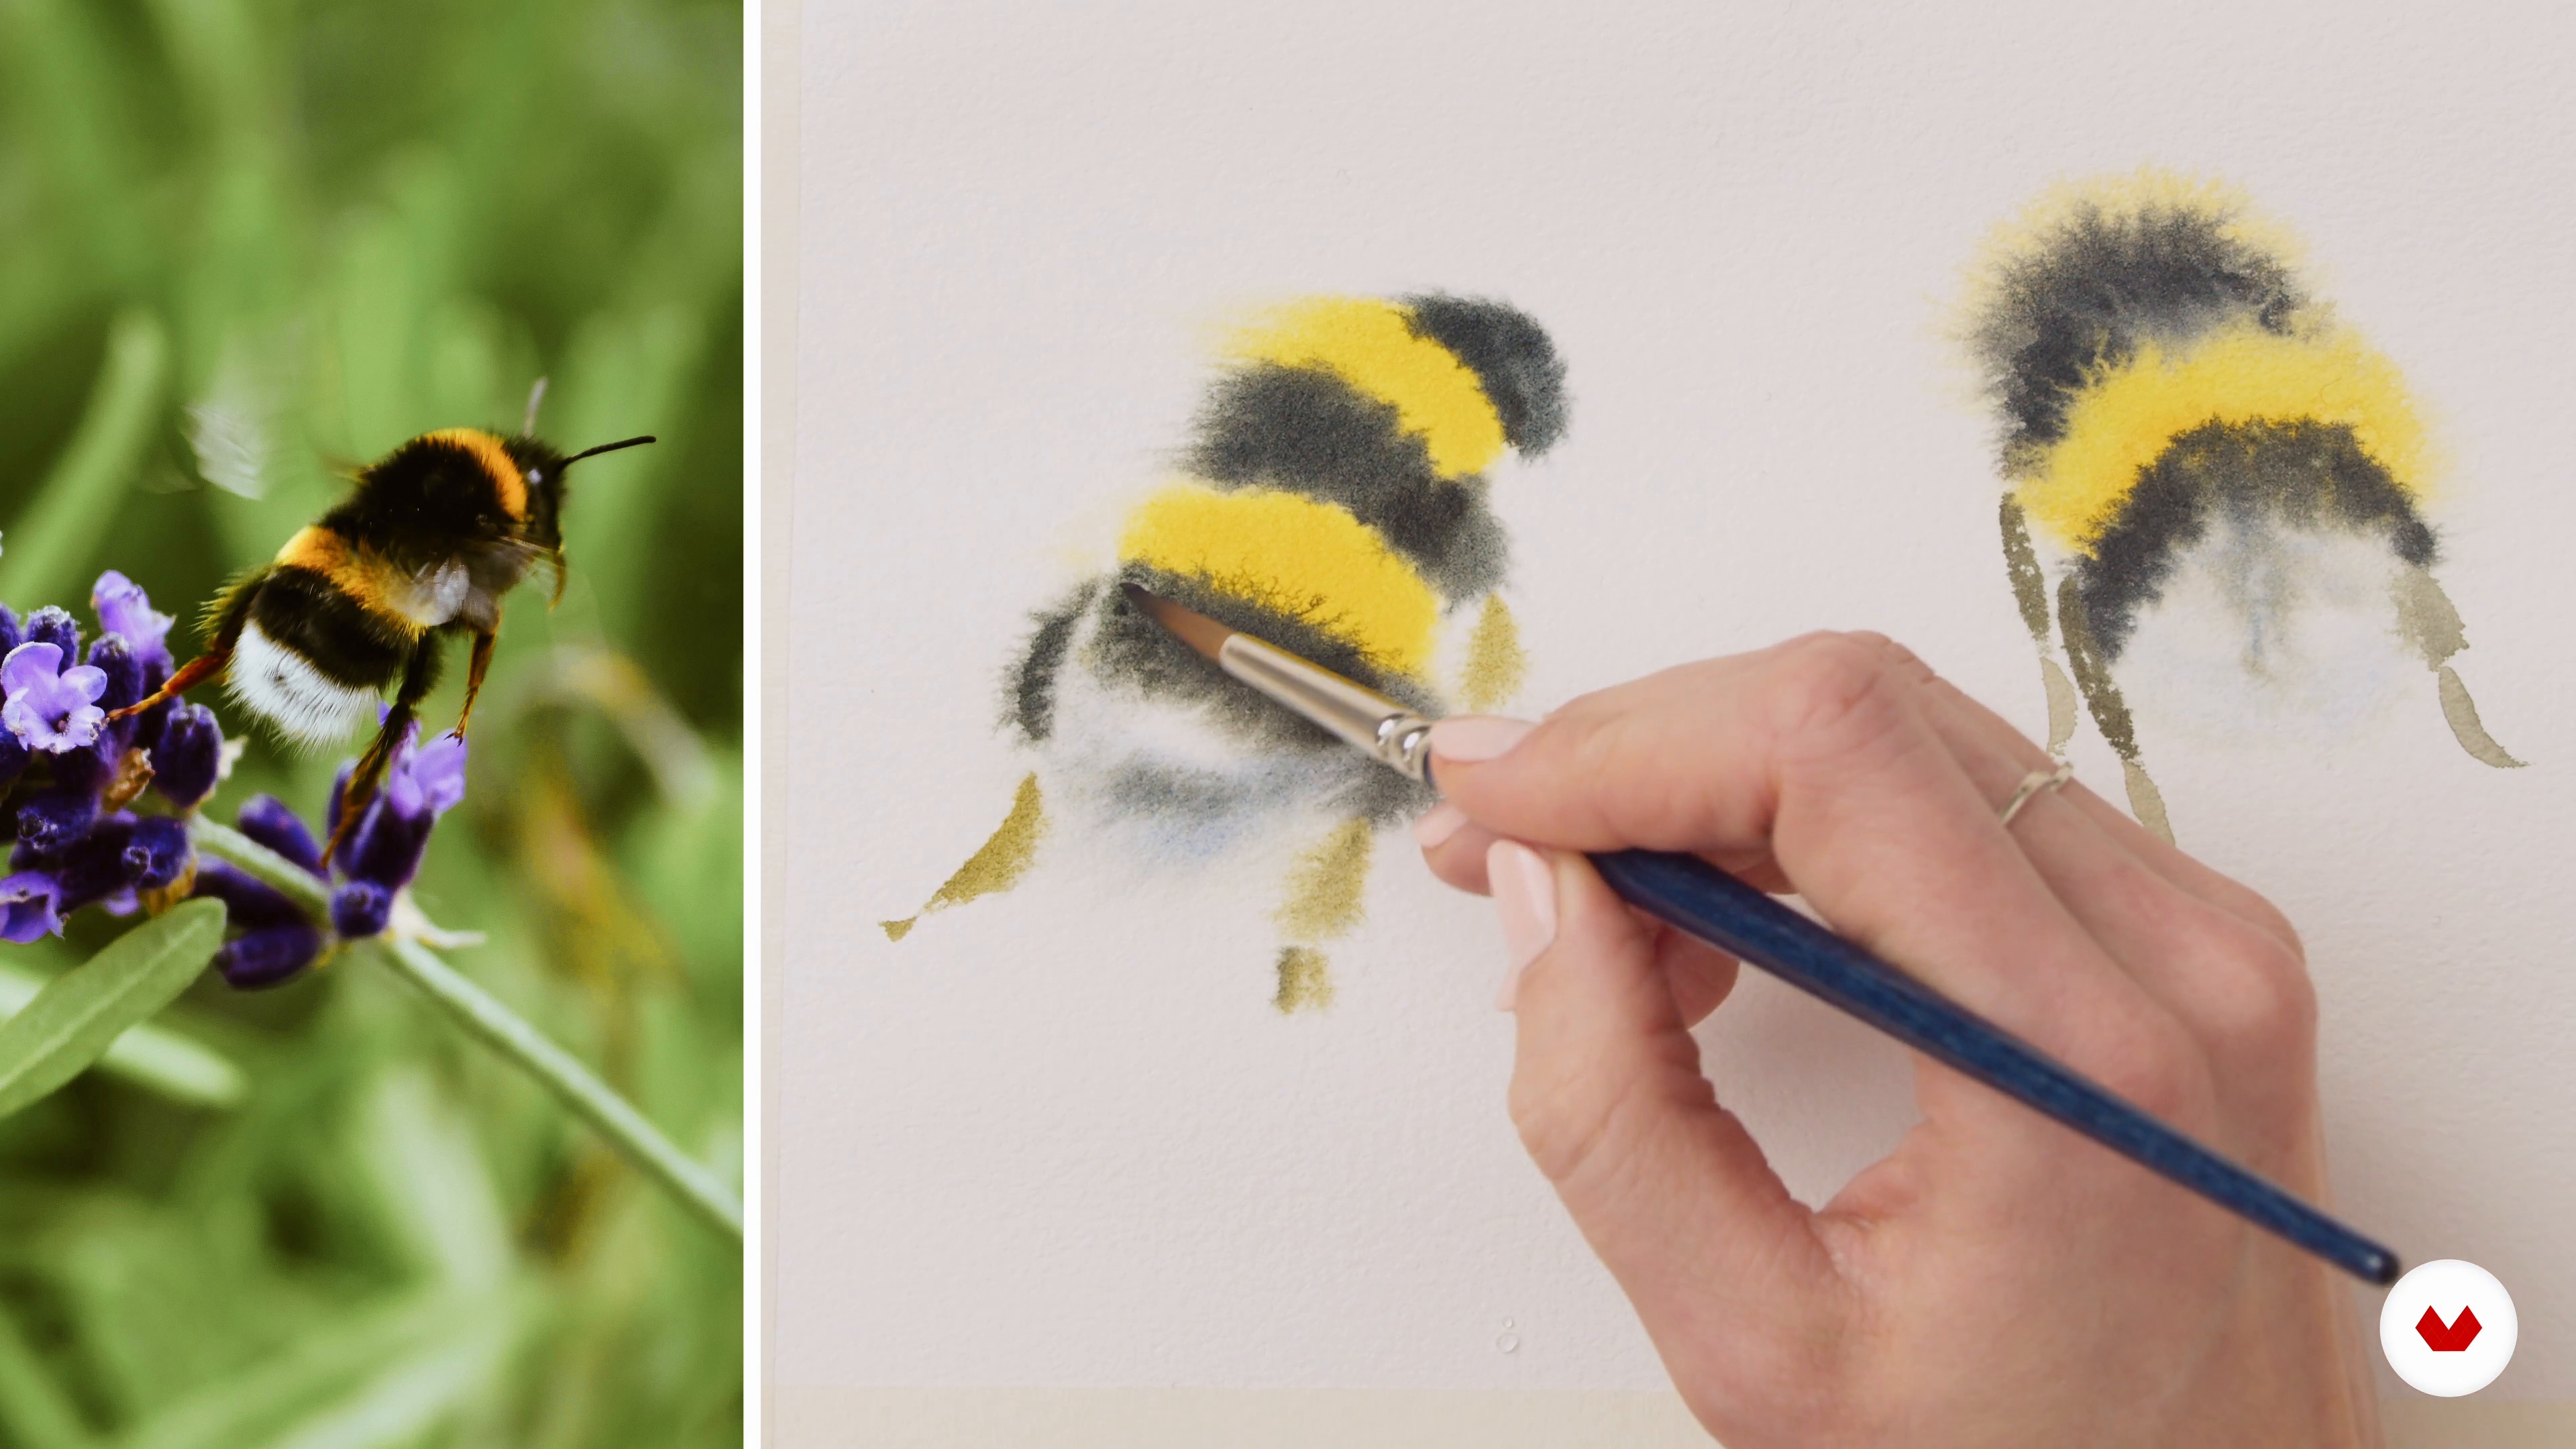
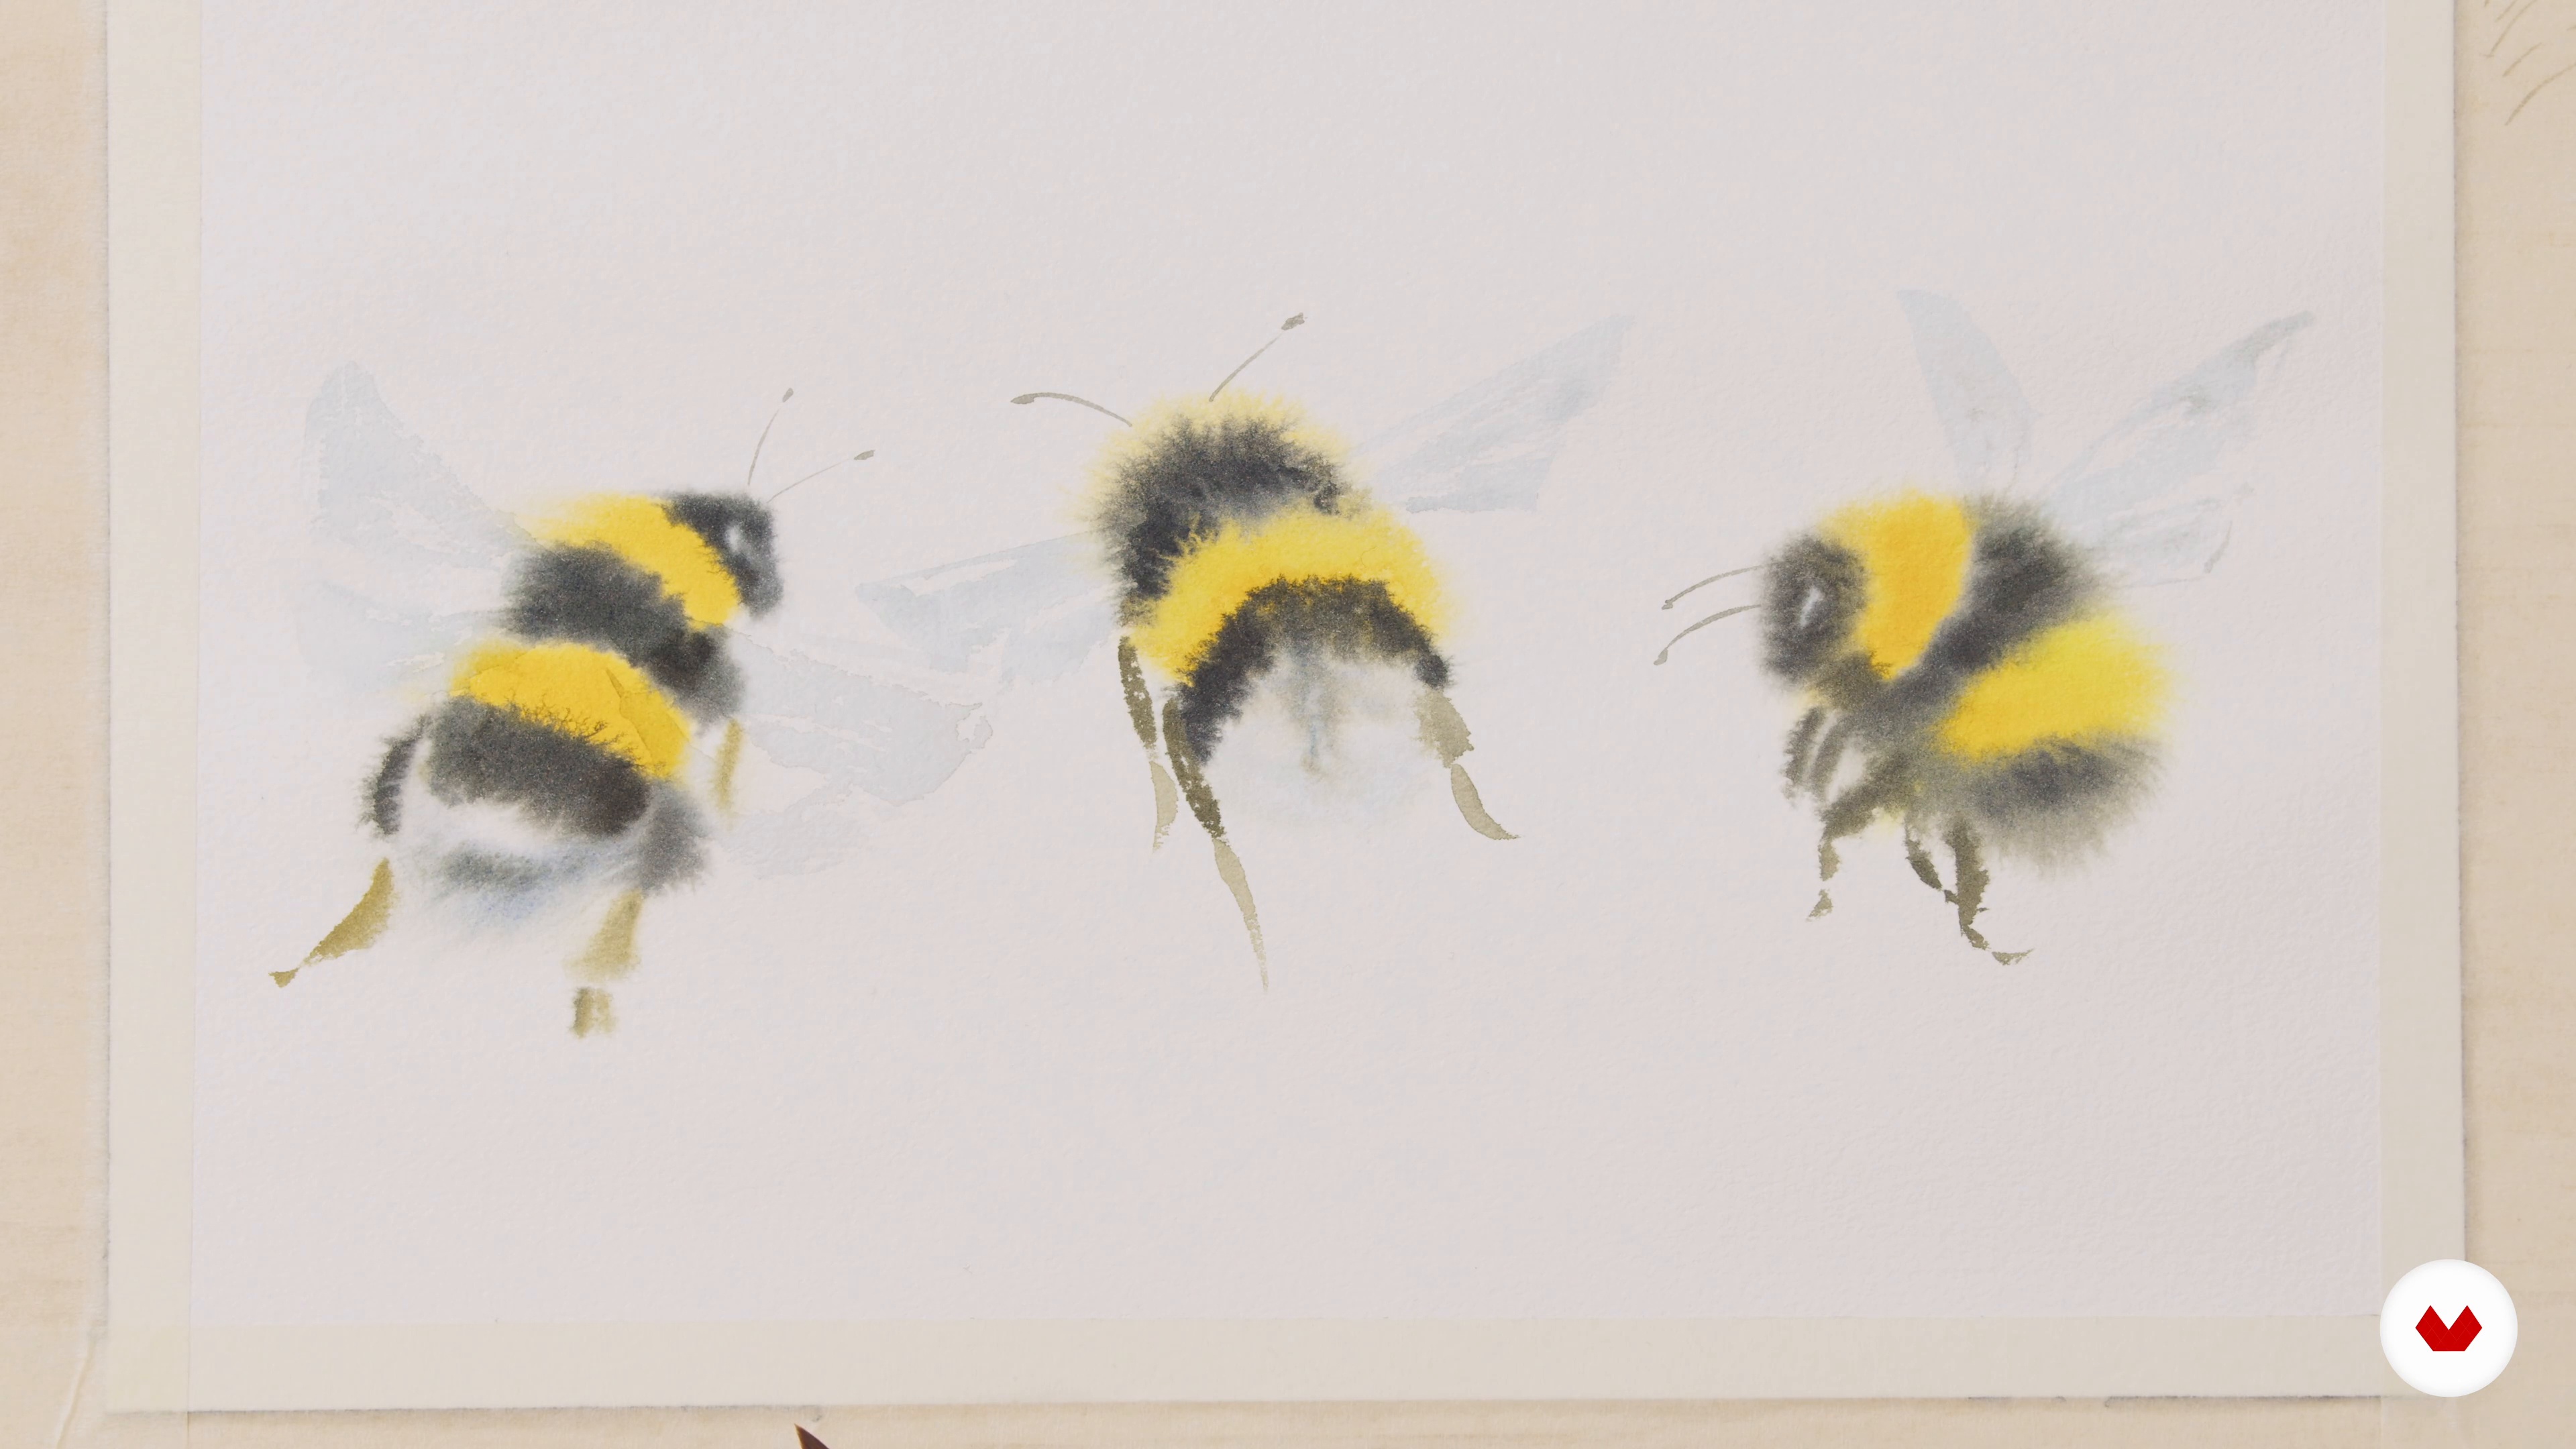
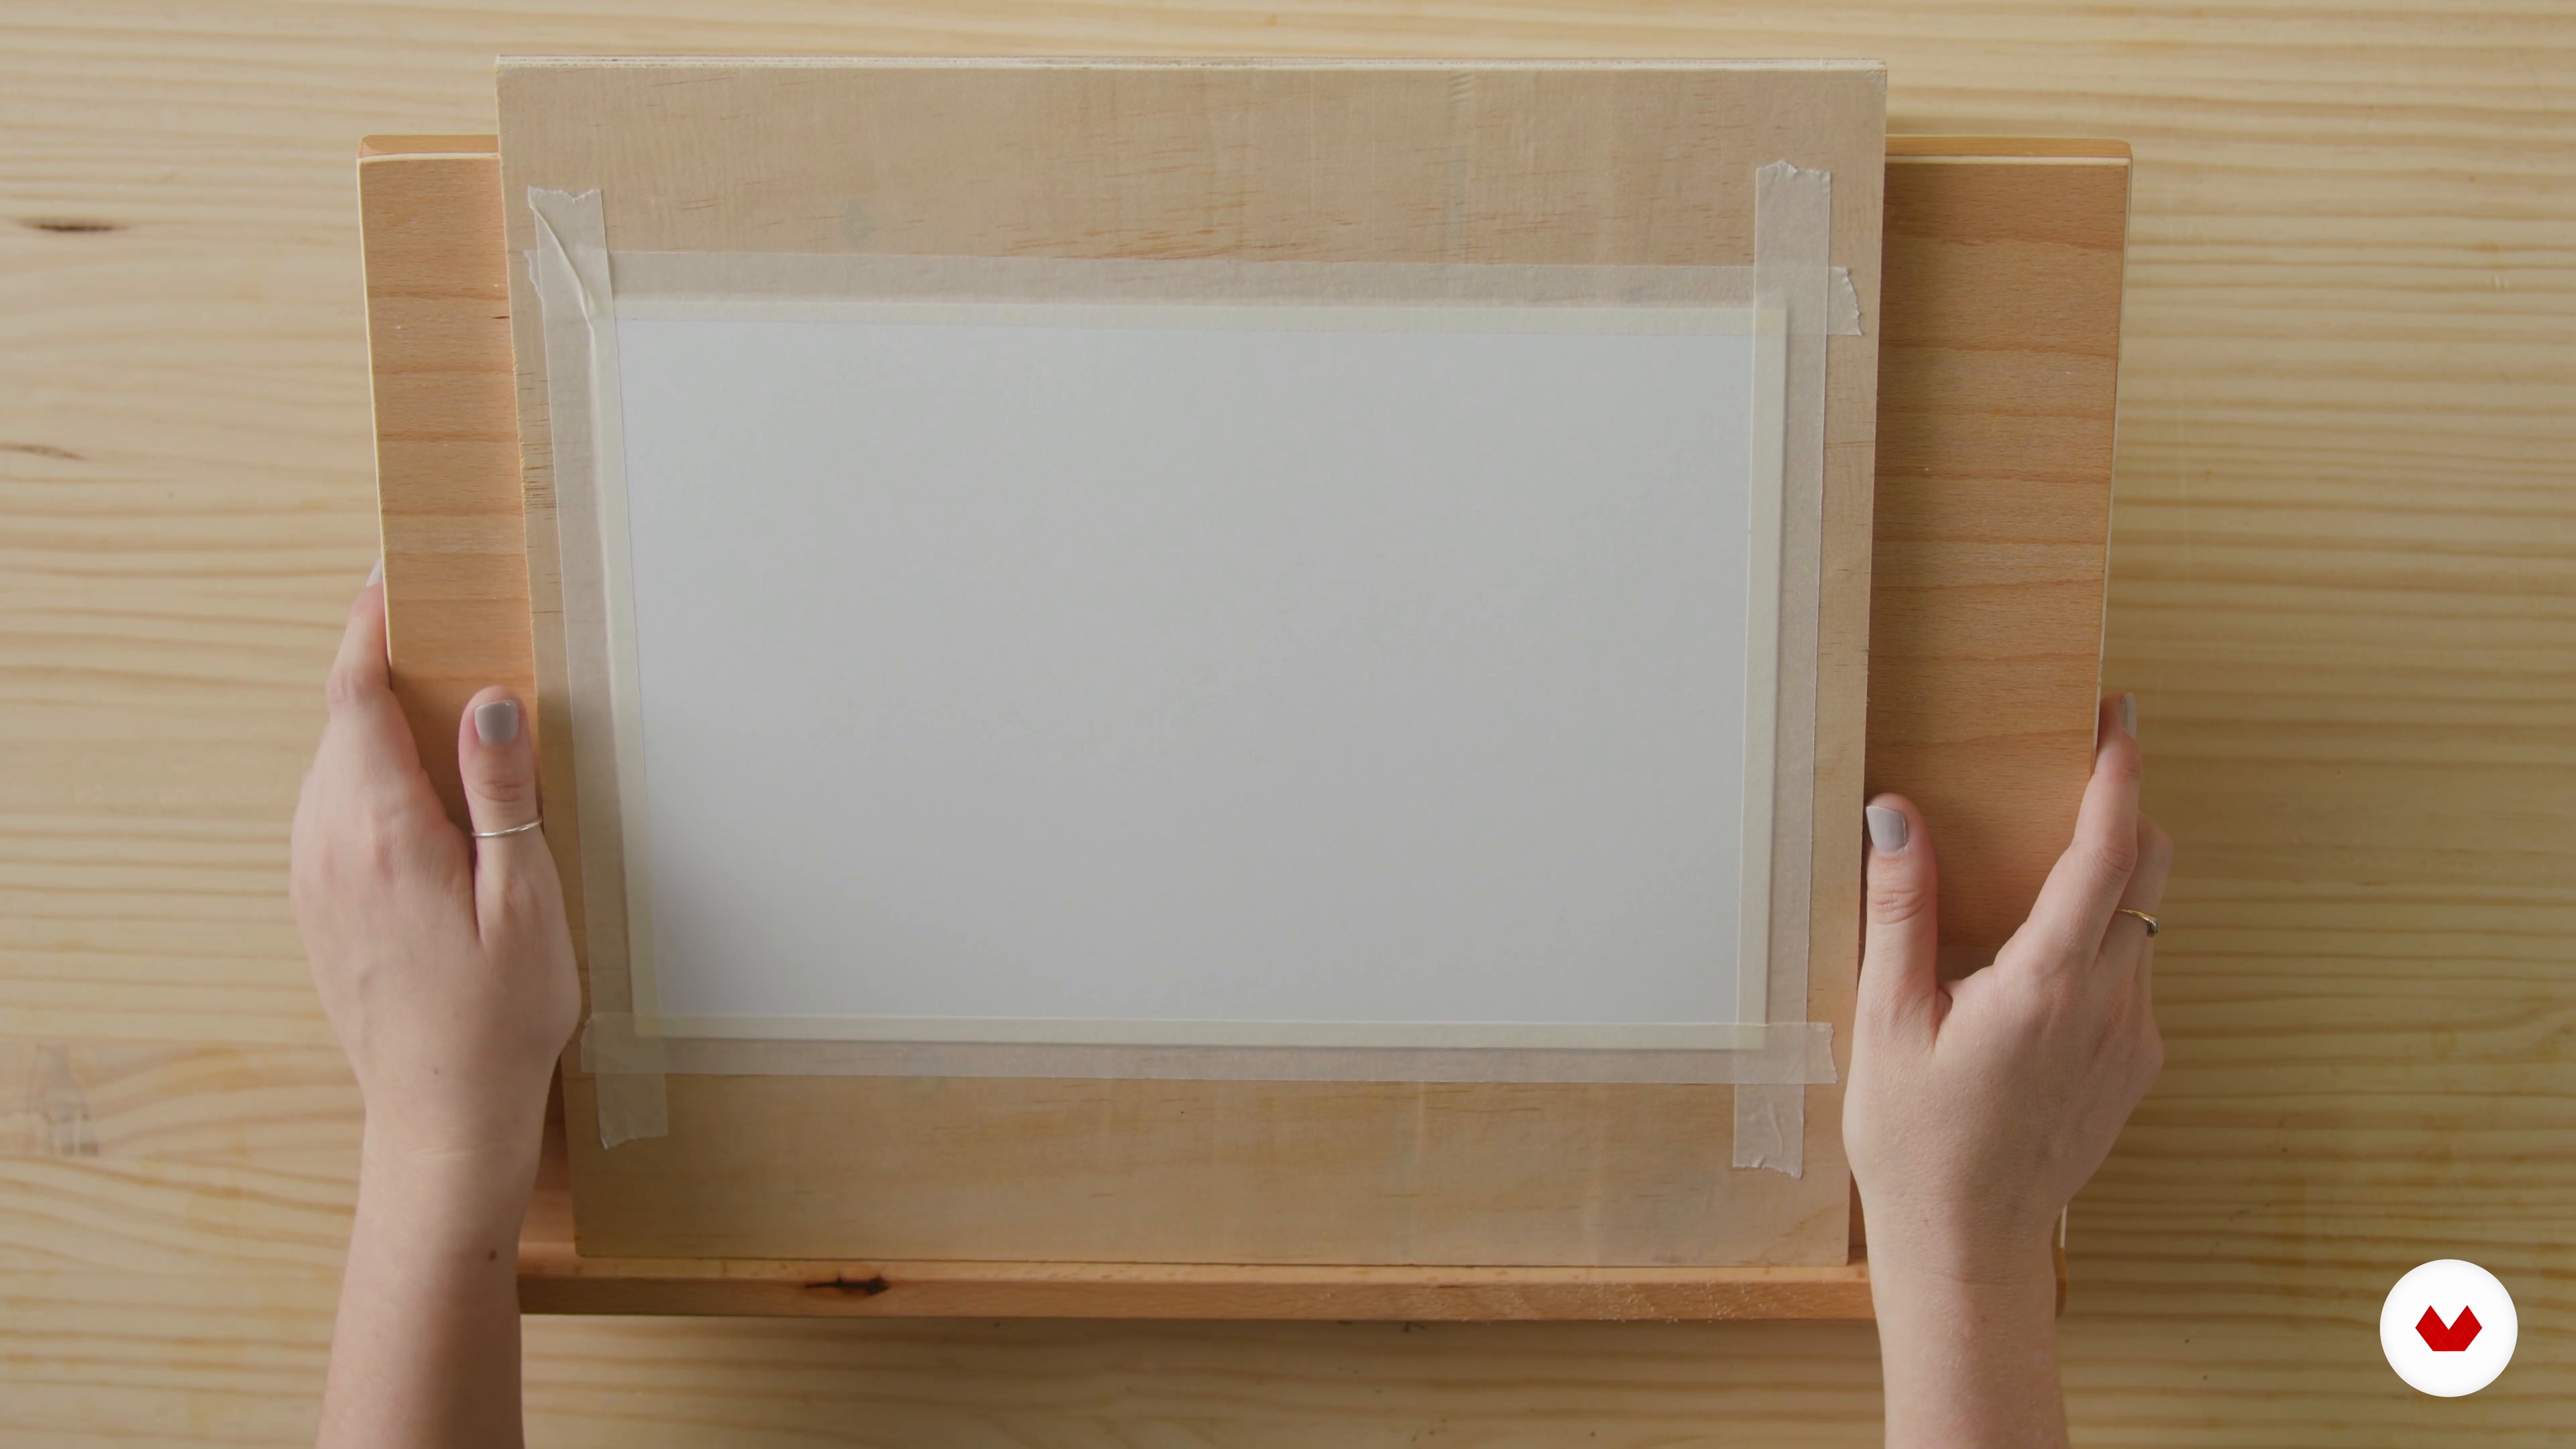
We will practise working wet on wet by creating a simple artwork with flying bumblebees. Before we start, I will show how I attach the paper to the wooden board.
15m
image
7
Painting Wet on Wet 2
I will continue painting the second bumblebee. Again, we start by applying water to the paper and then work wet o wet to create the body.
11m
image
8
Painting Wet on Wet 3
Once all three bodies of the bumblebees are ready, I will introduce you to the dry brush technique for the wings and I will show you how to use white colour to paint the eyes.
16m
image
9
Painting Layers and Glazing
First, I will talk about the advantages of using glazes and I will show you the basic techniques for achieving a realistic result in your artwork.
10m
image
10
Values Translated into Colour
In this lesson, you will find out what is the tonal value and why it's important for the final result. I will talk about how colours translate into values and how to darken them to achieve the right value.
11m
image
11
Understanding Texture 1
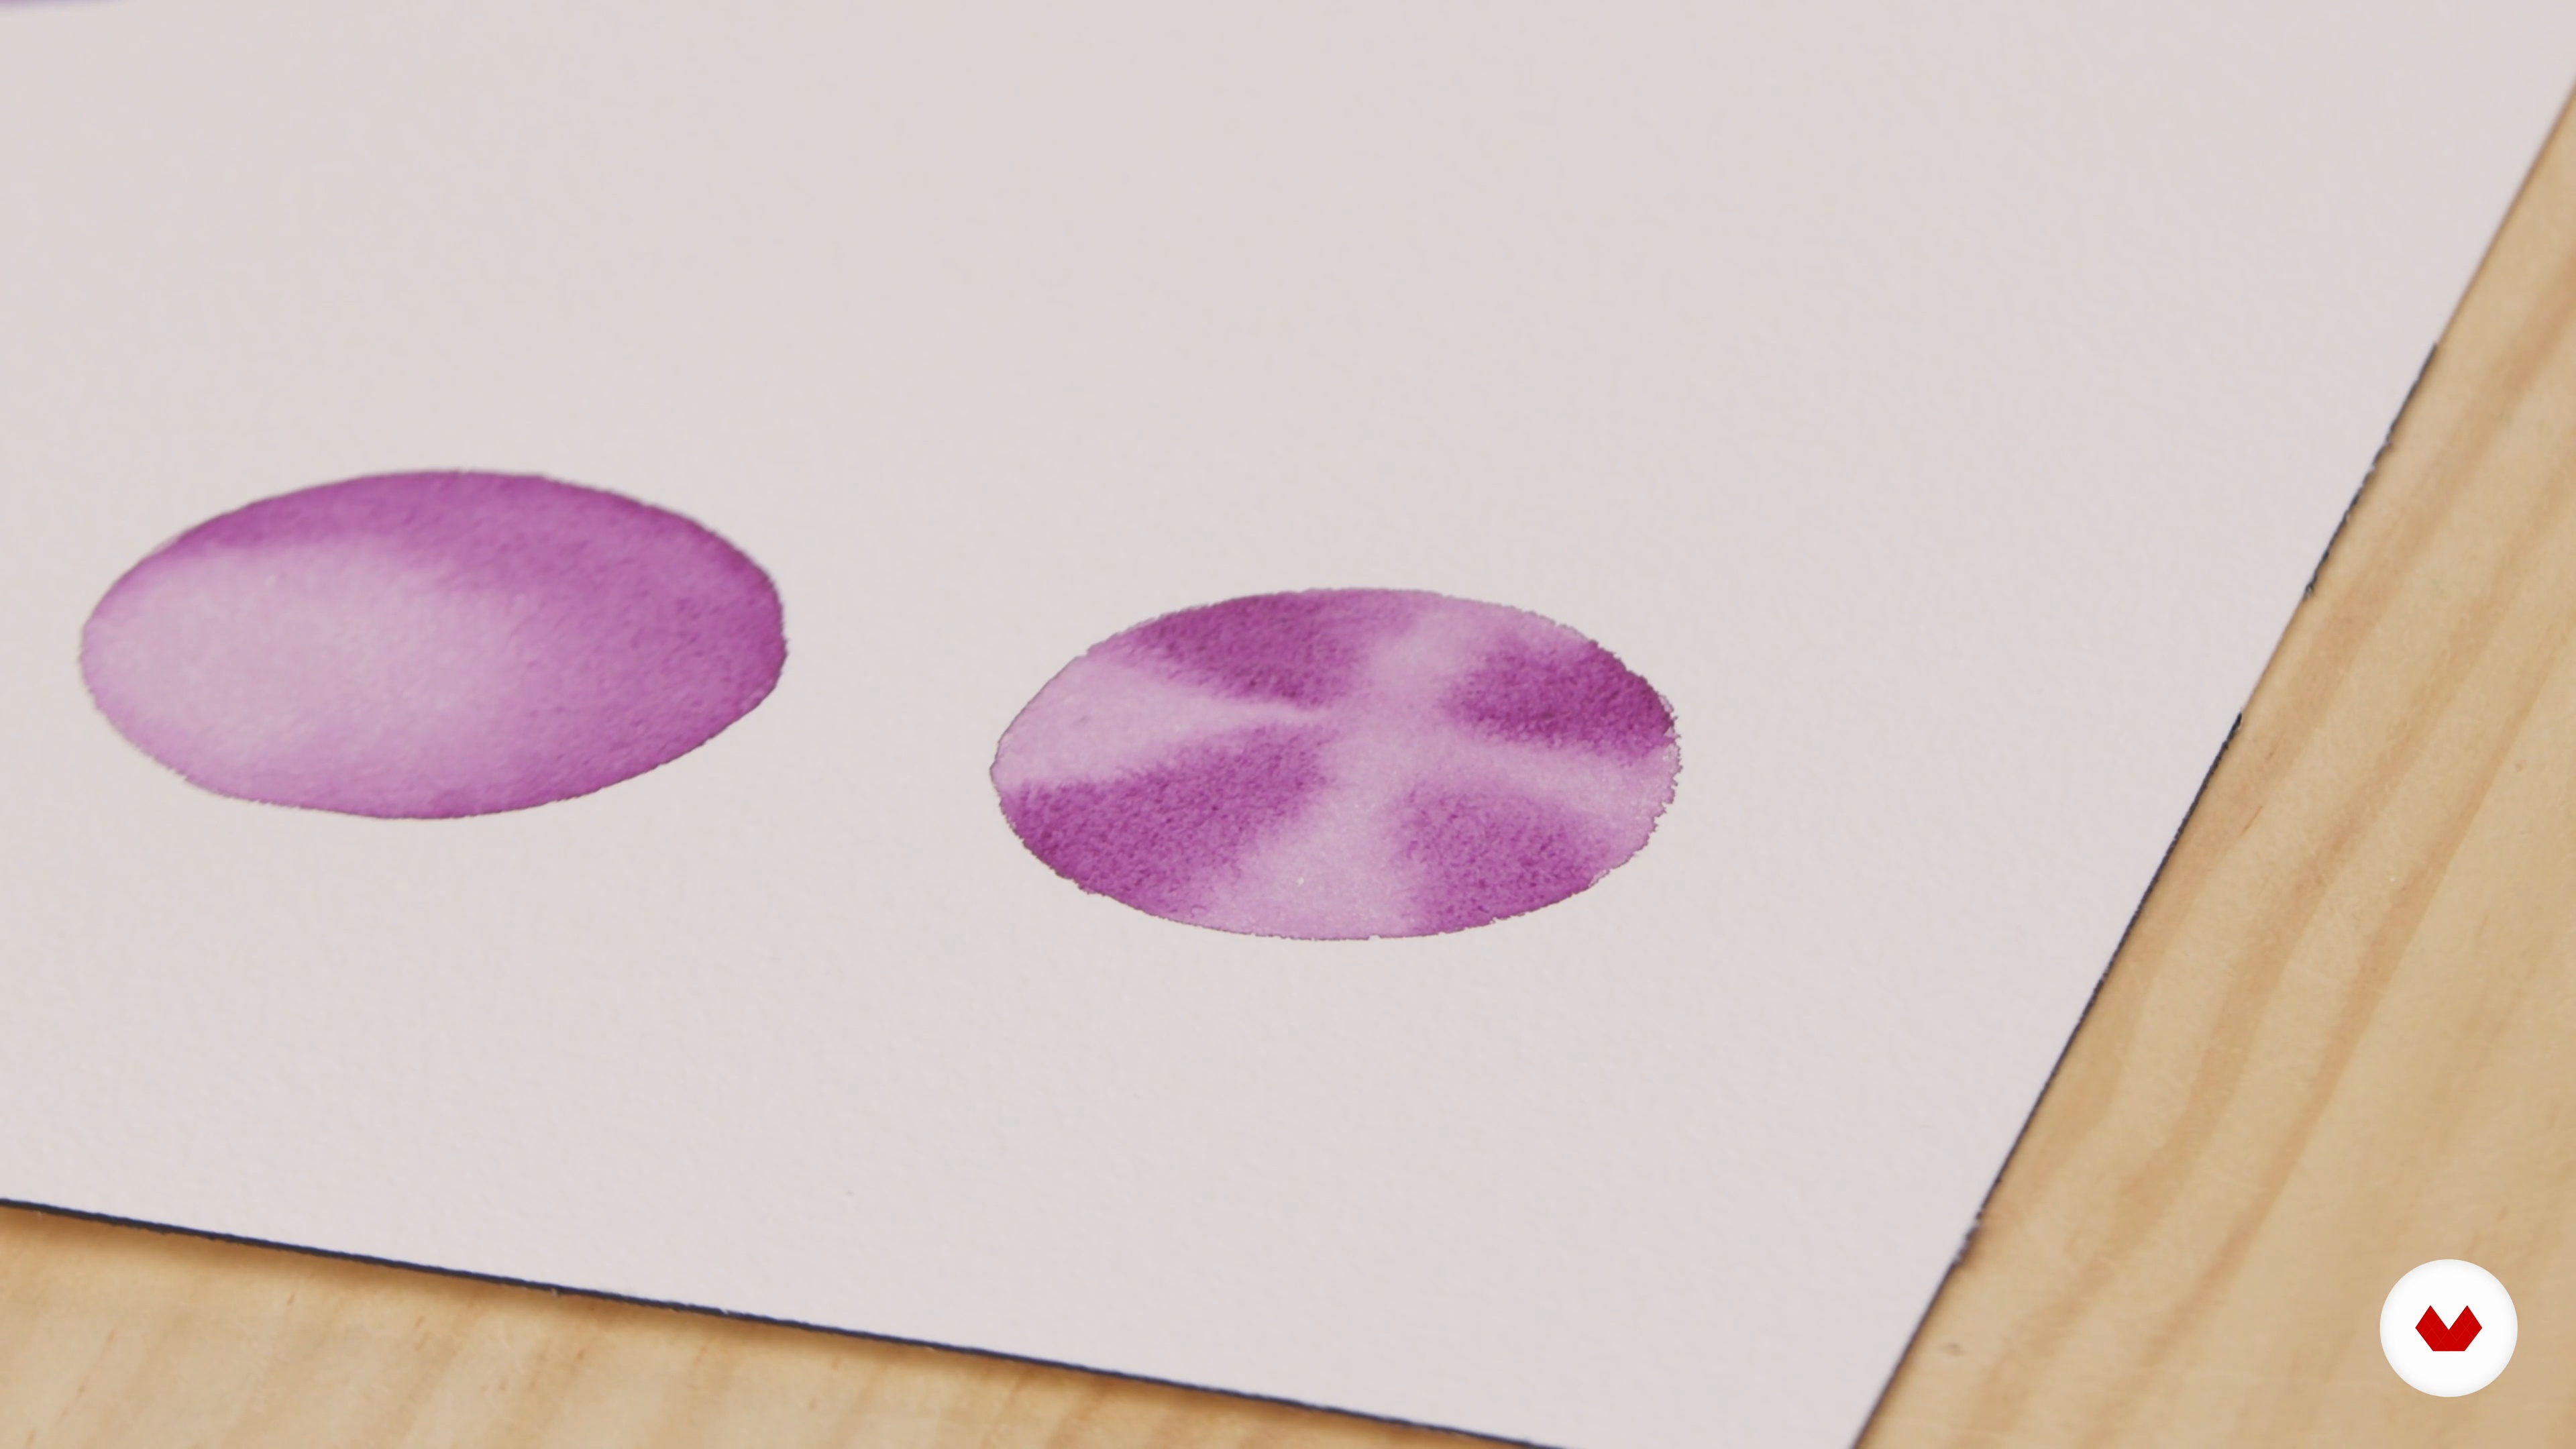
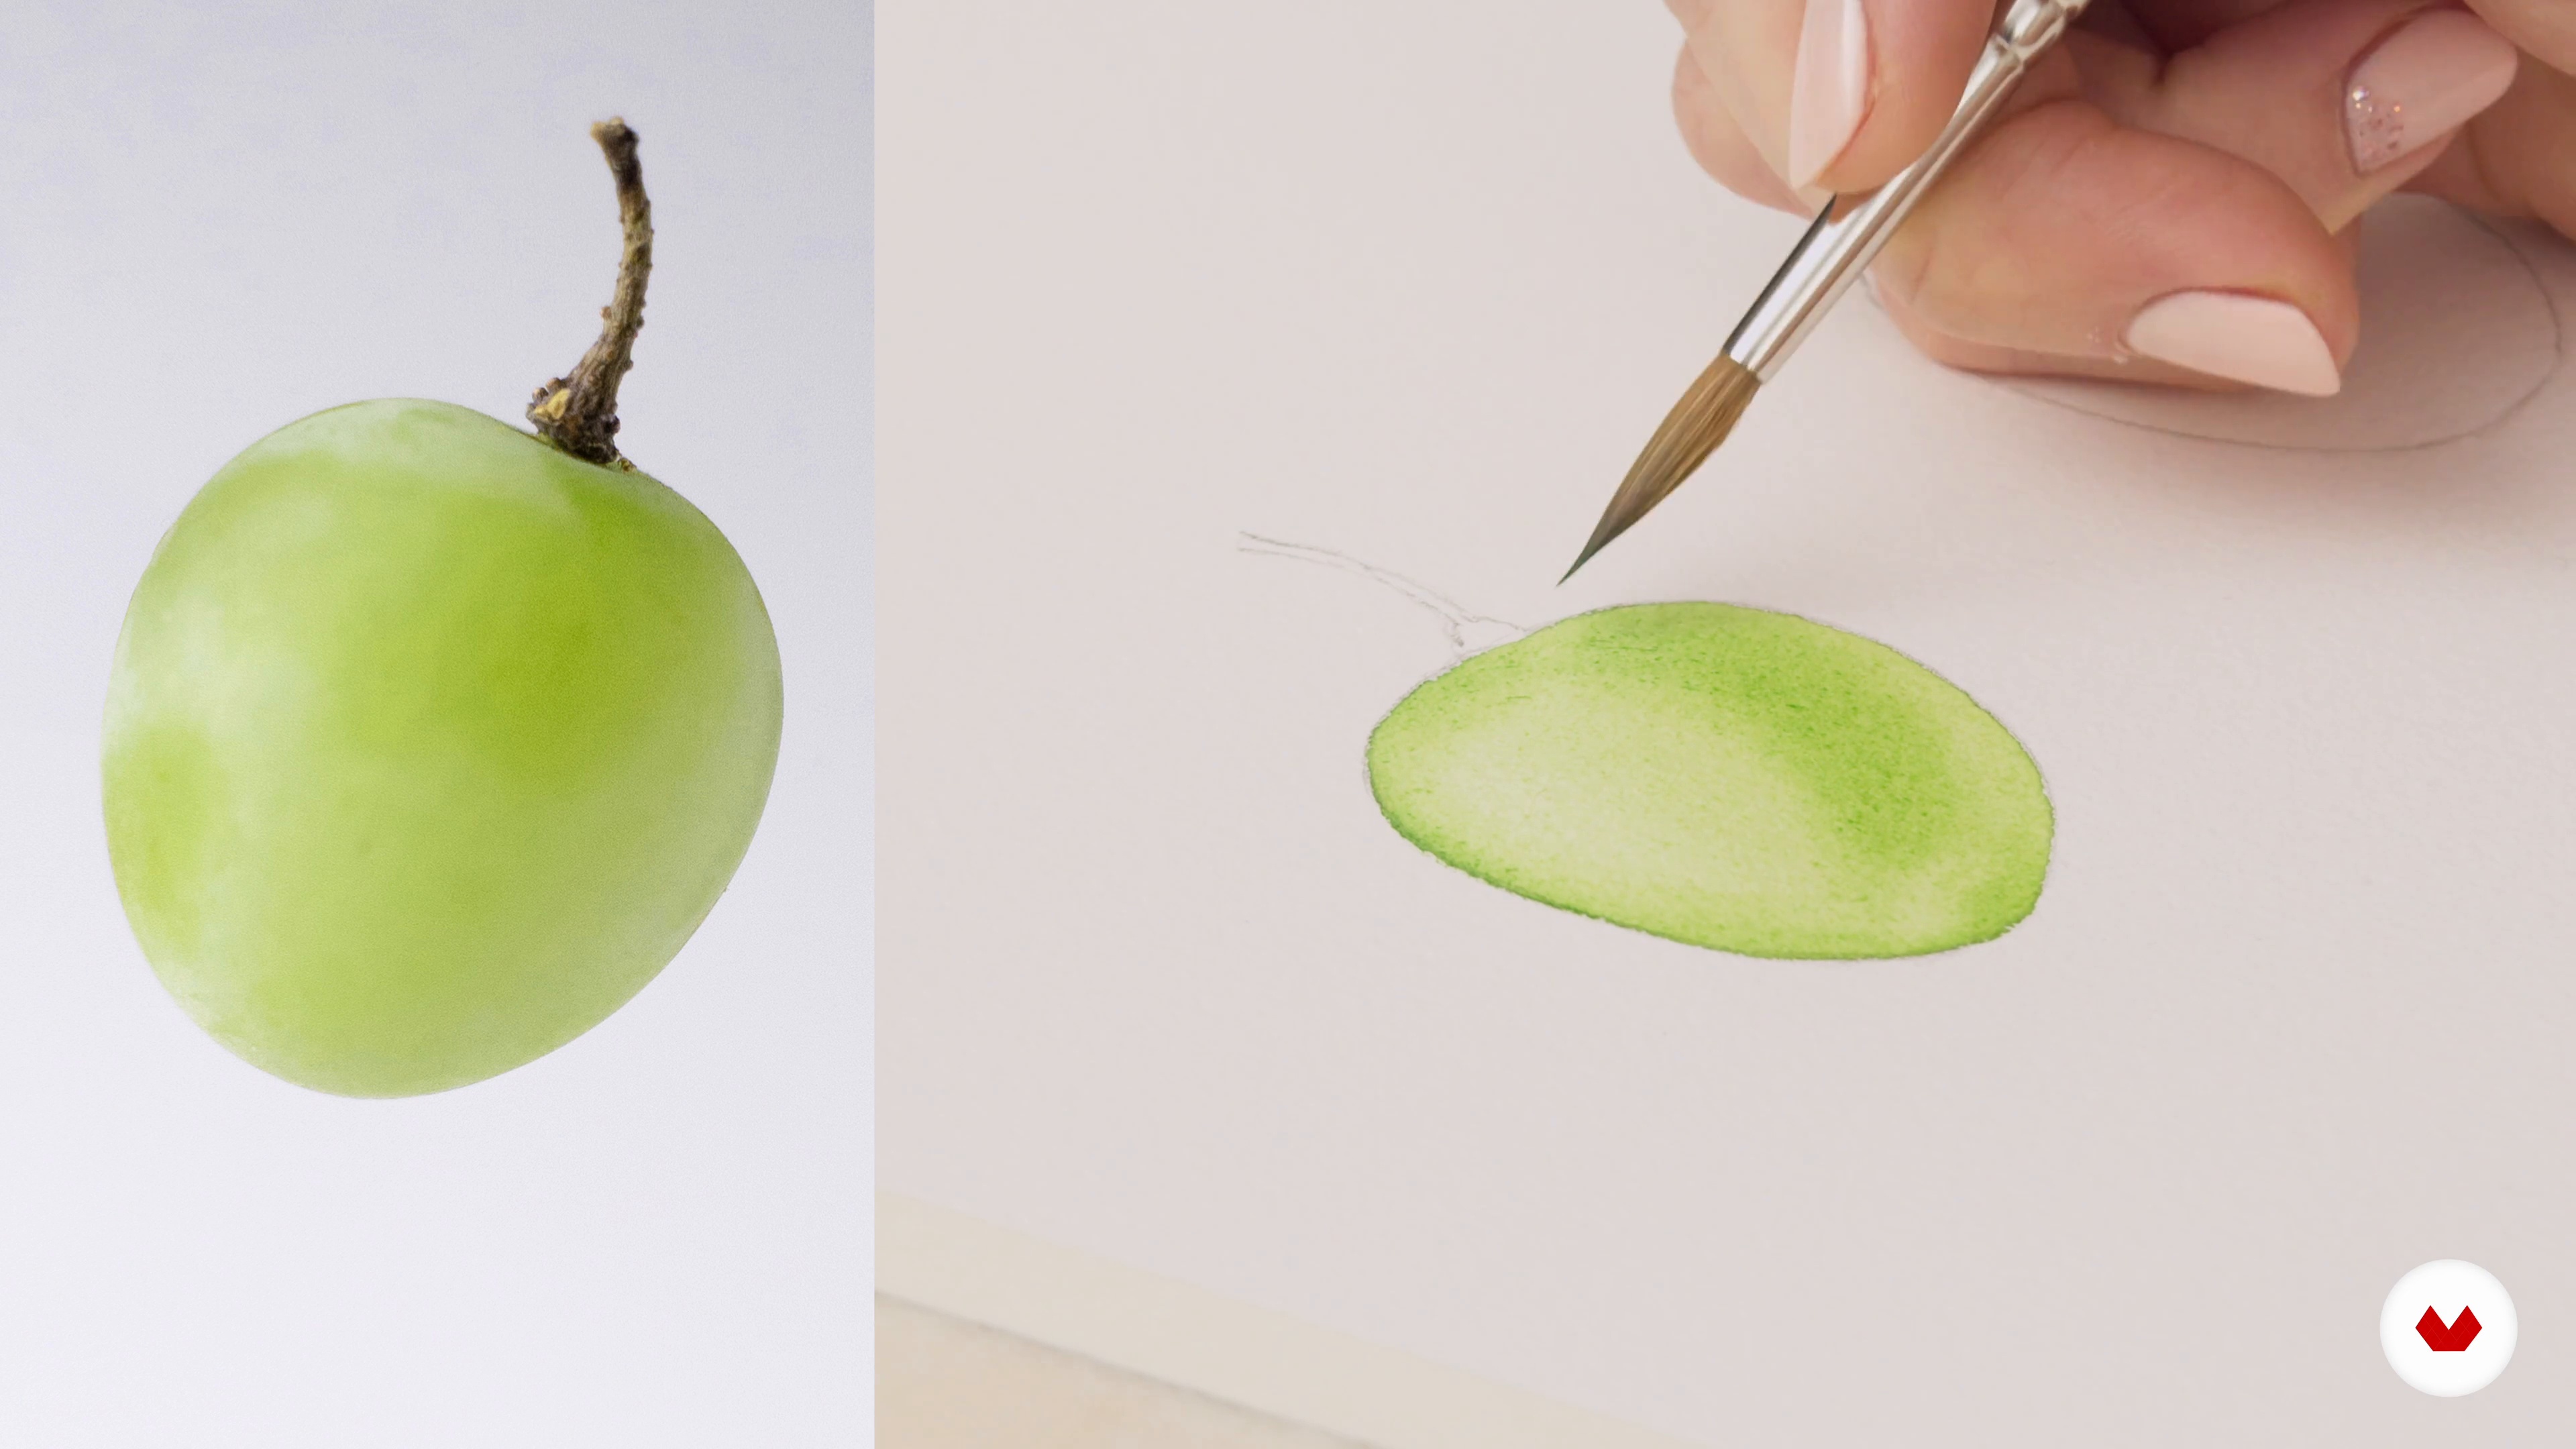
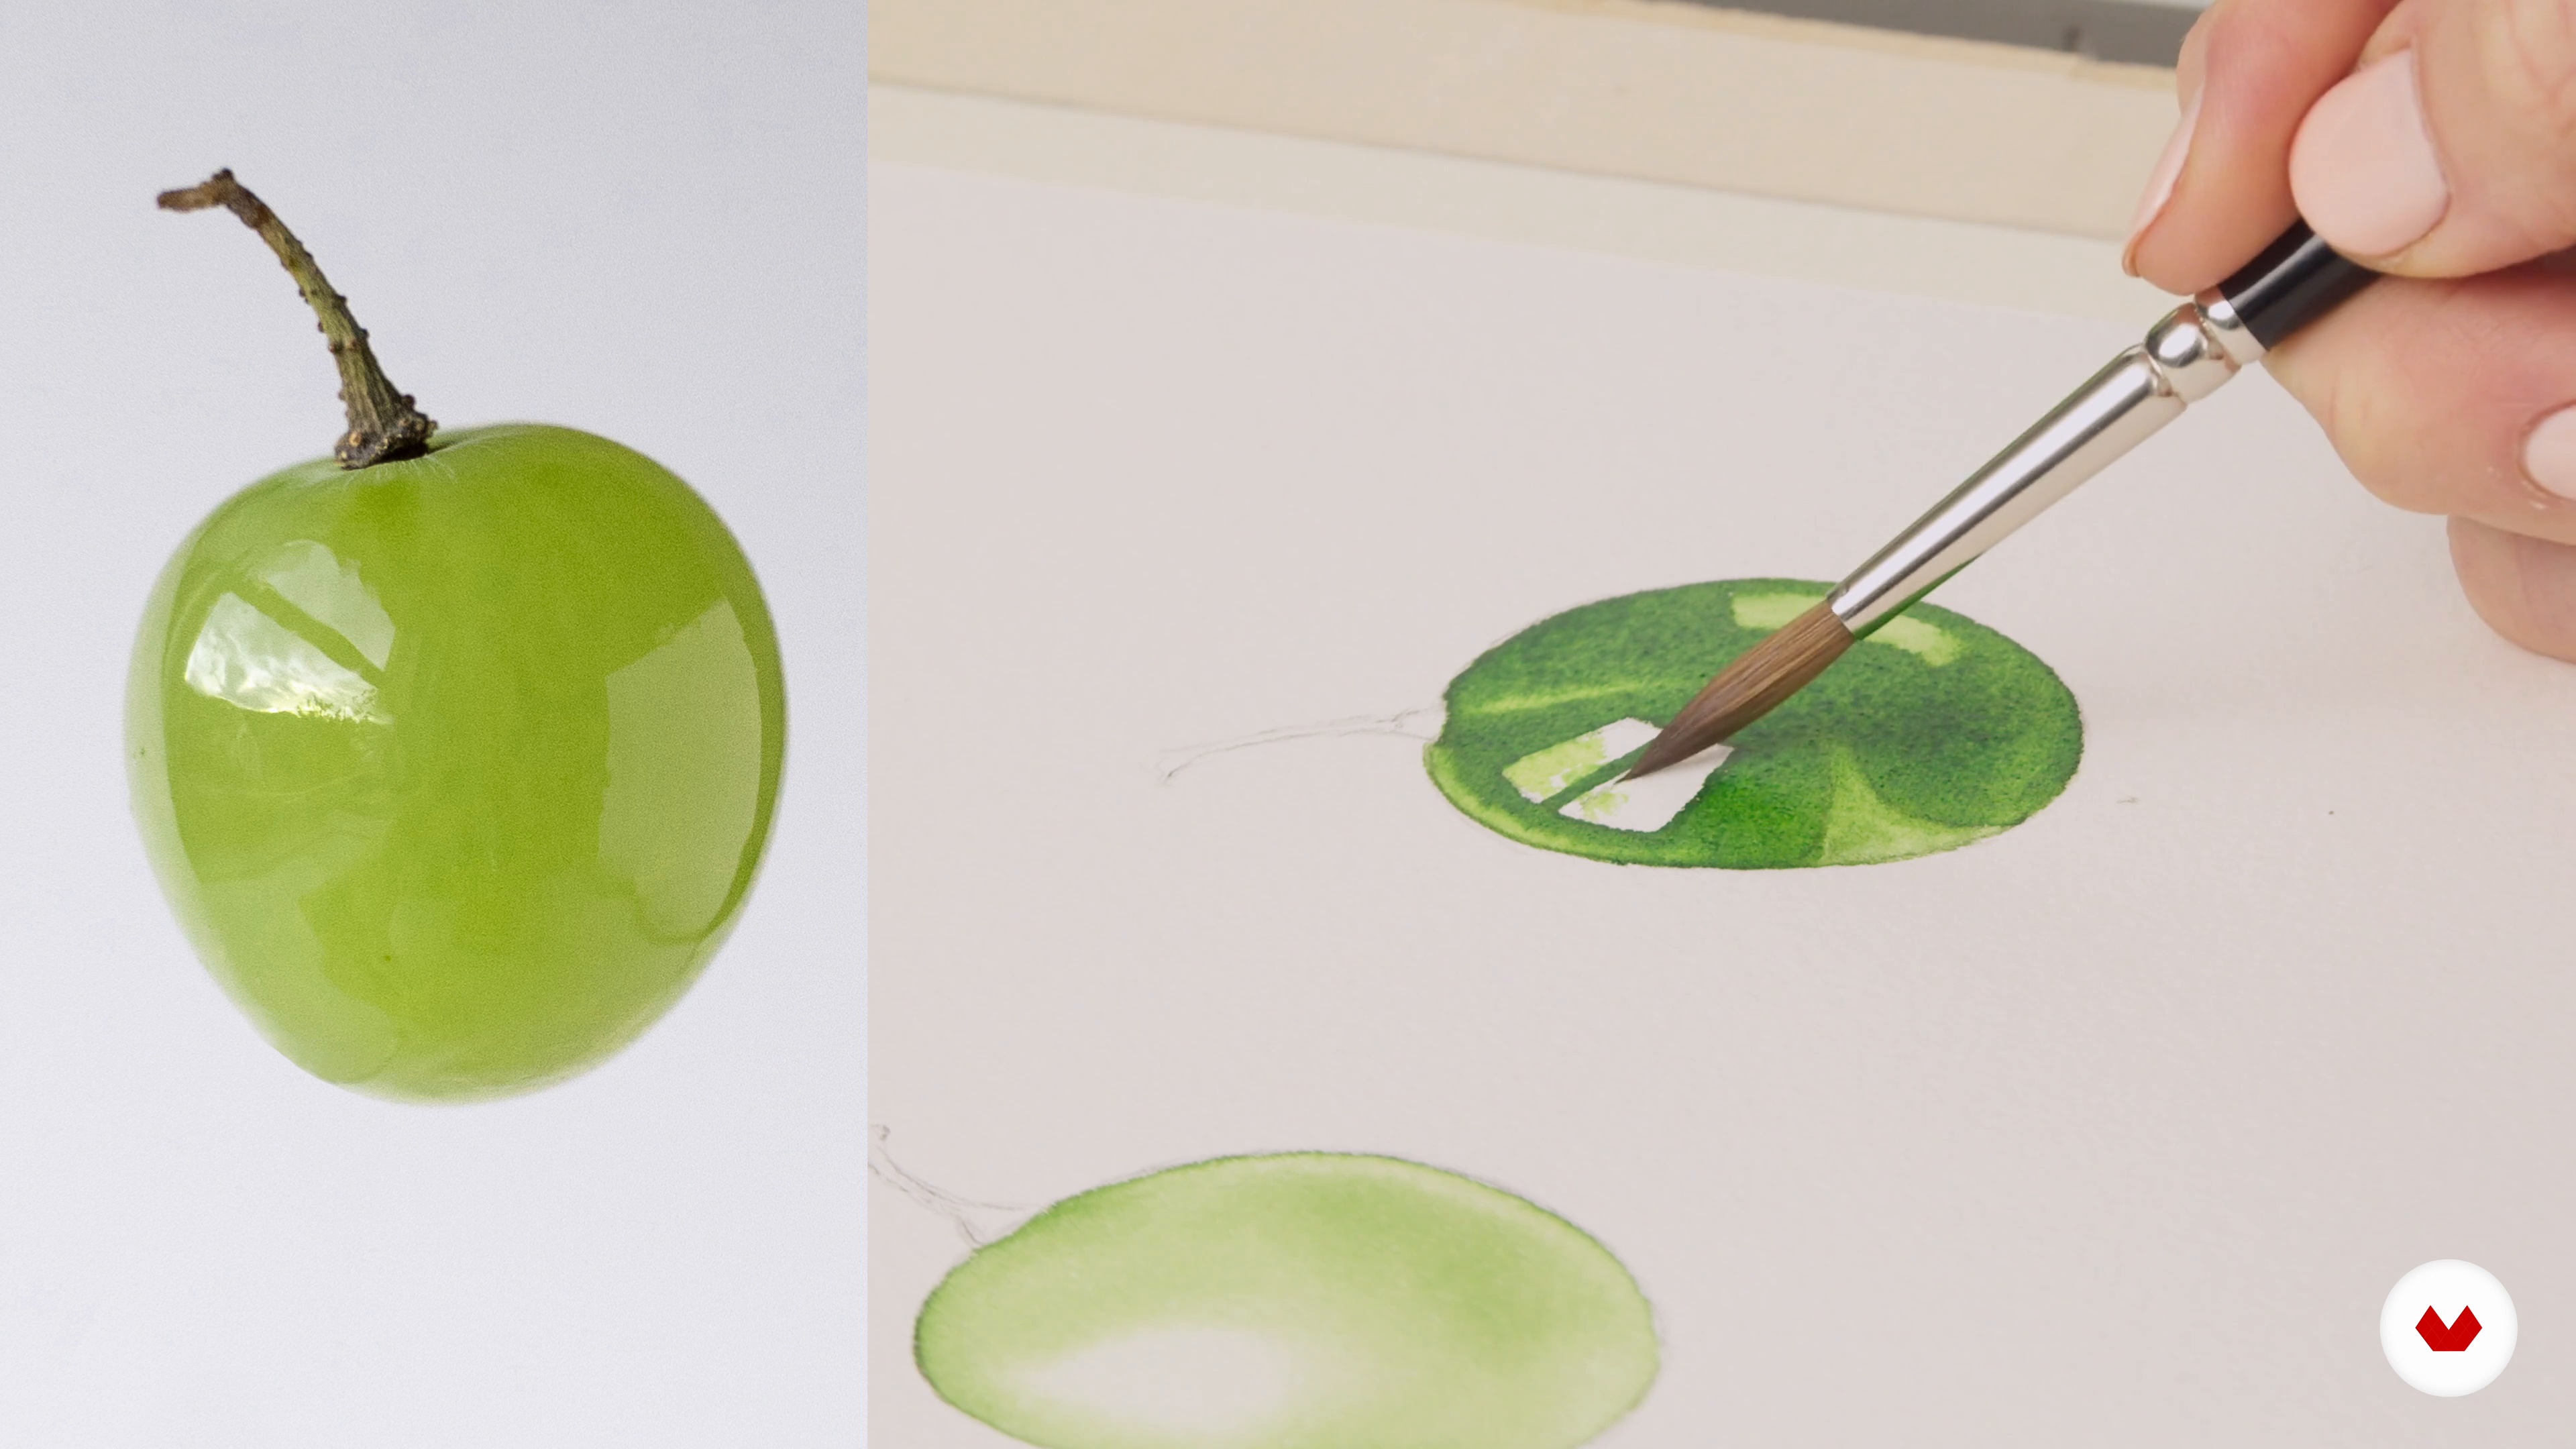
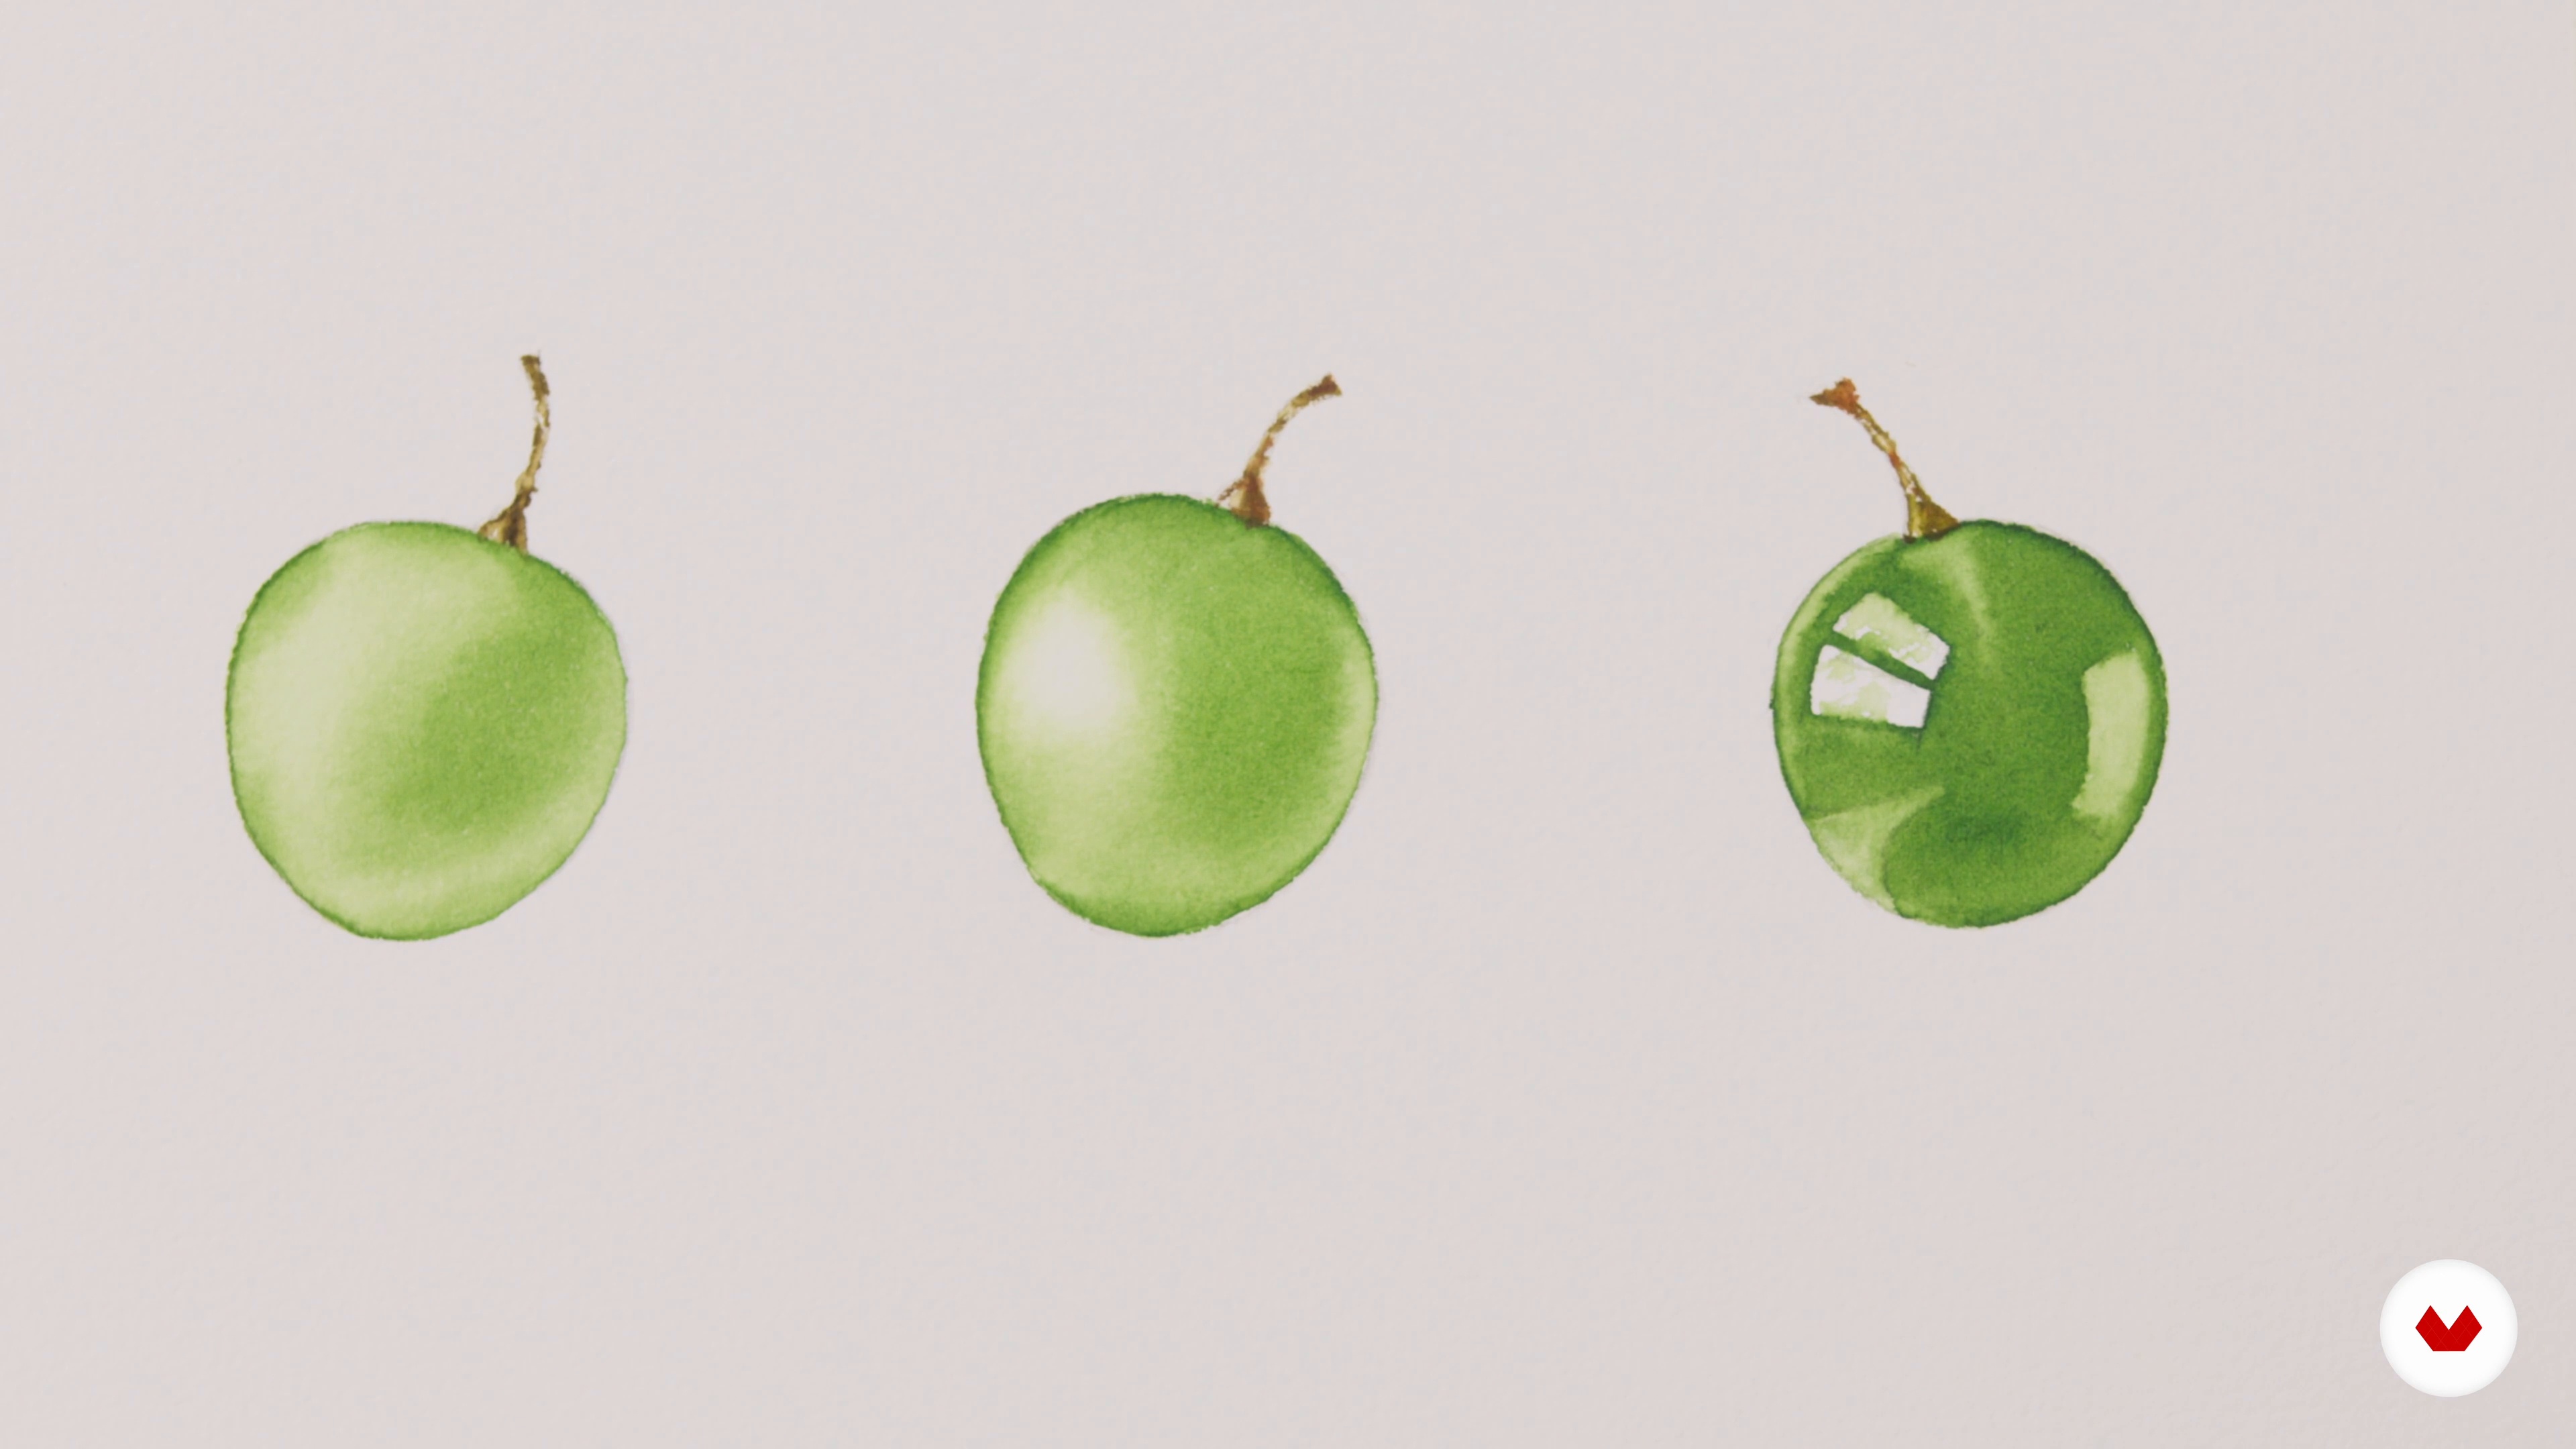
Different surfaces behave differently in the same light conditions. In this lesson, you will learn about our perception of textures. I will paint a fruit, three grapes, with different textures to reproduce them in watercolour.
14m
image
12
Understanding Texture 2
Now, I will start painting the third grape using a different technique, without wetting the paper first, as the transition between shadow and light is harder. Then, once the surface is dry, I will continue adding the shadows.
14m
image
13
Understanding Texture 3
To achieve a realistic feeling of the fruits, showing their sweetness and flavours, I think it's important to understand and work on the texture. The textures give us a particular impression of the fruit. So, let's see how the three finished grapes look!
15m
image
14
General Composition
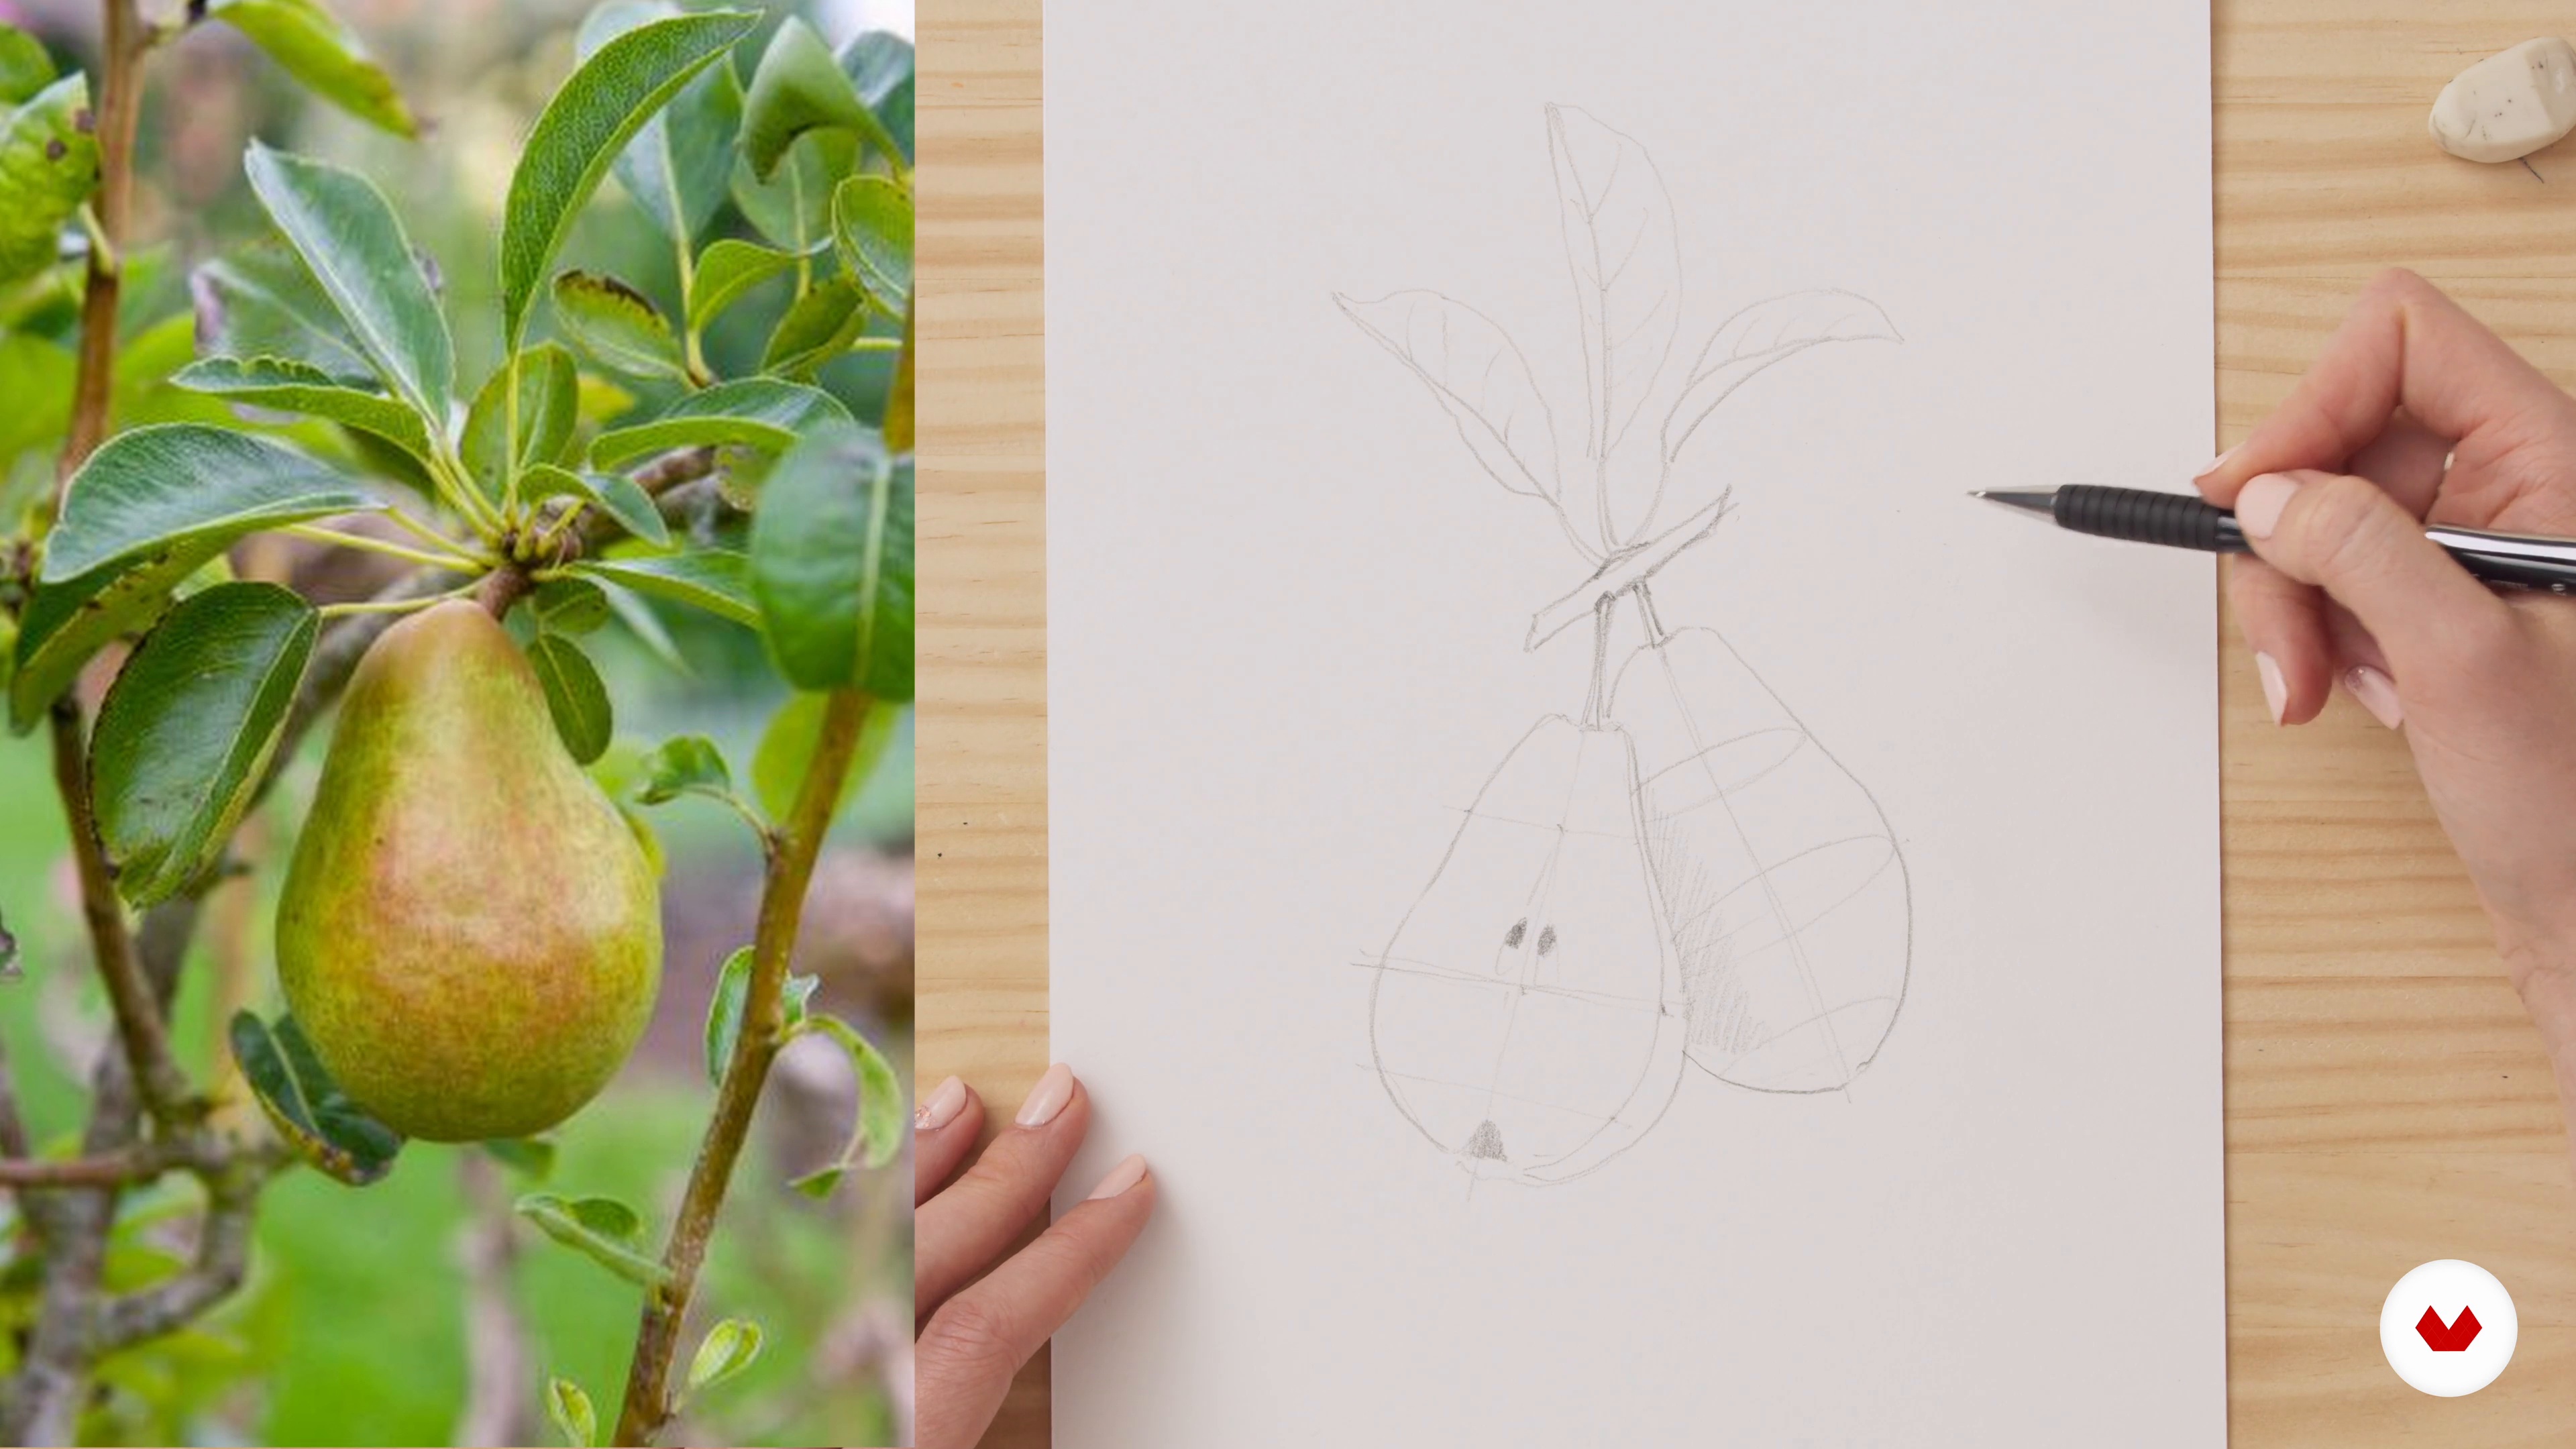
The first step is to find the references of the plant and understand its peculiarities. I will then show you how I make a simple sketch to decide the general composition so that the fruits are shown in an interesting way.
17m
image
15
Photo References
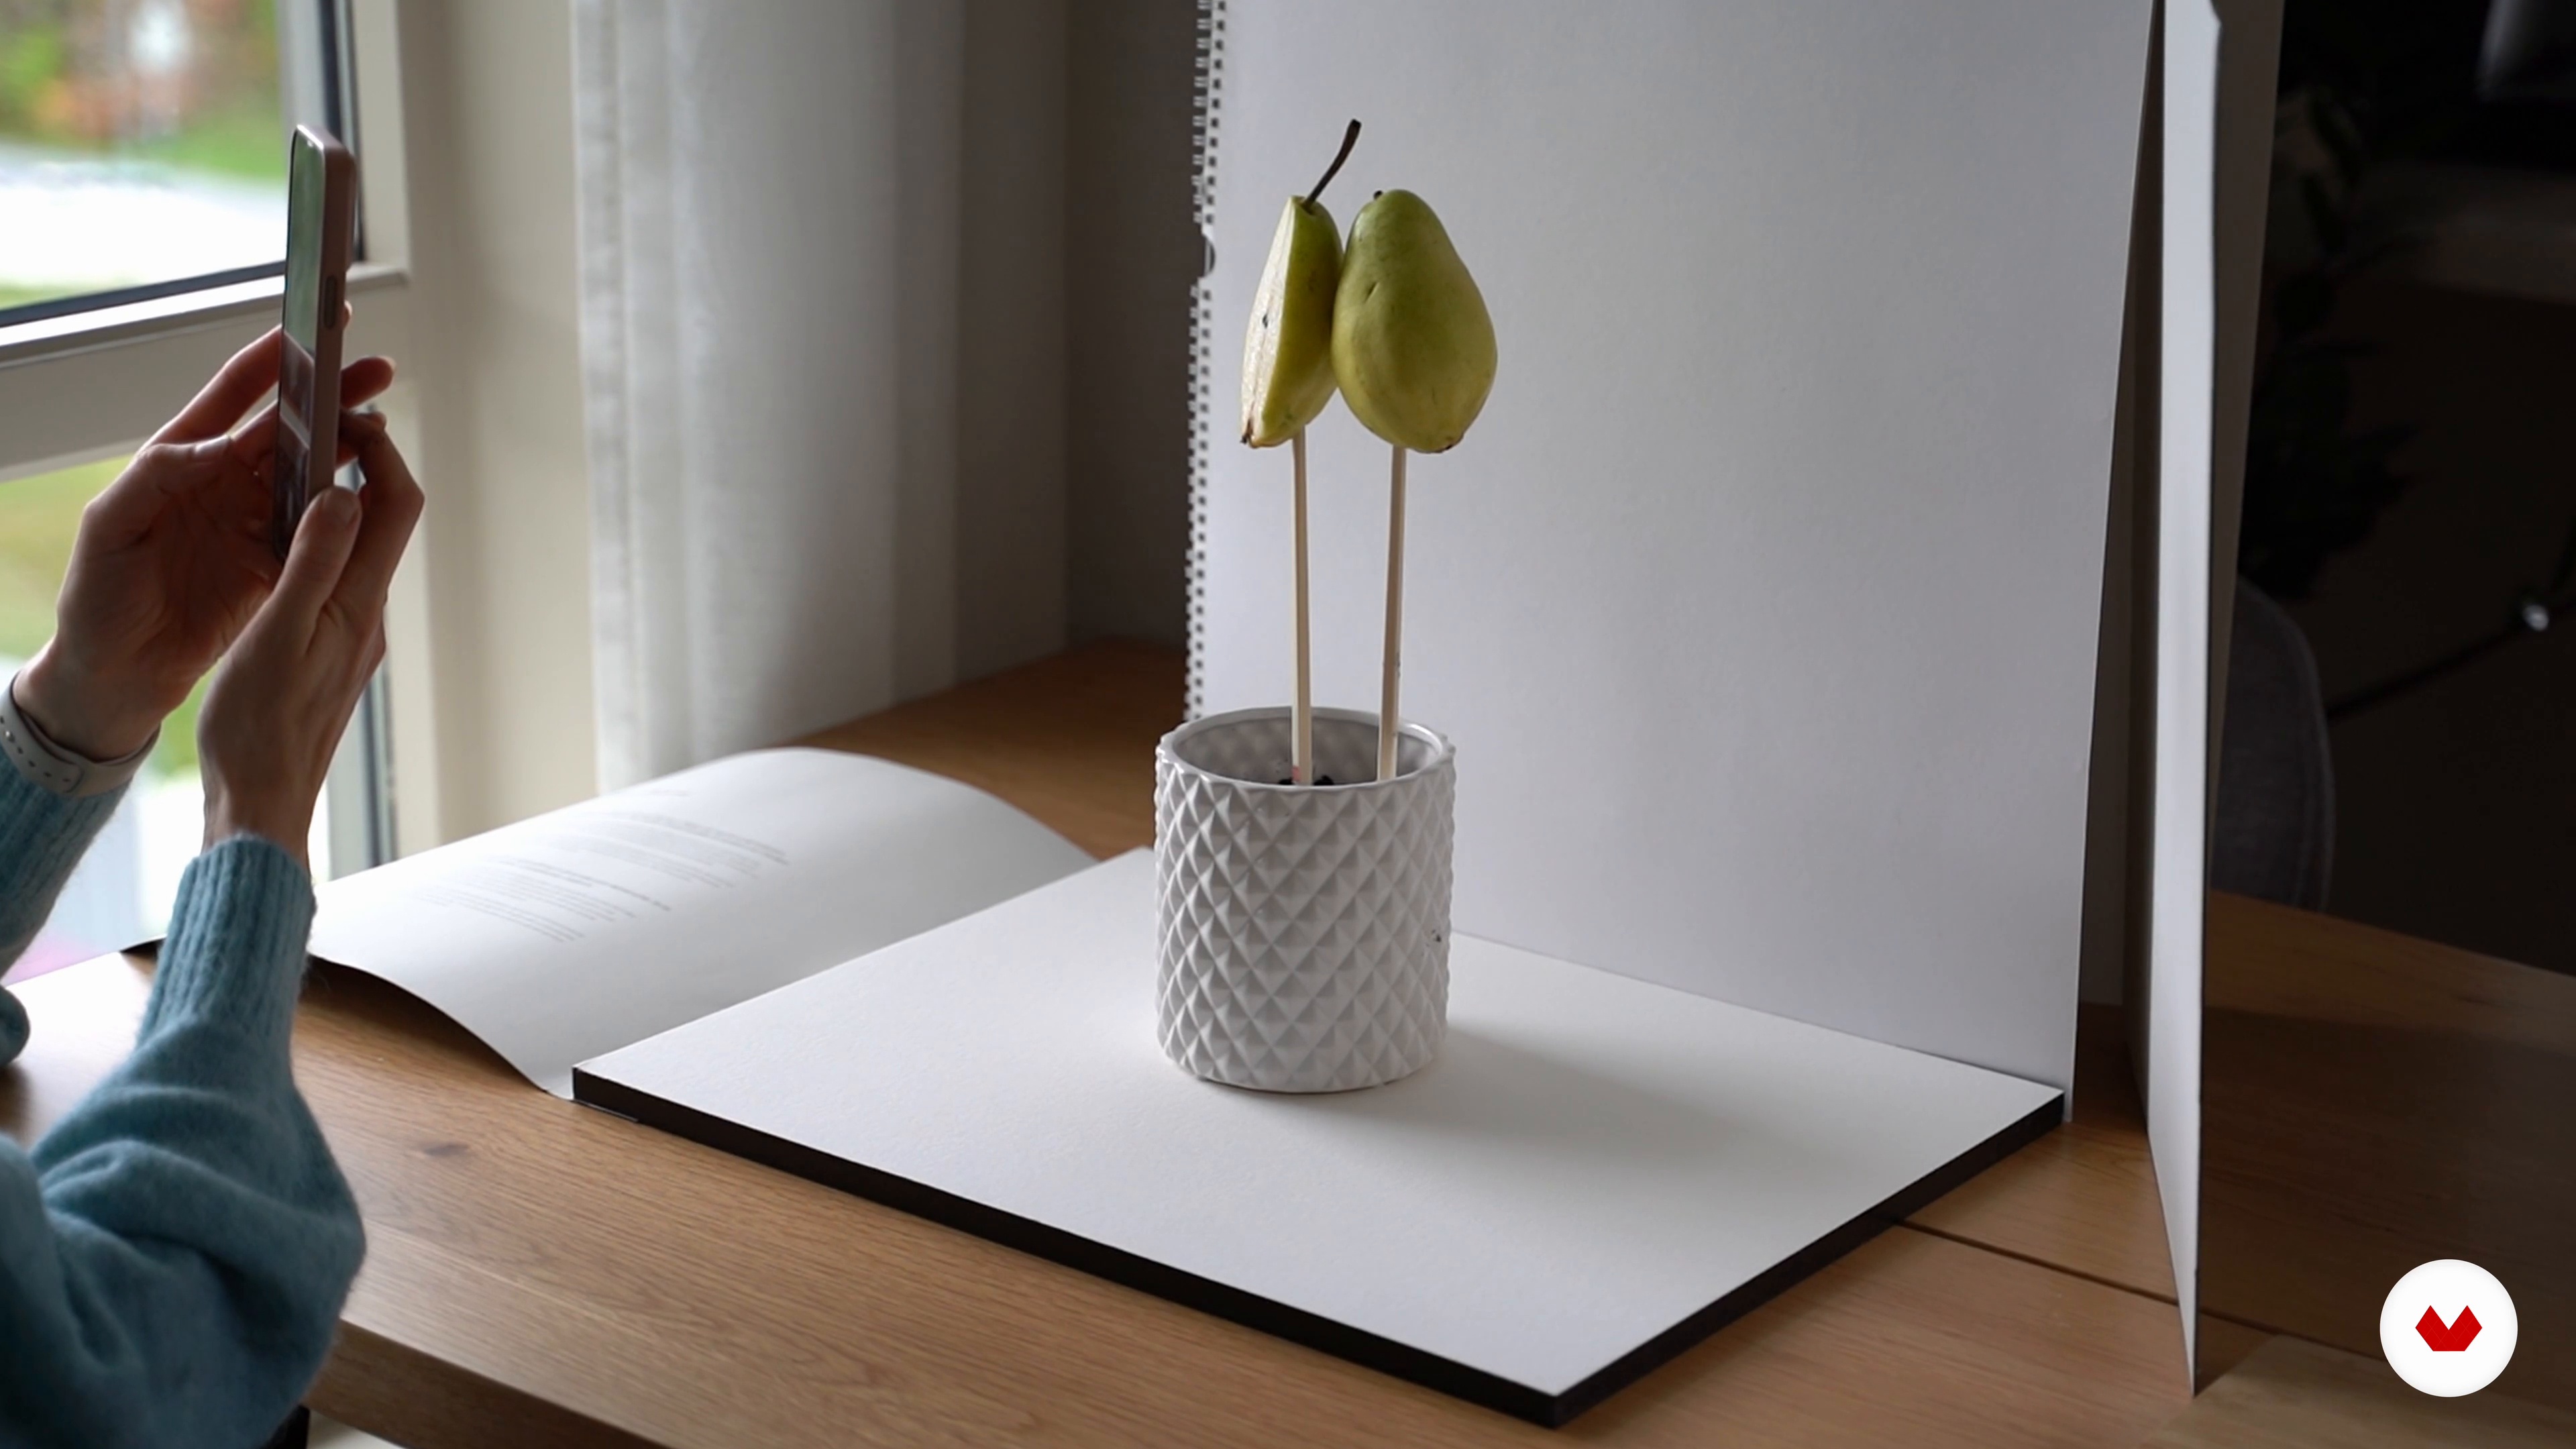
In this lesson, I will talk about light conditions and how to set up the light for the best result when taking a photo of the subject. I will show you how I create photo references for my artwork.
13m
image
16
Tracing and Transferring 1
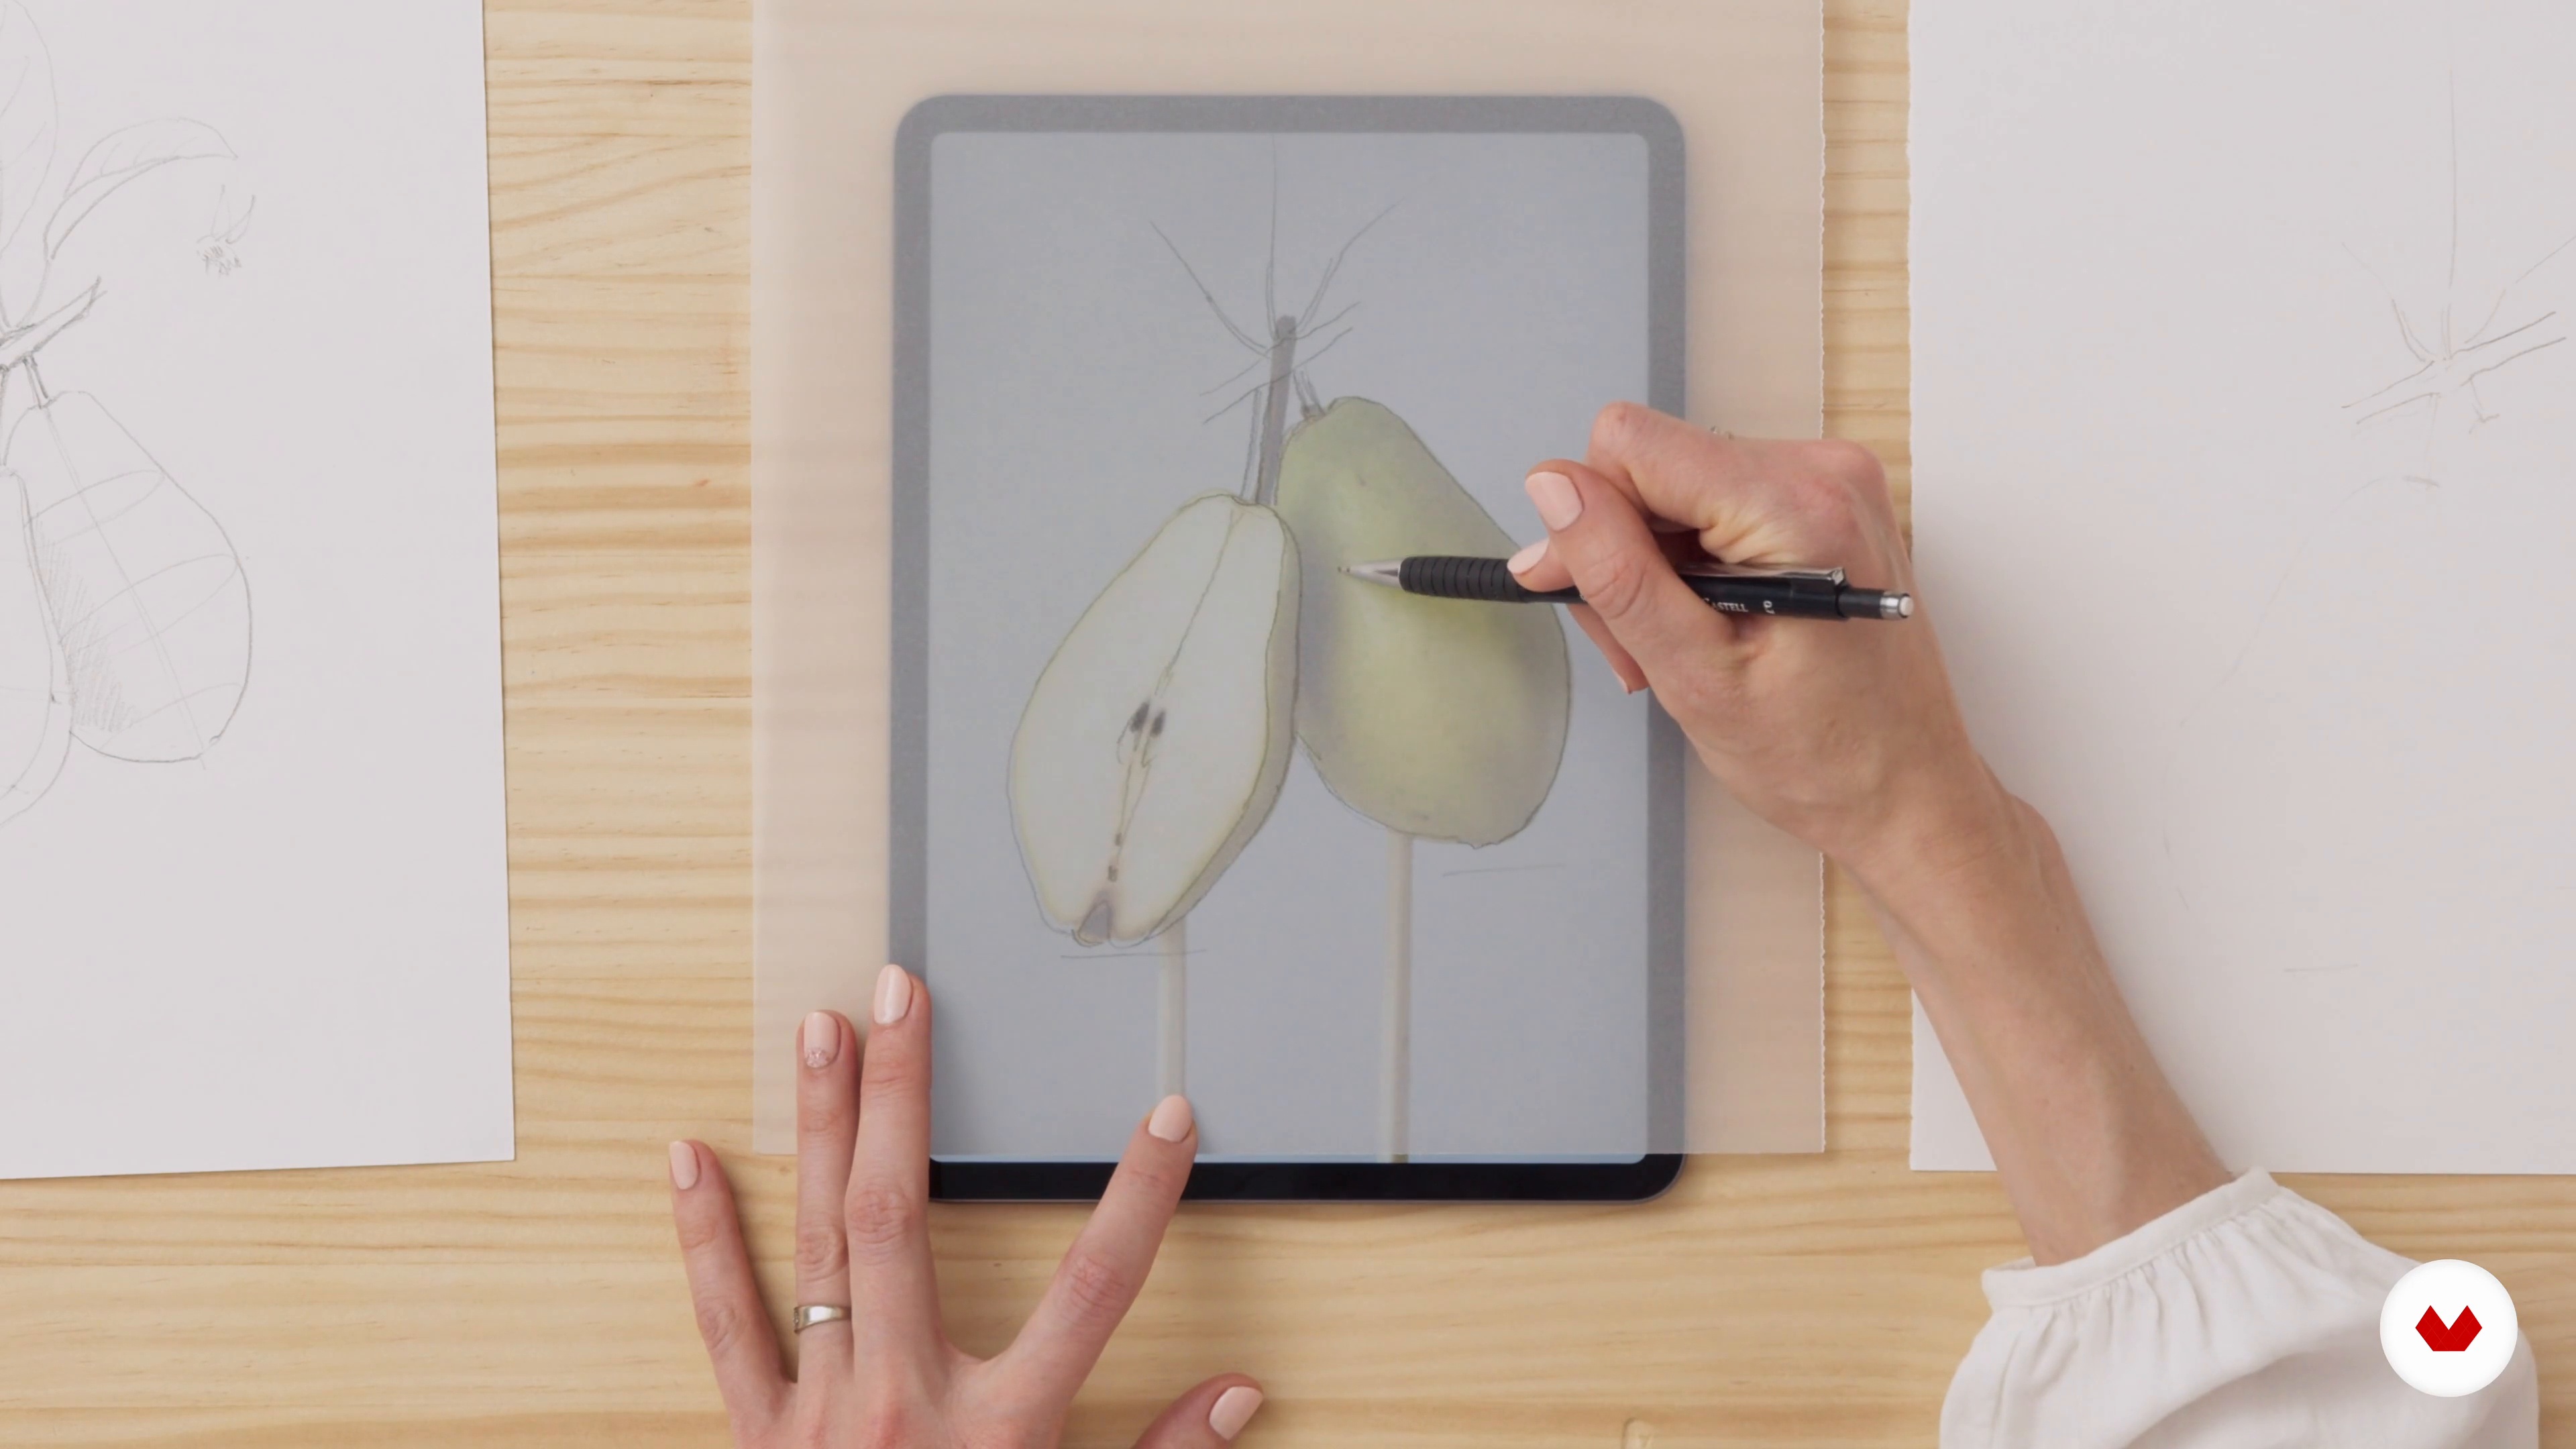
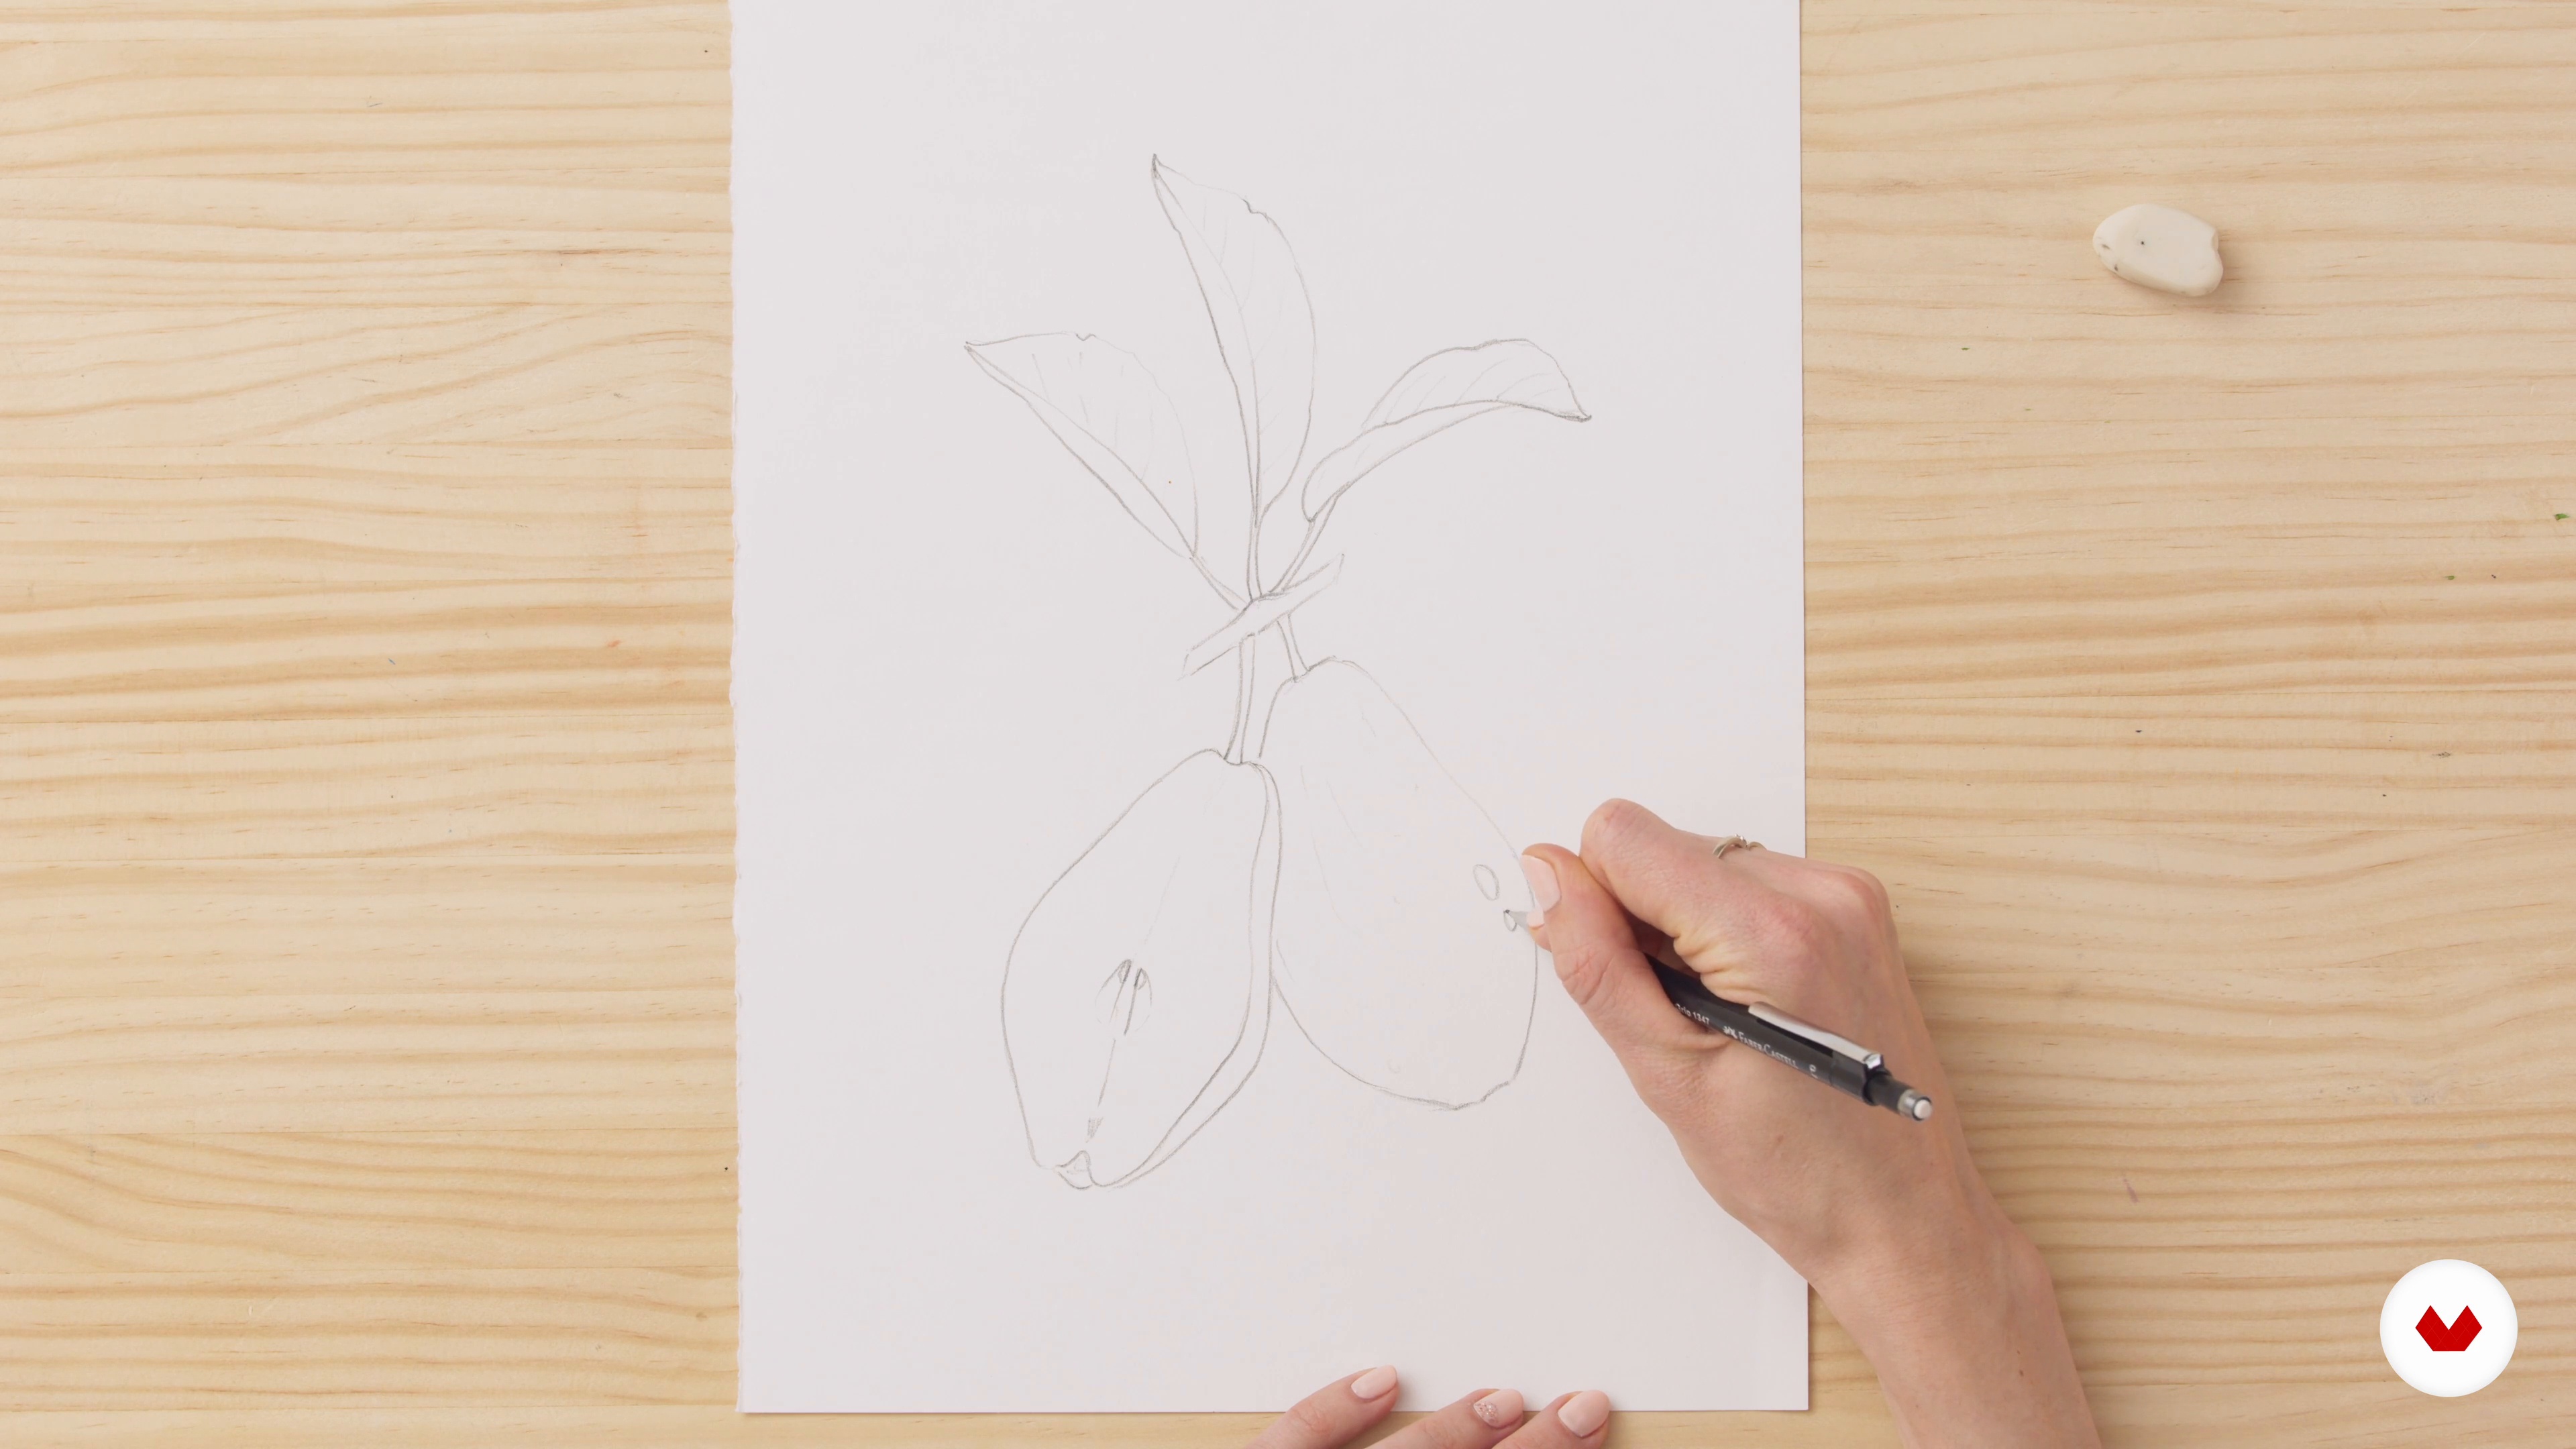
Next, I will show you how to create a detailed sketch and transfer it onto watercolour paper. As a result, we have a watercolour paper fully prepared for colouring.
9m
image
17
Tracing and Transferring 2
I will then refine the sketch, adding more details and enhancing some shapes. For this, it's essential to constantly look at the photo references to reproduce the shapes we see.
12m
image
18
Painting the Whole Pear 1
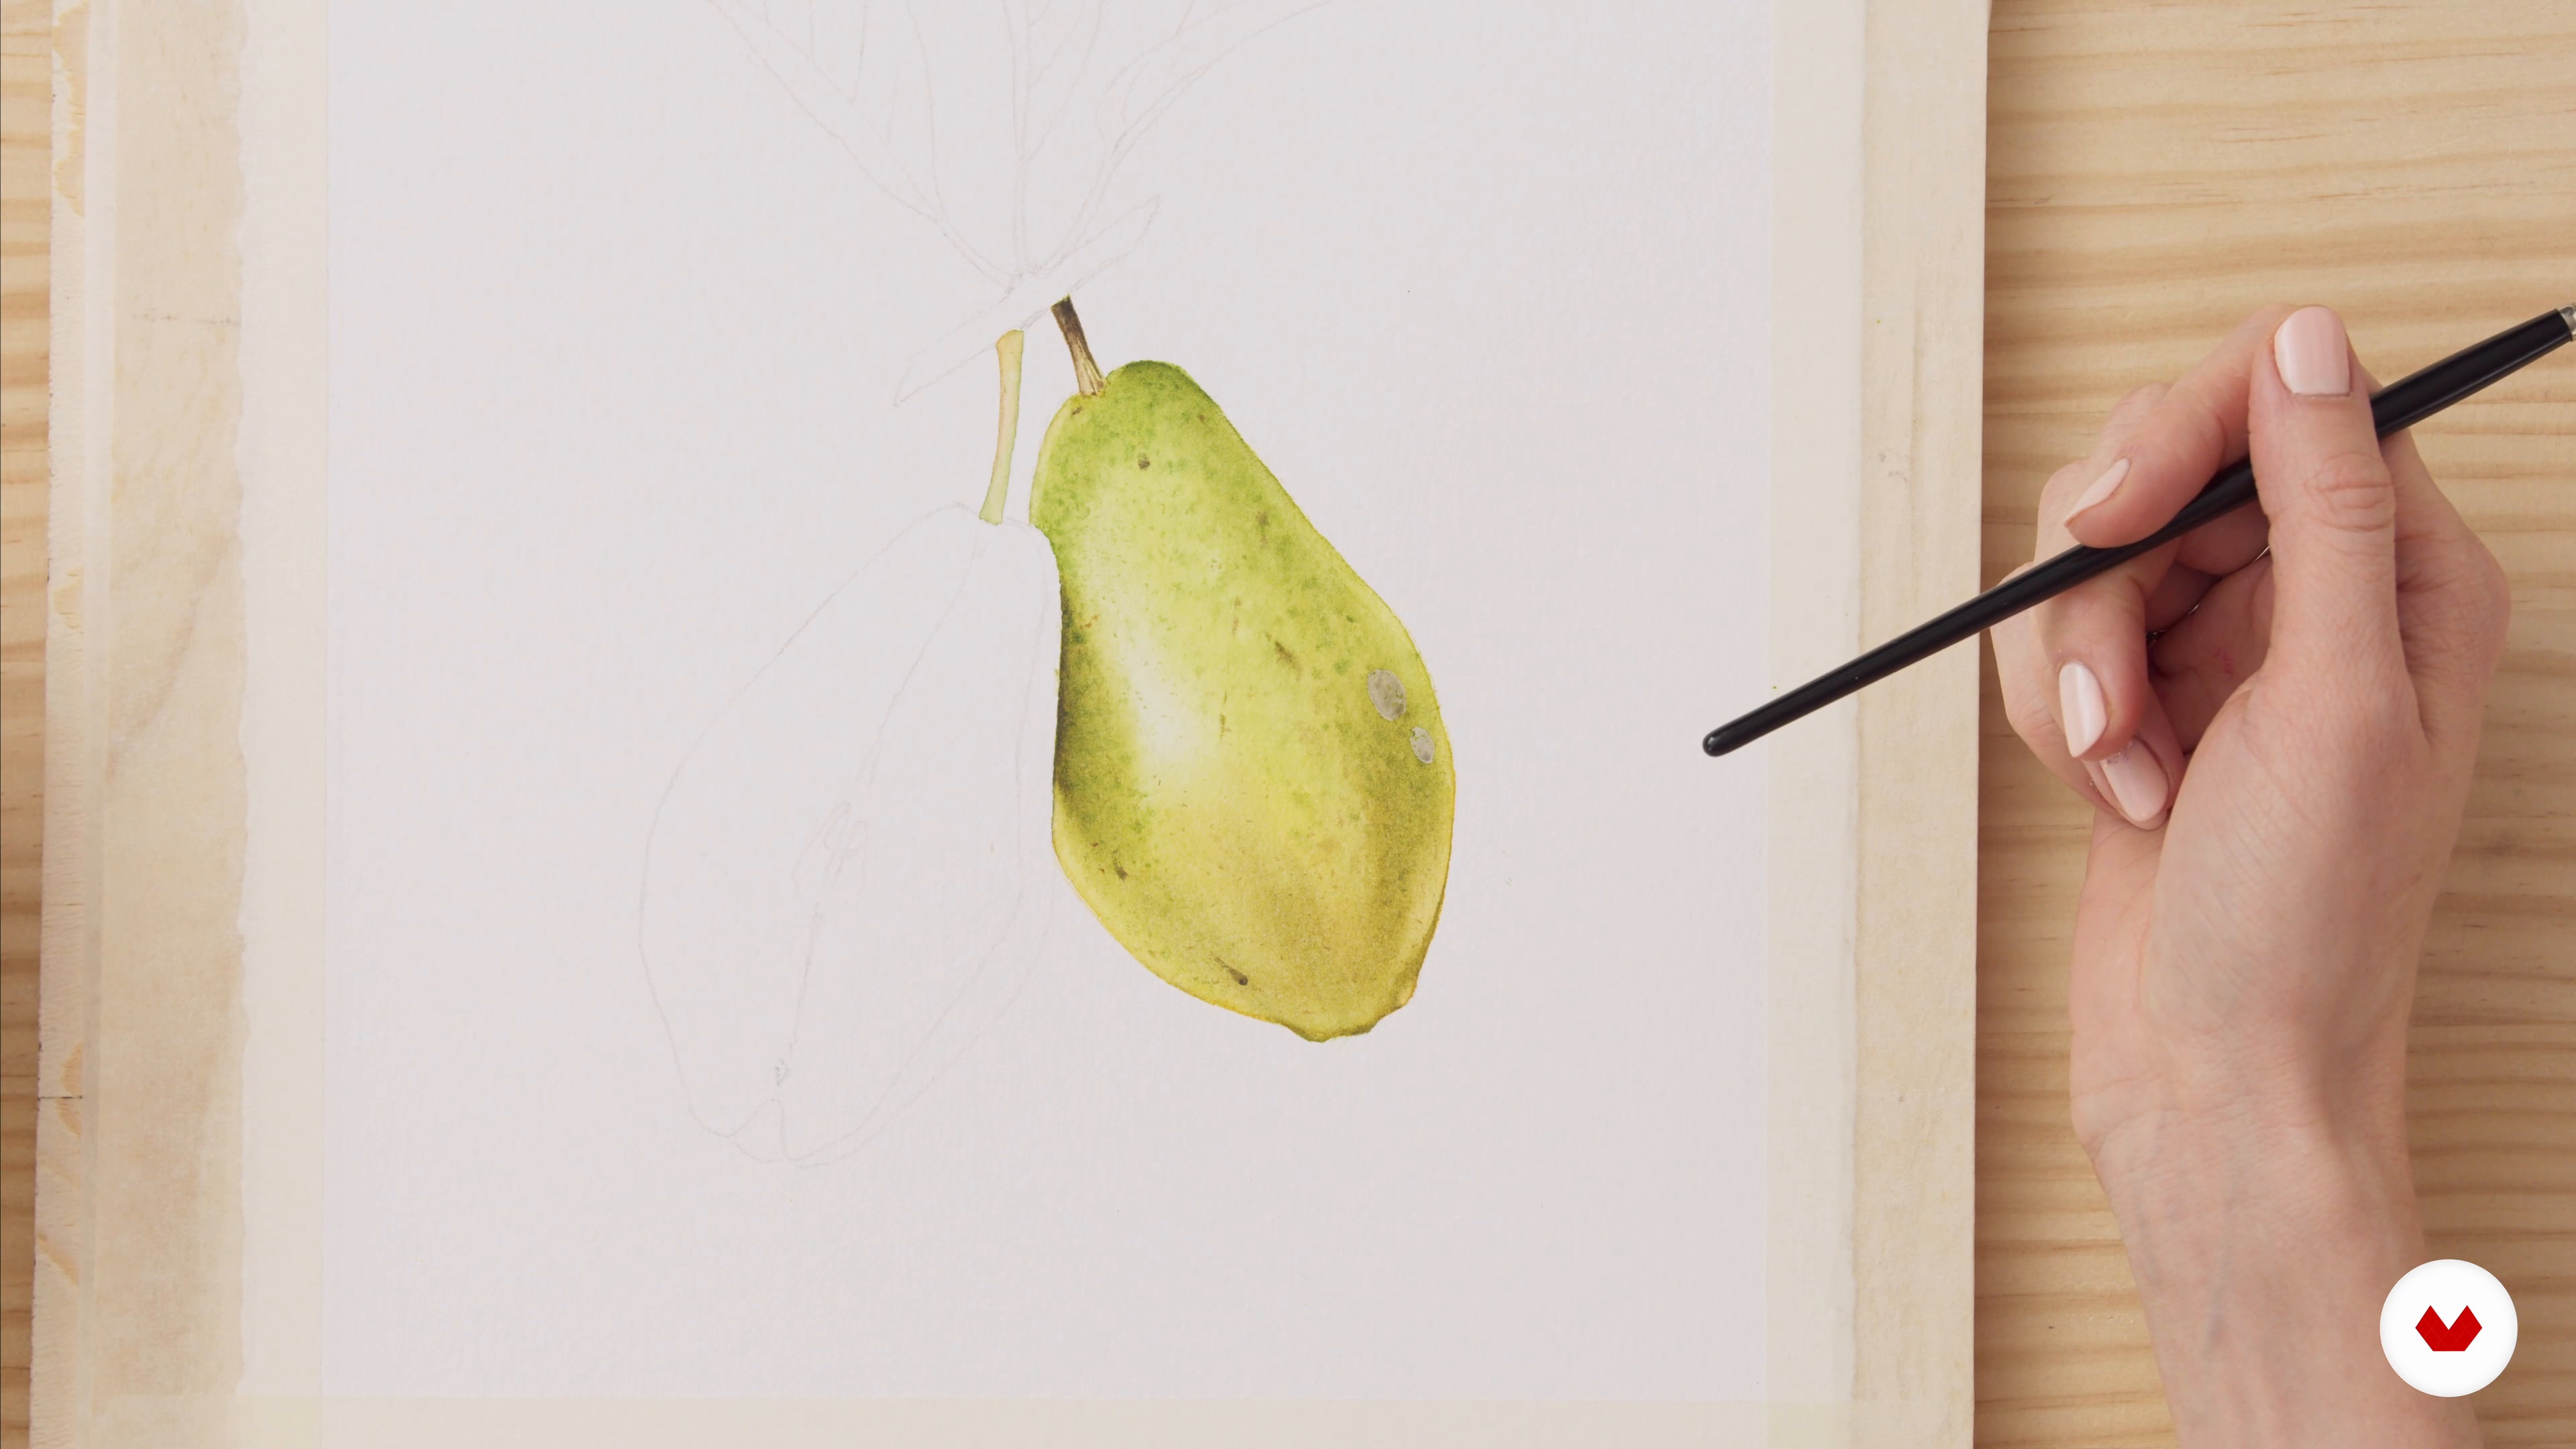
In this lesson, I will start to apply watercolour. I will build up the volume of the whole pear by applying transparent layers and finish it by adding texture.
16m
image
19
Painting the Whole Pear 2
Remember, for the first wash, we apply light colour and a little of the subject's colour. Mix and test colours on sketch paper! The second wash is the actual colour: one big wash on the whole fruit and a couple of small ones on the sides. Then we work on the shadows and apply the third wash, which is darker areas and texture.
17m
image
20
Painting Half the Pear 1
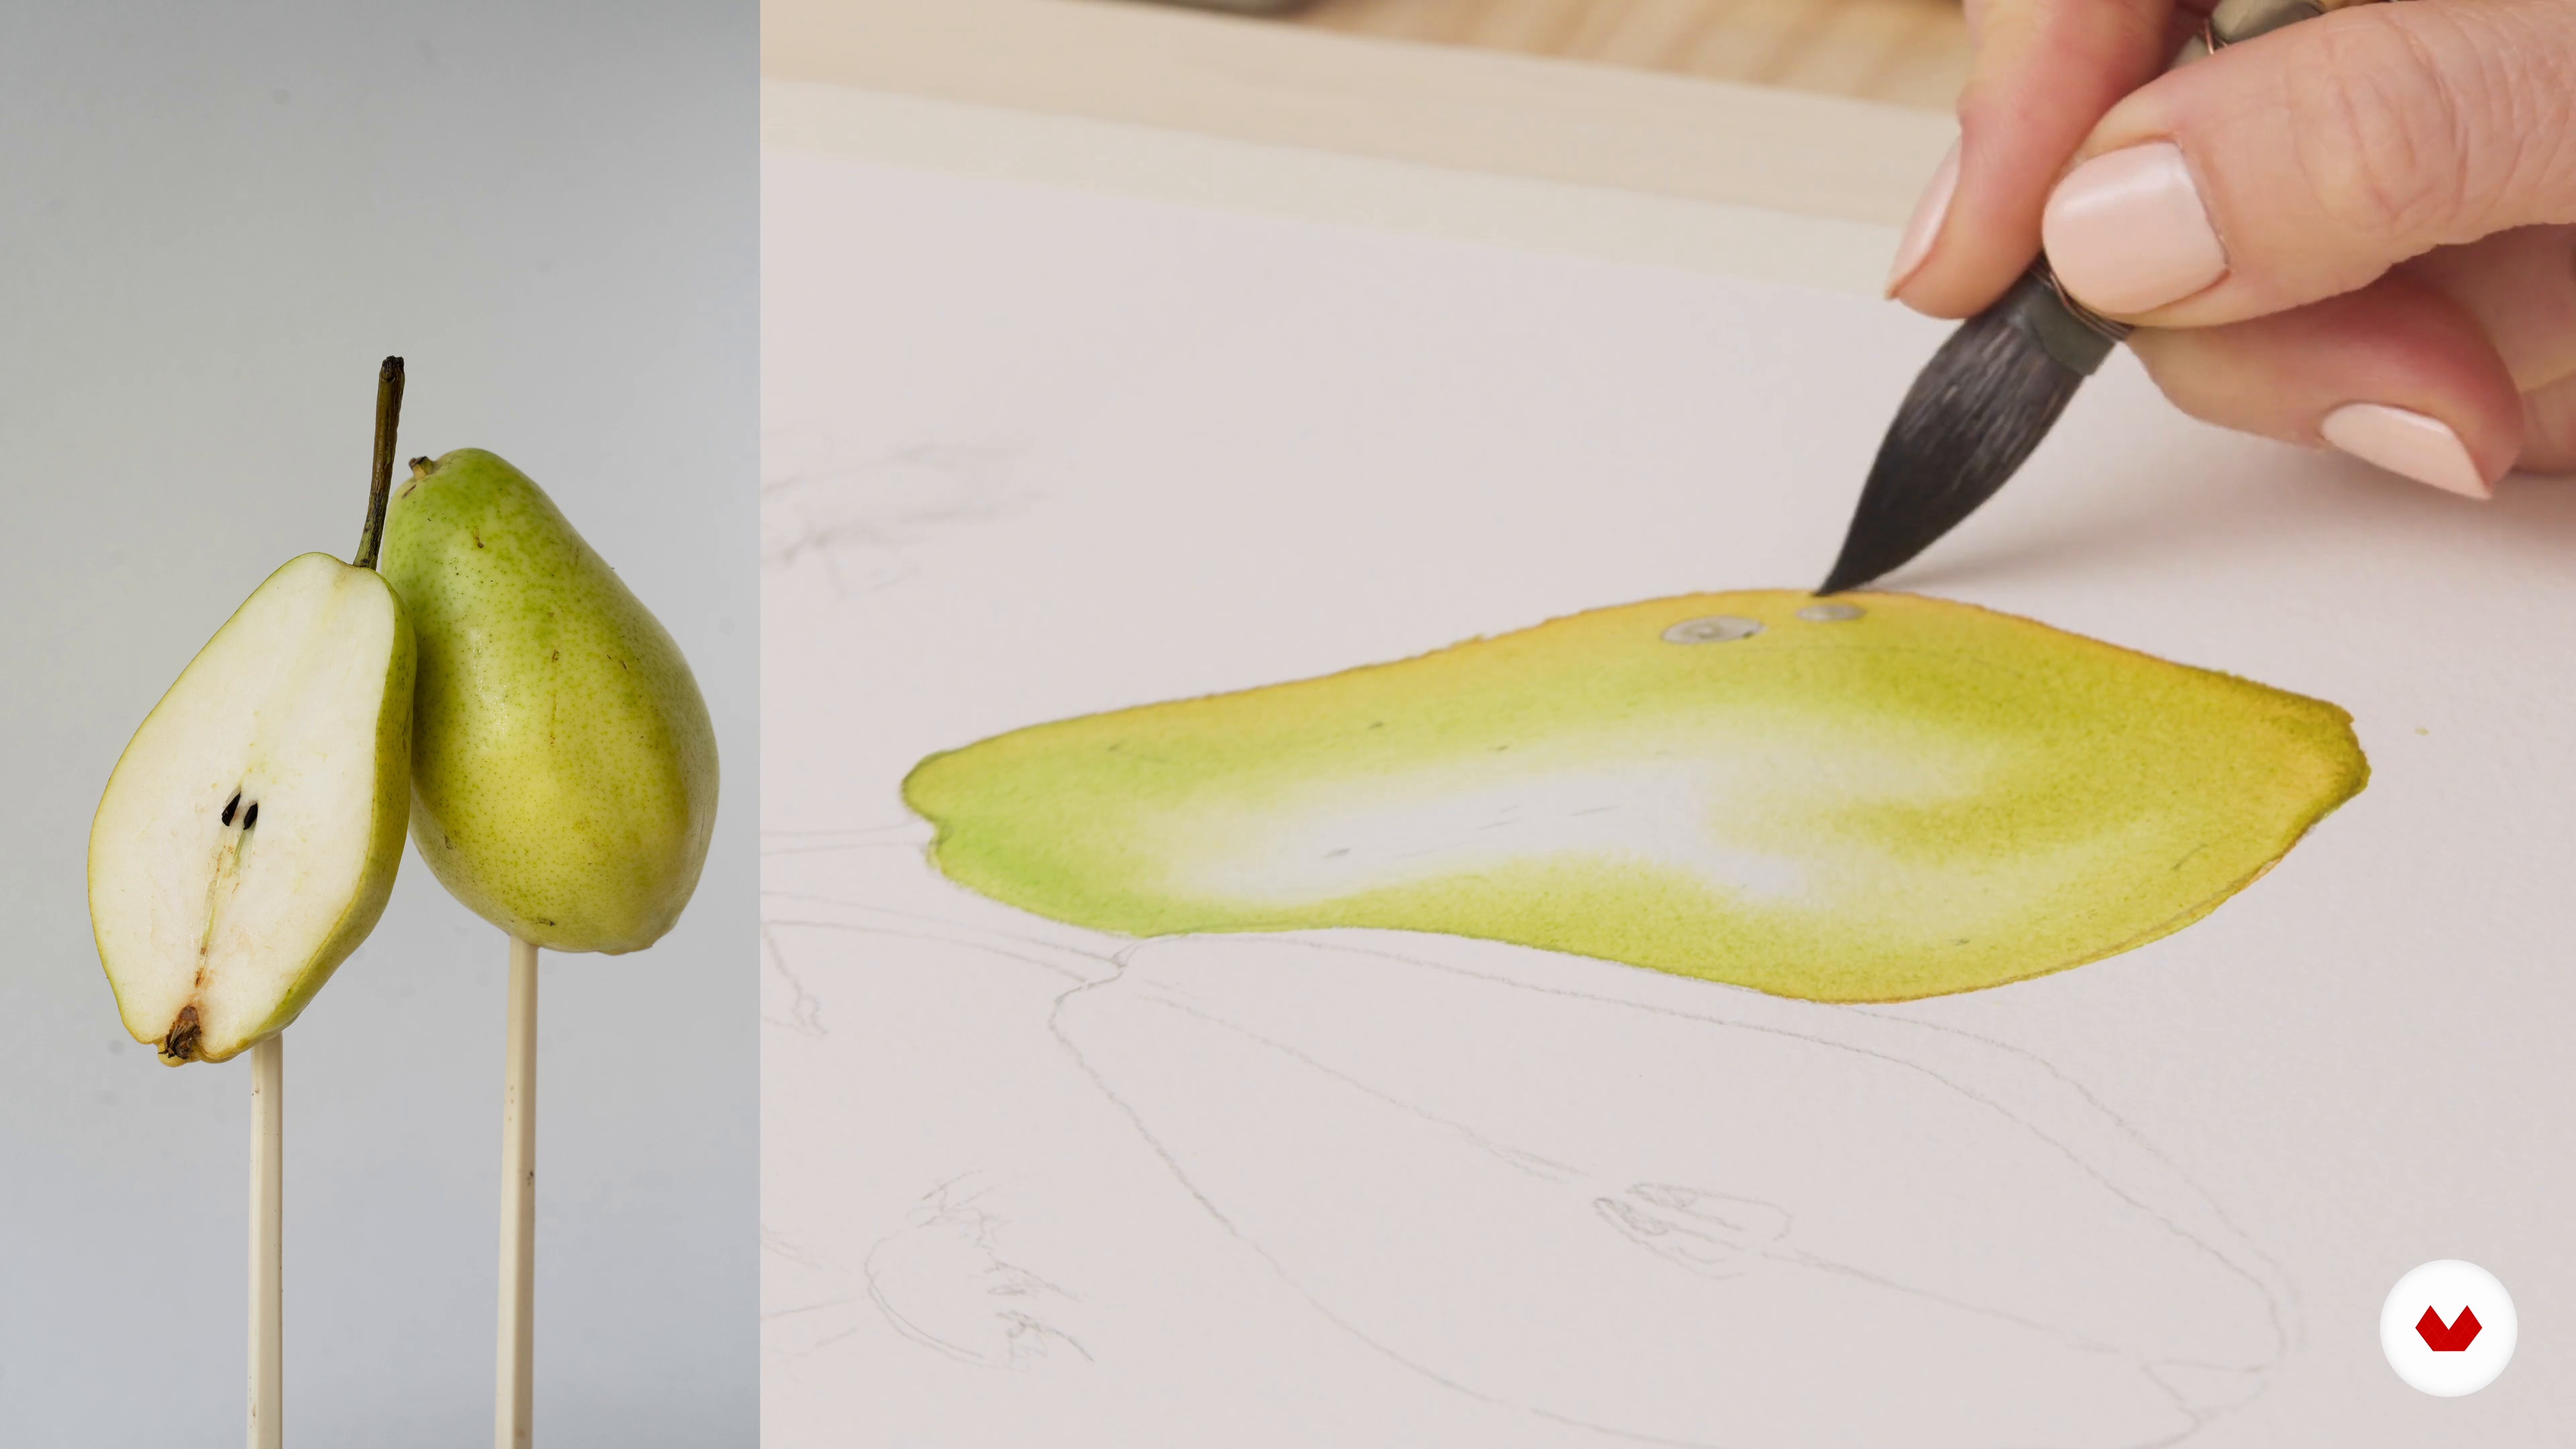
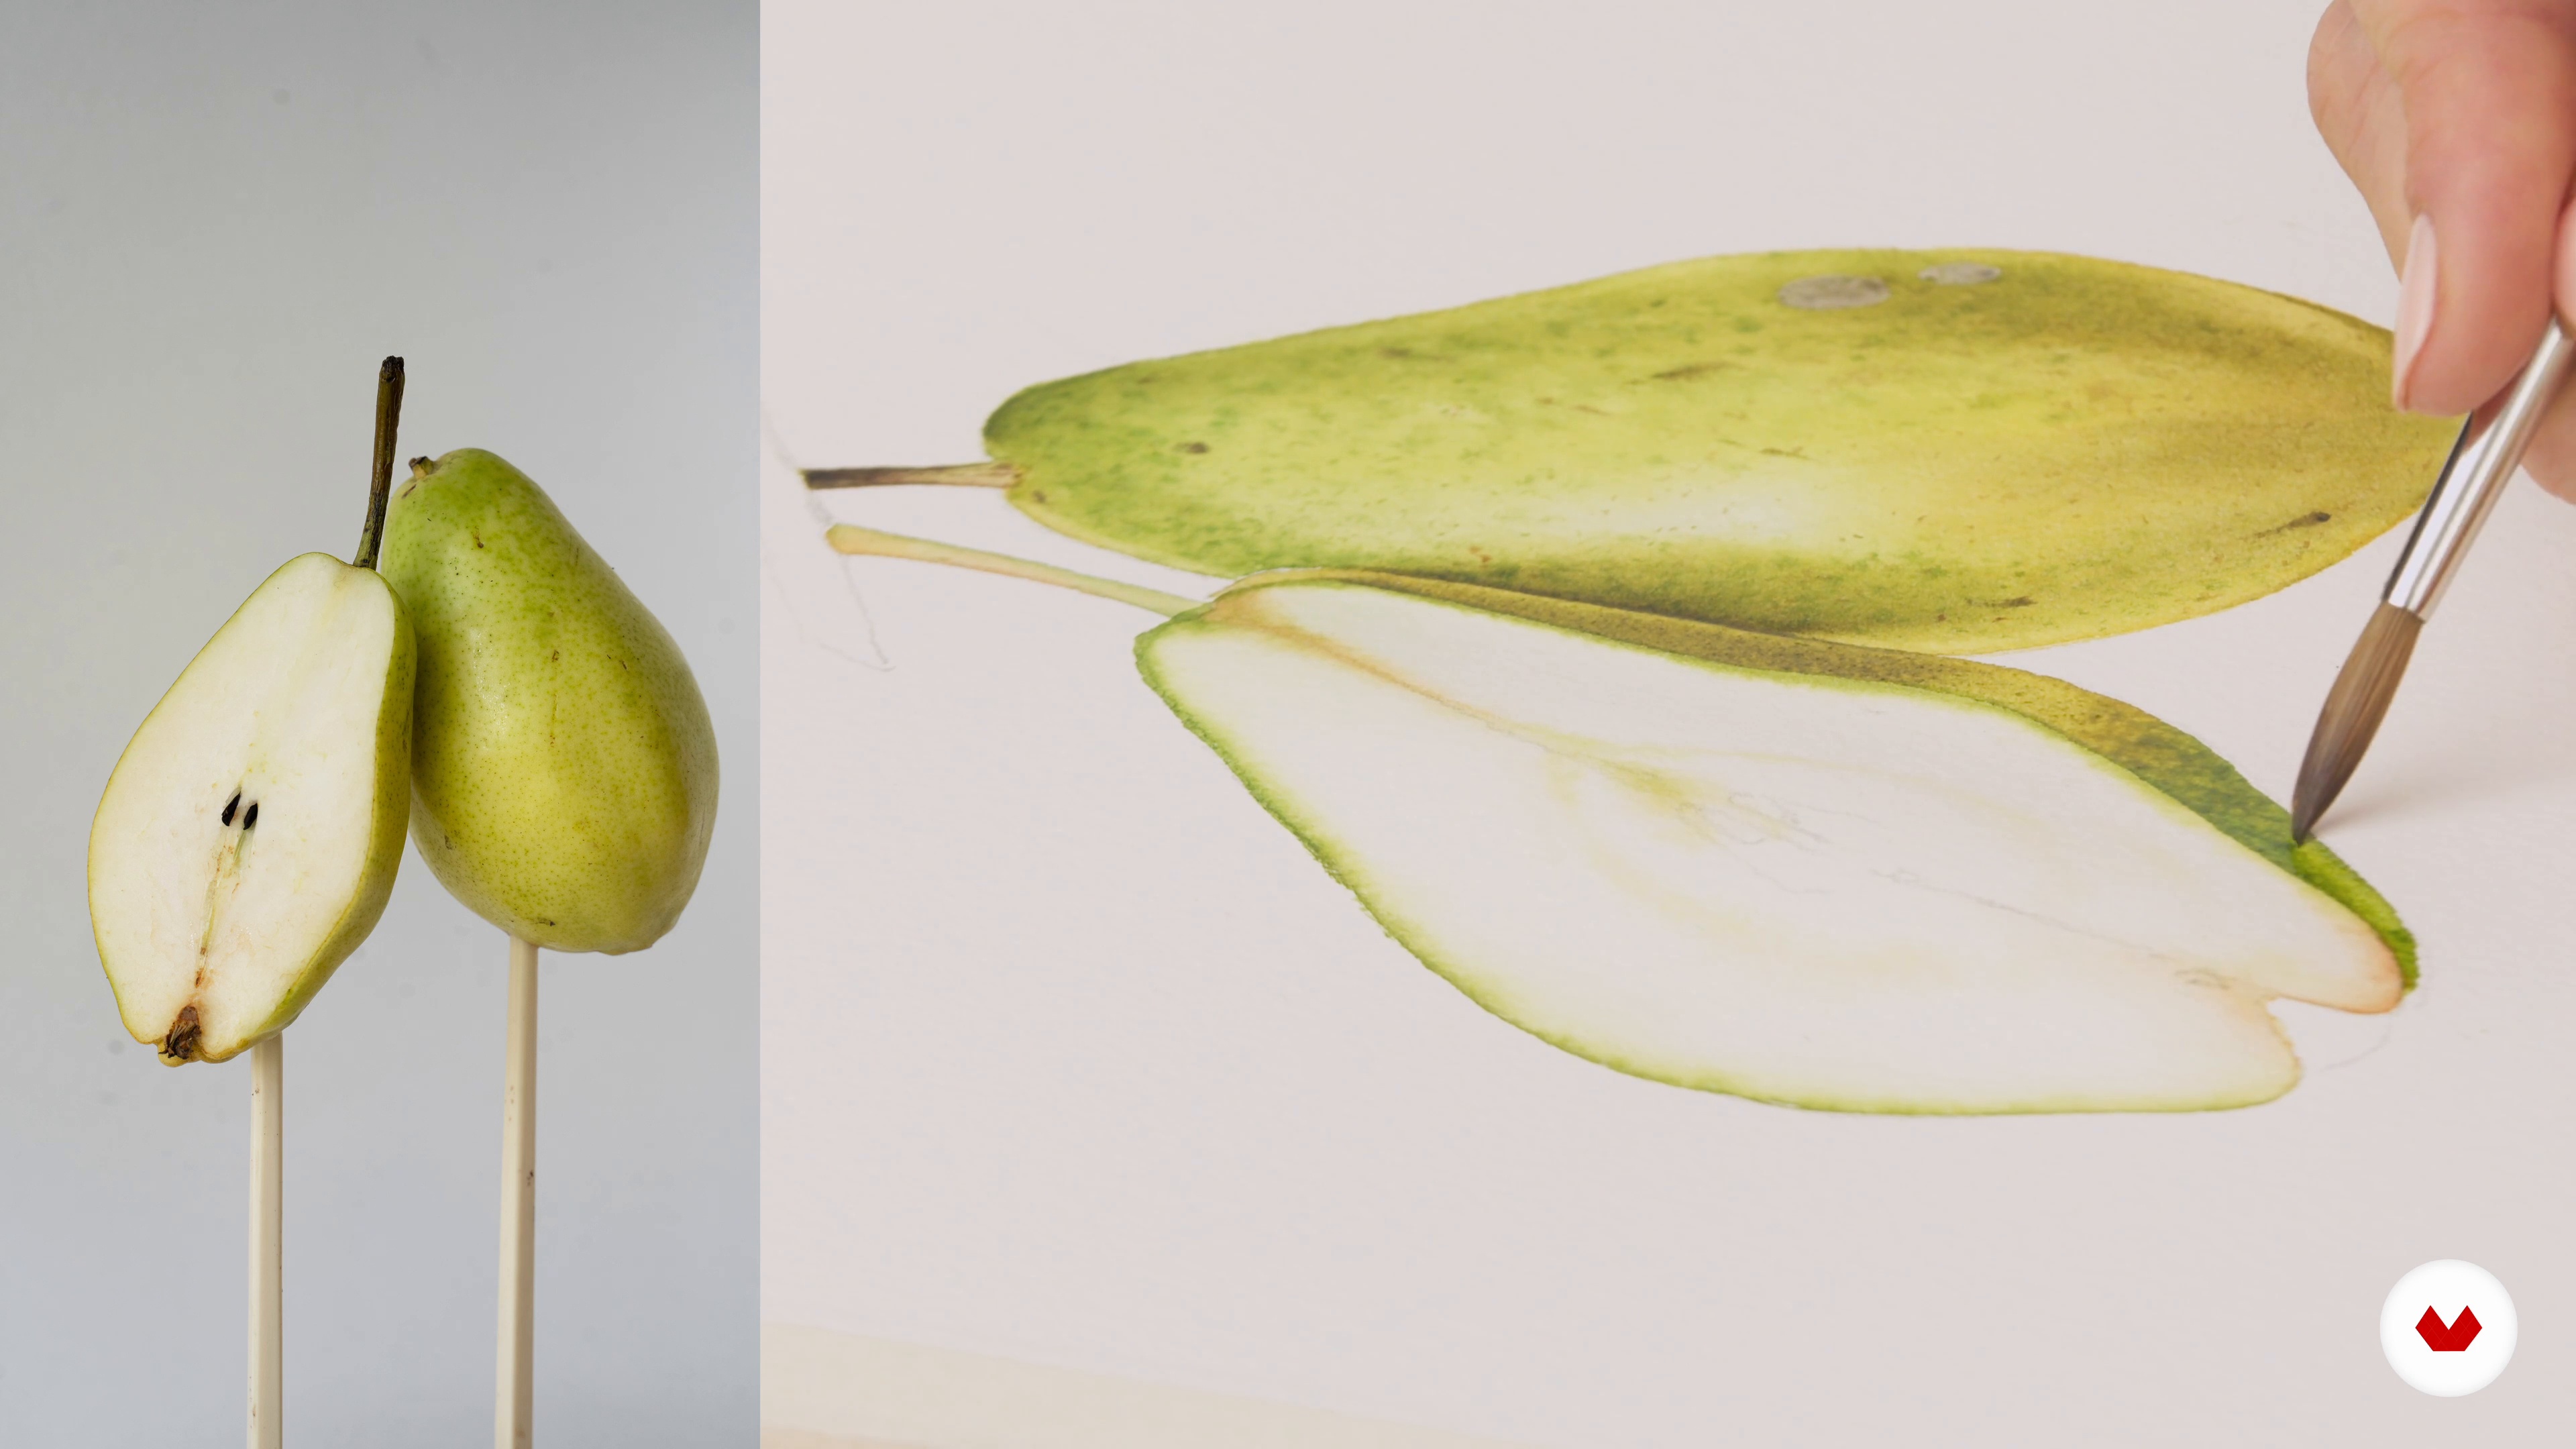
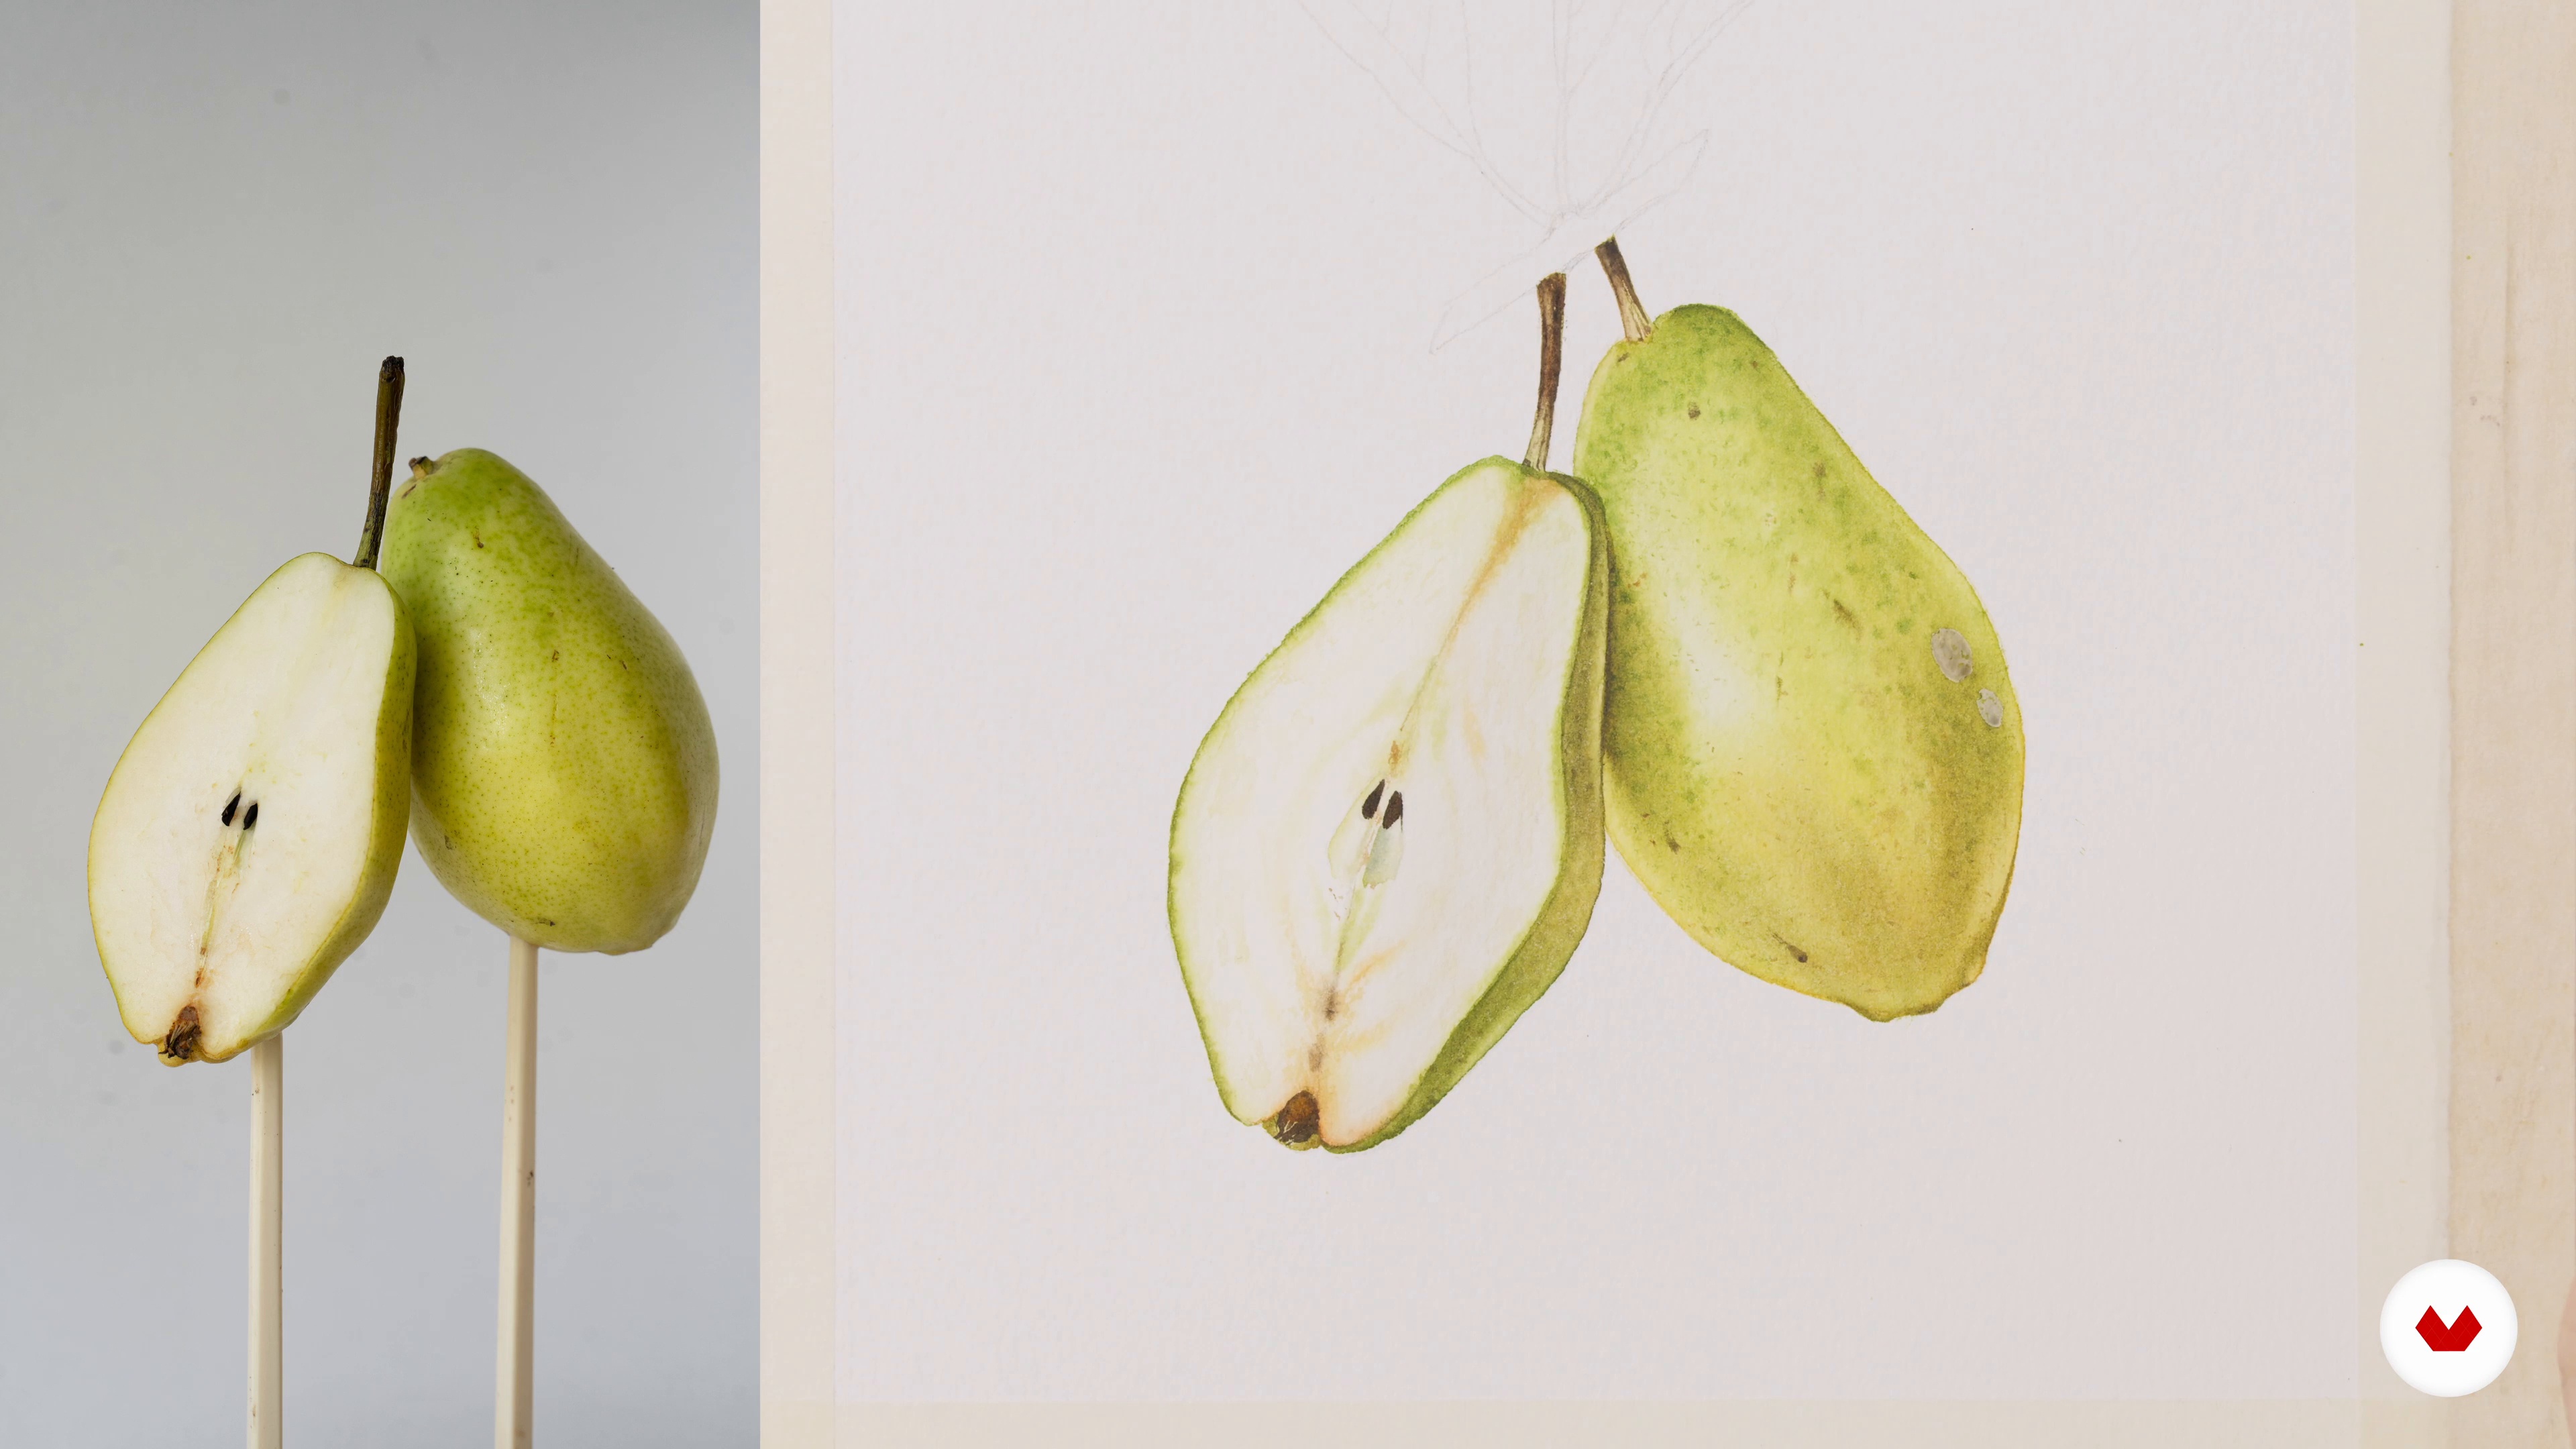
In this lesson, I will paint half of the pear. I will start with painting the pit by working wet in wet and then I will add the finest details and texture.
14m
image
21
Painting Half the Pear 2
I will add texture to the white area first with the wet-on-wet technique and then with the dry brush. To darken the outer area of the pear and give it more texture, I will paint small brown spots. And lastly, I will paint the seeds.
14m
image
22
Painting the Leaves and the Branch 1
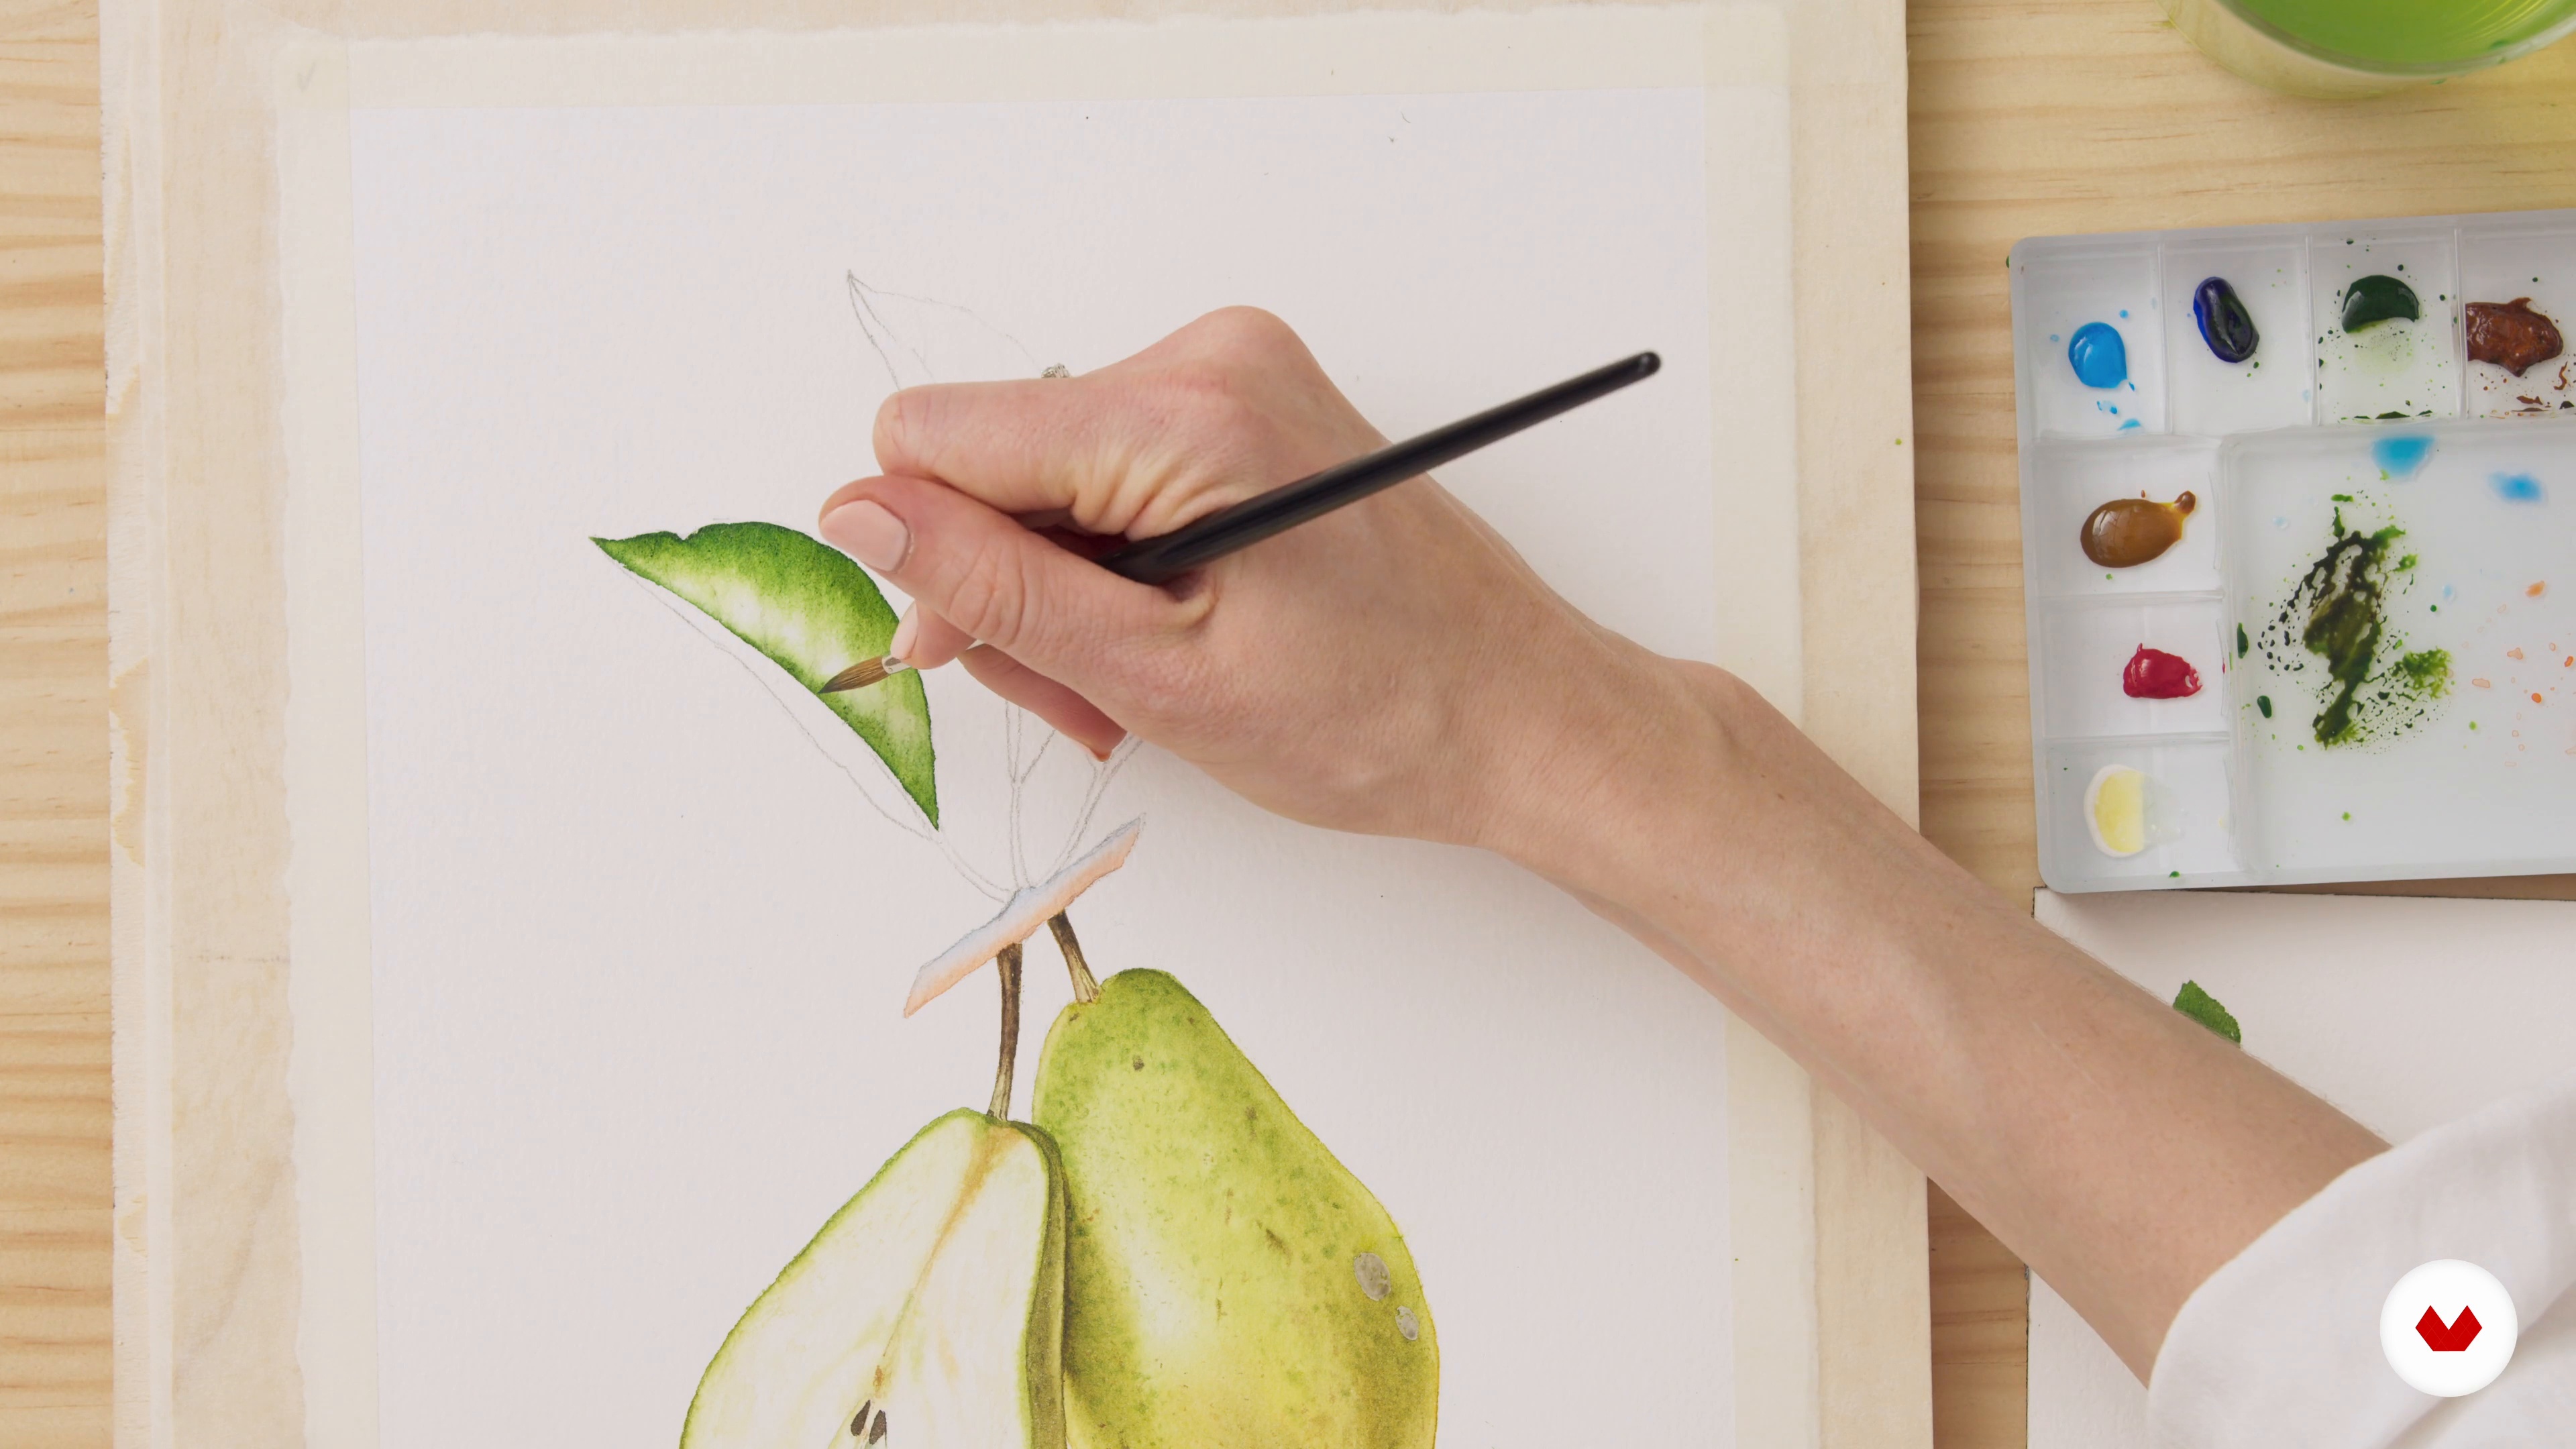
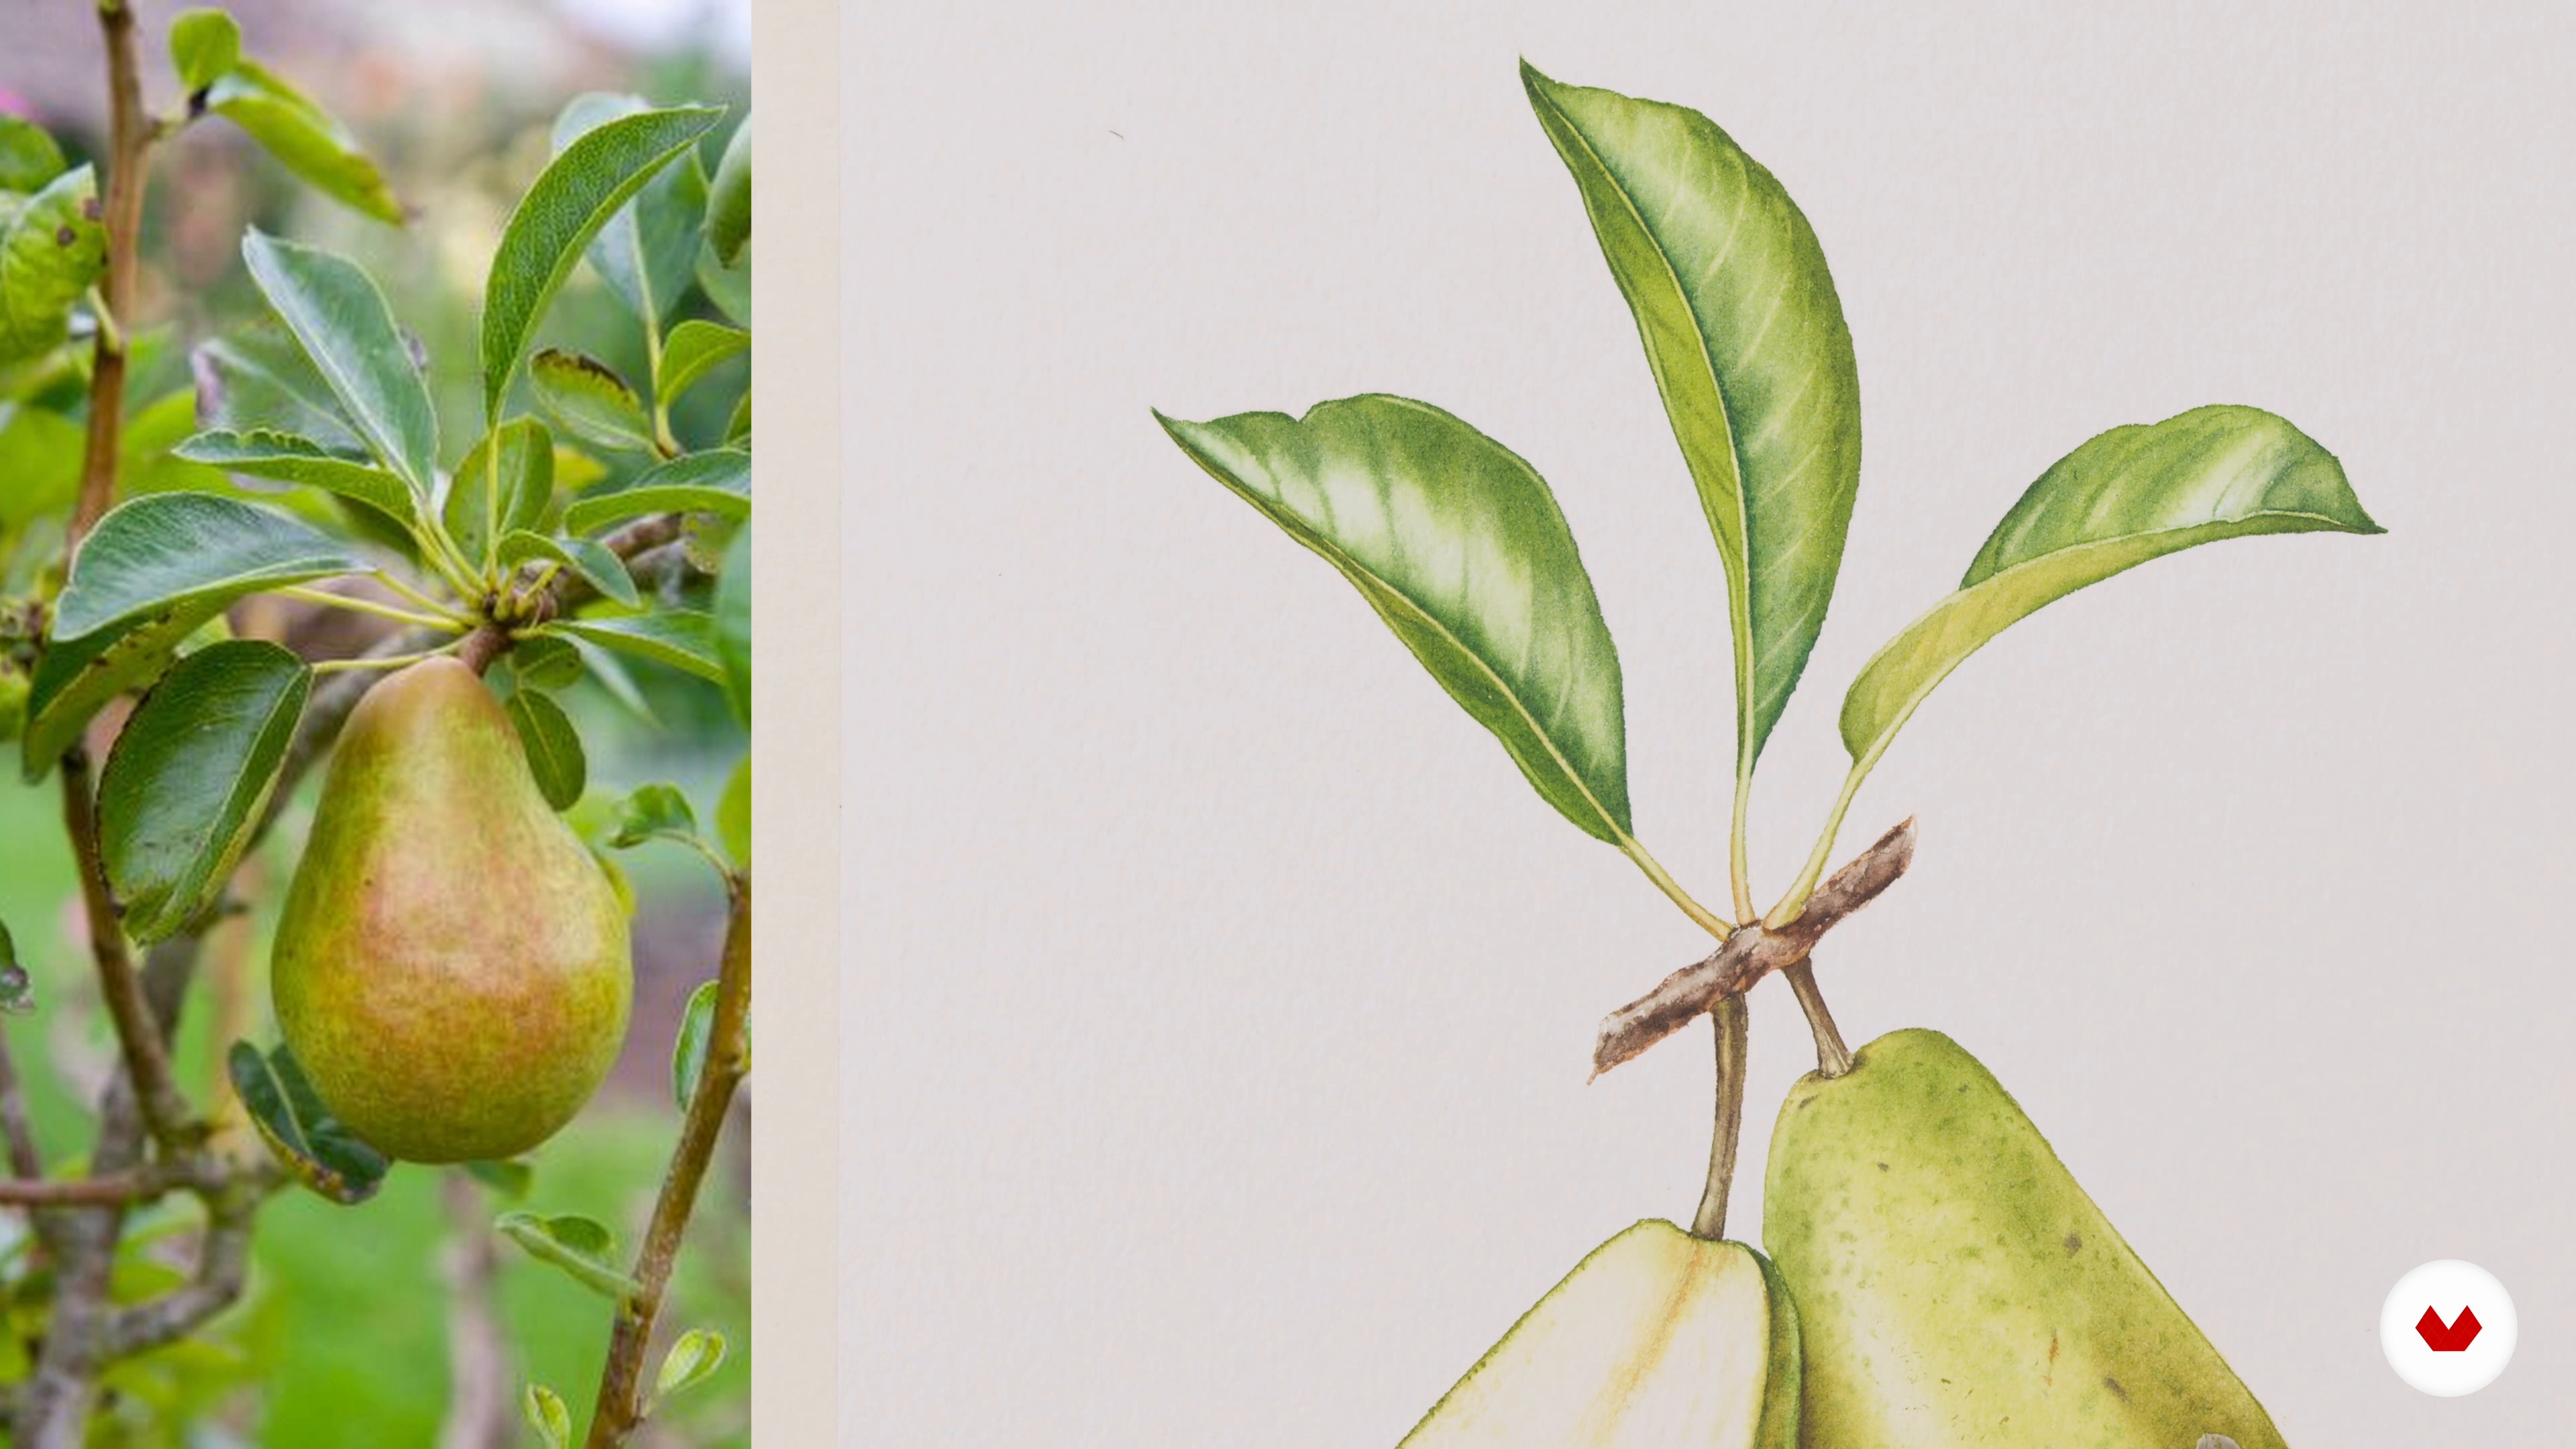
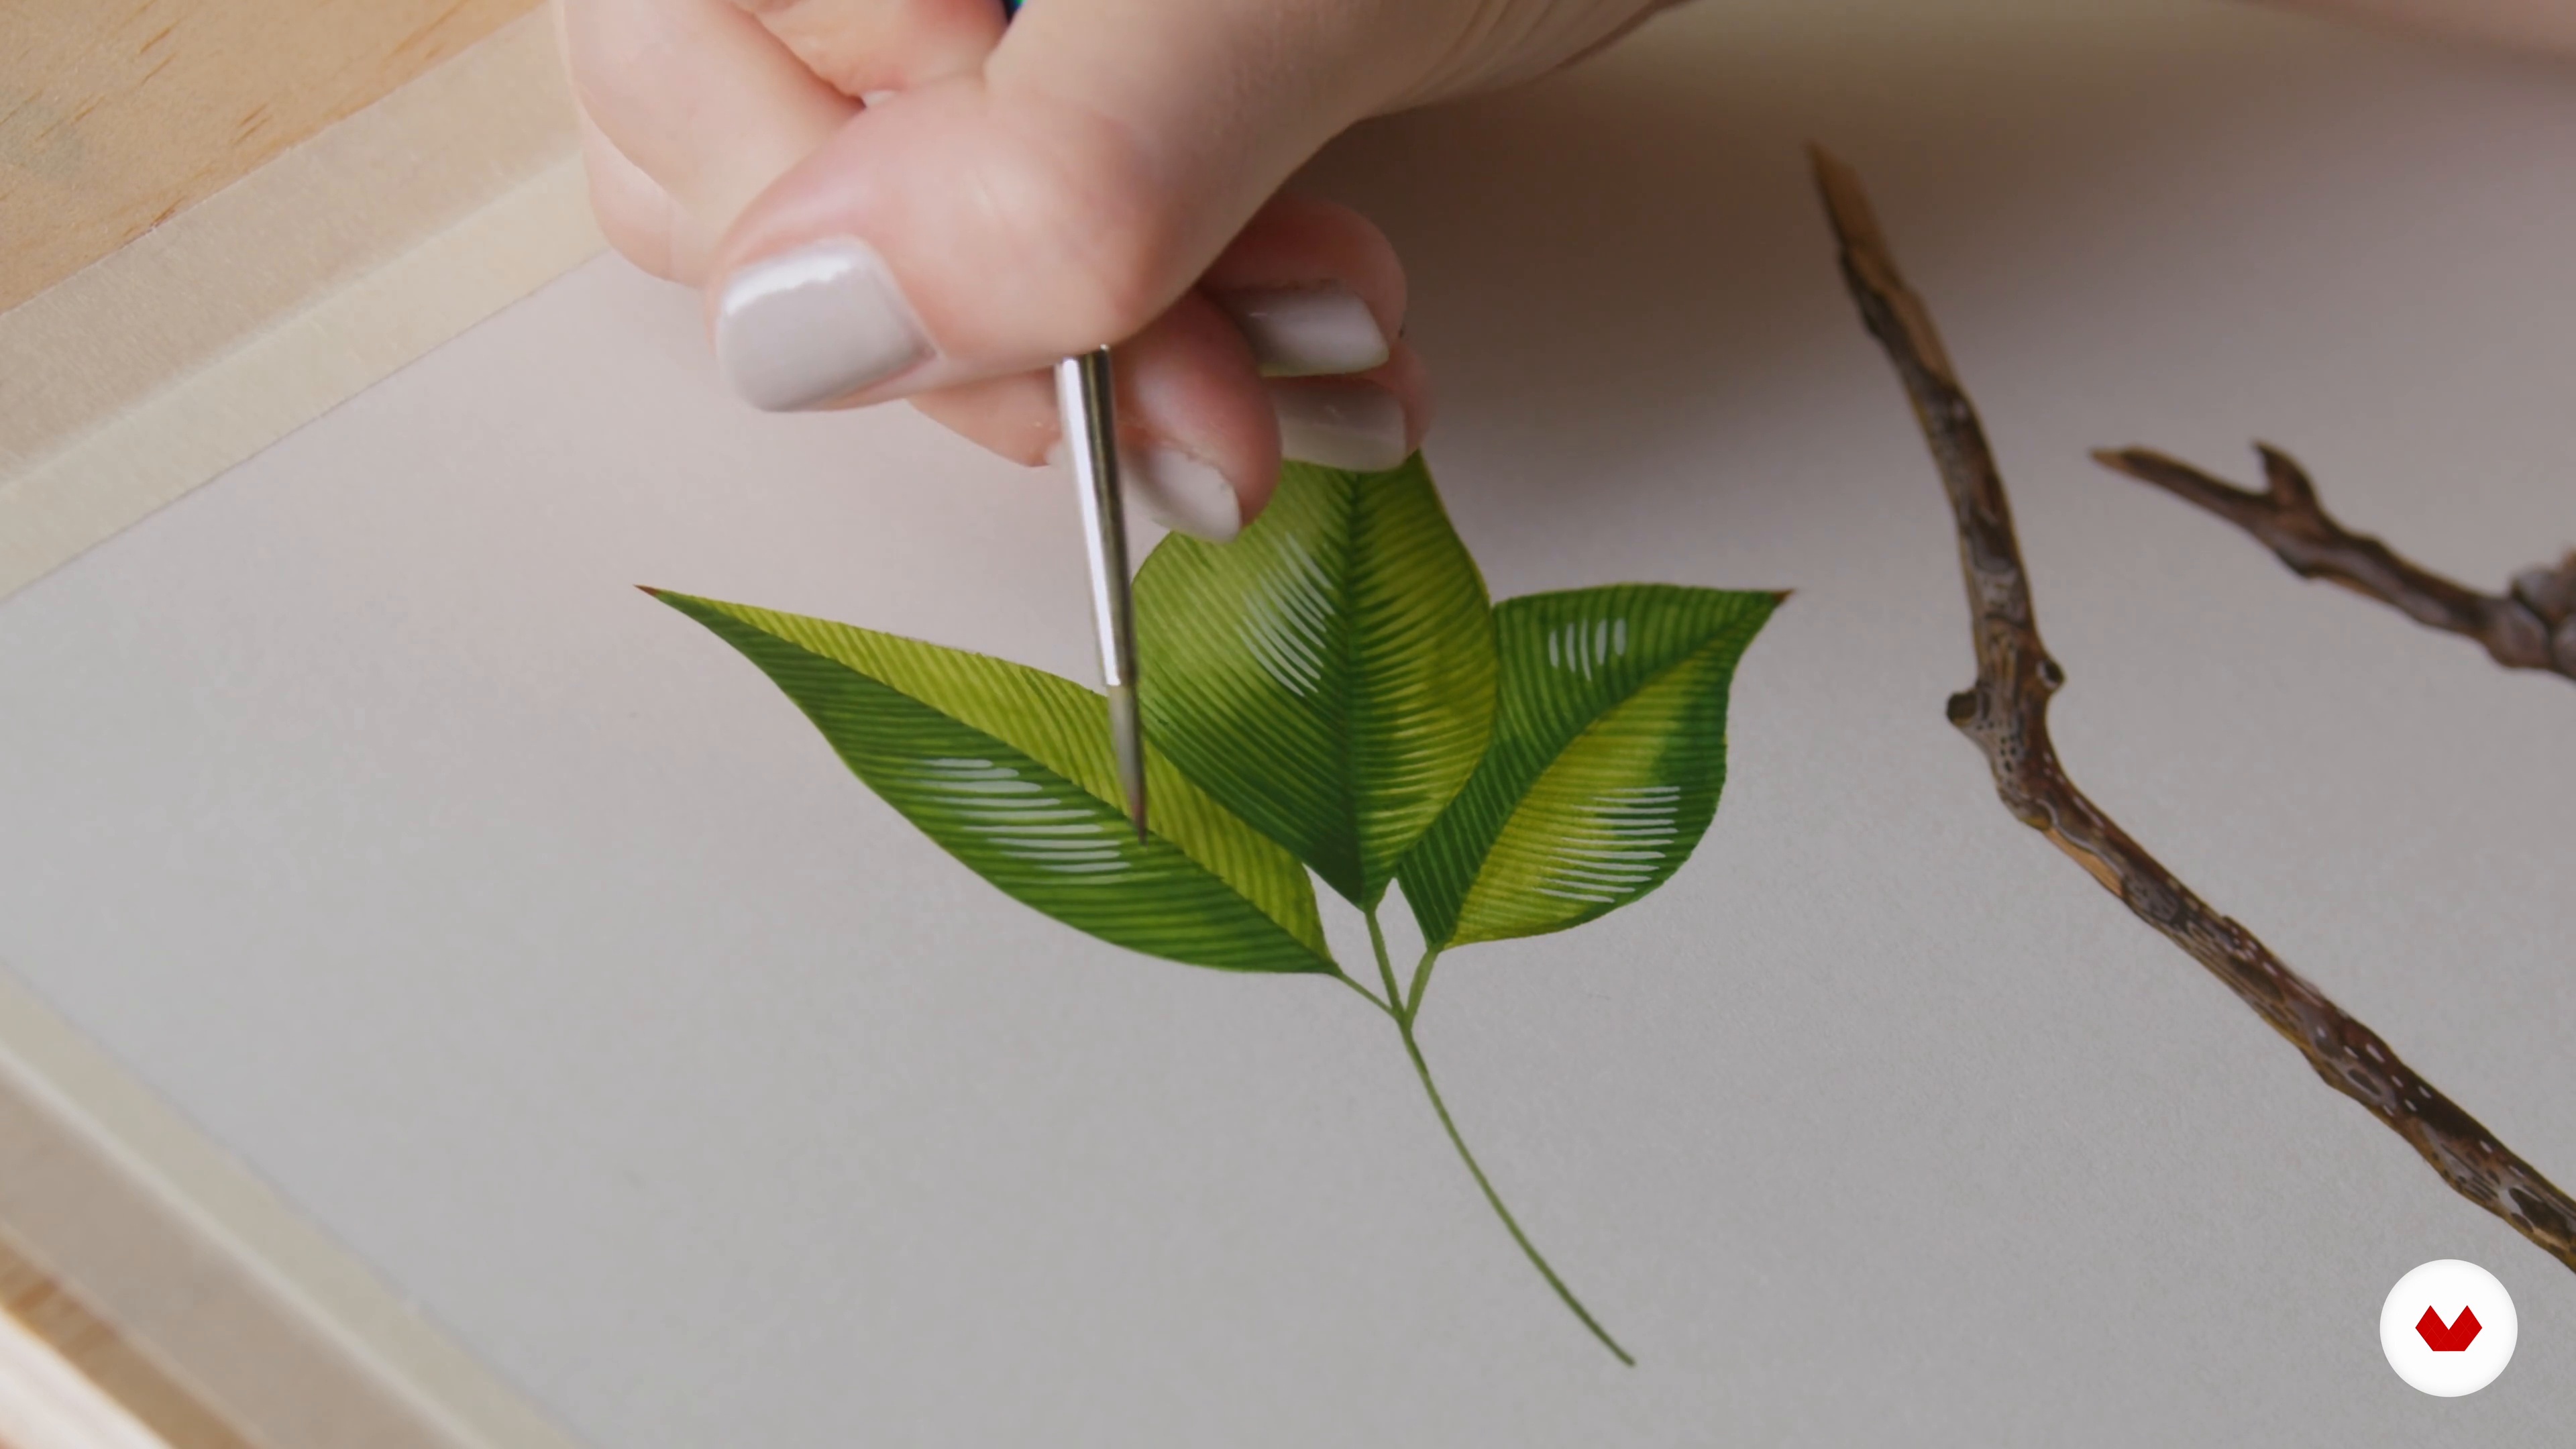
The technique I will use for painting the leaves is different compared to fruits. I apply quite dense pigments and then sculpt the shape rather than adding more layers to create volume gradually. I will show you how I do it, but if you don't feel confident about working straight with these intense colours, you can also paint the leaves adding more layers.
16m
image
23
Painting the Leaves and the Branch 2
All three leaves and stems will be painted using the same technique. Once they are ready, we add the details on the previously very lightly painted branch.
16m
image
24
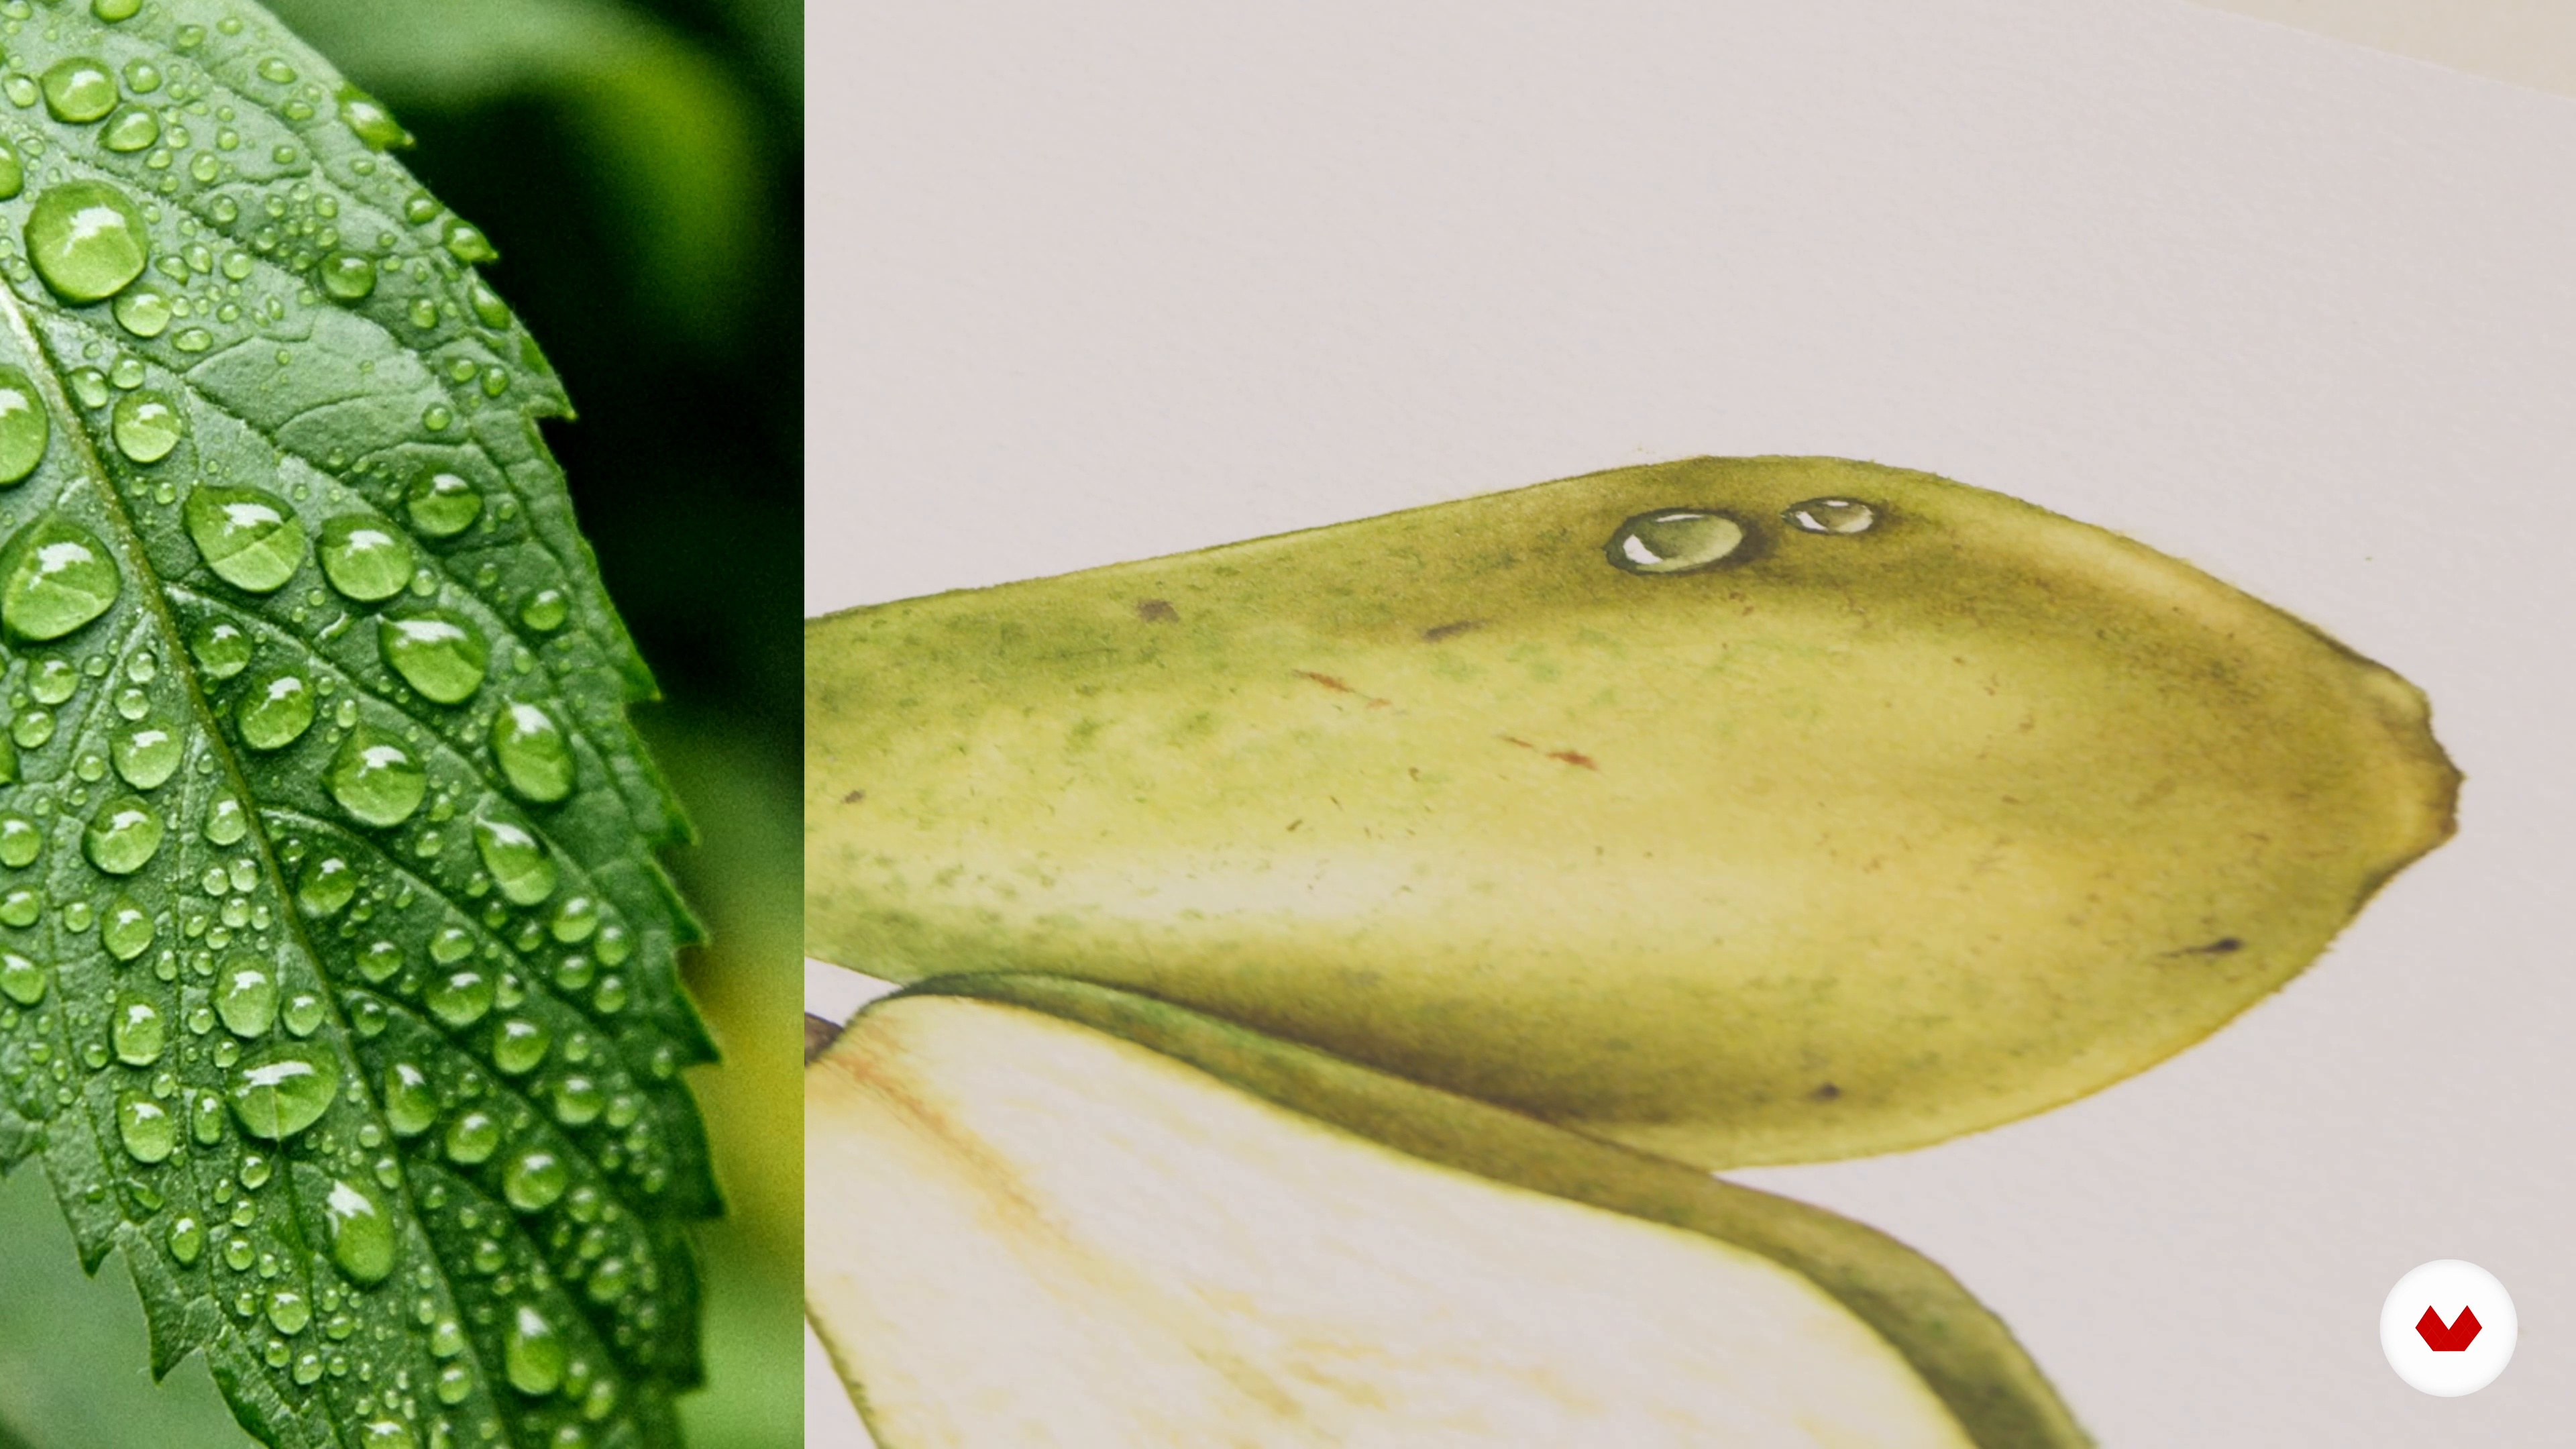
Adding Layers and Water Drops
At this stage, we look at the painting as a whole and add layers to unify the tone. In this lesson, I will explain how to make sure that it looks complete in terms of values and add realistic-looking drops of water.
19m
image
25
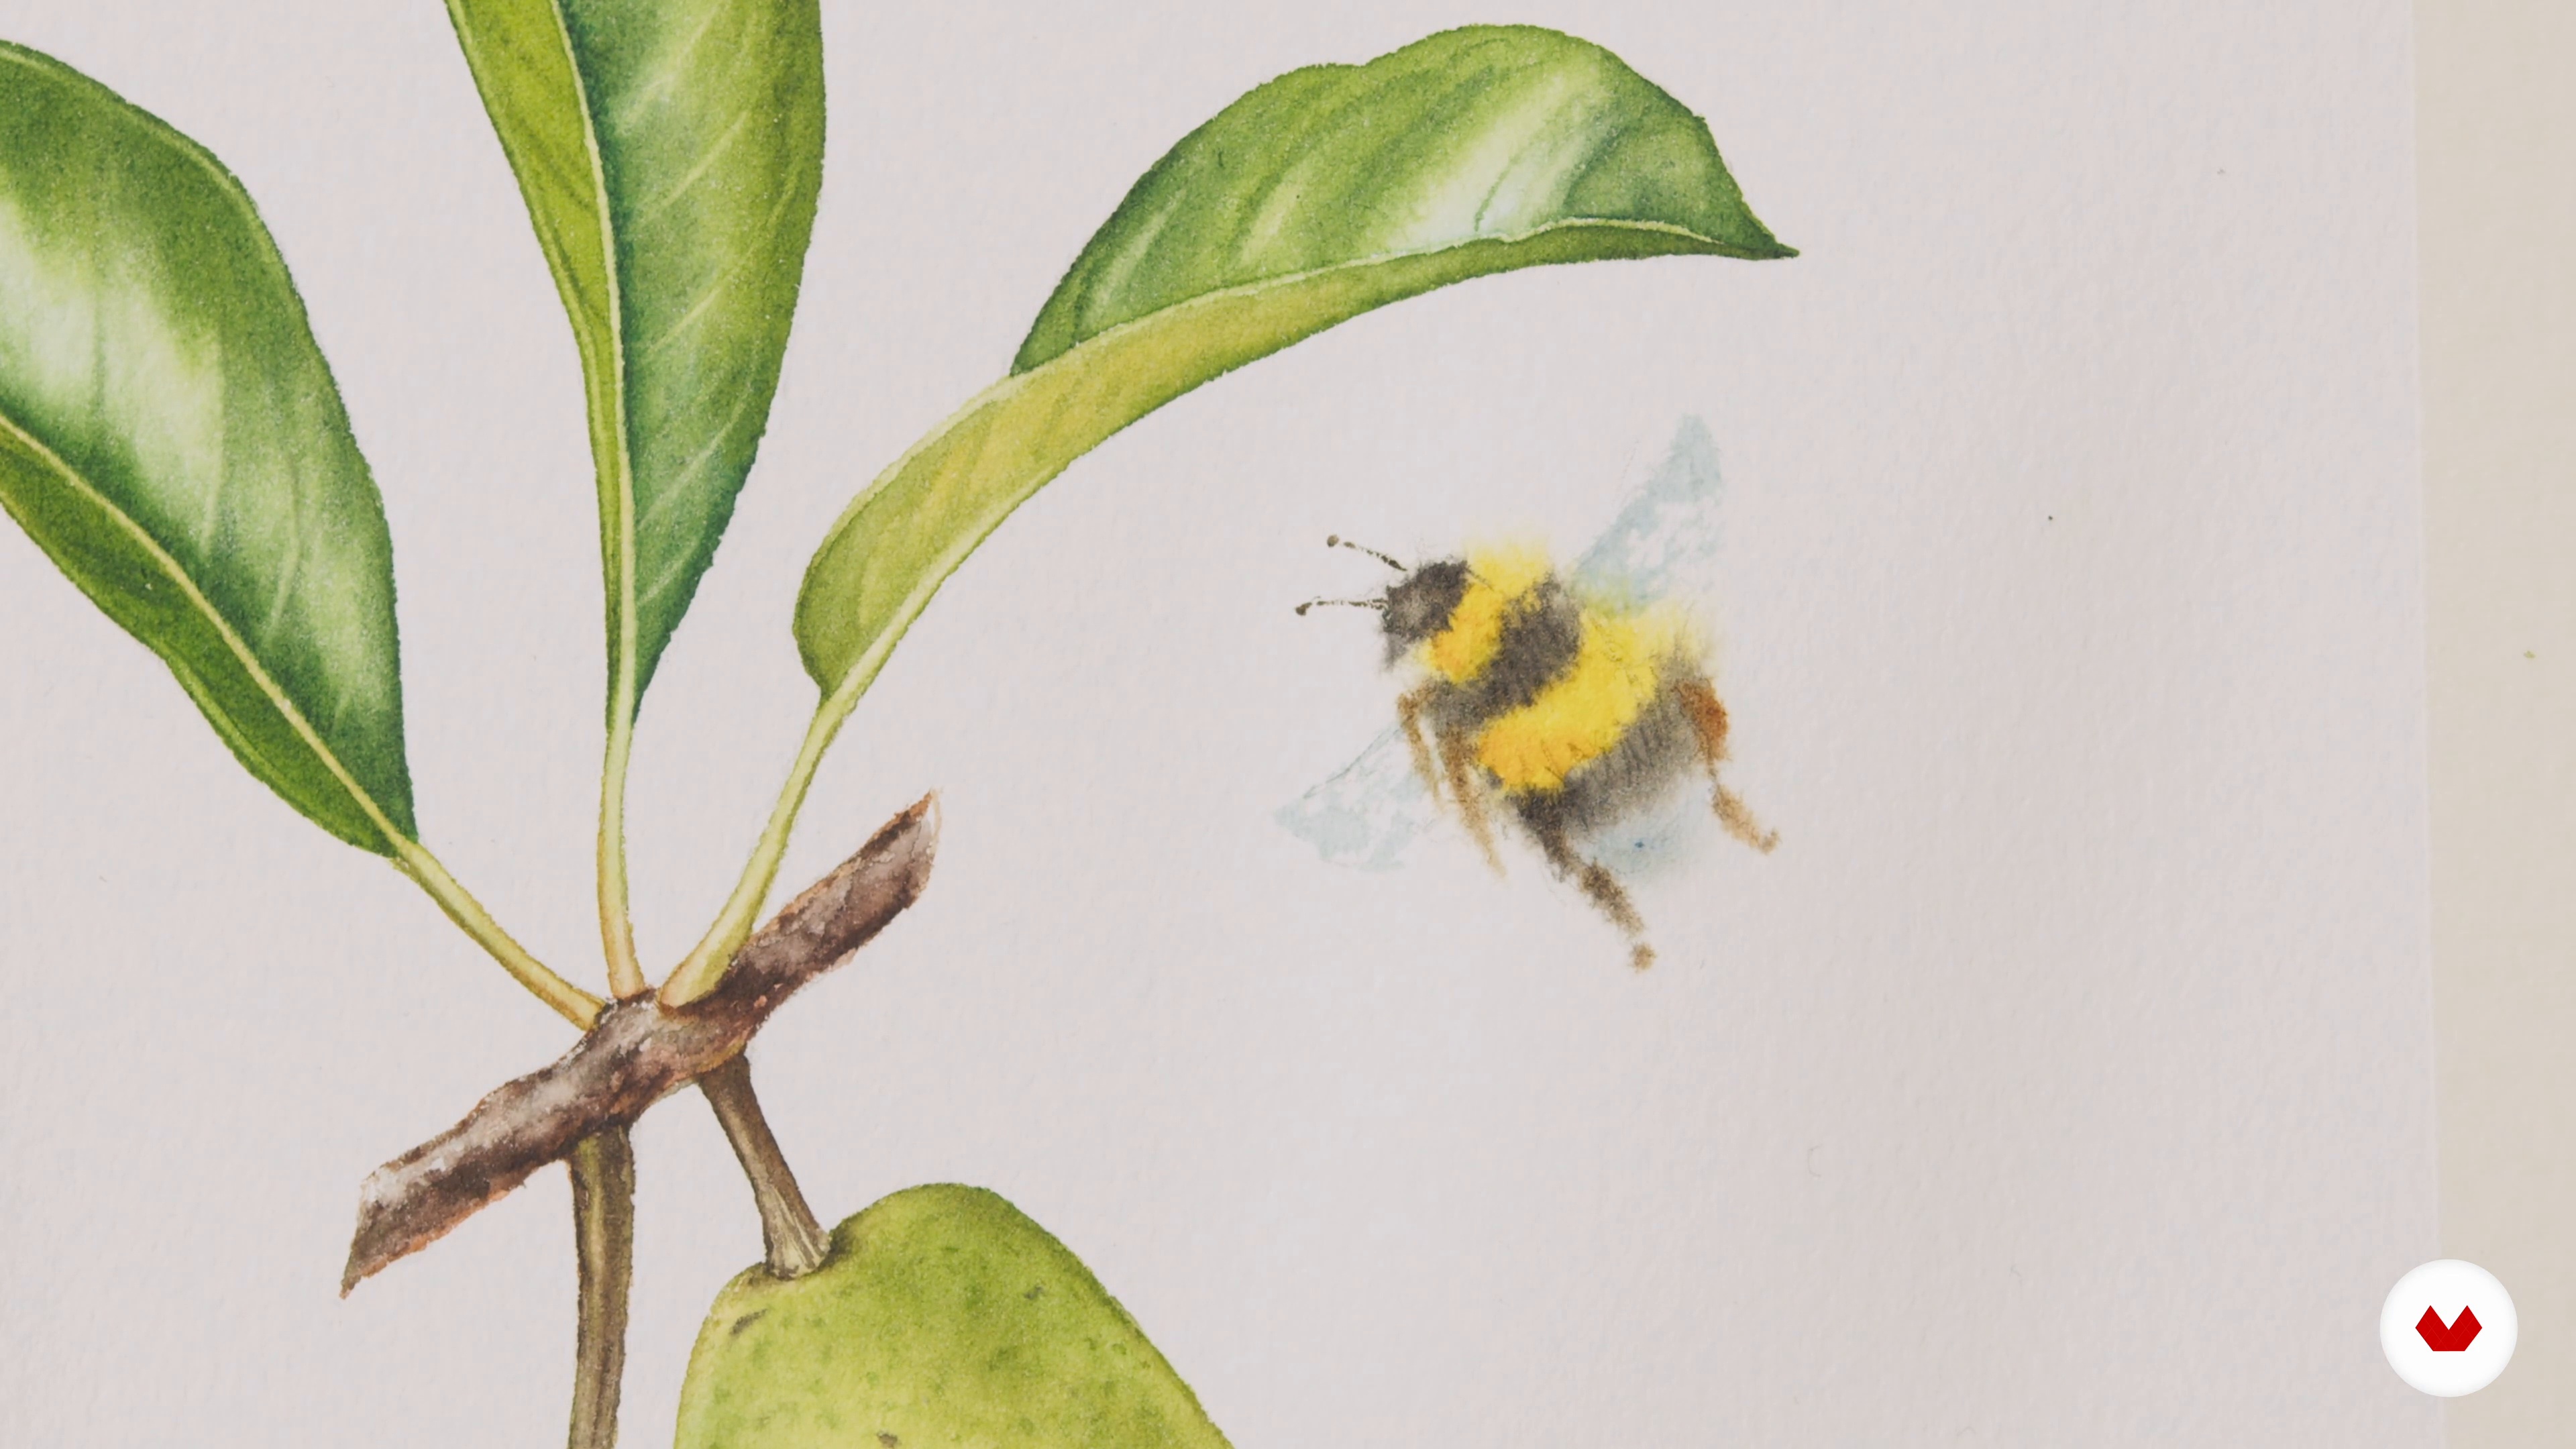
Painting the Bees
Now I want to show you how I bring some motion and a story to my illustration by painting the flying bumblebees. For this, I will use the wet-in-wet technique.
13m
image
3
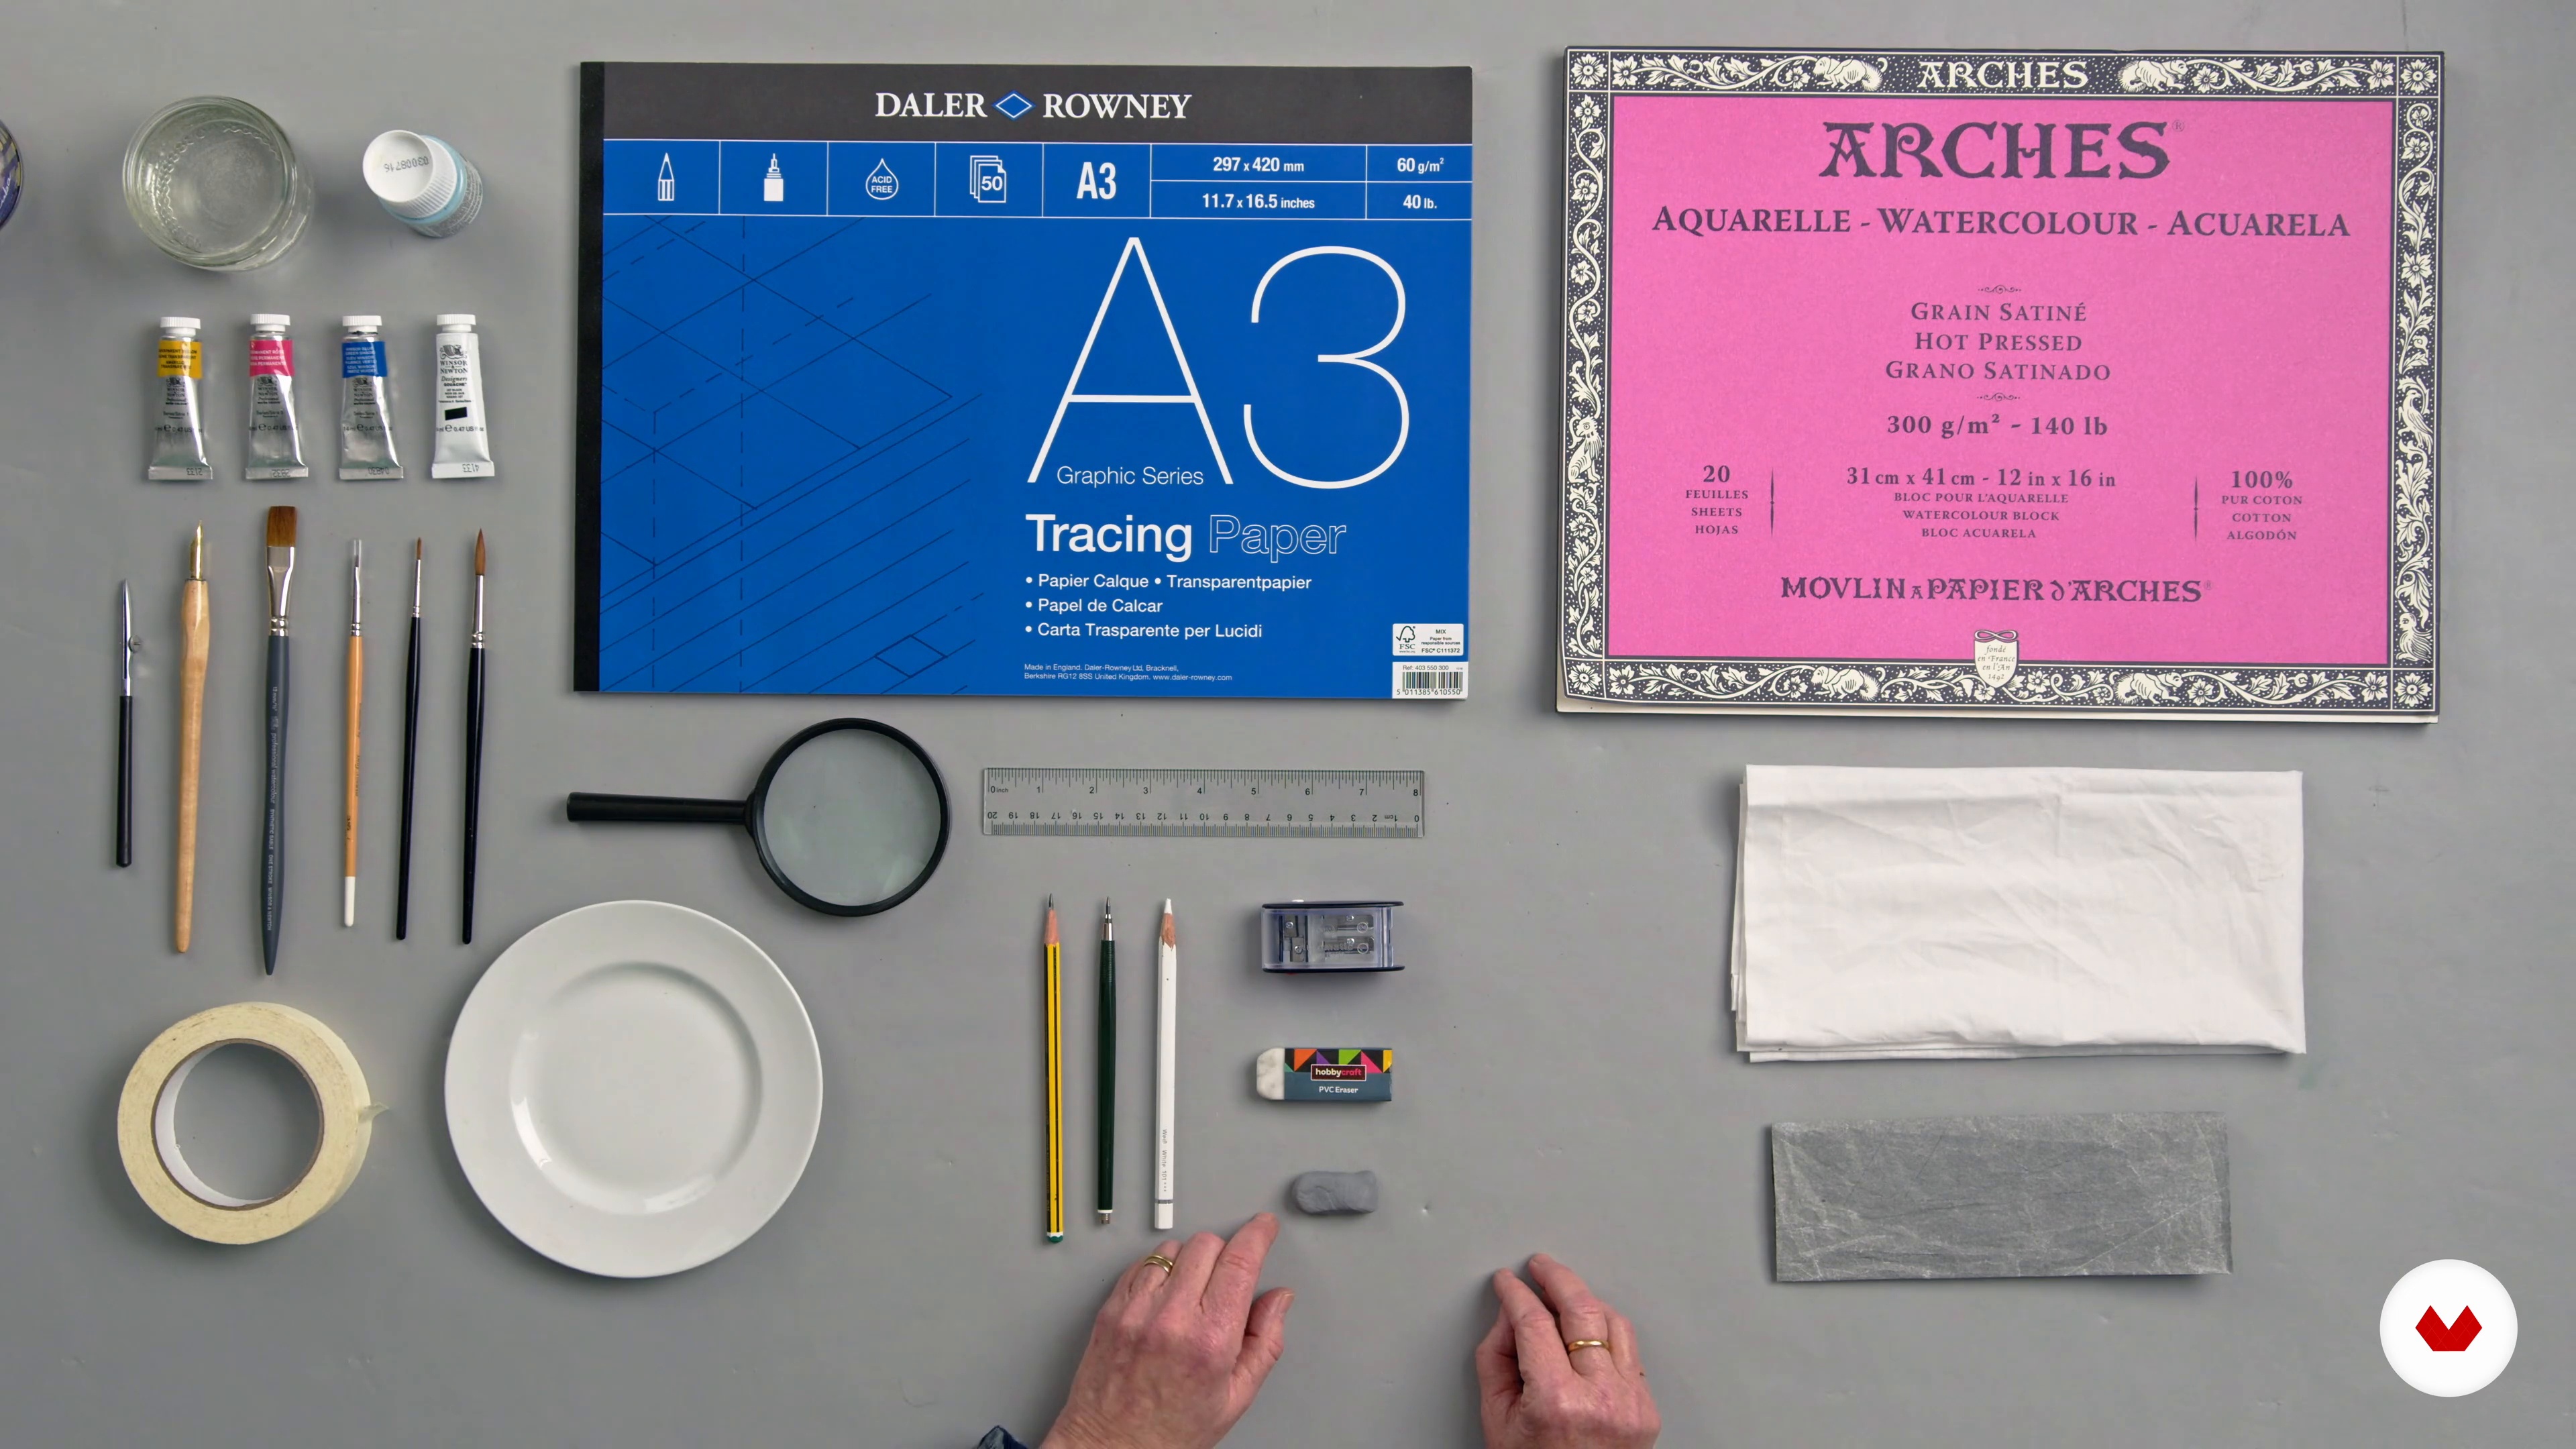
Materials
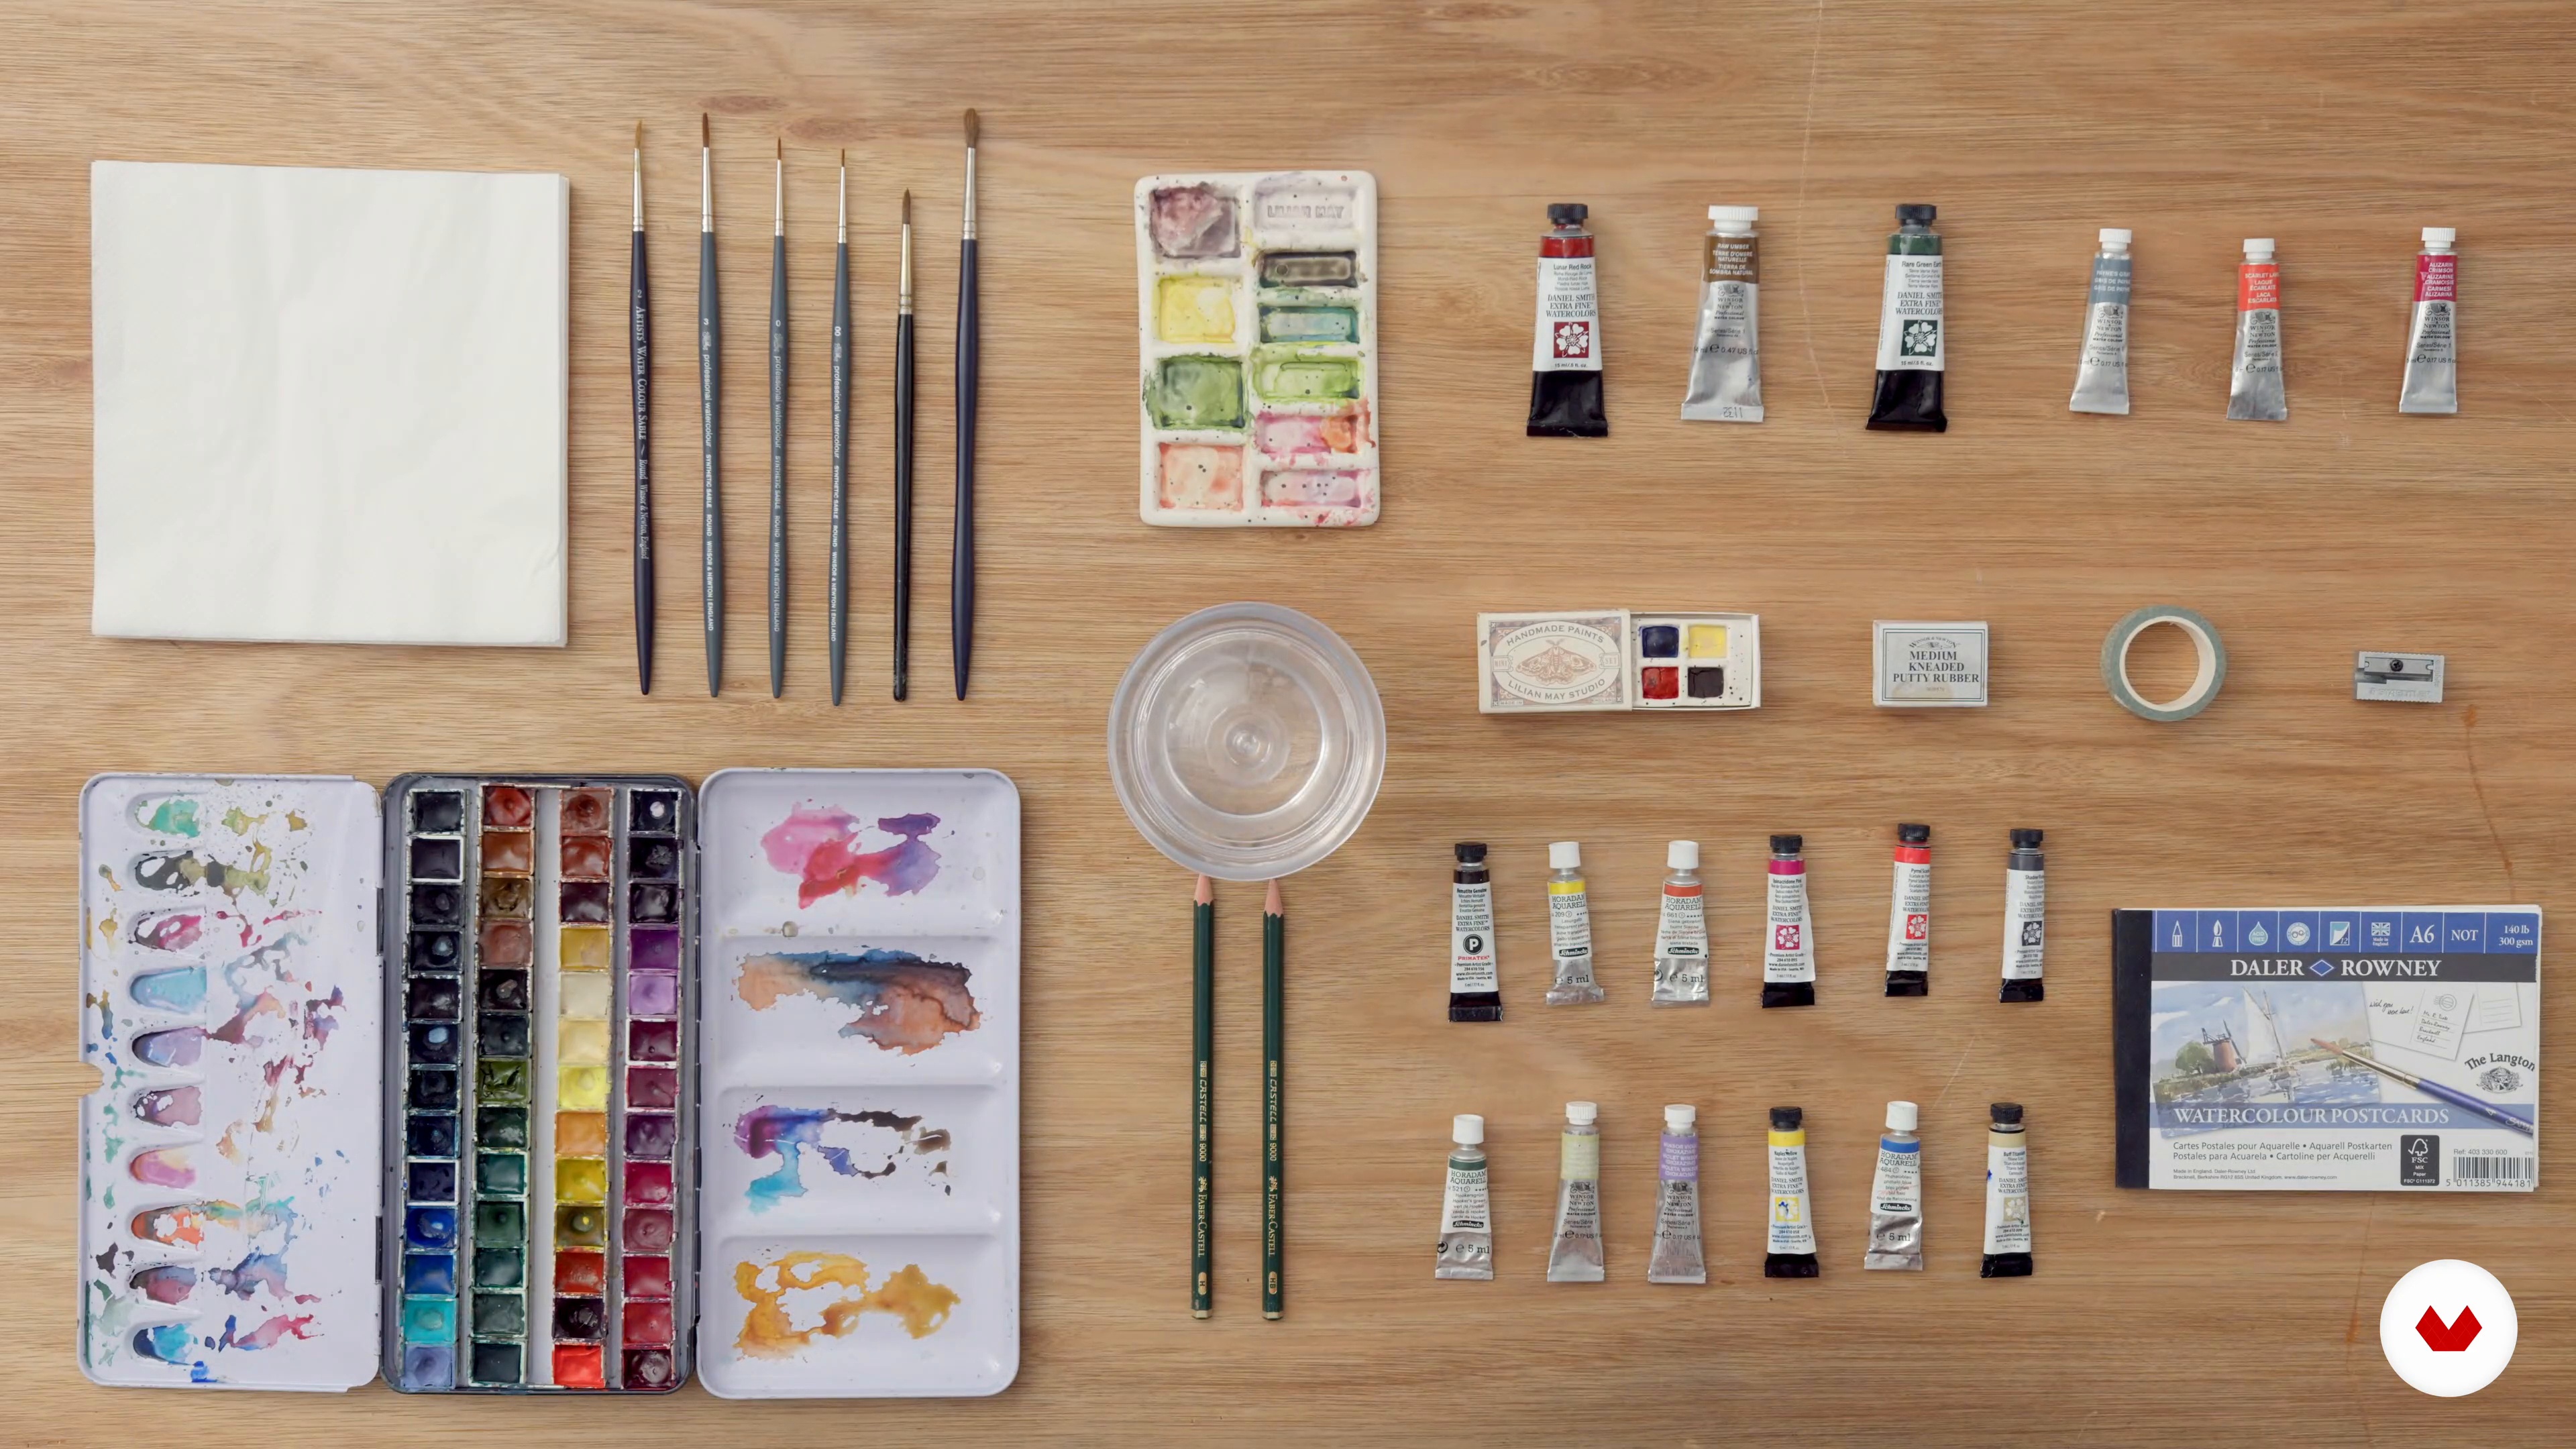
In this lesson, I will show you the materials and equipment used for the projects and exercises here. I will talk about the features of the different items and what to consider when making your own selection from the range of art equipment available.
4m
image
4
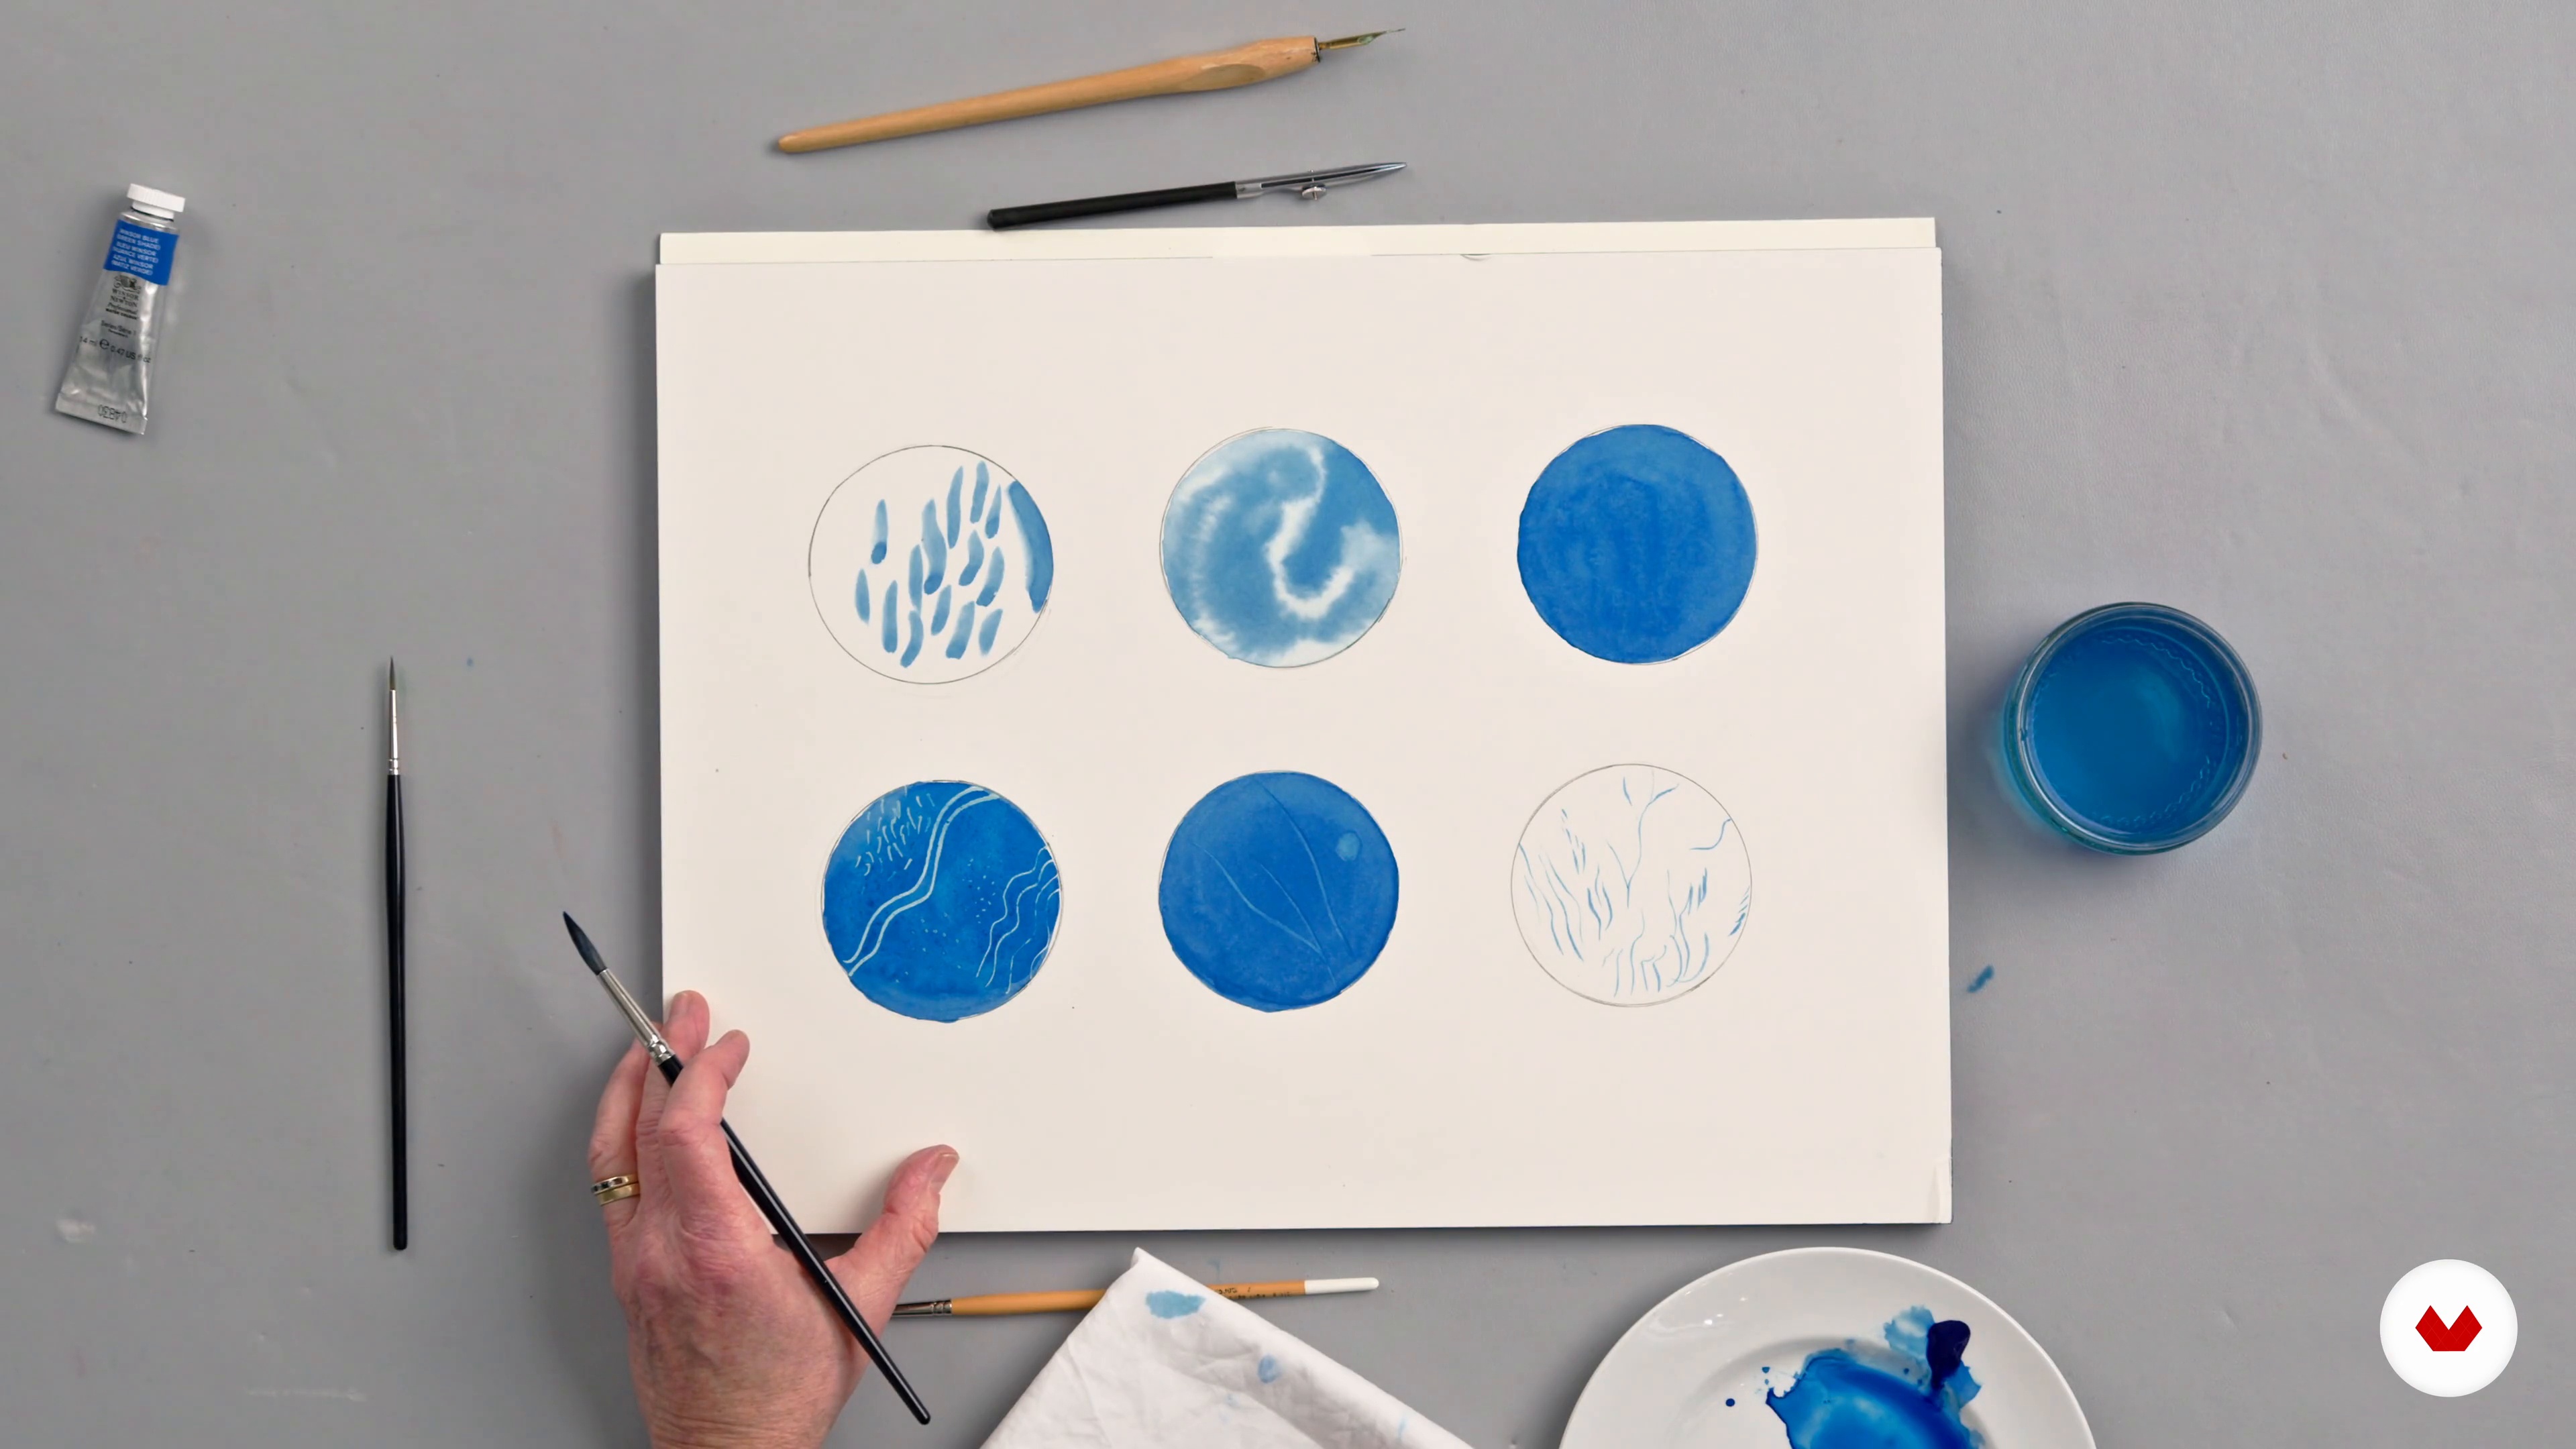
Watercolour Techniques
Here you will see me demonstrate a range of watercolour techniques using the key elements of water and colour. By varying the amount and proportions of these elements on your brush, you can create different effects and textures used for botanical painting.
17m
image
5
Mixing and Matching Colours
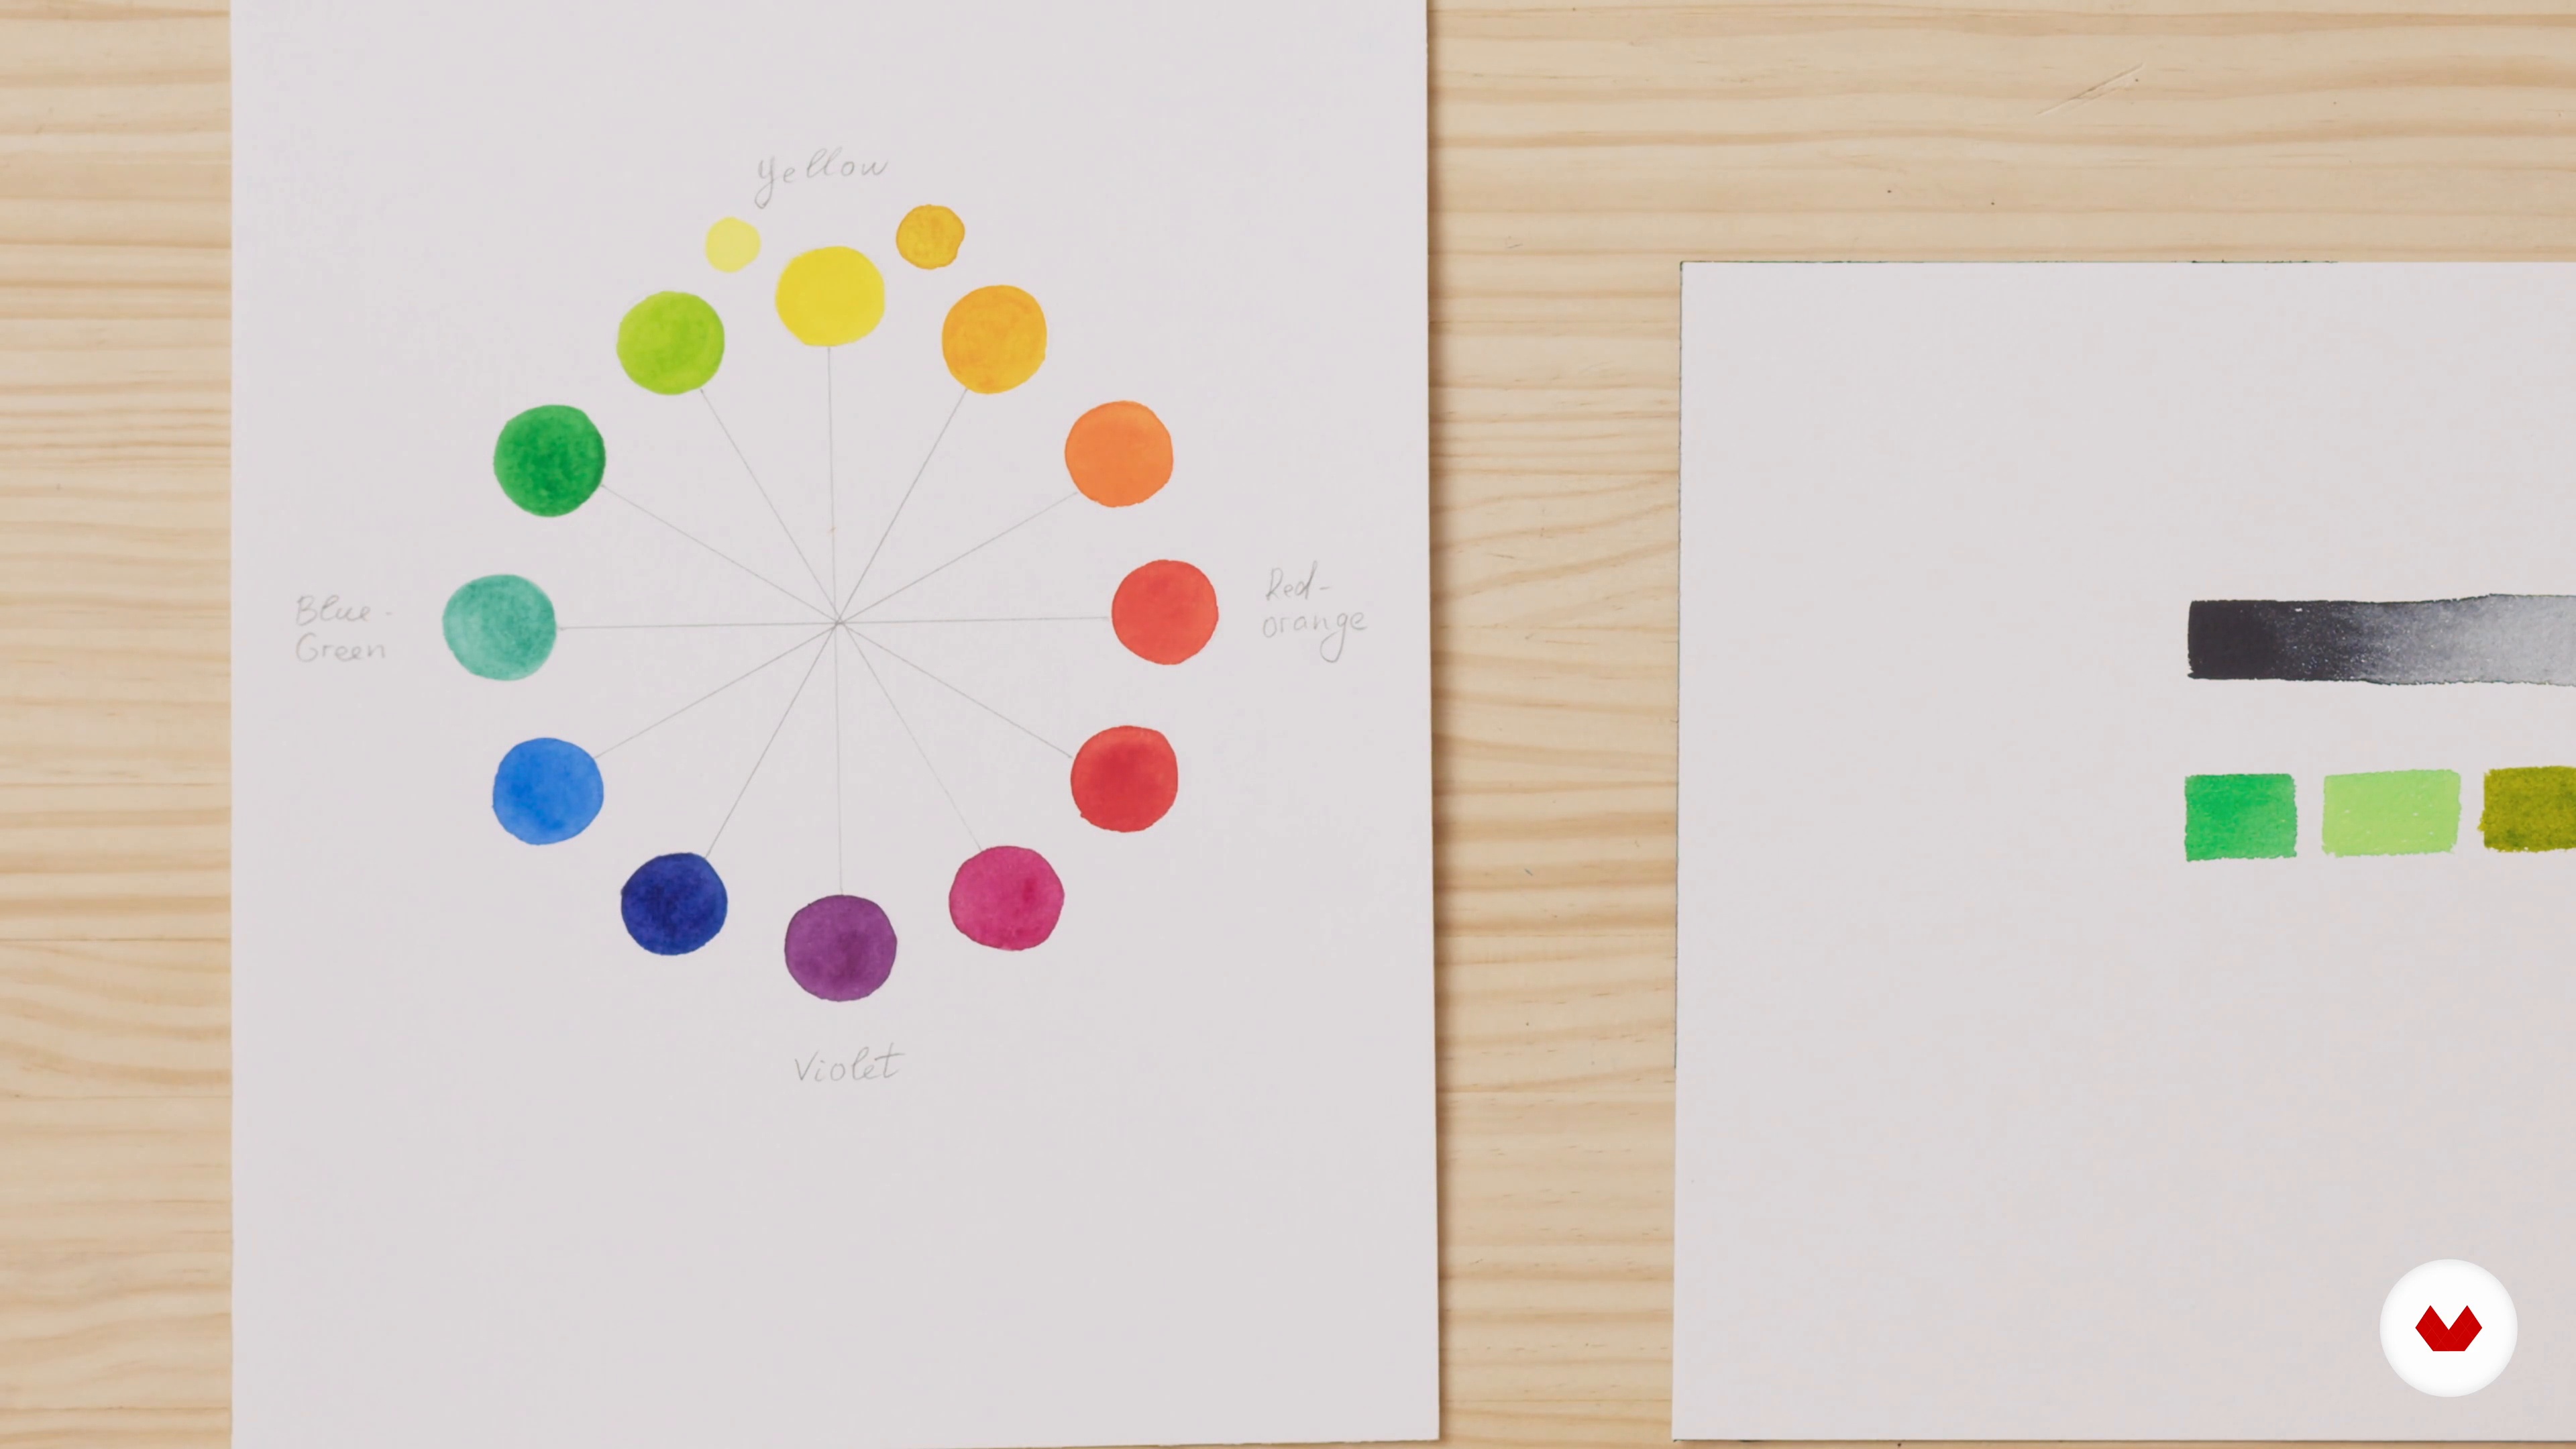
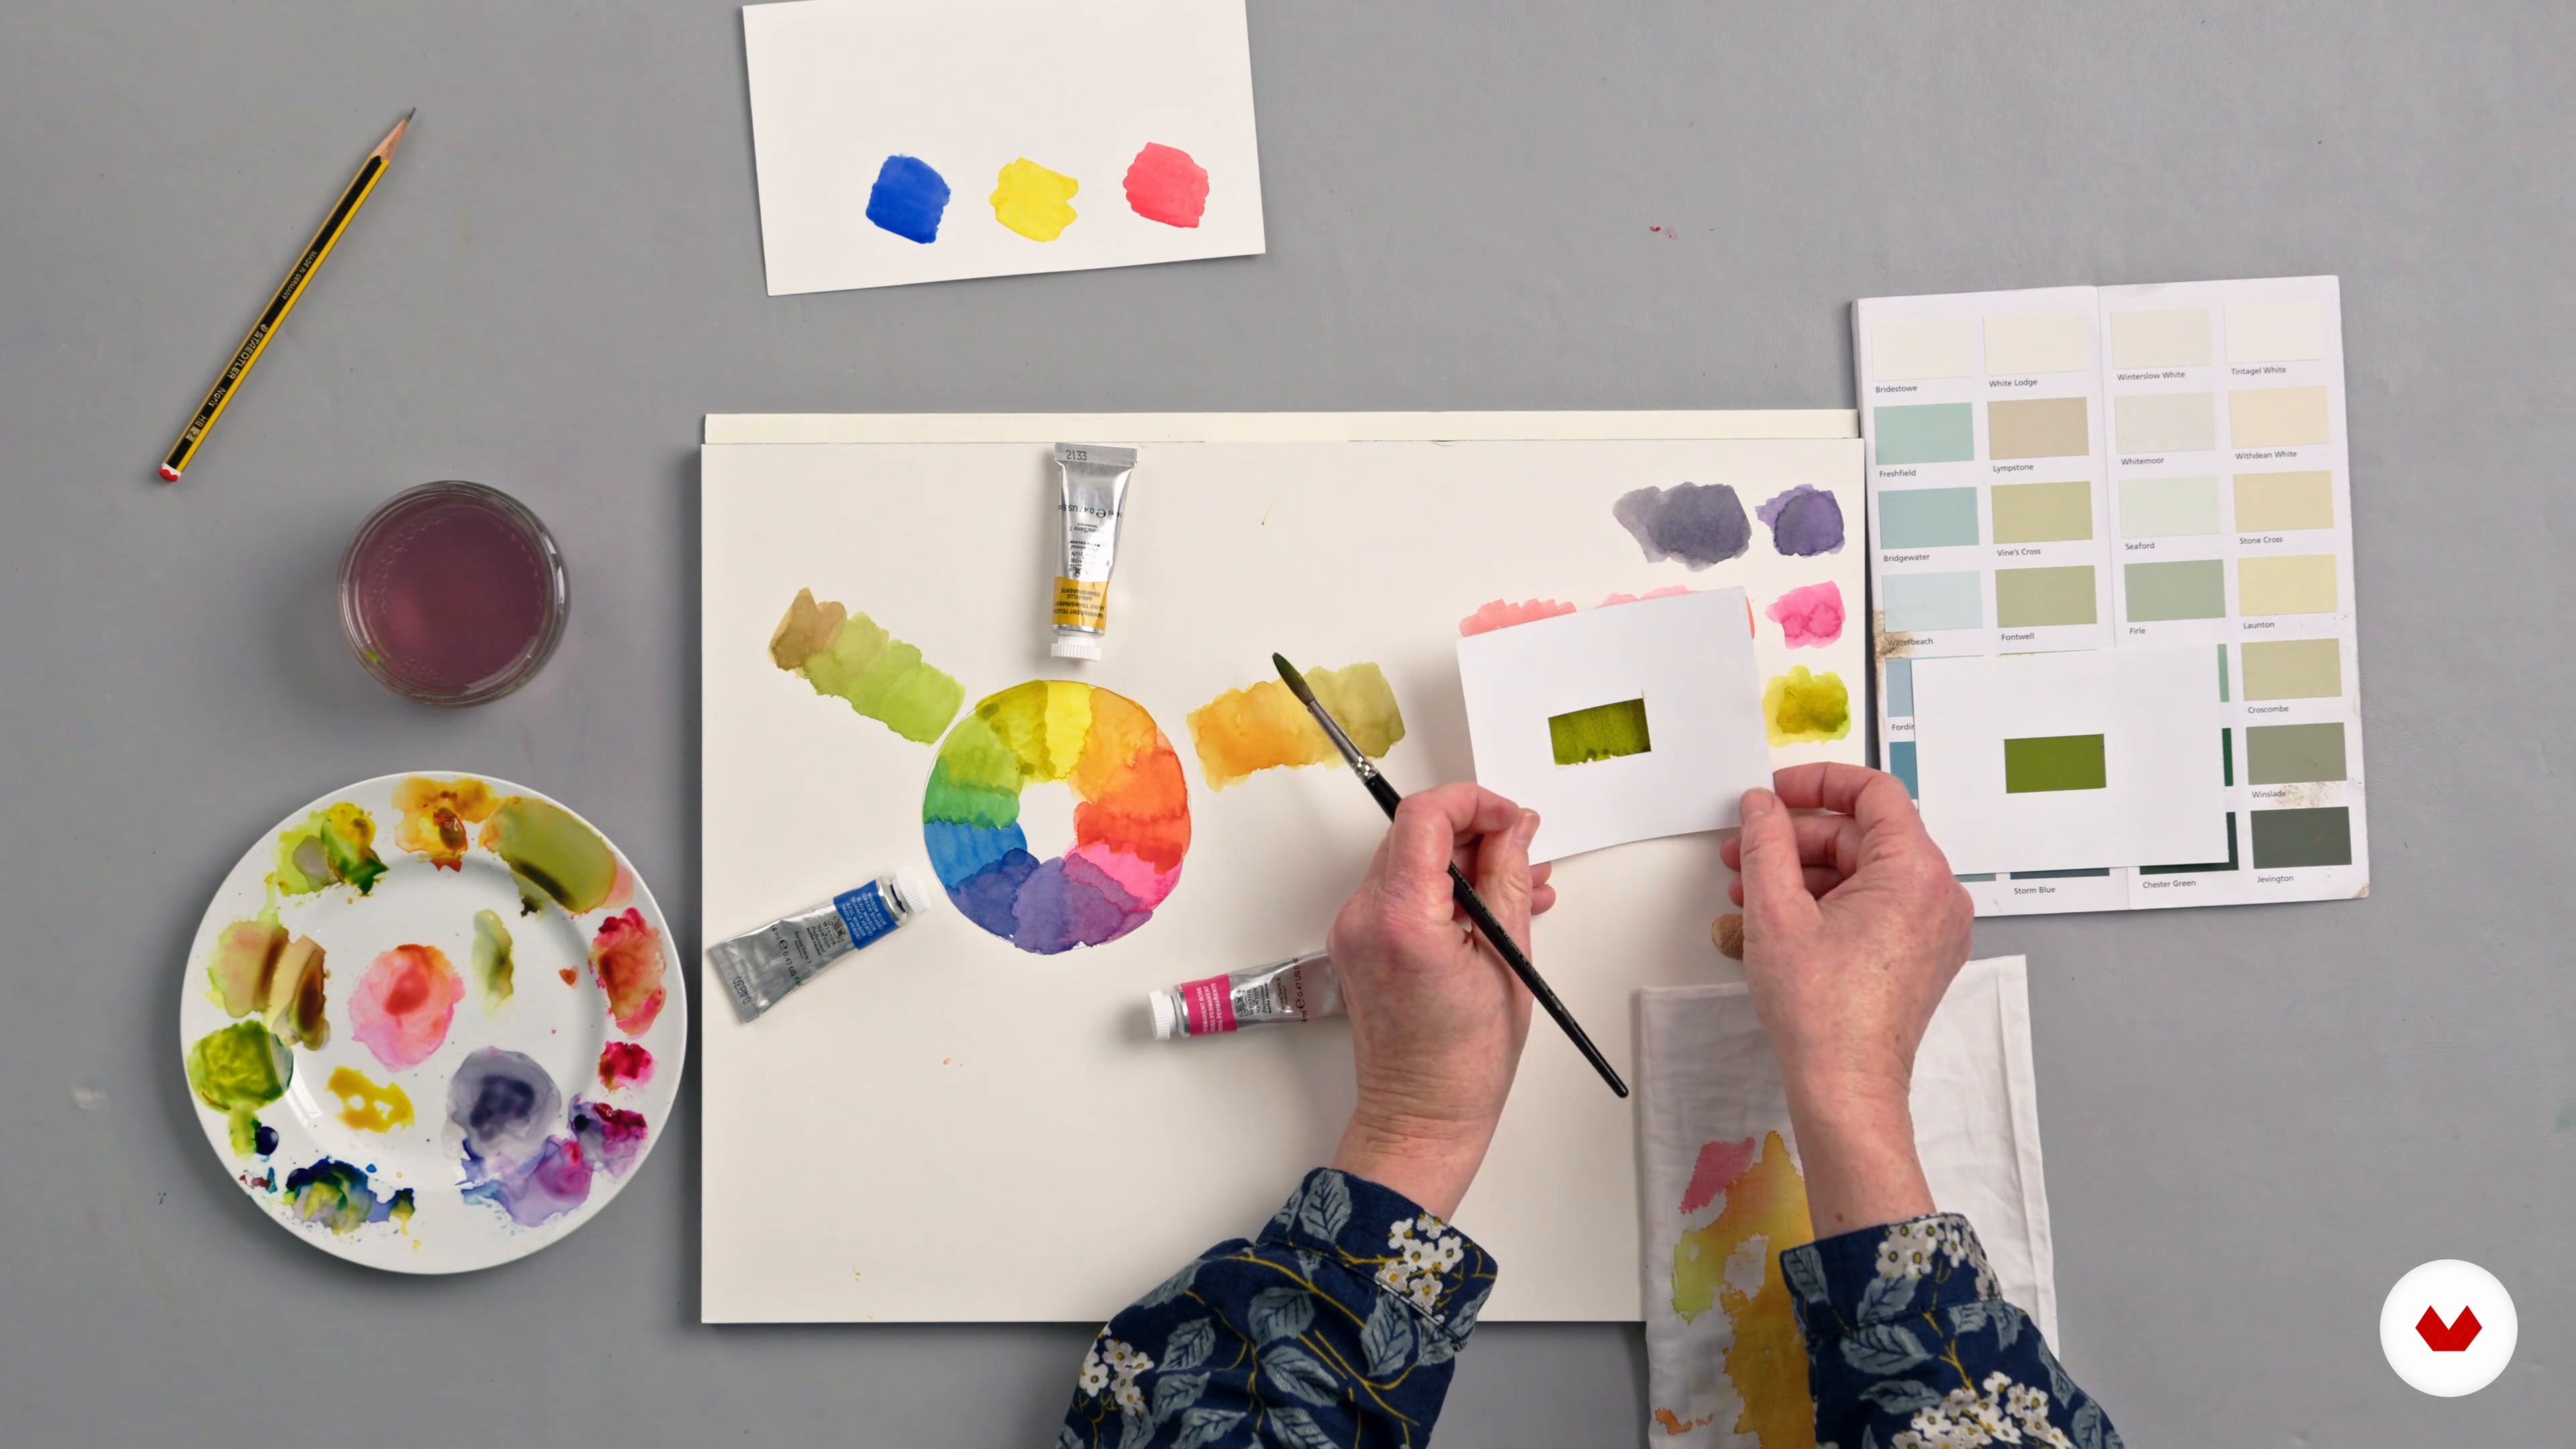
Now, I will show you how to mix and match any colour, starting with just three paints. I will explain my version of the traditional colour wheel and discuss the character of watercolour paints. I will demonstrate how to recreate bright and muted colours using a limited palette. You can add other colours to your paint box, but having a basic understanding of how to mix any colour you need, starting with a limited selection, will help you navigate the choice of paints on offer.
17m
image
6
Painting Textures
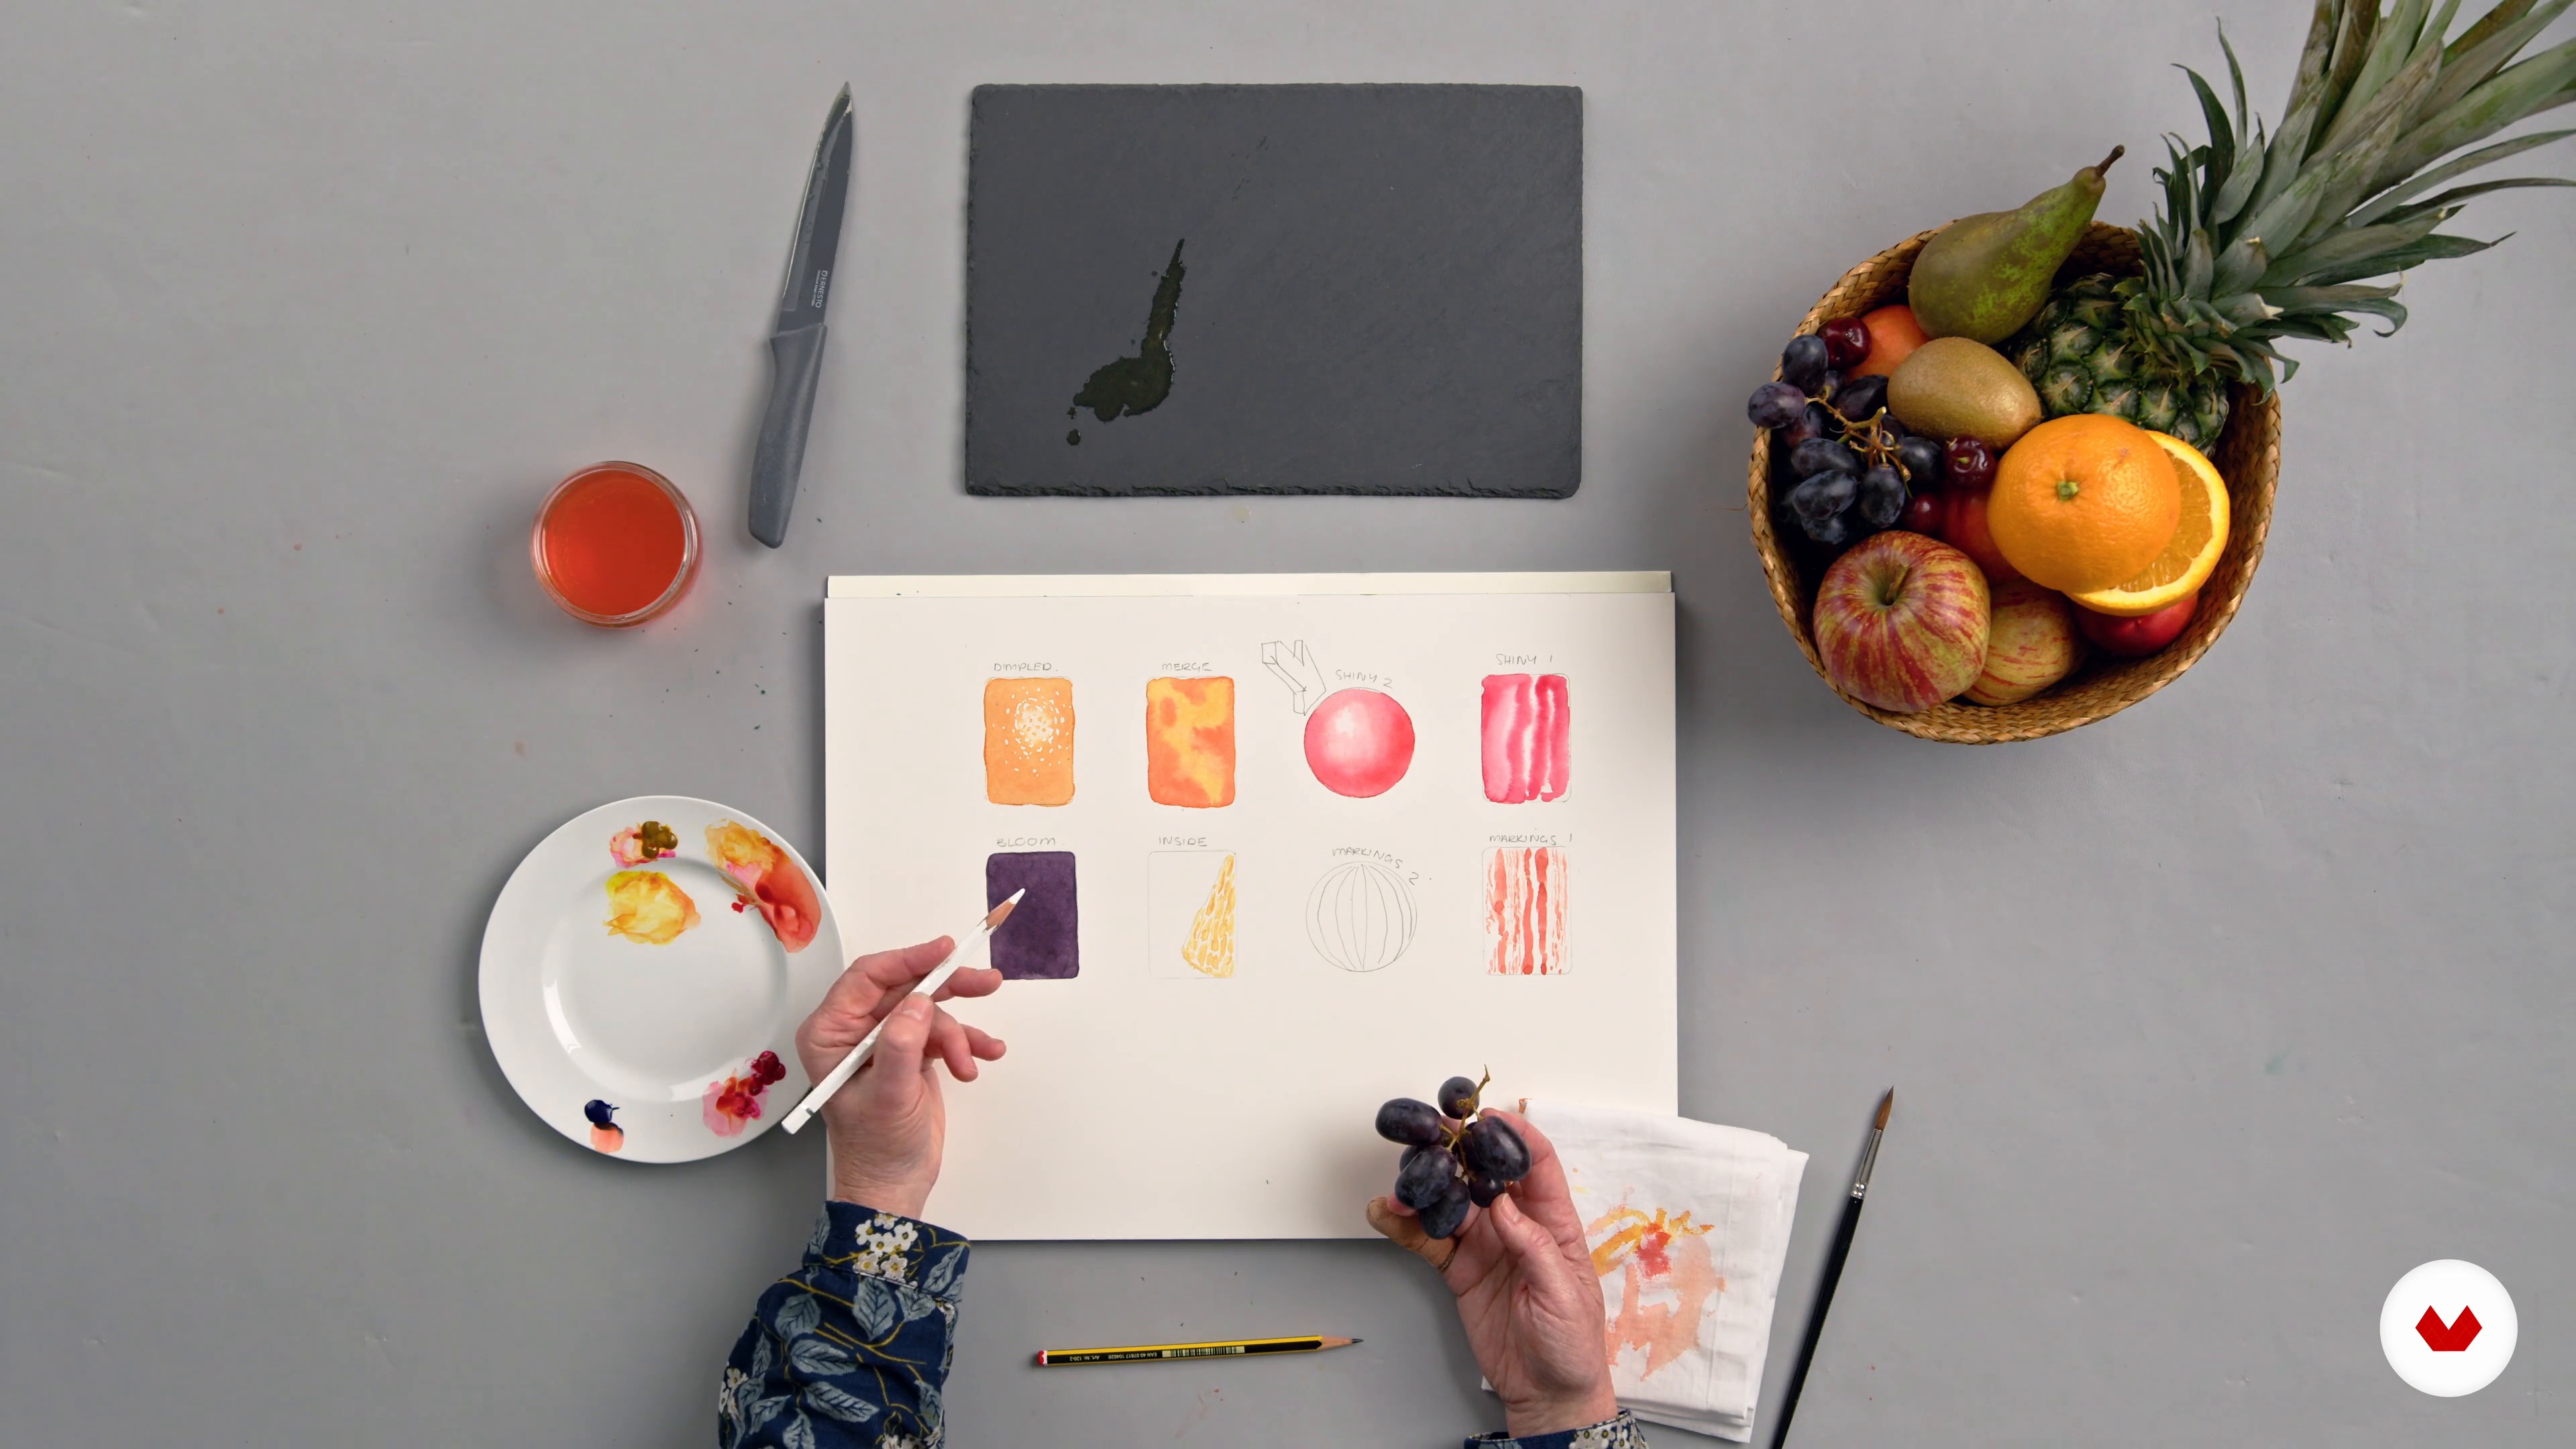
Fruit can be shiny, juicy, stripy, dimpled, and incredibly varied. In this lesson, I will show you how to use different watercolour techniques to replicate some of these textures.
19m
image
7
Observational Drawing
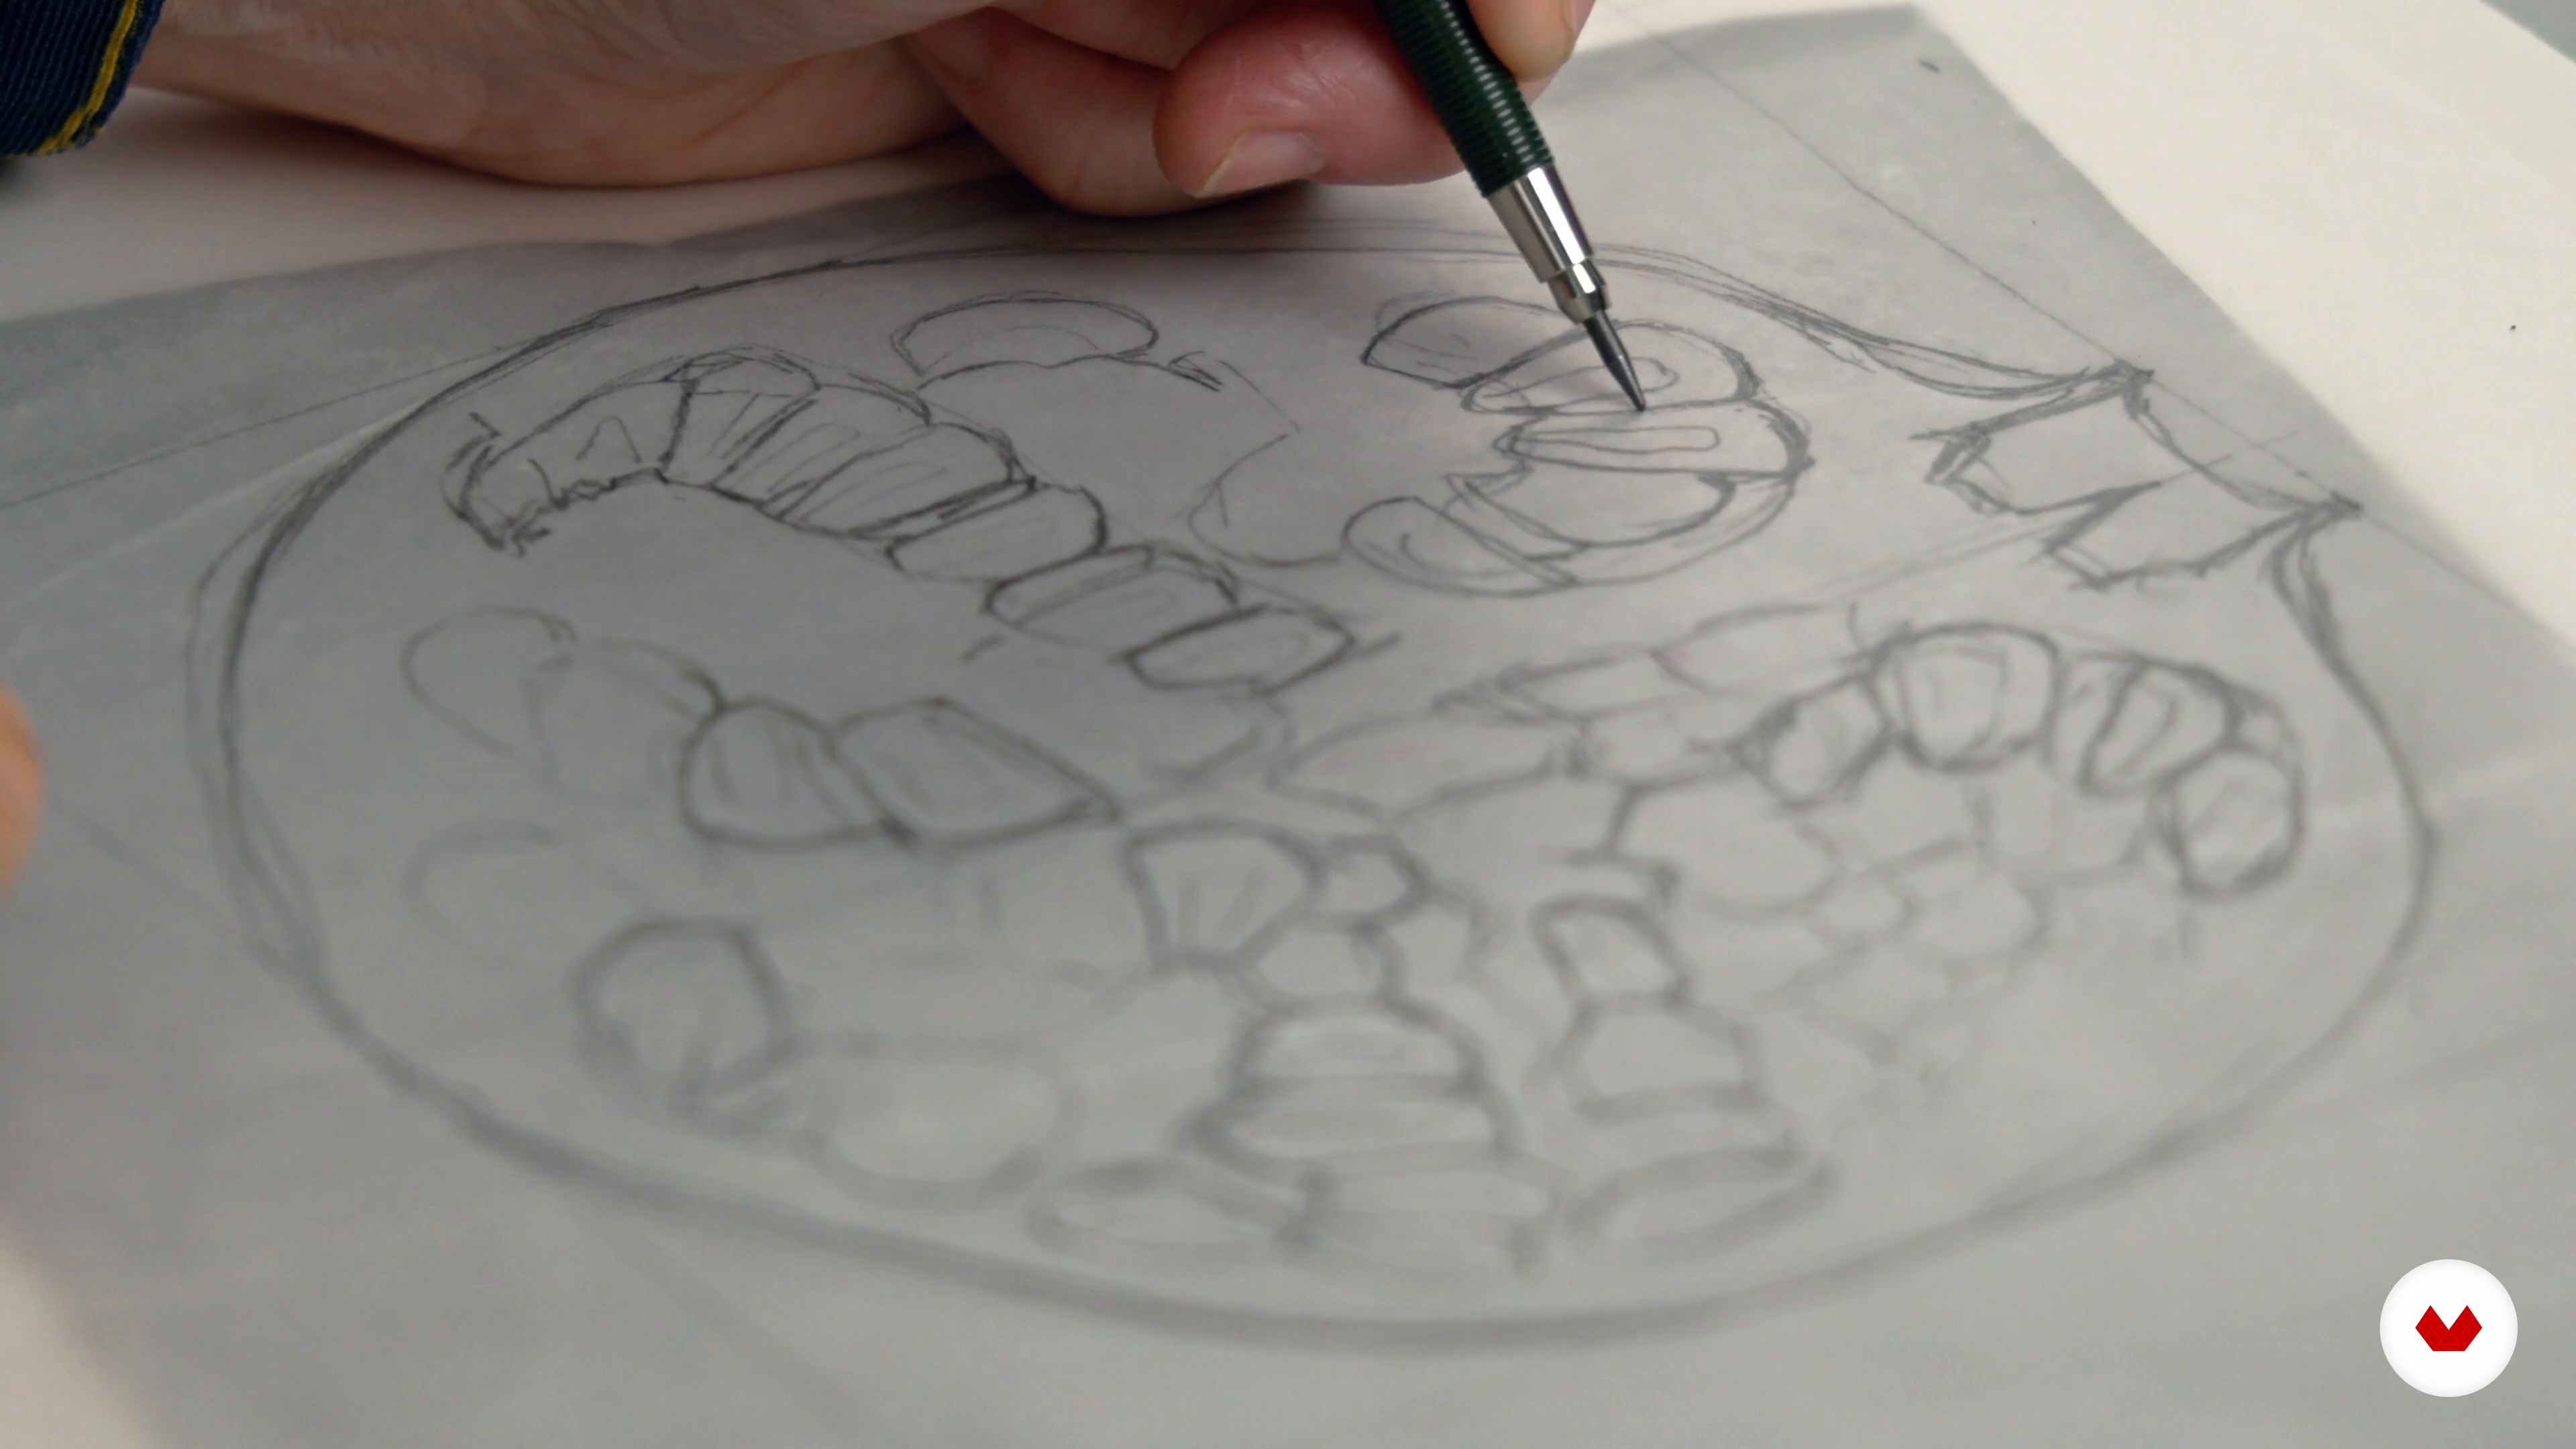
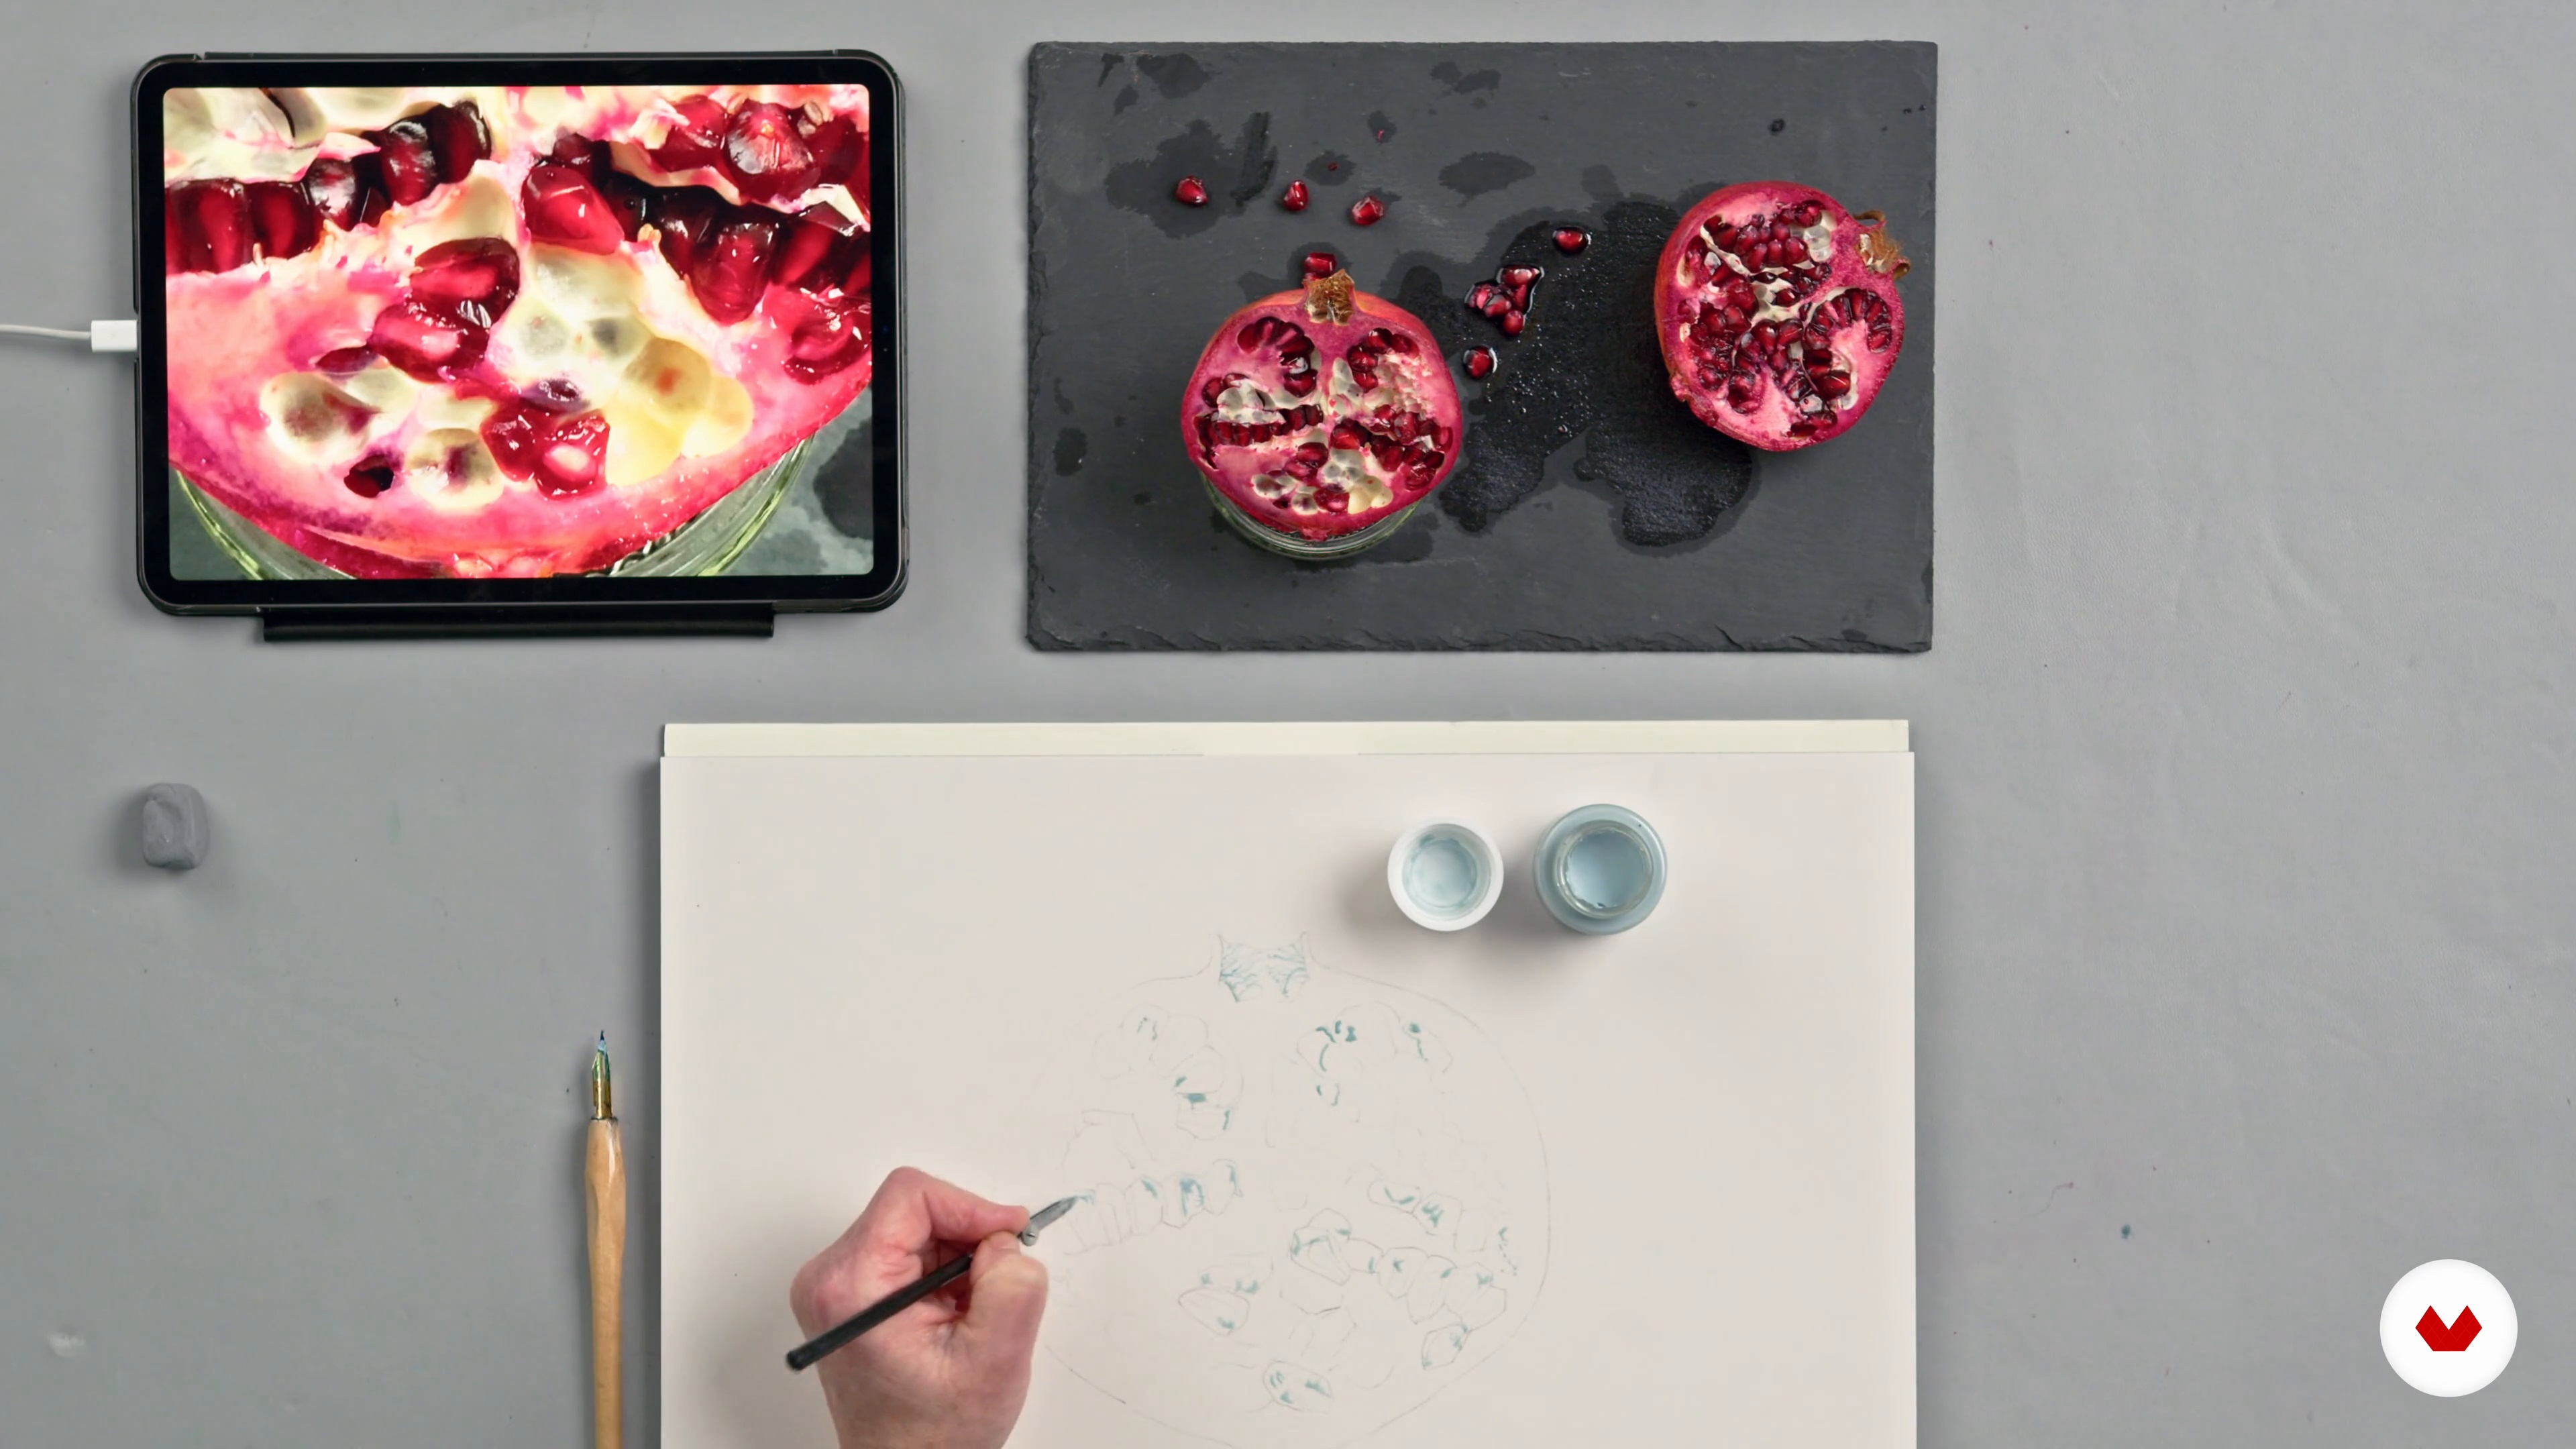
In this lesson, I will explain how to create a realistic drawing of our subject from life and from photographs. I will show you how to draw larger than life accurately and how to transfer the drawing onto watercolour paper.
12m
image
8
Masking Fluid
If your subject has tiny white highlights, pale veins, or a dimpled surface, you might consider using masking fluid to protect these areas before painting initial washes. In this lesson, I will show you when and how to use masking fluid at the start of any botanical painting.
4m
image
9
Initial Layers 1
Now, I will show you how to paint the initial layers of your picture and discuss how to choose which watercolour techniques to use.
13m
image
10
Initial Layers 2
Here, I will continue showing you how to work on the first layers.
8m
image
11
Adding Textures
It's time for you to look at how to build up the colours of your subject and which techniques to use to introduce appropriate surface texture and character.
15m
image
12
Finishing Touches
Using a full range of tonal values brings any study like this to life, and adding even the smallest touches of dark colour can make a huge difference.
19m
image
13
Adding the Background and Adjustments
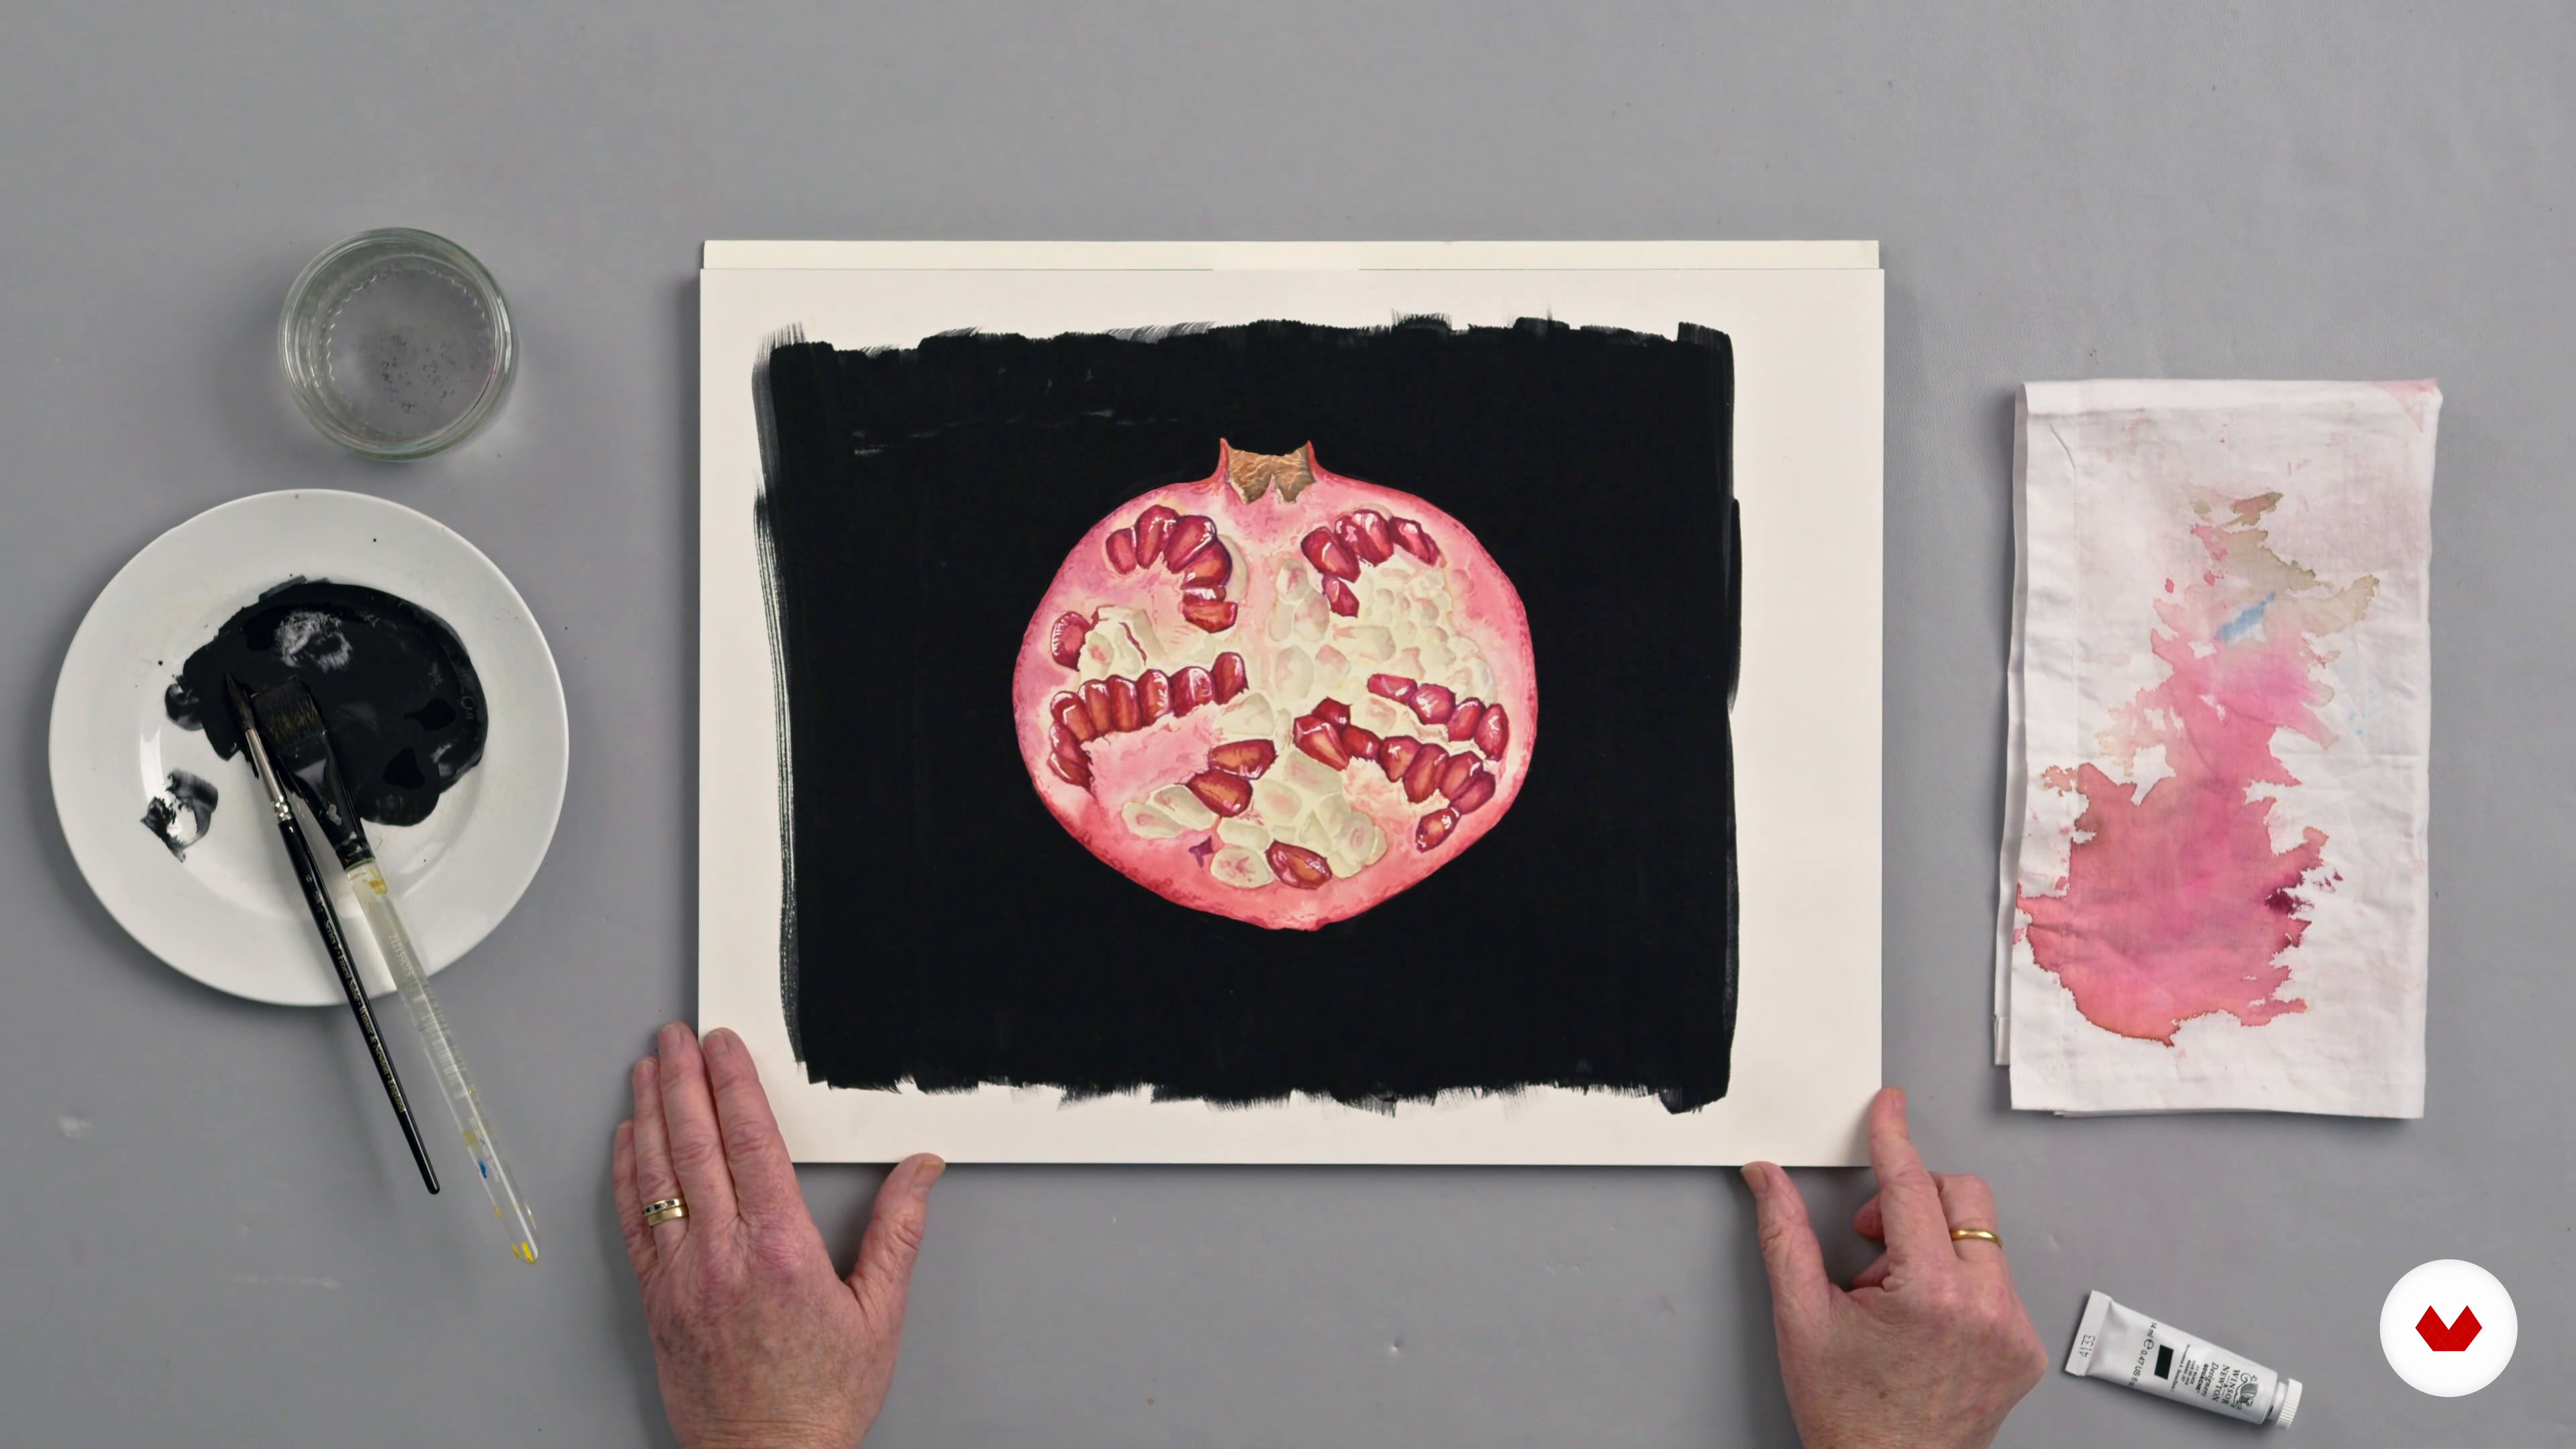
A black background can add drama to a painting, so in this lesson I will demonstrate how to create this with gouache, how to mix the correct consistency and how to apply this to your painting. As such a dark background is a huge contrast to the original white paper, the study often needs some final adjustments, which I will also explain here.
7m
image
14
Composition Ideas
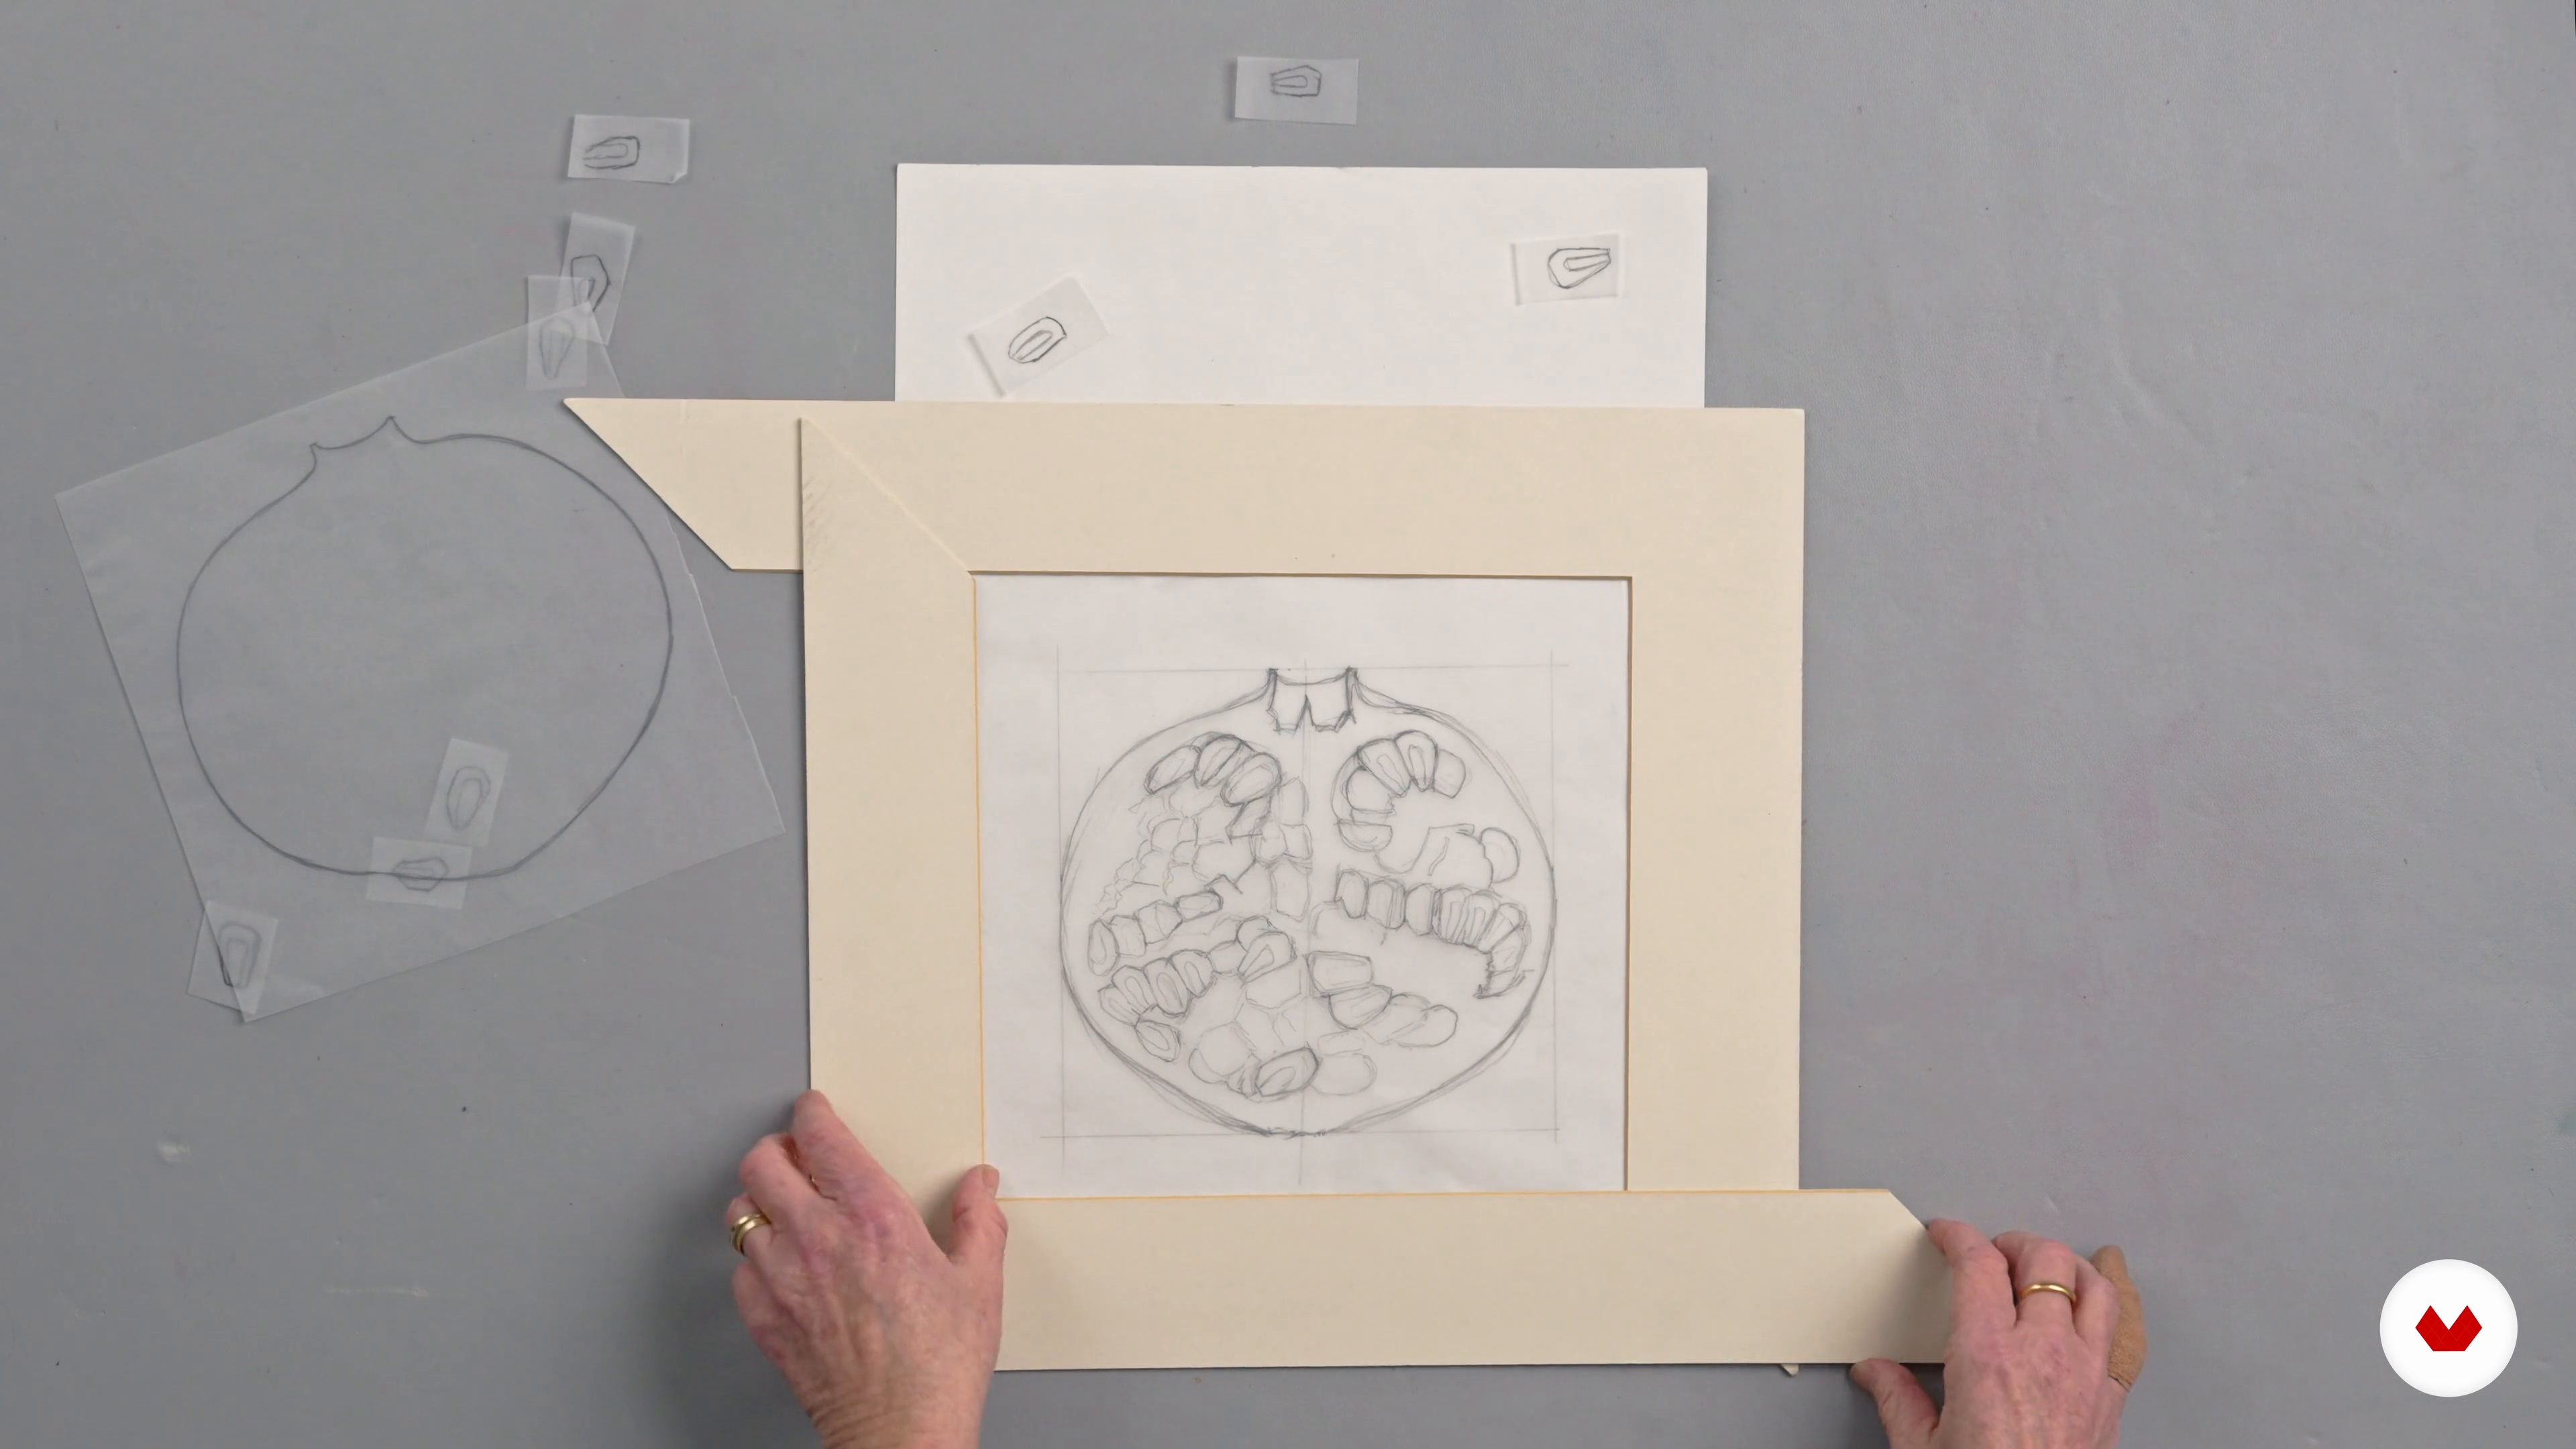
I will show you how to plan a composition with more than one element, using tracing paper and simple cardboard corners. Using the pomegranate as a starting point, I will explain some basic guidelines to be aware of and explain how to create a dynamic arrangement.
8m
image
15
Framing Your Work
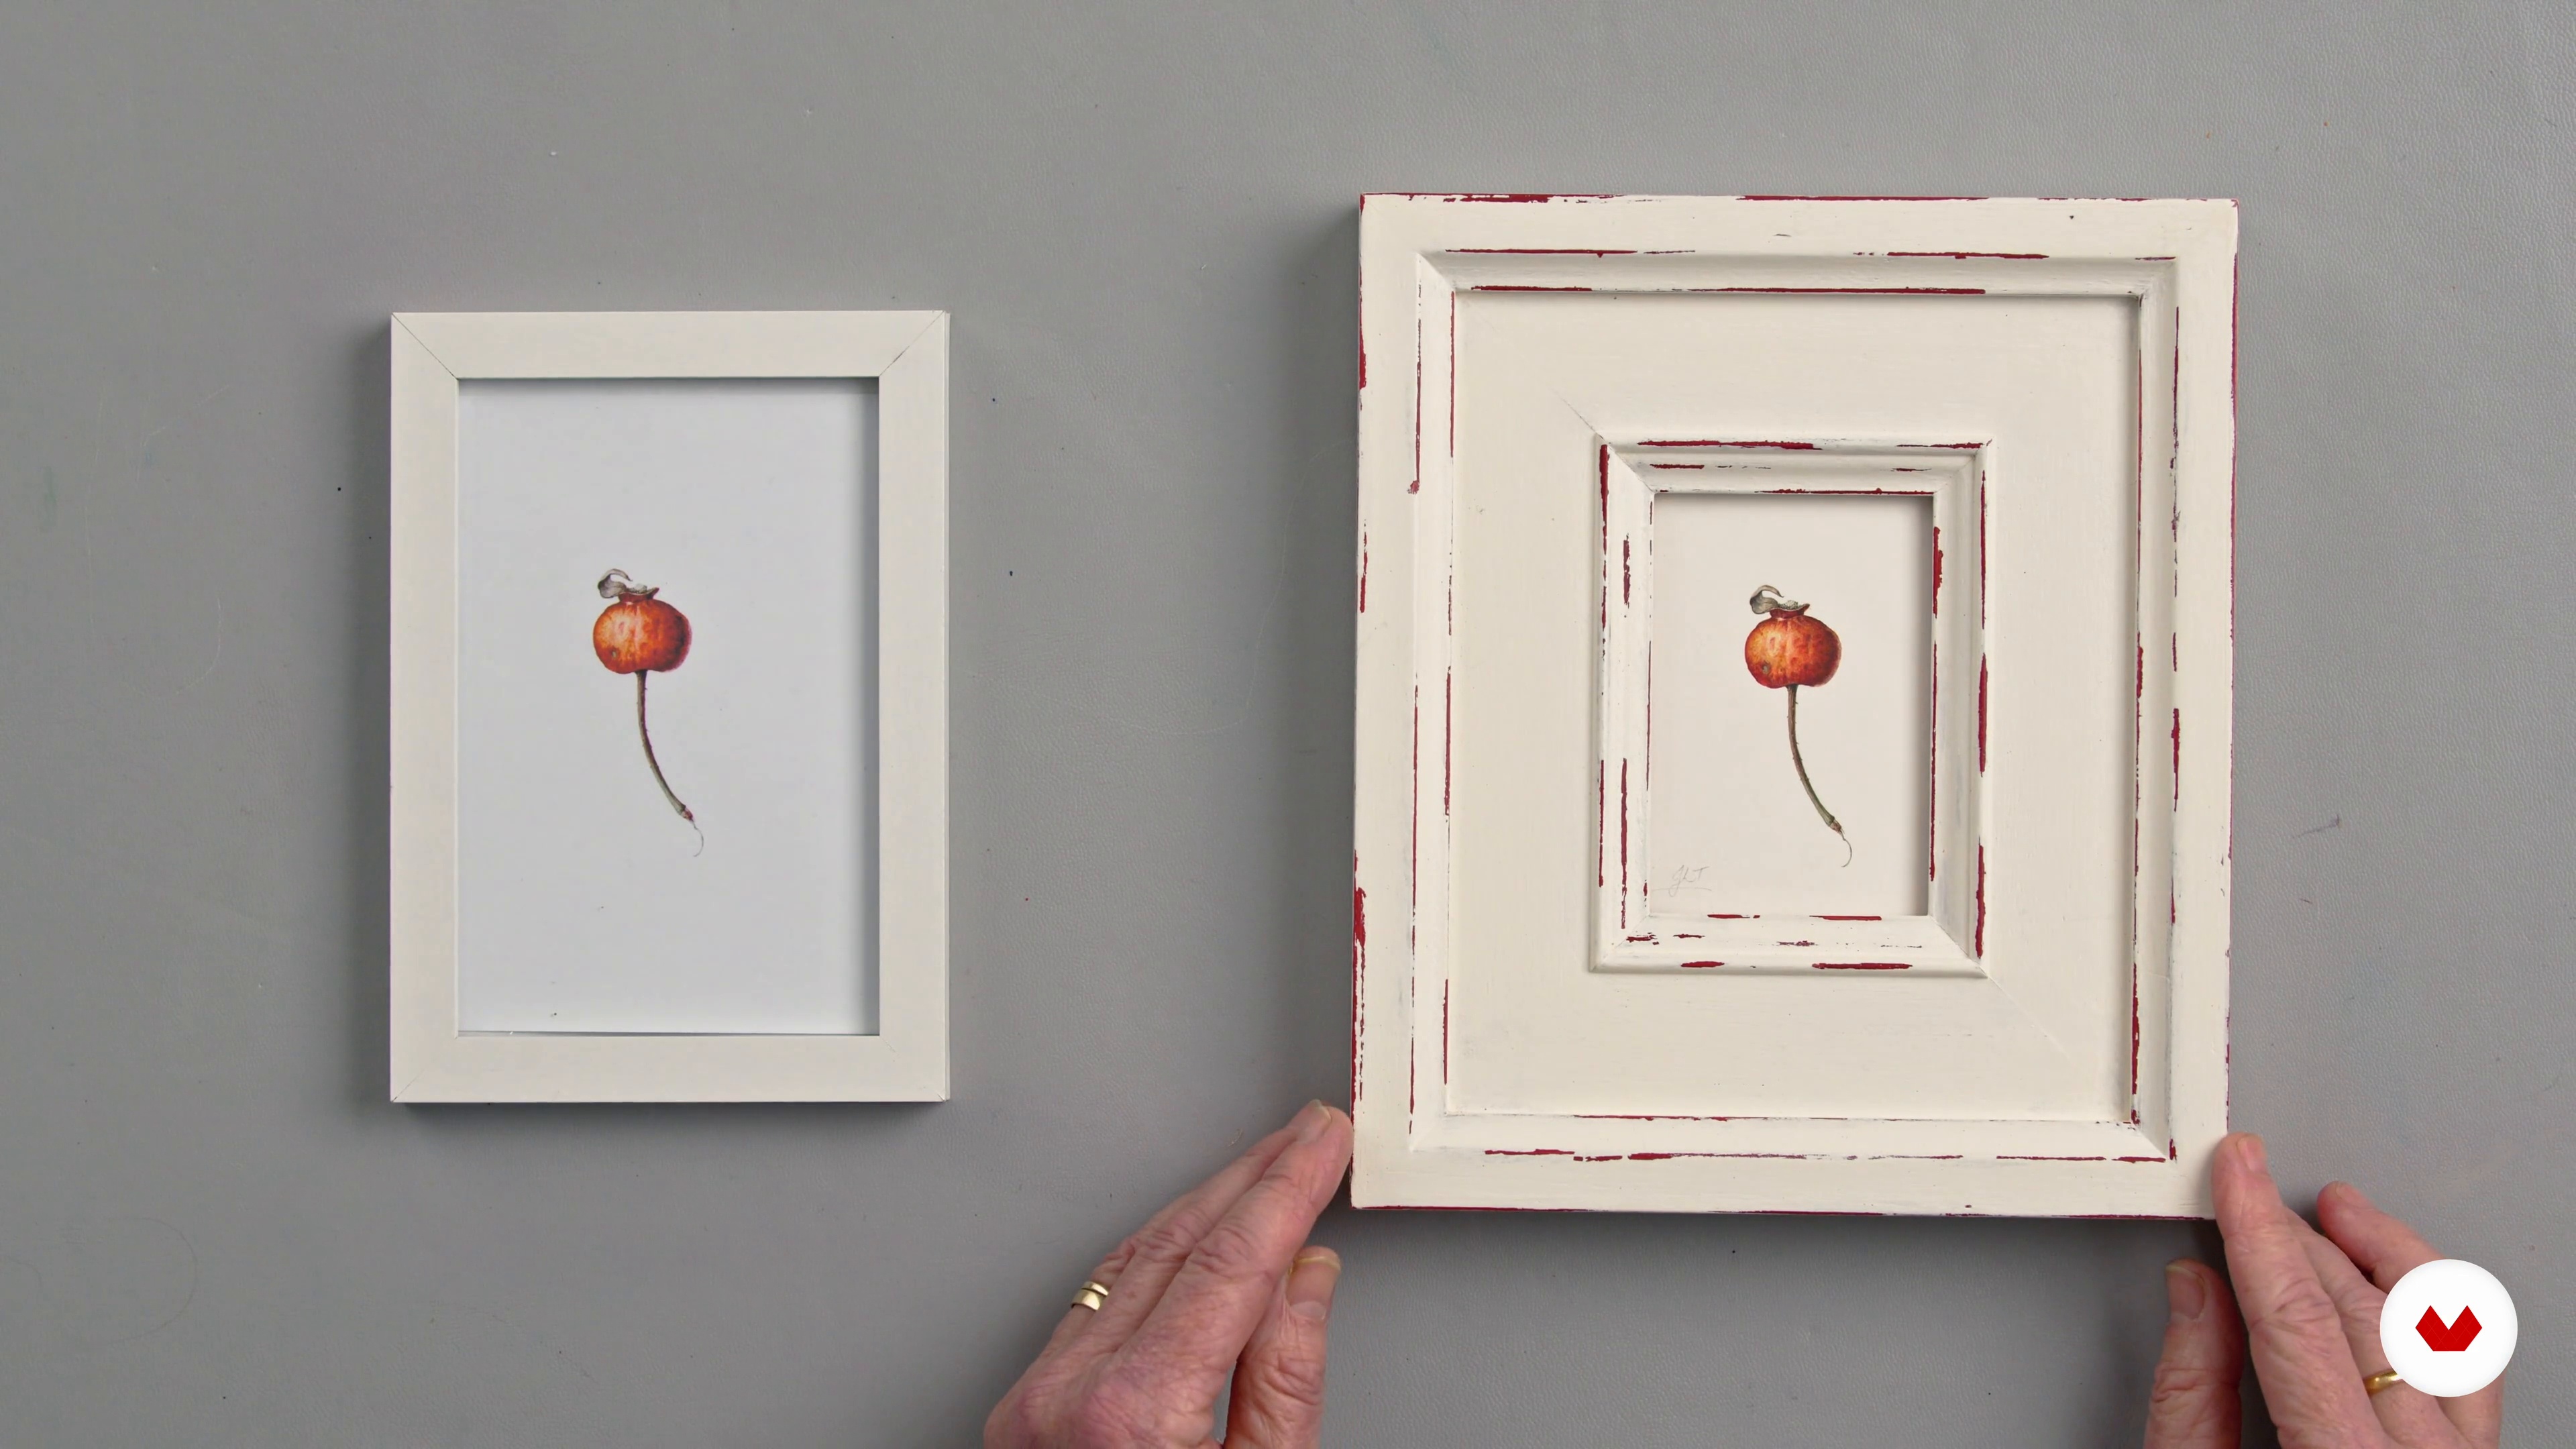
Having produced a picture that you are proud of, why not get it framed? In this lesson, I will talk through what you should think about when choosing a frame for your painting.
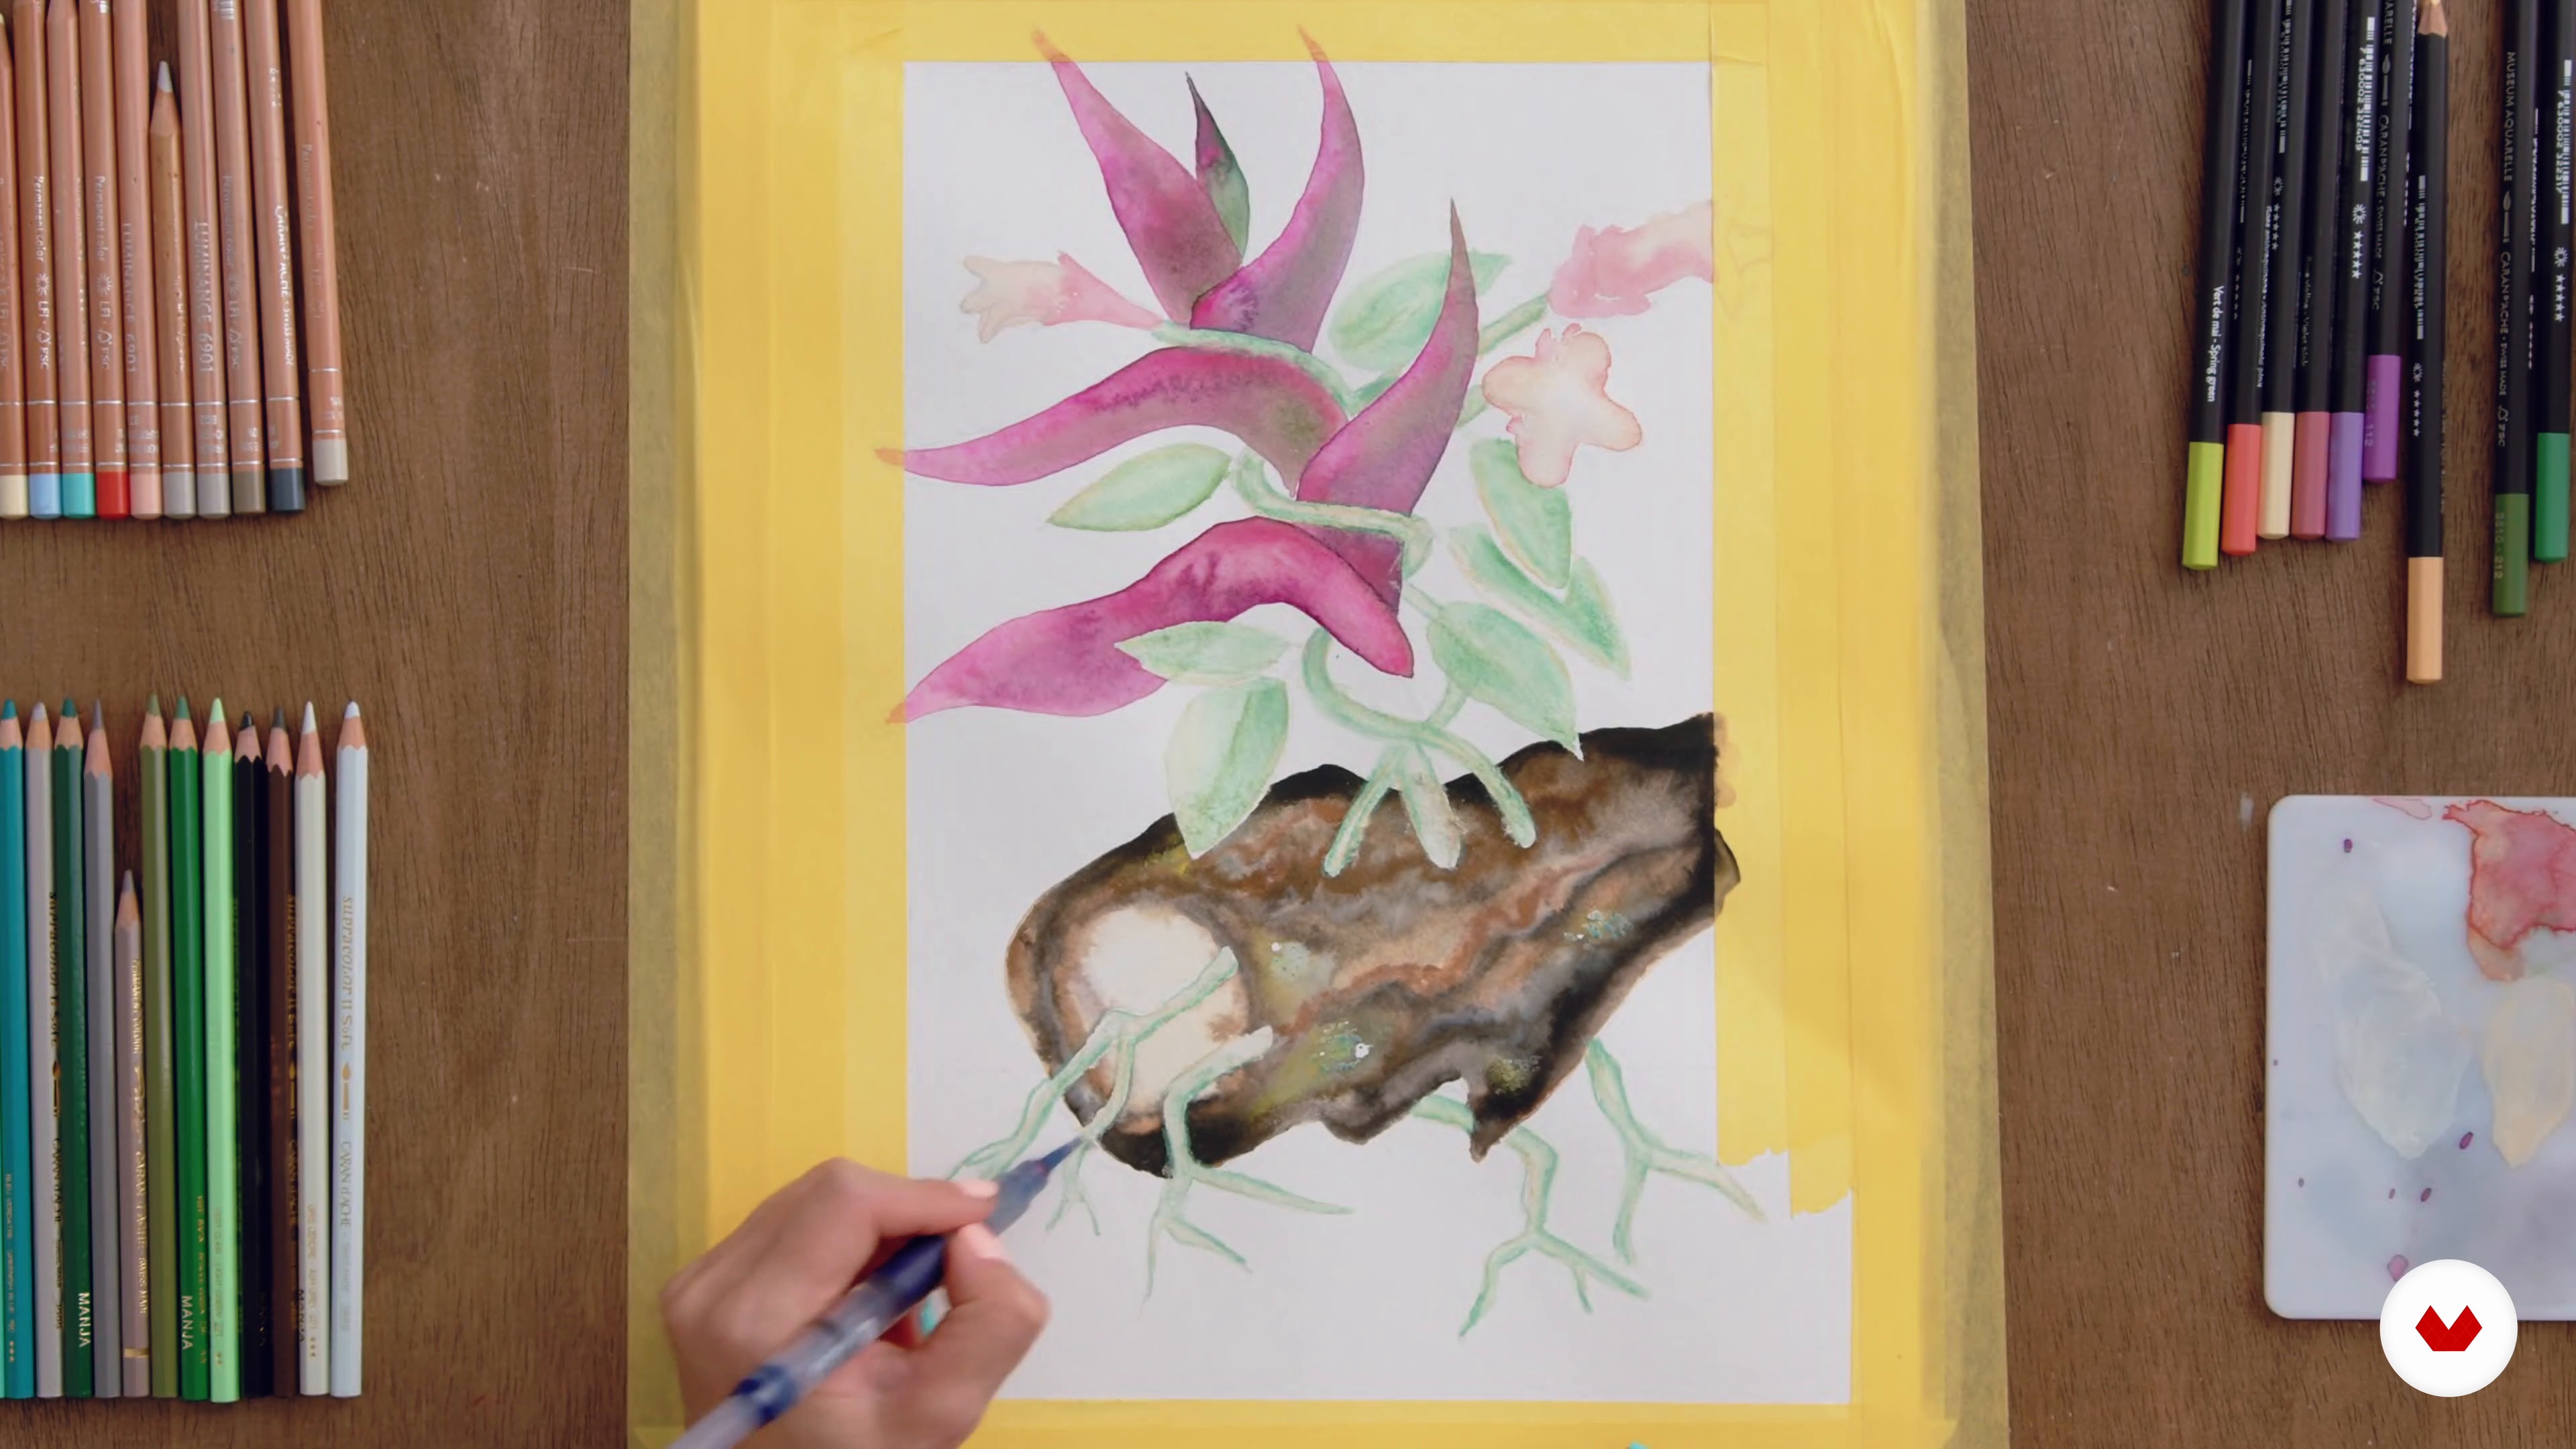
5m
image
3
Tools and Materials
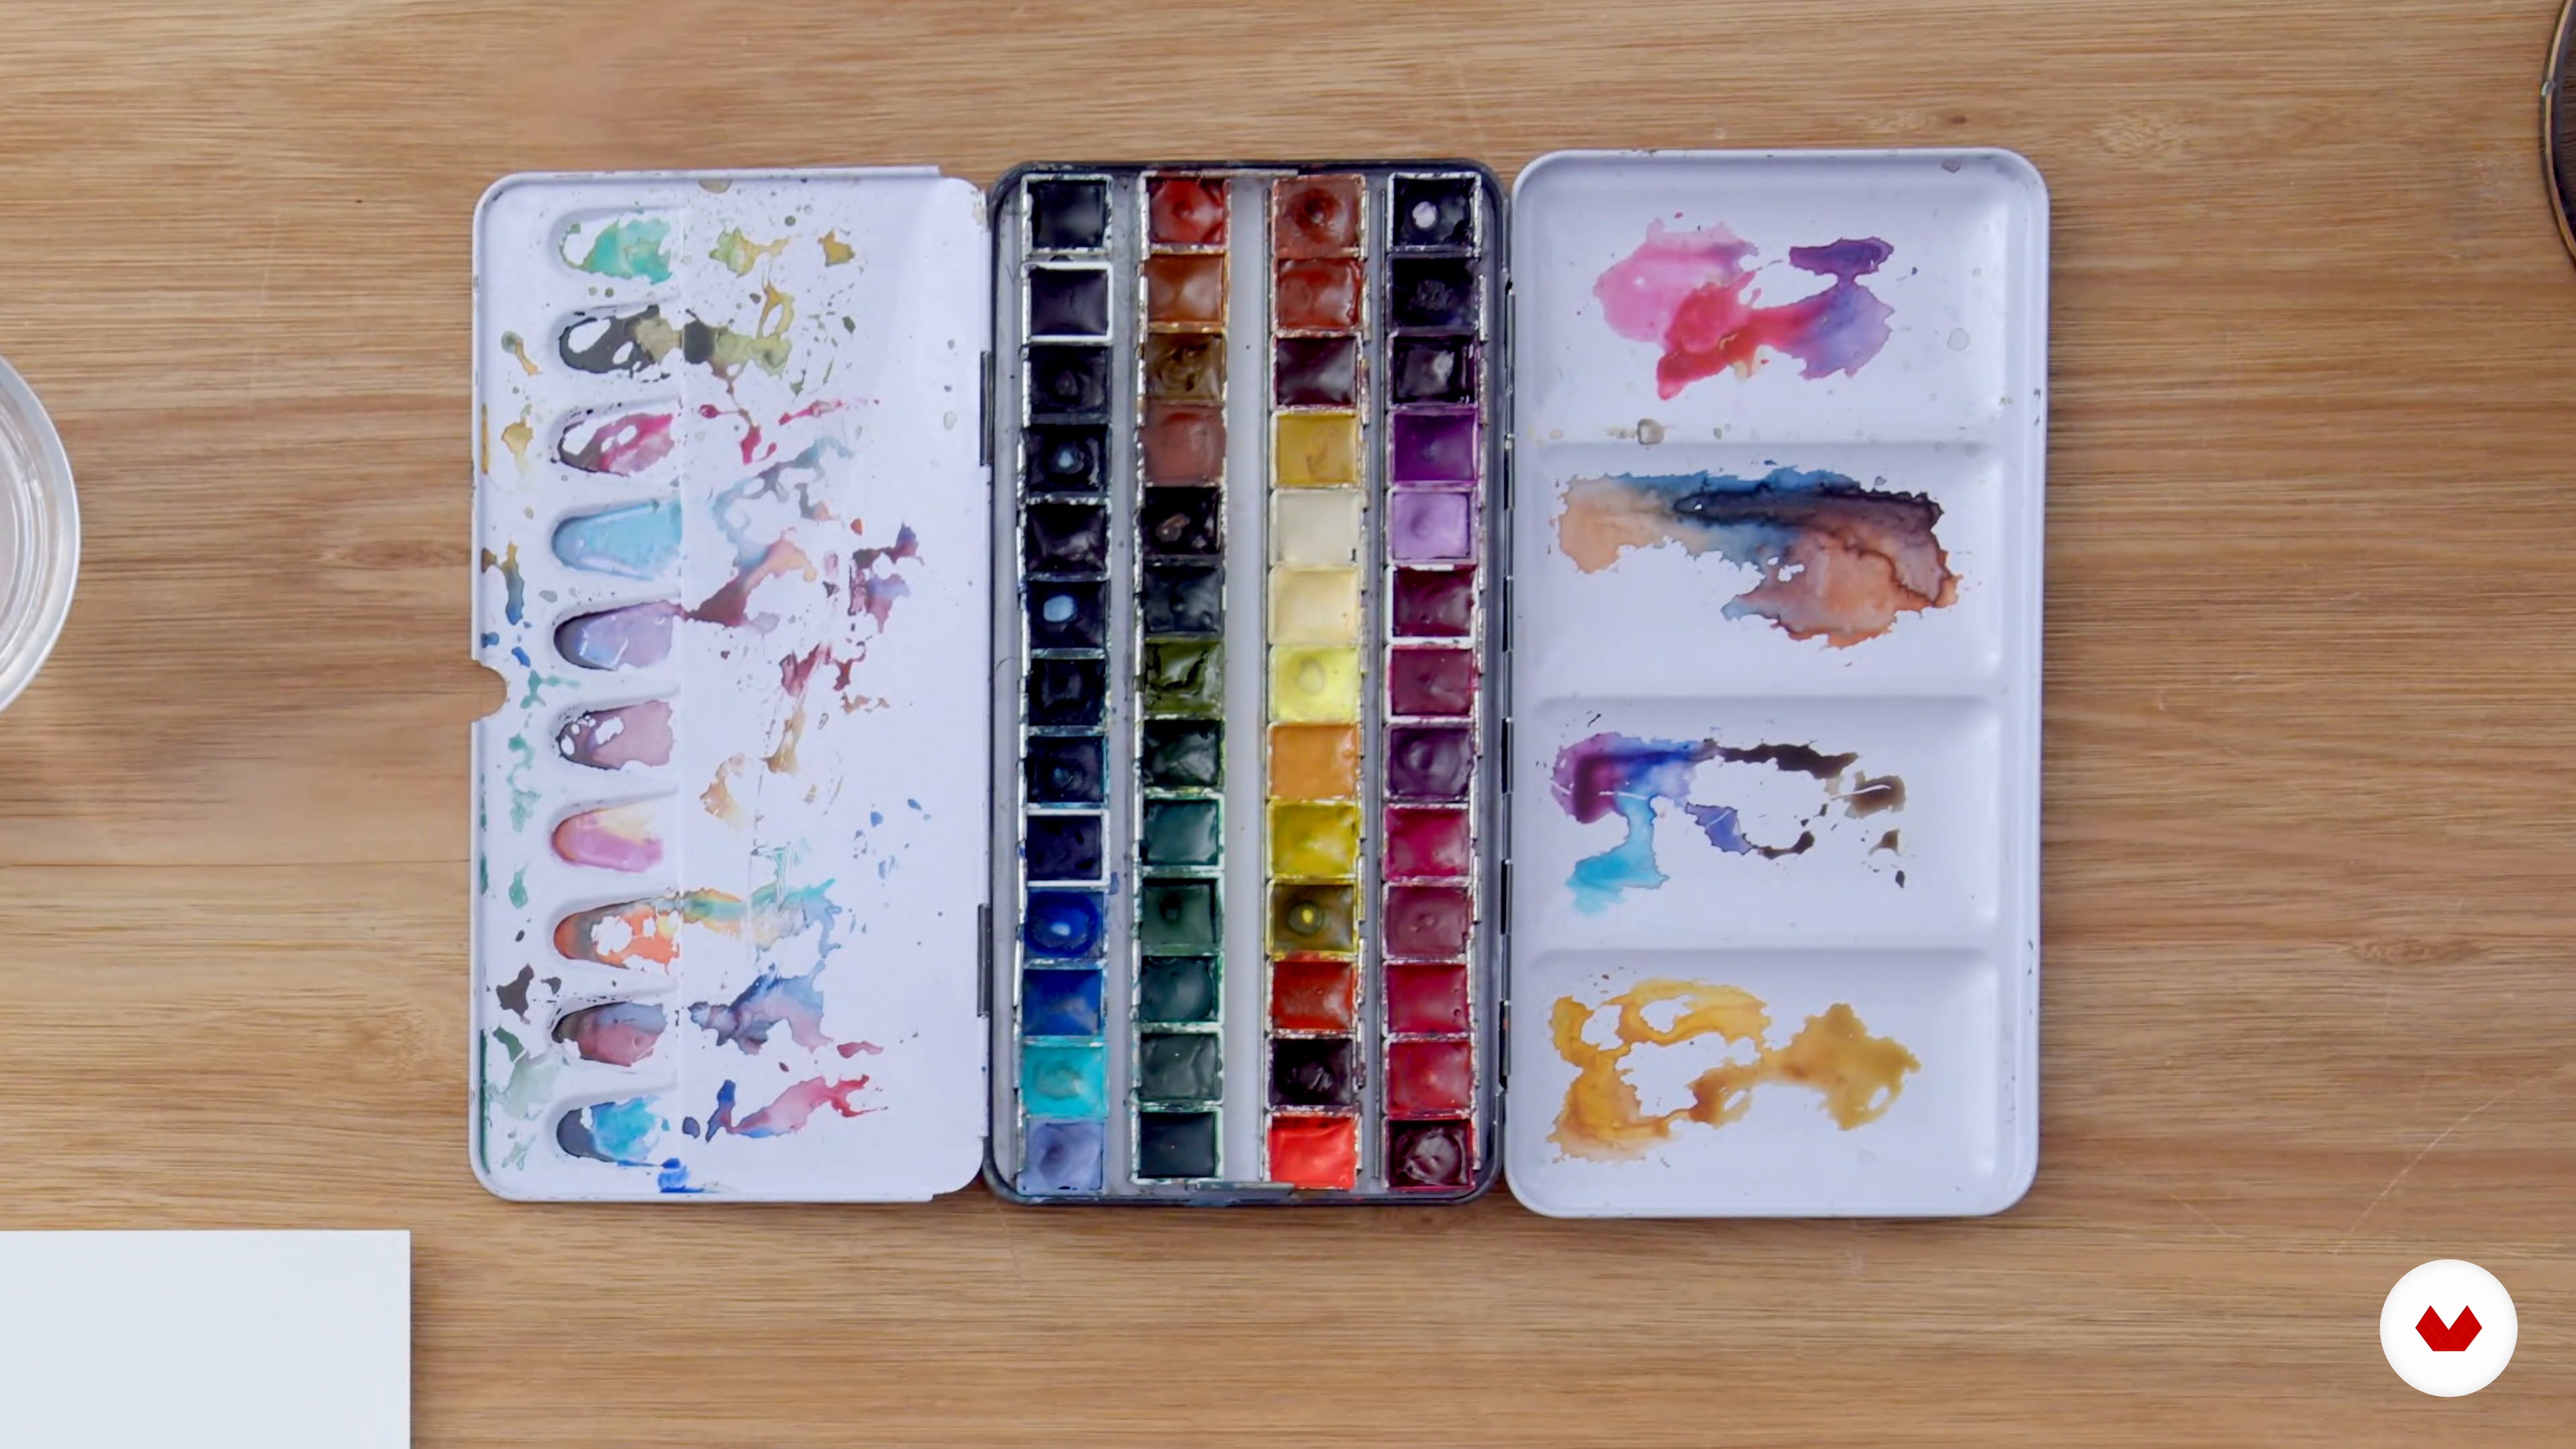
In this lesson, I will first introduce you to the course project. Next, I’ll share with you the tools needed during this course and take a deeper dive into some of my personal favourites. I will show you inside my paint palette and talk you through brushes and brush sizes, watercolour paper, and the other tools used in this course, offering different options and alternatives to suit your needs. Let’s get started!
7m
image
4
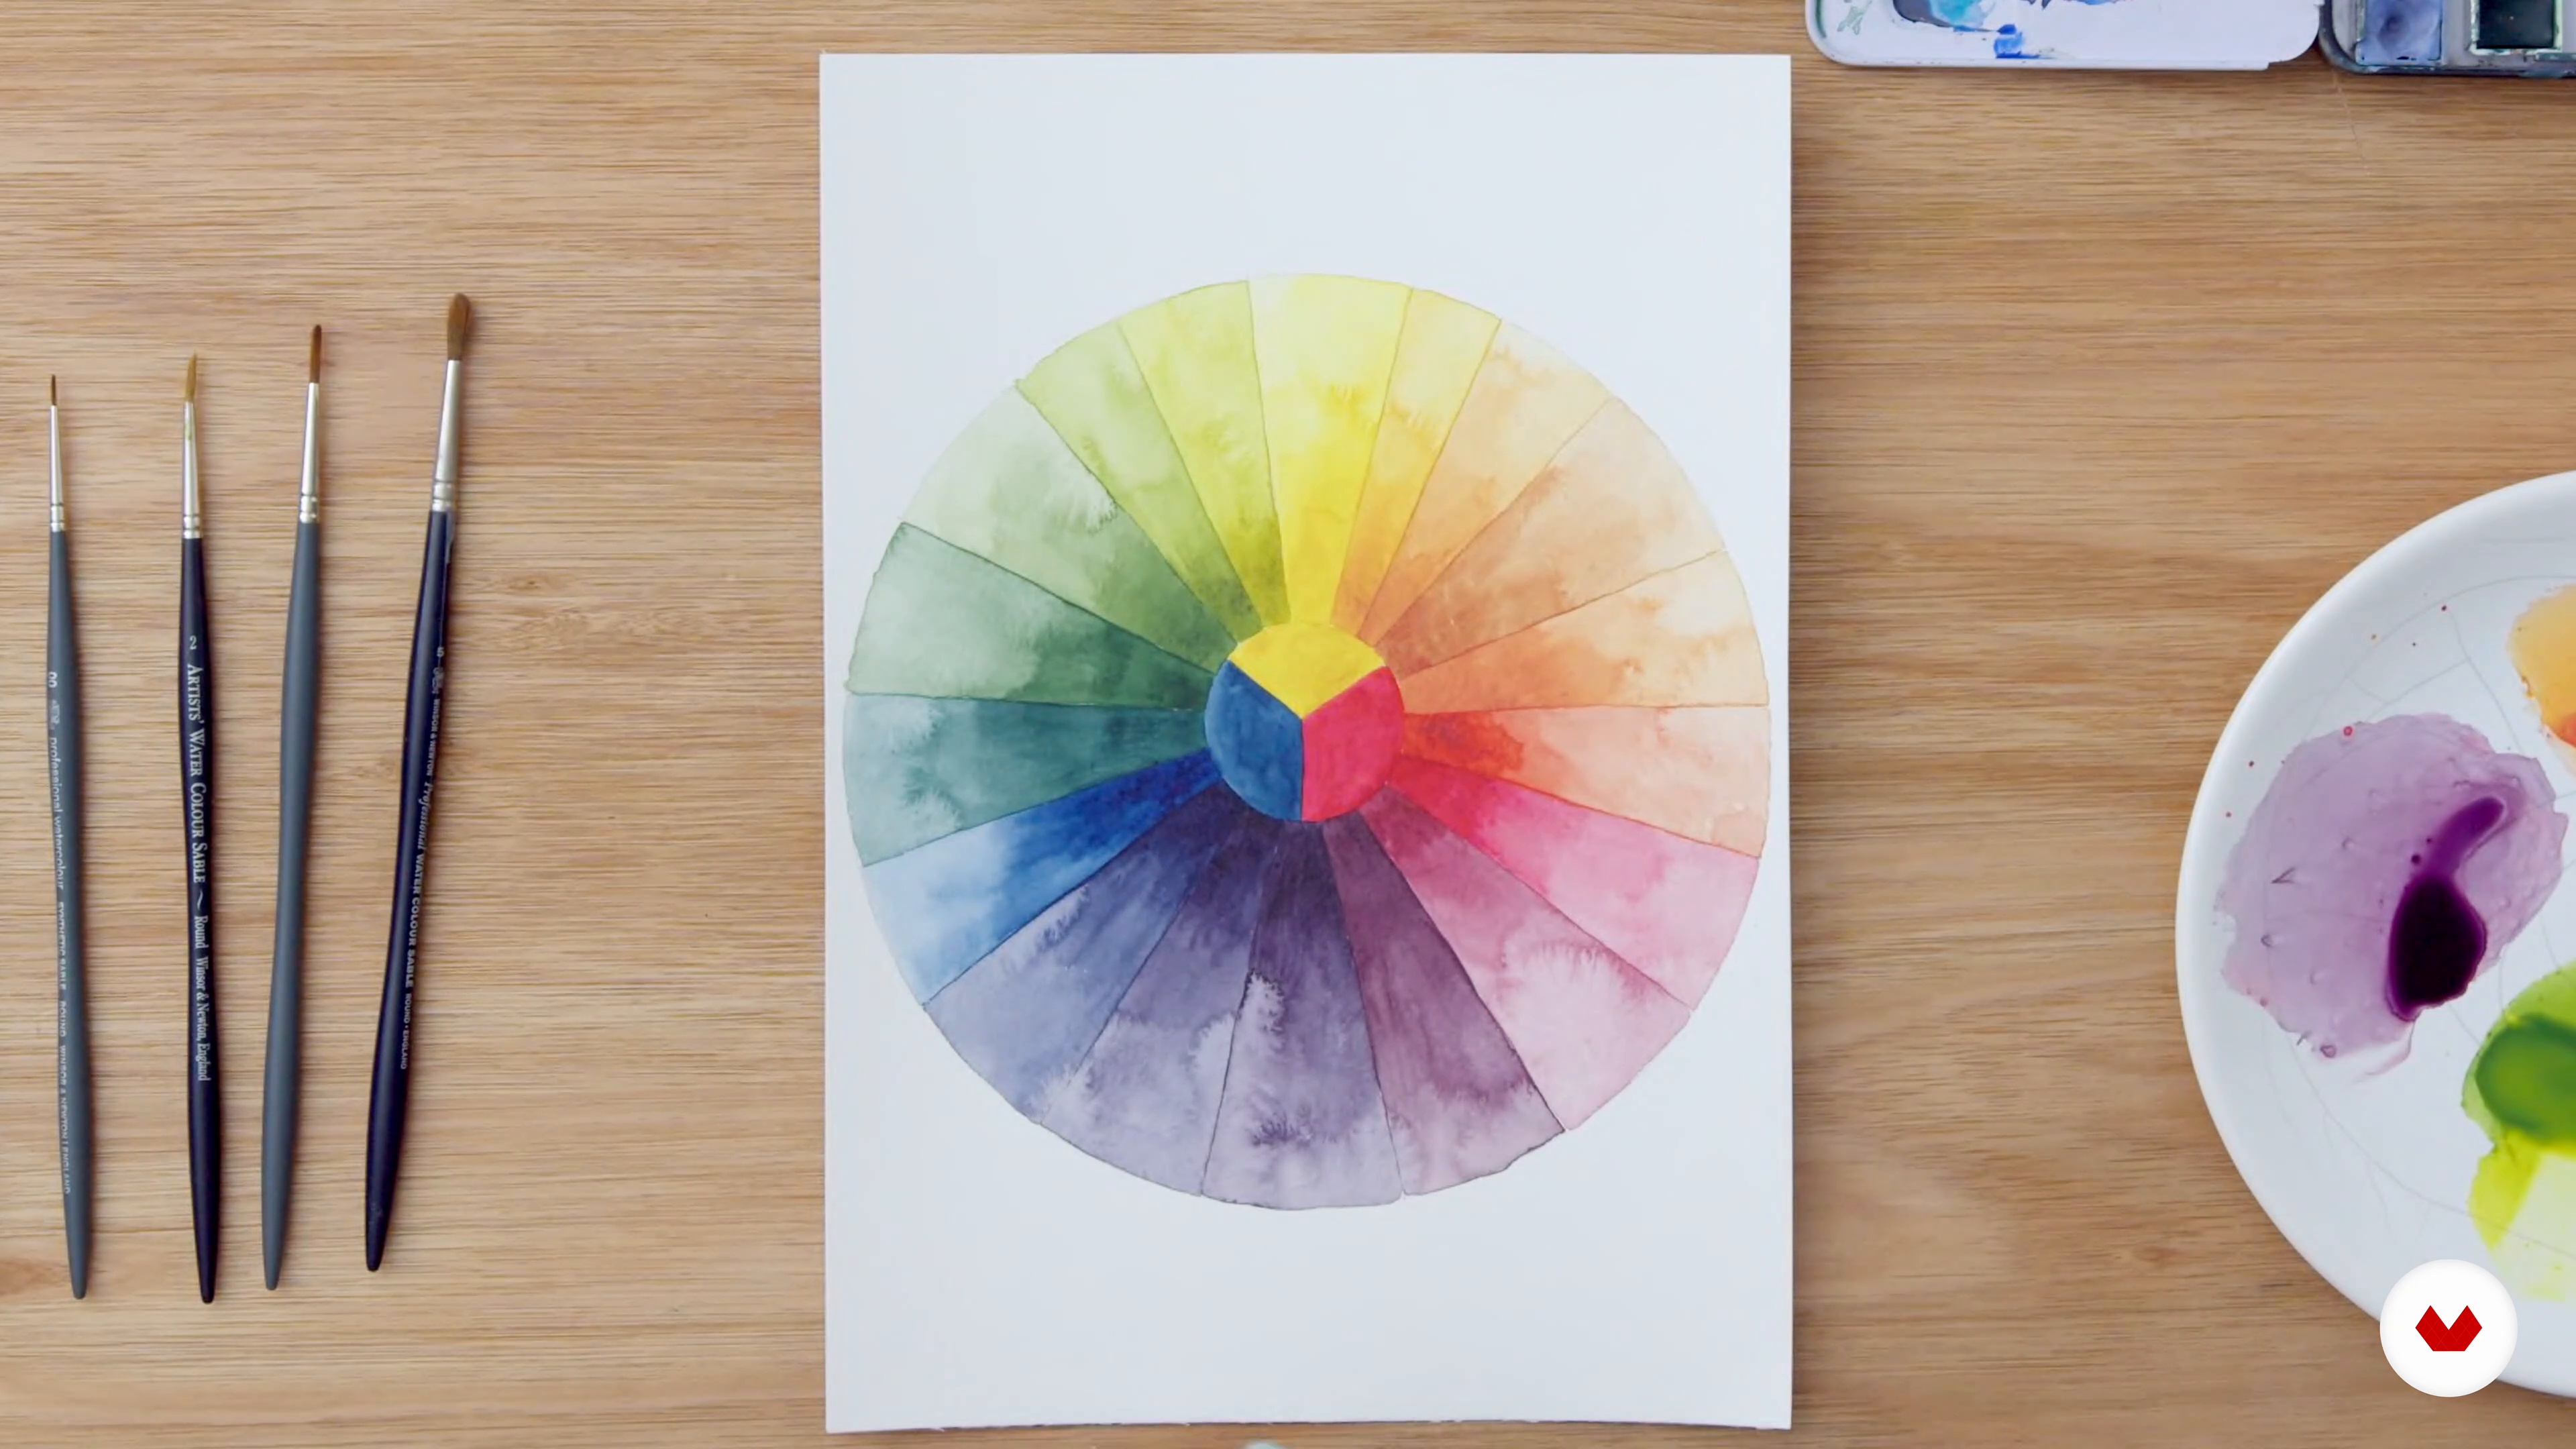
Colour Theory 1
Now, I will discuss the basics of colour theory. I will make a primary colour wheel that will be a useful tool to refer back to throughout the course. This lesson also acts as a perfect practice for mixing colours and creating colour graduation using a range of transparencies.
19m
image
5
Colour Theory 2
Once the full spectrum of colours is complete, I will give you some suggestions on how to combine colours in your paintings.
3m
image
6
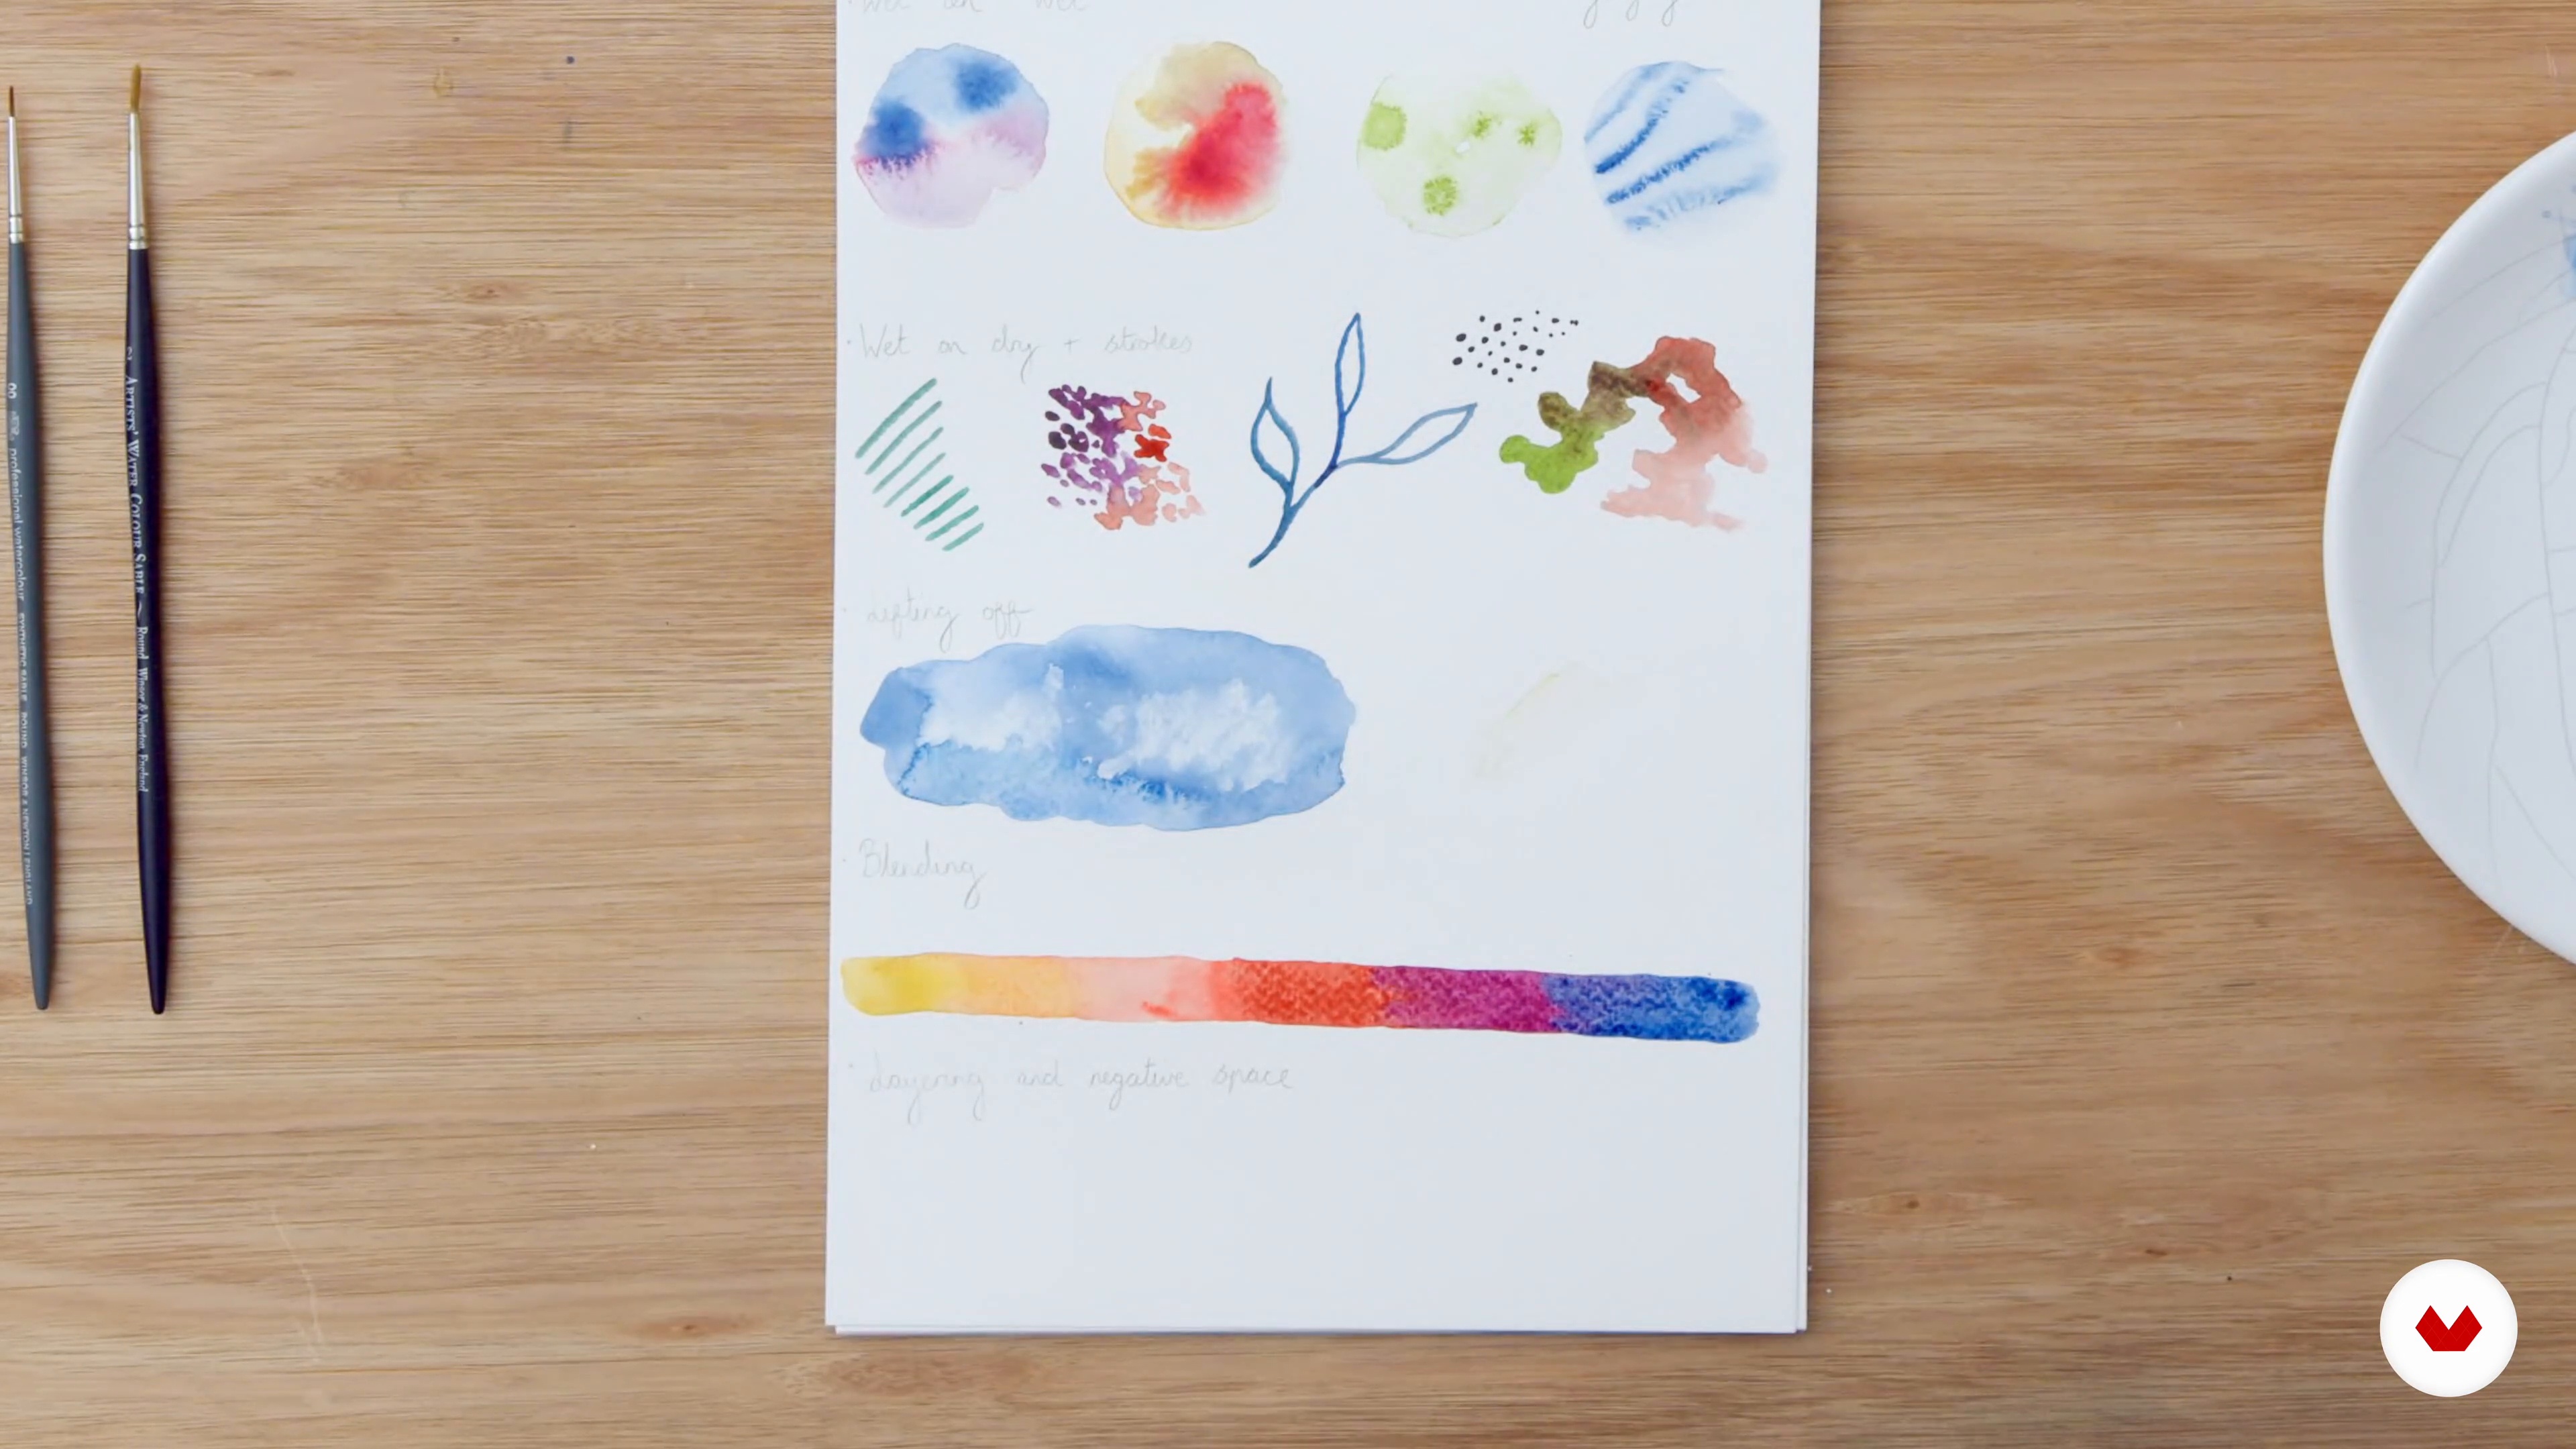
Watercolour Techniques
Here, I will look at different watercolour techniques. I will practise fine lines and precision, layering colours and creating soft blends of colour to create a 3D effect. I will also show you wet-on-wet painting and dry-on-wet.
20m
image
7
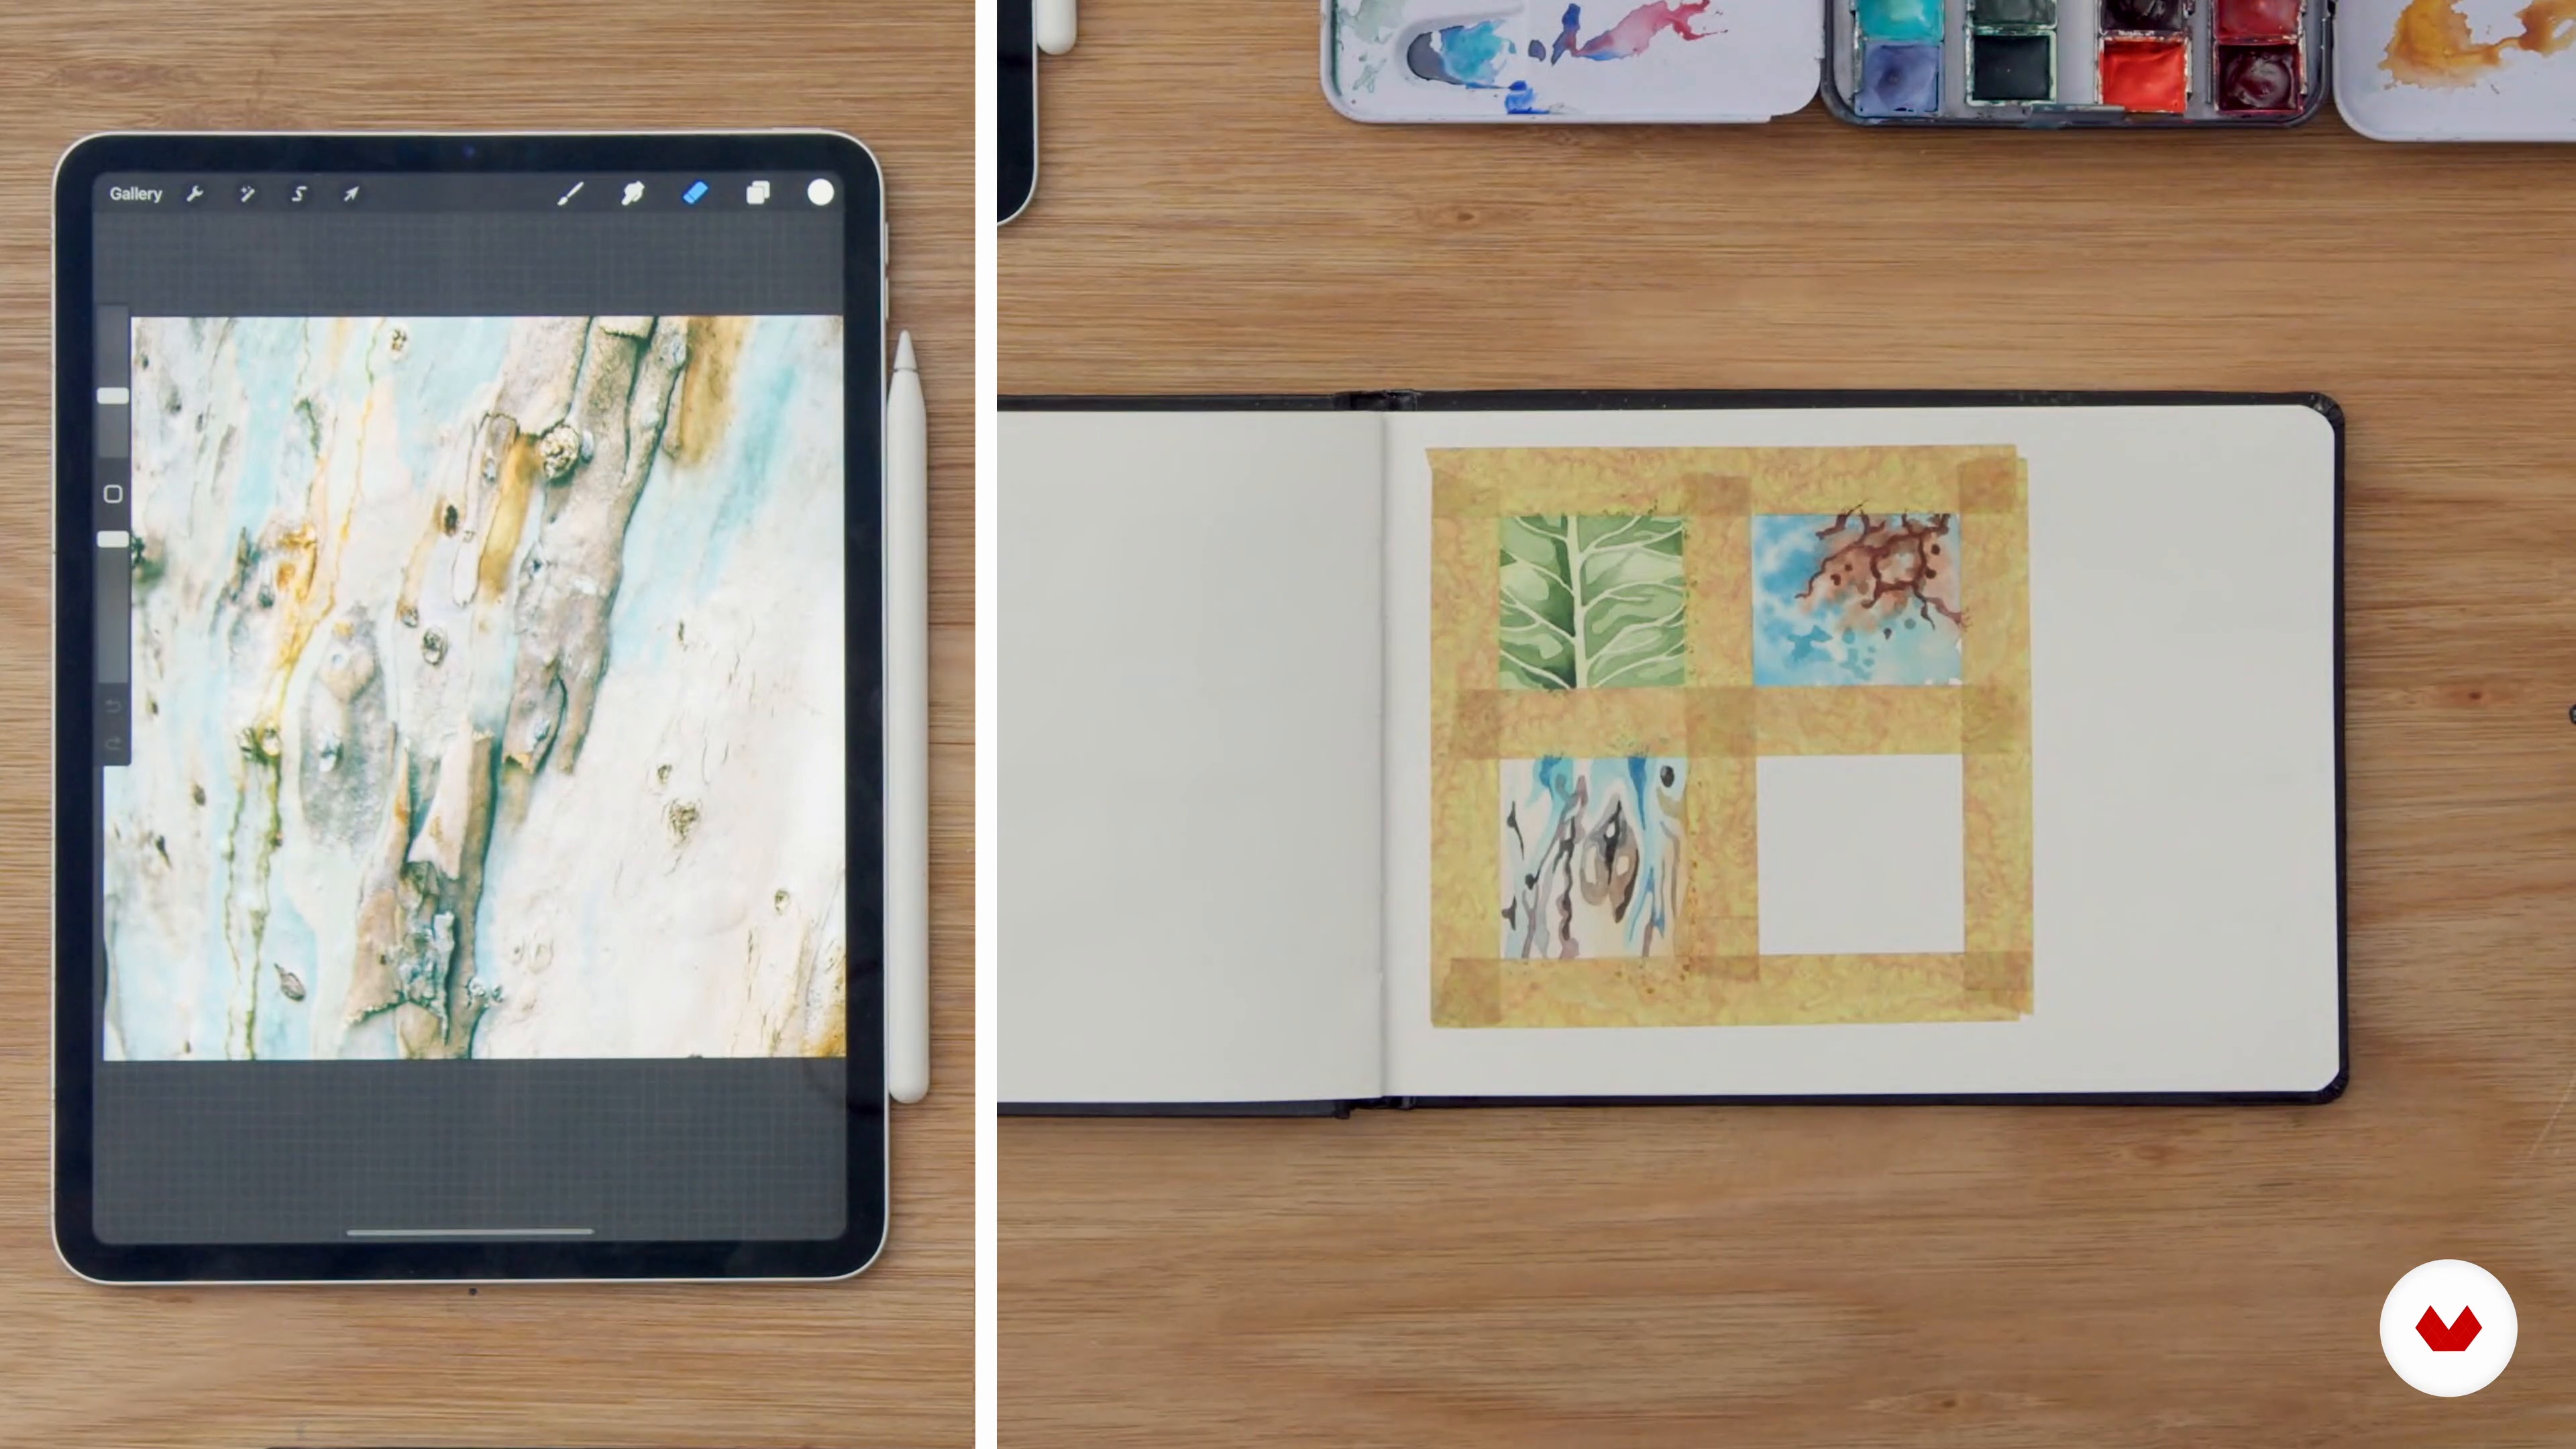
Textures Found in Nature 1
In this lesson, I will study different textures found in nature to practise and apply the techniques learnt in the previous lesson.
20m
image
8
Textures Found in Nature 2
Next, I will continue working on textures, using pictures of tree bark and animal fur as a reference.
17m
image
9
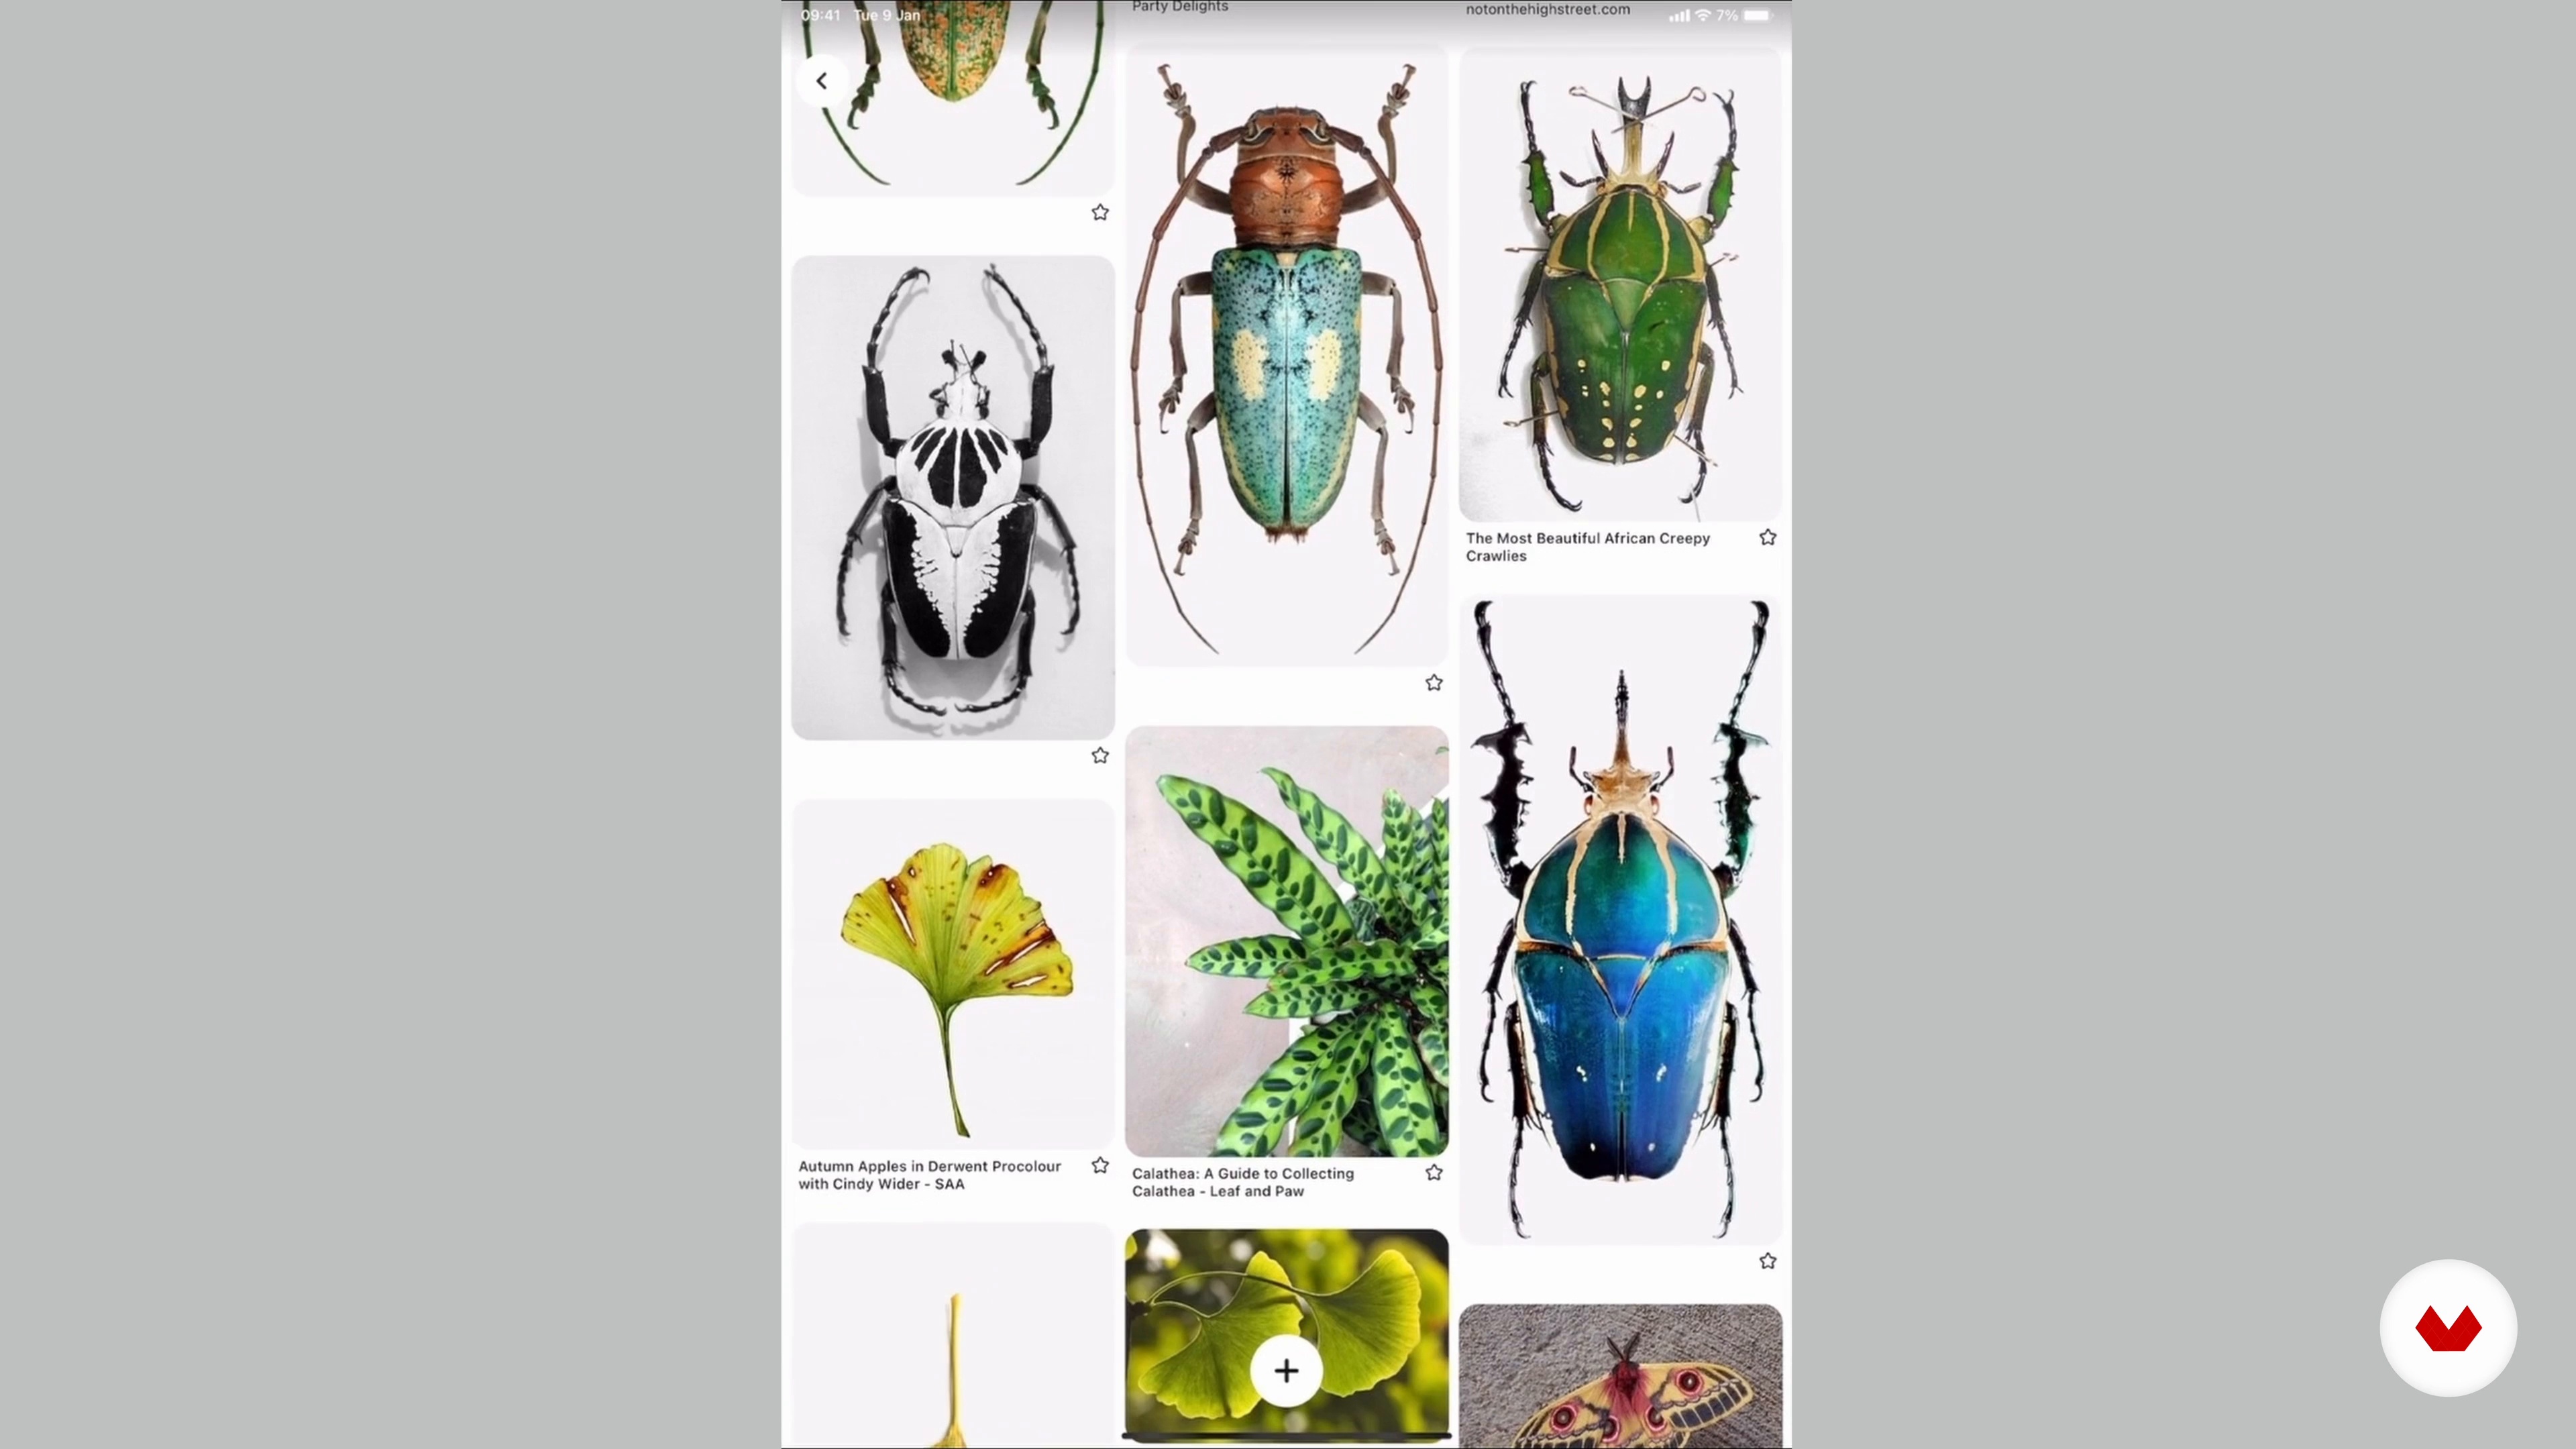
Gathering Inspiration
In this lesson, I will gather inspiring imagery and create a mood board using Pinterest.
9m
image
10
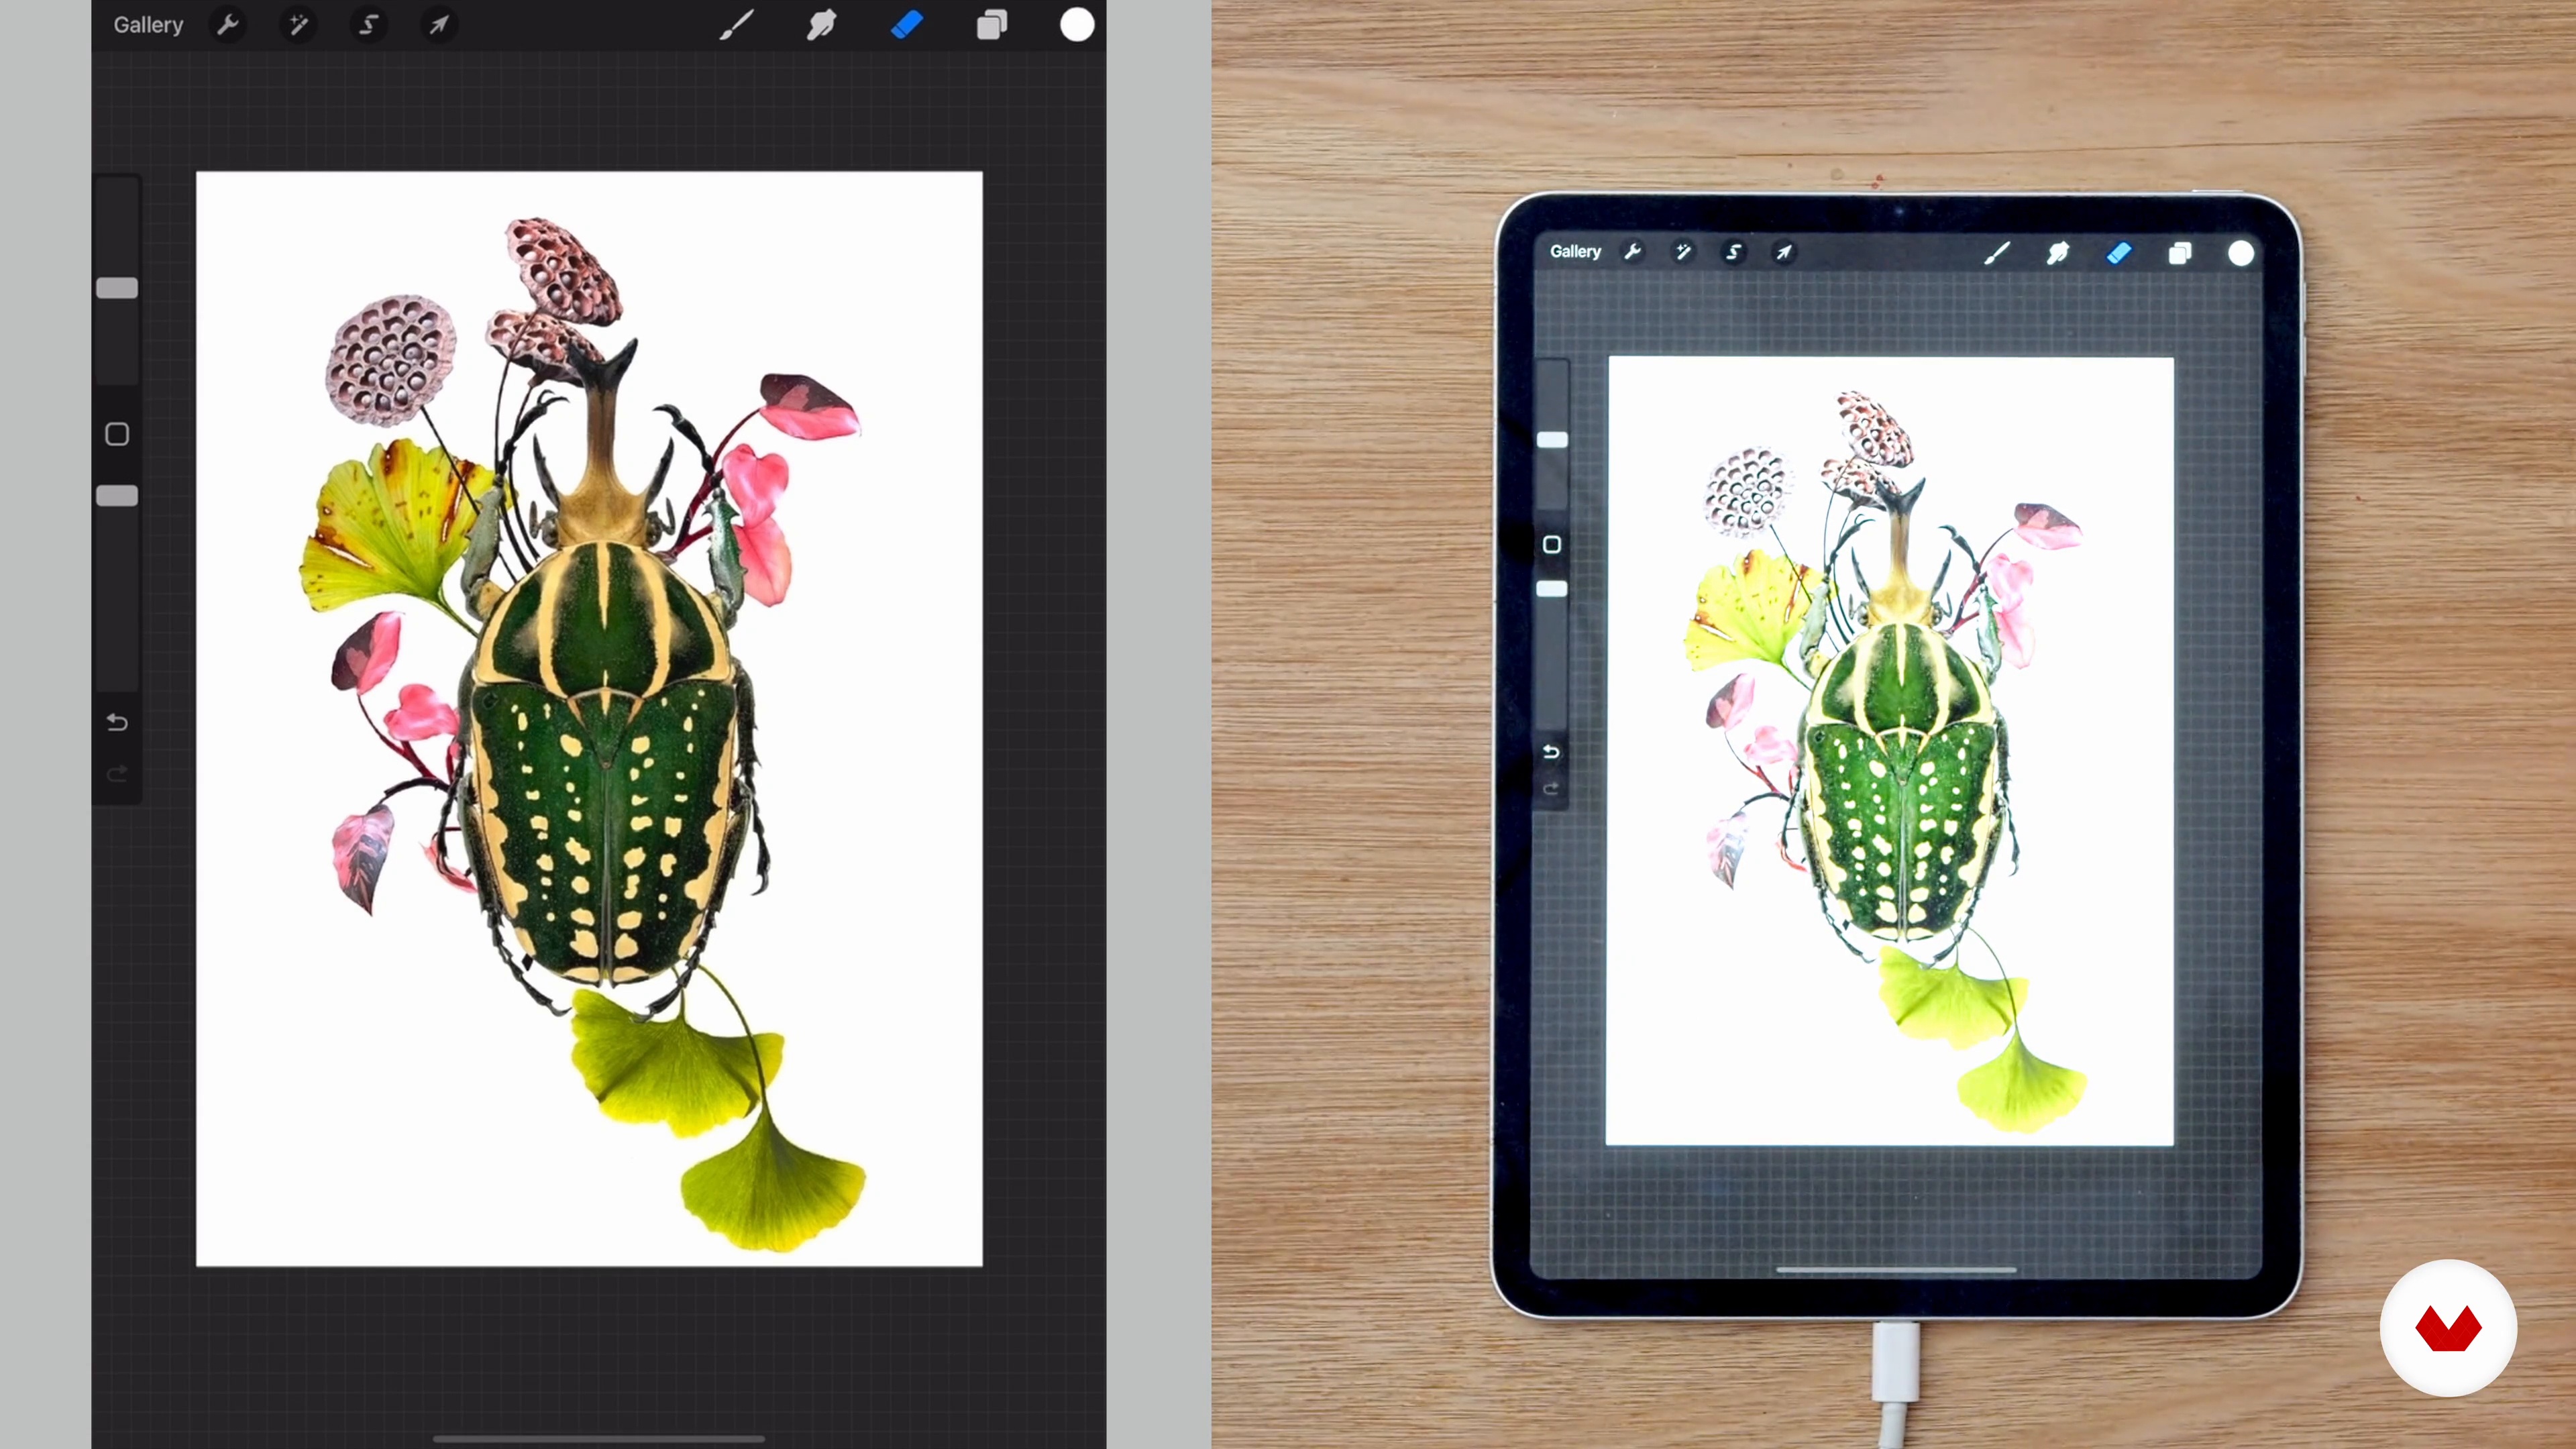
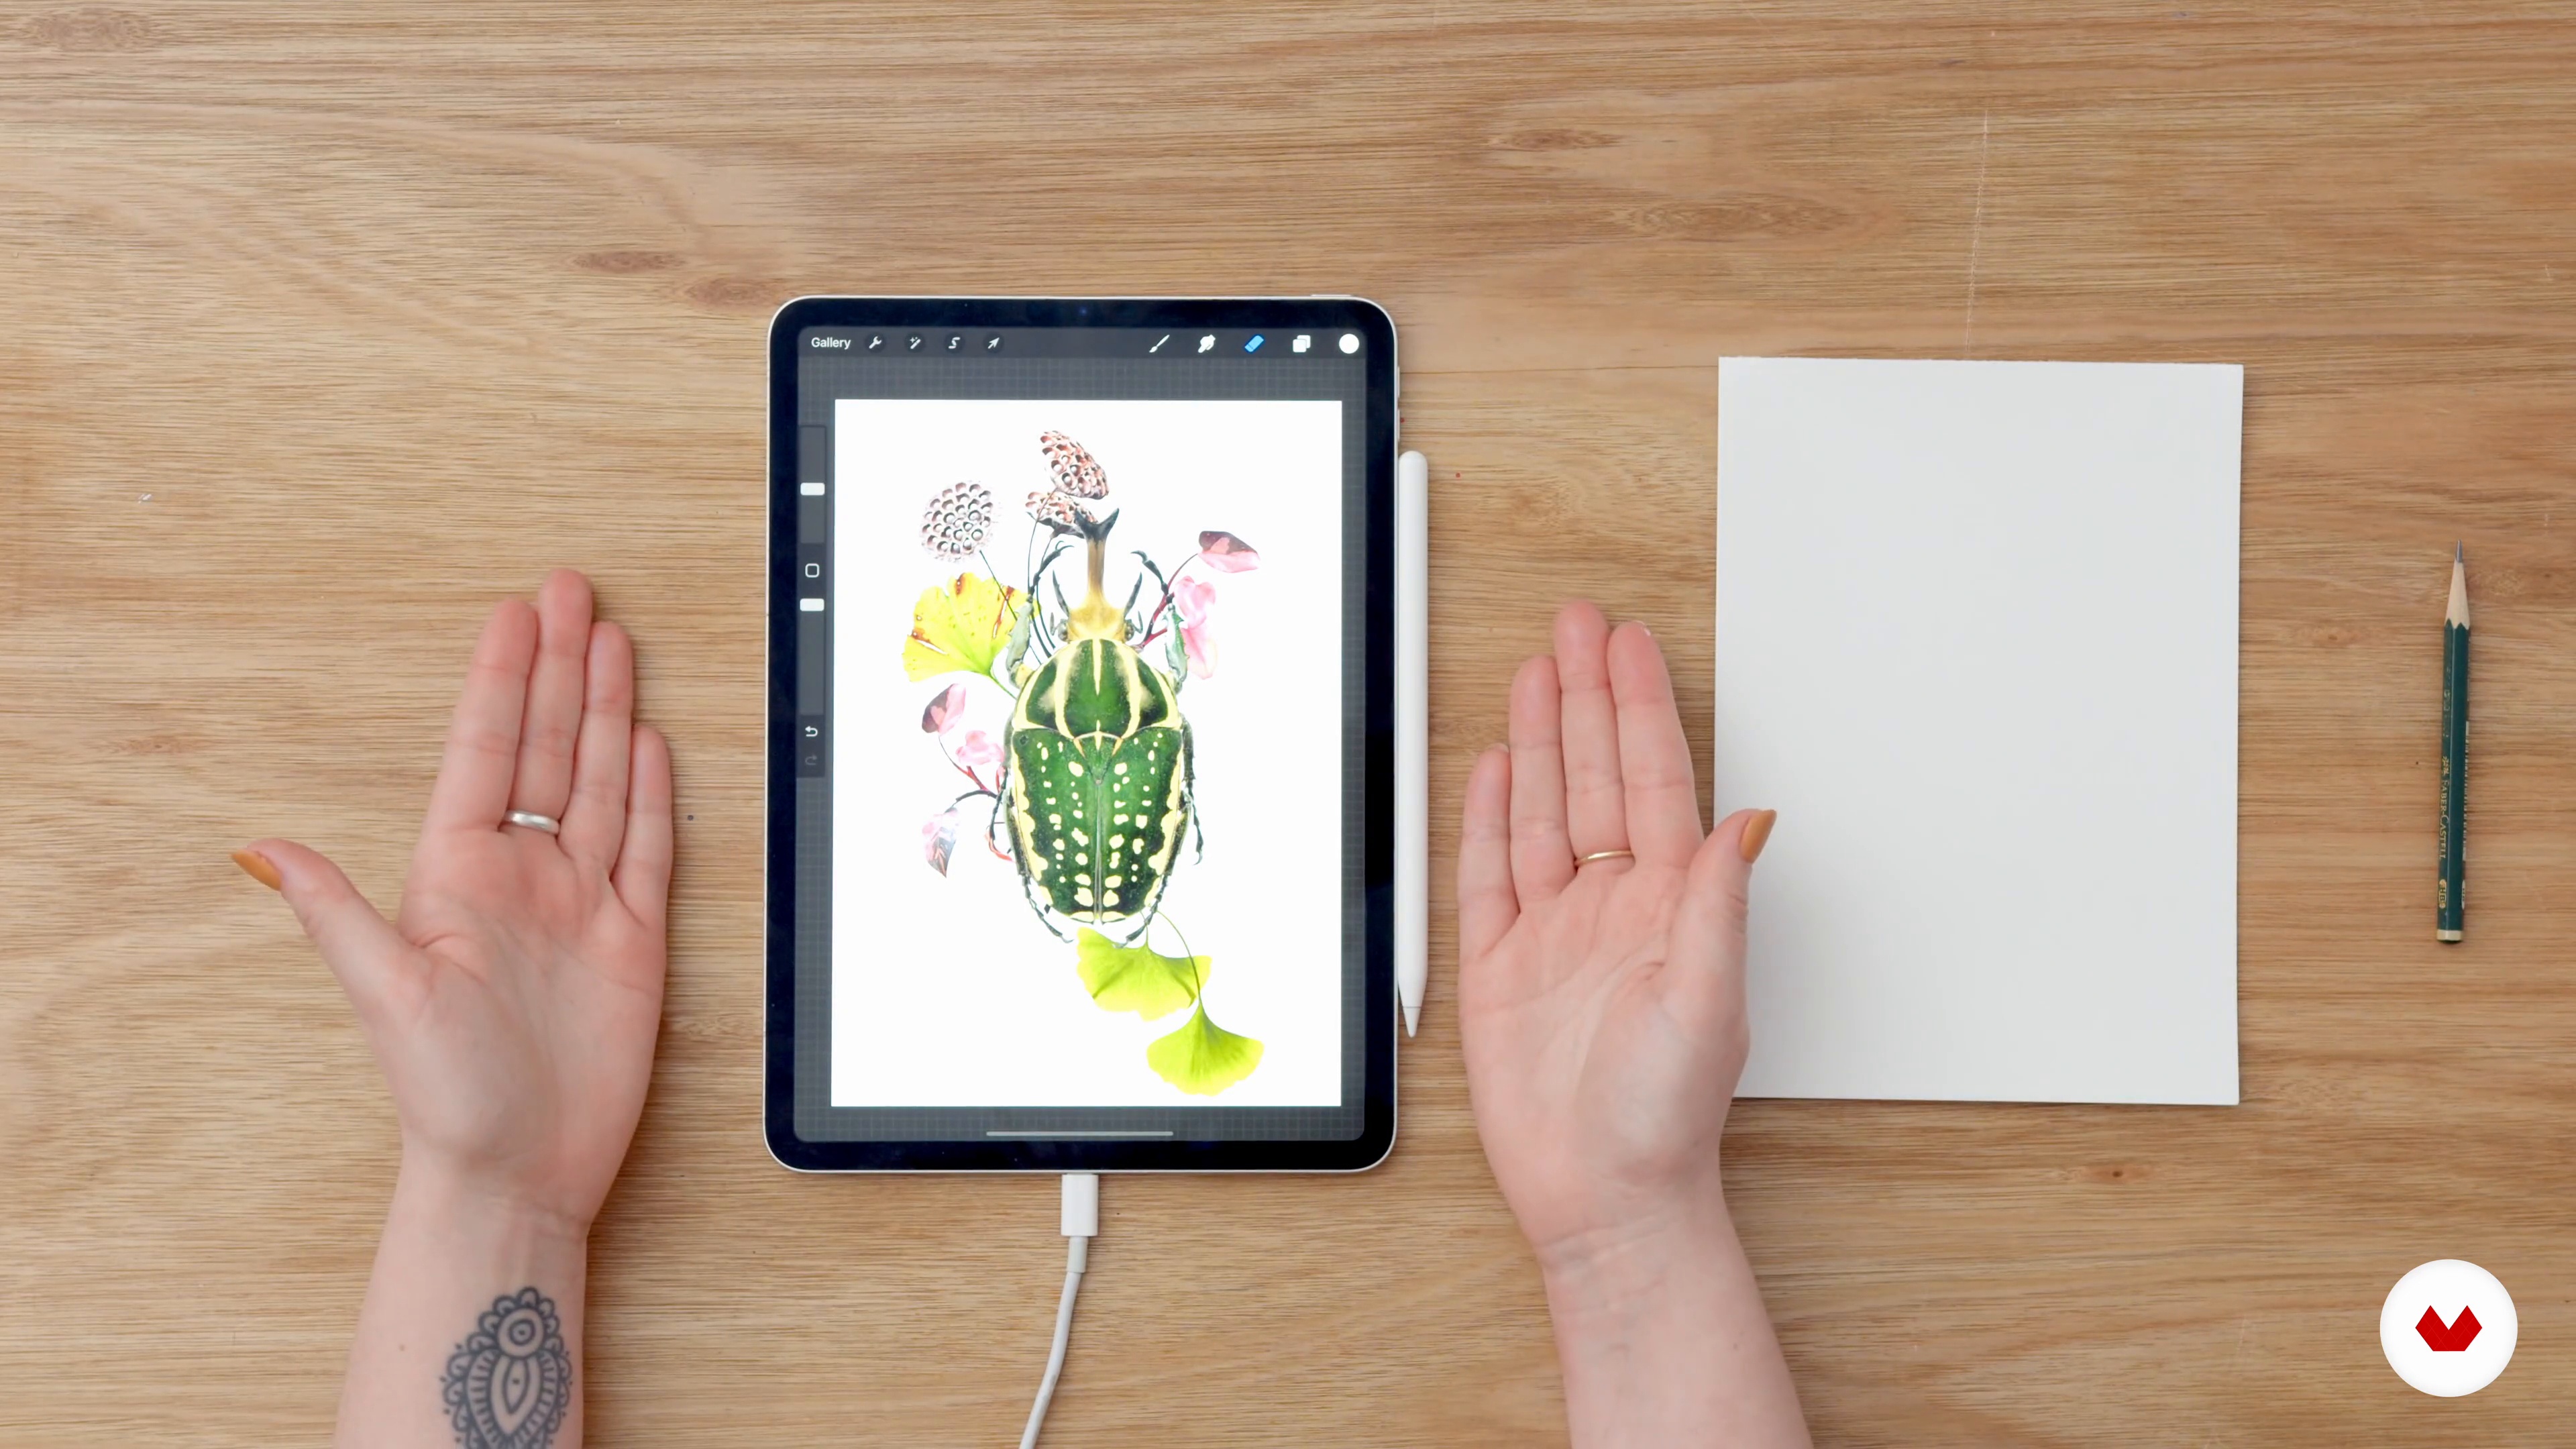
Composition: Creating a Collage
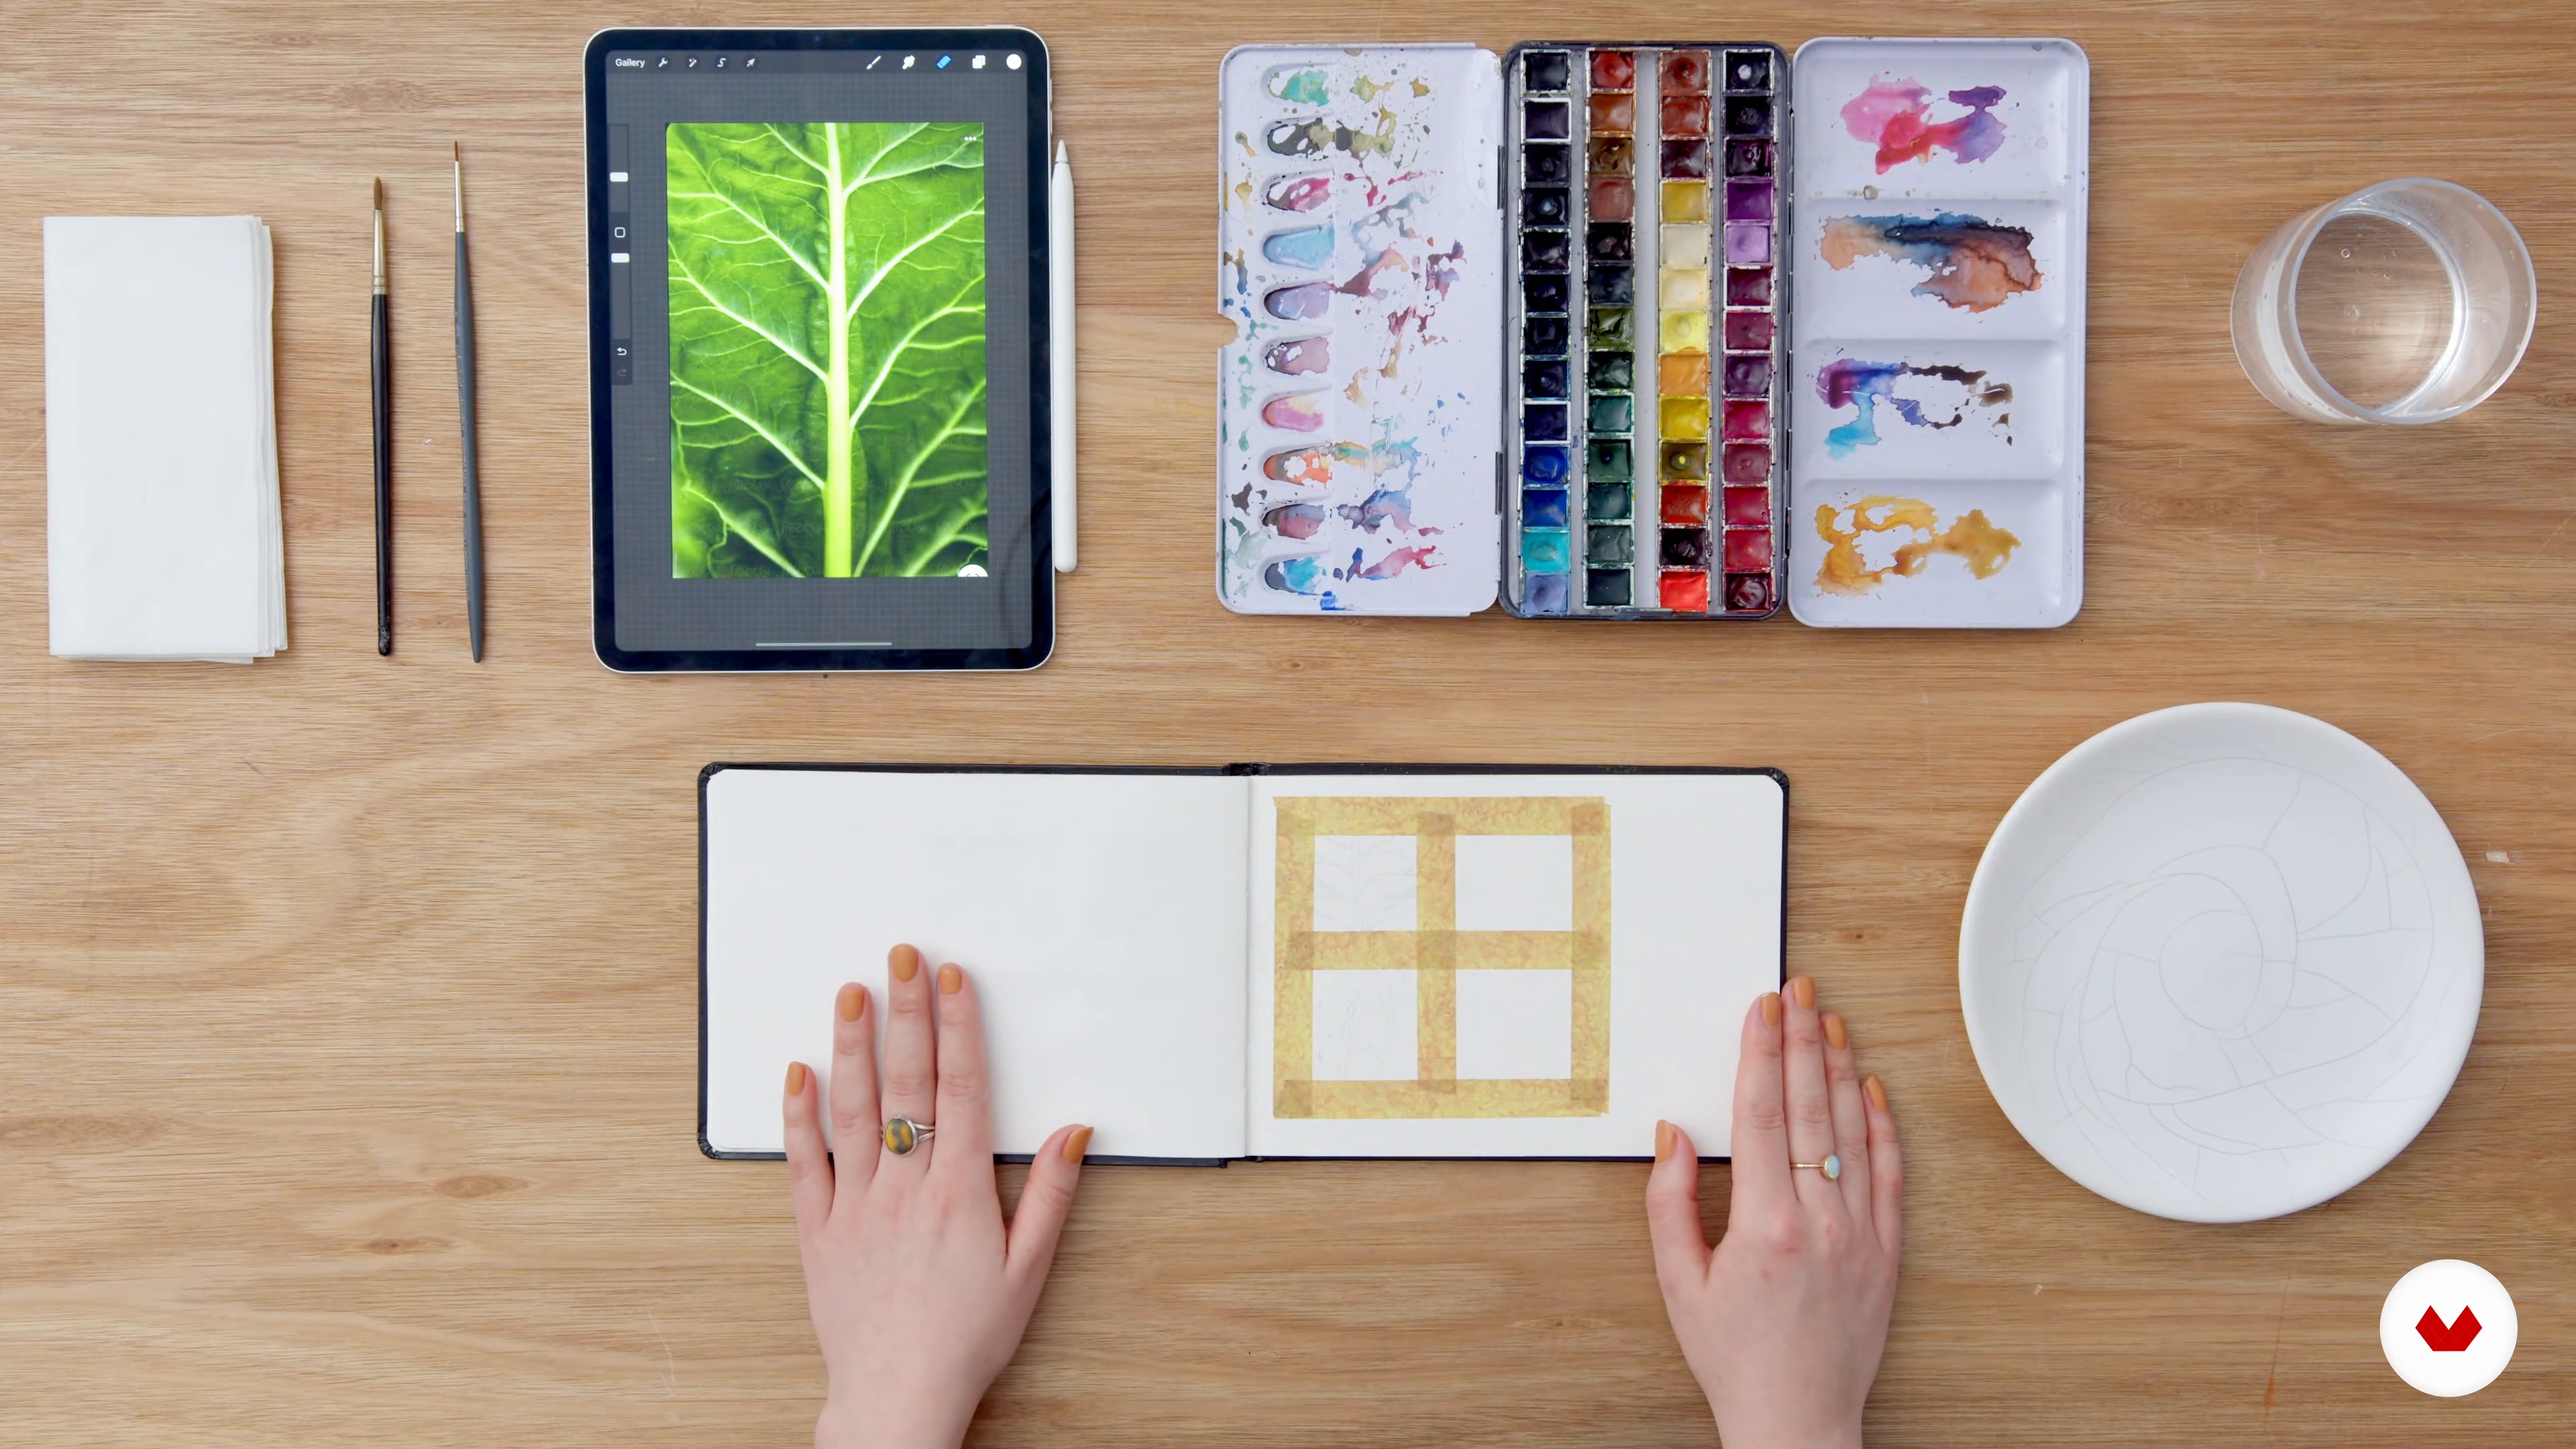
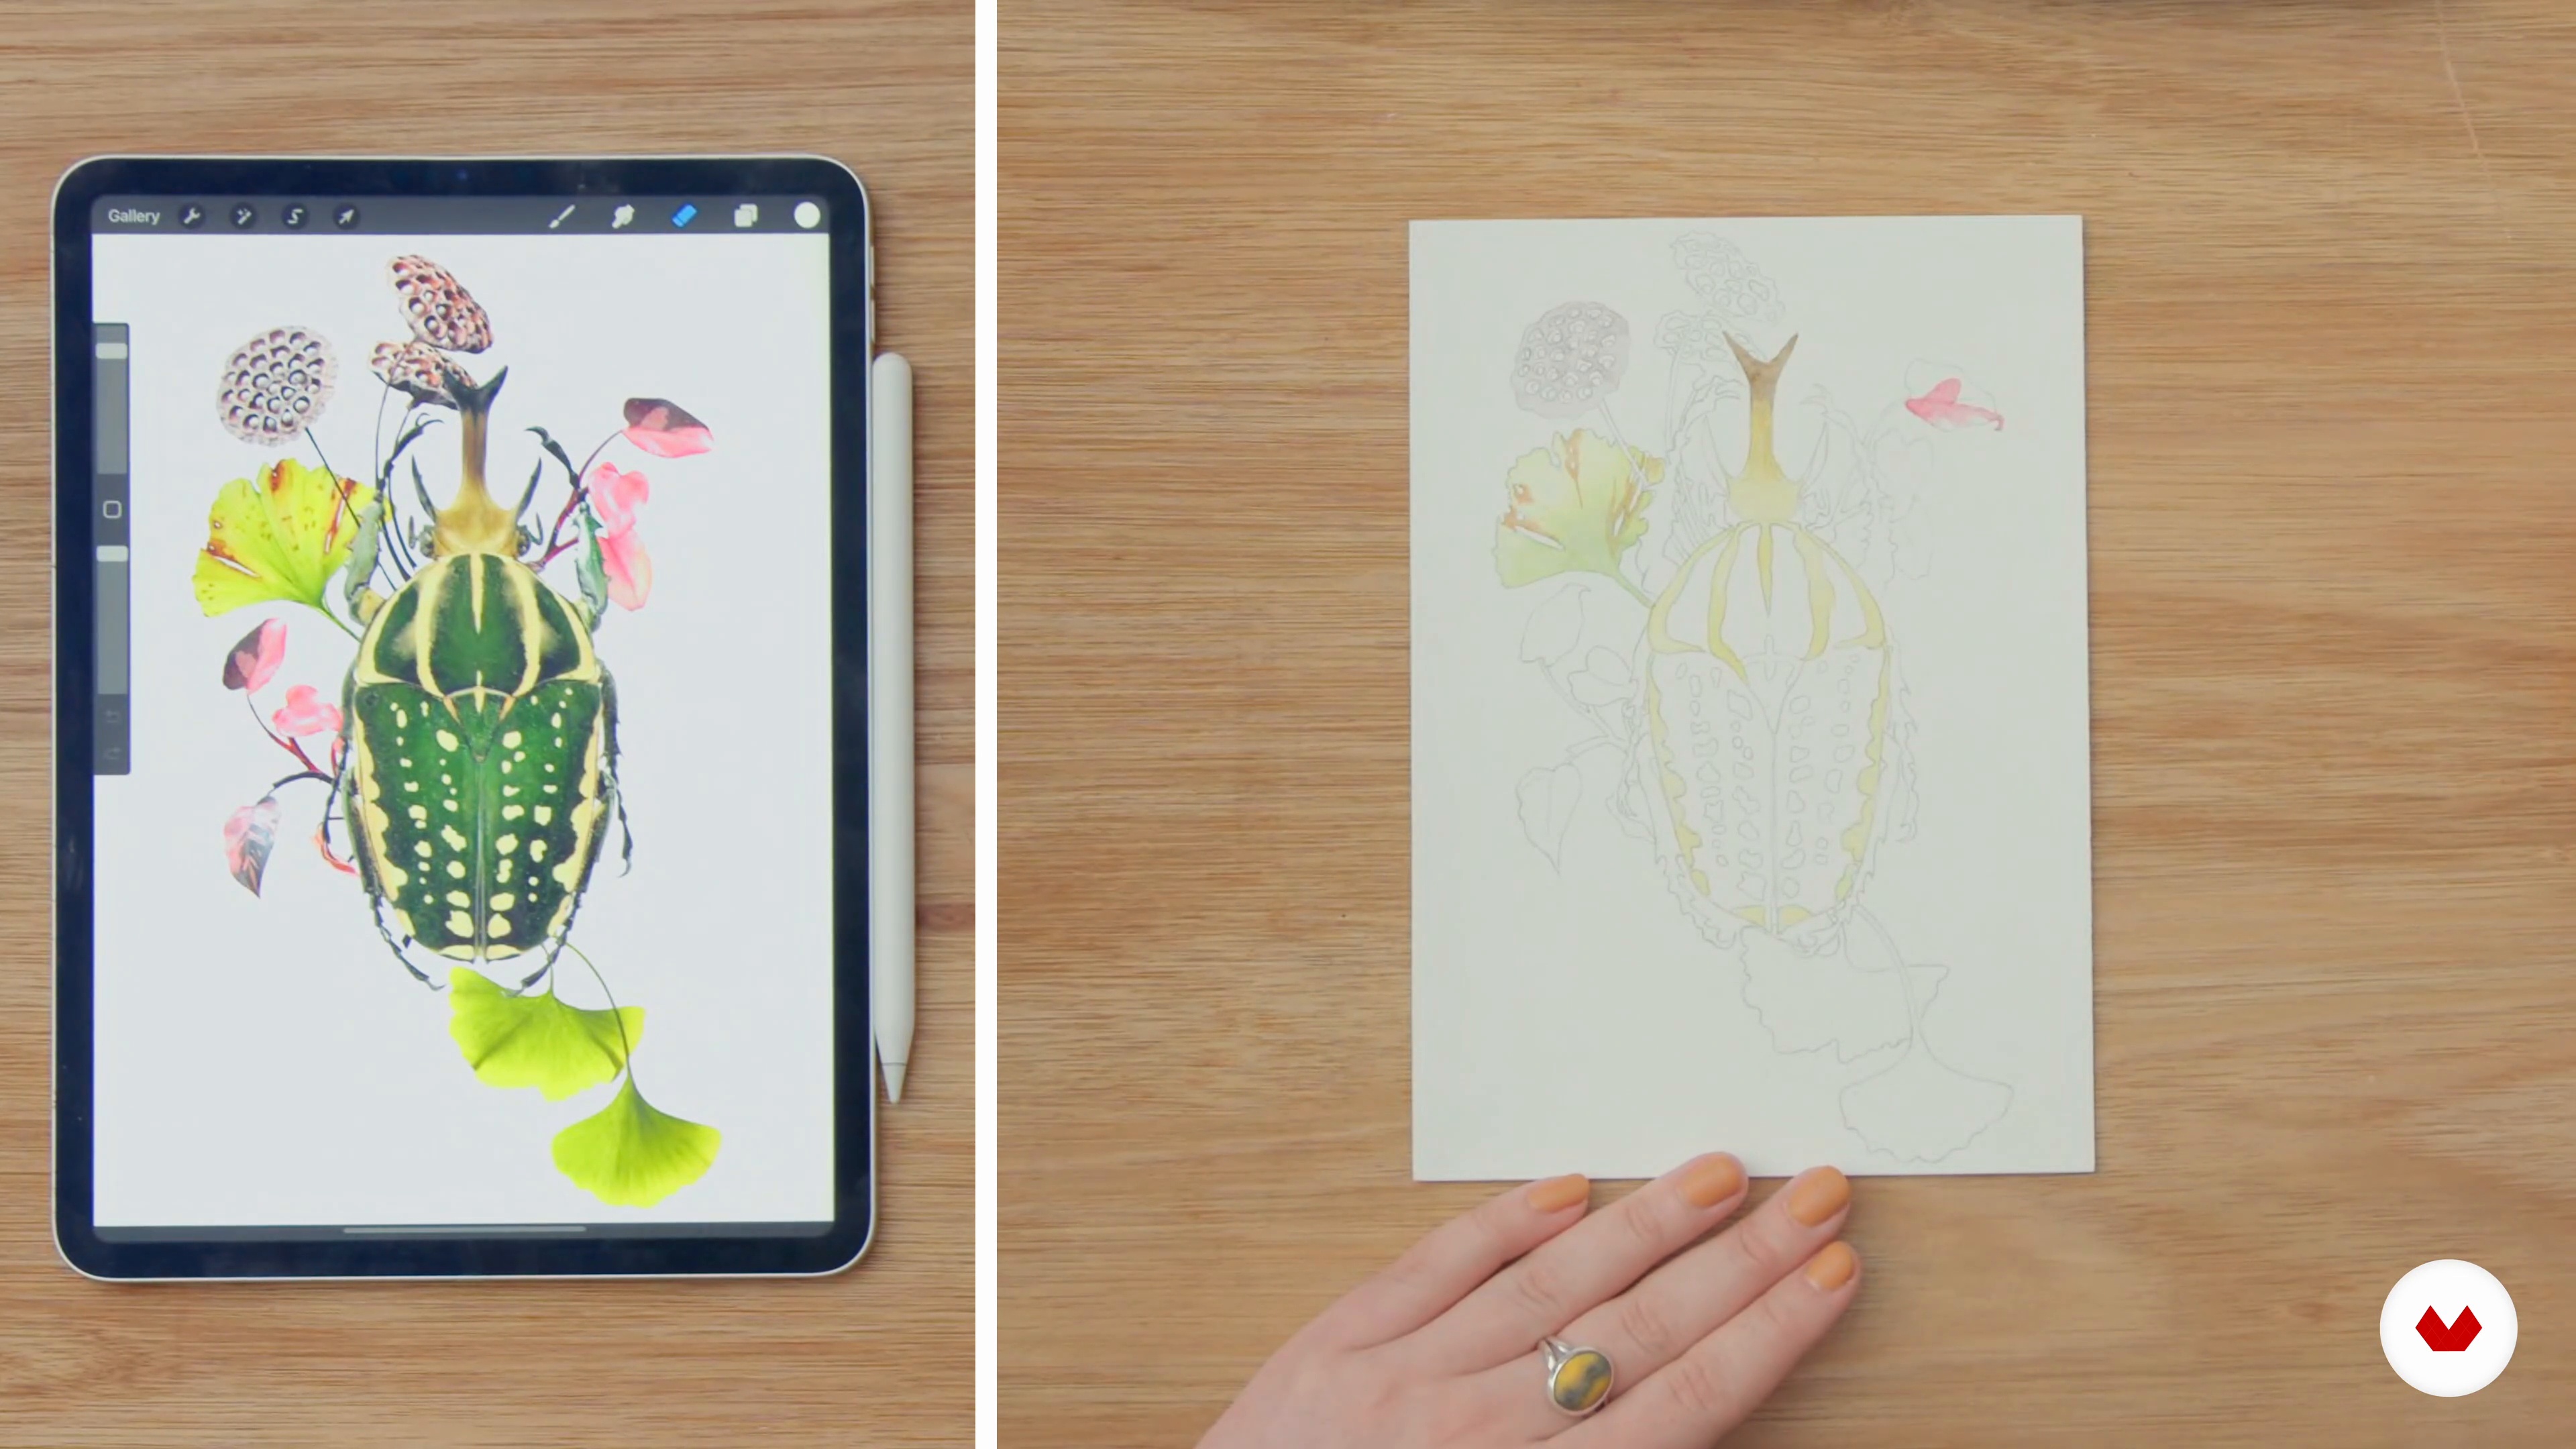
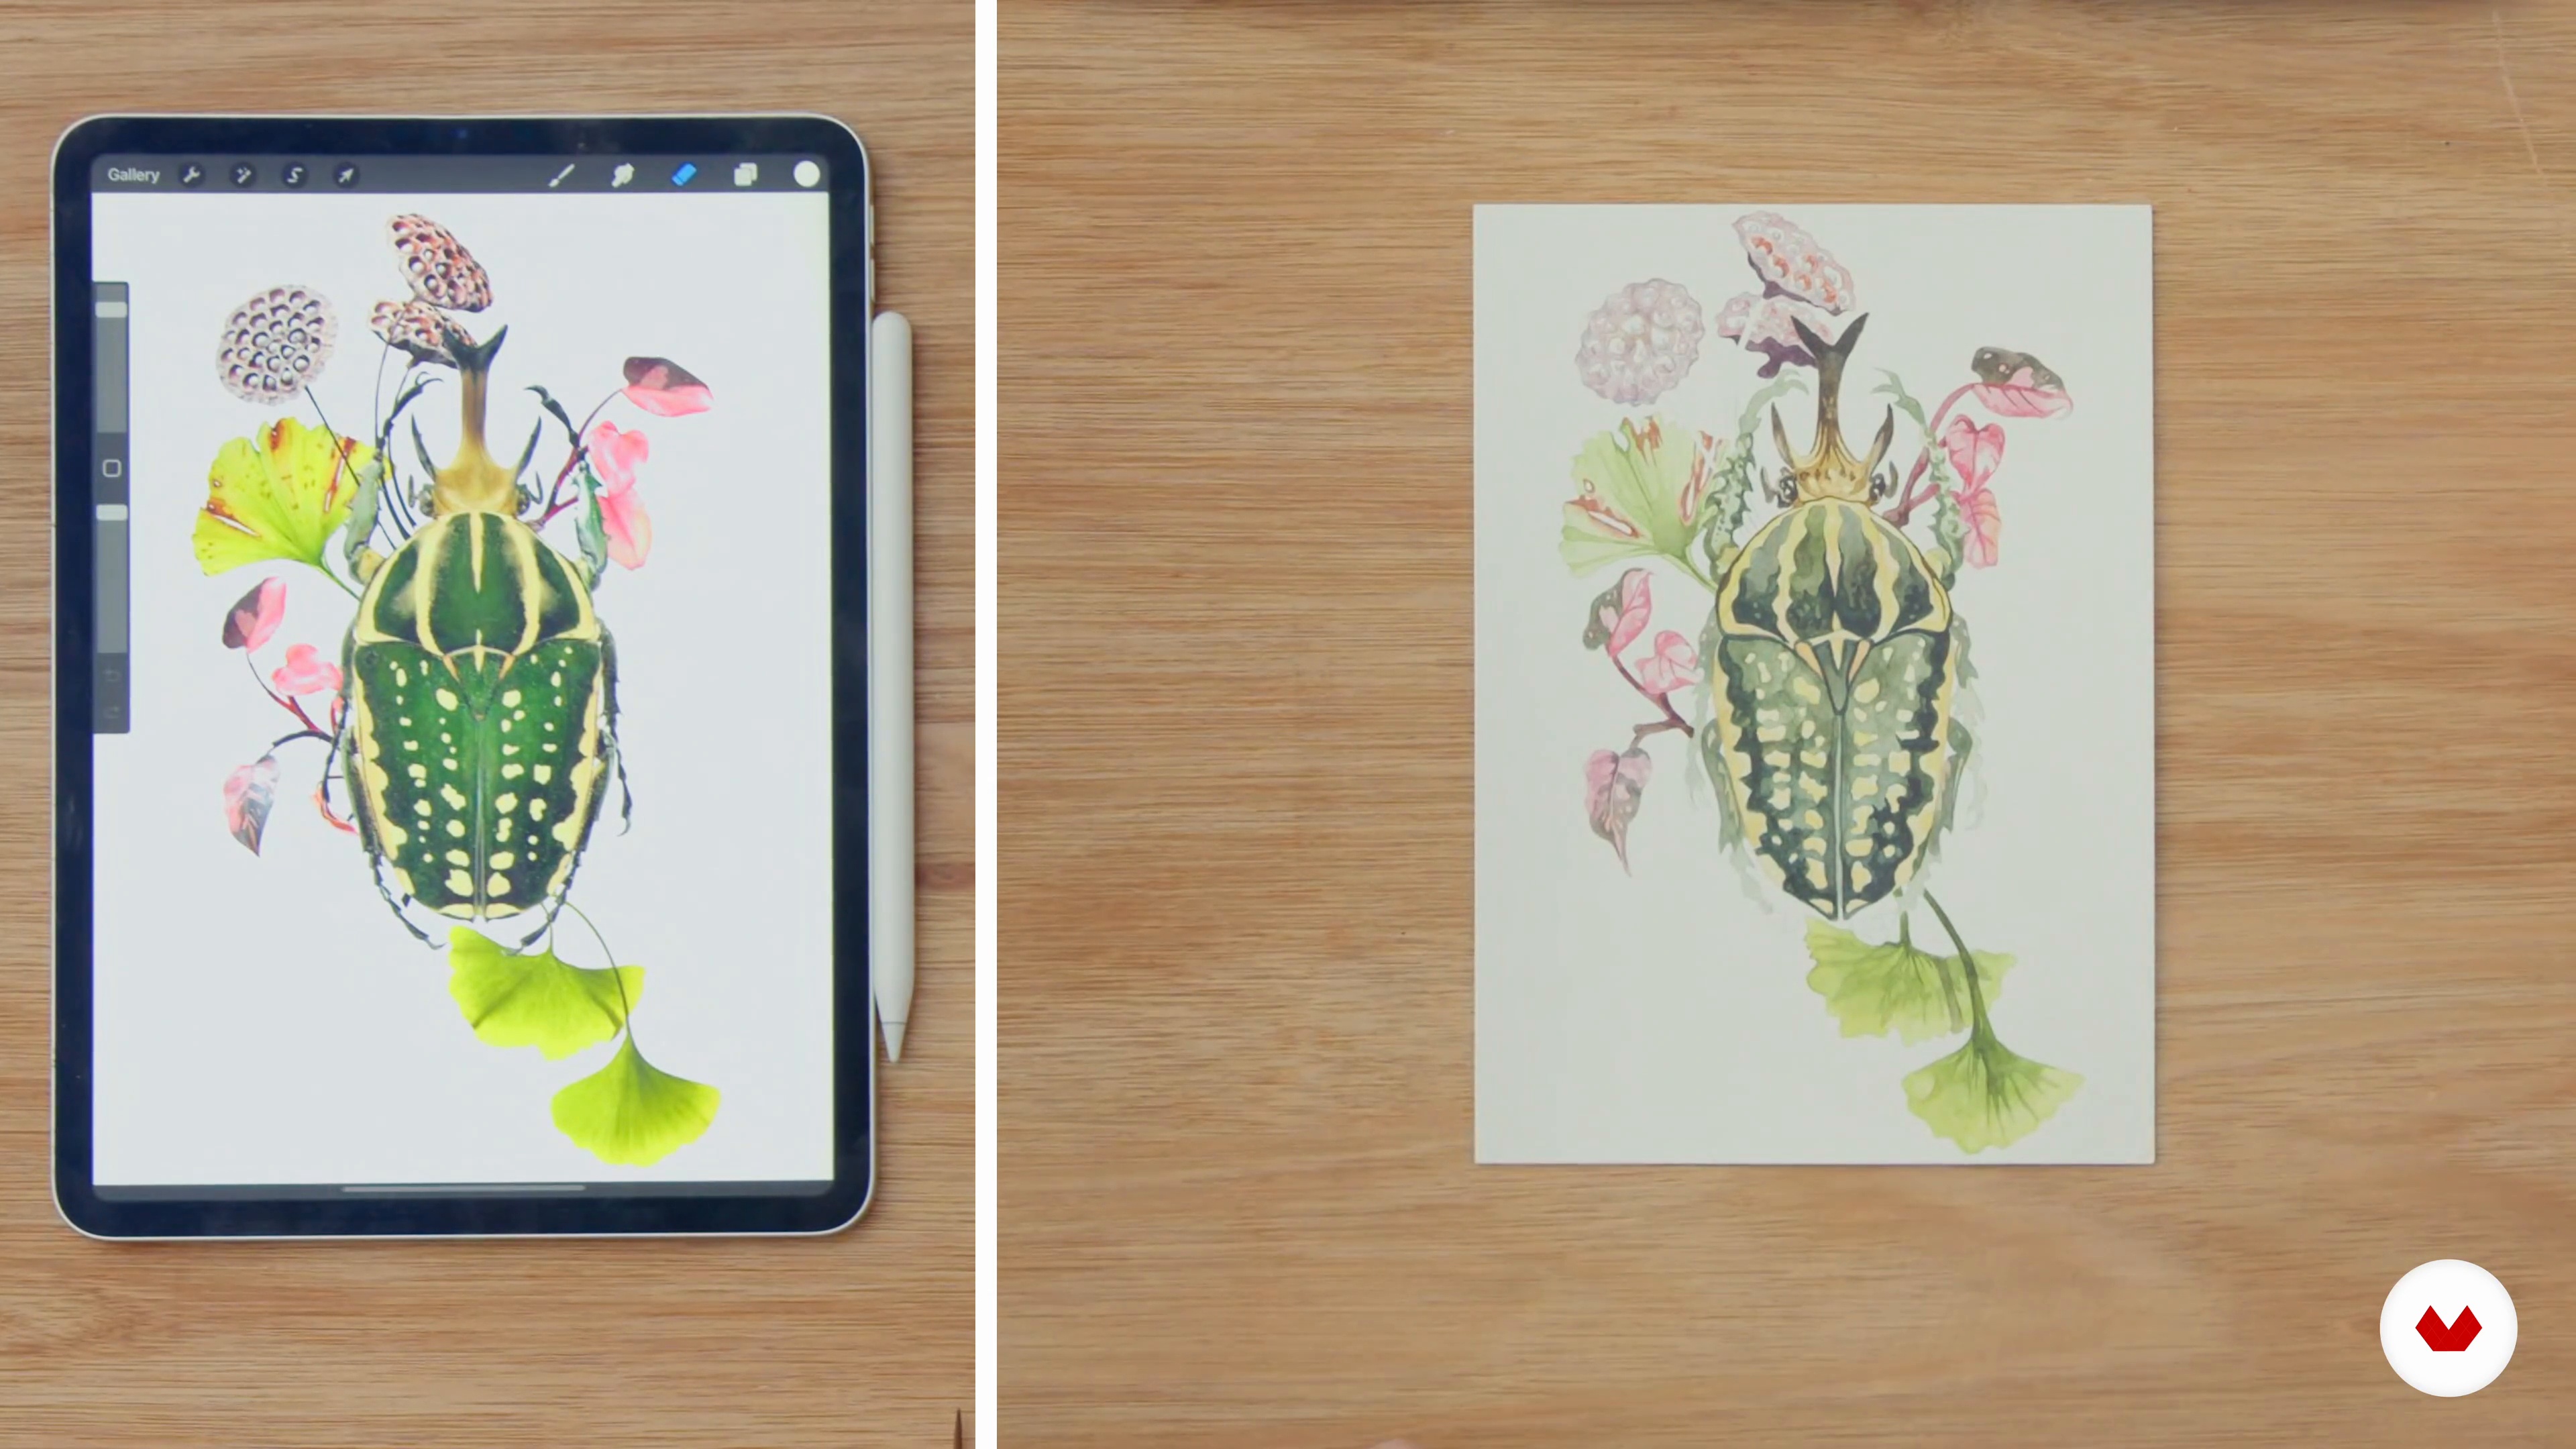
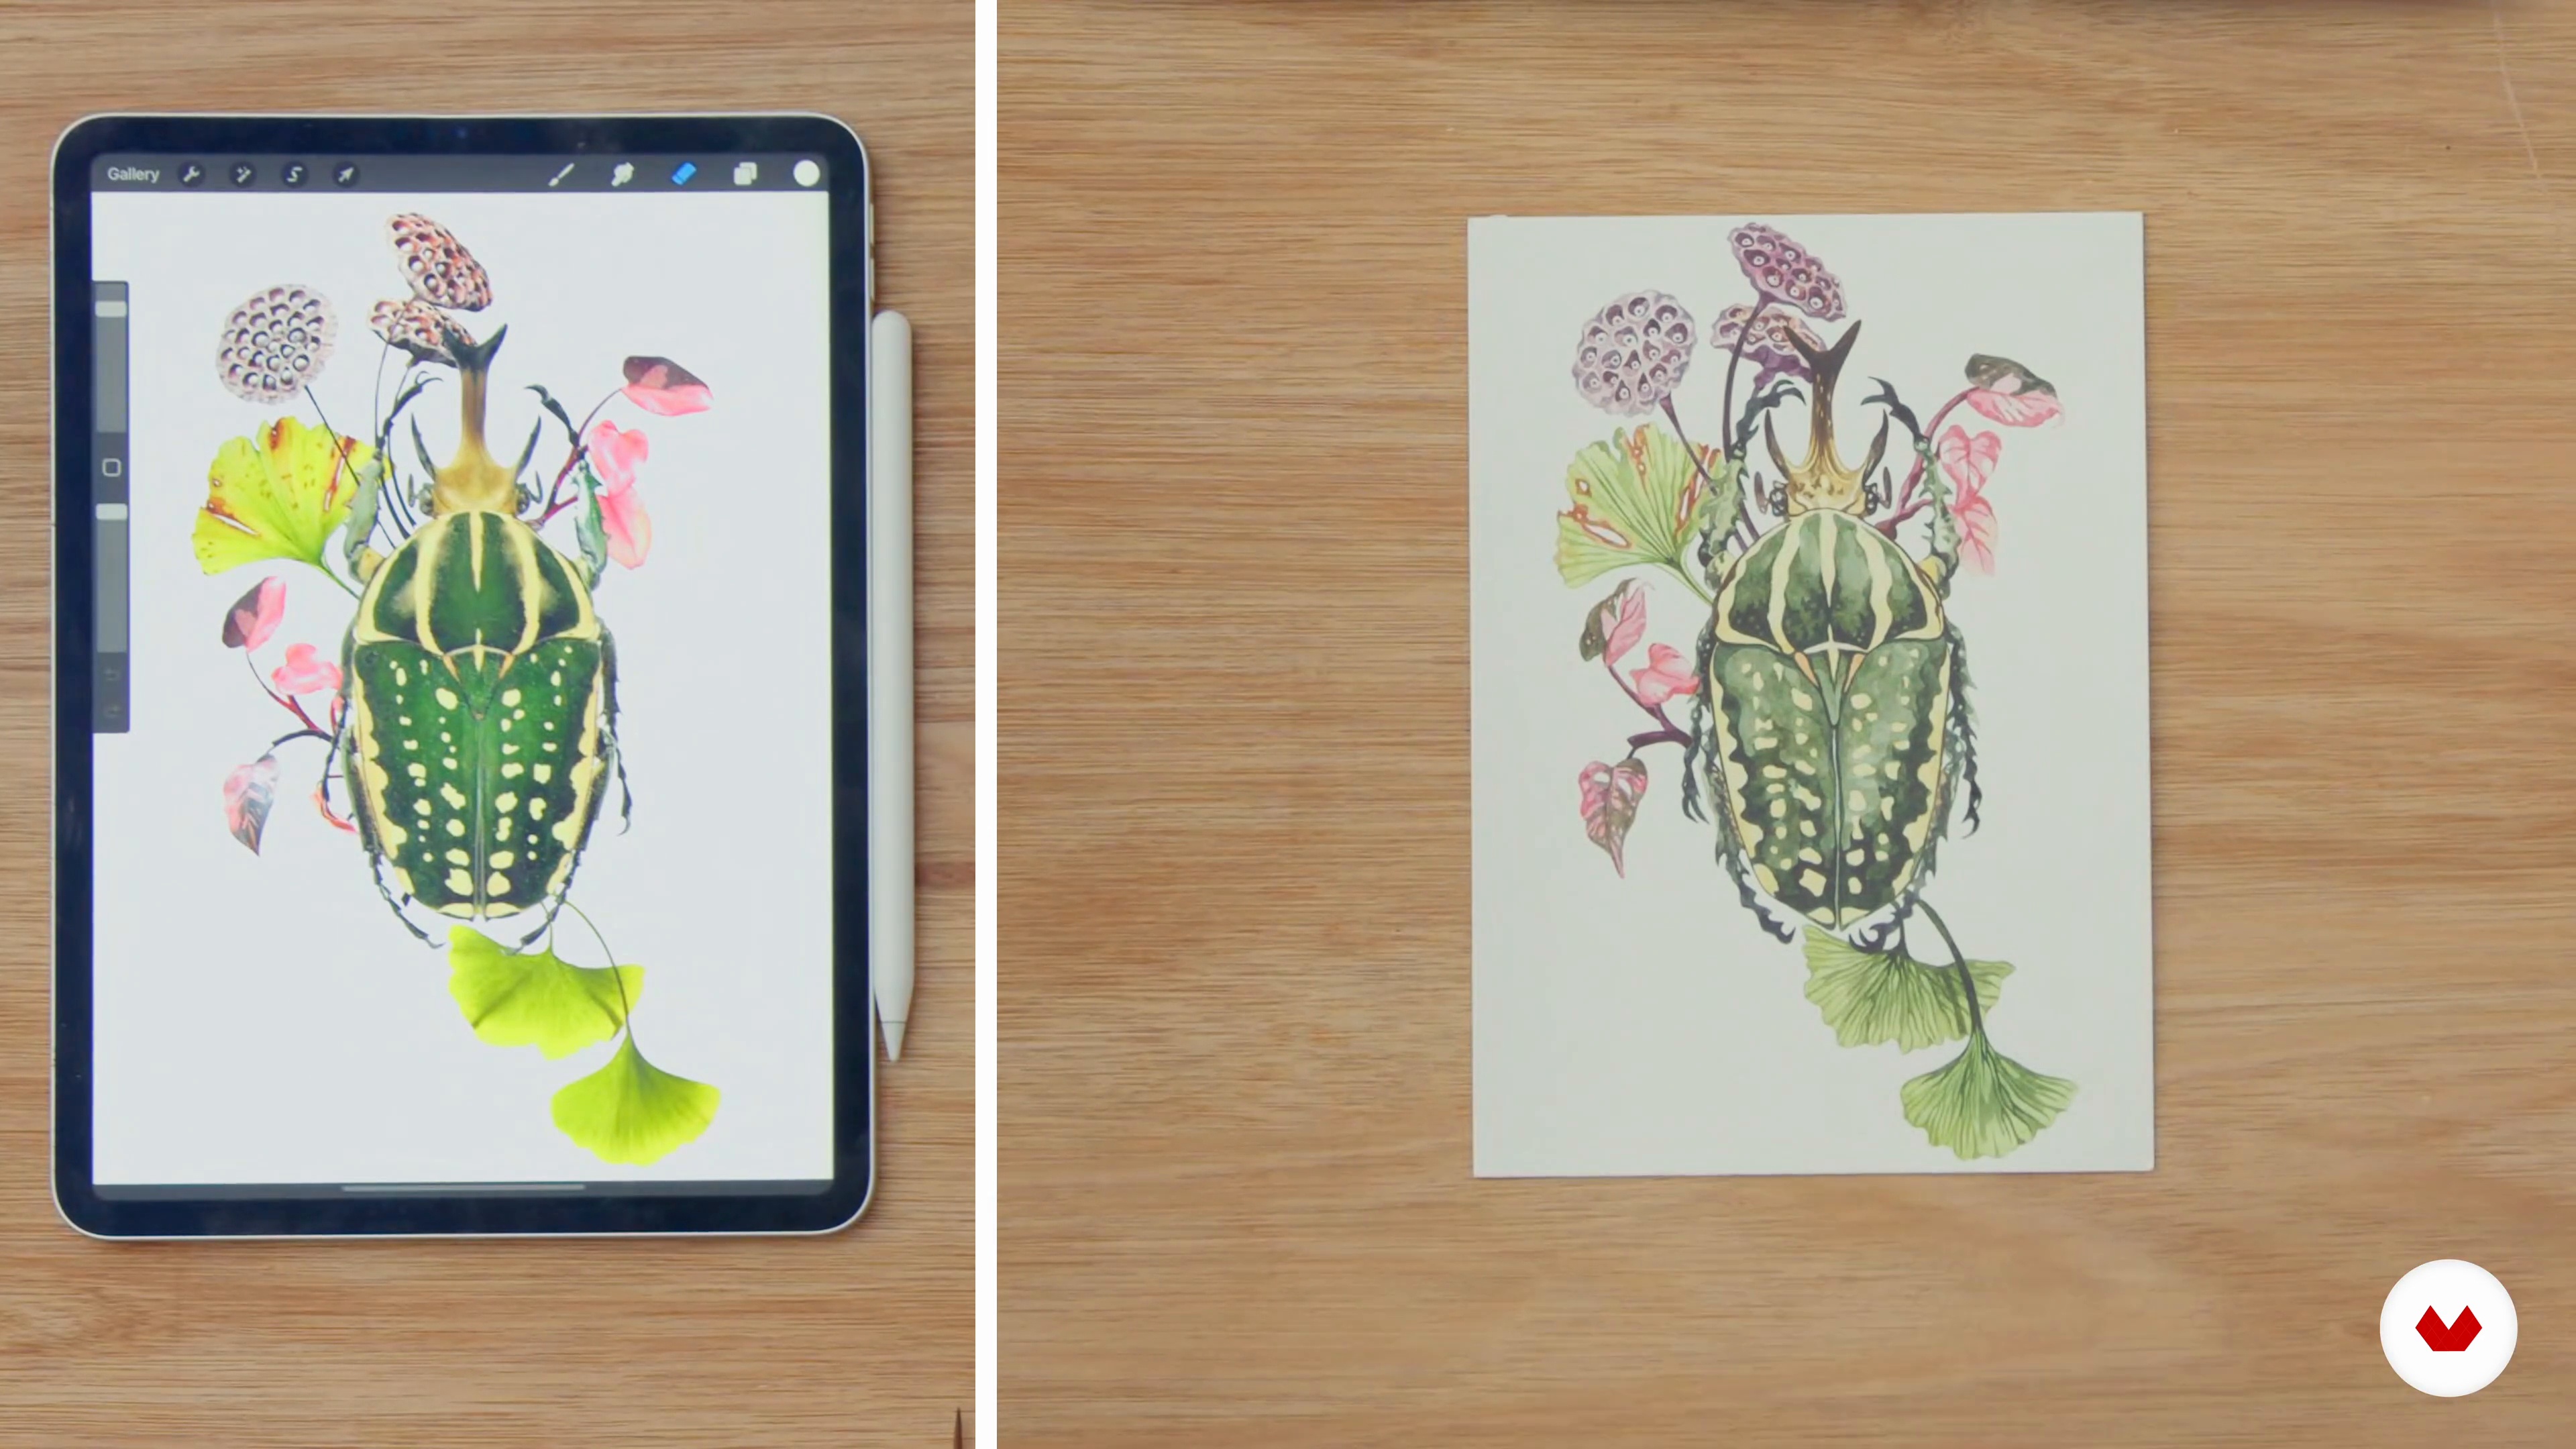
It's time to make my own unique collage using inspiring images from the mood board. You will learn how to do this digitally using Procreate.
20m
image
11
Composition: The Drawing
Now, you will learn how to make a clean and accurate drawing of the composition on the final watercolour paper.
6m
image
12
The First Layer: The Lights 1
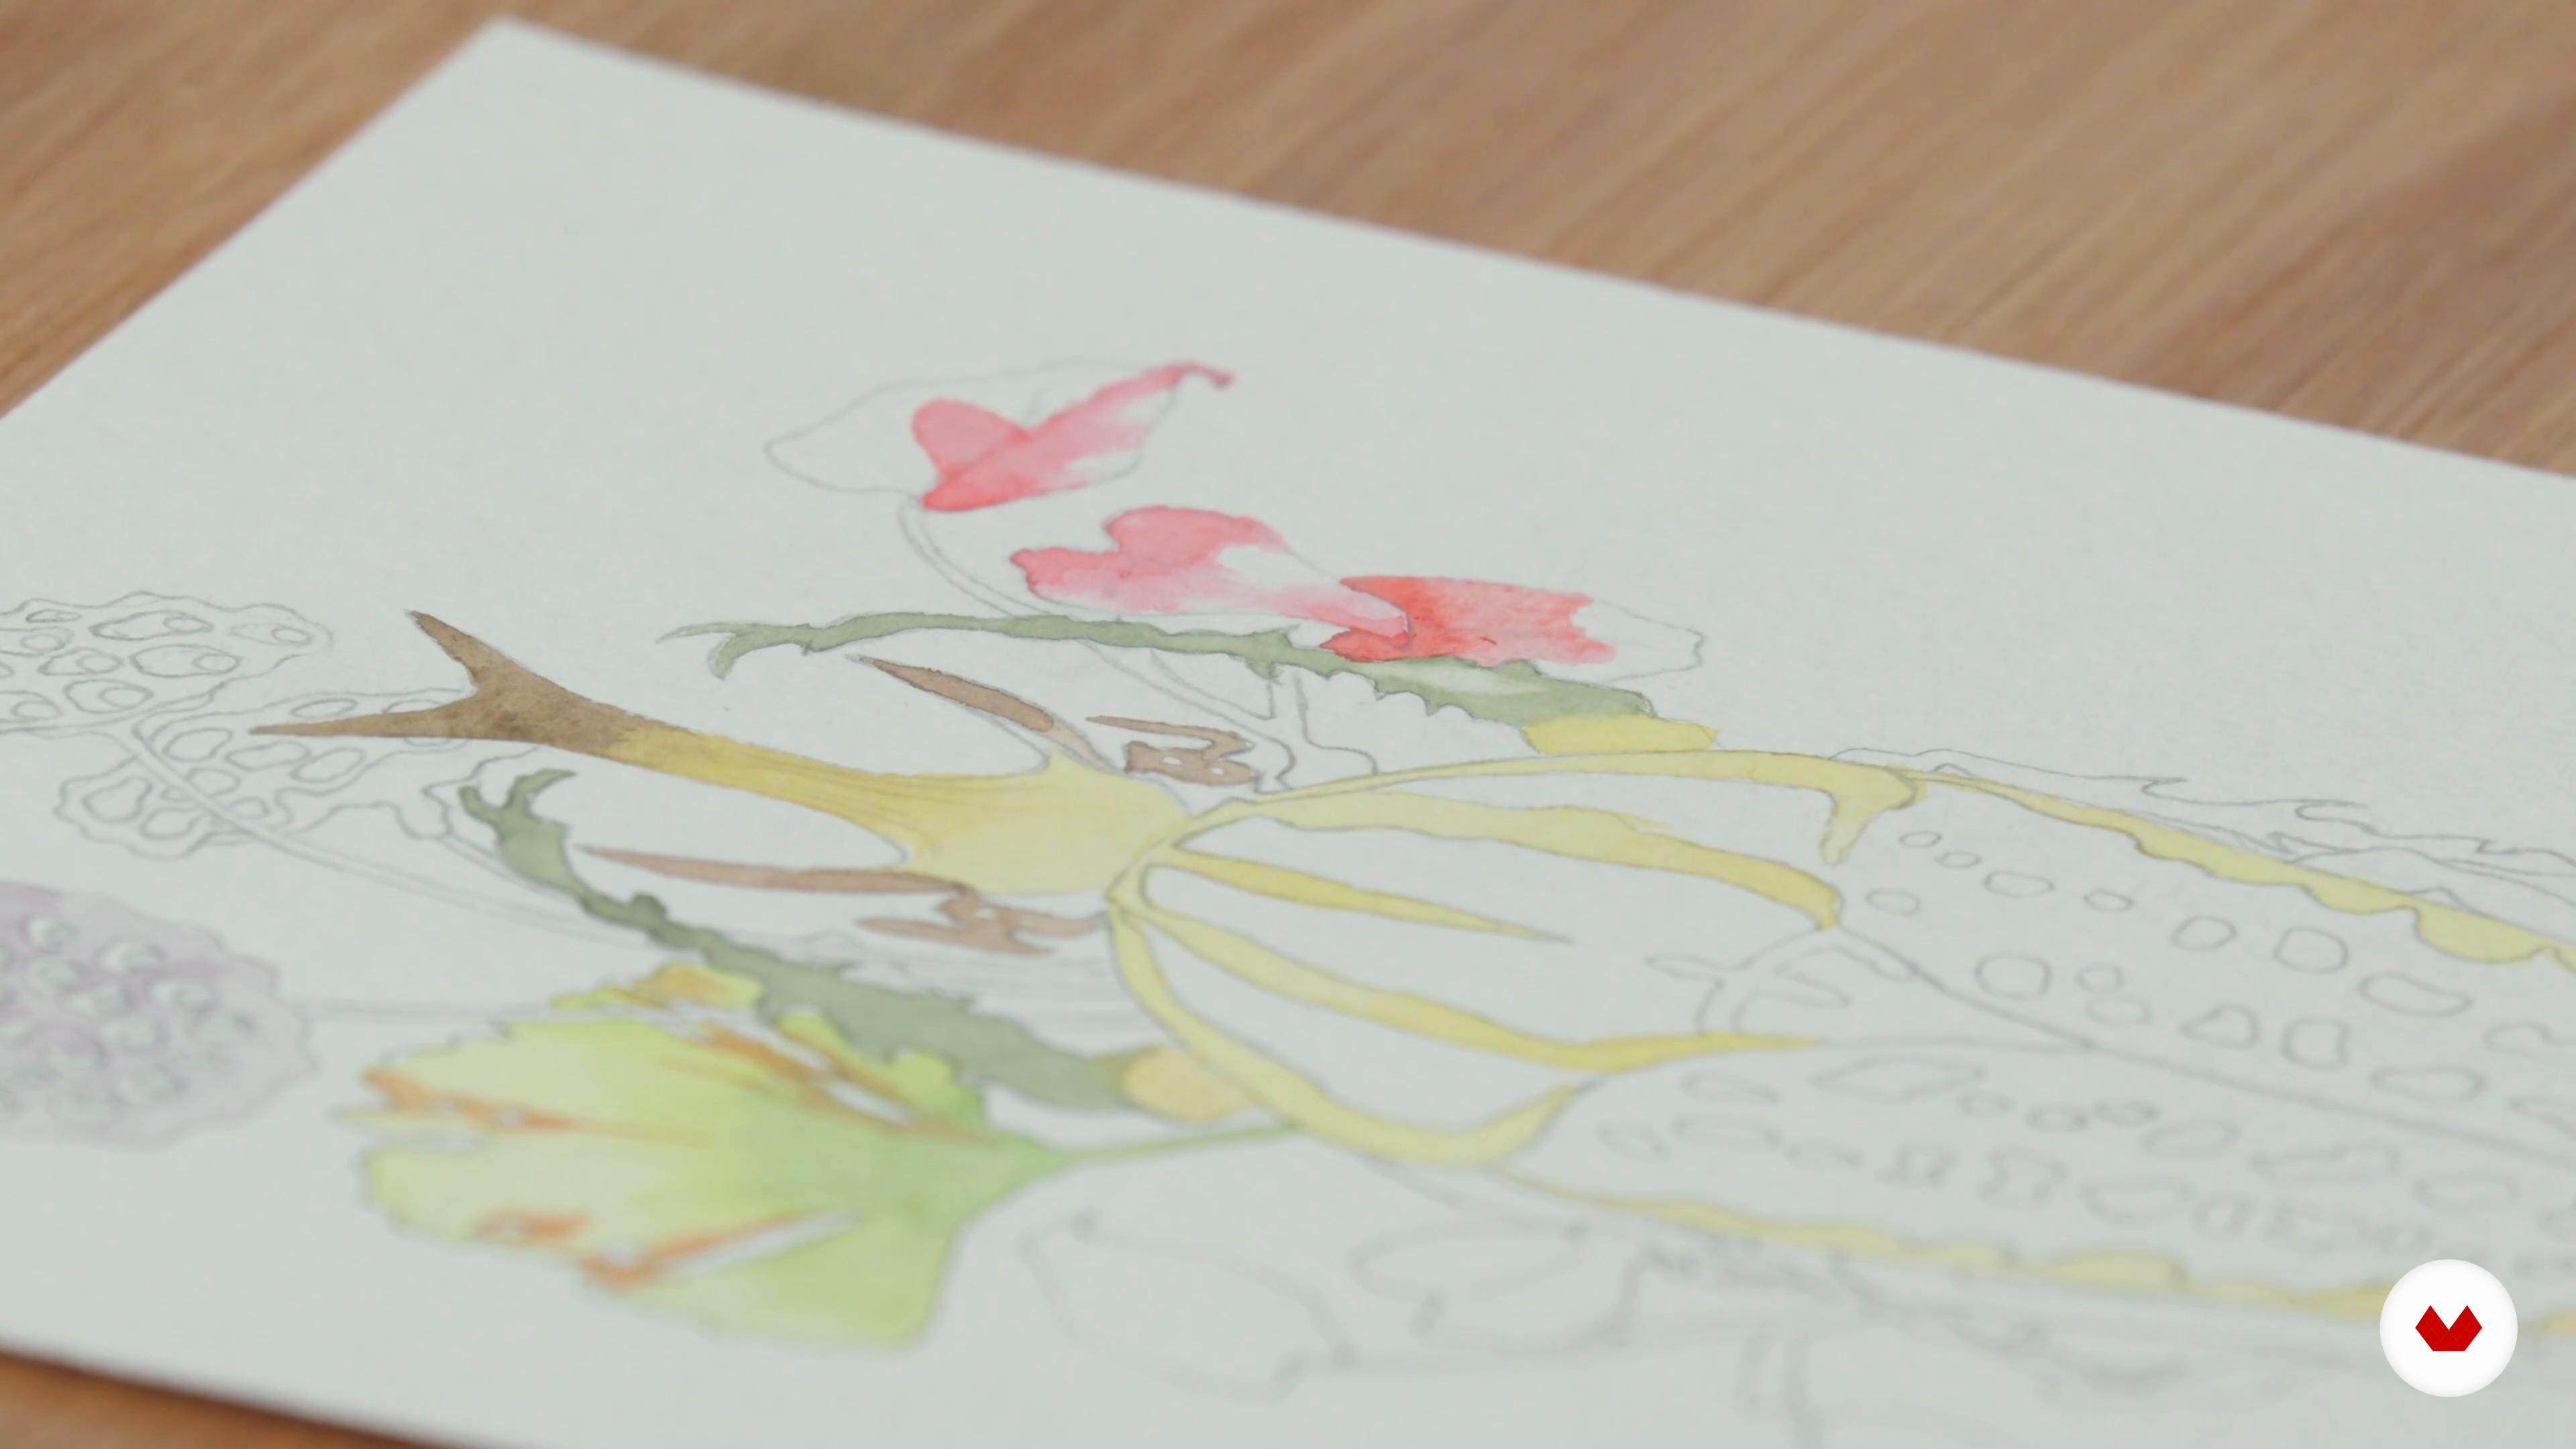
In this lesson, I will identify the lightest areas and paint them. Remember to leave the white highlights (if there are any) out, as the white of the page will act as the very lightest part.
17m
image
13
The First Layer: The Lights 2
Using the same technique I showed you in the previous lesson, I will finish painting the lightest areas of the illustration.
11m
image
14
The Second Layer: The Mid-Tones 1
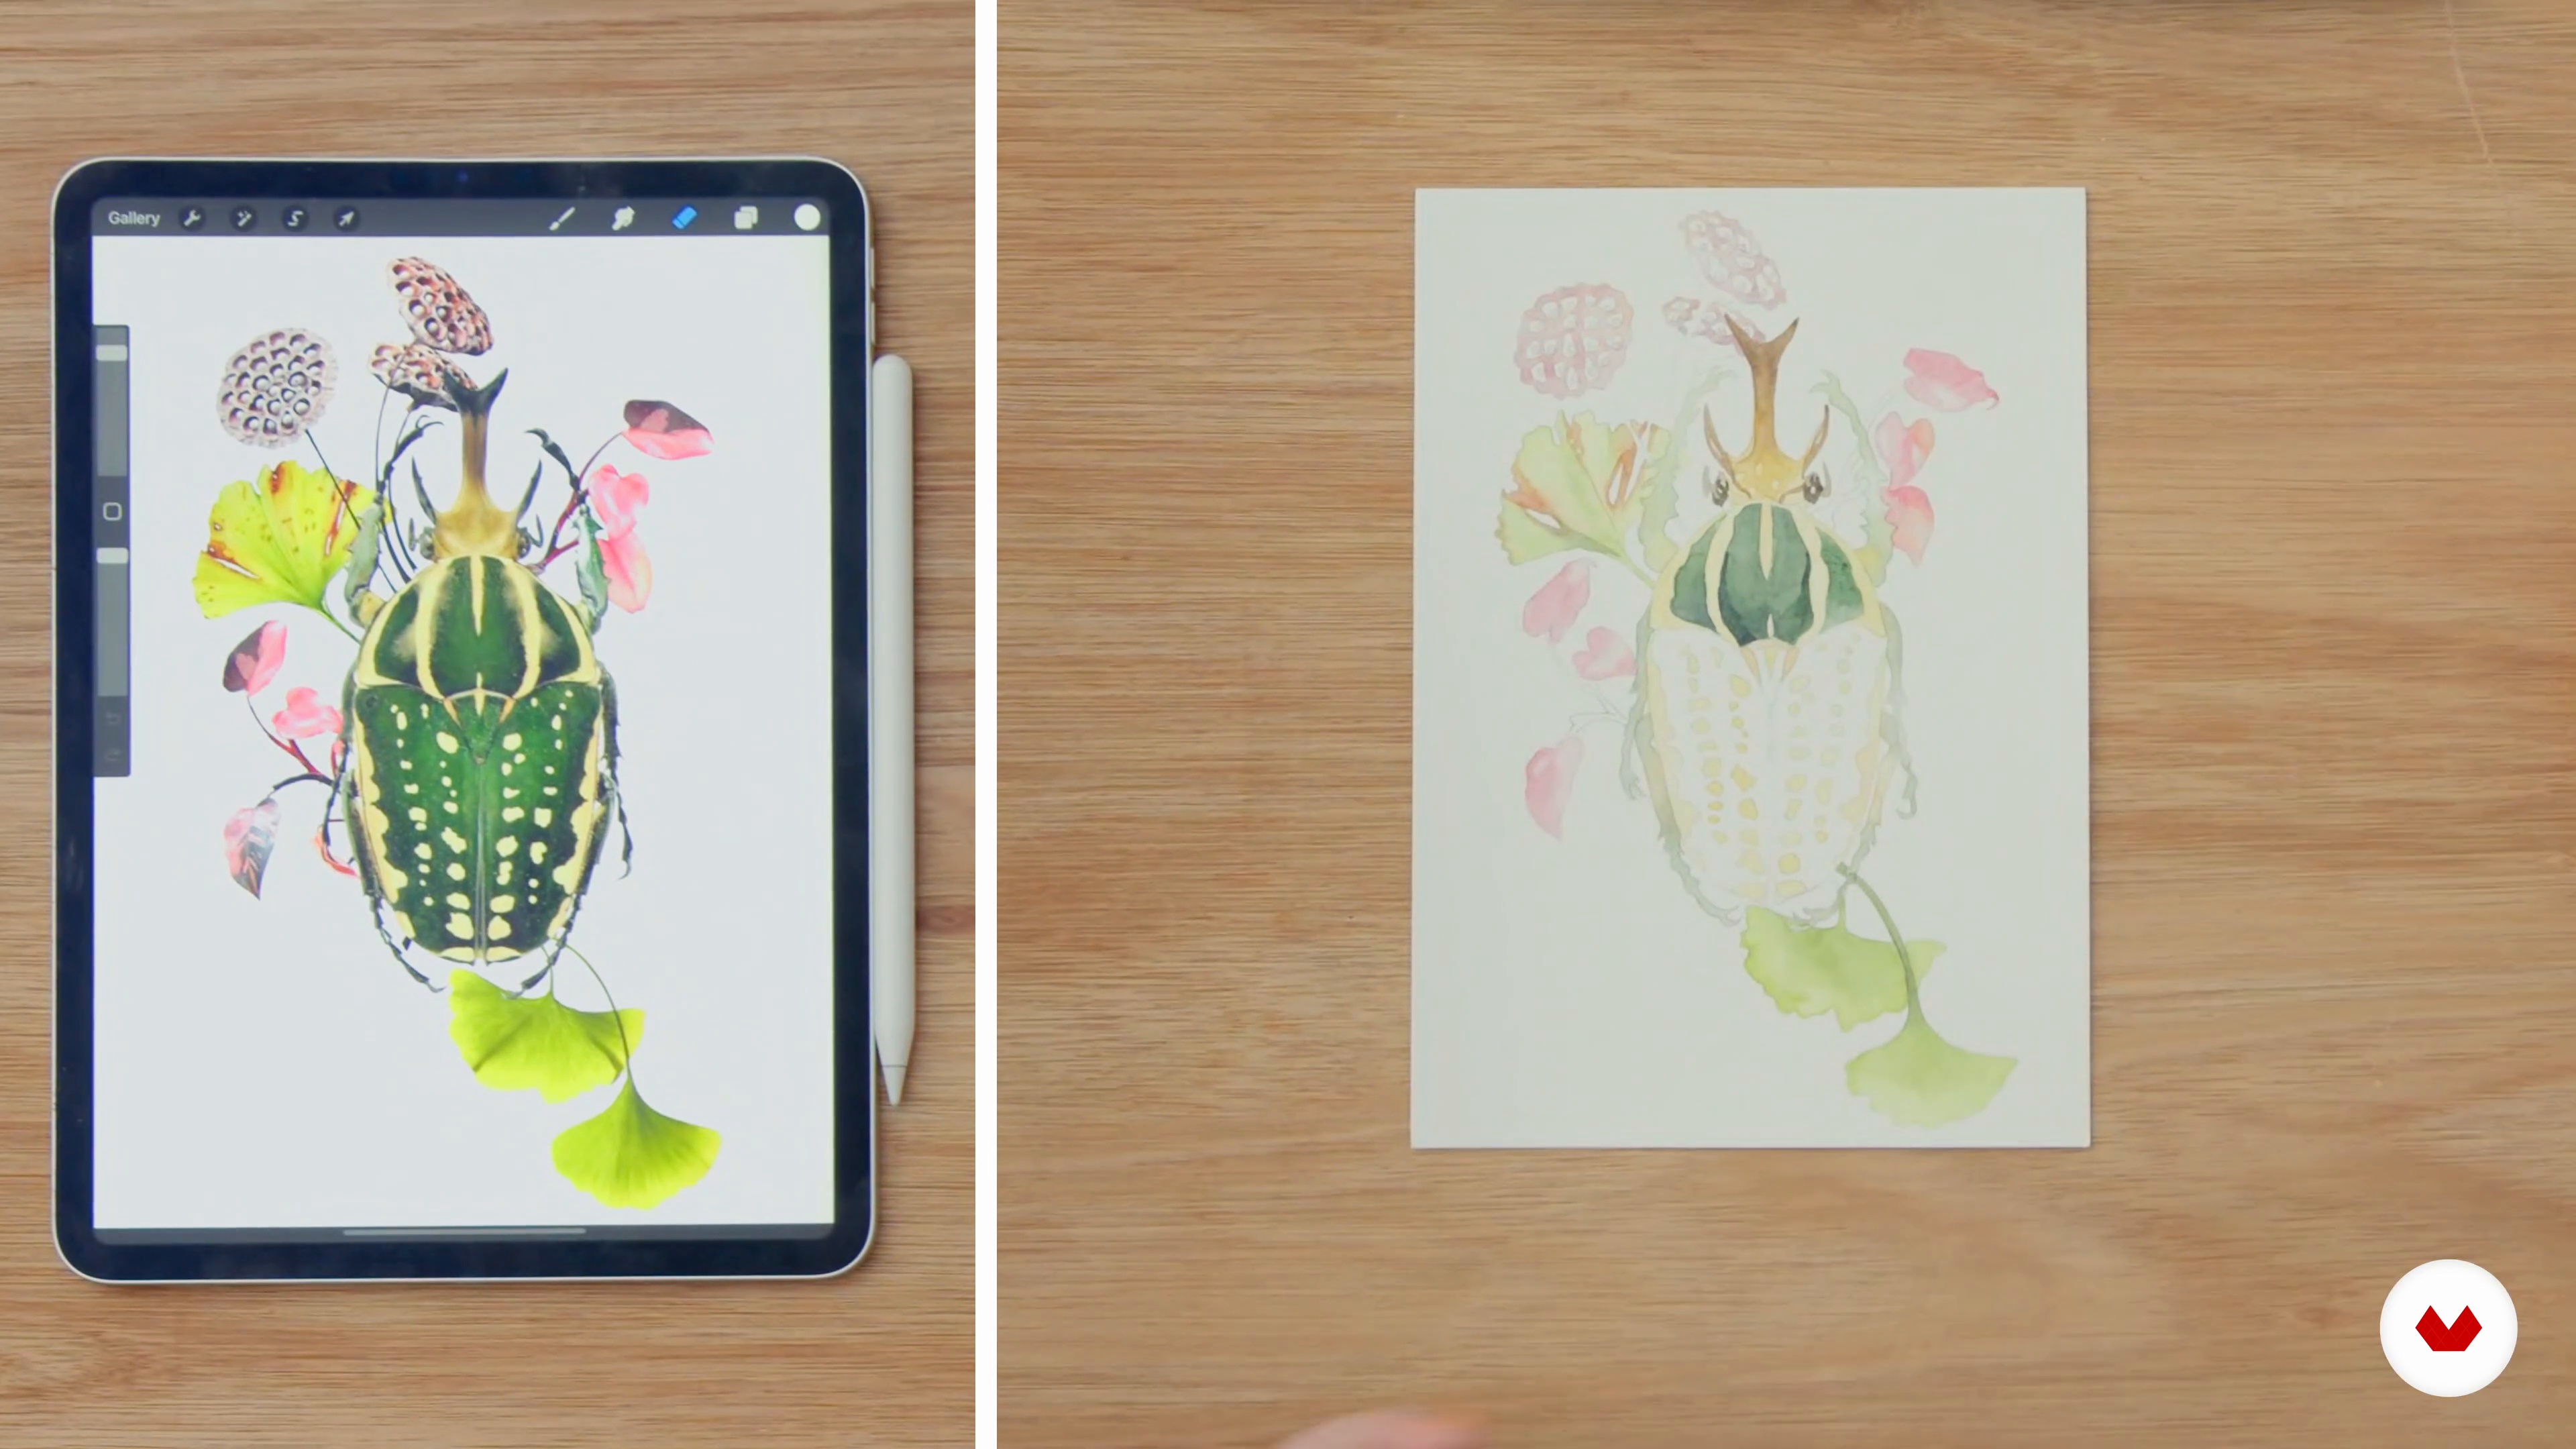
In this lesson, I will paint in the mid-tones, layering paint on the lightest areas to add more vibrancy to the piece.
11m
image
15
The Second Layer: The Mid-Tones 2
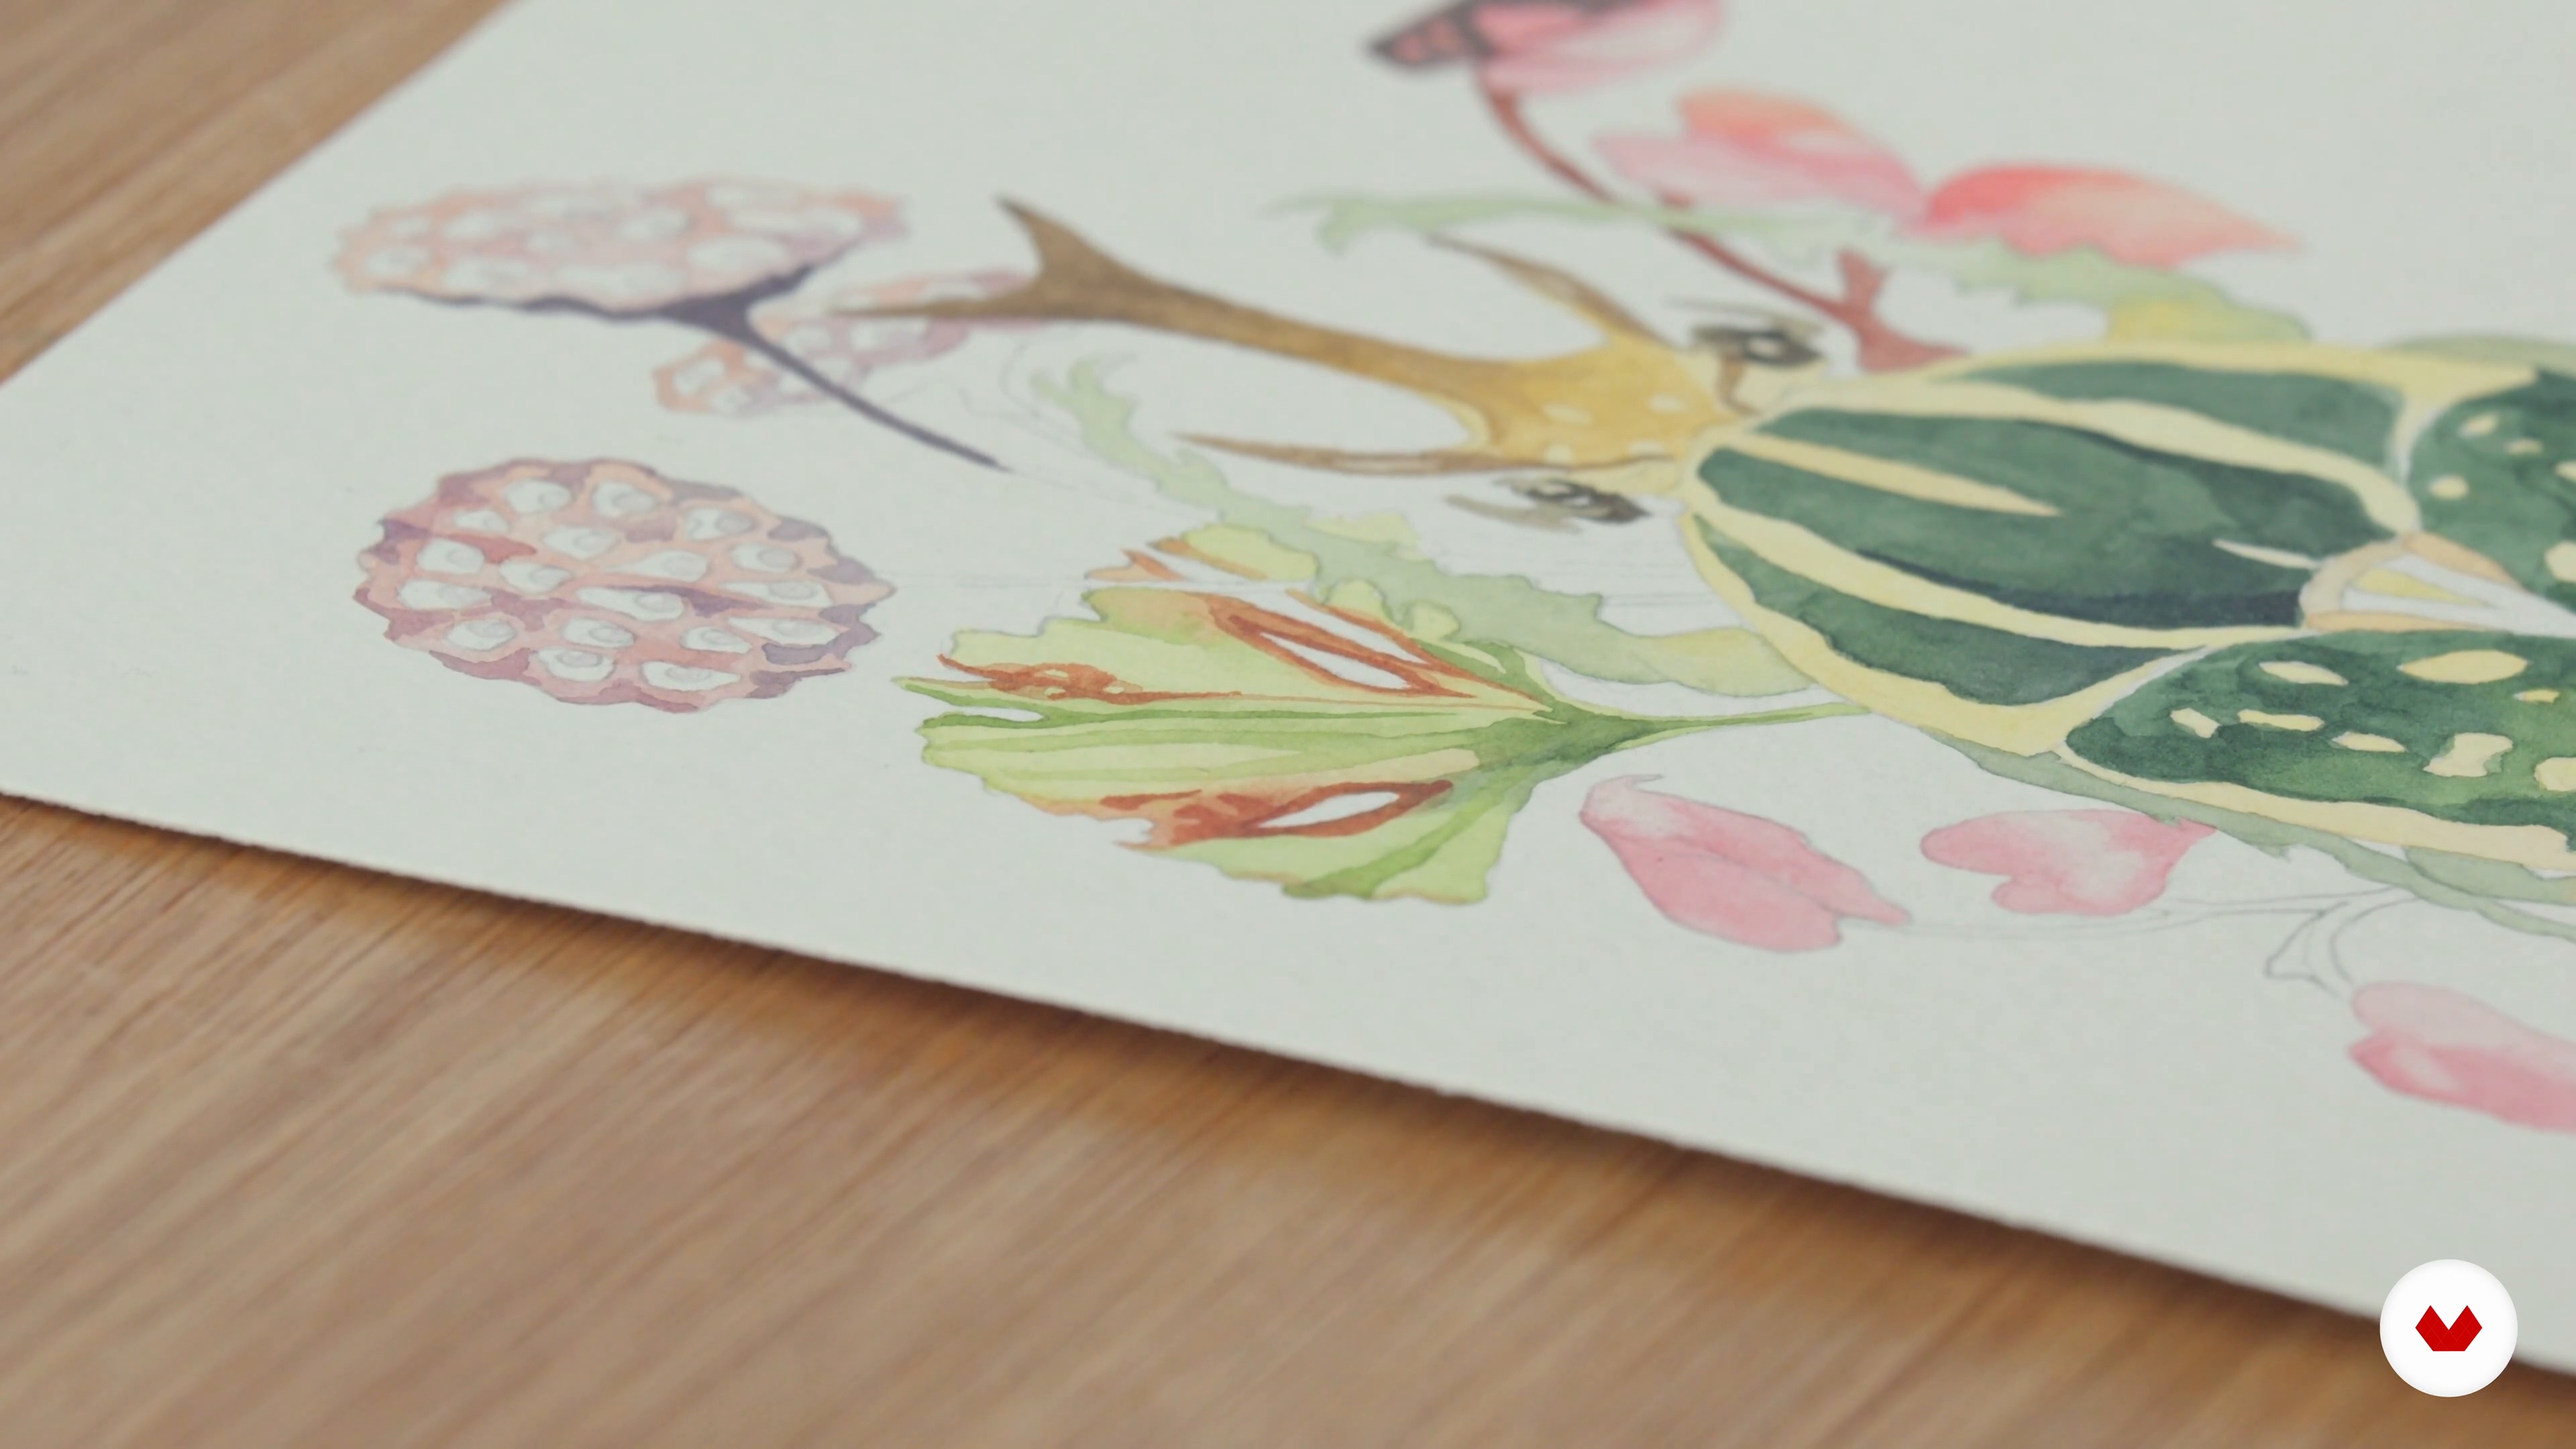
Once I'm finished with painting the beetle's body, I will move on to adding the mid-tones to the other areas of the piece.
16m
image
16
The Third Layer: The Details 1
In this lesson, I will paint the darker shades and add the final details that will really bring the piece to life. Final textural techniques will be used here, and I will seek to create strong contrasts to give the piece vitality.
14m
image
17
The Third Layer: The Details 2
Here, I'll finish painting the whole piece. You will see how the darkest tones really make the illustration pop!
10m
image
18
Scanning and Editing
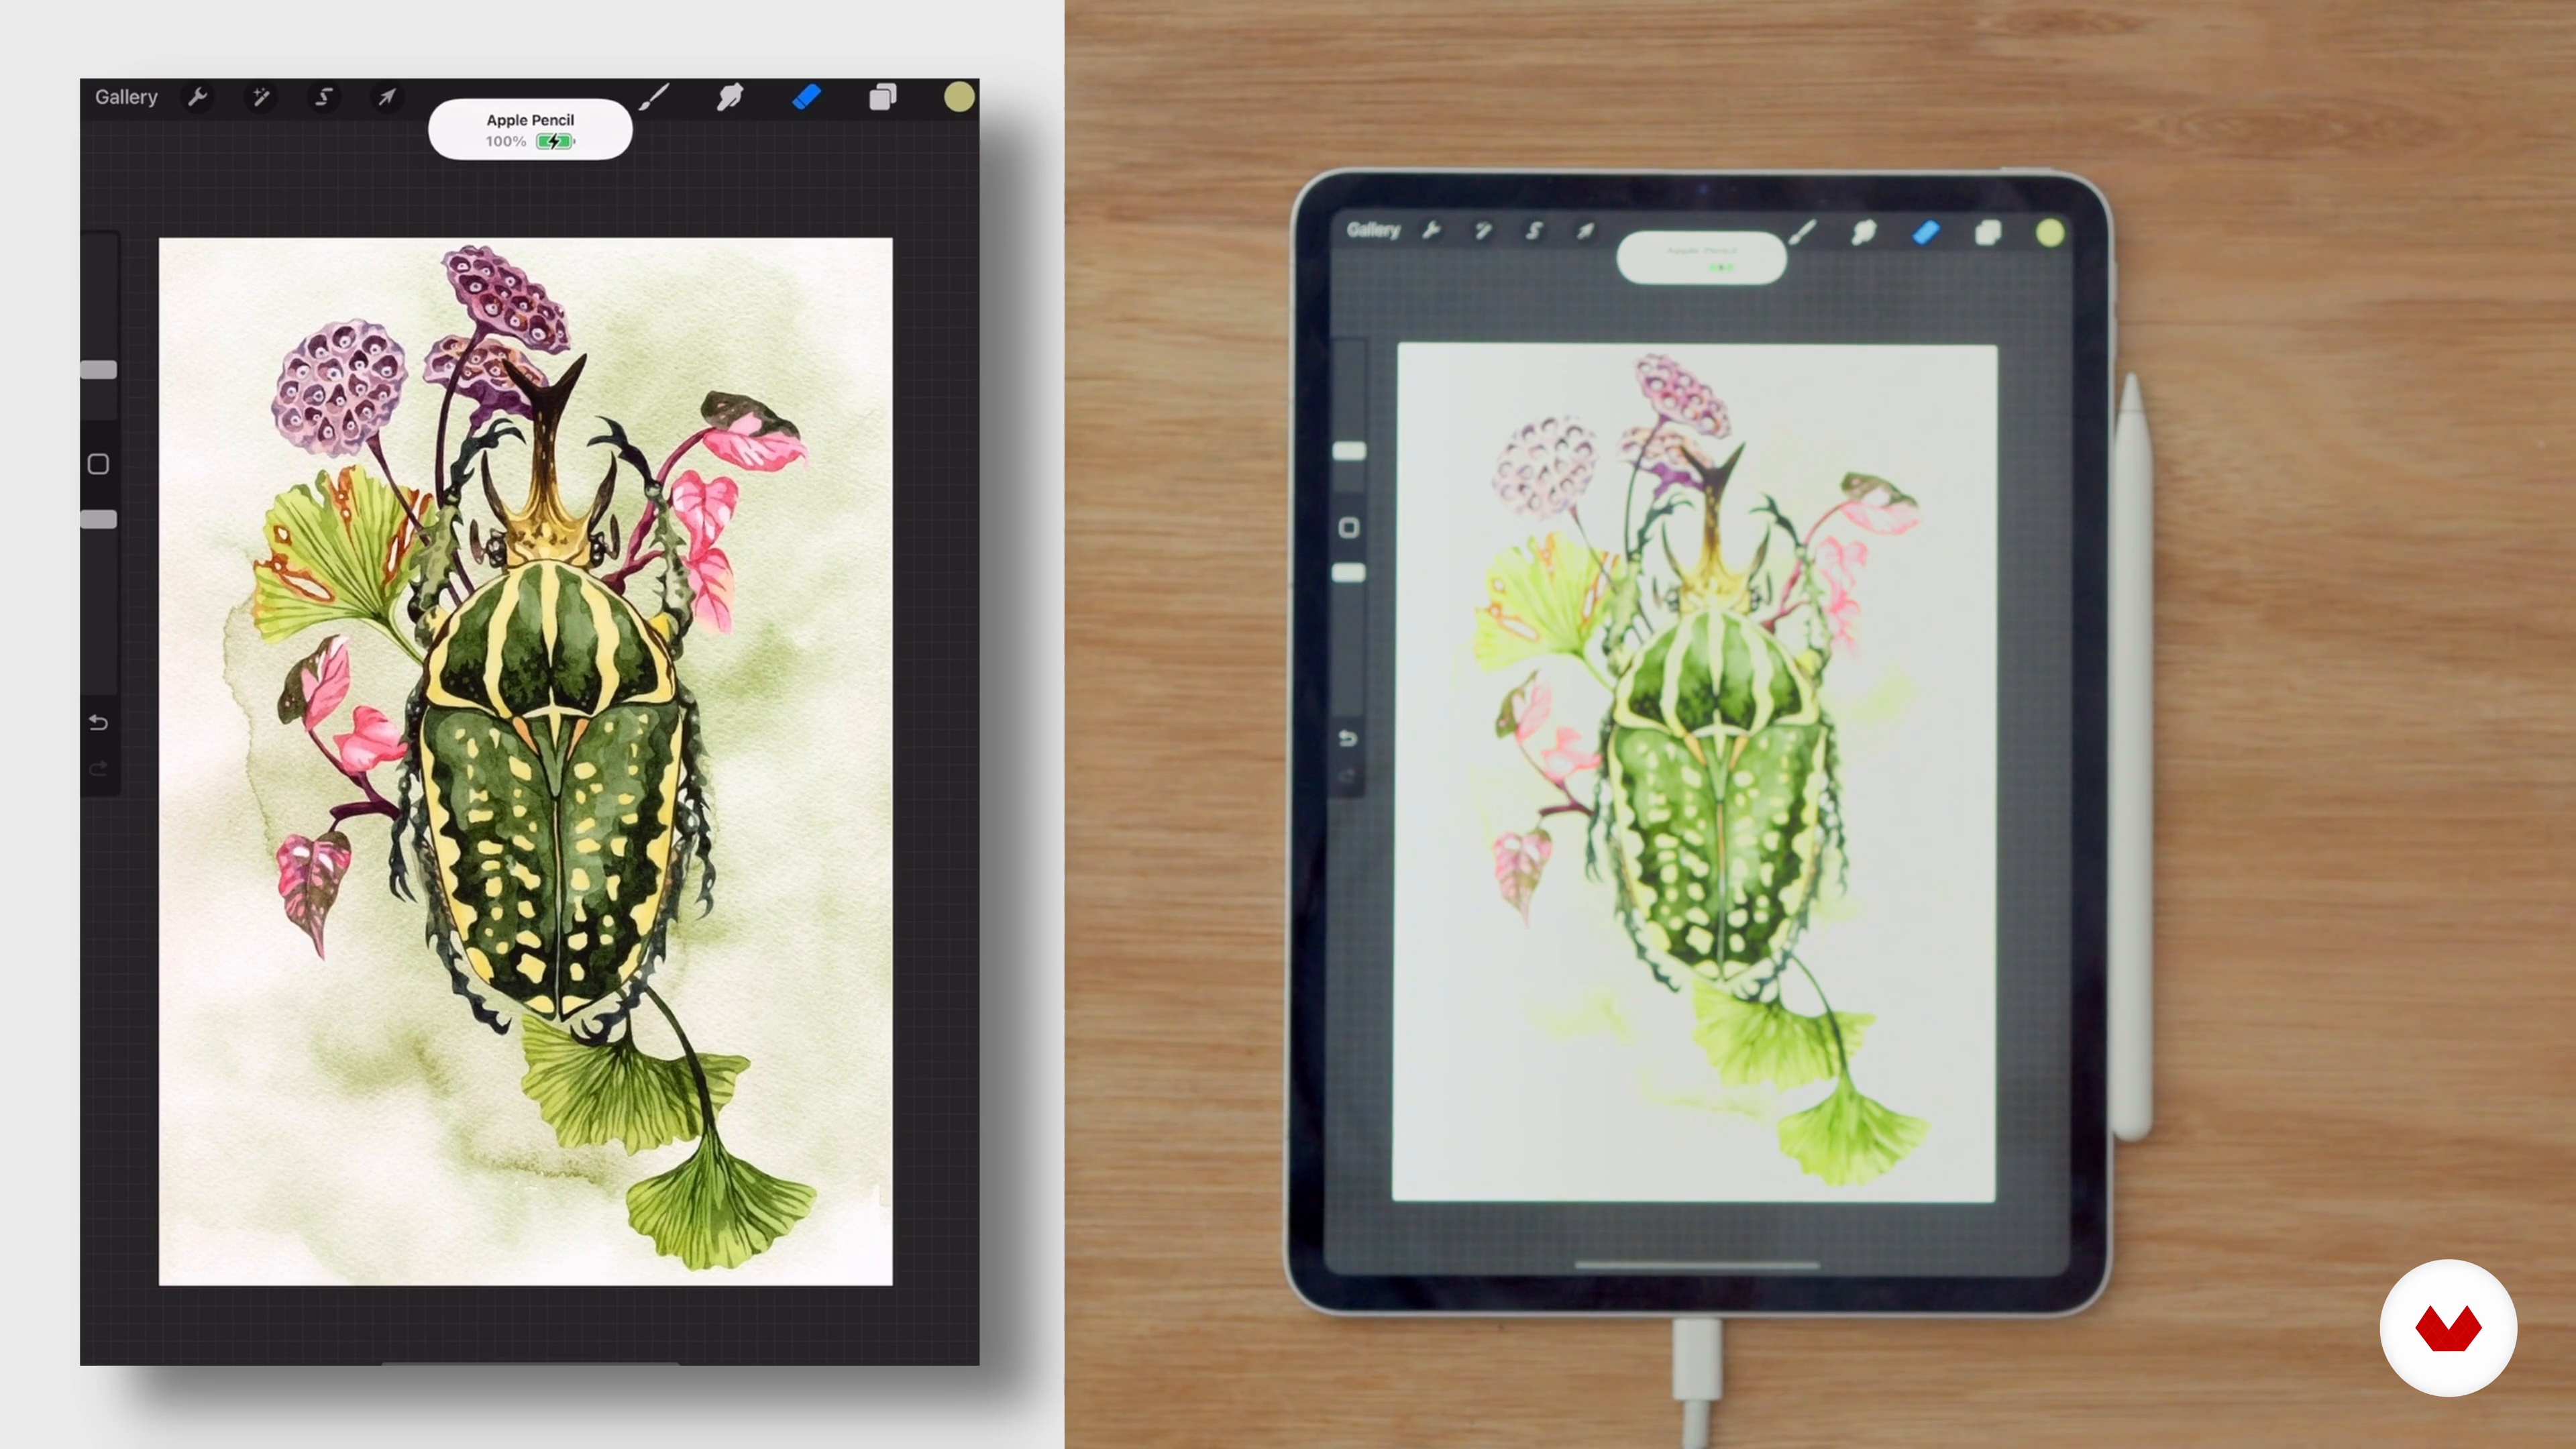
In this lesson, I will scan the illustration ready to be edited back with Procreate.
7m
image
19
Printing and Photographing for Social Media
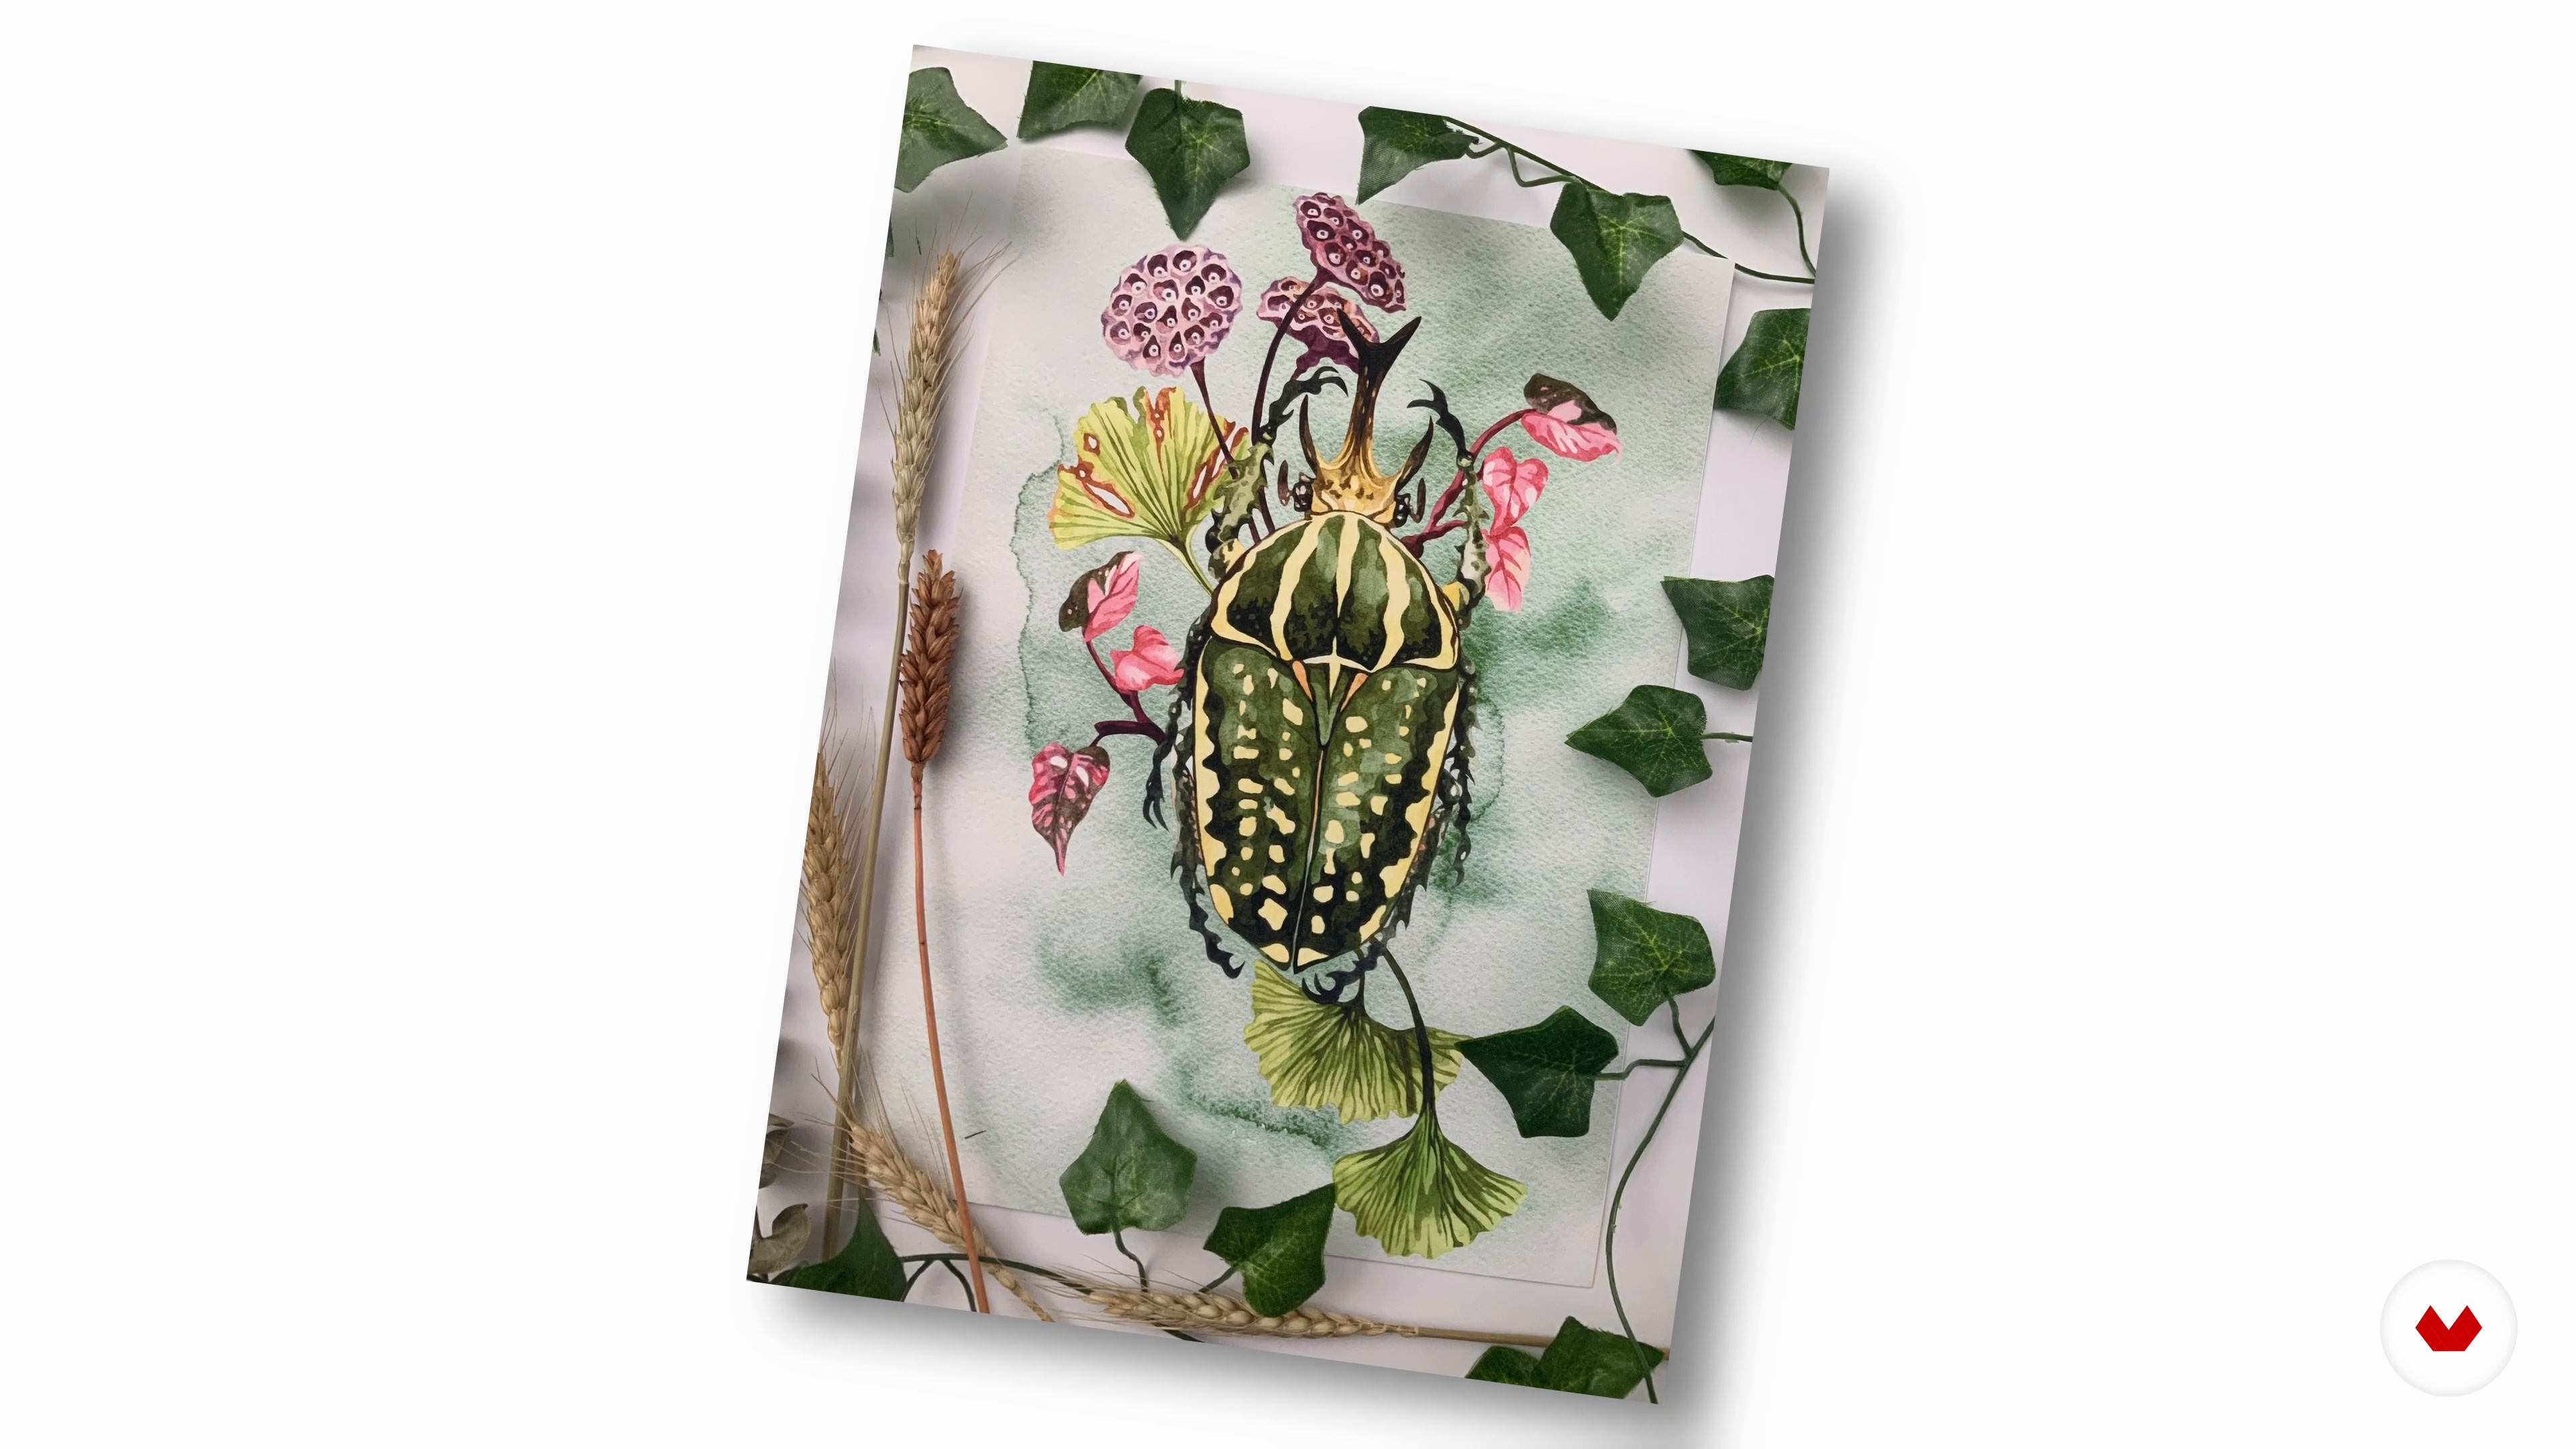
Now, I will print off the illustration and I will show you how I photograph my work using botanical elements for social media.
4m
image
3
Learning to Be More Aware
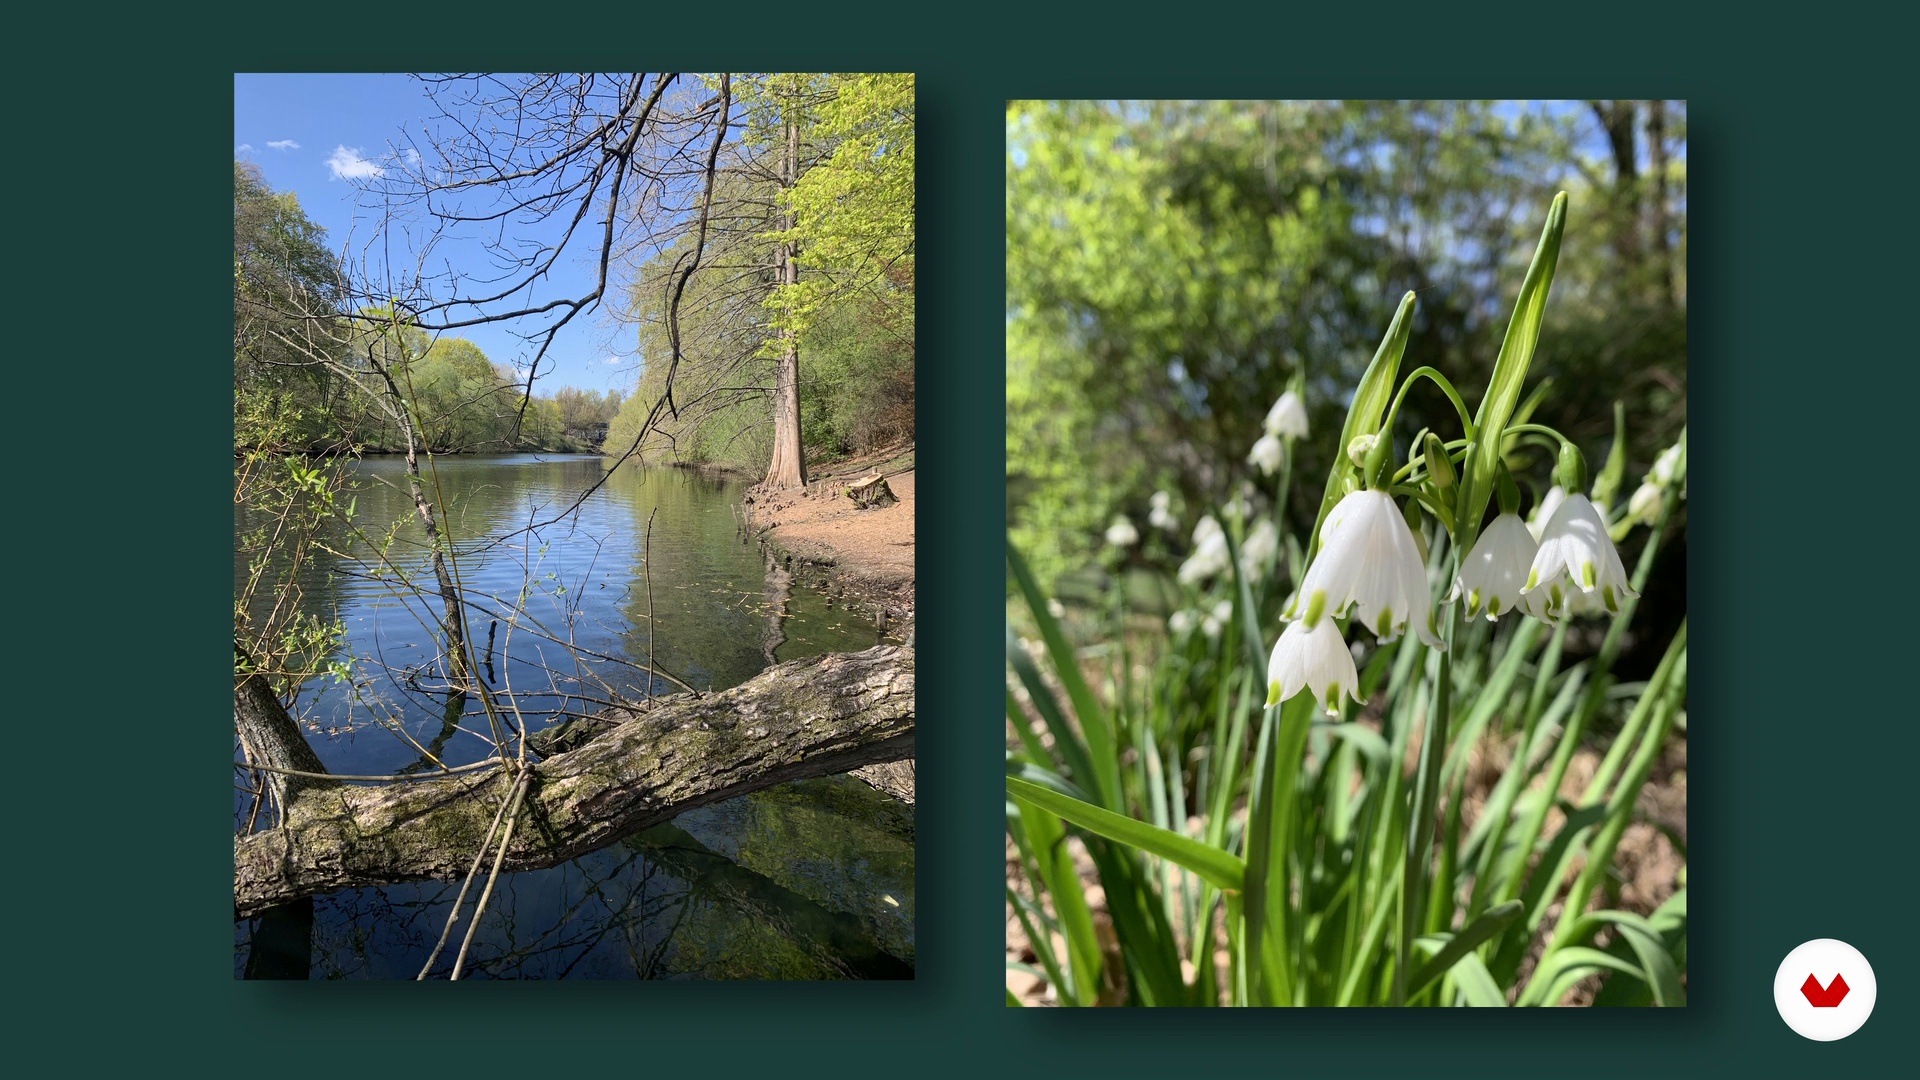
In this lesson, you will adopt a new view of your surroundings, starting at home and then going for a walk. Zoom in with your camera and pay attention to the details in nature that you haven't seen before. Create your own documentation archive through your eye's lens.
12m
image
4
Materials 1
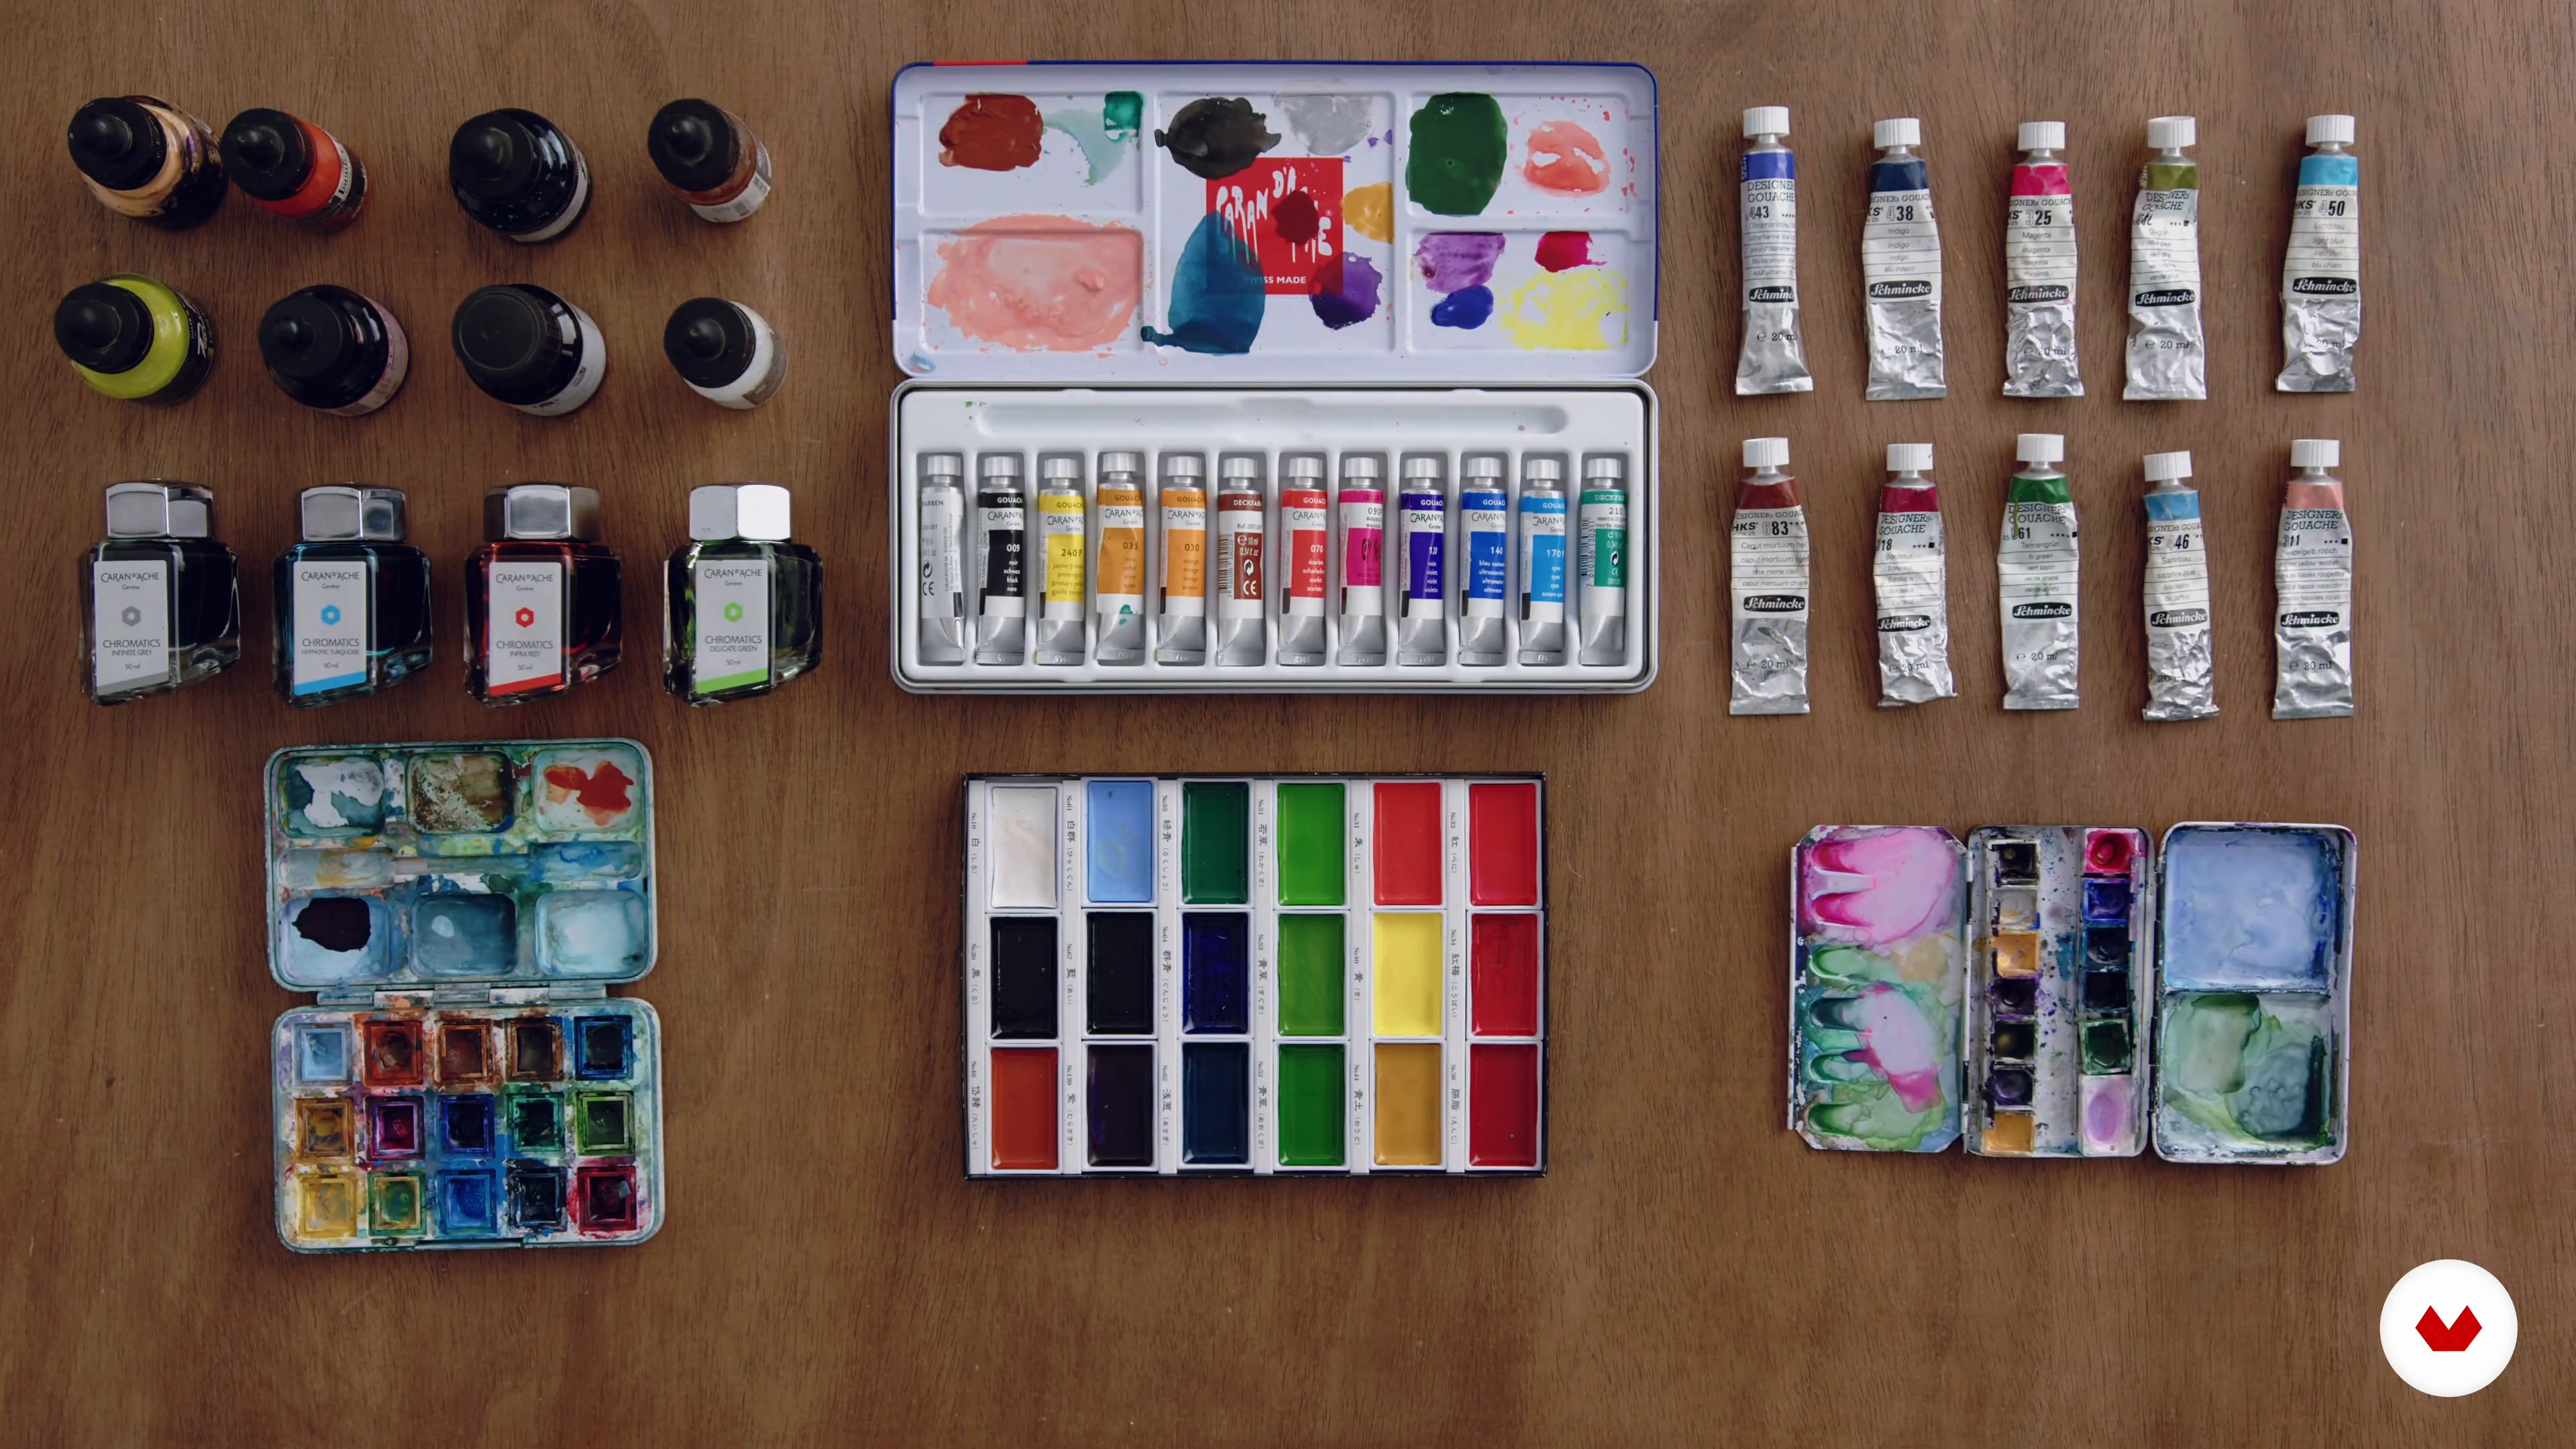
For a mixed media project, materials are essential. Here you will get to know the whole range of materials I use in my work. Of course, this is an open door for you to choose what you feel more comfortable with. The purpose is to let go of the fear you may feel about experimenting across different media.
17m
image
5
Materials 2
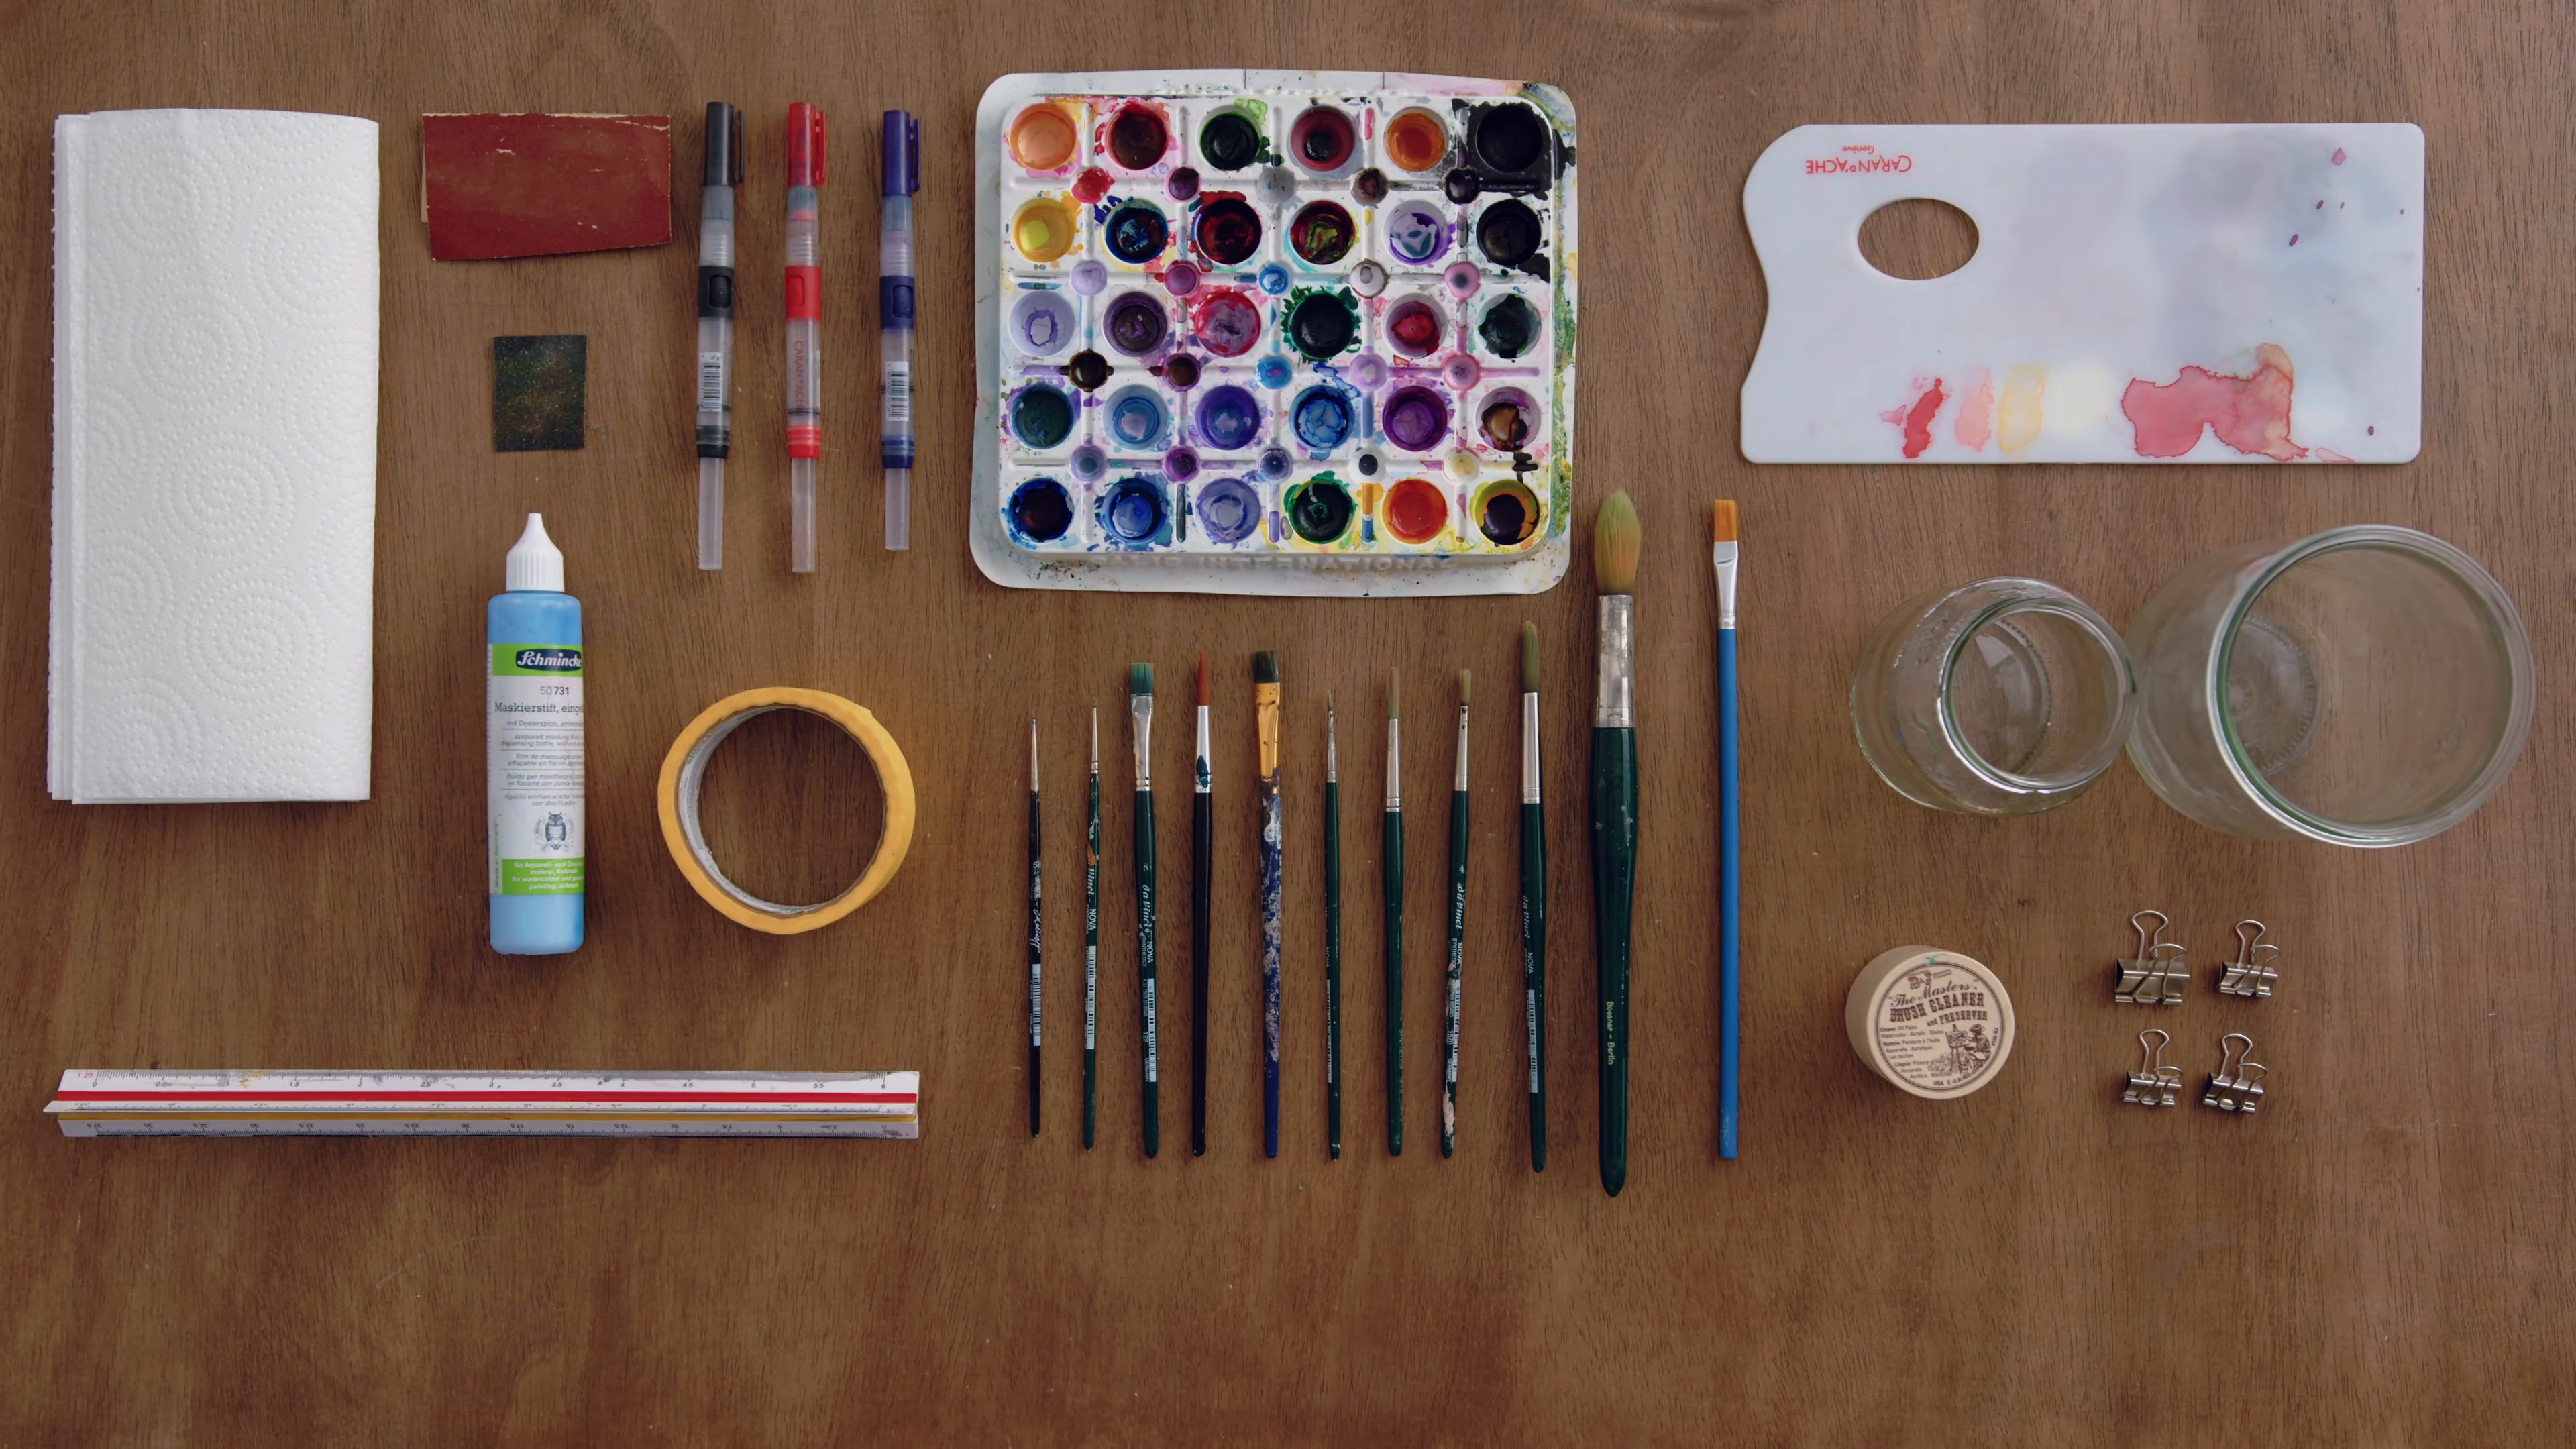
In the second part of this lesson, I will discuss the necessary and optional tools that you will need to draw and paint.
9m
image
6
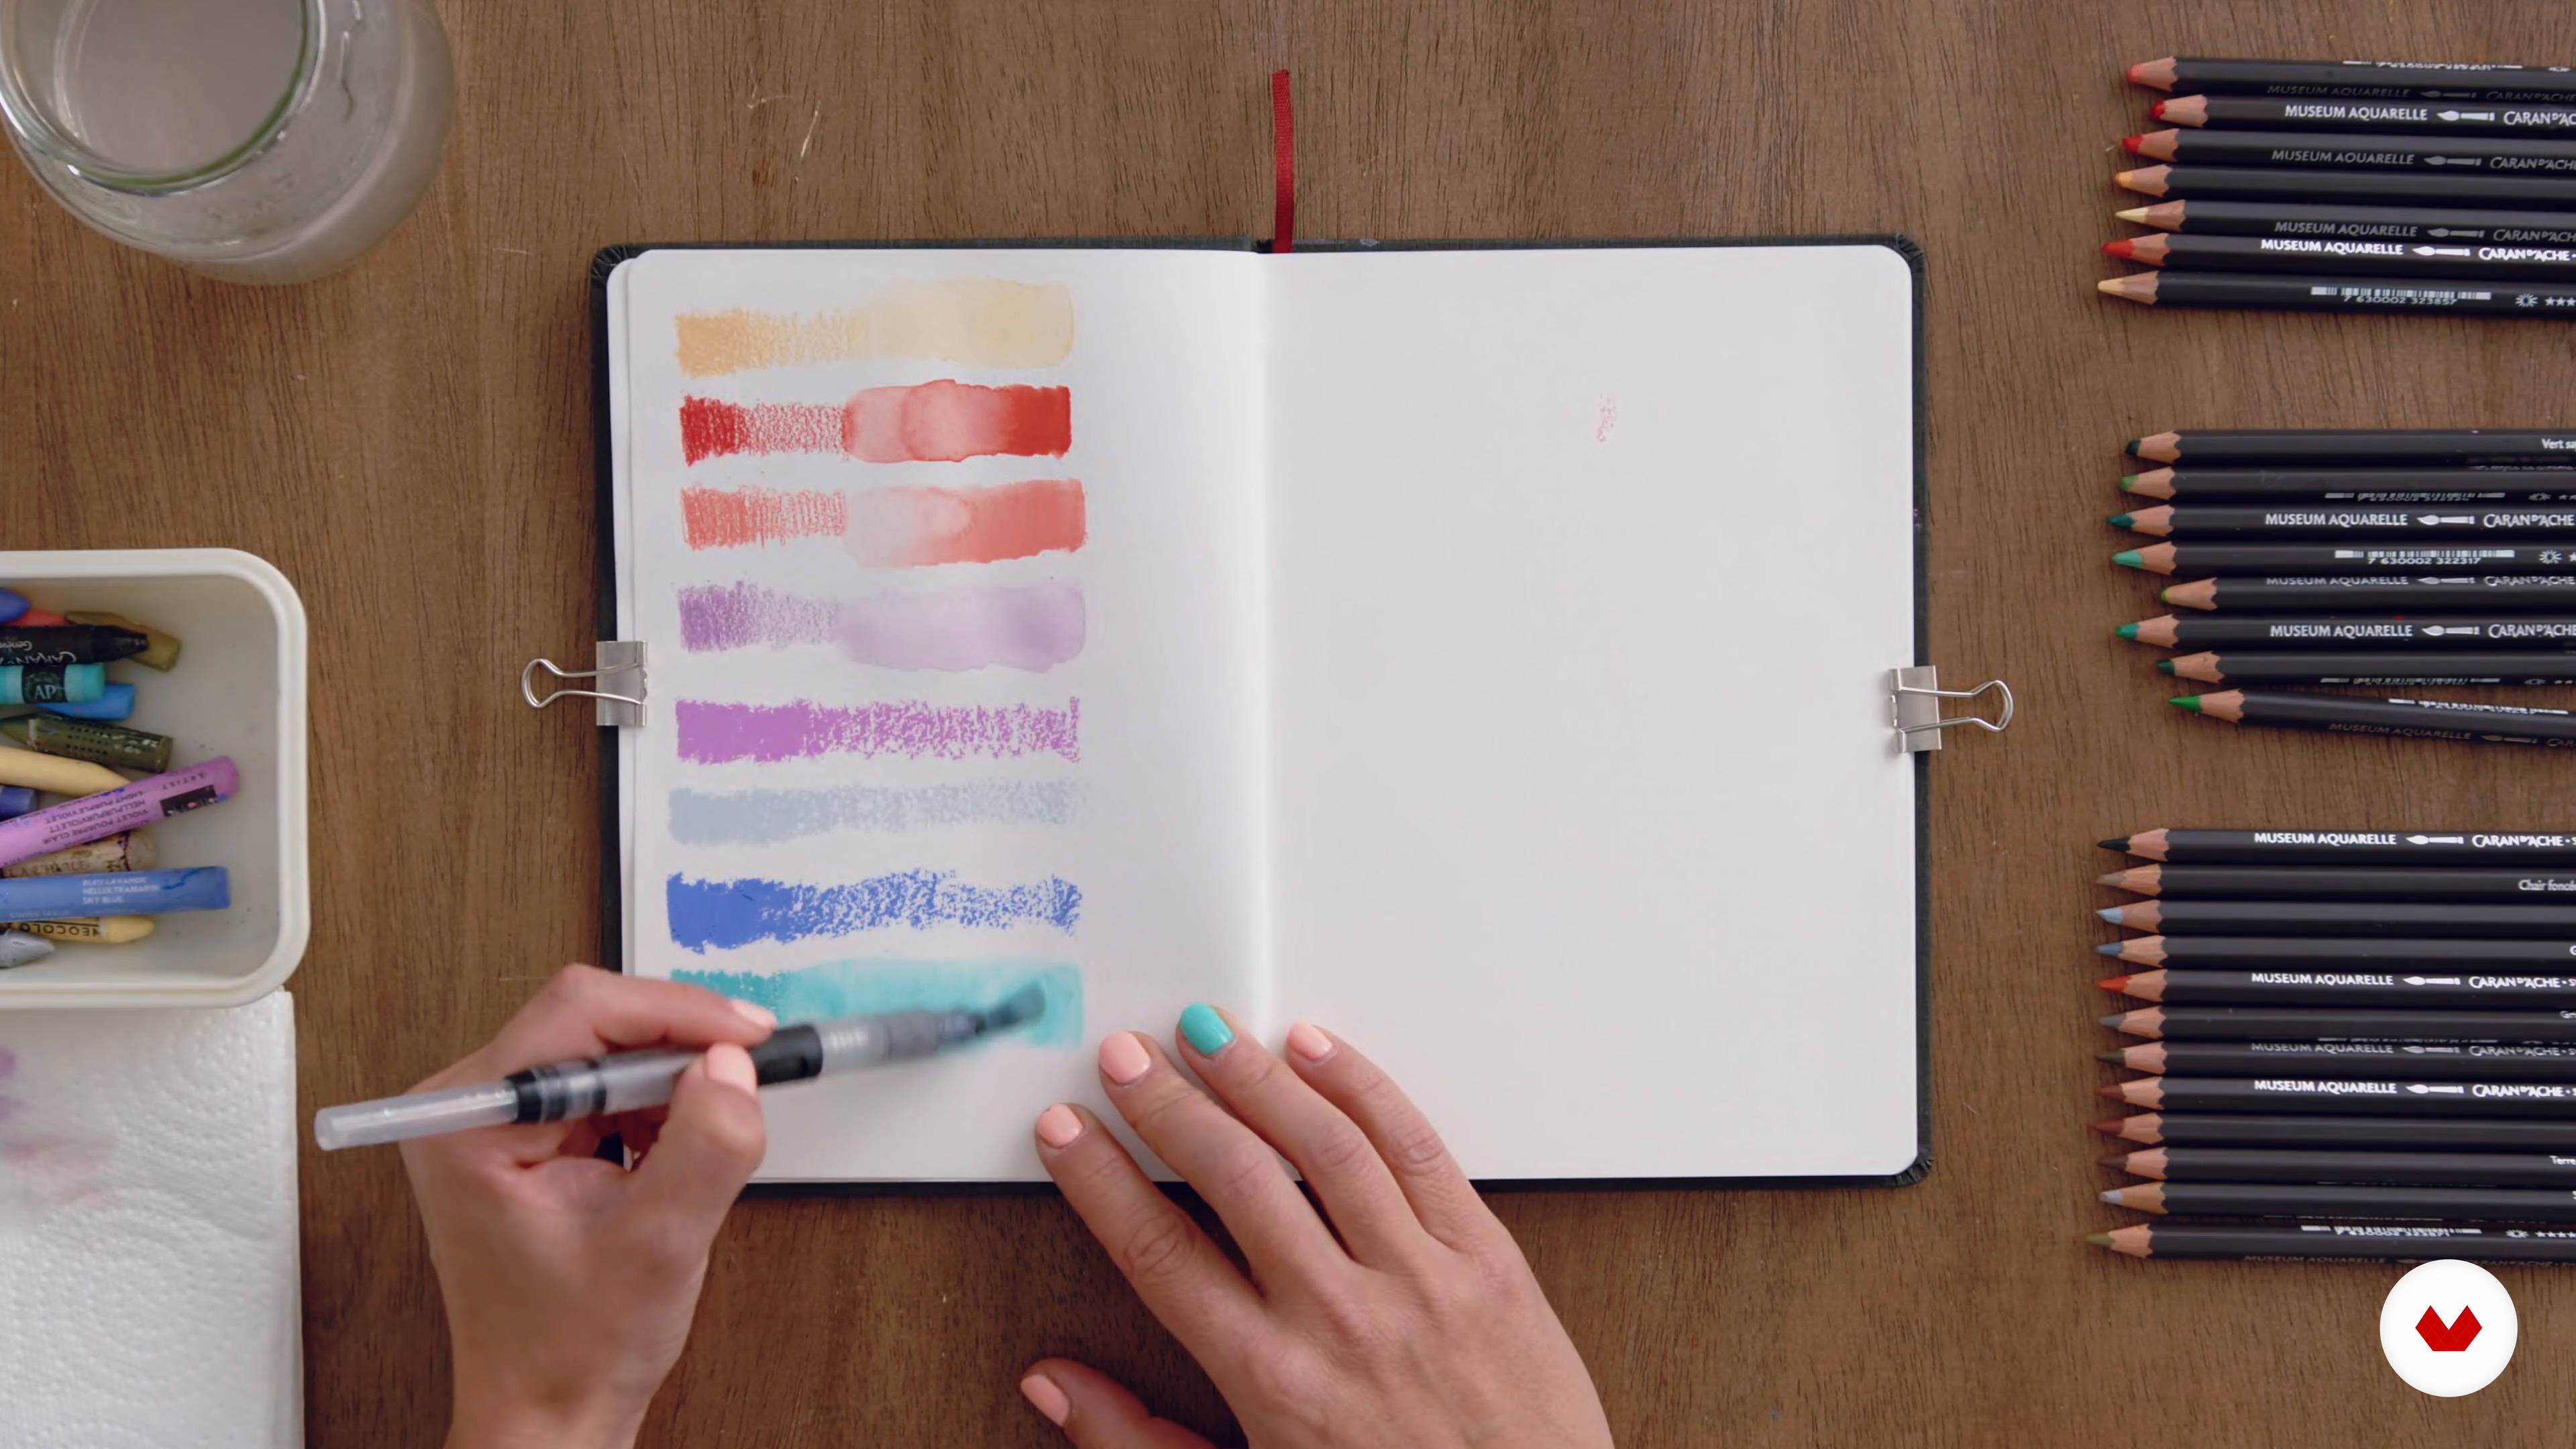
Starting to Draw on the Sketchbook: Colors
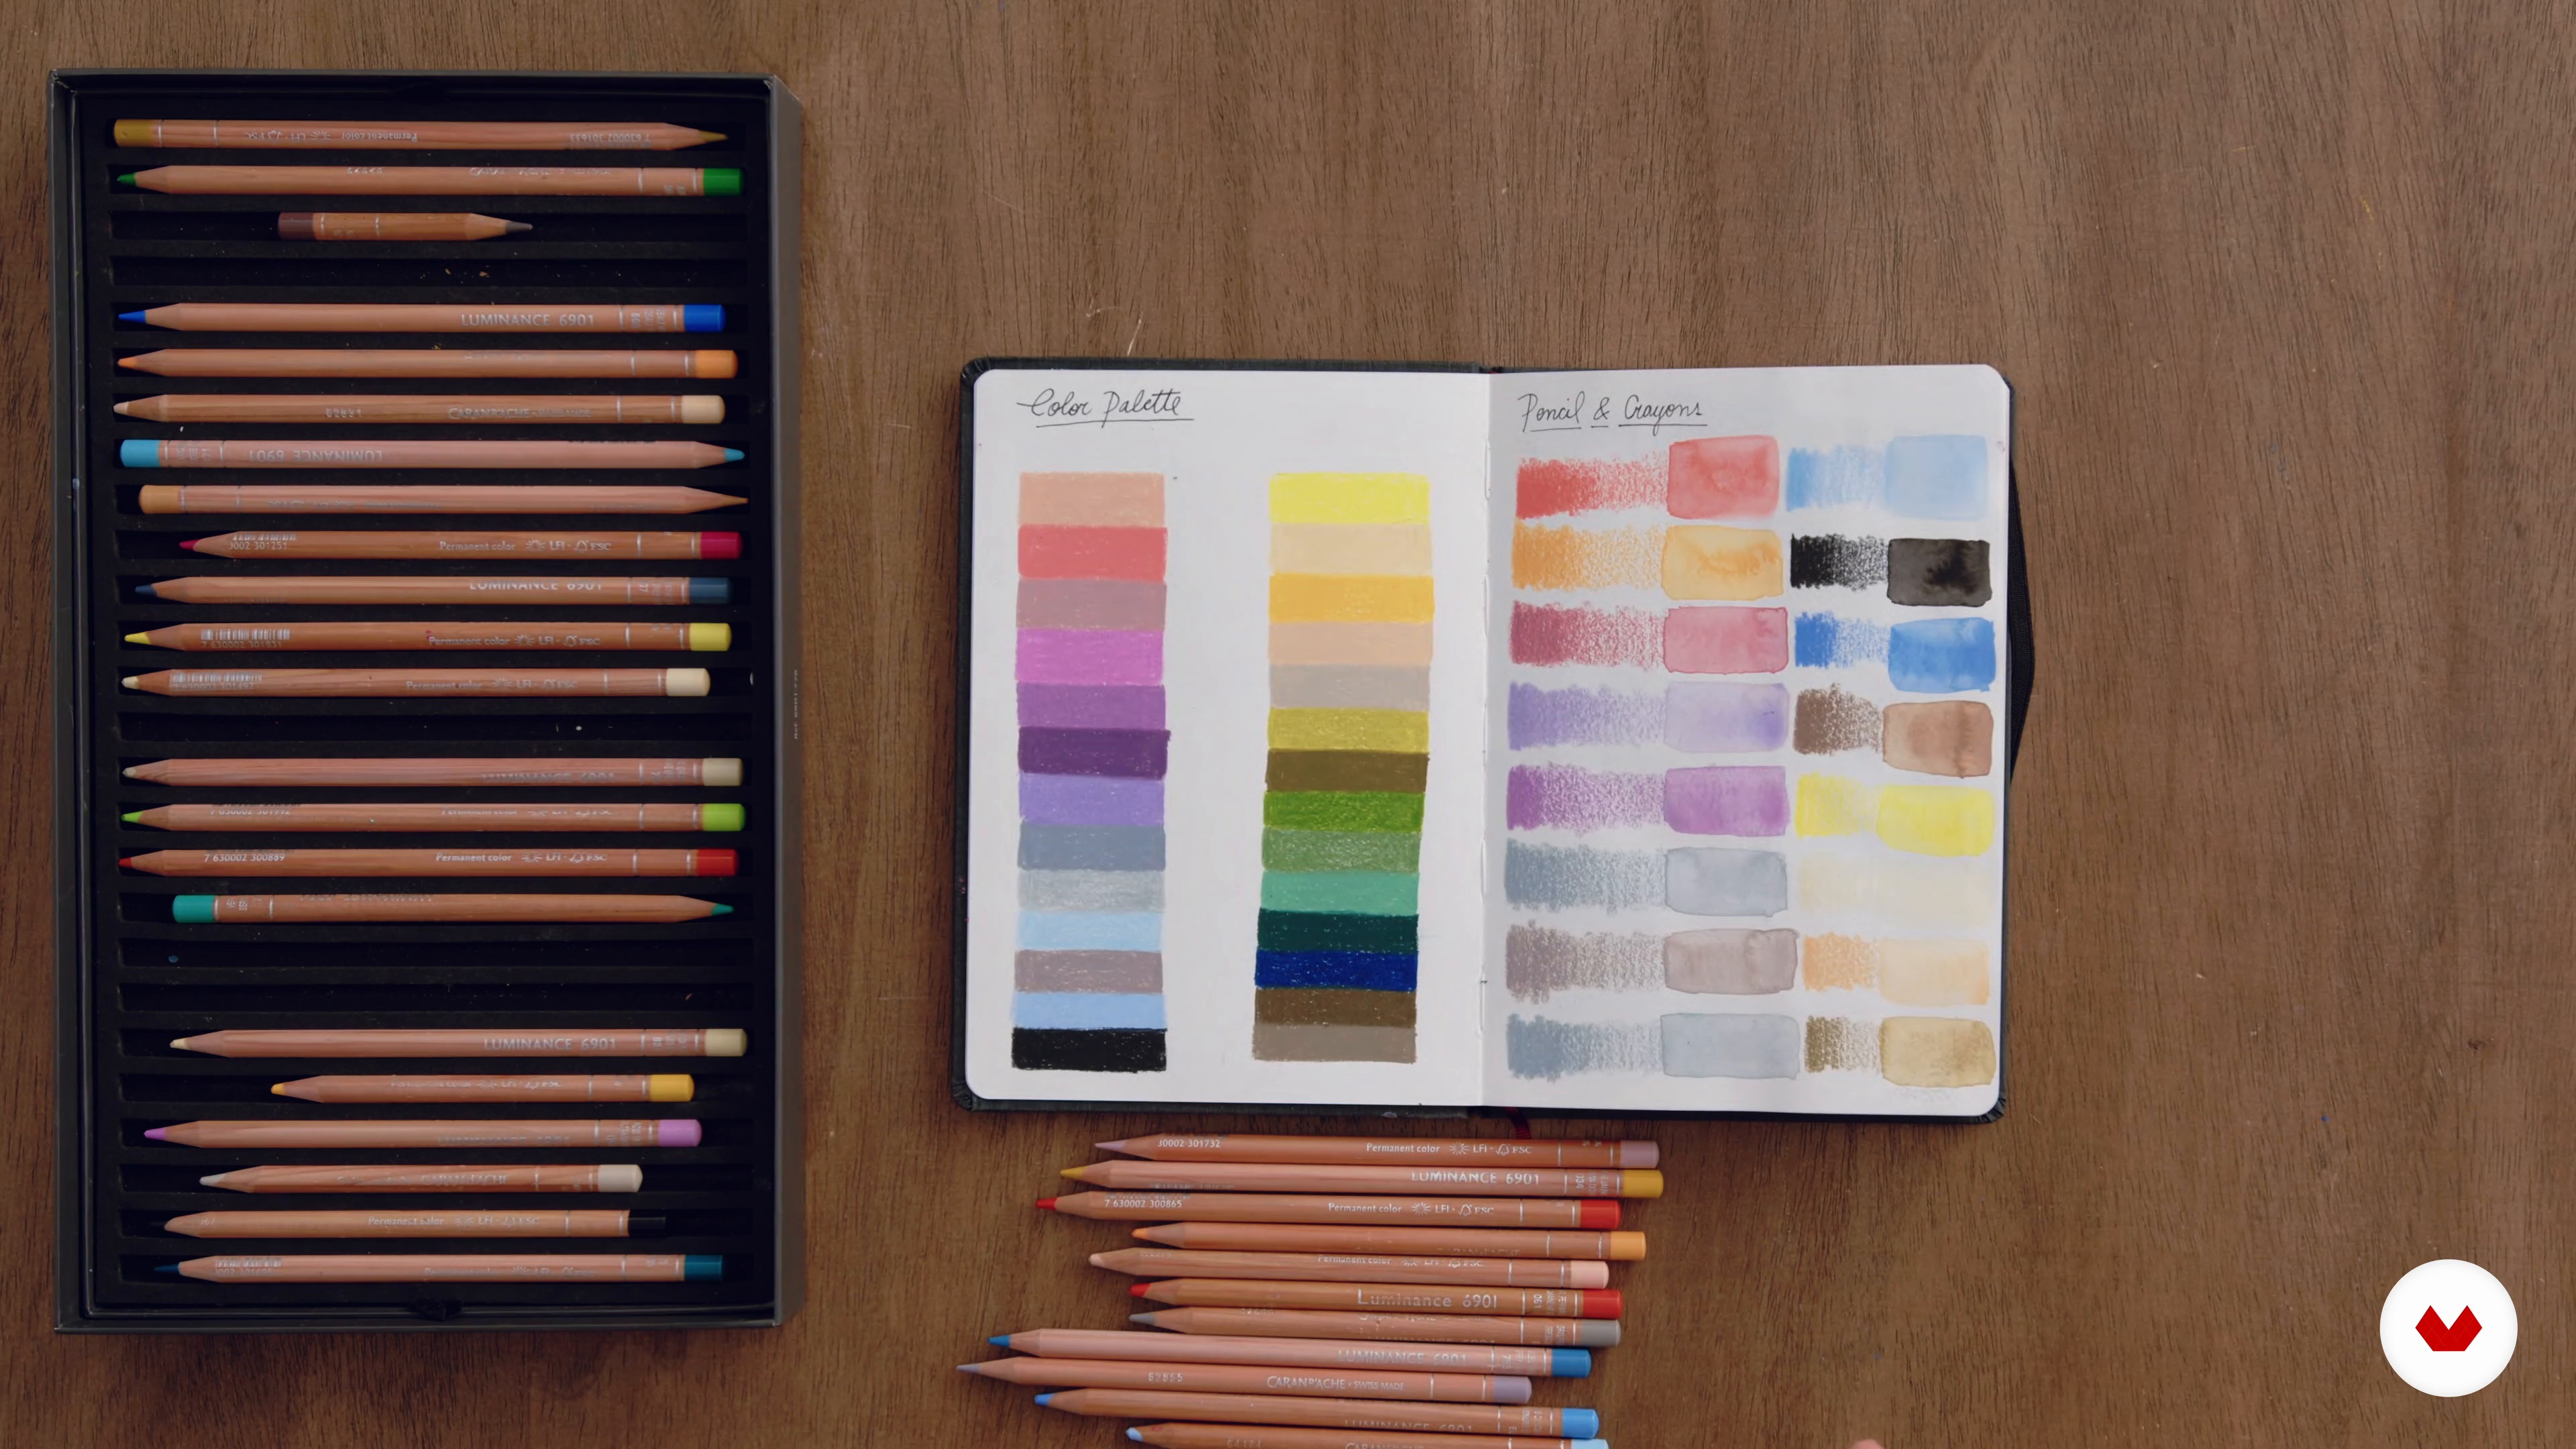
In this lesson, I will guide you in making a start on your sketchbook. We will do this by observing color presence on our picture selection and starting to get familiar with pencil on paper. The goal is to define our color palette for the creation of the course project.
6m
image
7
How Each Media Works on Paper: Techniques 1
Something that led me to work in mixed media is that each technique has something different and unique to offer. In this lesson, I will teach you how each technique reacts on paper and what happens when we combine them.
20m
image
8
How Each Media Works on Paper: Techniques 2
Now that you have an understanding of how watercolor pencils and inks react on paper, it's time to move on to gouache! You will discover the matte and opaque effect you can achieve with this material.
16m
image
9
Composition
To create a successful piece of art, not only do you need a good understanding of the media and color, you also need to find the right composition. That's why, in this lesson, I will focus on the basics of composition.
11m
image
10
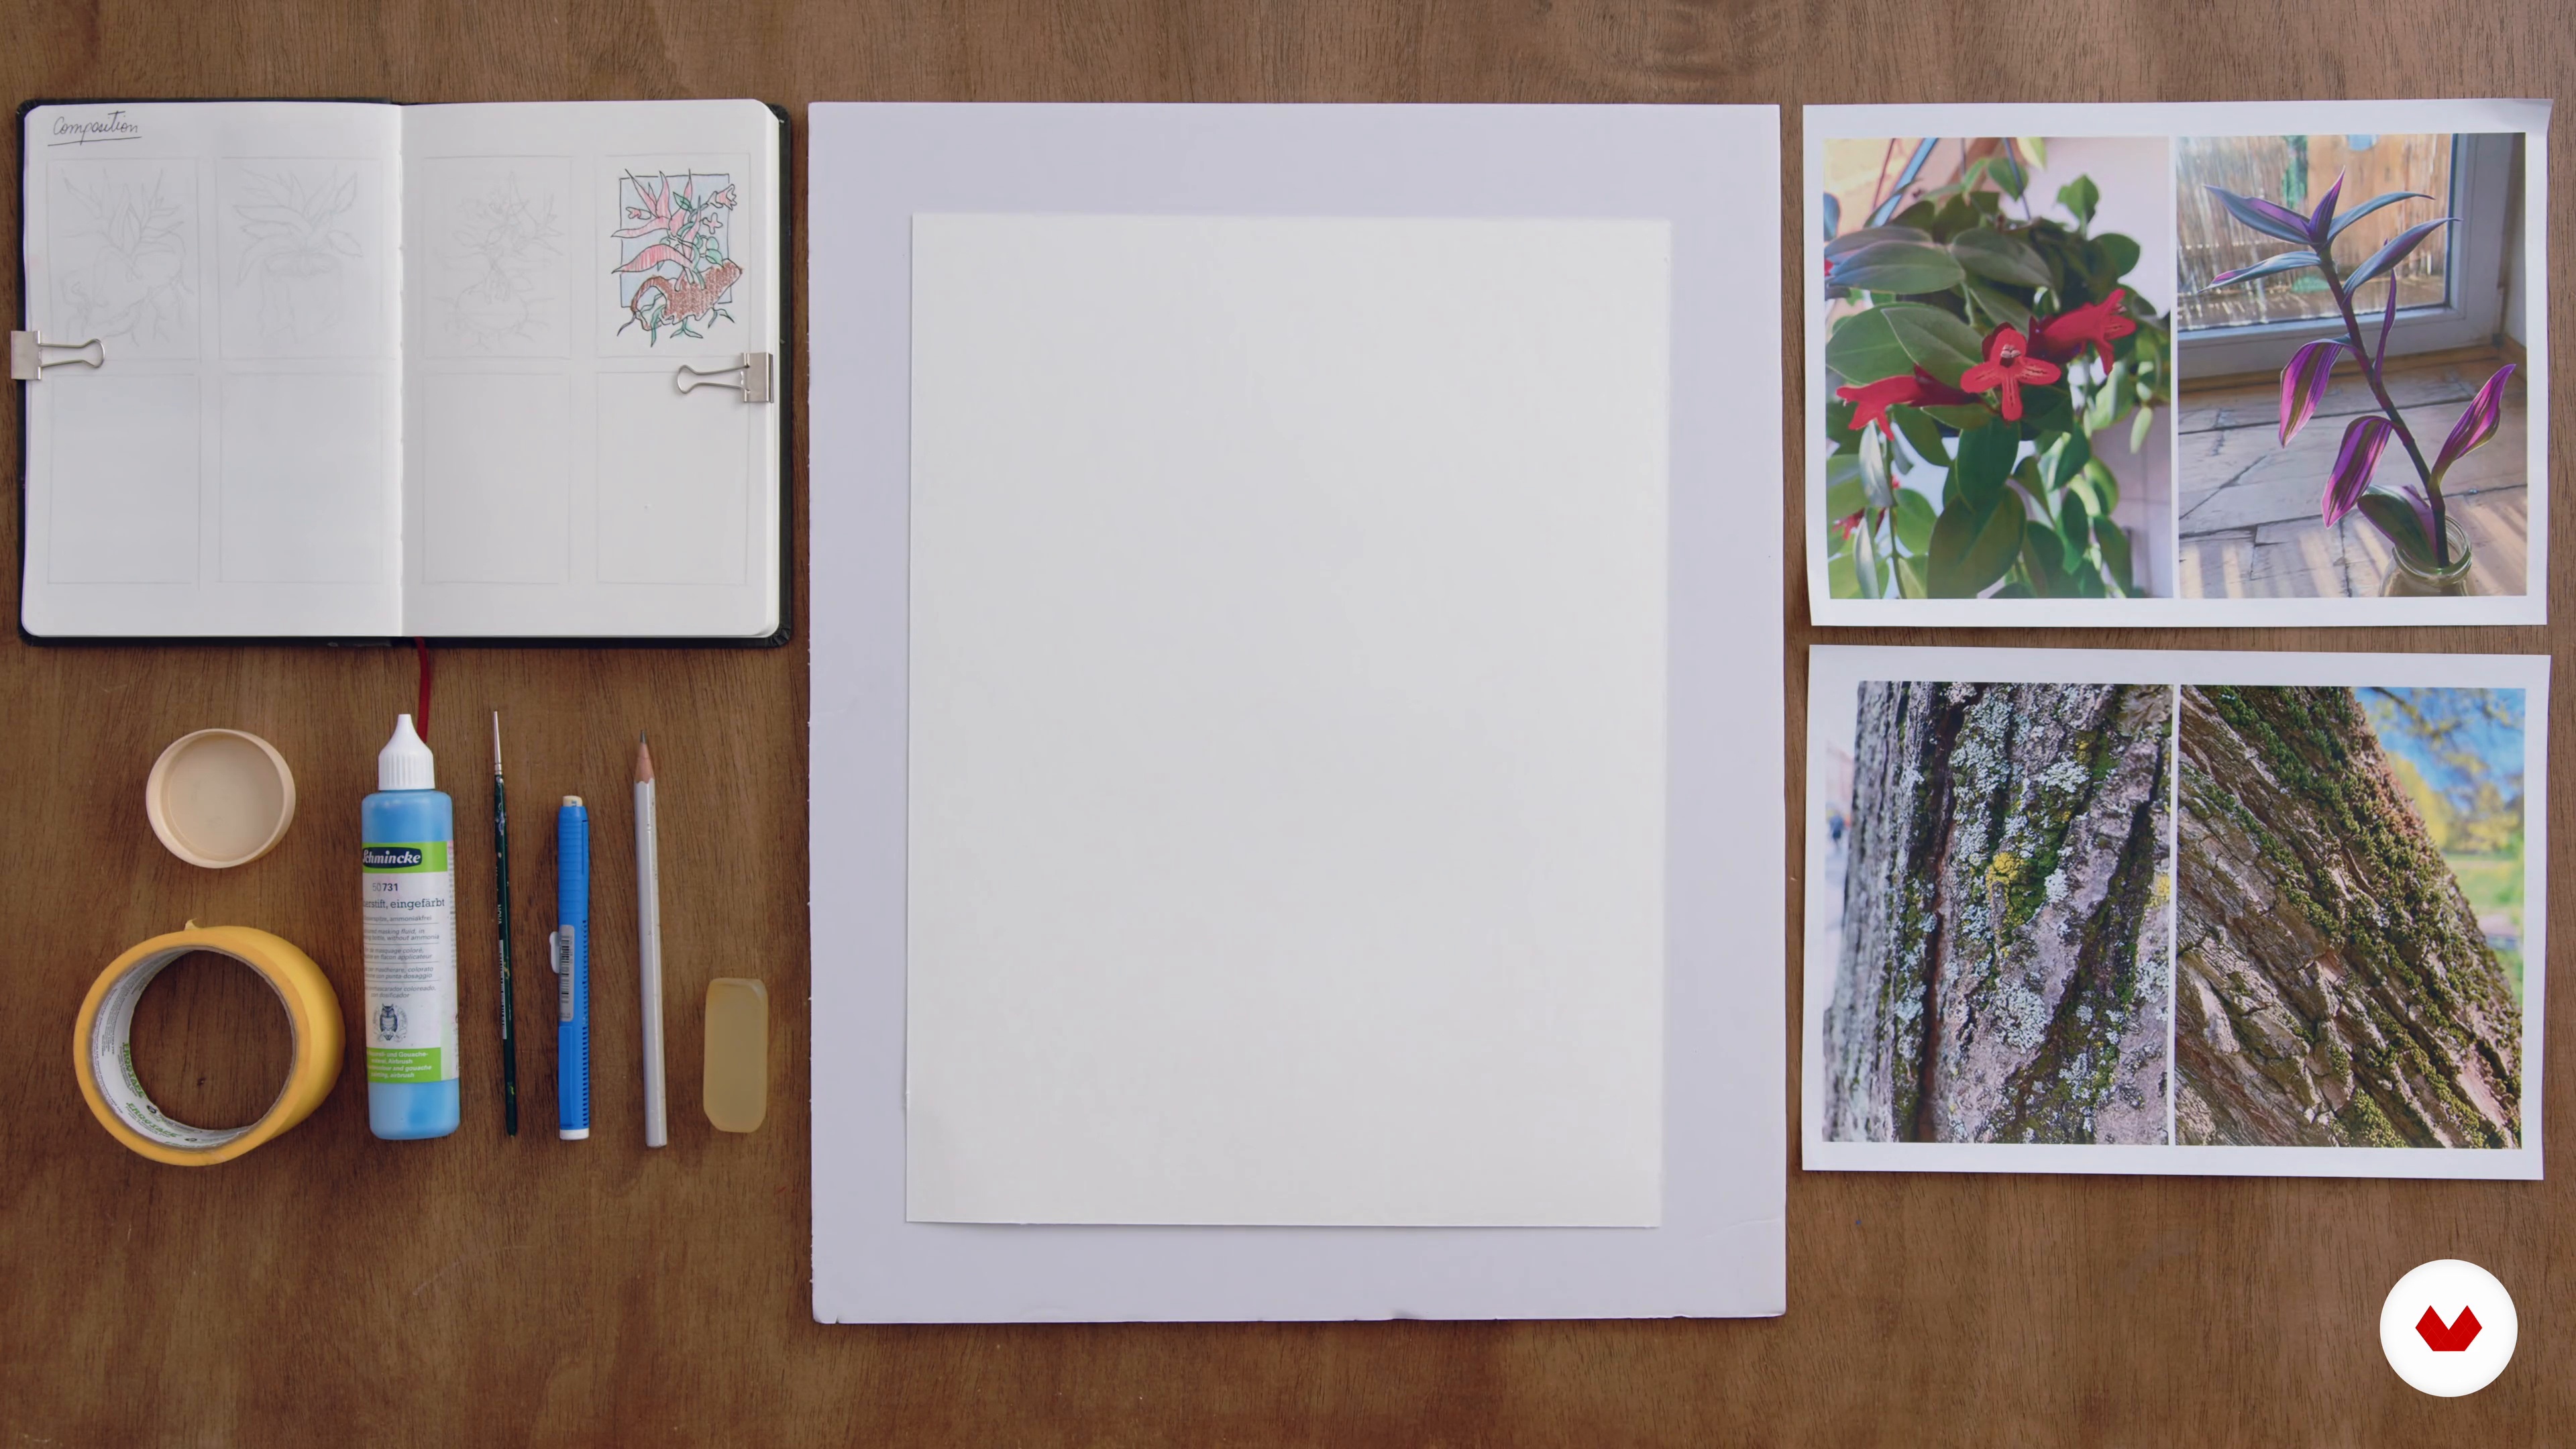
Starting with the Composition 1
Something that can often feel scary at first is to create your composition in a larger format. Well, it's time to rise to the challenge! In this lesson, I will show you some tricks to achieve this. You will also learn about the order of your process, because to work on paper in mixed media you have to think of logic before you start coloring your artwork.
15m
image
11
Starting with the Composition 2
In this lesson, I will continue with my composition, adding the final touches before applying masking glue to the areas that I'd like to protect.
15m
image
12
Permanent Inks and Watercolor 1
Next, you will learn how to manage the balance between freedom and control. I will show you how to channel this playful medium that often surprises us. Inks and watercolors are similar but different at the same time. In this lesson, I will give you an overview of the differences and effects of these media. They allow us to maintain the basis of our composition yet let our interpretation be free.
19m
image
13
Permanent Inks and Watercolor 2
With the base of the composition established with acrylics, I will show you how to apply a more playful and expressive approach with your water-soluble materials.
4m
image
14
Pencils and Crayons 1
The medium that characterizes me the most (I think) is the use of pencils. Painting with pencils is a varied and subtle art. In this lesson, you will learn some skills and strengths that this medium has on paper.
20m
image
15
Pencils and Crayons 2
Let's continue to uncover the logic of painting with pencils! You will learn more about the blending techniques I use and why.
17m
image
16
Gouache
Here's a technique that we first learned about at school but soon became forgotten: painting with gouache. In this lesson, I will show you how I use this material. You will learn why I incorporate this media into the final stages of my painting process and the features that it offers.
20m
image
17
Removing the Masking Tape and Last Touch-Ups
Once your artwork is almost done, get ready for the most exciting moment! In this lesson, I will demonstrate how to remove the areas we've masked and make the final touches. This is when you will see your work taking its final form and tweak it until you feel satisfied.
20m
image
18
How to Archive the Project
The last step in the chain to immortalize the love you invested in your artwork is good documentation—something that many people forget but is crucial! Regardless of how often you use this material in the future (whether digital or printed). In this lesson, I will teach you how to archive your work easily and professionally, introducing two methods which you can choose depending on the materials you have available.
13m
image
3
The Materials
To start with, I will give an overview of the course project and show you all the materials you will use during the course. You will then look into the qualities and characteristics of the paints.
2m
image
4
Setting up the Workspace
Now that you know everything about the materials, it's time to show you how to set up your workspace.
3m
image
5
Basic Watercolor and Gouache Techniques 1
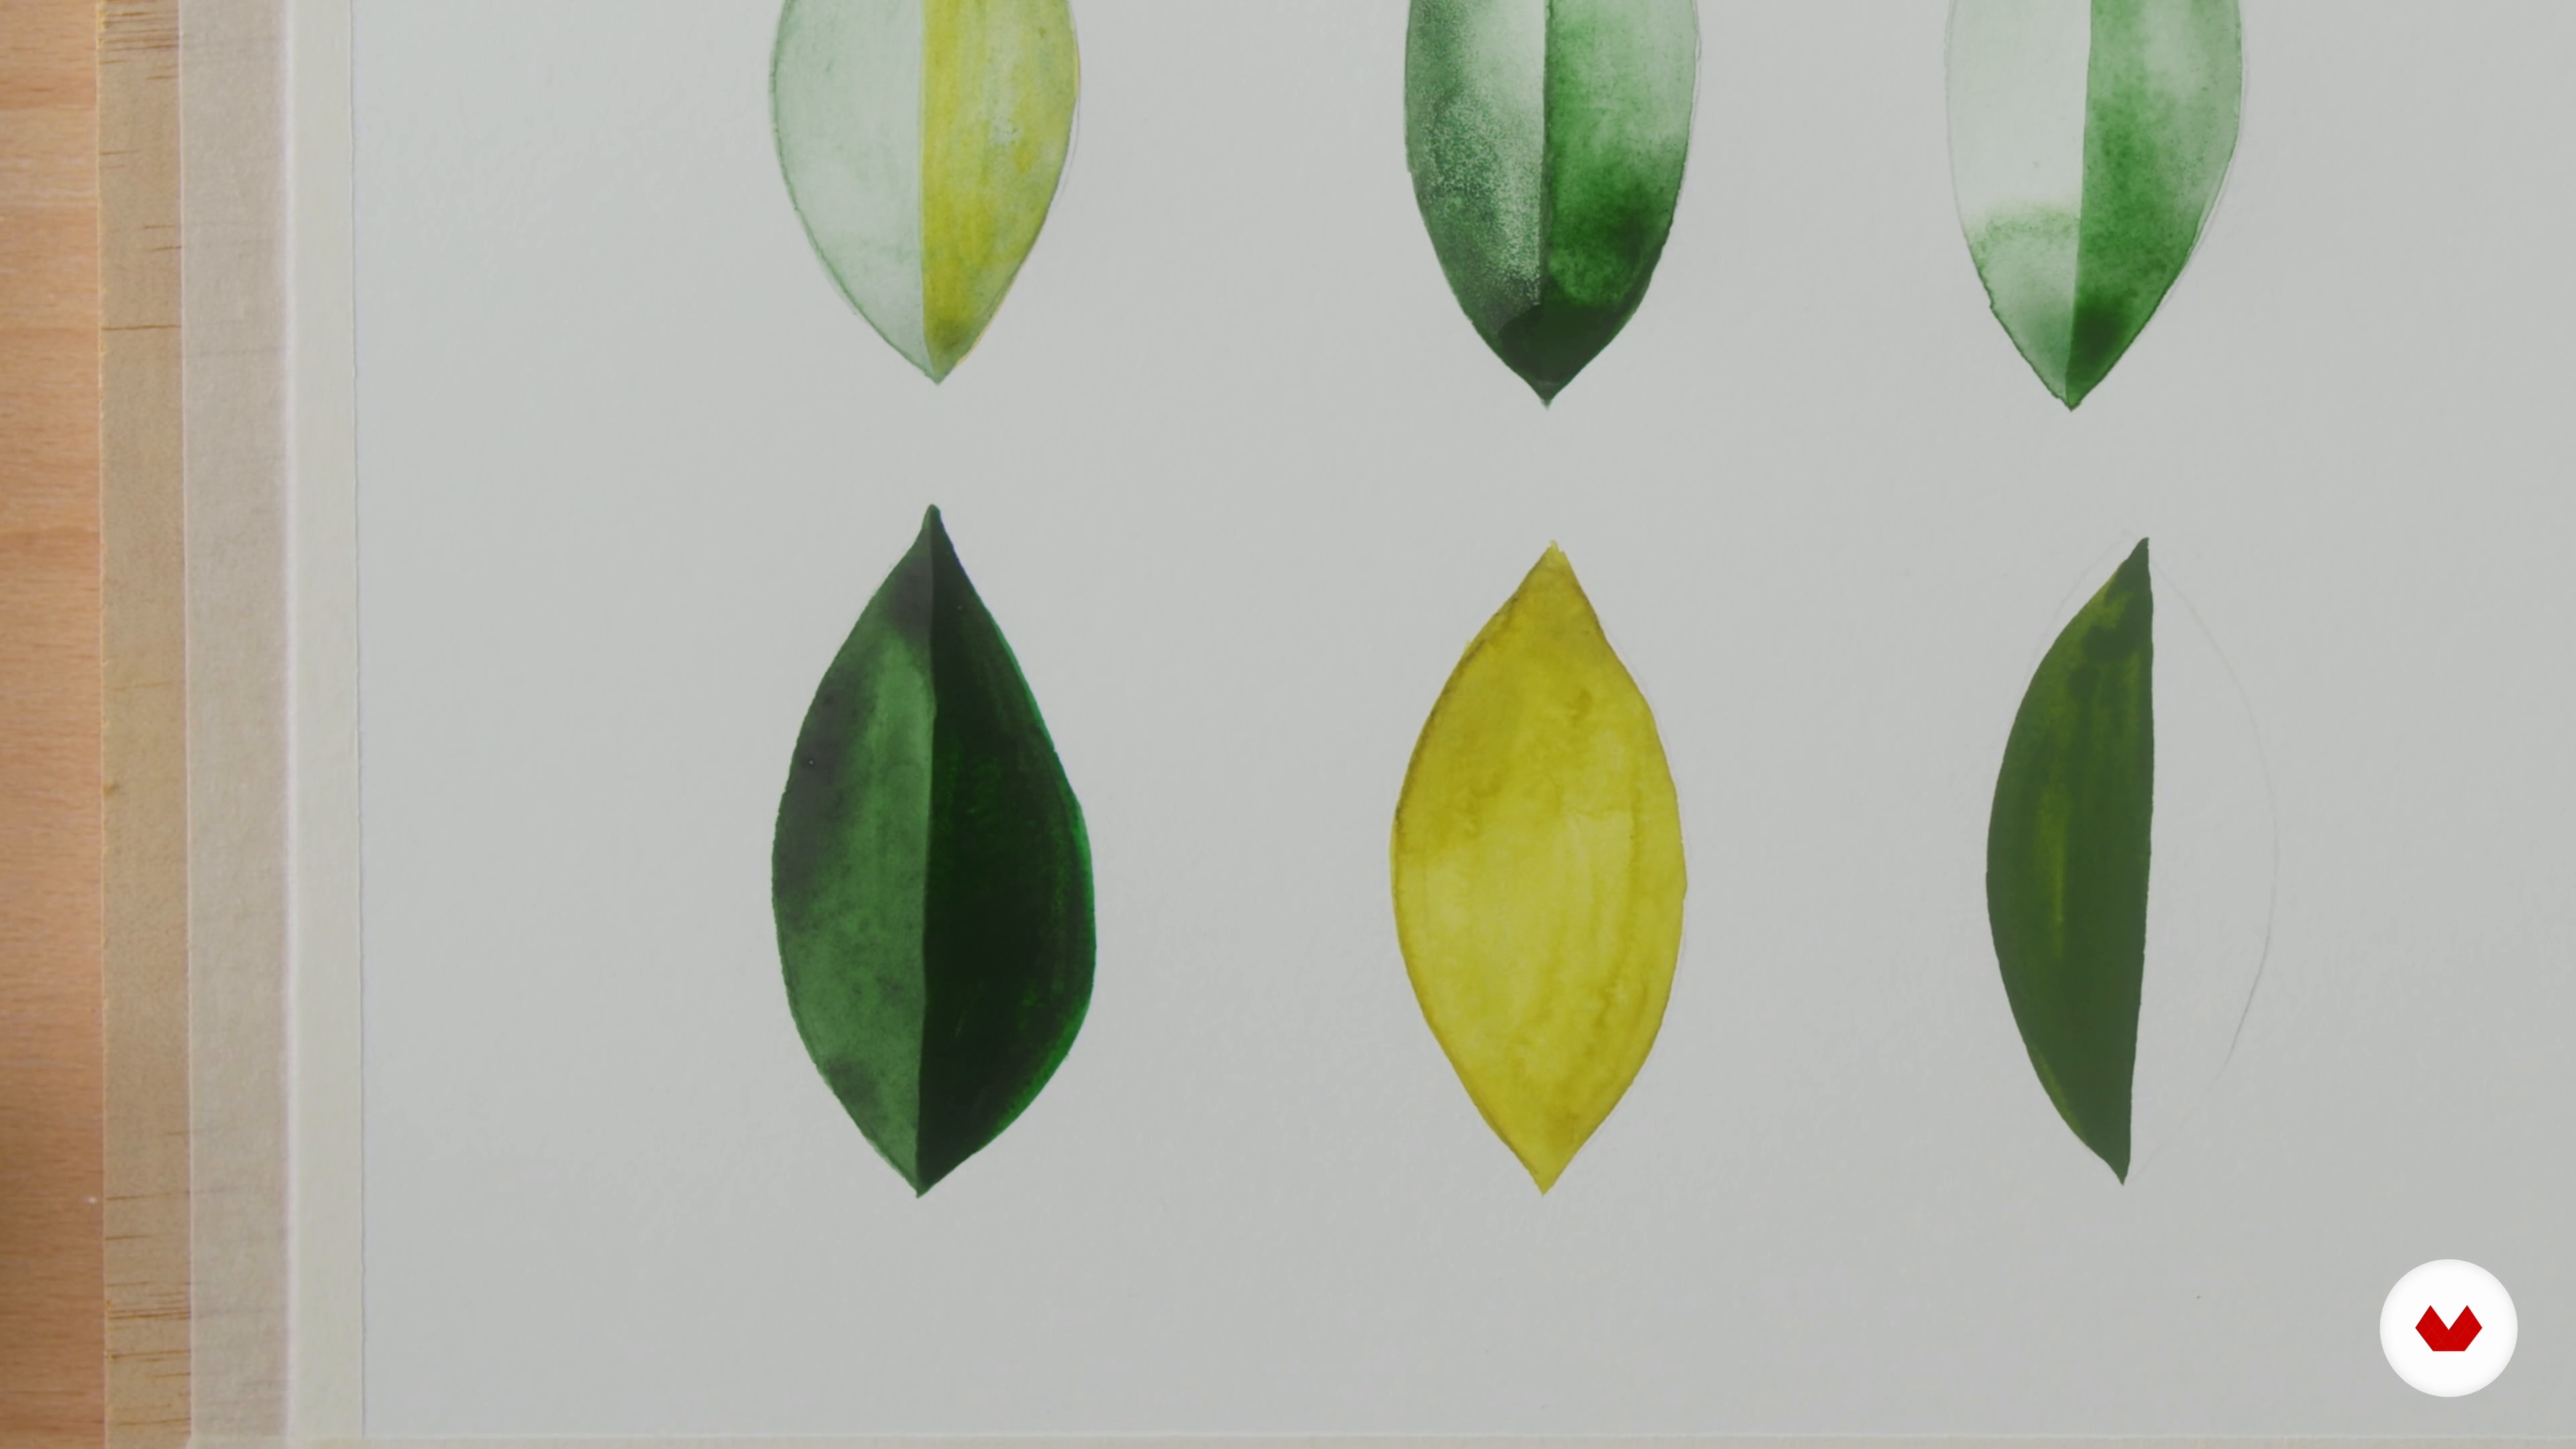
Let's talk about the basics of watercolour and gouache. You will look at how to have brush control to make different washes, this will be demonstrated on six basic leaf shapes drawn onto watercolour paper.
18m
image
6
Basic Watercolor and Gouache Techniques 2
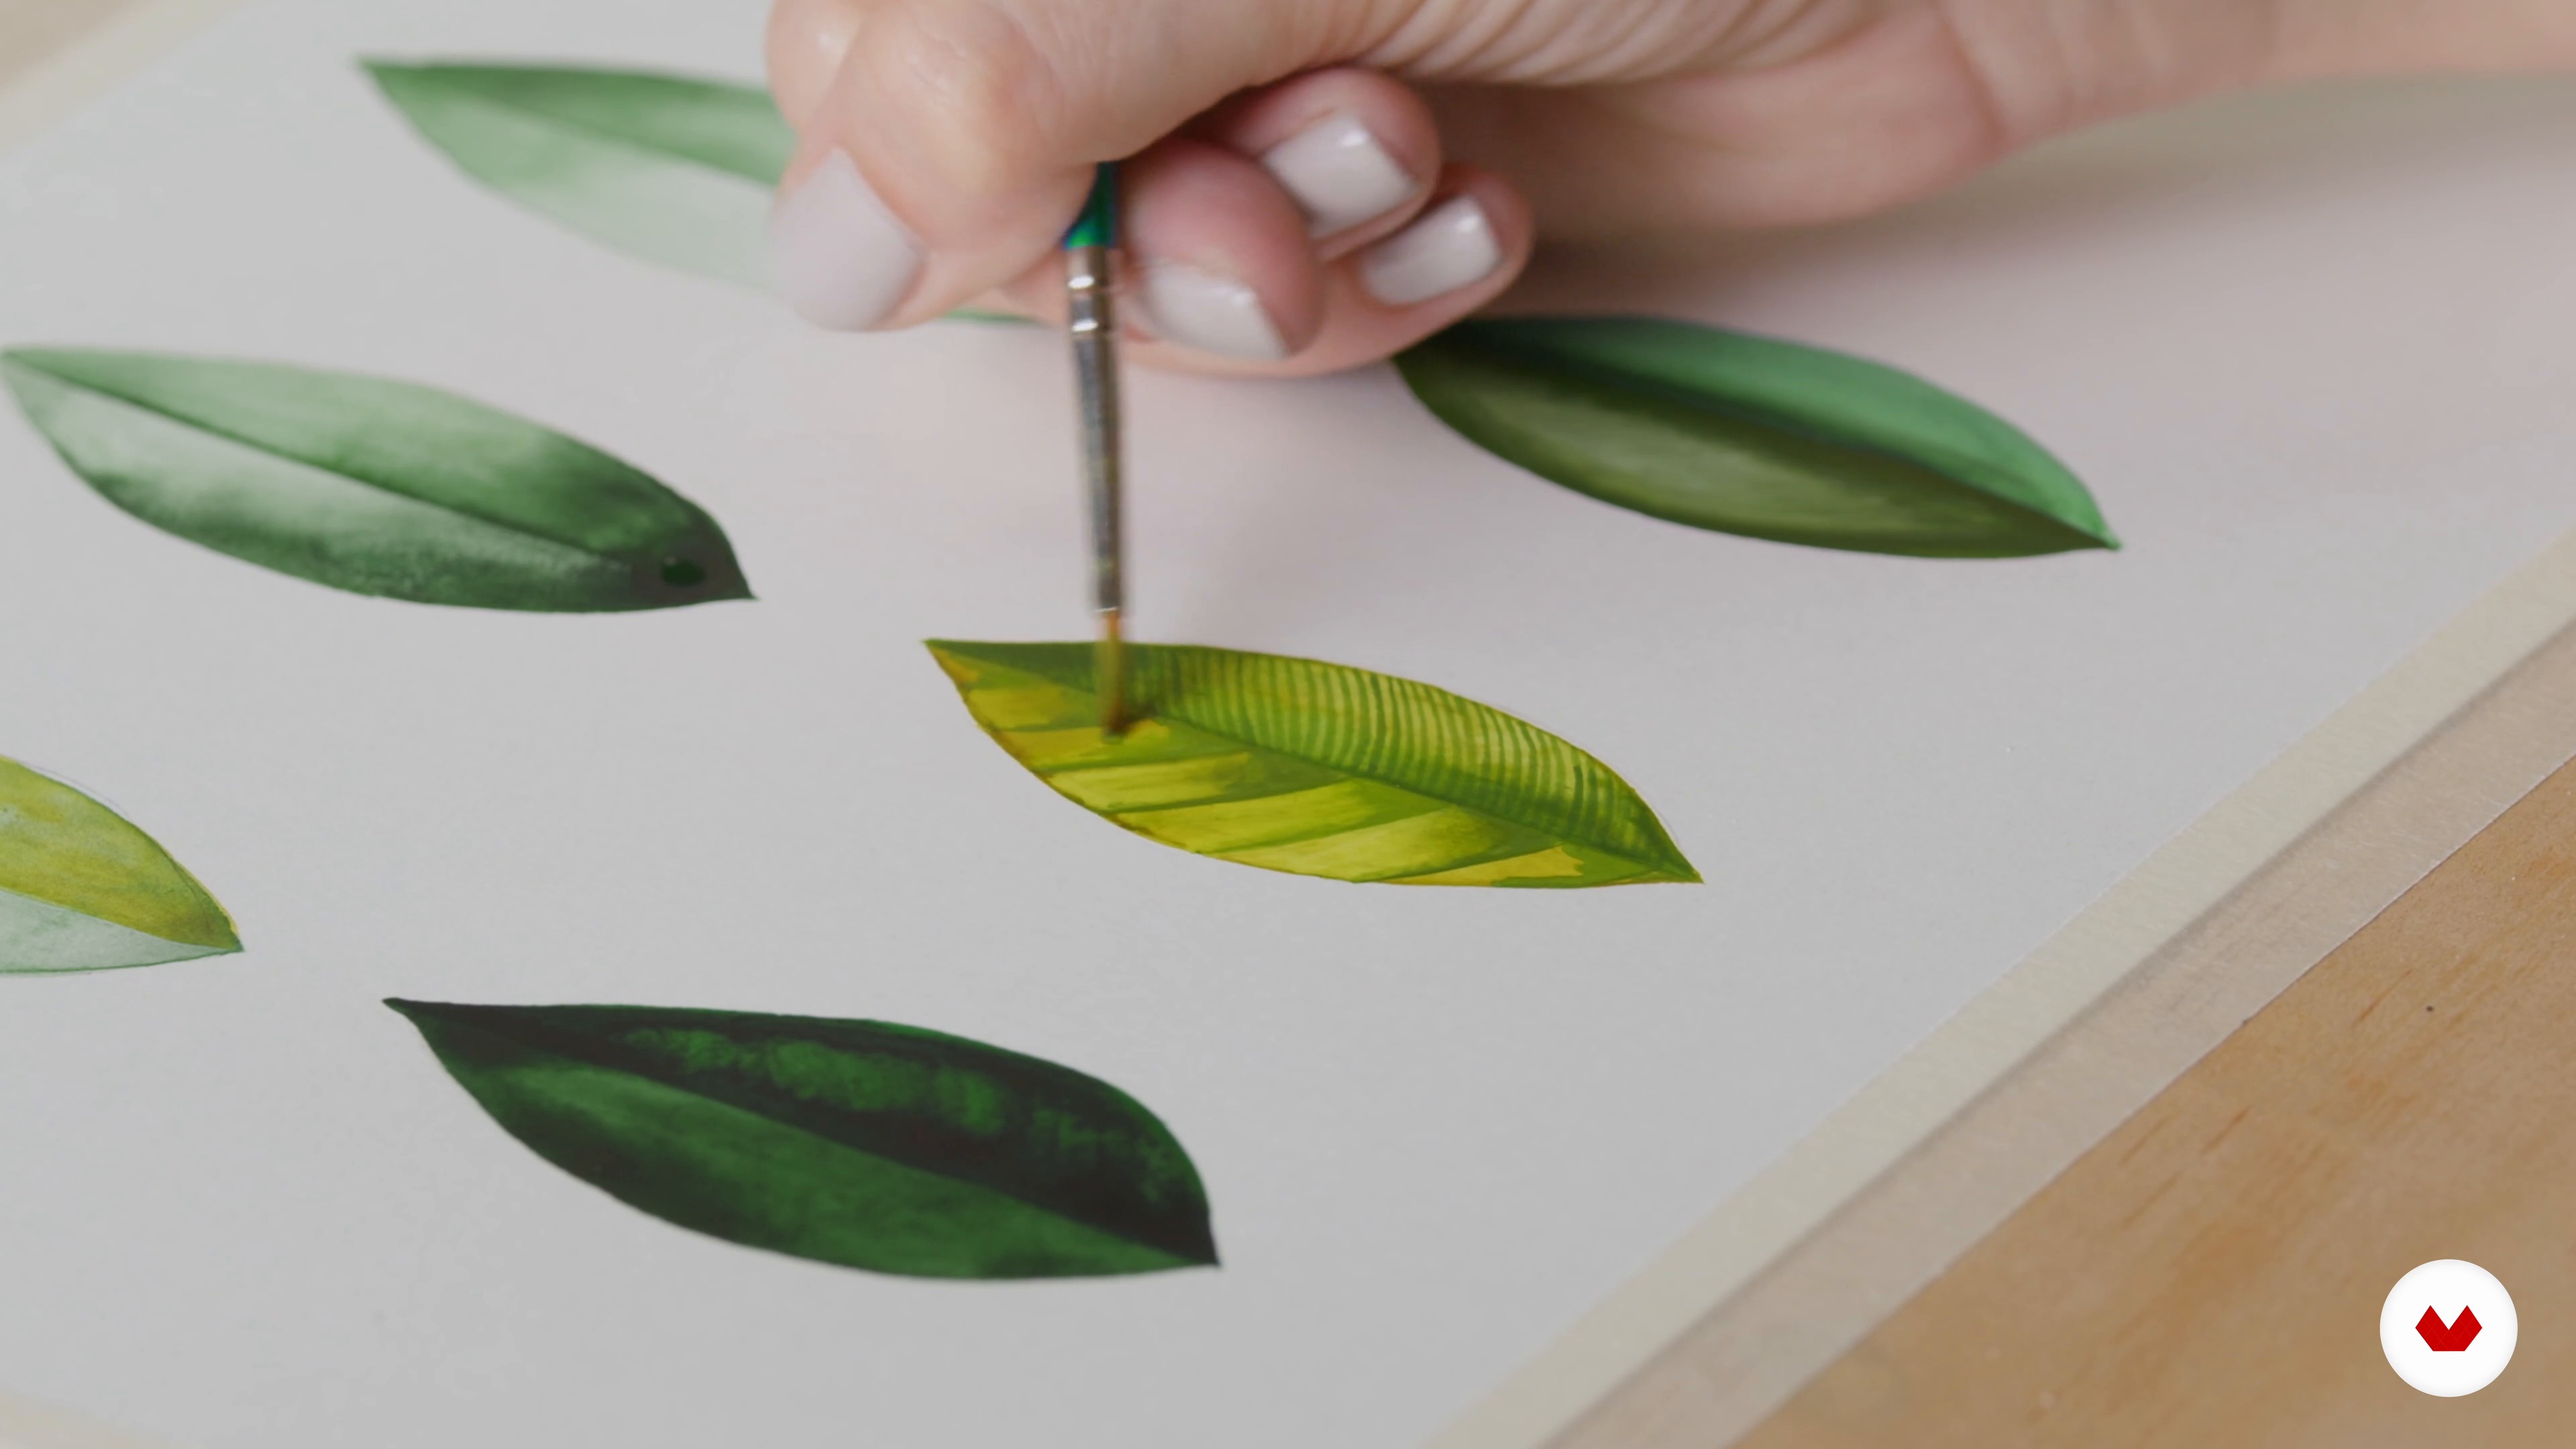
Here I'll continue showing you the basic techniques you need to know to paint leaves. I highly encourage you to look at it closely; this lesson will help you achieve better and more realistic paintings.
18m
image
7
Botanical Study and Insect Wing Demonstration 1
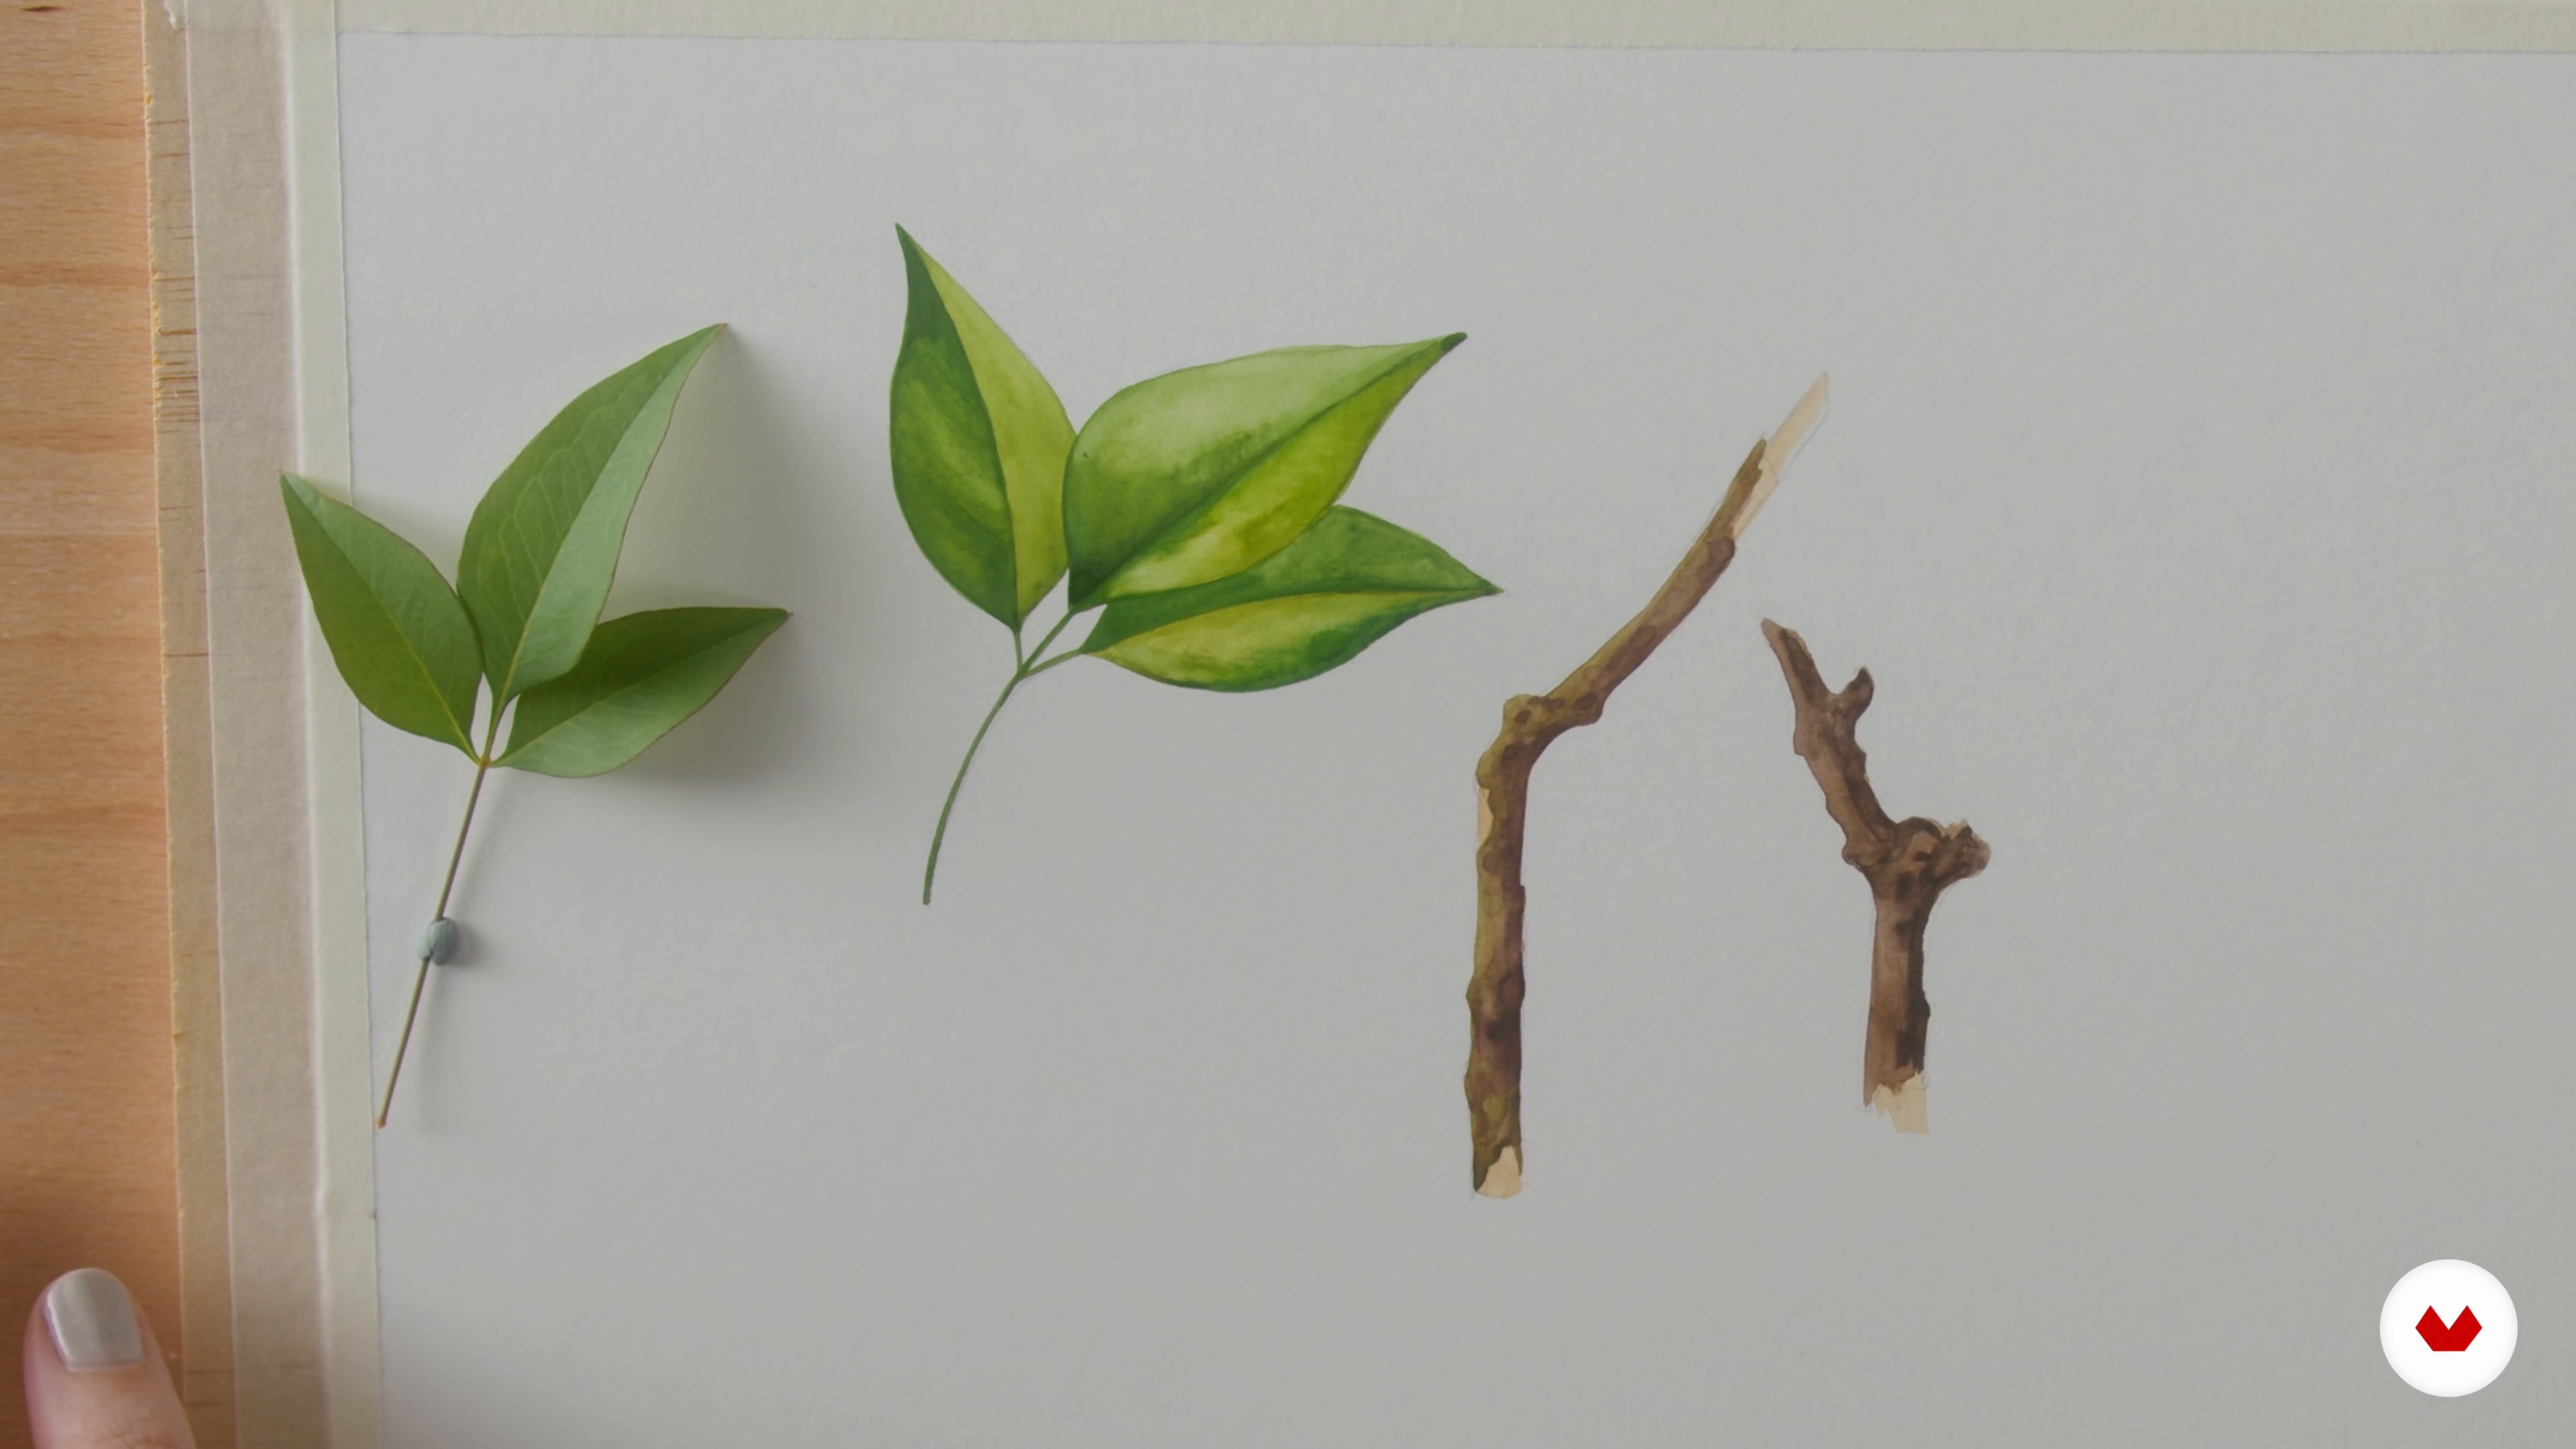
In this lesson, I'll show you how to draw and paint a small botanical study from life. To start with, you'll learn how to use a live sprig to paint it by using the techniques from the previous lesson.
20m
image
8
Botanical Study and Insect Wing Demonstration 2
Have you ever looked closely at nature? During this second part of the lesson, I'll show you how to finish painting a wood stick. I'll also share some tips and tricks to make the wood stick, and the leaves look as natural as possible.
20m
image
9
Botanical Study and Insect Wing Demonstration 3
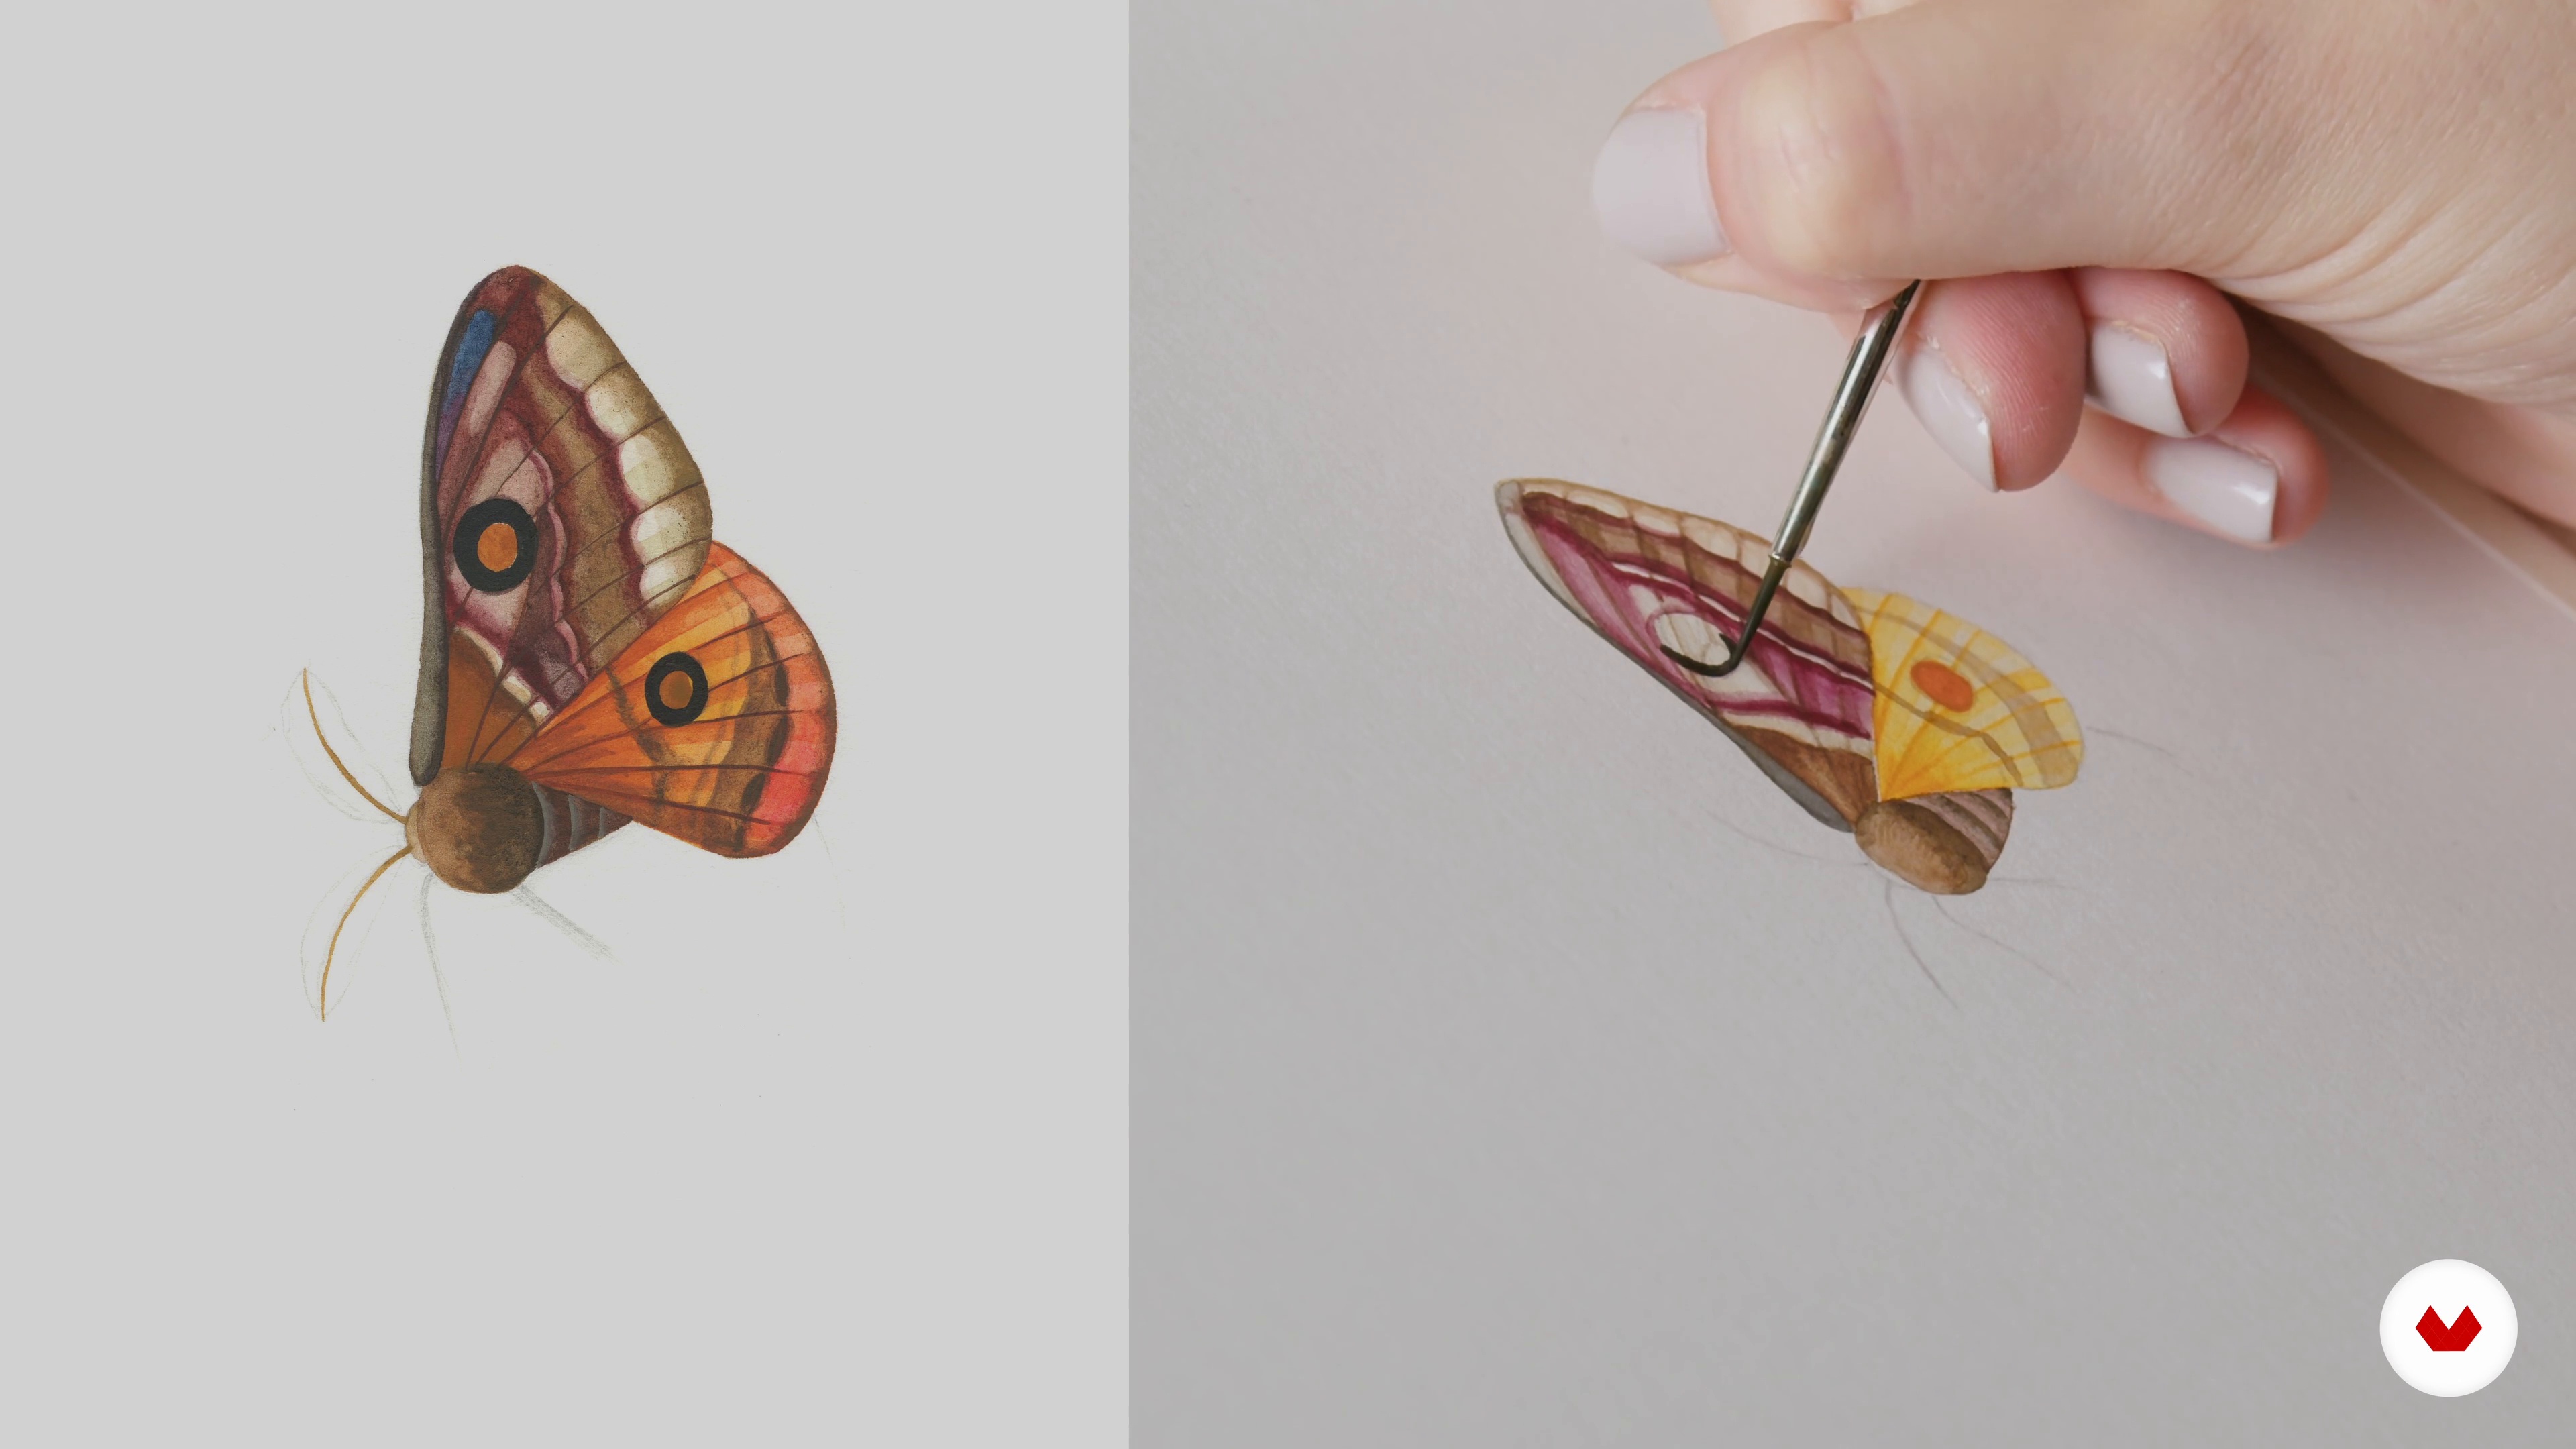
Last but not least, and to finish this unit, I'll demonstrate how you can use the same techniques and apply them to paint an insect wing.
17m
image
10
Collecting References
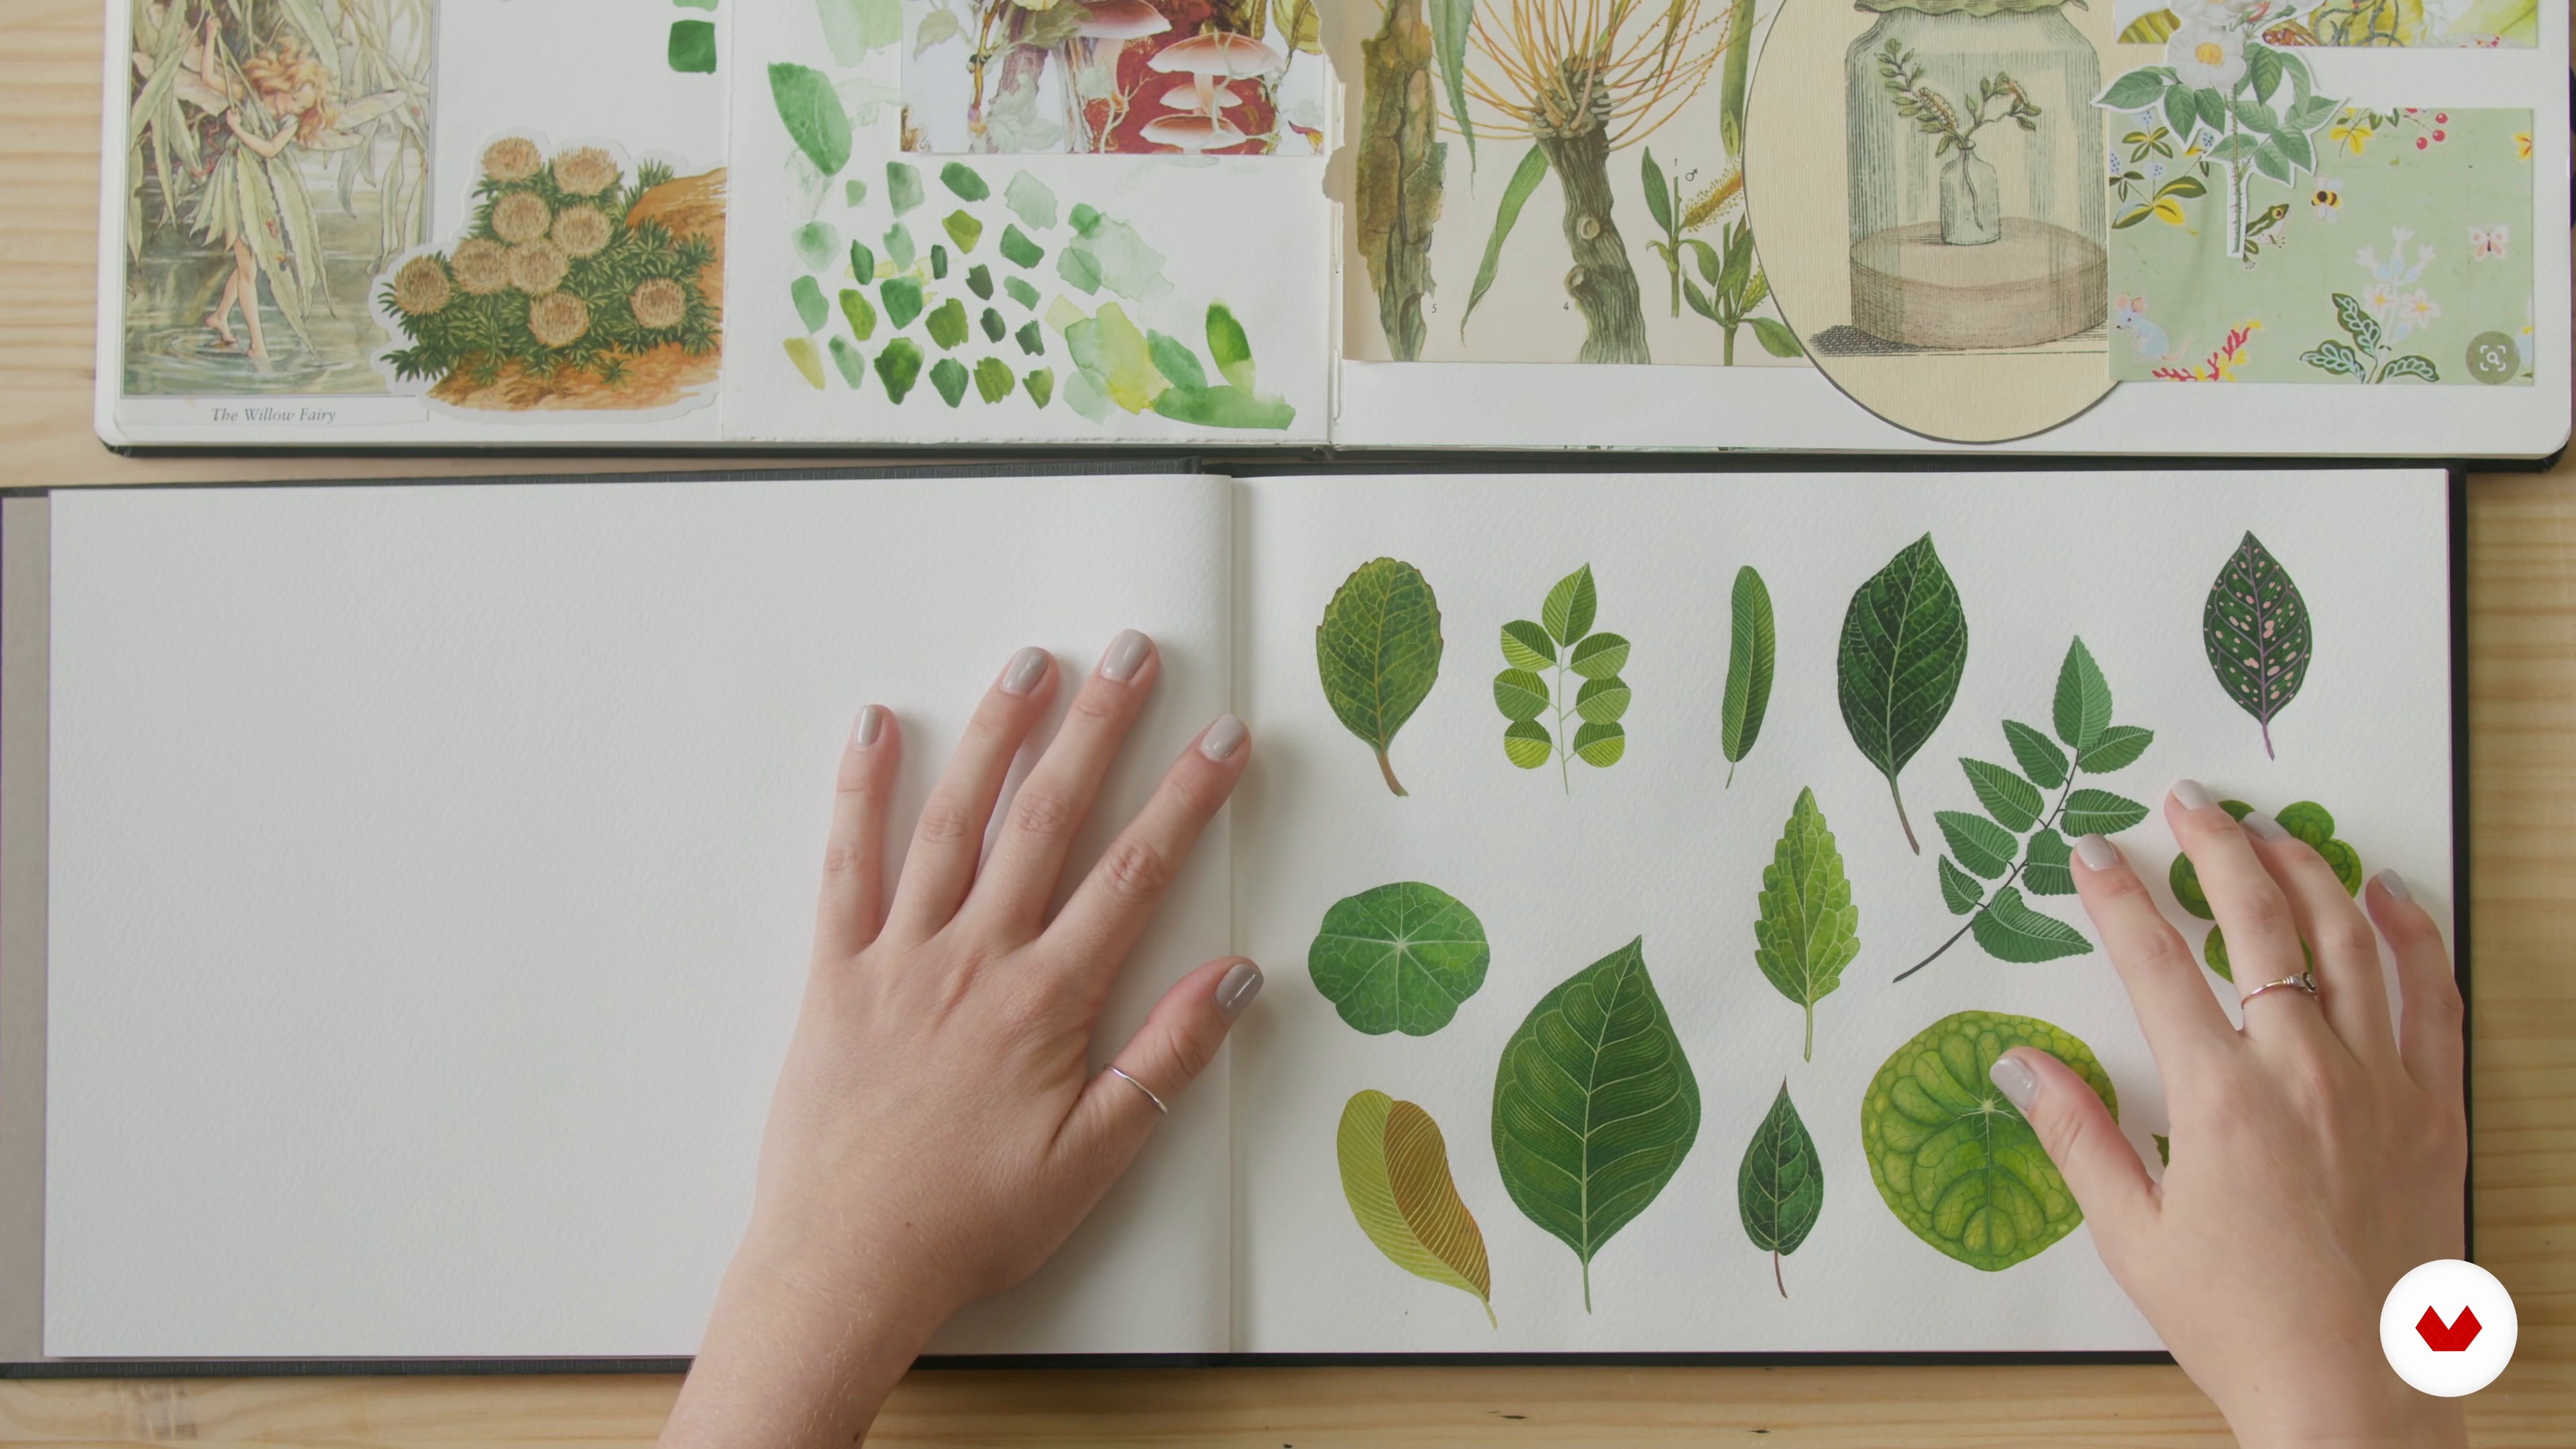
Having a mood board can be really helpful, therefore, I'll show you how I gather references to create a mood board.
4m
image
11
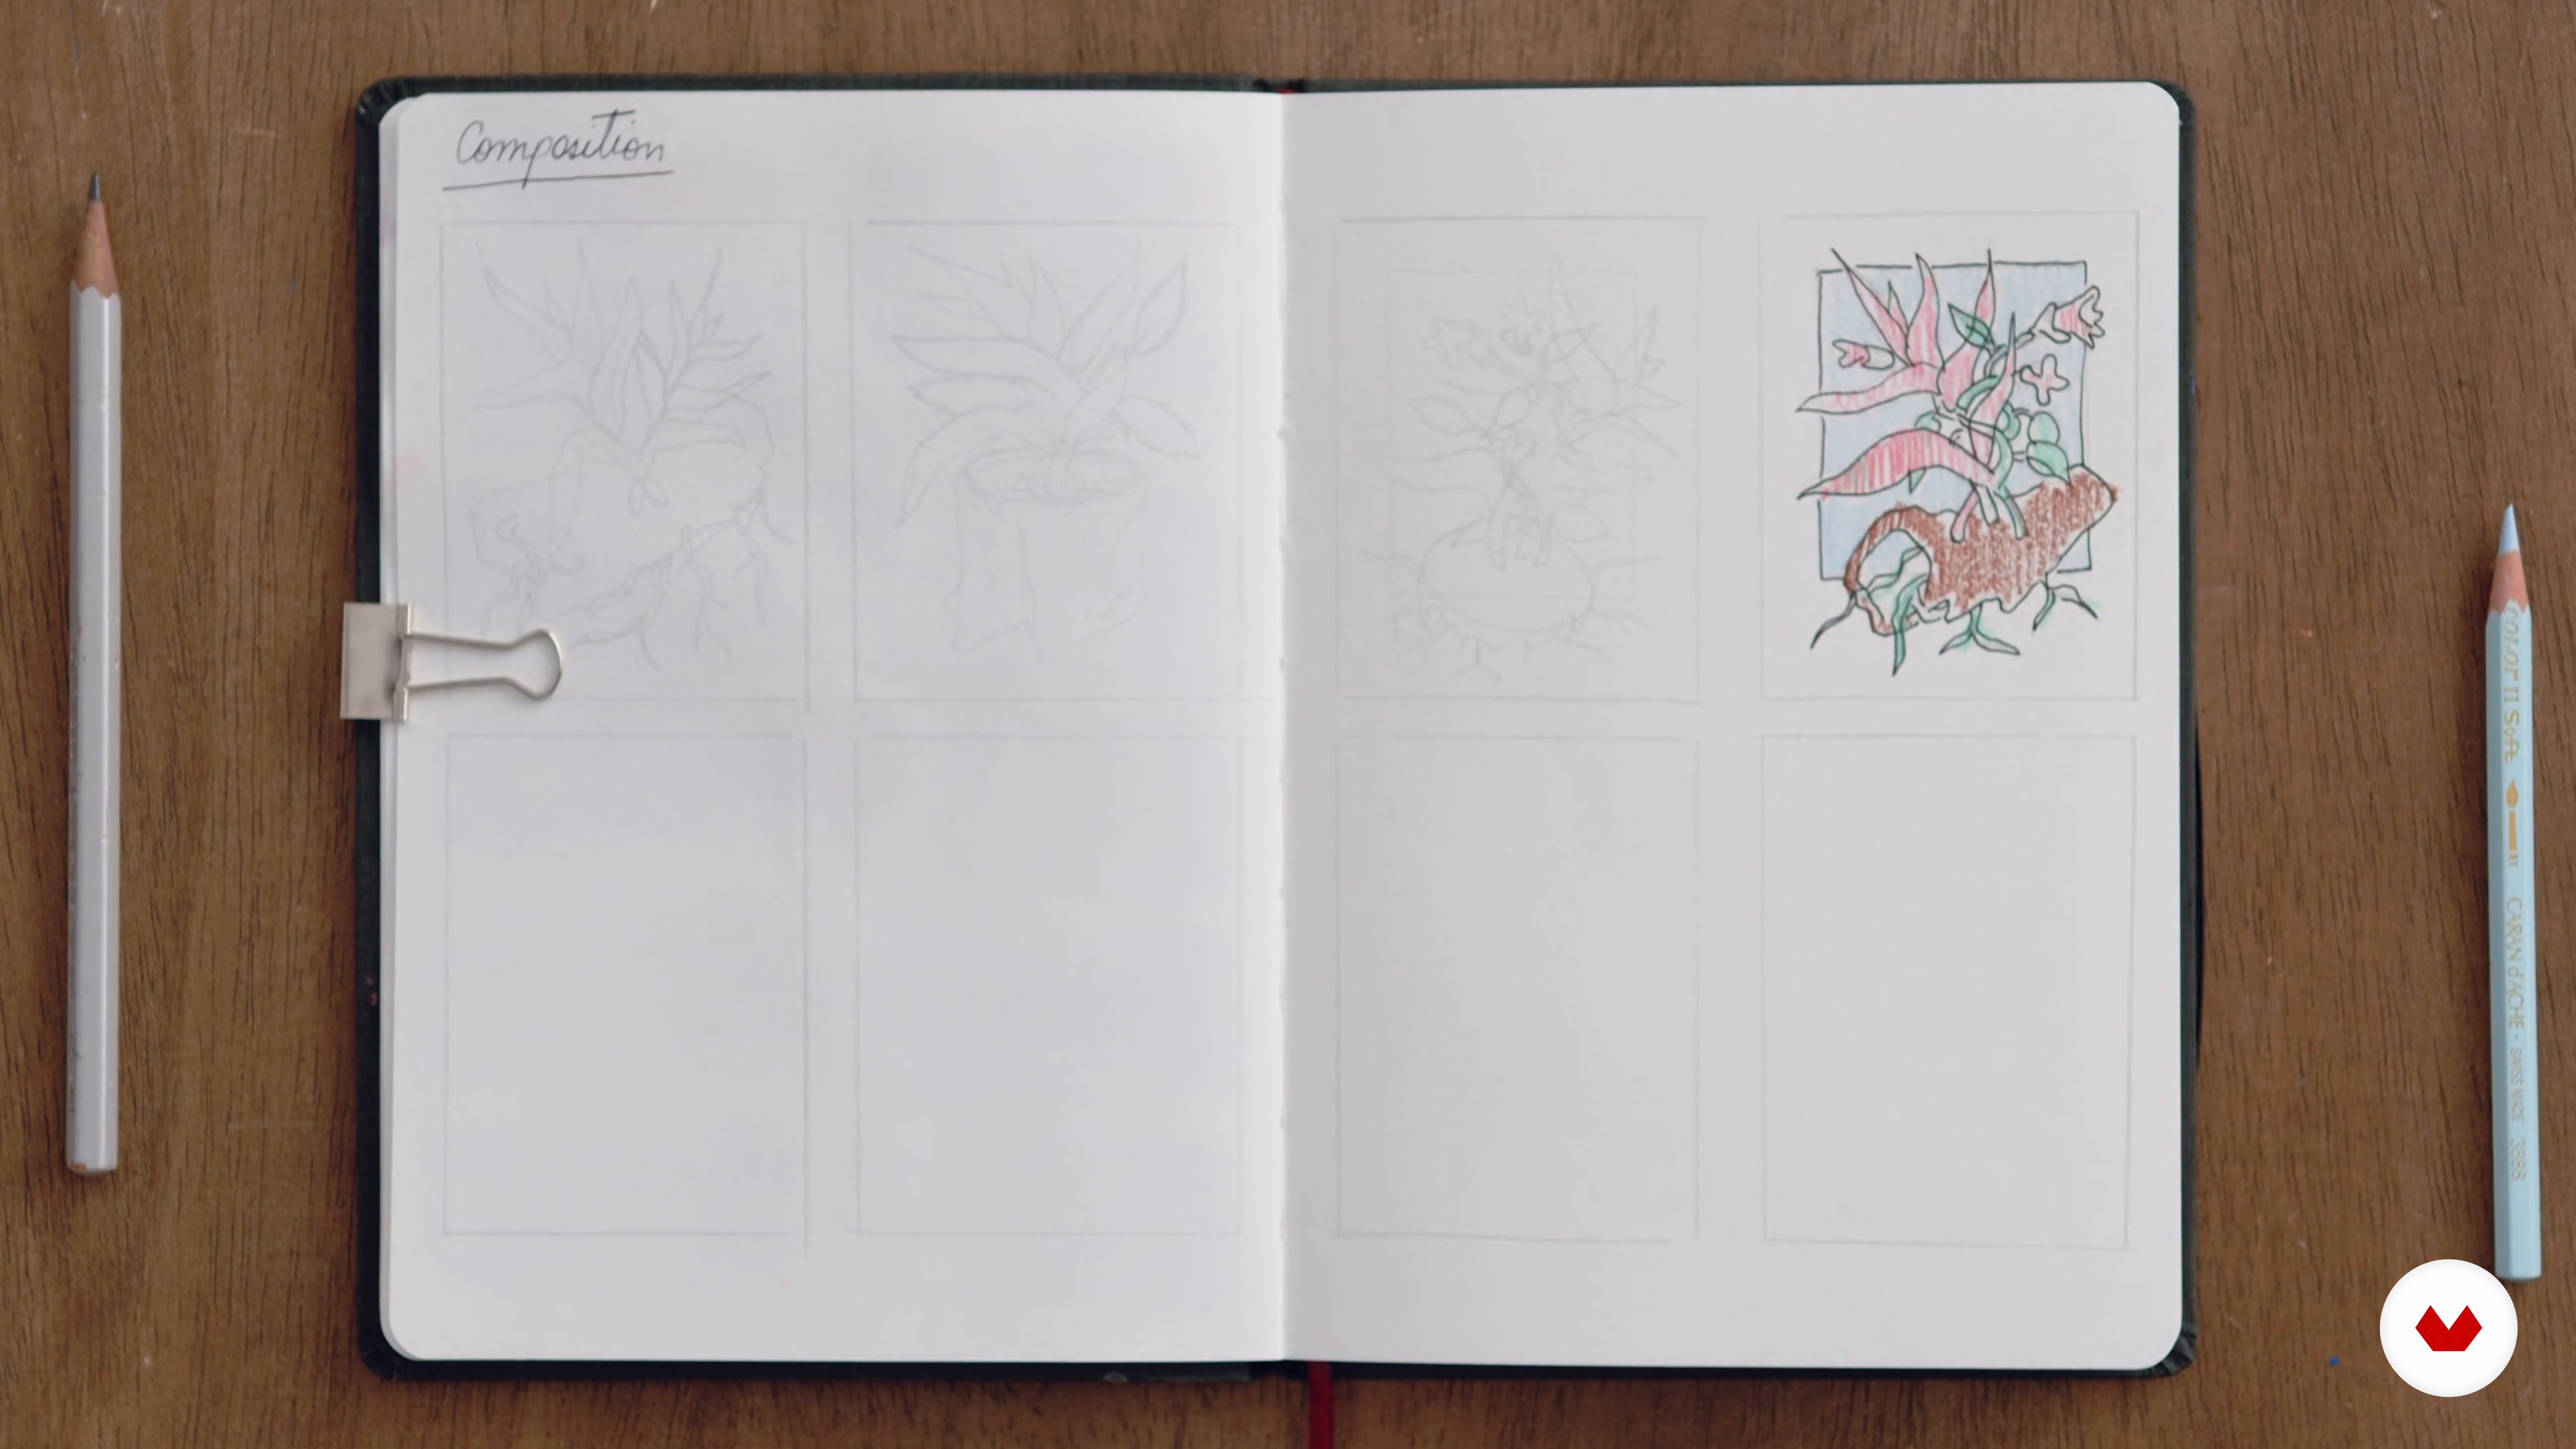
Thumbnail Sketches
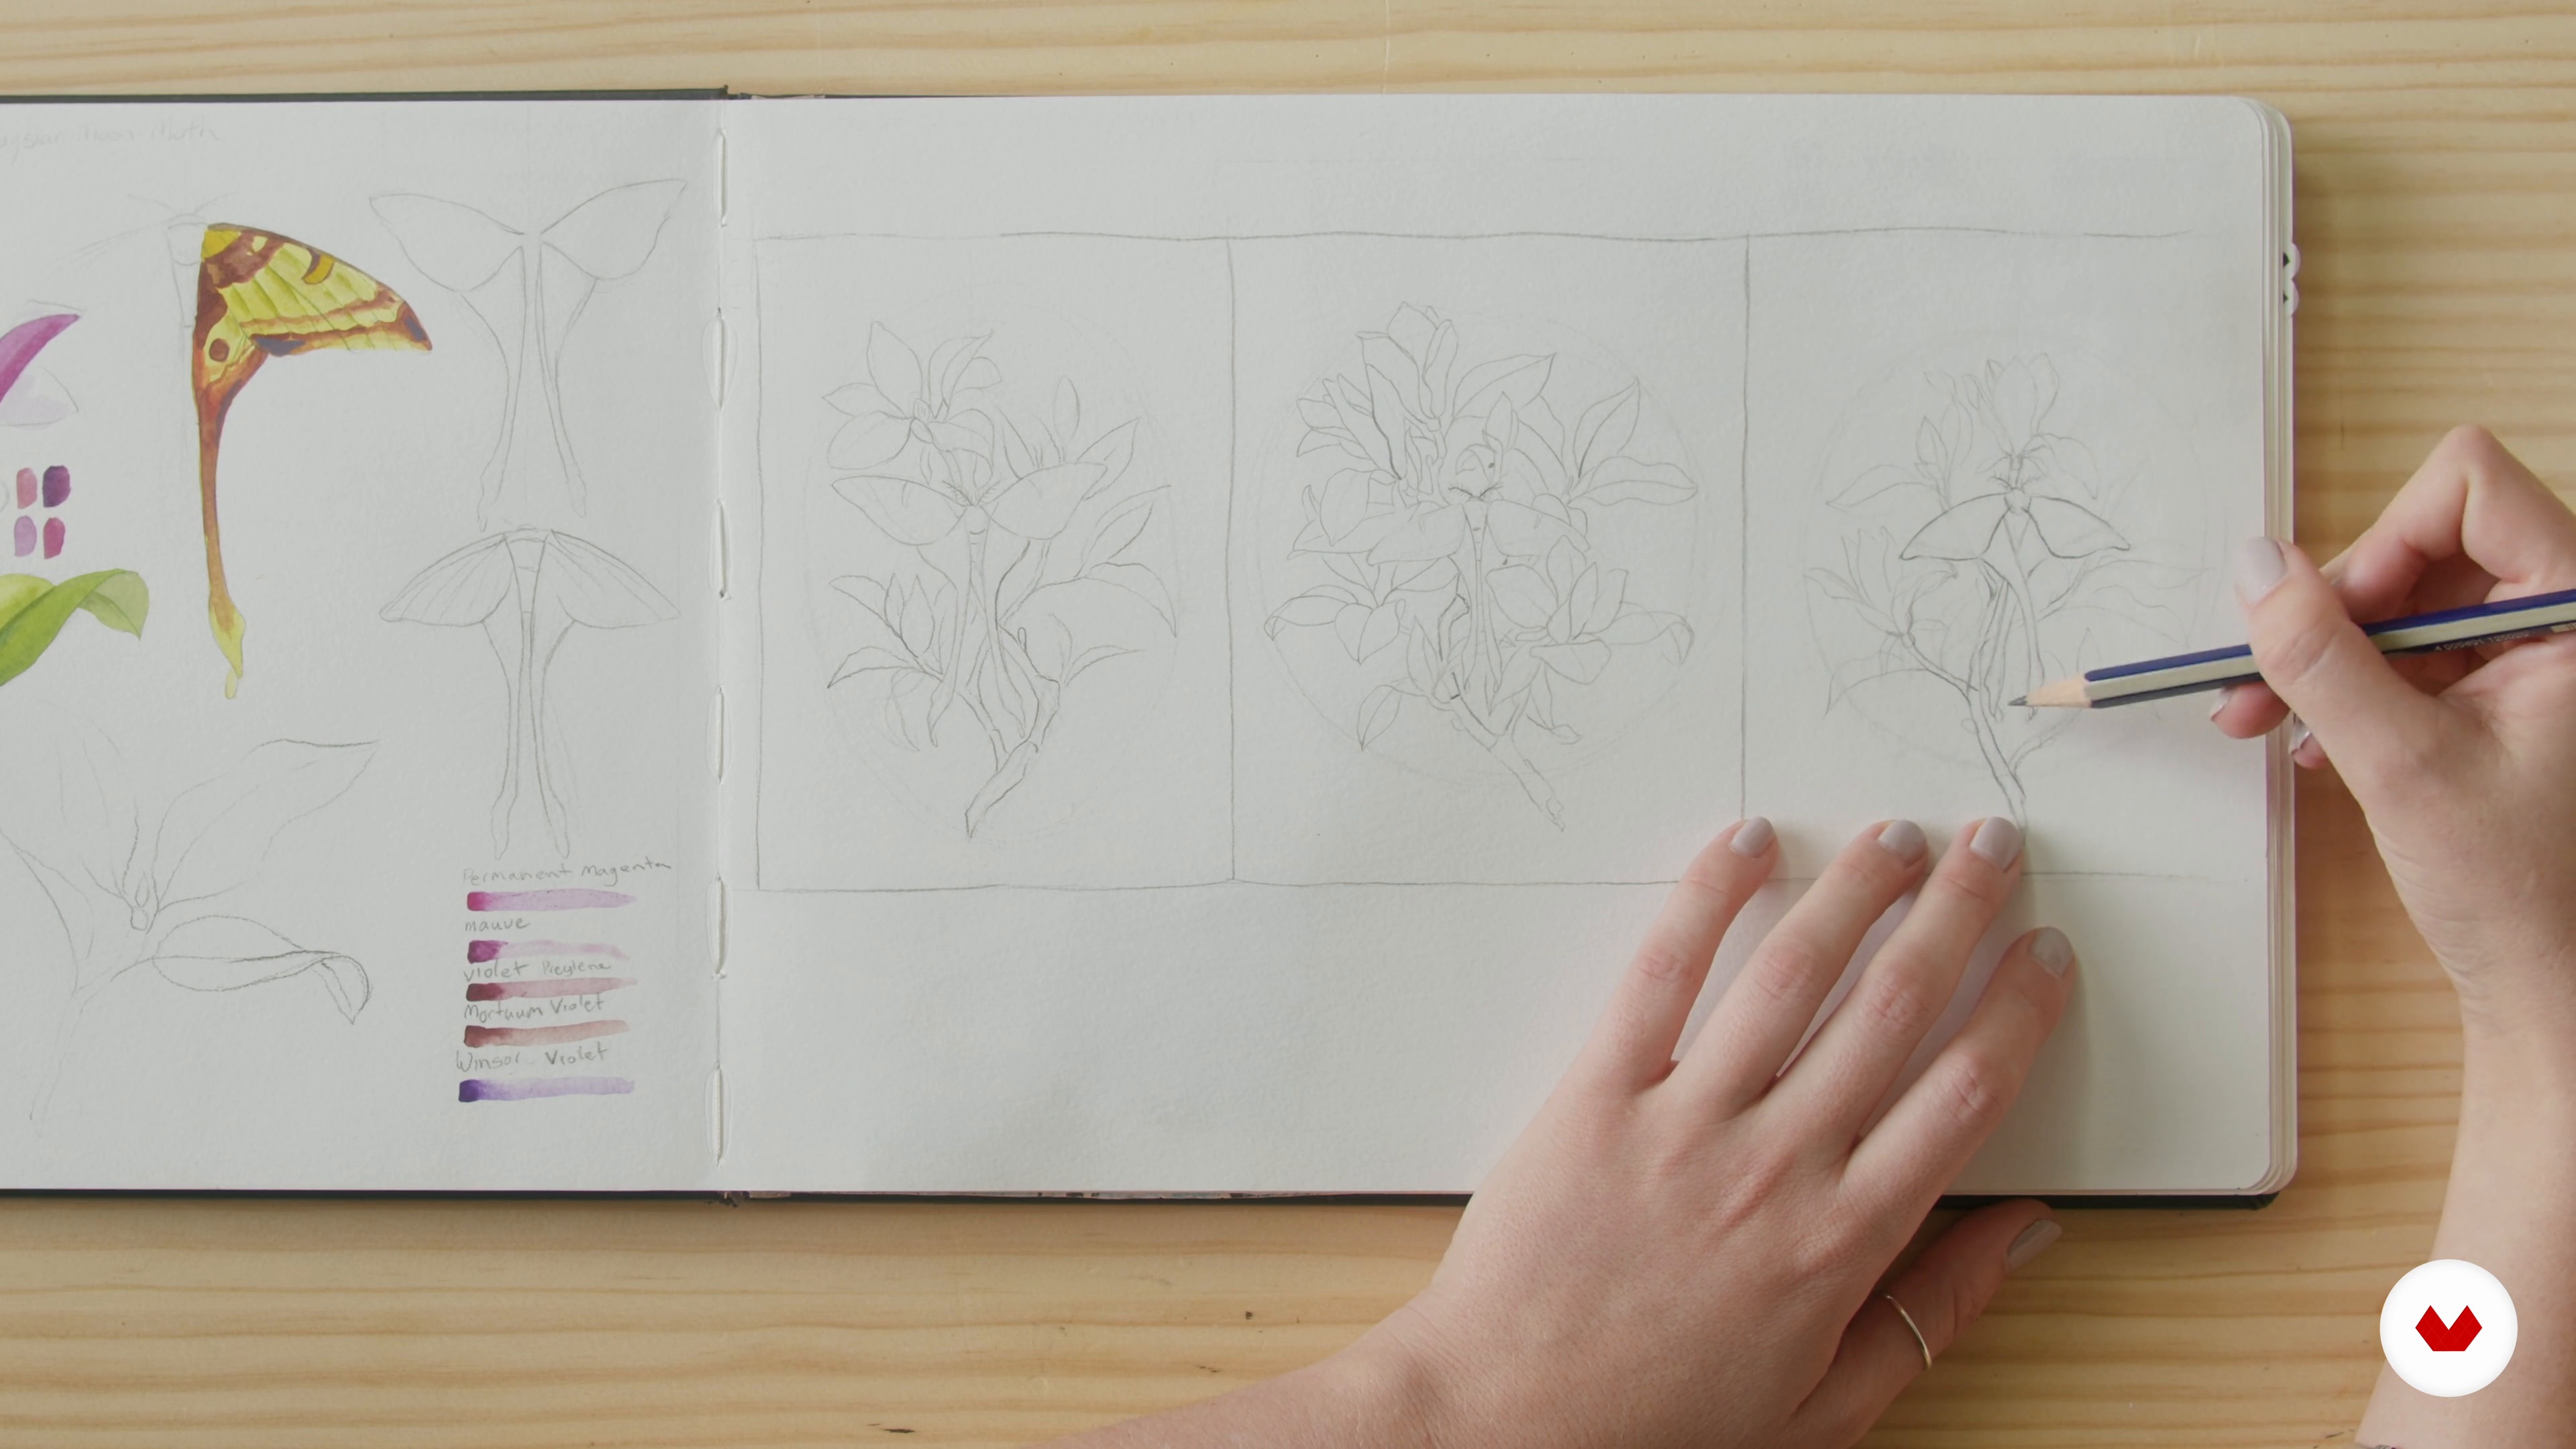
In this lesson, you'll learn how to use the references to practice making leaf and flower studies drawing from life. Then I'll teach you to use these sketches and the references to create thumbnail sketches. You'll see how to experiment with different compositions.
3m
image
12
Color
The magic about colour it's mixing them to get a unique colour! Let me show you how to look at the colour to make palette swatches.
17m
image
13
Sketching the Project
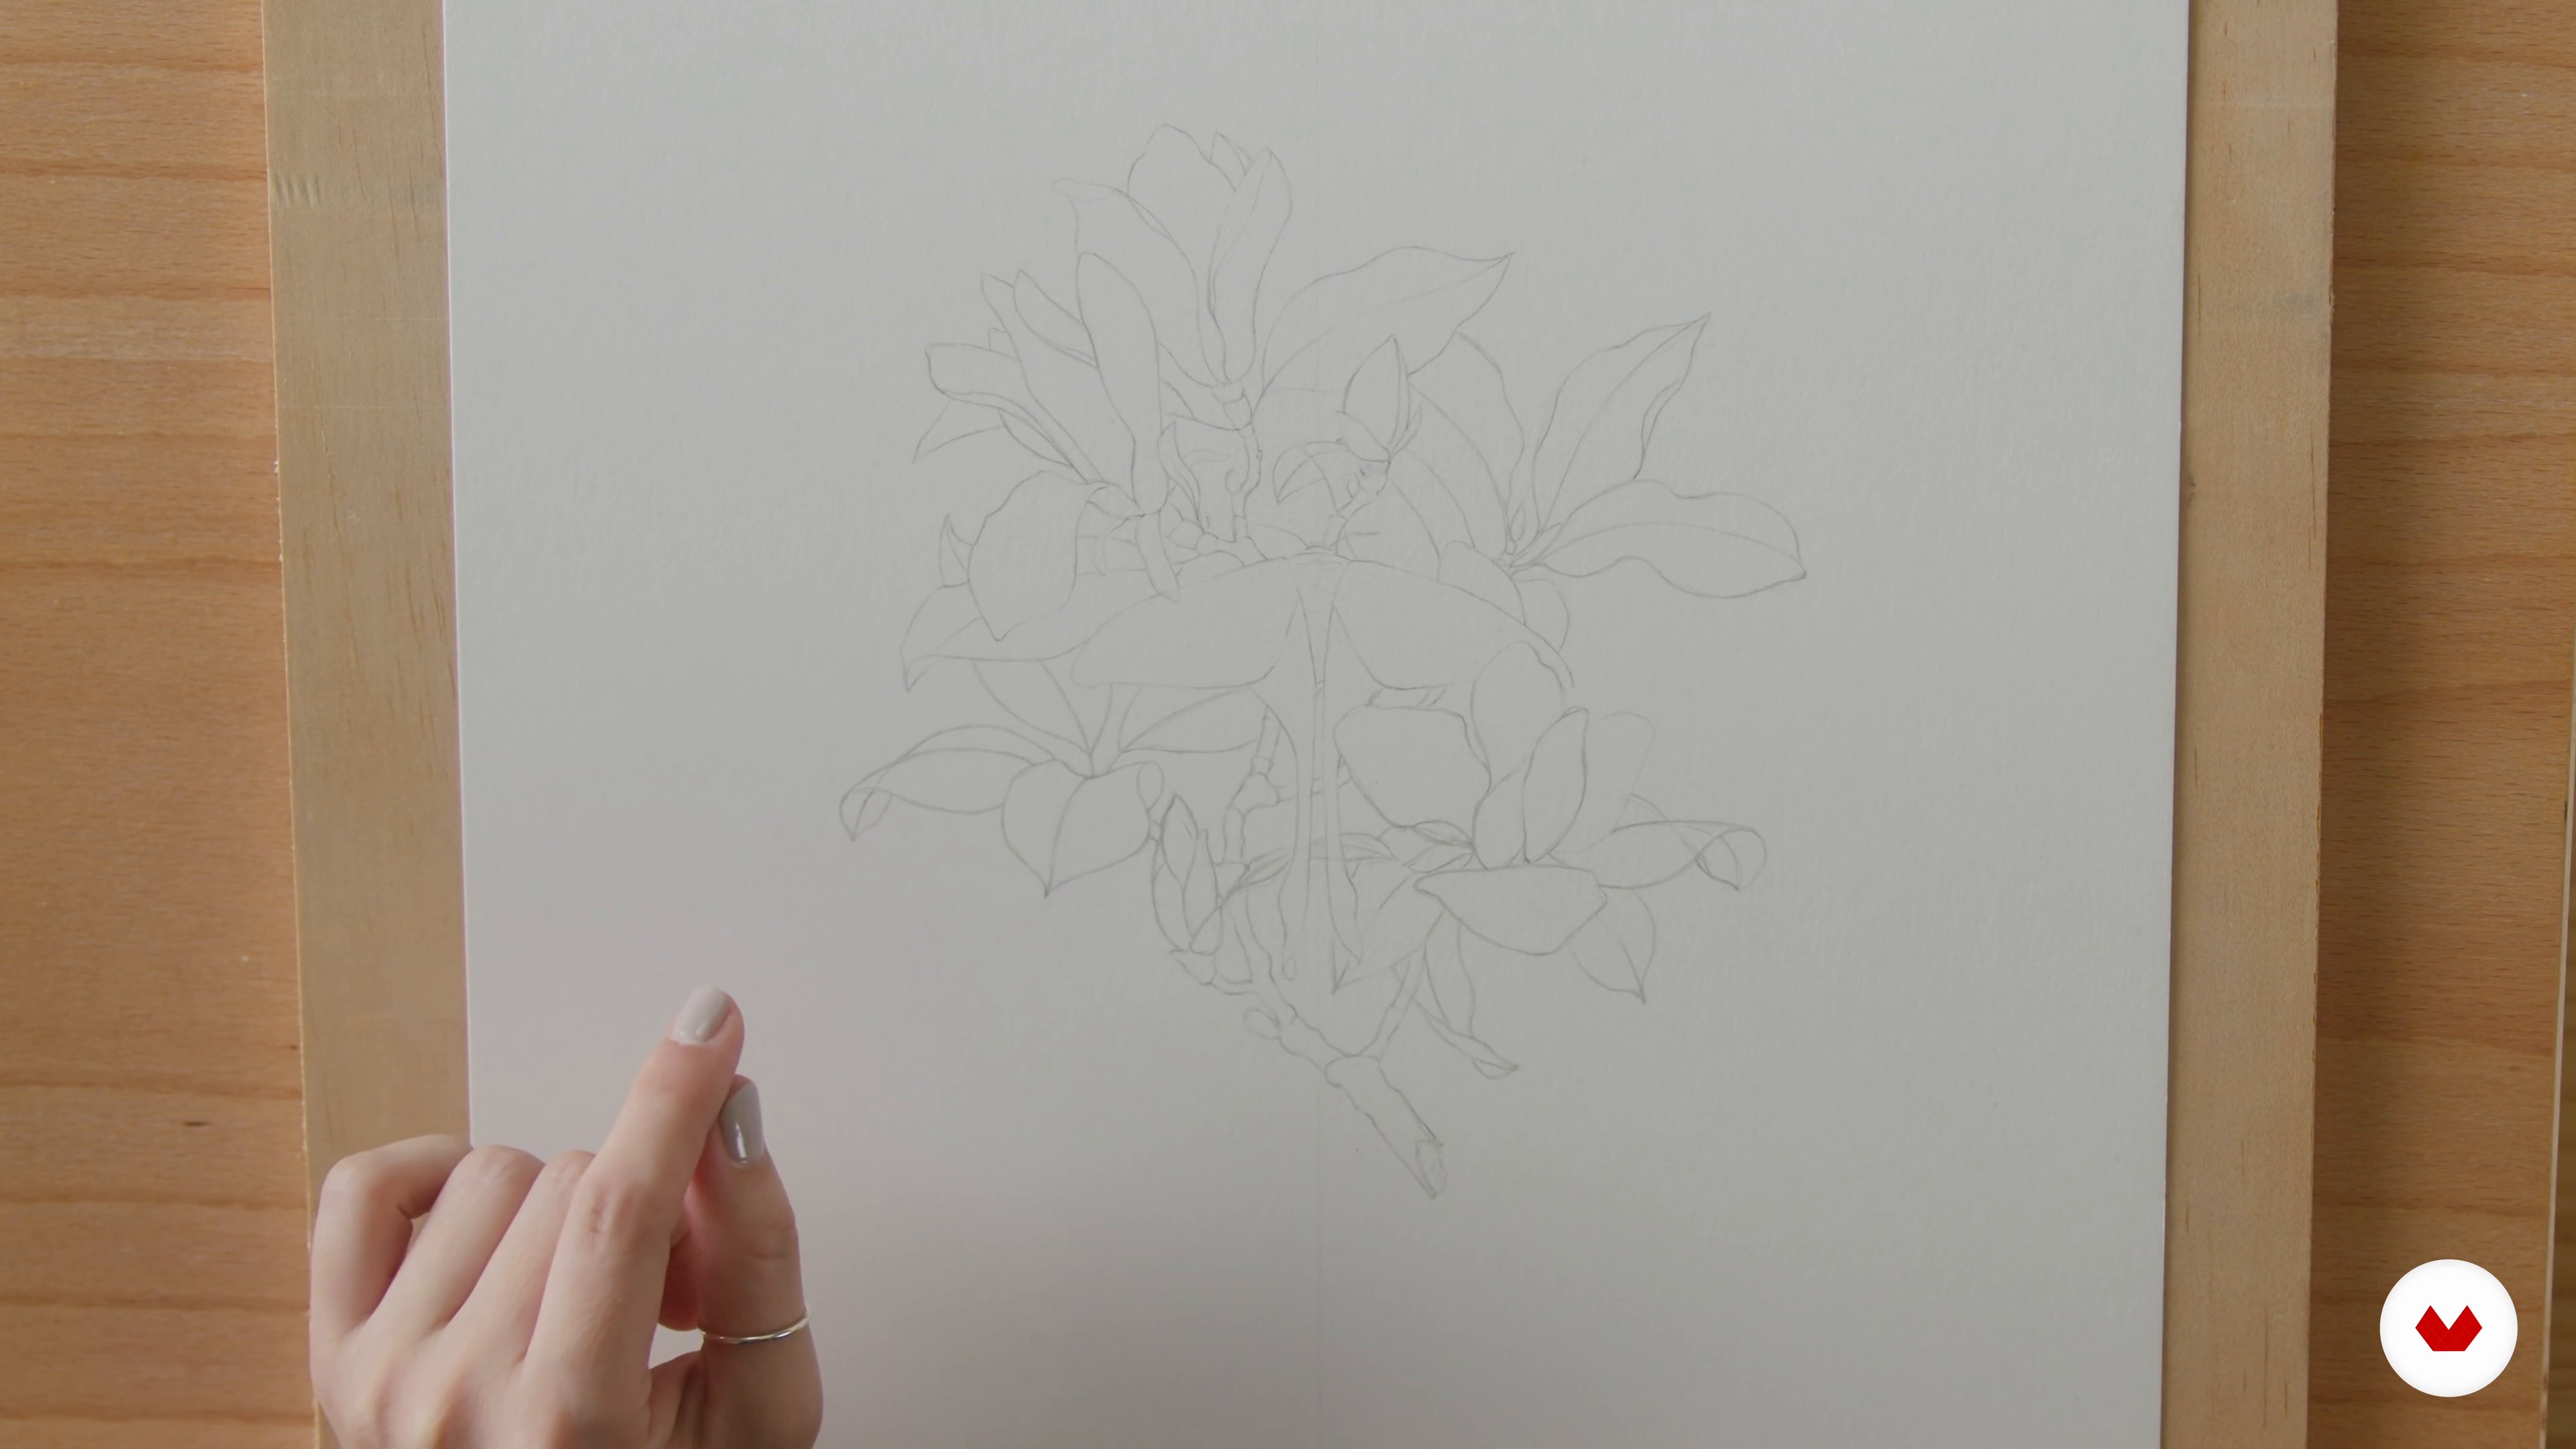
To finish this unit, I'll teach you how to sketch out the drawing for the course project. Then you'll see how to gently rub it out so the pencil won't show through the paint.
6m
image
14
Light Washes
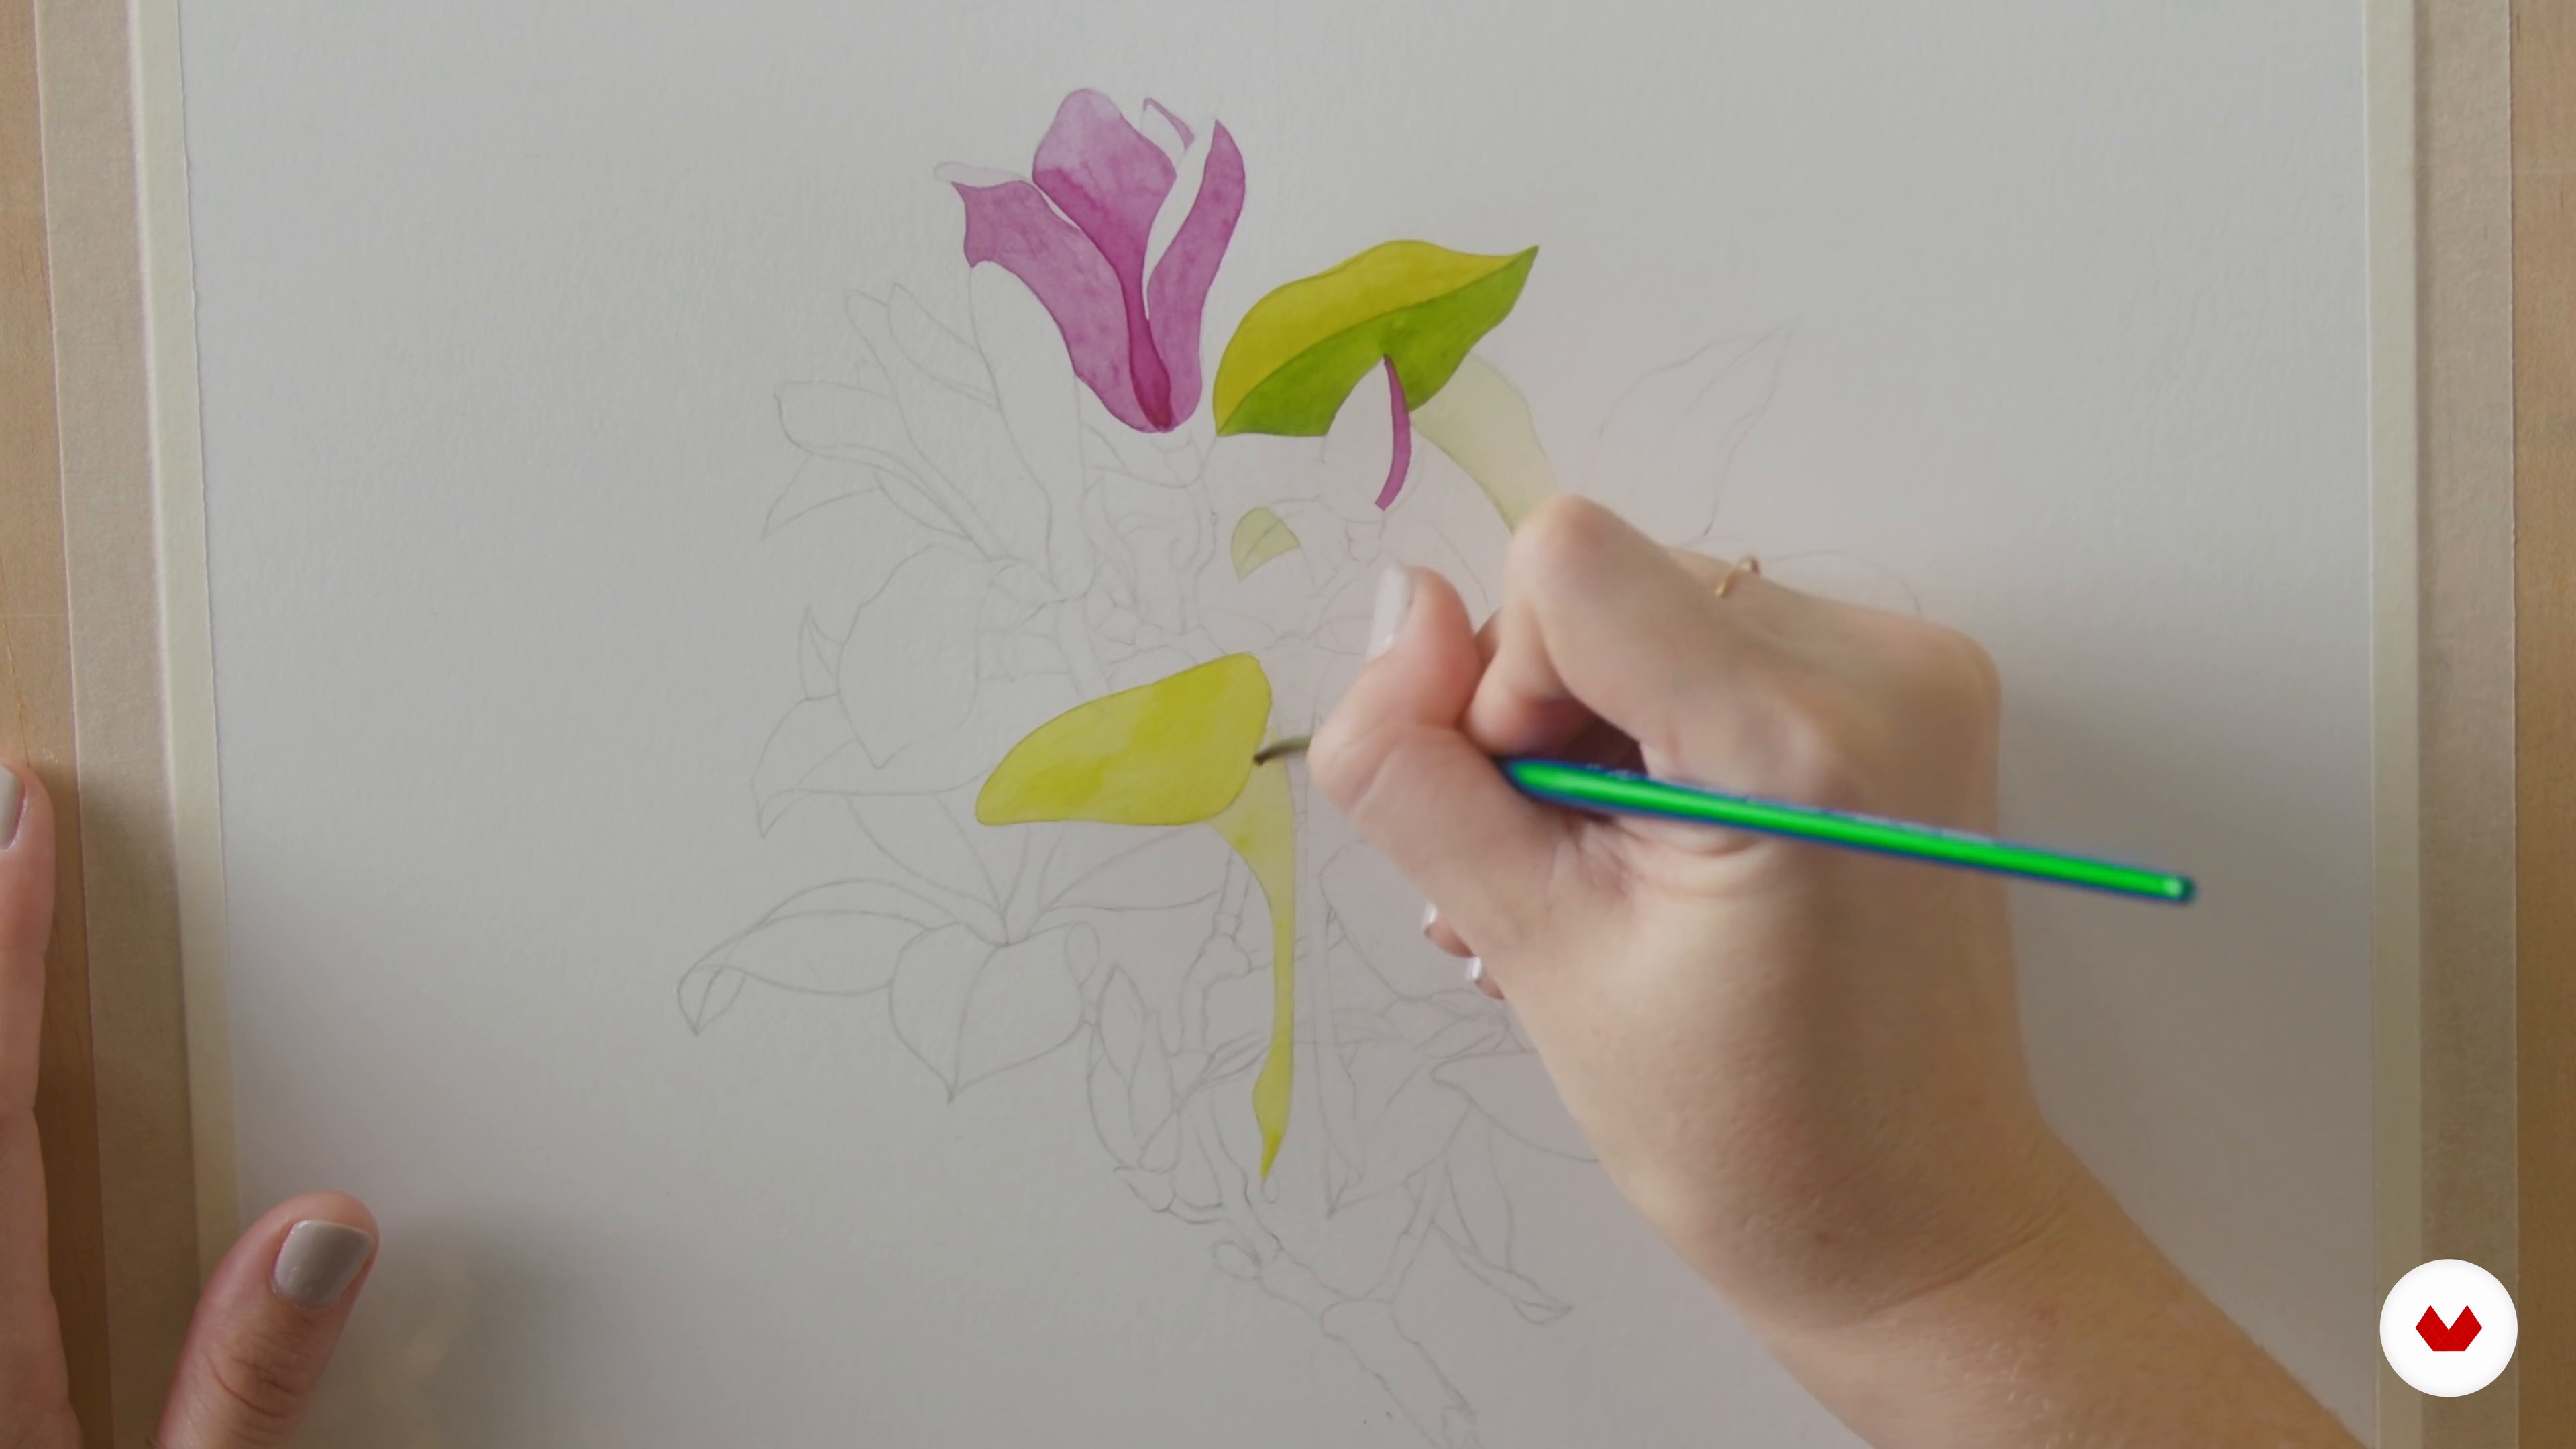
When I begin any painting, I always start with a basic flat wash over all my sketched elements; this helps me to figure out if my image is balanced. That's why during this lesson, I'll teach you how to apply the first light washes of paint to the sketch.
15m
image
15
Building Layers 1
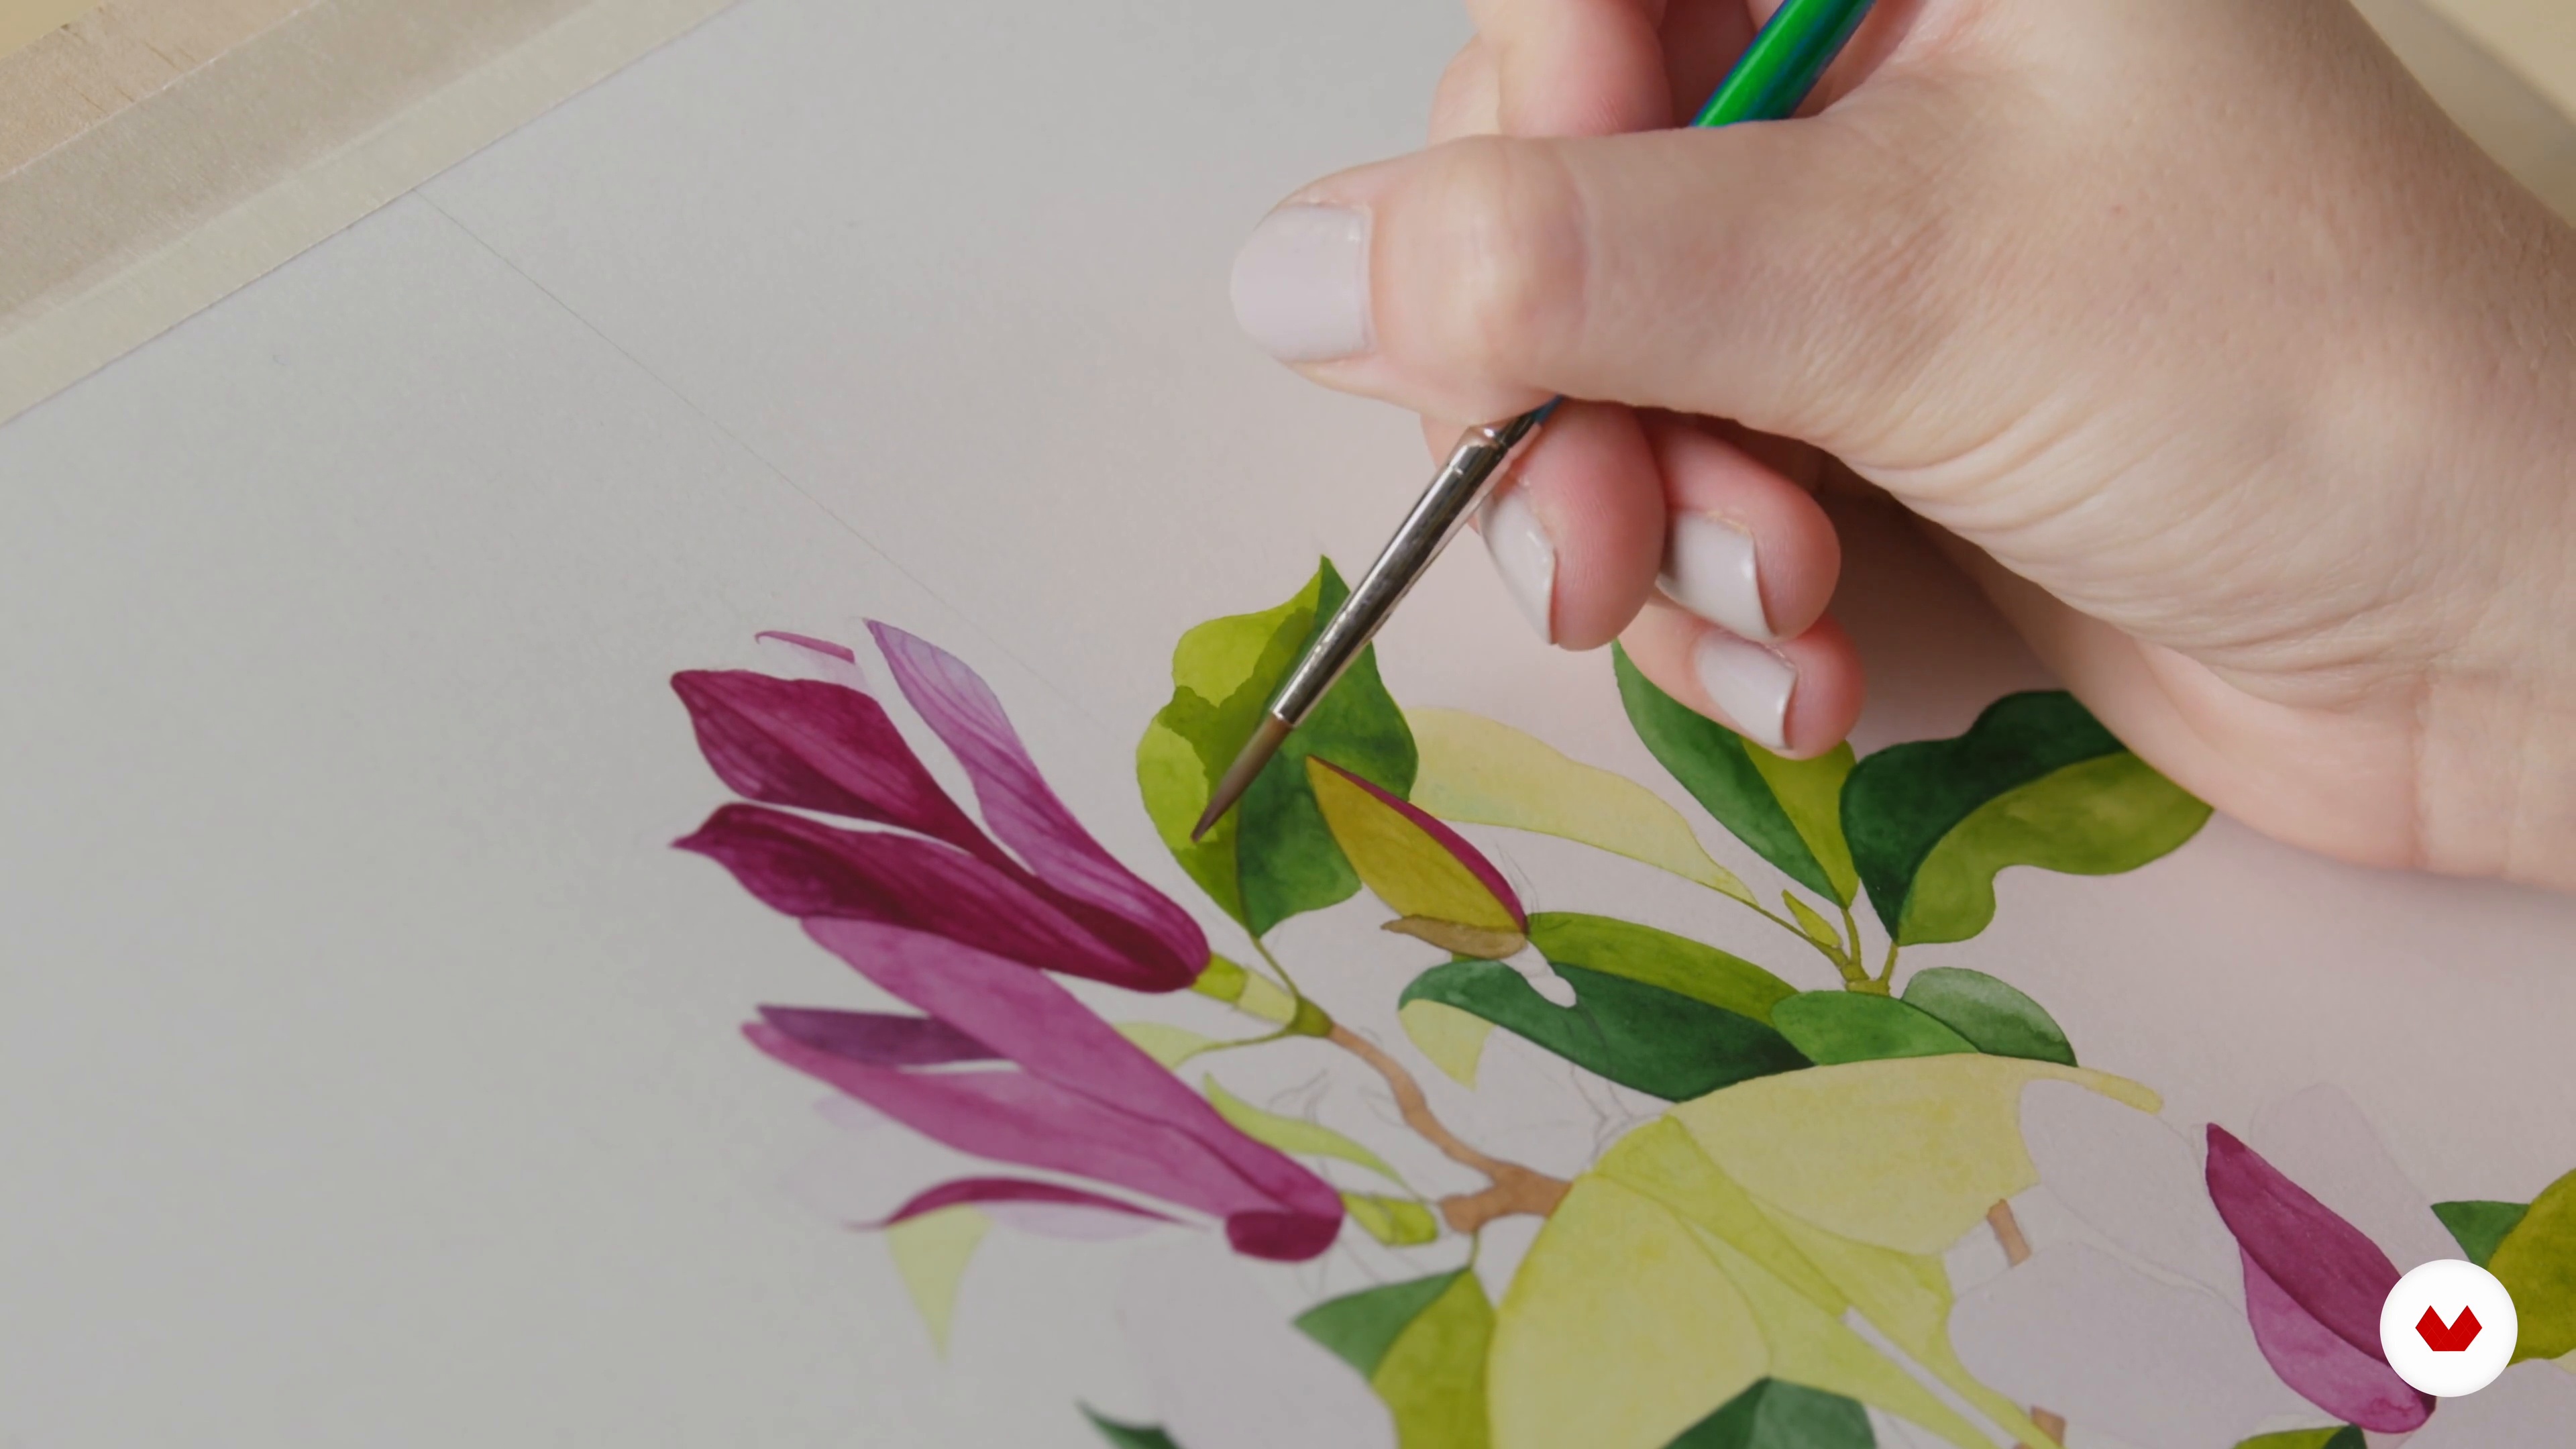
In this lesson, I'll give the elements some form, using the reference photos and looking at lights and darks to add these in. You'll learn to layer the paint in washes using wet-on-wet and wet-on-dry techniques.
11m
image
16
Building Layers 2
Now I'll also show you to add gouache to the watercolour. At the end of the lesson, you'll see how to sketch in the veins of the moth's wings and paint in washes to them.
8m
image
17
Textures on Foliage
Let me show you how to add detail to the painting, starting with the foliage, and giving the leaves more shape.
14m
image
18
Textures on Flowers
Now you'll learn how to add texture to the flowers and buds. I'll then move on to the stem. After that, I'll teach you to paint the markings of the moth.
11m
image
19
Details on Insects and Finishing
In this lesson, you'll learn to add detail to your branch, buds and then finally to your insect, using your smallest brushes.
4m
image
20
Final Overview
Let's look at the whole piece and fix areas that need attention. I'll show you how to check all the joining parts and clean up the edges.
17m
  • 100% positive reviews (2)
  • 382 students
  • 115 lessons (1d 1h 25m)
  • 99 additional resources (38 files)
  • Online and at your own pace
  • Audio: English, German, Spanish, Spanish (Latam), French, Italian, Dutch, Polish, Portuguese, Turkish
  • Spanish · English · Portuguese · German · French · Italian · Polish · Dutch · Turkish
  • Level: Beginner
  • Unlimited access forever

What is this course's project?

Create a personal botanical sketchbook filled with detailed plant studies, embracing a meditative approach to drawing. Observe nature closely, develop mindfulness, and enhance your botanical illustration skills through focused practice and creative expression.

Who is this specialization for?

Dedicated to artists seeking to enhance their botanical and naturalistic illustration abilities, this course suits those who love exploring nature's beauty through art. It appeals to both beginners and experienced illustrators looking to refine their technique and personal style.

Requirements and materials

No extensive prior knowledge needed. Basic necessities include good quality paper, watercolor paints, gouache, brushes, and pencils. A passion for nature and a curiosity for botanical studies enhance the experience. Access to plants or natural specimens for reference is helpful.

Select to get to know your teachers in this specialization course
Read more ↓

Reviews

382 Students
2 Reviews
100% Positive ratings


What to expect from this specialization course

  • Learn at your own pace

    Enjoy learning from home without a set schedule and with an easy-to-follow method. You set your own pace.

  • Learn from the best professionals

    Learn valuable methods and techniques explained by top experts in the creative sector.

  • Meet expert teachers

    Each expert teaches what they do best, with clear guidelines, true passion, and professional insight in every lesson.

  • Certificates
    Plus

    If you're a Plus member, get a custom certificate for every specialization course. Share it on your portfolio, social media, or wherever you like.

  • Get front-row seats

    Videos of the highest quality, so you don't miss a single detail. With unlimited access, you can watch them as many times as you need to perfect your technique.

  • Share knowledge and ideas

    Ask questions, request feedback, or offer solutions. Share your learning experience with other students in the community who are as passionate about creativity as you are.

  • Connect with a global creative community

    The community is home to millions of people from around the world who are curious and passionate about exploring and expressing their creativity.

  • Watch professionally produced courses

    Domestika curates its teacher roster and produces every course in-house to ensure a high-quality online learning experience.


FAQs

Domestika courses are online classes that allow you to learn new skills and create incredible projects. All our courses include the opportunity to share your work with other students and/or teachers, creating an active learning community. We offer different formats:
Original Courses: Complete classes that combine videos, texts, and educational materials to complete a specific project from start to finish.
Basics Courses: Specialized training where you master specific software tools step by step.
Specialization Courses: Learning paths with various expert teachers on the same topic, perfect for becoming a specialist by learning from different approaches.
Guided Courses: Practical experiences ideal for directly acquiring specific skills.
Intensive Courses (Deep Dives): New creative processes based on artificial intelligence tools in an accessible format for in-depth and dynamic understanding.

All specialization courses are 100% online, so once they're published, specialization courses start and finish whenever you want. You set the pace of the class. You can go back to review what interests you most and skip what you already know, ask questions, answer questions, share your projects, and more.

The specialization courses are divided into different modules. Each one includes lessons, informational text, tasks, and practice exercises to help you carry out your project step by step, with additional complementary resources and downloads. You'll also have access to an exclusive forum where you can interact with other students, as well as share your work and your final project, creating a community around the specialization courses.

You can redeem the specialization courses you received by accessing the redeeming page and entering your gift code.

If you're a Plus member, when you complete a course you've purchased, you'll instantly get your personalized certificate. You can see all your certificates in the Certificates section of your profile. You can download your certificates as PDFs and share the link online. Learn more about certificates.
Specialization in Botanical and Naturalistic Illustration Techniques. Illustration course by Domestika

Specialization in Botanical and Naturalistic Illustration Techniques

A specialization by multiple teachers
Berkeley, United States.
Joined April 2002
  • 100% positive reviews (2)
  • 382 students