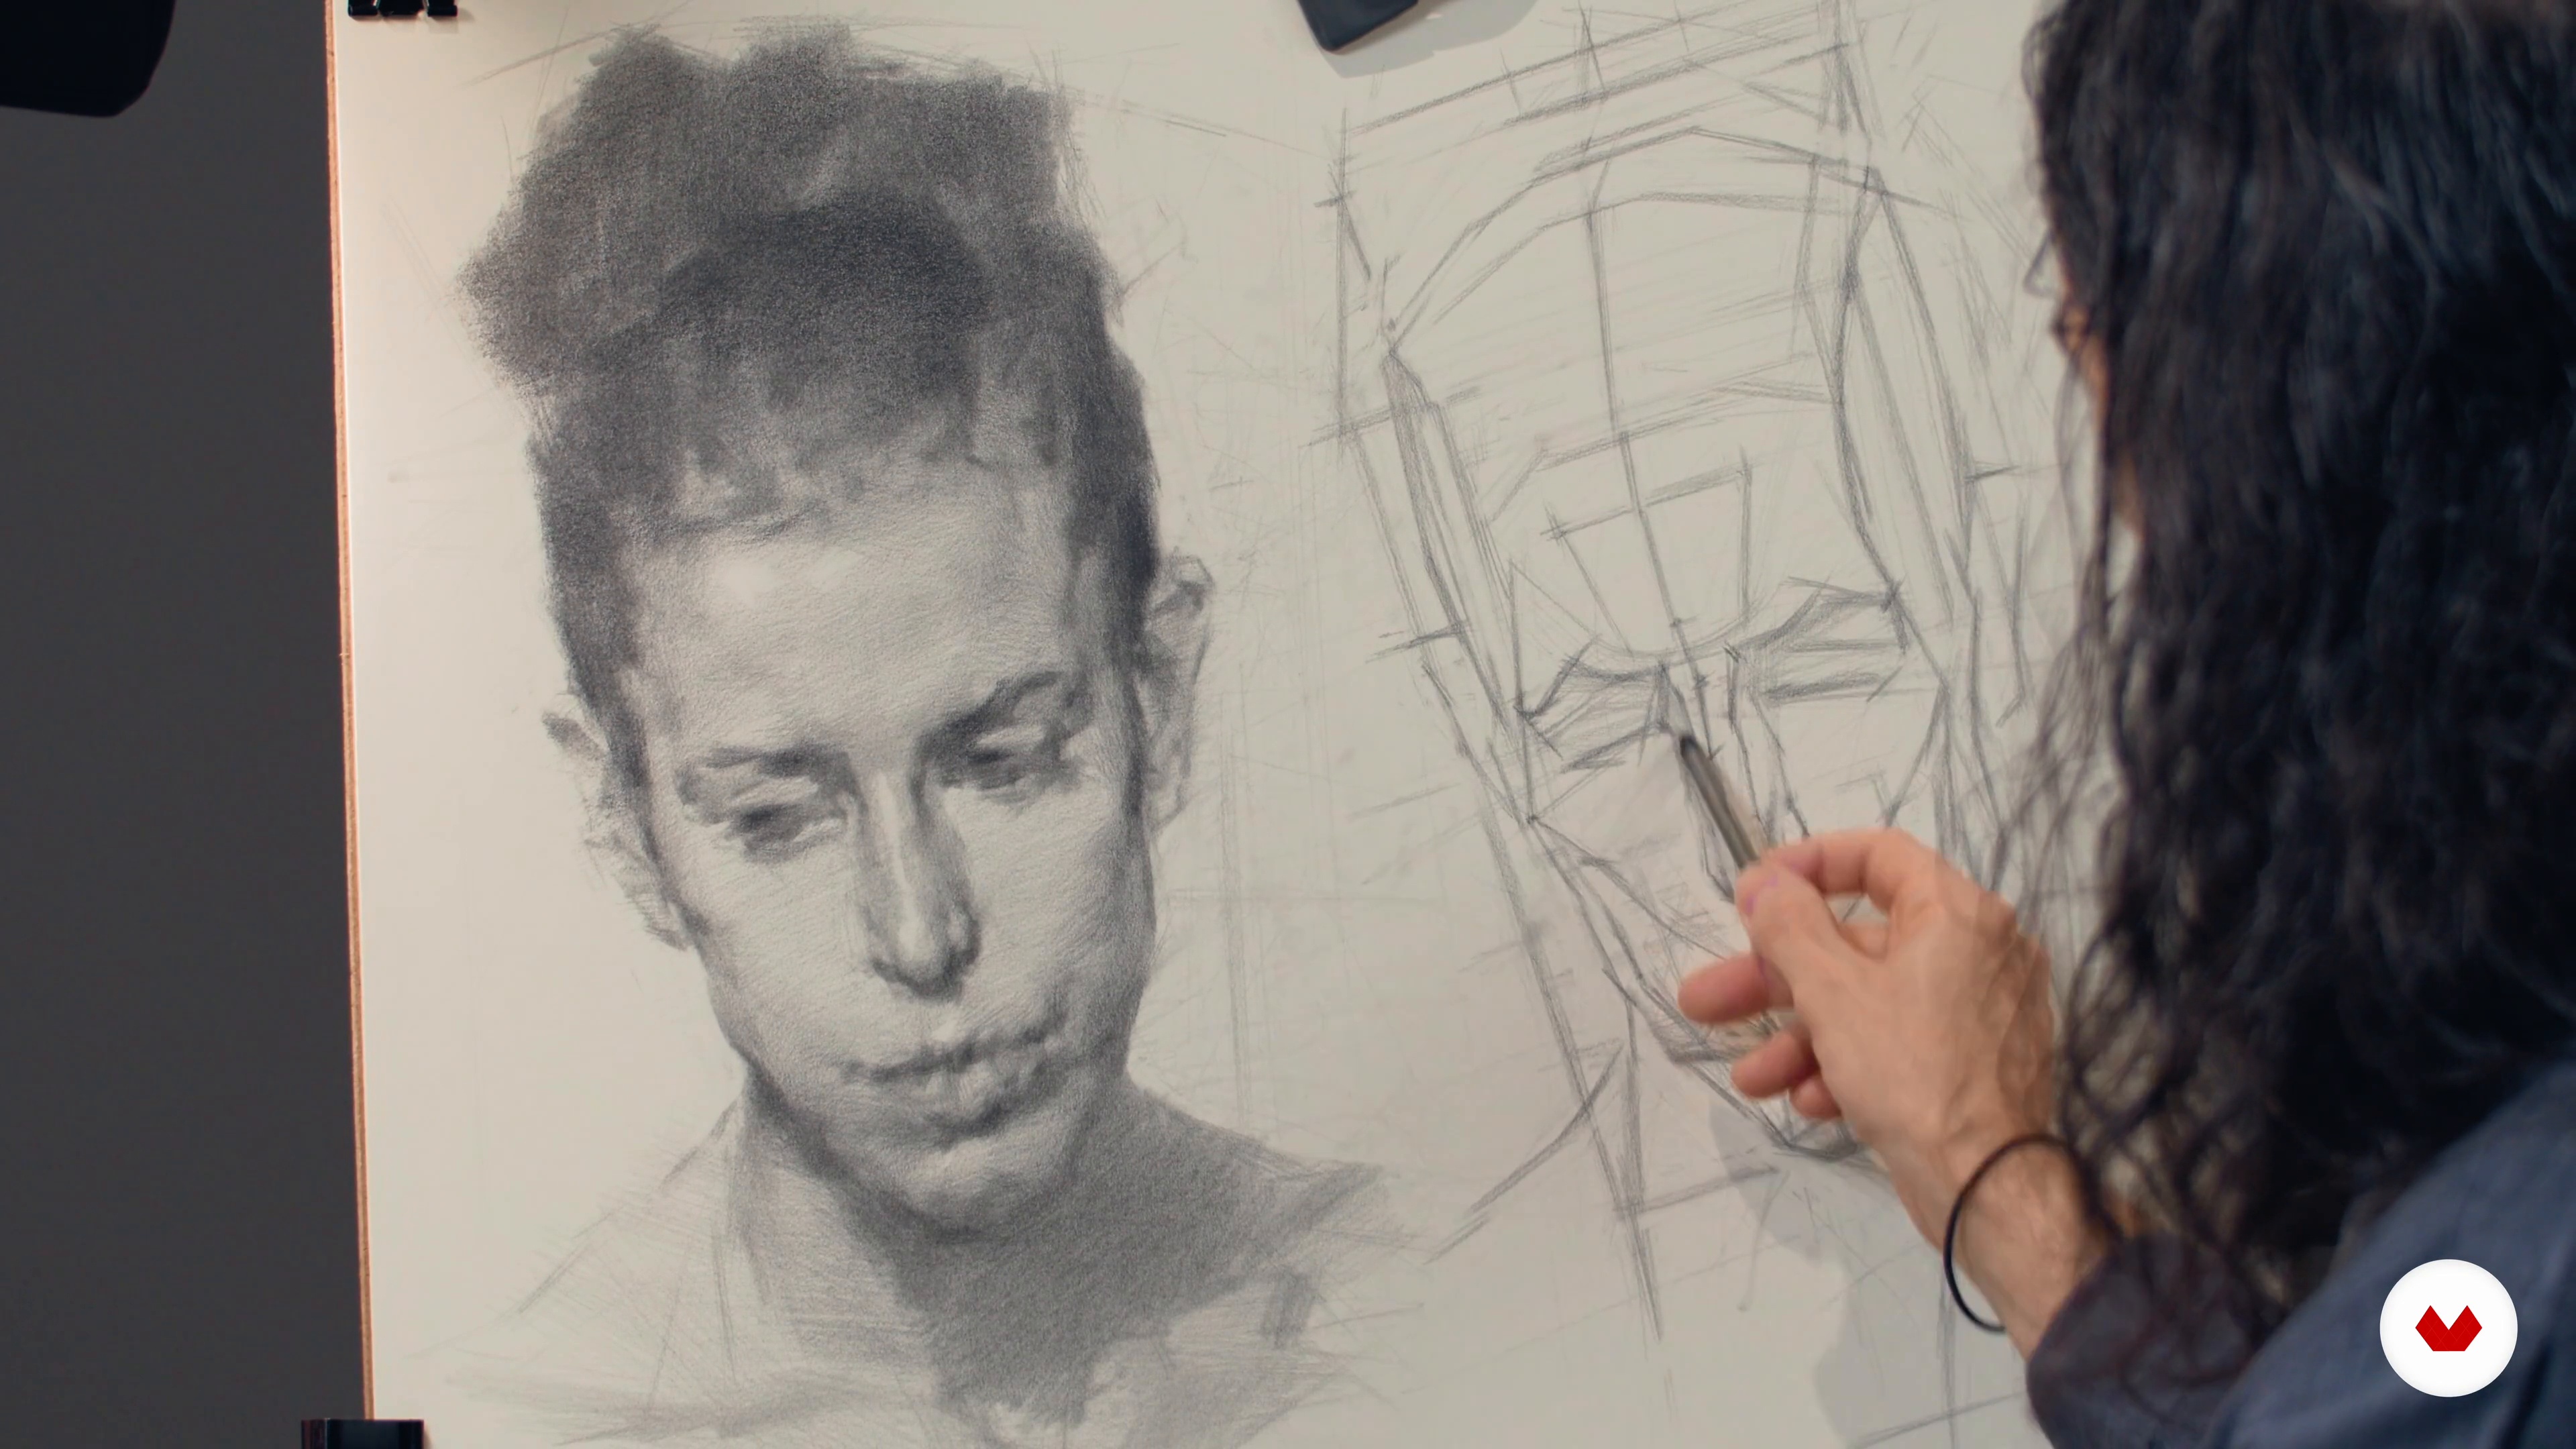
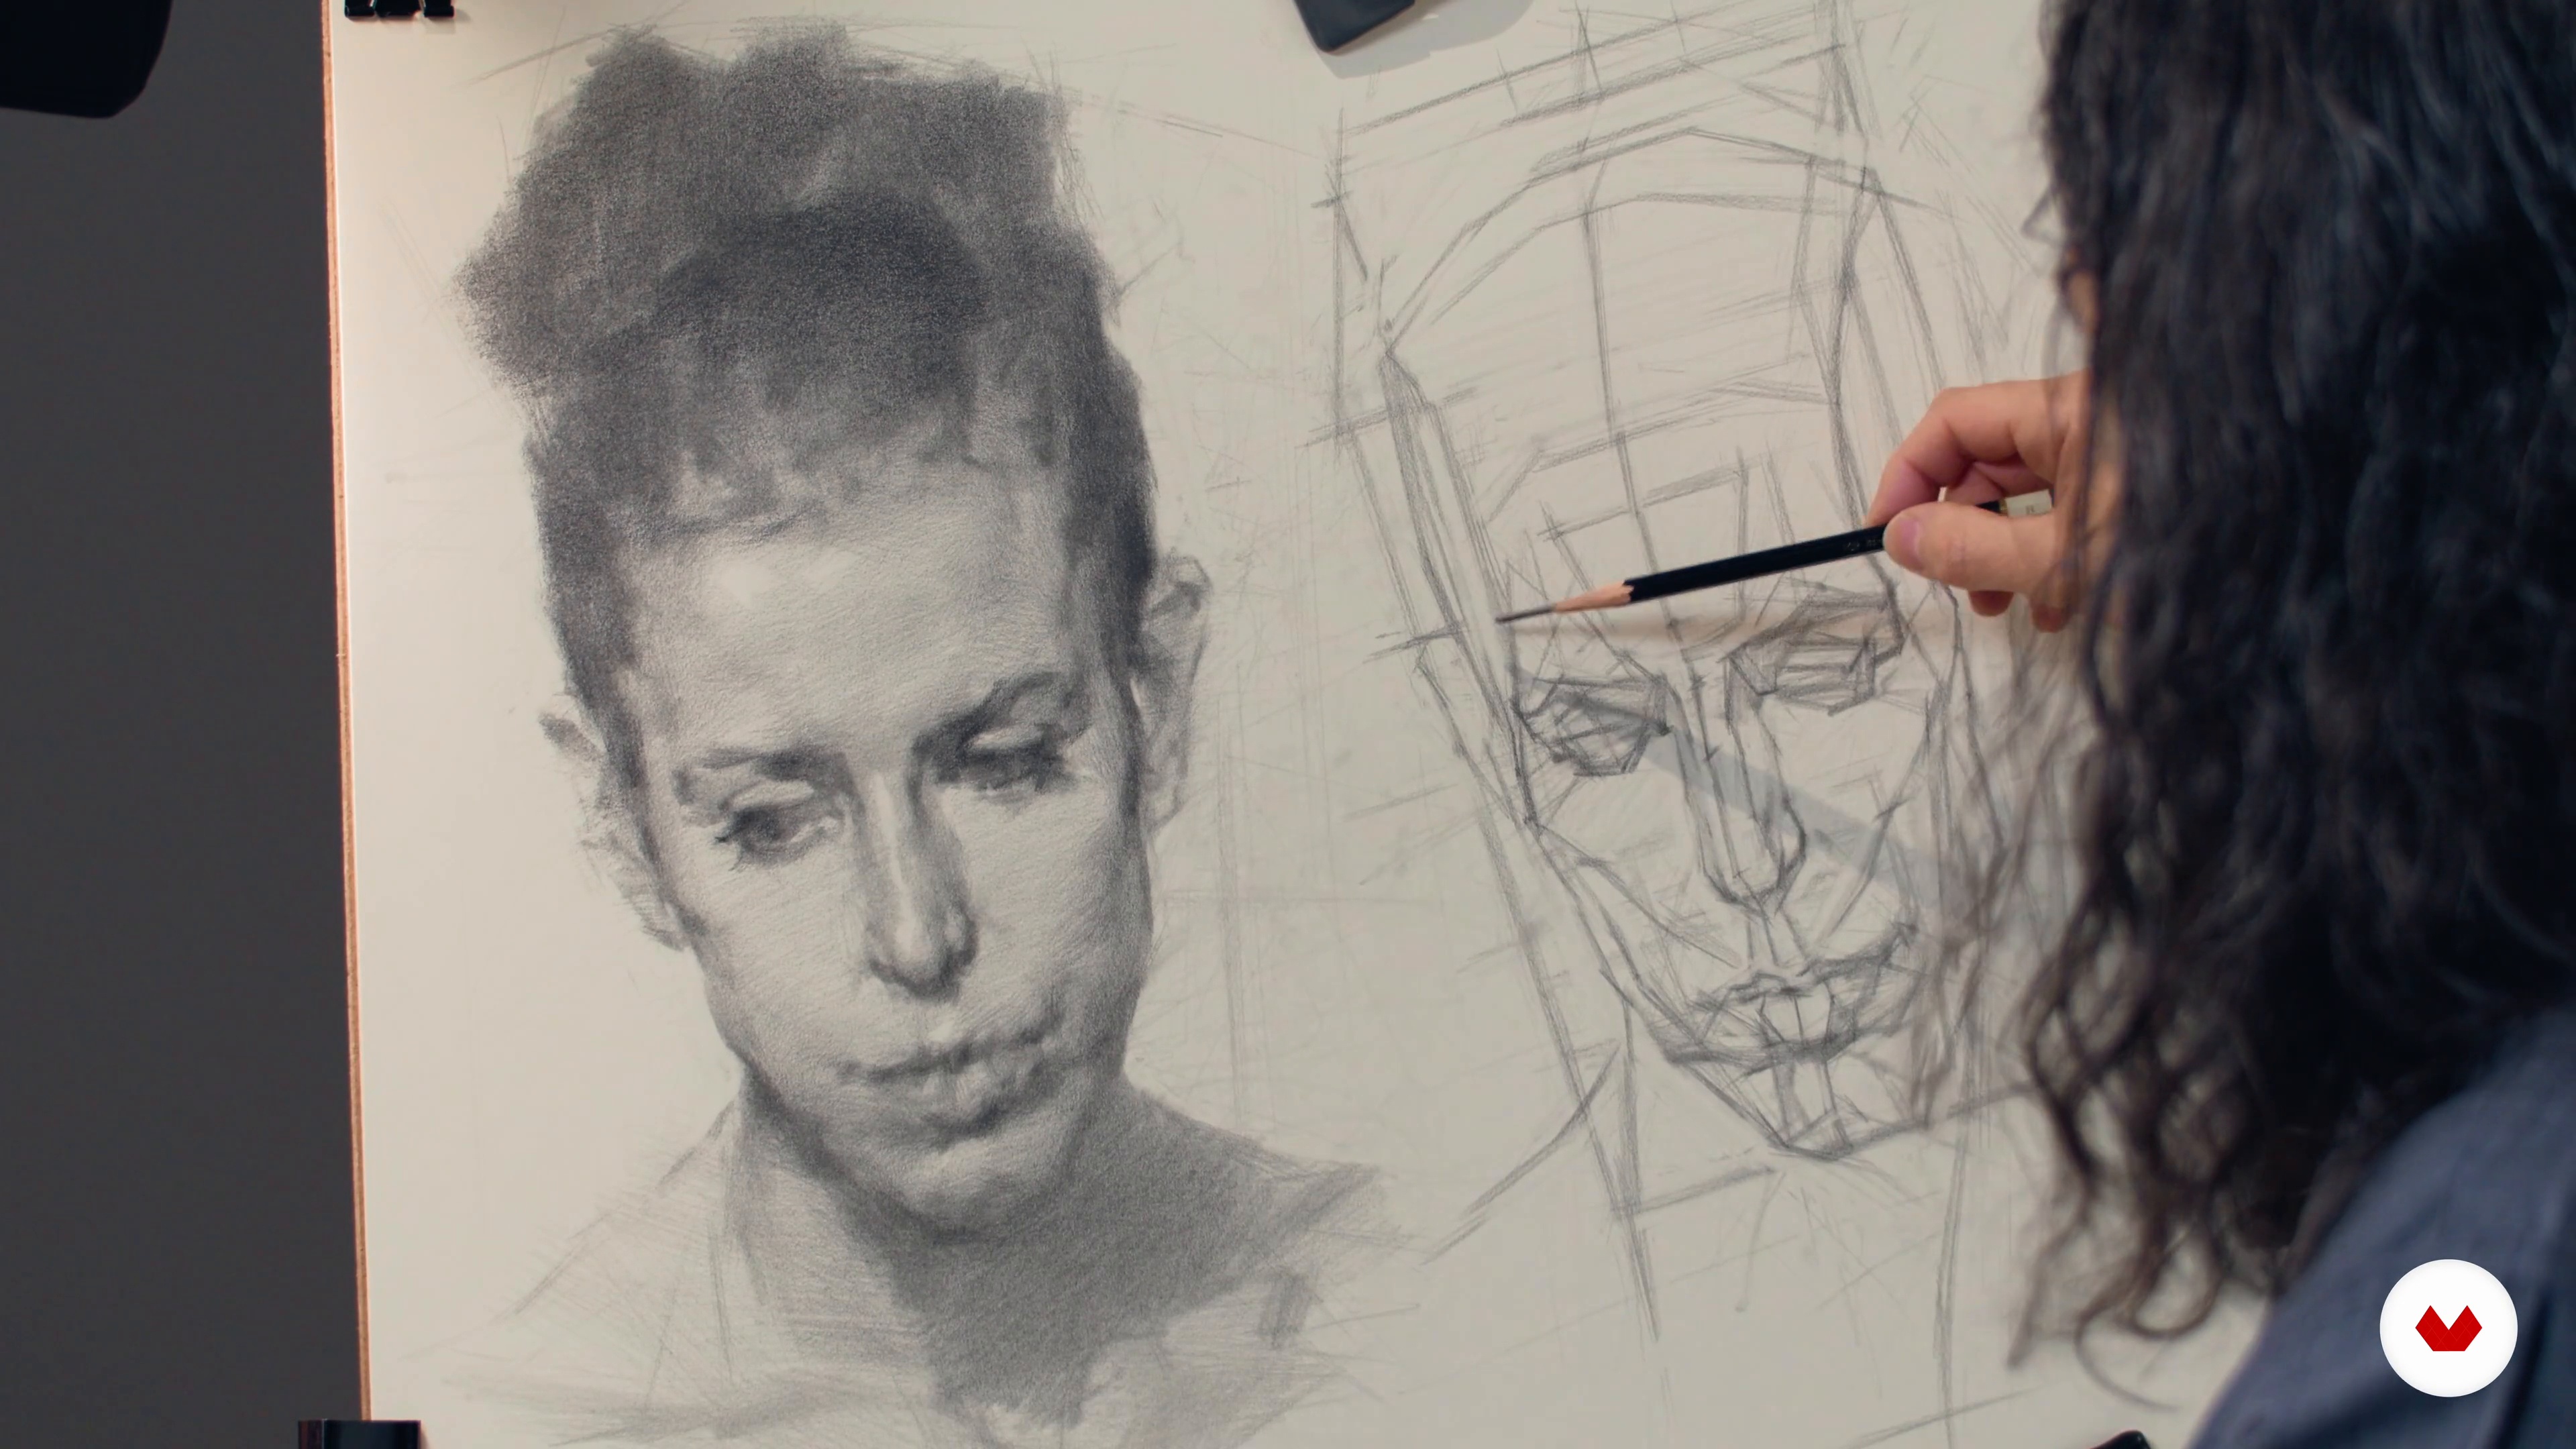
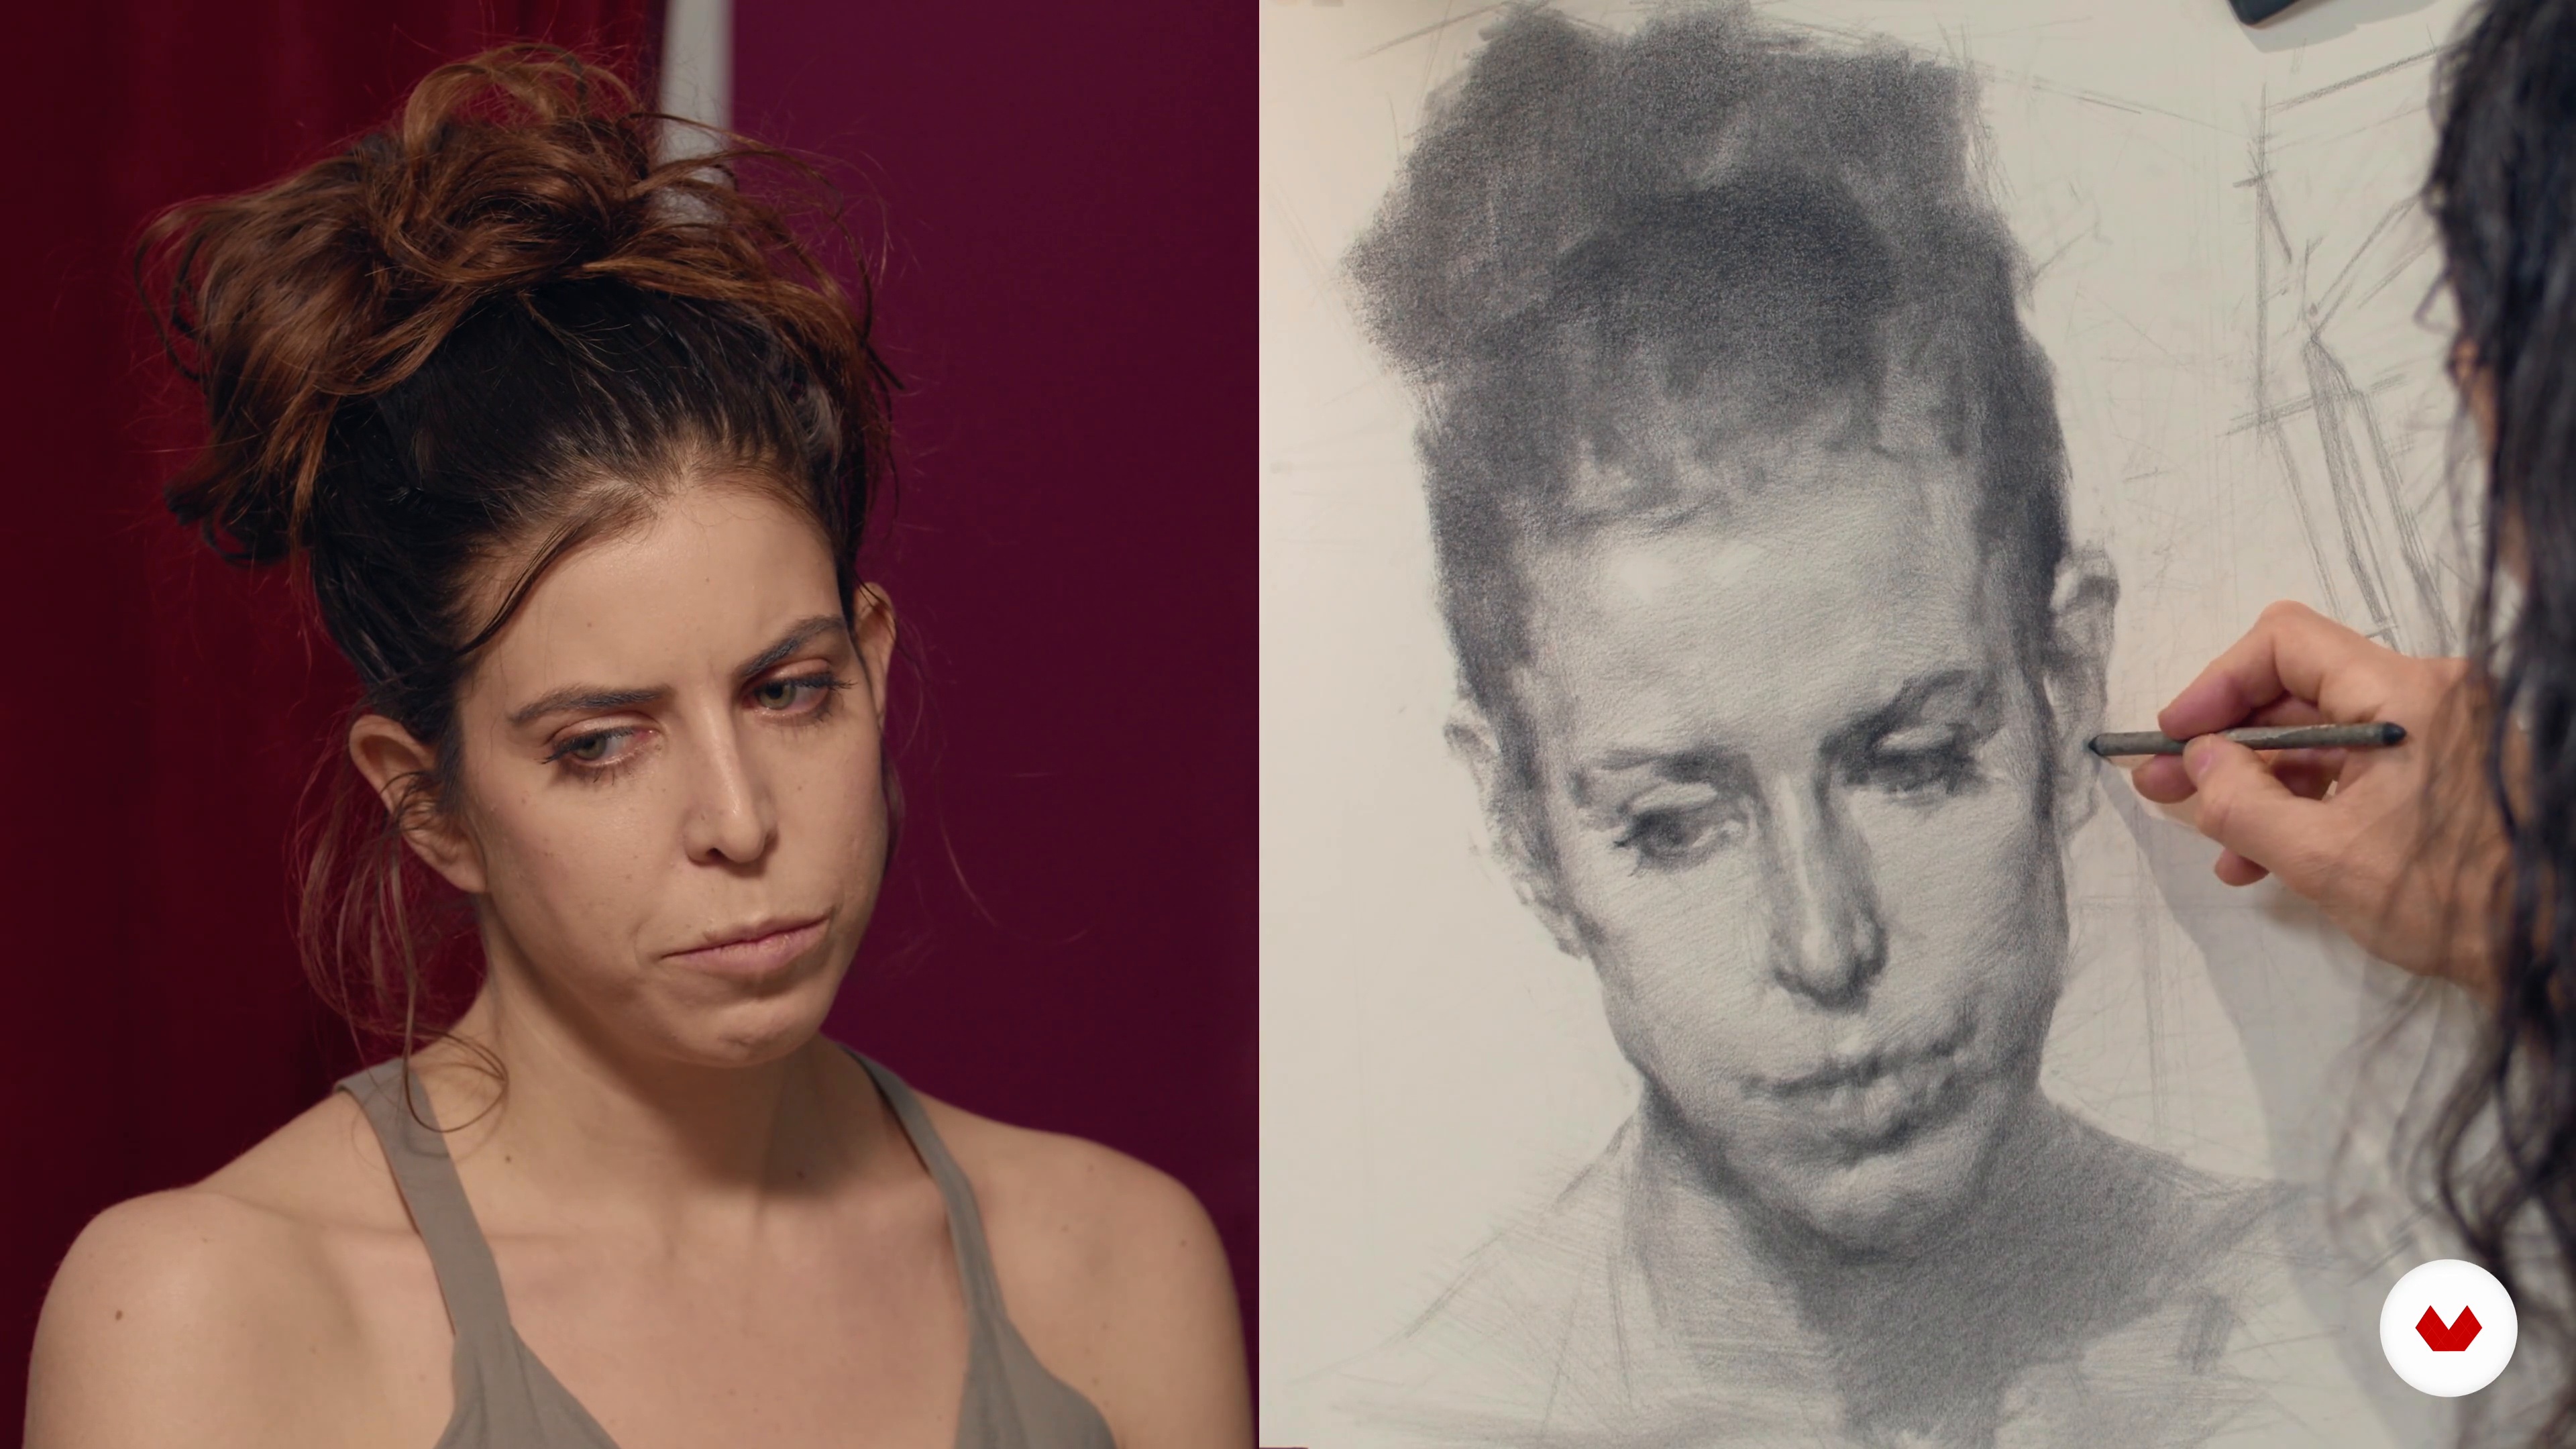
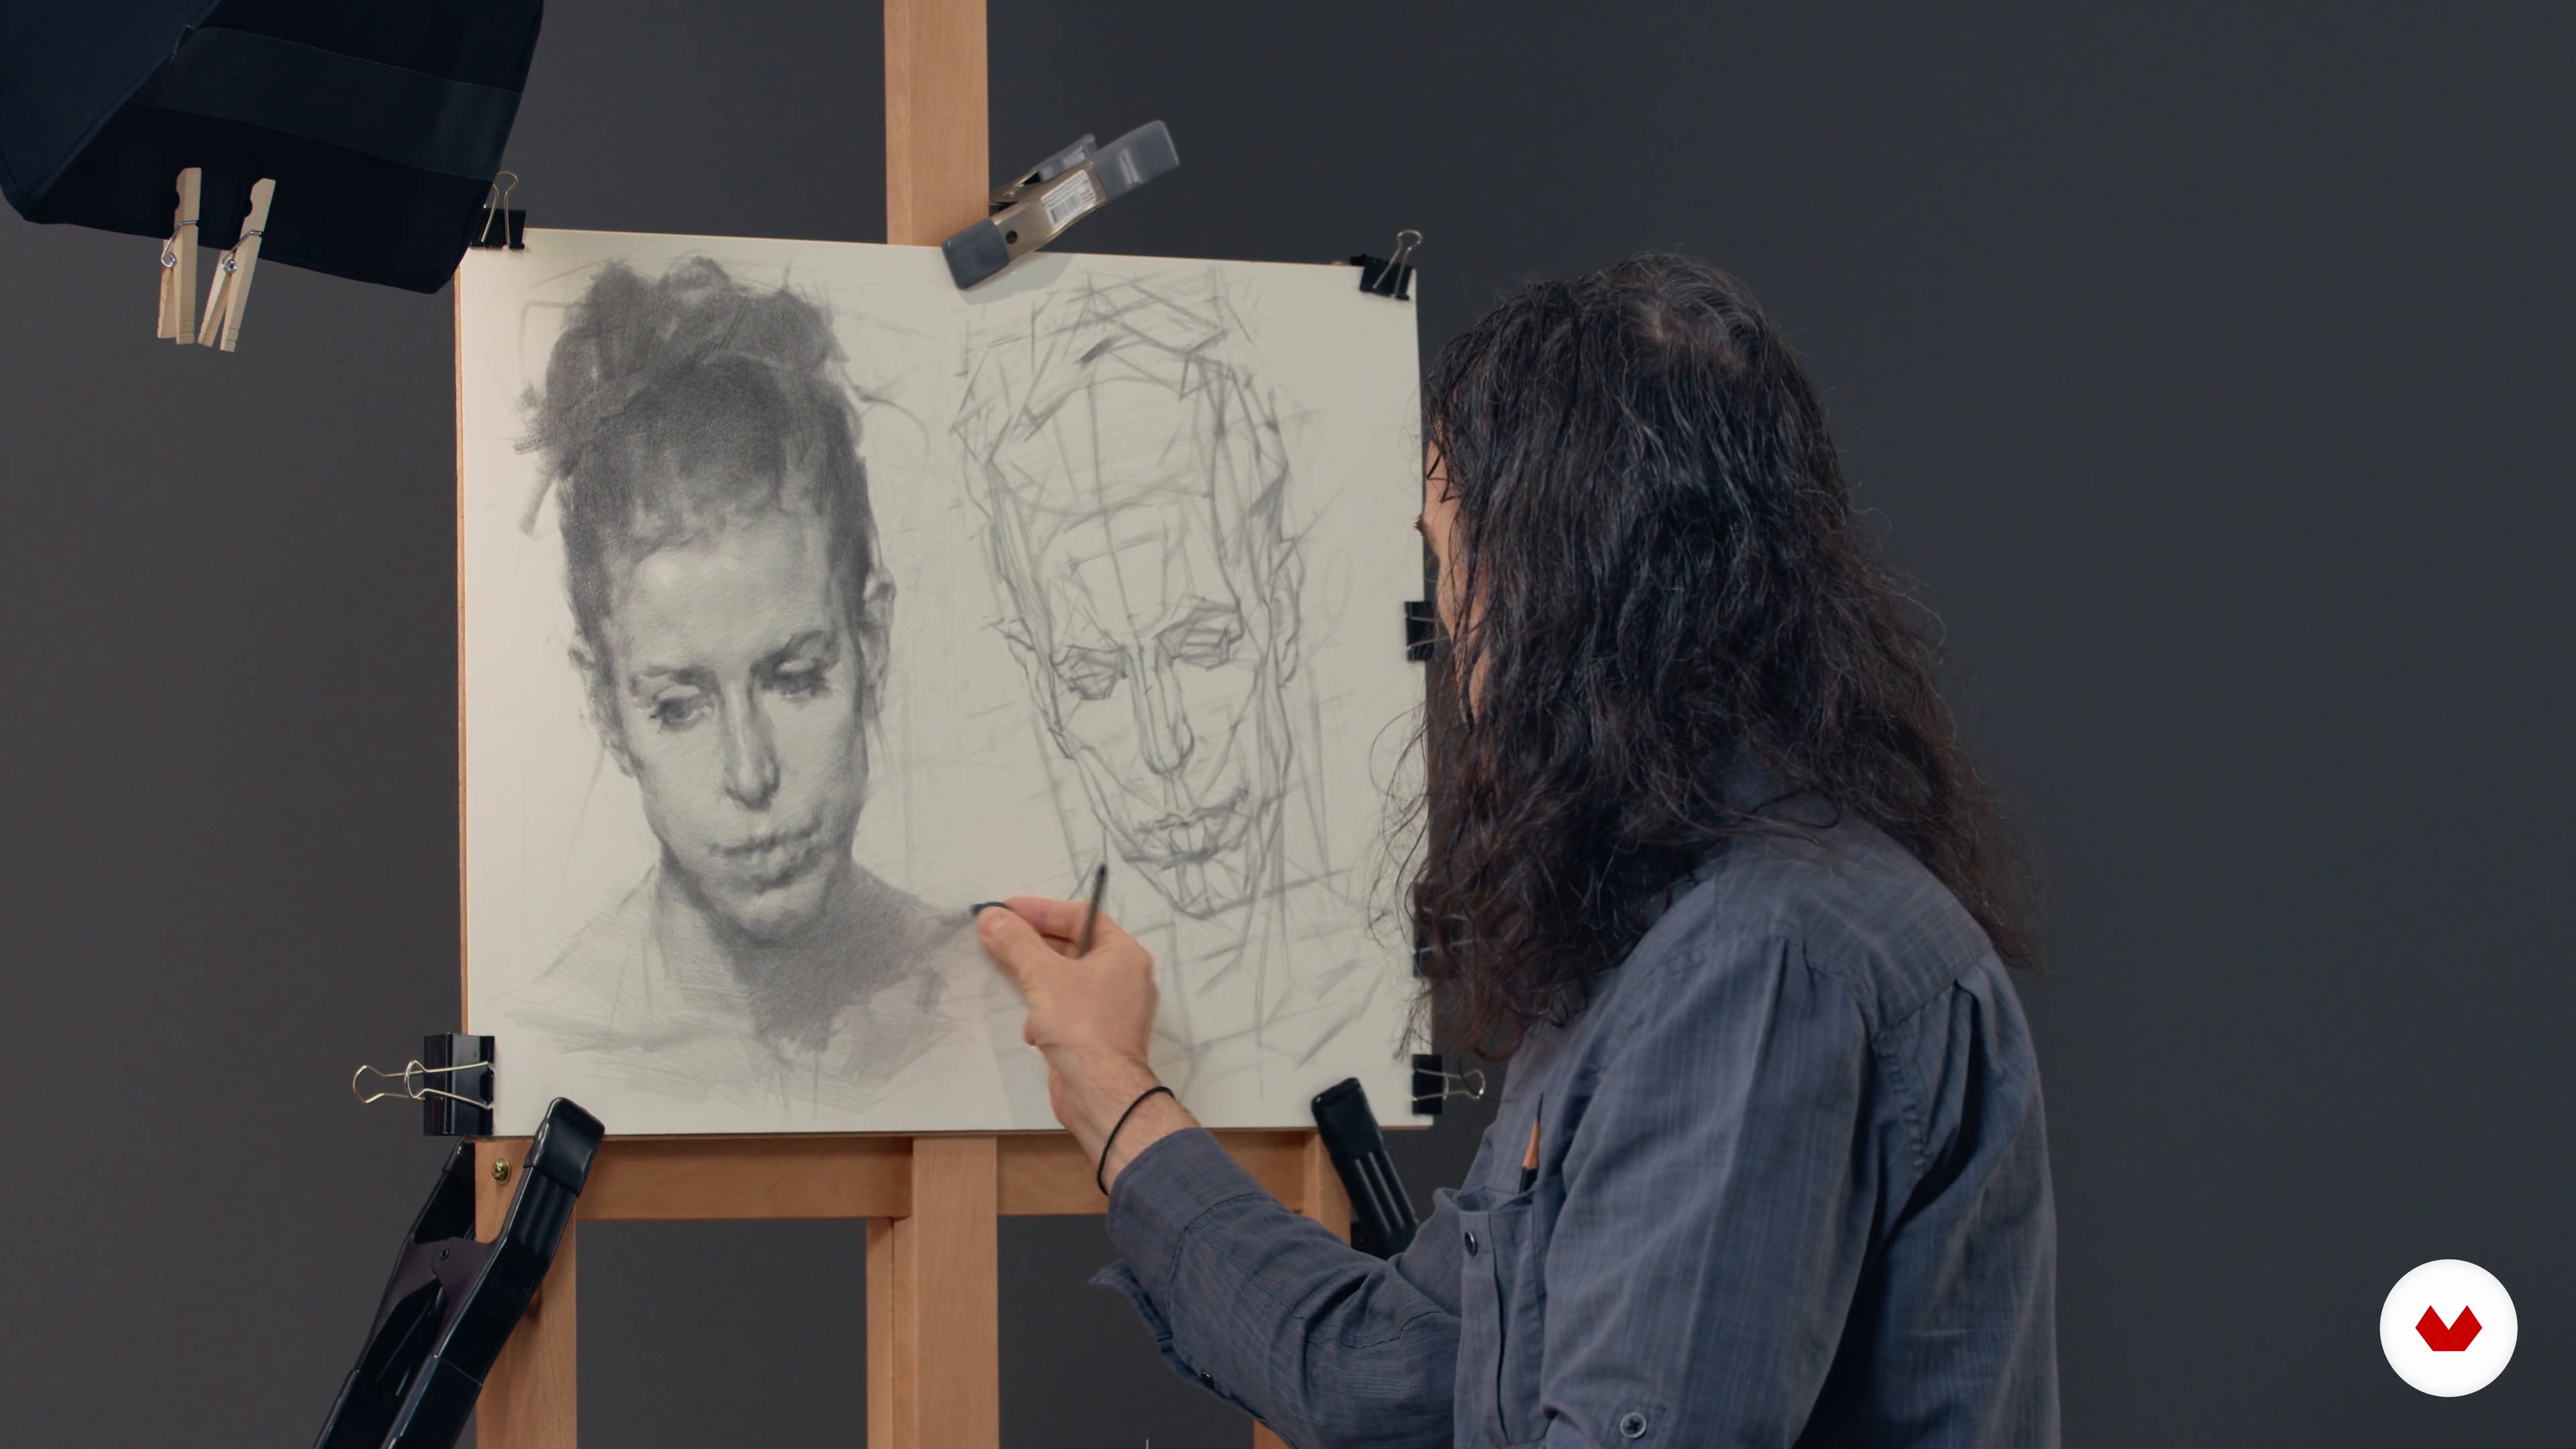
Specialization

Specialization in Portrait Techniques: Traditional to Digital

Master portrait techniques from graphite to digital, creating expressive, professional artworks across various media styles

Specialization · 6 modules

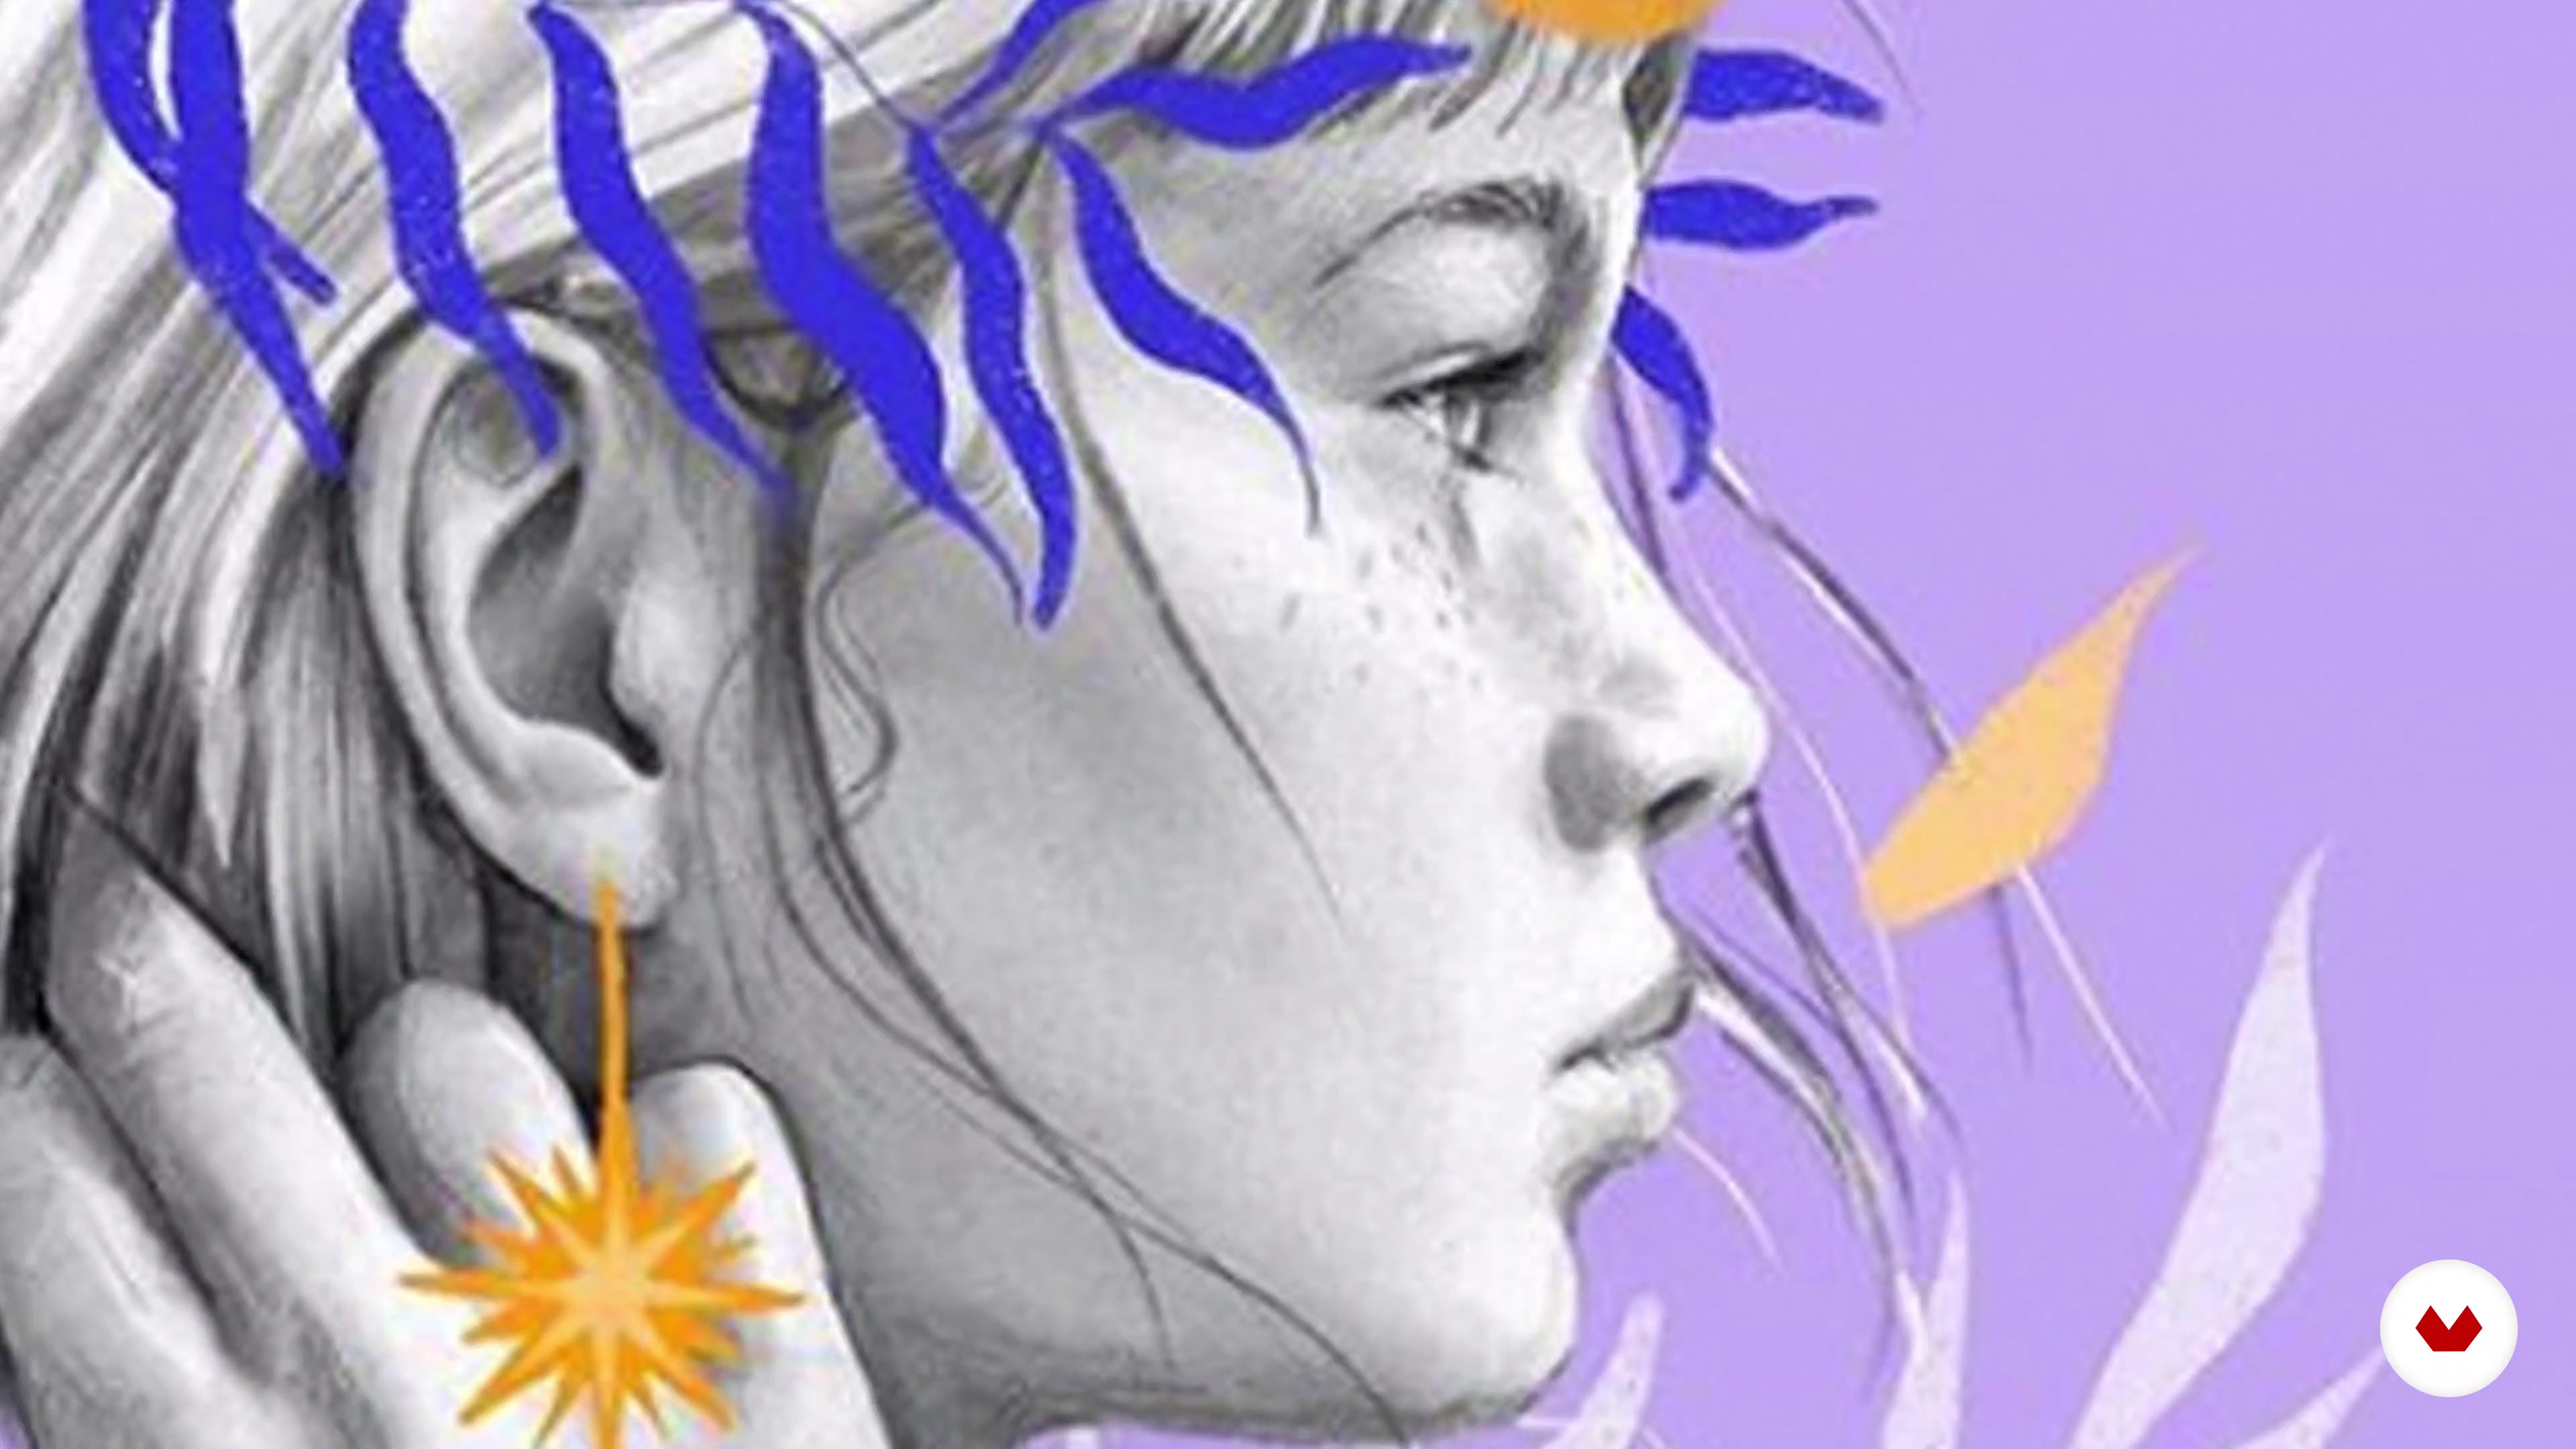
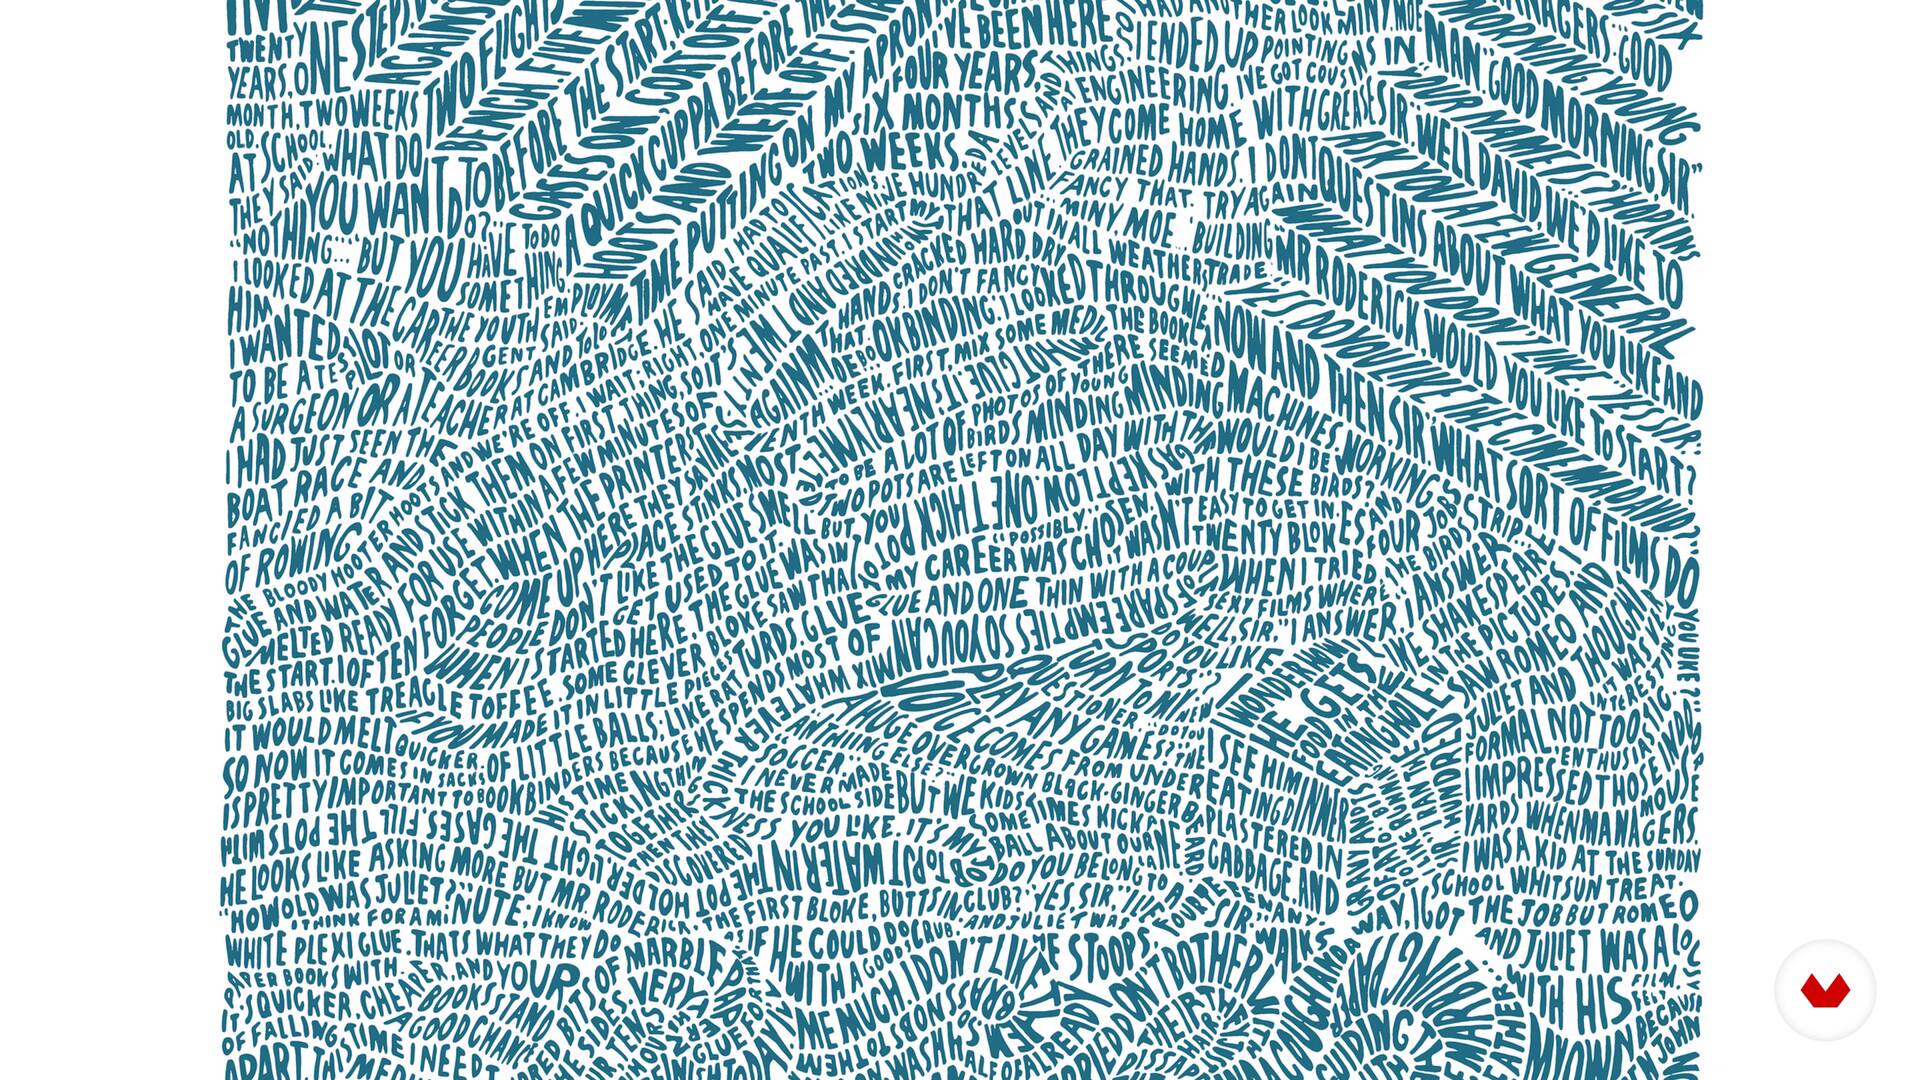
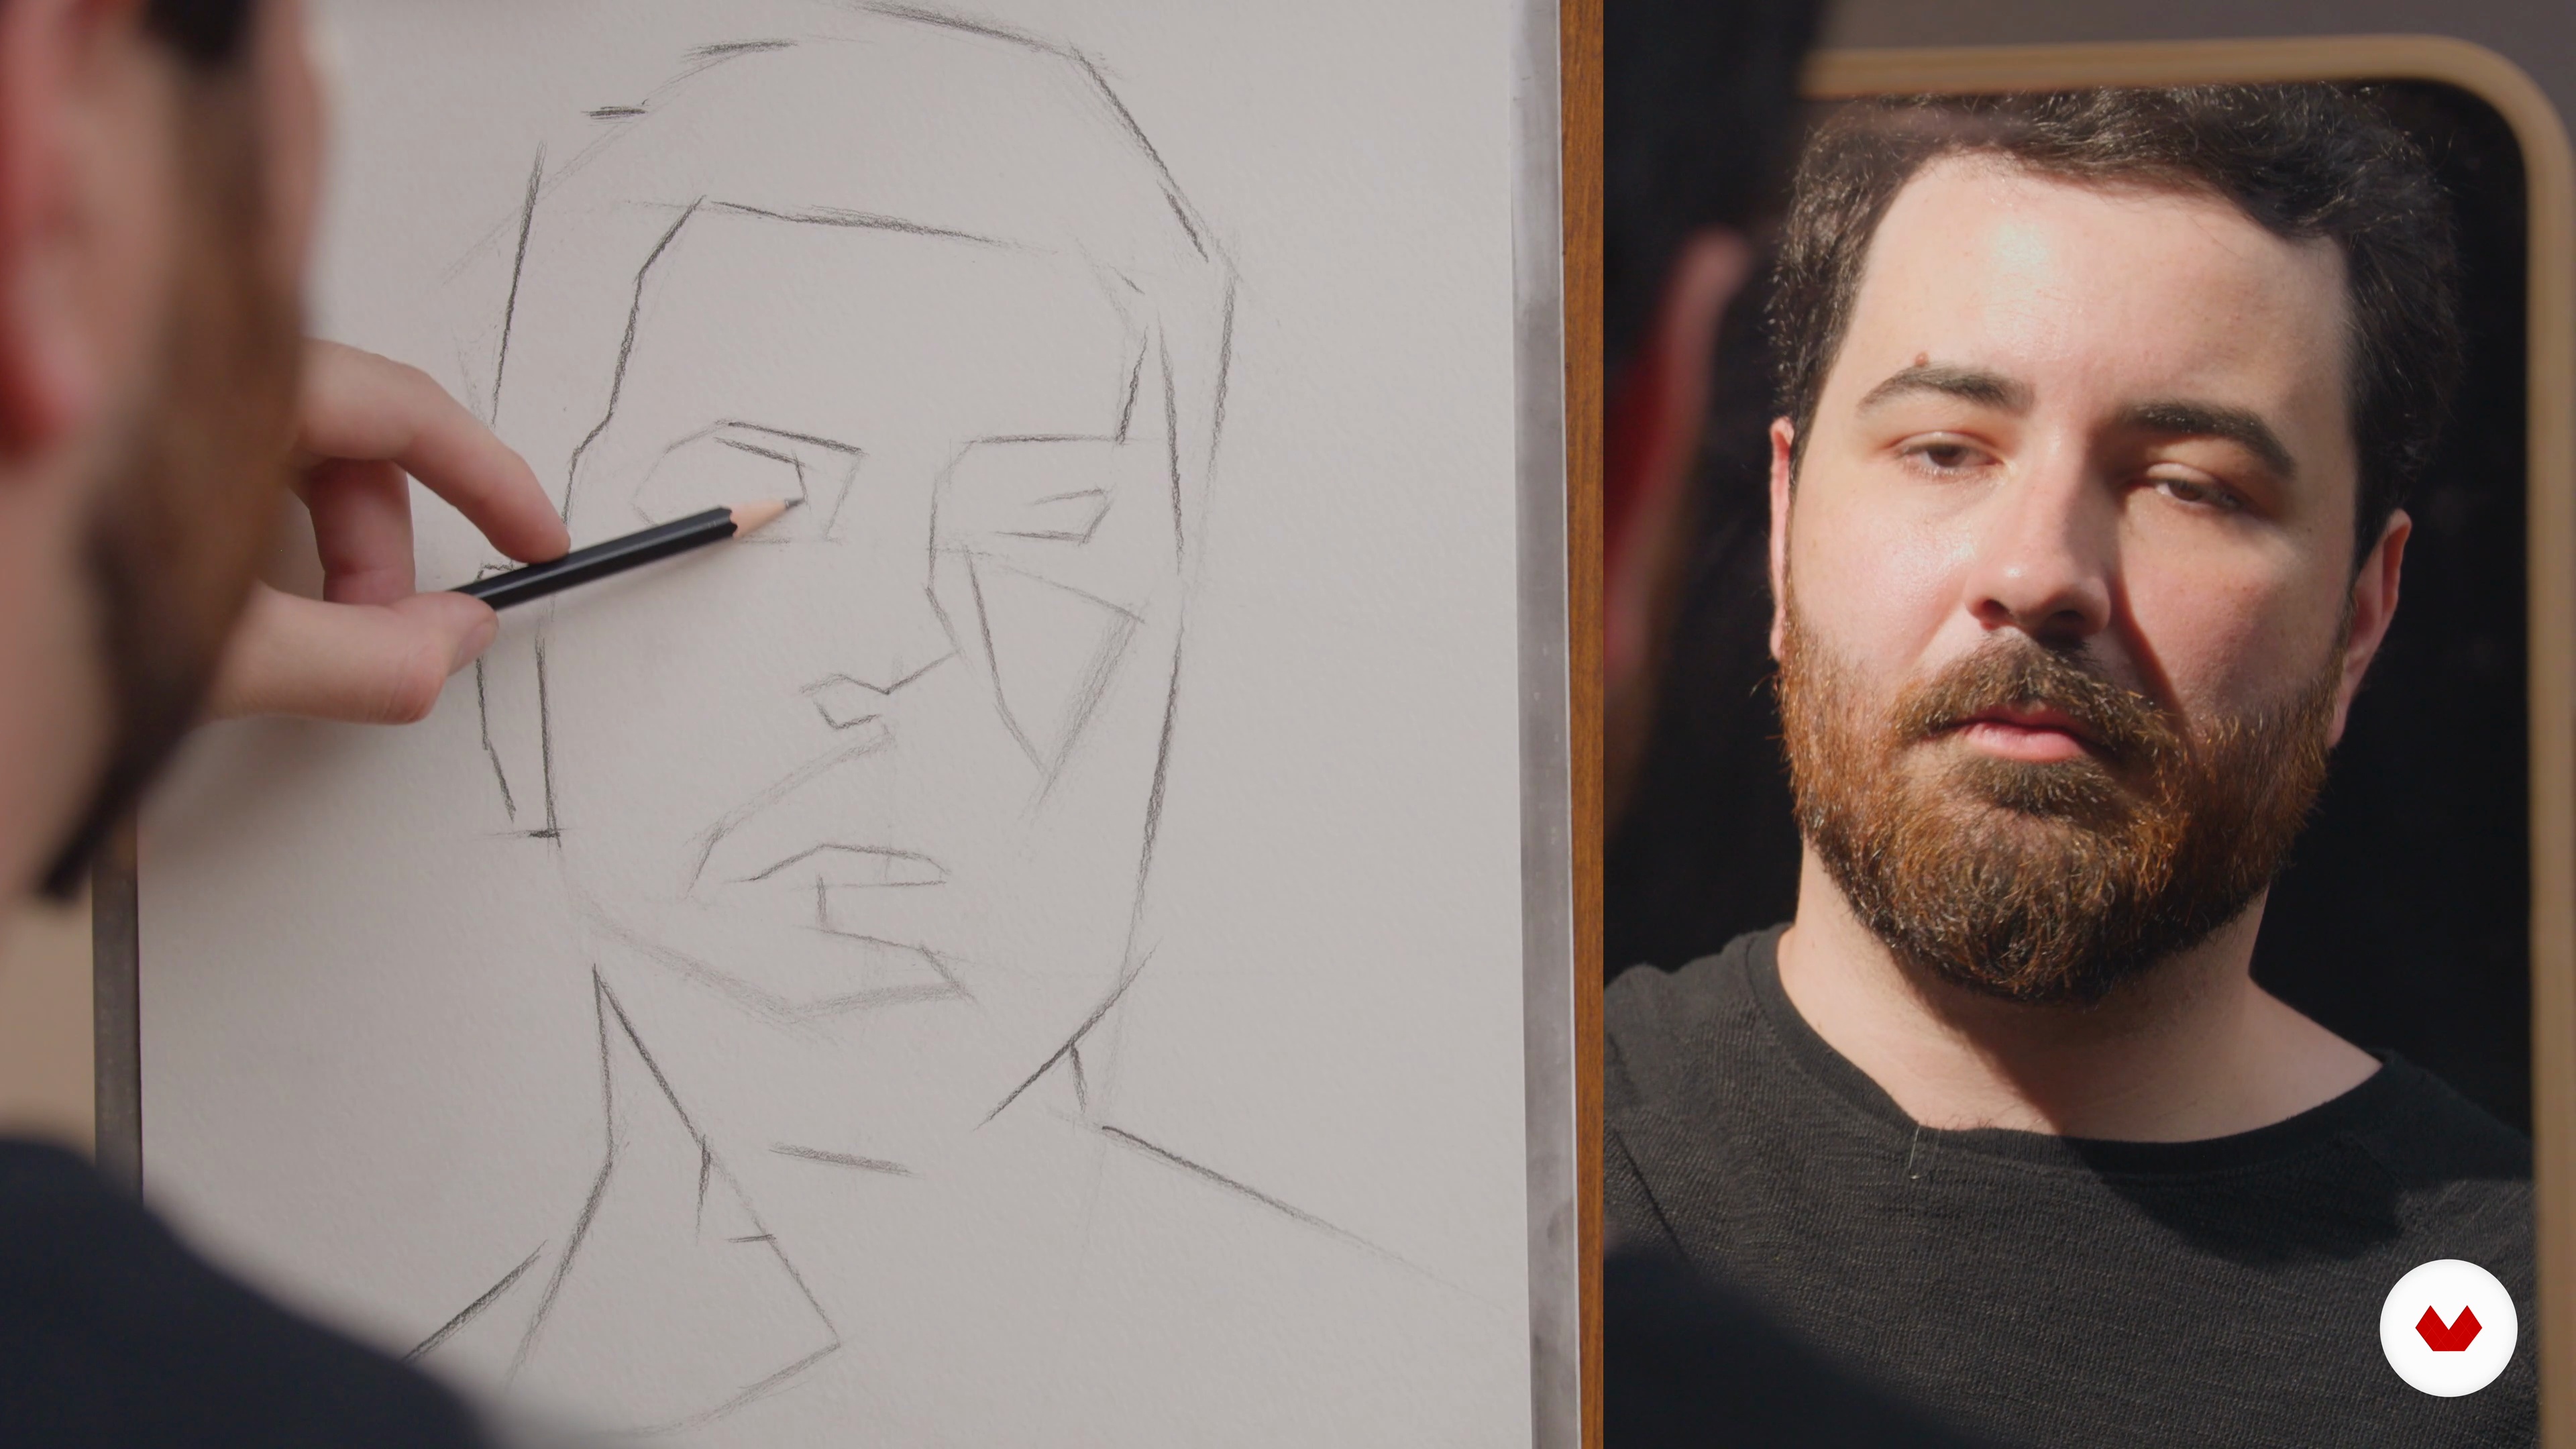
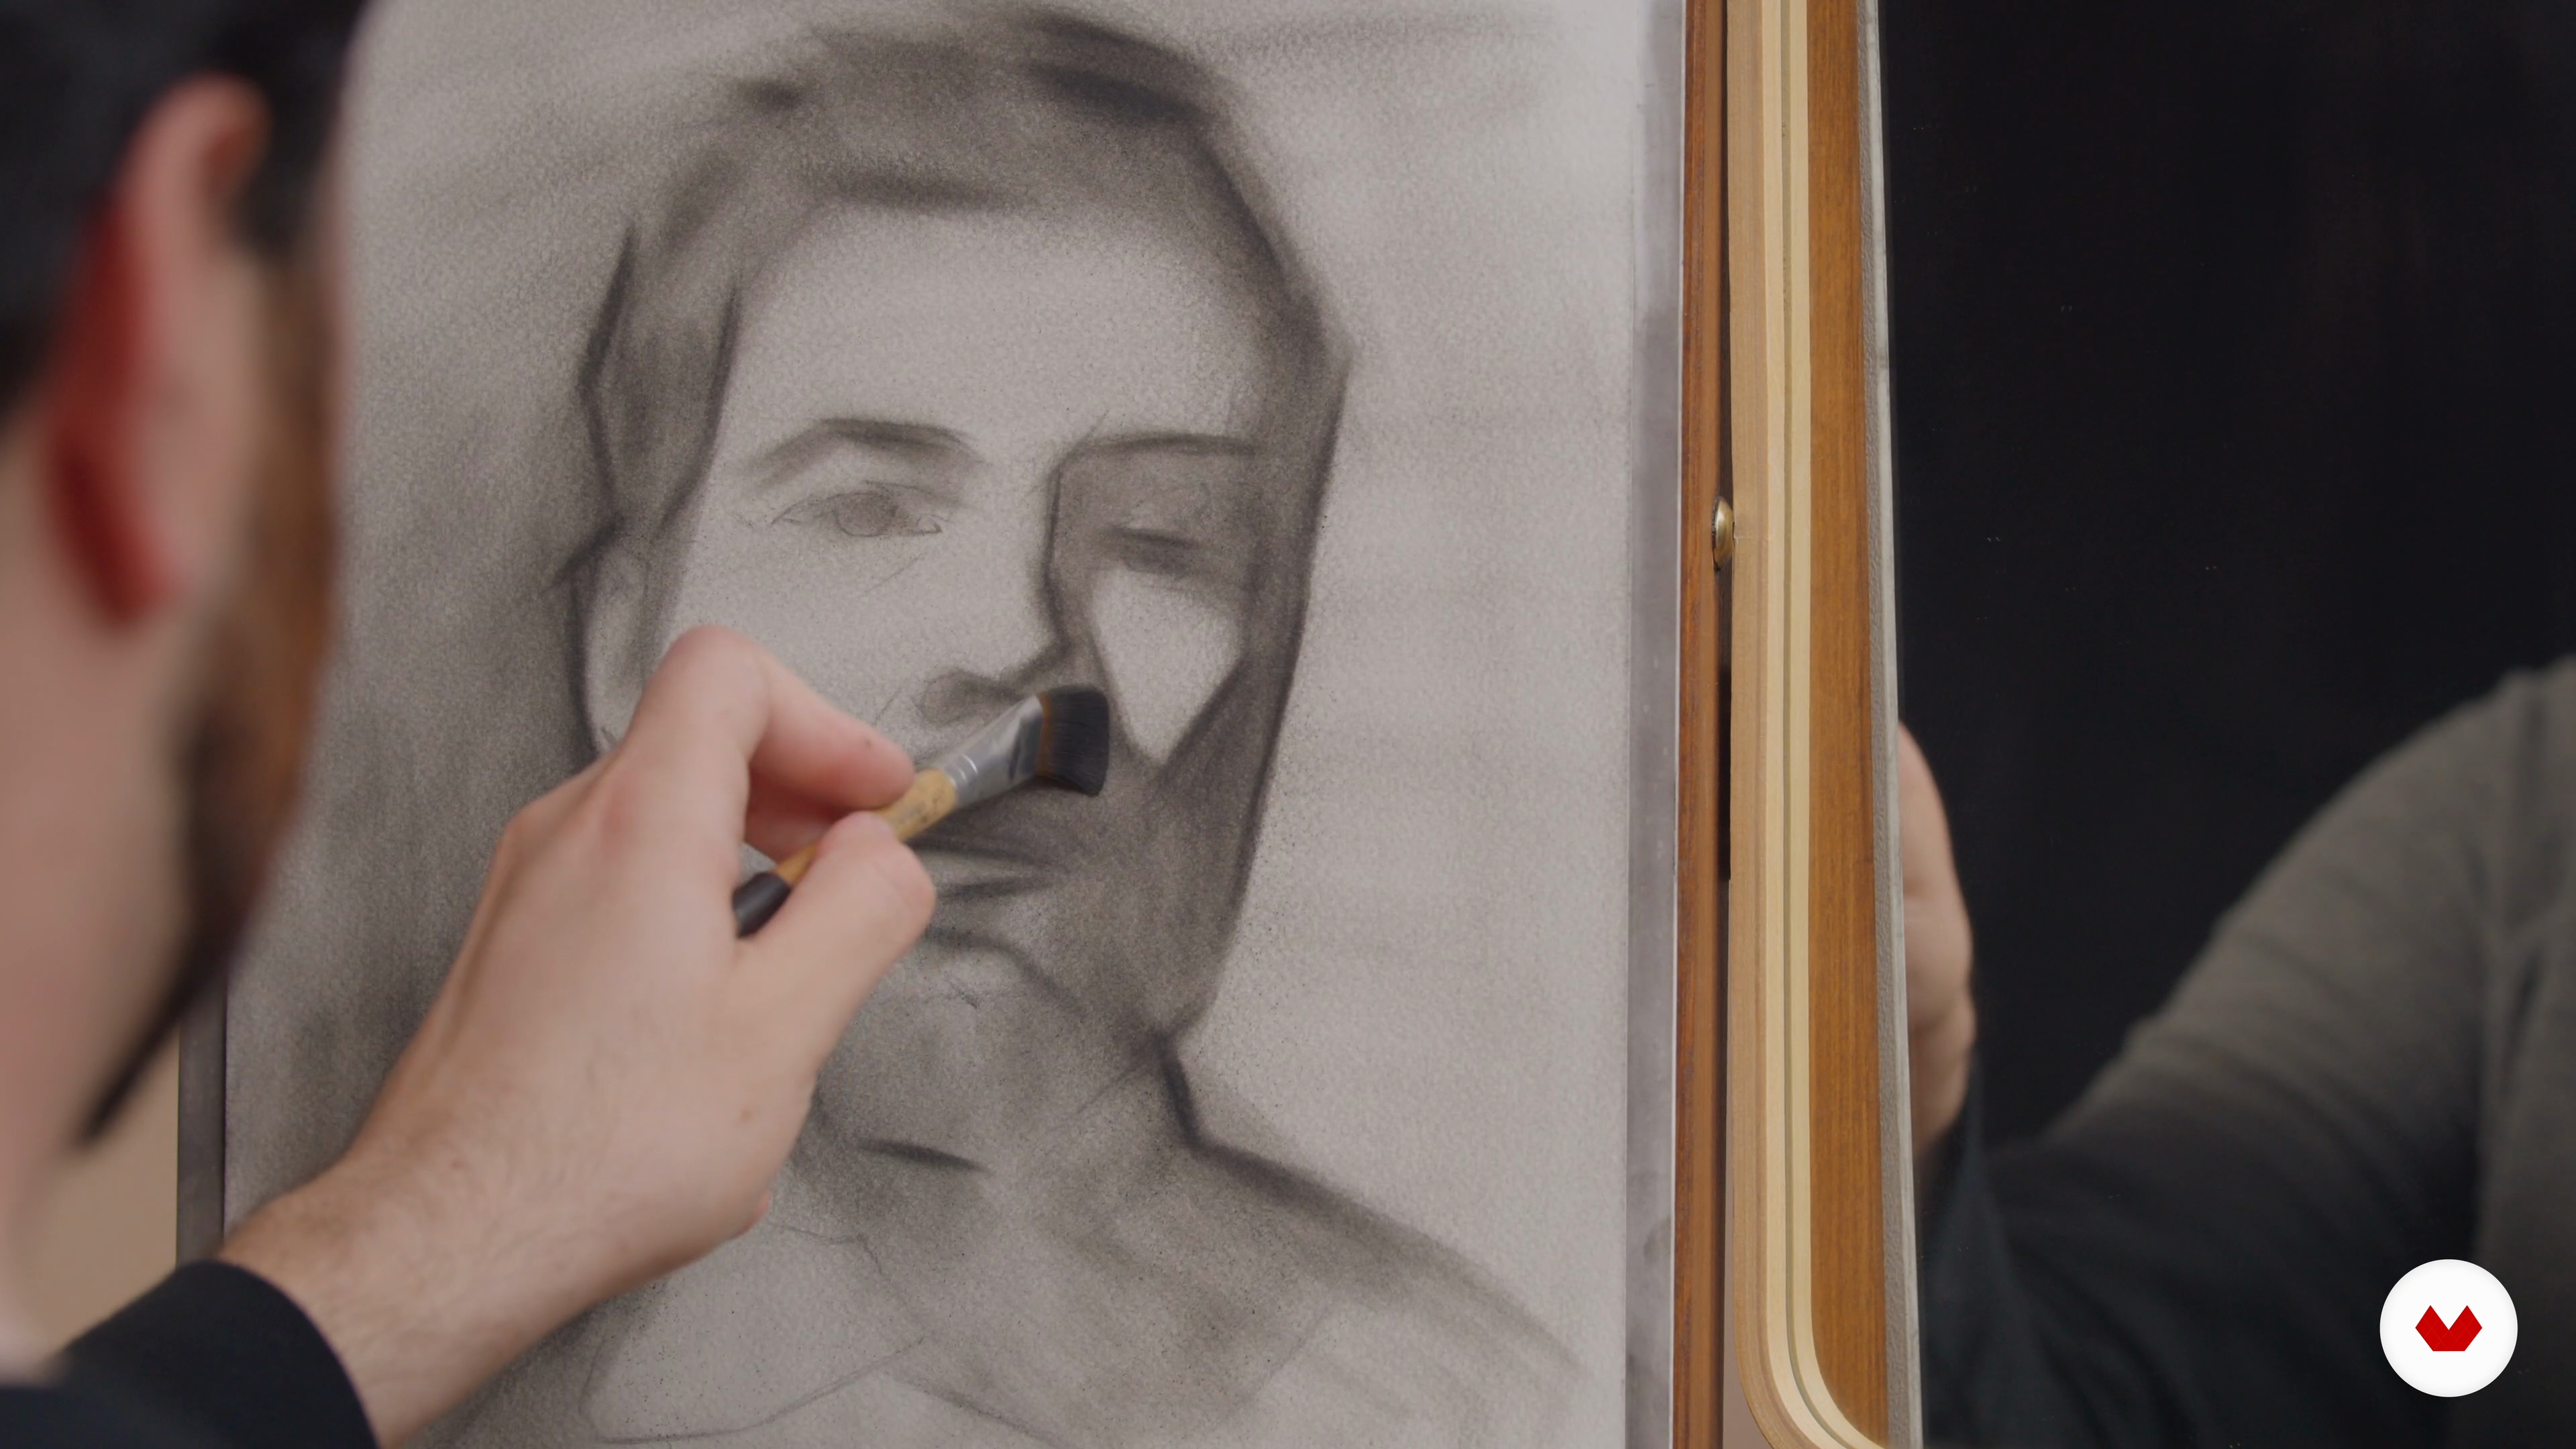
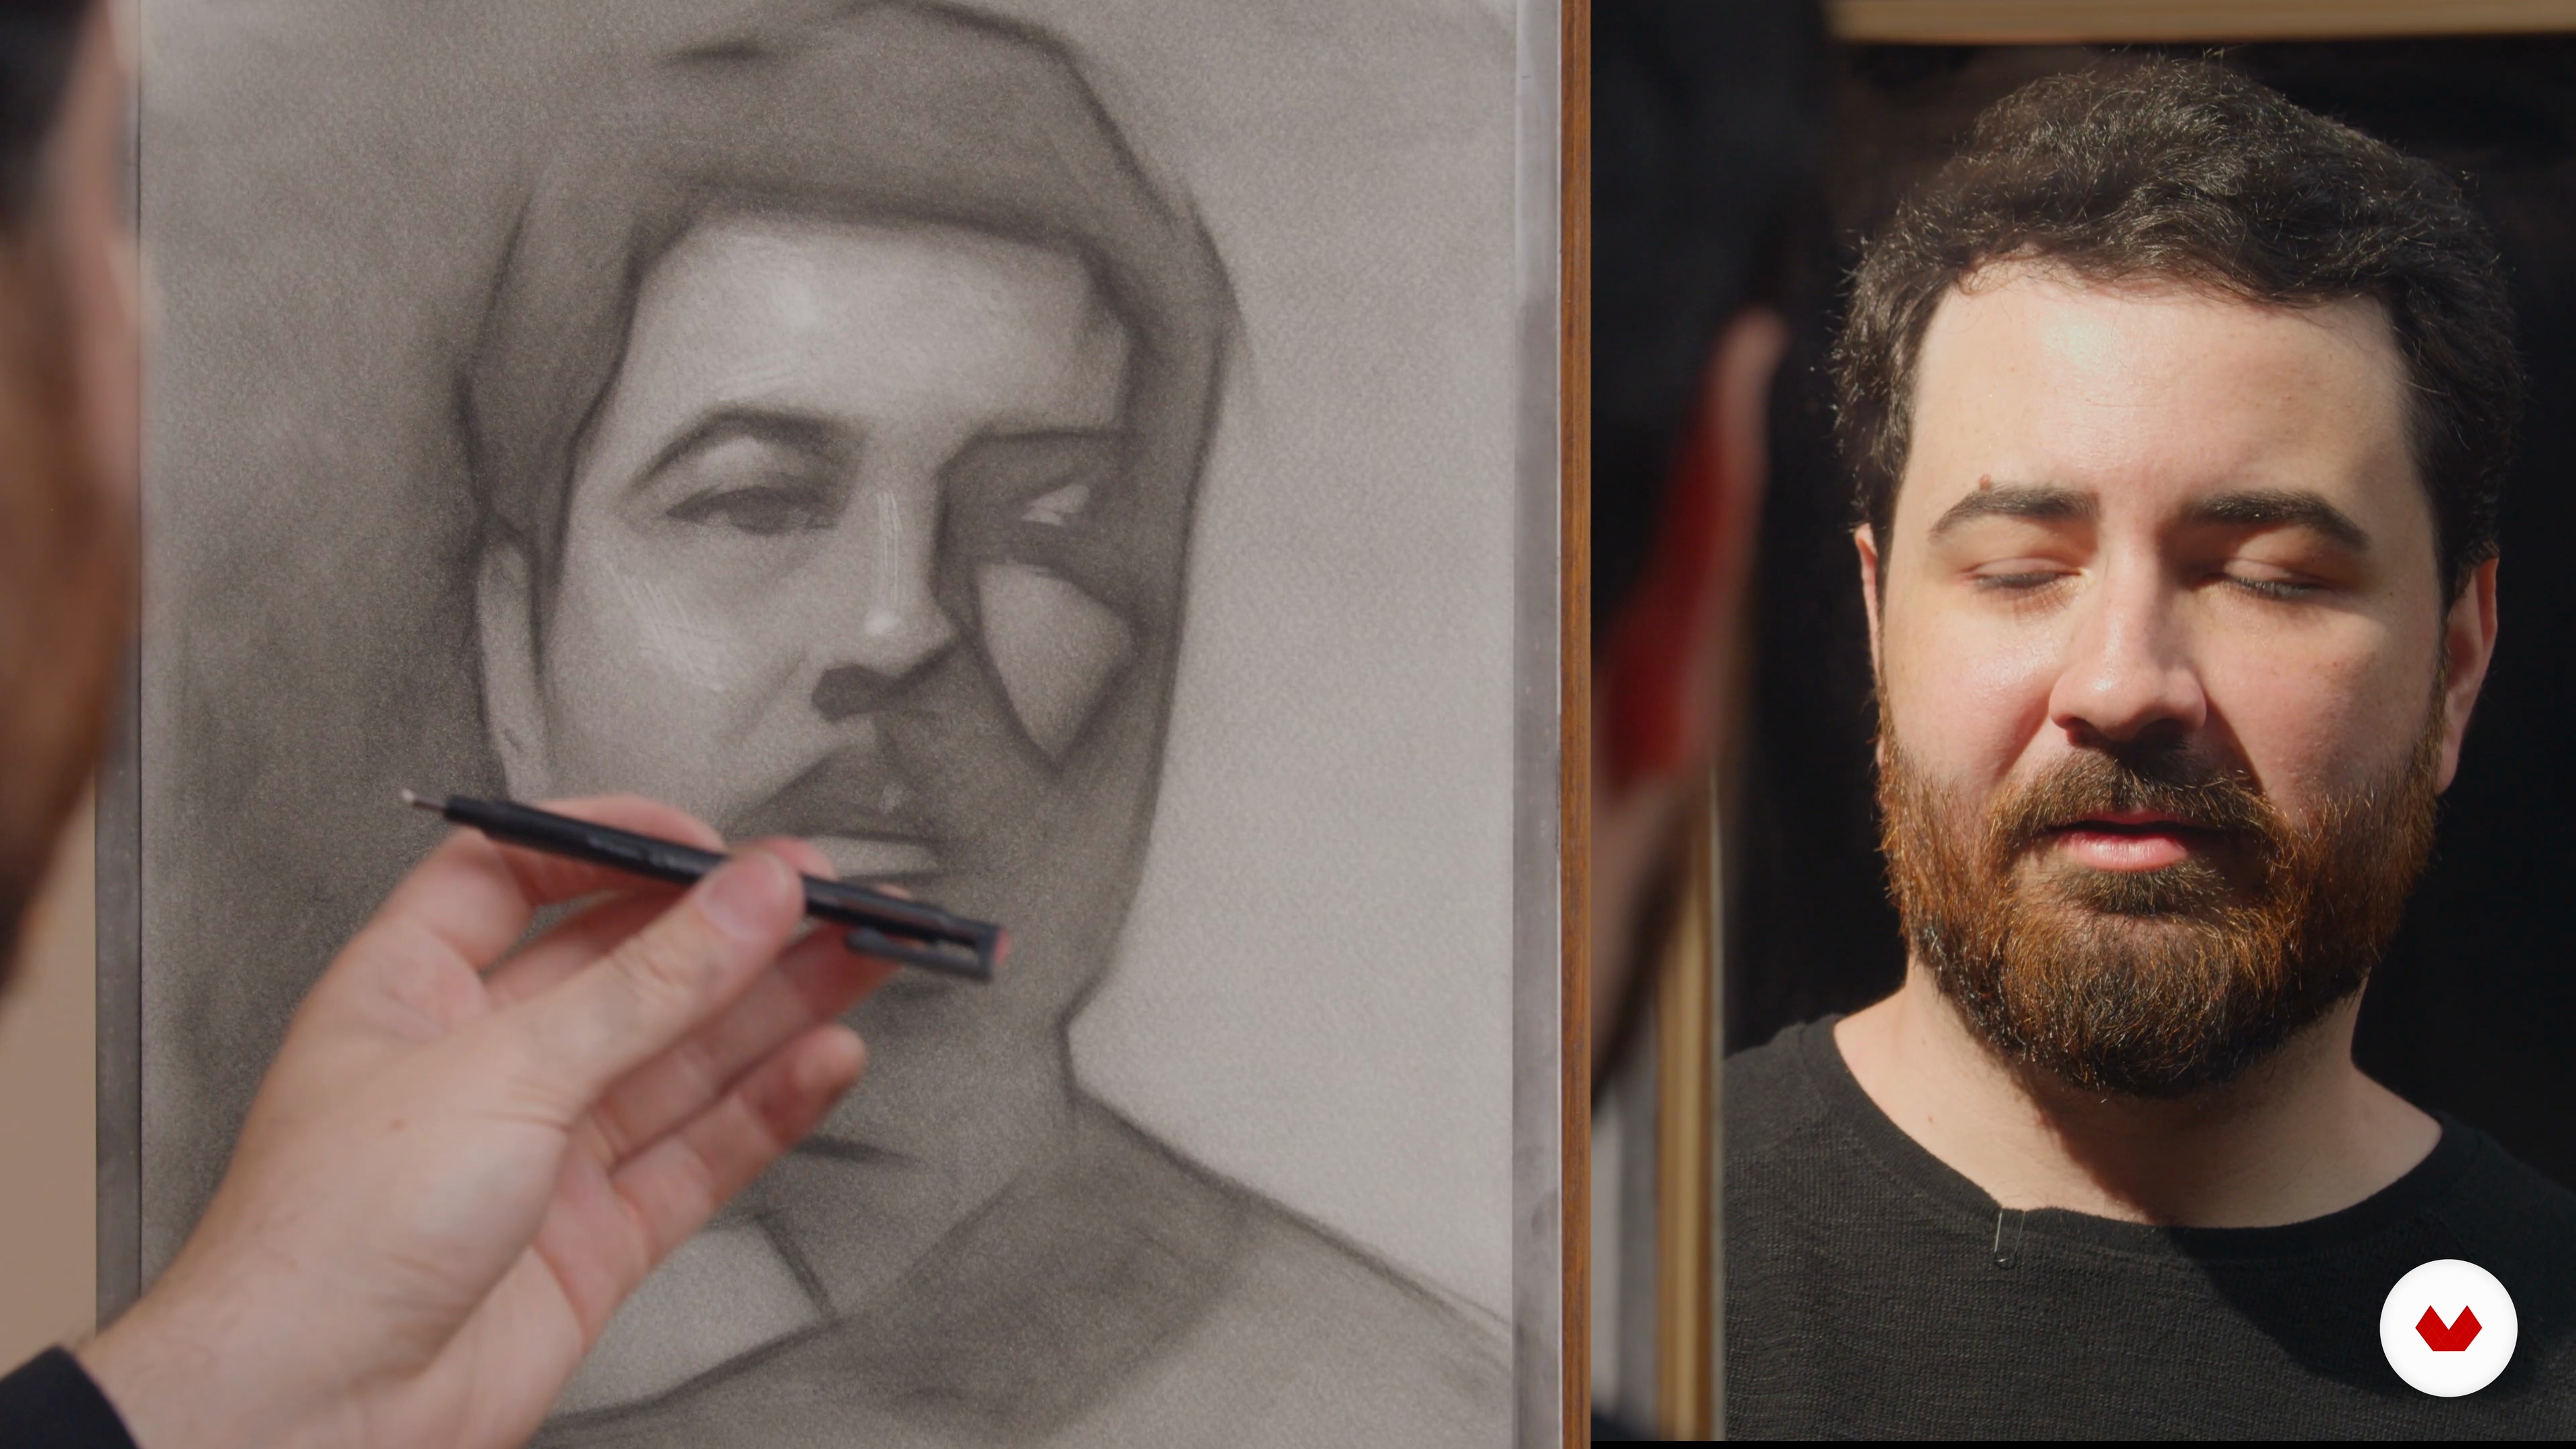
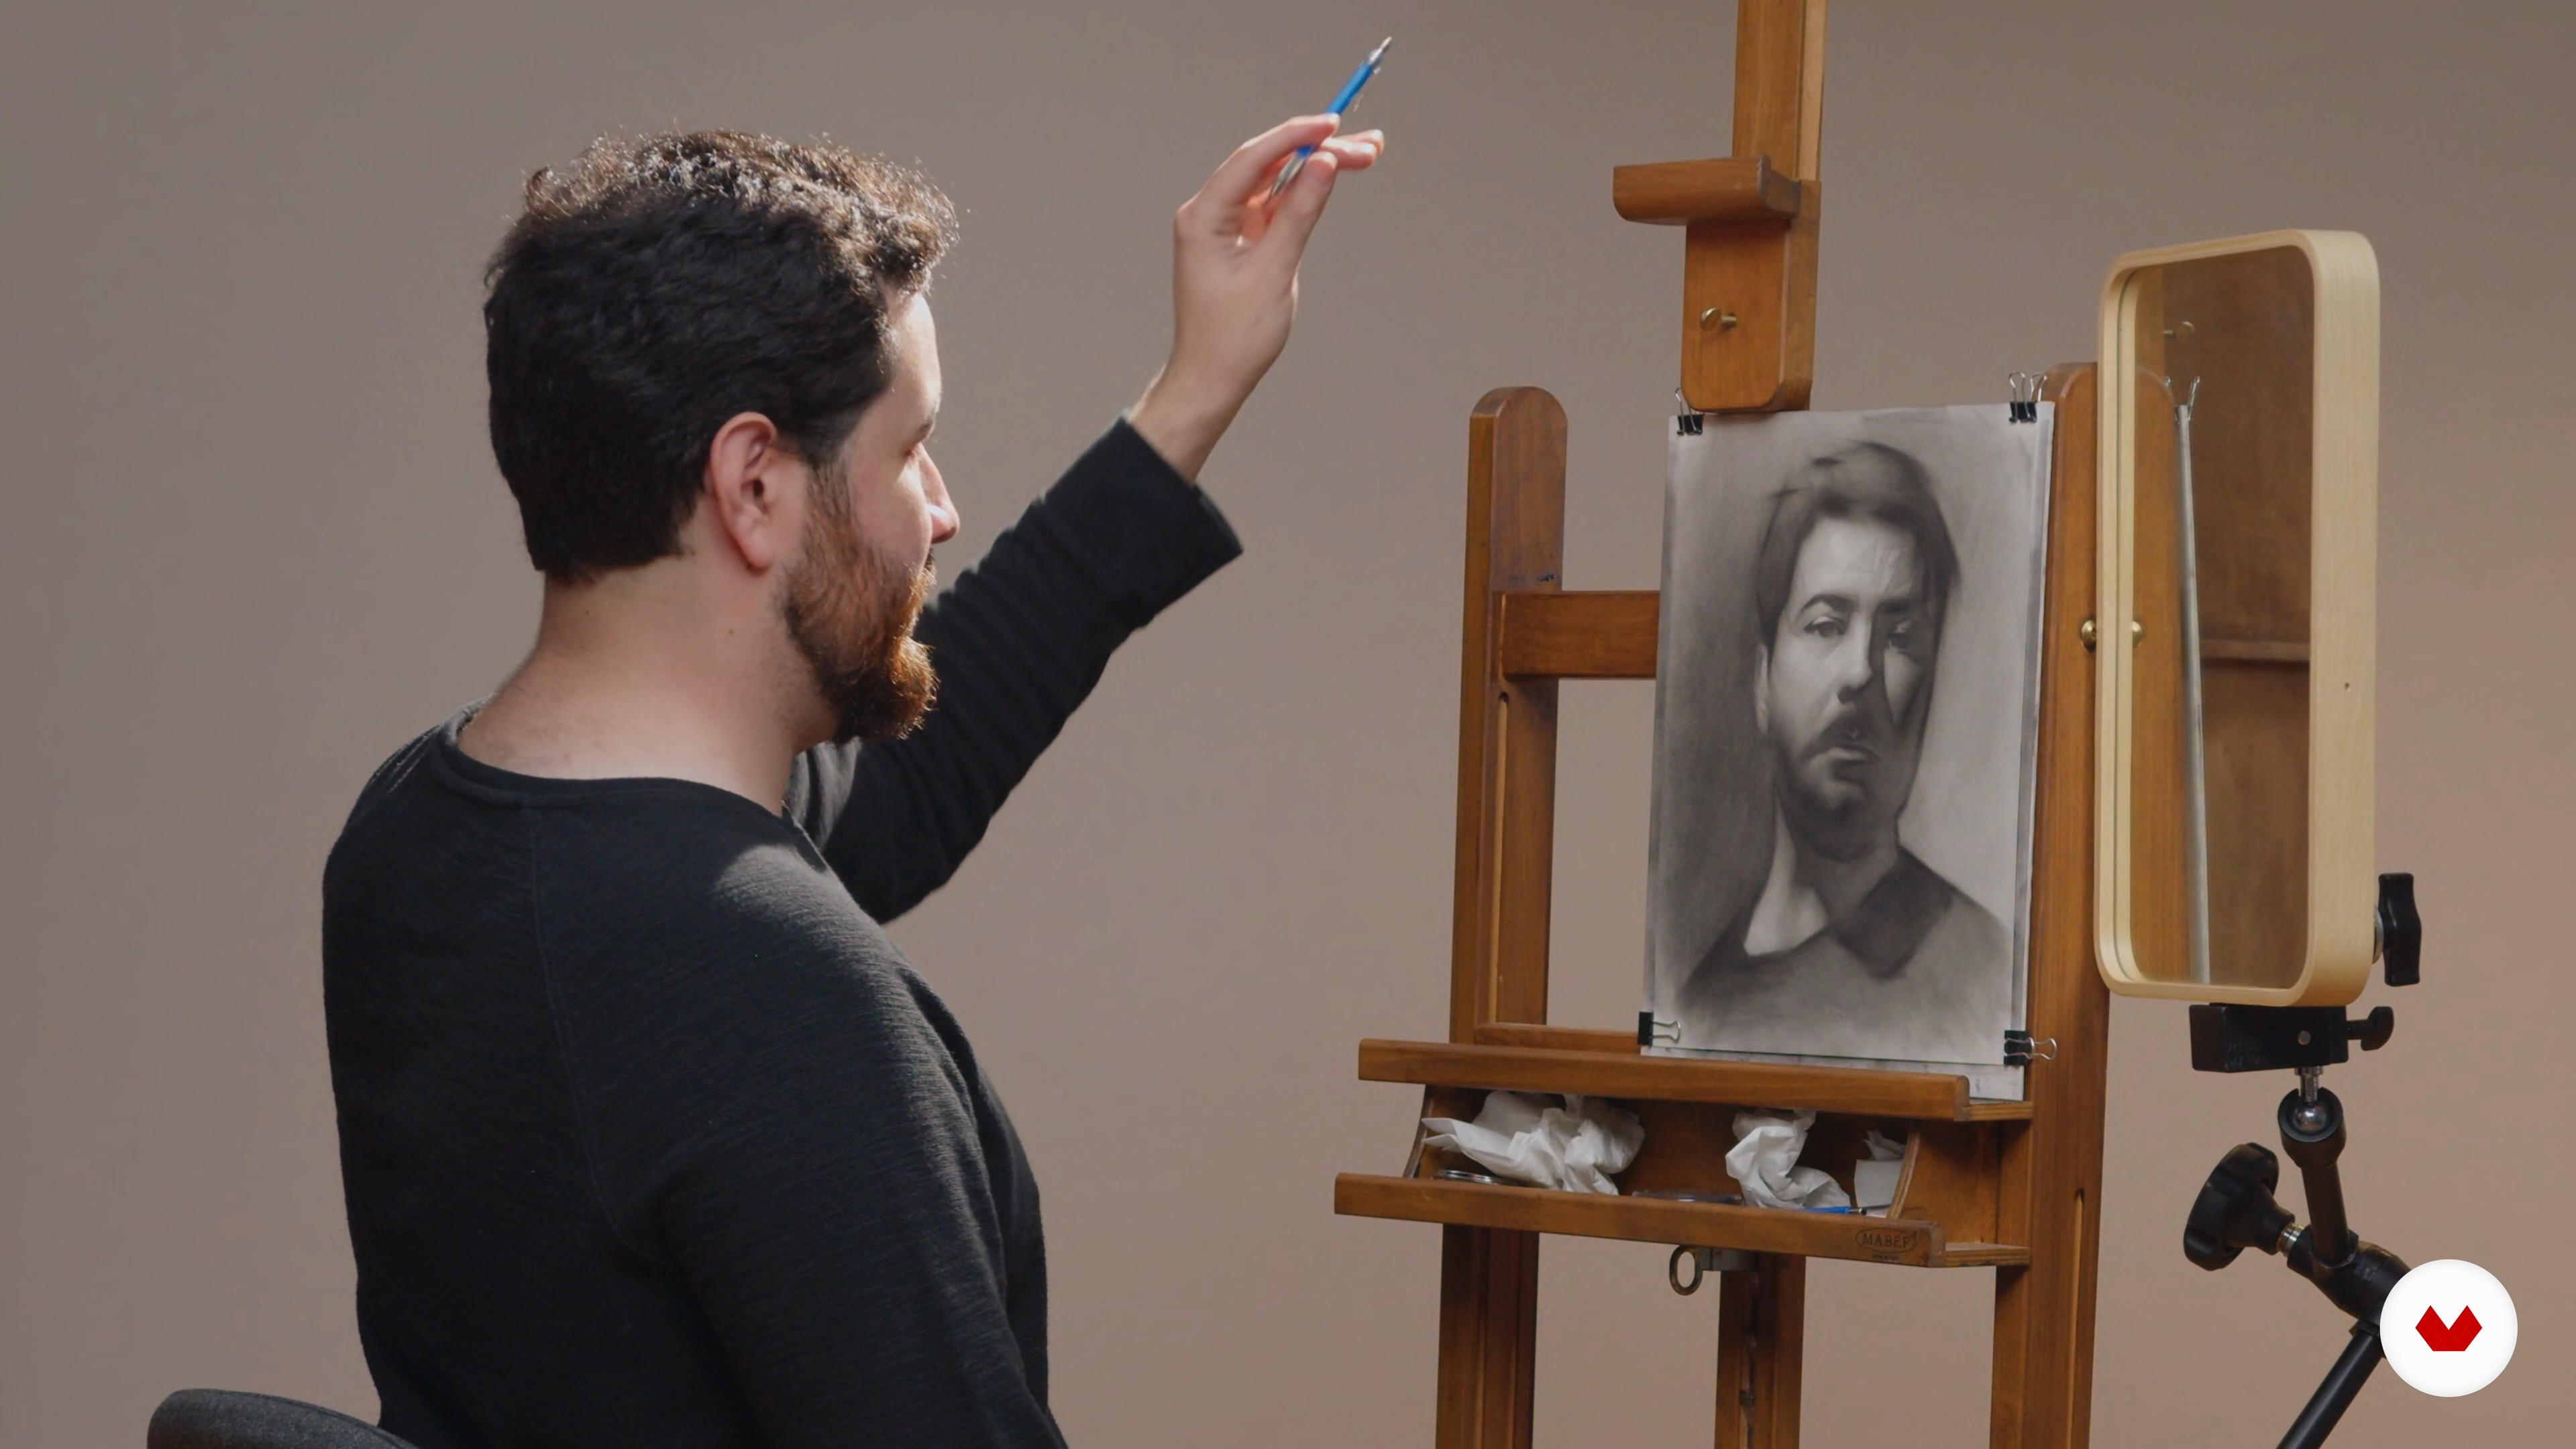
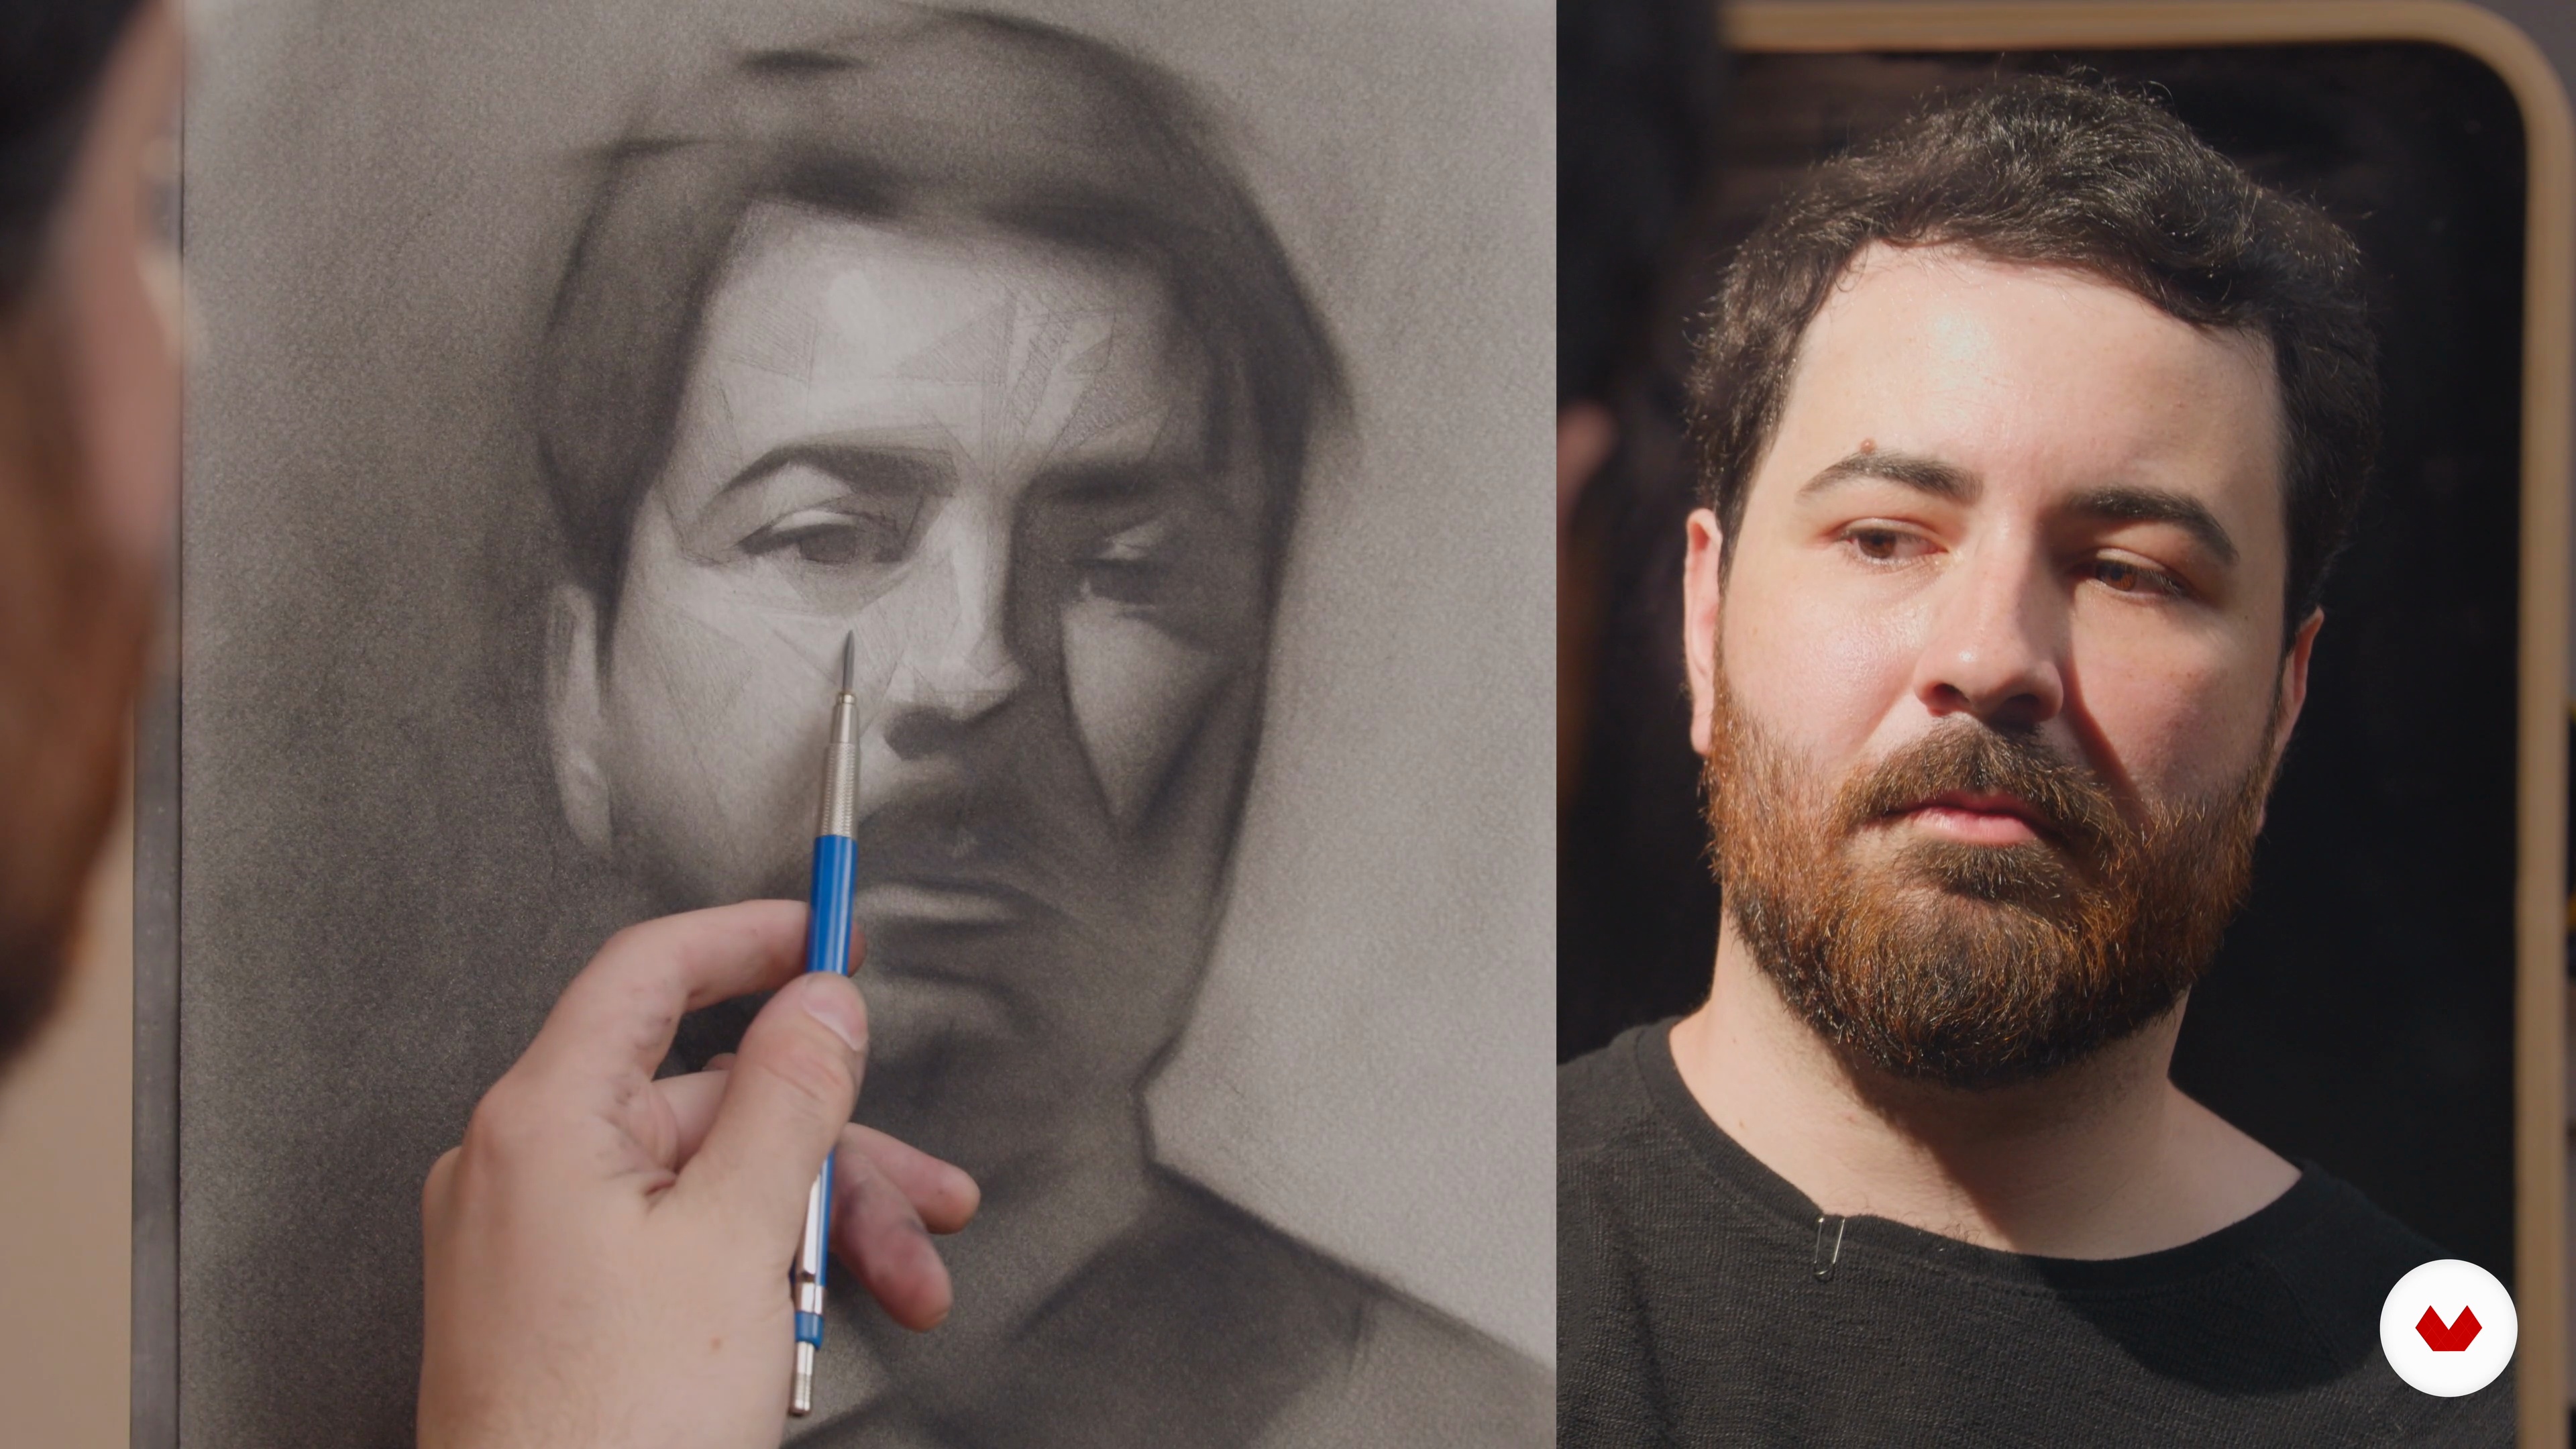
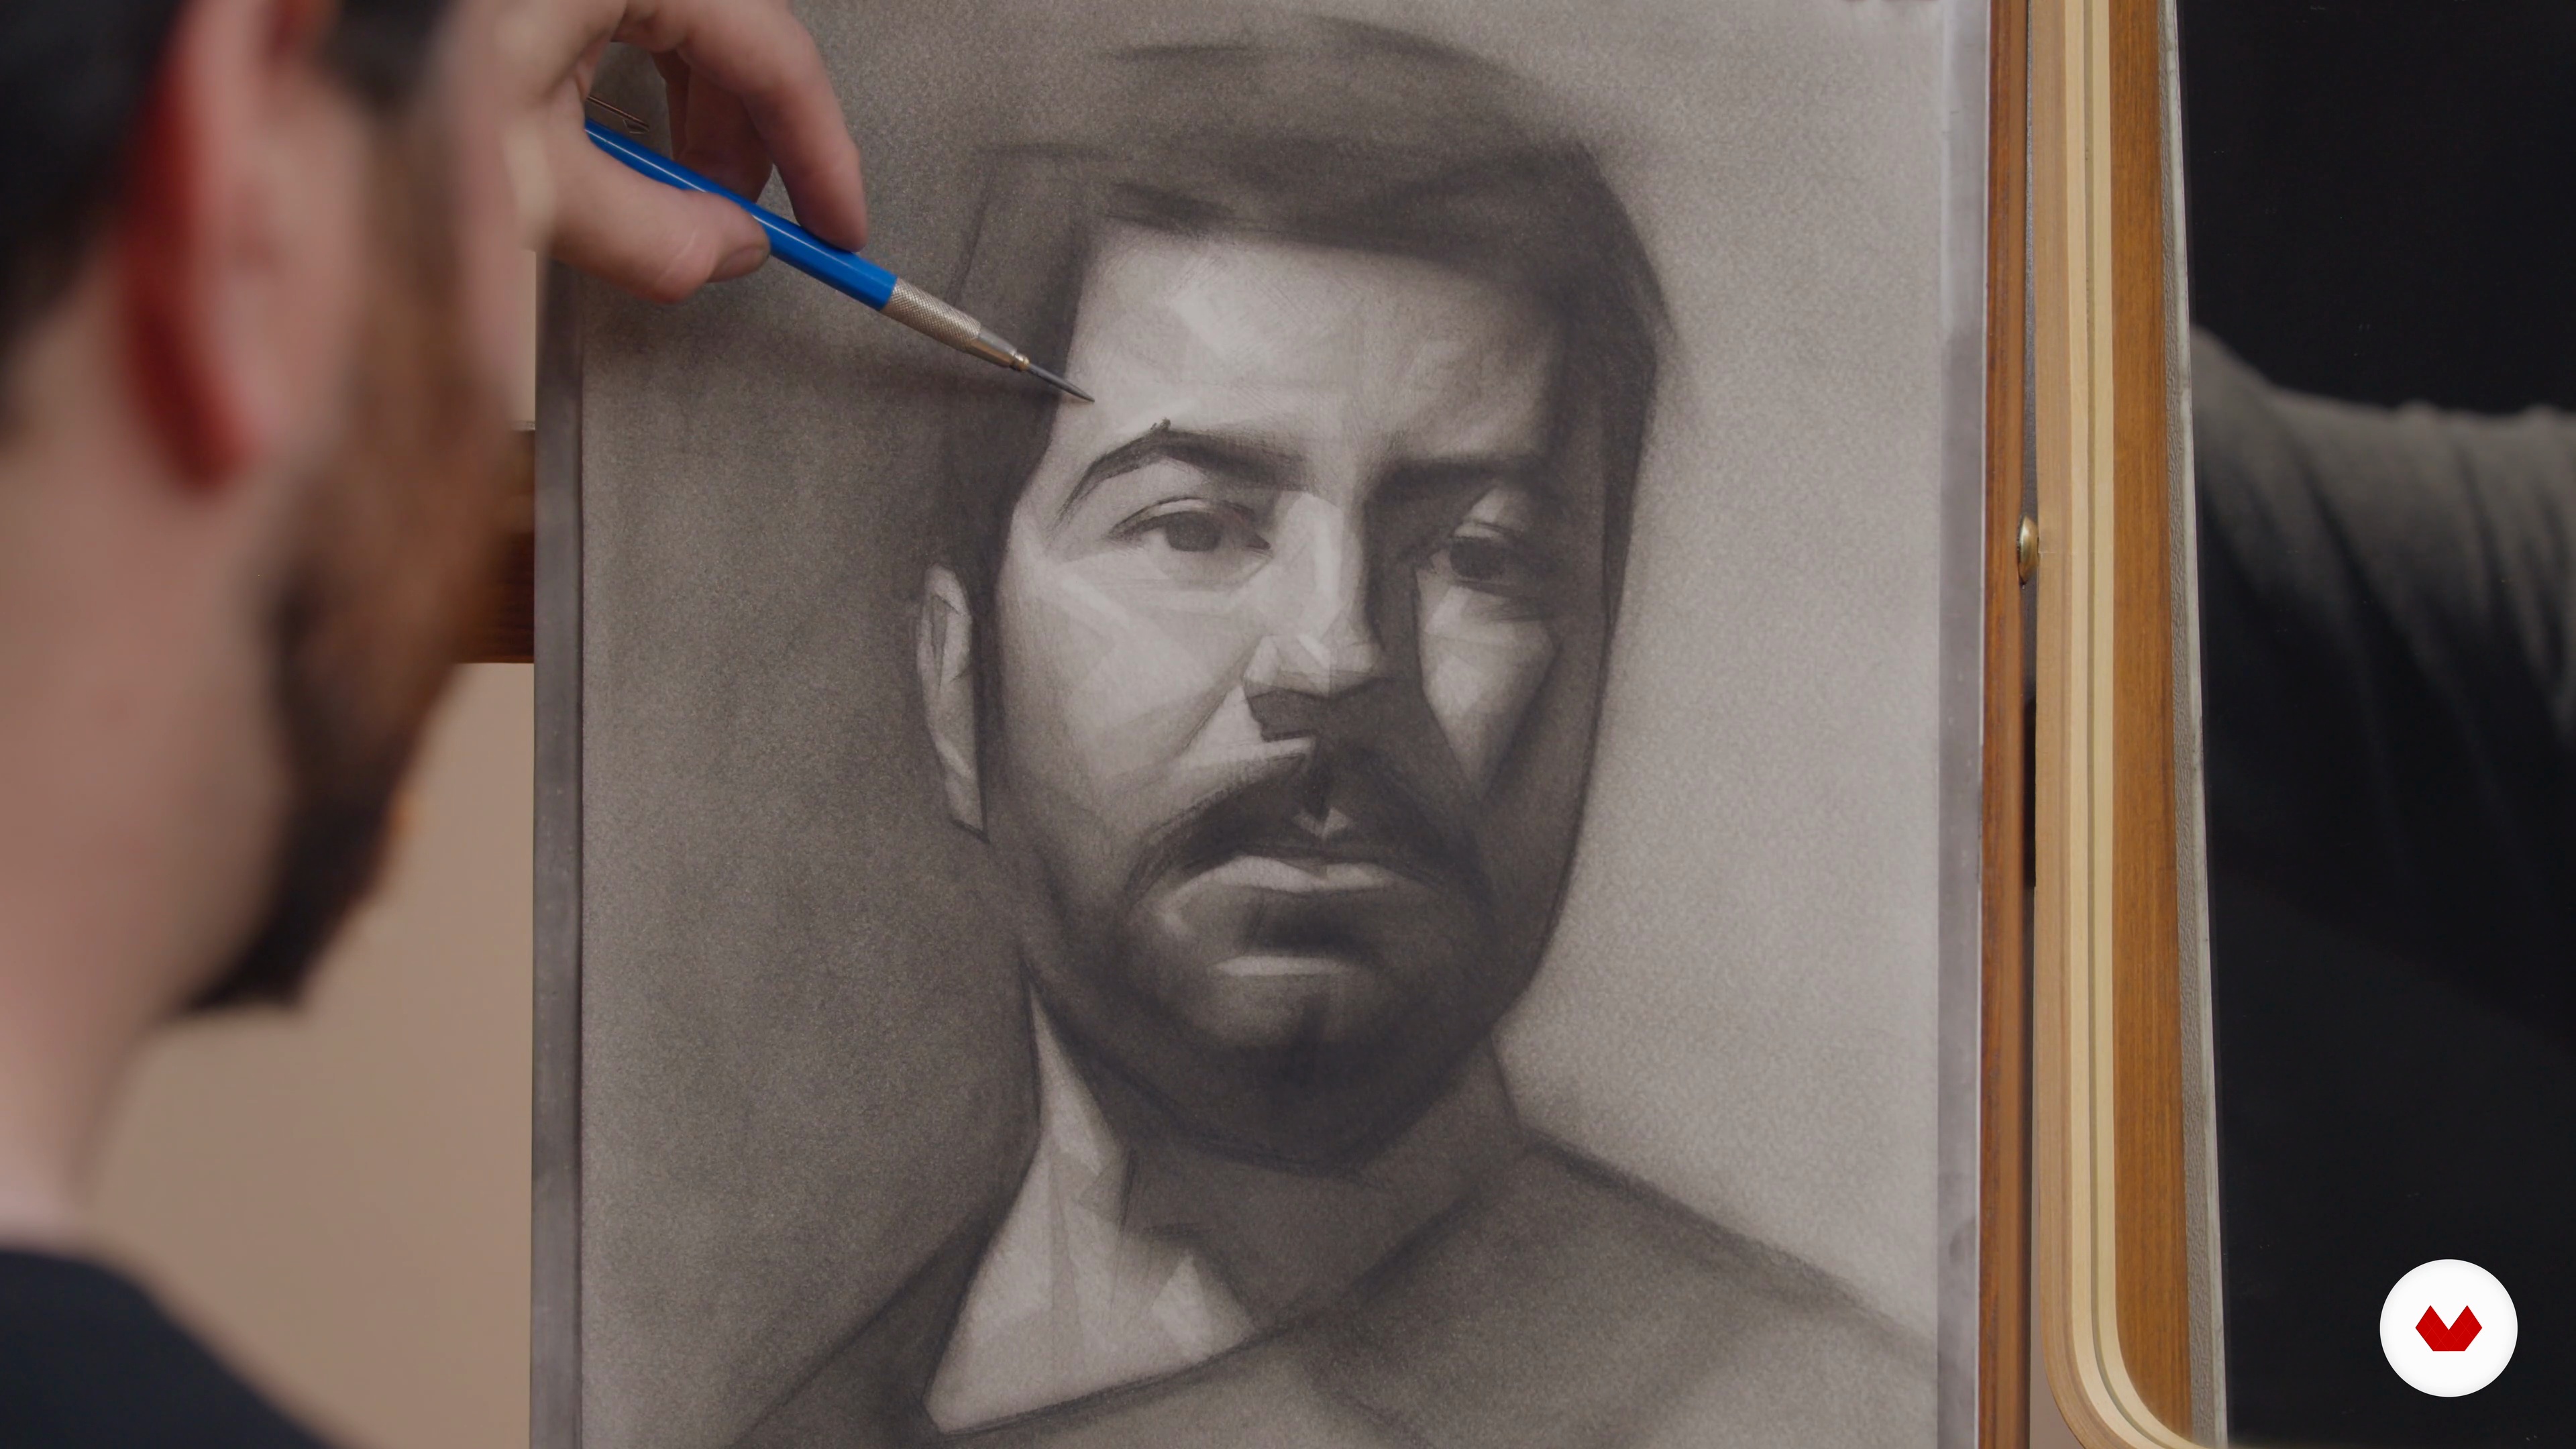
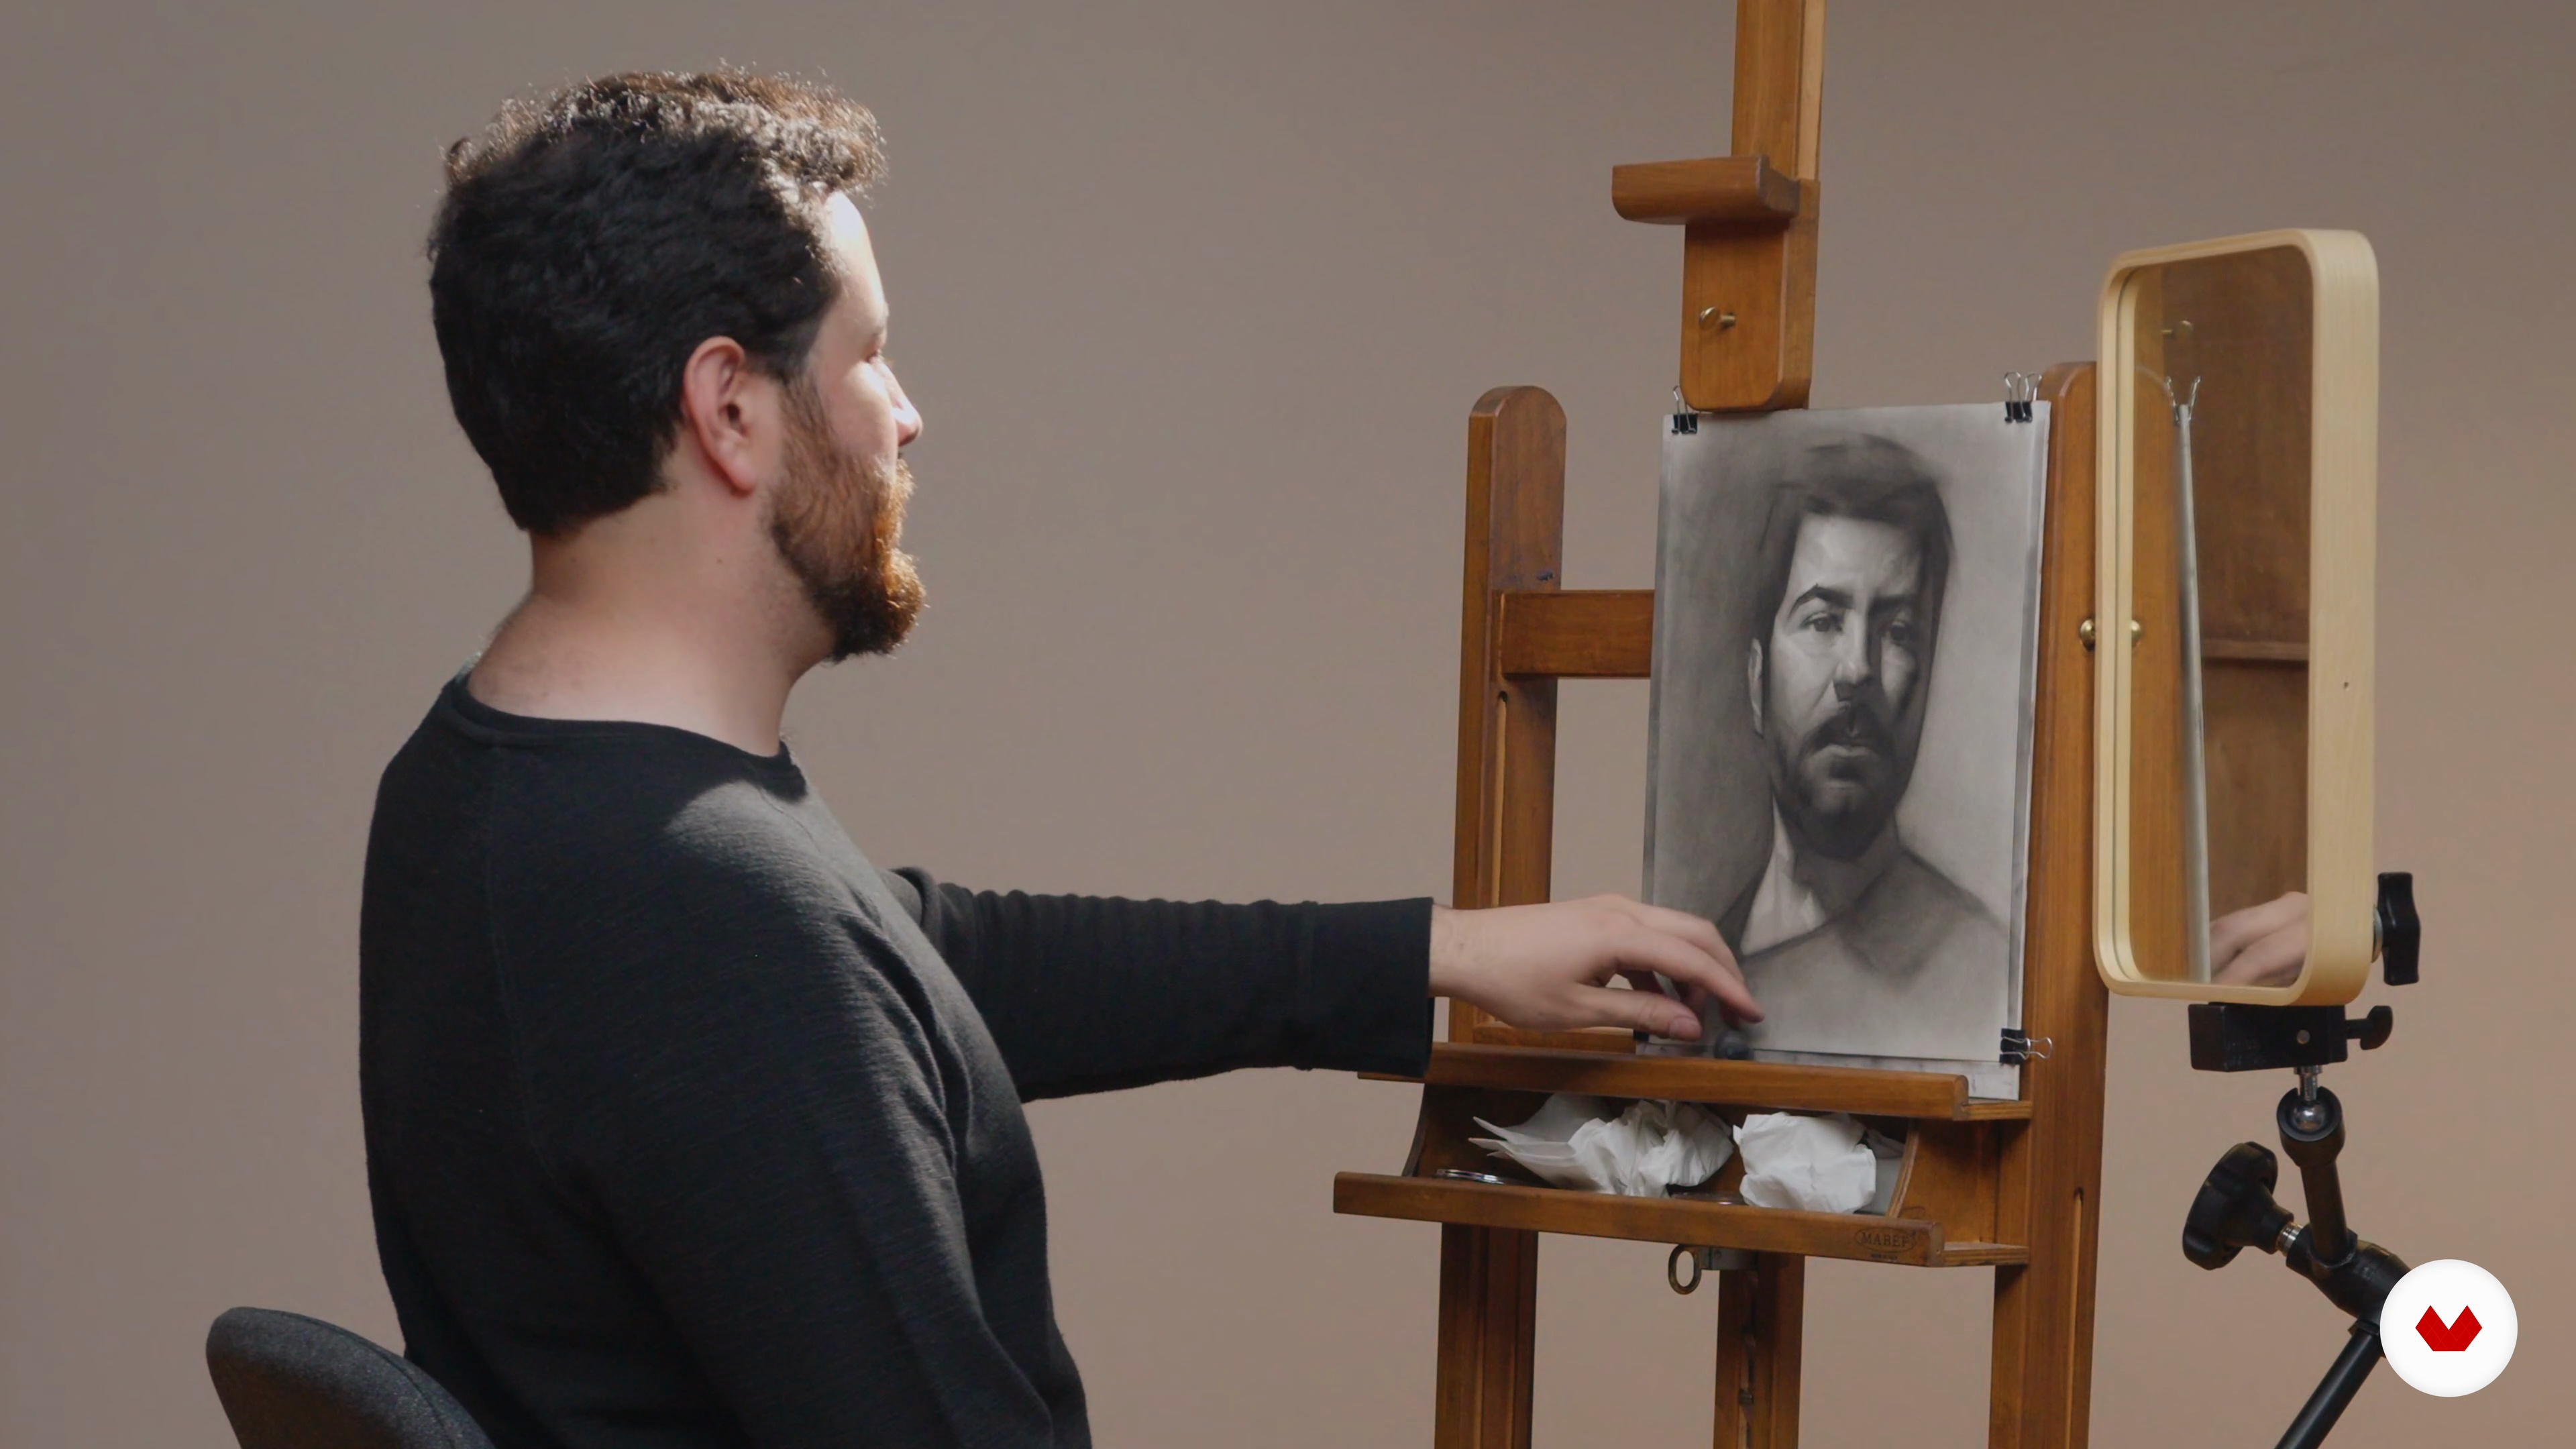
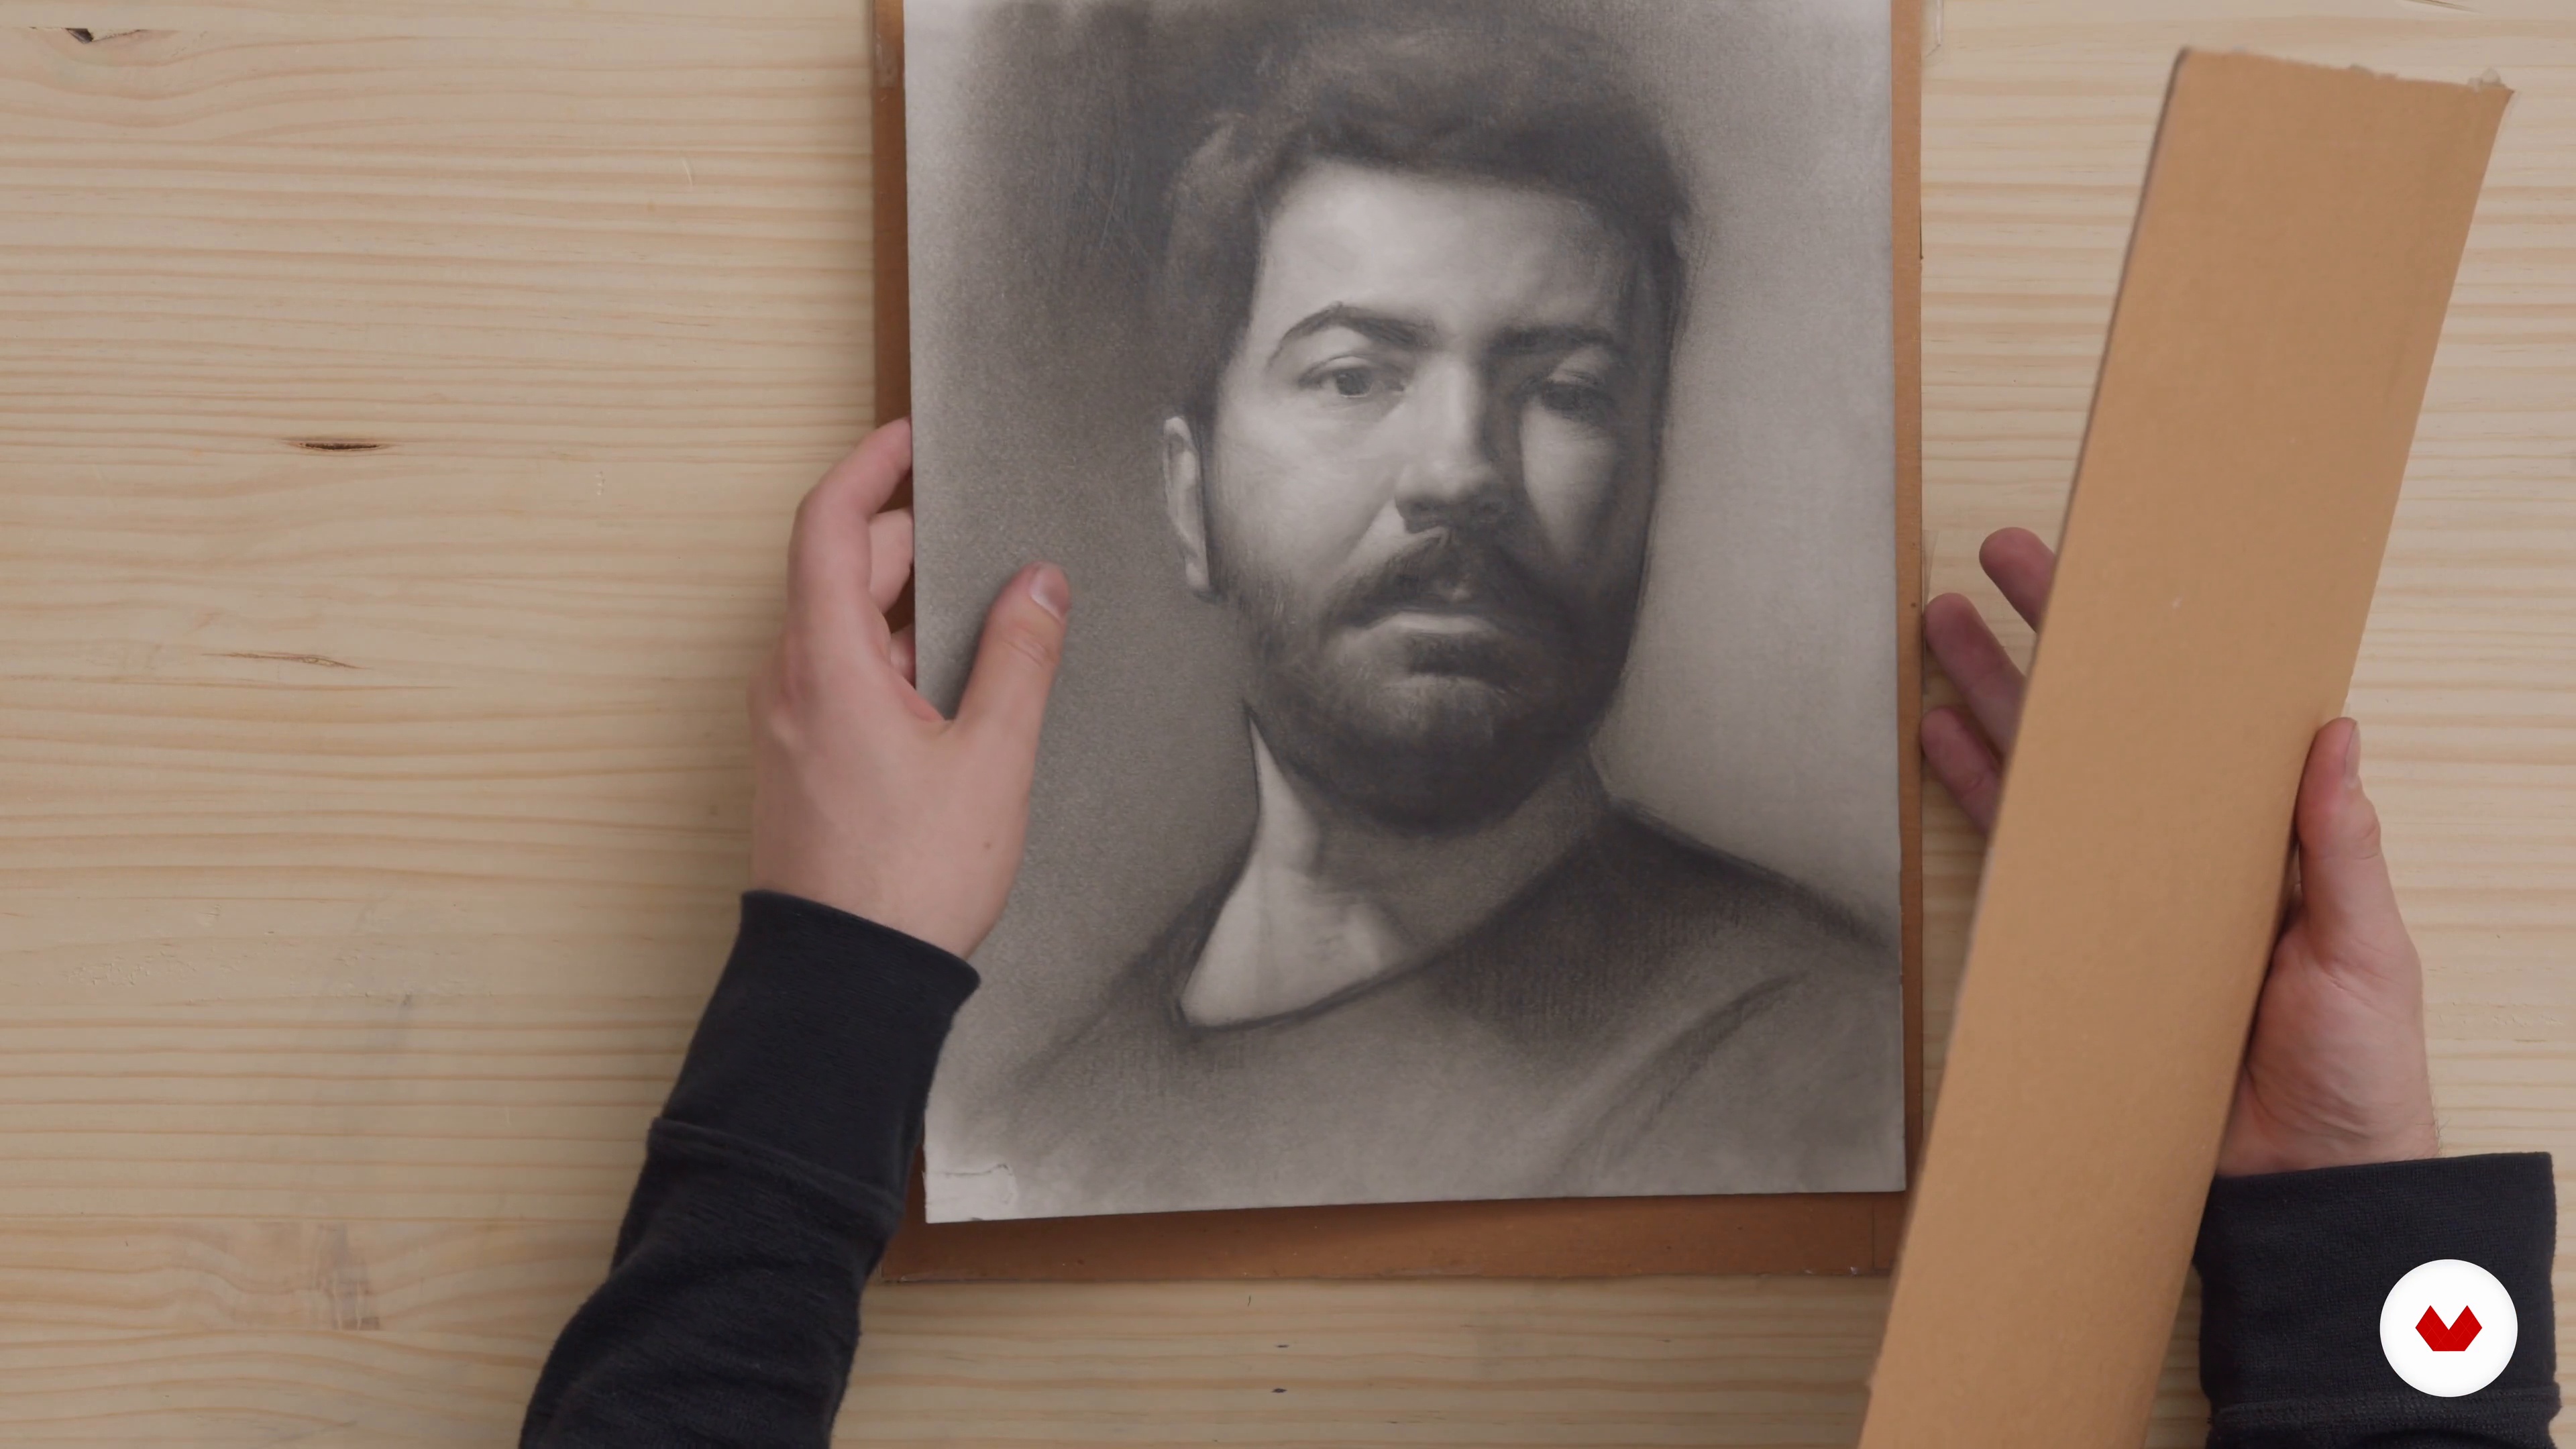
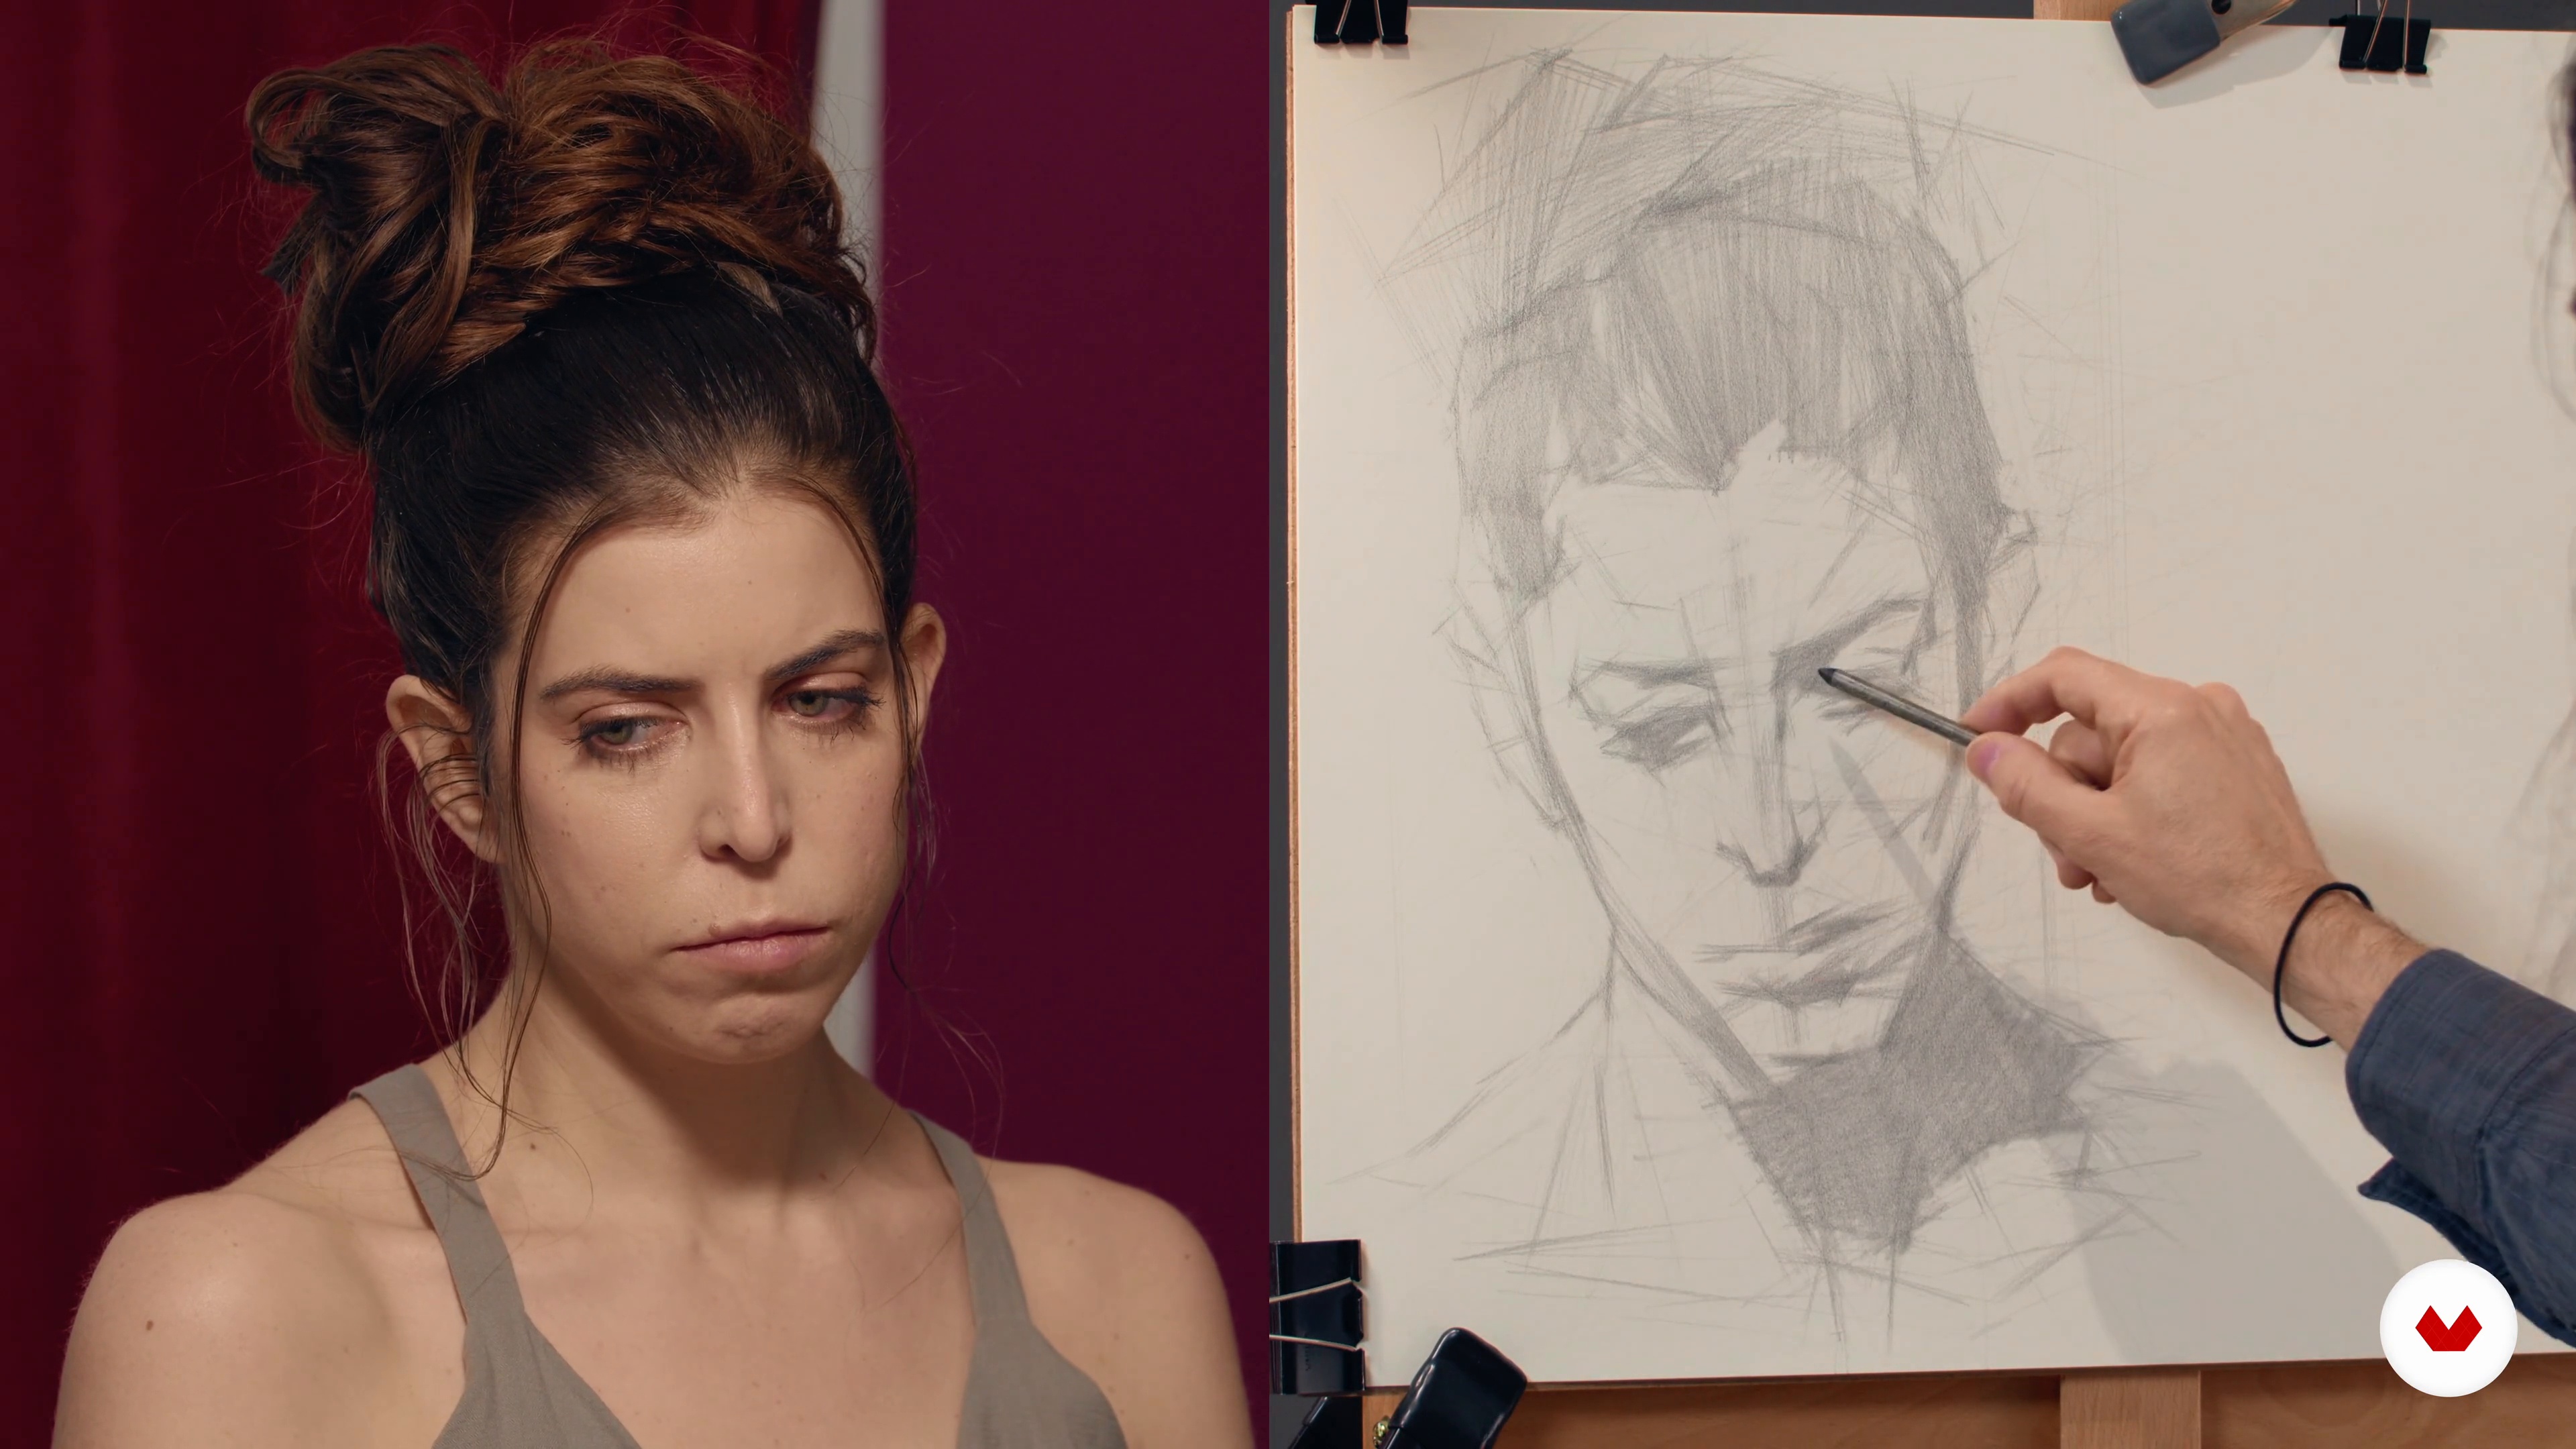
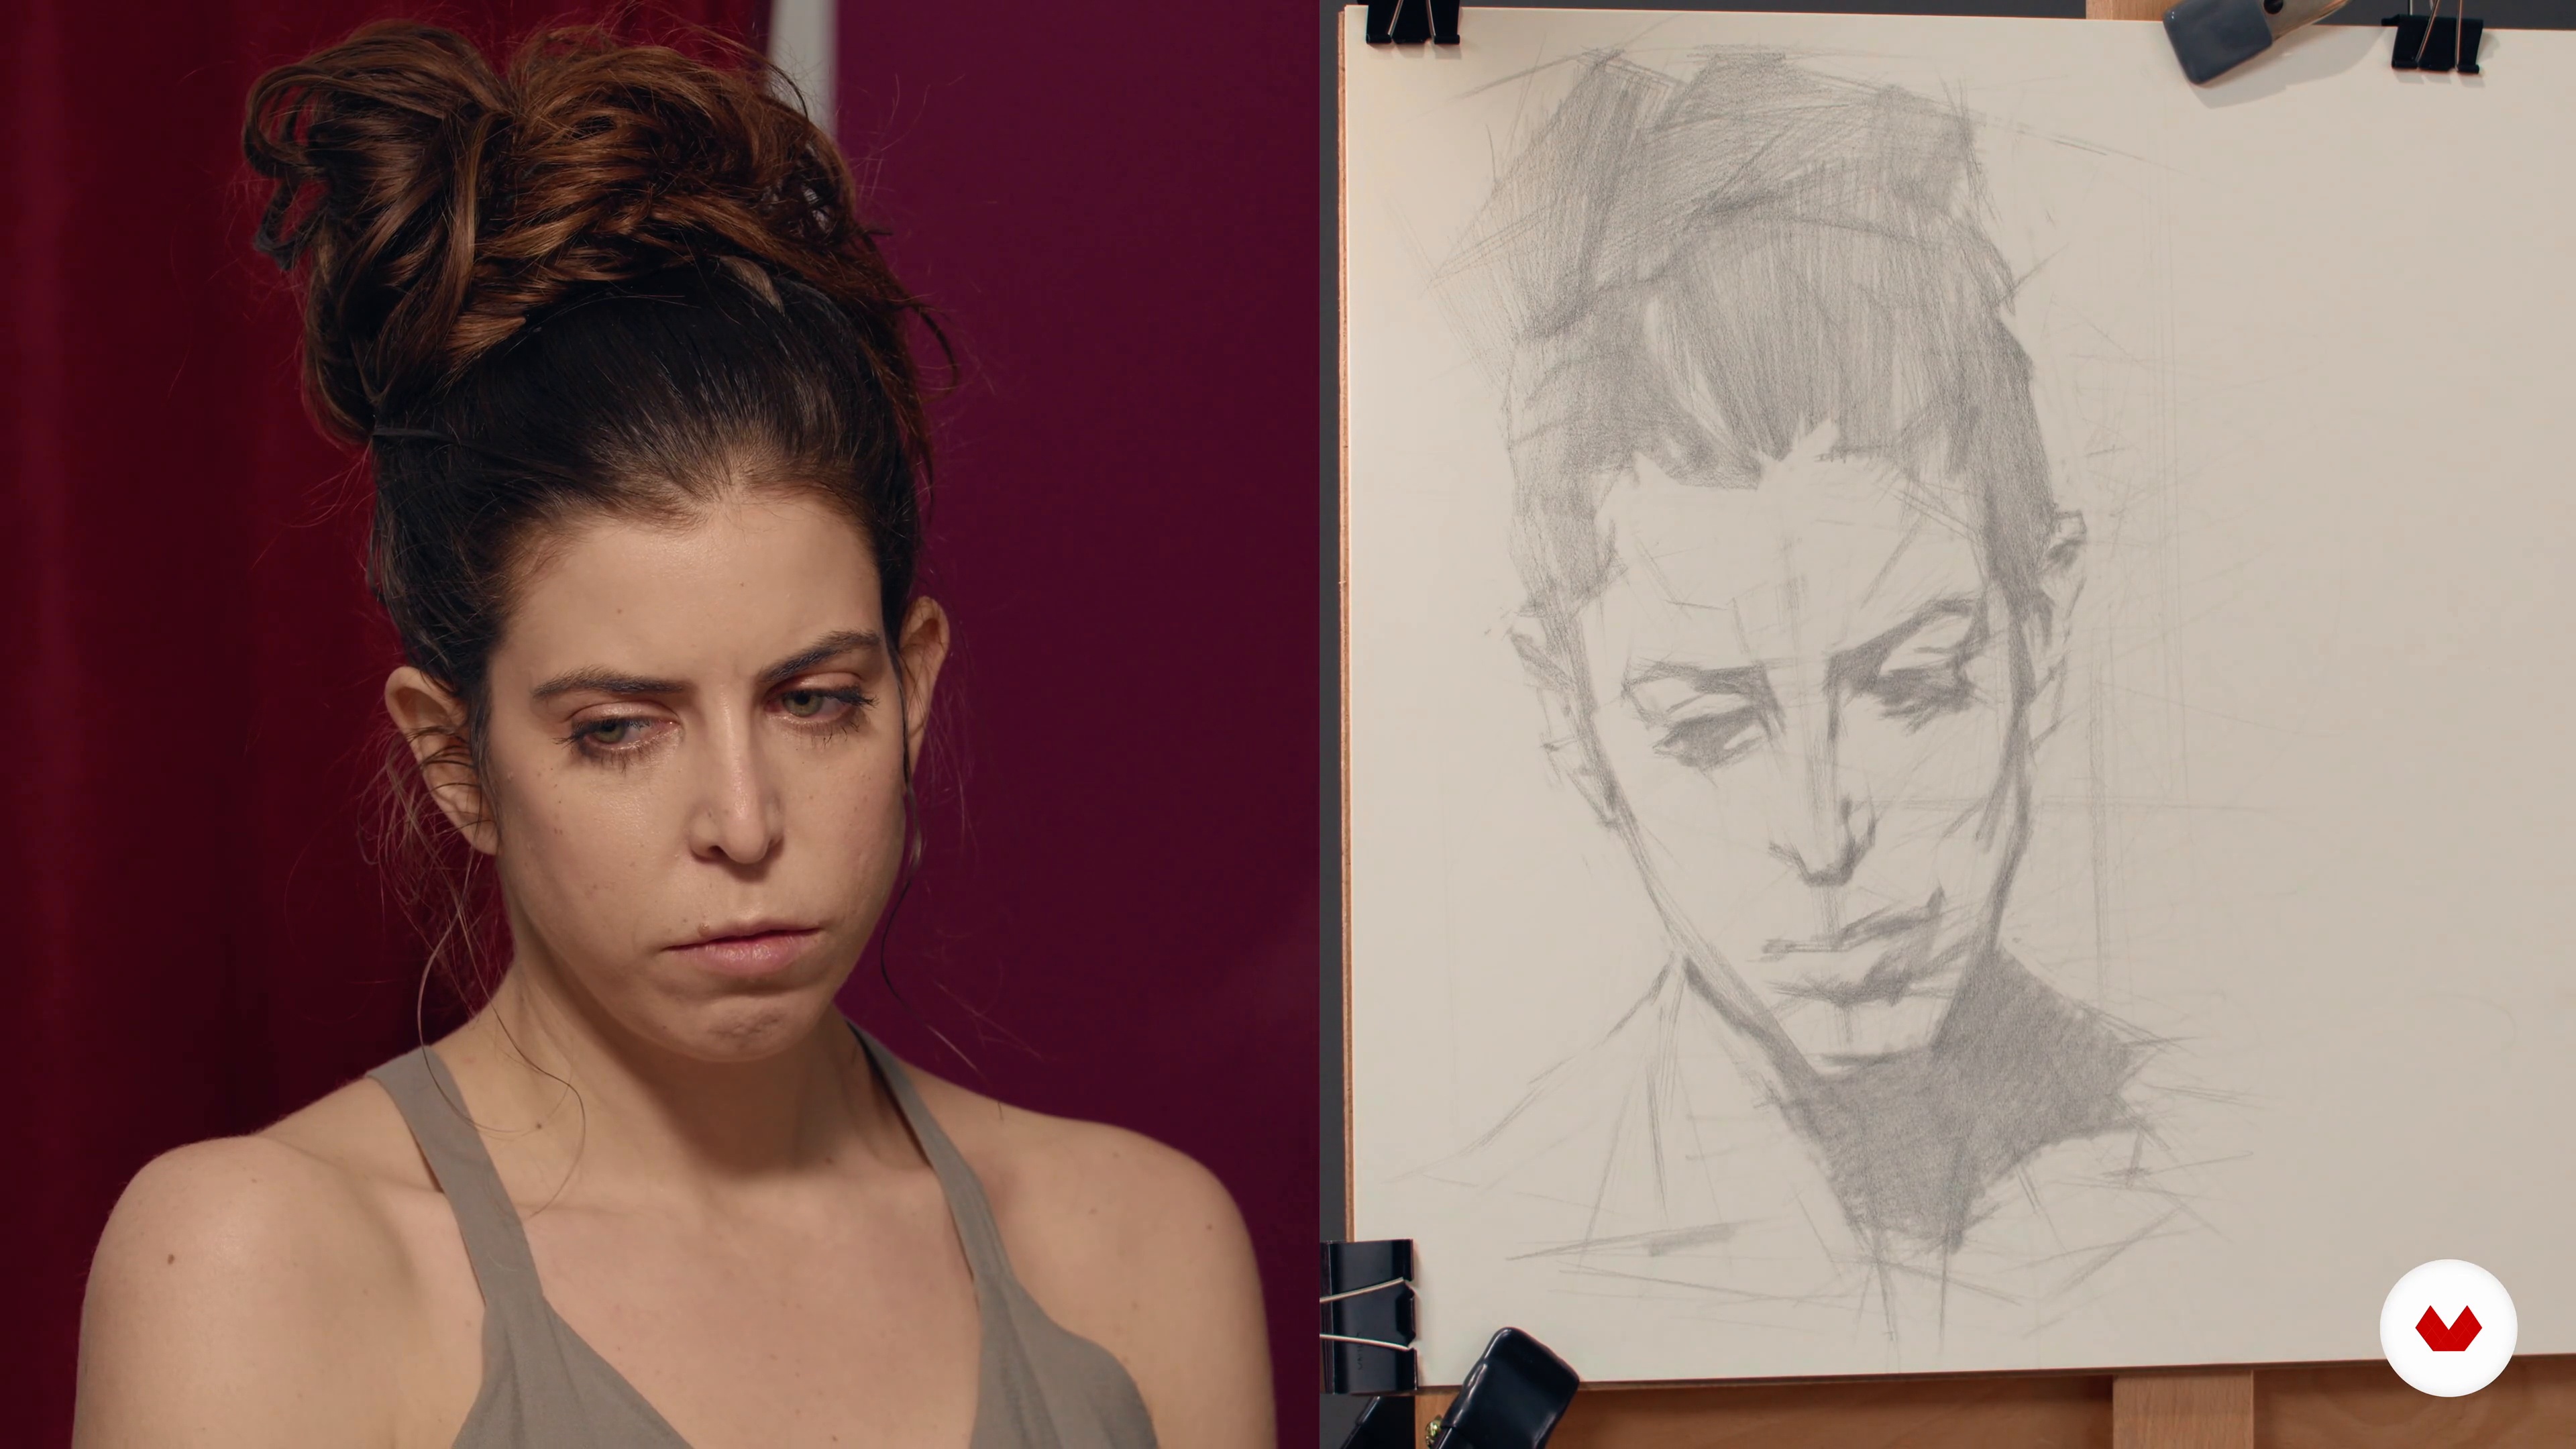
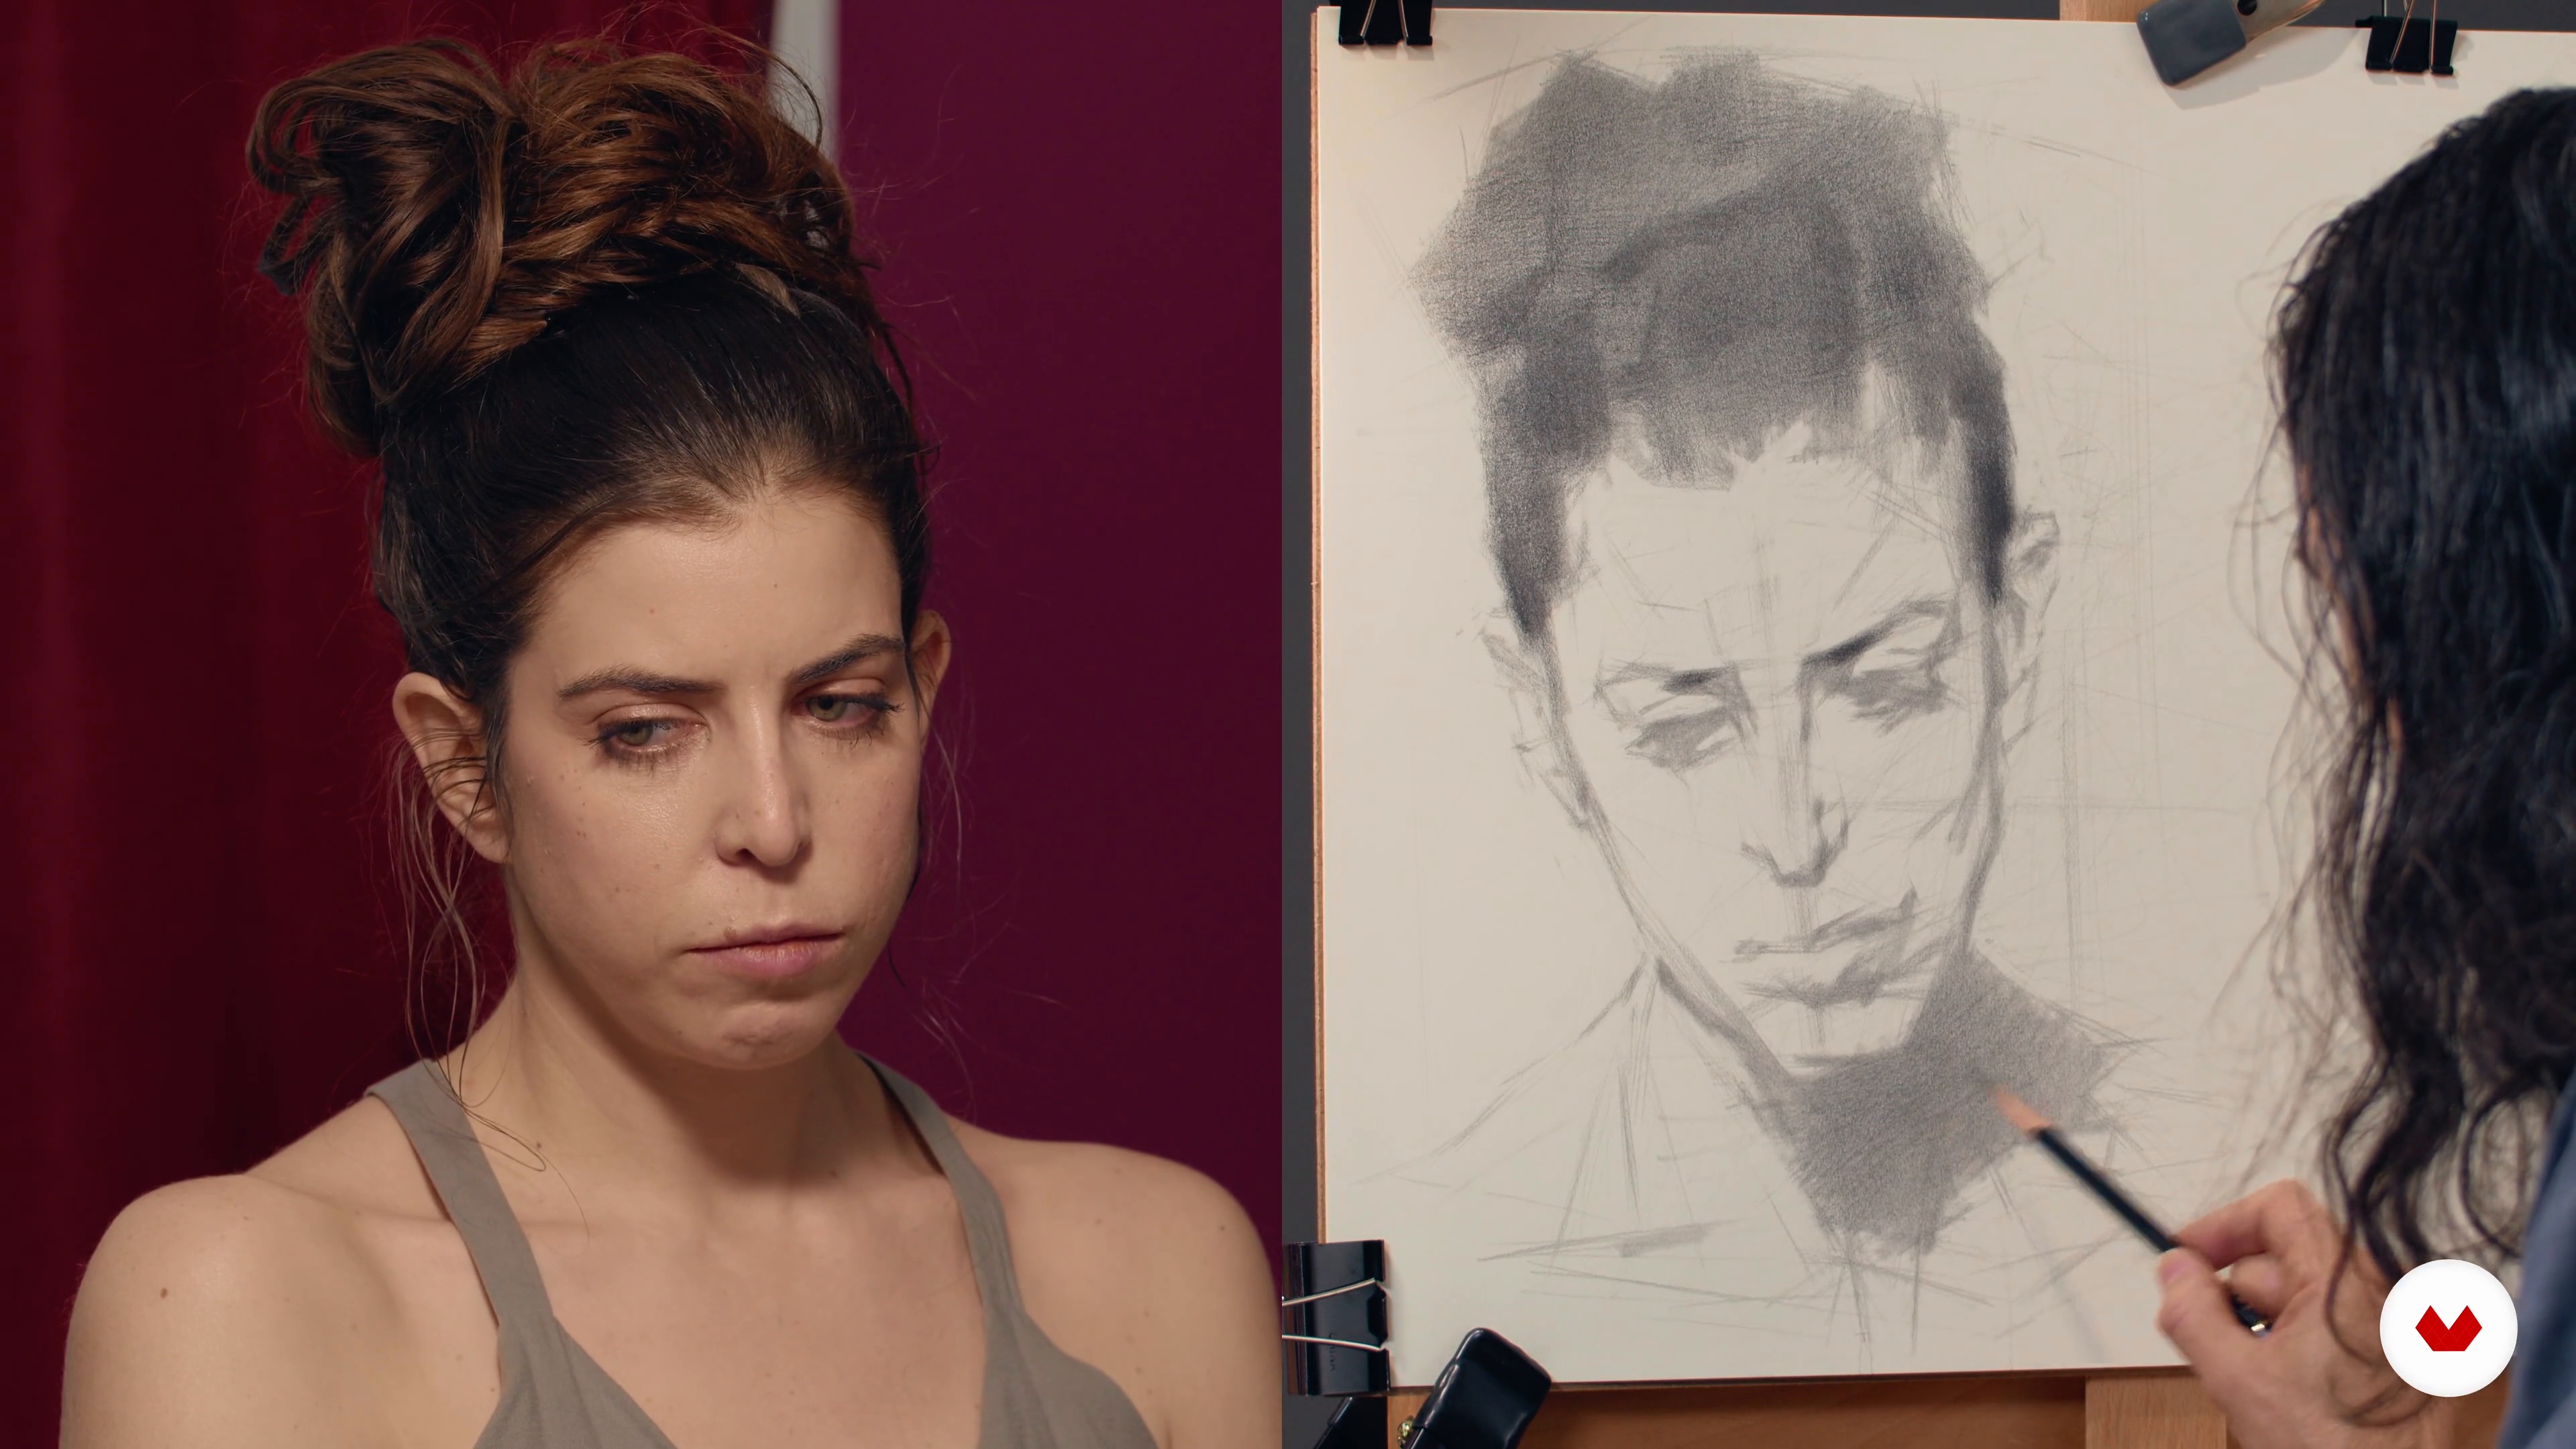
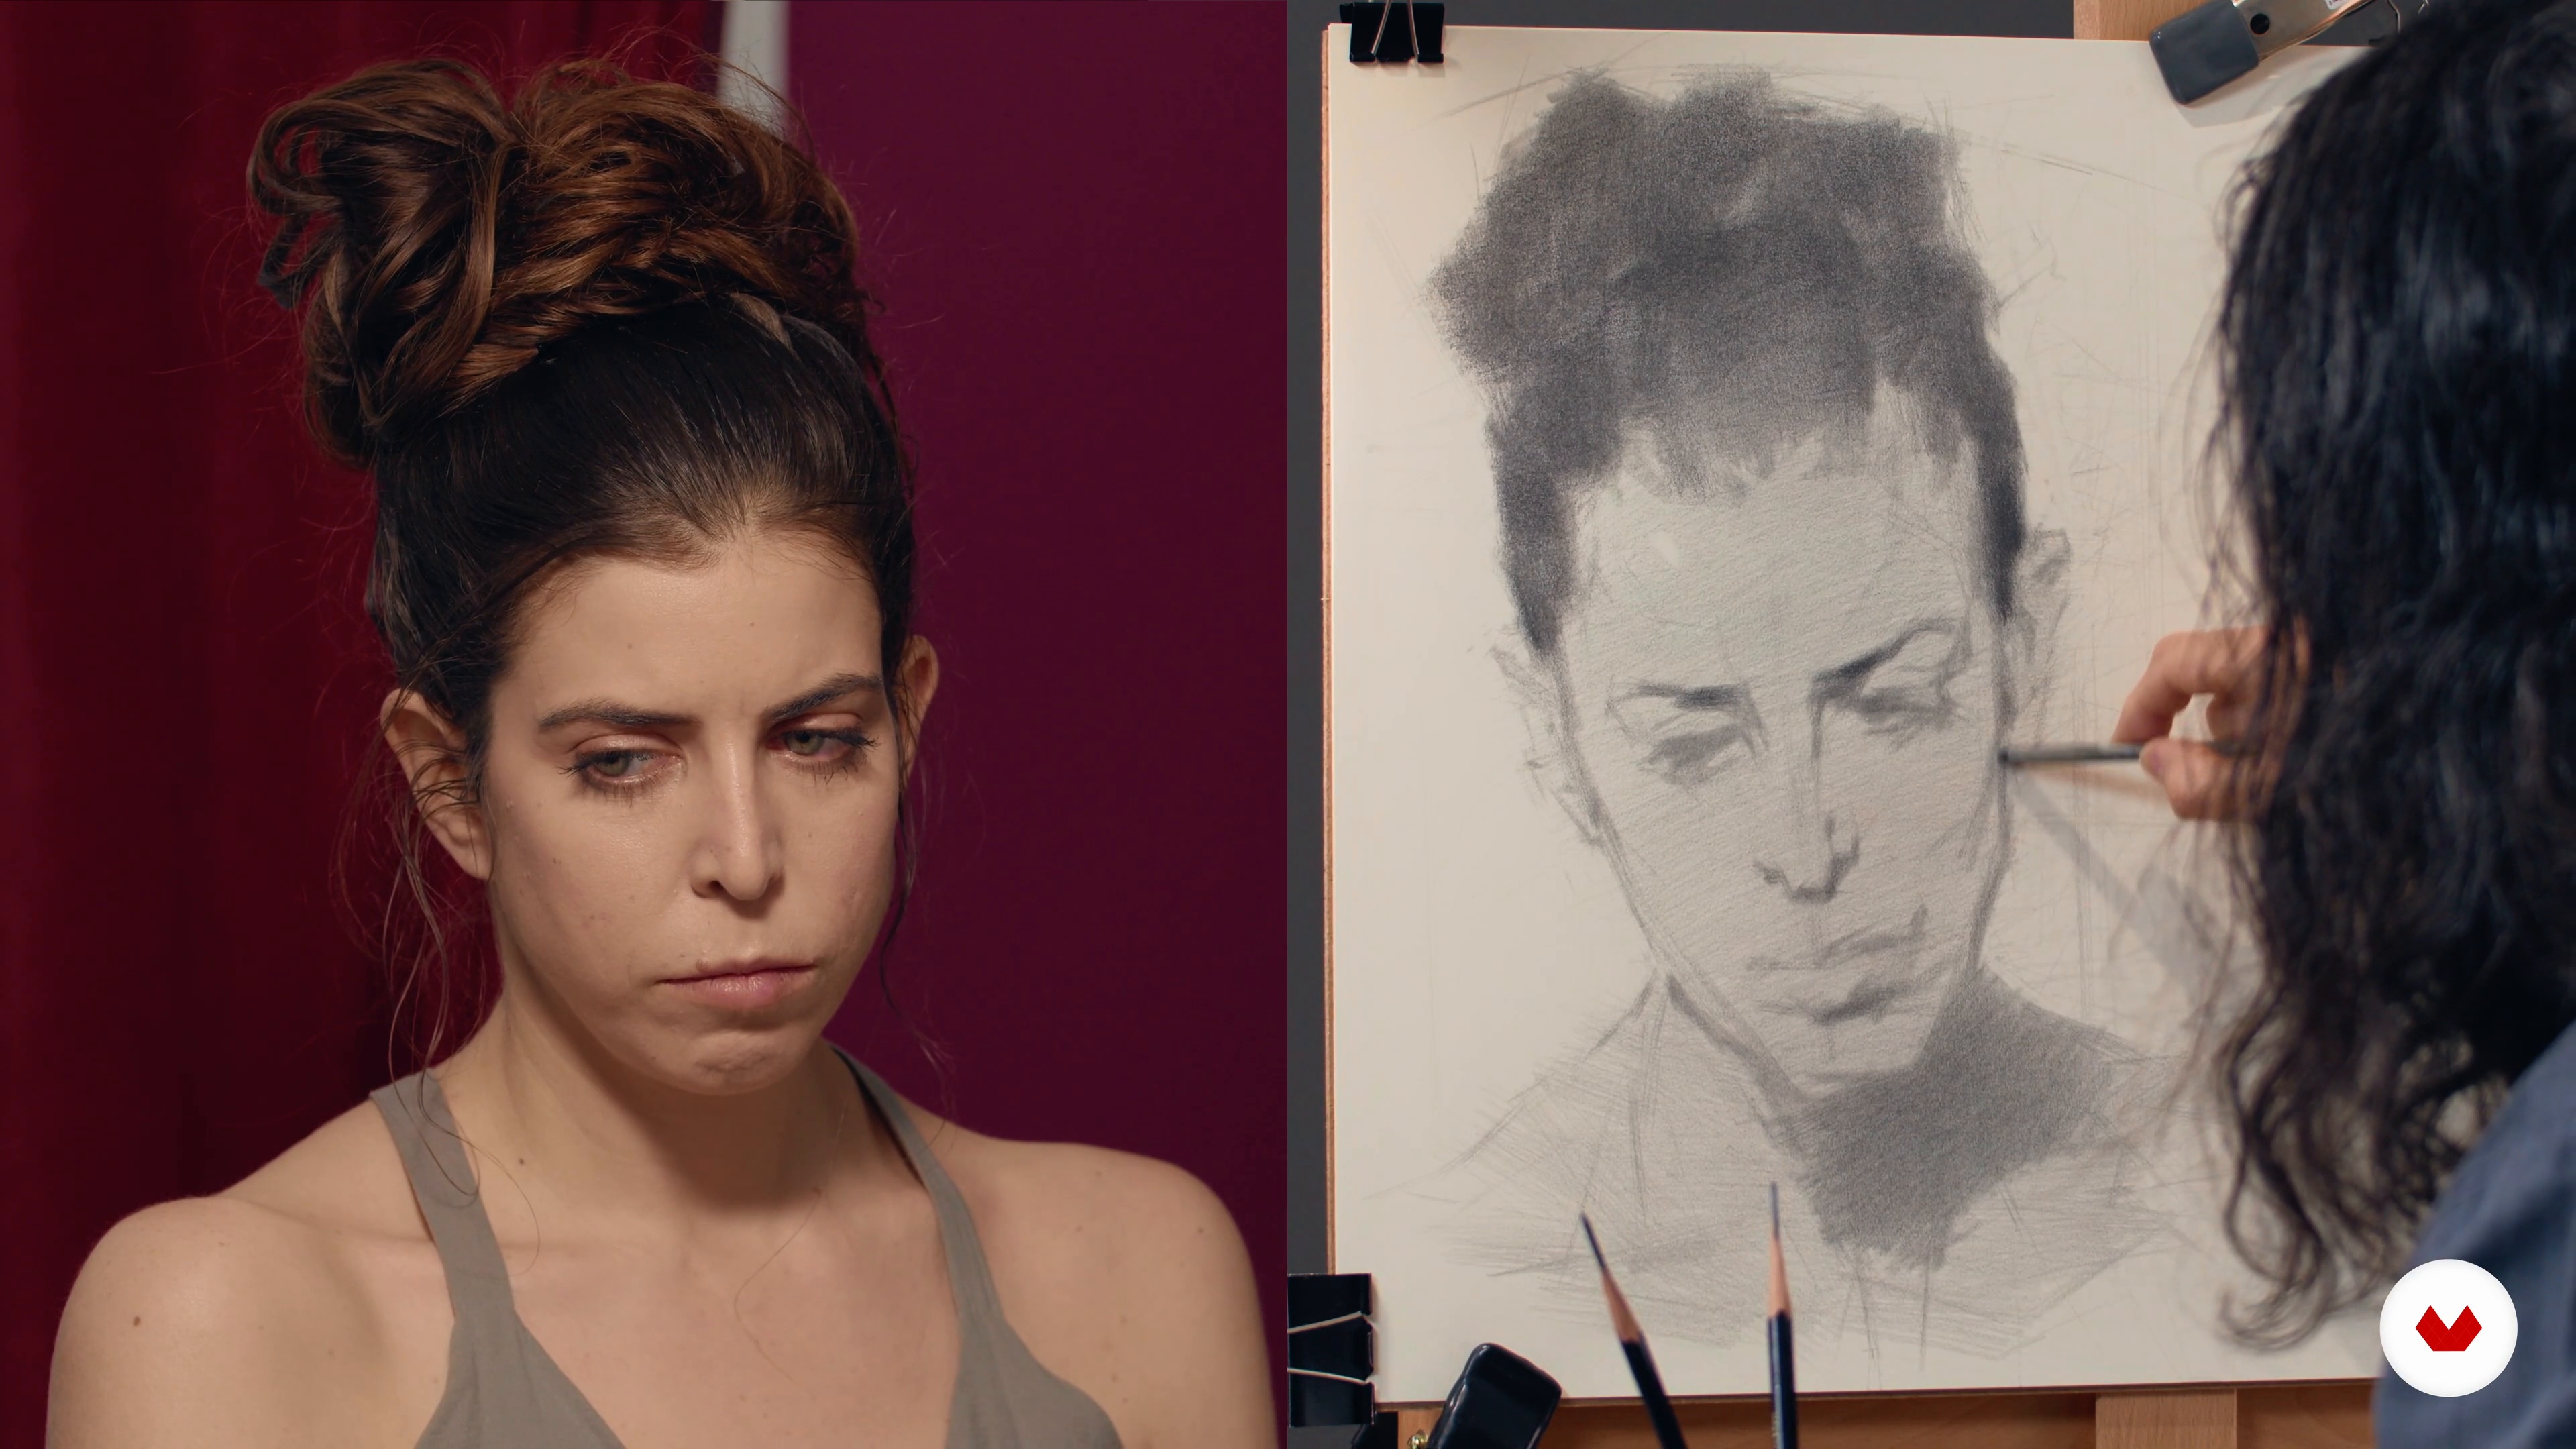
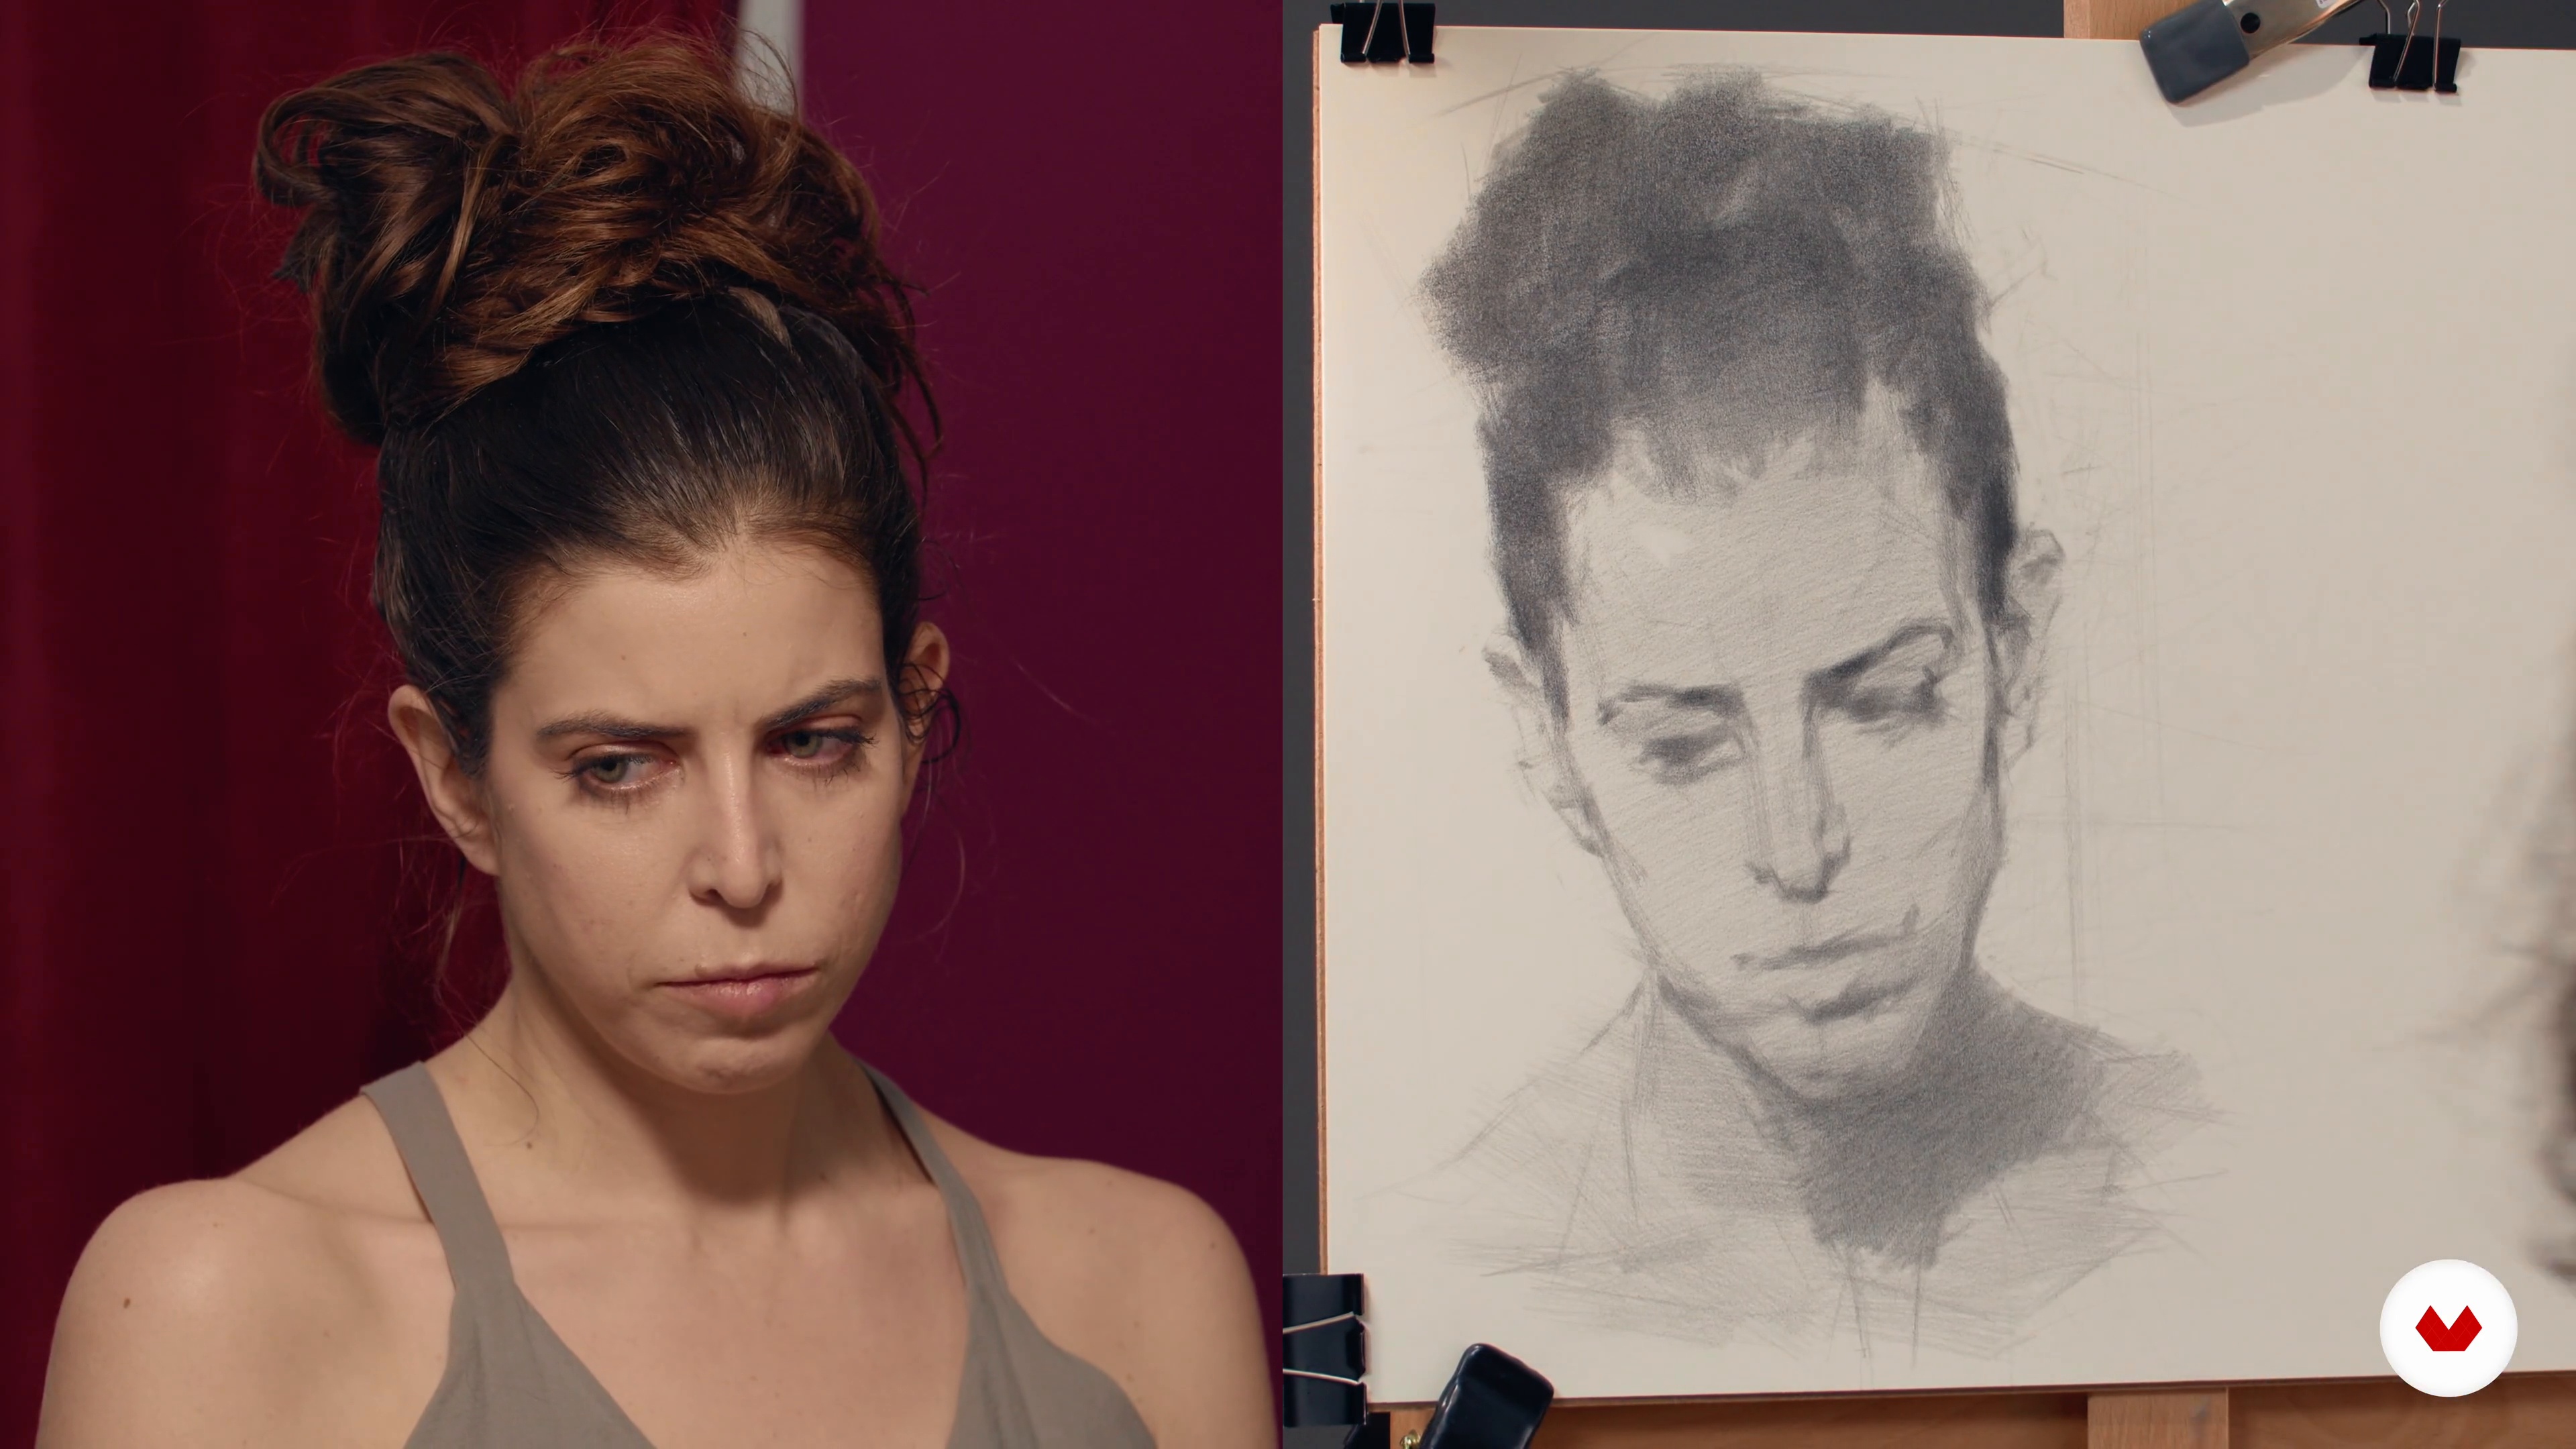
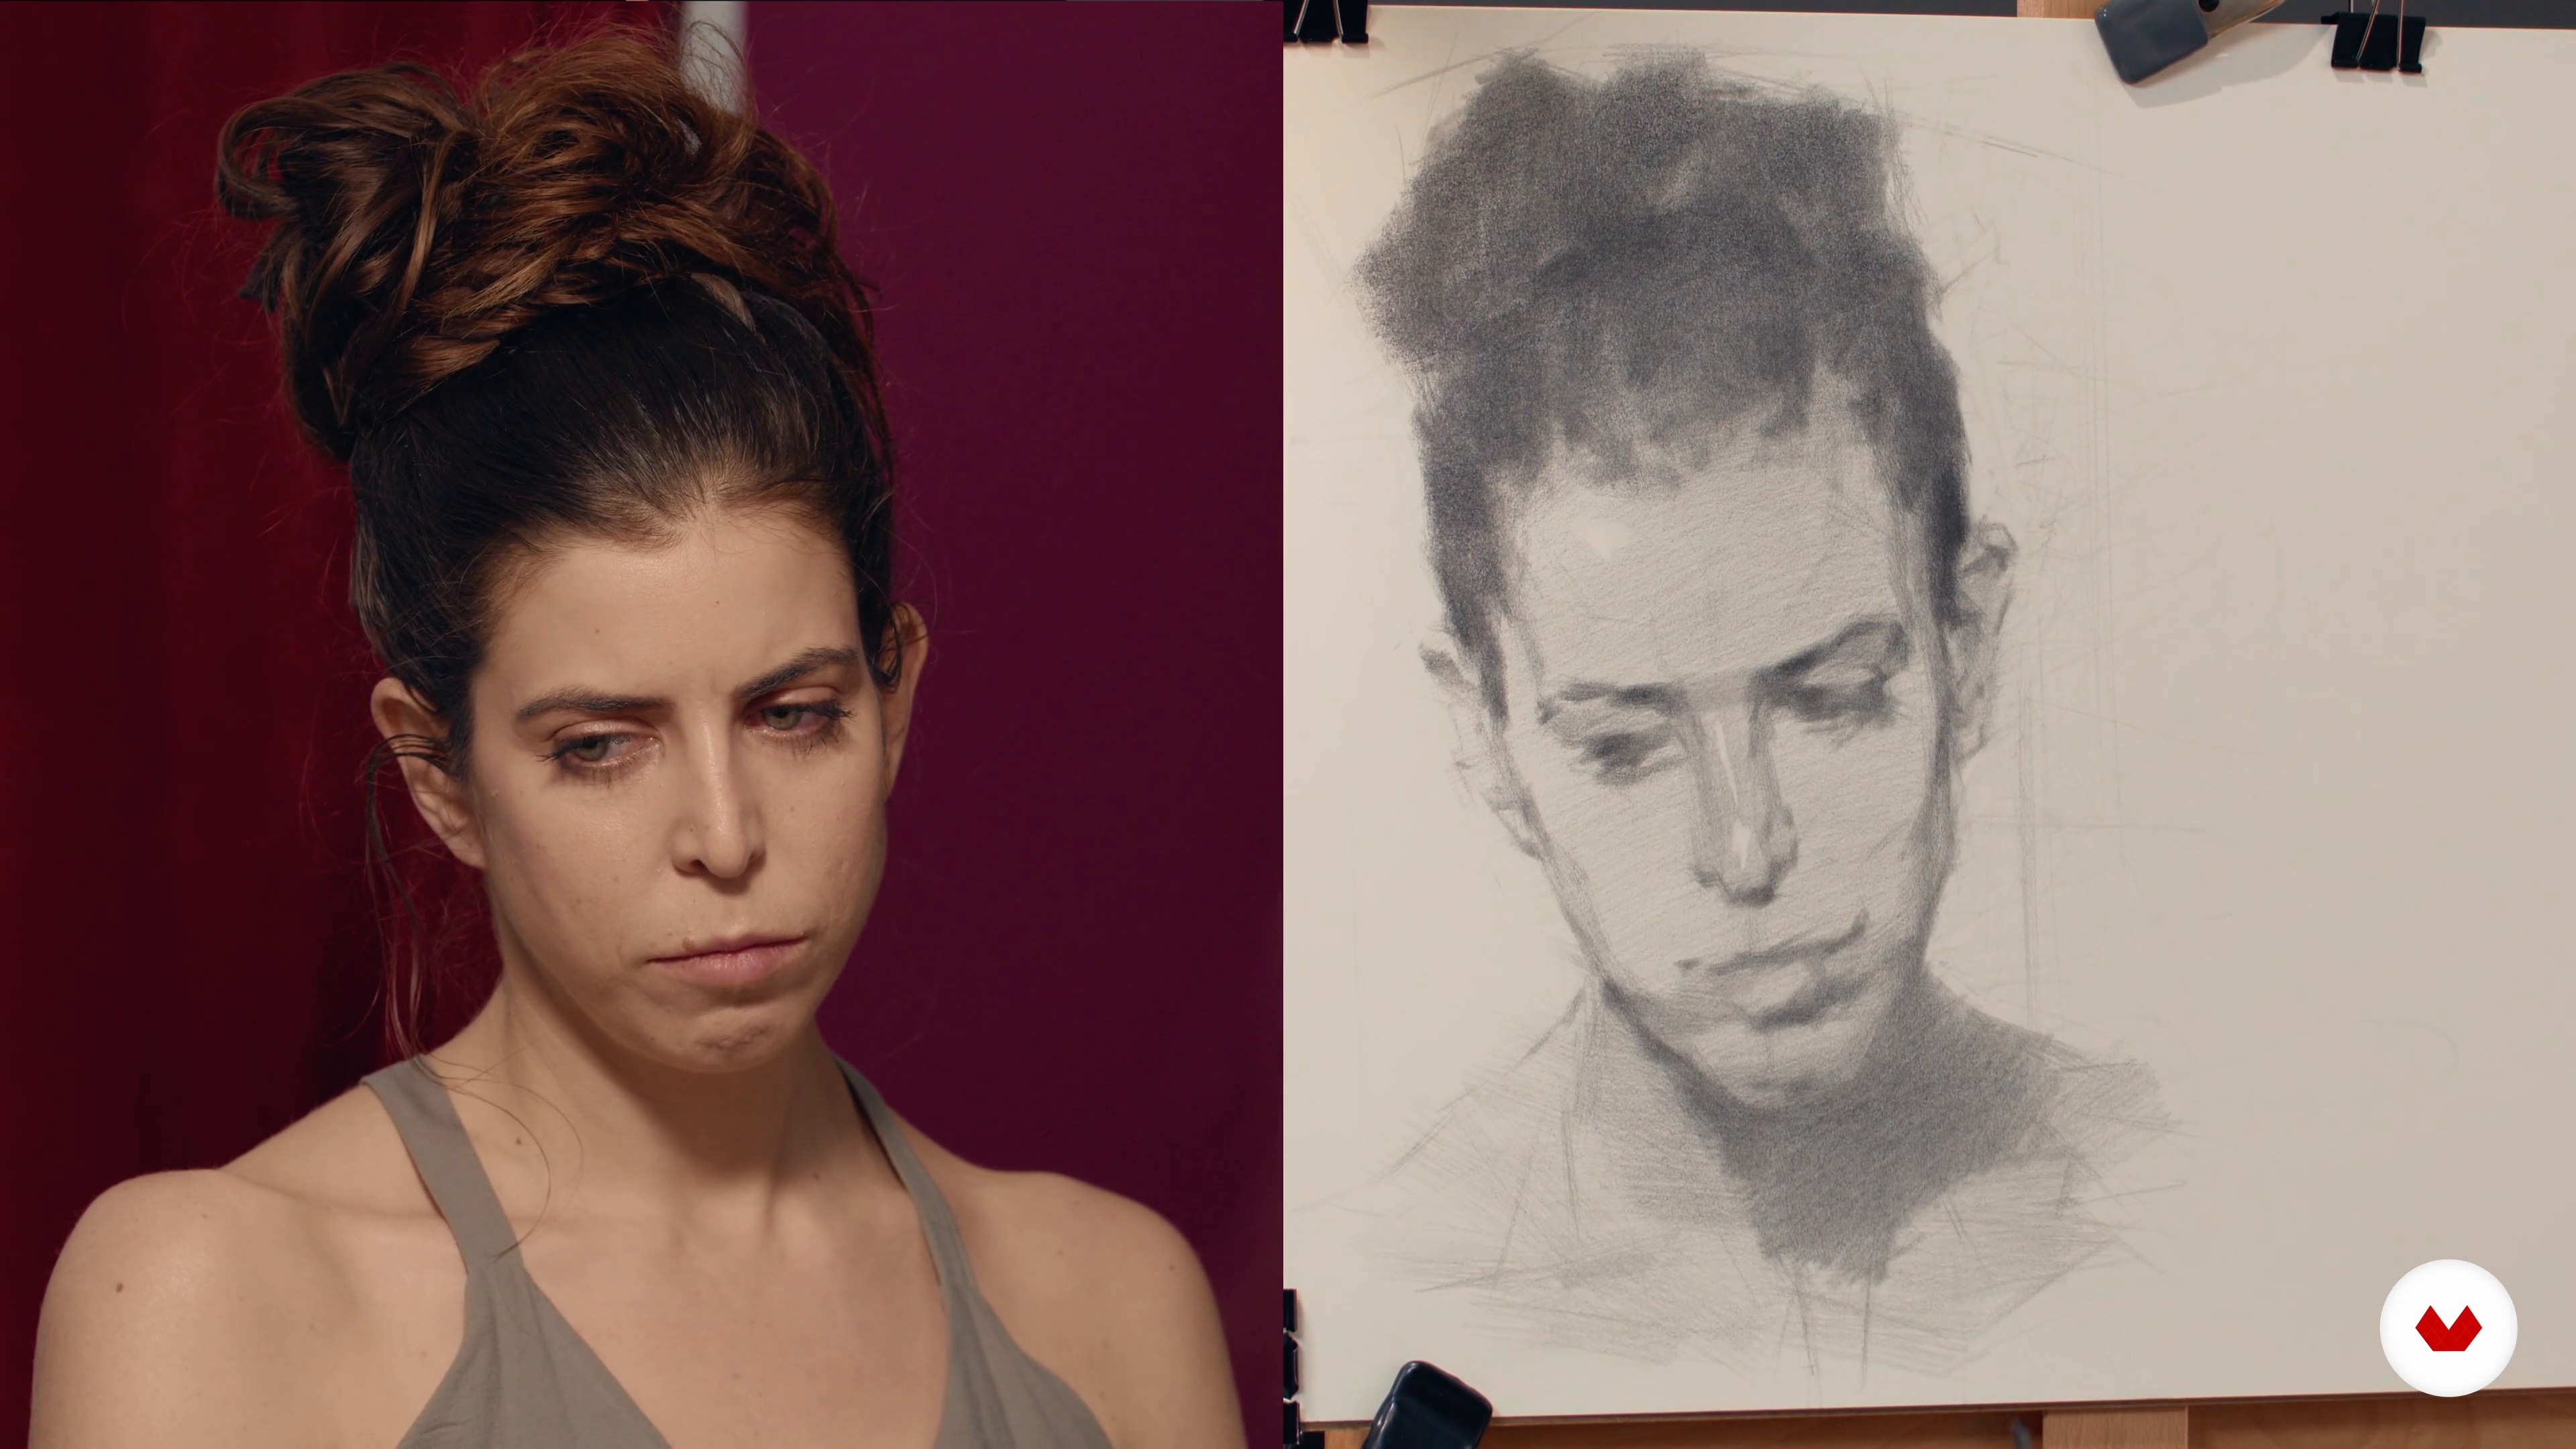
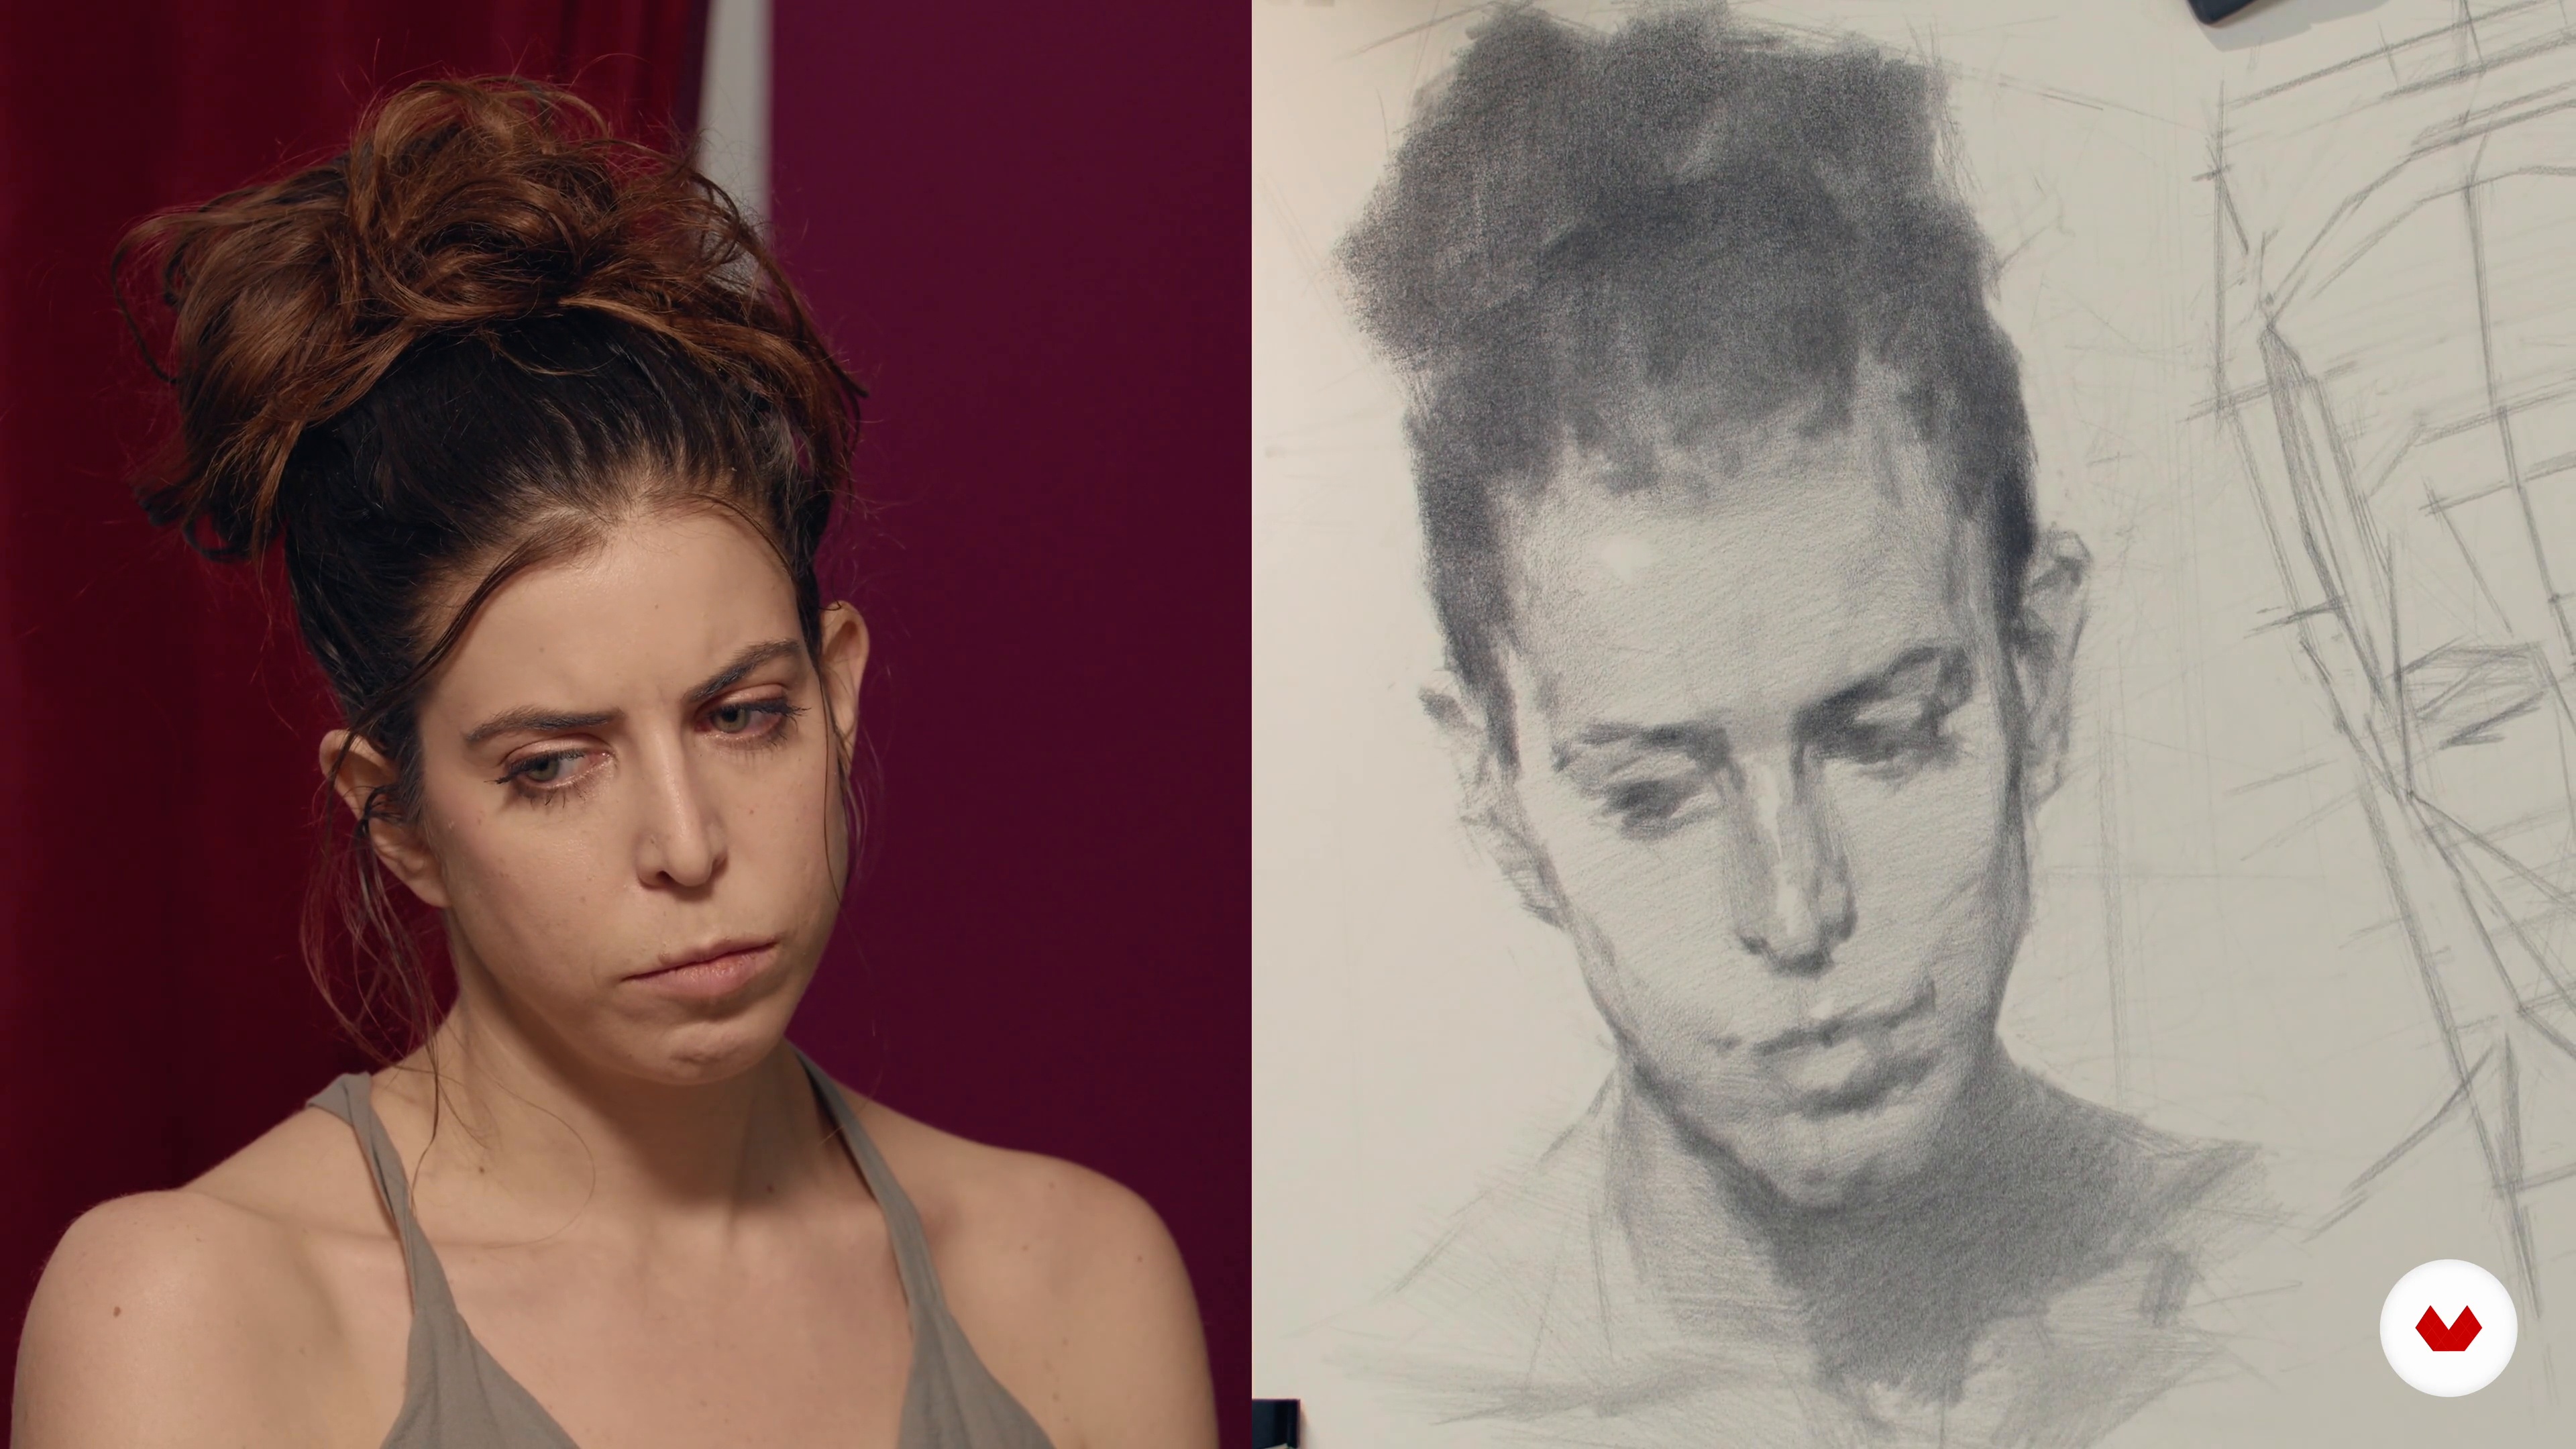
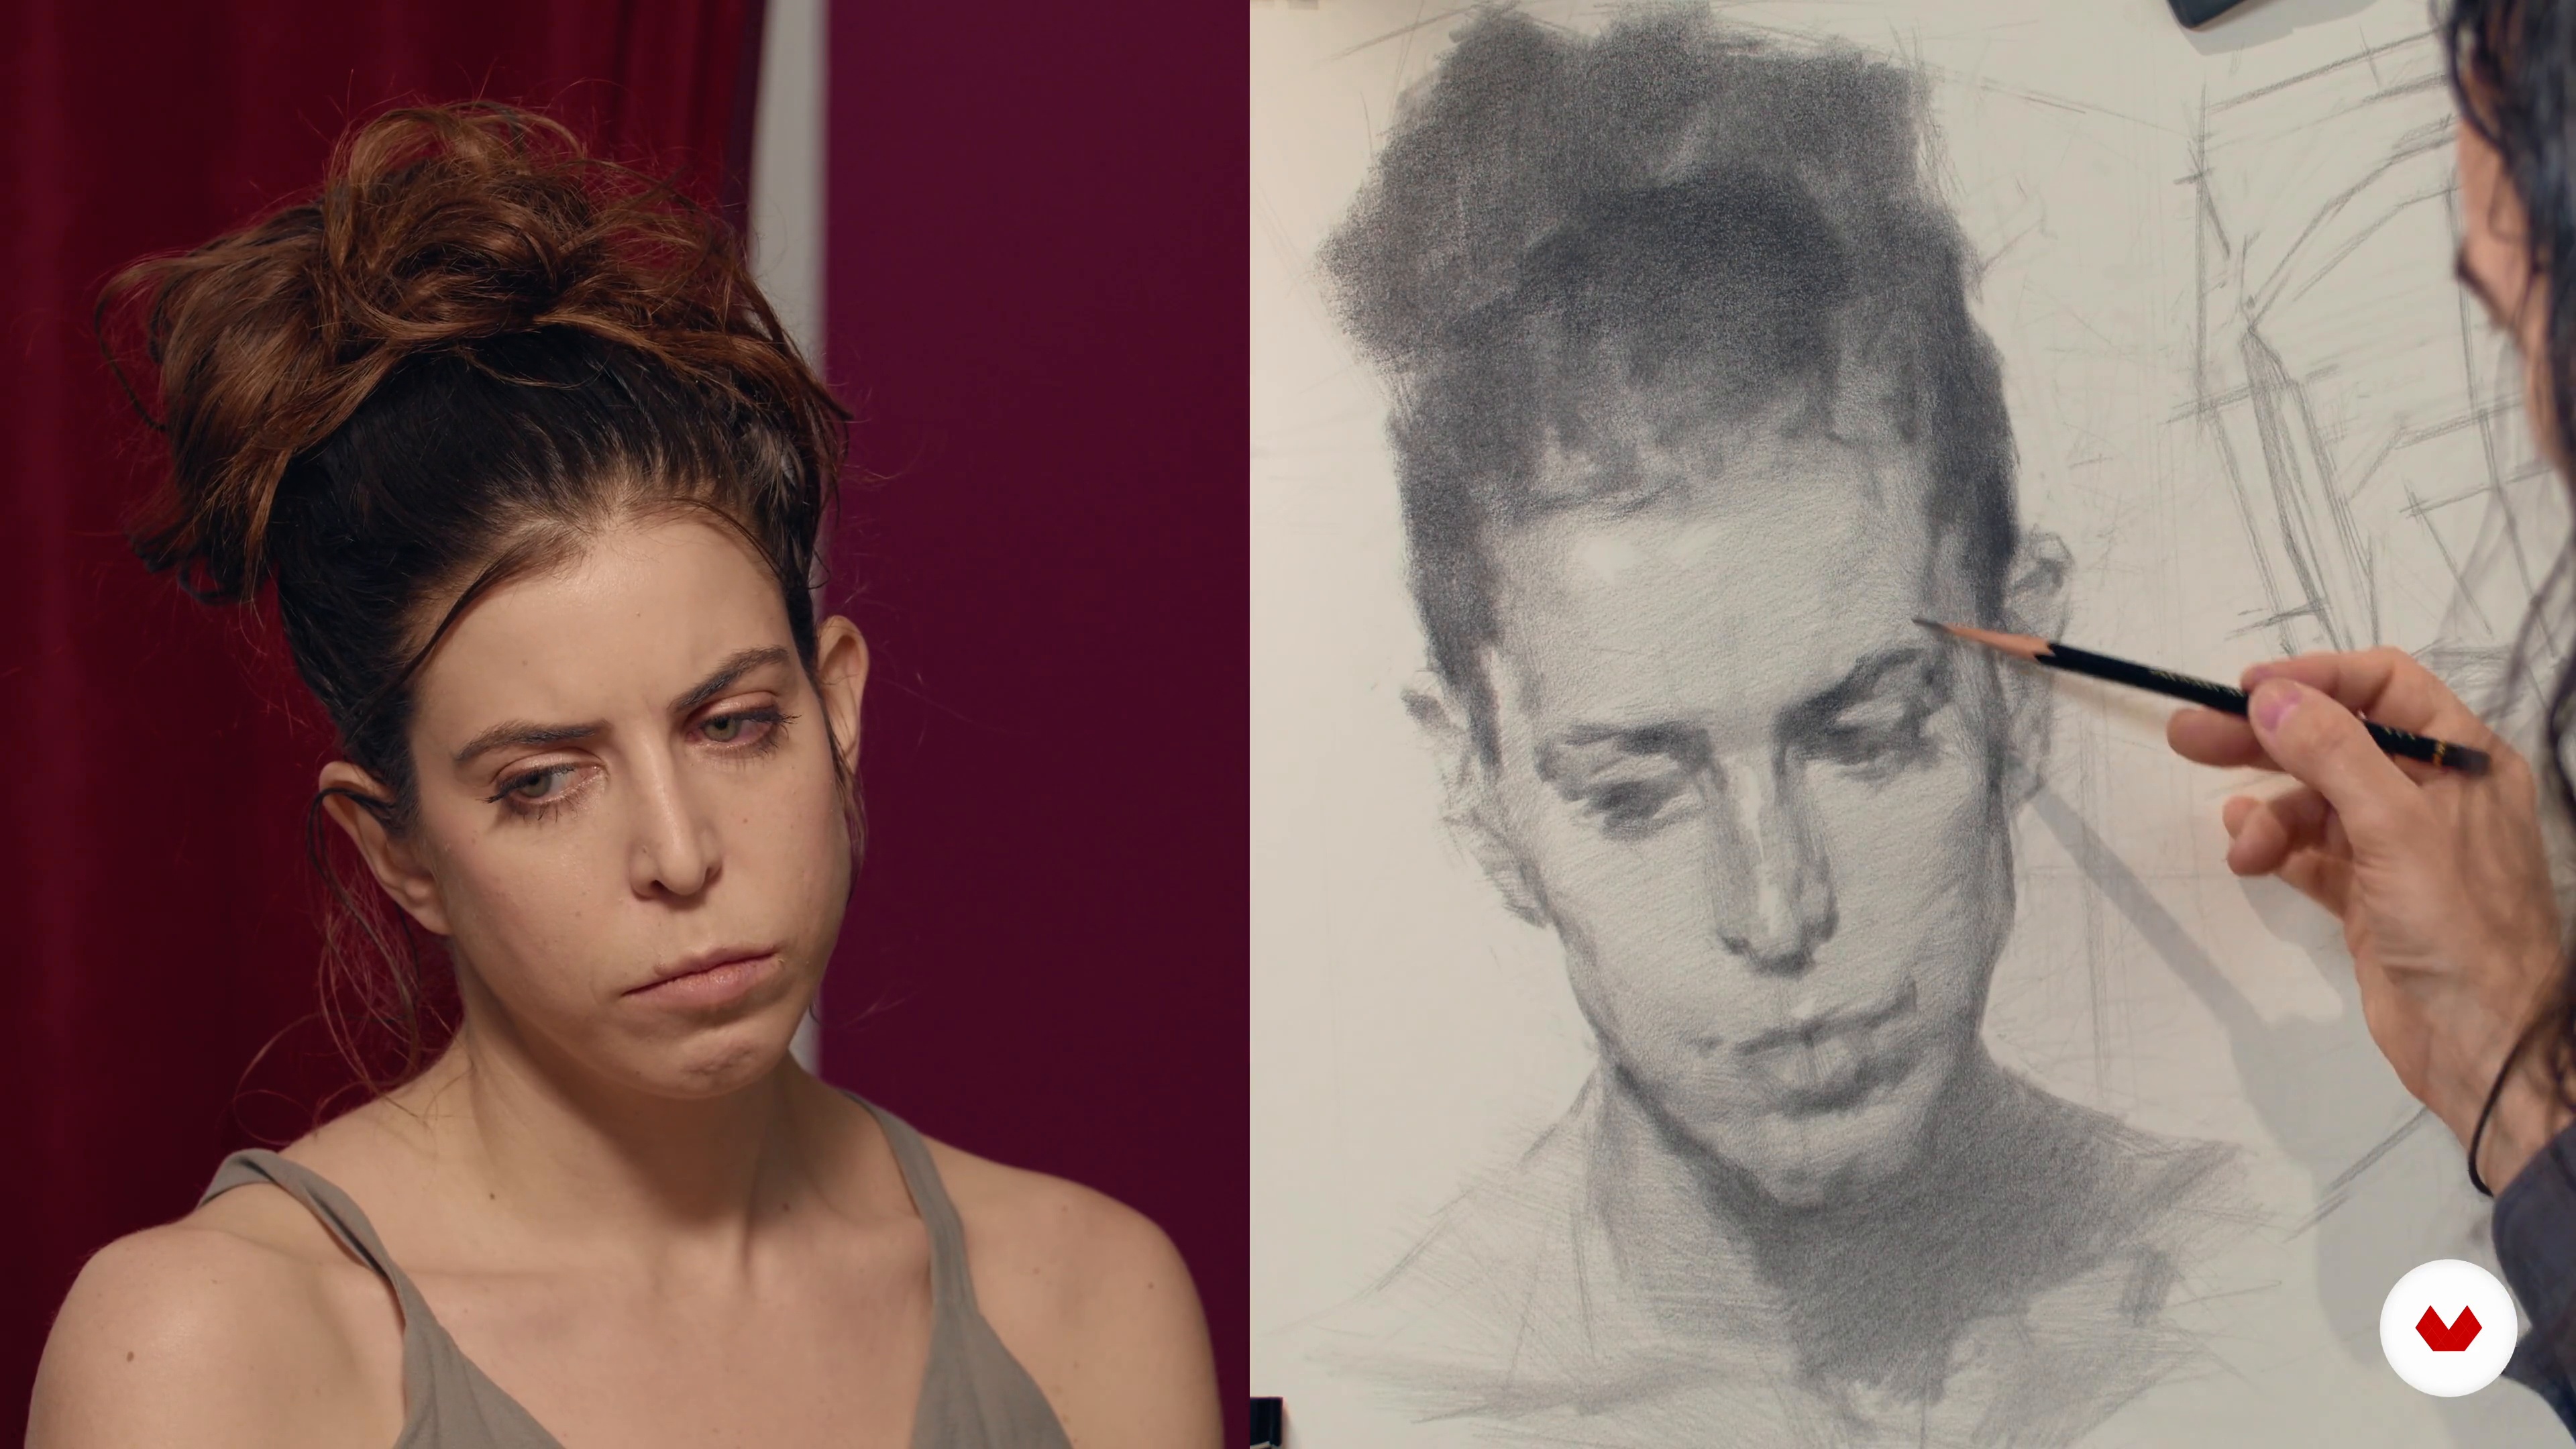
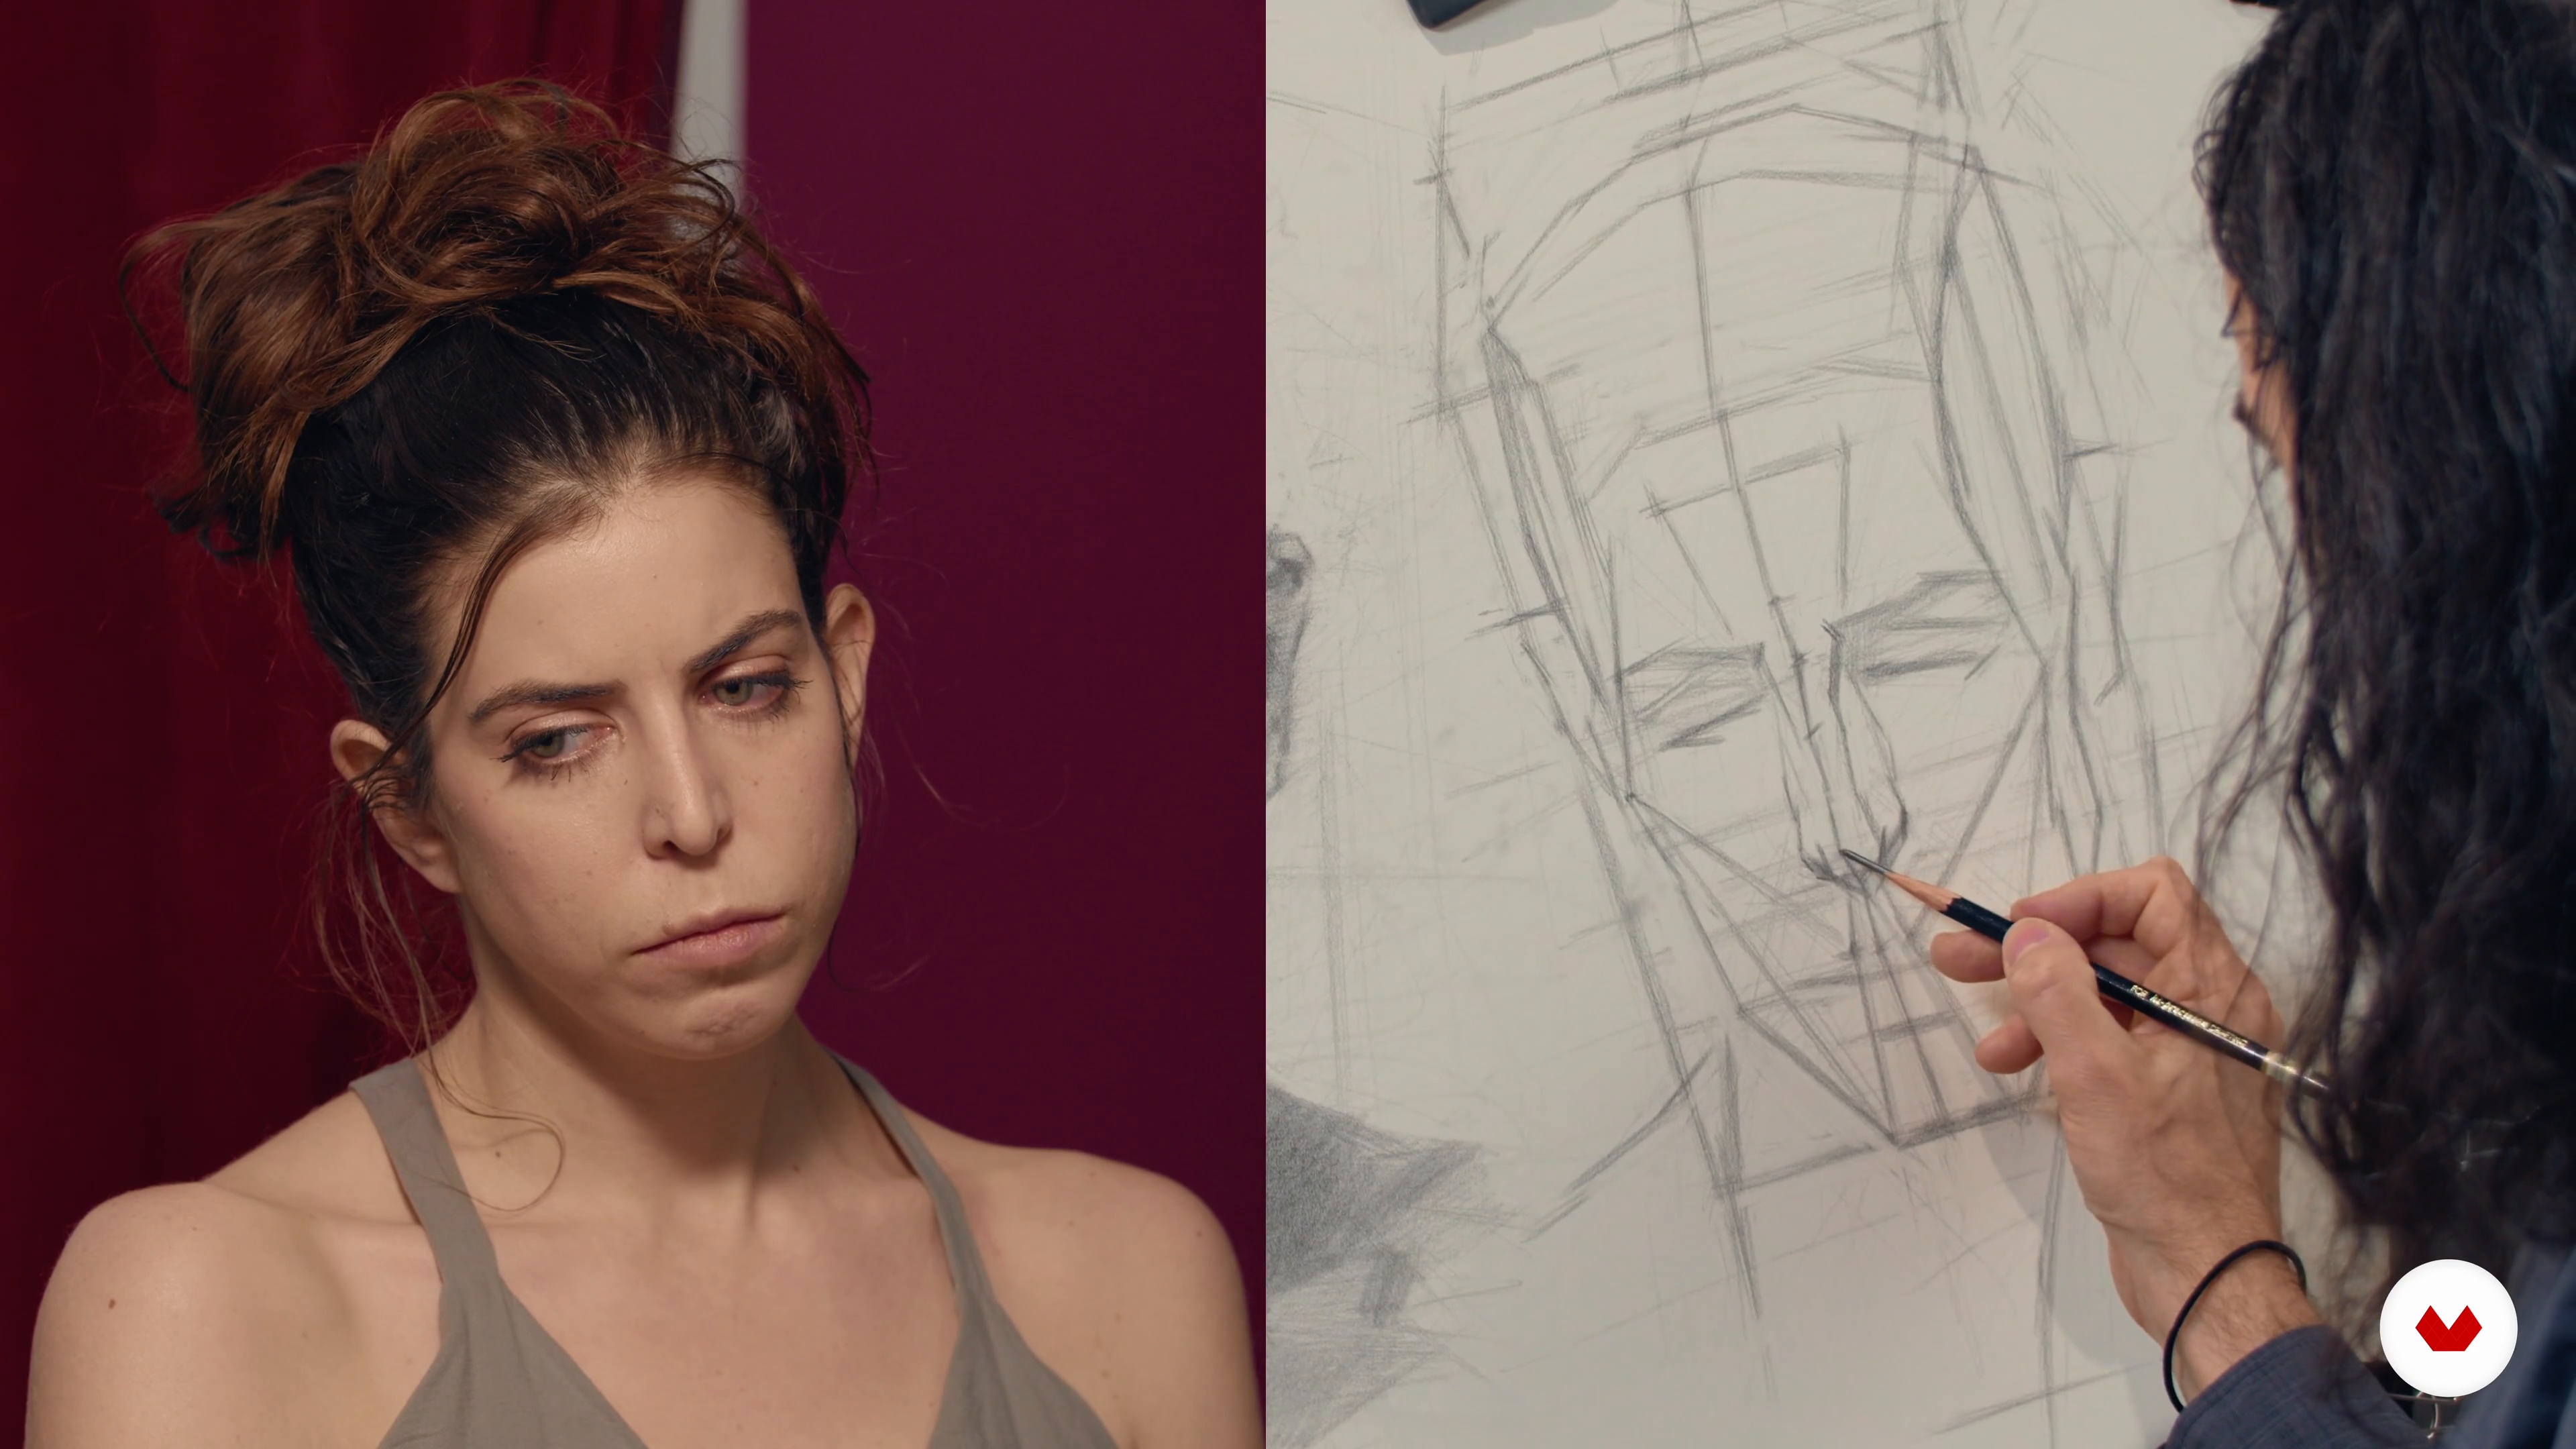
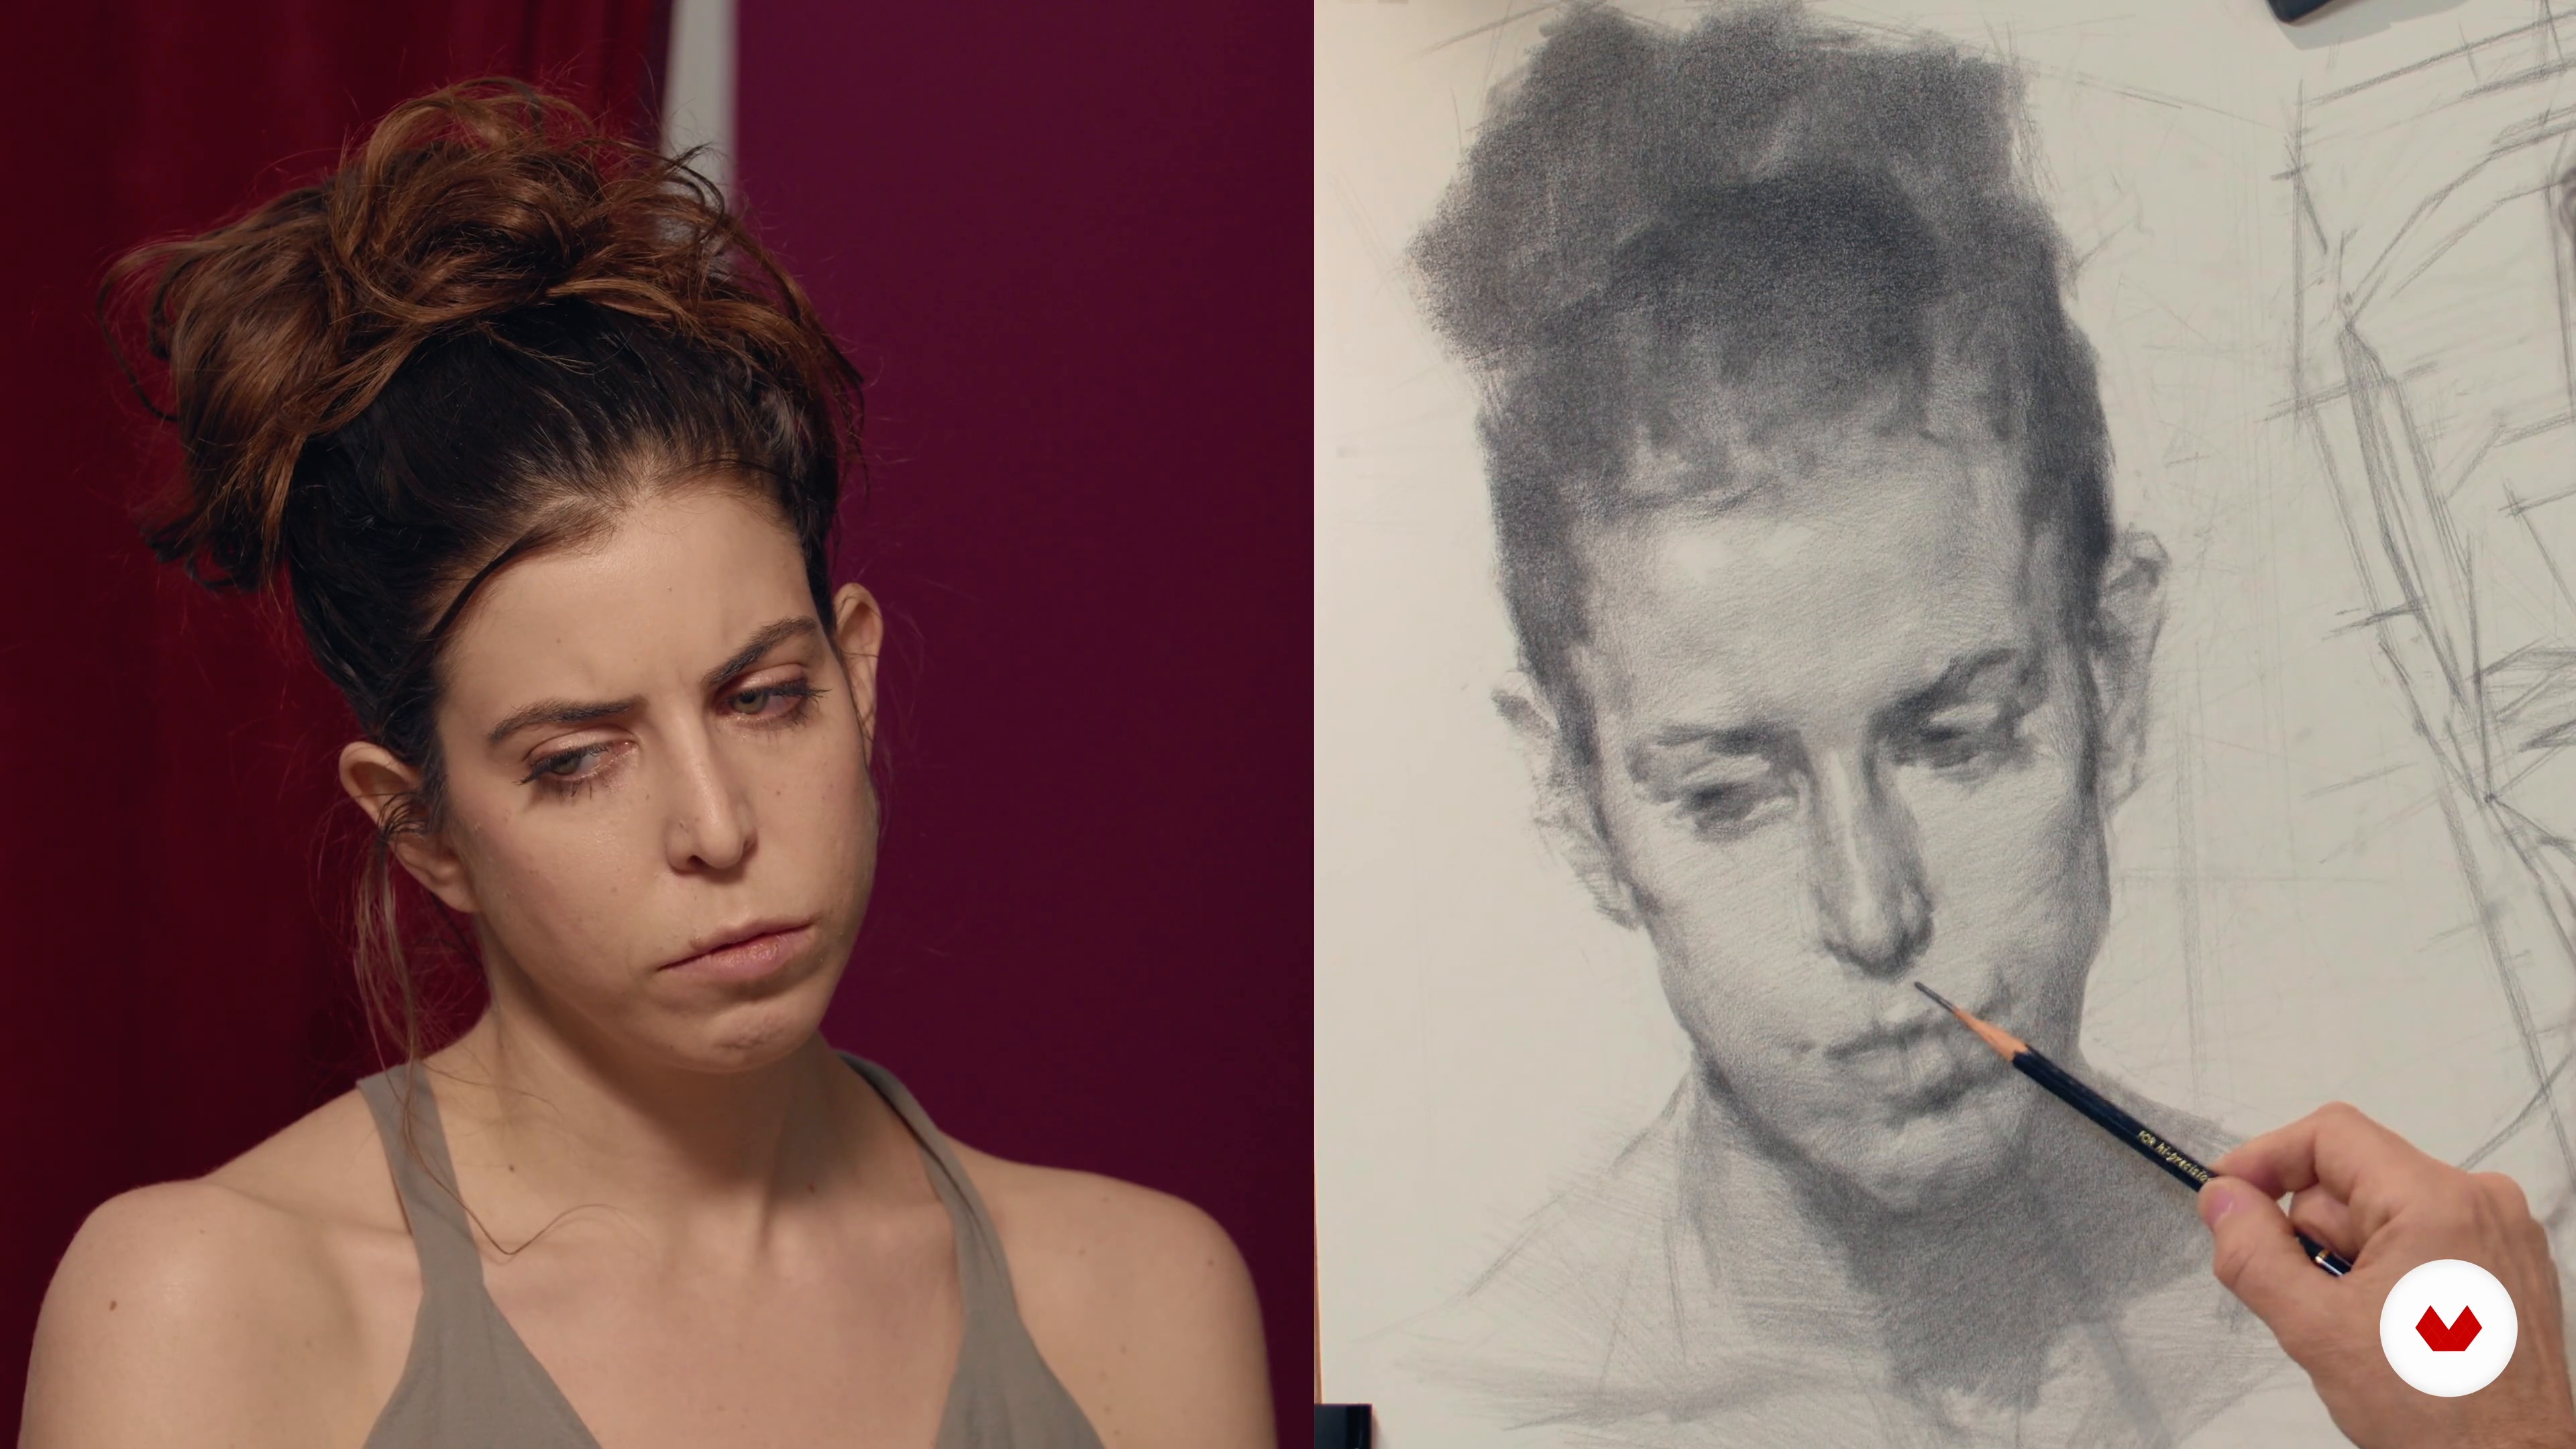
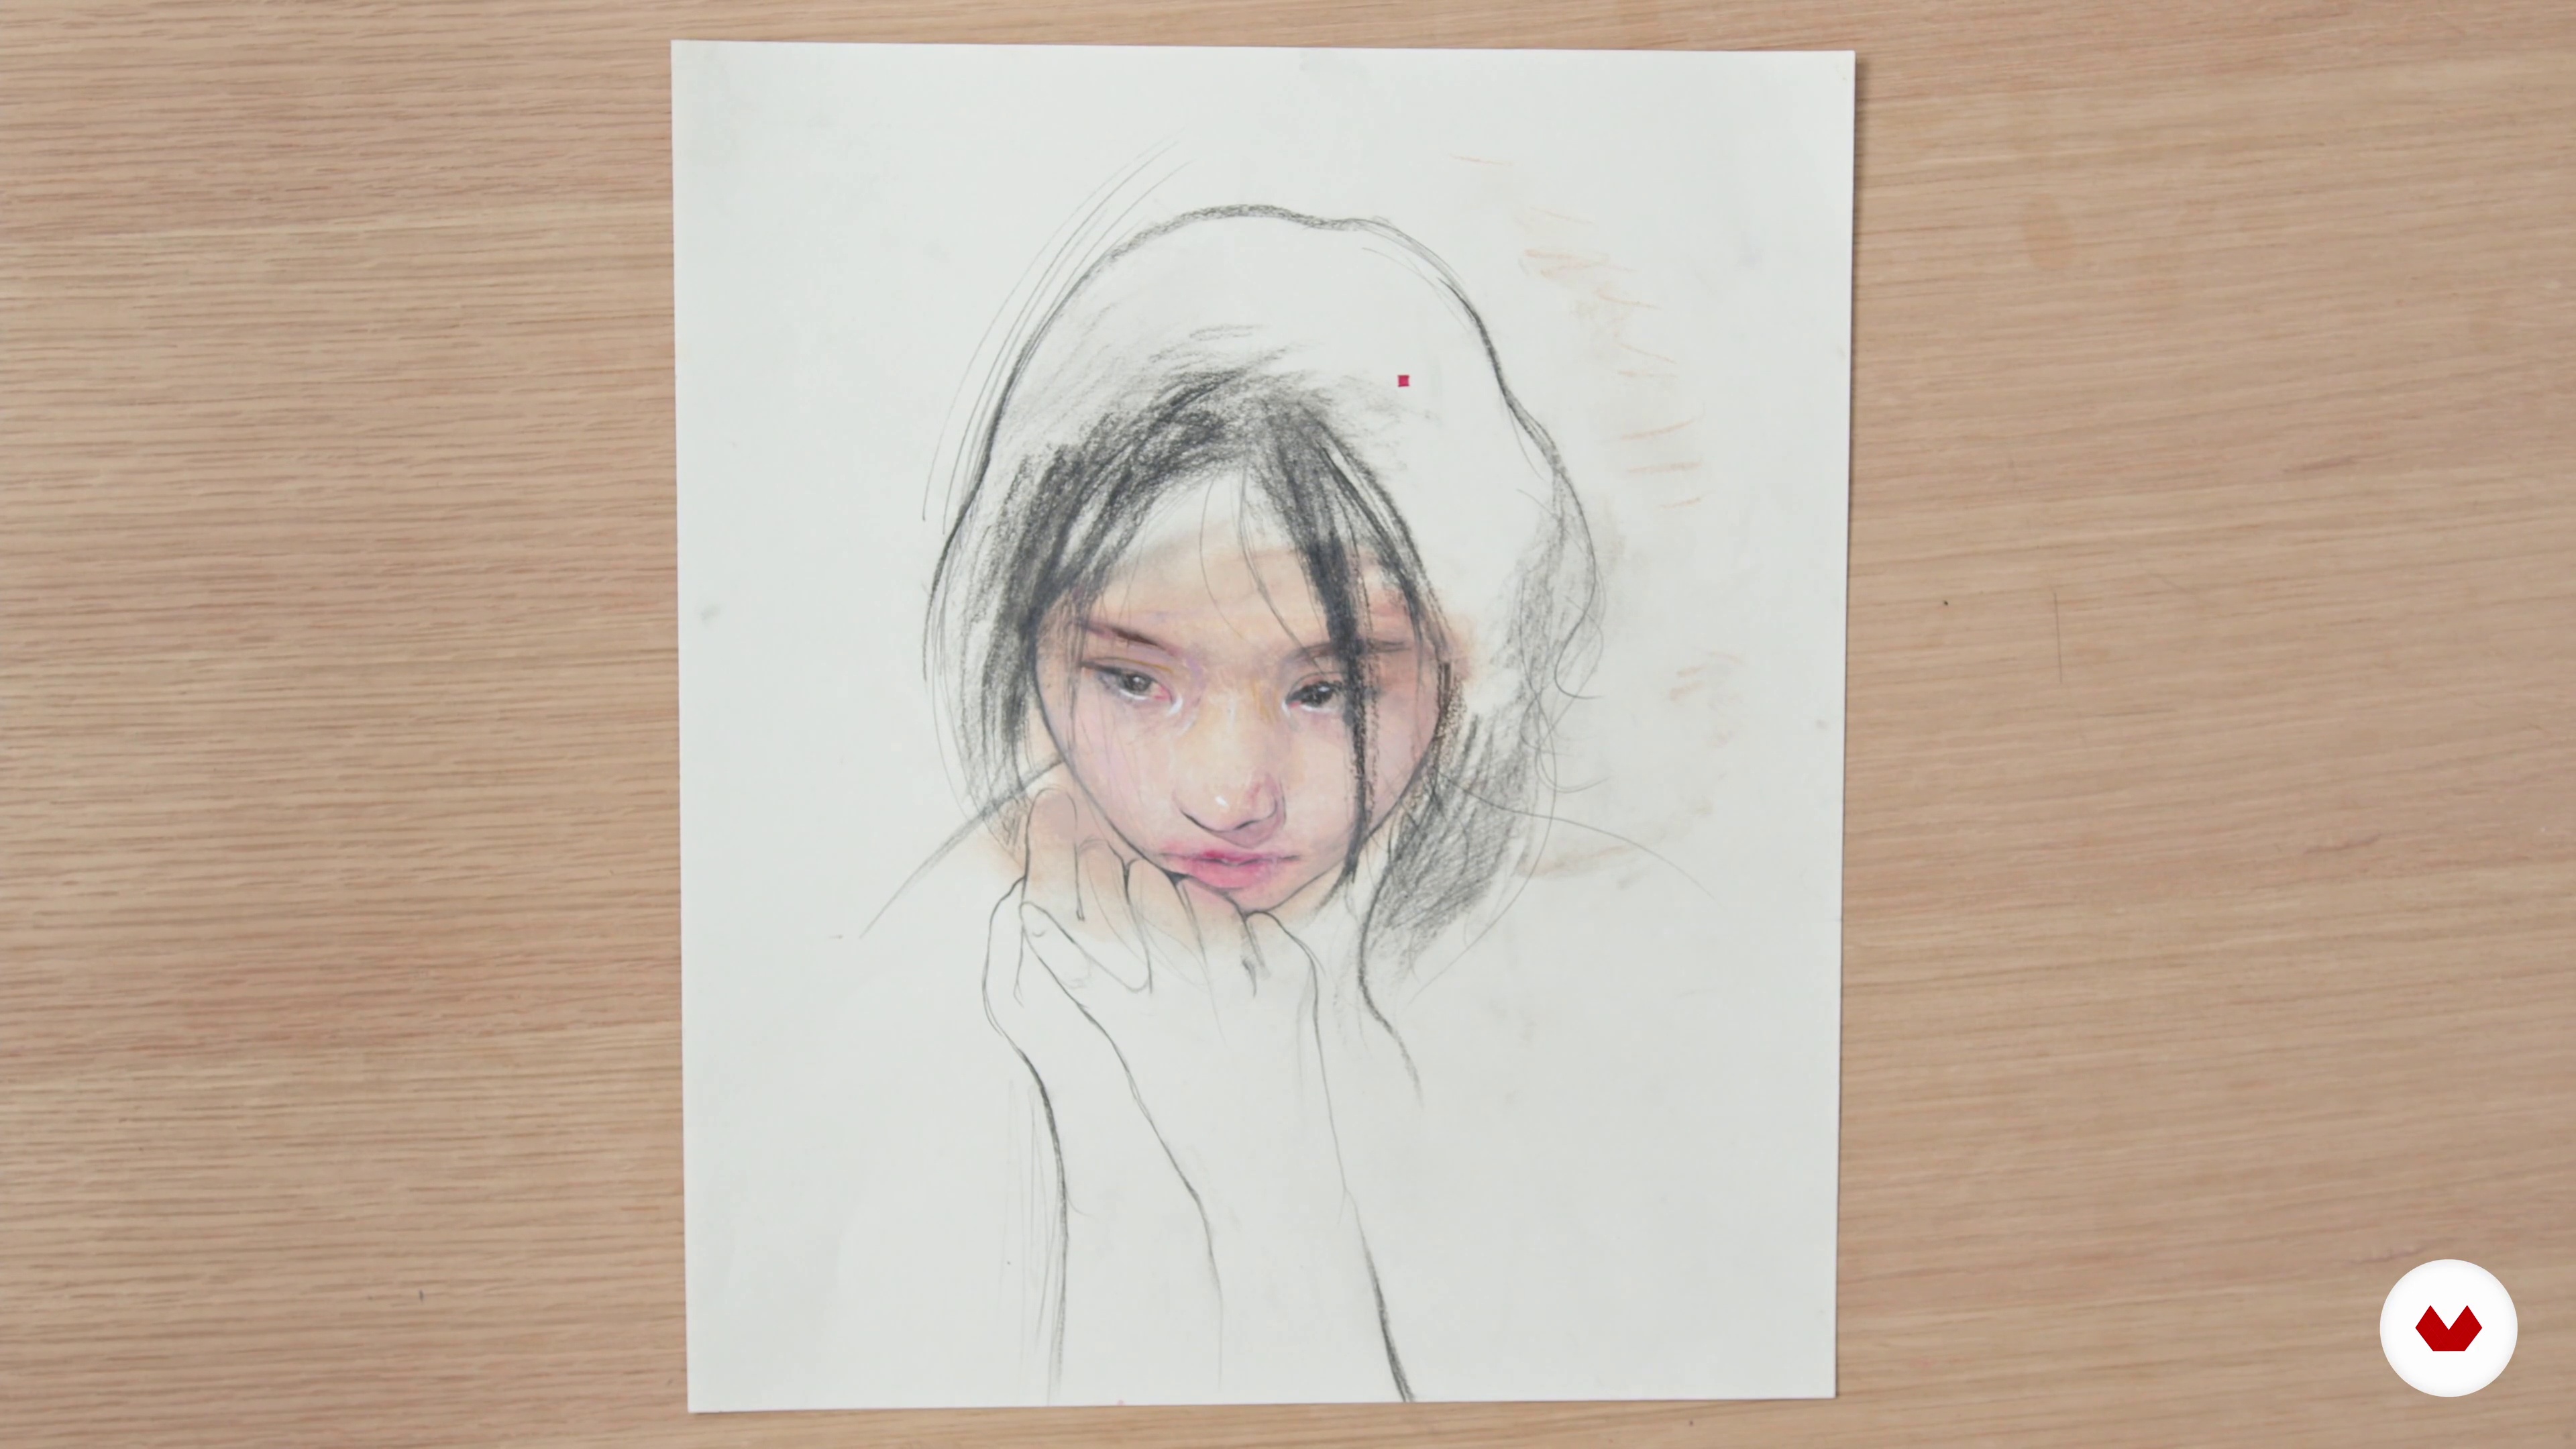
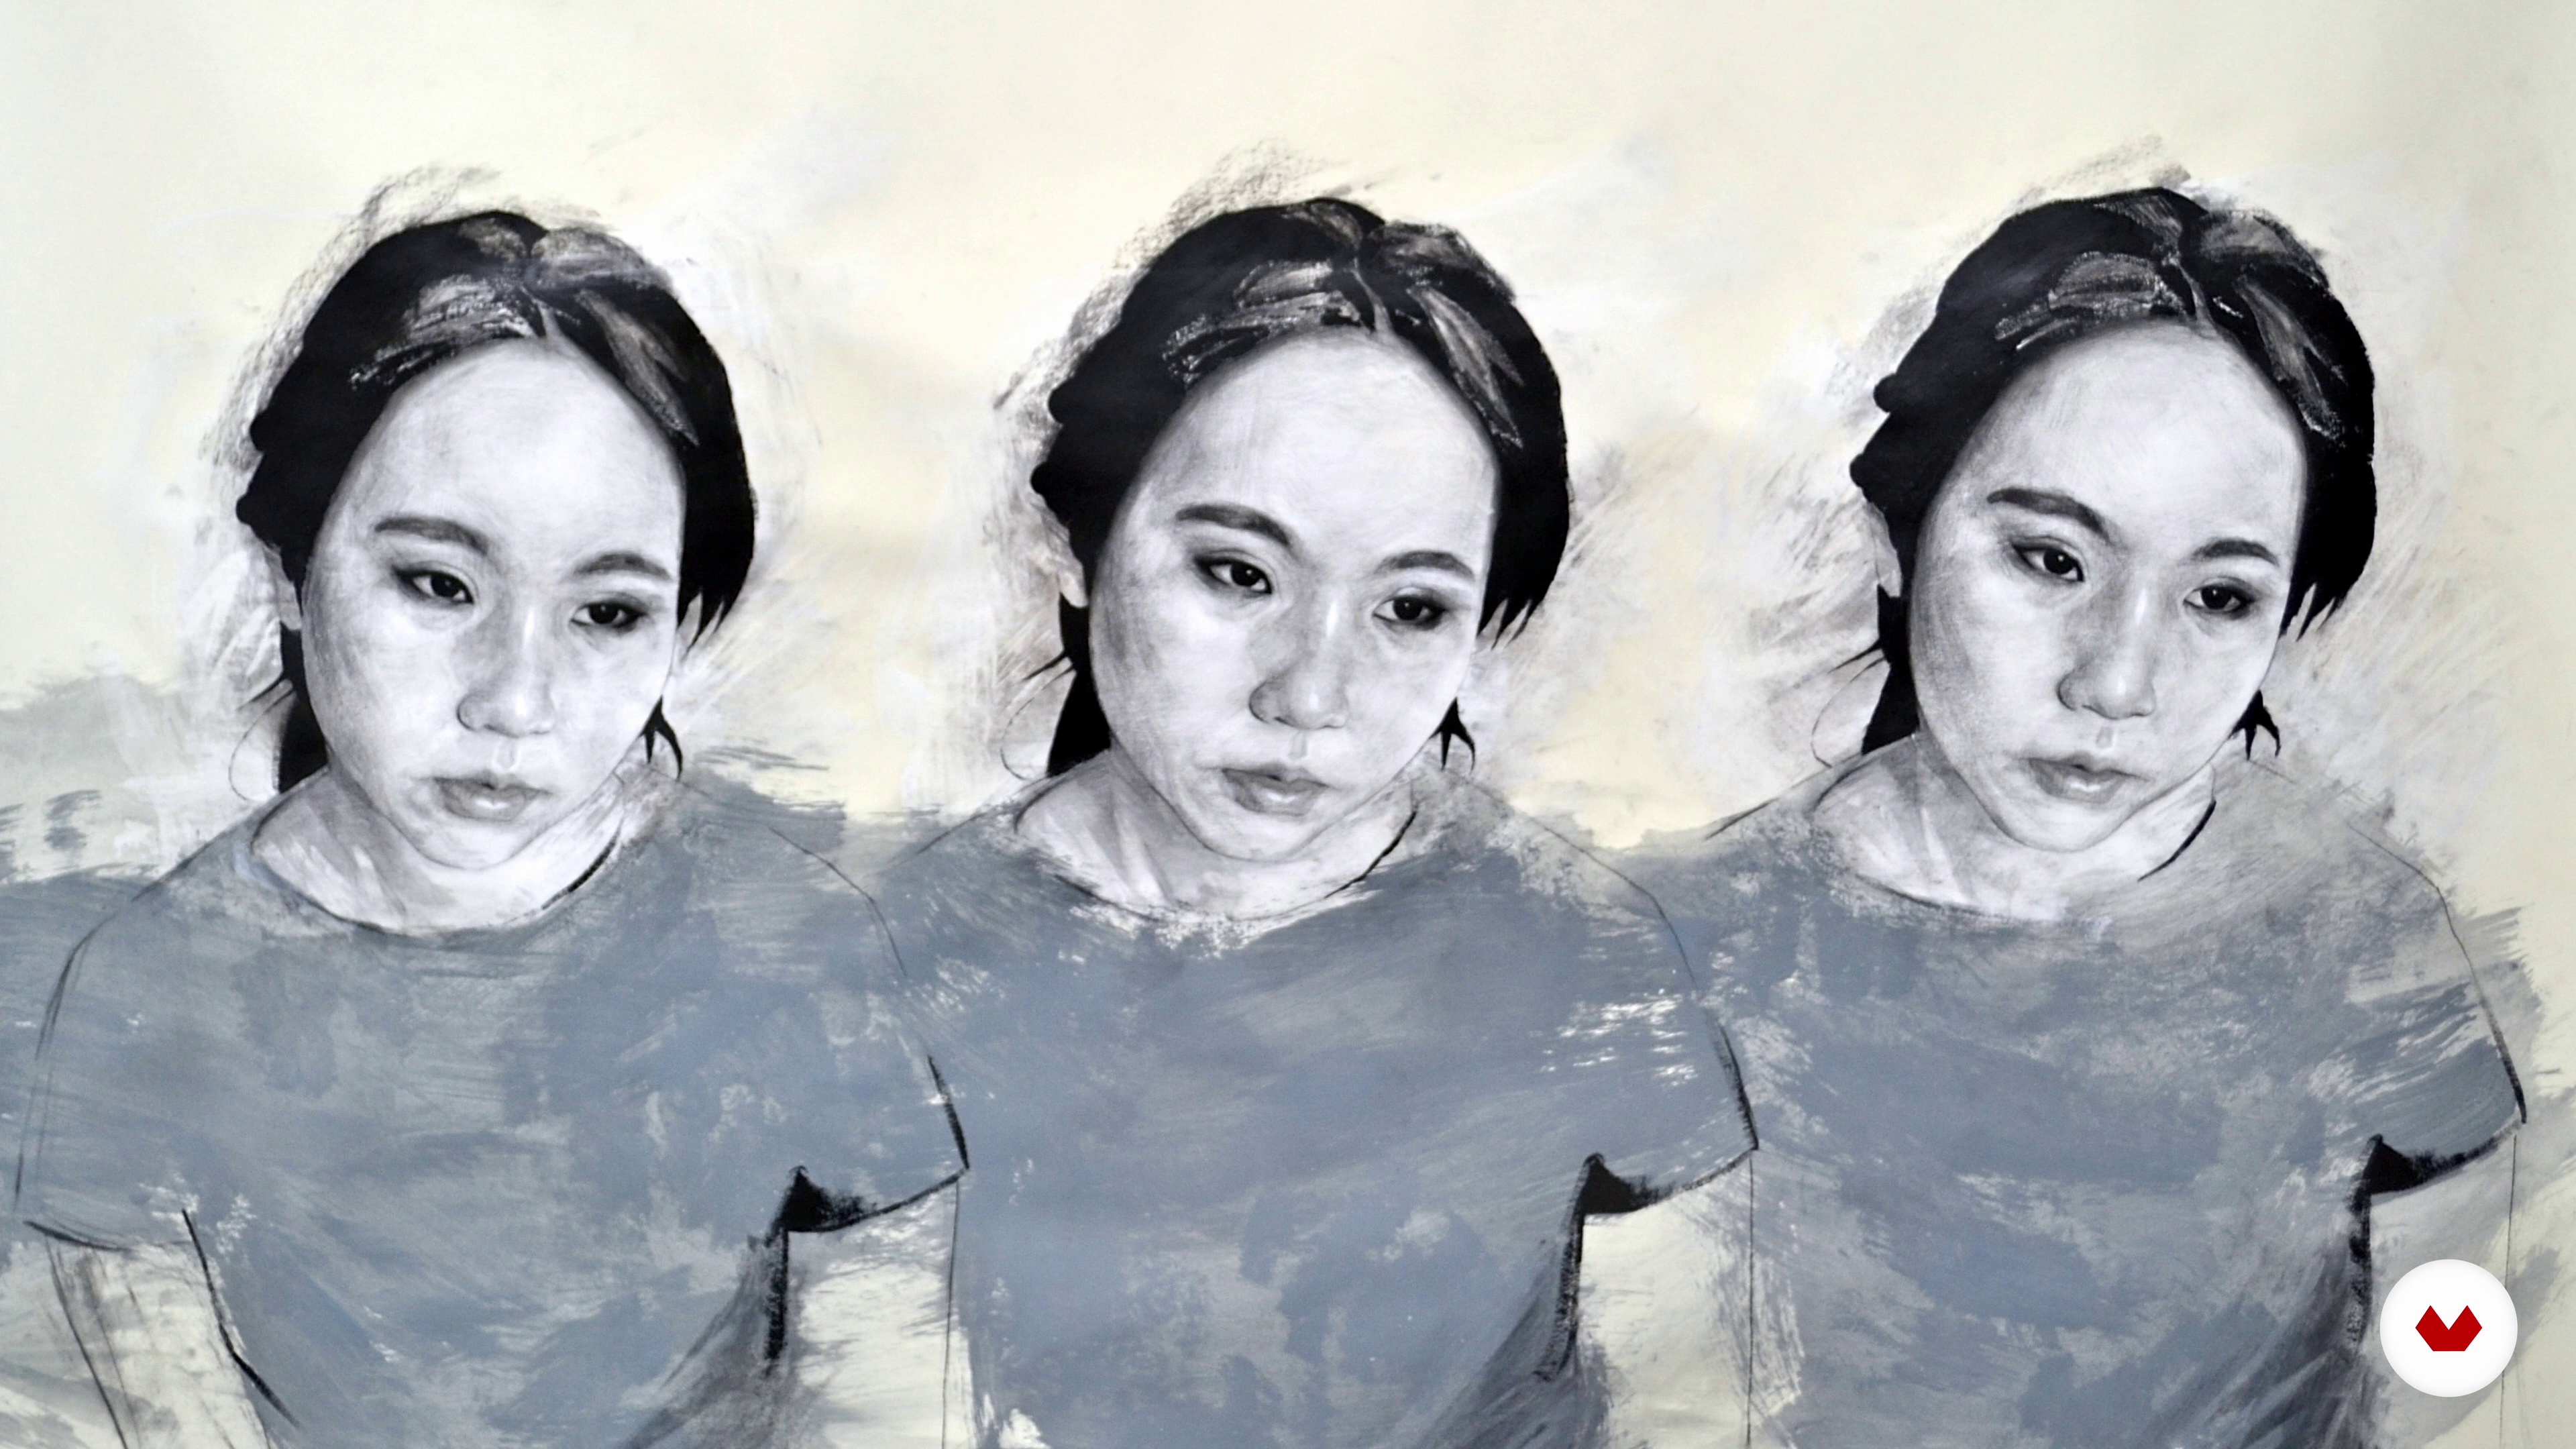
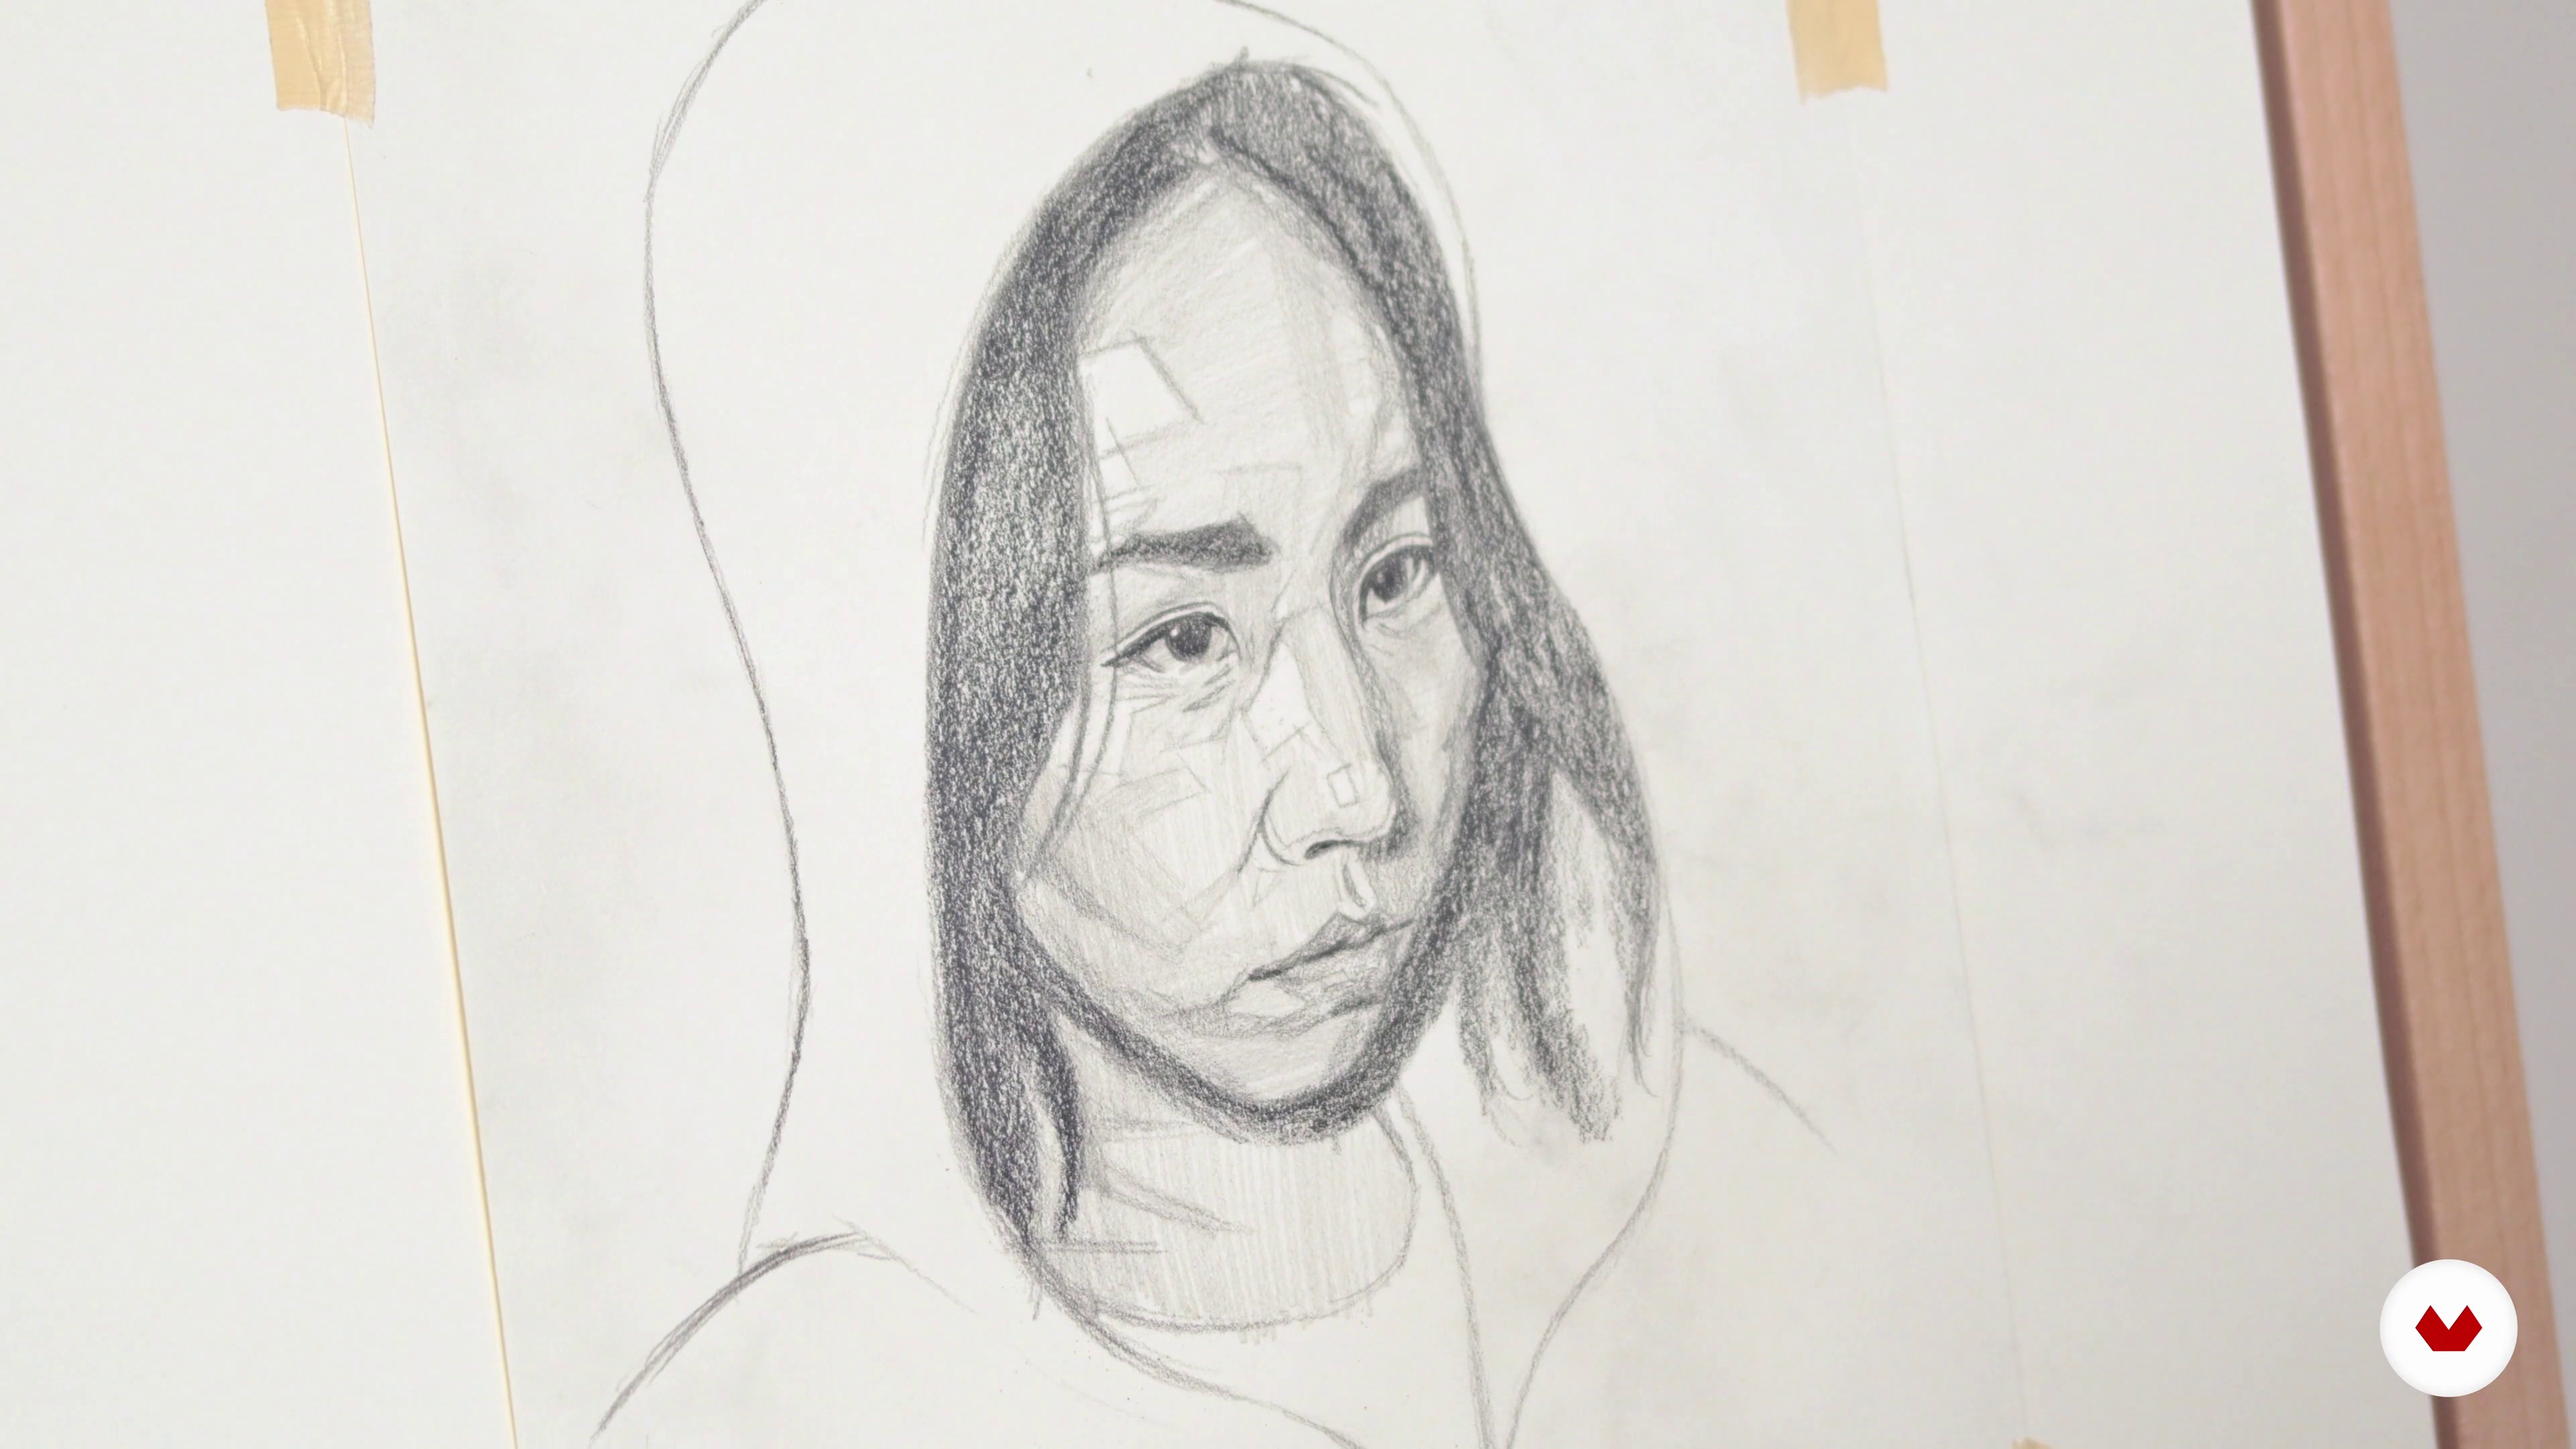
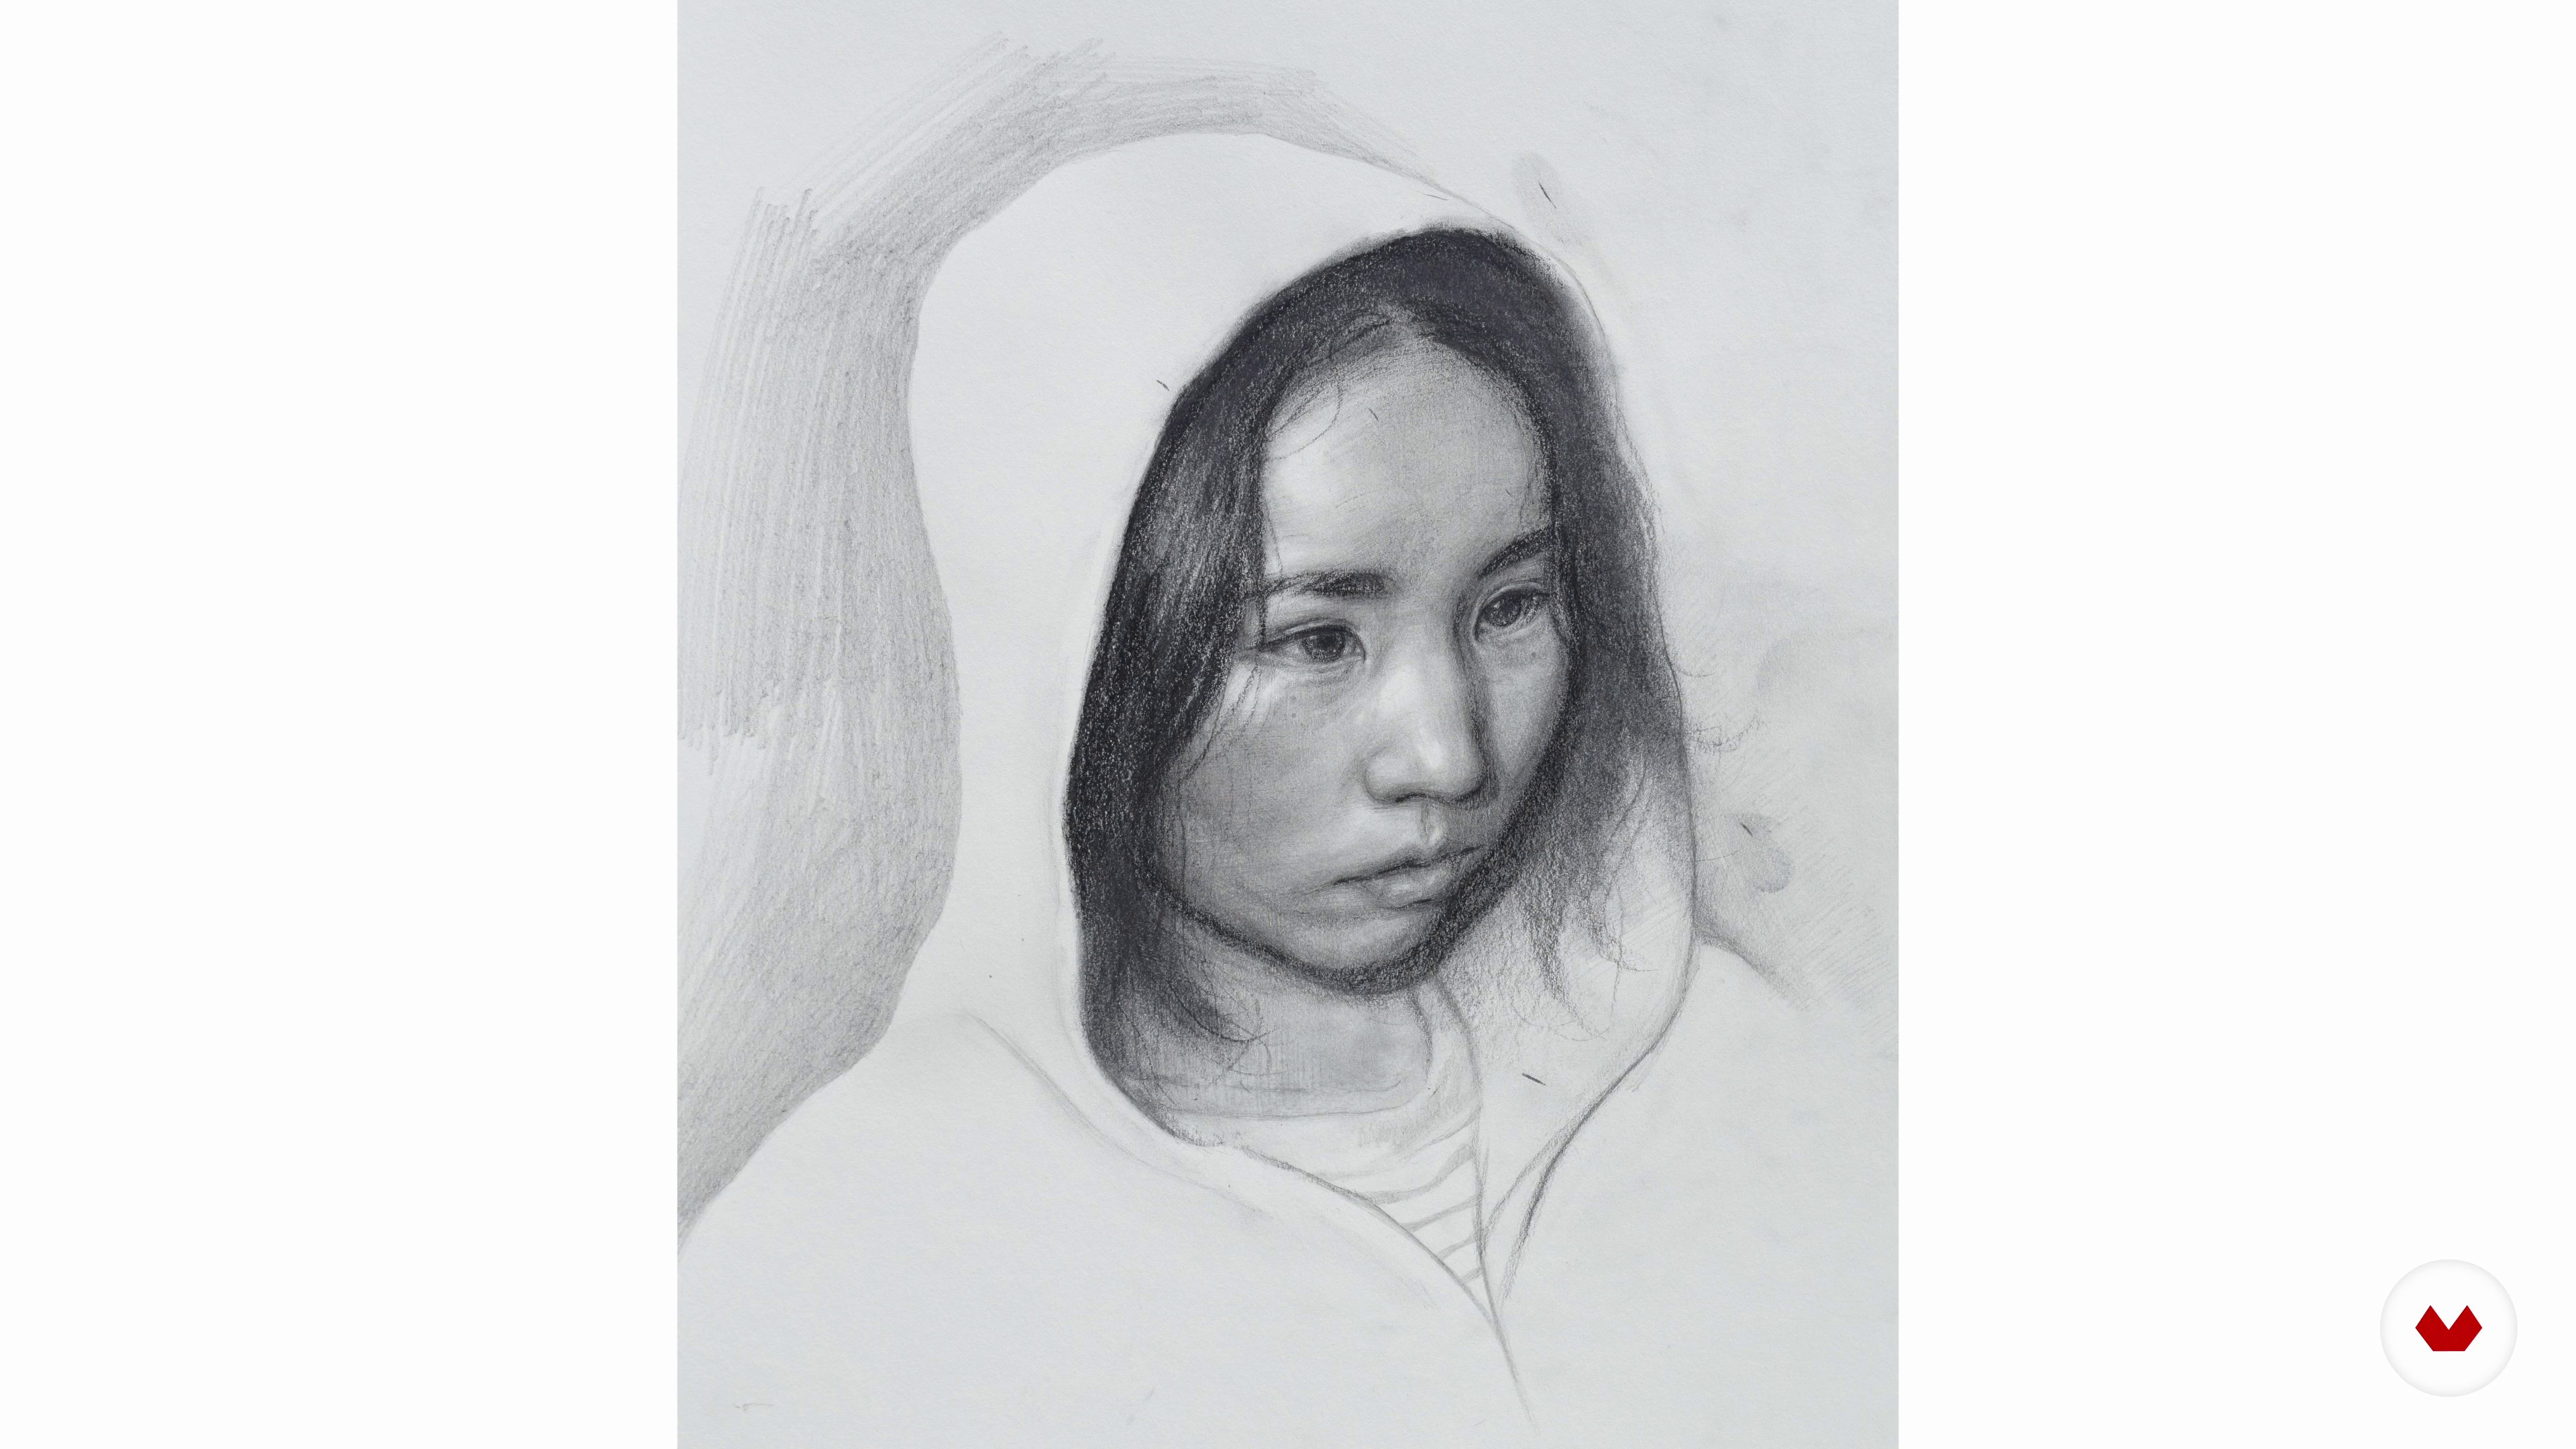
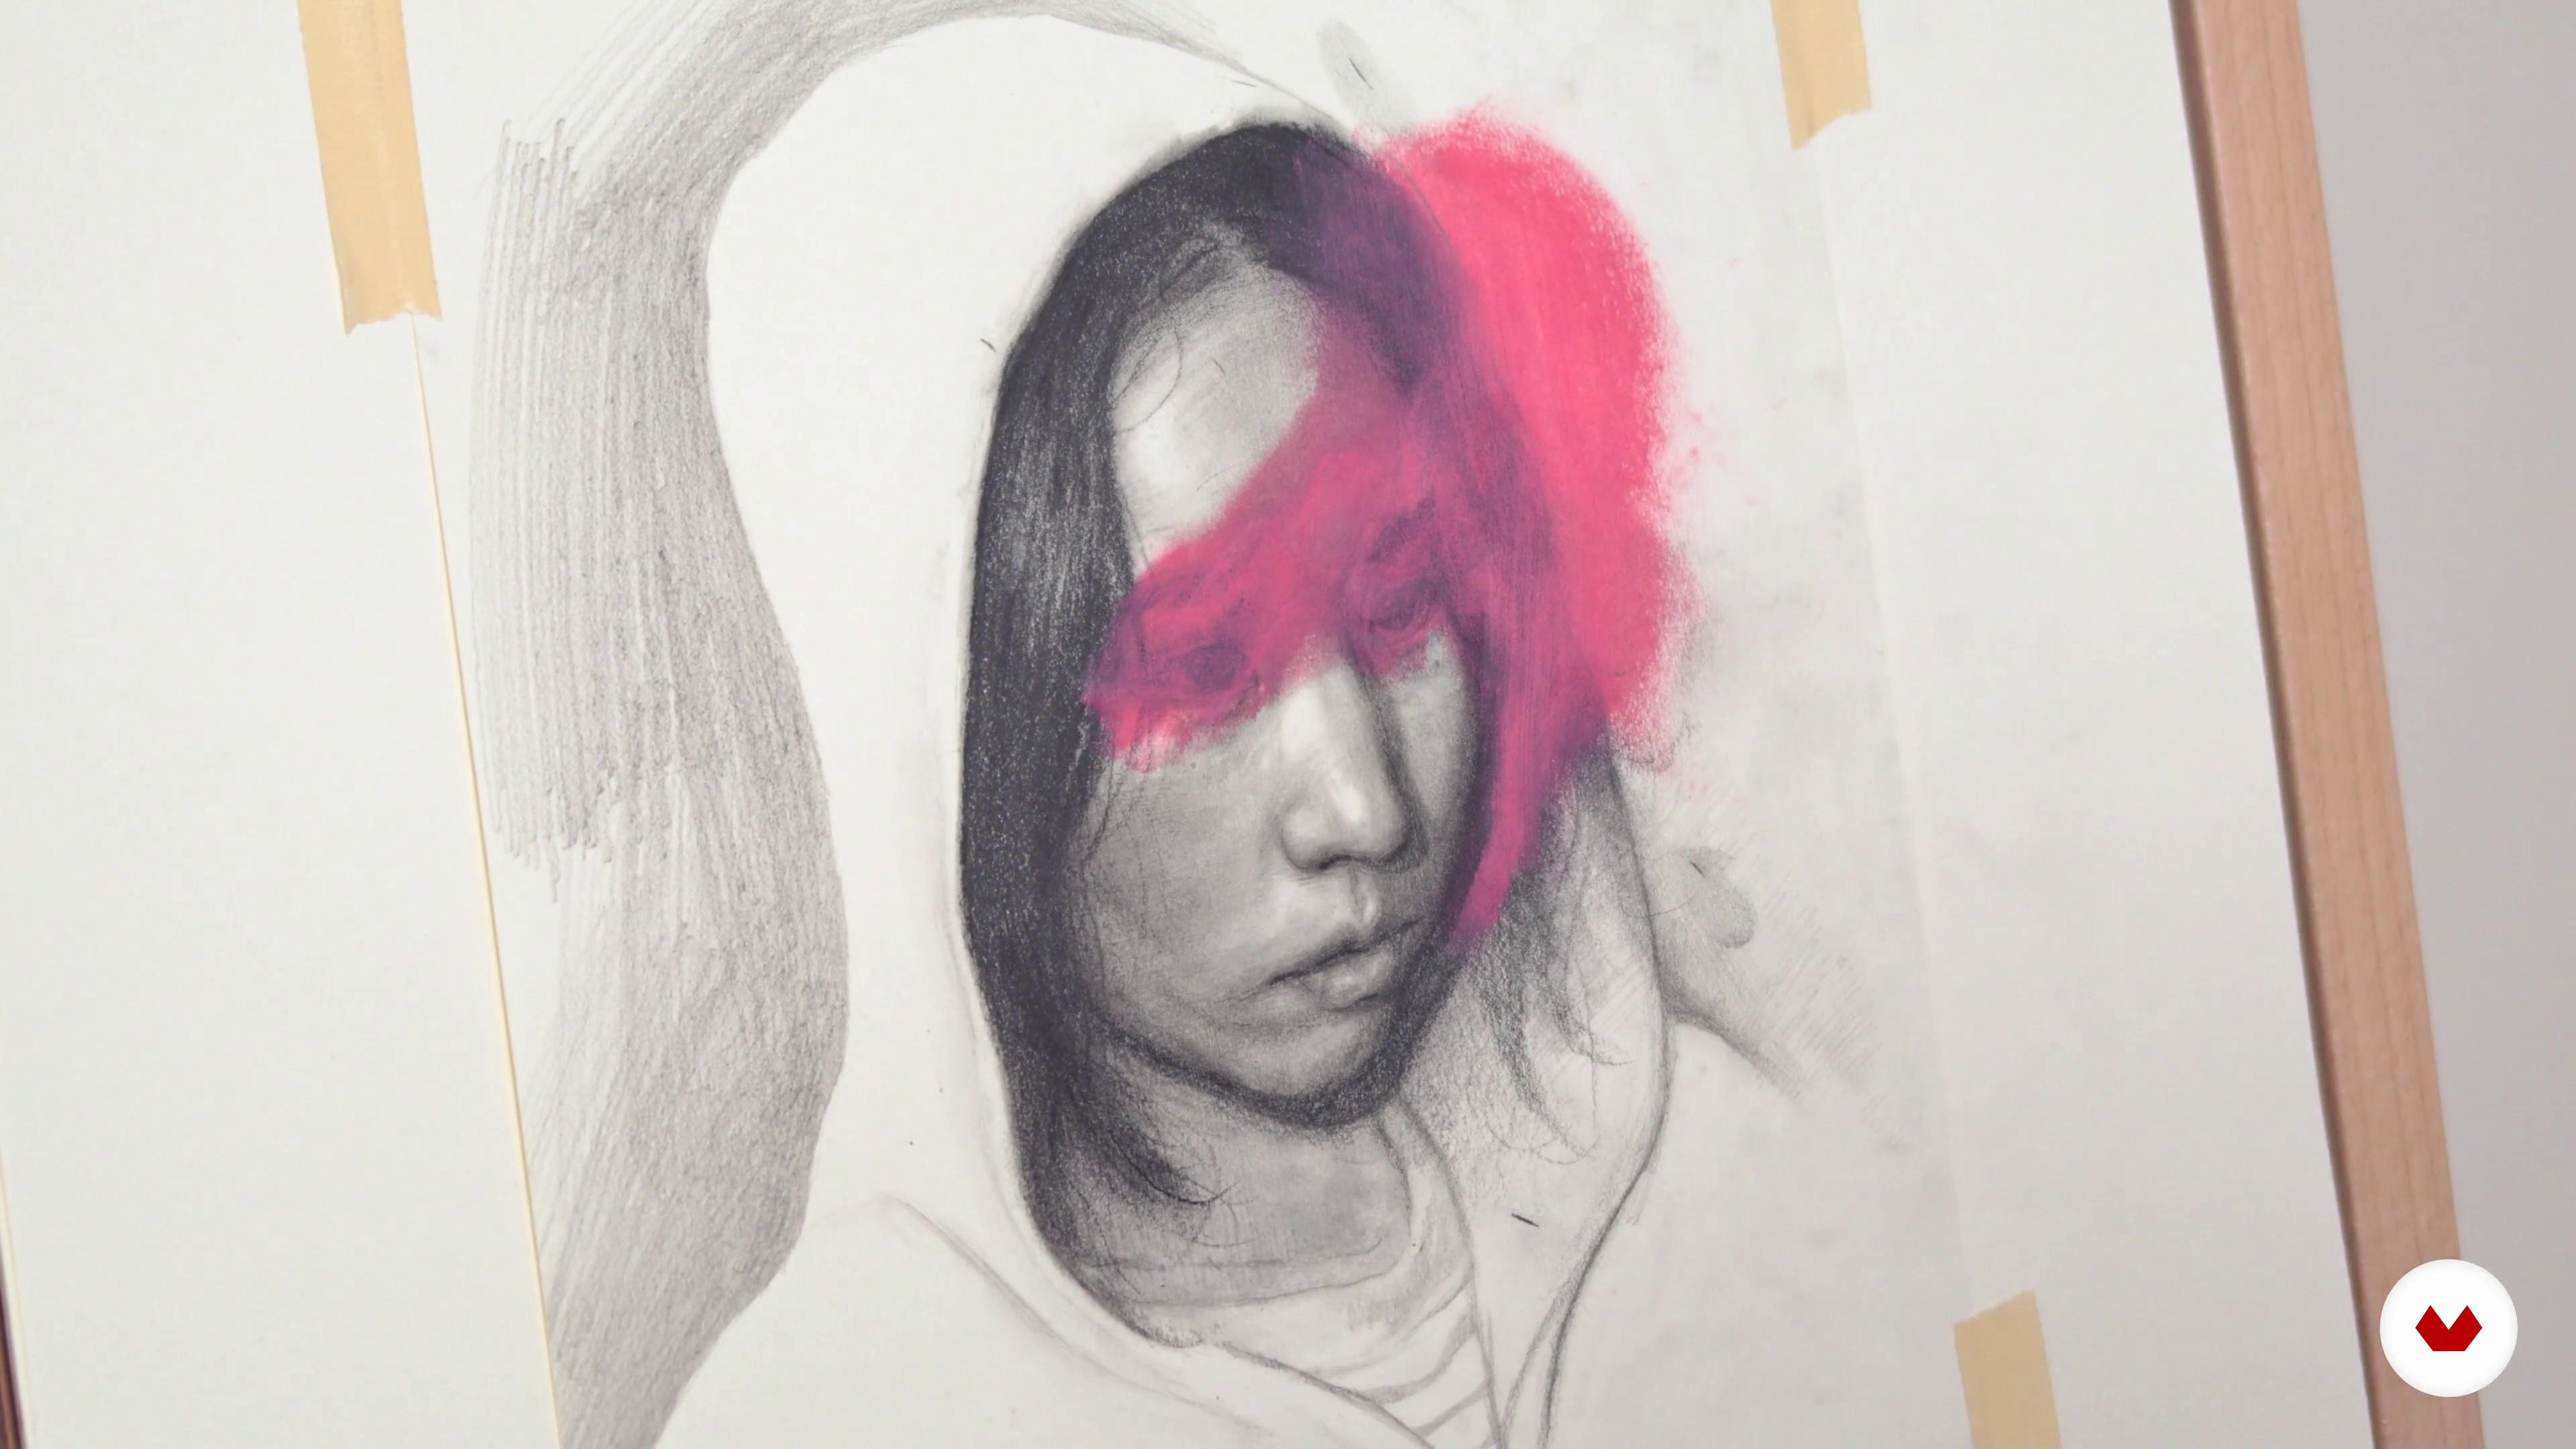
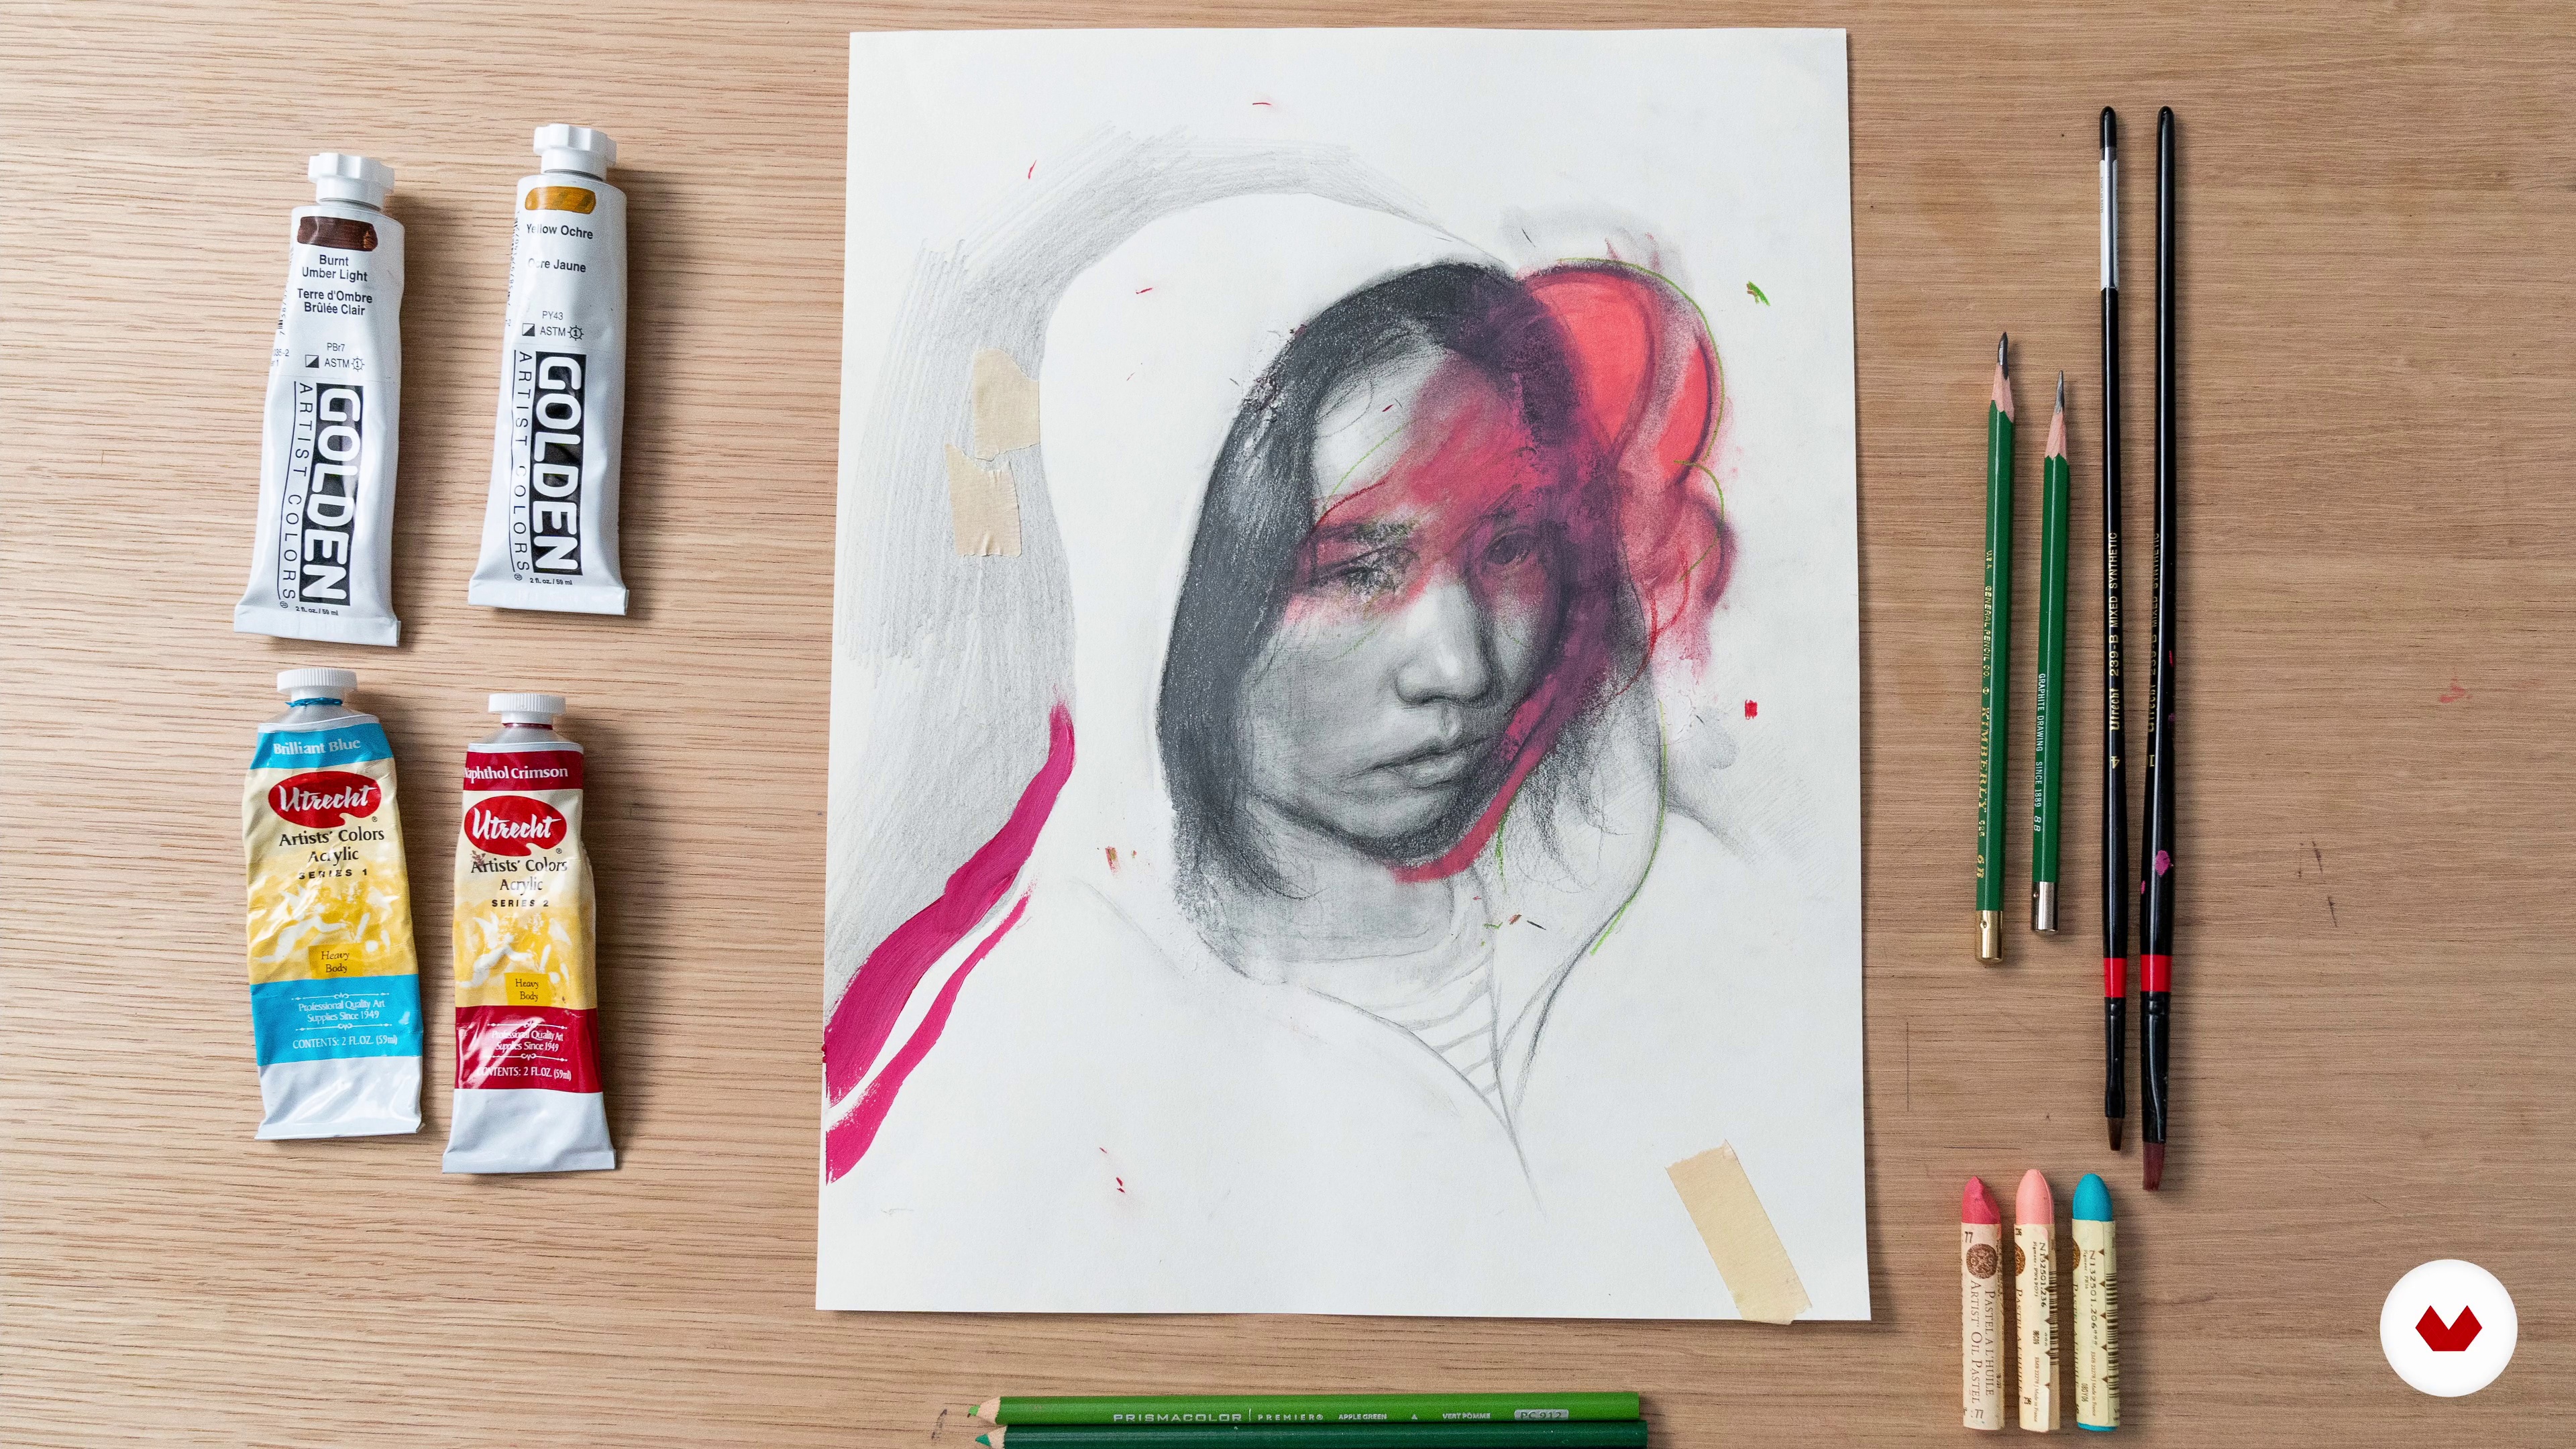
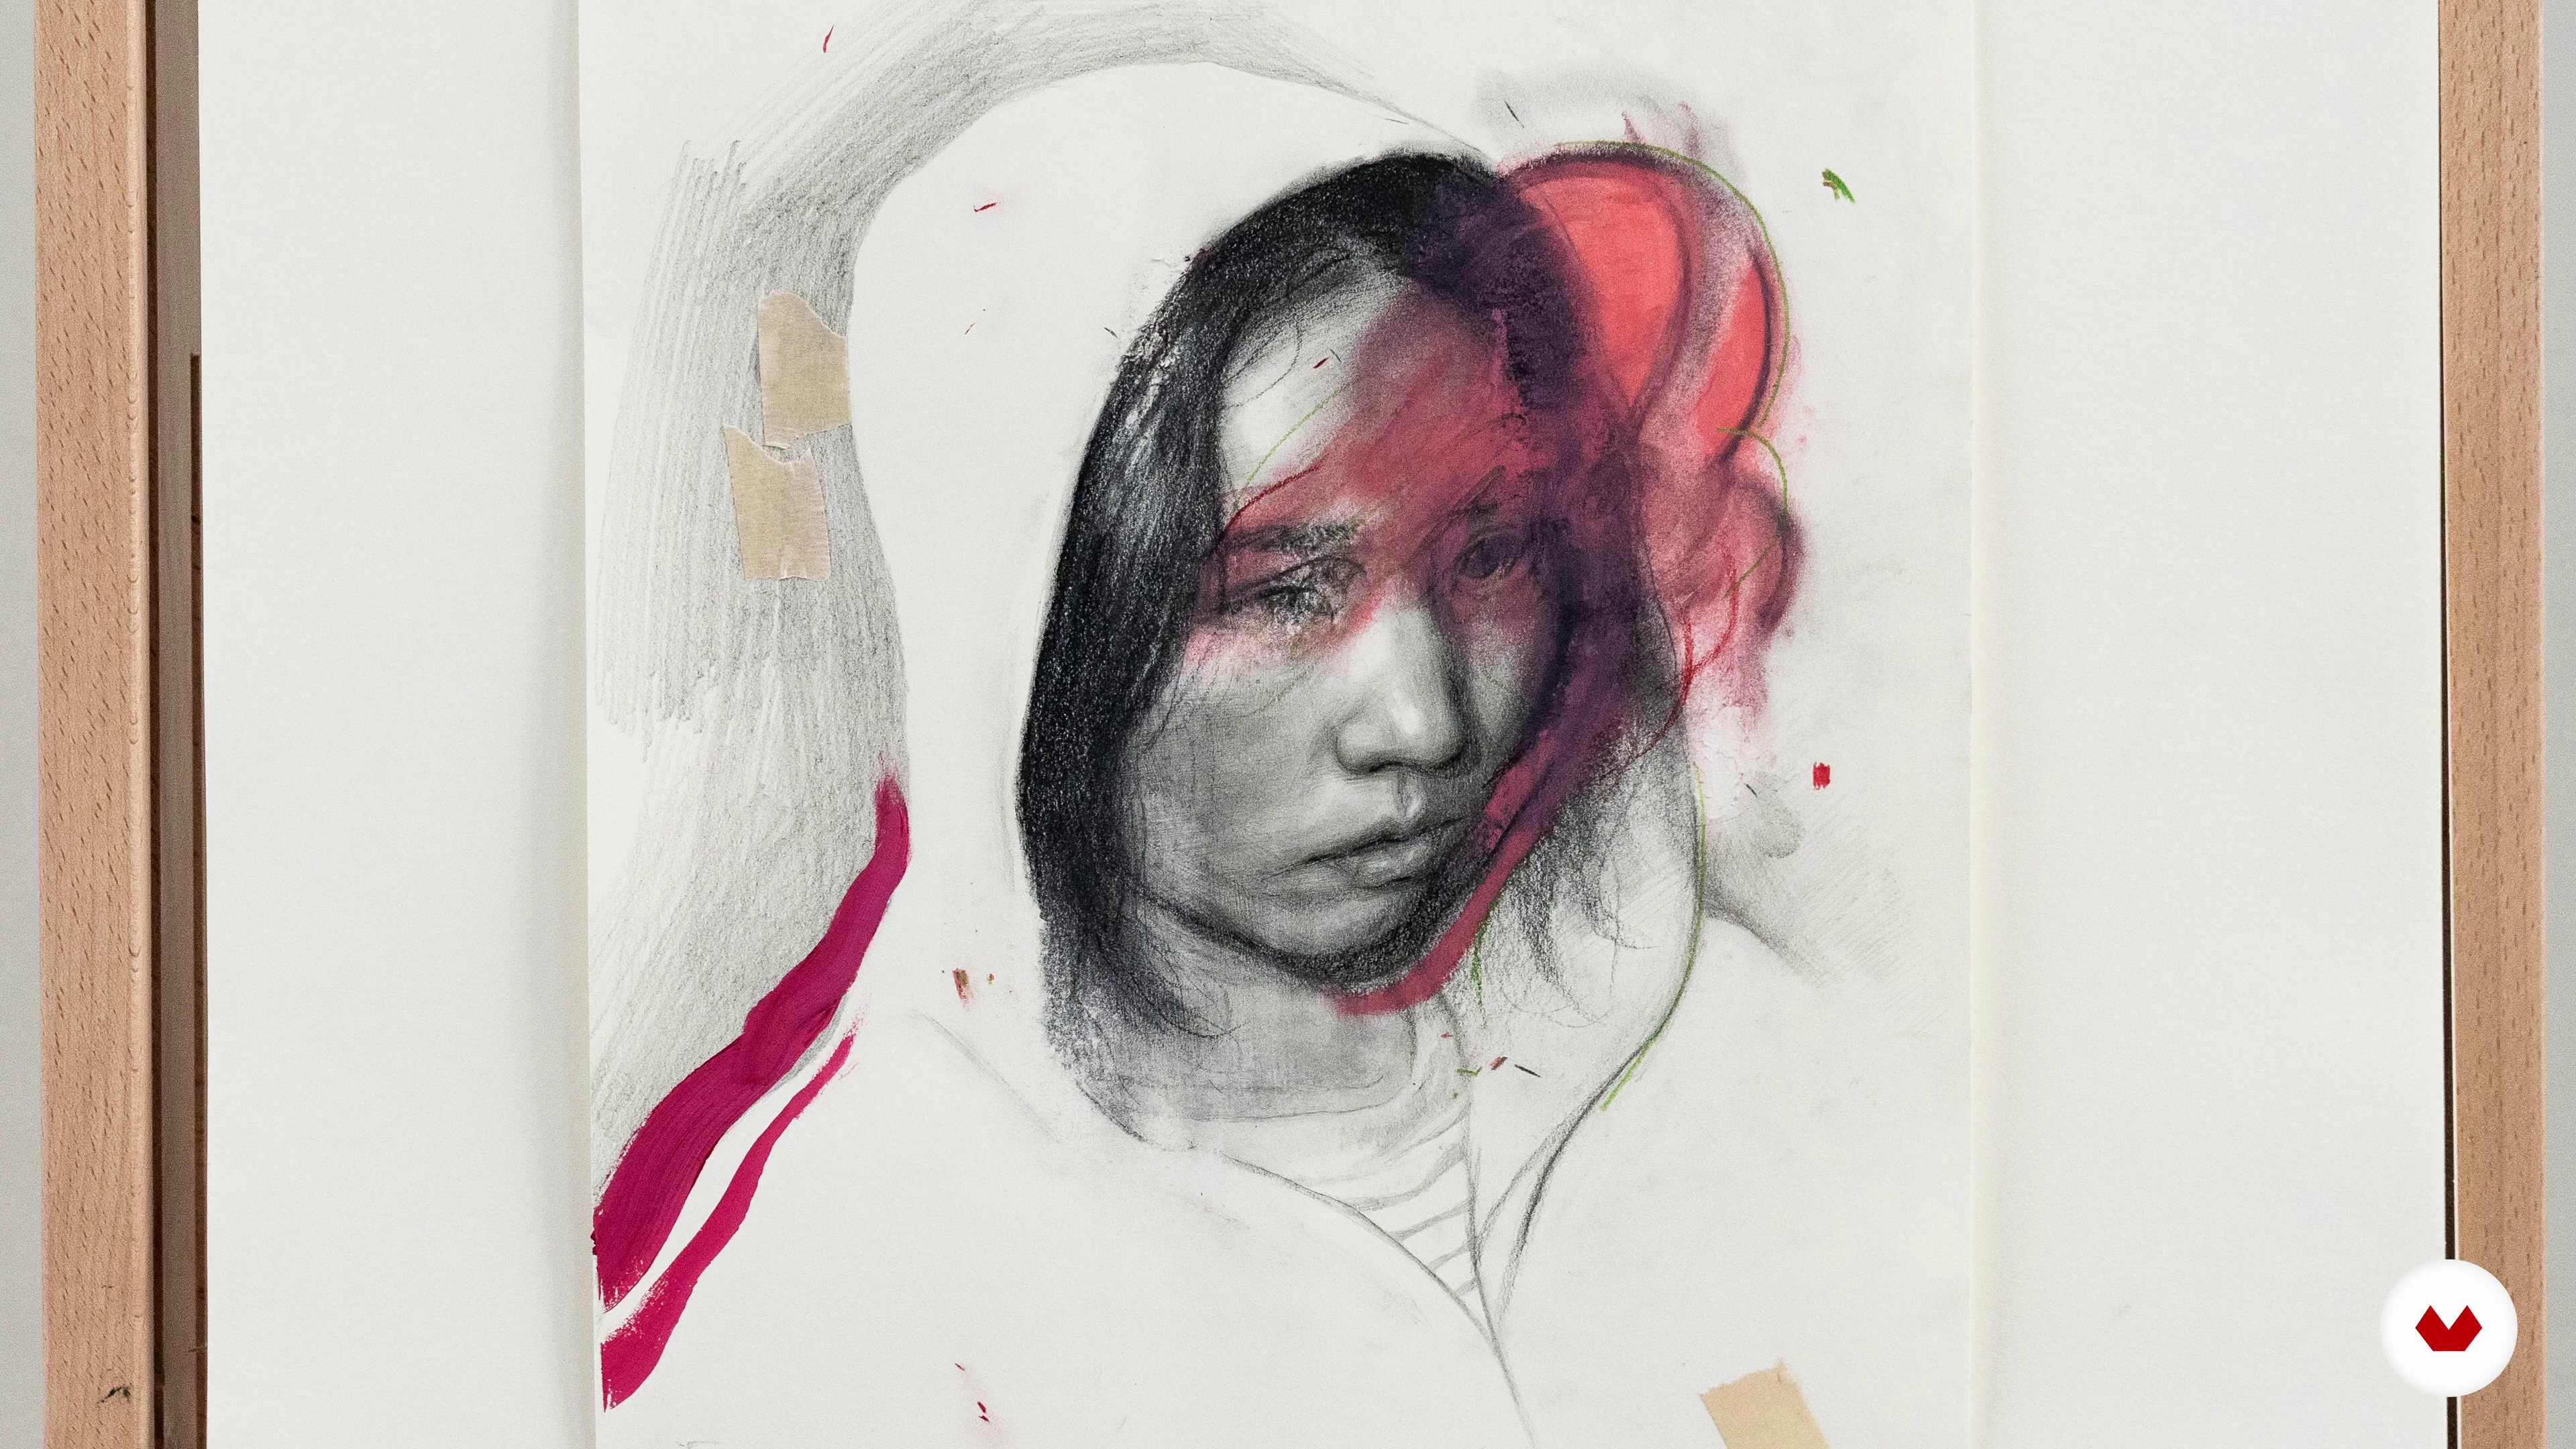
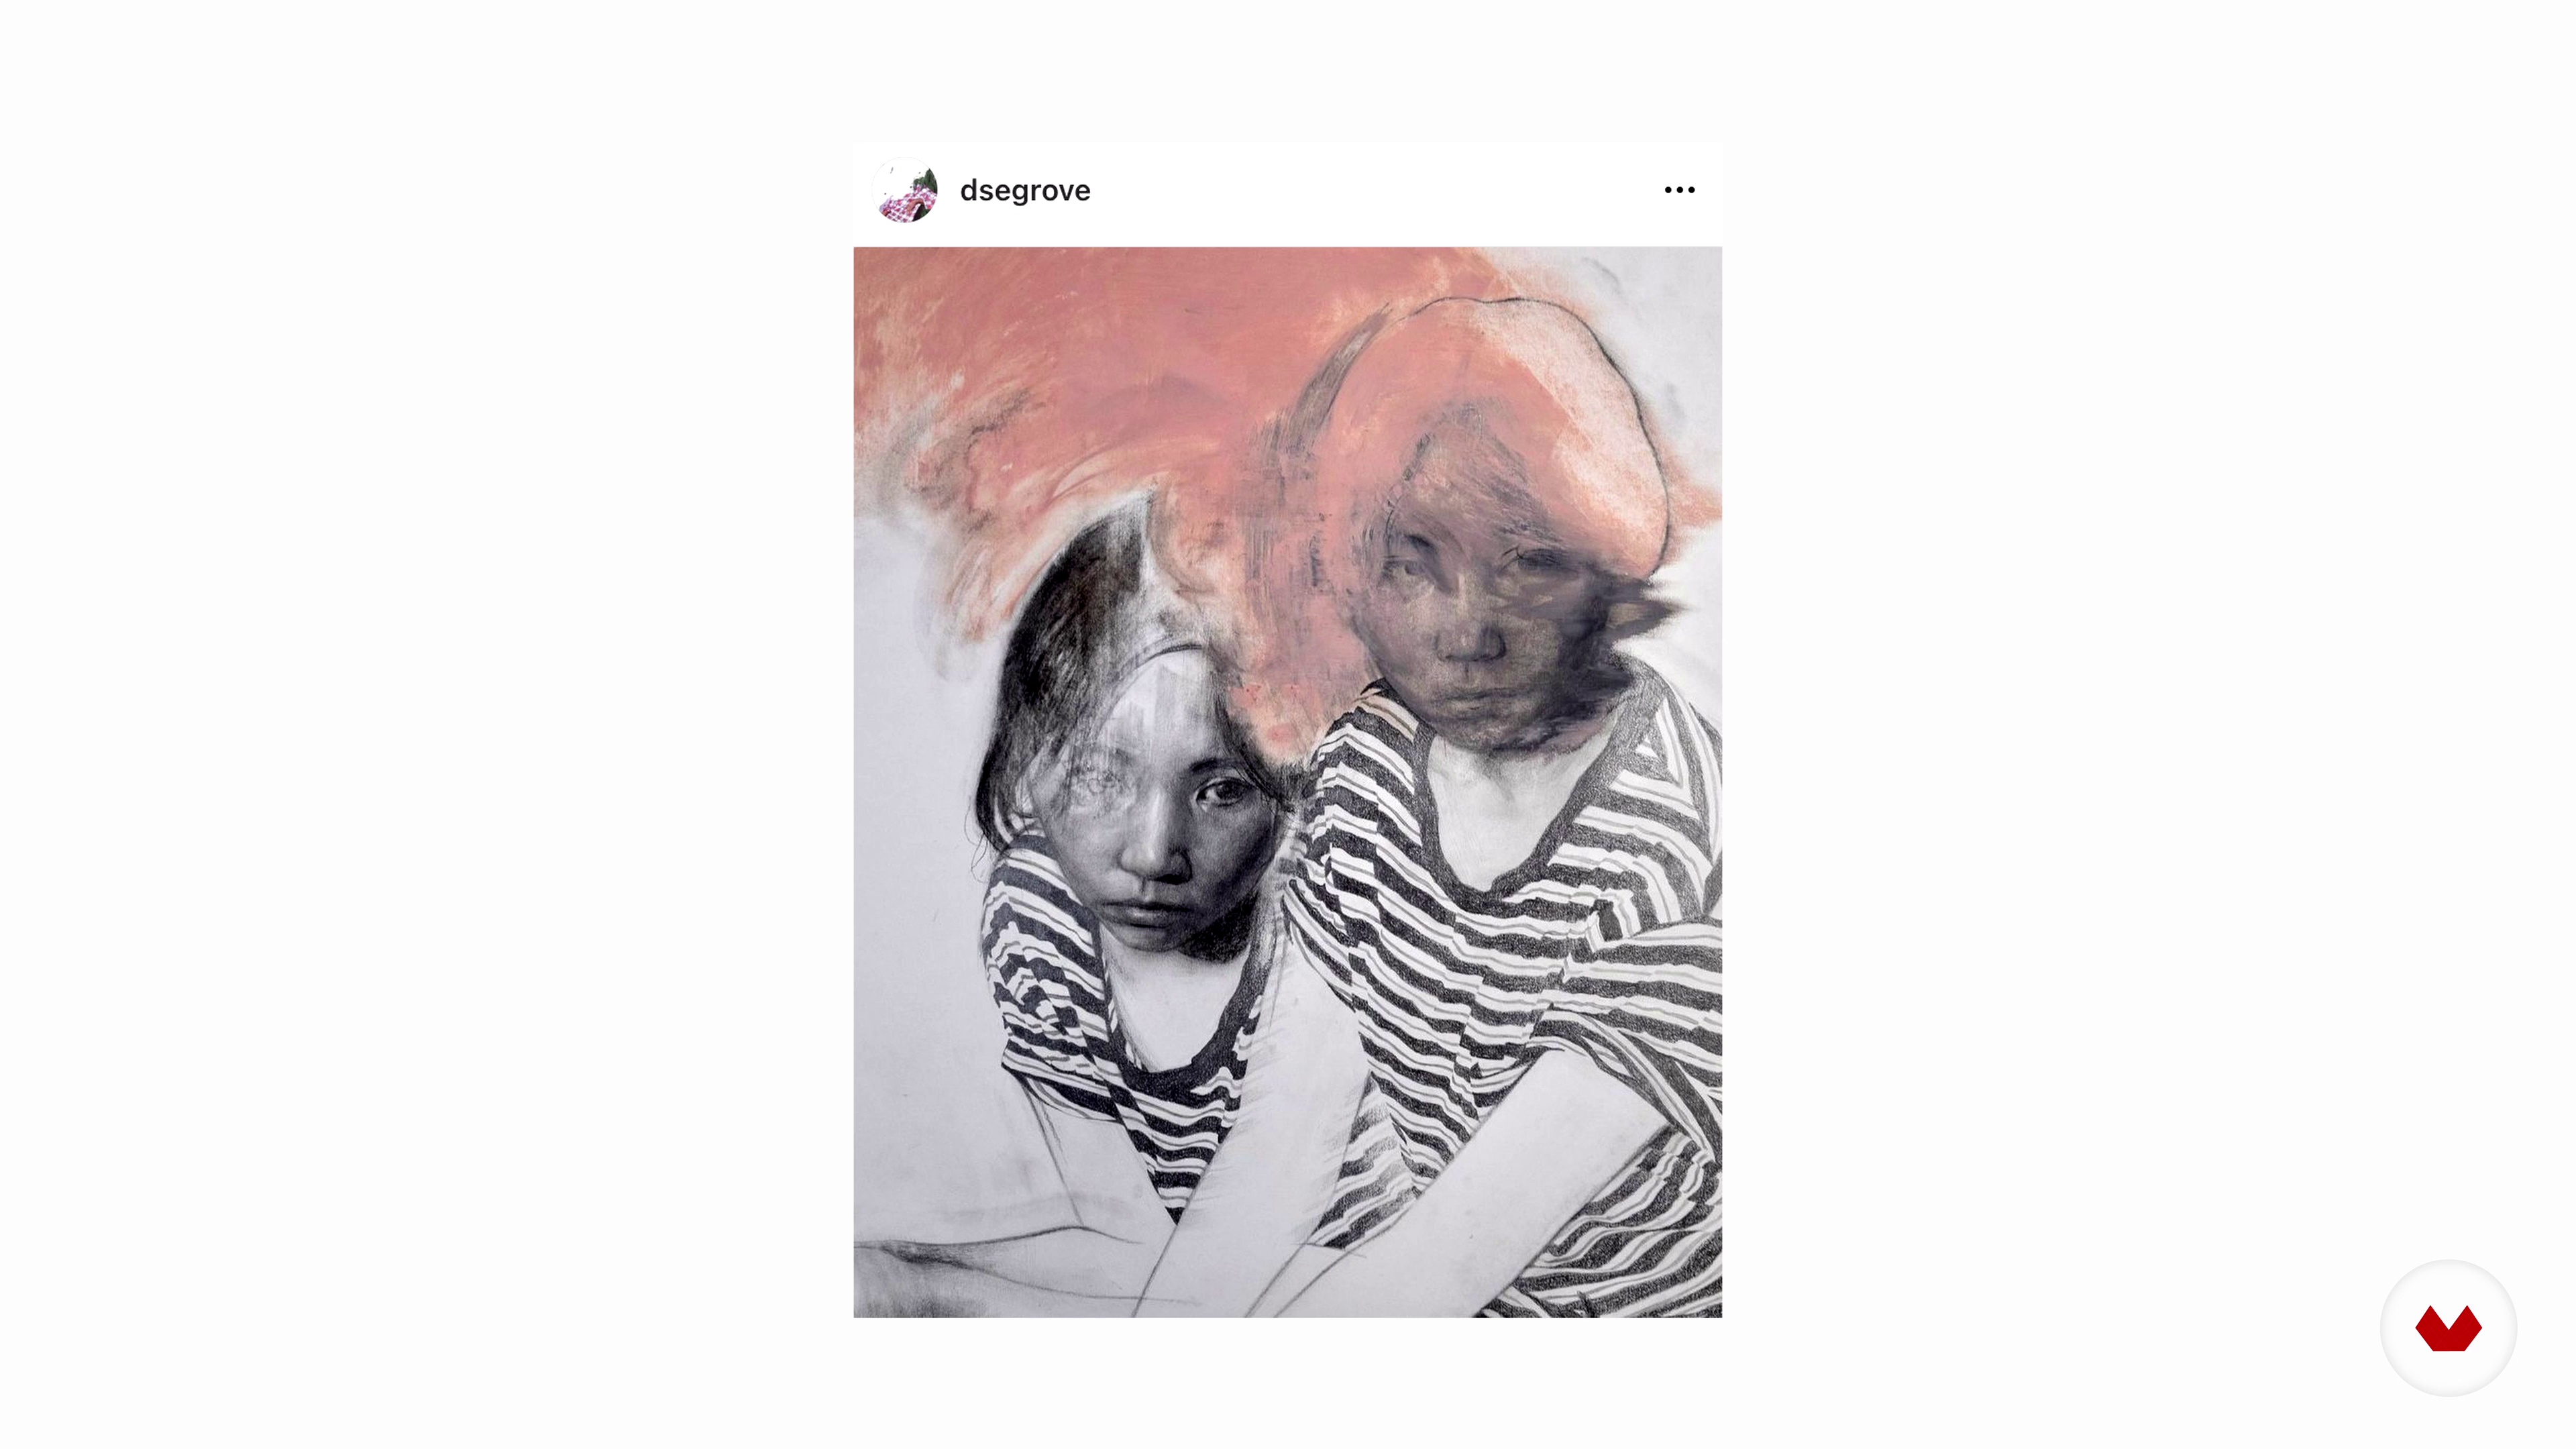
Discover the art of portraiture with a specialization that seamlessly blends traditional and digital techniques. This program guides artists through a comprehensive journey, starting with foundational pencil methods and progressing to contemporary digital integration. Develop a versatile skill set that spans traditional and modern approaches, culminating in a professional portfolio demonstrating mastery across multiple mediums and styles. The sequence includes courses such as Self-Portrait in Graphite and Pastel, Graphite Drawing Techniques, Mixed Media Portraiture, Portrait Illustration with Analog and Digital Techniques, and Hand-drawn Typographic Portrait.

Each course offers unique insights into different aspects of portrait creation. Begin by mastering the planes technique to understand facial structure, then explore light and form with graphite and pastel. Expand your technical repertoire with mixed media to capture emotions, and delve into the conceptual integration of text and image through typographic portraiture. Finally, bridge traditional and digital approaches to create contemporary illustrated portraits. Guided by professionals like Gustavo Ramos, Dan Thompson, Daniel Segrove, Amy Pearson, and Sarah King, you'll gain the skills to create a cohesive portfolio that reflects your artistic vision and technical prowess.

Read more ↓

What will you learn in this specialization?

A total of 6 modules and 83 lessons
A total of 16h 8m of vídeo lessons
Taught by 5 selected expert teachers
image
3
Materials
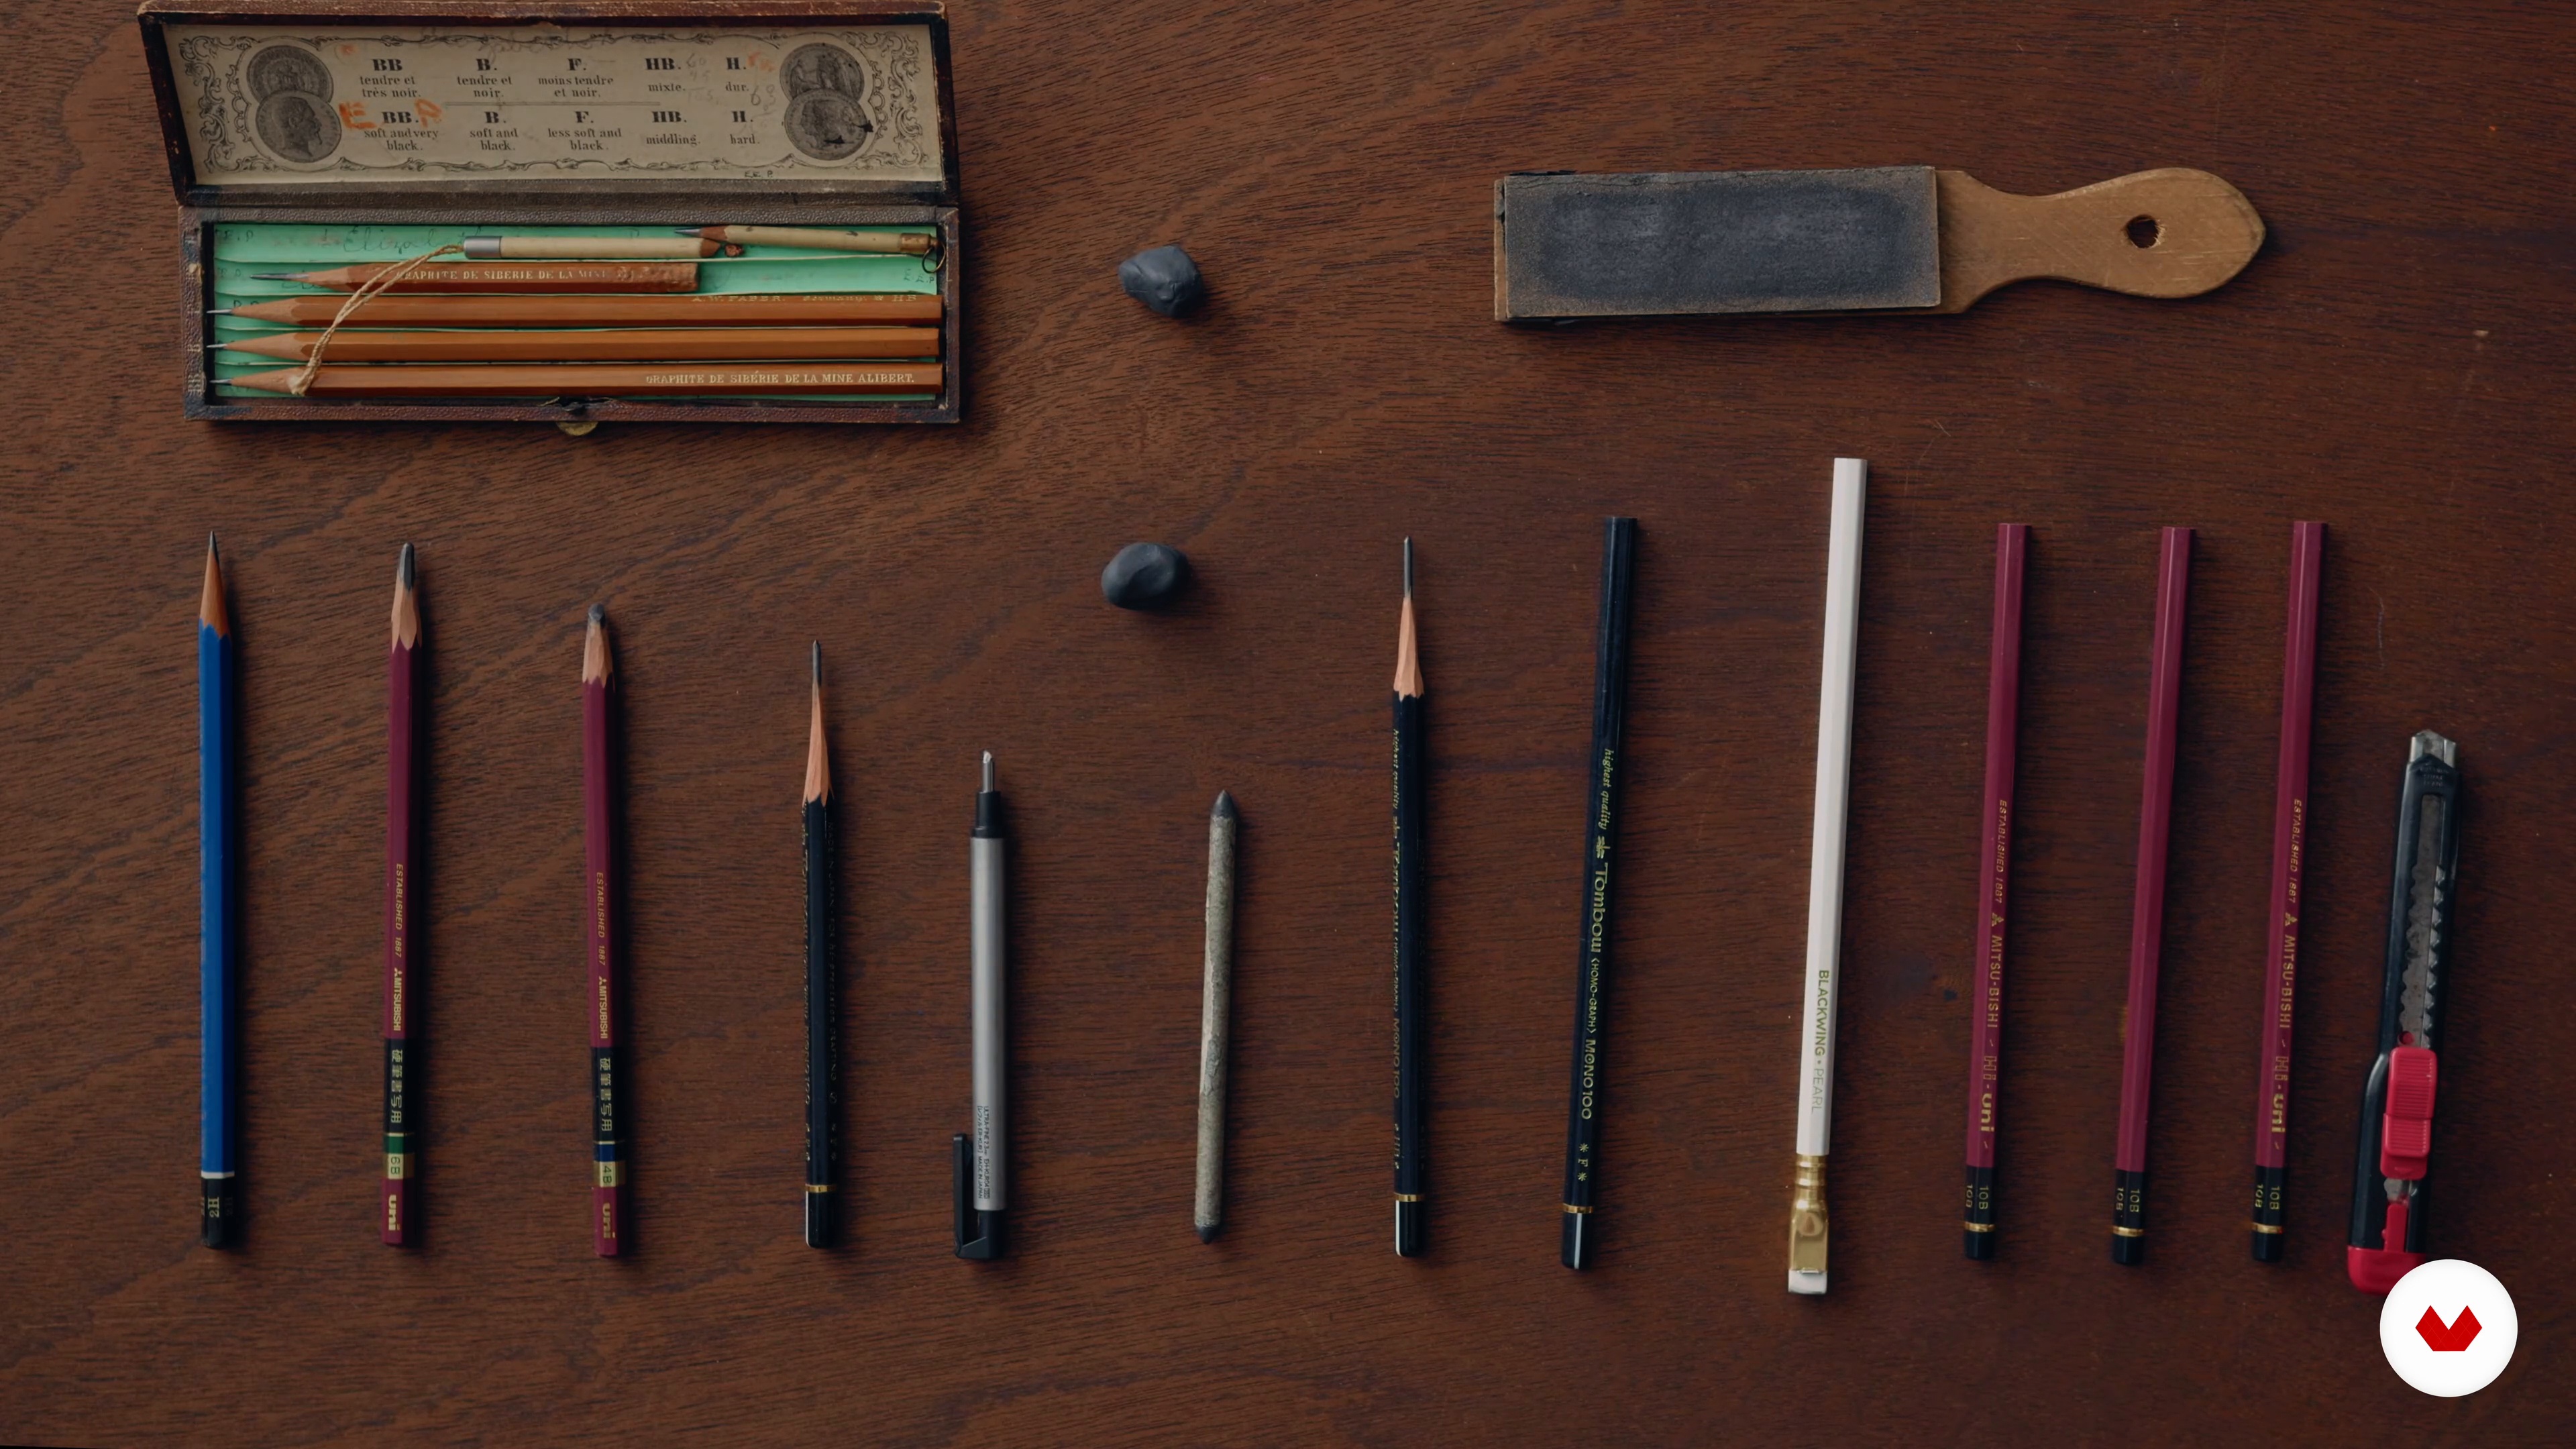
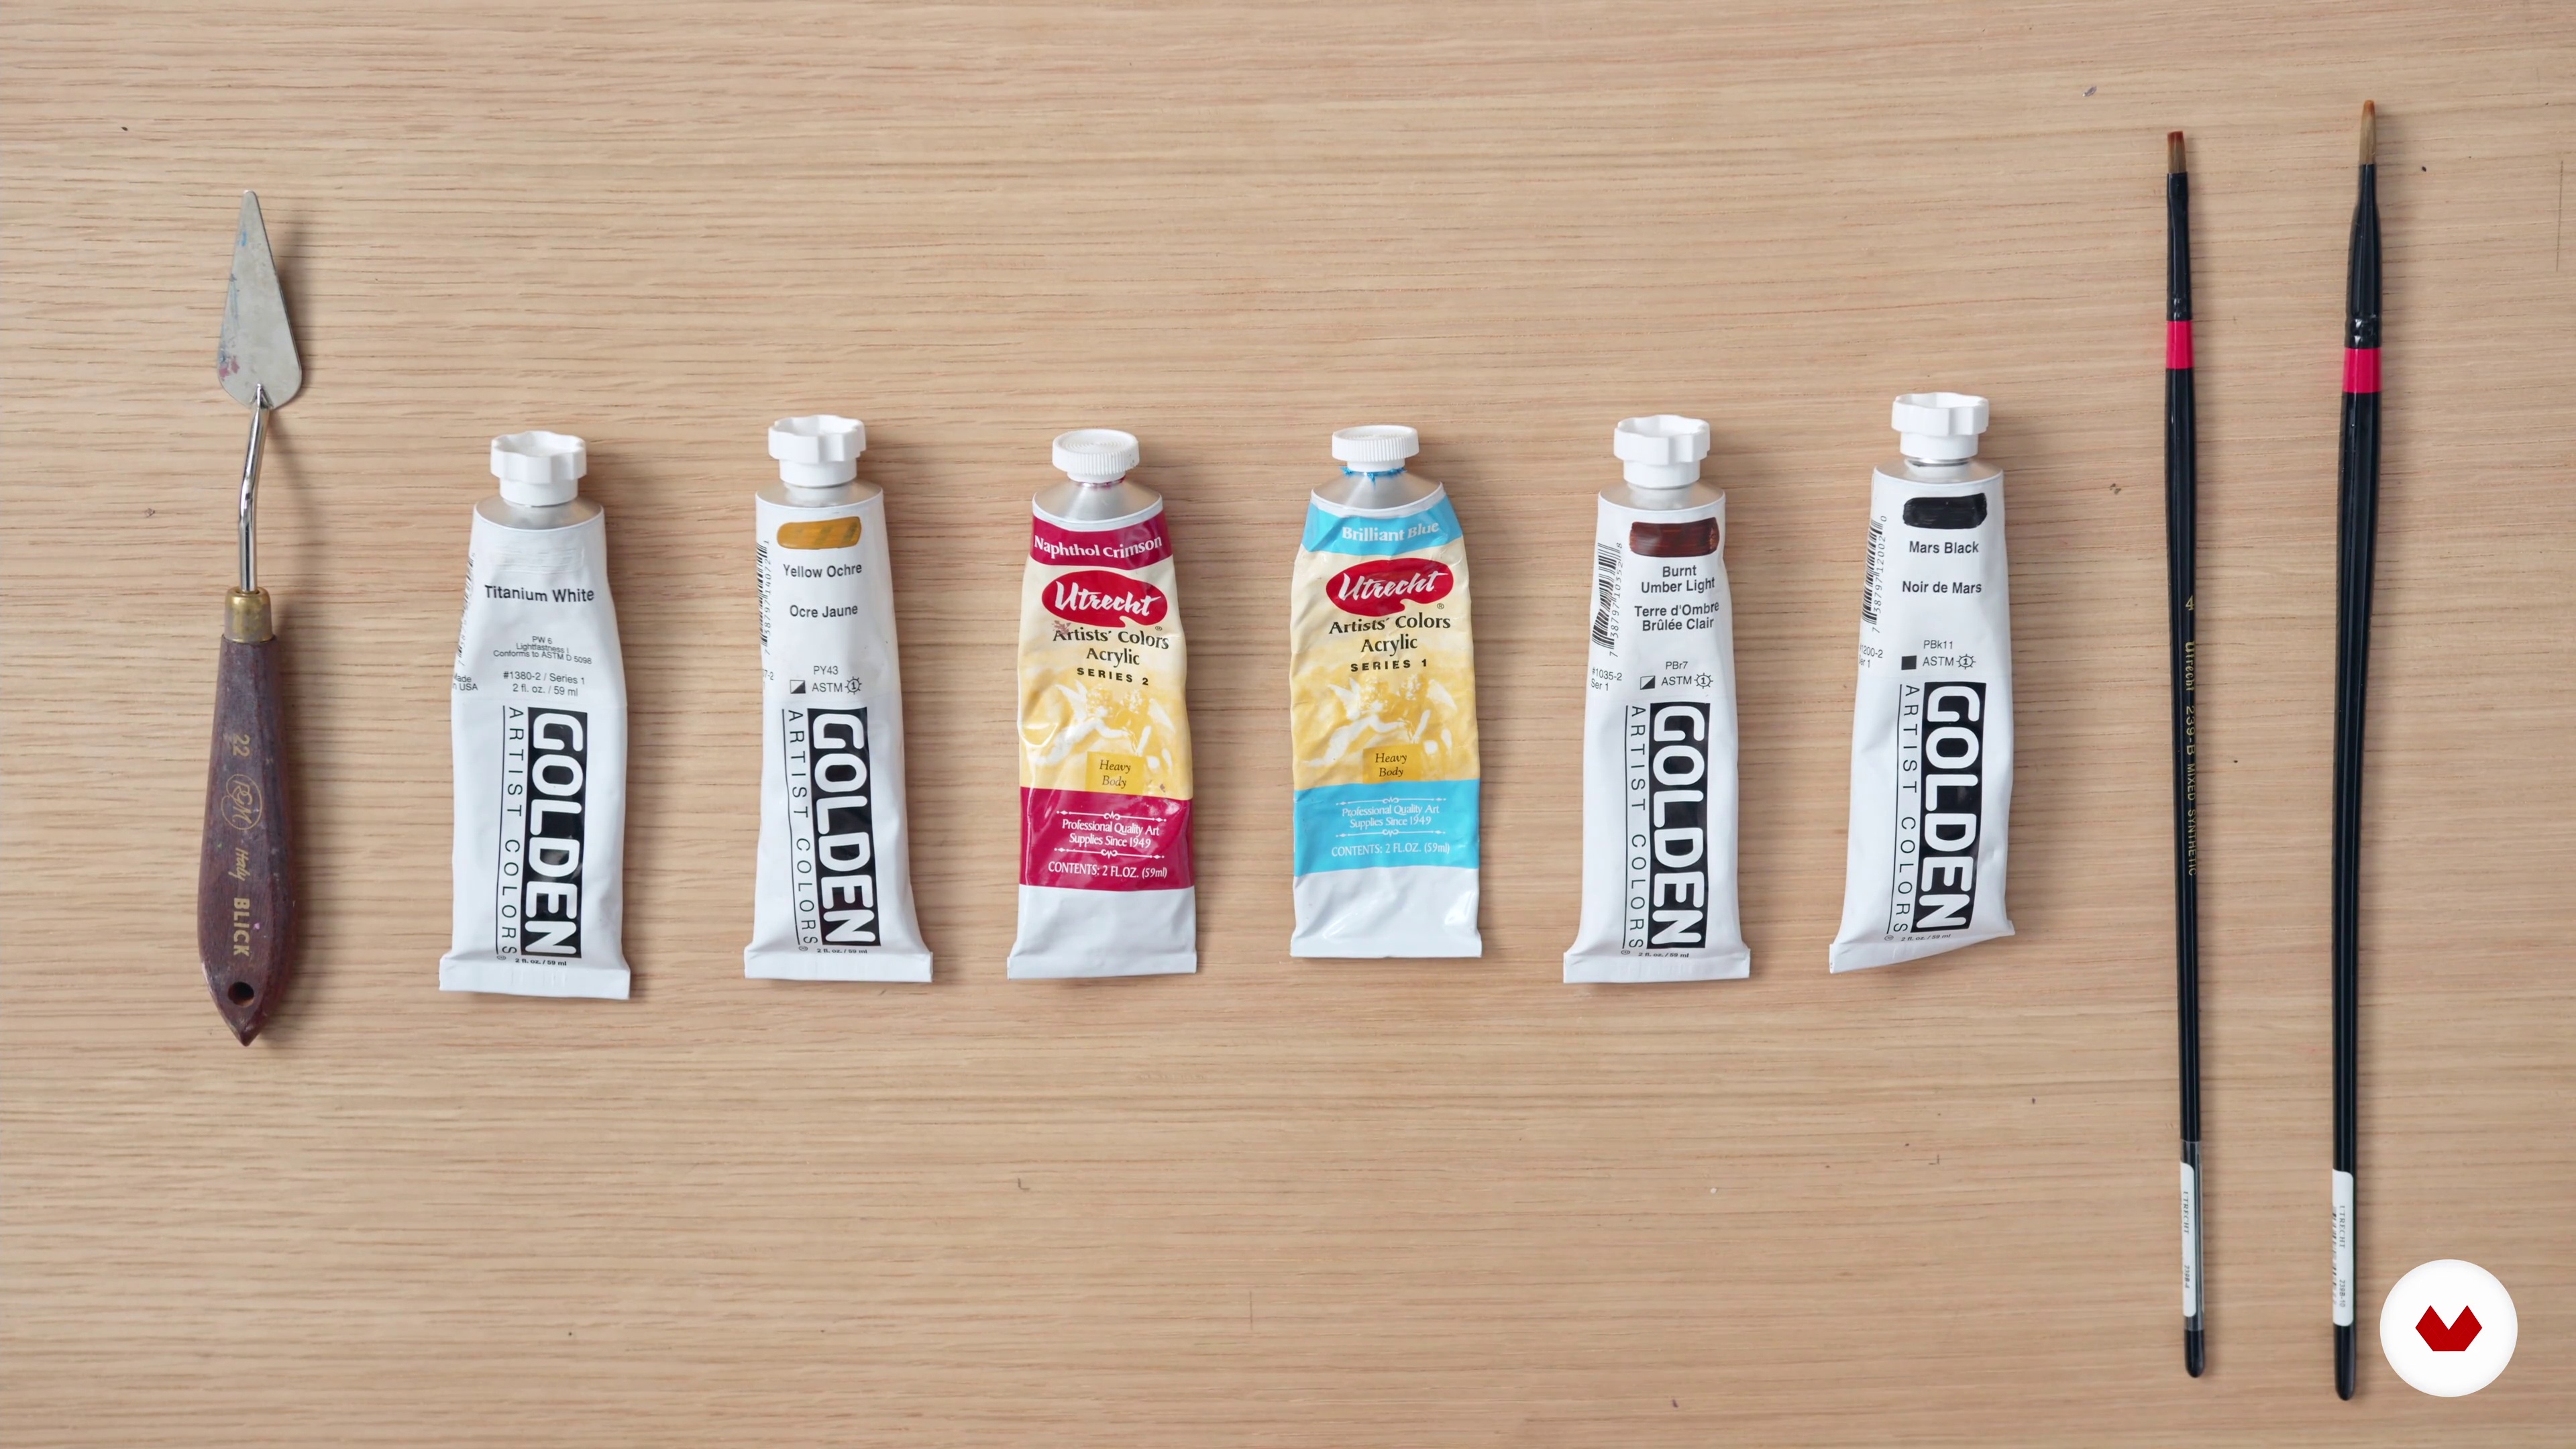
In this lesson, I will review all the drawing materials I use and explain why each is important.
8m
image
4
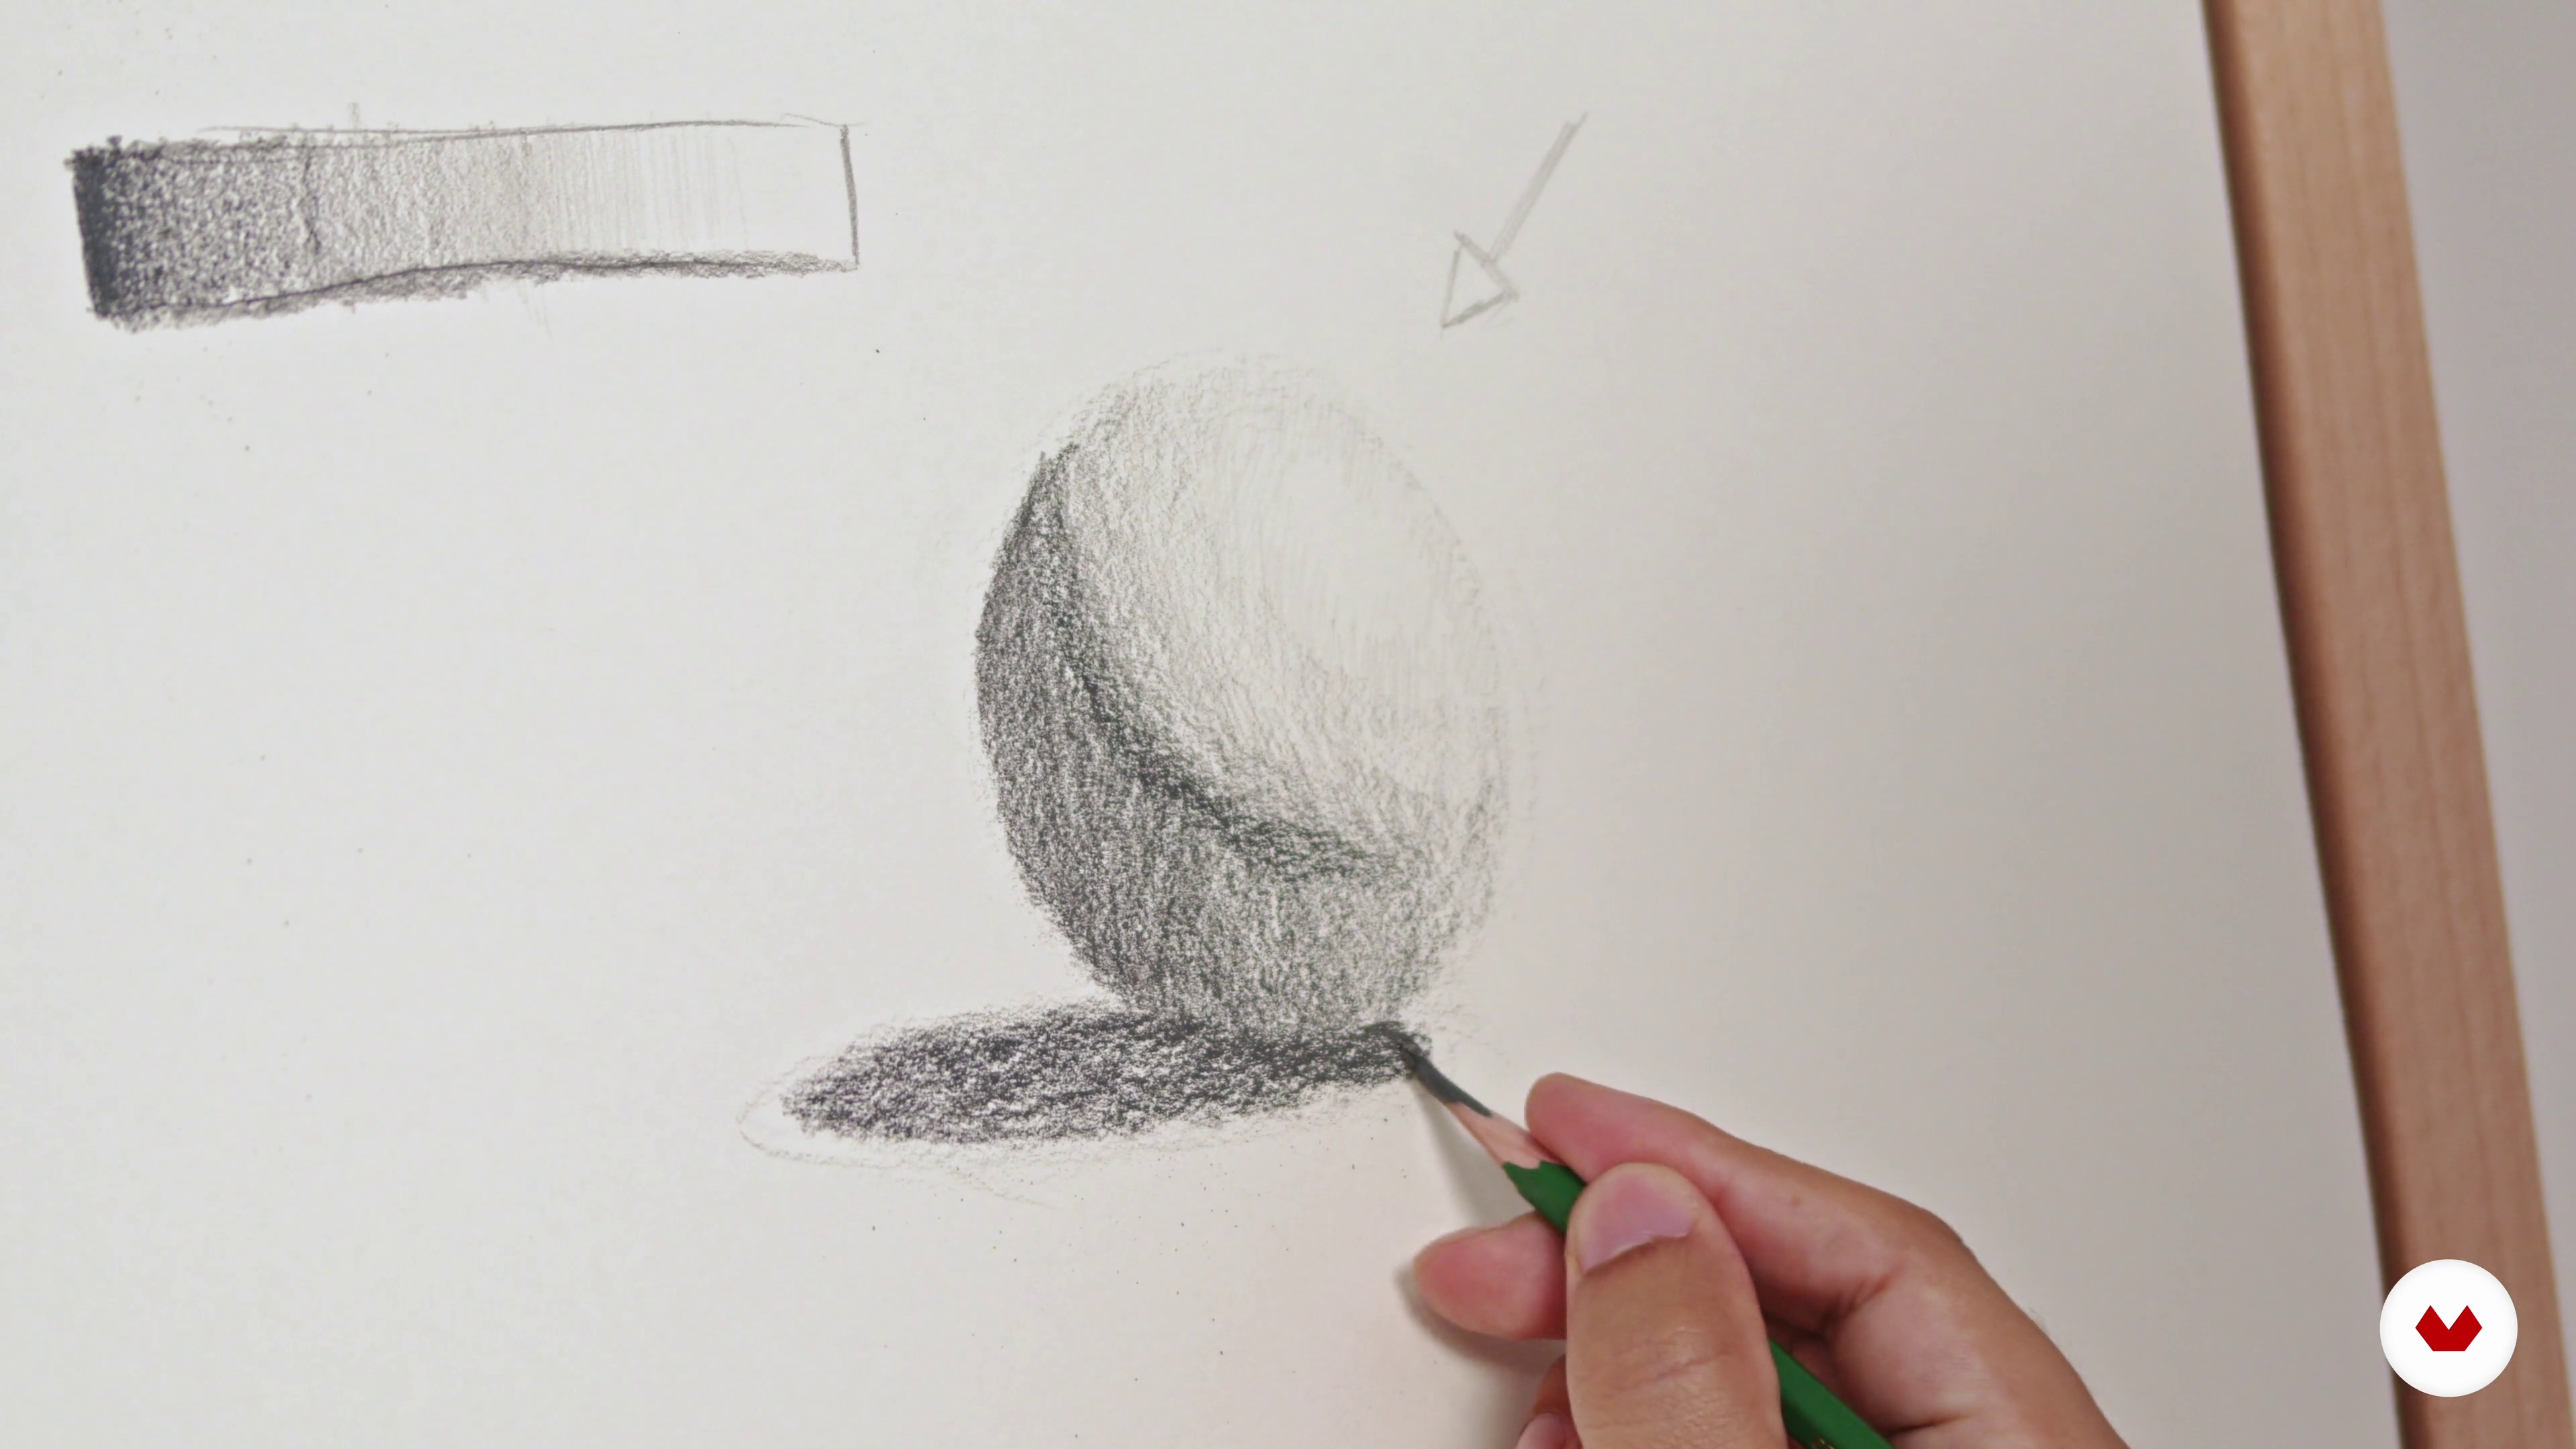
Creating Value Shading Strips
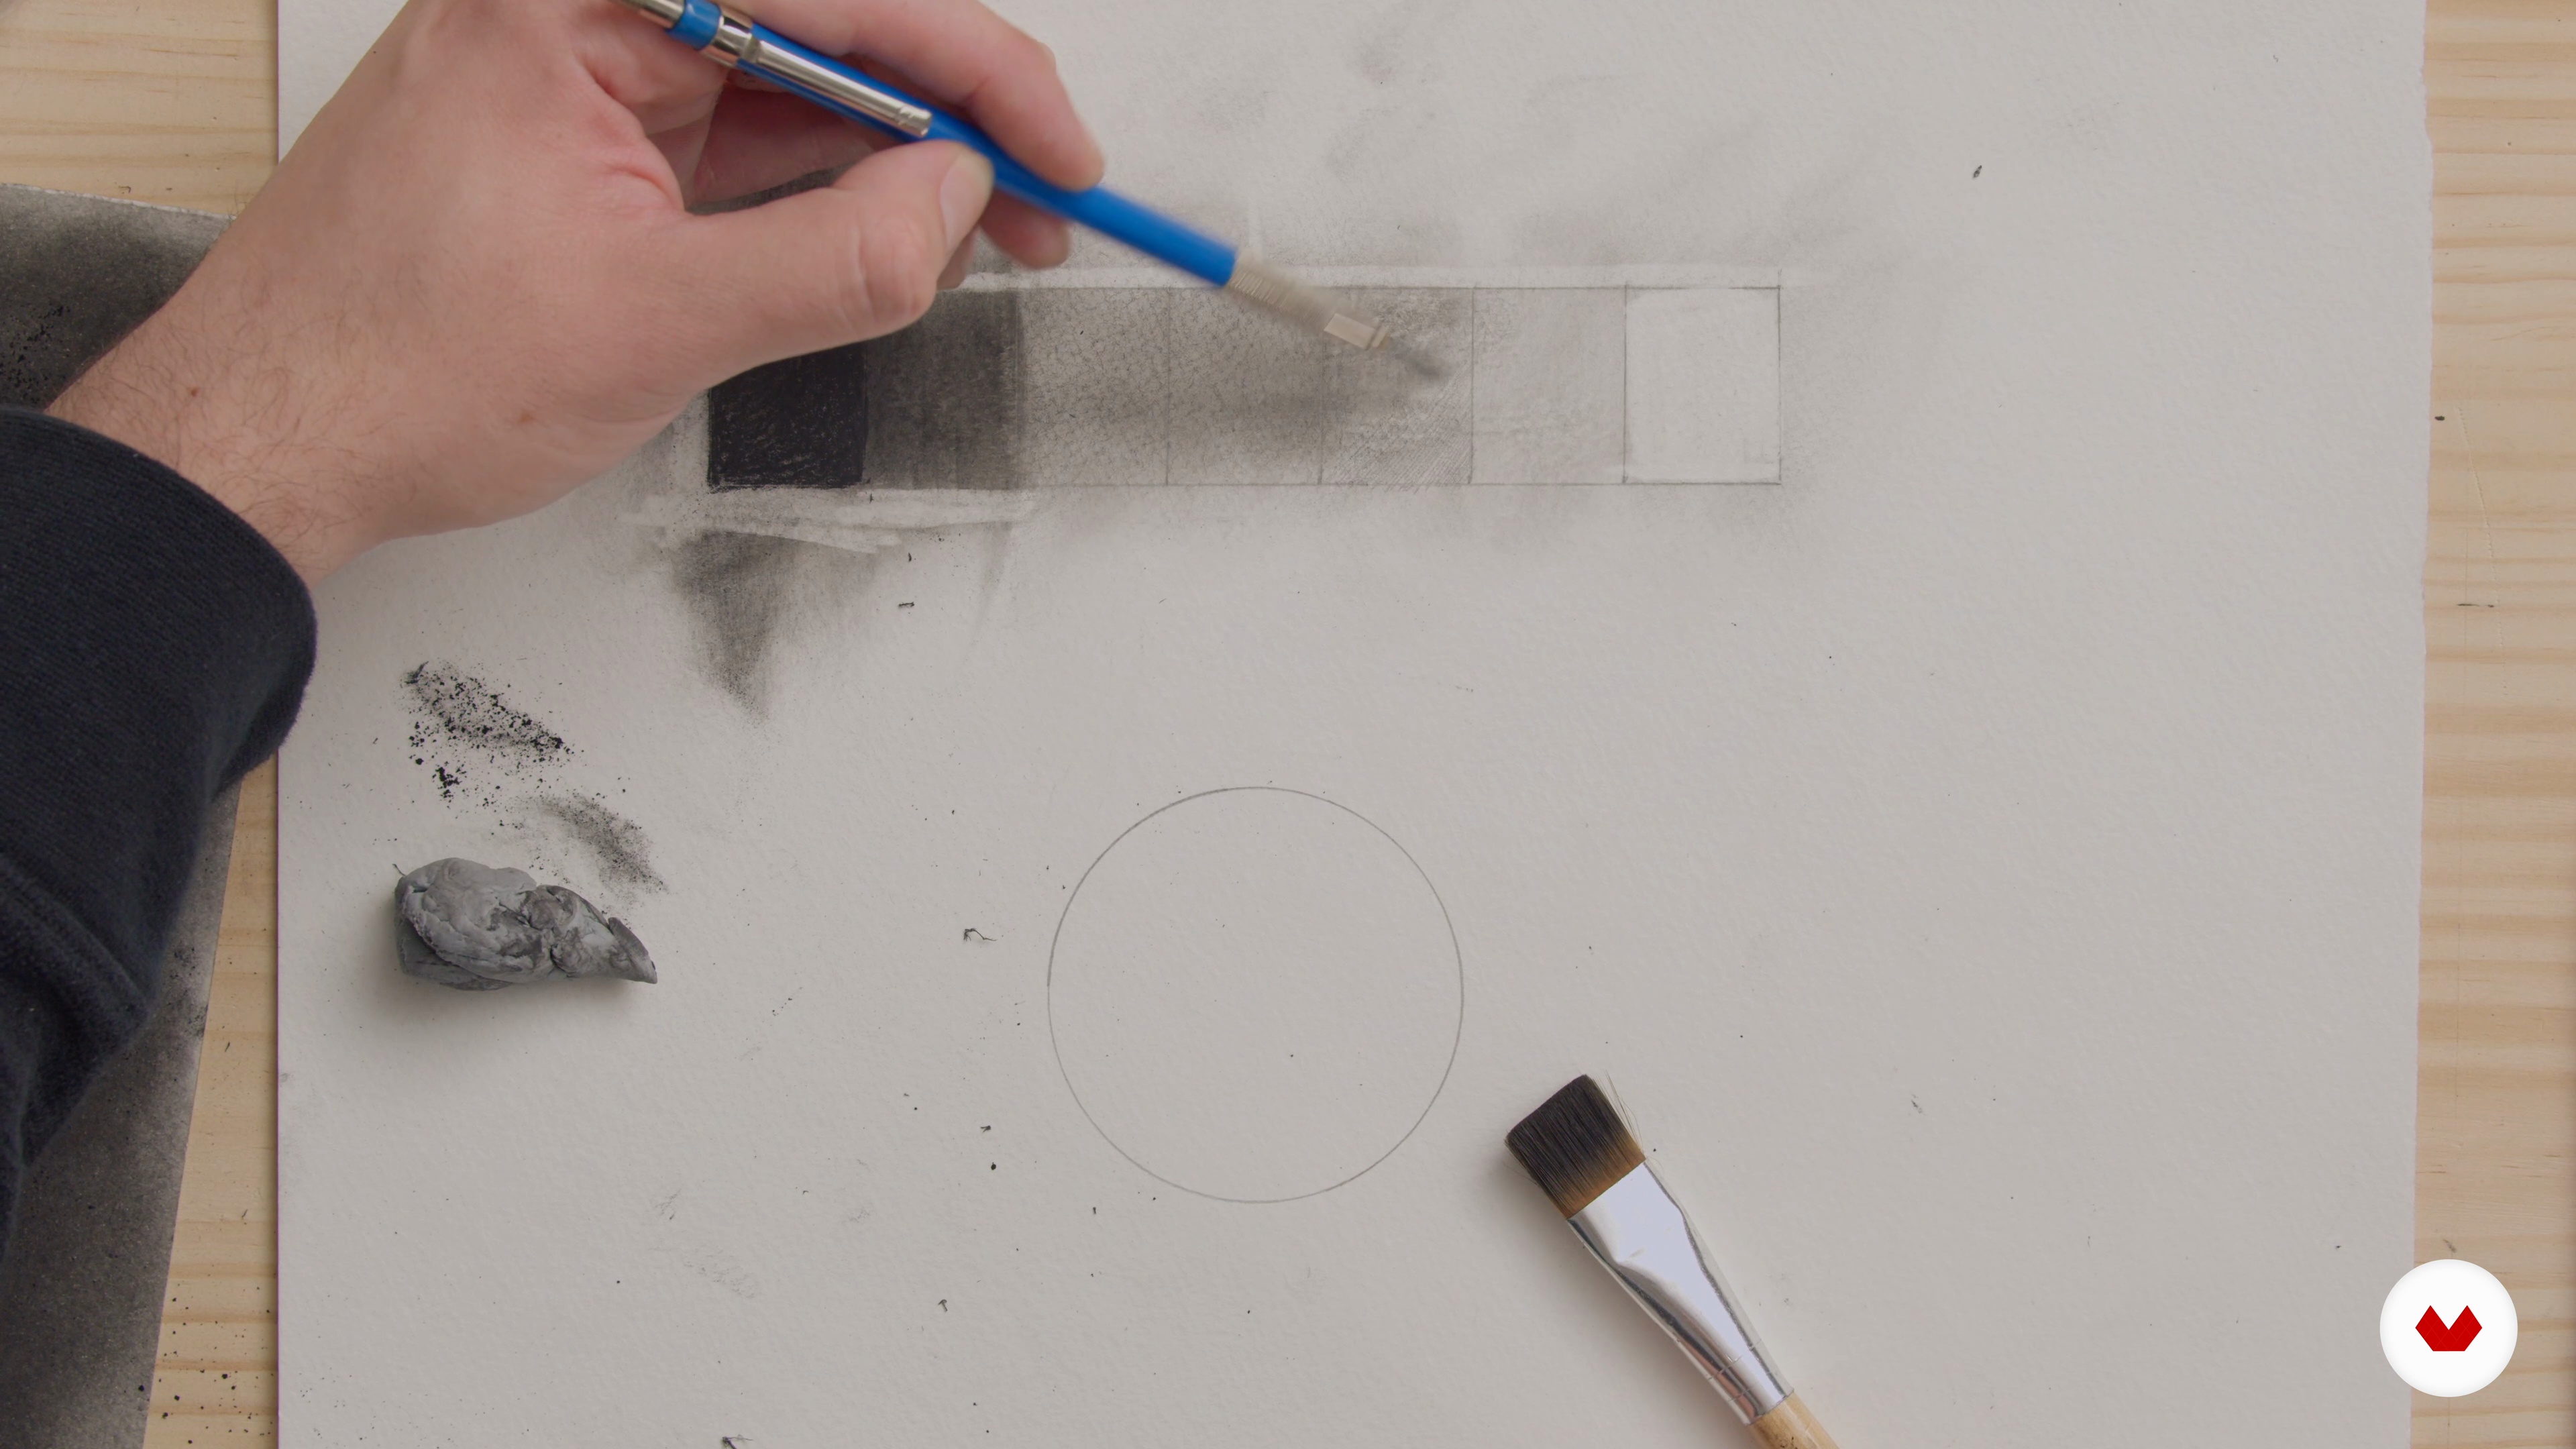
In this lesson, I will show you how to create a value shading strip and explain how to use the materials to achieve quick results.
14m
image
5
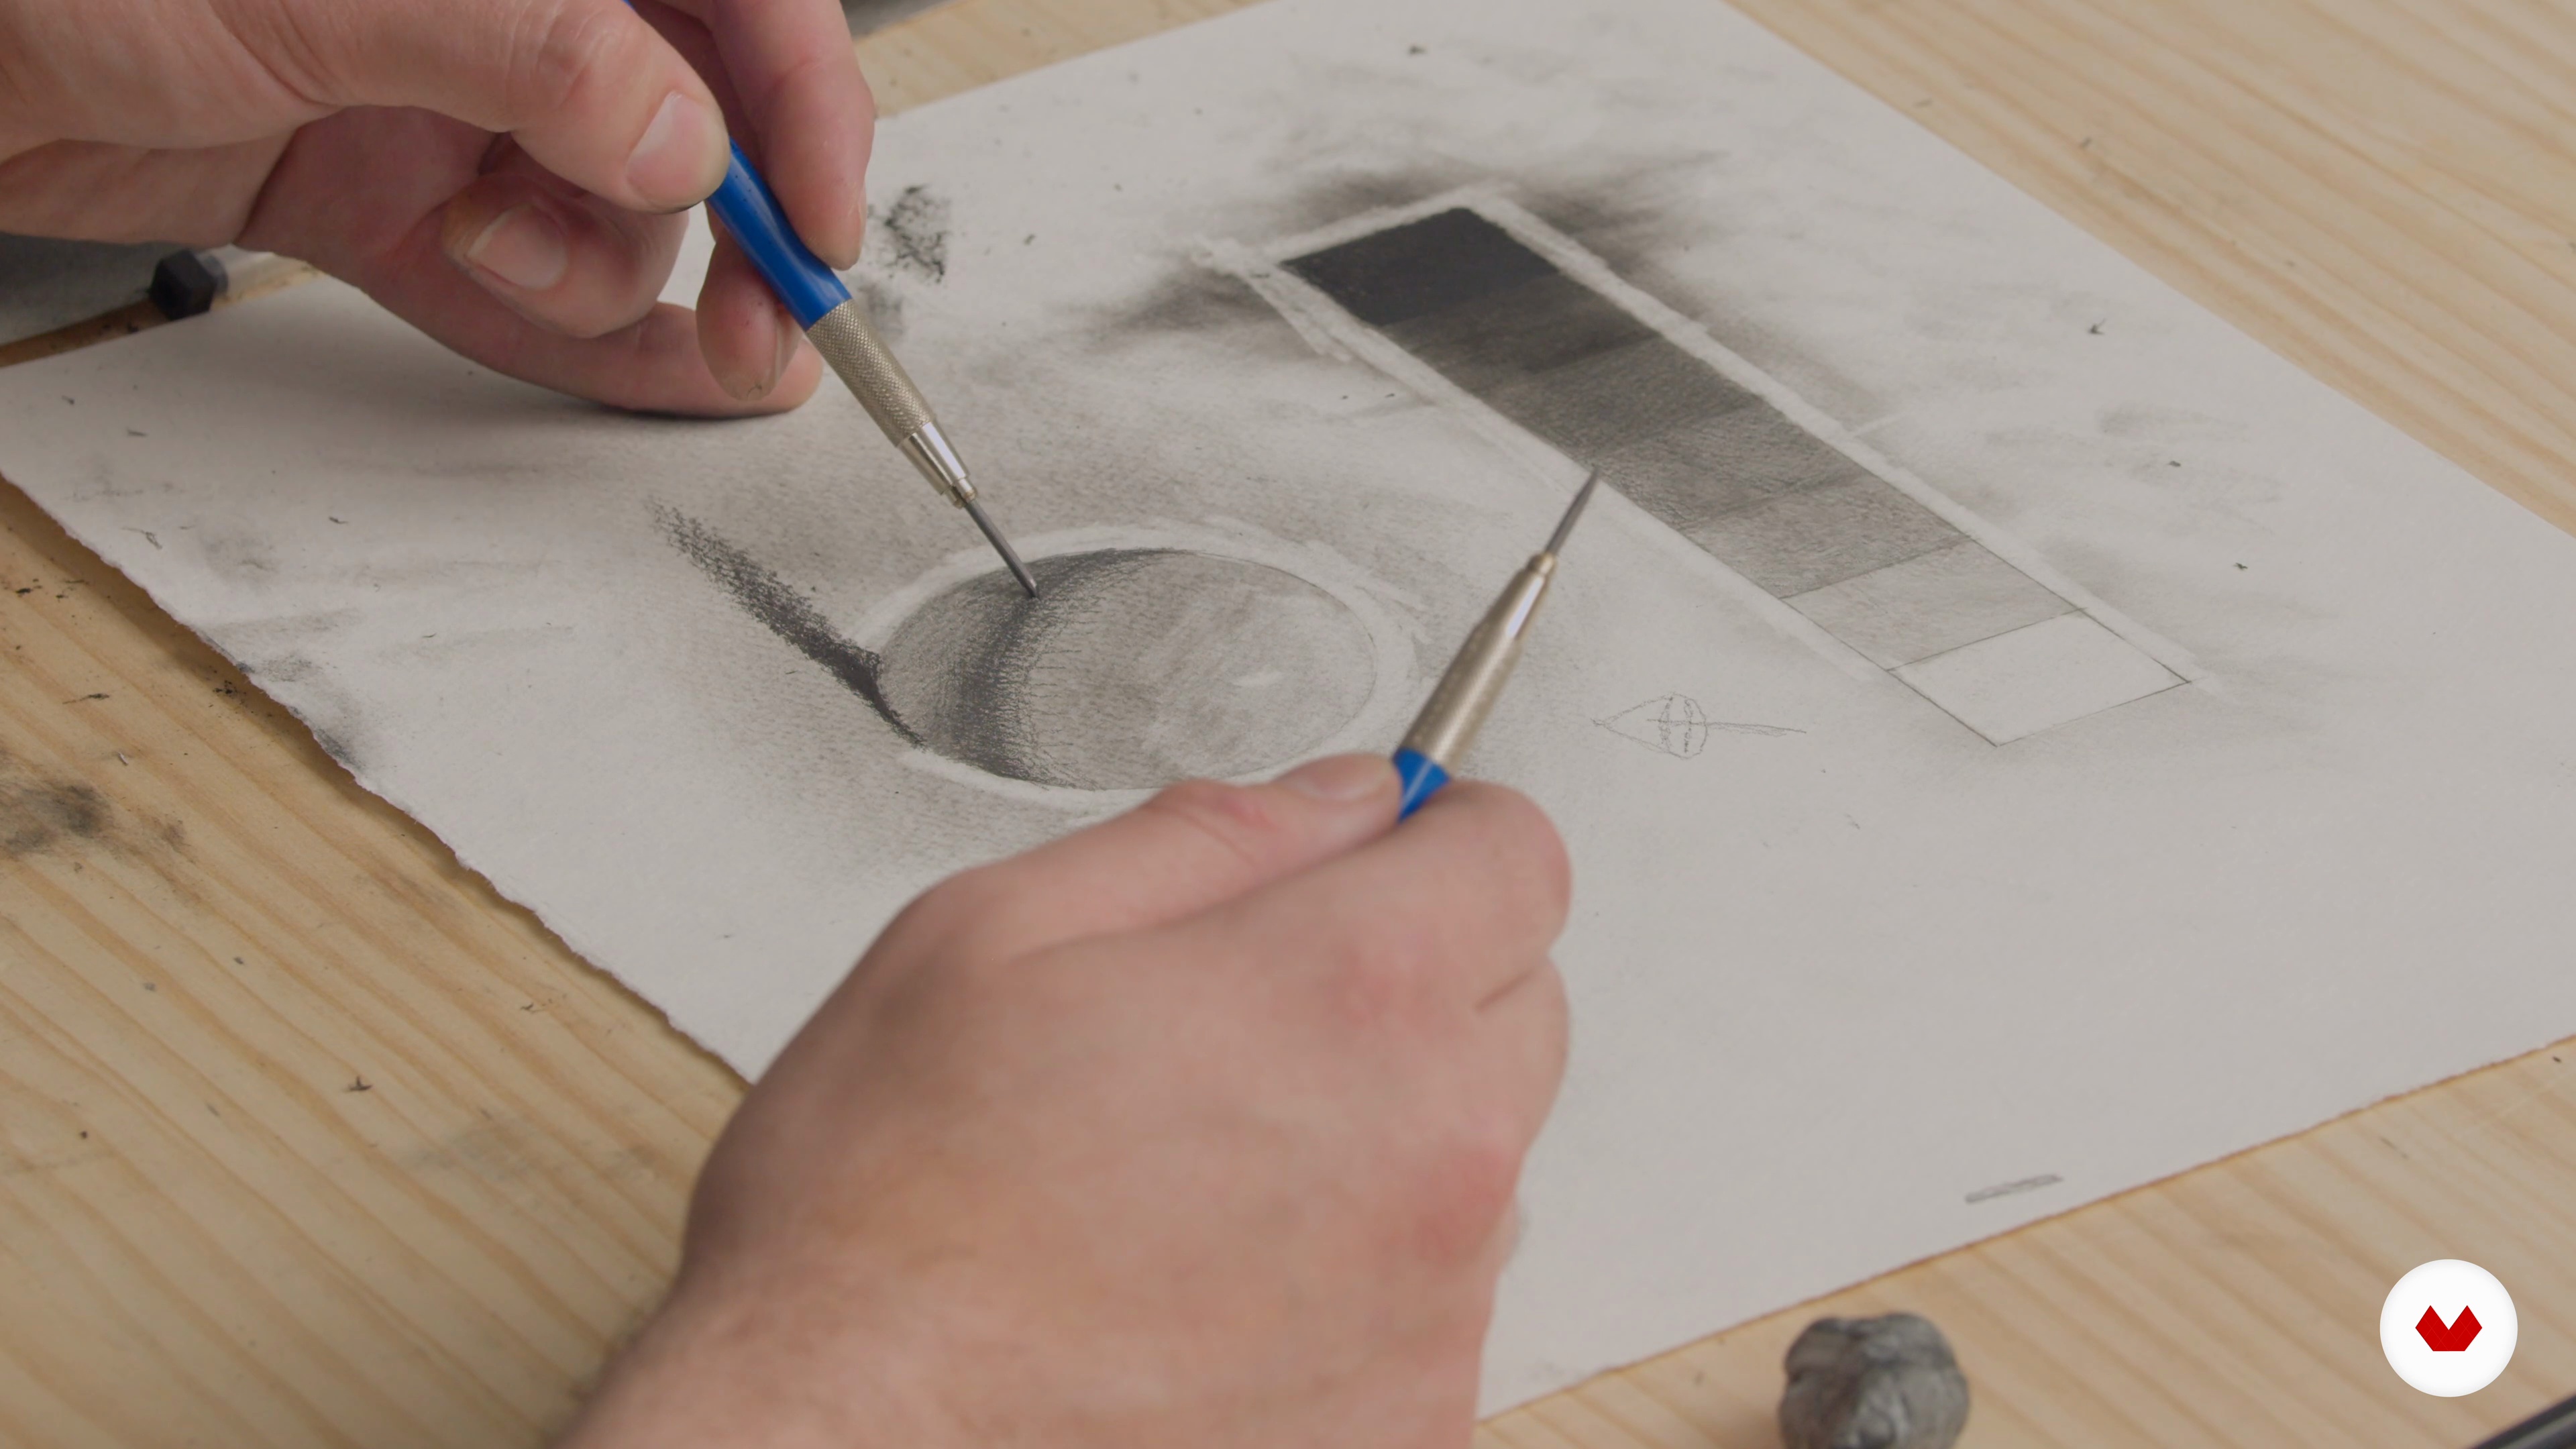
Learning the Properties of Light and Shadow by Drawing a Sphere
In this lesson, I will guide you through drawing a sphere and discuss how to use the materials best to achieve quick results.
14m
image
6
Methods of Checking Accuracy 1
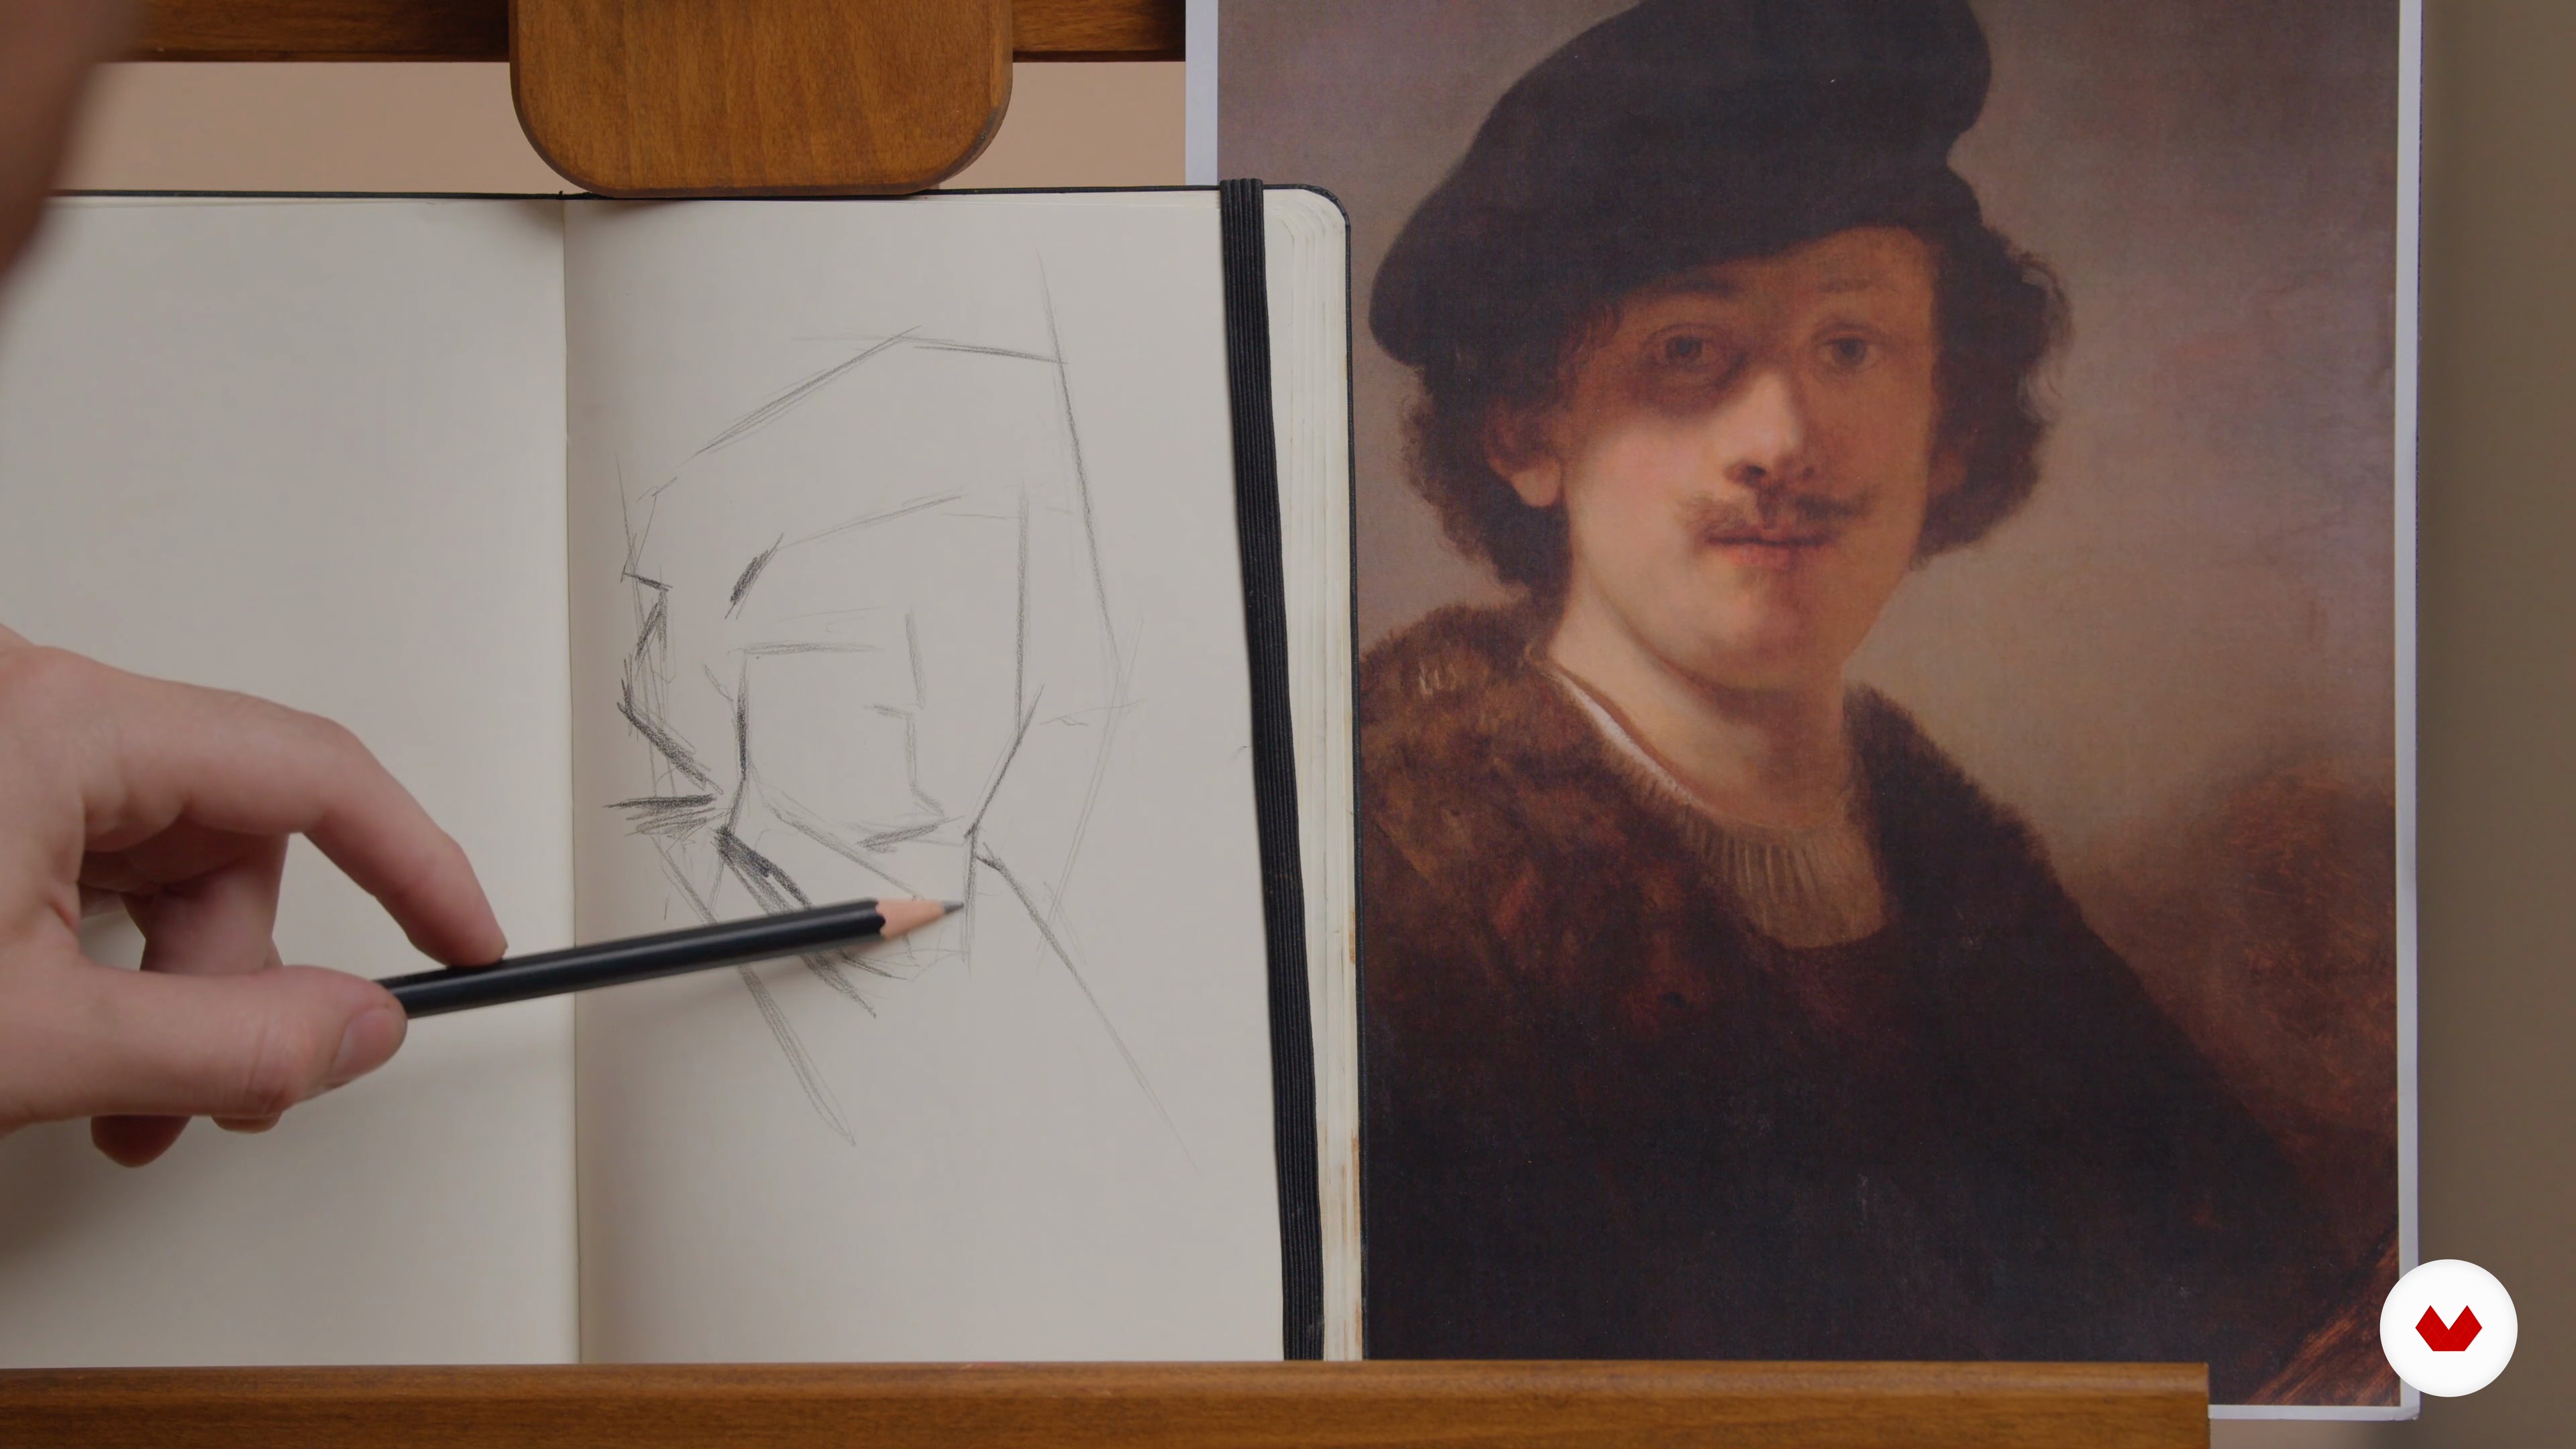
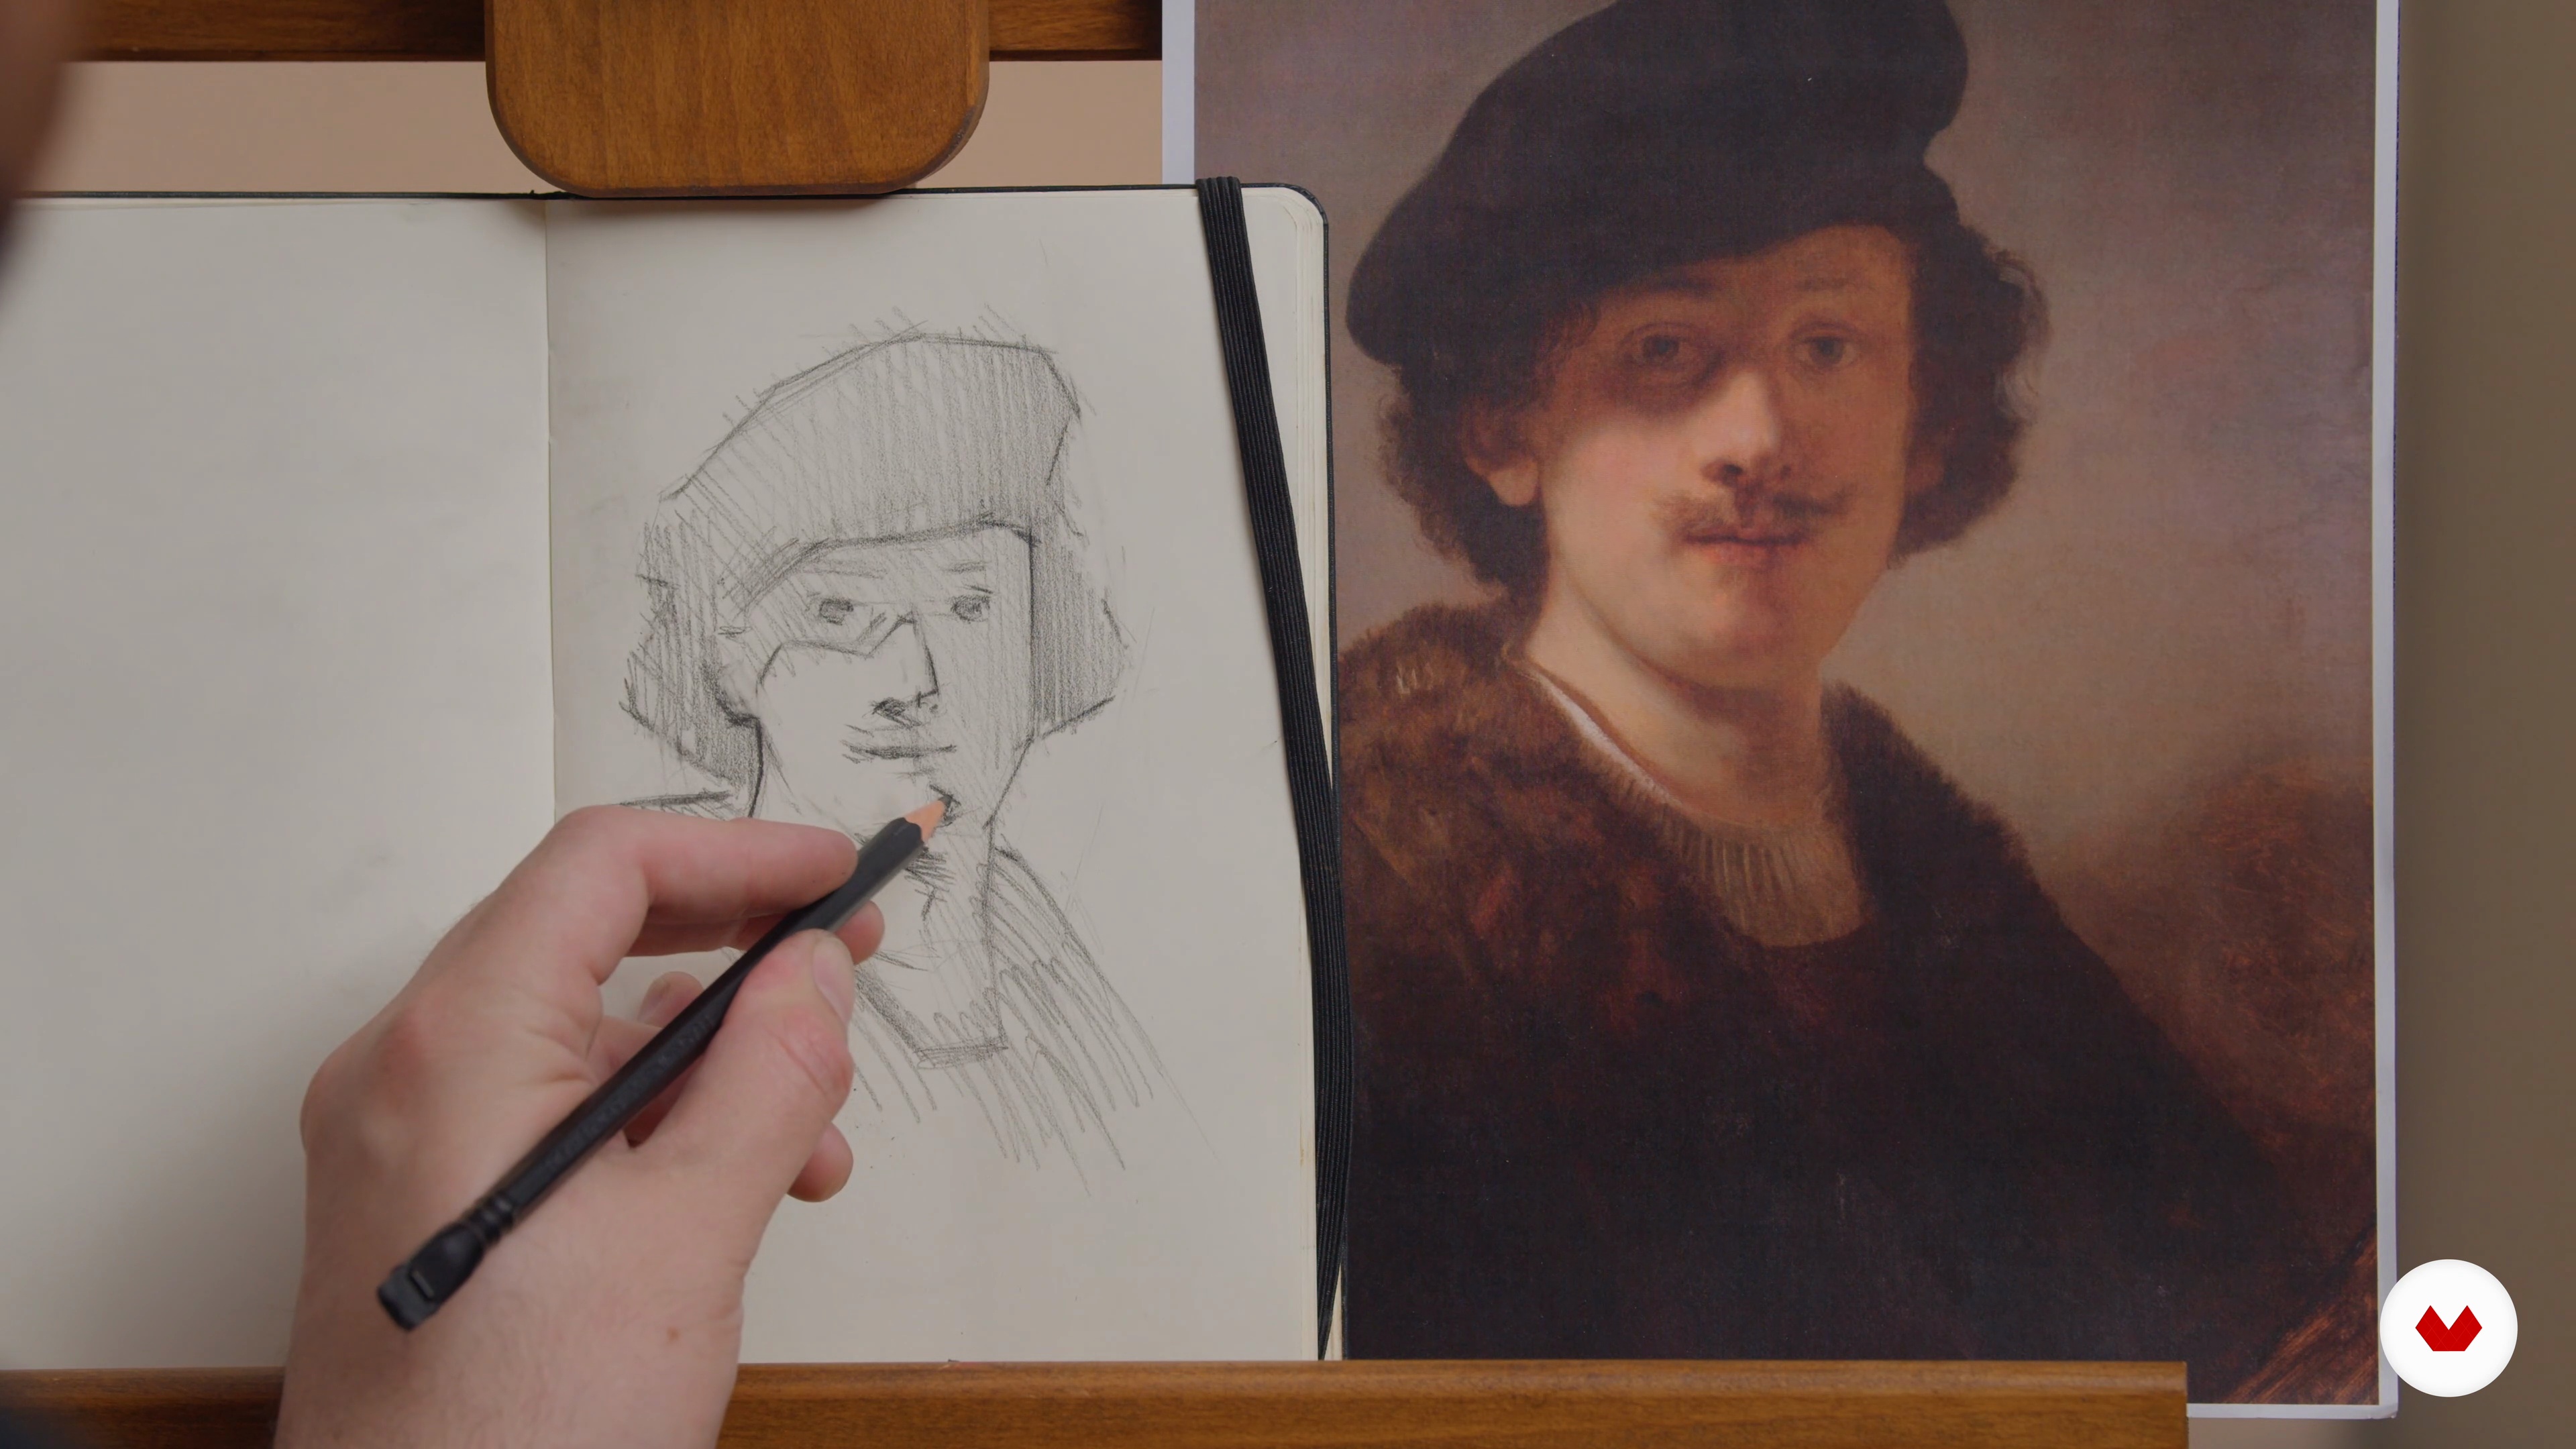
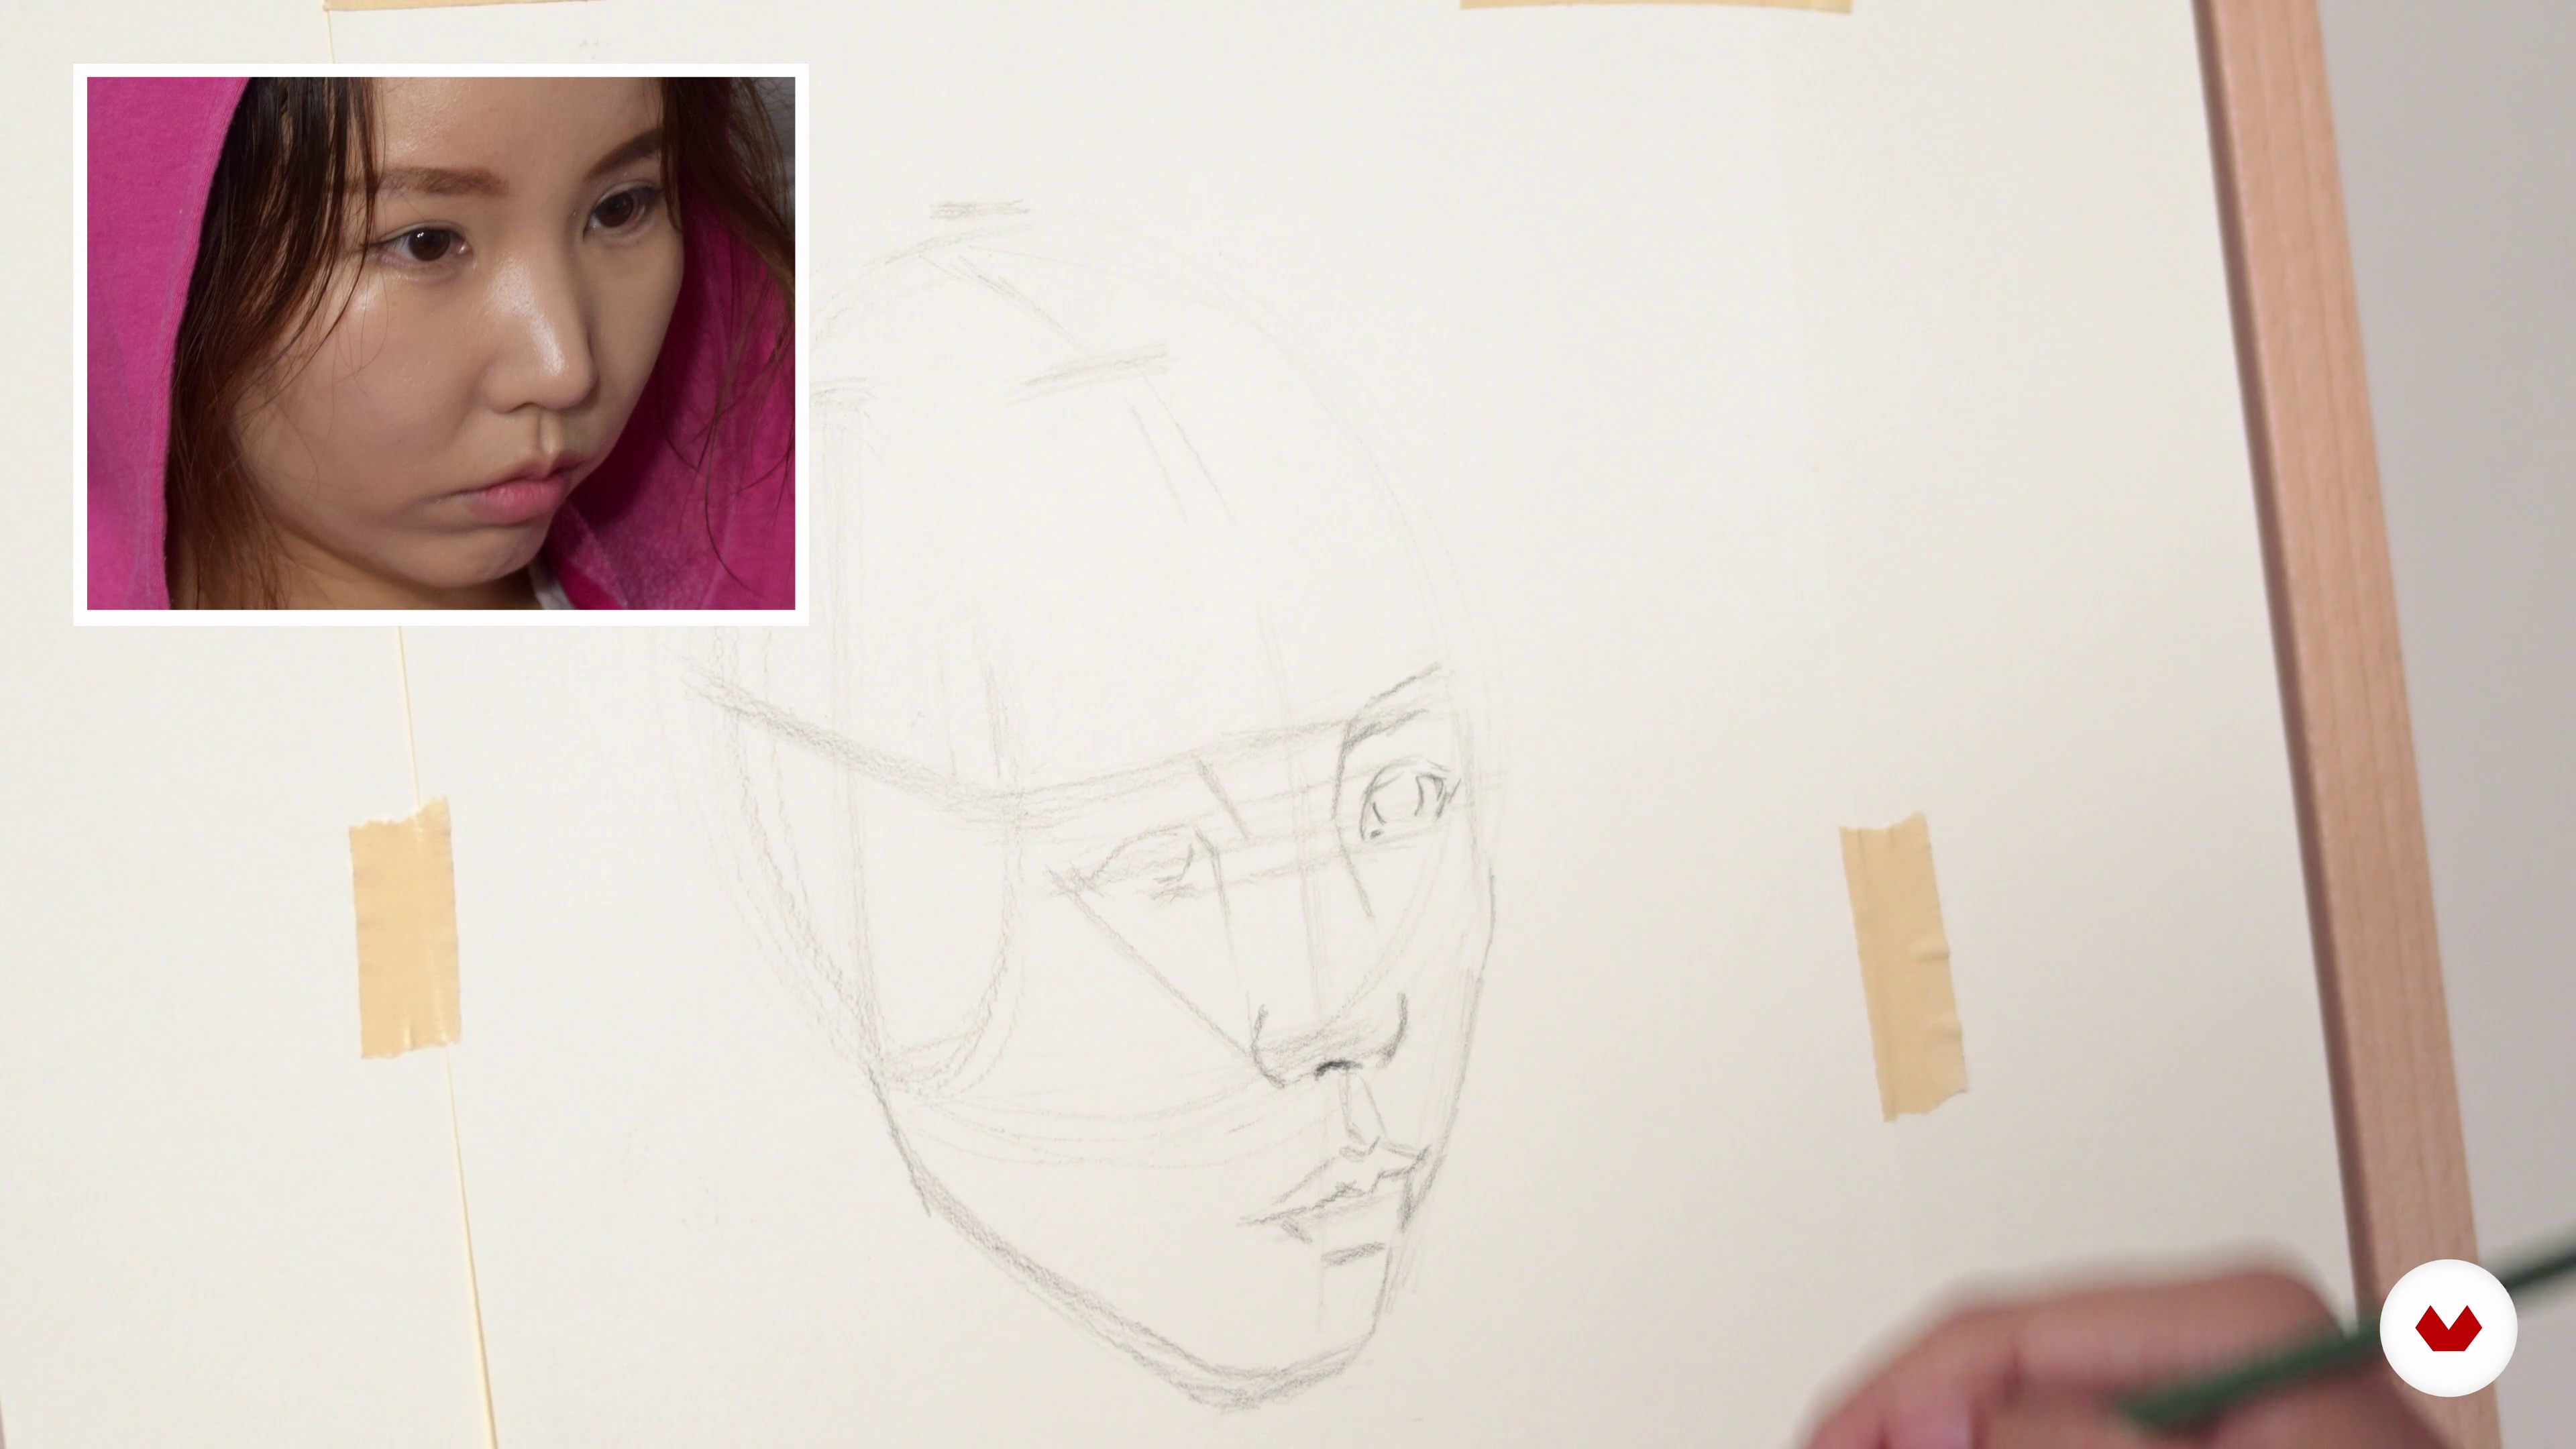
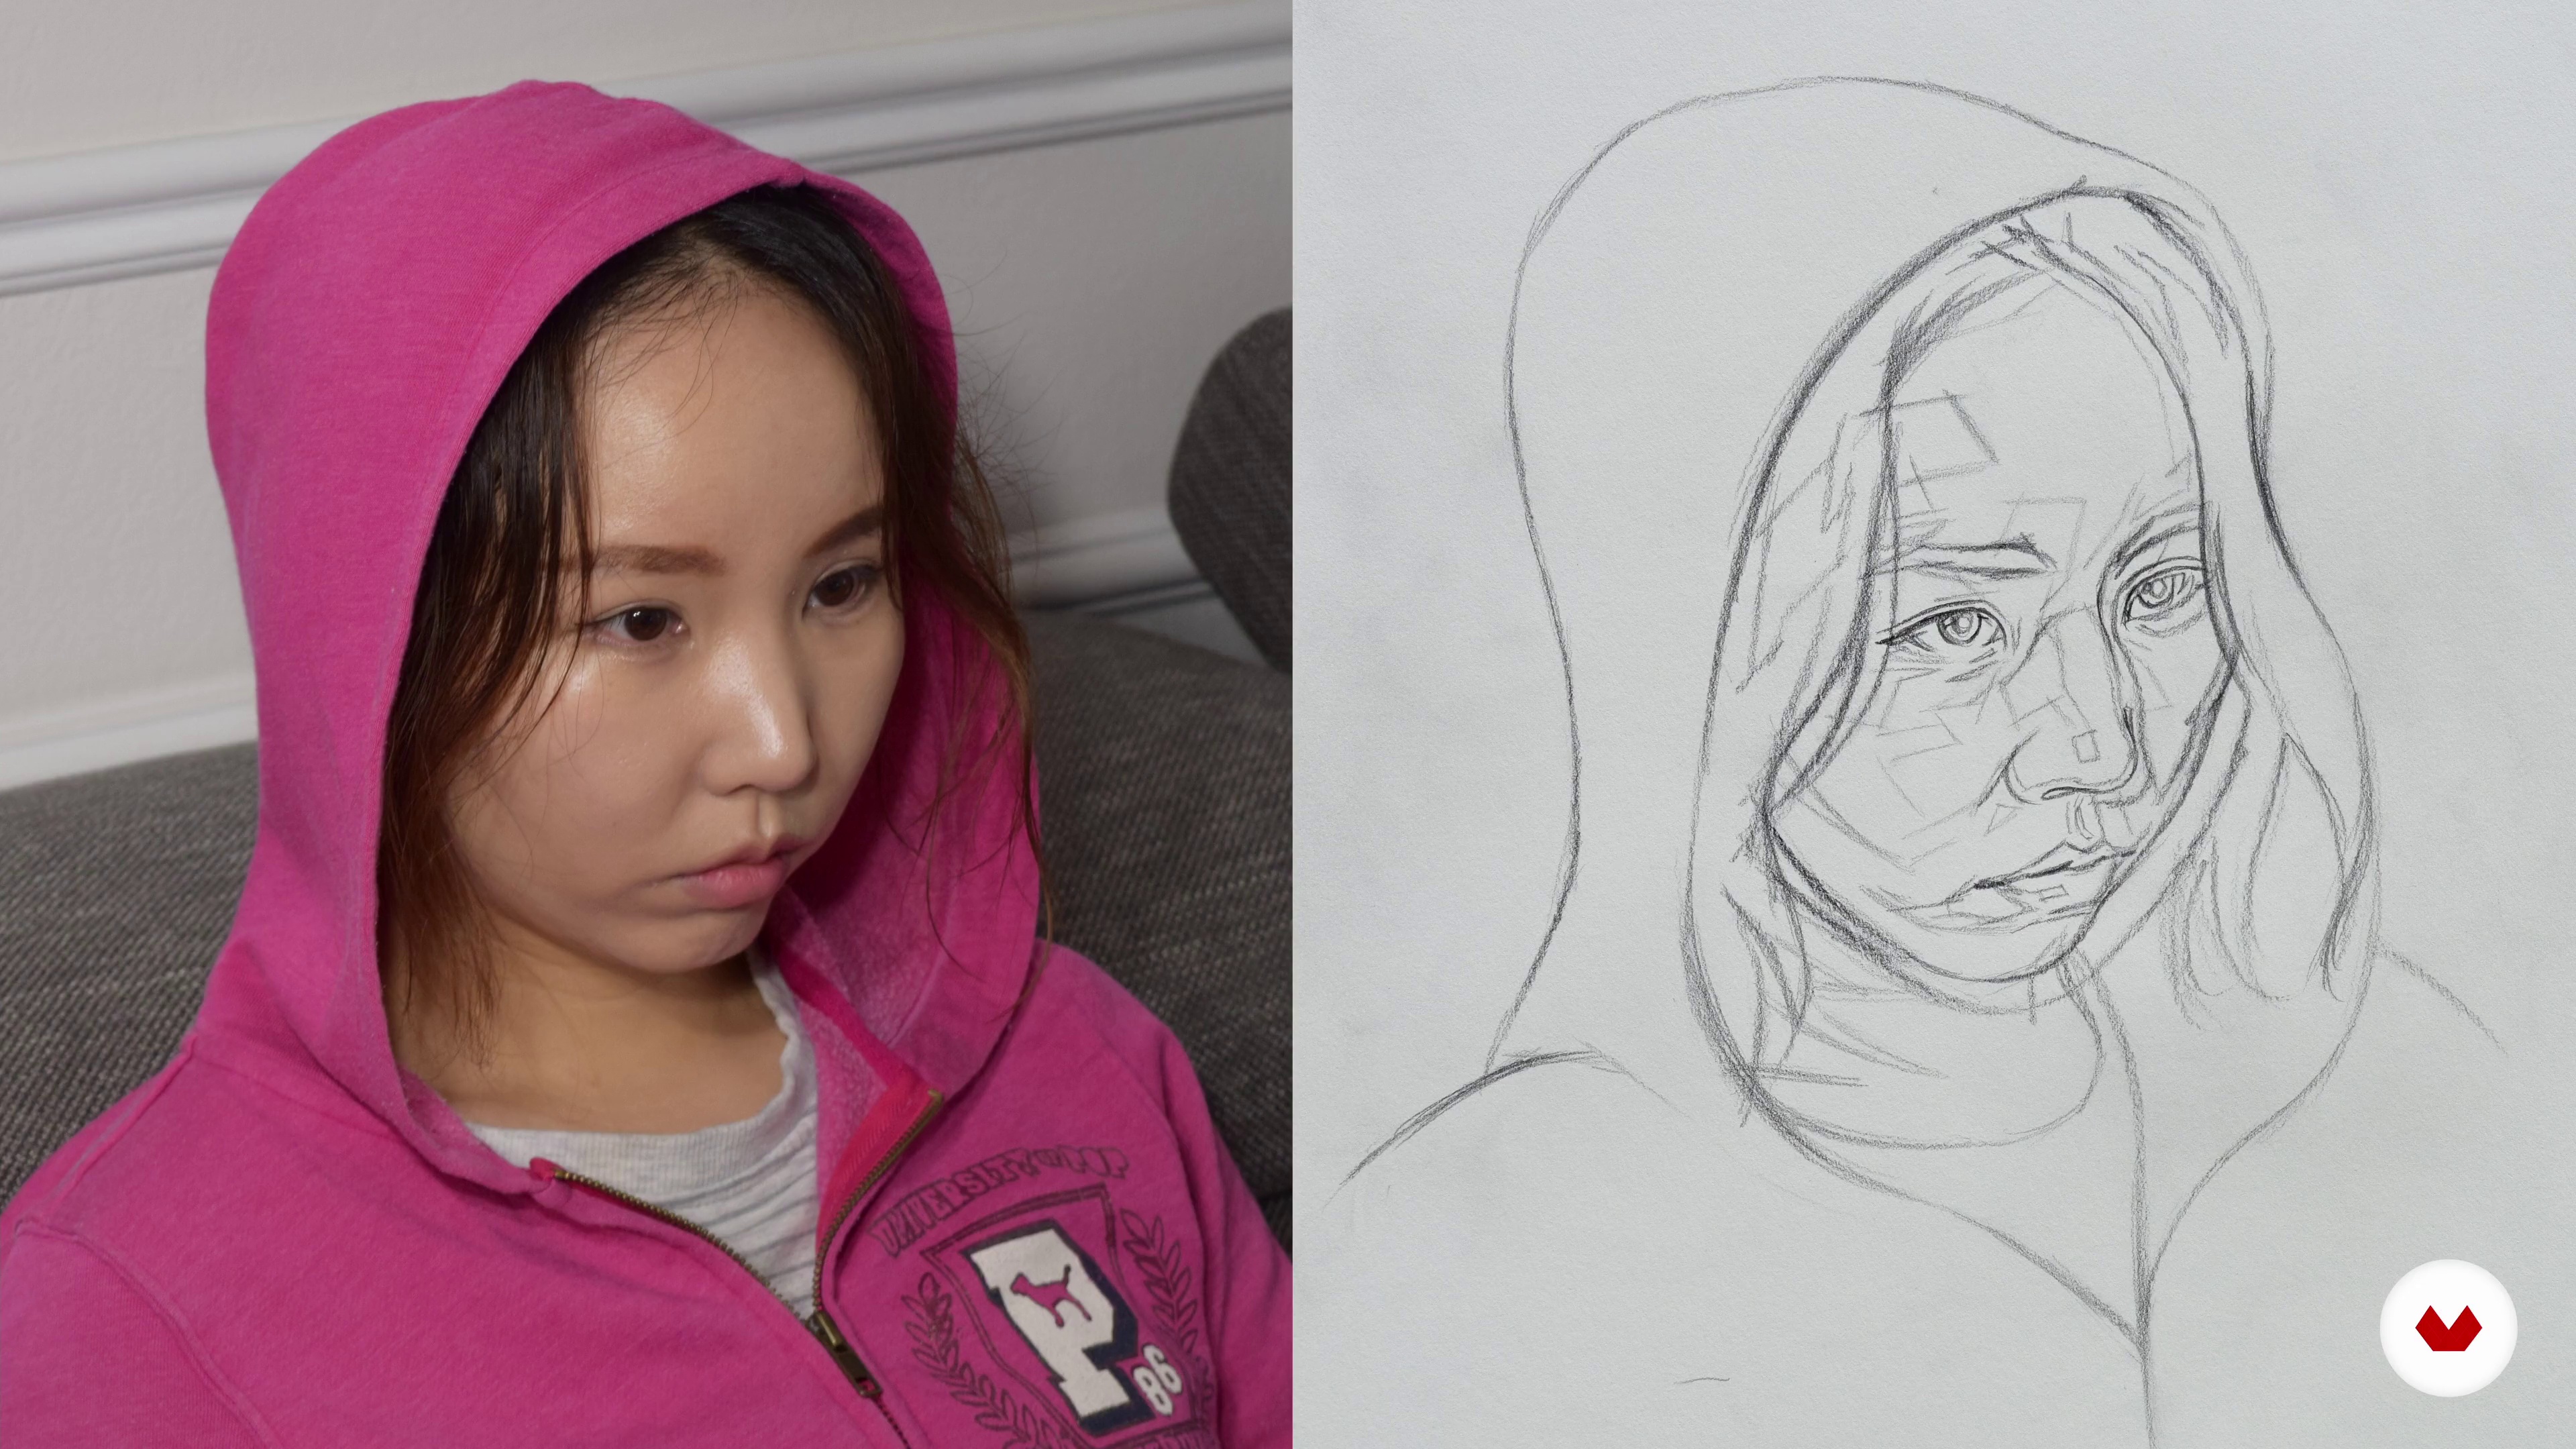
In this lesson, you will learn methods to improve accuracy in portrait drawing. We'll cover using straight lines to form an "envelope," visualizing shapes abstractly, and checking horizontal and vertical relationships. You'll also practice triangulating landmarks and refining details step by step for better precision.
14m
image
7
Methods of Checking Accuracy 2
In this lesson, you will refine your portrait drawing by simplifying shapes, erasing unnecessary lines, and sharpening your pencil for precision. We'll explore different types of edges and use hatching to define shadows. You’ll also practice checking proportions with vertical and horizontal relationships and correcting angles for greater accuracy.
9m
image
8
Setting up the Pose and Beginning the Straight Line Block-in
In this lesson, I will discuss the key considerations when setting up a pose and lighting for a portrait. We will then establish proportions with a straight-line block-in of the head.
17m
image
9
Clarifying the Block-in
In this lesson, I will guide you in refining the rough straight-line block-in into a more defined two-dimensional representation of the head.
19m
image
10
Massing-in the Shadows and Toning the Paper
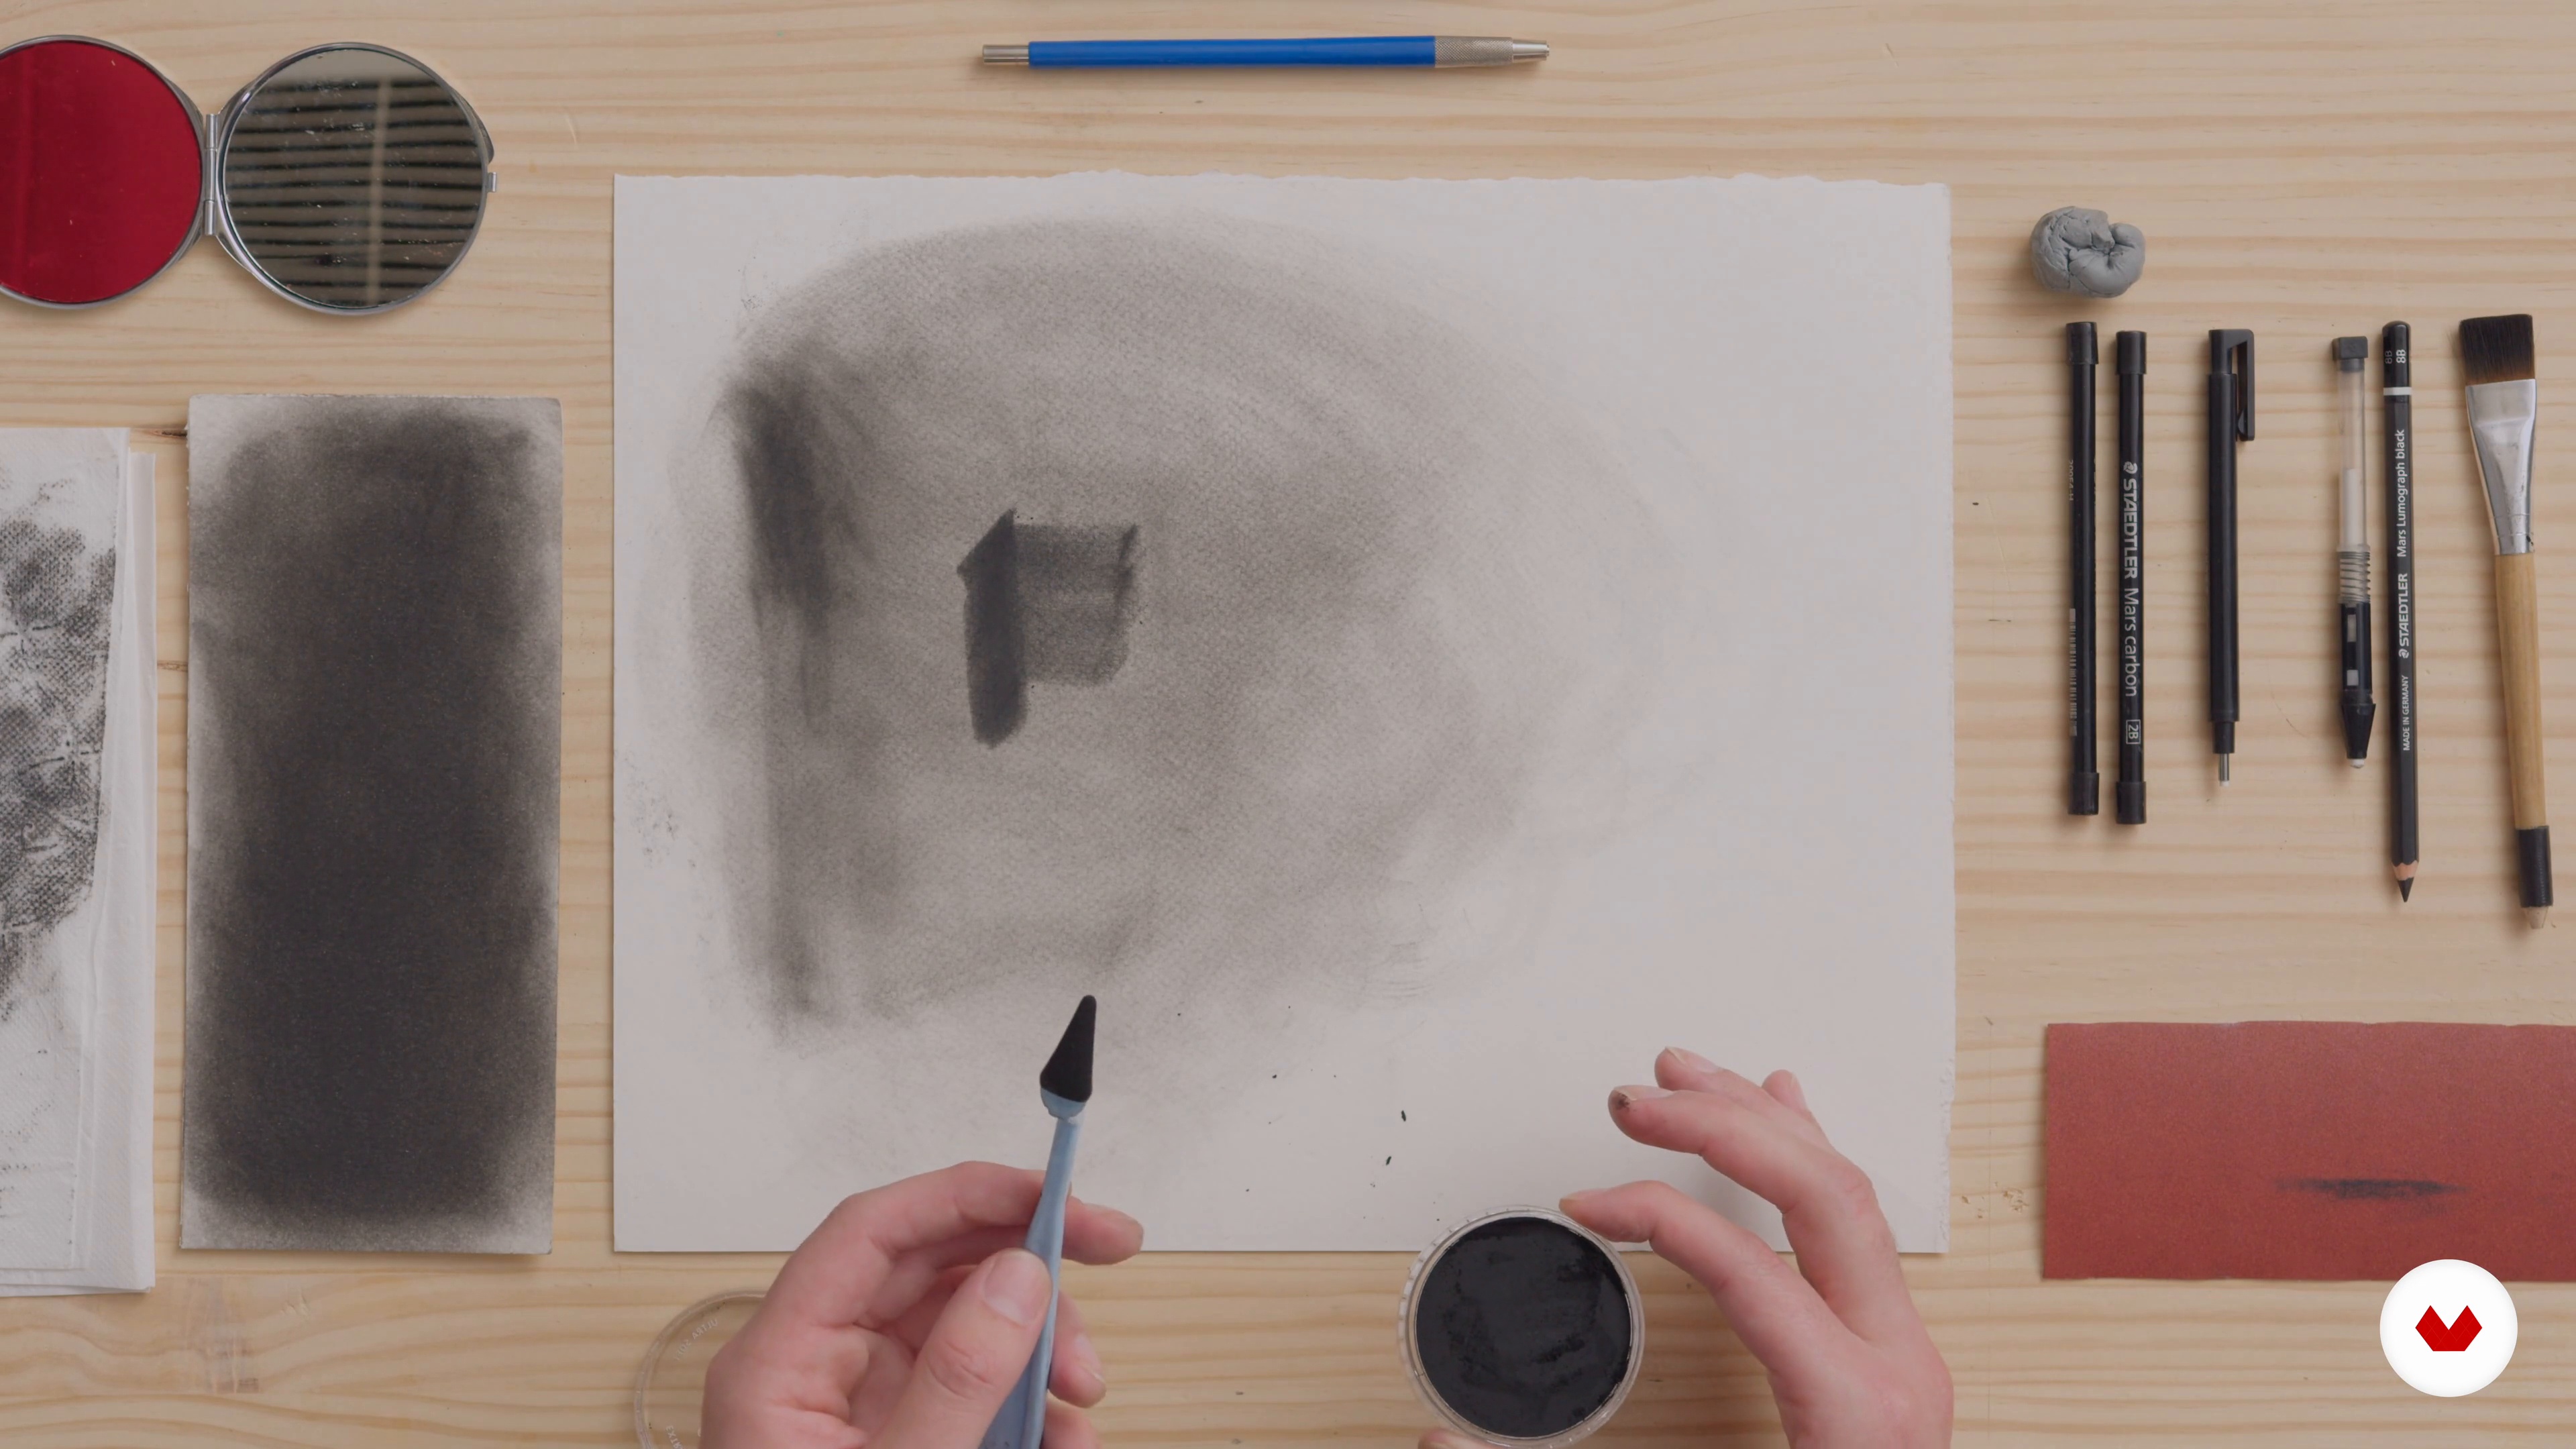
In this lesson, I will begin working with tone and demonstrate how to establish shadow shapes and half-tones using pastels, a brush, and a paper towel.
17m
image
11
Merging the Lights through the “Fog”
In this lesson, we will use different types of erasers to establish the light planes of the face by erasing into the toned paper.
9m
image
12
Mapping Out the Midtones and Light Area 1
In this lesson, I’ll refine the portrait by breaking down larger forms into smaller, more specific planes. Using my 2H and 2B pencils, I’ll design shapes within the midtones and lights, exaggerating plane changes for clarity. This approach helps me build structure before blending while also refining the expression and edge
14m
image
13
Mapping Out the Midtones and Light Area 2
In this lesson, I refine the portrait by defining the nose and cheek with simple shapes. I use 2H and 2B pencils, switching as needed, and rely on my eraser for highlights. I focus on balancing light and shadow, ensuring the portrait feels integrated. Next, I’ll refine and merge these shapes.
11m
image
14
Sculpting from Flat to Form 1
I'll begin by focusing on a specific area, like the eye and forehead, to set the standard for the rest of the portrait. Using my pencils, I'll refine shapes and create smooth gradients while preserving details. Gradually, I'll blend shapes into one another, balancing realism and artistic interpretation.
14m
image
15
Sculpting from Flat to Form 2
I’ll use my 8B pencil to soften the shadow’s edge, making the form feel like it’s turning. By hatching along the form, I enhance depth. I'll also darken areas for contrast and adjust highlights, ensuring the eye remains the focal point. Finally, I’ll use a palette knife for darker tones in the background and hair, balancing light and shadow.
14m
image
16
Tips for Your Finished Artwork
In this lesson, I will share some tips on how to best take care of your finished artwork.
3m
image
17
Applying to Other Media
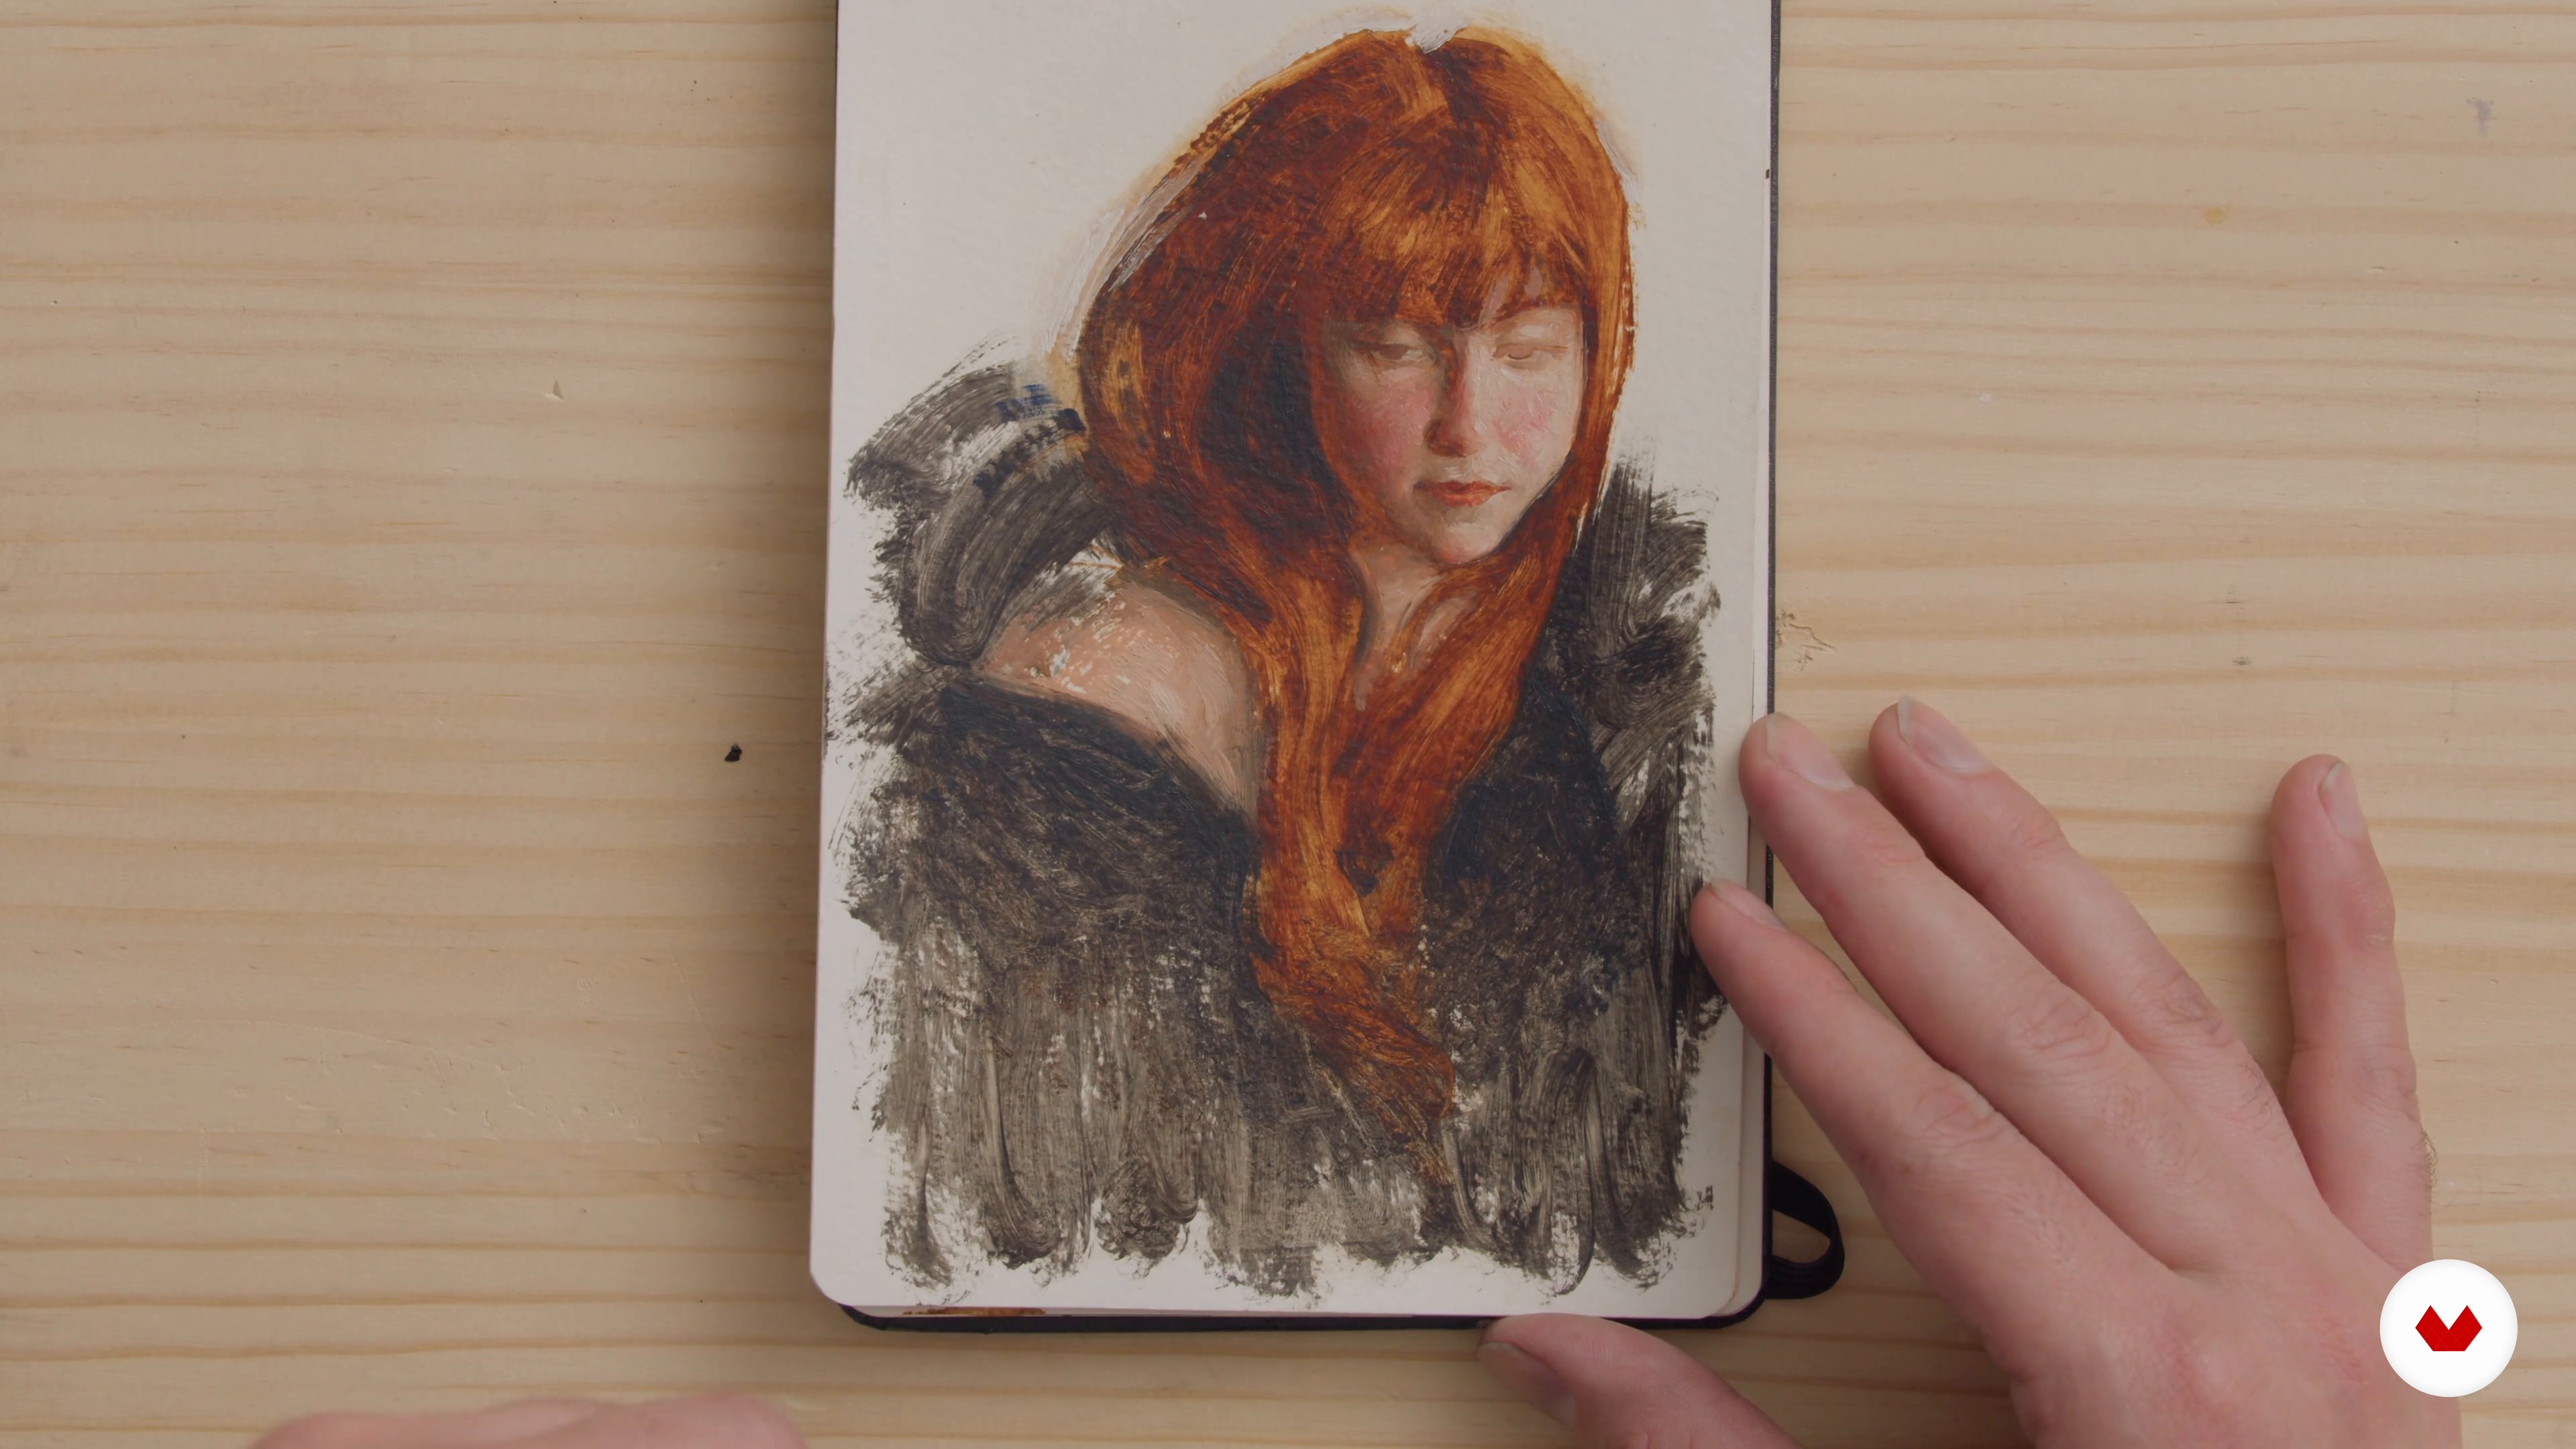
This lesson will show you how I apply my drawing knowledge to oil paintings.
4m
image
3
Materials and Tools
In this lesson, I will provide the necessary preparations to start drawing by establishing a series of pencil and paper grades to follow. I will describe why they have been selected for this course and show you how to use and care for them well.
12m
image
4
What Is a Planar Portrait?
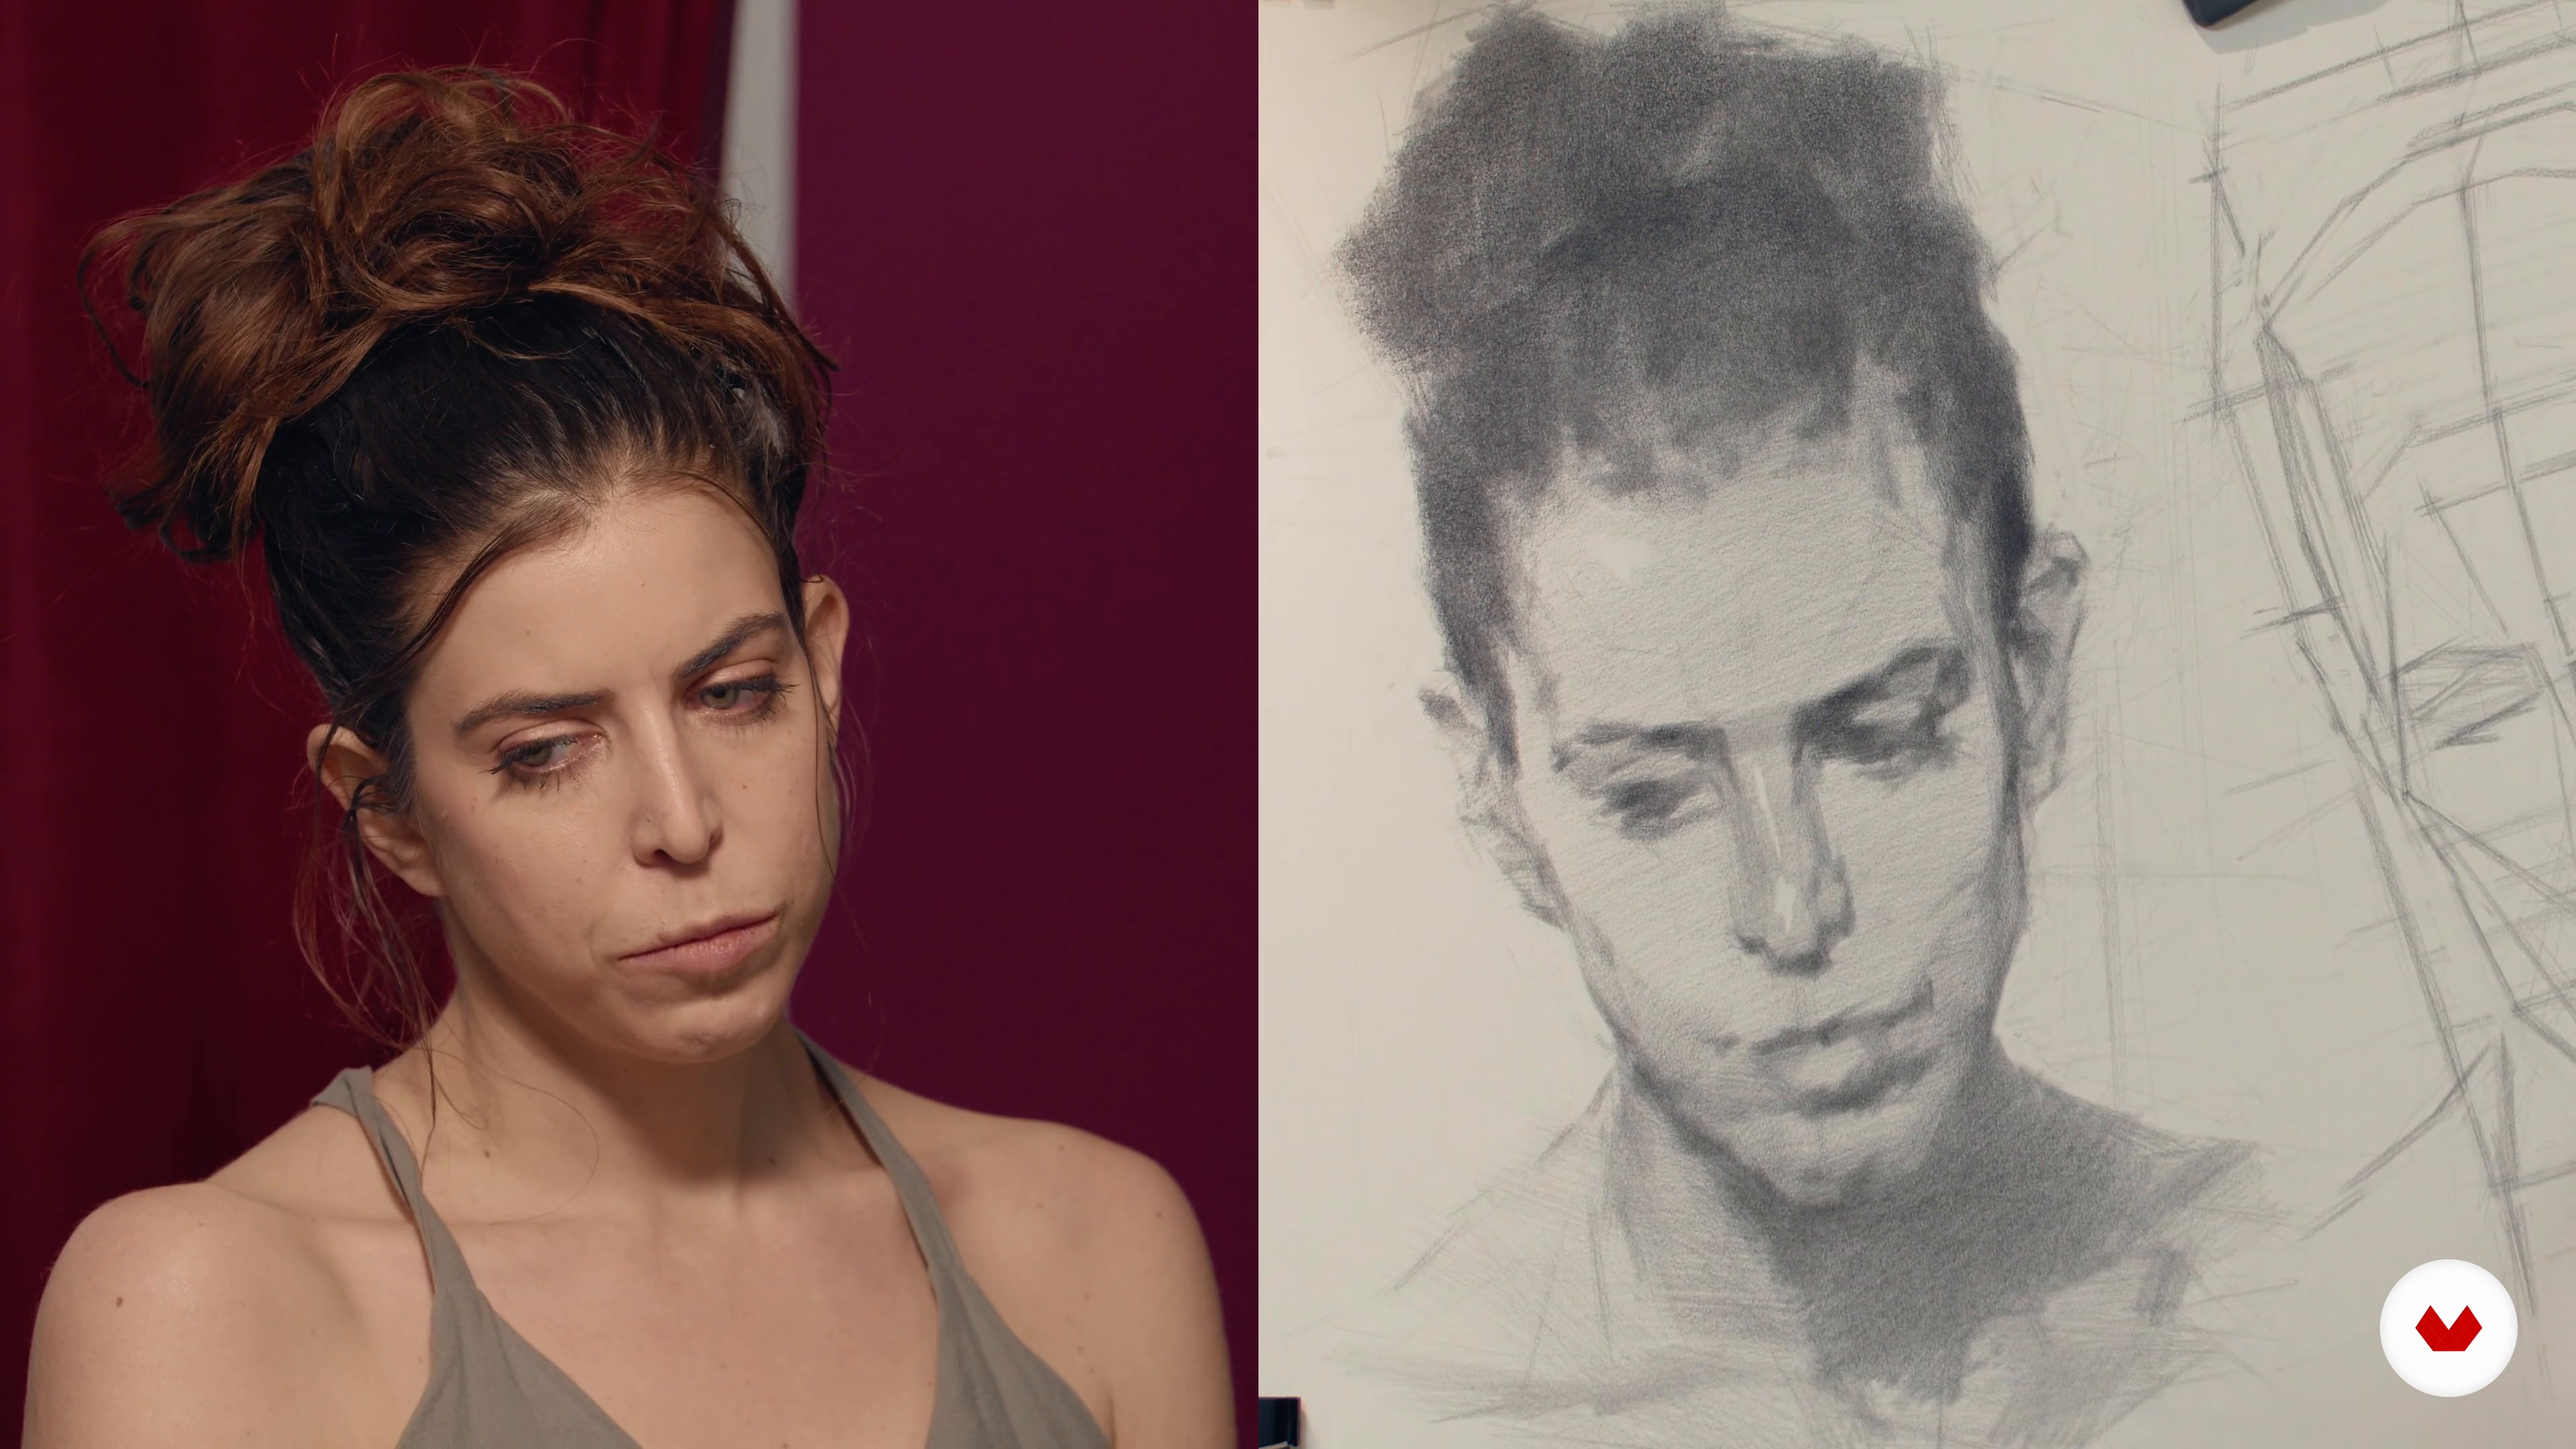
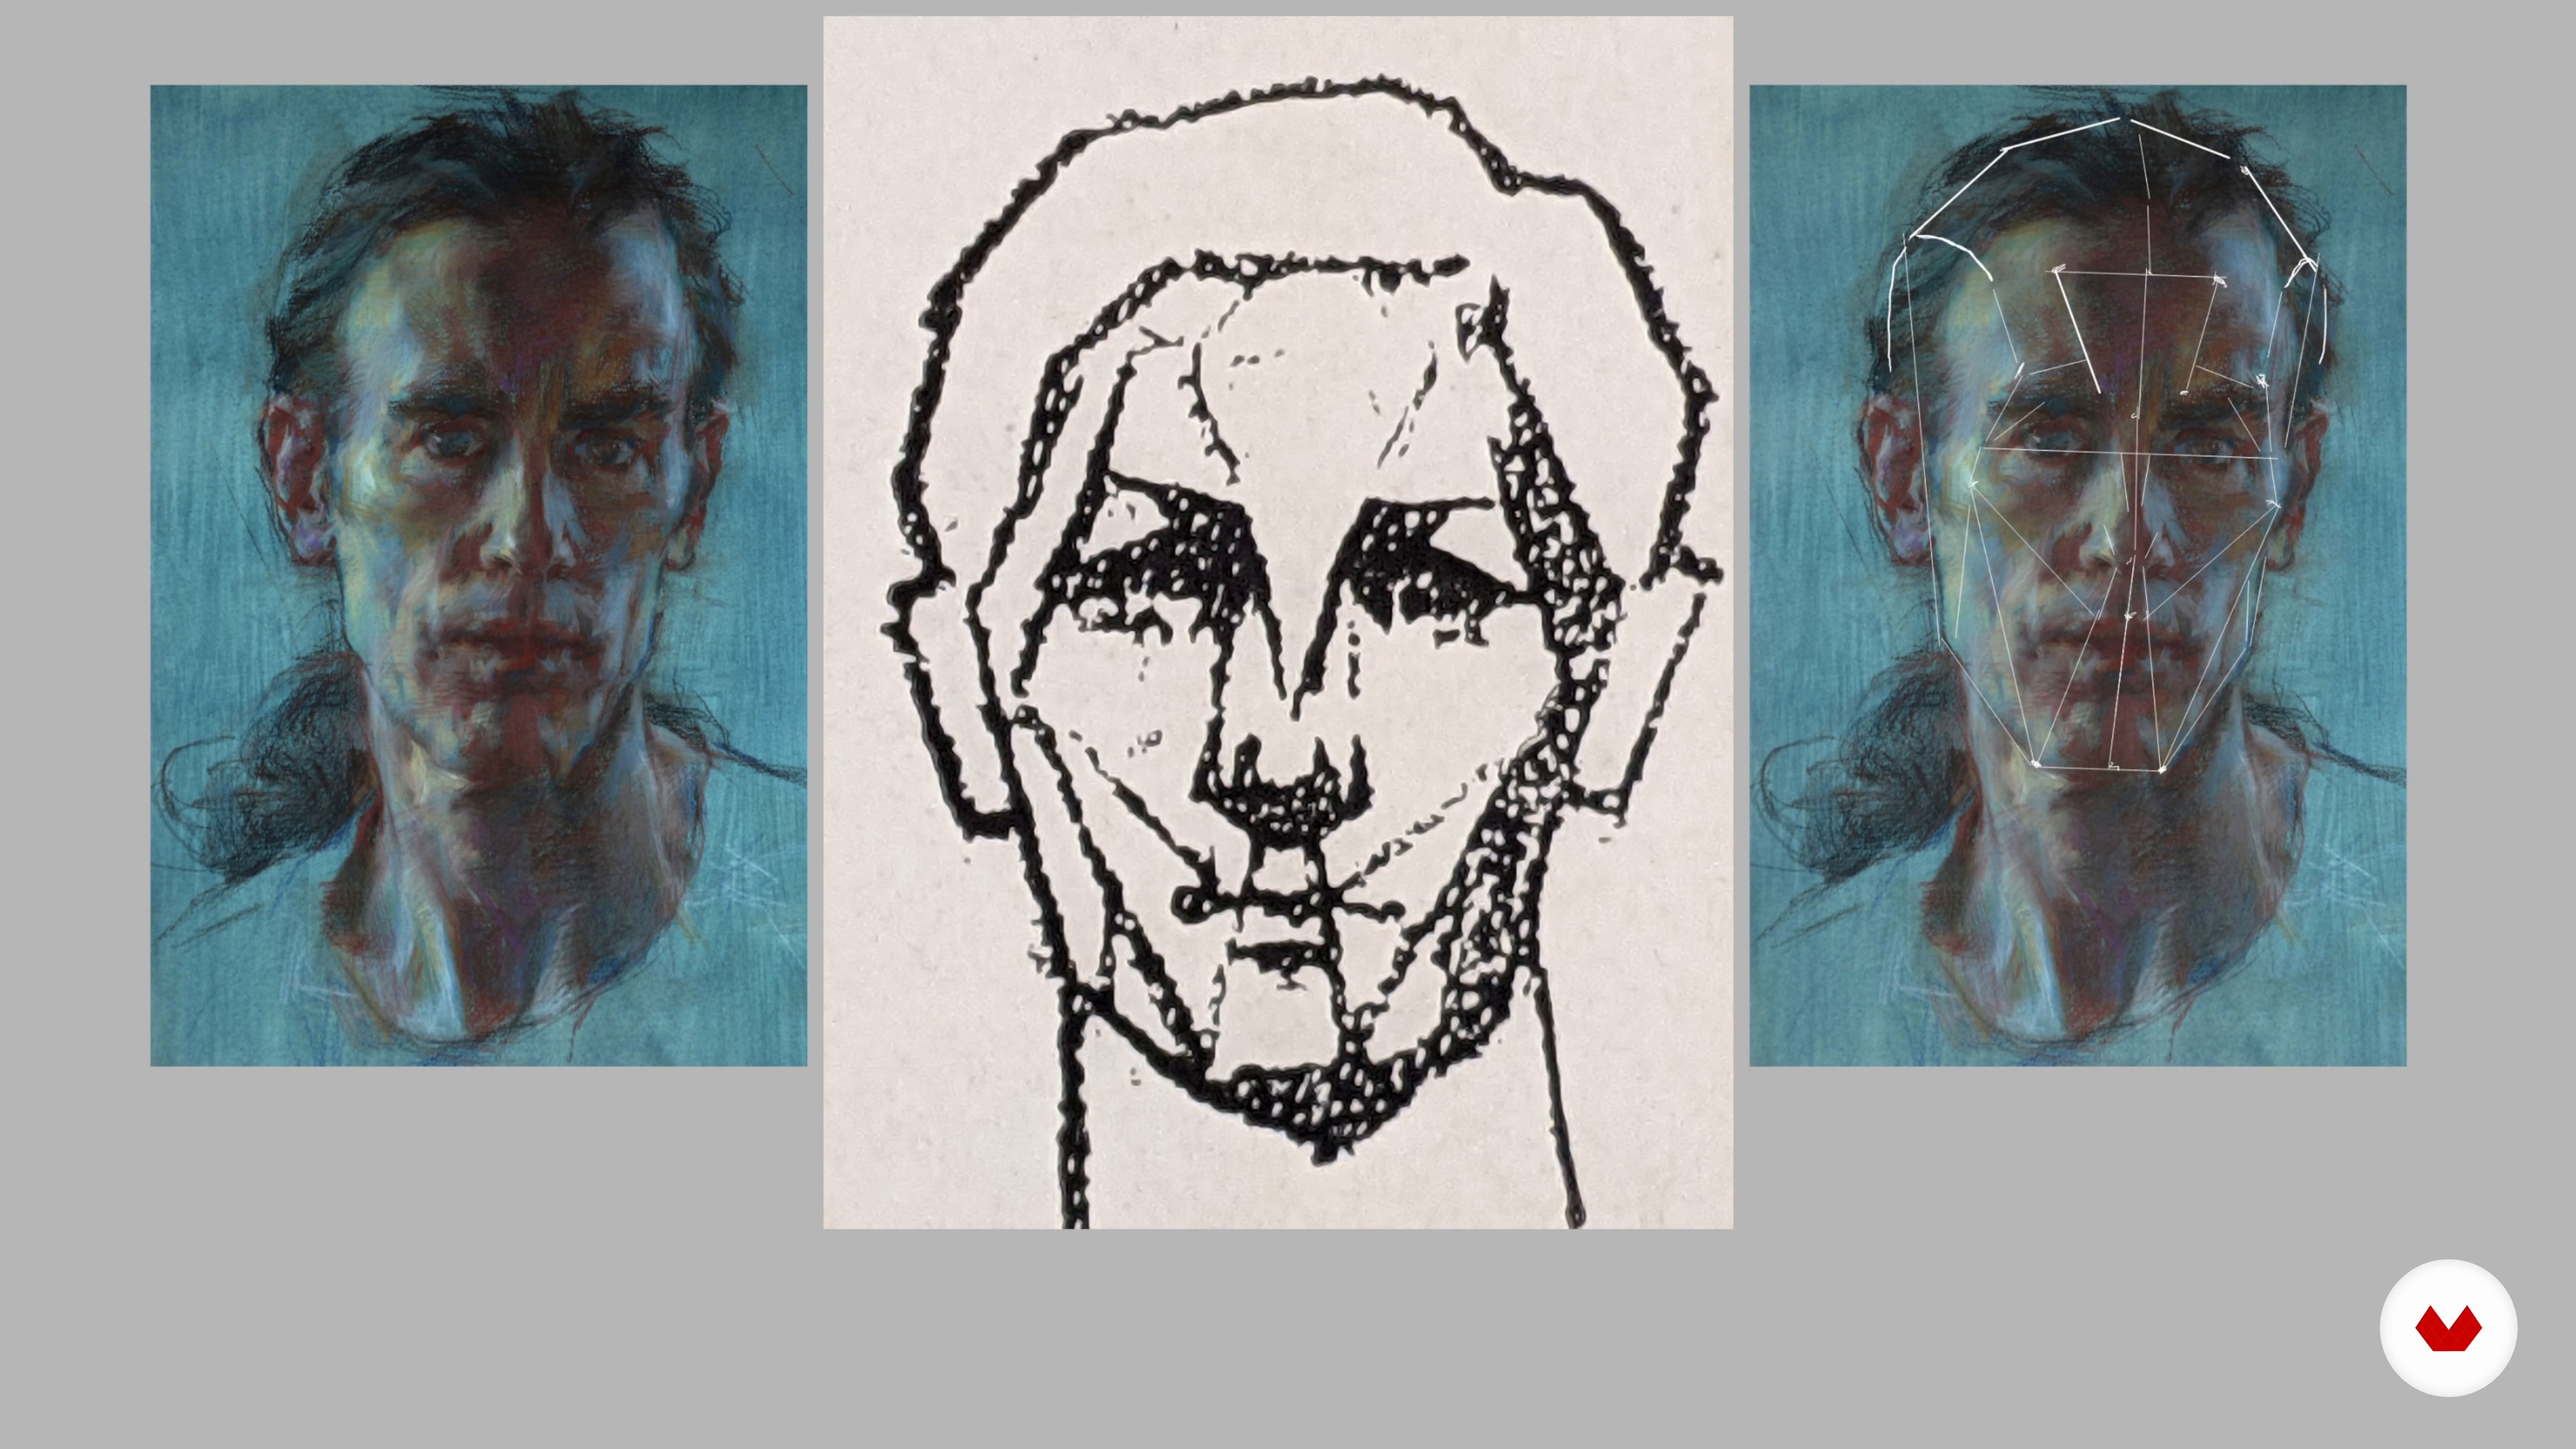
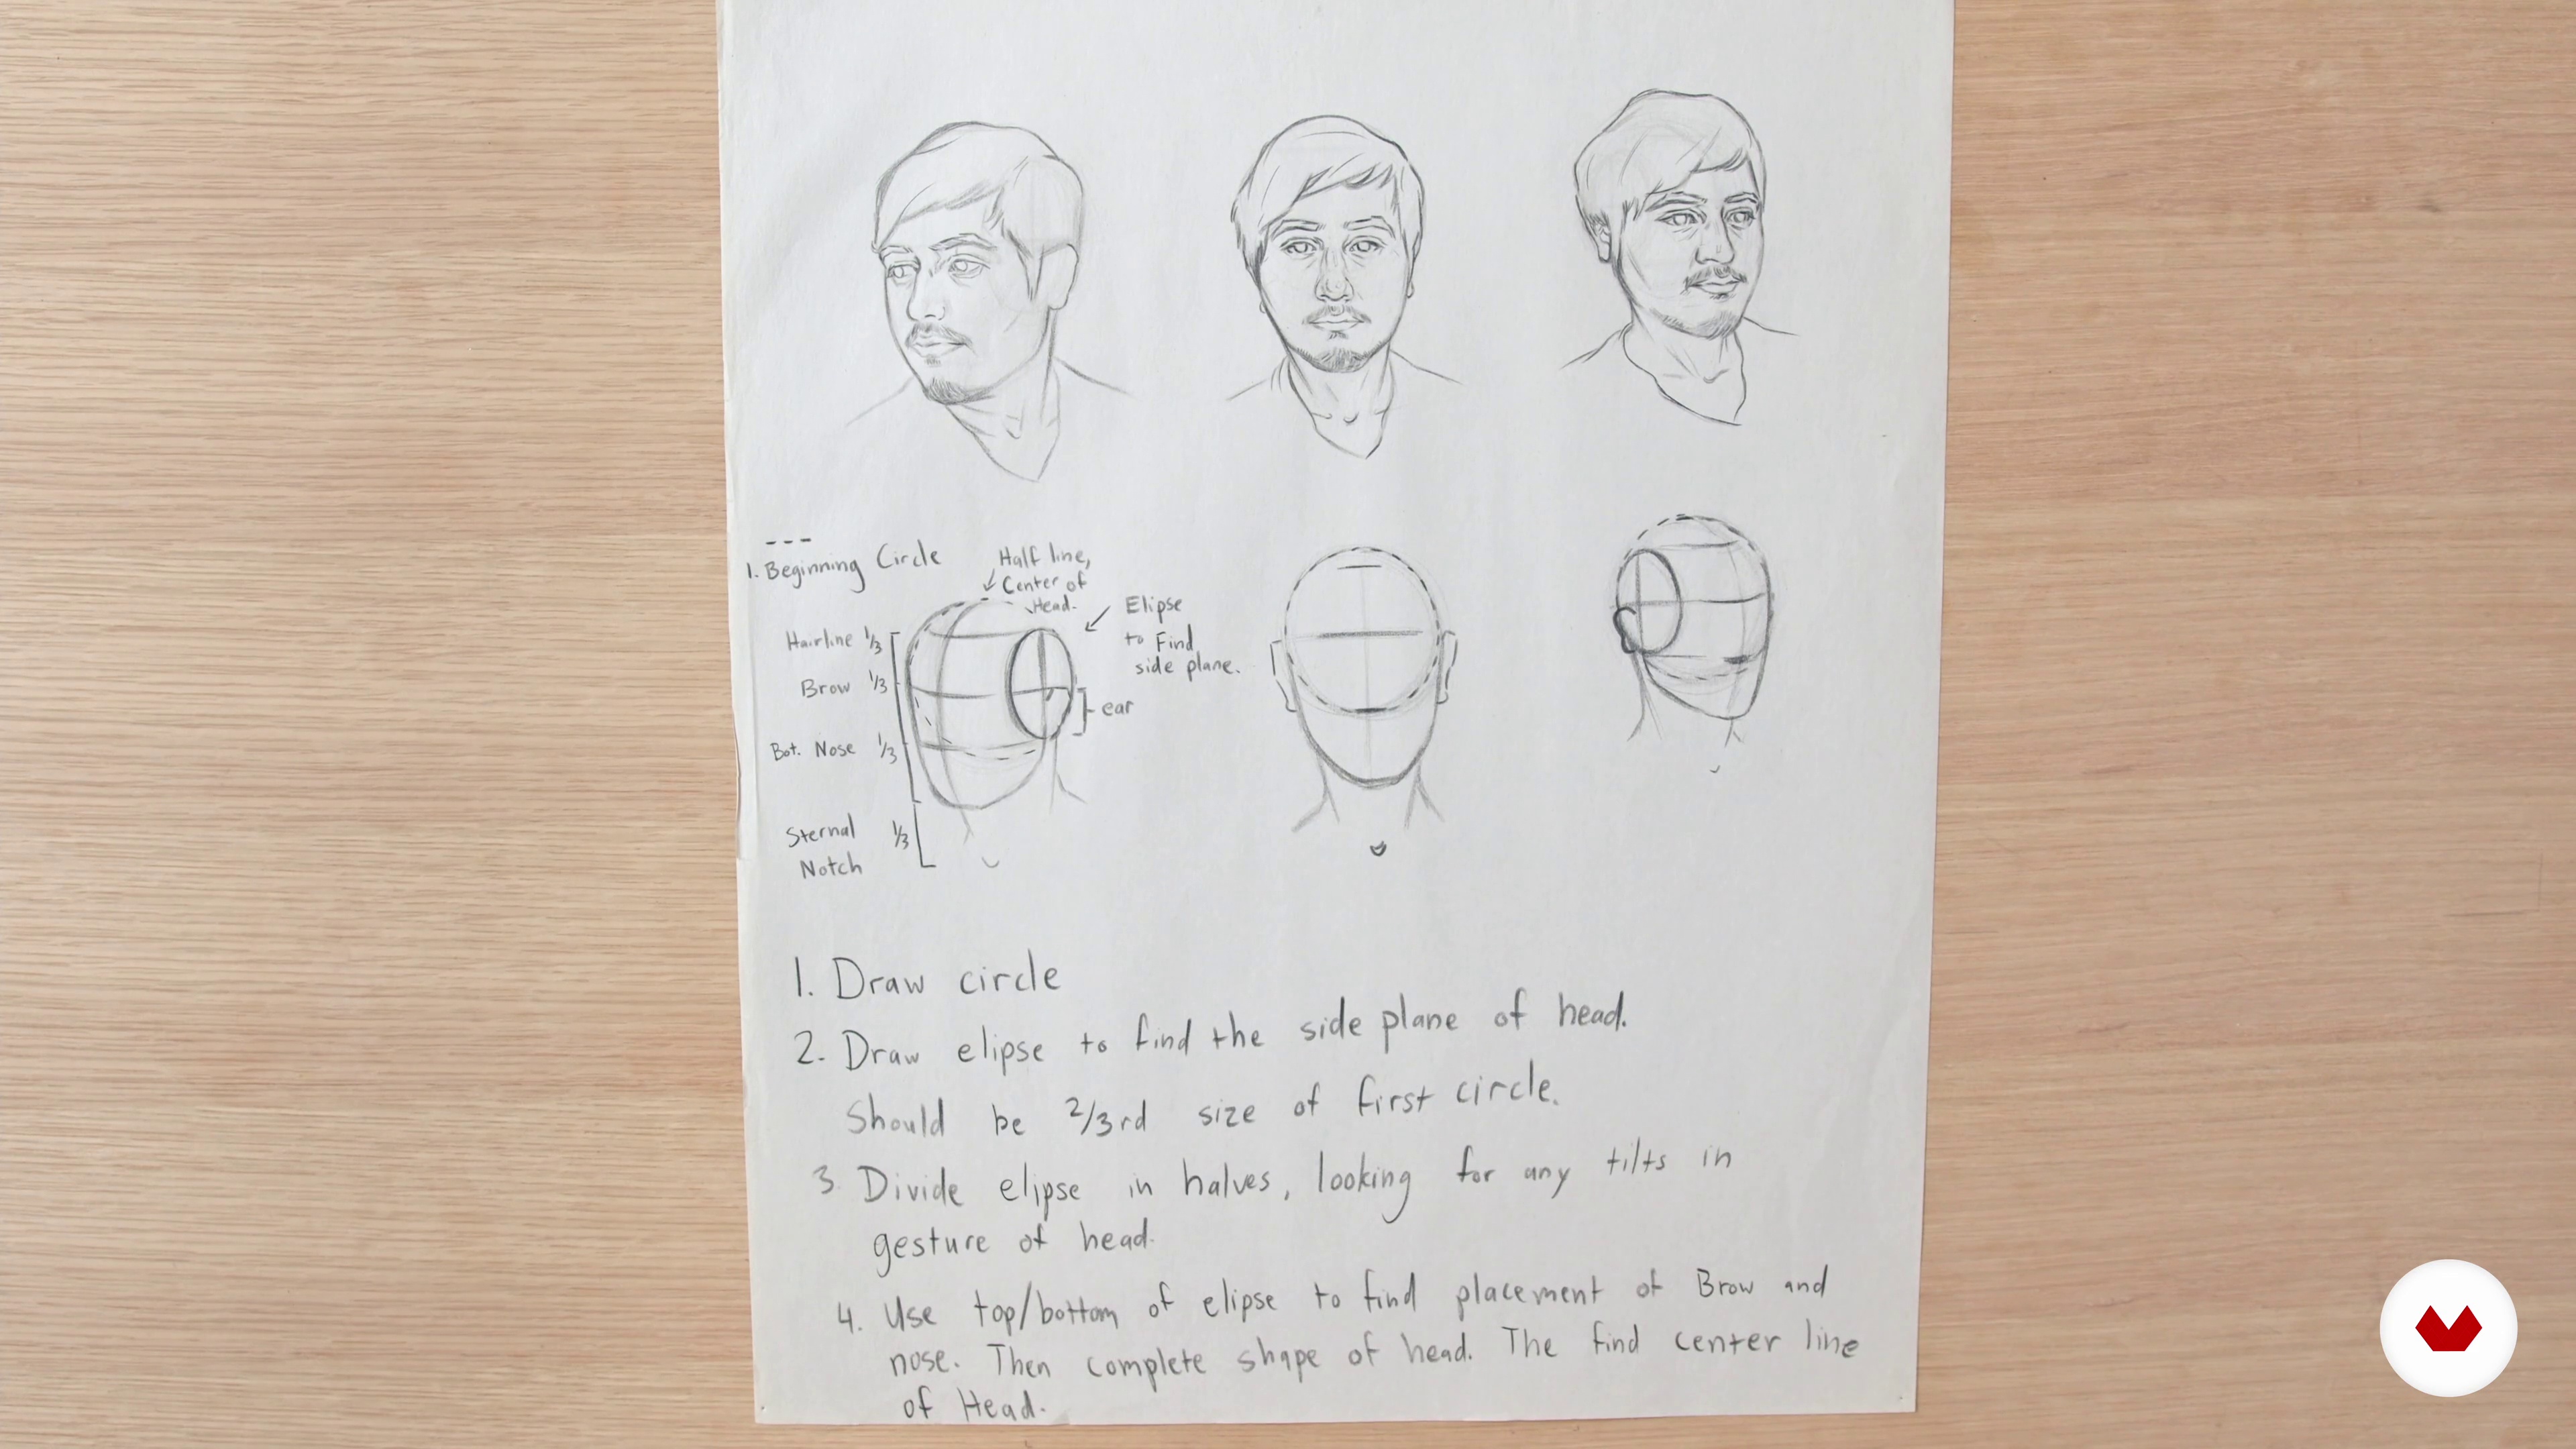
In this lesson, I will elaborate on what a planar portrait is by looking back into our history and evaluating how this system developed, evolving to promote the use of structural forms – boxes, trapezoids, and blocks – to interpret the human figure.
7m
image
5
Drawing a Simple Block: A Lesson in Structure
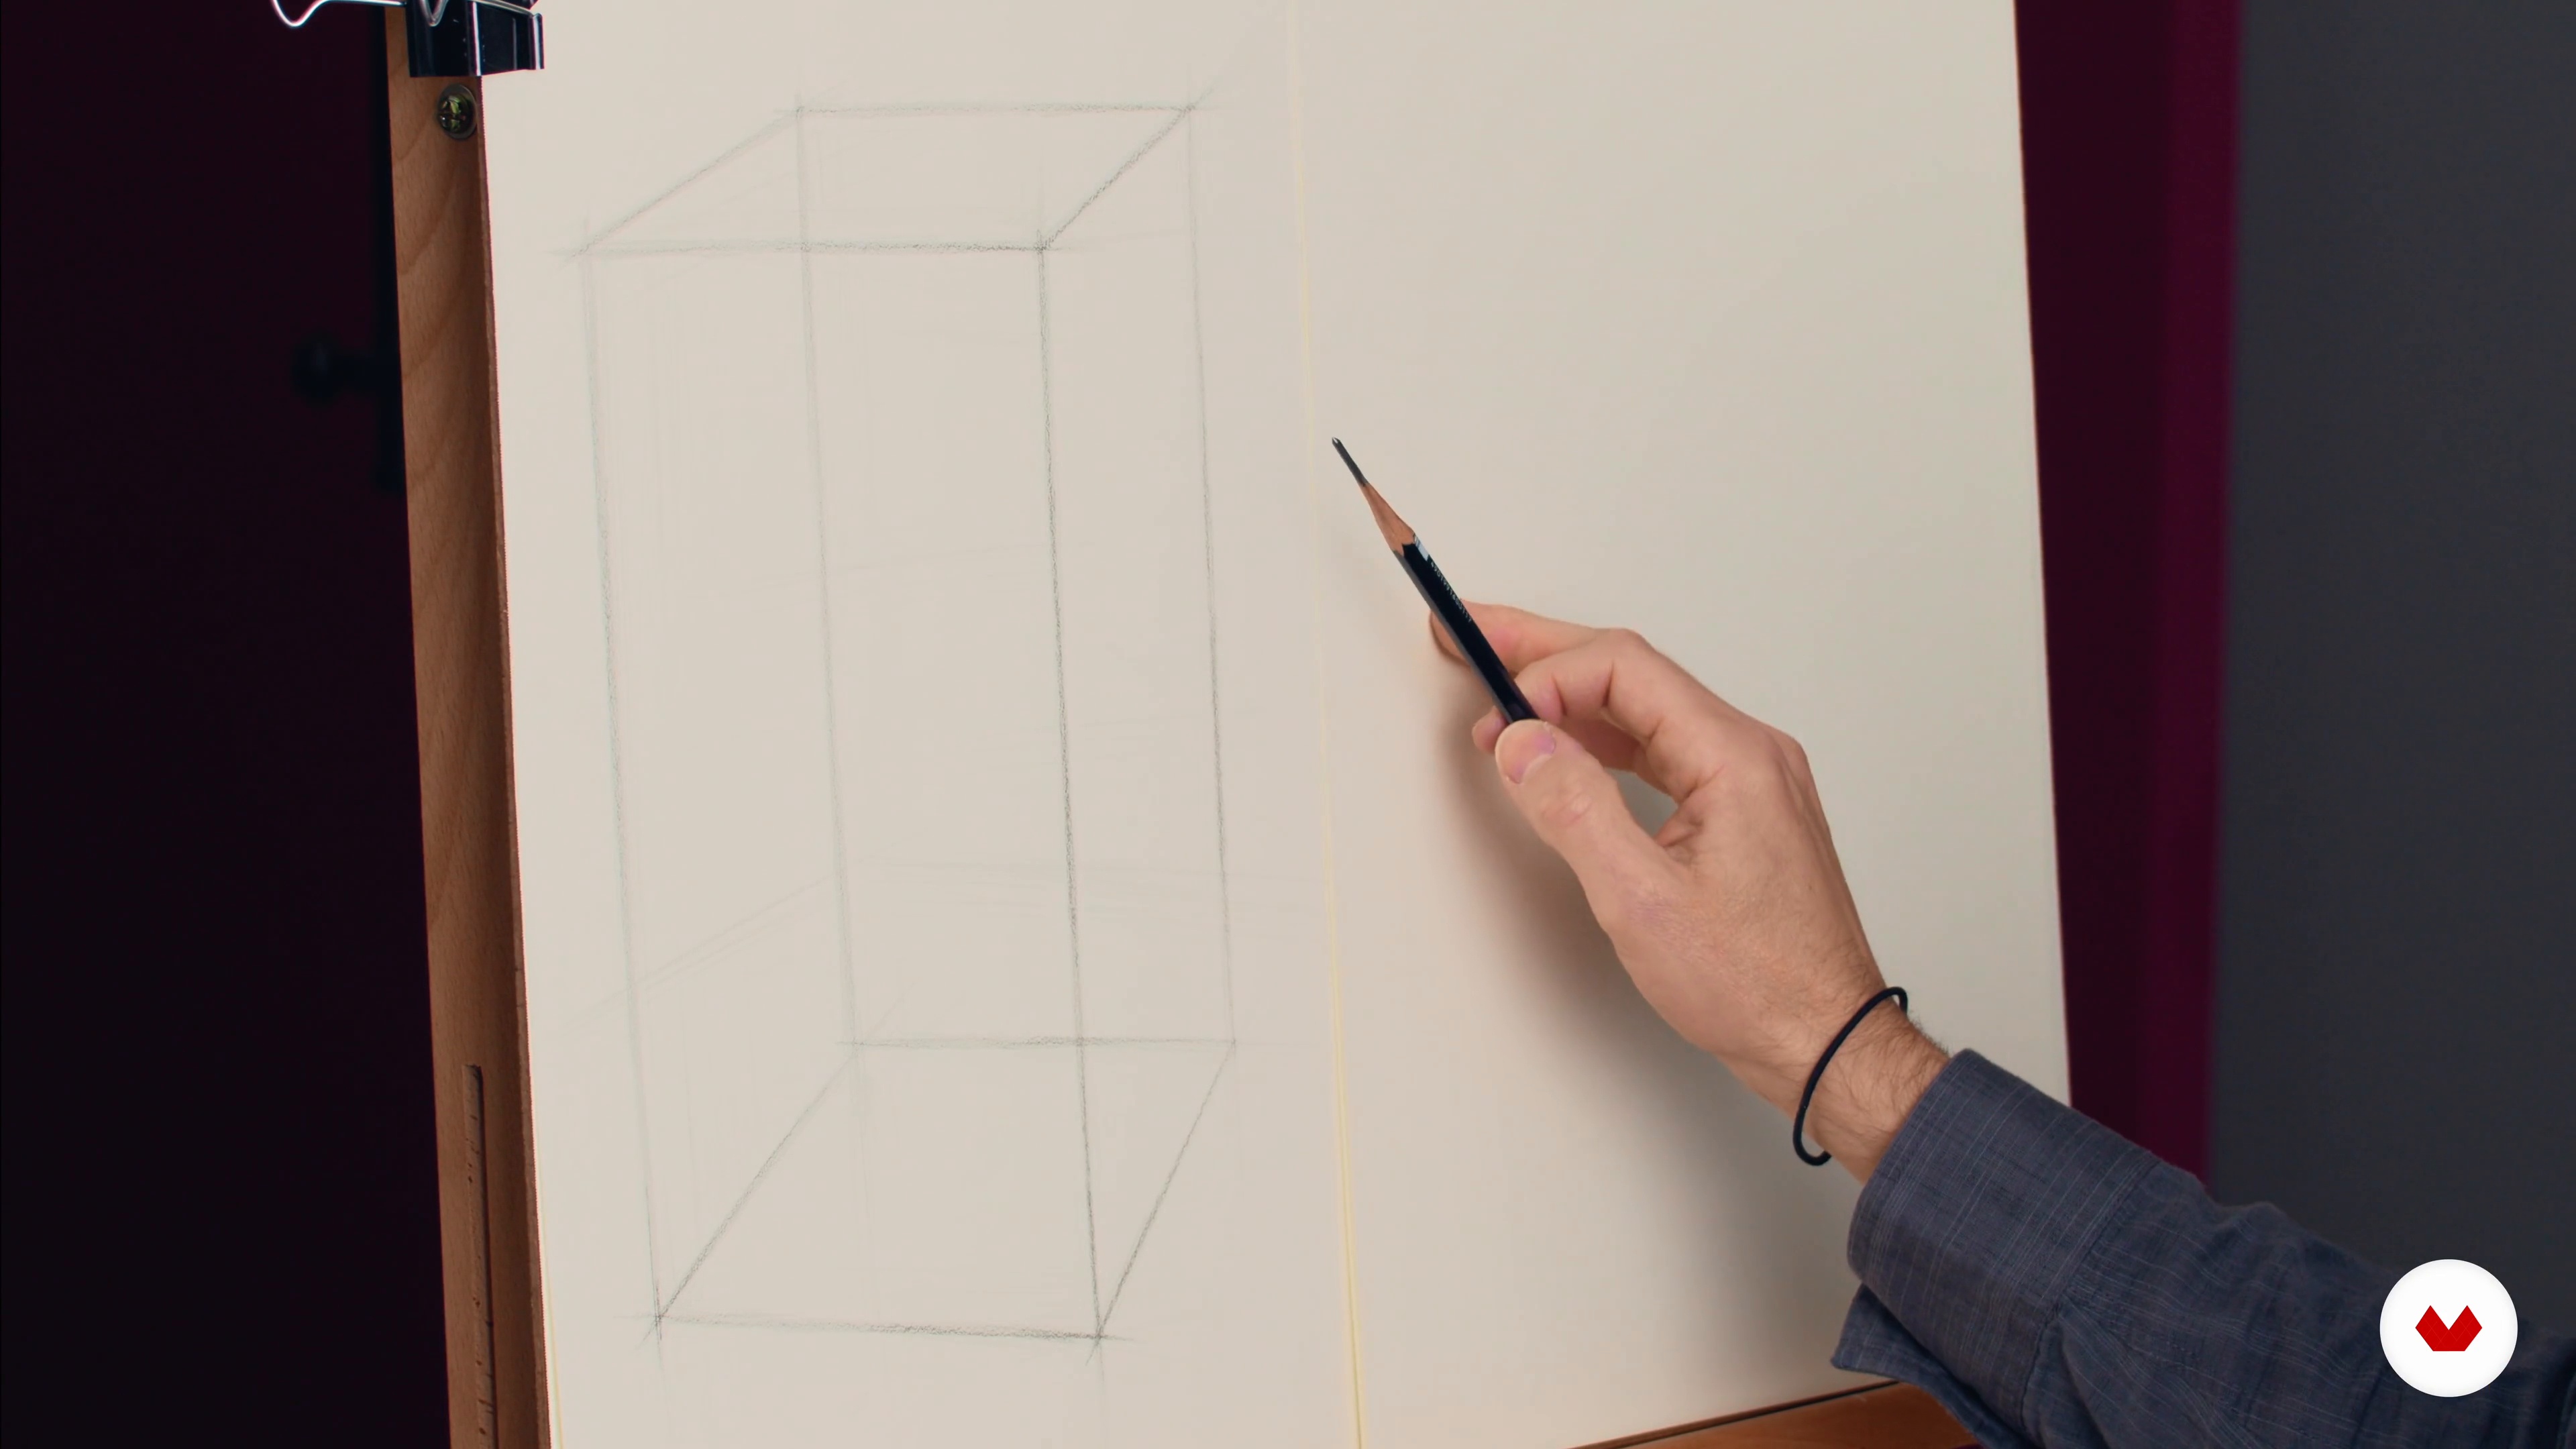
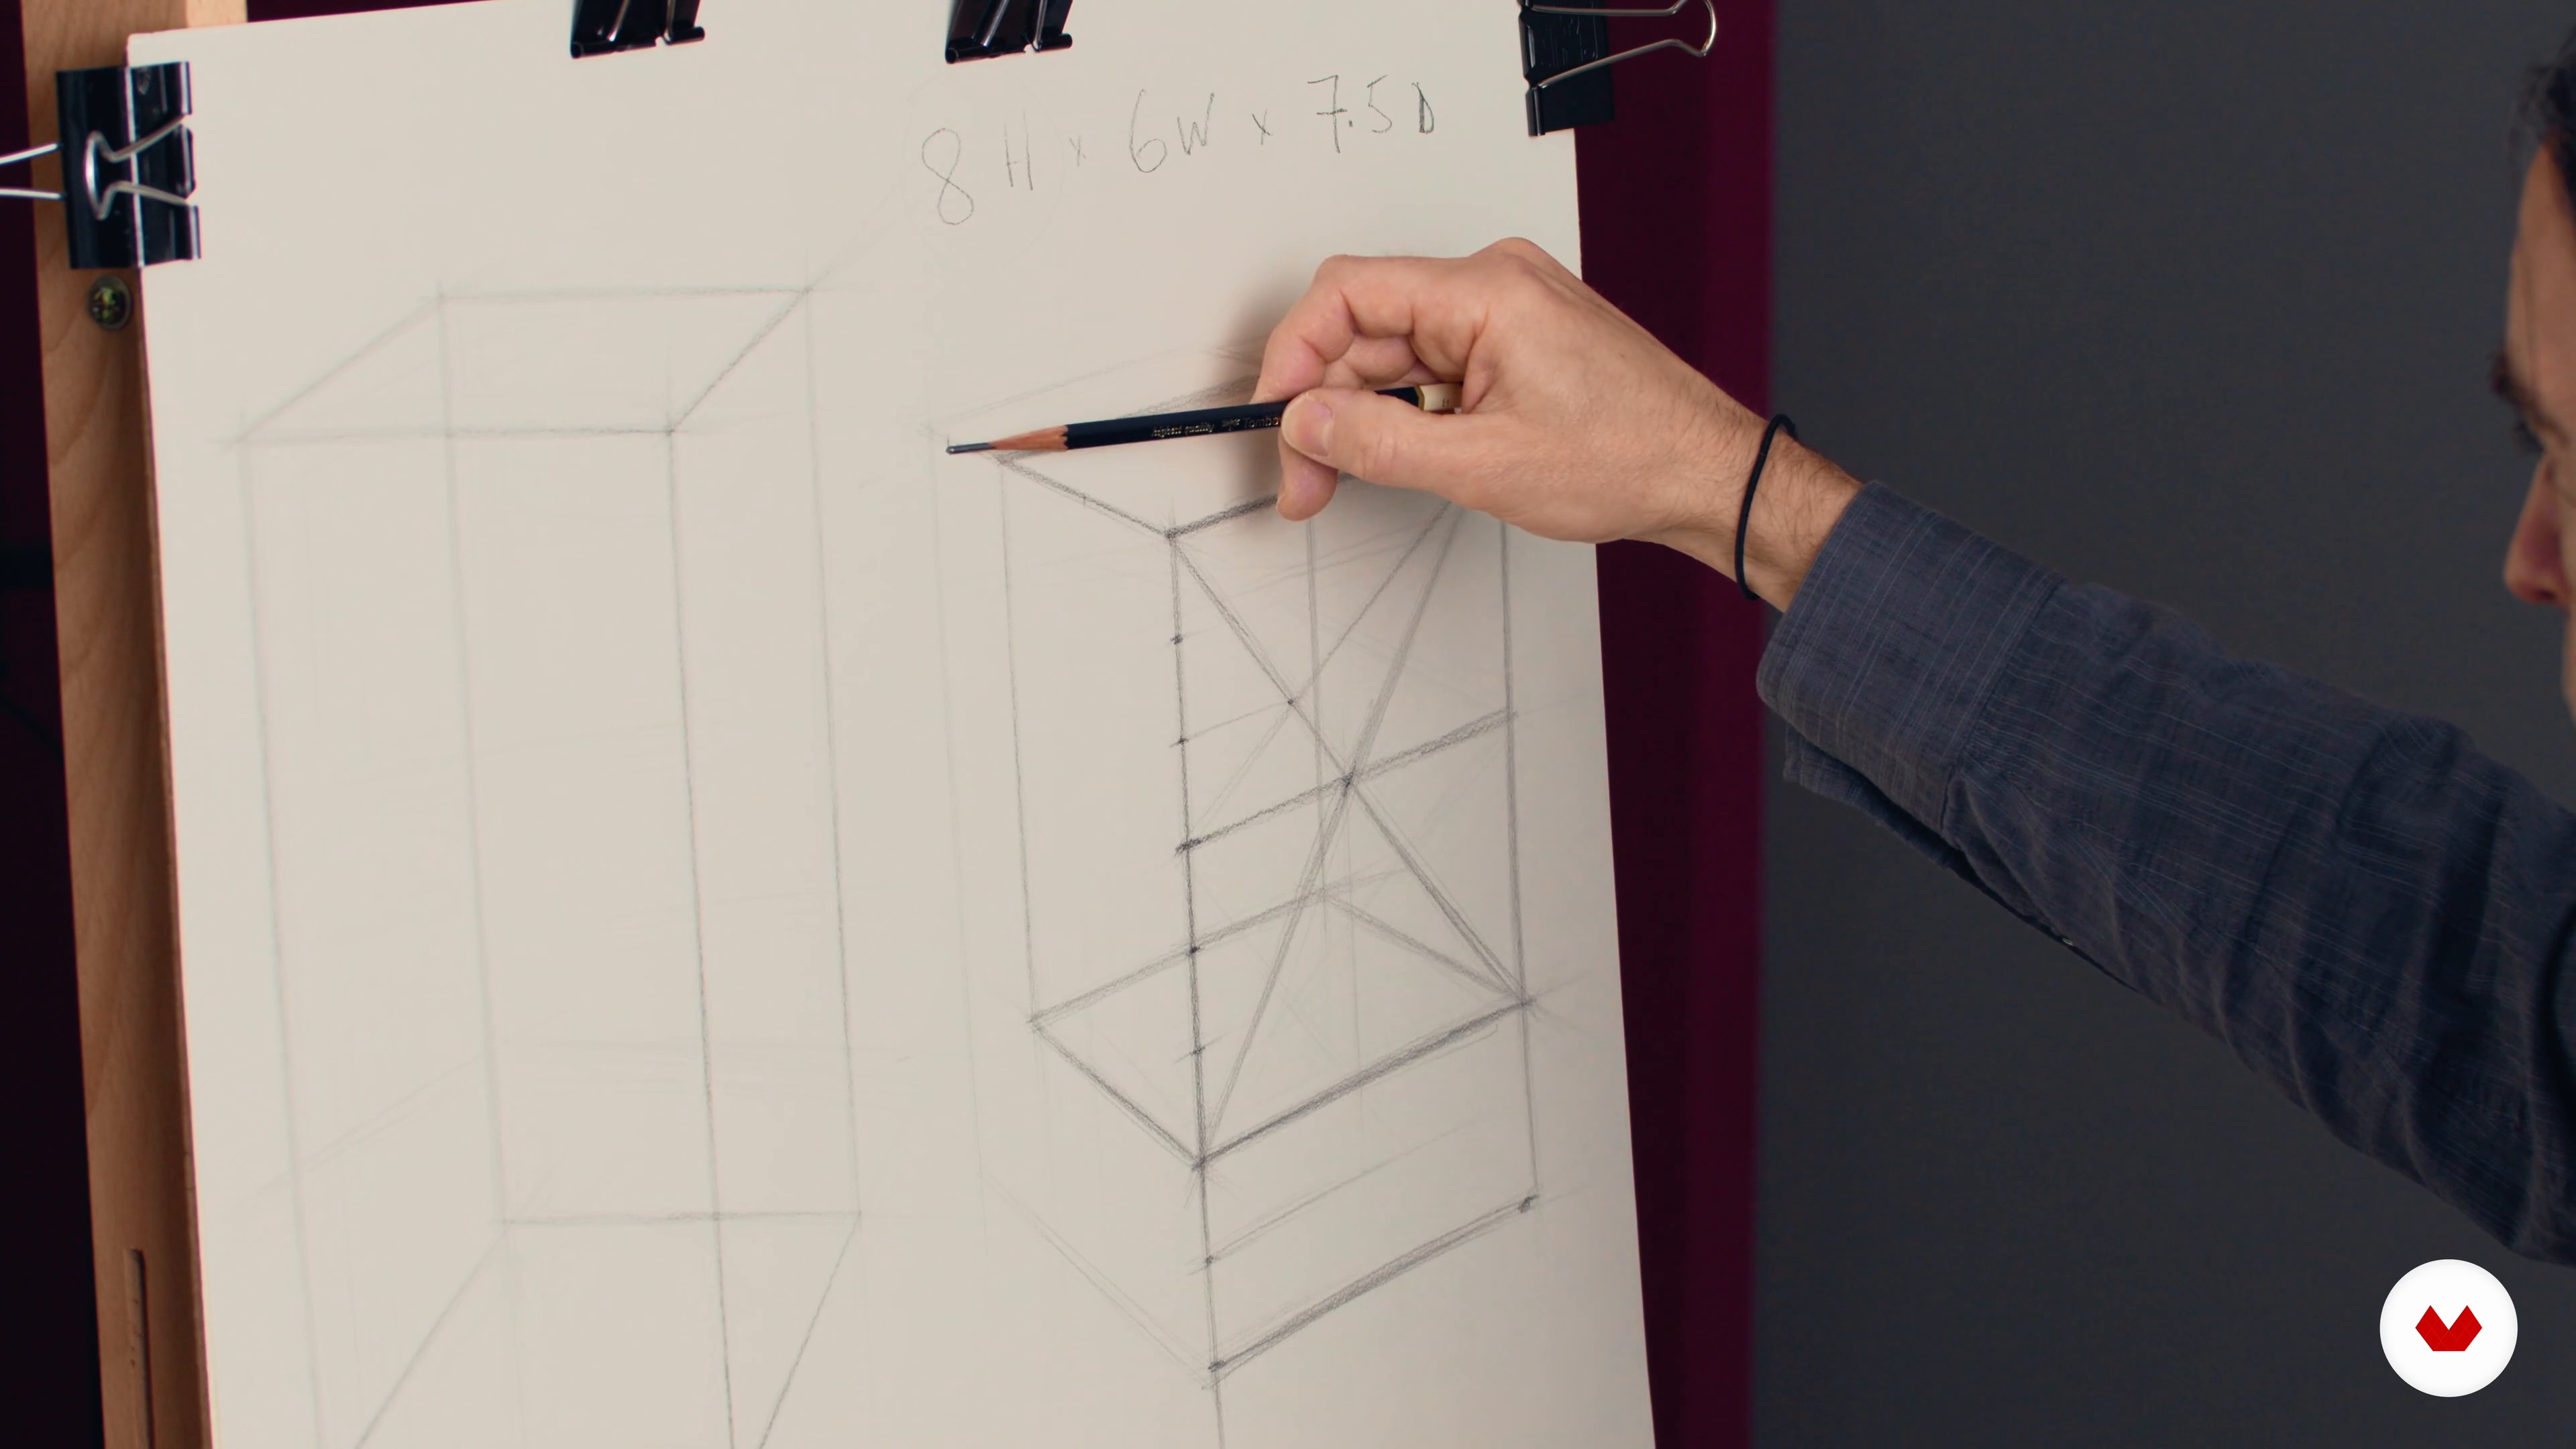
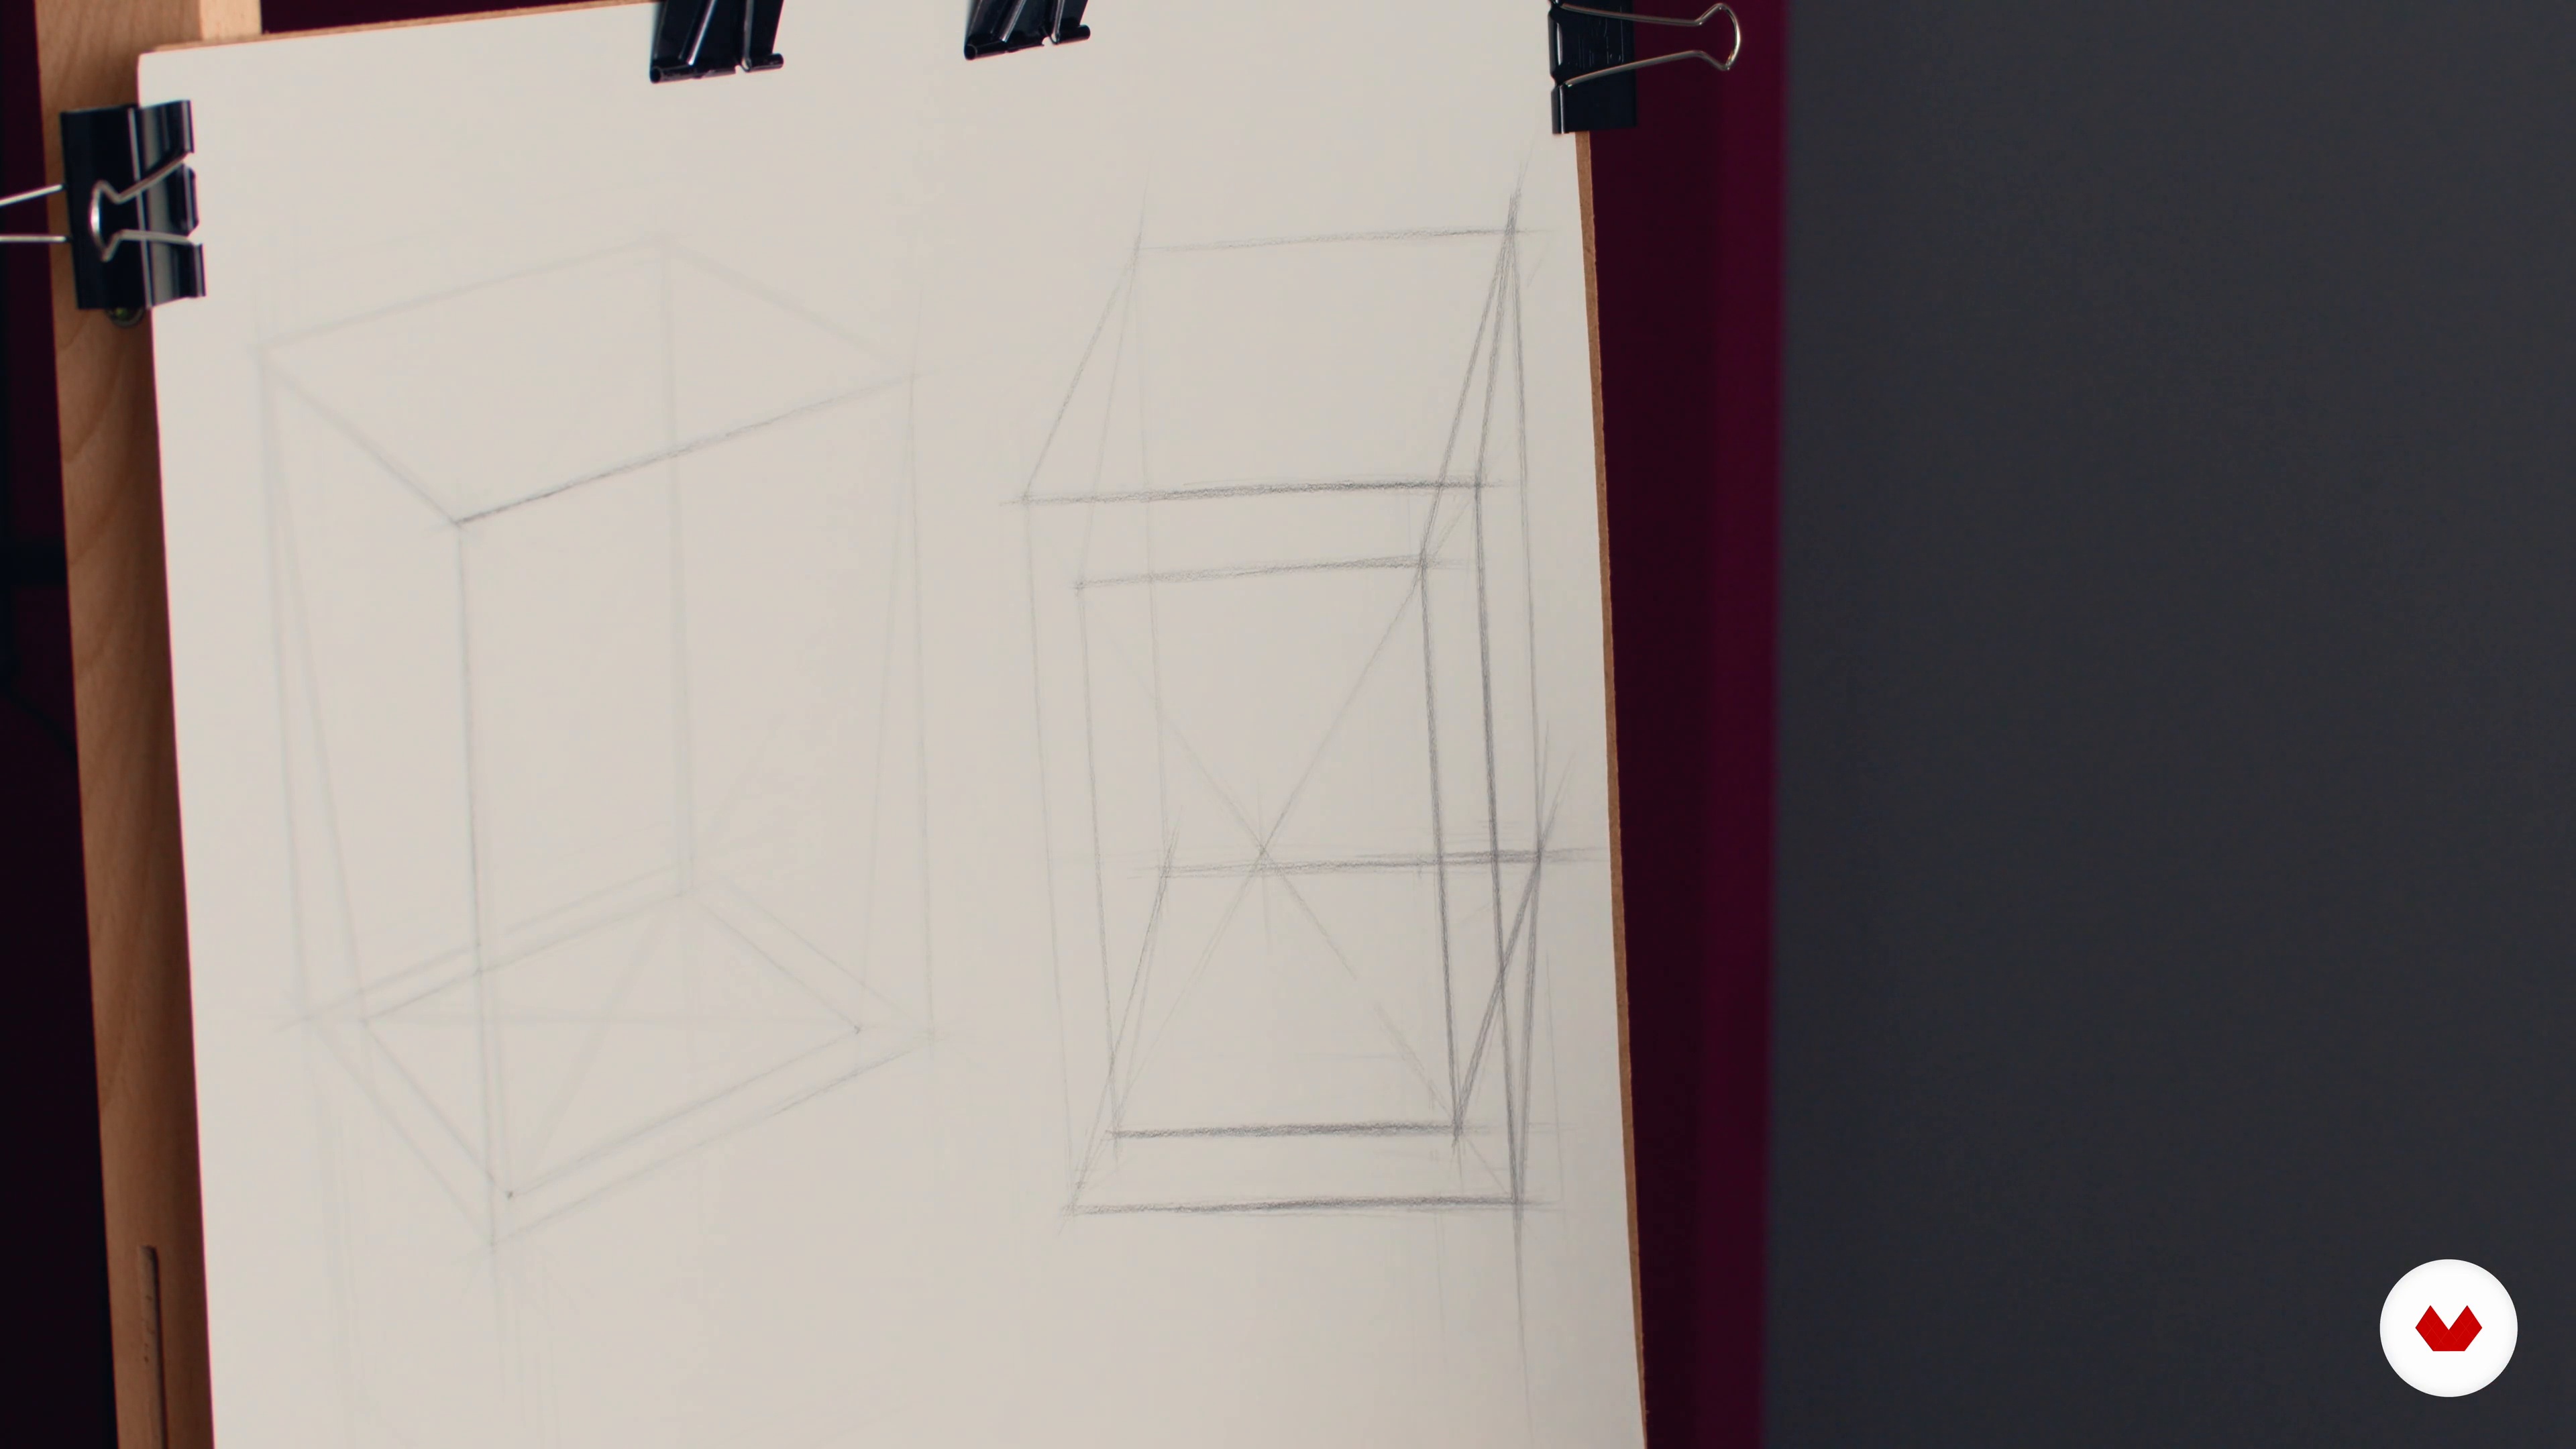
It's time to put the information you've learned so far into action, by employing the concepts of block drawing in some practical applications. In this lesson, I will show you how to draw a block from direct observation. This will prepare you for setting up the form of the head in space. To do this, you will need a sheet of paper and some fairly hard graphite pencils (F or HB).
9m
image
6
Drawing the Head Block
Next, I will explain the common proportions to apply to the head block in order to gain a better sense of its presence in a drawing.
11m
image
7
Drawing the Trapezoid: A Lesson in Taper
In this lesson, I will discuss the phenomenon of taper and its impact on form, especially "blocky" forms. This is very important to understand when drawing portraits. In the human head, the face tapers and the back flares outwards.
6m
image
8
Optical Information 1
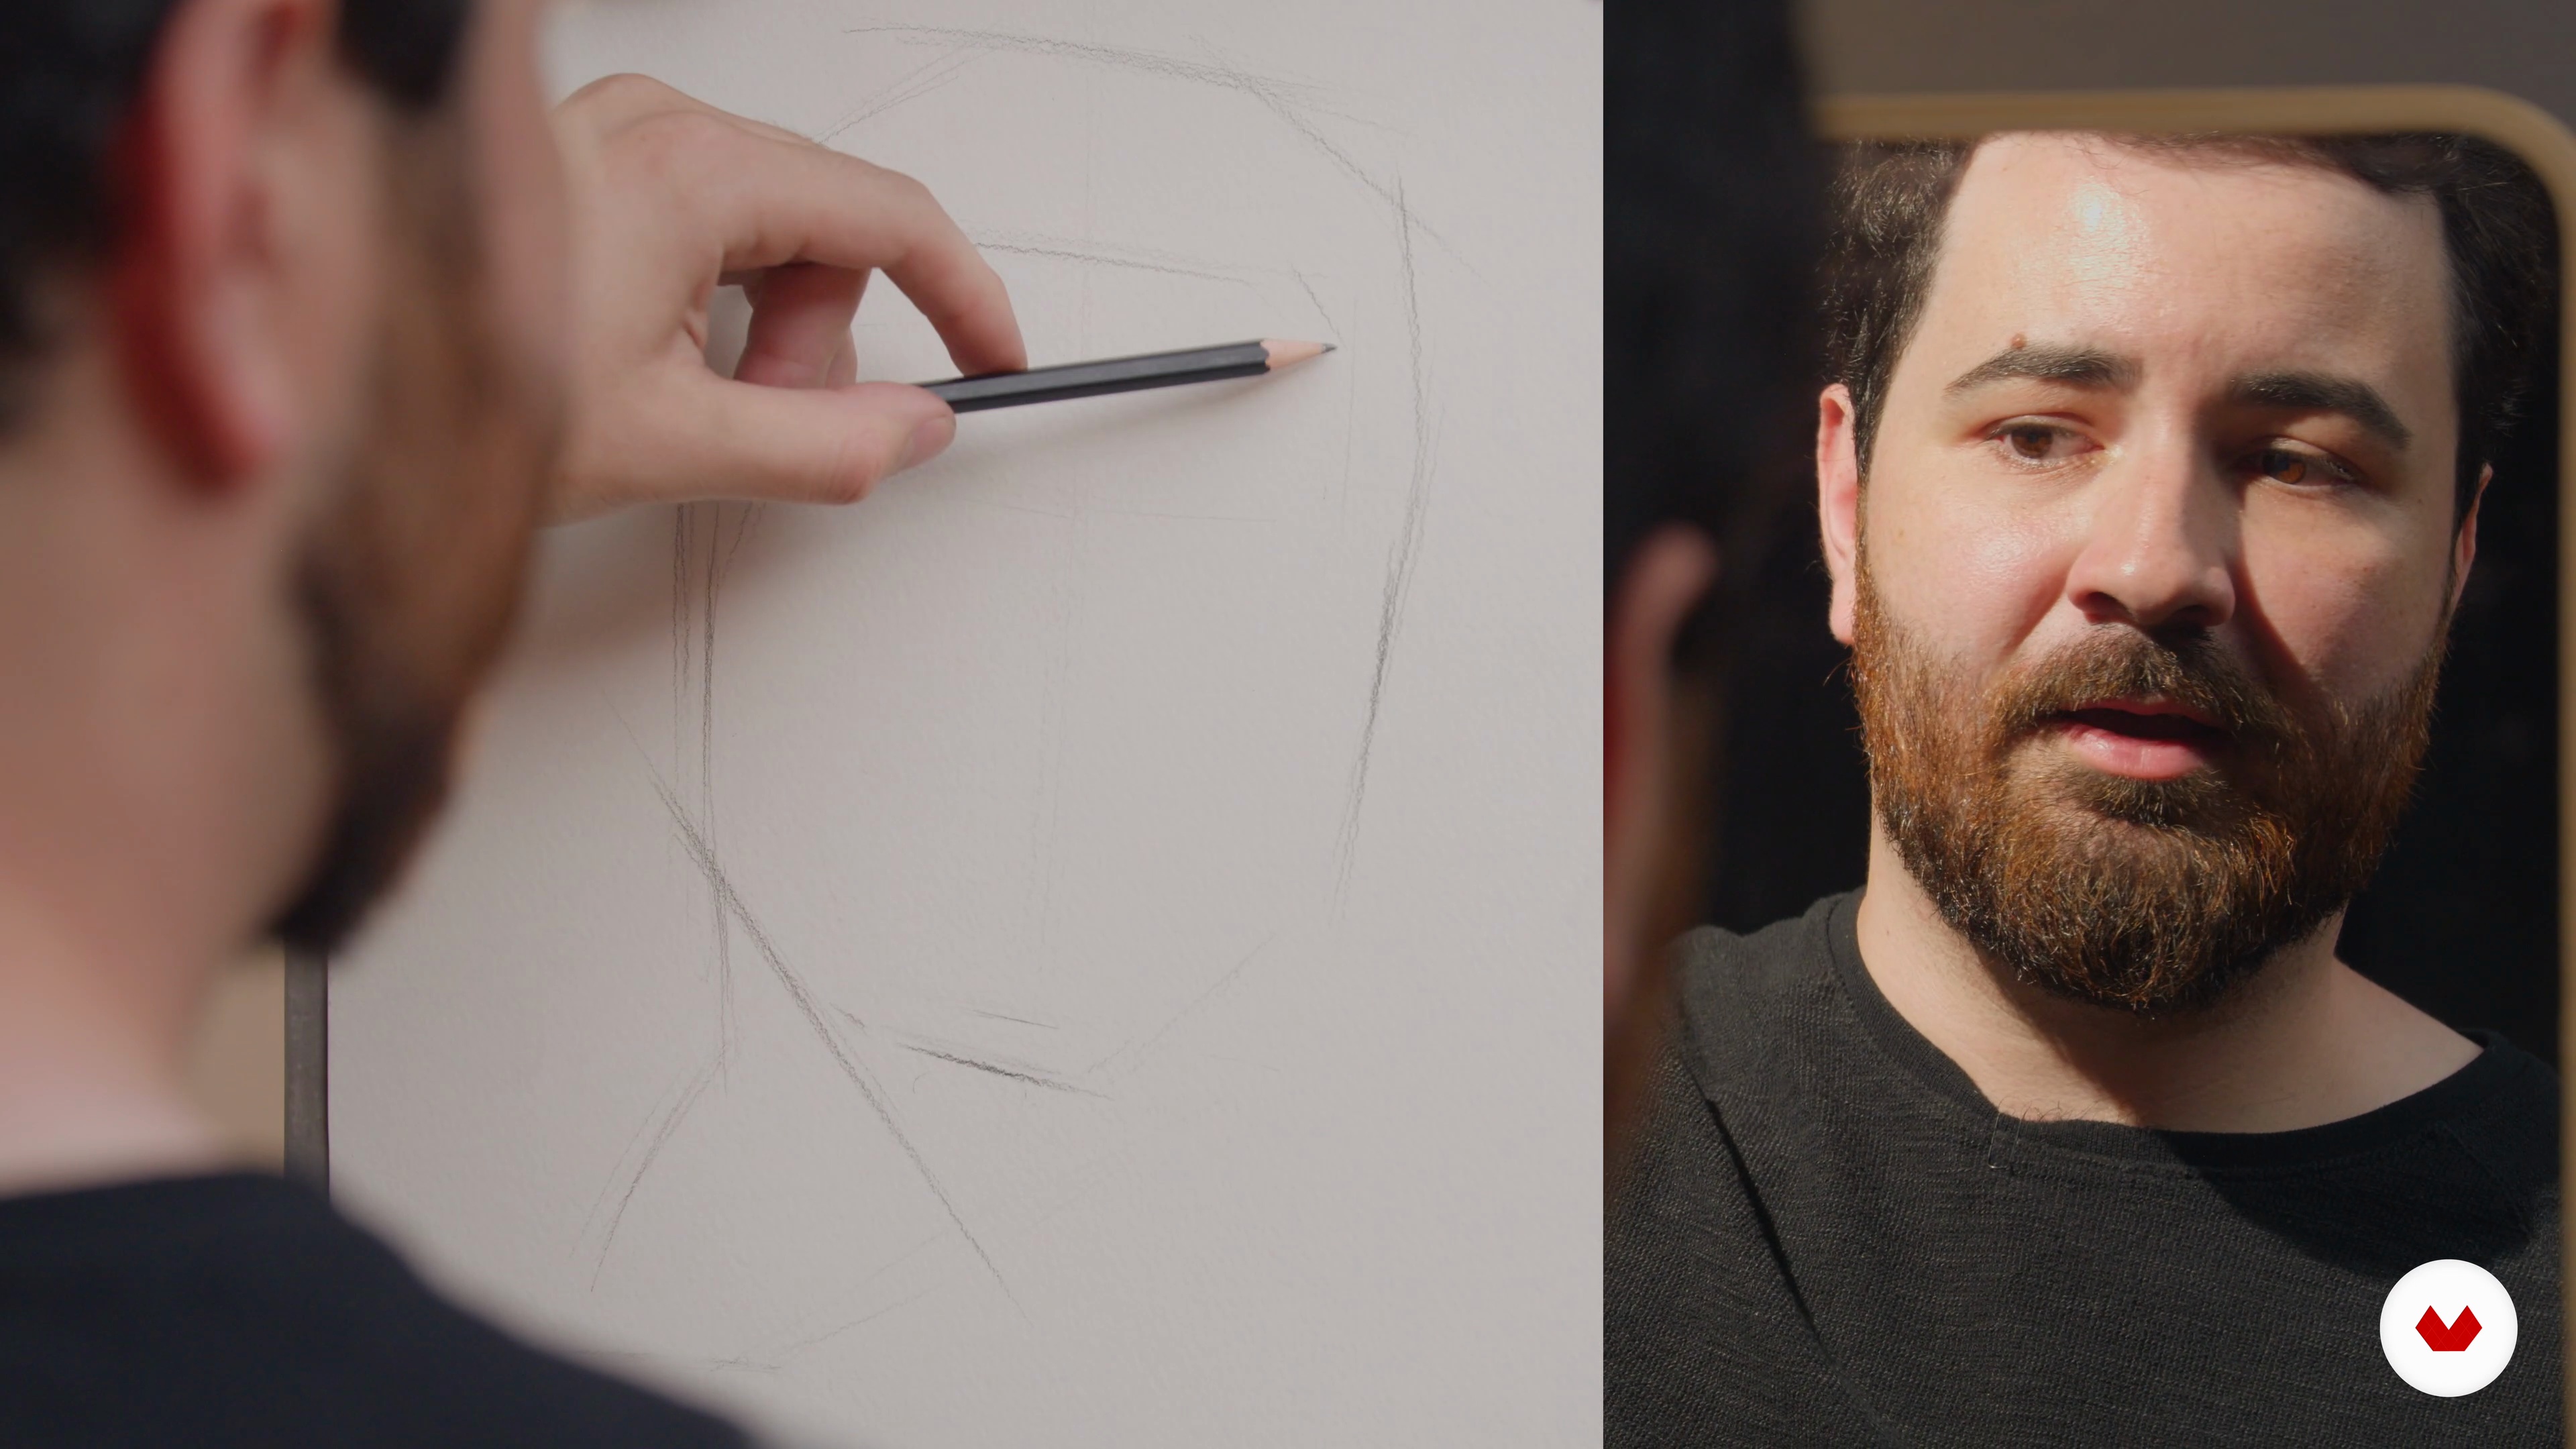
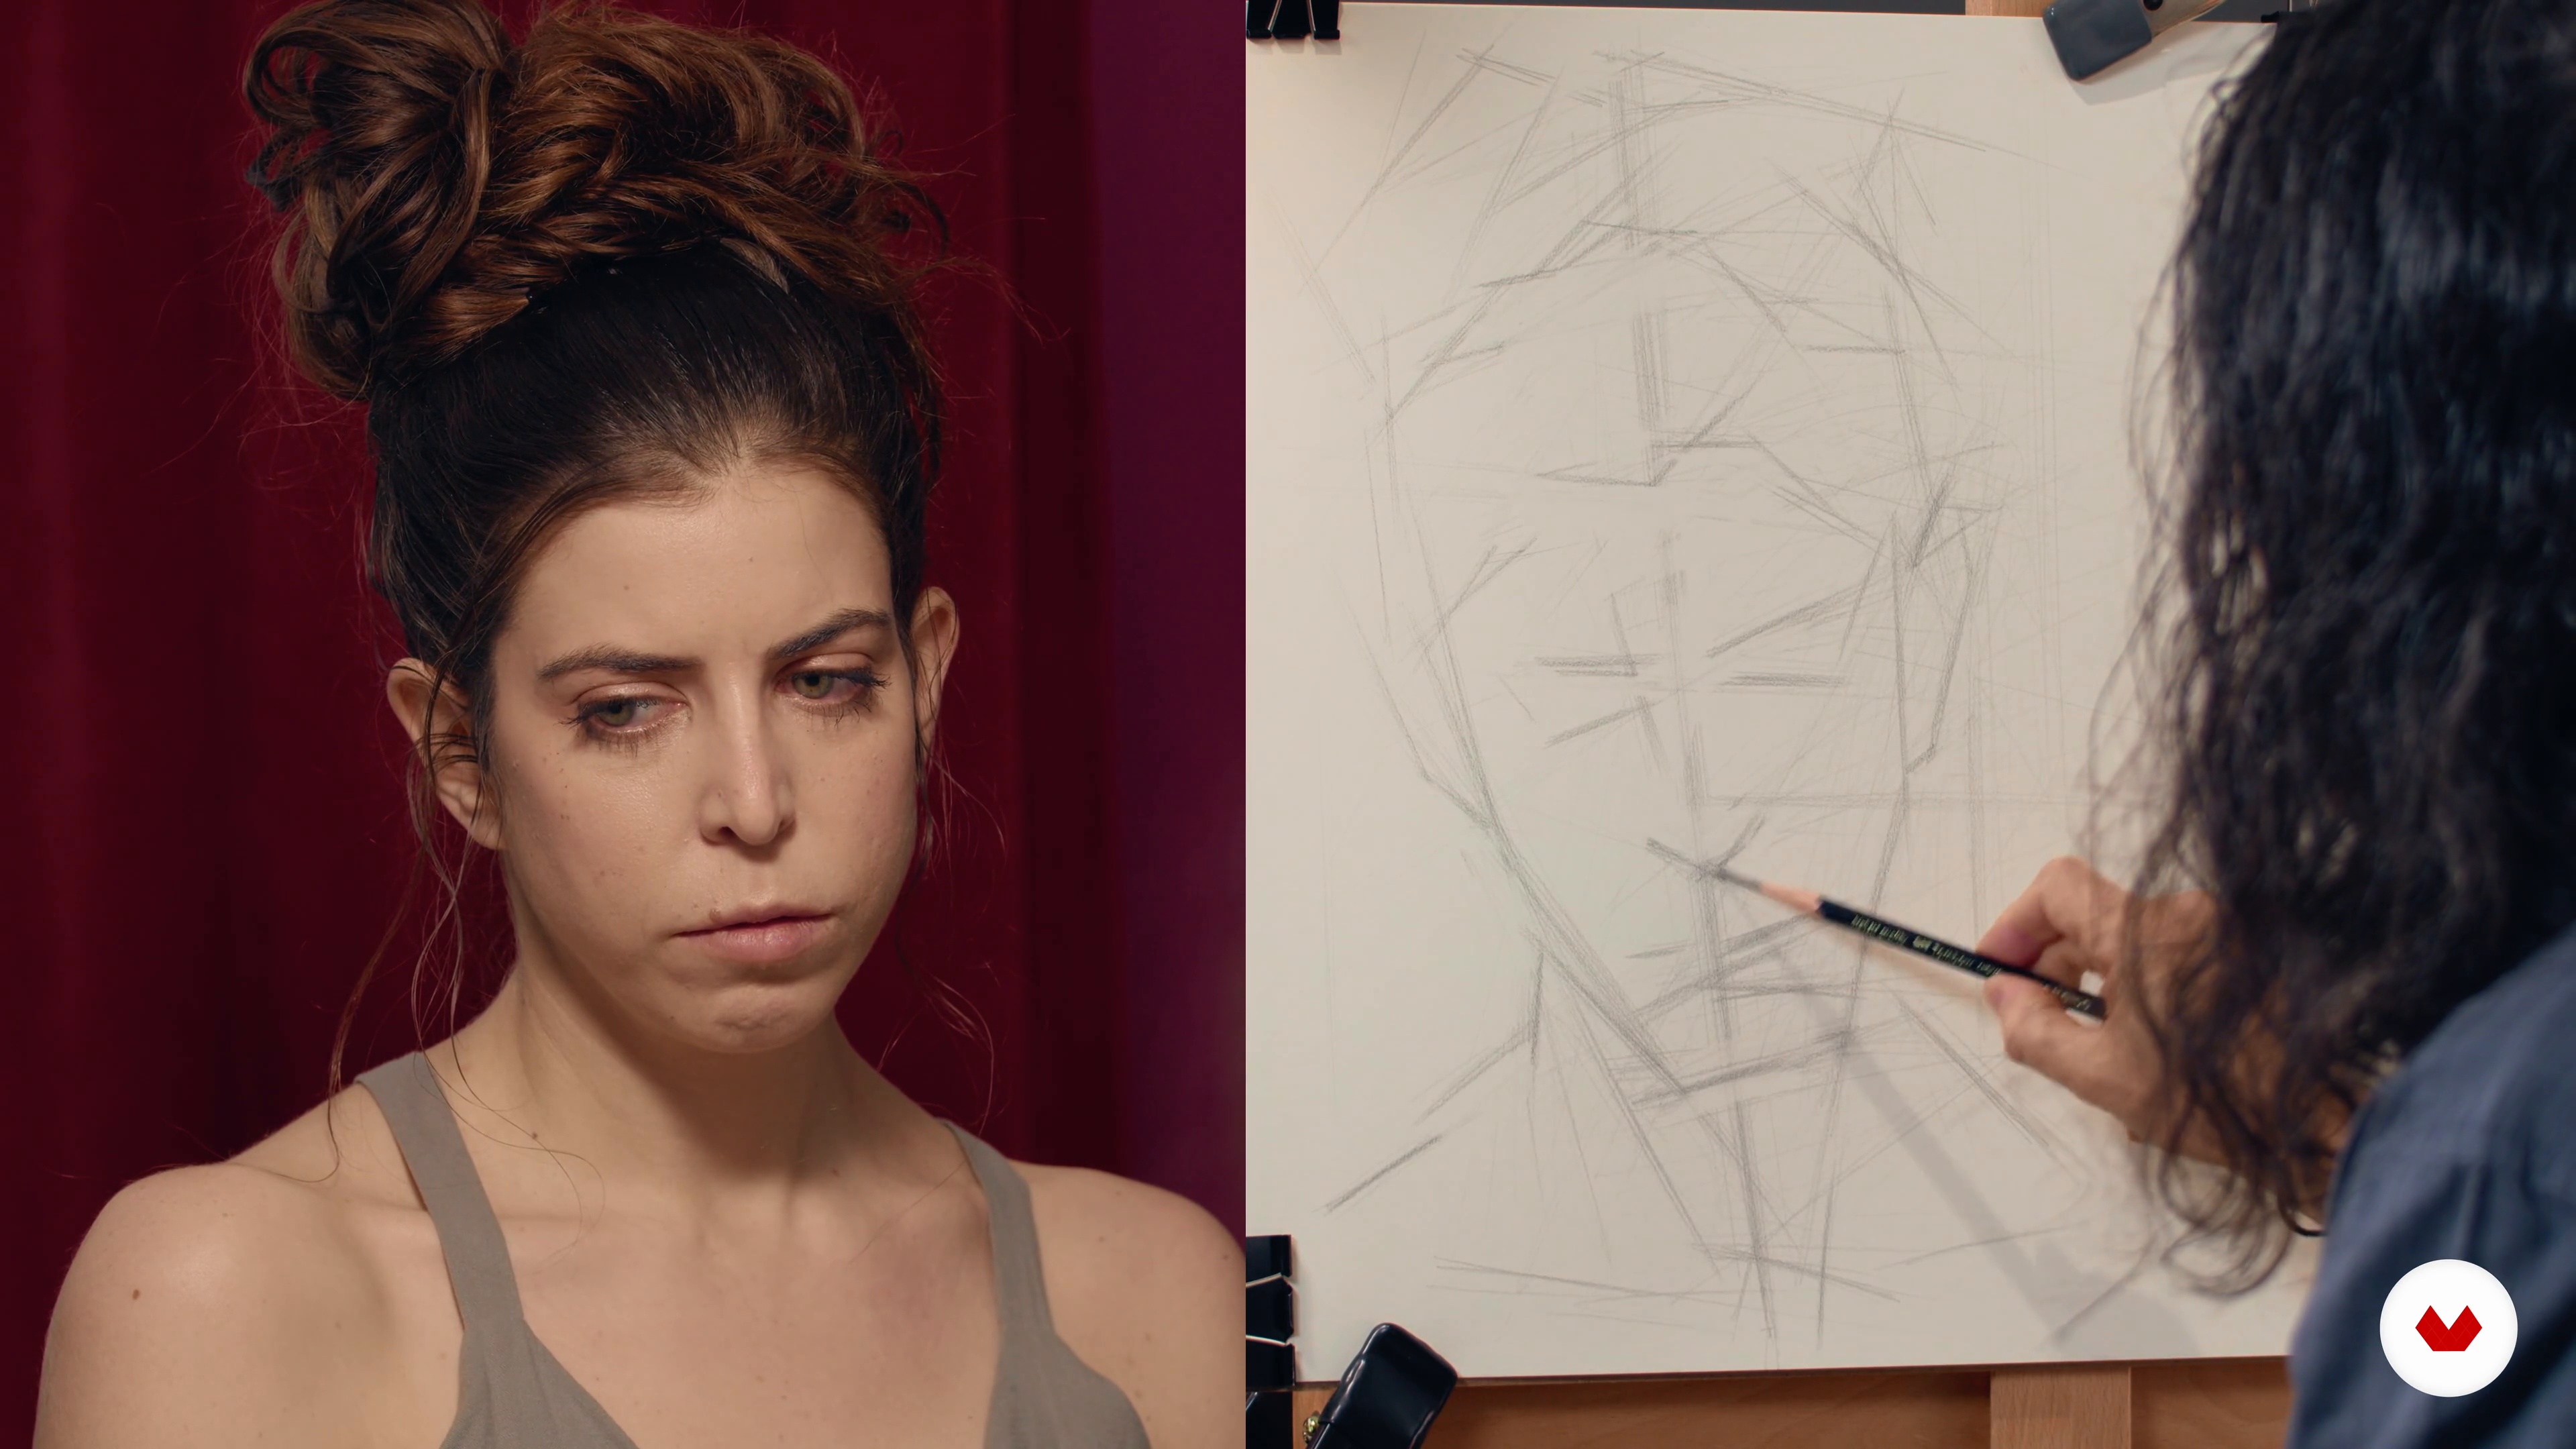
In this lesson, I will show you how to organize the optical information into an effective drawing strategy. To start this process, I will explain how I prepare the scene for drawing. An important aspect of your environment is light. This component will be key in defining the planes of the head. So, it's crucial to consider this well. Will it be intense or soft? Will it produce dramatic shadows? Or will it be more diffused? It's time to discover what works for you! Once you're set up, the next step is to sketch. To guide you, I will model how to begin the observational drawing by establishing the reference points, sketching markers around the line of action, and distilling the general outline of your model.
18m
image
9
Optical Information 2
This lesson will be an initiation into dividing light and dark as I introduce the terminator lines. Here, you will learn how to navigate this aspect in order to establish the foundations of your design: the configuration. I will also explain some of my refining systems, including the fixed invariable coordinates, triangulation, and more.
20m
image
10
Optical Information 3
The next stage is about building shapes. The key to this process is drawing out the dark and the light. This phase will require a tool called the blending stone. If you're not familiar with this tool, let me show you how it's used.
15m
image
11
Optical Information 4
It's now time to conclude the first phase of the drawing process: it's the end of the beginning! Here, I will evaluate my process so far. You will learn to evaluate the world from an artistic perspective by seeing in shapes.
5m
image
12
Tonal Information 1
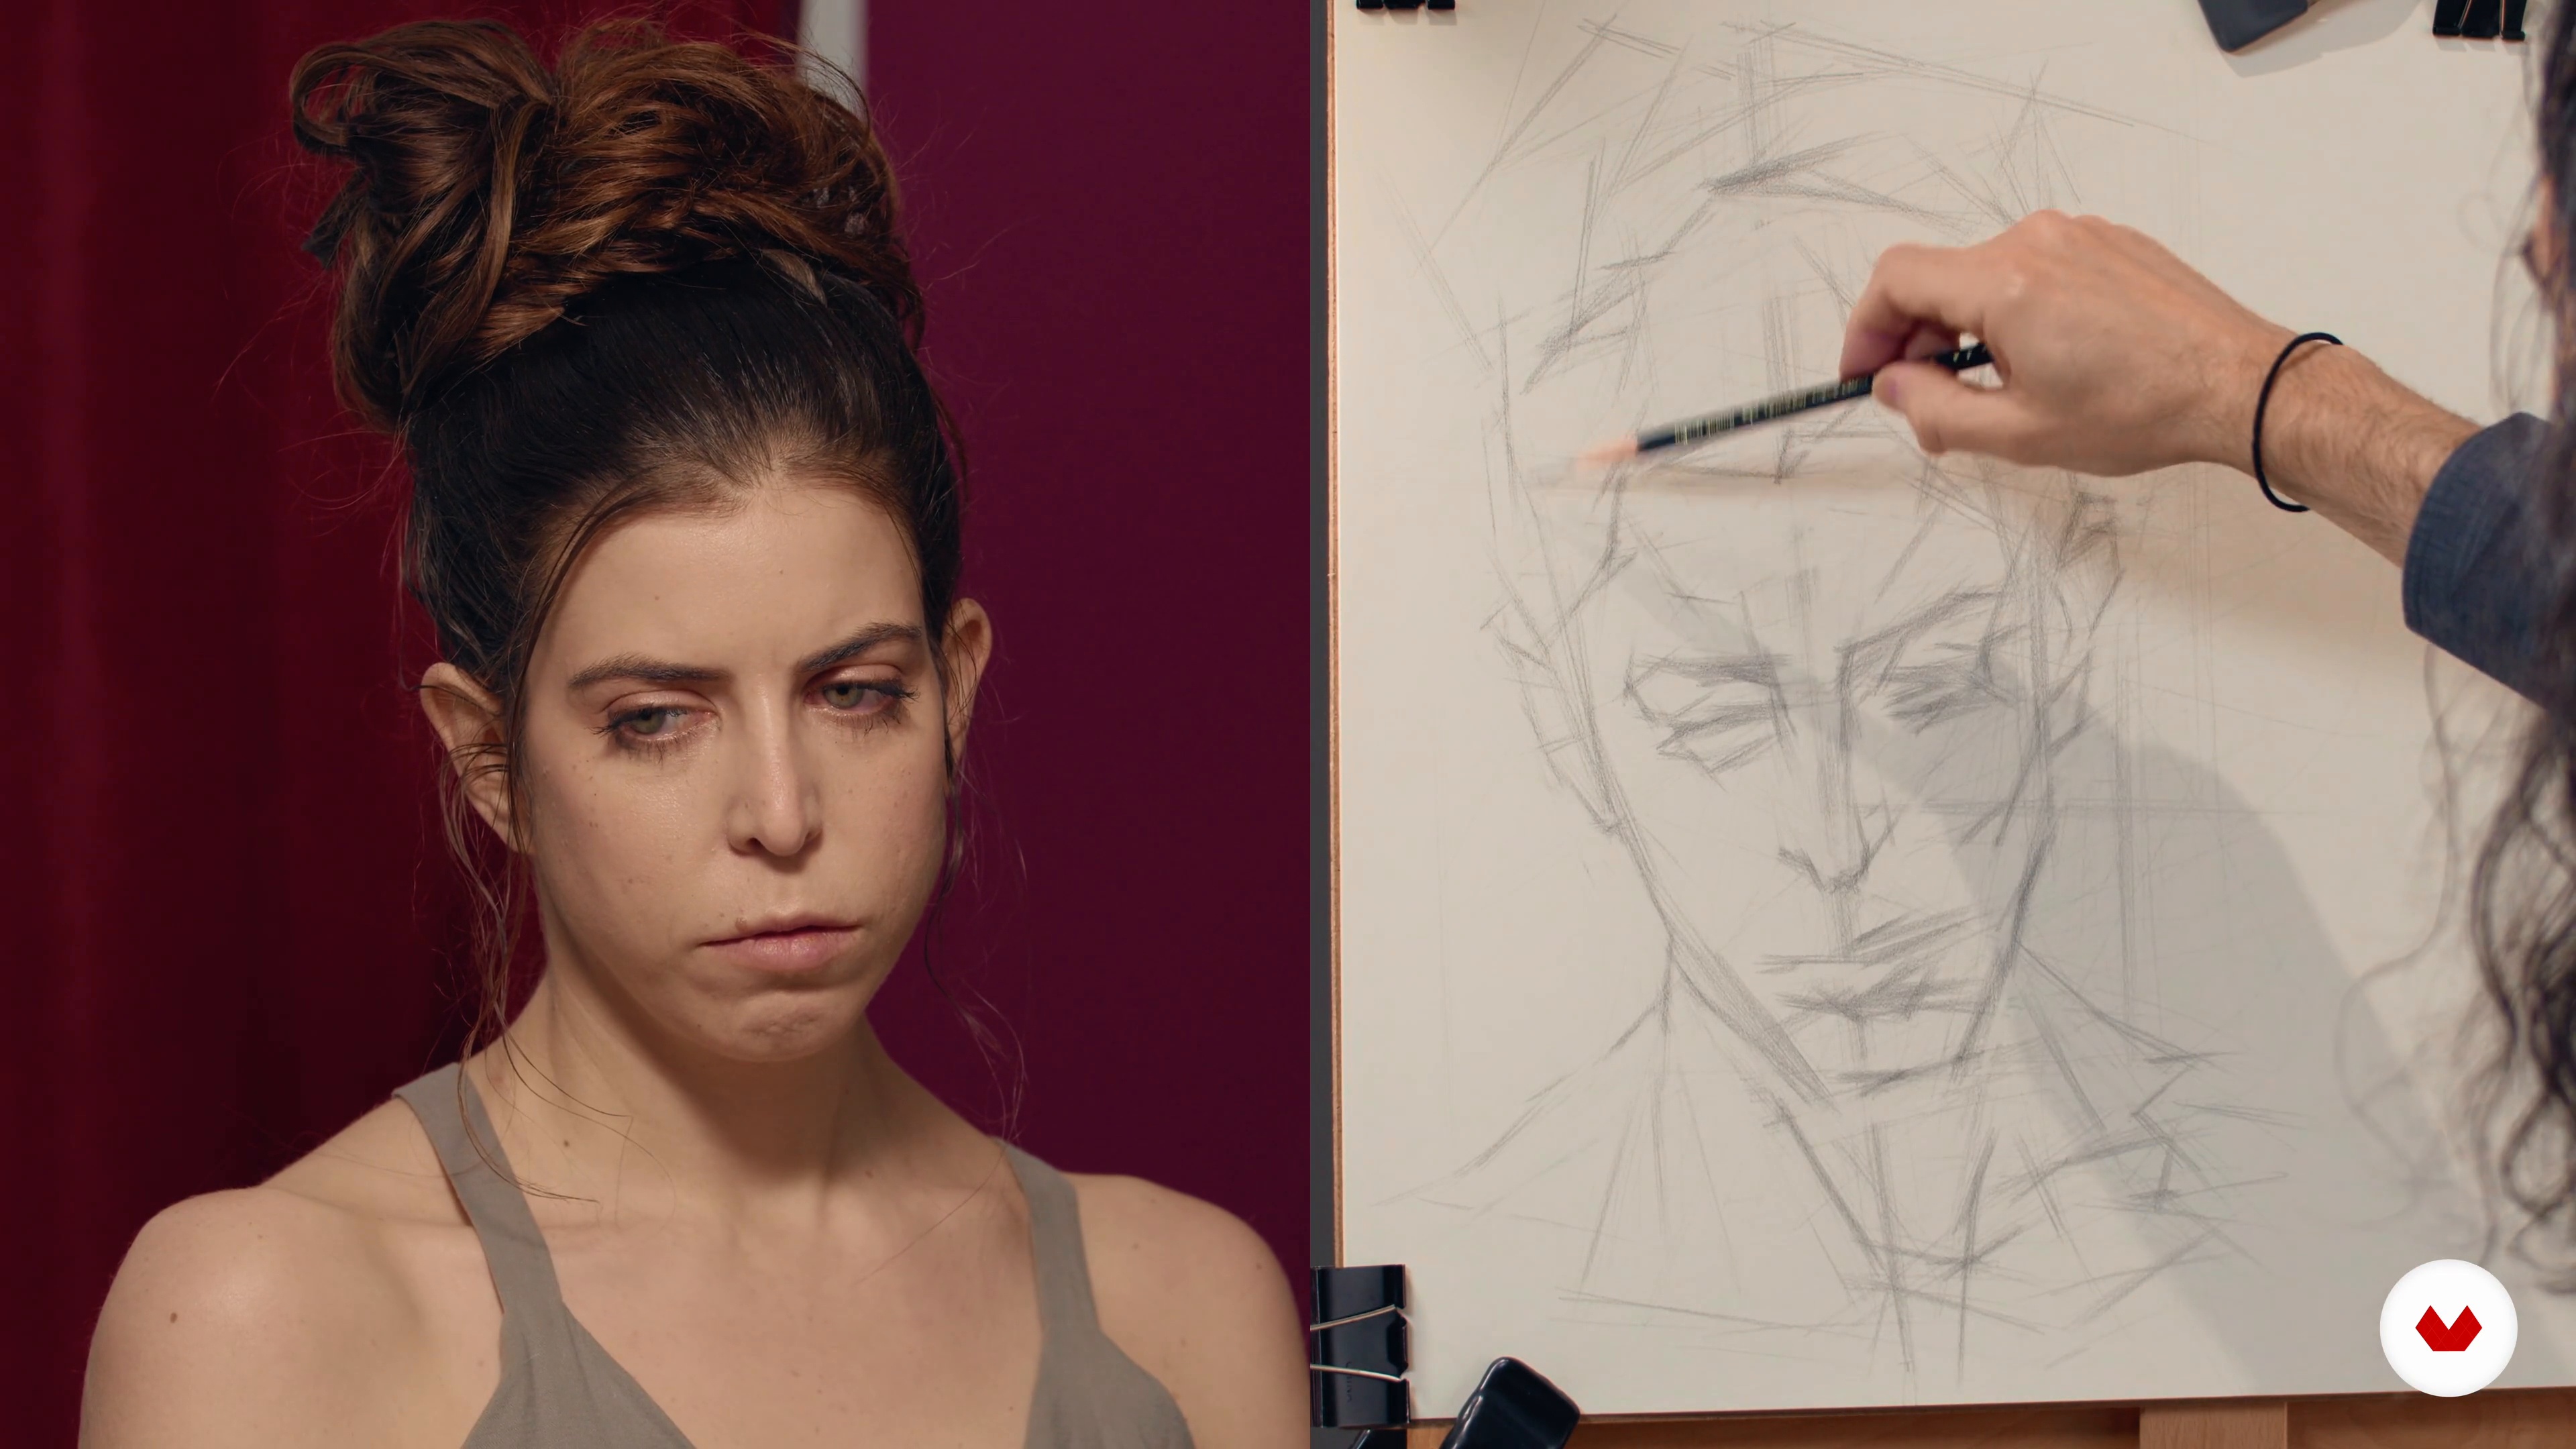
Now that we've established the fundamentals—the scene, the gesture, the proportion, and the shapes—in this lesson, I will model how to expand the tonal range of the piece in a very prescribed manner, so that you can more easily comprehend the drawing procedure that I'm demonstrating. I will show you how to control the range to create texture and tonality. During this process, you will learn to interact with the page.
19m
image
13
Tonal Information 2
Next, I will introduce the perspective technique of foreshortening. You will see how I create depth—as if the 2D drawing is receding into space— by dropping the values. For this stage, I will focus on the two masses below and above the face. The next phase will be to get started with the light, which I call the "complexion value".
14m
image
14
Tonal Information 3
Now, it's time to tackle the most challenging value: the darkest light. This is the value that is on the cusp of being a shadow, yet is still considered light.
12m
image
15
Tonal Information 4
Well done! We've reached the closing stages of this drawing exercise. Next, I will demonstrate how to make the final refinements to your value arrangements.
15m
image
16
The Schematic Drawing 1
In this lesson, I will add a second, structural drawing. I call this the "schematic drawing". The purpose of this drawing is to help you evaluate the observational sketch. To begin, I will indicate various lines to imitate the action of the model.
20m
image
17
The Schematic Drawing 2
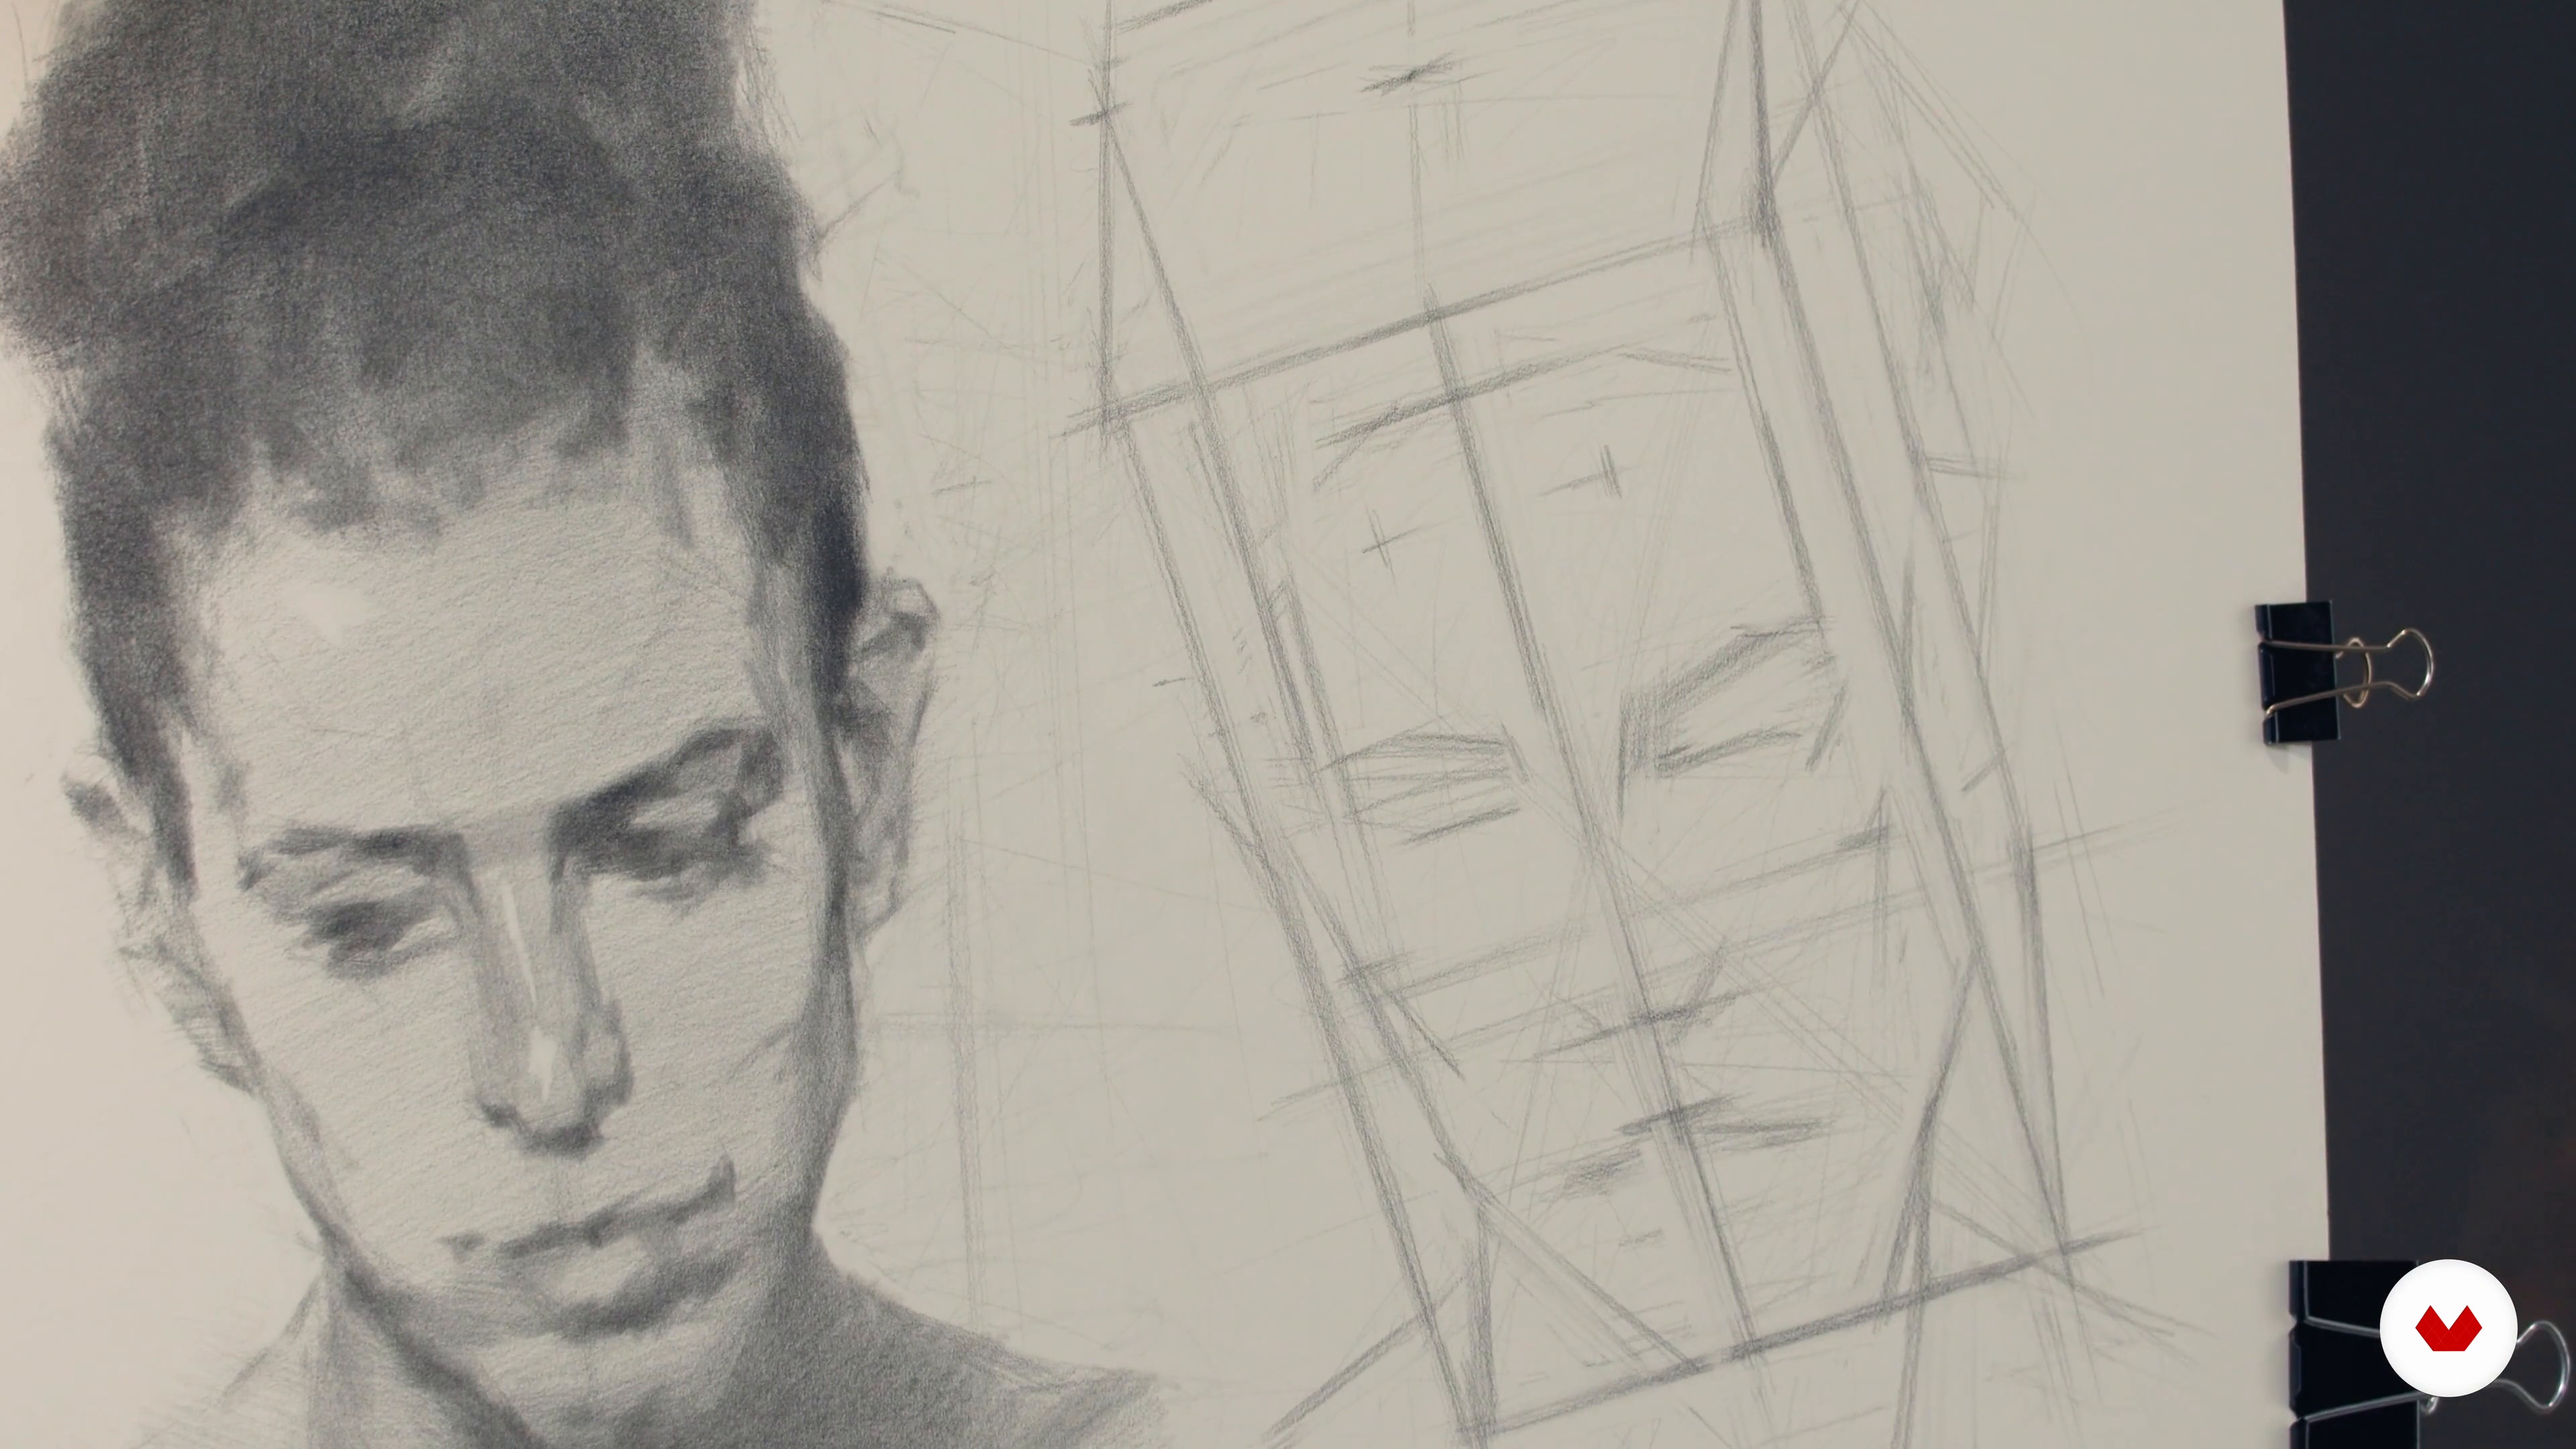
Referring to Vanderpoel's planar construct, here, I will continue to distinguish the planes of my portrait by drawing out the main plane of Kathryn's face. Once the architectonic—or schematic—sketch is complete, I will demonstrate how to apply its useful observations to the portrait.
20m
image
18
The Schematic Drawing 3
Now, I will carry on refining the portrait according to the schematic drawing, honing in on the details that will give it a sense of projection.
3m
image
19
Interpretive Values 1
Next, you will learn how to interpret tonal values using the schematic drawing, ready to address form and space. My attention will be centered on illustrating the use of value to search for and describe specific surfaces of the head in space.
10m
image
20
Interpretive Values 2
To conclude this unit, I will model how to pinpoint the important landmarks within the tonal distribution by continuing to draw comparisons between the observational and the schematic drawing.
12m
image
21
Experimenting within the Head 1
In this lesson, I will continue to explore surface characteristics. Like before, I will refer to my schematic drawing to navigate the long-pose, observational drawing. However, this time, instead of getting experimental with the value, I will delve deeper into the schematic. By enhancing my understanding of this, I will be able to push the boundaries of my value even further!
13m
image
22
Experimenting within the Head 2
Here, I will carry on drawing elements from my observational portrait to inform the schematic sketch, gradually transforming it from a more prescribed depiction to idiosyncratic and personal. I will first focus on the nasal bone structure, progressing to the apex, then the lips.
19m
image
23
Experimenting within the Head 3
Now let's move to another area of the head: the eyes and the sockets.
14m
image
24
Experimenting within the Head 4
In this phase of the drawing process, I will devote some time to refining the accents.
17m
image
25
Experimenting within the Head 5
Next, I will emphasize the sense of flare in my portrait by refining the features that protrude on the body, like the ears, and incorporating highlights.
15m
image
26
Experimenting within the Head 6
To conclude, I will now develop the final element of my portrait: the hair.
16m
image
3
Tools and Materials
In this lesson, I will go over the materials for the course, the brands I use and why, and the strengths and weaknesses of each medium.
9m
image
4
Techniques and Exercises with Oil Pastel and Graphite 1
I will show some techniques and exercises to get more familiarized with the materials.
12m
image
5
Techniques and Exercises with Oil Pastel and Graphite 2
I will show the proper way to hold the pencil for rendering, the so-called “artist's hold”. Then, I will also demonstrate how with varying pressure and applications you can create a thick or transparent texture with the oil pastel.
11m
image
6
Finding Your Own Unique Style
Here, I will discuss how you can find your own unique style through various influences you love and how to combine their works to create yours.
5m
image
7
Choosing a Proper Reference Picture
In this lesson, I’m going to tell you how to properly choose a reference photo for your portrait.
4m
image
8
Methods of Basic Facial Proportions
Now you will do an exercise that is crucial to understanding how to properly position and draw your facial features.
16m
image
9
Portrait Structure 1
First, you will learn the proportions of the face and how the placement of the facial features relate to each other.
18m
image
10
Portrait Structure 2
I'll share with you how I draw until I feel the structure is accurate to my liking.
19m
image
11
Blocking Major Values
Now I’m going to teach you the methods of rendering the face where you will apply values such as shadows, highlights, and blending.
16m
image
12
Blending and Detailing Techniques
You will learn rendering techniques like how to shade and blend using graphite to create a smooth and realistic form.
19m
image
13
Abstraction of the Face 1
Now we are at my favorite part of the process, which is the abstracting of the face. This is where you make the artwork feel more unique to your own style and taste.
13m
image
14
Abstraction of the Face 2
This is where you will execute the practice you did now on the real drawing. Building up the textures, adding colors, until satisfied with the result.
17m
image
15
Final Changes, Additions and Tips
For this lesson, you are going to look at the work you have done so far and consider if there are any additions needed.
1m
image
16
Moving Your Physical Art to the Digital World
Once you are satisfied take a photo of your work and make sure that it resembles the way it looks in person as closely as possible. This may mean editing the photo to make it look more like the artwork.
2m
image
4
Materials
This unit will serve as an introduction to all of the tools I will be demonstrating in this course.
4m
image
5
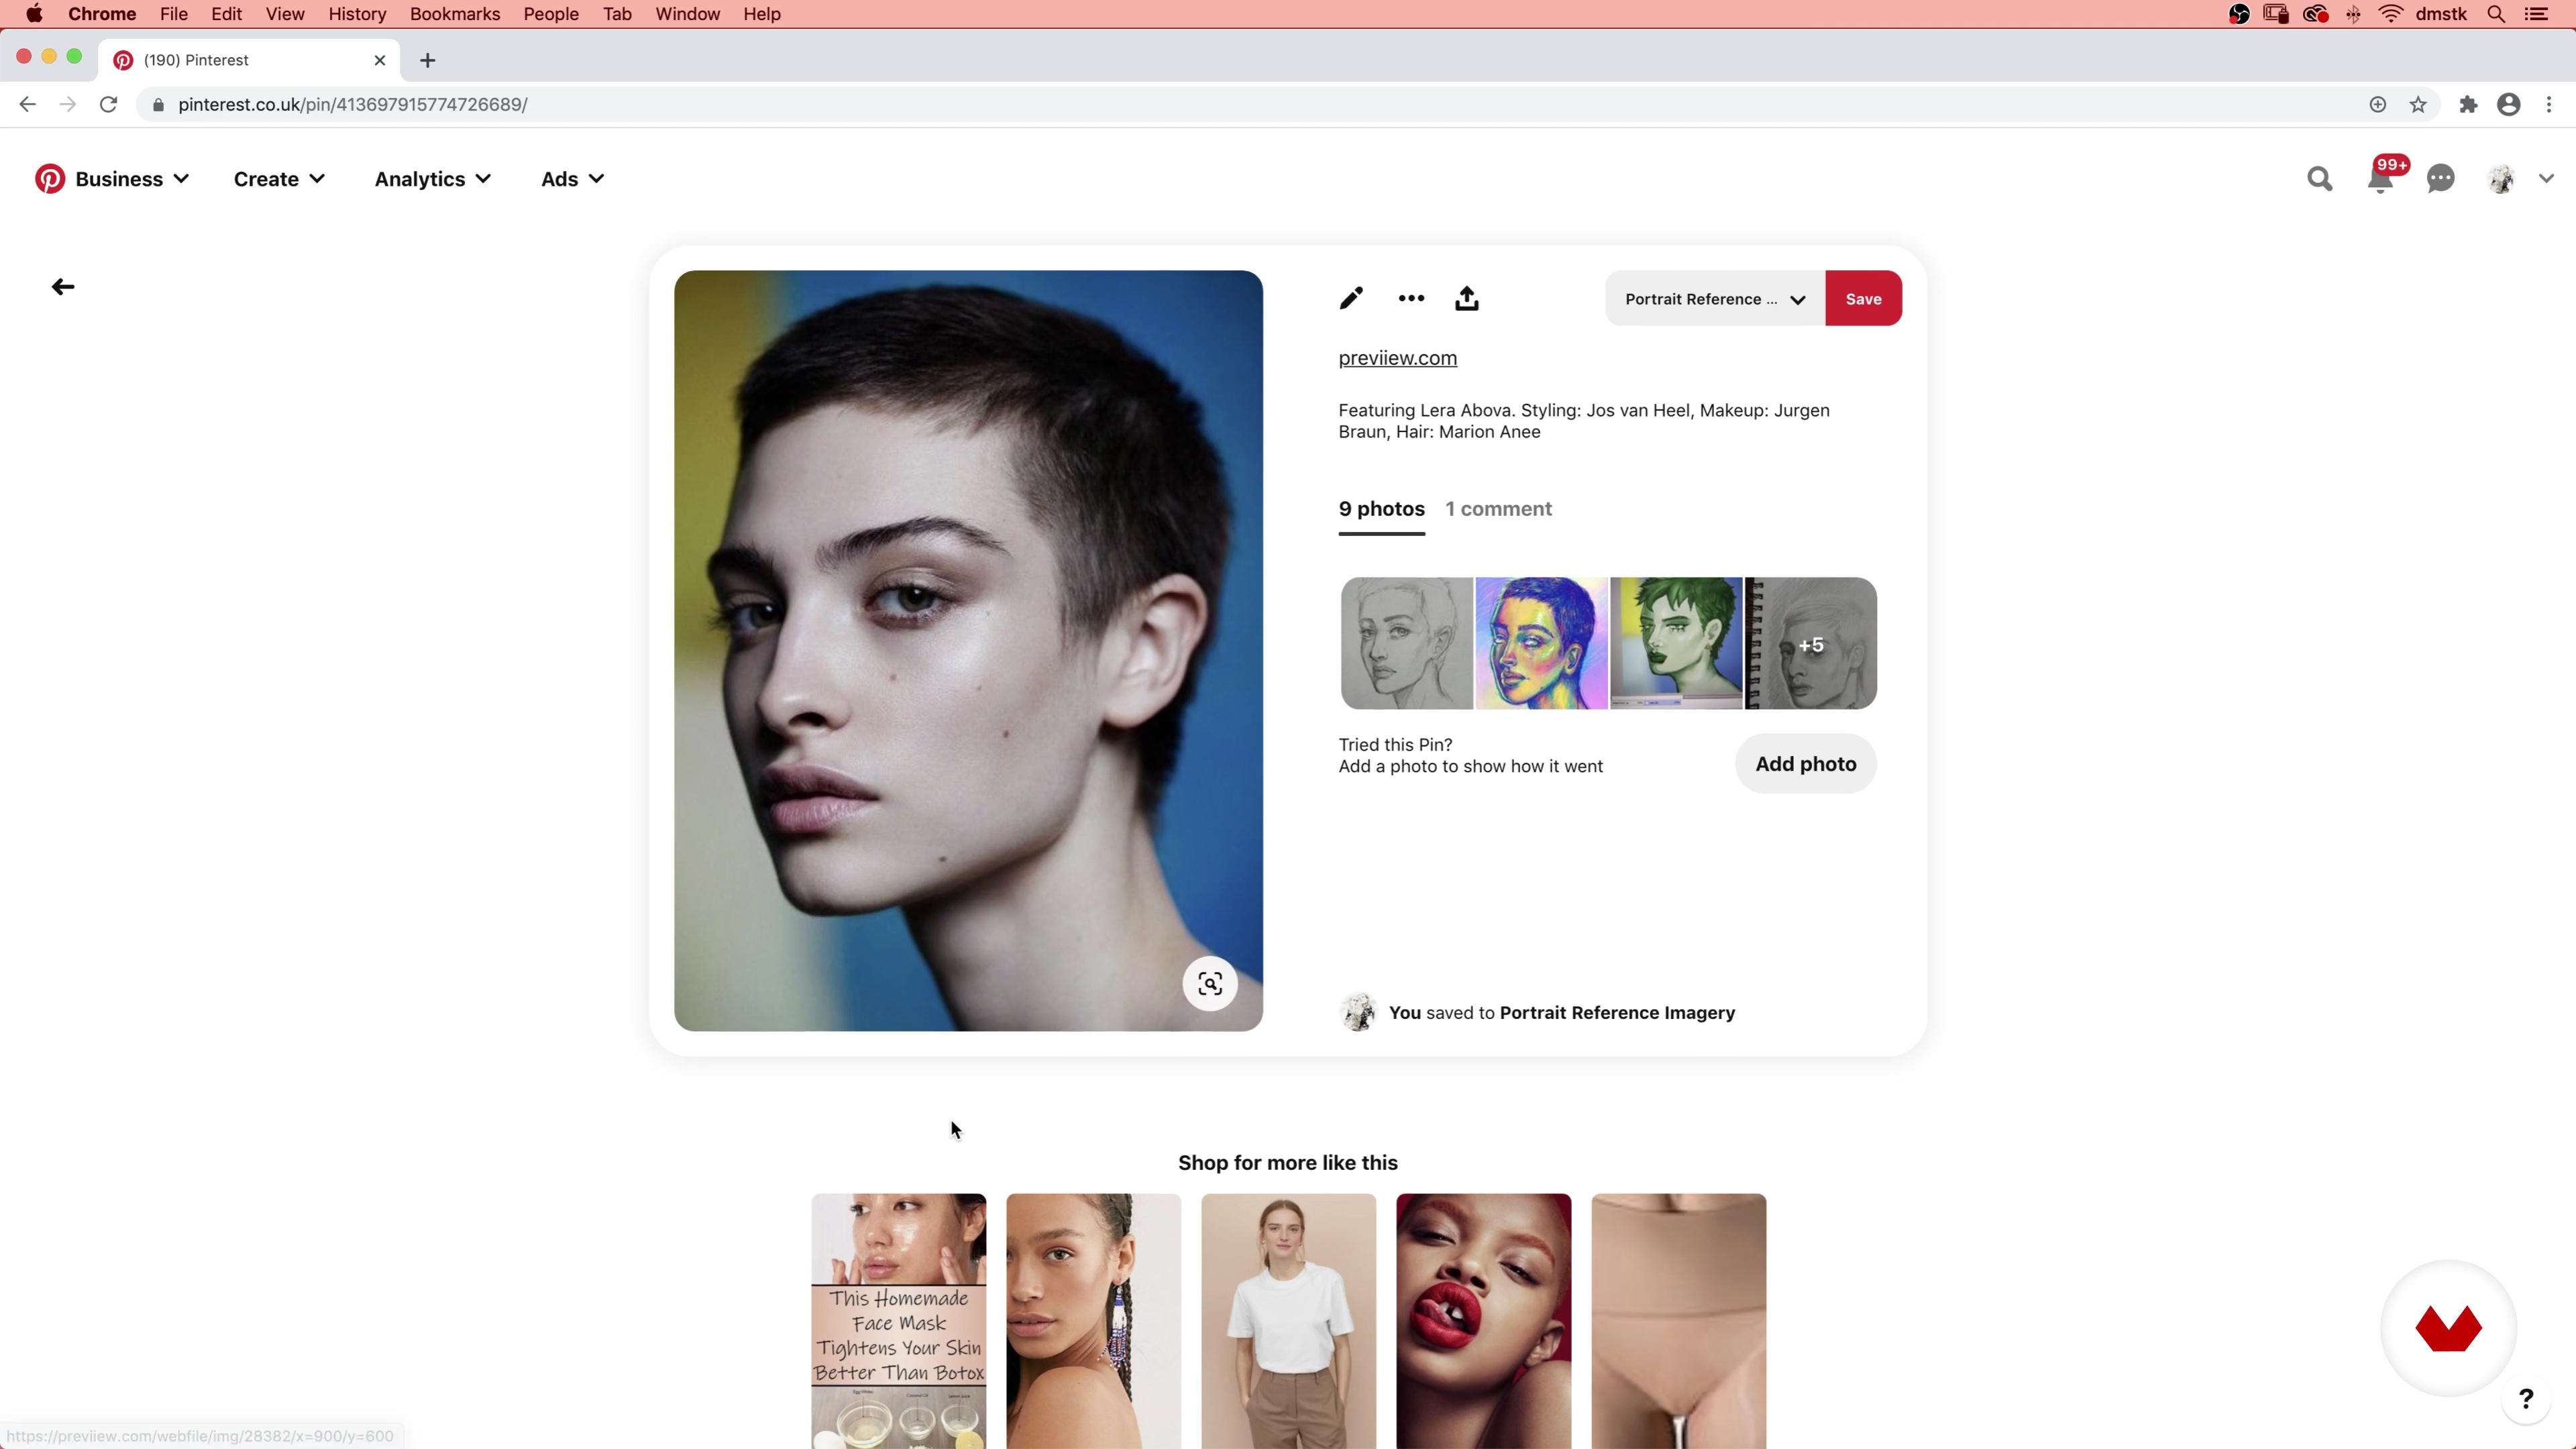
Finding Inspiration & Research
Here we will go over how to find inspiration and reference imagery online.
6m
image
6
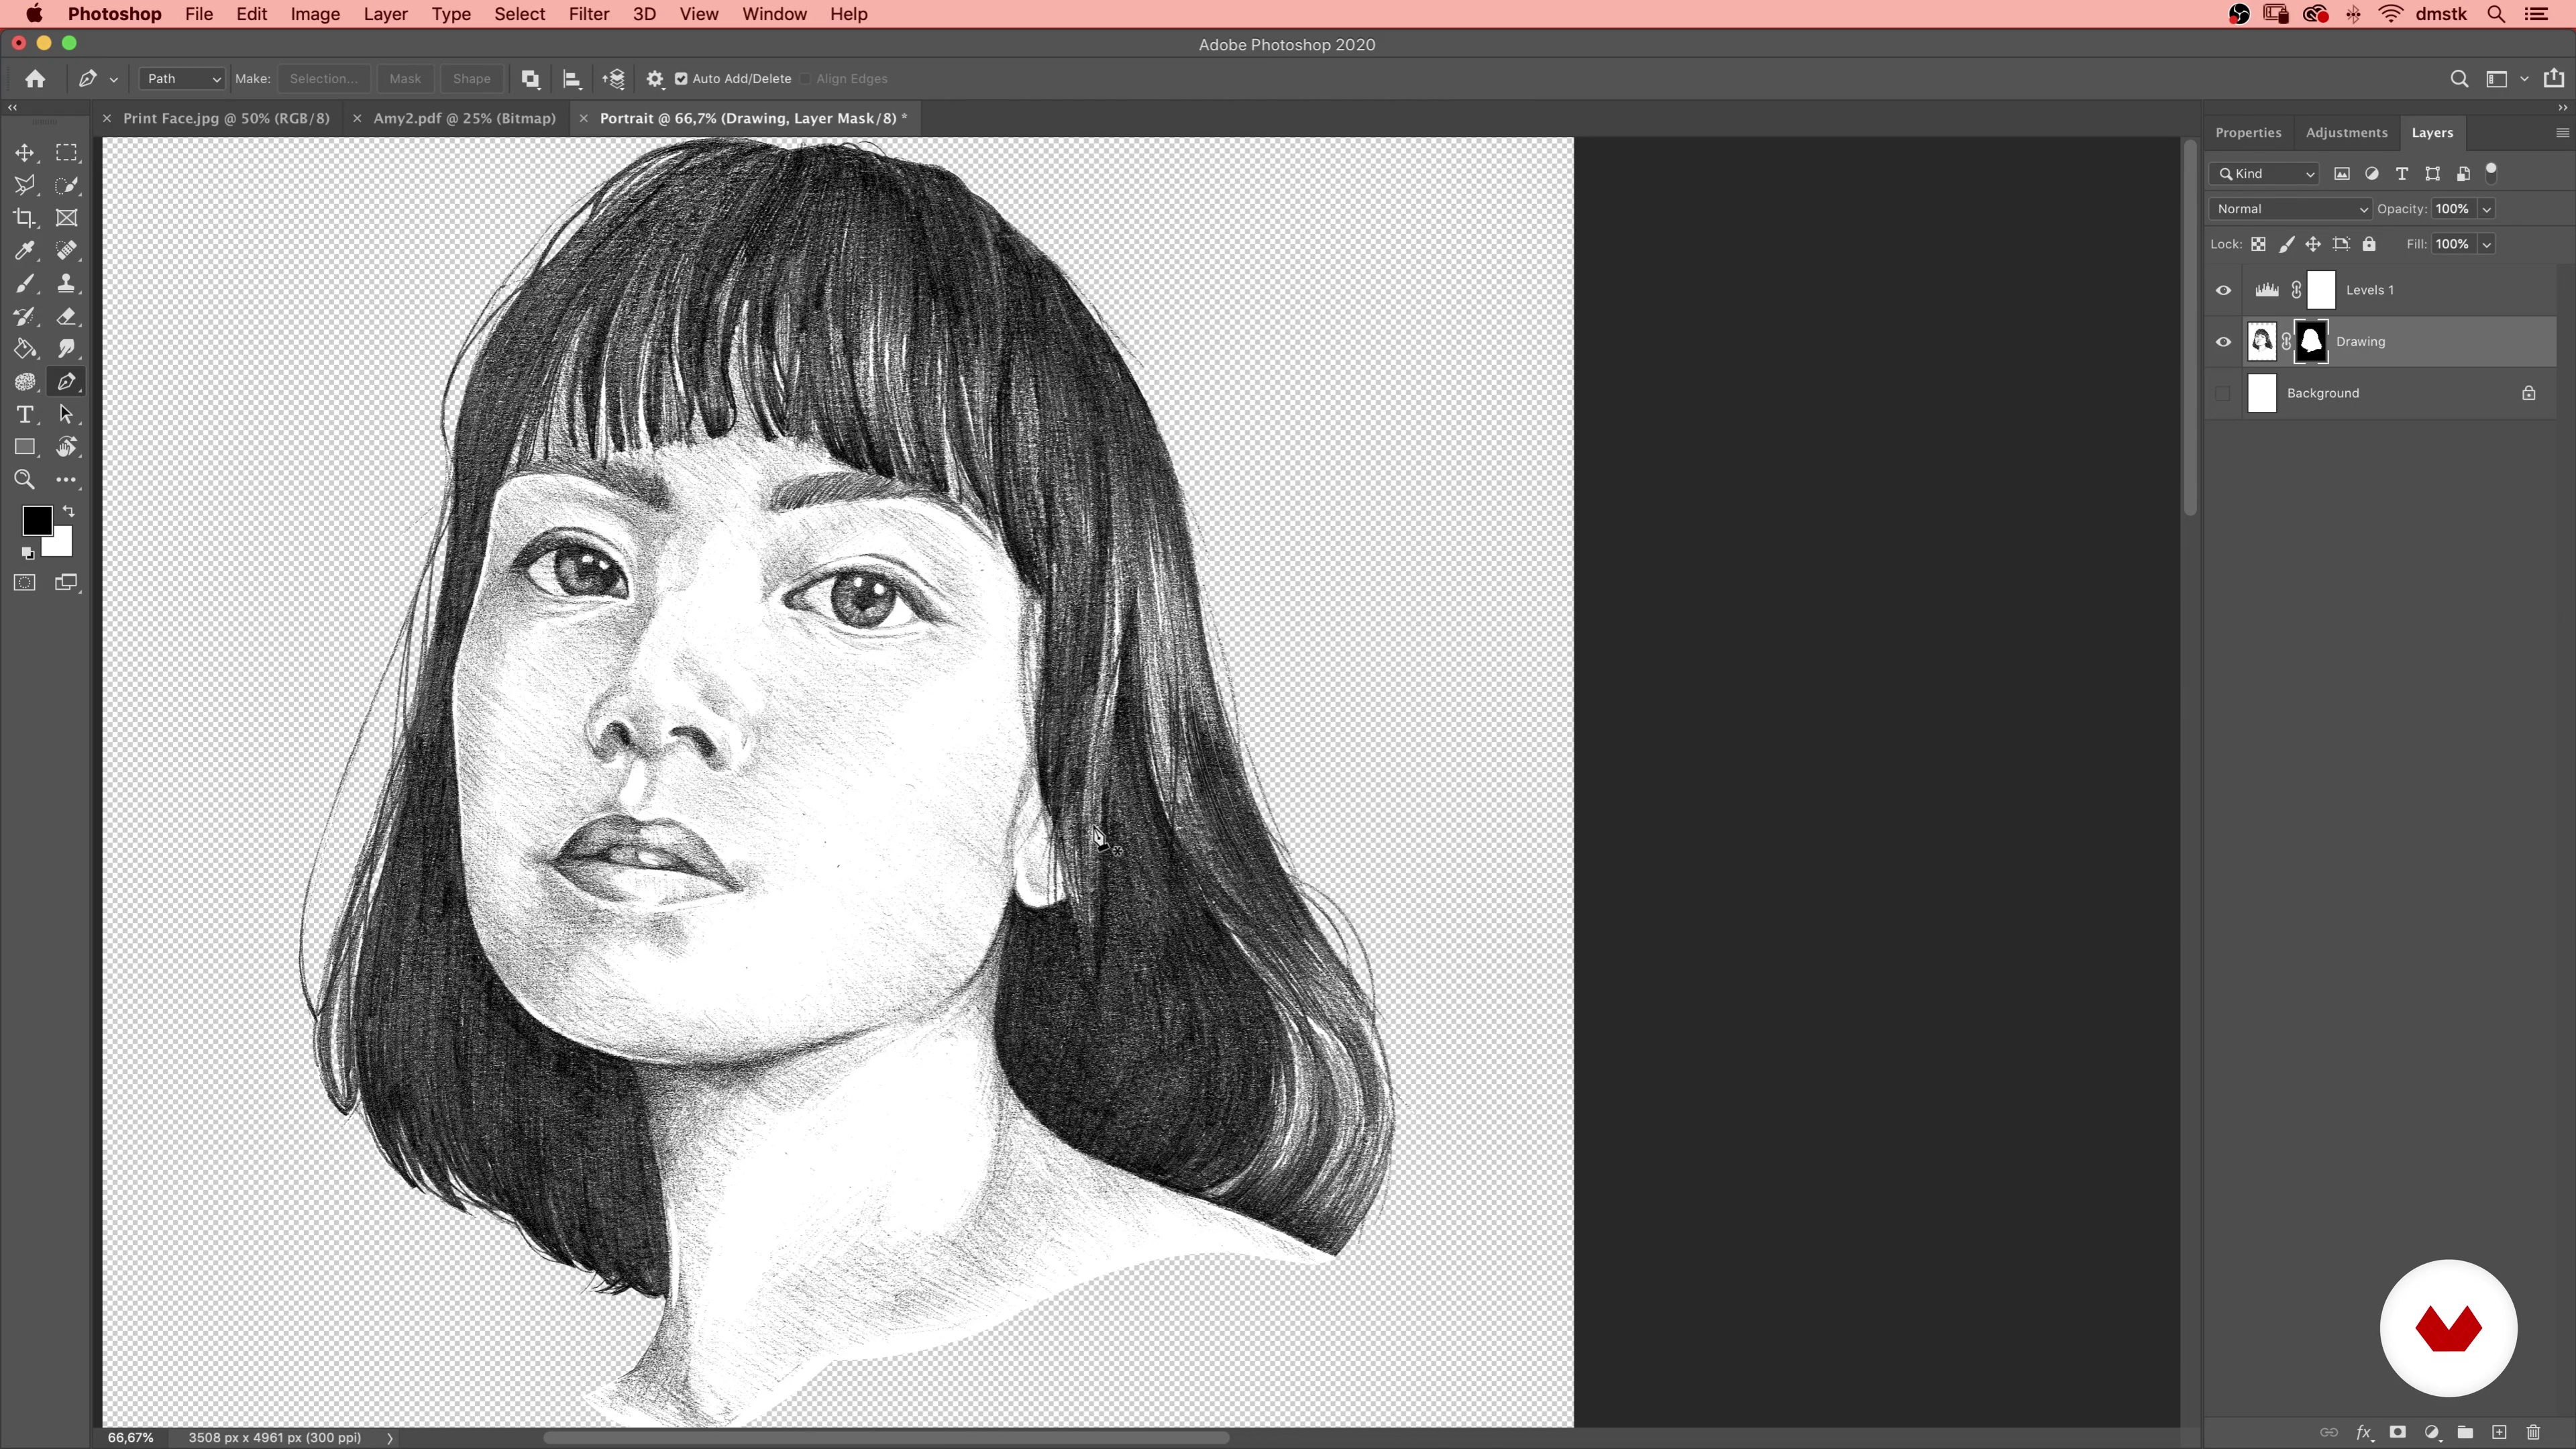
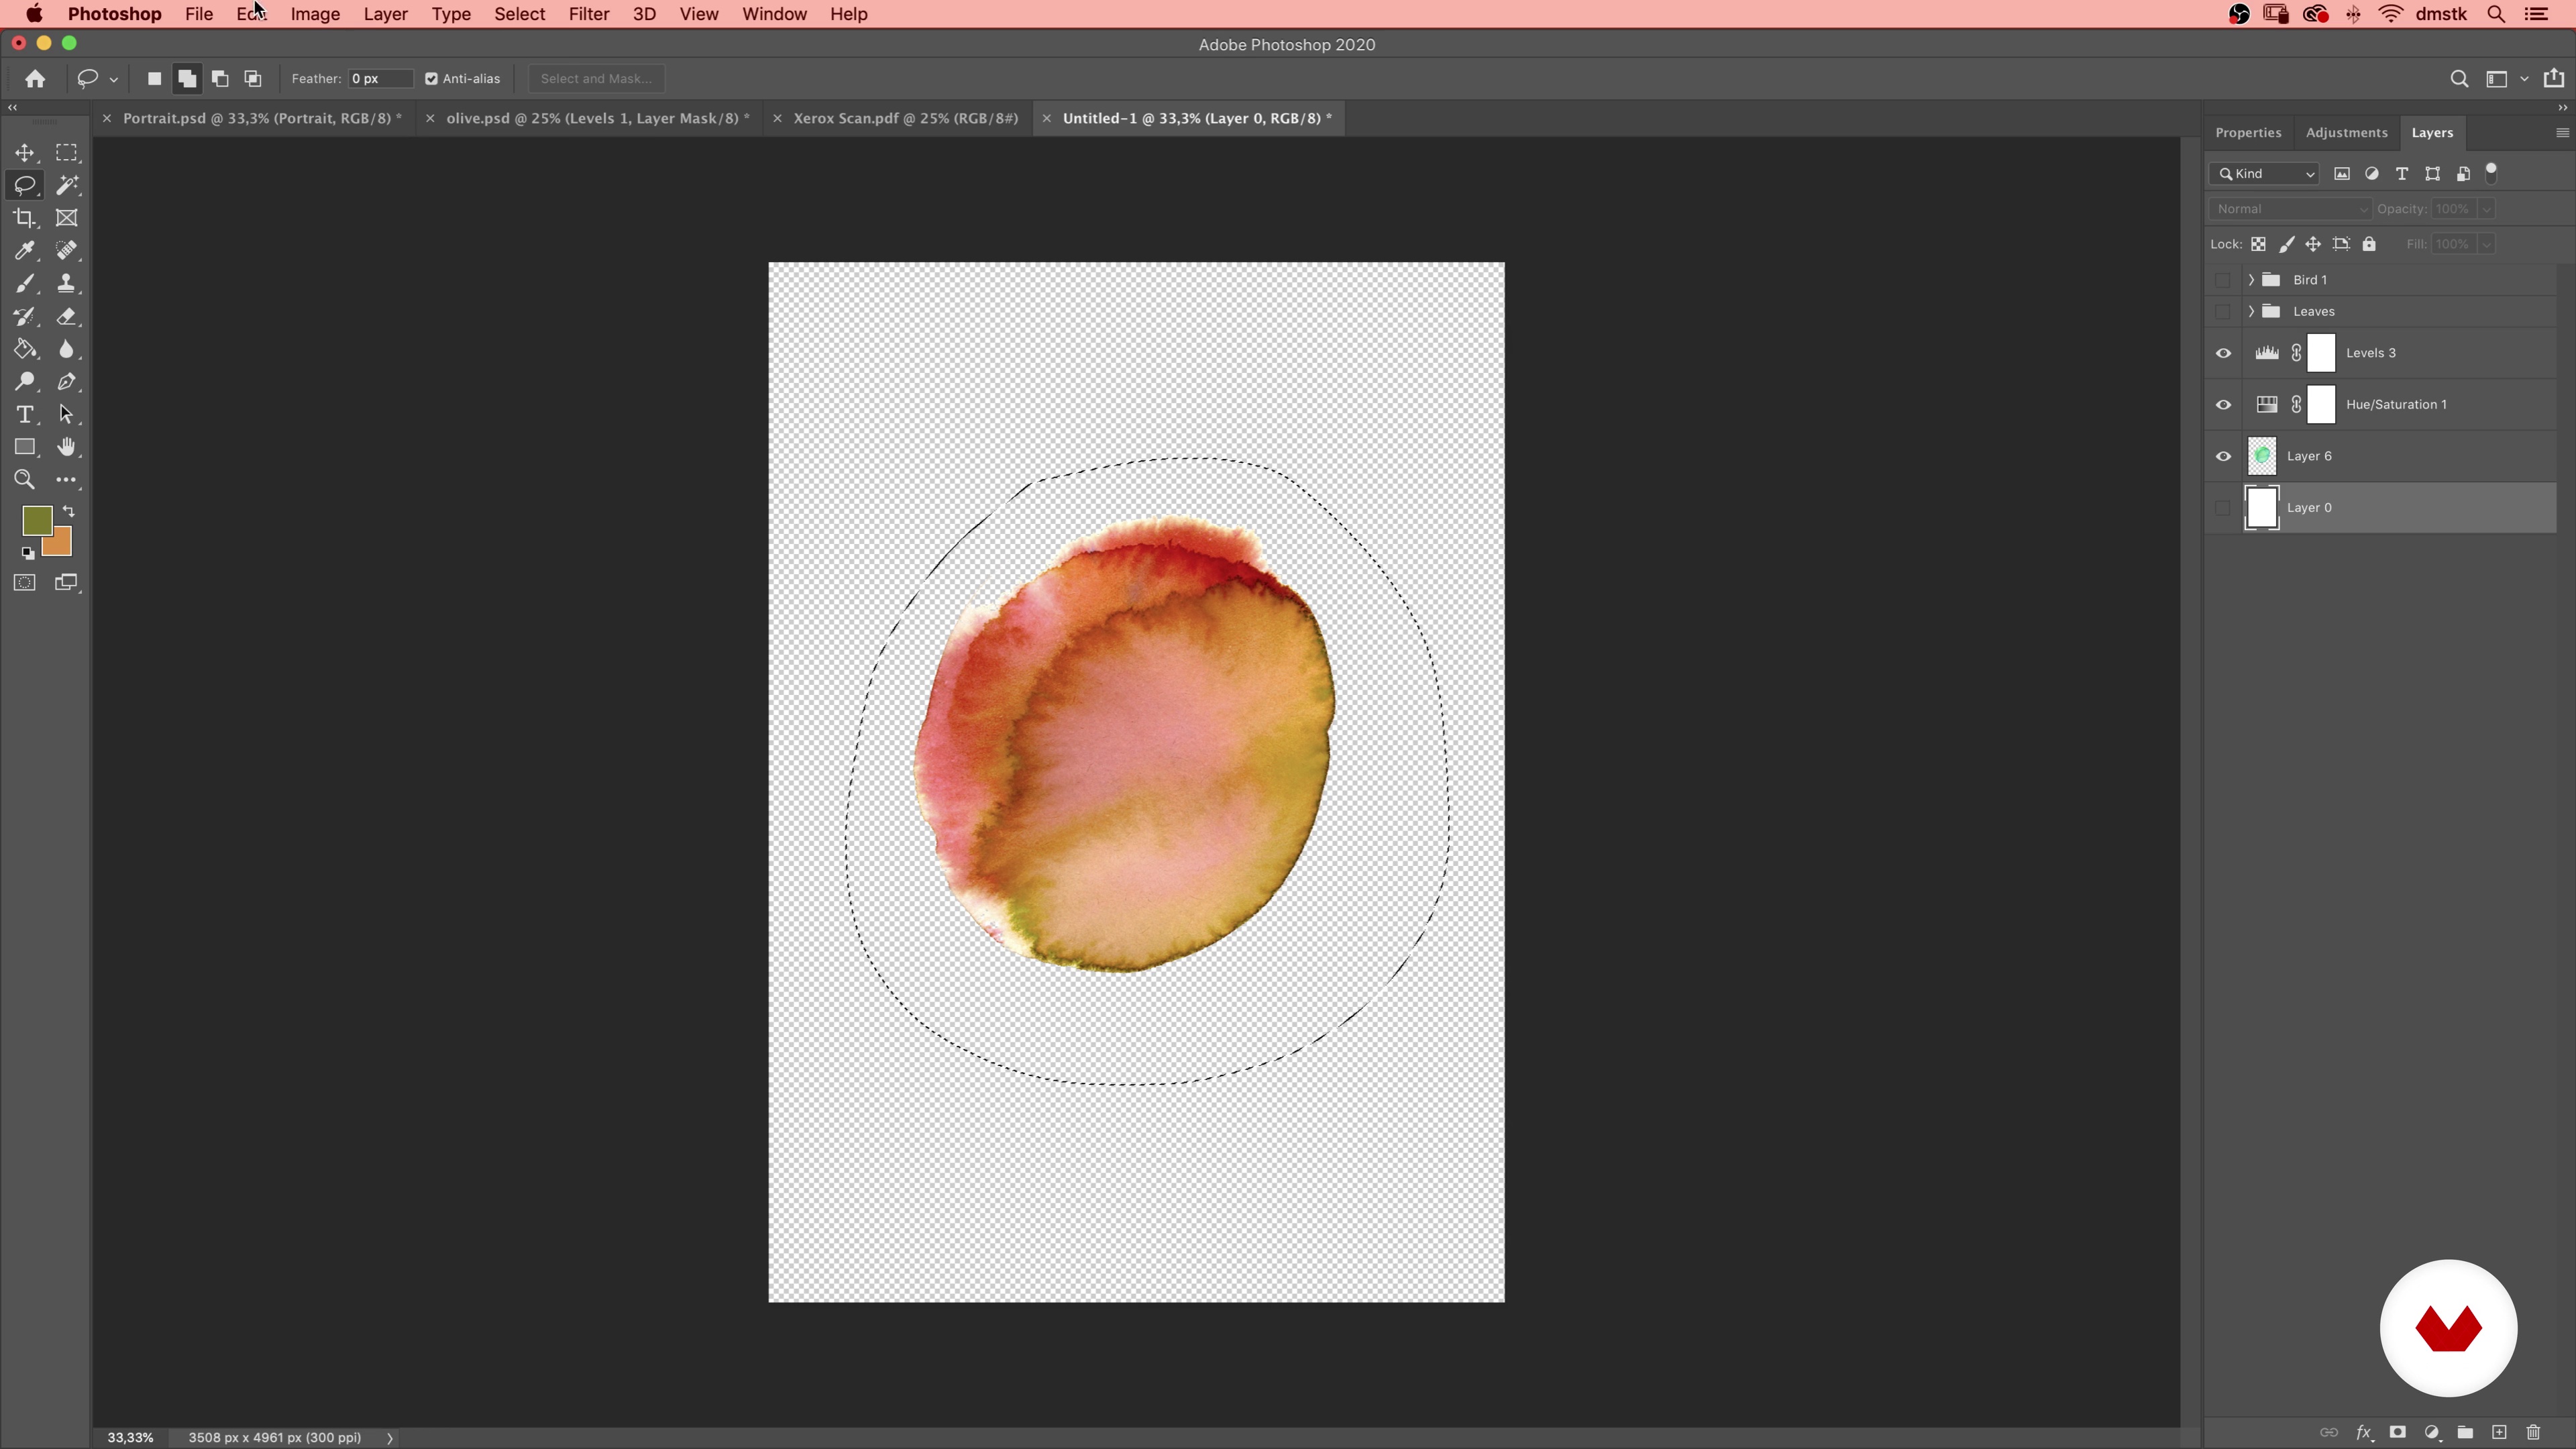
Photoshop Editing
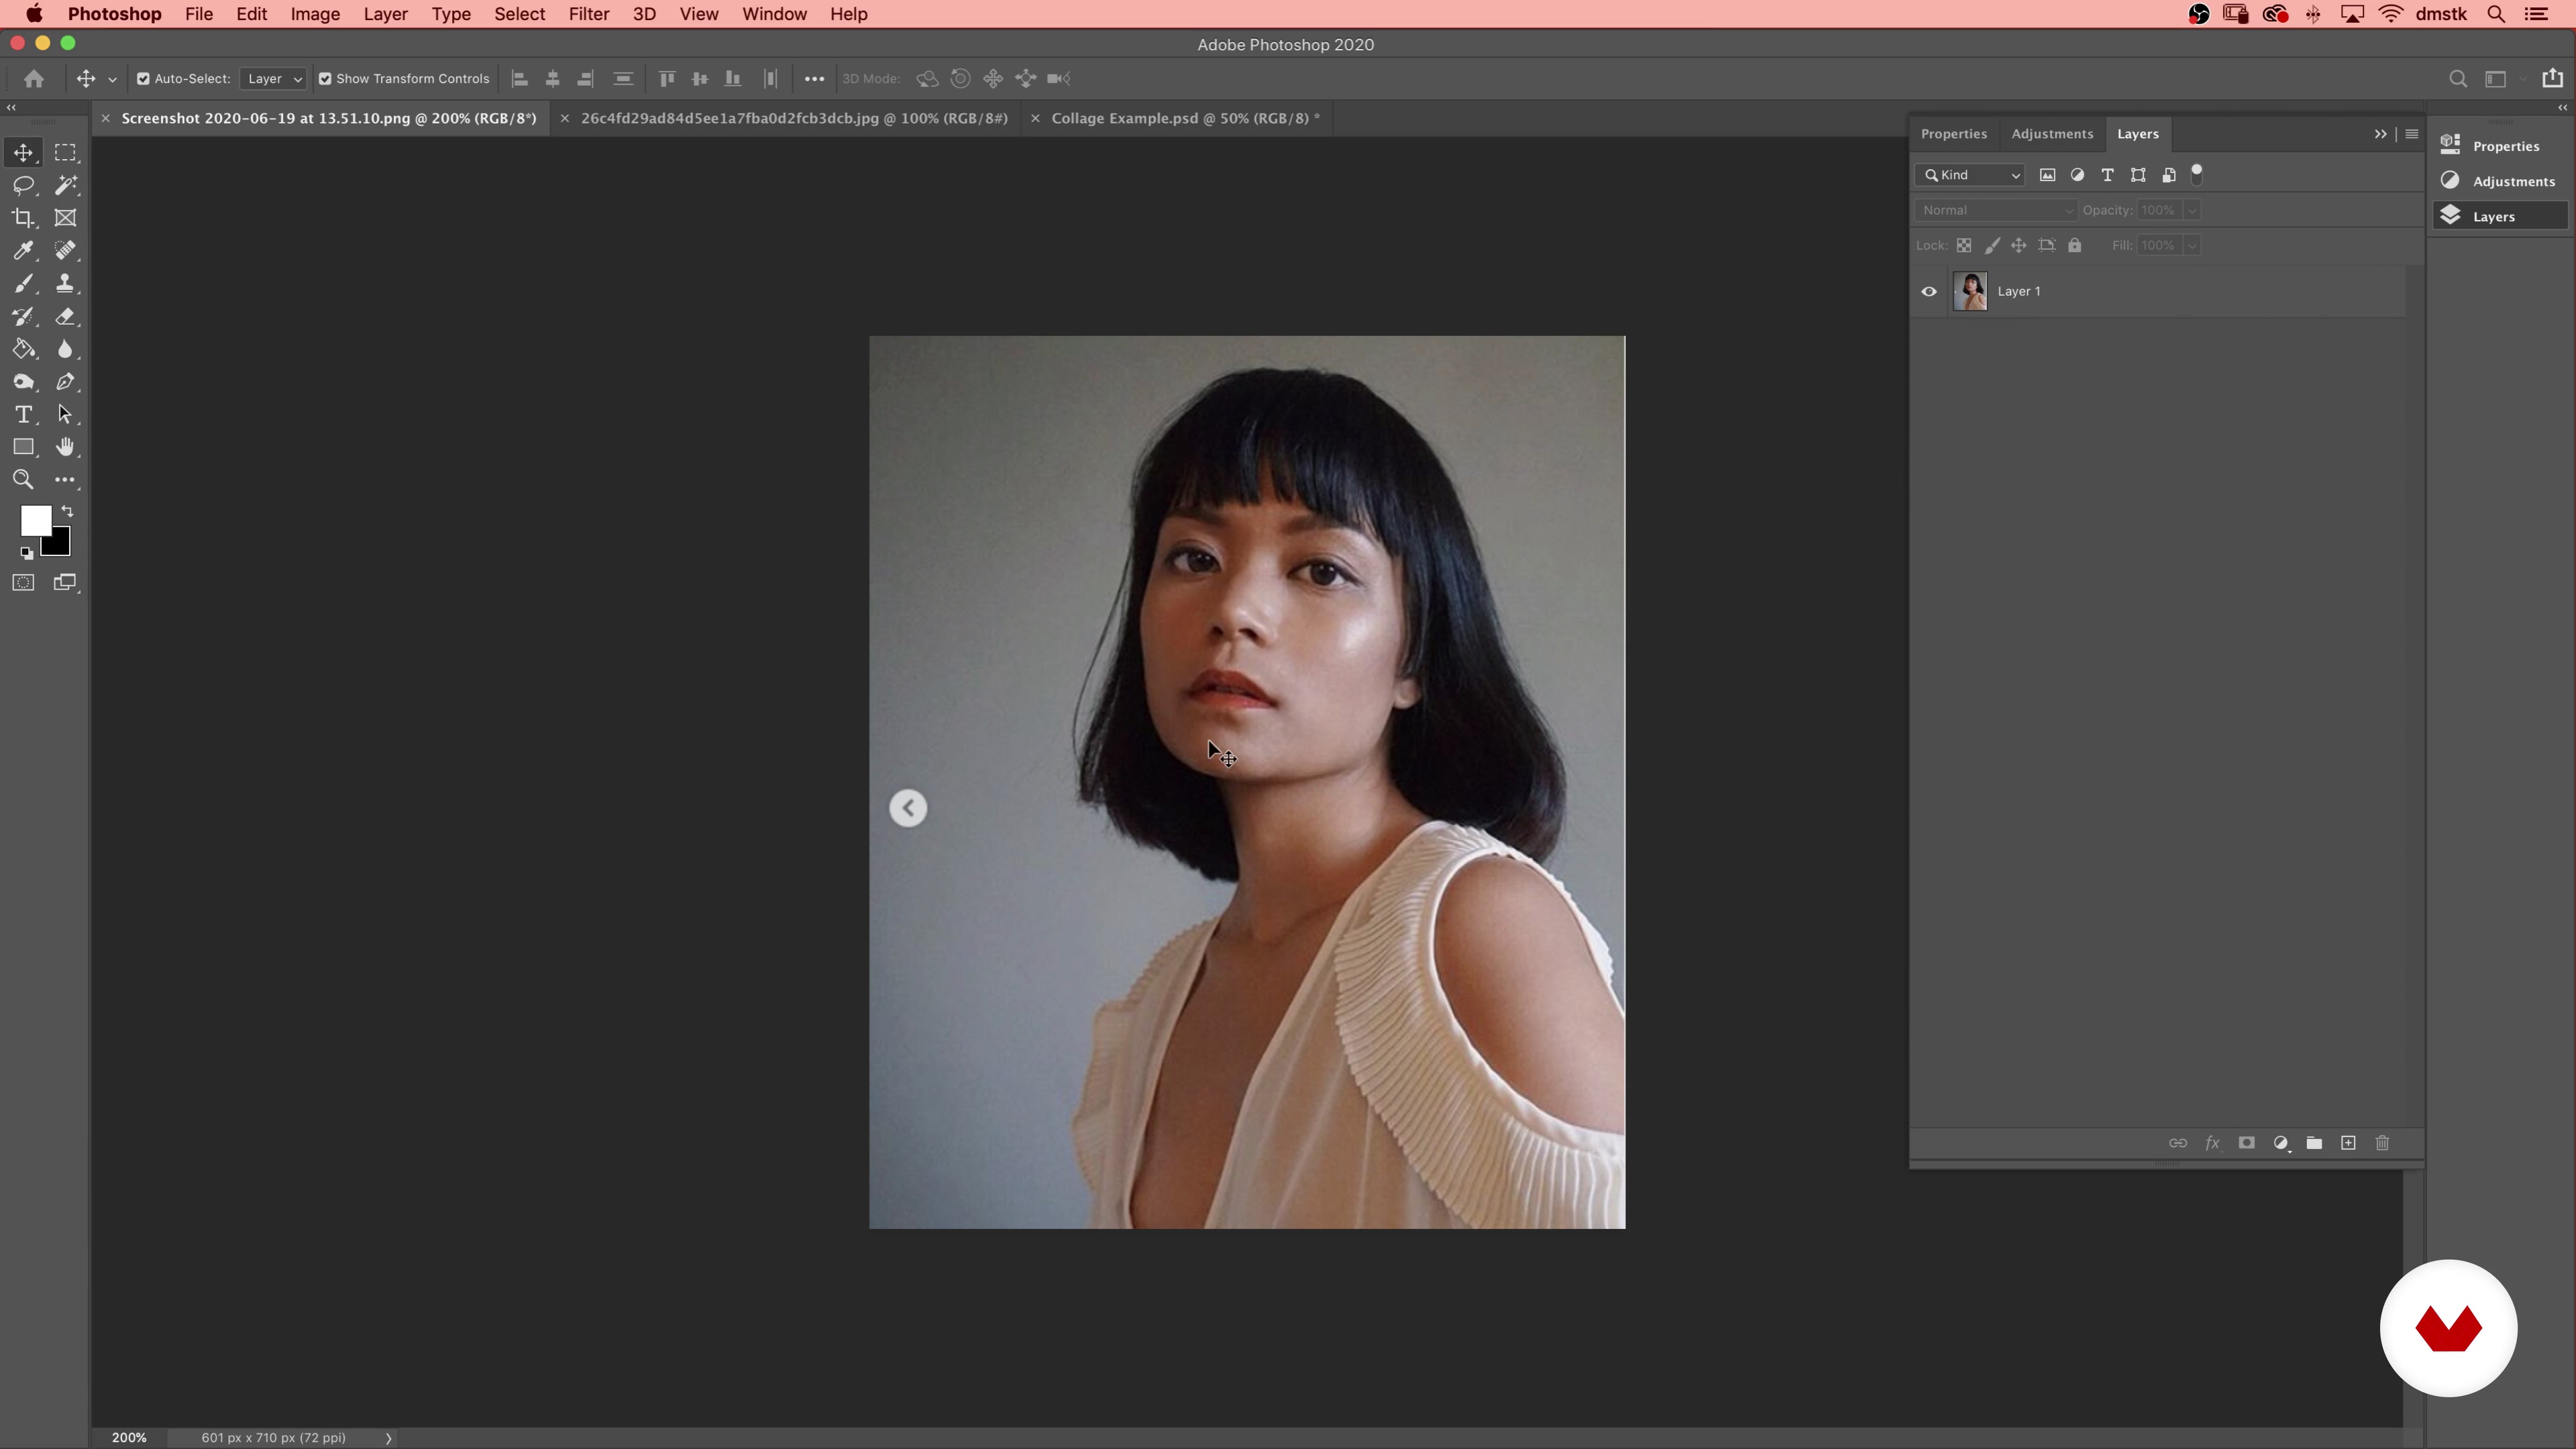
Once we have our references collected, I will show you in this lesson how to use Photoshop to prepare our portrait's reference photo.
4m
image
7
Basic Watercolour Techniques / Understanding Watercolour
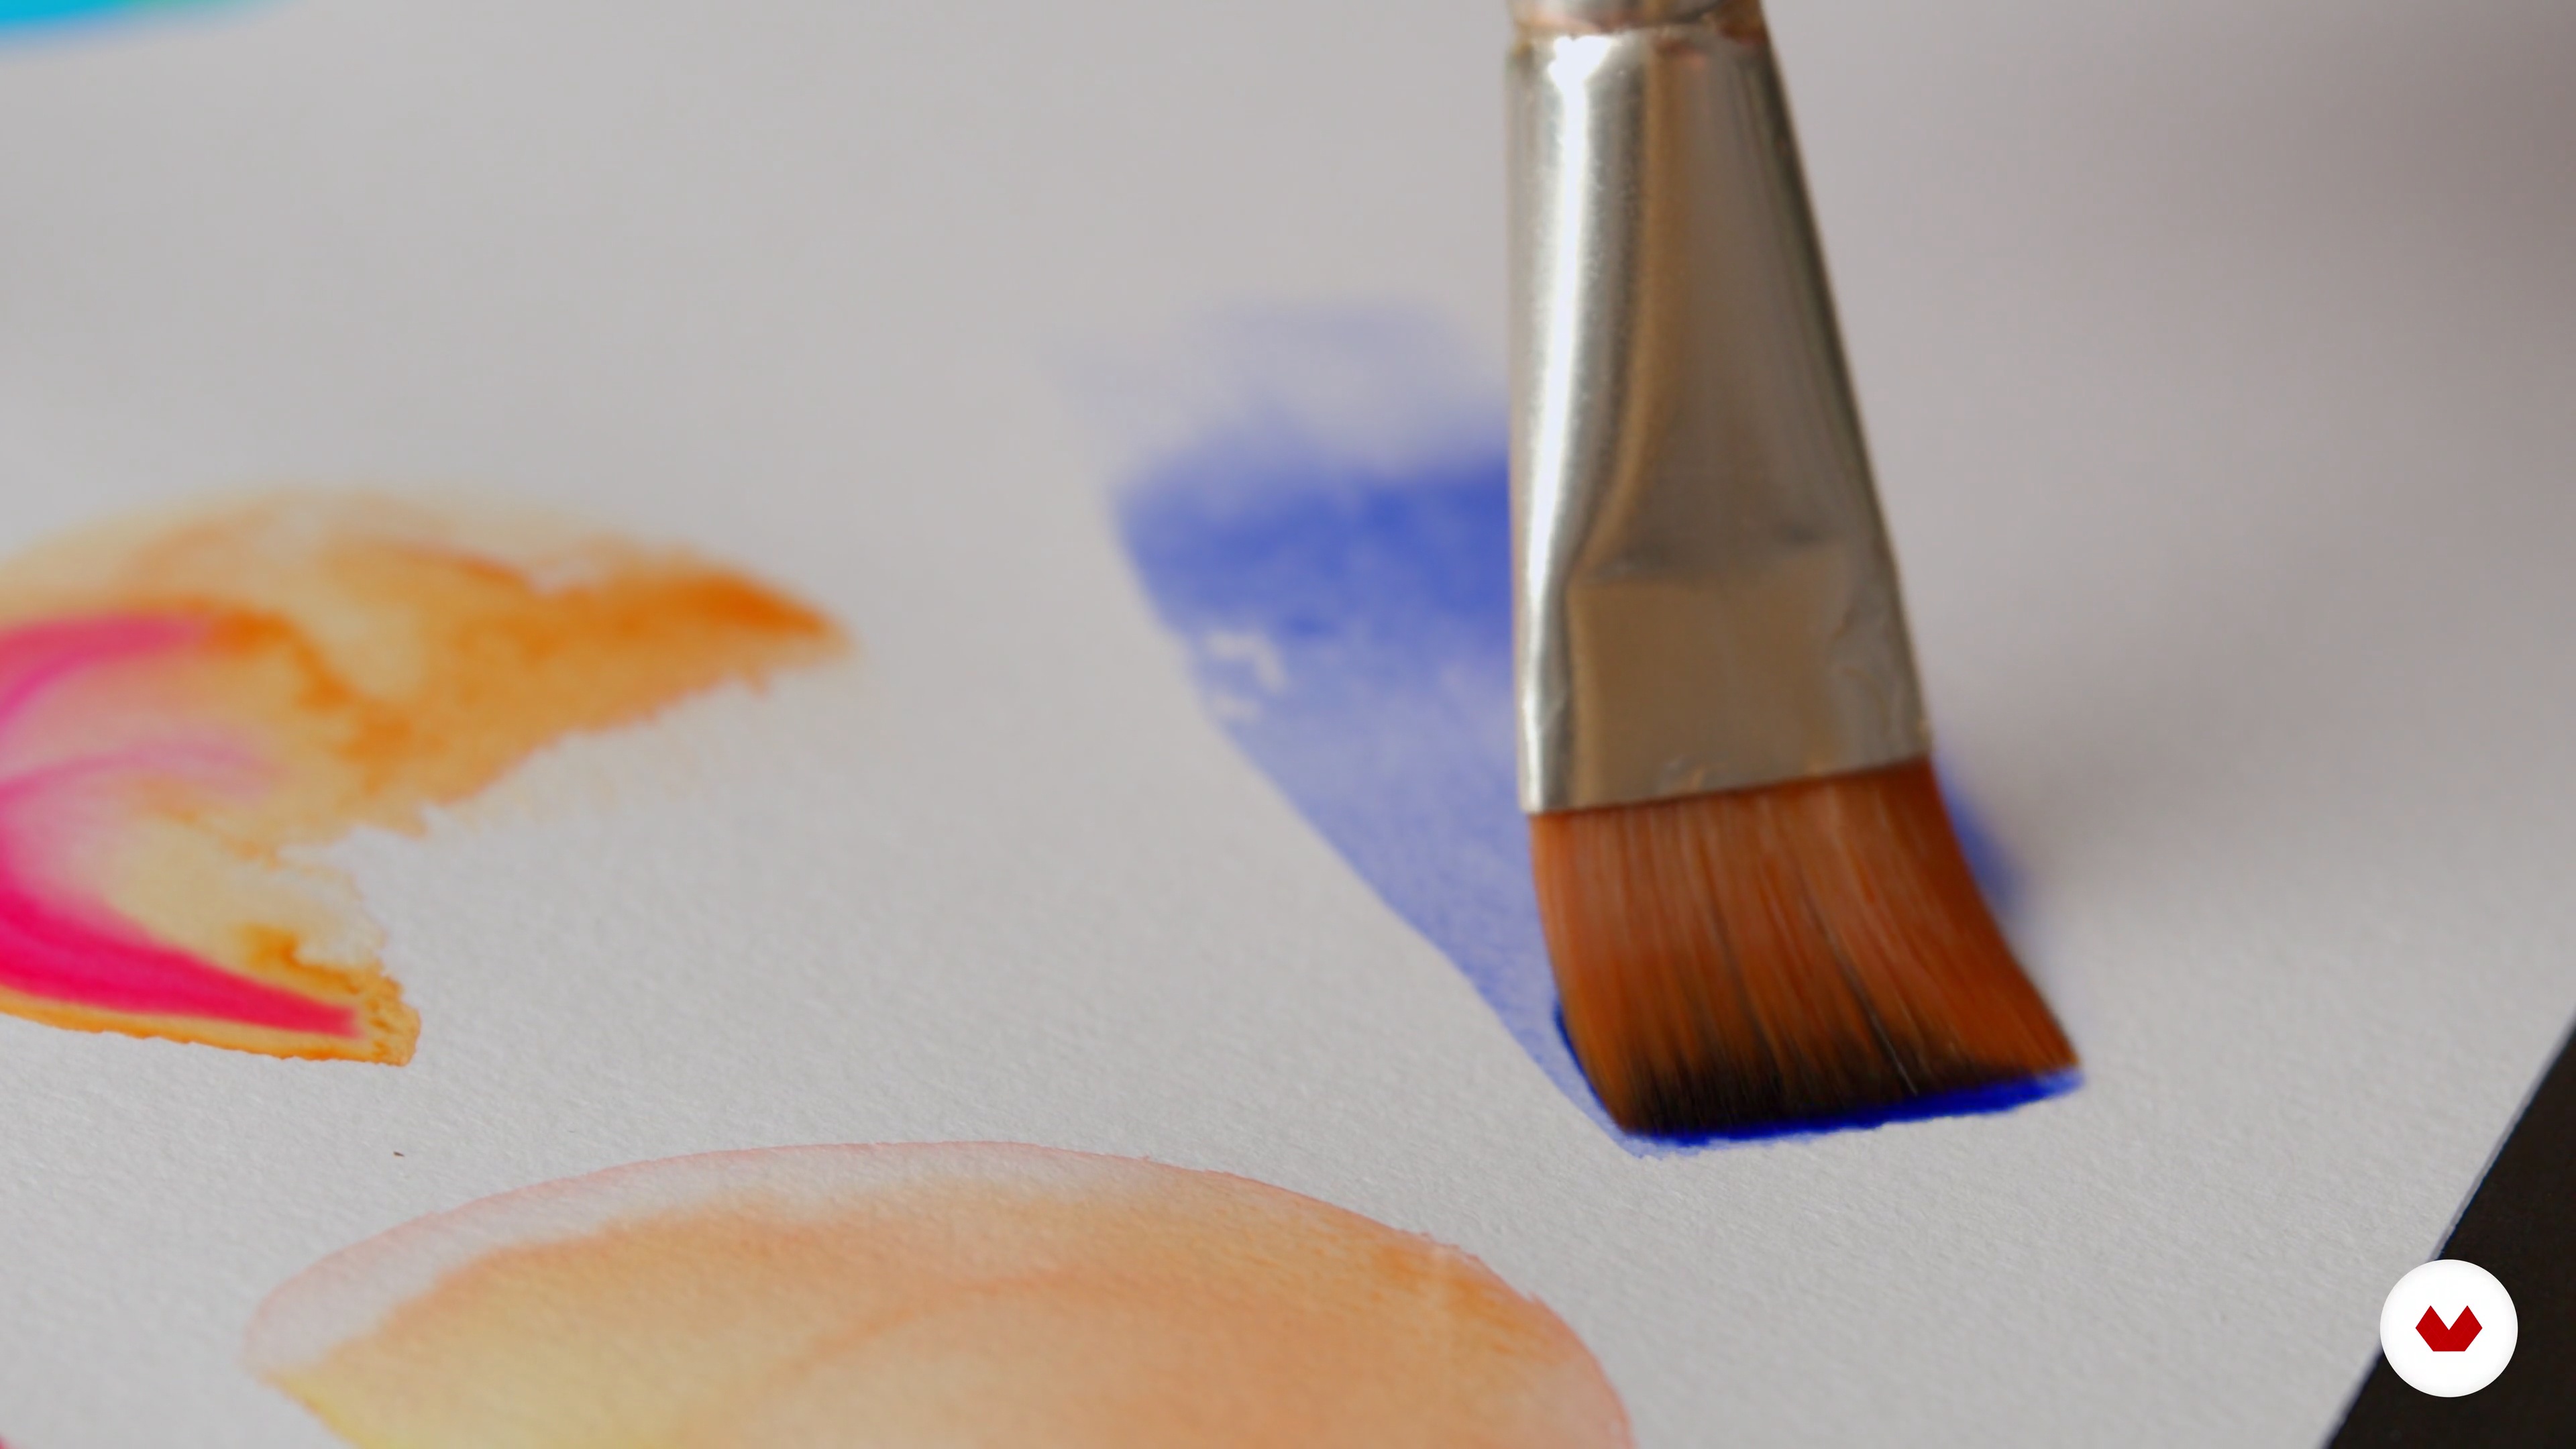
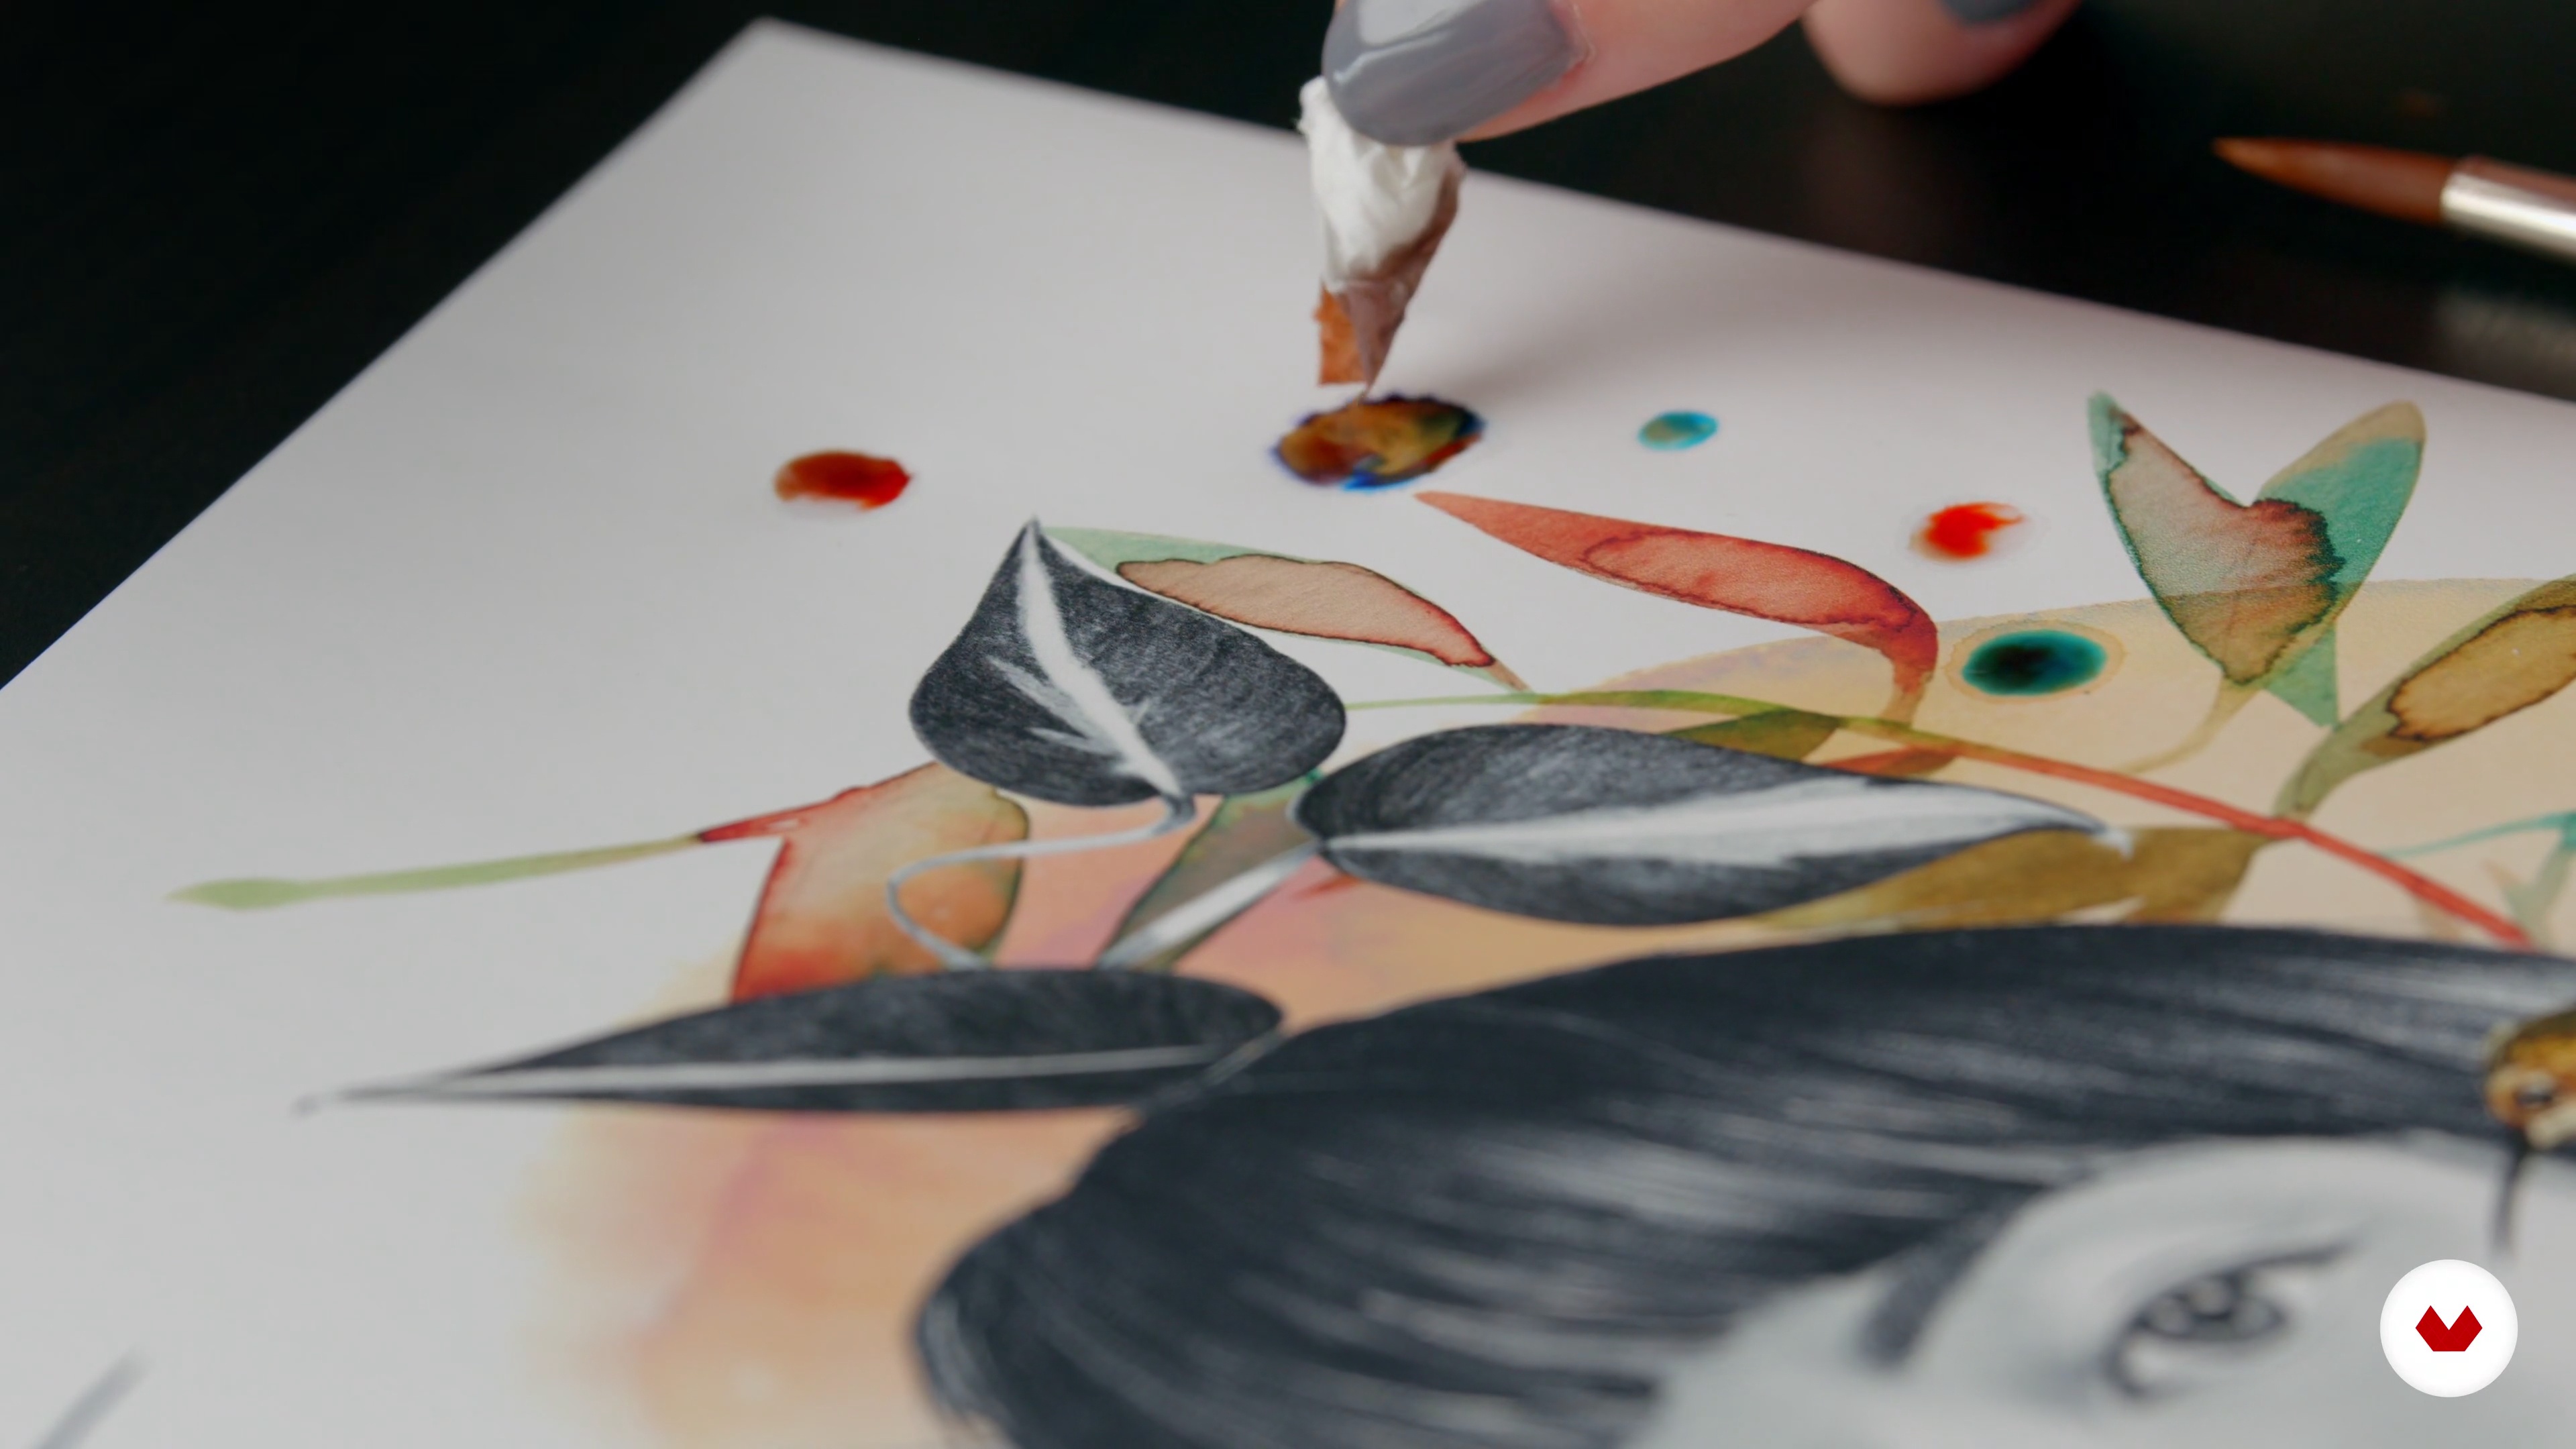
I want in this lesson to show you how to use watercolour for mark-making.
13m
image
8
Rough Sketching in Photoshop
The first step will be to prepare a collage in photoshop to design the layout of the illustration. Let's see how.
11m
image
9
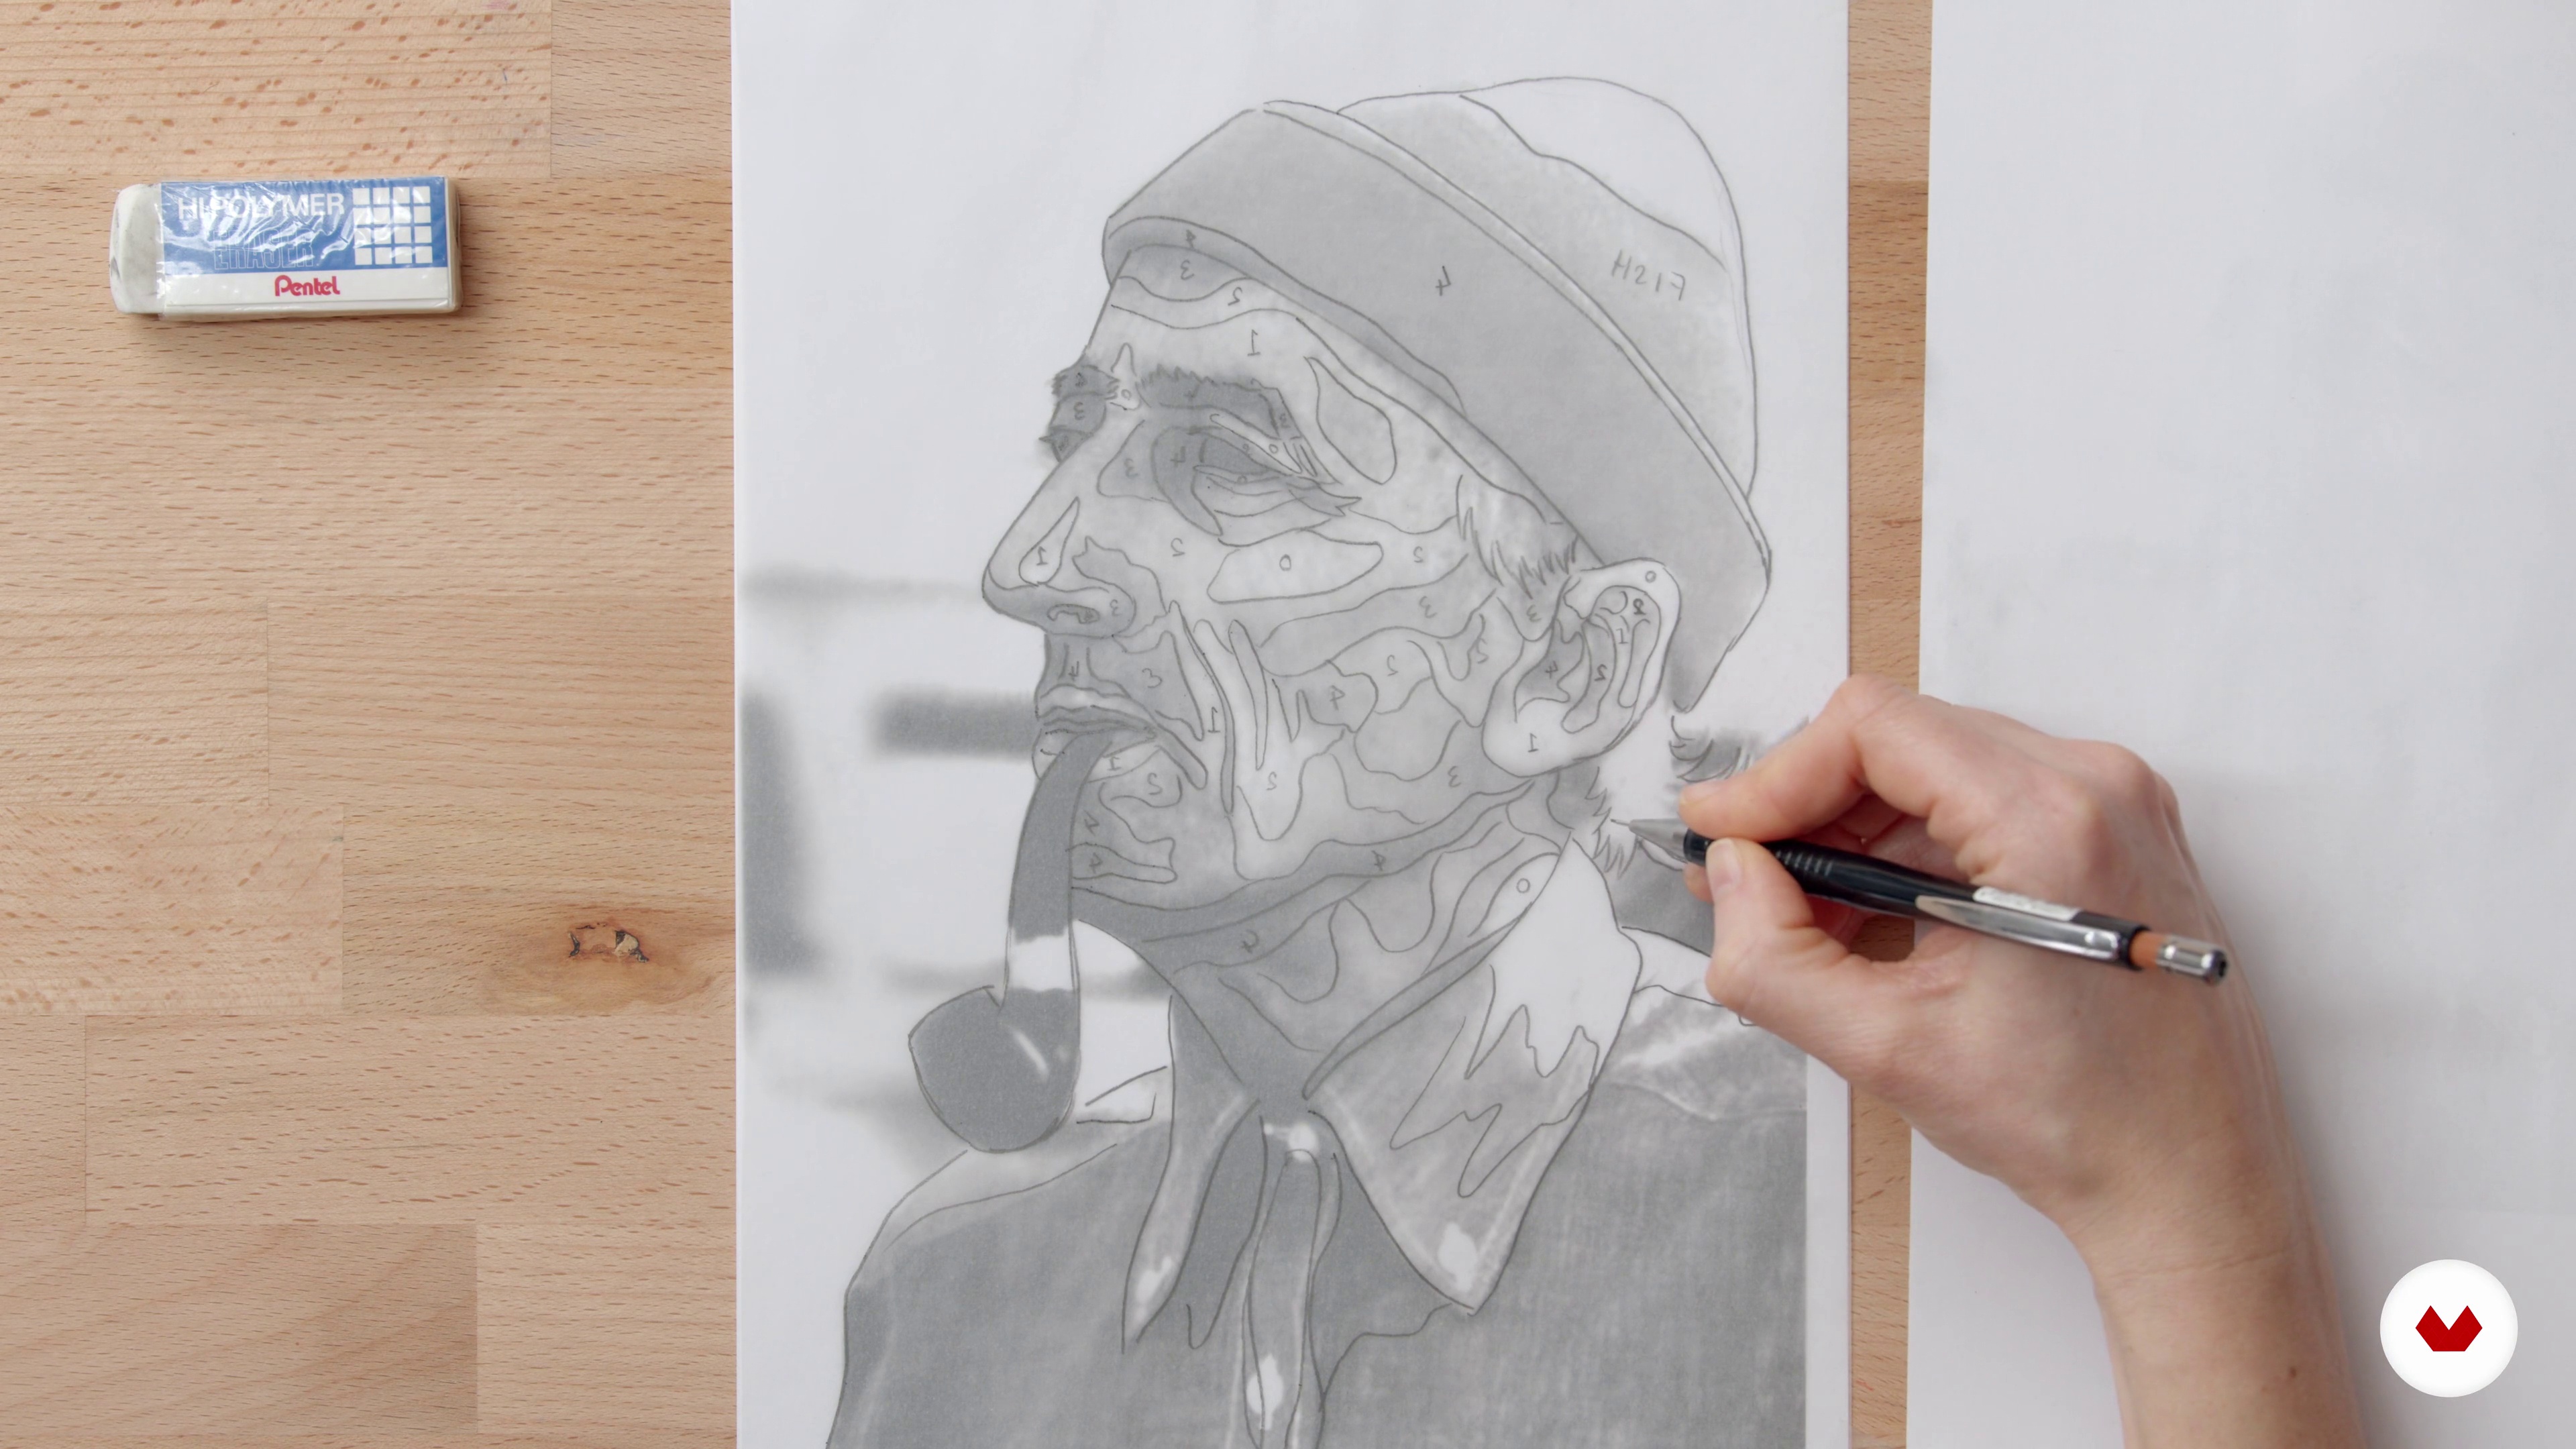
Tracing the Outline
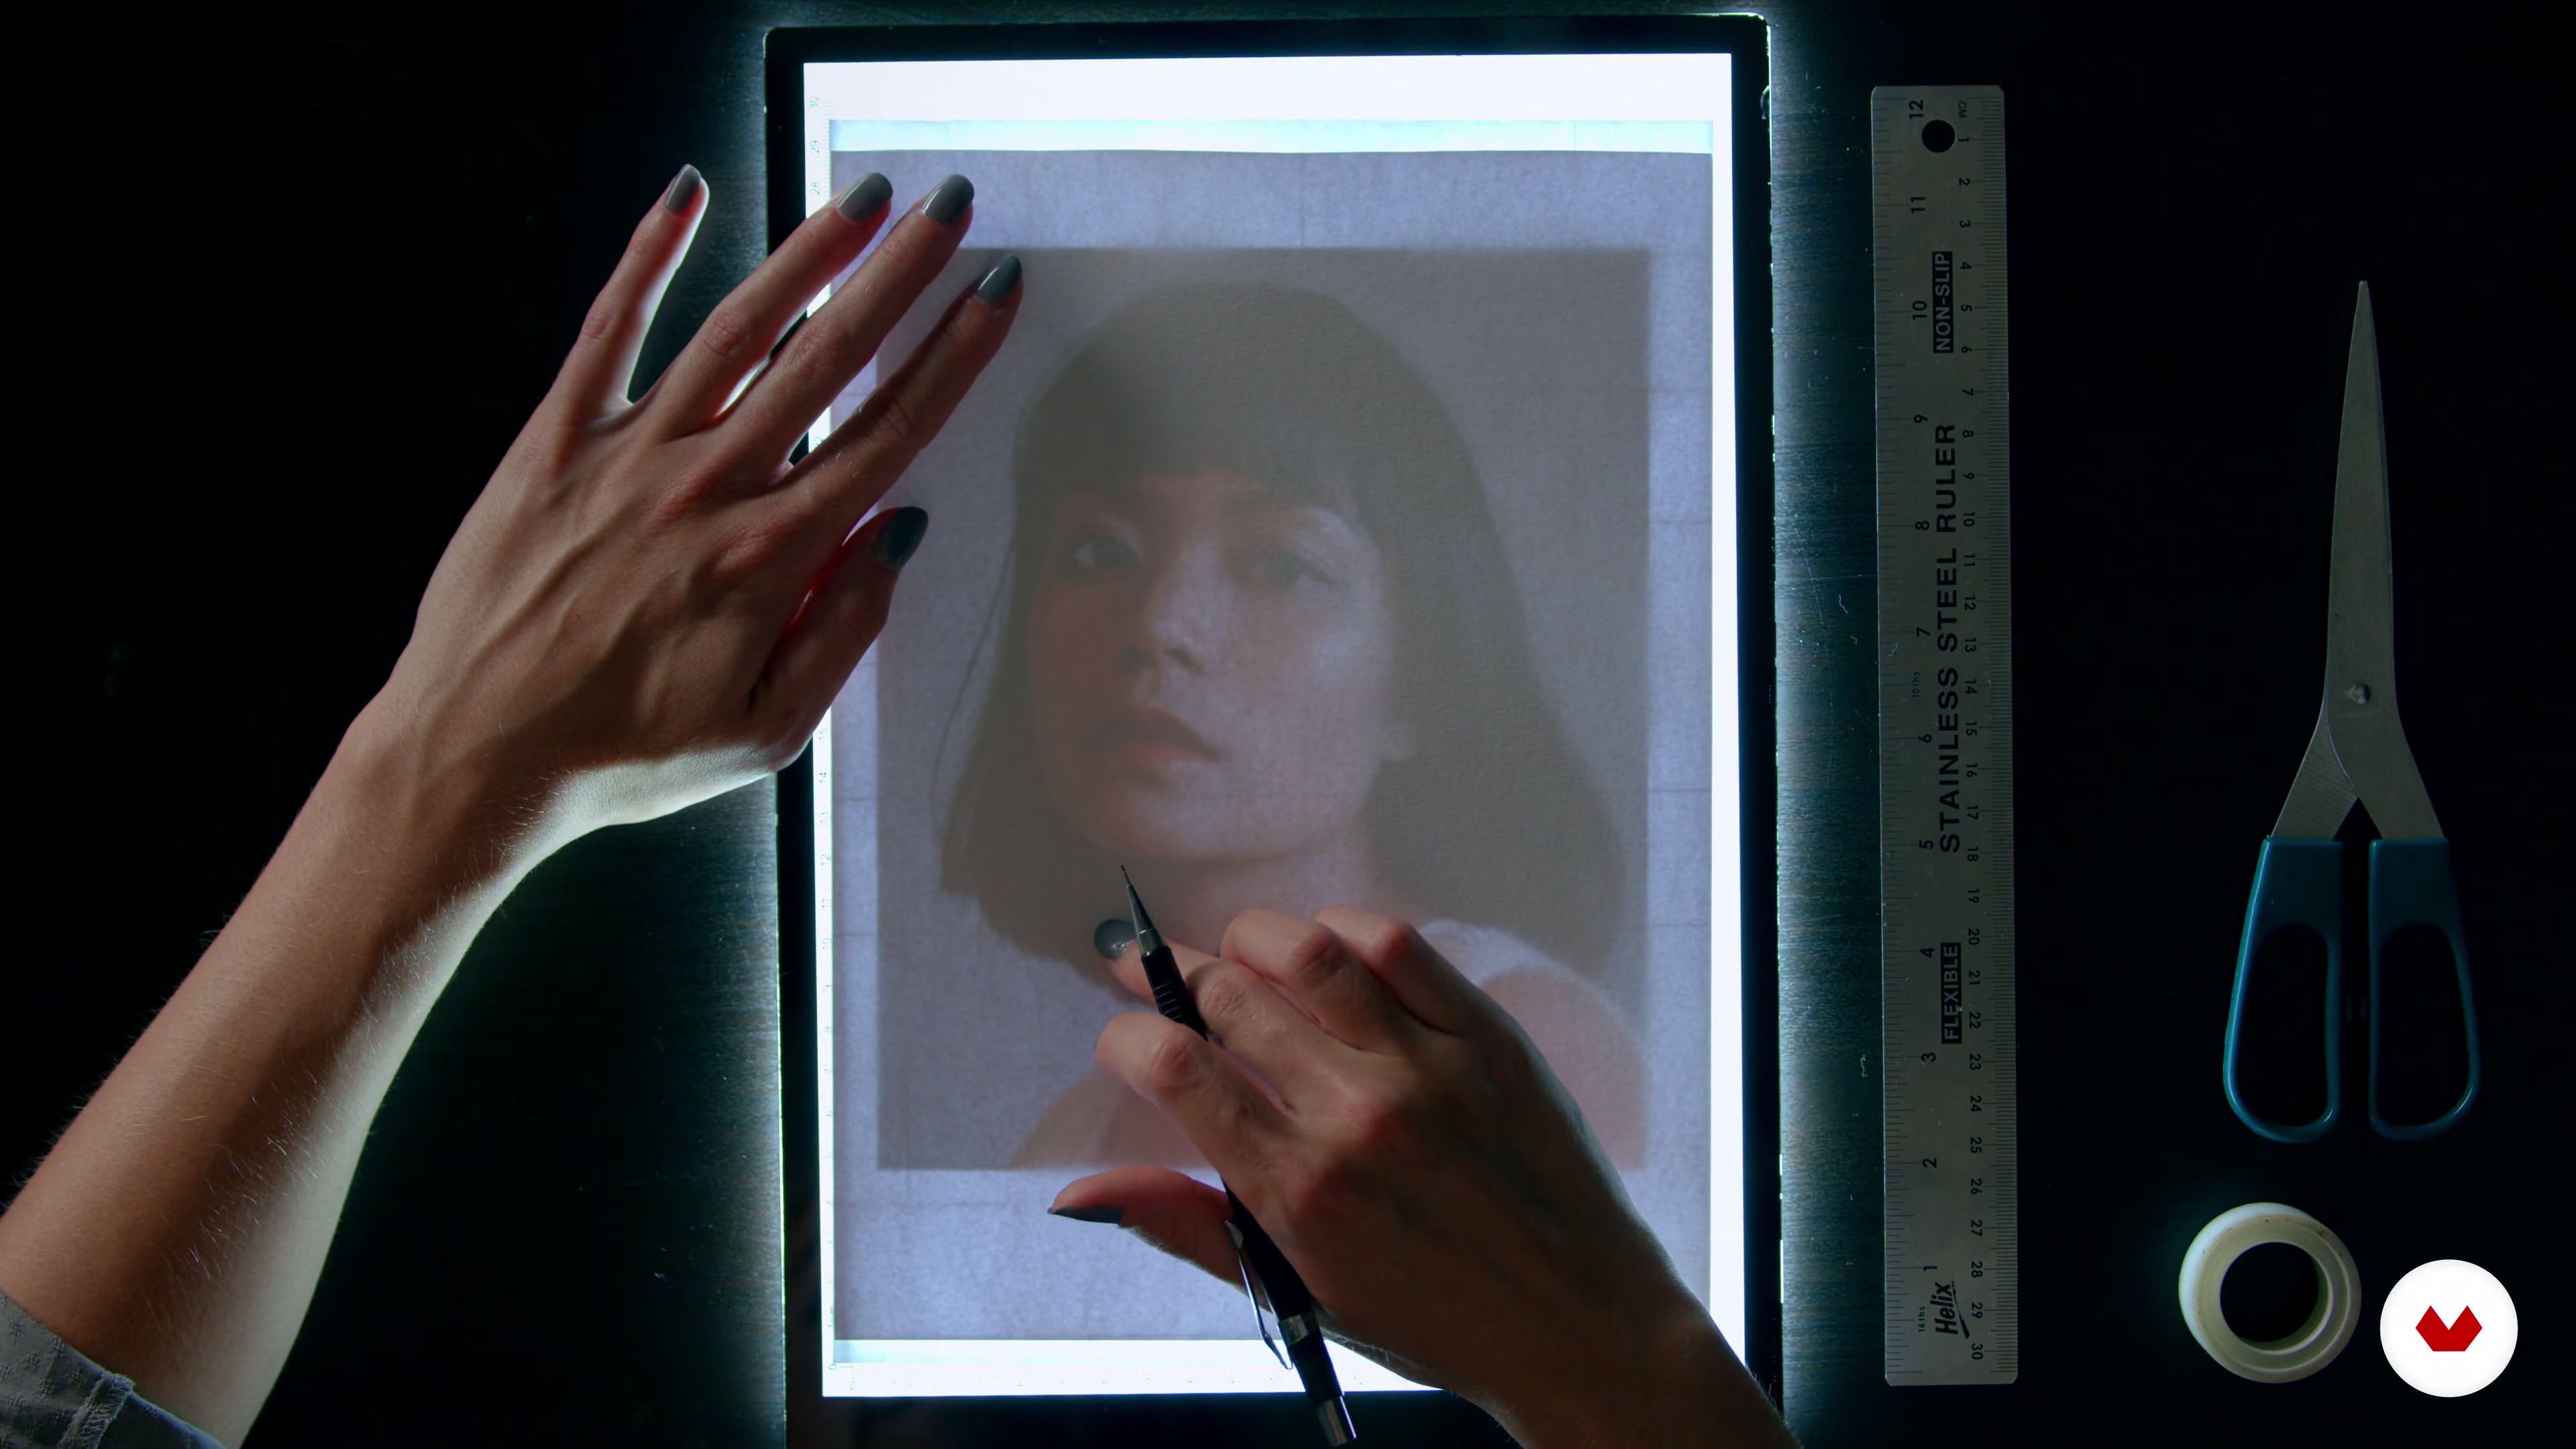
At this stage, we will focus on achieving an accurate outline using a lightbox or grid. To do it so, I will show you how to trace the outline of the face for the pencil drawing using a lightbox.
4m
image
10
Detailed Pencil Drawing
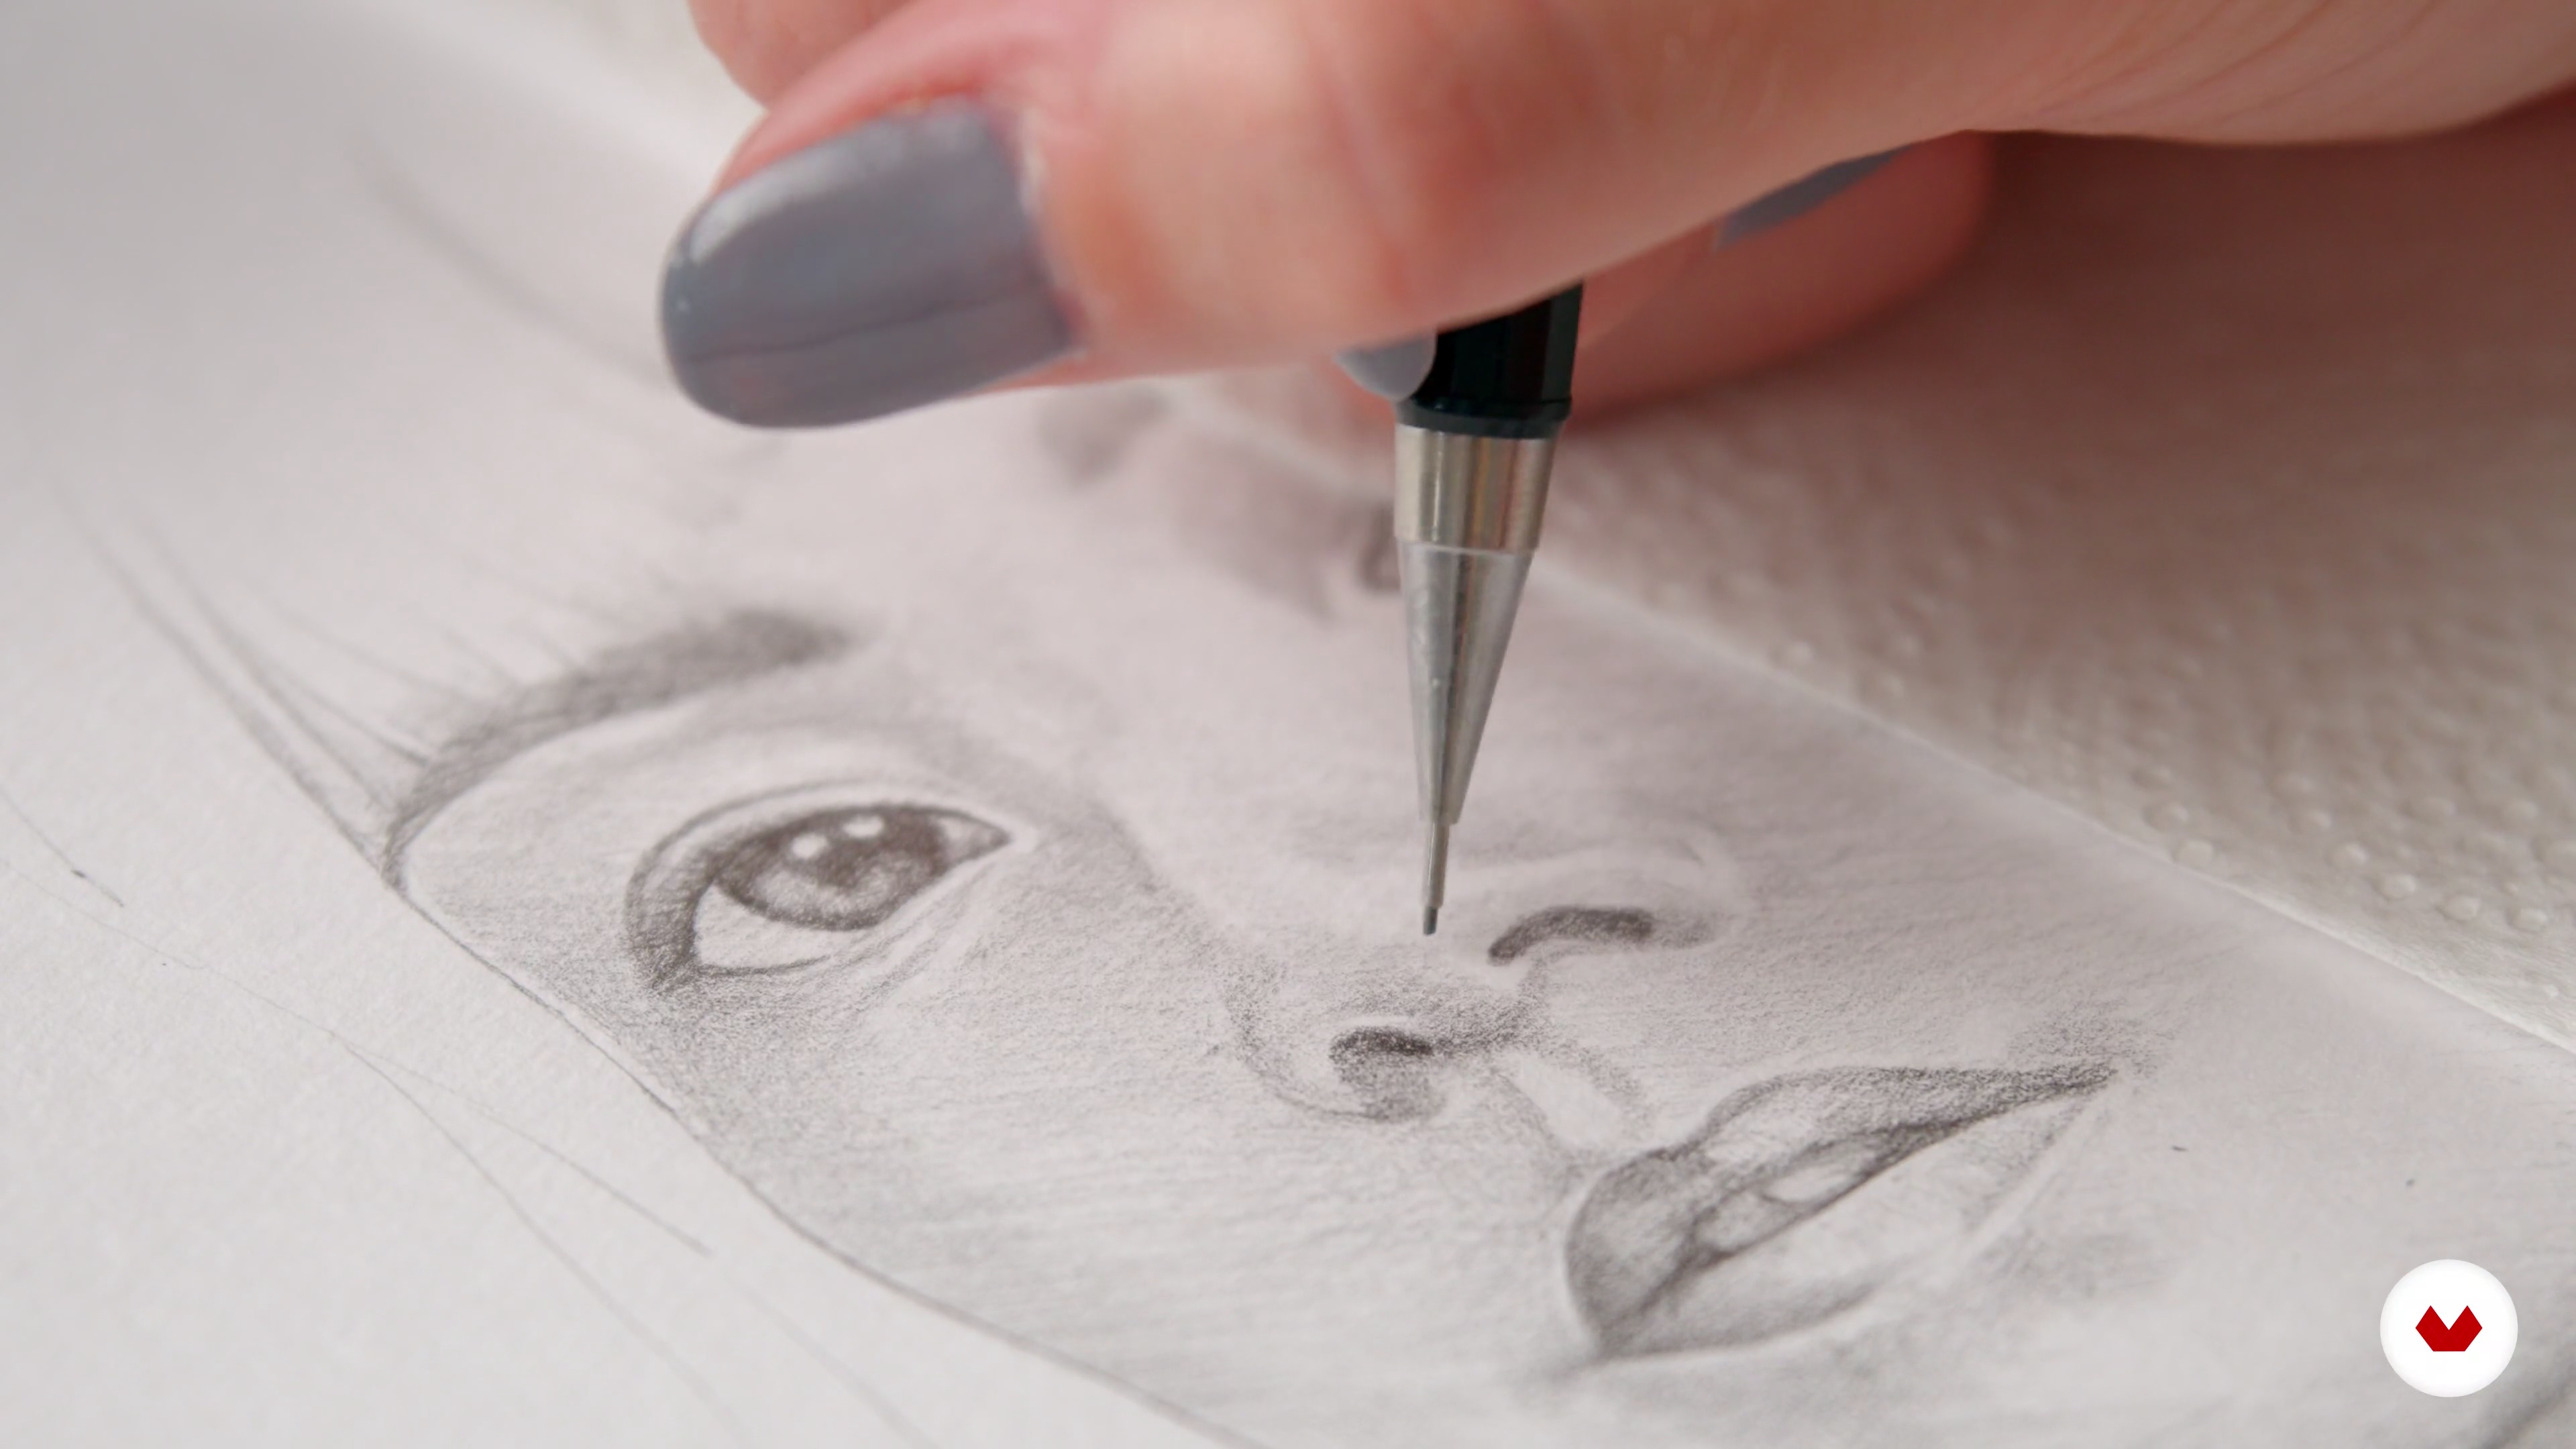
Here, we will create a detailed and realistic pencil drawing.
14m
image
11
Decorative Elements
First, we will cover the decorative elements surrounding our portrait design. The way to go is to sketch out decorative elements using tracing paper. Let's see how.
14m
image
12
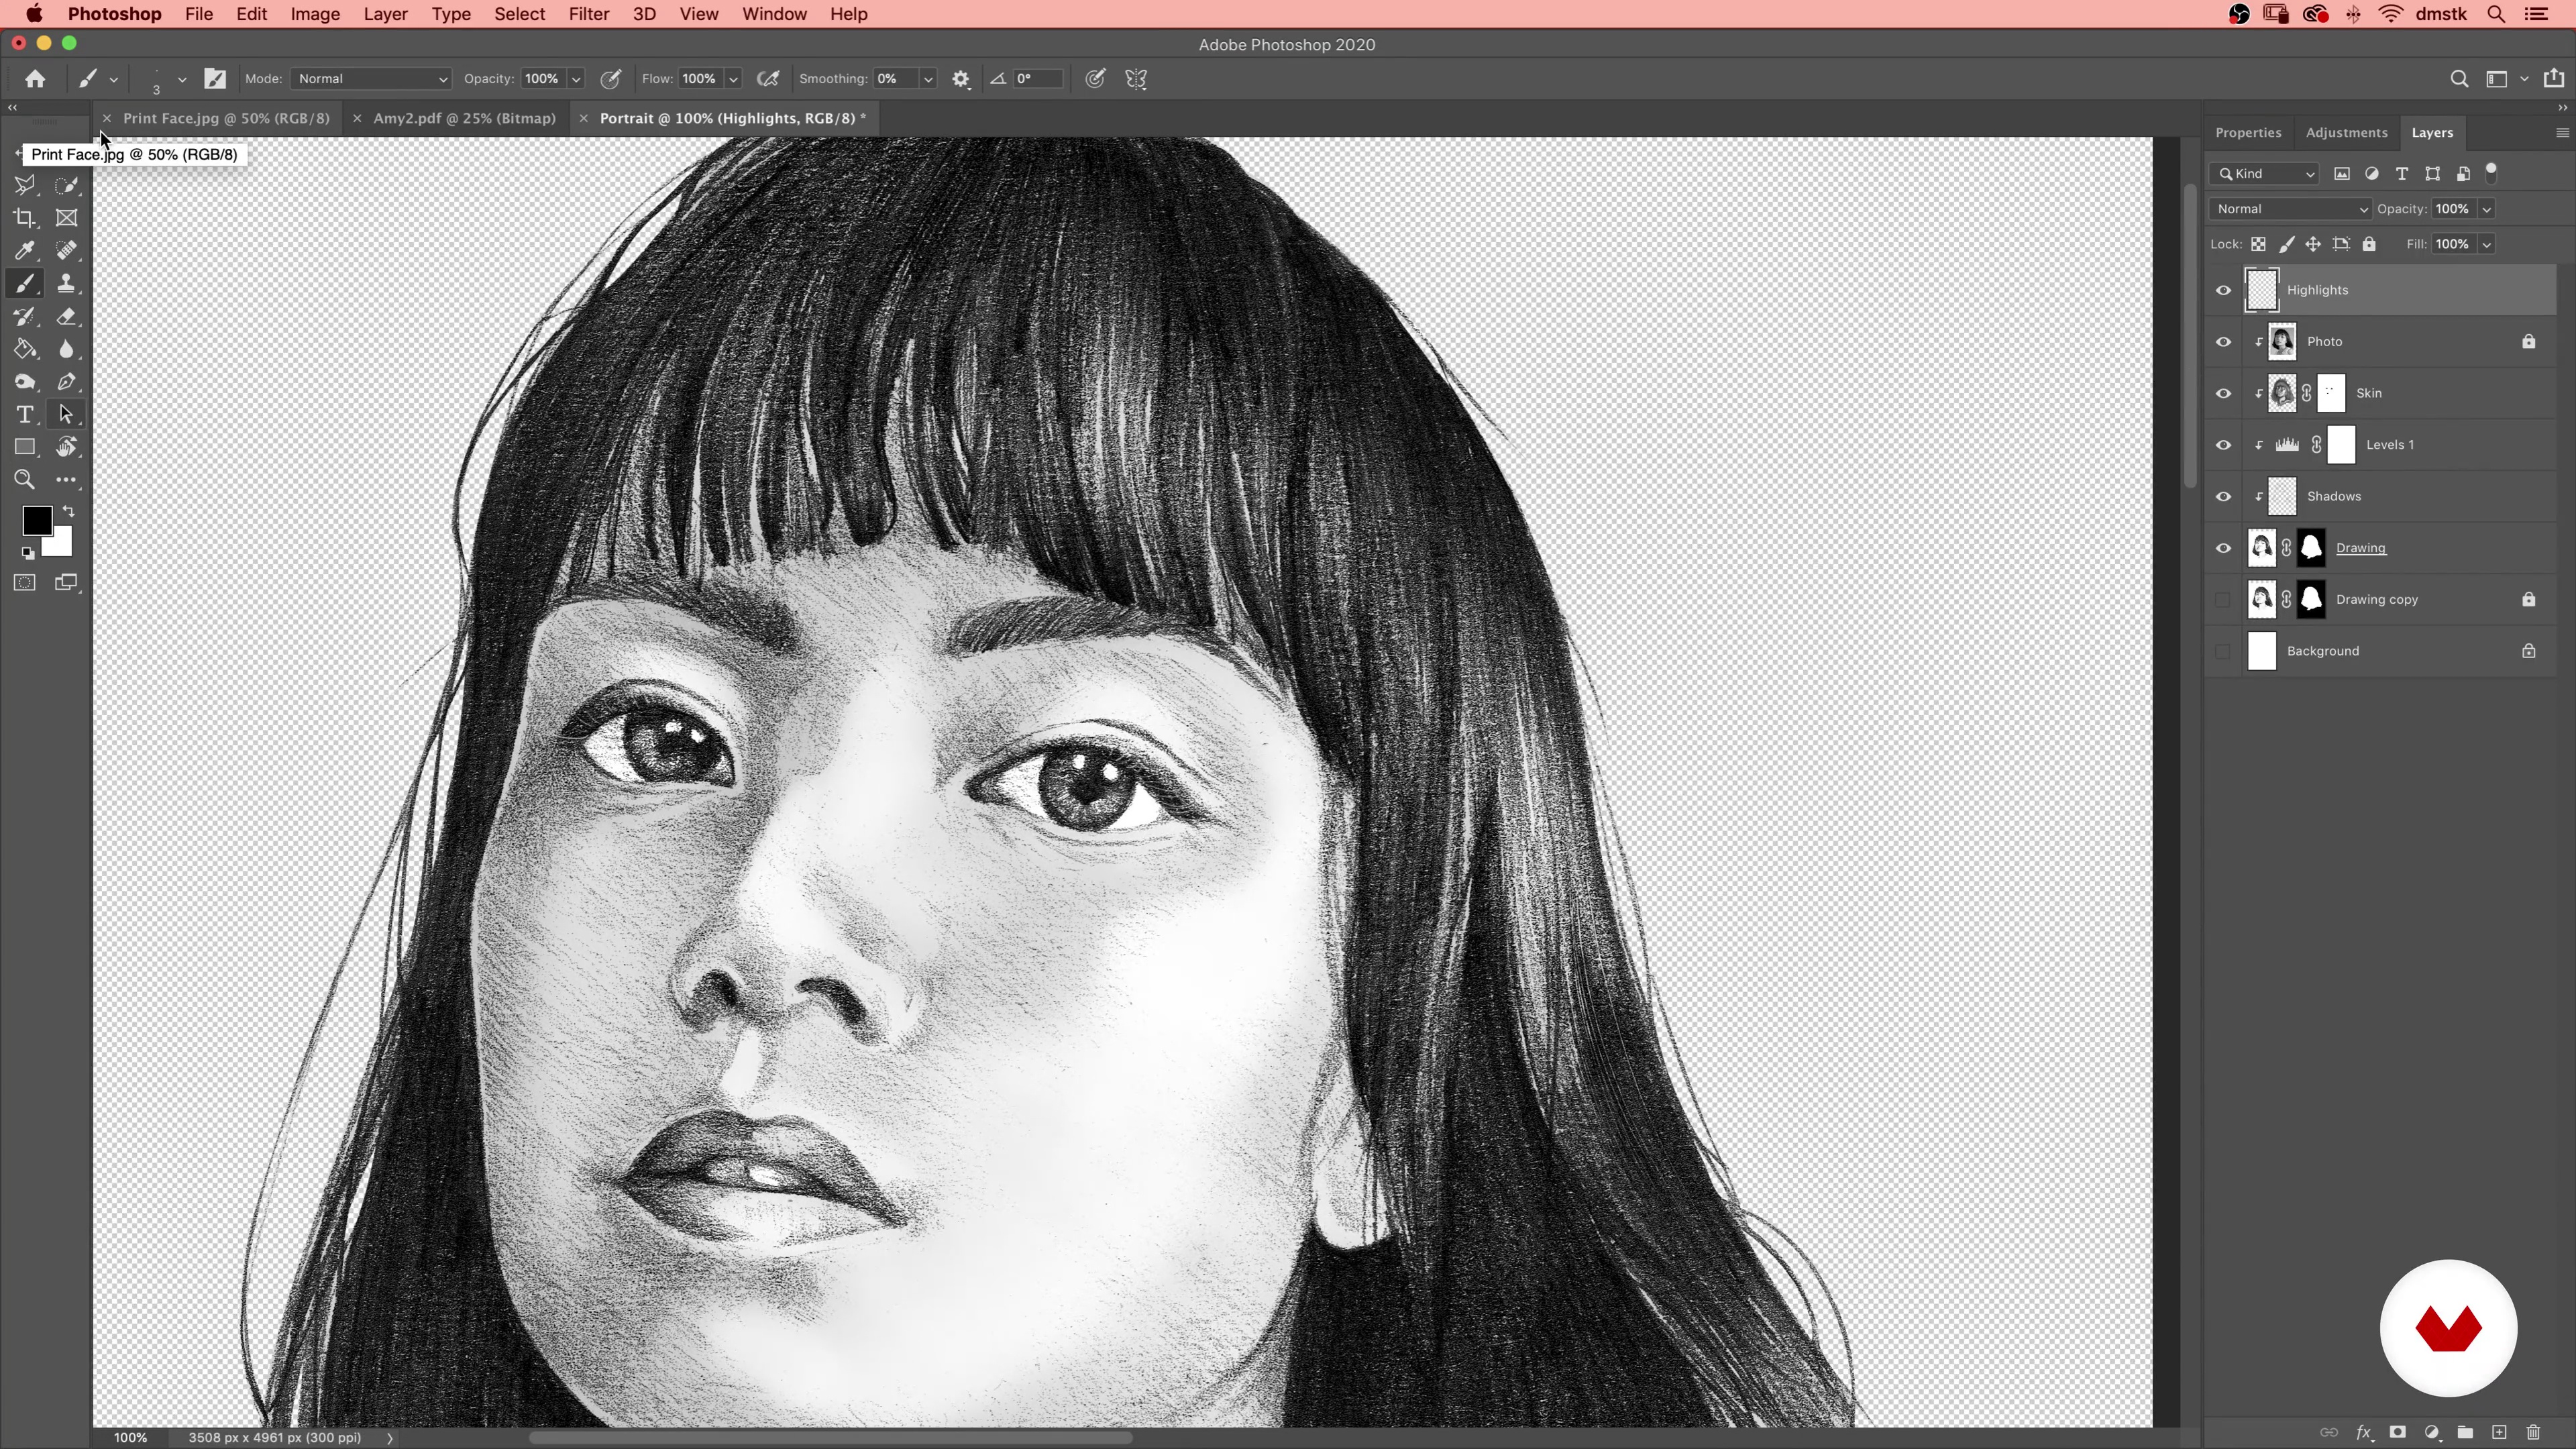
Working in Photoshop 1
Now that we have our decorative elements sketched out, let's build up detail in the artwork by using some basic Photoshop tools.
14m
image
13
Working in Photoshop 2
This is the last part of the lesson on how to work our drawing with Photoshop.
12m
image
14
Editing and Adding in Other Items 1
We finish off the first part of the post-production stage by combining all of the hand-rendered elements using digital techniques.
15m
image
15
Editing and Adding in Other Items 2
With this screencast we finish off both the lesson and the unit.
16m
image
16
Recommendations for Fine Art Printing
In this lesson, I would like to share with you my recommendations and tips for printing your artwork.
3m
image
17
Final Touches
We are going to talk about some ideas you might want to bear in mind when hand-finishing your prints applying metal leaf.
17m
image
4
Materials
In this lesson, I will talk about the materials we will need for the course. You will gather materials, experiment with these.
4m
image
5
Drawing Techniques and Exercises
Let's make some drawing exercises in order to warm-up a little. It is a very simple exercise, but it will help you understand the whole process we will do in this course.
13m
image
6
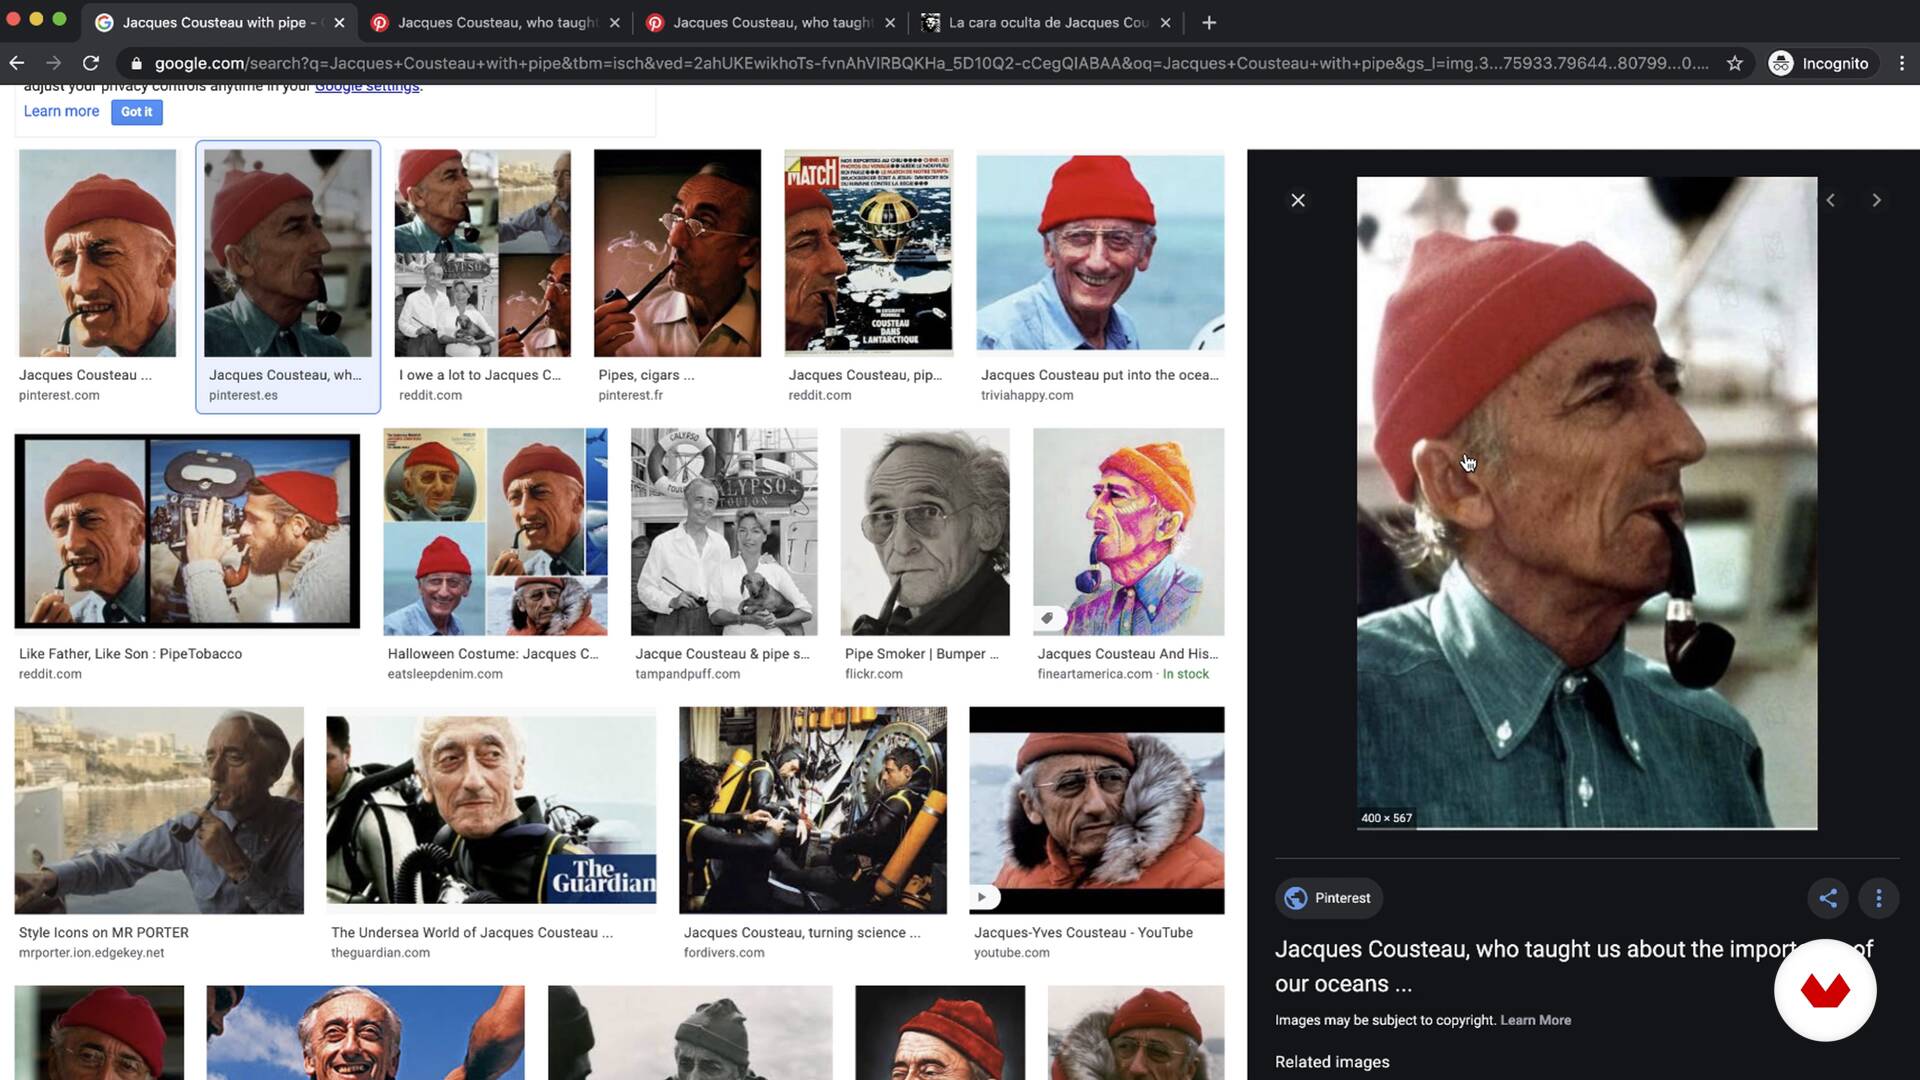
Researching and Finding Text and Images
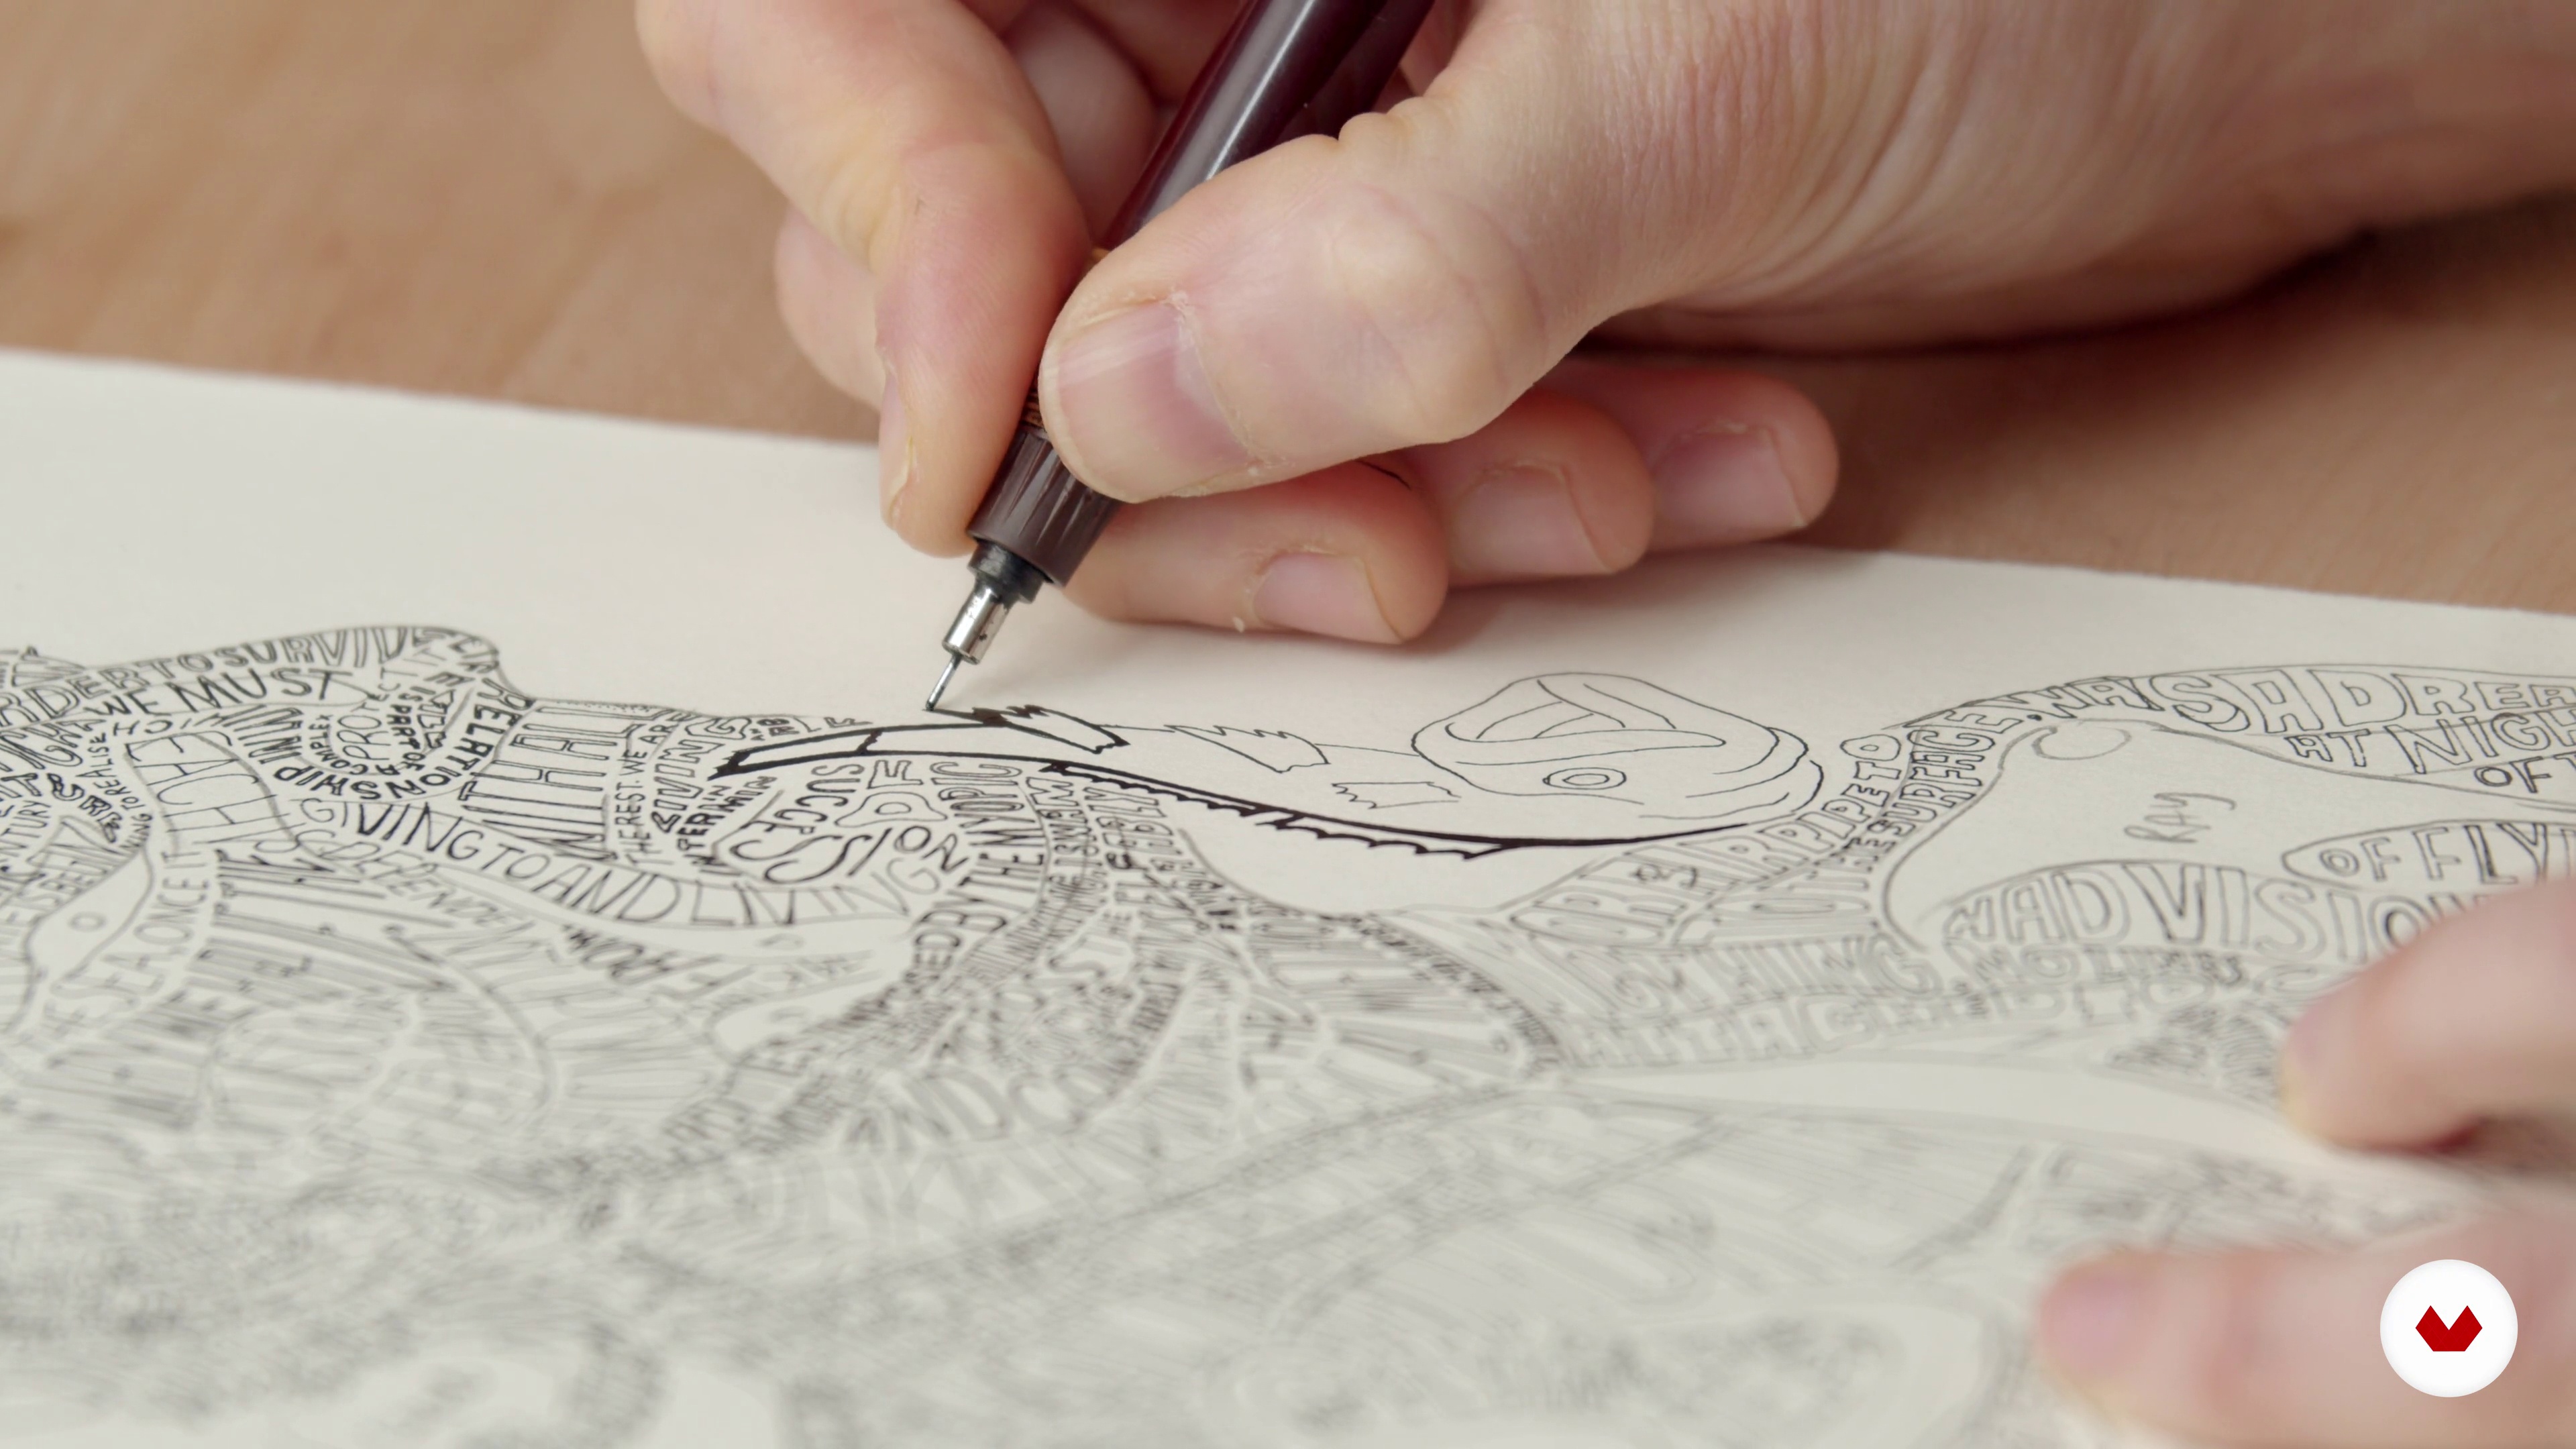
In this lesson, I want to guide you on how to research for text and images for our typographic illustration. There are a few things I want you to have in mind while researching.
6m
image
7
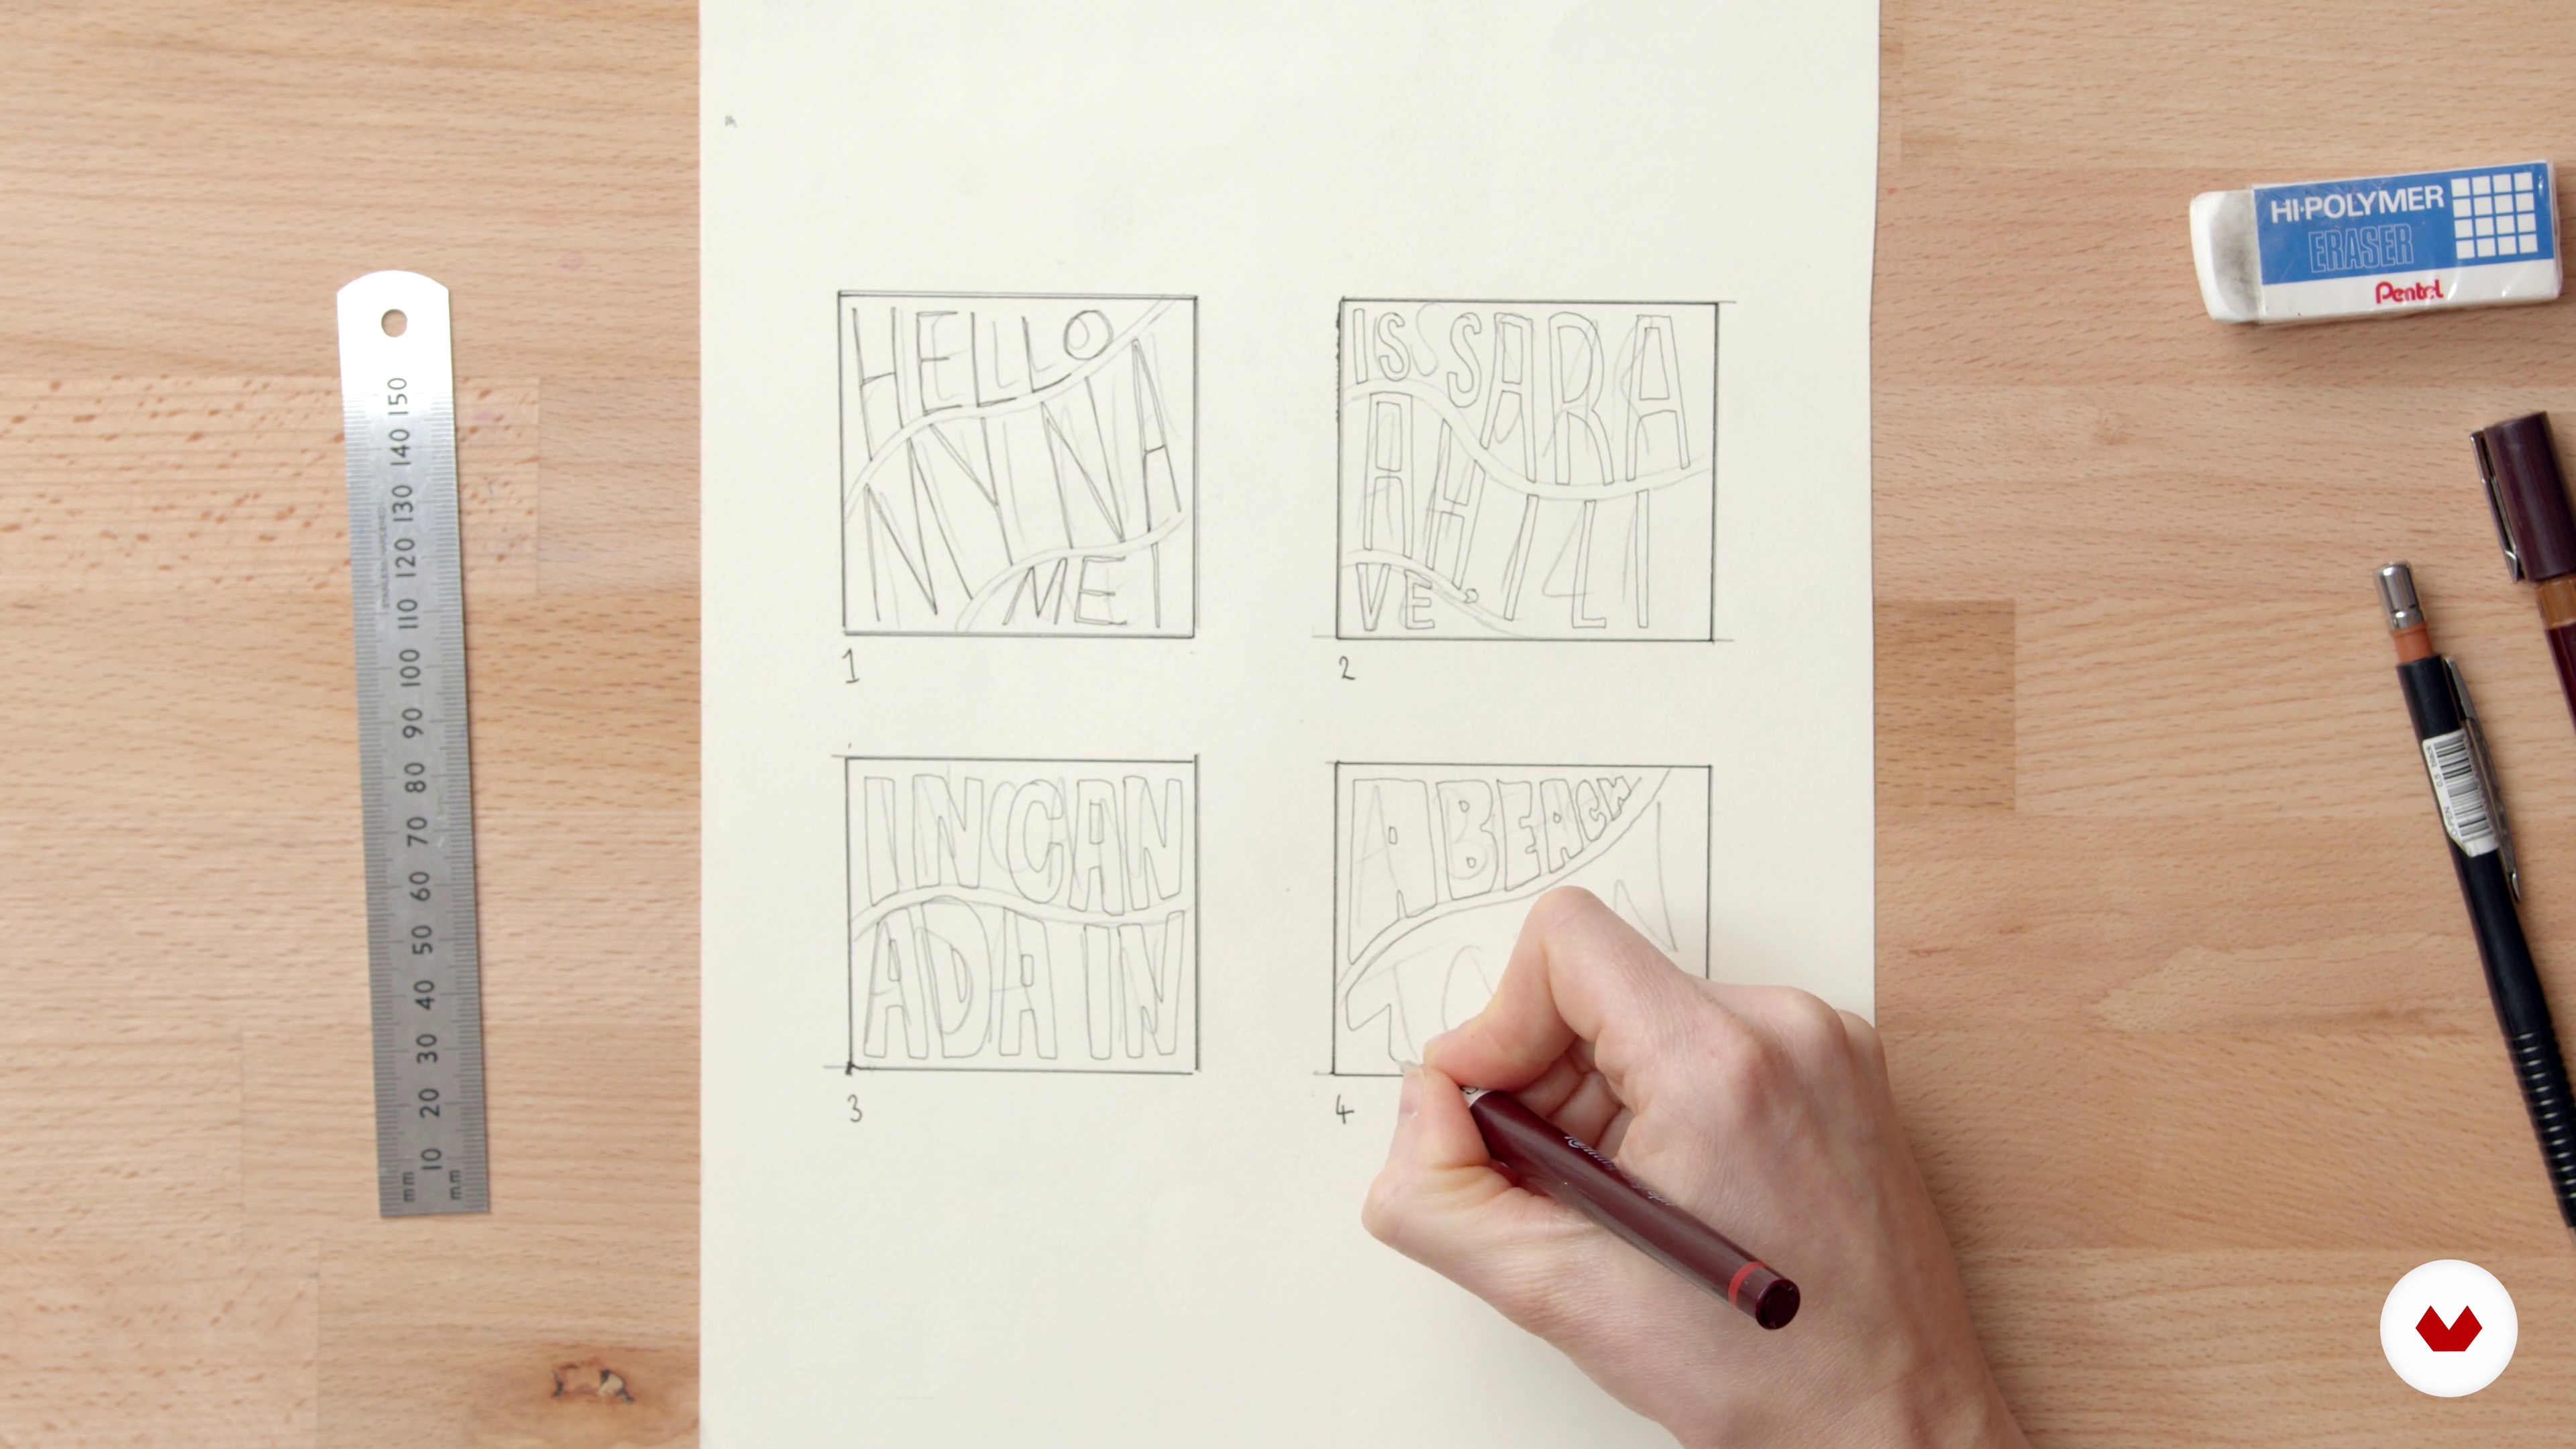
Creating the Template
What do I mean by template? And how to create it?
3m
image
8
Numbering and Preparing the Template
This might seem an obvious step but it is a very important one. This is a fundamental part of my technique actually. Let's see why do we need to number the template.
15m
image
9
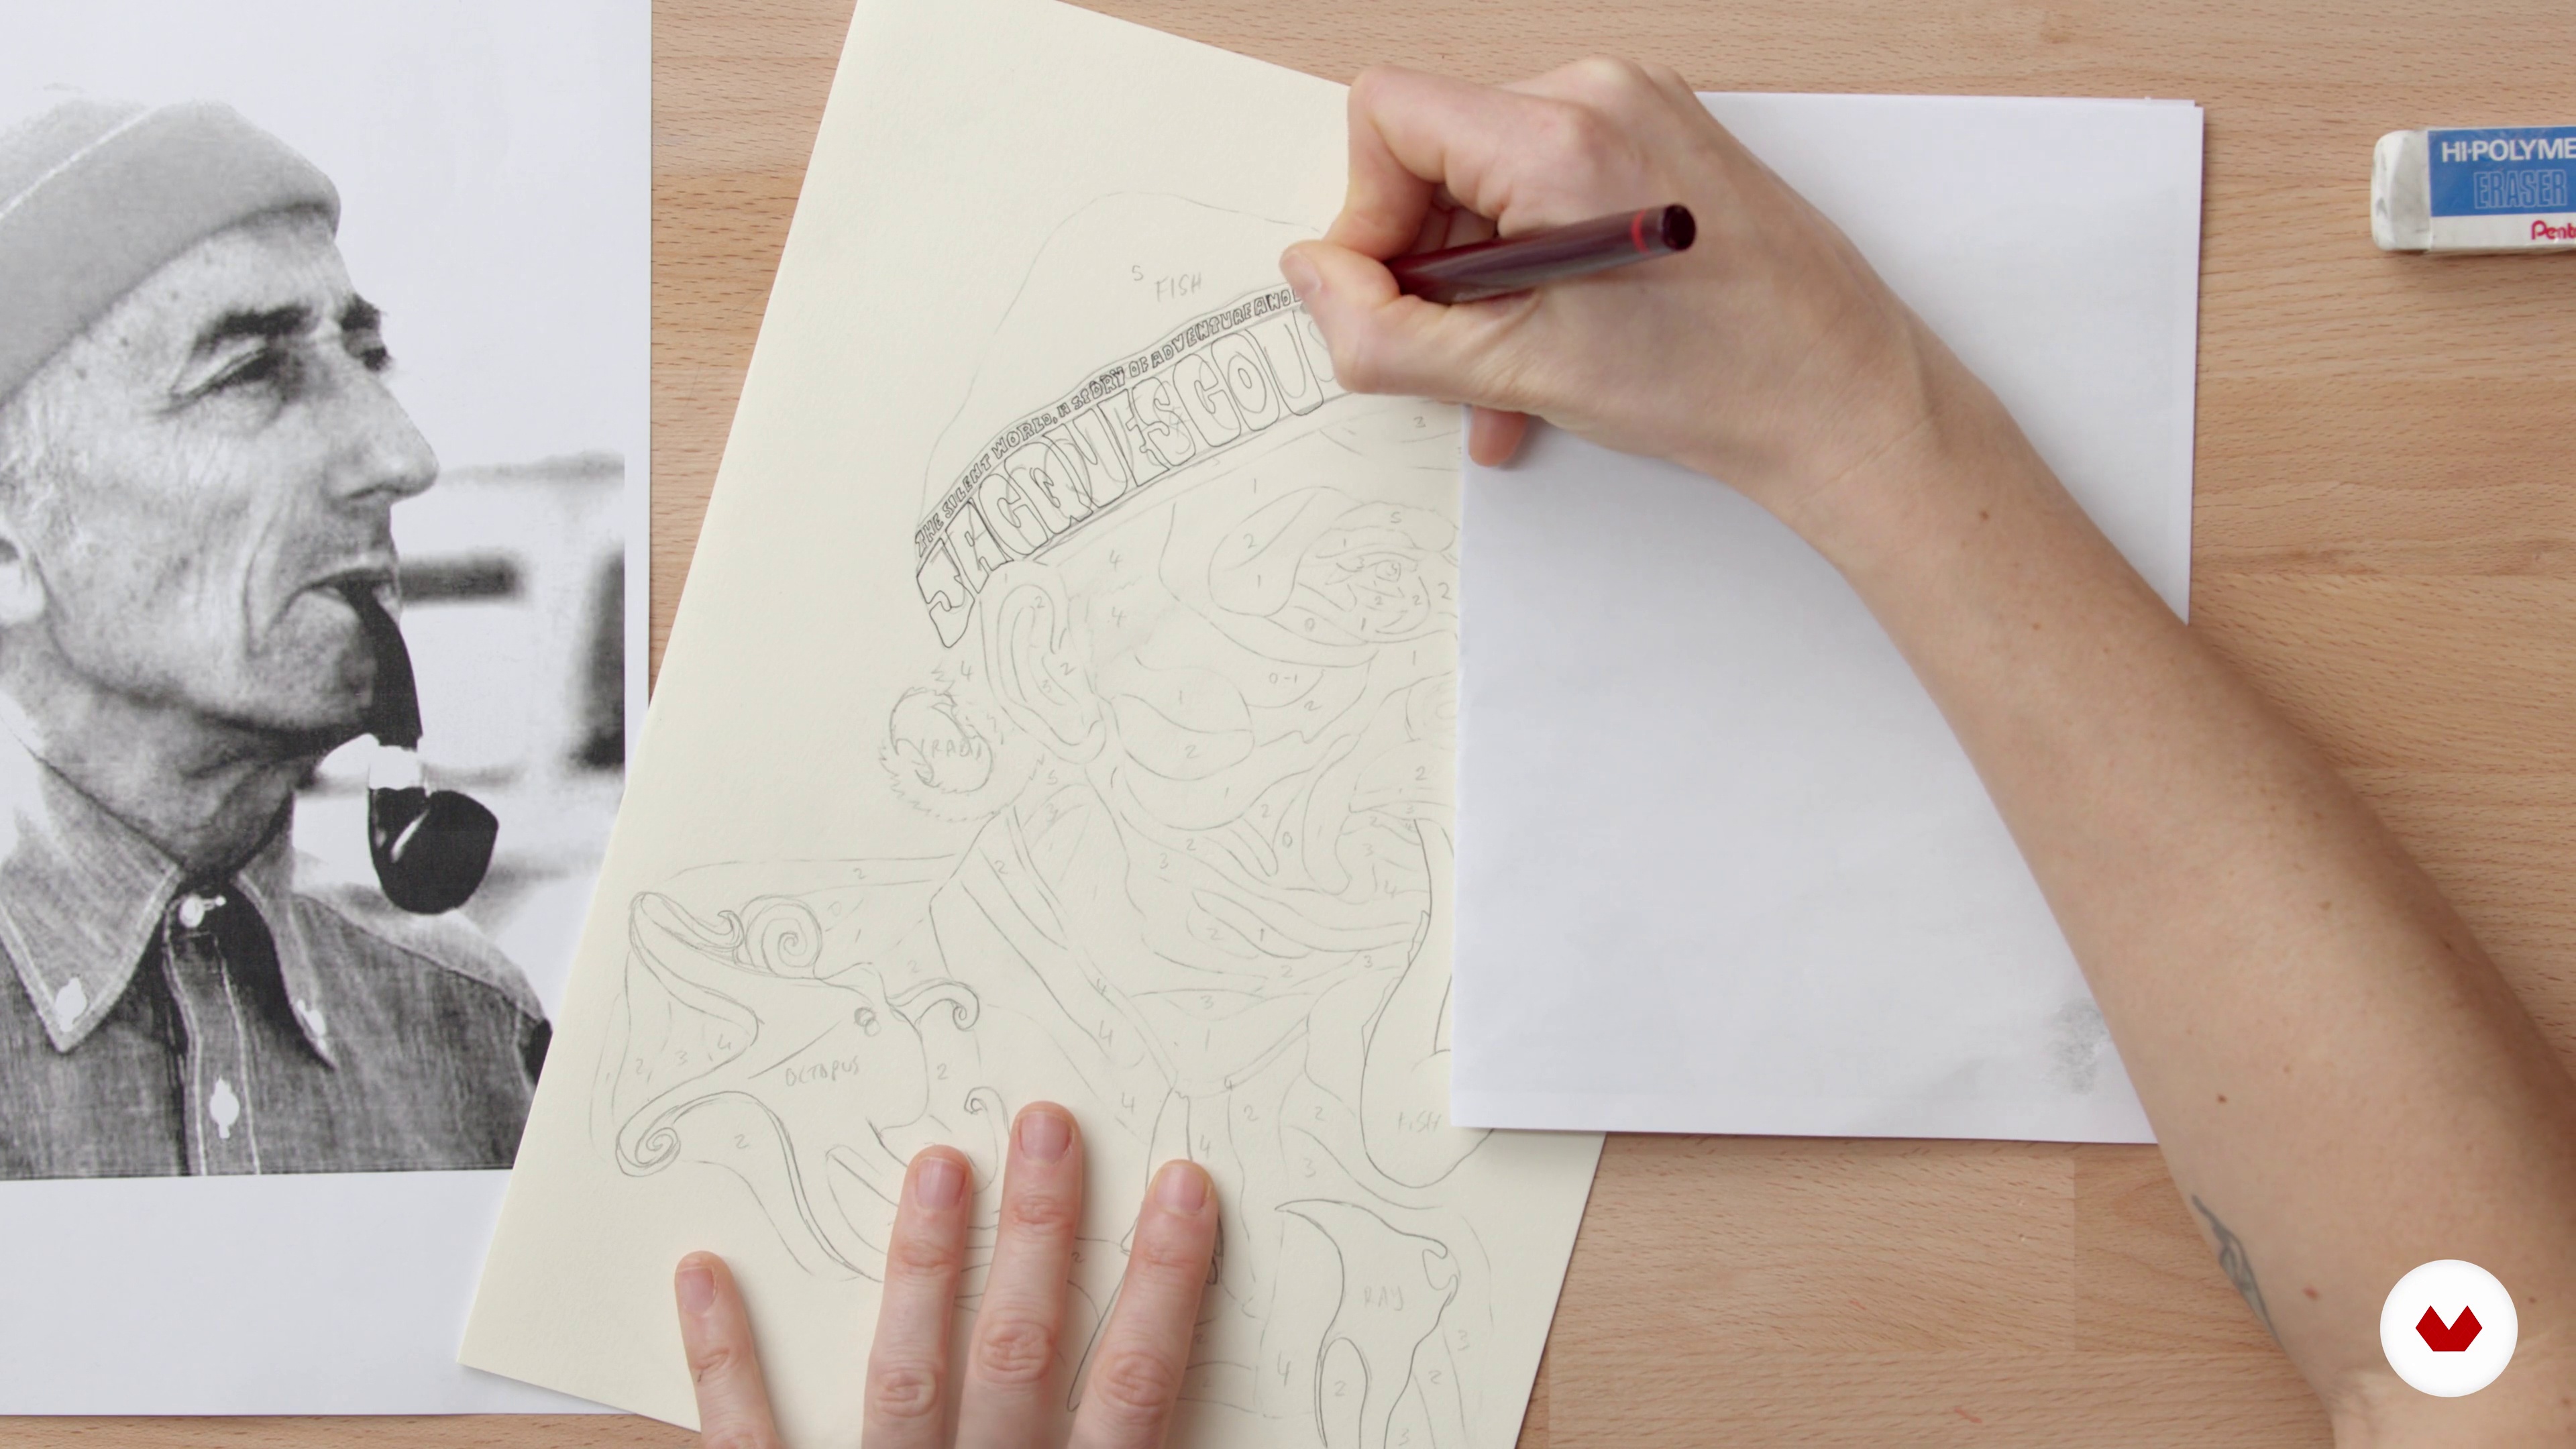
Drawing Typography Within Template
There it is! The most exciting part of the process. Let me show you how I draw the typography within the template we just created.
18m
image
10
Using Drawings
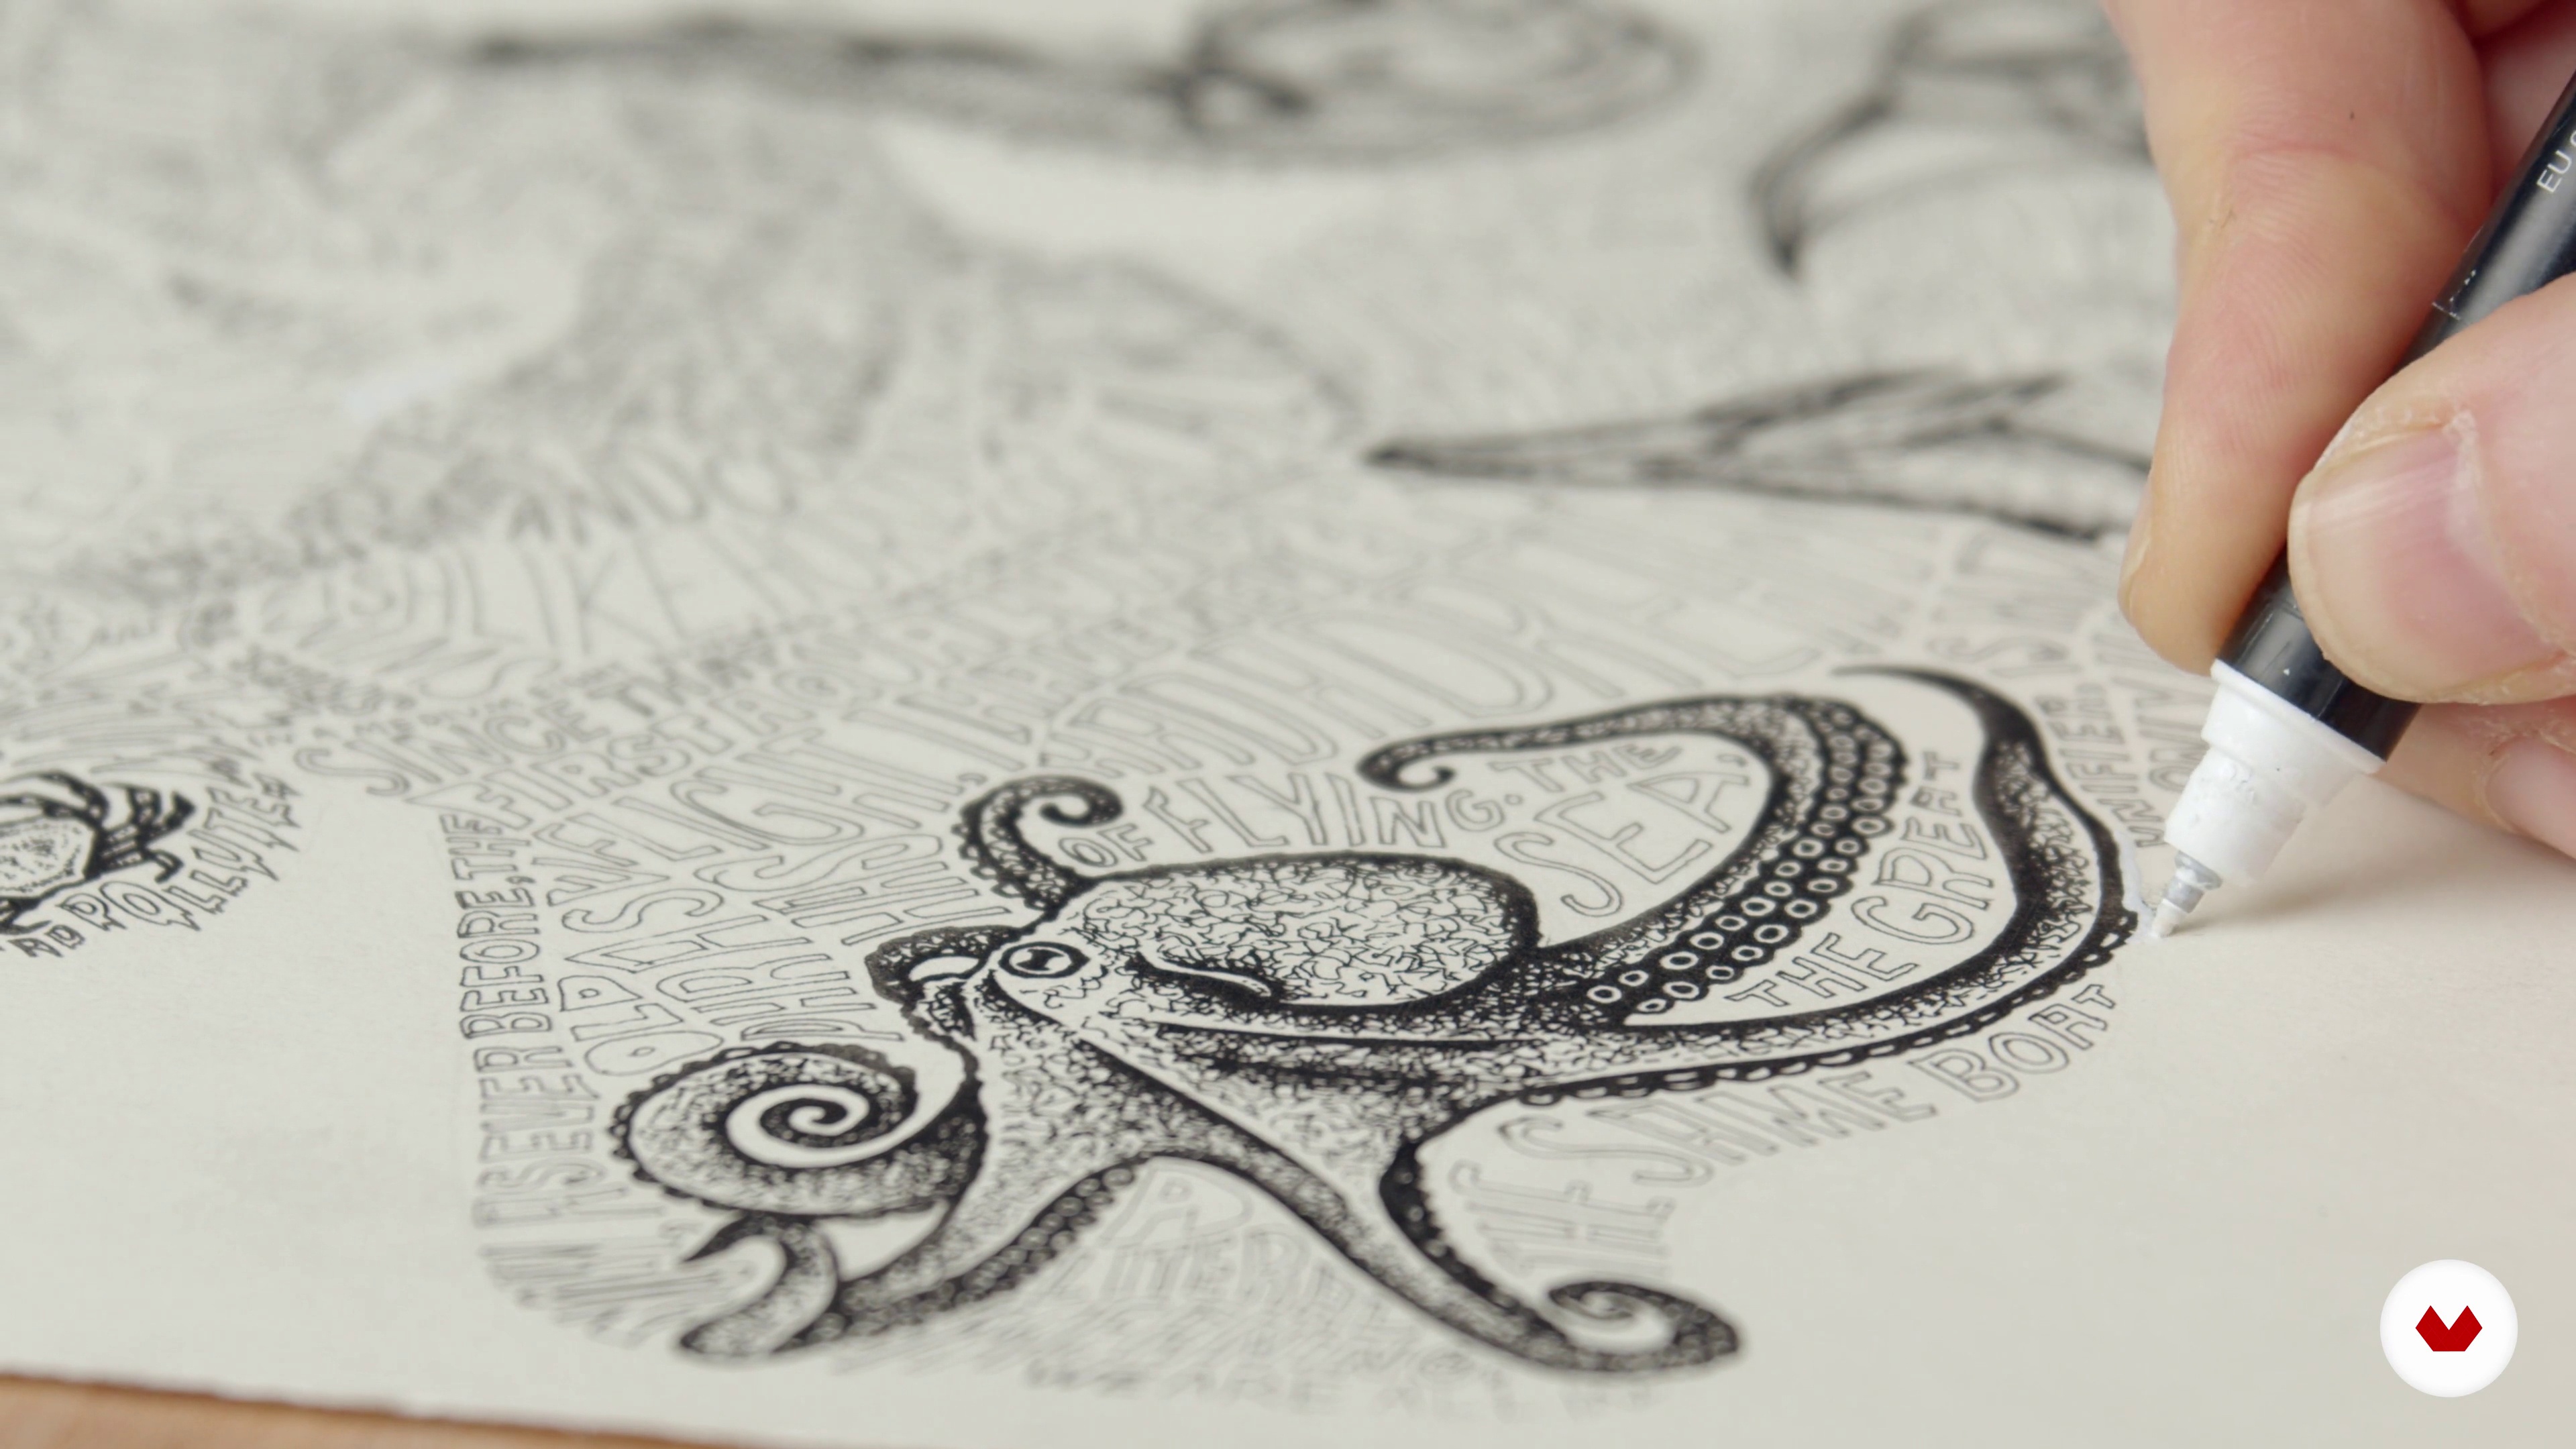
In this lesson, I want to show you how to add additional drawings to enhance the final illustration. You can use anything you want actually. Let me show you.
10m
image
11
Cleaning up the Artwork
This is a simple but necessary part of the process. We will clean up any pencil marks on the image, do any last-minute edits using the white-out pen and also ensure that all outlined areas have connected lines. This will make the editing process in Photoshop a little easier.
3m
image
12
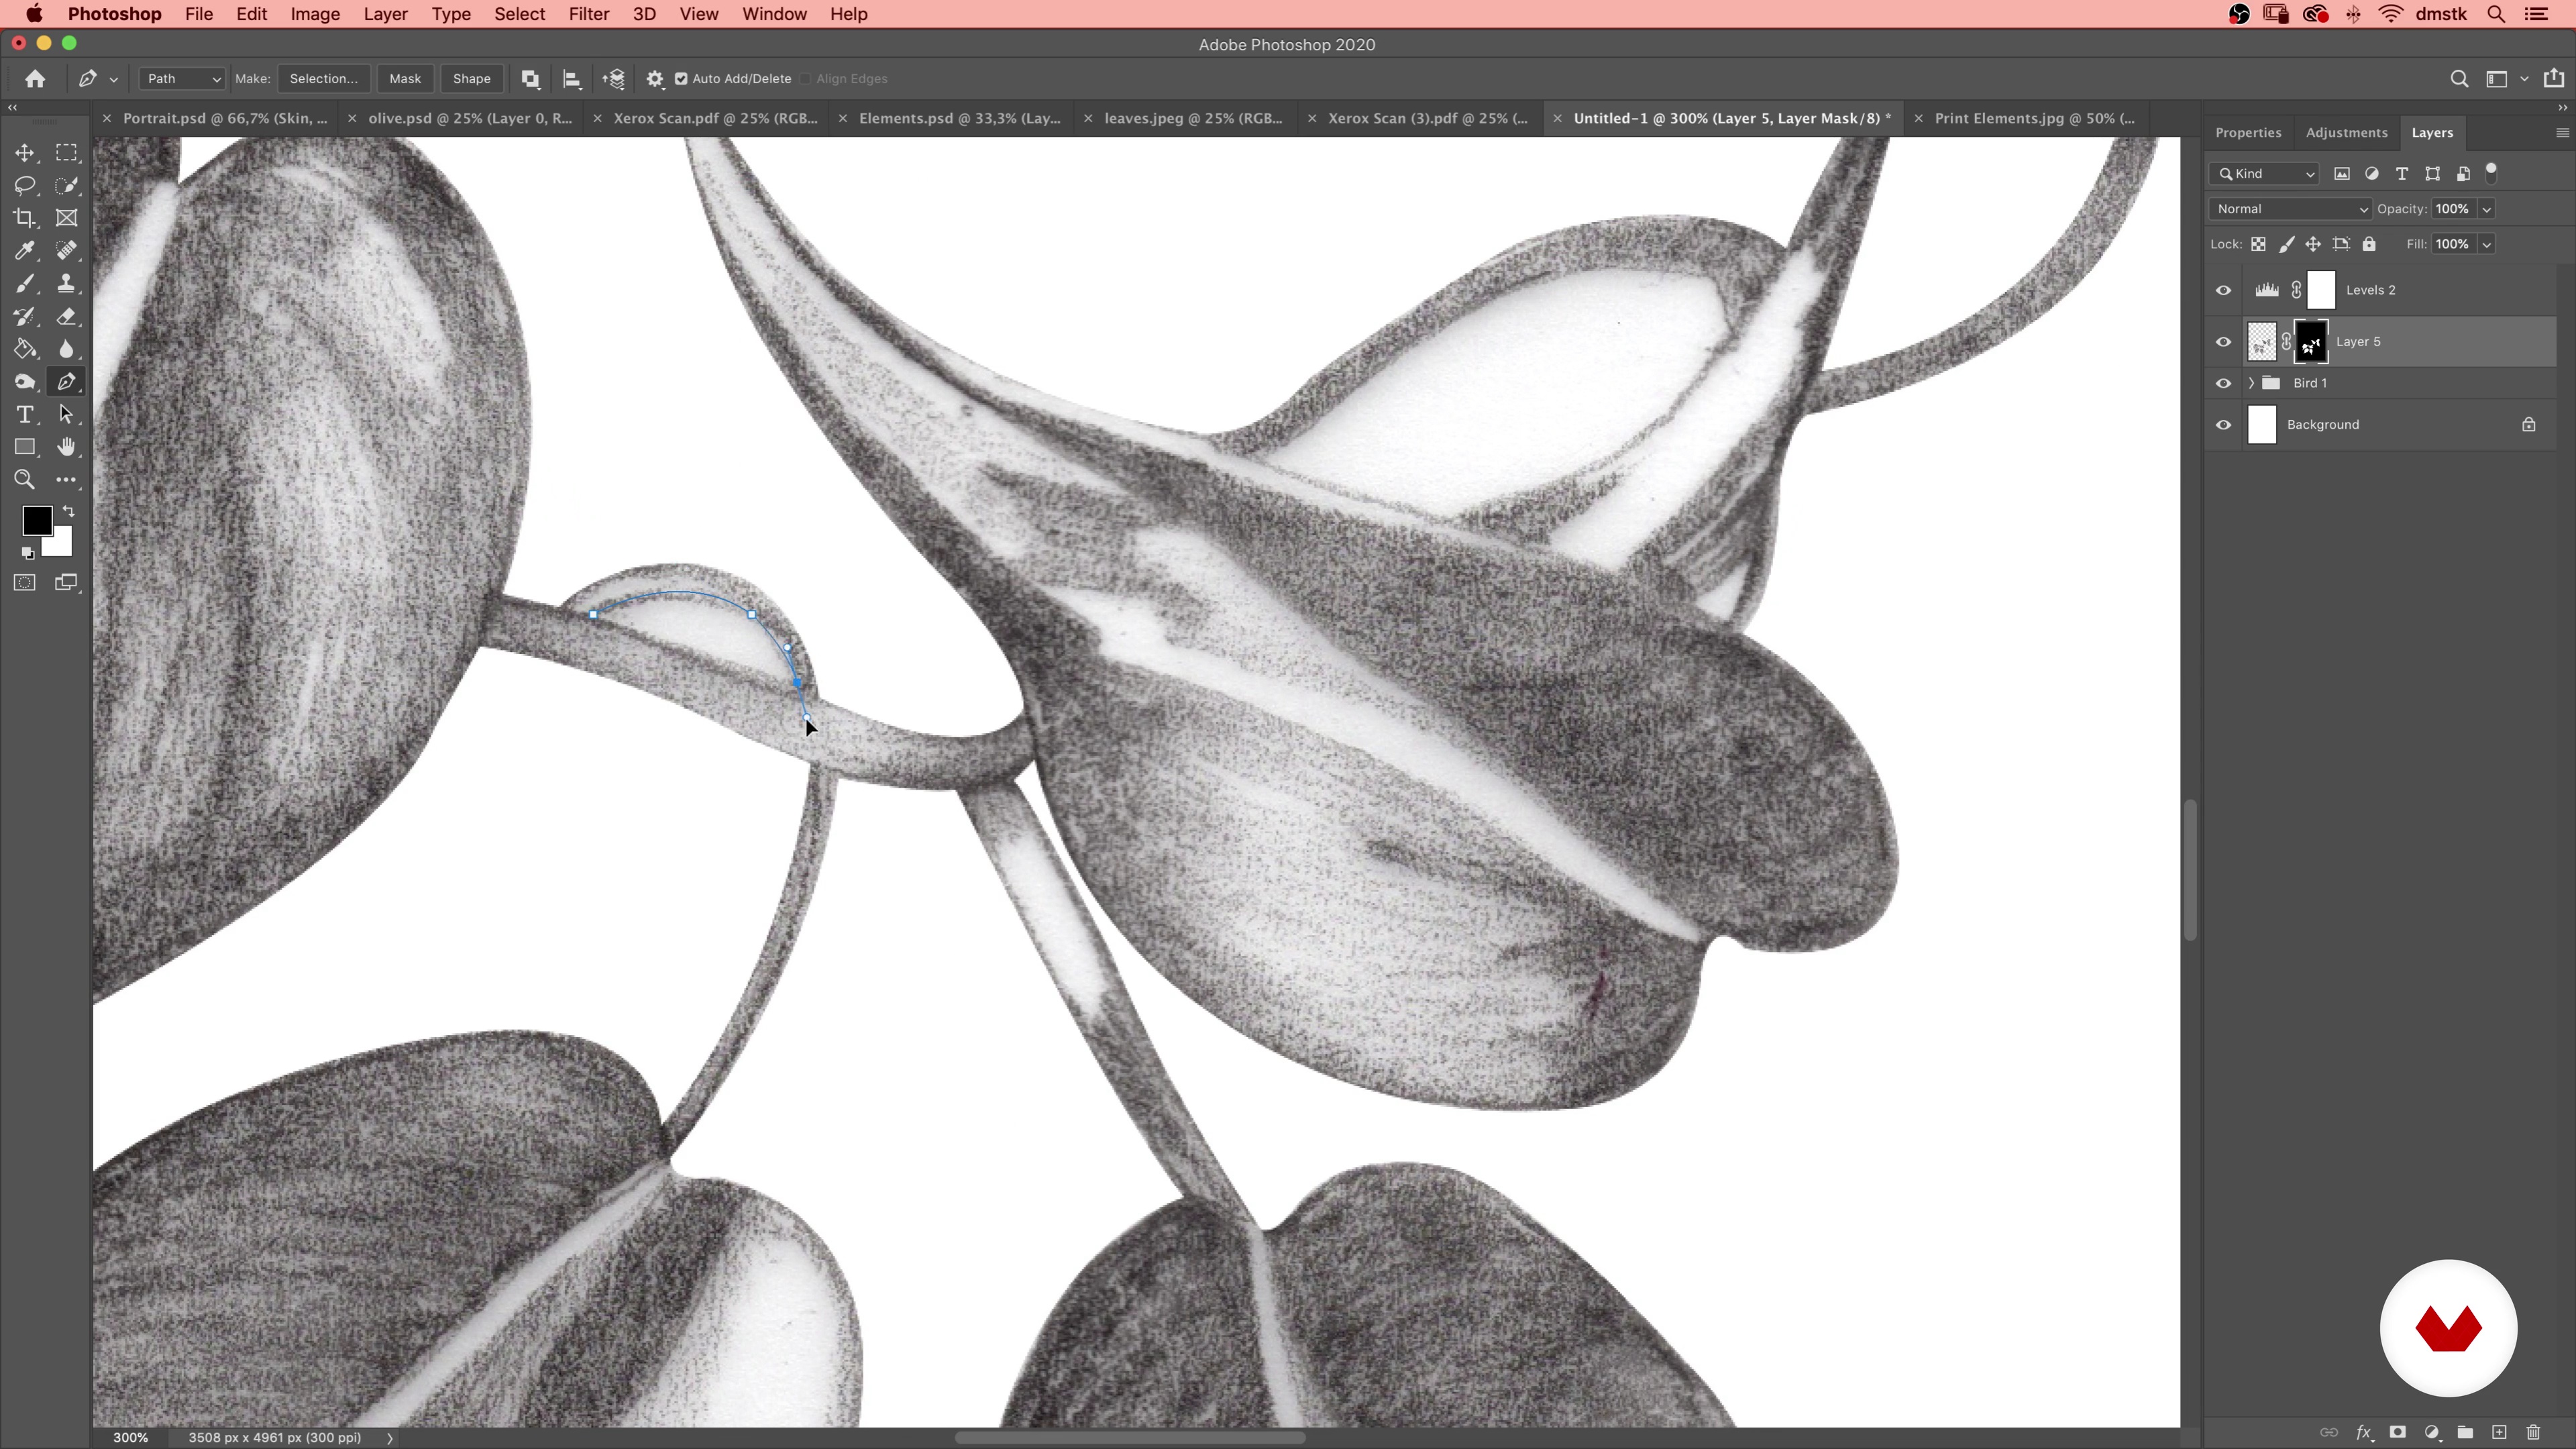
Separating the Images and Removing Background
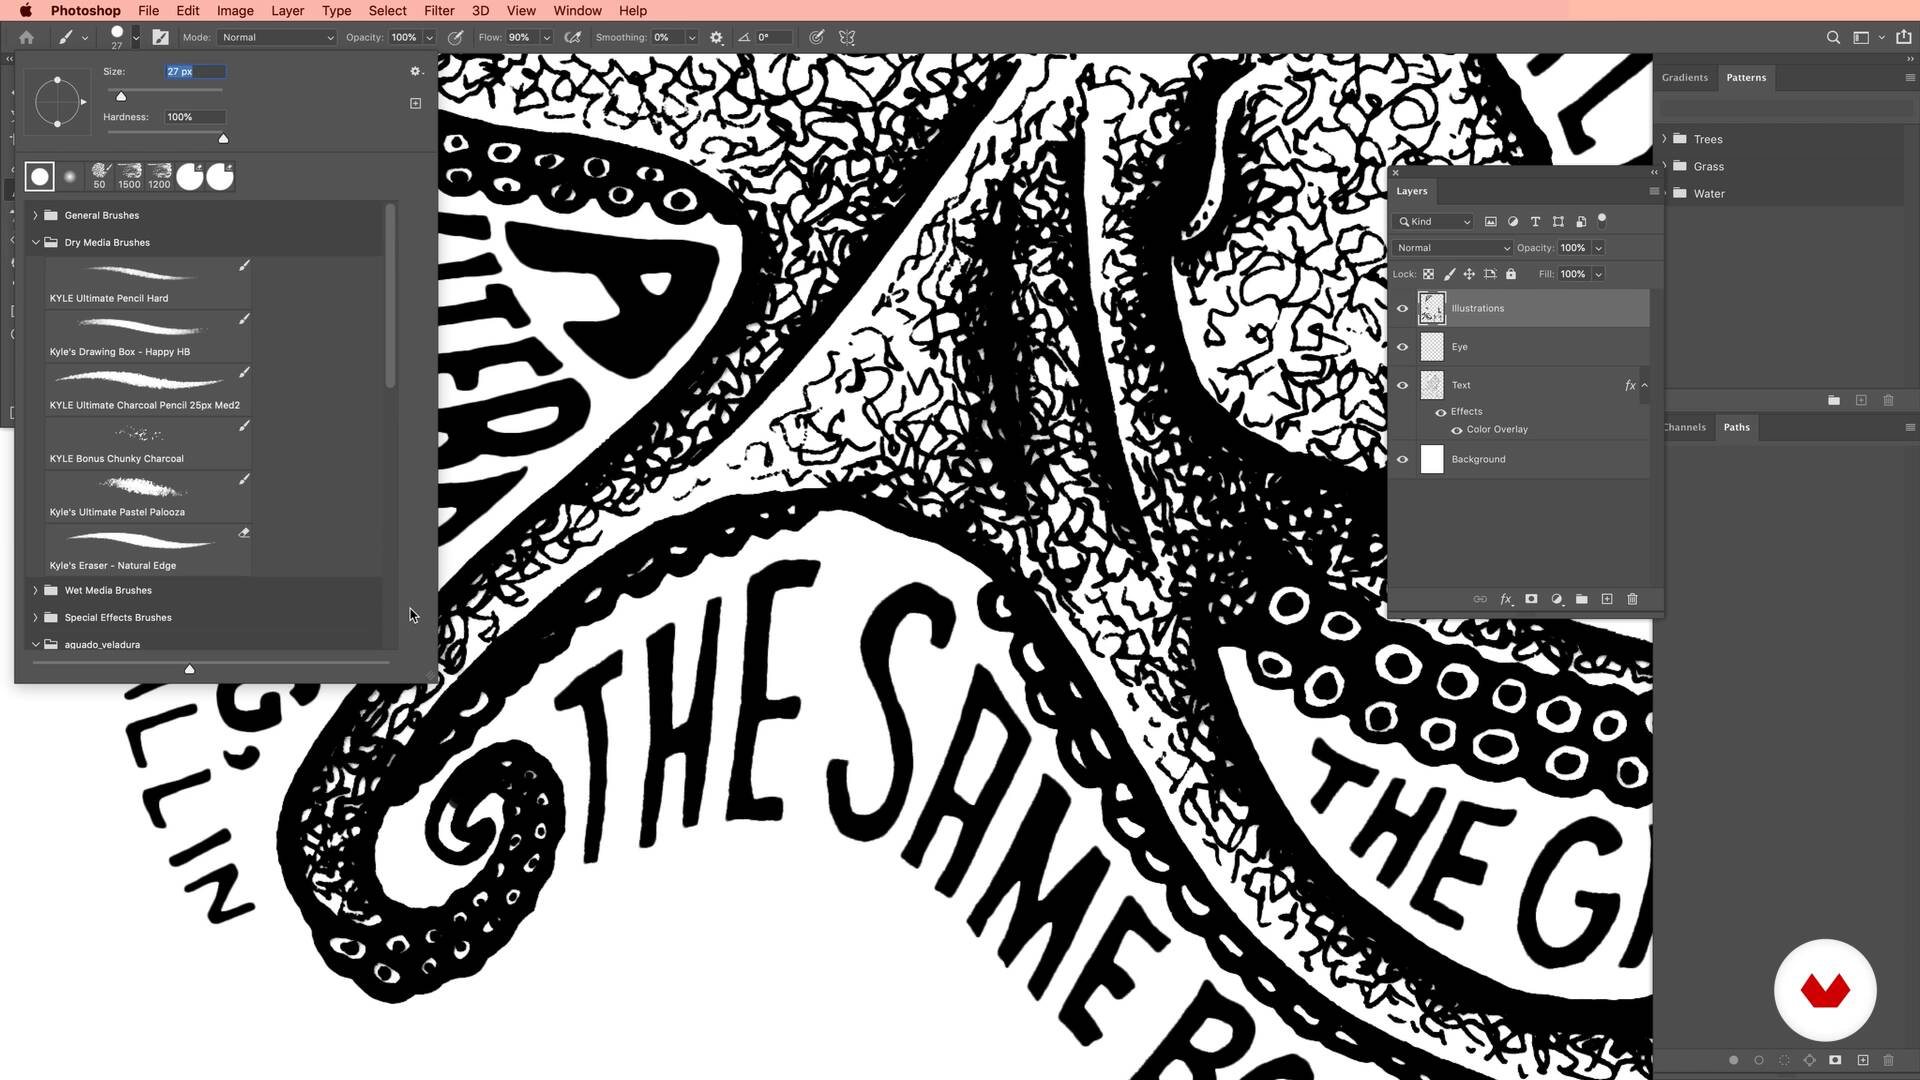
Let me guide you in Photoshop through the process of separating the images and removing the background. This is a very important part of the process. You will see how this enhances your illustration.
10m
image
13
Cleaning Up
This is the final step of our process. Let's clean everything and enhance our final artwork.
5m
  • 100% positive reviews (1)
  • 212 students
  • 83 lessons (16h 8m)
  • 55 additional resources (17 files)
  • Online and at your own pace
  • Audio: English, German, Spanish, Spanish (Latam), French, Italian, Dutch, Polish, Portuguese, Turkish
  • English · Spanish · Portuguese · German · French · Italian · Polish · Dutch · Turkish
  • Level: Beginner
  • Unlimited access forever

What is this course's project?

Students will create a cohesive portfolio of five portraits, mastering diverse techniques through pencil, graphite, pastel, mixed media, and digital methods. Each piece will showcase unique skills, from structural accuracy to emotional expression, culminating in a professional presentation.

Who is this specialization for?

Aspiring artists seeking to enhance their portrait skills across traditional and digital mediums will find immense value. This course suits those eager to explore diverse techniques, build a versatile portfolio, and merge classical artistry with modern digital tools.

Requirements and materials

No extensive prior knowledge is required, just a passion for art. Basic materials include pencils, pastels, mixed media supplies, and access to digital tools. A willingness to experiment with traditional and digital techniques enhances skill development throughout the learning journey.

Select to get to know your teachers in this specialization course
Read more ↓

Reviews

212 Students
1 Reviews
100% Positive ratings


What to expect from this specialization course

  • Learn at your own pace

    Enjoy learning from home without a set schedule and with an easy-to-follow method. You set your own pace.

  • Learn from the best professionals

    Learn valuable methods and techniques explained by top experts in the creative sector.

  • Meet expert teachers

    Each expert teaches what they do best, with clear guidelines, true passion, and professional insight in every lesson.

  • Certificates
    Plus

    If you're a Plus member, get a custom certificate for every specialization course. Share it on your portfolio, social media, or wherever you like.

  • Get front-row seats

    Videos of the highest quality, so you don't miss a single detail. With unlimited access, you can watch them as many times as you need to perfect your technique.

  • Share knowledge and ideas

    Ask questions, request feedback, or offer solutions. Share your learning experience with other students in the community who are as passionate about creativity as you are.

  • Connect with a global creative community

    The community is home to millions of people from around the world who are curious and passionate about exploring and expressing their creativity.

  • Watch professionally produced courses

    Domestika curates its teacher roster and produces every course in-house to ensure a high-quality online learning experience.


FAQs

Domestika courses are online classes that allow you to learn new skills and create incredible projects. All our courses include the opportunity to share your work with other students and/or teachers, creating an active learning community. We offer different formats:
Original Courses: Complete classes that combine videos, texts, and educational materials to complete a specific project from start to finish.
Basics Courses: Specialized training where you master specific software tools step by step.
Specialization Courses: Learning paths with various expert teachers on the same topic, perfect for becoming a specialist by learning from different approaches.
Guided Courses: Practical experiences ideal for directly acquiring specific skills.
Intensive Courses (Deep Dives): New creative processes based on artificial intelligence tools in an accessible format for in-depth and dynamic understanding.

All specialization courses are 100% online, so once they're published, specialization courses start and finish whenever you want. You set the pace of the class. You can go back to review what interests you most and skip what you already know, ask questions, answer questions, share your projects, and more.

The specialization courses are divided into different modules. Each one includes lessons, informational text, tasks, and practice exercises to help you carry out your project step by step, with additional complementary resources and downloads. You'll also have access to an exclusive forum where you can interact with other students, as well as share your work and your final project, creating a community around the specialization courses.

You can redeem the specialization courses you received by accessing the redeeming page and entering your gift code.

If you're a Plus member, when you complete a course you've purchased, you'll instantly get your personalized certificate. You can see all your certificates in the Certificates section of your profile. You can download your certificates as PDFs and share the link online. Learn more about certificates.
Specialization in Portrait Techniques: Traditional to Digital. Illustration course by Domestika

Specialization in Portrait Techniques: Traditional to Digital

A specialization by multiple teachers
Berkeley, United States.
Joined April 2002
  • 100% positive reviews (1)
  • 212 students