Specialization

Specialization in Fictional Character Design and Illustration

Master the art of memorable fictional character illustration, developing dynamic, expressive characters with unique personalities

Specialization · 6 modules

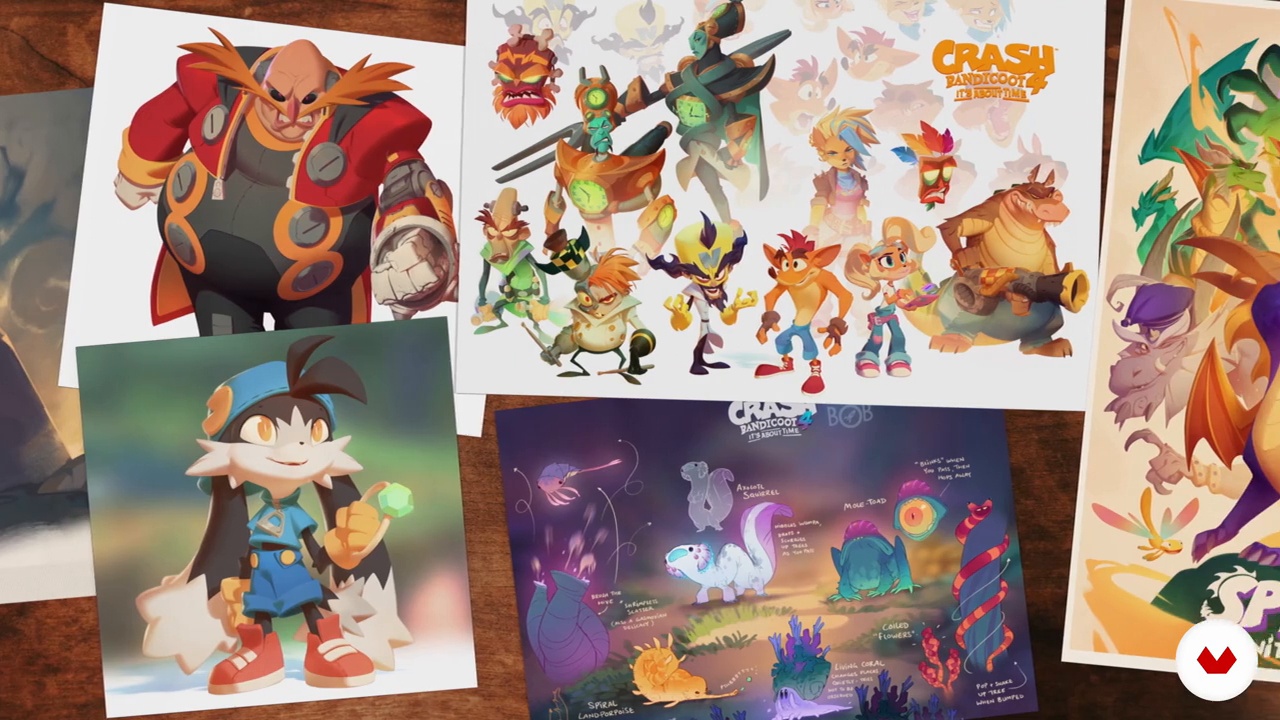
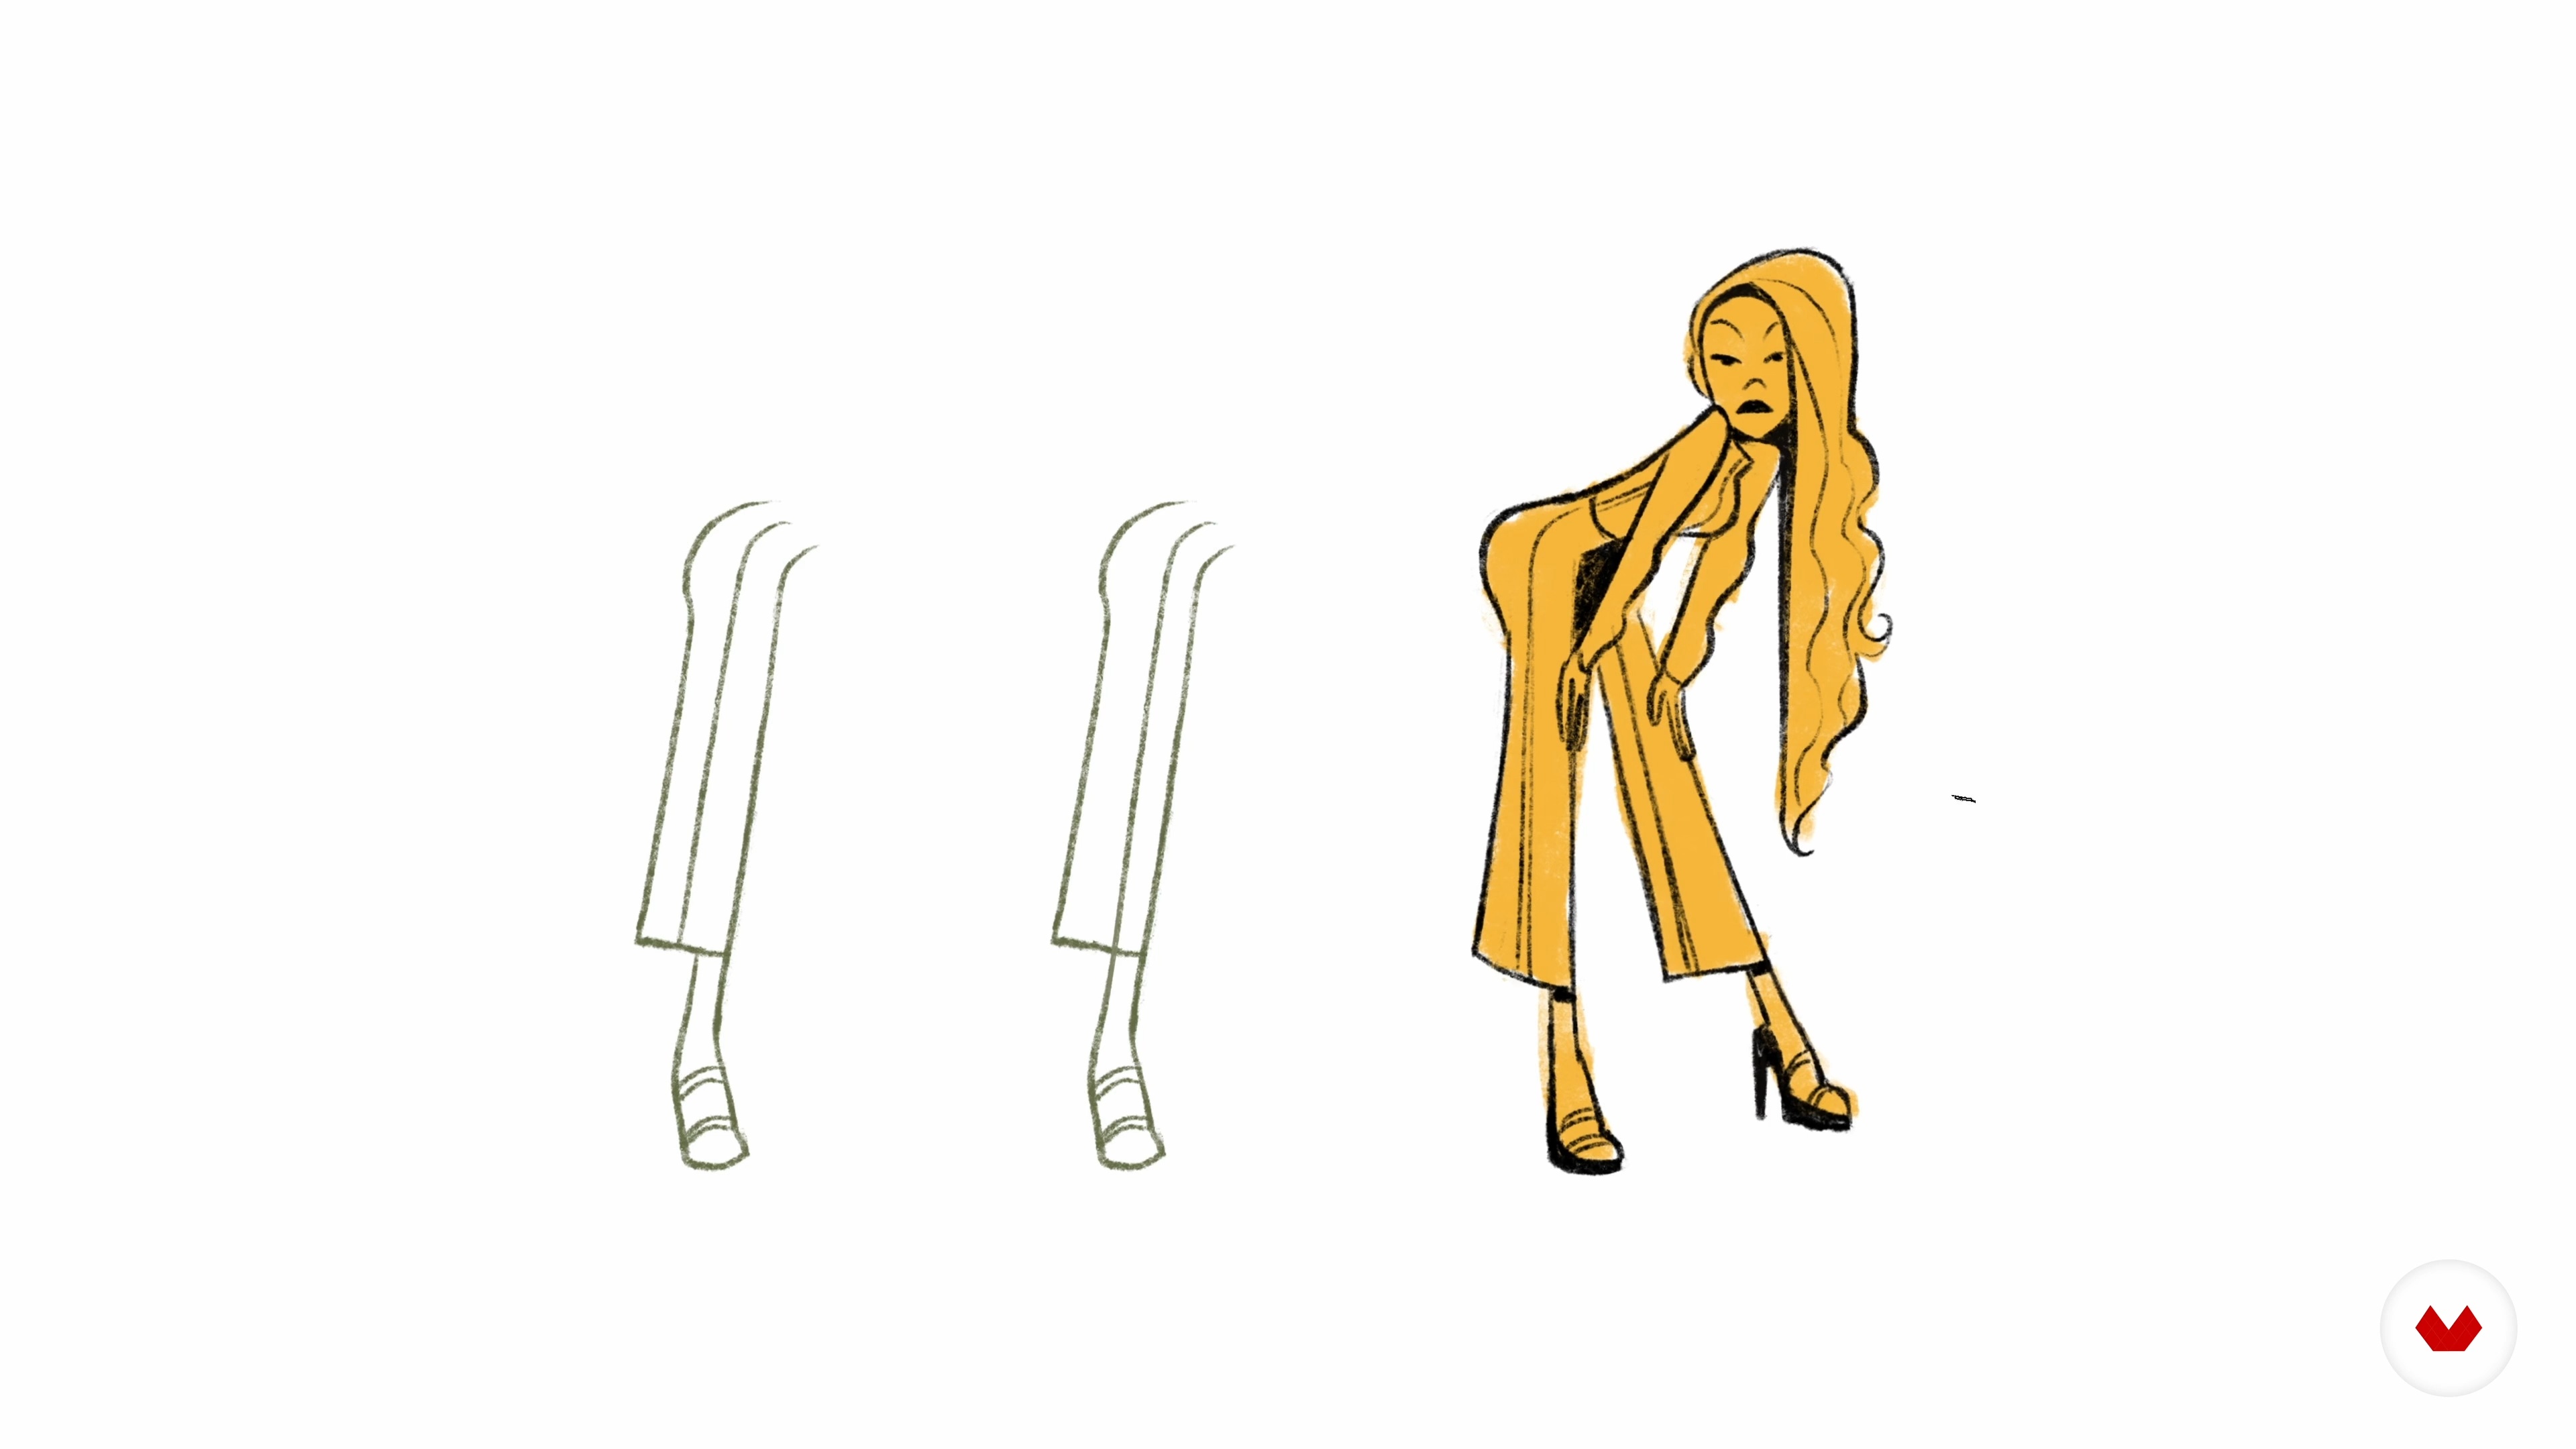
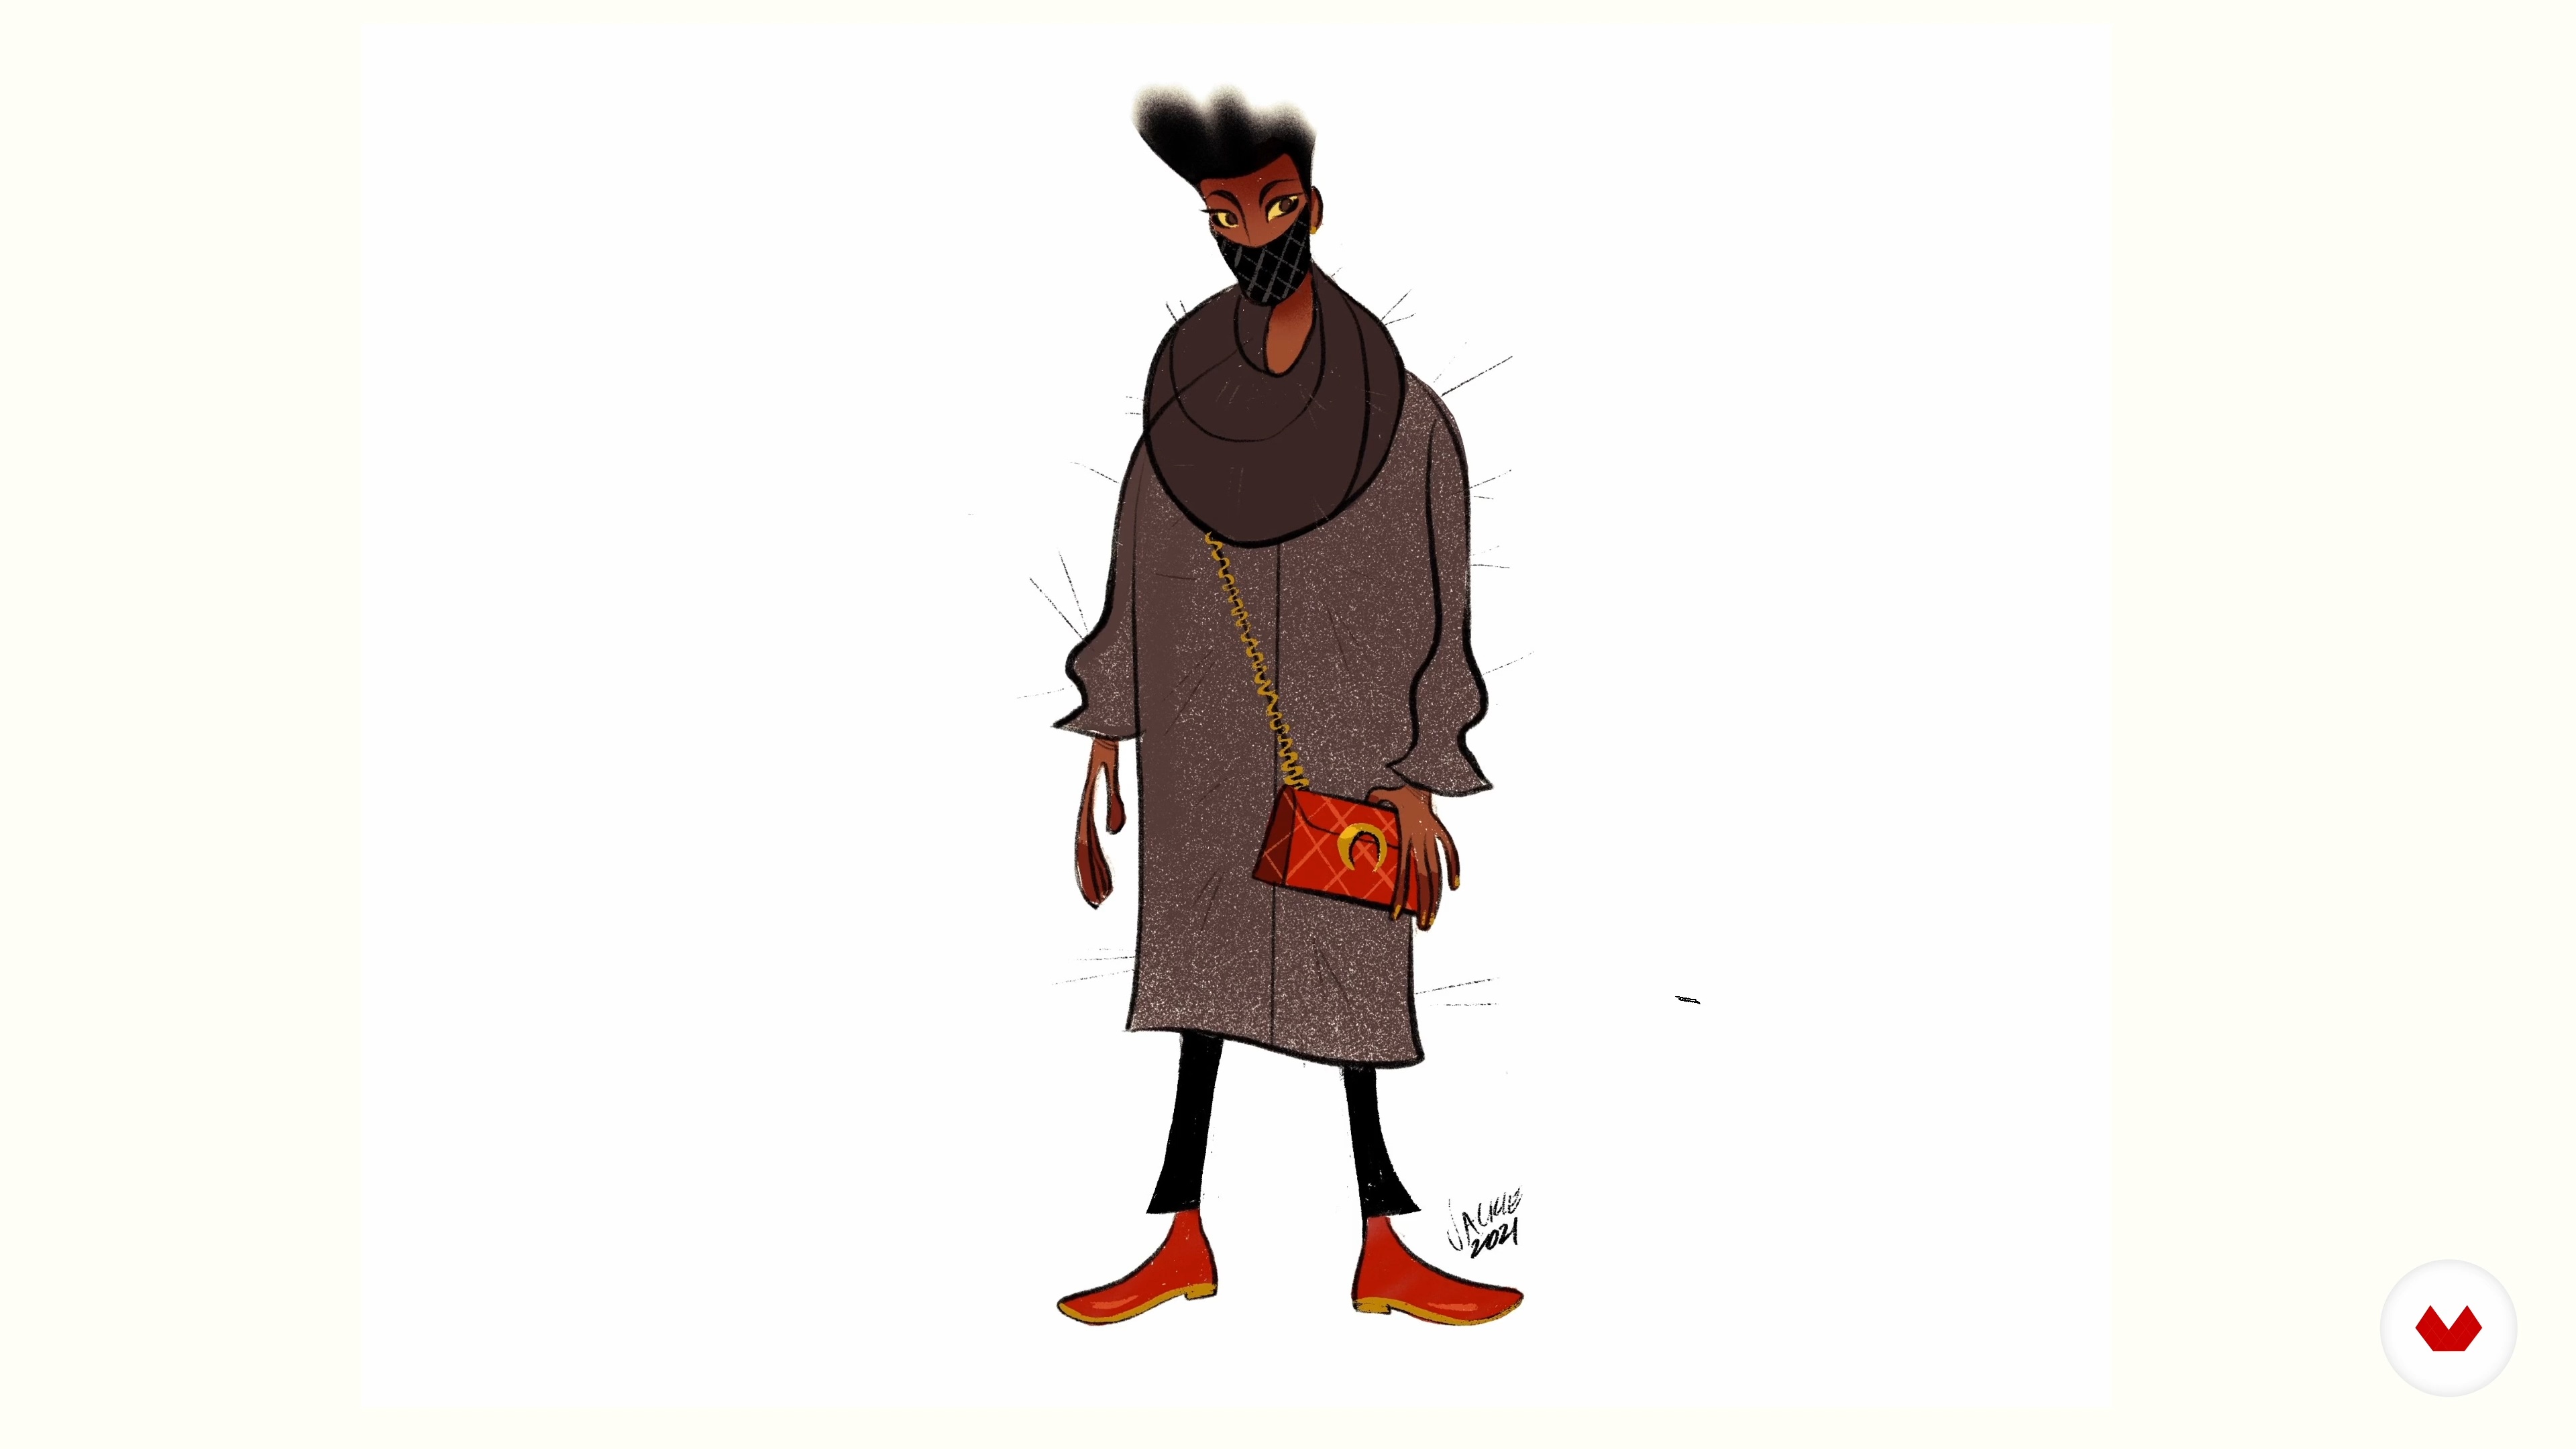
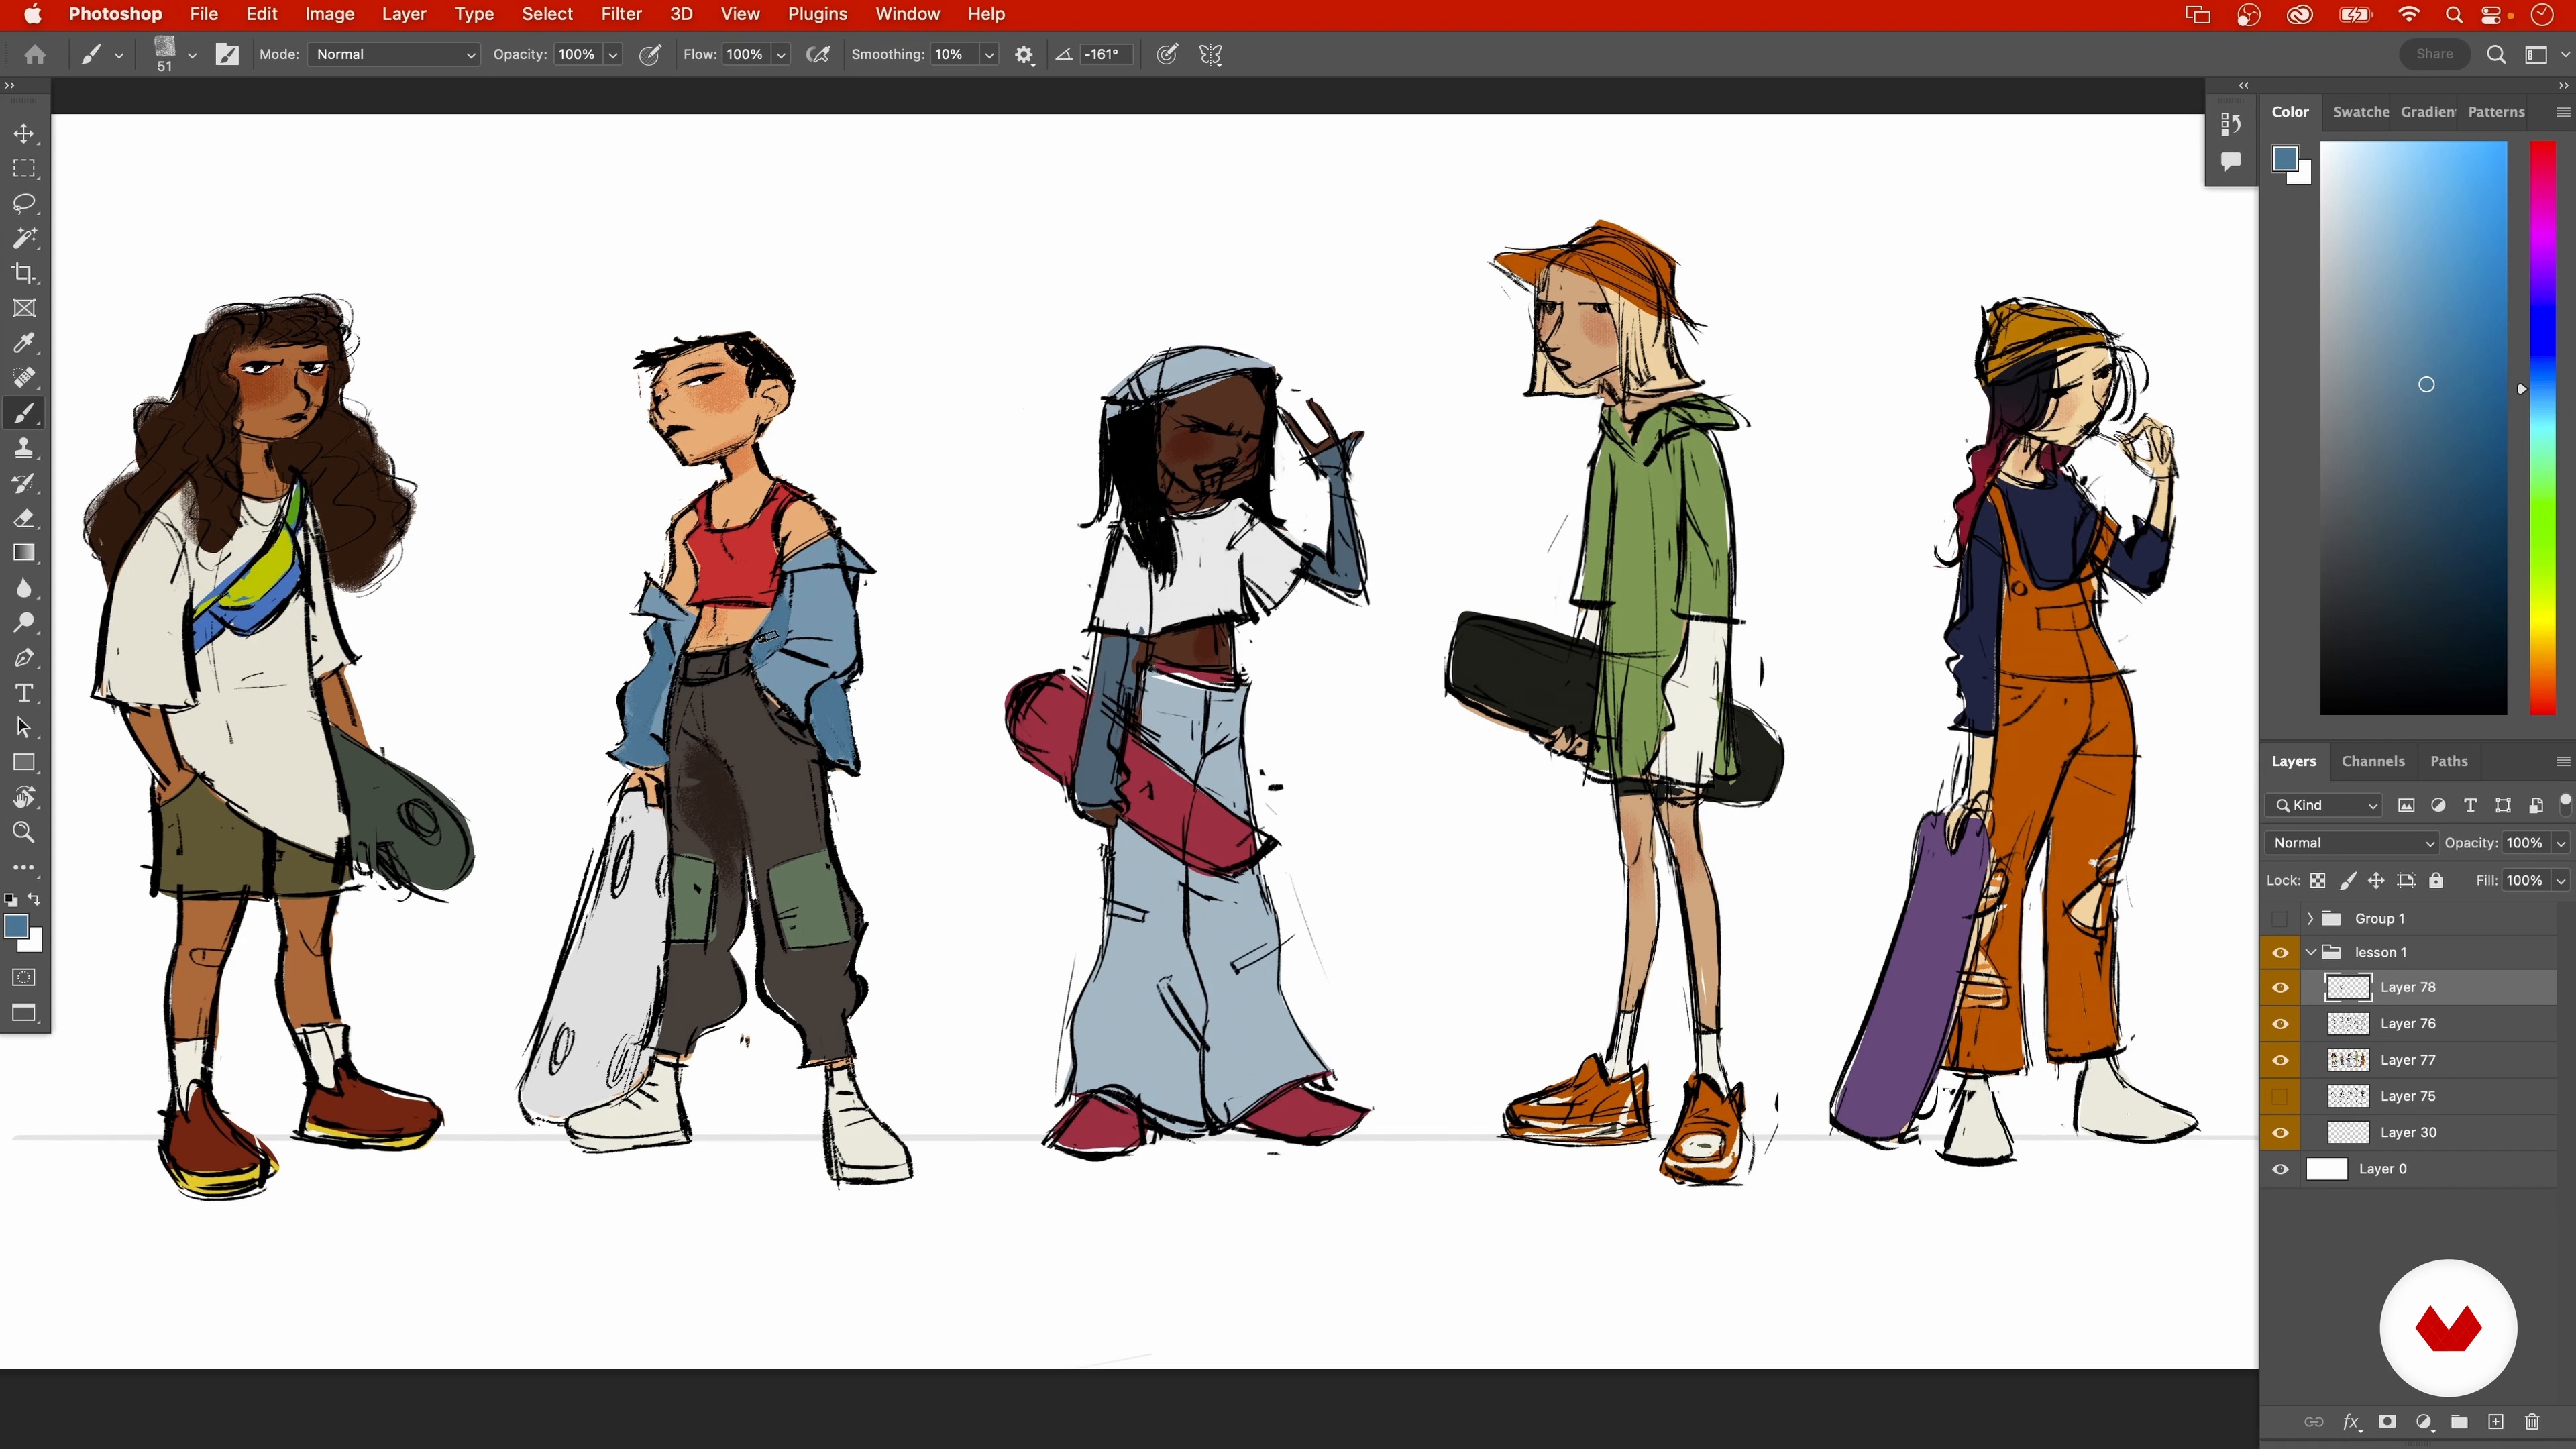
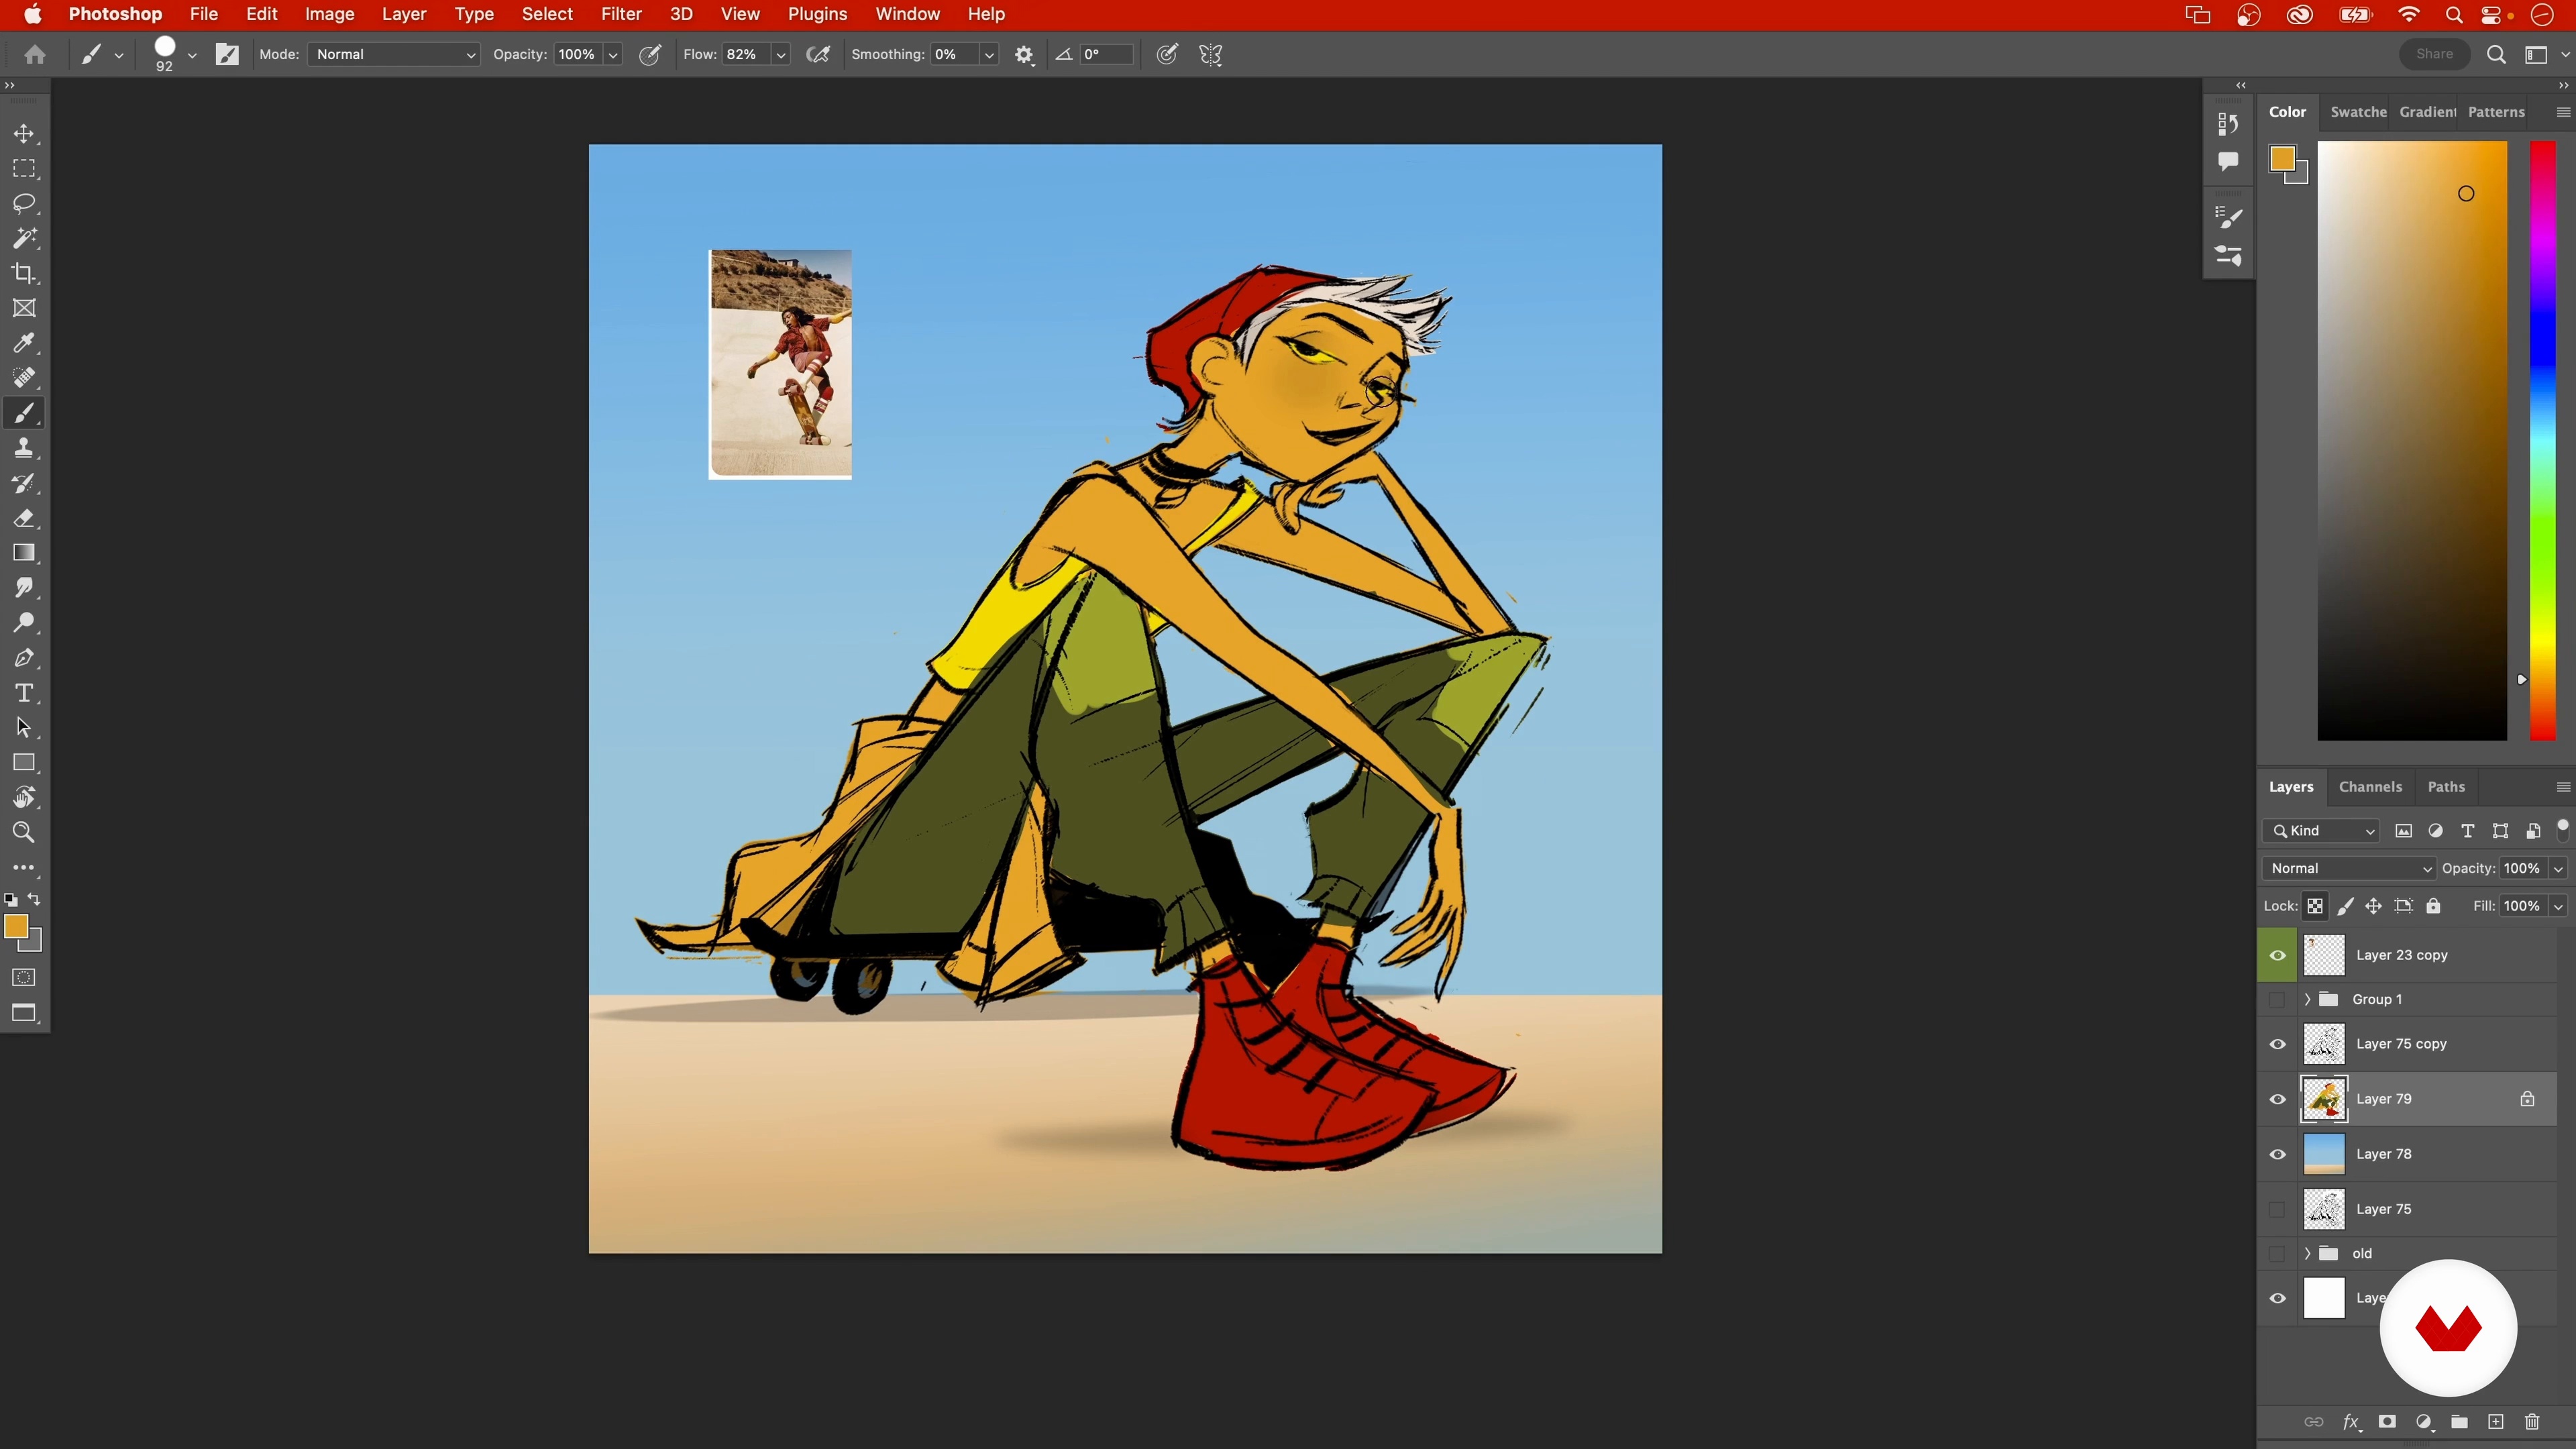
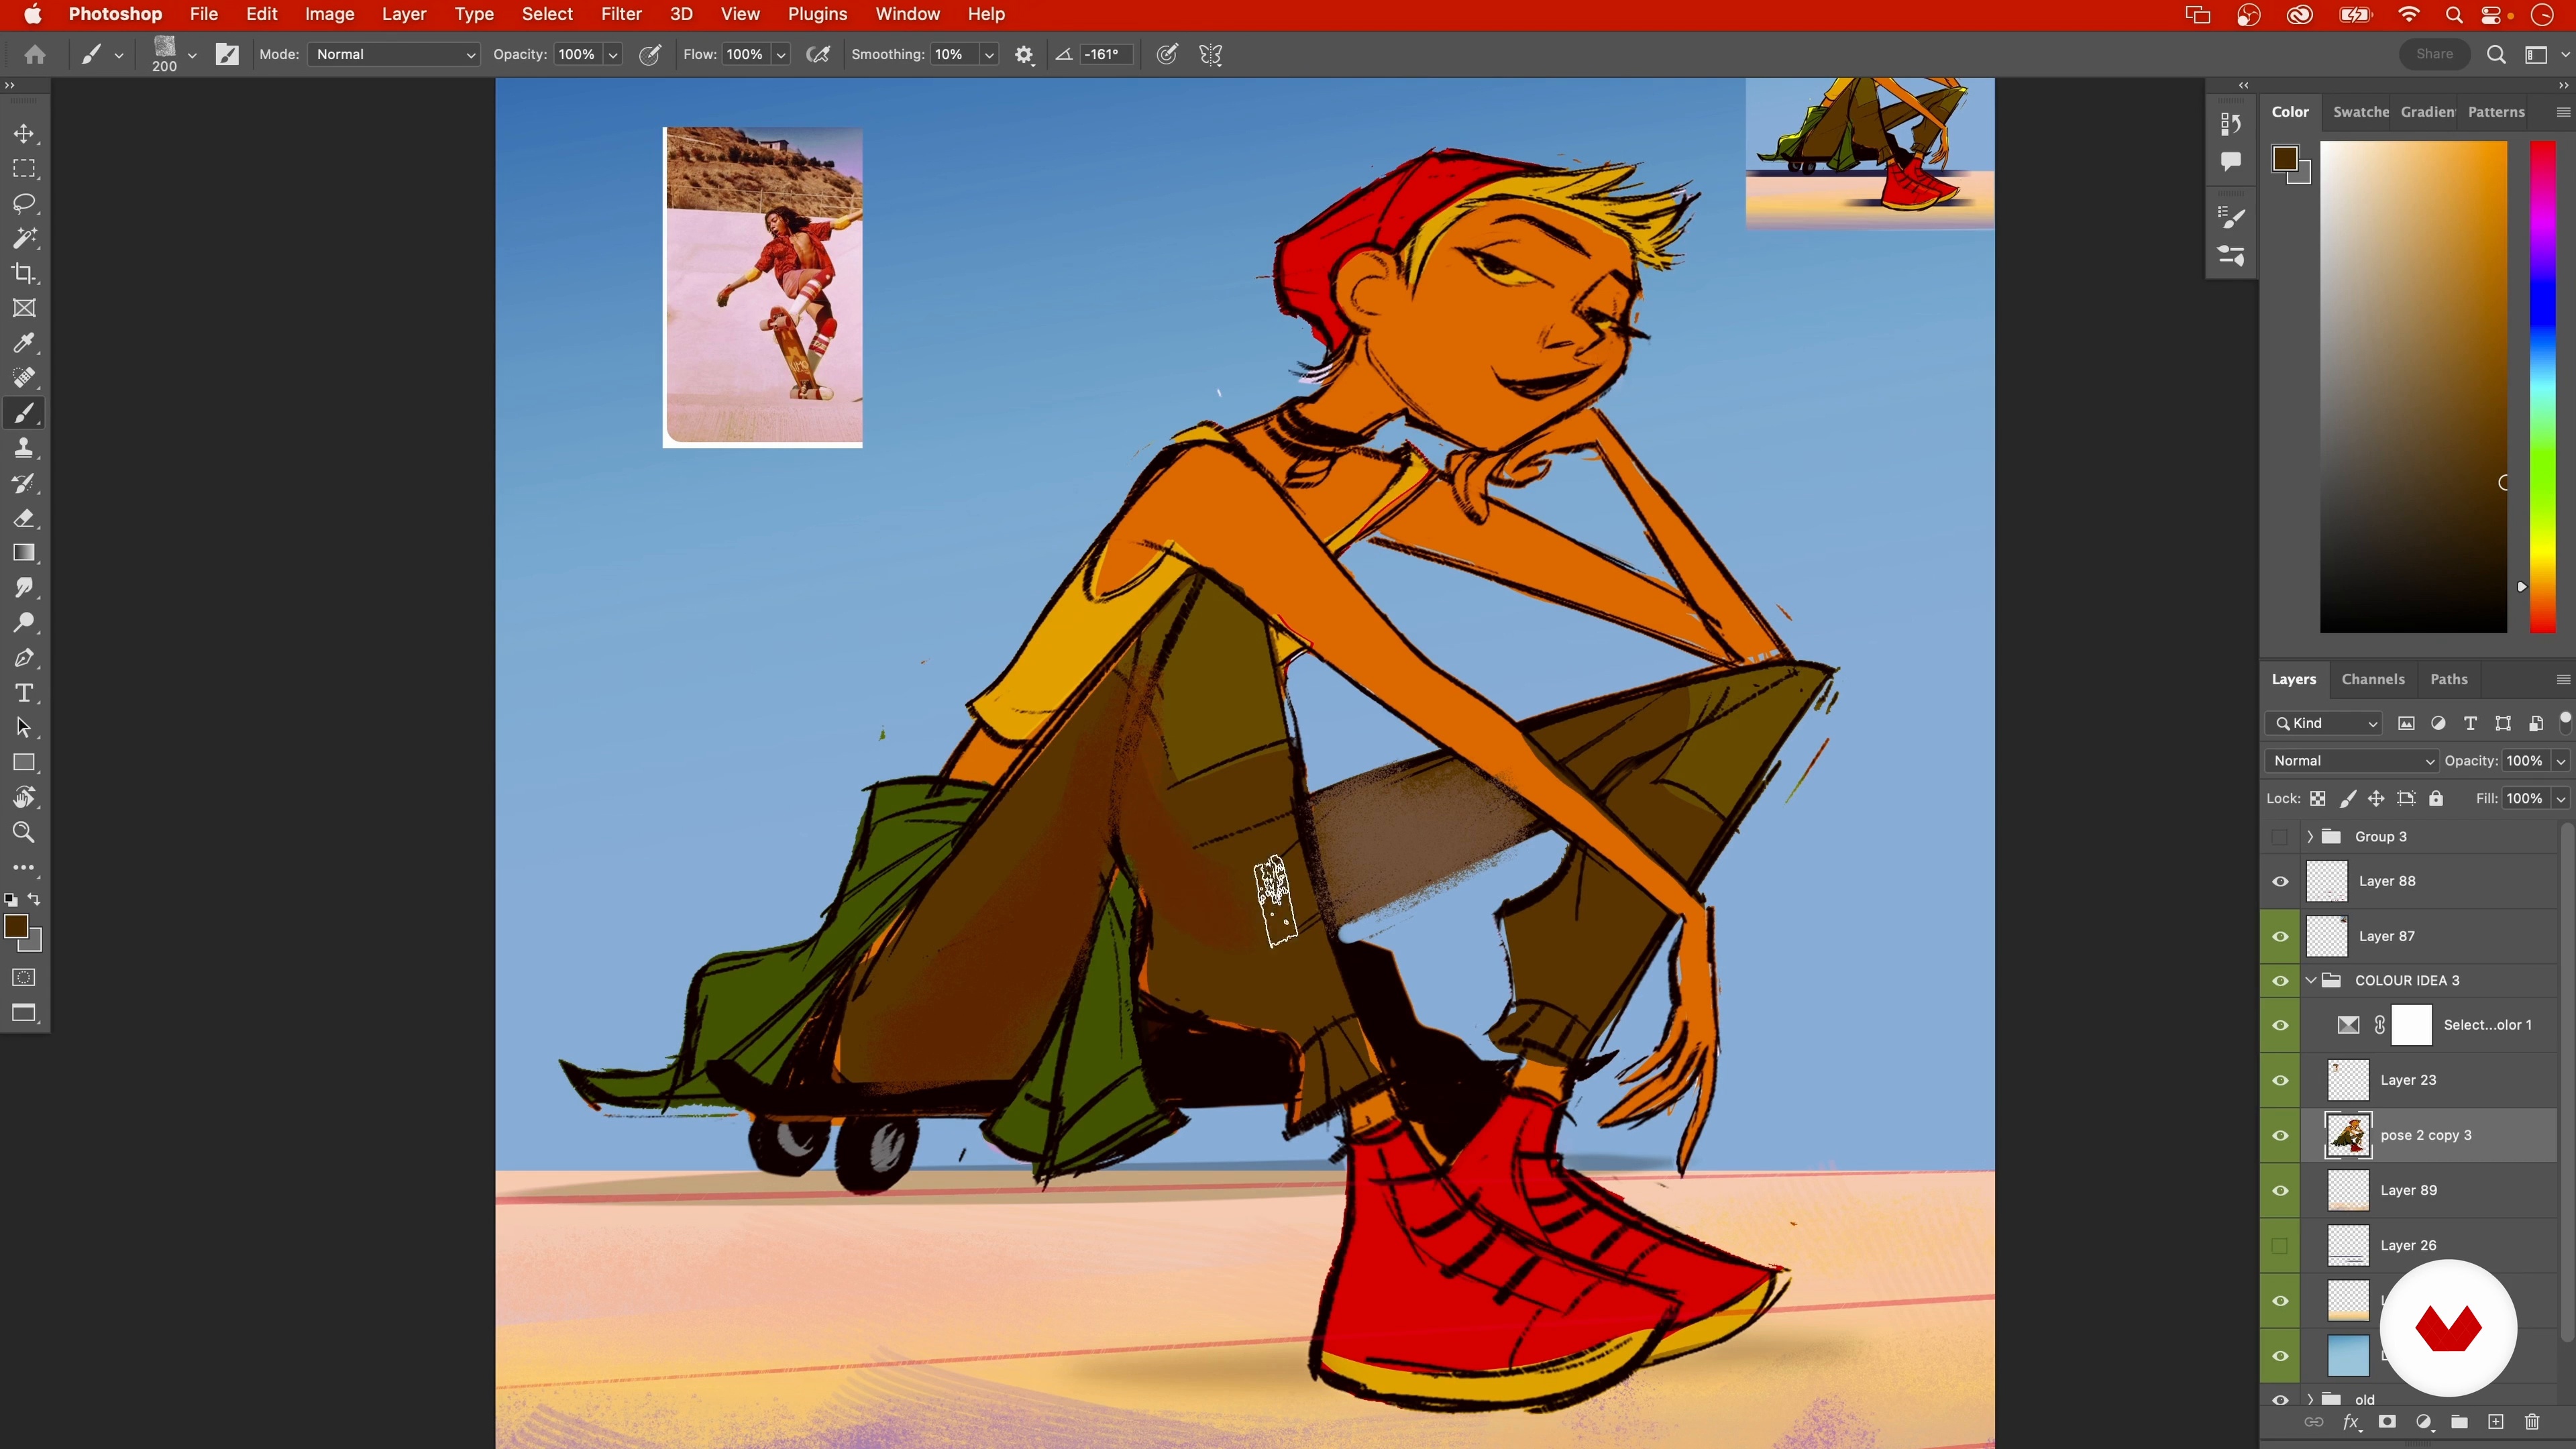
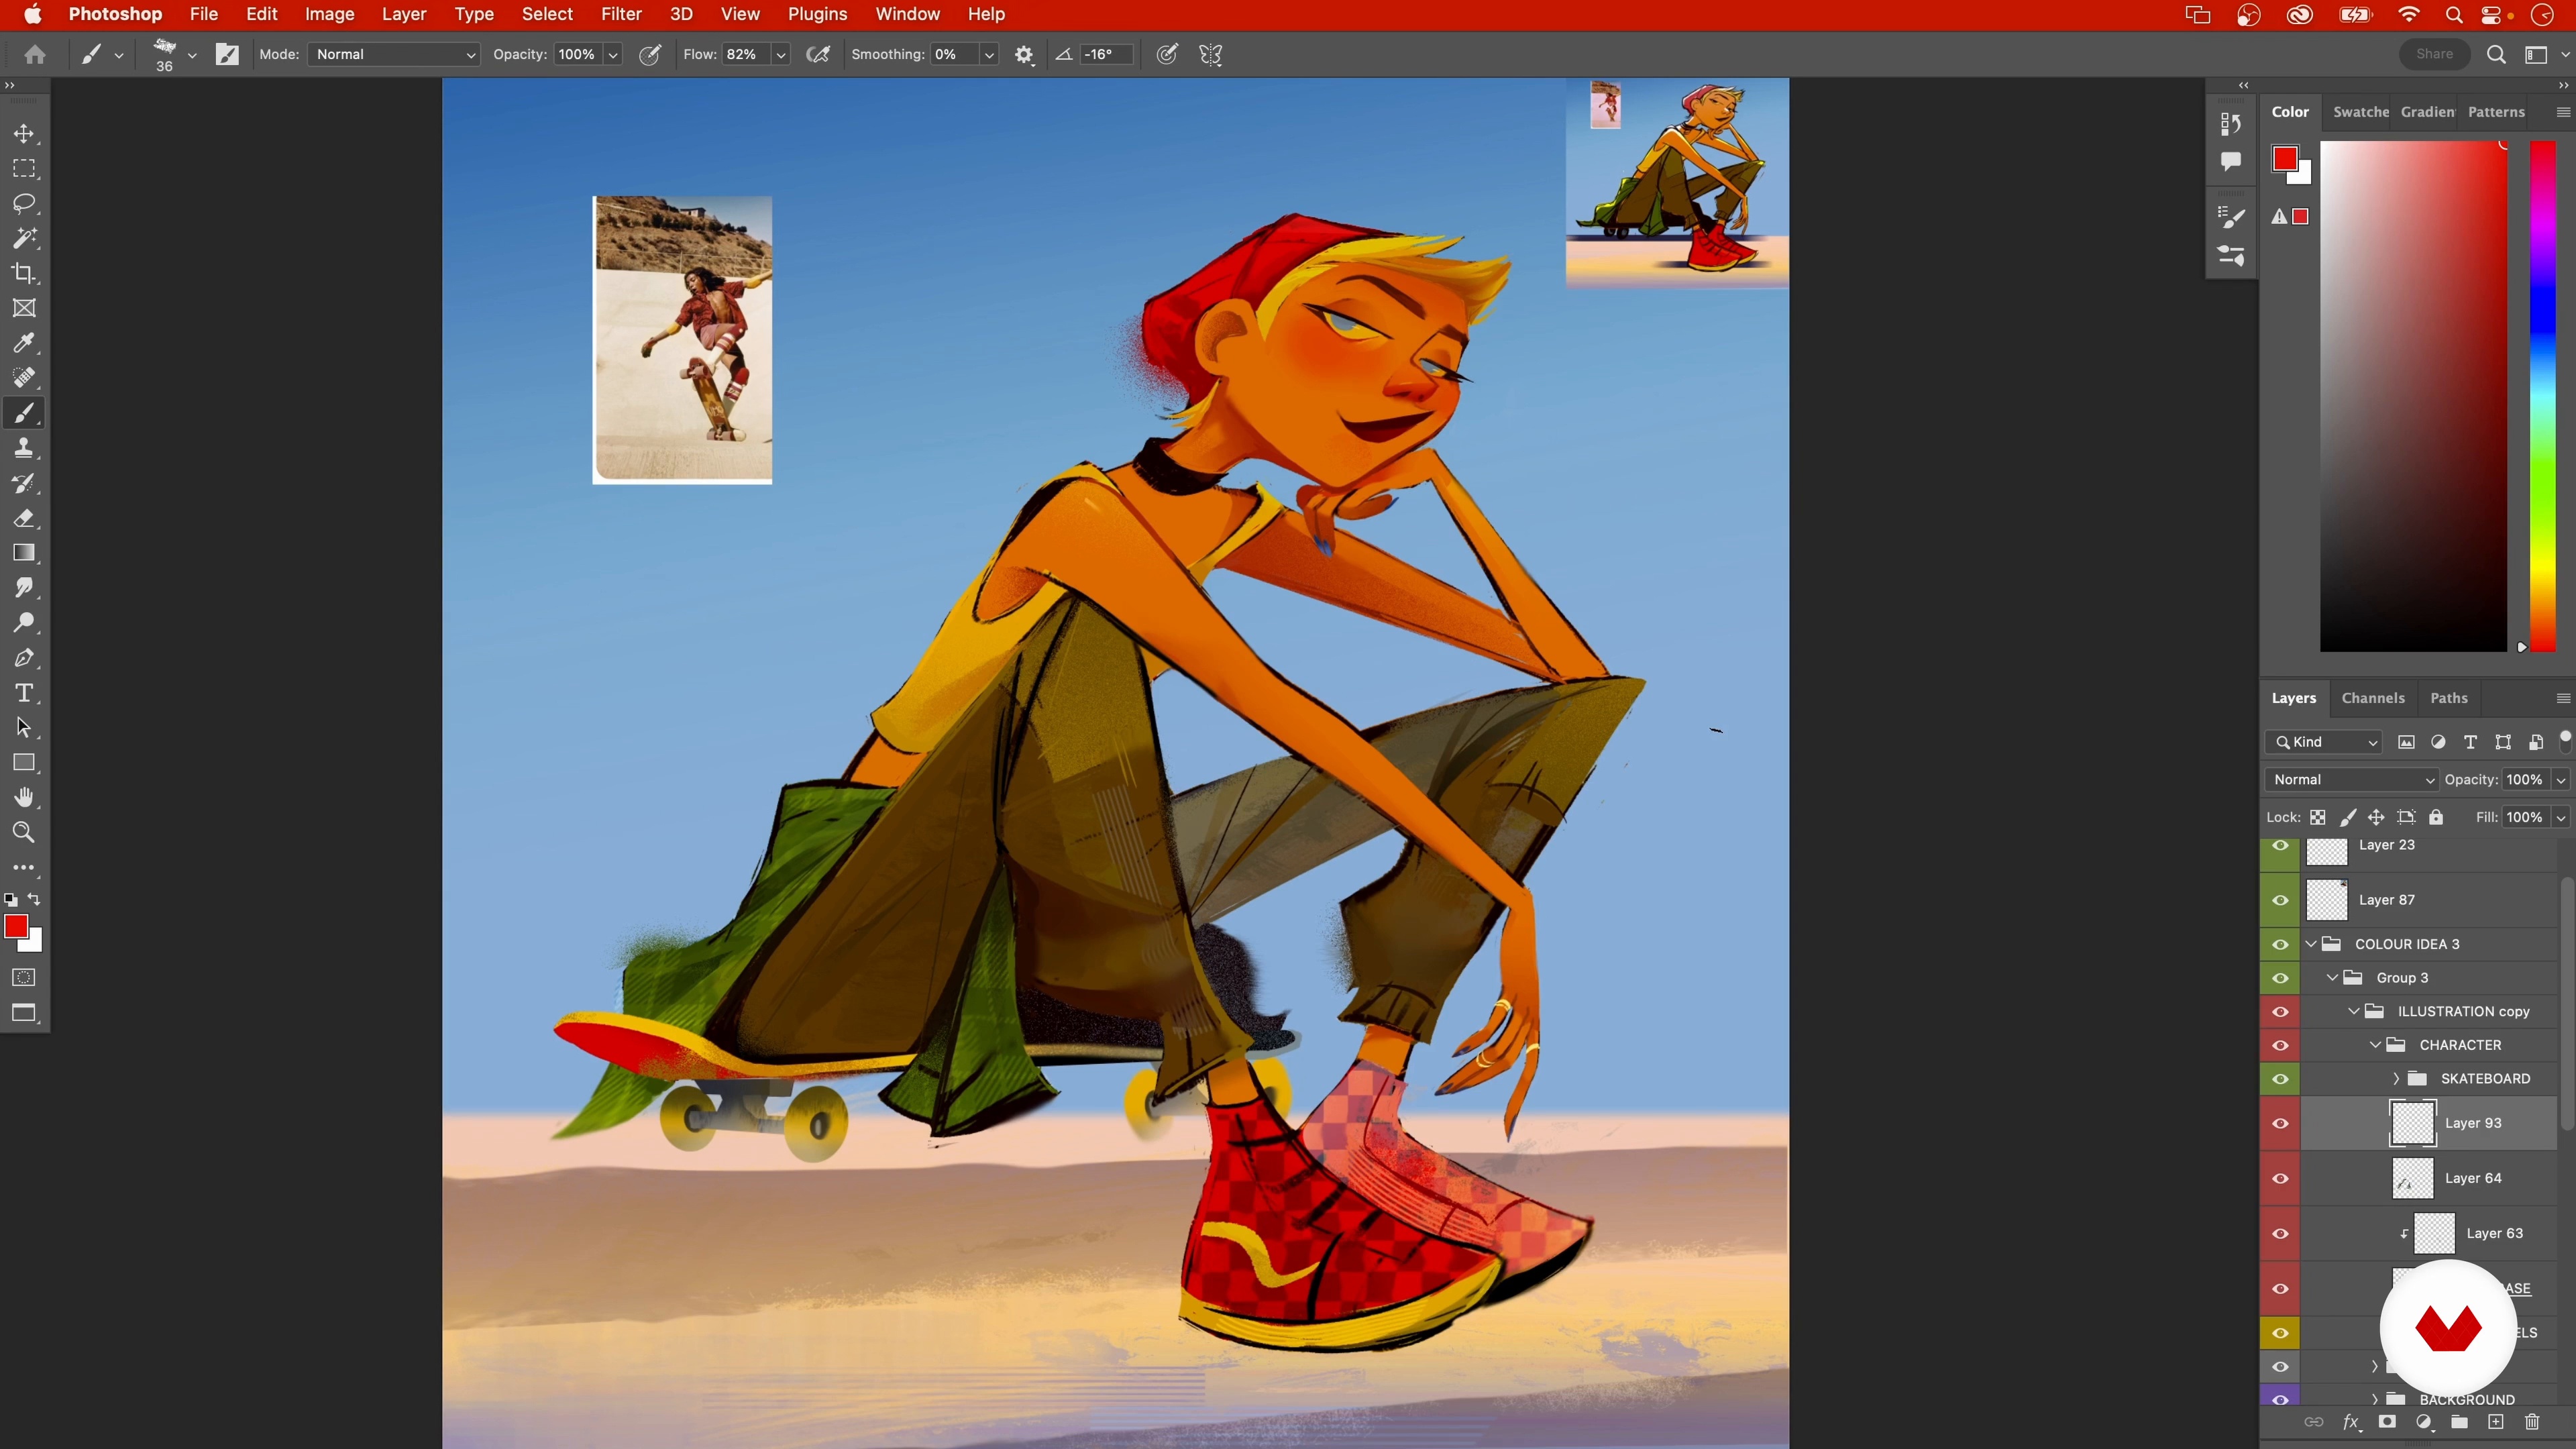
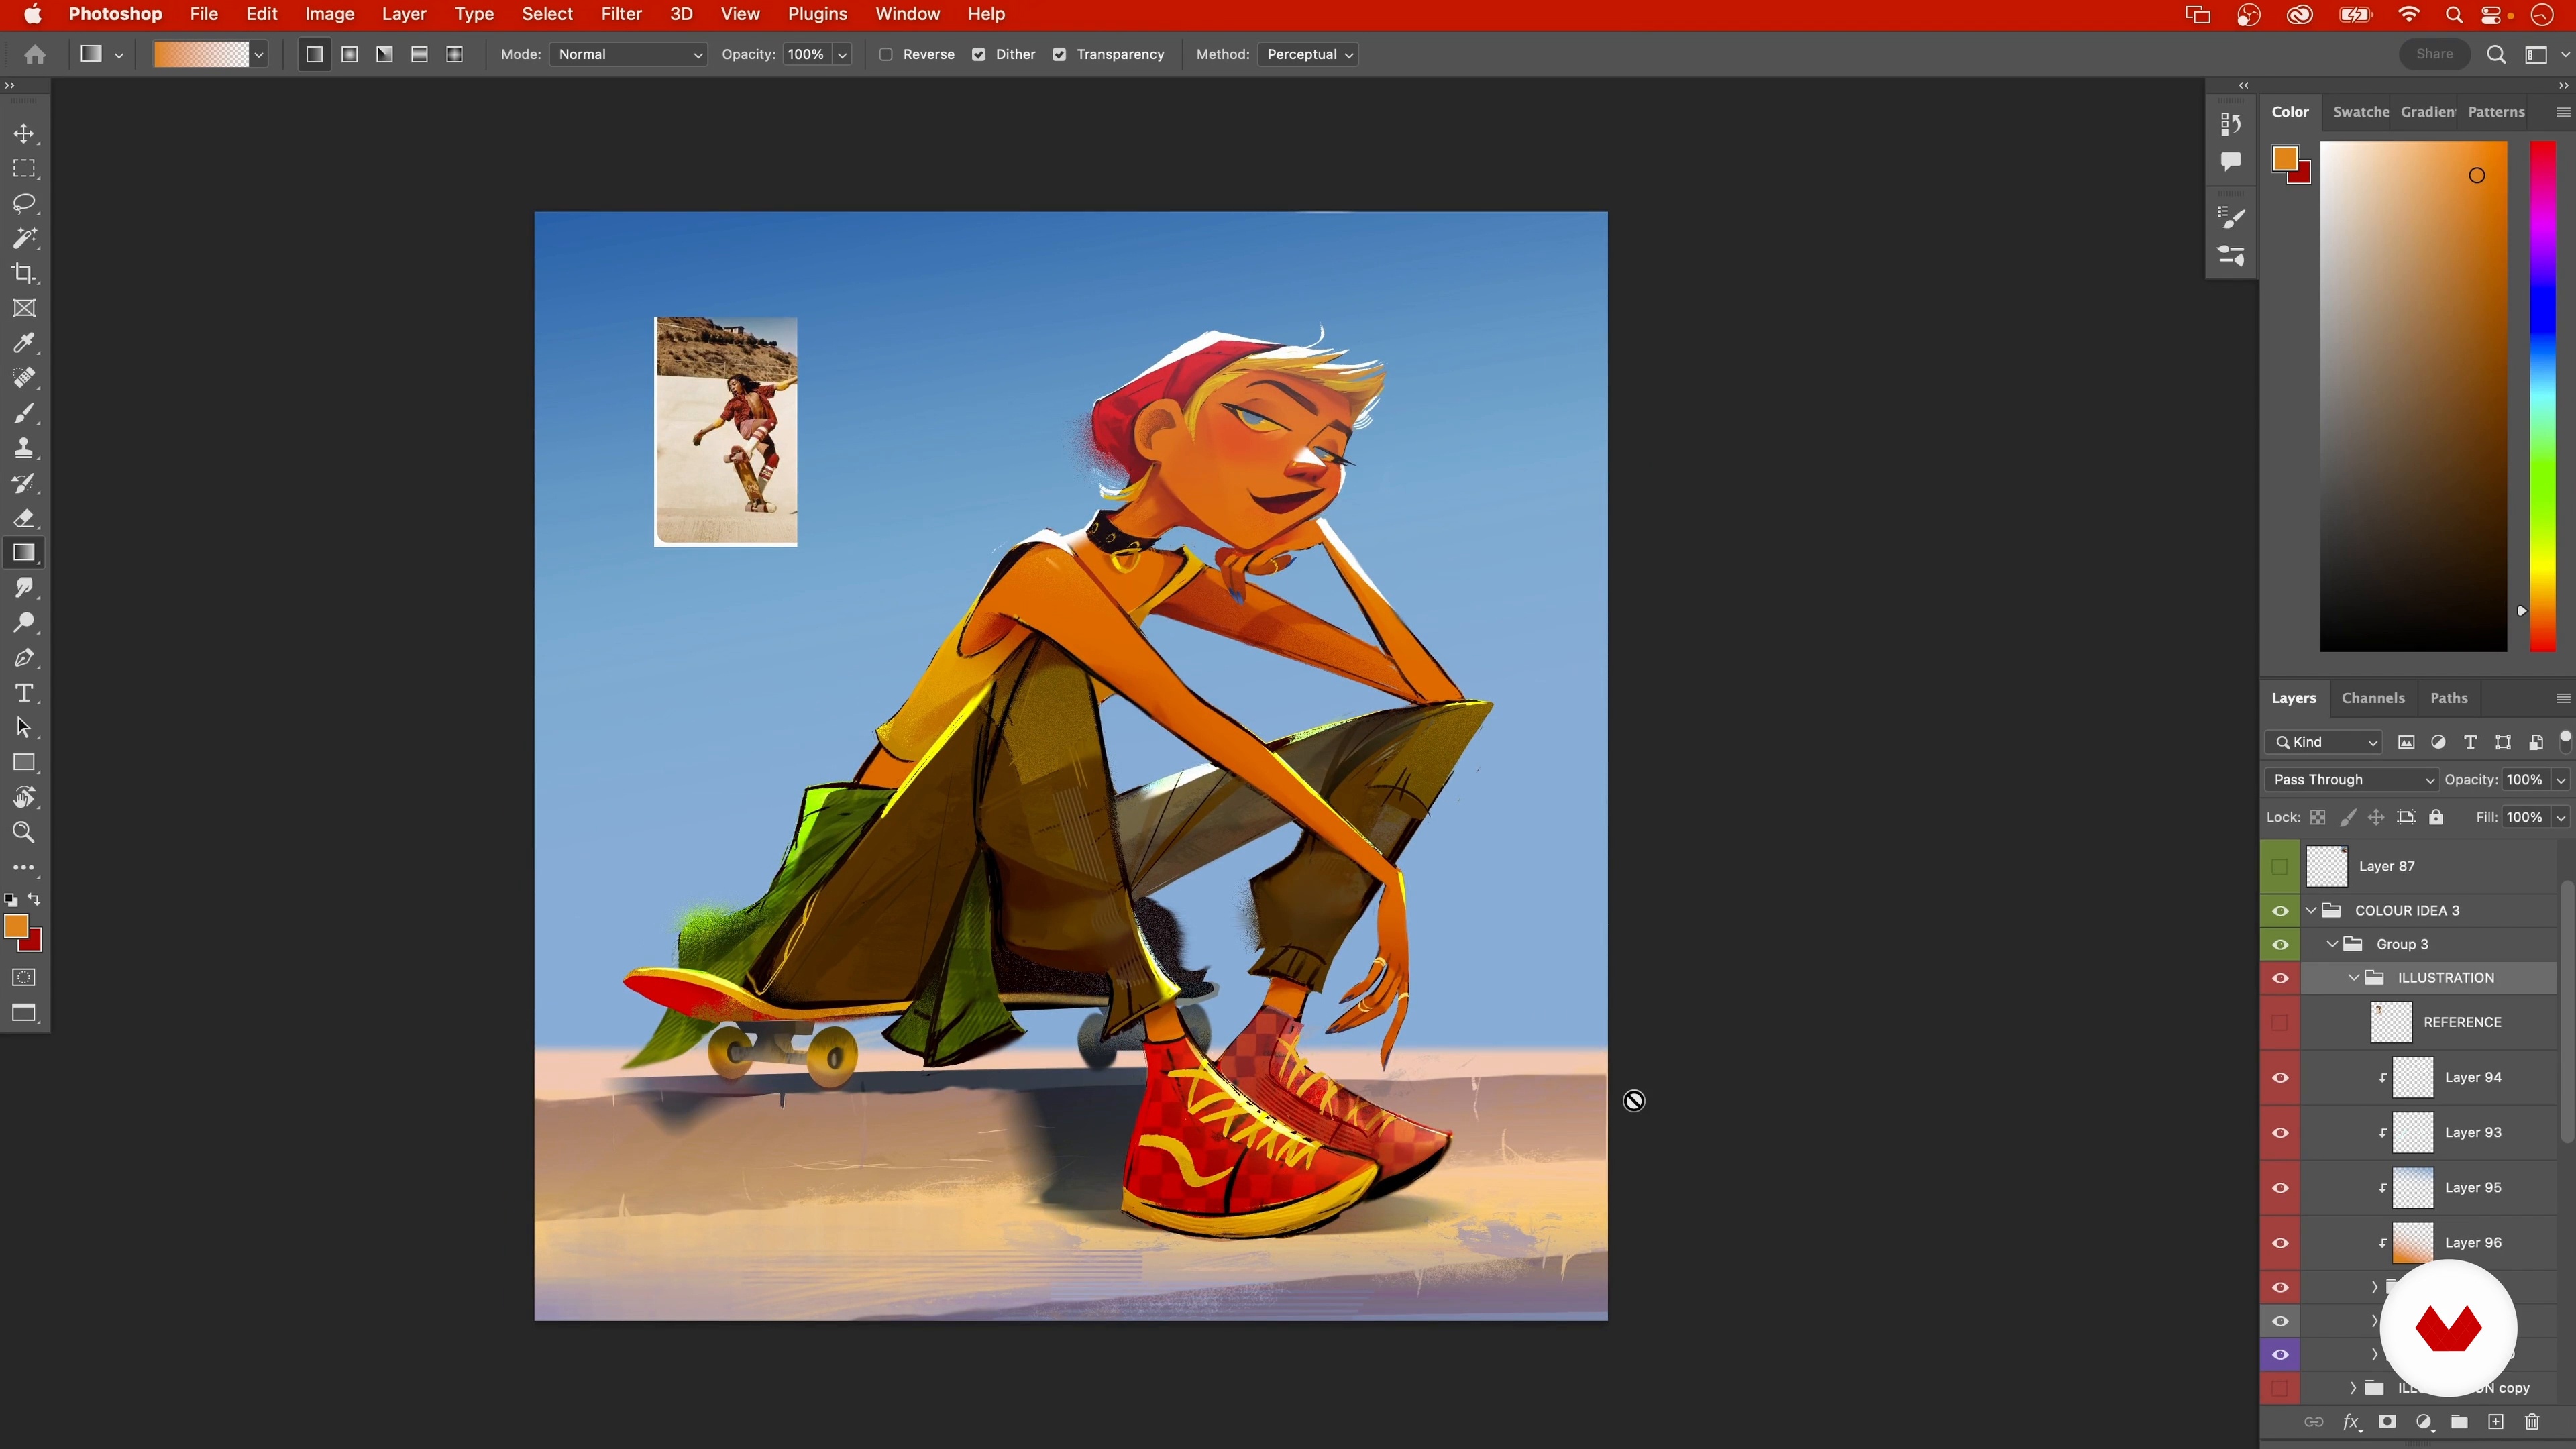
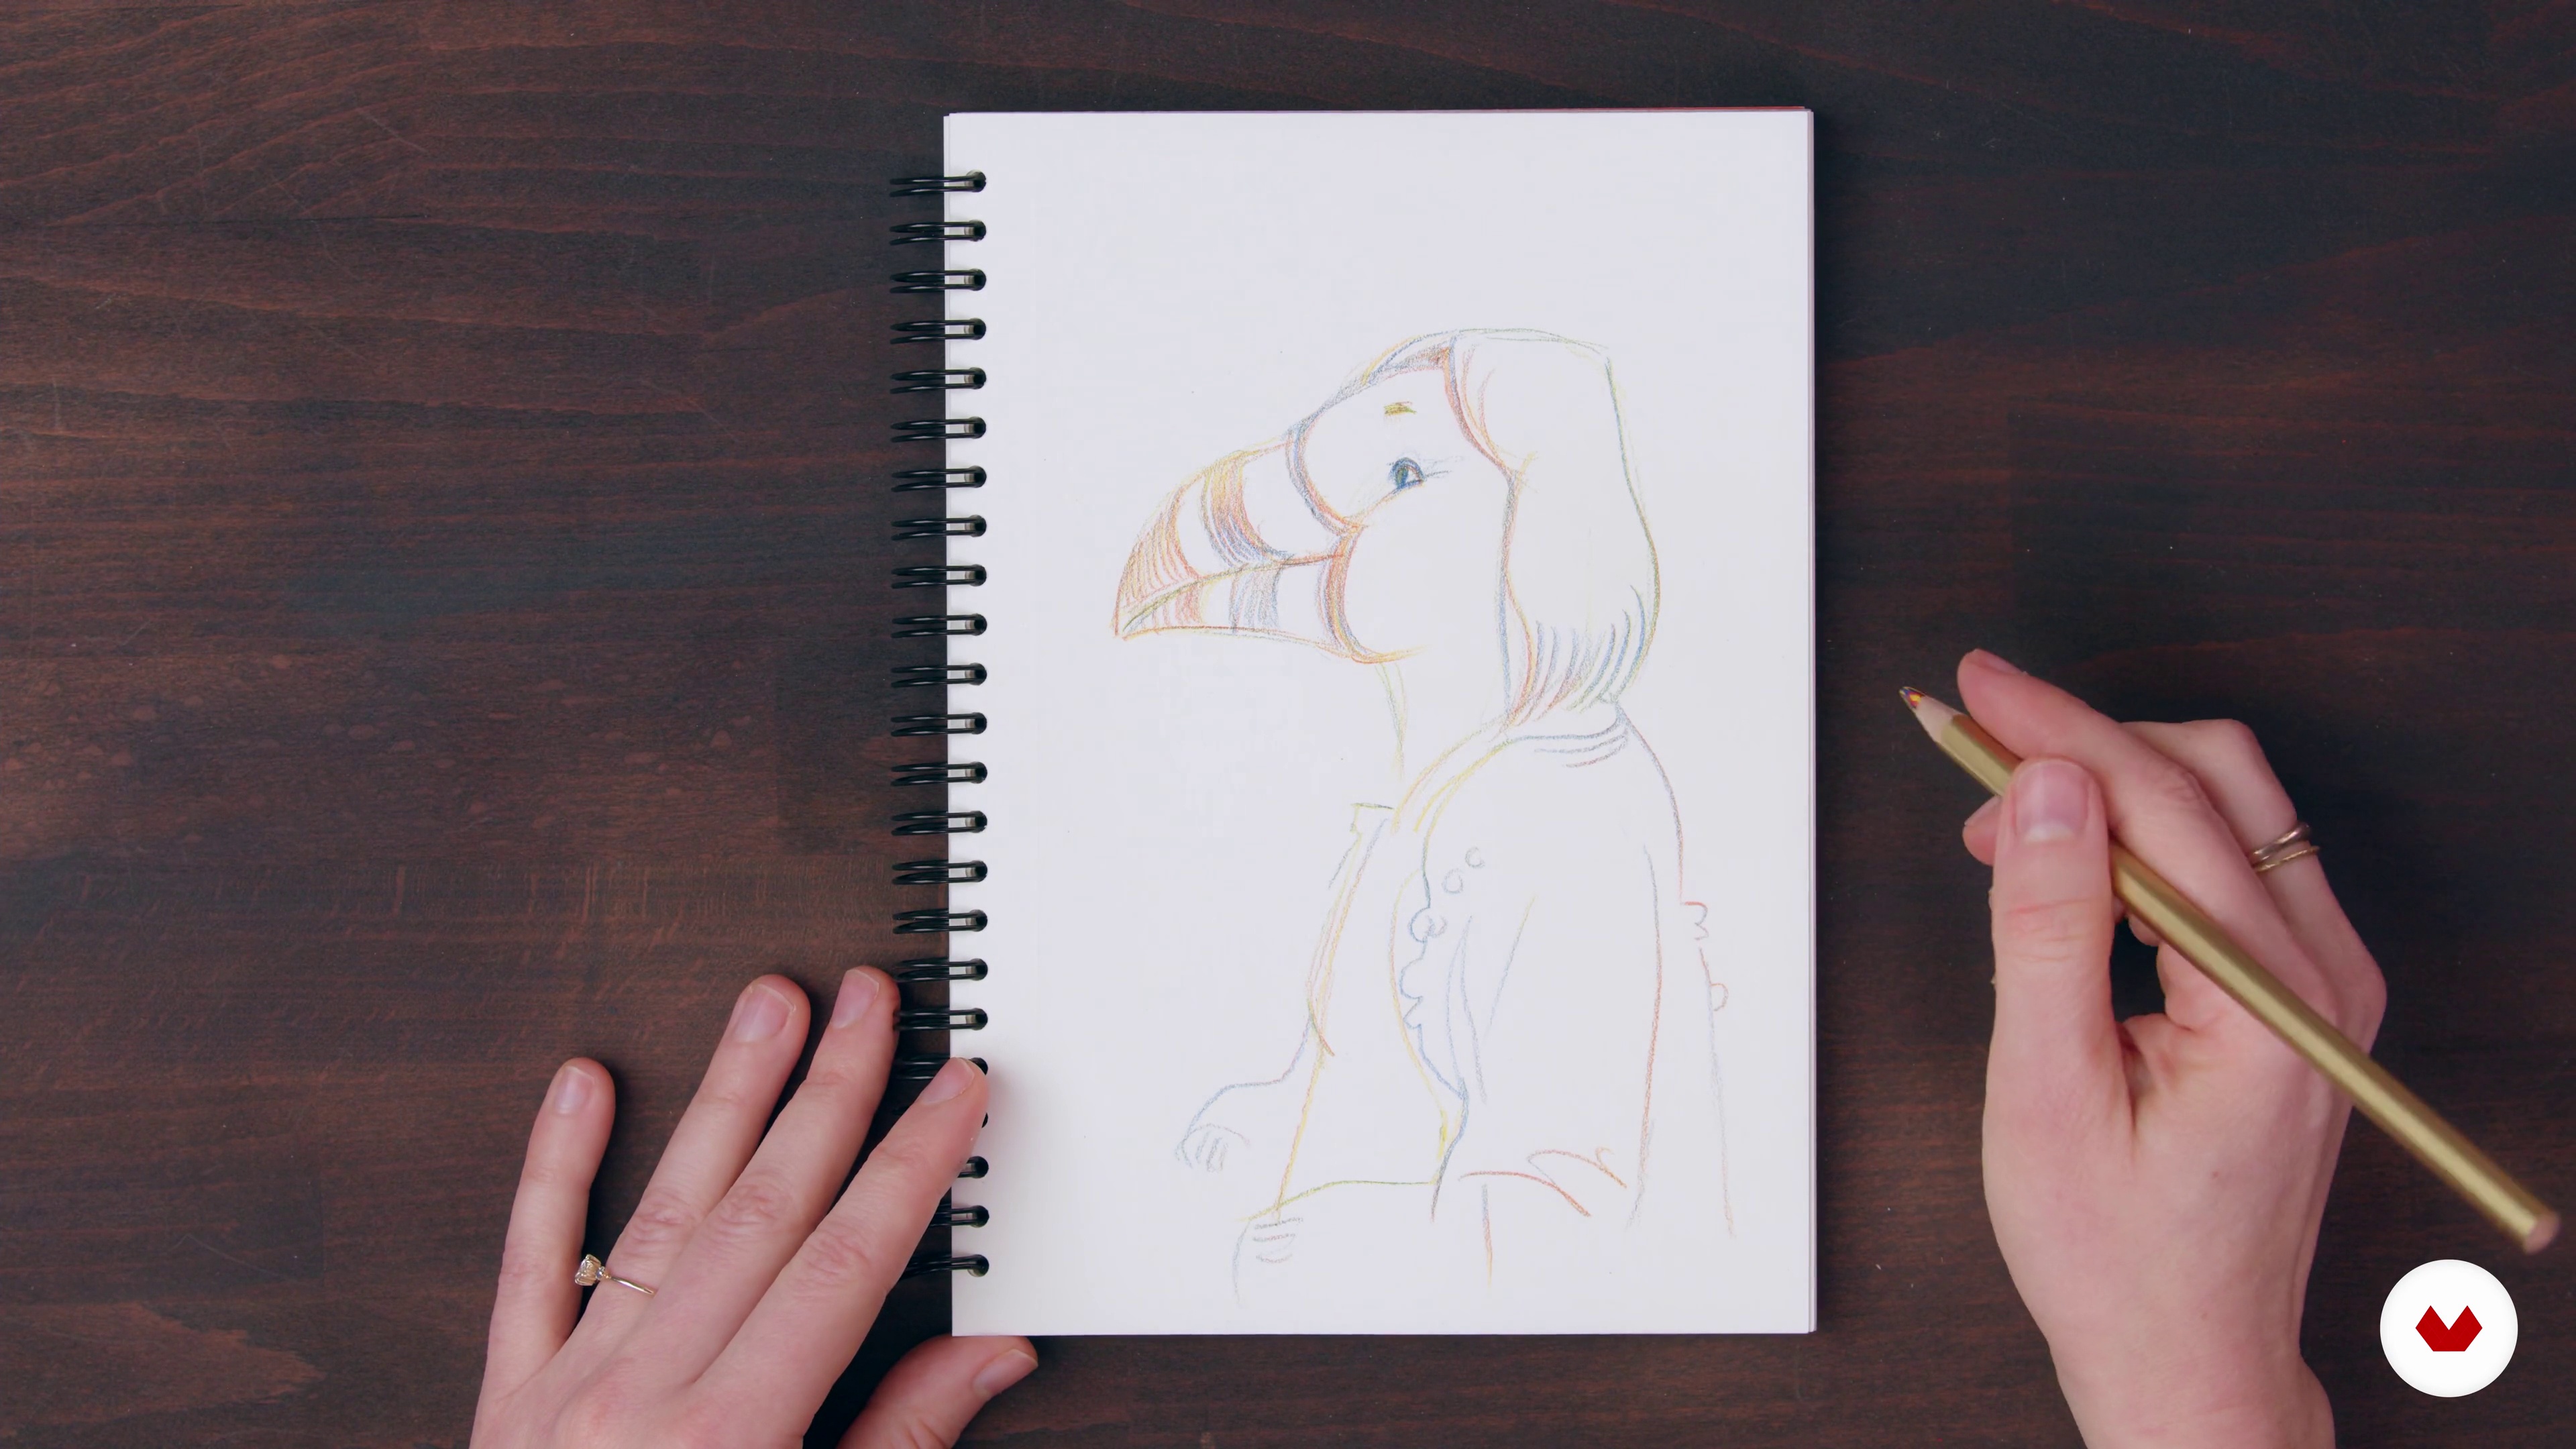
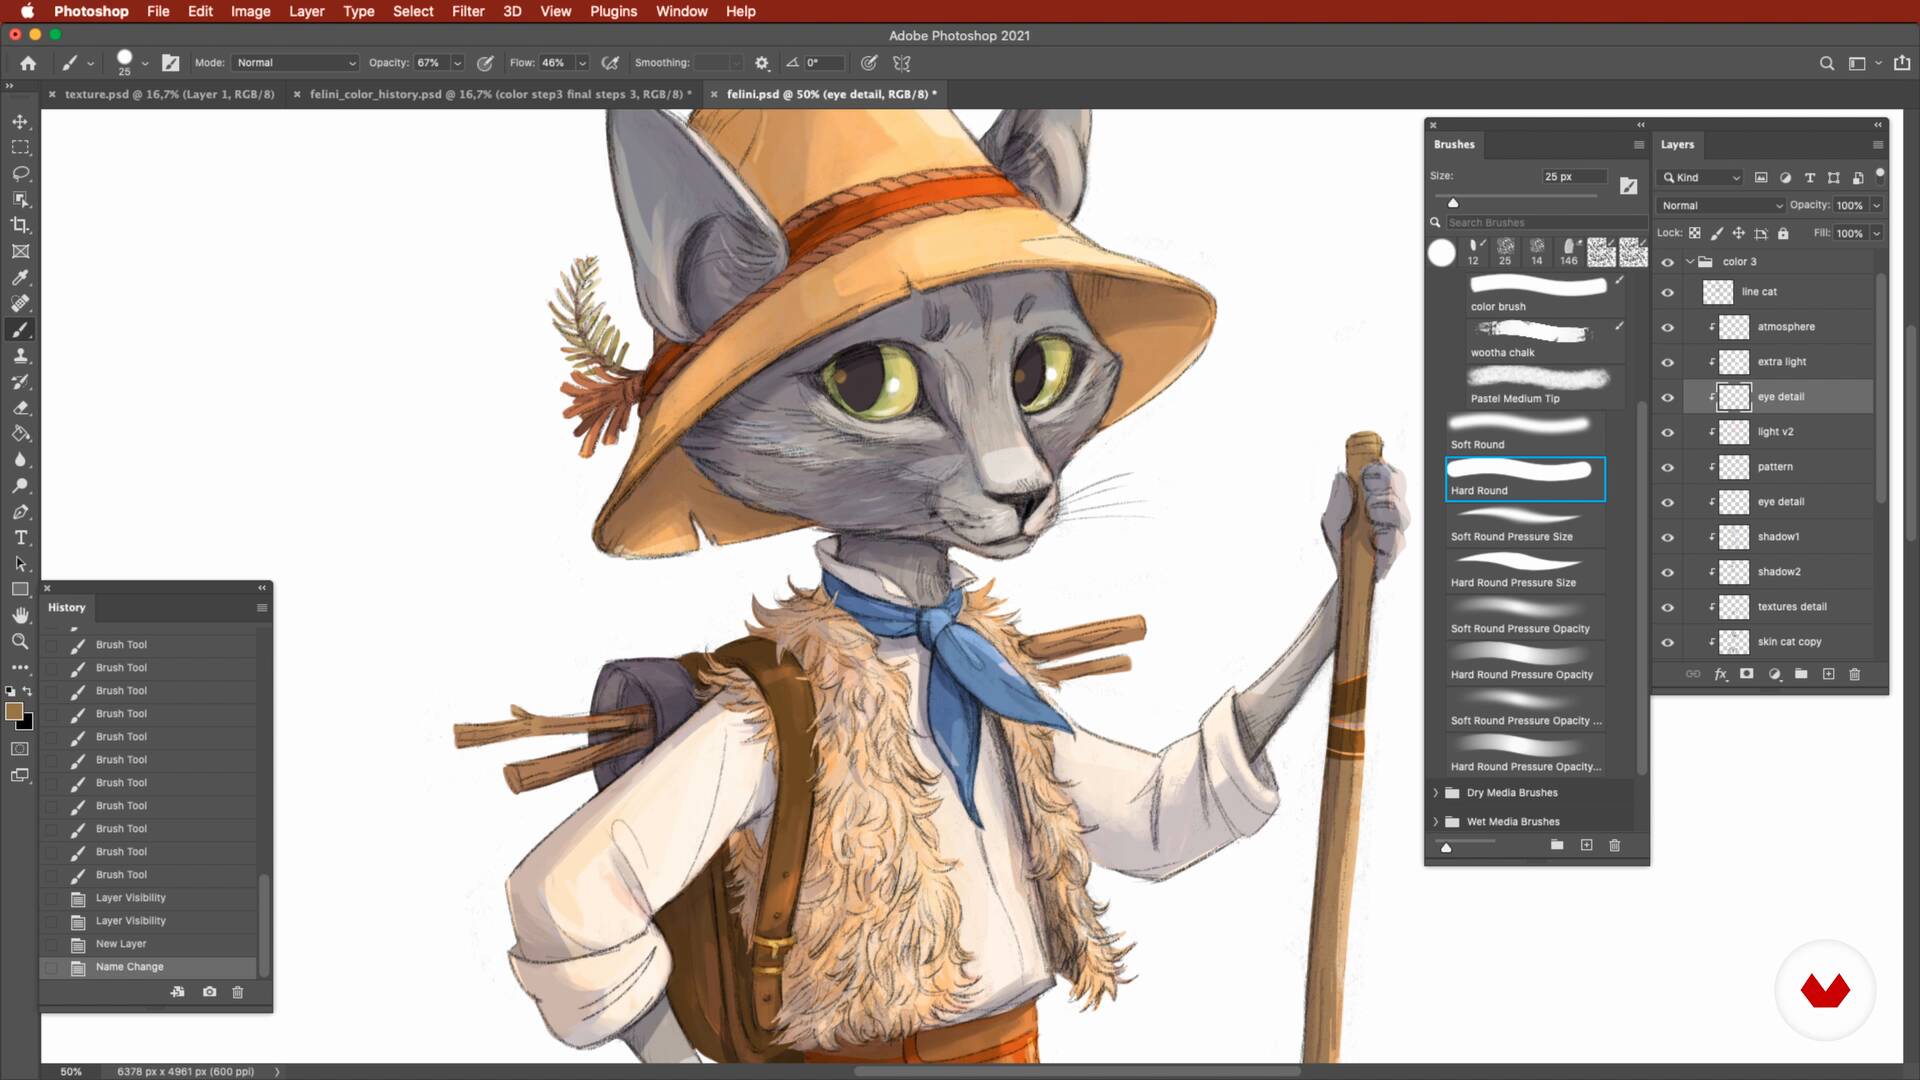
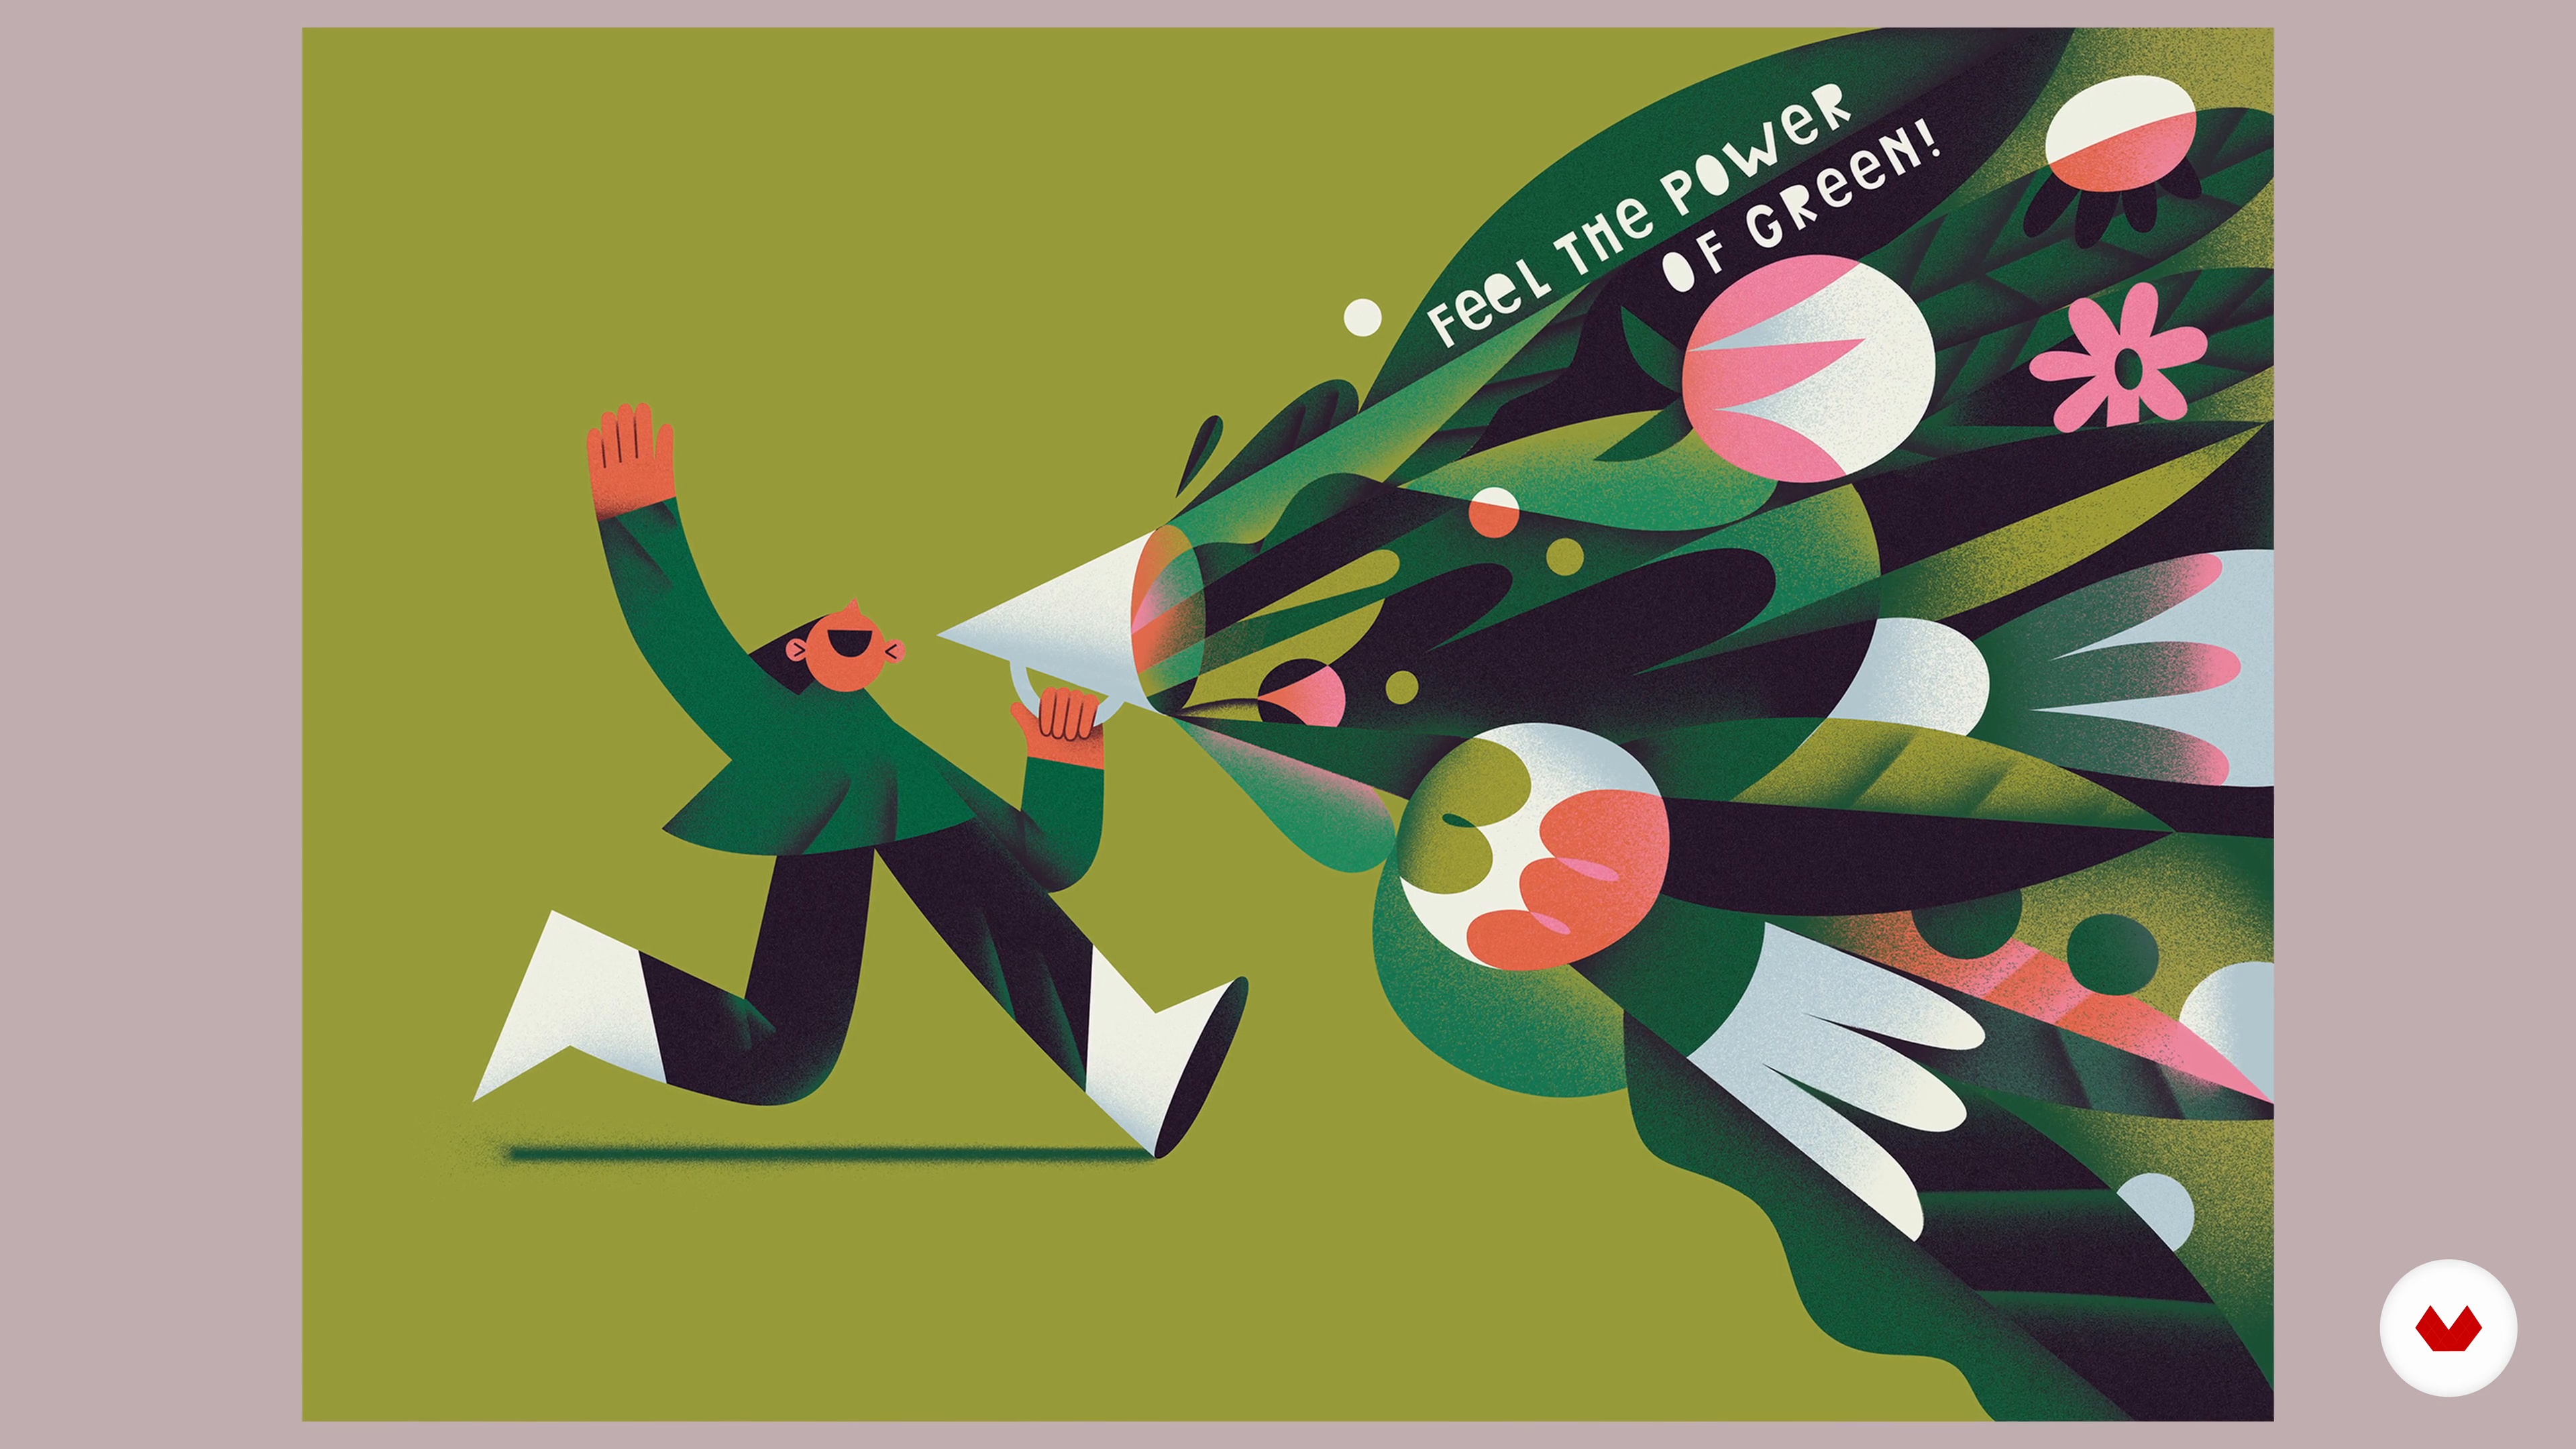
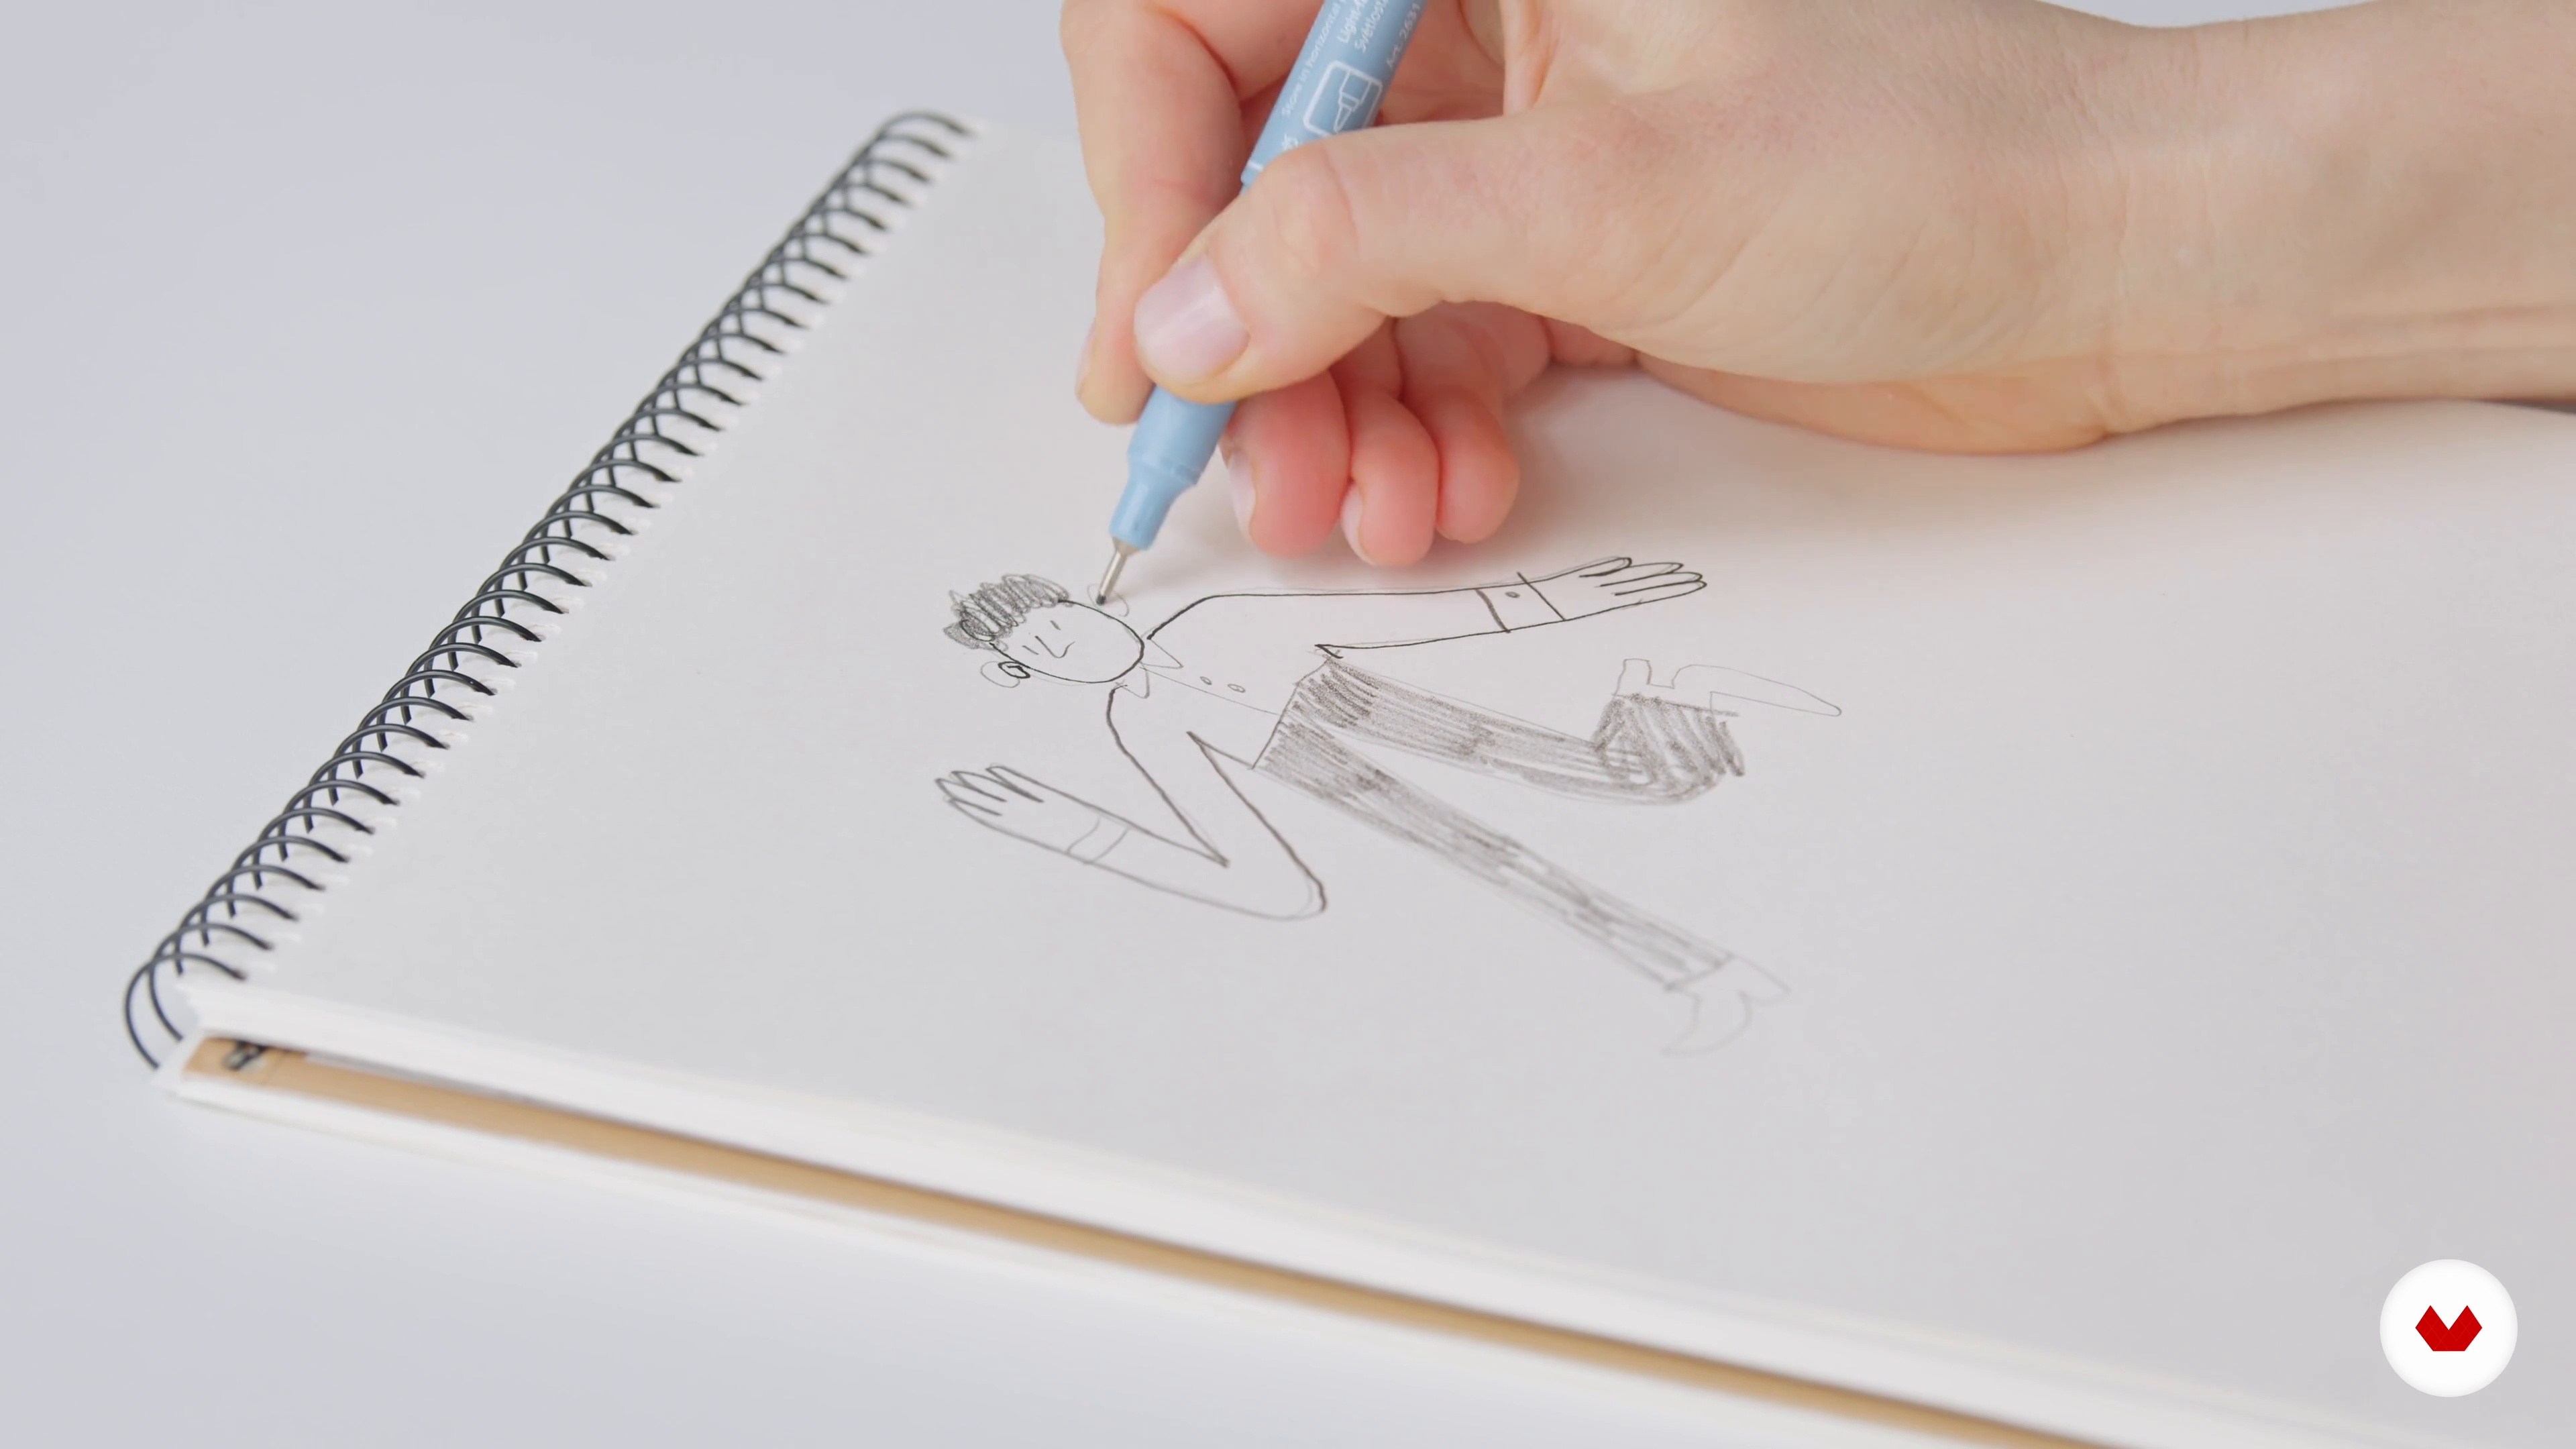
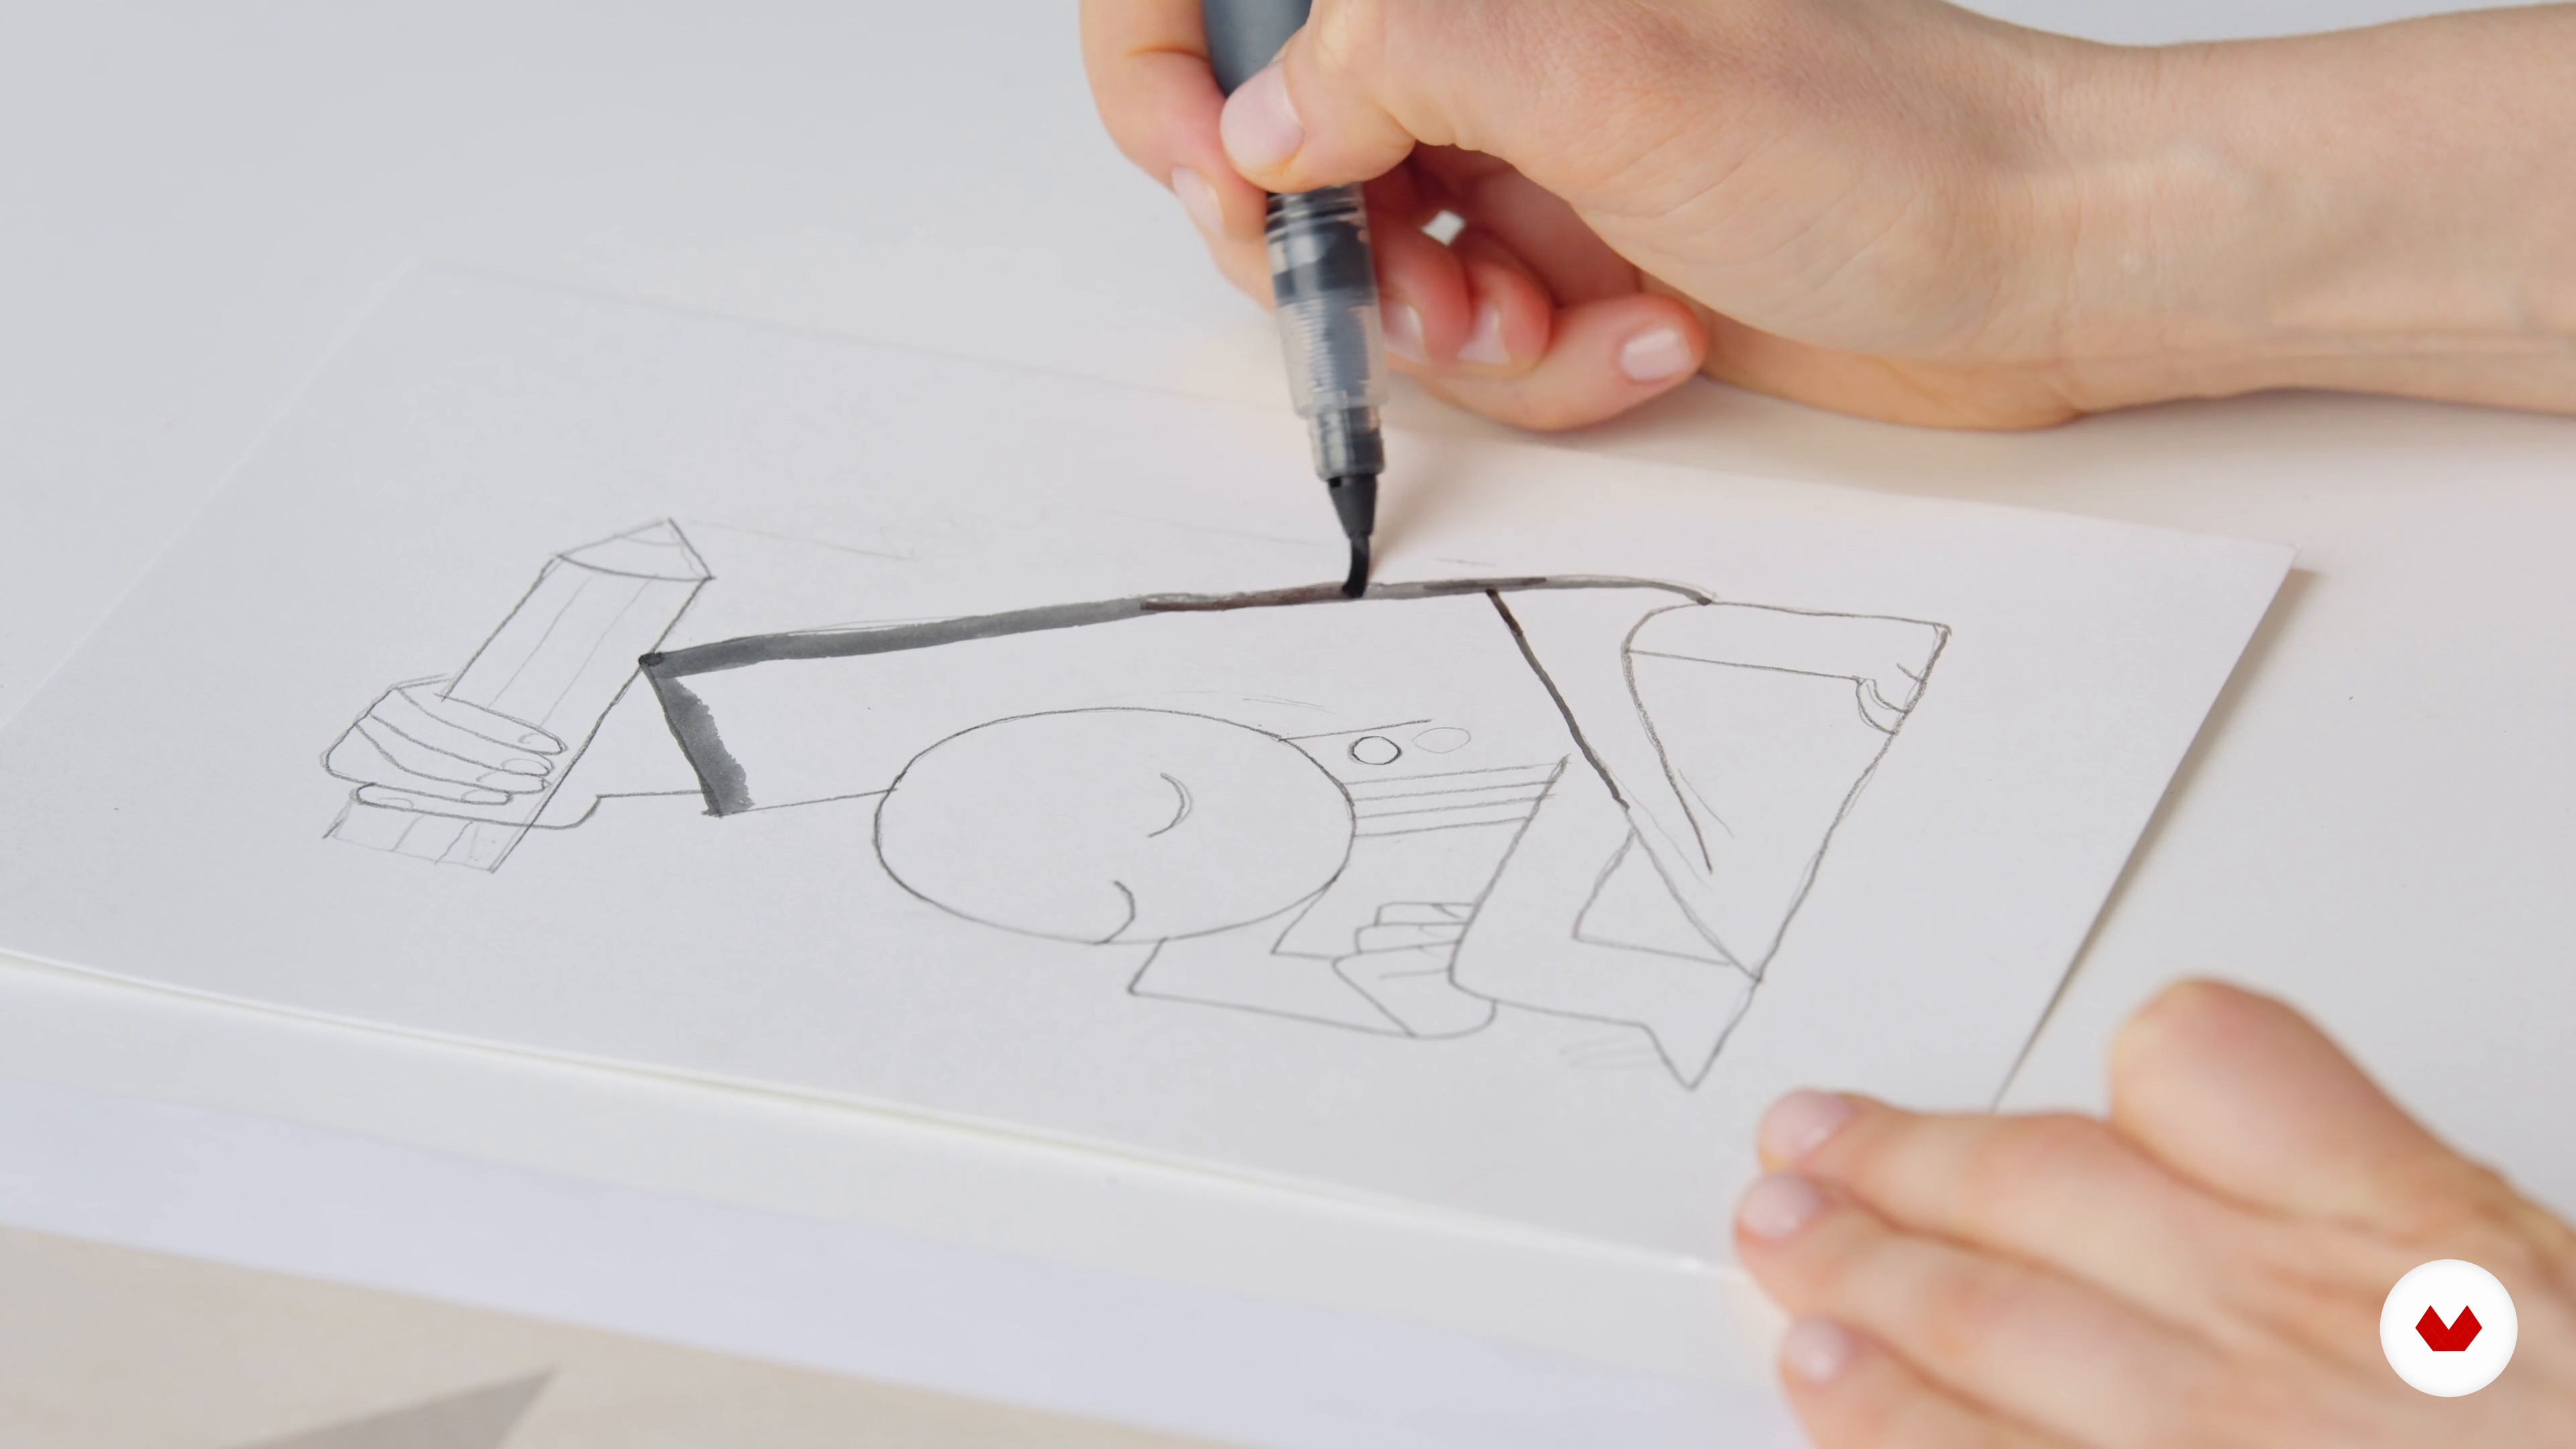
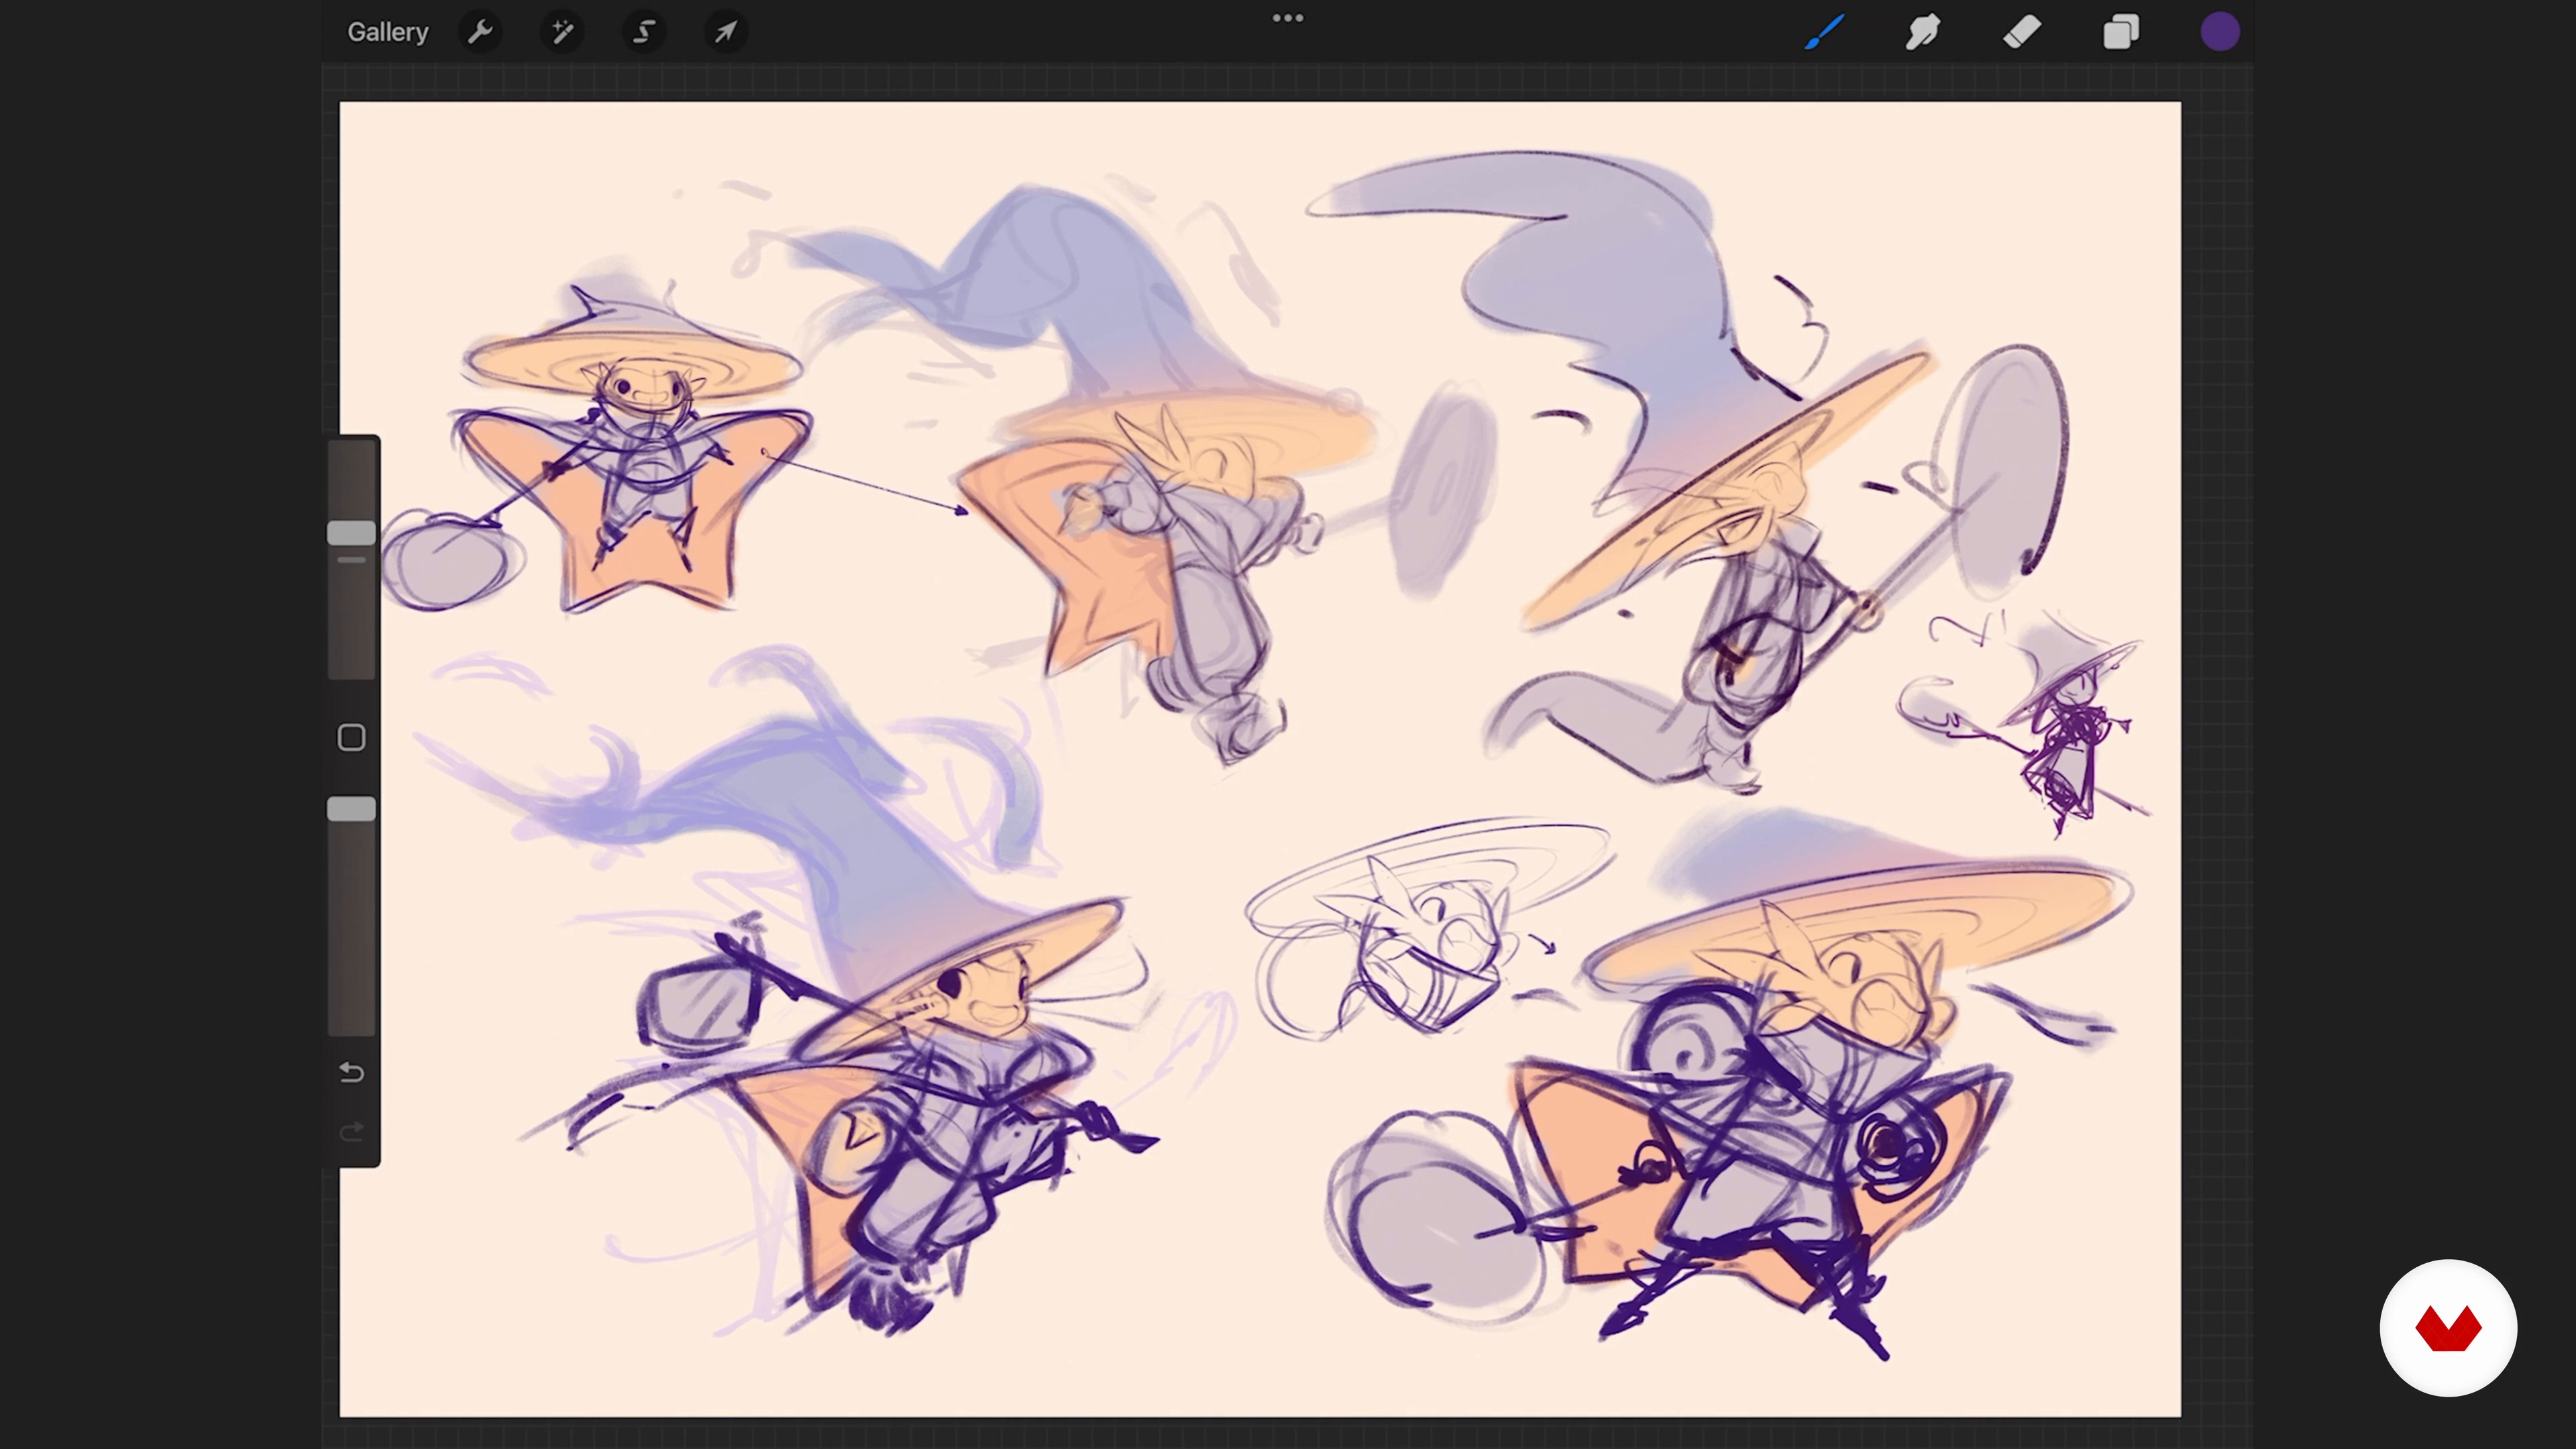
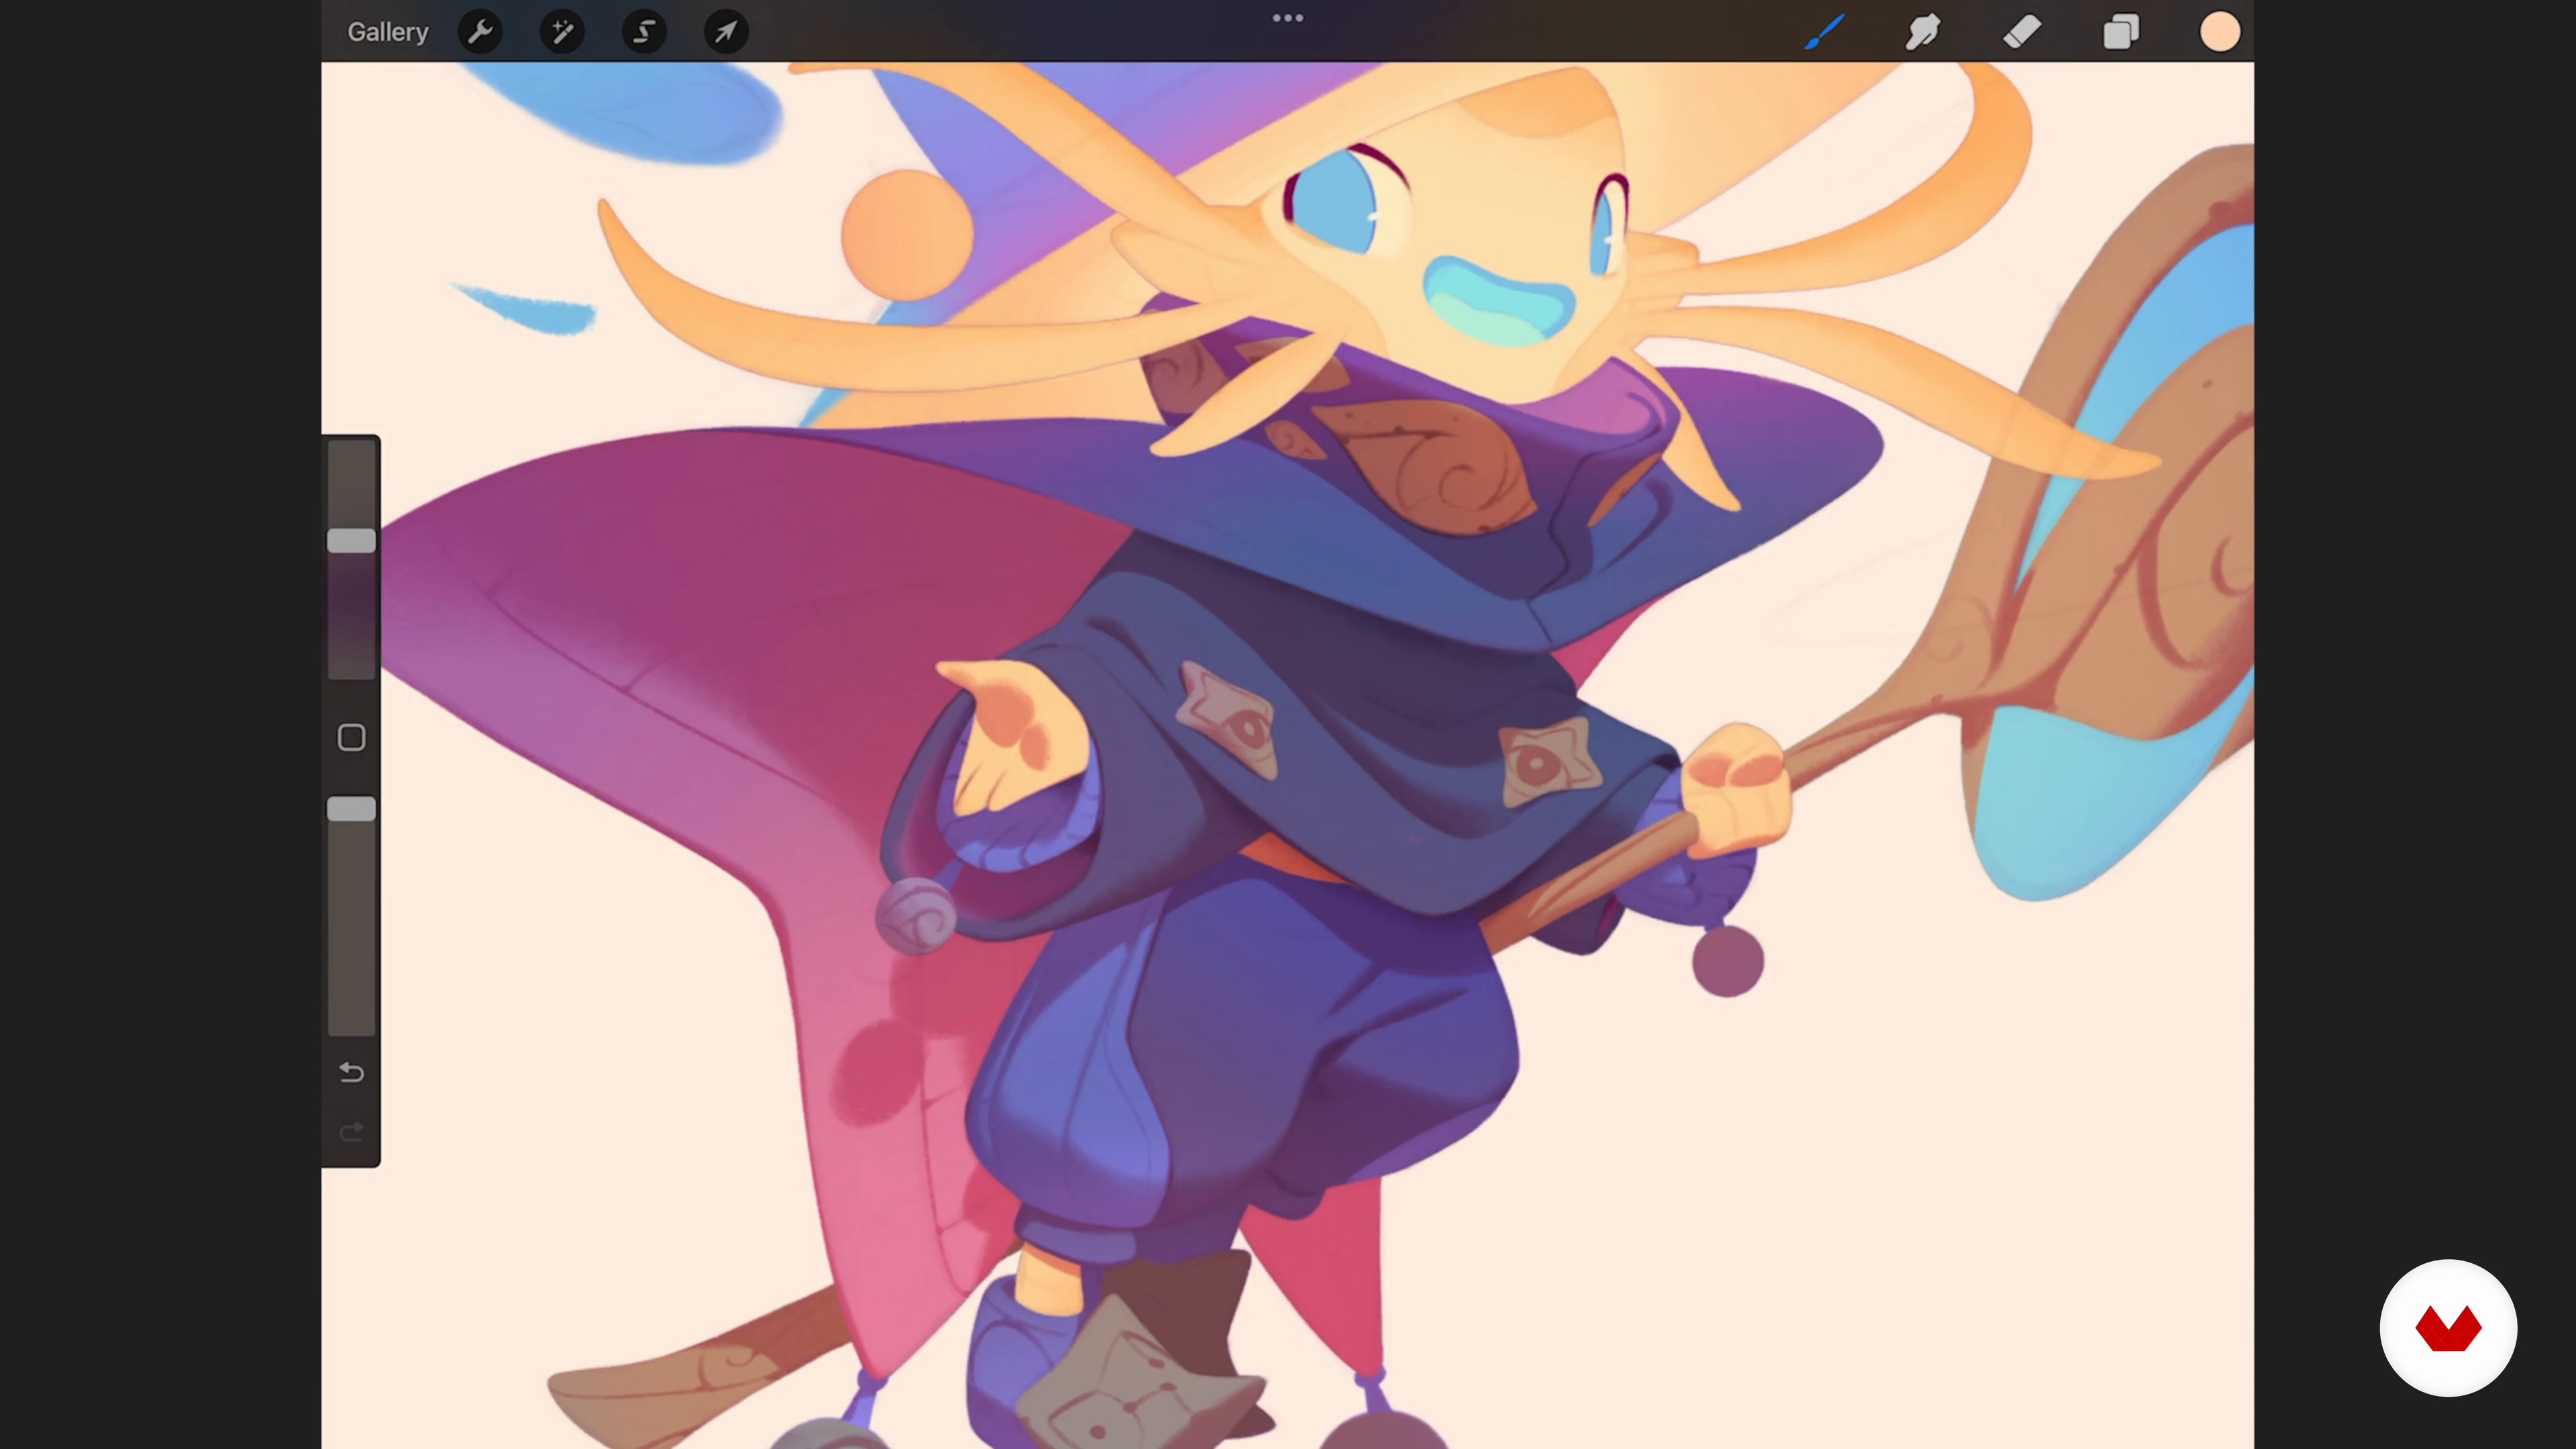
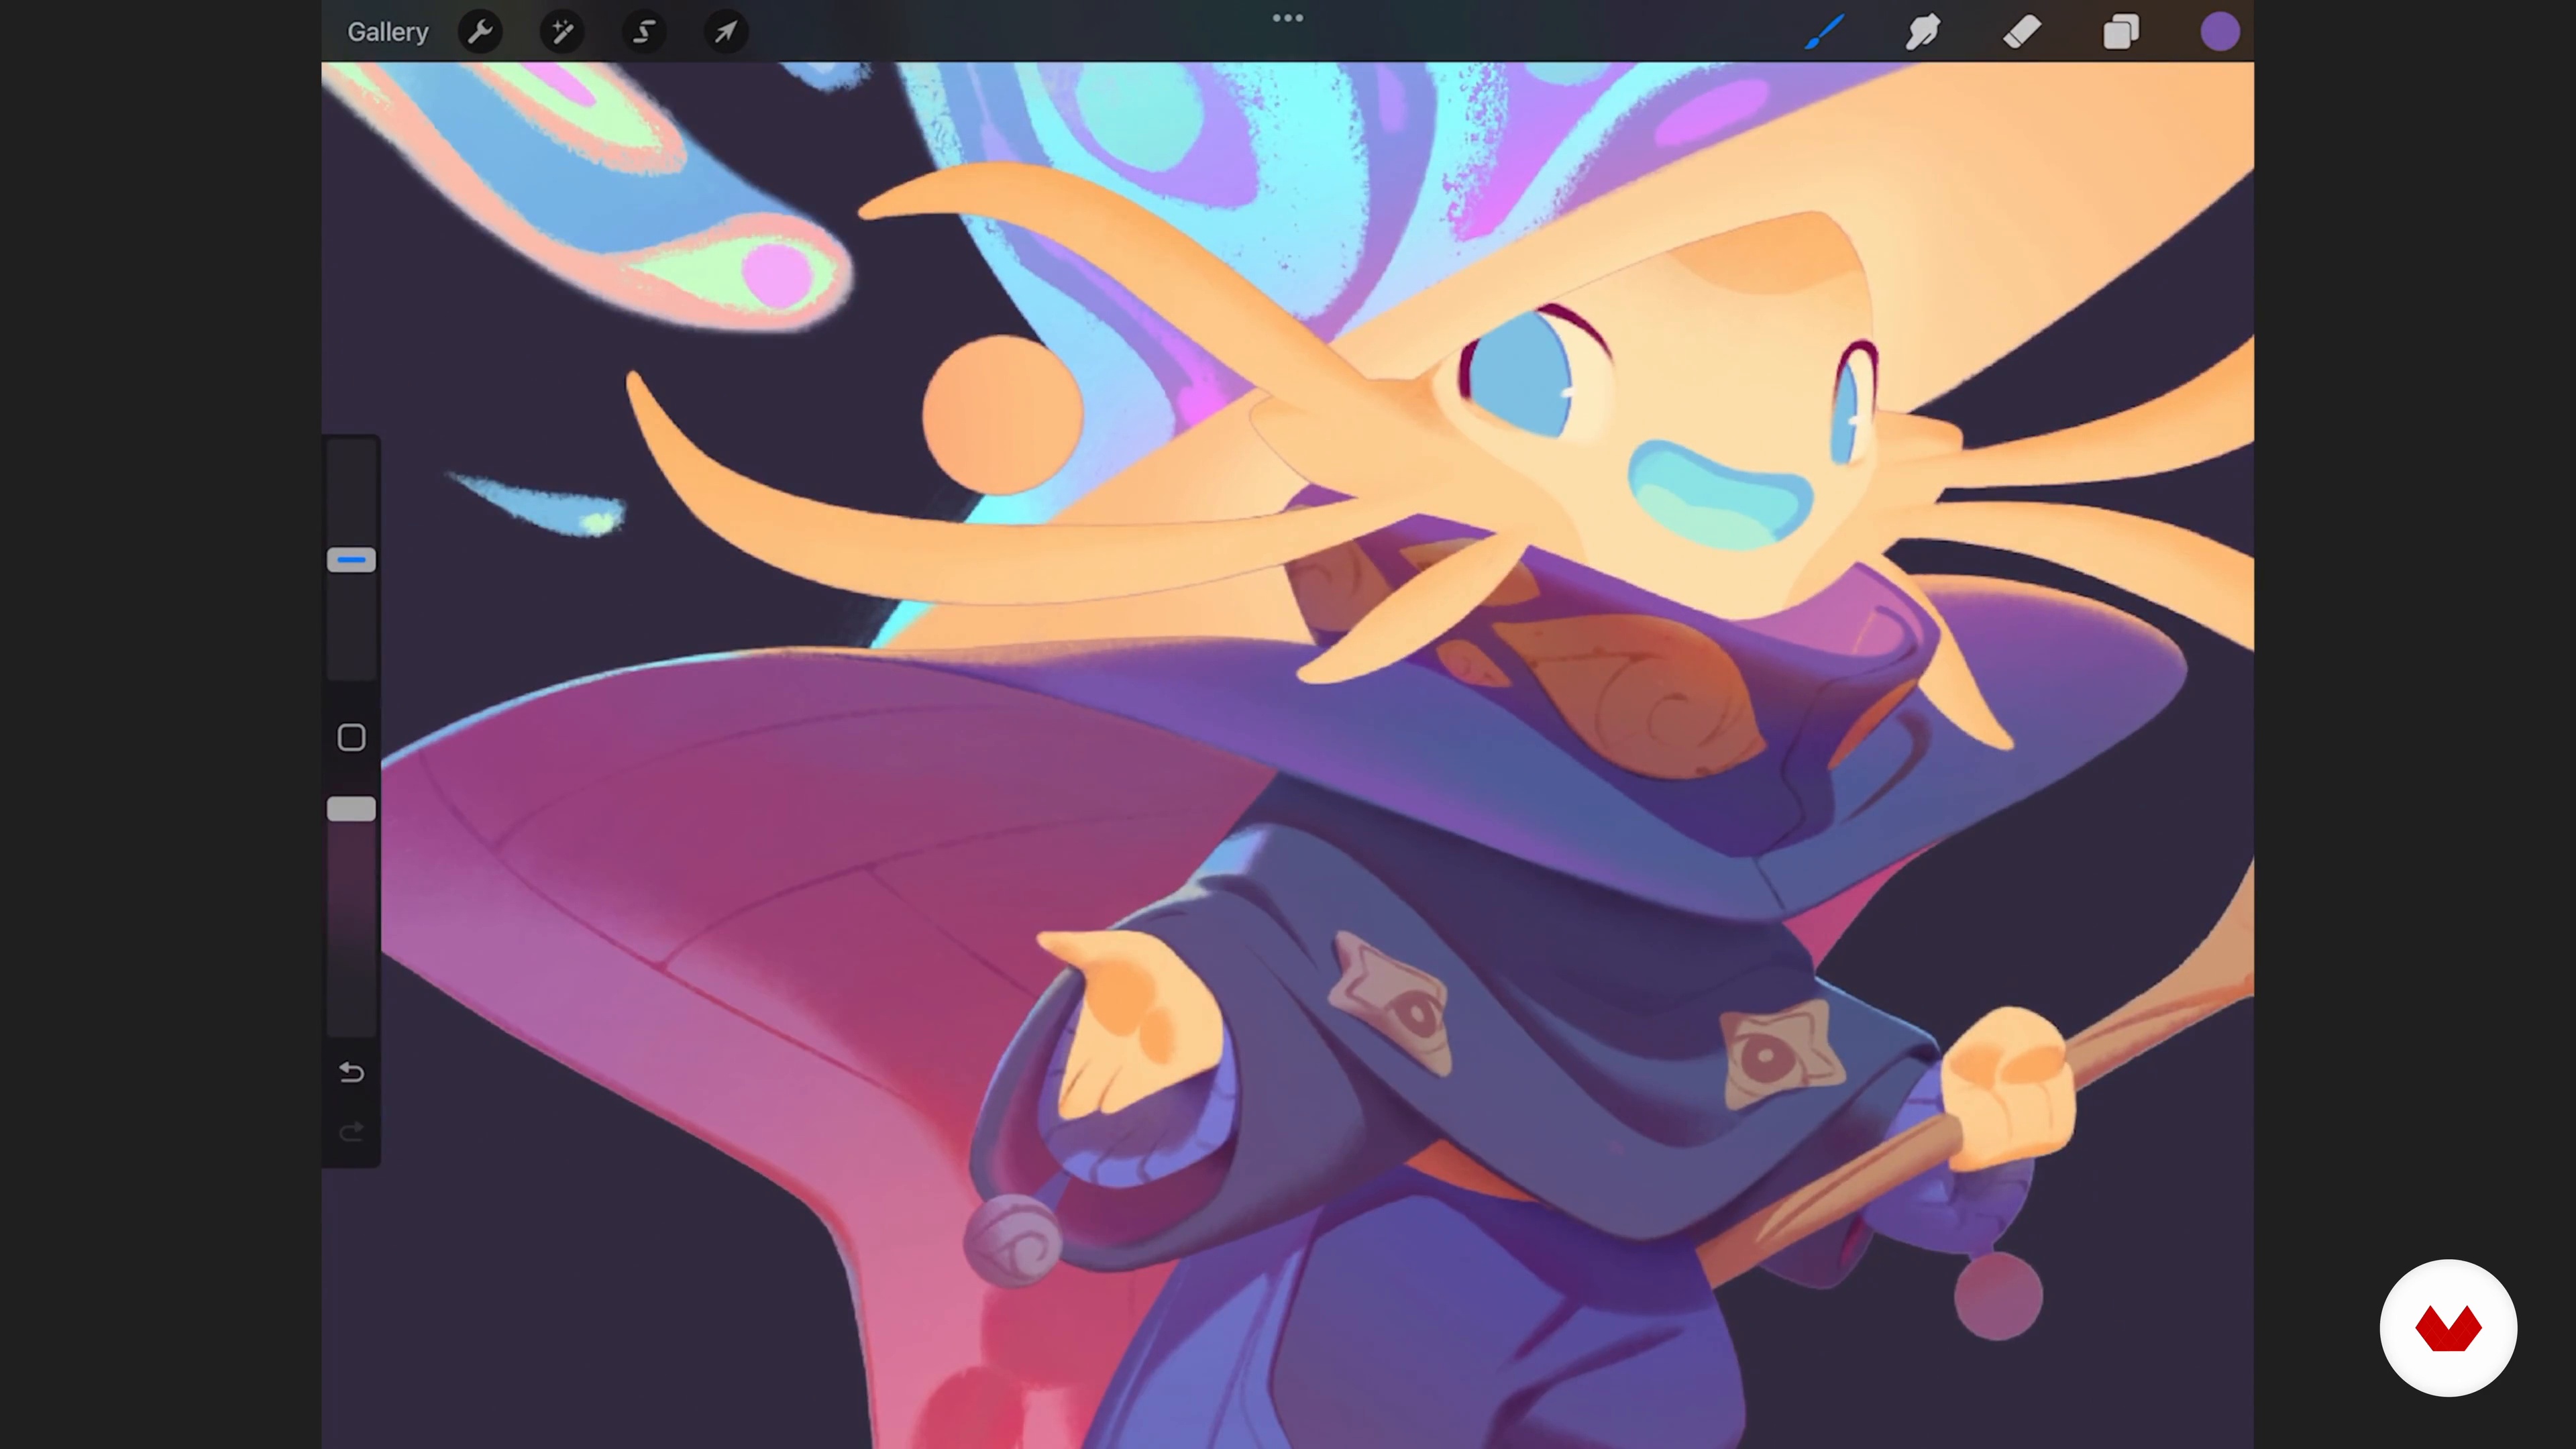
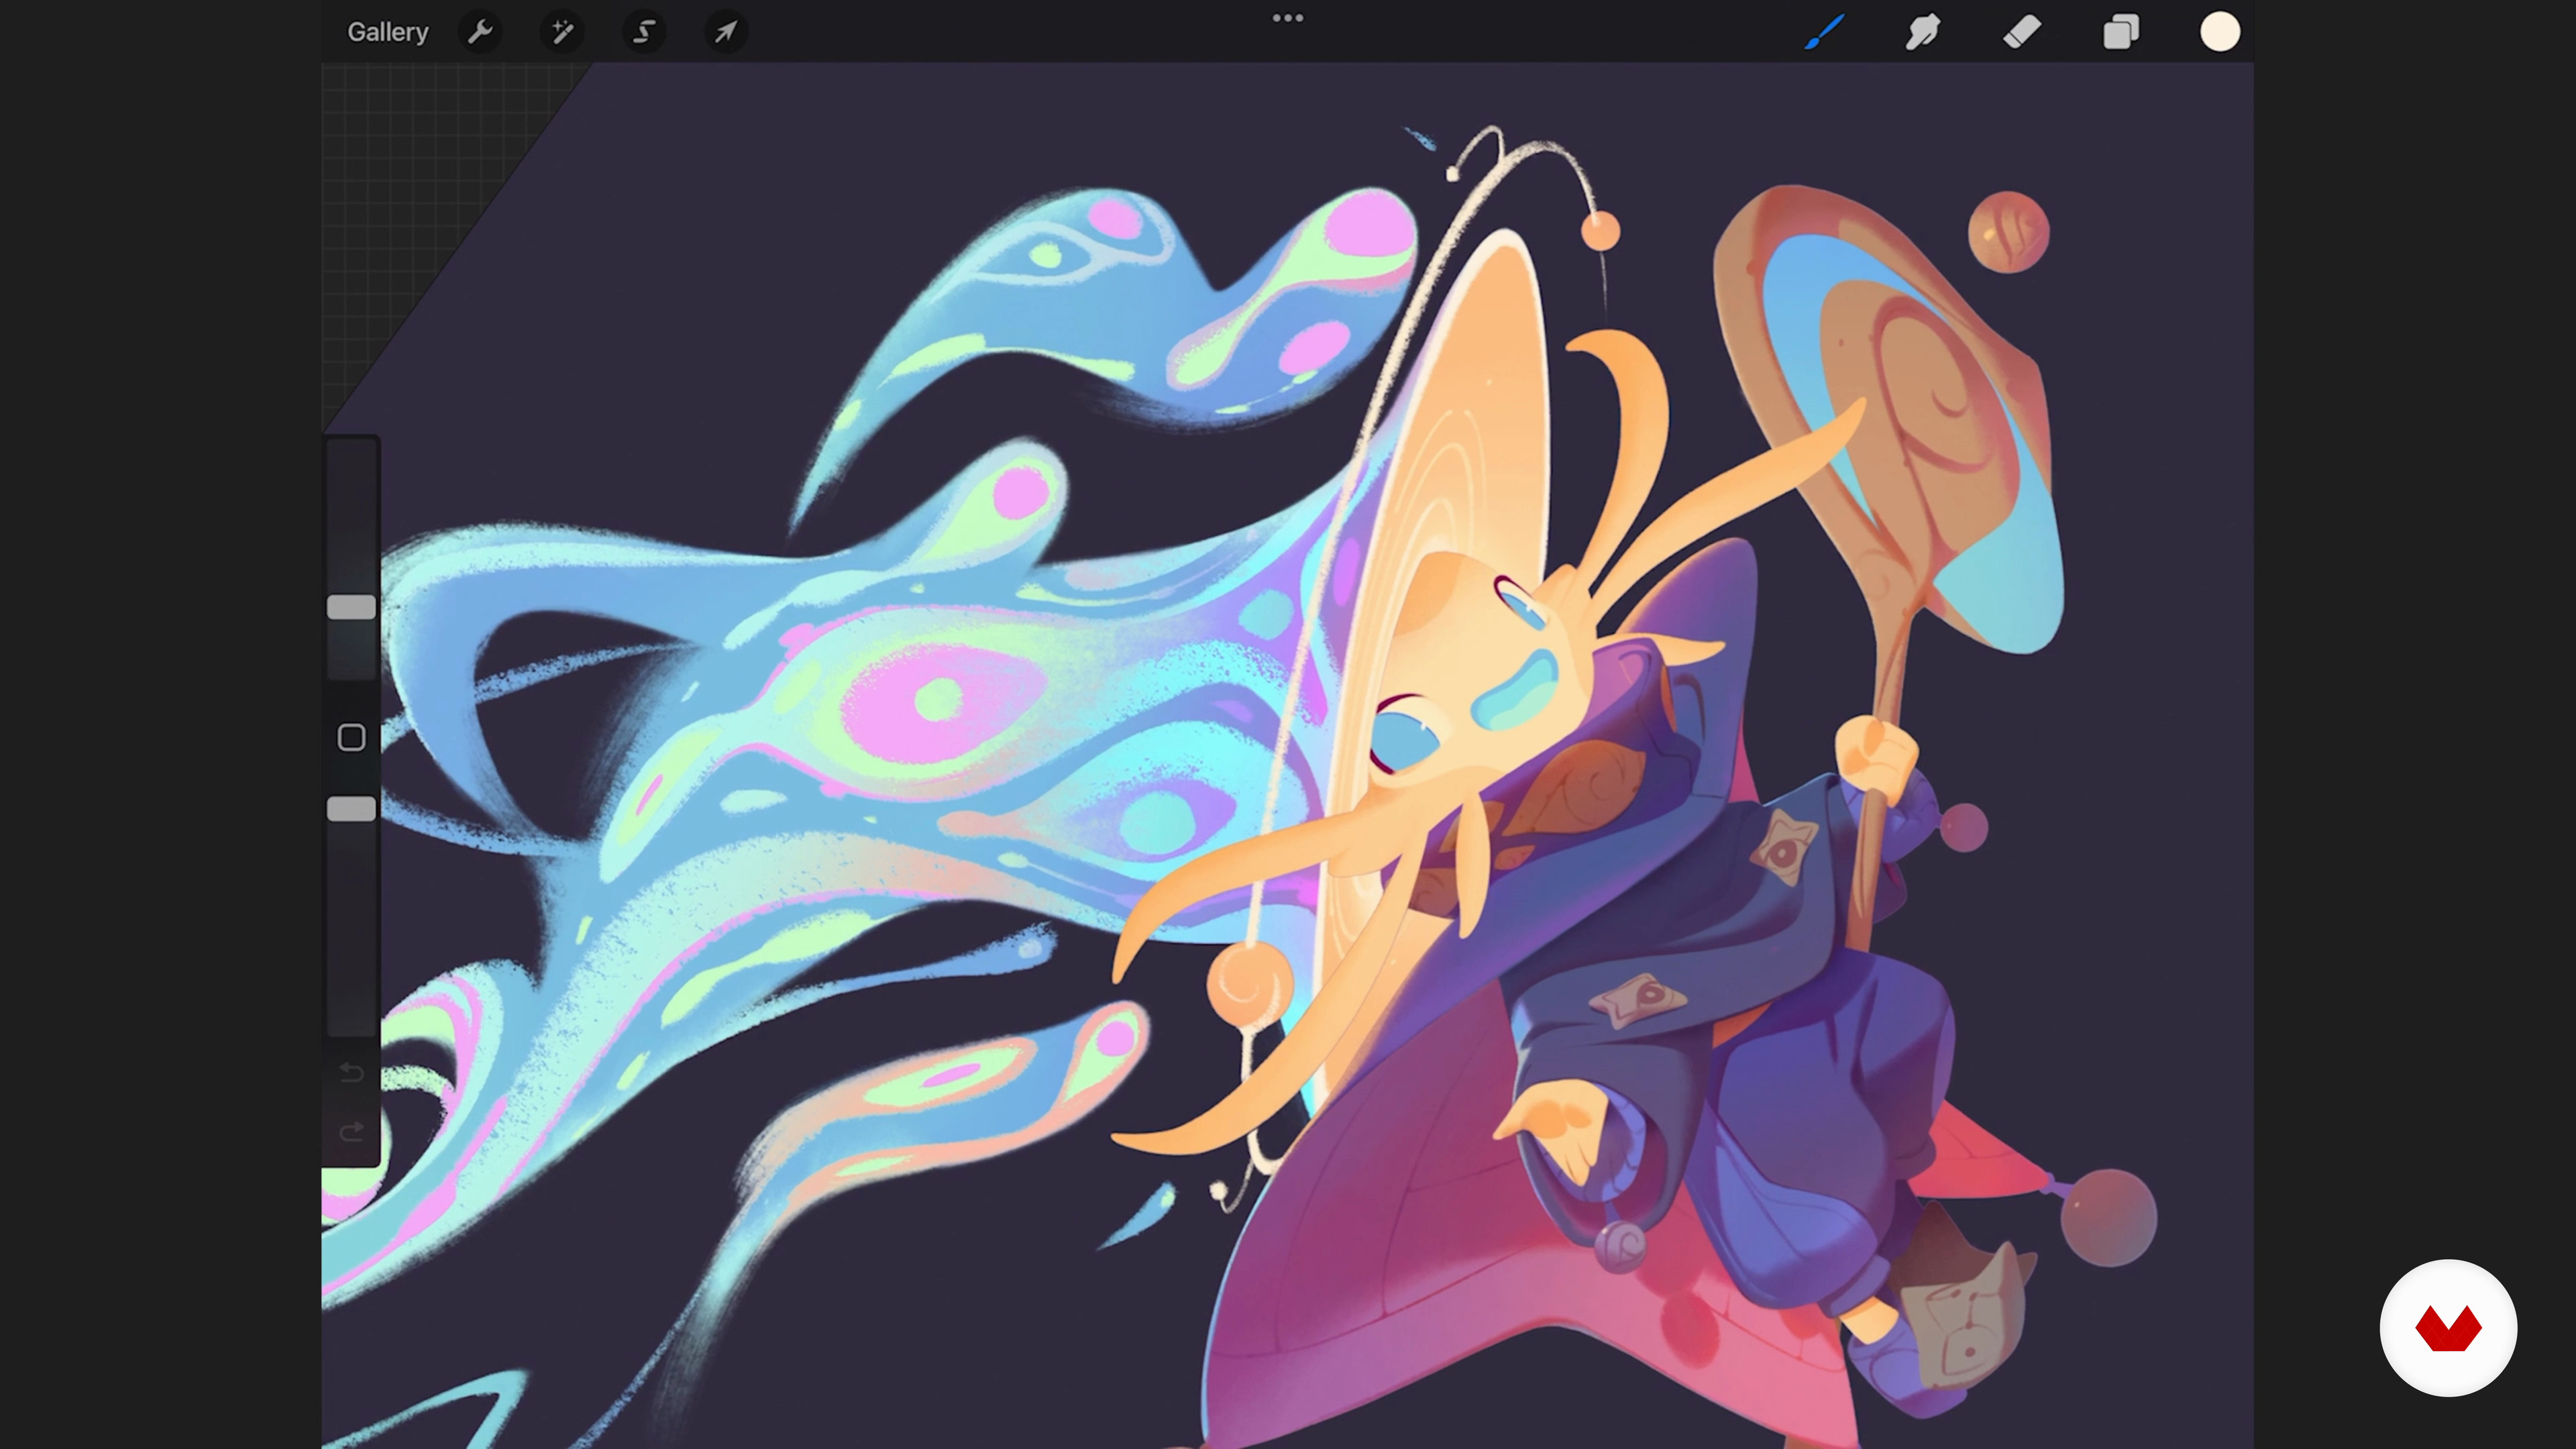
Embark on a creative journey to master the art of fictional character illustration, guided by renowned experts Jackie Droujko, Félicie Haymoz, Tania Yakunova, Joel Santana, and Nicholas Kole. This specialization offers a structured learning path to develop dynamic, expressive characters with unique personalities. With a focus on both traditional and digital techniques, the program begins by establishing the foundations of character design, emphasizing dynamism, posture, and action. Students will learn to create convincing anthropomorphic characters by combining human and animal traits, expanding their creative repertoire.

Progressing further, participants explore techniques to infuse expressiveness and emotion into their illustrations, enhancing storytelling through visual elements. Mastery of color and light in digital painting brings life and dimension to characters, creating vibrant atmospheres. The program culminates in integrating all acquired skills using Procreate, allowing the creation of original fantasy characters. Aspiring illustrators and visual artists will gain the tools needed to captivate audiences across various media, from animation and comics to video games and illustrated books. This comprehensive educational path equips learners with a professional portfolio, ready to present to industry leaders or launch independent projects.

Read more ↓

What will you learn in this specialization?

A total of 6 modules and 83 lessons
A total of 16h 30m of vídeo lessons
Taught by 5 selected expert teachers
image
1
Introduction
Our connection to characters runs deep—we dream about them, overanalyze them, and shape our identities through them. From ancient storytelling to digital avatars, imagined figures have always reflected our inner worlds. This is an invitation to explore the magic of character creation and embrace the wild, wonderful potential of your own imagination.
2m
image
2
Influences | Jackie Droujko
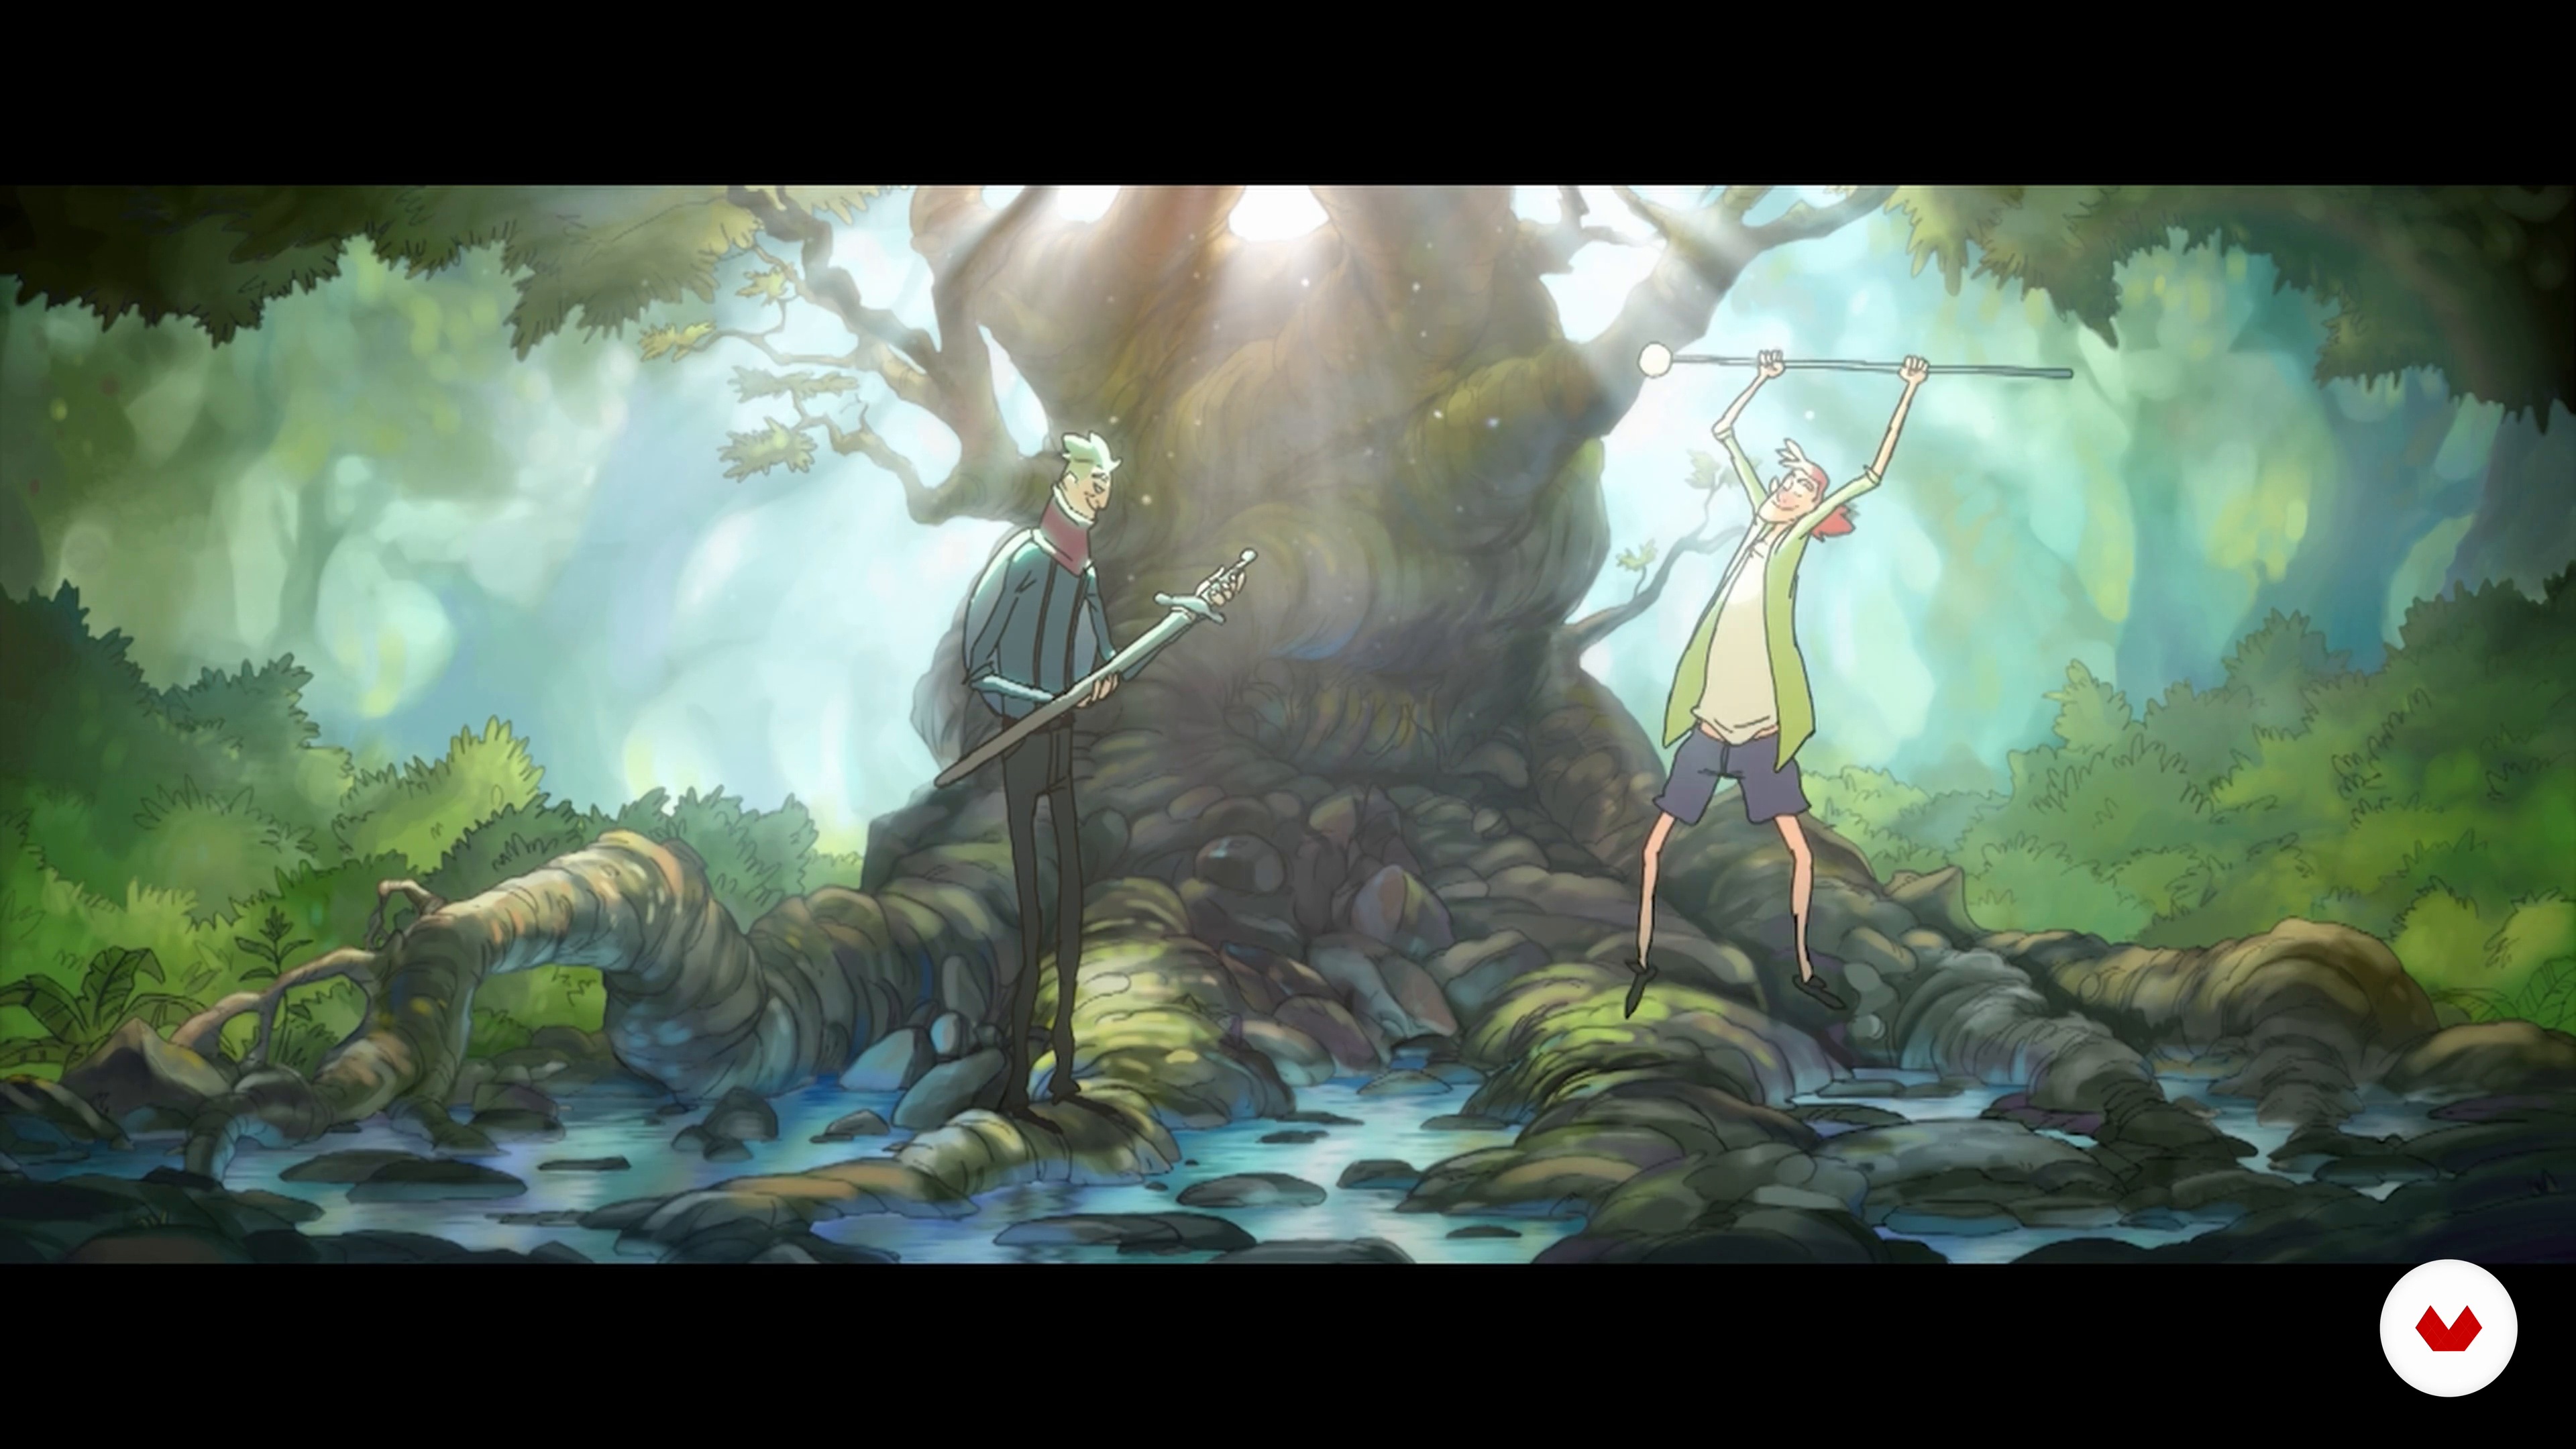
Next, I’ll share my biggest inspirations in character design and filmmaking.
3m
image
3
Influences | Félicie Haymoz
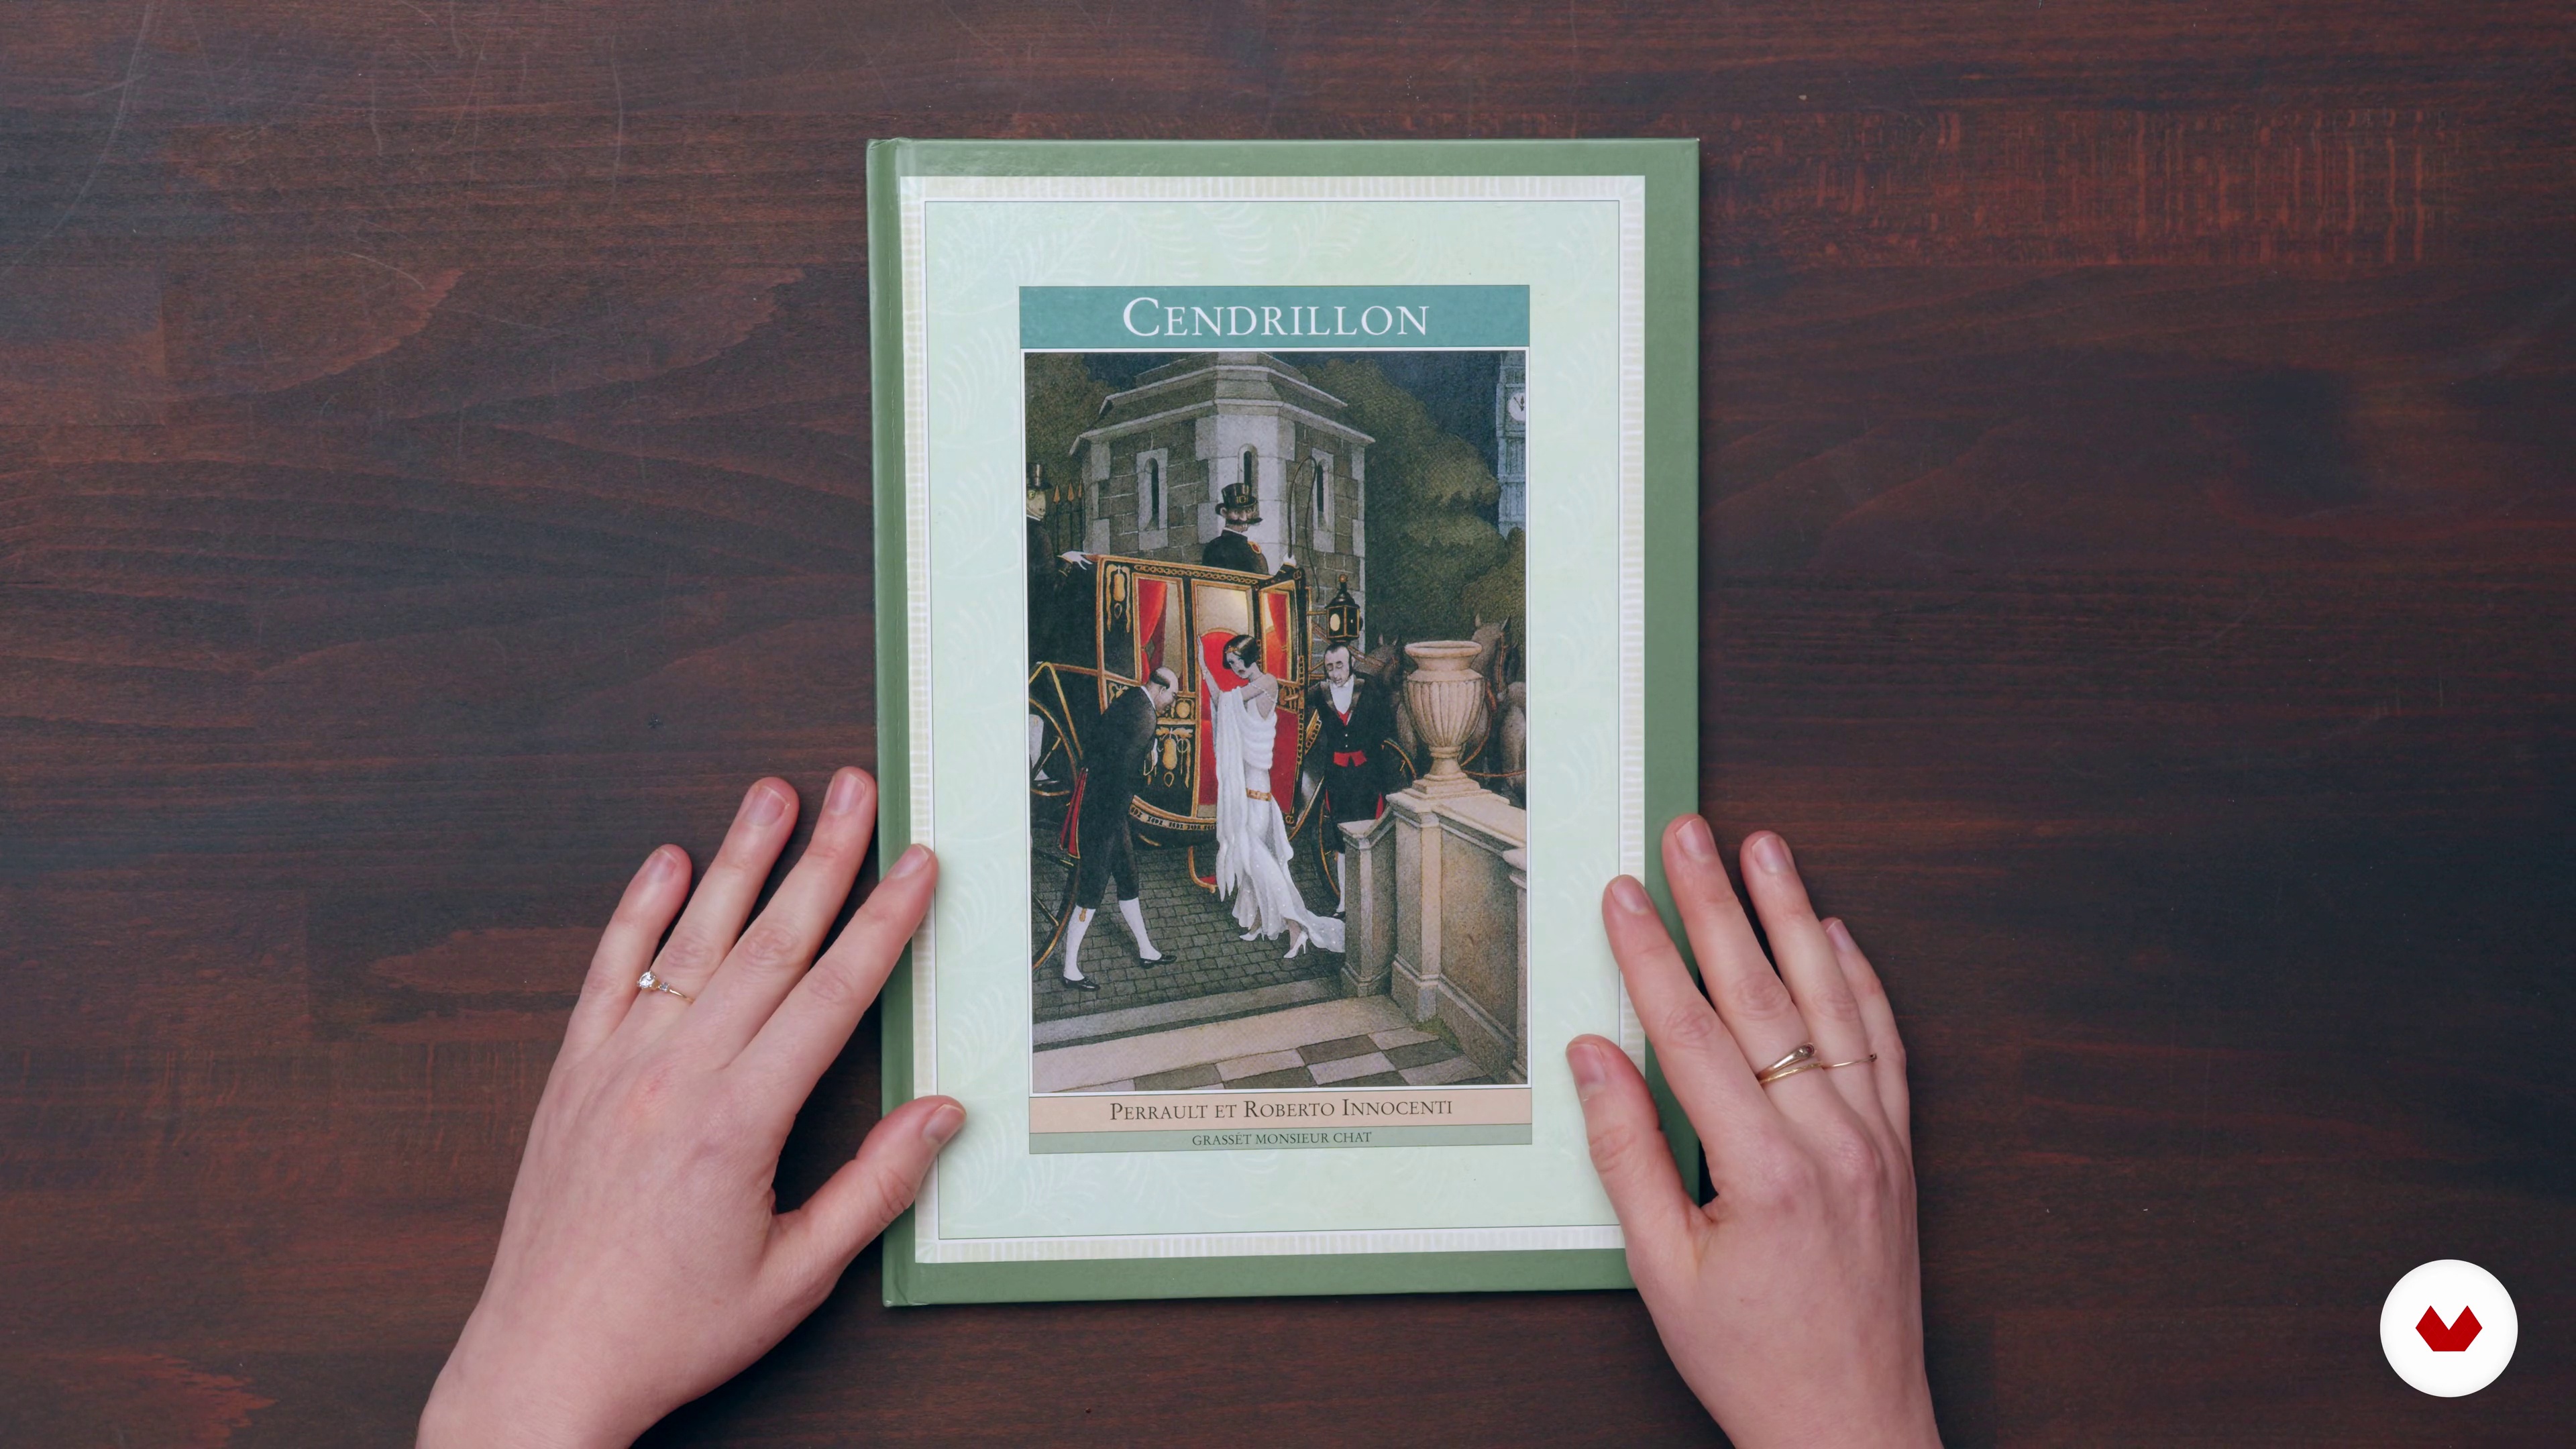
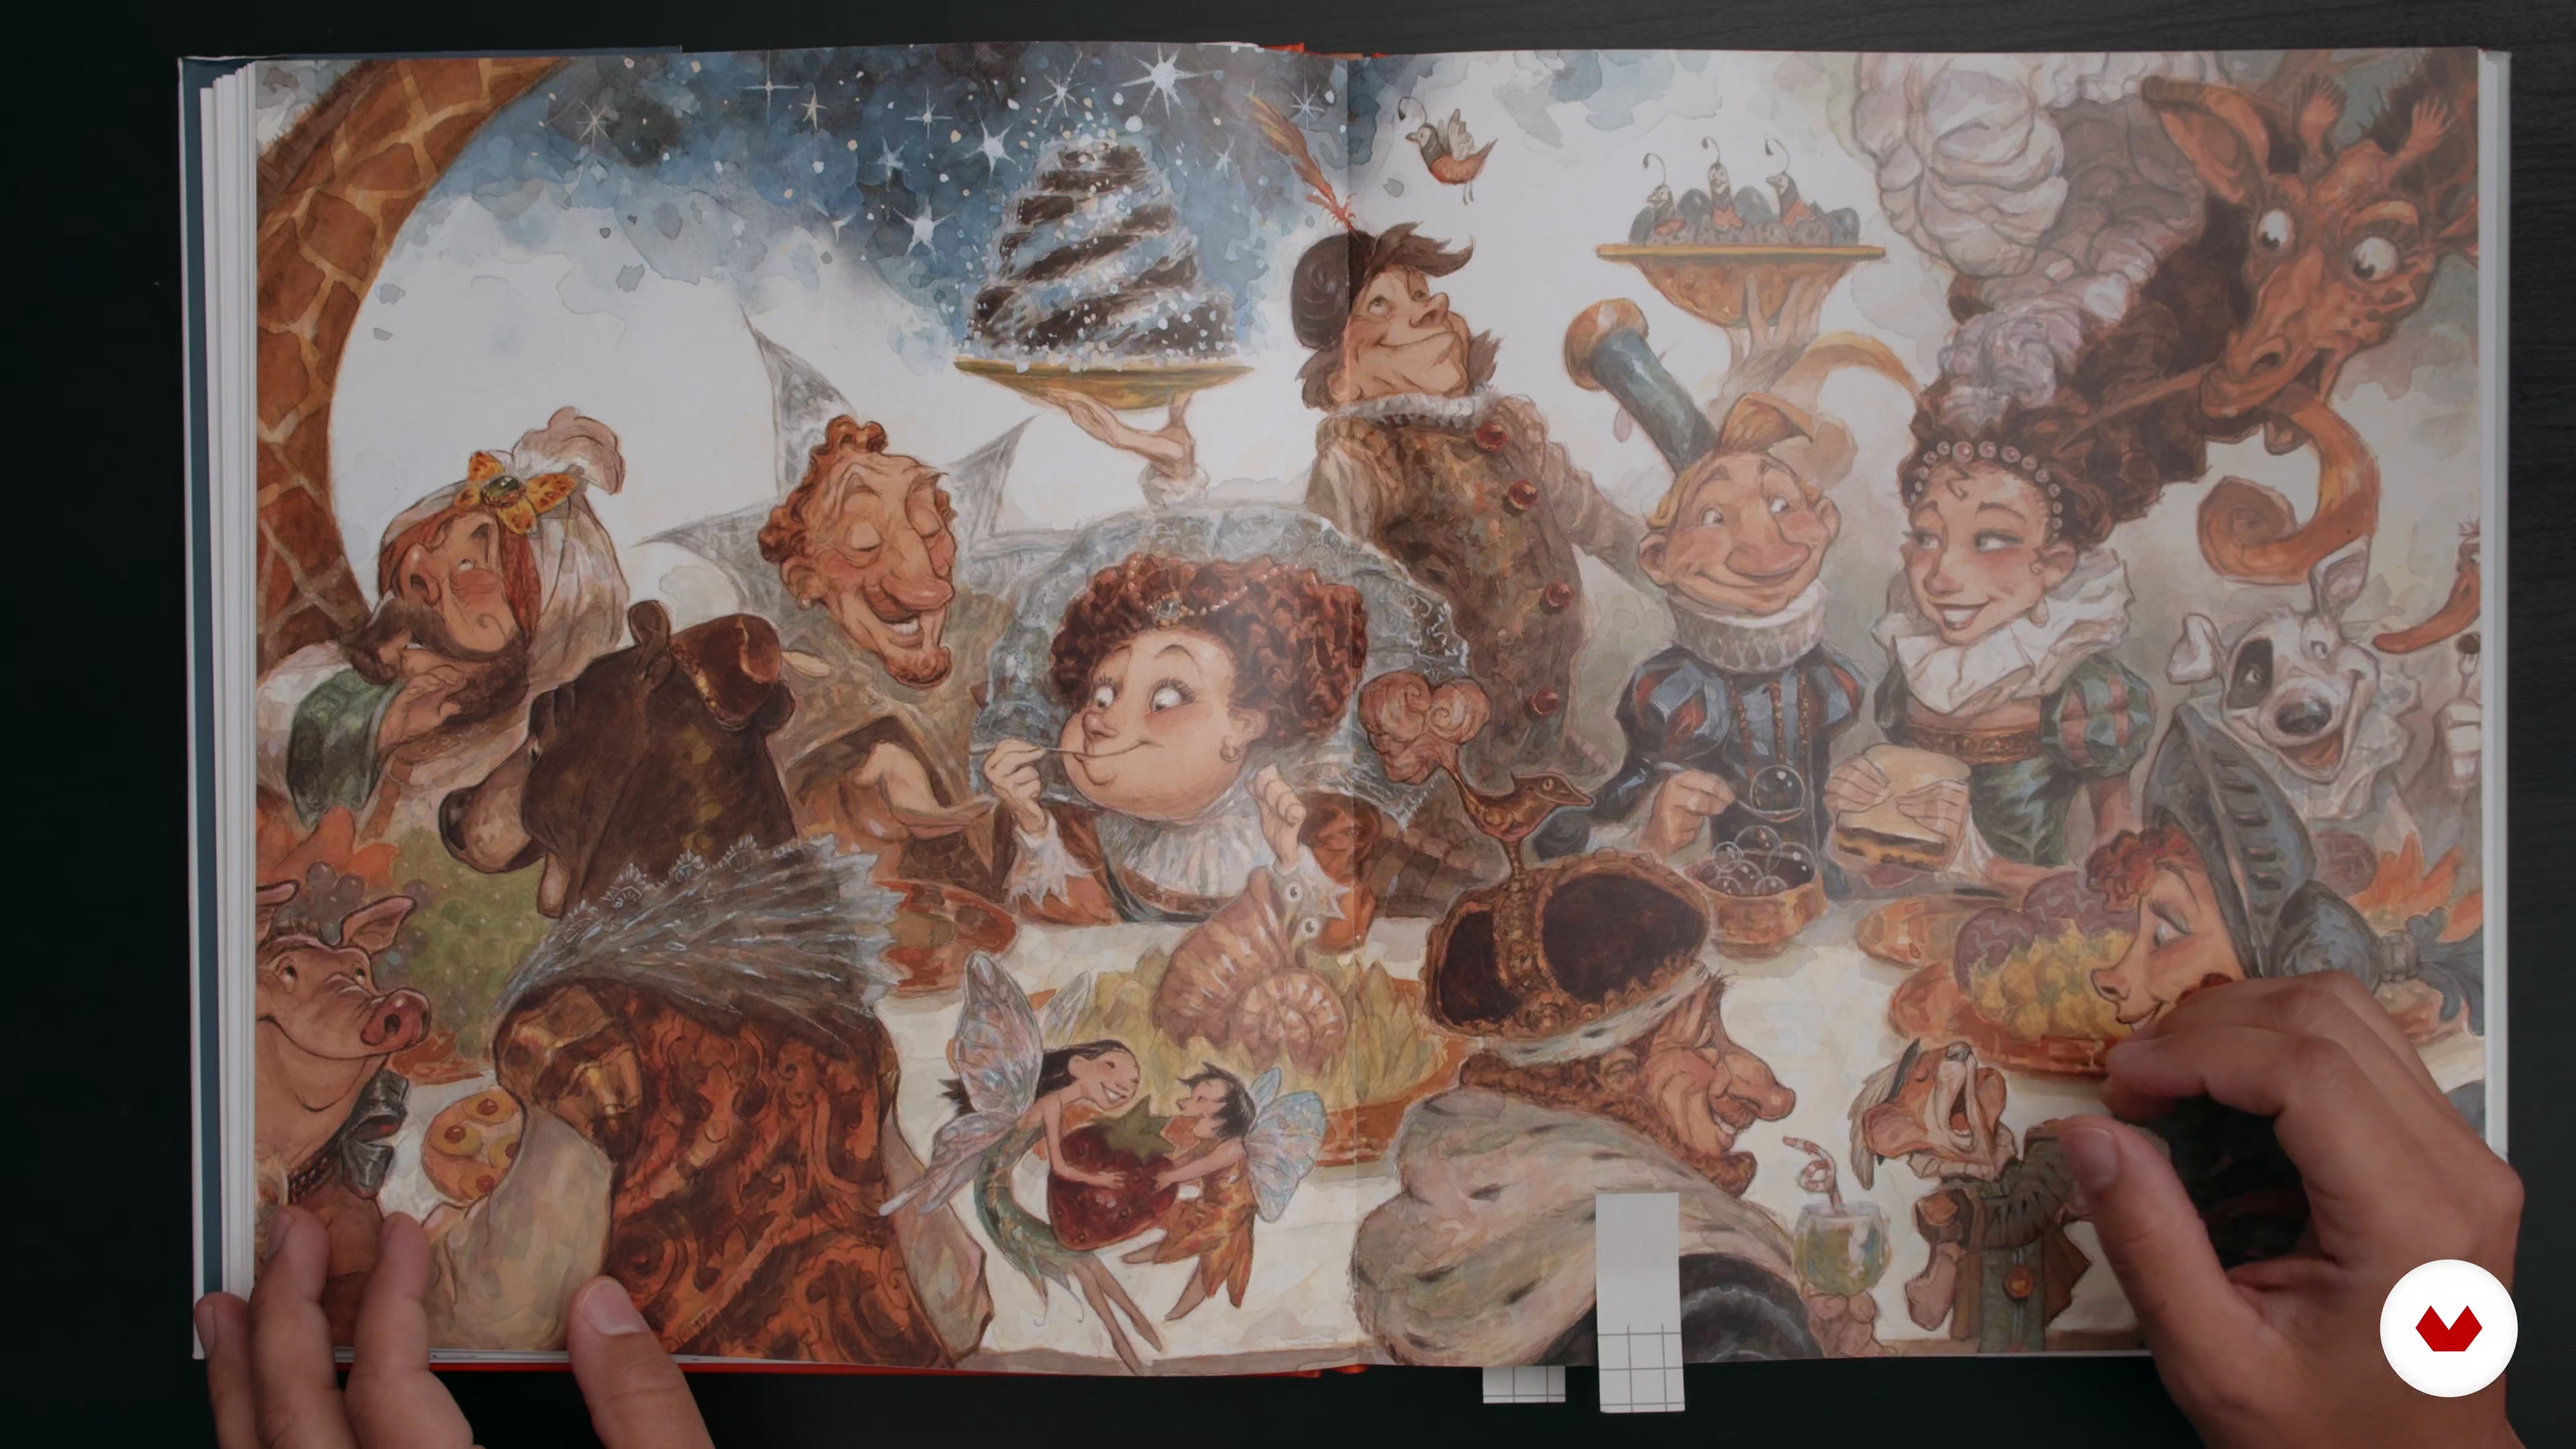
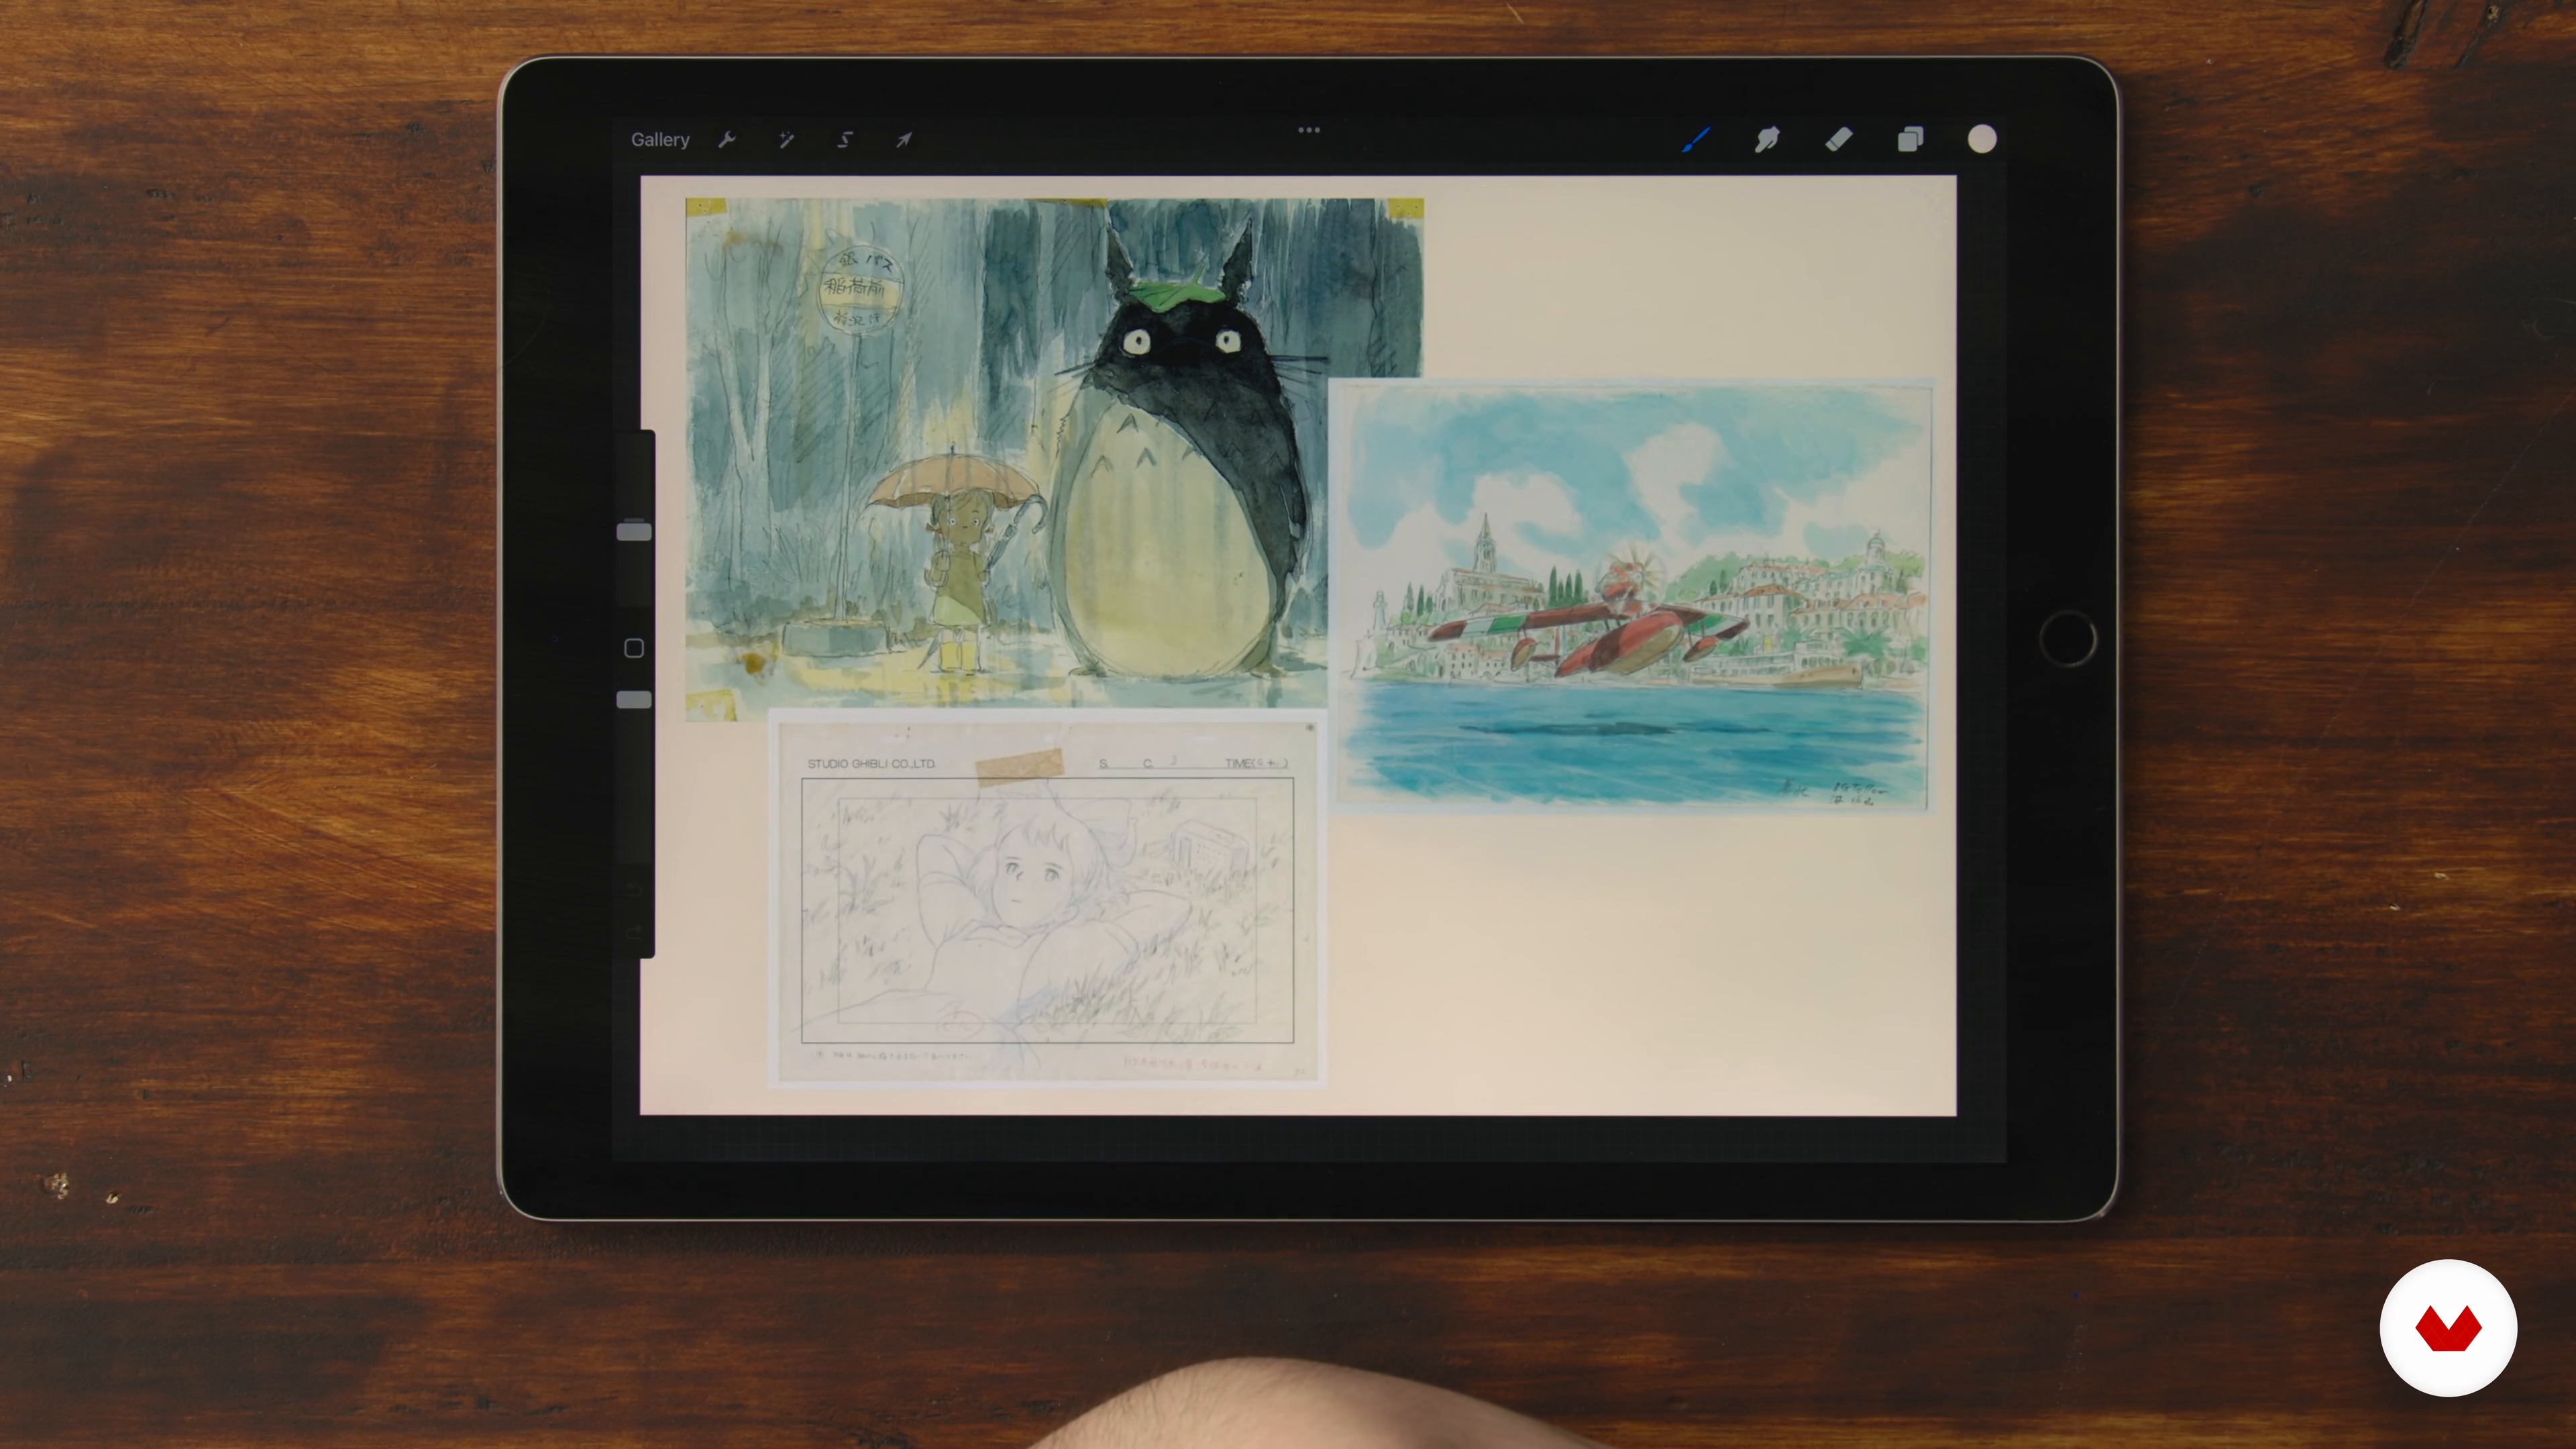
You'll discover how childhood books and films continue to shape a creative practice, from the whimsical world of Fleur-de-Lupin to Edward Gorey's gothic humor and Roberto Innocenti’s detailed Cinderella. These influences reveal a love for quirky characters, rich atmospheres, and visual storytelling.
11m
image
4
Influences | Tania Yakunova
In this lesson, I will show you some of the main influences that have impacted my work and shaped me as an artist.
4m
image
5
Influences | Joel Santana
In this video, I’ll share with you some of my favorite artistic heroes. I’ll talk a bit about how each one of them has influenced my work as well as other ways I find inspiration.
5m
image
6
Influences | Nicholas Kole
In this lesson, I'll discuss a few of the artists whose work has had the biggest impact on the way I draw, paint, and think about design! We'll take a look at some specific pieces of theirs that demonstrate mastery of the design principles we'll cover in this course, and break down how they work.
6m
image
3
Working with Lines
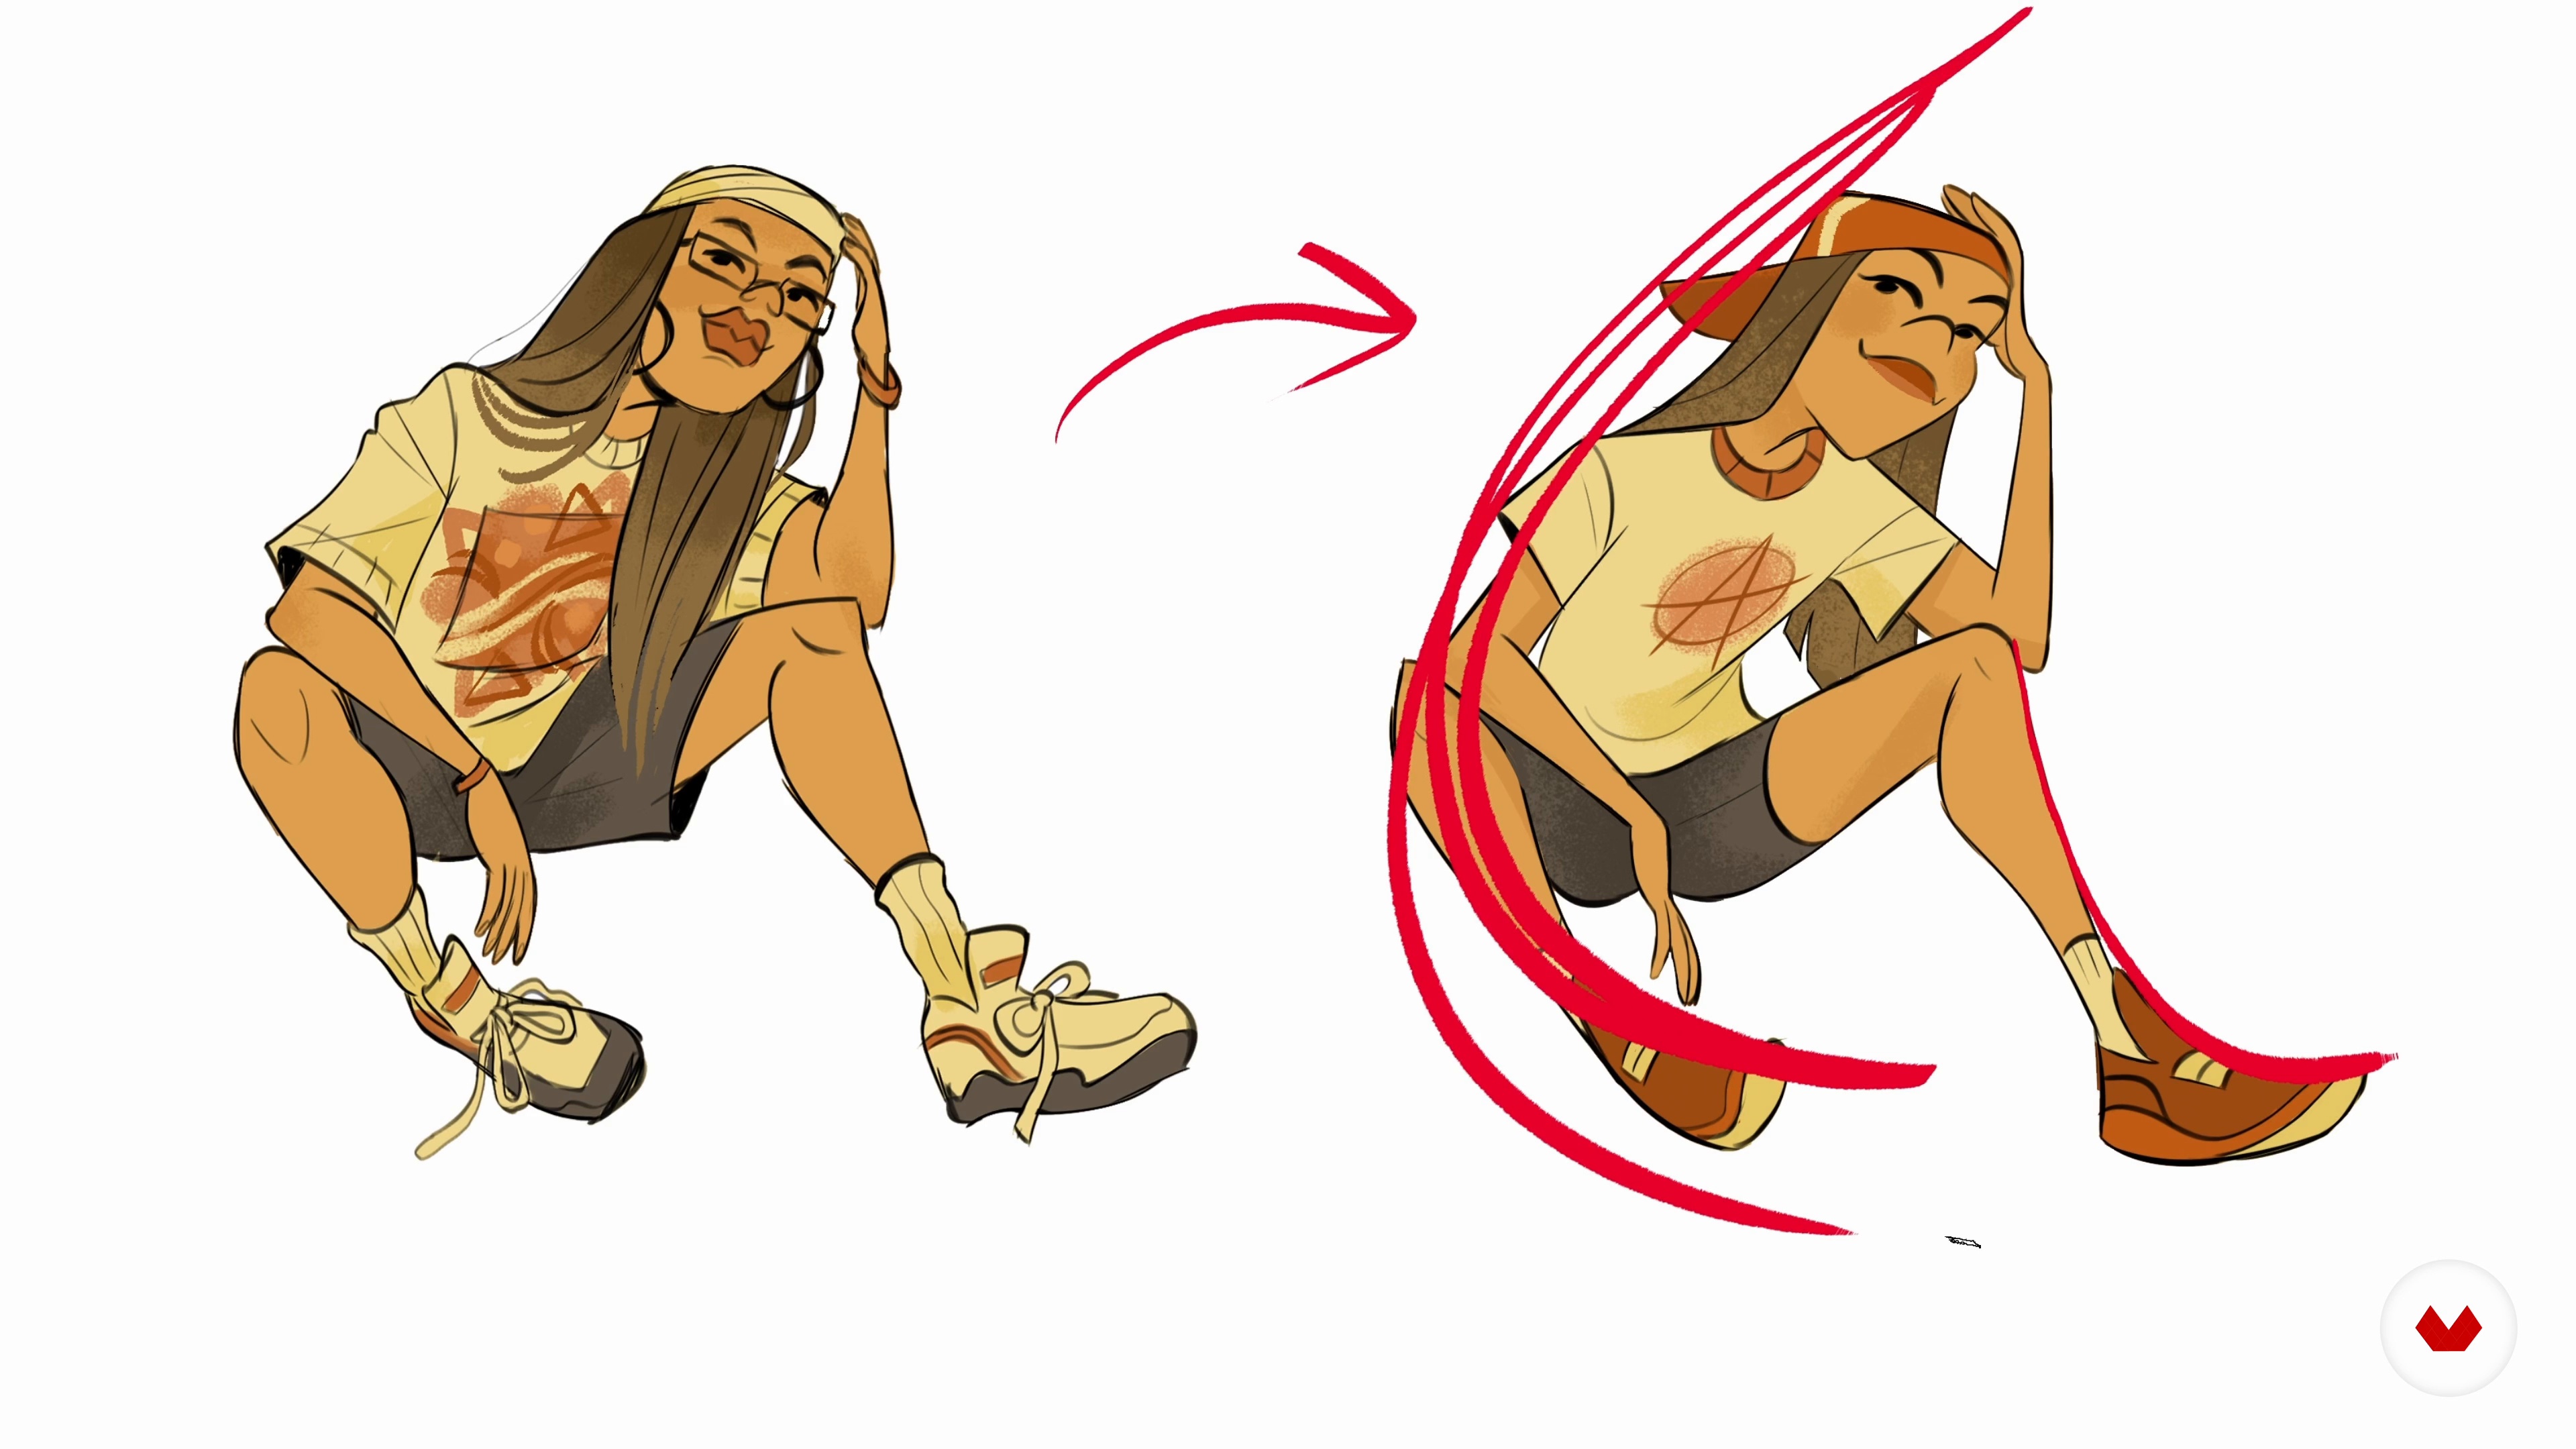
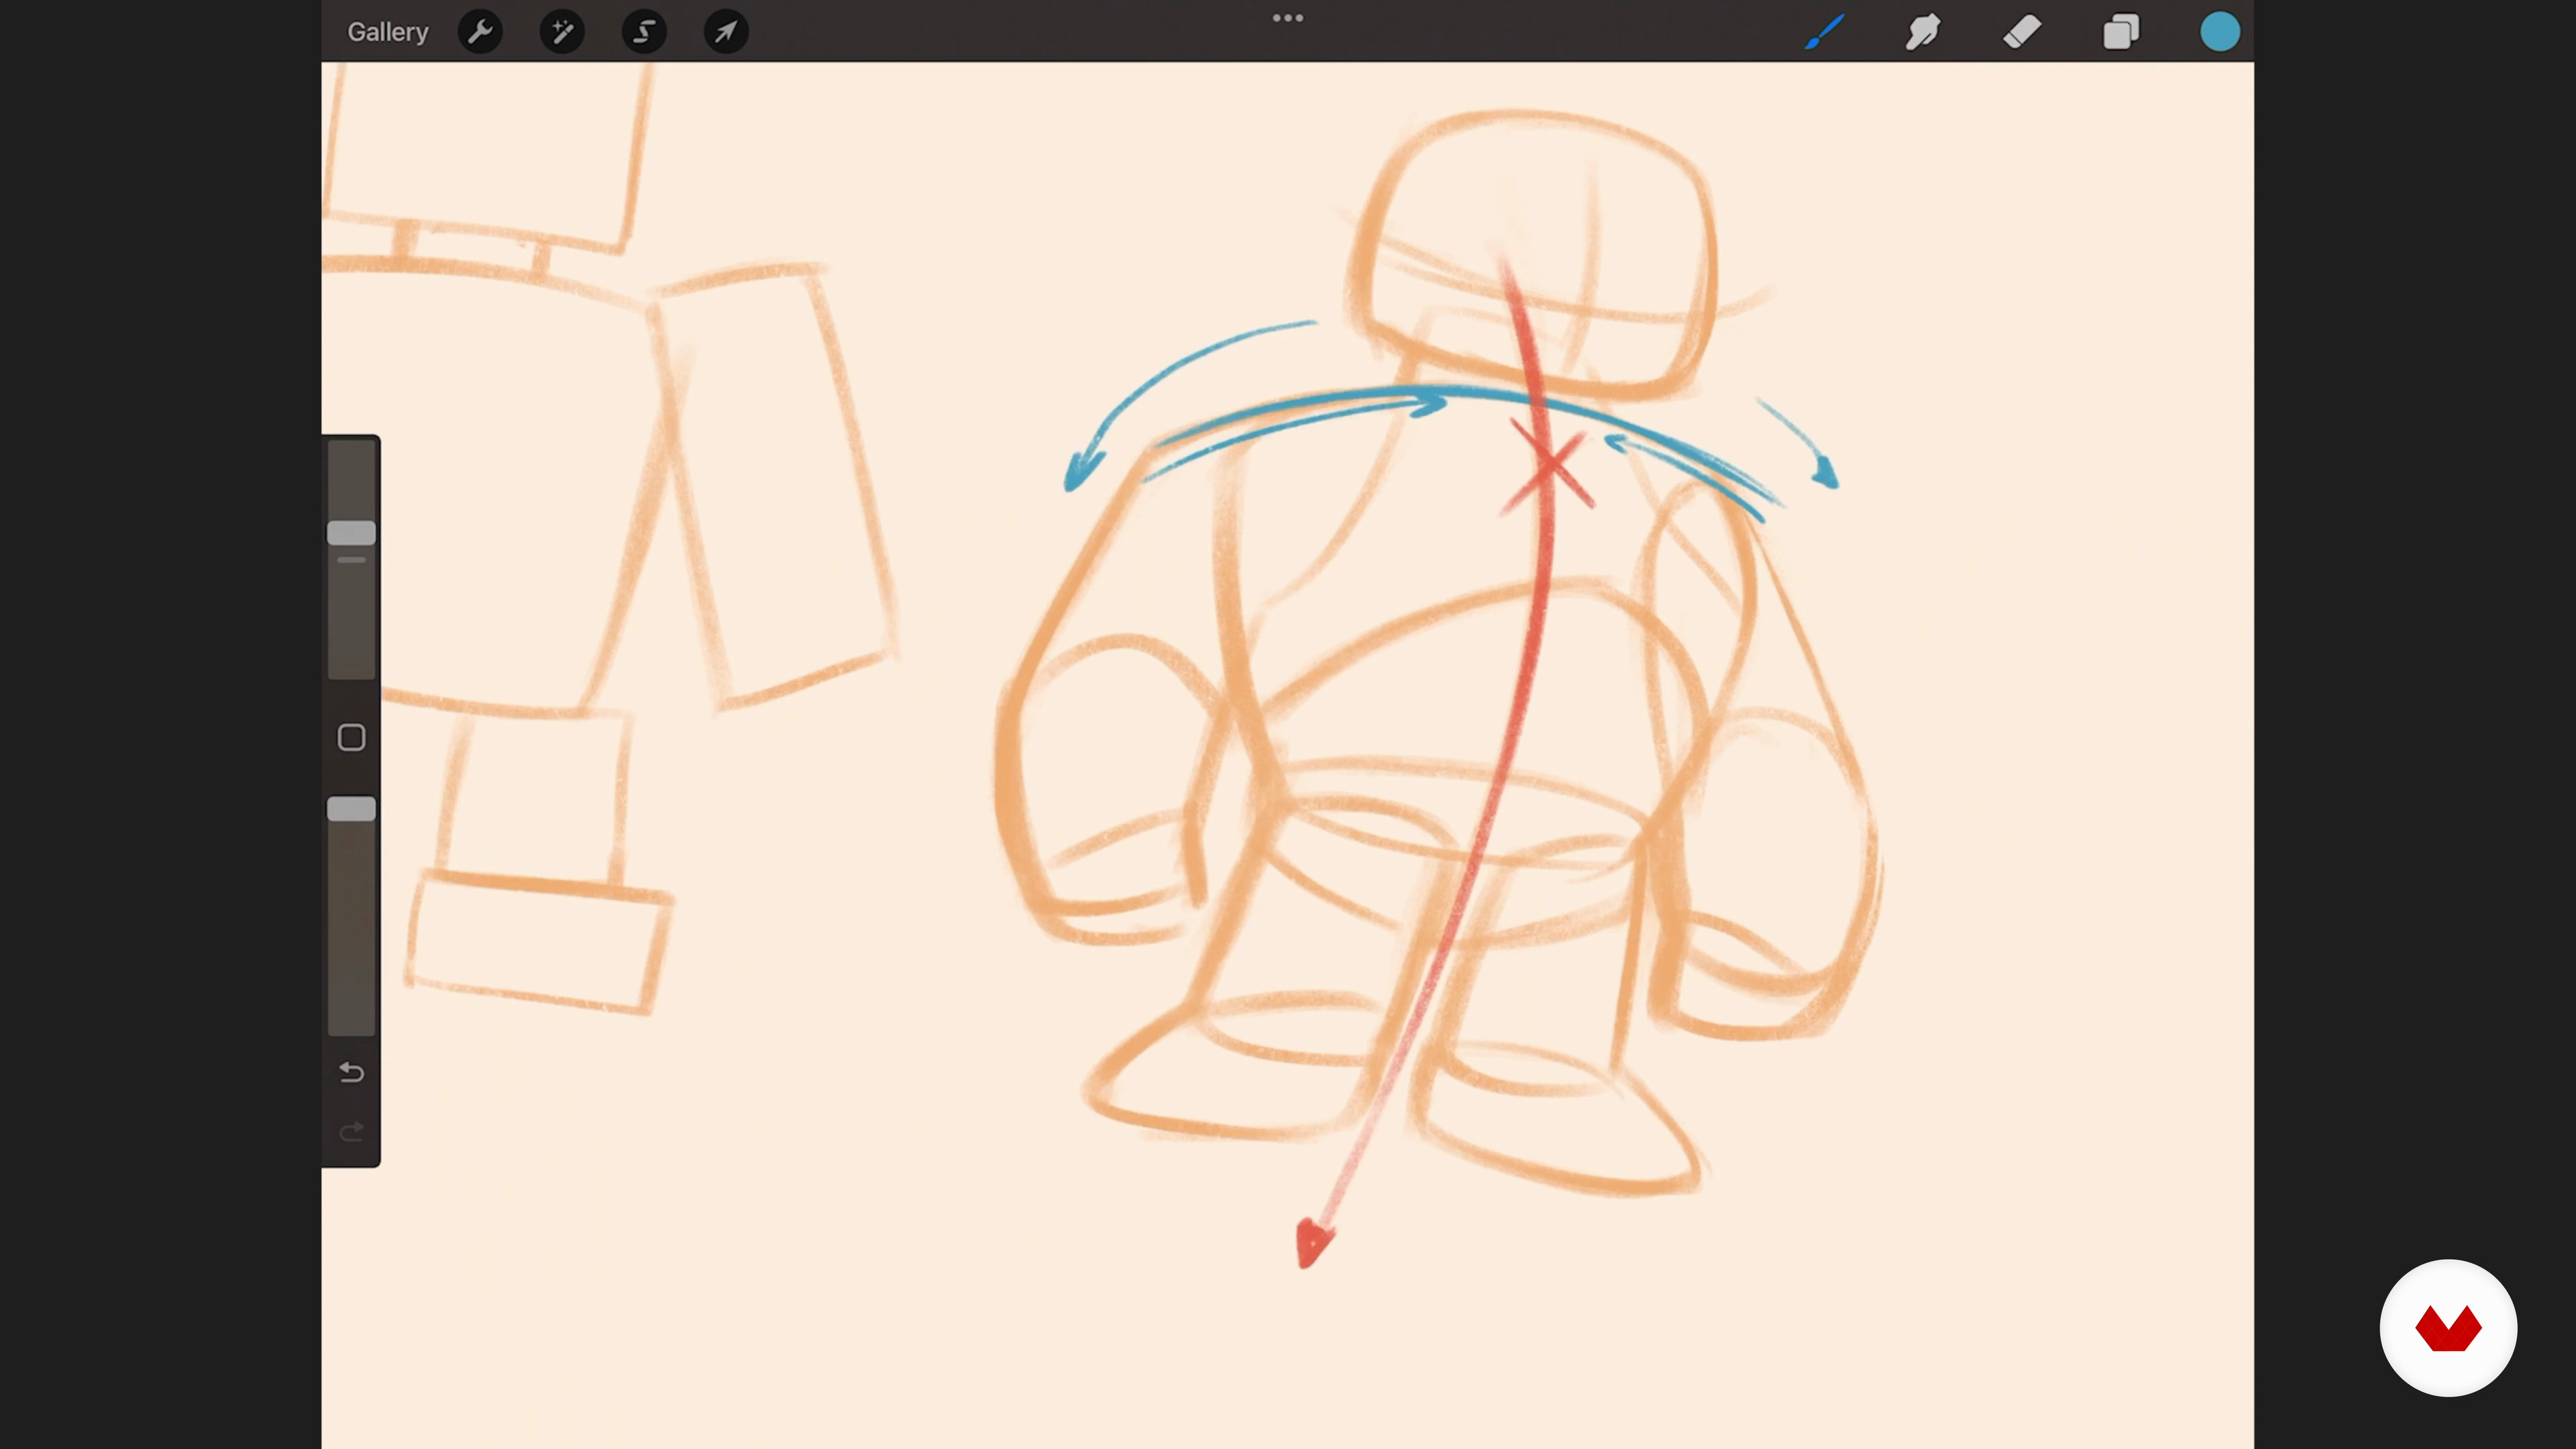
Let's start by talking about the practical application of straights vs curves, the line of action, and avoiding parallel lines and tangents and why they're so important.
5m
image
4
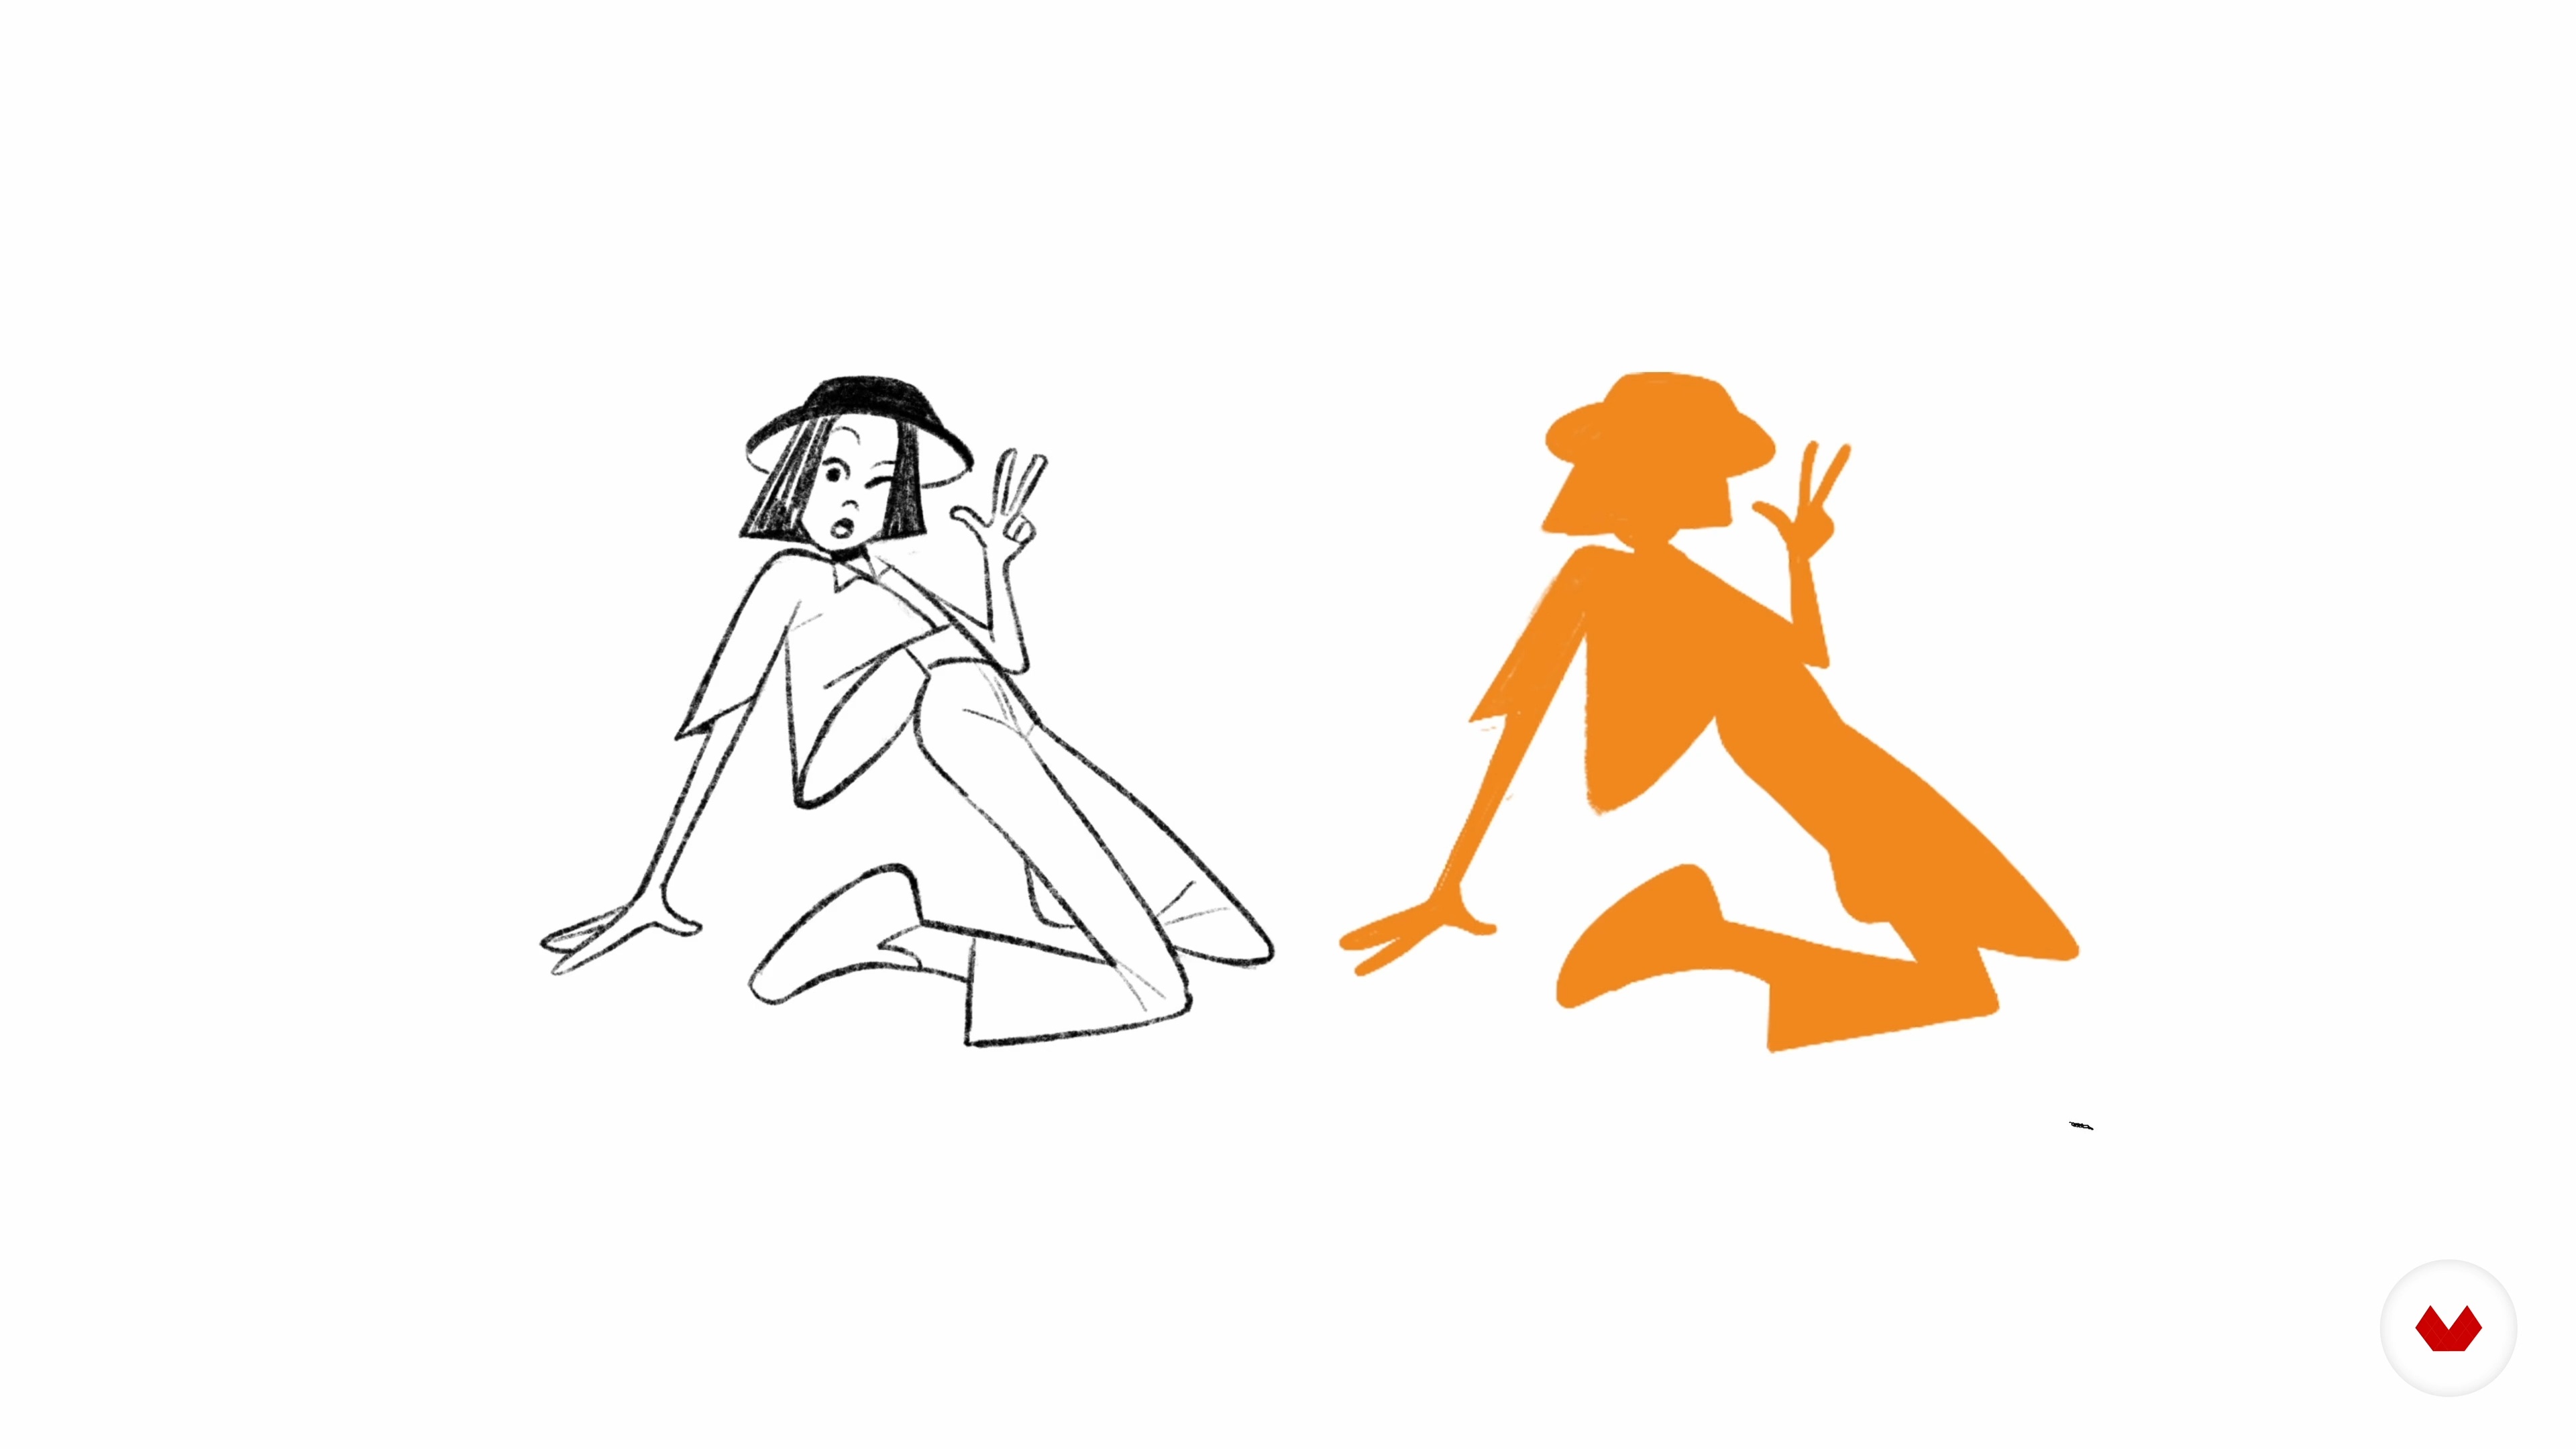
Using Shapes to Your Advantage
Next, you'll learn about contrasting shapes, silhouettes and negative space. If there’s one thing you take away from this course, let it be this: CONTRAST = INTEREST.
5m
image
5
Volumes and Proportion
You never want your drawing to feel flat and lifeless. That’s why you’ll learn about the importance of volumes and how to create the illusion of volume on flat paper. I’ll also talk about proportion and scale.
4m
image
6
Simplifying for Storytelling
Now that you learned all the fundamentals, you have to learn how to strip the design down to its simplest form to convey the story you’re trying to tell, especially when creating for animation.
6m
image
7
Gathering References
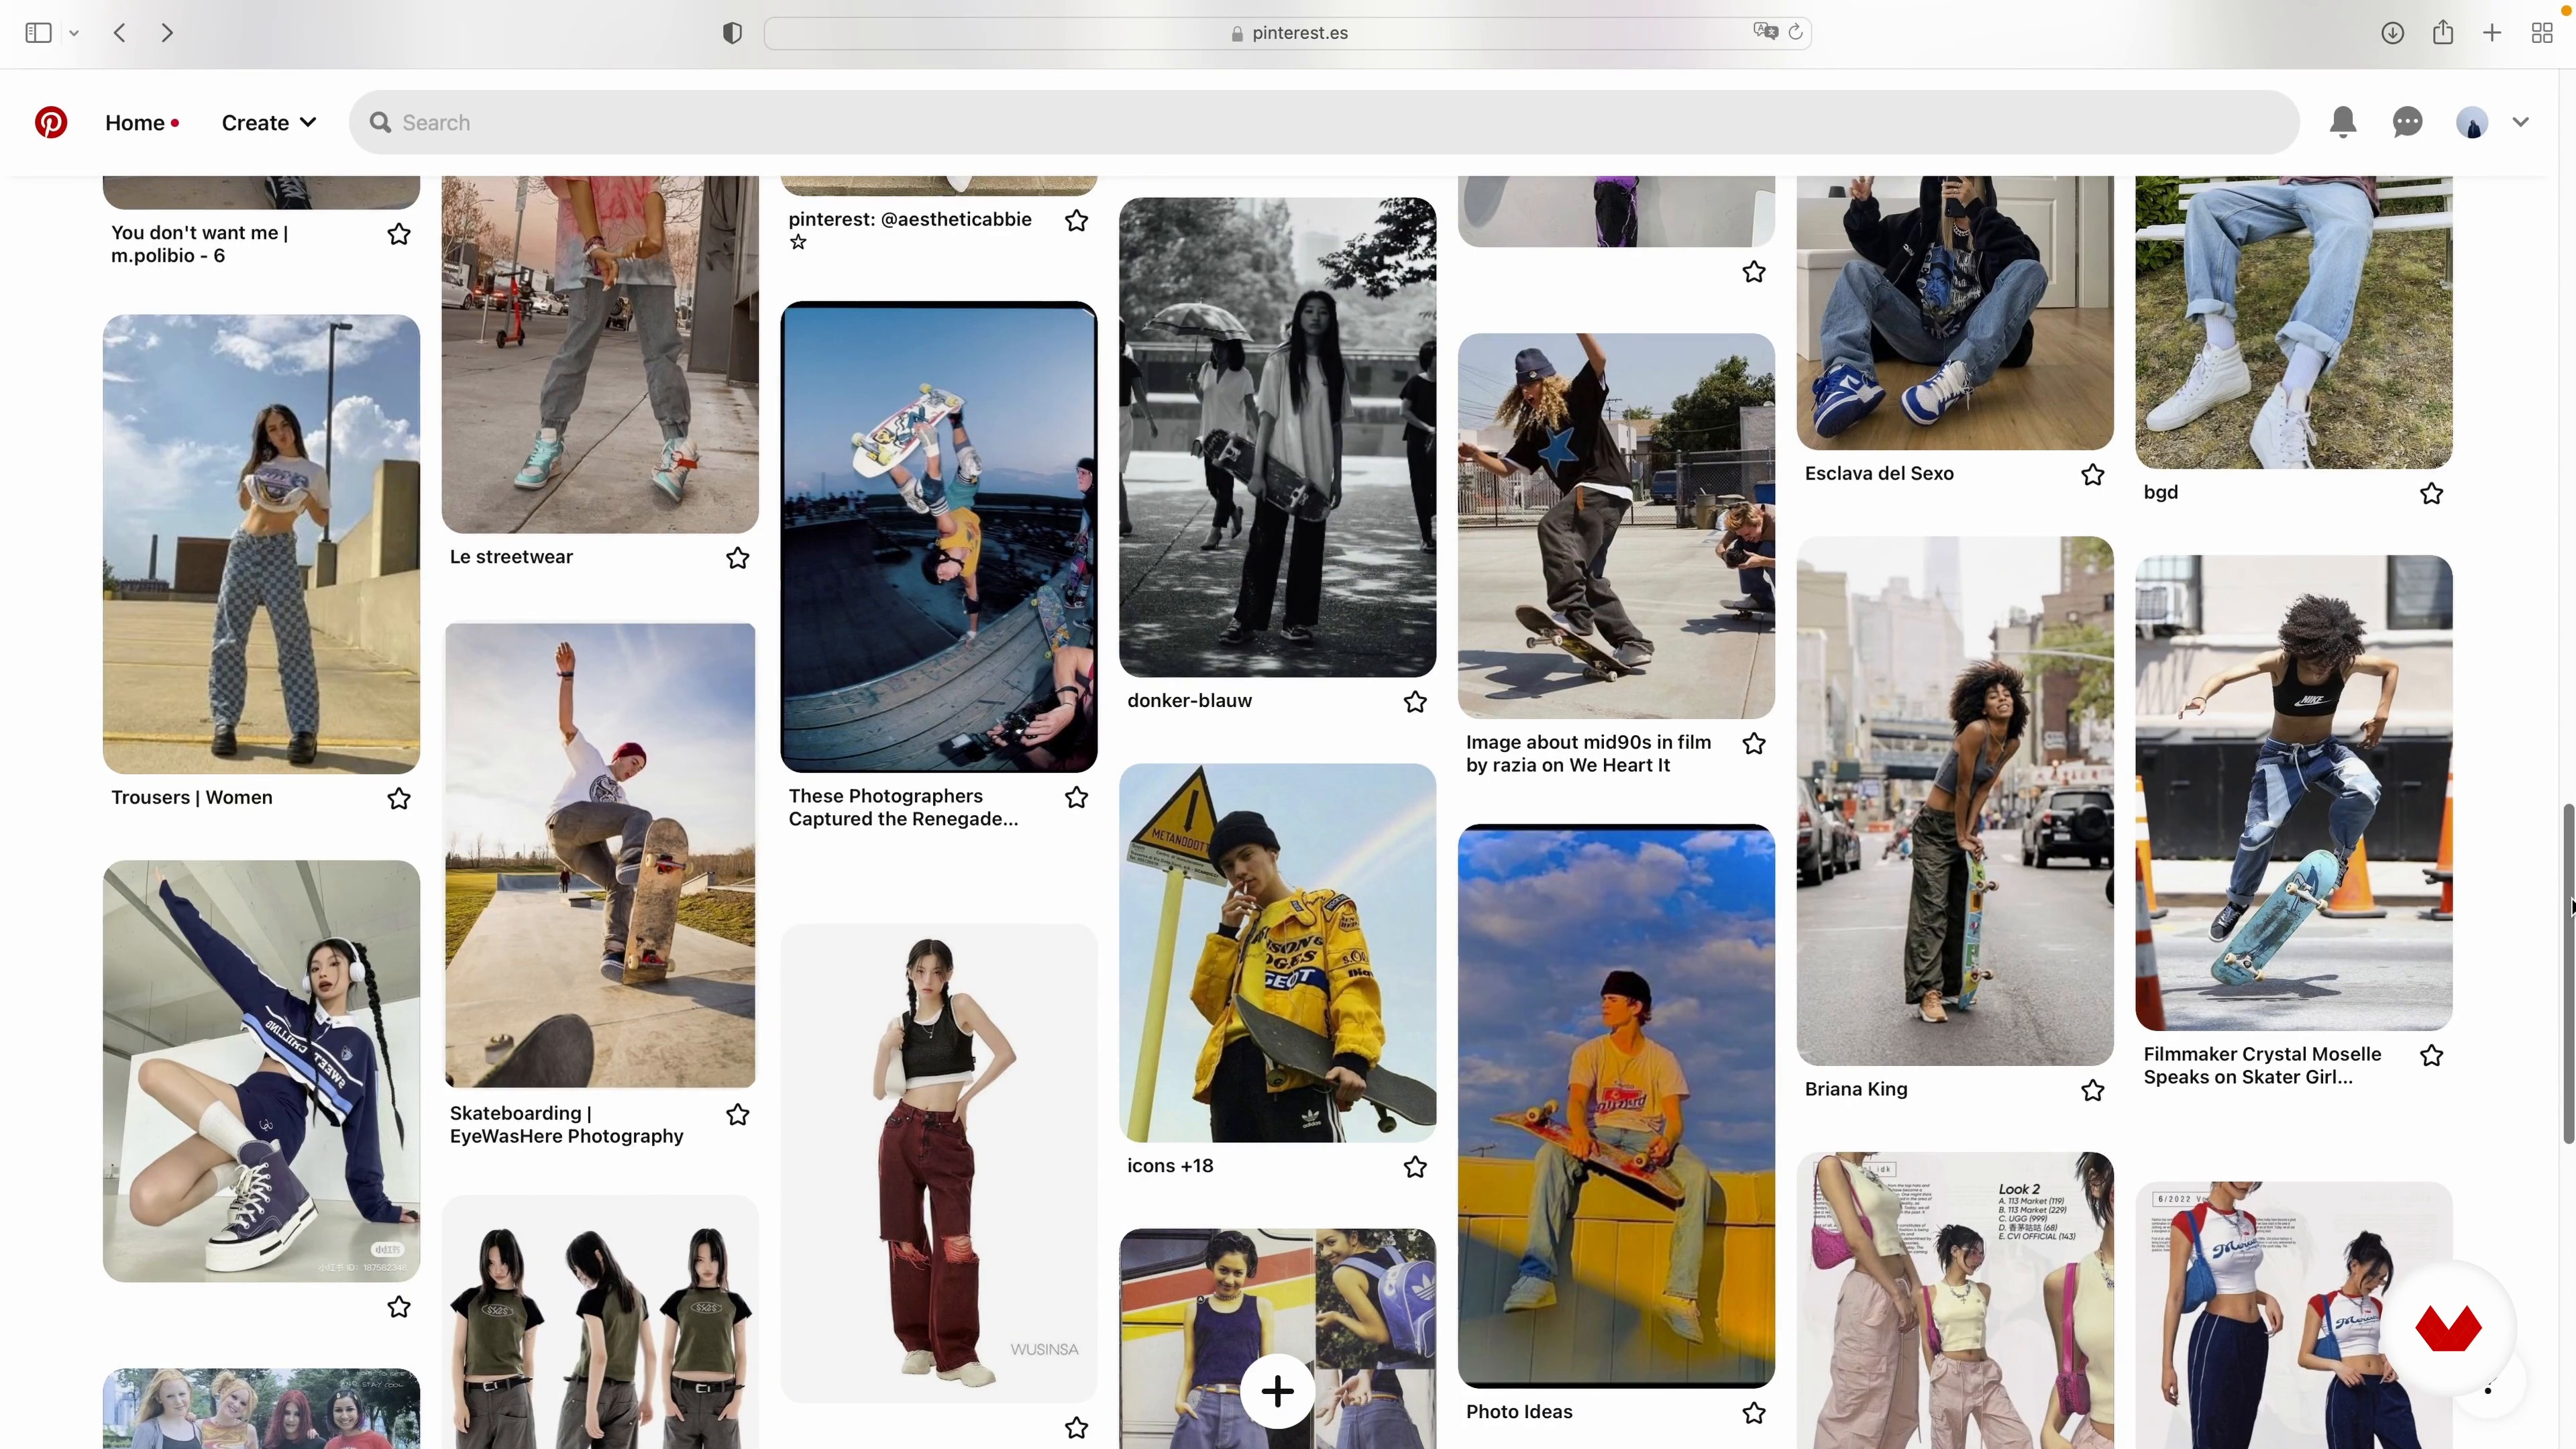
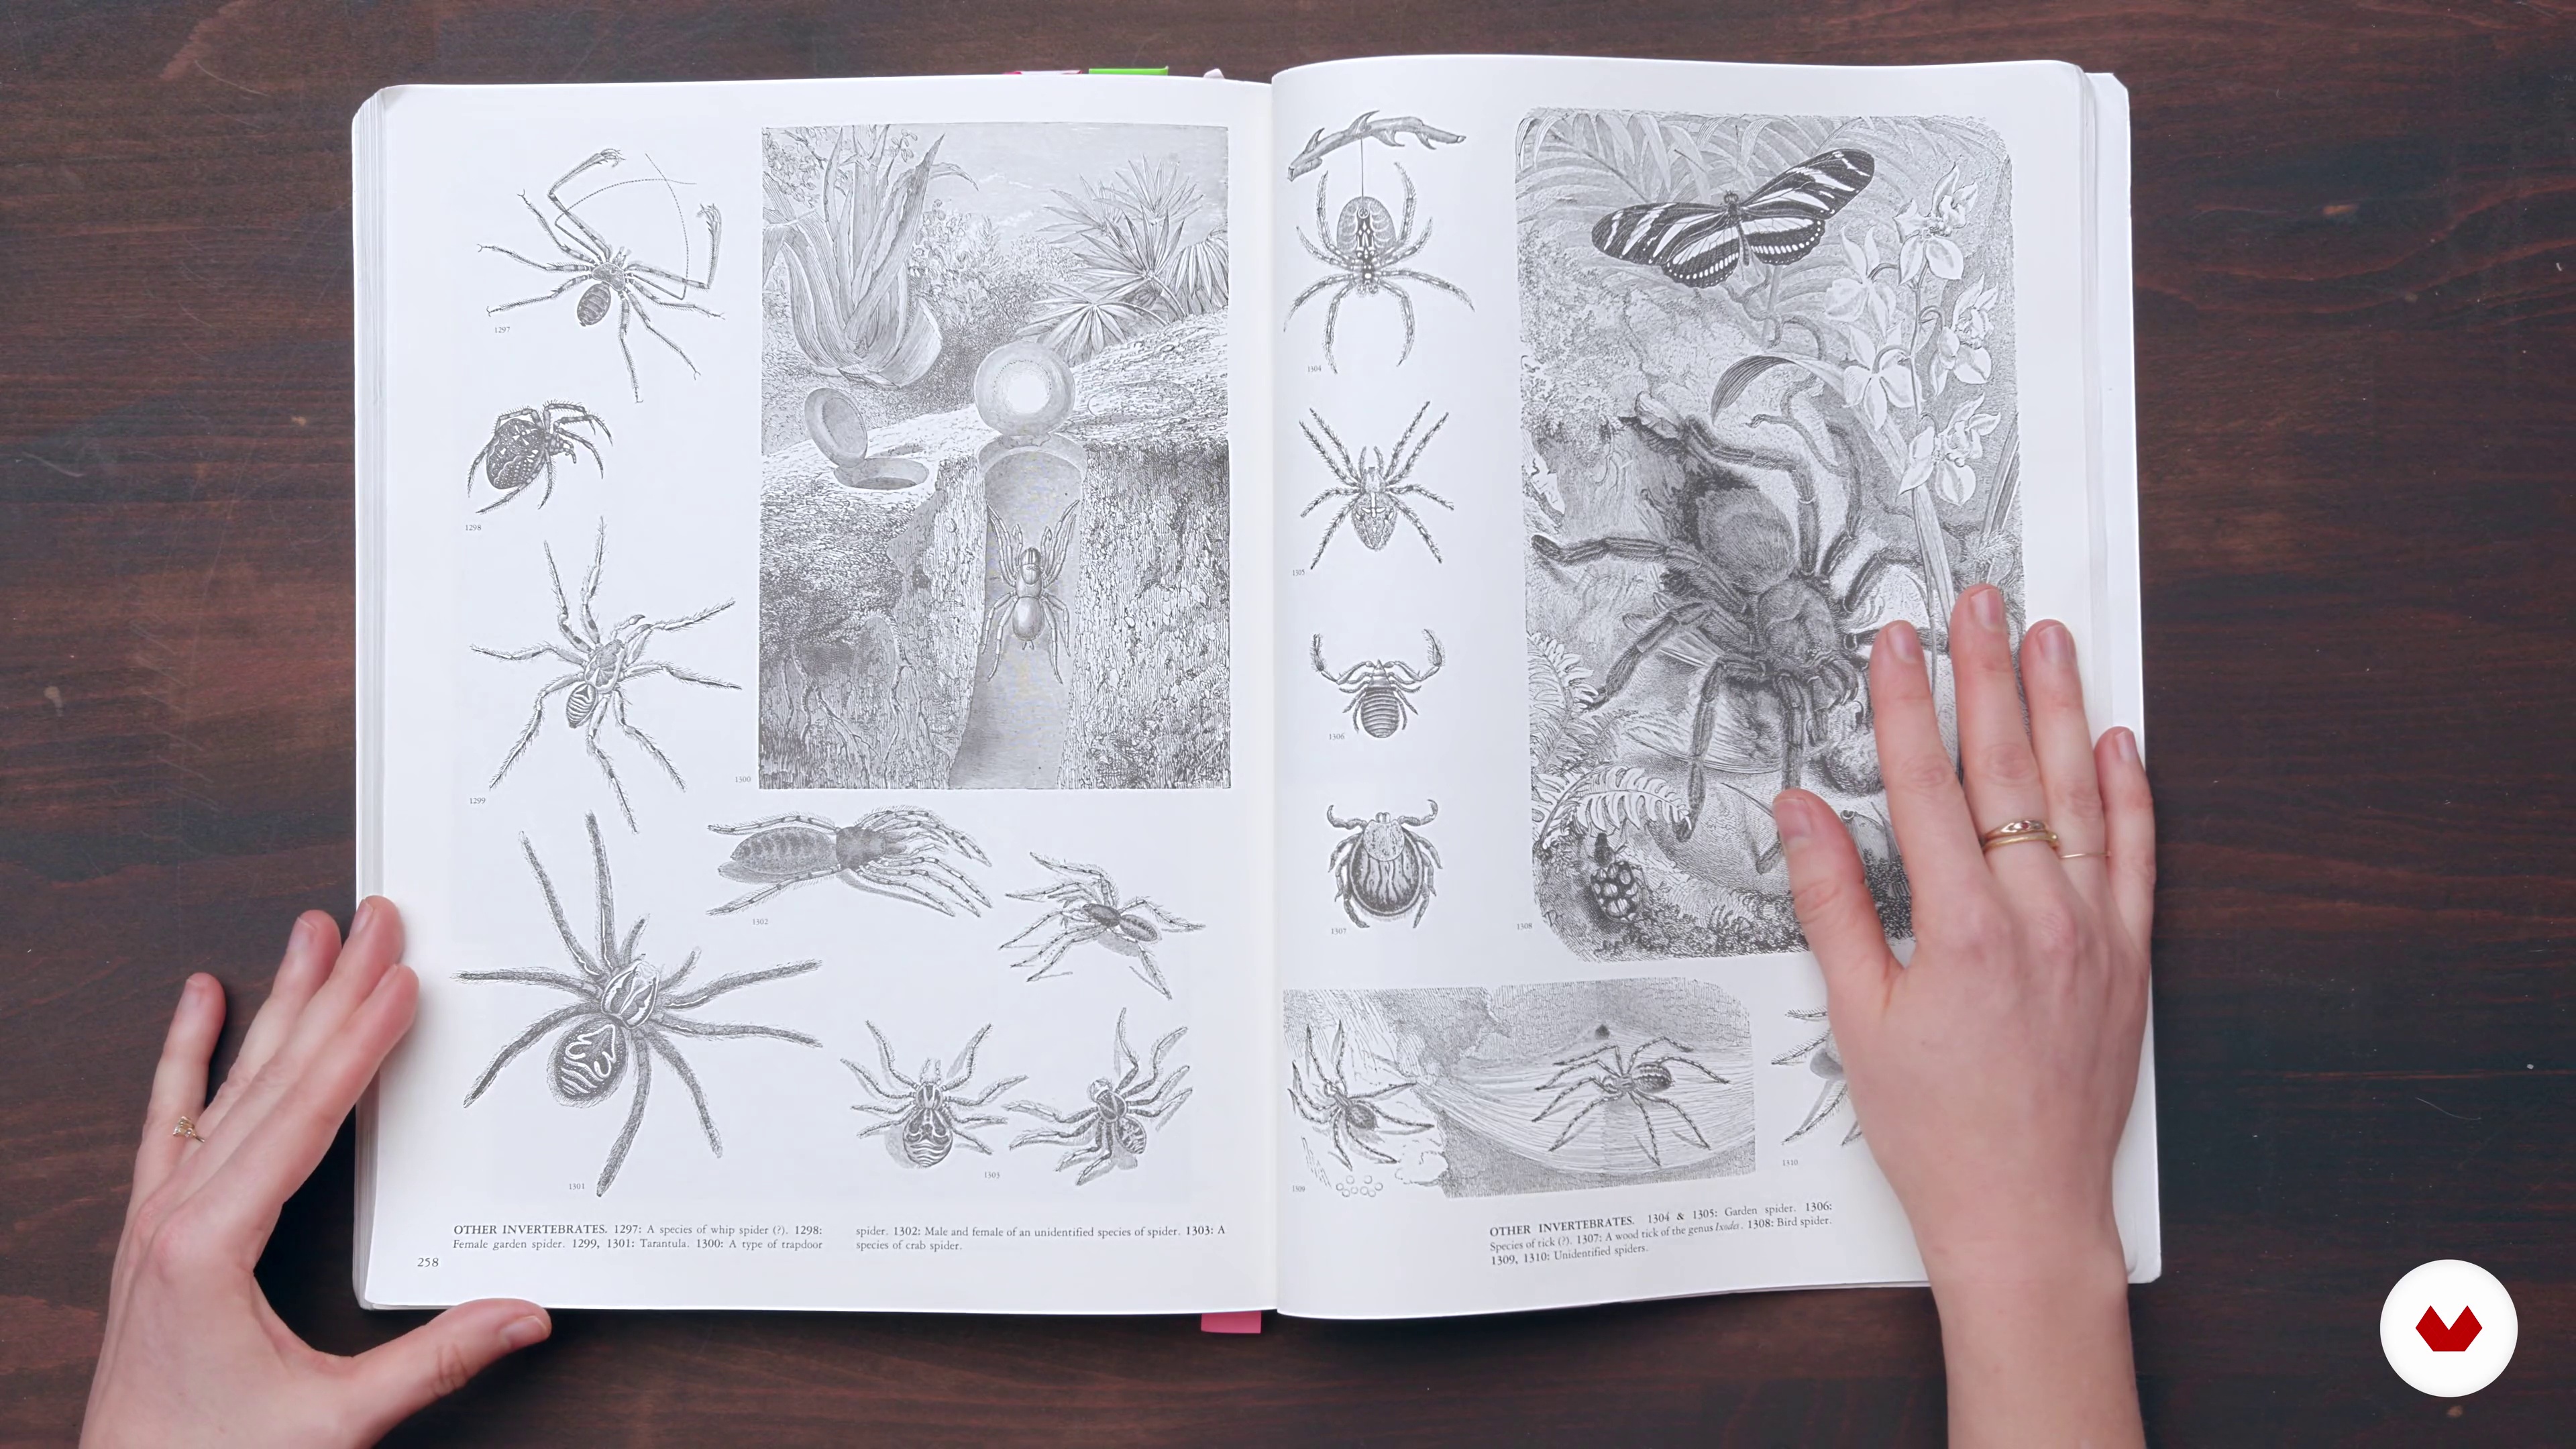
Don’t shy away from references! You can’t know everything in the world, so I always use references for my character designs. Let’s explore how to use references properly.
4m
image
8
Sketching the Skater
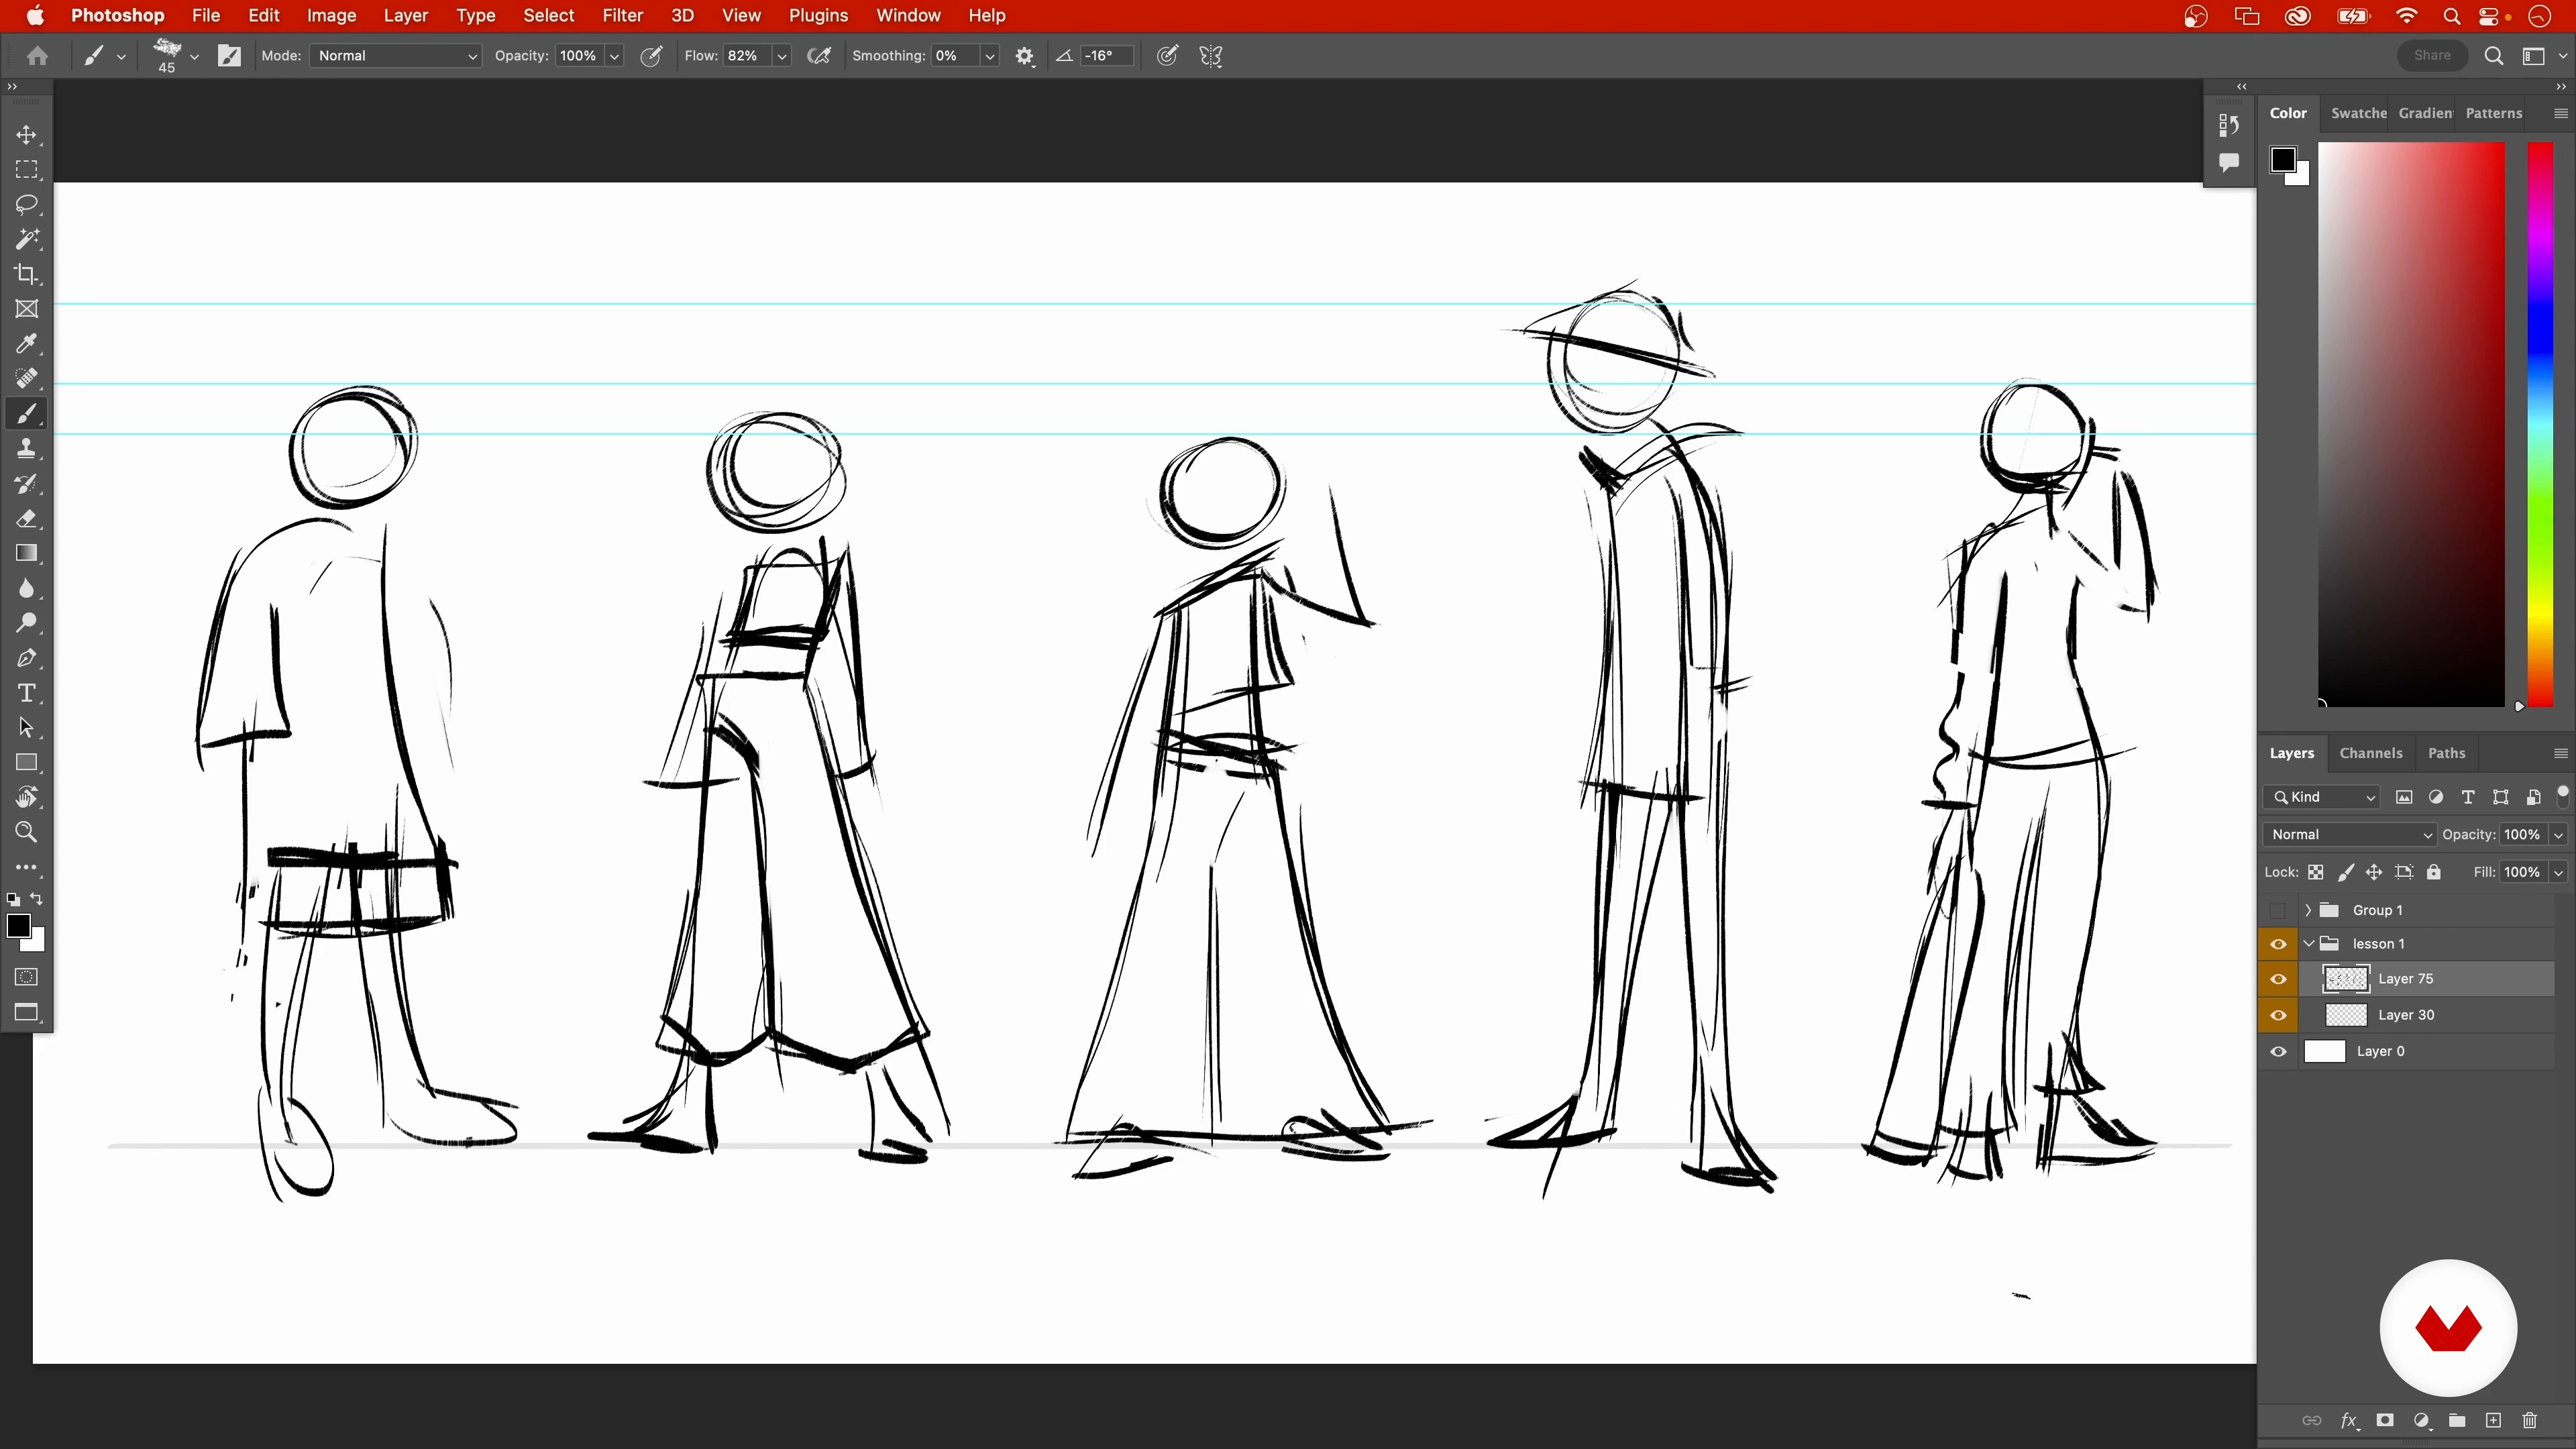
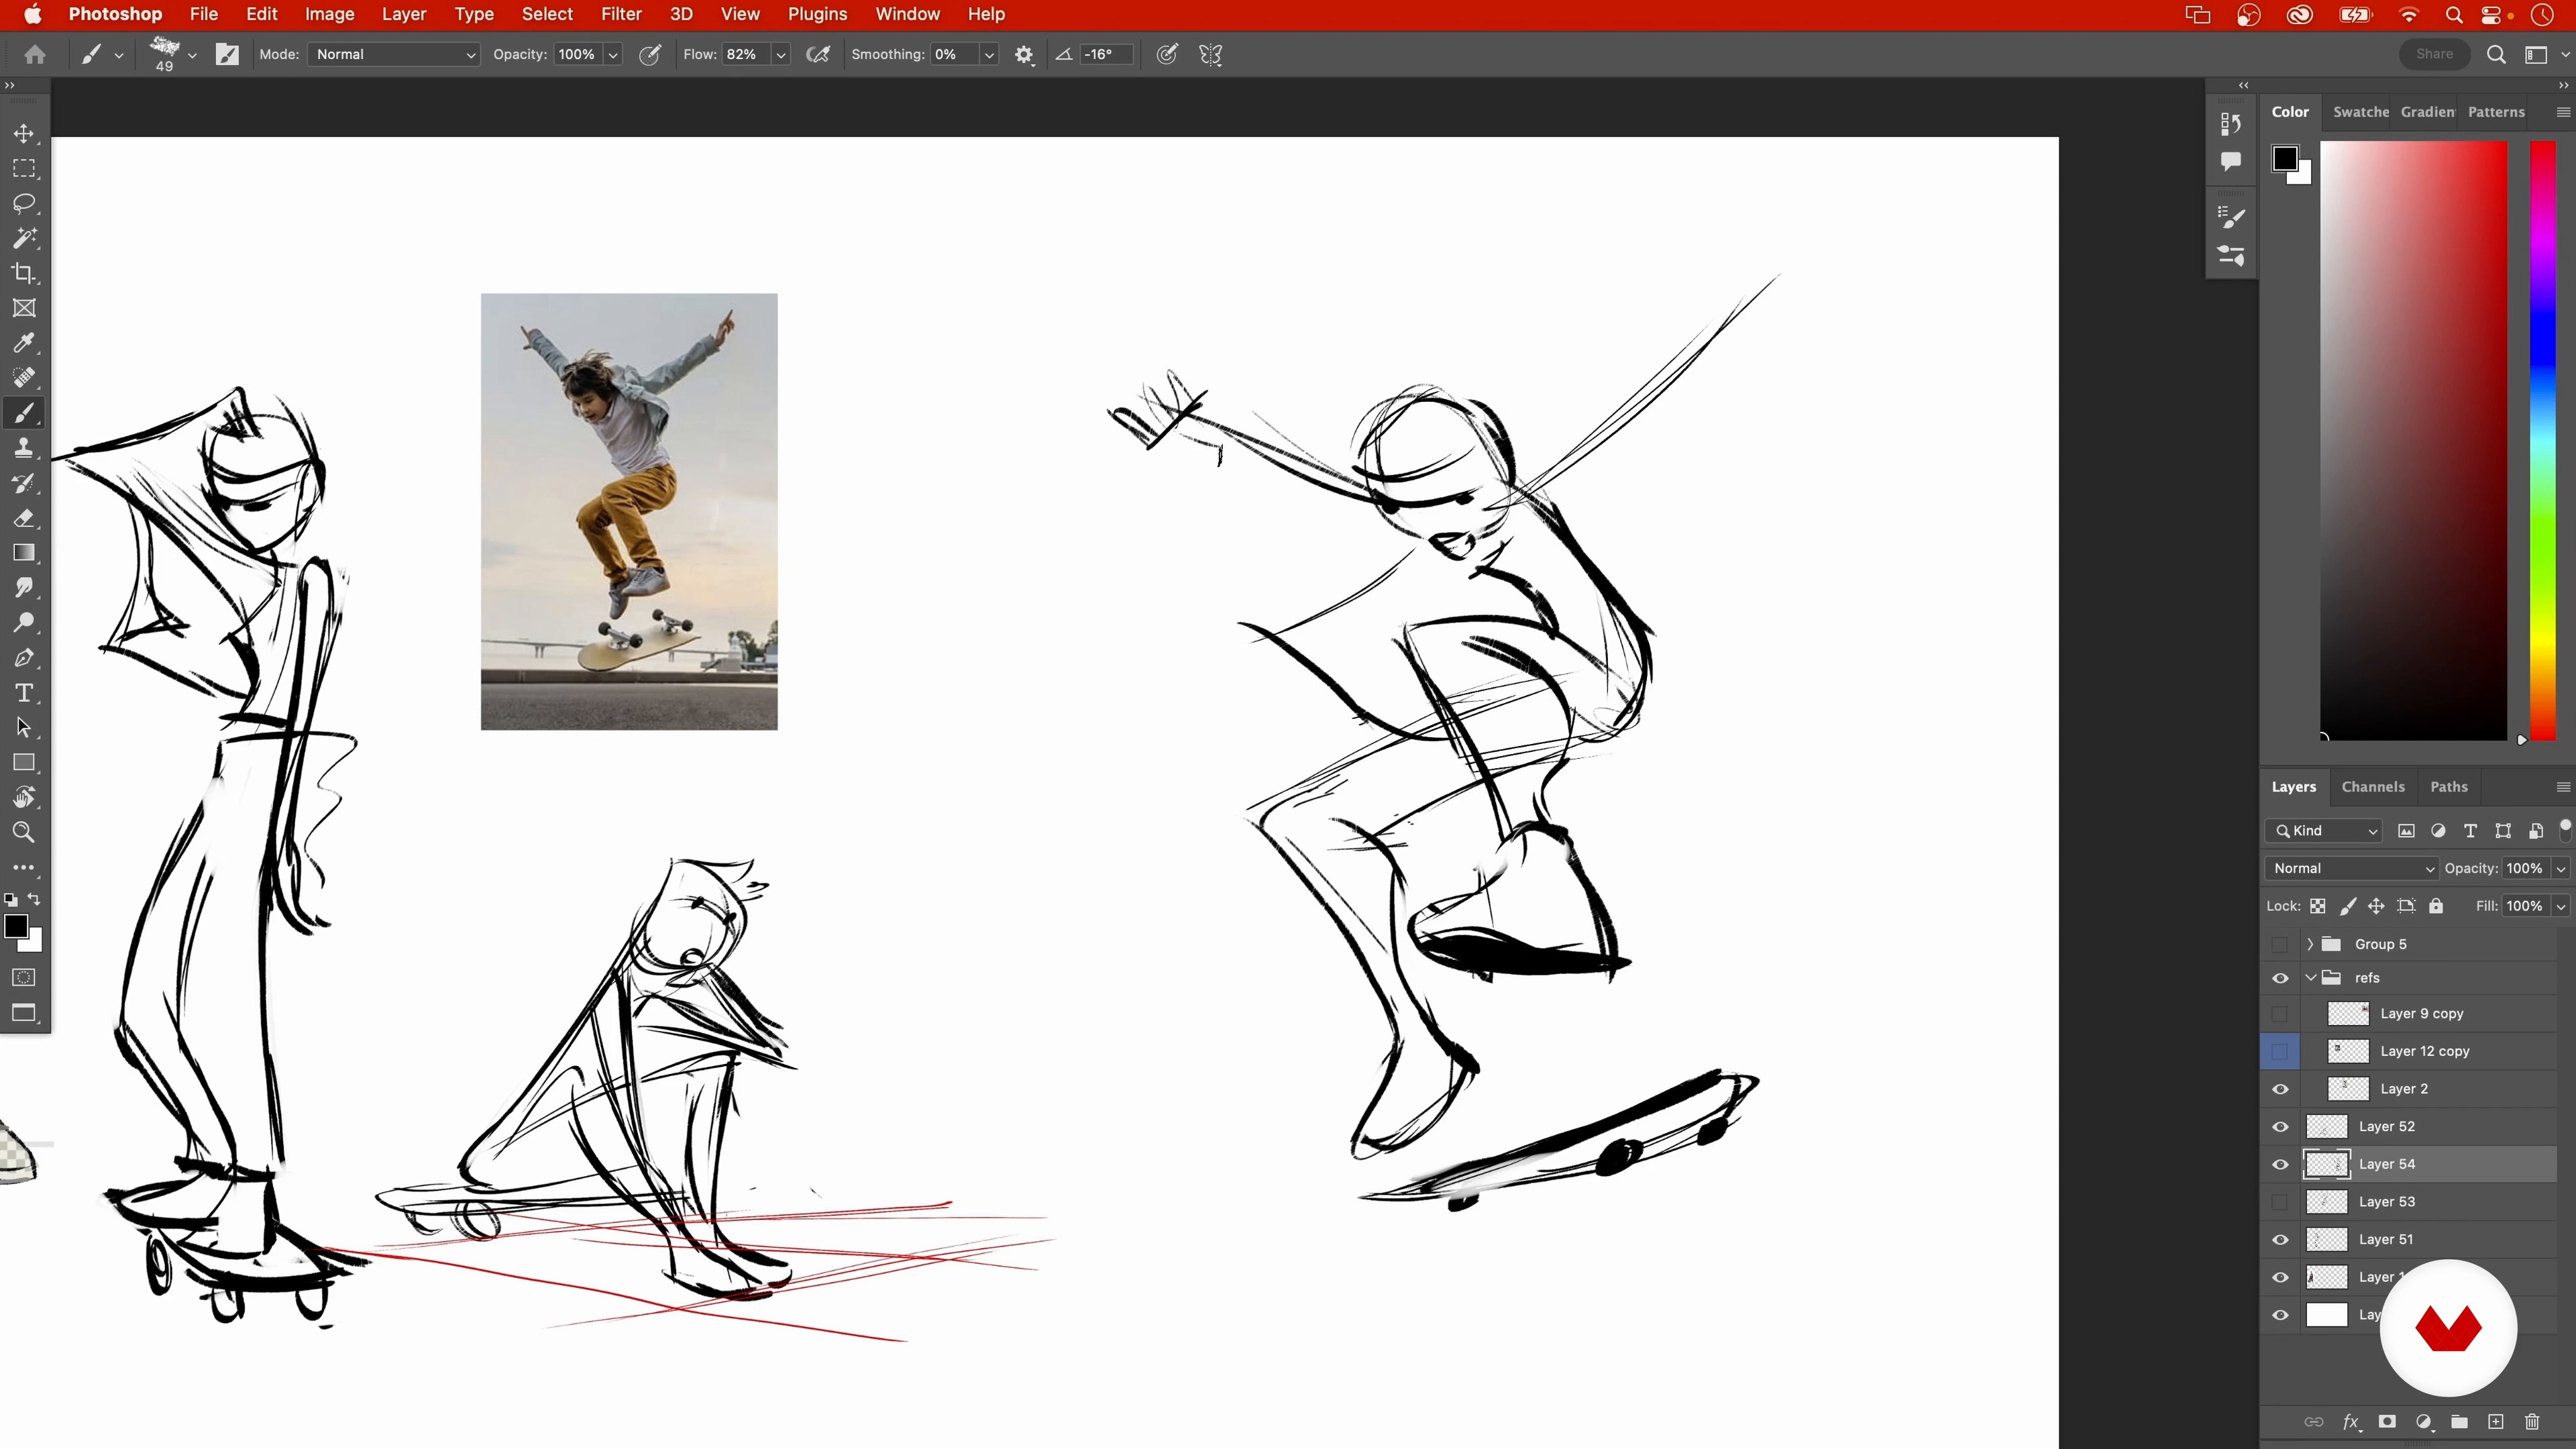
Time to create the characters. I'll show you how to start with loose sketches while creating contrast and variety in all the designs.
20m
image
9
Colouring
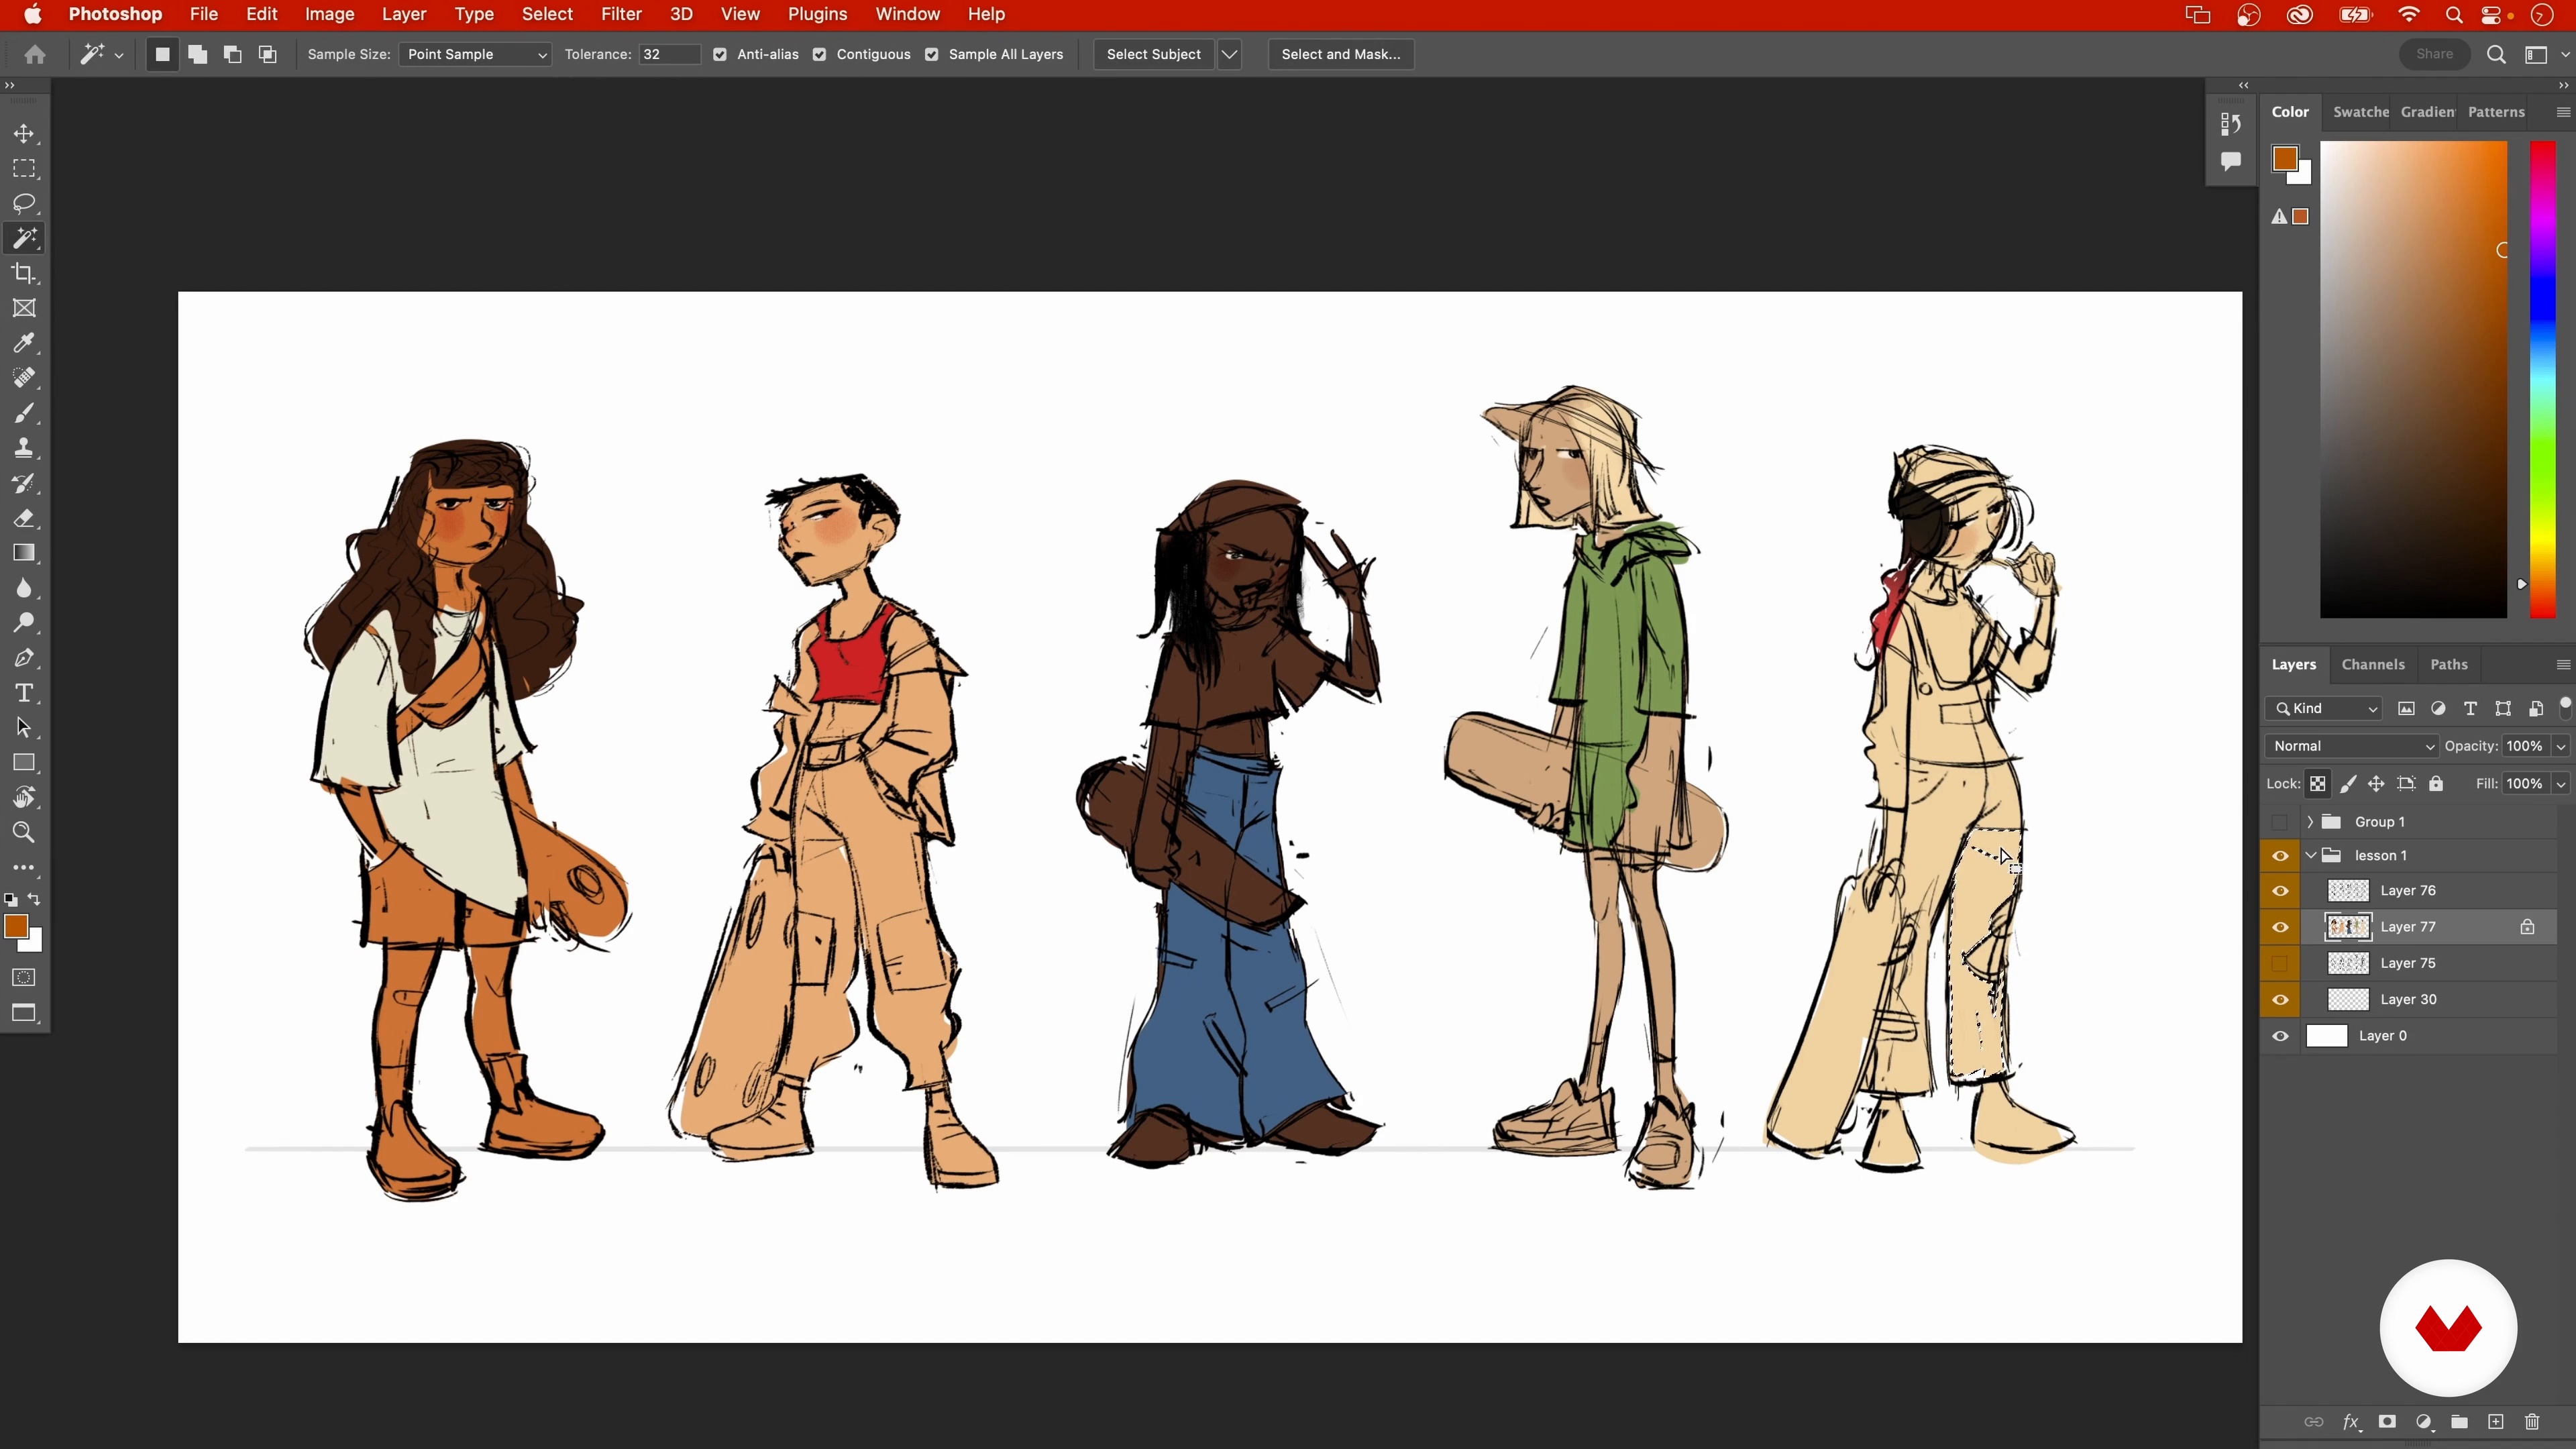
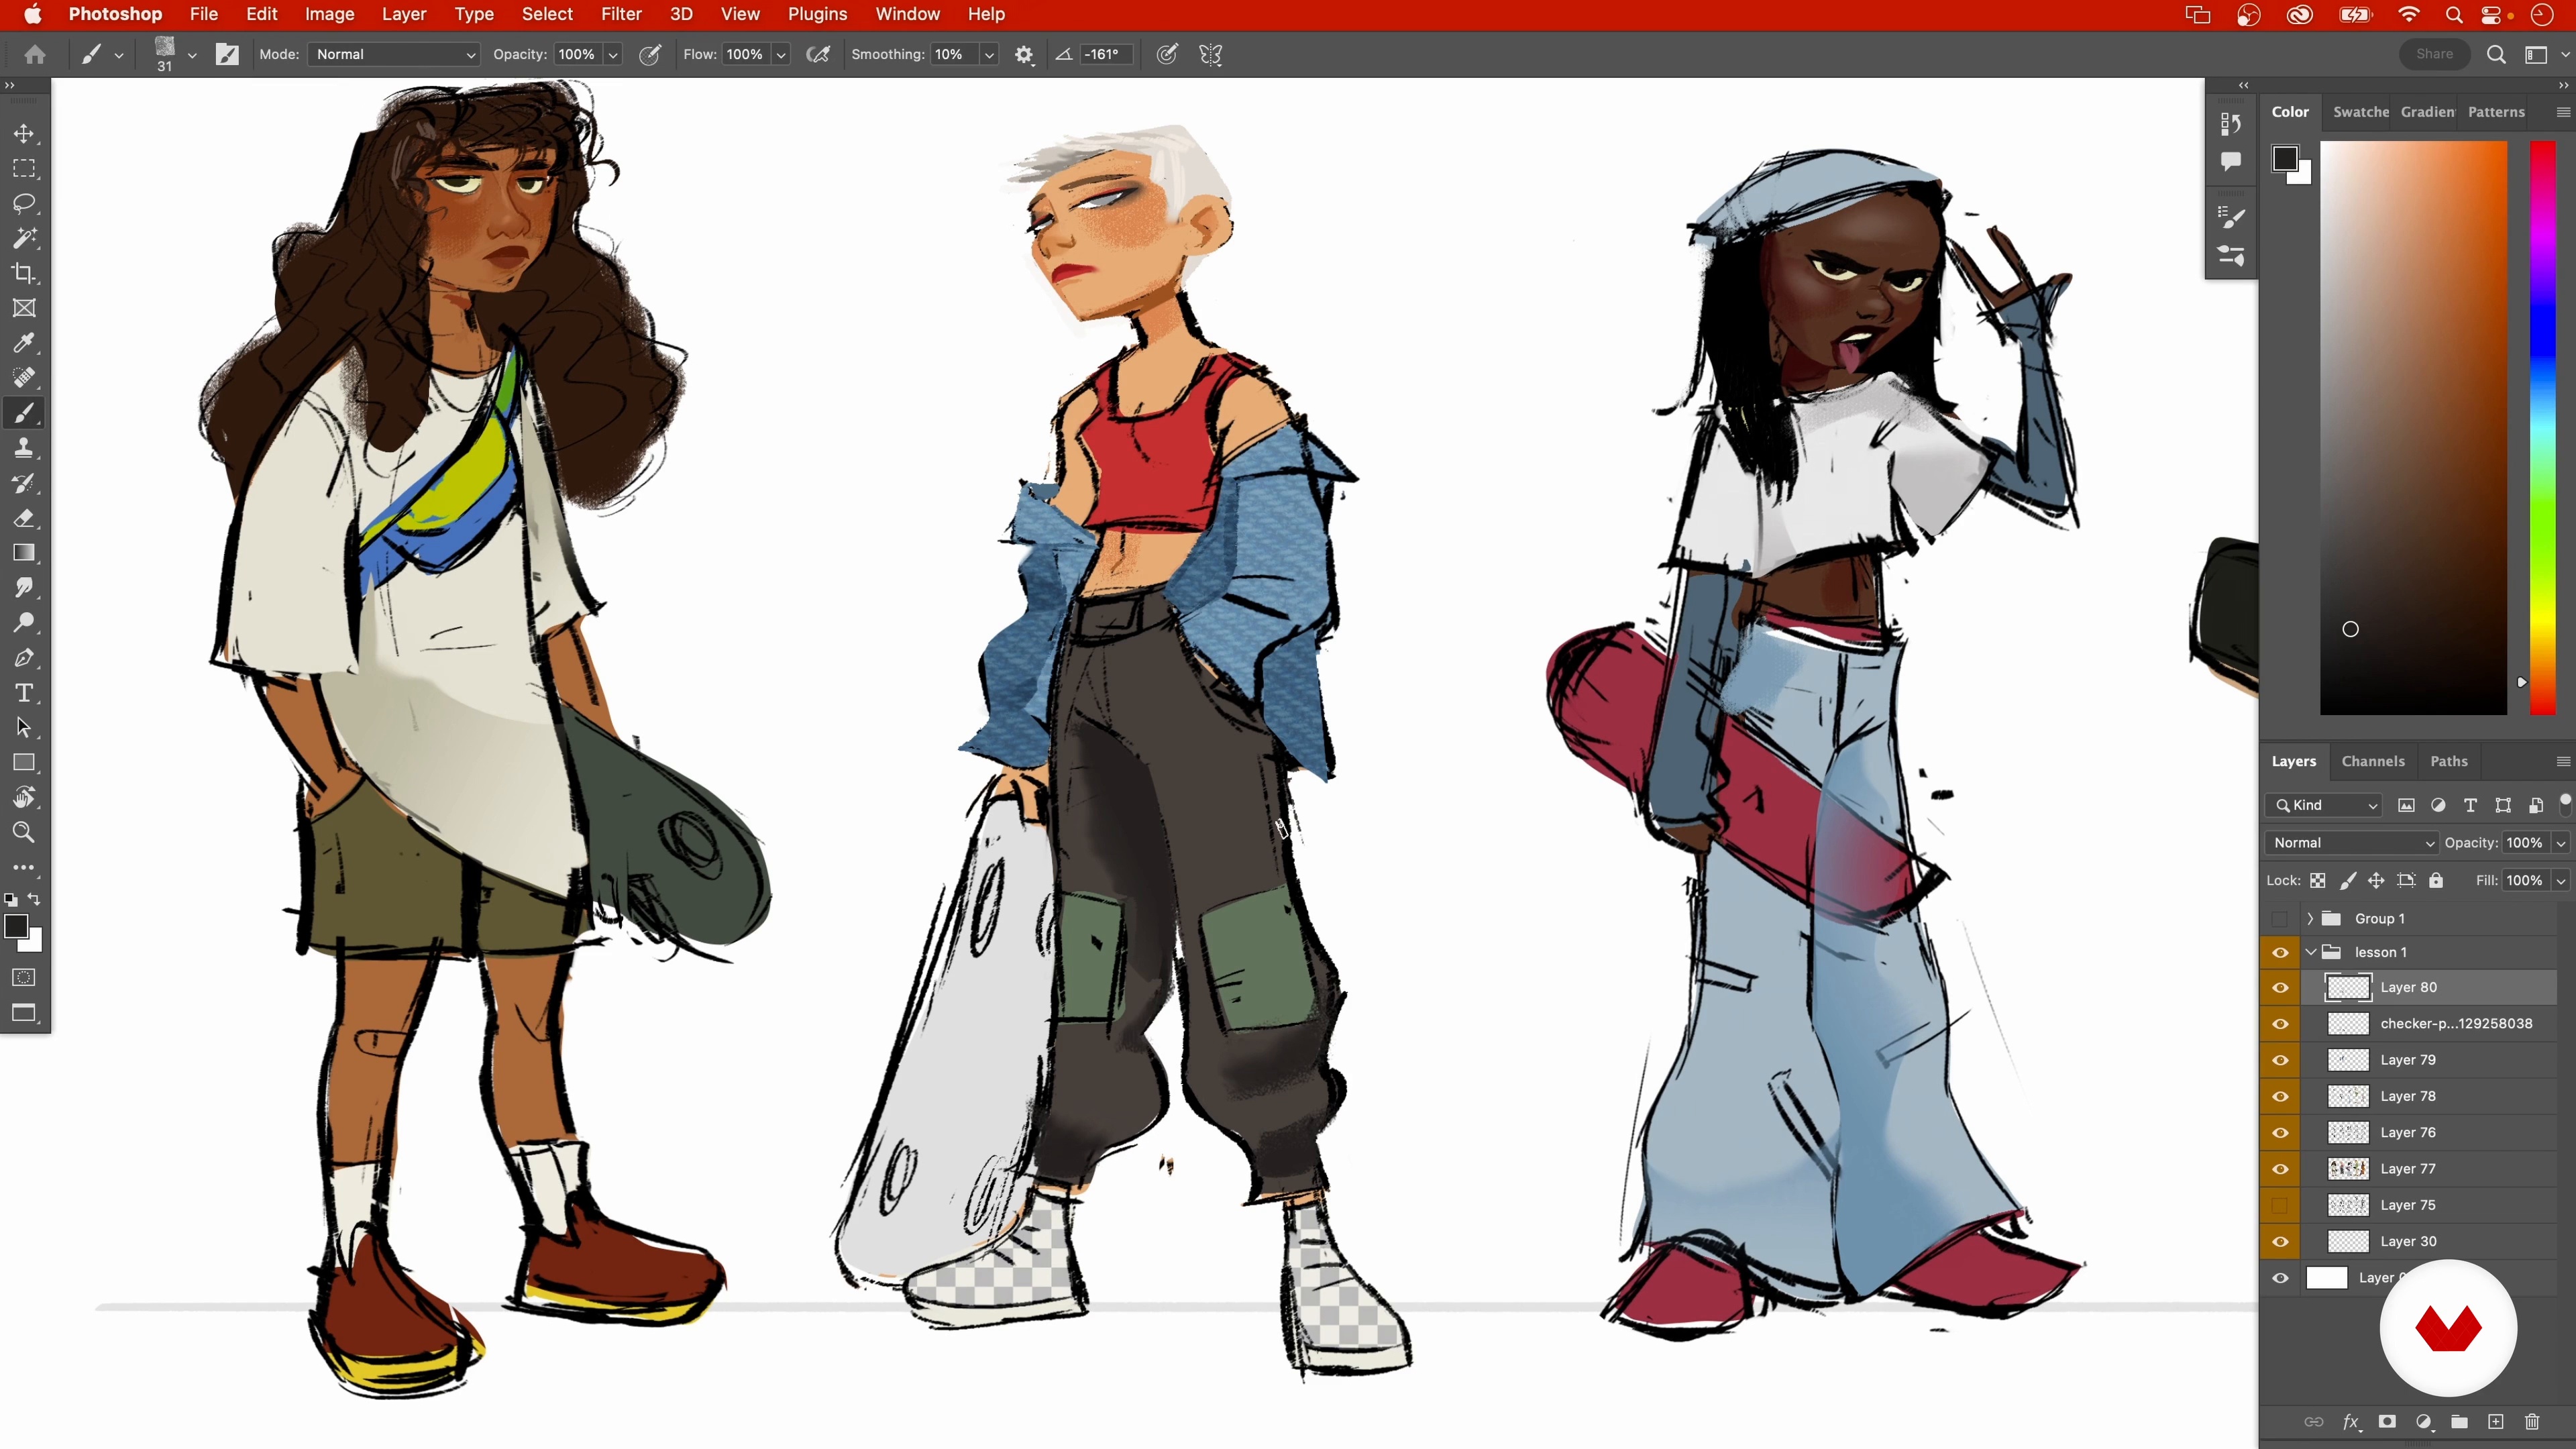
Colour can make a difference in all your artwork. Let me teach you how to colour the sketches while staying true to the mood board. The colours will be intentional and backed by colour theory.
17m
image
10
Rendering 1
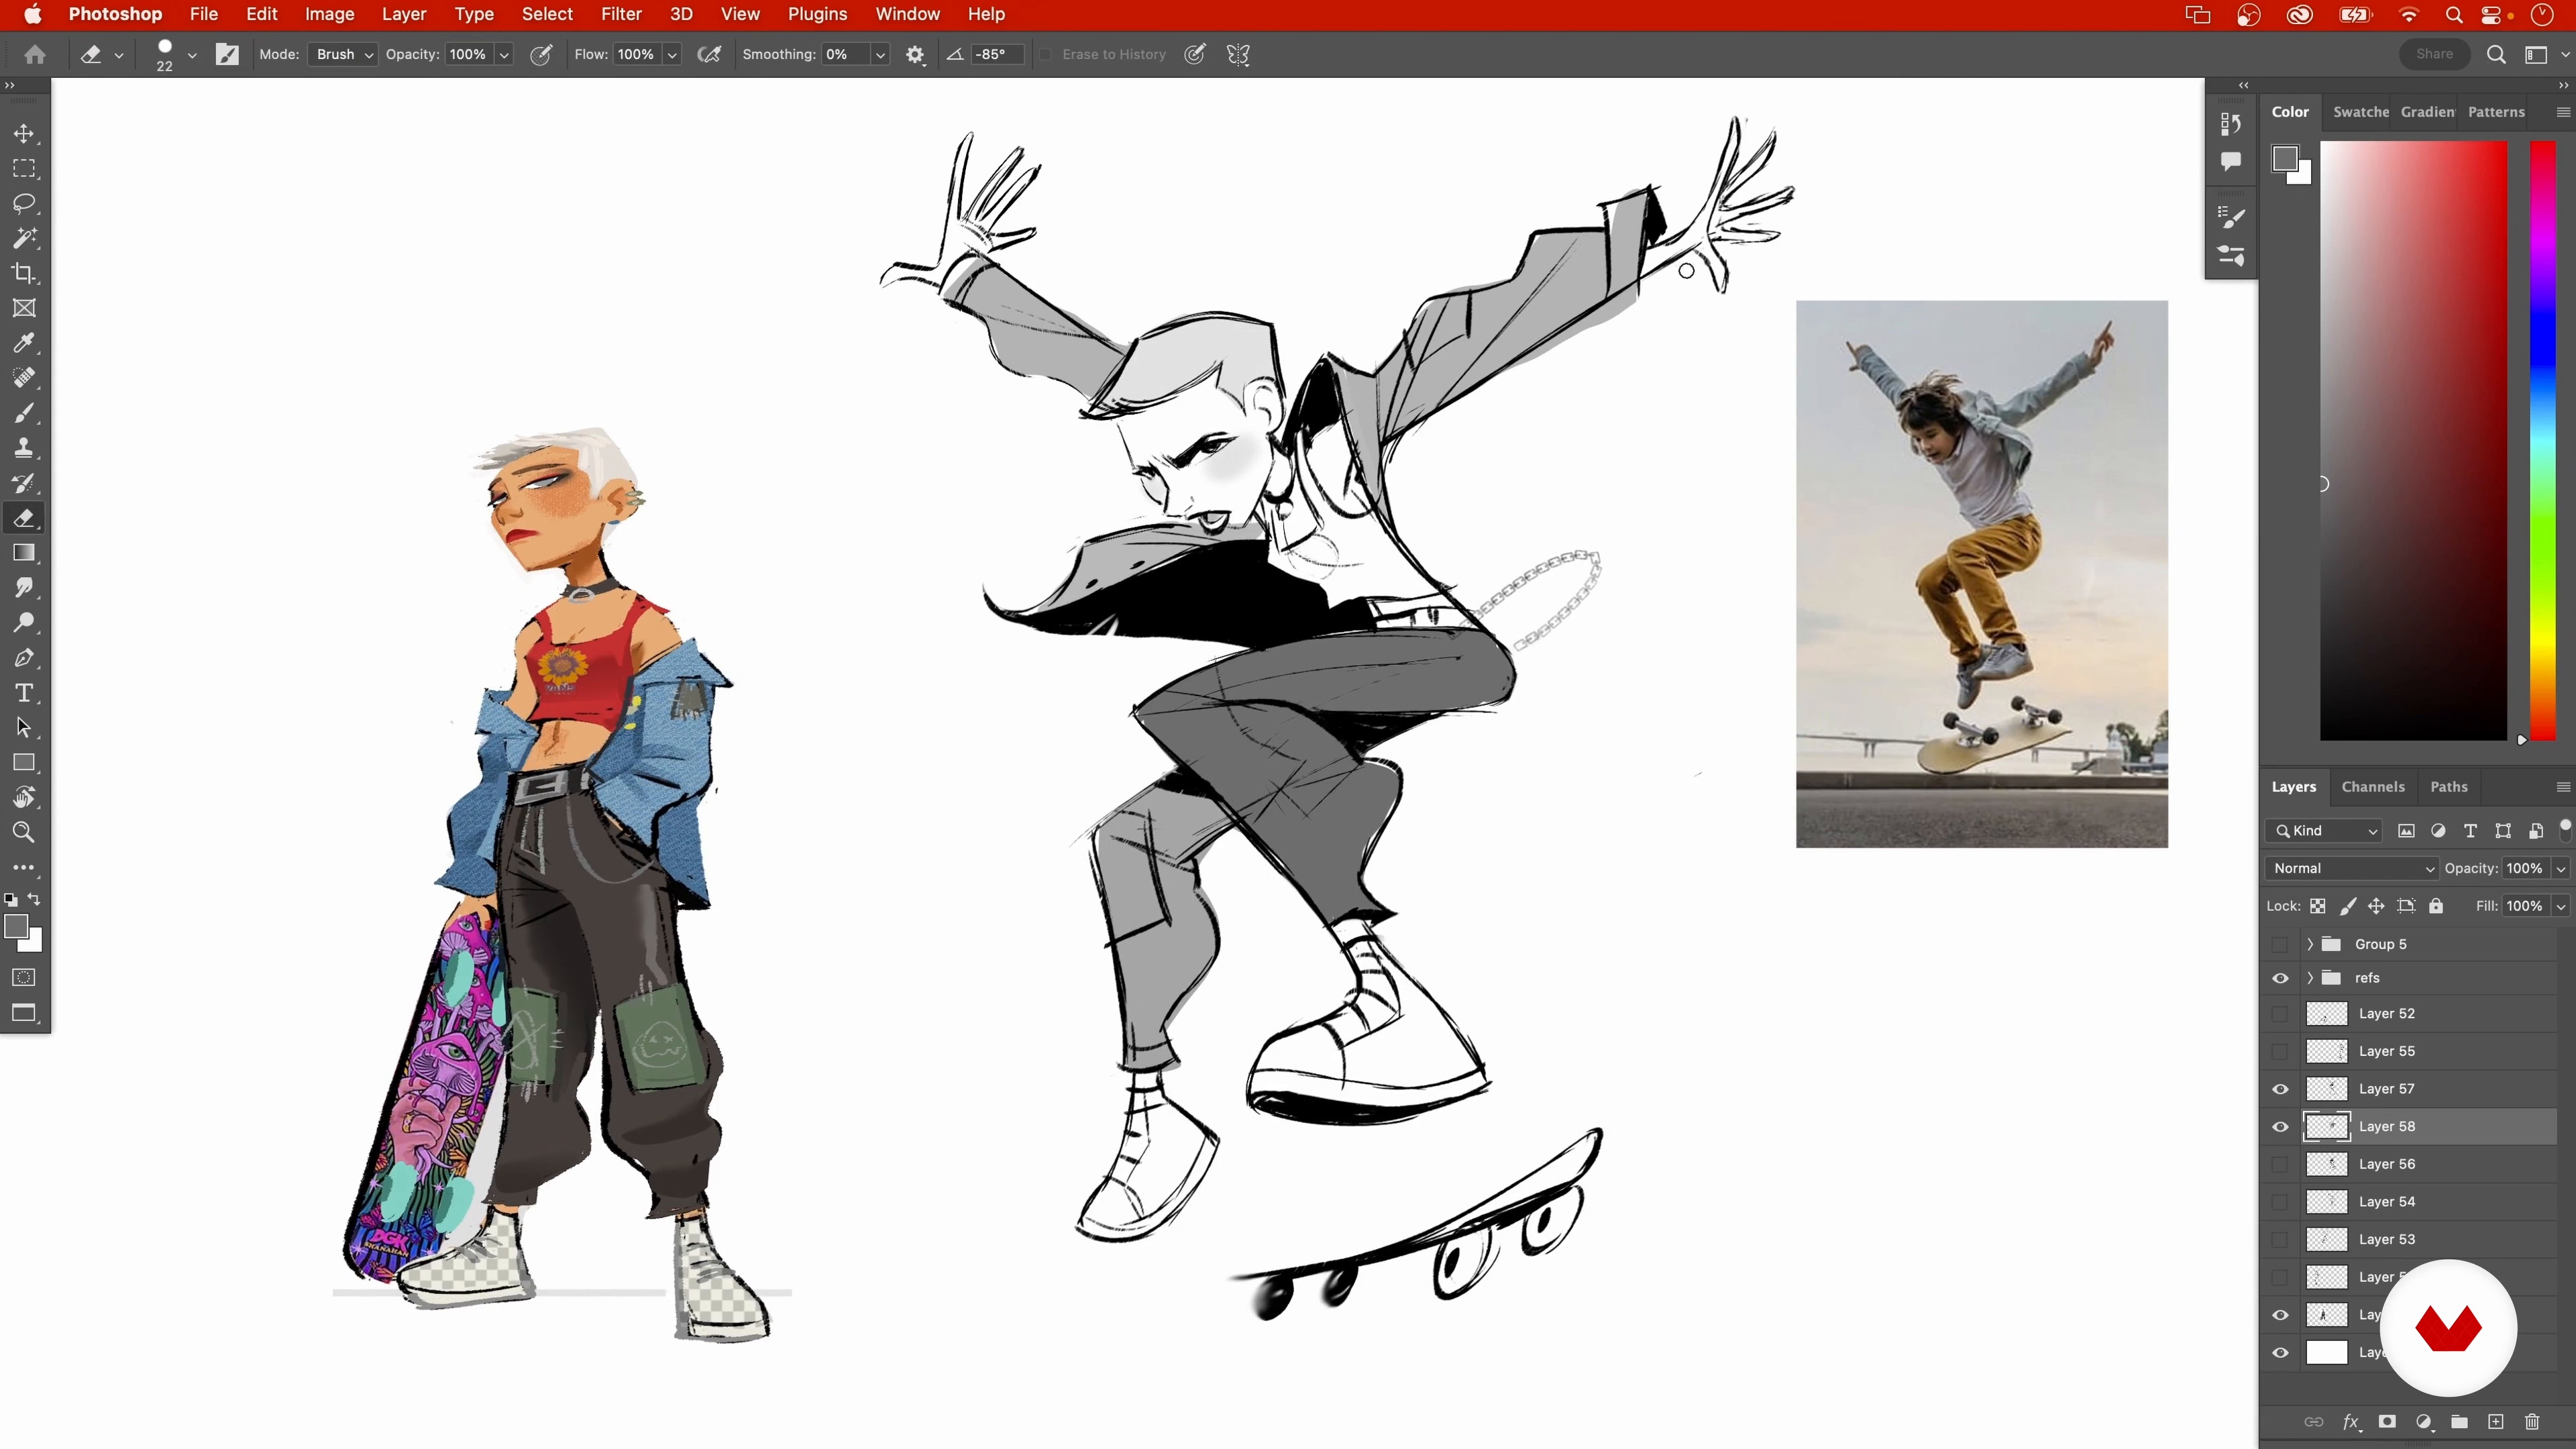
It's time to take a few sketches one step further by rendering them where you can imagine this character moving on a screen.
19m
image
11
Rendering 2
I will continue showing you my best tips and tricks for rendering the characters. Here you'll be able to see them closer and finished.
20m
image
12
Character Exploration 1
To begin with, I'll teach you how to work with personality exploration. In this step, showcasing the character’s unique personality is essential by intentionally exploring their expressions, posing and costuming.
14m
image
13
Character Exploration 2
During this second part of the lesson, I will continue showing you how to use poses, expressions, and even clothes to give a character personality.
17m
image
14
Setting up the Scene
Let’s choose an ideal composition using one pose idea we created and explore a few colour and lighting scenarios using references.
13m
image
15
Polishing the Character 1
Now it’s time to start rendering the character keeping the fundamentals in mind.
17m
image
16
Polishing the Character 2
Here I will continue showing you how to add polishing the character to keep it sketchy and loose.
10m
image
17
Lighting and Final Touches
At this stage, the character is looking good! Now it's time to add some lighting using reference and any final touches that’ll improve the character’s design and personality.
9m
image
4
Materials and Opening Your Imagination
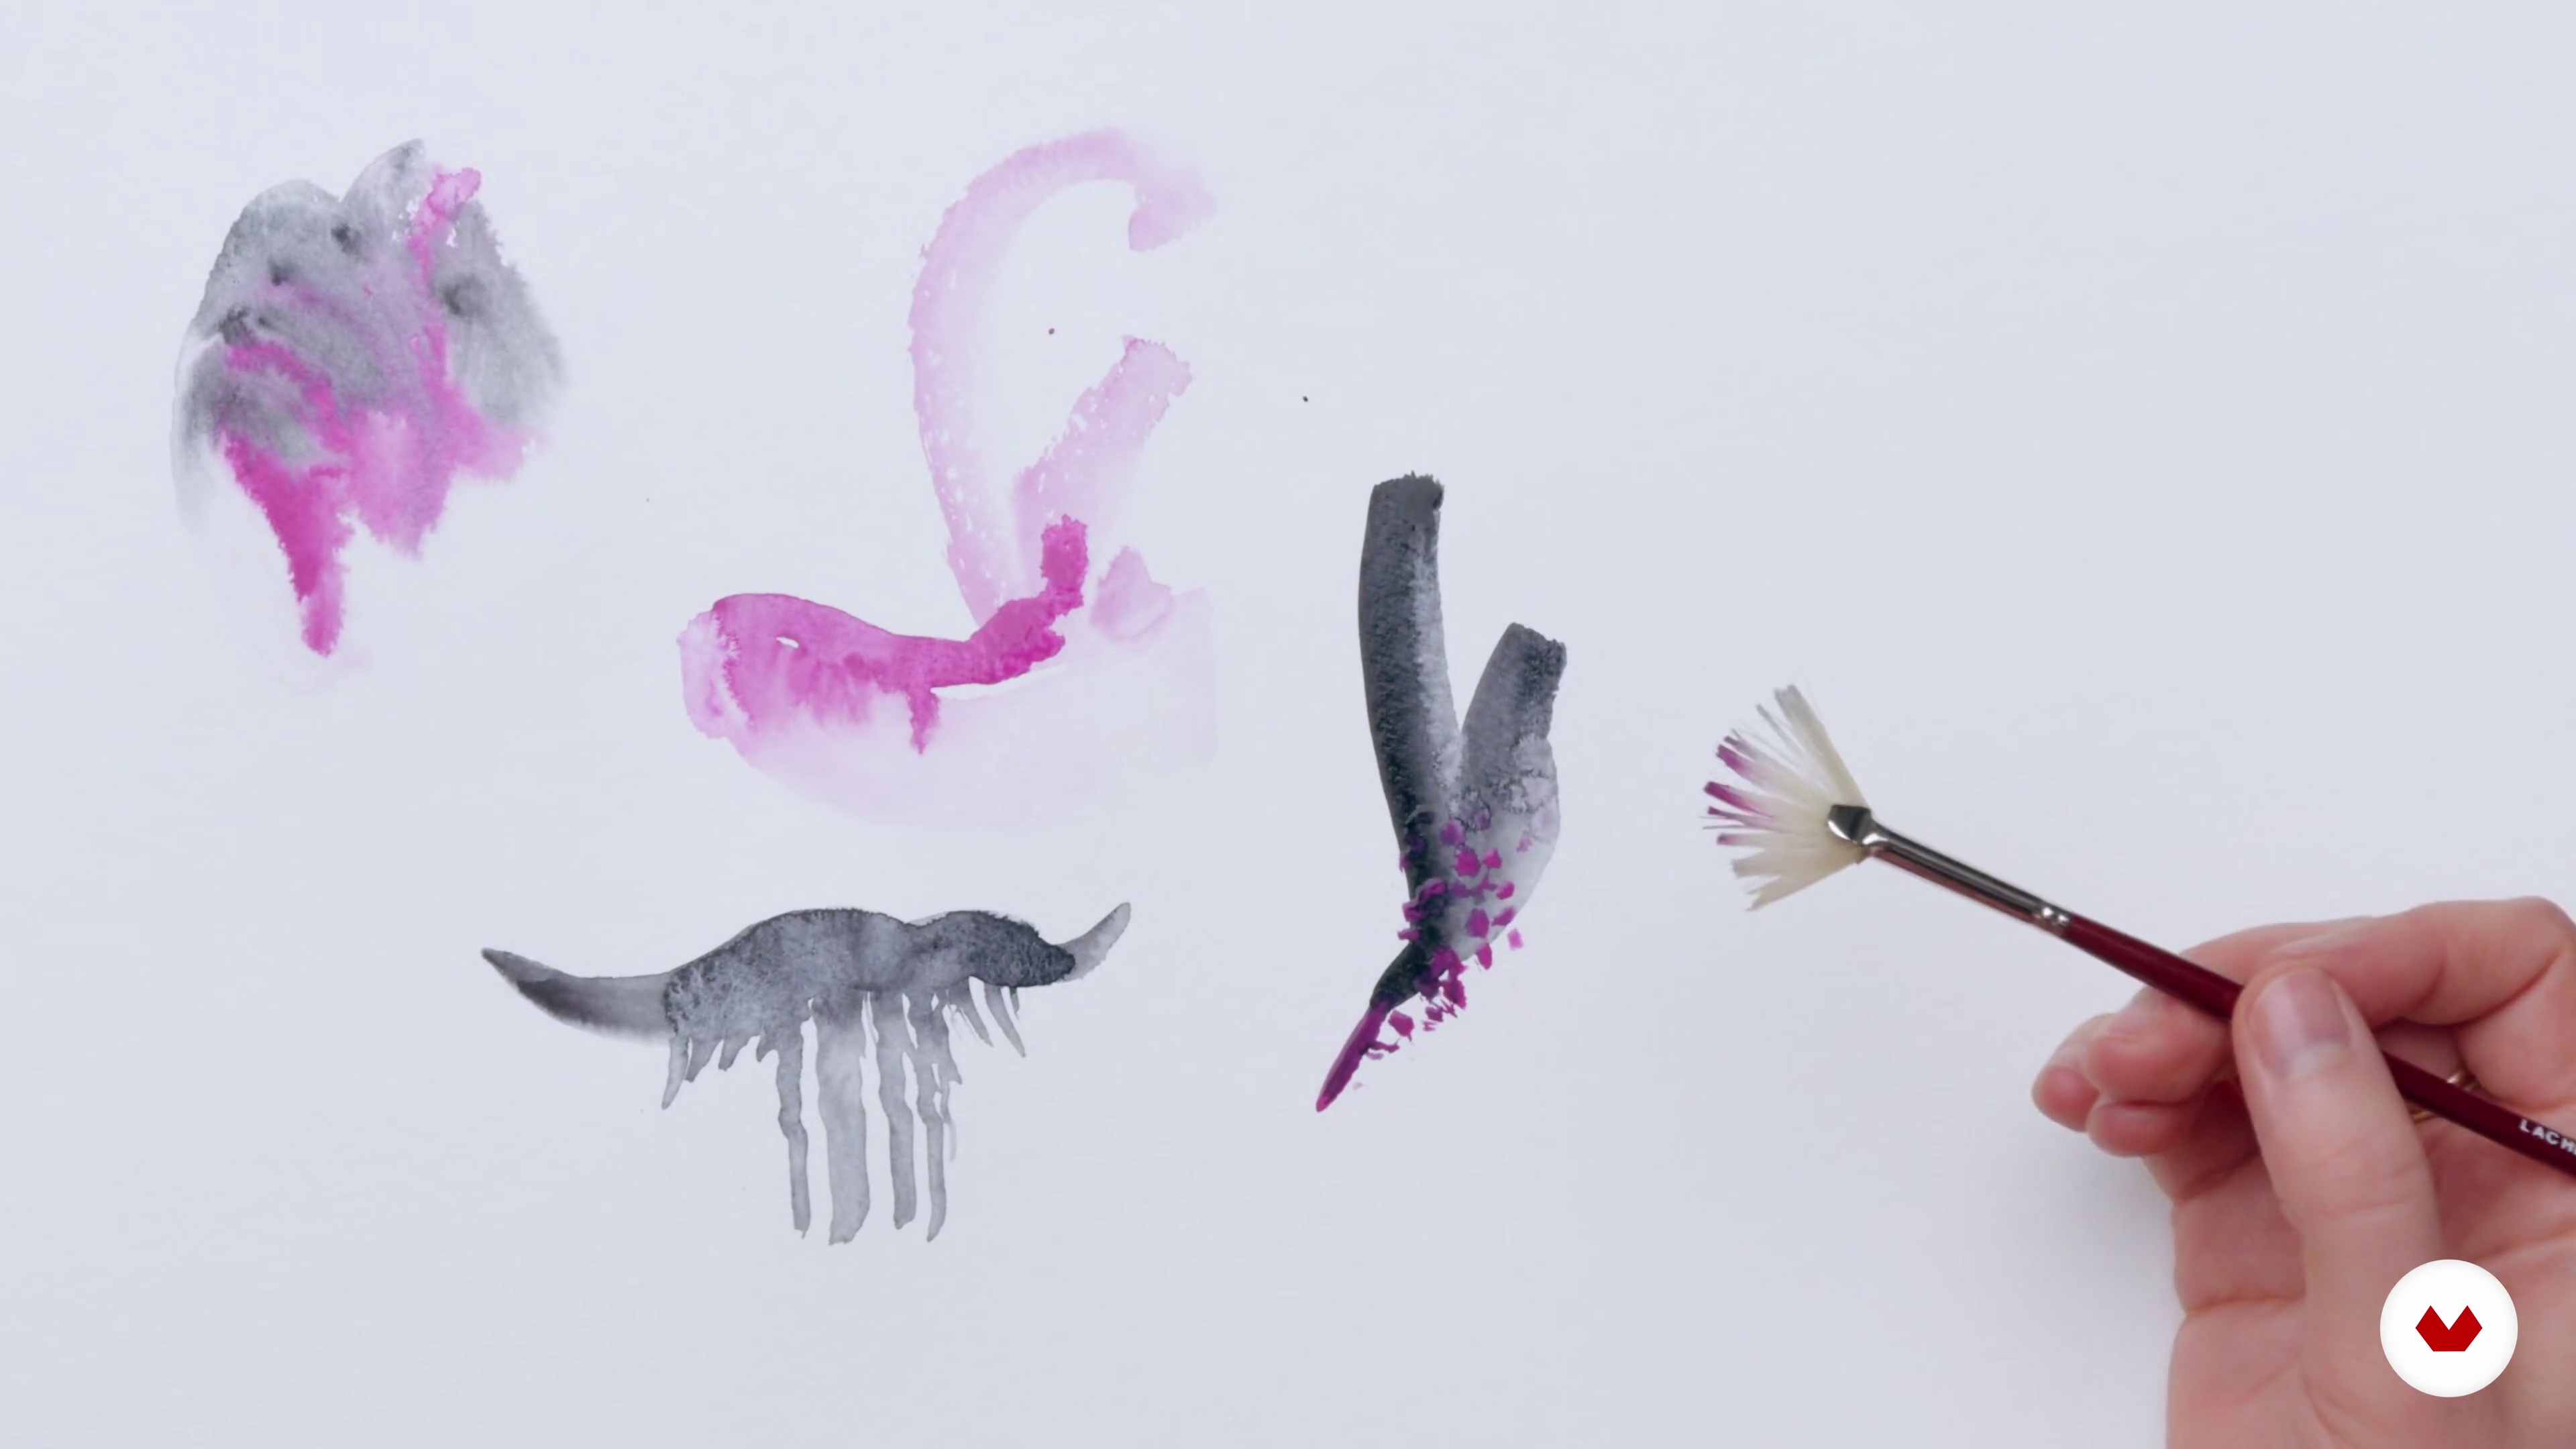
In this lesson, I will go over the materials that are needed for painting in watercolor as well as the tricks our mind plays when drawing and/or looking at an image.
17m
image
5
Basic Animal Structure and Principles of Anatomy
I want to provide you with a general understanding of anatomy so you can apply those principles to your designs.
8m
image
6
From Realism to a Fun Little Character: Jump in the Pool!
Using reference pictures, we learn how to observe, the trial and error process. I am going to show you how I draw an animal of my choice with watercolor.
18m
image
7
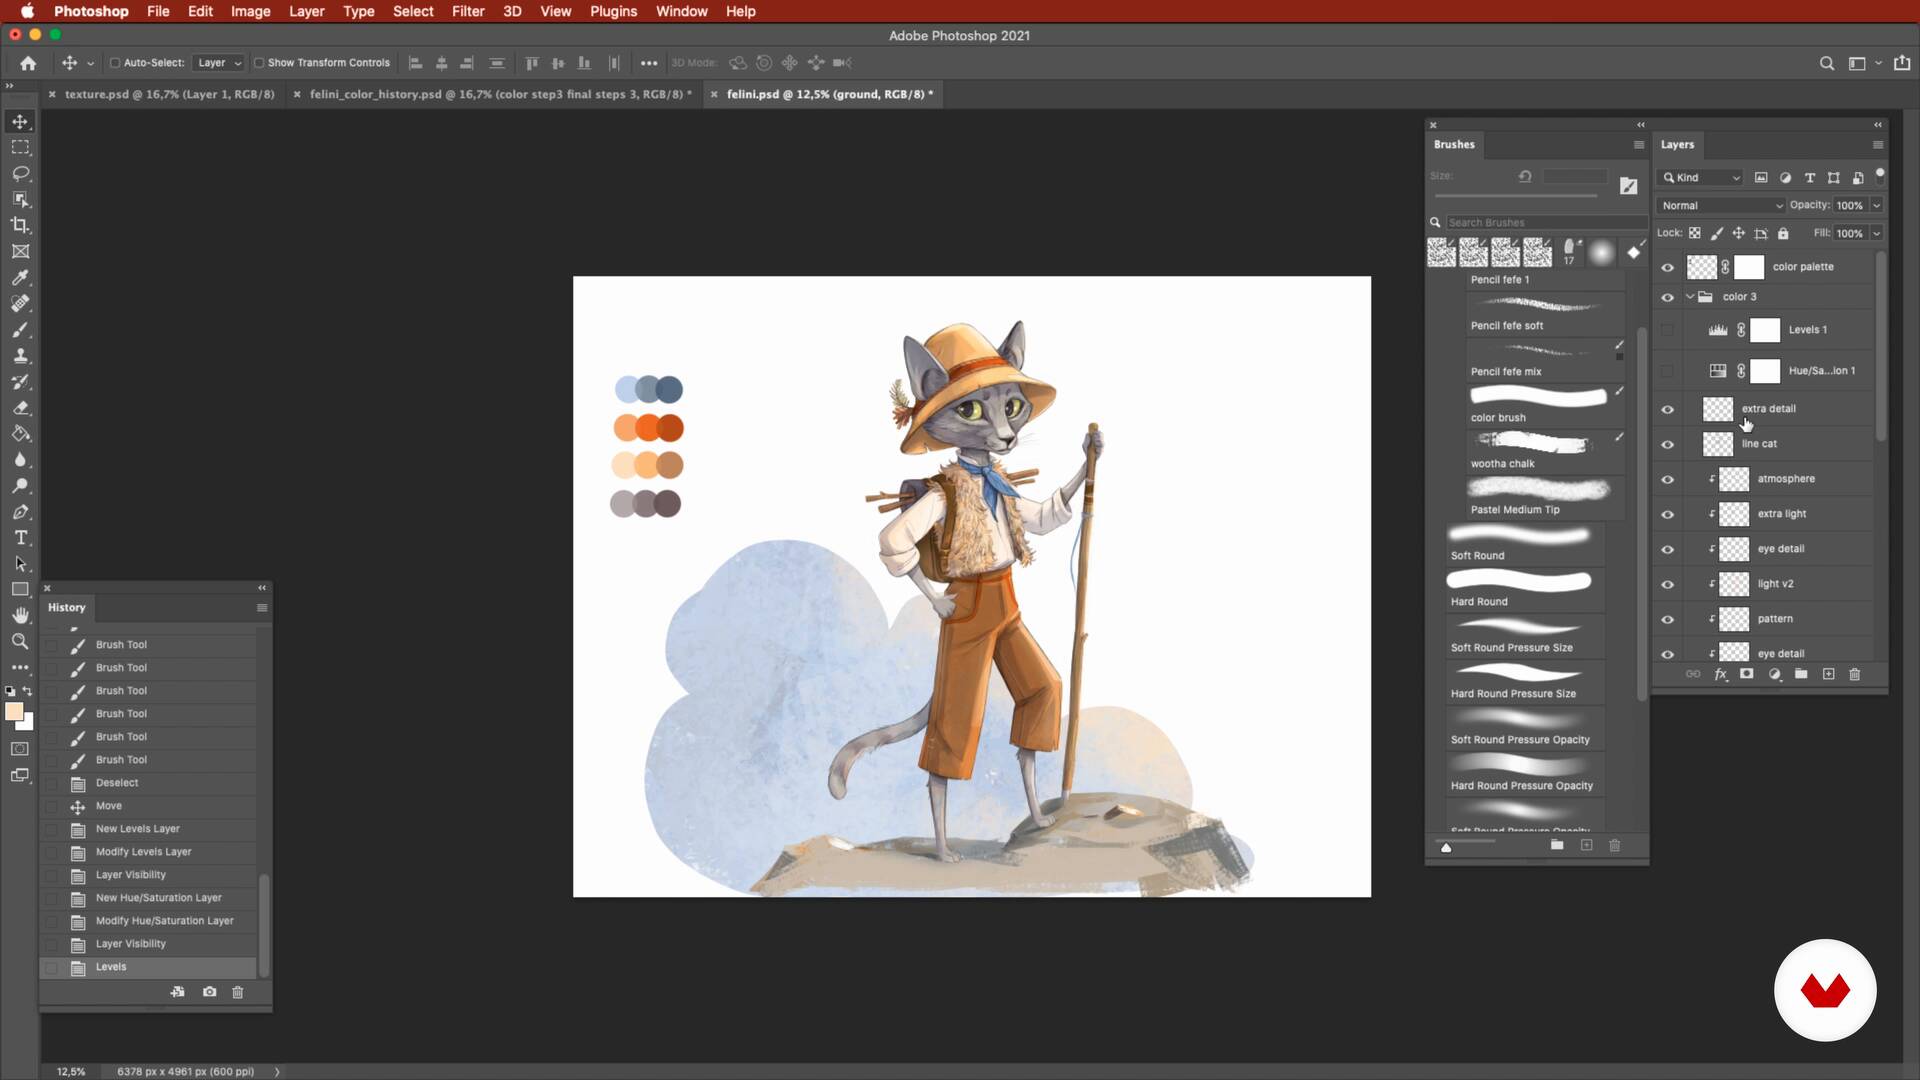
Famous Anthropomorphic Animals
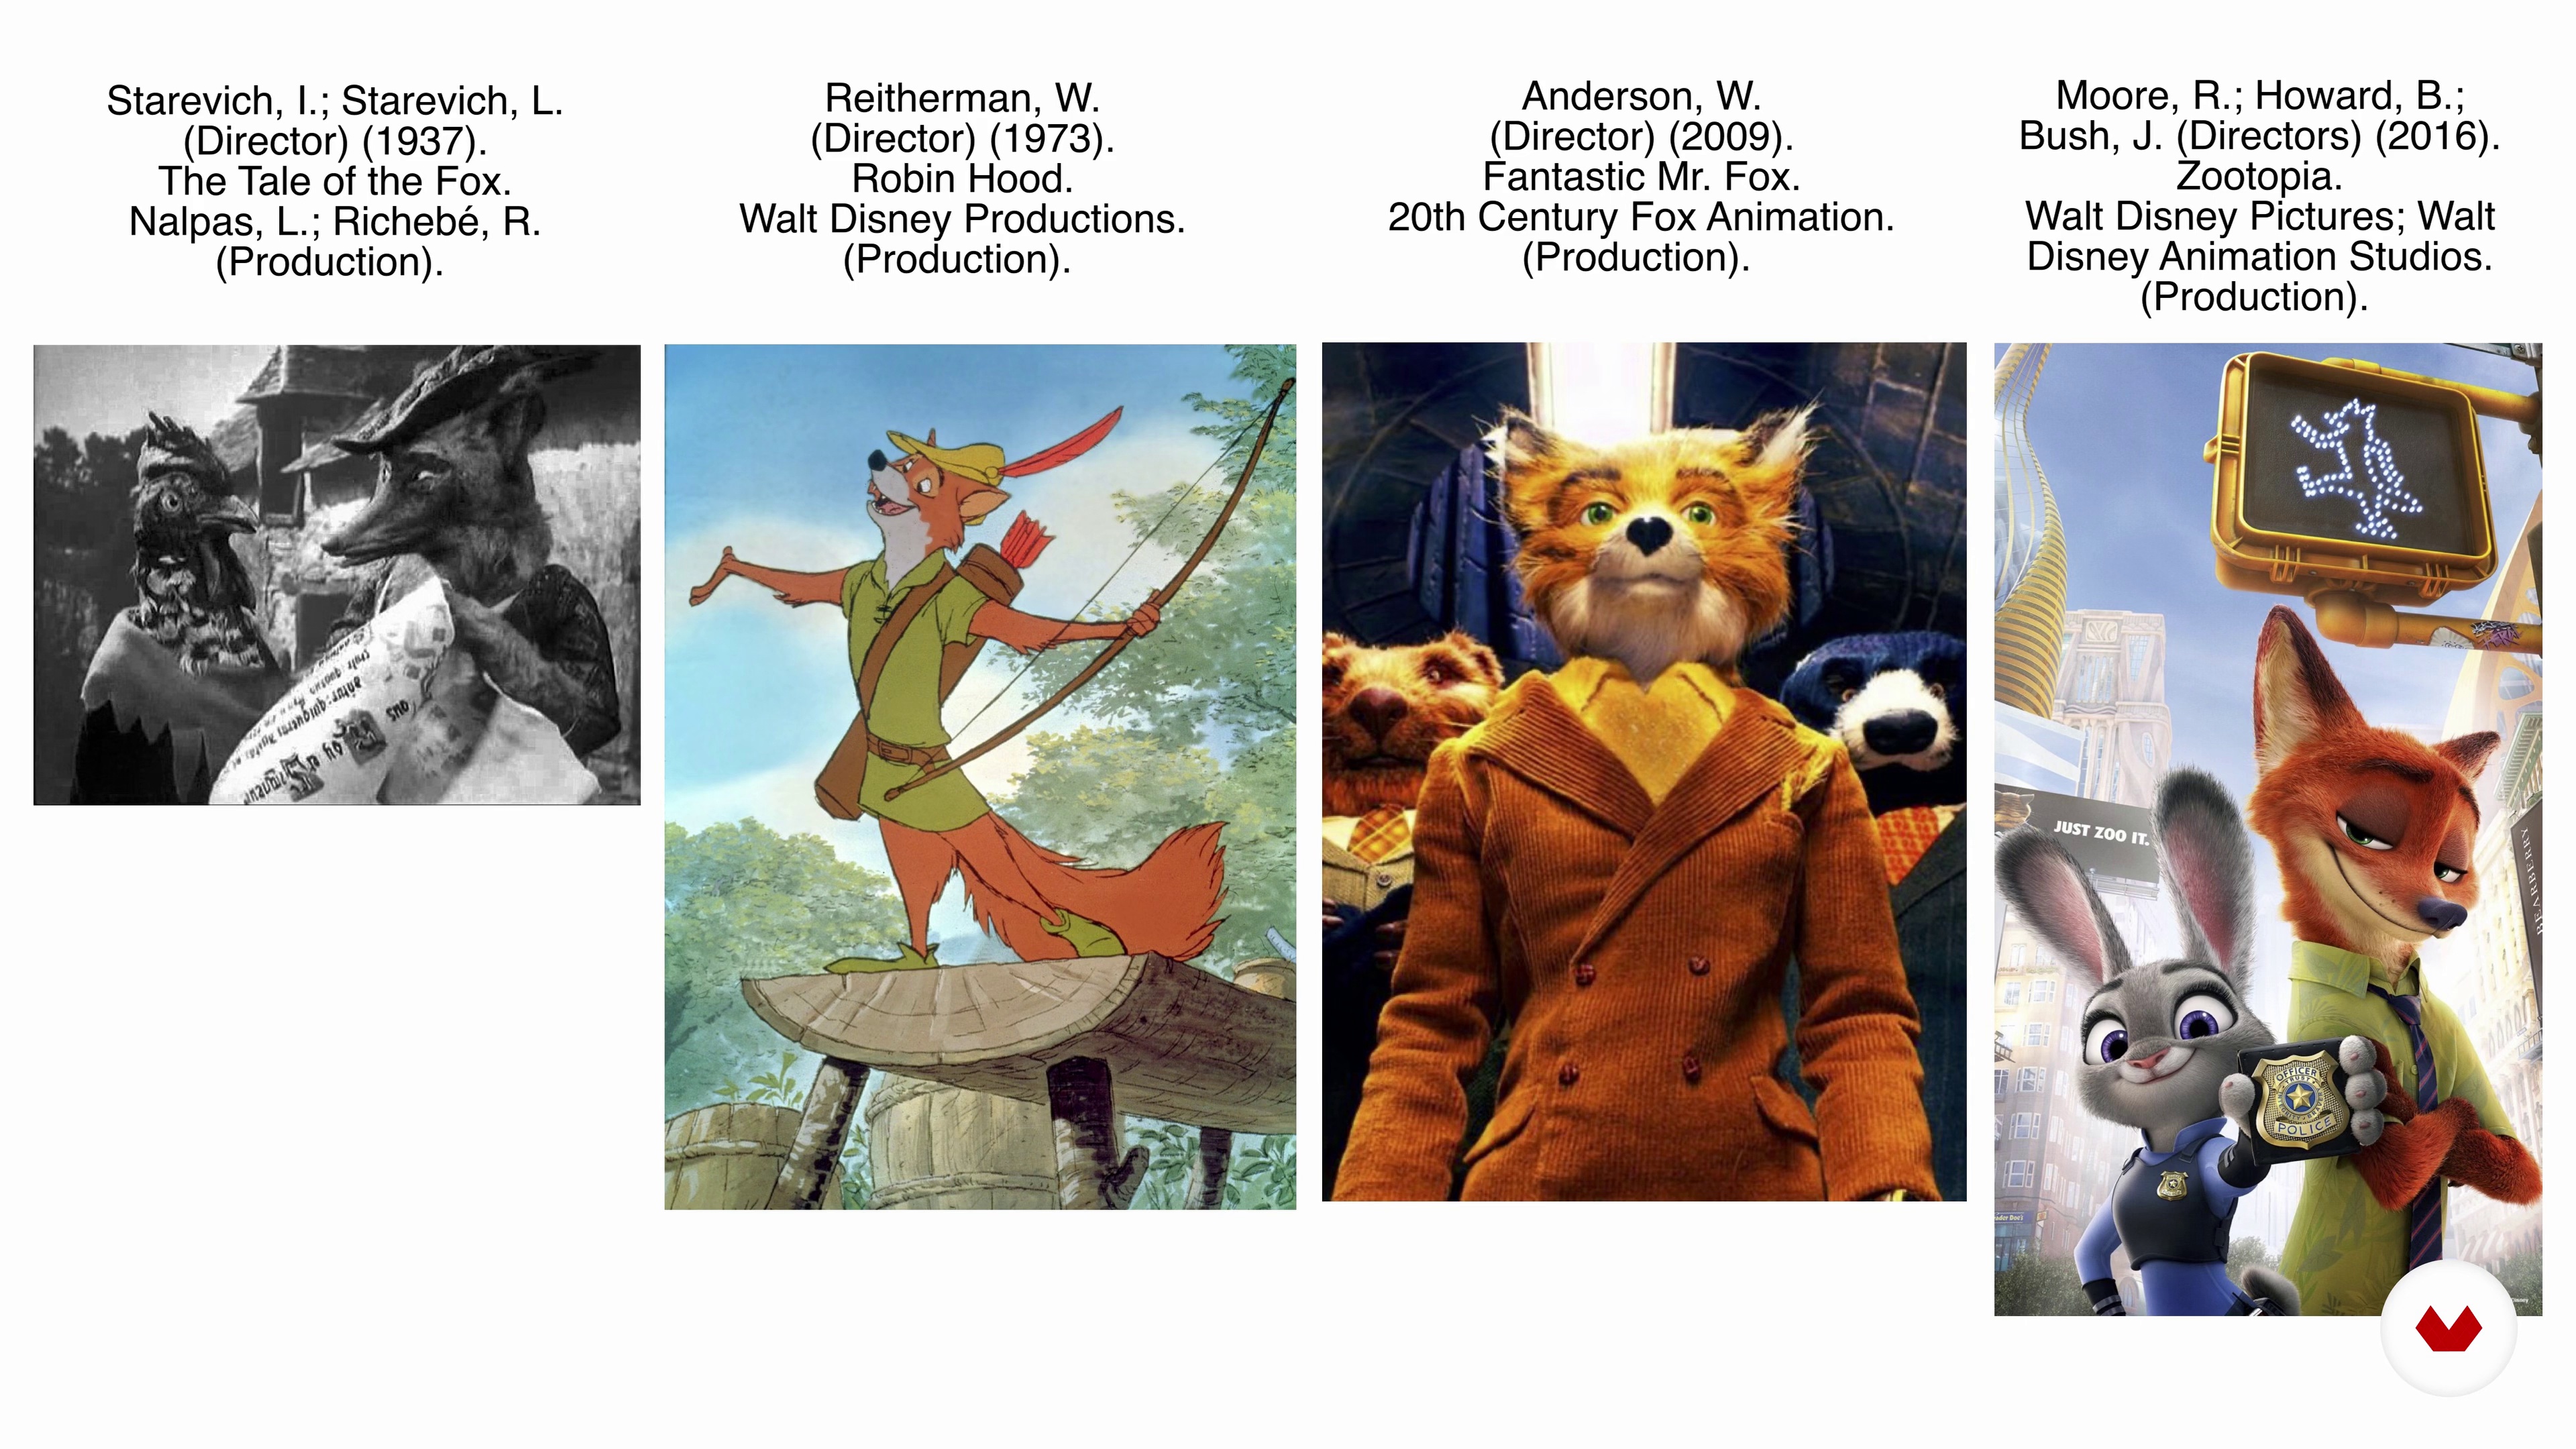
Here are a few examples of anthropomorphic animals I love, from Aesop’s fables to Zootopia. What makes them so appealing? What is the symbolic meaning of a specific animal? Let’s look at different levels of humanization.
10m
image
8
The Human Safari
Let's go on the hunt and learn to see the animal hidden in people! This is more like taking notes and getting inspired.
11m
image
9
The Brief
This is all about finding inspiration and answering the following: how to pick the character you will draw? Also, I will show you how to beat your procrastination and make decisions. I write a description of my character.
8m
image
10
Costume and Colors
Both colors and costumes tell a story. Let's see how to apply them to make the character unique.
12m
image
11
Drawing the Face: from Realistic to Adding Personality
In this lesson, we will be drawing the face from references to then add personality and character to the face - eyebrows, eyes, and take a look at how to find the right balance between animal and human.
5m
image
12
Creating the Body and Posing
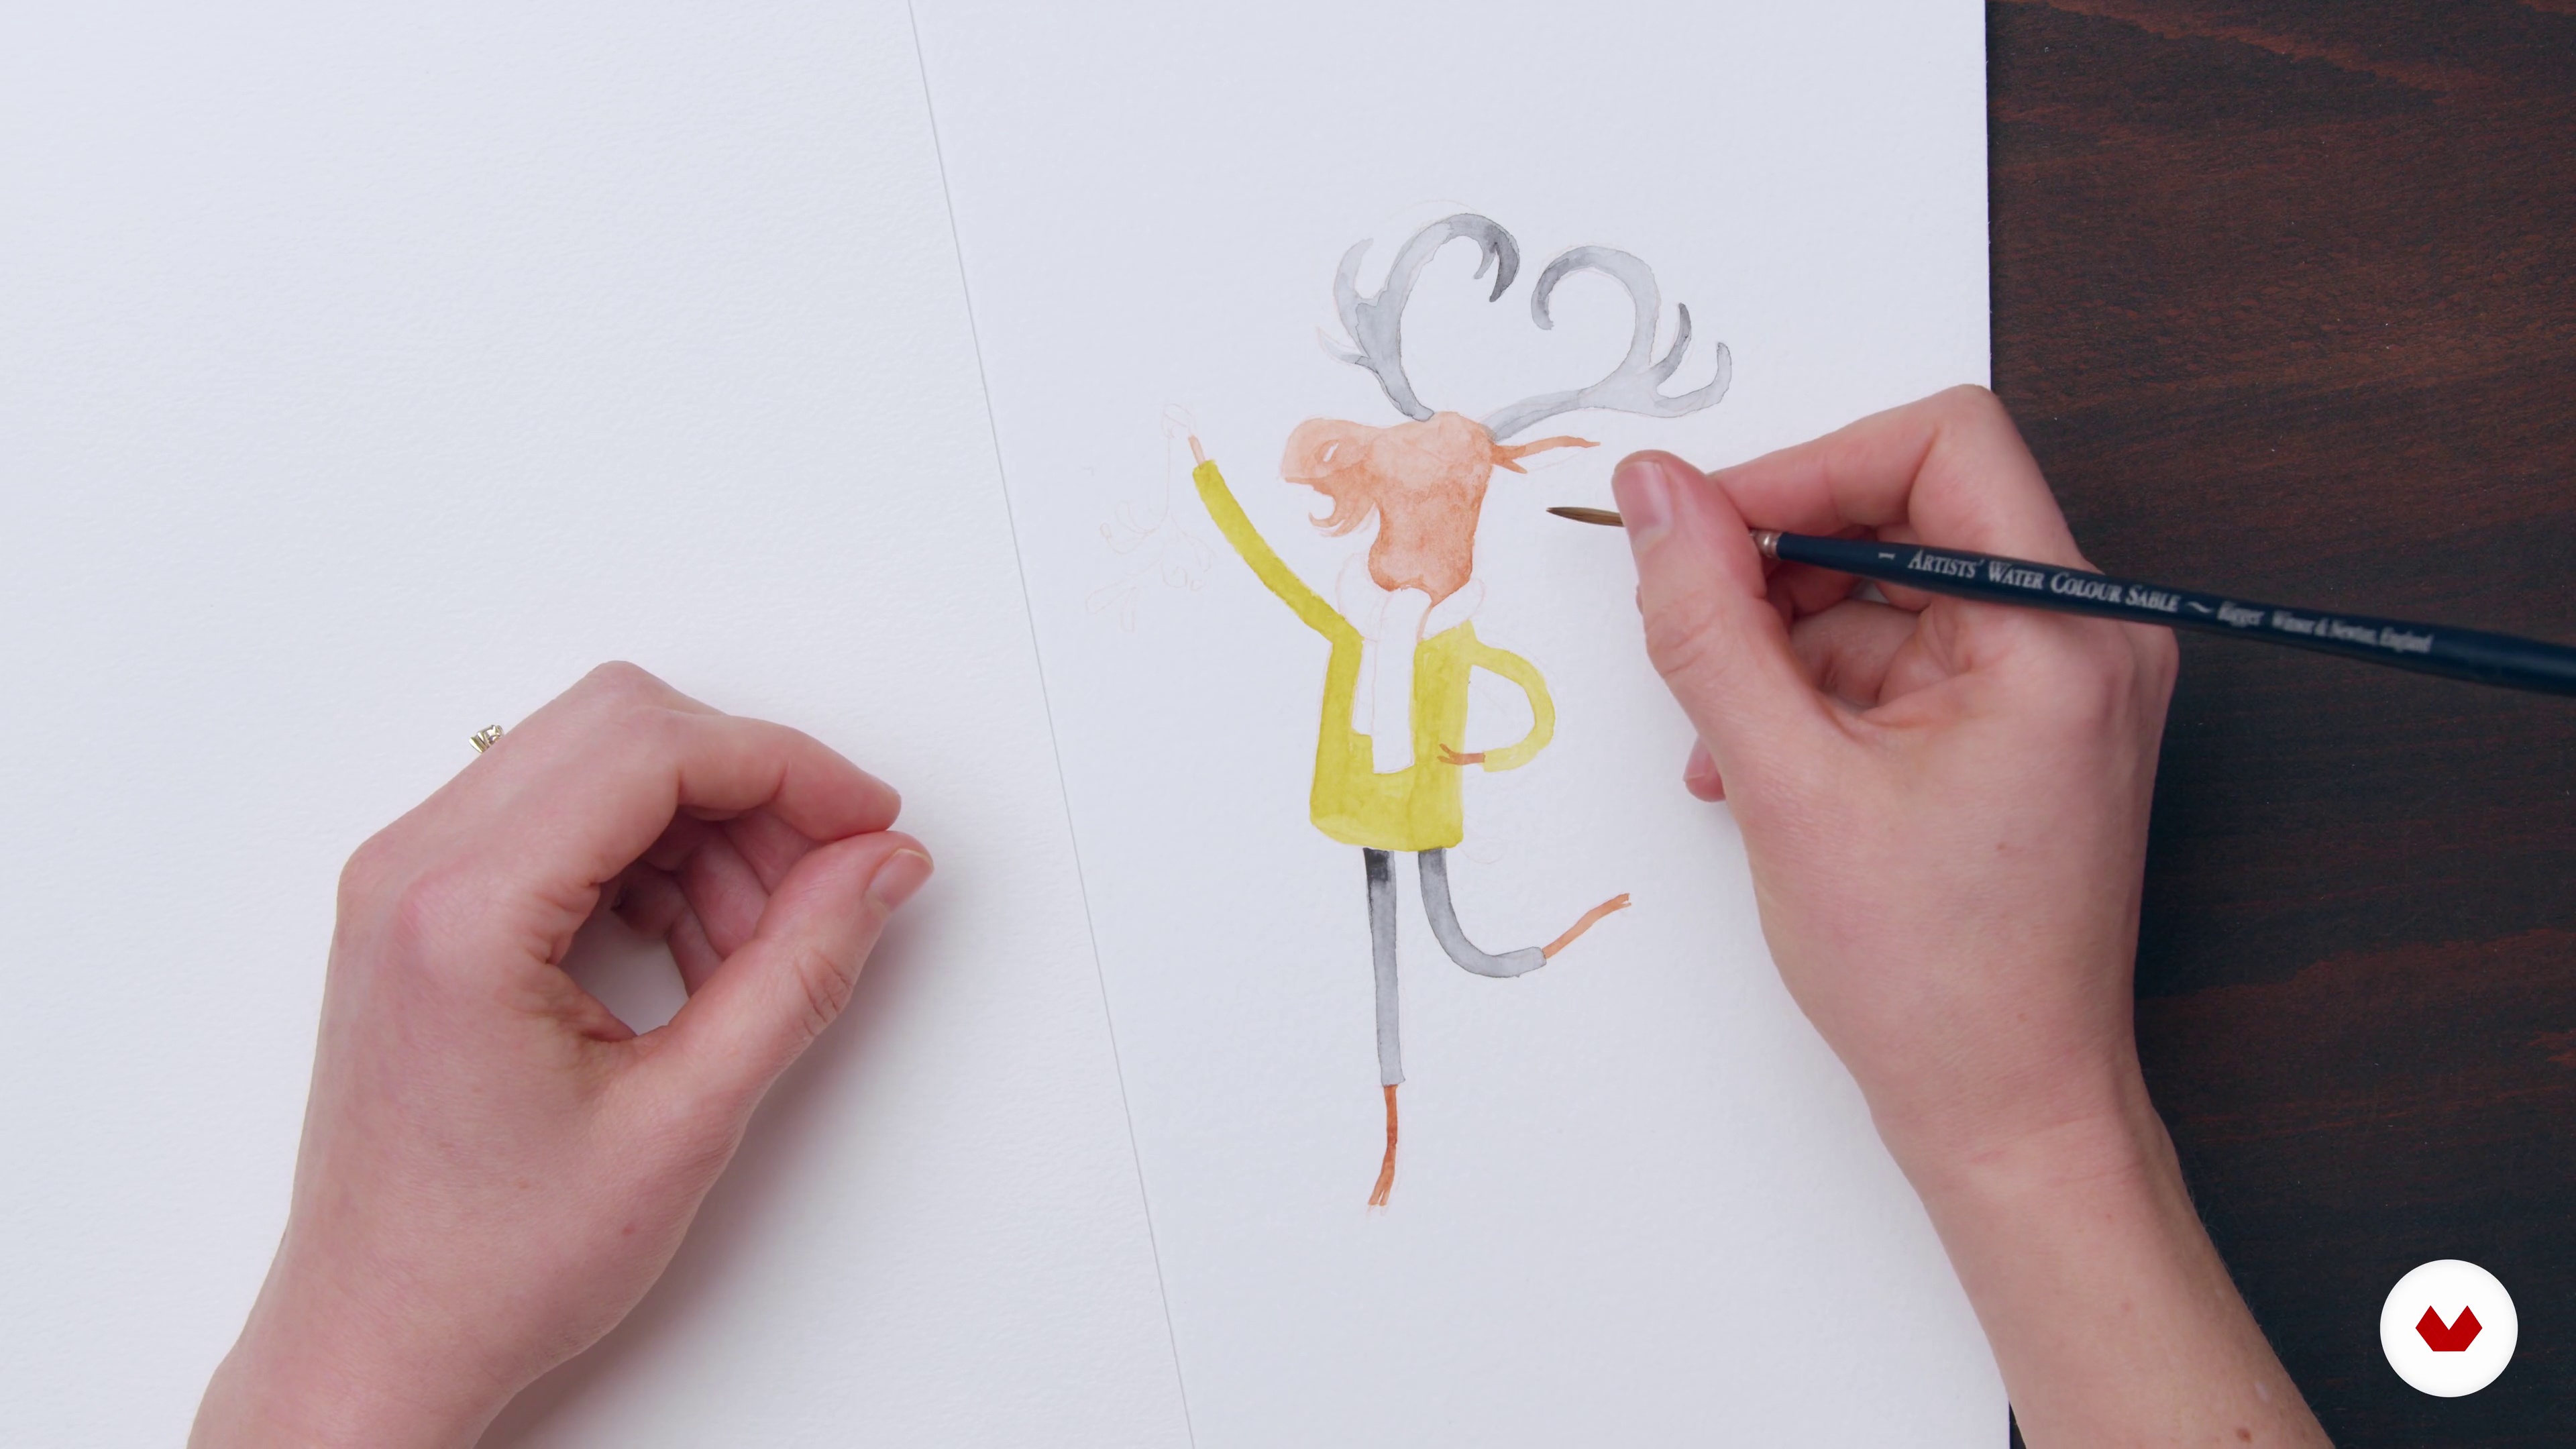
Using the costume references I found for the character, I try to come up with three different ideas of costumes and posing. I draw each idea, trying to keep it a loose drawing, this is about ideas! I try to make each pose more expressive by thinking about the directions of the lines in the drawing.
10m
image
13
Getting the Final Drawing
This is the stage in which we will smooth out any imperfections or mistakes. I will also add the final details and decide what my final drawing should be.
10m
image
14
Cleaning up and Blocking the Colors 1
Let's take matters to Photoshop to clean up and check the proportions of your character.
9m
image
15
Cleaning Up and Blocking the Colors 2
This is the phase in which I am going to decide on what the color palette is going to be for this character. I will use a reference image that I collected while gathering references. The colors in the reference images have to really speak to you, so you can transfer that mood to the character you are creating.
11m
image
16
Adding Shadow and Light
Now it is time to add light and to refine and add further nuances.
11m
image
17
Adding Final Touches 1
Let's now add textures and a pattern to the clothes. At this stage, we should verify as well if the general atmosphere is right.
10m
image
18
Adding Final Touches 2
Going back to the brief, we are going to put our character in context.
11m
image
3
Shapes, Emotions, and Synesthesia
In this lesson, I will tell you about the project we're going to work on in this course. Then, I'll share my vision of character design and explain how shapes and forms can help us feel and understand the emotions represented in a drawing.
3m
image
4
Shapes and Personalities 1
I will now show you some super fun exercises and experiments that will help you to easily sketch interesting characters. First, however, I will explain which are the tools that I use for sketching, depending on what I'm working on. The first exercise that we'll do is one that forces you to challenge the rules of anatomy.
16m
image
5
Shapes and Personalities 2
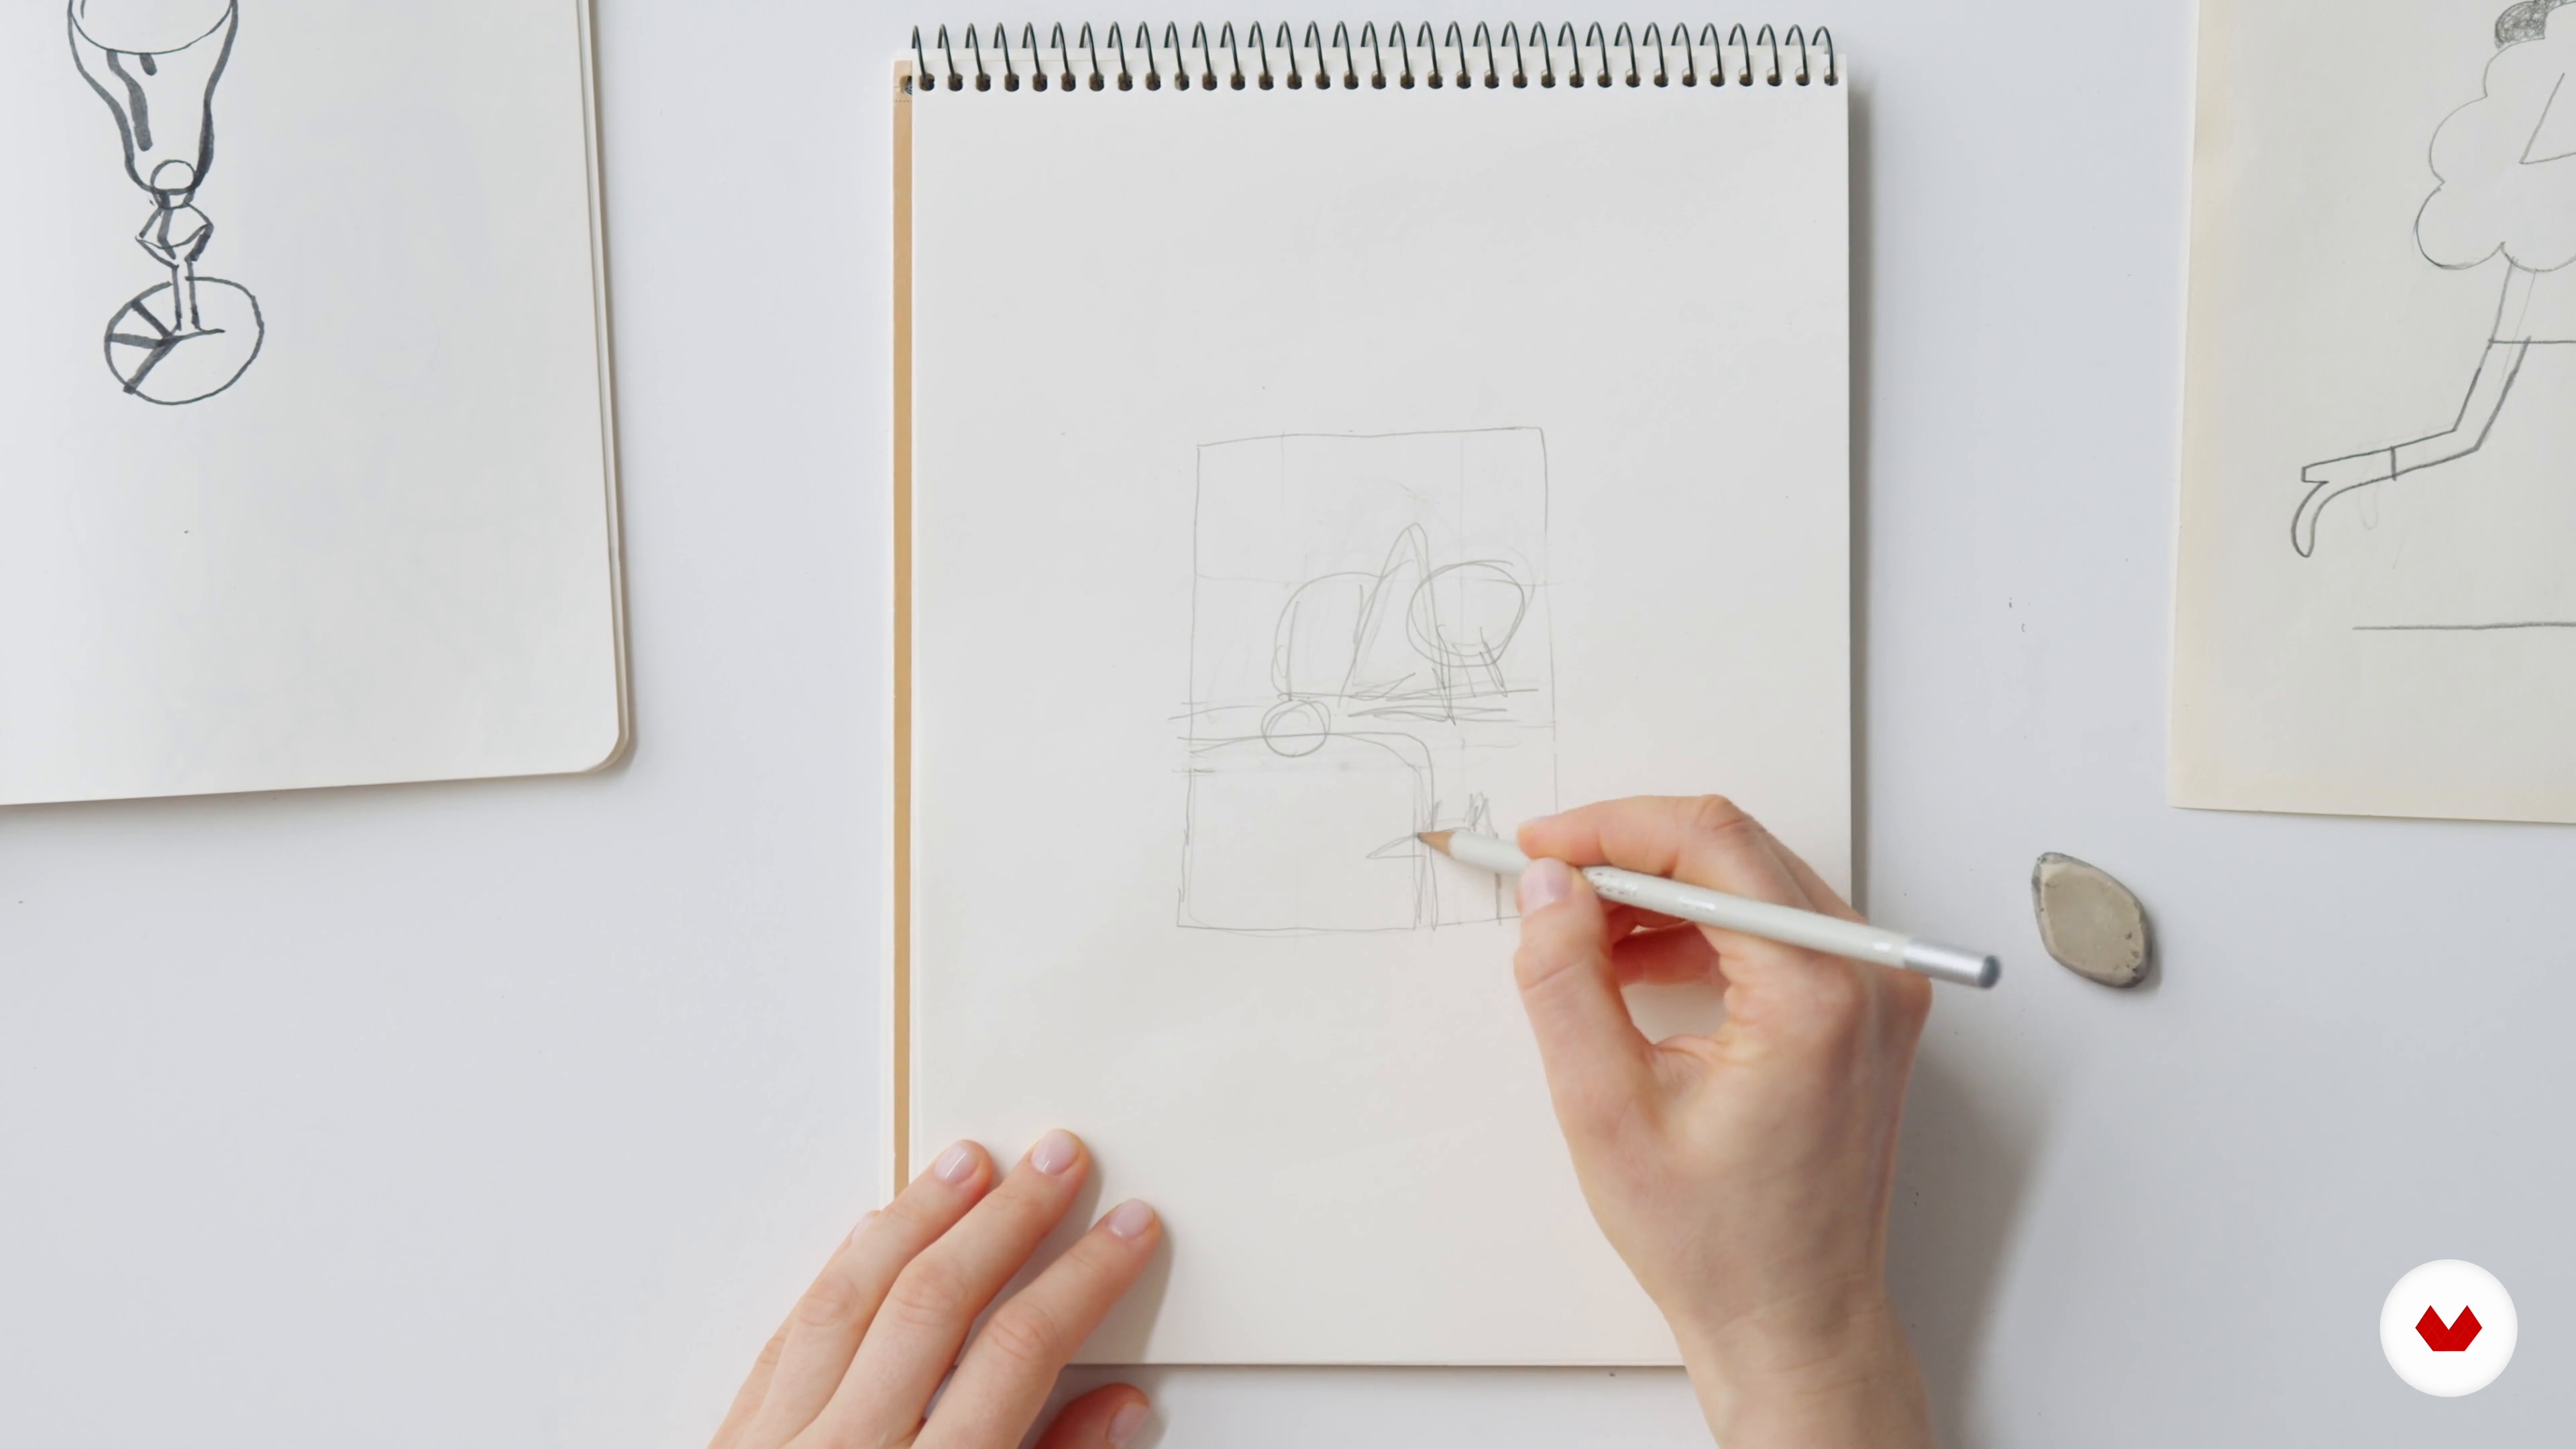
Here I'll show you two more exercises. In the first one, you'll learn how to create a character based on an abstract artwork. Then, you'll see how you can insert characters within defined and restricted shapes.
13m
image
6
Dynamics and Movement
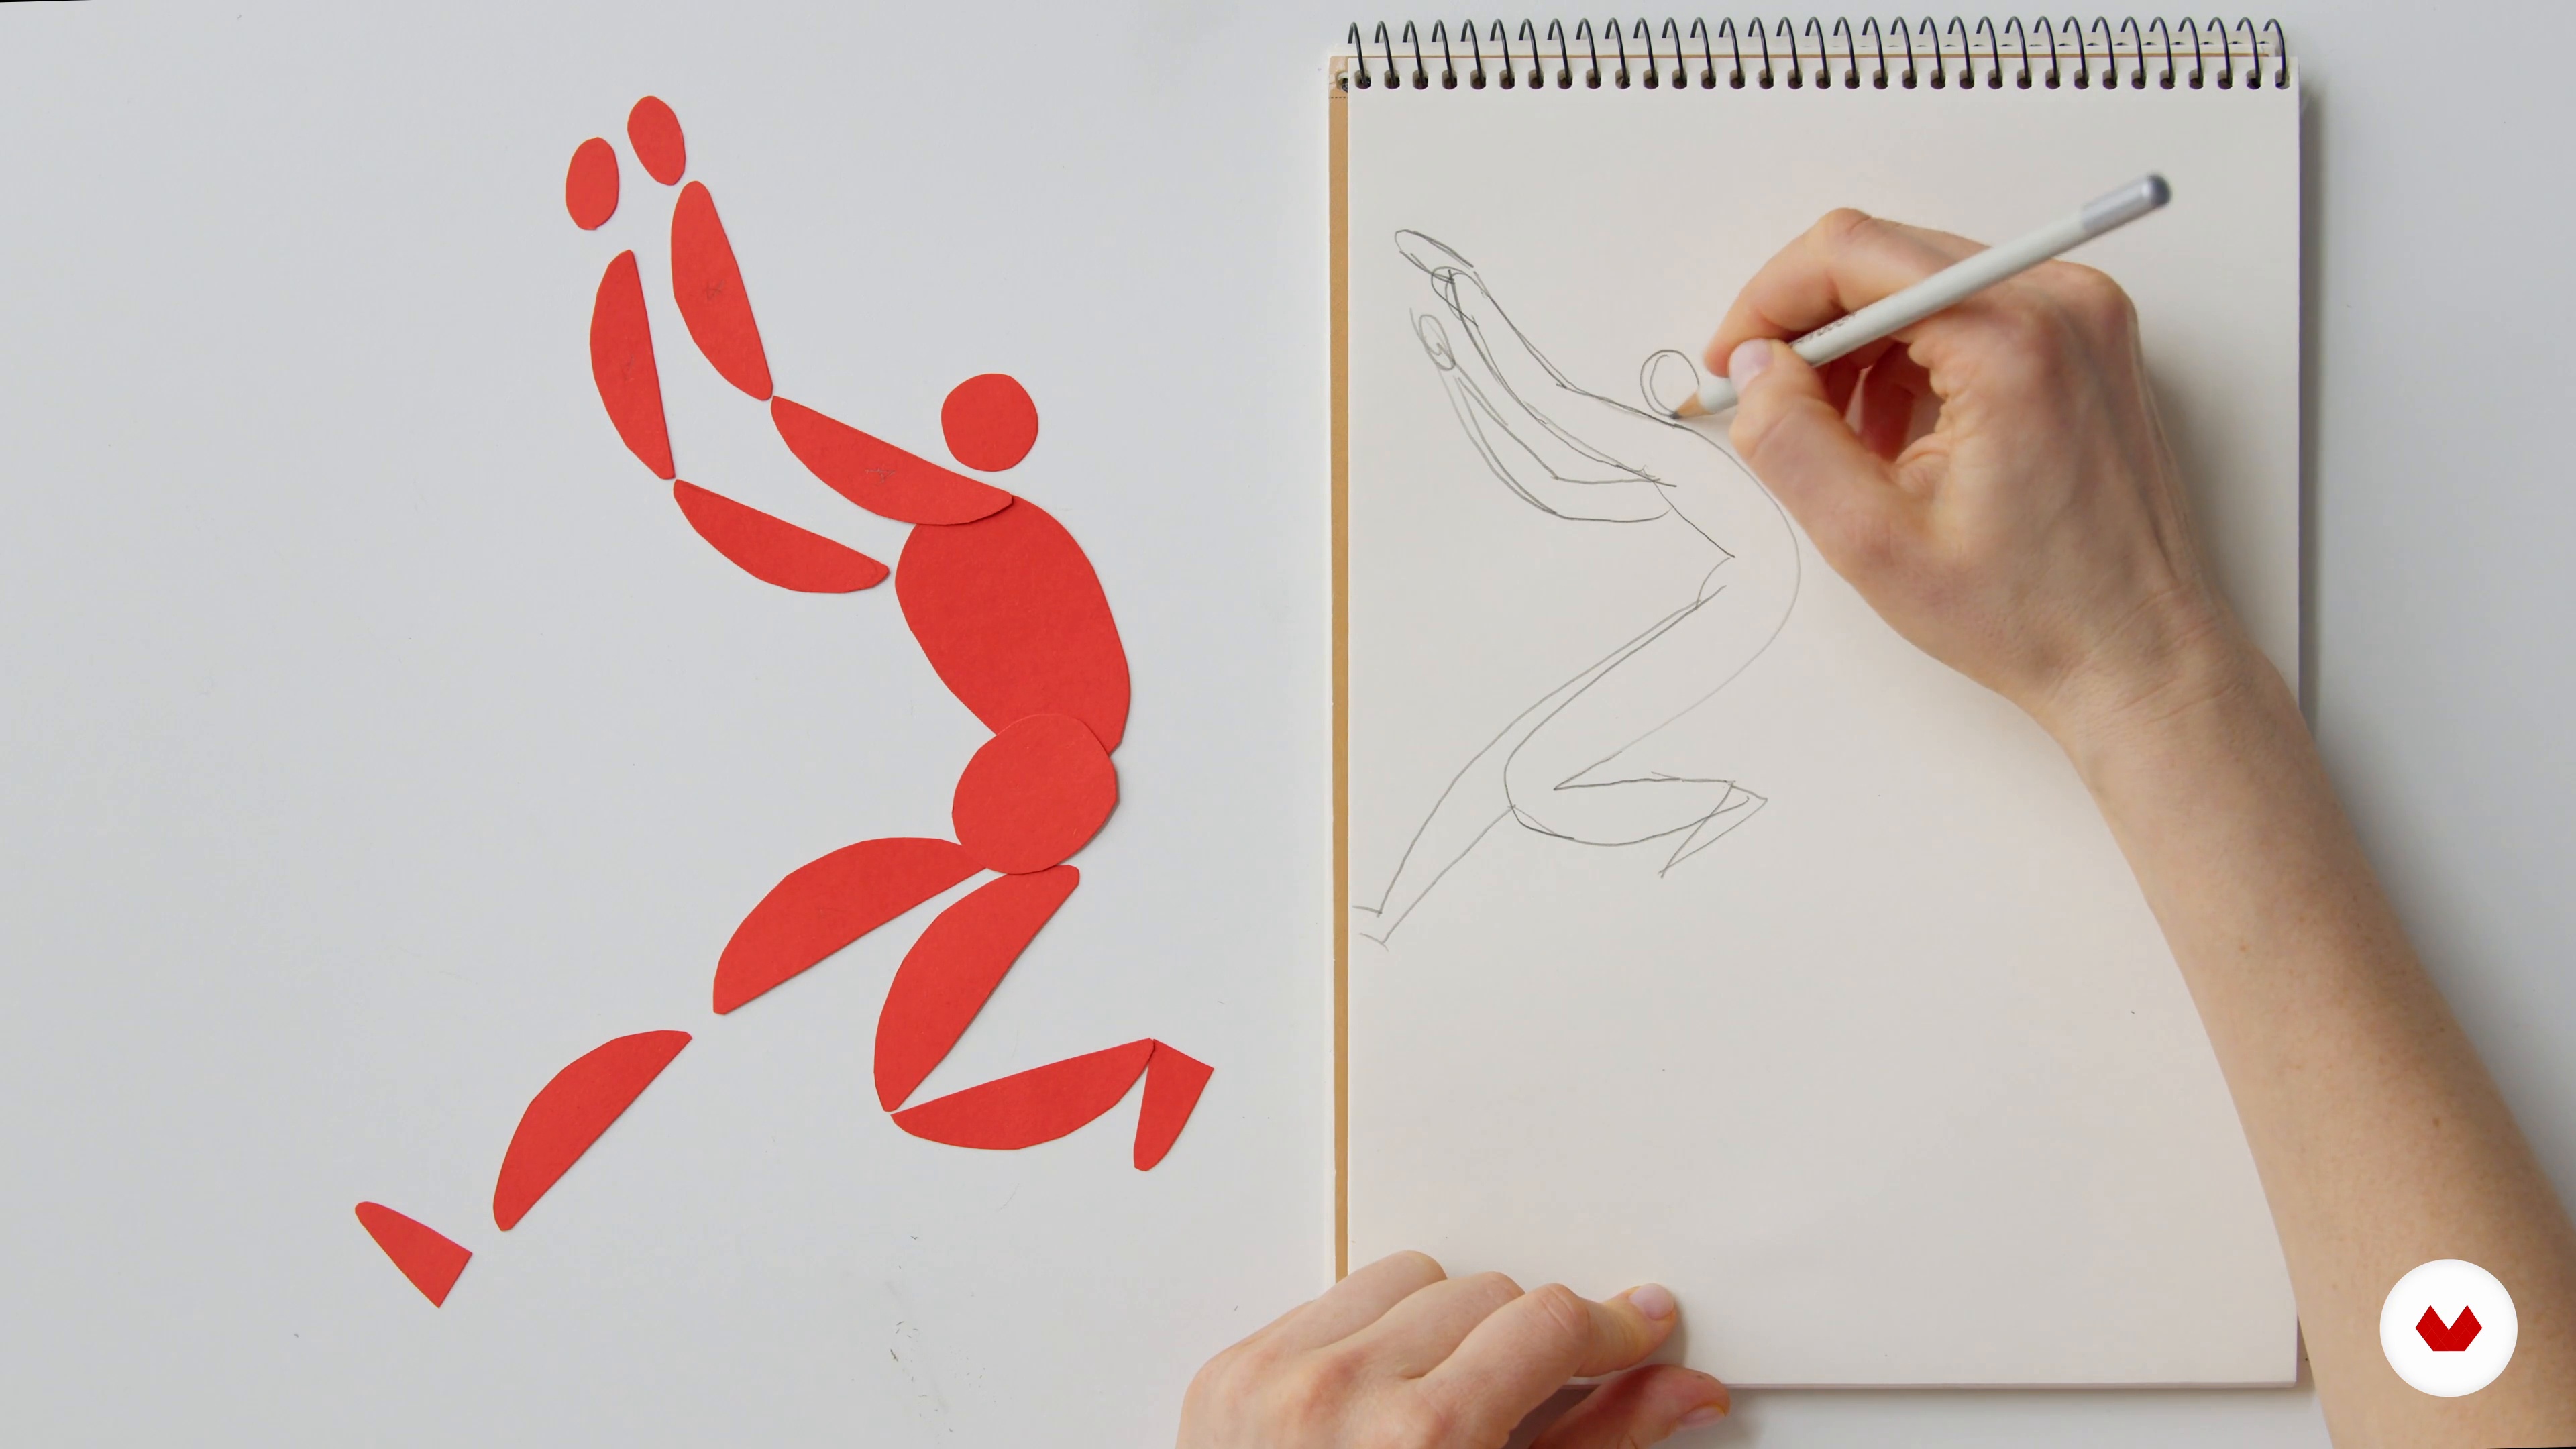
One way of creating convincing characters is to represent them in movement. Here, I'll show you two exercises that will help you understand this notion and implement it in your own work.
9m
image
7
A Diversity of Characters: Bodies and Scales
In this lesson, I will teach you how to use different body shapes to create a diverse and interesting crowd.
6m
image
8
The Choice of Colors
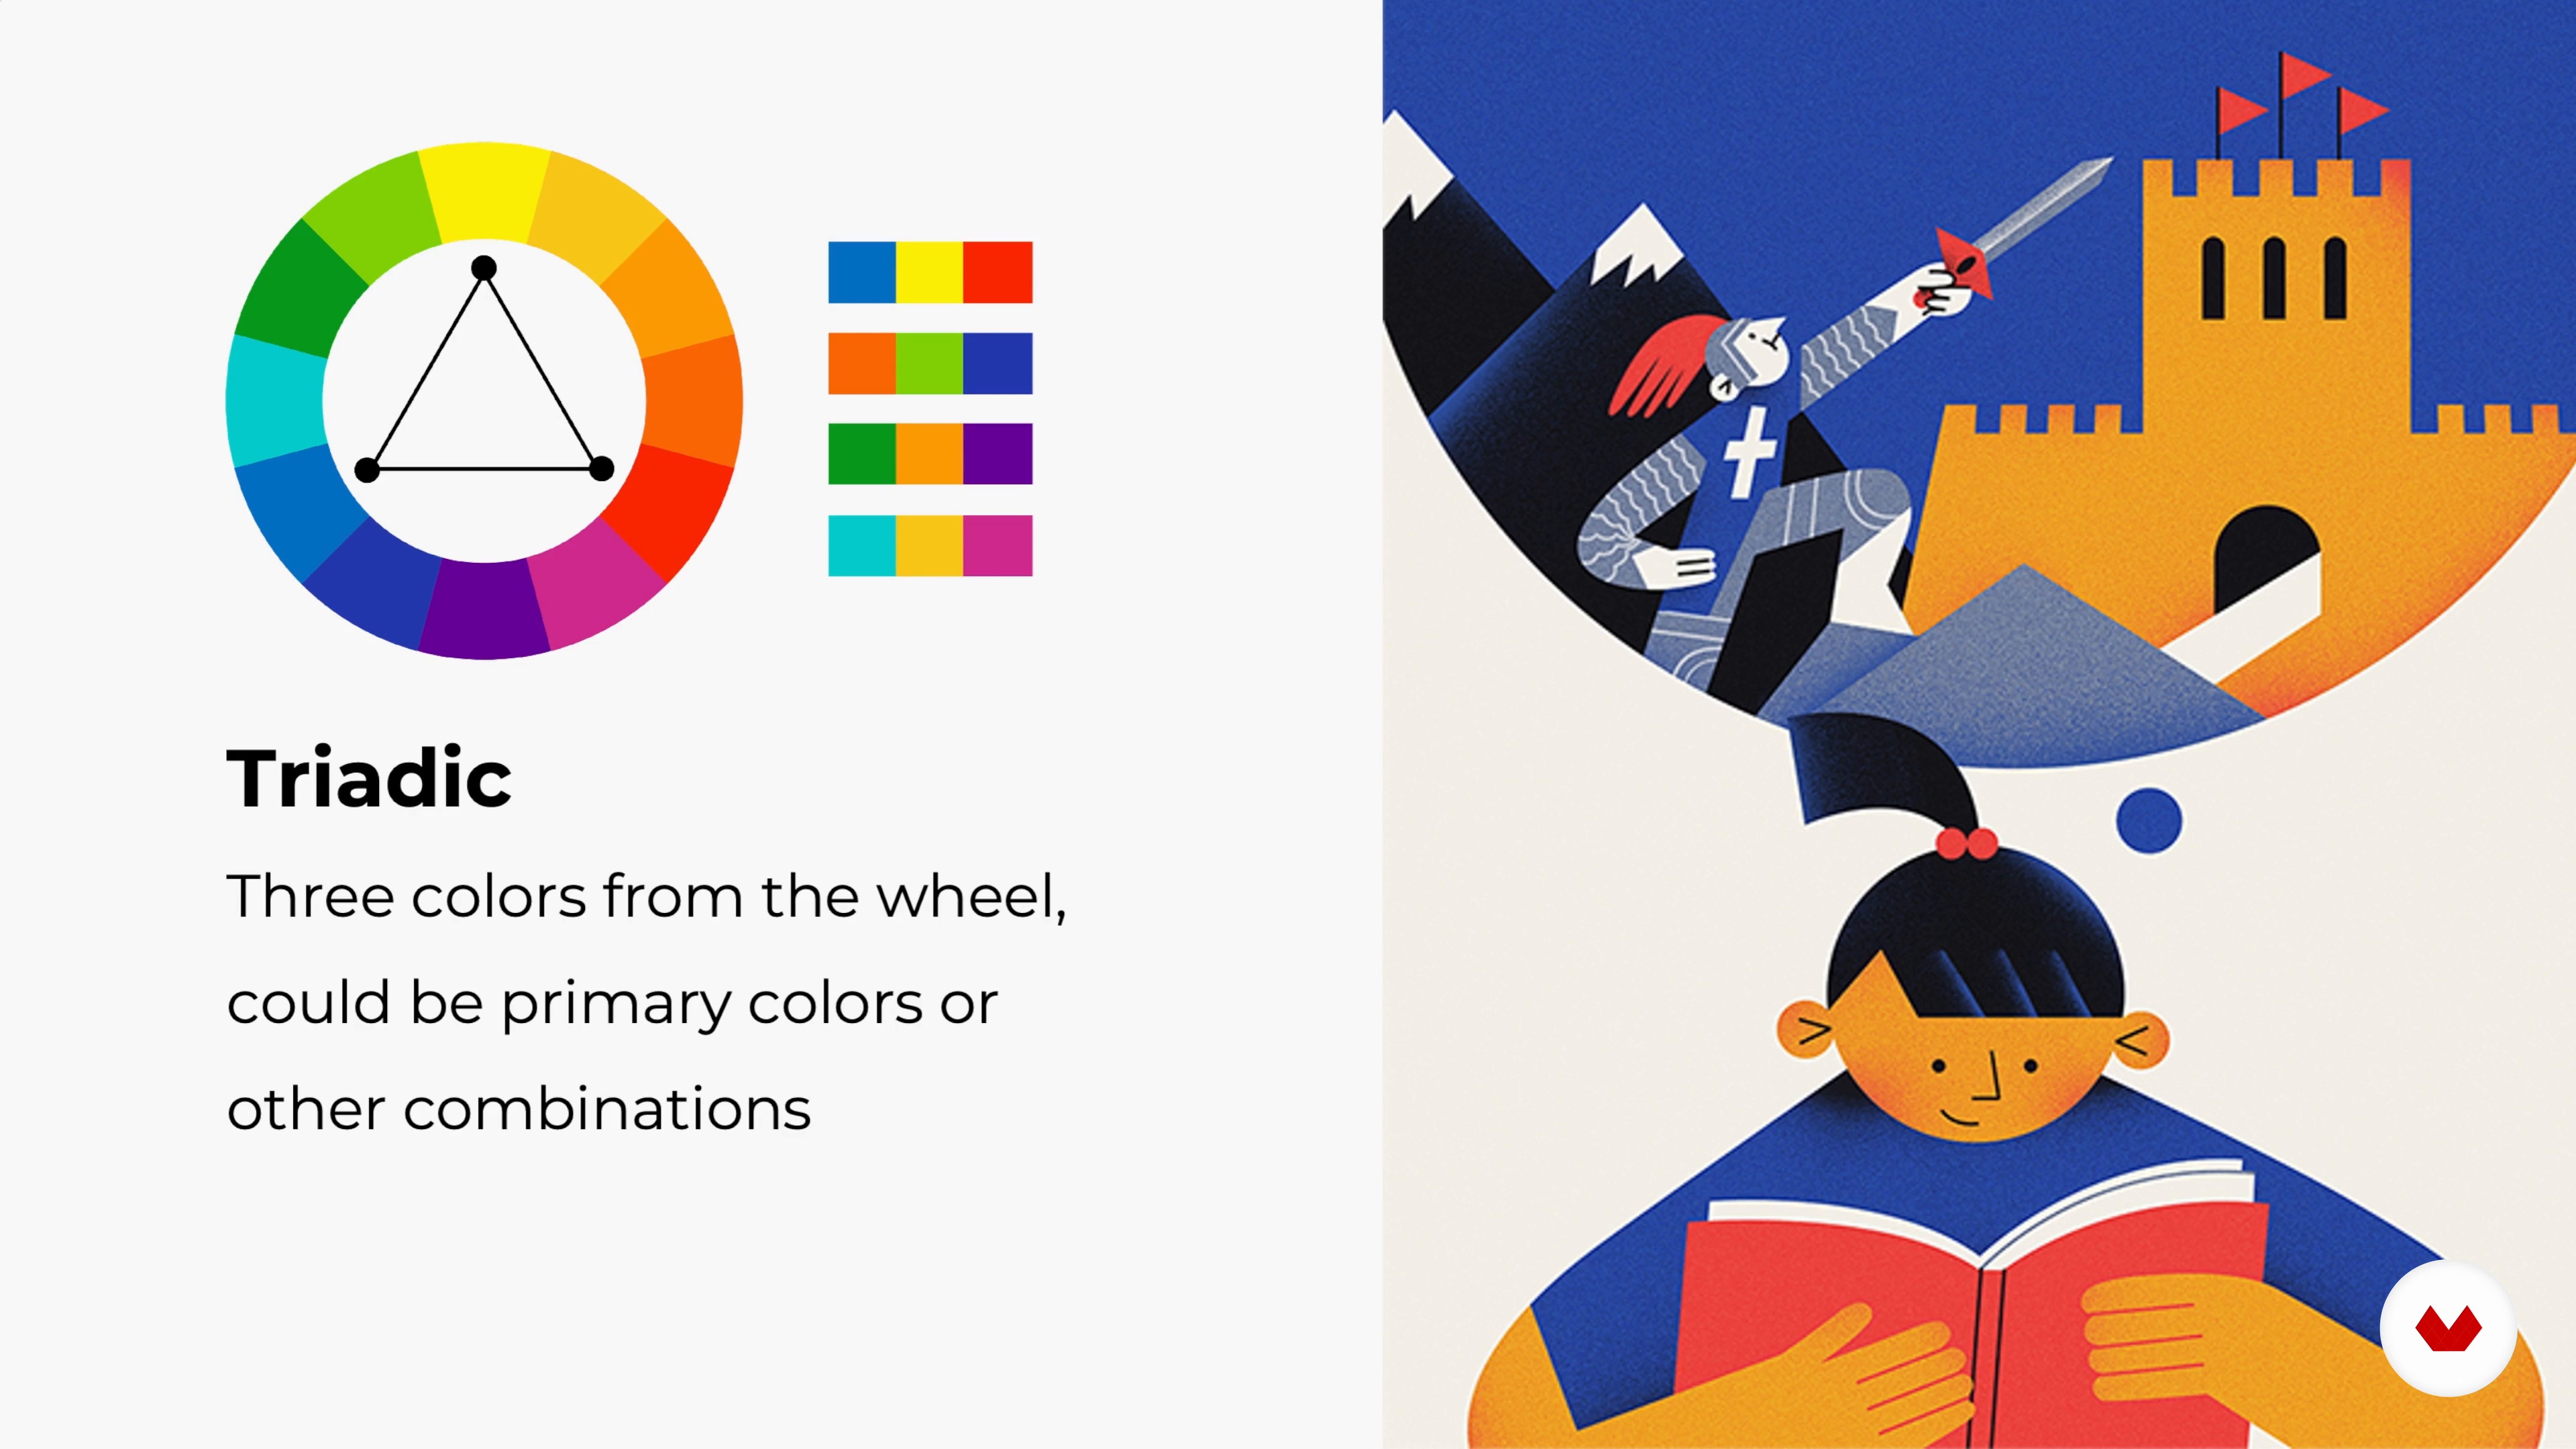
Now we will talk about colors and I’ll share a very handy theory that changed my process of coloring and taught me how to use colors in a more conscious way.
8m
image
9
Research and Sketching
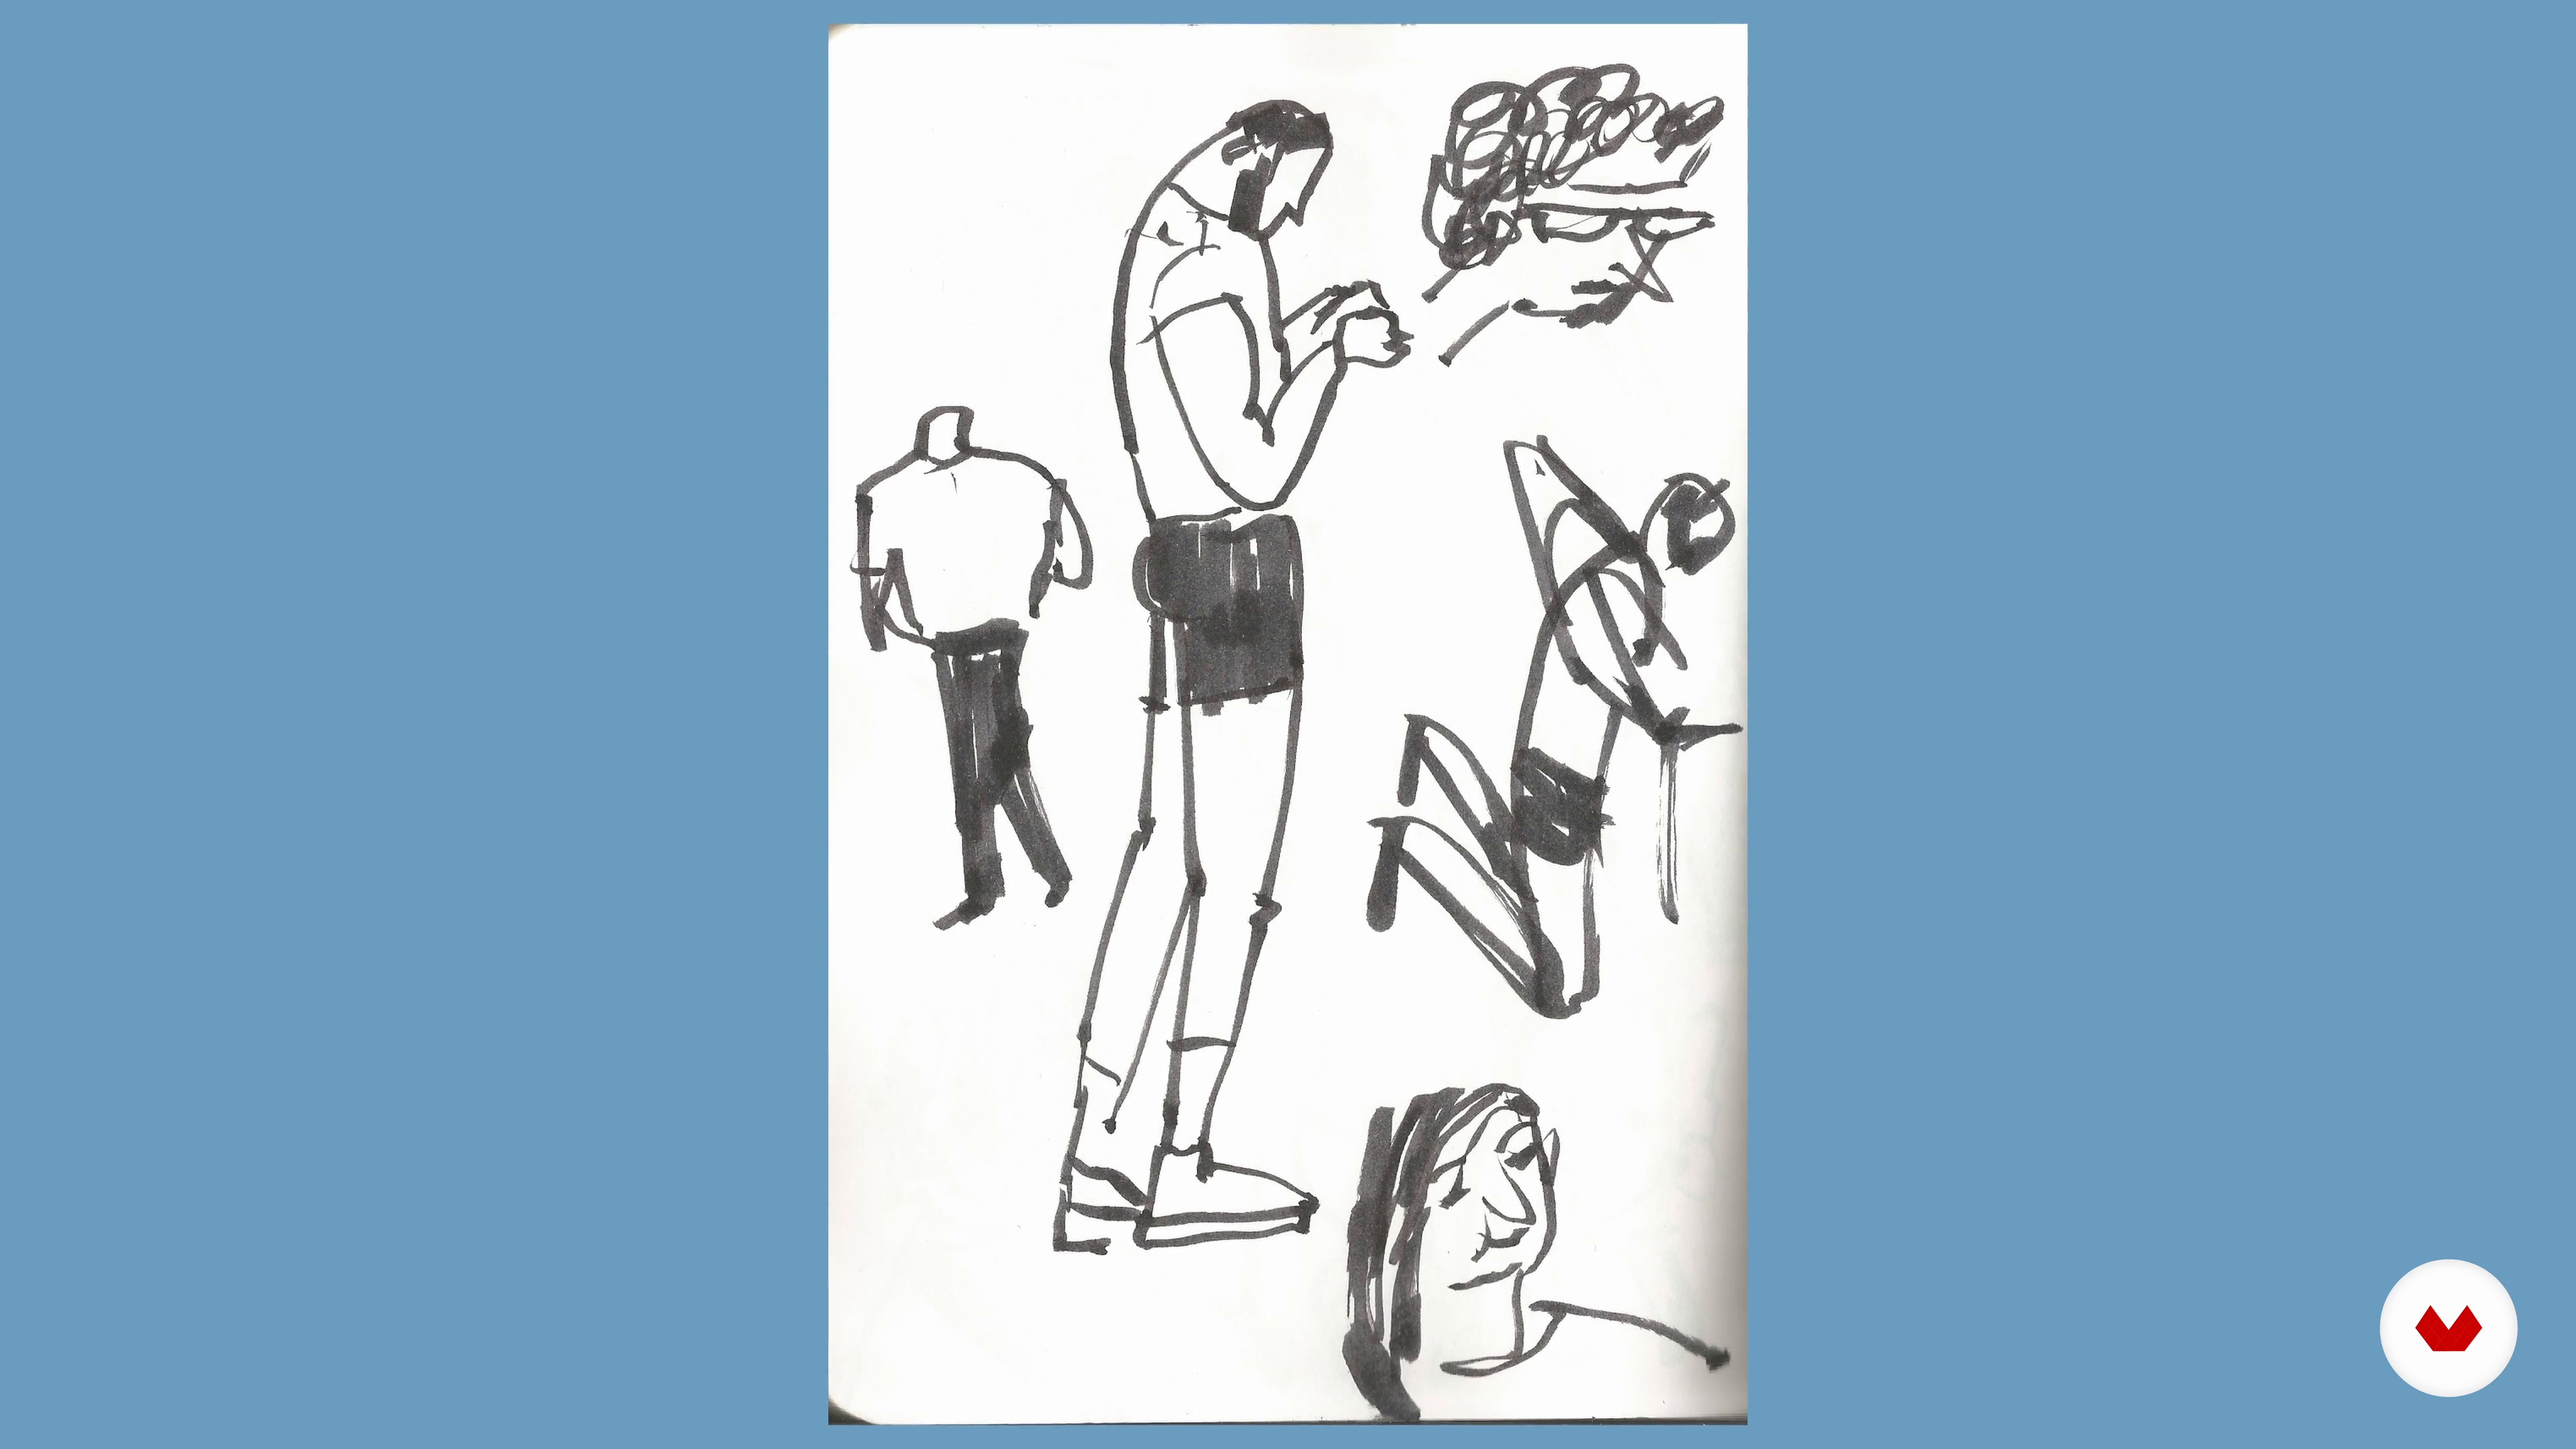
I'll start by showing you how I search for inspiration for my characters in the street and sketch different ideas.
4m
image
10
Composition, Rhythm, and Dynamics
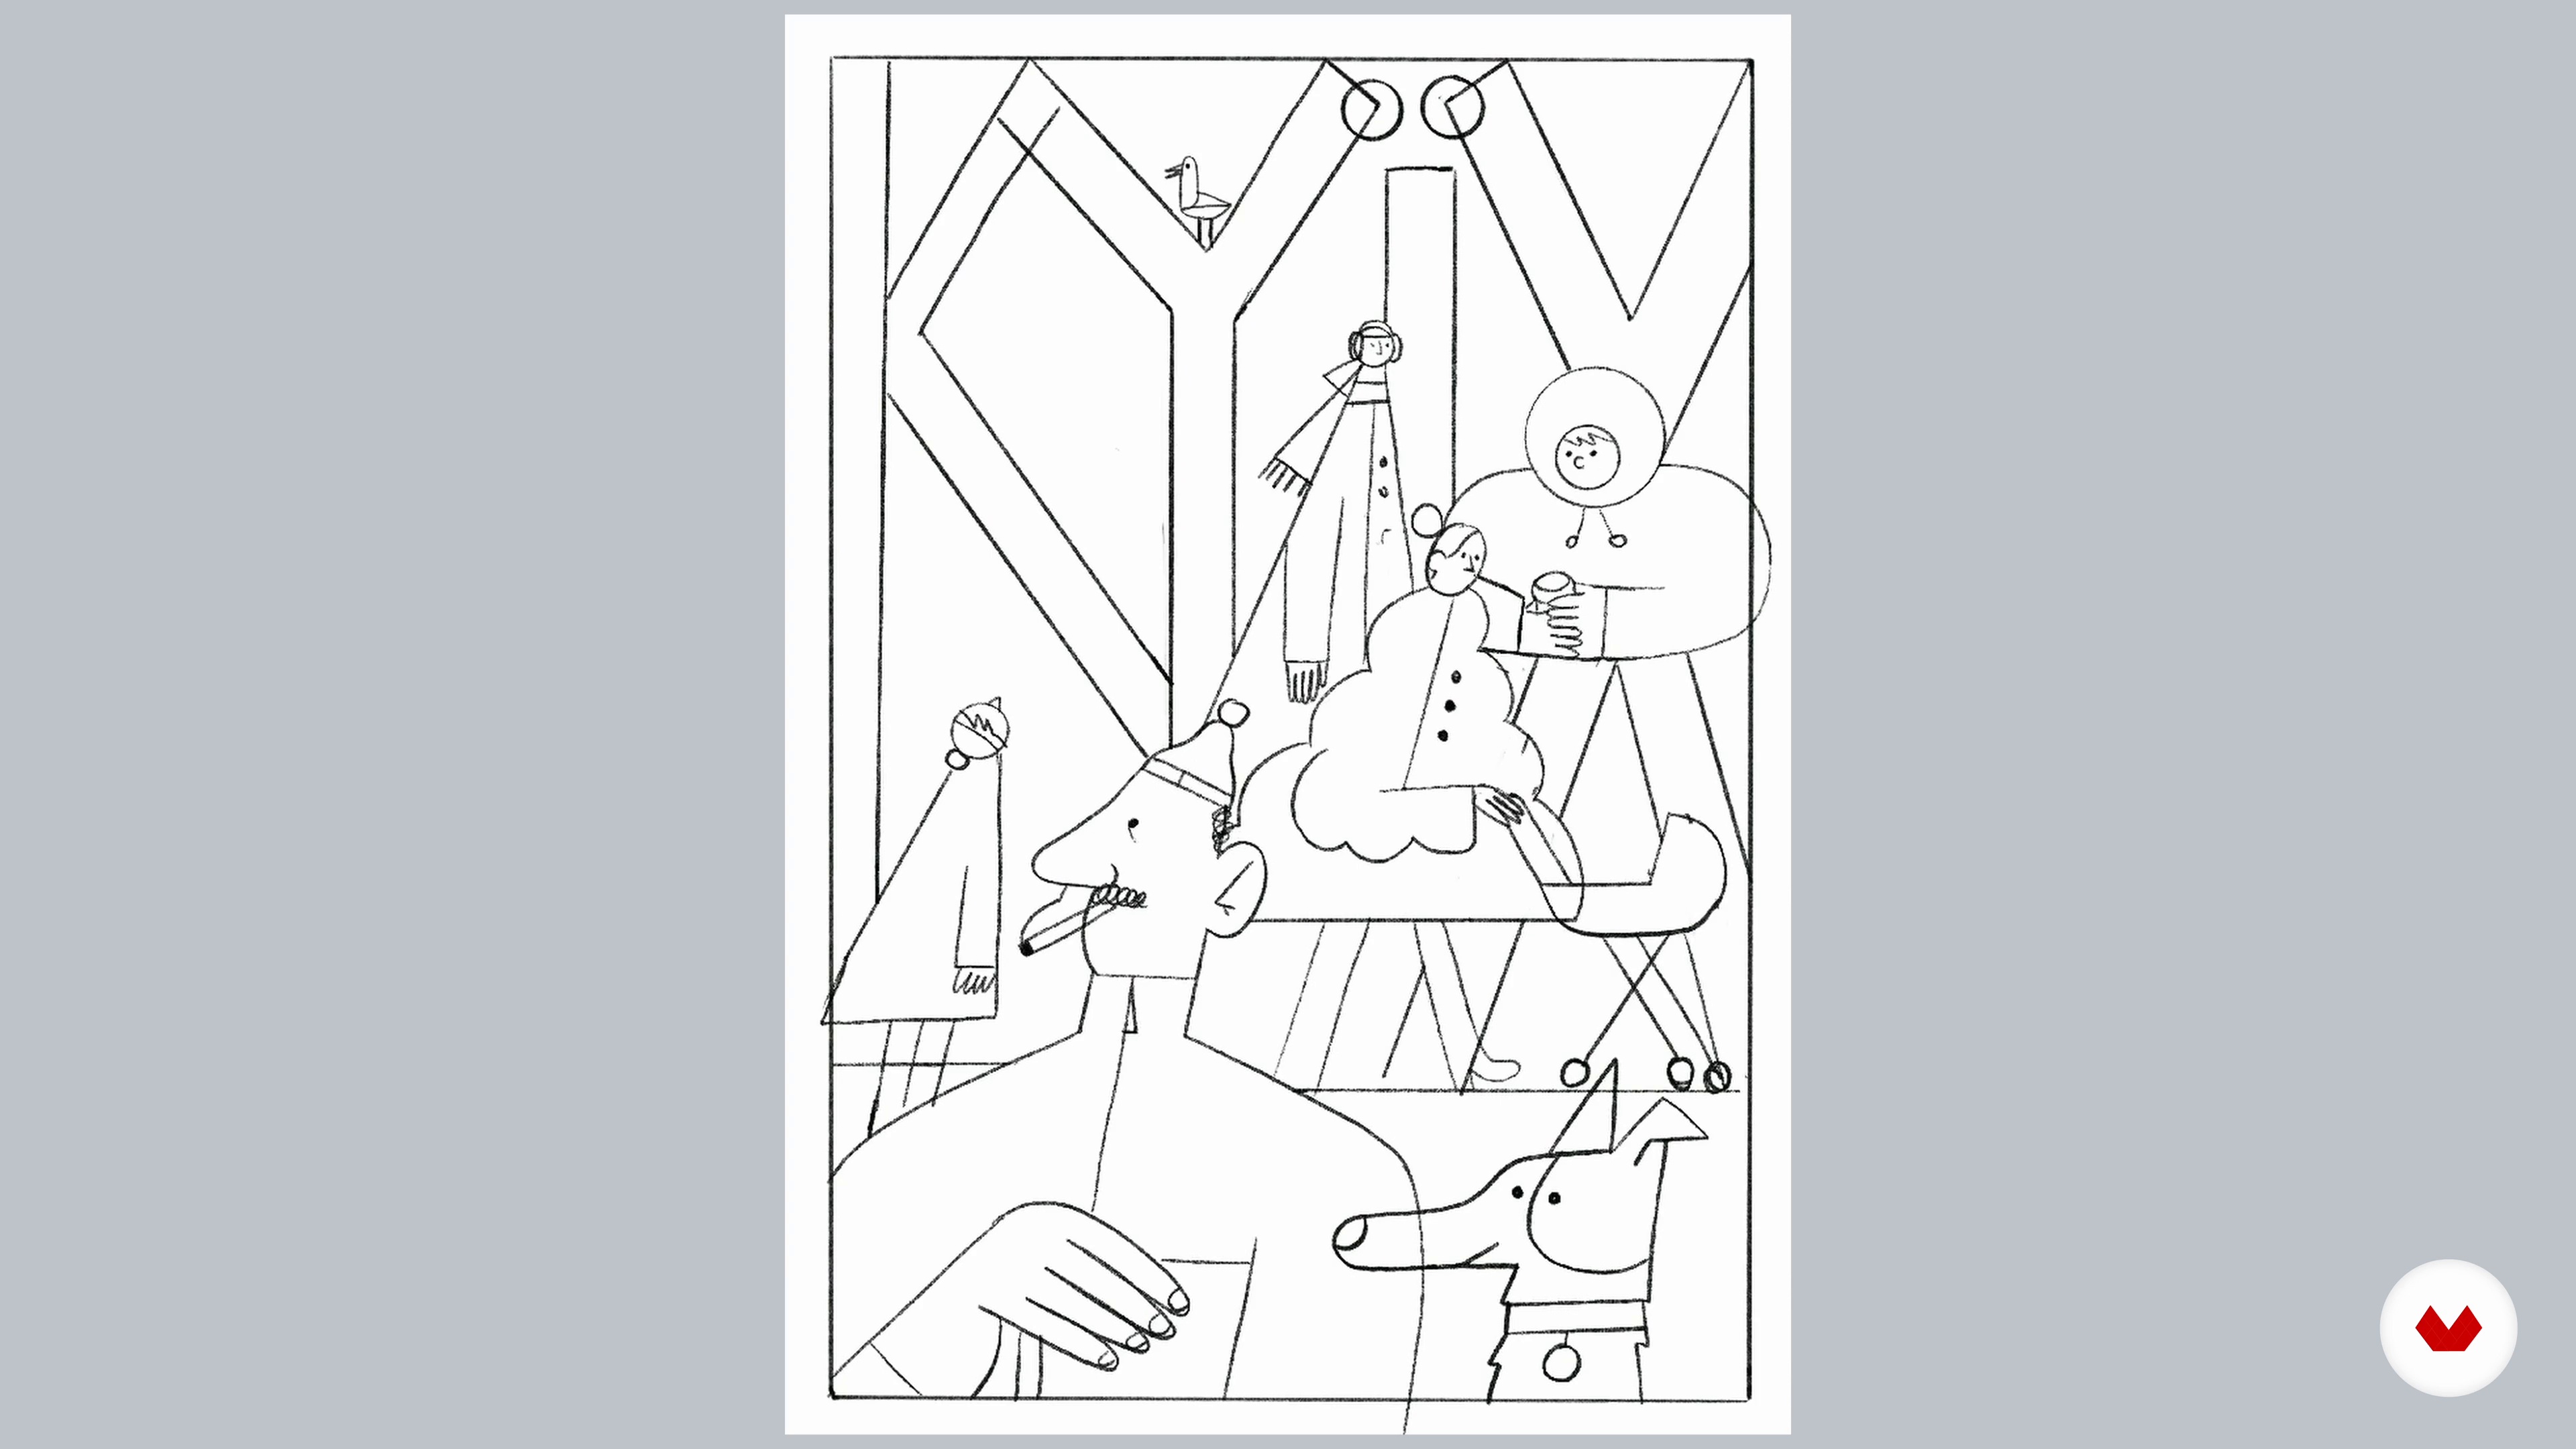
Now I will work on a composition for my illustration, choosing and combining characters that I have drawn in my sketchbook. As I do this, I'll explain how I approach and develop a composition, through rhythm and dynamic movement.
12m
image
11
Lettering and Fine-Tuning
I sometimes like to add some text to my illustration. In this case, I'd like to include the name of the city. You'll see how I work on hand lettering as just another element of drawing, merging it with the composition. Once that is done, I'll import my sketch onto Procreate and fine-tune the details in order to get a refined sketch.
14m
image
12
Tracing and Coloring in Adobe Illustrator 1
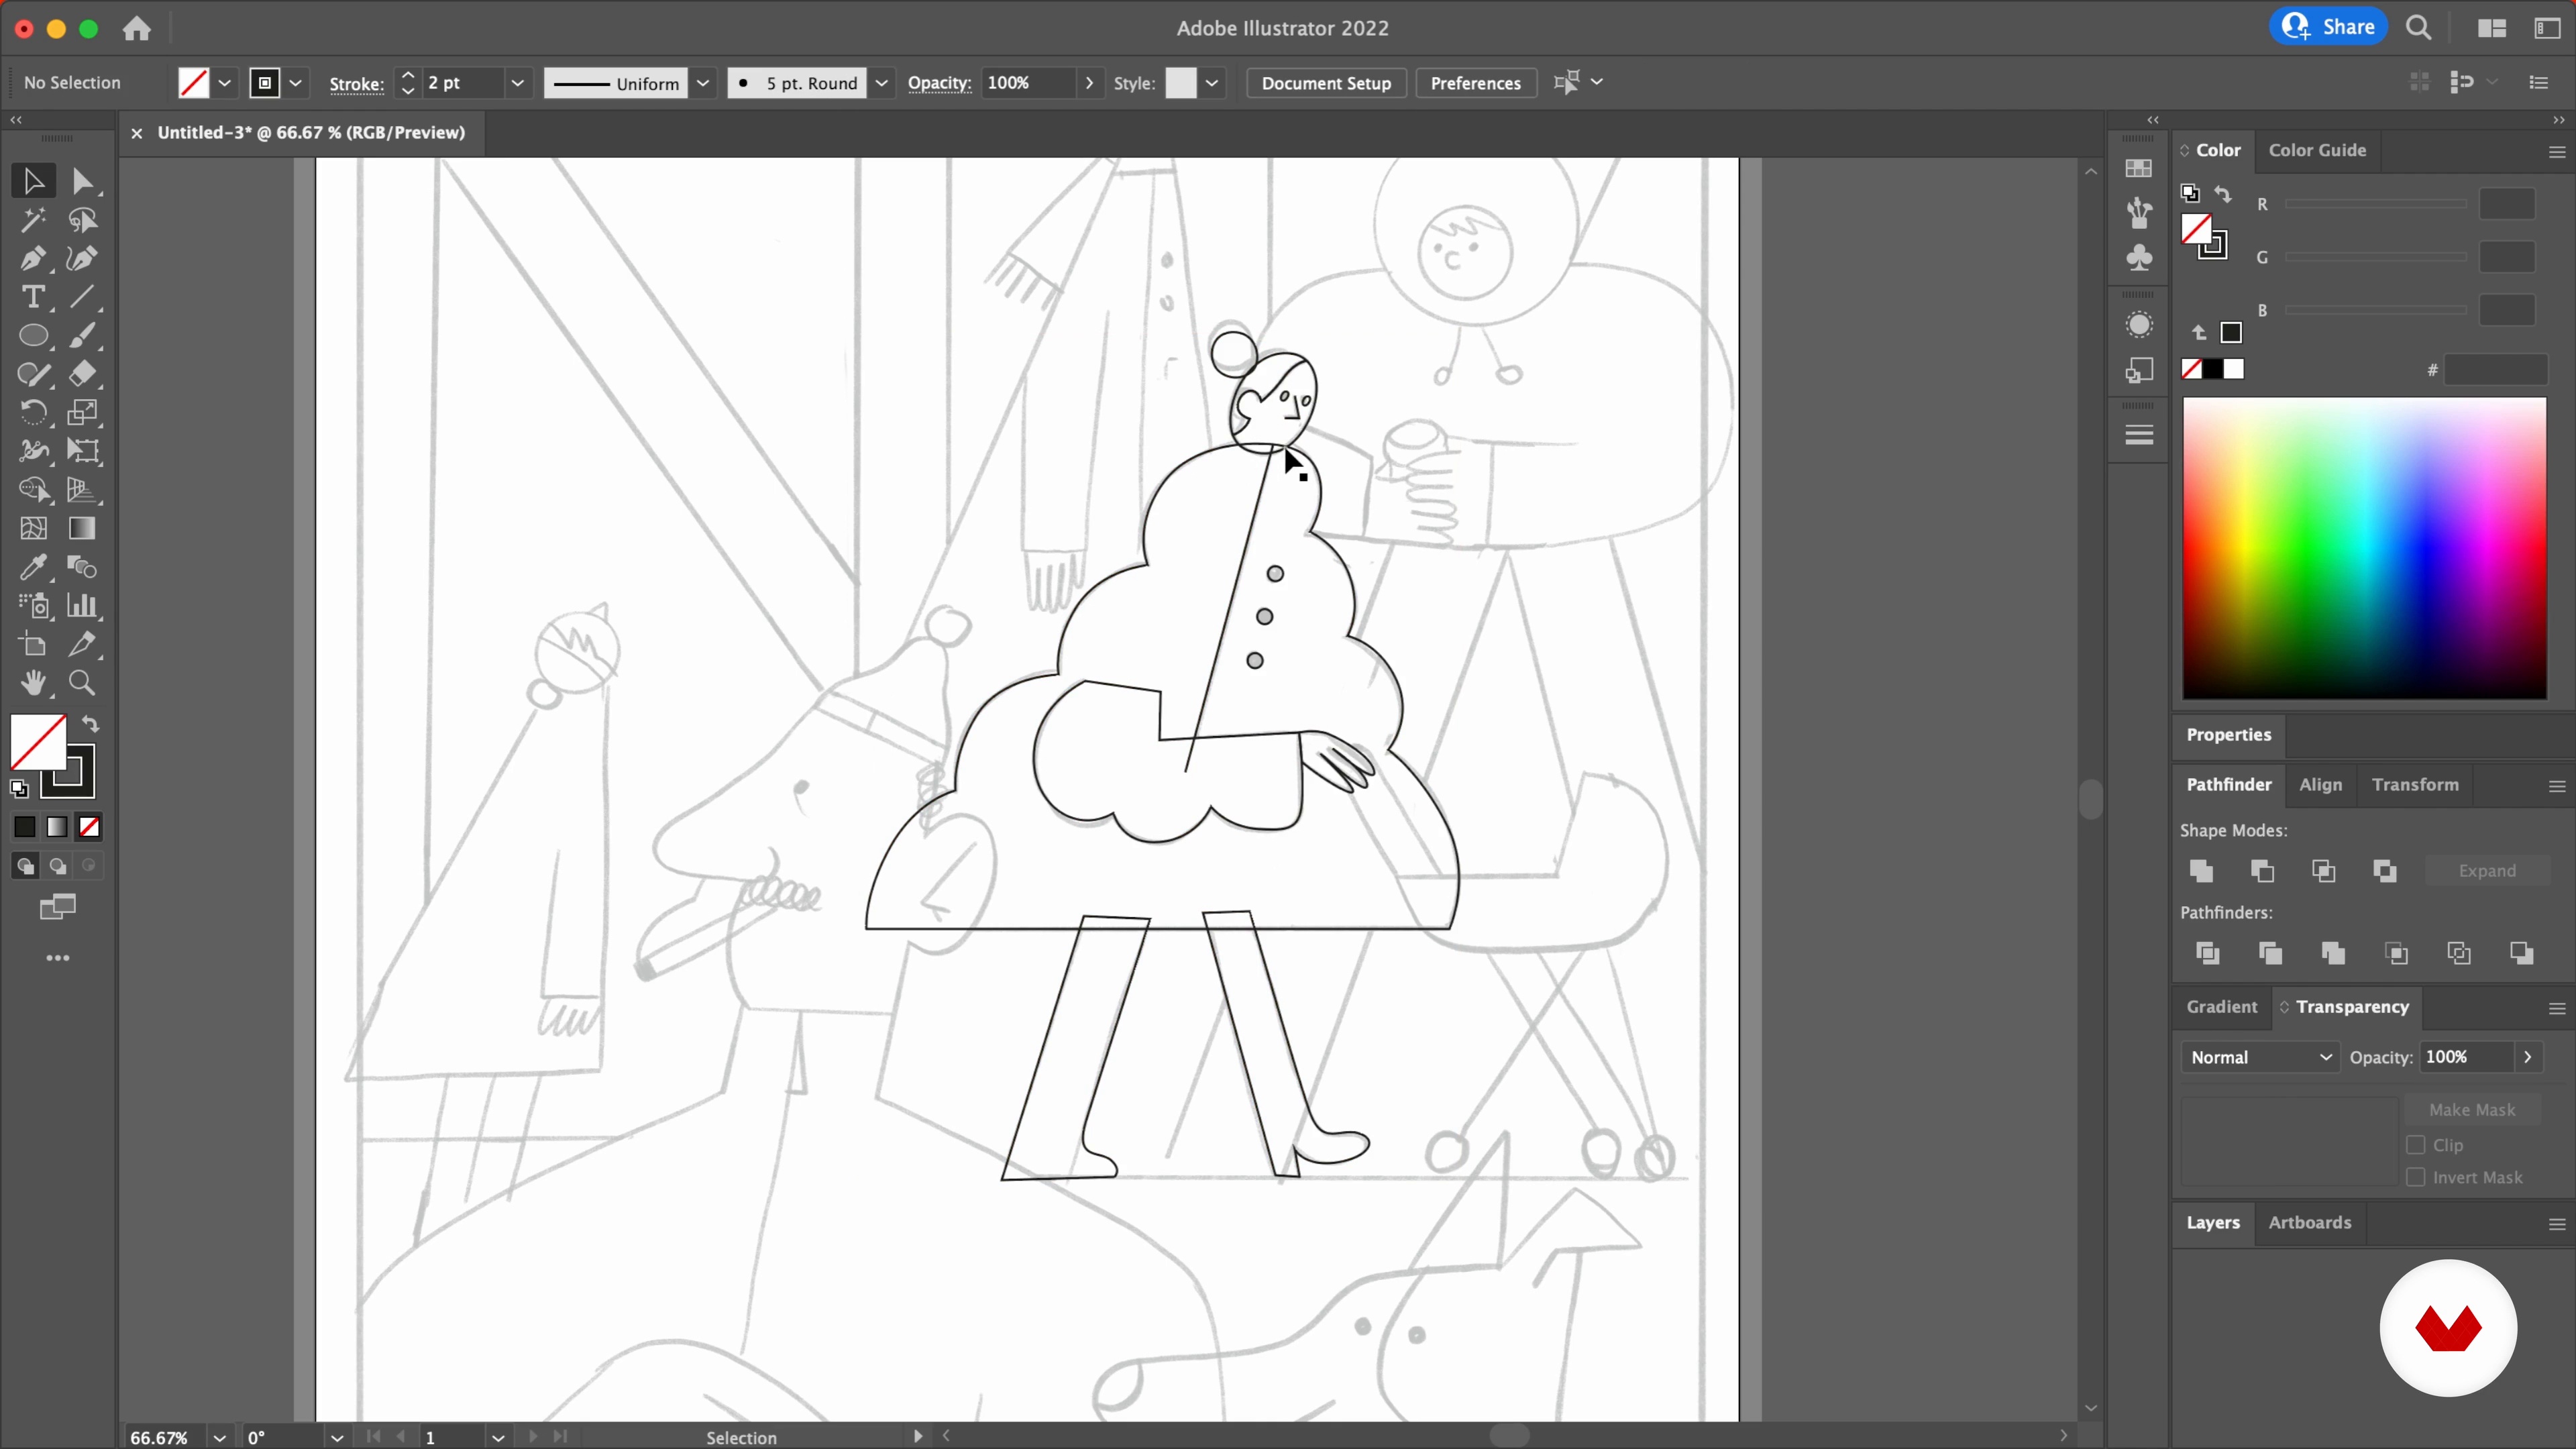
In this lesson, I will show you how I trace and color my illustration in Adobe Illustrator. For tracing, I'll use the “Pen Tool”, adapting and improving the original sketch as I see fit. Then, I'll create my palette of complementary colors.
15m
image
13
Tracing and Coloring in Adobe Illustrator 2
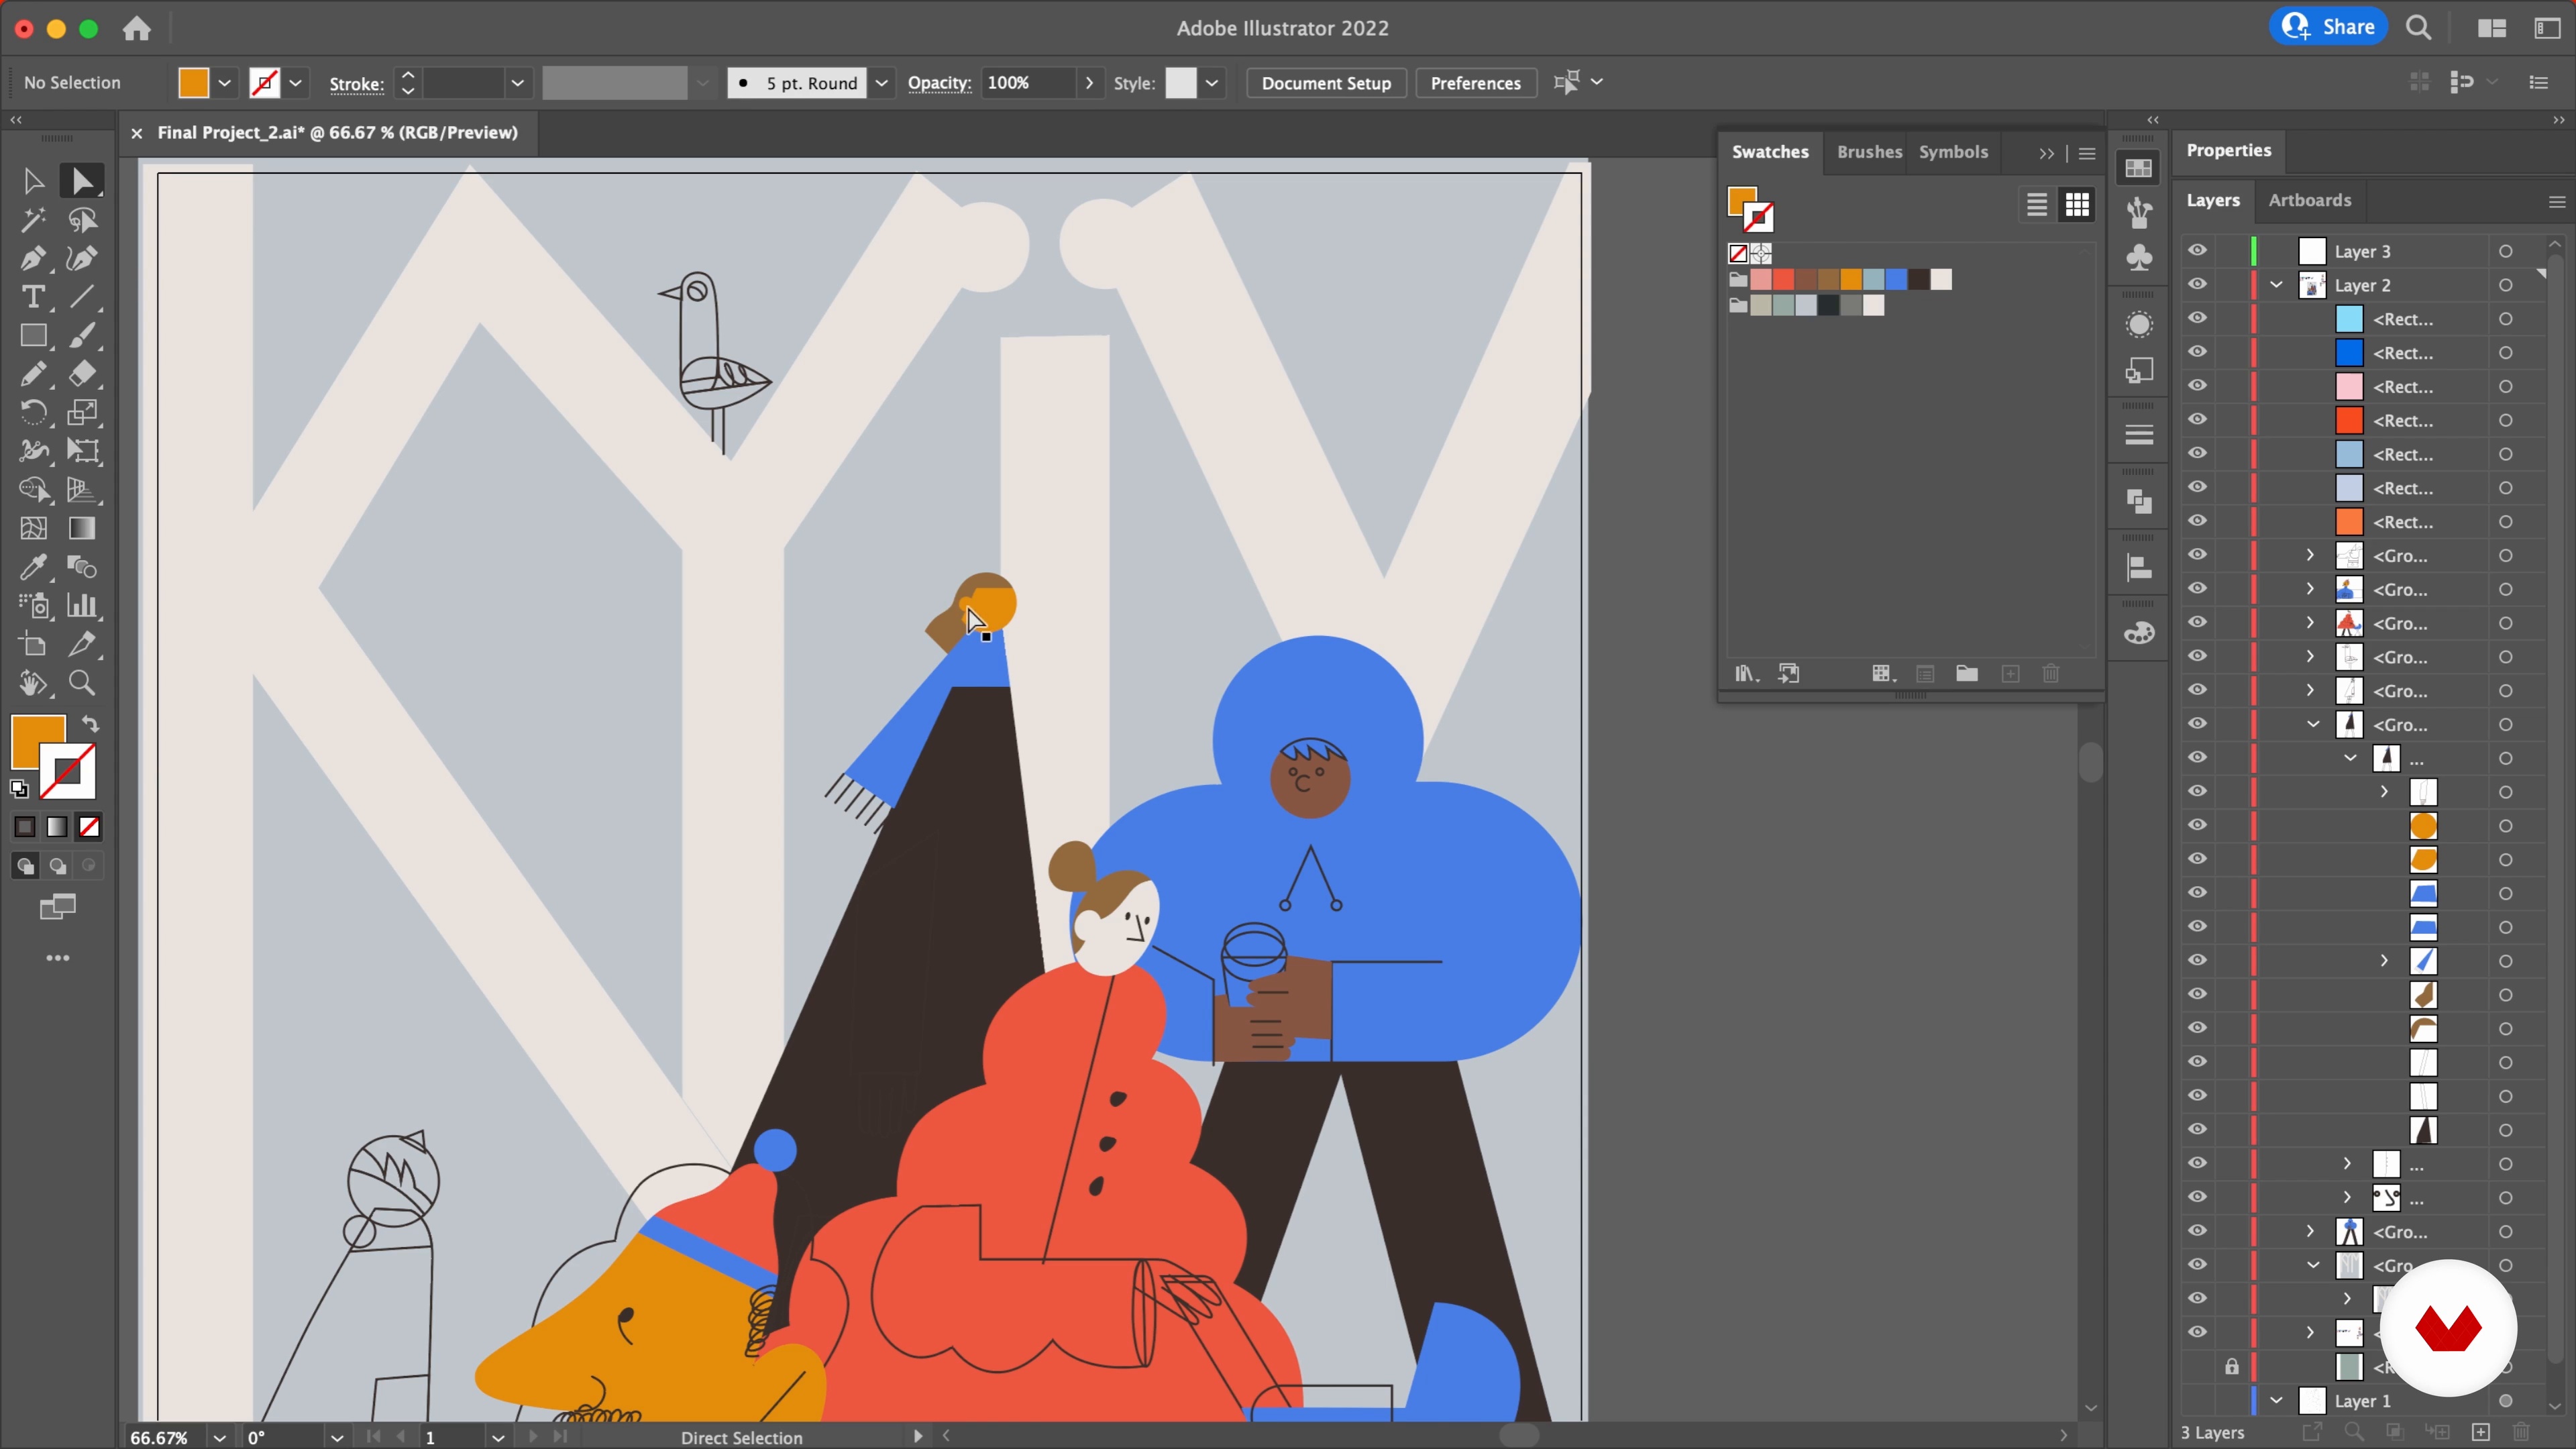
Now that I have my palette, I'll start coloring the illustration and creating different variants so I can later choose the one I like best. Before moving on, I'll show you how to check that your illustration has enough contrast and that your shapes and lines are neatly defined.
14m
image
14
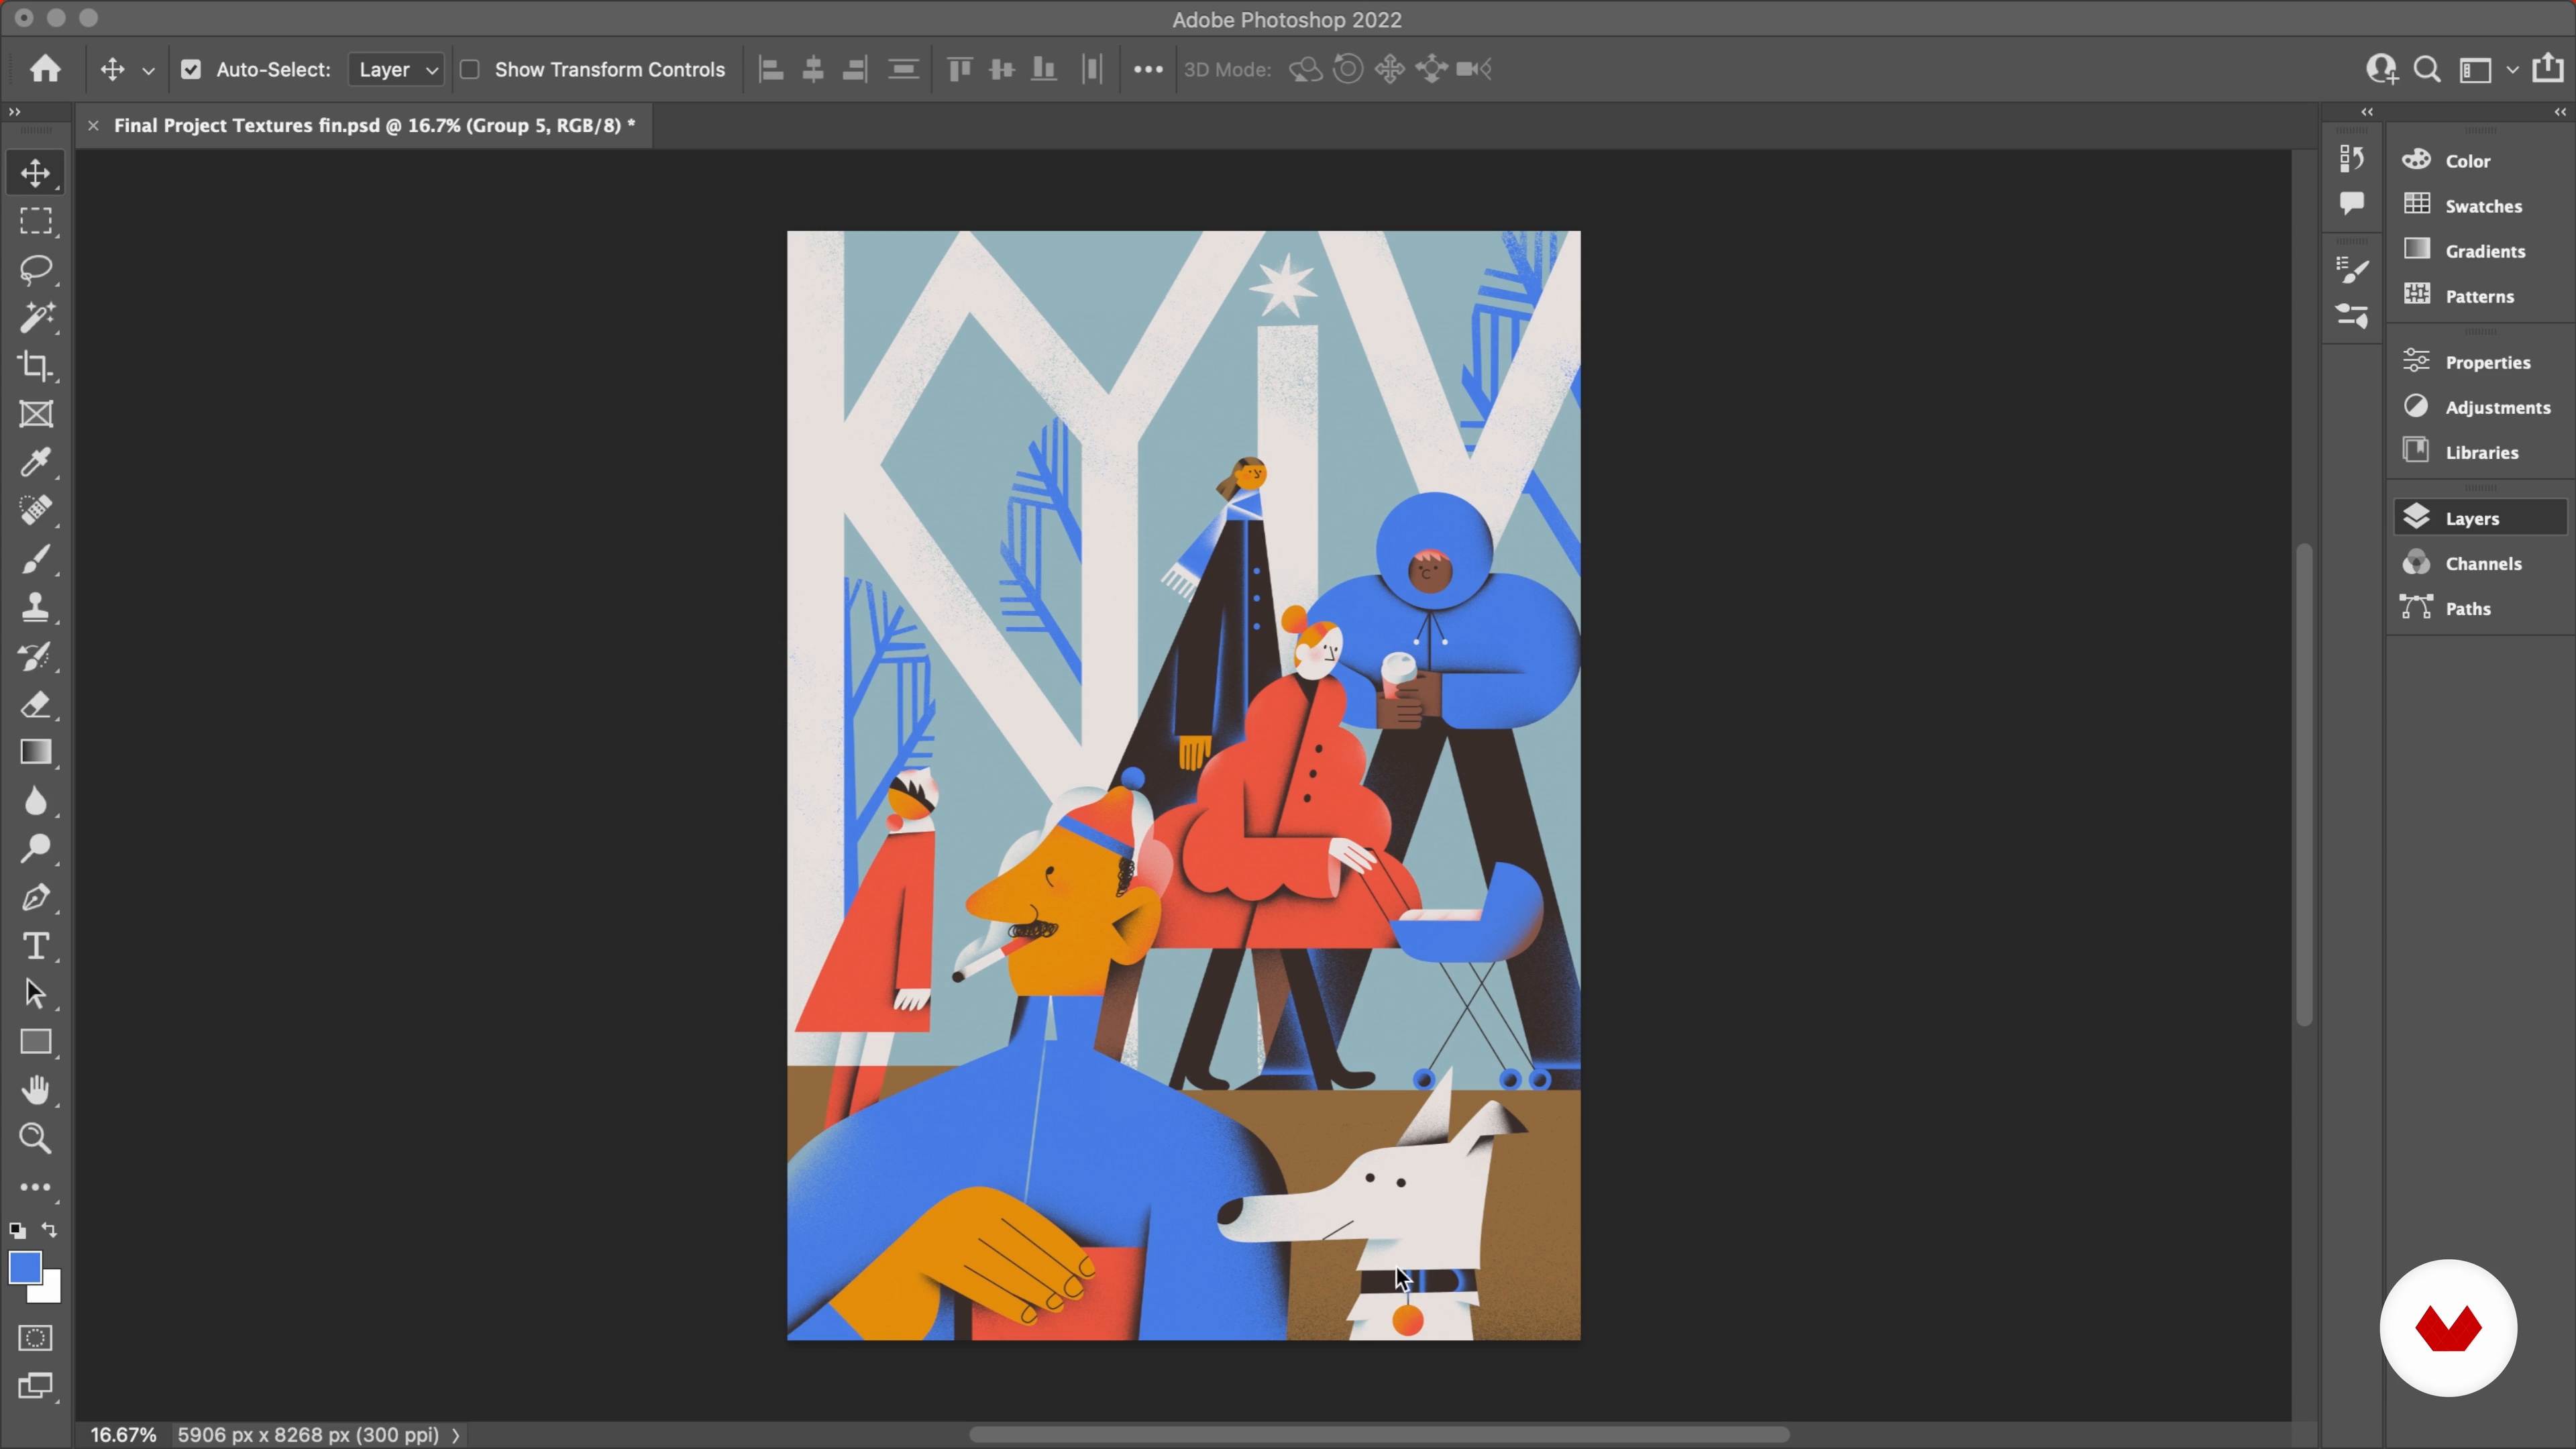
Texturing in Adobe Photoshop
In this lesson, I will import my vector illustration into Adobe Photoshop and show you how to add textures, shadows, and other nice details to create greater depth.
20m
image
15
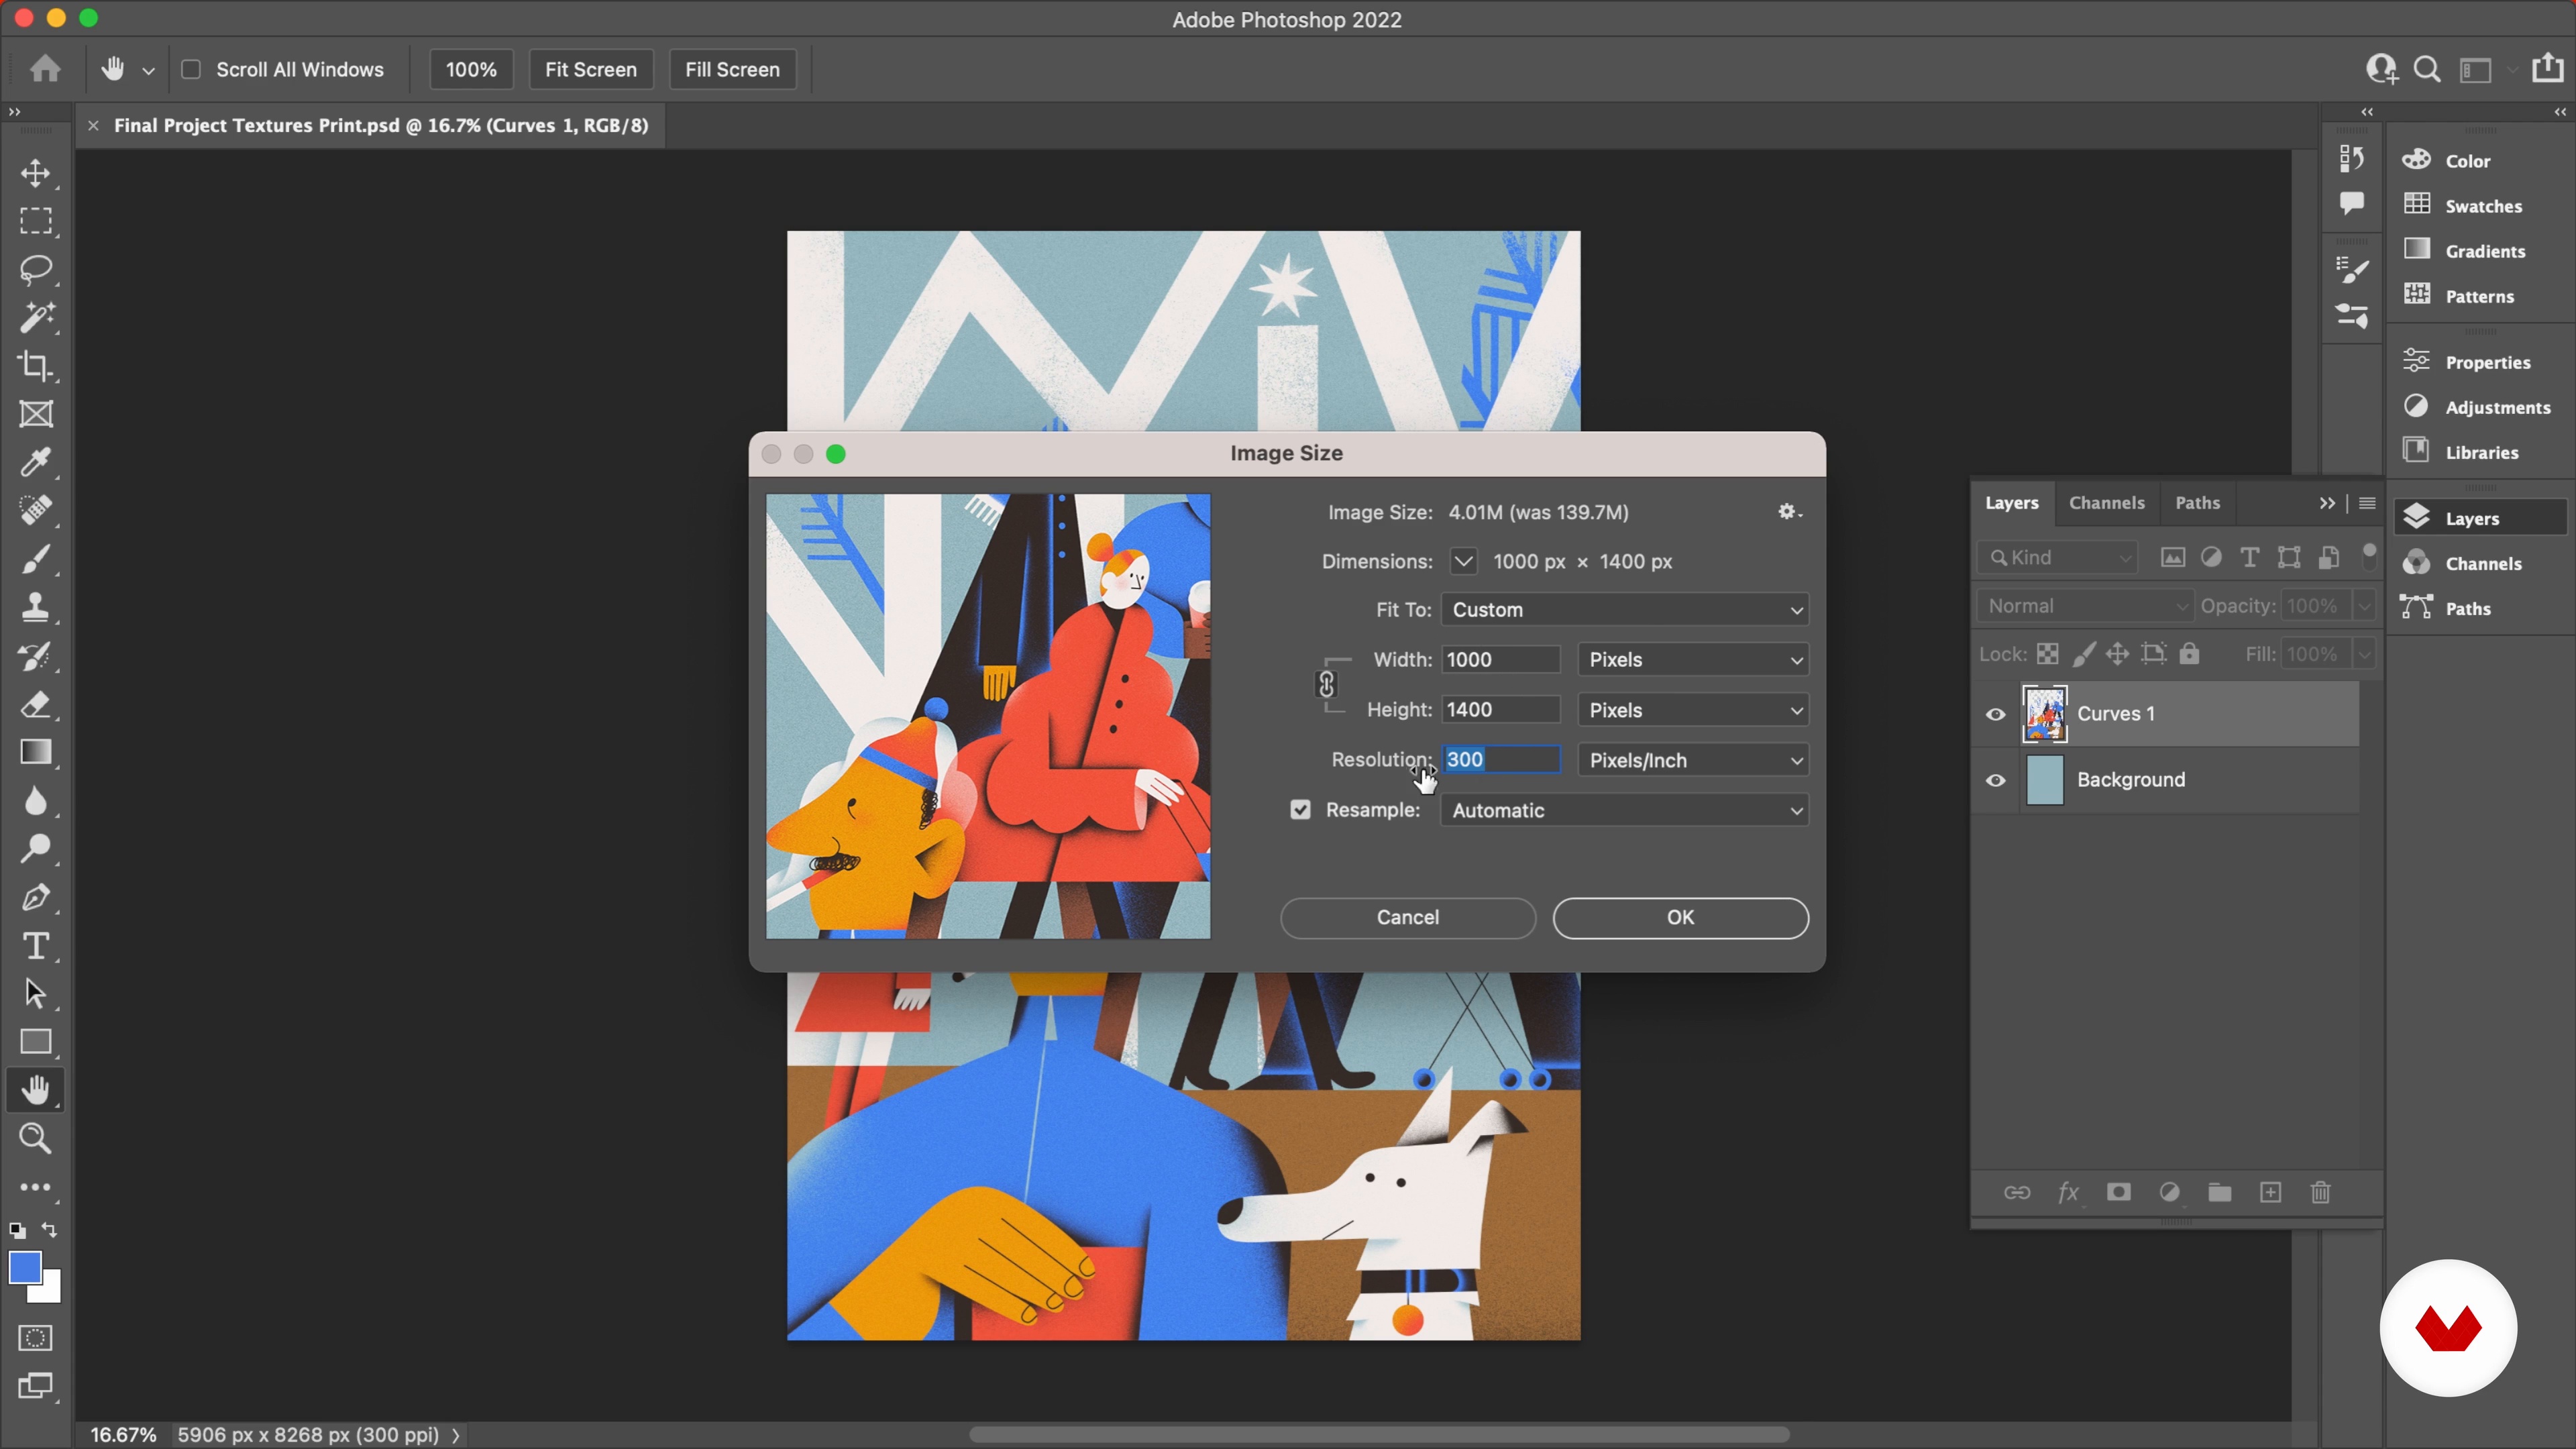
Final Touches and Export
We've reached the last step of the illustration process. I will check a few details and make some final adjustments such as cropping and color grading. Finally, I will explain how you can export your image so it is ready to share with others and online.
5m
image
4
Our Workspace and Brushes
In this lesson, let's go over some tips for setting up our workspace and tools so that we can have everything ready for digital painting. Let's get started.
9m
image
5
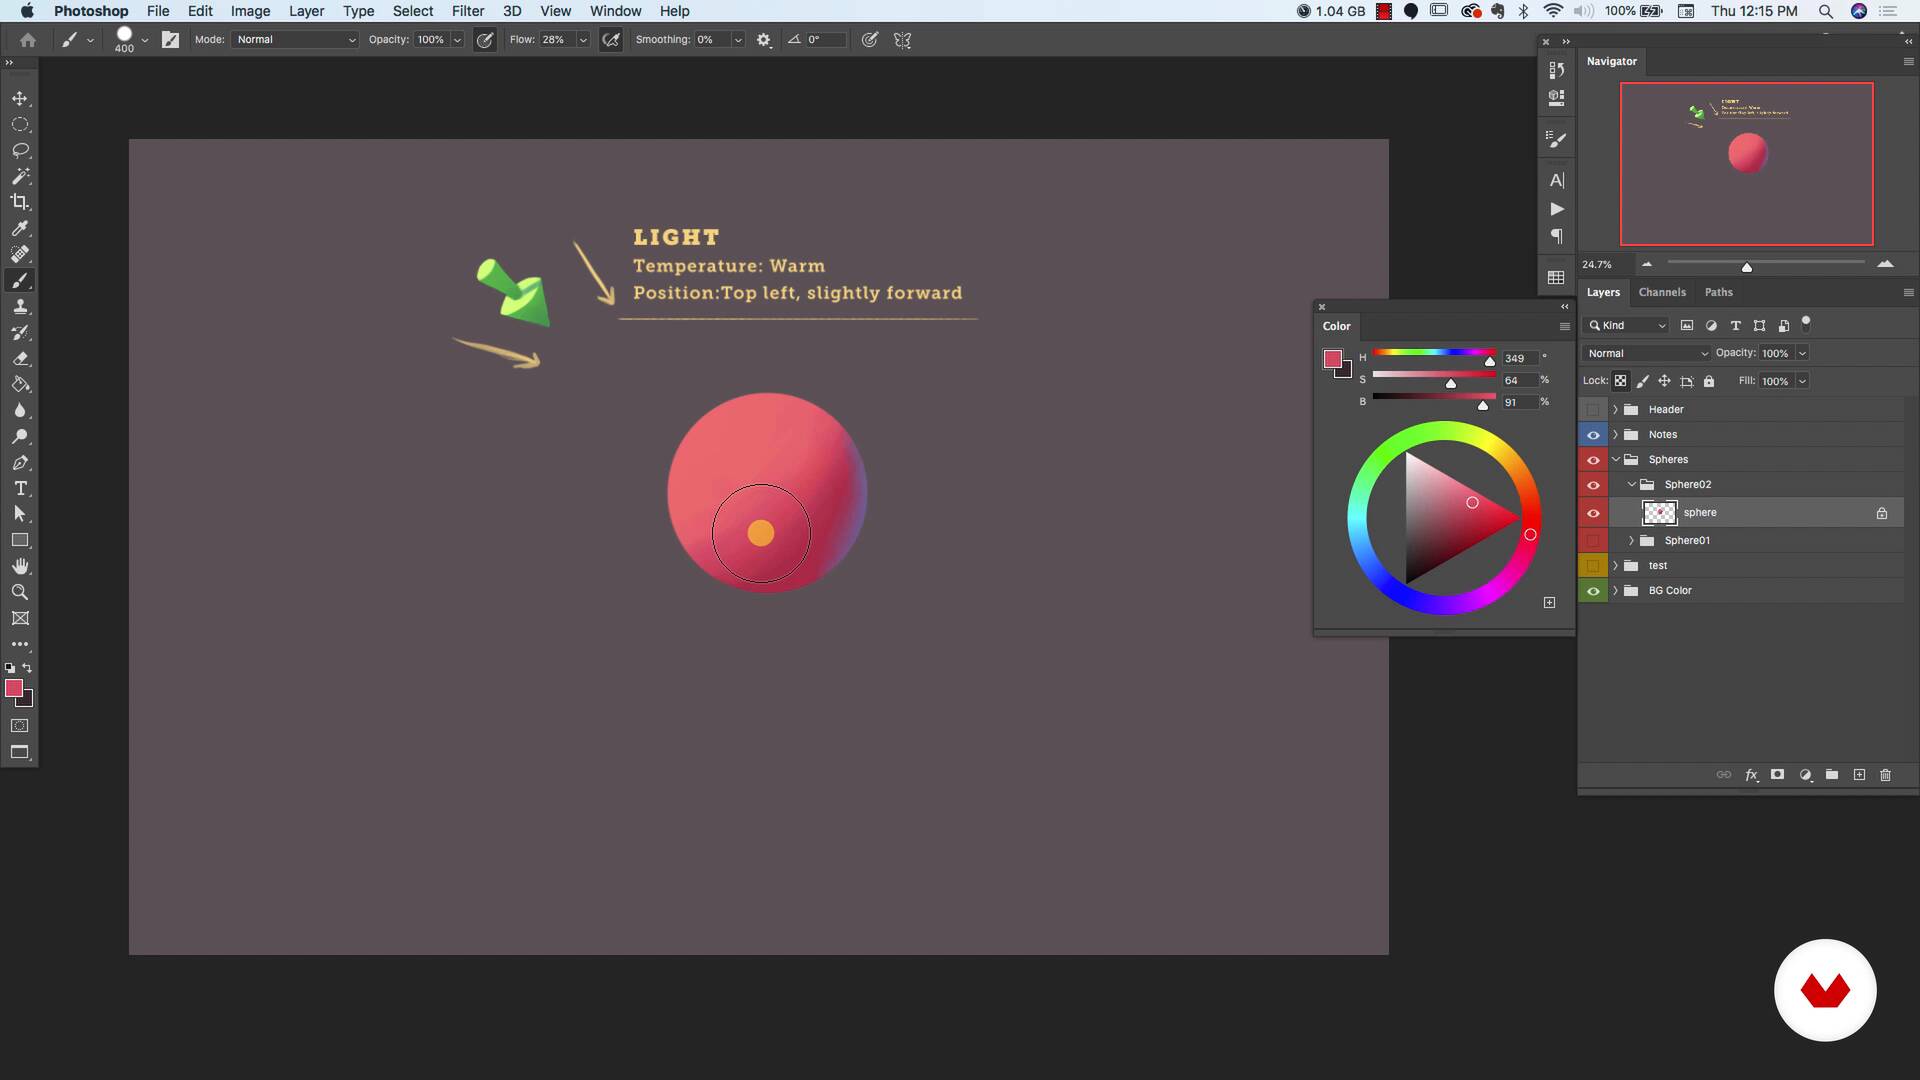
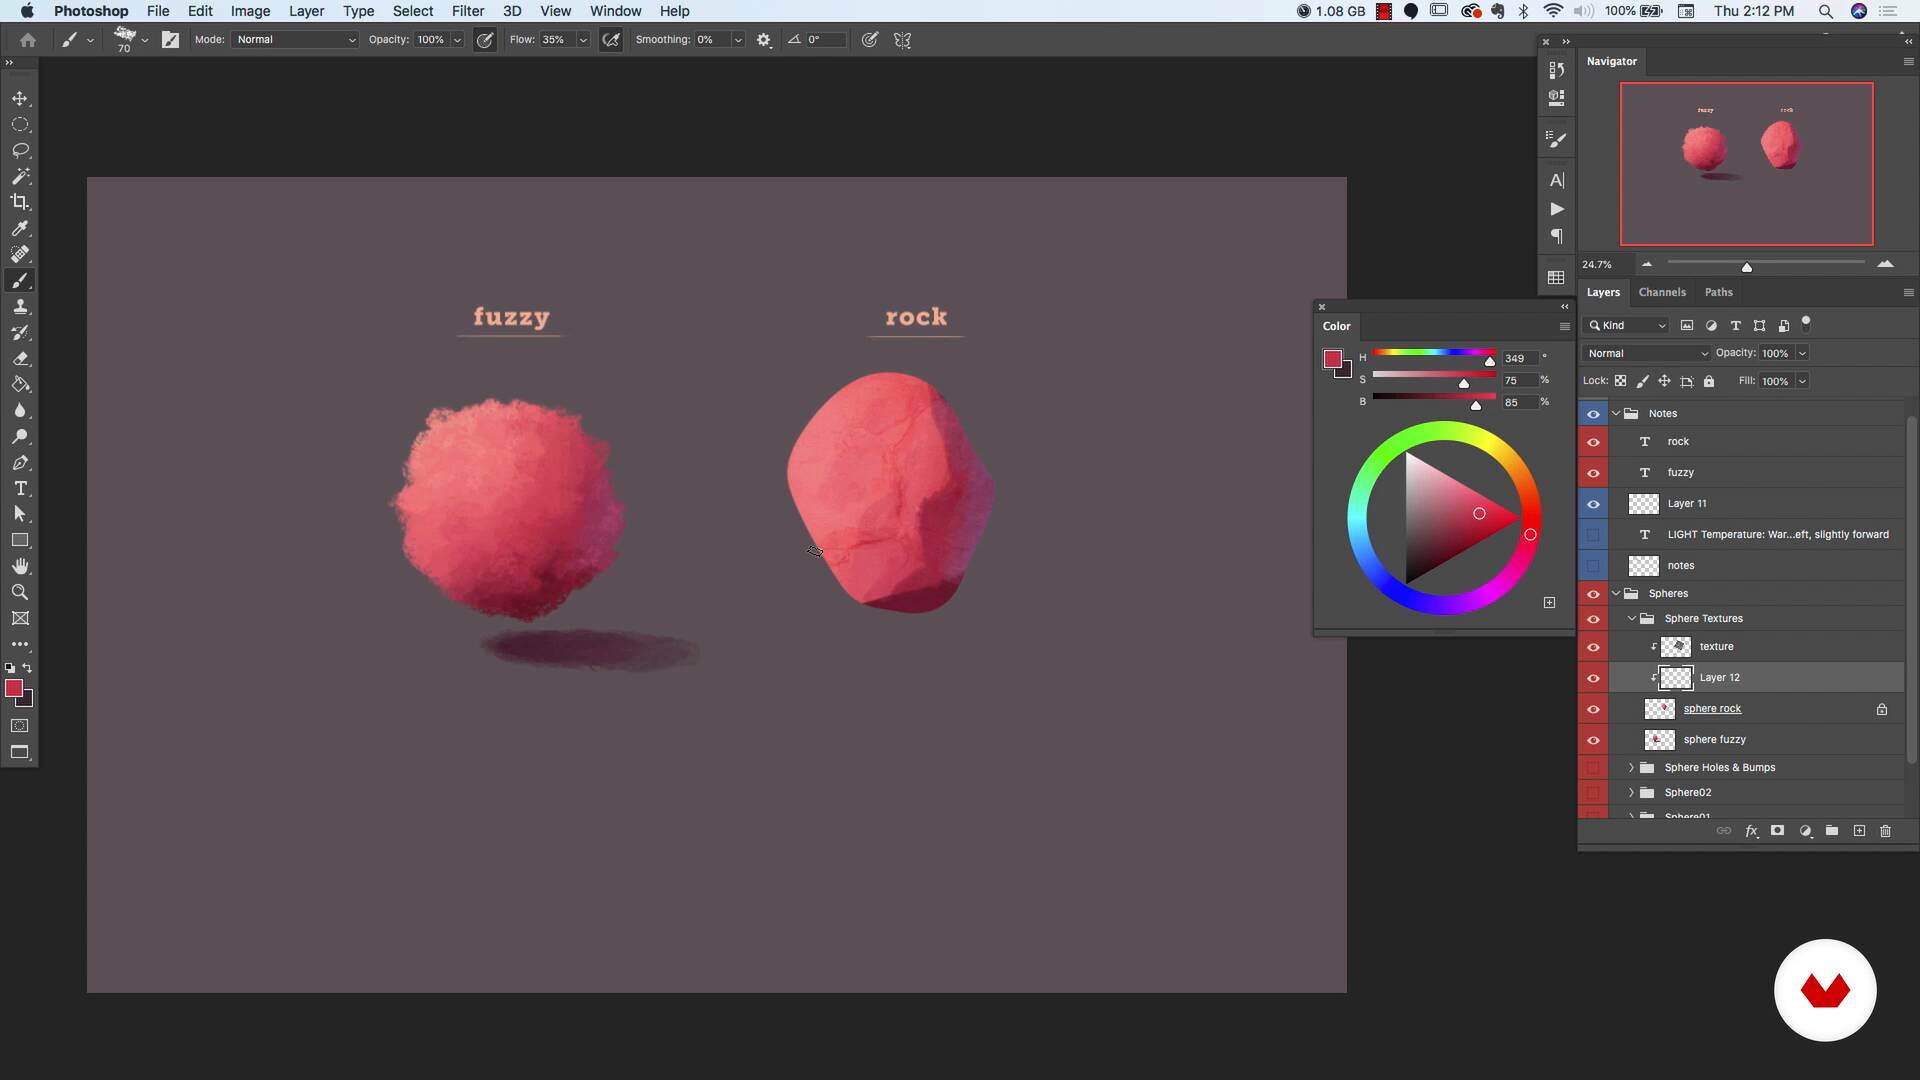
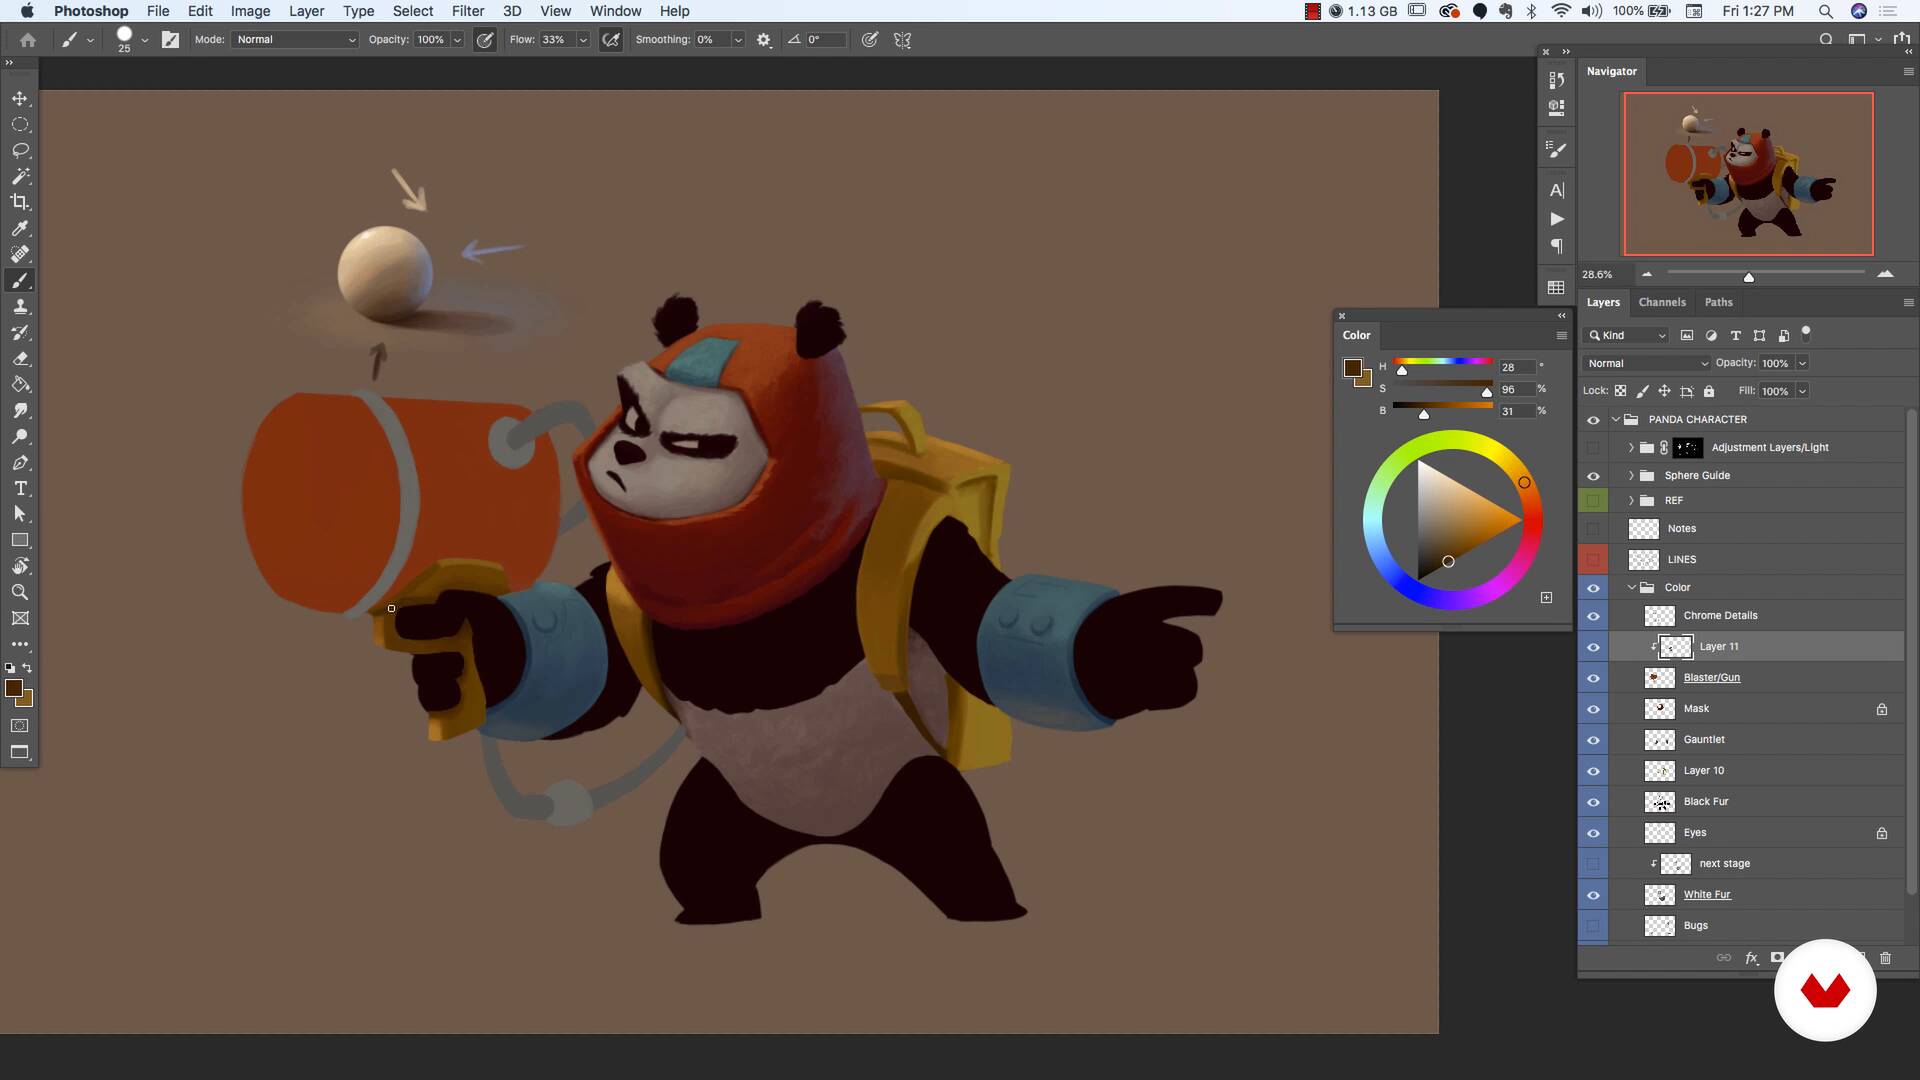
Sphere Studies - Color, Light and Shadows
In this lesson, we’re going to start our sphere studies. We’ll talk about how helpful this exercise is and we will begin with color, light, and shadows.
14m
image
6
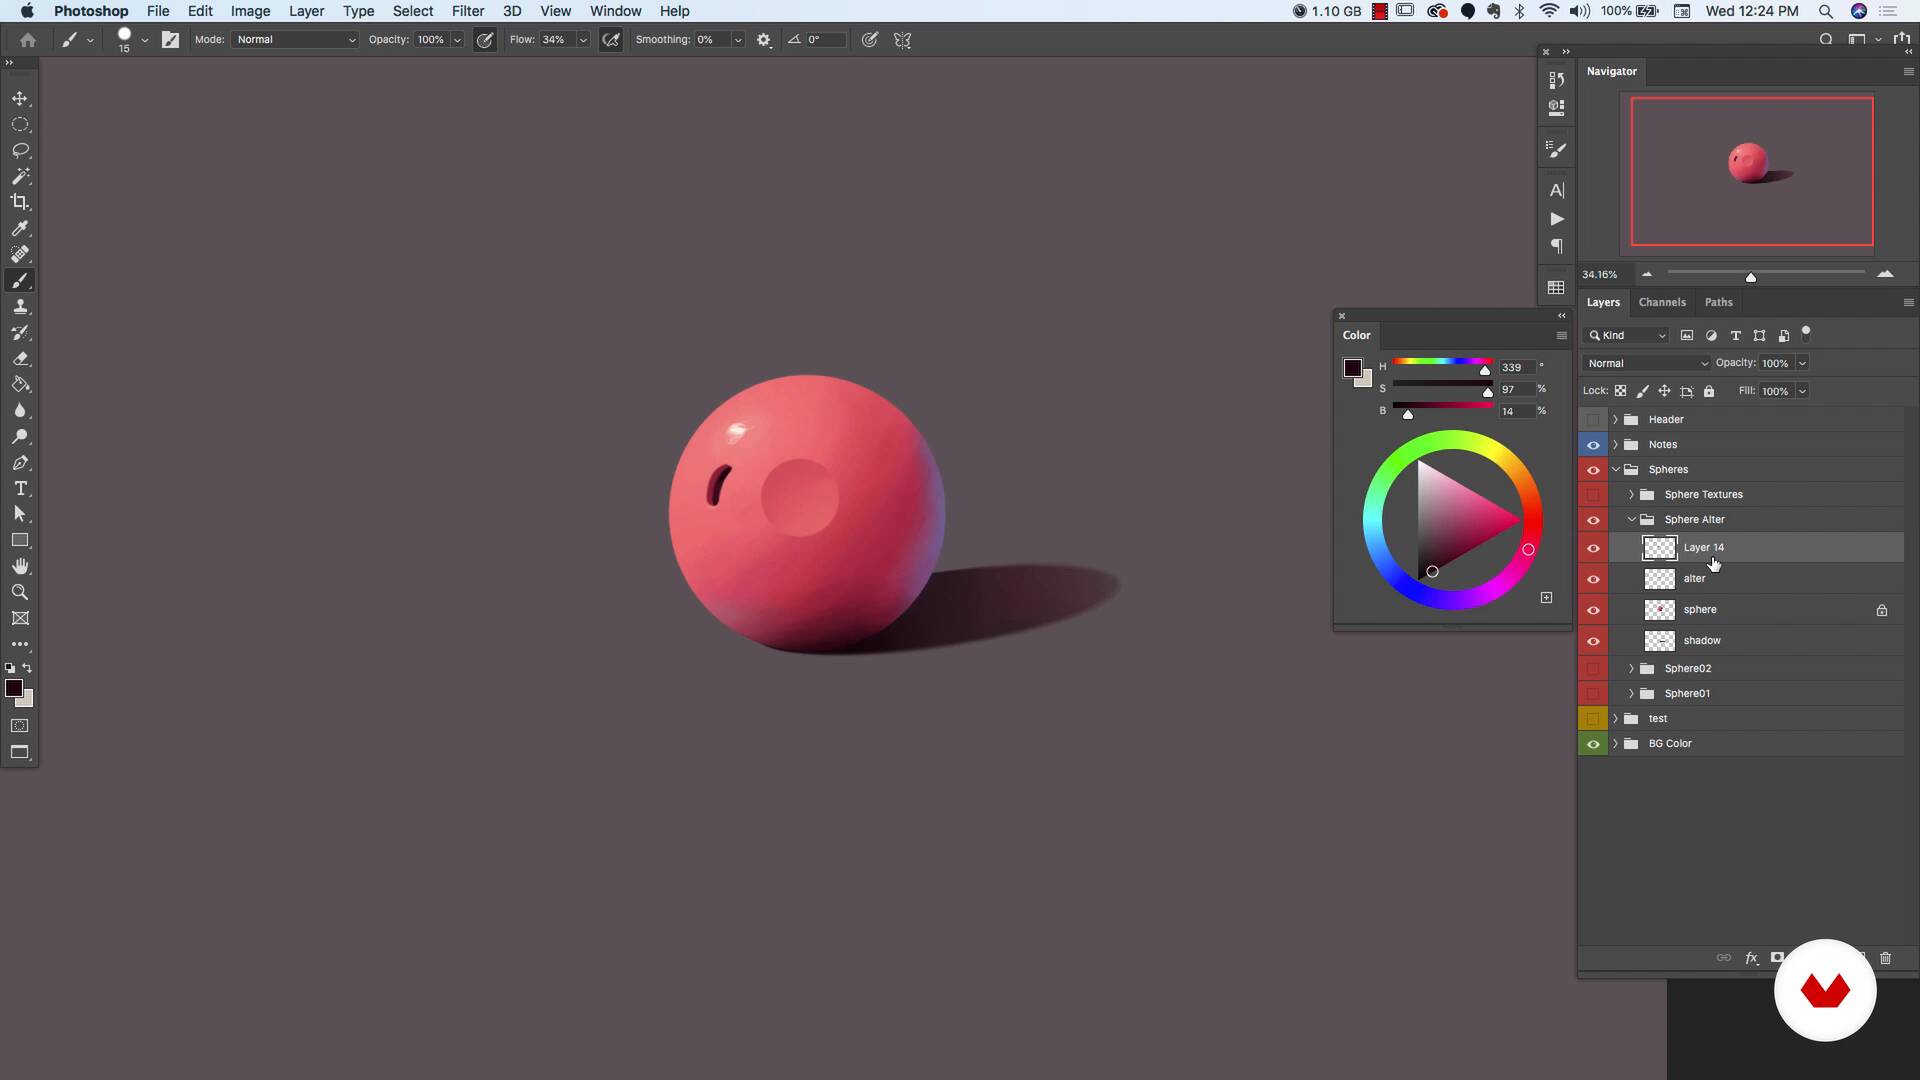
Sphere Studies - Modifications
In this lesson, I’m going to show you how to take the spheres we painted in the previous lesson and add some modifications.
12m
image
7
Sphere Studies - Textures and Blur
In this lesson, I’m going to show you how to take the spheres we painted in the previous lesson and apply textures and subtle blur effects to add even more dimension.
15m
image
8
Creating a Moodboard and Importing Our Character Sketch
In this lesson, I’ll go over how I typically scan or import my character sketch. I’ll also explain what a moodboard is and the benefits of having one in your creative process.
6m
image
9
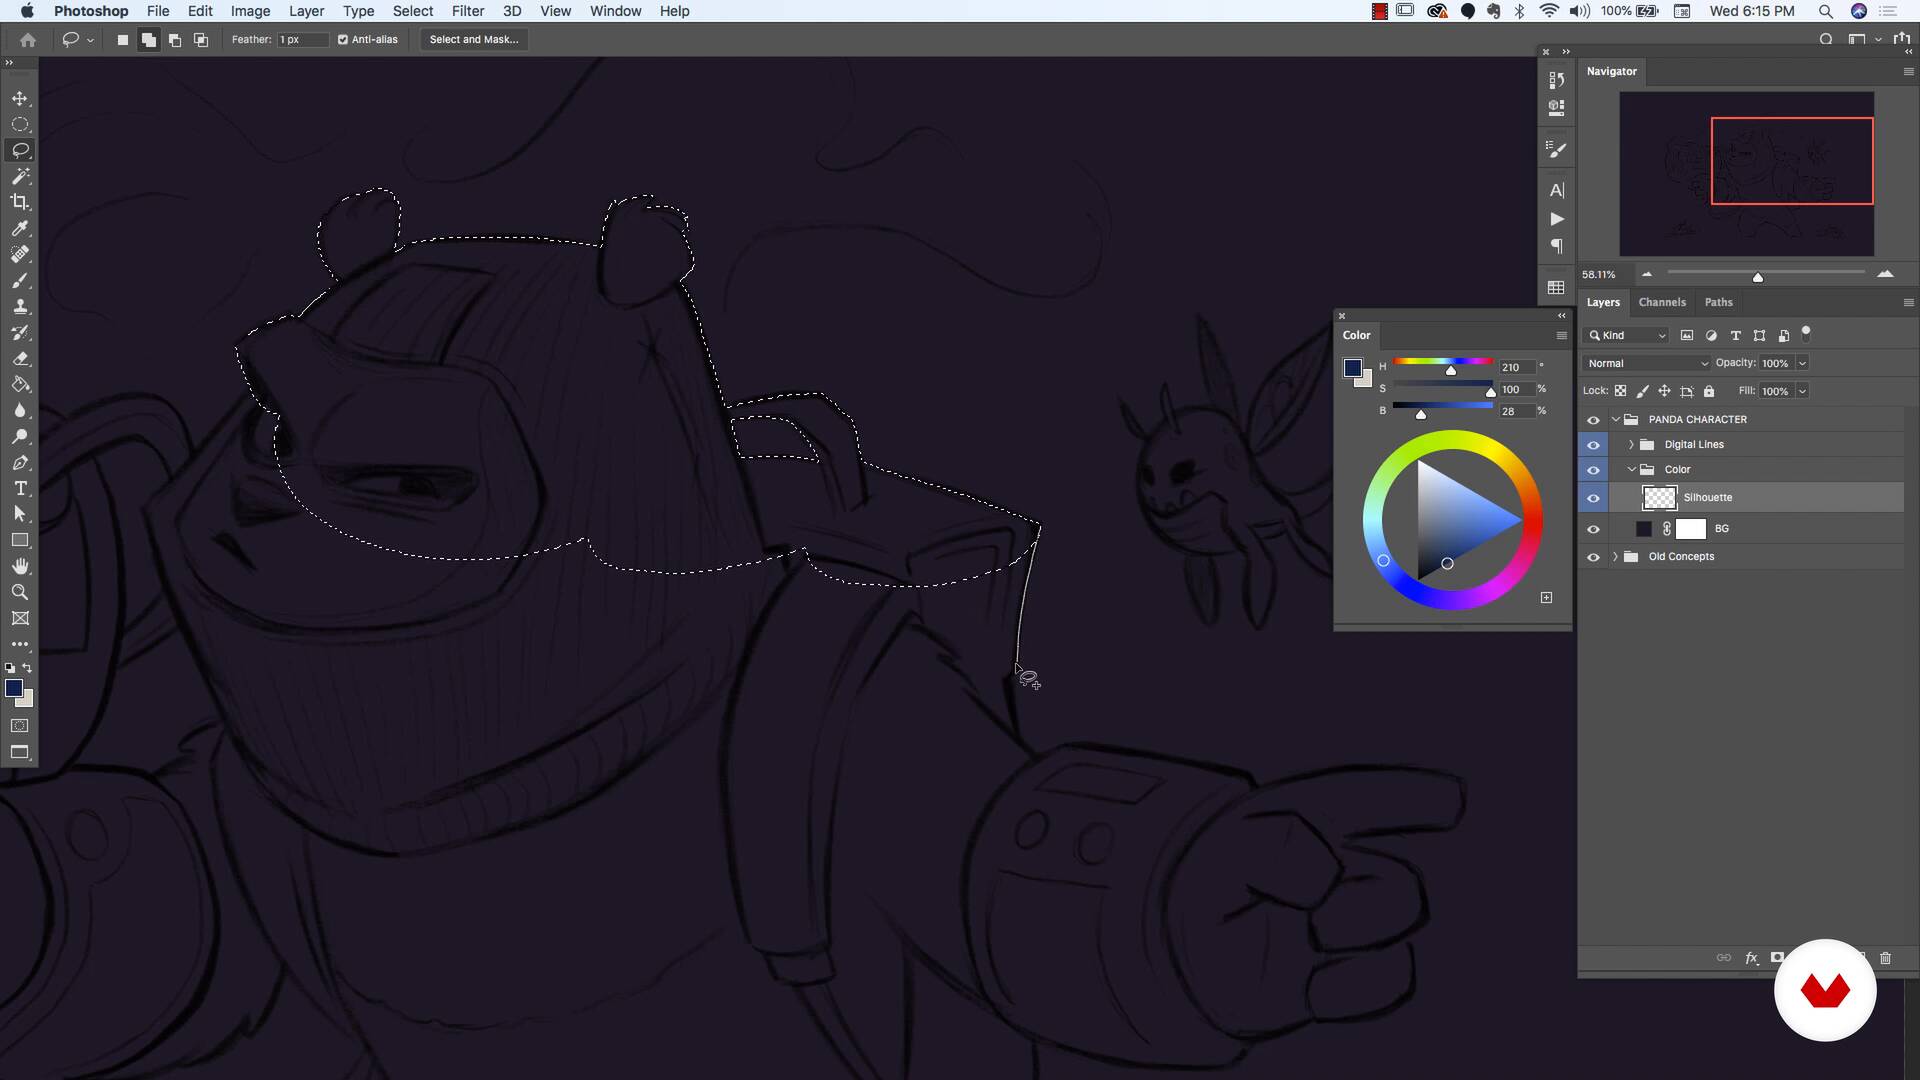
Masking Our Character
In this lesson let’s talk about masking the character sketch. We’ll discuss the importance of this phase and go over a couple ways to go about doing it.
5m
image
10
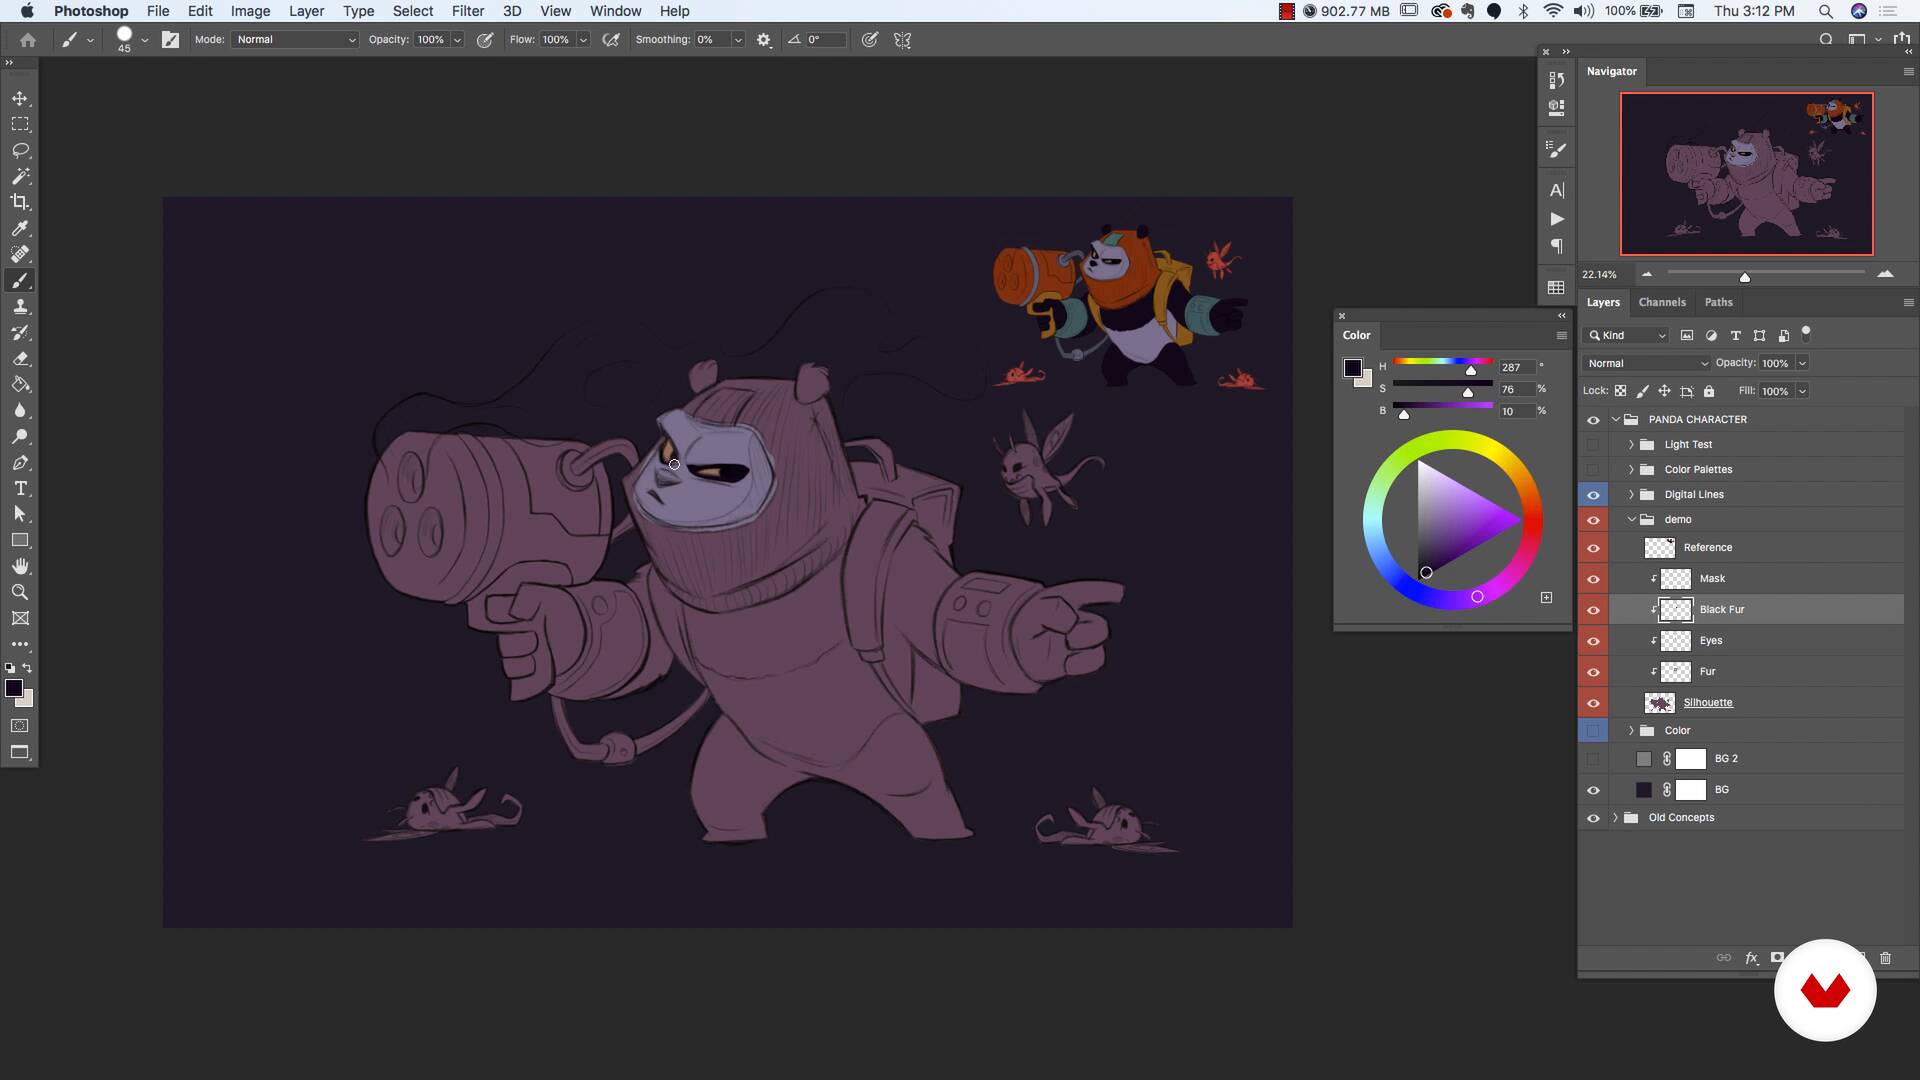
Flatting Our Character
In this lesson let’s talk about something called flatting. We’ll start to choose our local colors and I’ll explain what those are as well as our decisions for our color choices.
10m
image
11
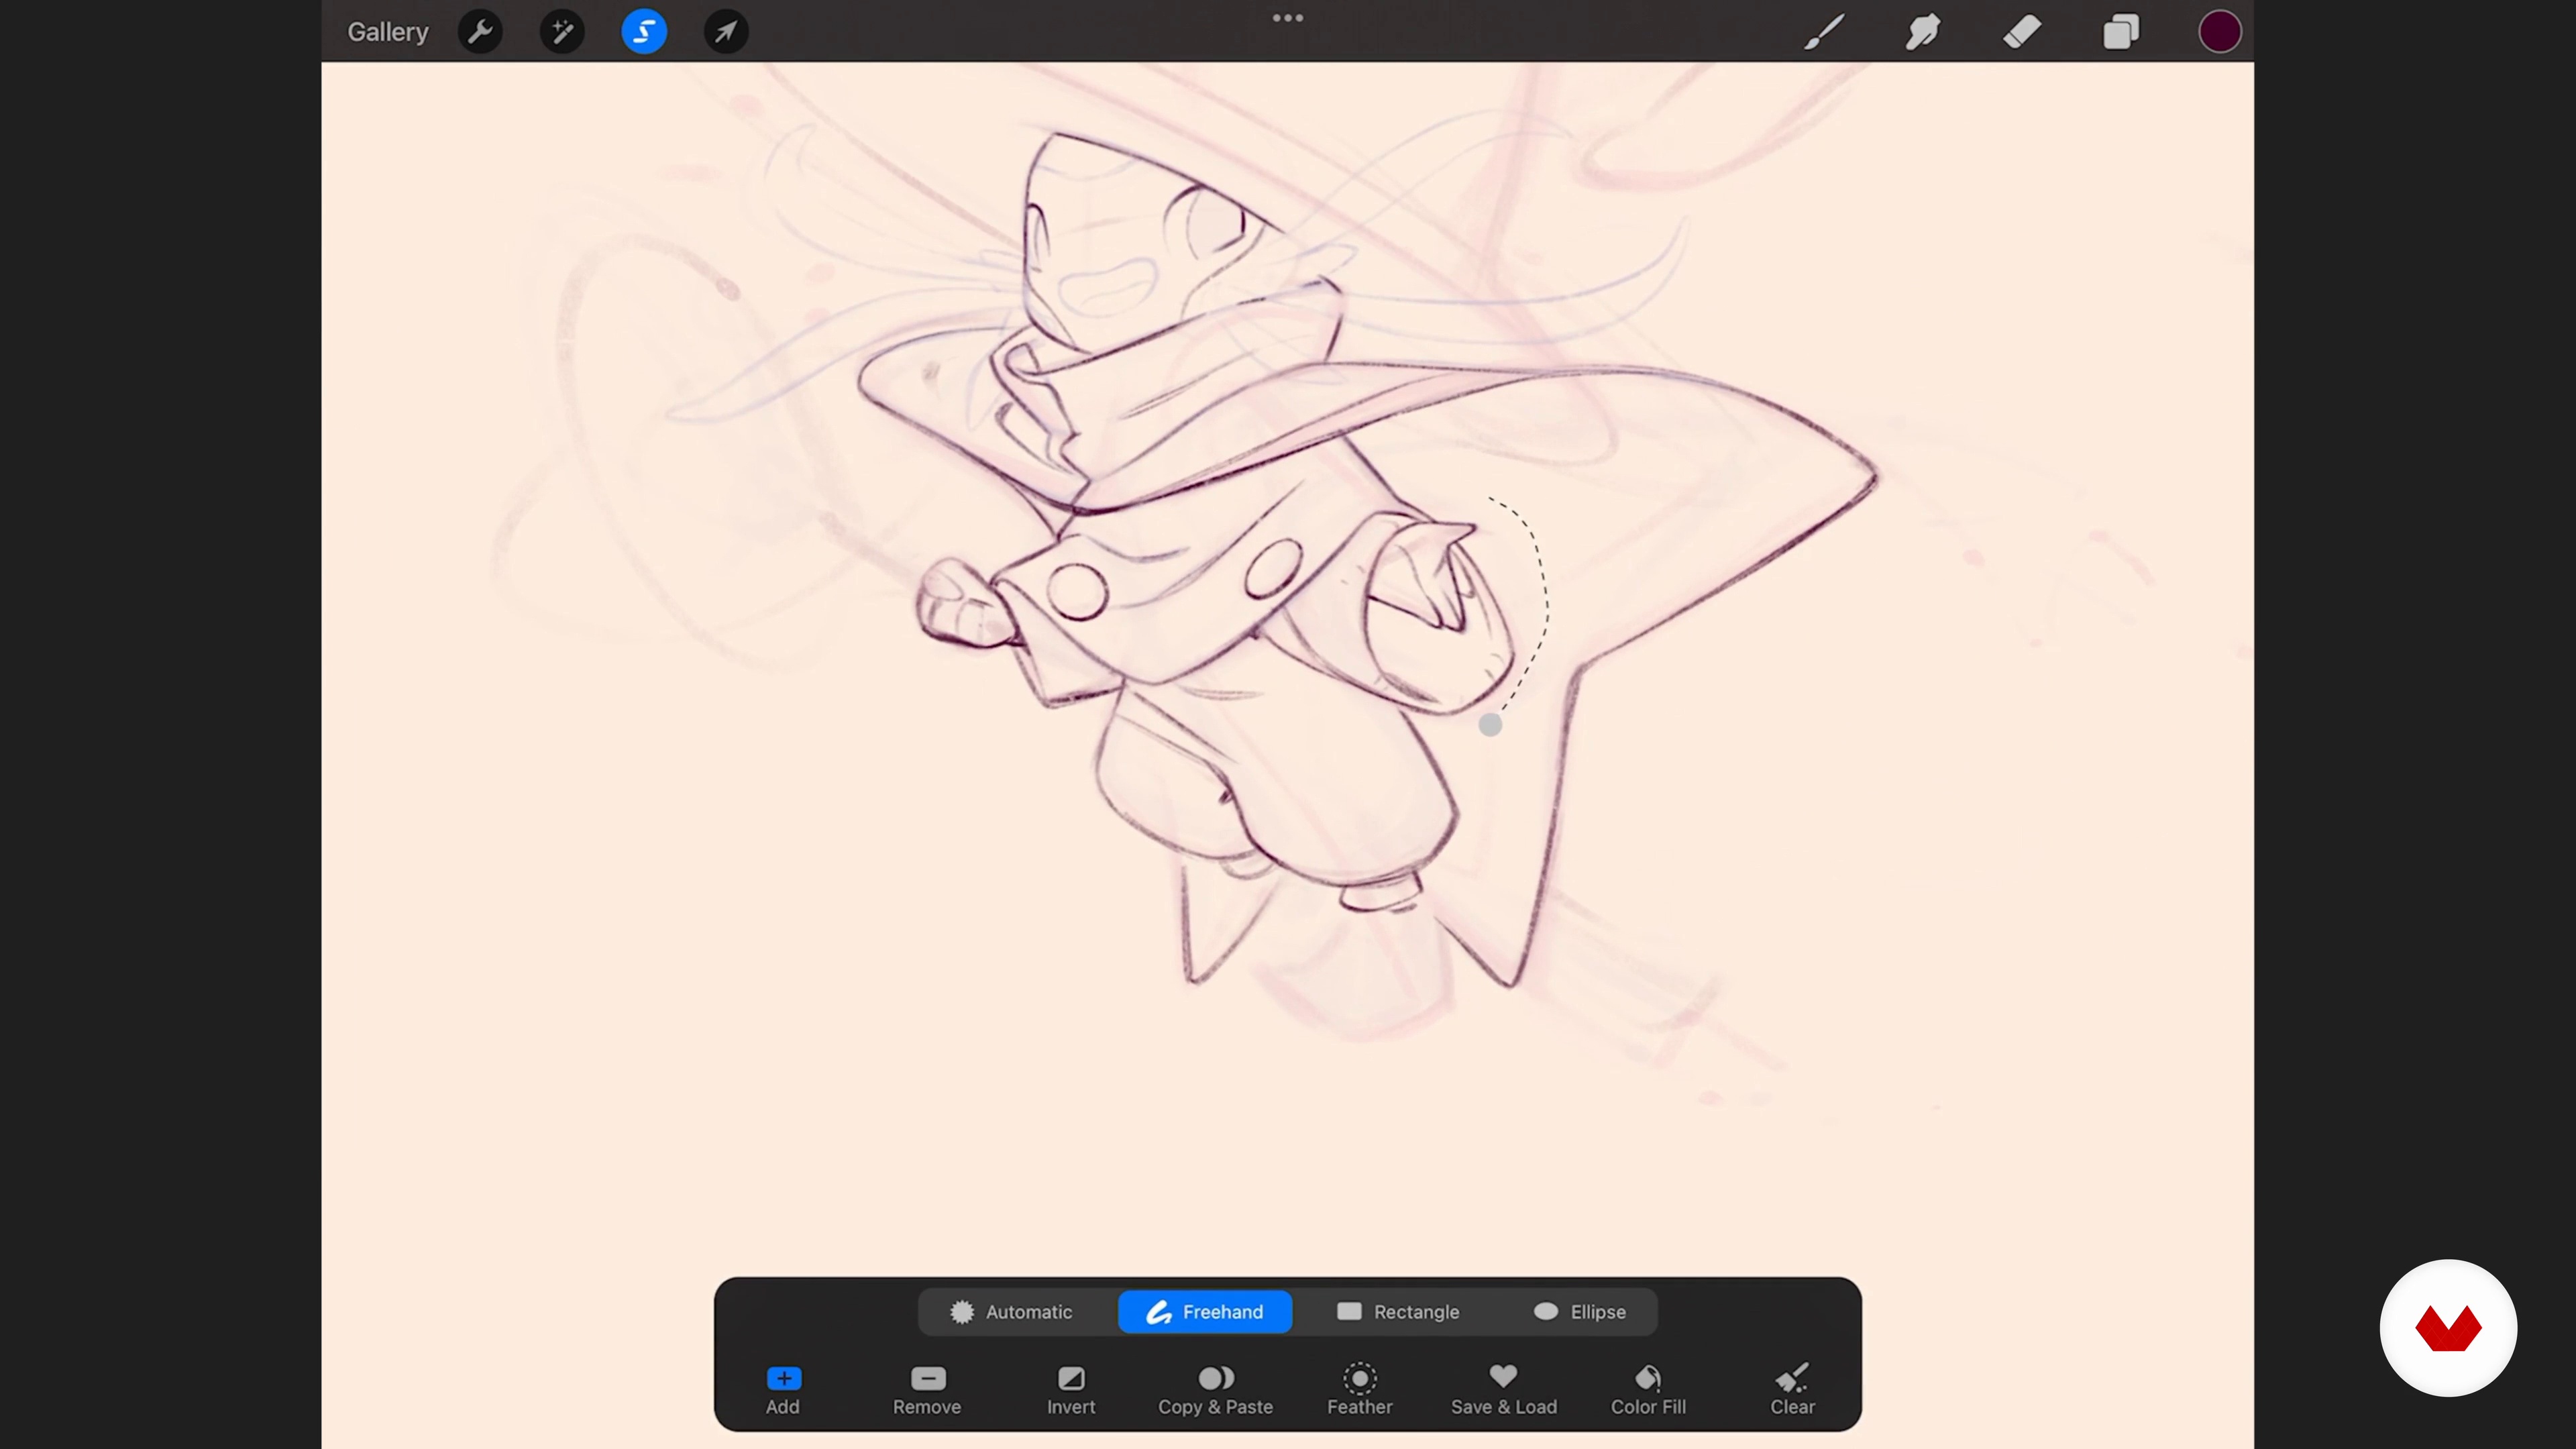
Defining Placement of Keylight
This lesson will cover lighting. There are many ways to introduce lighting to your character but in this course, we will make that call early on in the process.
8m
image
12
Values and Color - White Fur
In this lesson, we’re going to start painting in our values and we’ll start with the white fur section of the face and body. Values are the lightness or darkness of a color and this is what starts to add form, dimension, and contrast.
10m
image
13
Values and Color - The Gun
In this lesson we’re going to start bringing in some value and form to the gun. We’ll continue to learn how to make intelligent guesses on where our light should land.
14m
image
14
Values and Color - Refining the Fur
In this lesson, we’re going to start painting texture by using simple brush techniques and pushing our light and dark areas.
10m
image
15
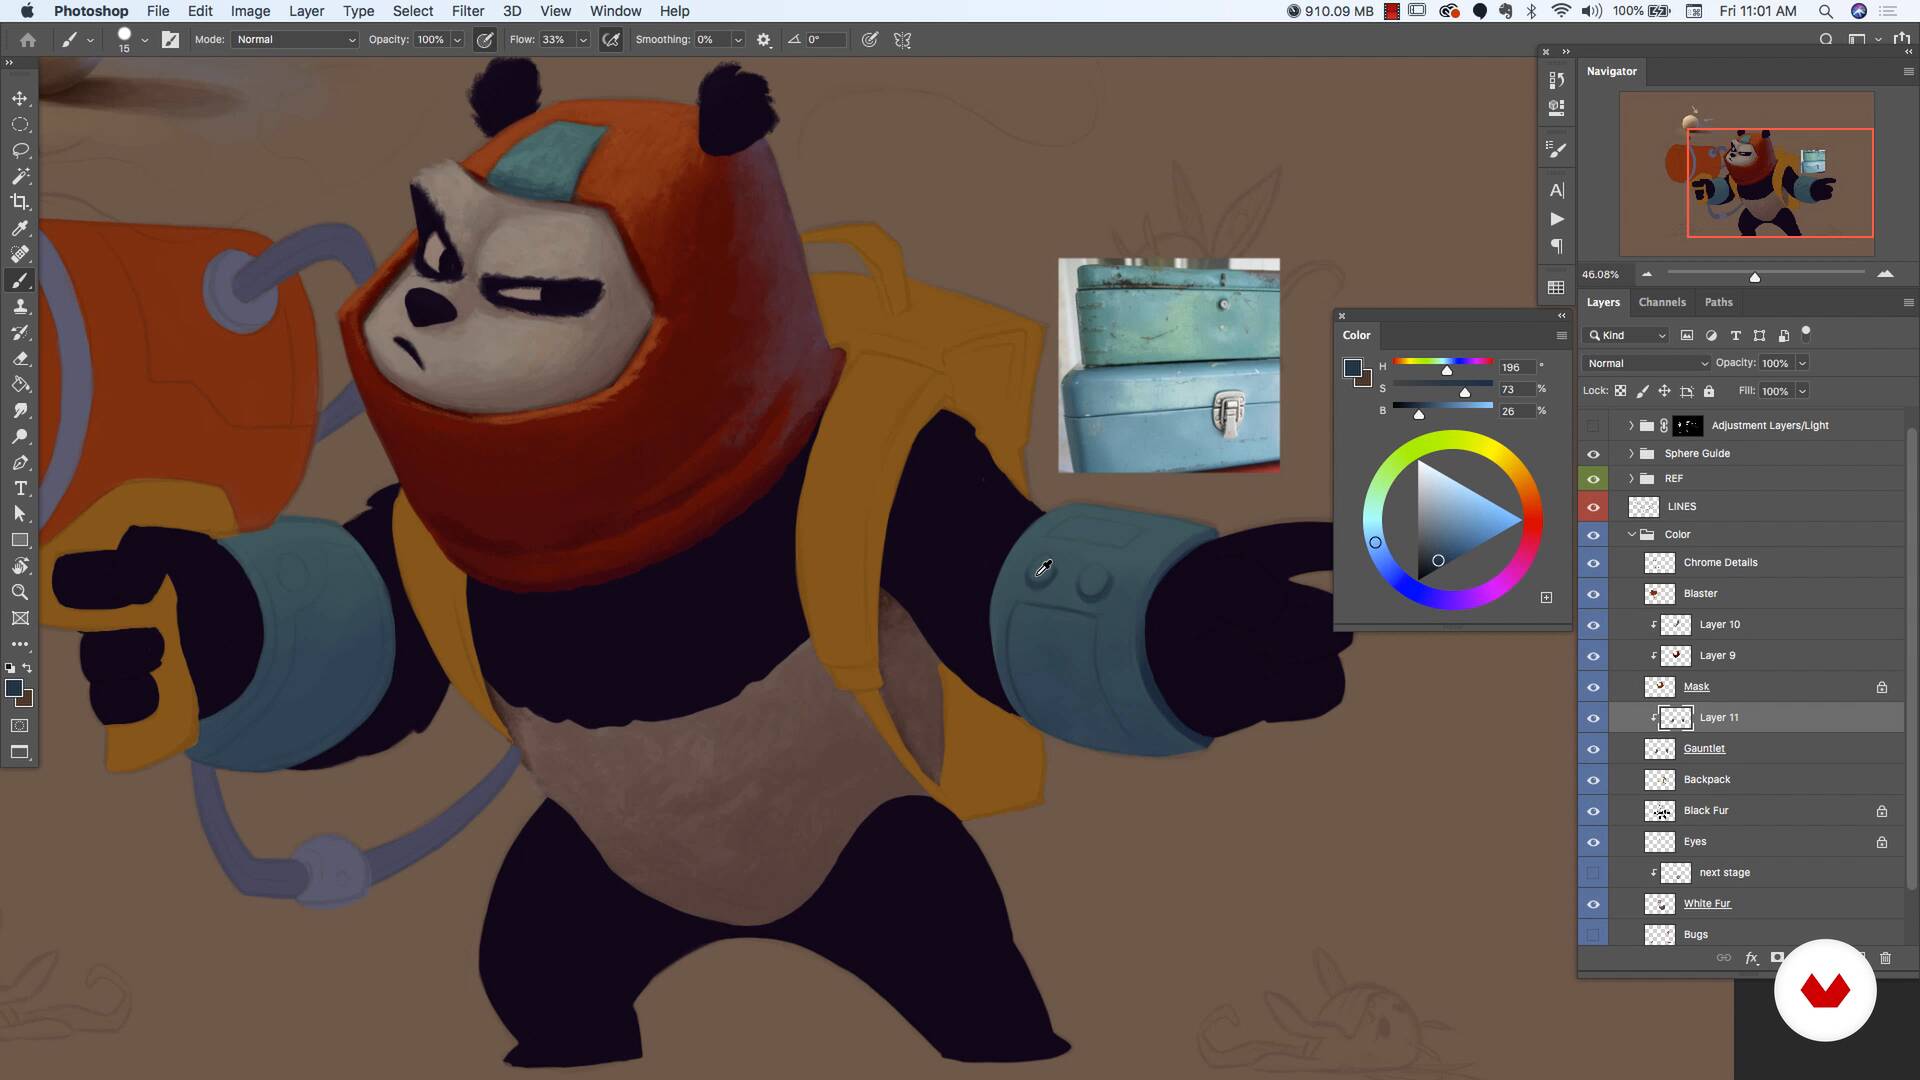
Refining Lights, Shadows and Textures - Gauntlets
In this video, we’re going to use a photographic texture for the gauntlets and add some rust effects here as well.
11m
image
16
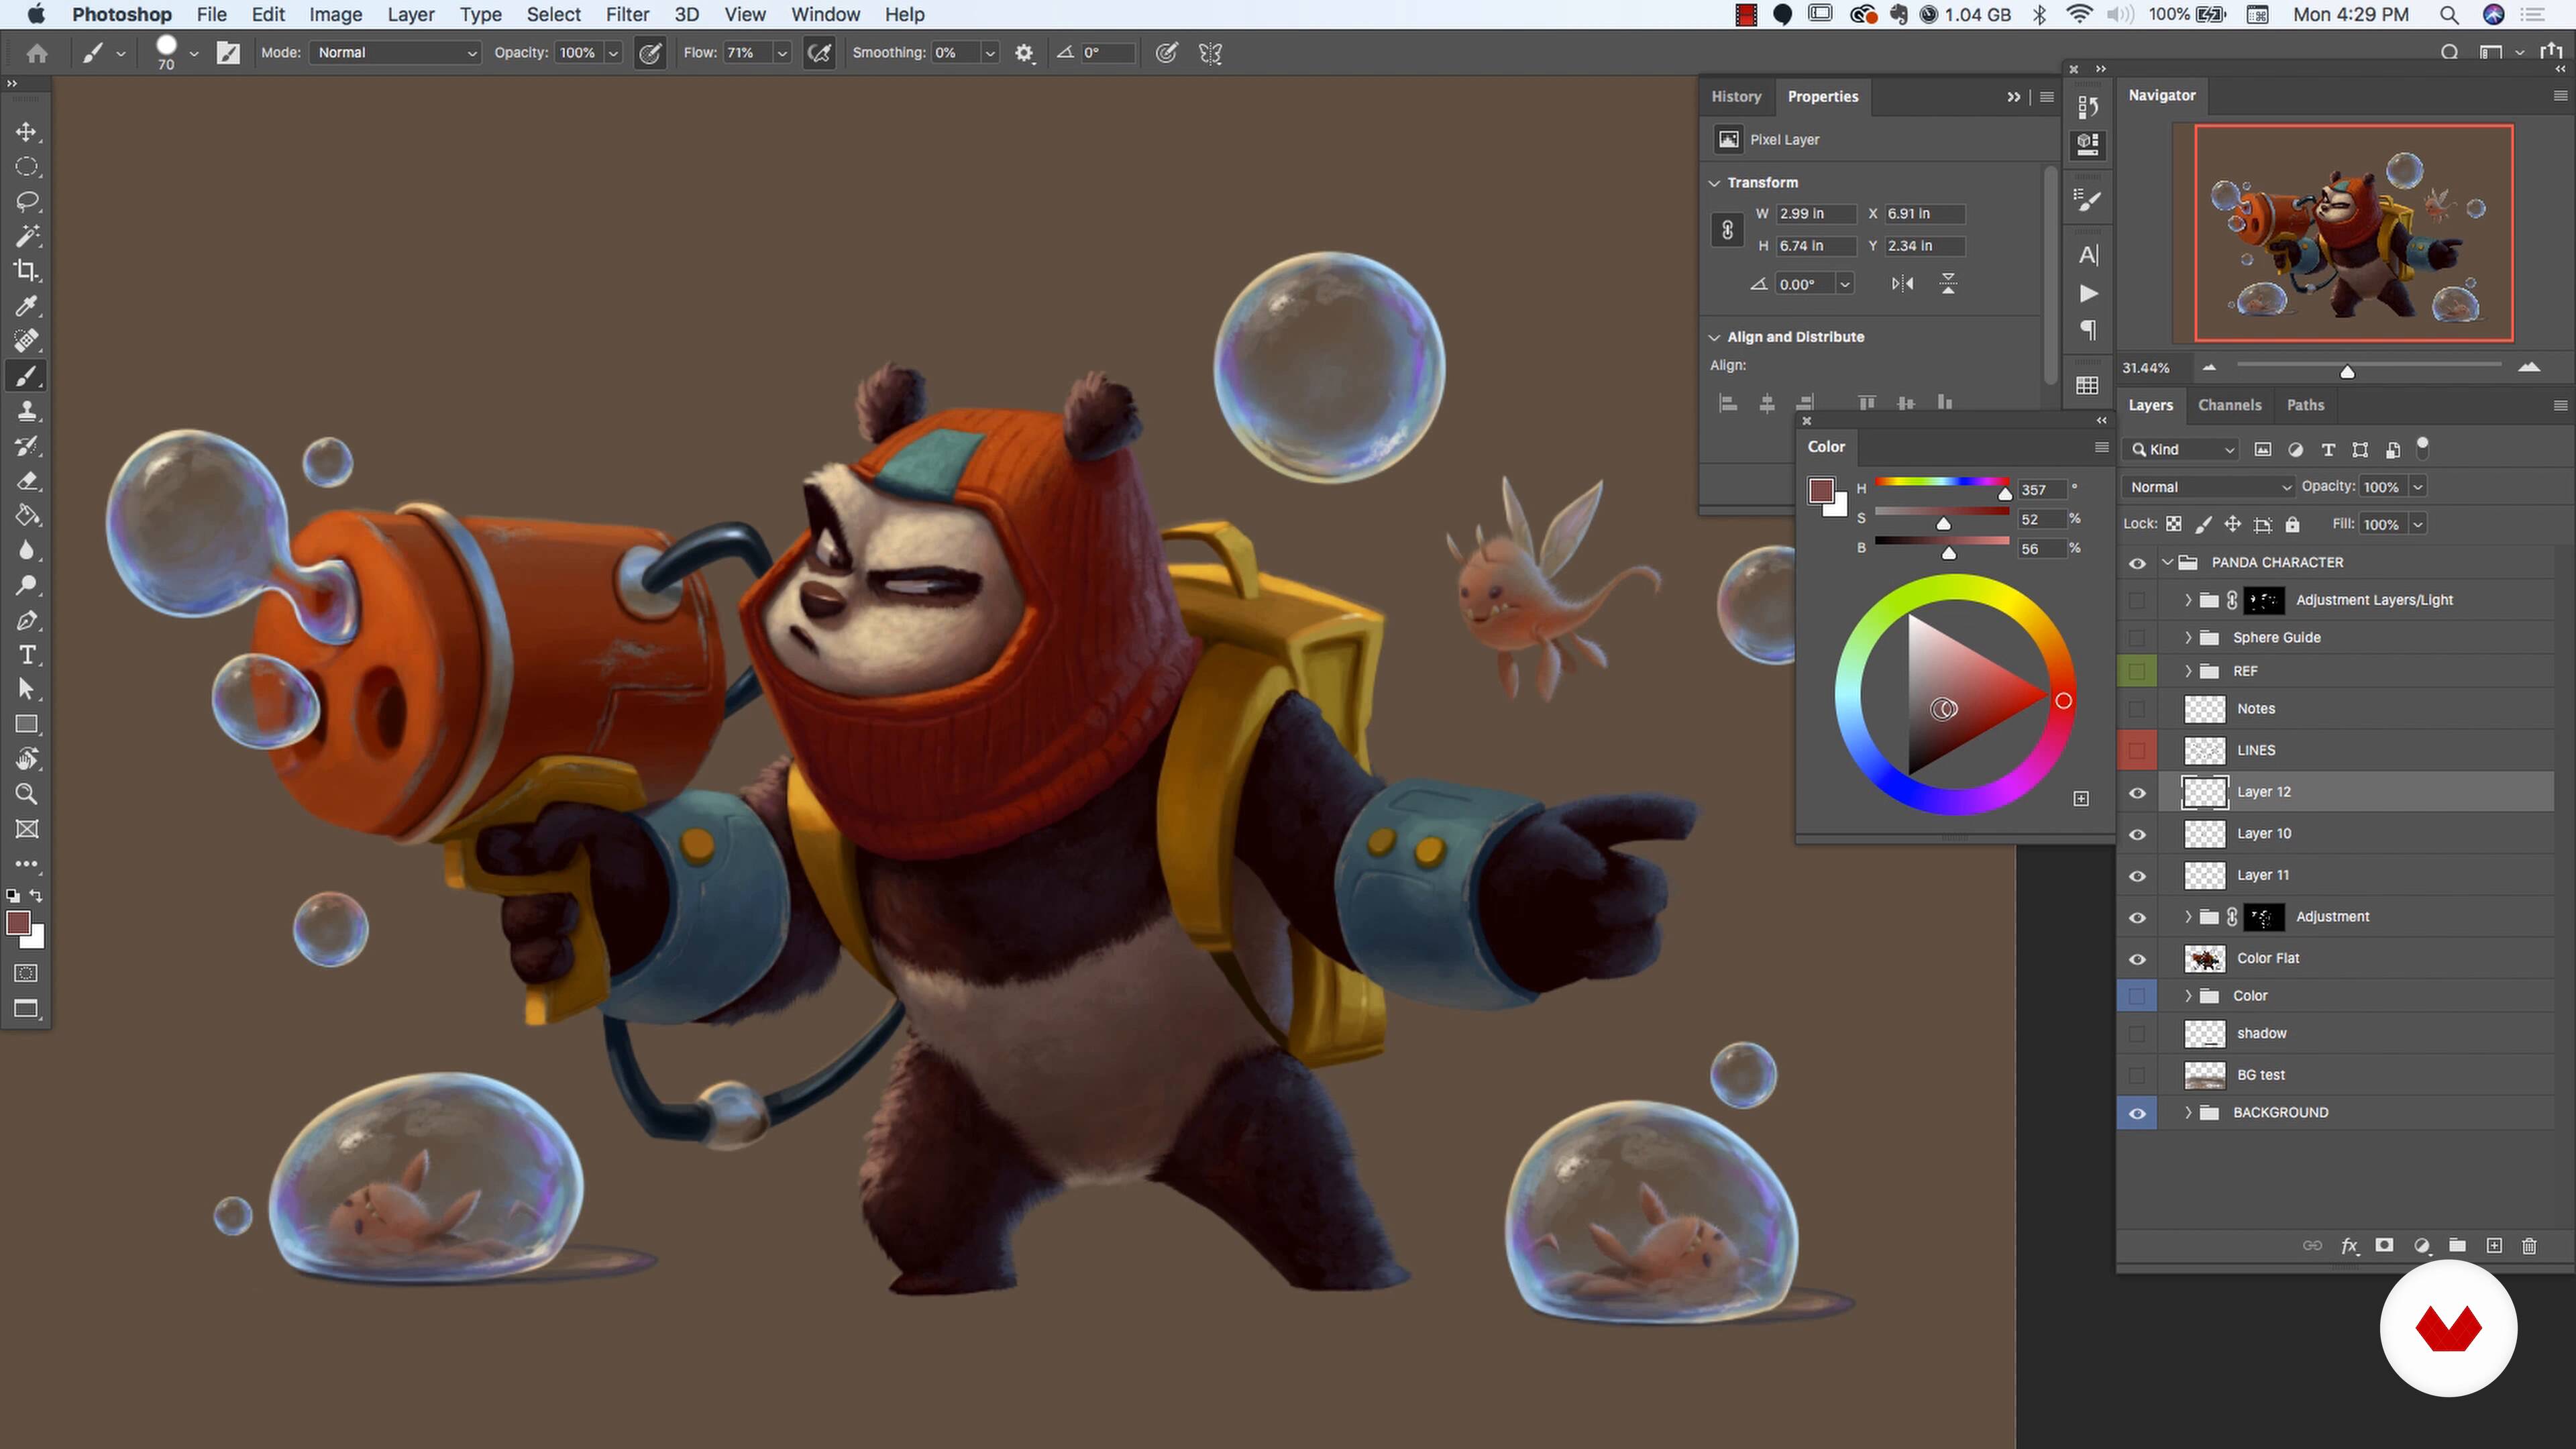
Finalizing the Image - Final Details, Glow and Blur
Focusing on details, for example, glow and blur make the difference. Let's work on those details together.
11m
image
17
Finalizing the Image - Highlights and Shadows
As we get close to finishing our image this is the point we’re we push our highlights and shadows to really make the image come alive.
8m
image
18
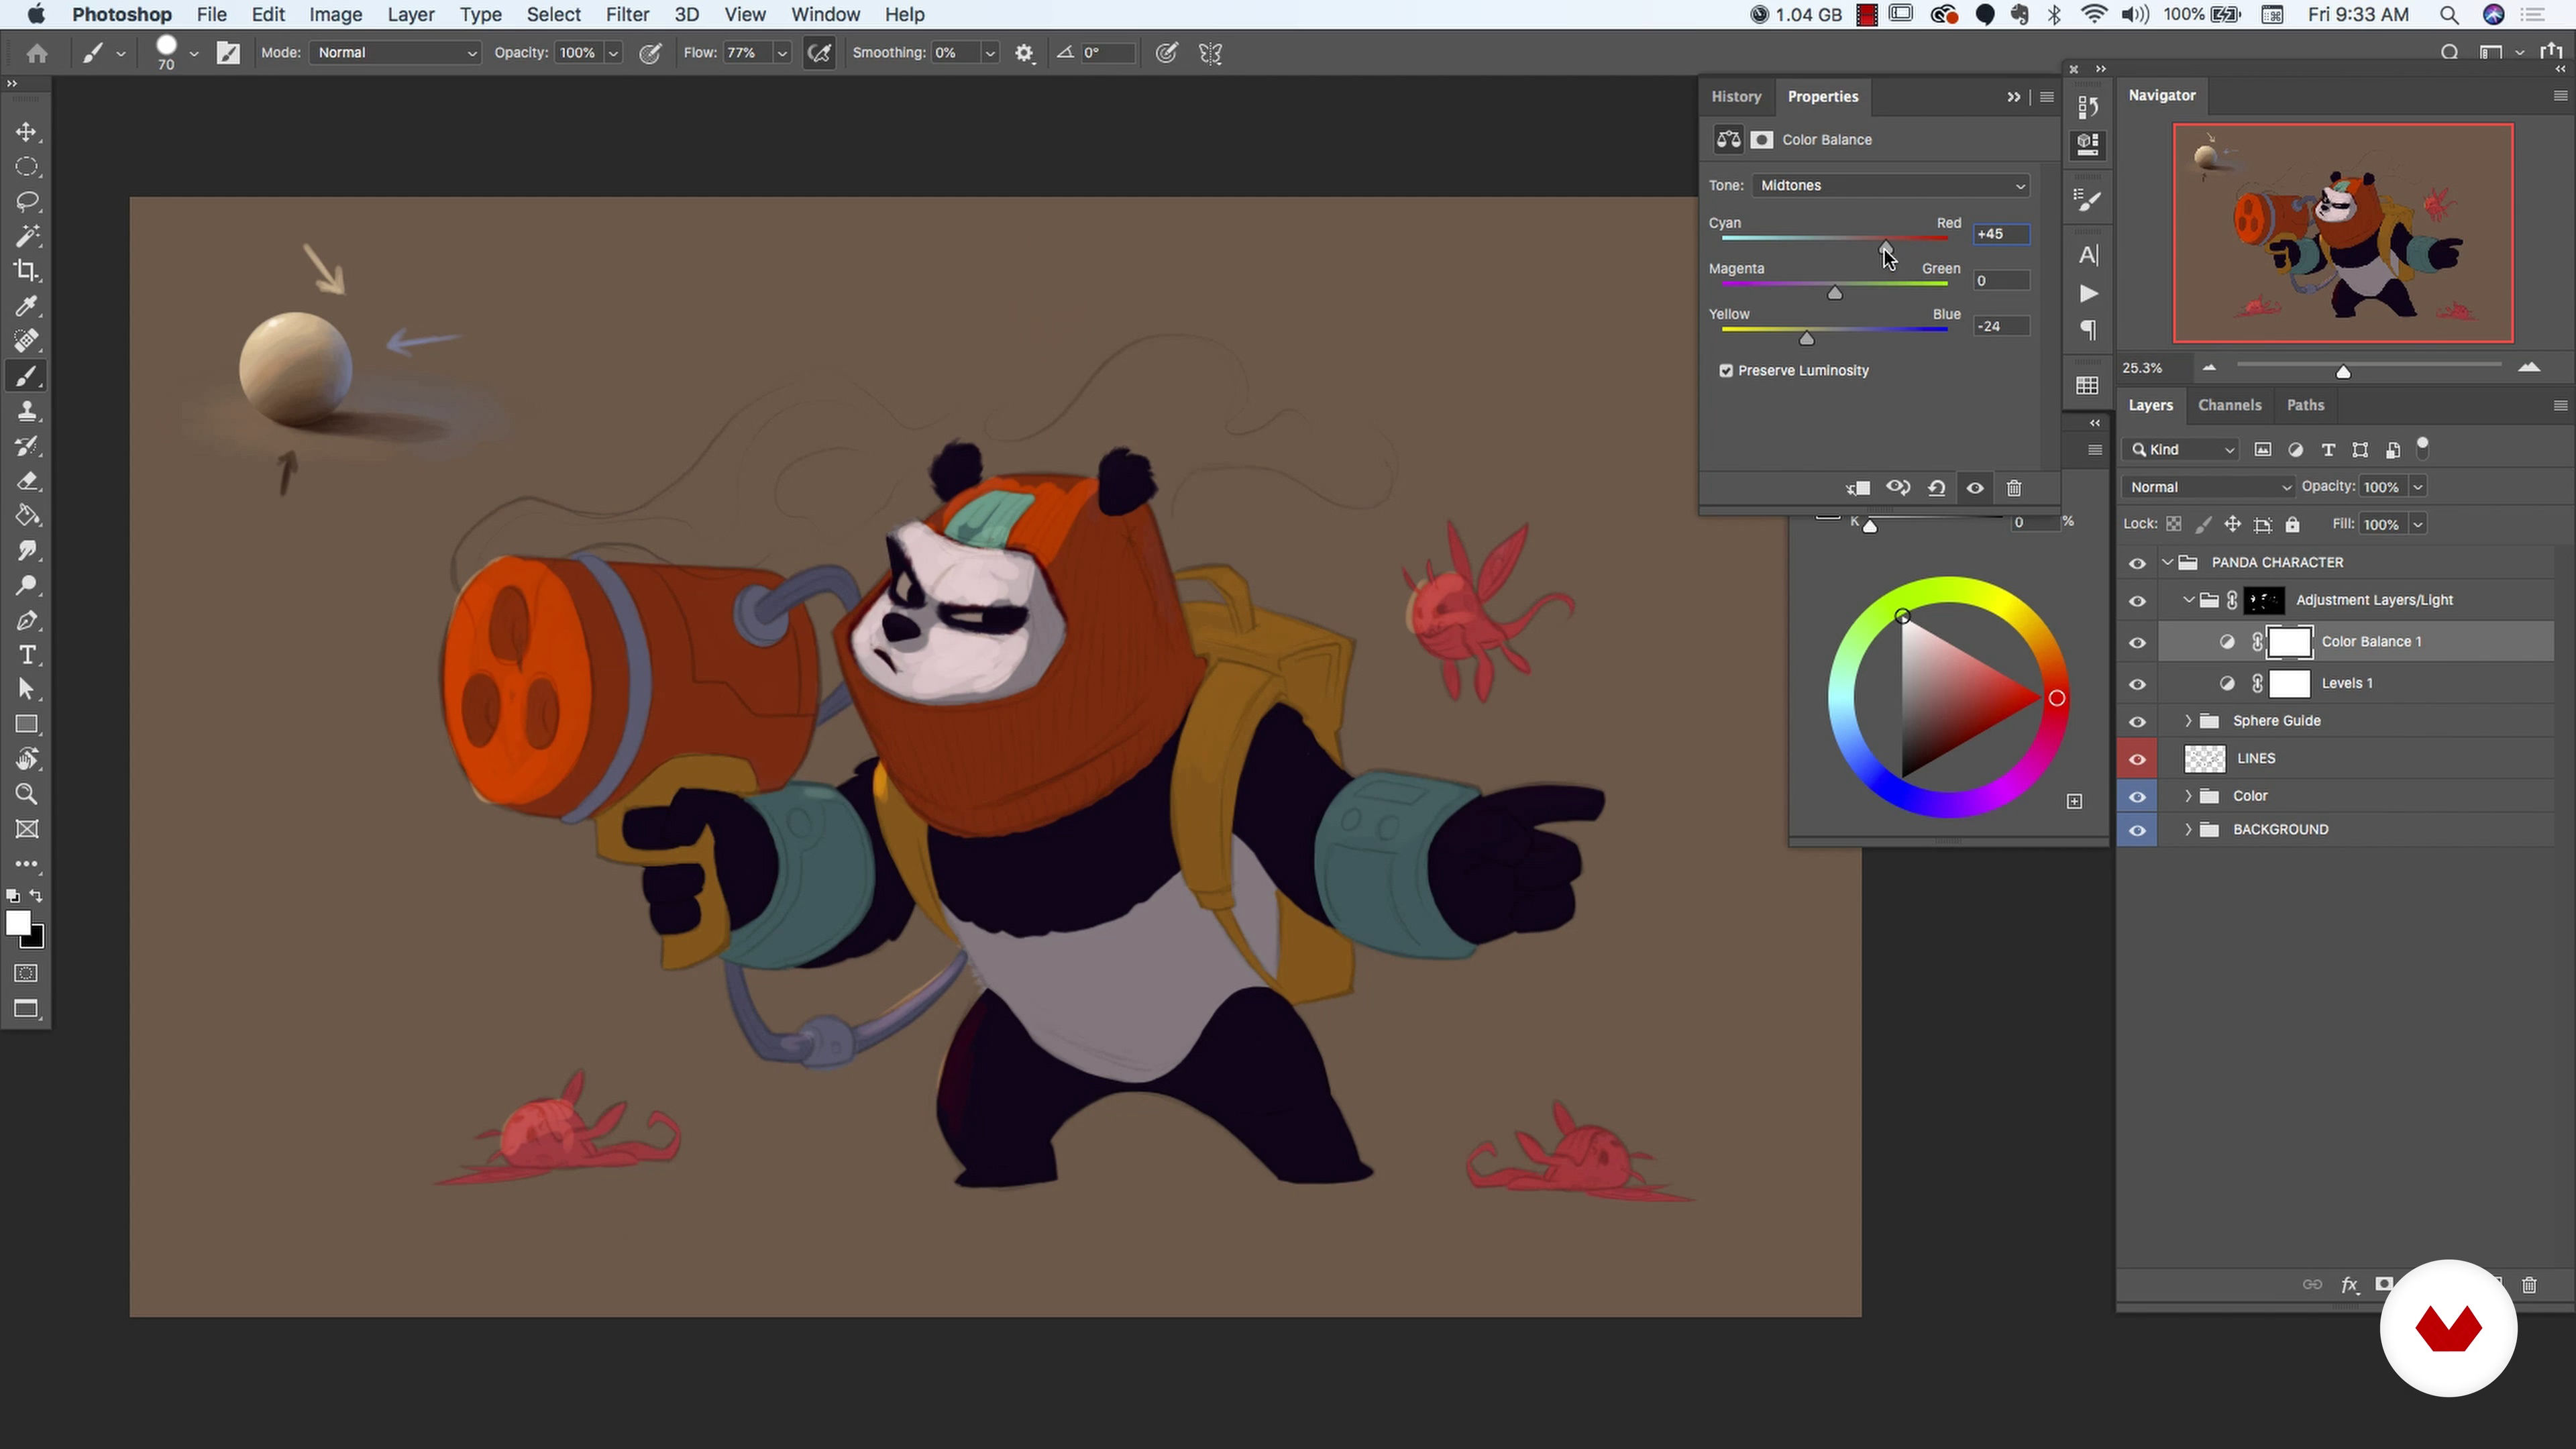
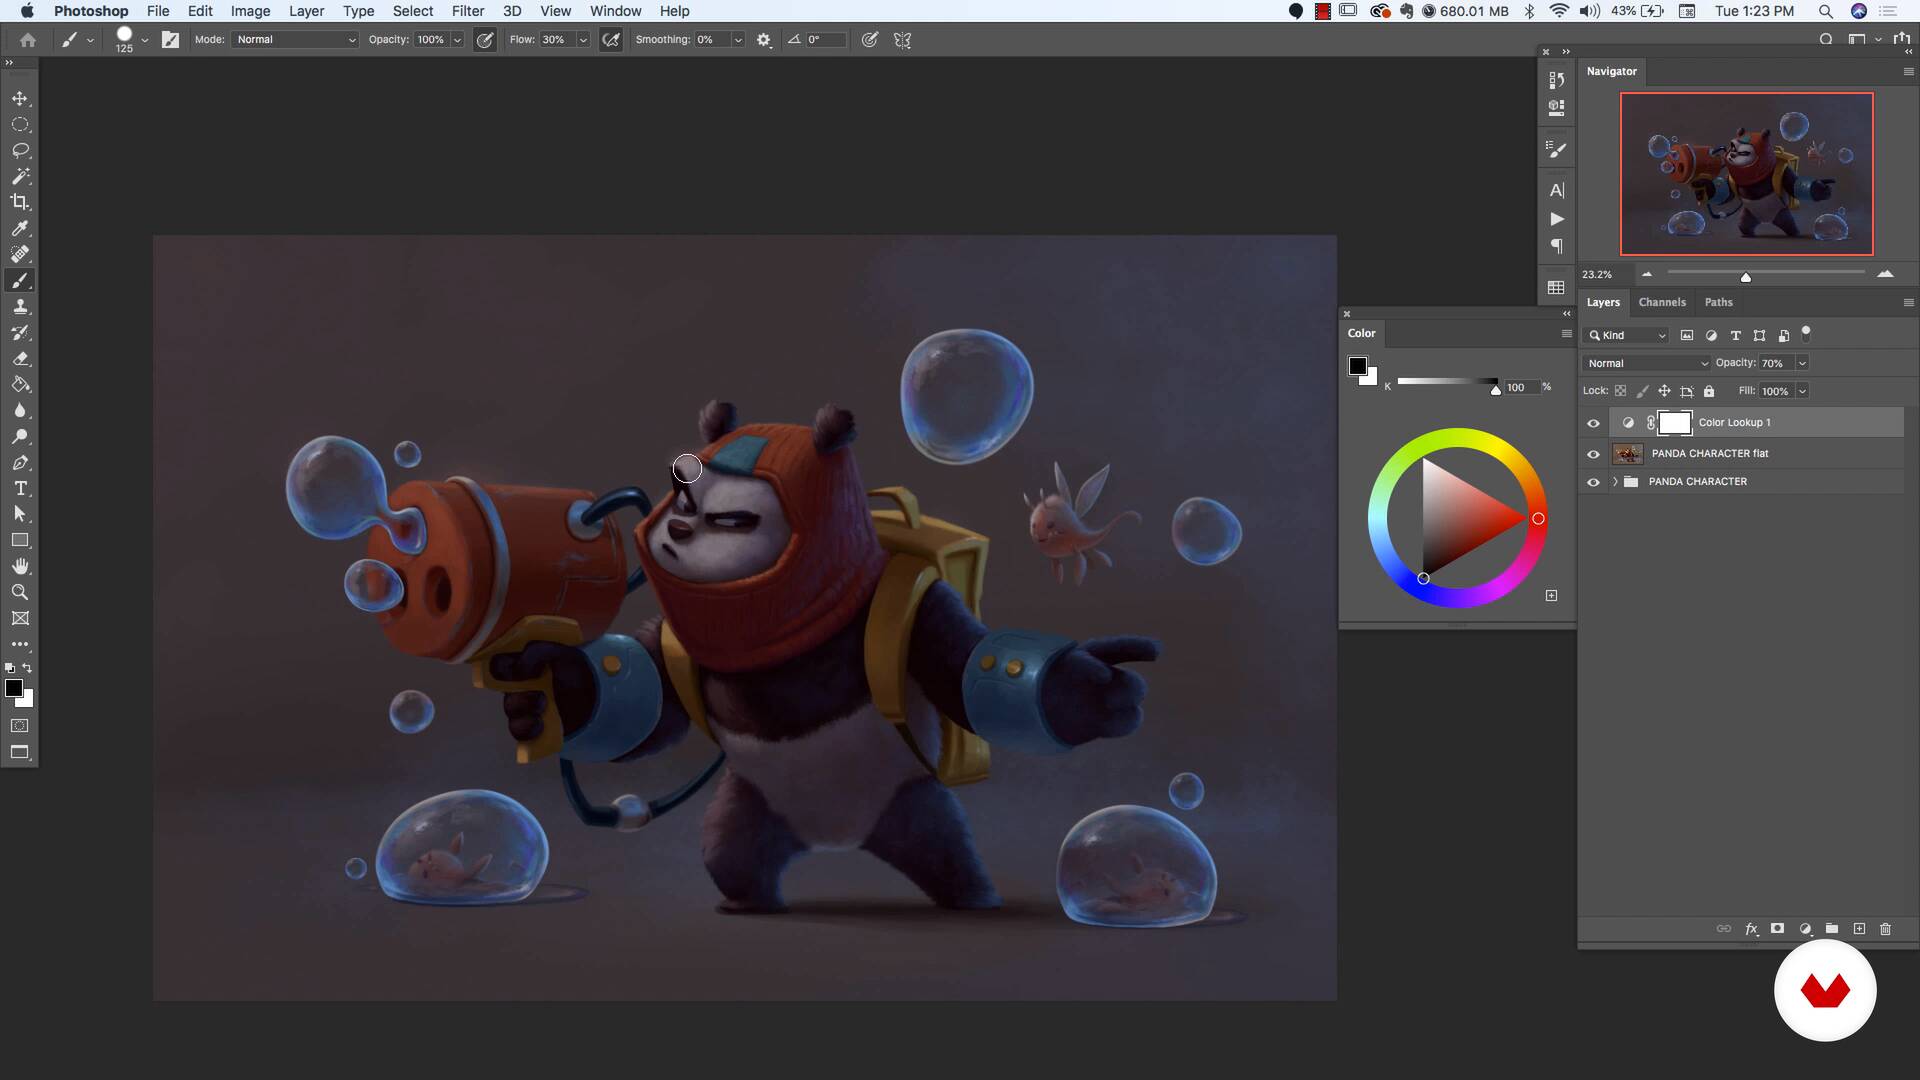
Finalizing the Image - color editing and export
Final color adjustments for the image. We’ll take a look at “color lookup” and a few other finishing touches. Also exporting options process. We’re going to talk about converting to CMYK if we want to print posters and also talk about saving for web if we want to post on instagram or our portfolio sites.
10m
image
3
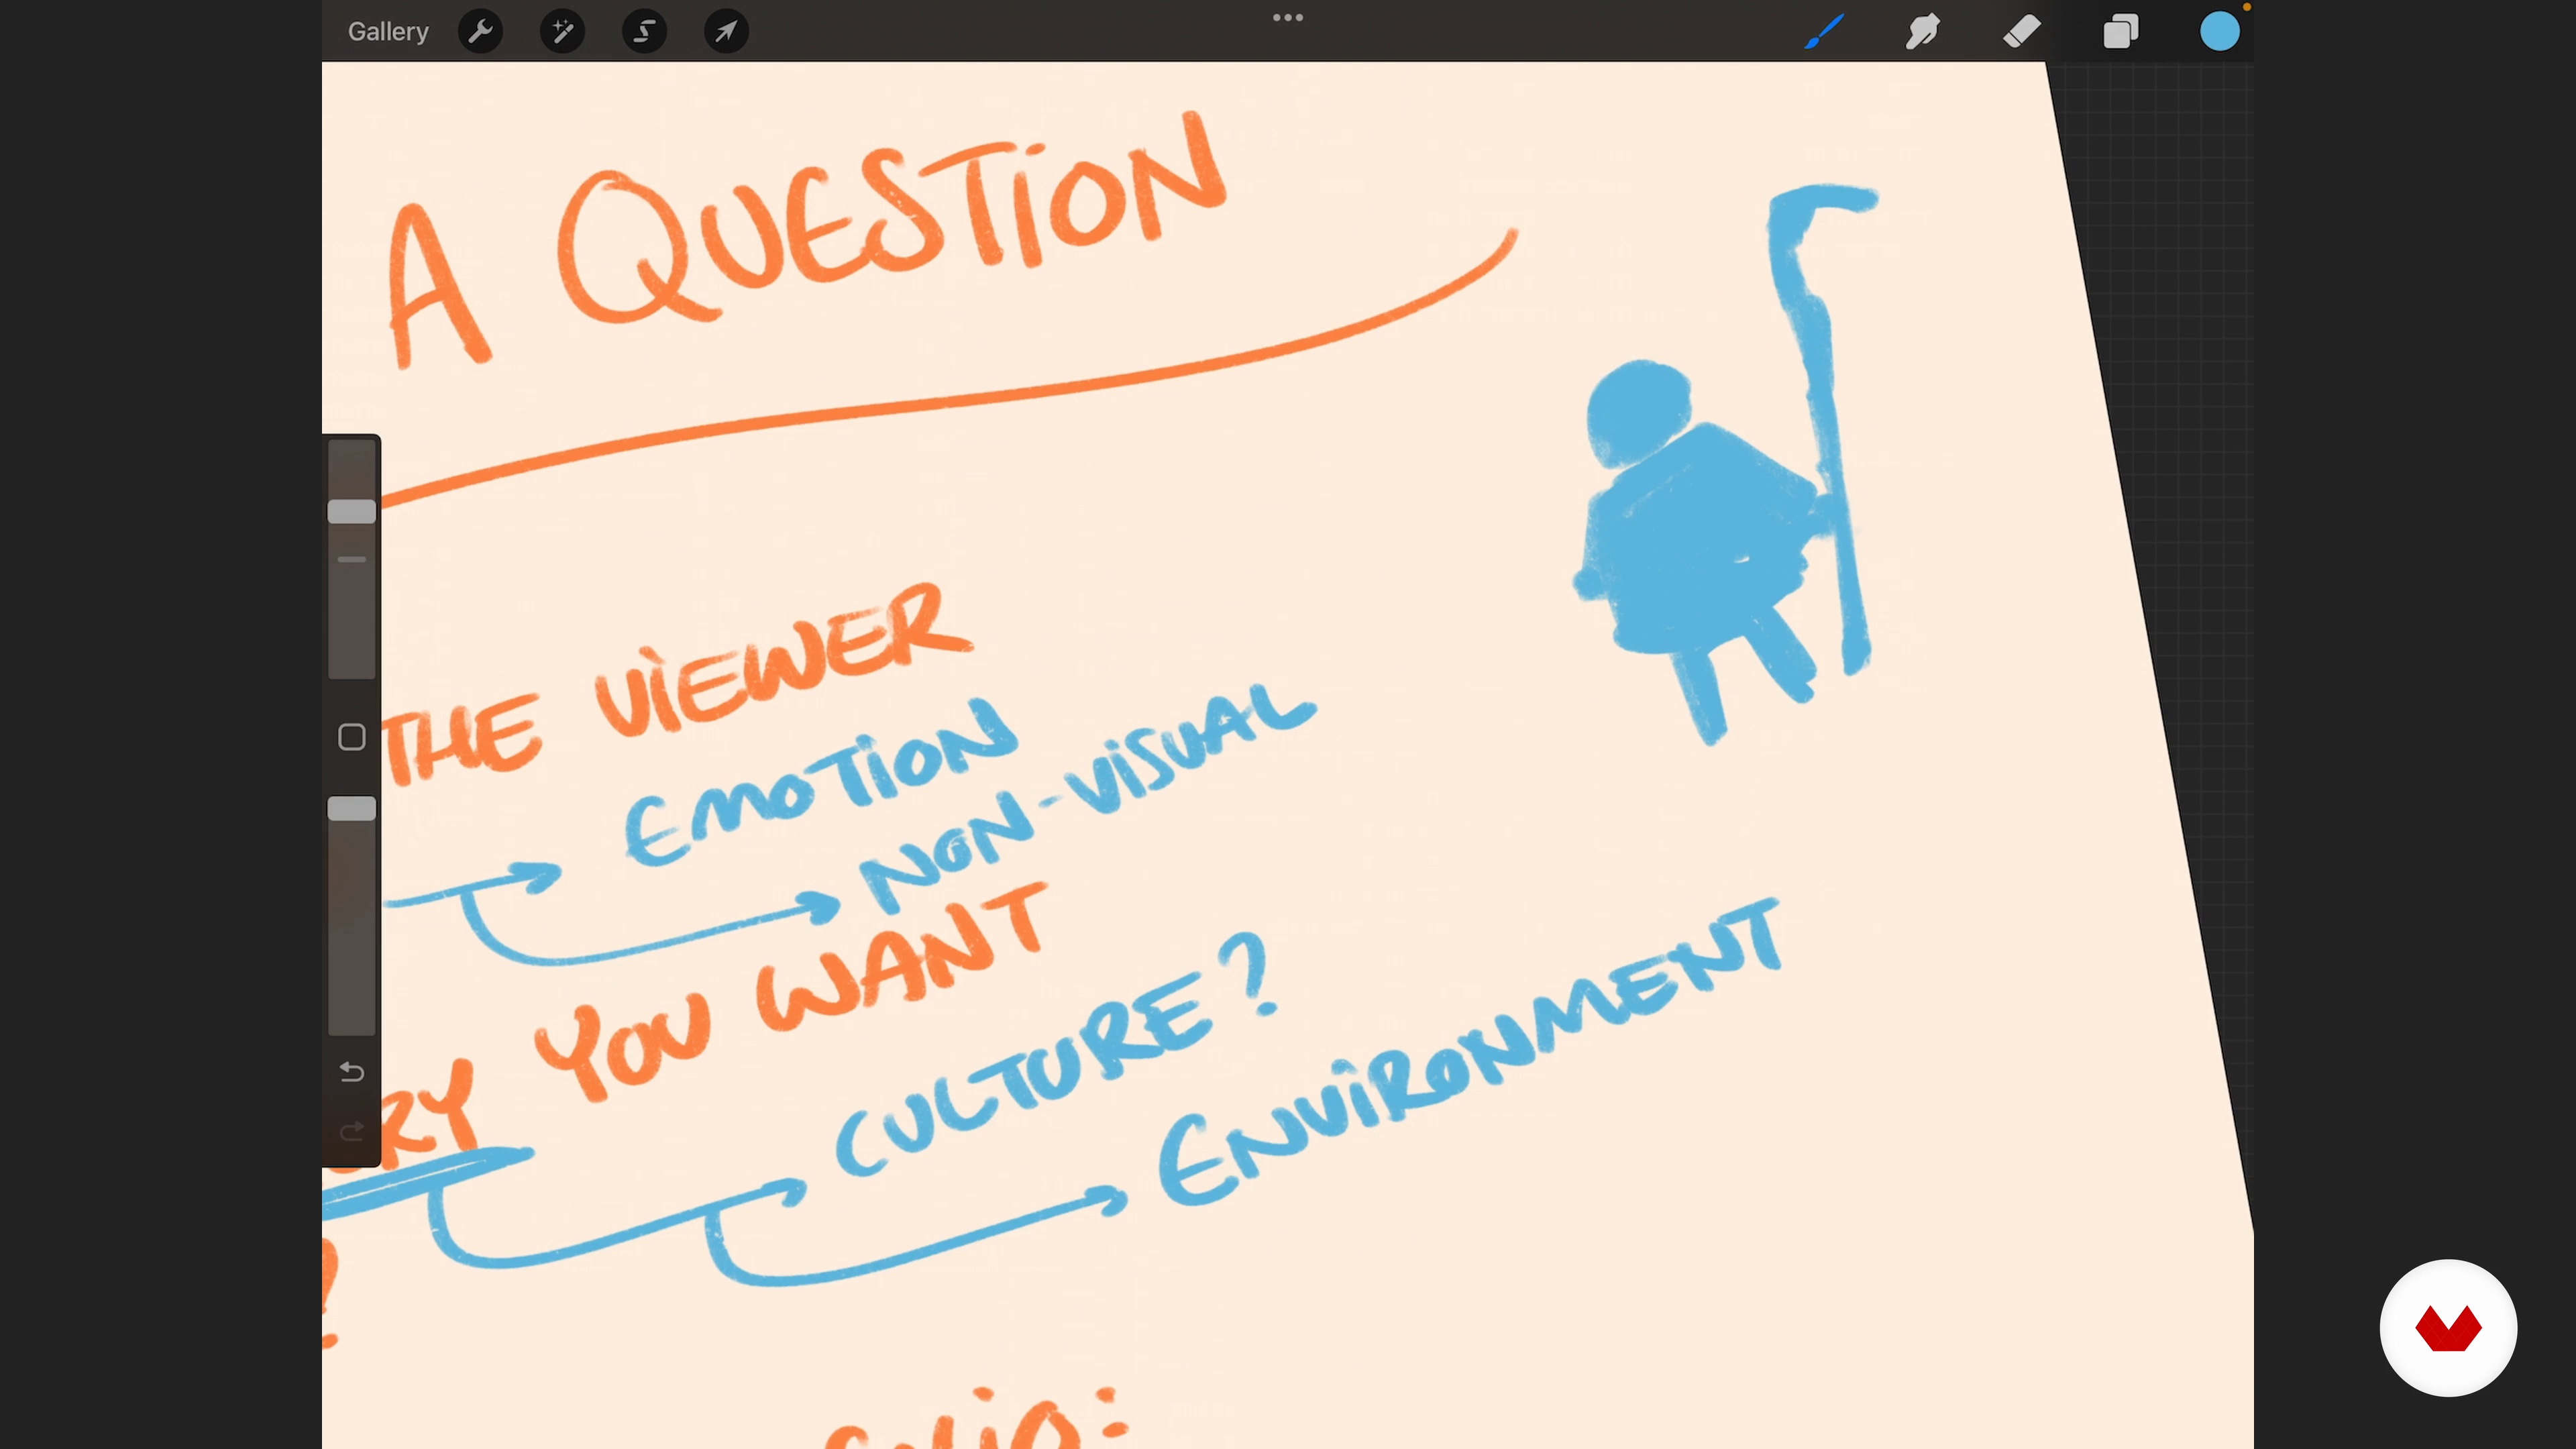
Asking a Question
Great designs emerge from asking great questions. If you start the process with your minds engaged, looking for great ideas that are more than visual, you're much more likely to arrive at designs you're proud of! In this lesson, we'll explore a few of the ways you can set yourself up for success before the drawing process even begins.
11m
image
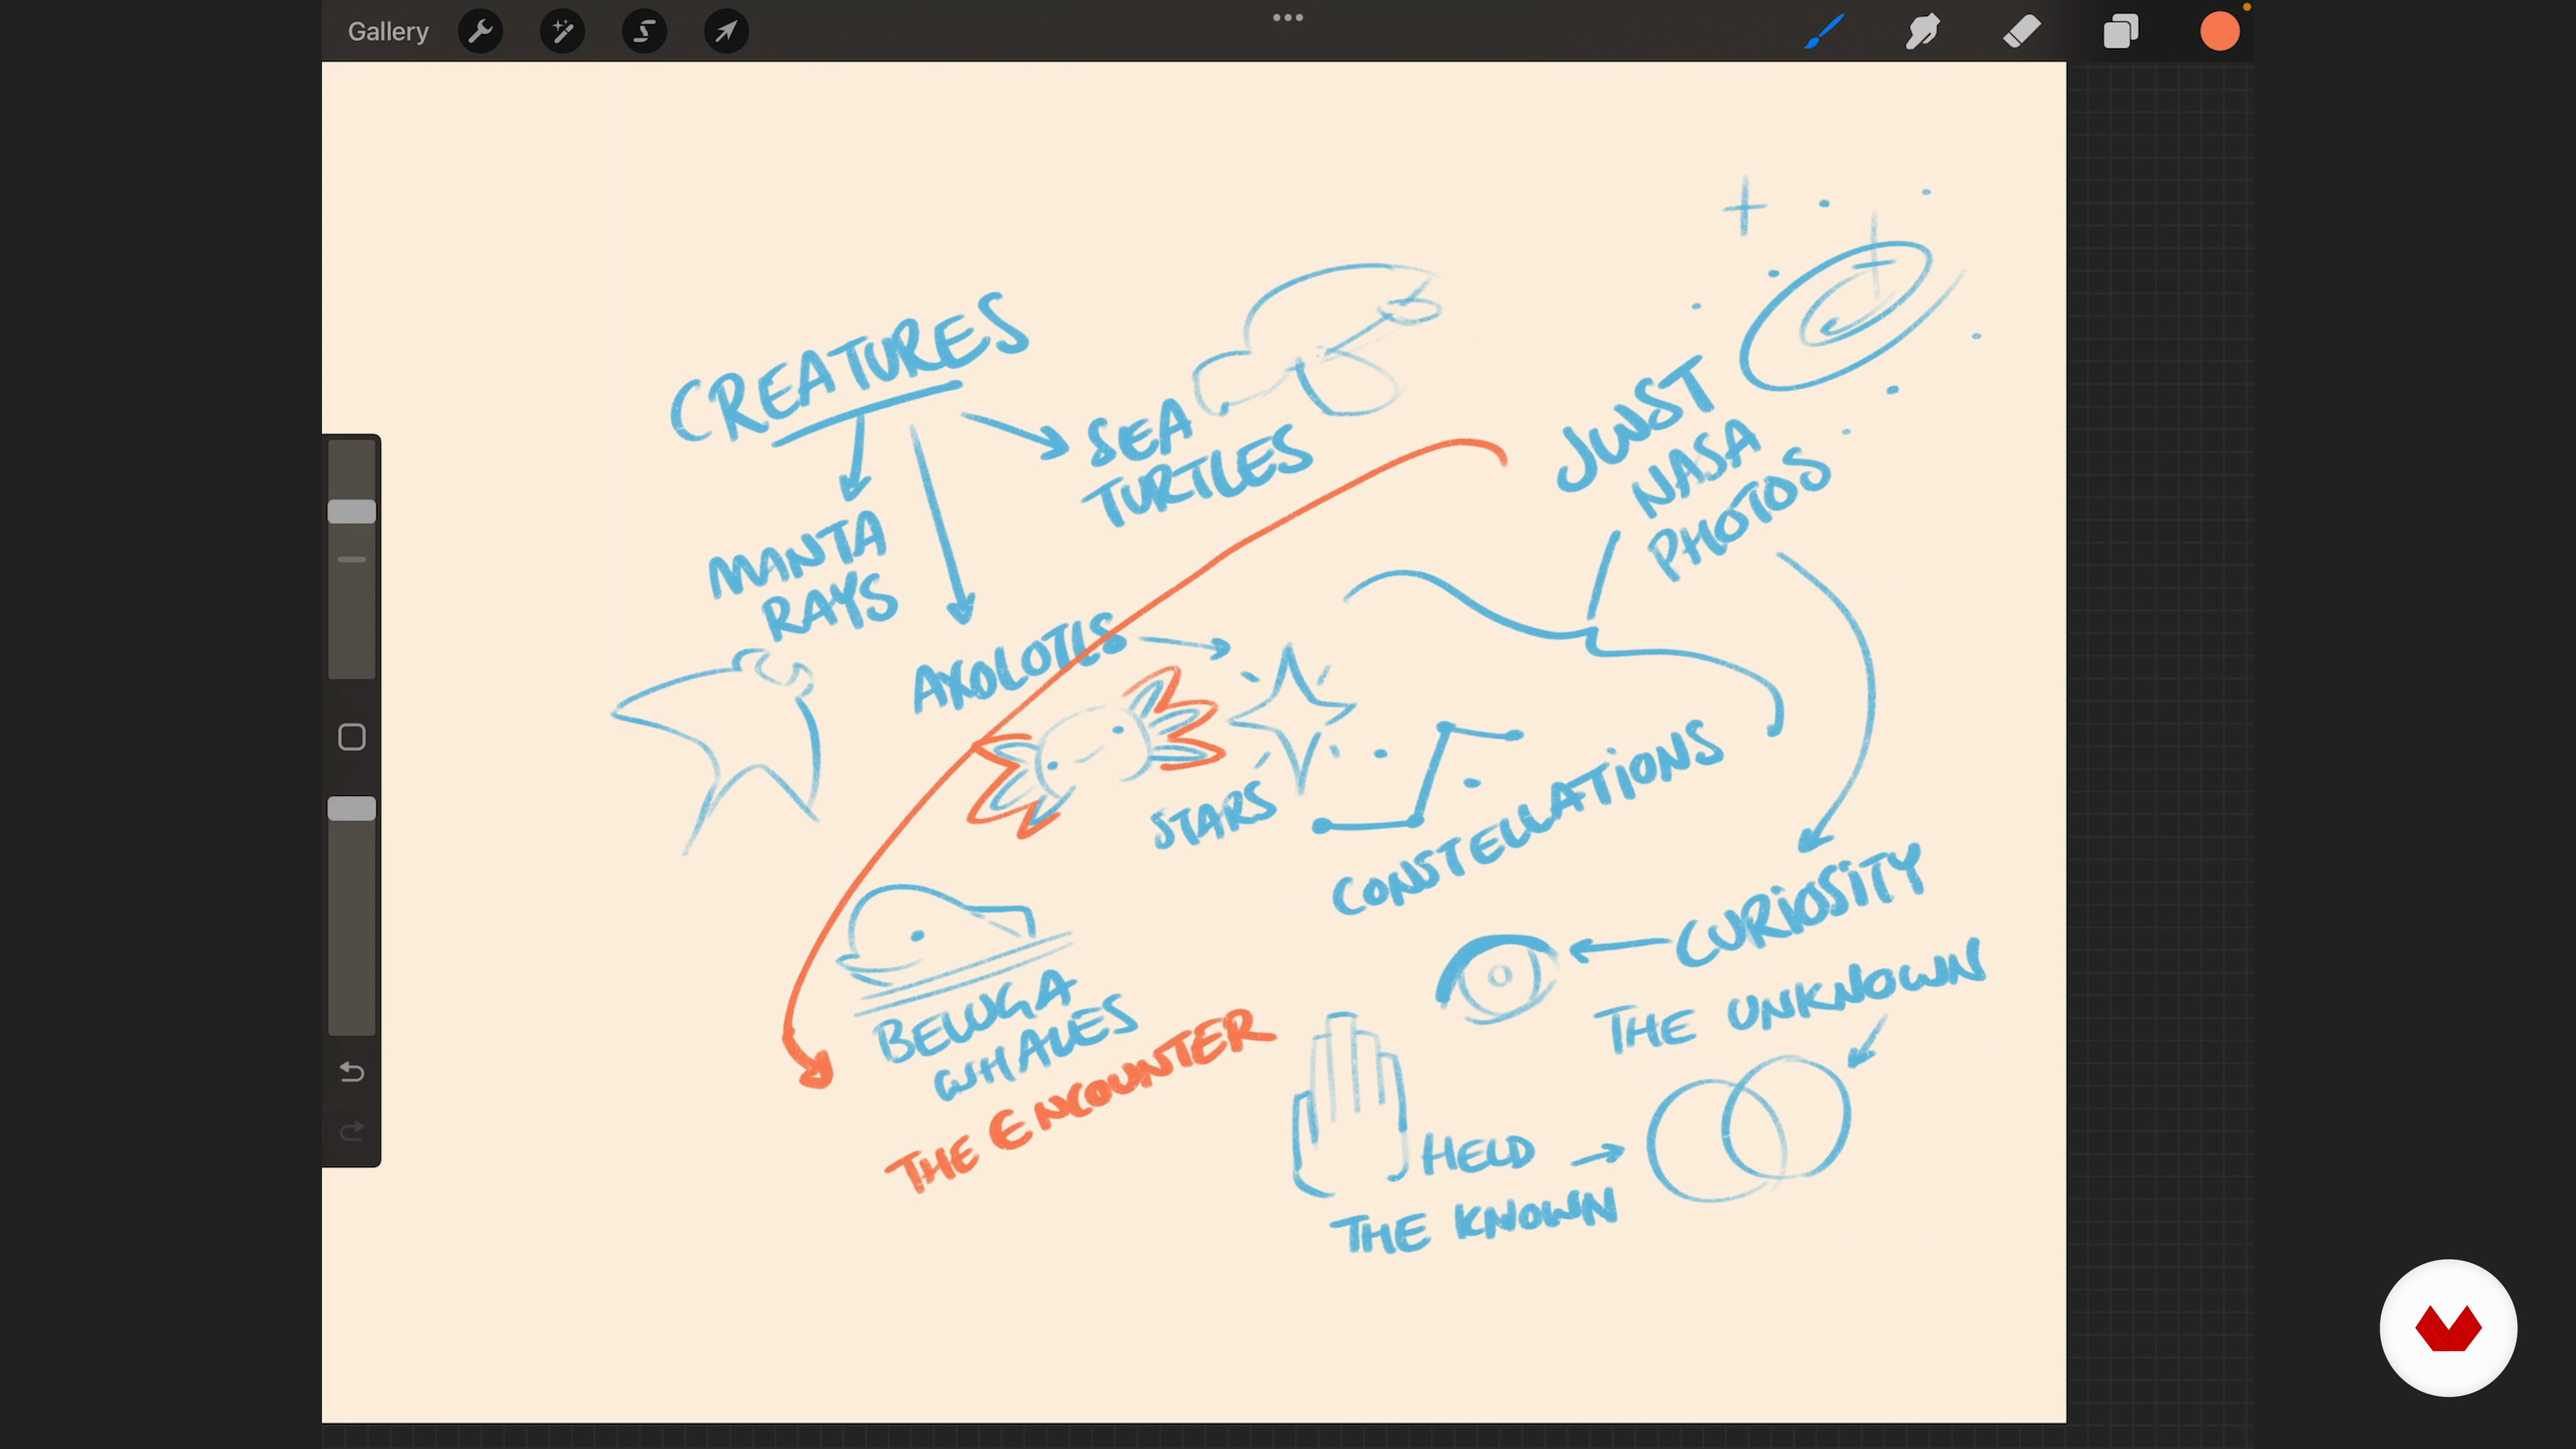
4
Making a Mind Map
How do you come up with an idea that excites you? I've found that one of the greatest tools for character design is a mind map composed of words, loose sketches, and ideas that form a full toolbox of useful thinking to return to when I get stuck. In this lesson, I'll help you to map out your stream-of-consciousness to help drive design.
11m
image
5
Creating a Mood Board
Another great tool in the character designer's toolbelt is a great mood board! The research phase is an important way to push yourself out of your comfort zone and bring fresh, grounded ideas into your design work. In this lesson, I'll discuss some best practices for putting together a useful collection of references.
16m
image
6
Thumbnailing 1
If you can communicate your ideas clearly in the thumbnail stage, in a sloppy tiny sketch, you'll be on track to create a great character design! The blank page can be intimidating, so in this lesson, we'll discuss some exercises and ways of thinking that I've found helpful in overcoming that anxiety. By the end, we'll have a set of thumbnail sketches we can improve on as we go.
19m
image
7
Thumbnailing 2
I will now walk you through some of the sketches I made earlier to show you the different ways you can experiment with the character's poses and core elements.
7m
image
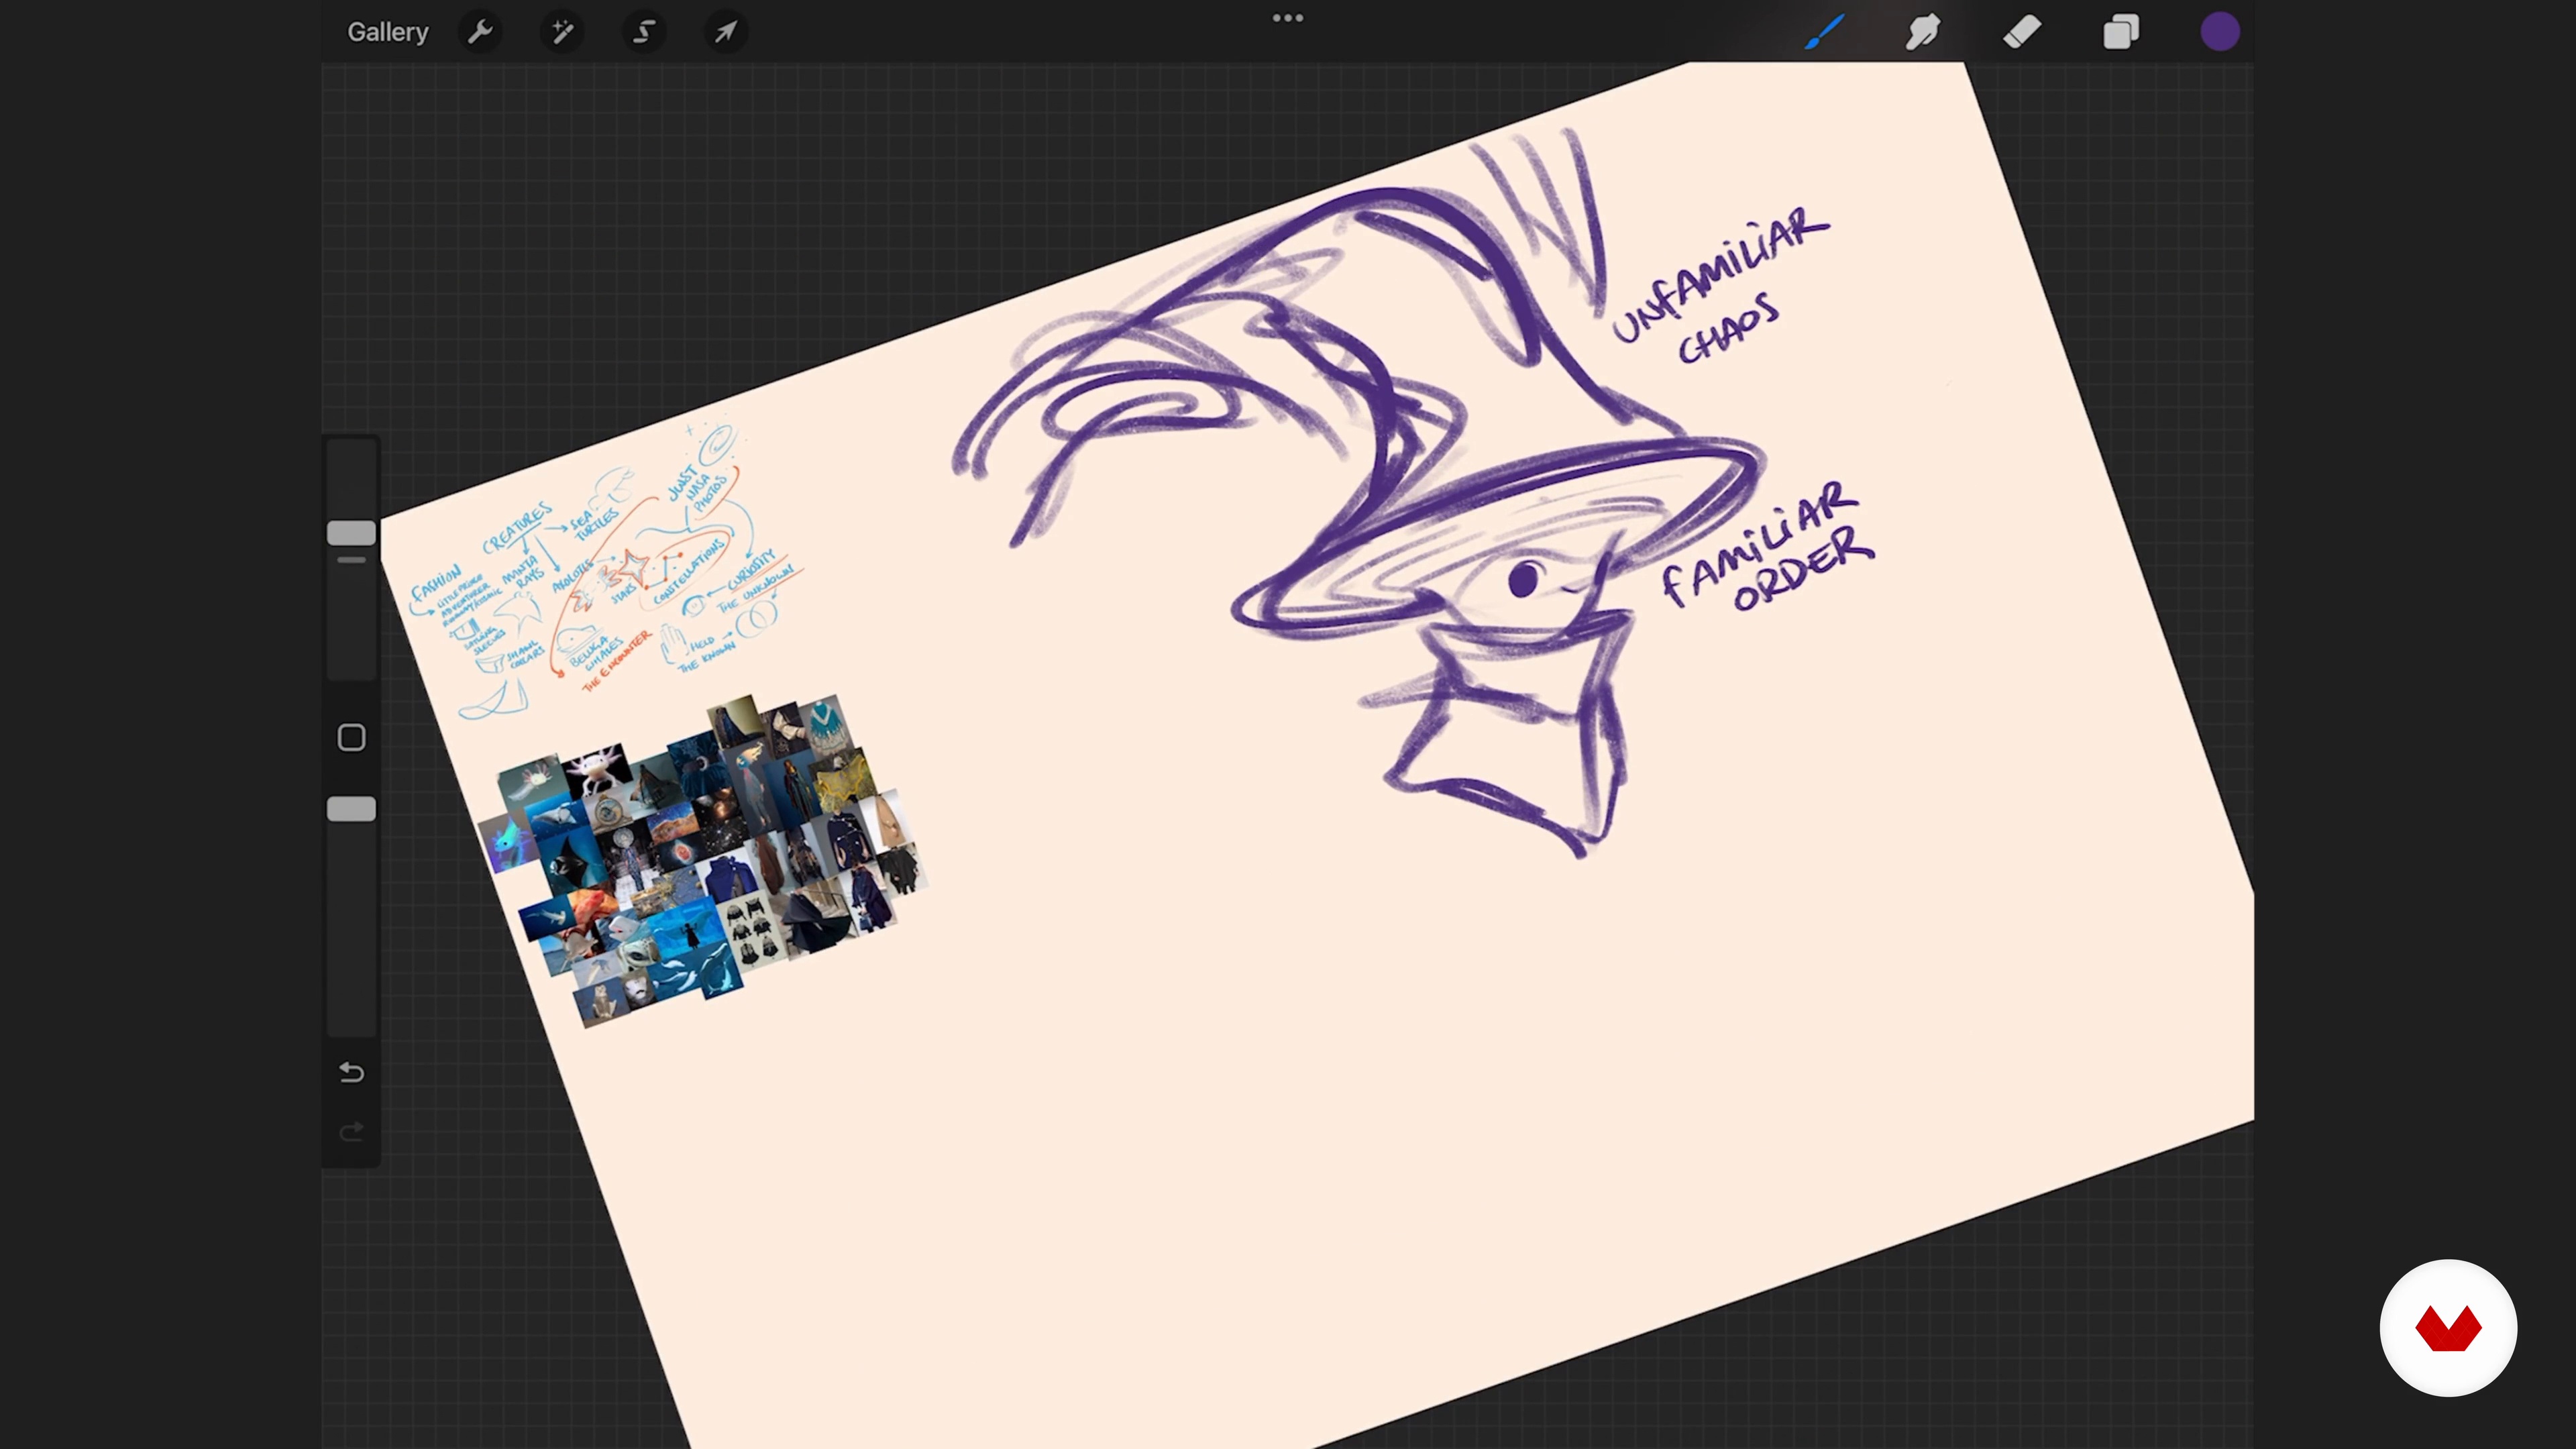
8
Flow and Line of Action
One of the trickiest topics to cover in character design is the flow of shapes to create a pleasing finished piece. In this lesson, I'll unpack the invisible lines of force that work under the surface of a drawing to create that feeling of flow and how to make them work for you.
19m
image
9
Barcodes and Ladders
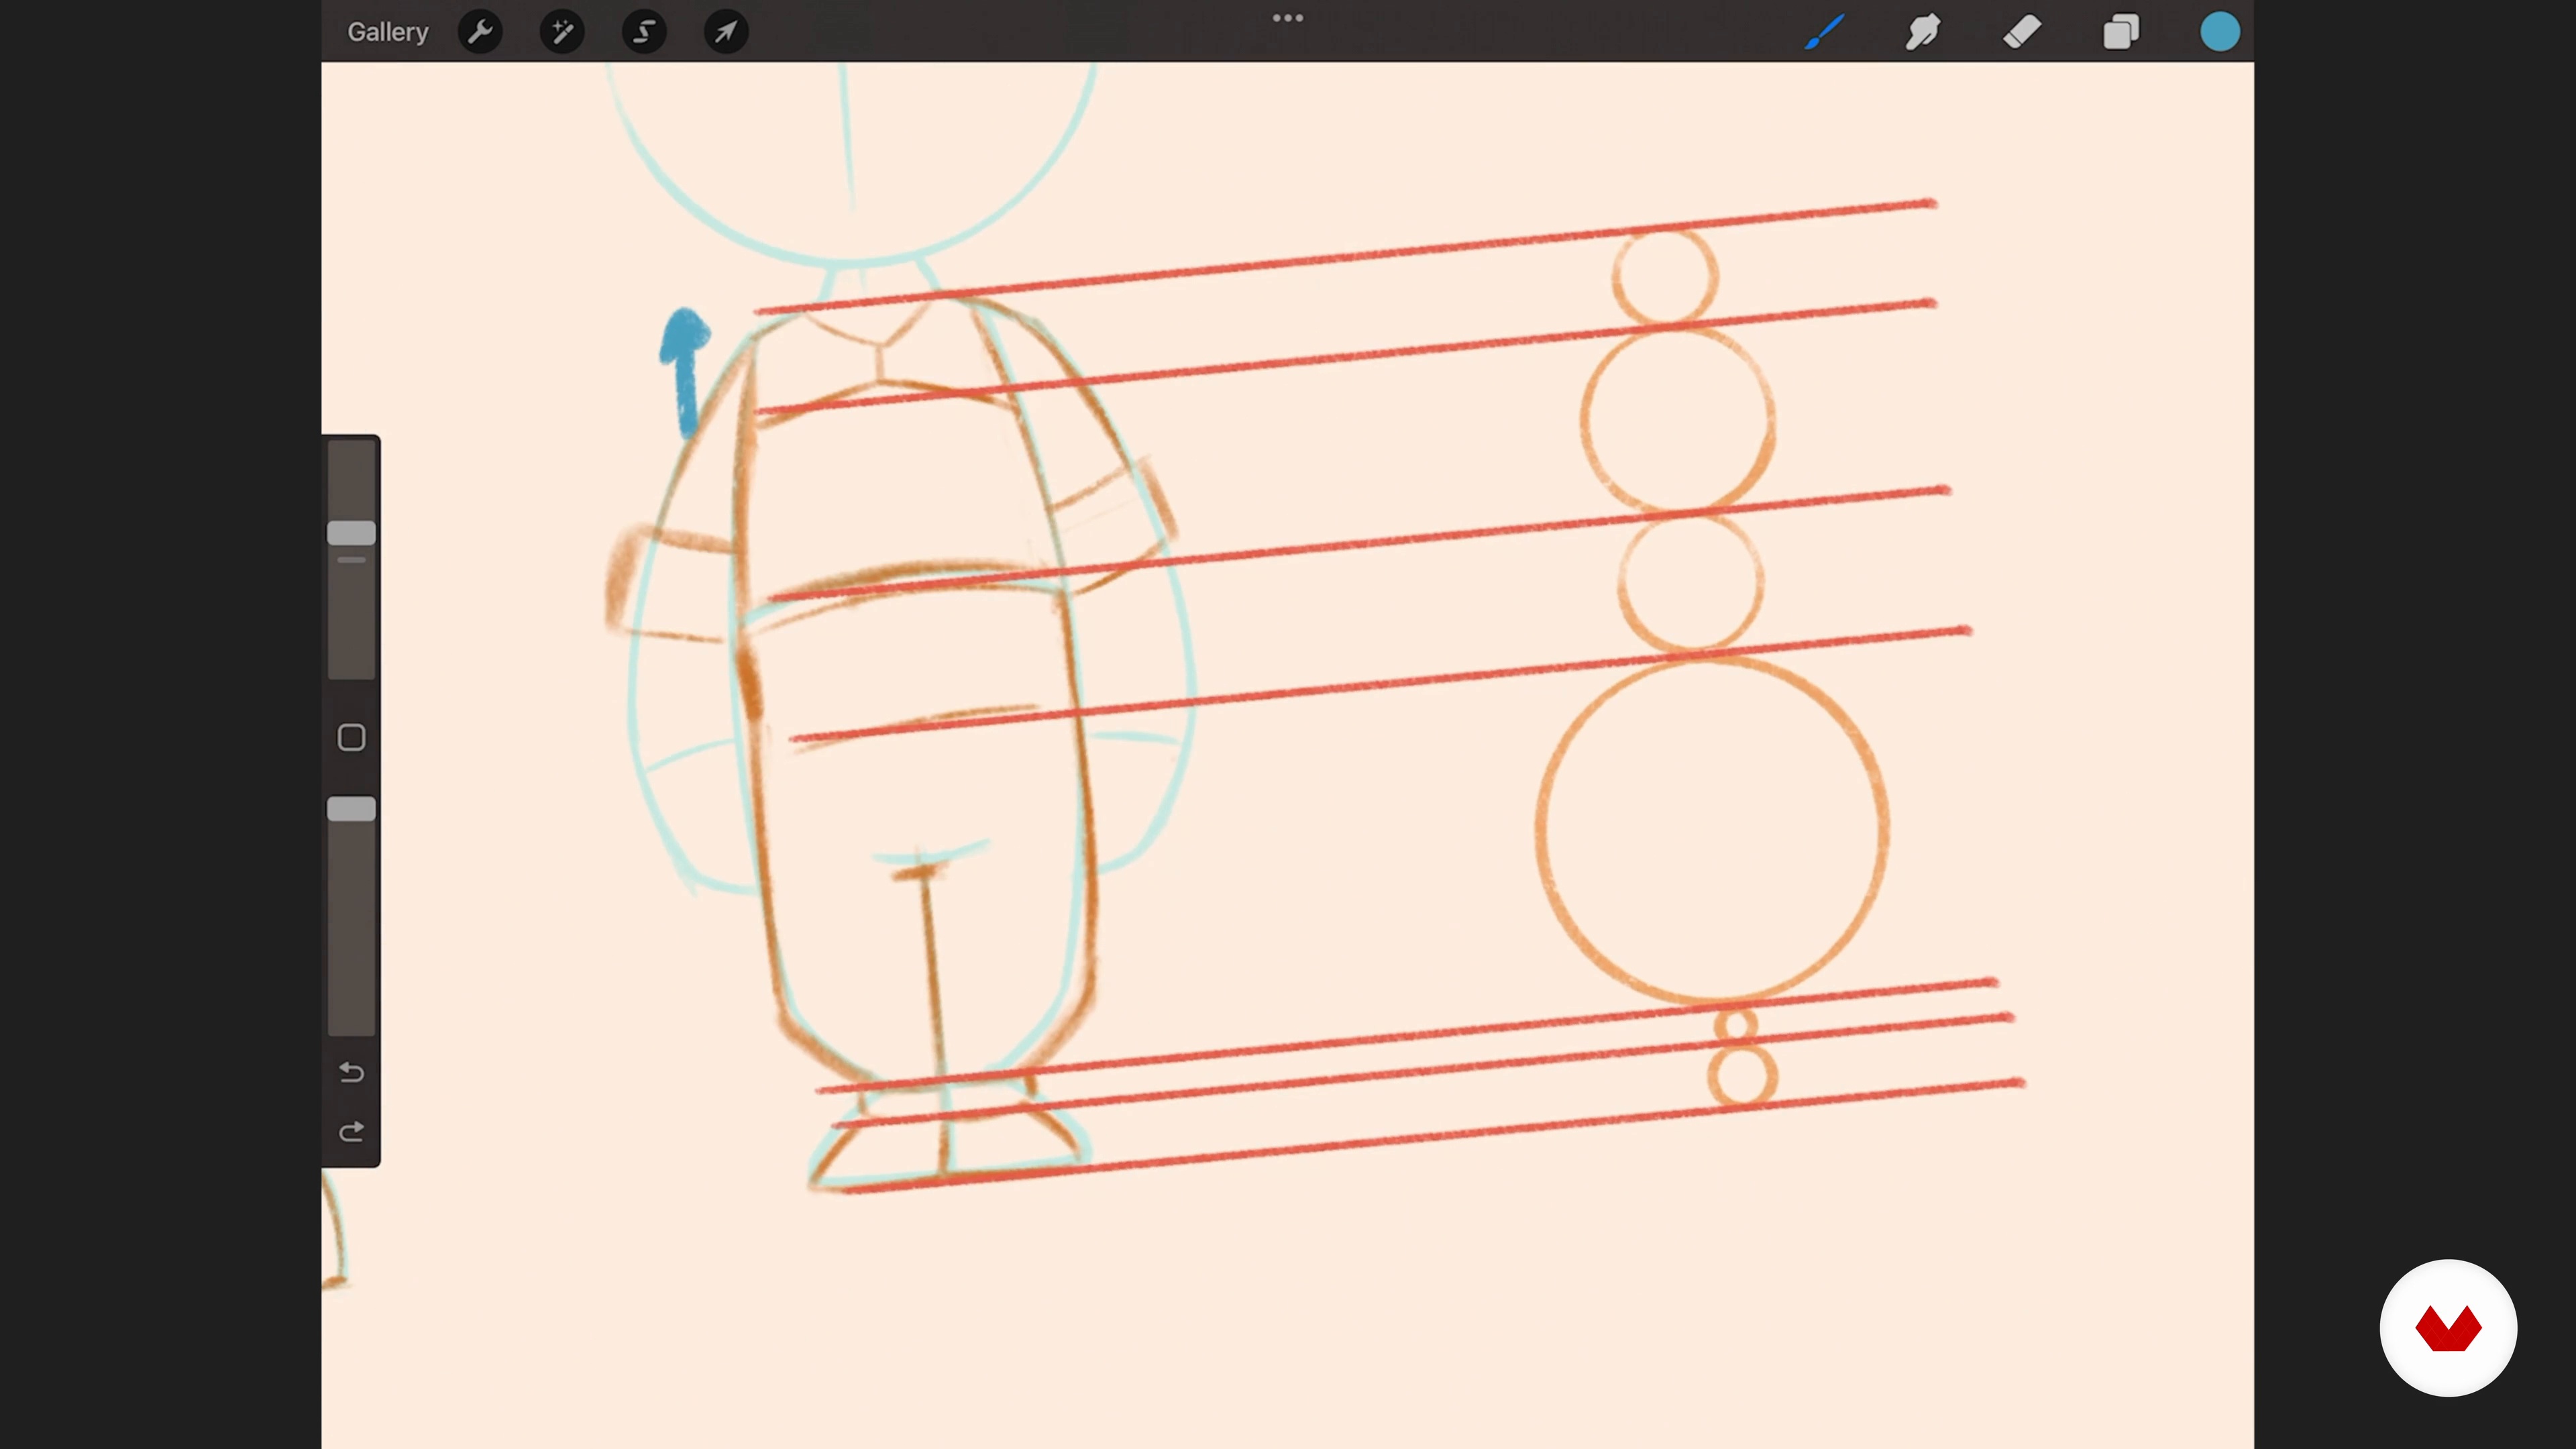
Another great way to bring more dynamism to design work is to look at your sketches through the lens of patterns. Strong designs often have a pleasing mix of shapes of various sizes in a rhythm similar to the irregular pattern of a barcode, instead of the predictable sameness of a ladder. In this lesson, we'll explore what that means and how to see it in your own work.
16m
image
10
Tightening the Sketch 1
We're almost ready for color! But in order to set yourself up for success, you will need to tighten the sketch to clarify all your design decisions, even about the little things. Every small element in any design is an opportunity to ask yourself: Could this little piece be more specific and better serve to tell the story of the character in the world they inhabit? In this lesson, we'll answer those questions and prepare for color.
20m
image
11
Tightening the Sketch 2
In the second part of this lesson, I will continue tightening the details of my sketch, homing in on her clogs, cape, buttons, and more. The aim is to produce line art that is close to the final vision, but this doesn't have to be perfect!
17m
image
12
Tightening the Sketch 3
I will now tackle the props! Once I've established the skeleton form of the staff, I will embellish the details and refine the shape. By the end, I will have a finished line drawing that is ready for the color stage!
20m
image
13
Masking 1
The technique I use to build the colors of a design involves the use of layer Masking. Since this can be tricky and take some strategic thinking. In this lesson, I will walk you through the basics of masking and demonstrate how I begin laying in color.
12m
image
14
Masking 2
Now that I have the overall silhouette ready, with the bigger shapes blocked and separated into separate layers, I will work to define the more precise forms.
13m
image
15
Color Strategy and Harmony 1
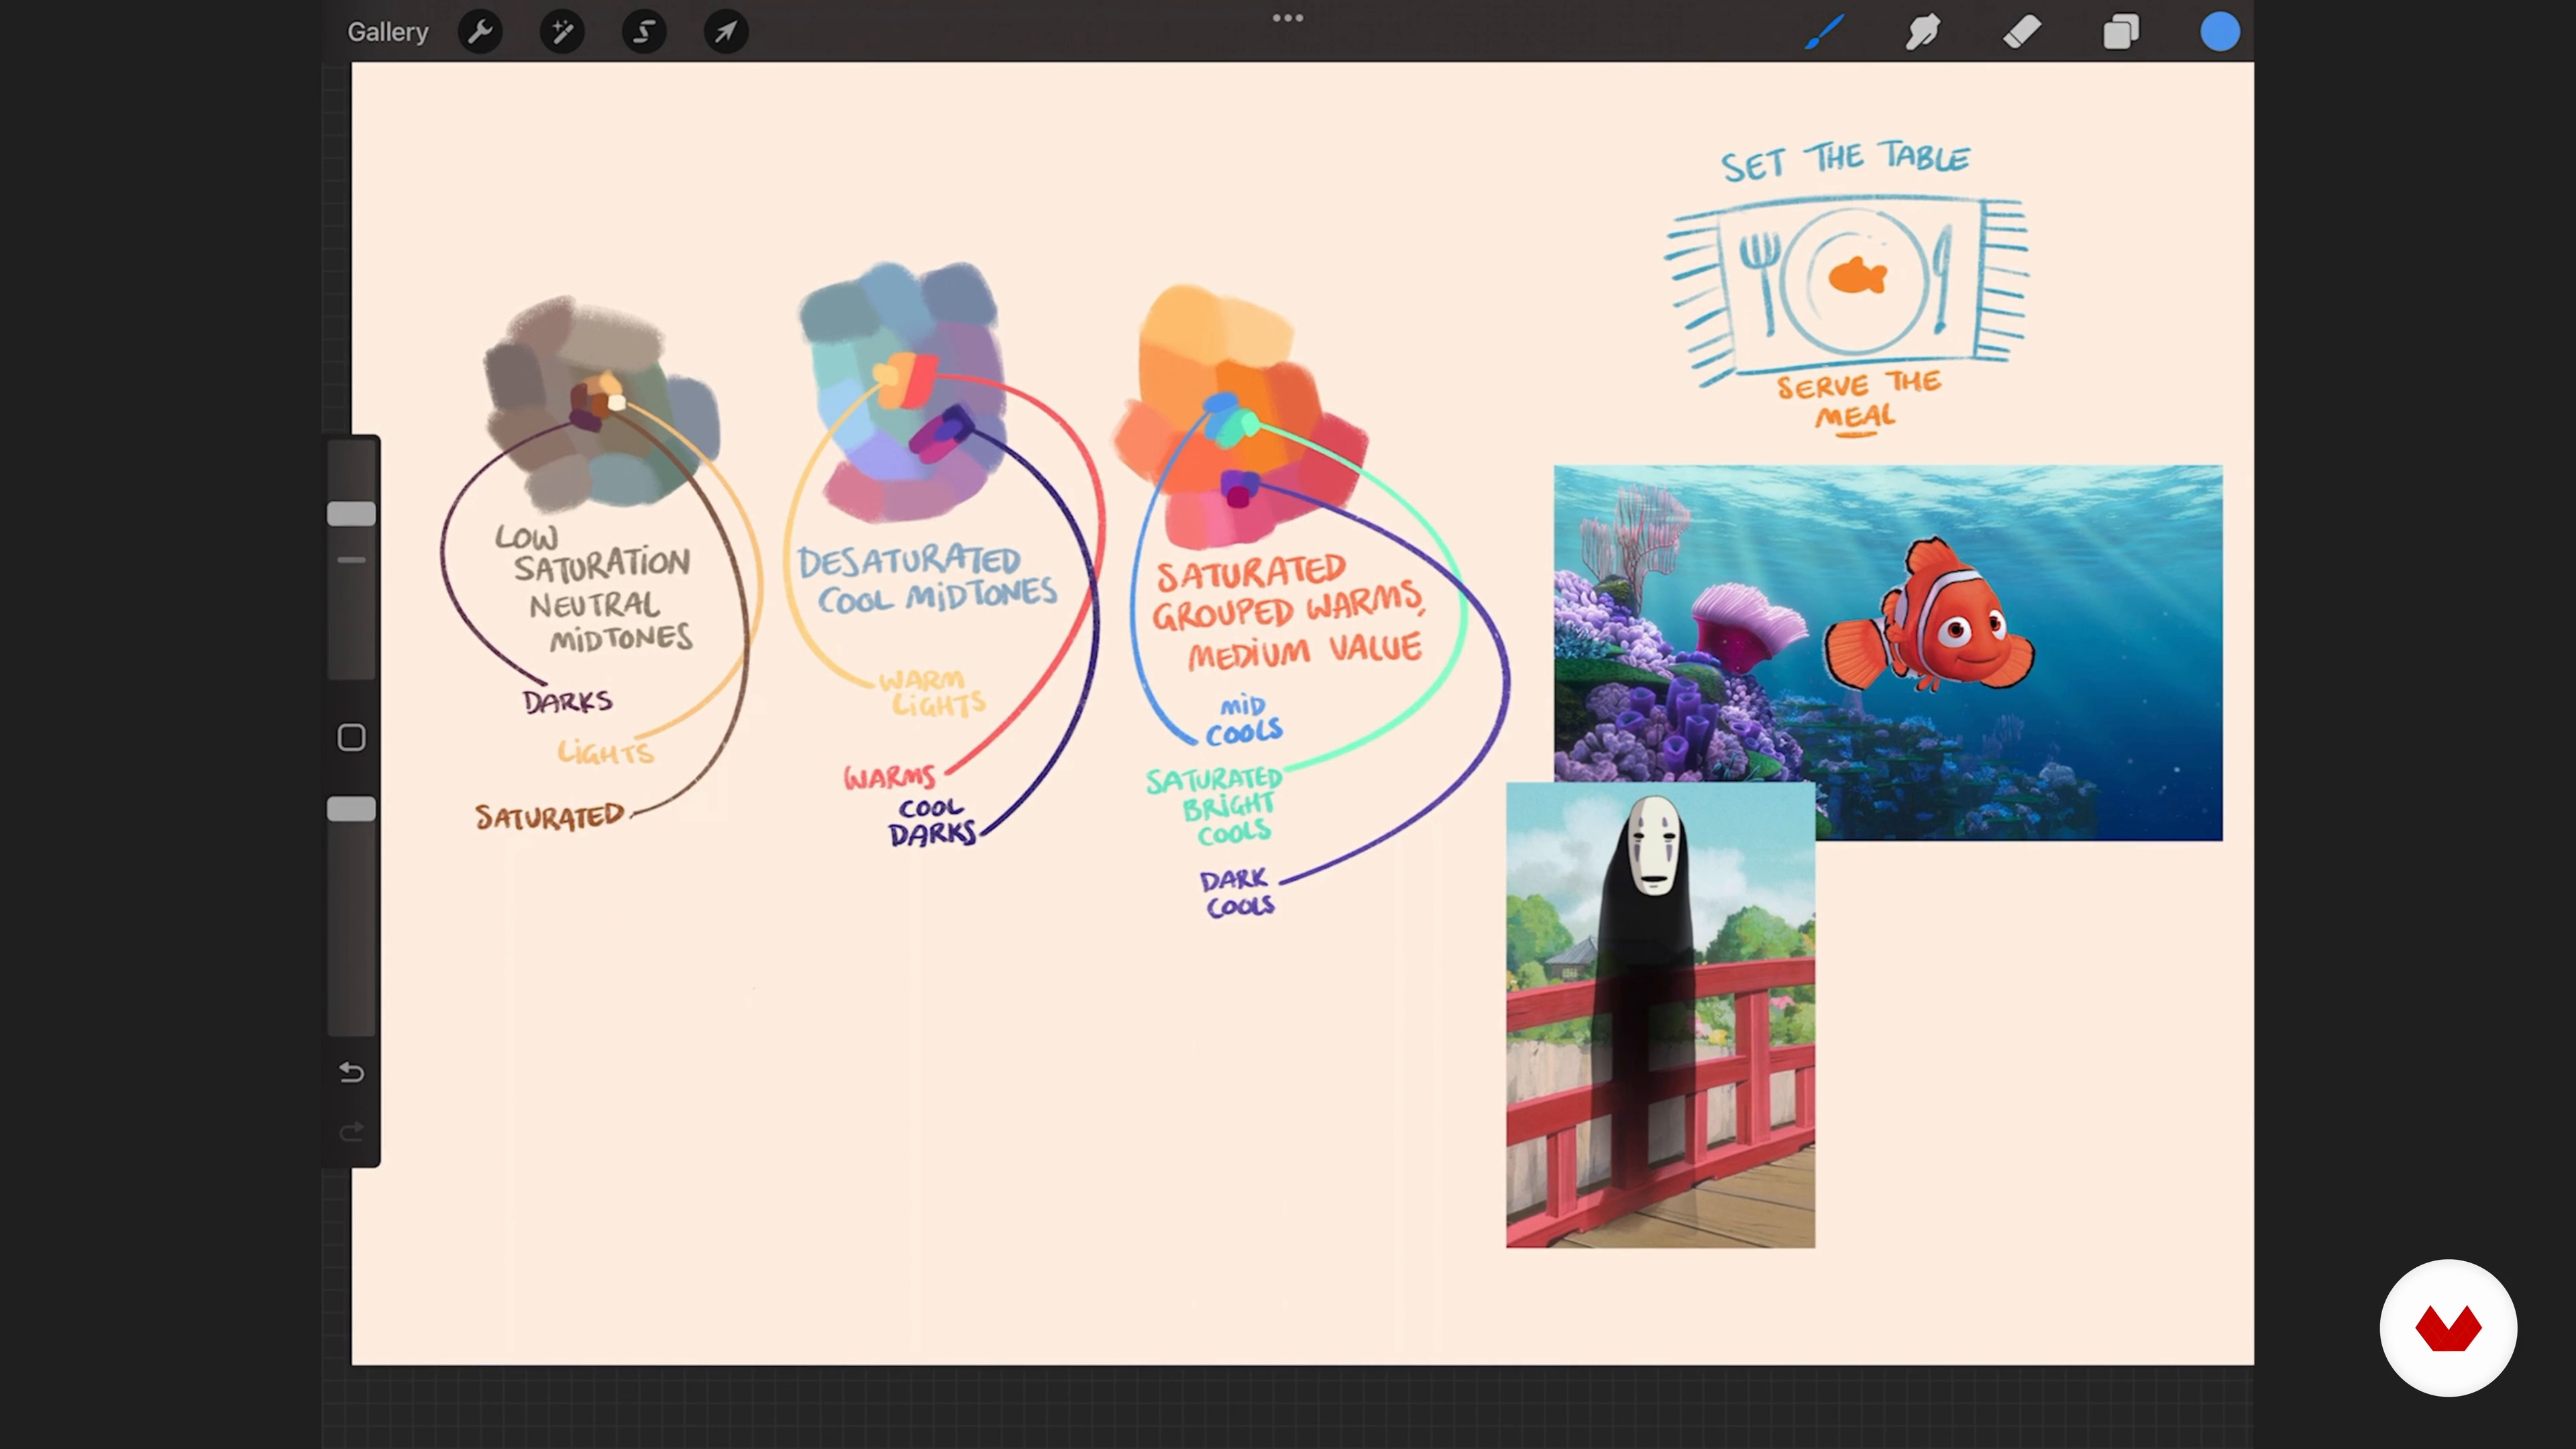
Not only is color beautiful, but it's also useful! In this lesson, I'll talk about how the various principles of contrast (value, saturation, complementary contrast, and temperature) can be applied to guide the eye through your design.
18m
image
16
Color Strategy and Harmony 2
As it stands, my piece is not yet driving the emphasis in the way that I intended. The colors are all over the place and need to be unified. To address this, I will select the core aspect of my character that I'd like all the other elements to revolve around, and adjust the colors accordingly.
15m
image
17
Hard and Soft Shadows 1
One of my favorite parts of the whole process is painting the shadows. In this lesson, we'll begin rendering and explore the differences between types of shadow, and how they can be used to create the illusion of light and volume.
16m
image
18
Hard and Soft Shadows 2
Let's briefly turn our attention toward theory! I will outline the difference between form shadow and cast shadow, and show you how to put this into practice by applying the said rules to my character.
10m
image
19
Ambient Occlusion
One subtle element that can help bring a design to life is ambient occlusion. This lesson will demonstrate how I use the deepest darks of shadow to create a dimensional feel in the finished piece.
16m
image
20
Finishing Touches 1
With the color laid in and the shadows painted, we're almost finished! In this lesson, I'll show you some of the little tips and tricks I use to make the end result lively and clear.
16m
image
21
Finishing Touches 2
Tinting the shadow colors, adding a touch of rim lighting and those final layers of polish can bring out the elements that may have gotten lost. It's time to give your design an eye-catching flourish!
12m
  • 90 students
  • 83 lessons (16h 30m)
  • 85 additional resources (25 files)
  • Online and at your own pace
  • Audio: English, German, Spanish, French, Italian, Dutch, Polish, Portuguese, Turkish
  • English · Italian · Portuguese · Spanish · French · German · Polish · Dutch · Turkish
  • Level: Beginner
  • Unlimited access forever

What is this course's project?

Create a cohesive portfolio showcasing mastery in fictional character design, from dynamic poses and expressive illustrations to advanced digital painting. Develop a narrative universe with compelling characters, using both traditional and digital techniques to captivate audiences.

Who is this specialization for?

Illustrators, character designers, and visual artists with basic drawing skills looking to specialize in fictional character creation for animation, comics, illustrated books, or video games will benefit from mastering dynamic design, anthropomorphic exploration, expressive illustrations, and digital techniques.

Requirements and materials

No extensive prior knowledge is required for the course. Basic necessities include familiarity with drawing tools, access to digital illustration software like Procreate, and a willingness to explore creative character development. Enthusiasm for storytelling through art will enhance the learning experience.

Select to get to know your teachers in this specialization course
Read more ↓

What to expect from this specialization course

  • Learn at your own pace

    Enjoy learning from home without a set schedule and with an easy-to-follow method. You set your own pace.

  • Learn from the best professionals

    Learn valuable methods and techniques explained by top experts in the creative sector.

  • Meet expert teachers

    Each expert teaches what they do best, with clear guidelines, true passion, and professional insight in every lesson.

  • Certificates
    Plus

    If you're a Plus member, get a custom certificate for every specialization course. Share it on your portfolio, social media, or wherever you like.

  • Get front-row seats

    Videos of the highest quality, so you don't miss a single detail. With unlimited access, you can watch them as many times as you need to perfect your technique.

  • Share knowledge and ideas

    Ask questions, request feedback, or offer solutions. Share your learning experience with other students in the community who are as passionate about creativity as you are.

  • Connect with a global creative community

    The community is home to millions of people from around the world who are curious and passionate about exploring and expressing their creativity.

  • Watch professionally produced courses

    Domestika curates its teacher roster and produces every course in-house to ensure a high-quality online learning experience.


FAQs

Domestika courses are online classes that allow you to learn new skills and create incredible projects. All our courses include the opportunity to share your work with other students and/or teachers, creating an active learning community. We offer different formats:
Original Courses: Complete classes that combine videos, texts, and educational materials to complete a specific project from start to finish.
Basics Courses: Specialized training where you master specific software tools step by step.
Specialization Courses: Learning paths with various expert teachers on the same topic, perfect for becoming a specialist by learning from different approaches.
Guided Courses: Practical experiences ideal for directly acquiring specific skills.
Intensive Courses (Deep Dives): New creative processes based on artificial intelligence tools in an accessible format for in-depth and dynamic understanding.

All specialization courses are 100% online, so once they're published, specialization courses start and finish whenever you want. You set the pace of the class. You can go back to review what interests you most and skip what you already know, ask questions, answer questions, share your projects, and more.

The specialization courses are divided into different modules. Each one includes lessons, informational text, tasks, and practice exercises to help you carry out your project step by step, with additional complementary resources and downloads. You'll also have access to an exclusive forum where you can interact with other students, as well as share your work and your final project, creating a community around the specialization courses.

You can redeem the specialization courses you received by accessing the redeeming page and entering your gift code.

If you're a Plus member, when you complete a course you've purchased, you'll instantly get your personalized certificate. You can see all your certificates in the Certificates section of your profile. You can download your certificates as PDFs and share the link online. Learn more about certificates.
Specialization in Fictional Character Design and Illustration. Illustration course by Domestika

Specialization in Fictional Character Design and Illustration

A specialization by multiple teachers
Berkeley, United States.
Joined April 2002
  • 90 students