
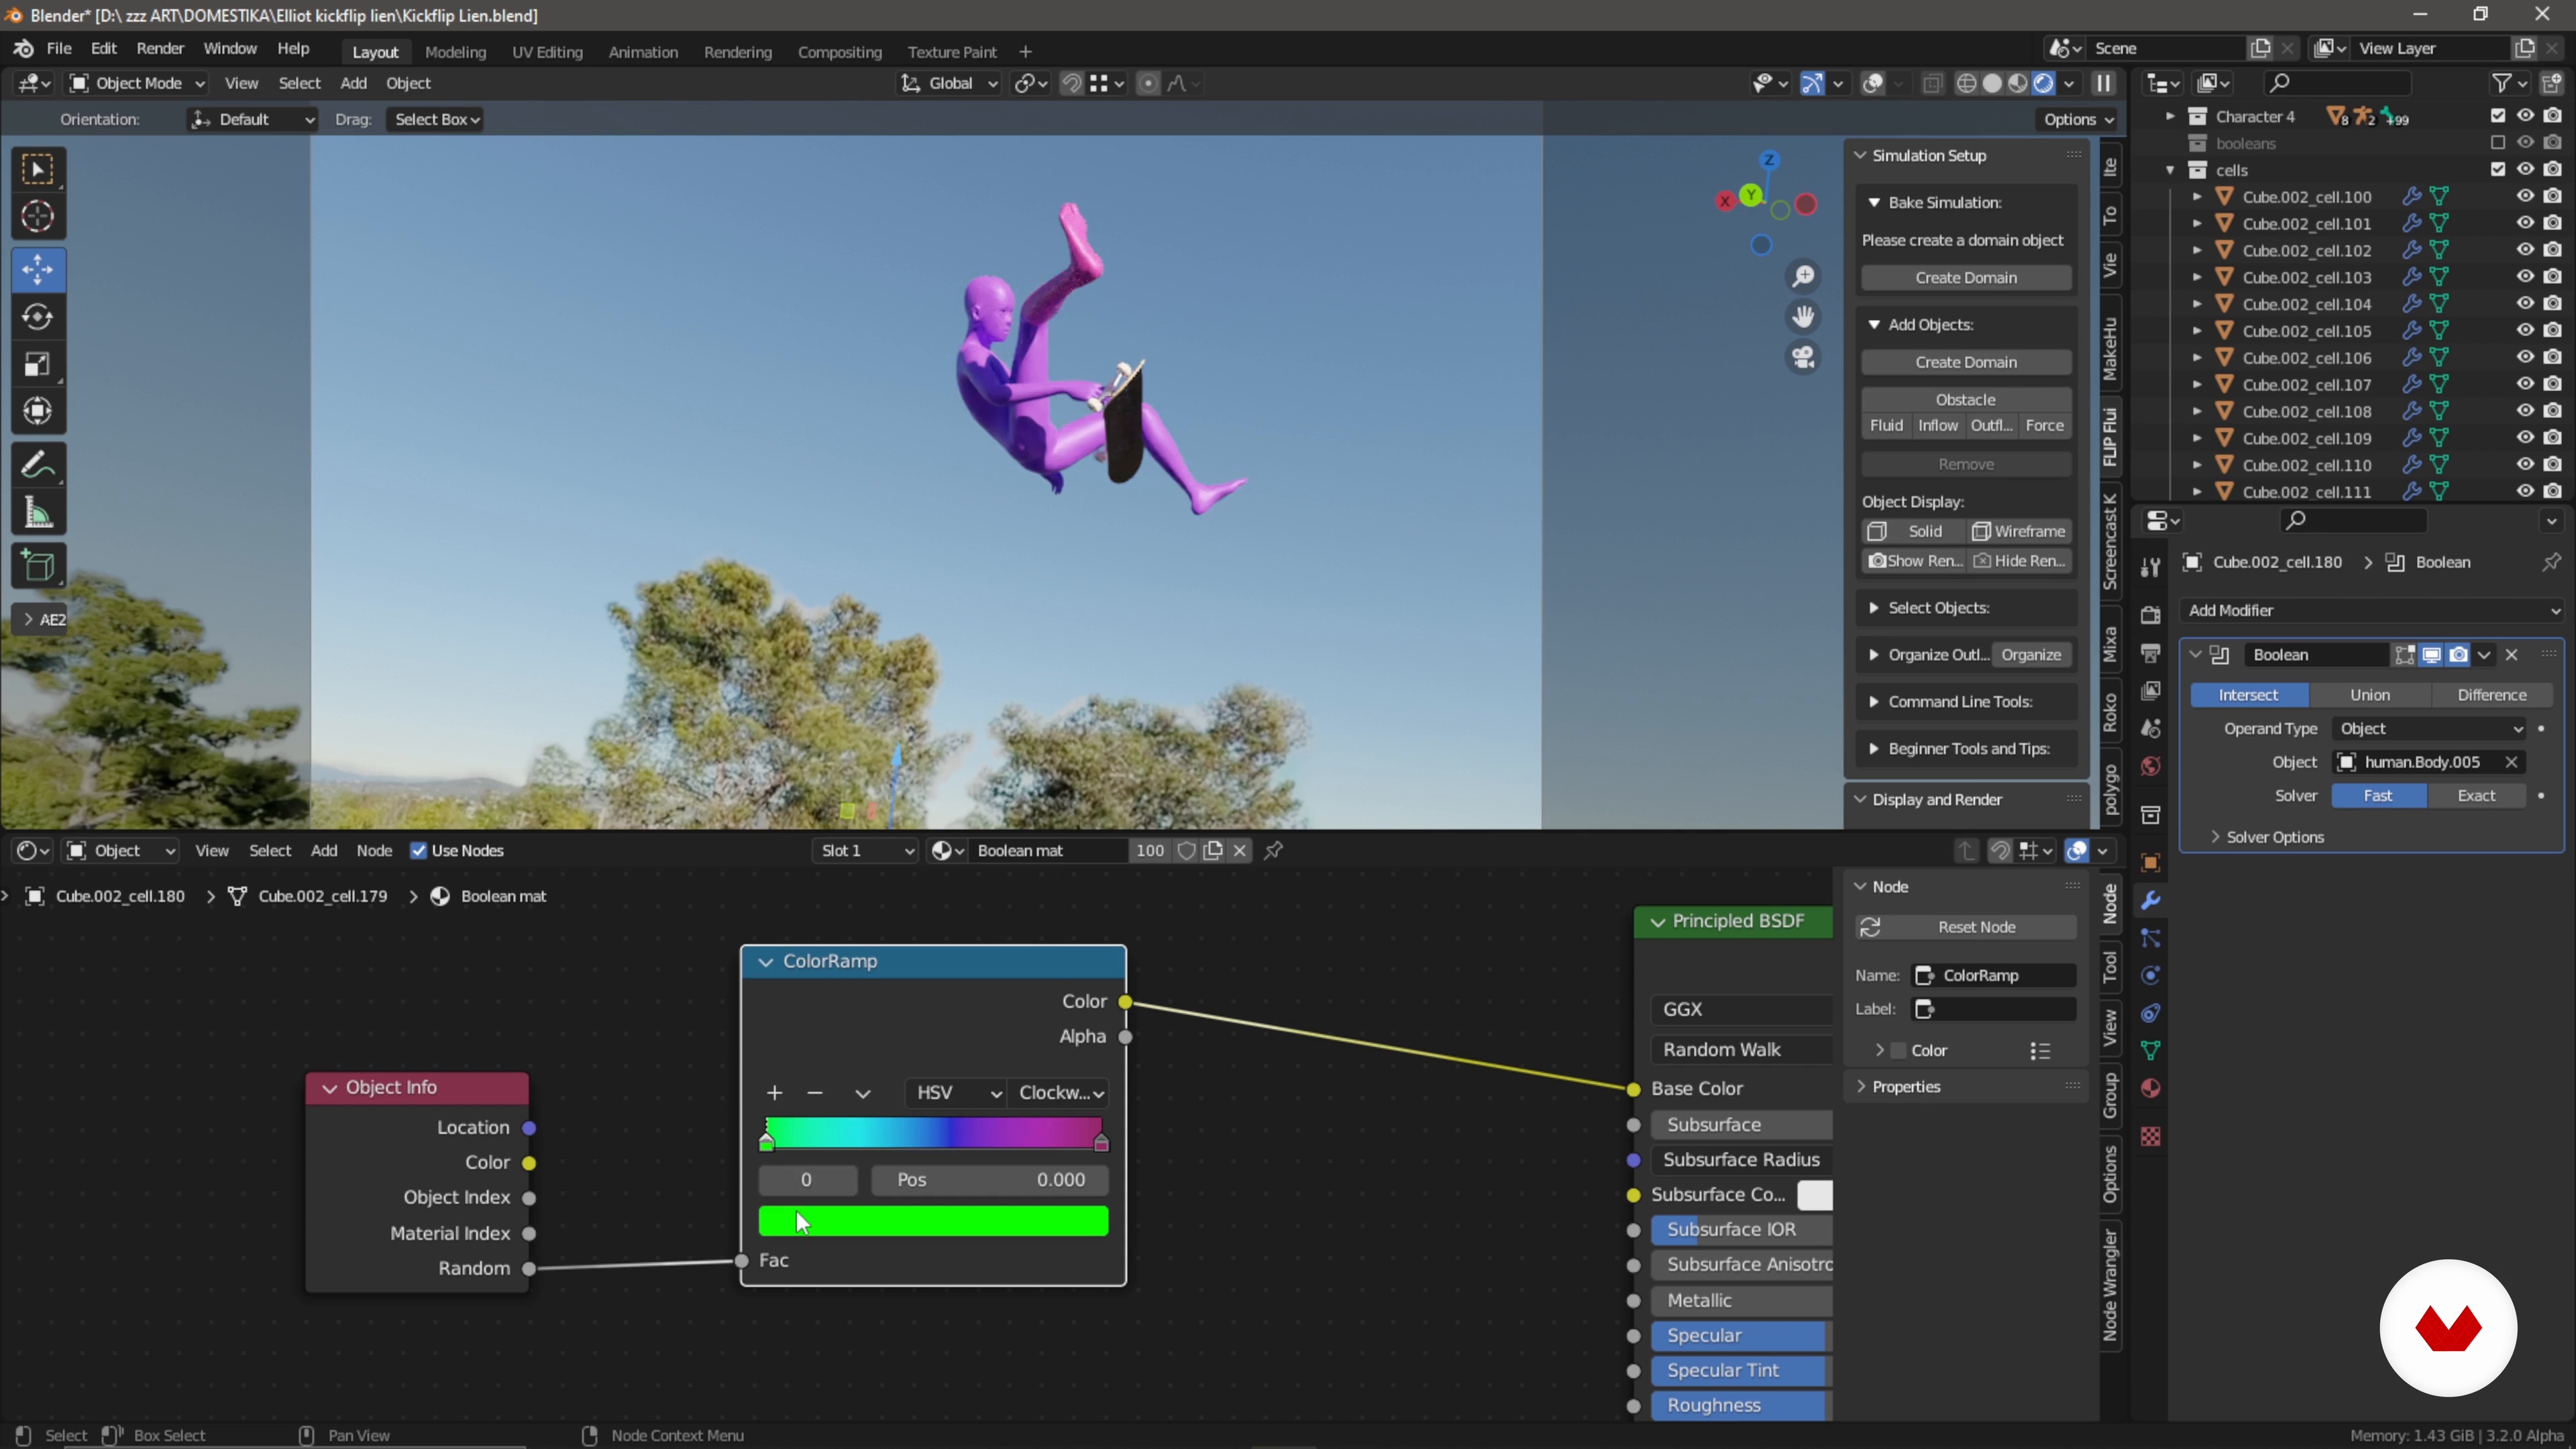
Master Blender for creating dynamic 3D character animations with humor, photorealistic rendering, and compelling storytelling
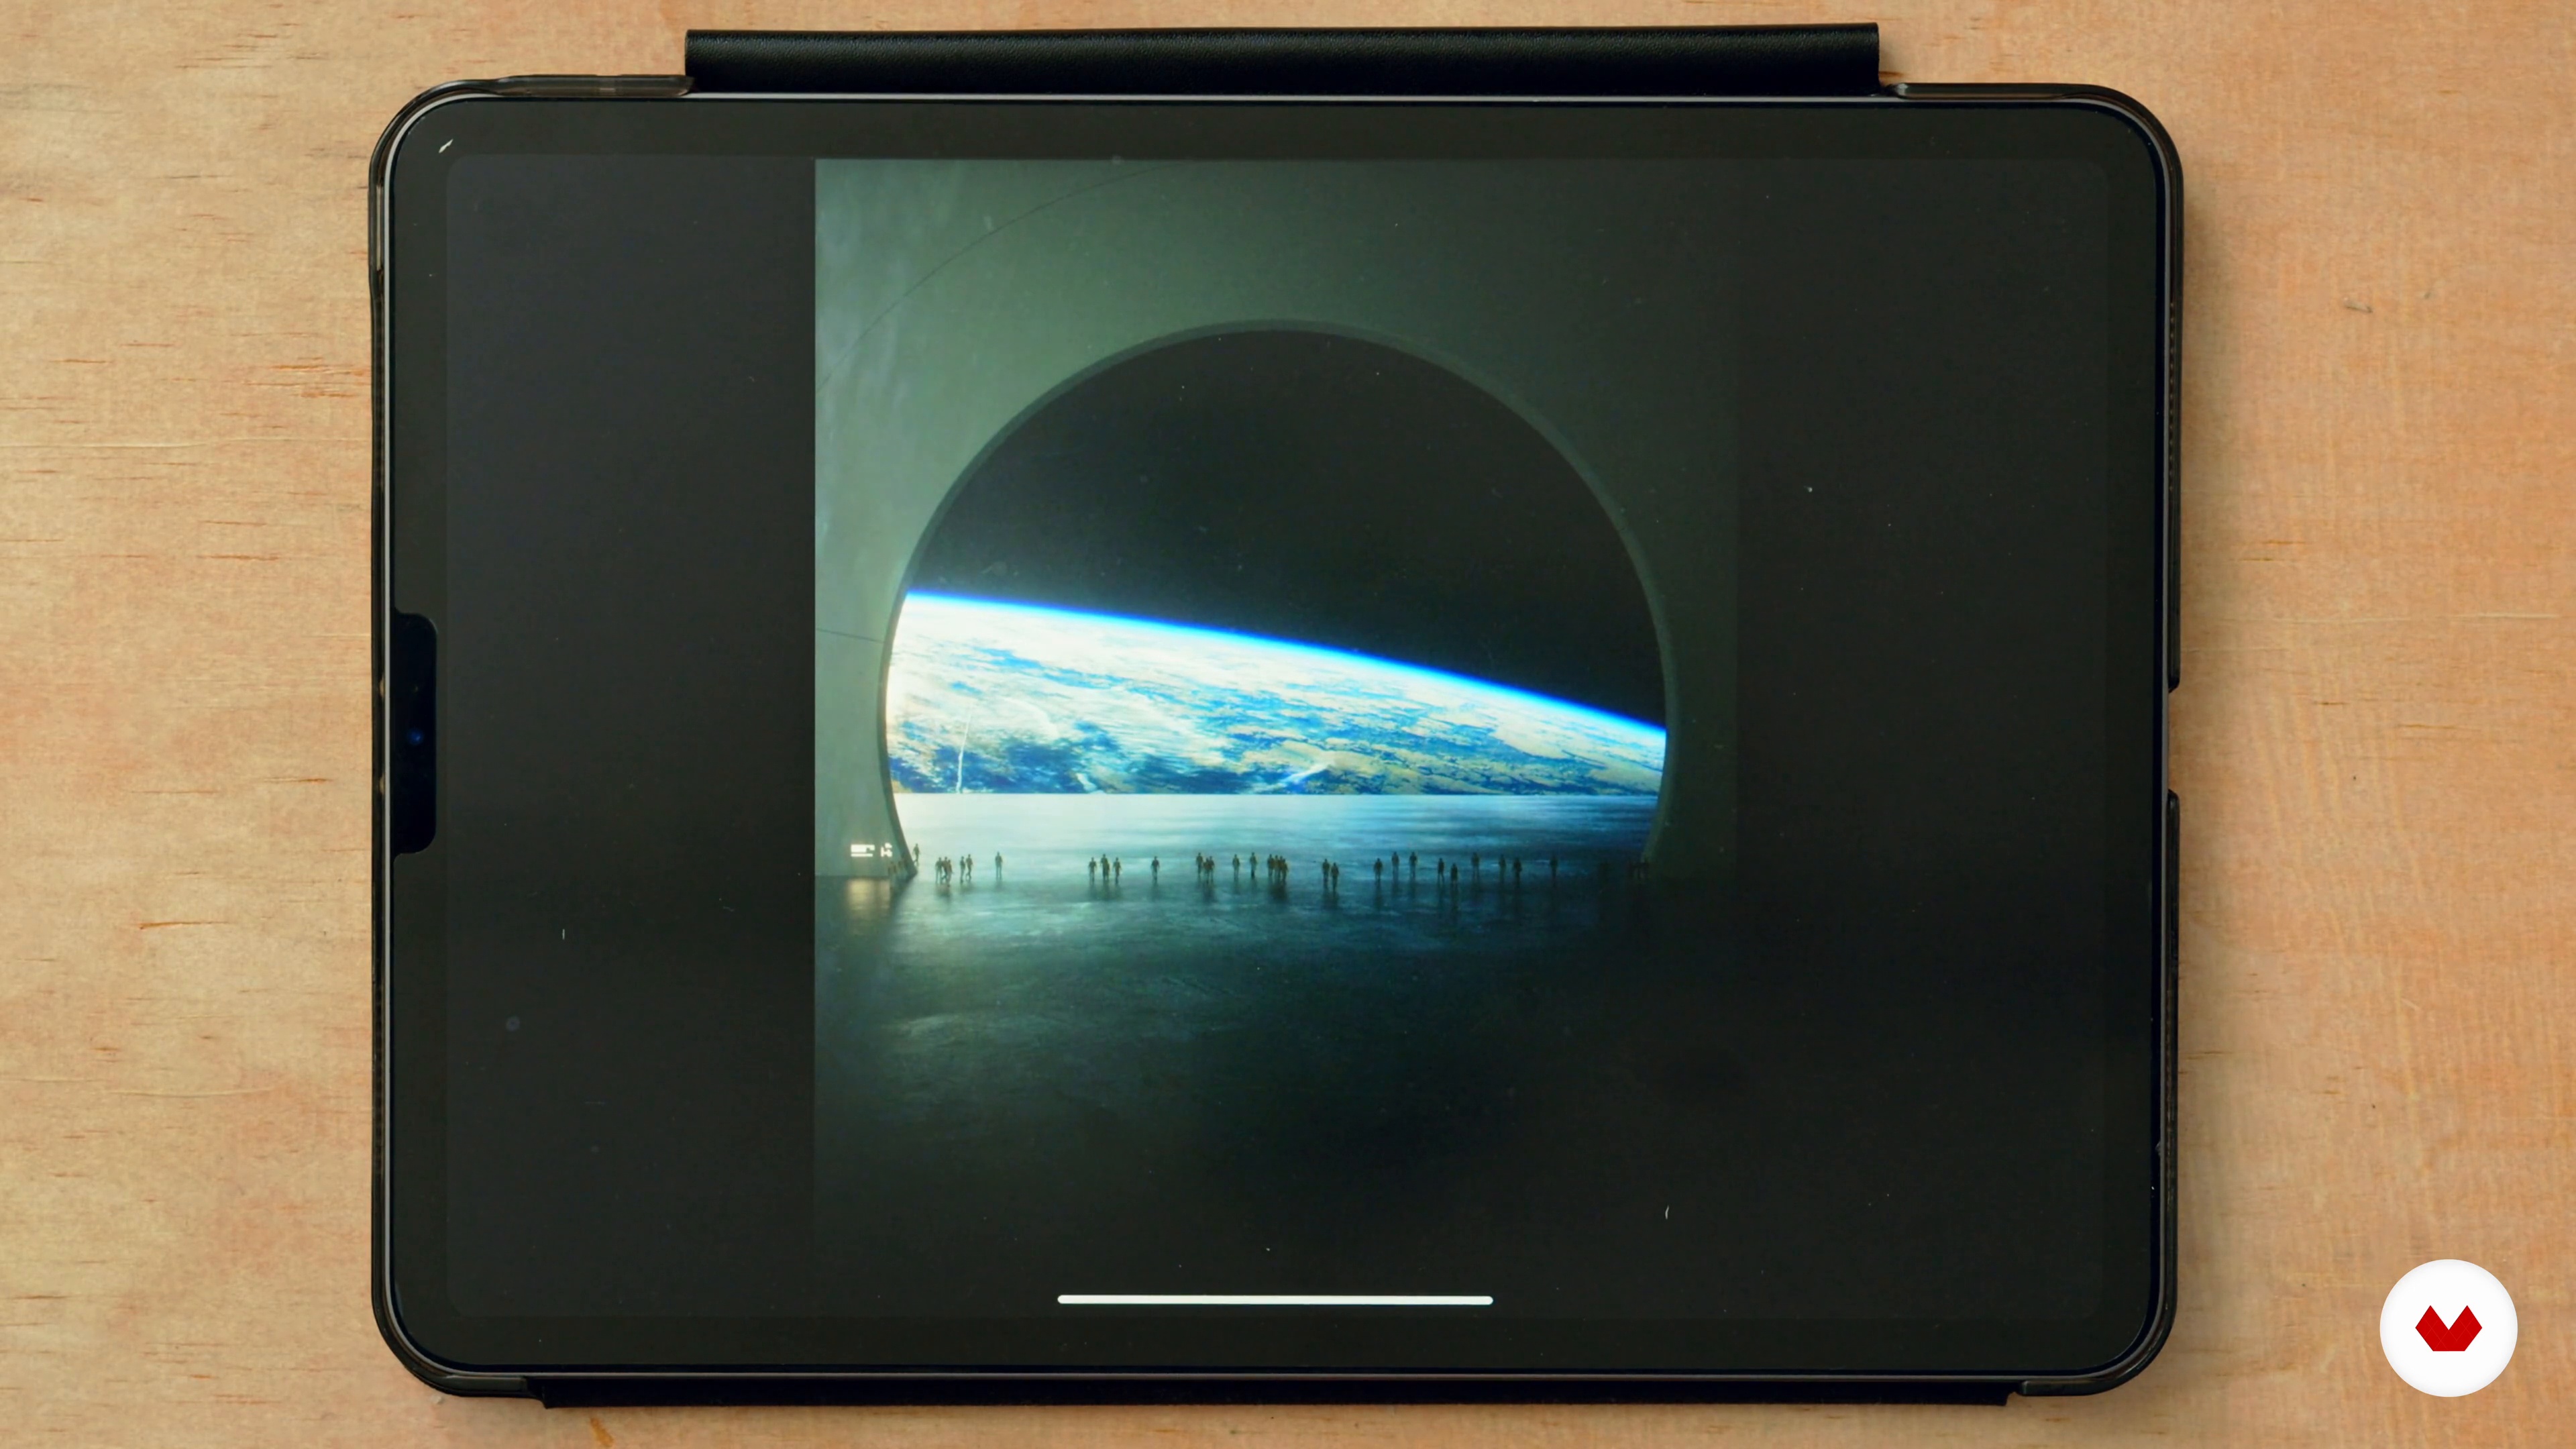
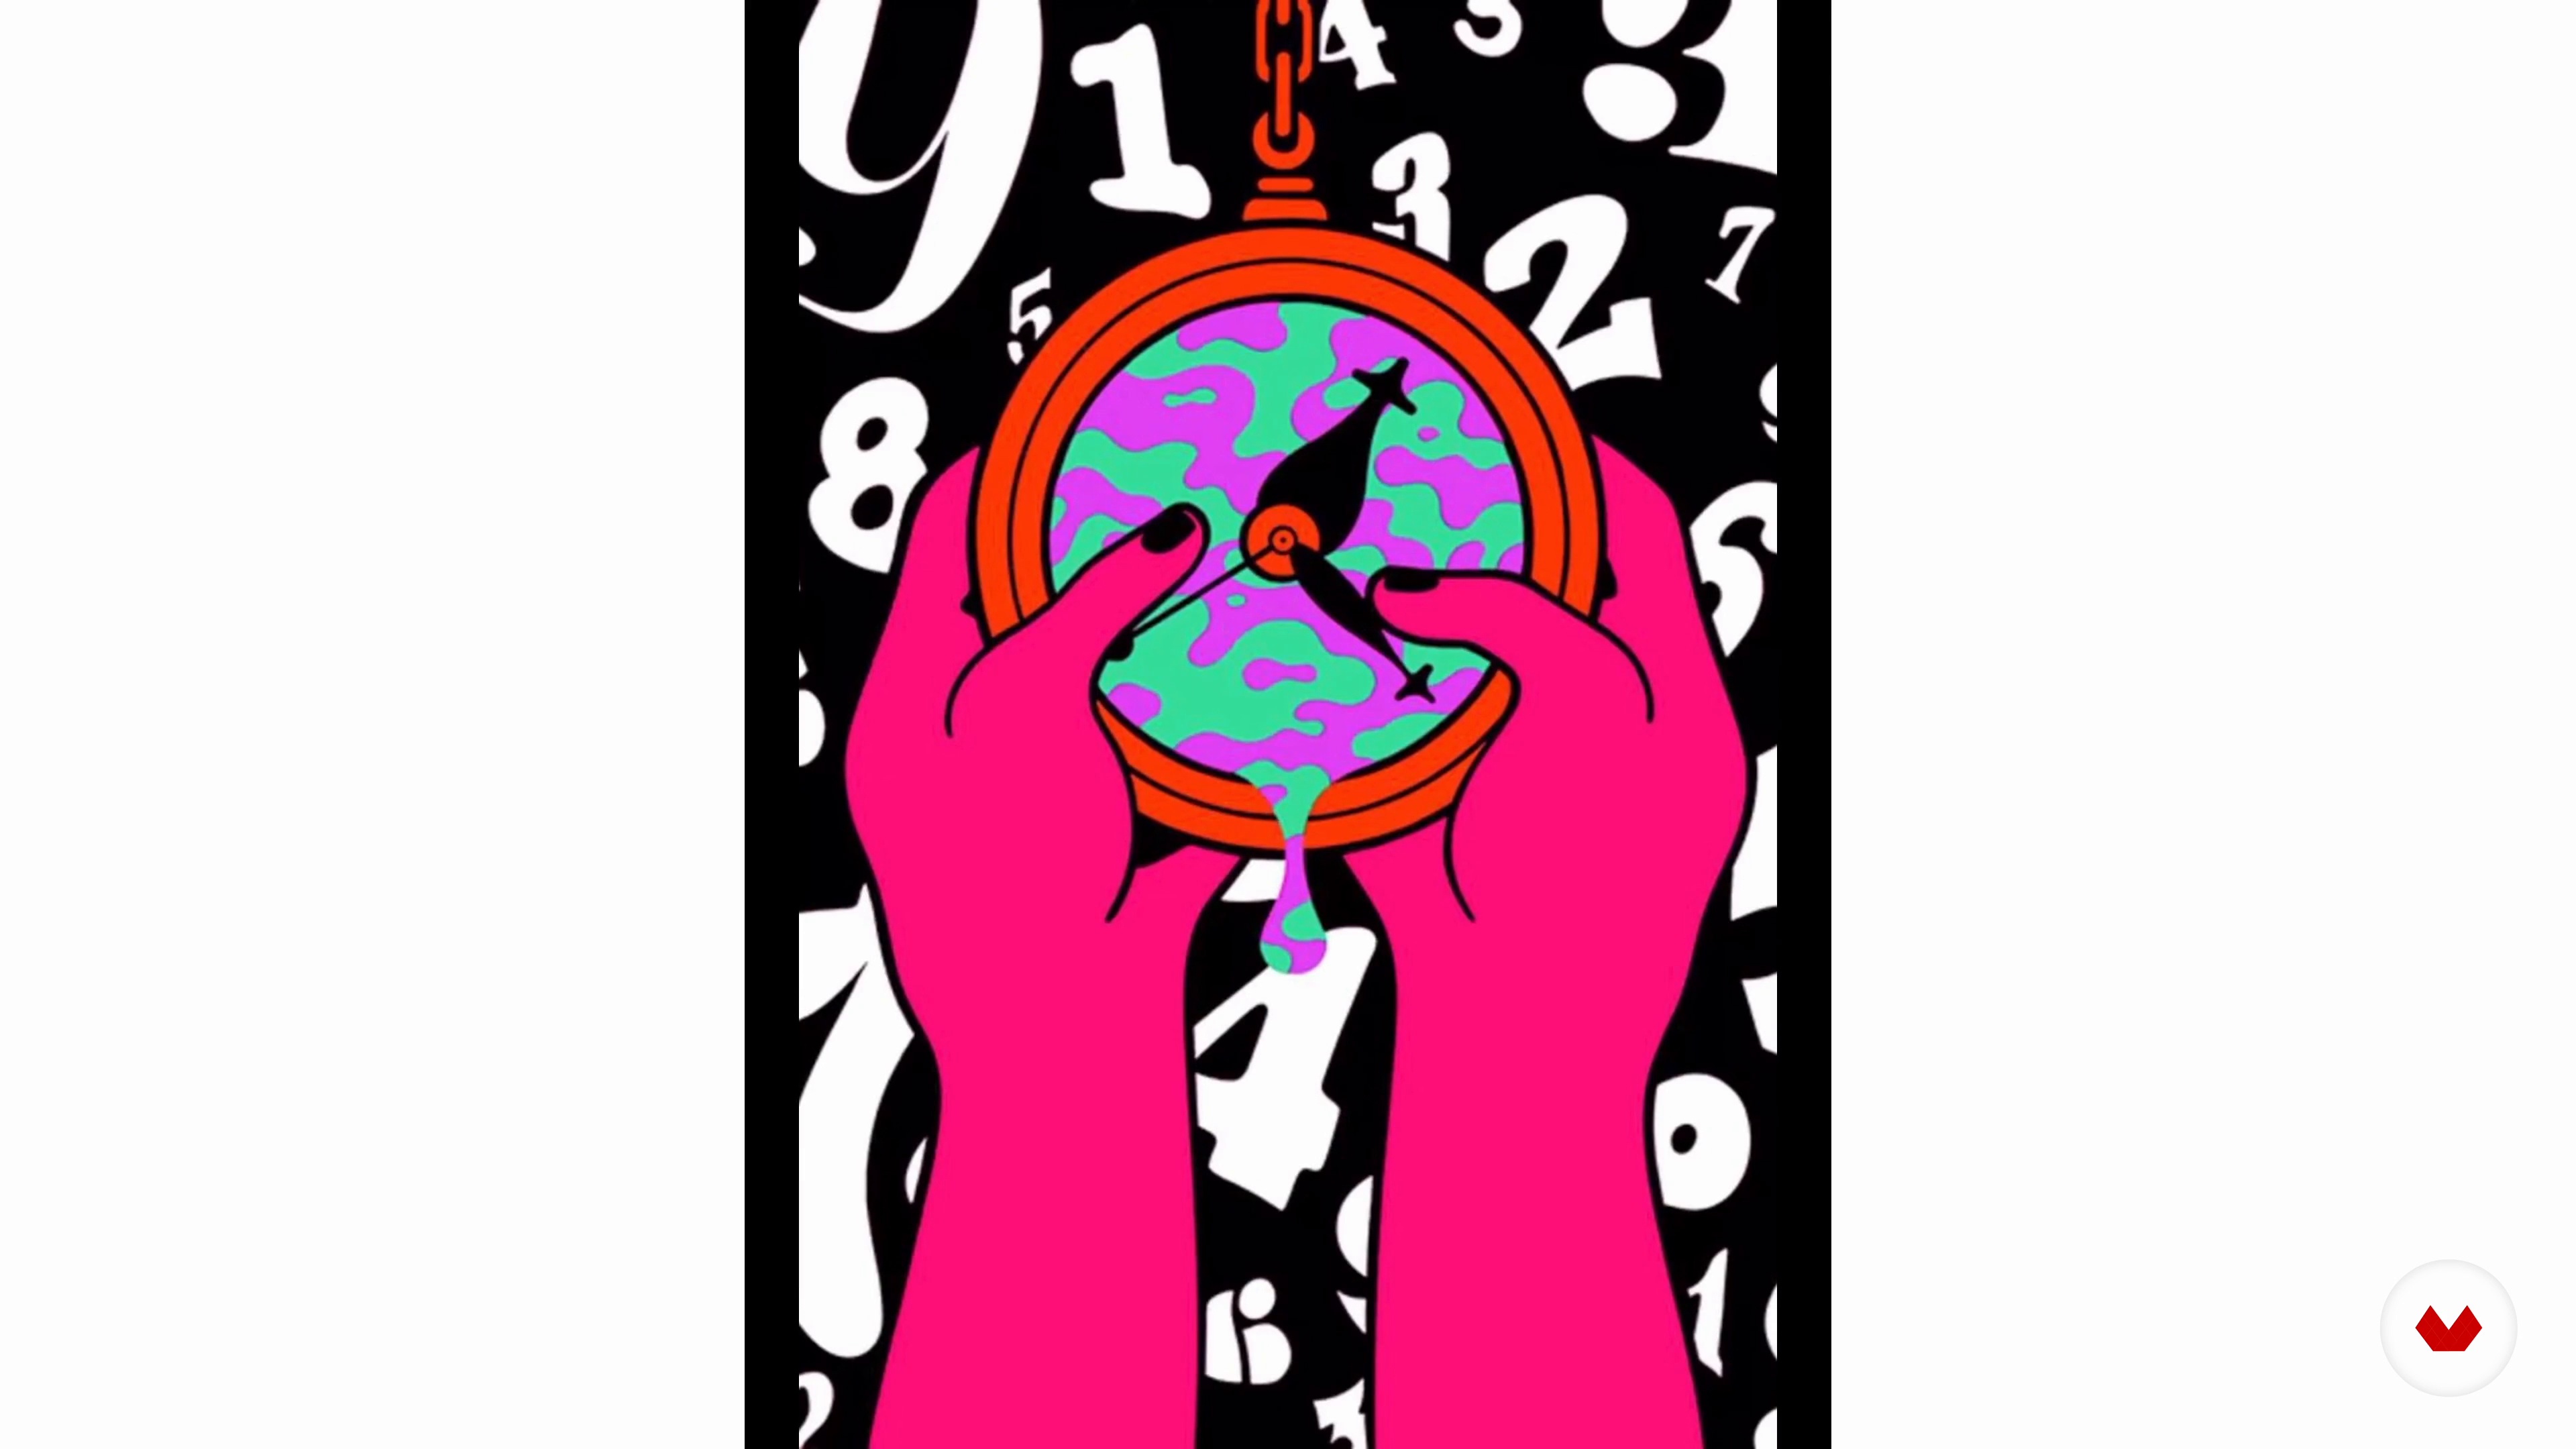
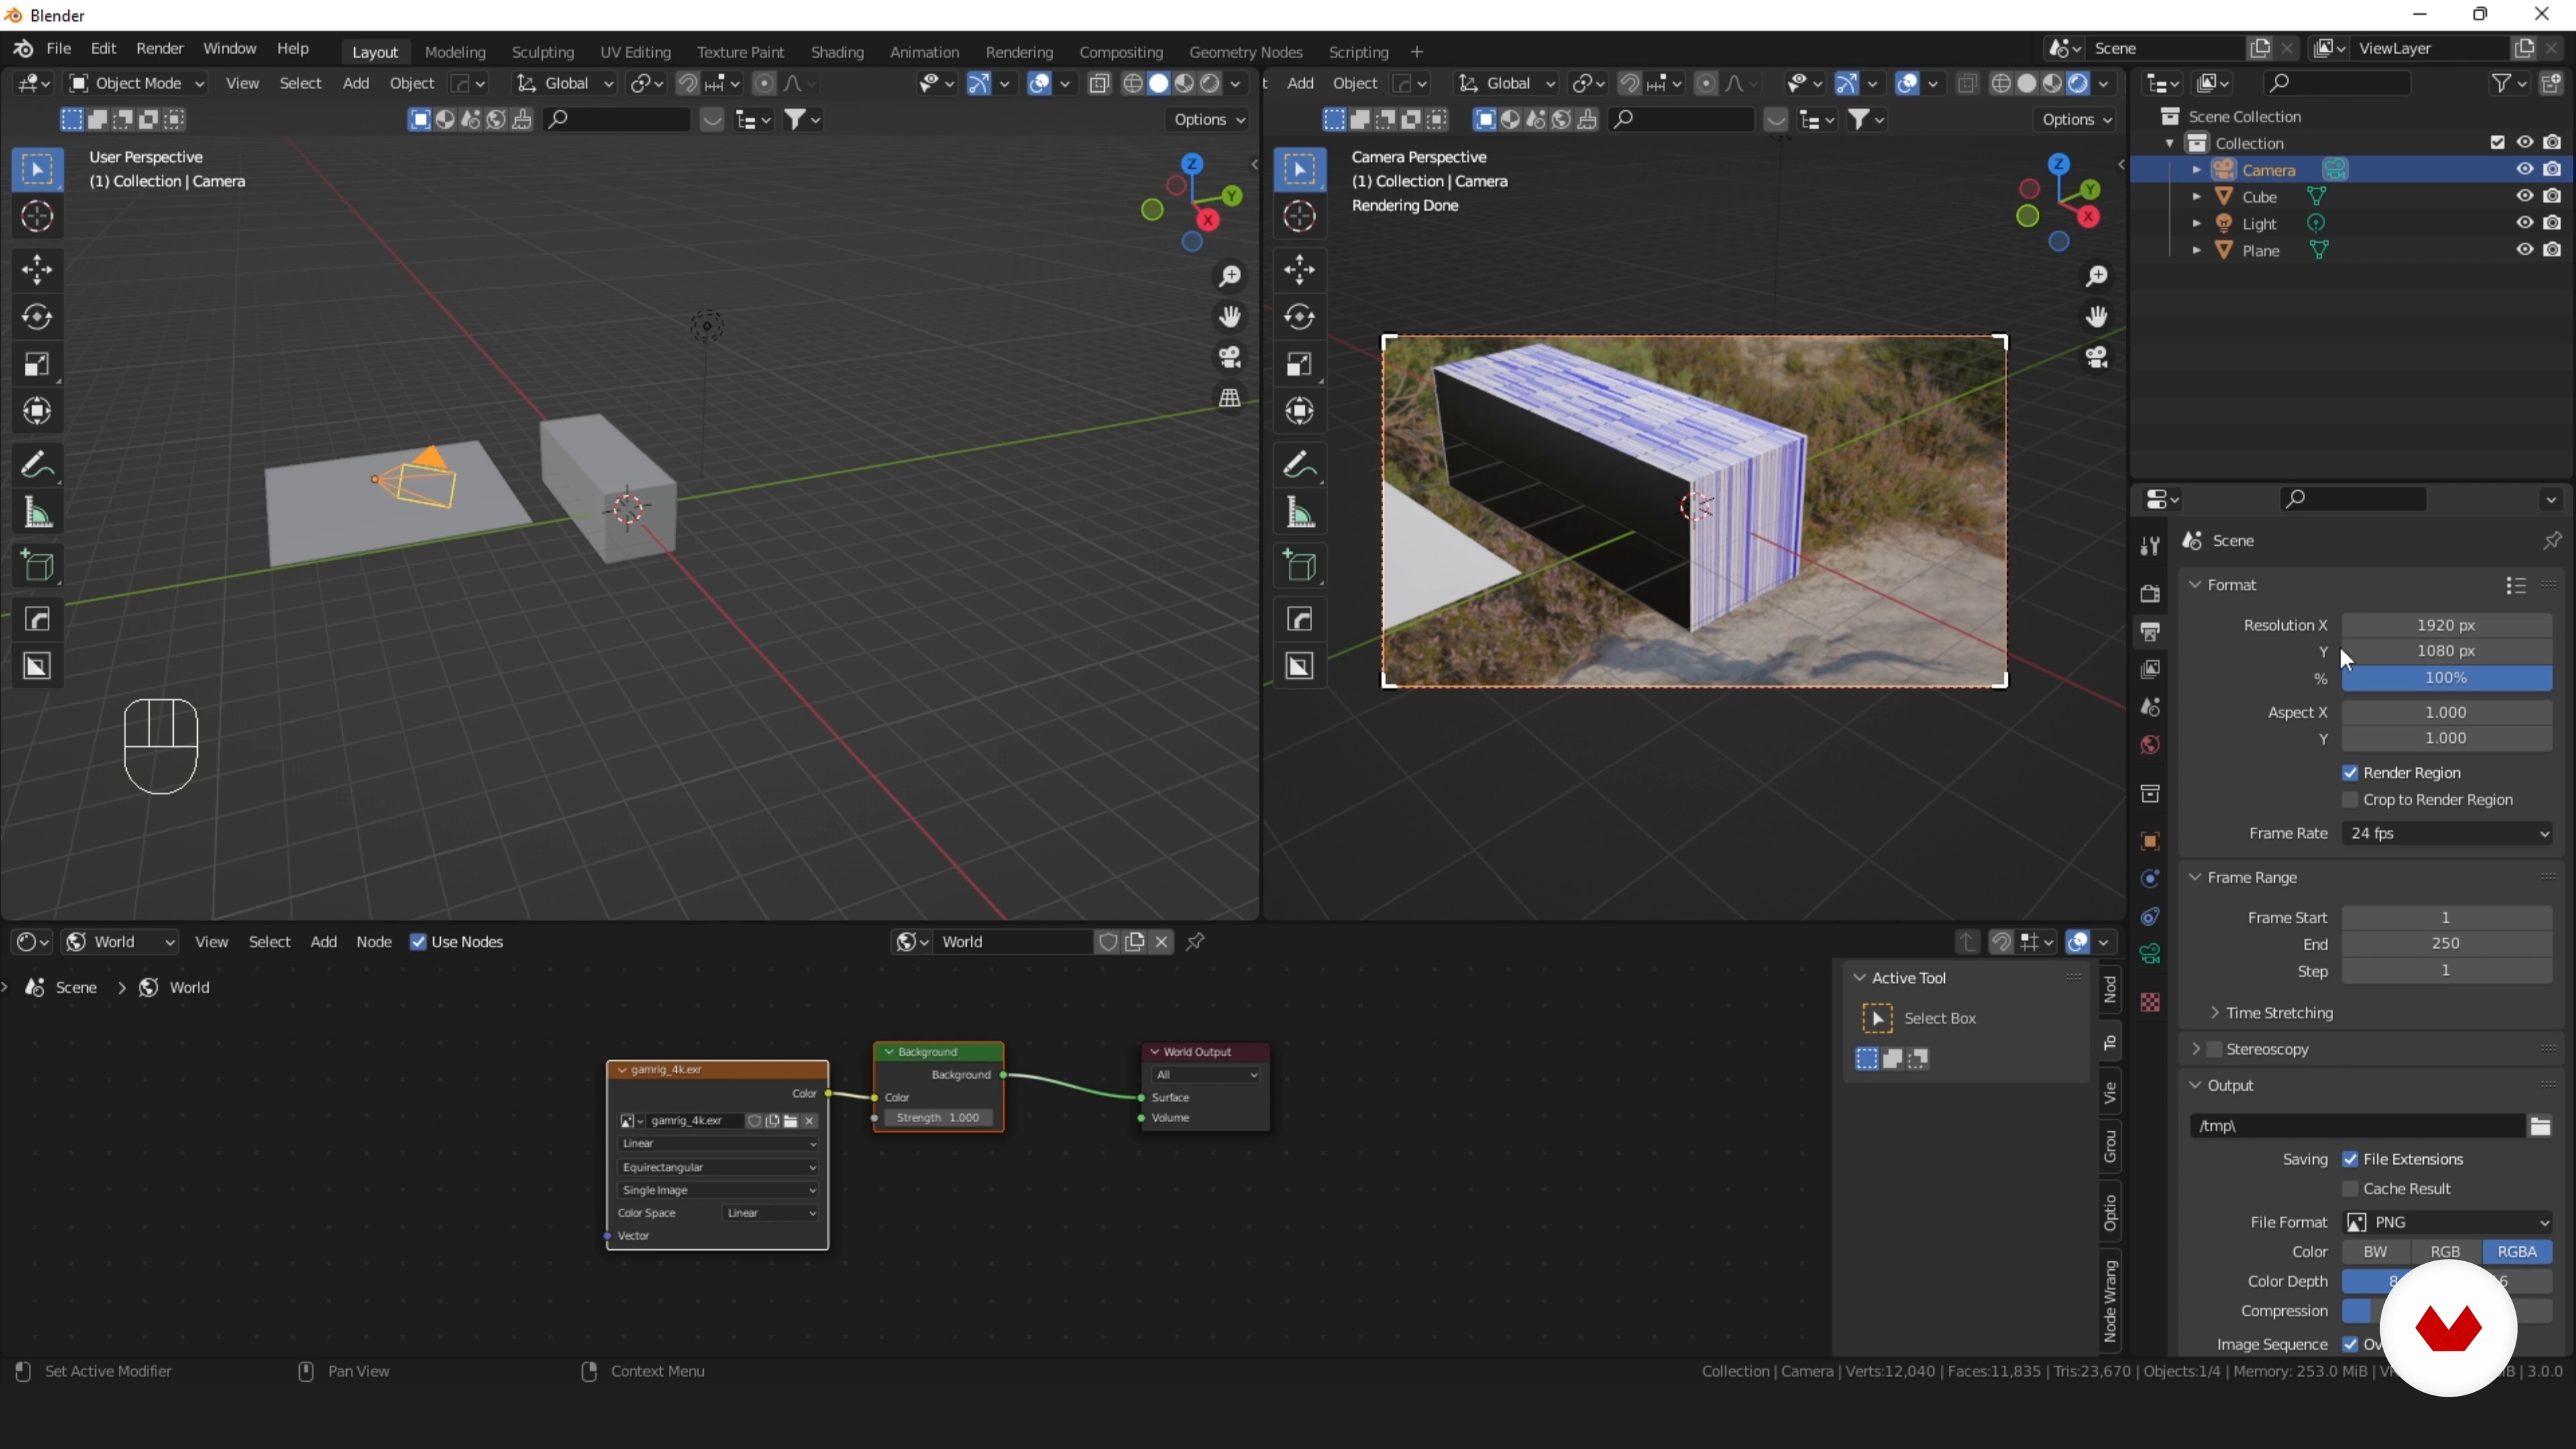
Dive into the world of Blender with a comprehensive specialization designed to transform your 3D animation skills. From crafting expressive 3D characters to designing immersive futuristic environments, each course in this series builds upon the last, enhancing your ability to tell compelling stories through animation. Learn the fundamentals of character creation, explore dynamic animation techniques, and integrate humor to create engaging narratives. The journey doesn't stop there—master photorealistic rendering techniques to bring your digital worlds to life with unparalleled realism.
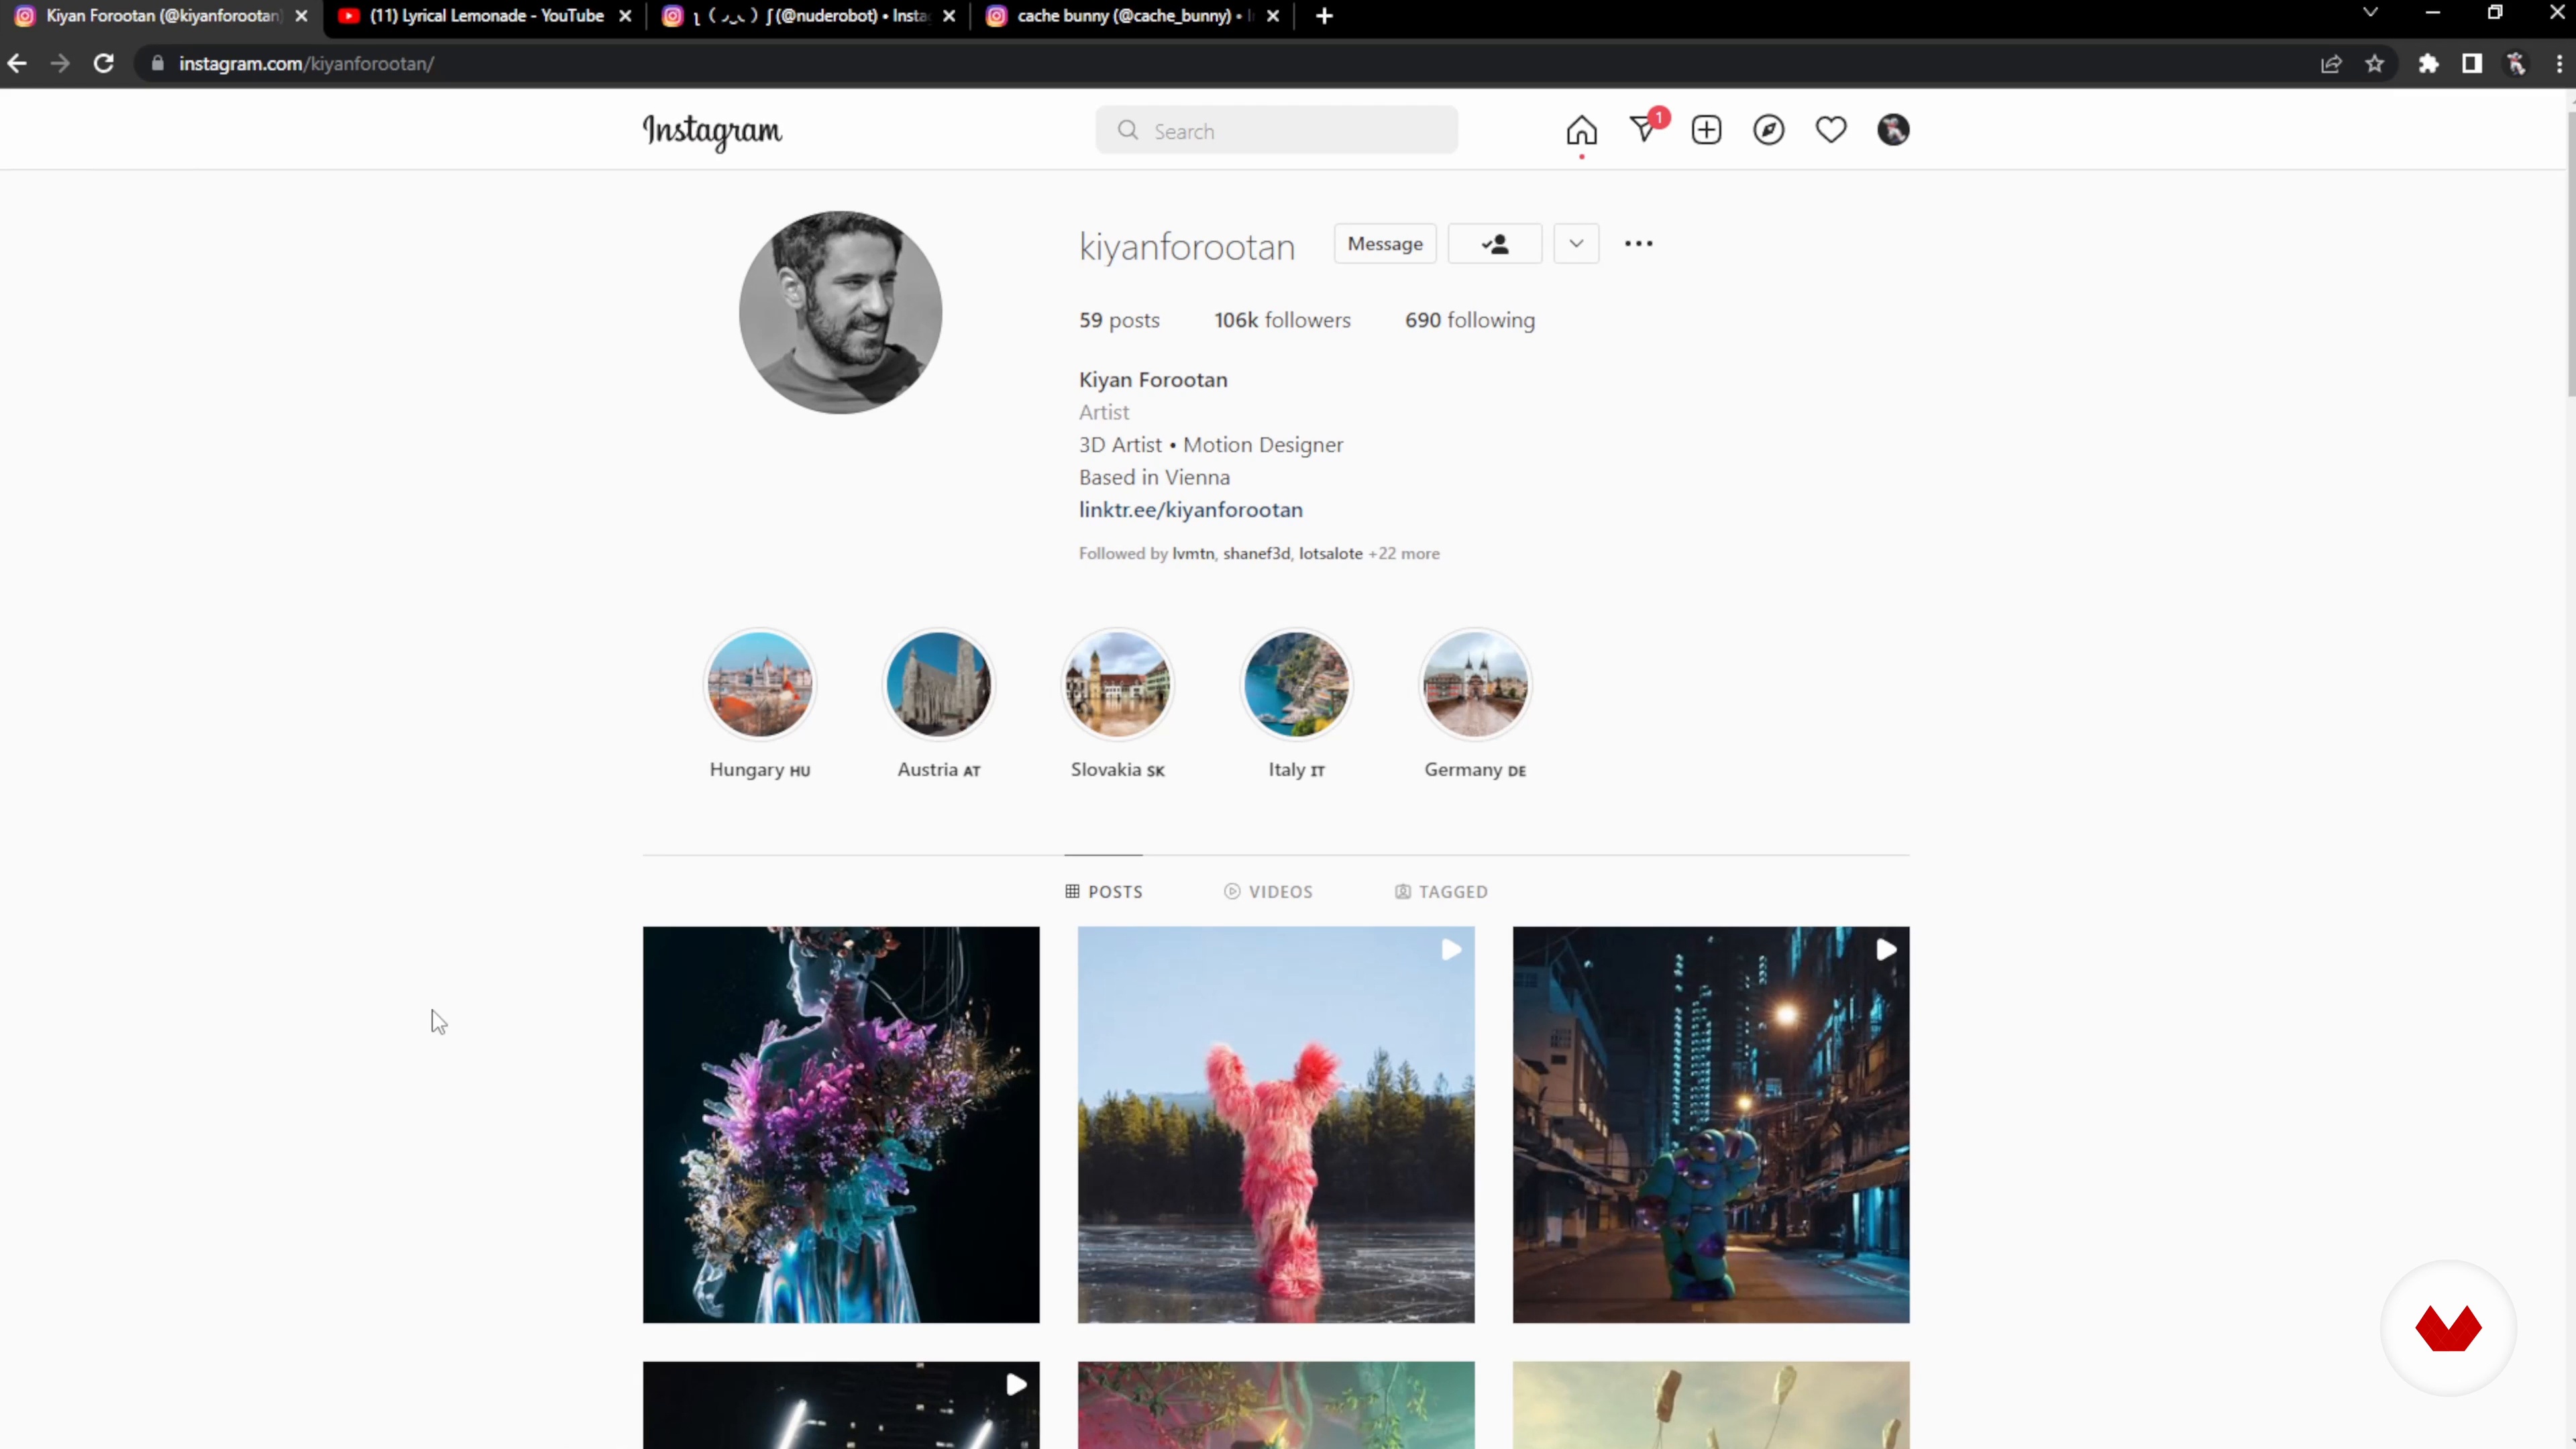
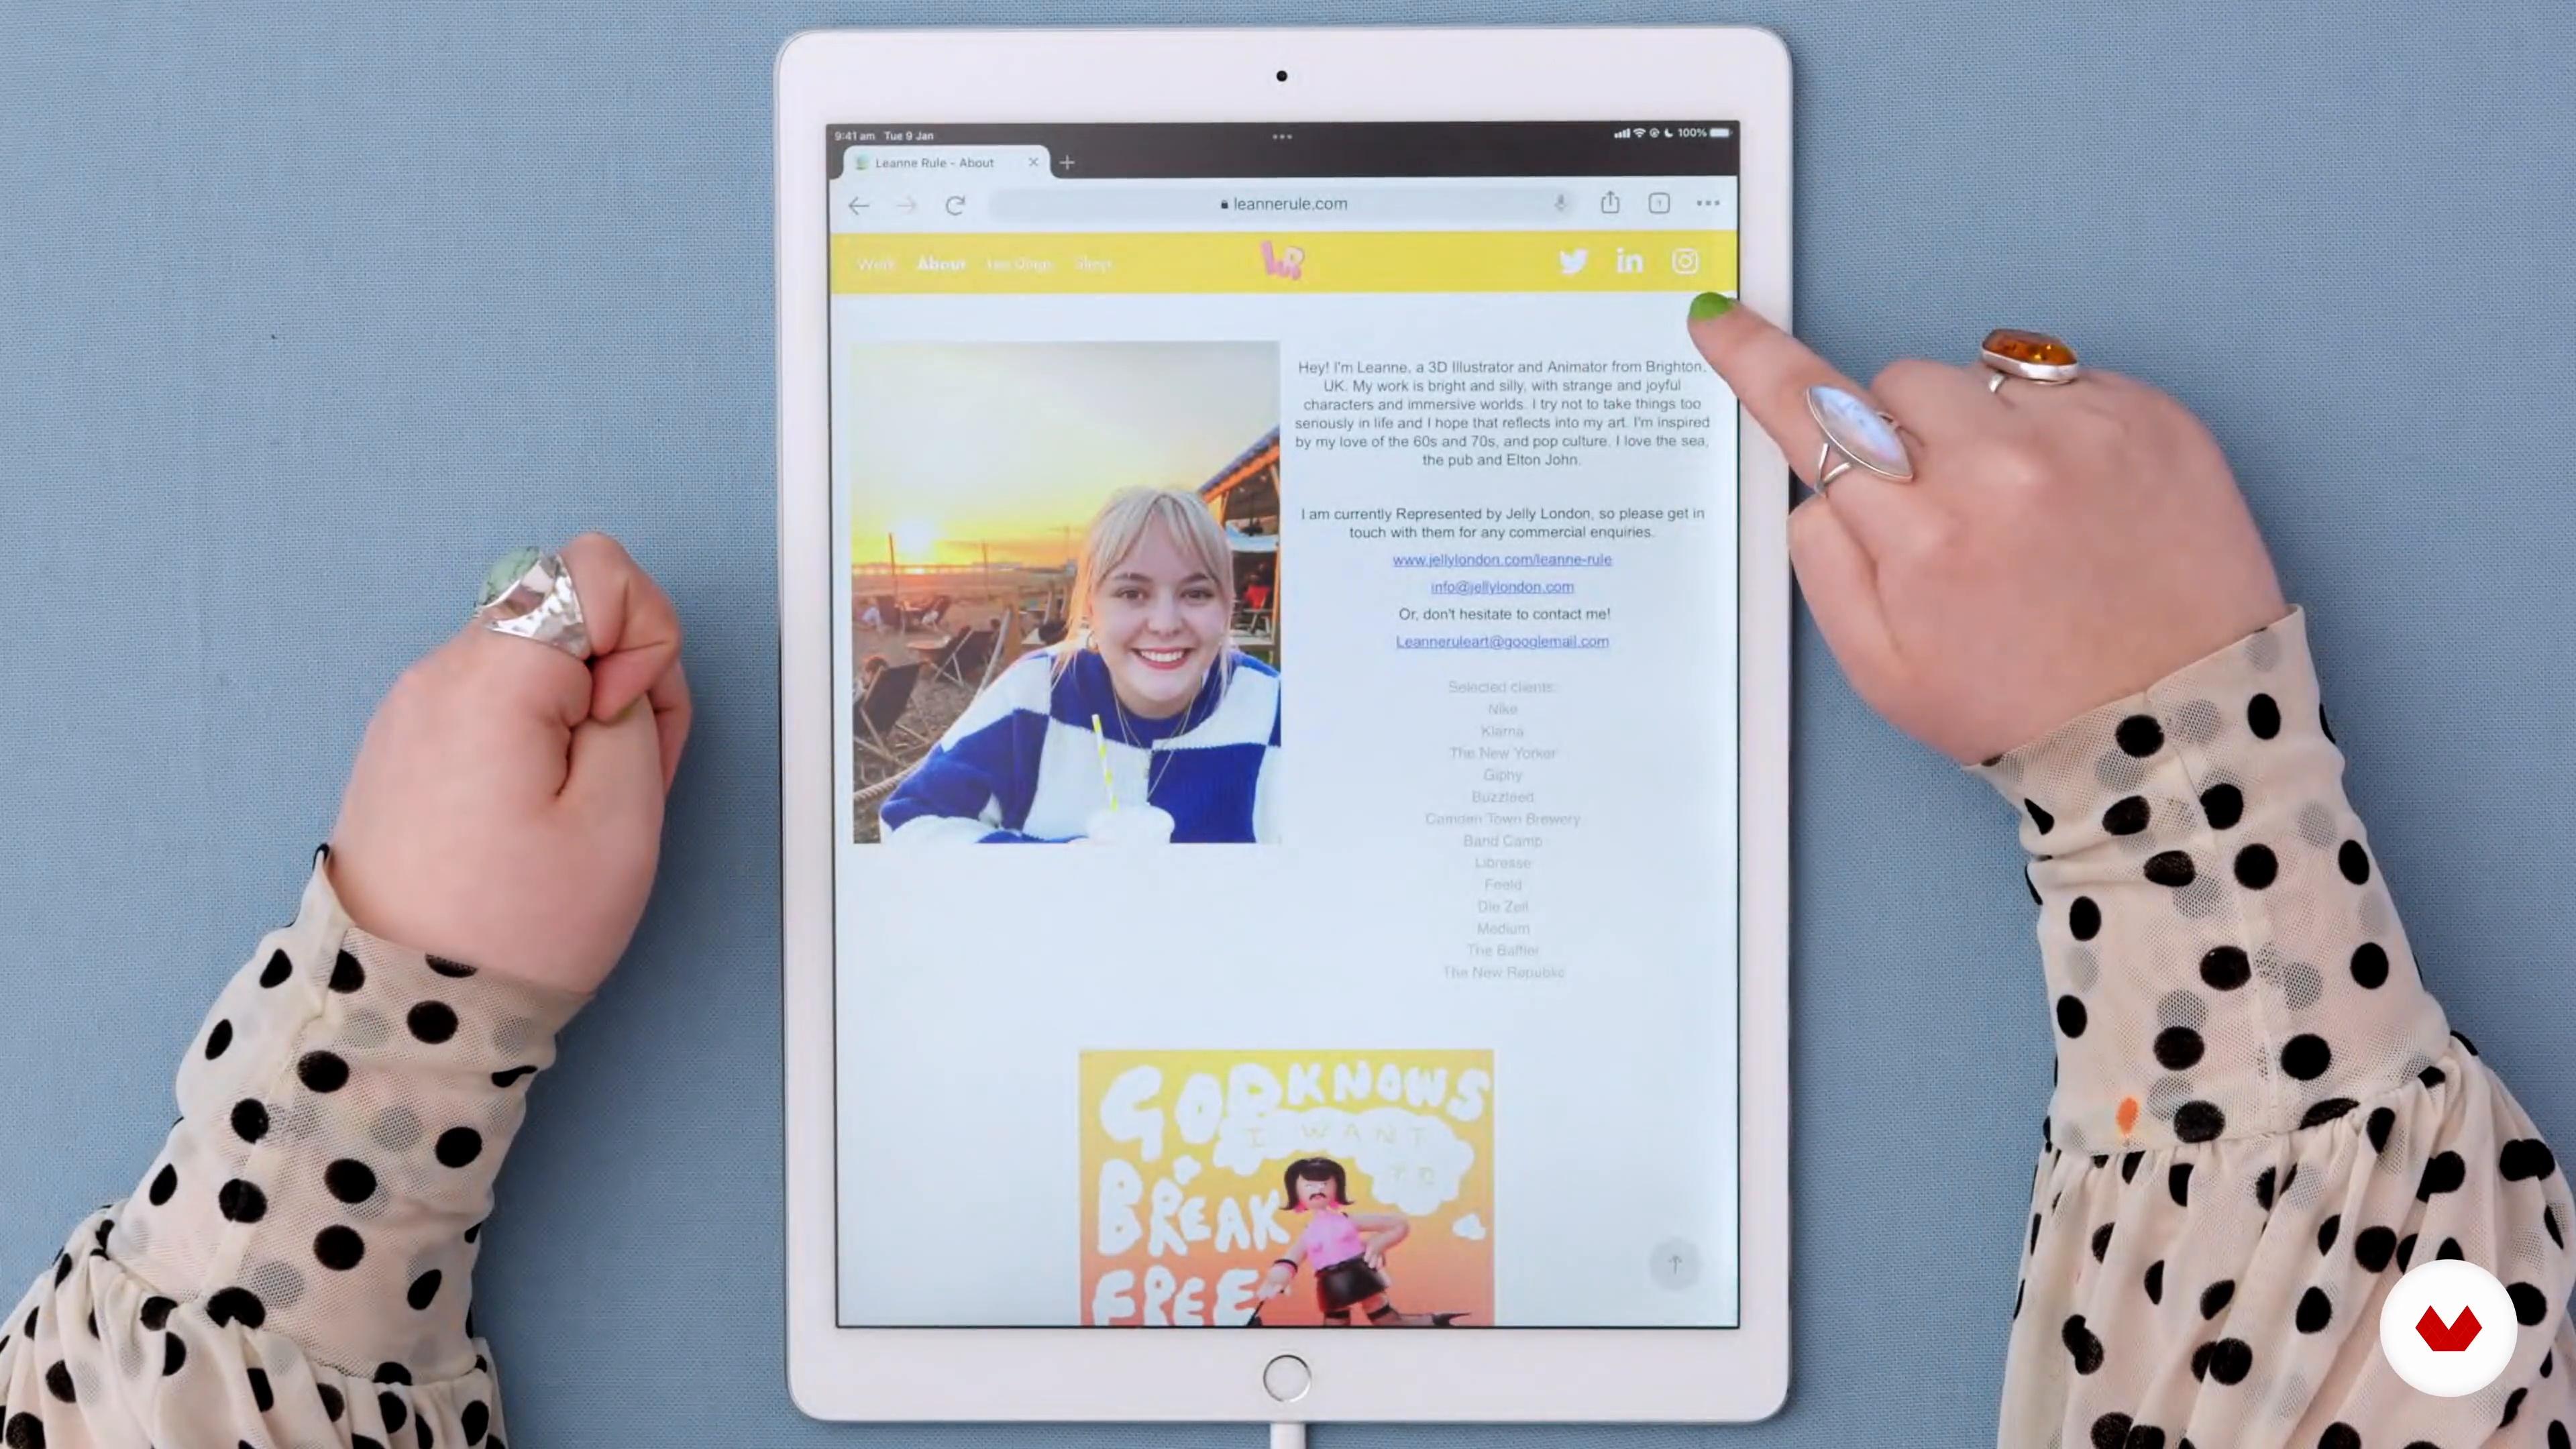
Guided by industry experts Biel Vazquez, Tonq, Leanne Rule, Mohamed Chahin, and James Tralie, this specialization offers a structured learning path that covers every aspect of 3D animation using Blender. Develop a professional-quality animated short as a final project, showcasing your newfound skills in a cohesive narrative piece. Whether you're an aspiring animator or a digital storyteller, this specialization equips you with the tools to create original character-driven content with professional production values, positioning you at the forefront of the 3D animation industry.
What will you learn in this specialization?


- 100% positive reviews (8)
- 1,698 students
- 86 lessons (15h 51m)
- 76 additional resources (20 files)
- Online and at your own pace
- Audio: English, German, Spanish, Spanish (Latam), French, Indonesian, Italian, Dutch, Polish, Portuguese, Romanian, Turkish
- Portuguese · French · Turkish · English · Spanish · German · Italian · Polish · Dutch · Indonesian · Romanian
- Level: Beginner
- Unlimited access forever
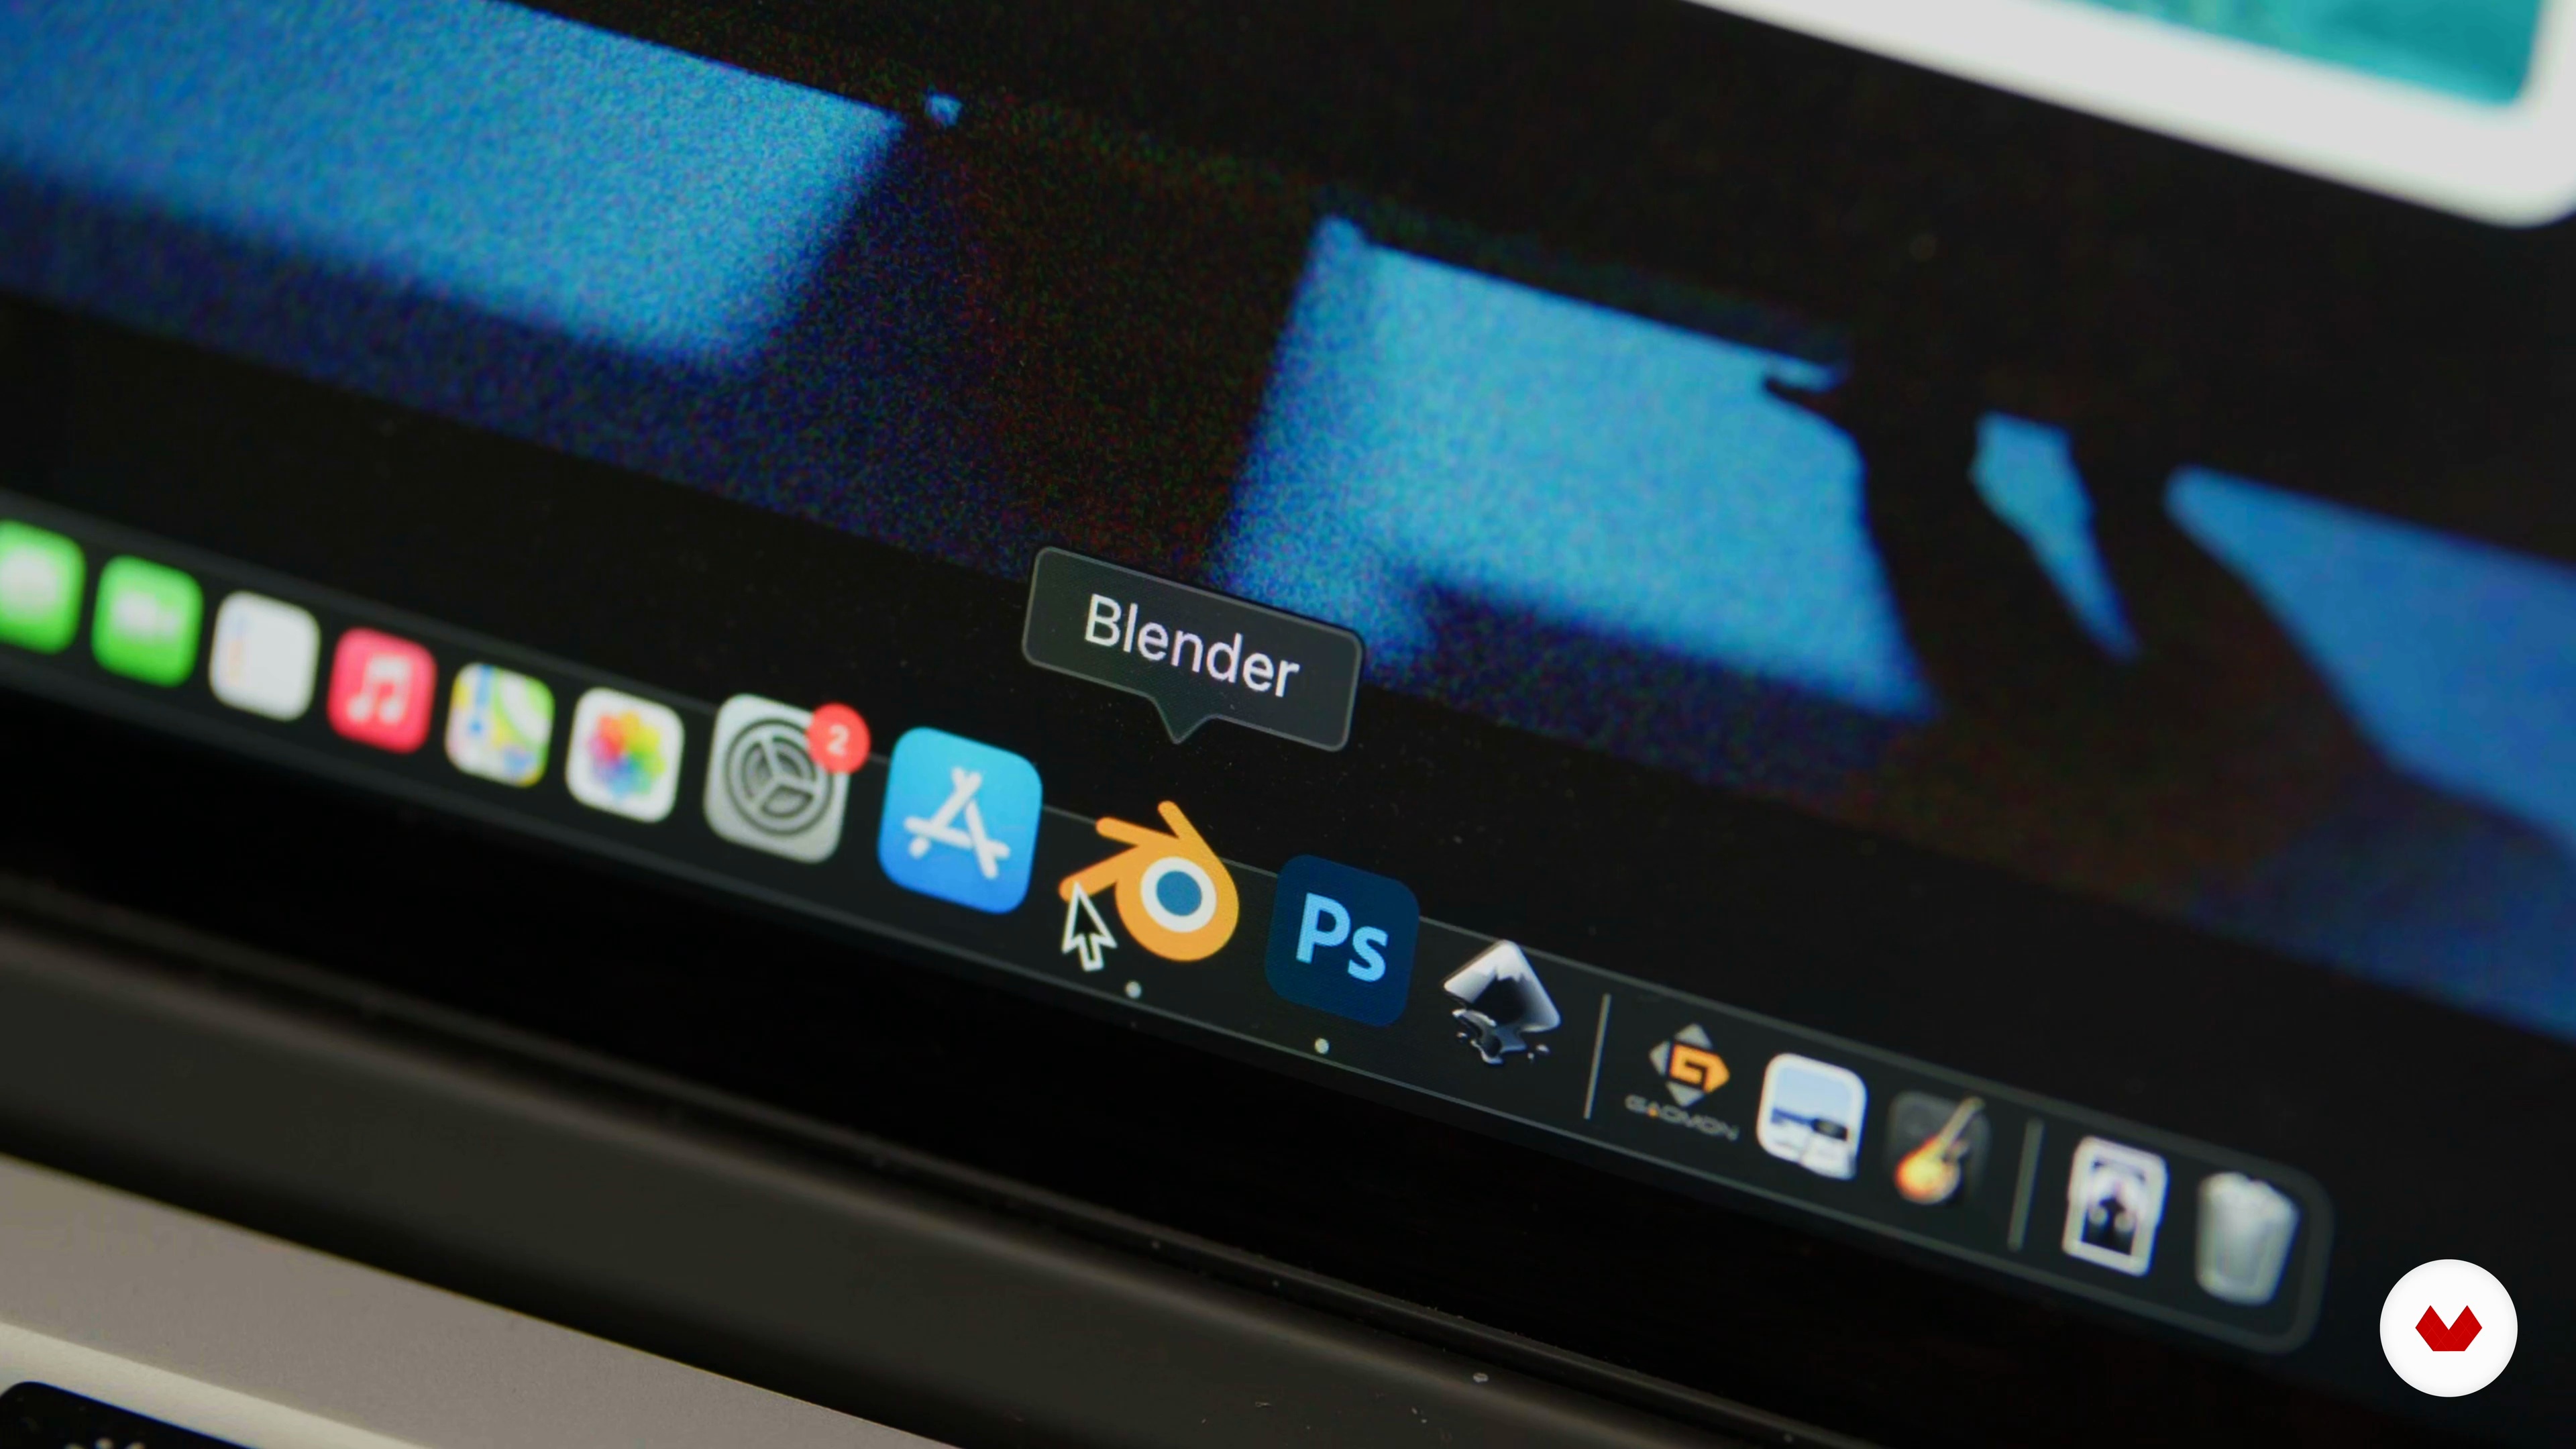
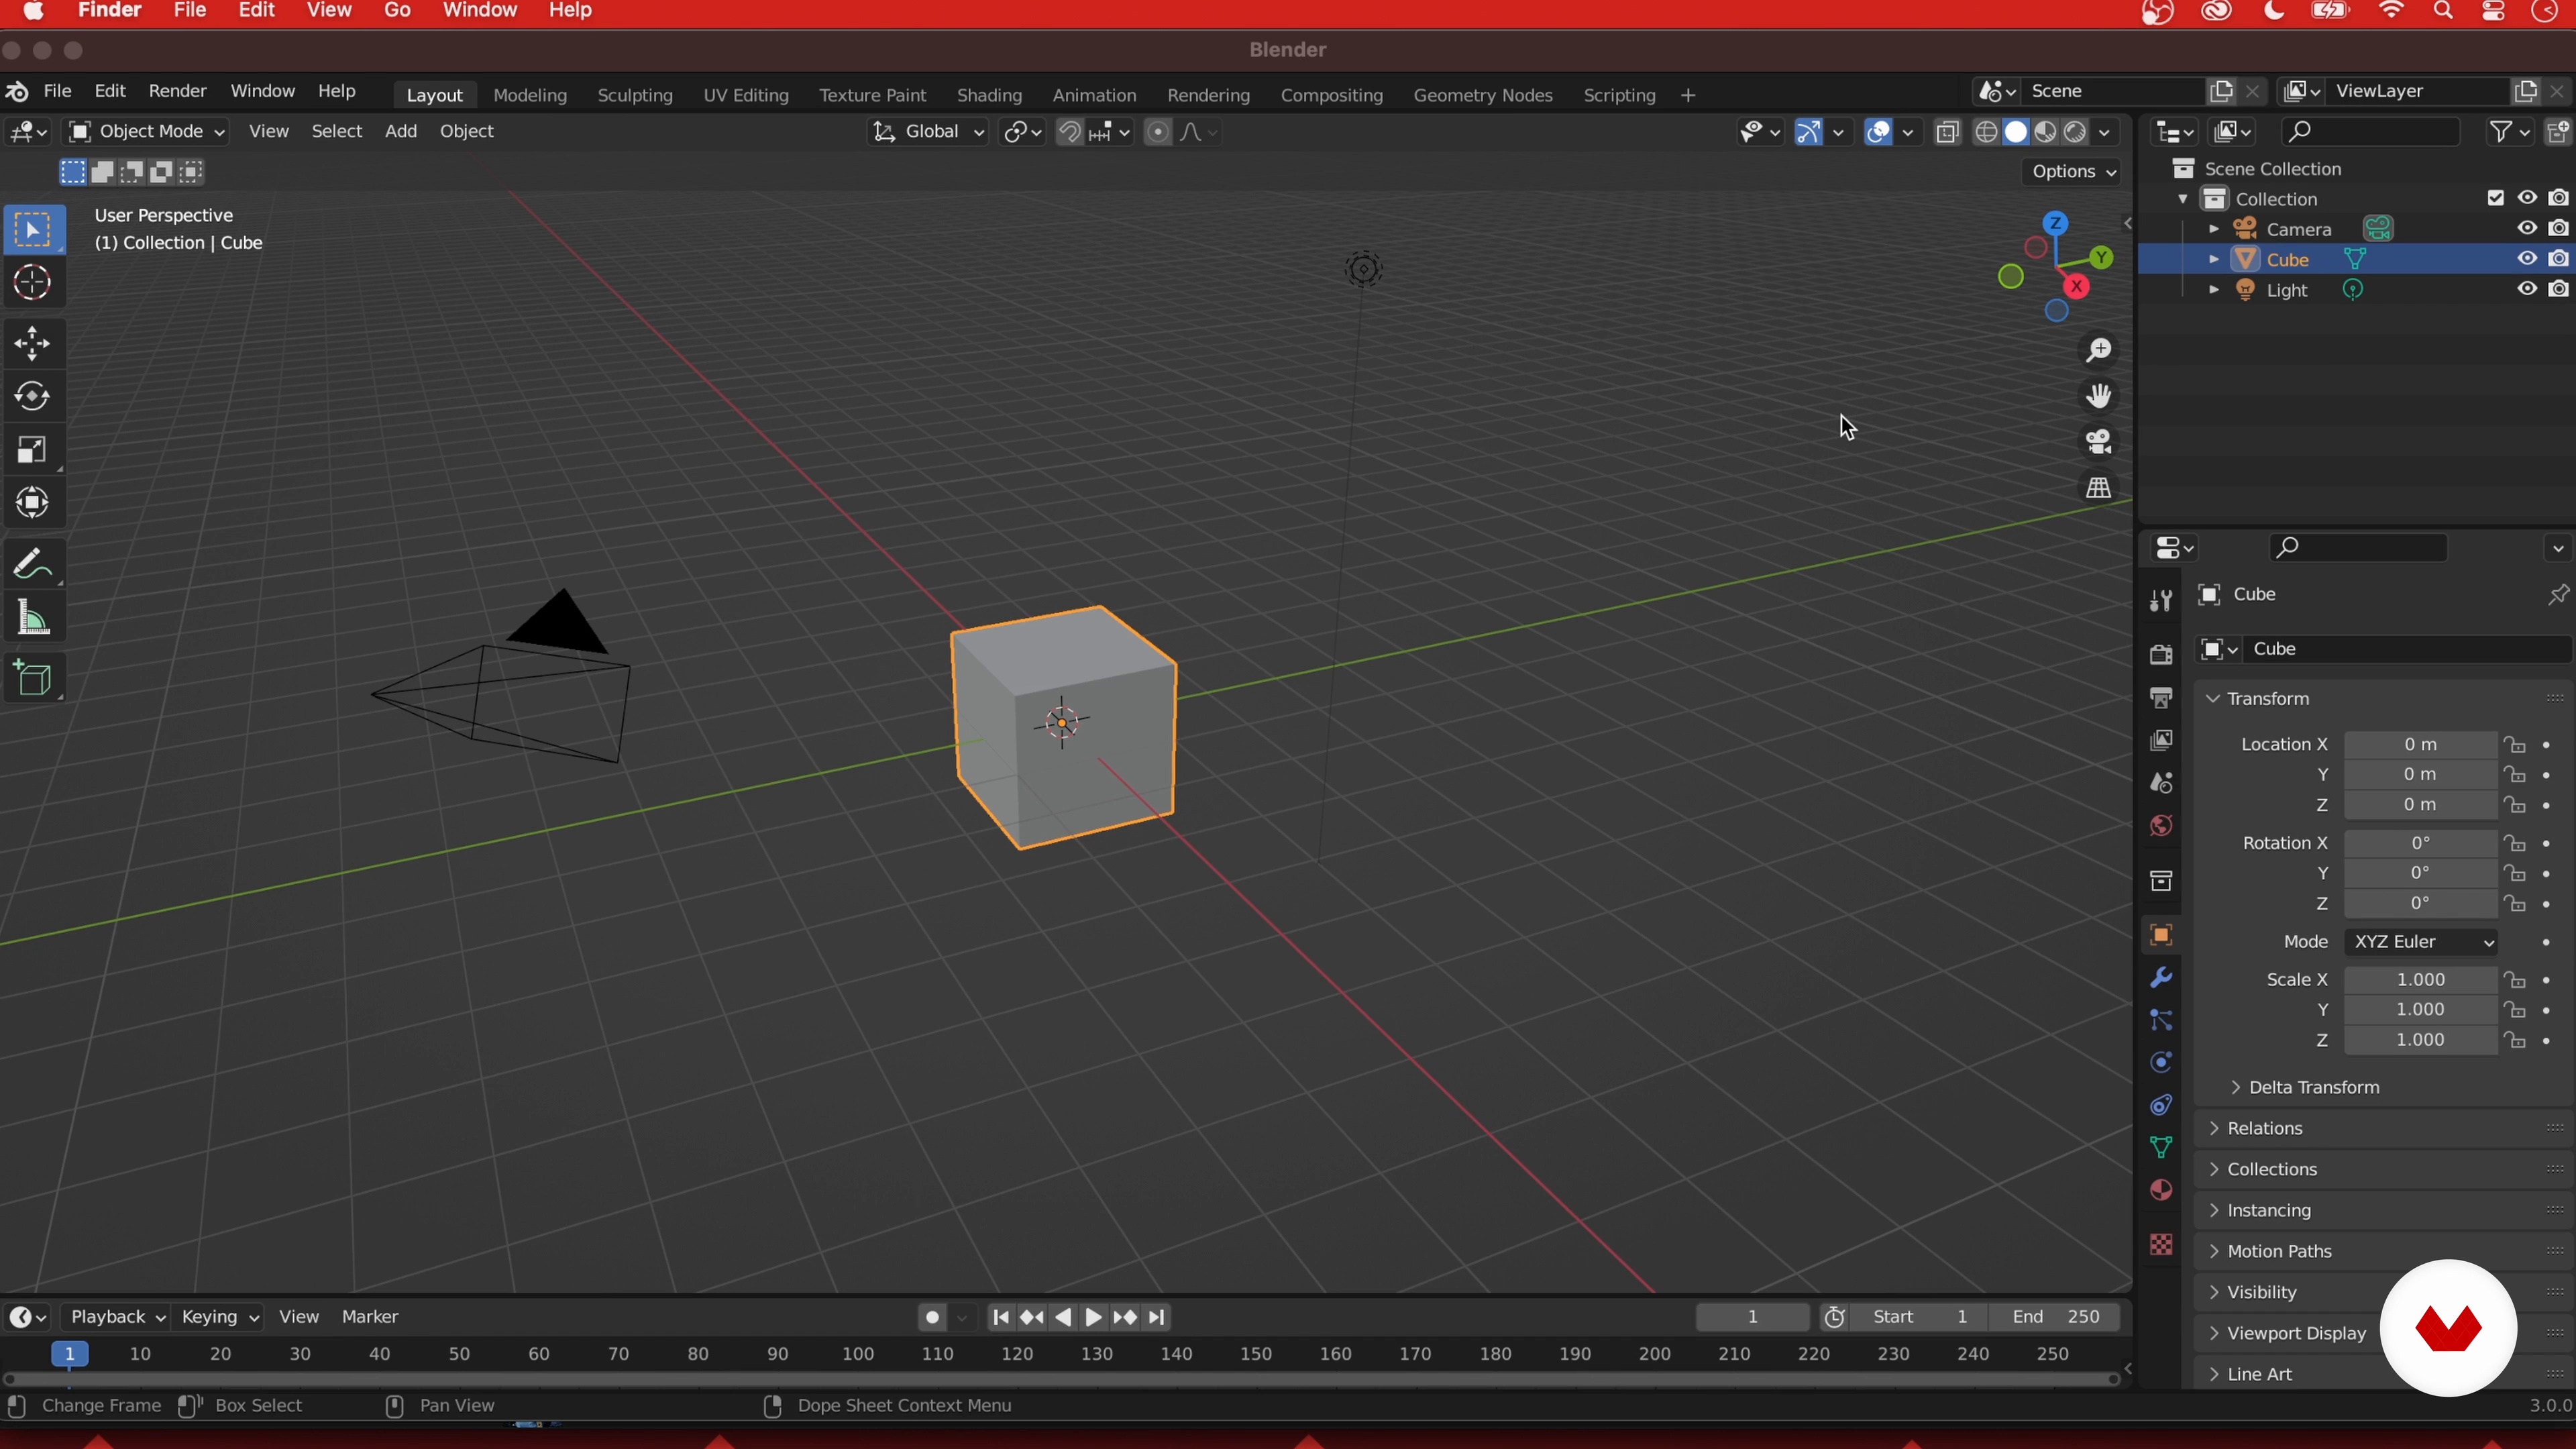
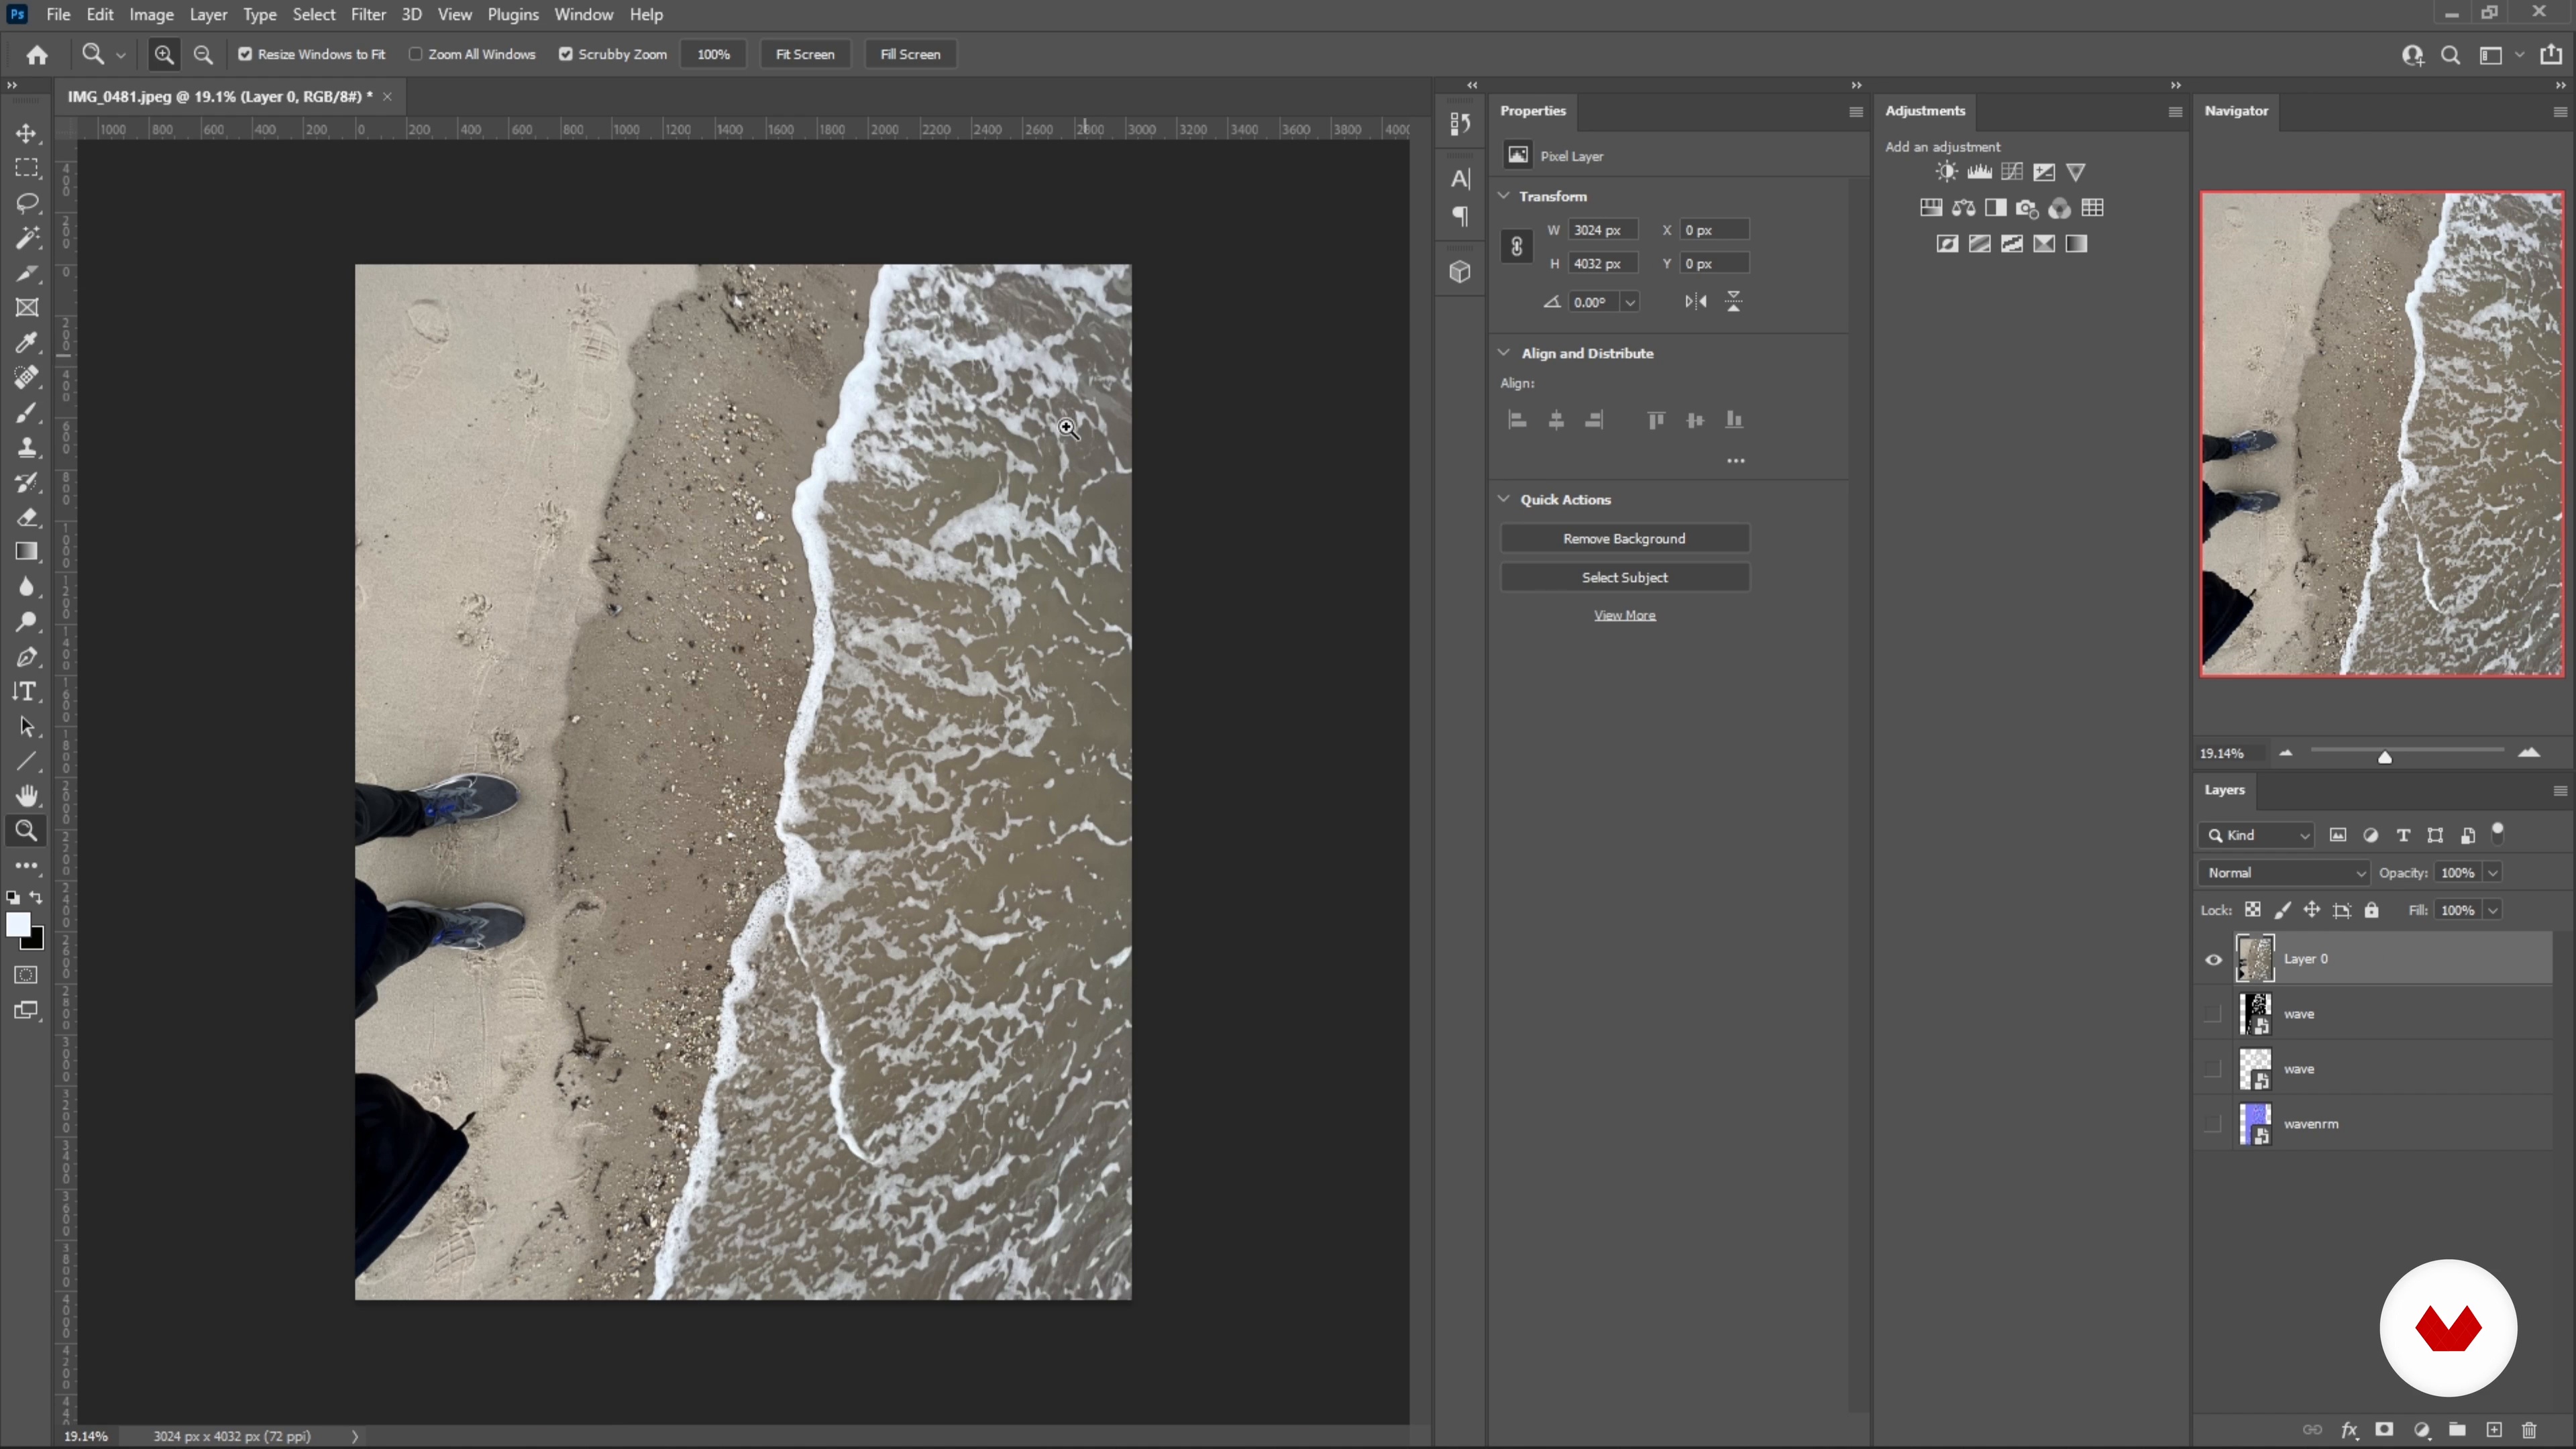
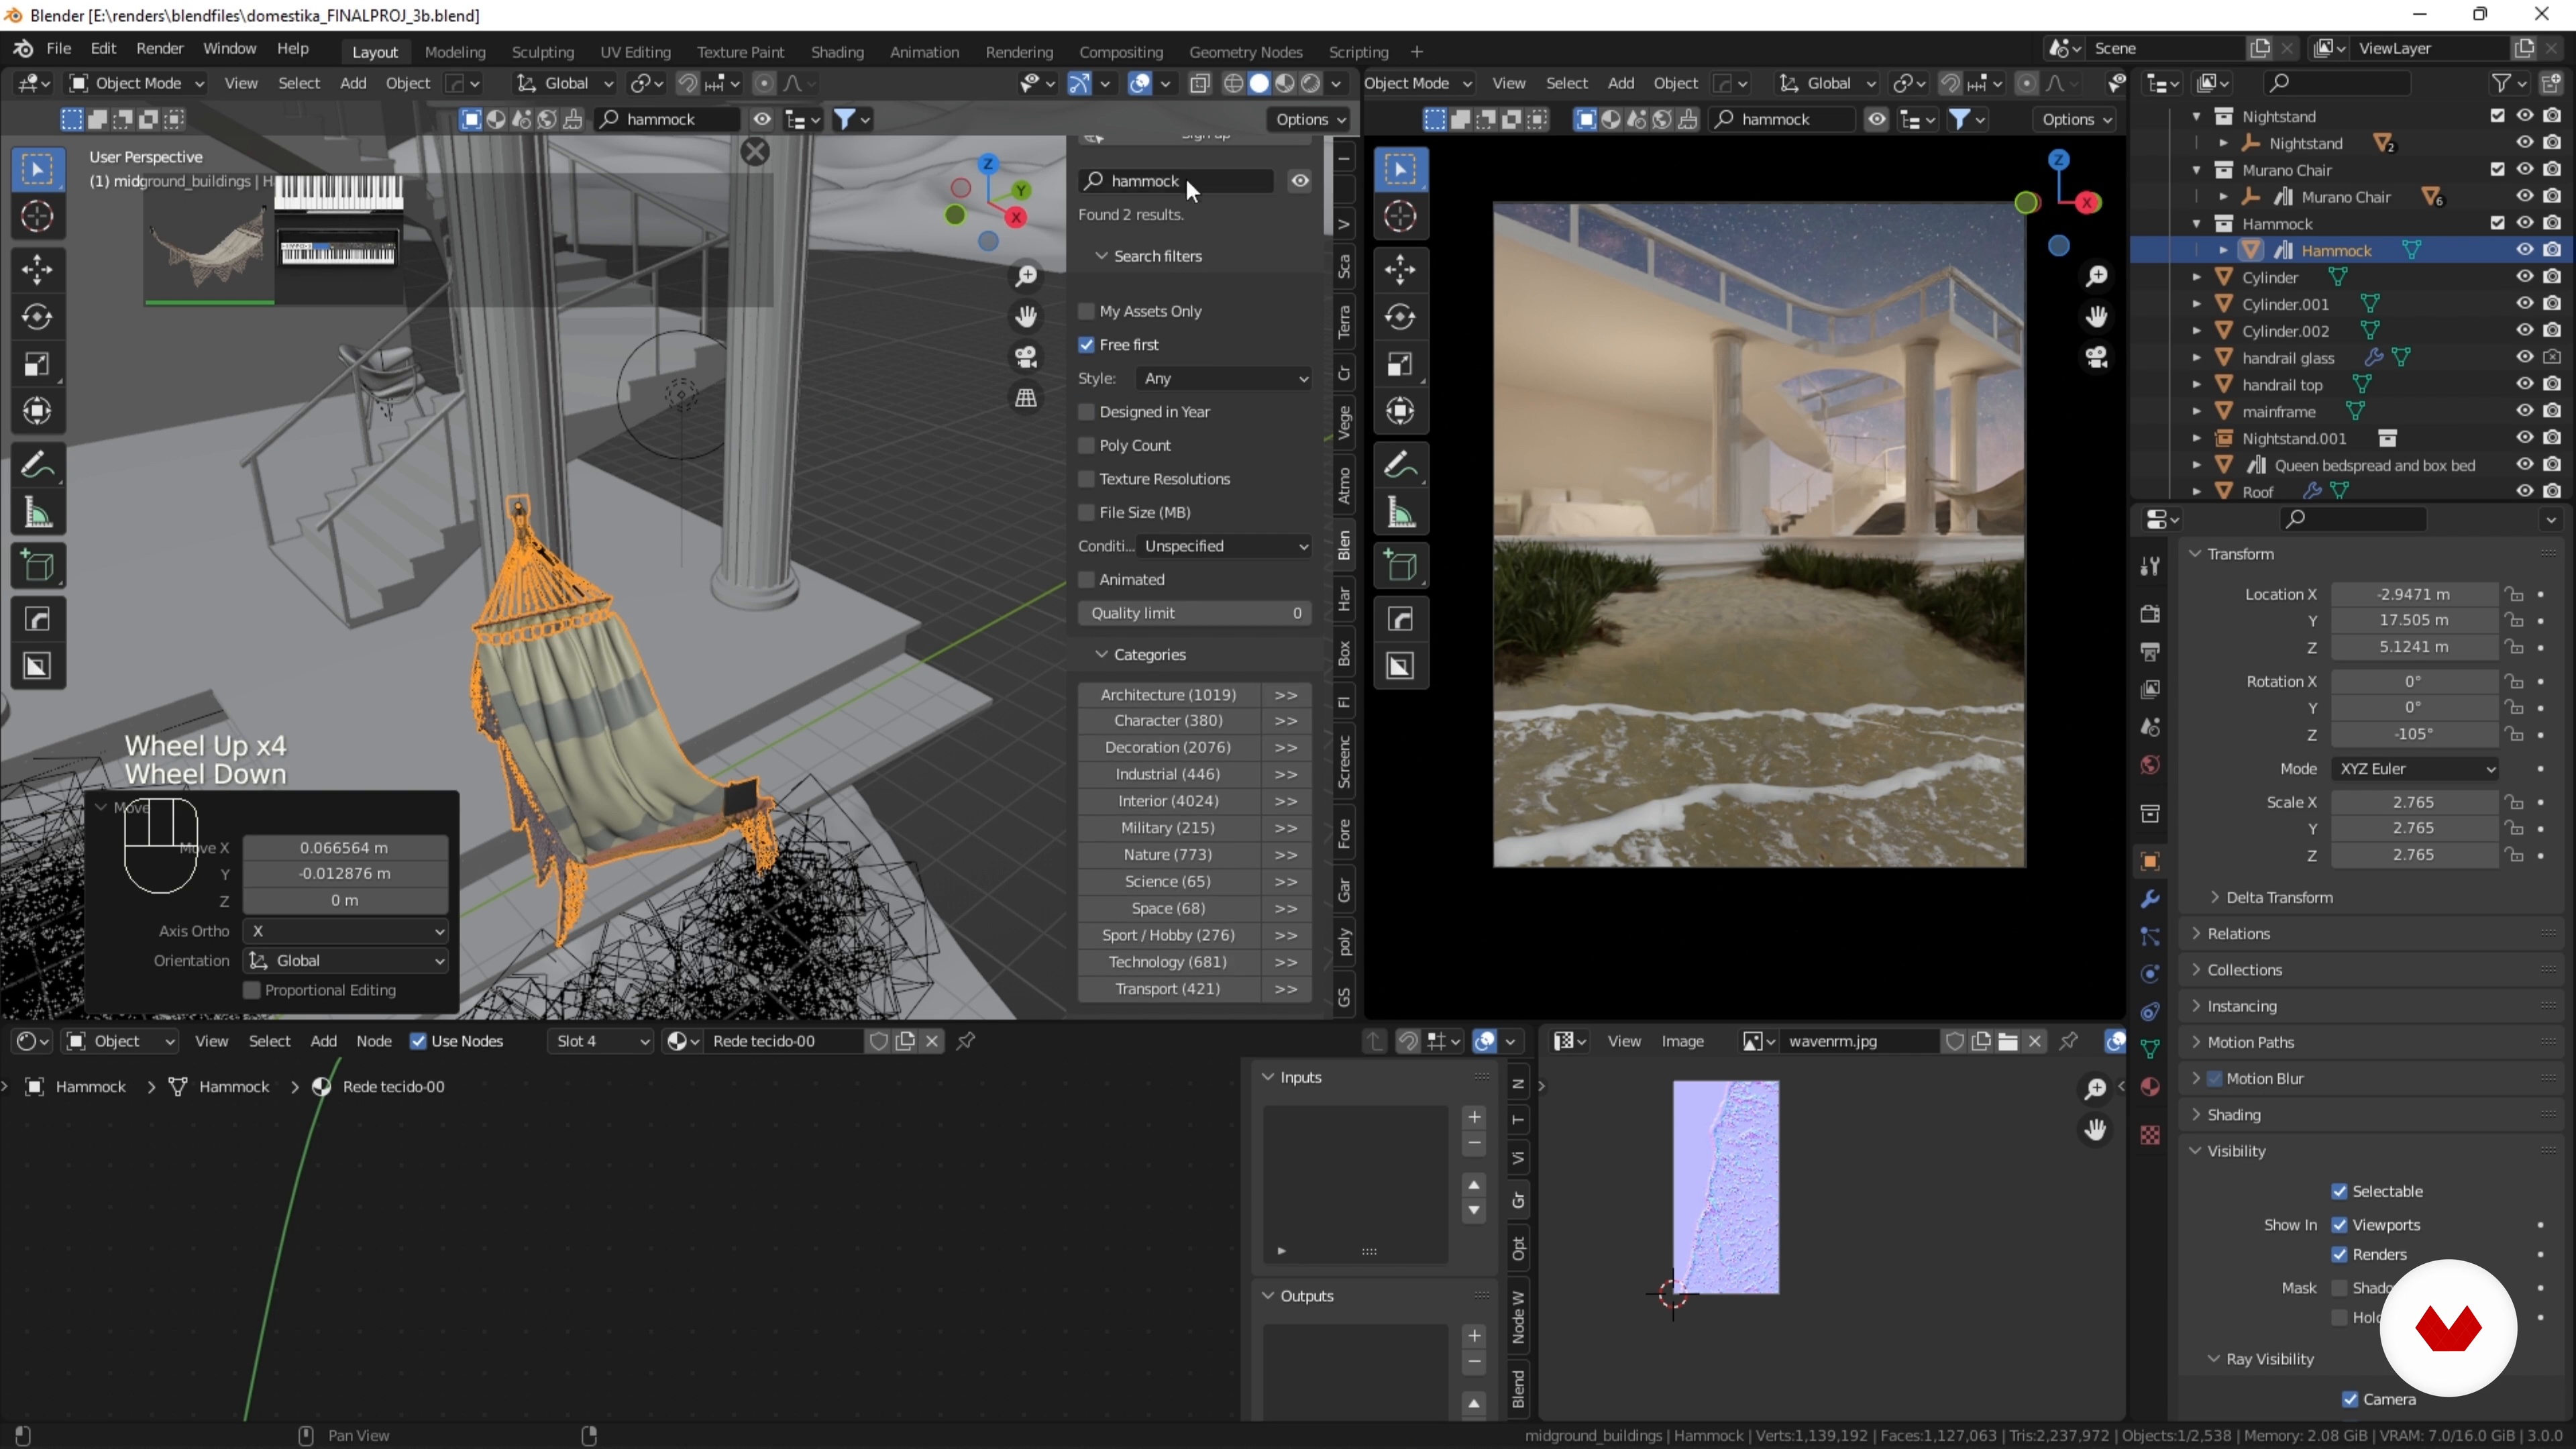
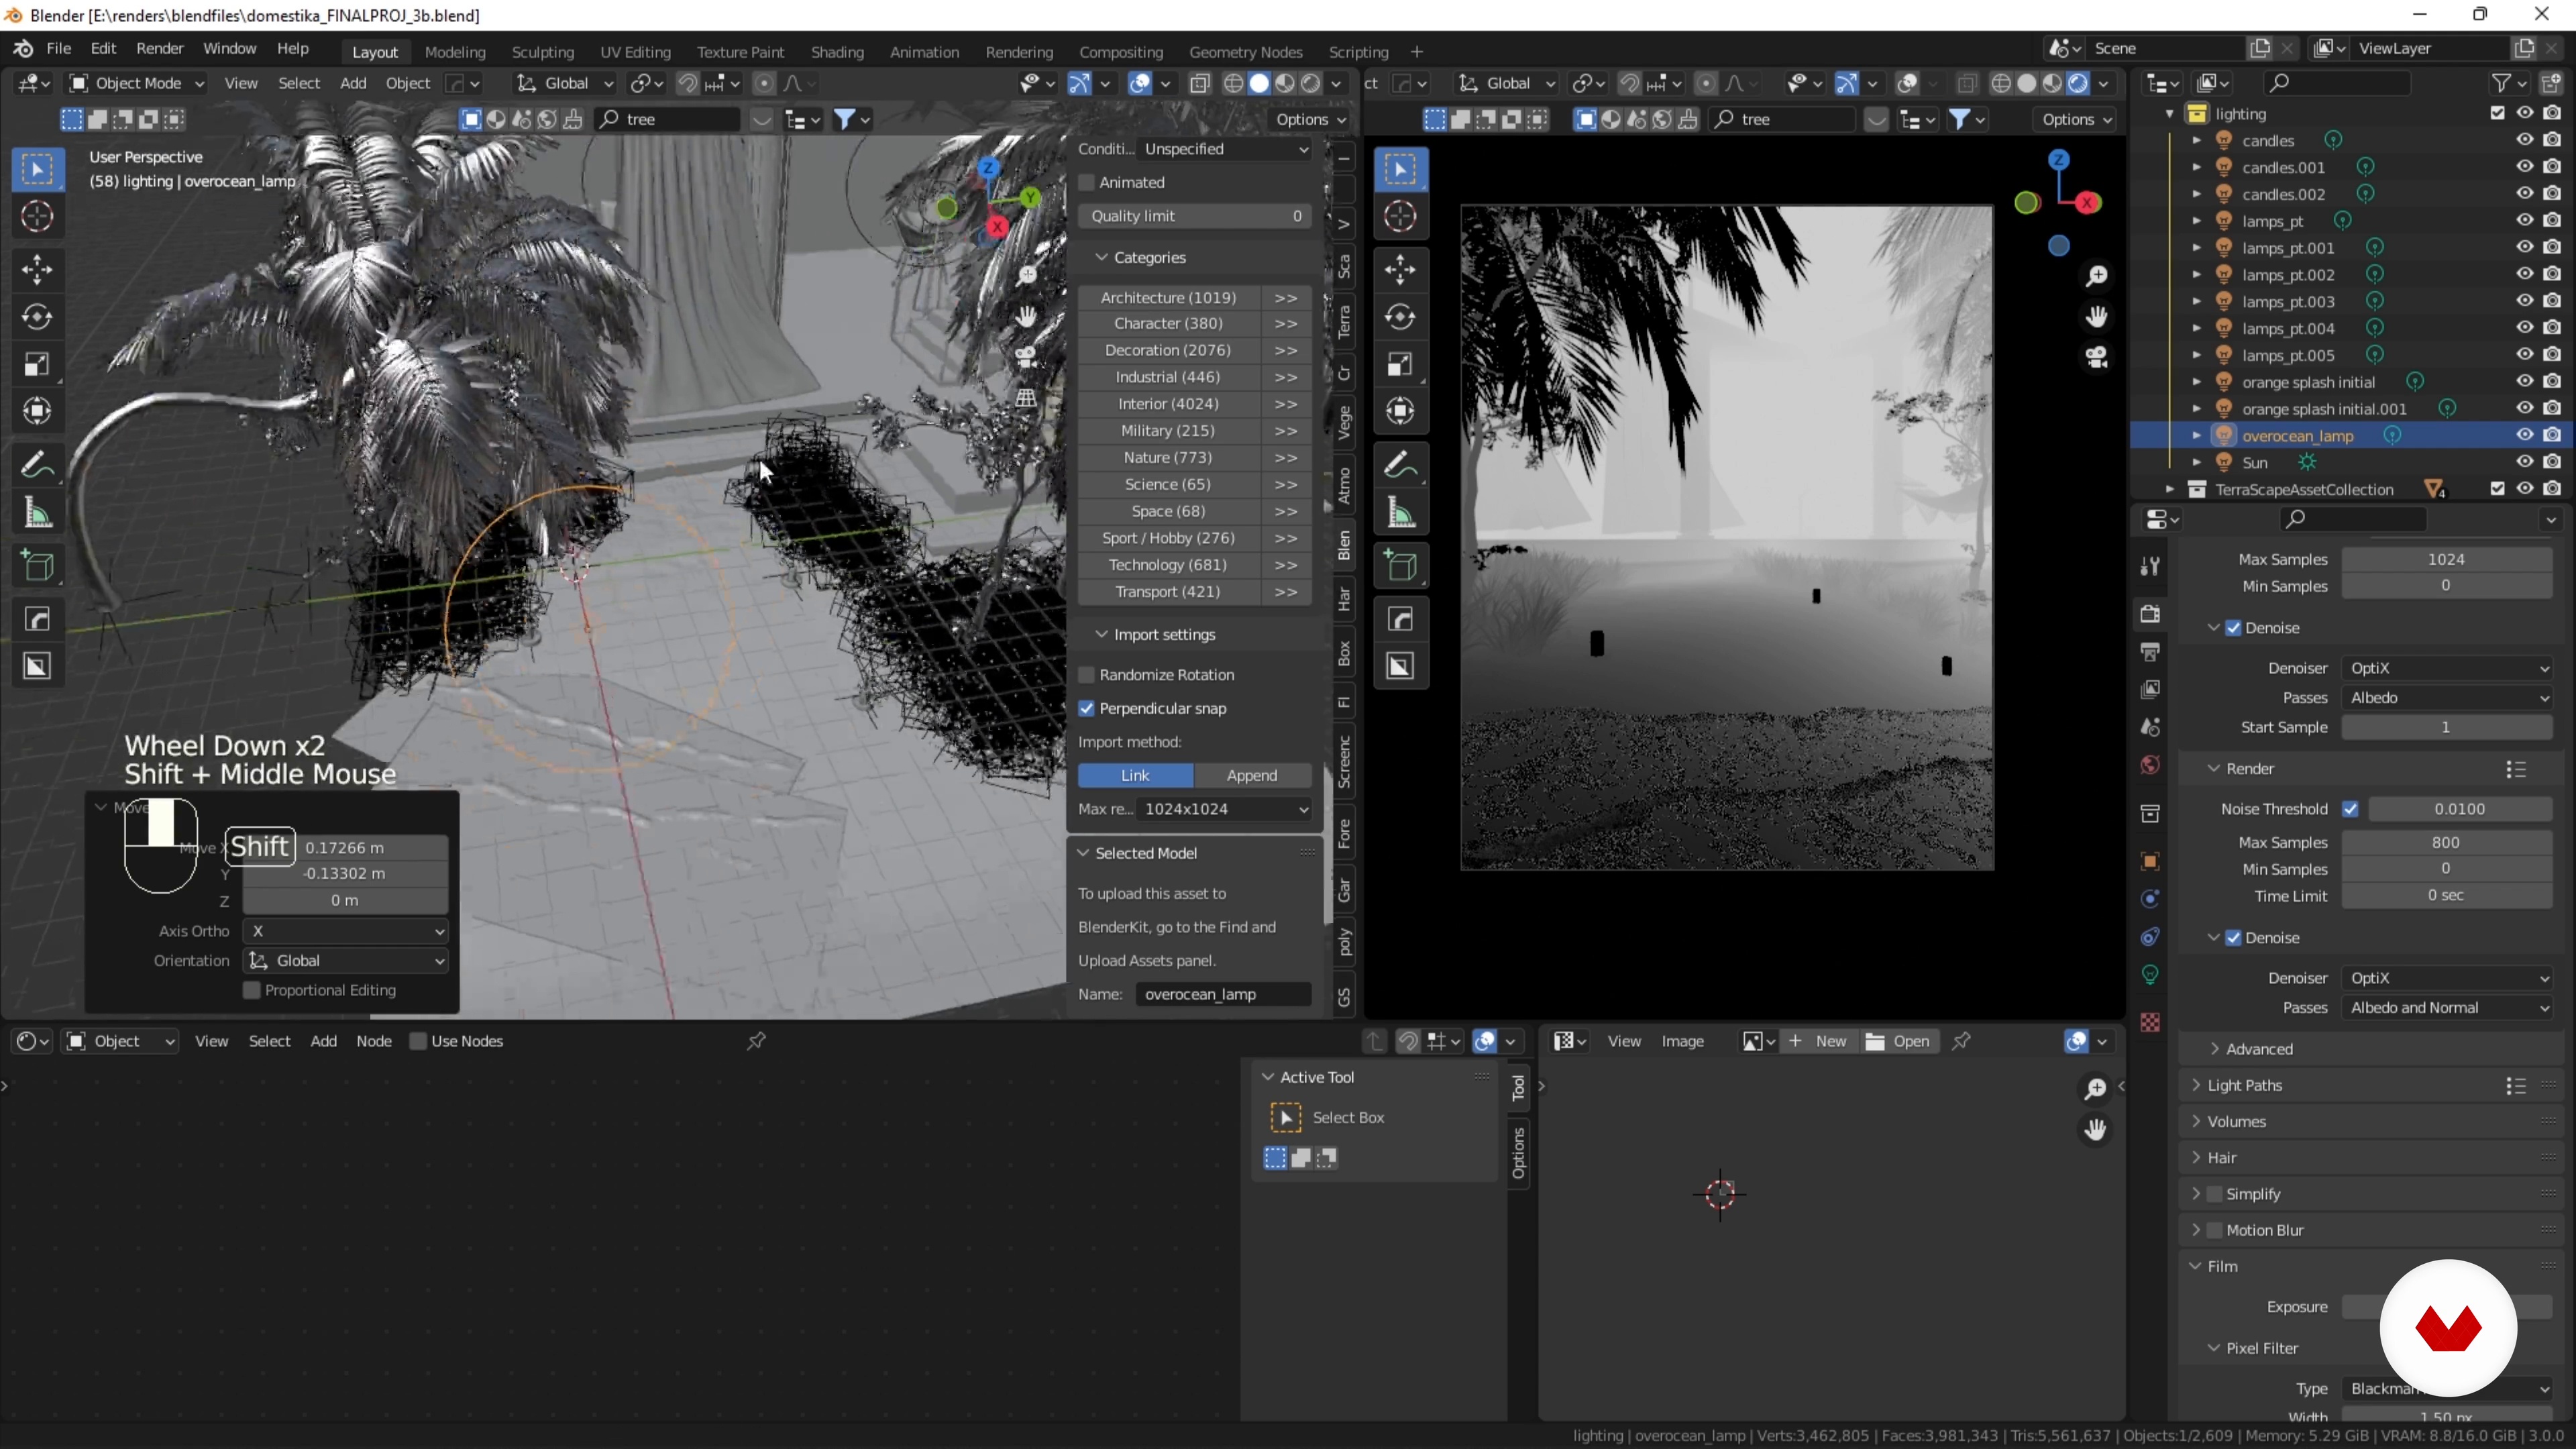
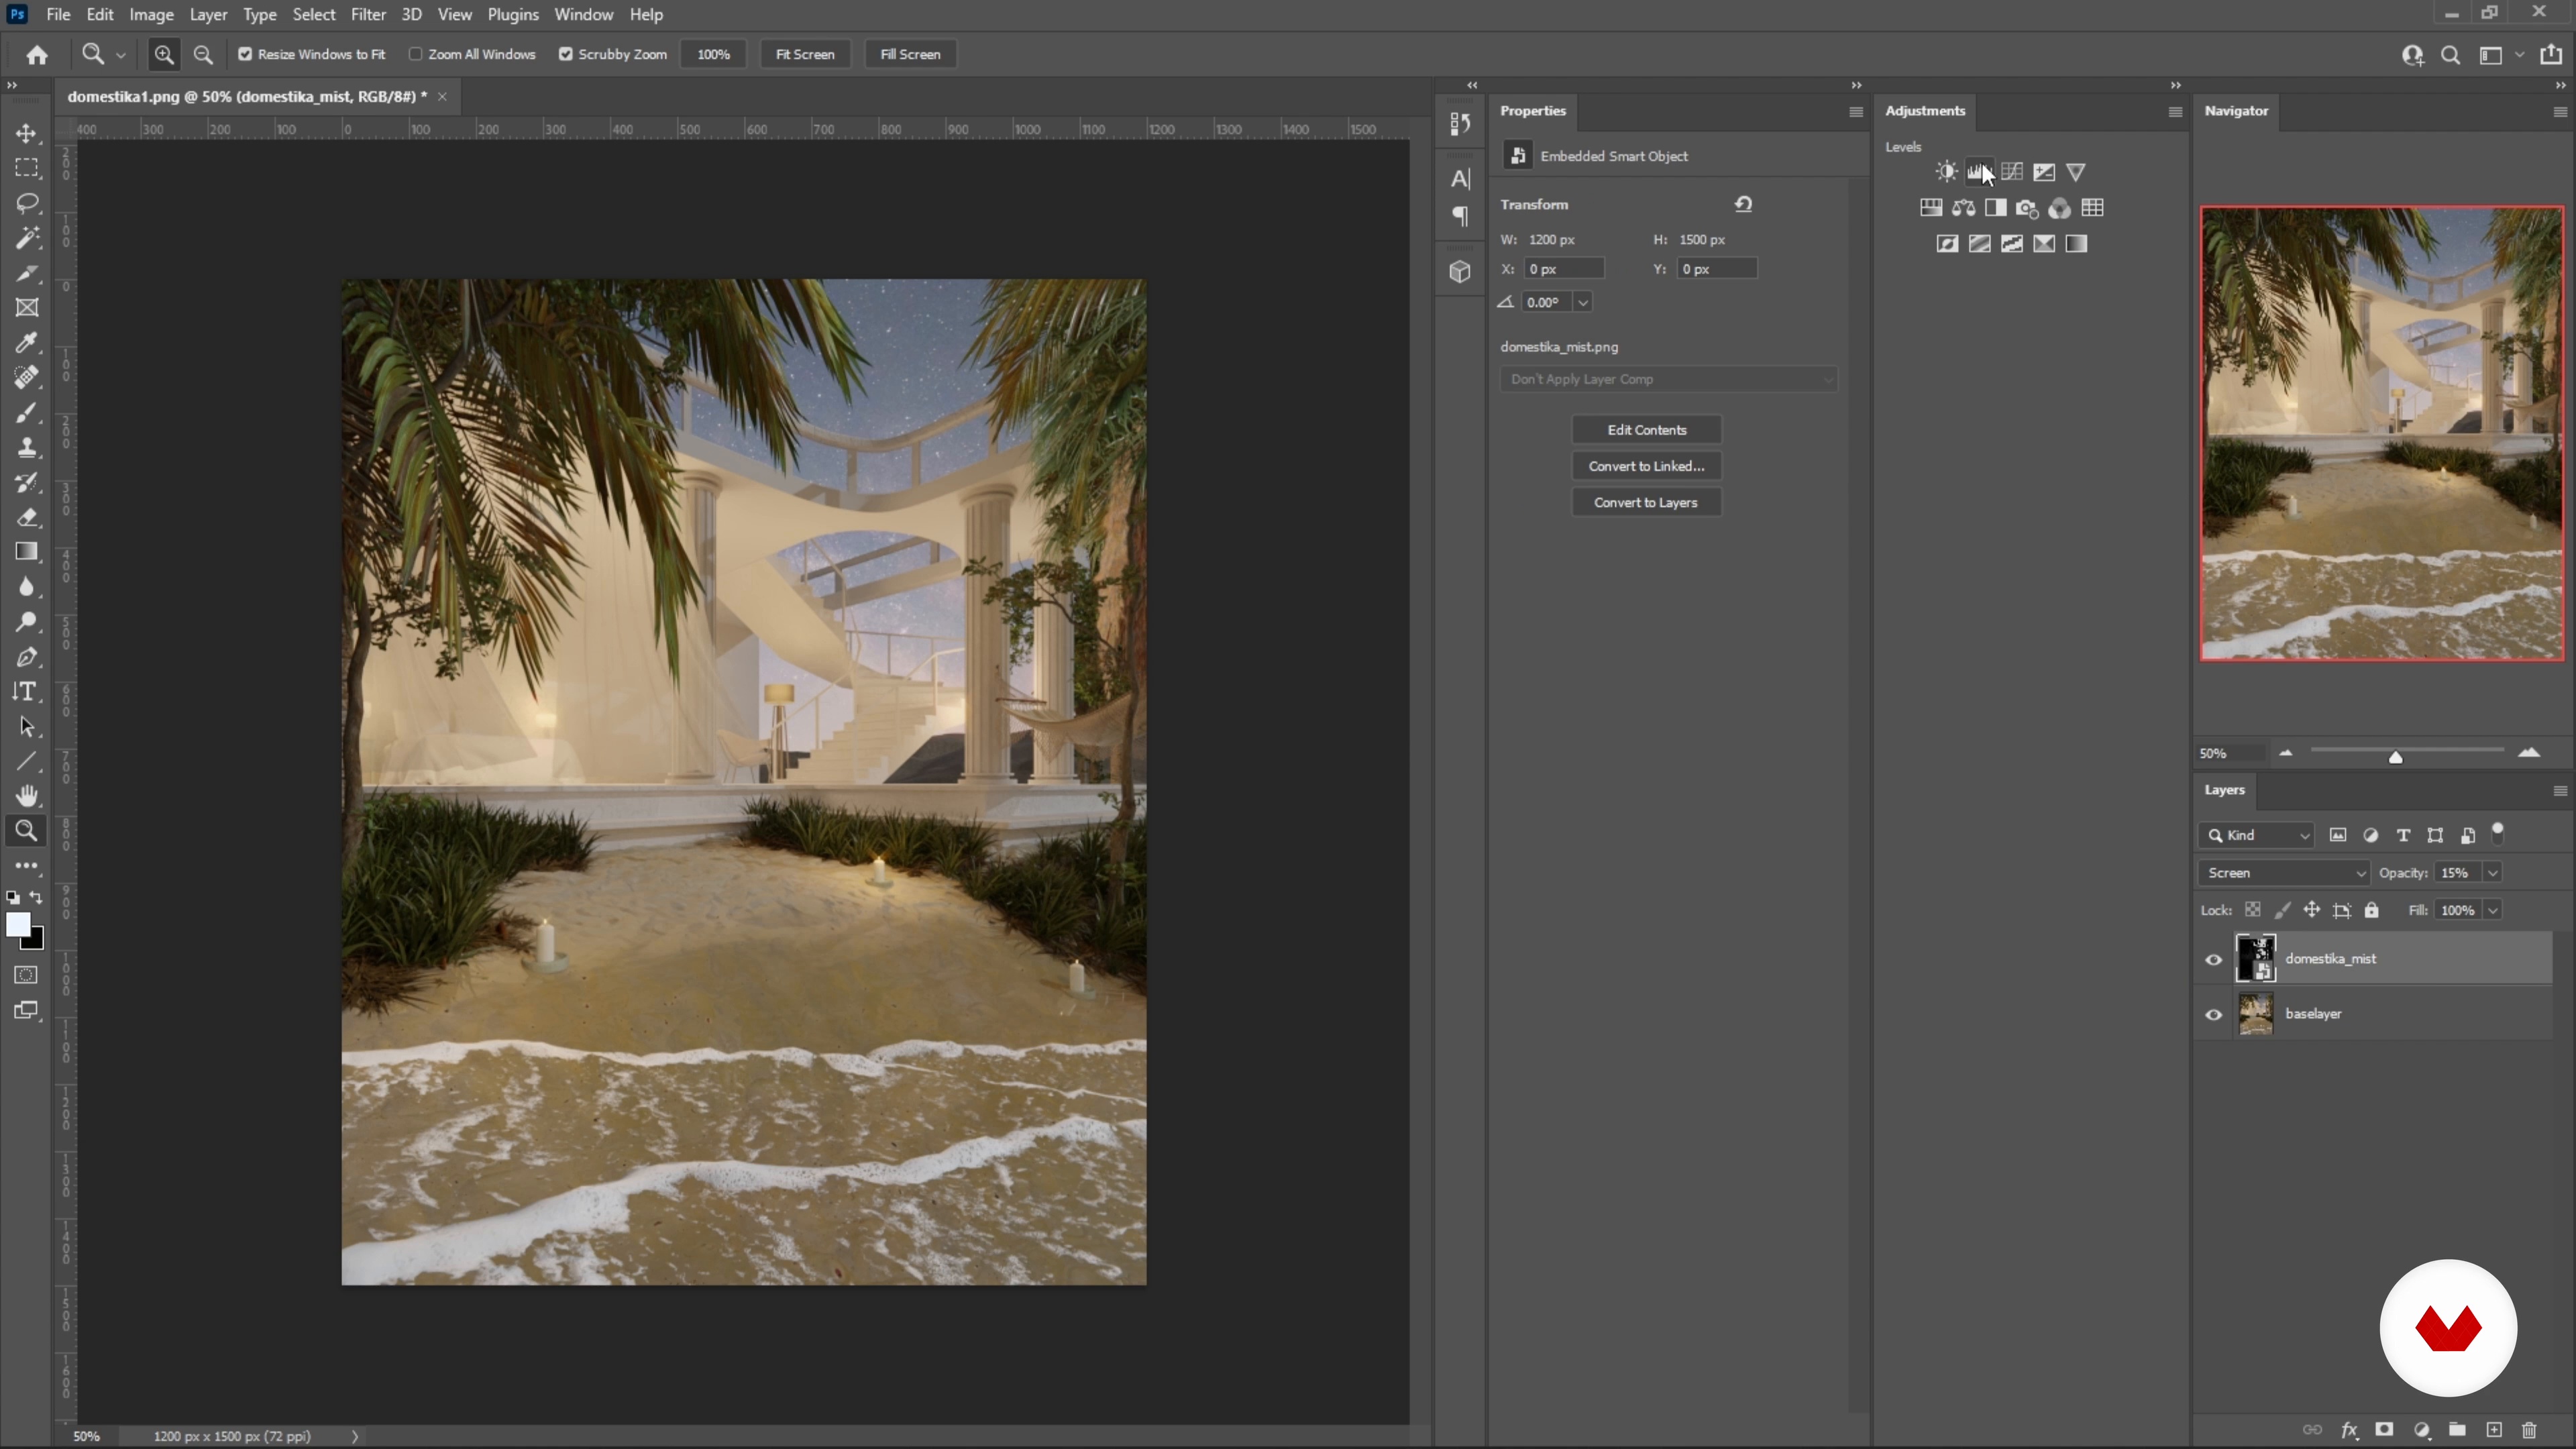
Recommended software & tools for this course
What is this course's project?
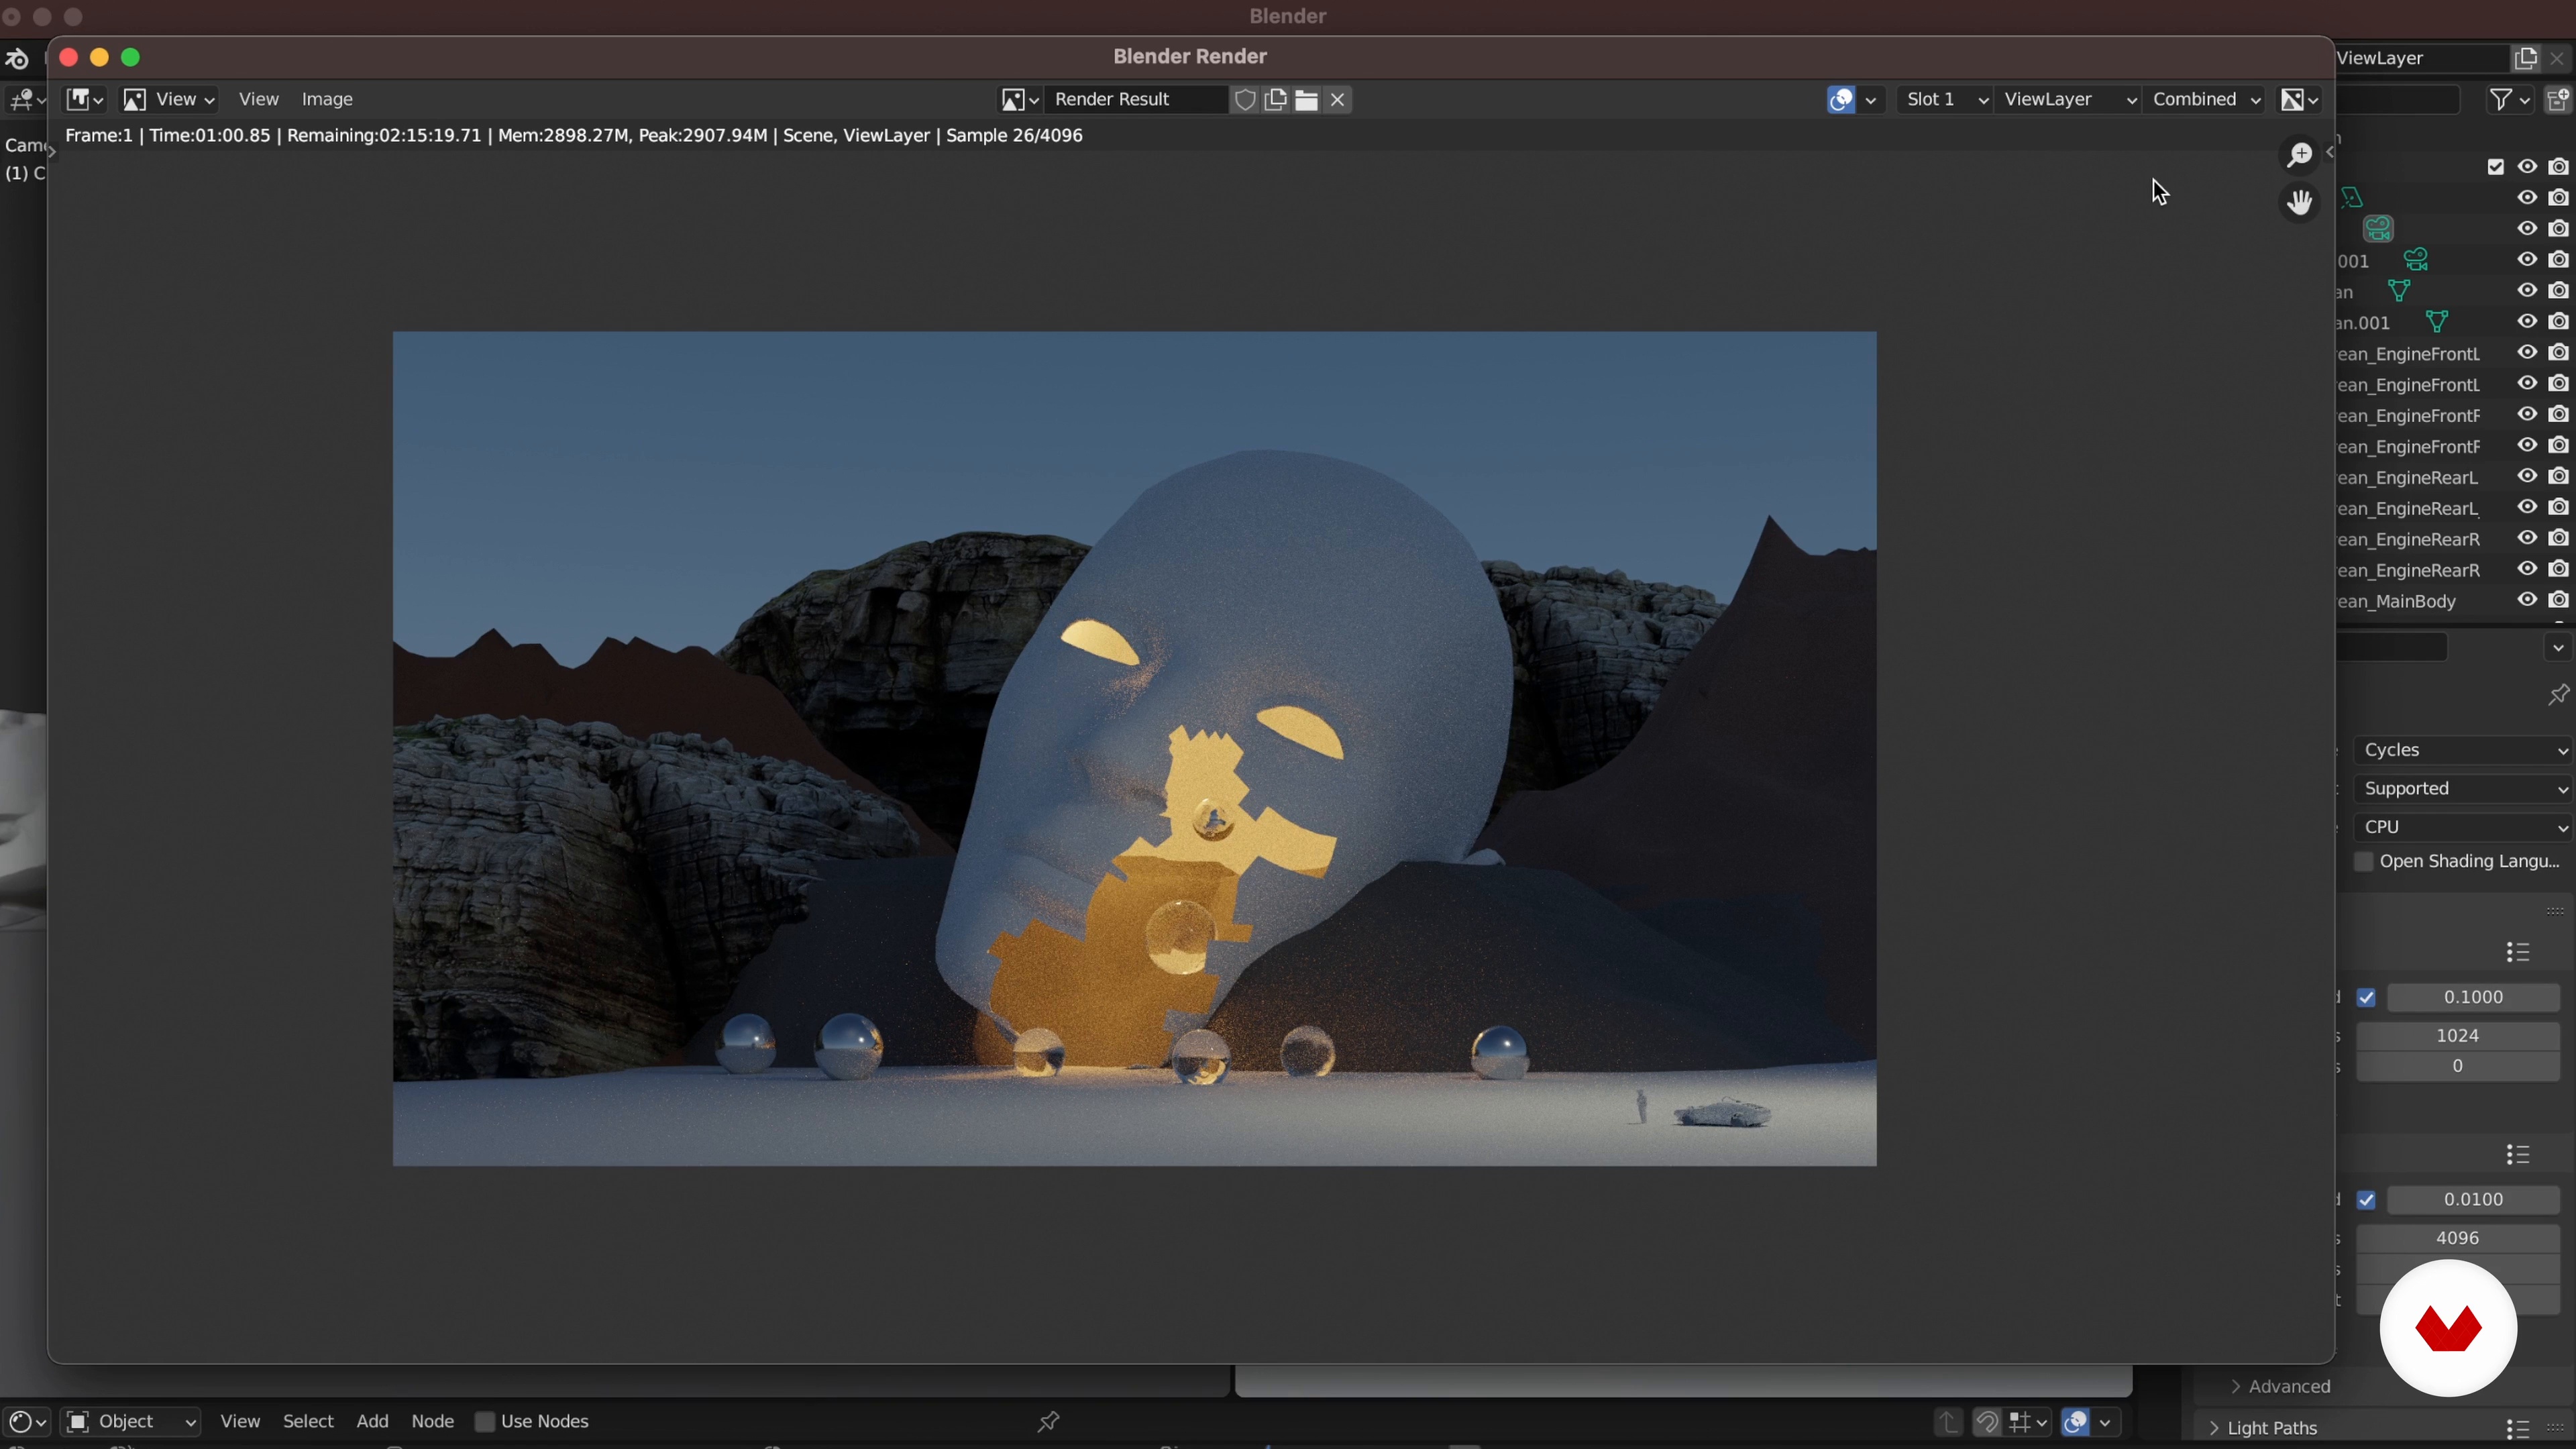
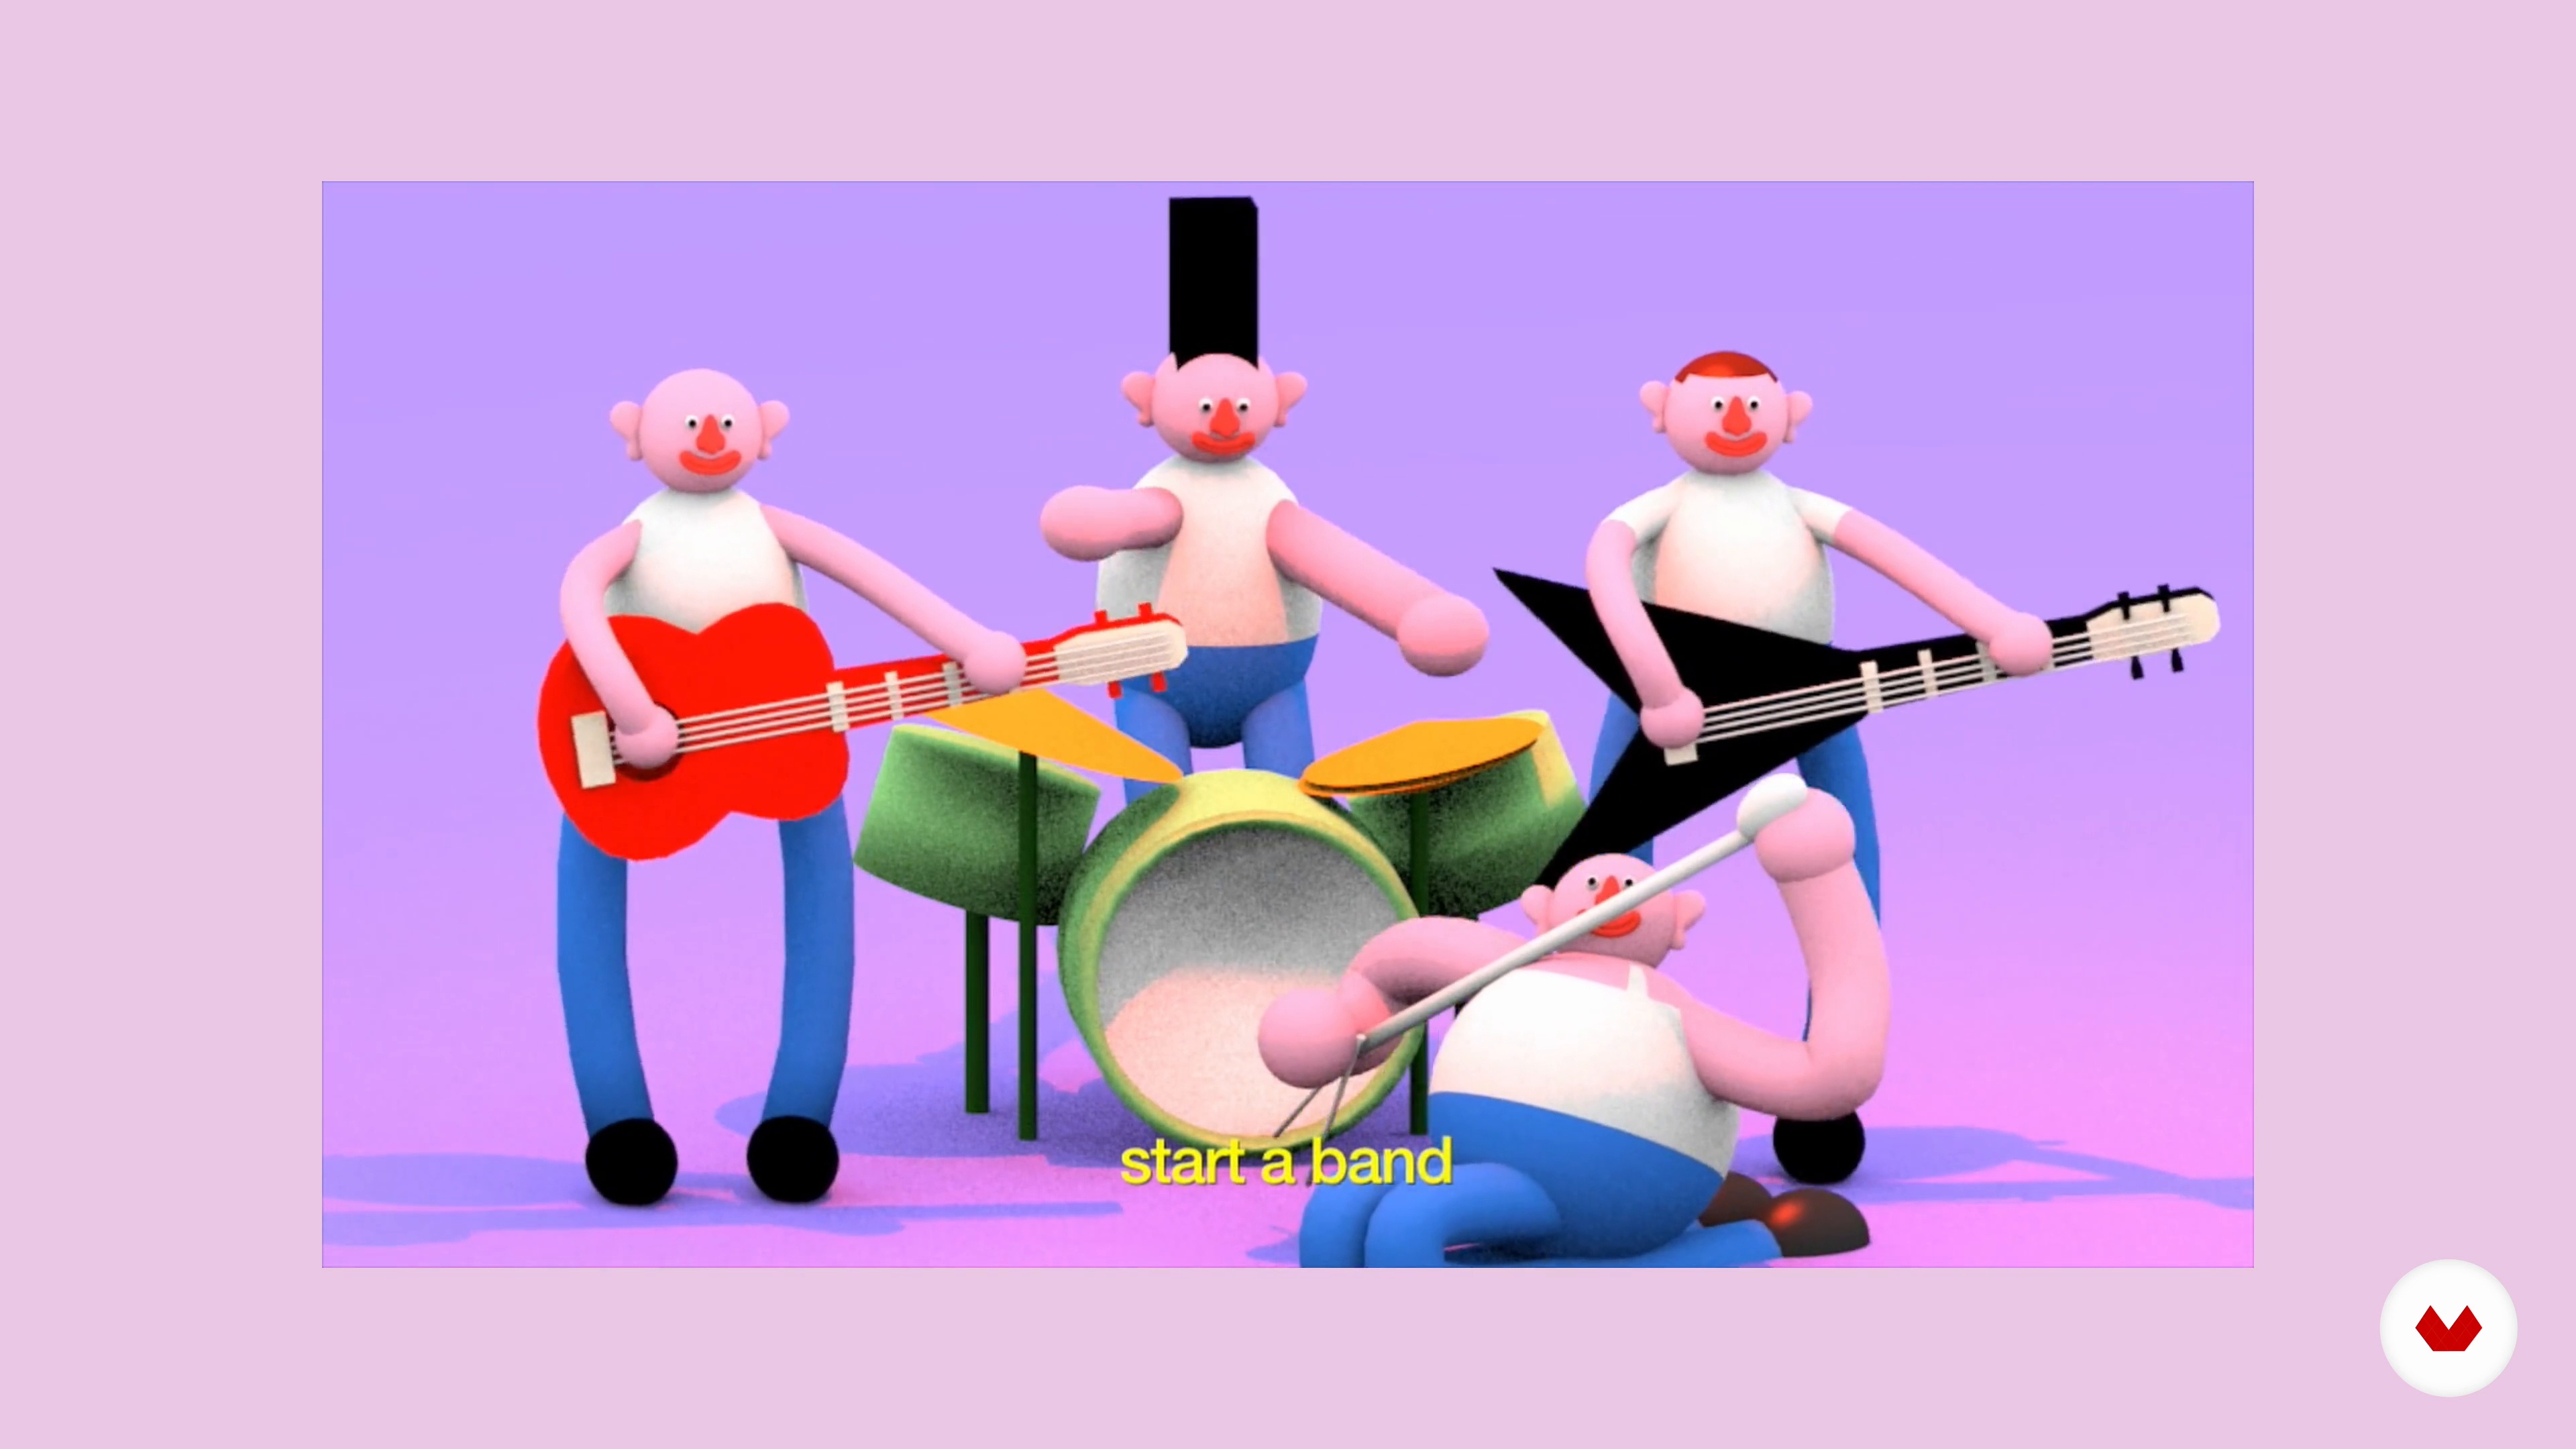
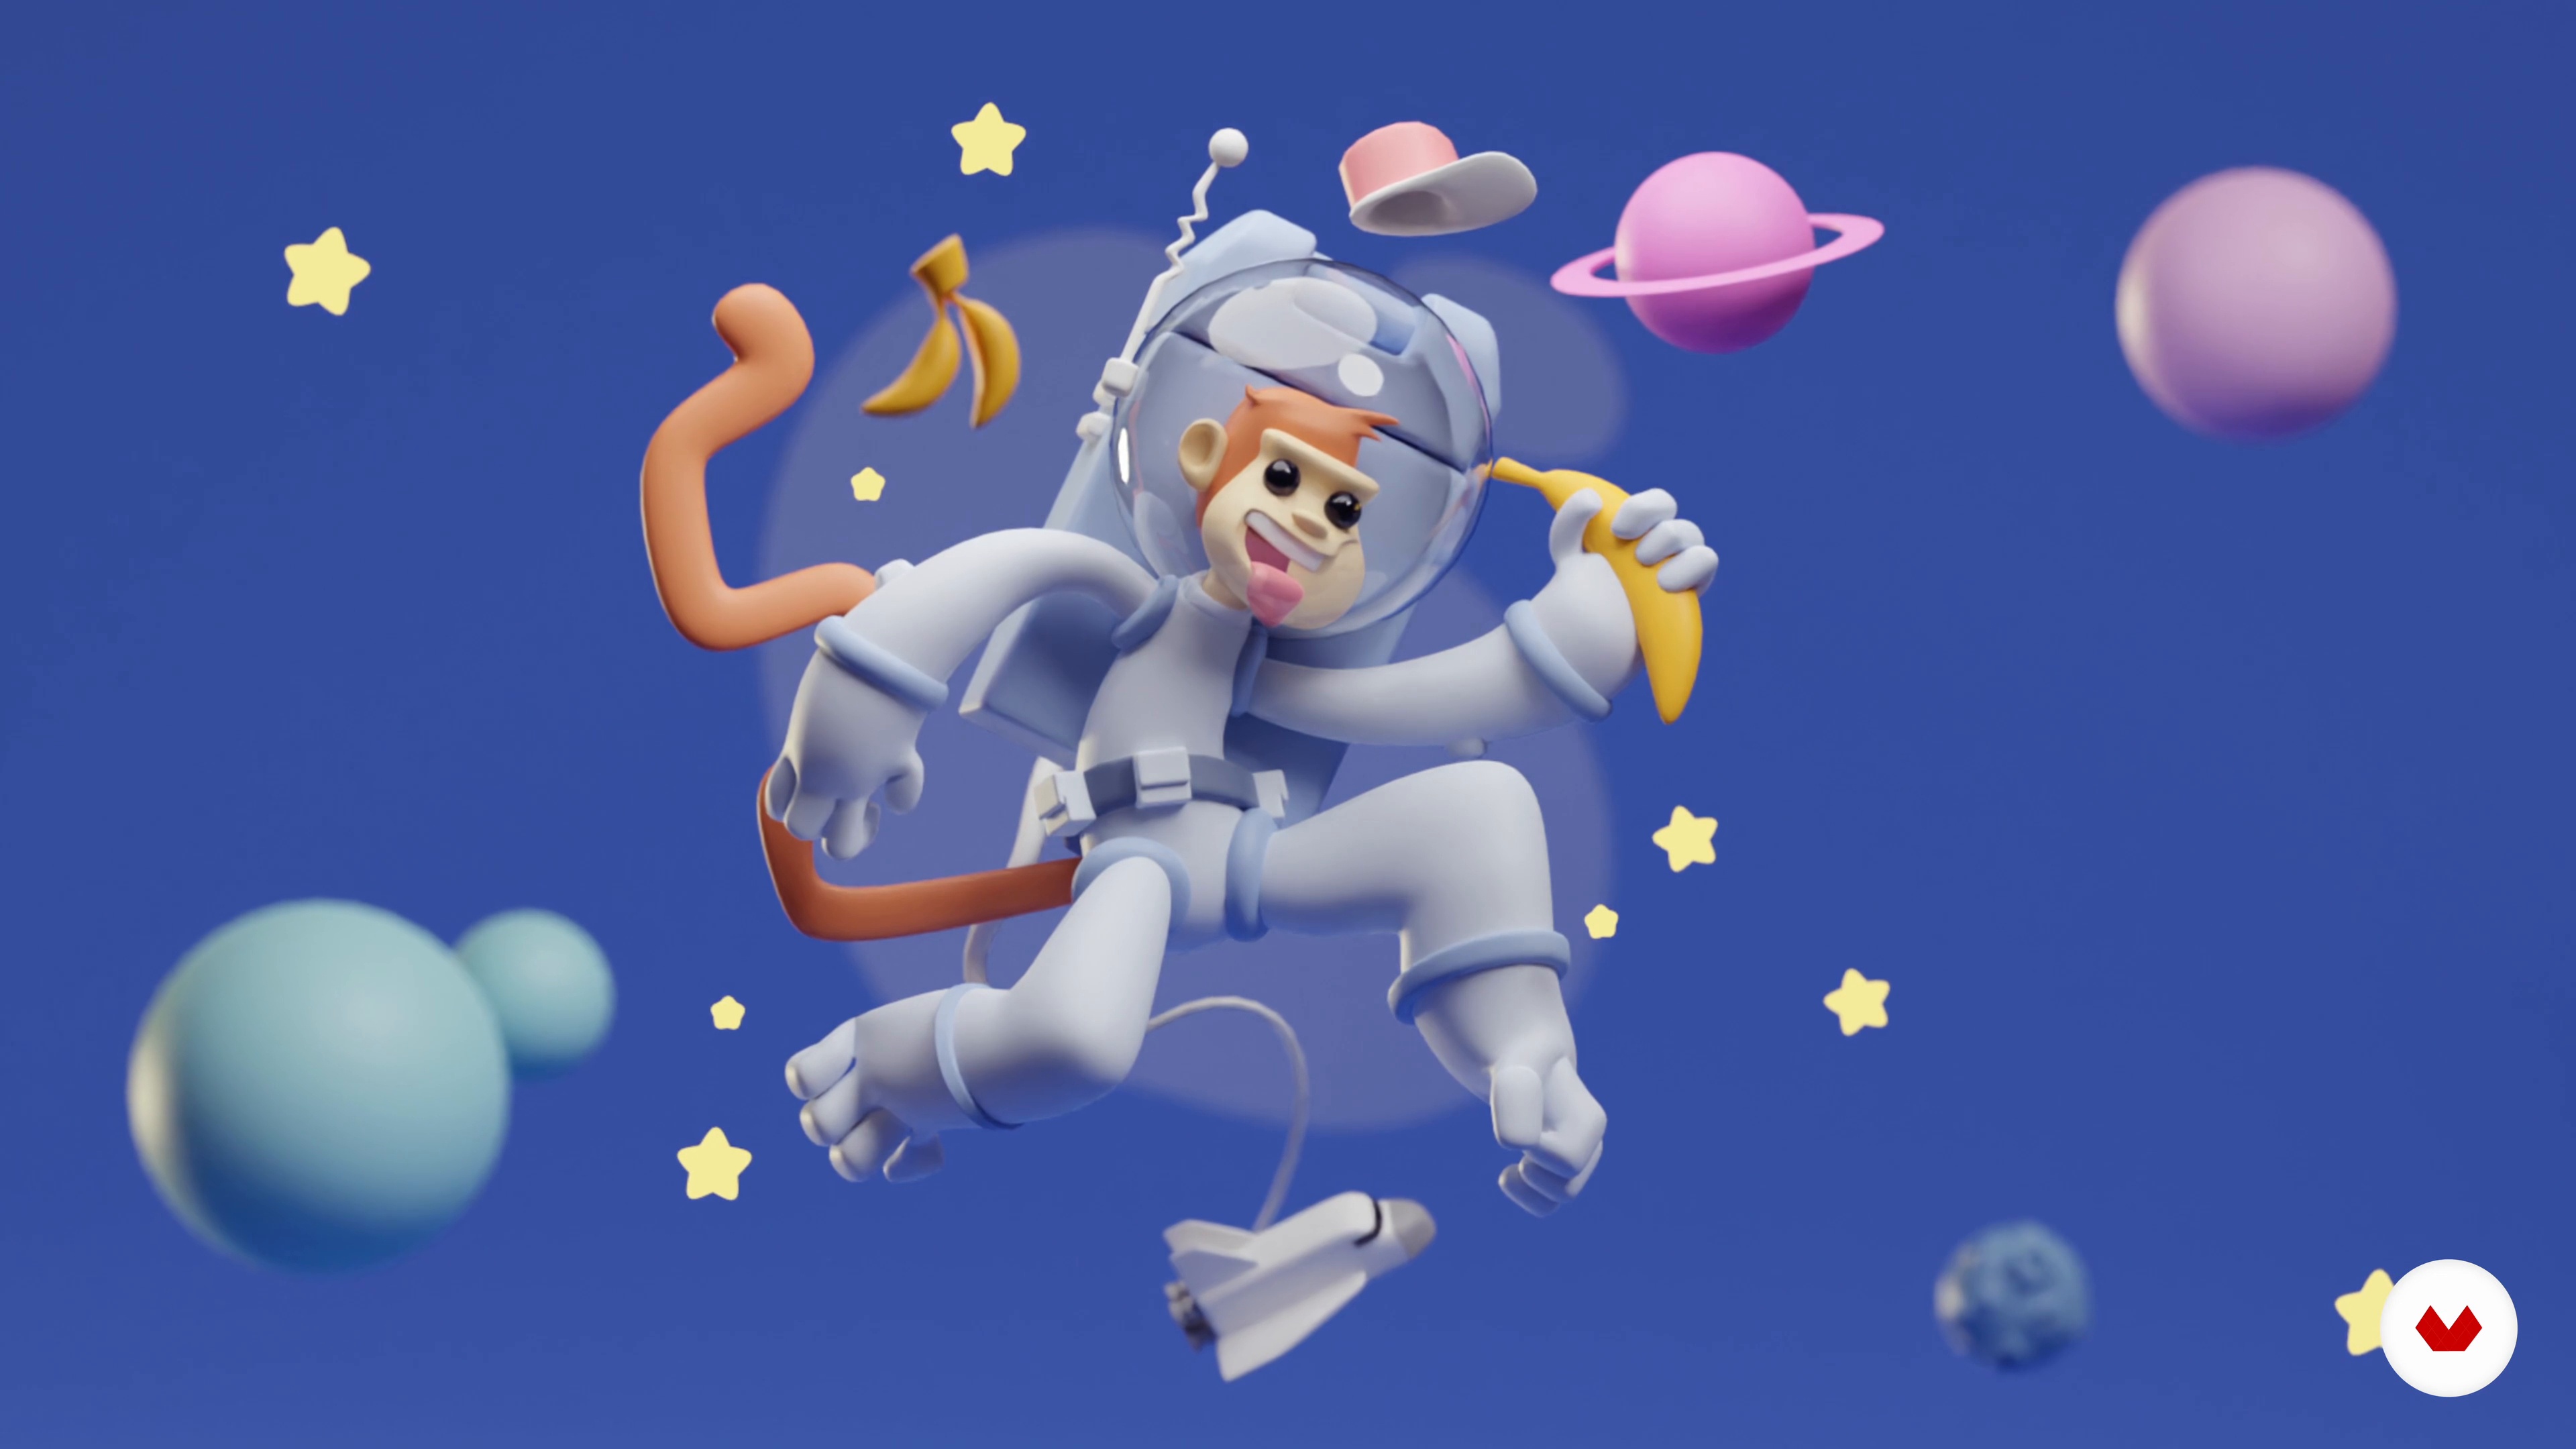
Students will create a 30-60 second humorous animated short, featuring an original character in a futuristic environment, showcasing skills in character design, dynamic animation, storytelling, and photorealistic rendering. The project culminates in a portfolio-ready animation.
Who is this specialization for?
Aspiring 3D animators, game developers, and digital storytellers eager to create captivating character-driven content will benefit from mastering Blender's animation techniques, environmental design, and rendering skills to produce professional-quality animated shorts for entertainment, education, or personal projects.
Requirements and materials
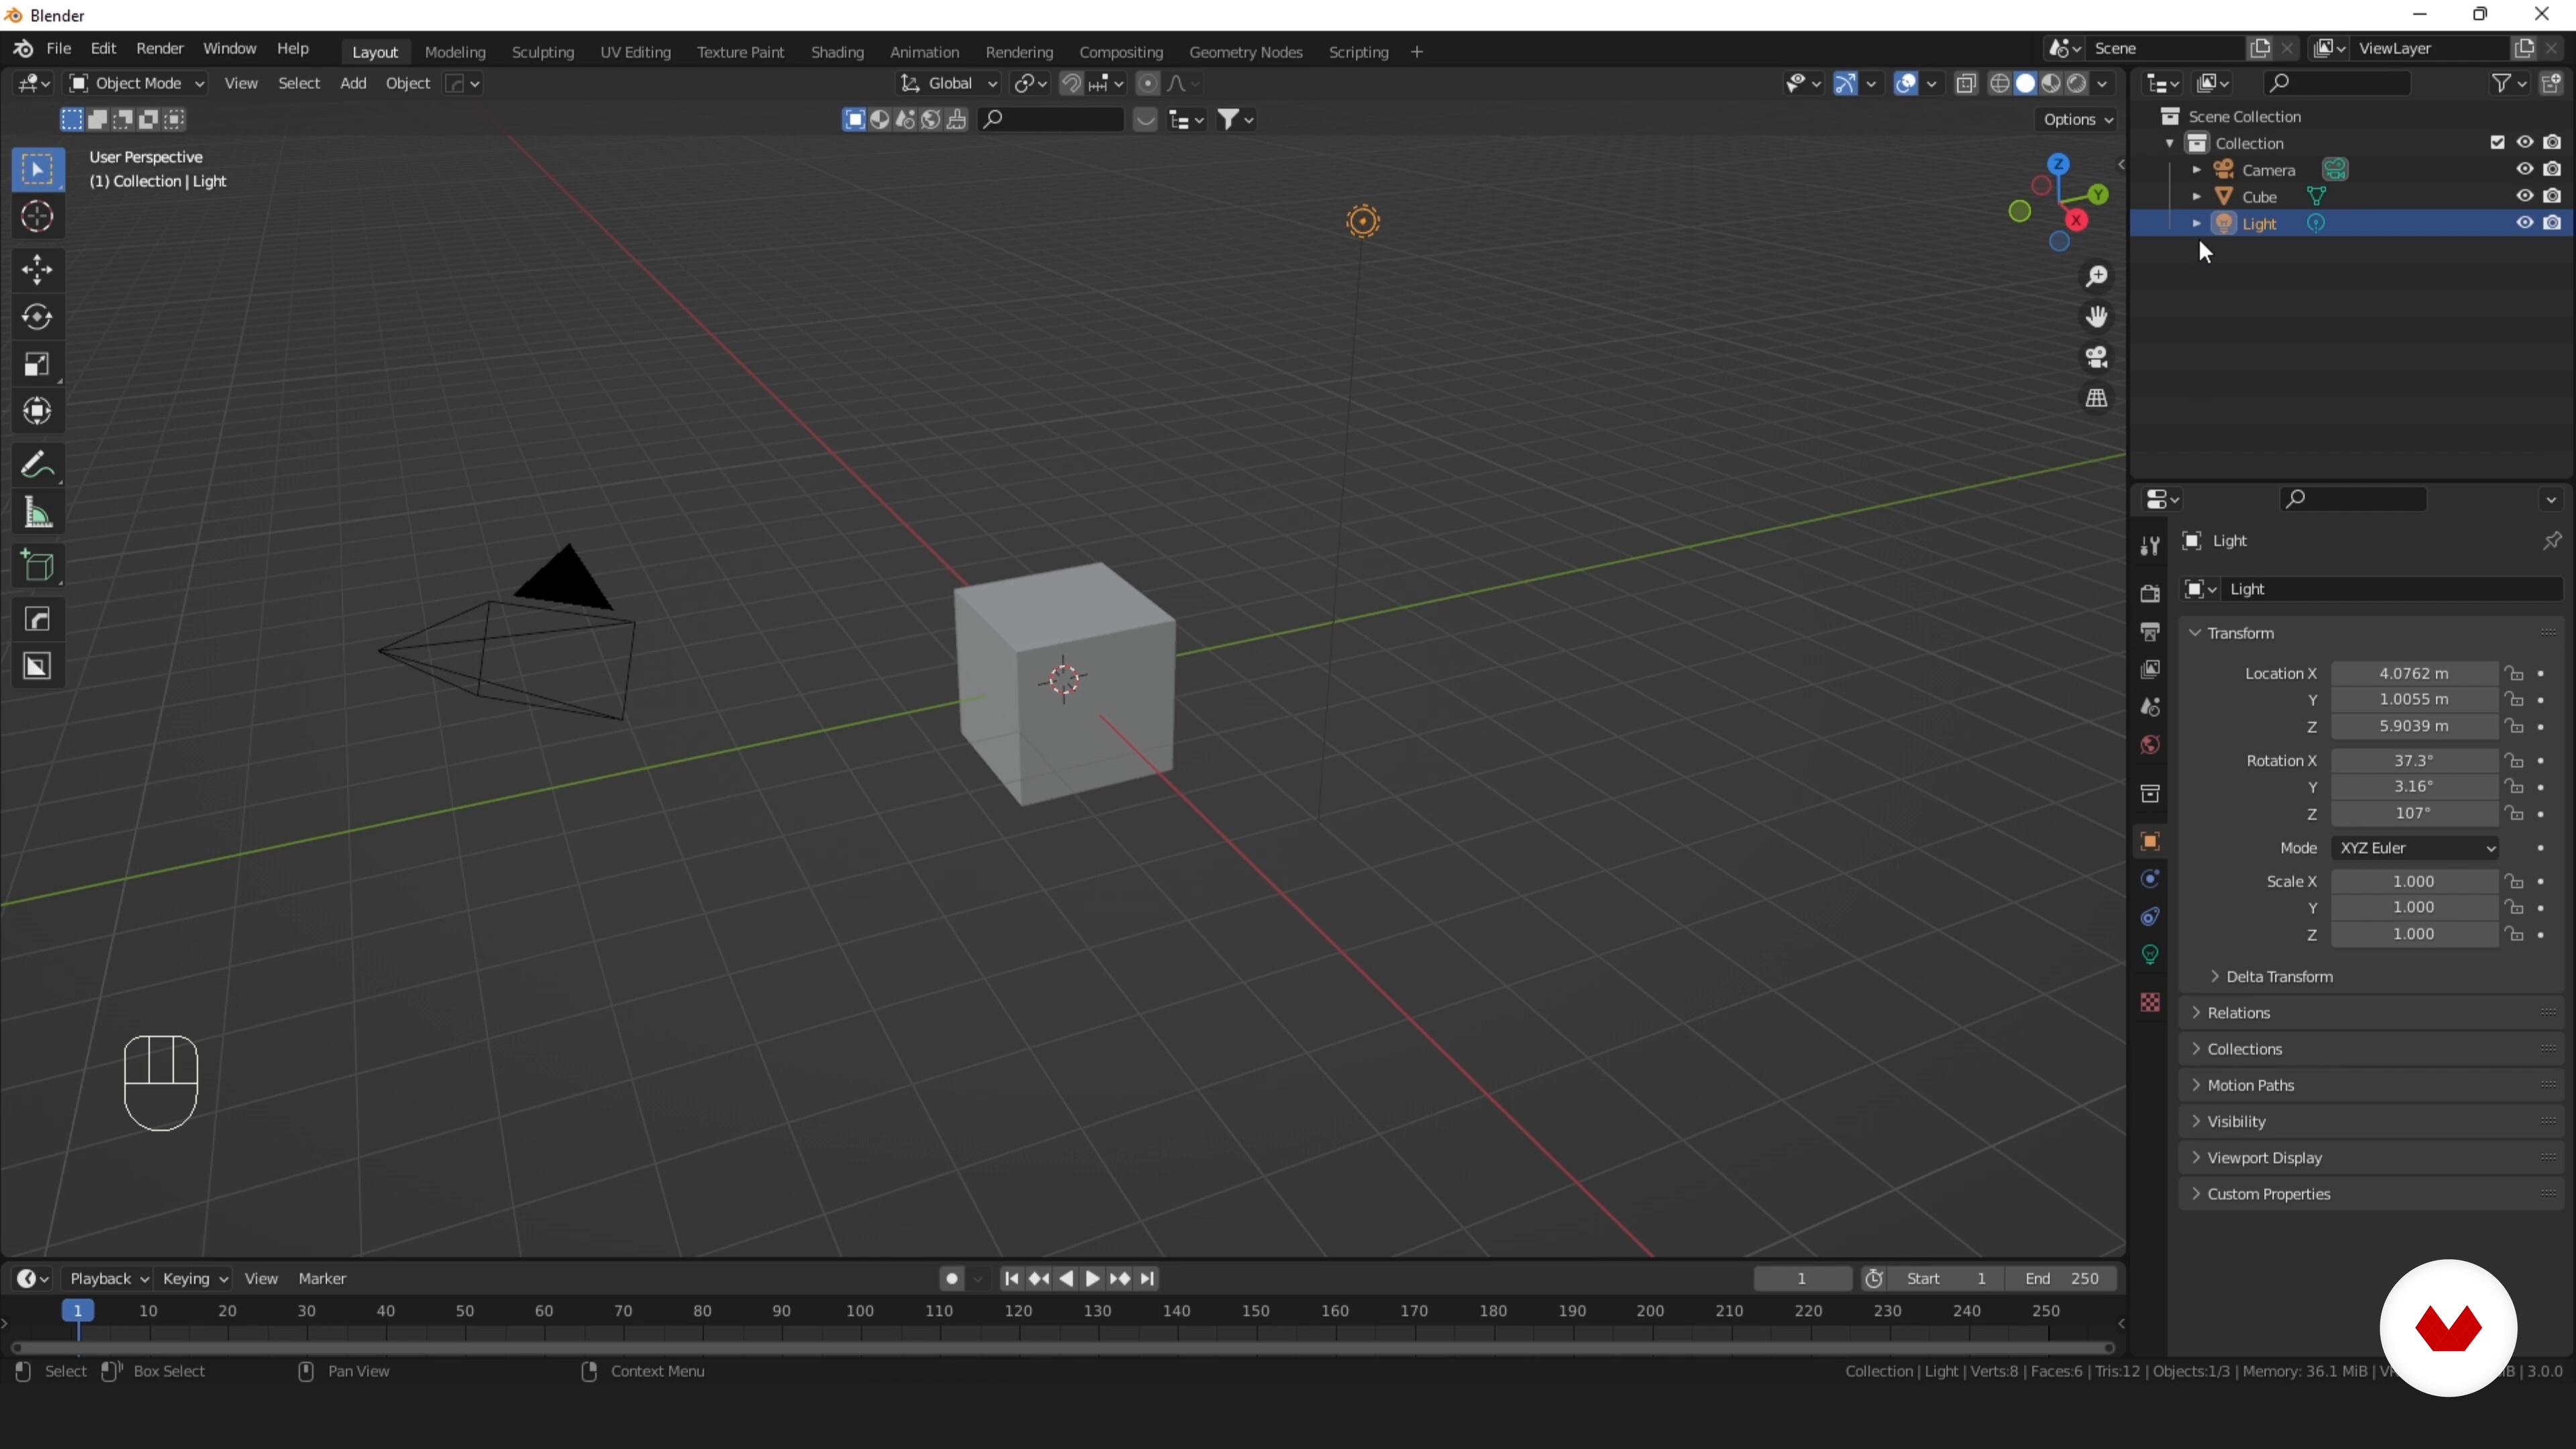
No extensive prior knowledge is required, but familiarity with Blender's interface will be helpful. You'll need a computer with Blender installed, internet access for resources, and a creative mindset to explore 3D art. All necessary textures and tools are included.


Reviews
What to expect from this specialization course
-
Learn at your own pace
Enjoy learning from home without a set schedule and with an easy-to-follow method. You set your own pace.
-
Learn from the best professionals
Learn valuable methods and techniques explained by top experts in the creative sector.
-
Meet expert teachers
Each expert teaches what they do best, with clear guidelines, true passion, and professional insight in every lesson.
-
Certificates
PlusIf you're a Plus member, get a custom certificate for every specialization course. Share it on your portfolio, social media, or wherever you like.
-
Get front-row seats
Videos of the highest quality, so you don't miss a single detail. With unlimited access, you can watch them as many times as you need to perfect your technique.
-
Share knowledge and ideas
Ask questions, request feedback, or offer solutions. Share your learning experience with other students in the community who are as passionate about creativity as you are.
-
Connect with a global creative community
The community is home to millions of people from around the world who are curious and passionate about exploring and expressing their creativity.
-
Watch professionally produced courses
Domestika curates its teacher roster and produces every course in-house to ensure a high-quality online learning experience.
FAQs
Yes, this course is designed for intermediate artists who have some experience with 3D modeling and want to improve their clean topology, low poly workflow, and scene composition skills.
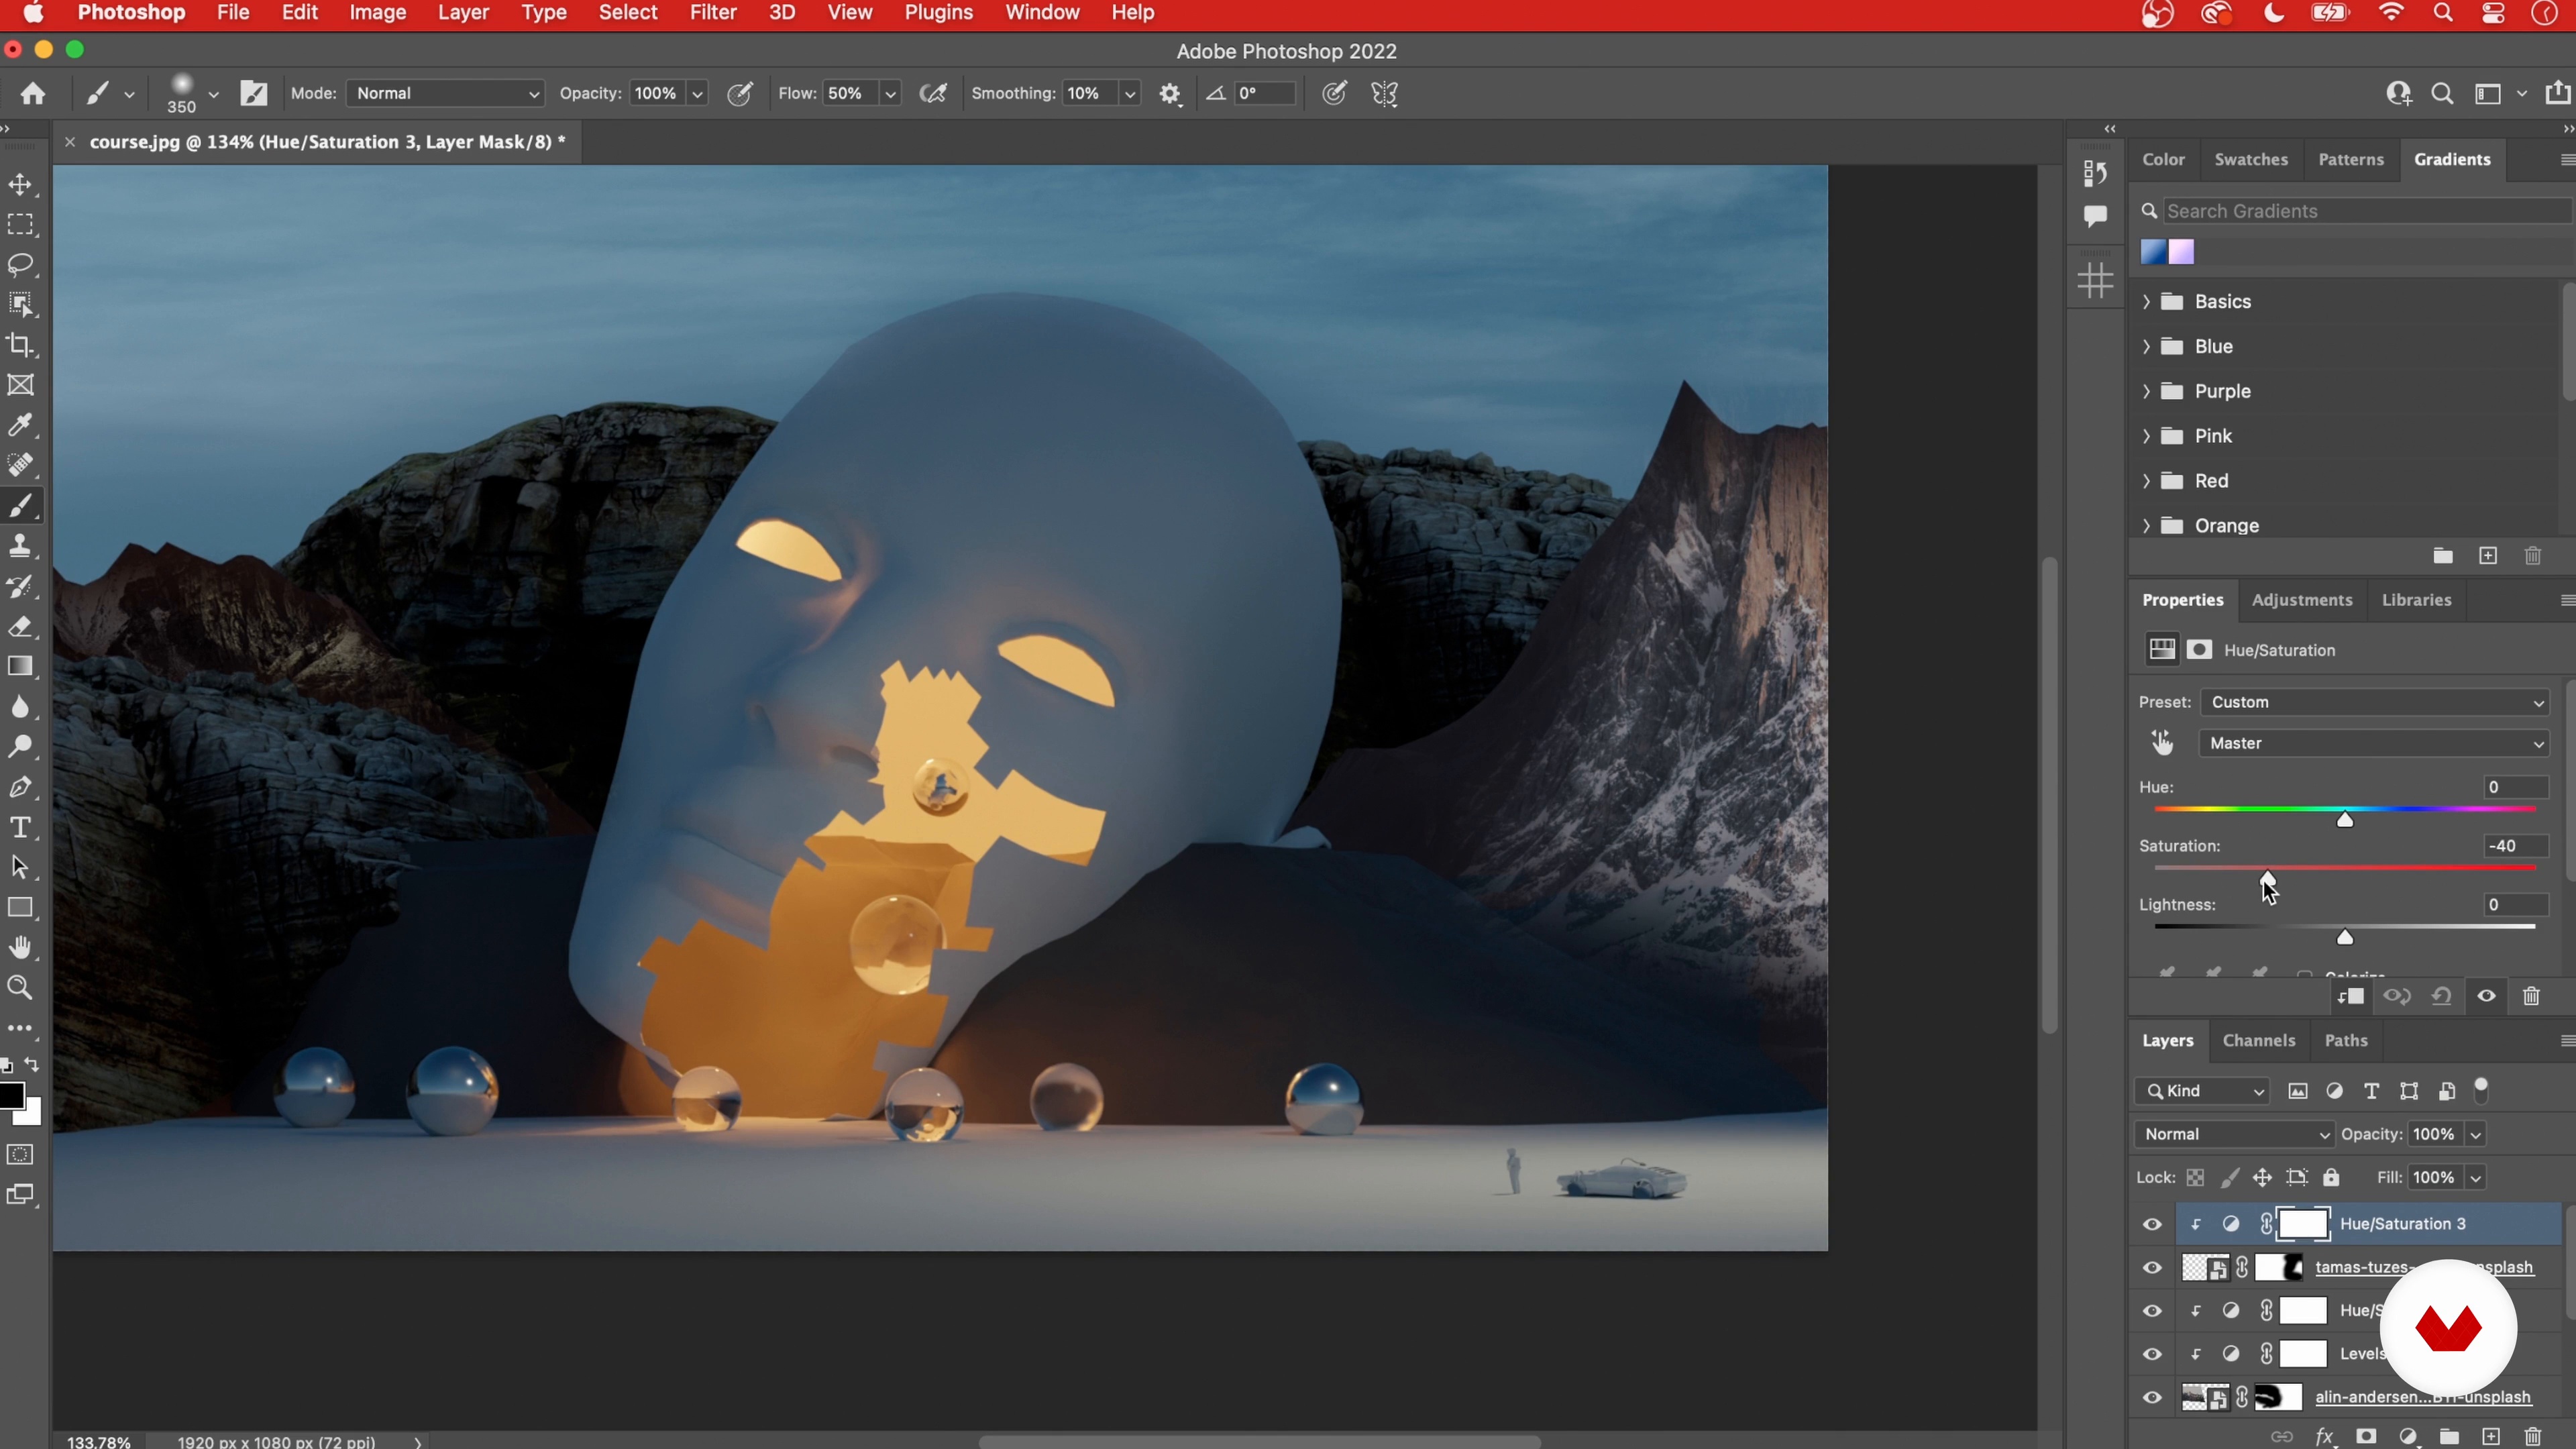
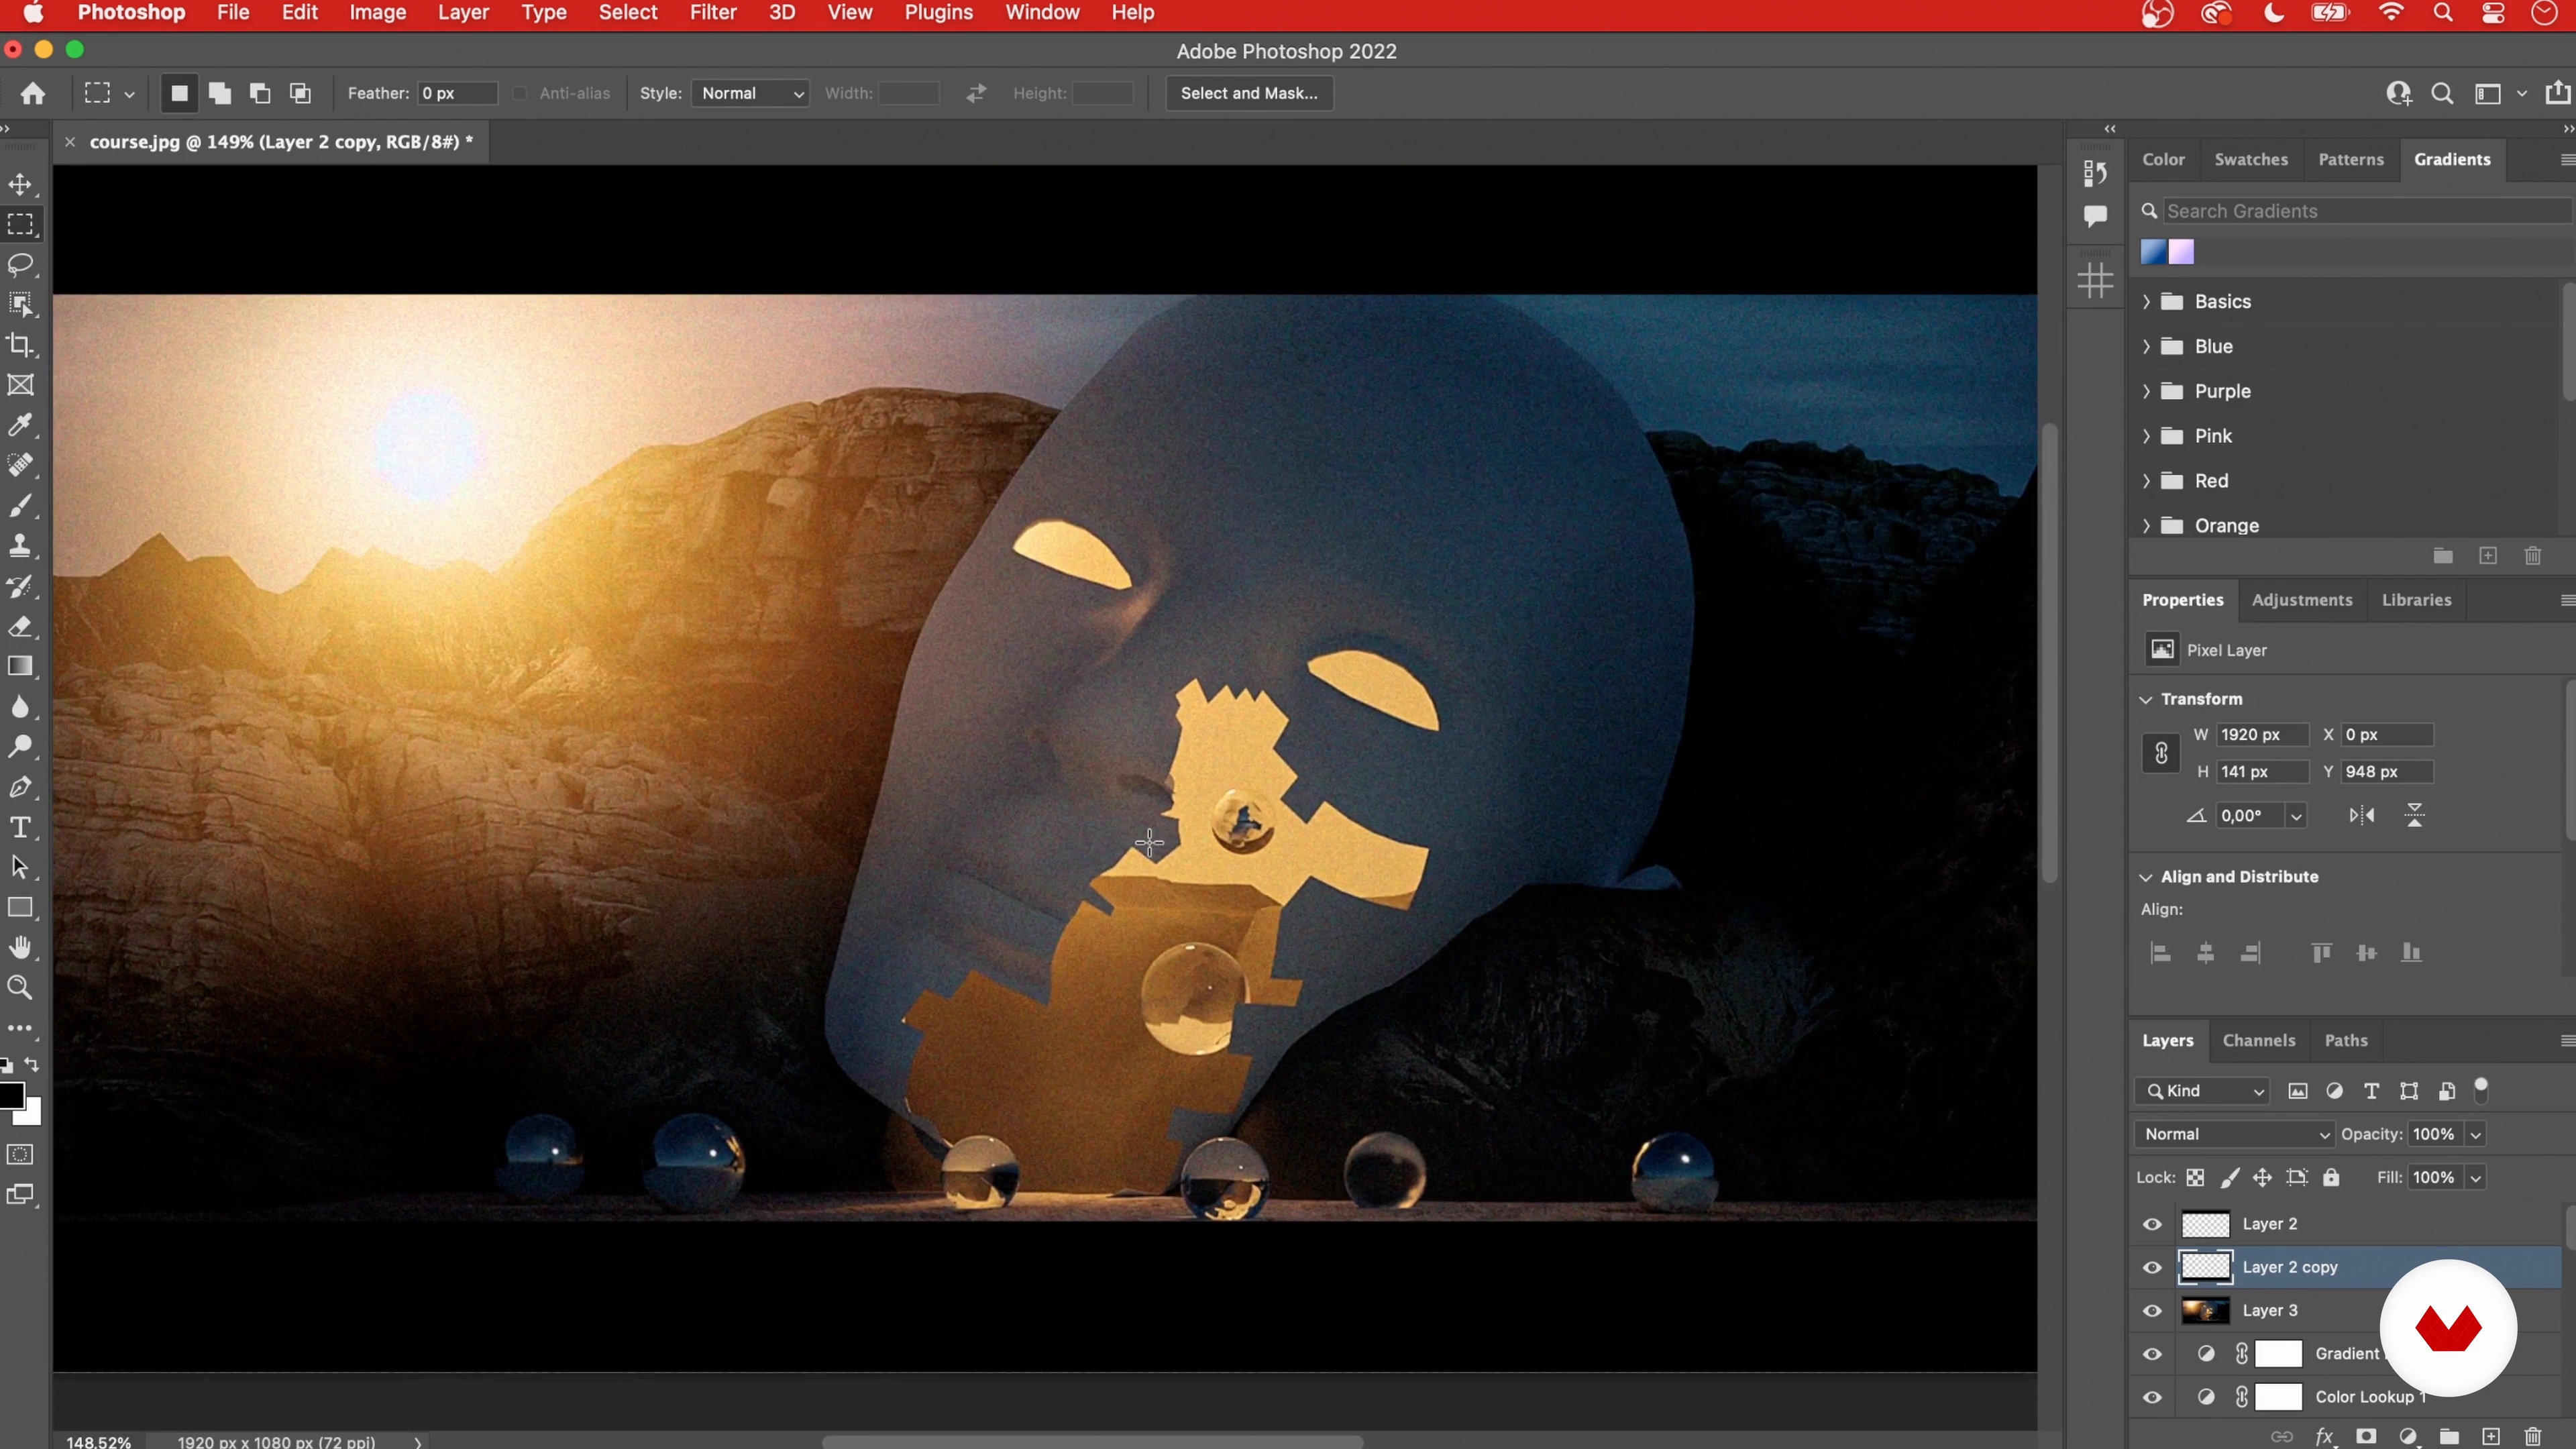
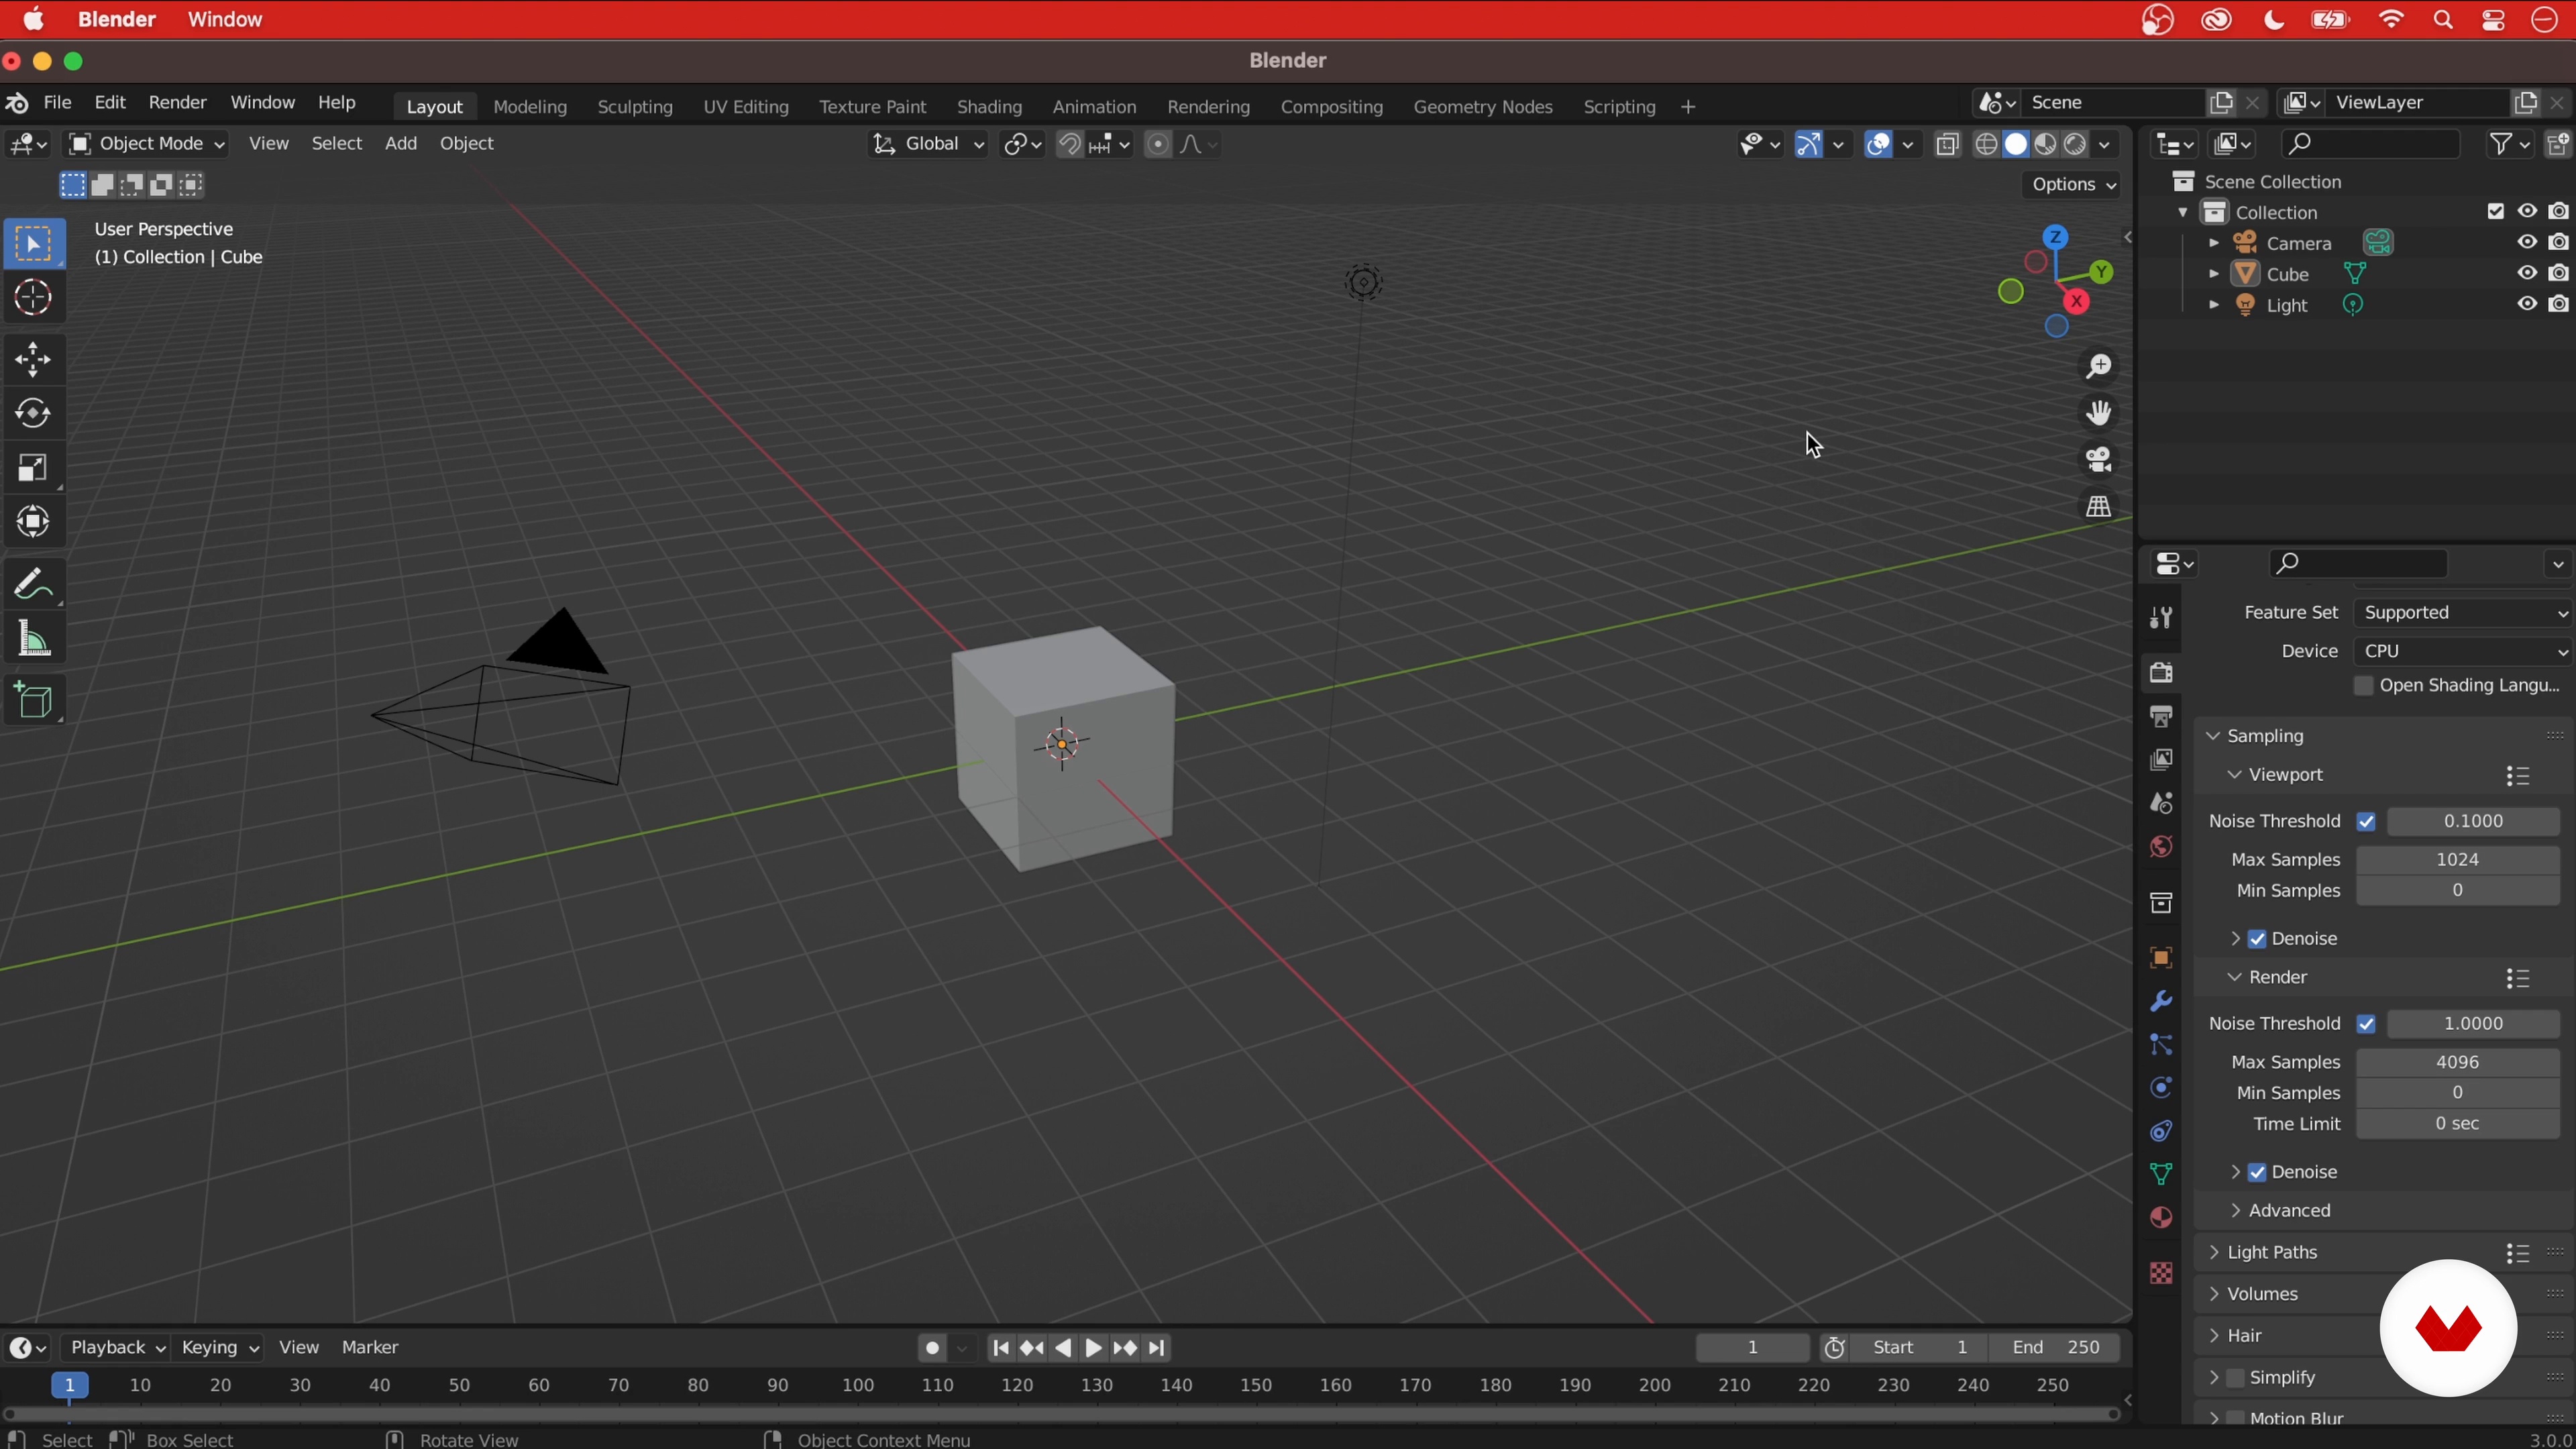
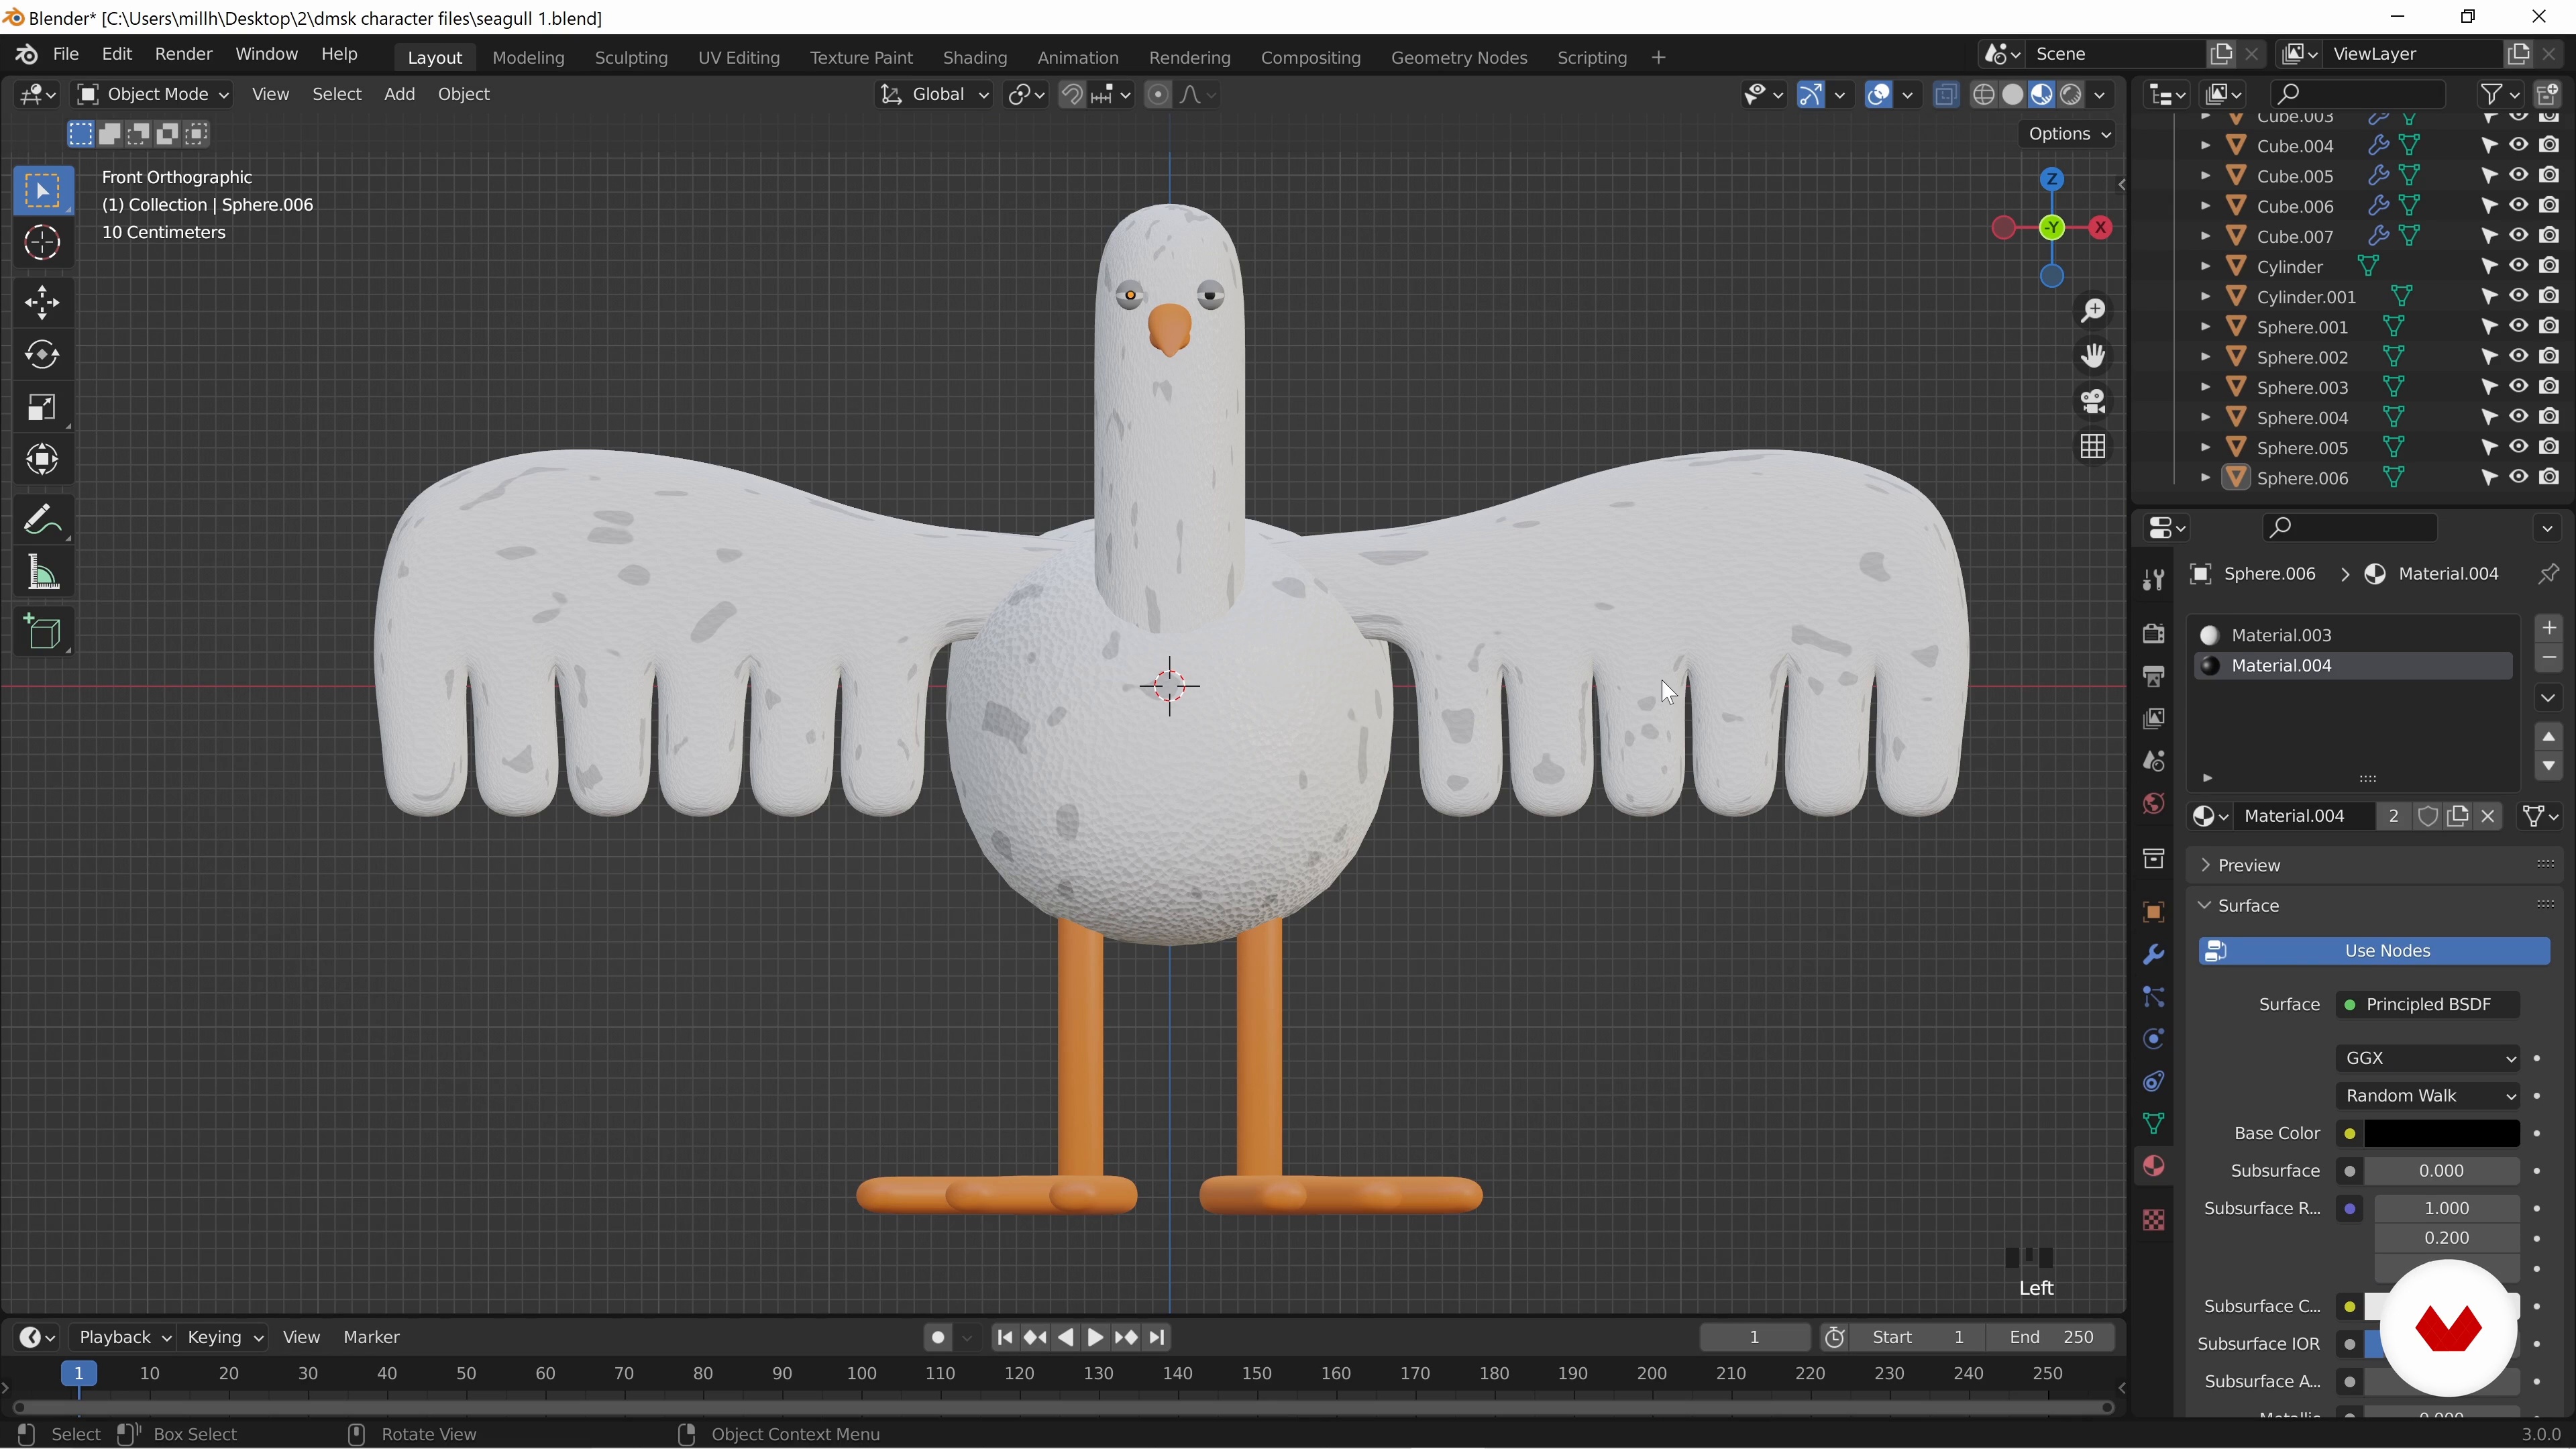
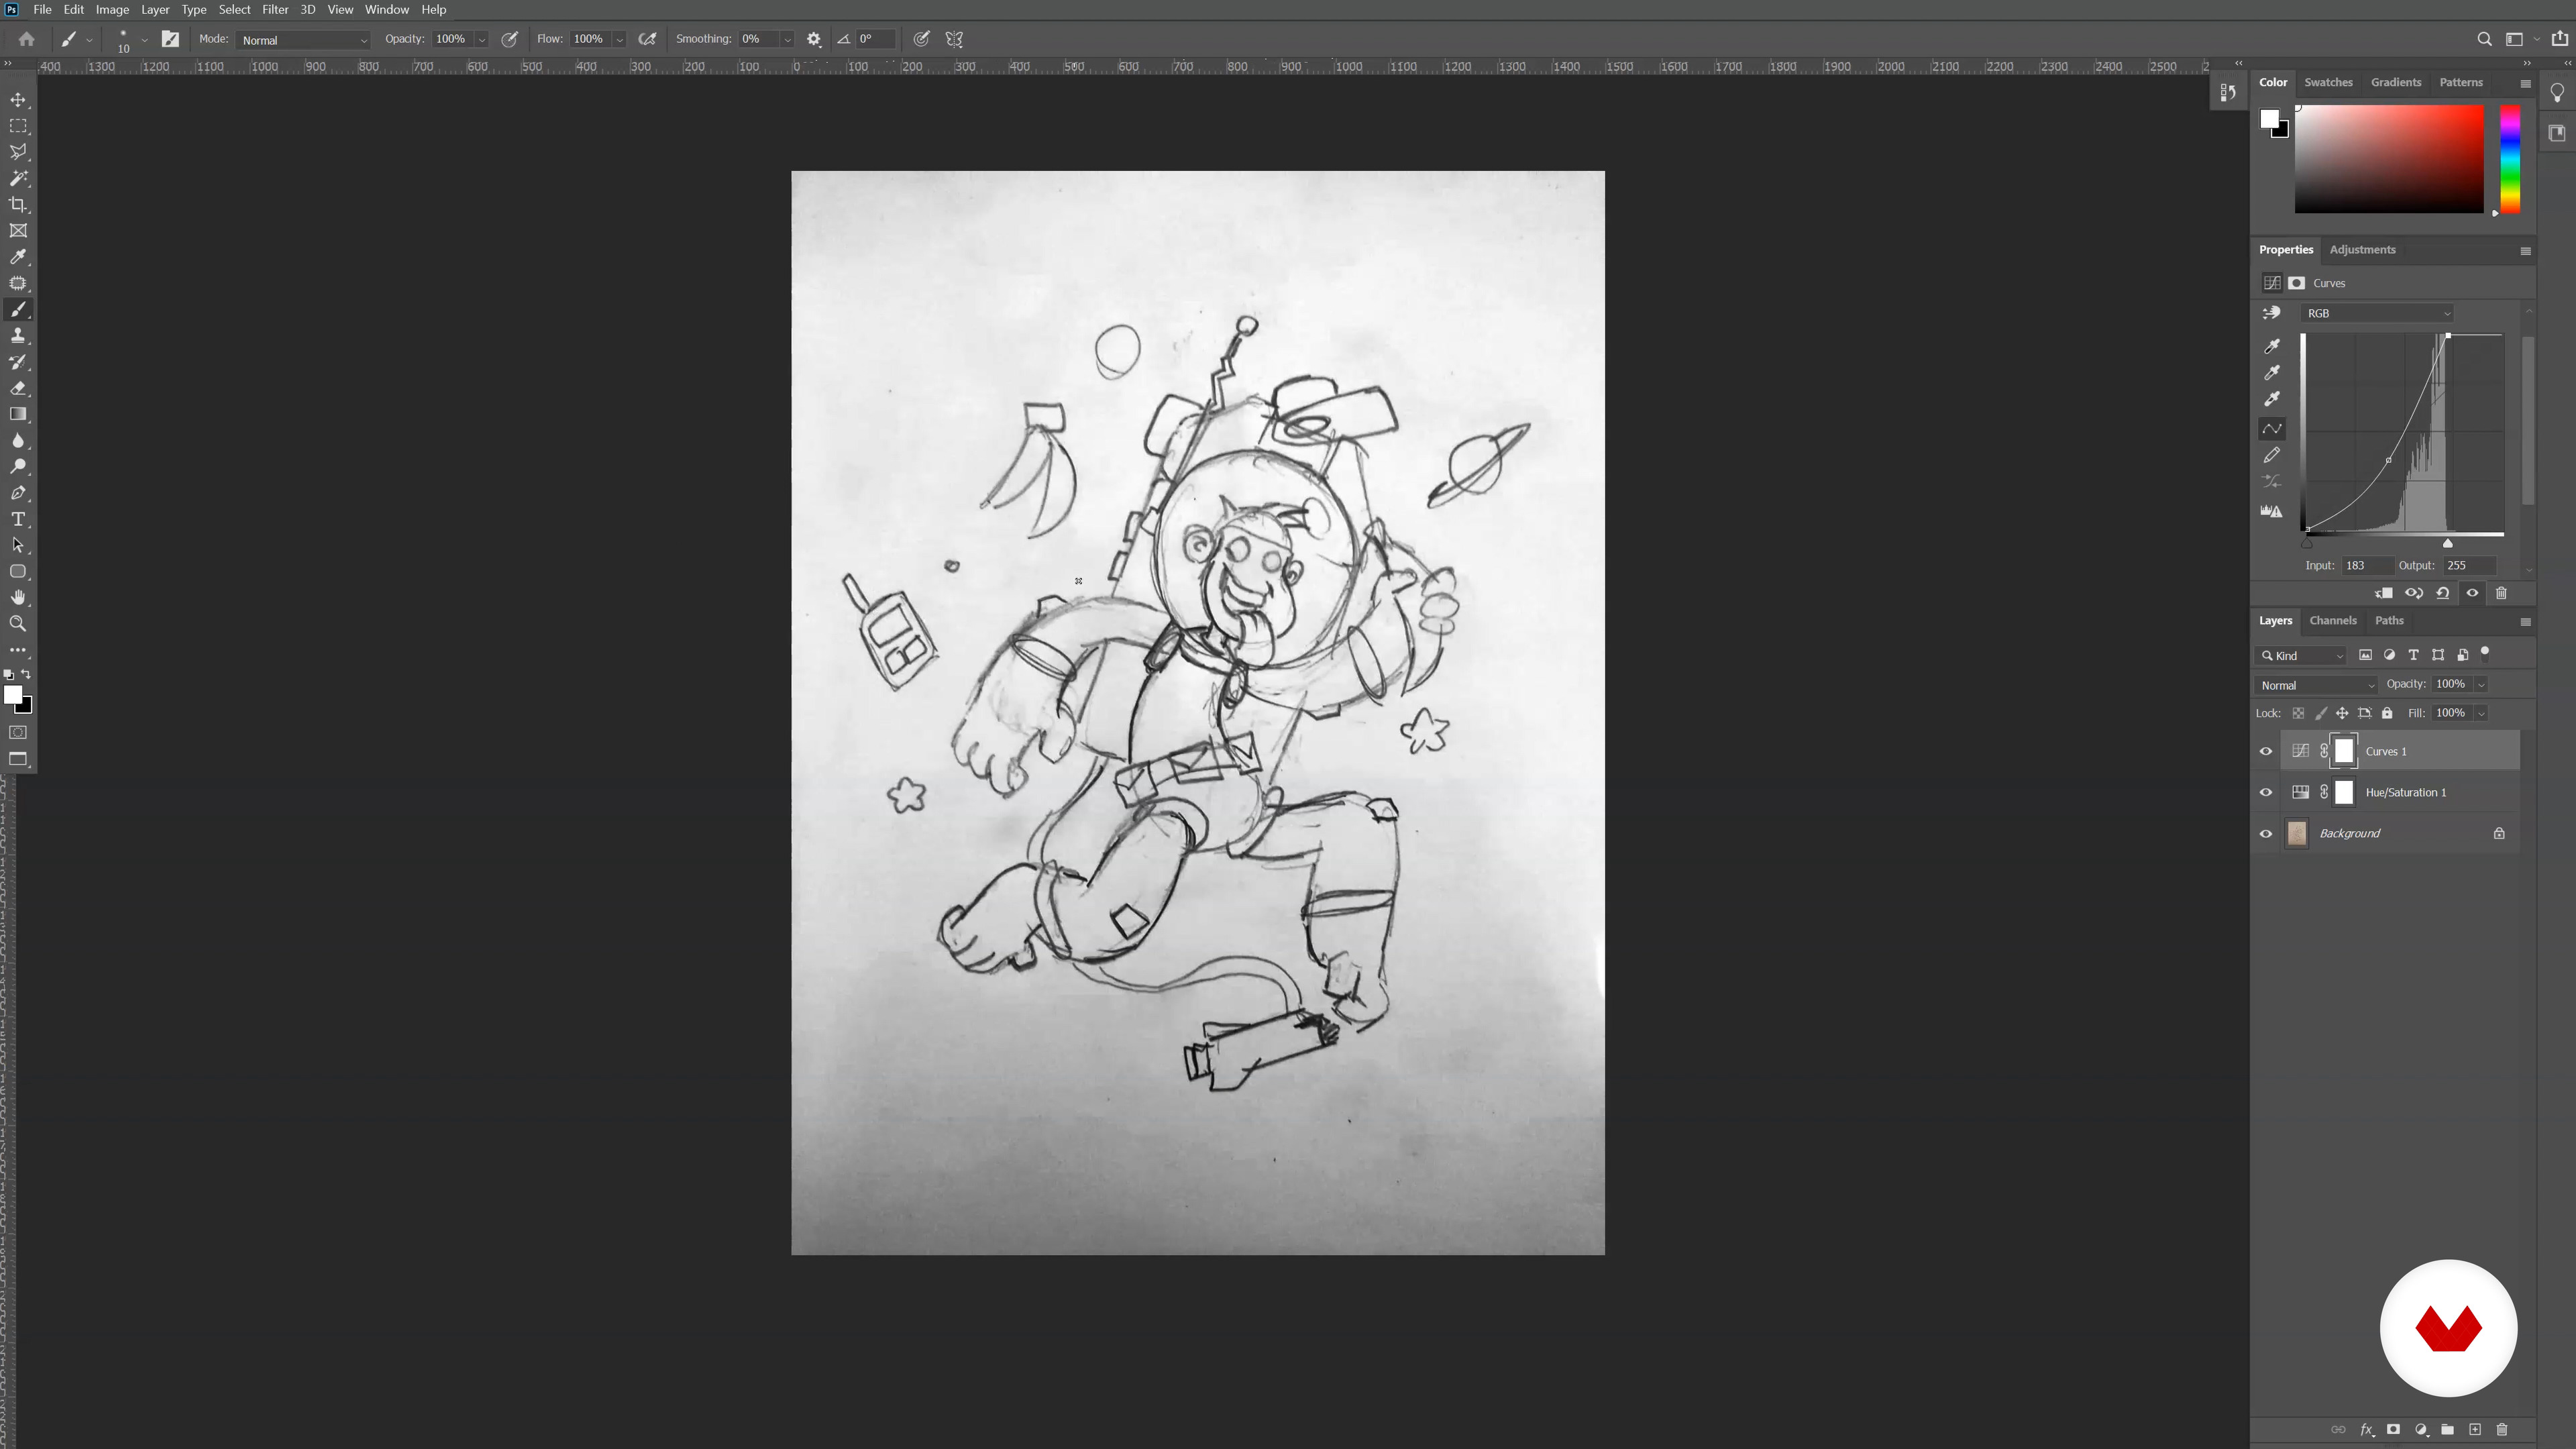
You will need Blender for 3D modeling and rendering, and Adobe Photoshop for sketch preparation and digital editing. Basic familiarity with both is recommended.
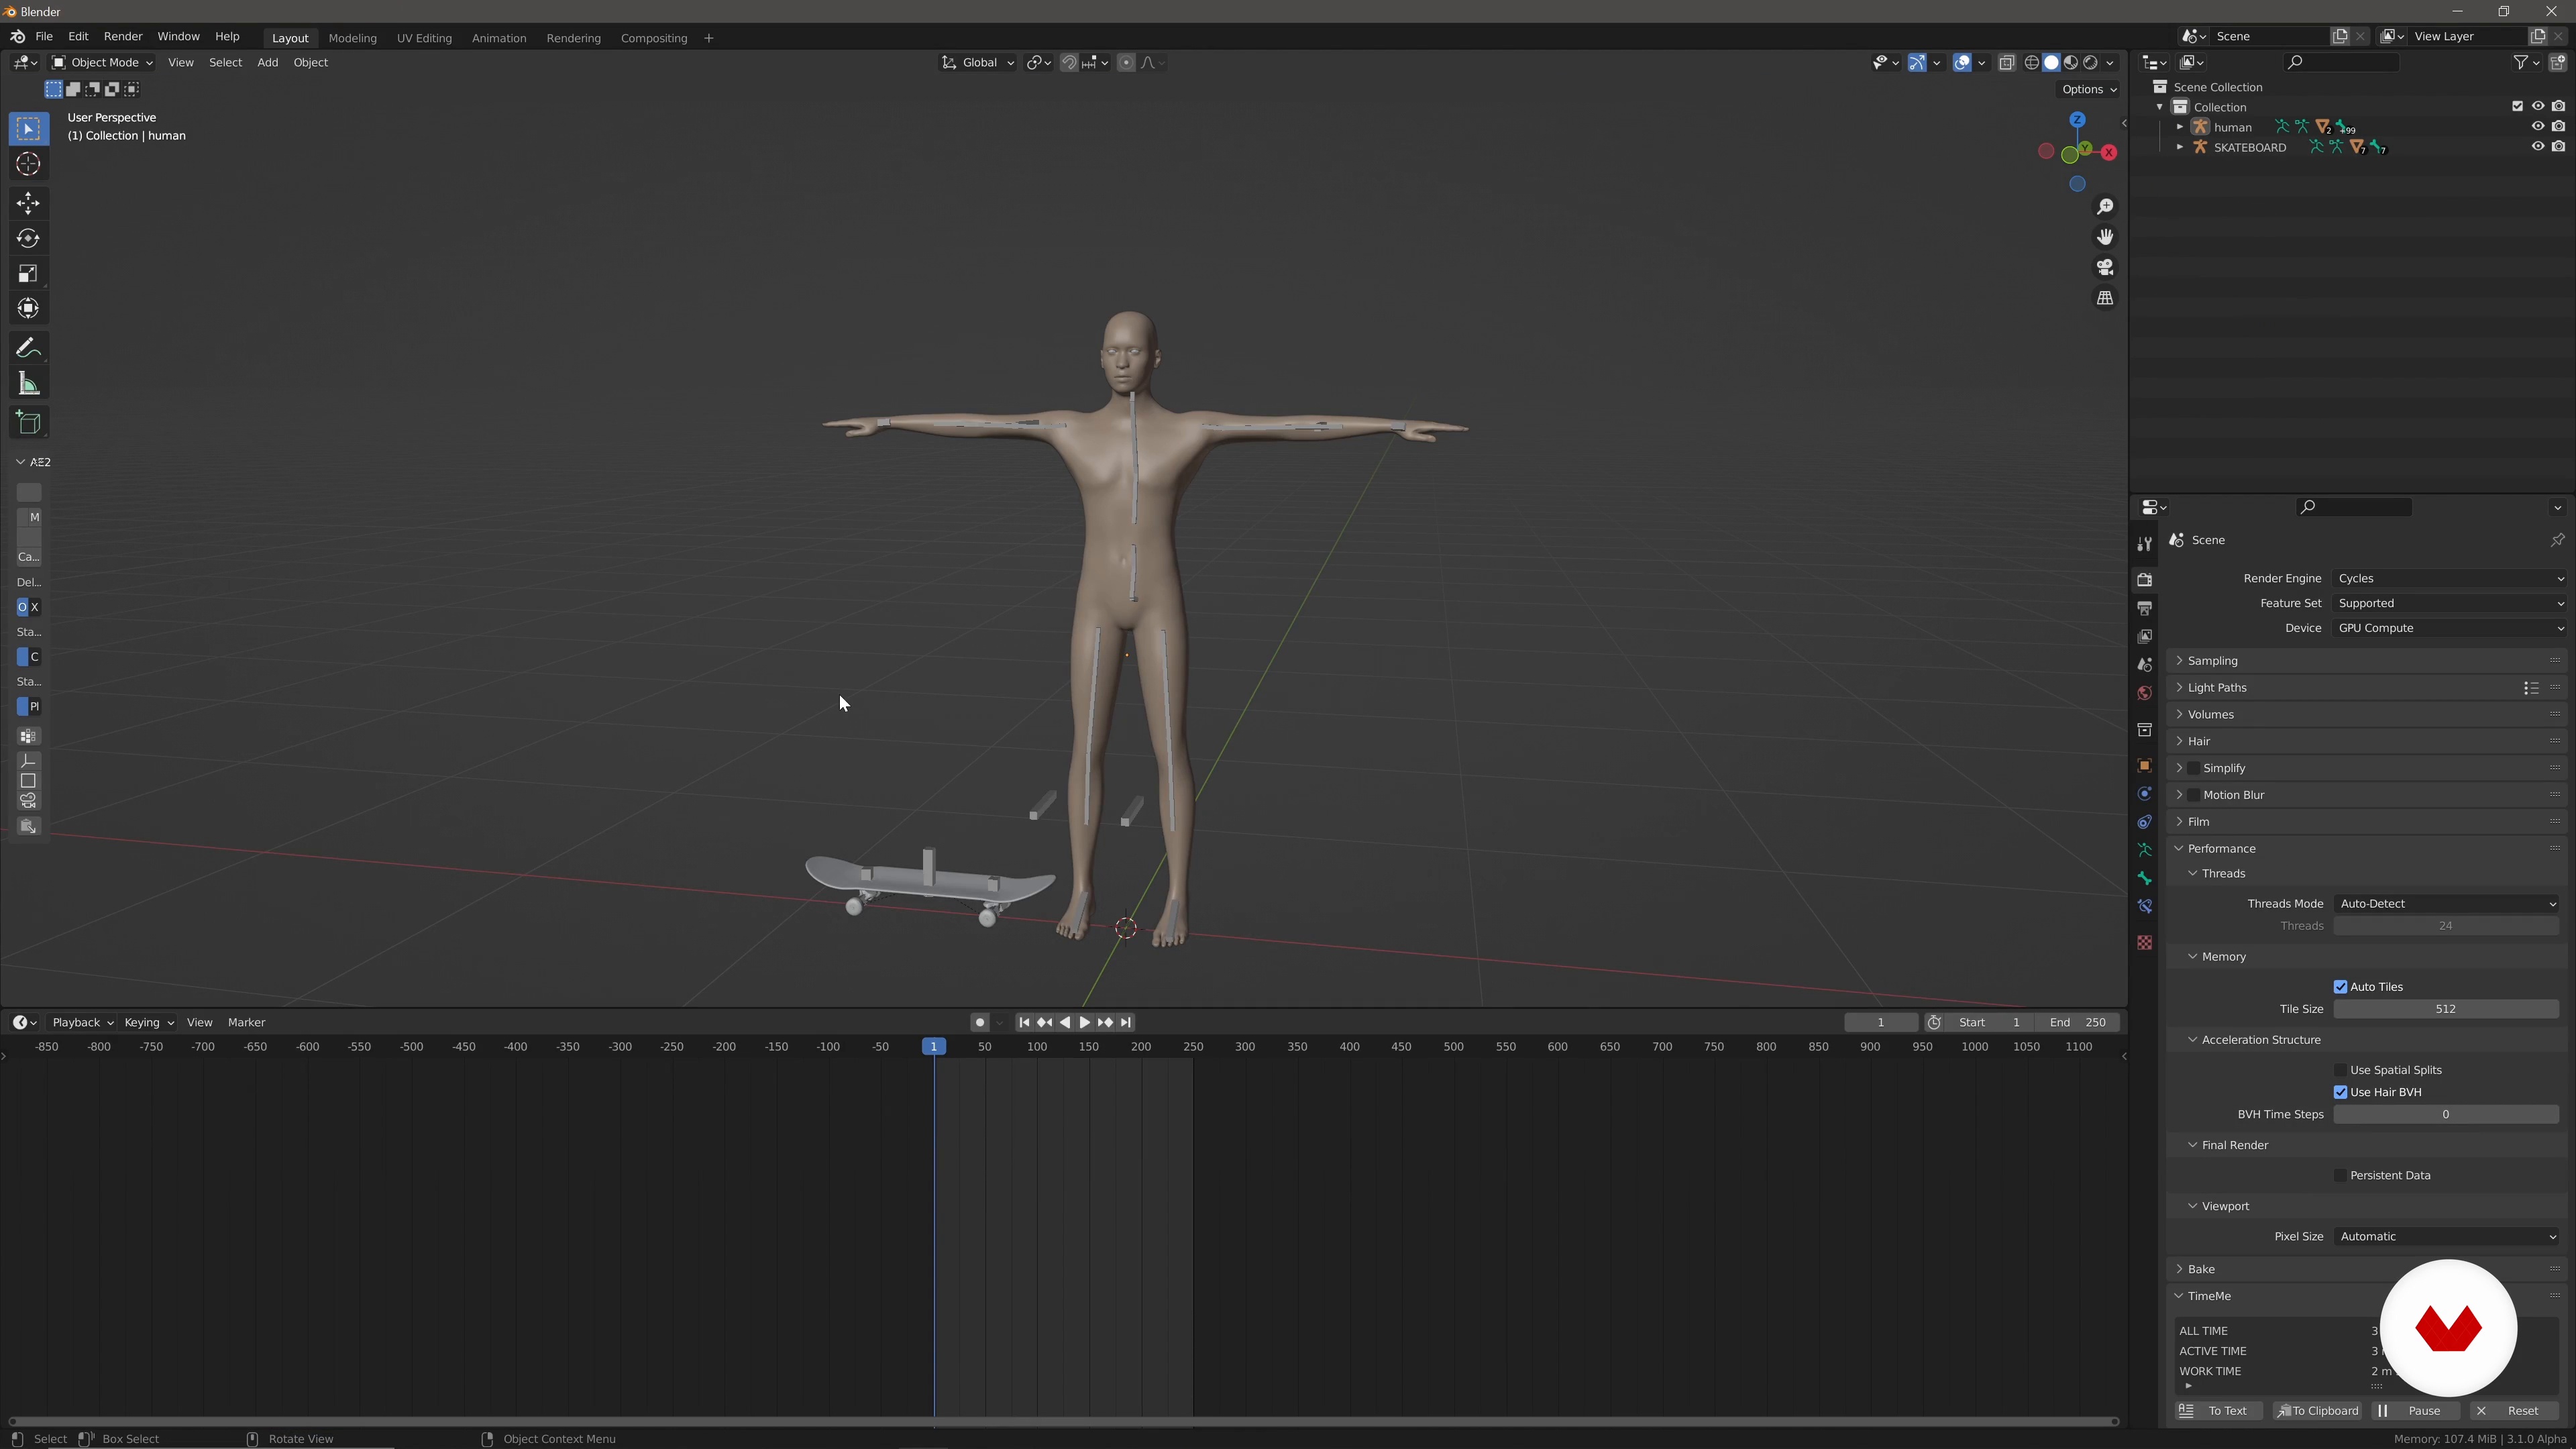
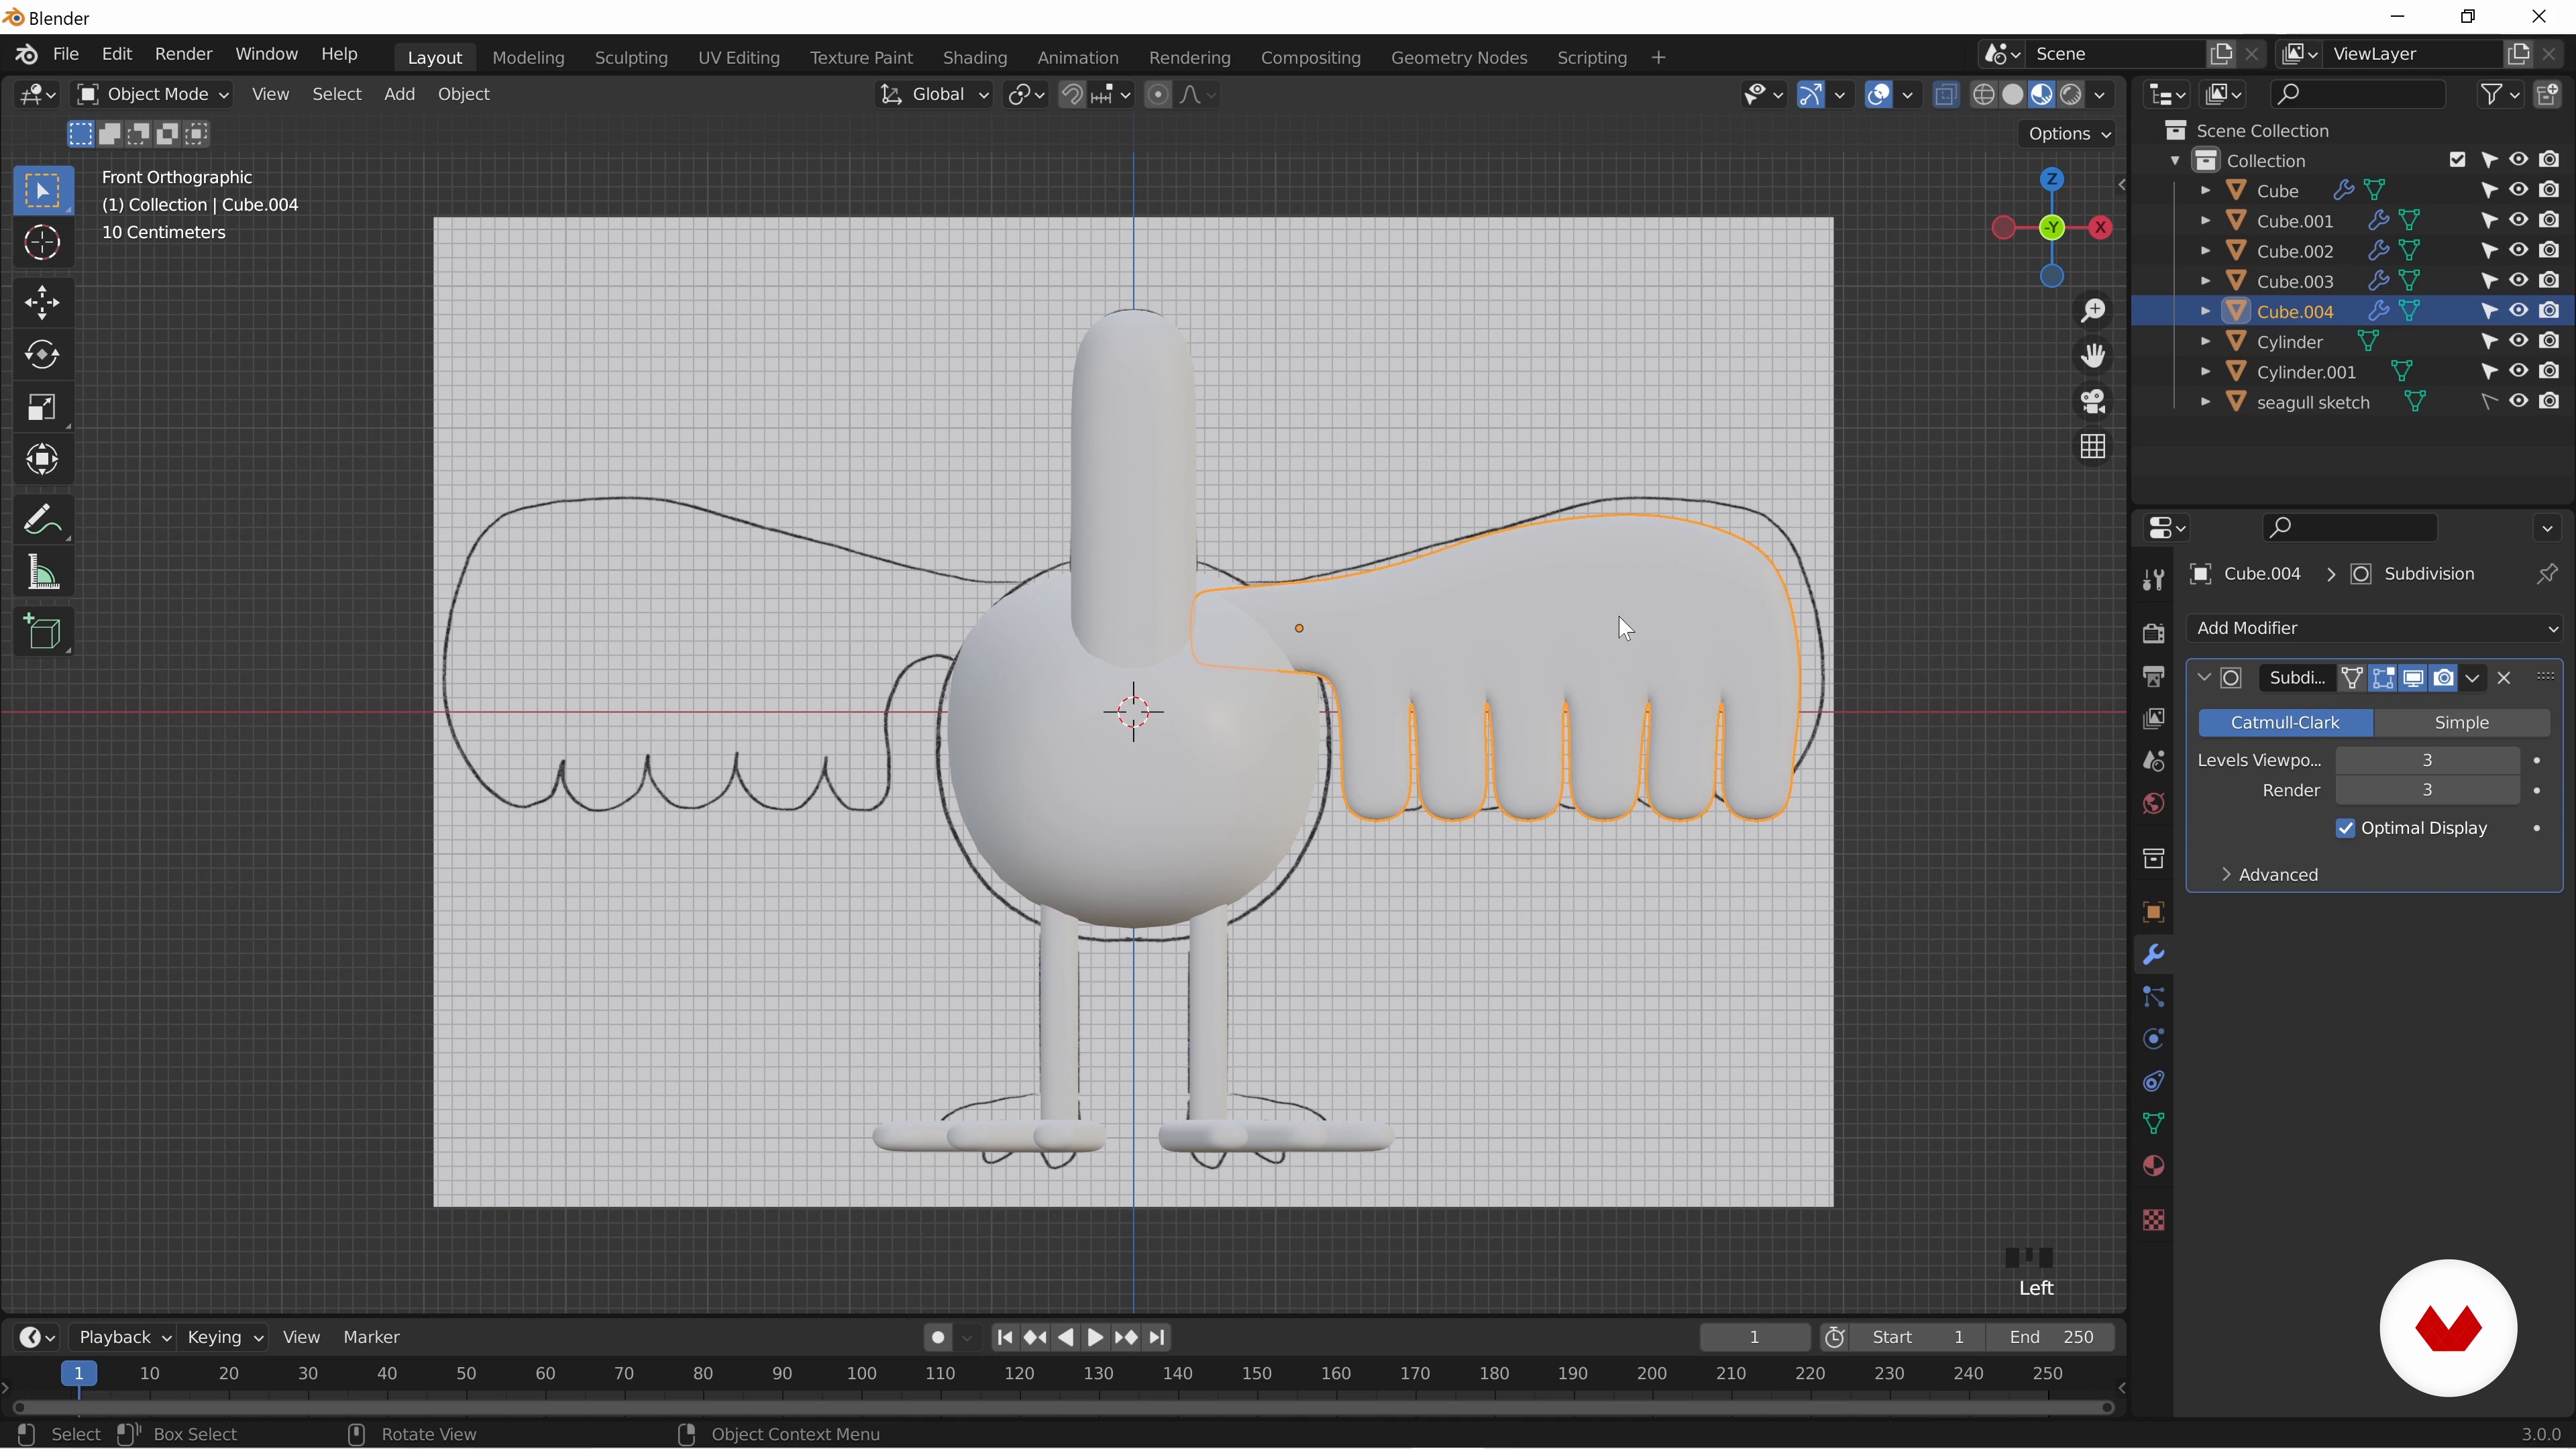
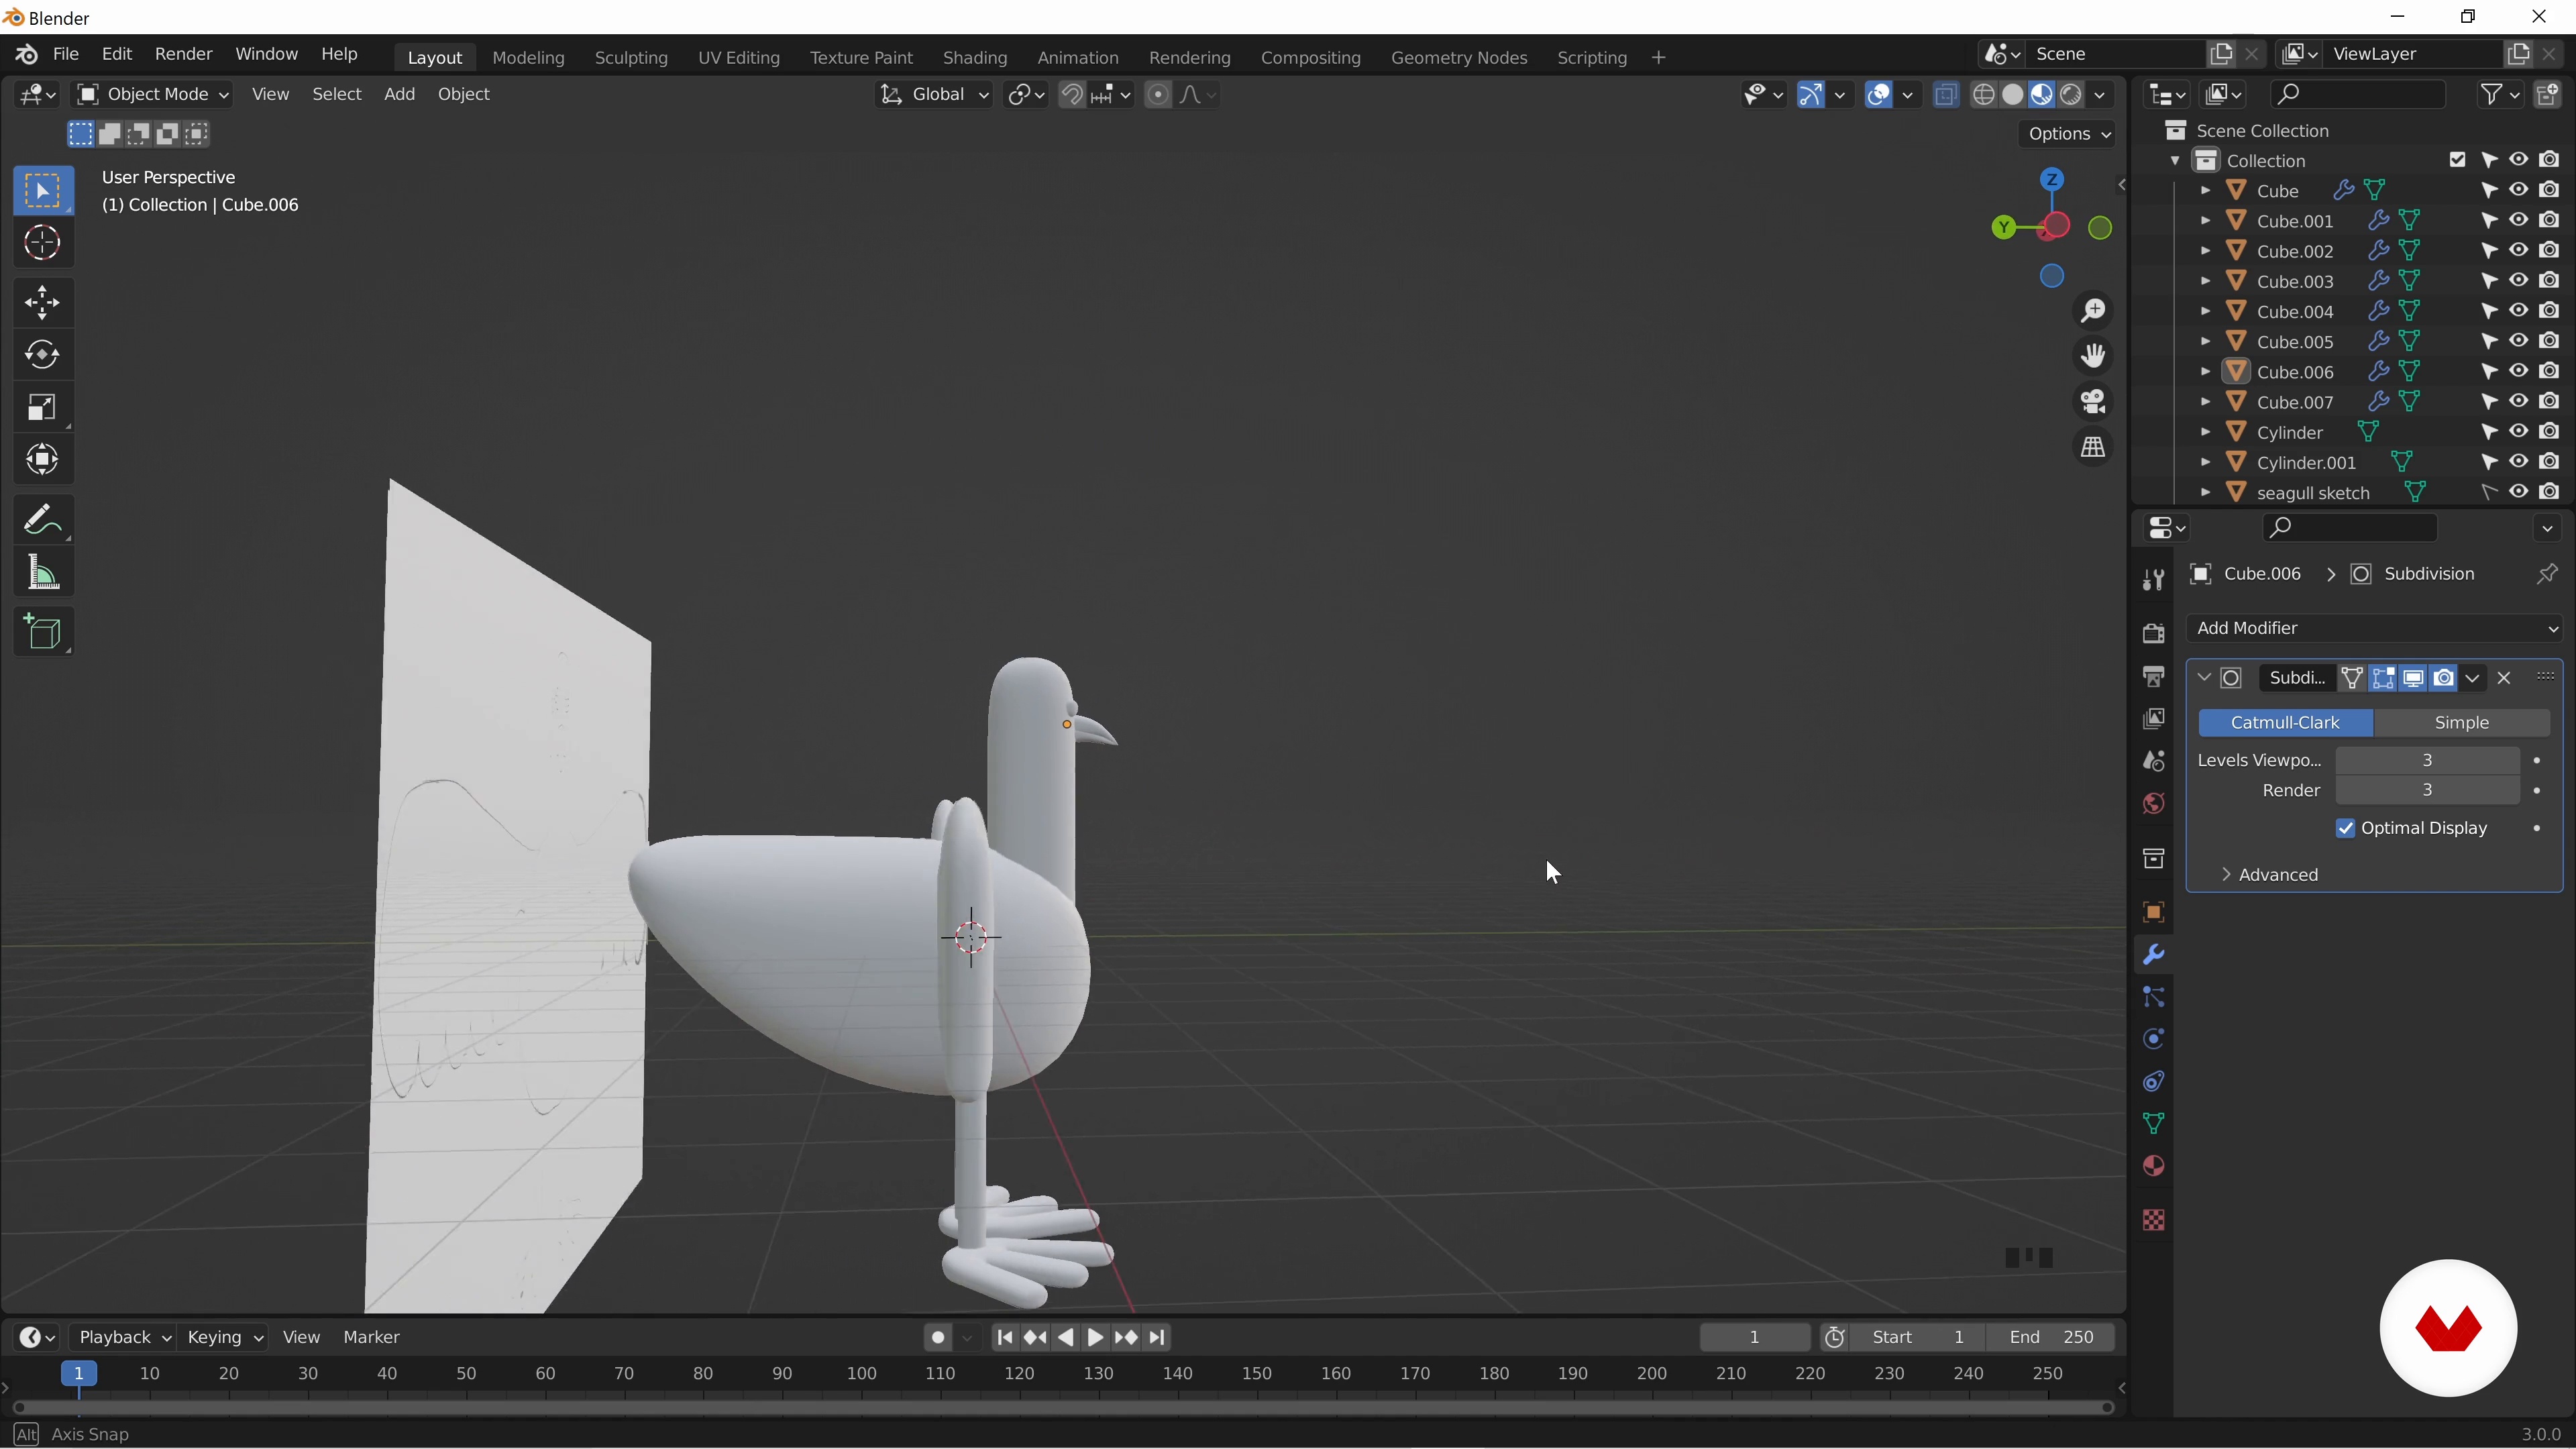
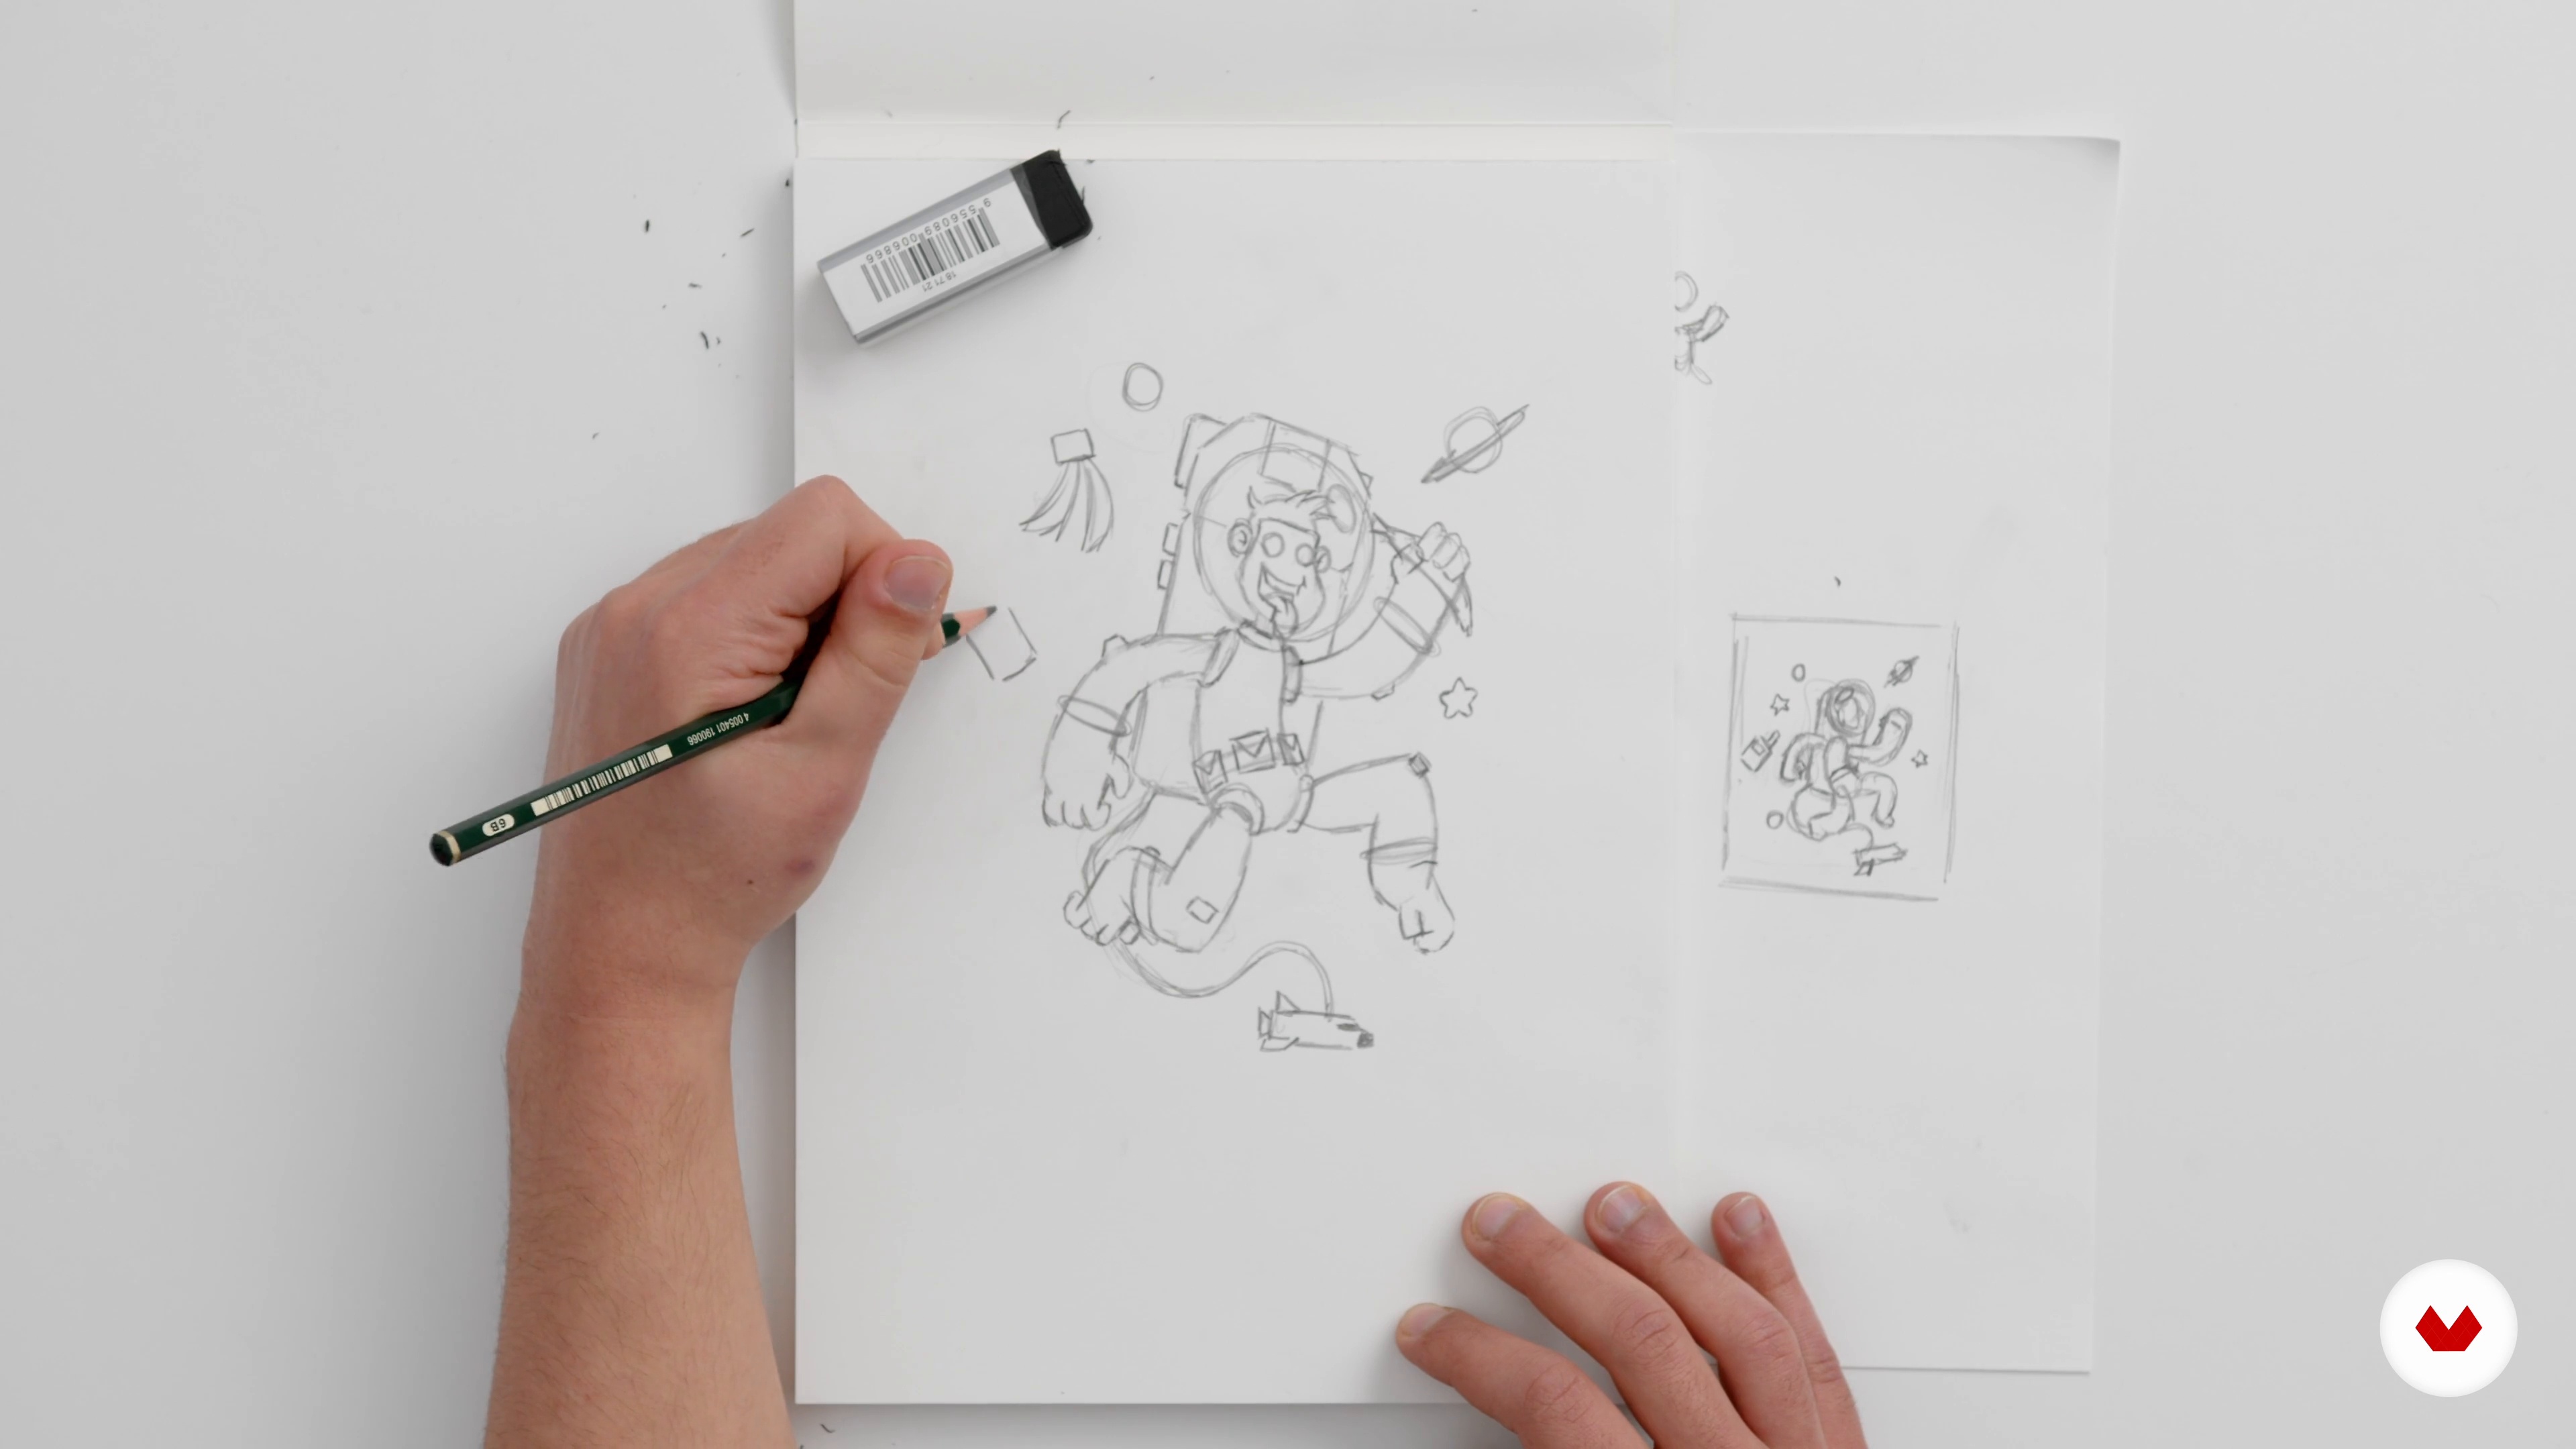
Yes, the course guides you through designing and modeling low poly characters using references, from initial sketch to clean topology and final render.
Clean topology refers to well-organized mesh geometry that is easy to animate and edit. It prevents rendering issues and ensures smooth deformations for animation and further modeling.
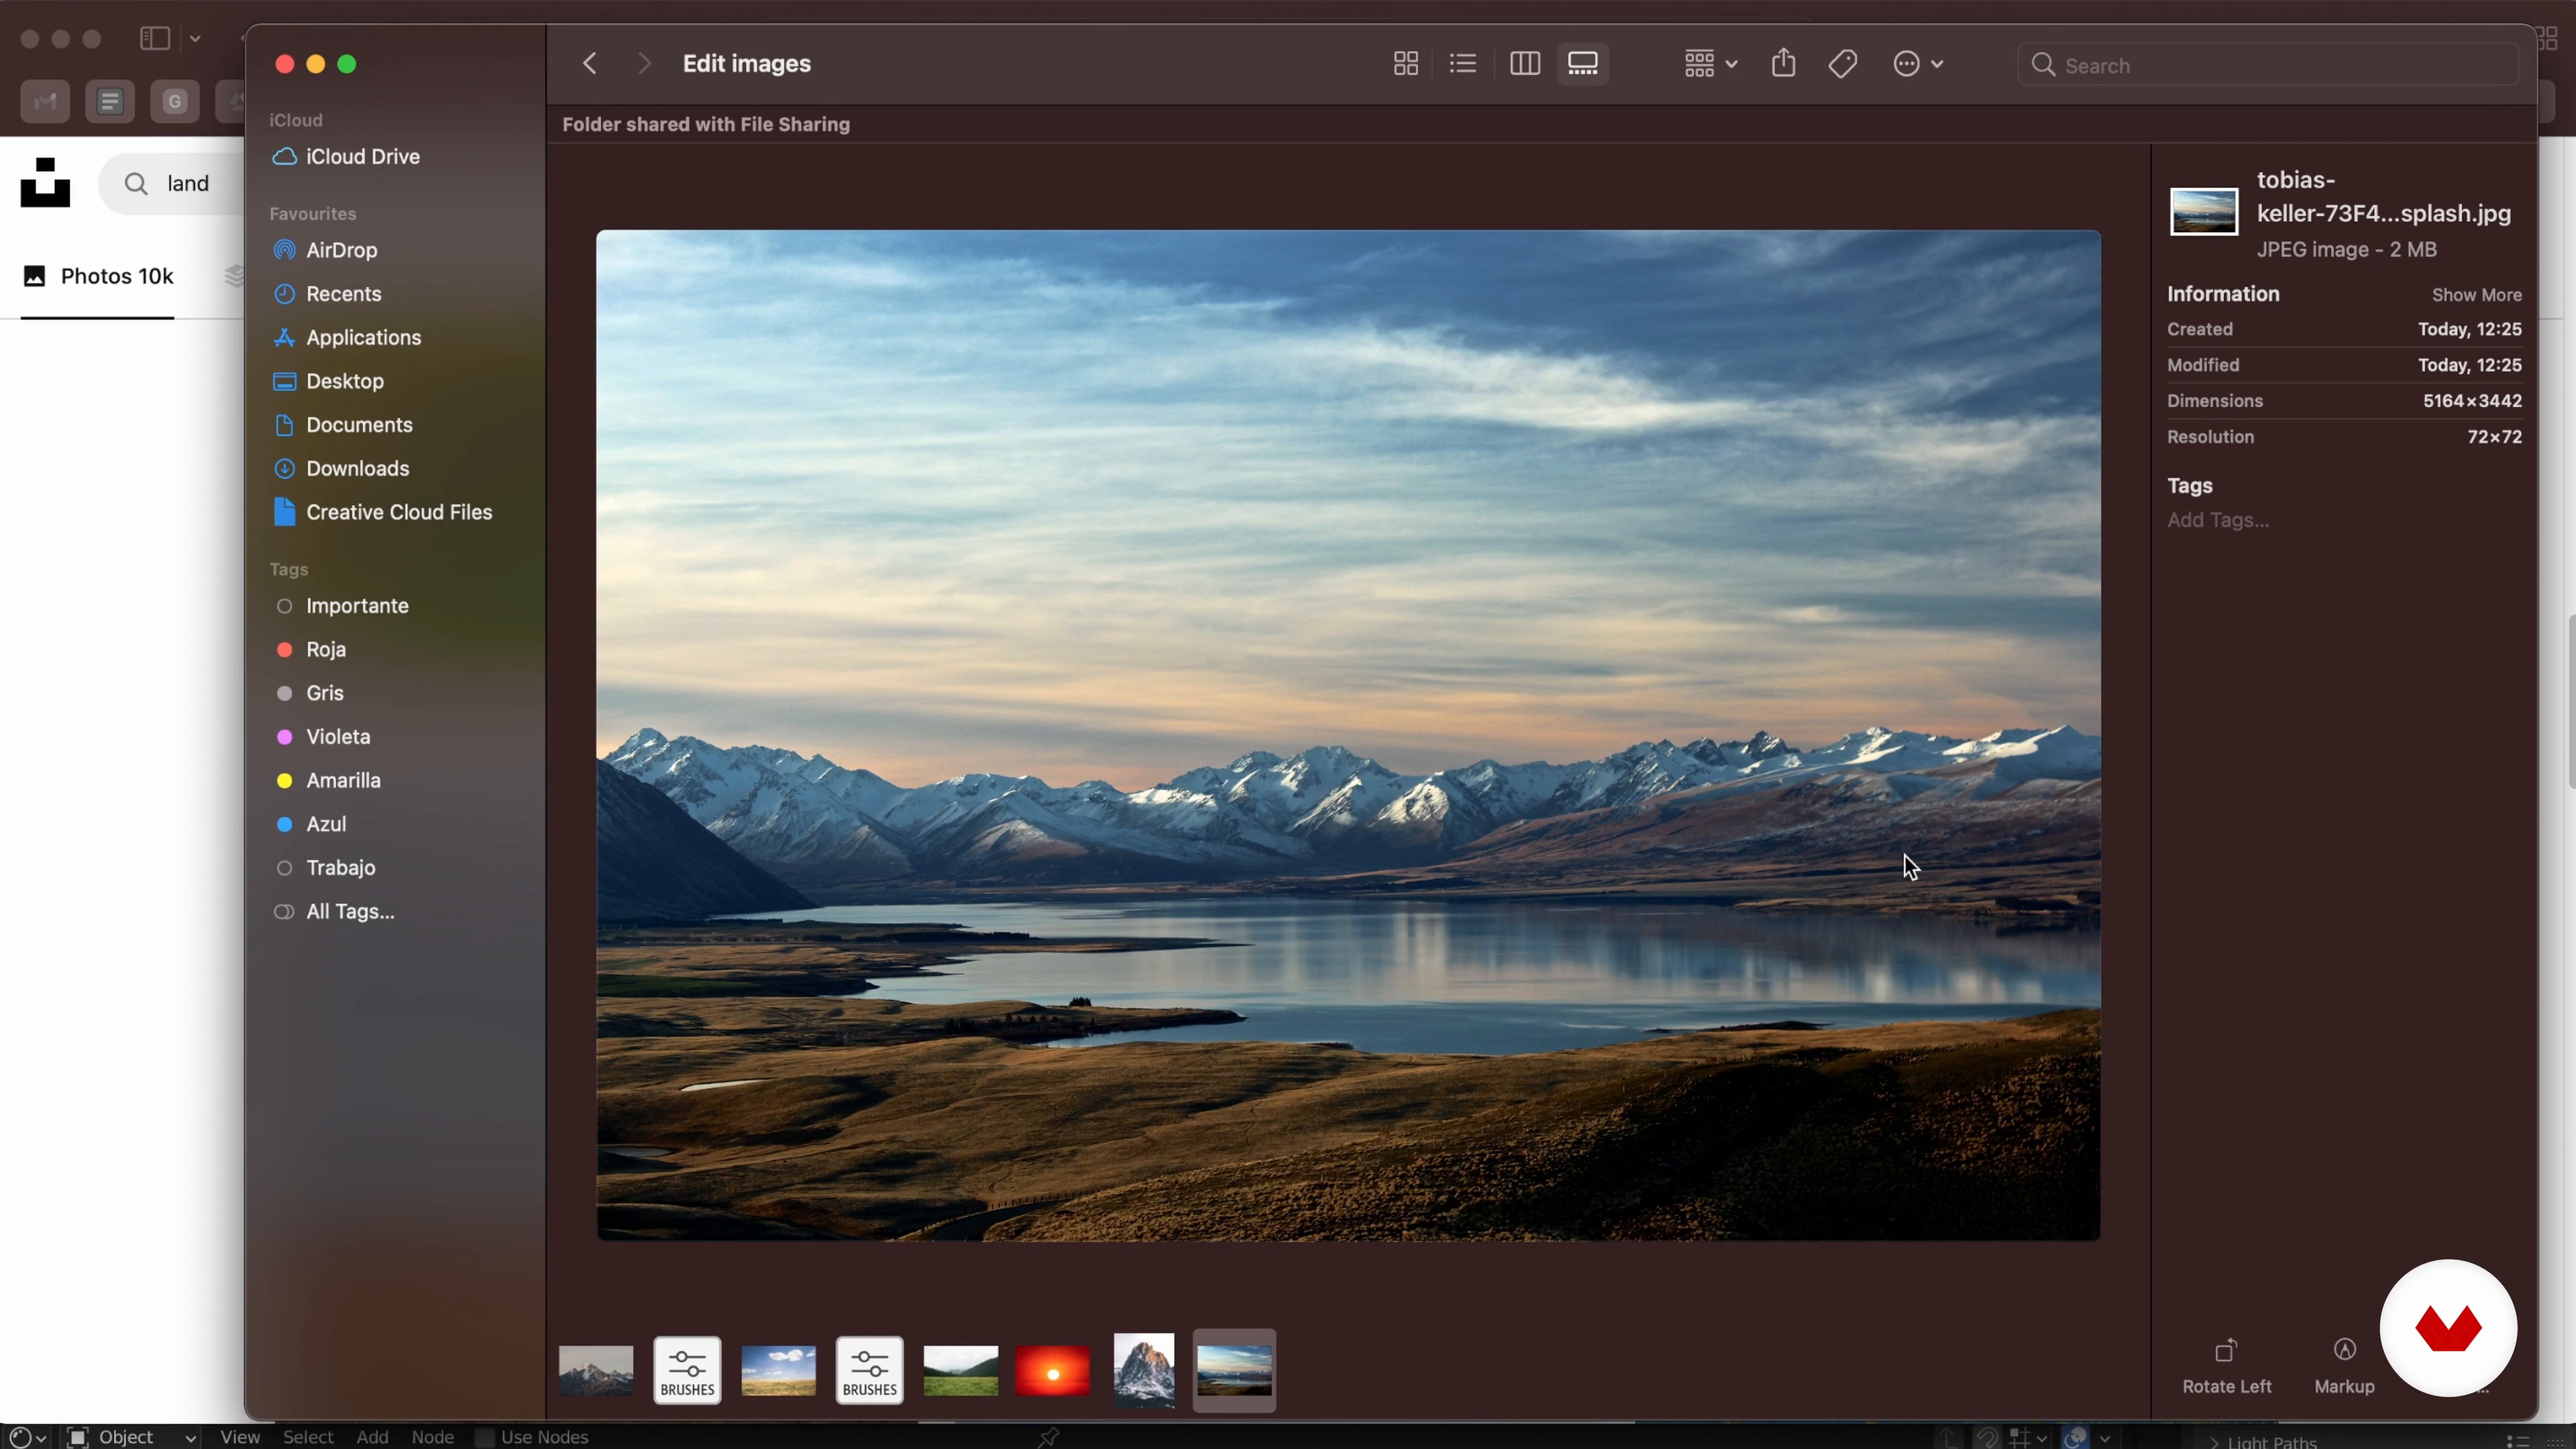
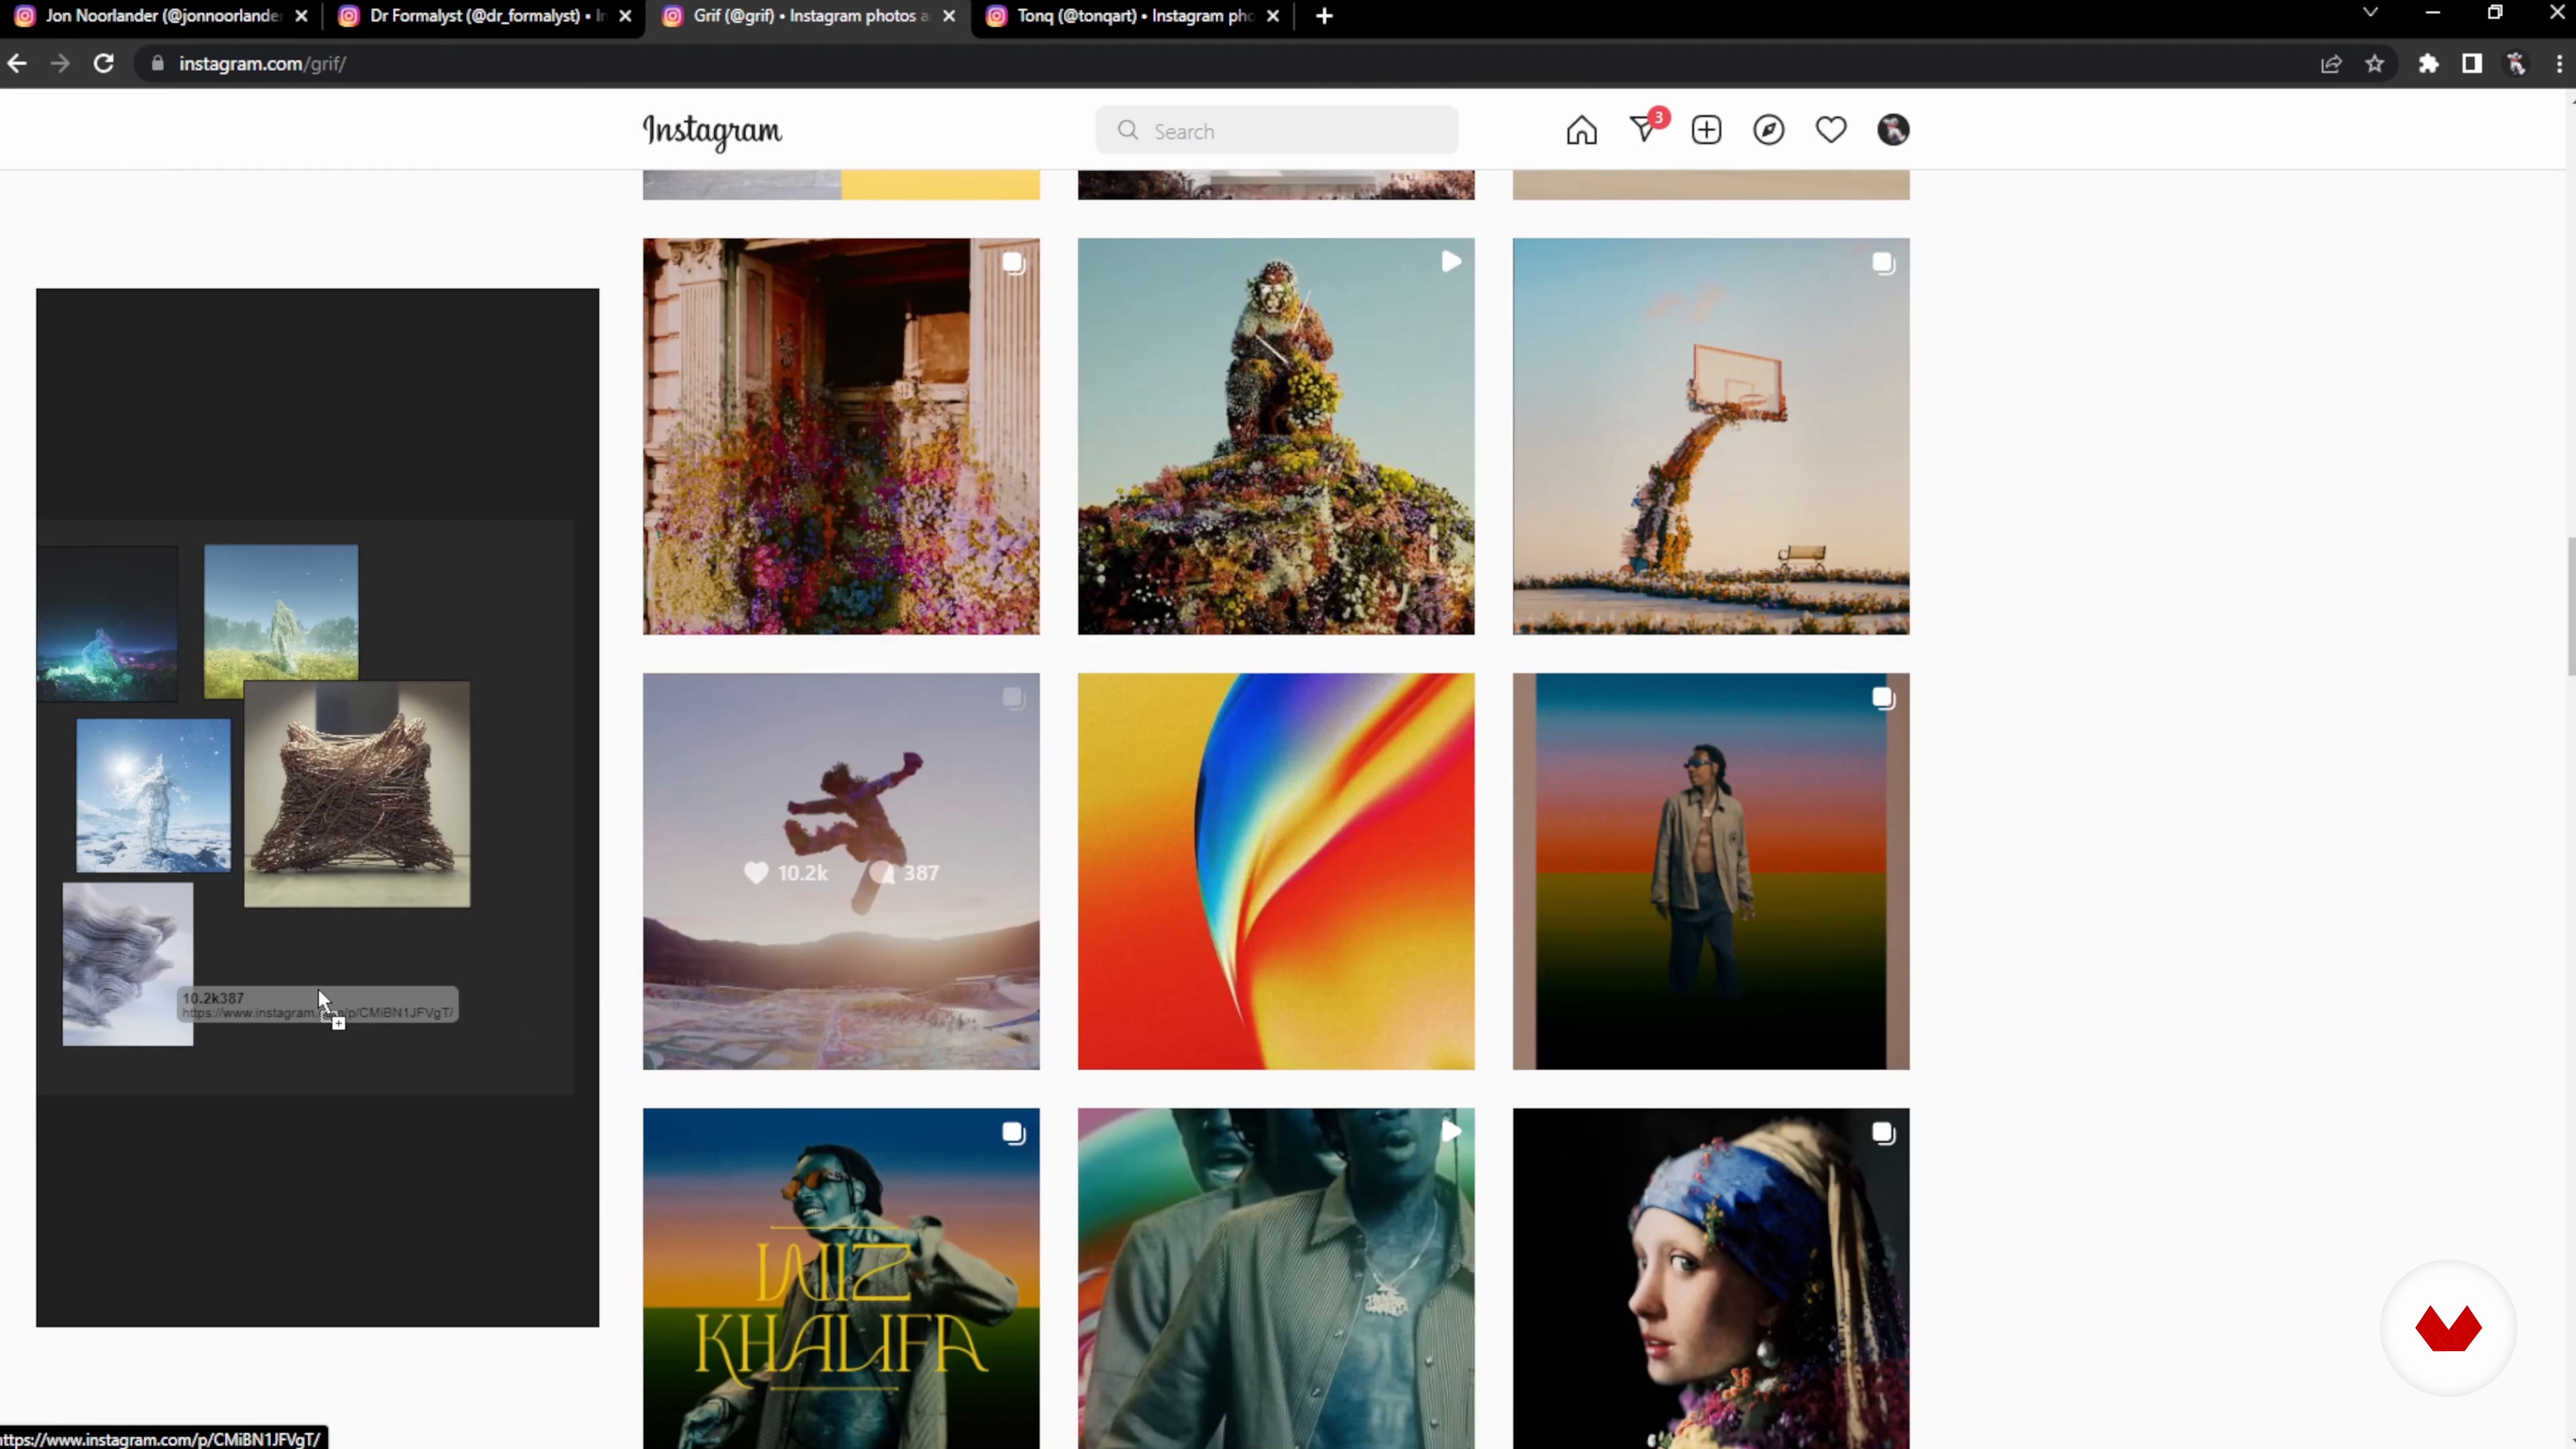
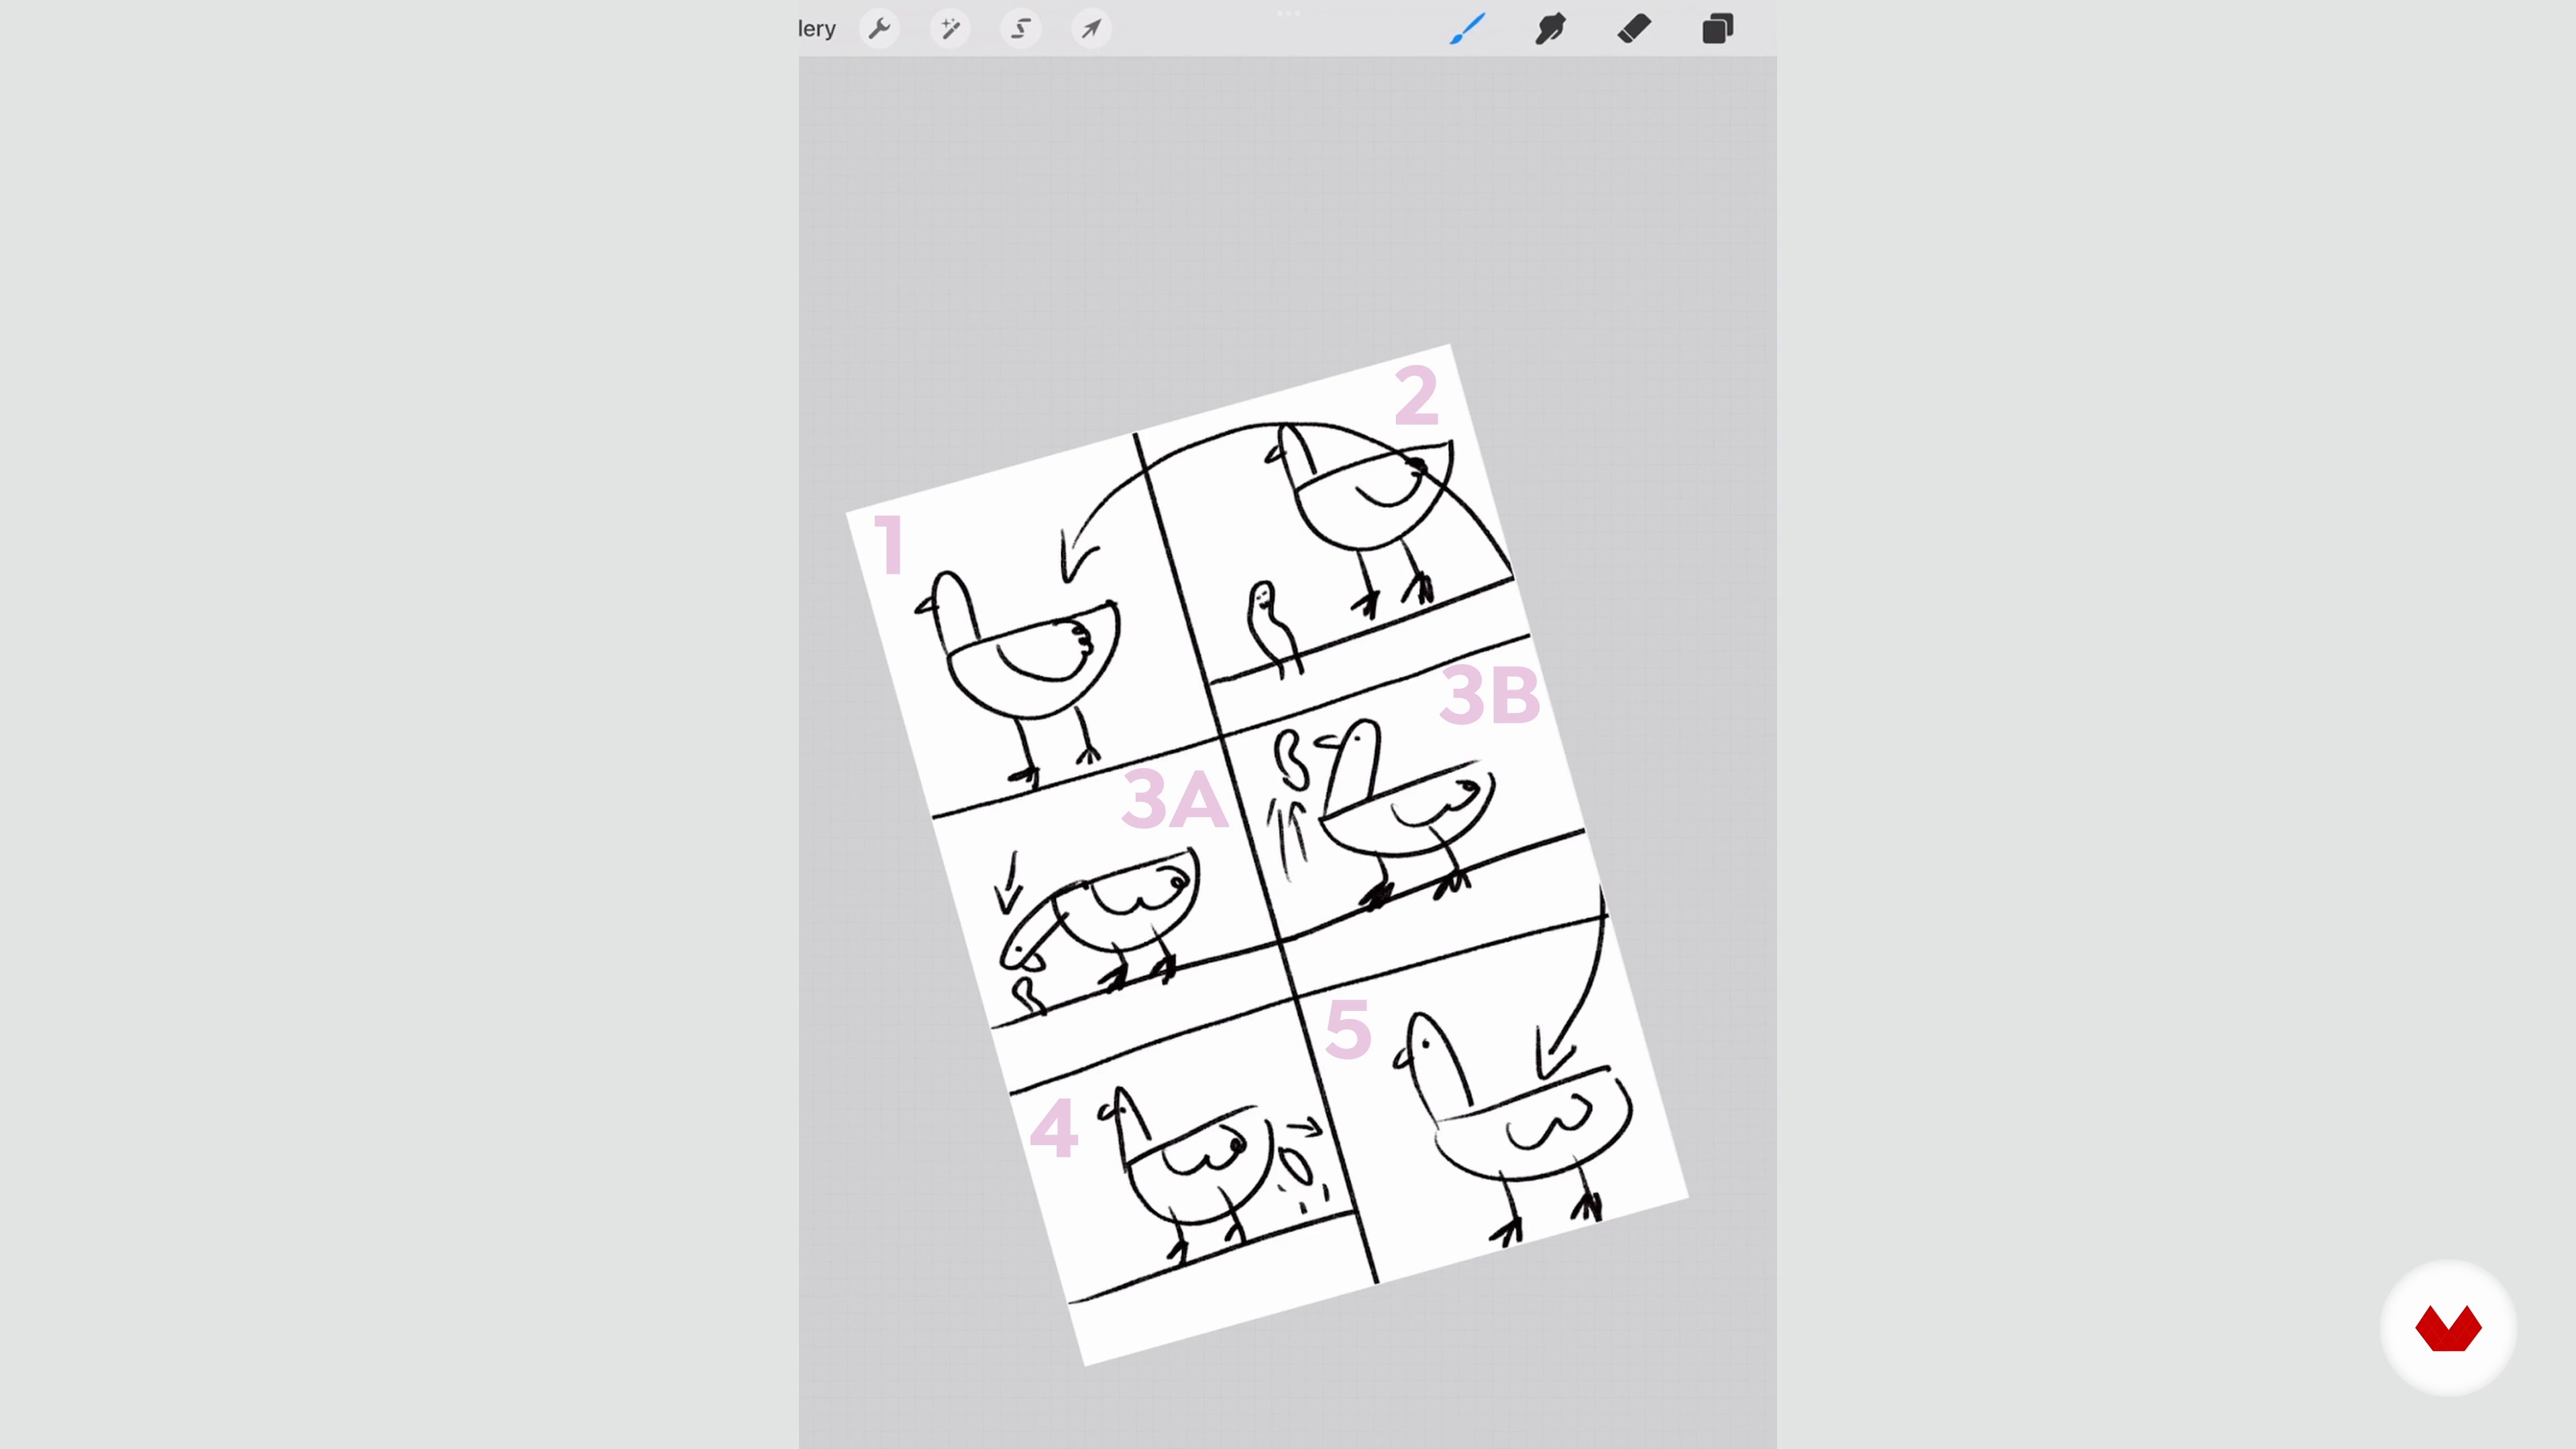
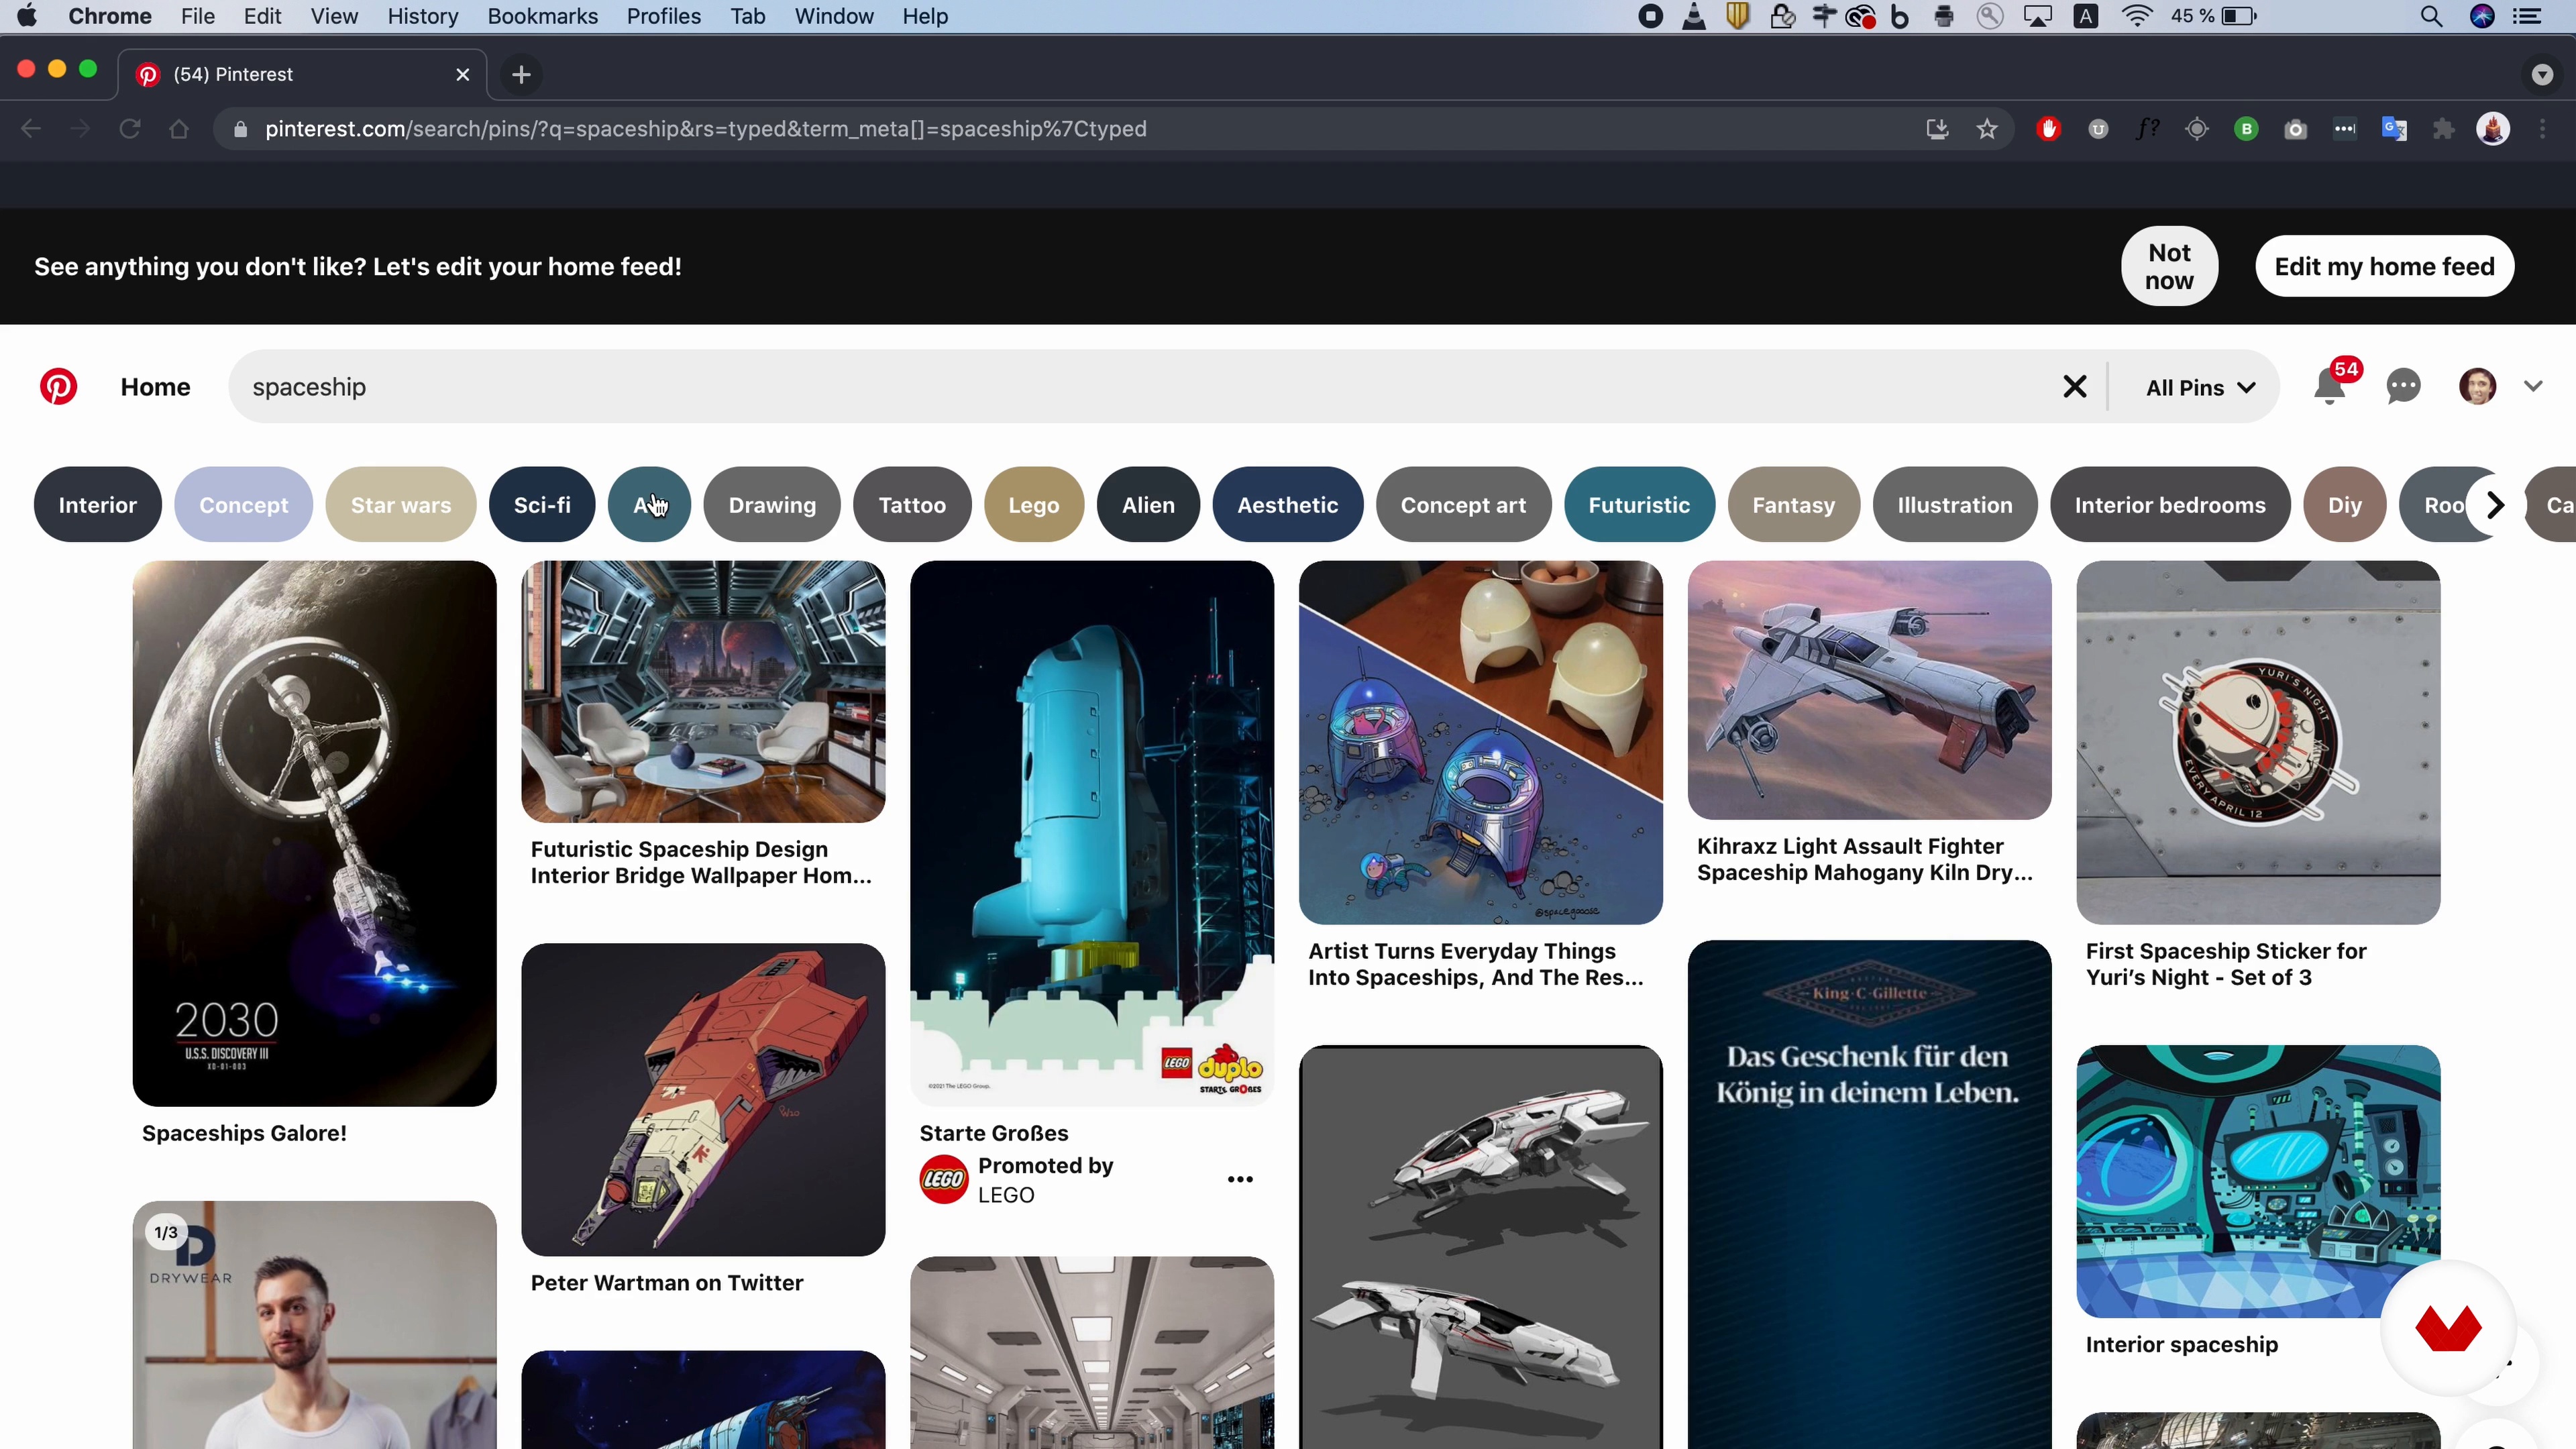
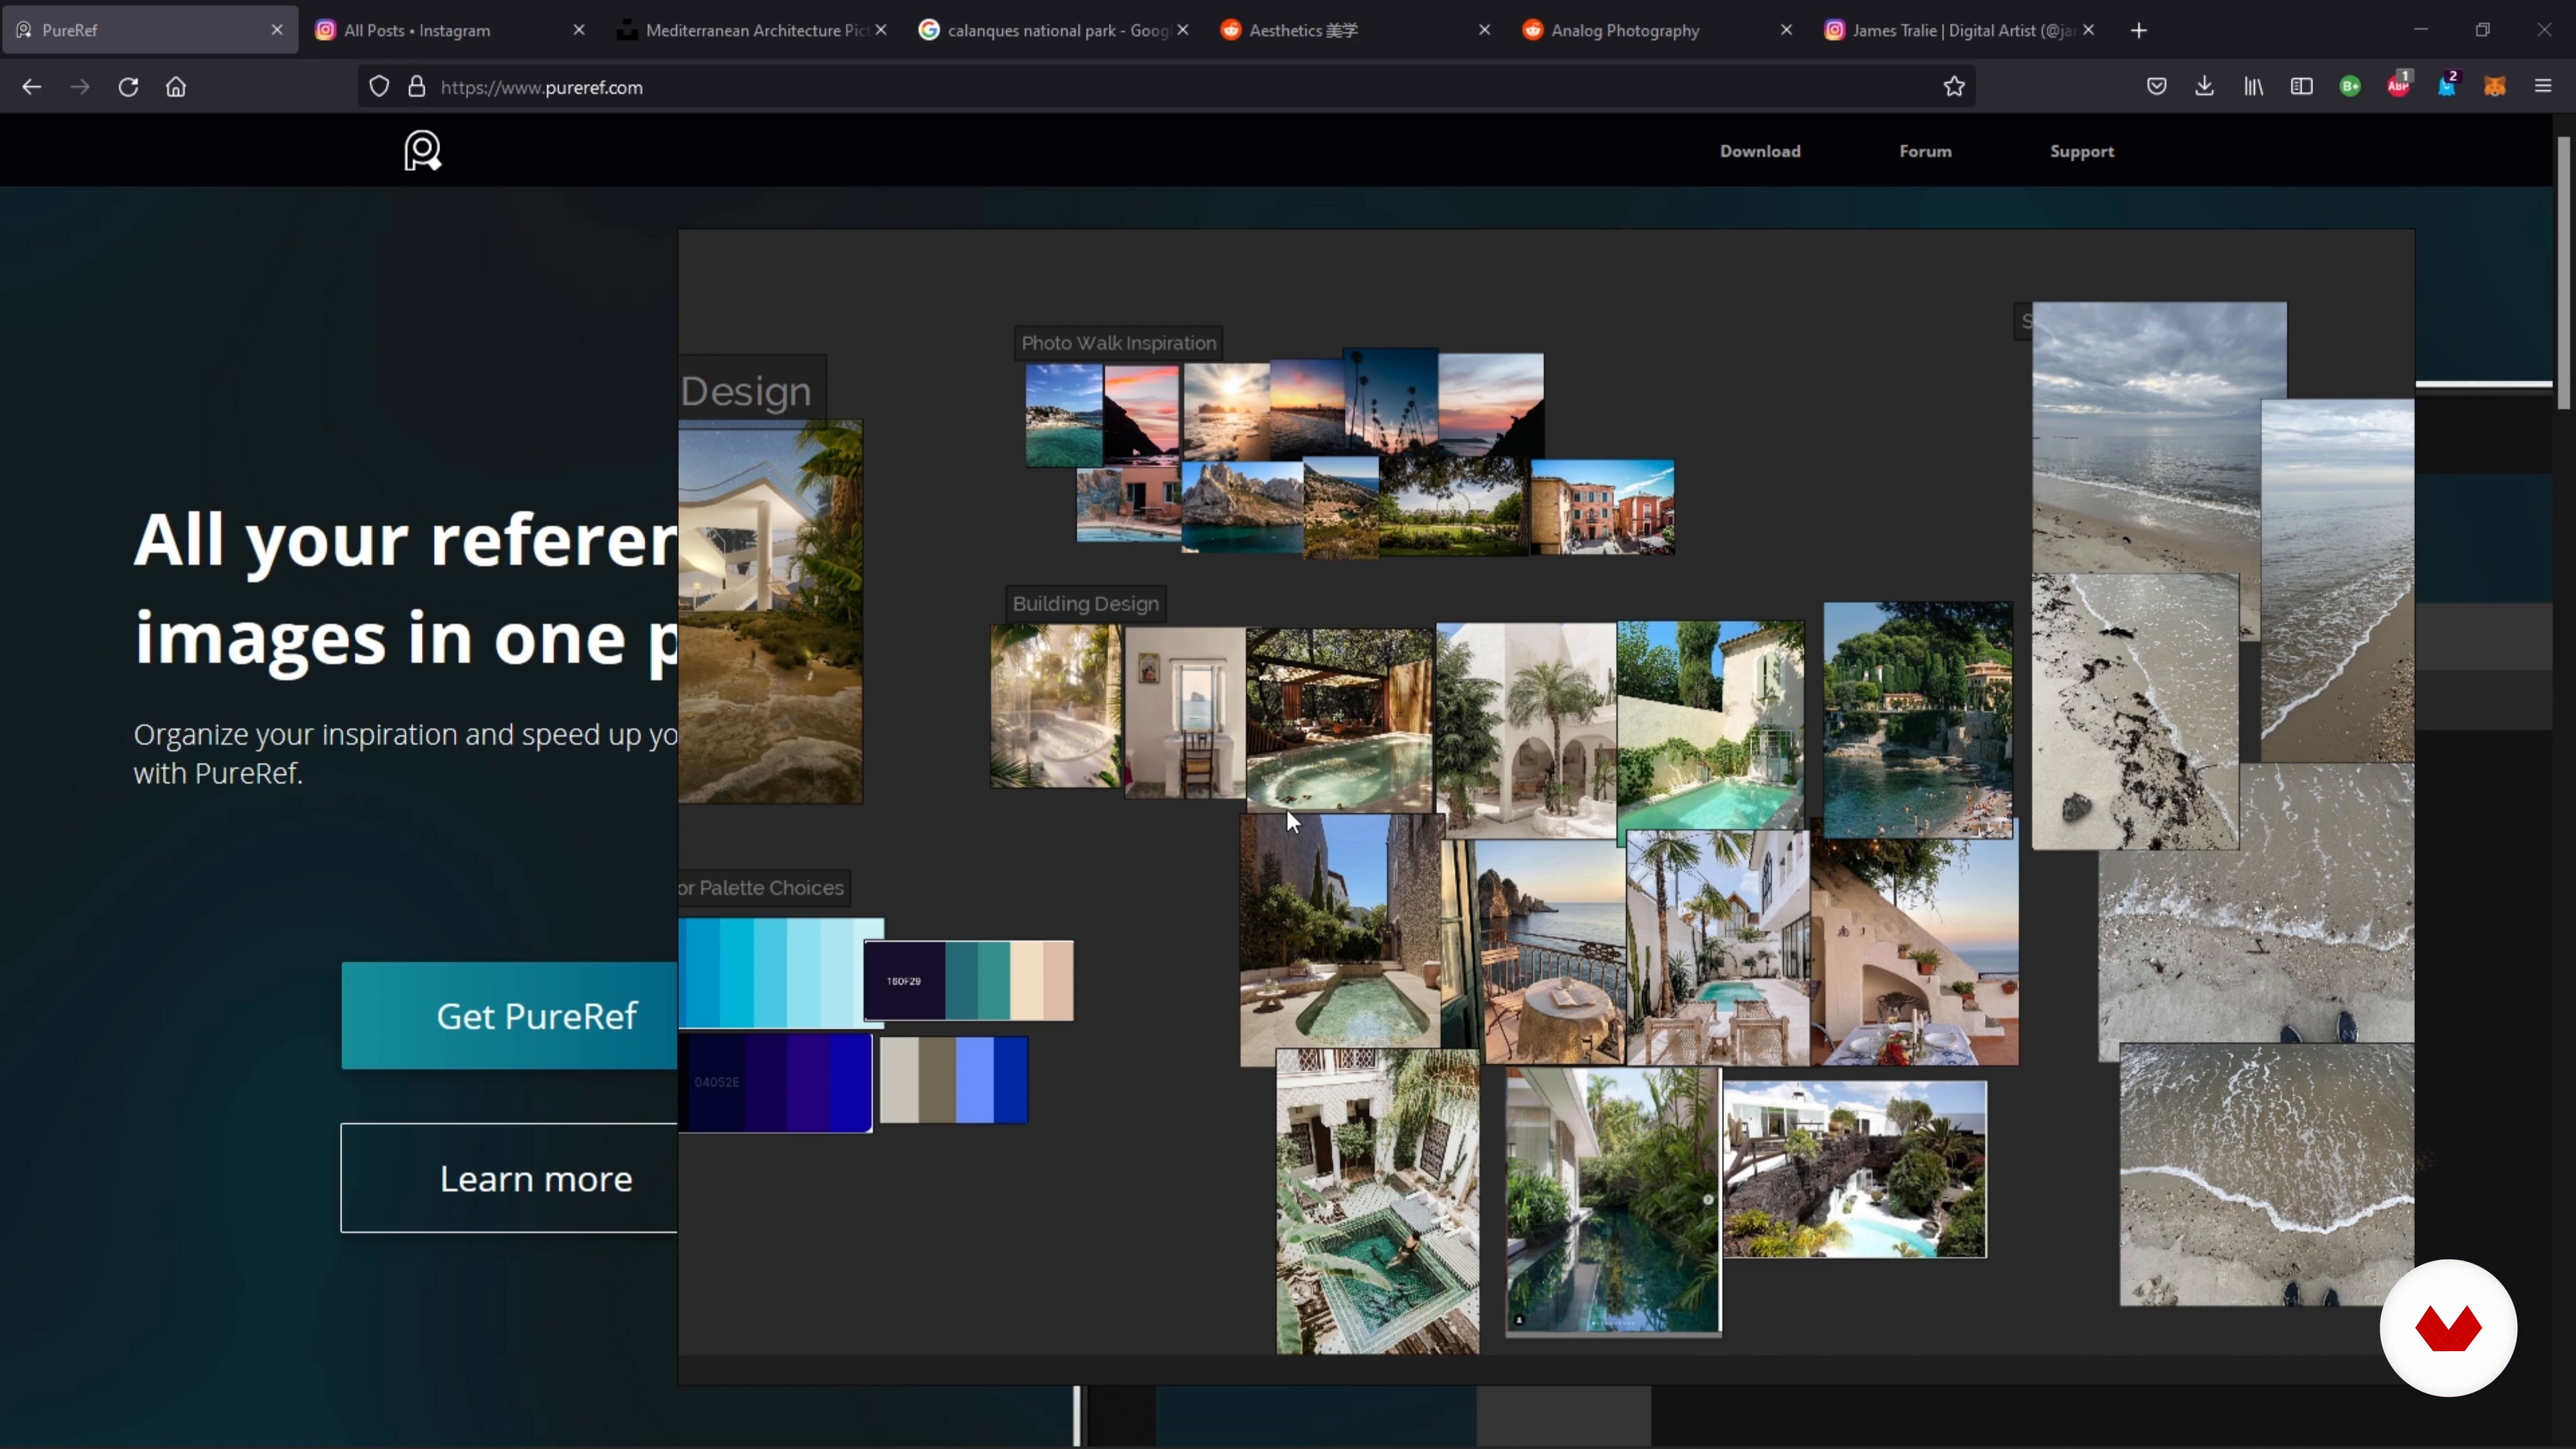
You'll learn how to collect, save, and organize reference images from platforms like Pinterest and online art communities, and arrange them in folders for efficient modeling workflow.
Yes, the course teaches you how to prepare 2D sketches in Photoshop, import them into Blender, and use them as references for 3D modeling.
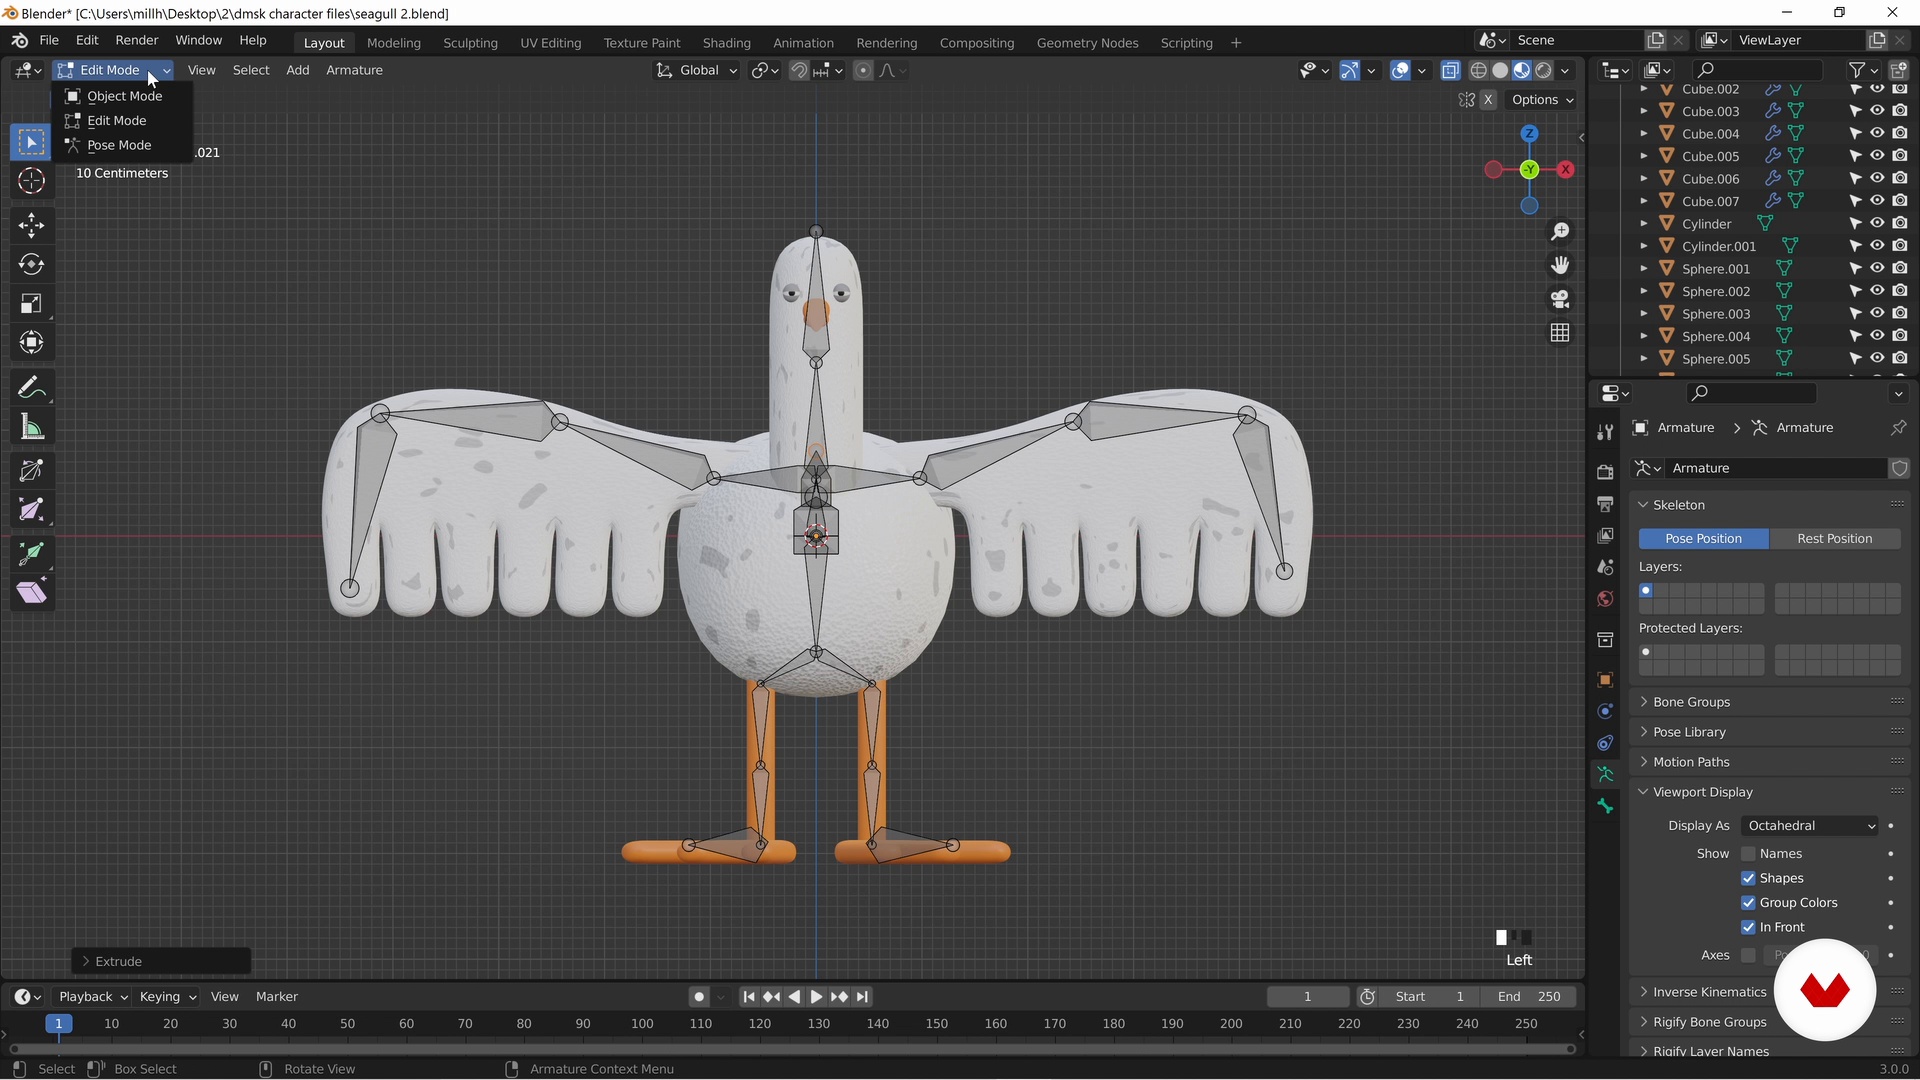
Absolutely, the course covers efficient workflows for modeling, blocking out shapes, and preparing clean topology, which are essential for smooth animation in Blender.


He comenzado el curso y mis expectativas hasta el momento son buenas, el material es sólido, veo que los instructores saben lo que hacen y al menos lo que viene en las próximas unidades promete mucho.
por un 20%
Hasta el momento todo excelente, lo que no me gusta siendo sincero, es la traducción mala del español que le tienen agregado, hay partes que dice incoherencias al video, no afecta nada el aprendizaje por que es etendible después de todo, pero es muy muy mala la traducción. Sobre el curso me parece excelente forma de empezar, en este mundo :)
por un 20%
Es una especializacion pero no es para principiantes