
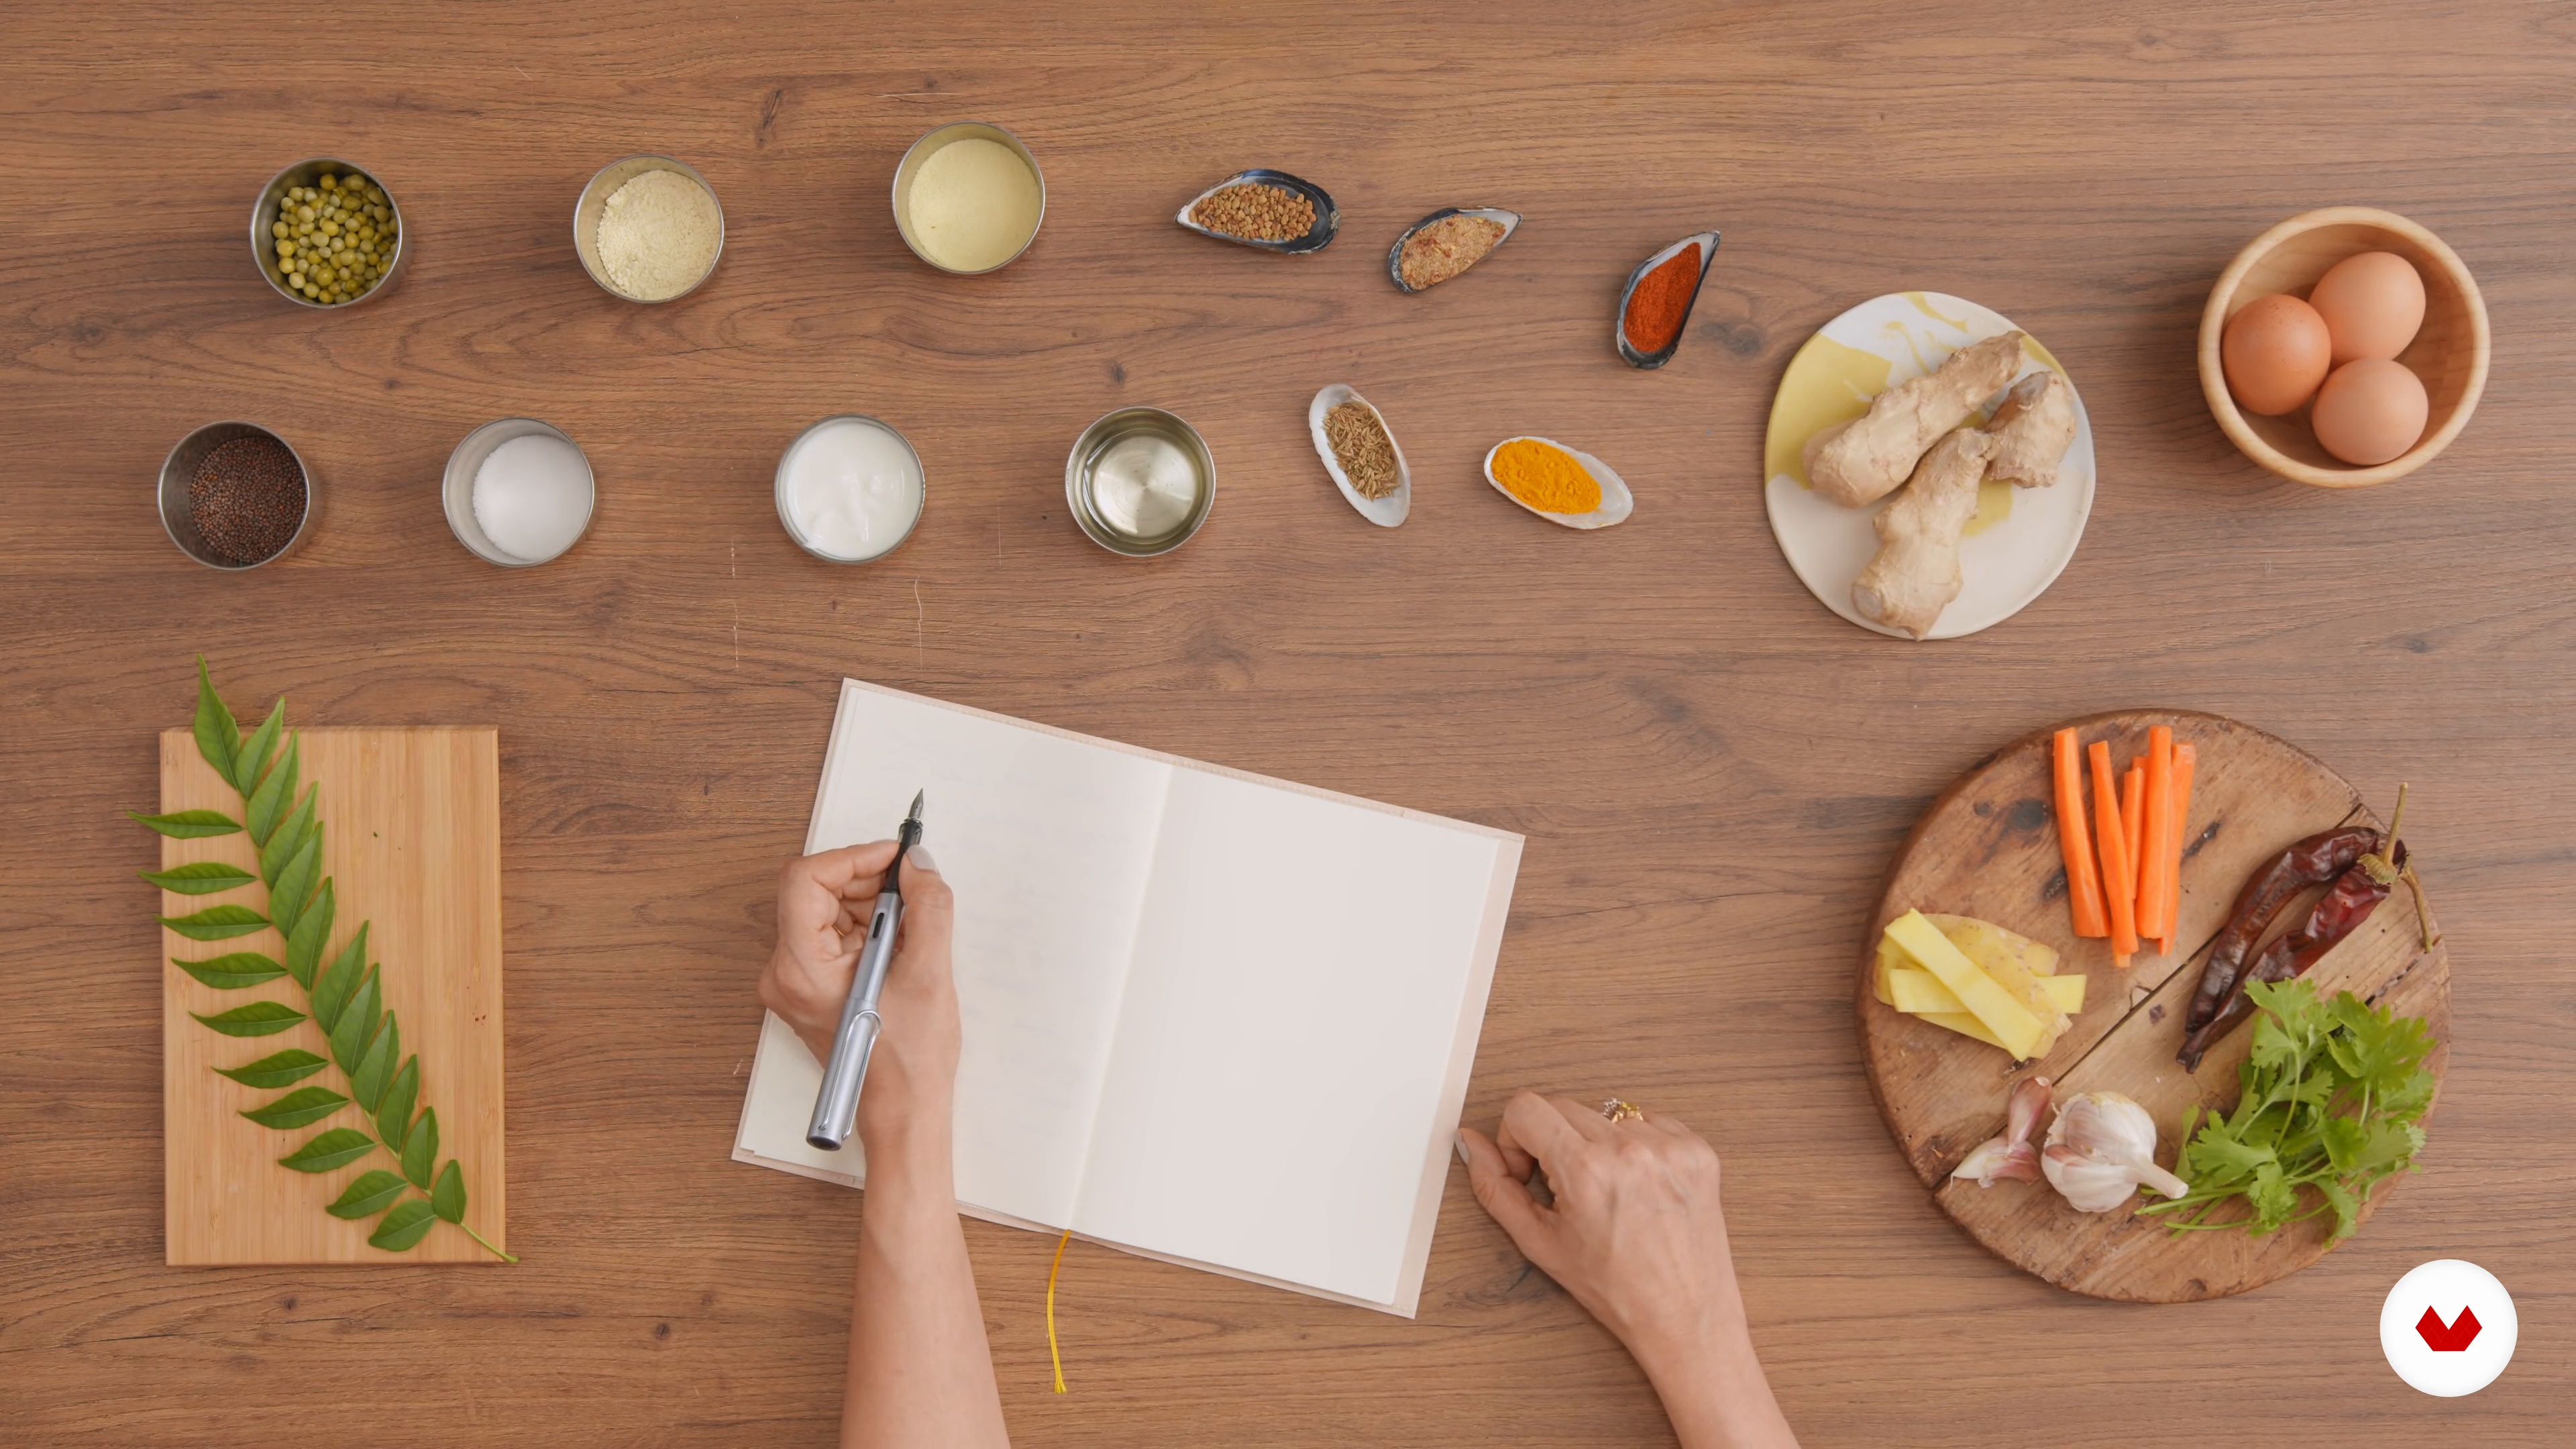
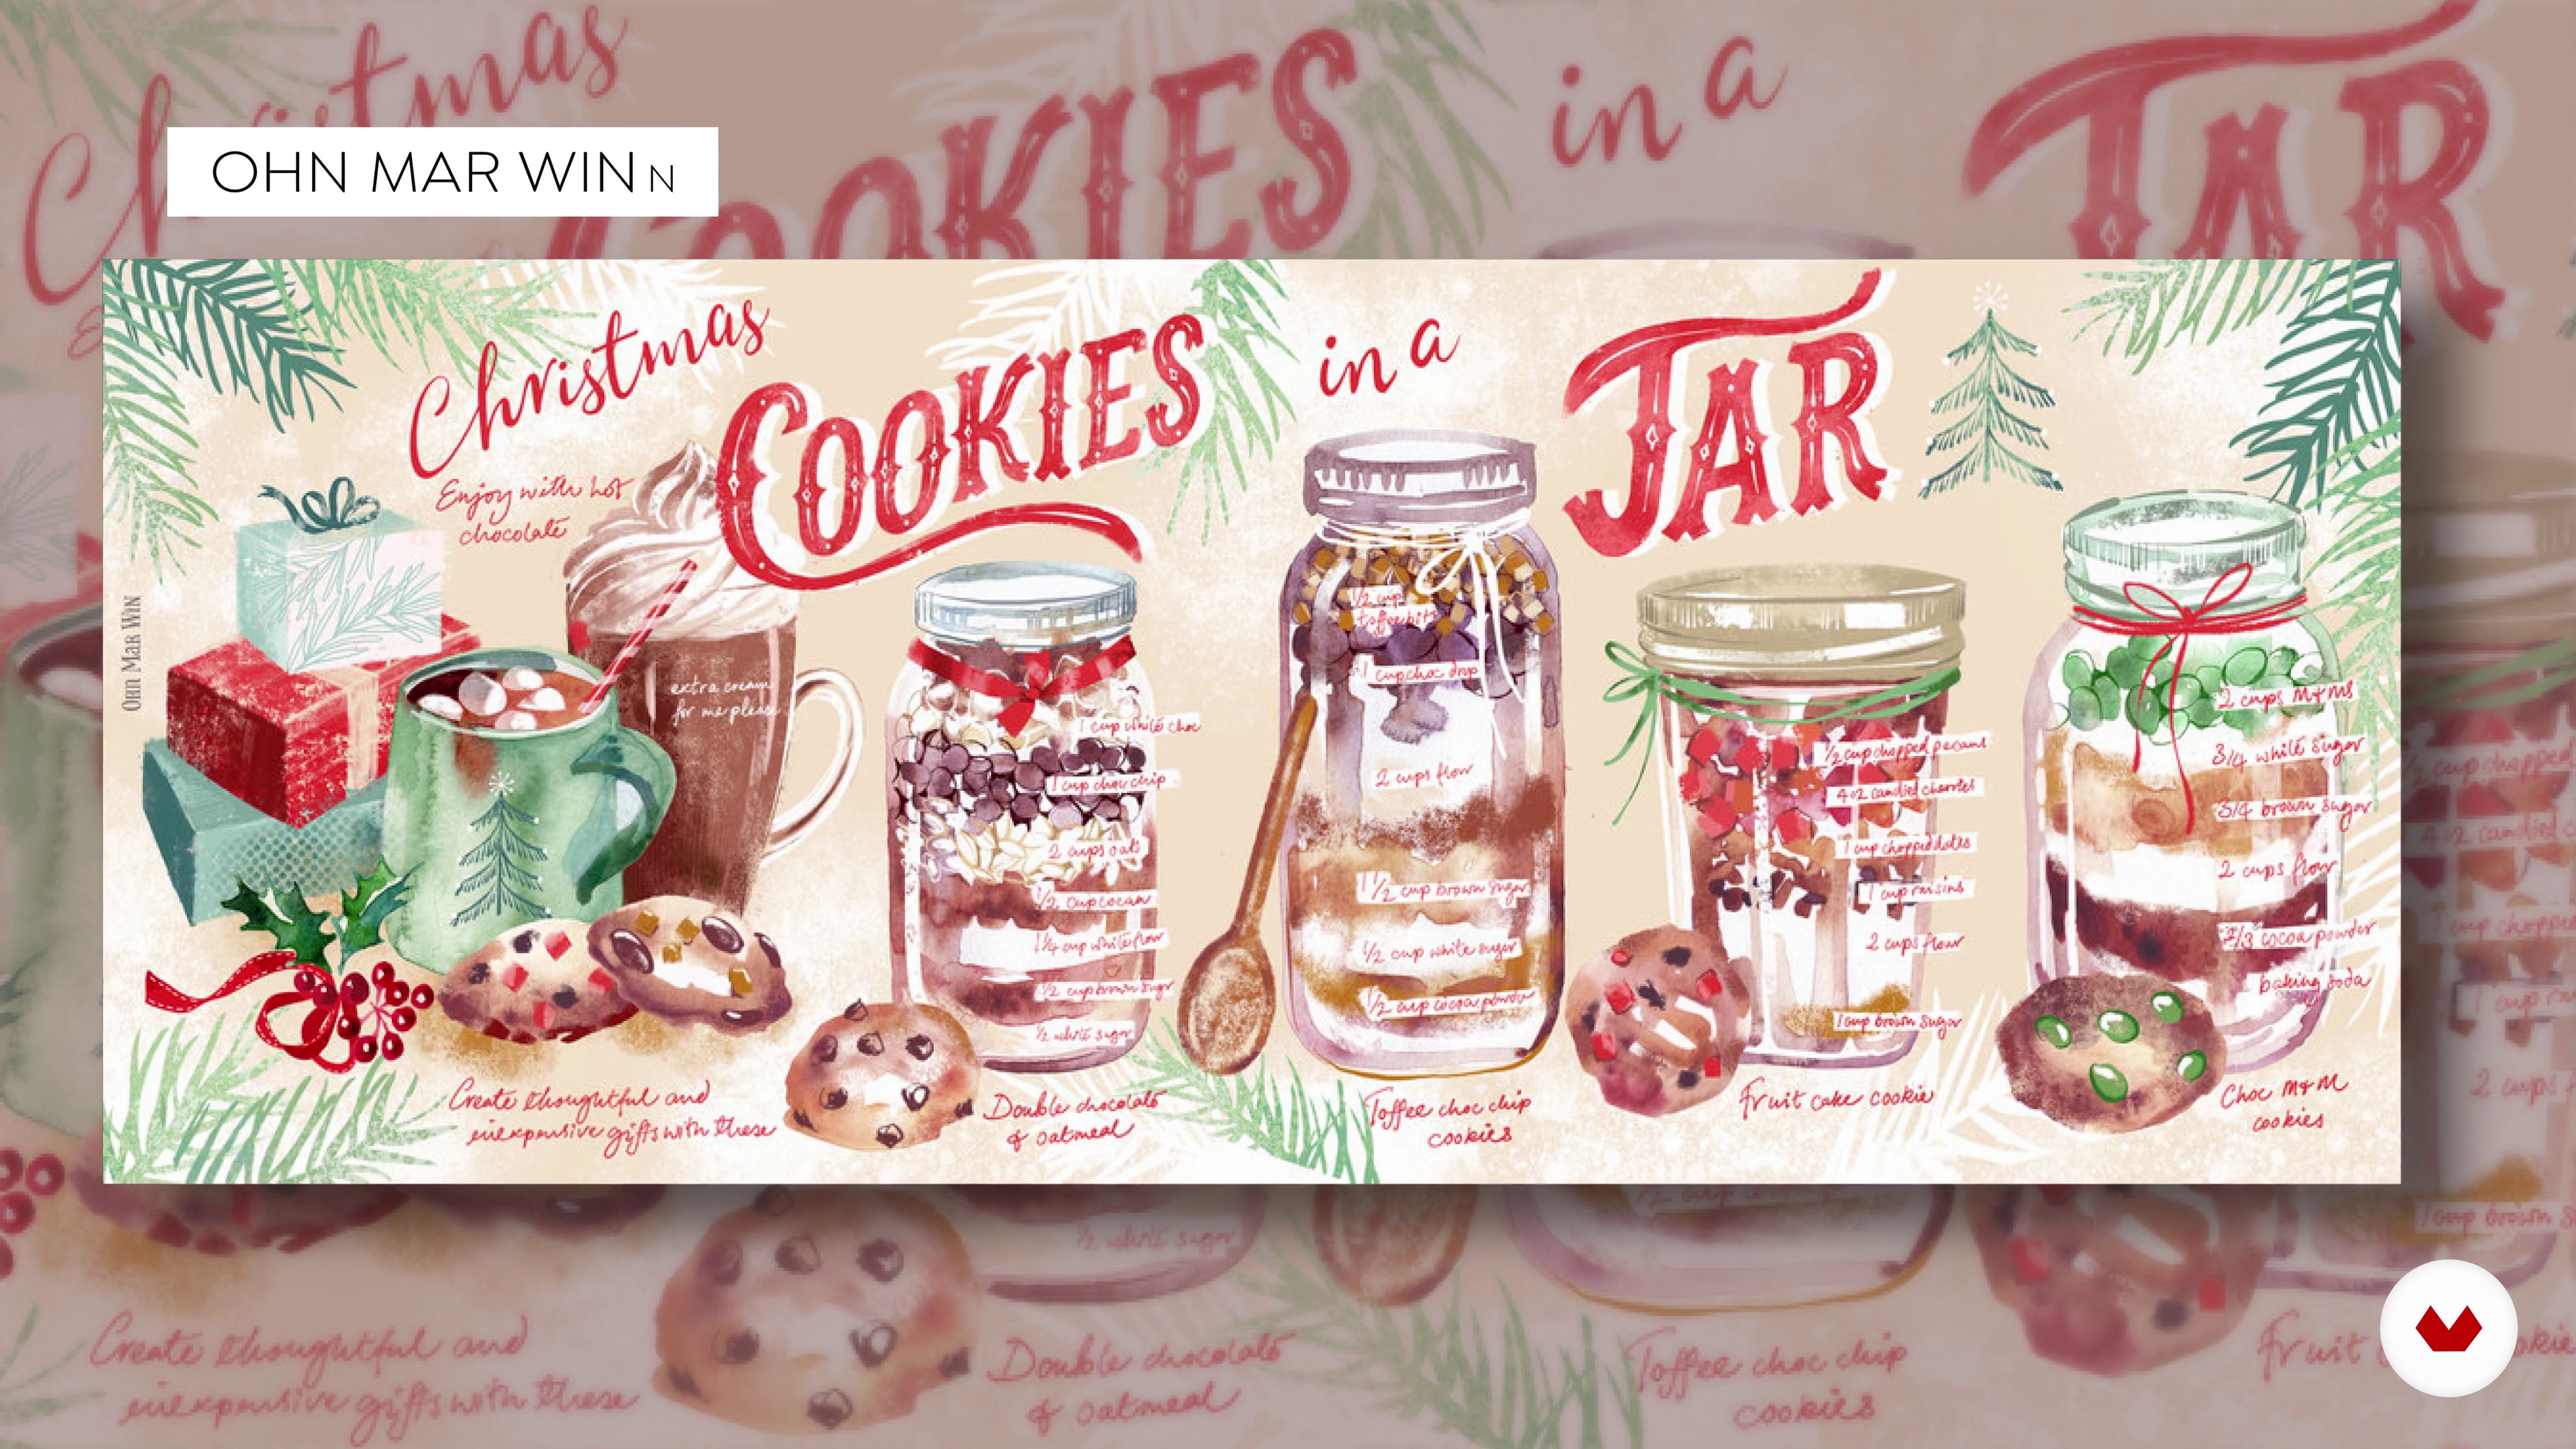
Create narrative cookbooks by blending gastronomic writing, personal storytelling, and culinary illustrations to captivate readers
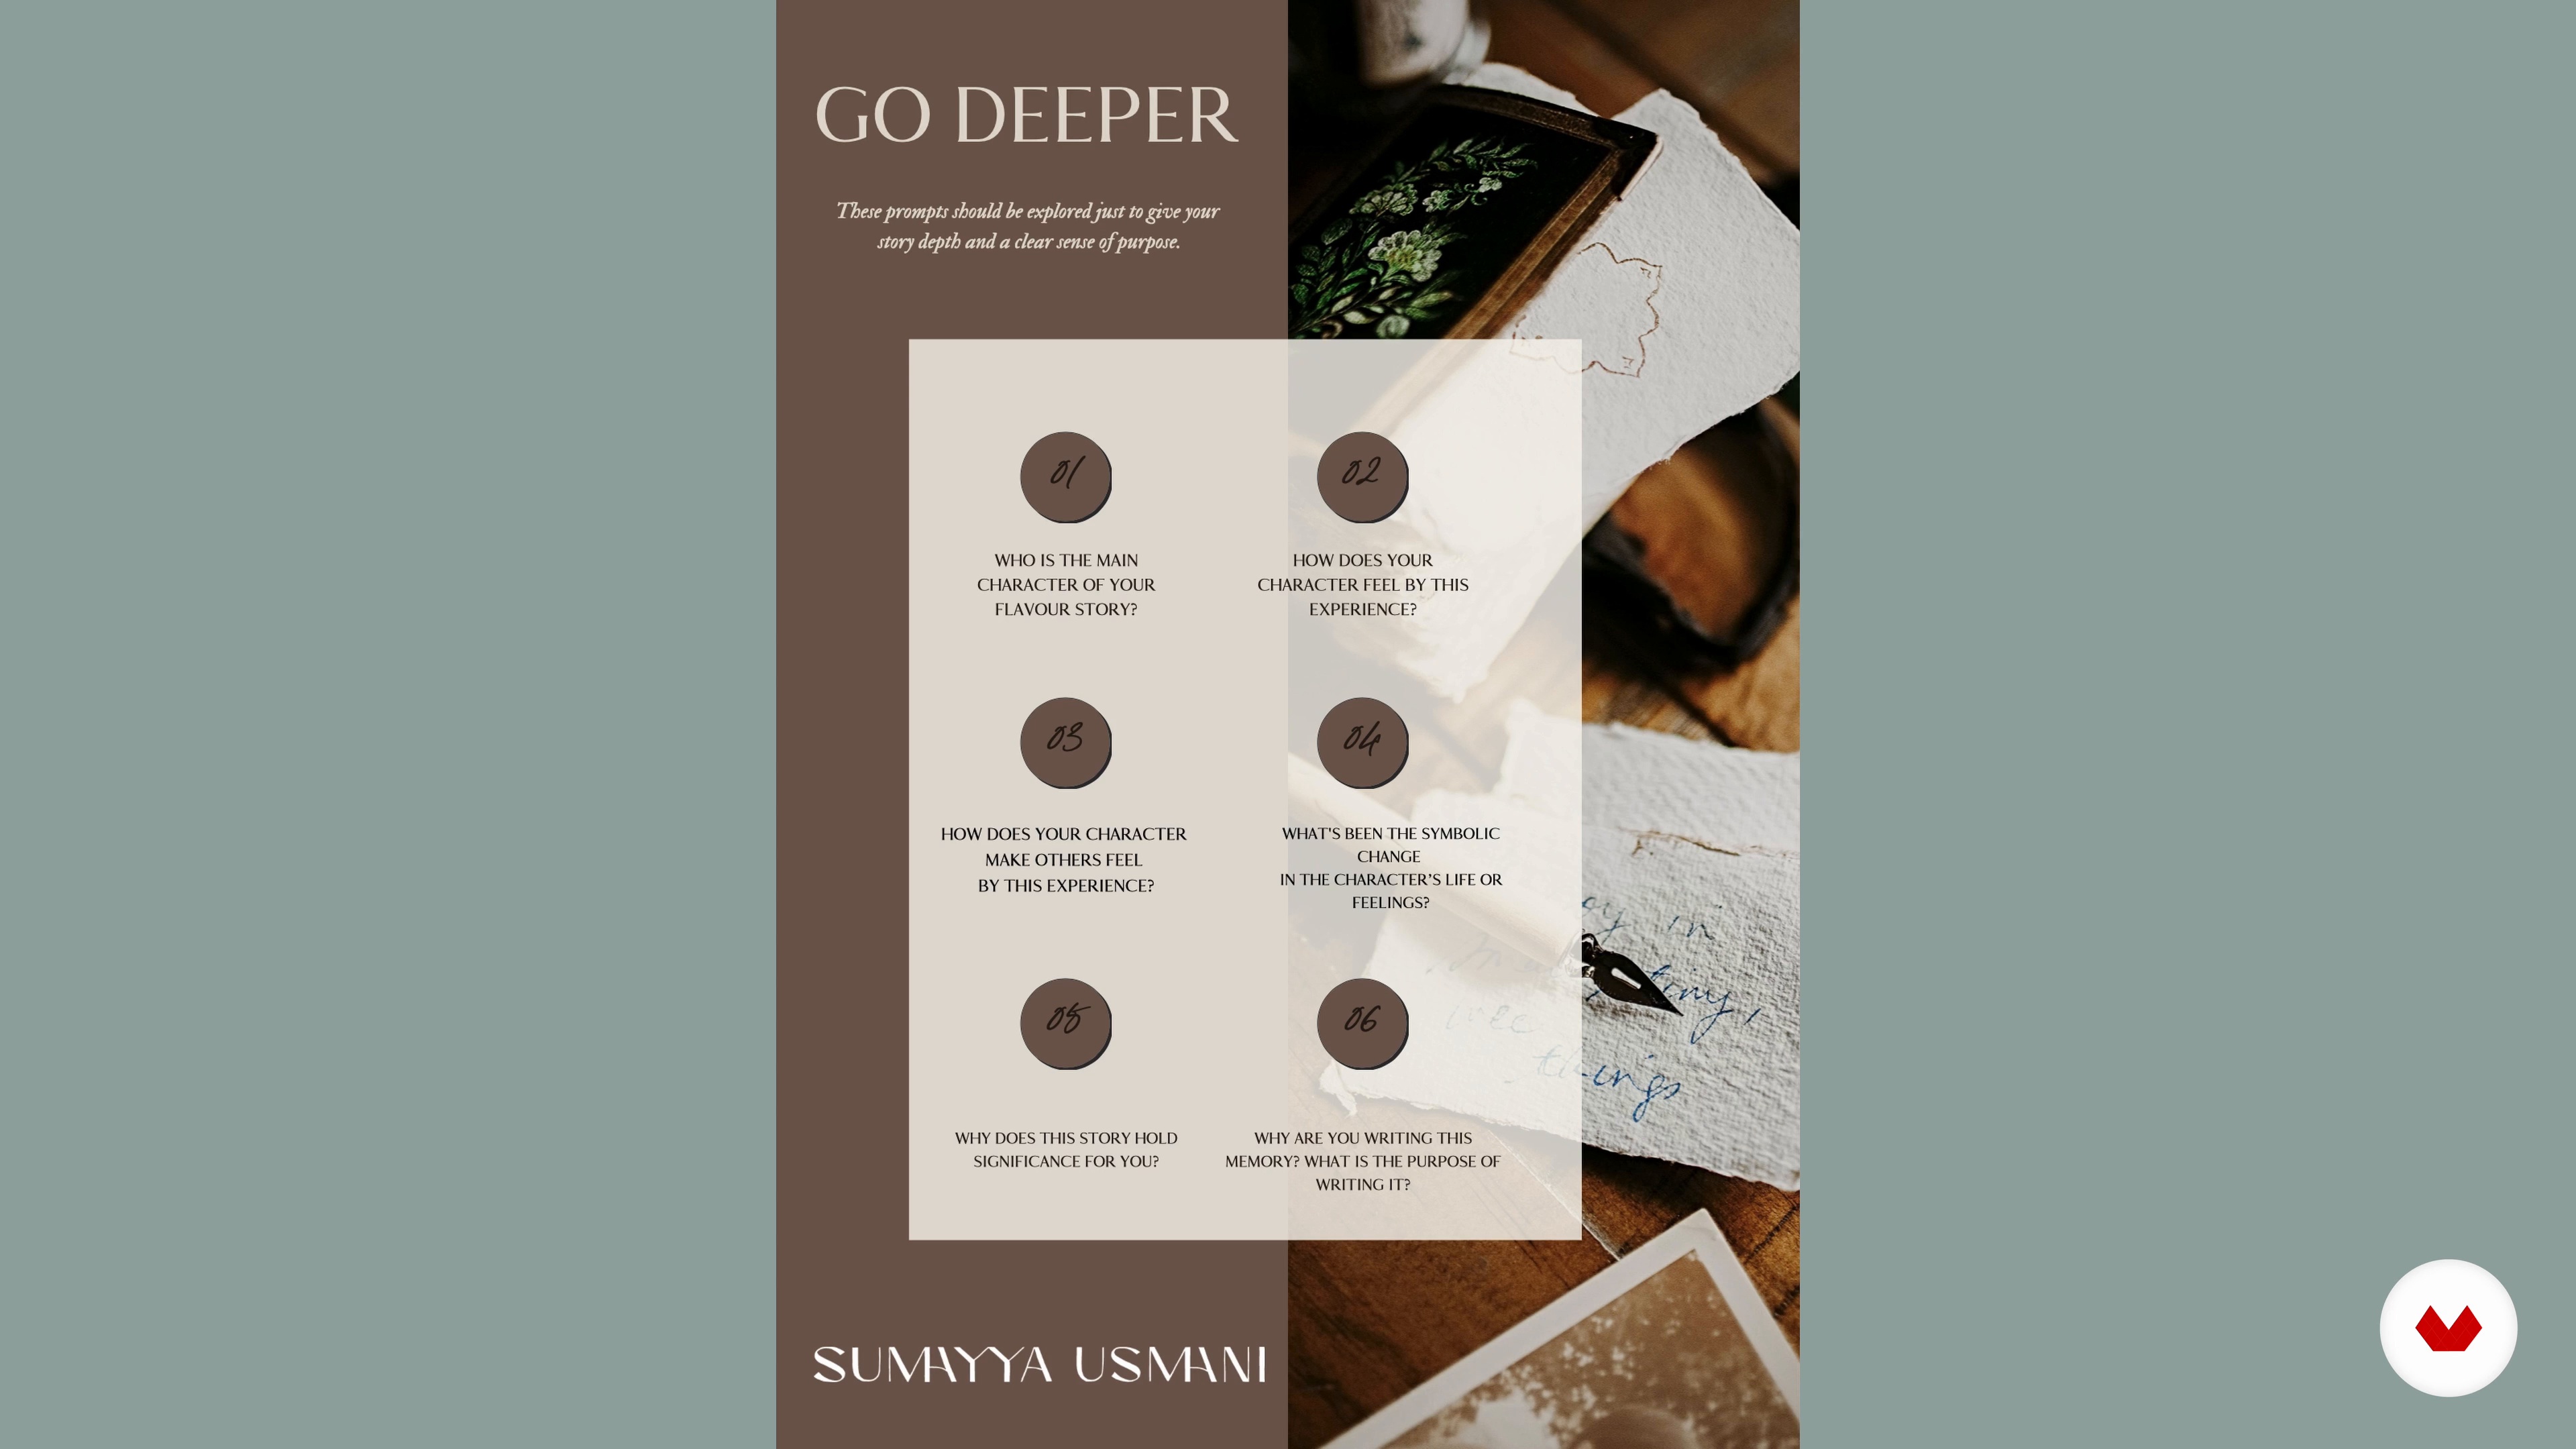
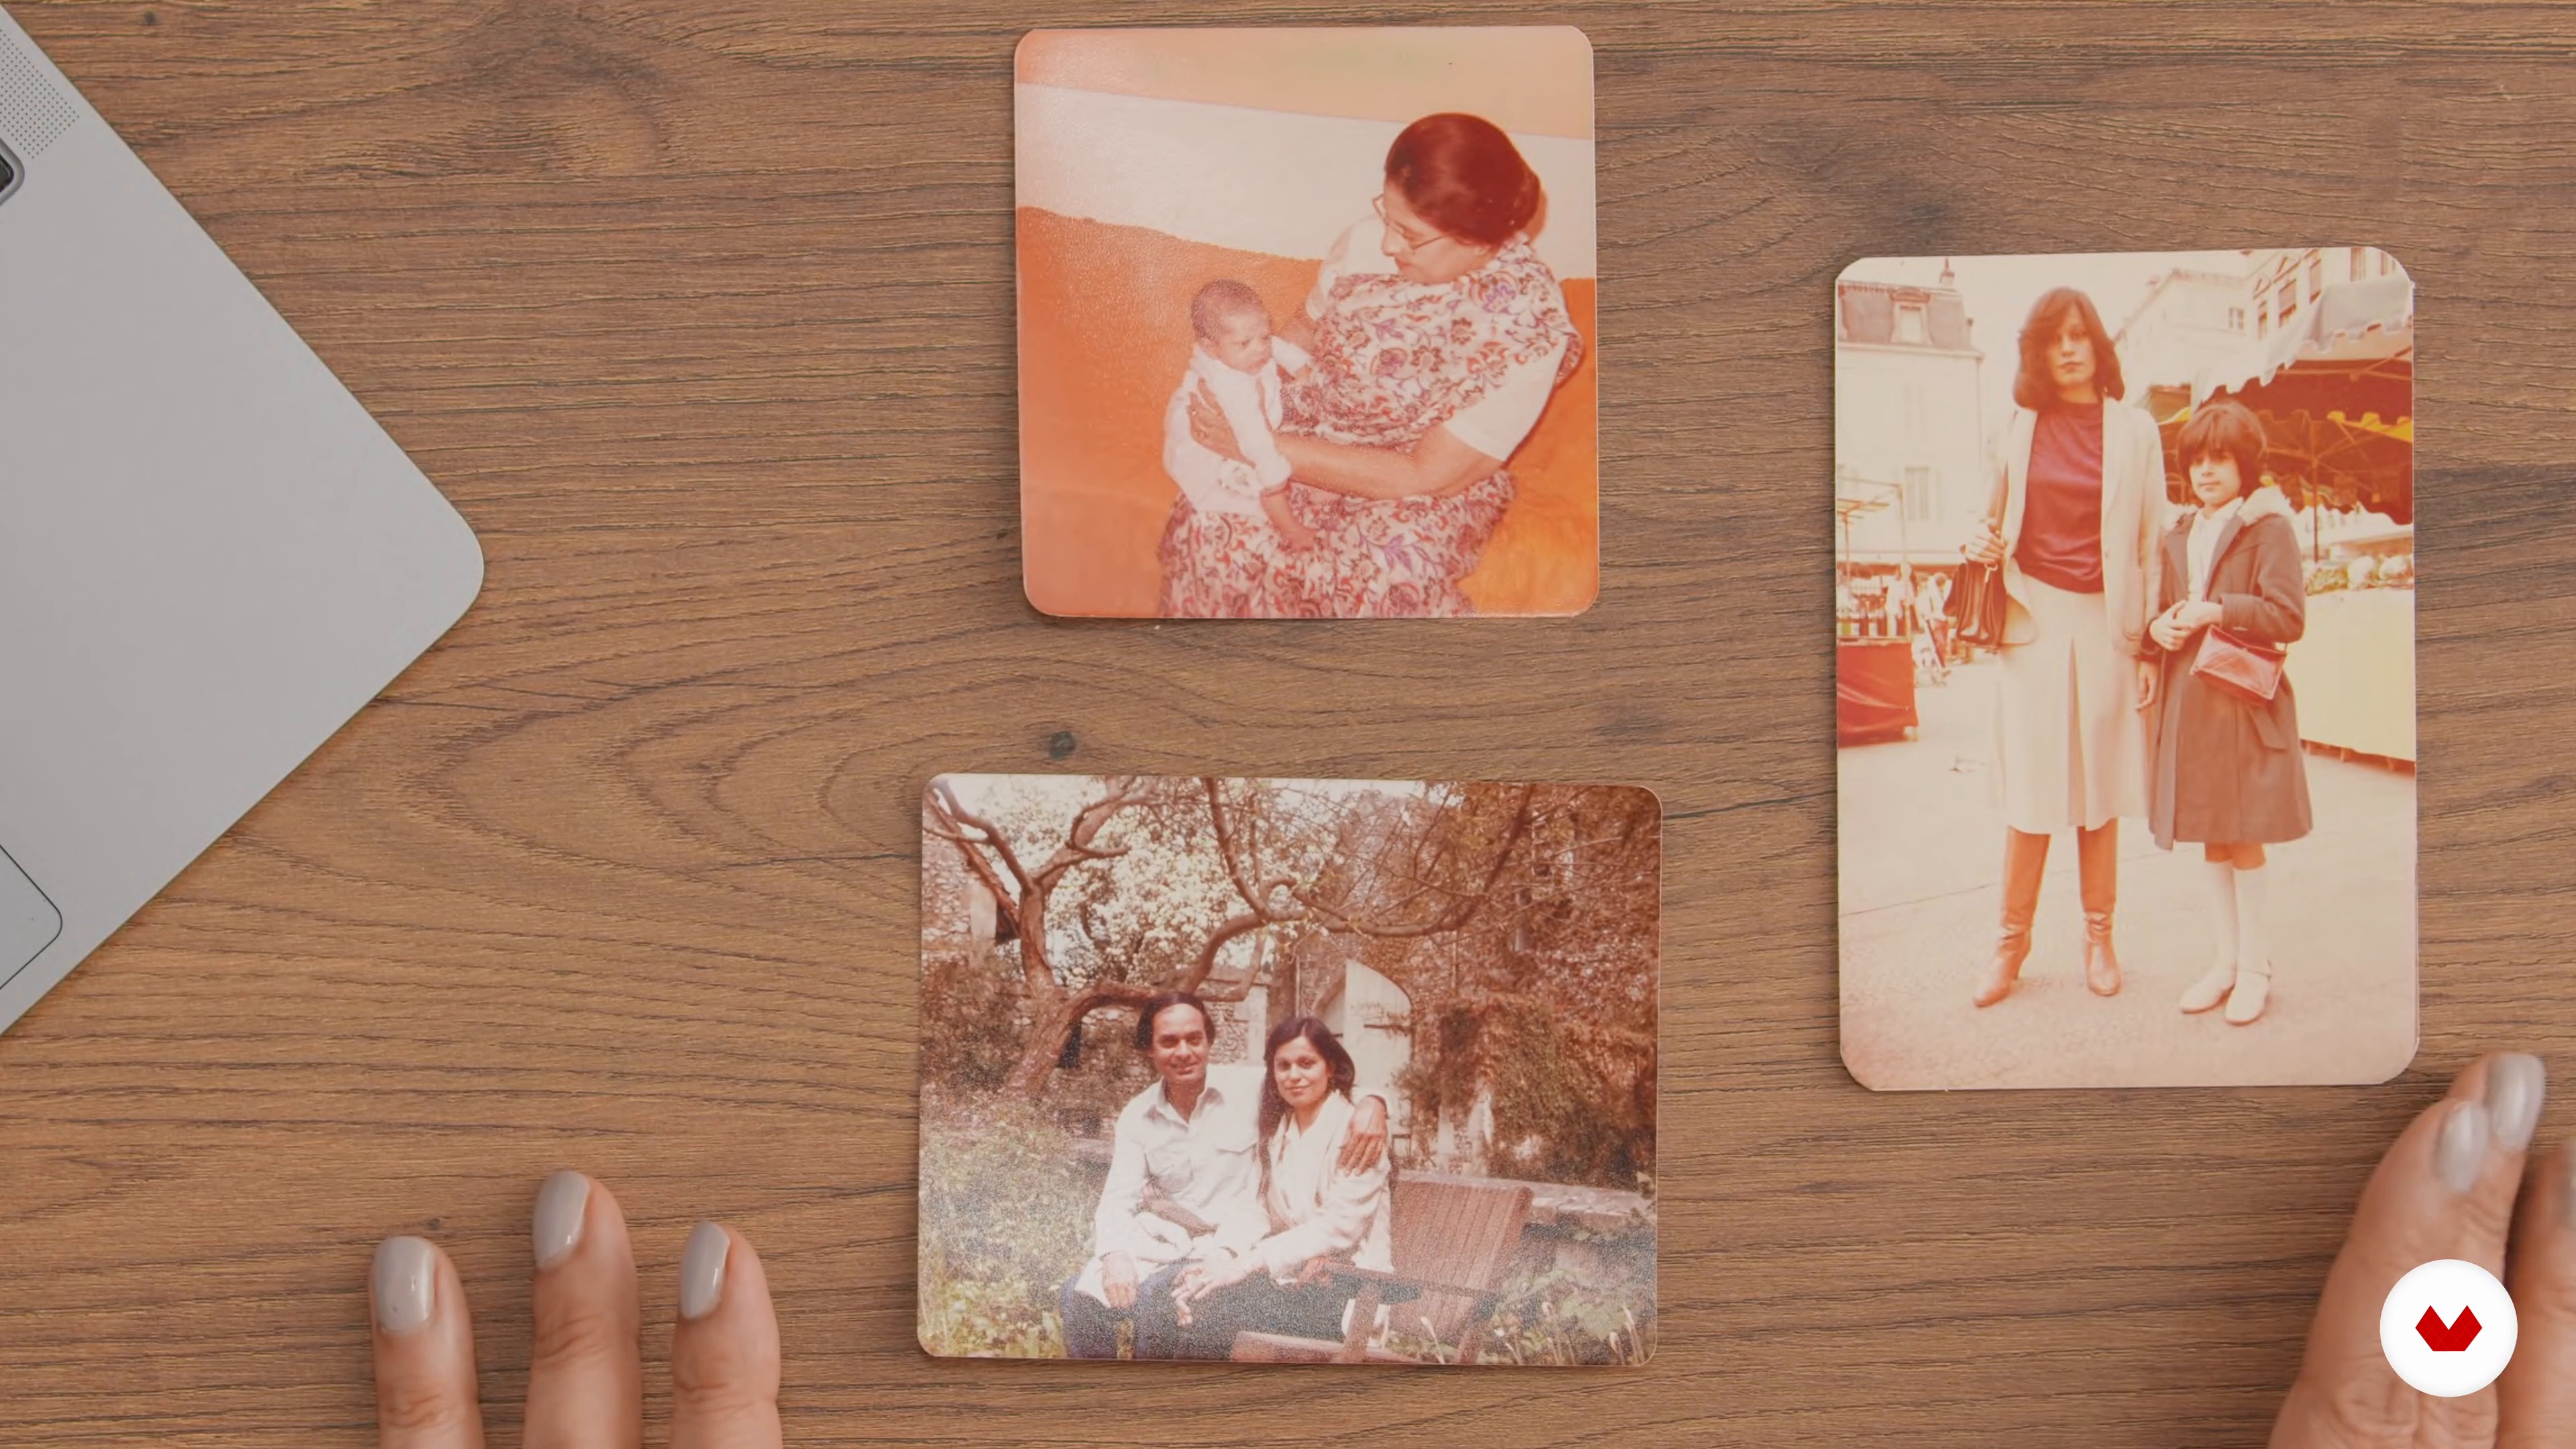
Transform culinary expression into a captivating narrative journey. This specialized course invites food enthusiasts, writers, and illustrators to bring recipes to life through vivid storytelling and evocative visuals. Discover the art of crafting a narrative cookbook that transcends traditional recipes, weaving in personal stories and cultural heritage. With a focus on soulful food writing, learn to write with passion, touch hearts, and preserve traditions through the written word.
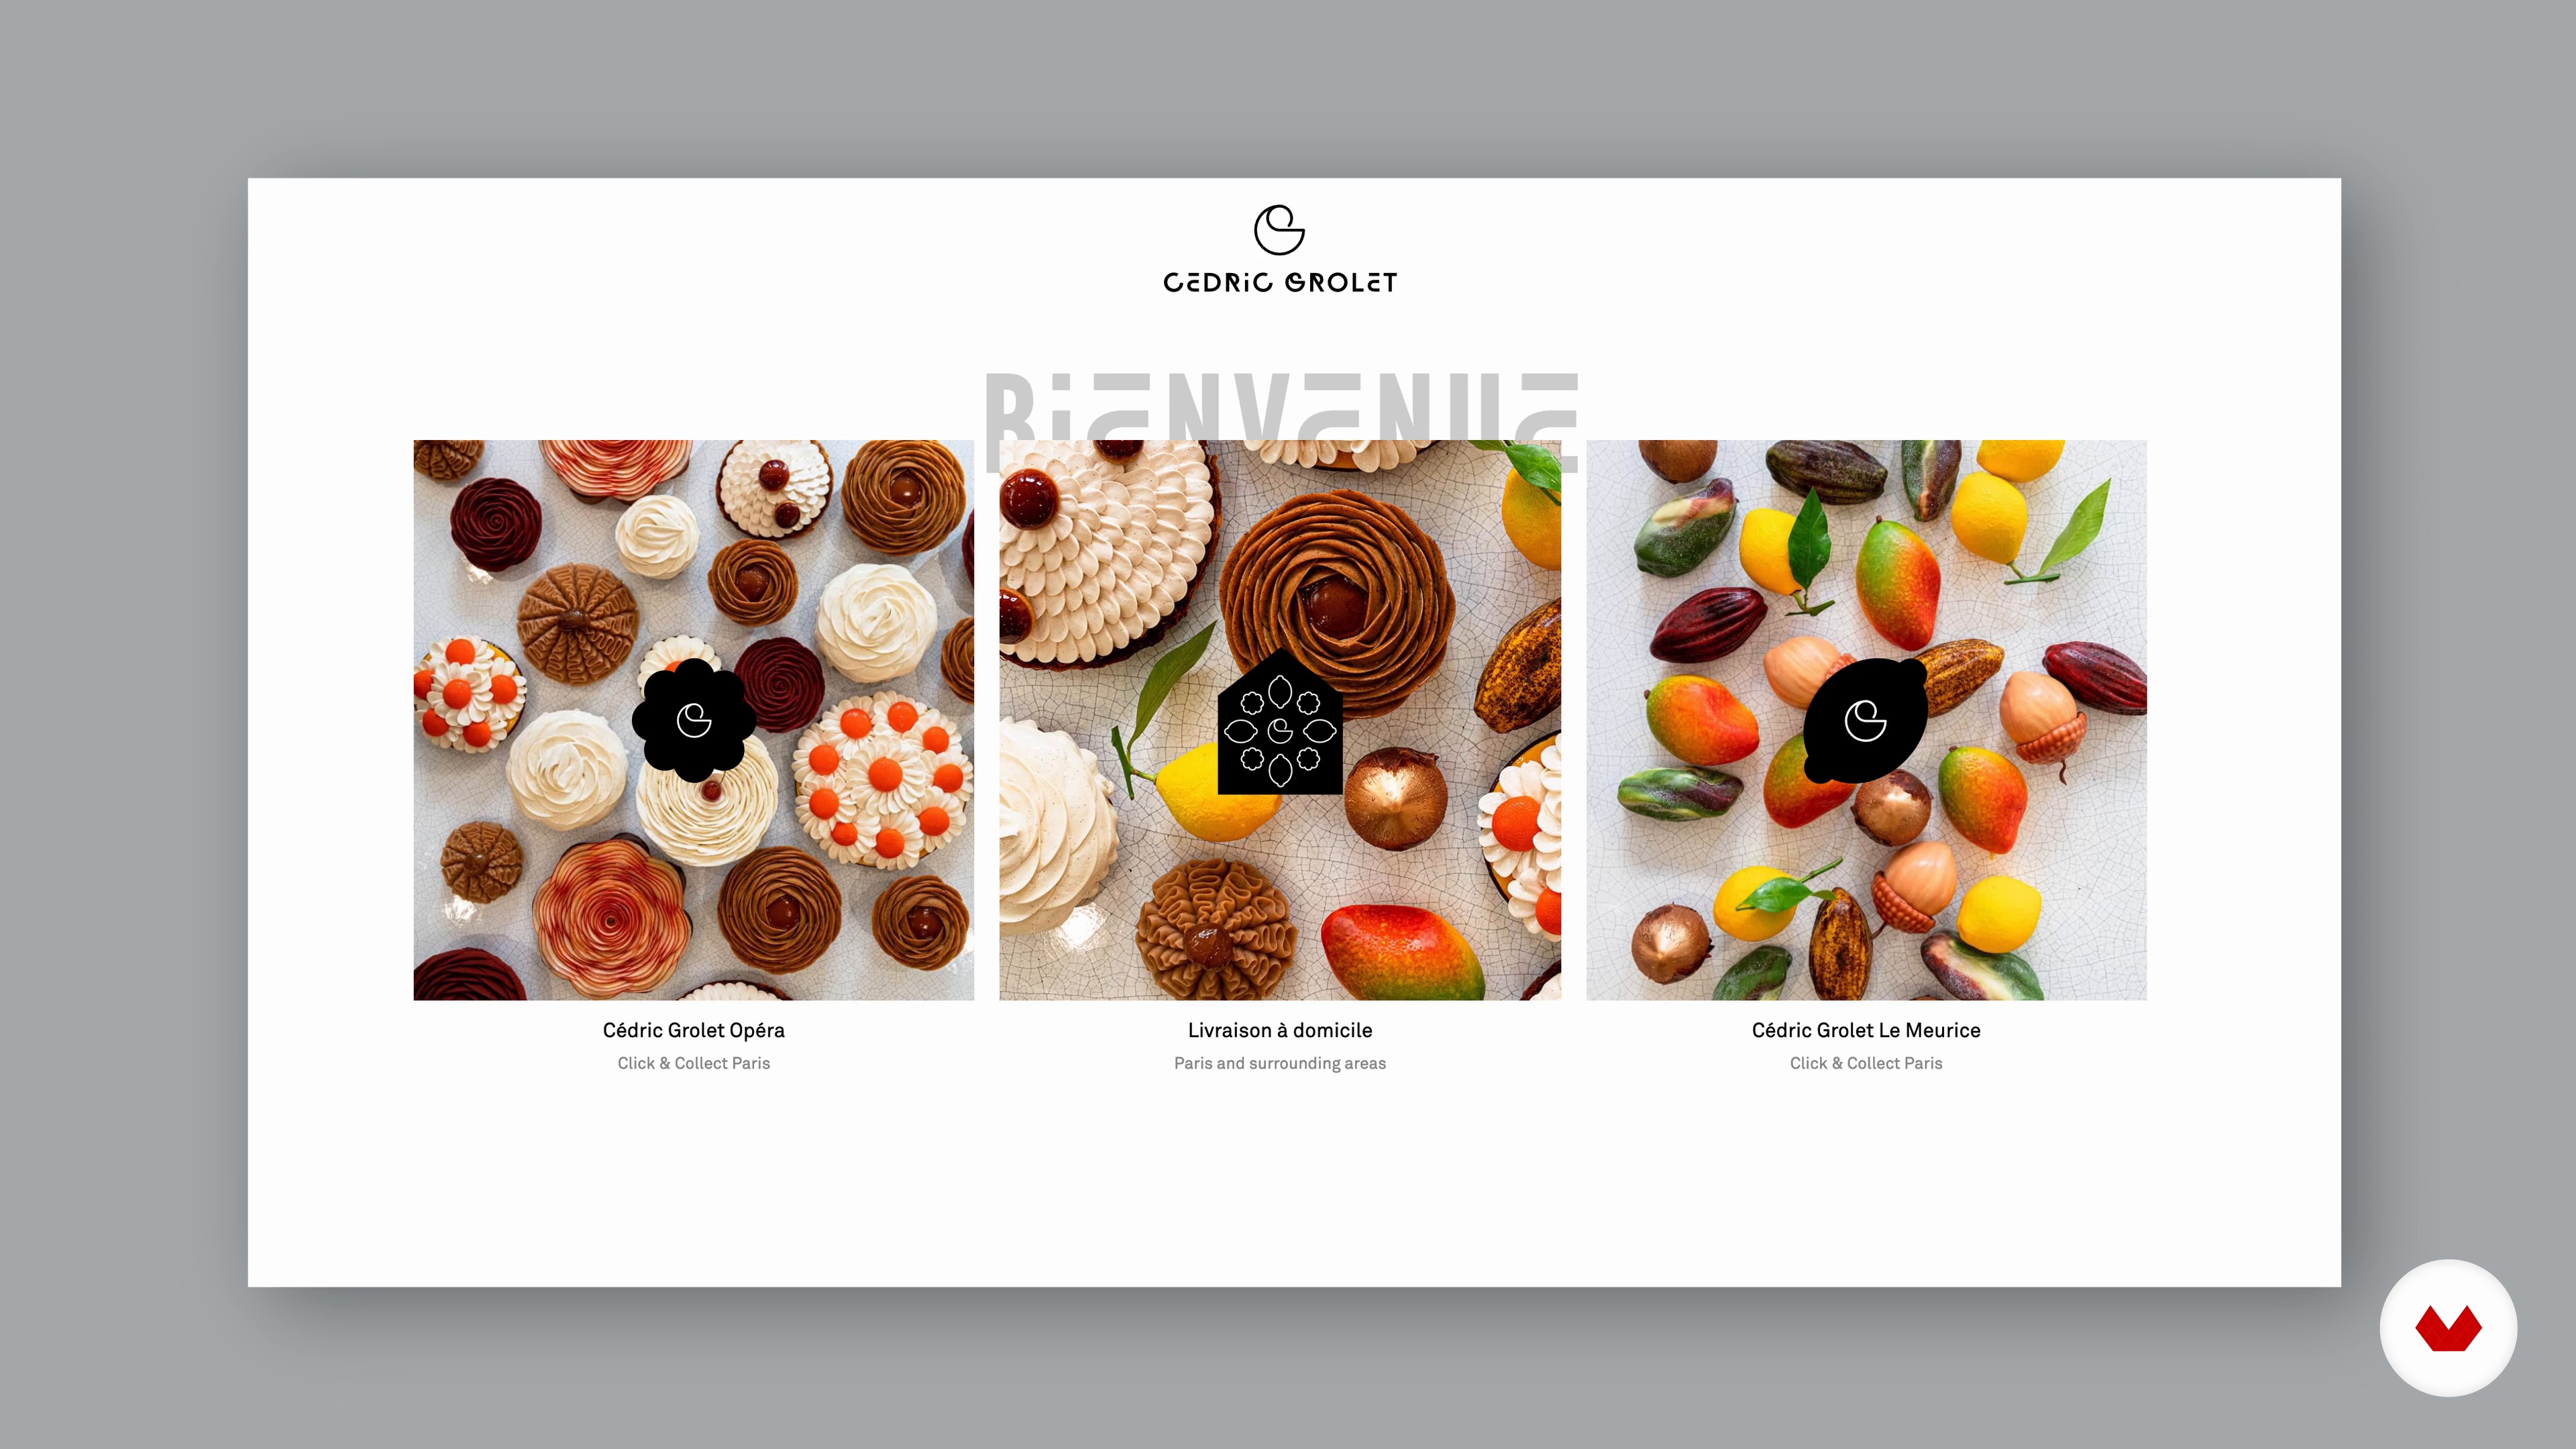
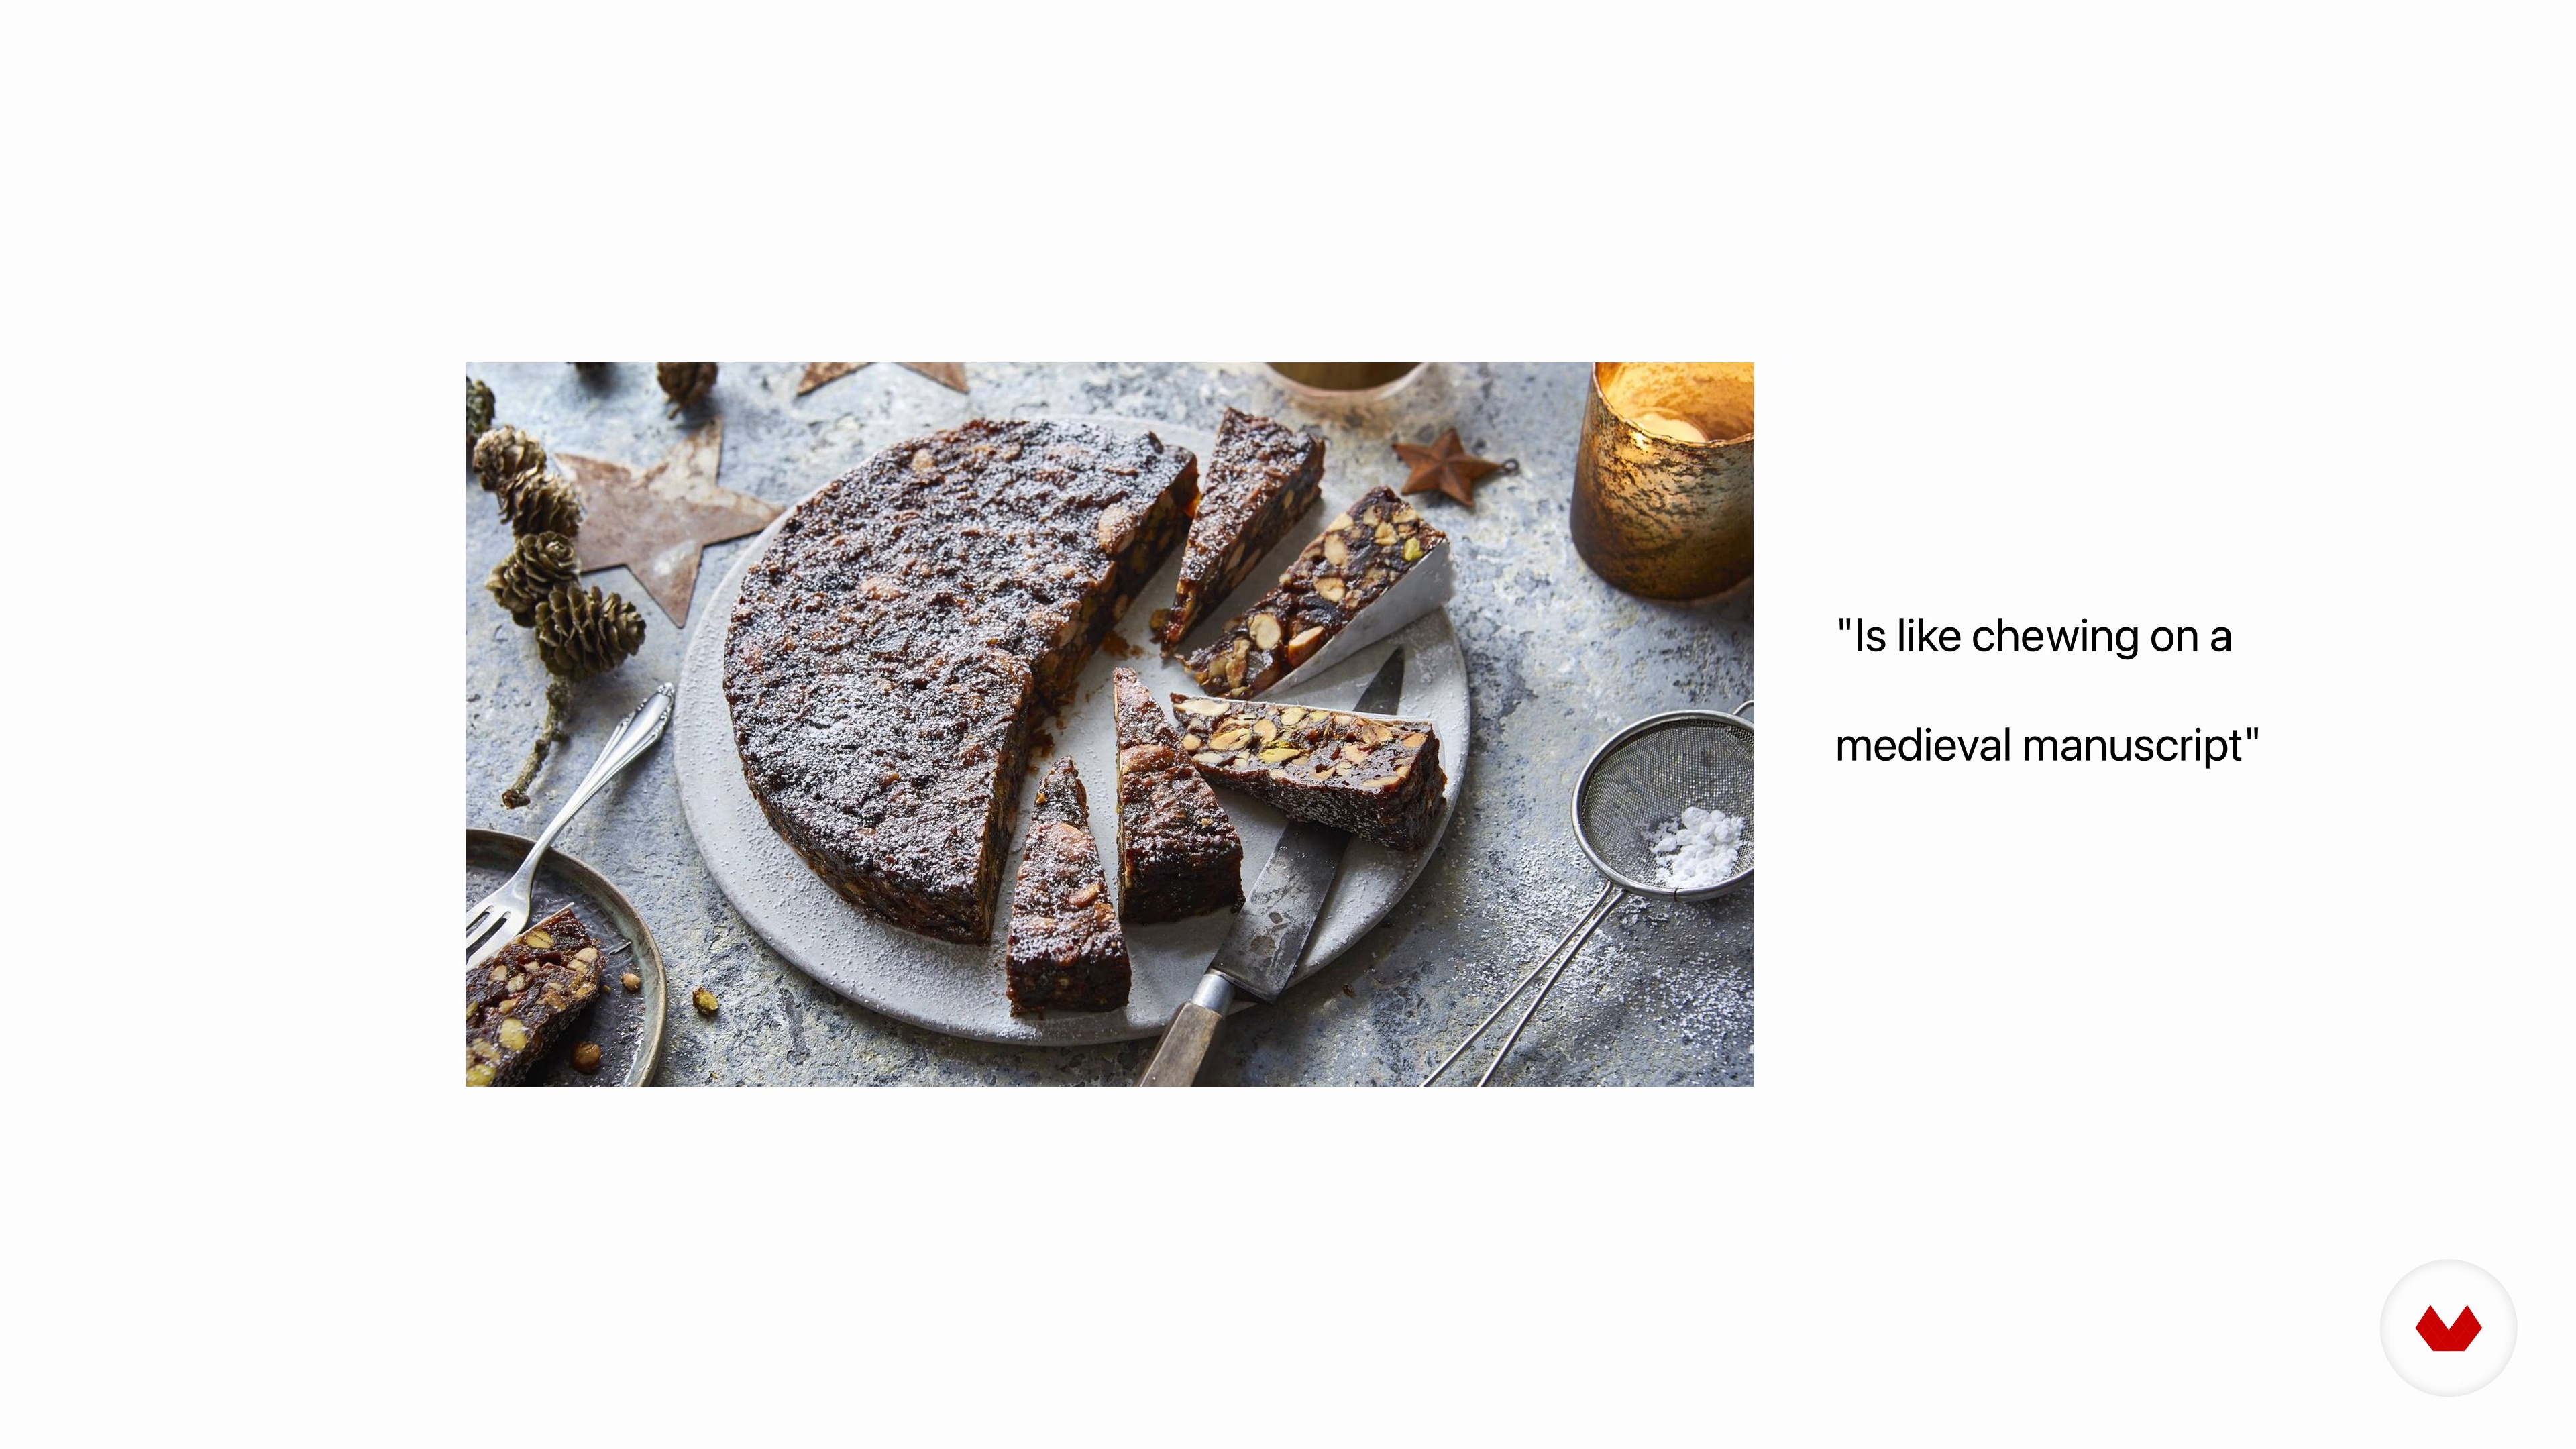
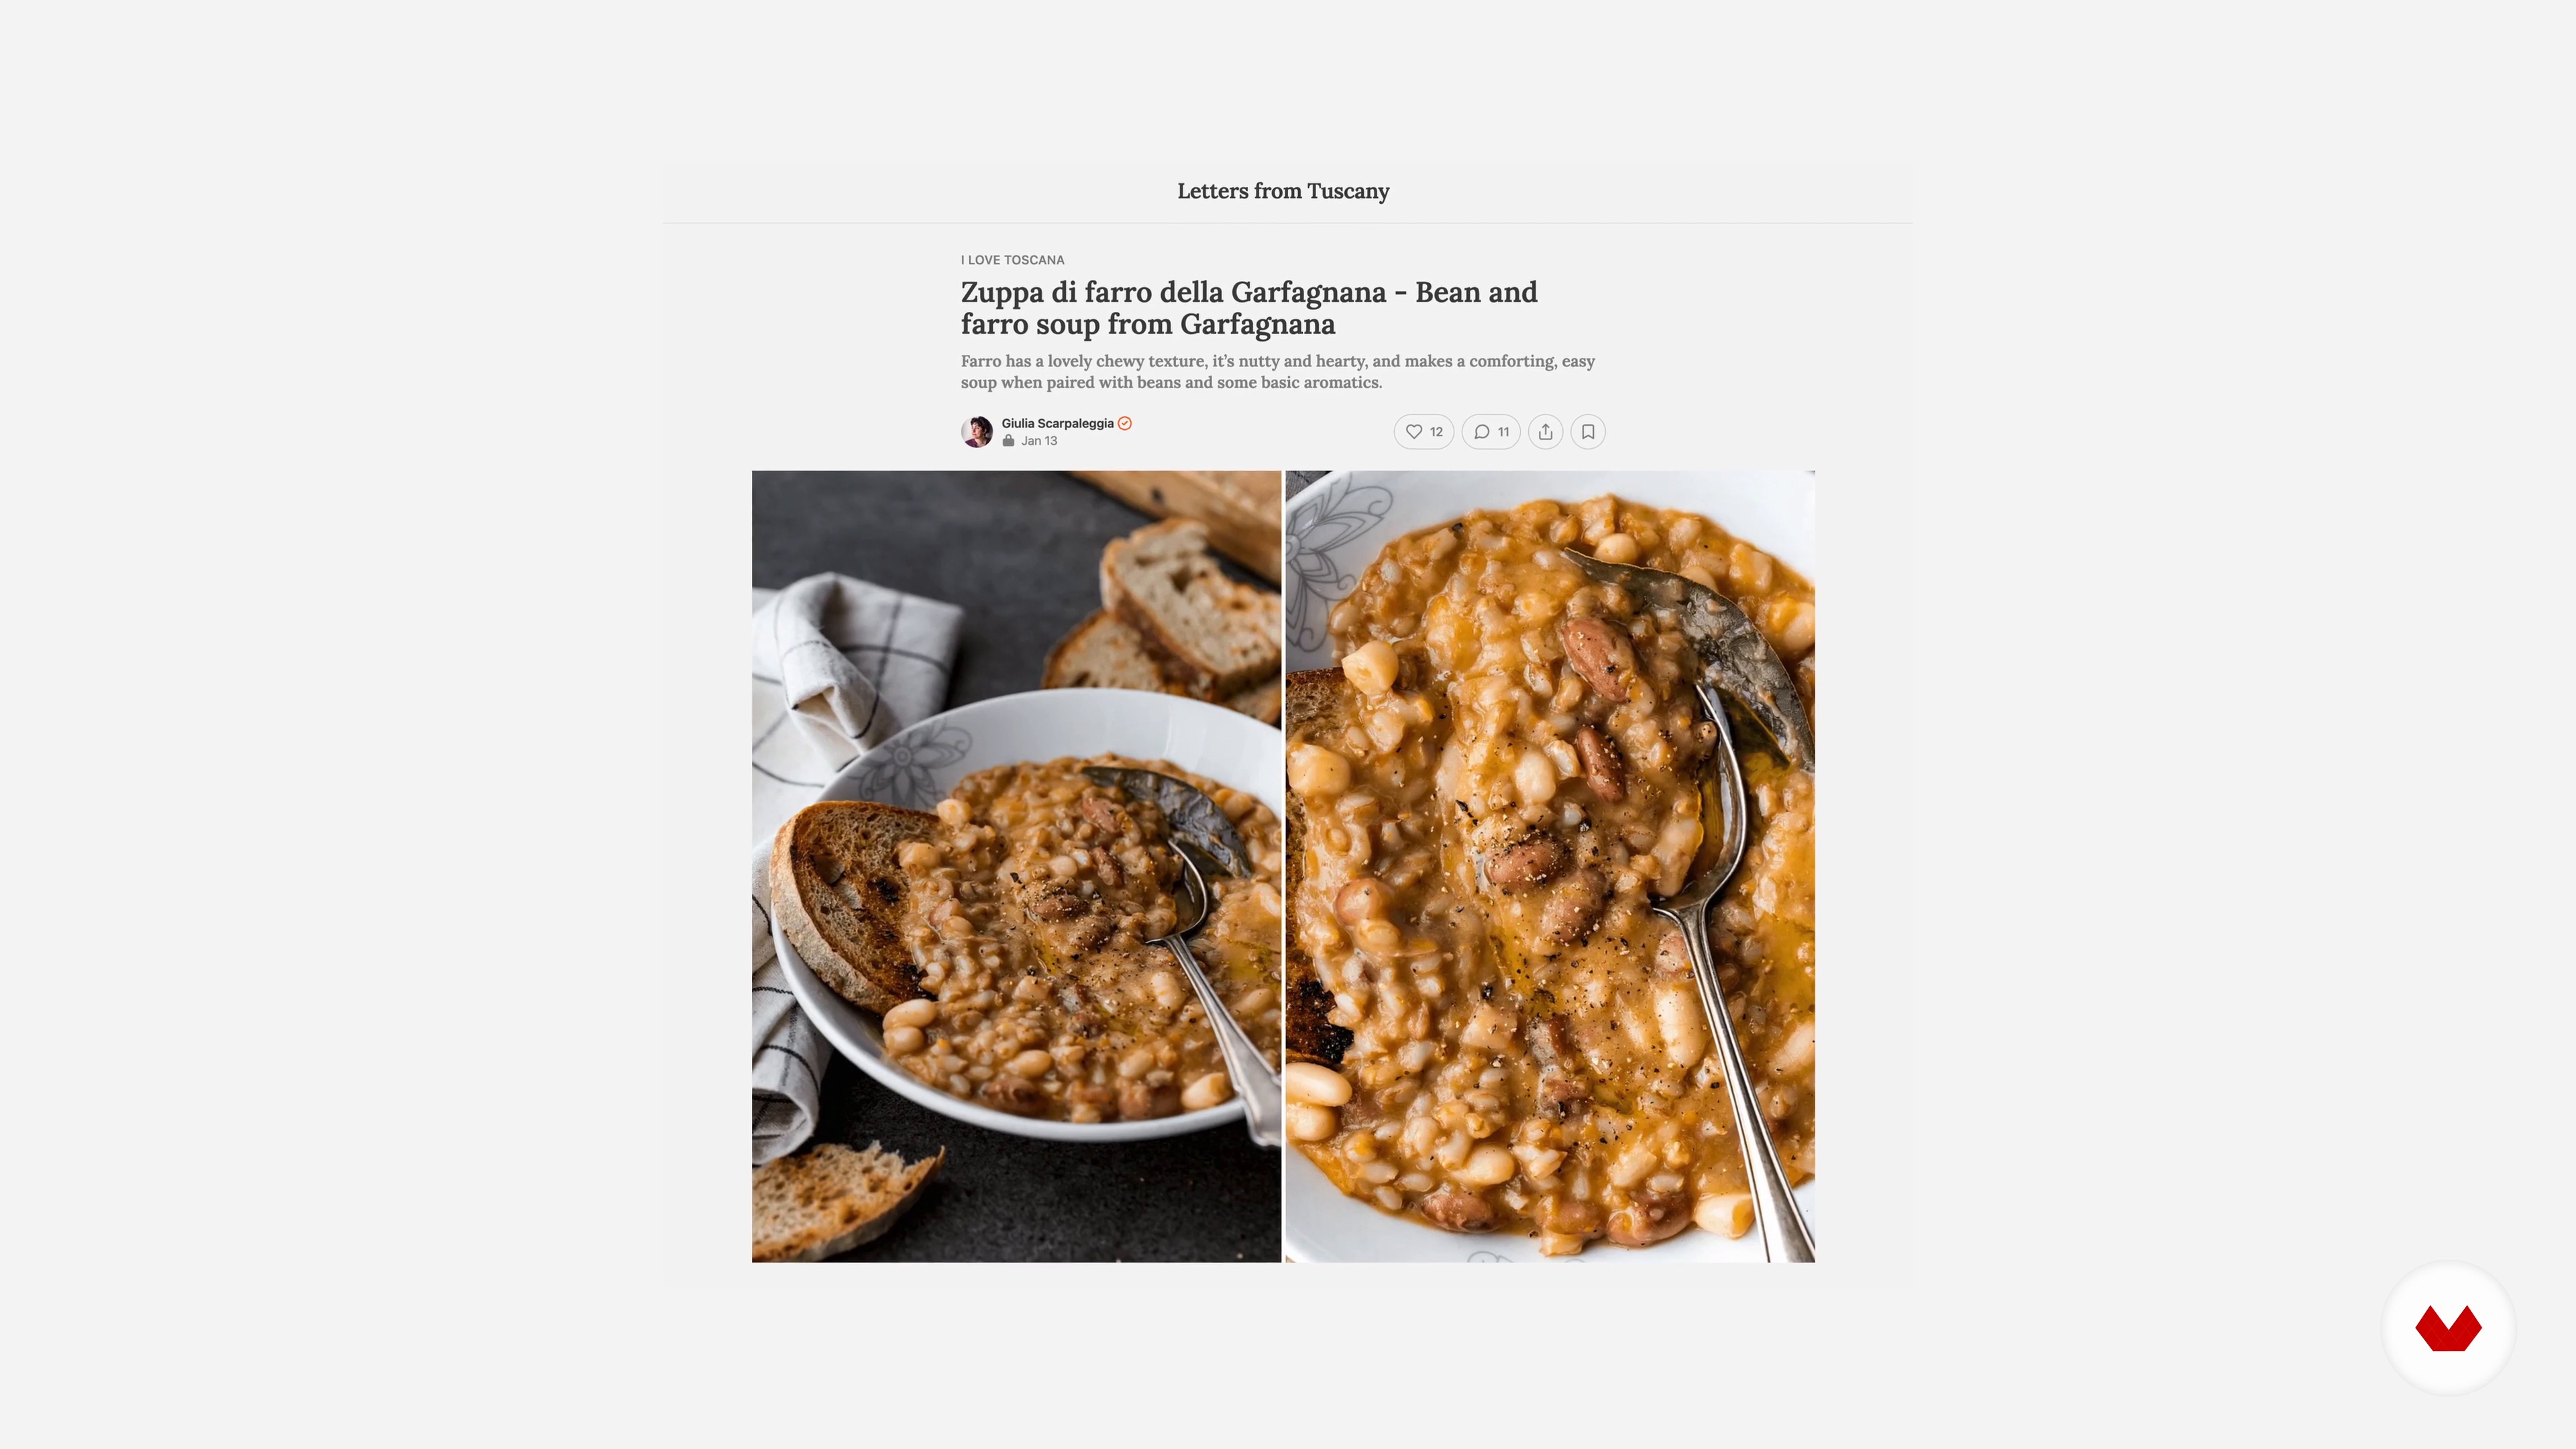
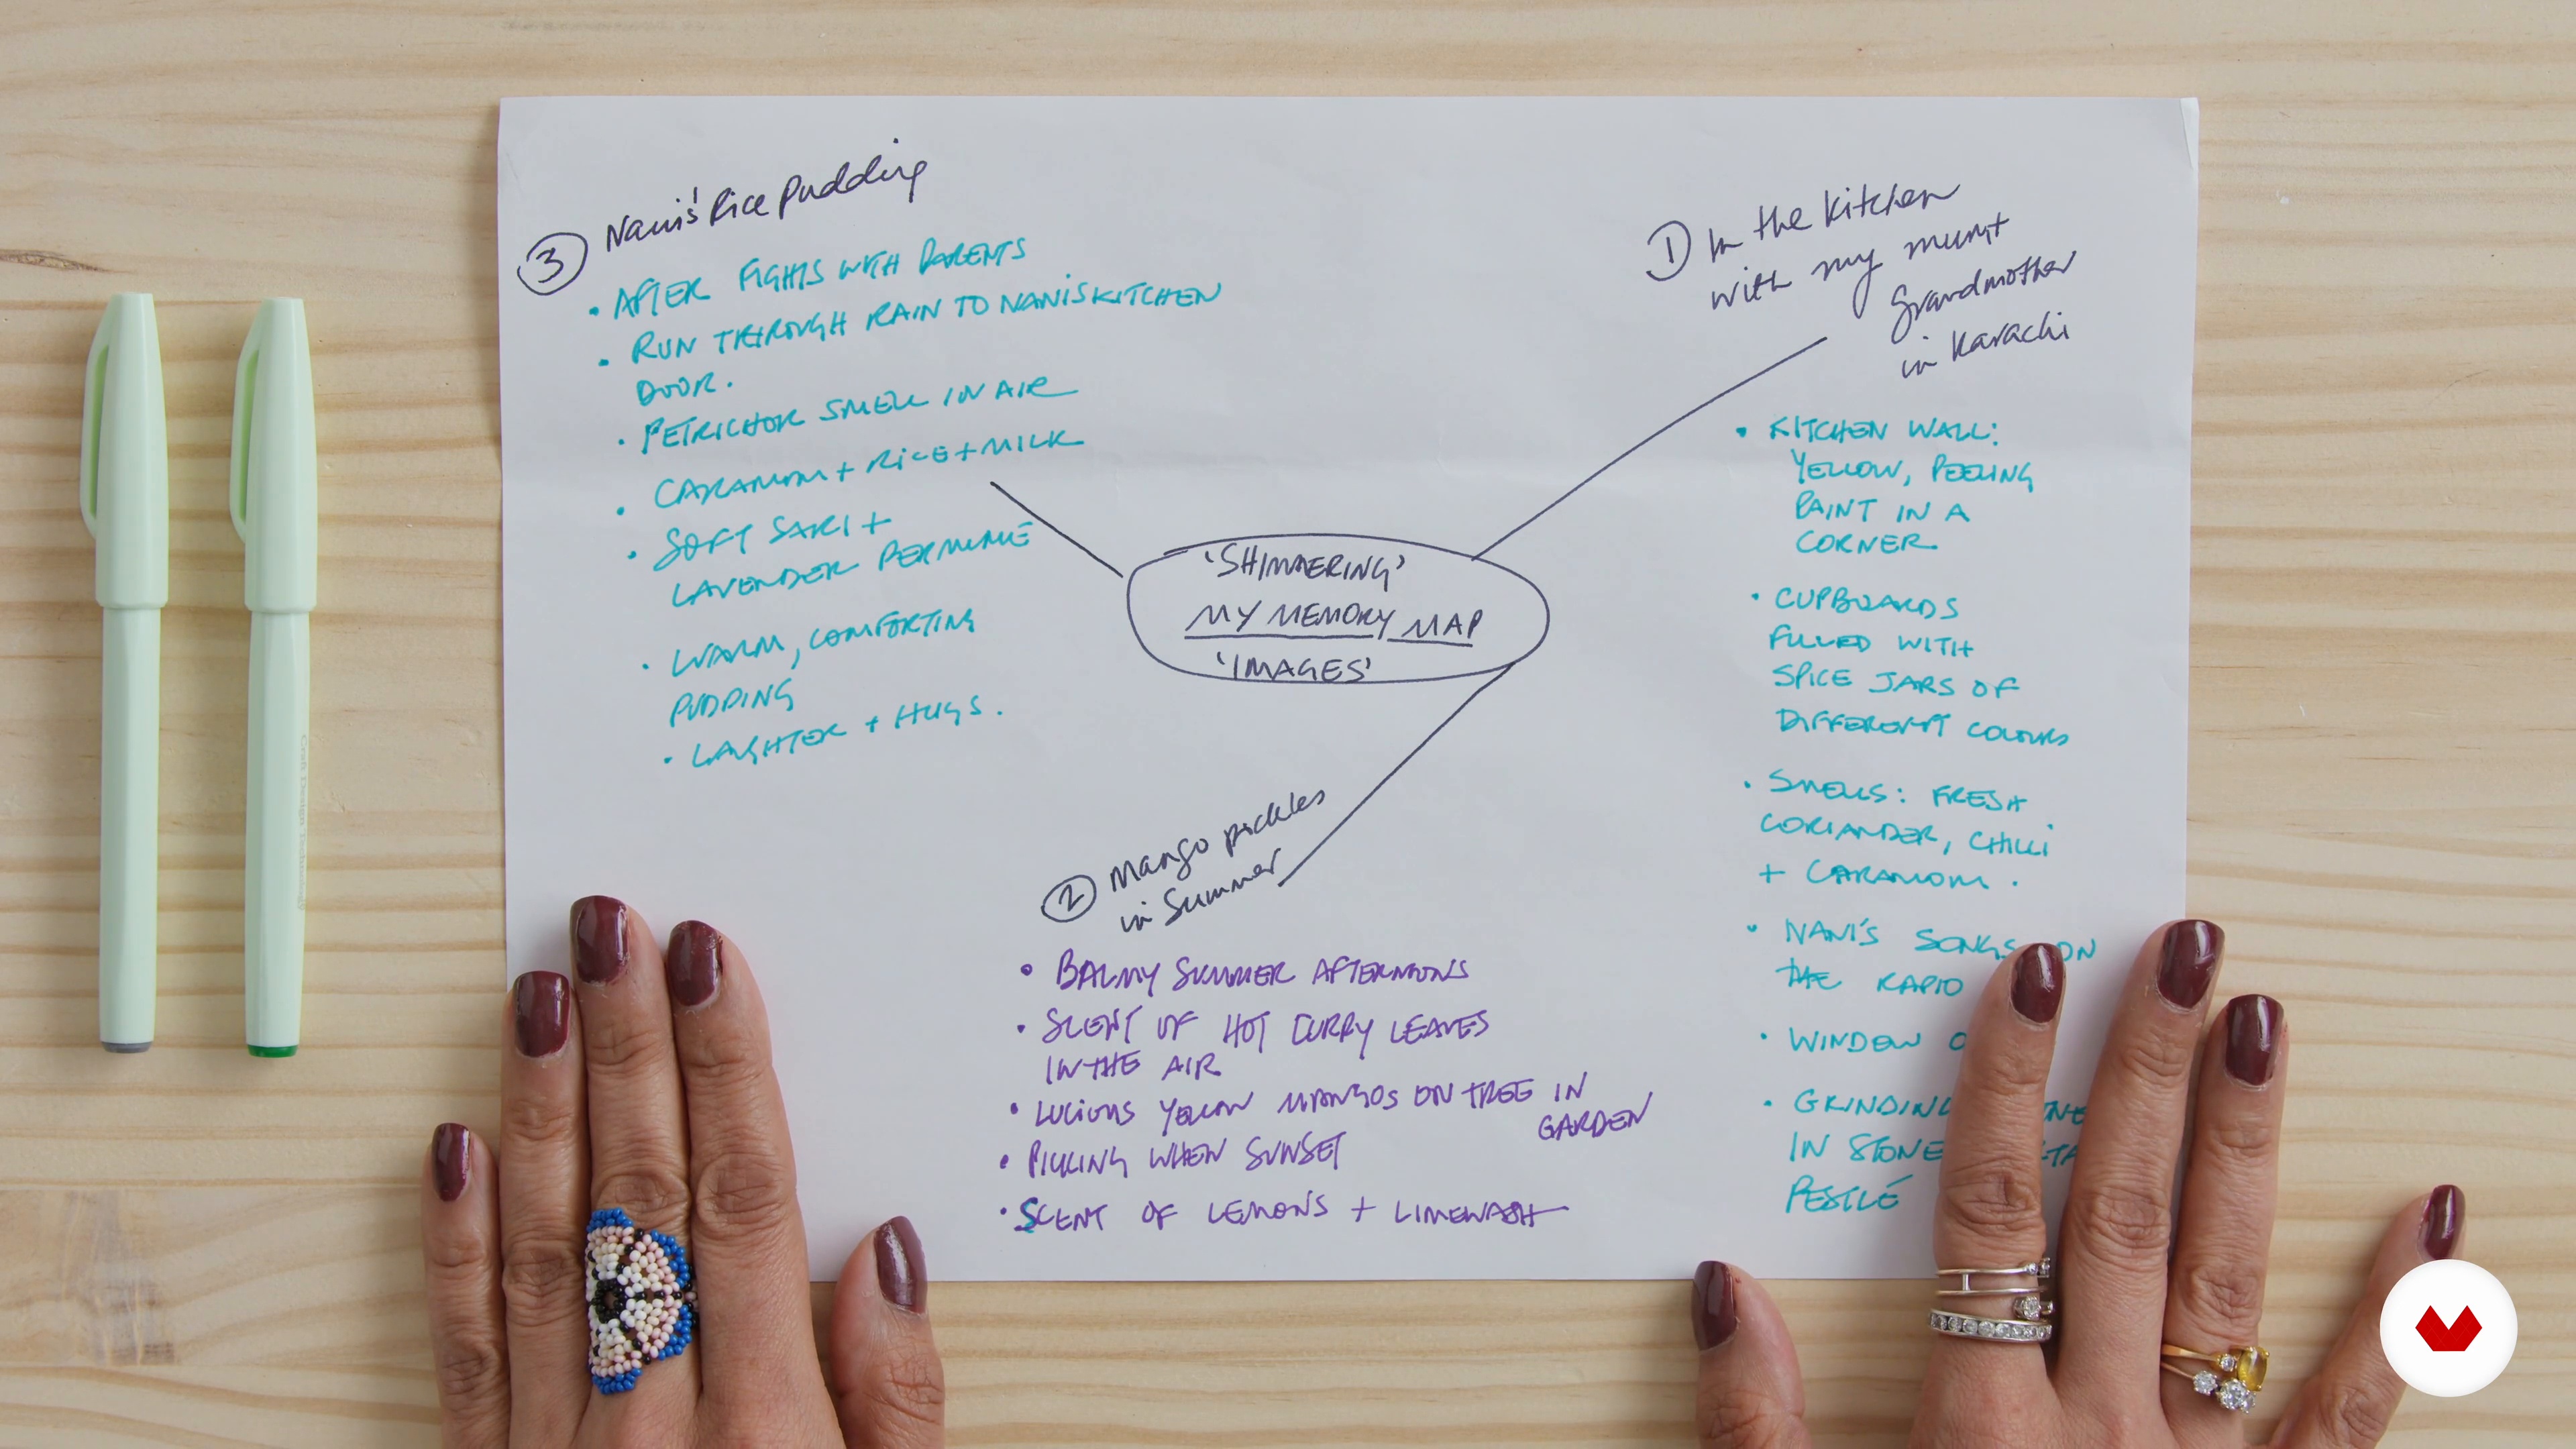
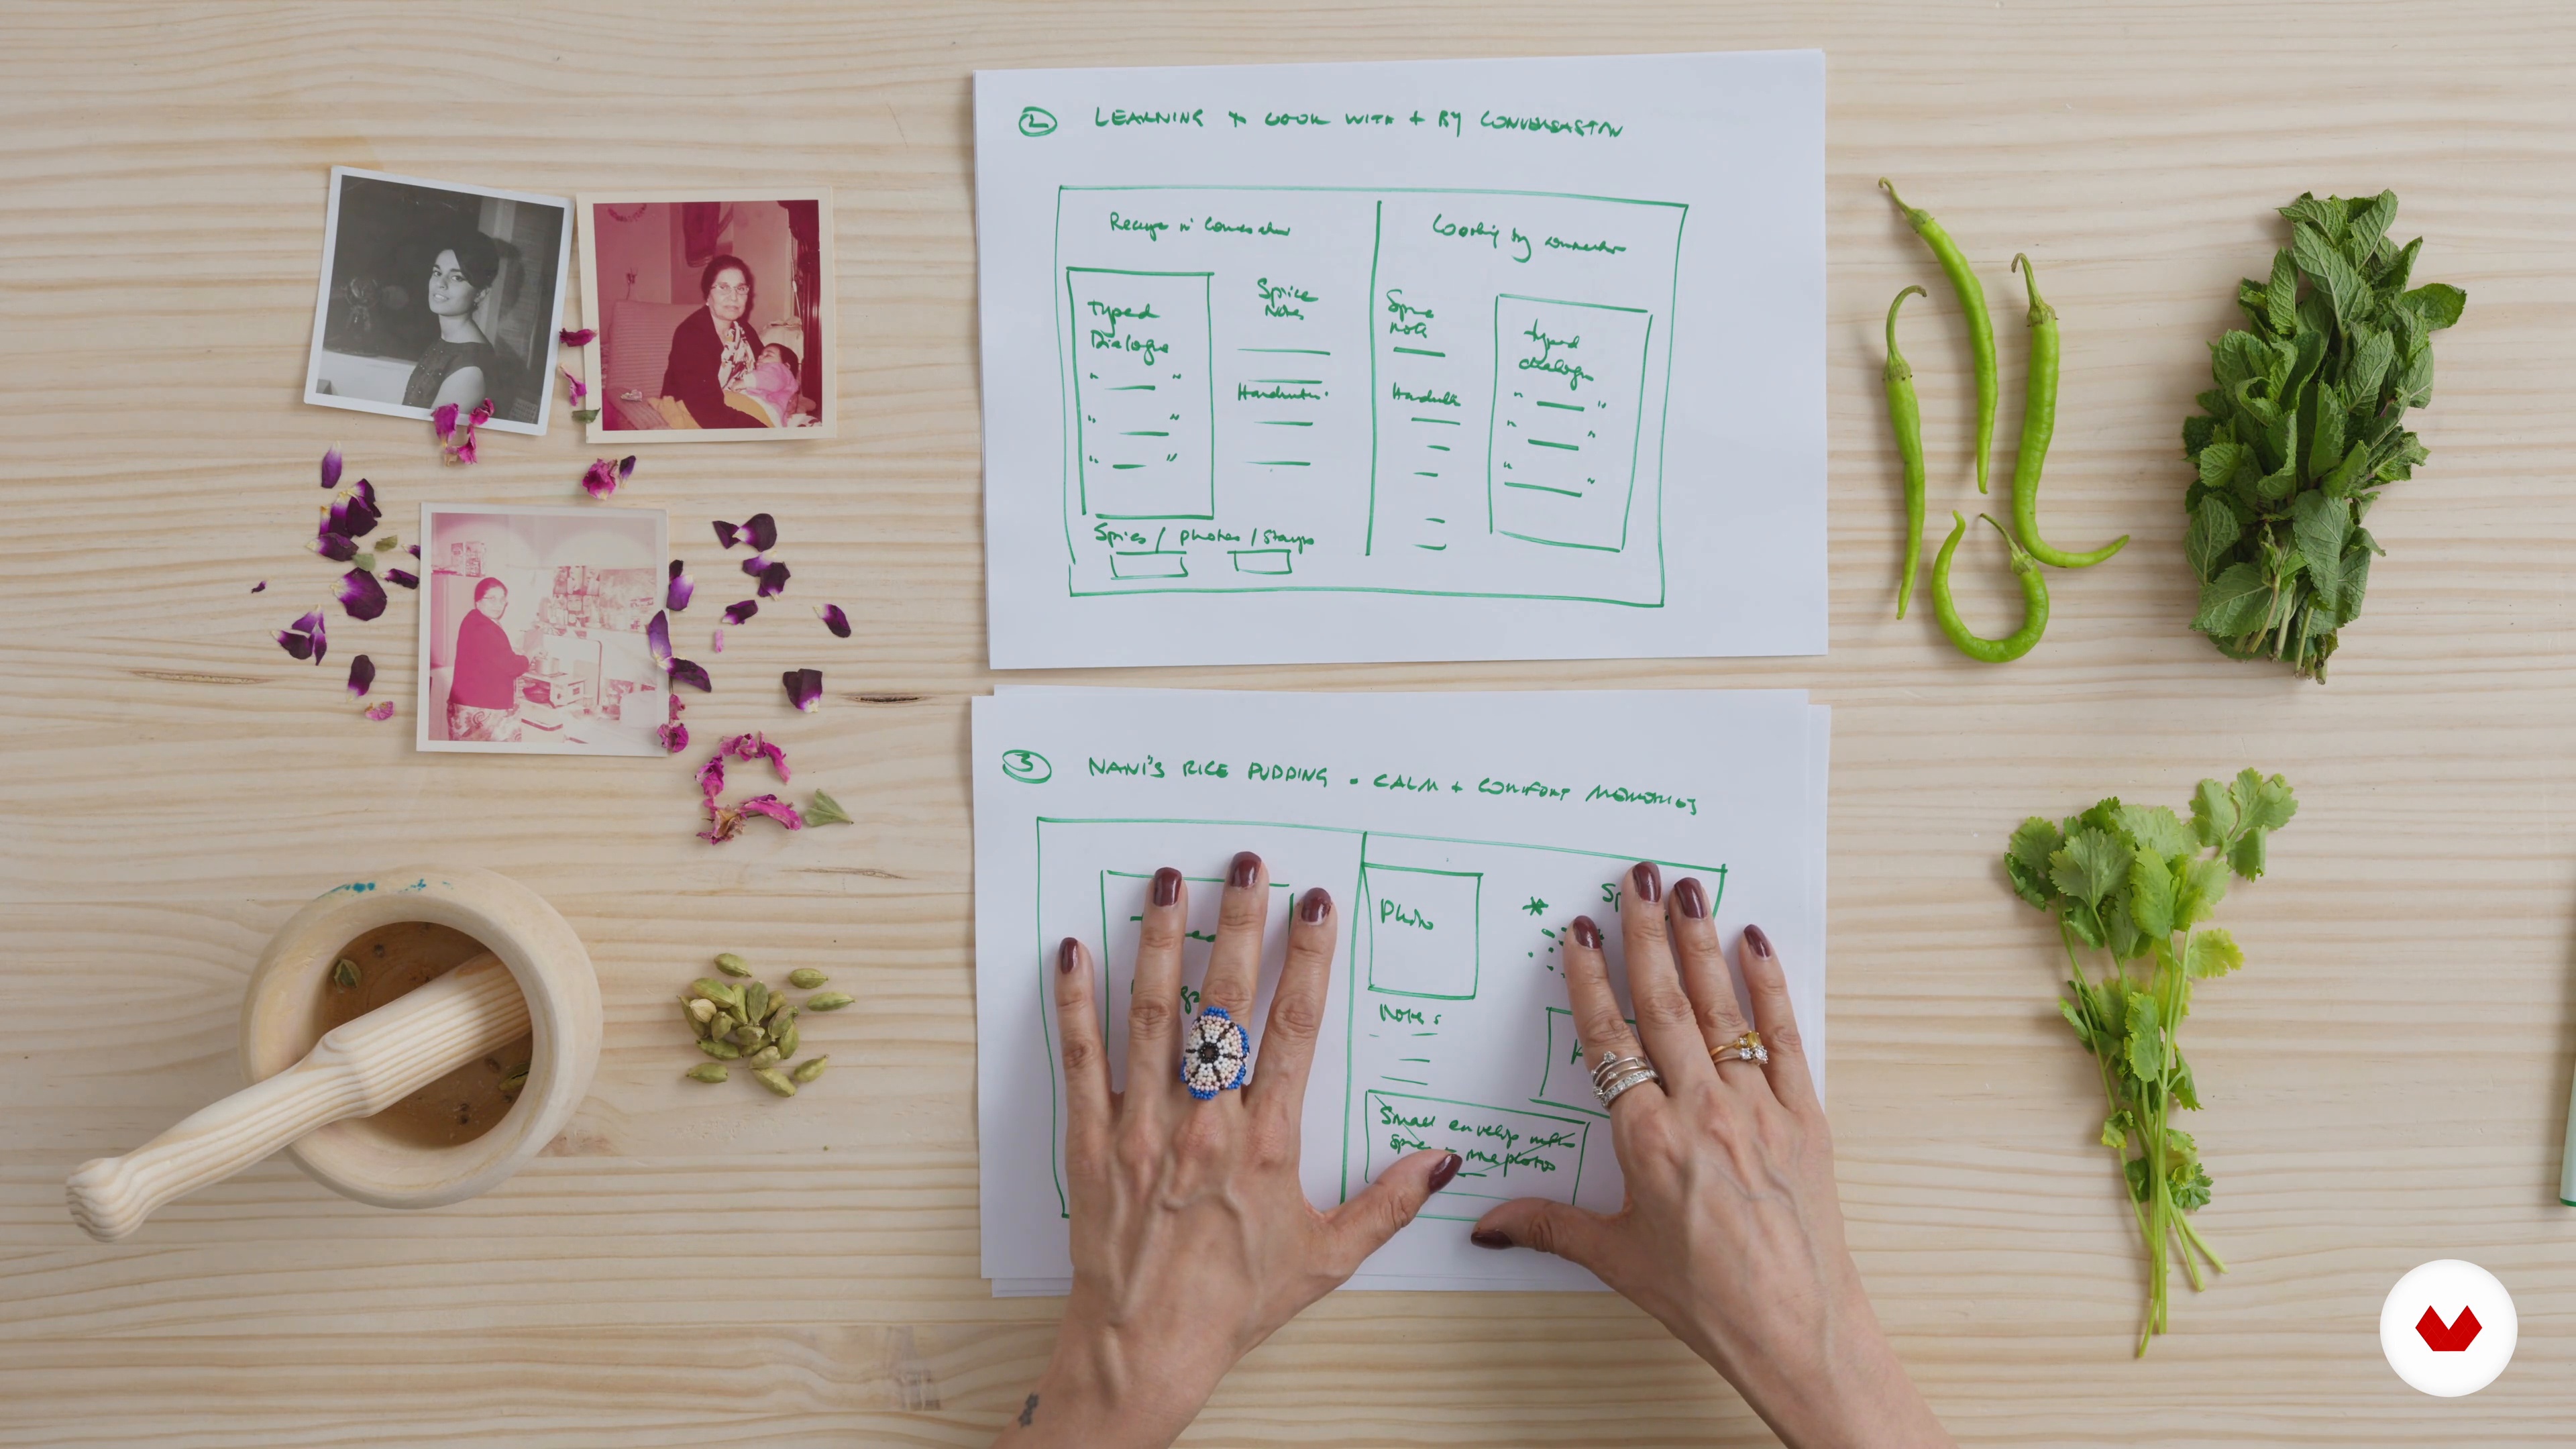
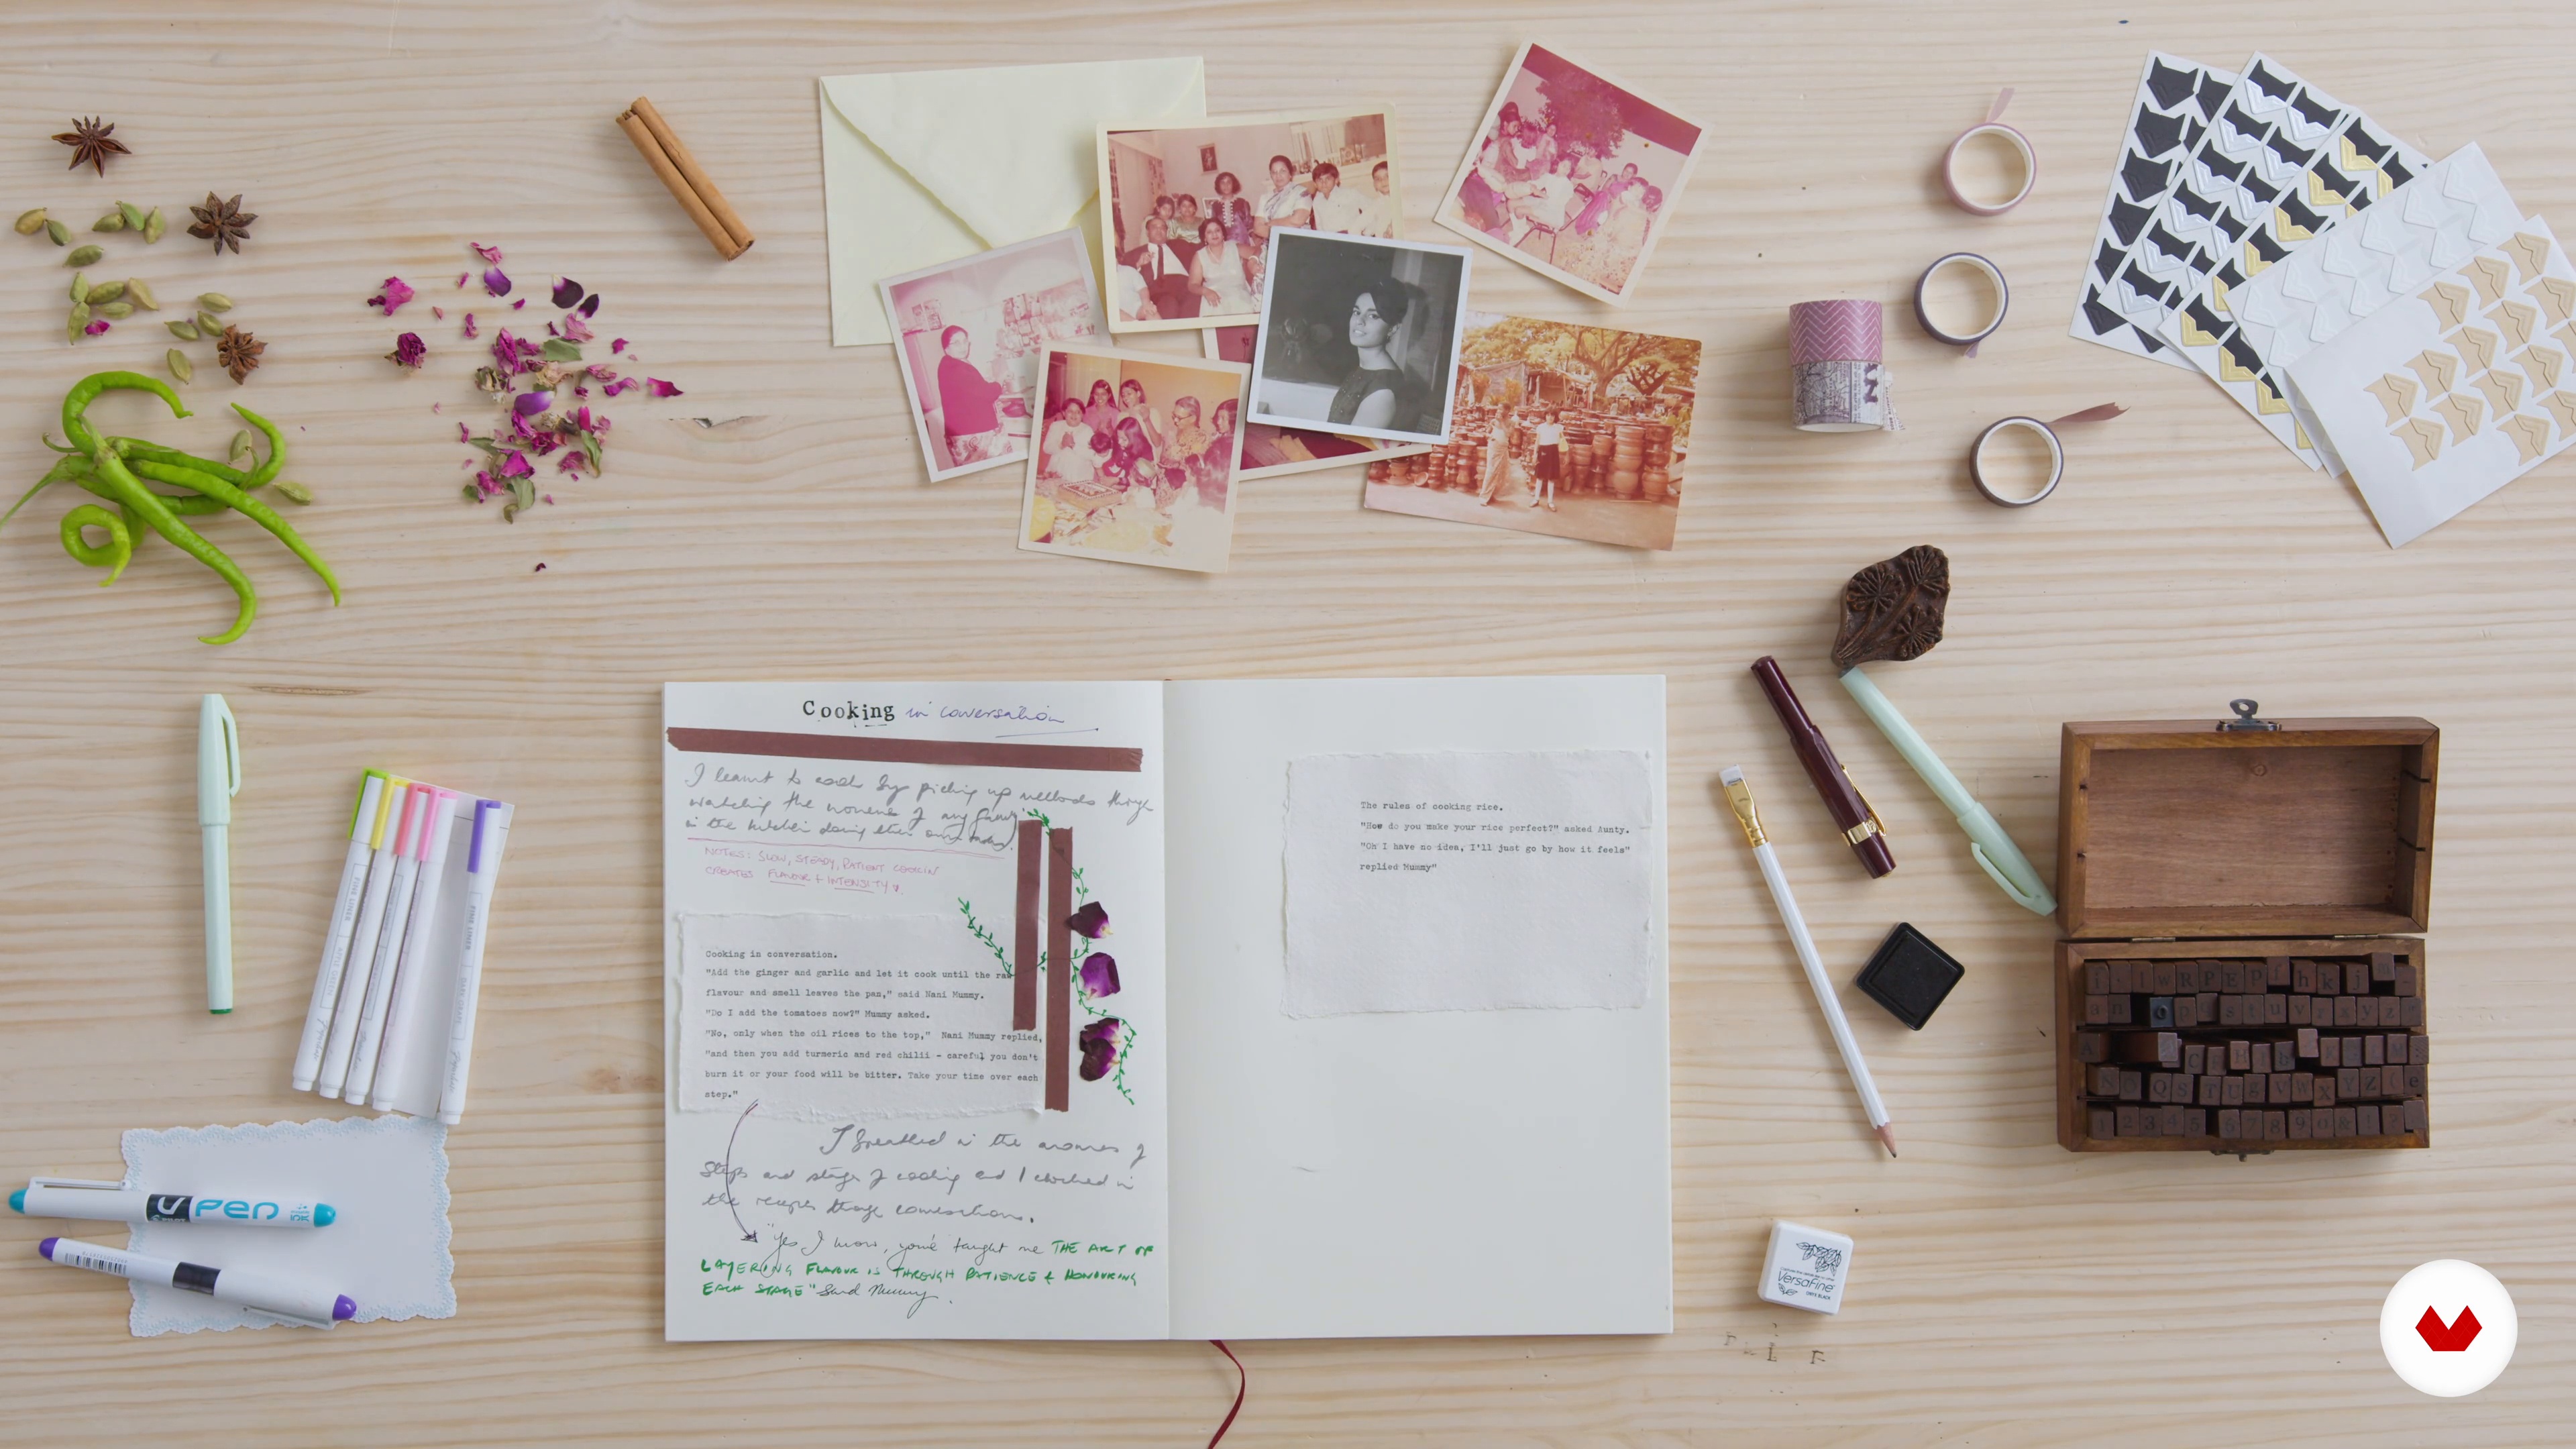
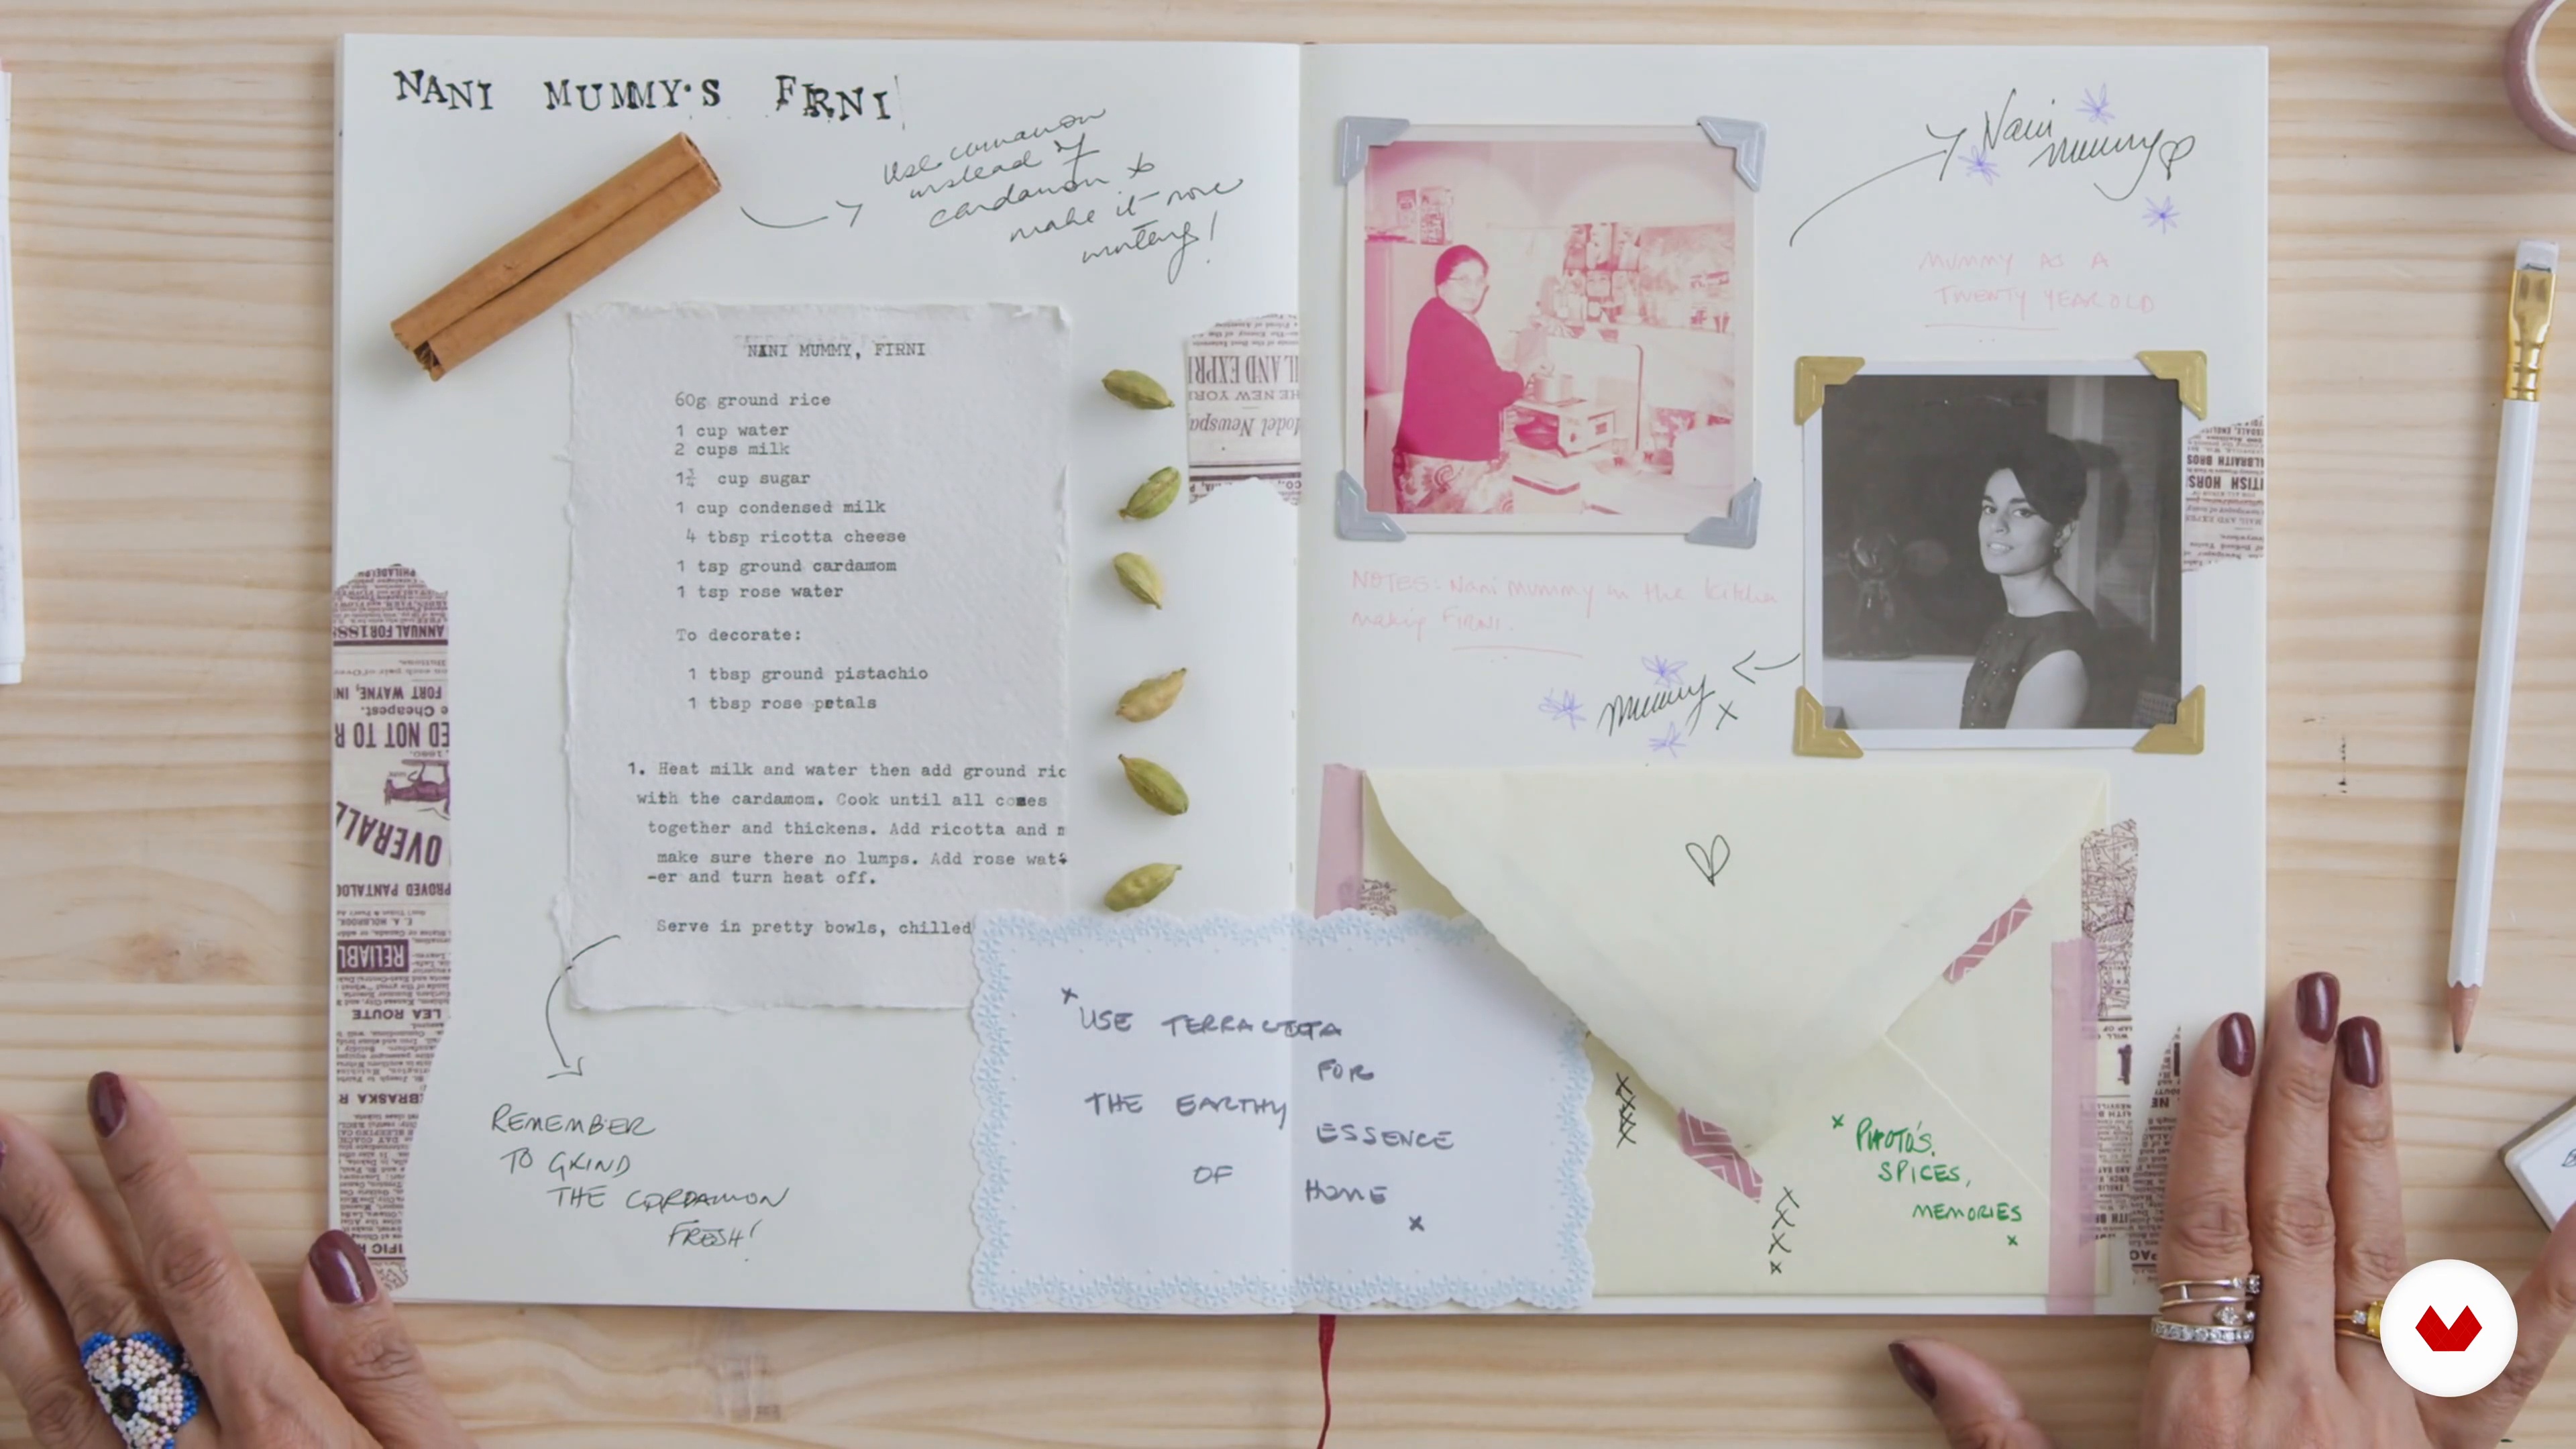
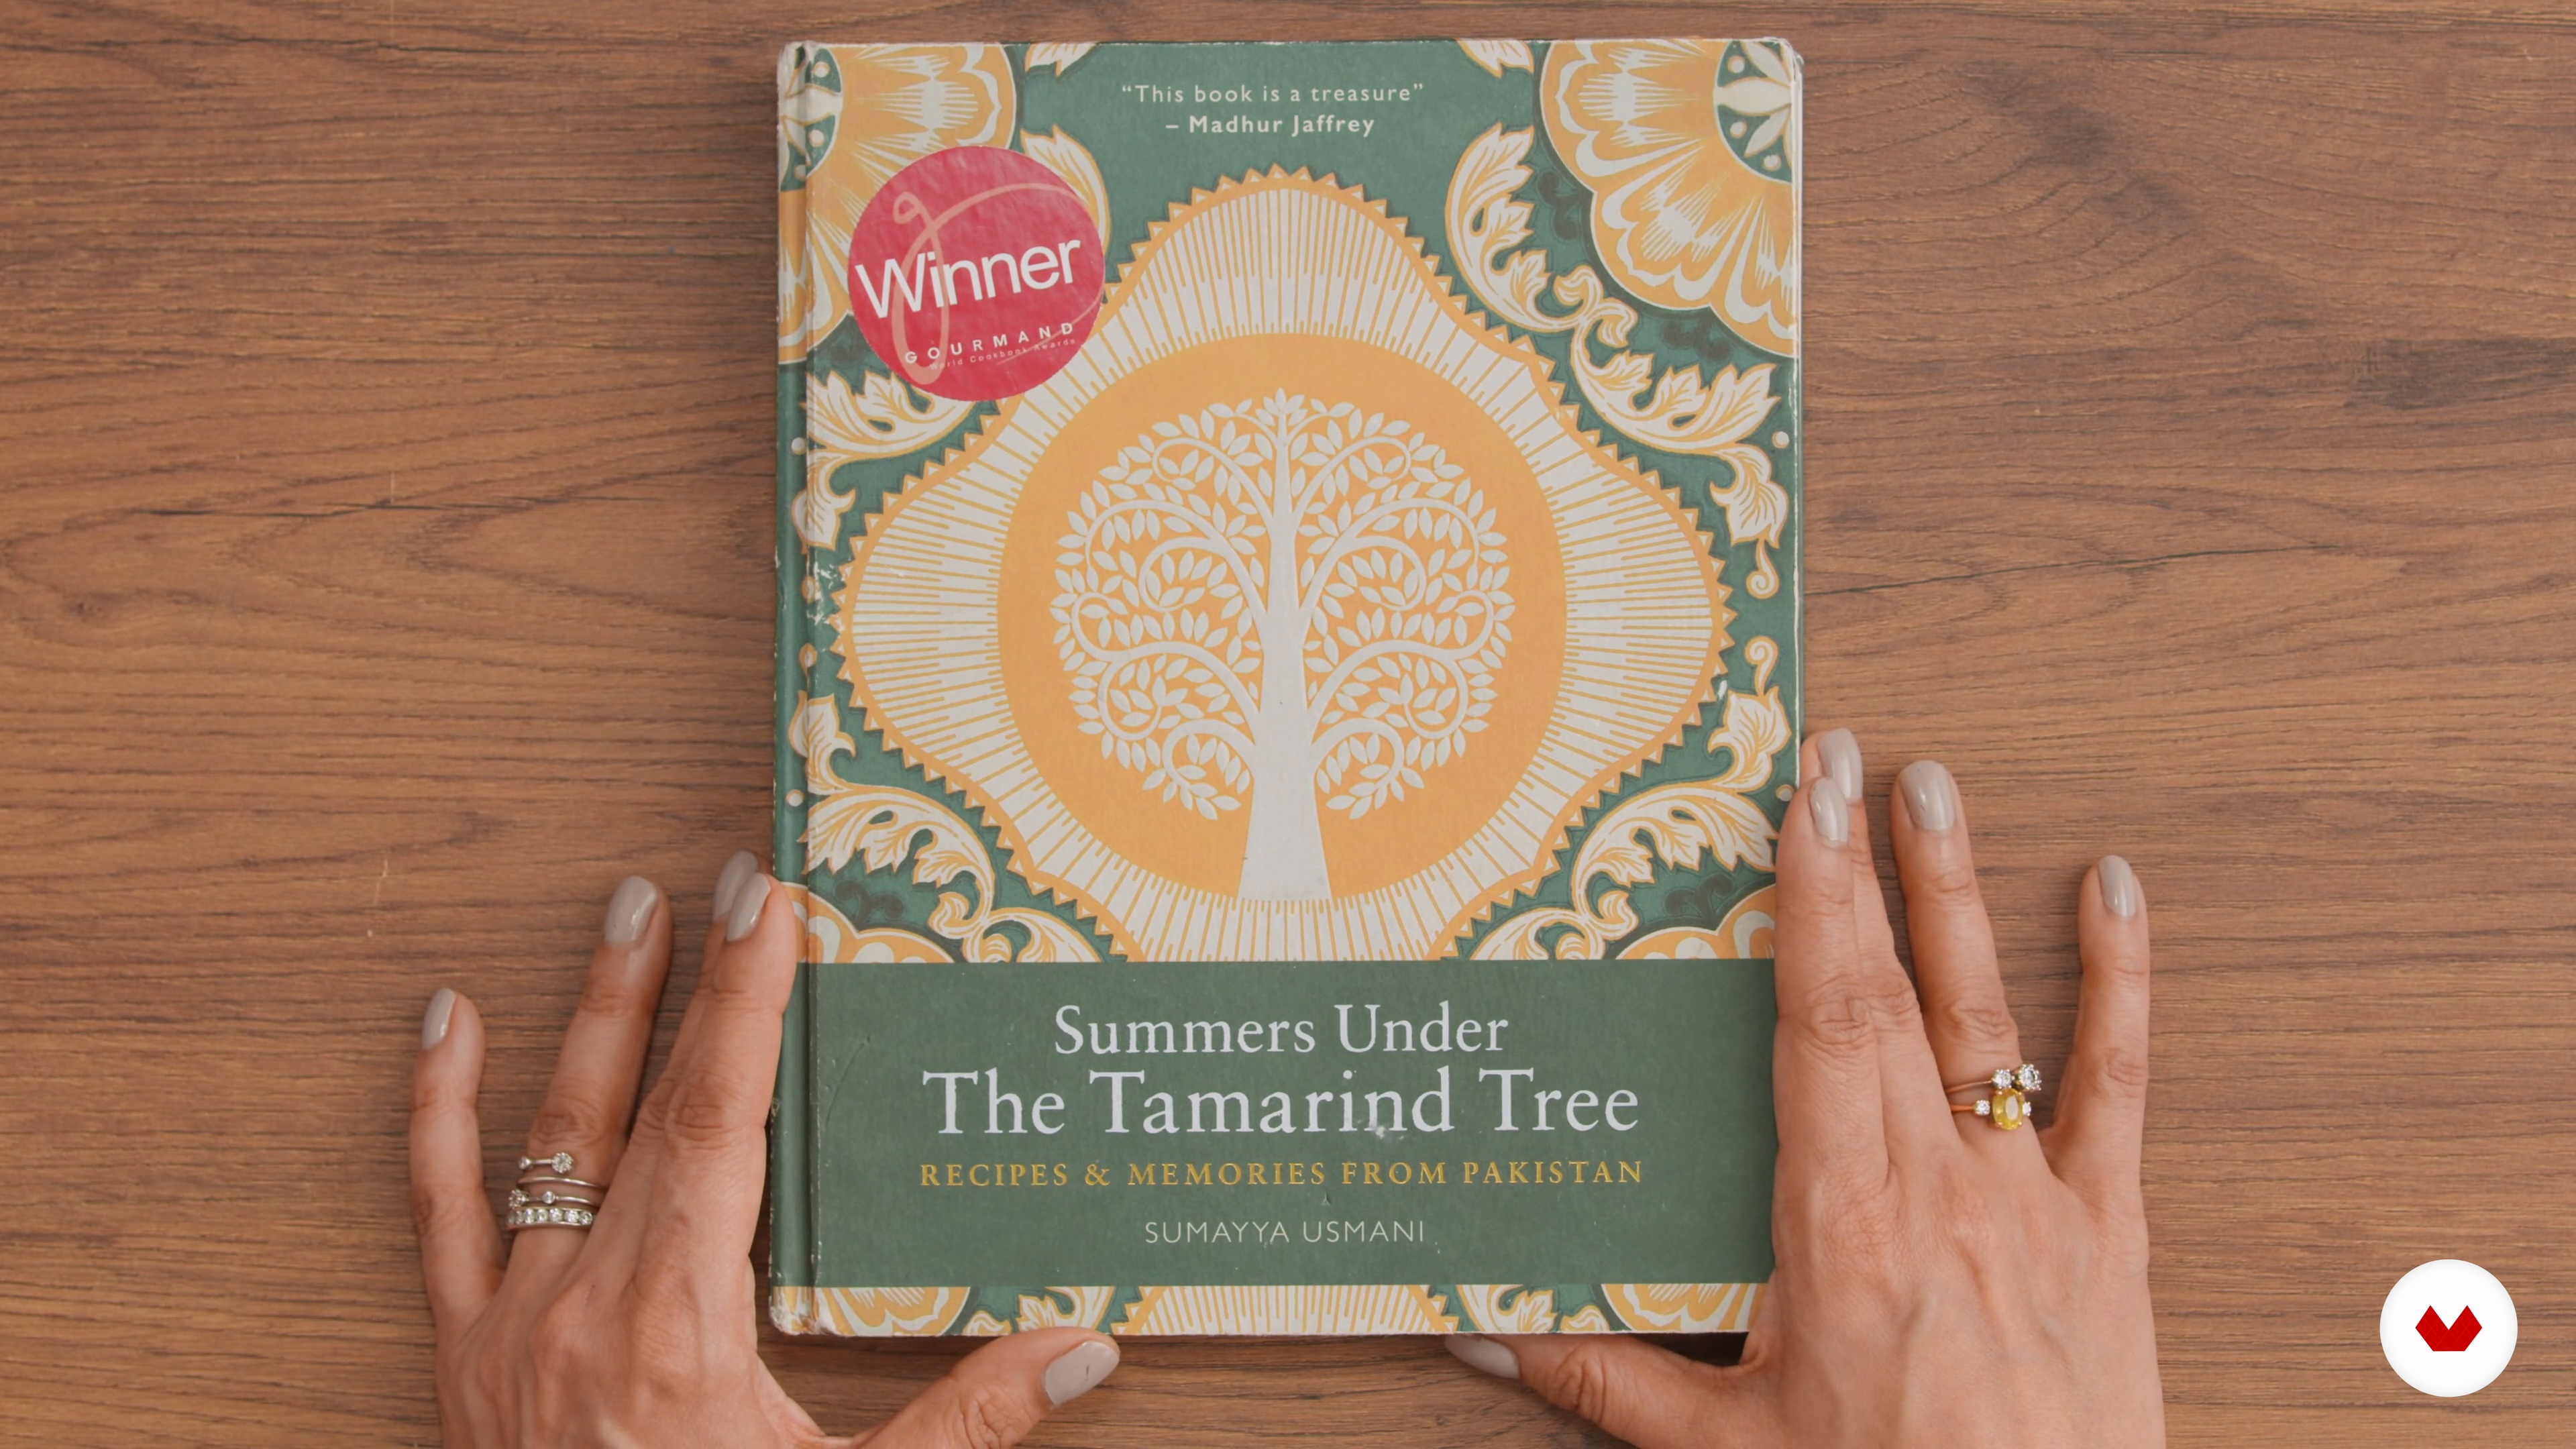
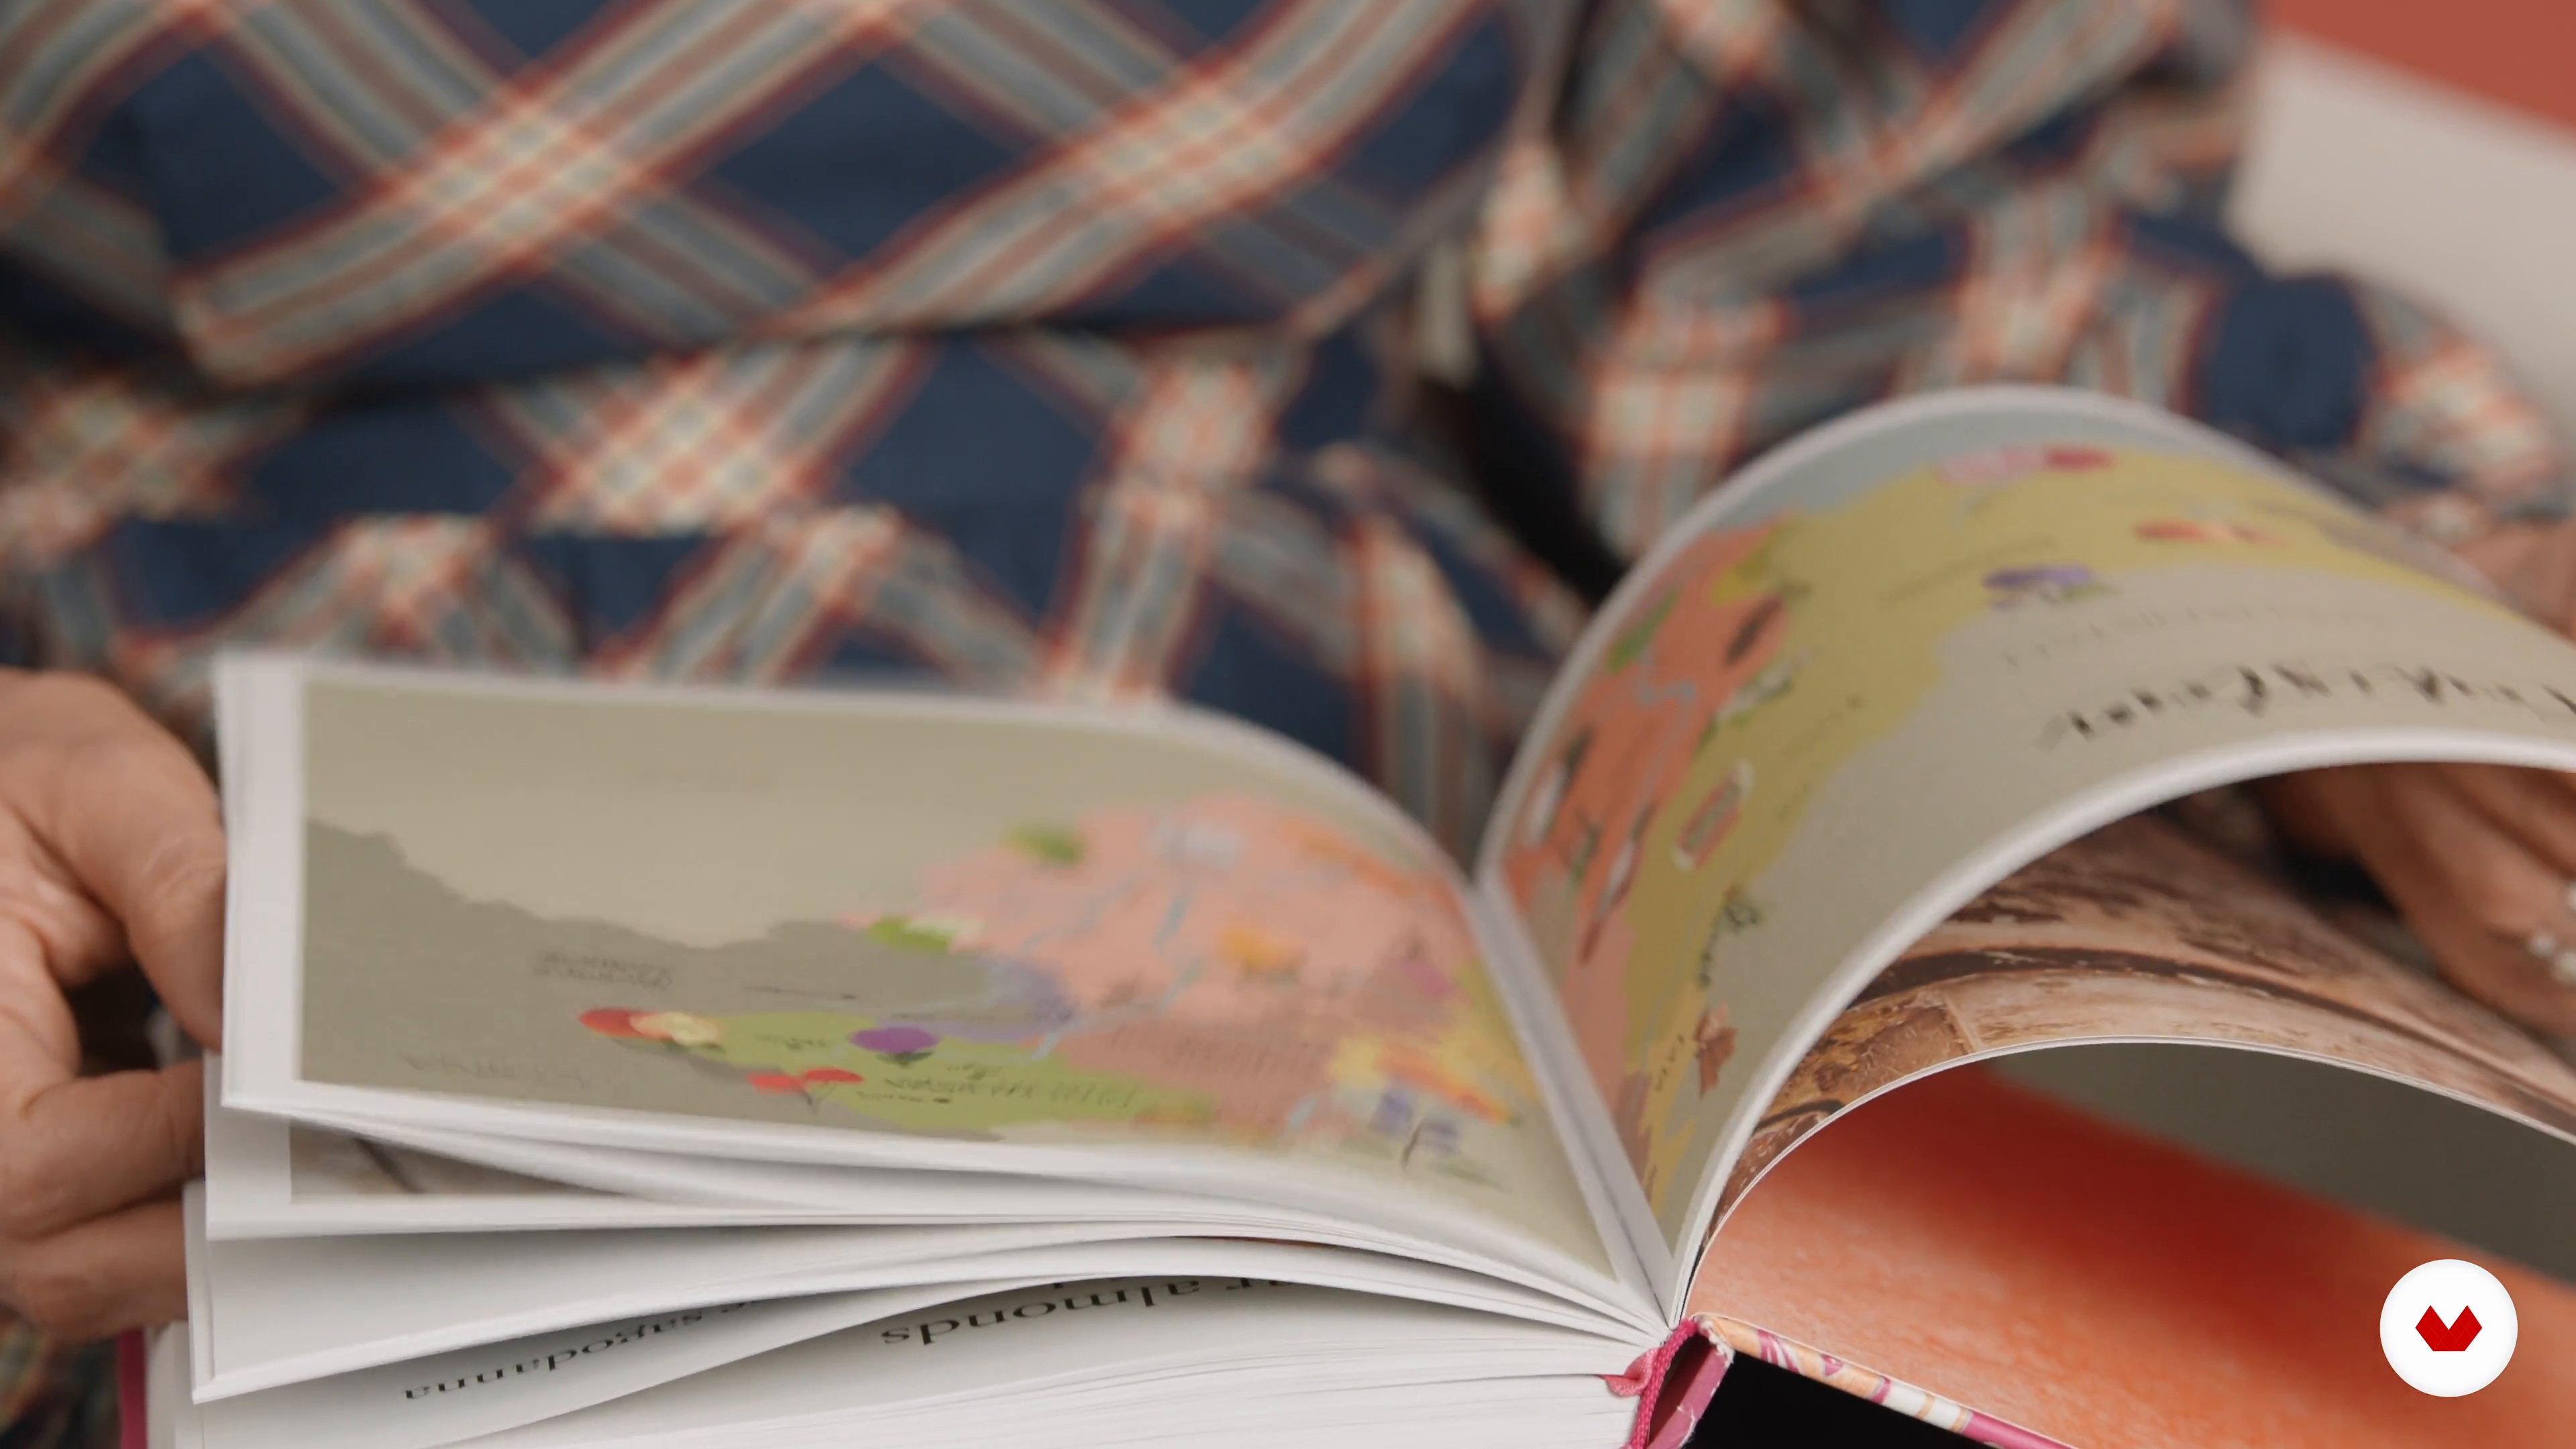
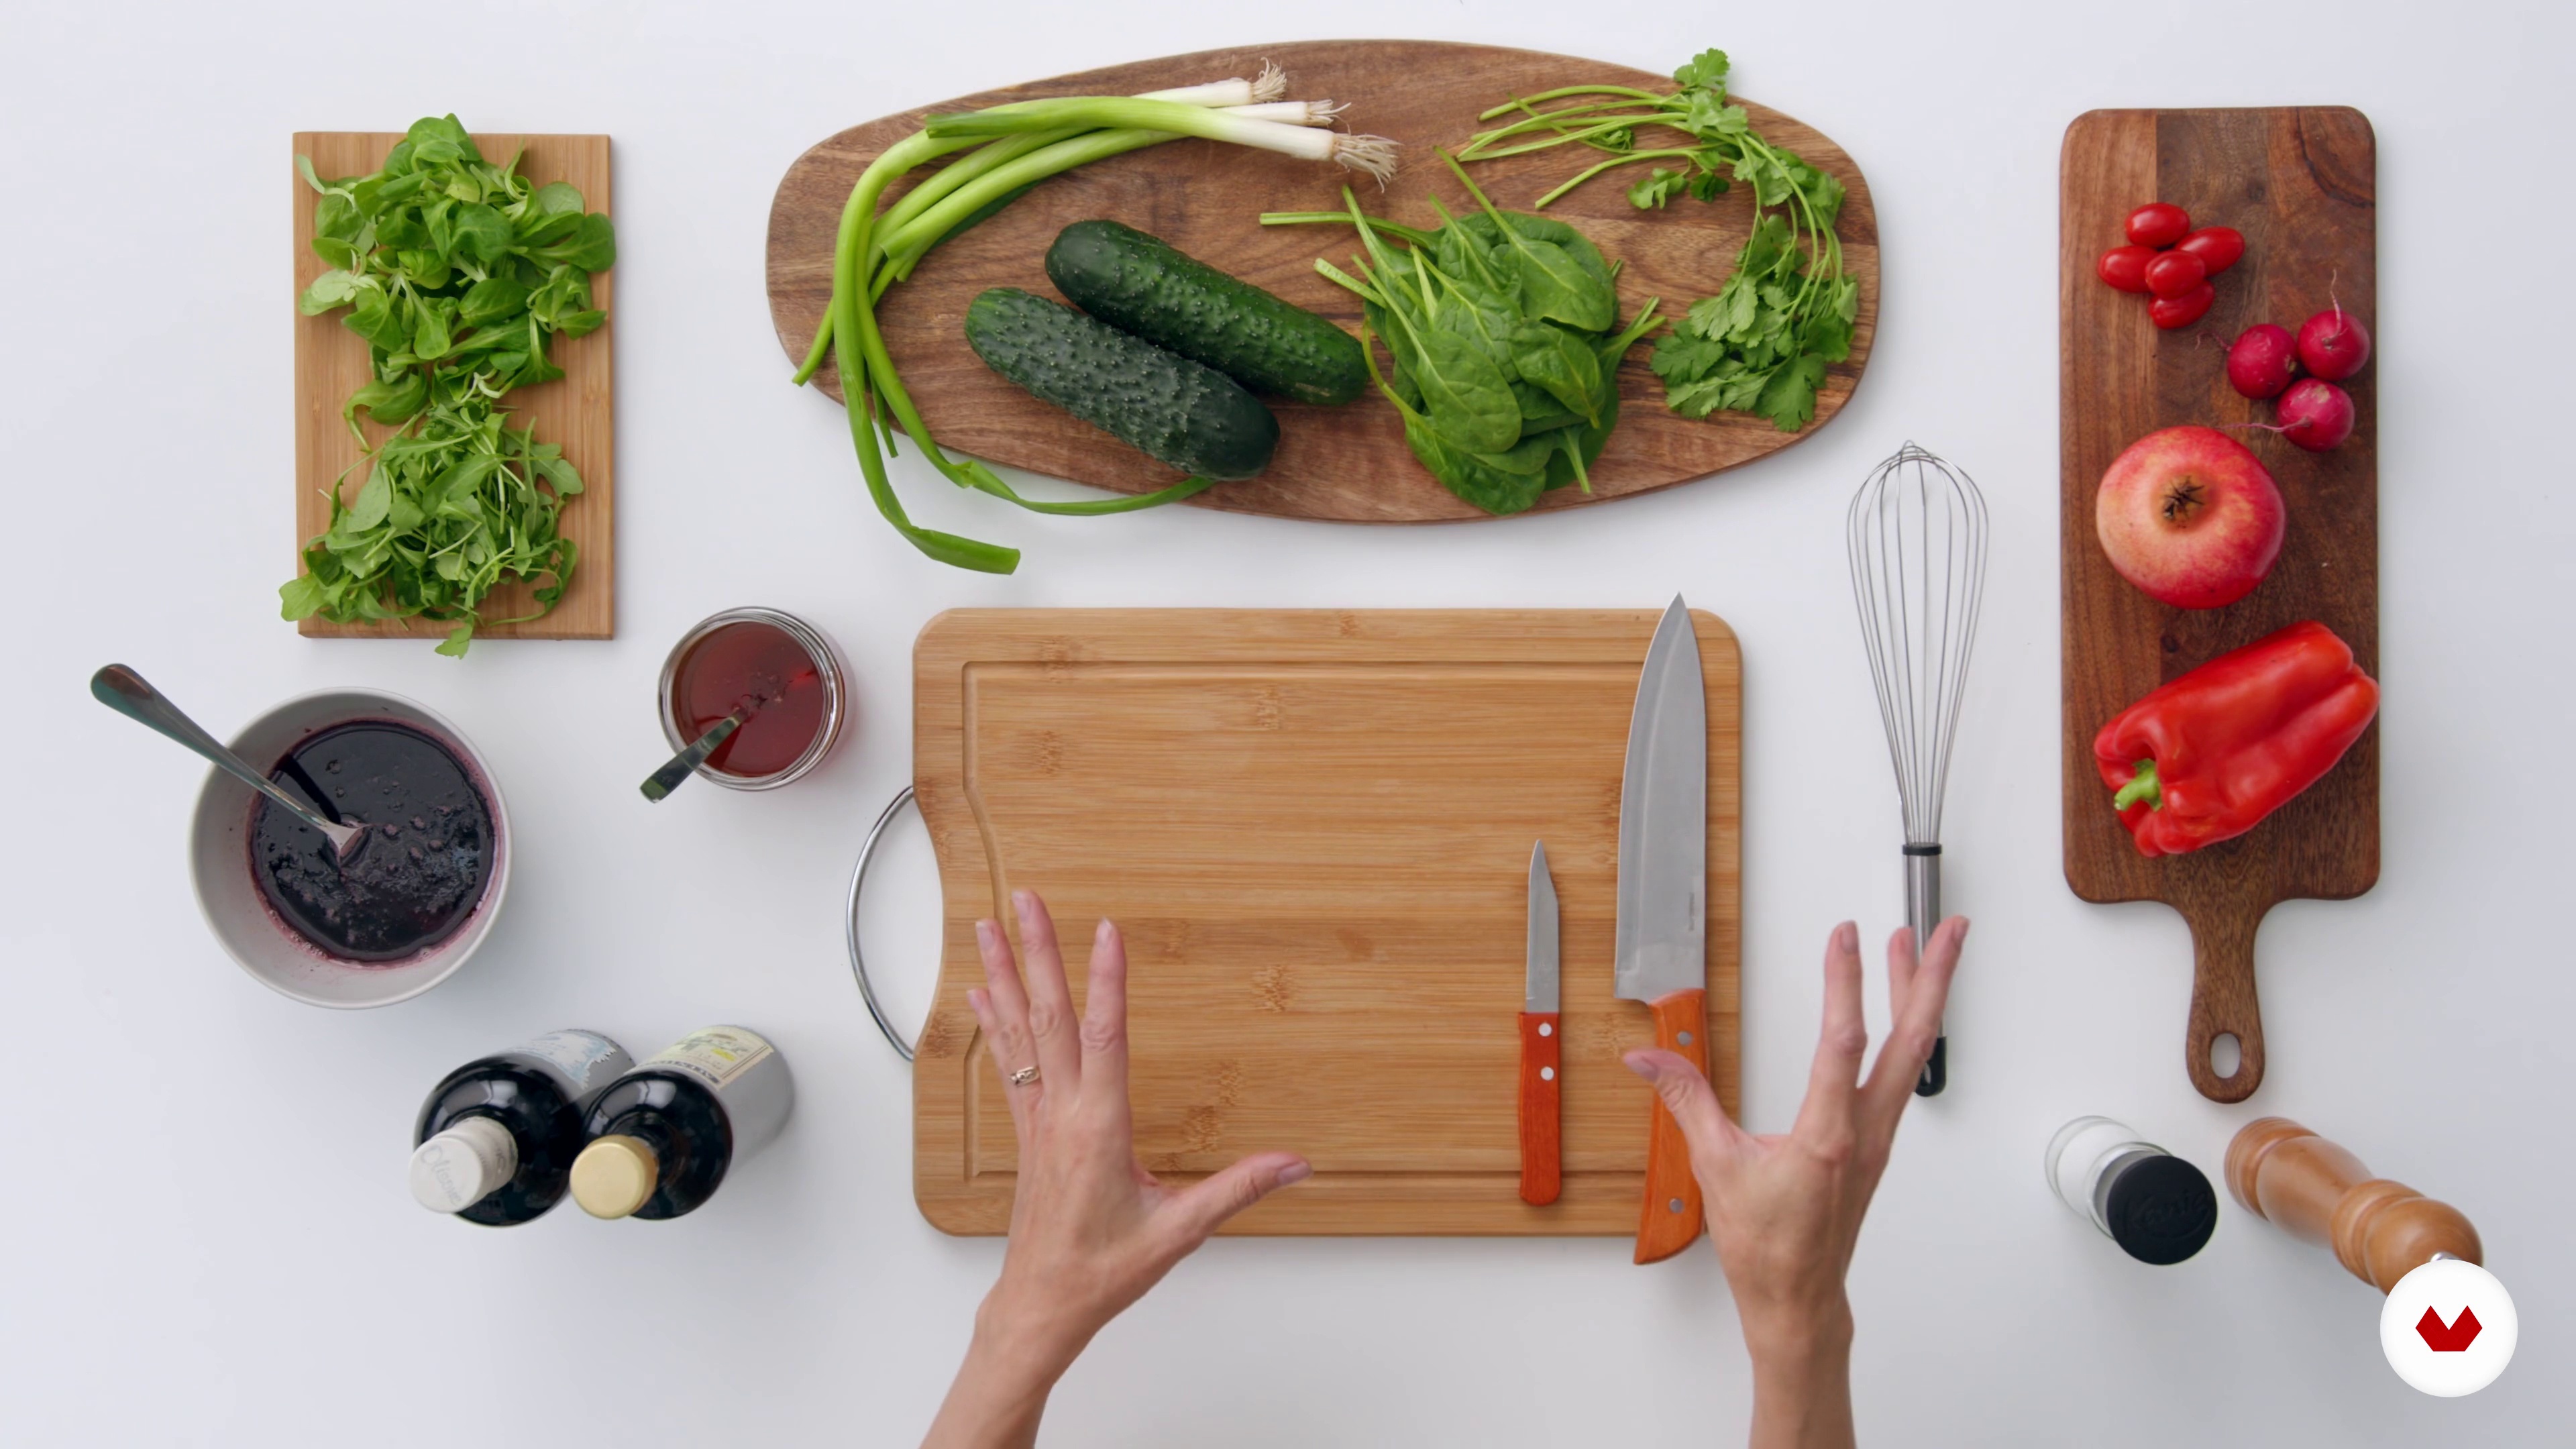
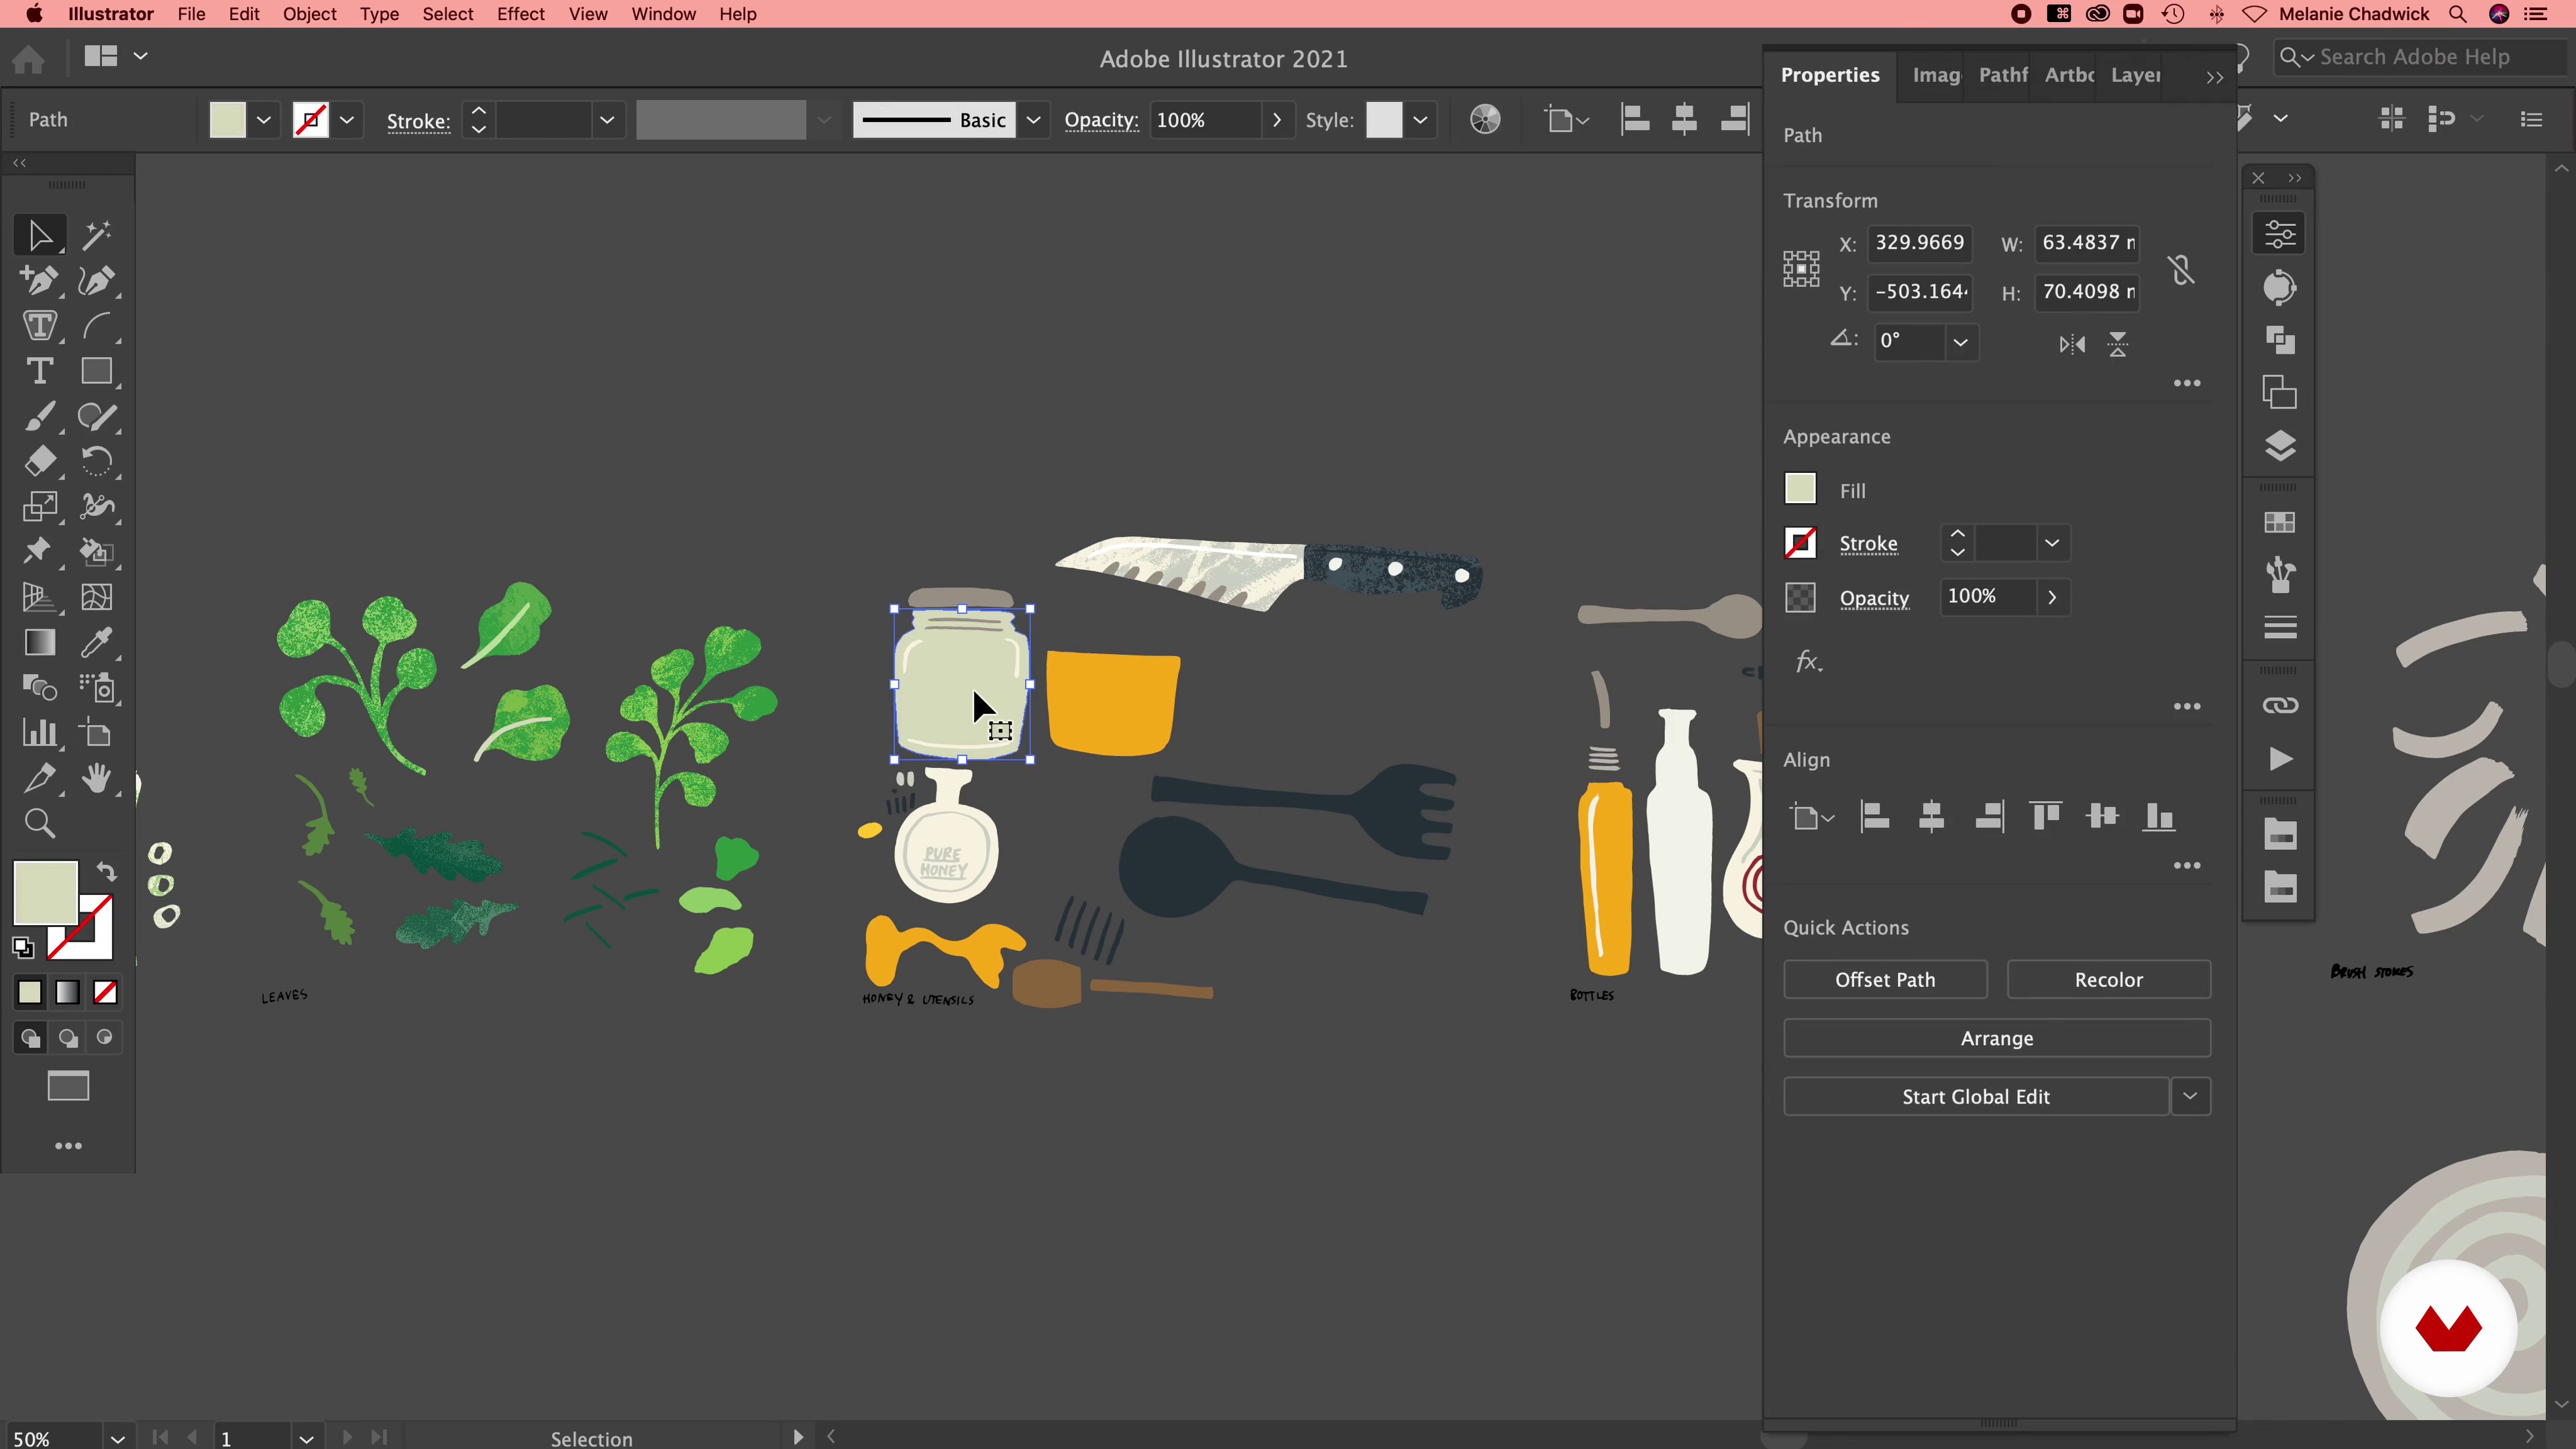
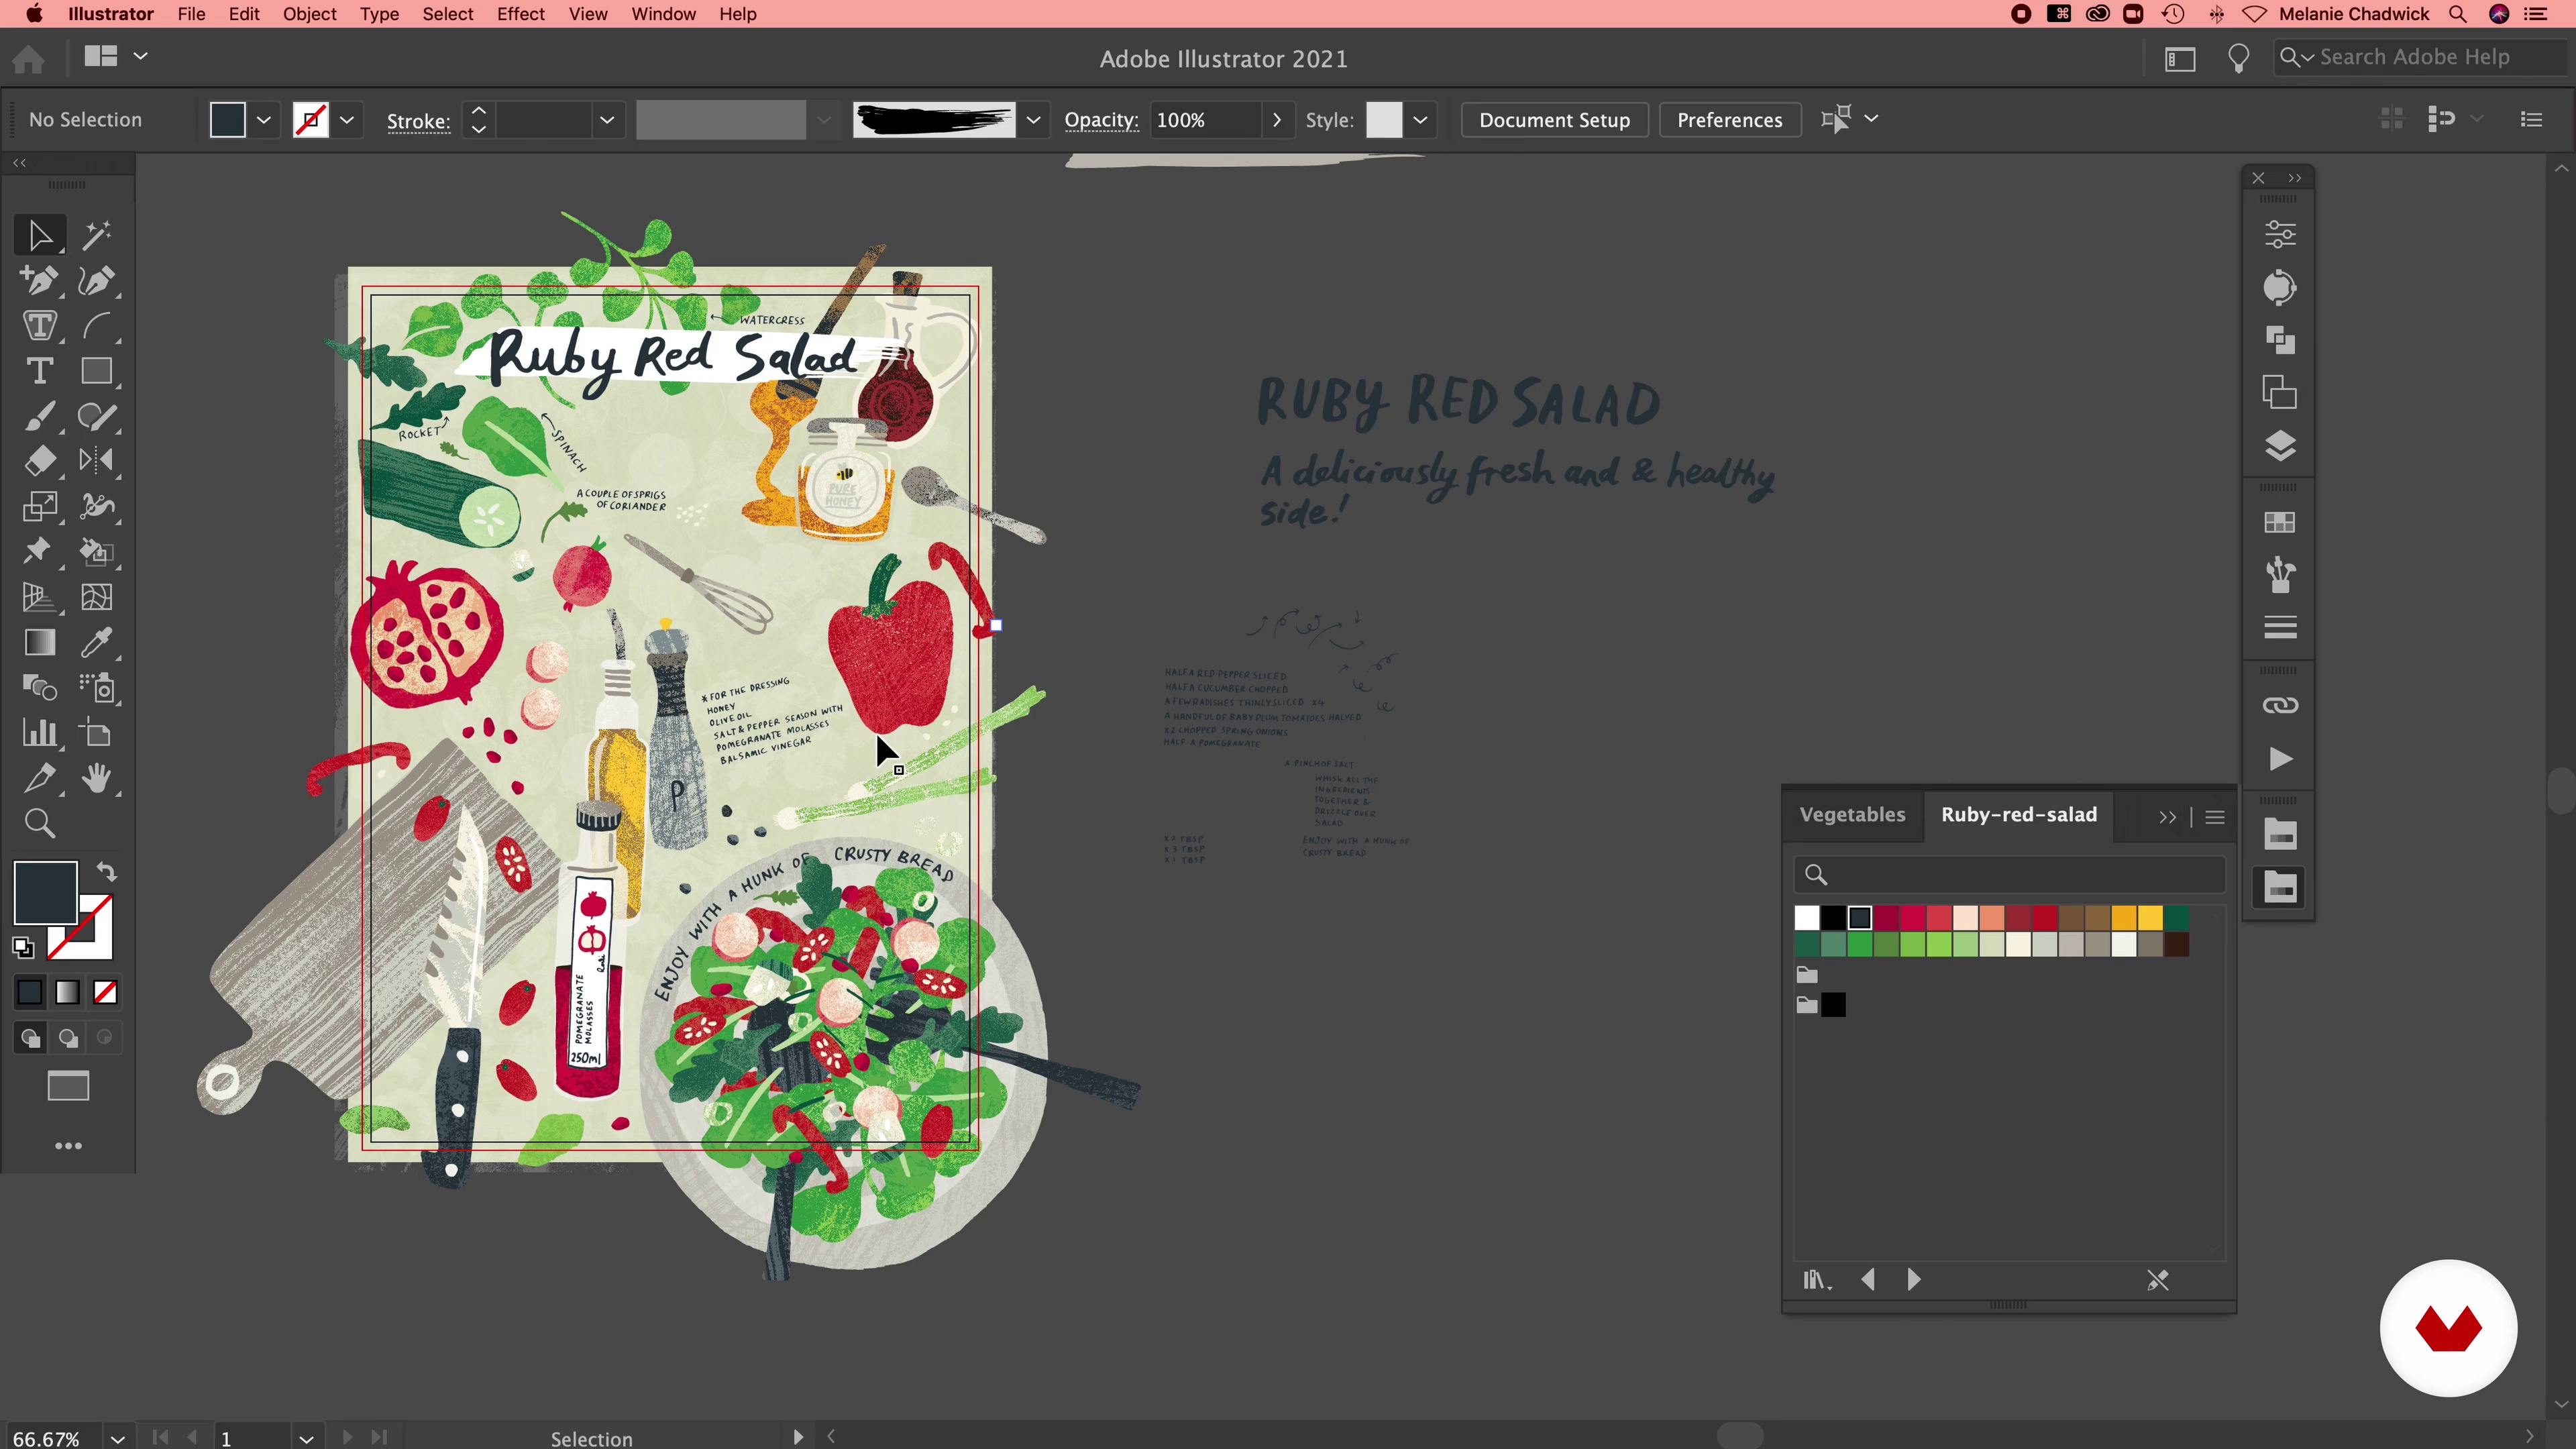
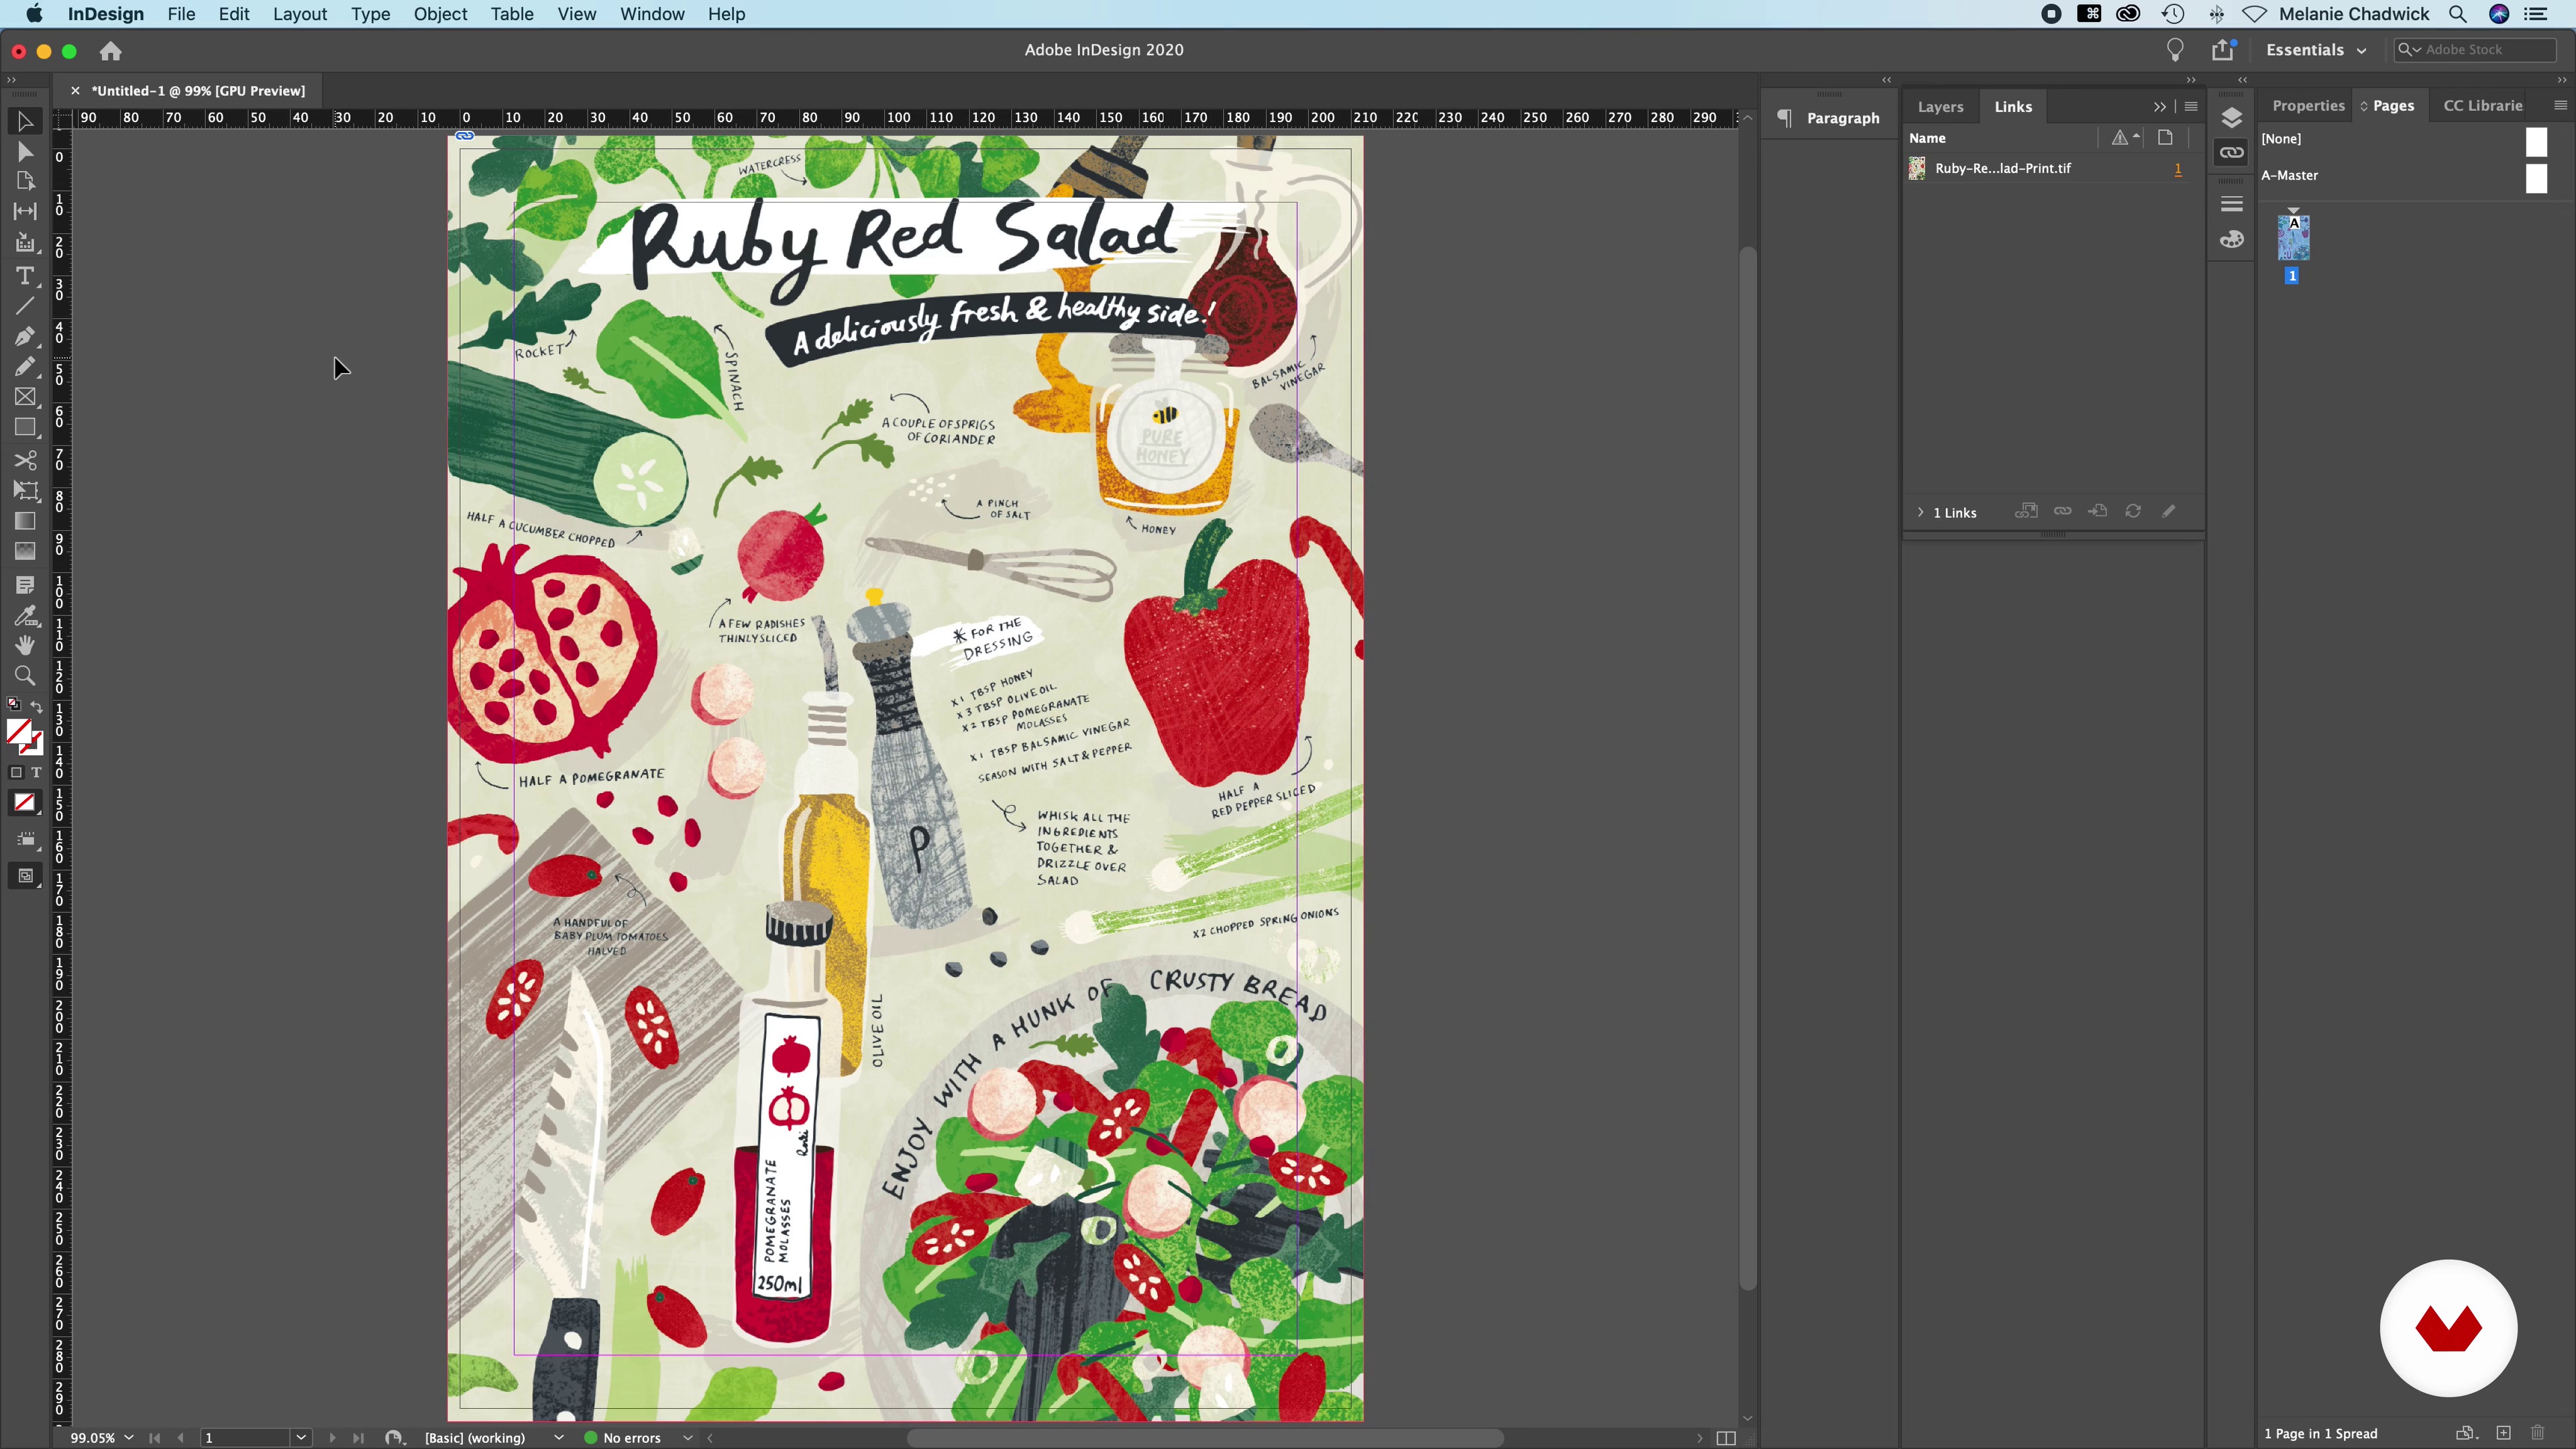
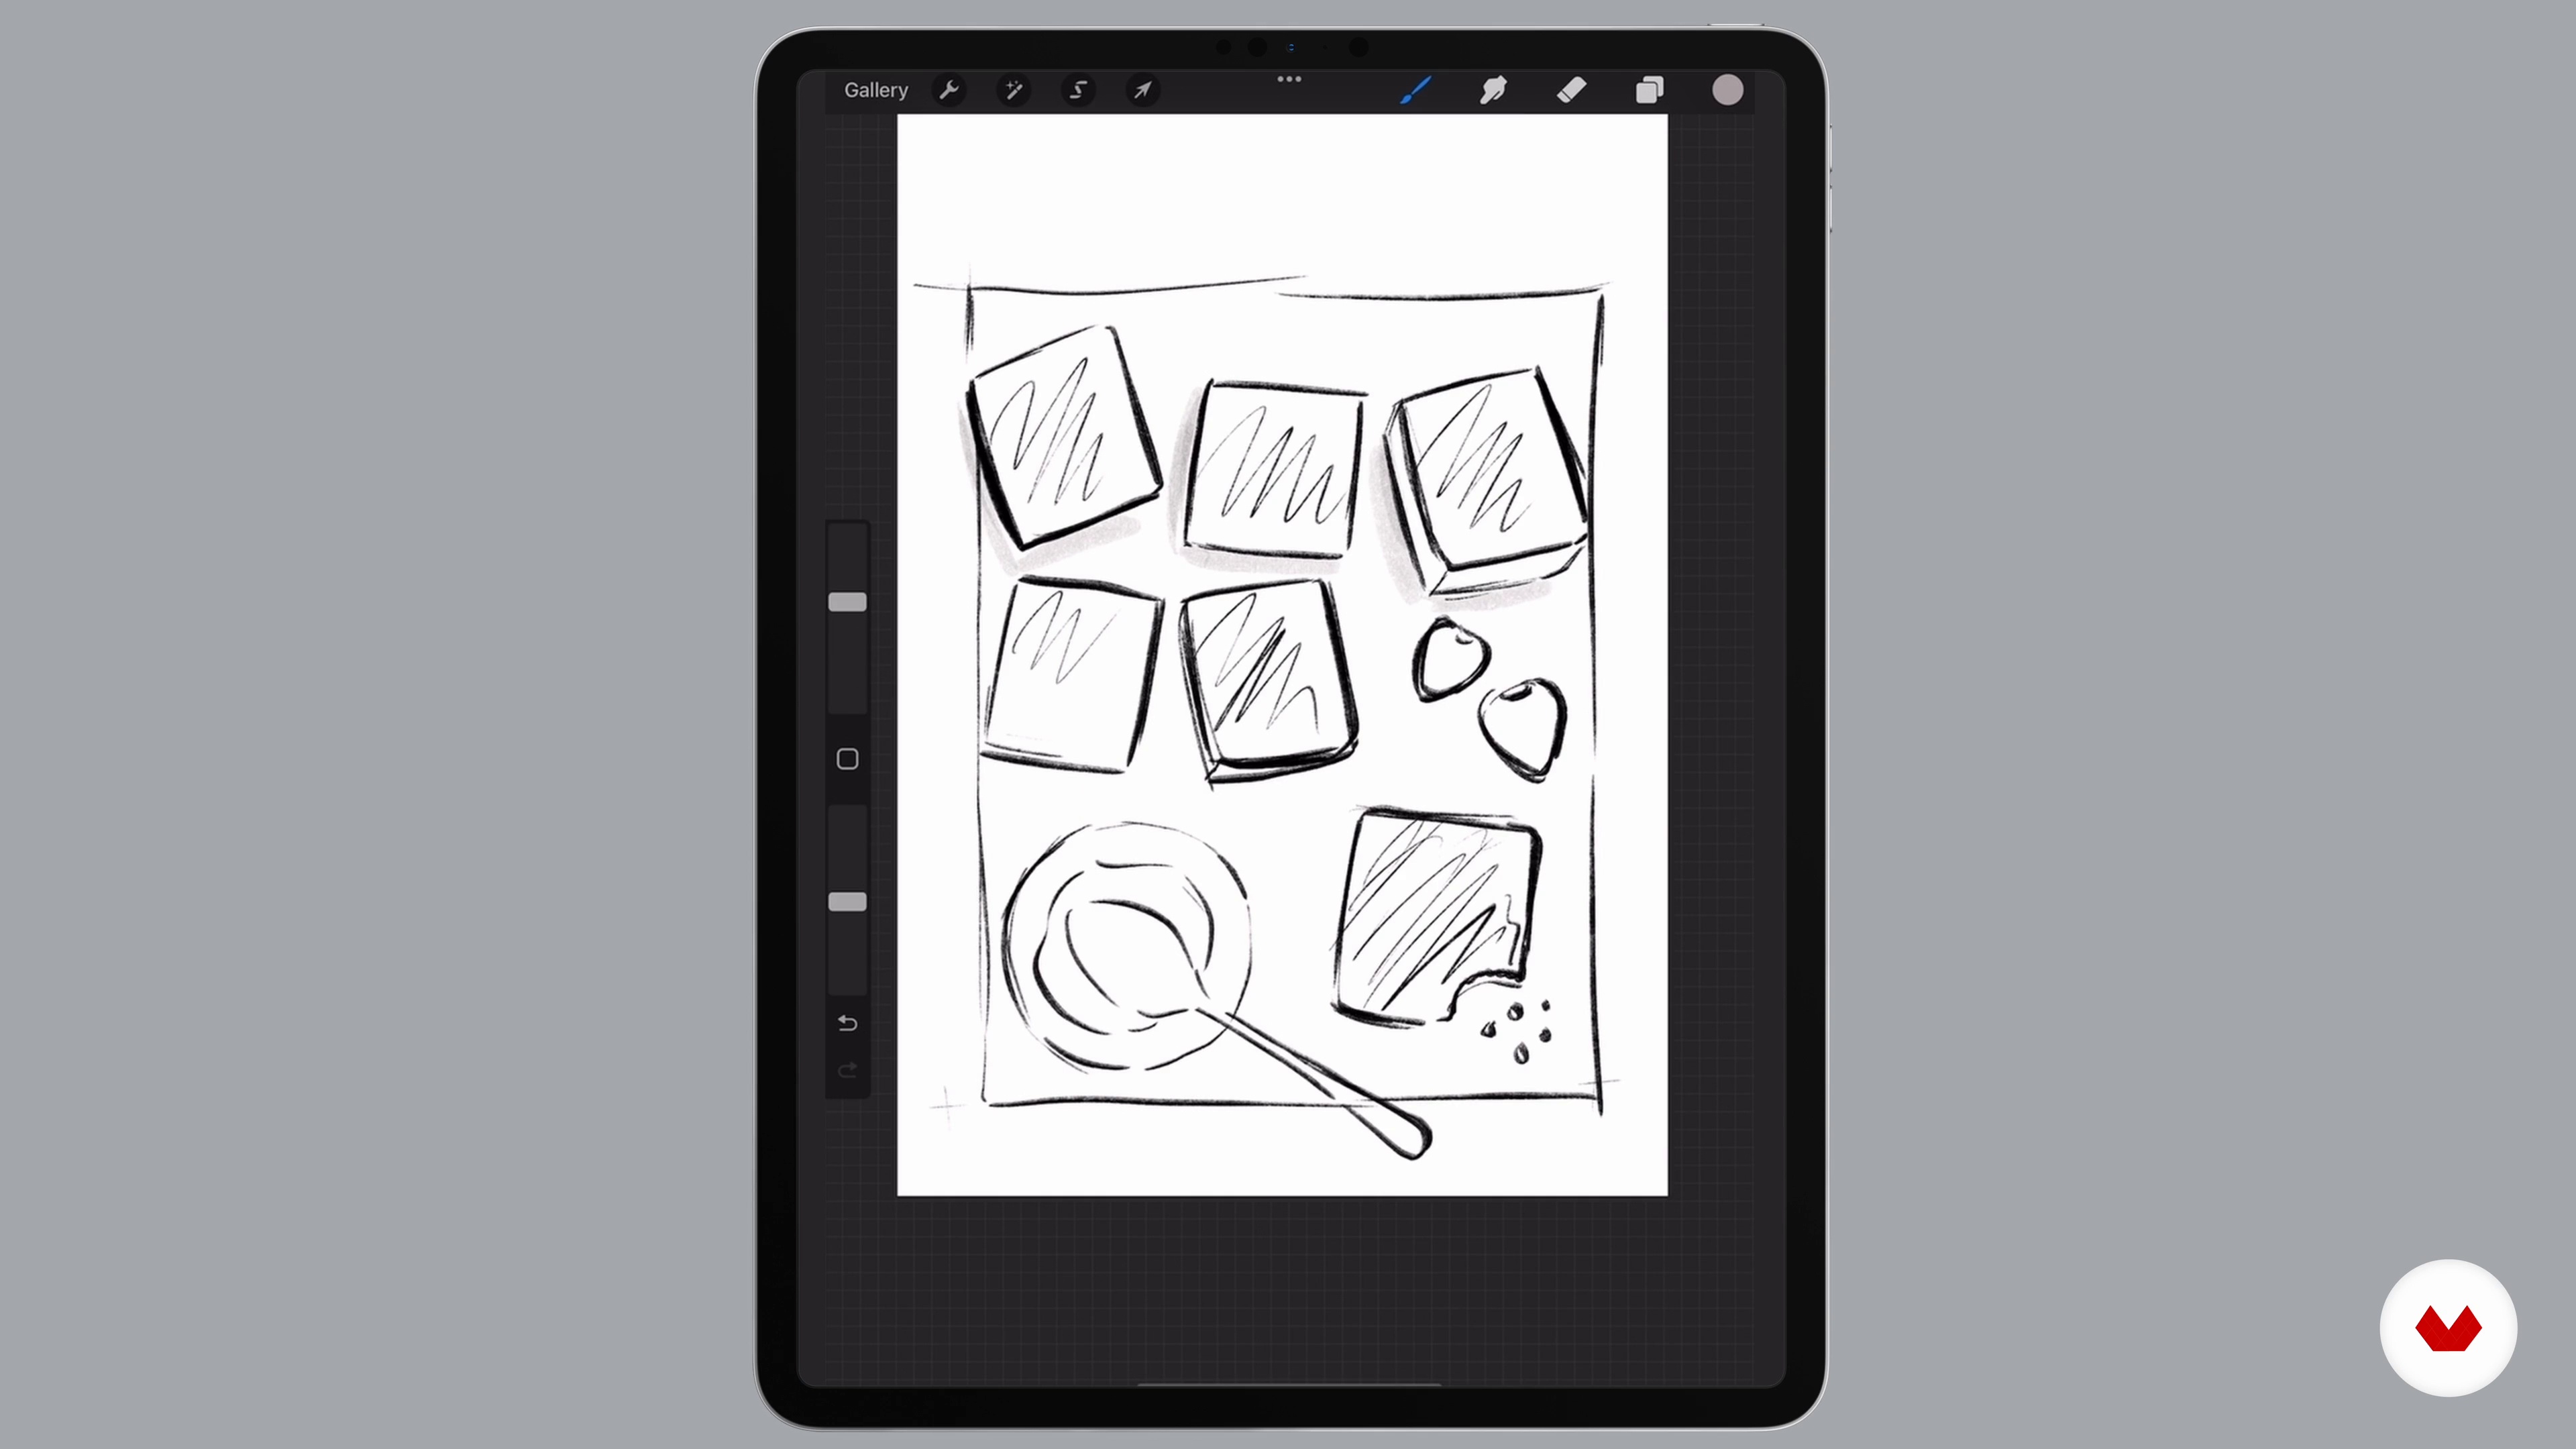
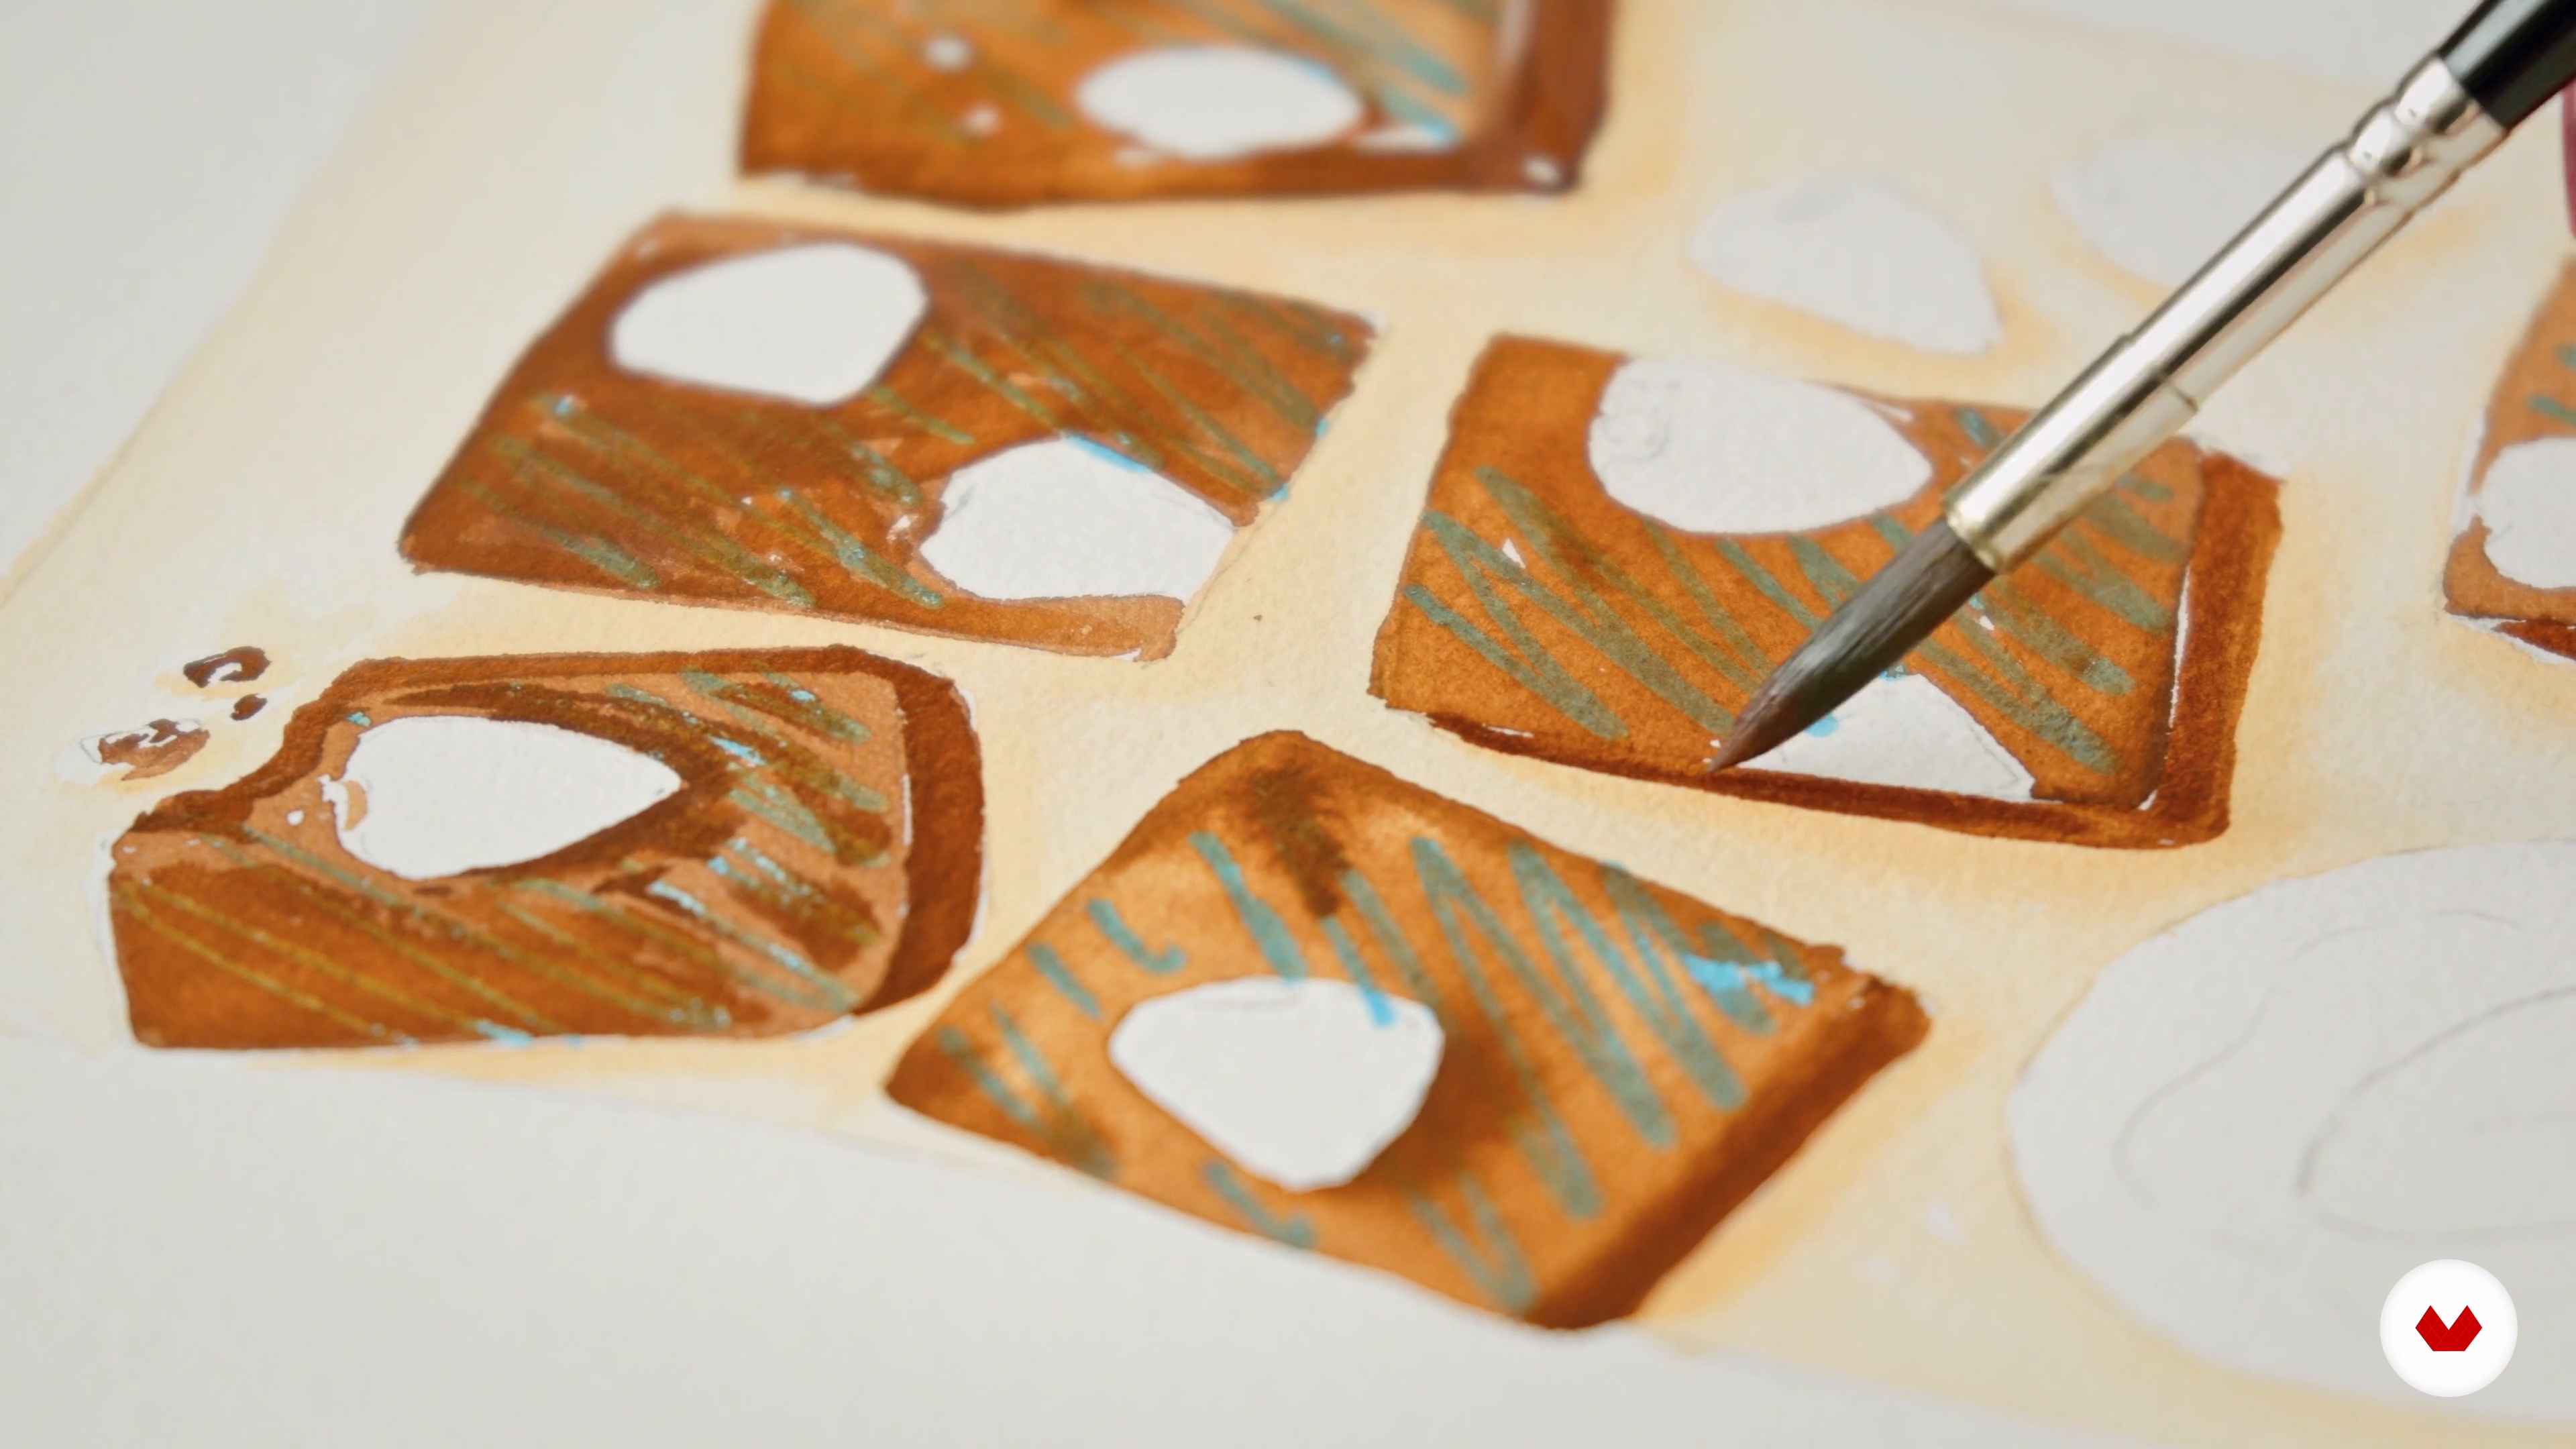
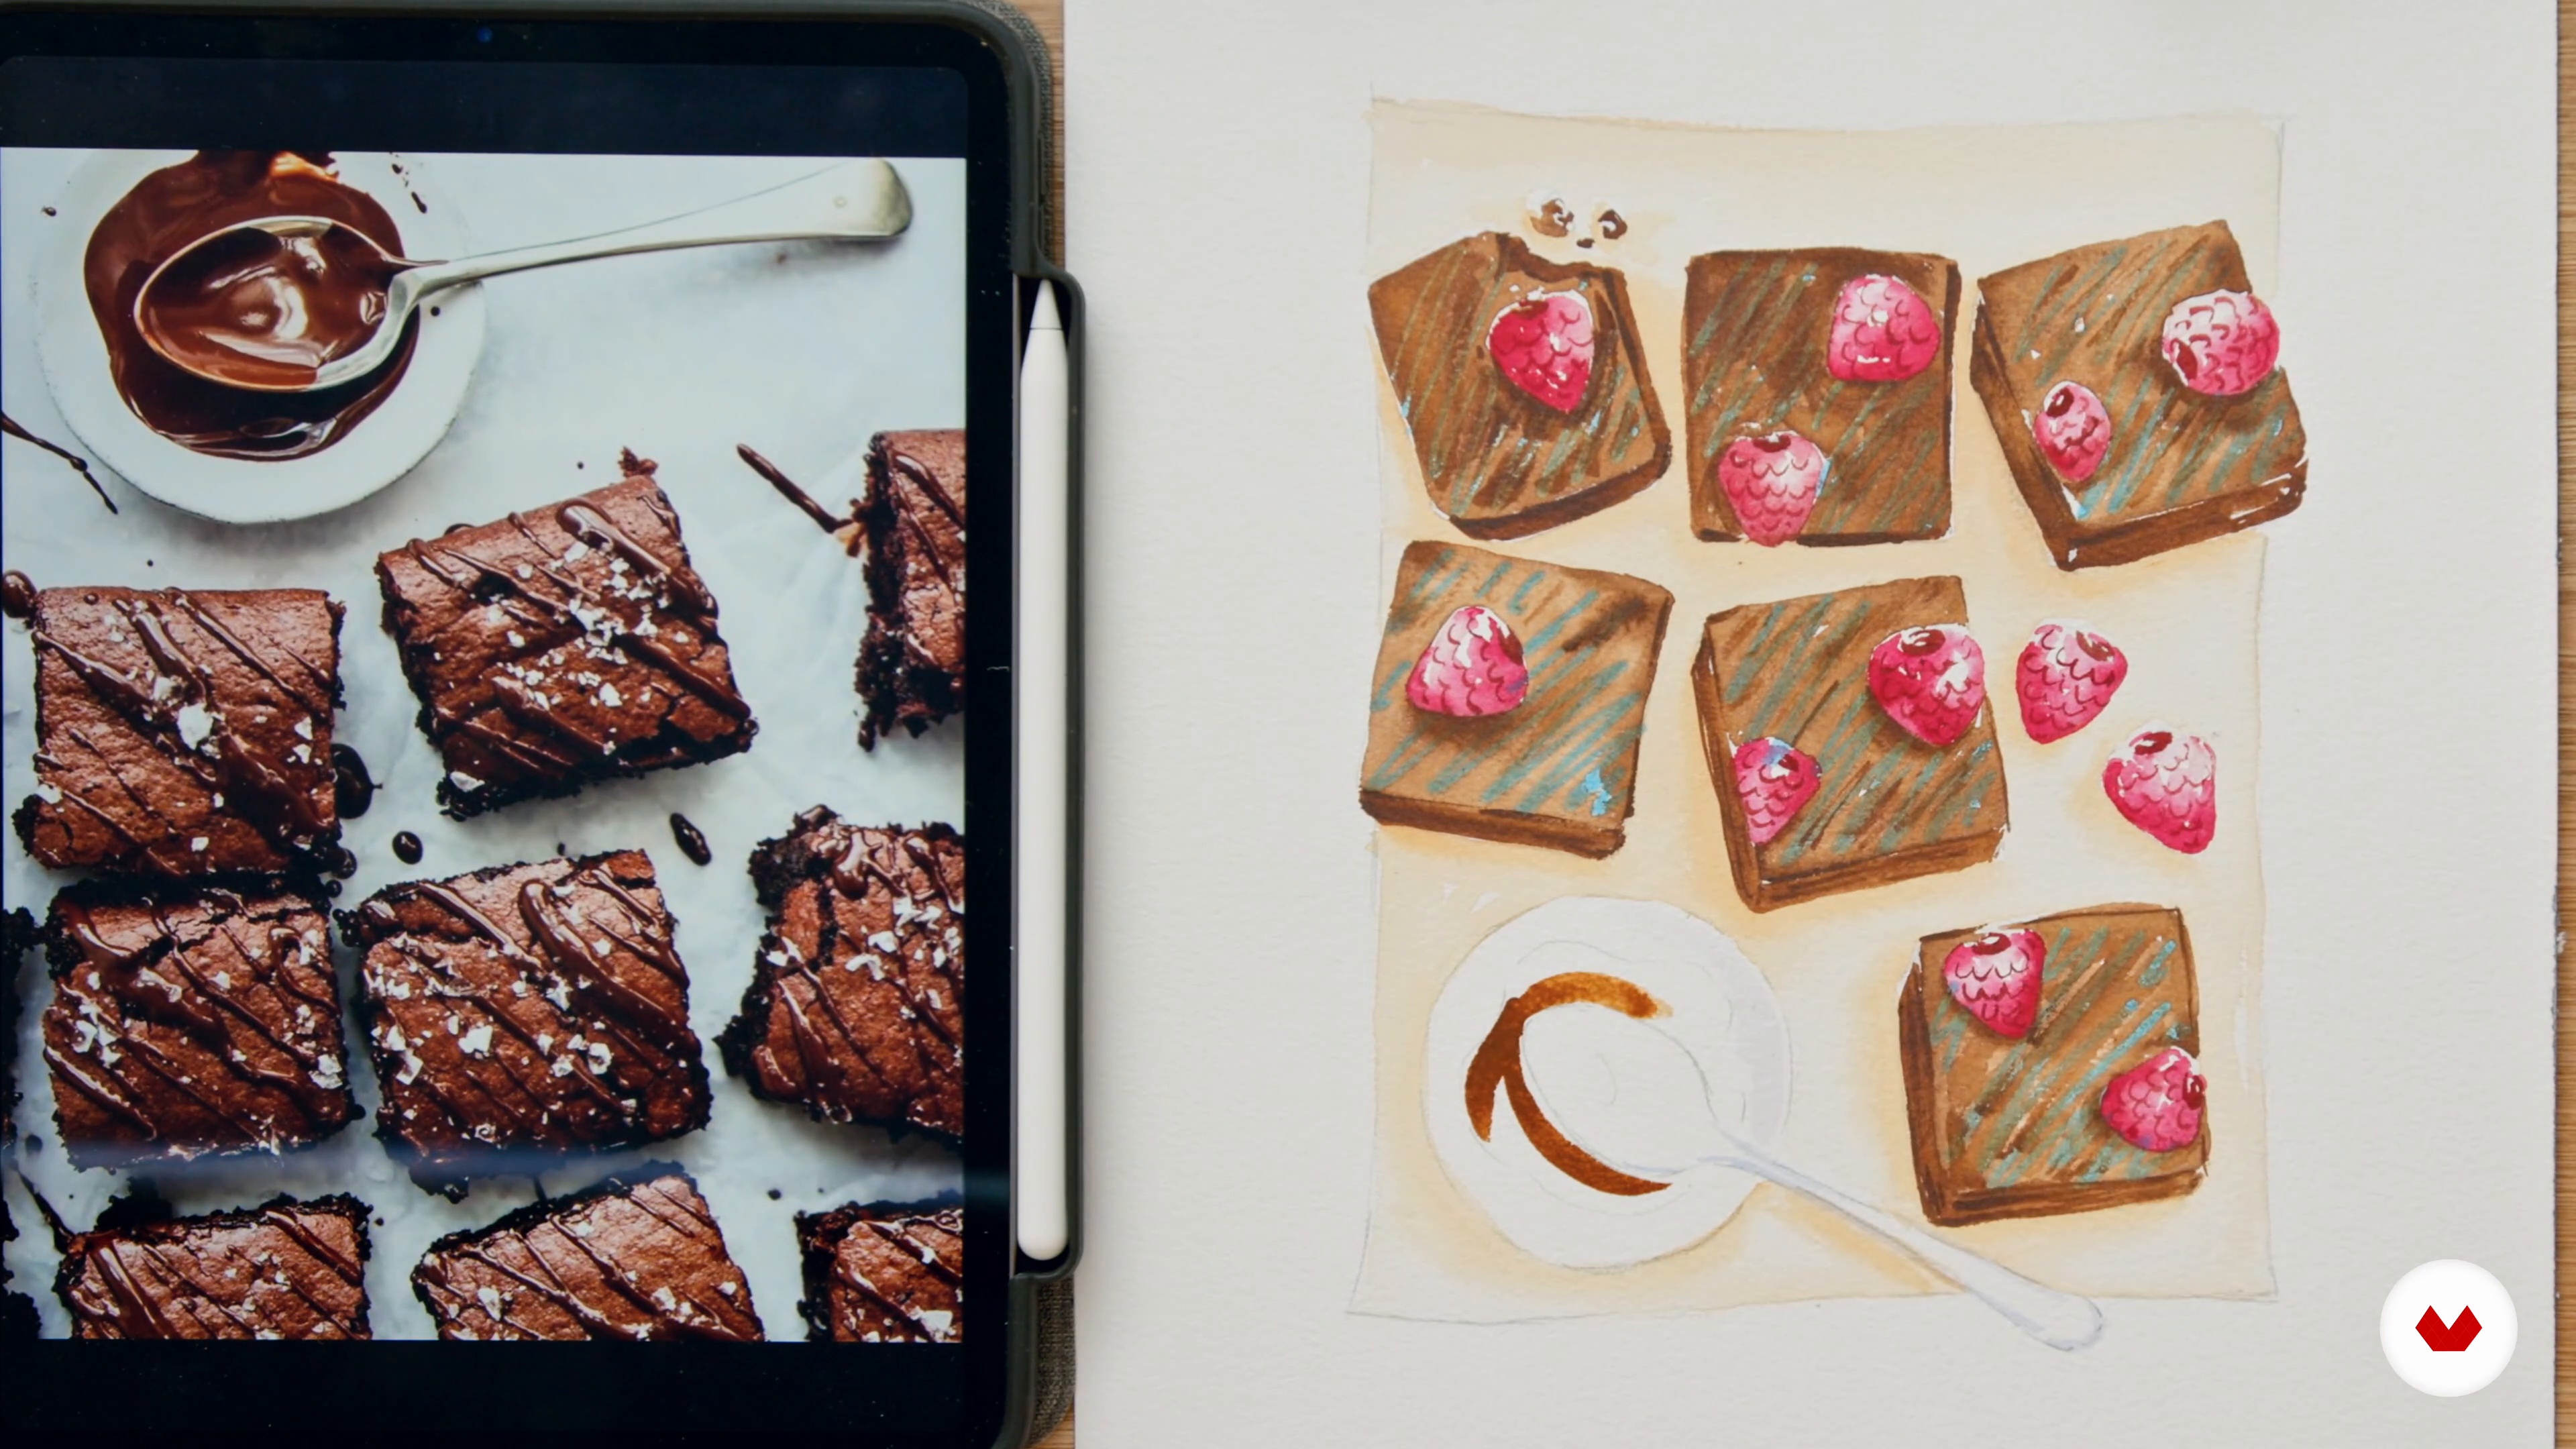
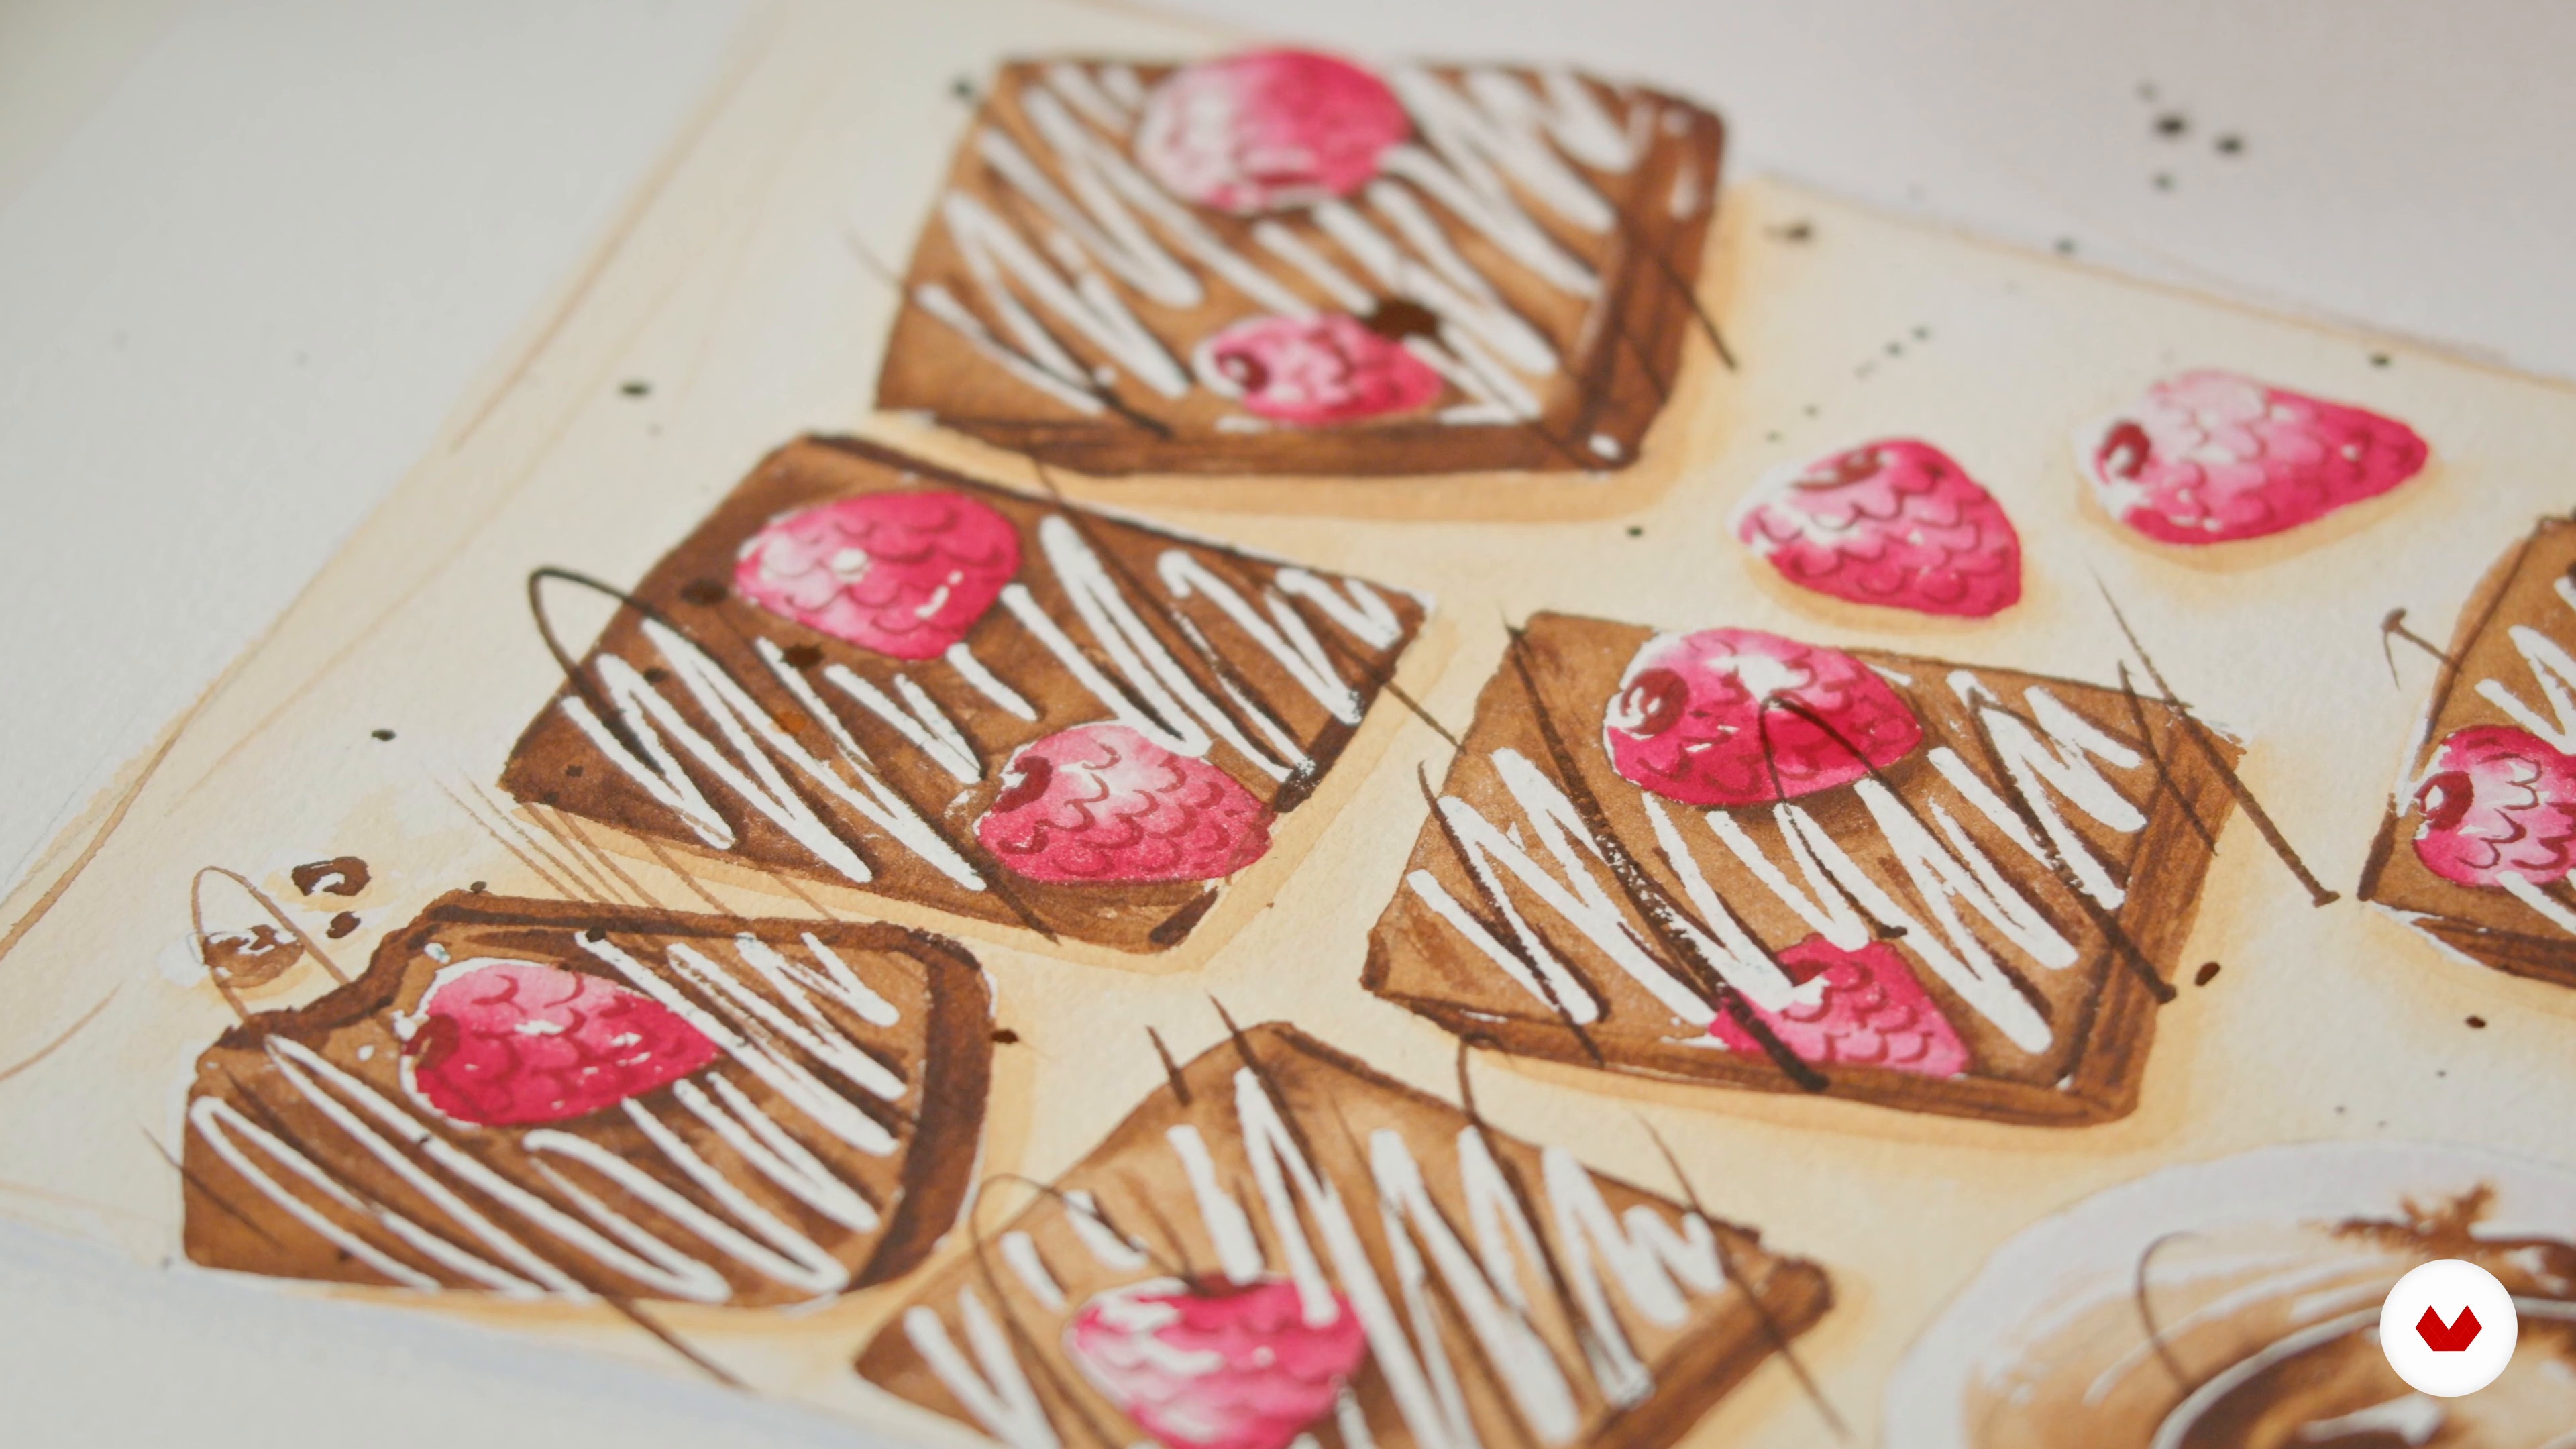
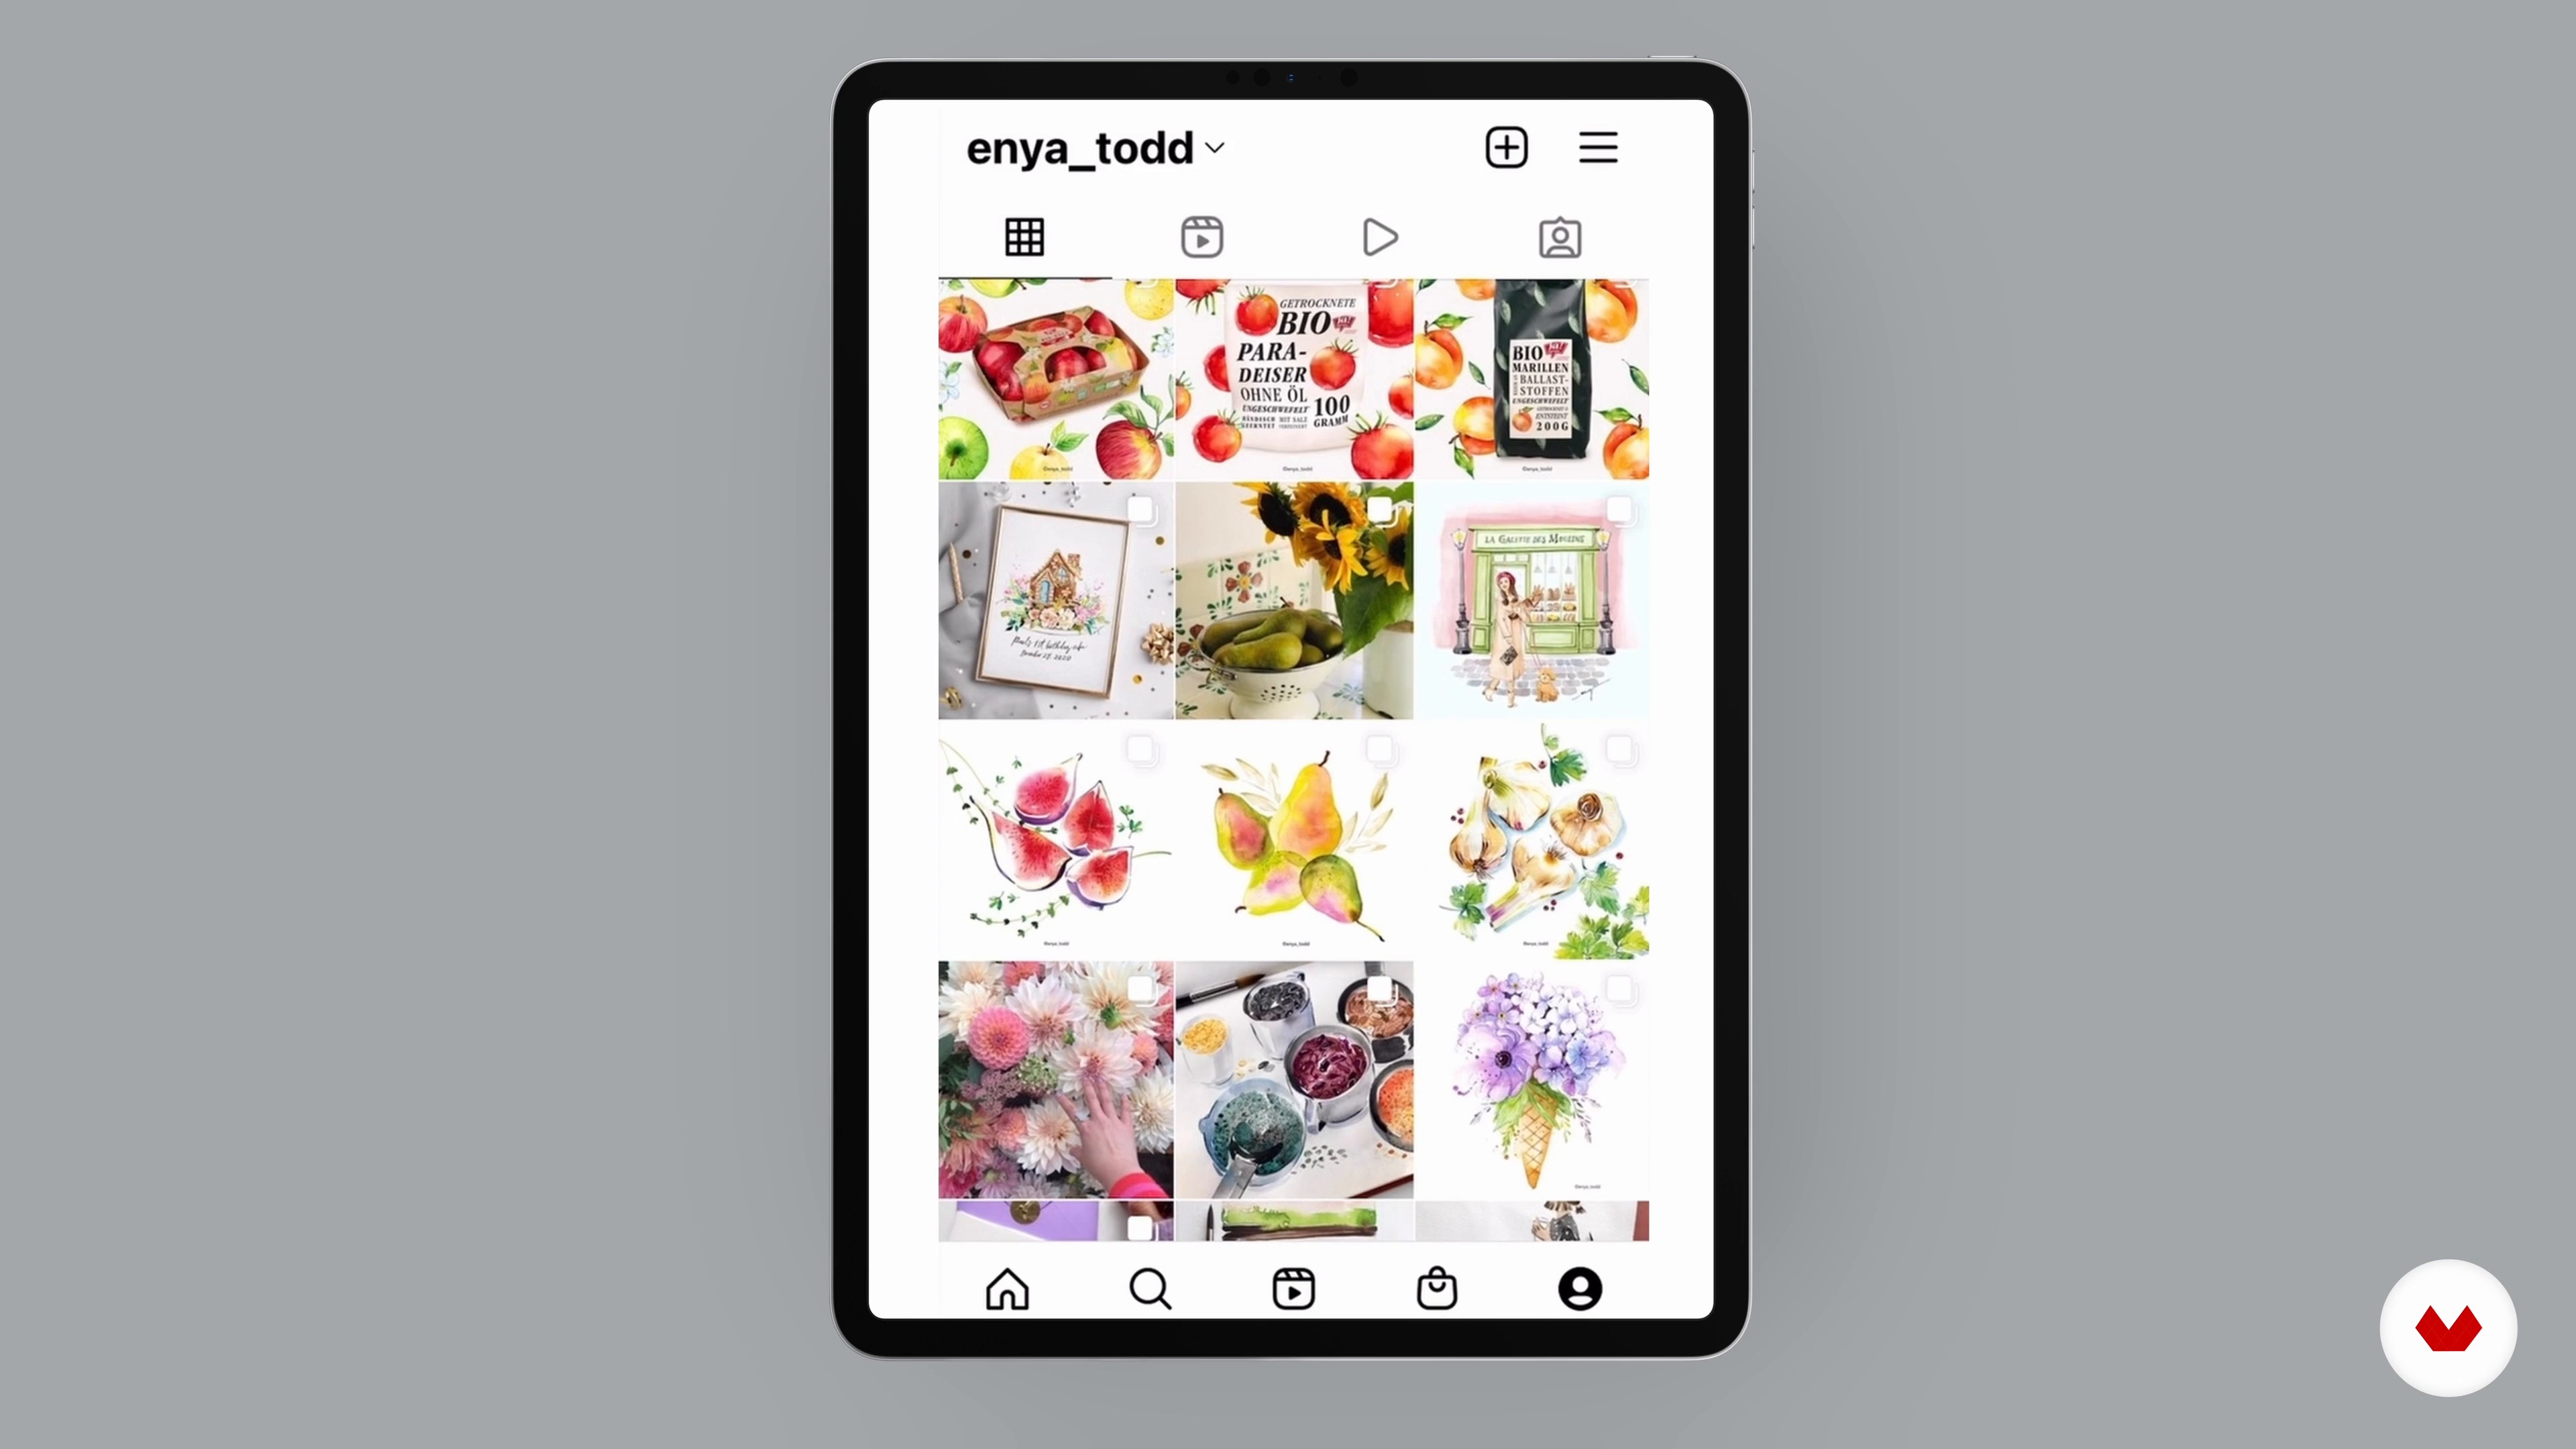
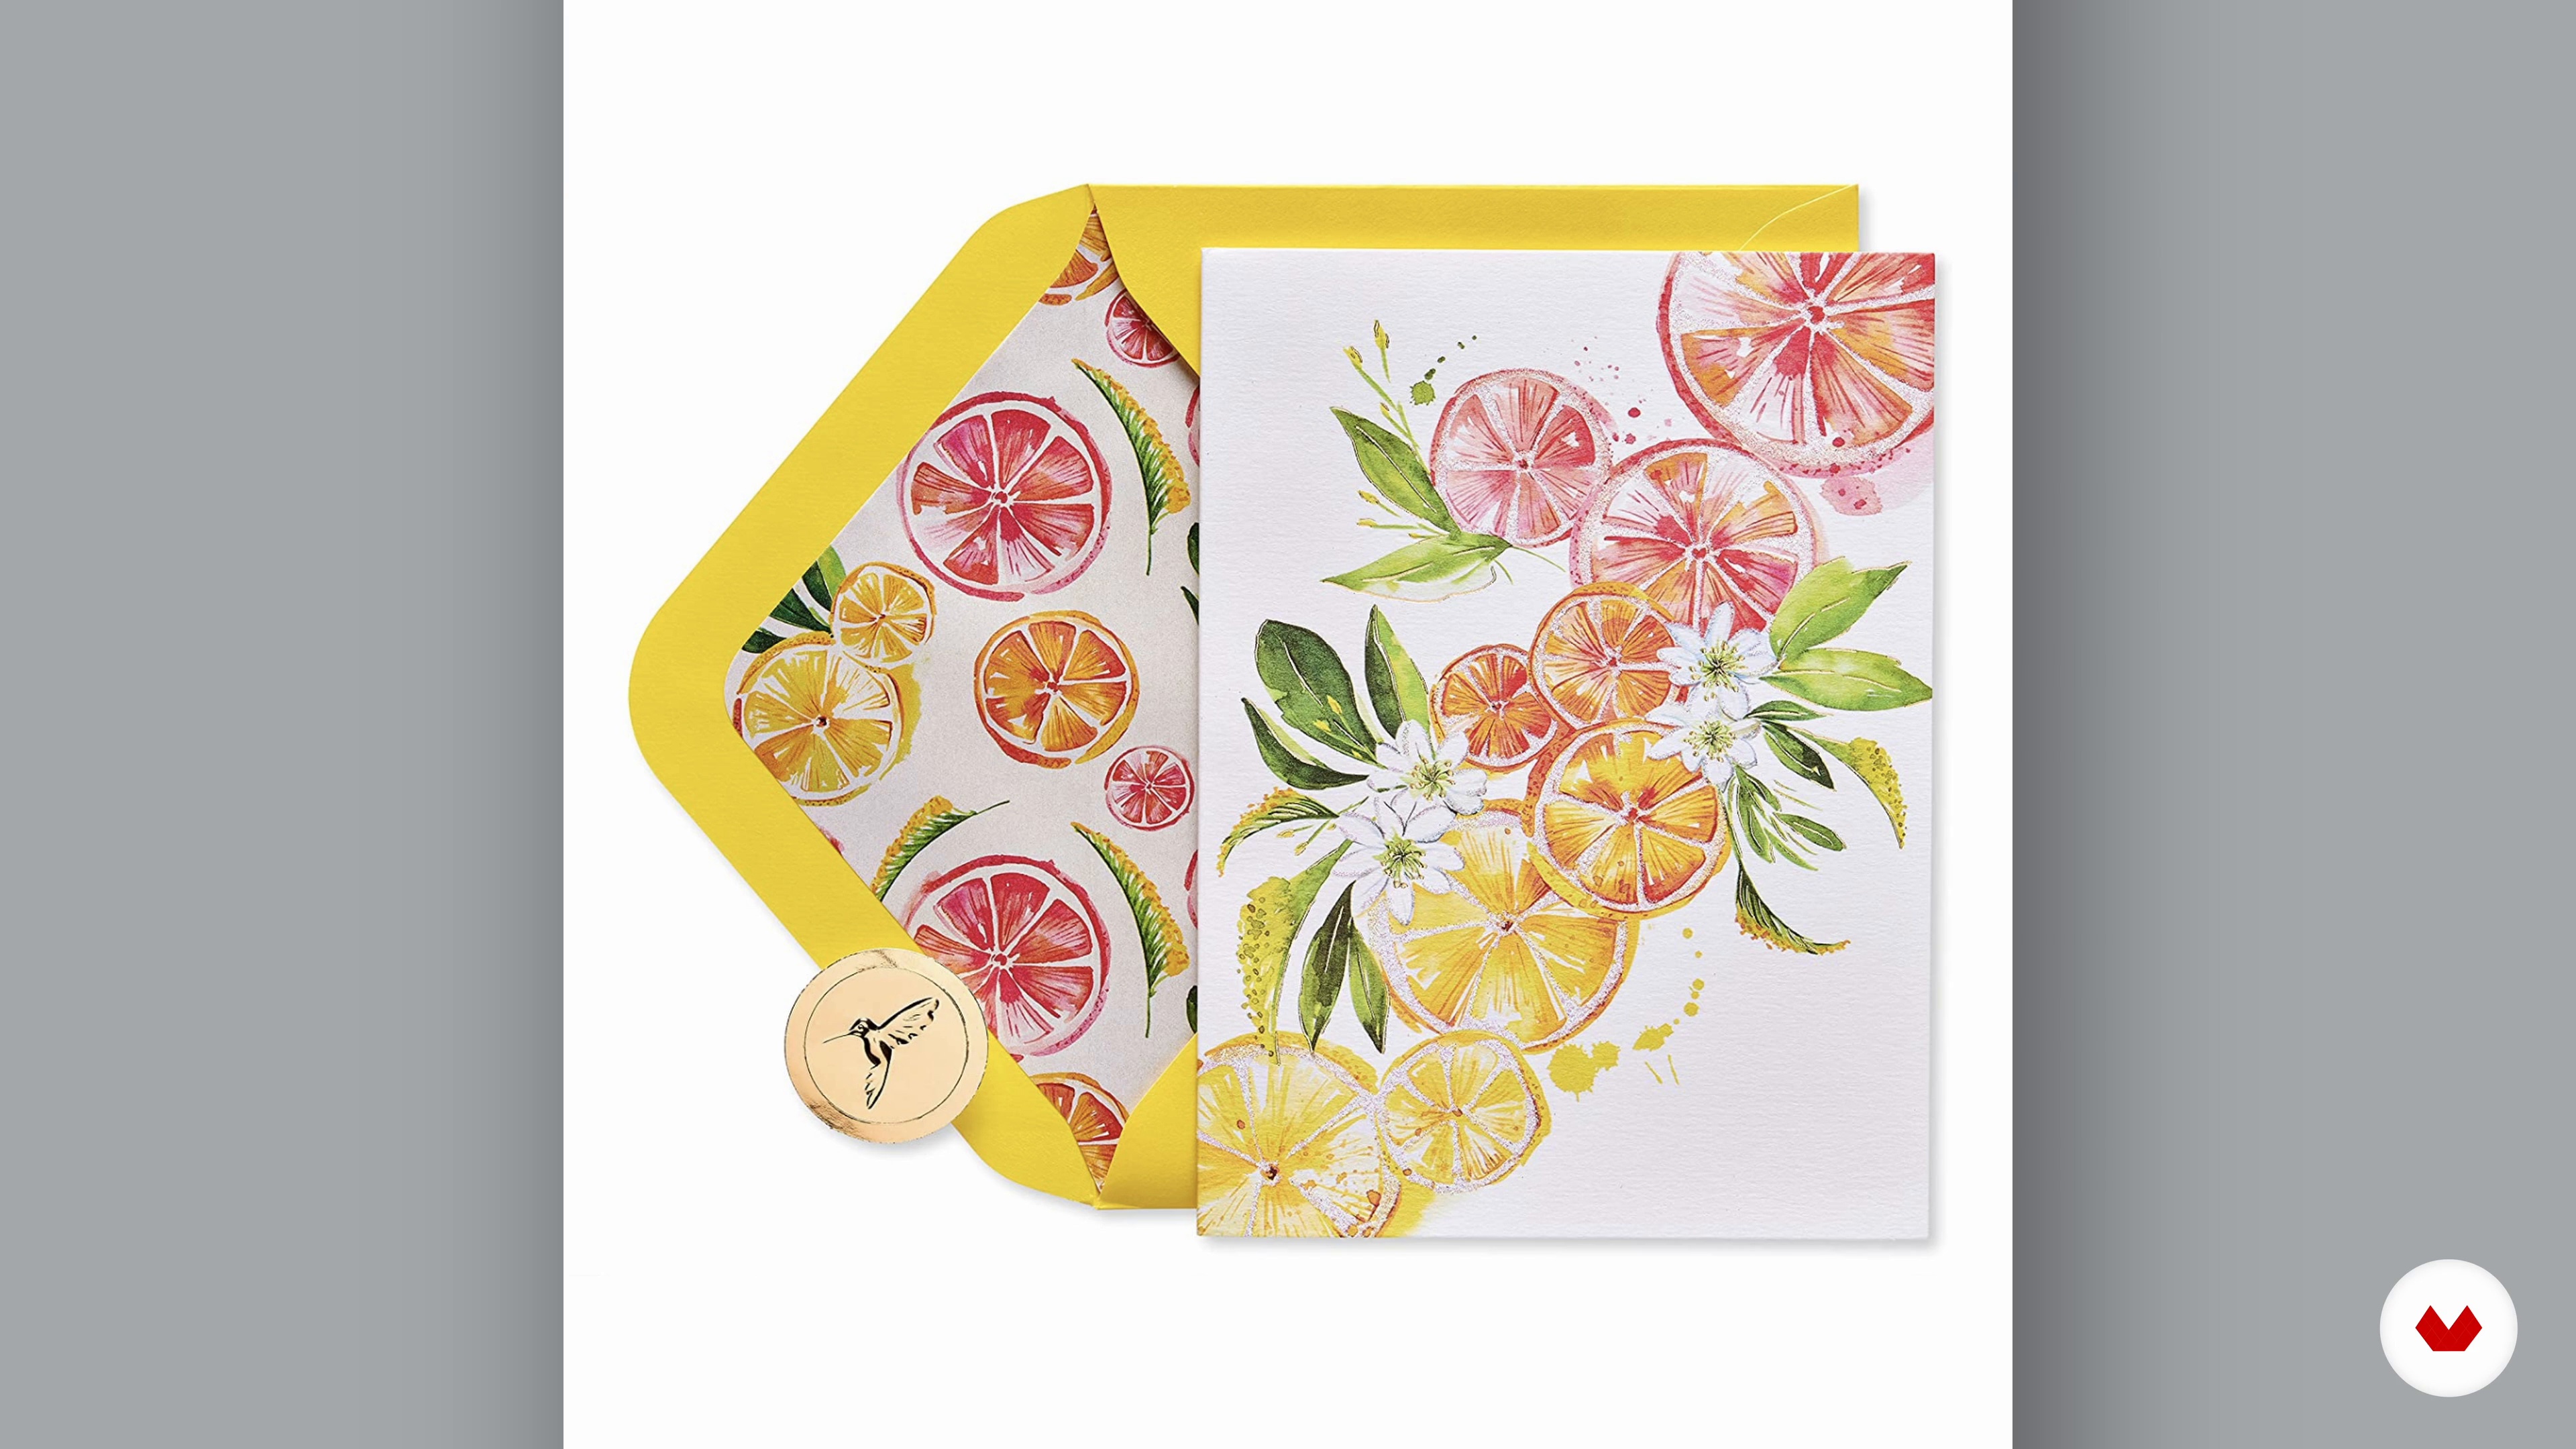
Explore the world of culinary illustration with Melanie Chadwick and Enya Todd, who guide you in creating visually stunning accompaniments to your narratives. Dive into the power of flavor journaling and storytelling with the expertise of Sumayya Usmani, while honing your writing skills to evoke emotions and memories. By the end of this course, you'll have a comprehensive prototype of a narrative cookbook, enriched with personal tales and original illustrations, ready to engage readers and offer a taste of your unique culinary perspective.
What will you learn in this specialization?


- 100% positive reviews (3)
- 179 students
- 63 lessons (9h 51m)
- 71 additional resources (21 files)
- Online and at your own pace
- Audio: English, German, Spanish, Spanish (Latam), French, Indonesian, Italian, Dutch, Polish, Portuguese, Romanian, Turkish
- French · Turkish · English · Dutch · German · Polish · Portuguese · Italian · Spanish · Romanian · Indonesian
- Level: Beginner
- Unlimited access forever
What is this course's project?
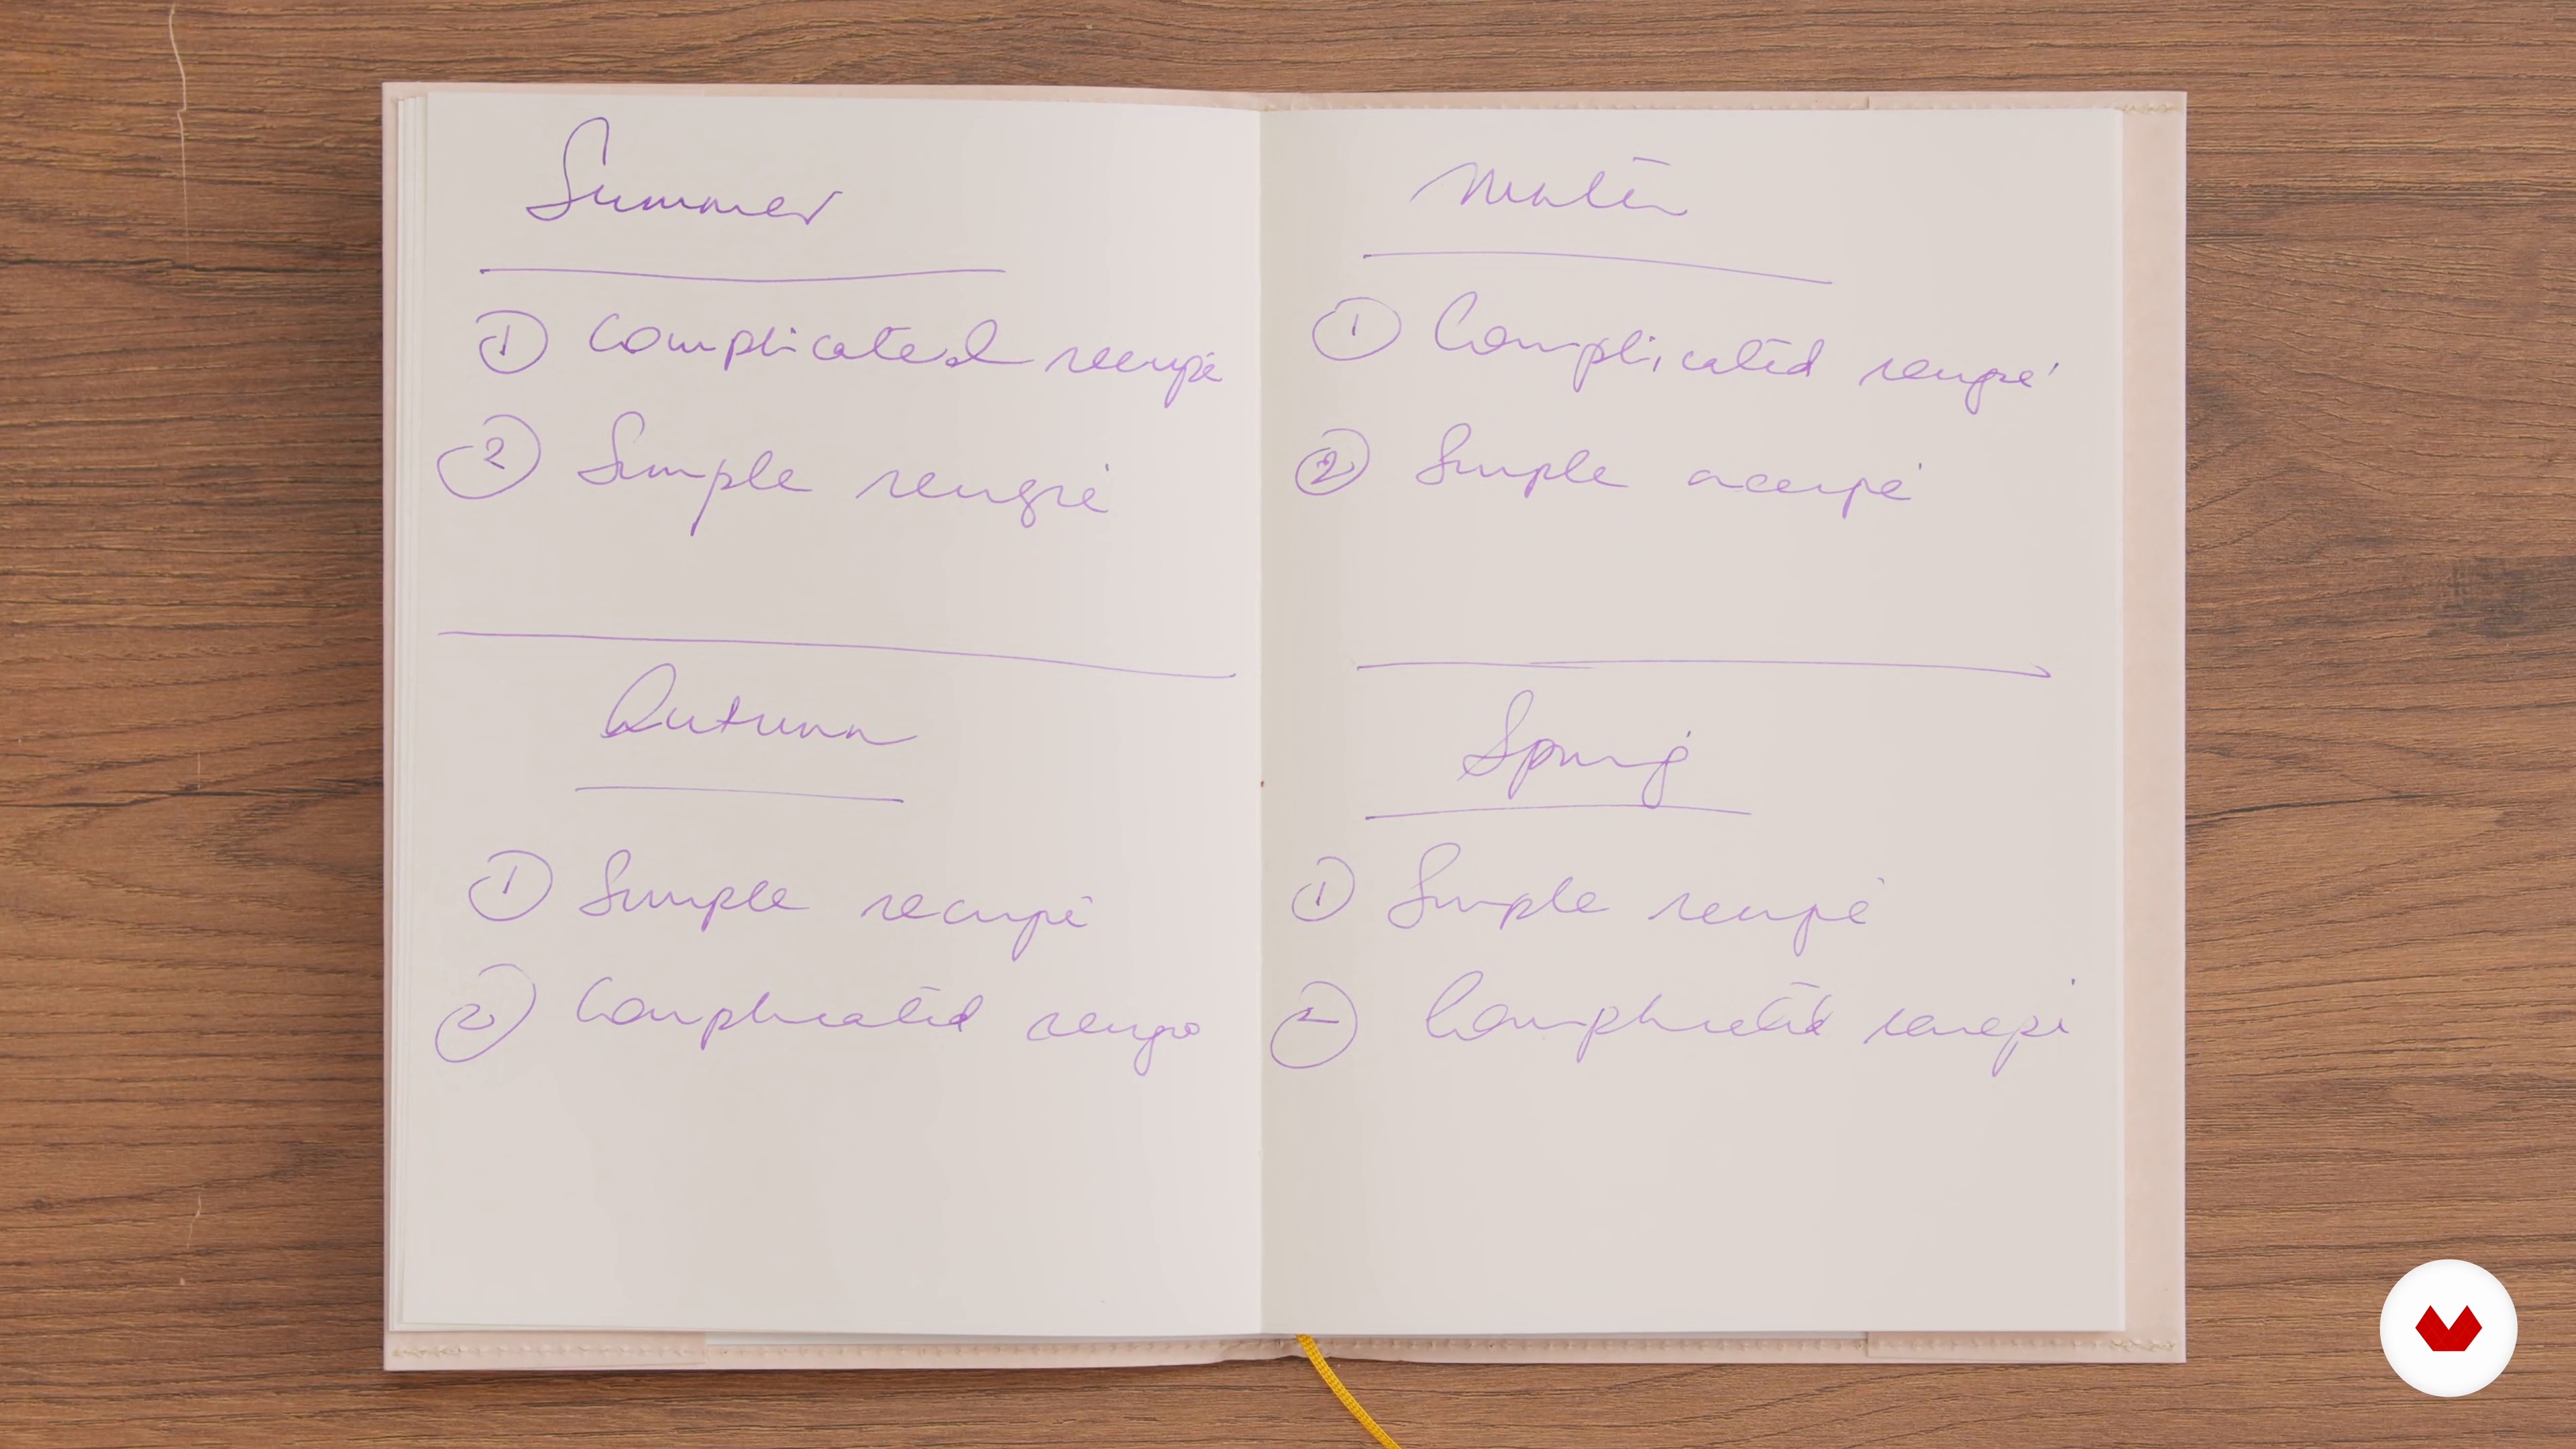
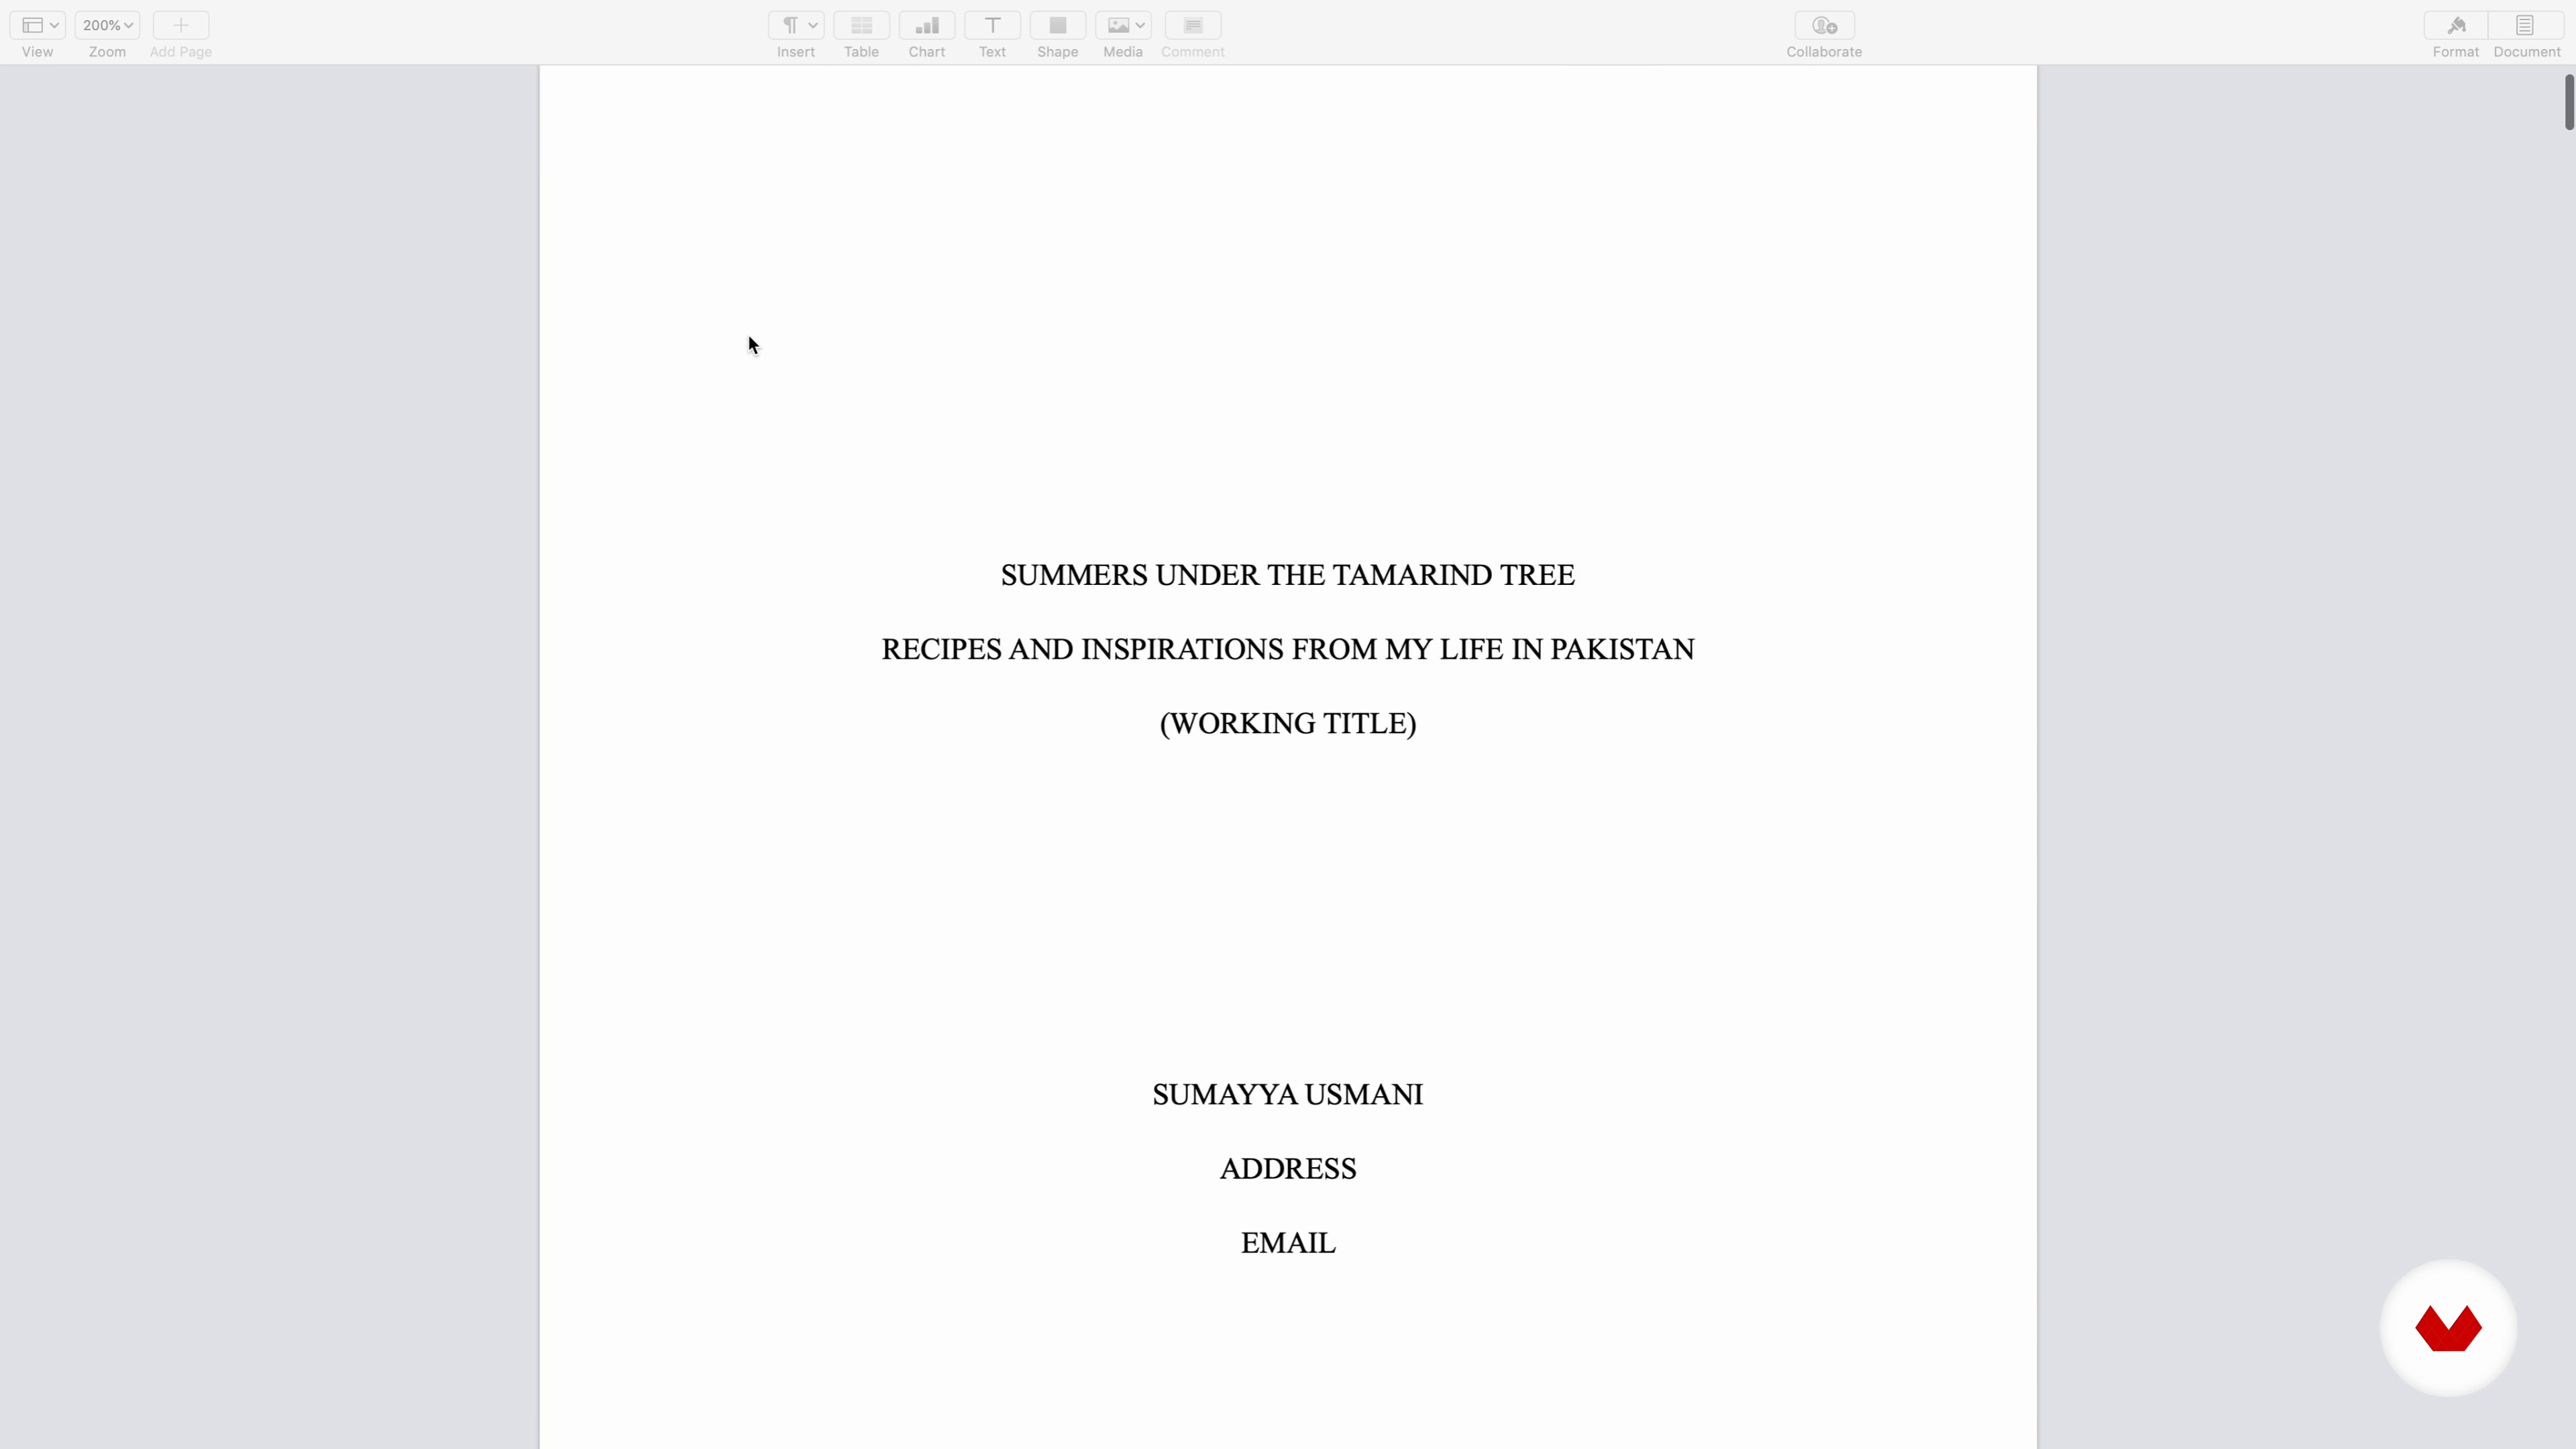
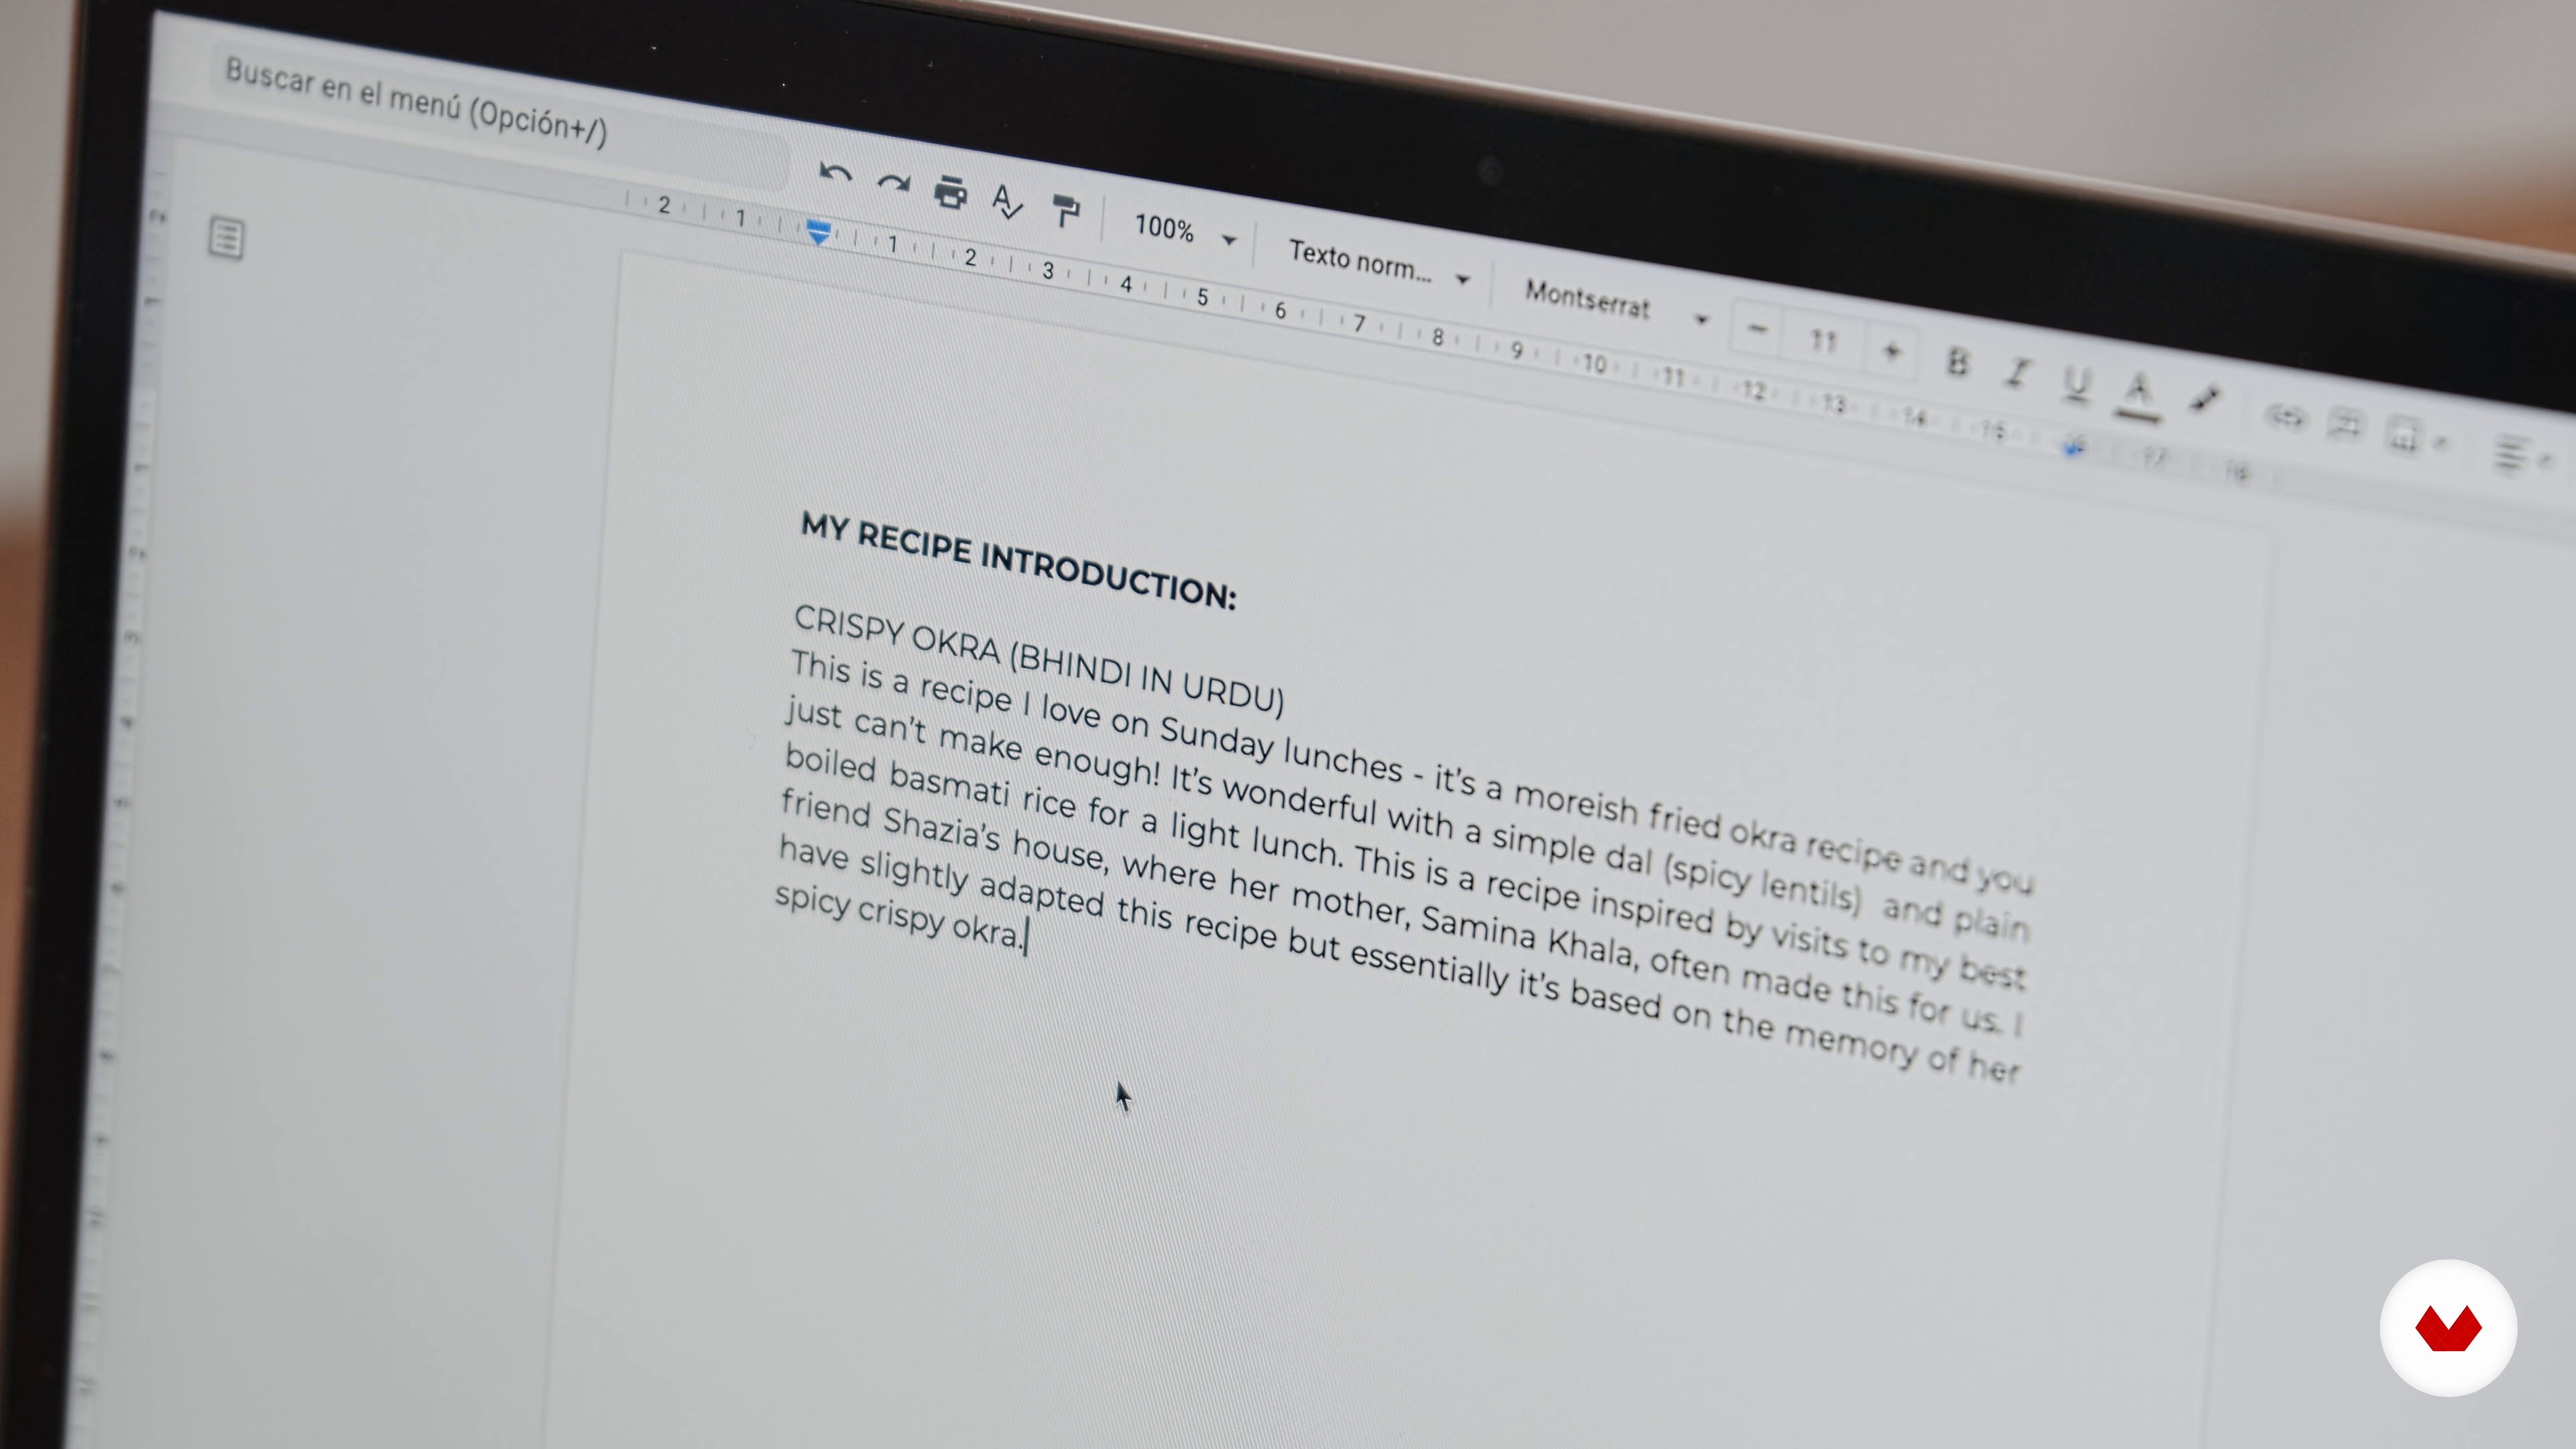
Create a narrative recipe book by blending personal storytelling, culinary writing, and original illustrations. Develop a complete editorial concept, manuscript with 15-20 recipes, 10-15 illustrations, a process diary, and a professional presentation.
Who is this specialization for?
Writers, illustrators, and food enthusiasts seeking to craft narrative cookbooks will find inspiration here. Whether you're documenting culinary experiences or blending storytelling with recipes, this course guides you in creating engaging, memorable food narratives enriched by personal insights and artistic flair.
Requirements and materials
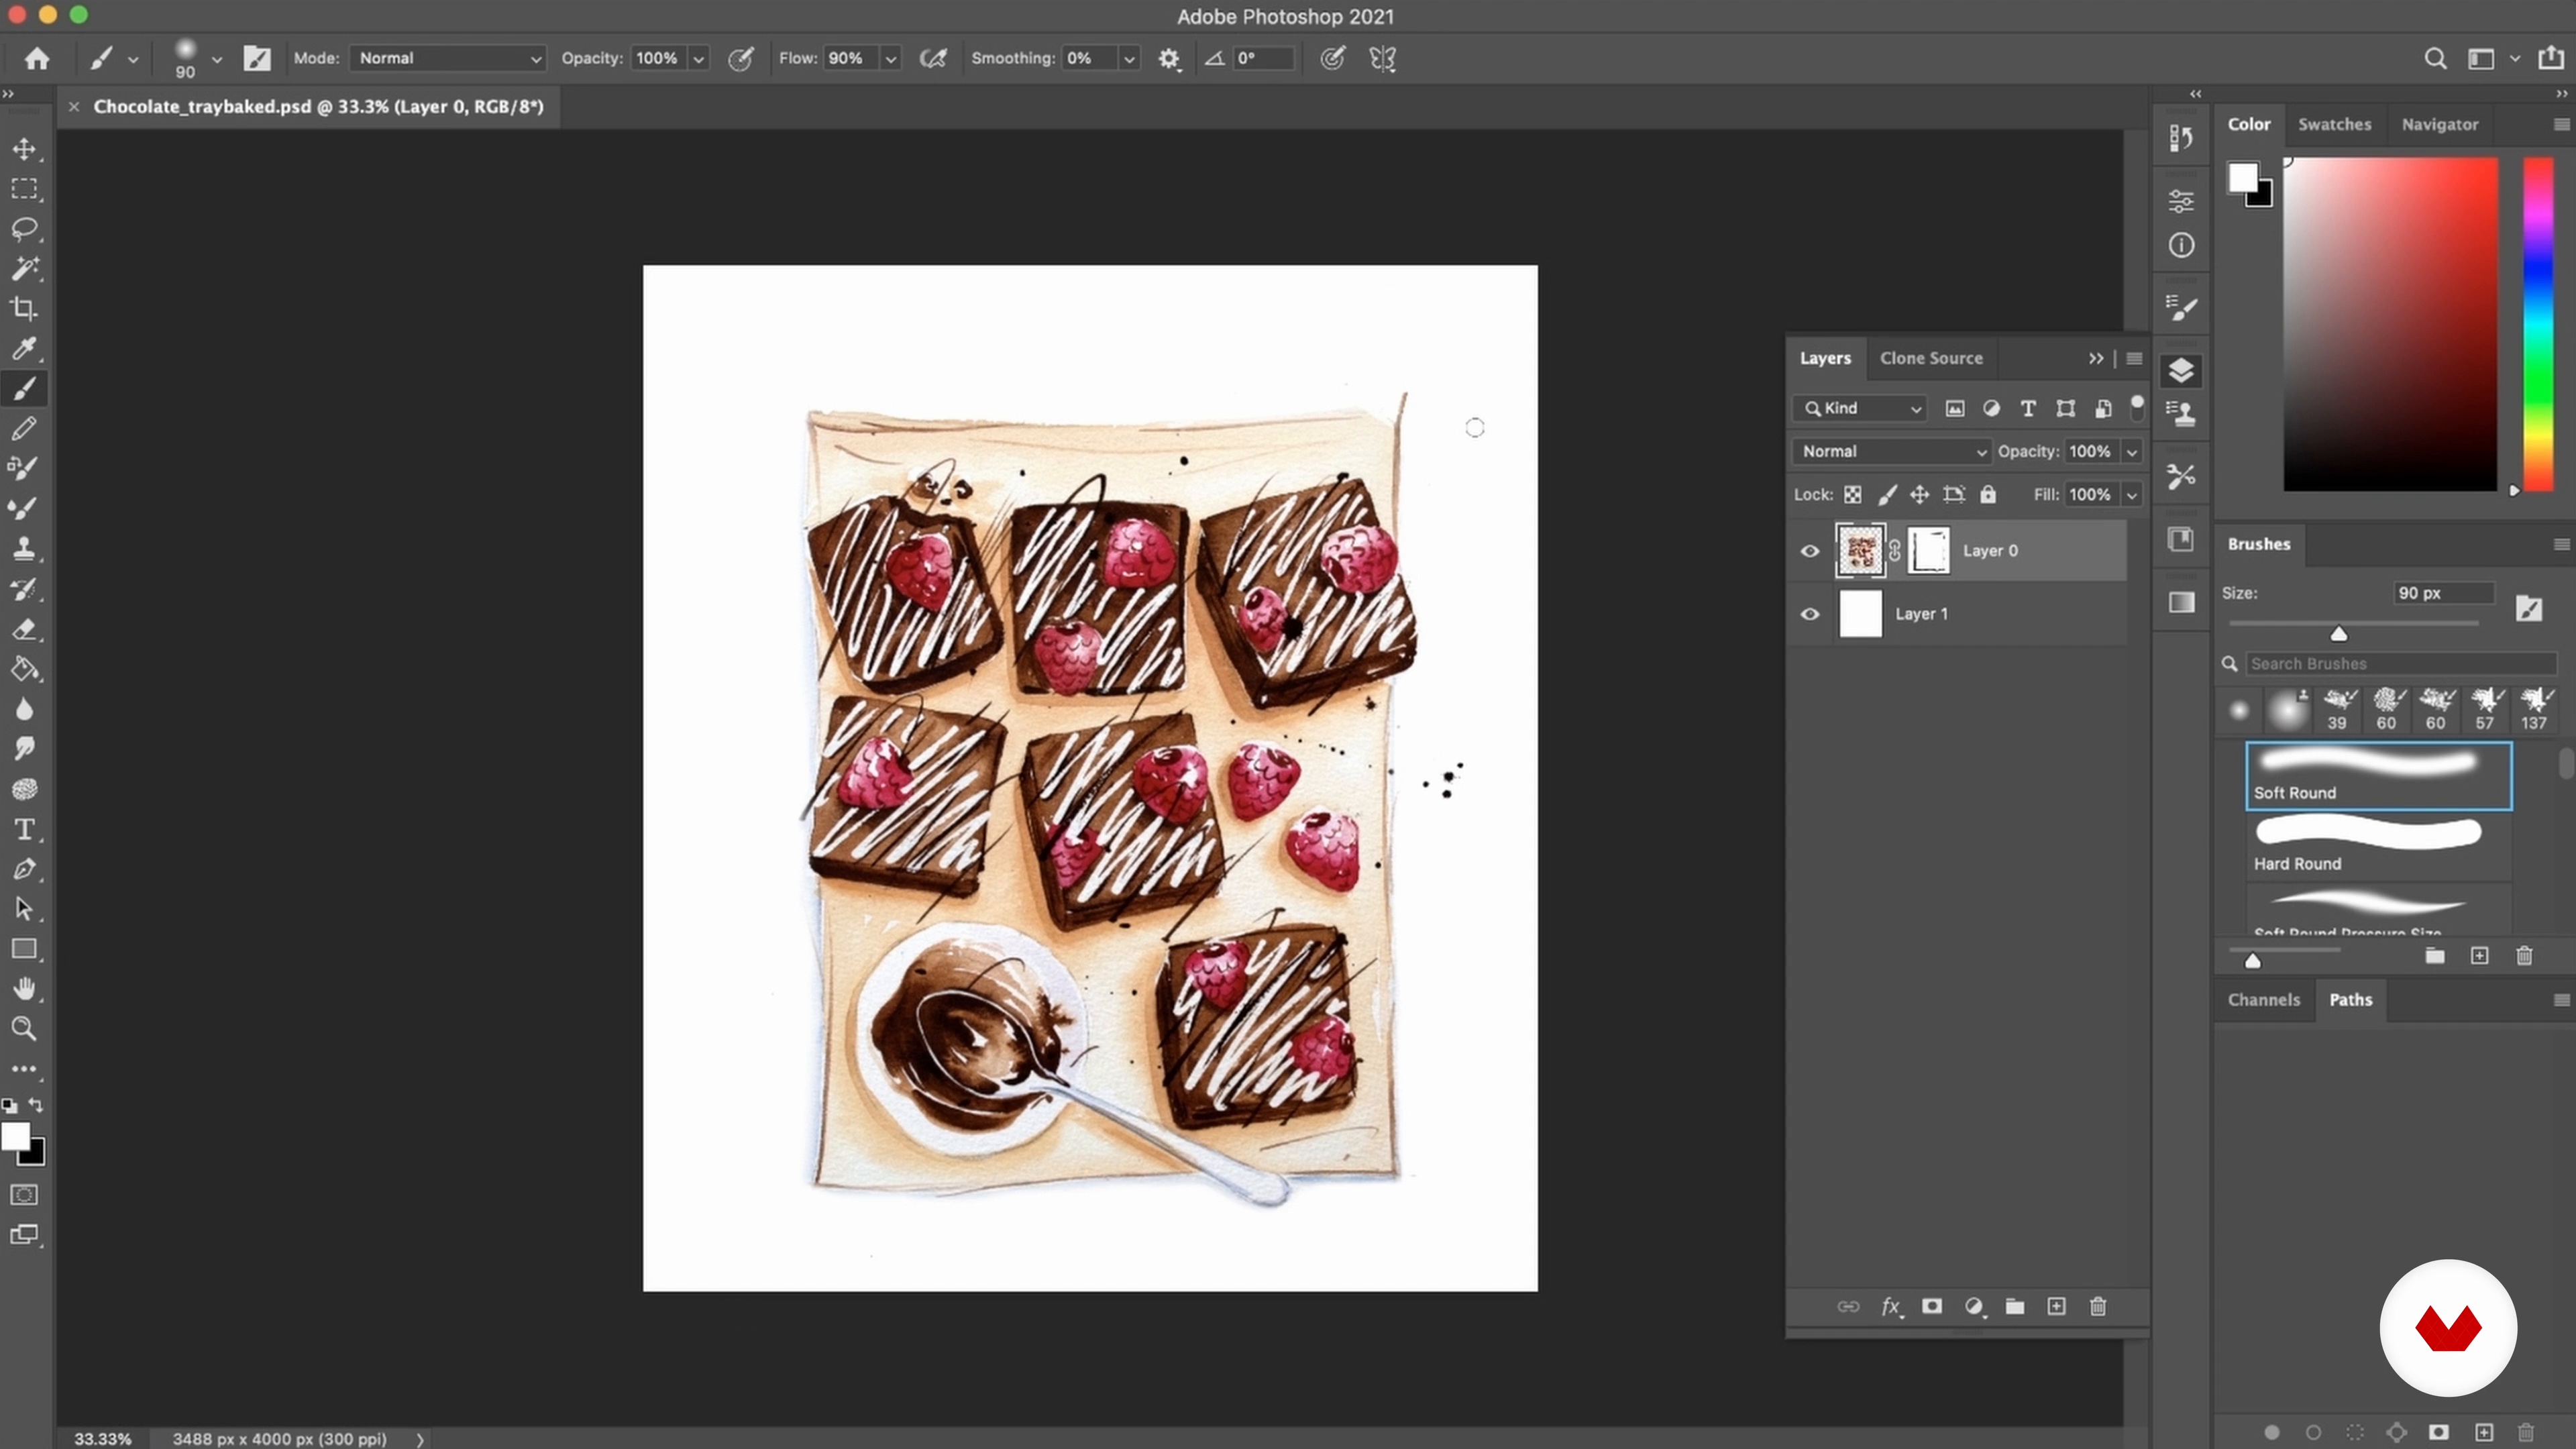
No extensive prior knowledge is needed. Basic necessities include a computer with internet access, writing materials, and a willingness to explore culinary storytelling. Familiarity with illustration techniques and software like Adobe Photoshop and Illustrator is helpful but not mandatory.


Reviews
What to expect from this specialization course
-
Learn at your own pace
Enjoy learning from home without a set schedule and with an easy-to-follow method. You set your own pace.
-
Learn from the best professionals
Learn valuable methods and techniques explained by top experts in the creative sector.
-
Meet expert teachers
Each expert teaches what they do best, with clear guidelines, true passion, and professional insight in every lesson.
-
Certificates
PlusIf you're a Plus member, get a custom certificate for every specialization course. Share it on your portfolio, social media, or wherever you like.
-
Get front-row seats
Videos of the highest quality, so you don't miss a single detail. With unlimited access, you can watch them as many times as you need to perfect your technique.
-
Share knowledge and ideas
Ask questions, request feedback, or offer solutions. Share your learning experience with other students in the community who are as passionate about creativity as you are.
-
Connect with a global creative community
The community is home to millions of people from around the world who are curious and passionate about exploring and expressing their creativity.
-
Watch professionally produced courses
Domestika curates its teacher roster and produces every course in-house to ensure a high-quality online learning experience.
FAQs
Yes, this course is designed for beginners and welcomes anyone interested in learning illustration, food sketching, and mixed media techniques from scratch.
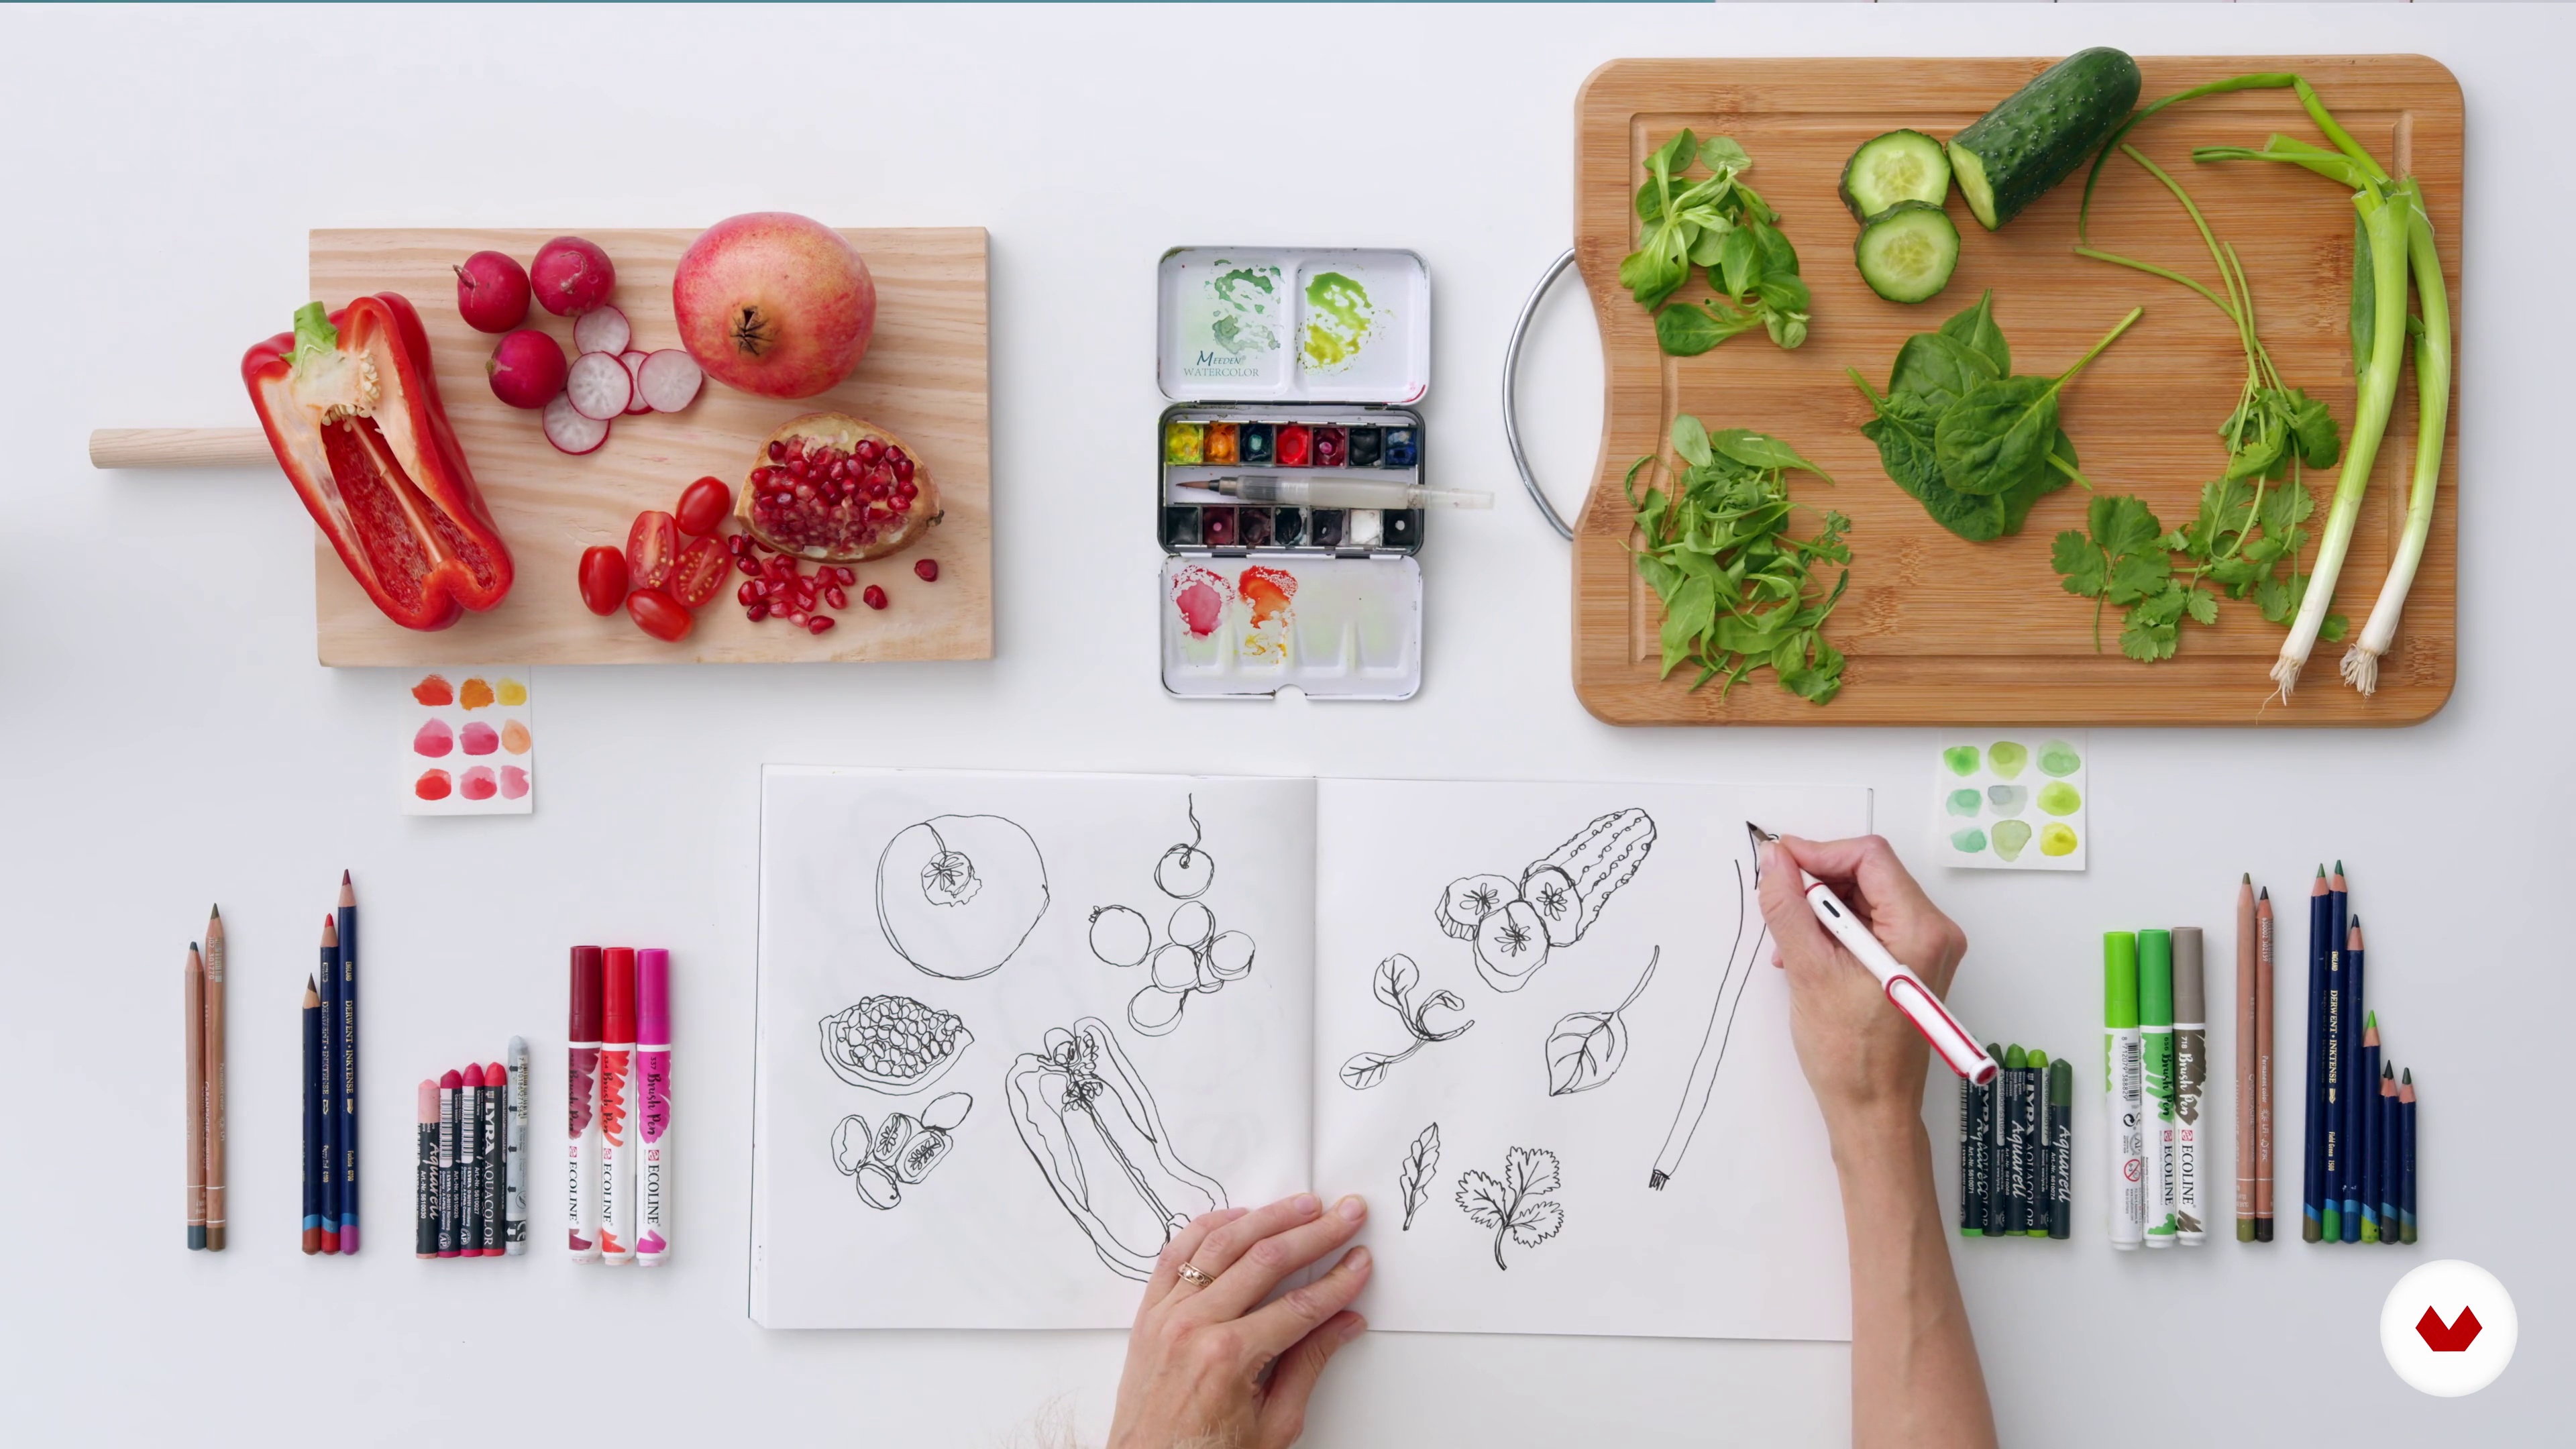
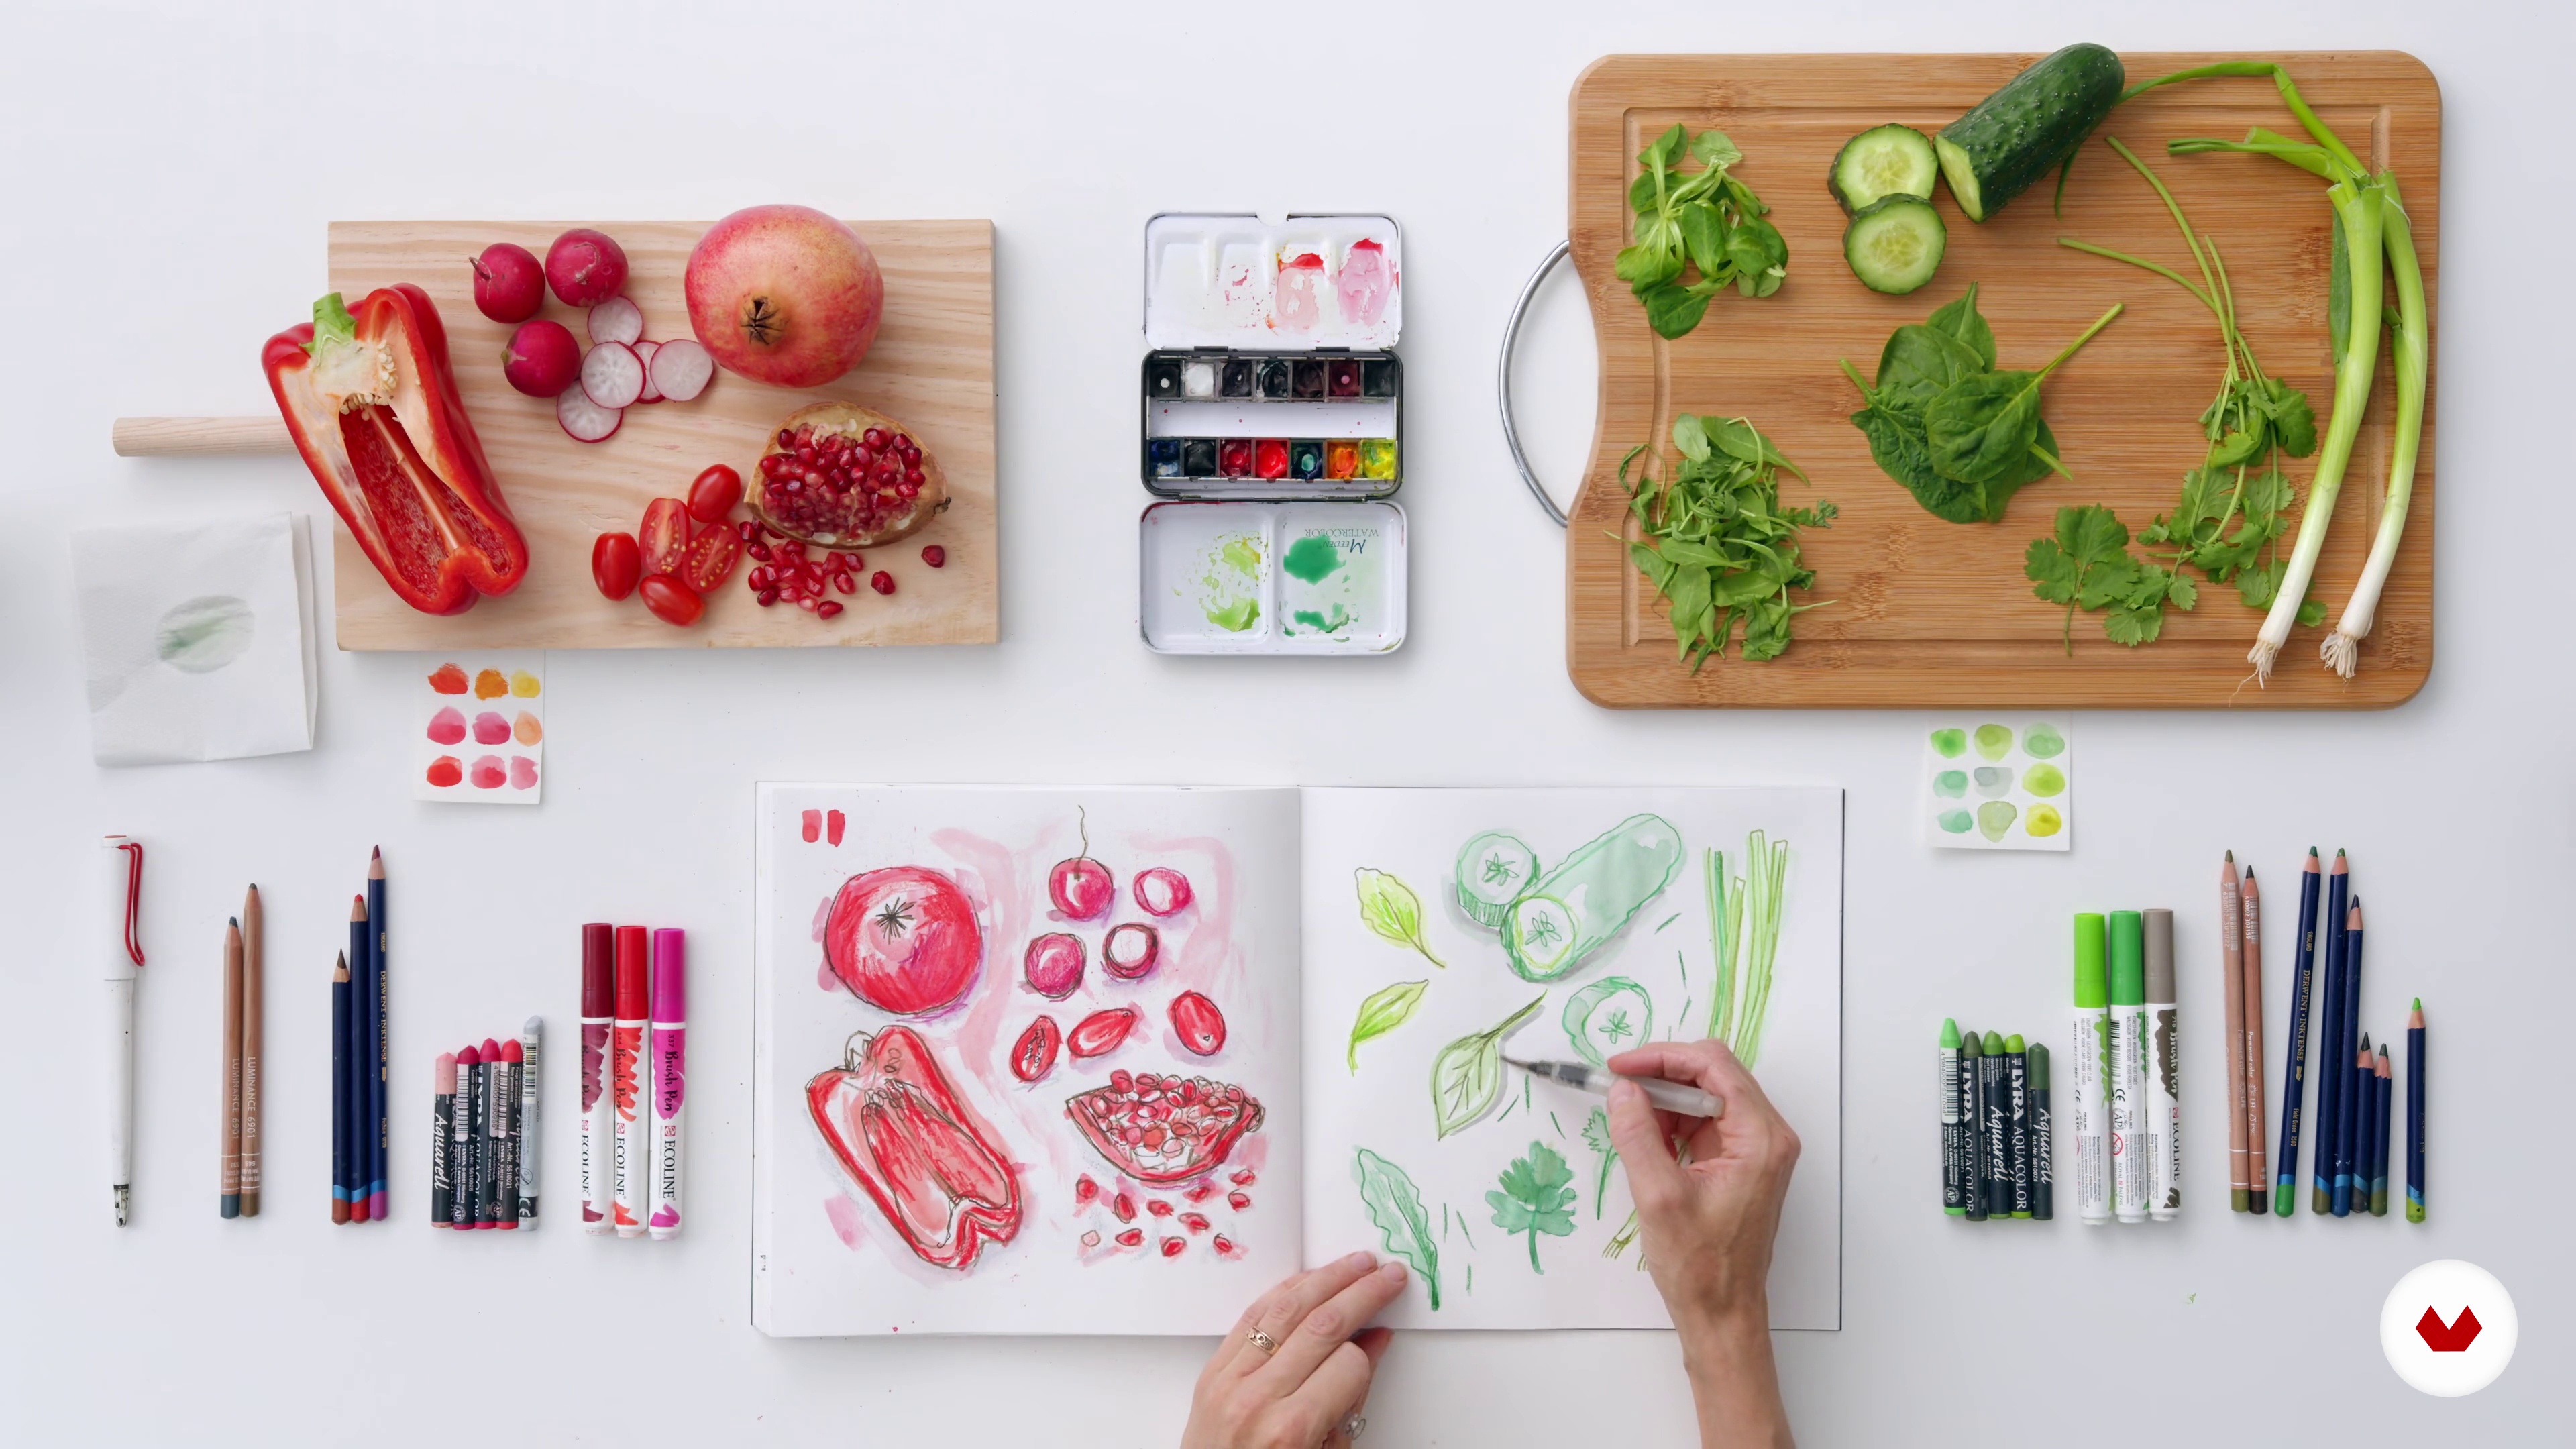
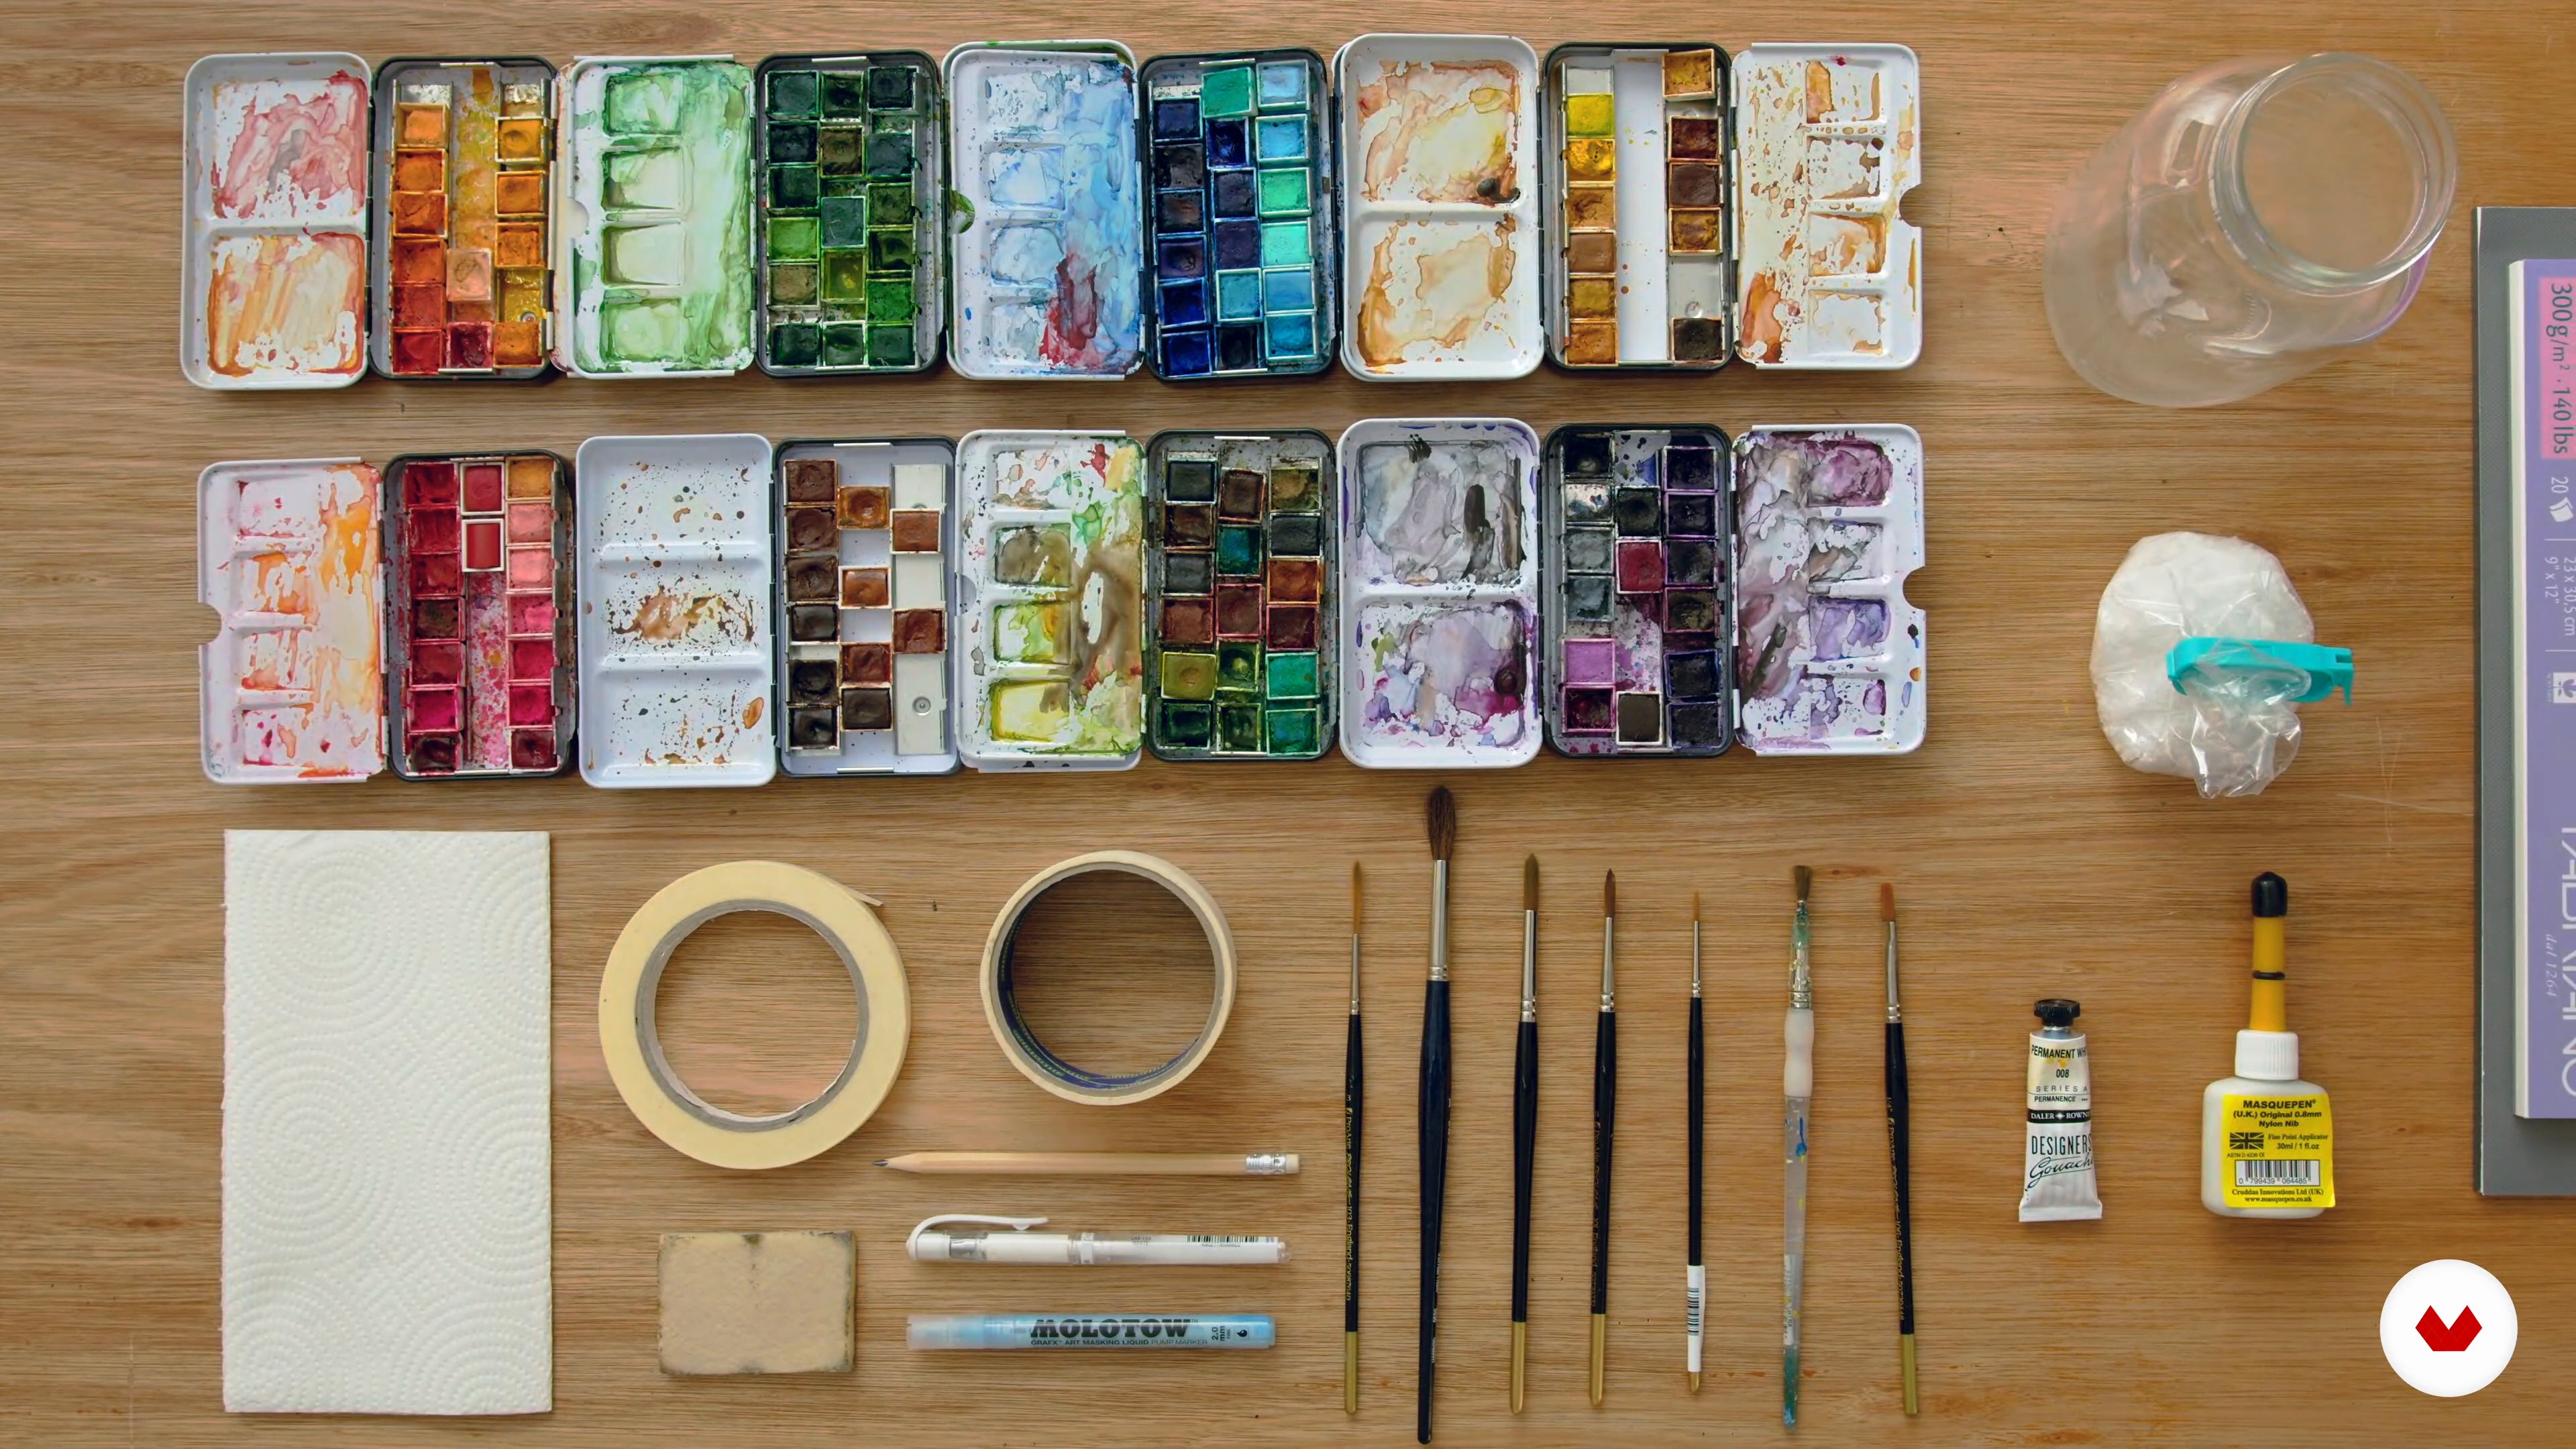
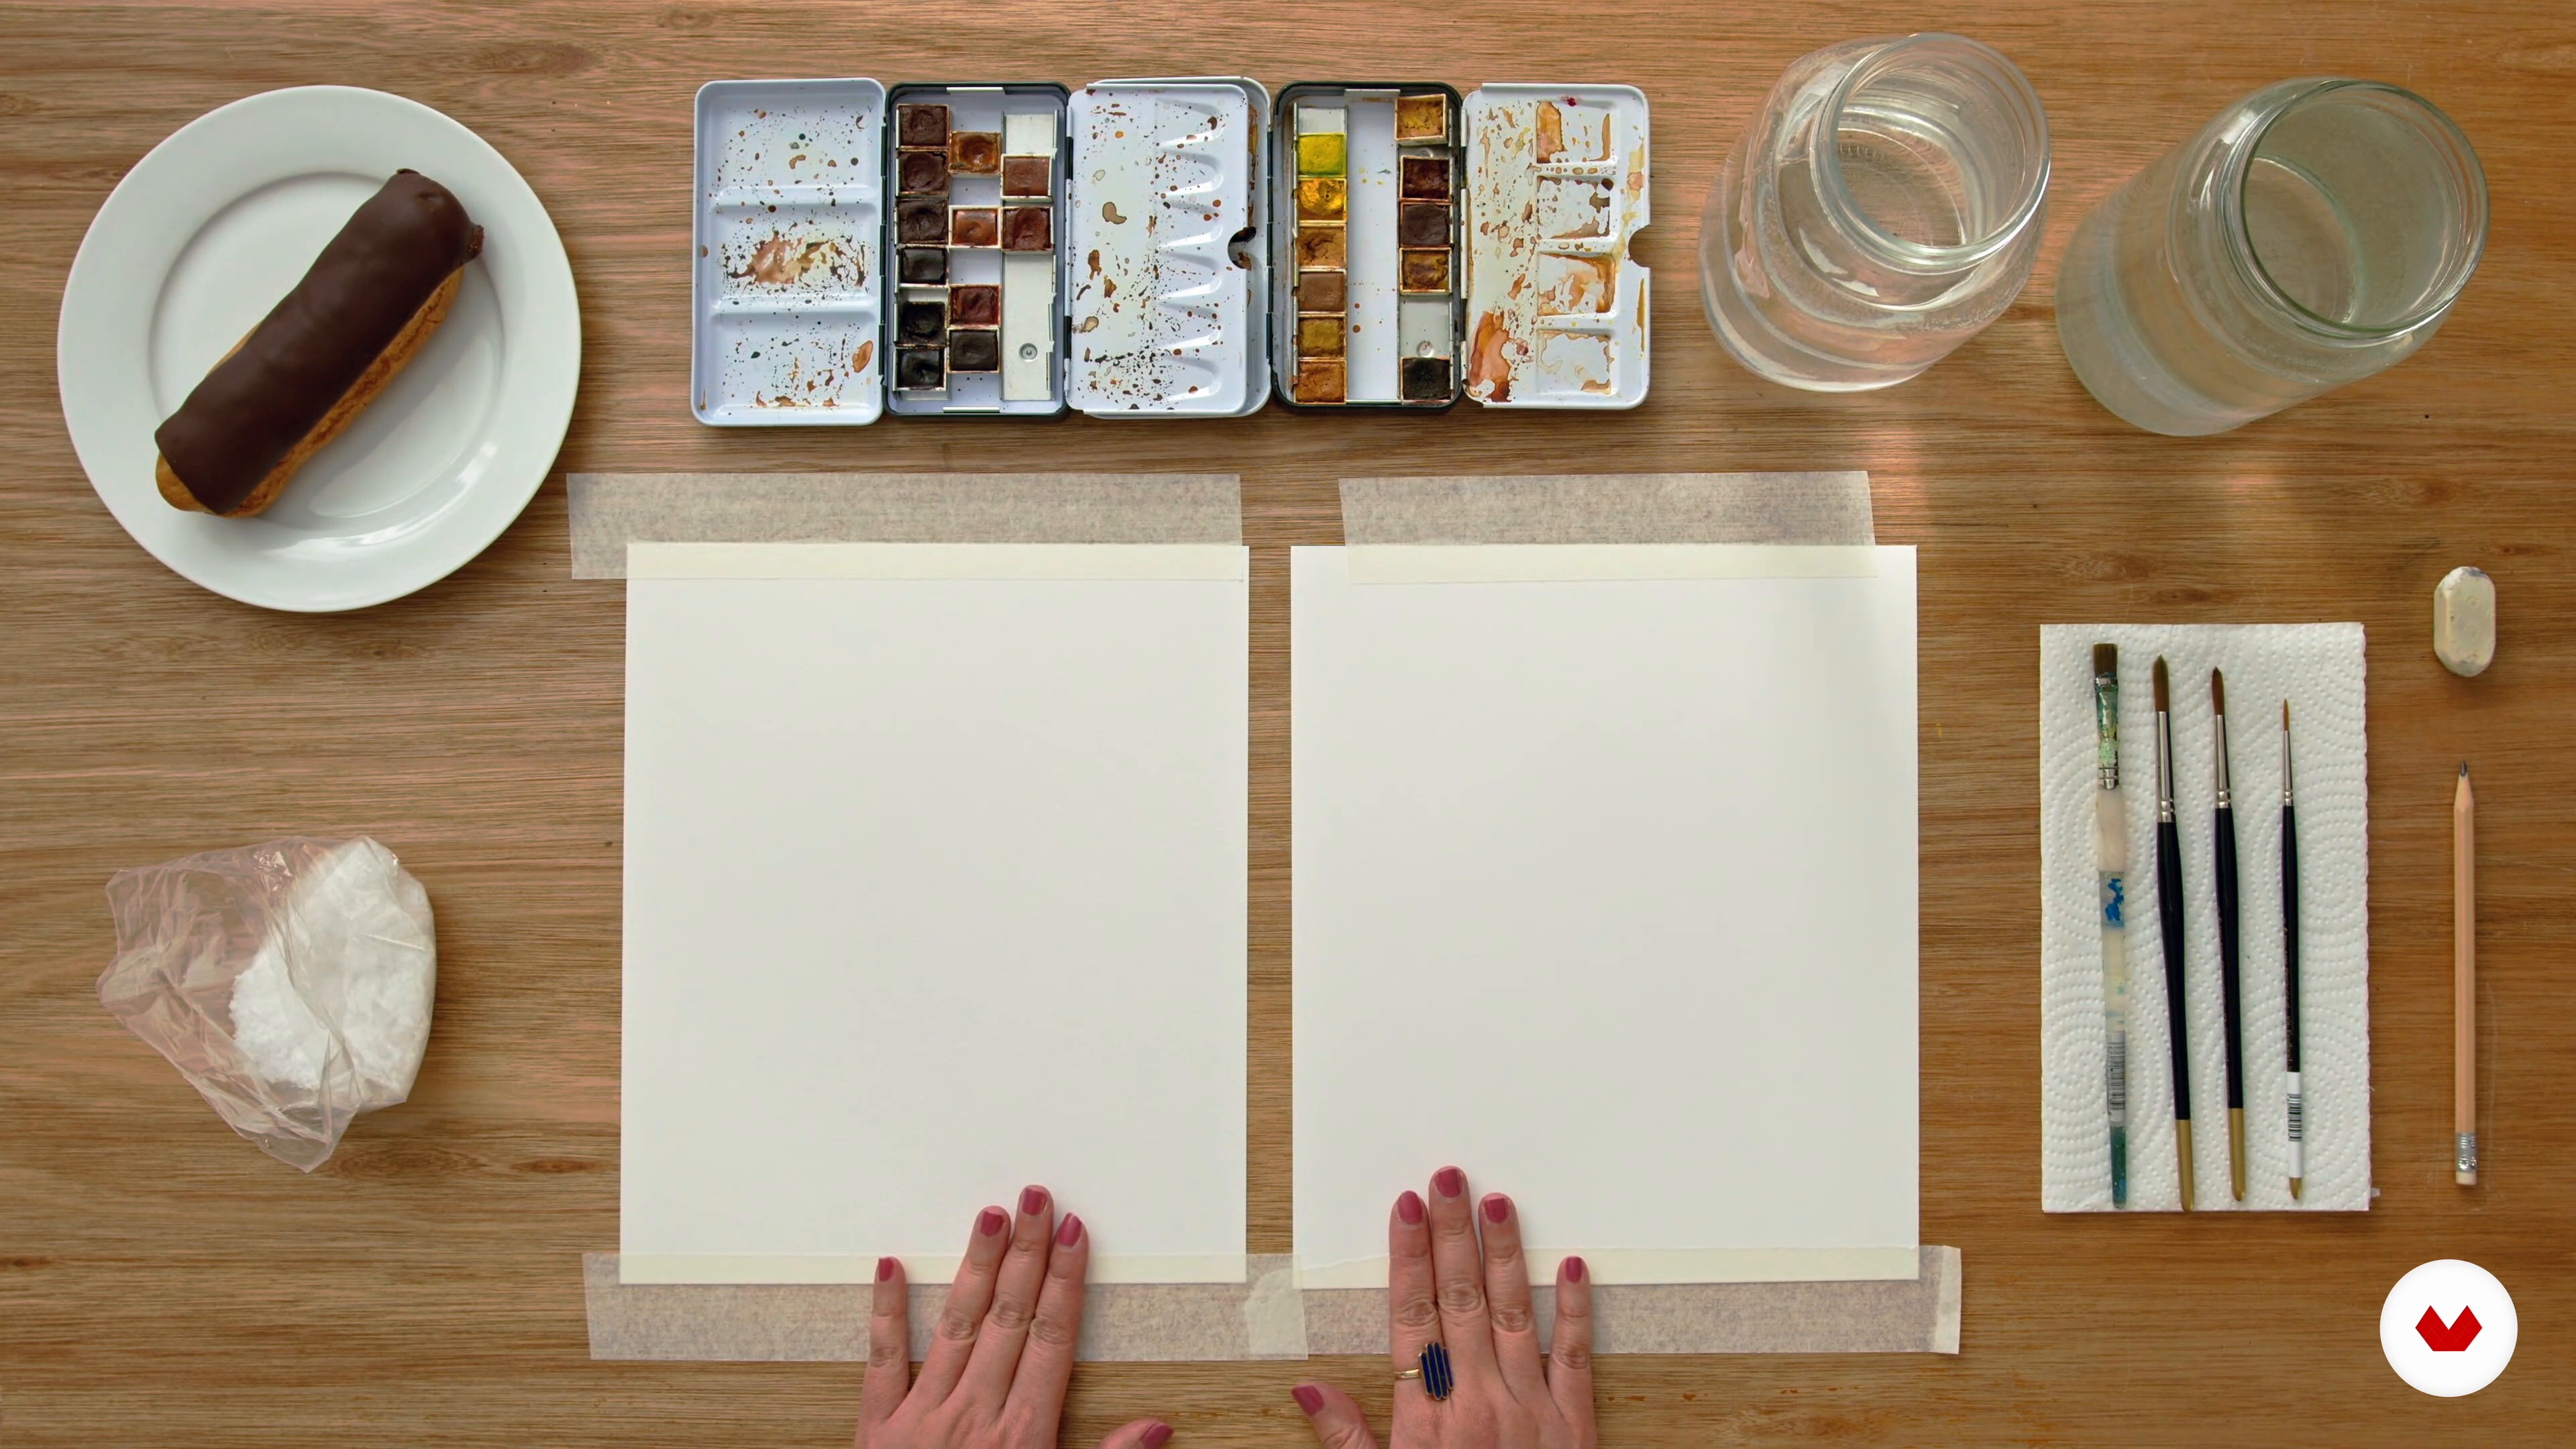
You’ll need basic art supplies such as watercolors, crayons, pencils, pens, acrylic ink, tracing paper, a sketchbook, and collage materials. Digital tools like a scanner and access to design software are also useful.
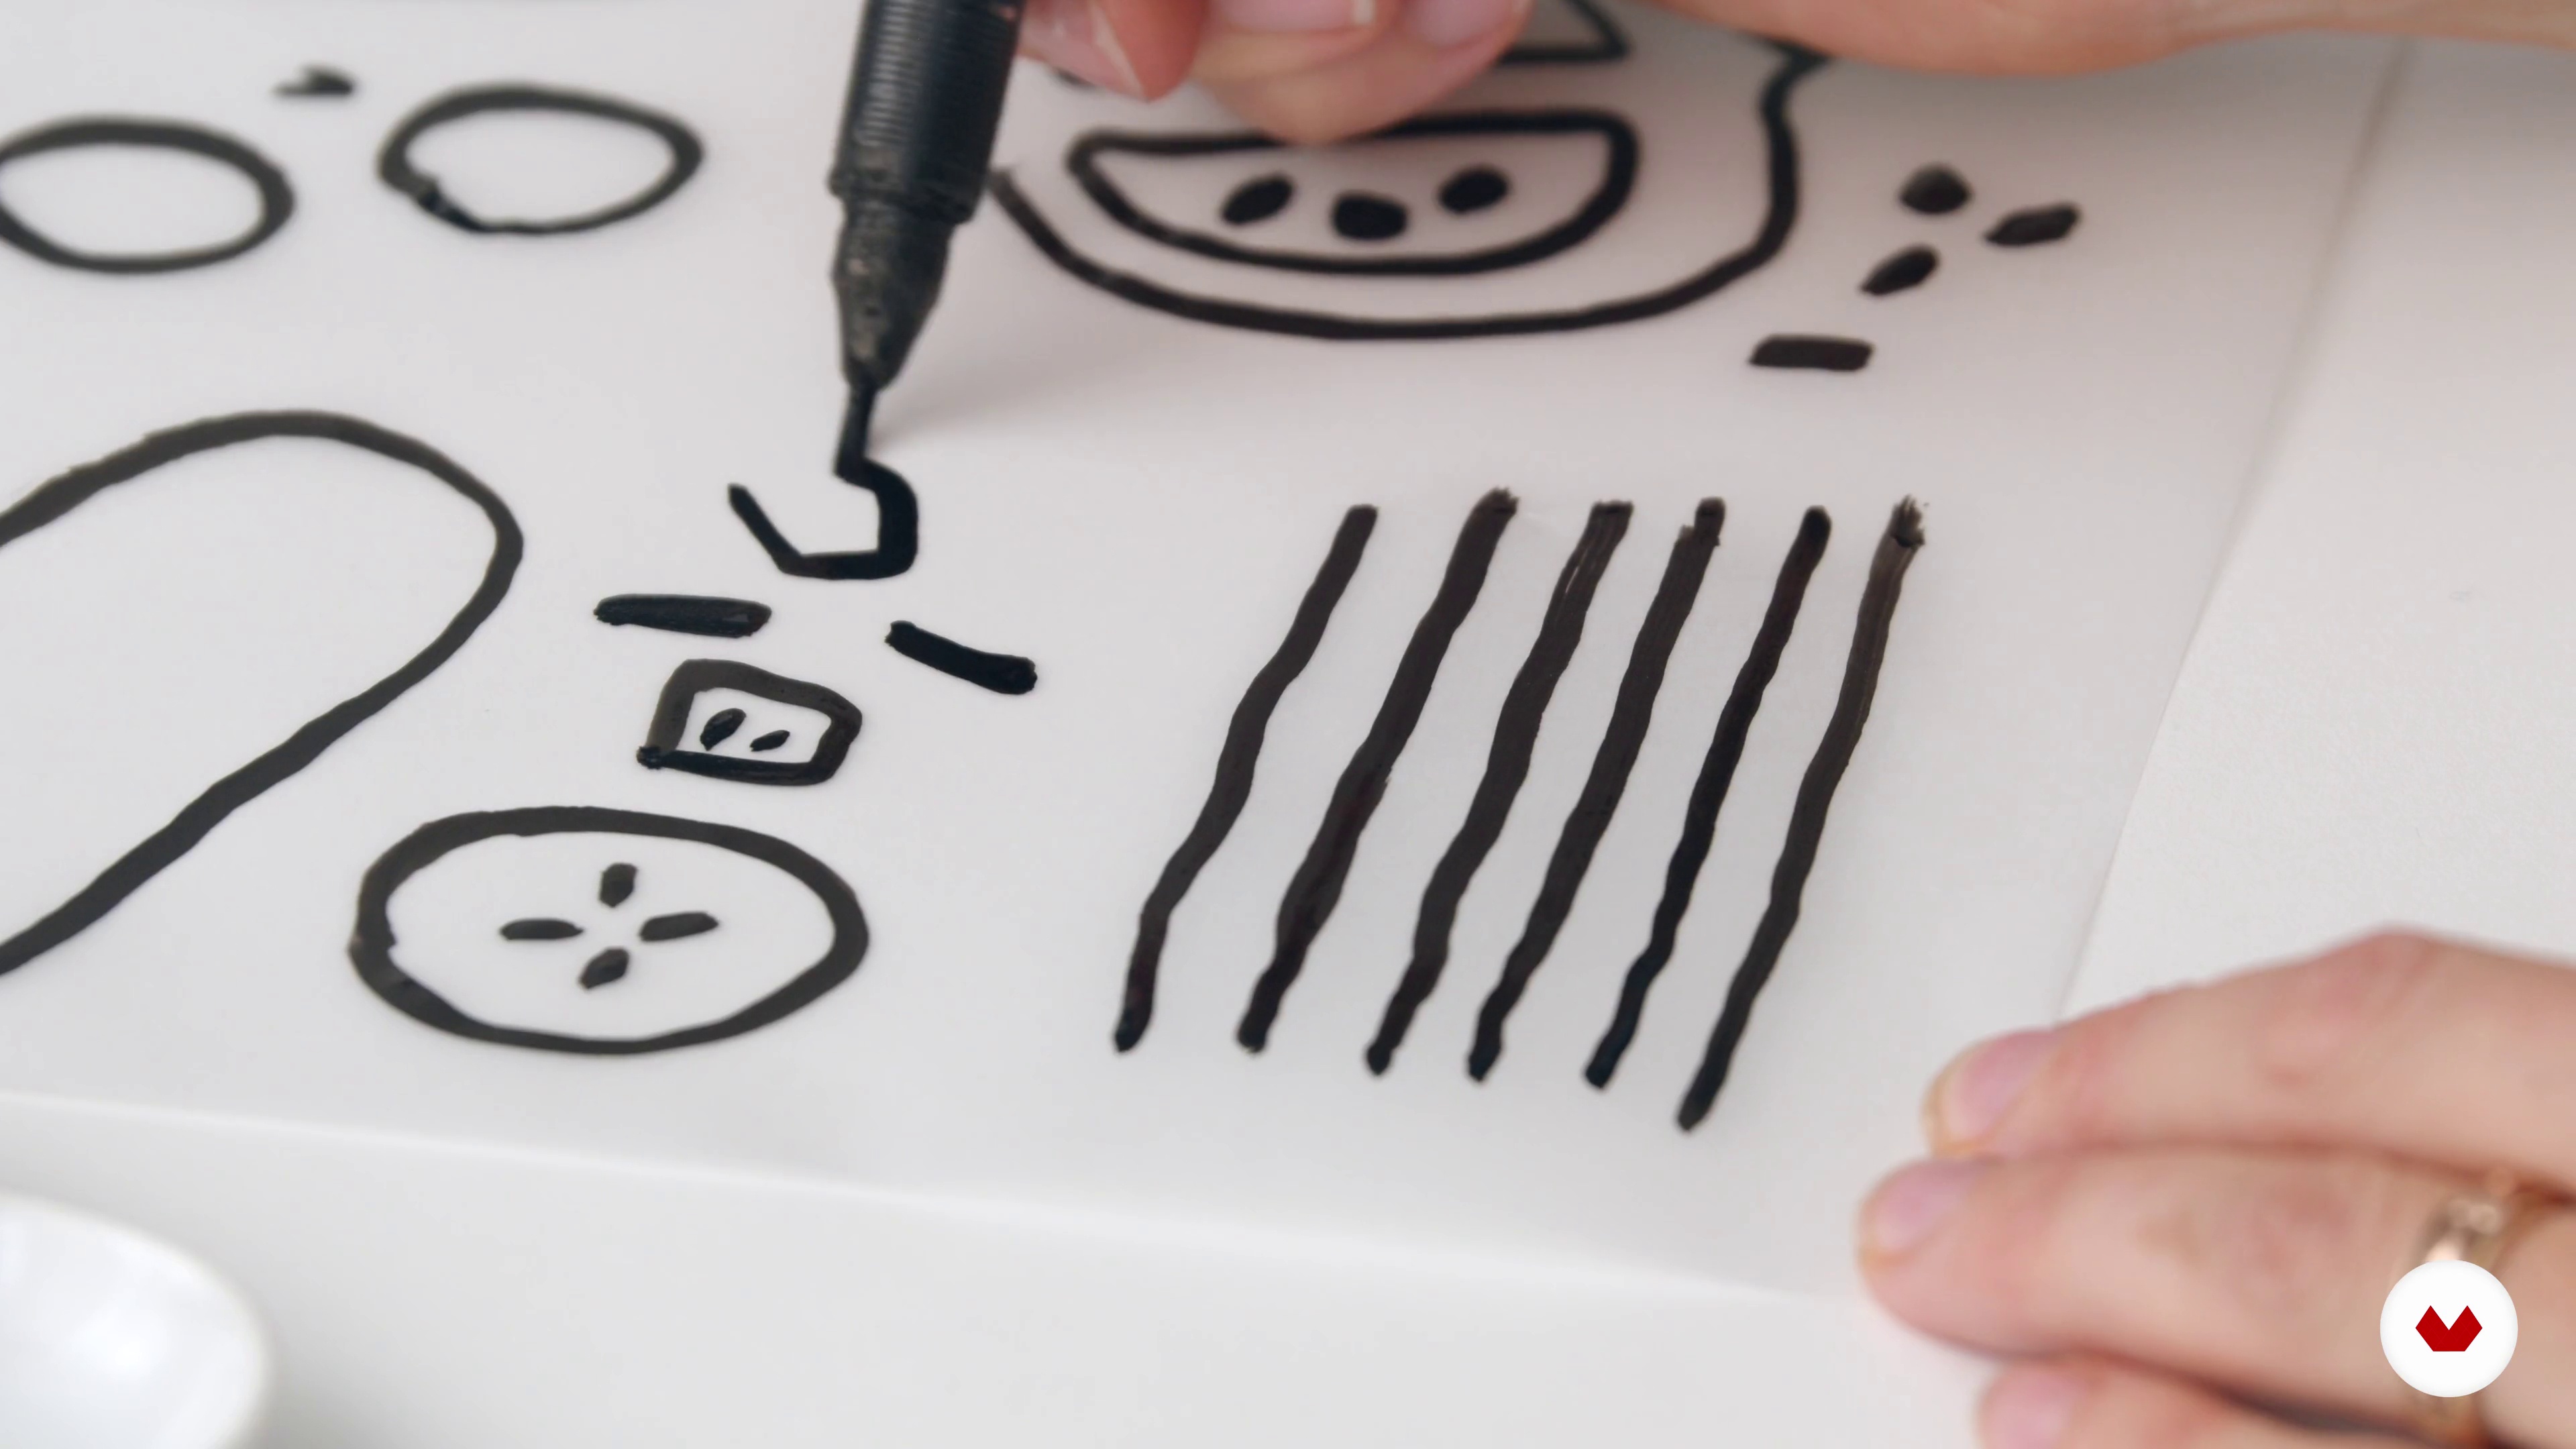
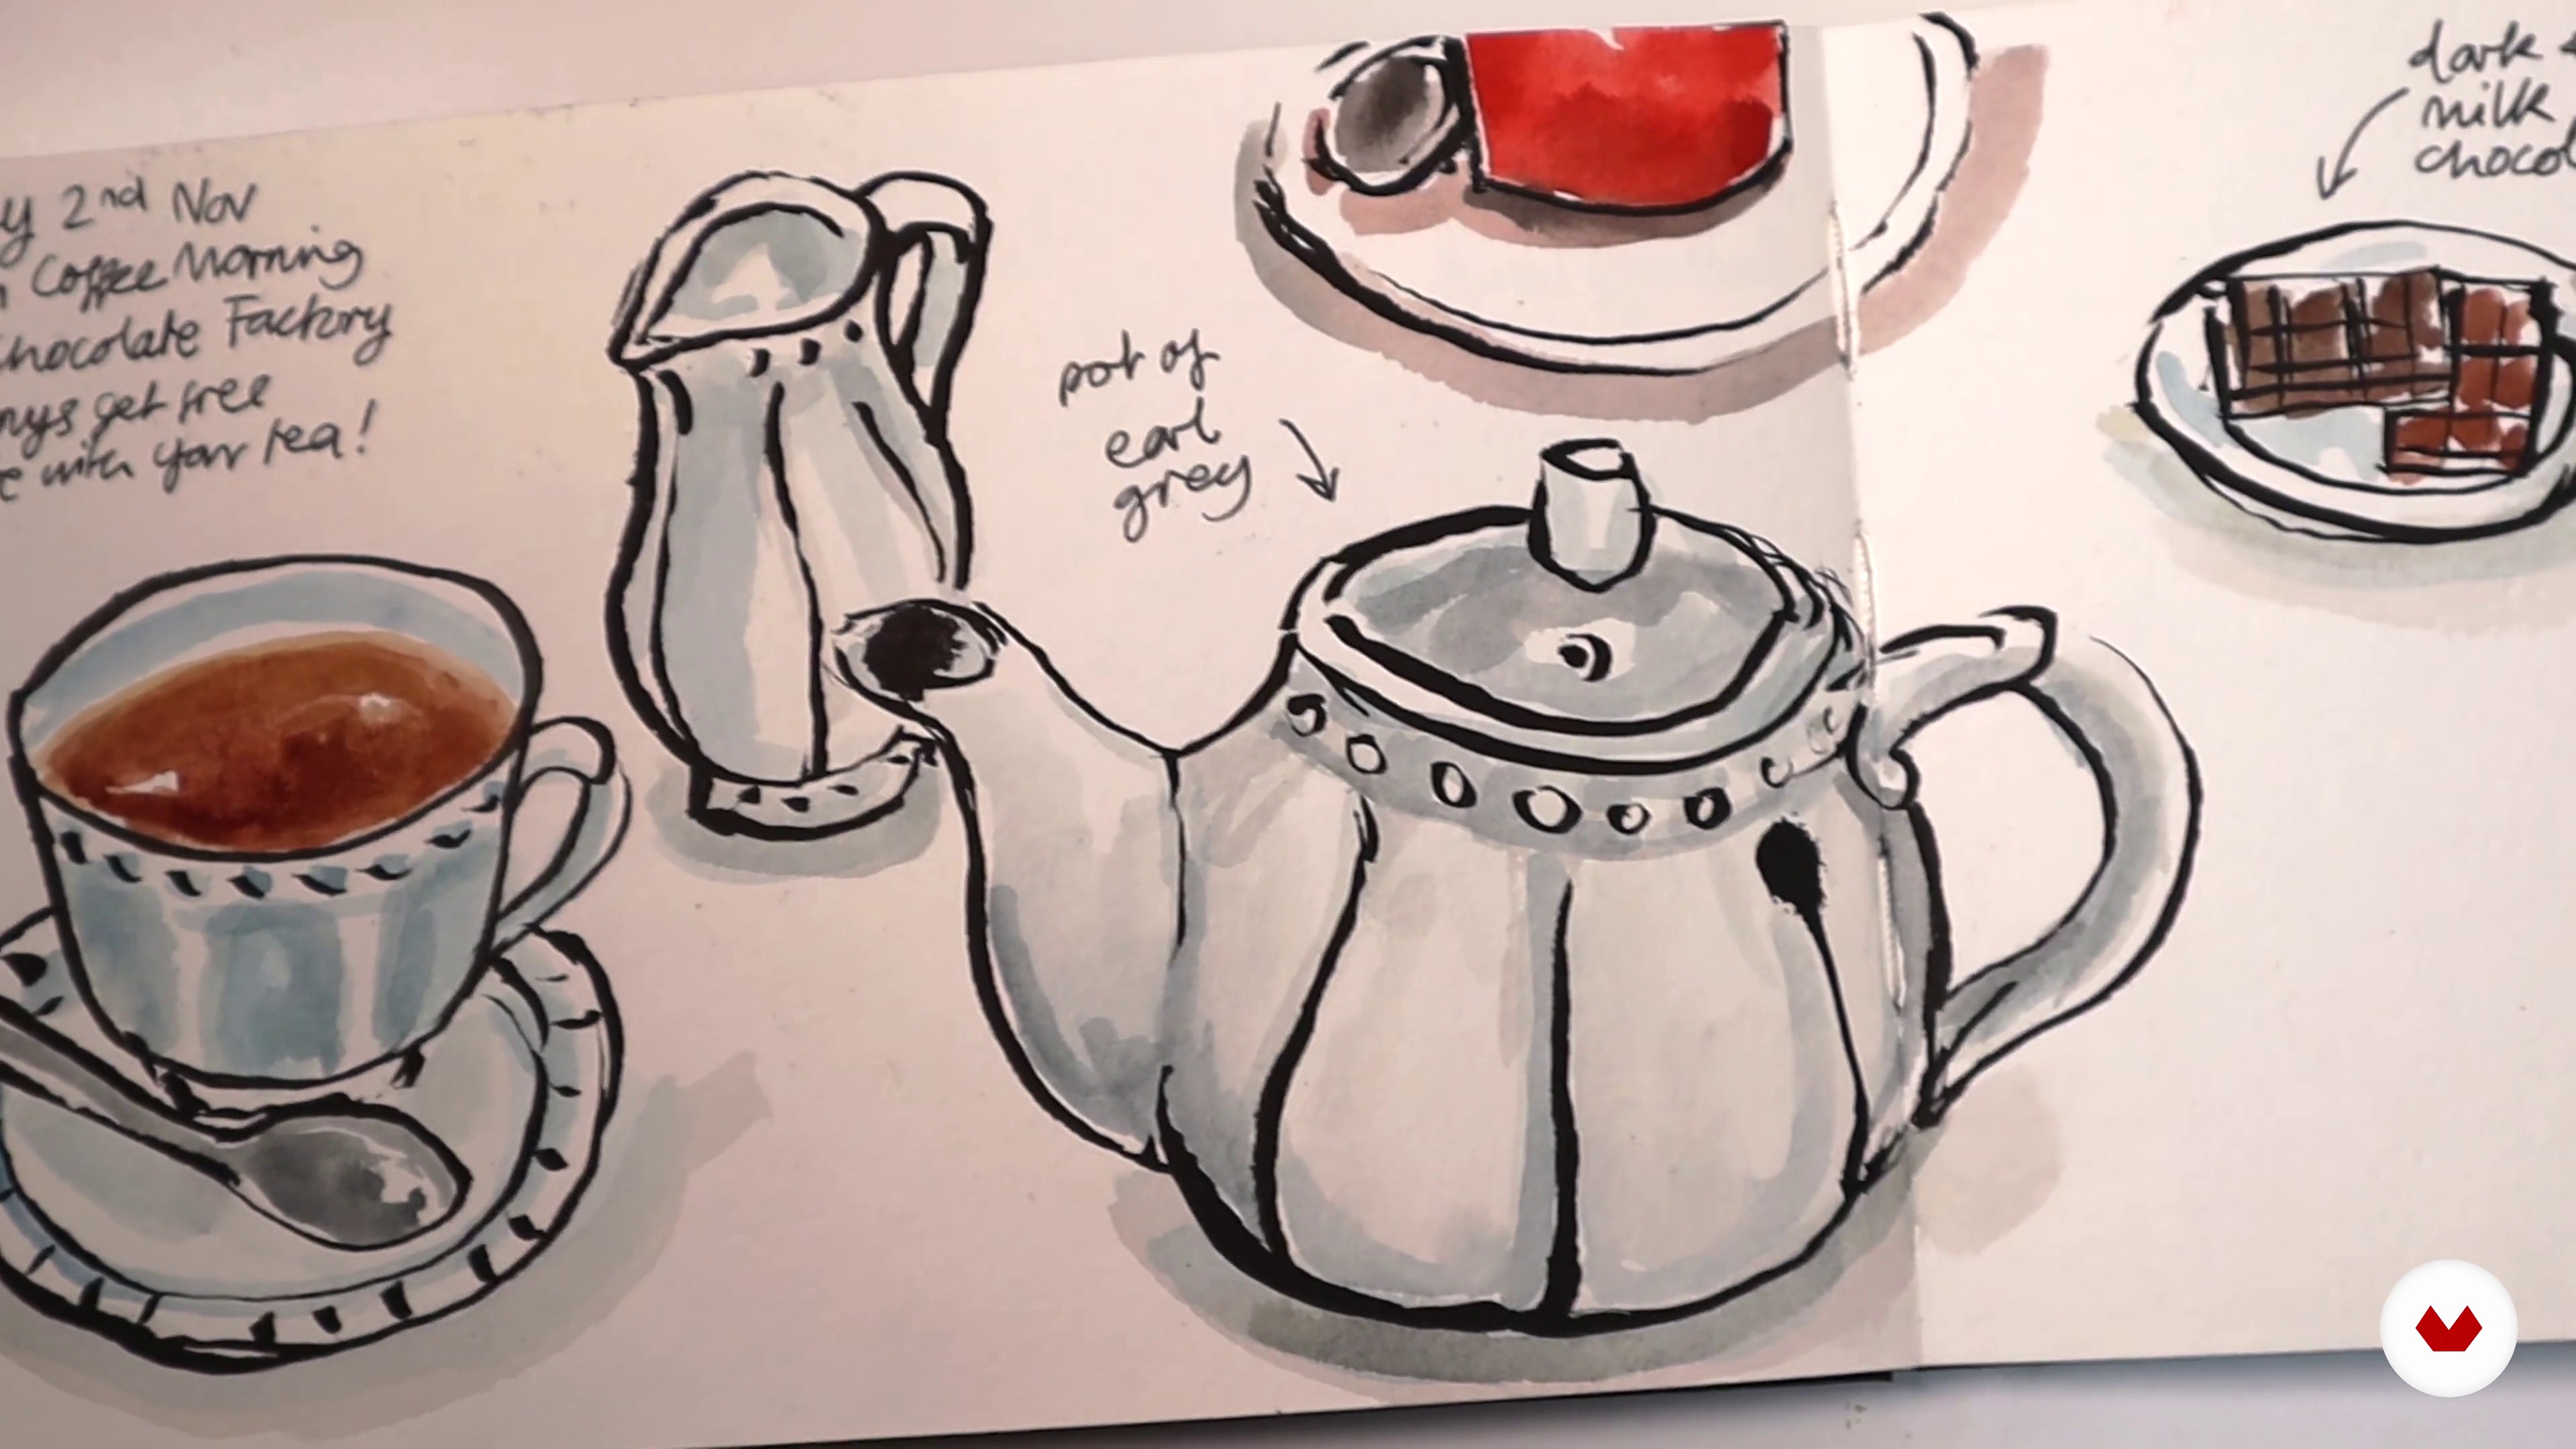
You’ll learn techniques for drawing food, creating salad illustrations, designing recipe infographics, using mixed media, hand lettering, and arranging sketchbook pages for visual storytelling.
Yes, the course teaches multiple hand lettering techniques and shows how to combine expressive letterforms with your illustrations for engaging visual compositions.
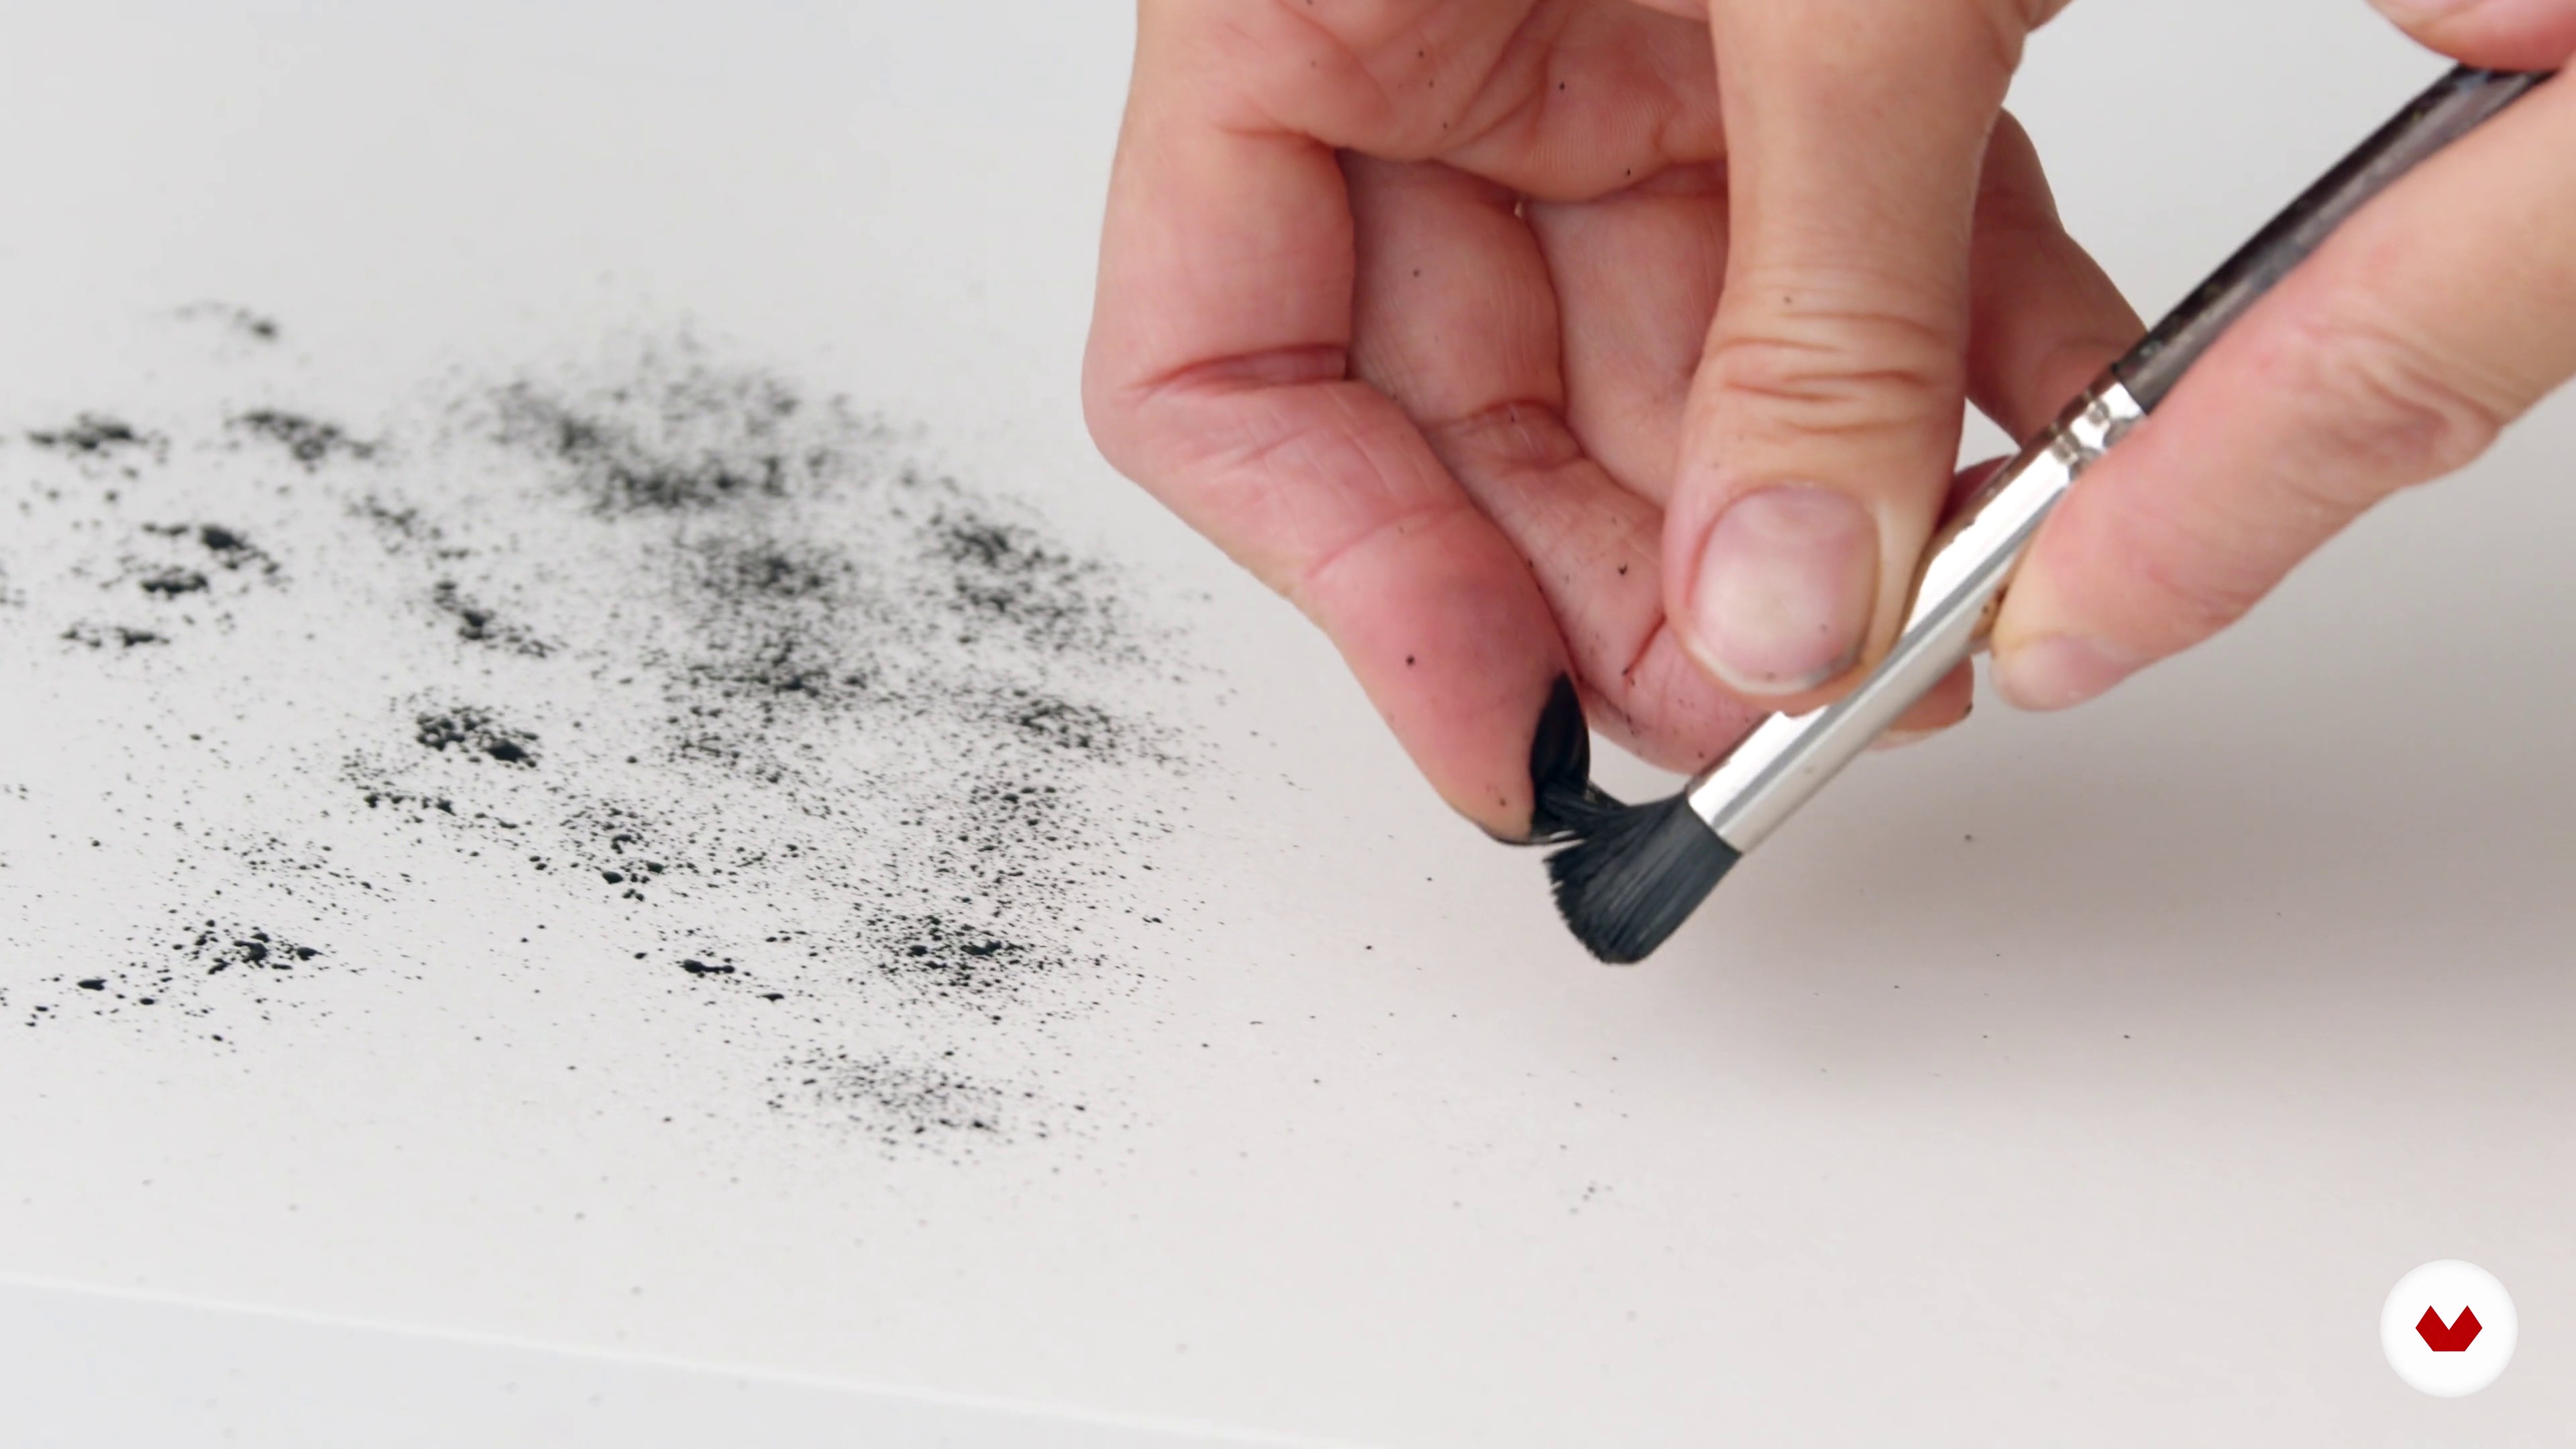
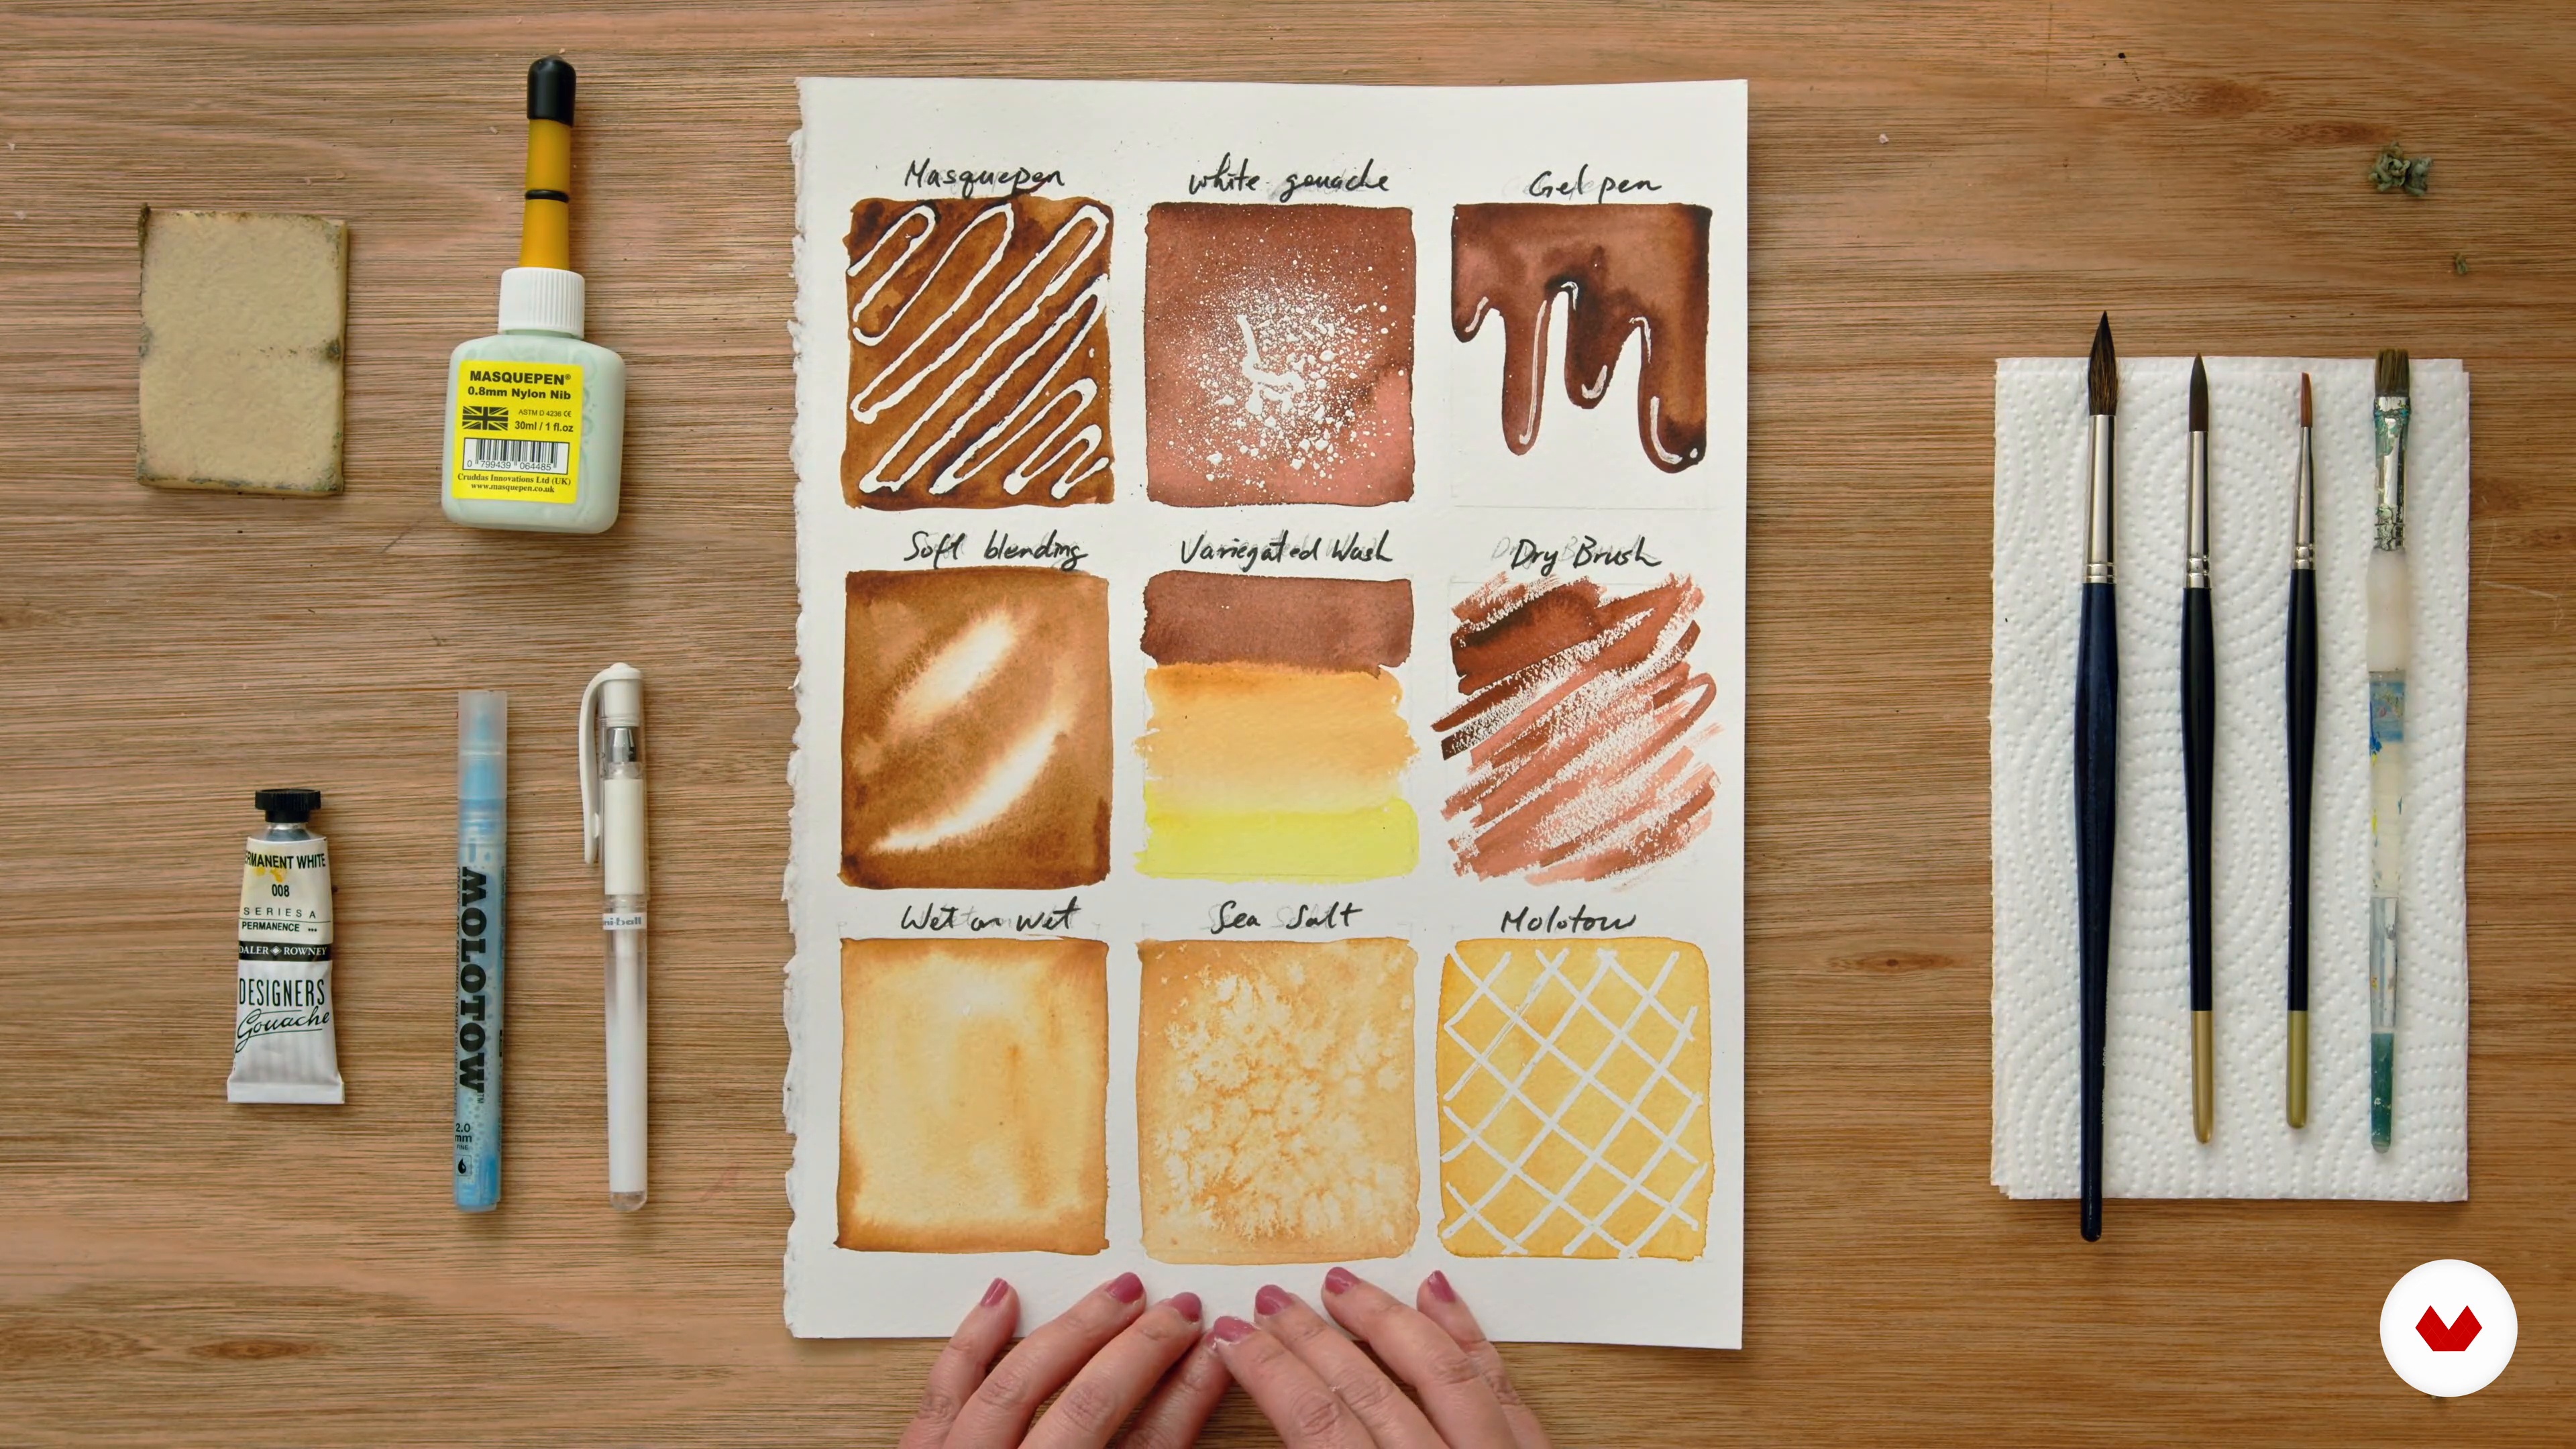
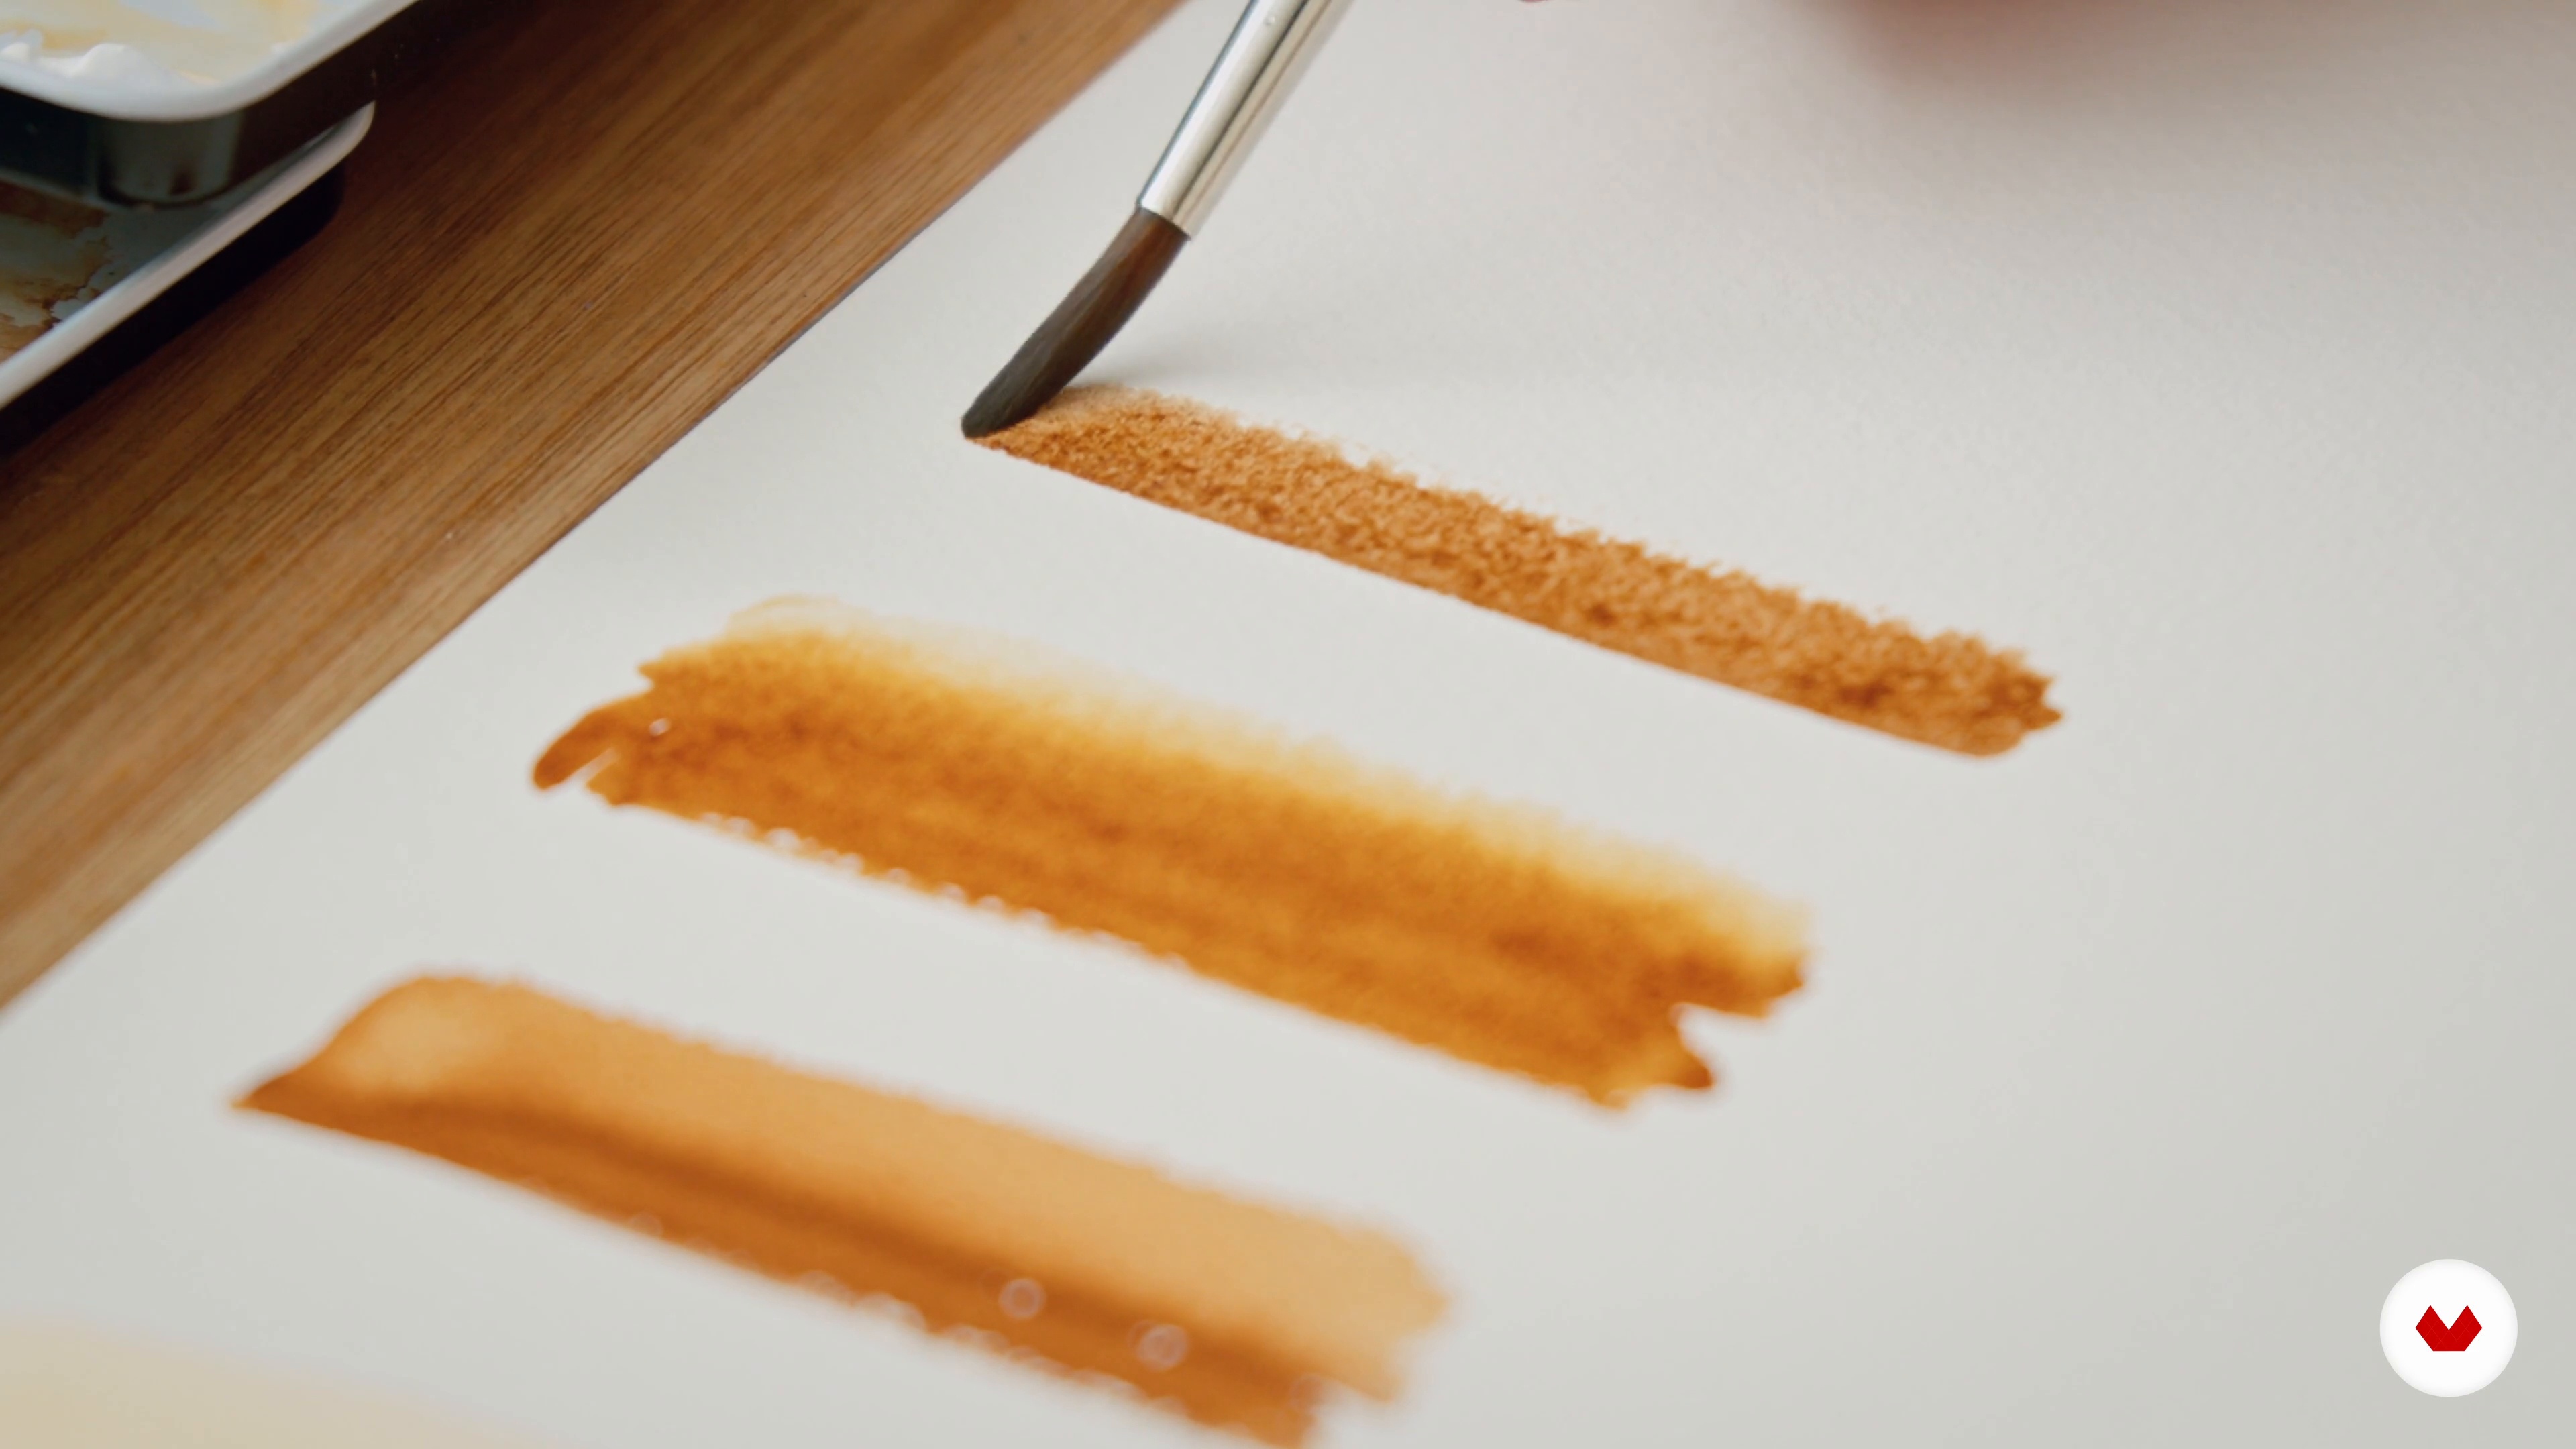
The course covers mixing watercolors, crayons, acrylic ink, and other materials to create layered textures, depth, and expressive effects in your artwork.
Yes, you’ll learn how to select, chop, and arrange salad ingredients, create visual color contrasts, and illustrate the process and recipe with detailed sketches.
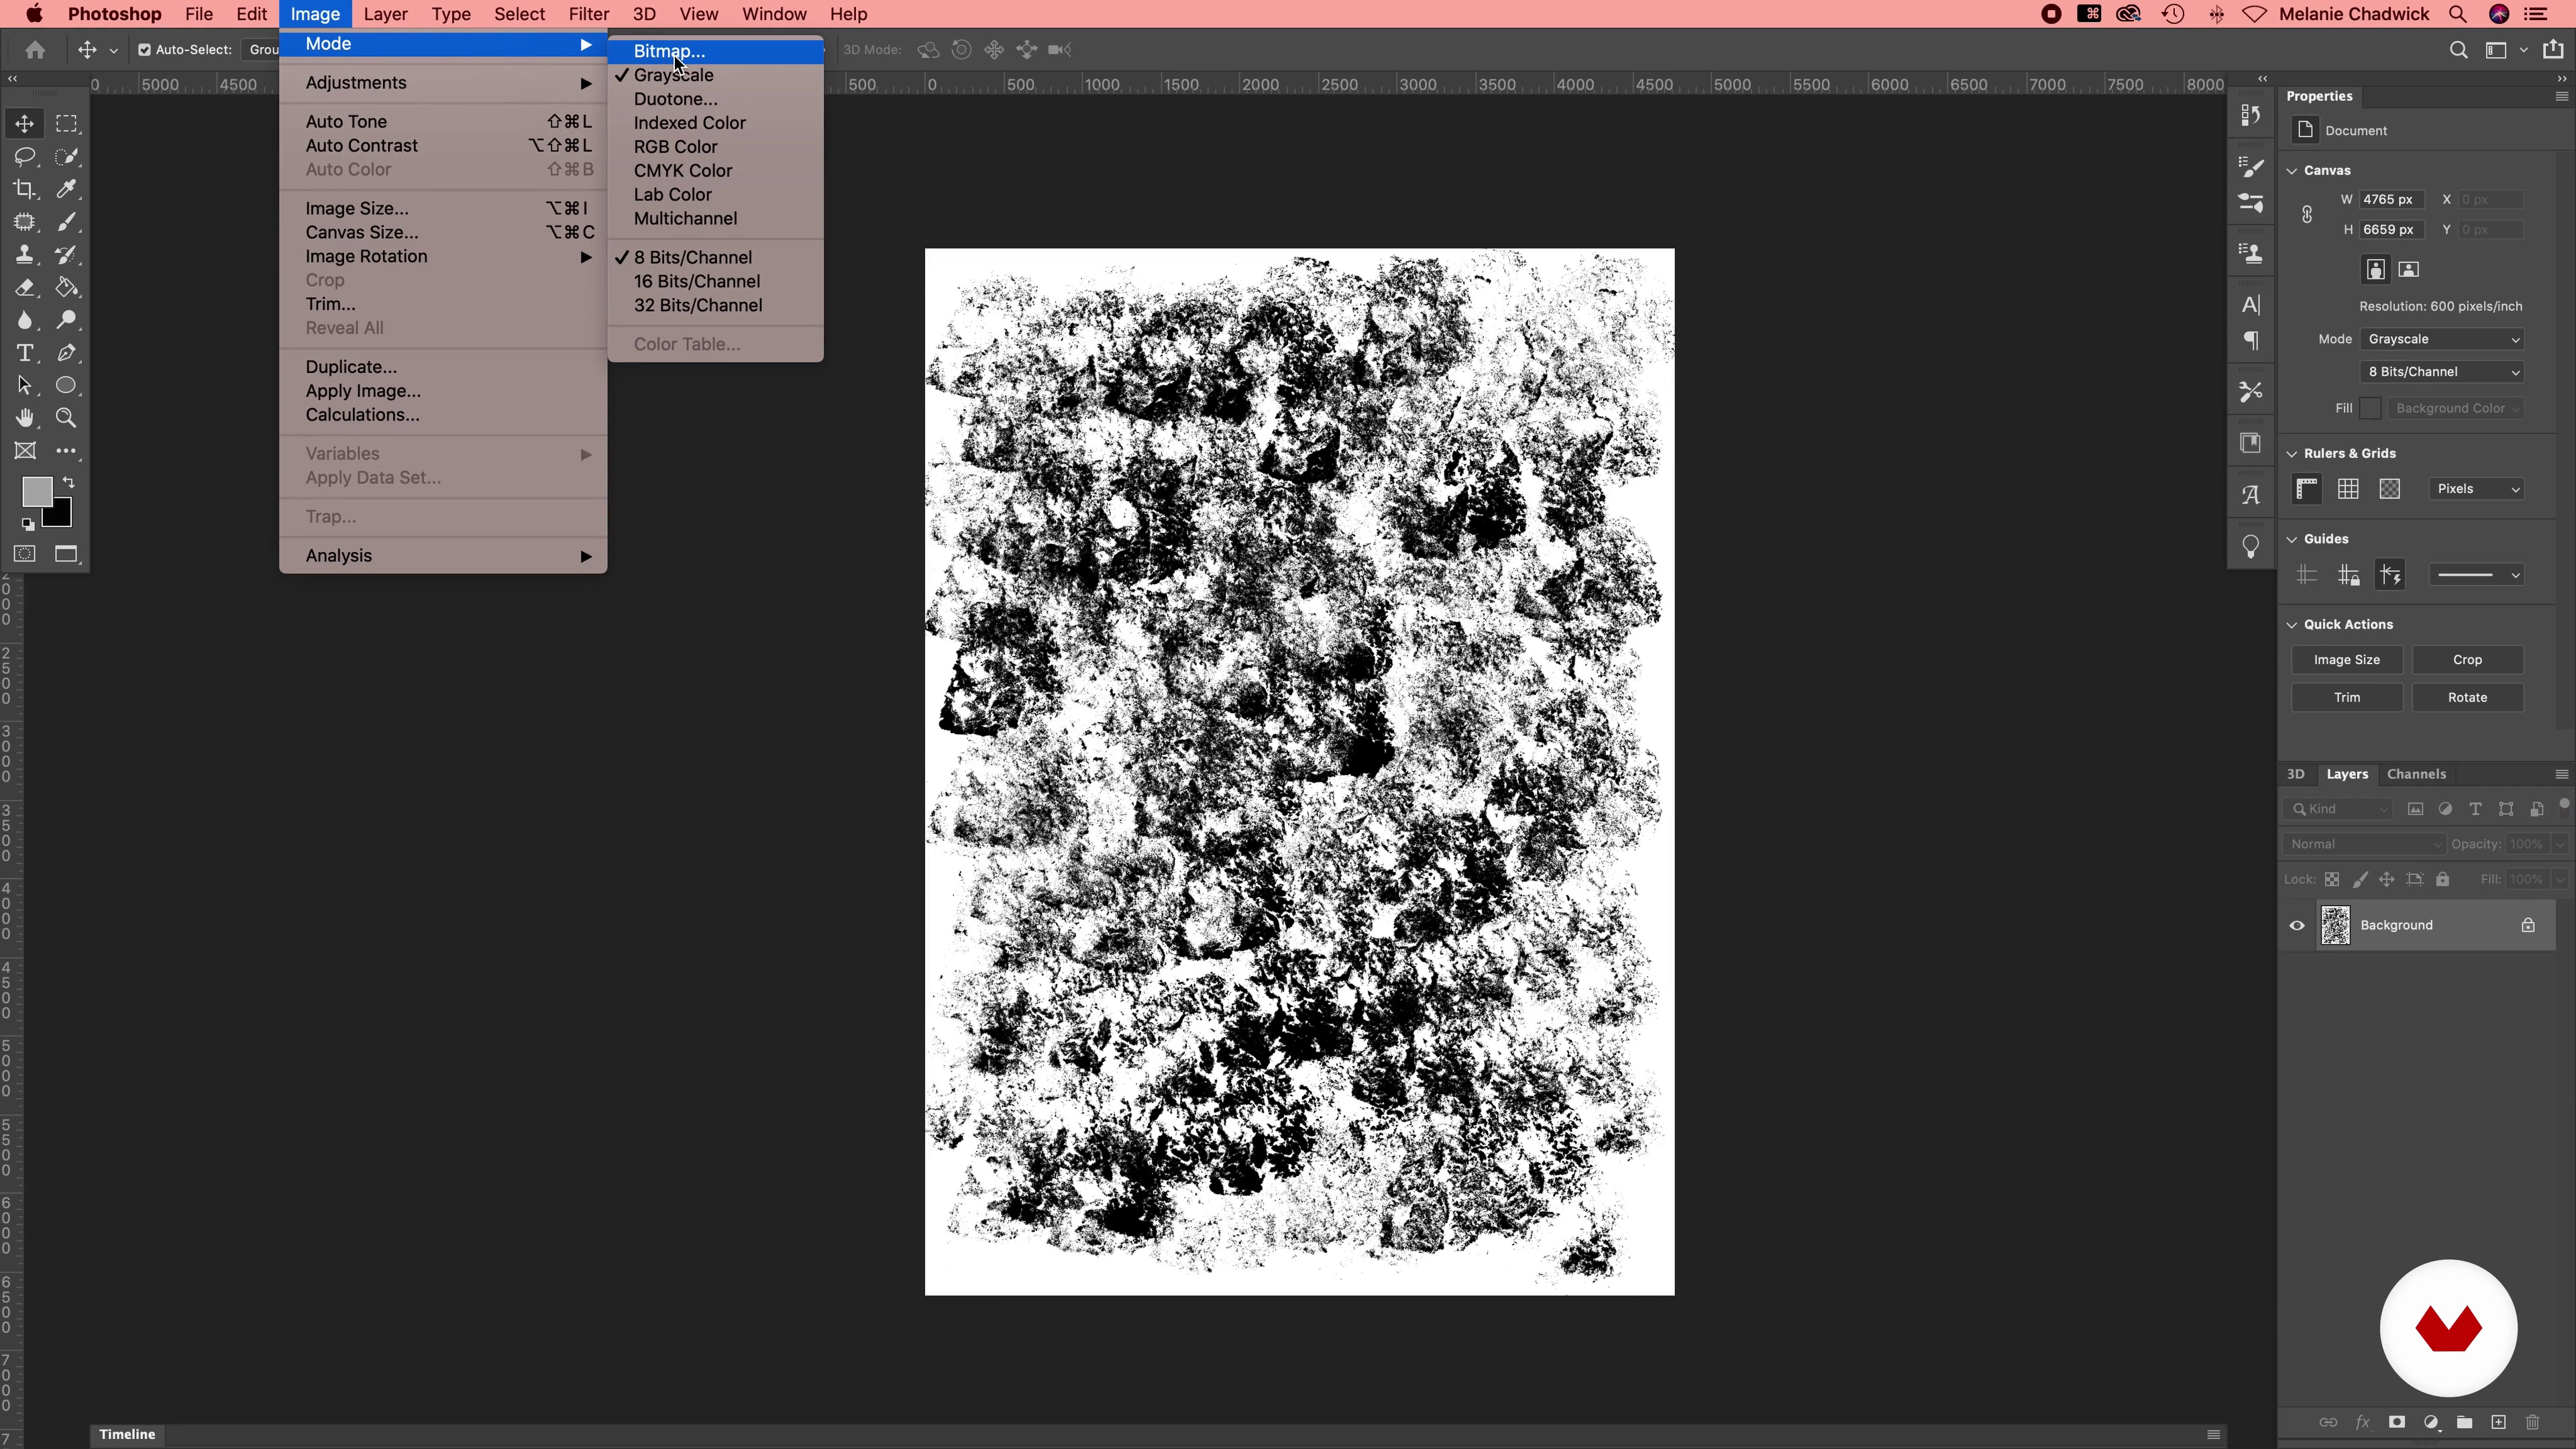
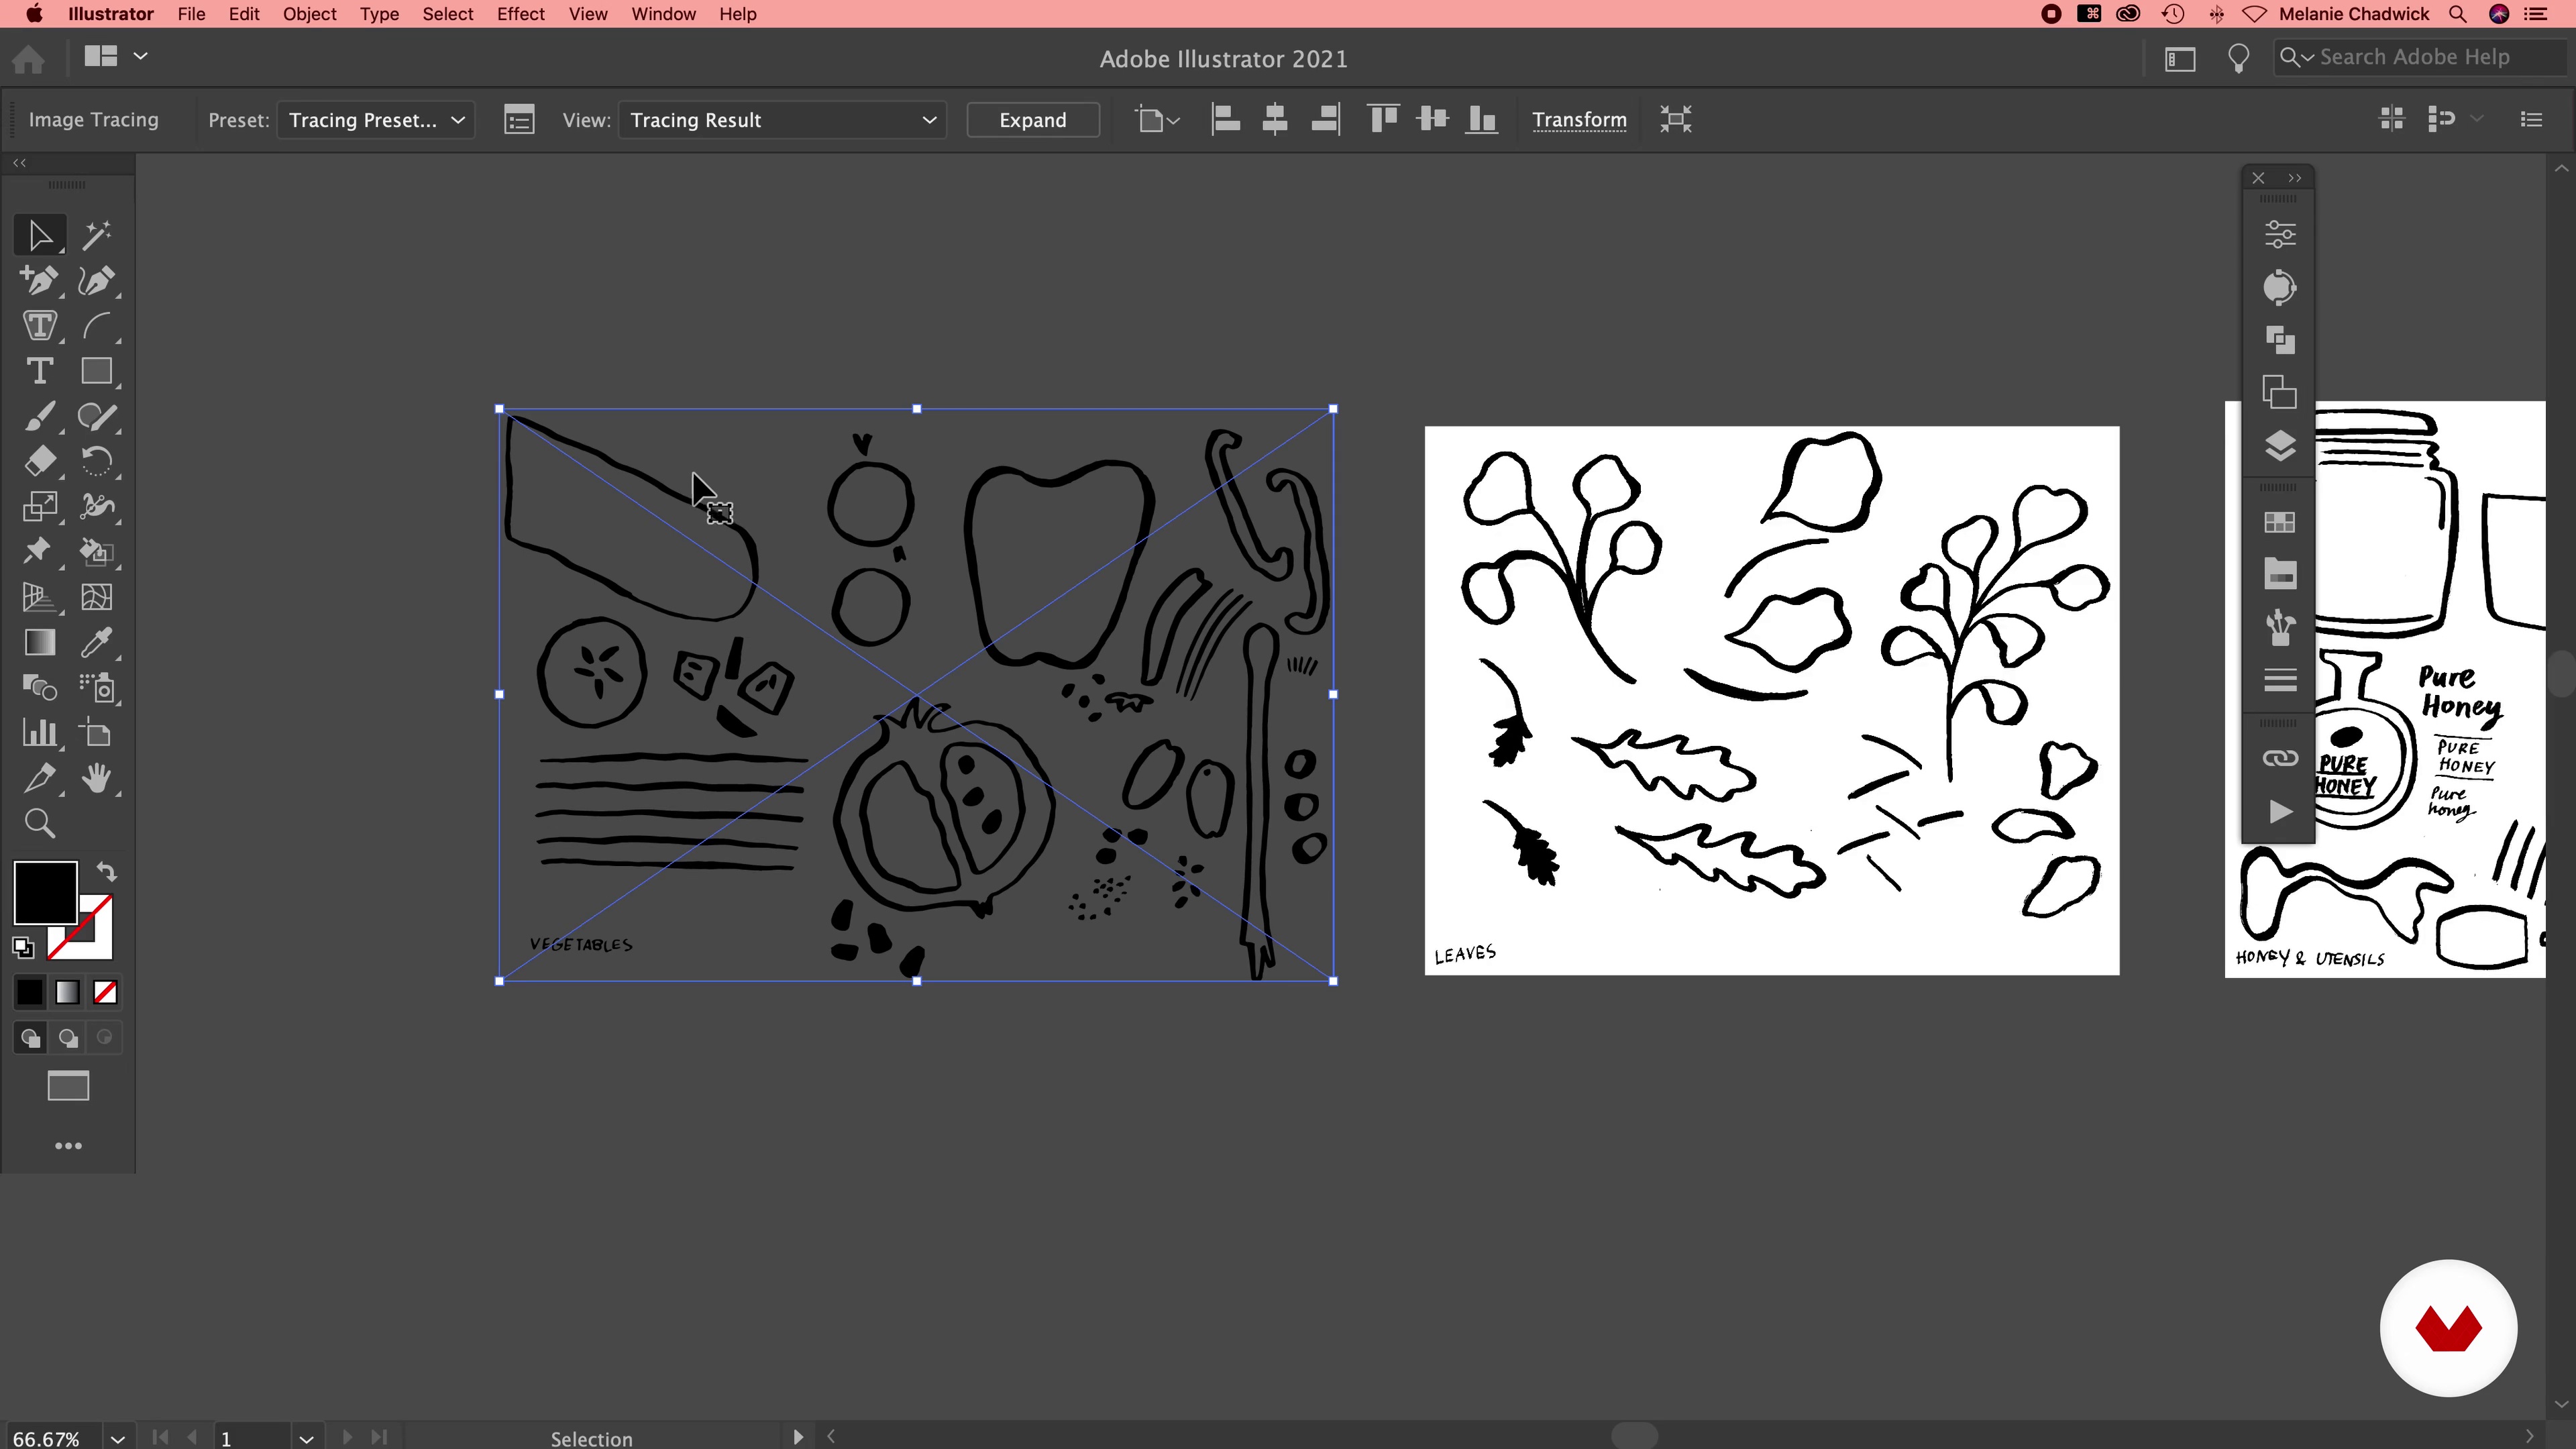
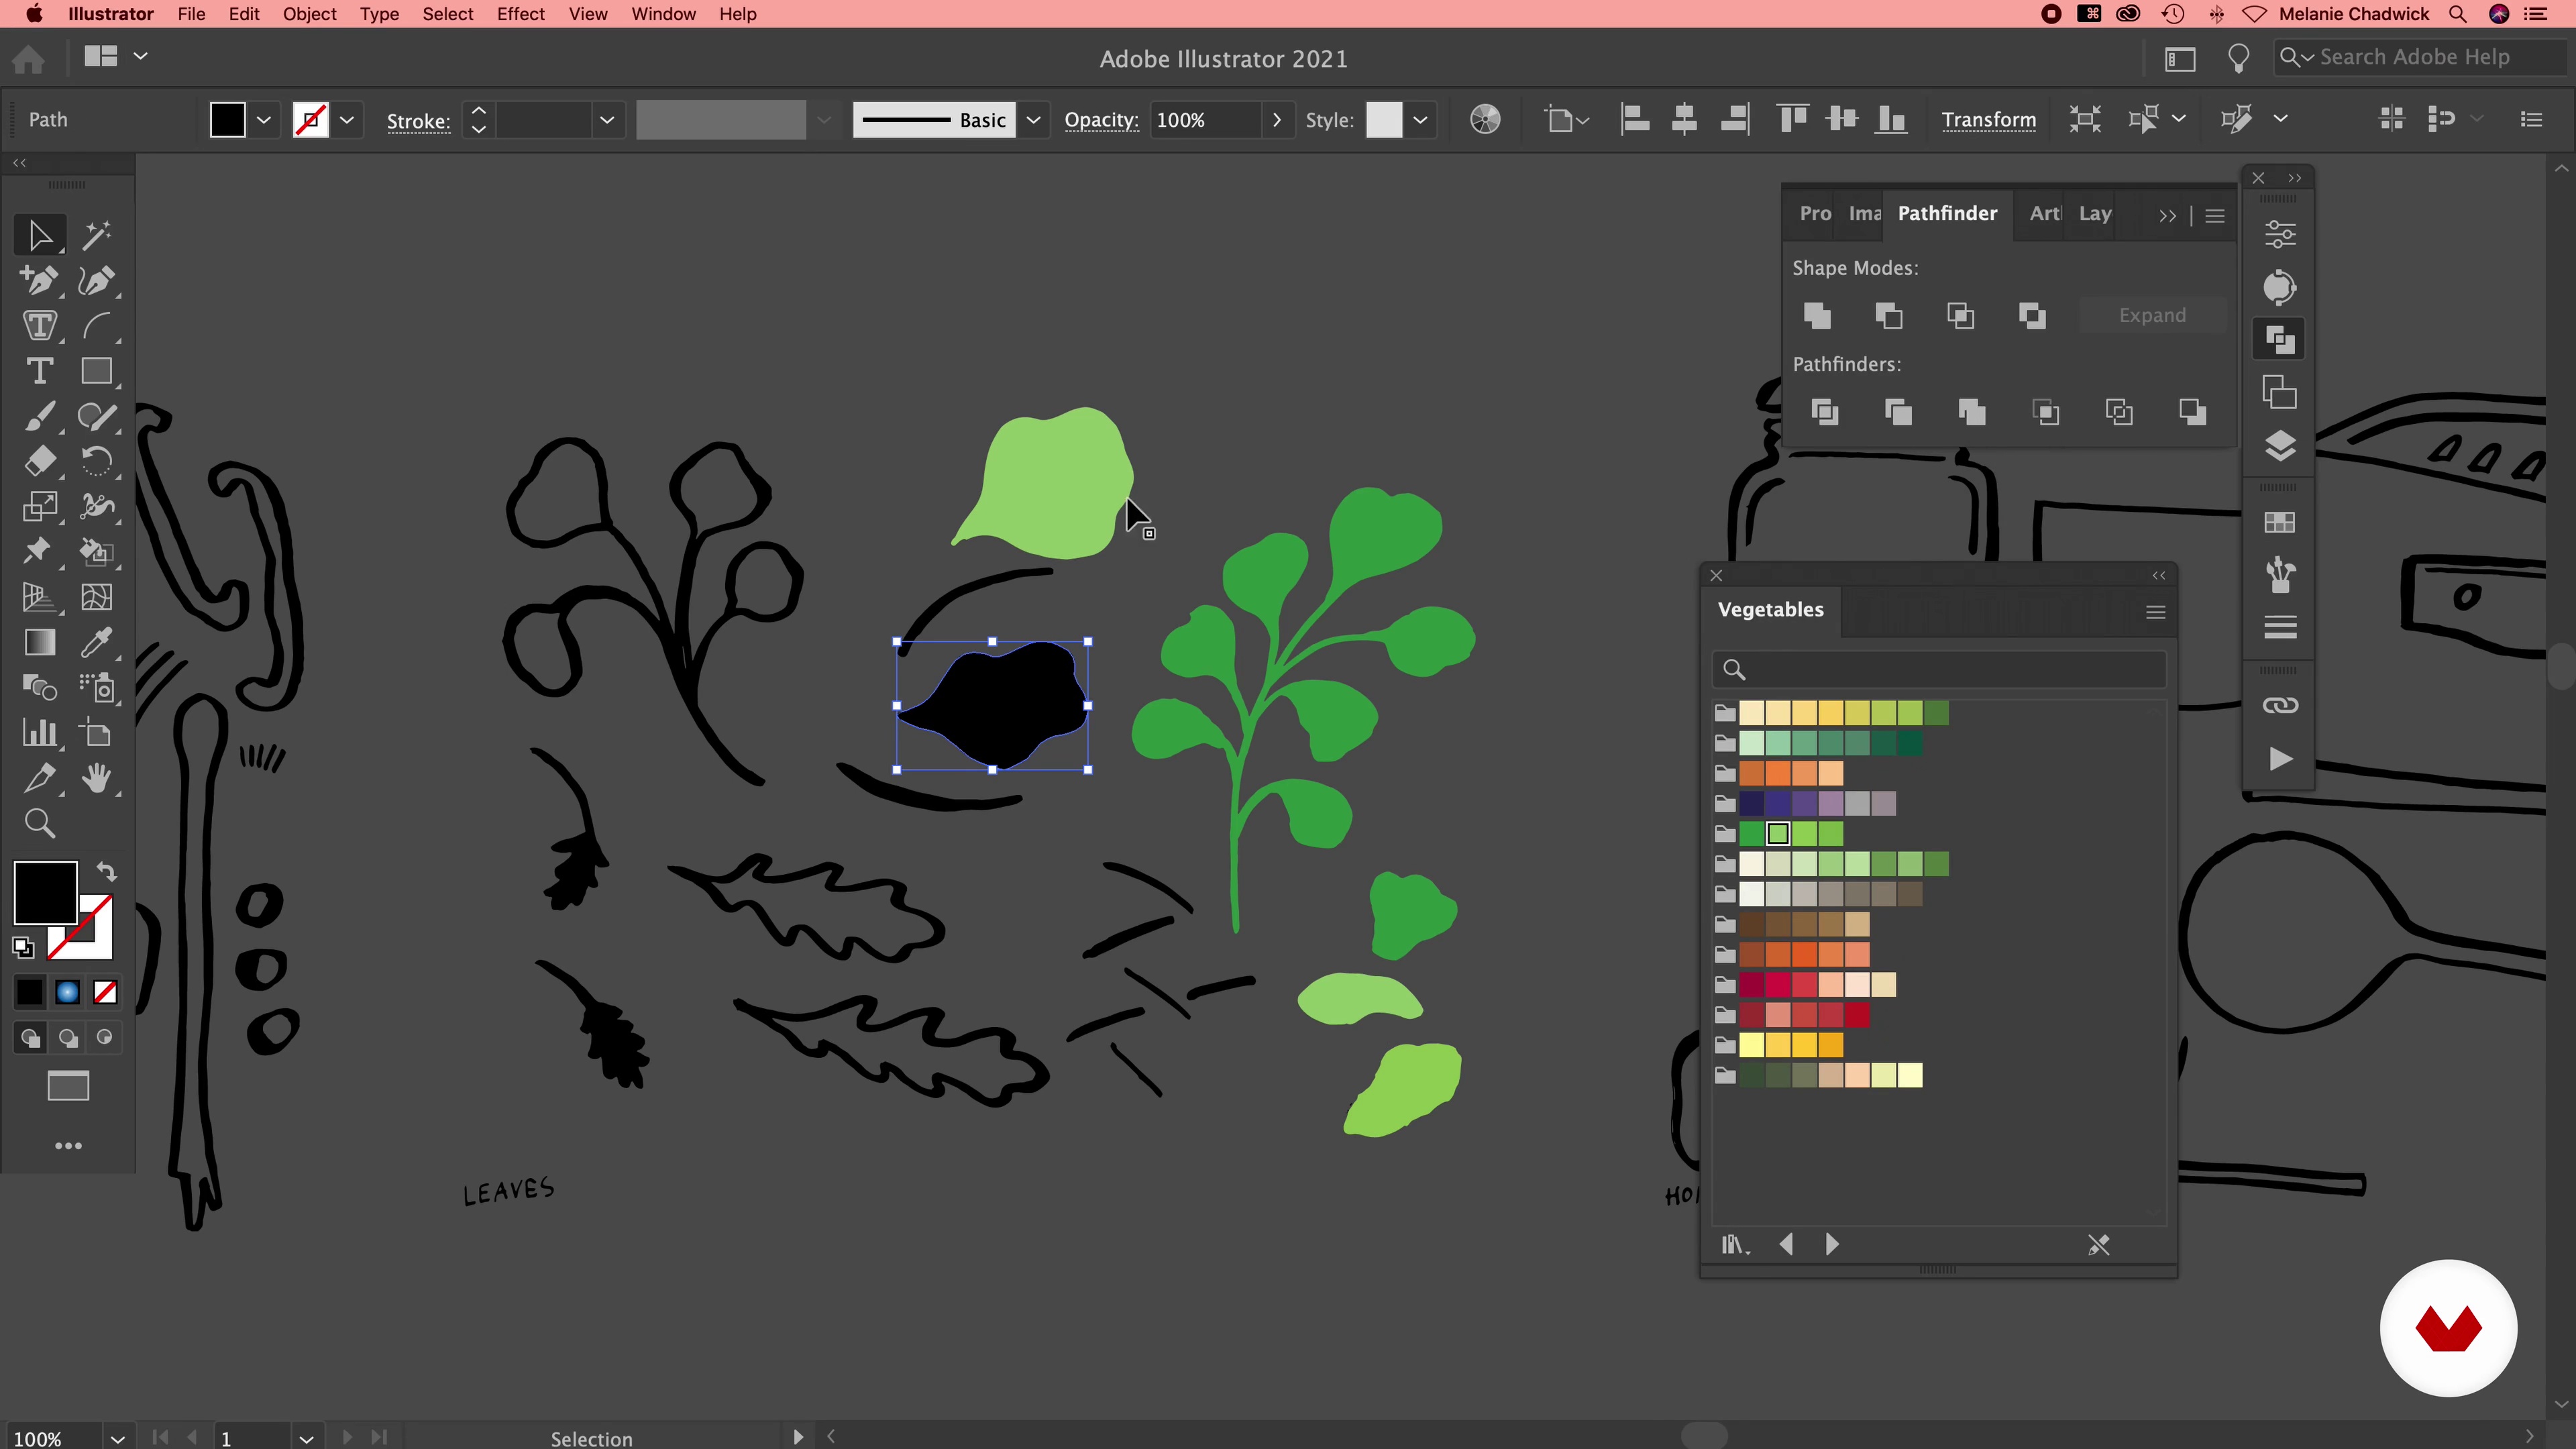
No prior digital experience is necessary. The course provides step-by-step guidance on scanning, digitizing, and editing your illustrations using accessible software.


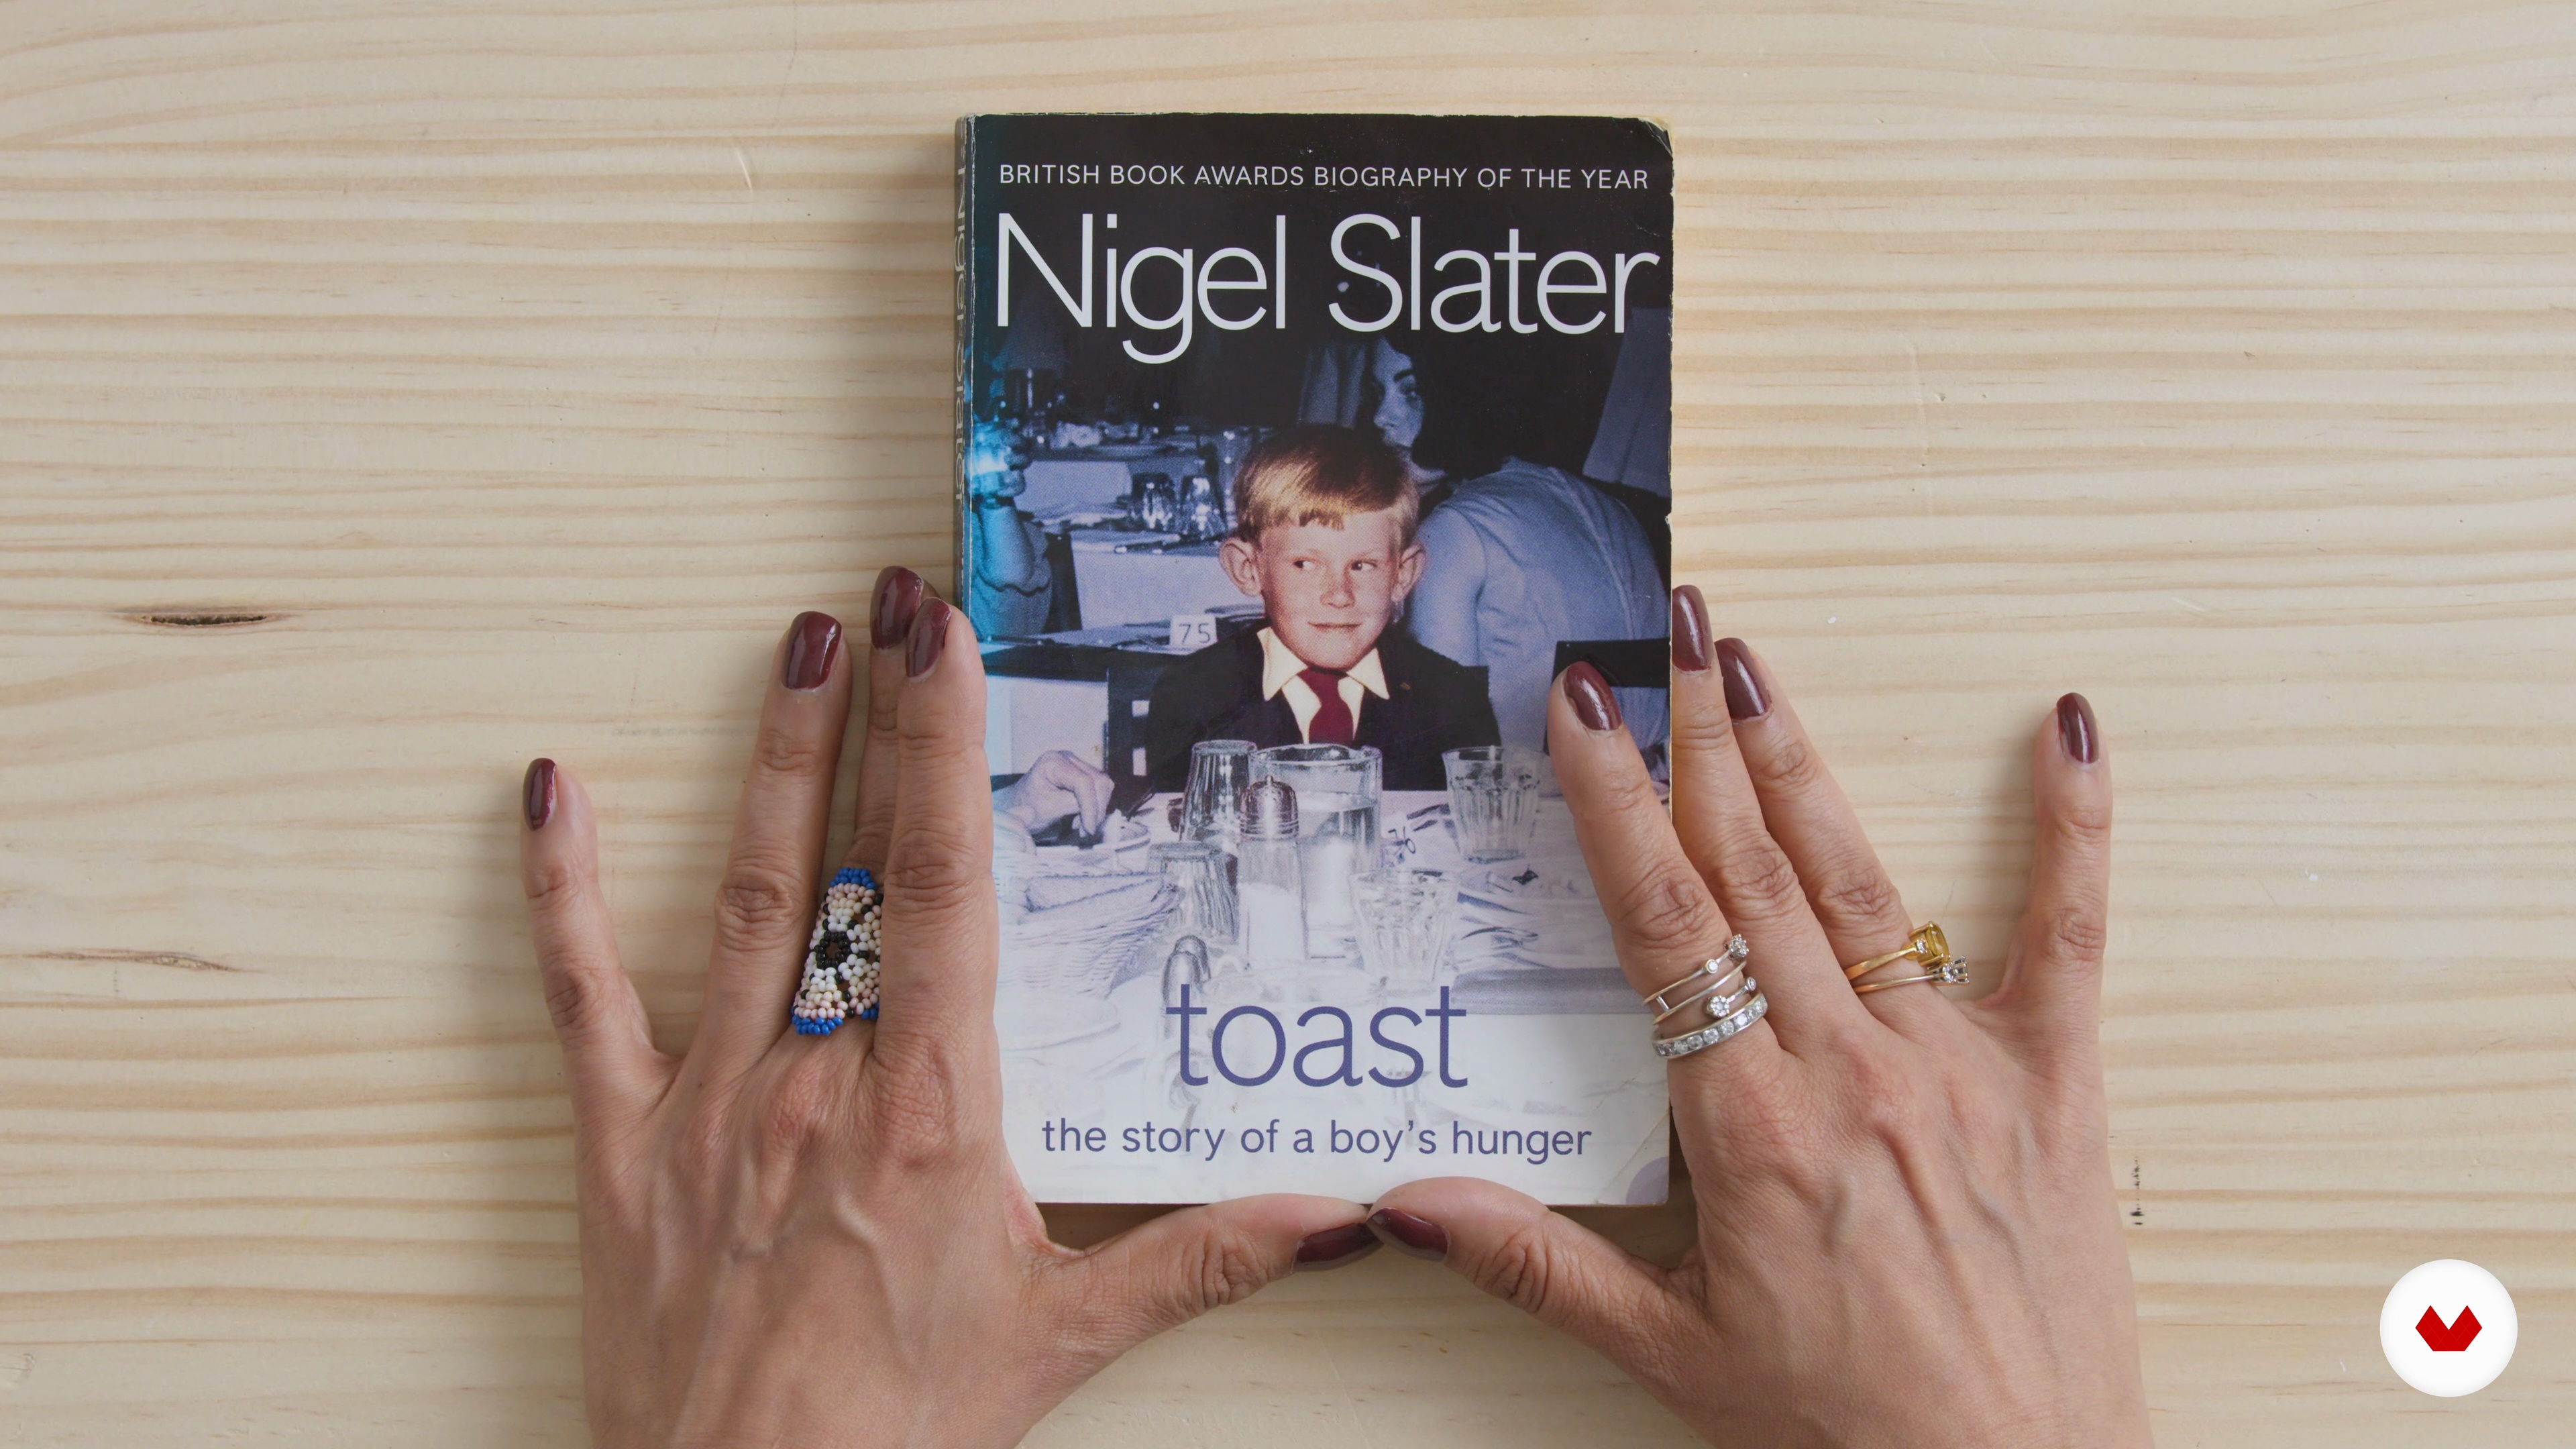
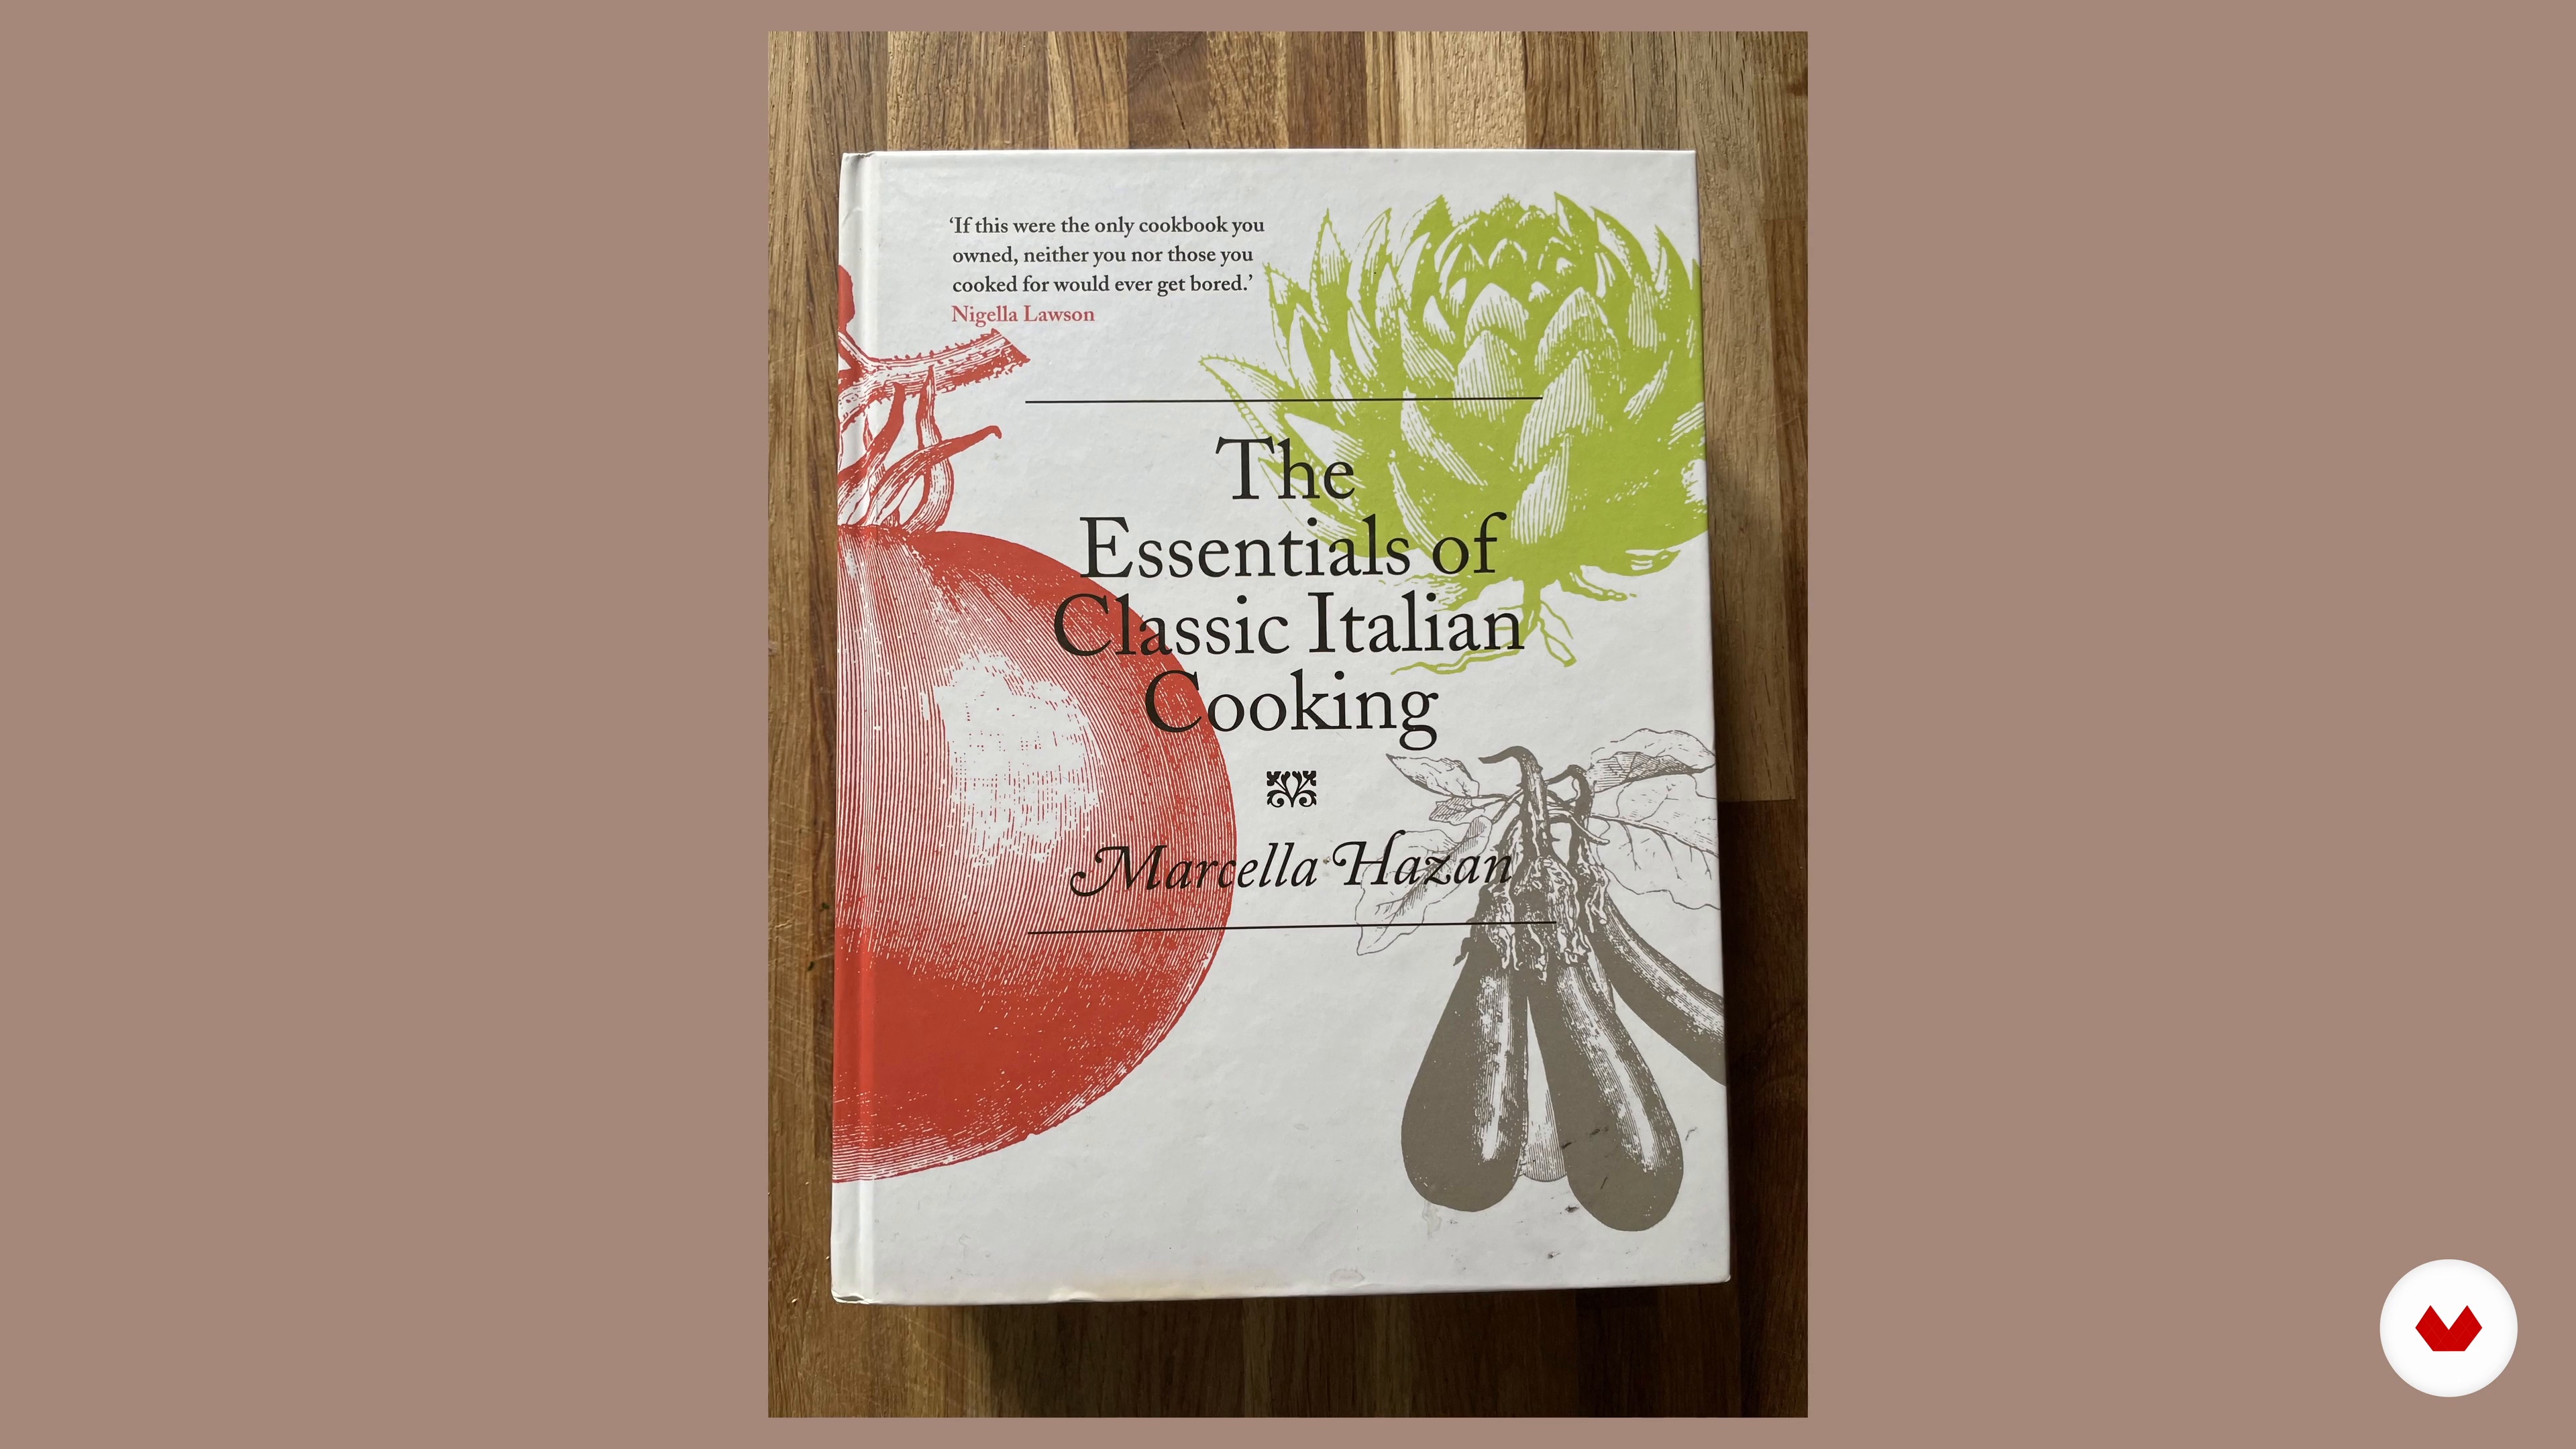
I really like the inspiration part, it really shows the different taste of the teachers and it gives fine recommendations in what cooking books to read.
This specialization course is really helpful.
ME GUSTA TENER 4 MENTORAS EN ESTE CURSO. ENTIENDO ESTA MUY DETALLADO Y TE OFRECE UNA VISION MUY AMPLIA DEL DIARIO DE SABORES. ES PERFECTO PARA ESCRIBIR UN LIBRO DE RECETAS DE MEMORIAS E ILUSTRARLO DE VARIAS FORMAS, YA SEA CON FOTOS, RECORTES DE REVISTAS Y HASTA PUEDES PEGAR ALGUNAS ESPECIAS PARA DARLE MAS INTERES.