
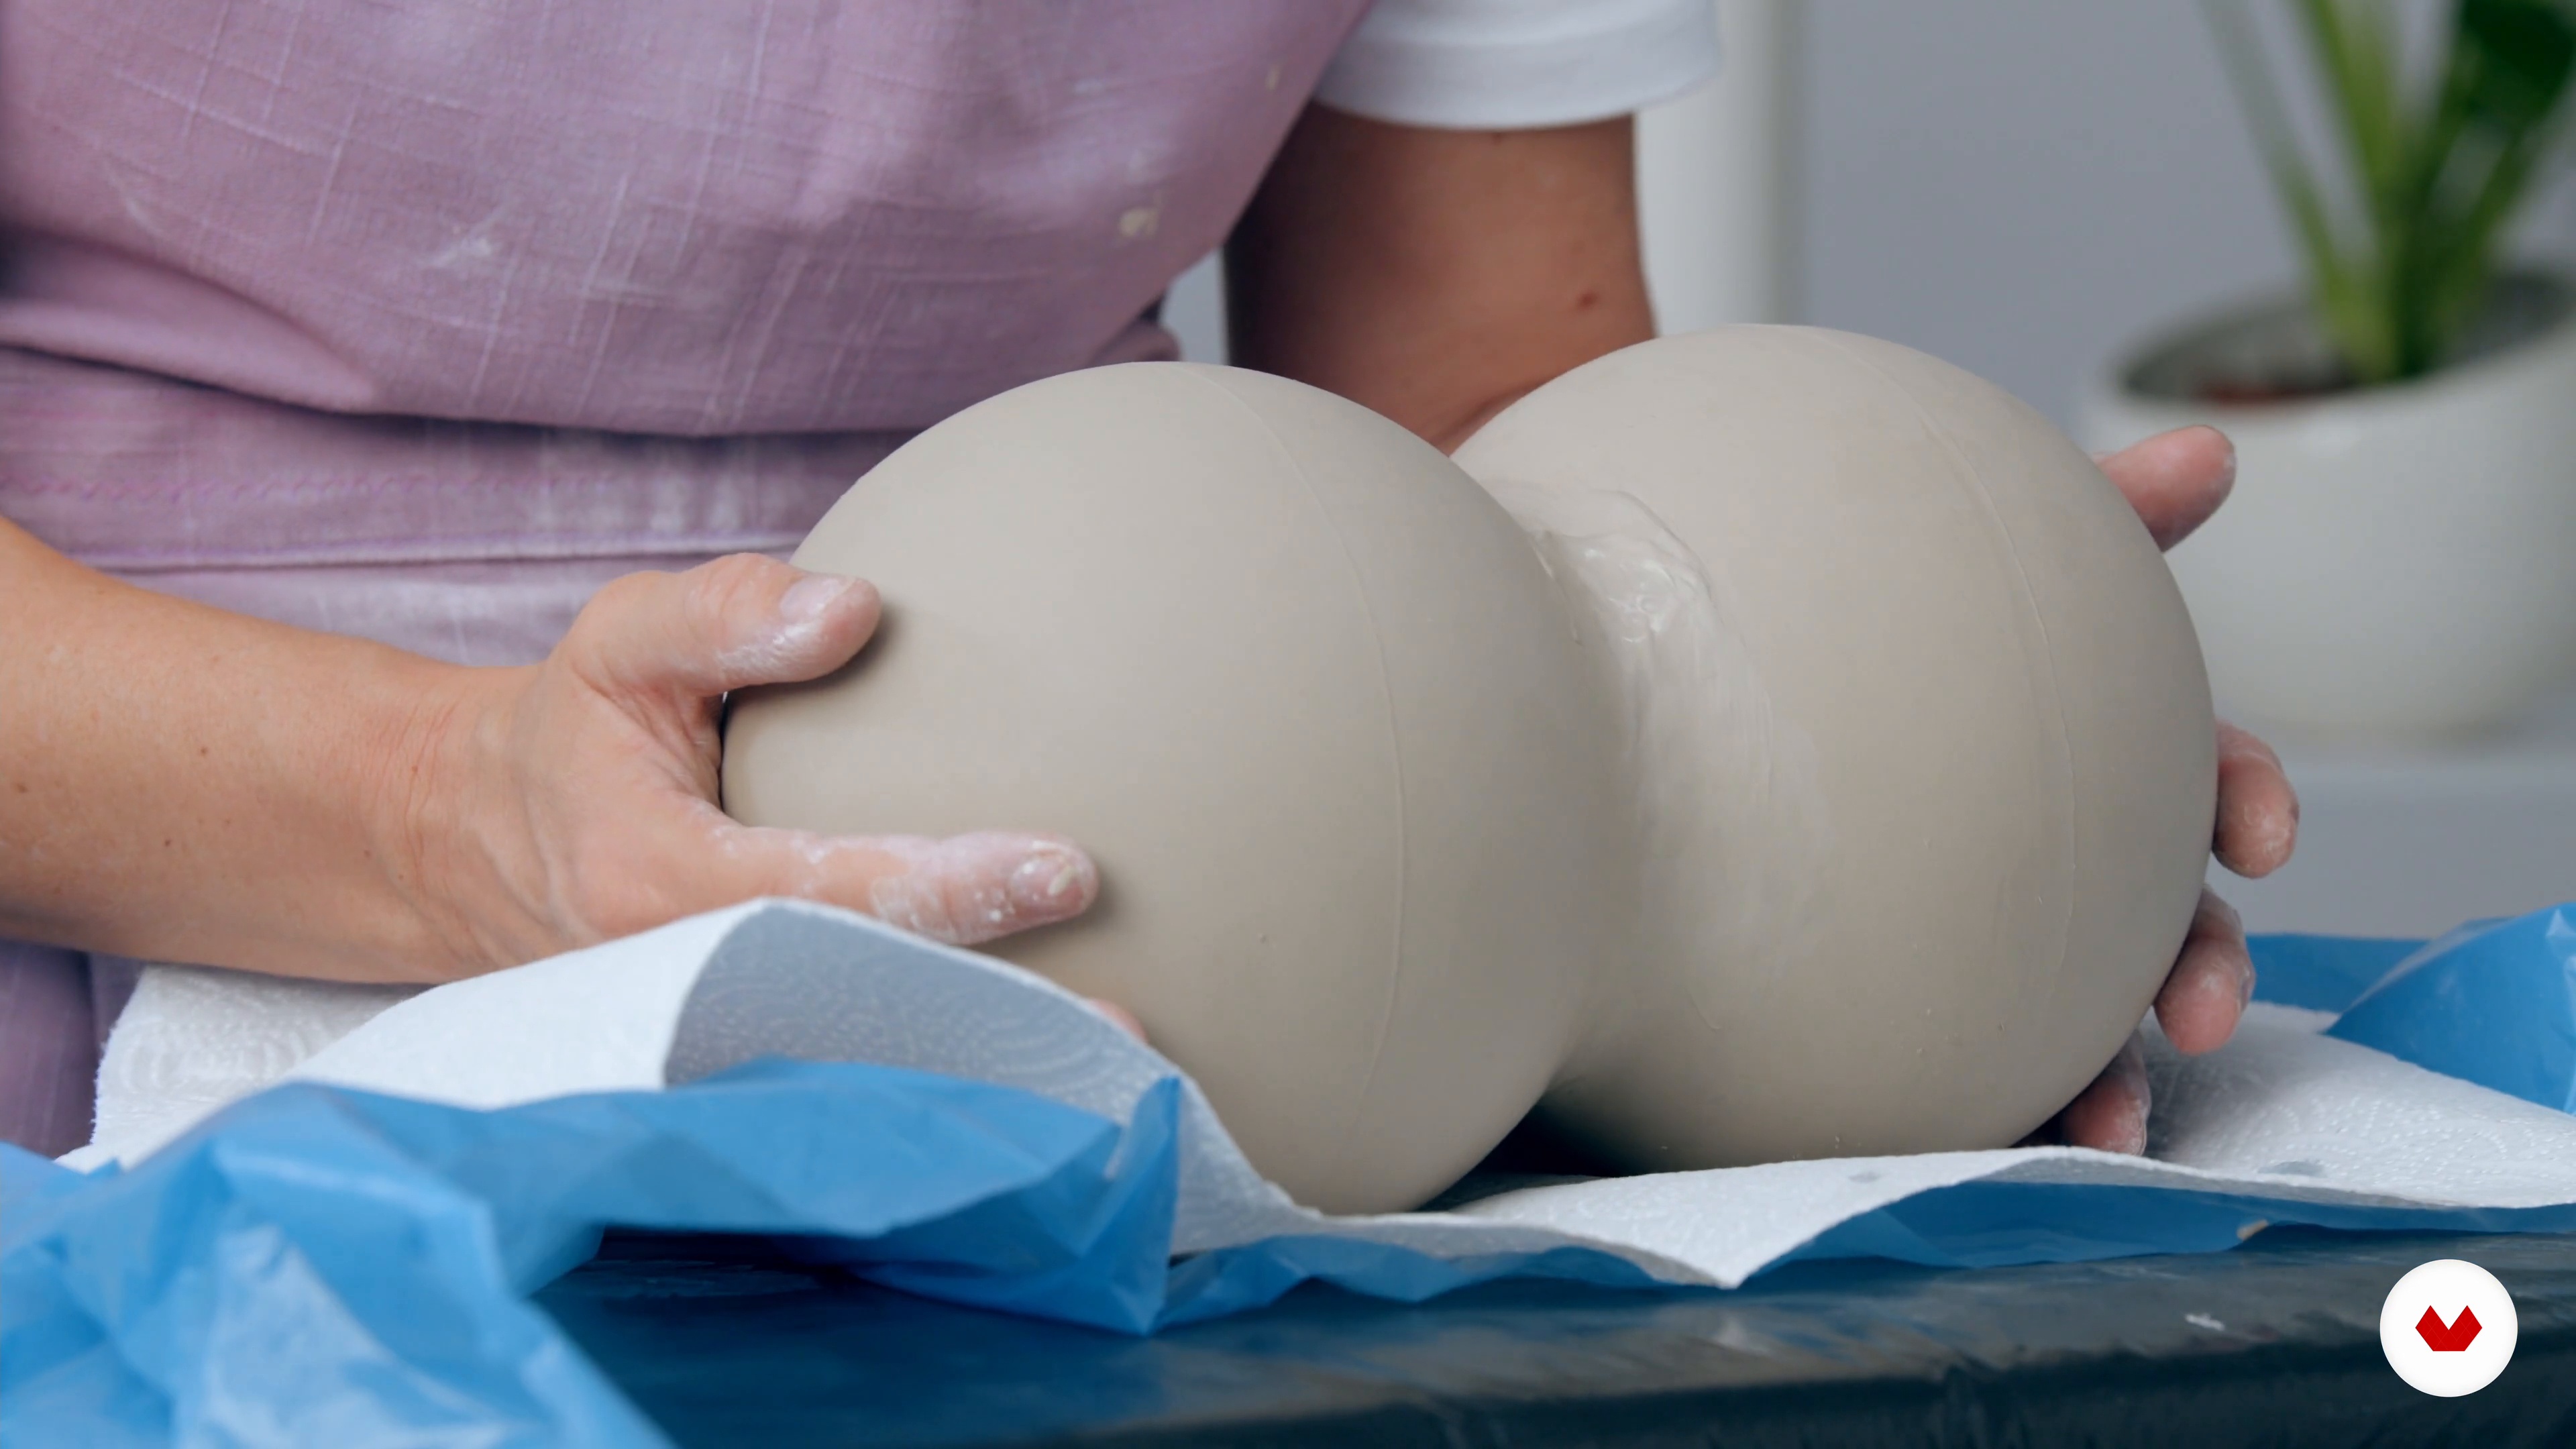
Explore the art of lamp design using paper, macramé, resin, and ceramics to create unique, sustainable lighting pieces
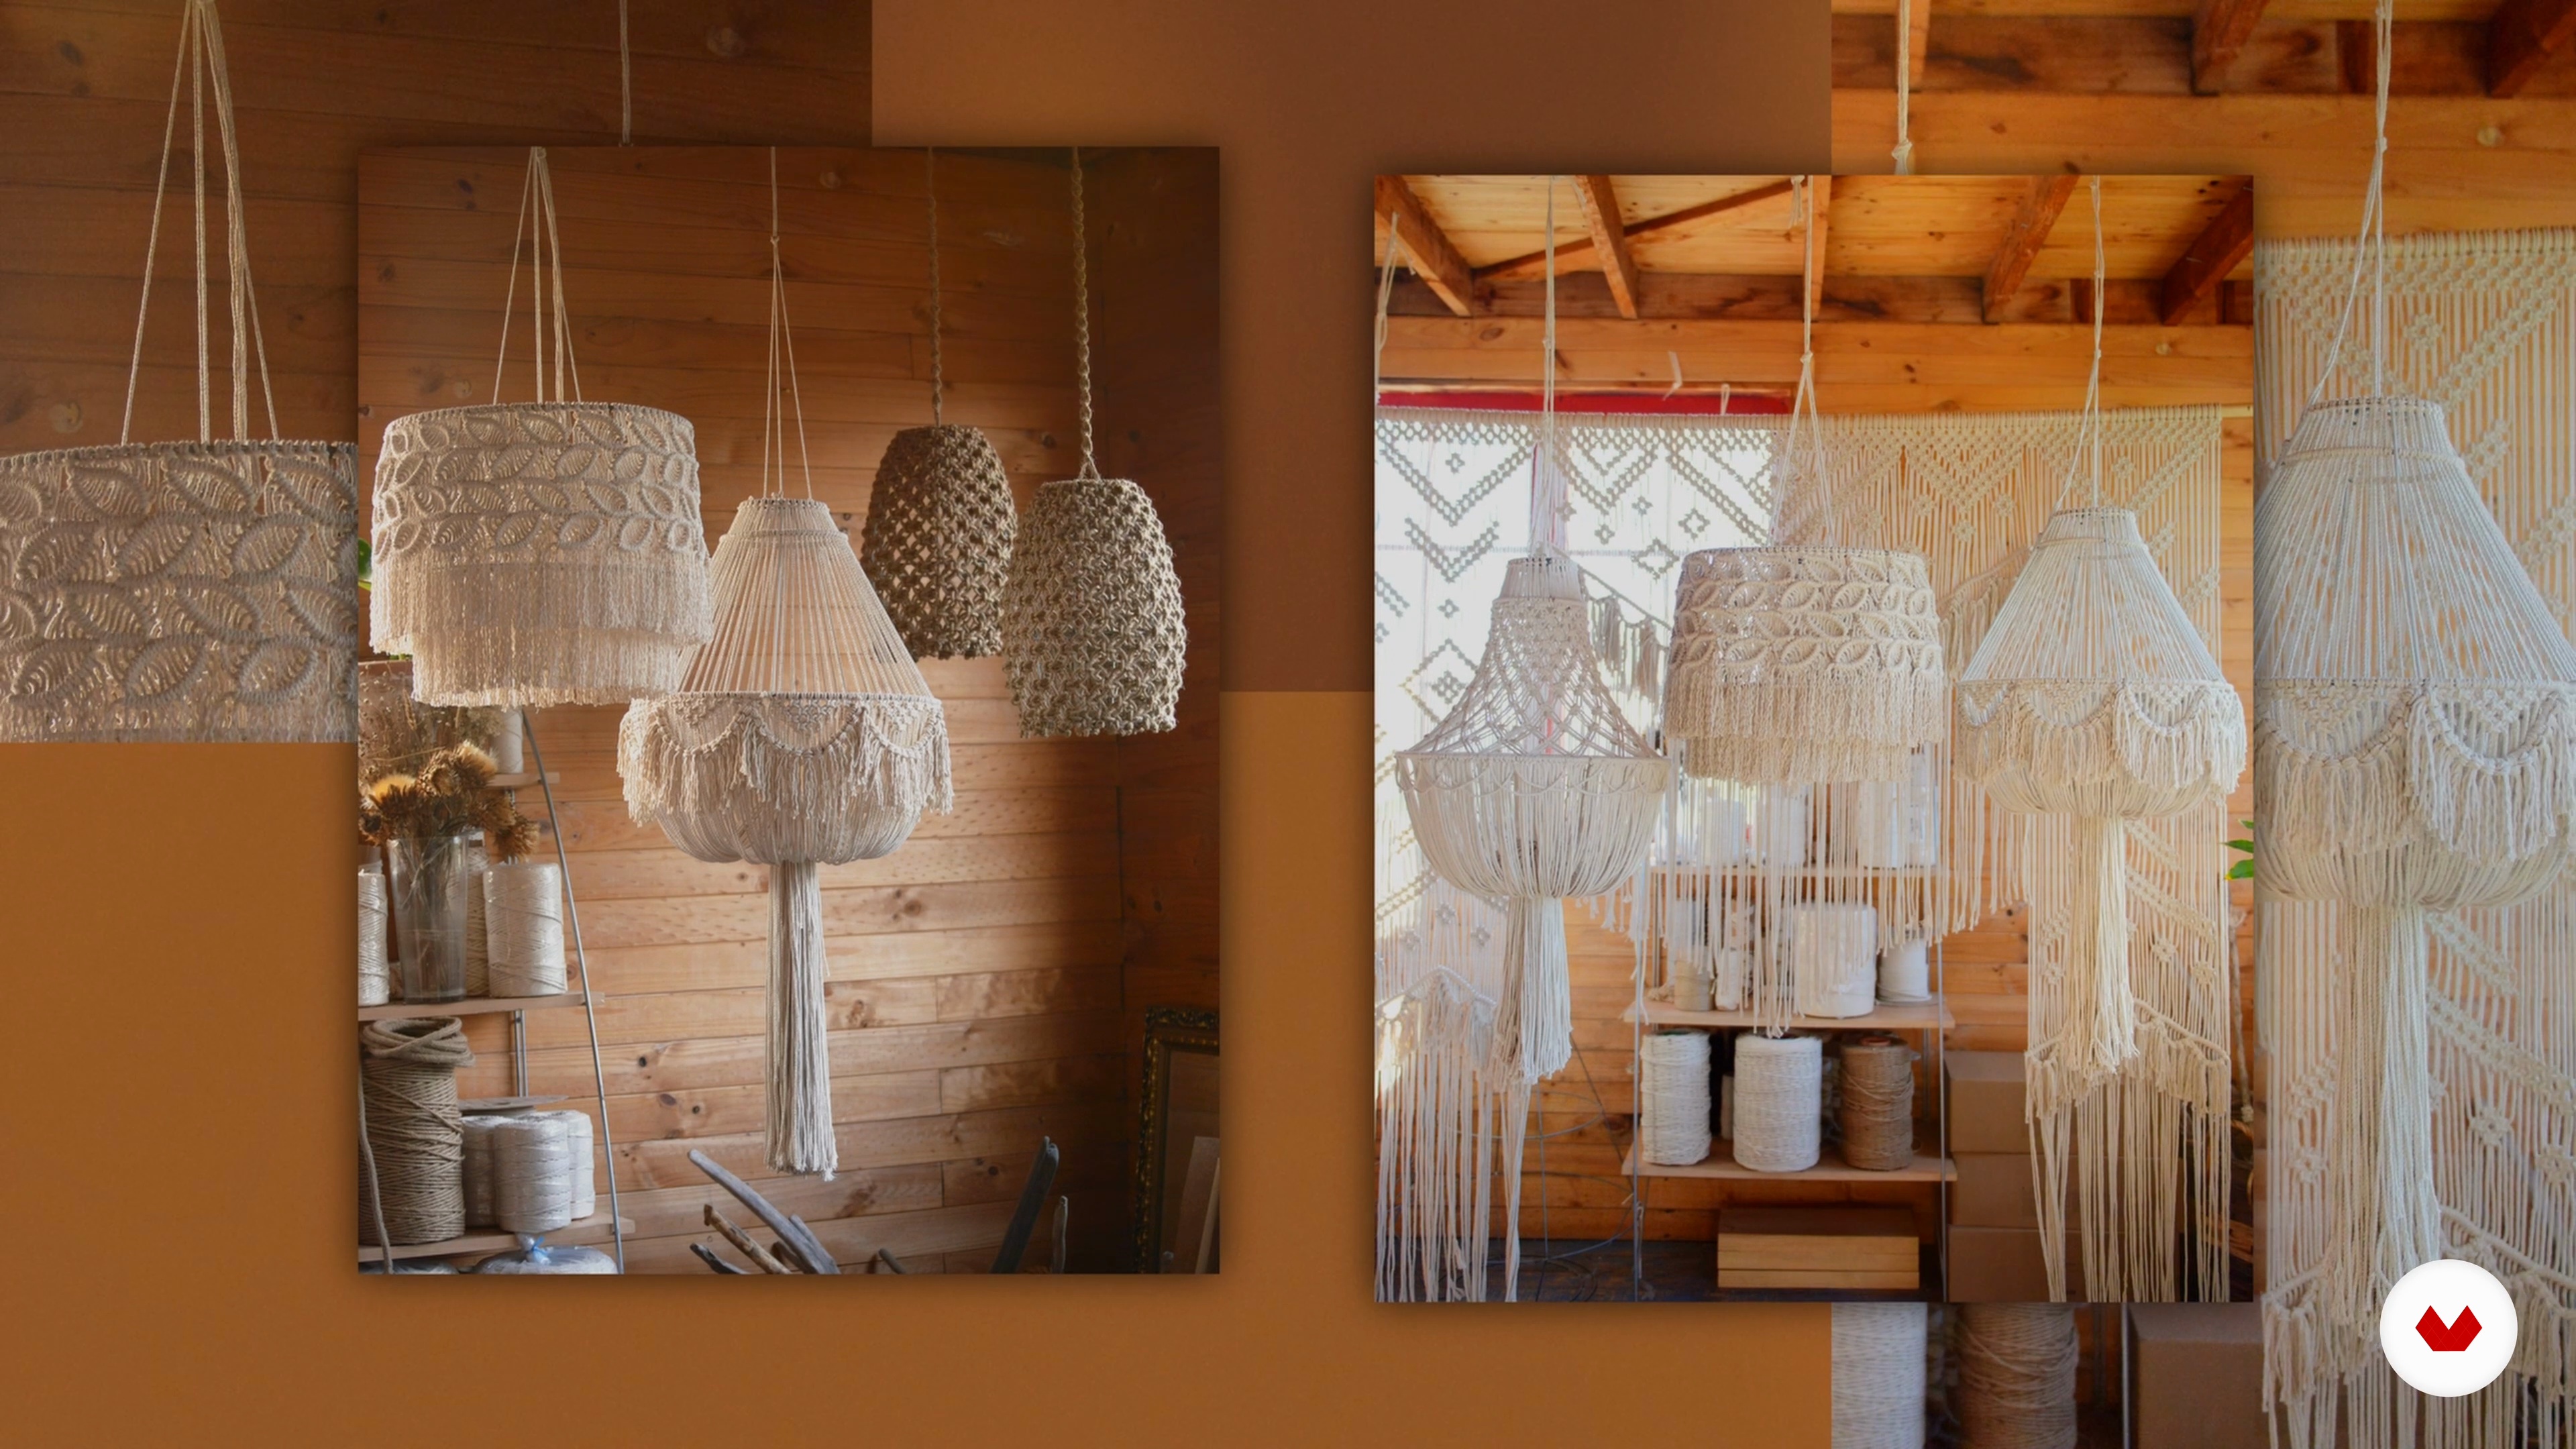
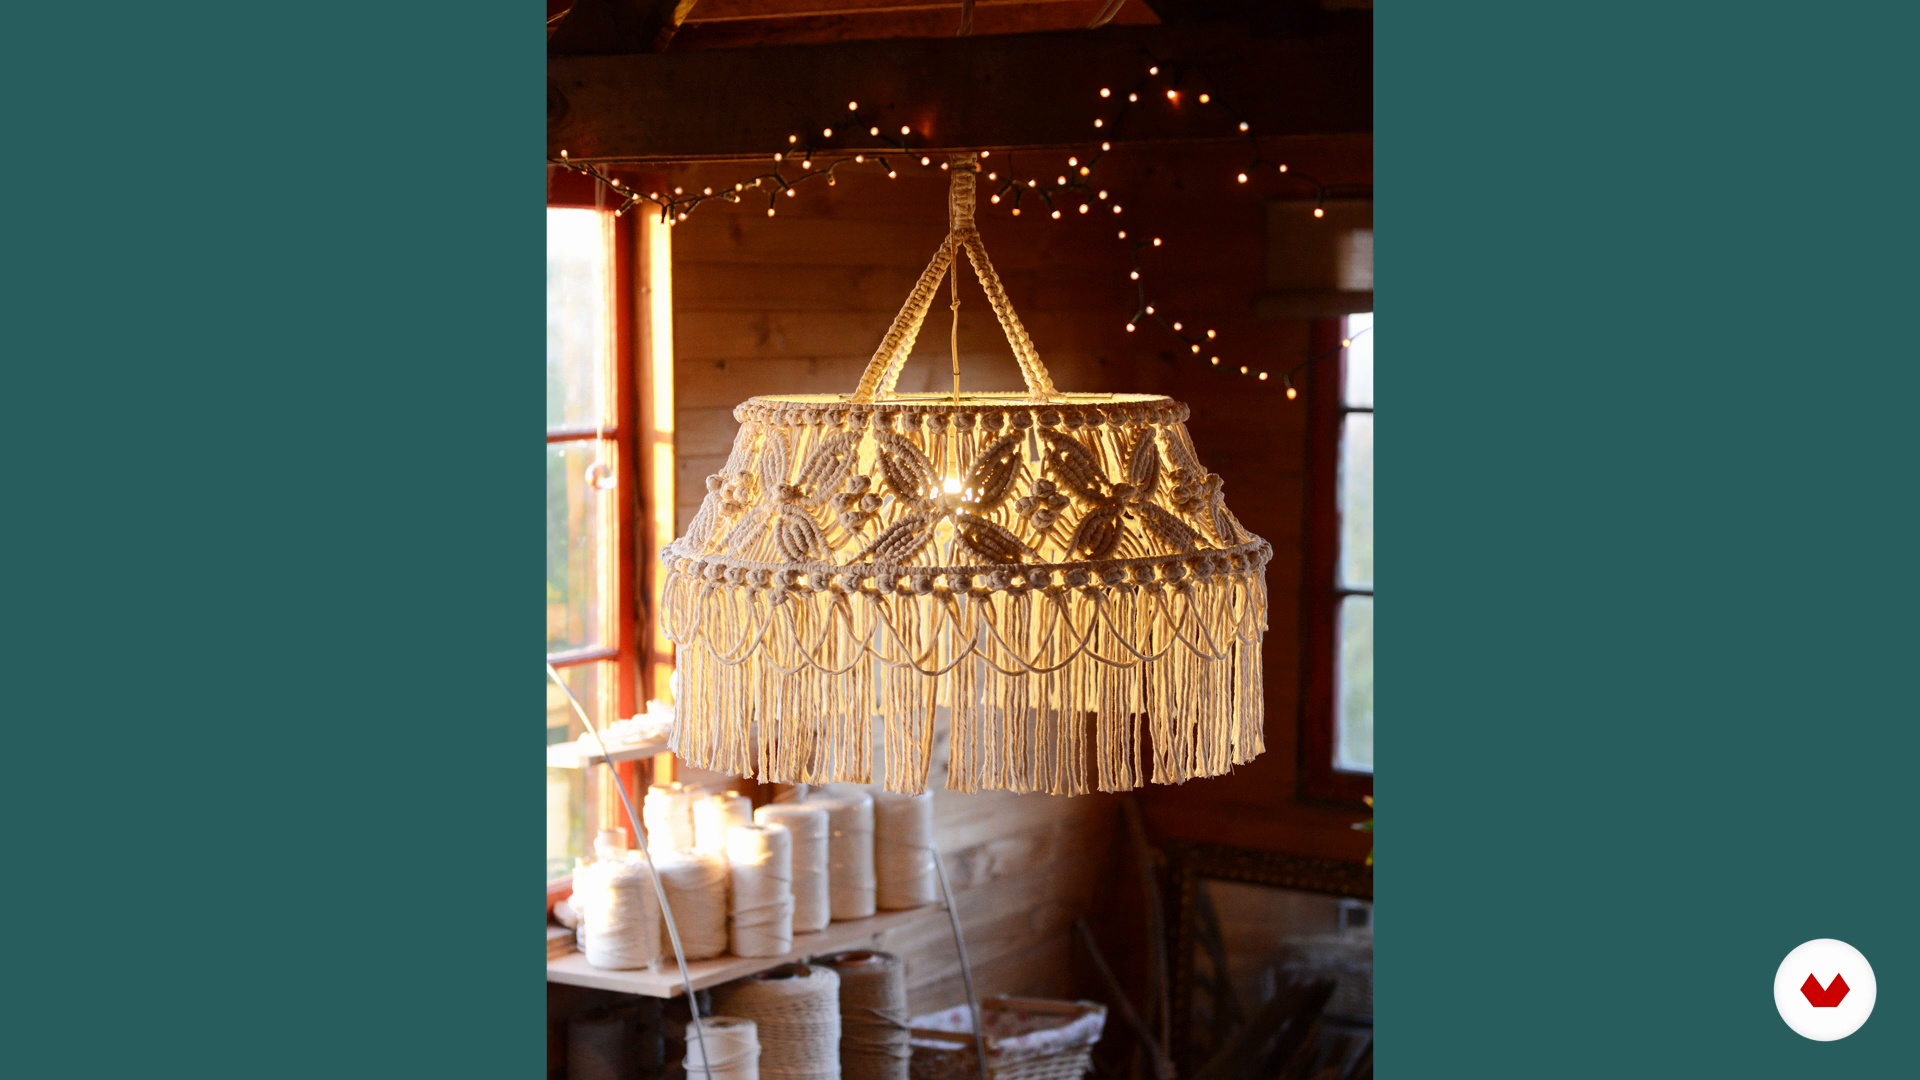
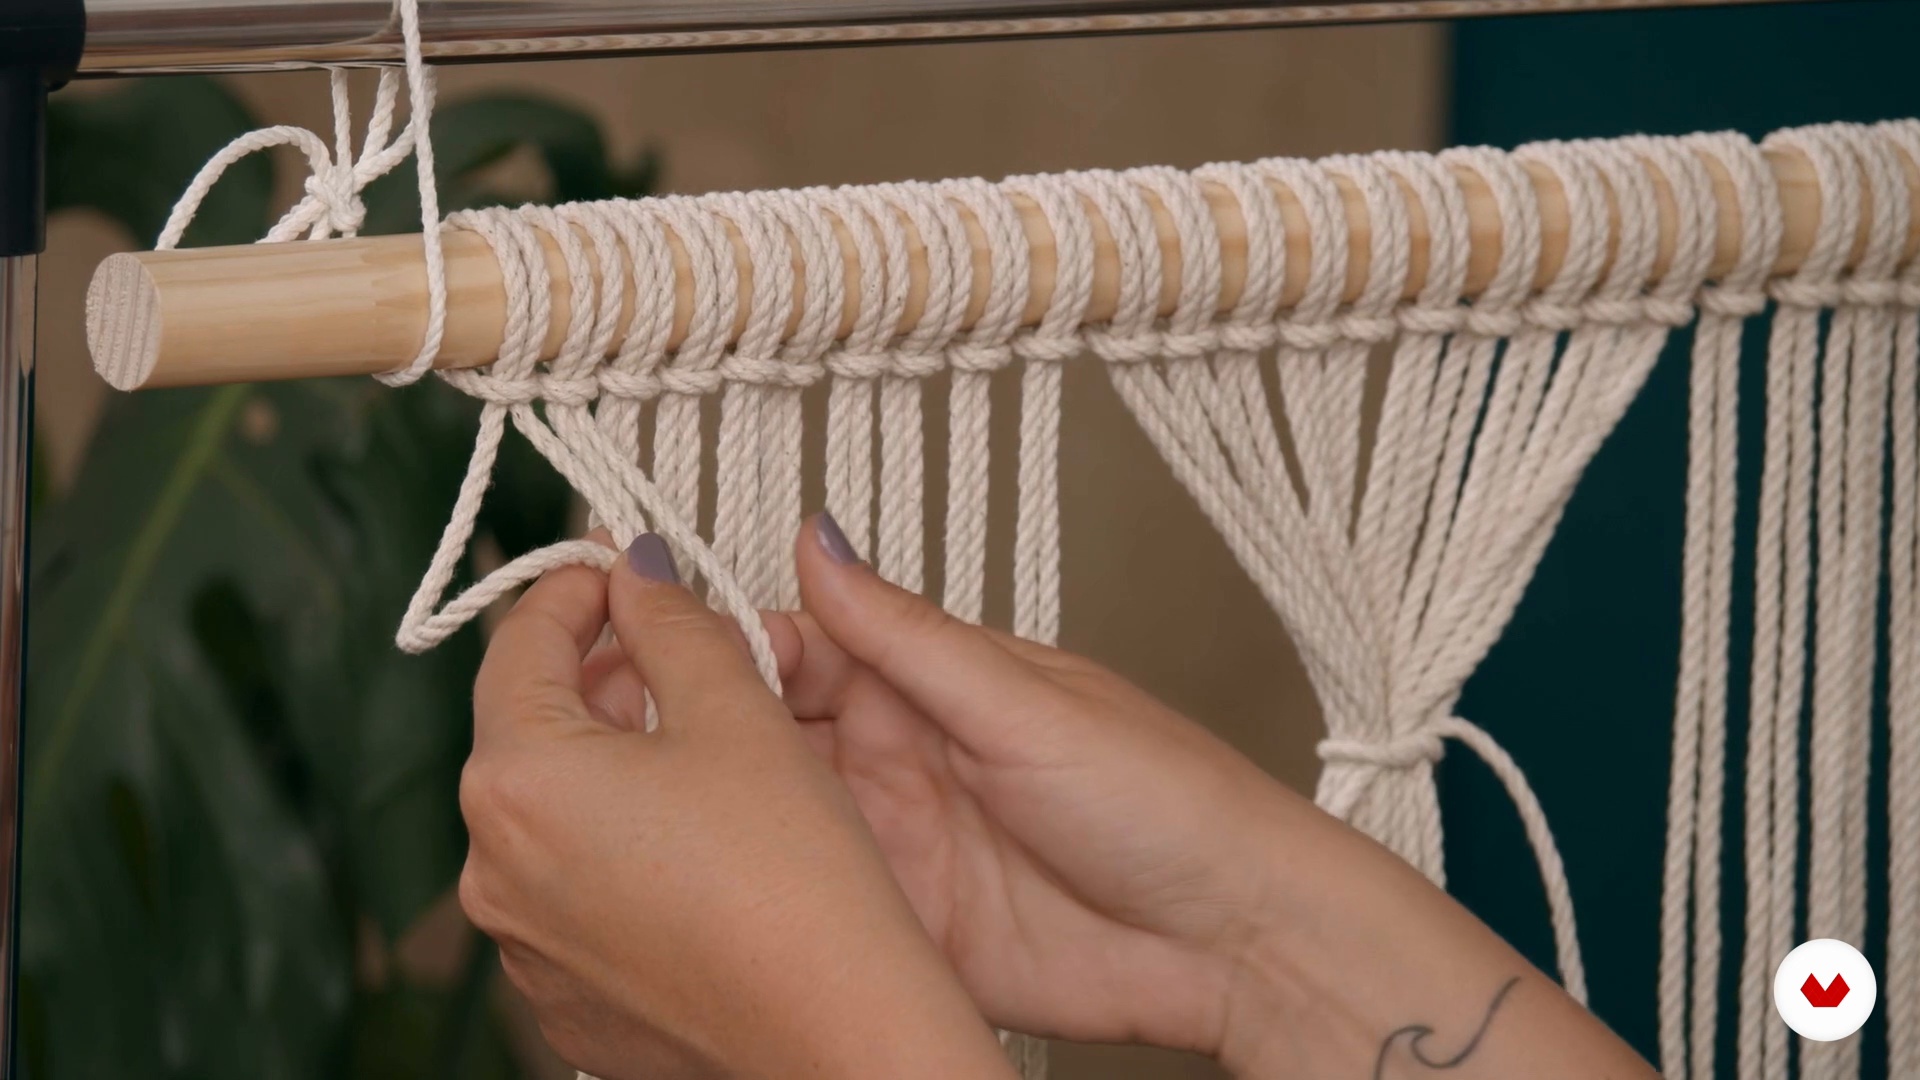
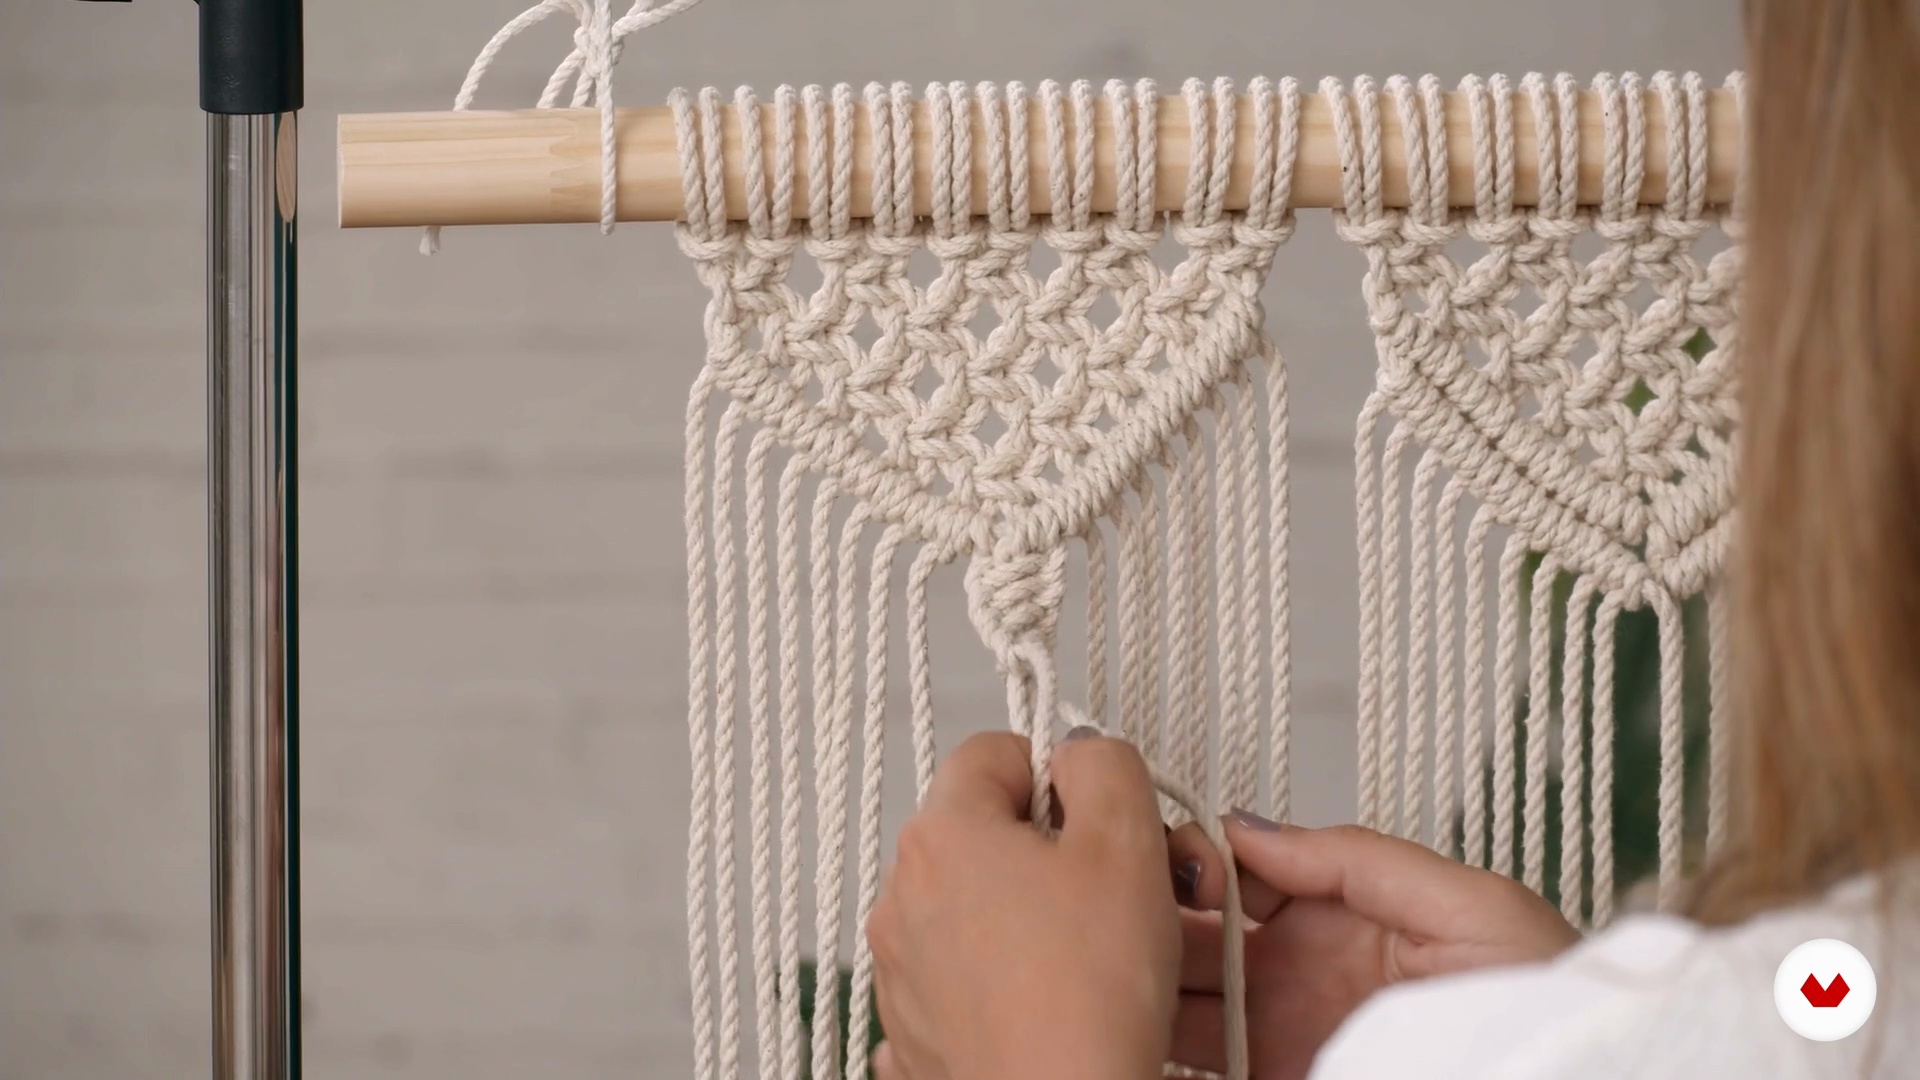
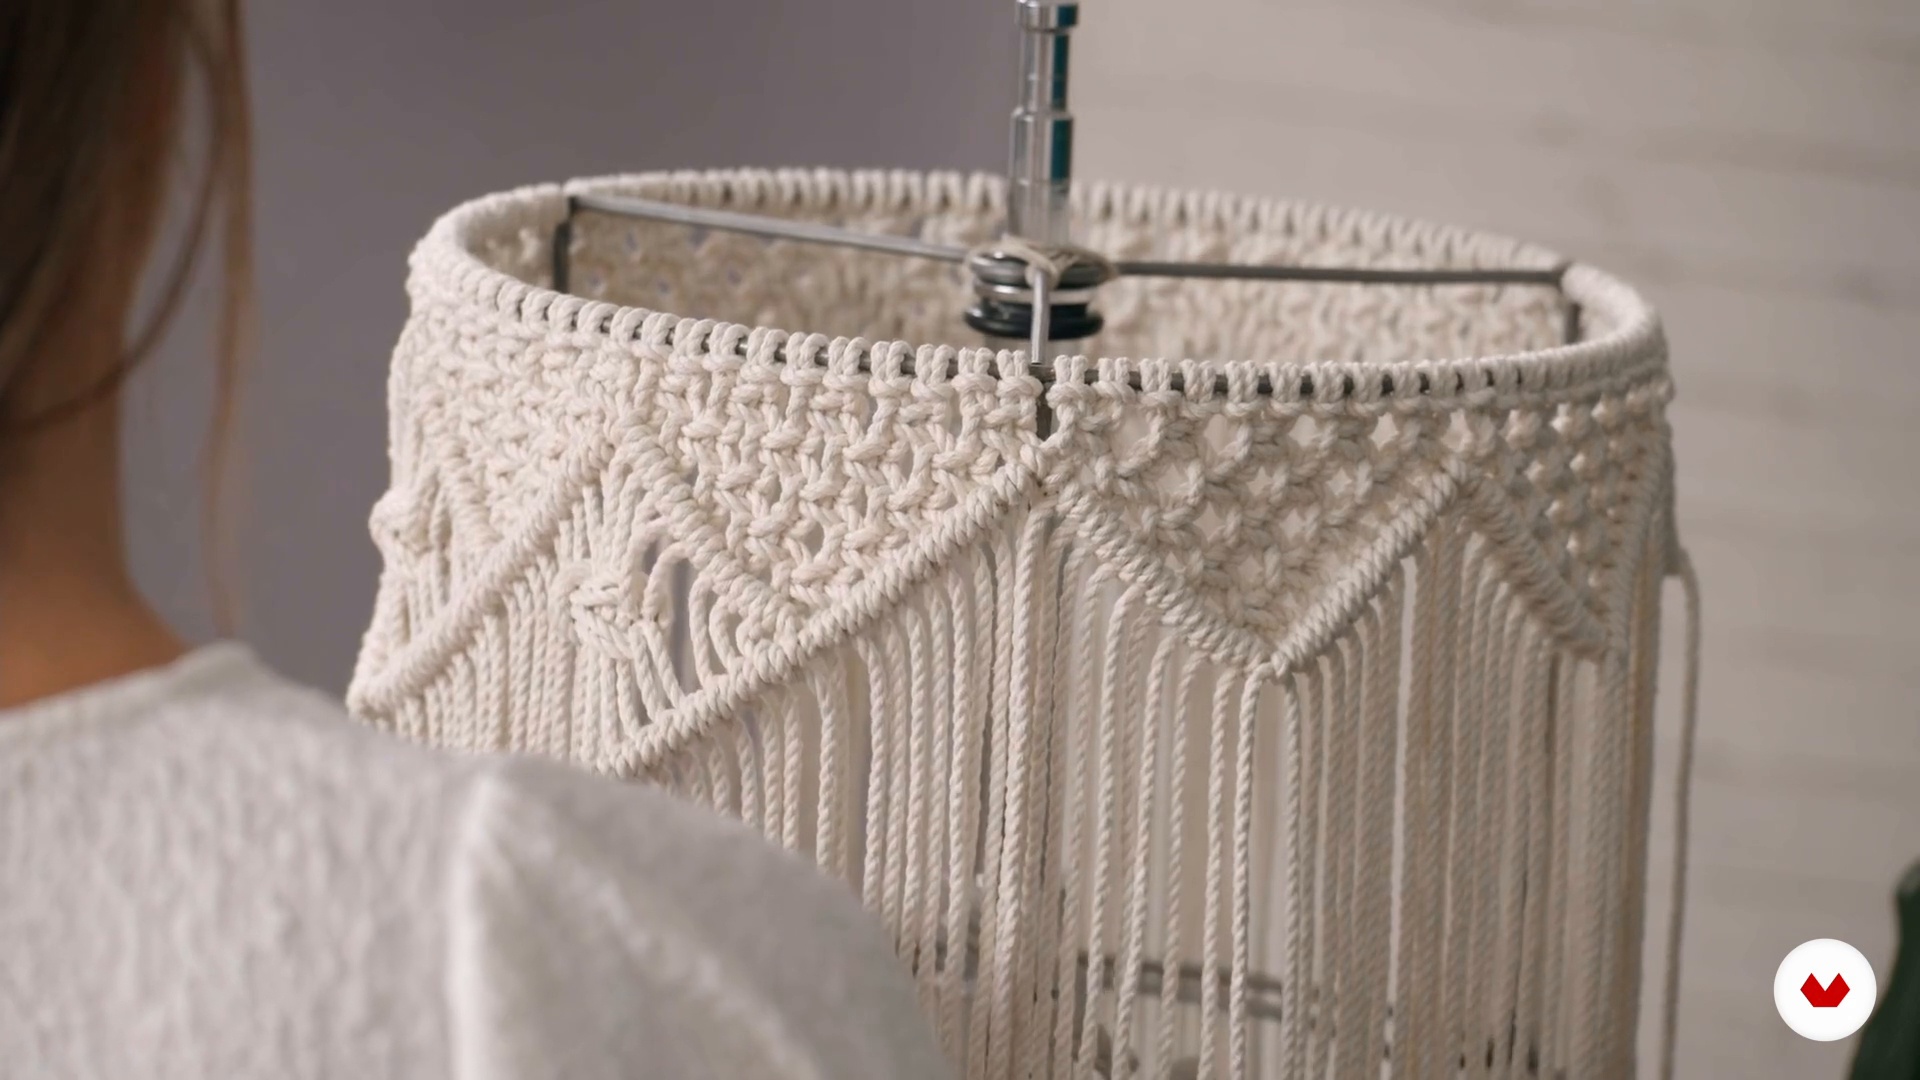
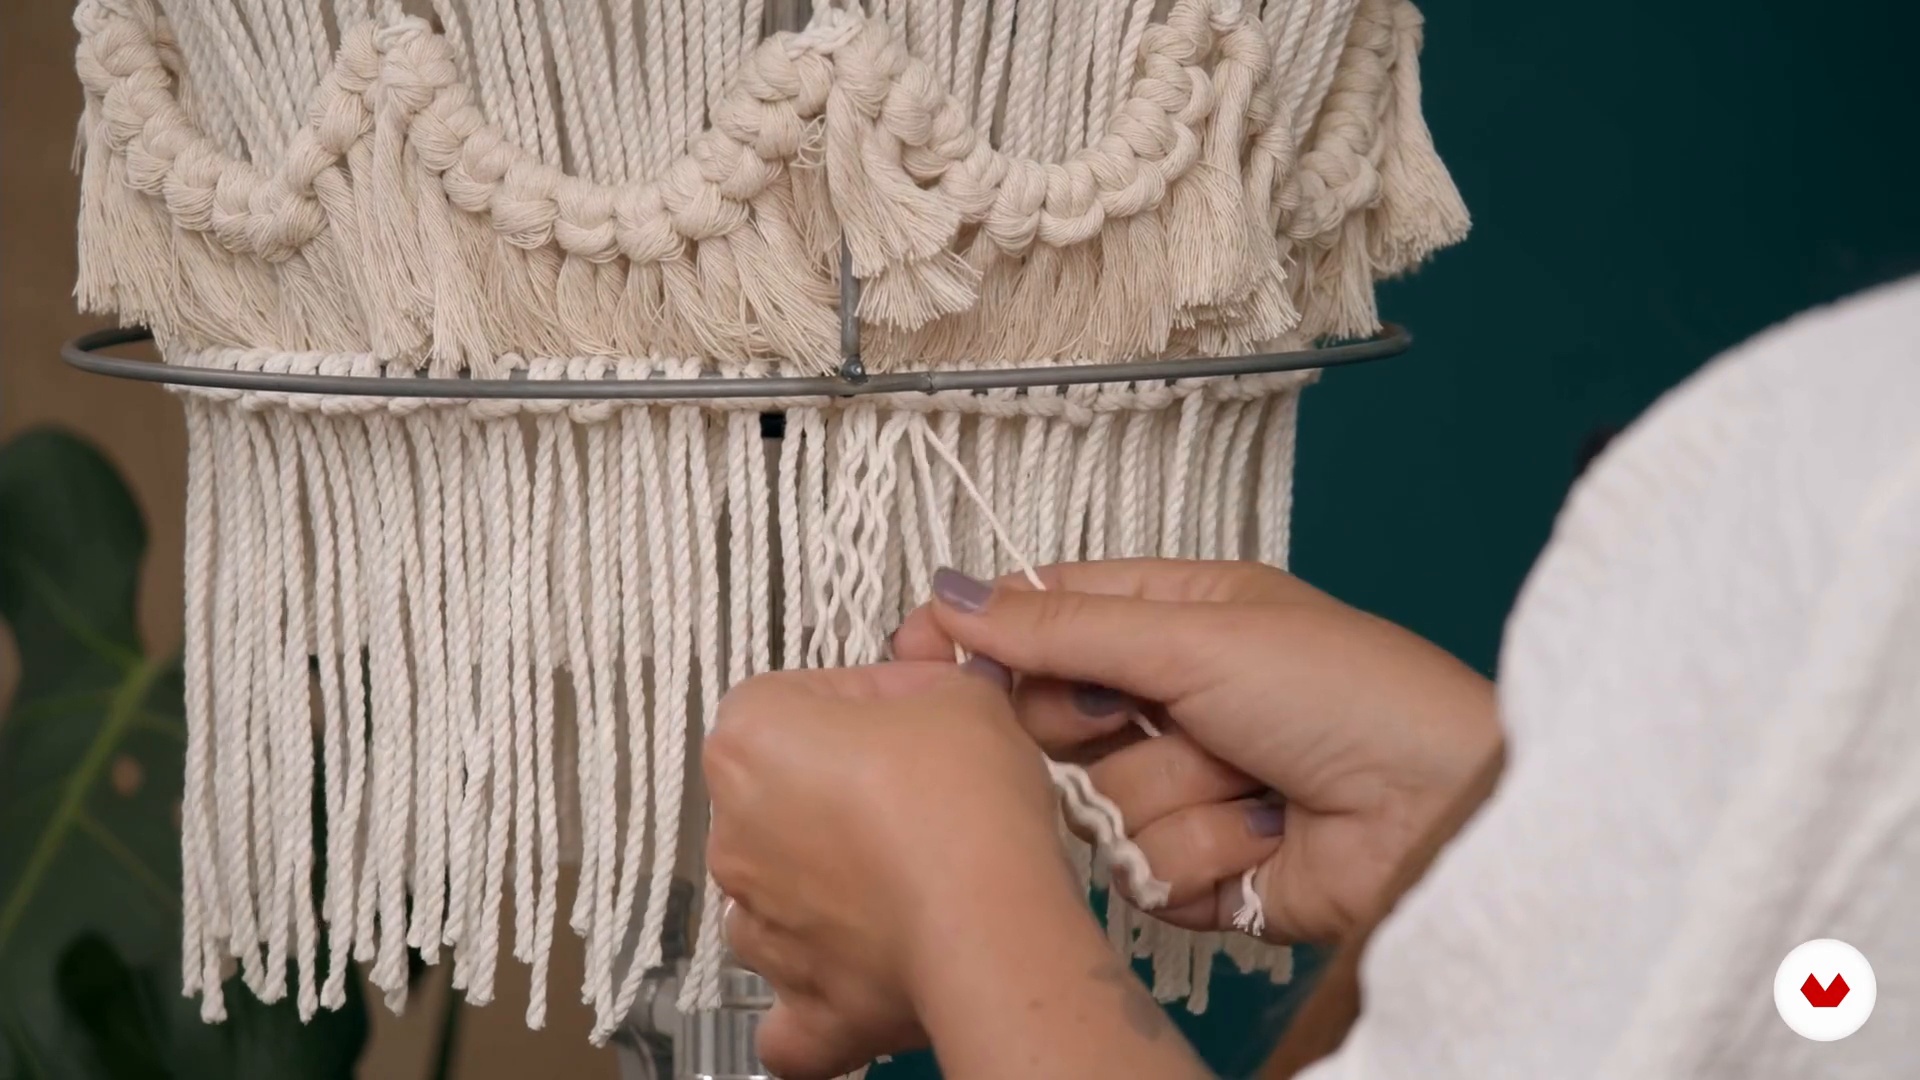
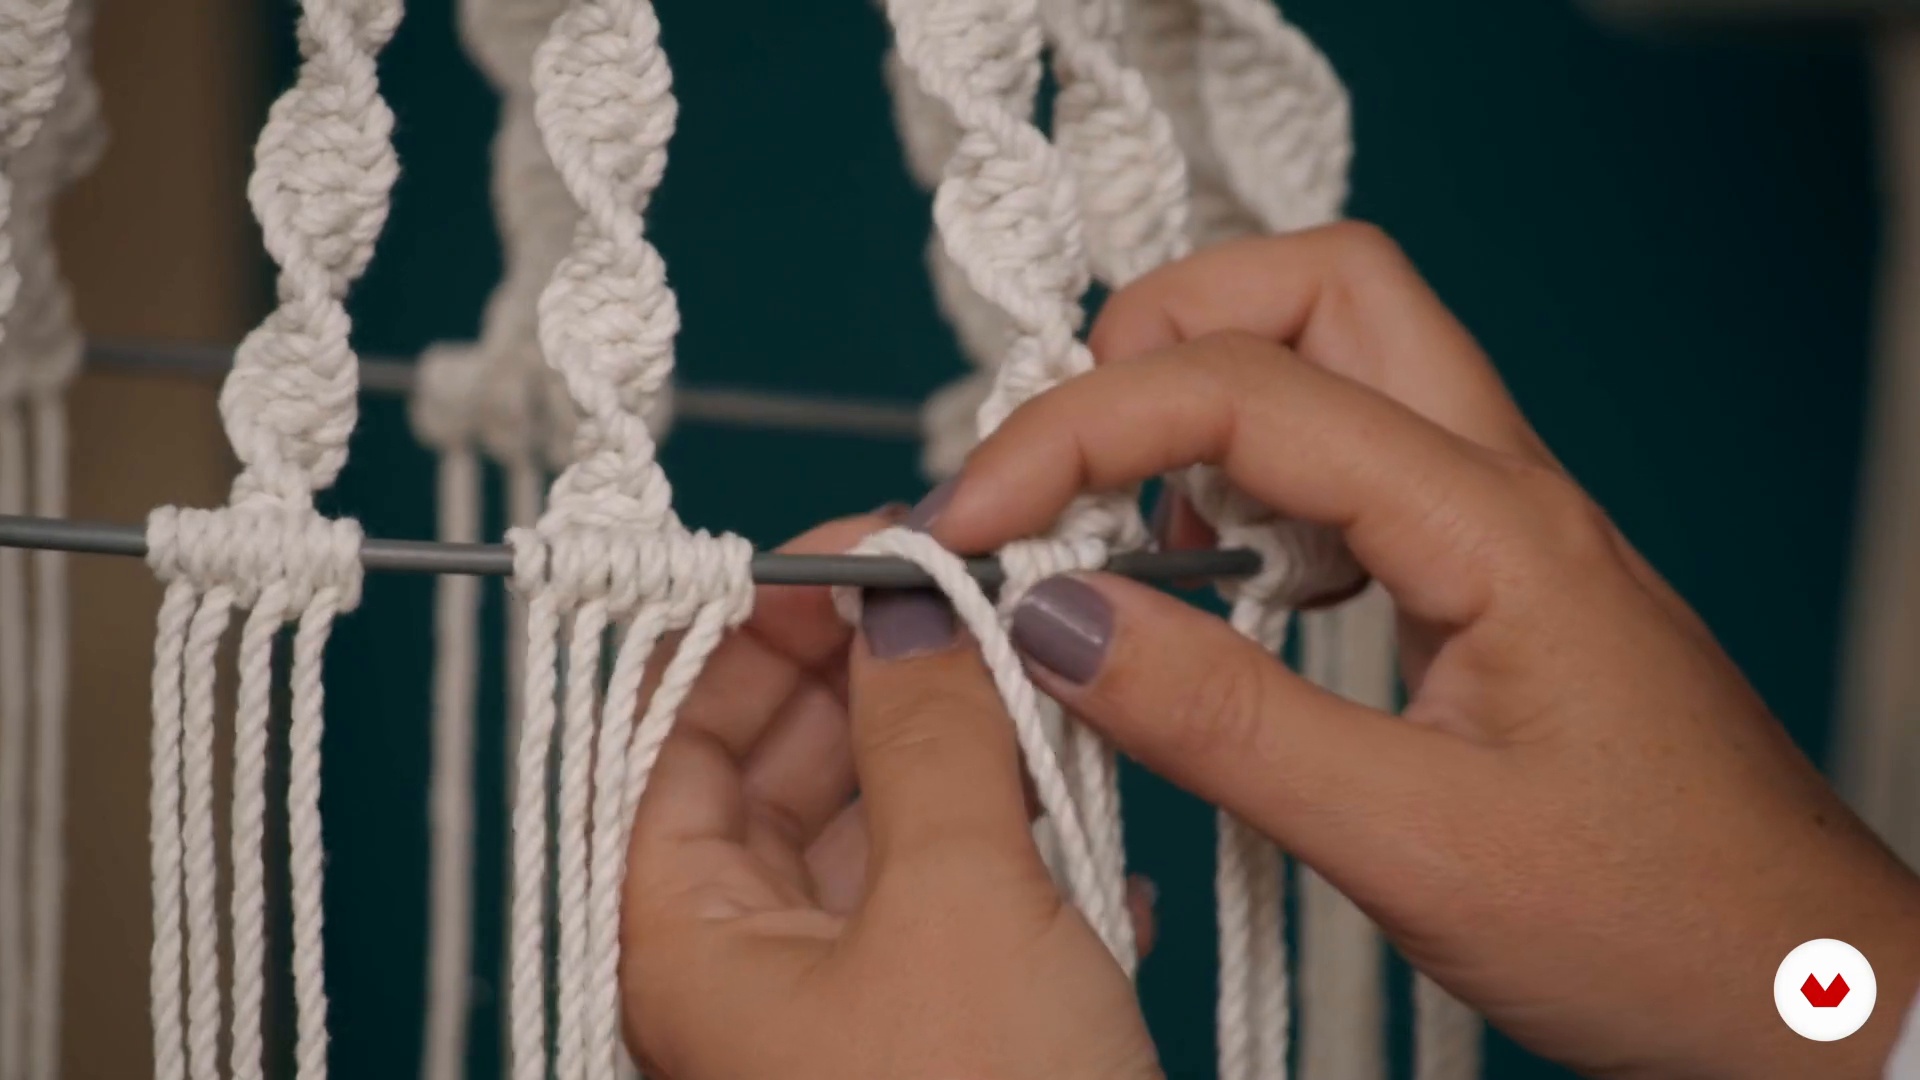
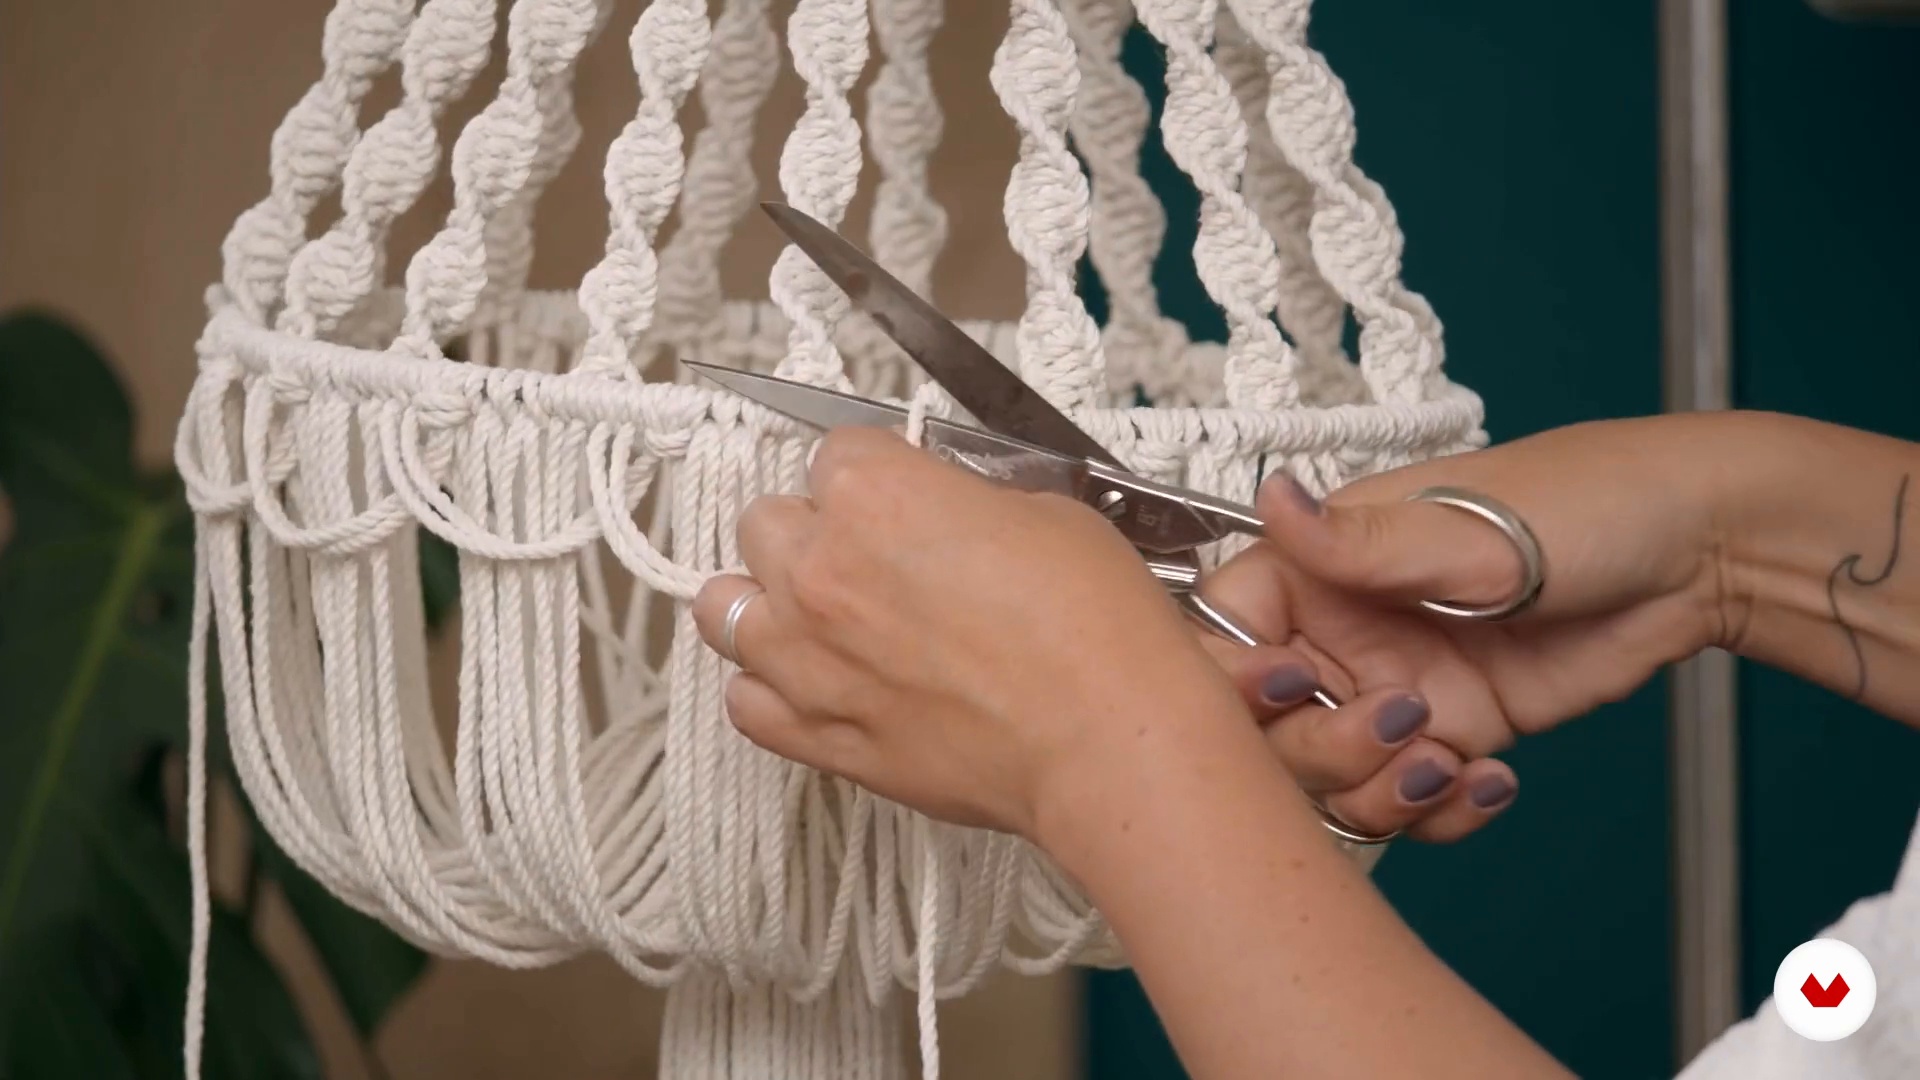
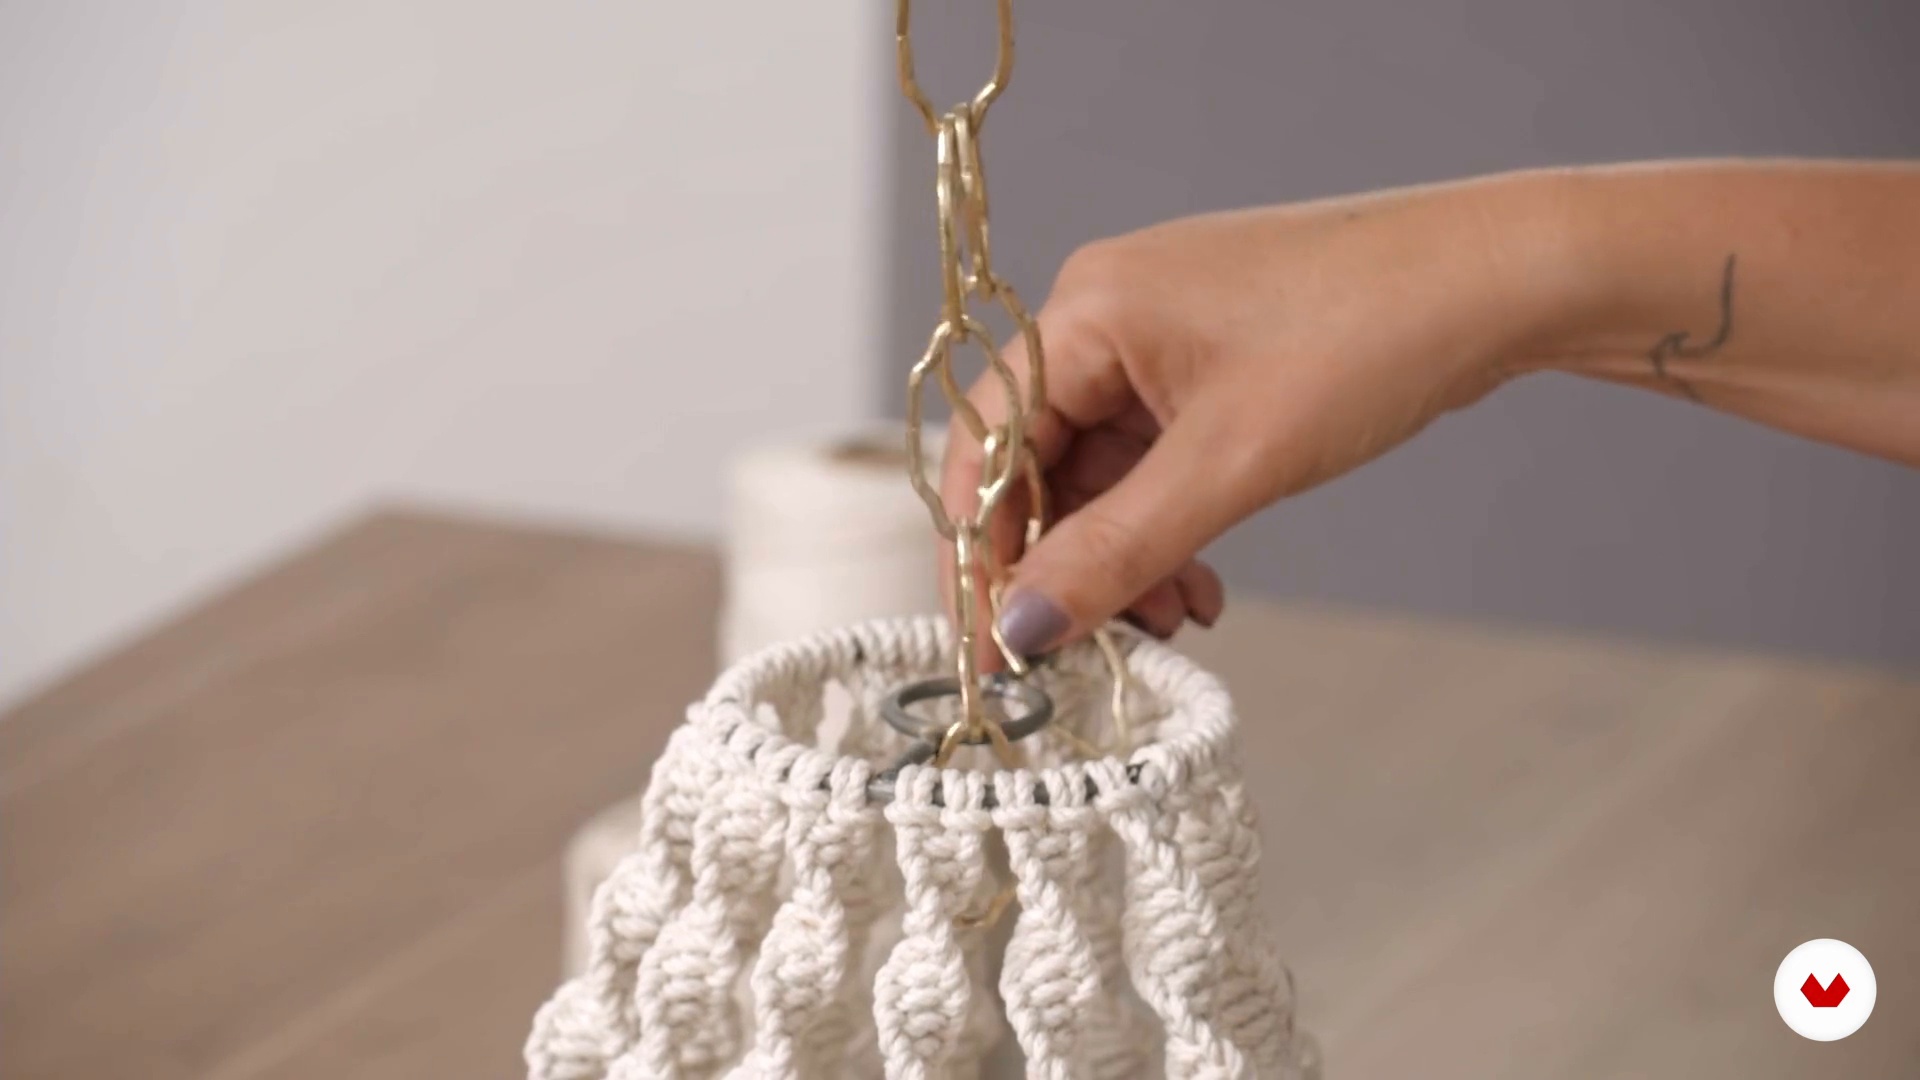
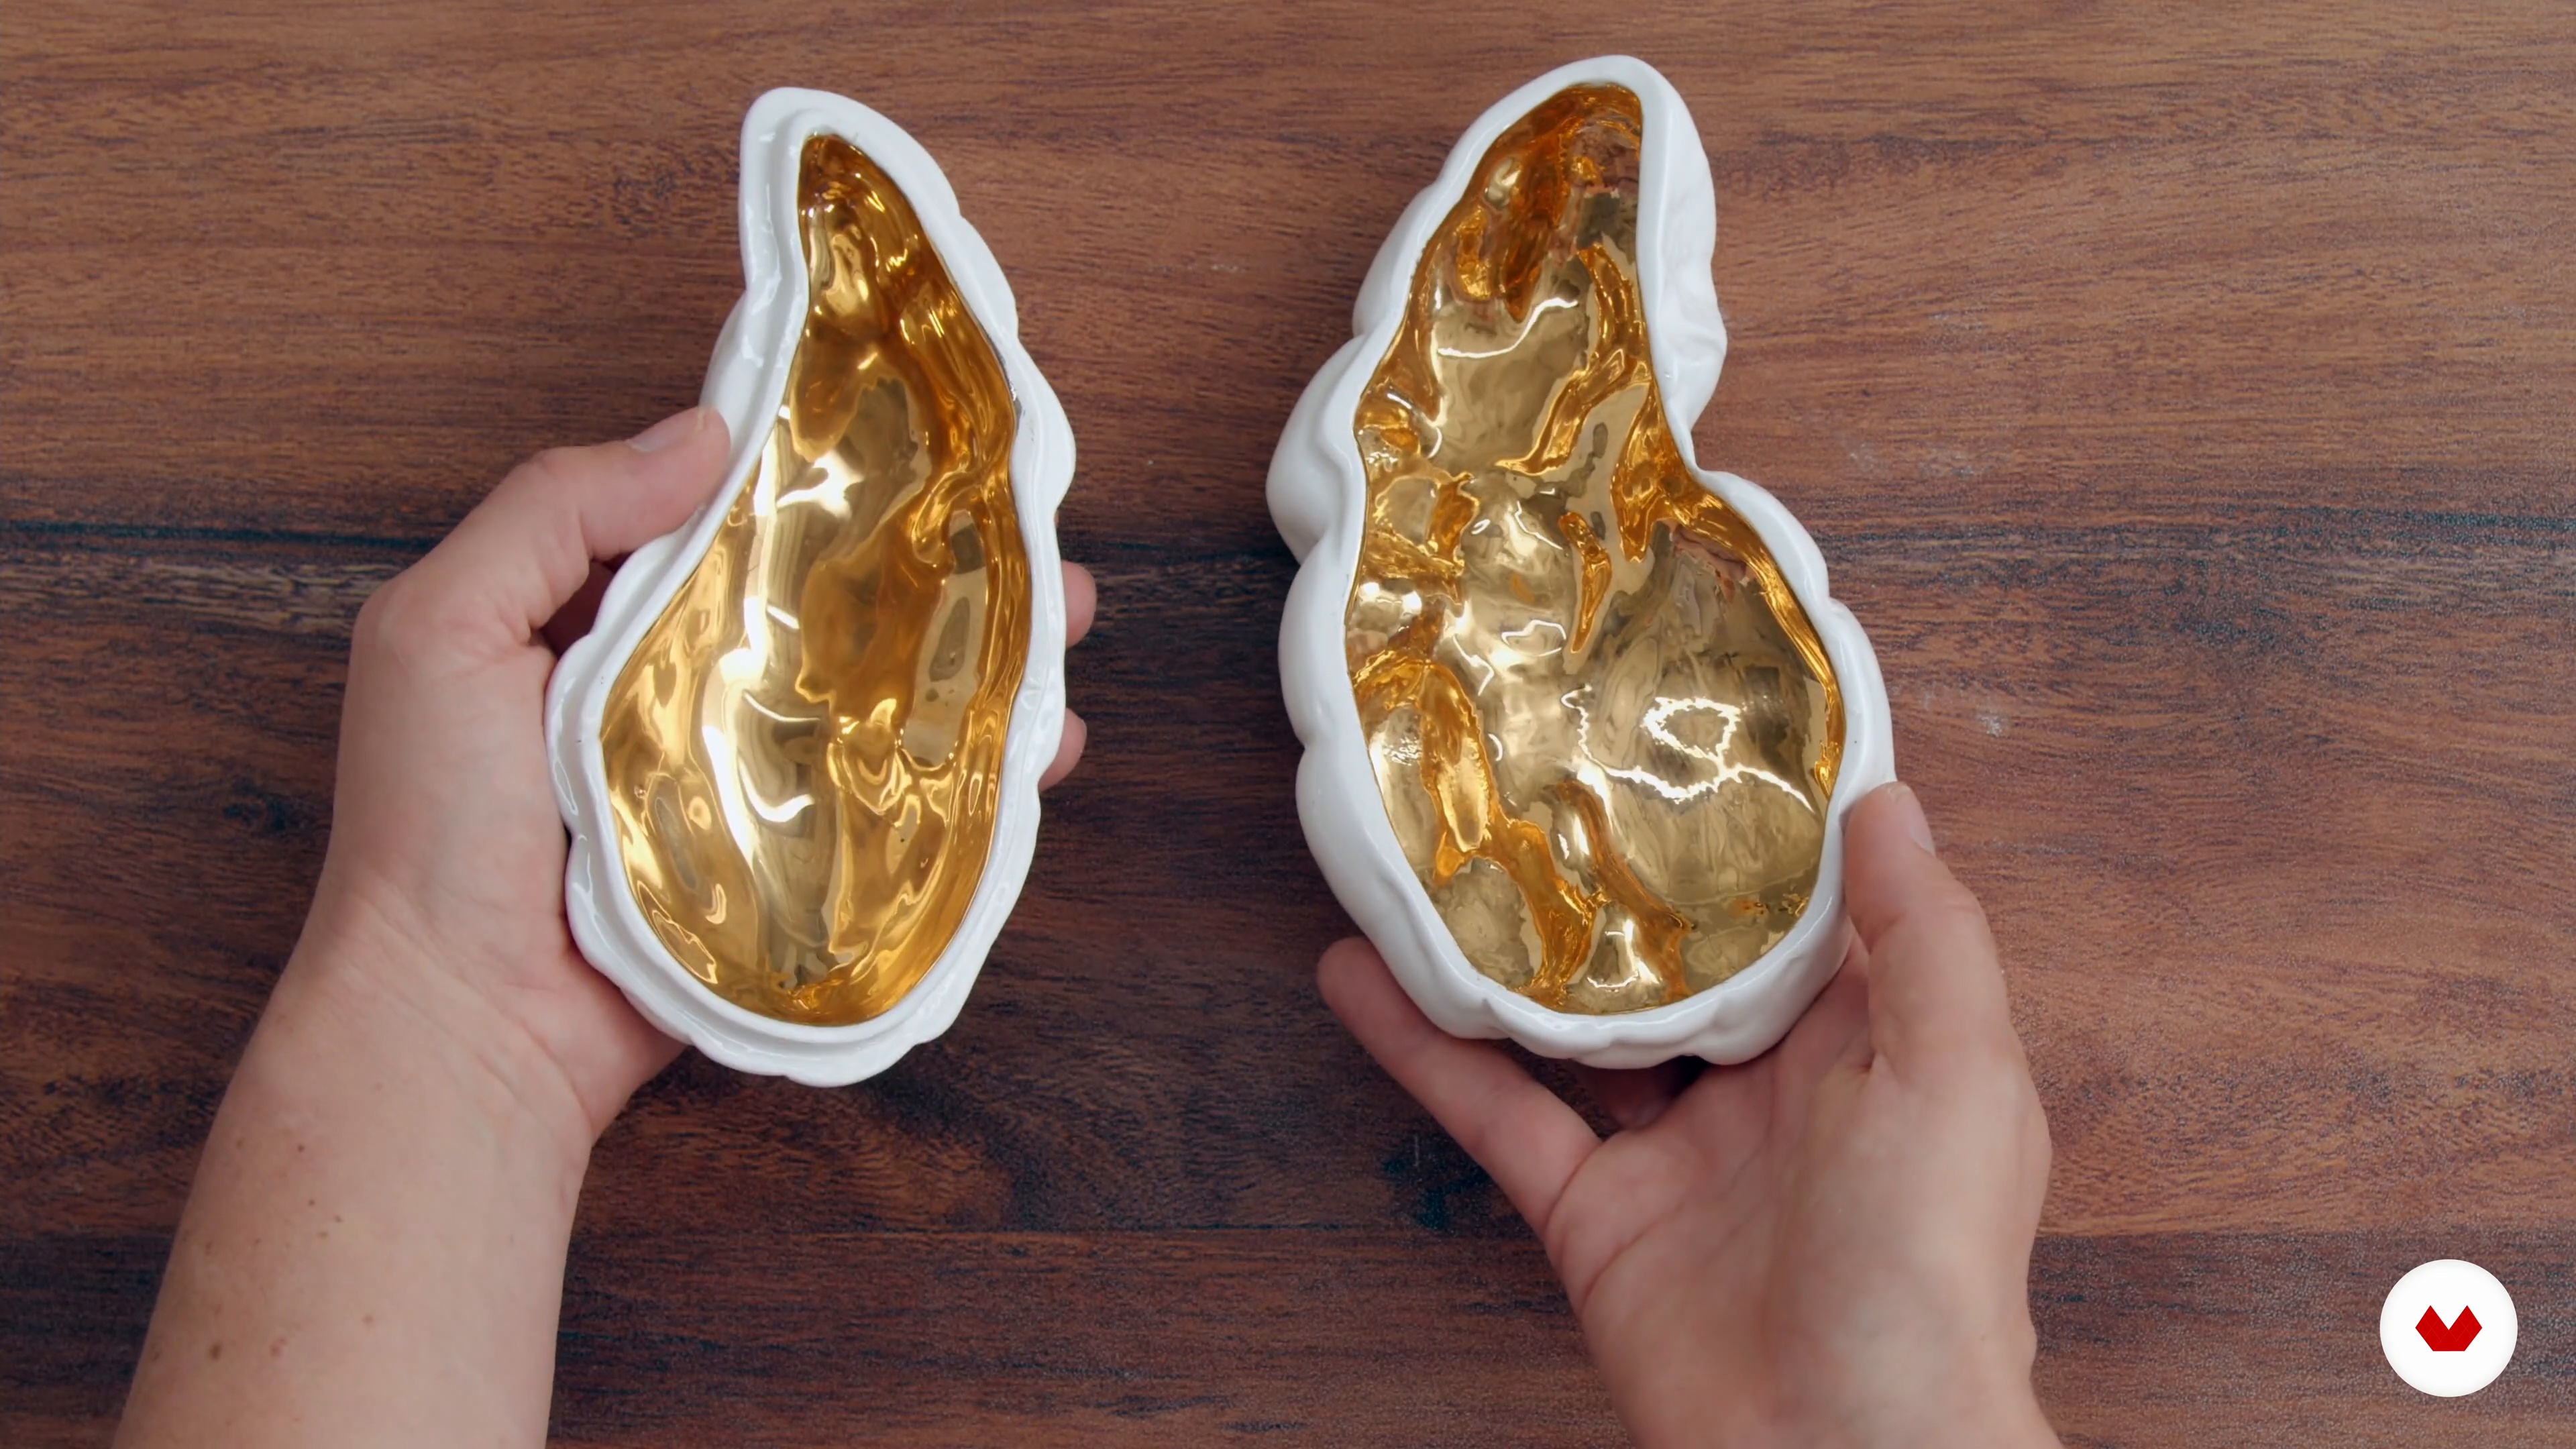
Discover the art of lamp design and craftsmanship with a specialization that blends tradition and innovation. Delve into the world of lighting, exploring diverse materials including paper, macramé, resin, and ceramics. Learn to create unique pieces that merge functionality with aesthetic appeal. From the fundamentals of professional lighting design to specialized artisanal techniques, each course in this program offers a new perspective on how to illuminate spaces creatively.
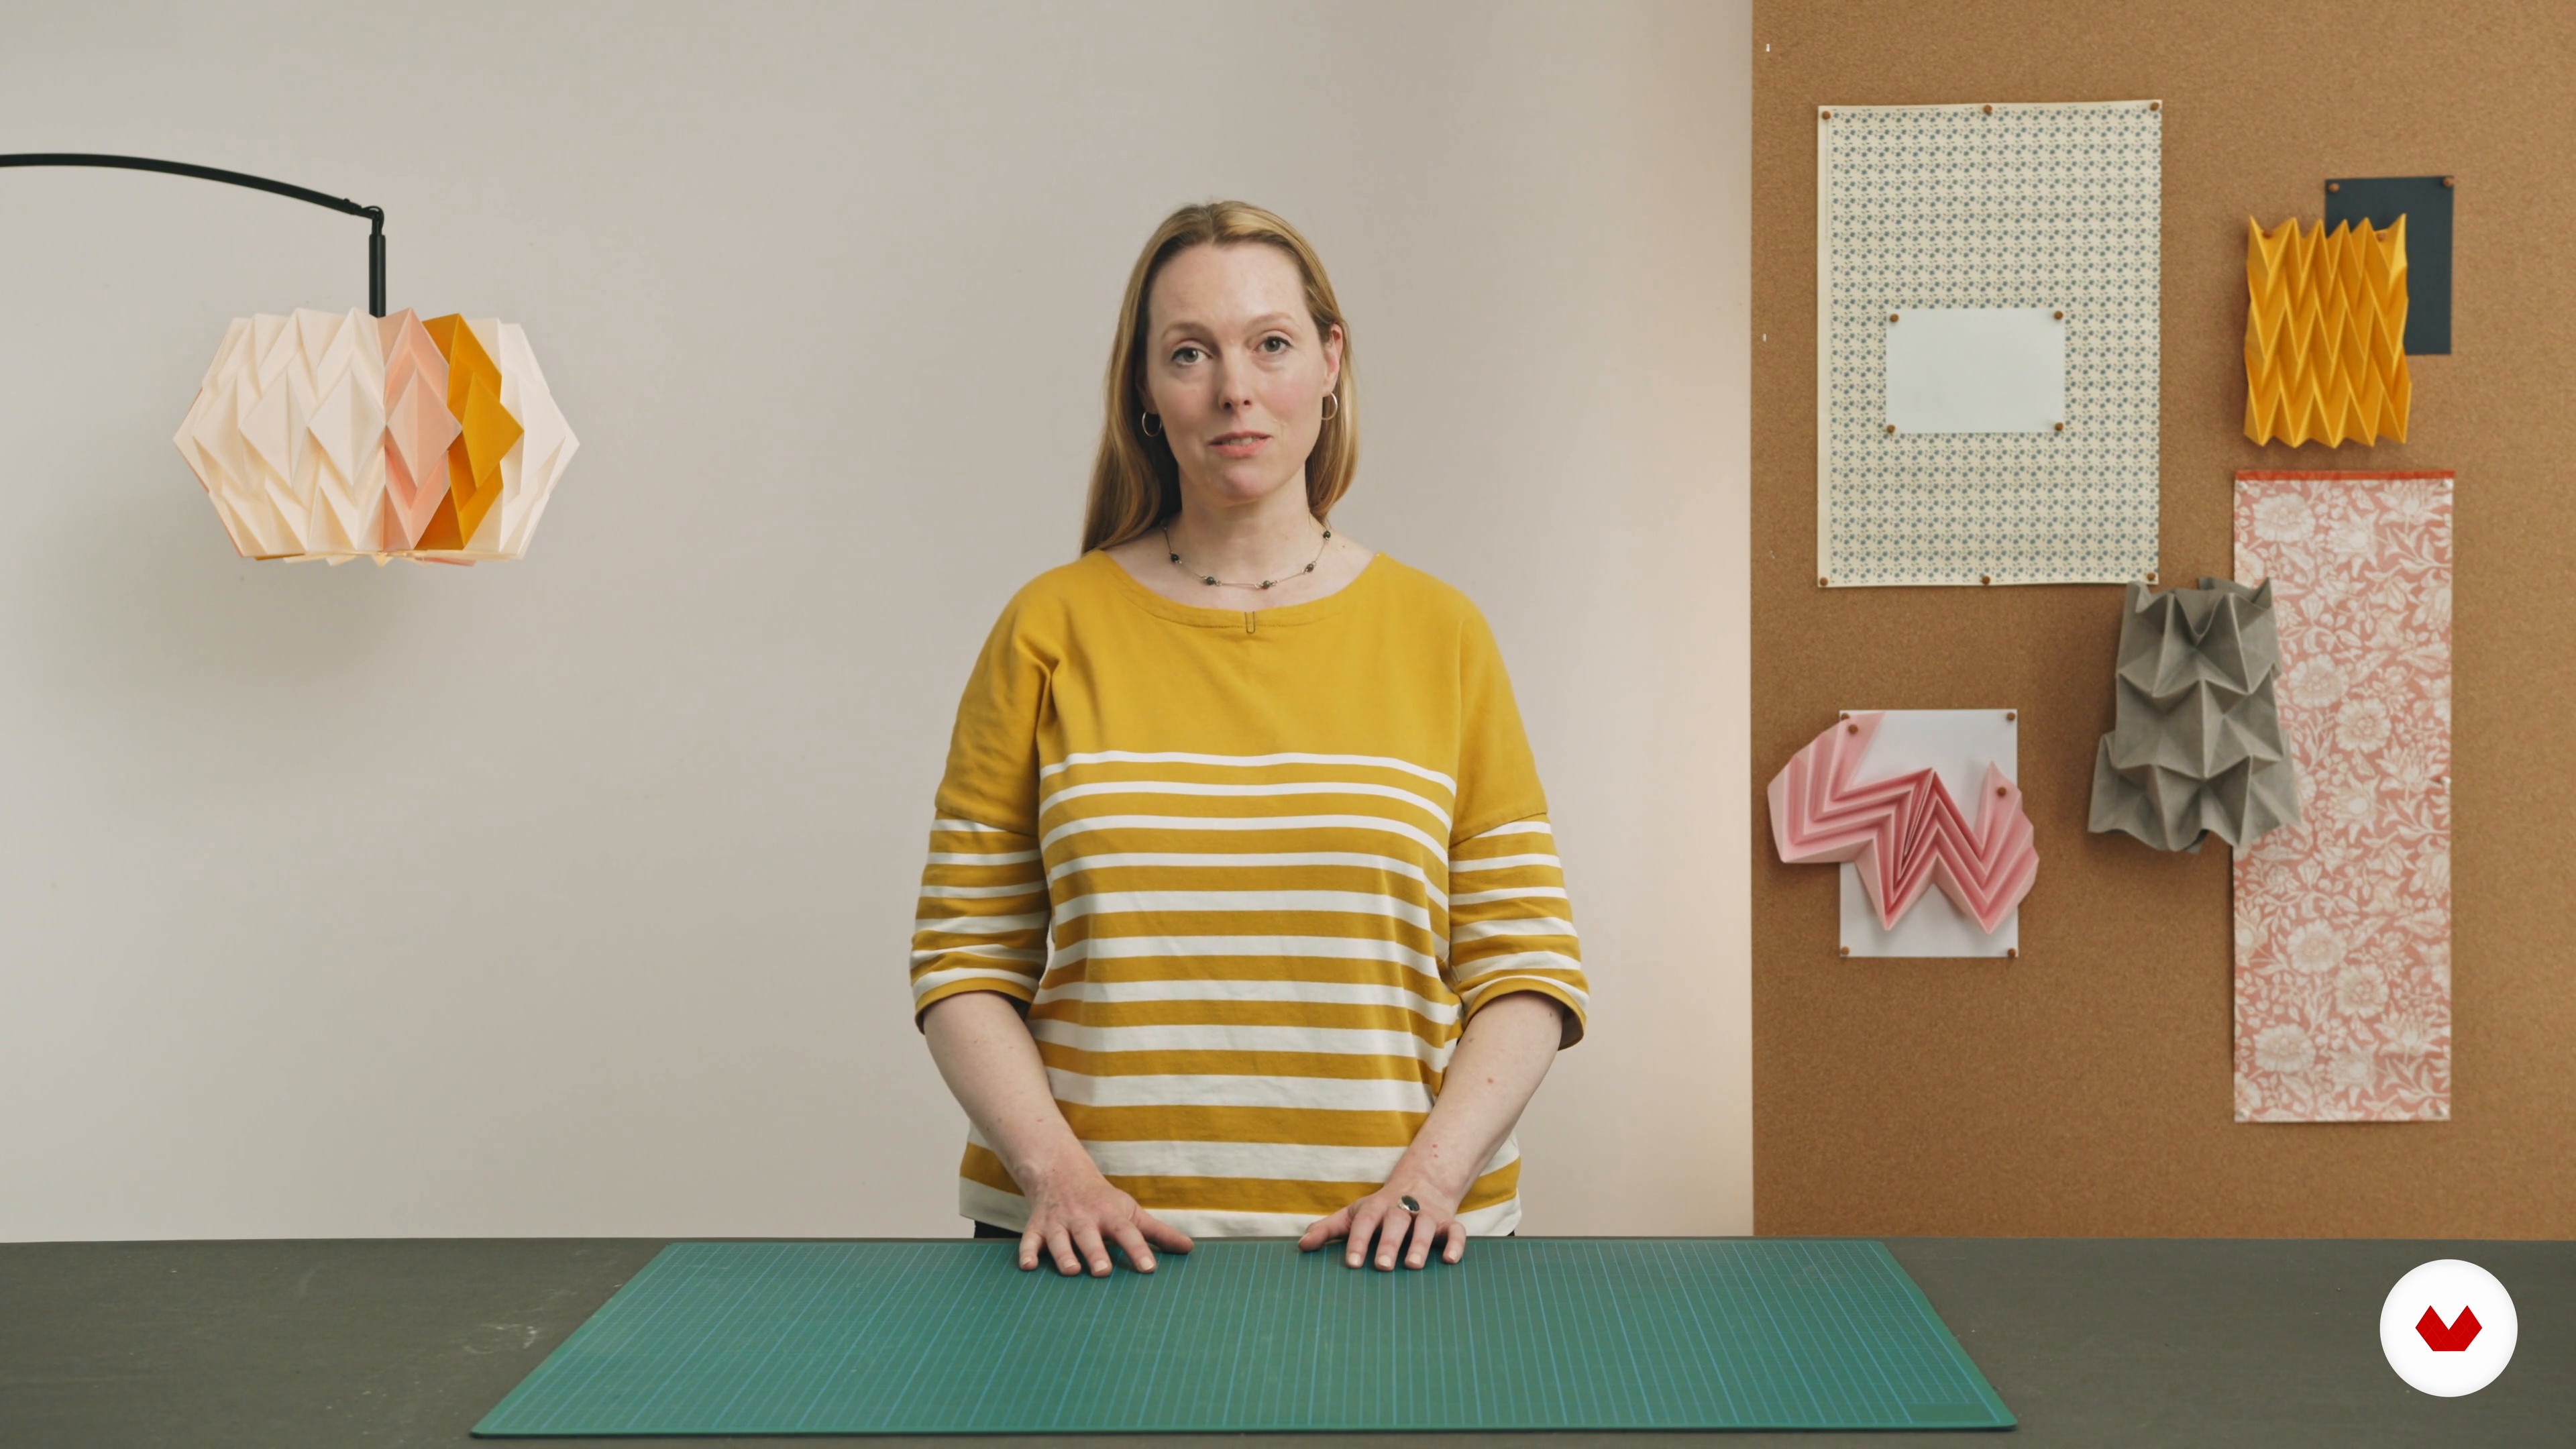
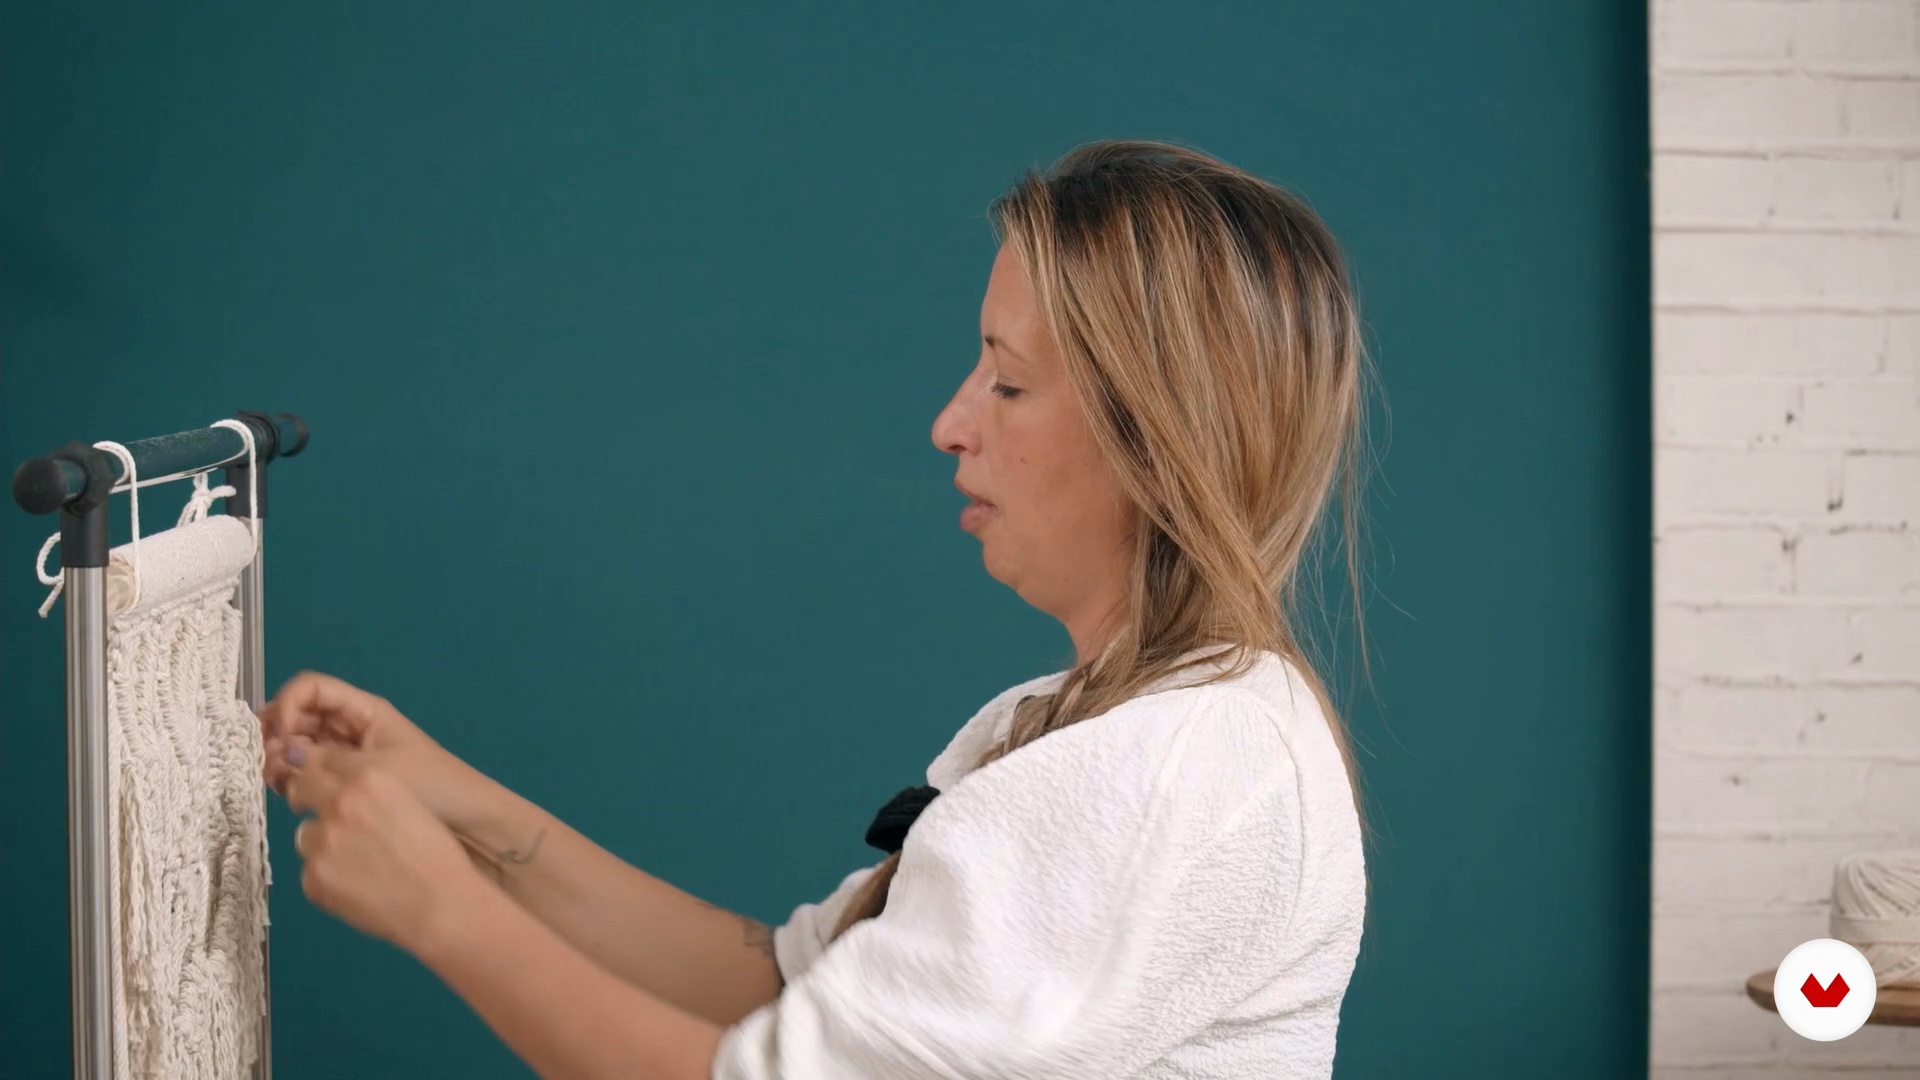
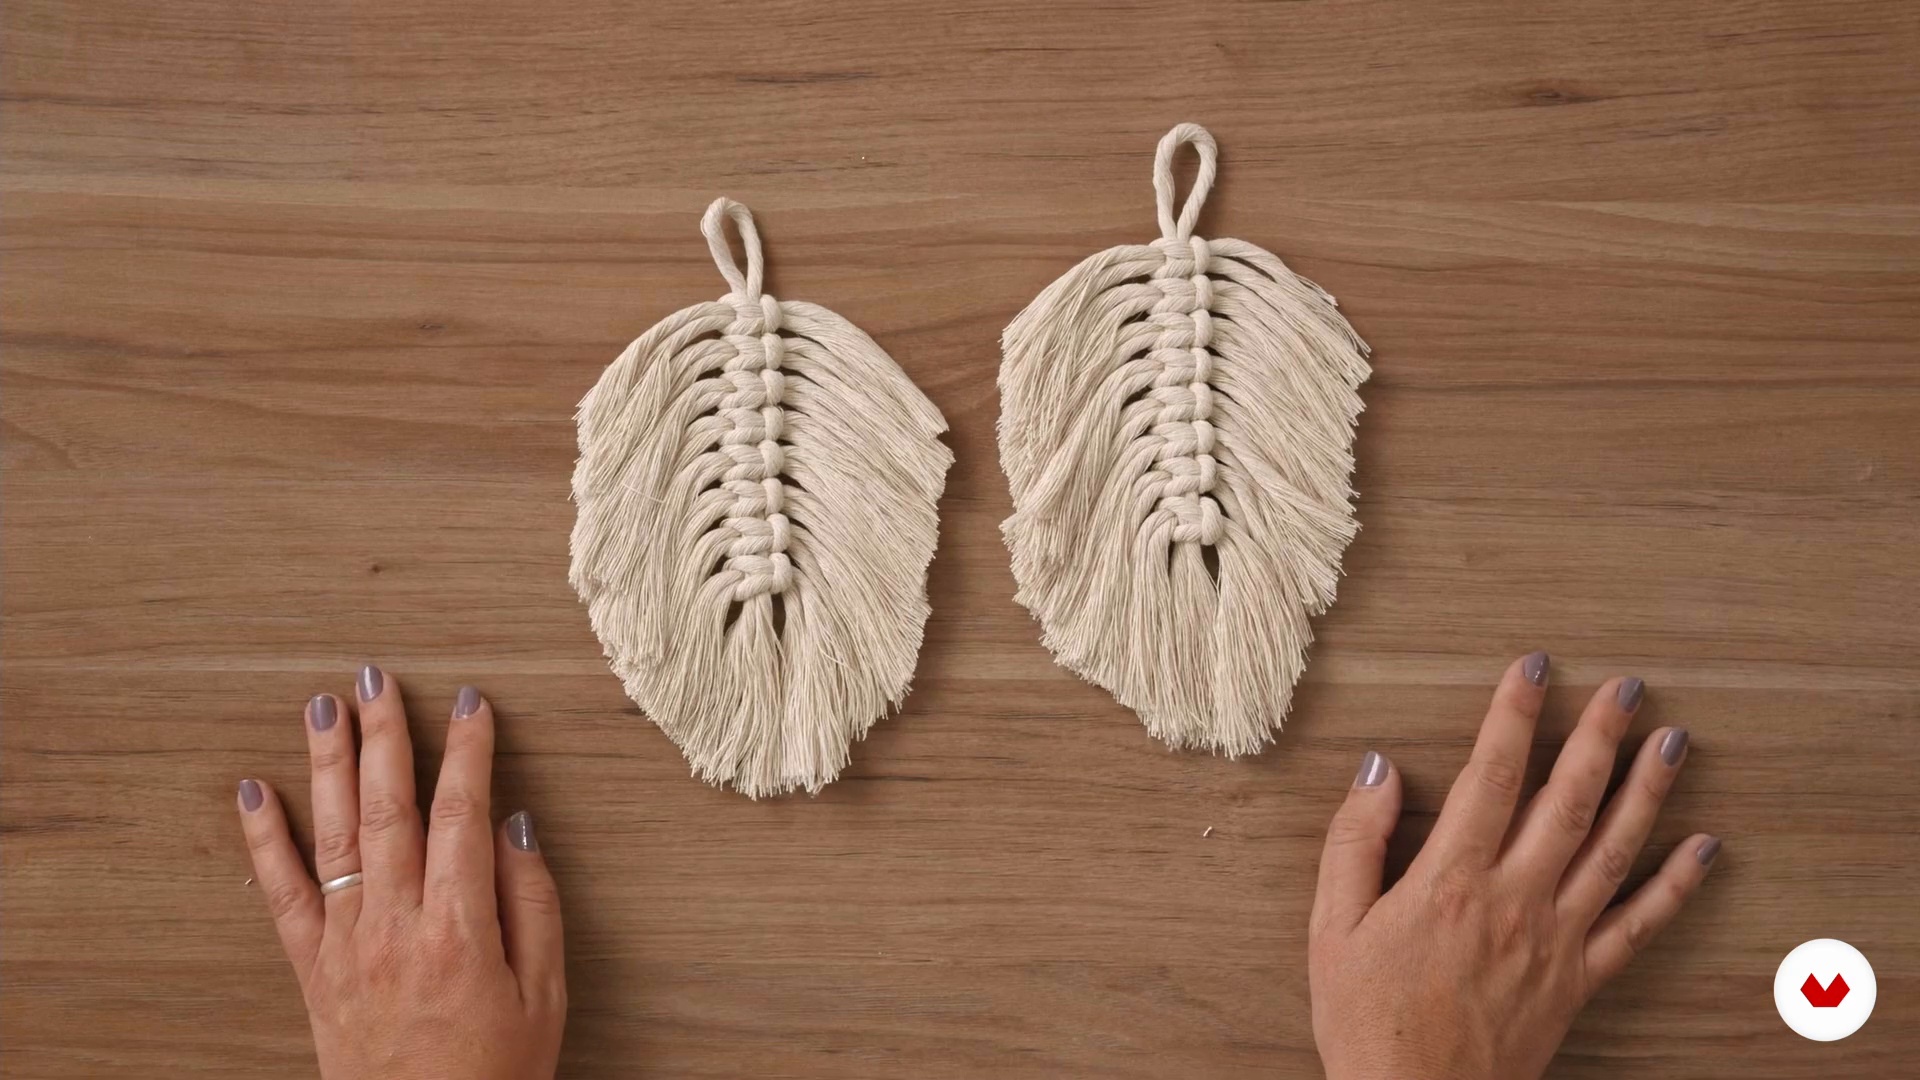
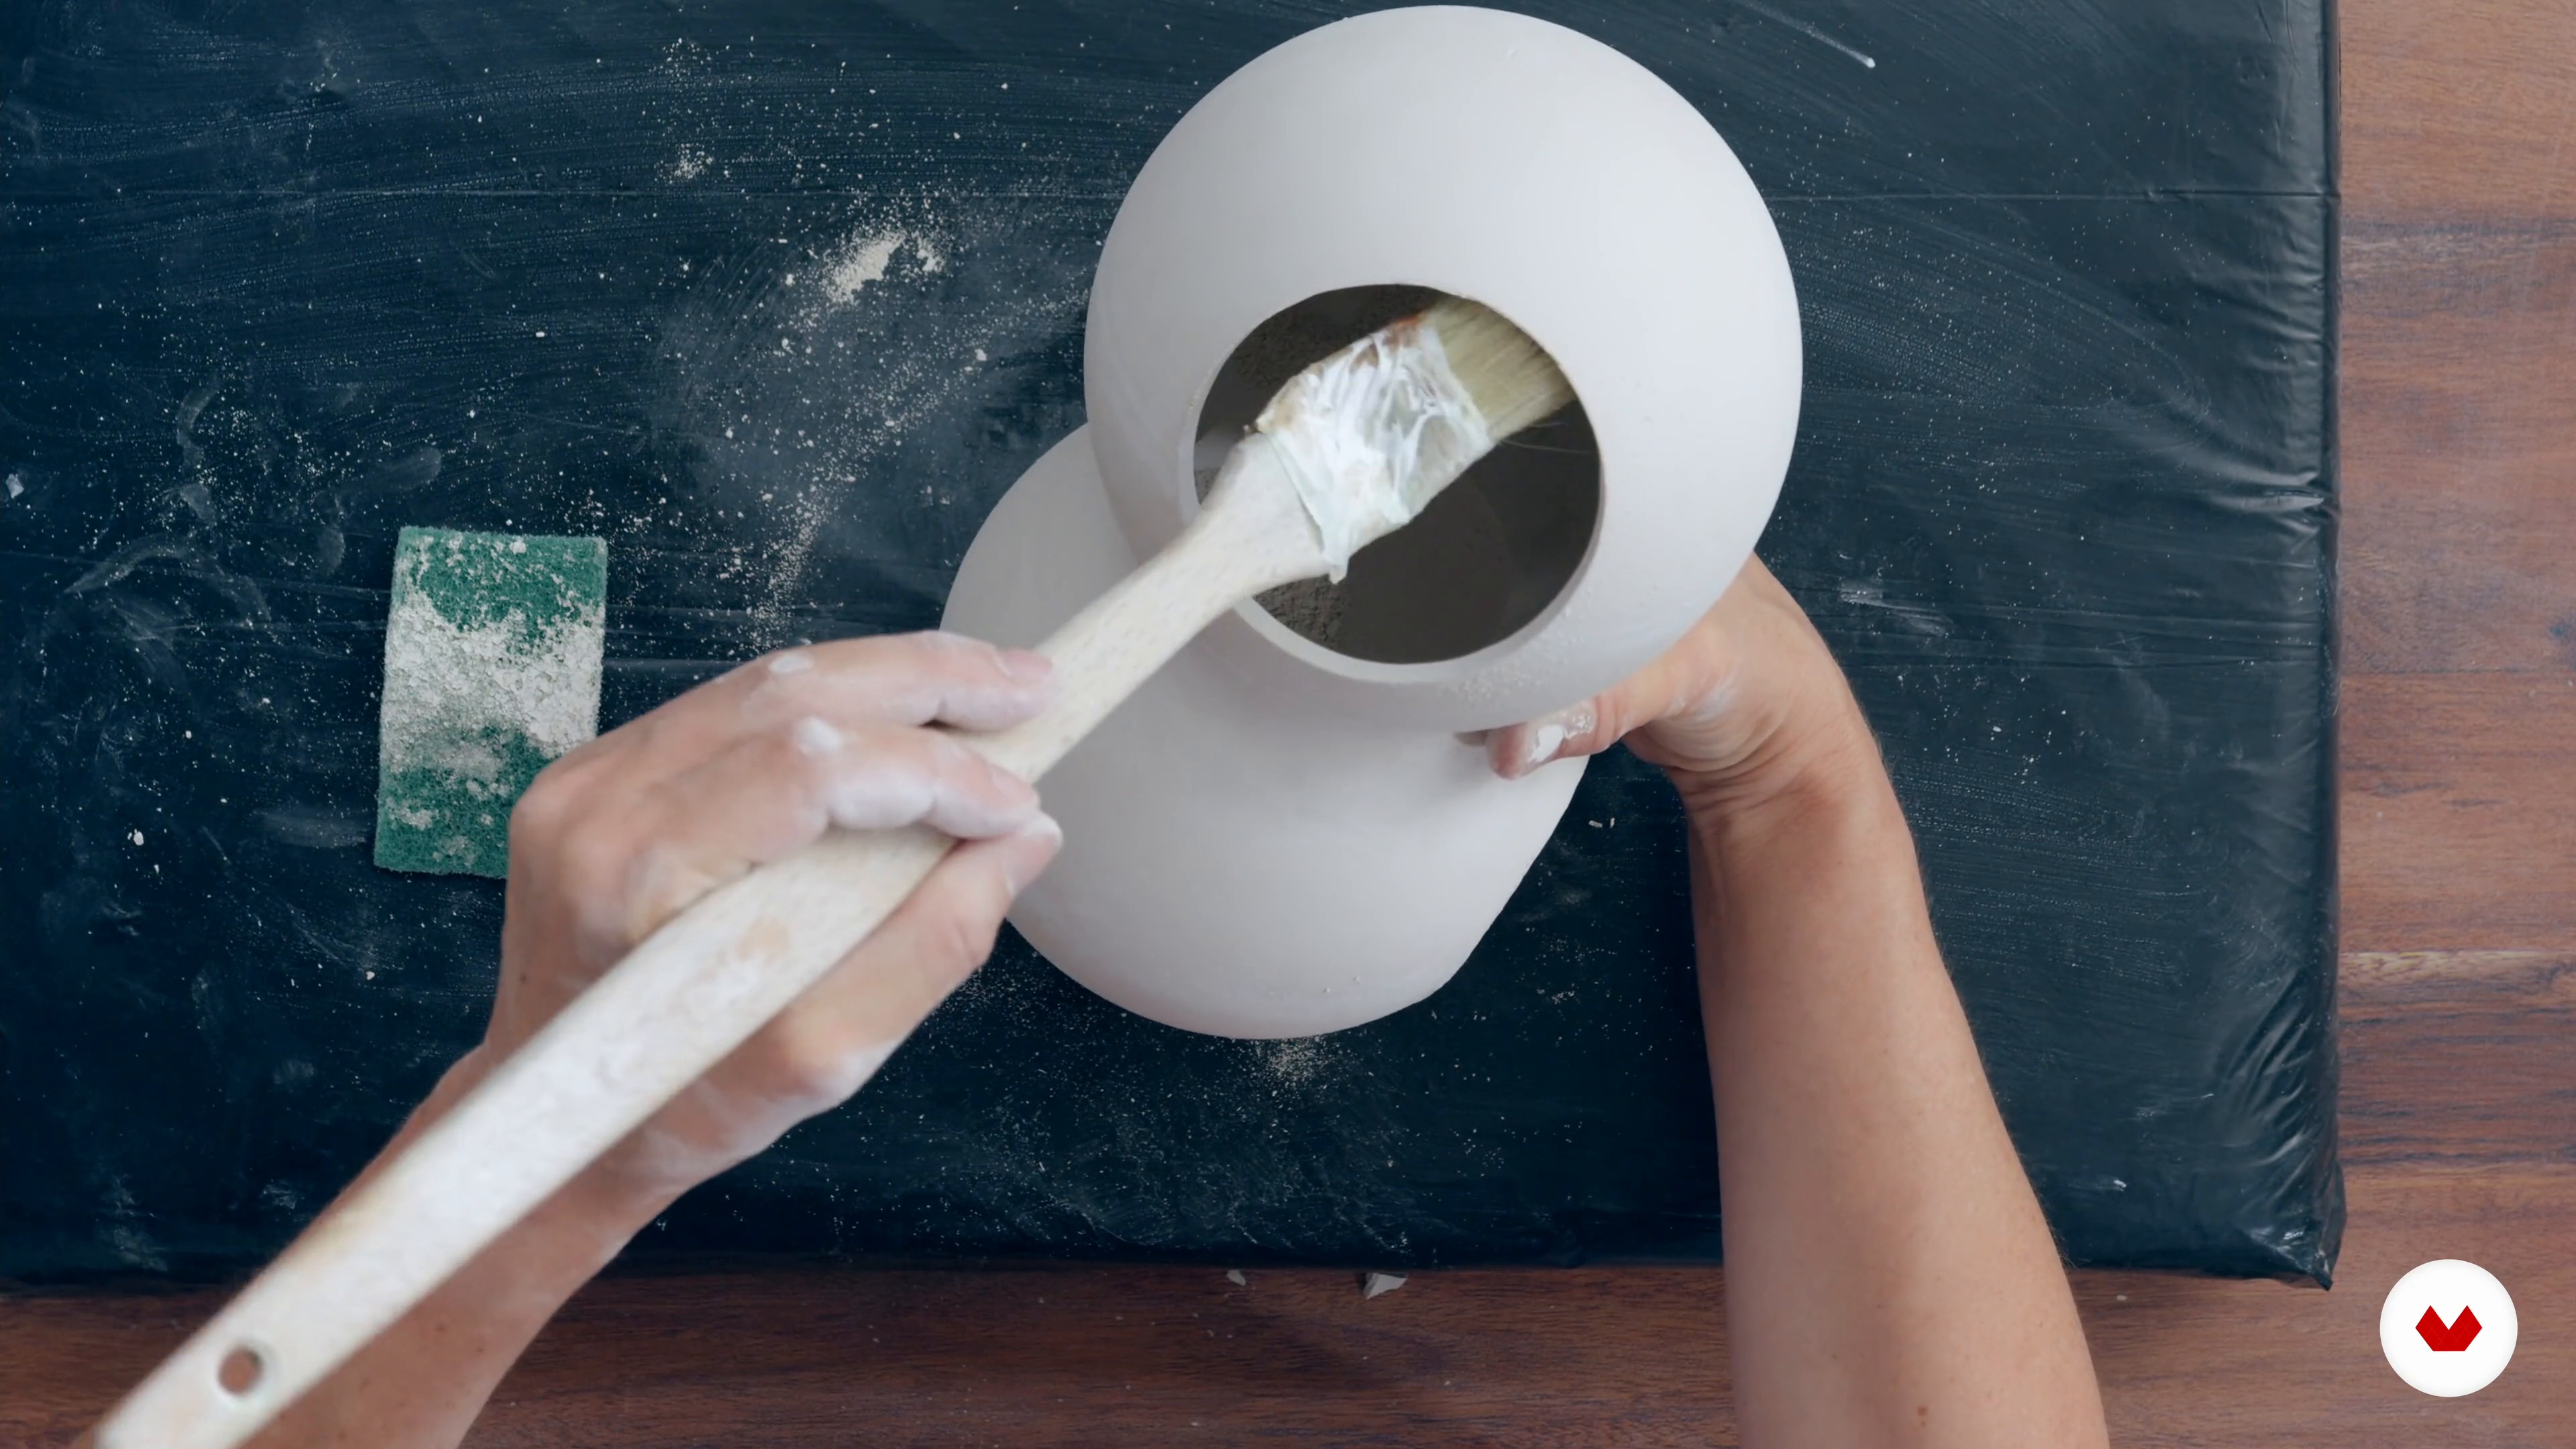
Guided by expert artisans from Vida Útil, Kate Colin, Daniela Navas, Studio Nucleo - Piergiorgio Robino, and Marre Moerel, you'll master the craft of lamp making. Develop skills in structural design, color theory, and material manipulation while embracing sustainability and storytelling. By the end, you'll have a cohesive collection of handcrafted lamps that showcase your versatility and creativity. Transform your approach to lighting design by merging traditional techniques with contemporary styles, ready to captivate in exhibitions or commercial ventures.
What will you learn in this specialization?


- 217 students
- 83 lessons (17h 3m)
- 115 additional resources (33 files)
- Online and at your own pace
- Audio: English, German, Spanish, Spanish (Latam), French, Italian, Polish, Portuguese, Turkish
- Romanian · Indonesian · Turkish · English · Spanish · Portuguese · German · French · Italian · Polish
- Level: Beginner
- Unlimited access forever
What is this course's project?
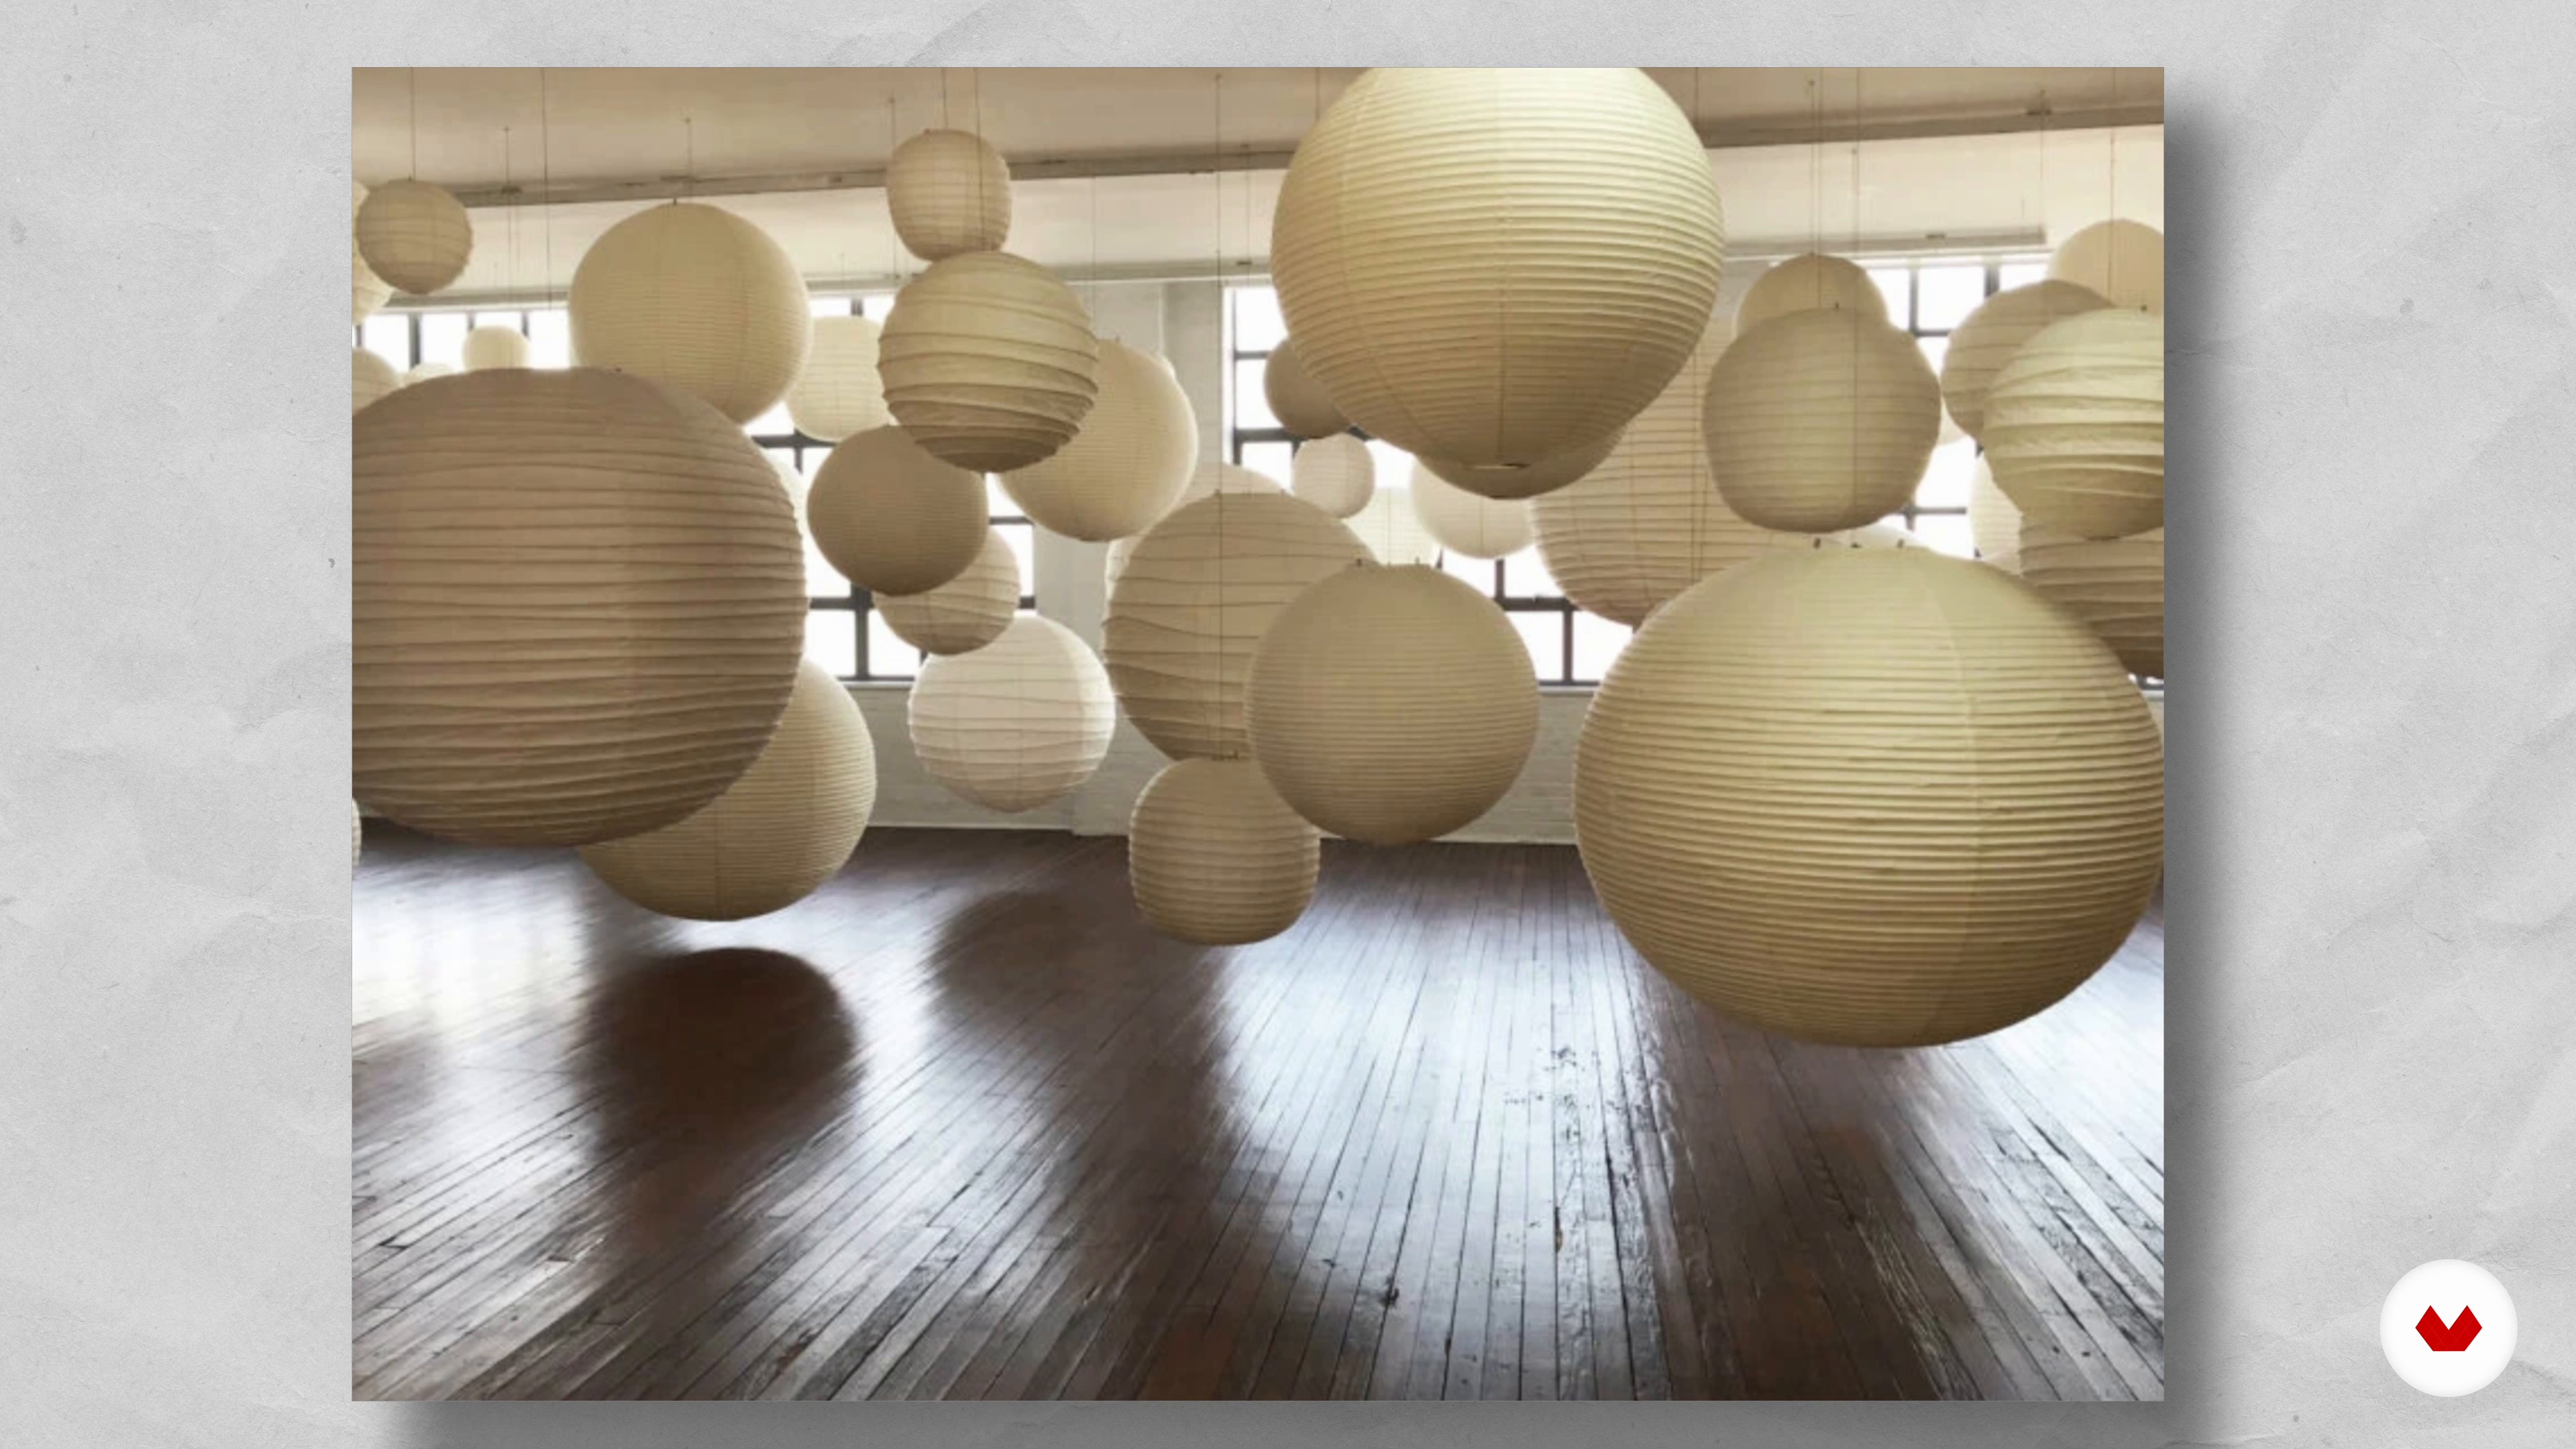
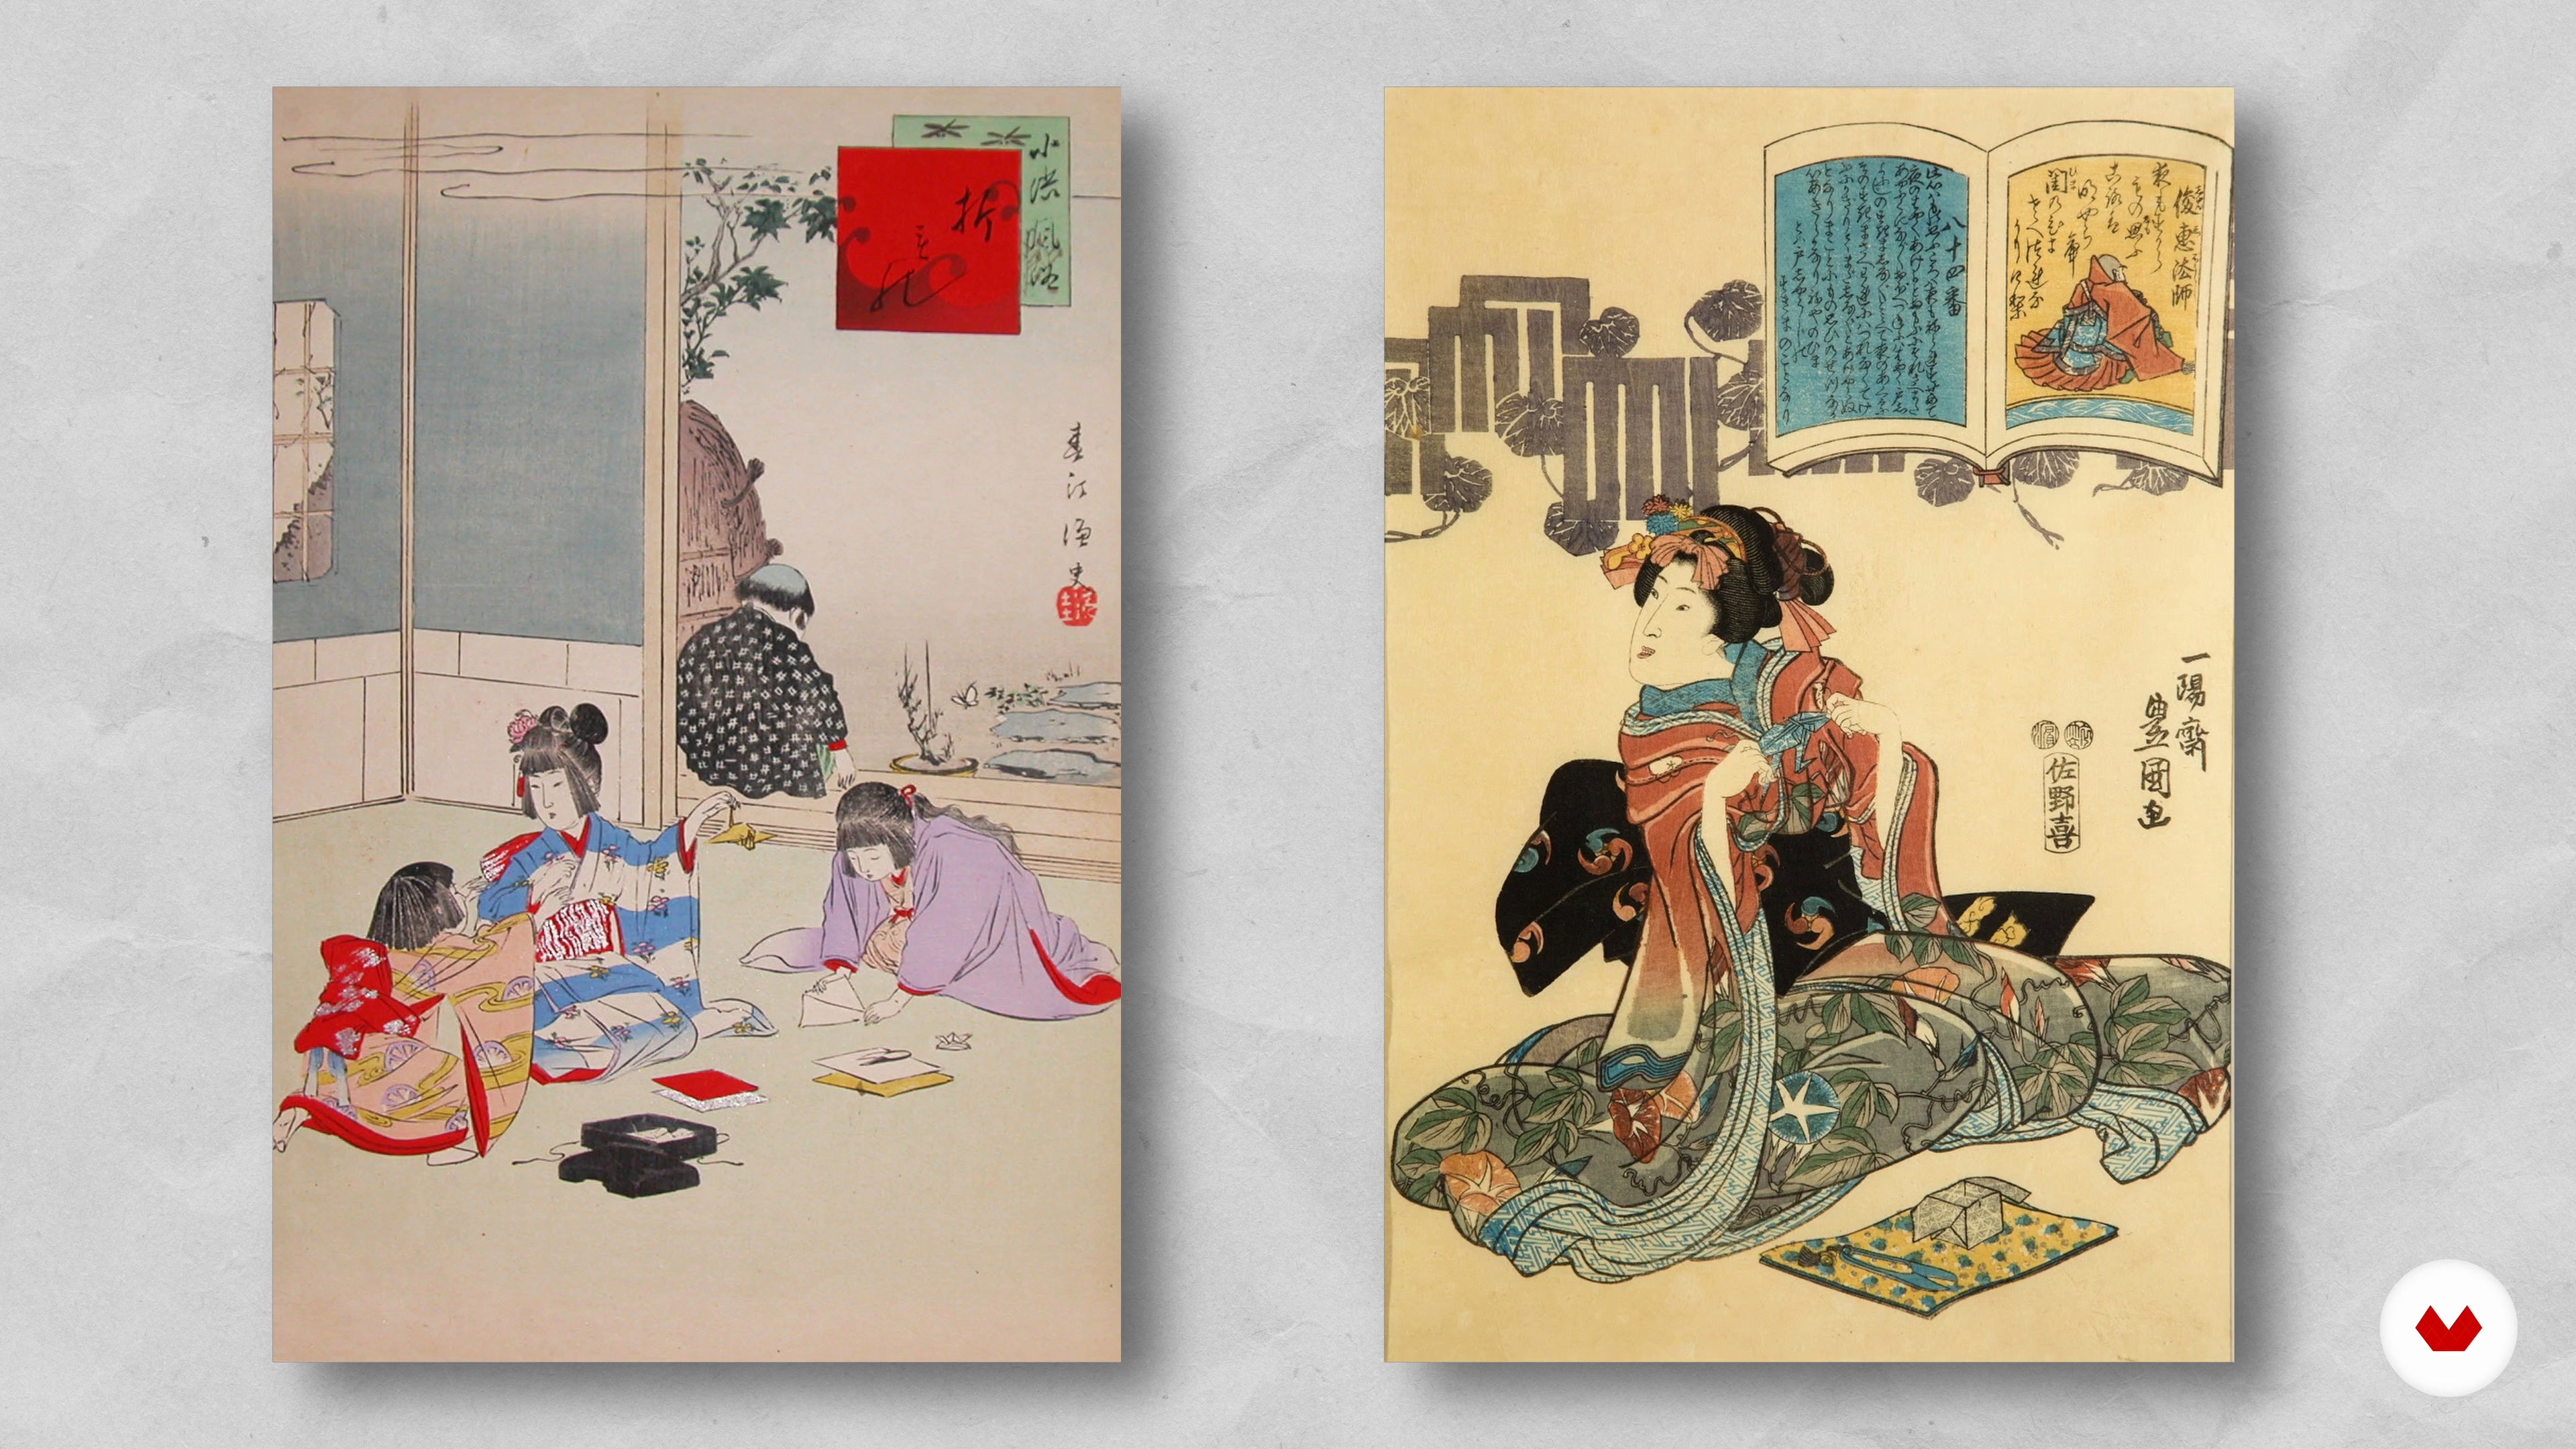
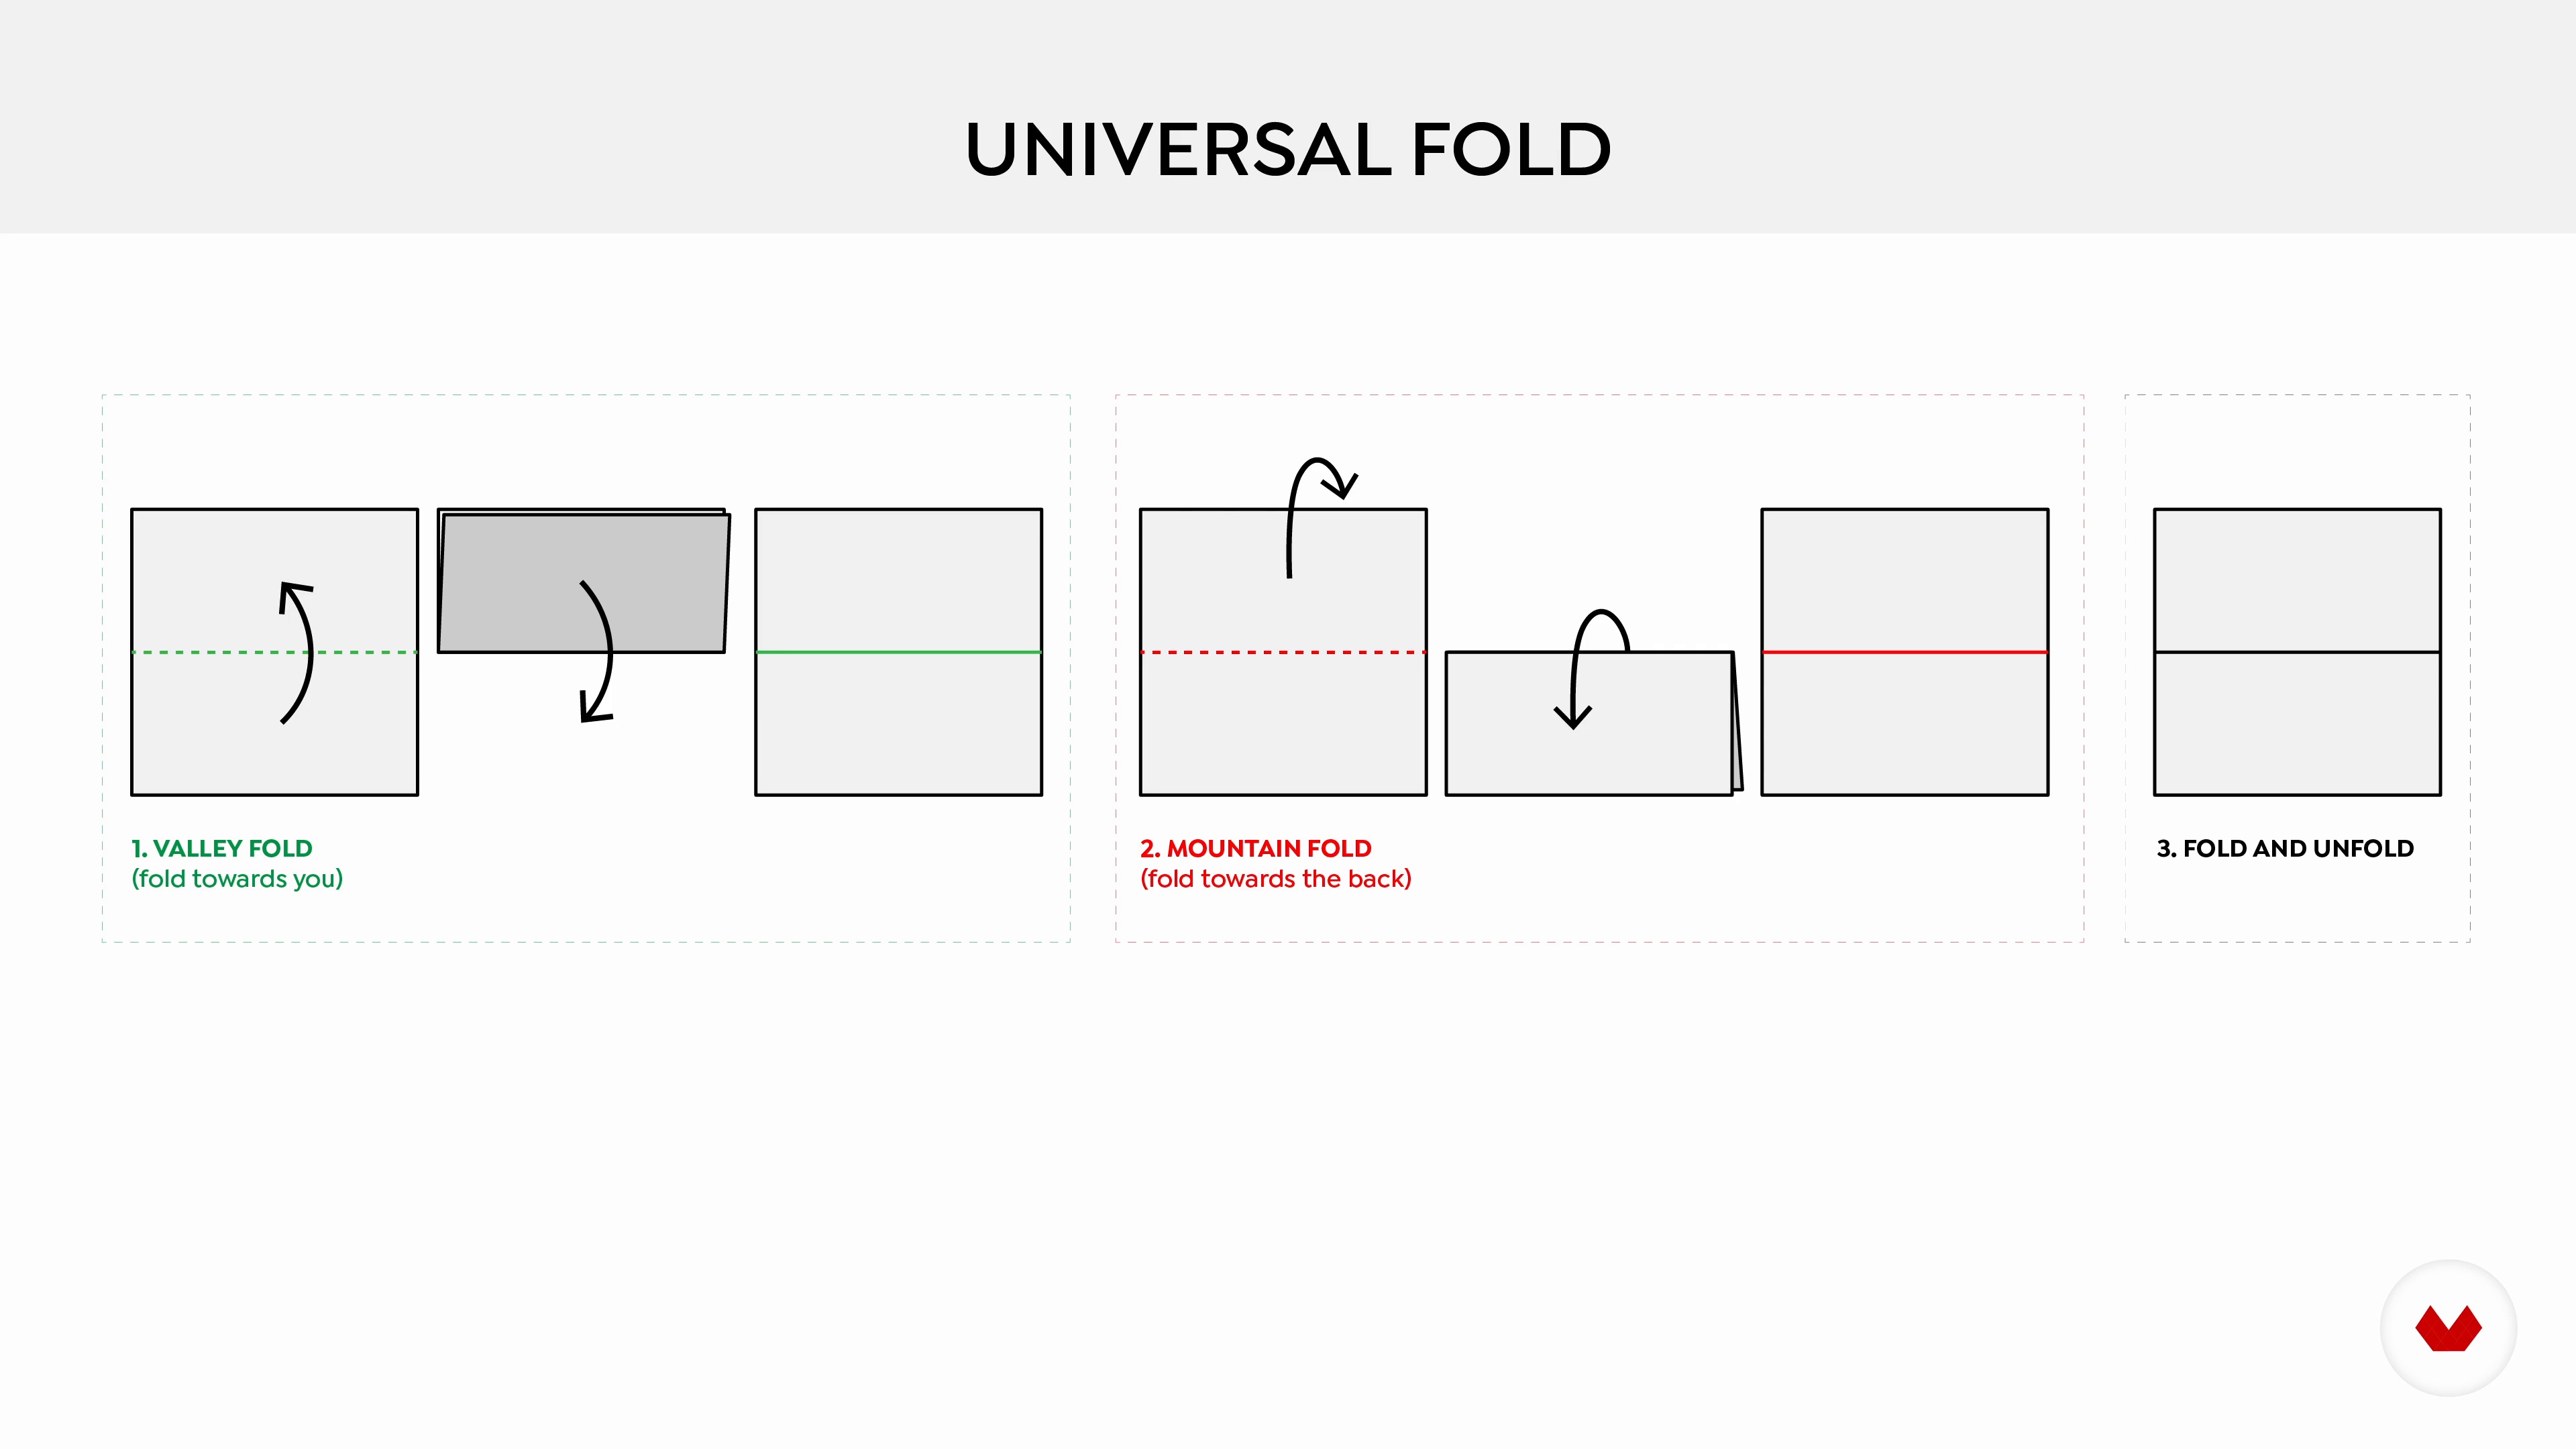
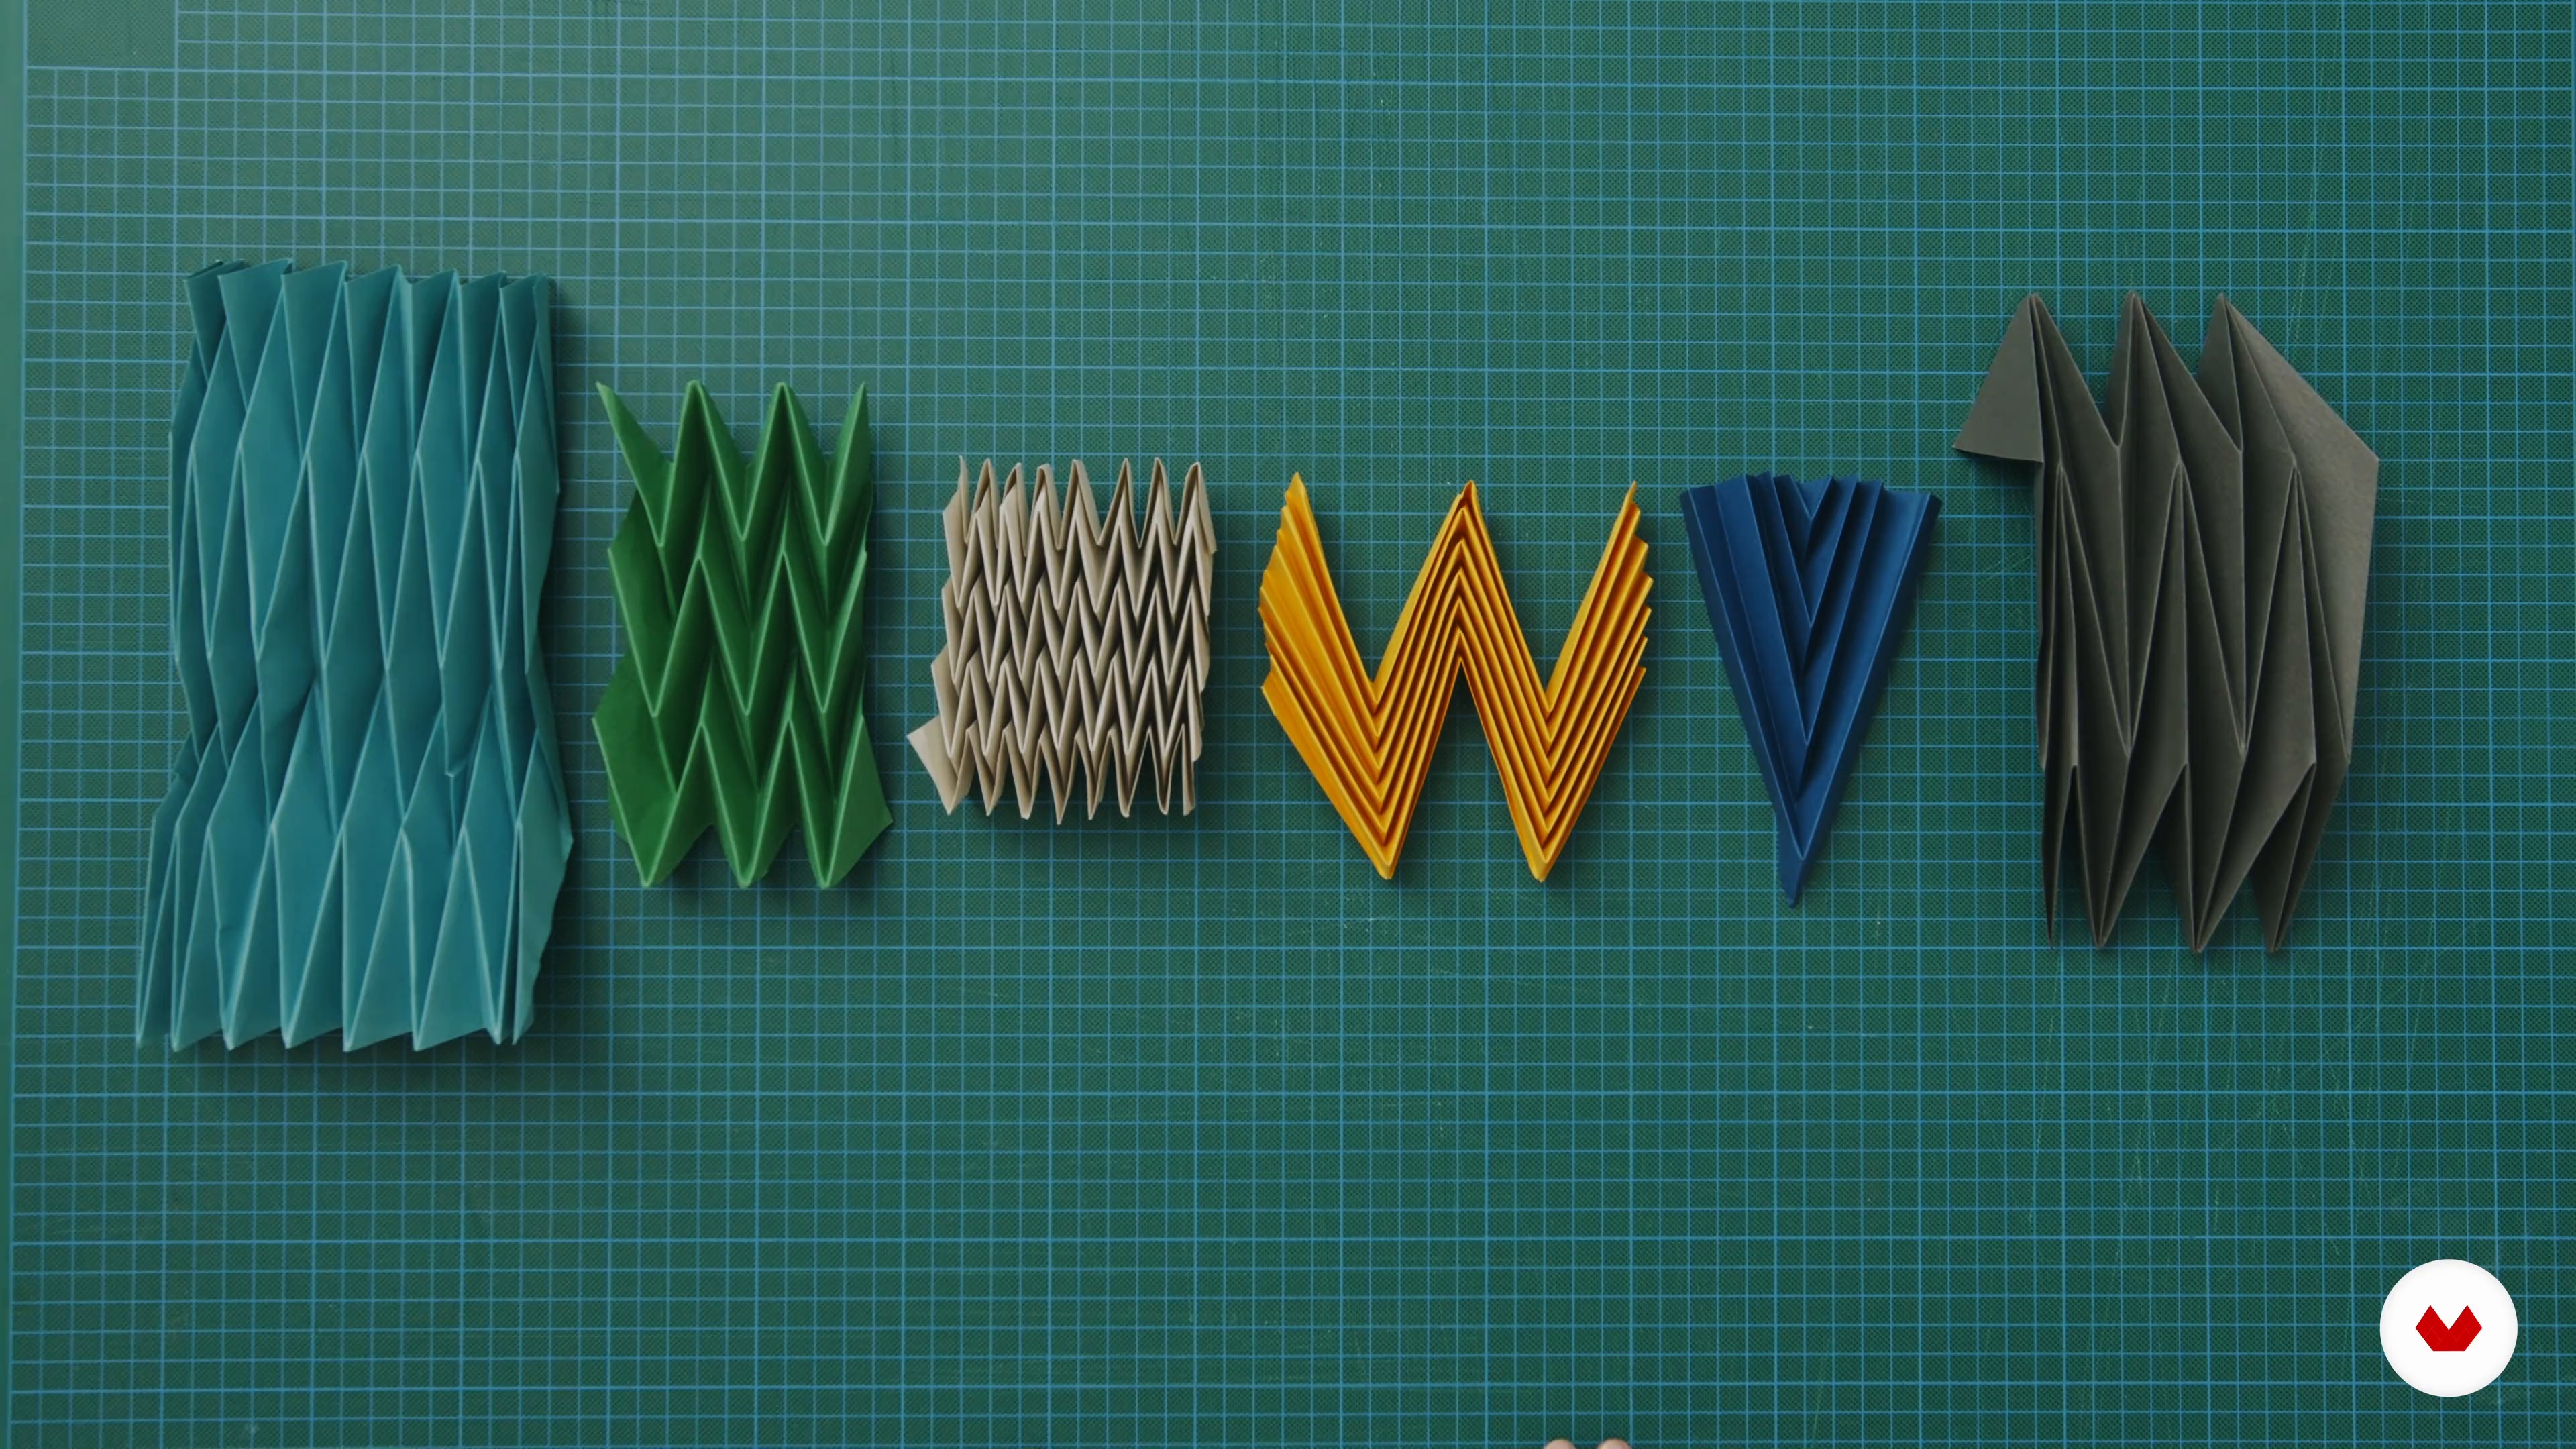
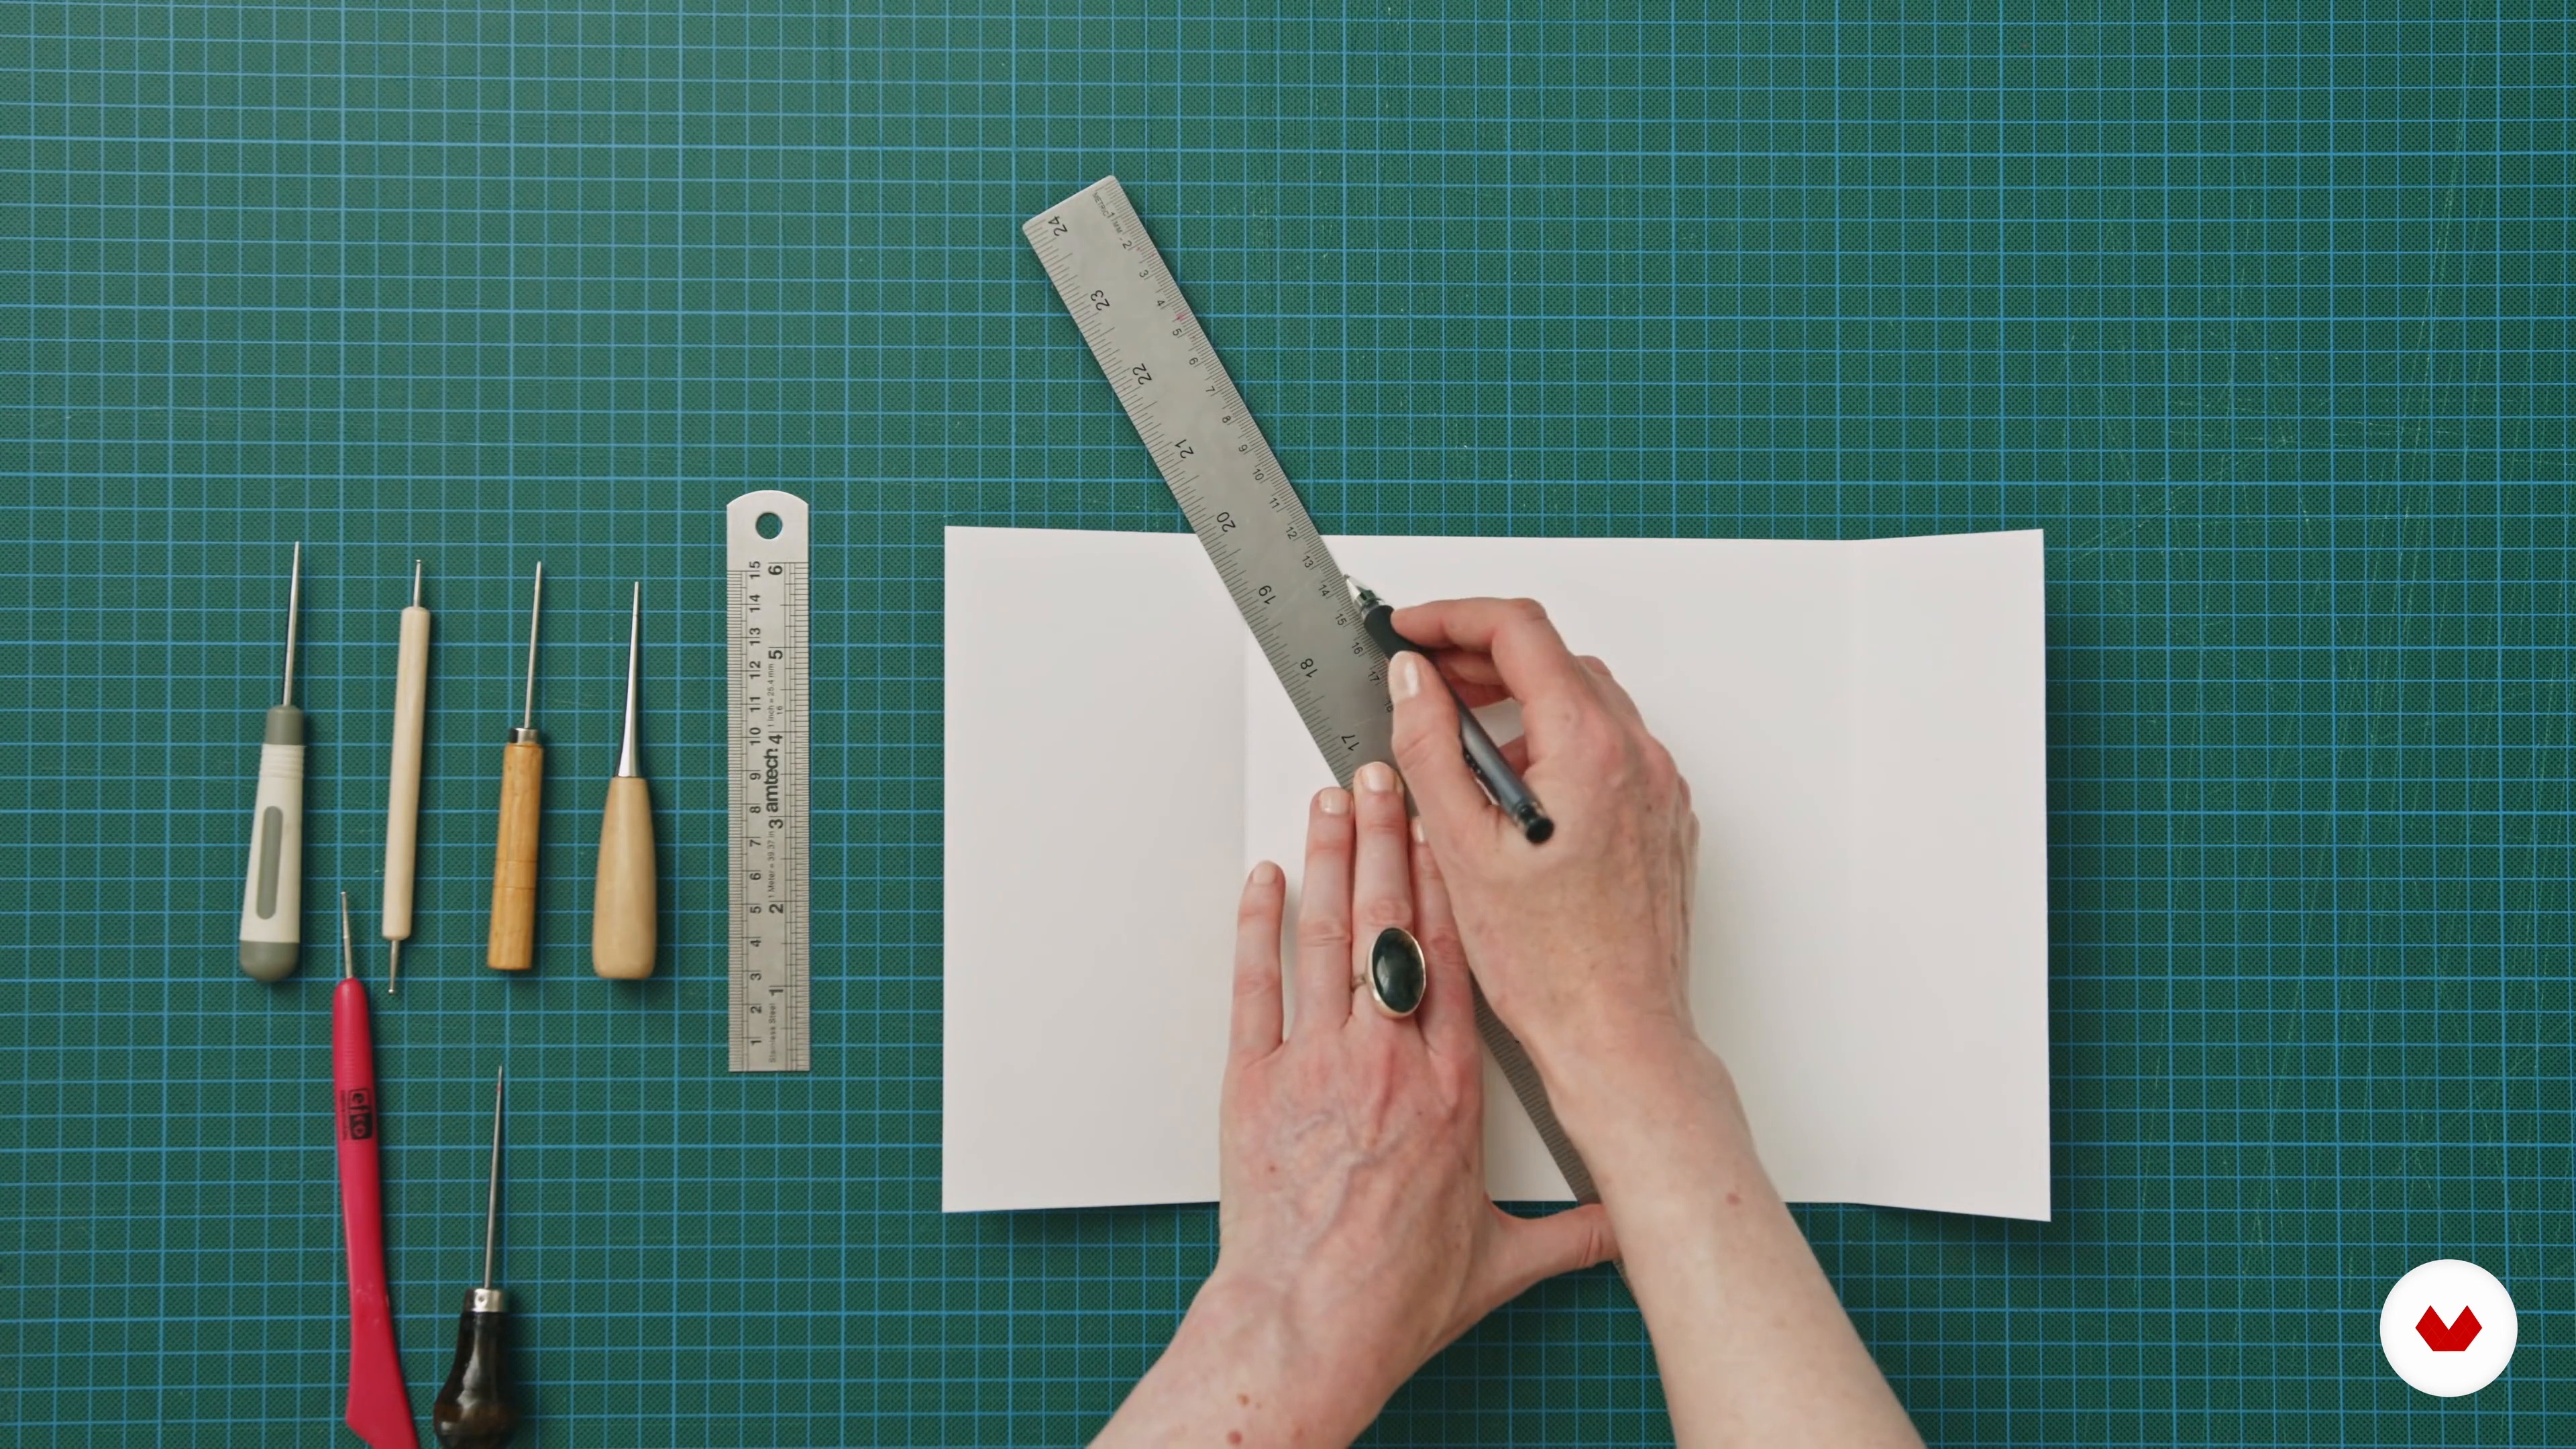
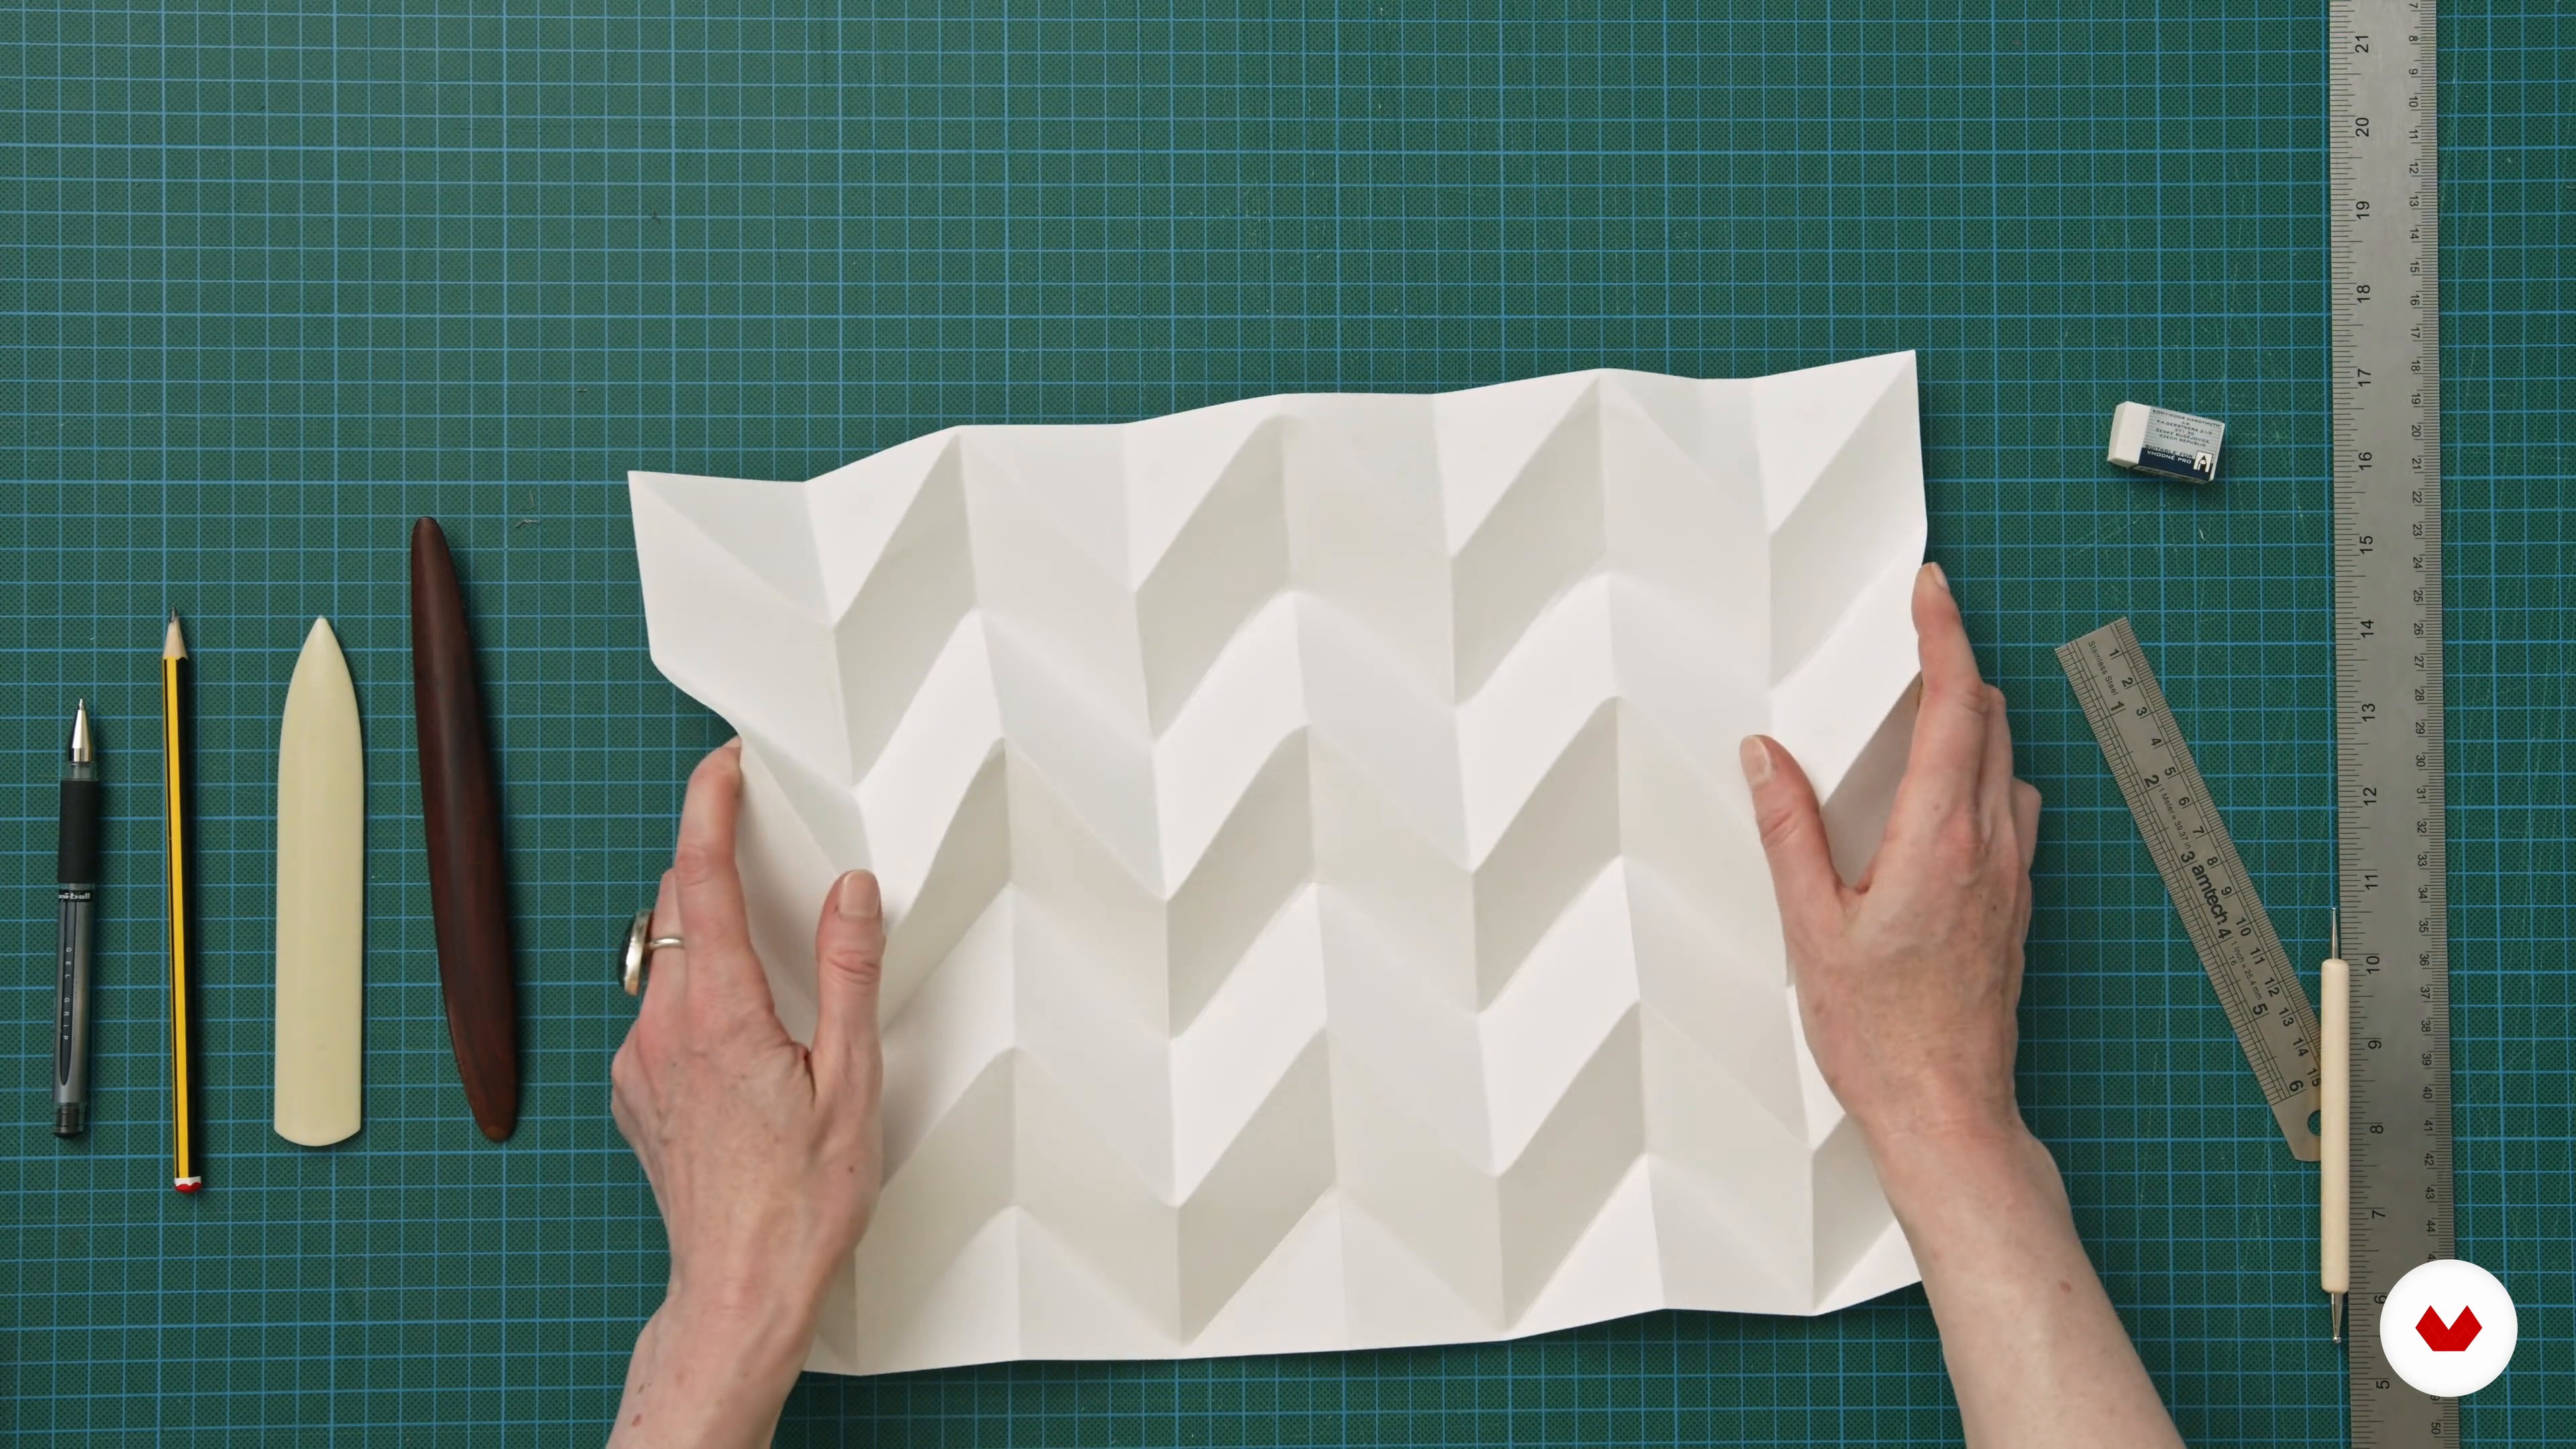
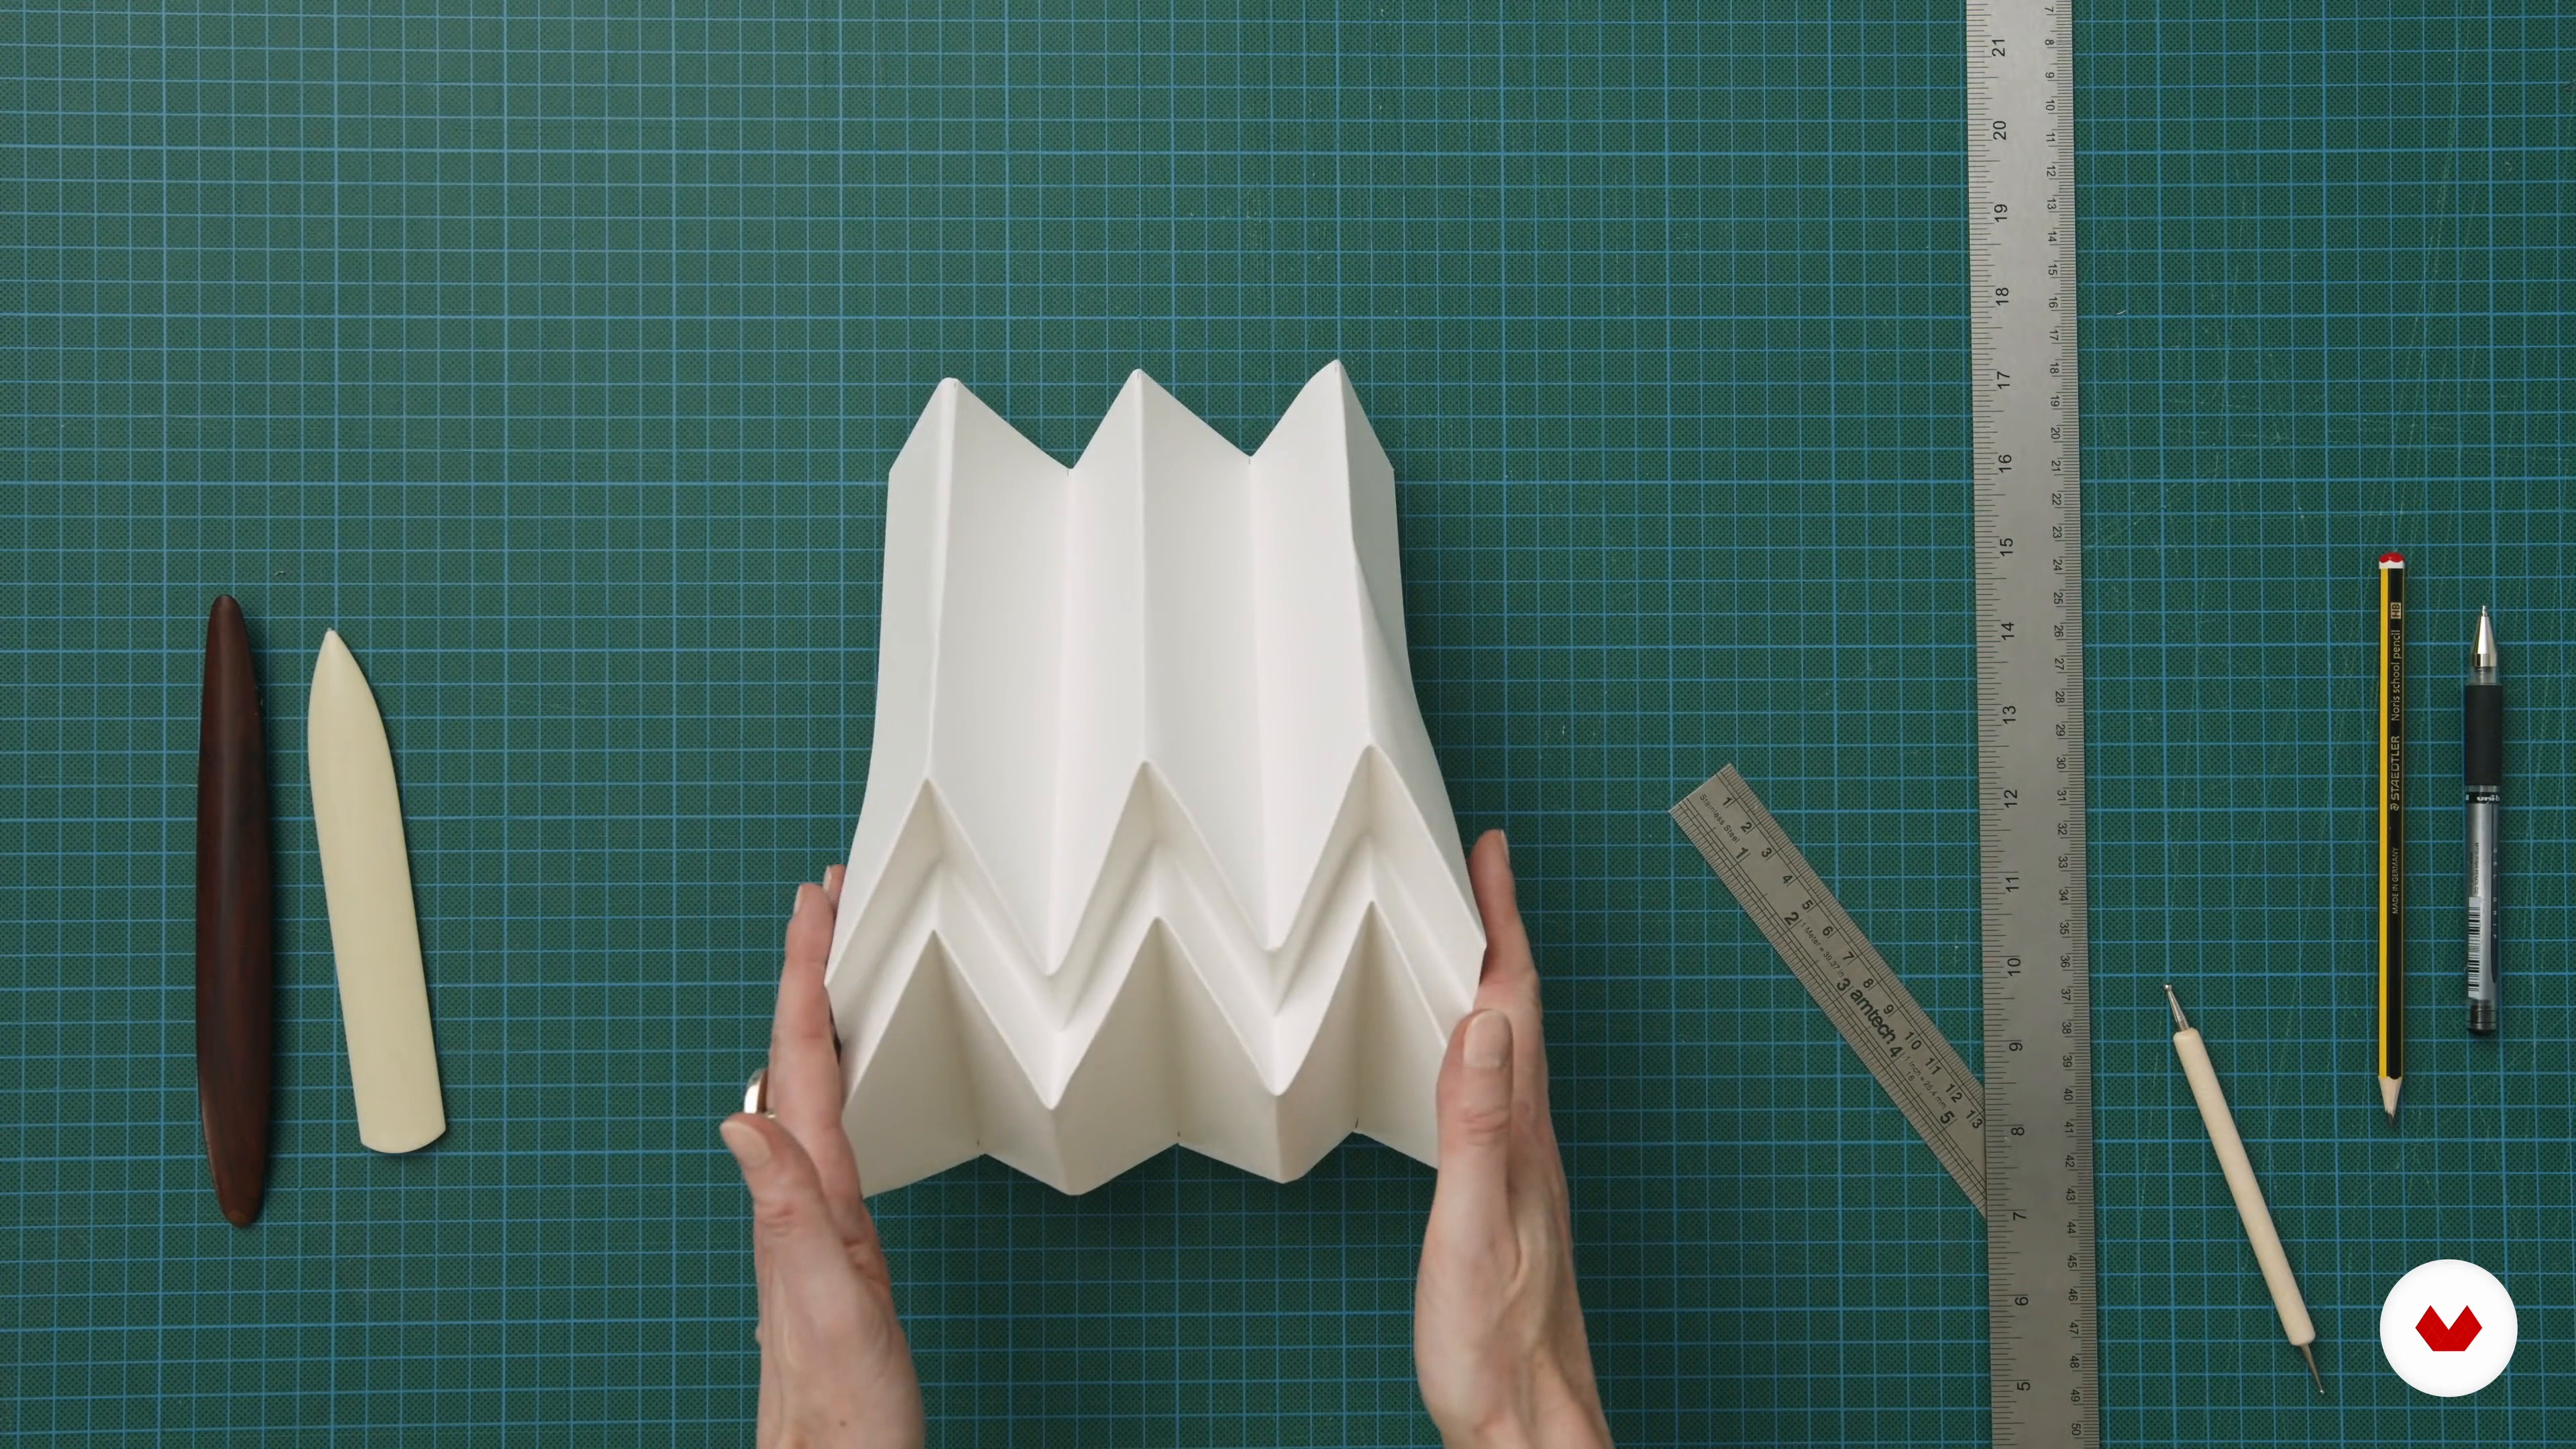
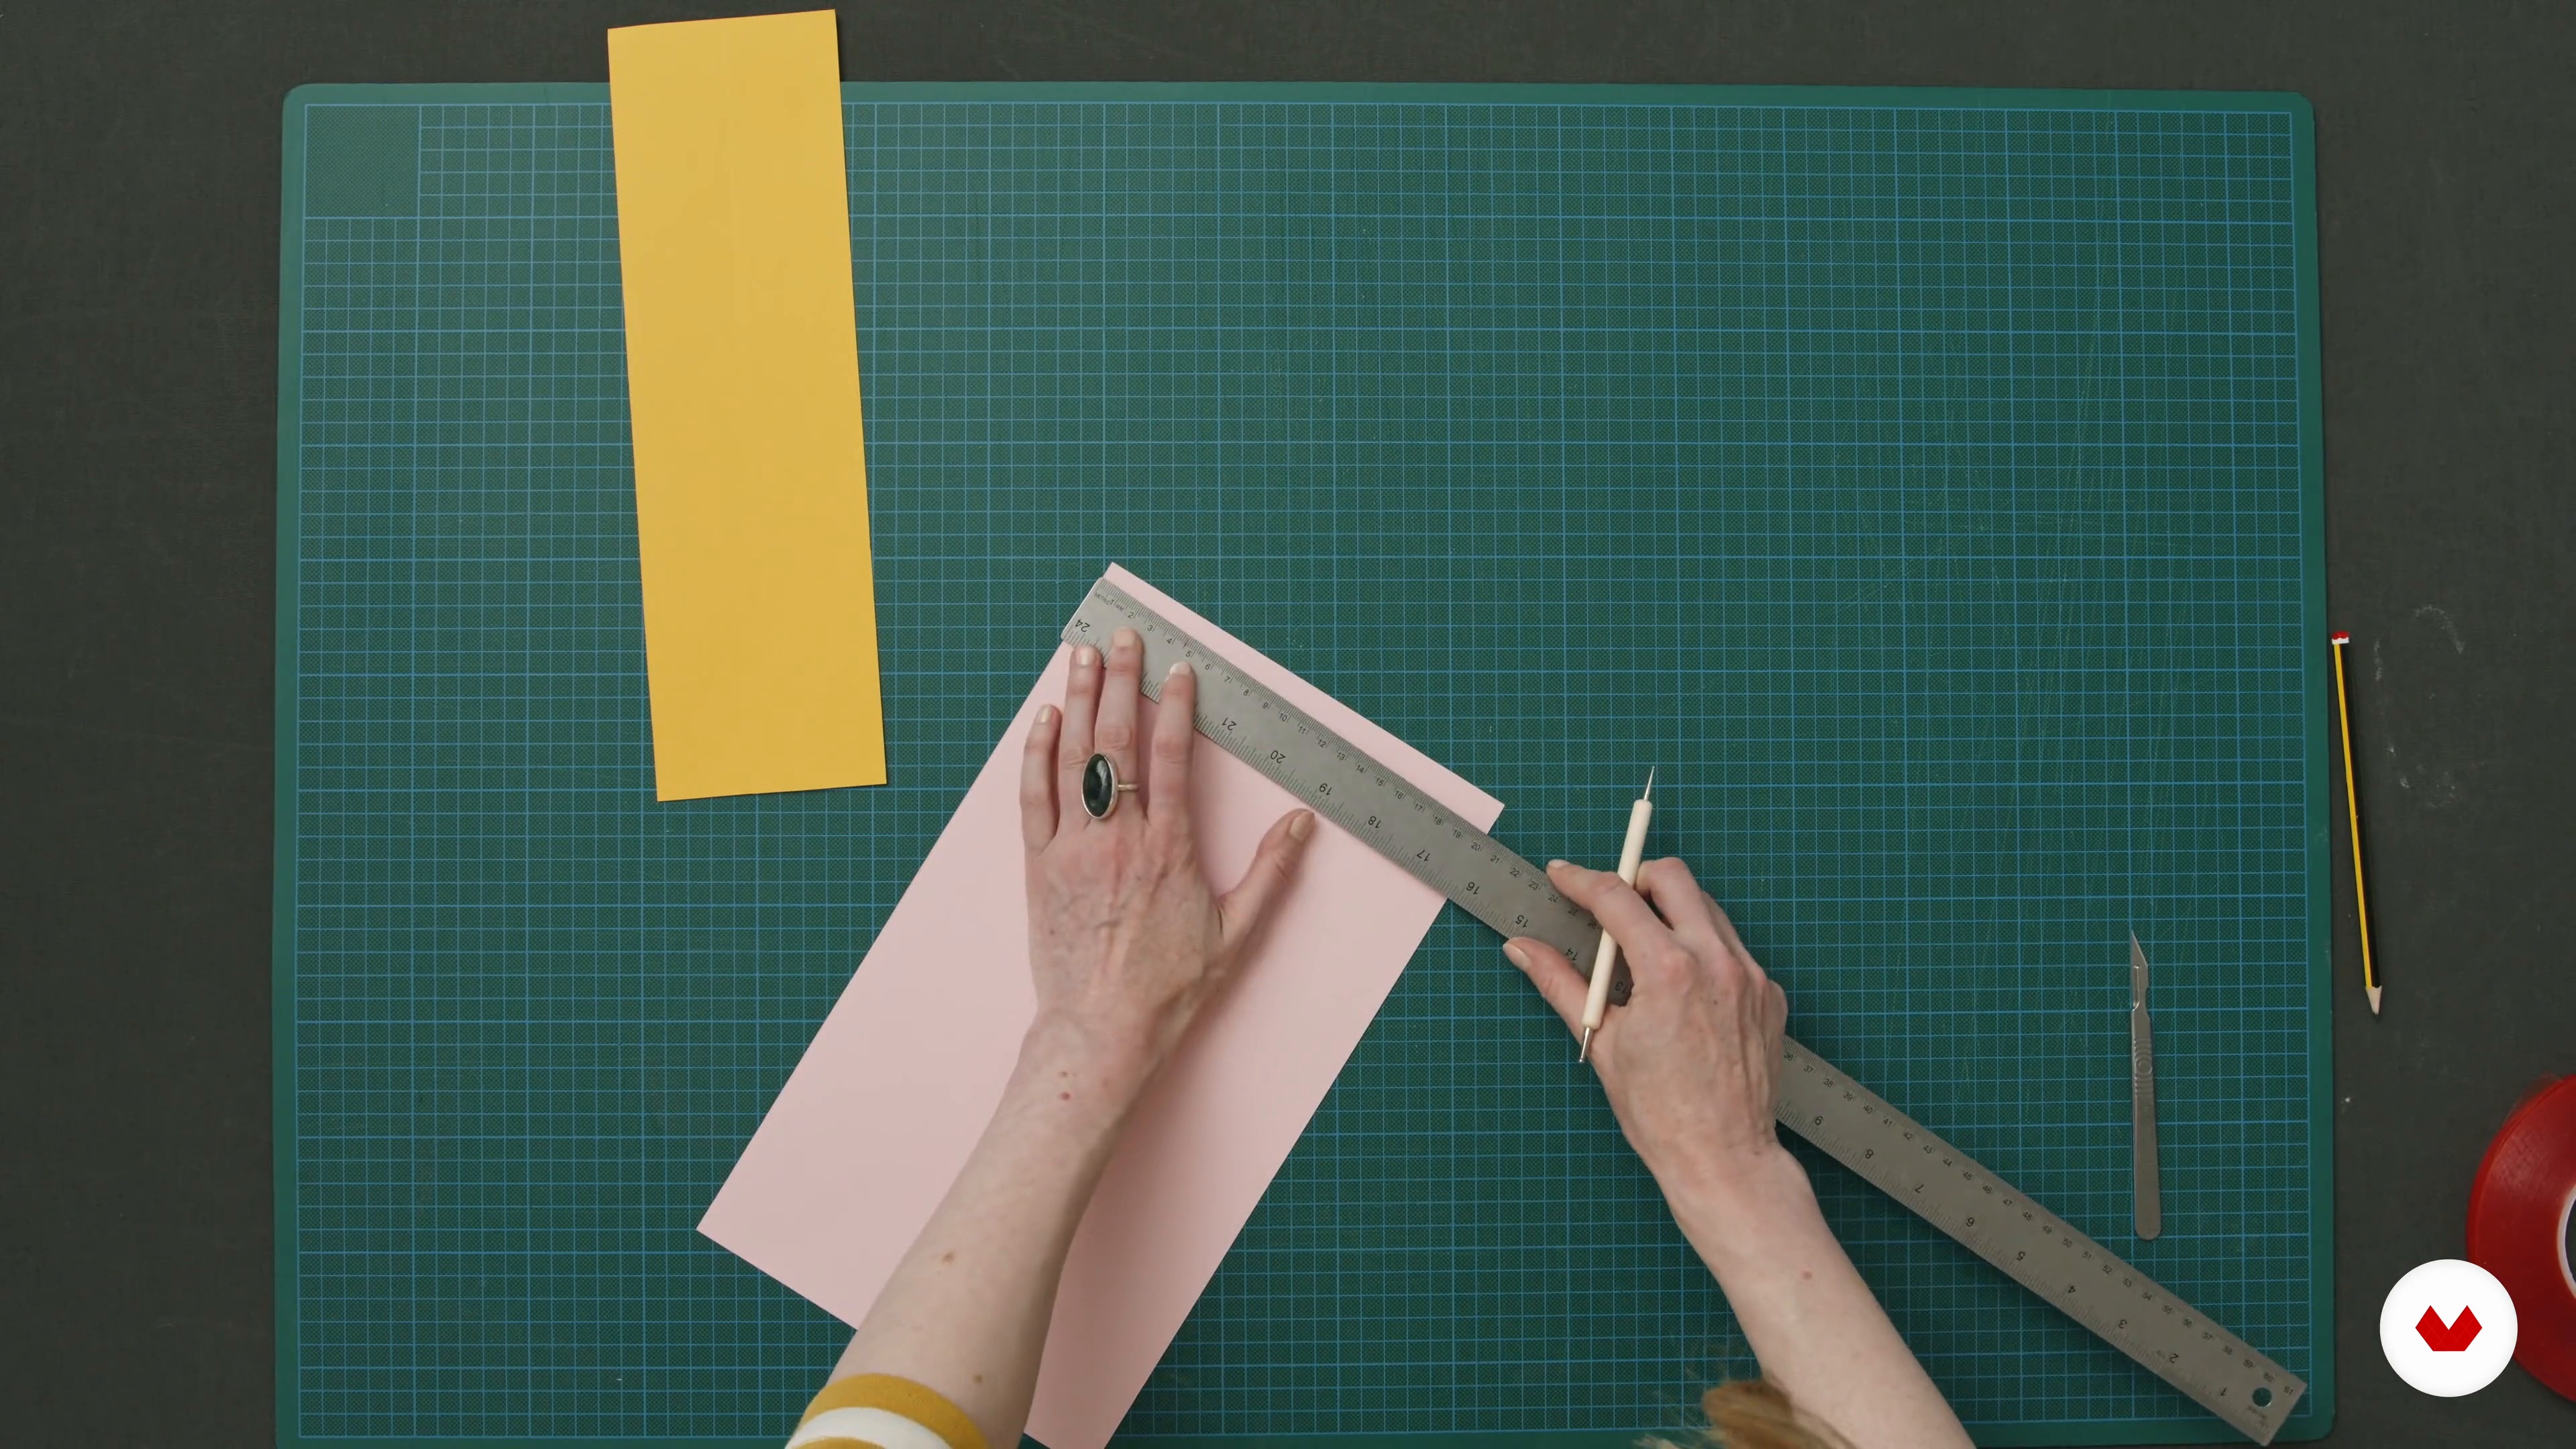
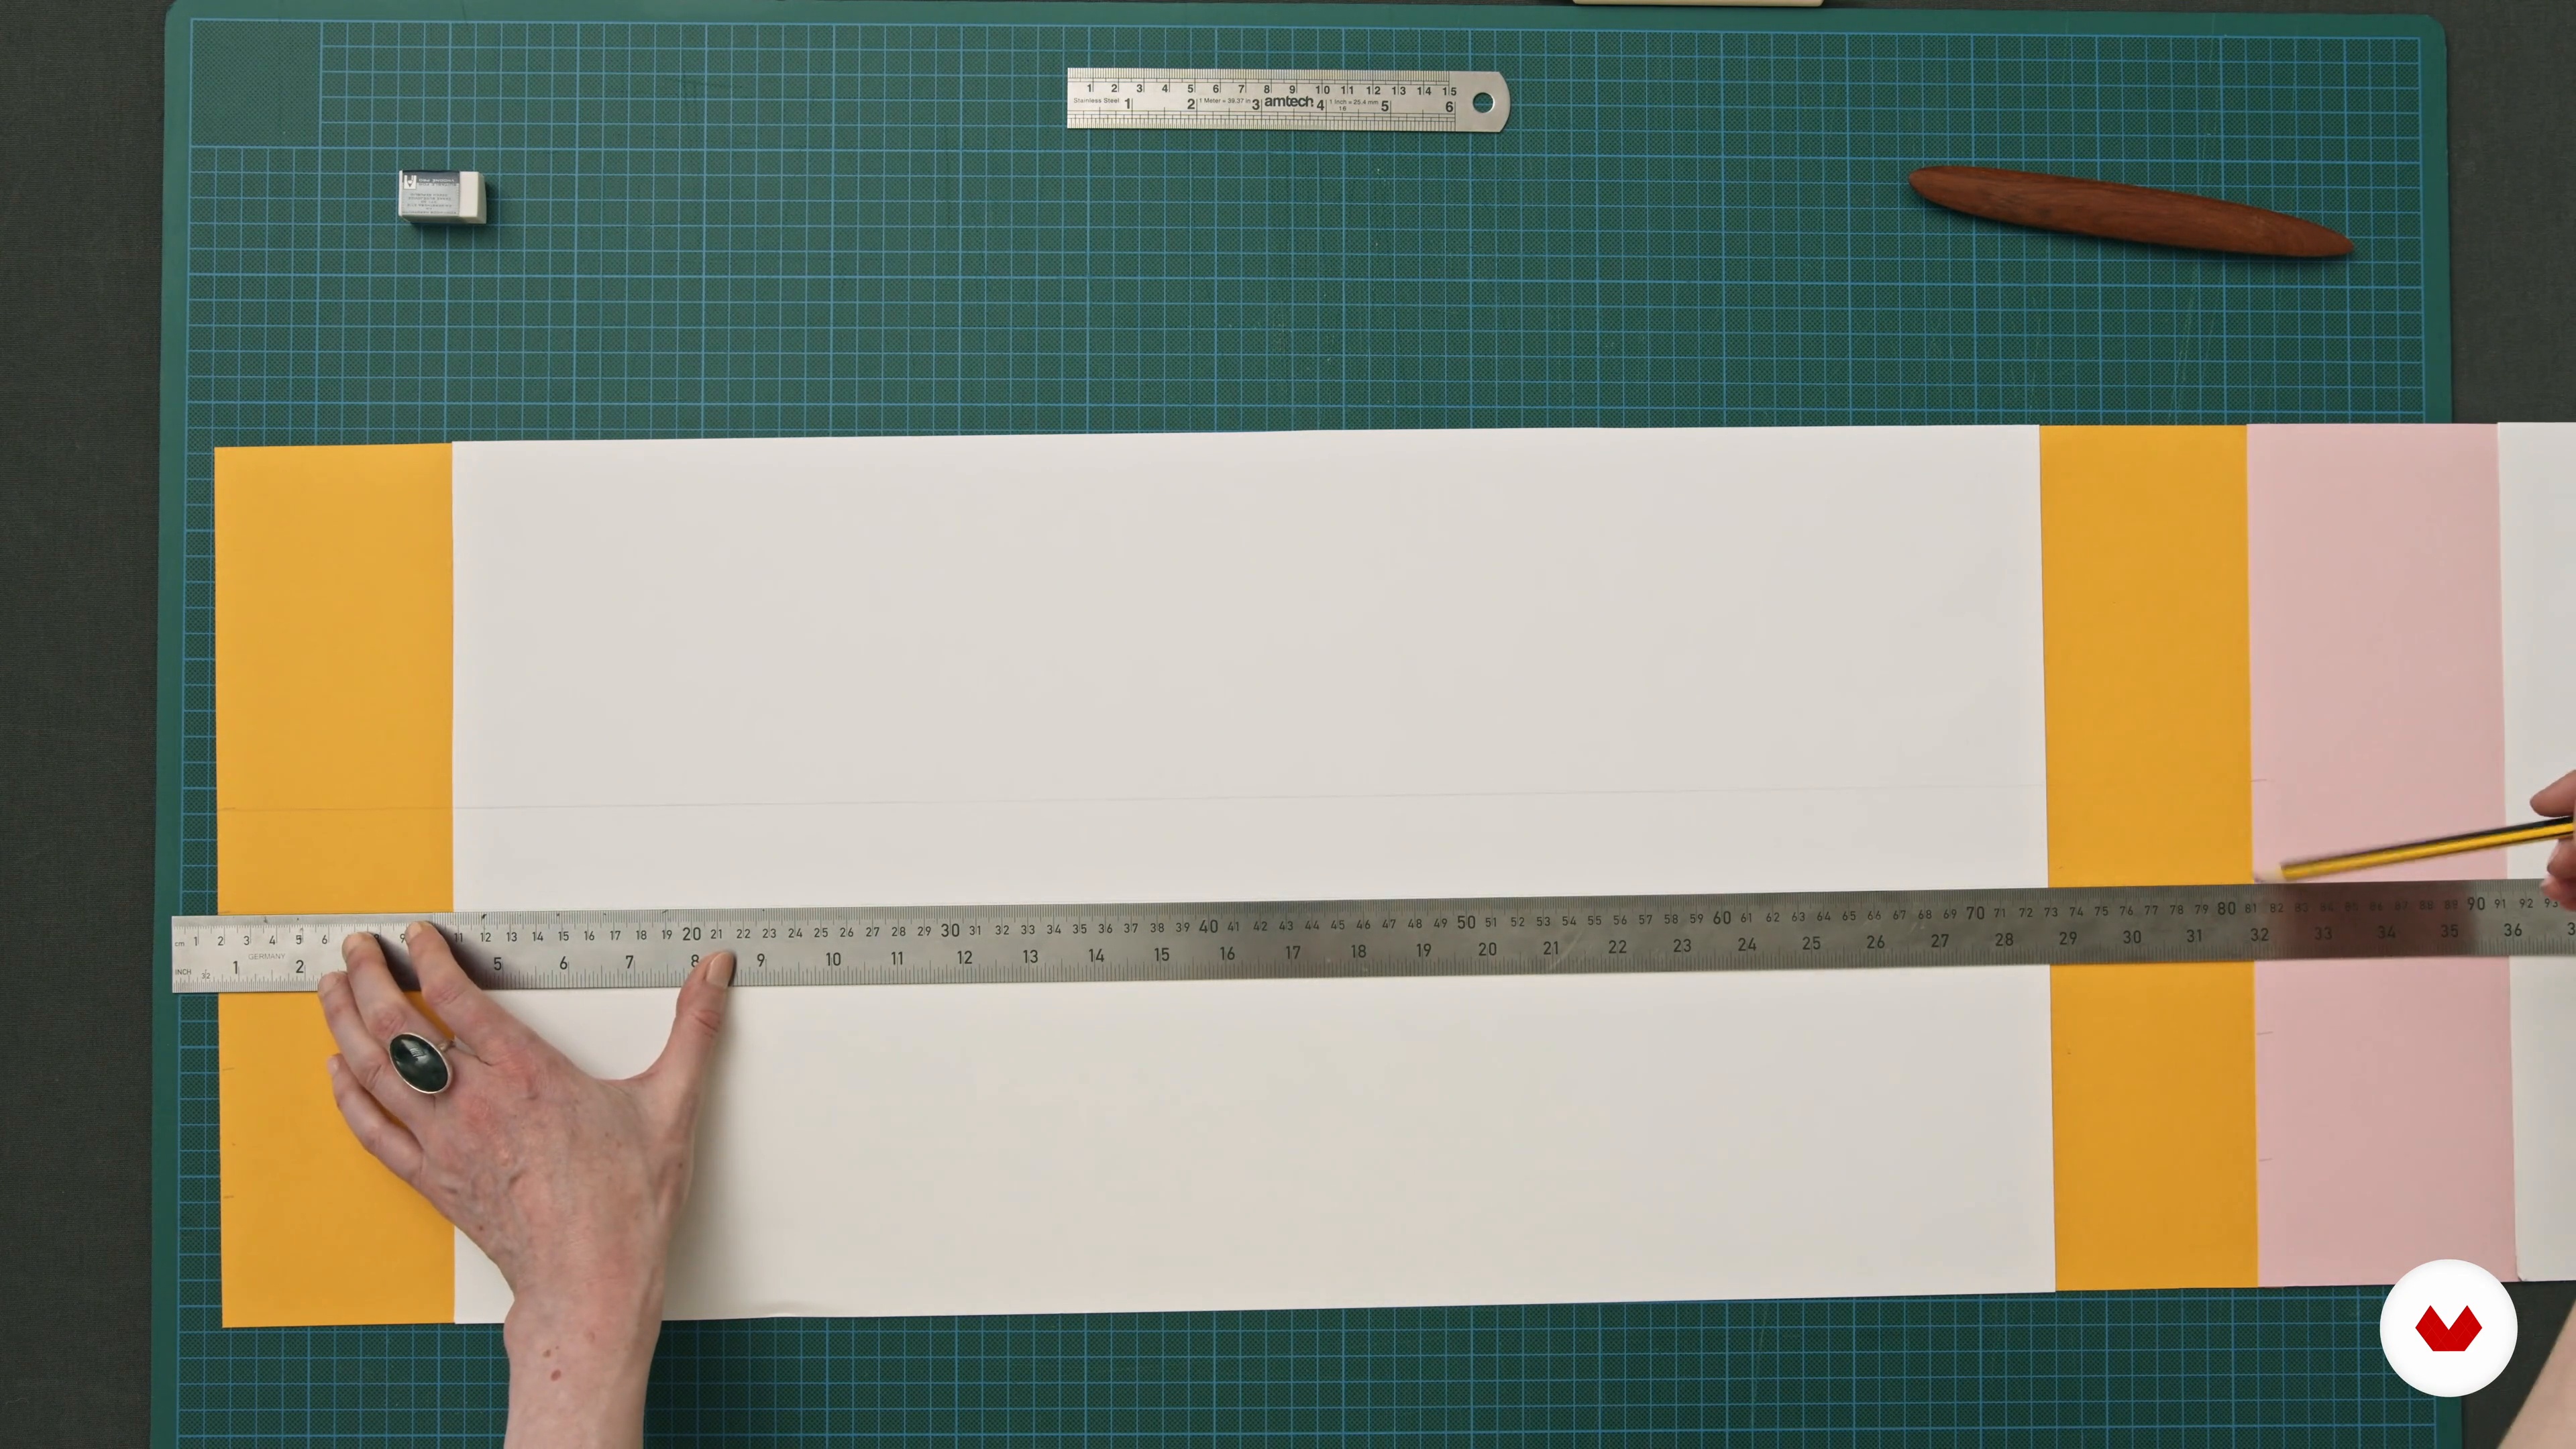
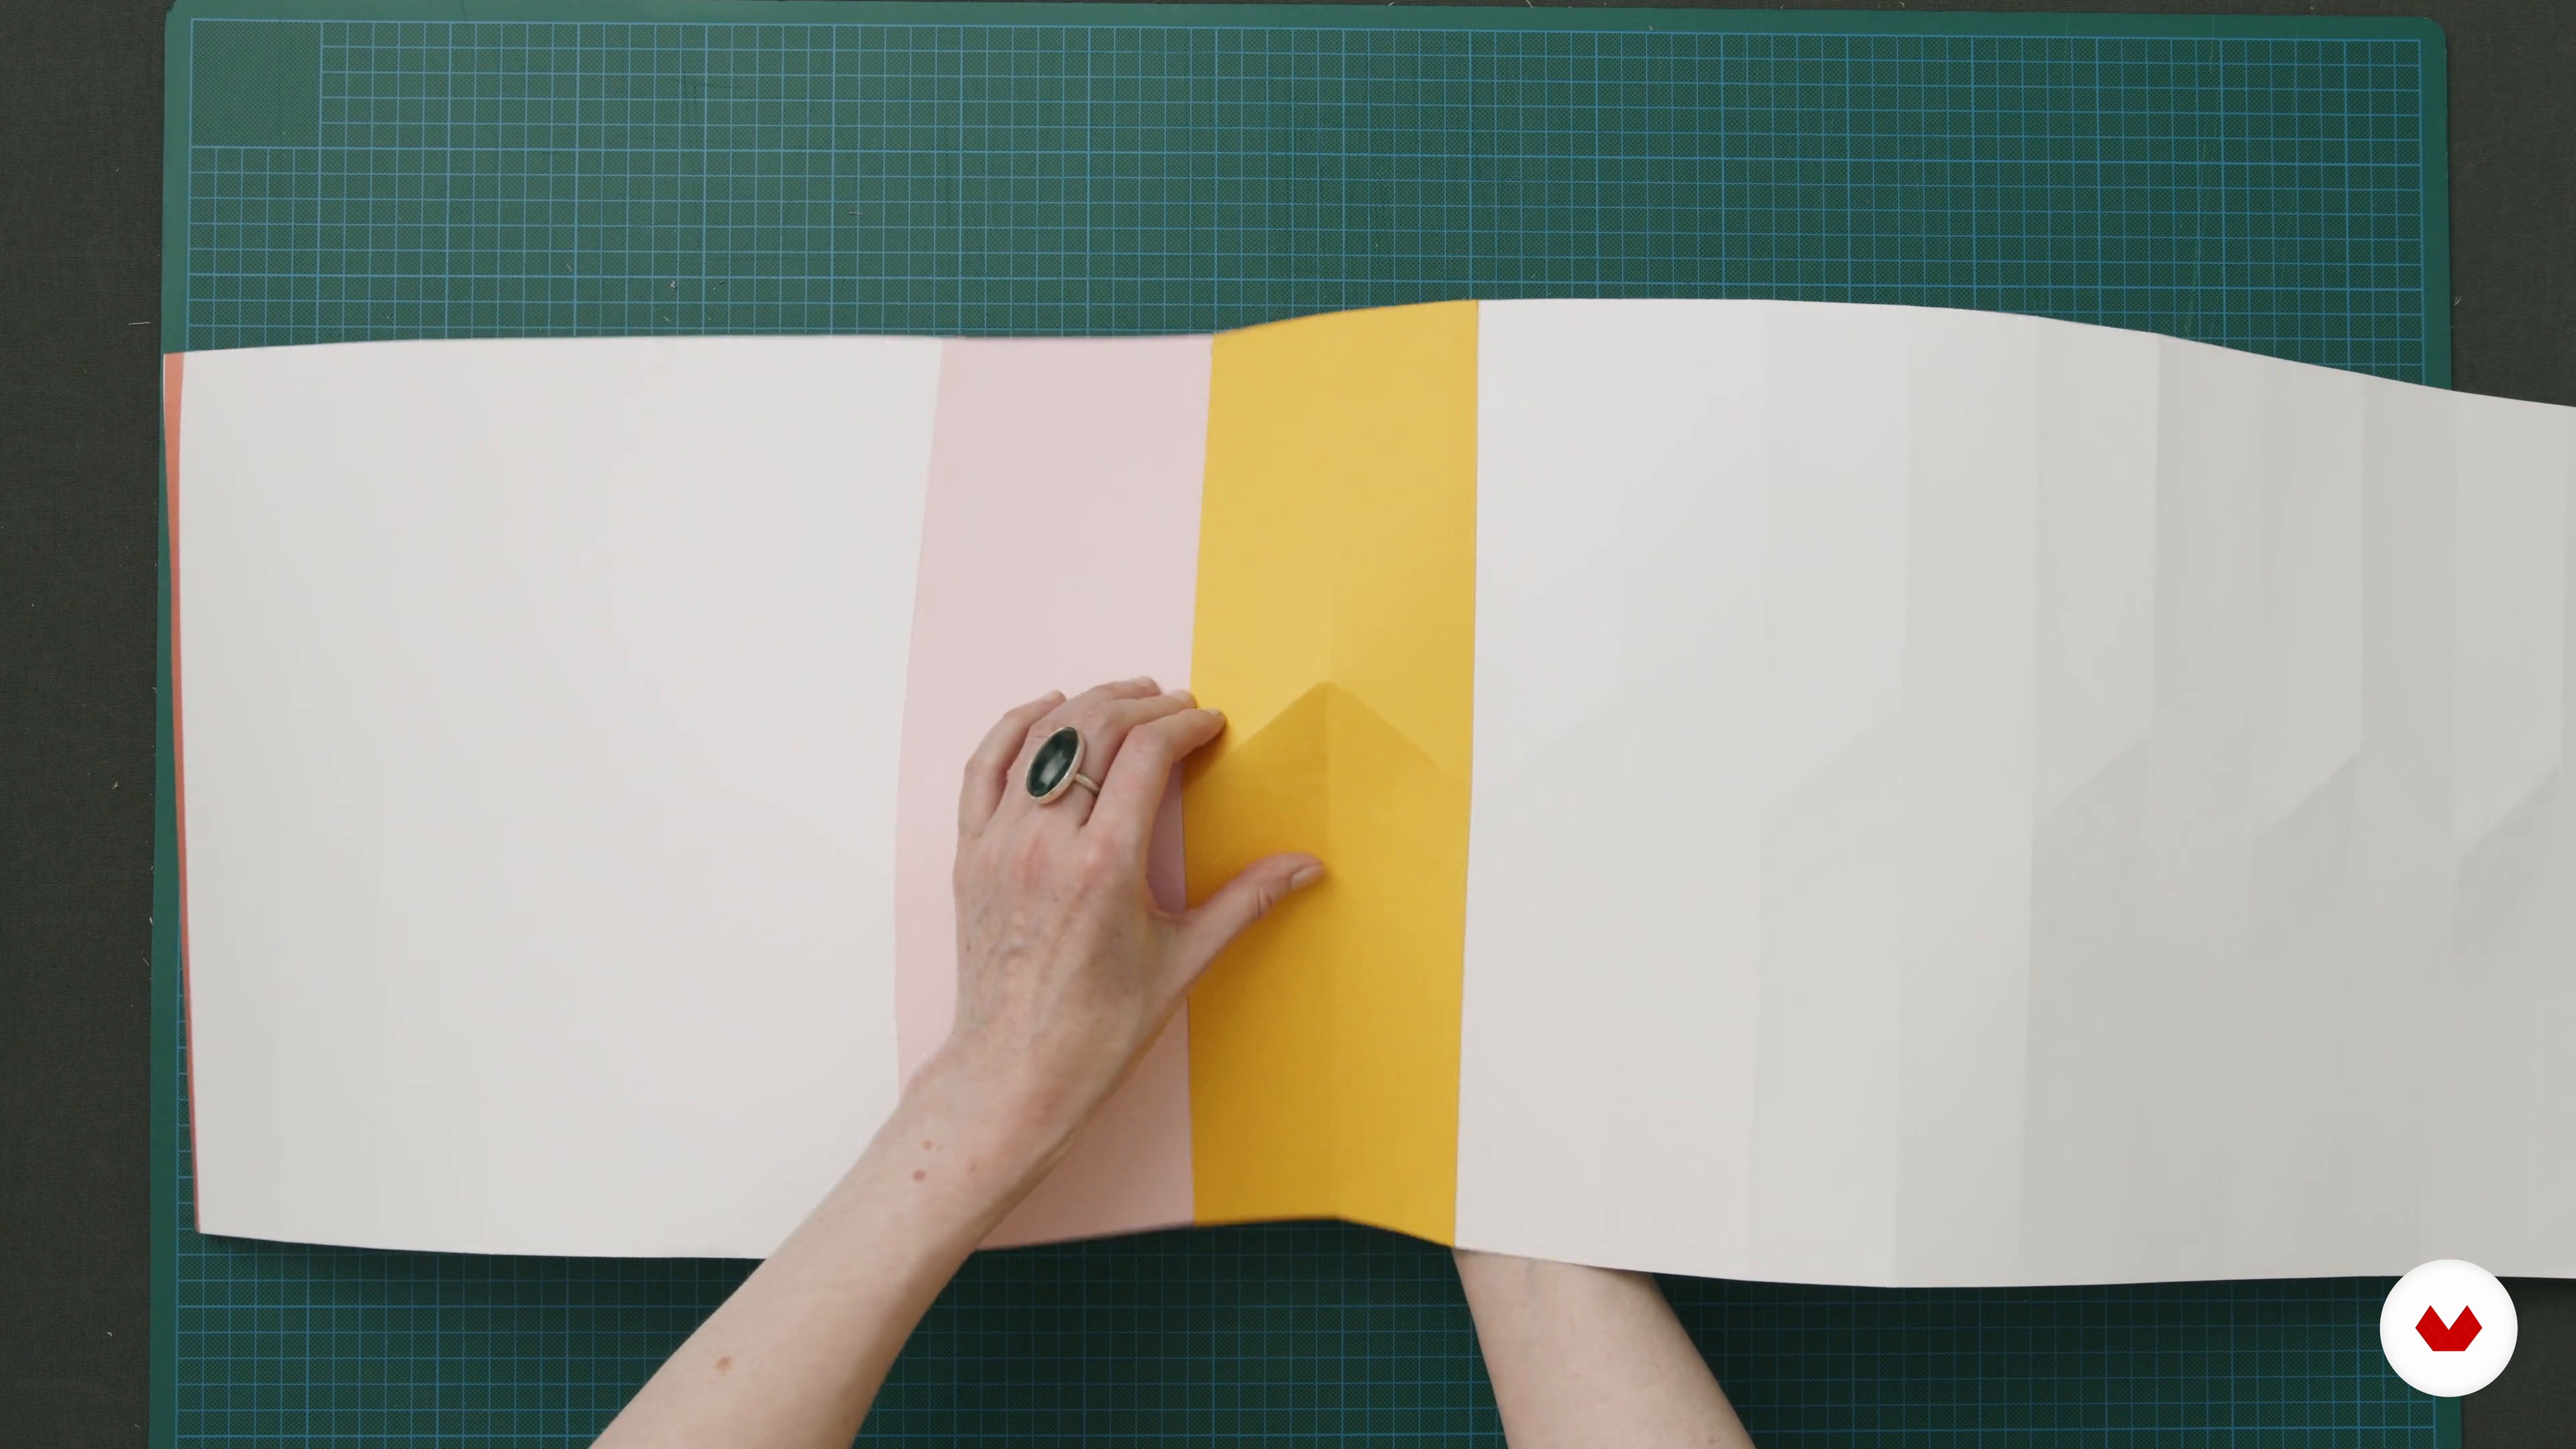
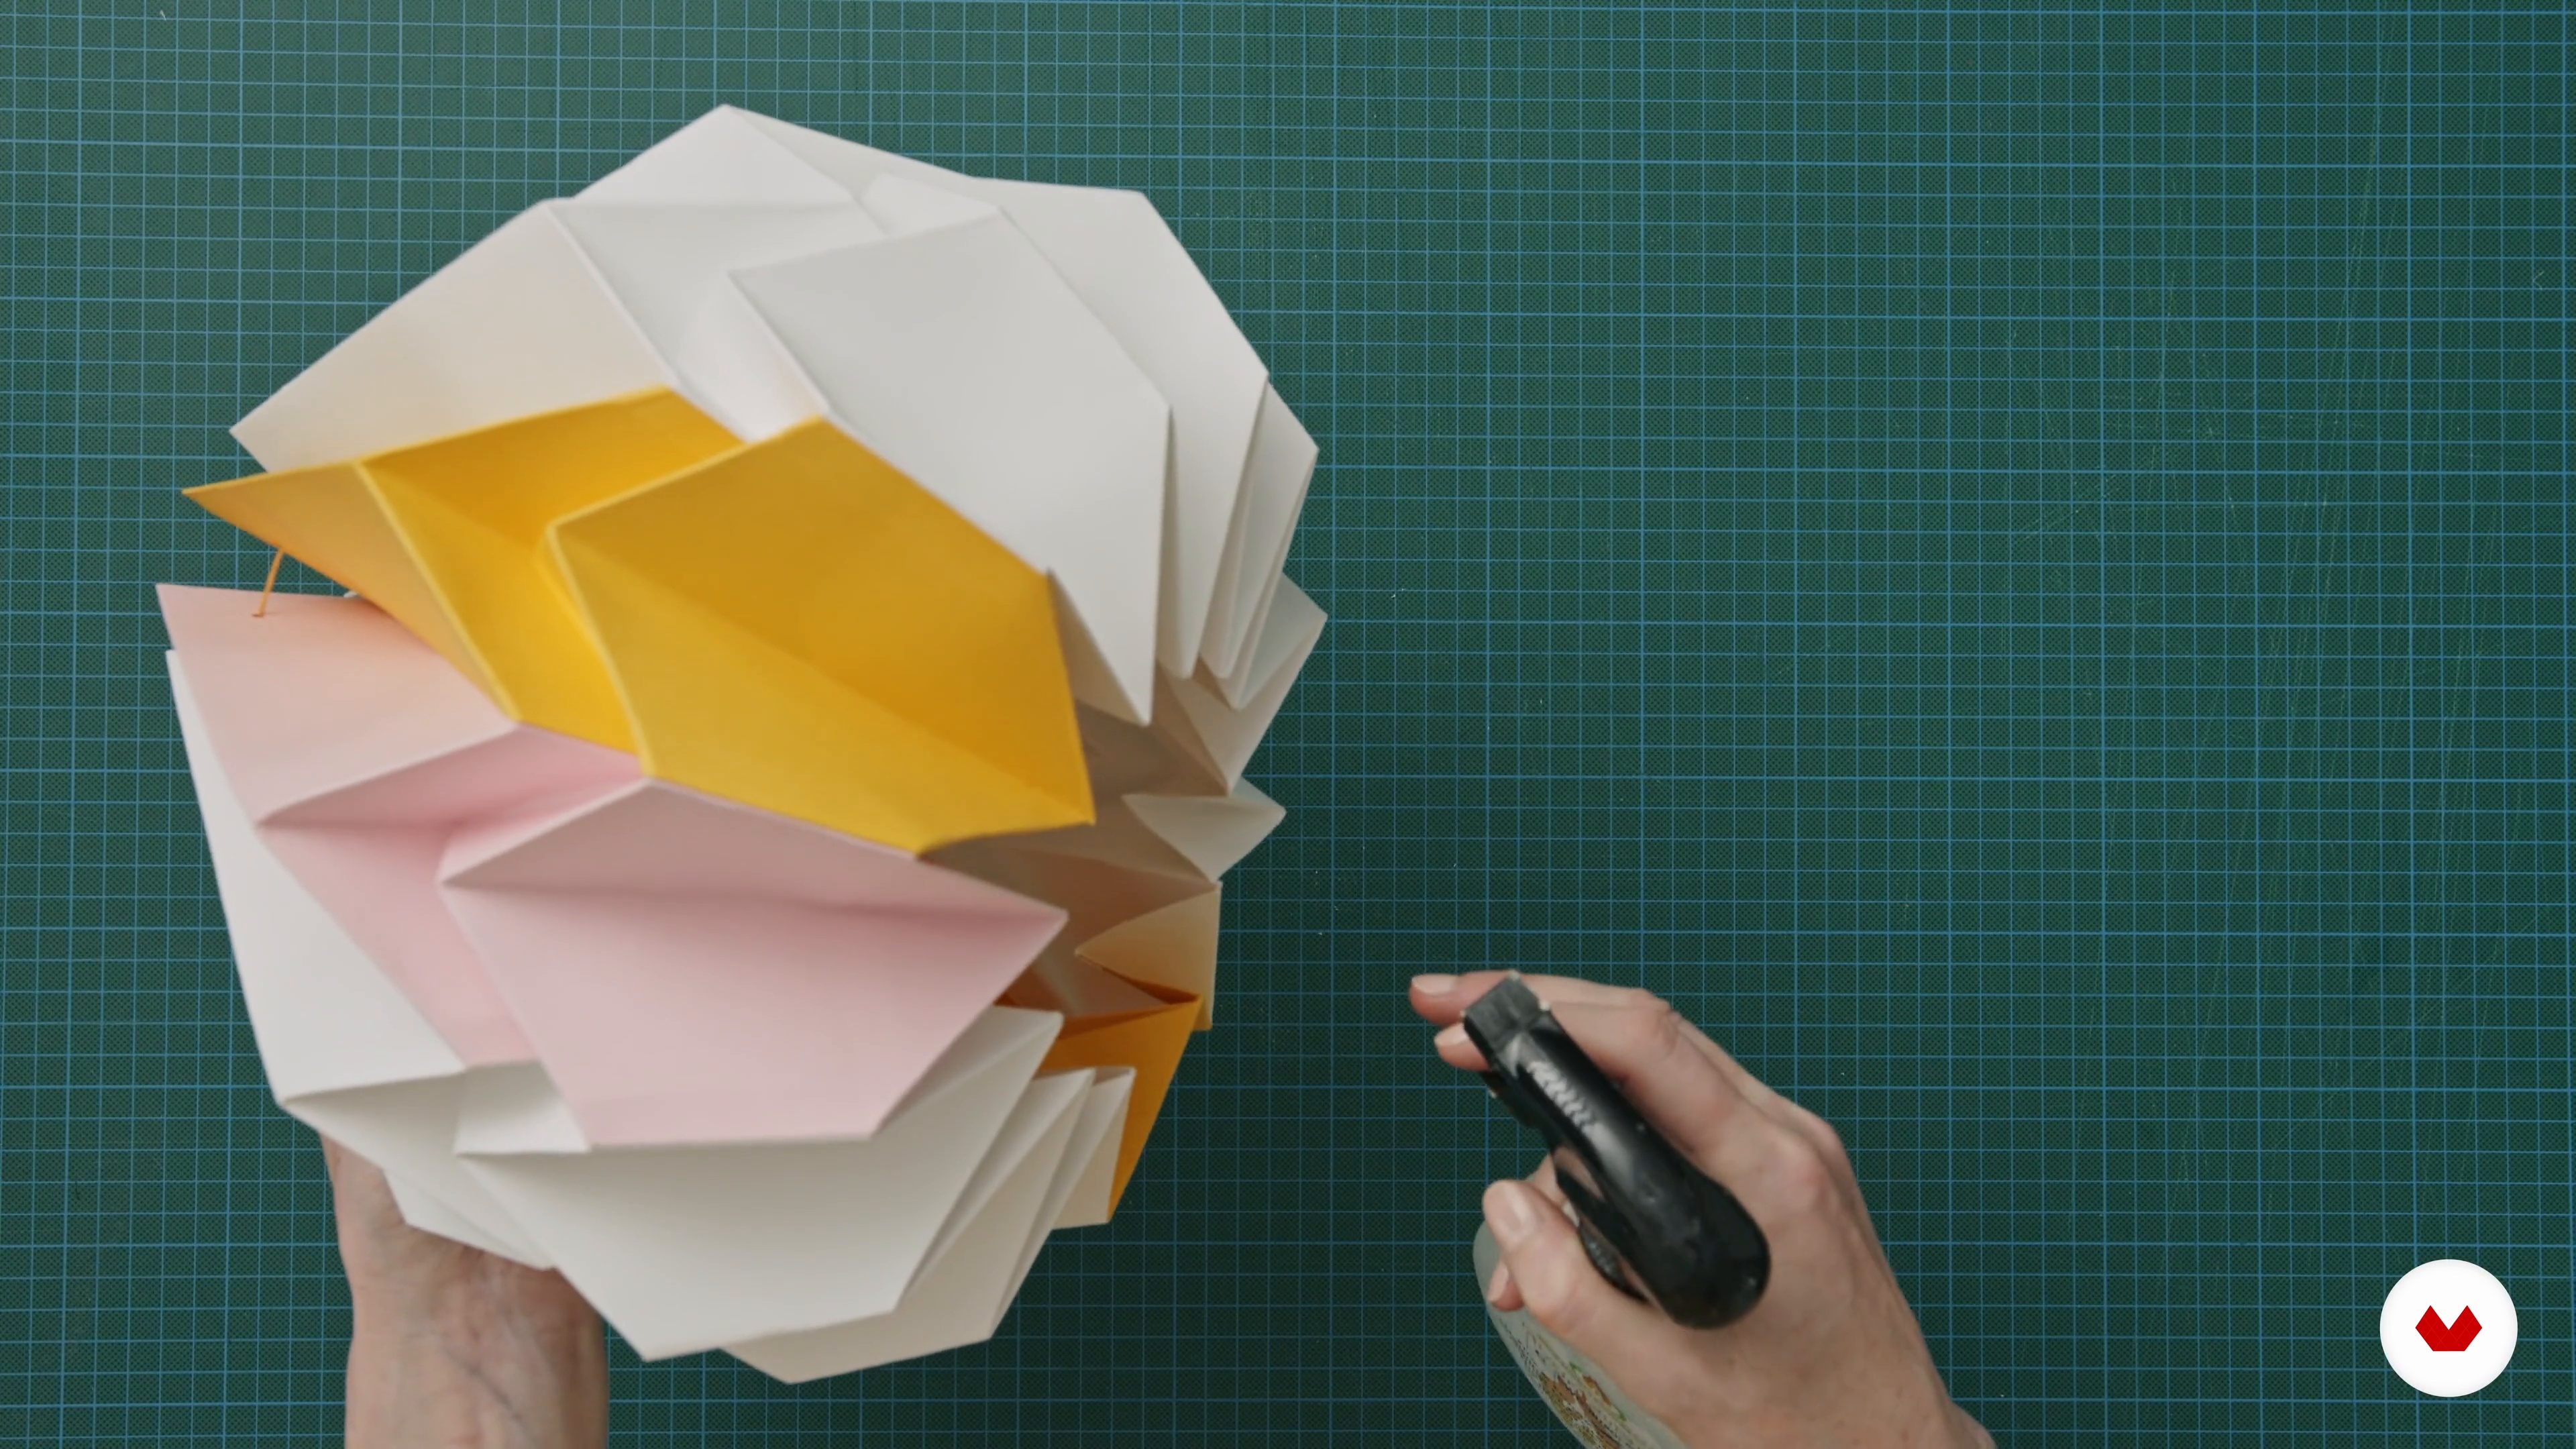
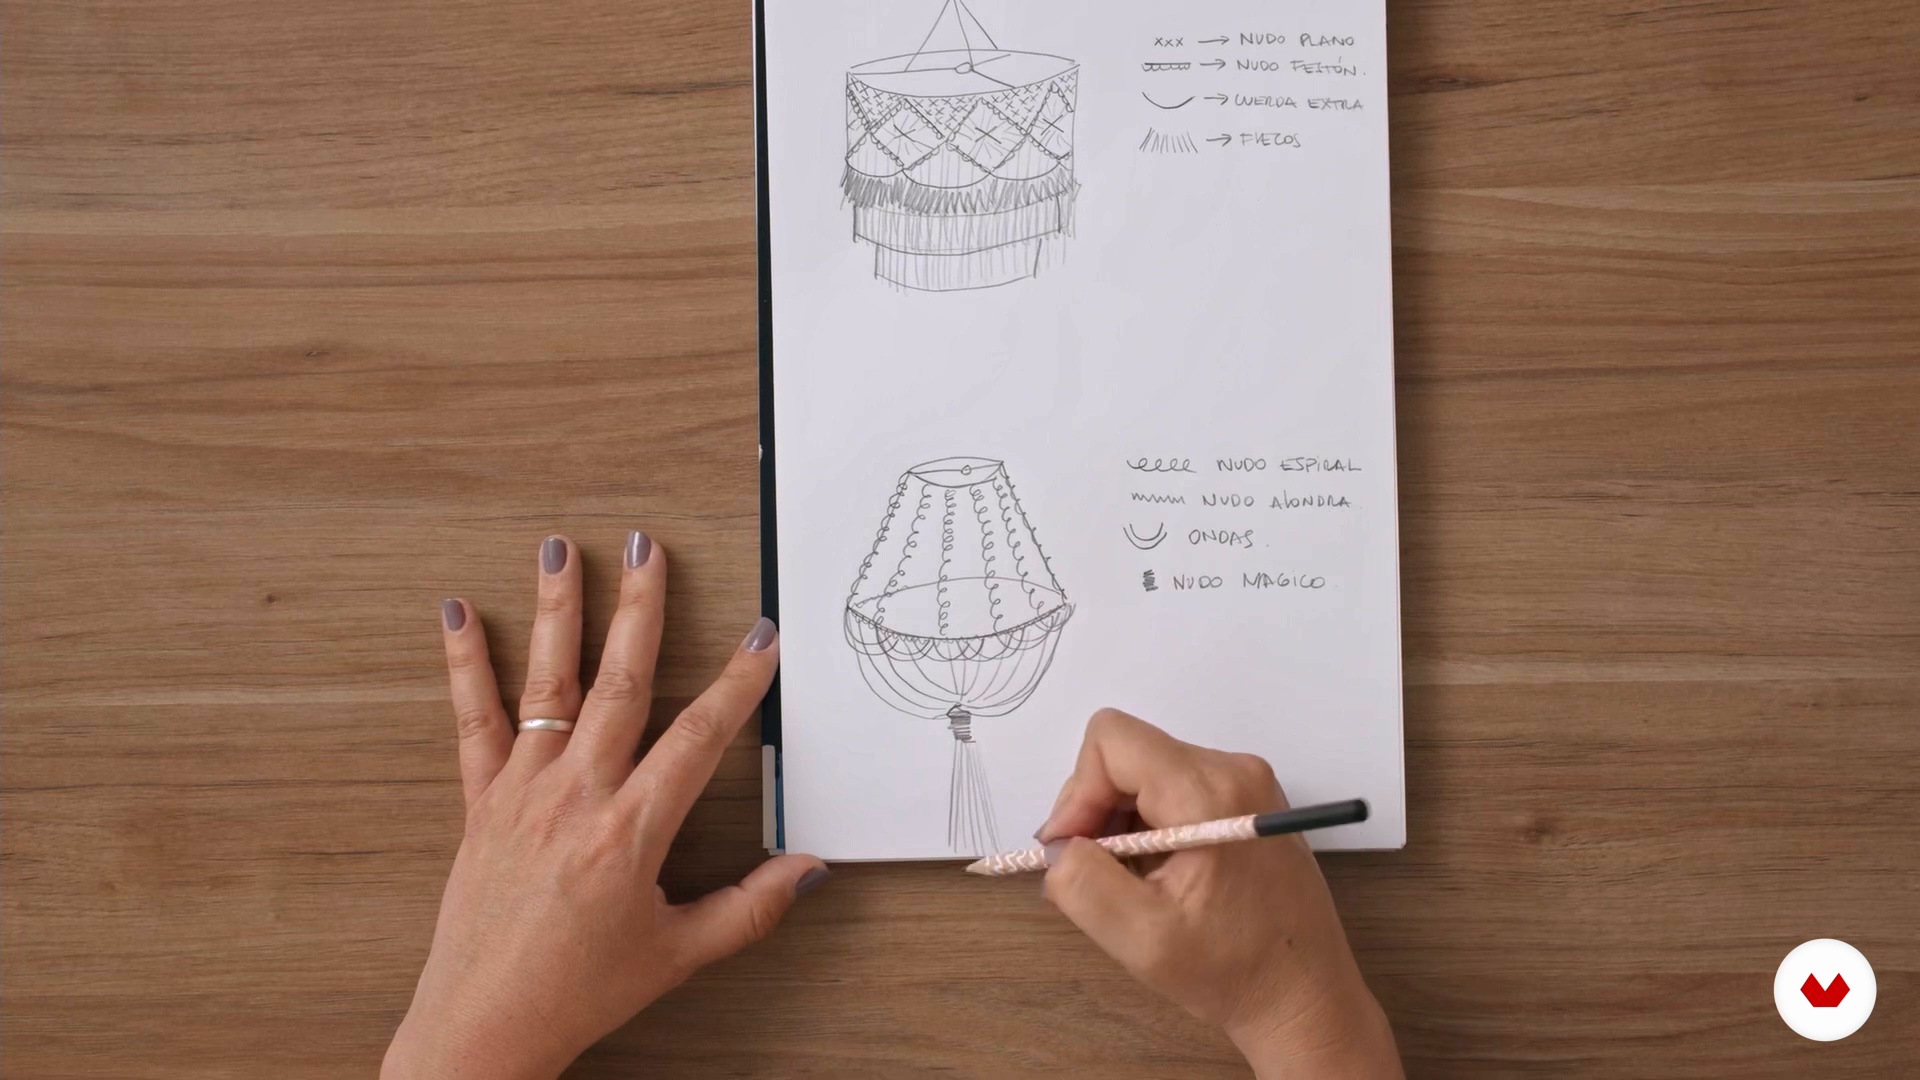
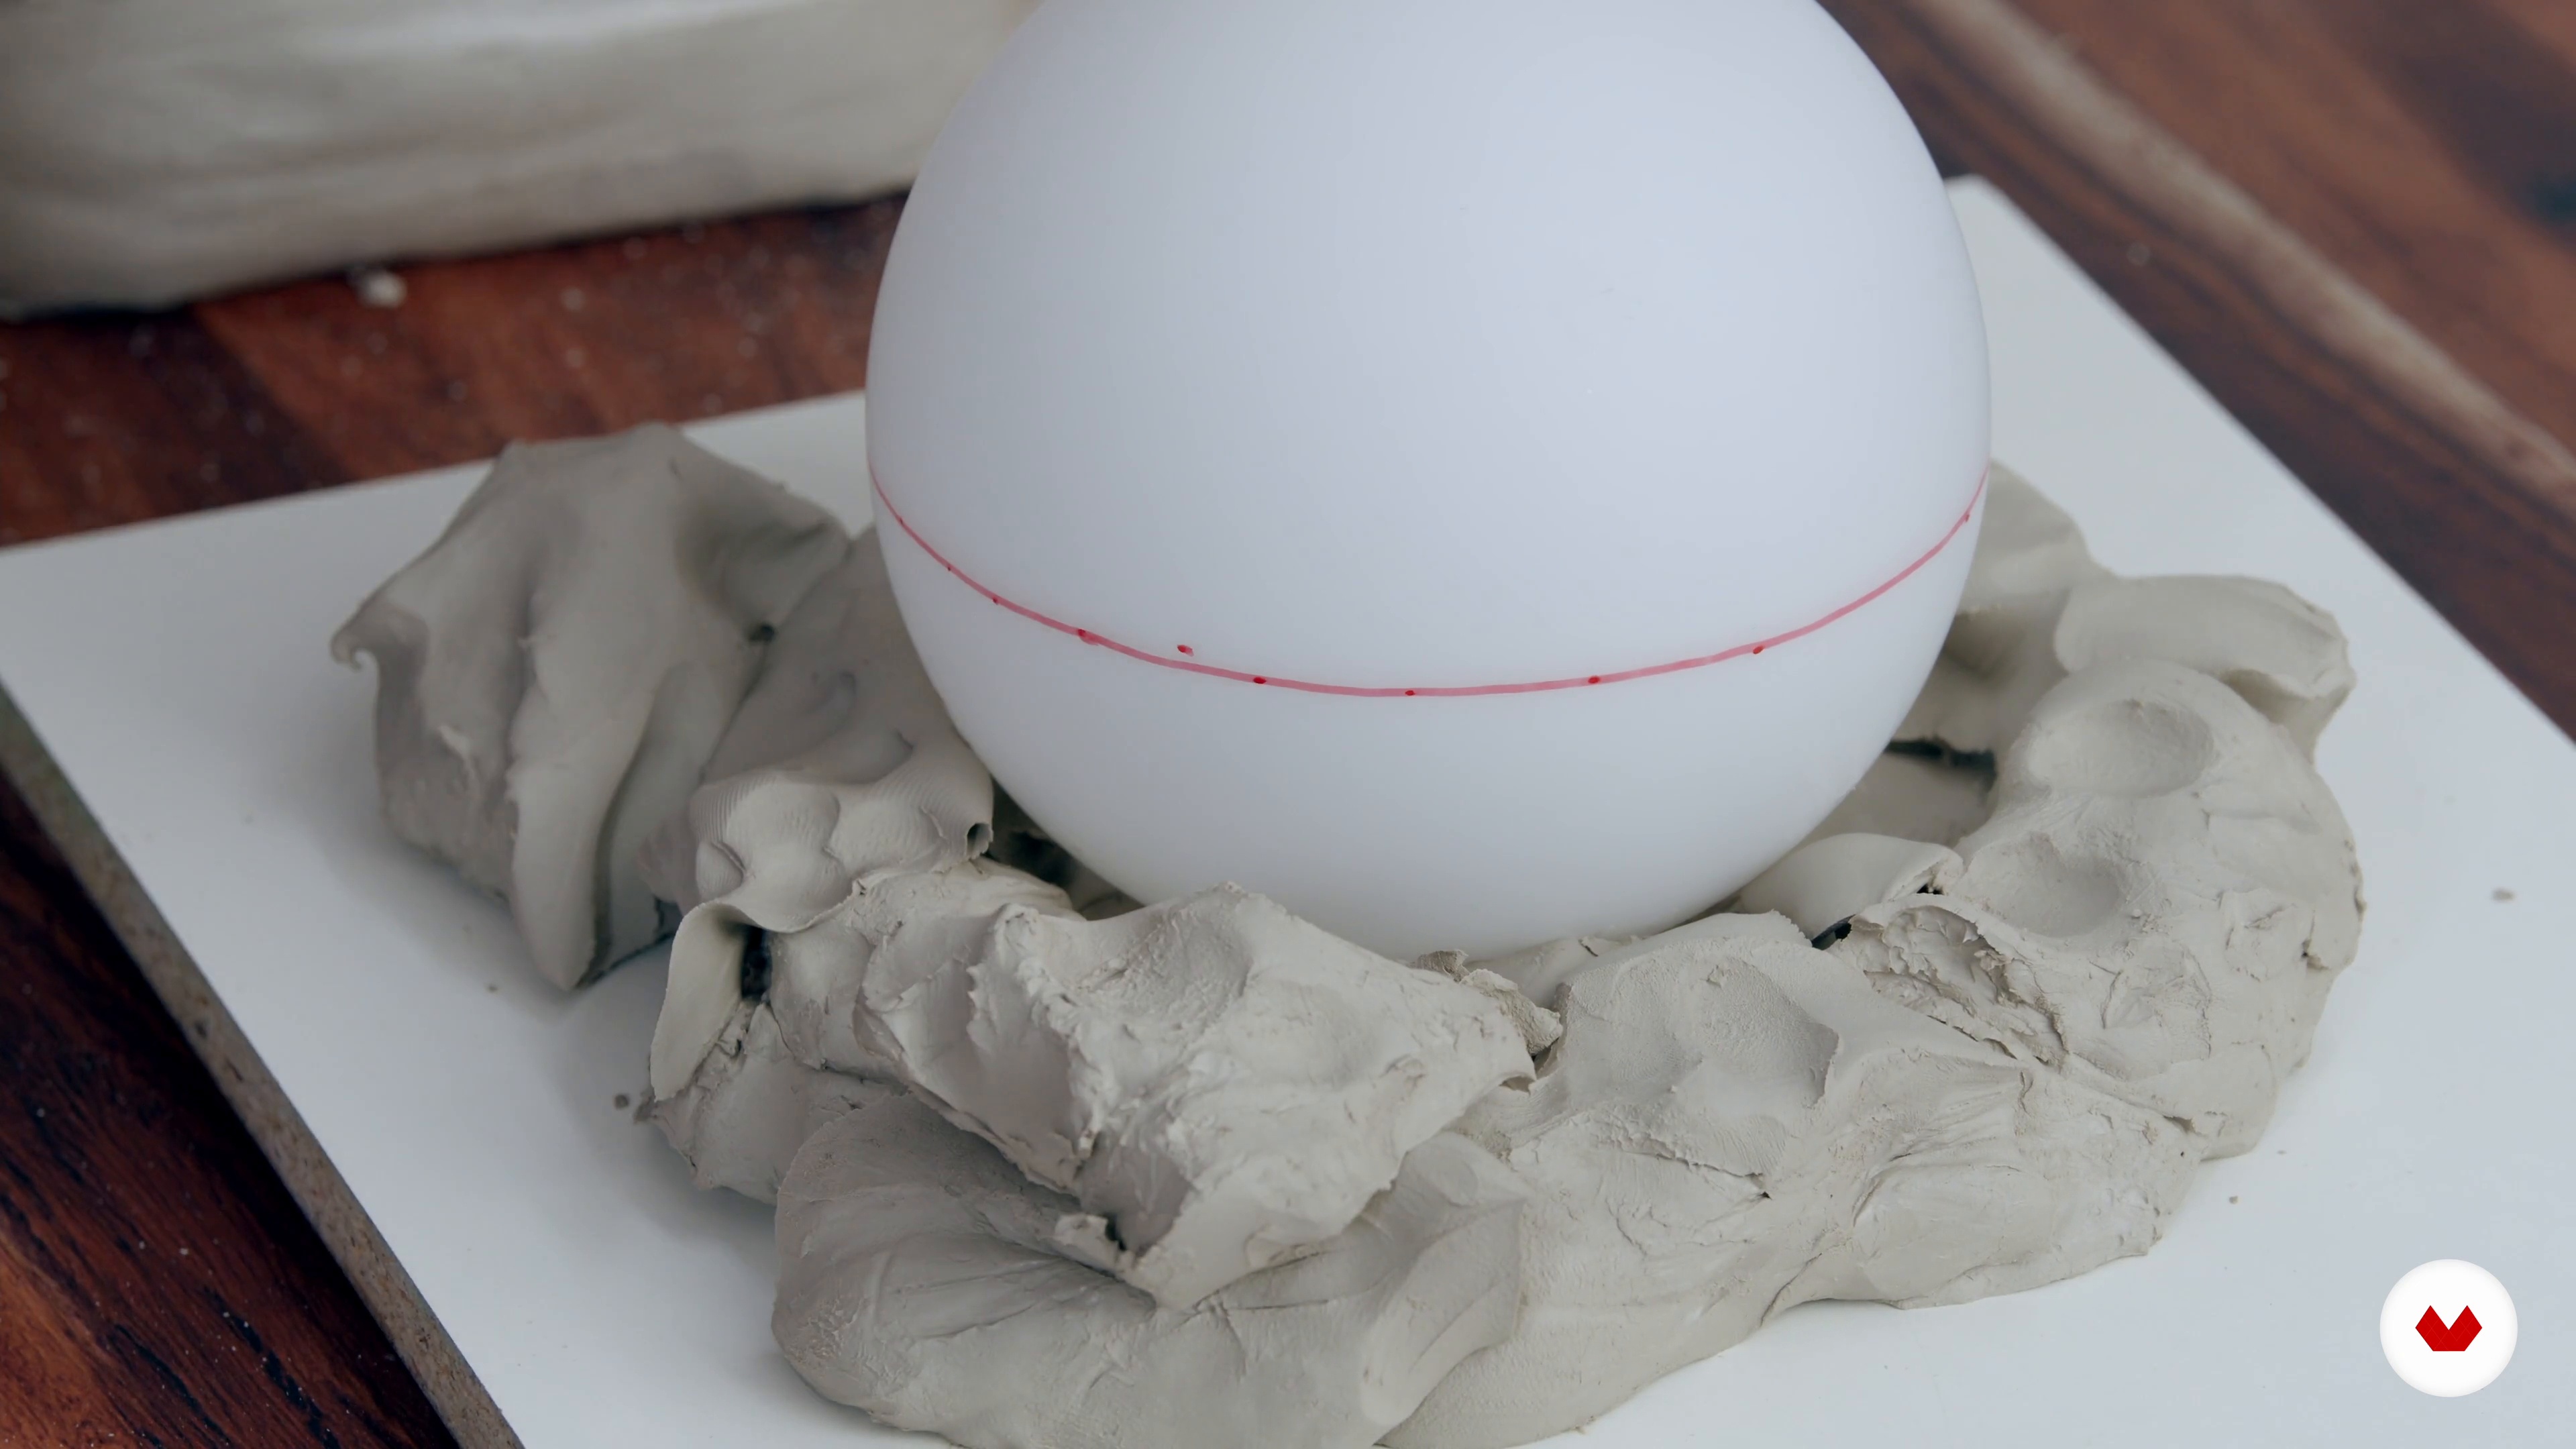
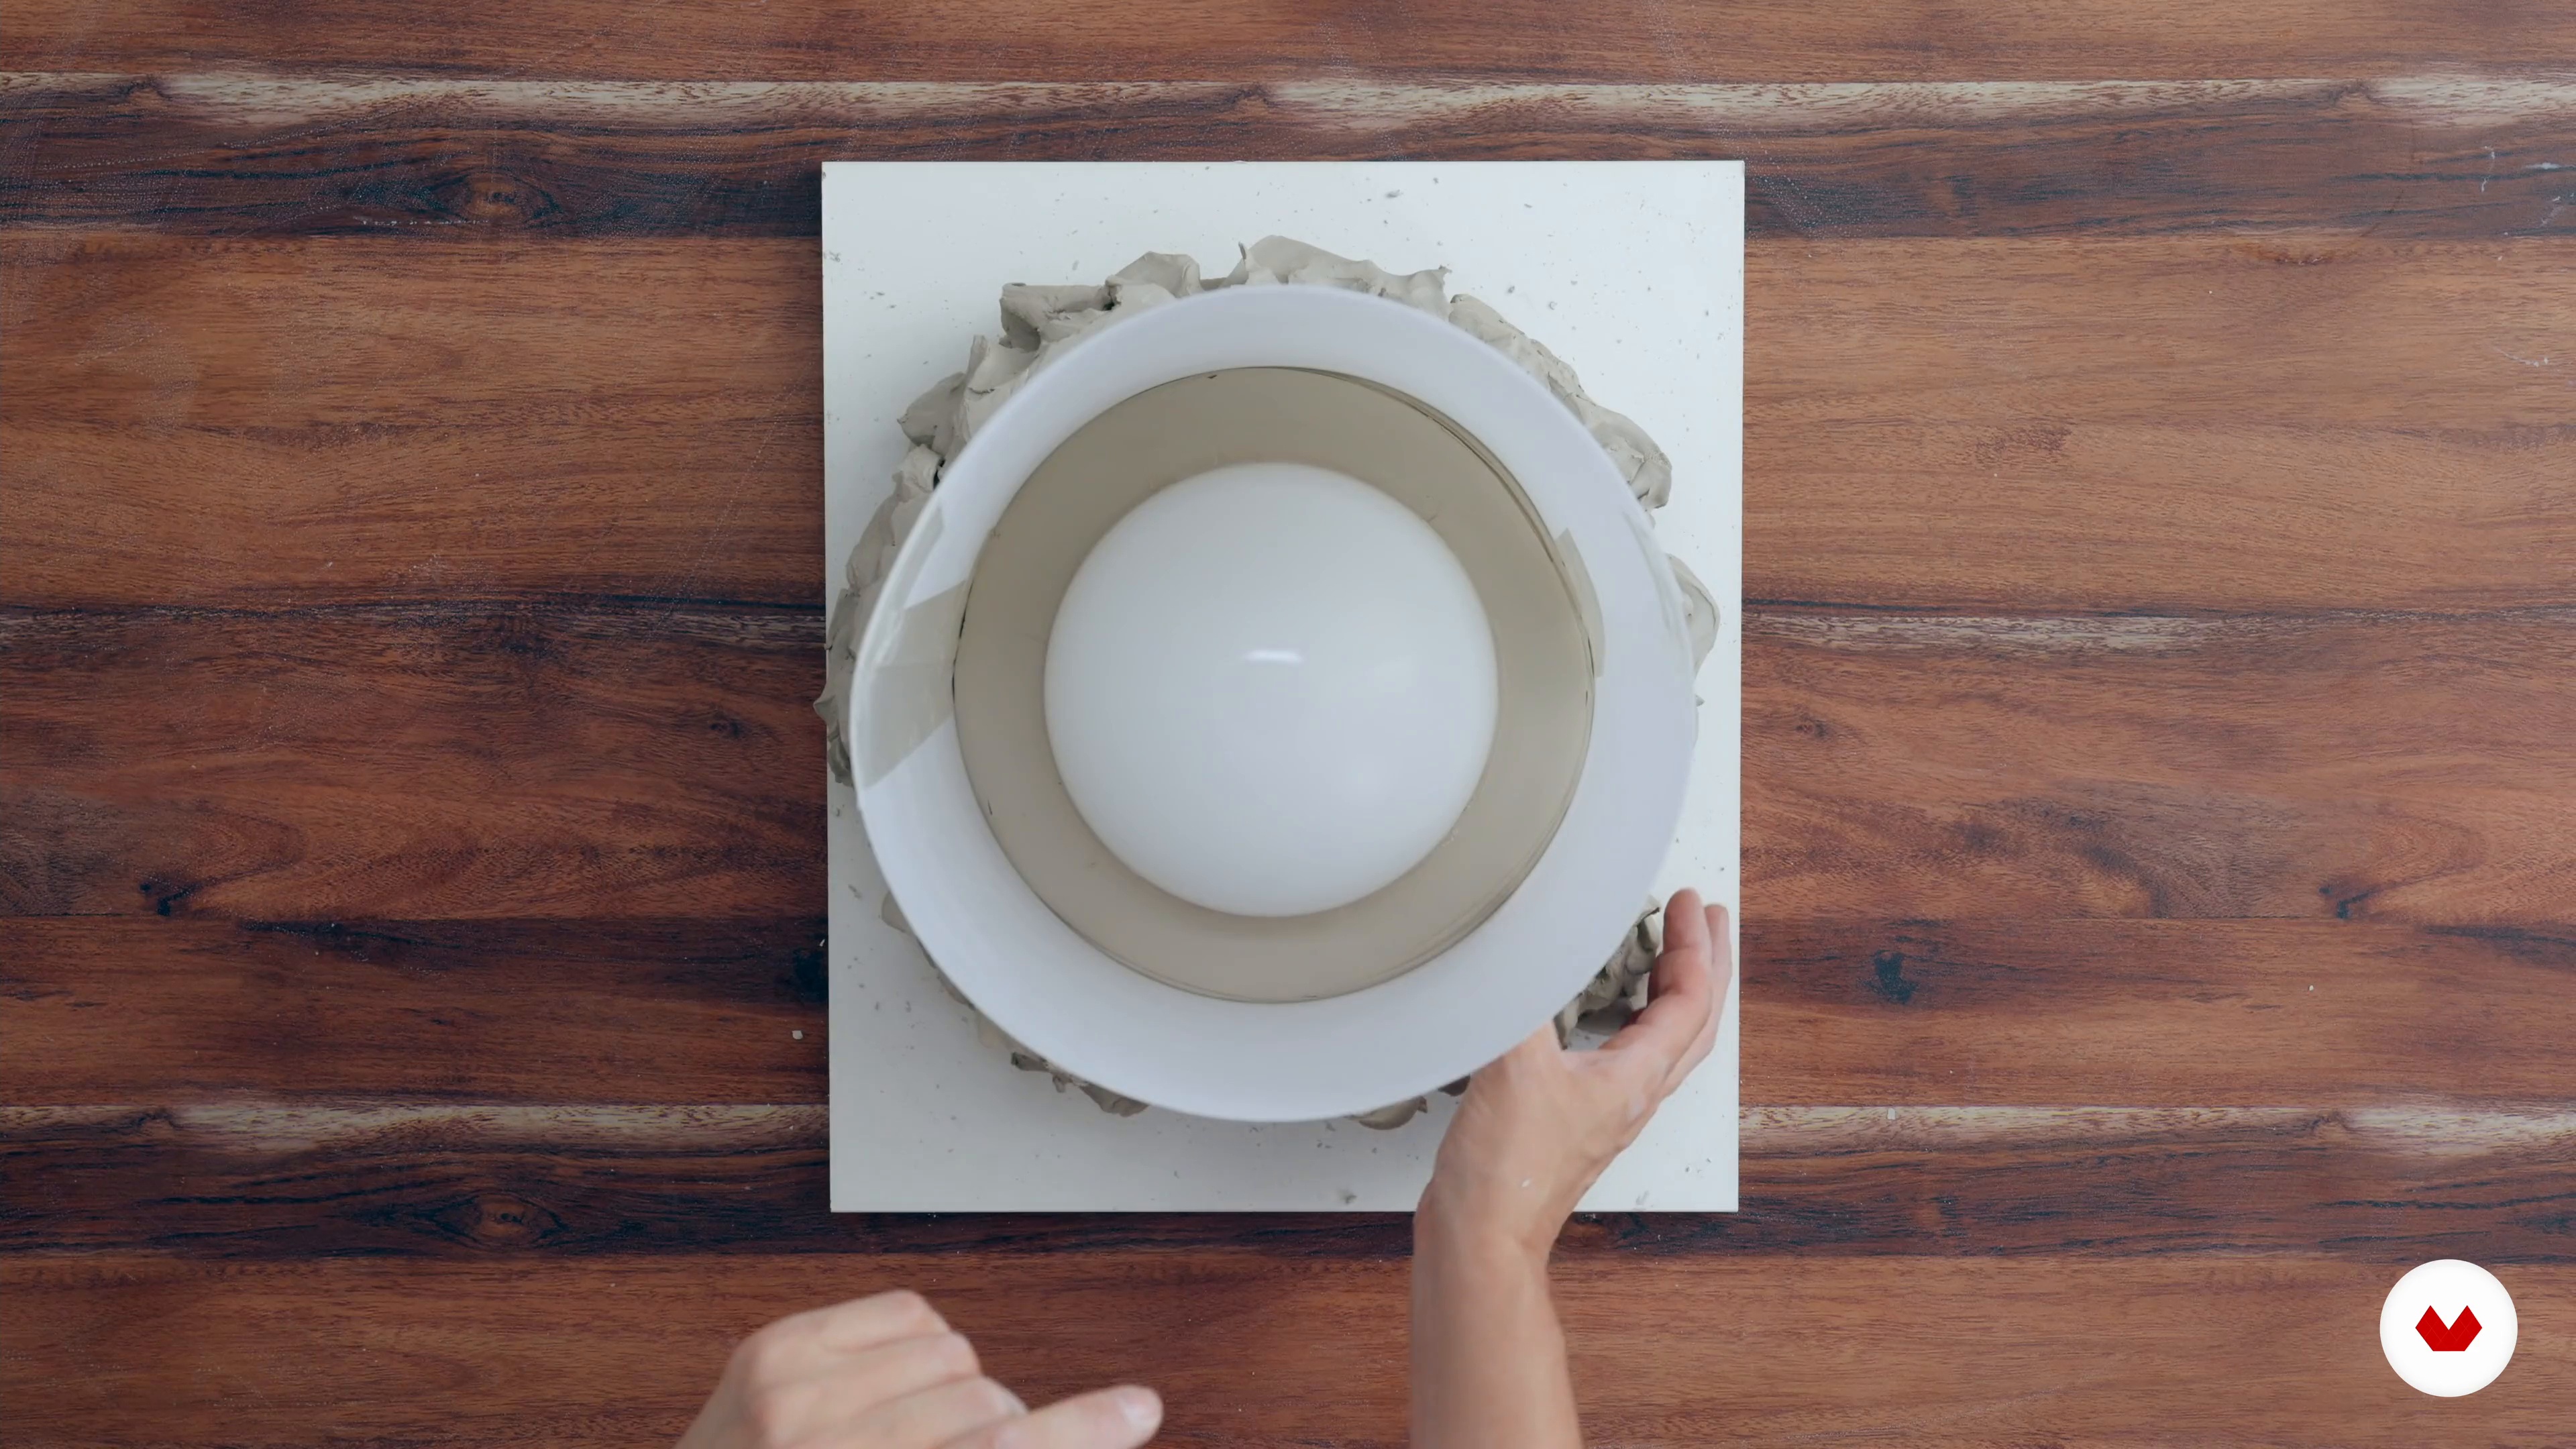
Create a professional lamp concept and prototype considering technical, aesthetic, and functional aspects for a specific space. Craft a unique paper lamp using origami and structural design techniques, balancing aesthetics and lighting functionality.
Who is this specialization for?
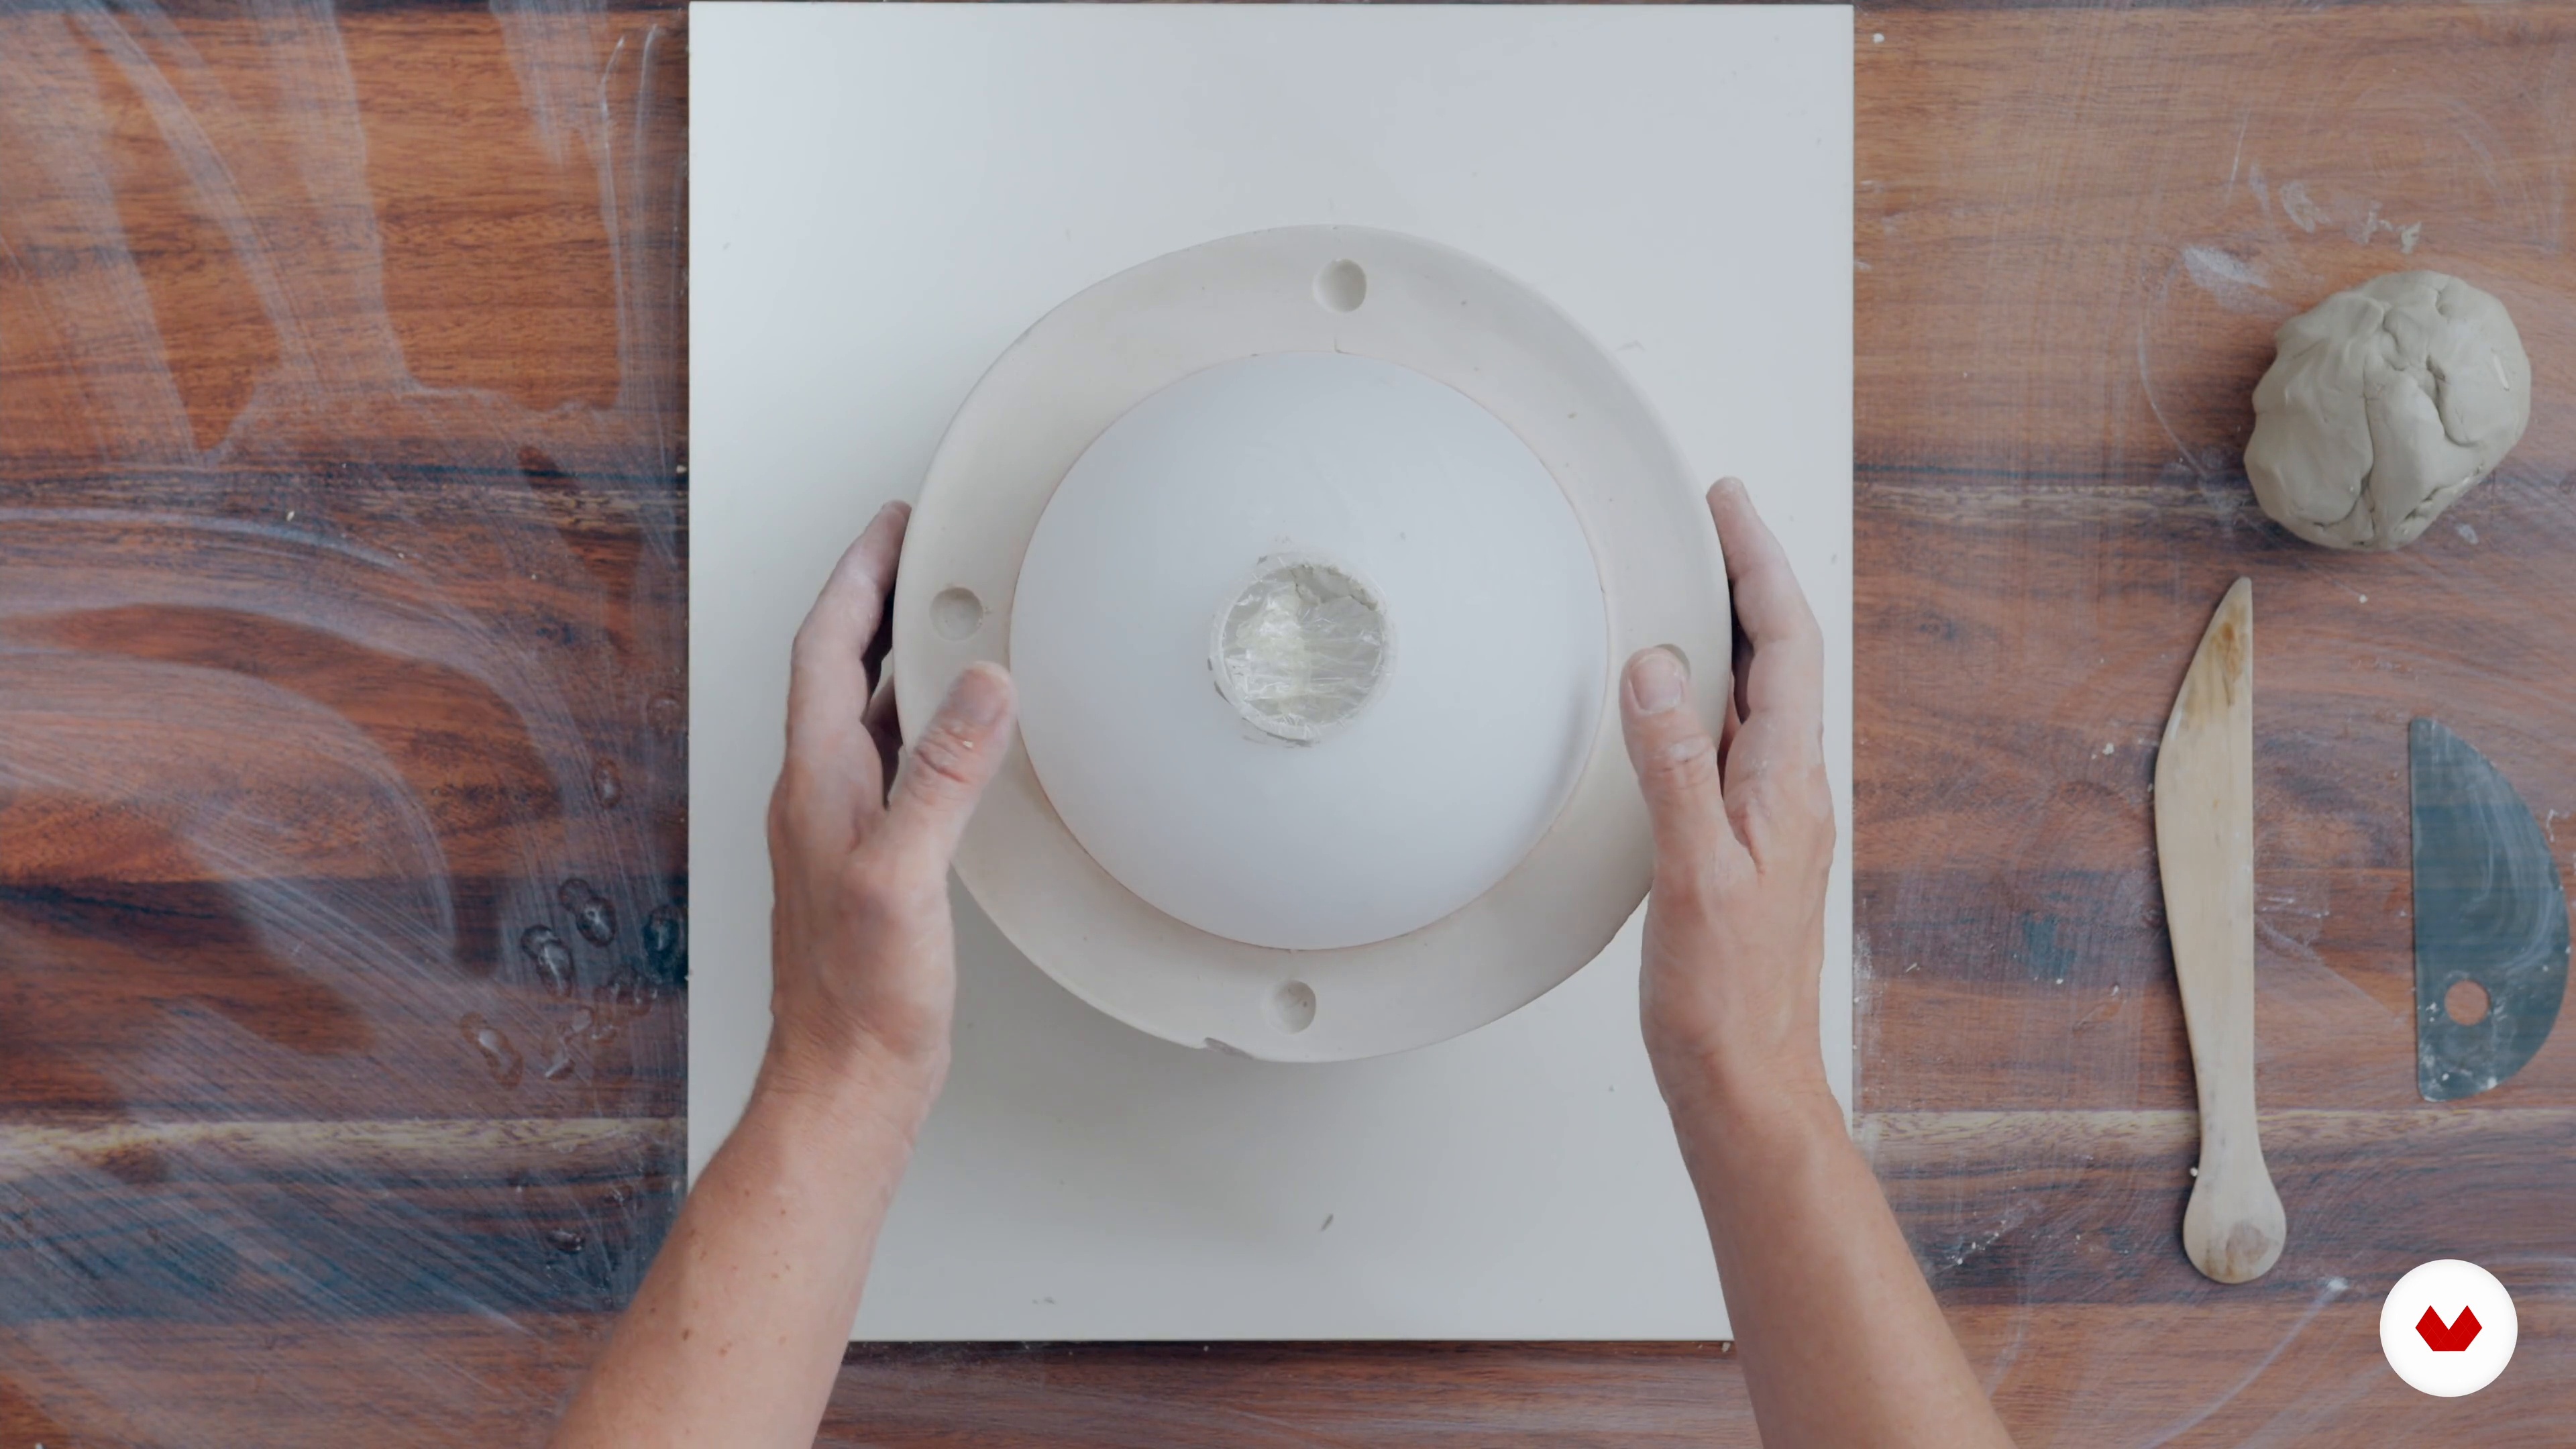
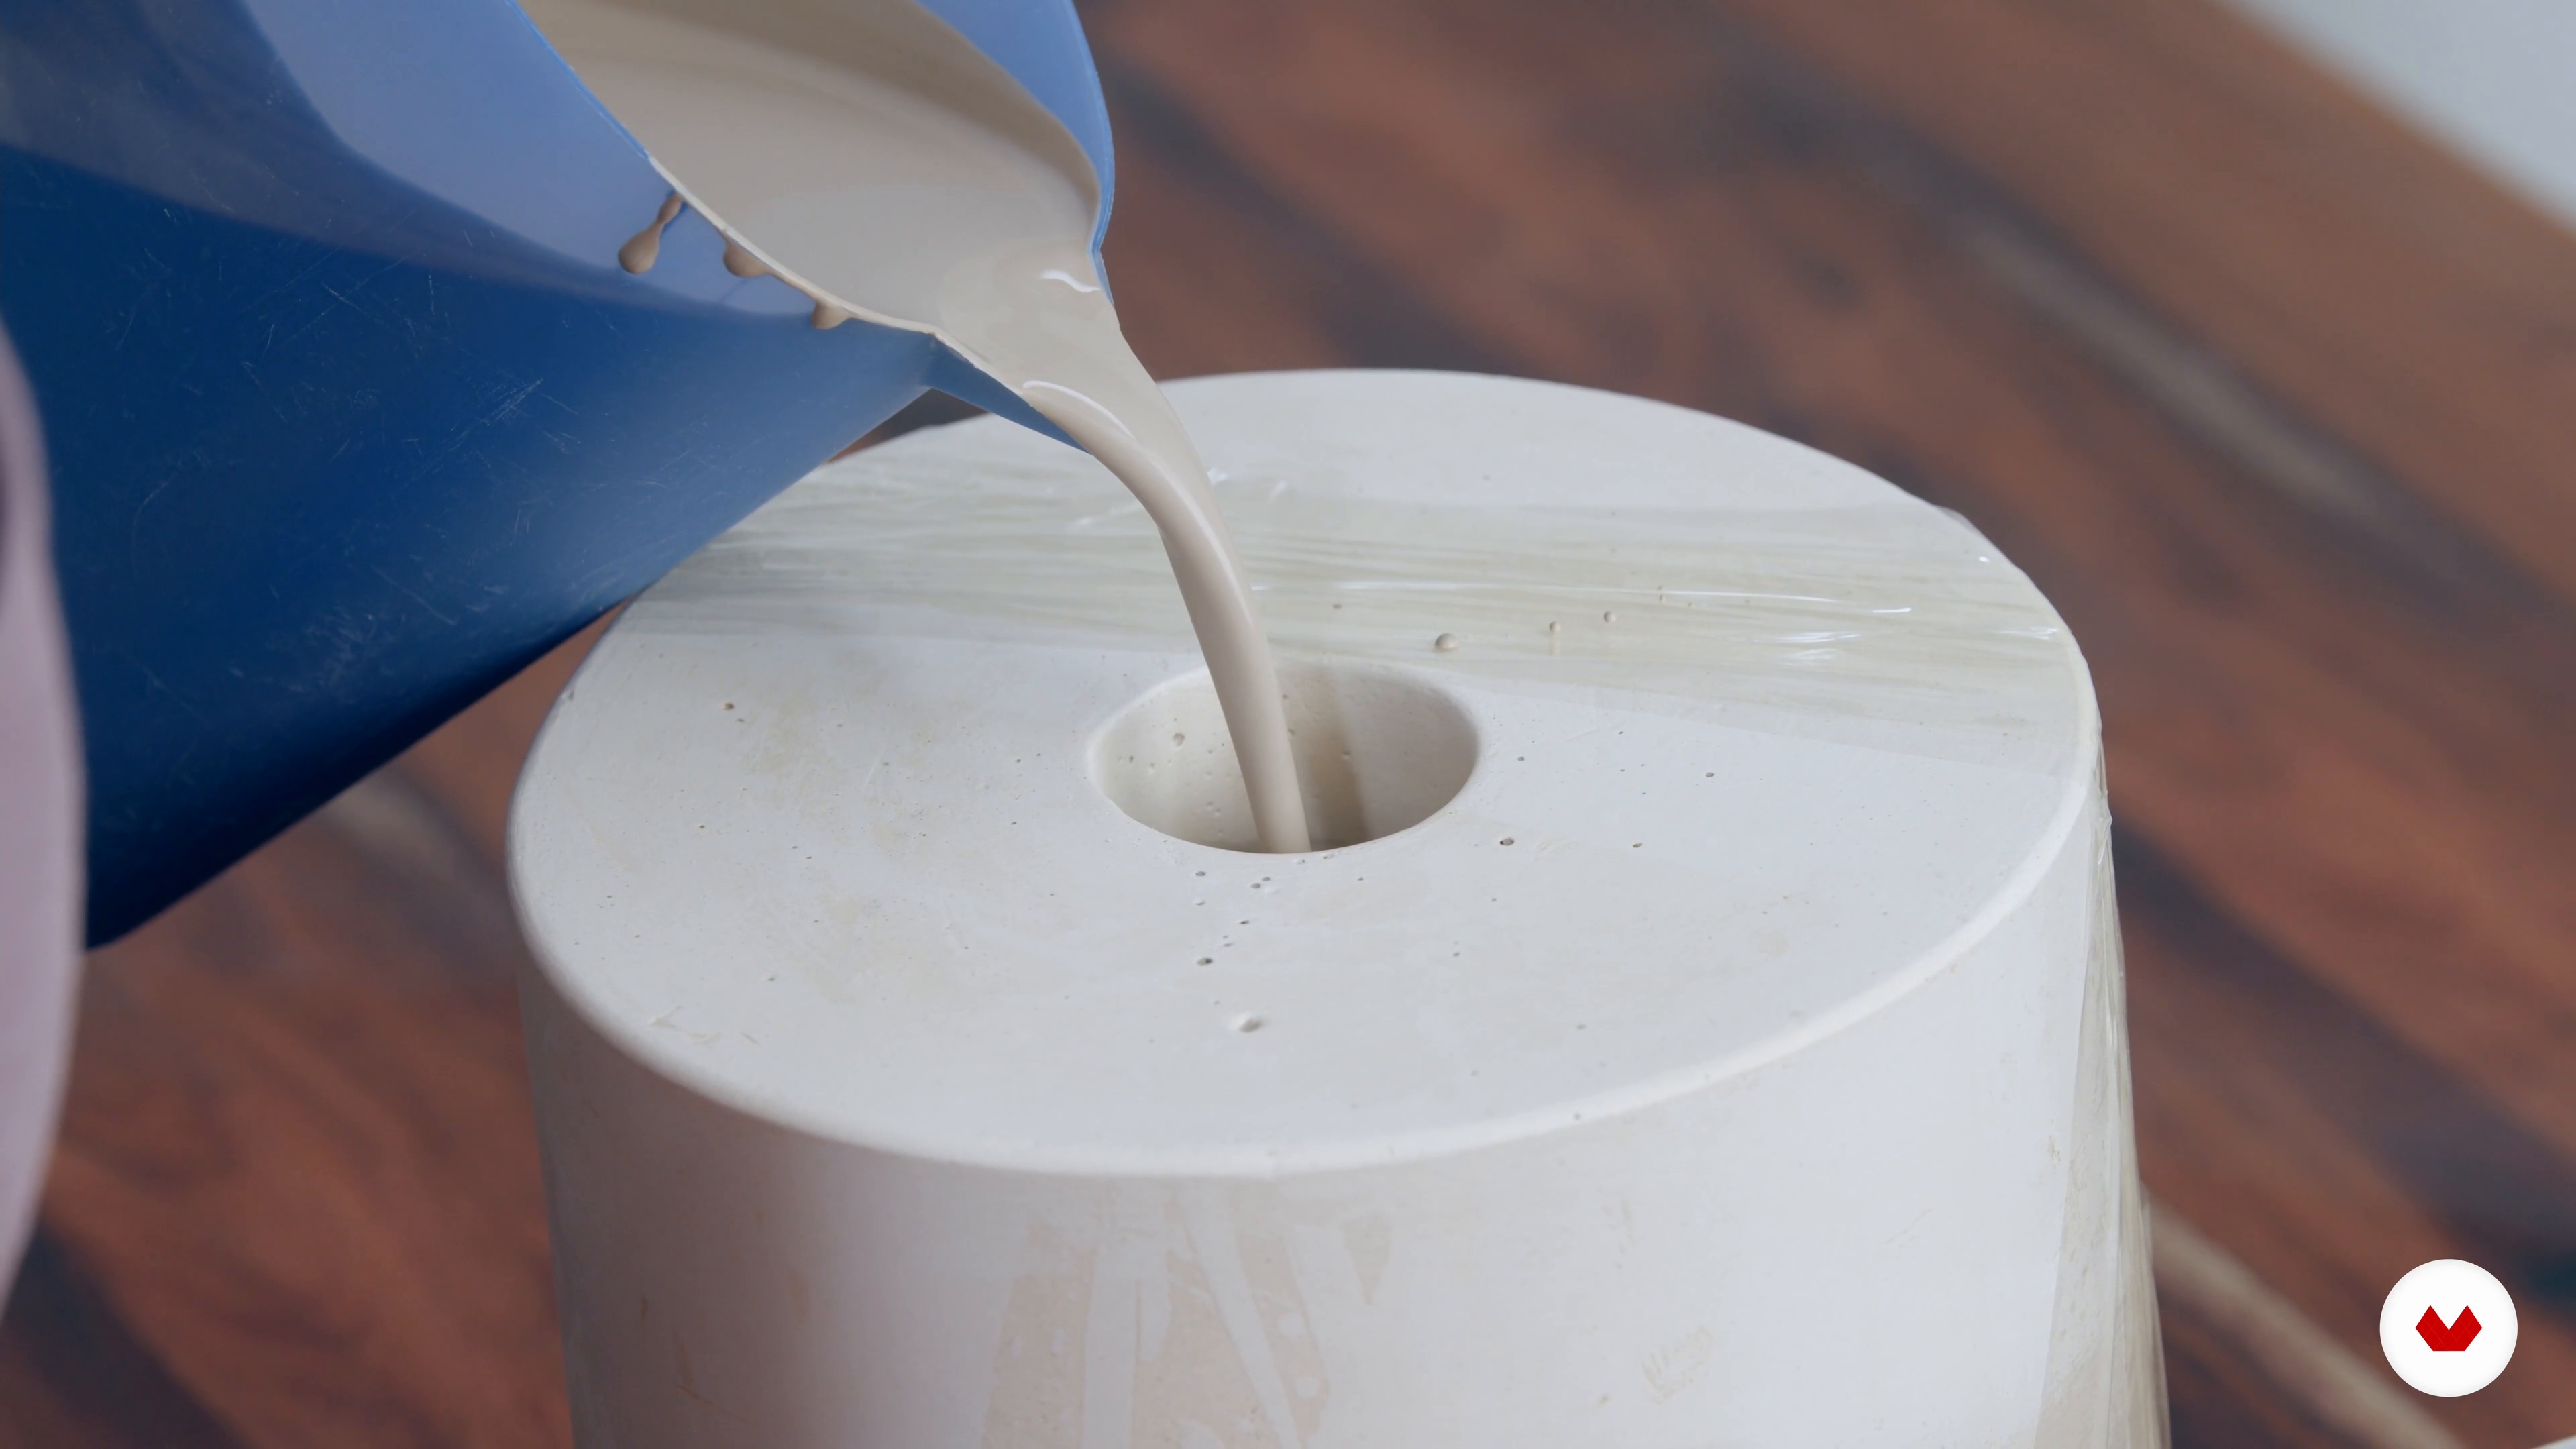
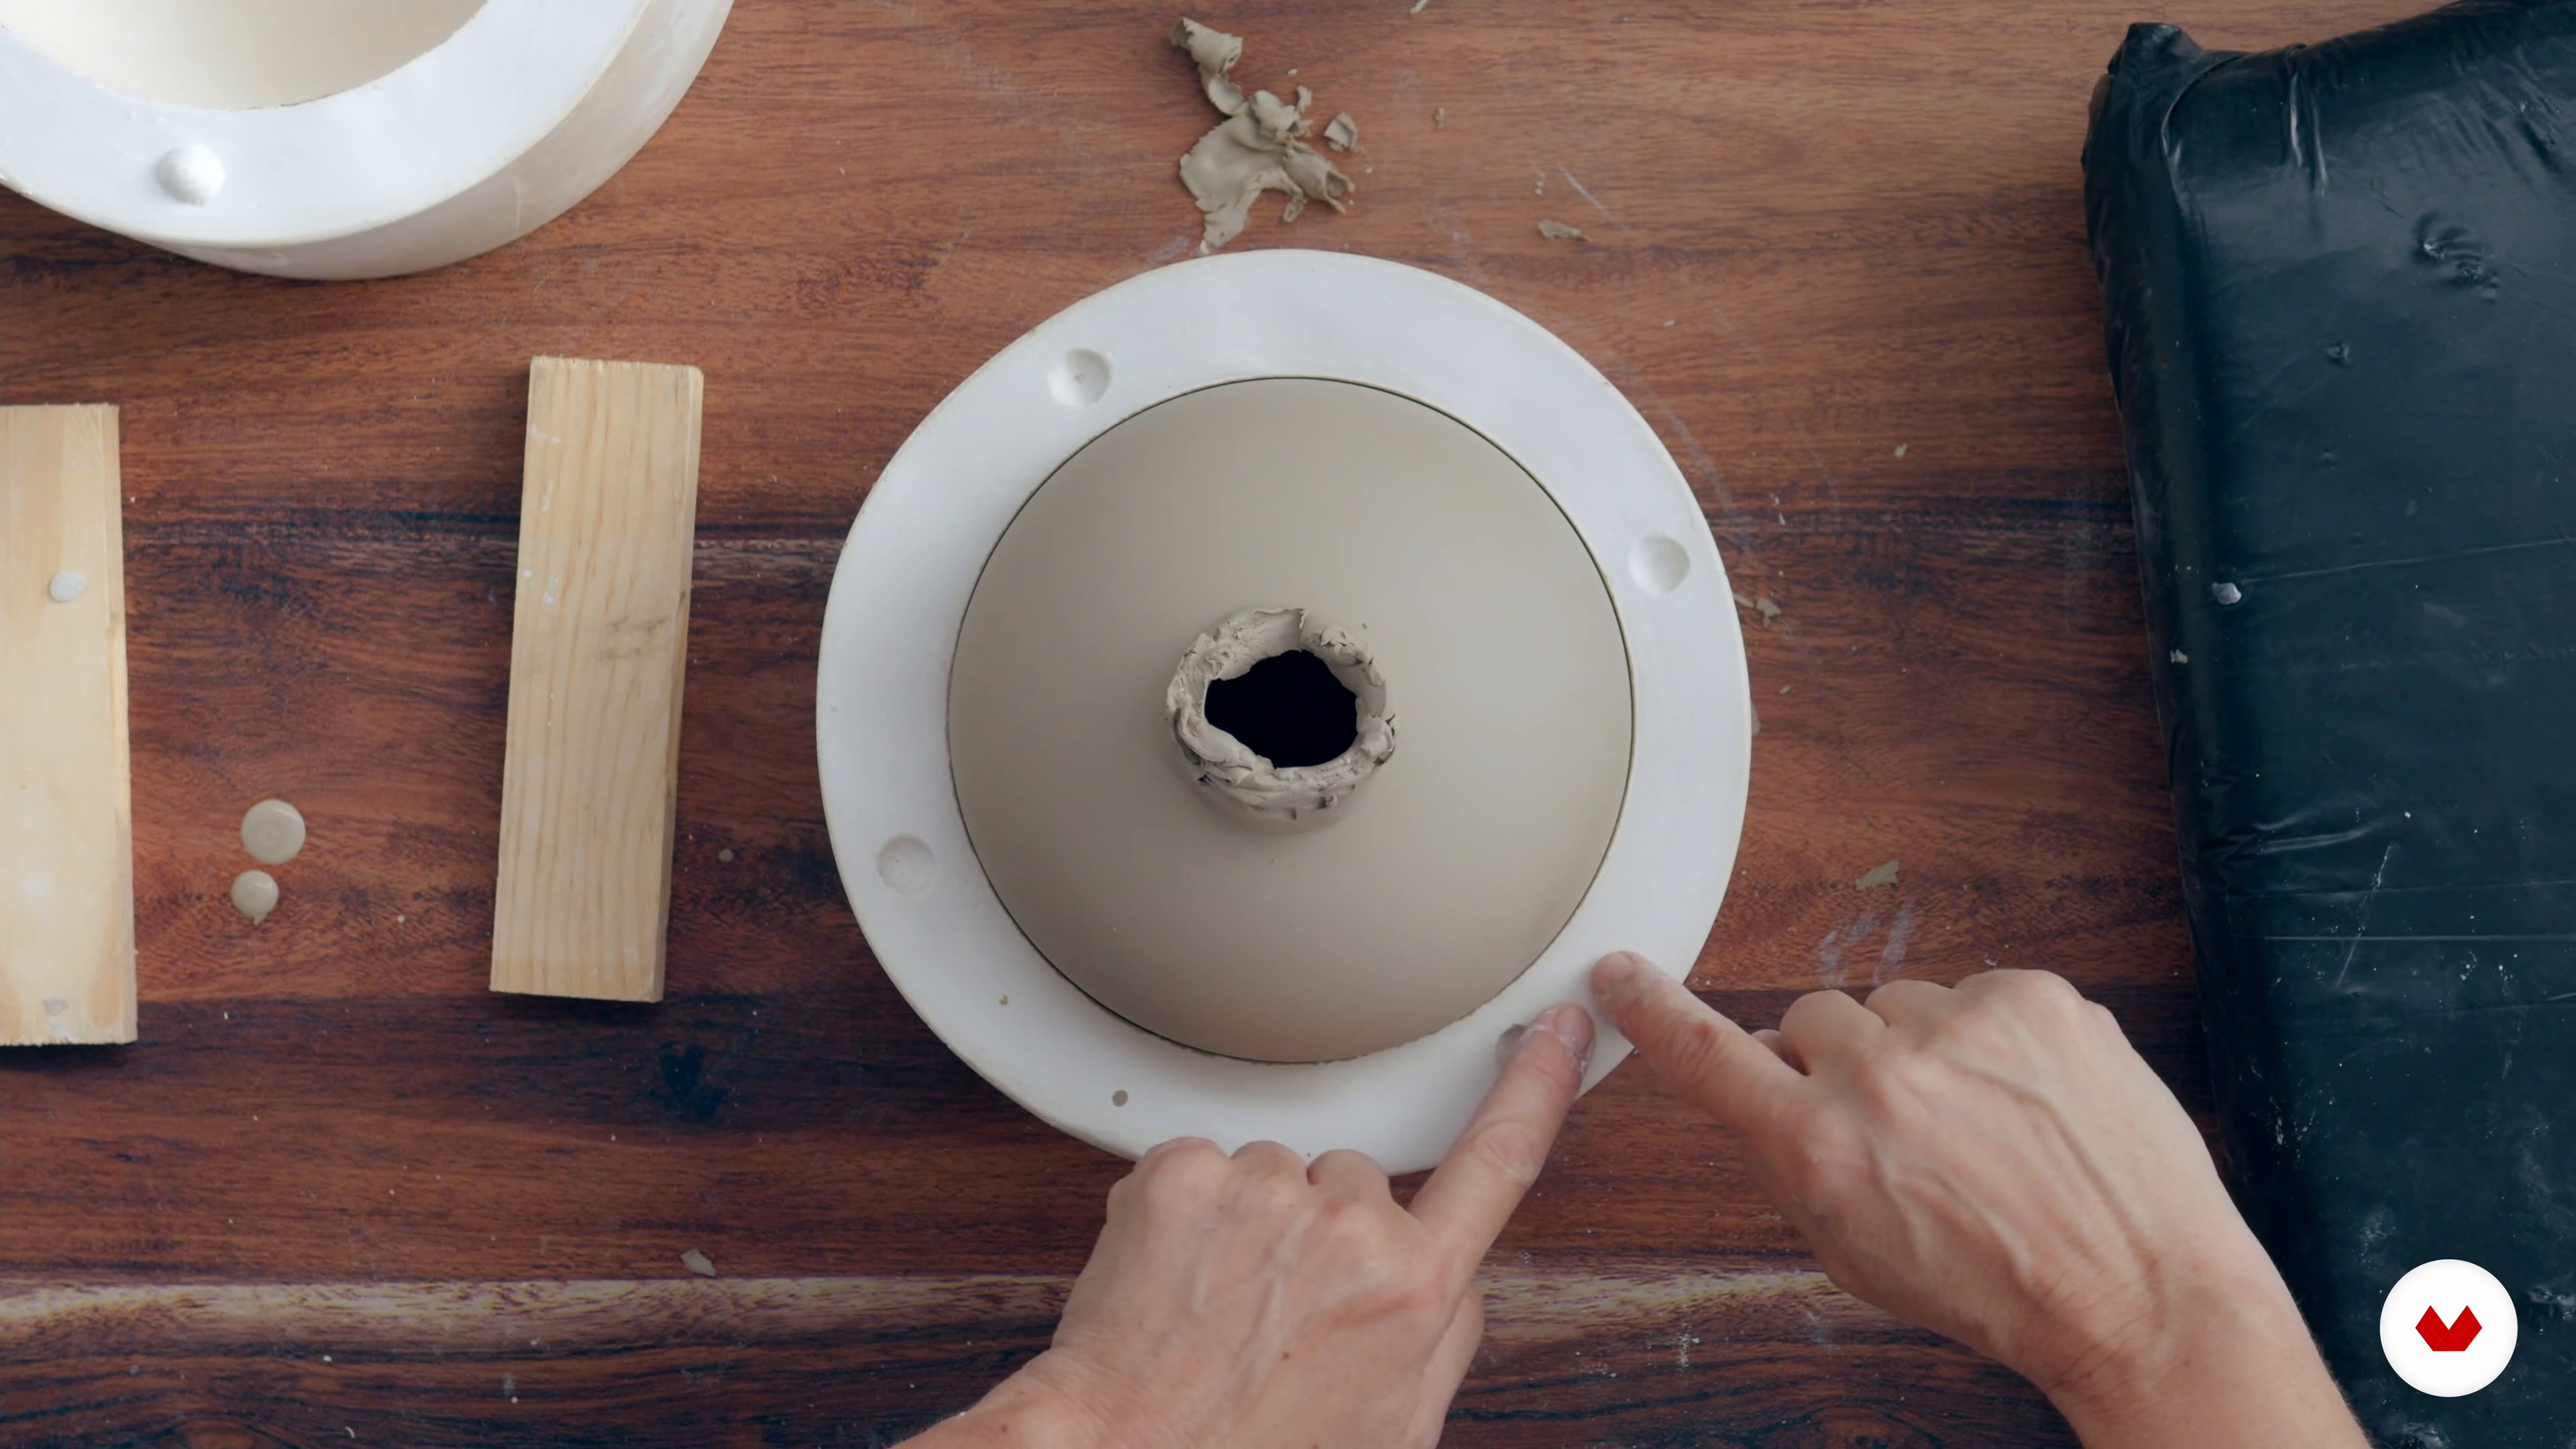
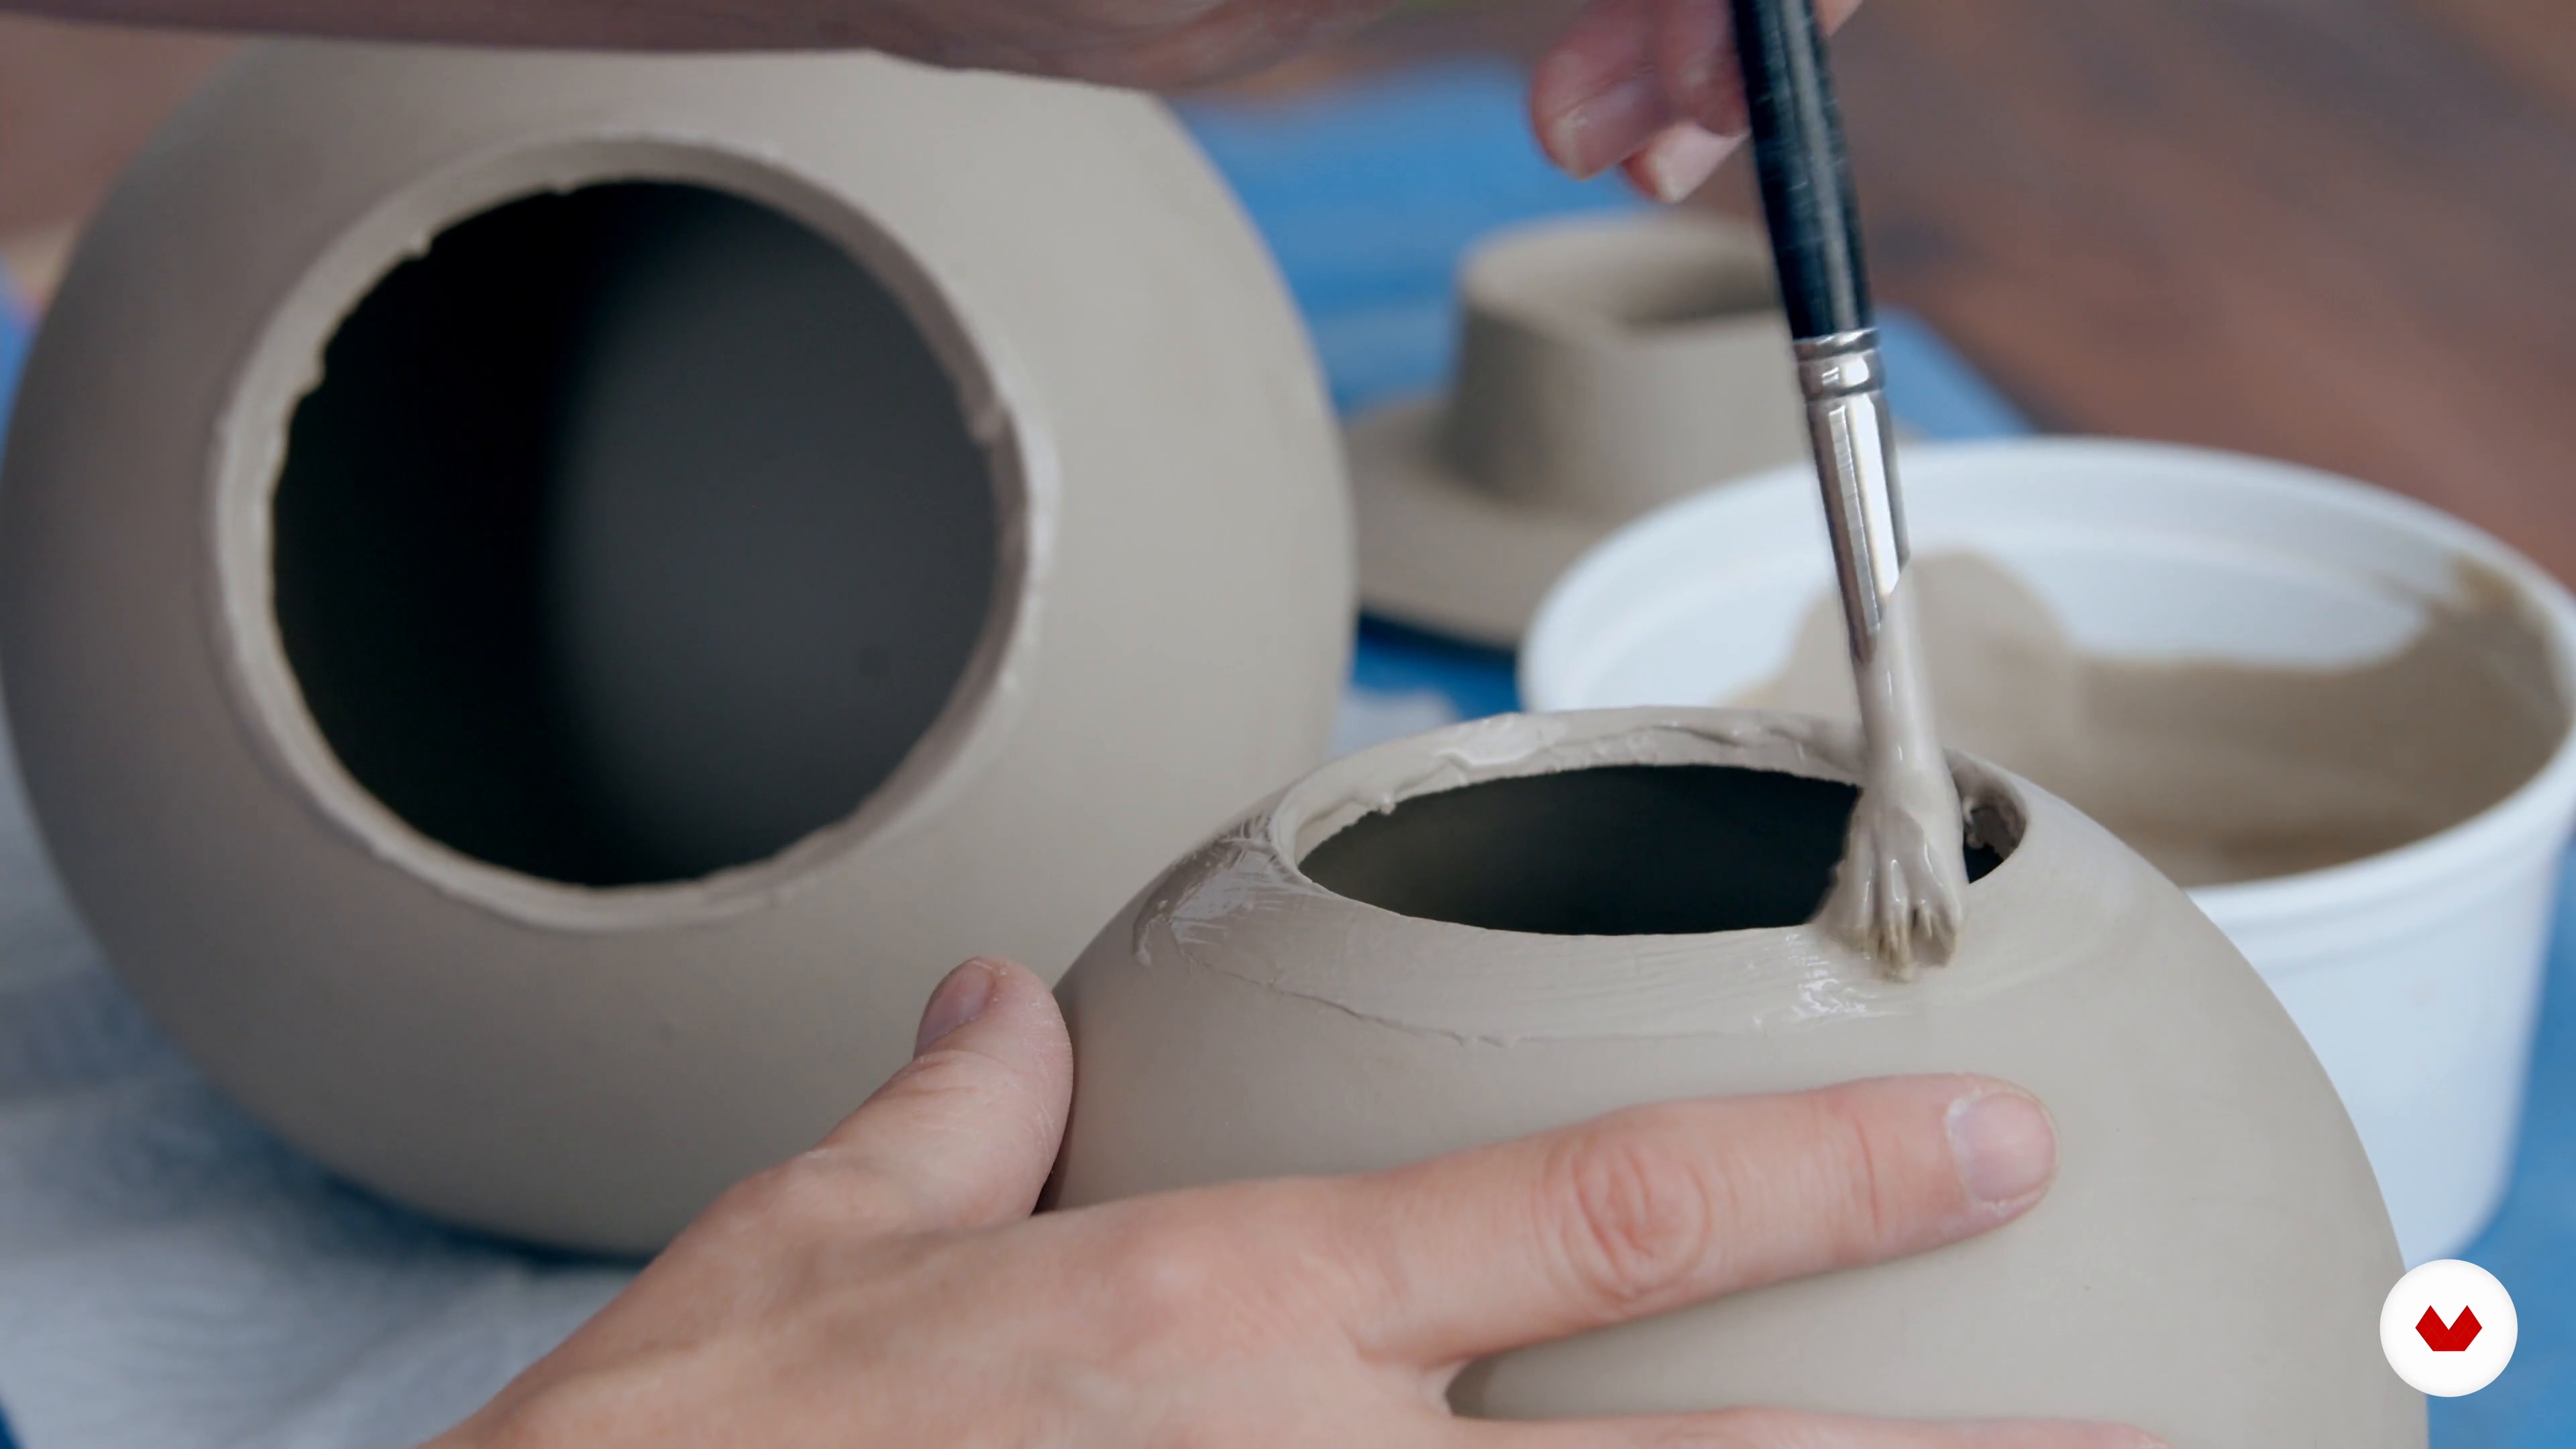
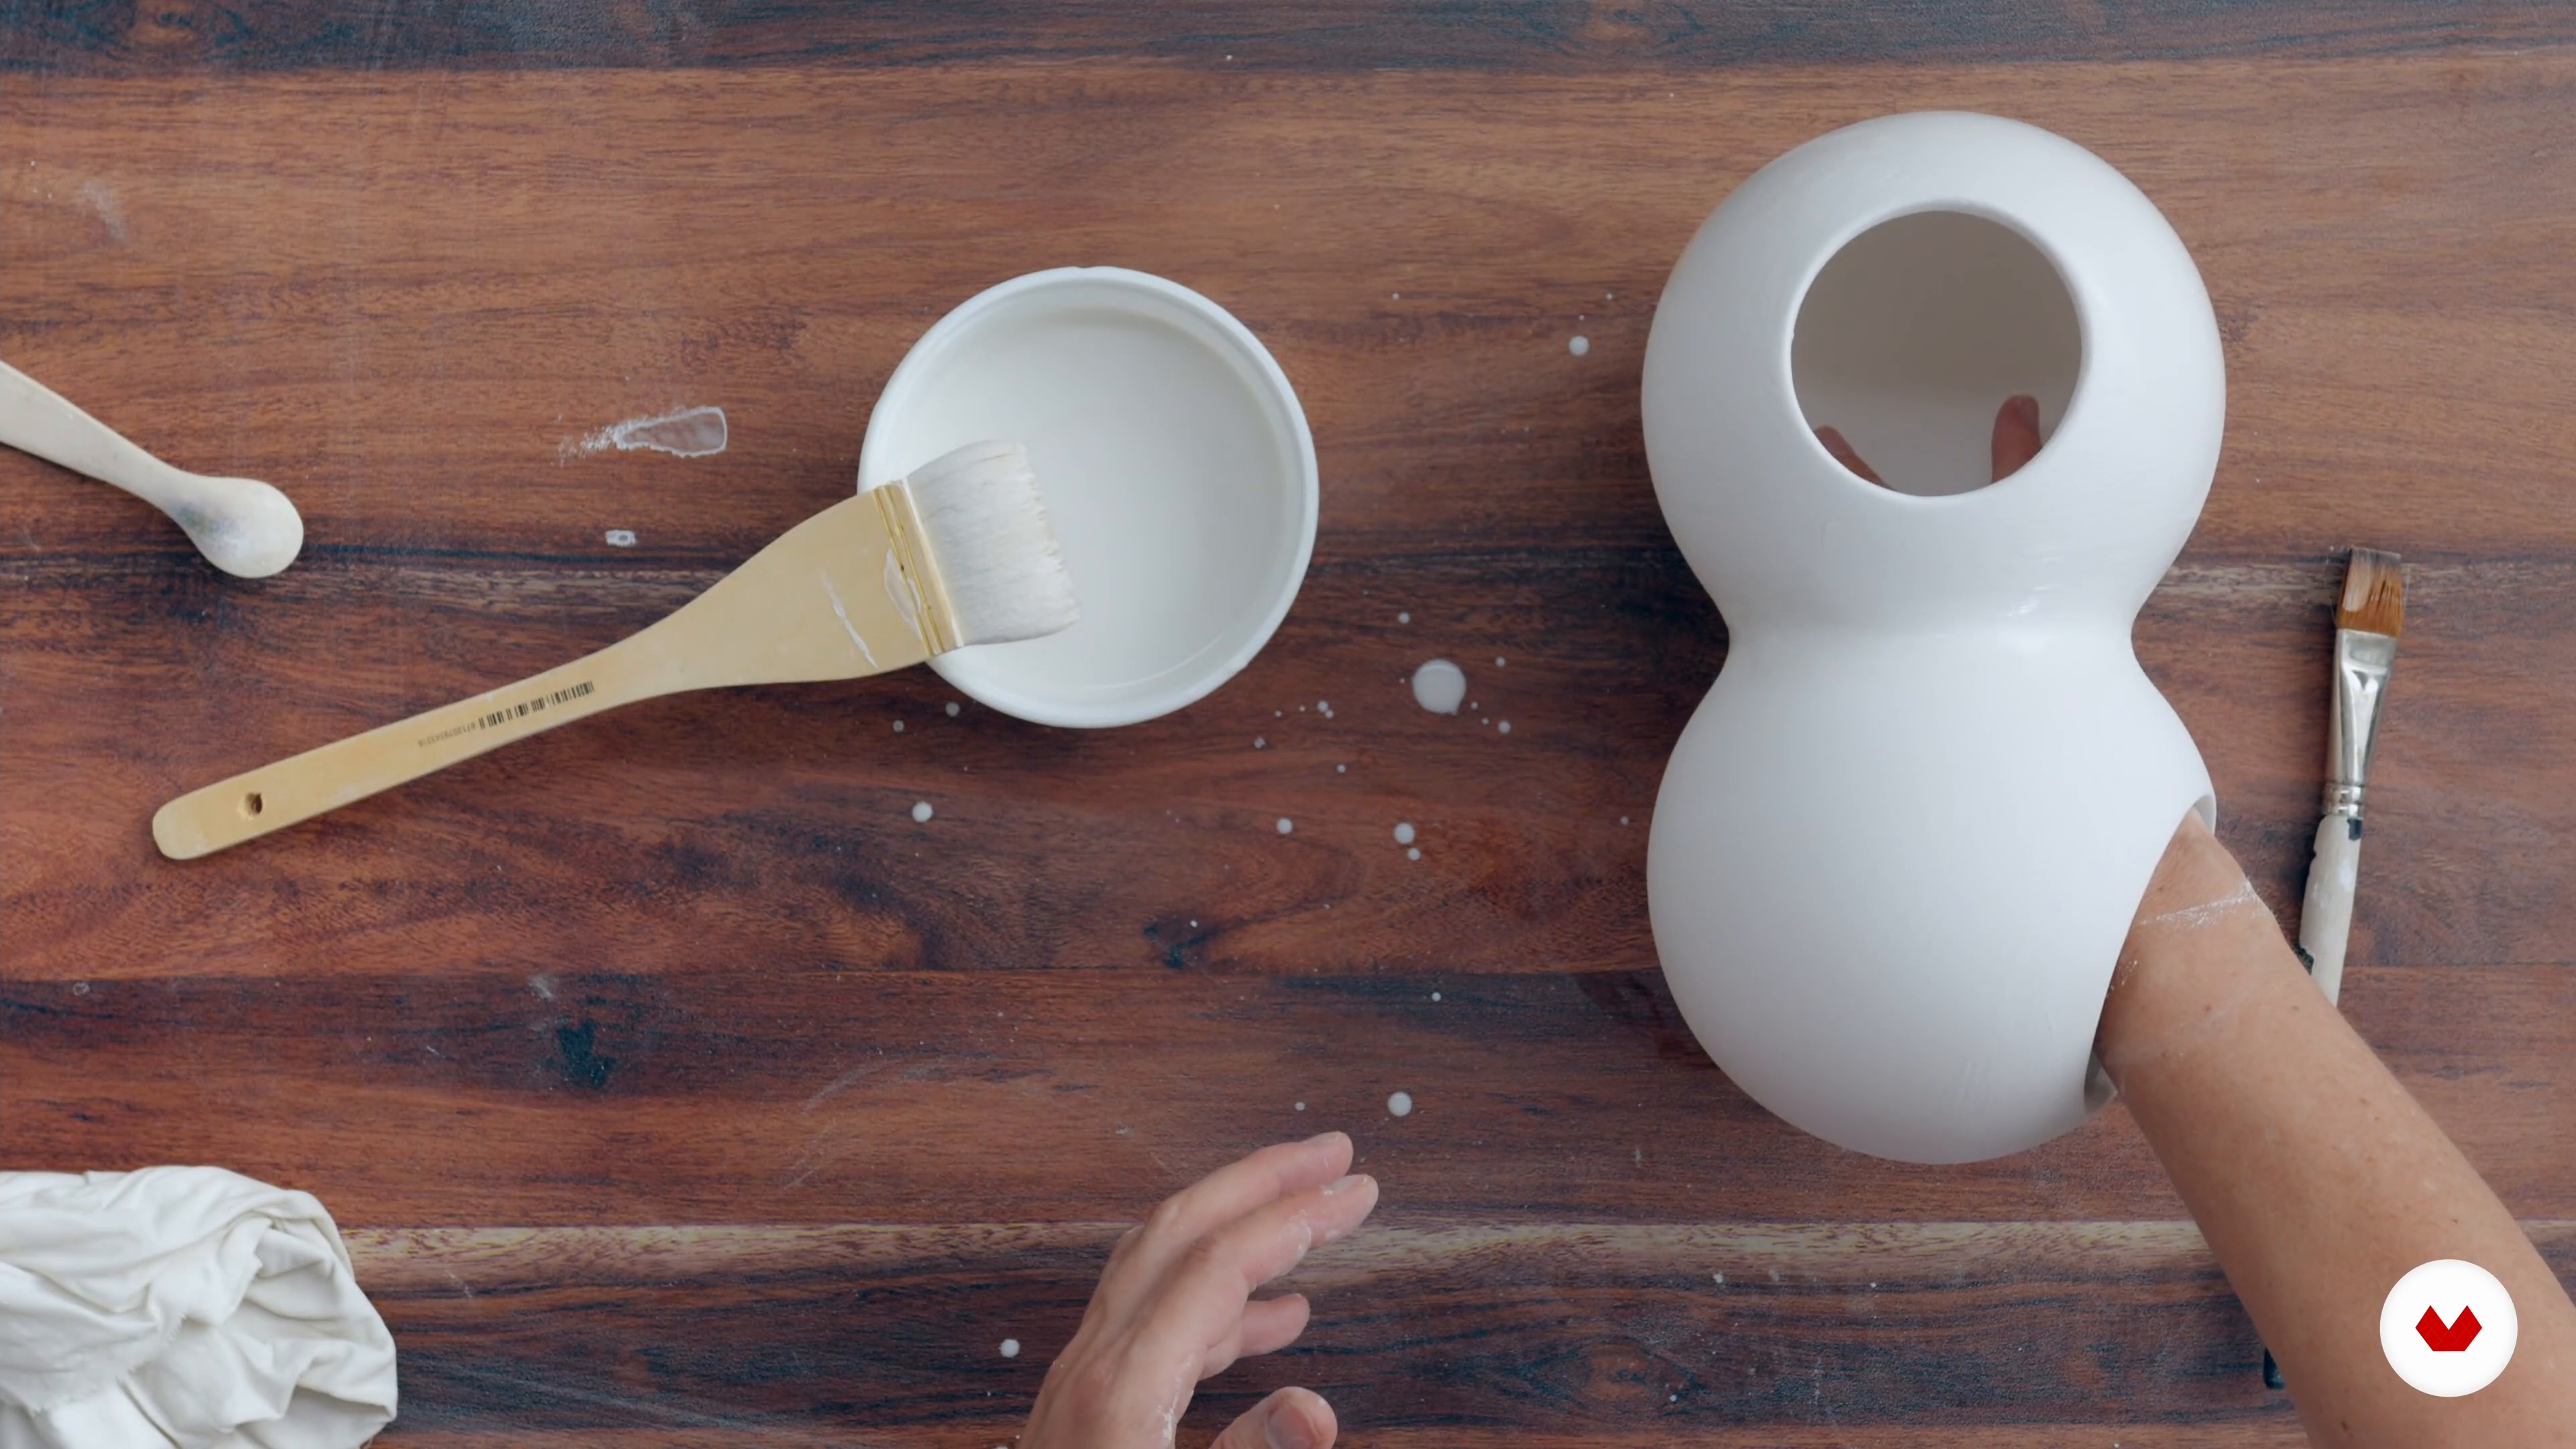
Creative individuals eager to master lighting design will find this course ideal. It's perfect for those passionate about crafting unique, sustainable lamps using paper, macramé, resin, and ceramics. Develop functional, aesthetic, and environmentally conscious design skills through hands-on projects.
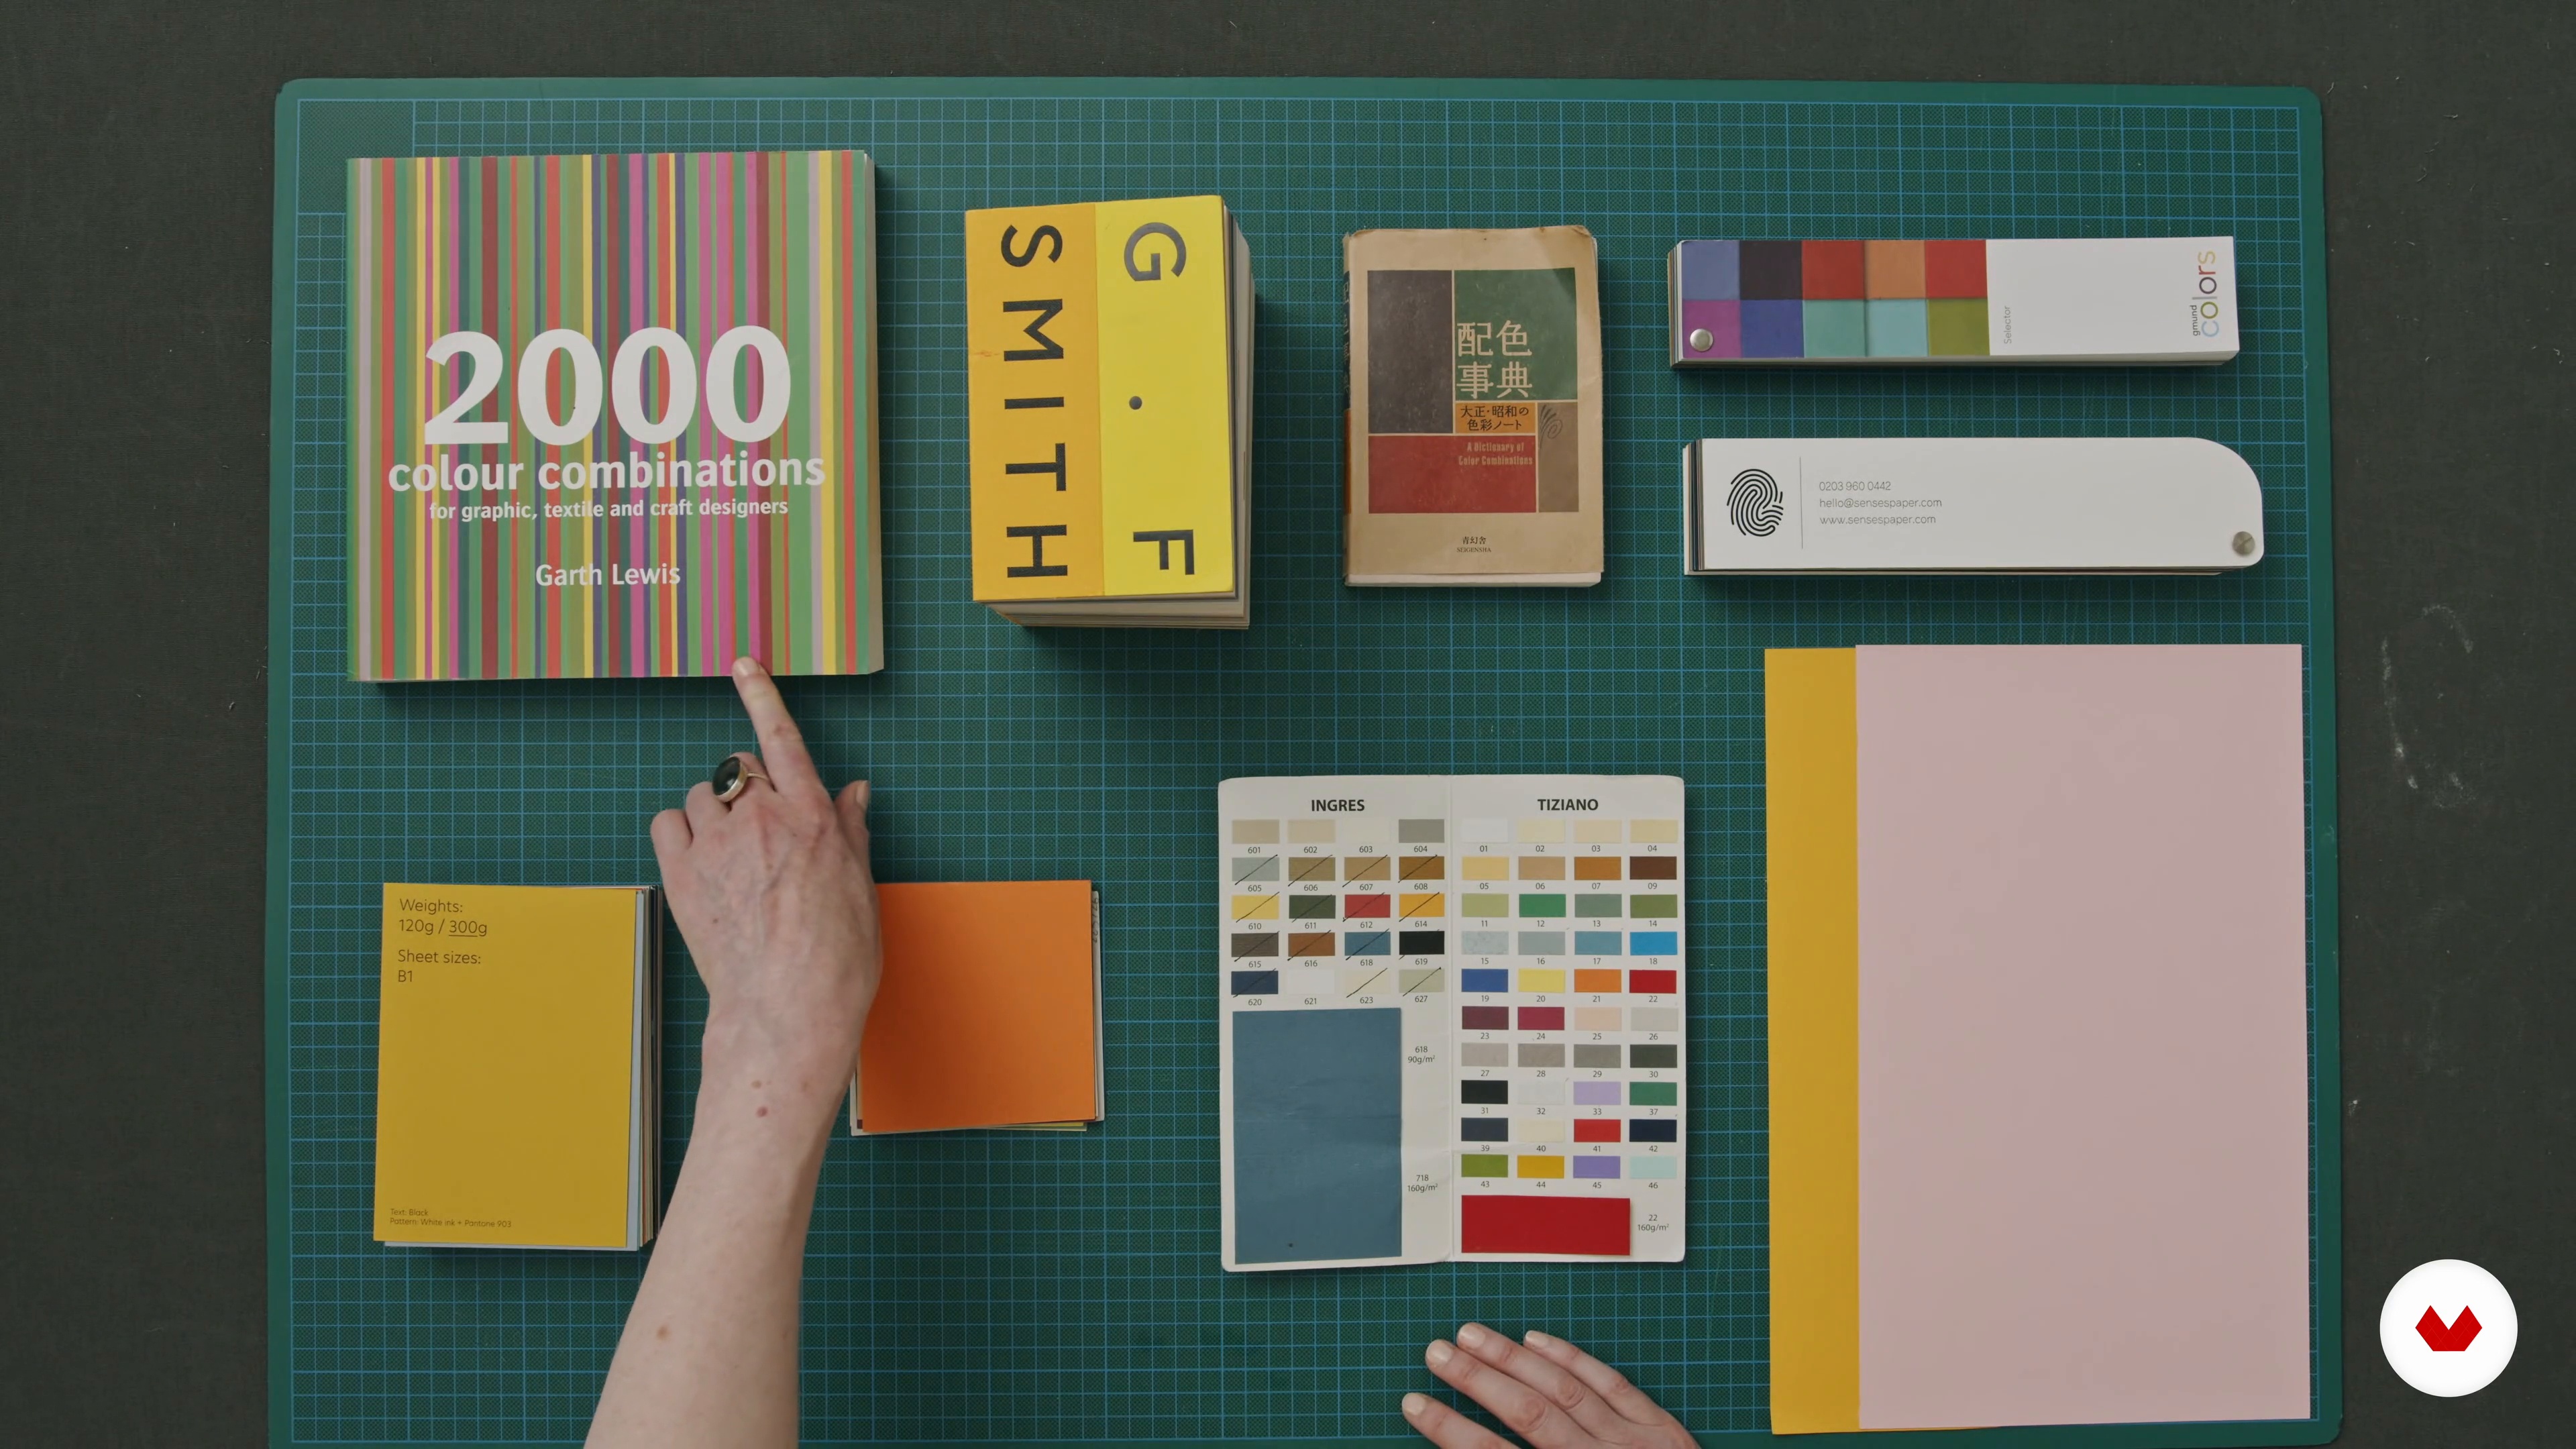
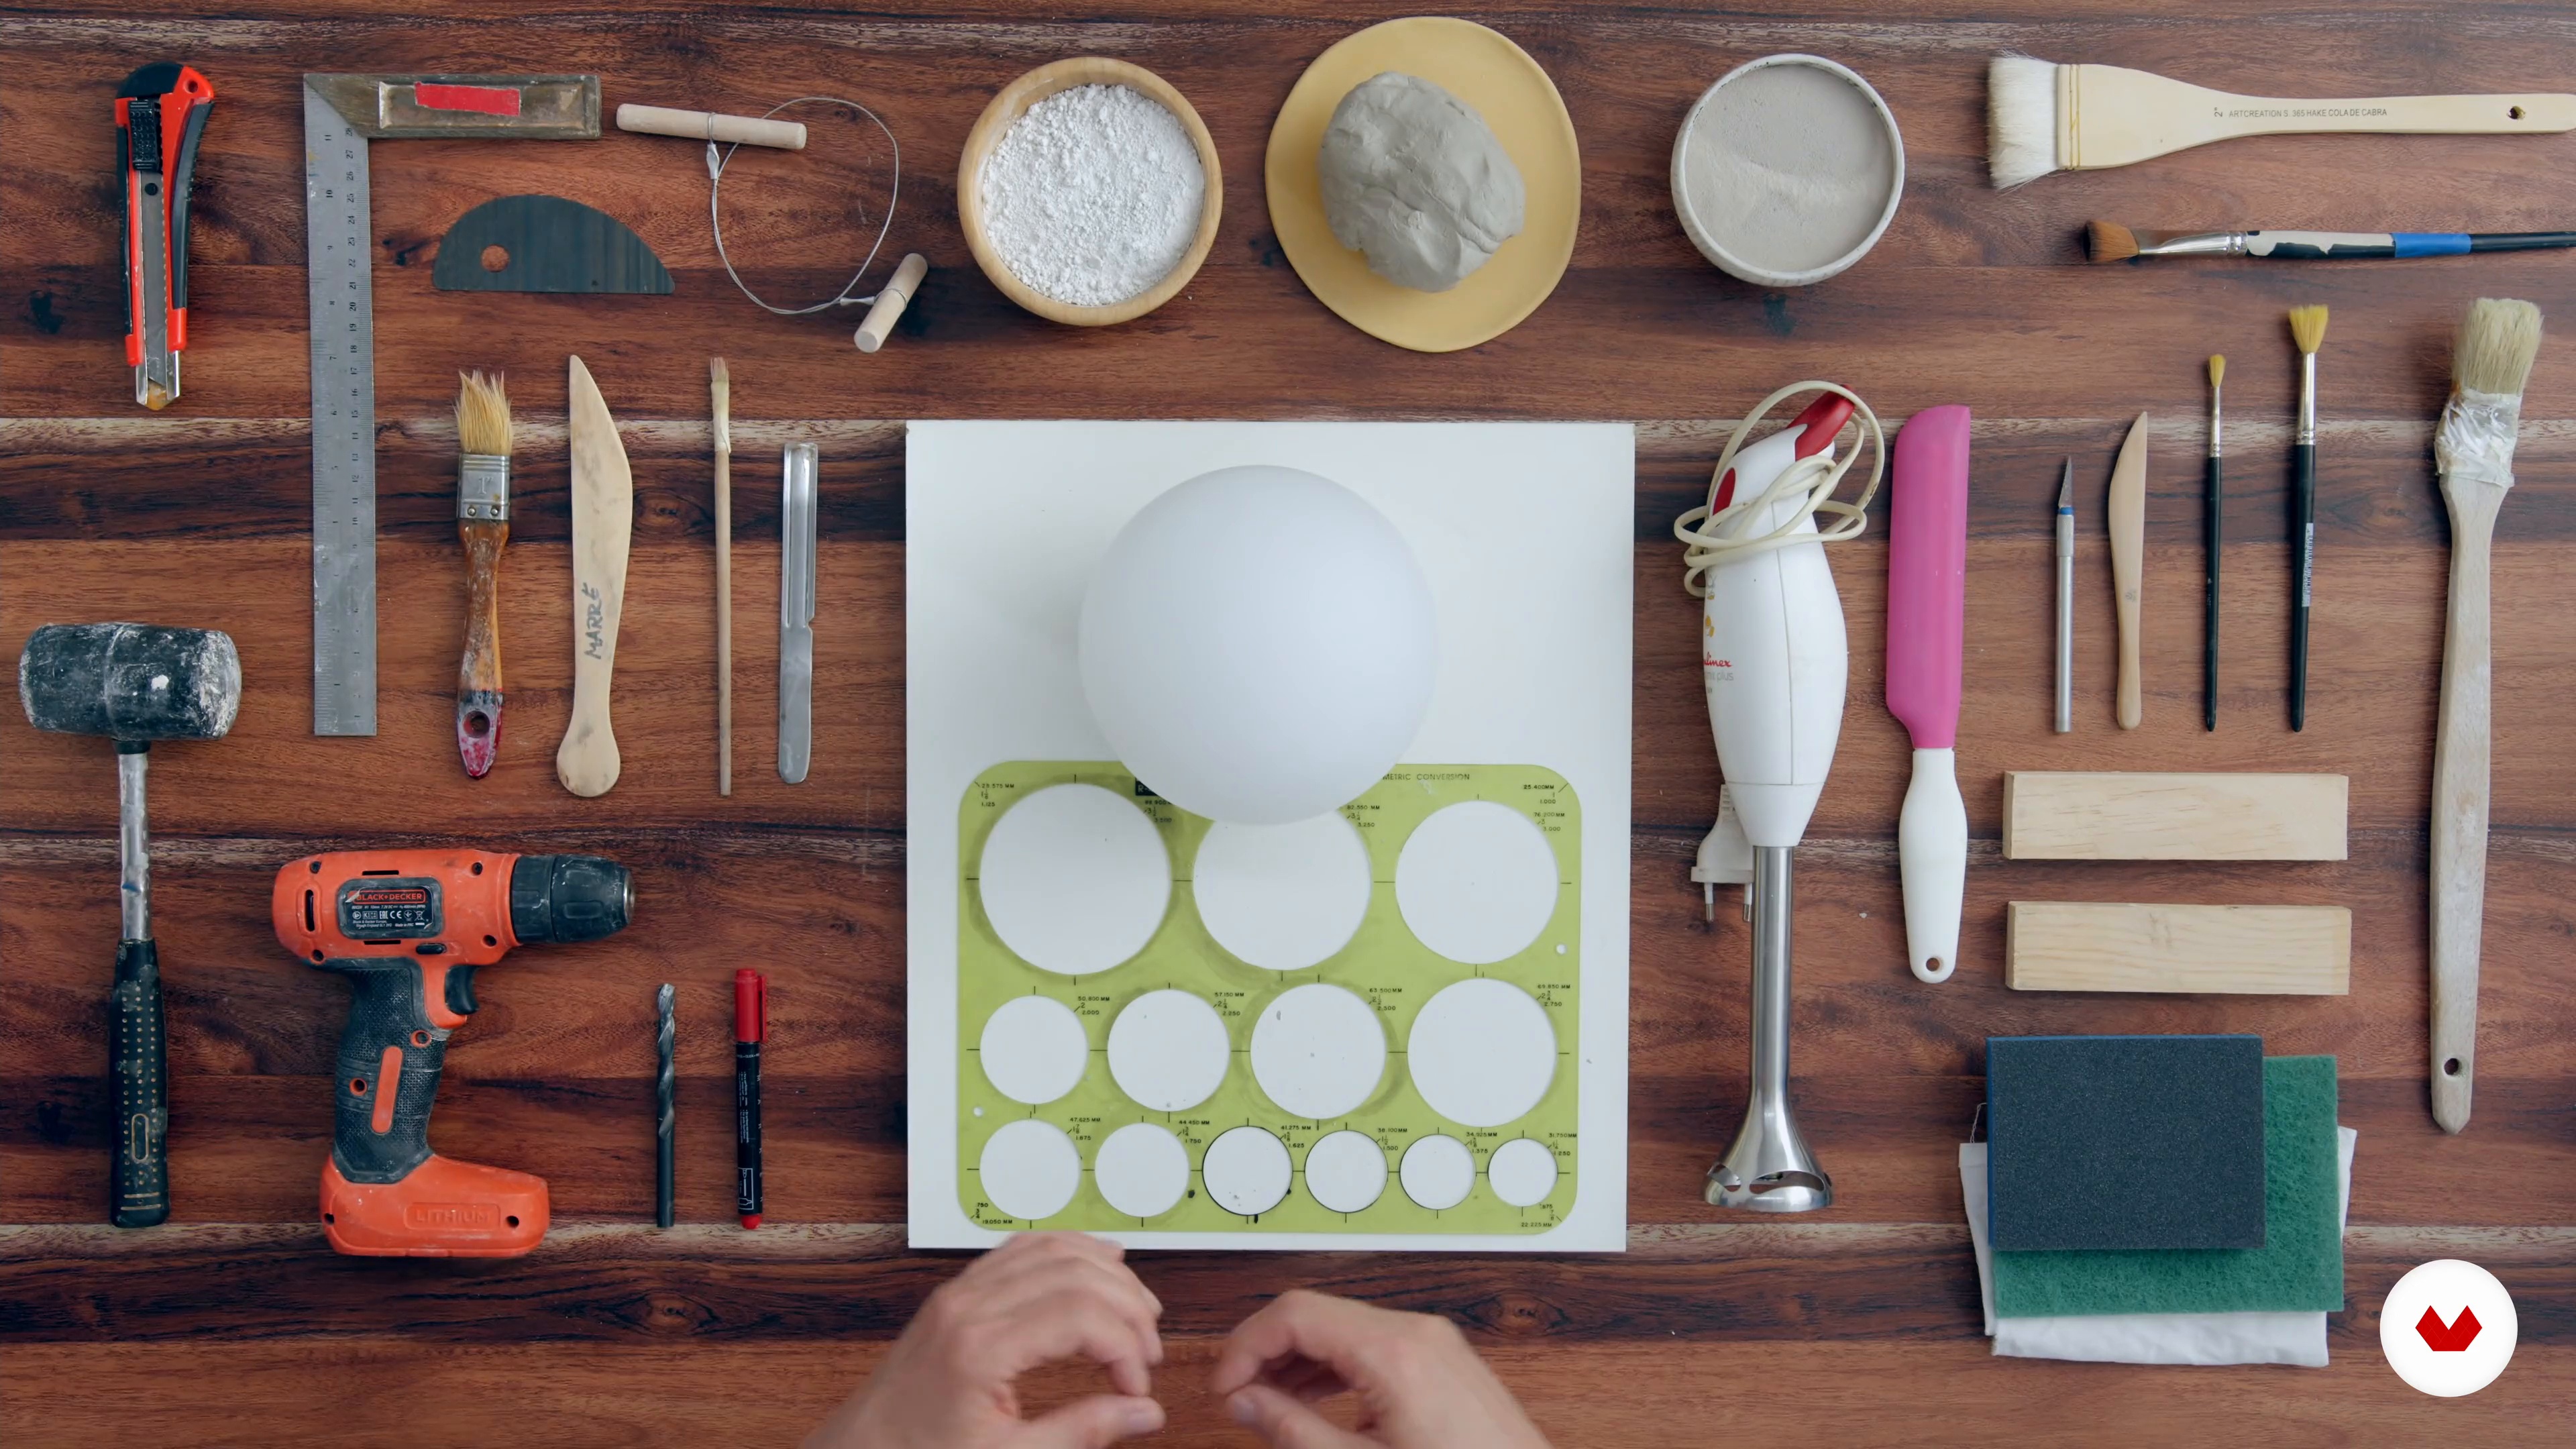
Requirements and materials
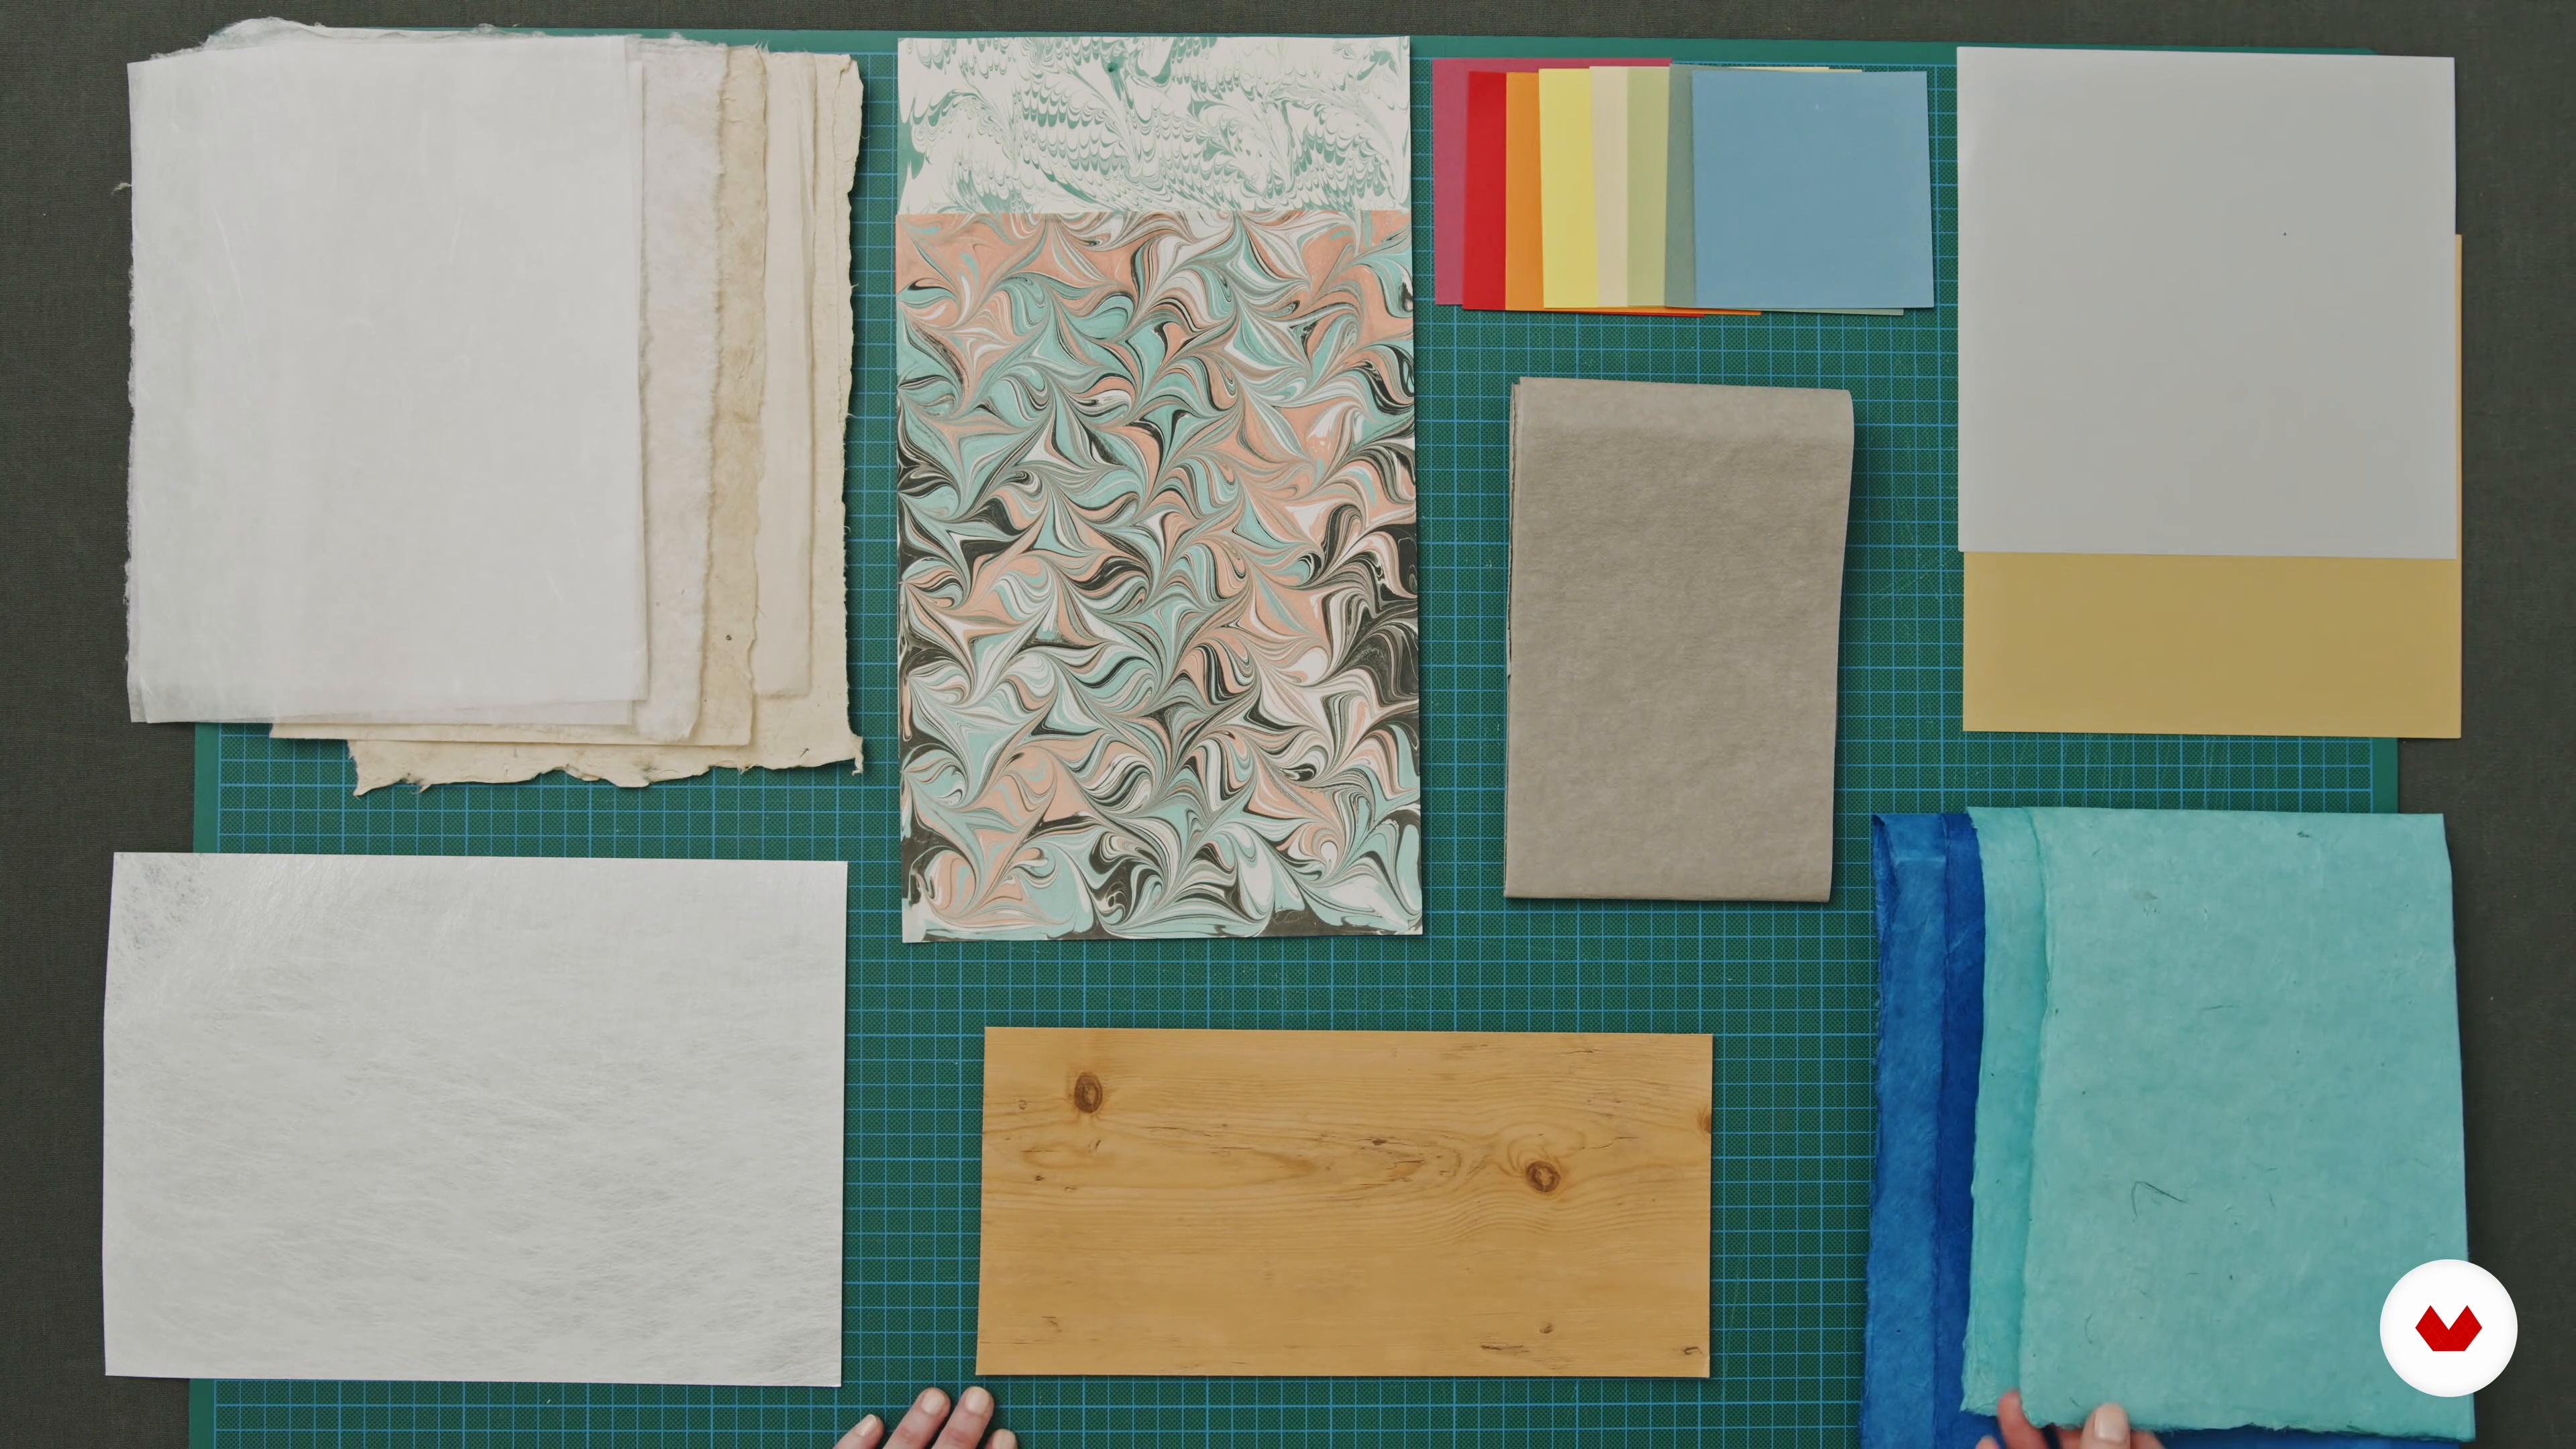
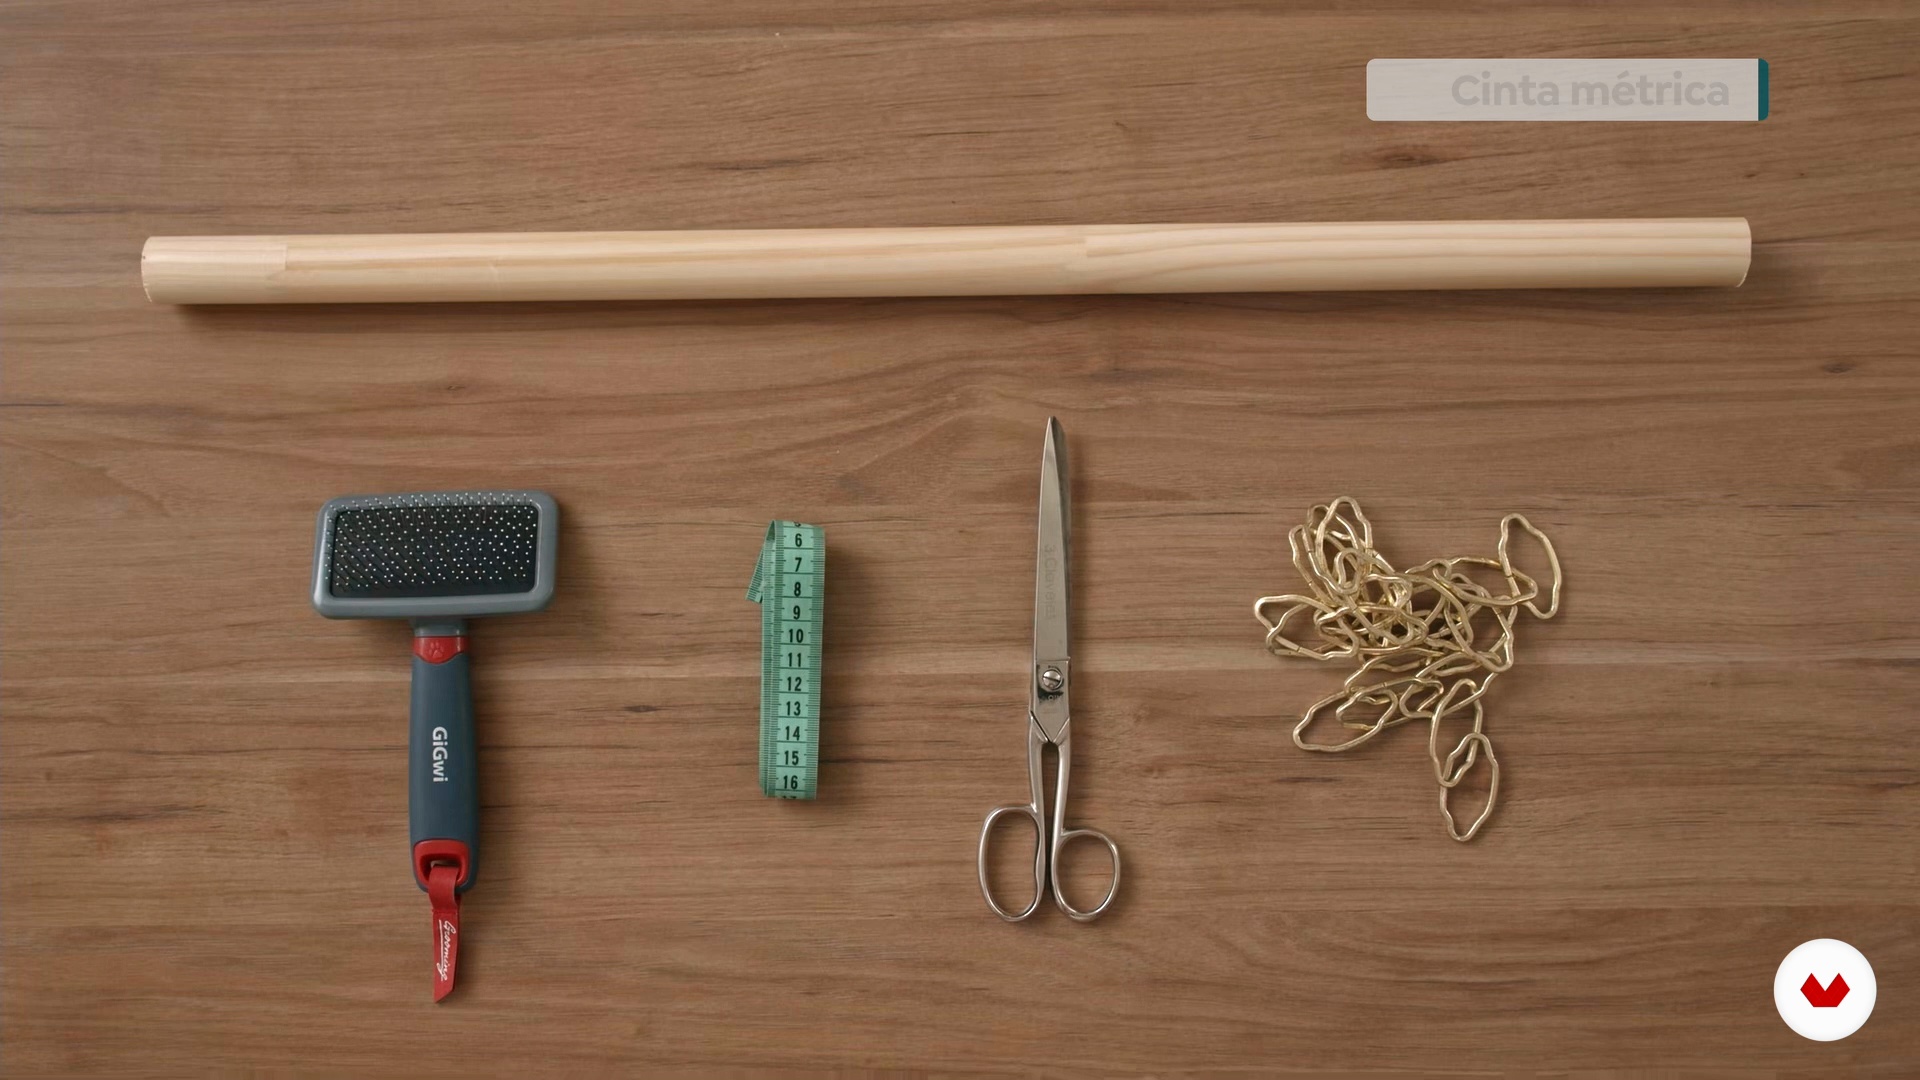
No extensive prior knowledge is needed. Basic necessities include paper, rope, resin, and clay, alongside tools like scissors, a power drill, and protective gear. A creative spirit and willingness to experiment with materials and techniques are essential.


What to expect from this specialization course
-
Learn at your own pace
Enjoy learning from home without a set schedule and with an easy-to-follow method. You set your own pace.
-
Learn from the best professionals
Learn valuable methods and techniques explained by top experts in the creative sector.
-
Meet expert teachers
Each expert teaches what they do best, with clear guidelines, true passion, and professional insight in every lesson.
-
Certificates
PlusIf you're a Plus member, get a custom certificate for every specialization course. Share it on your portfolio, social media, or wherever you like.
-
Get front-row seats
Videos of the highest quality, so you don't miss a single detail. With unlimited access, you can watch them as many times as you need to perfect your technique.
-
Share knowledge and ideas
Ask questions, request feedback, or offer solutions. Share your learning experience with other students in the community who are as passionate about creativity as you are.
-
Connect with a global creative community
The community is home to millions of people from around the world who are curious and passionate about exploring and expressing their creativity.
-
Watch professionally produced courses
Domestika curates its teacher roster and produces every course in-house to ensure a high-quality online learning experience.
FAQs
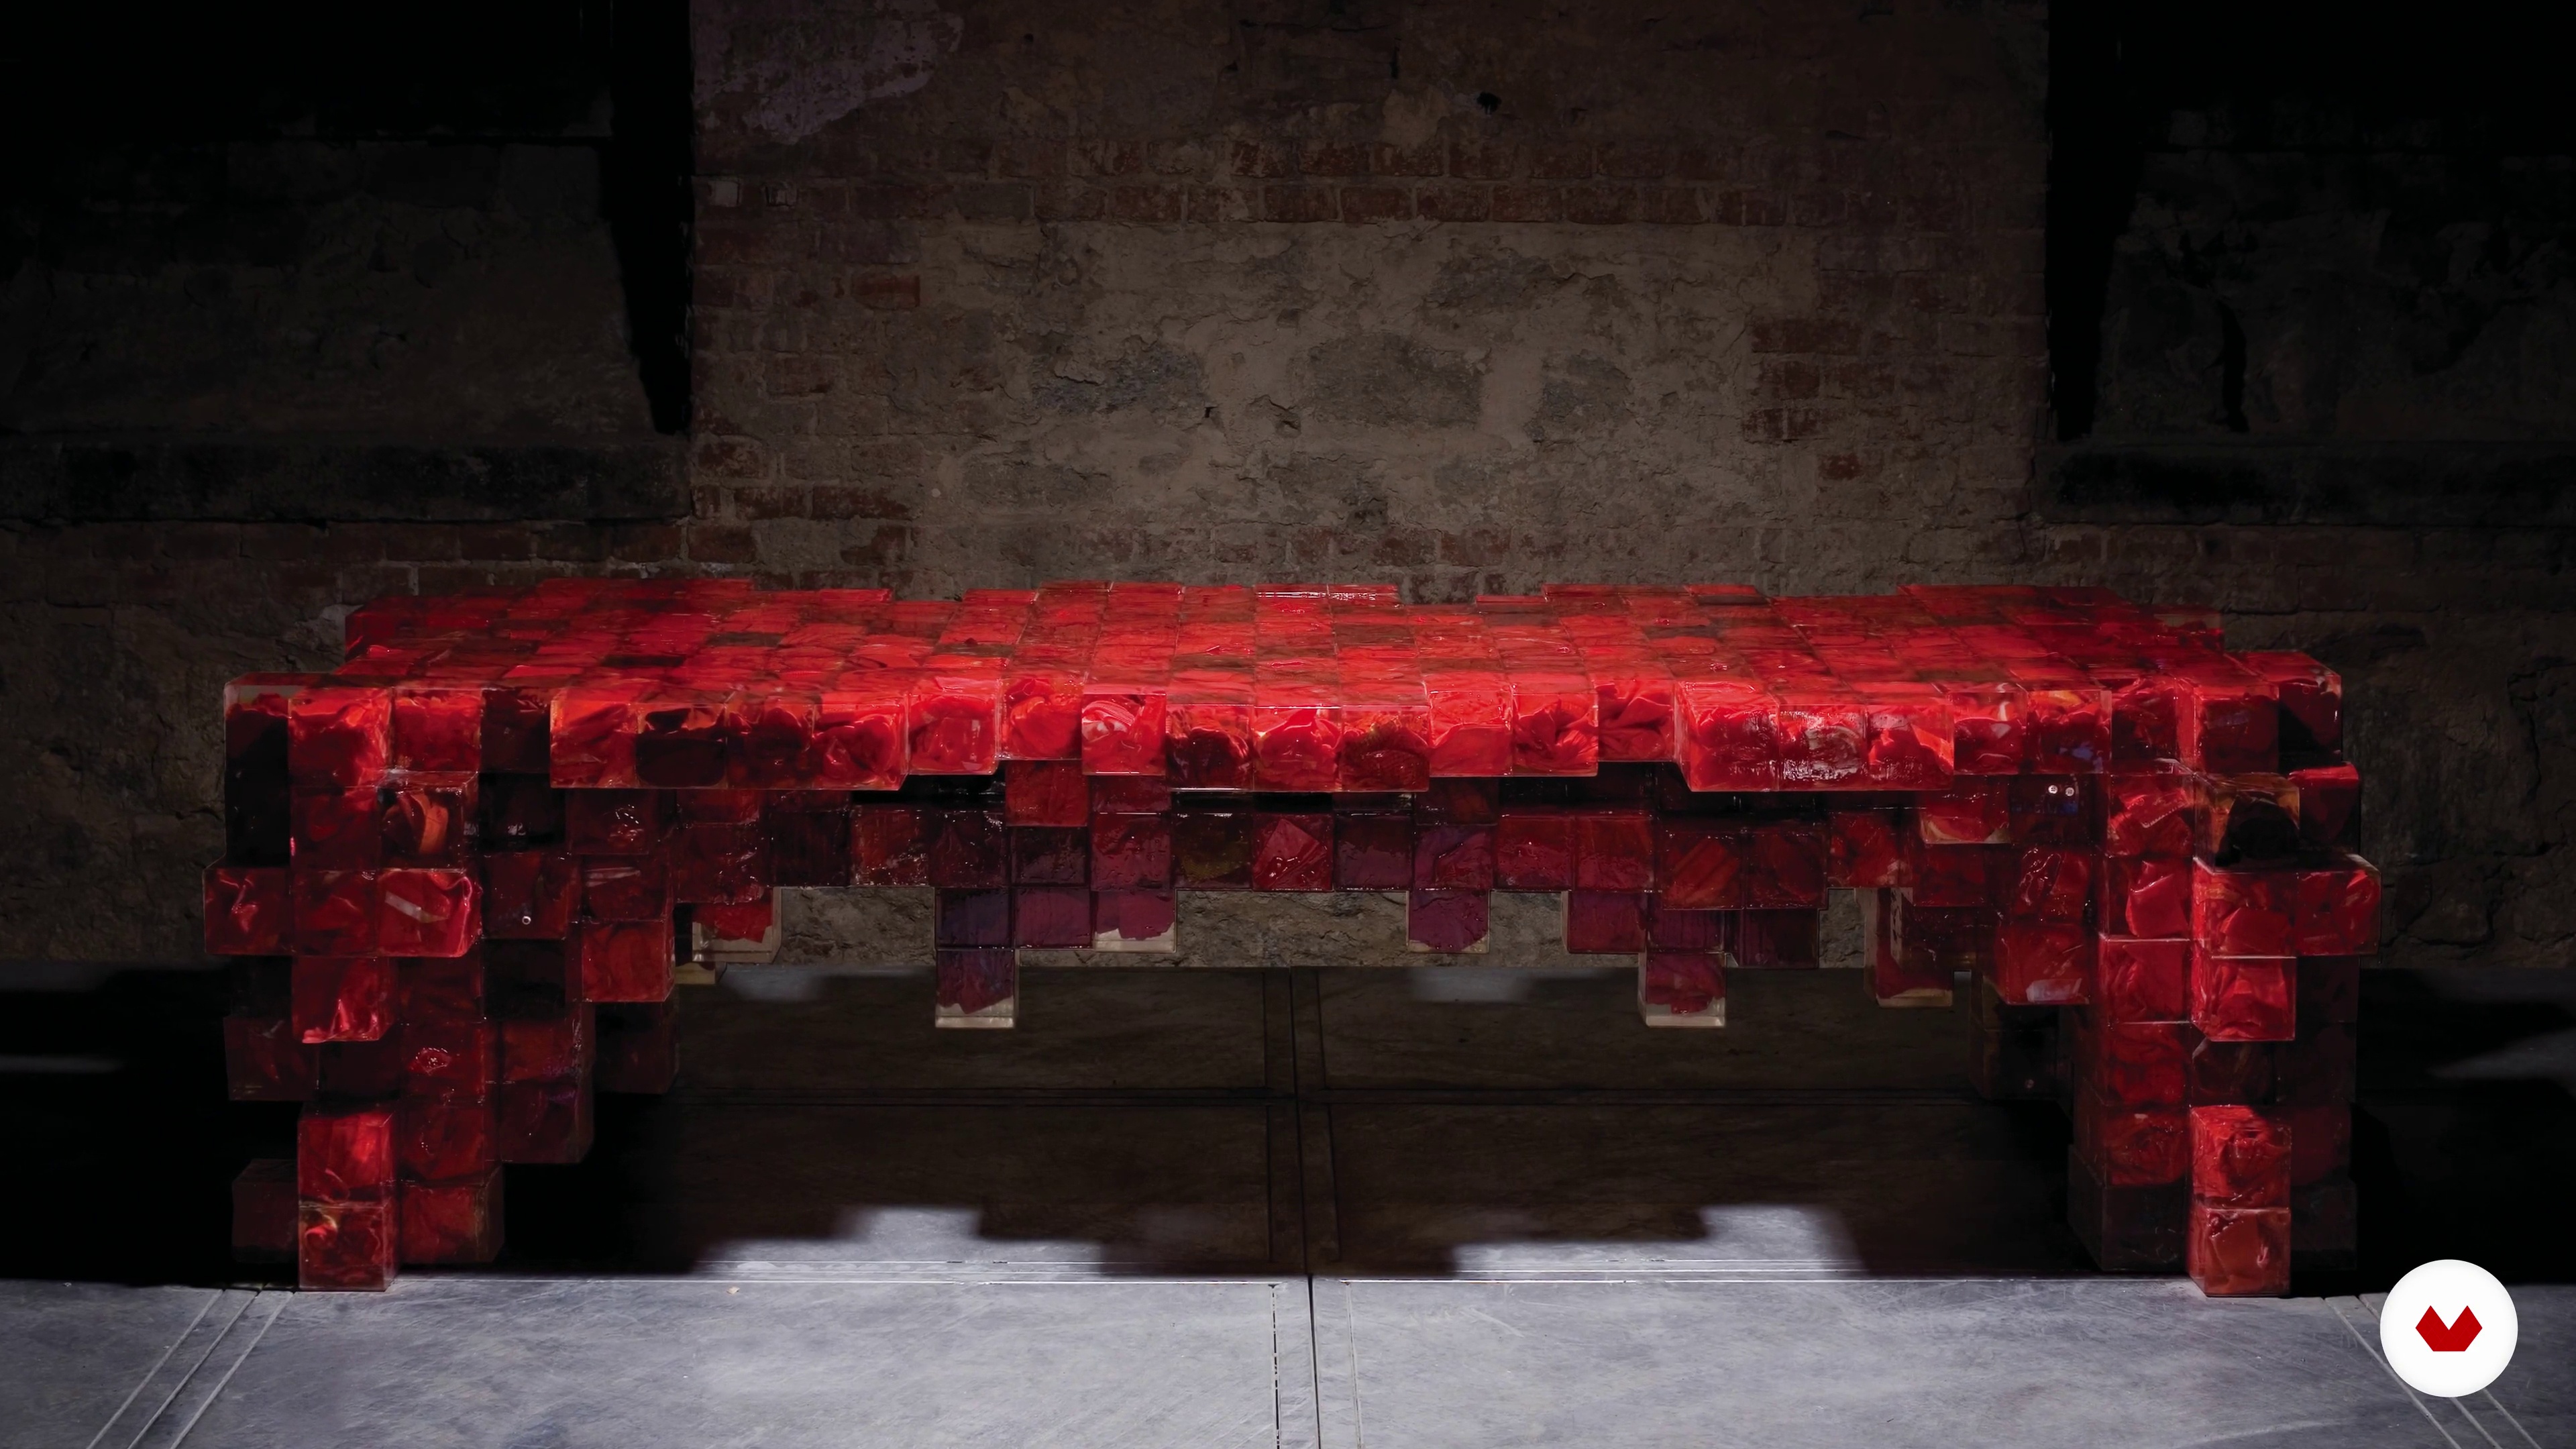
This course is best for those with some prior experience in design or making, as it covers intermediate concepts in resin casting, computer-aided design, and model making for architecture and furniture.
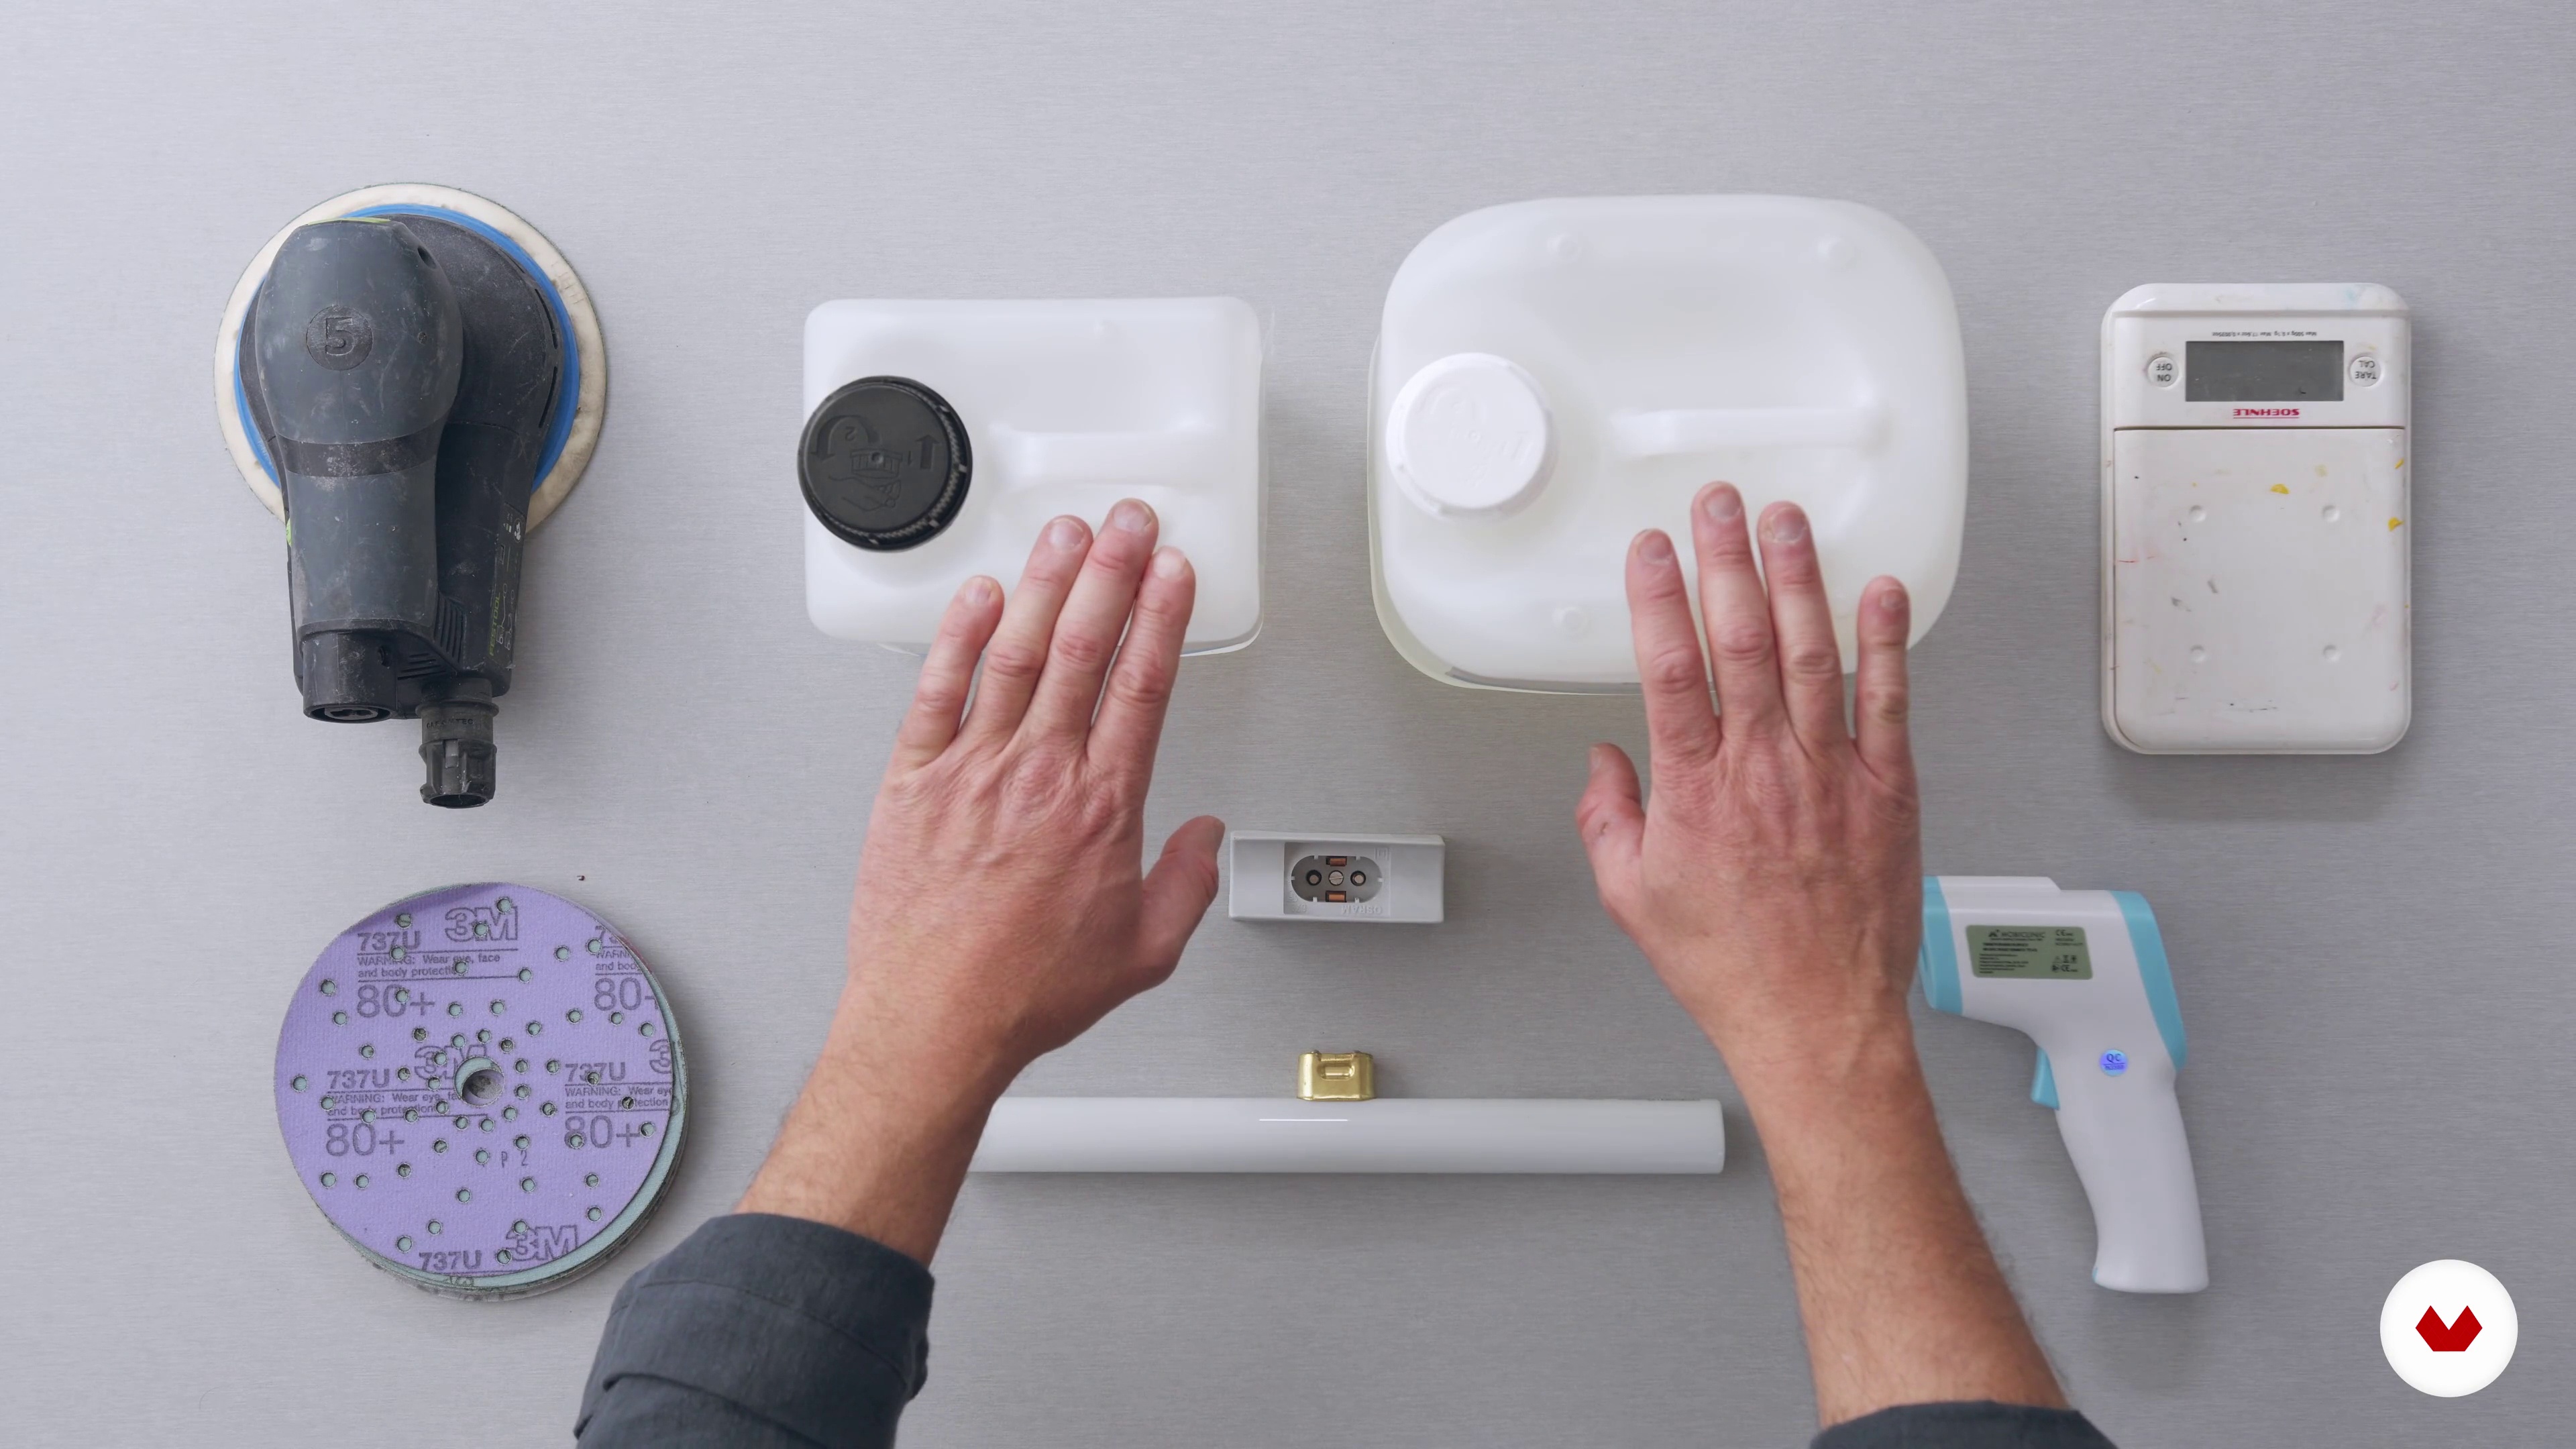
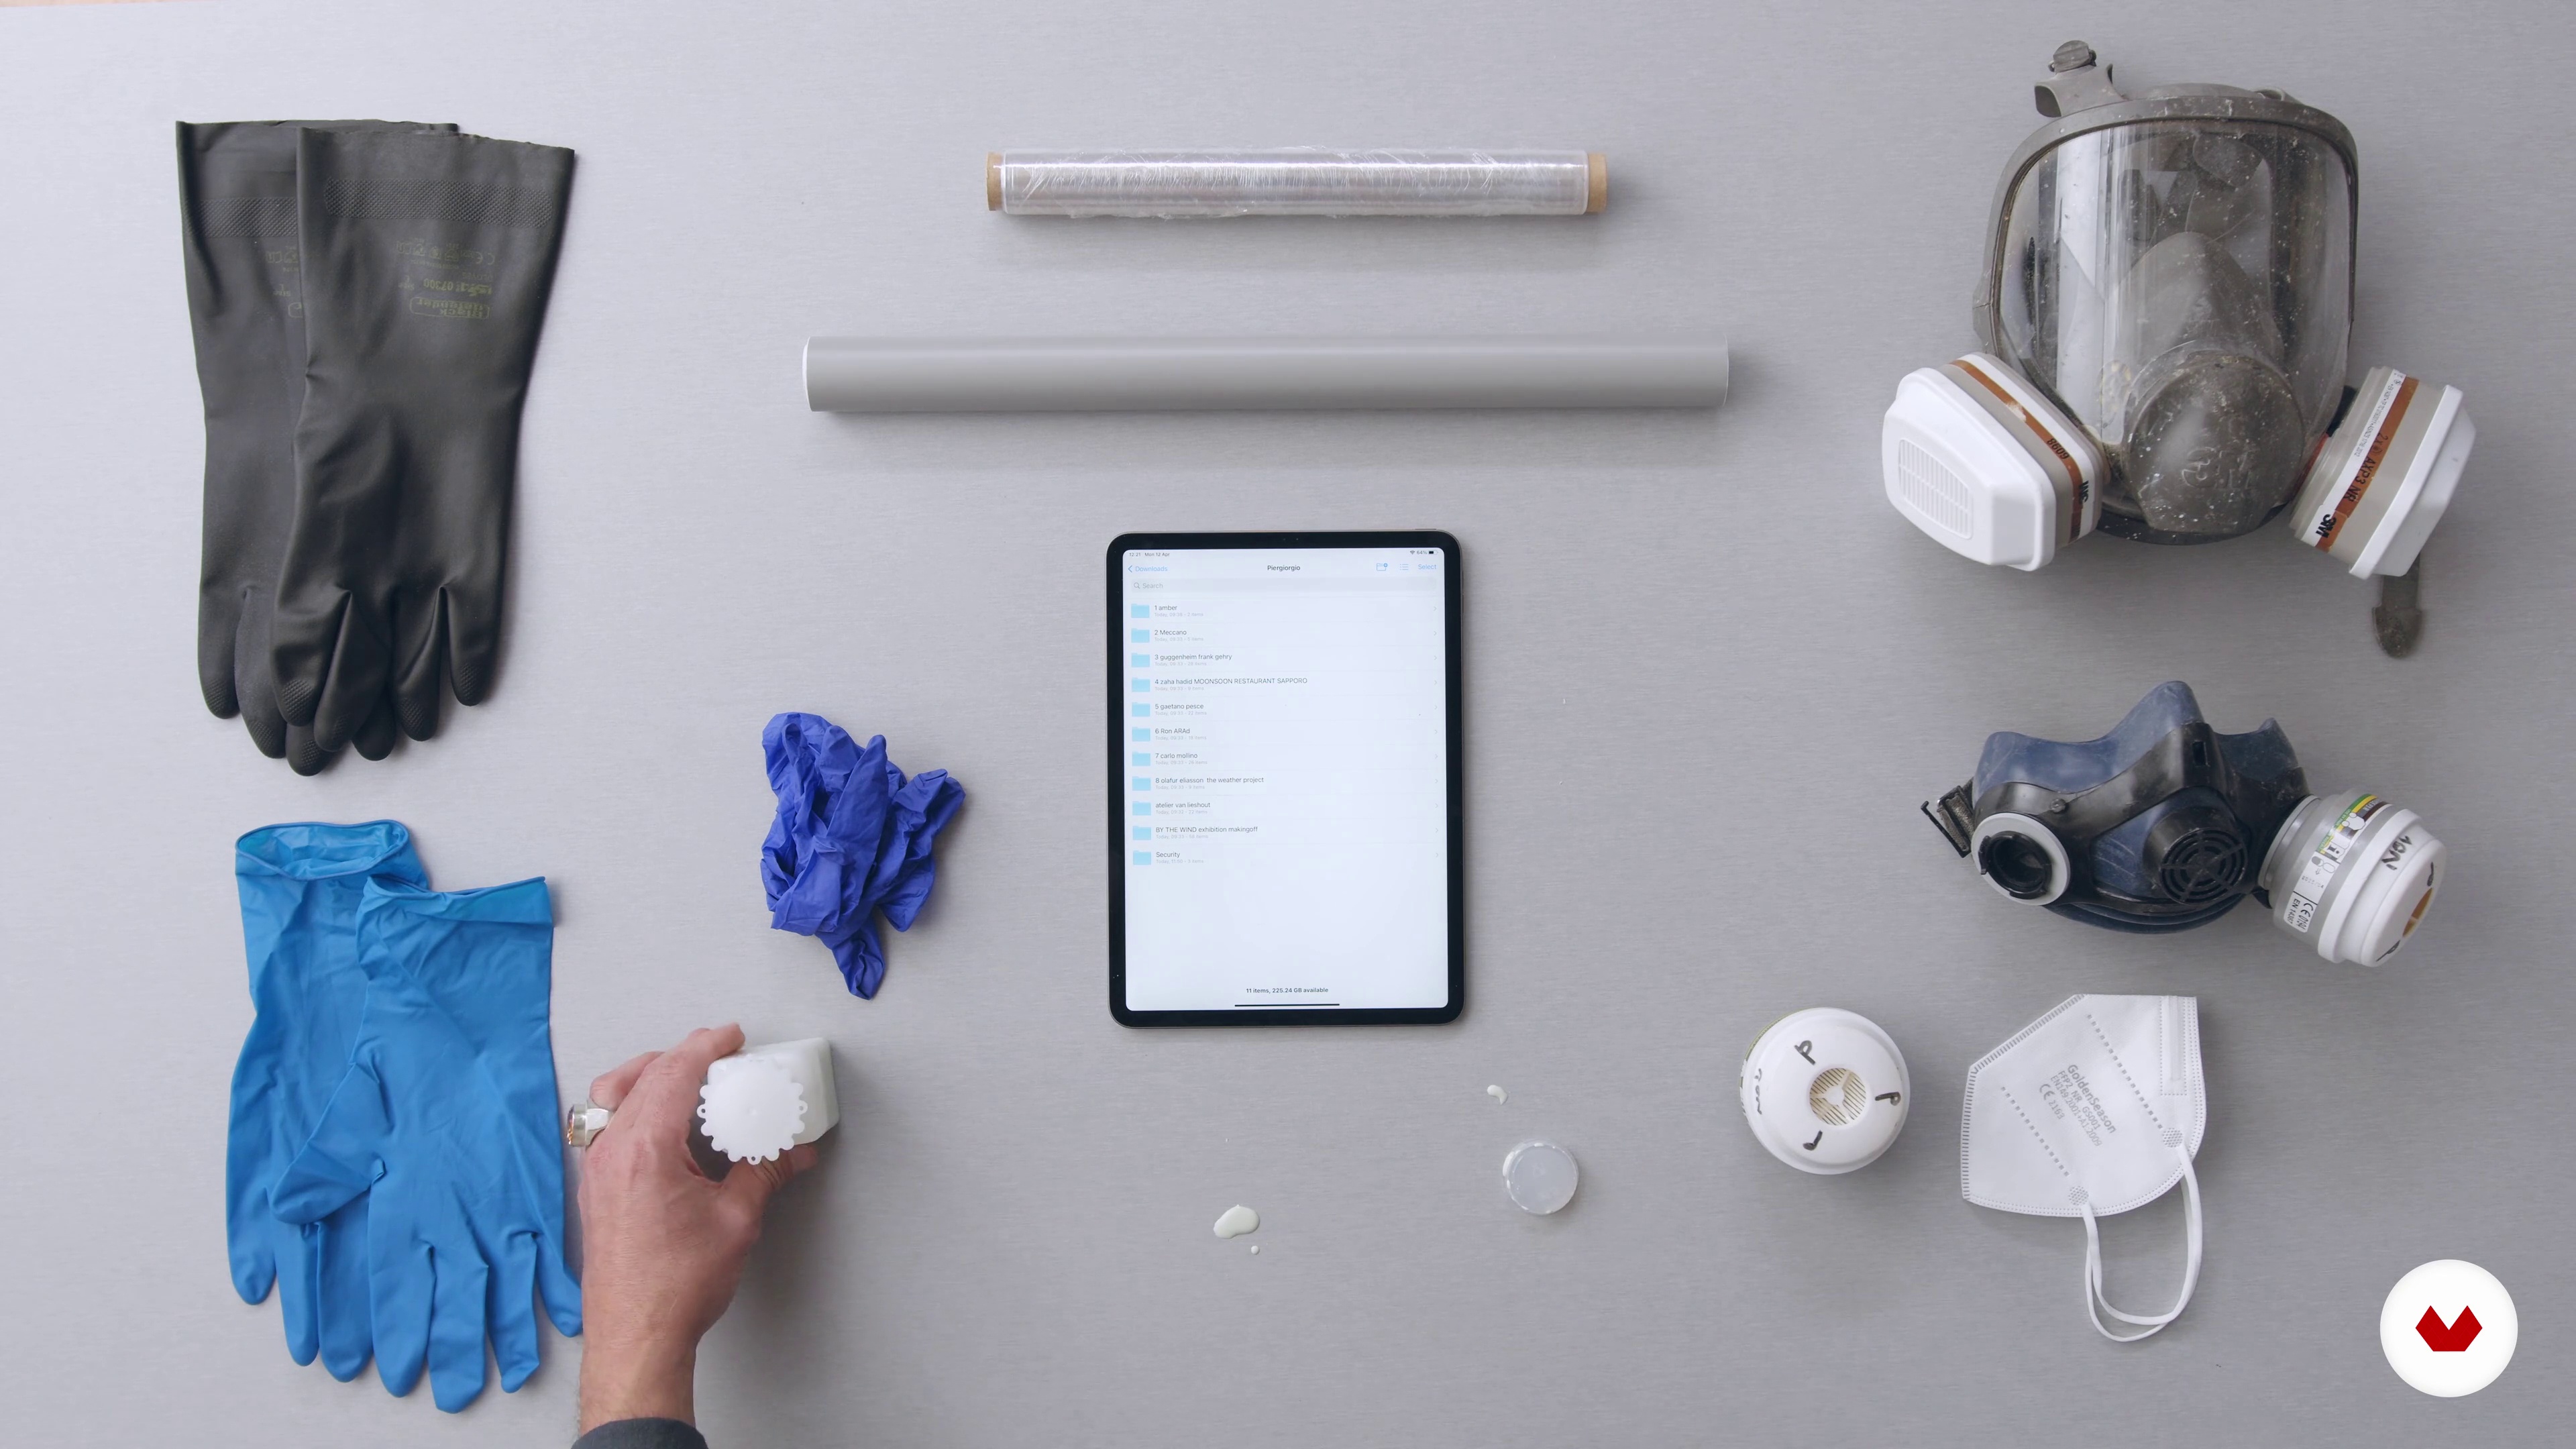
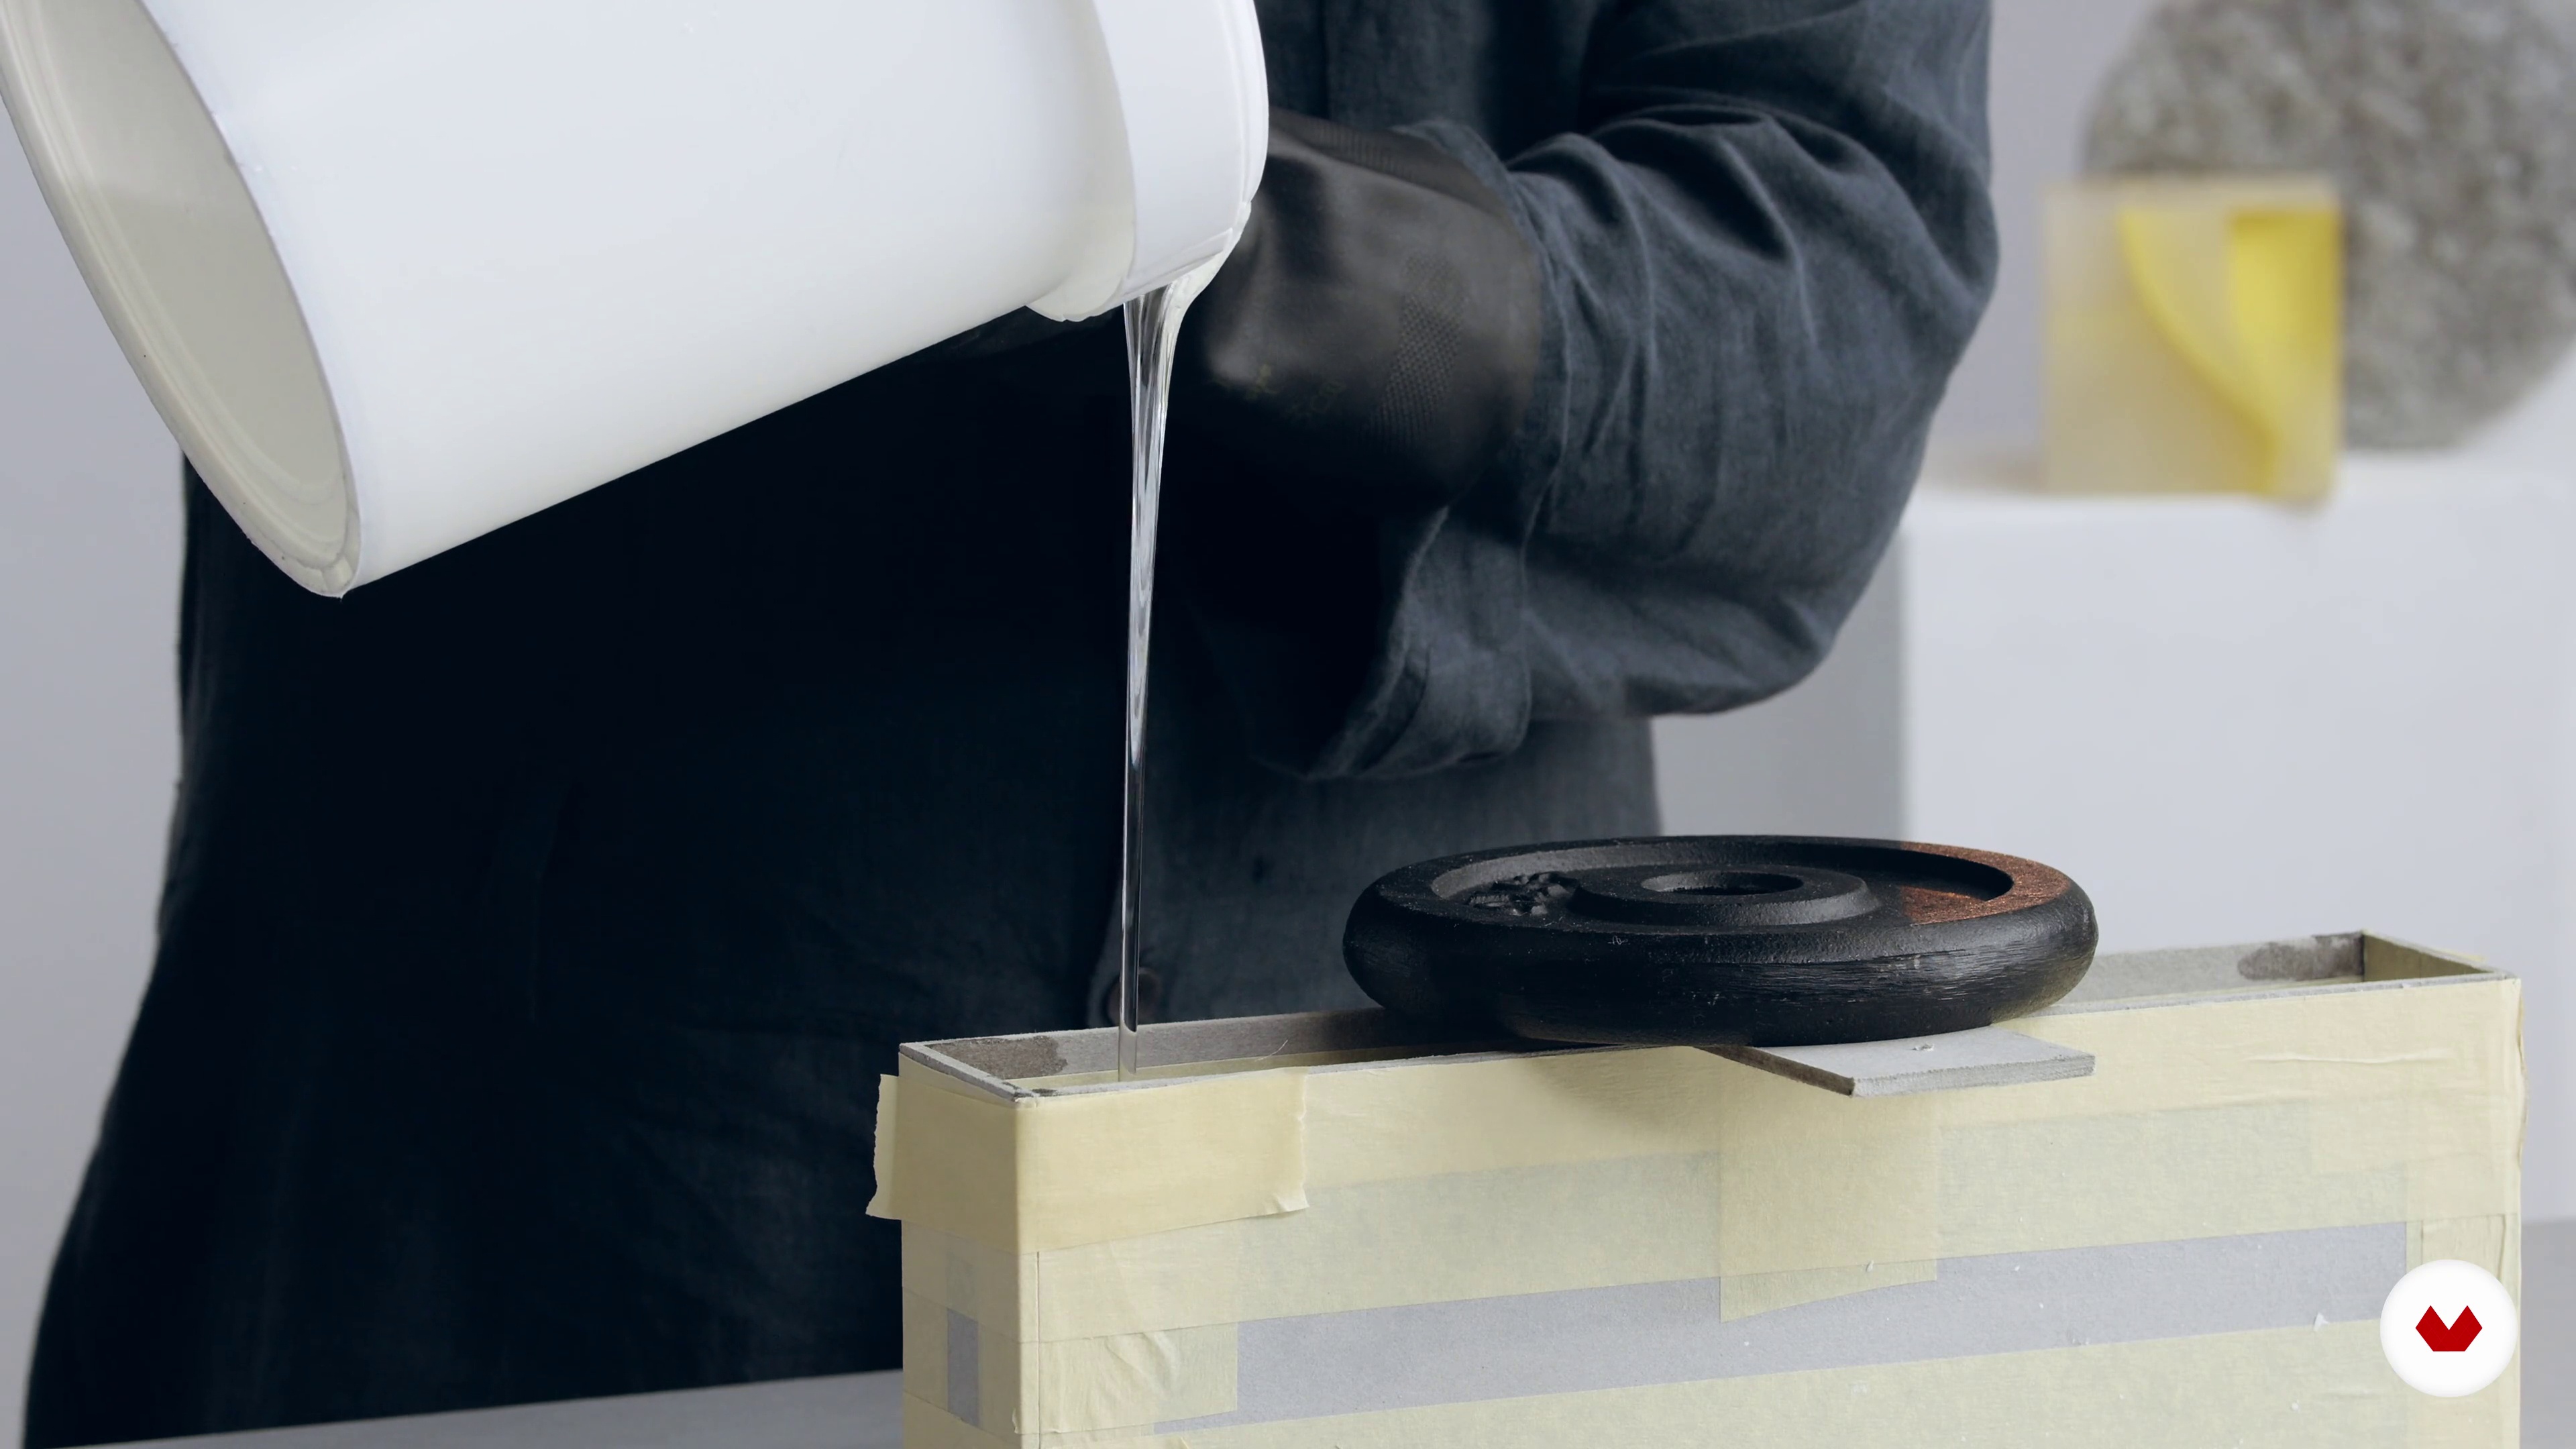
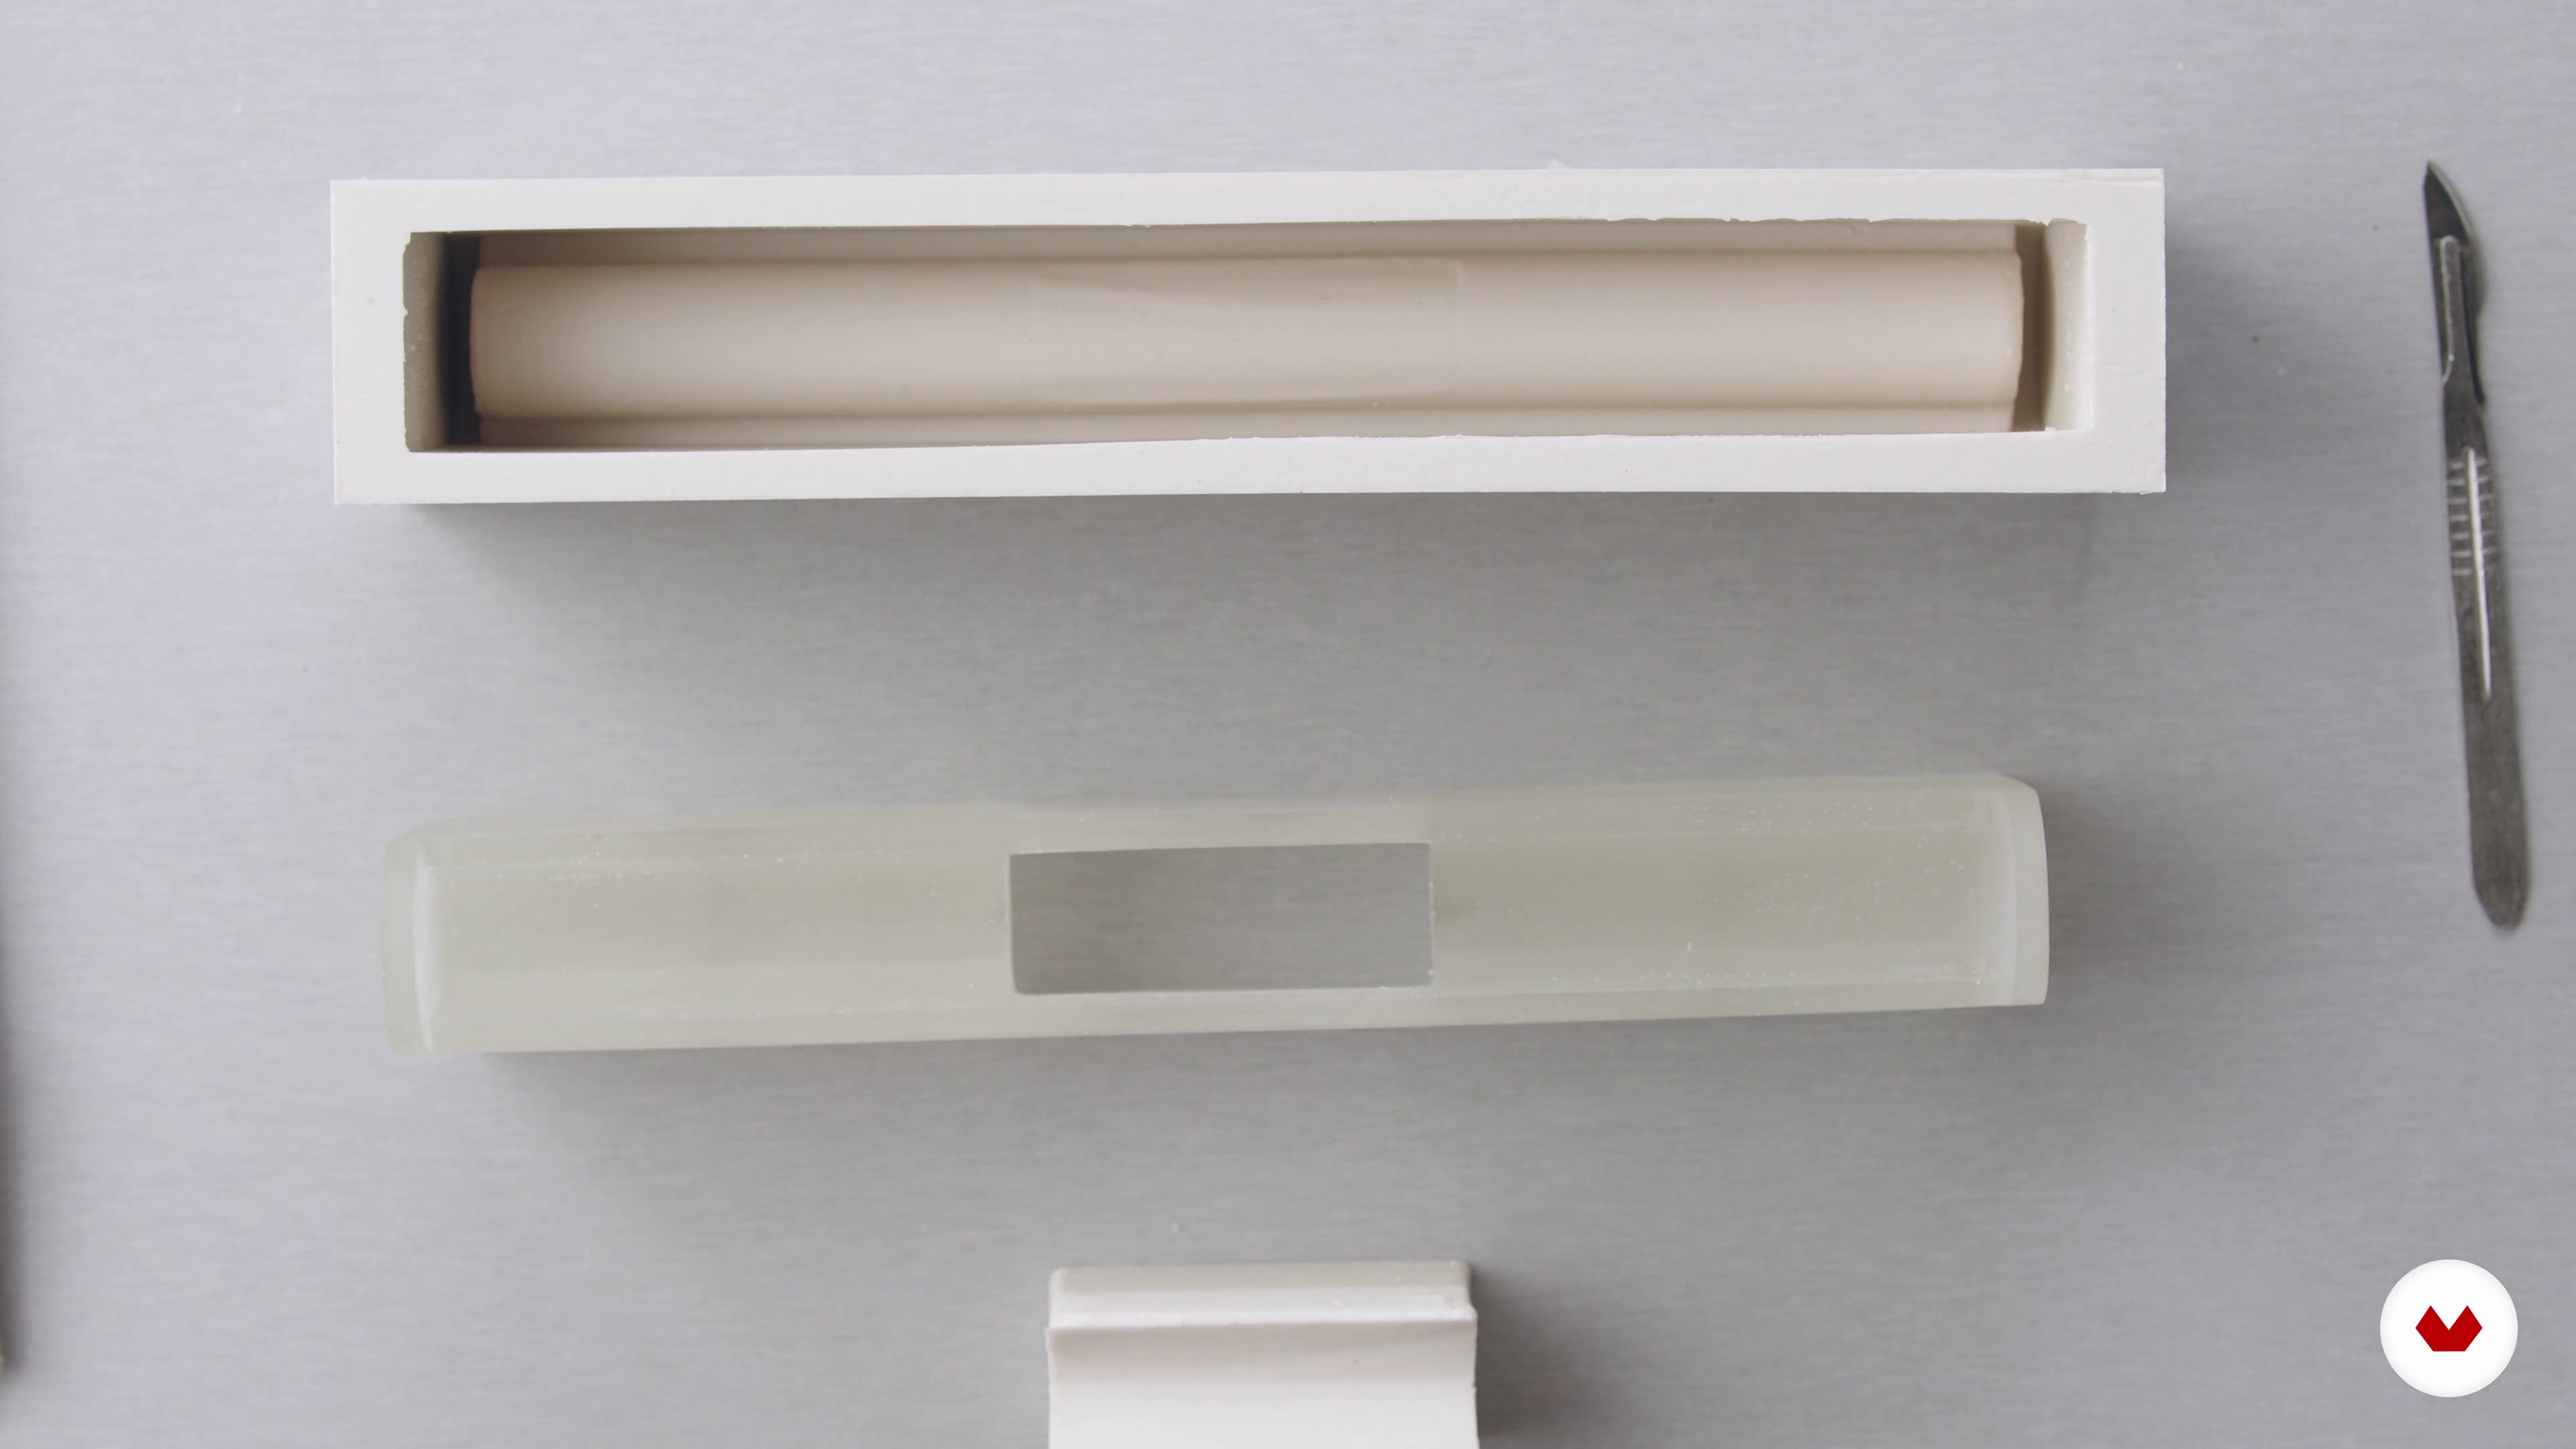
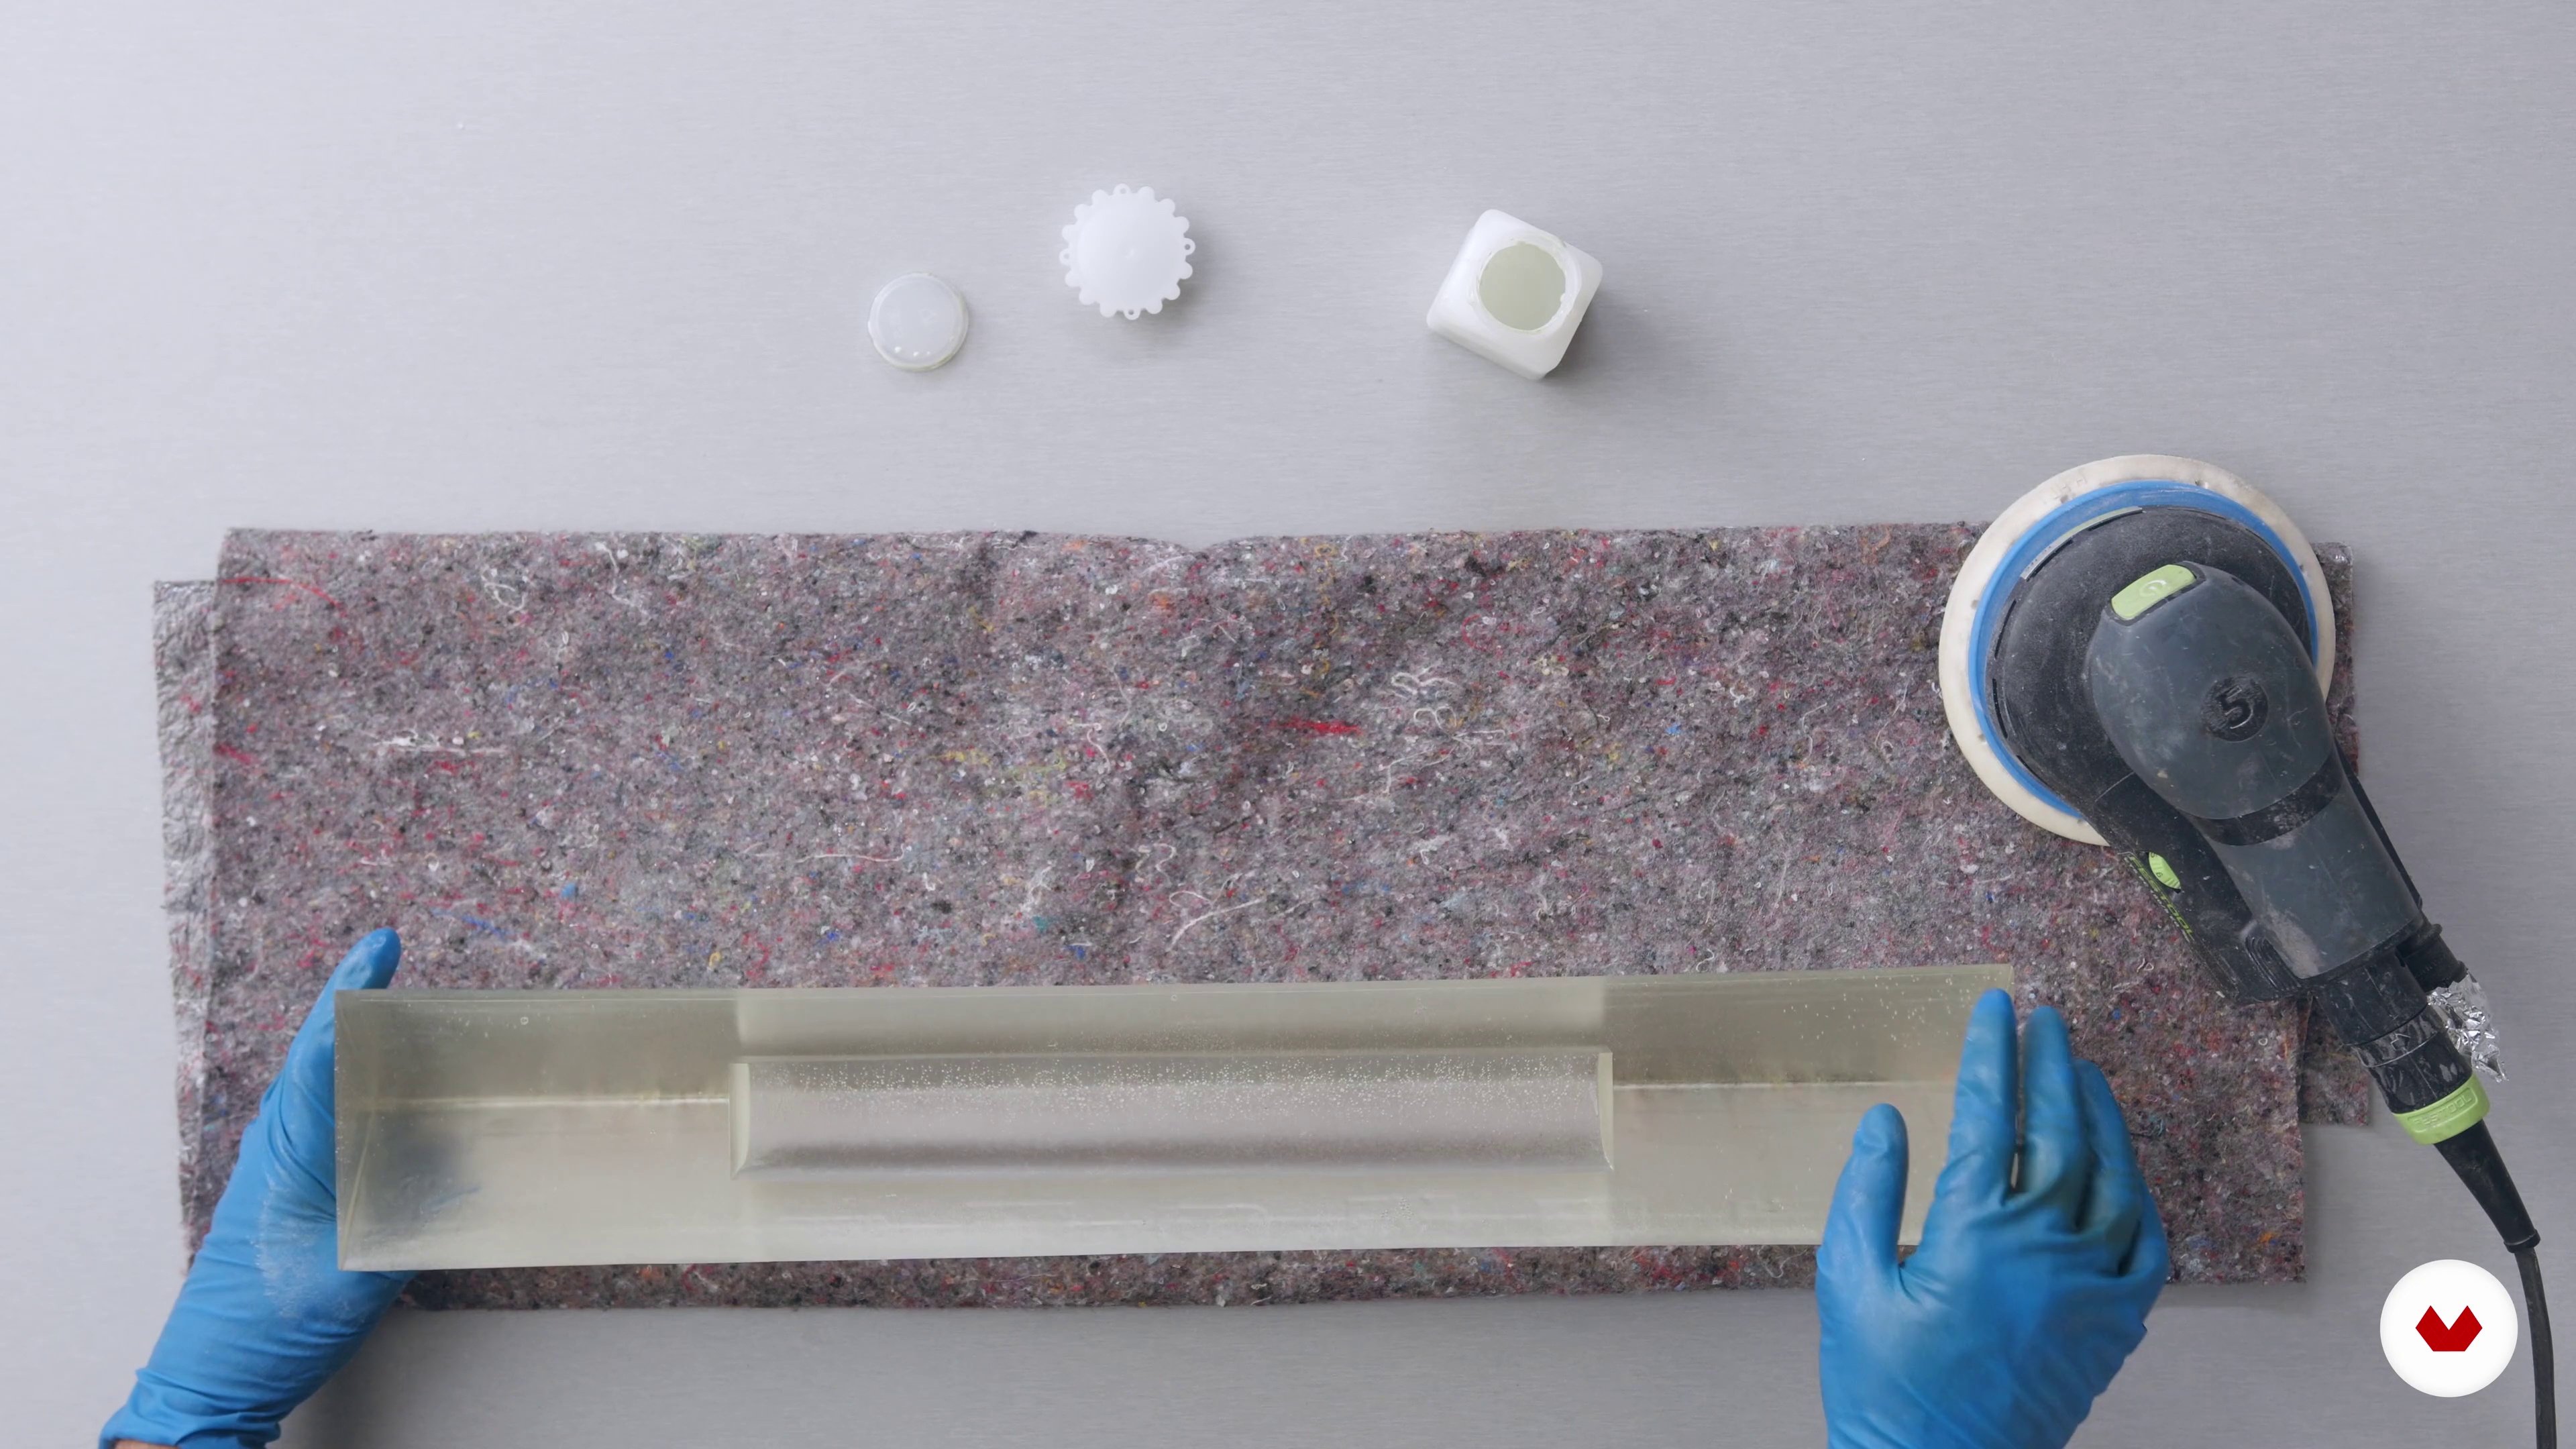
You’ll need resin, silicone, pigments, basic PPE (gloves, mask, filters), measuring tools, molds, plywood, and finishing supplies. A workspace with good ventilation and a laser thermometer for temperature checks are recommended.
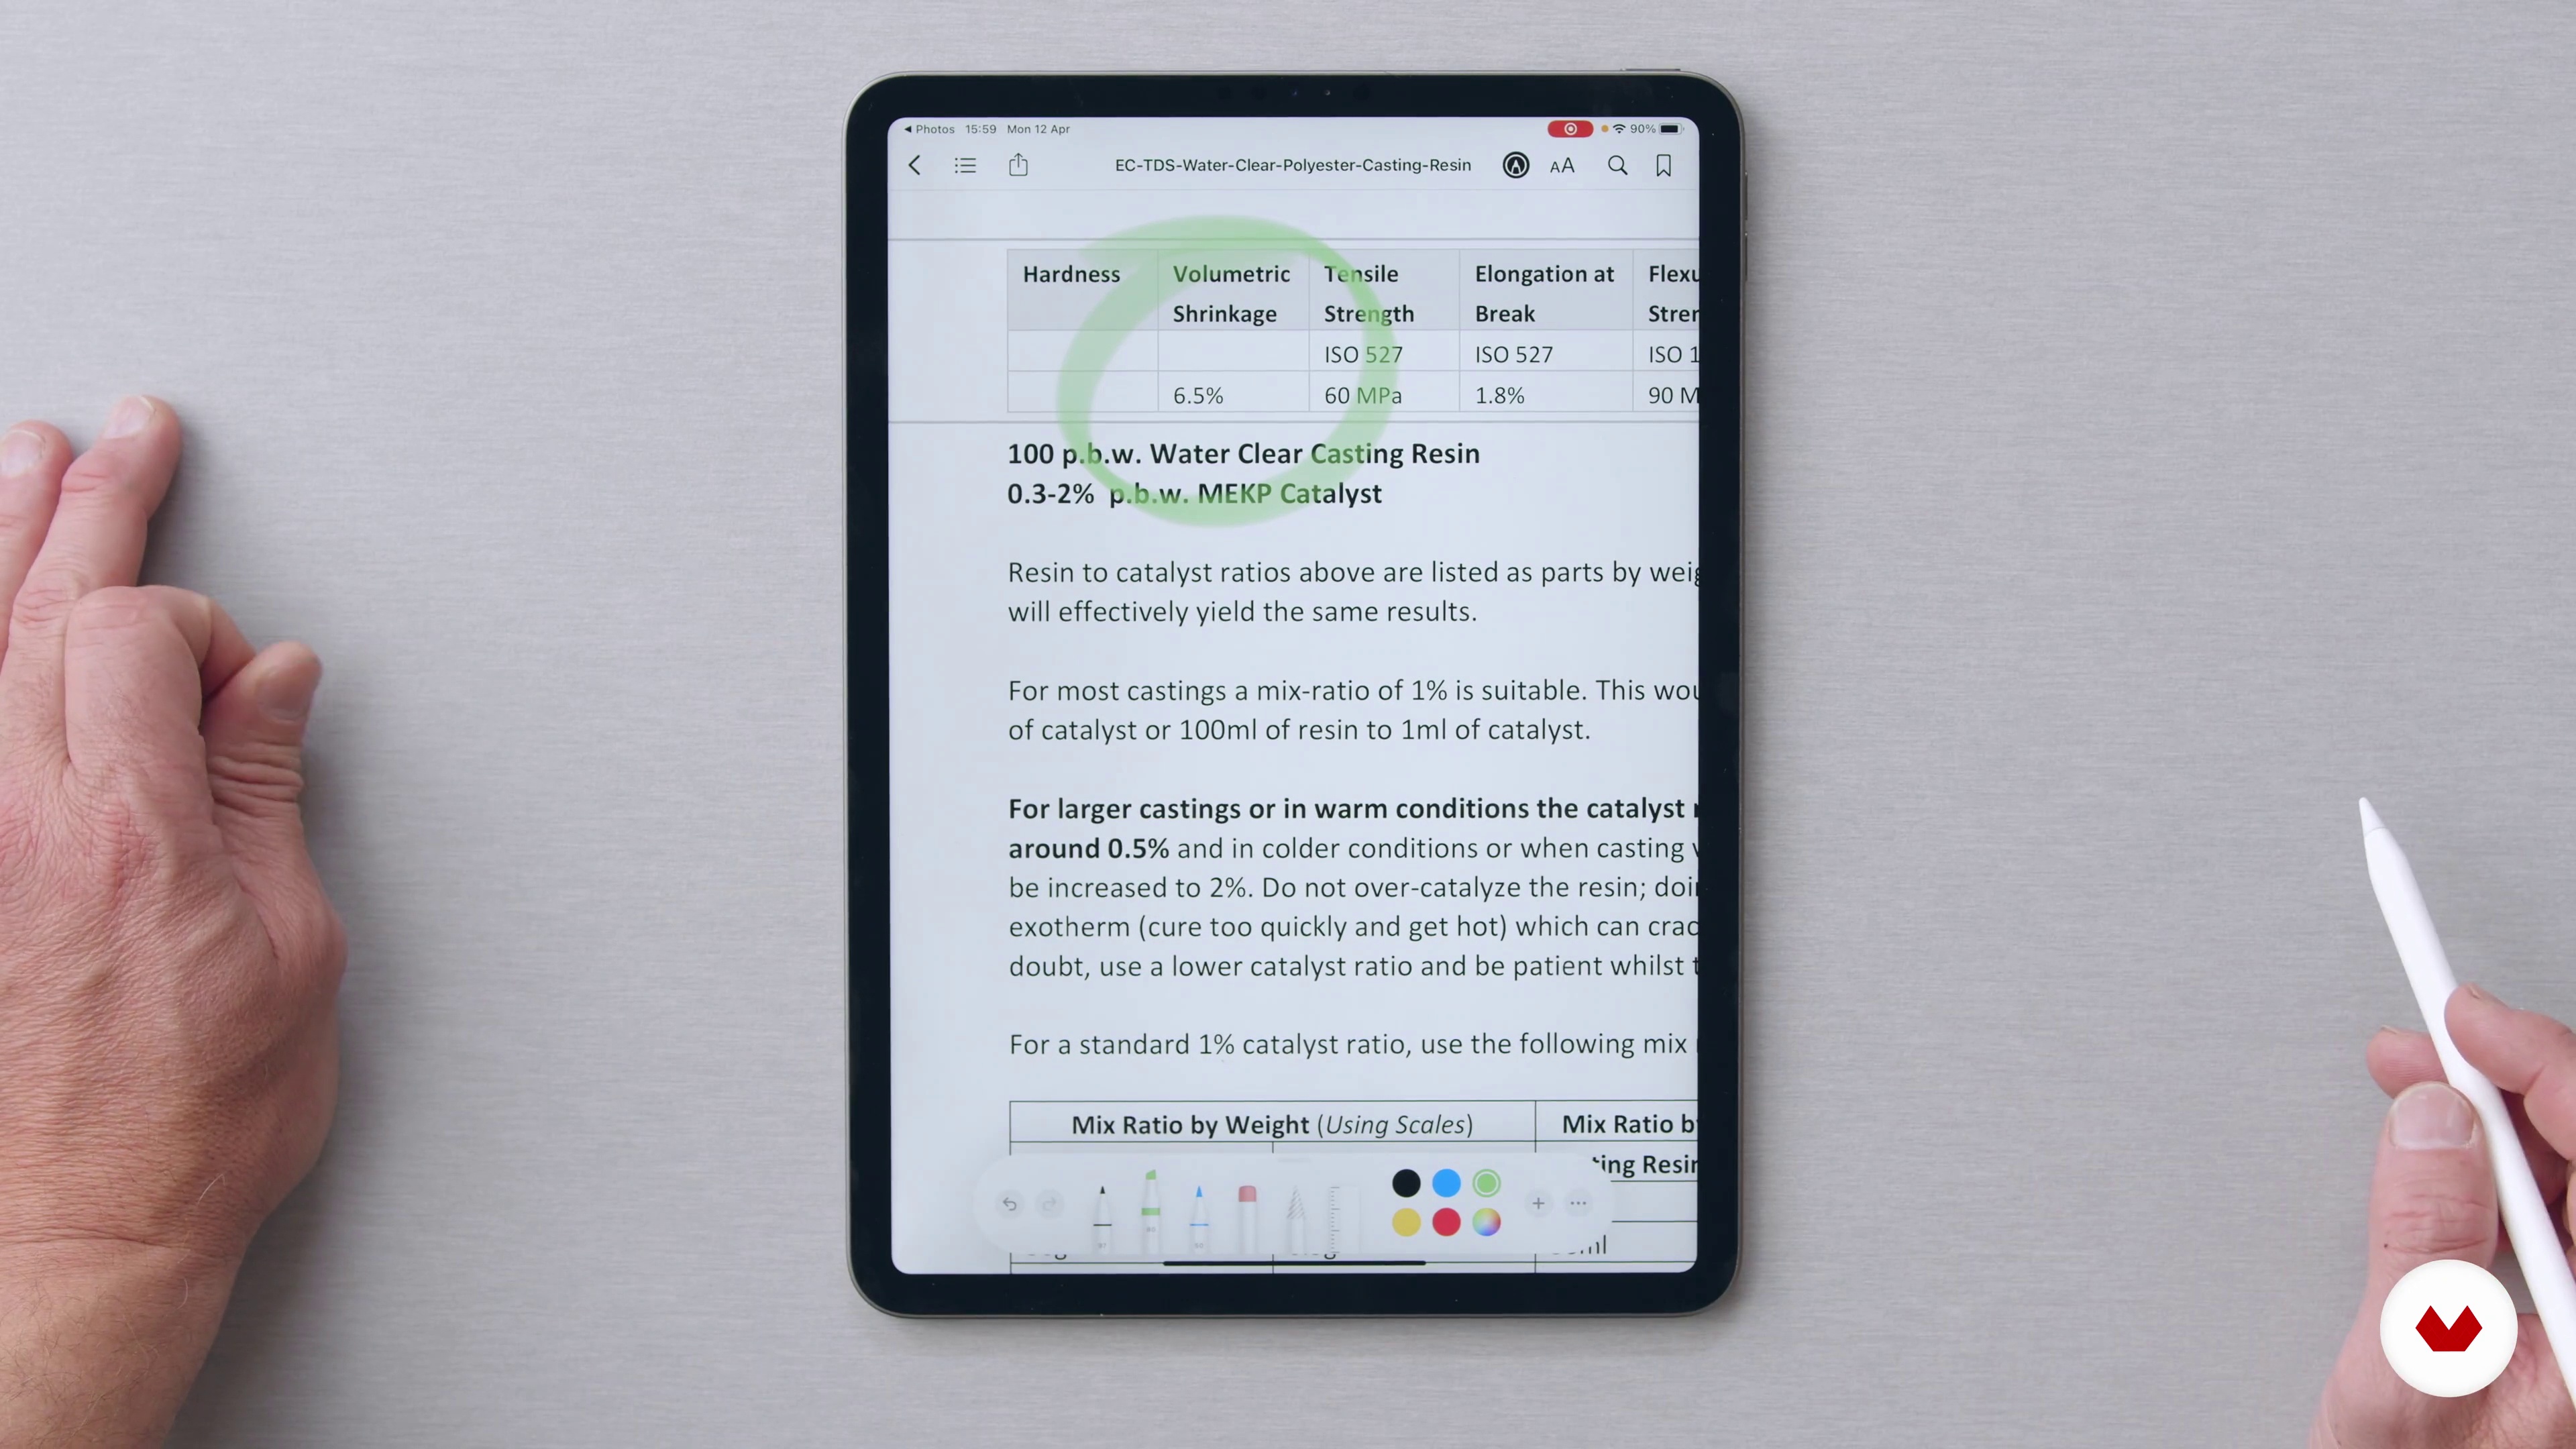
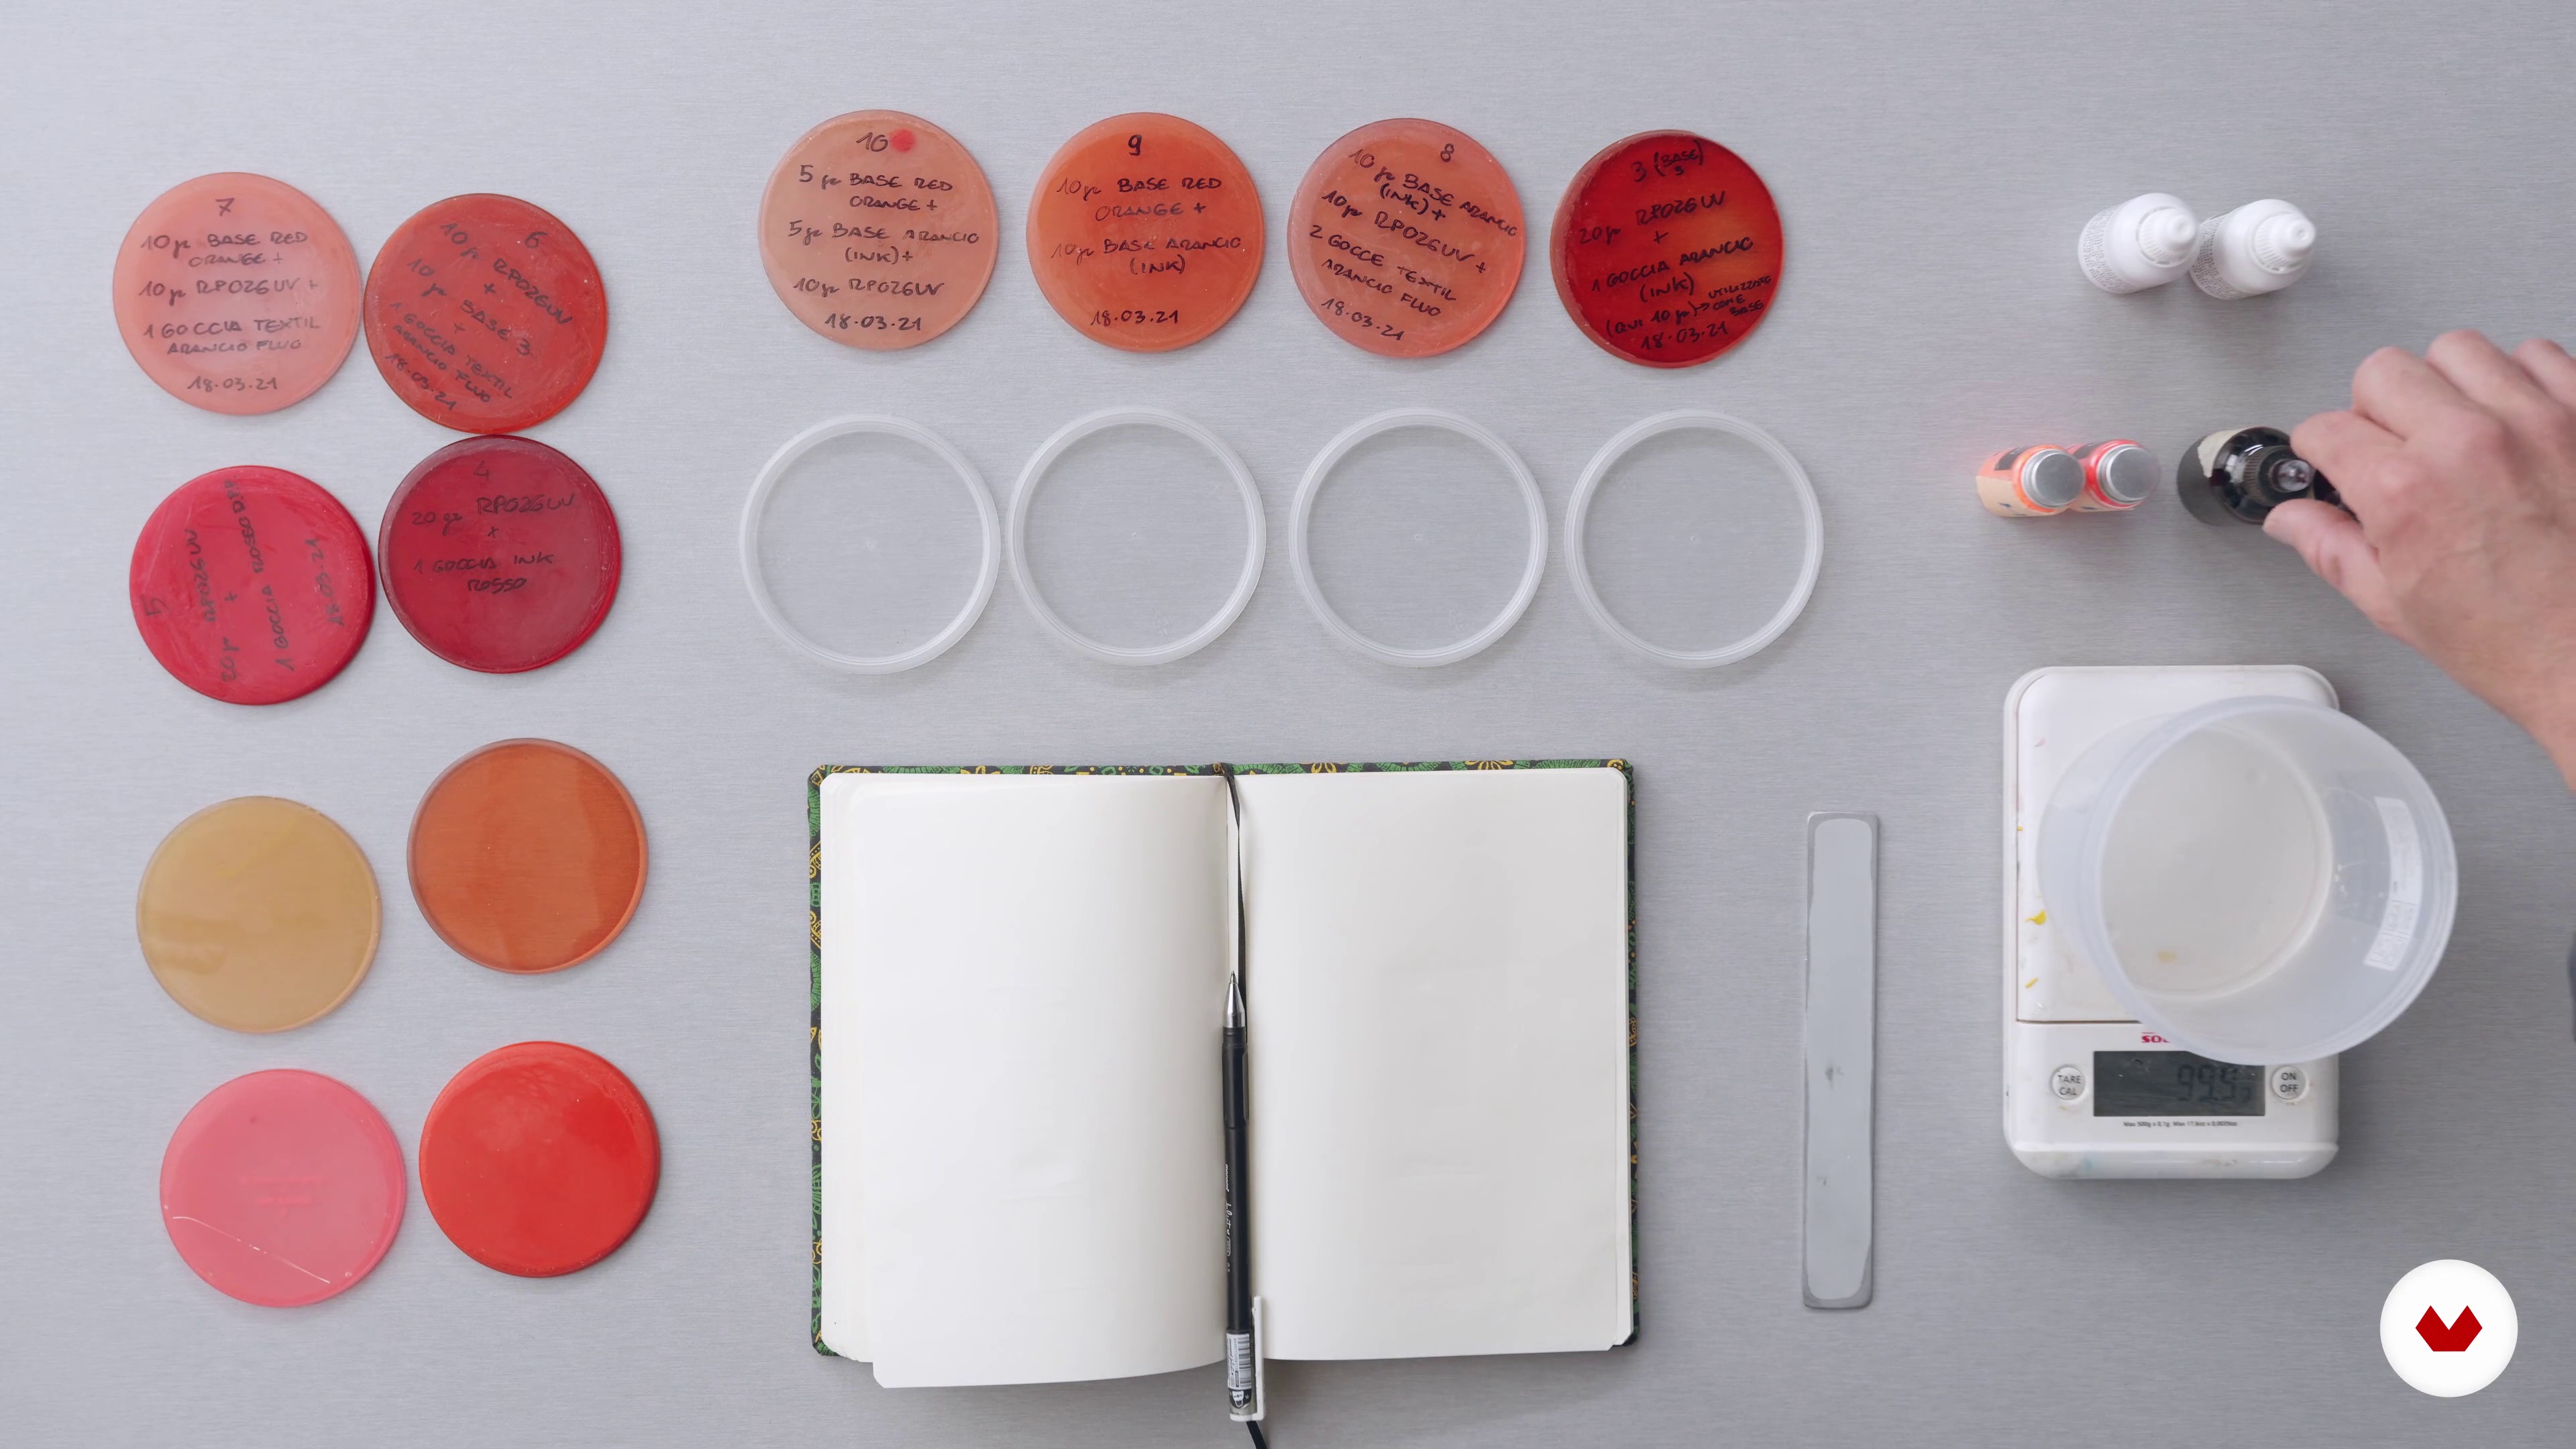
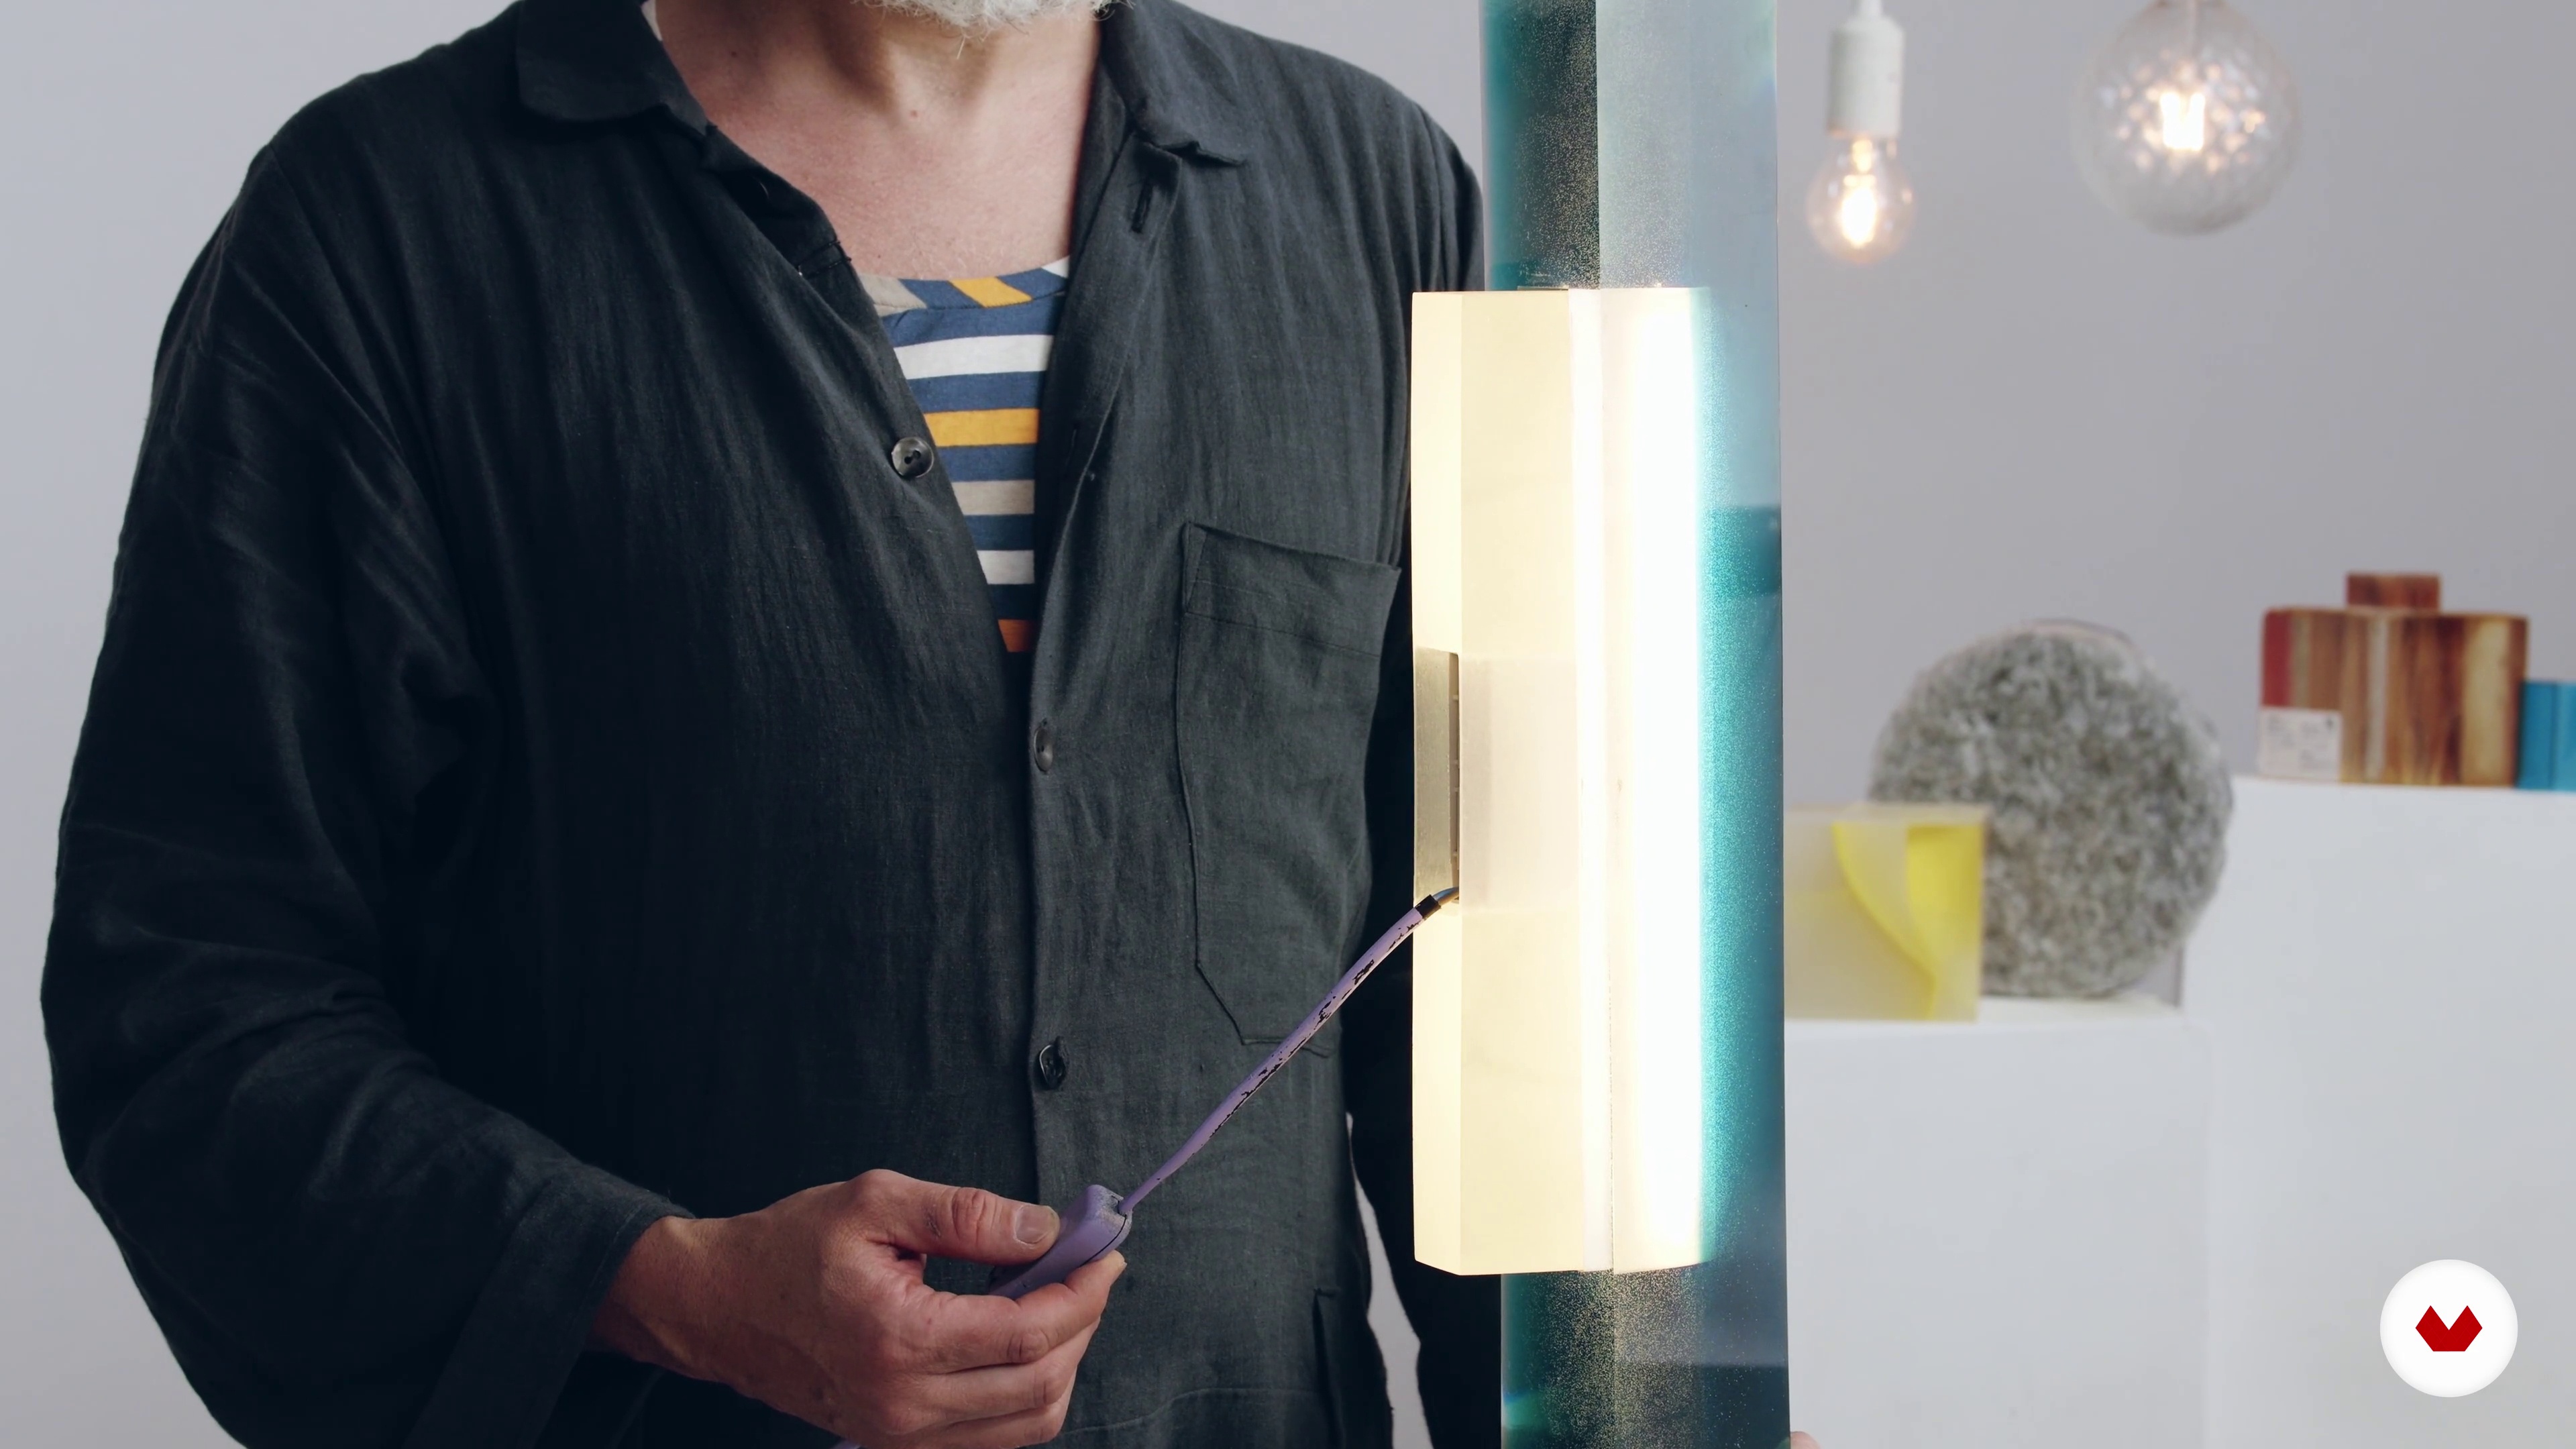
You’ll learn resin selection, mold making, safe handling, furniture and lamp design, finishing techniques, pigment use, and integrating inclusions. The course also covers inspiration sources and advanced design workflows.
Yes, the course teaches fire safety, proper PPE, safe disposal methods, and protocols for resin-related emergencies to ensure a safe working environment.
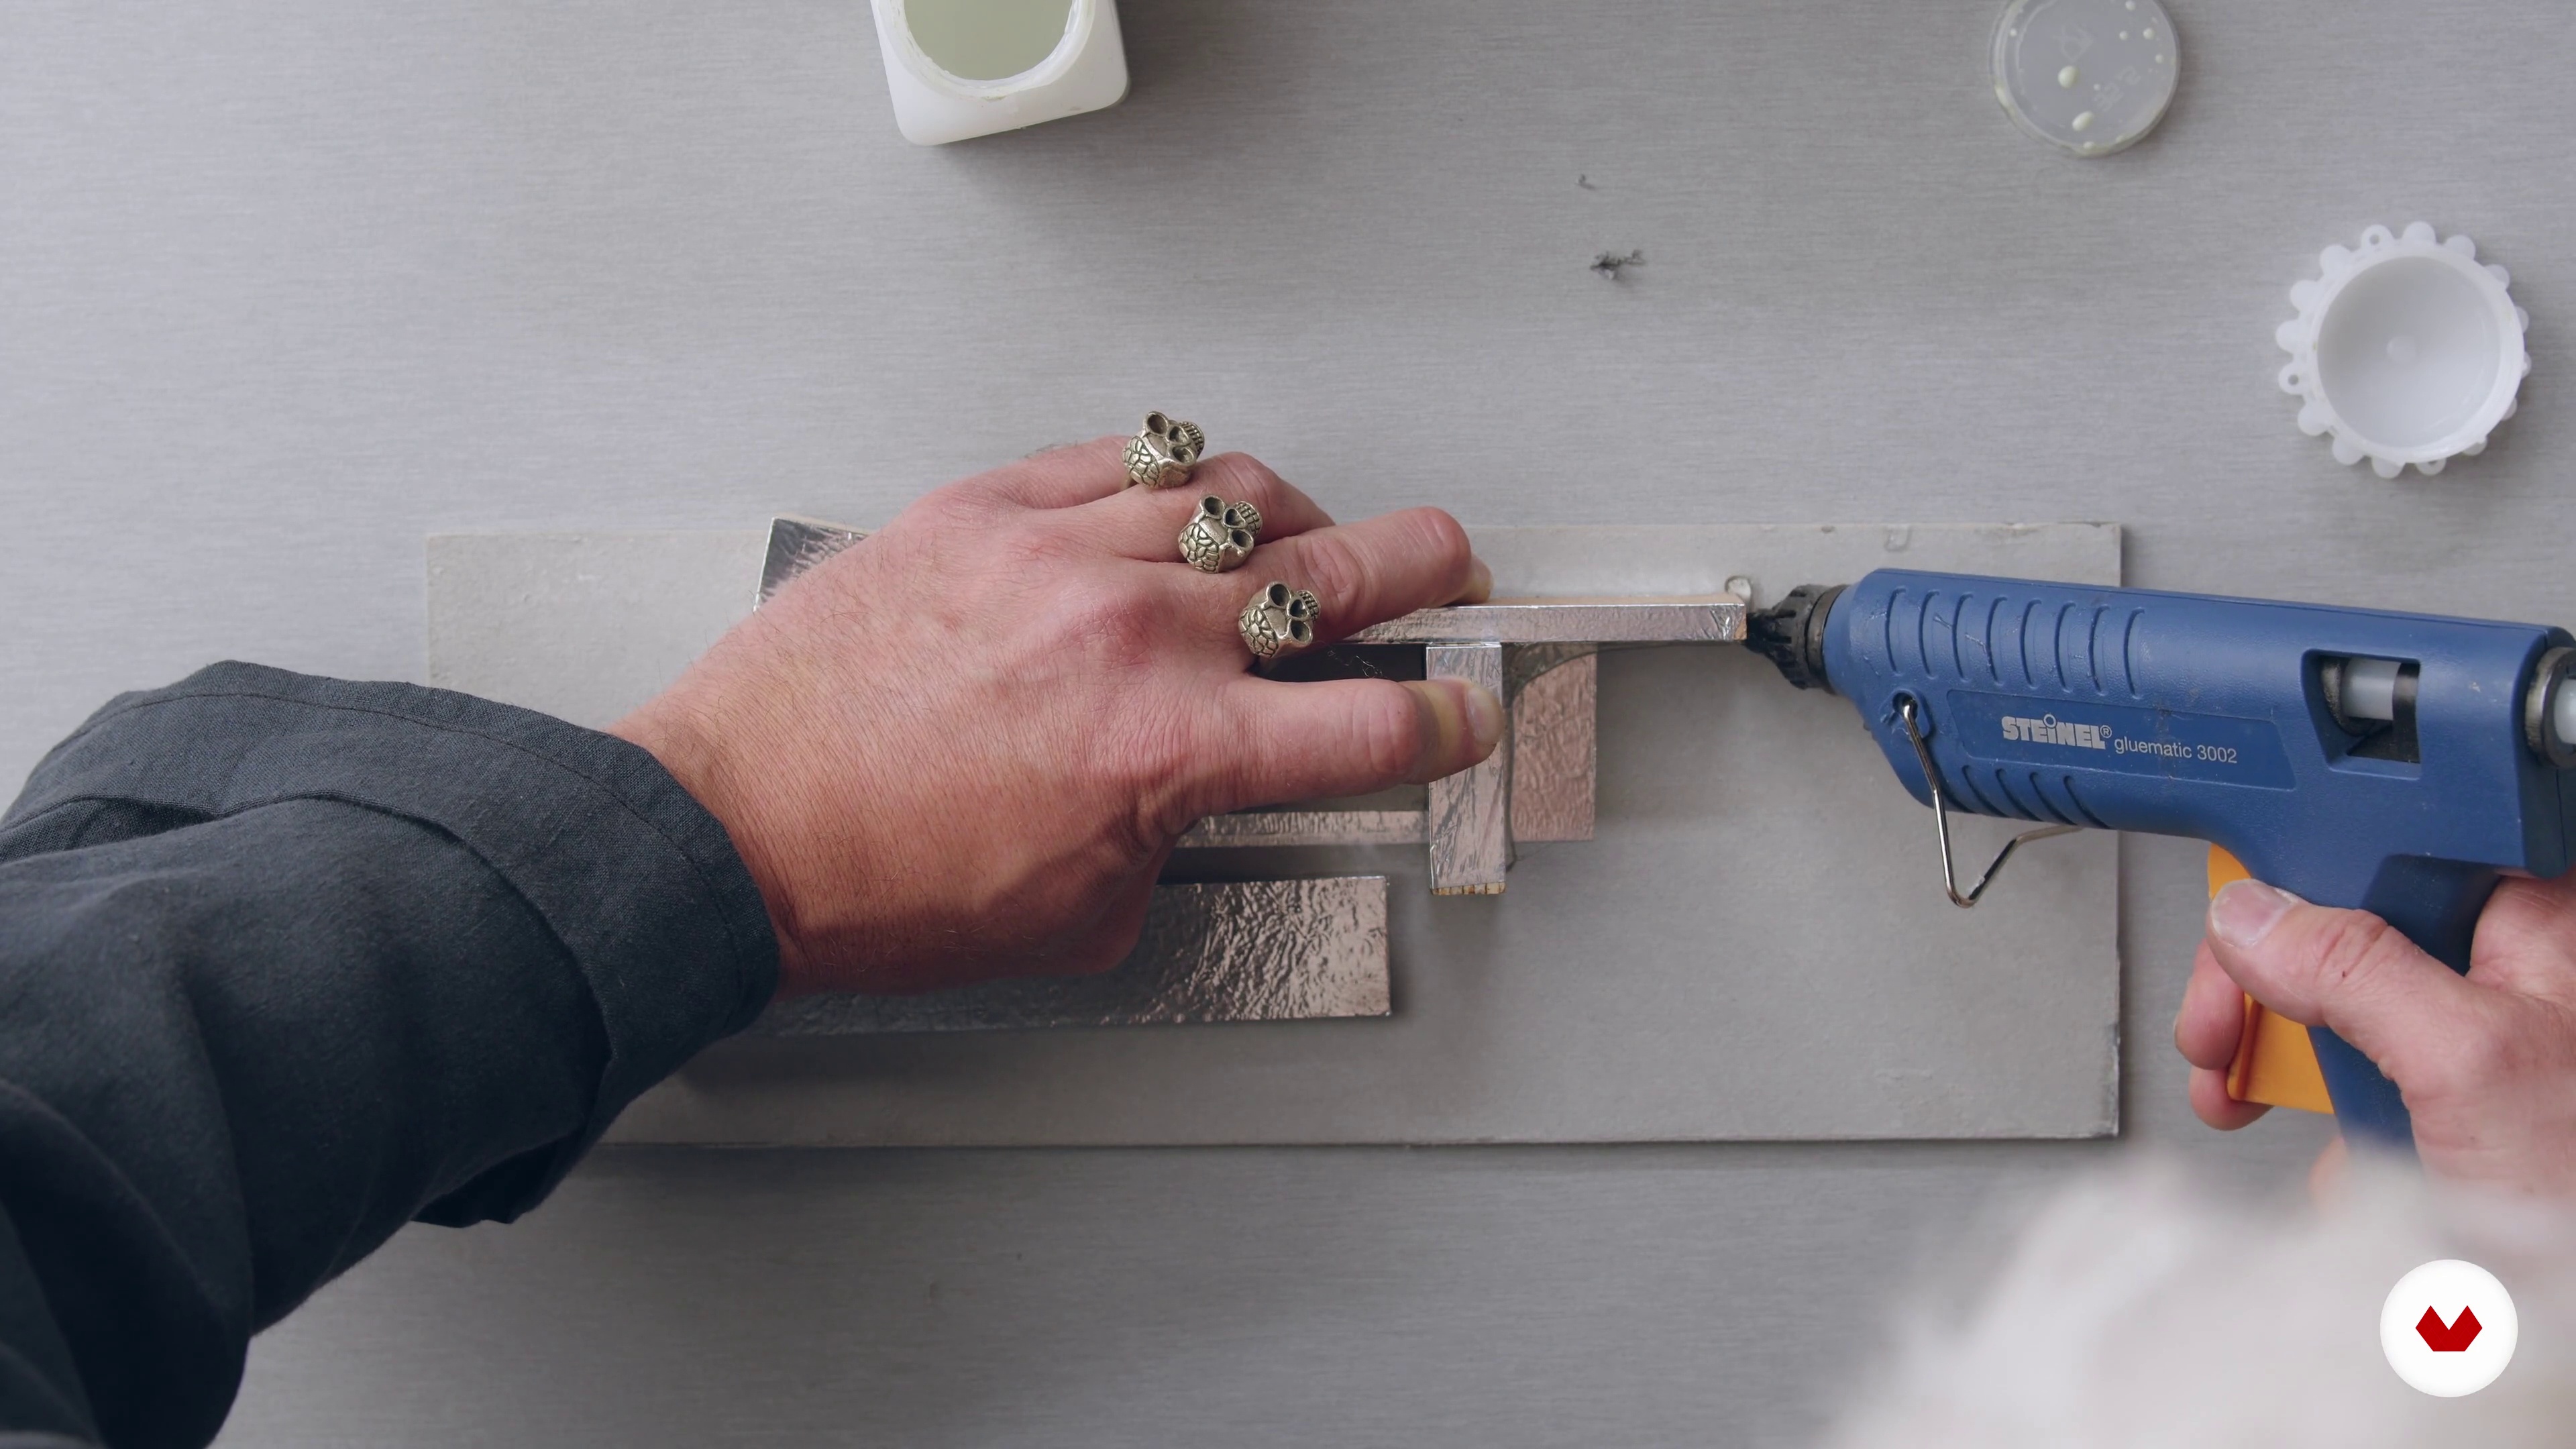
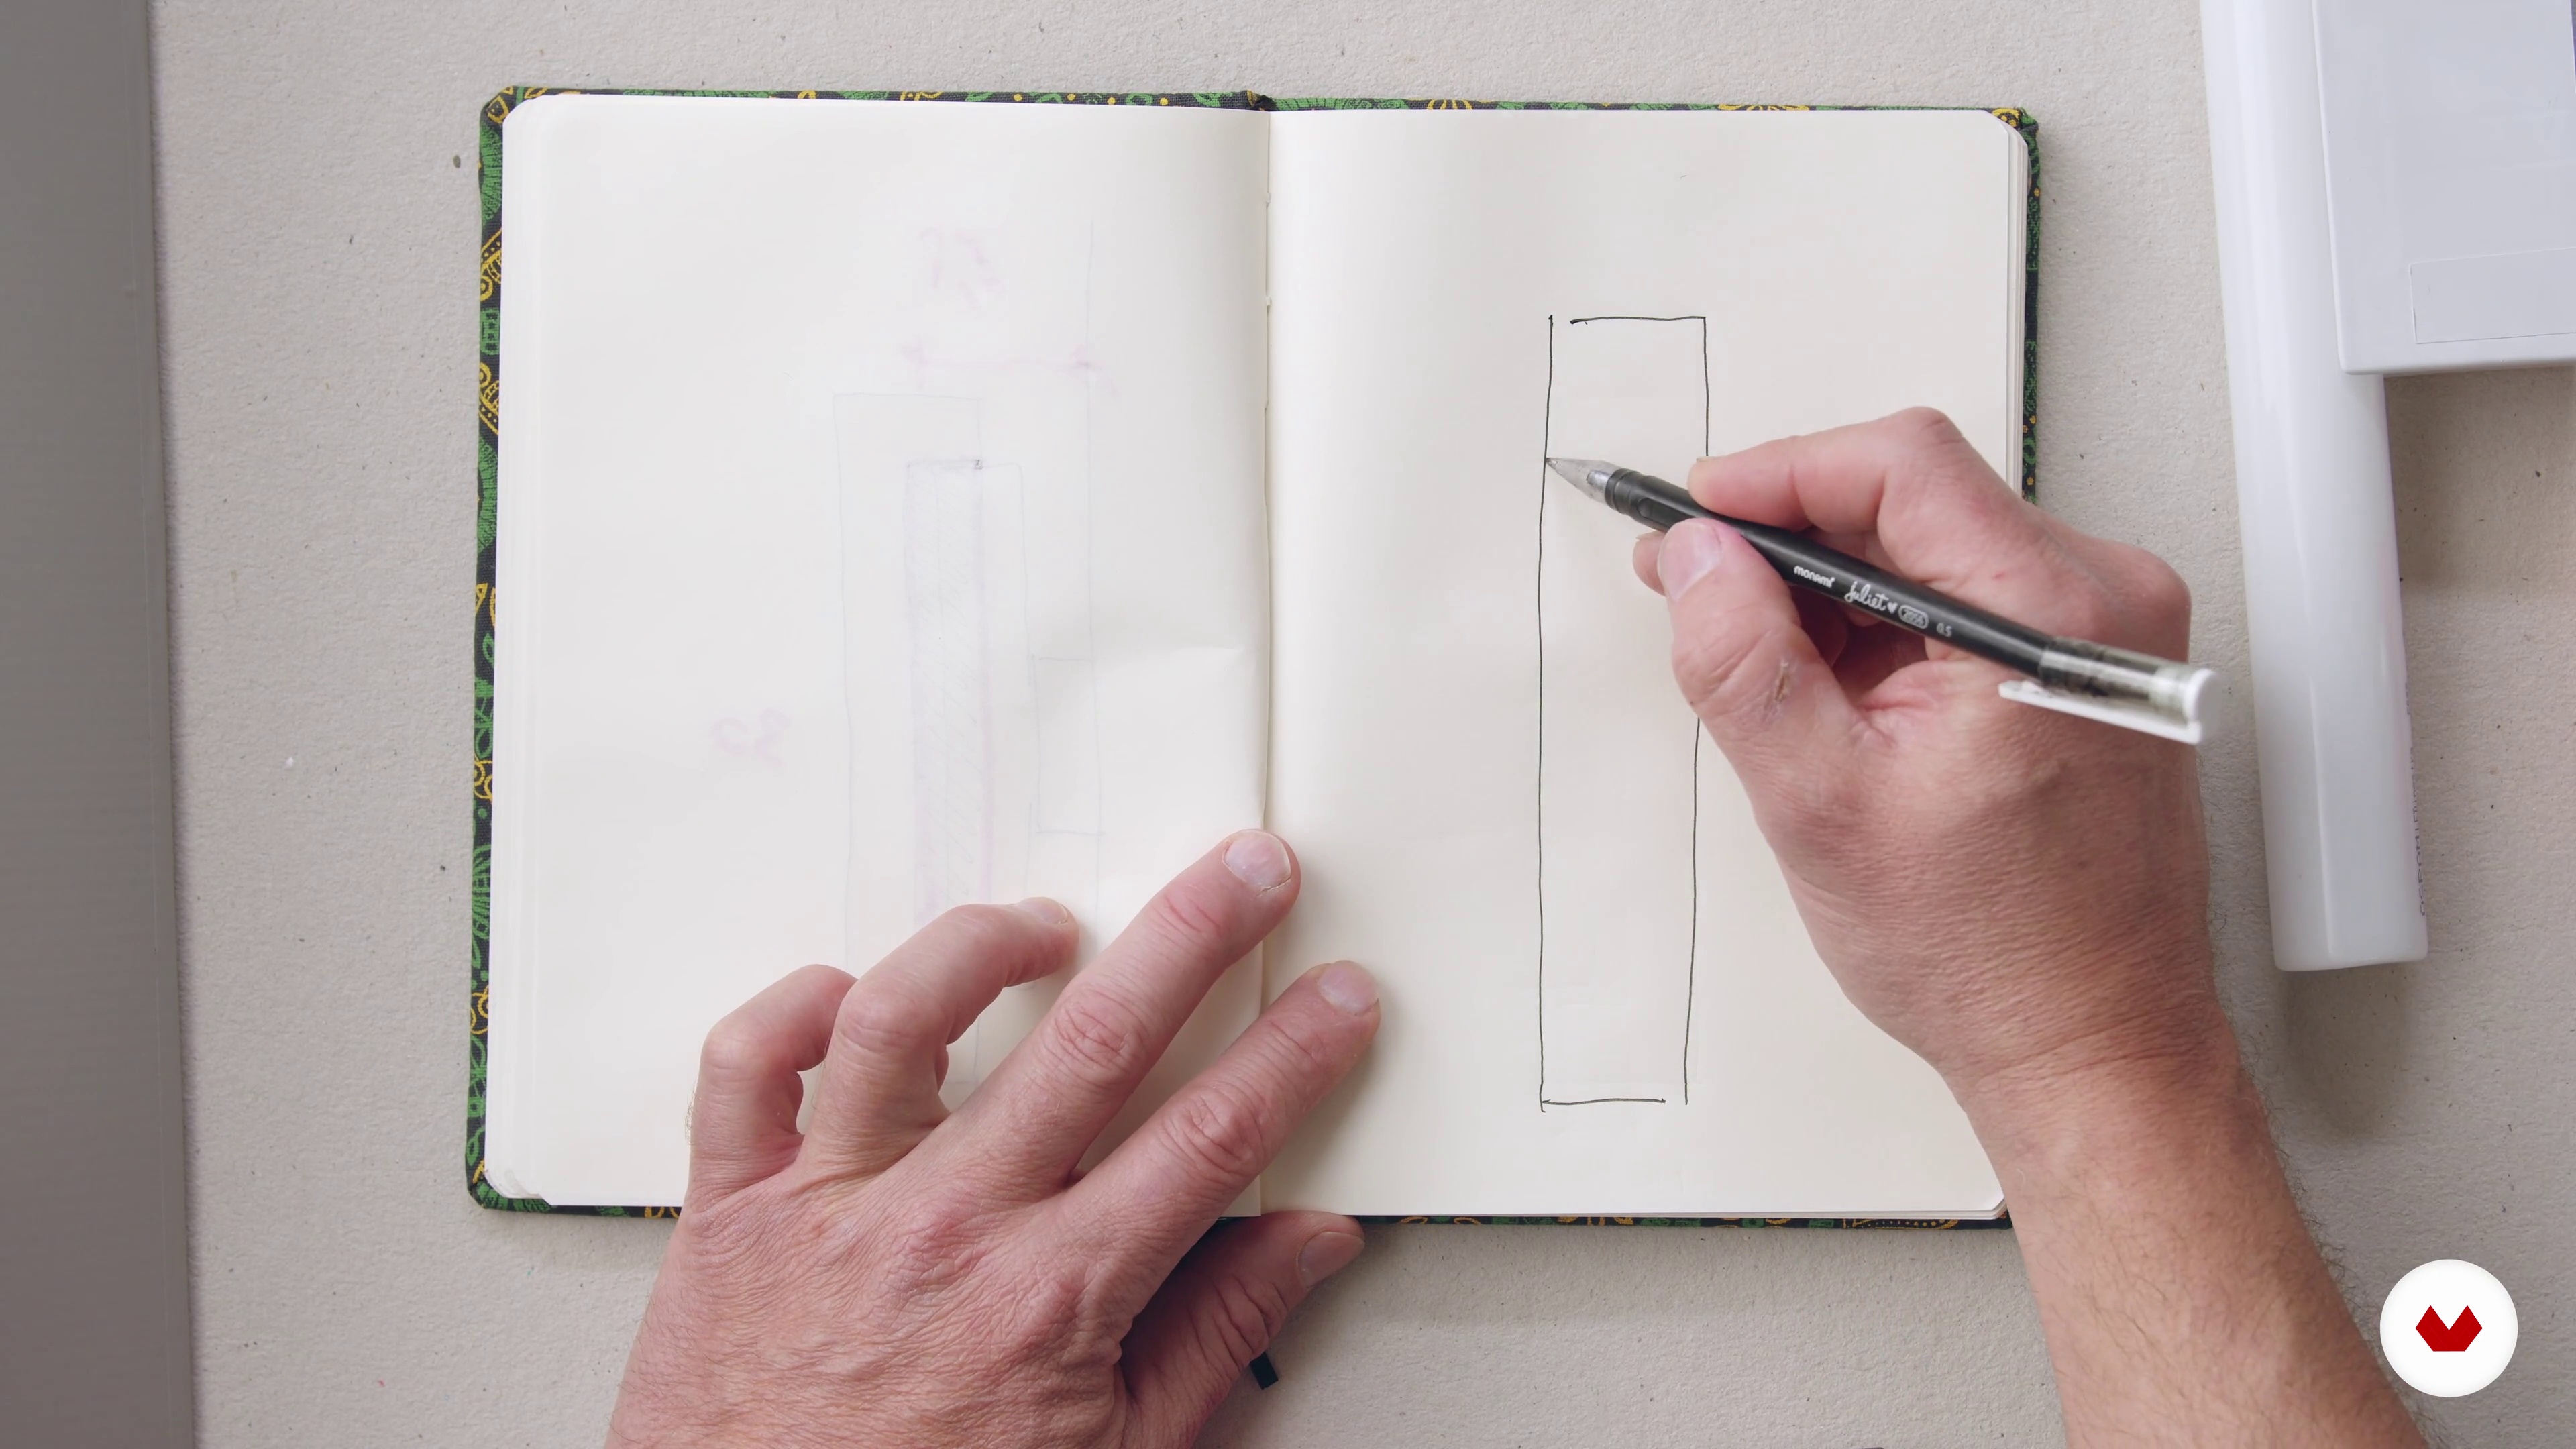
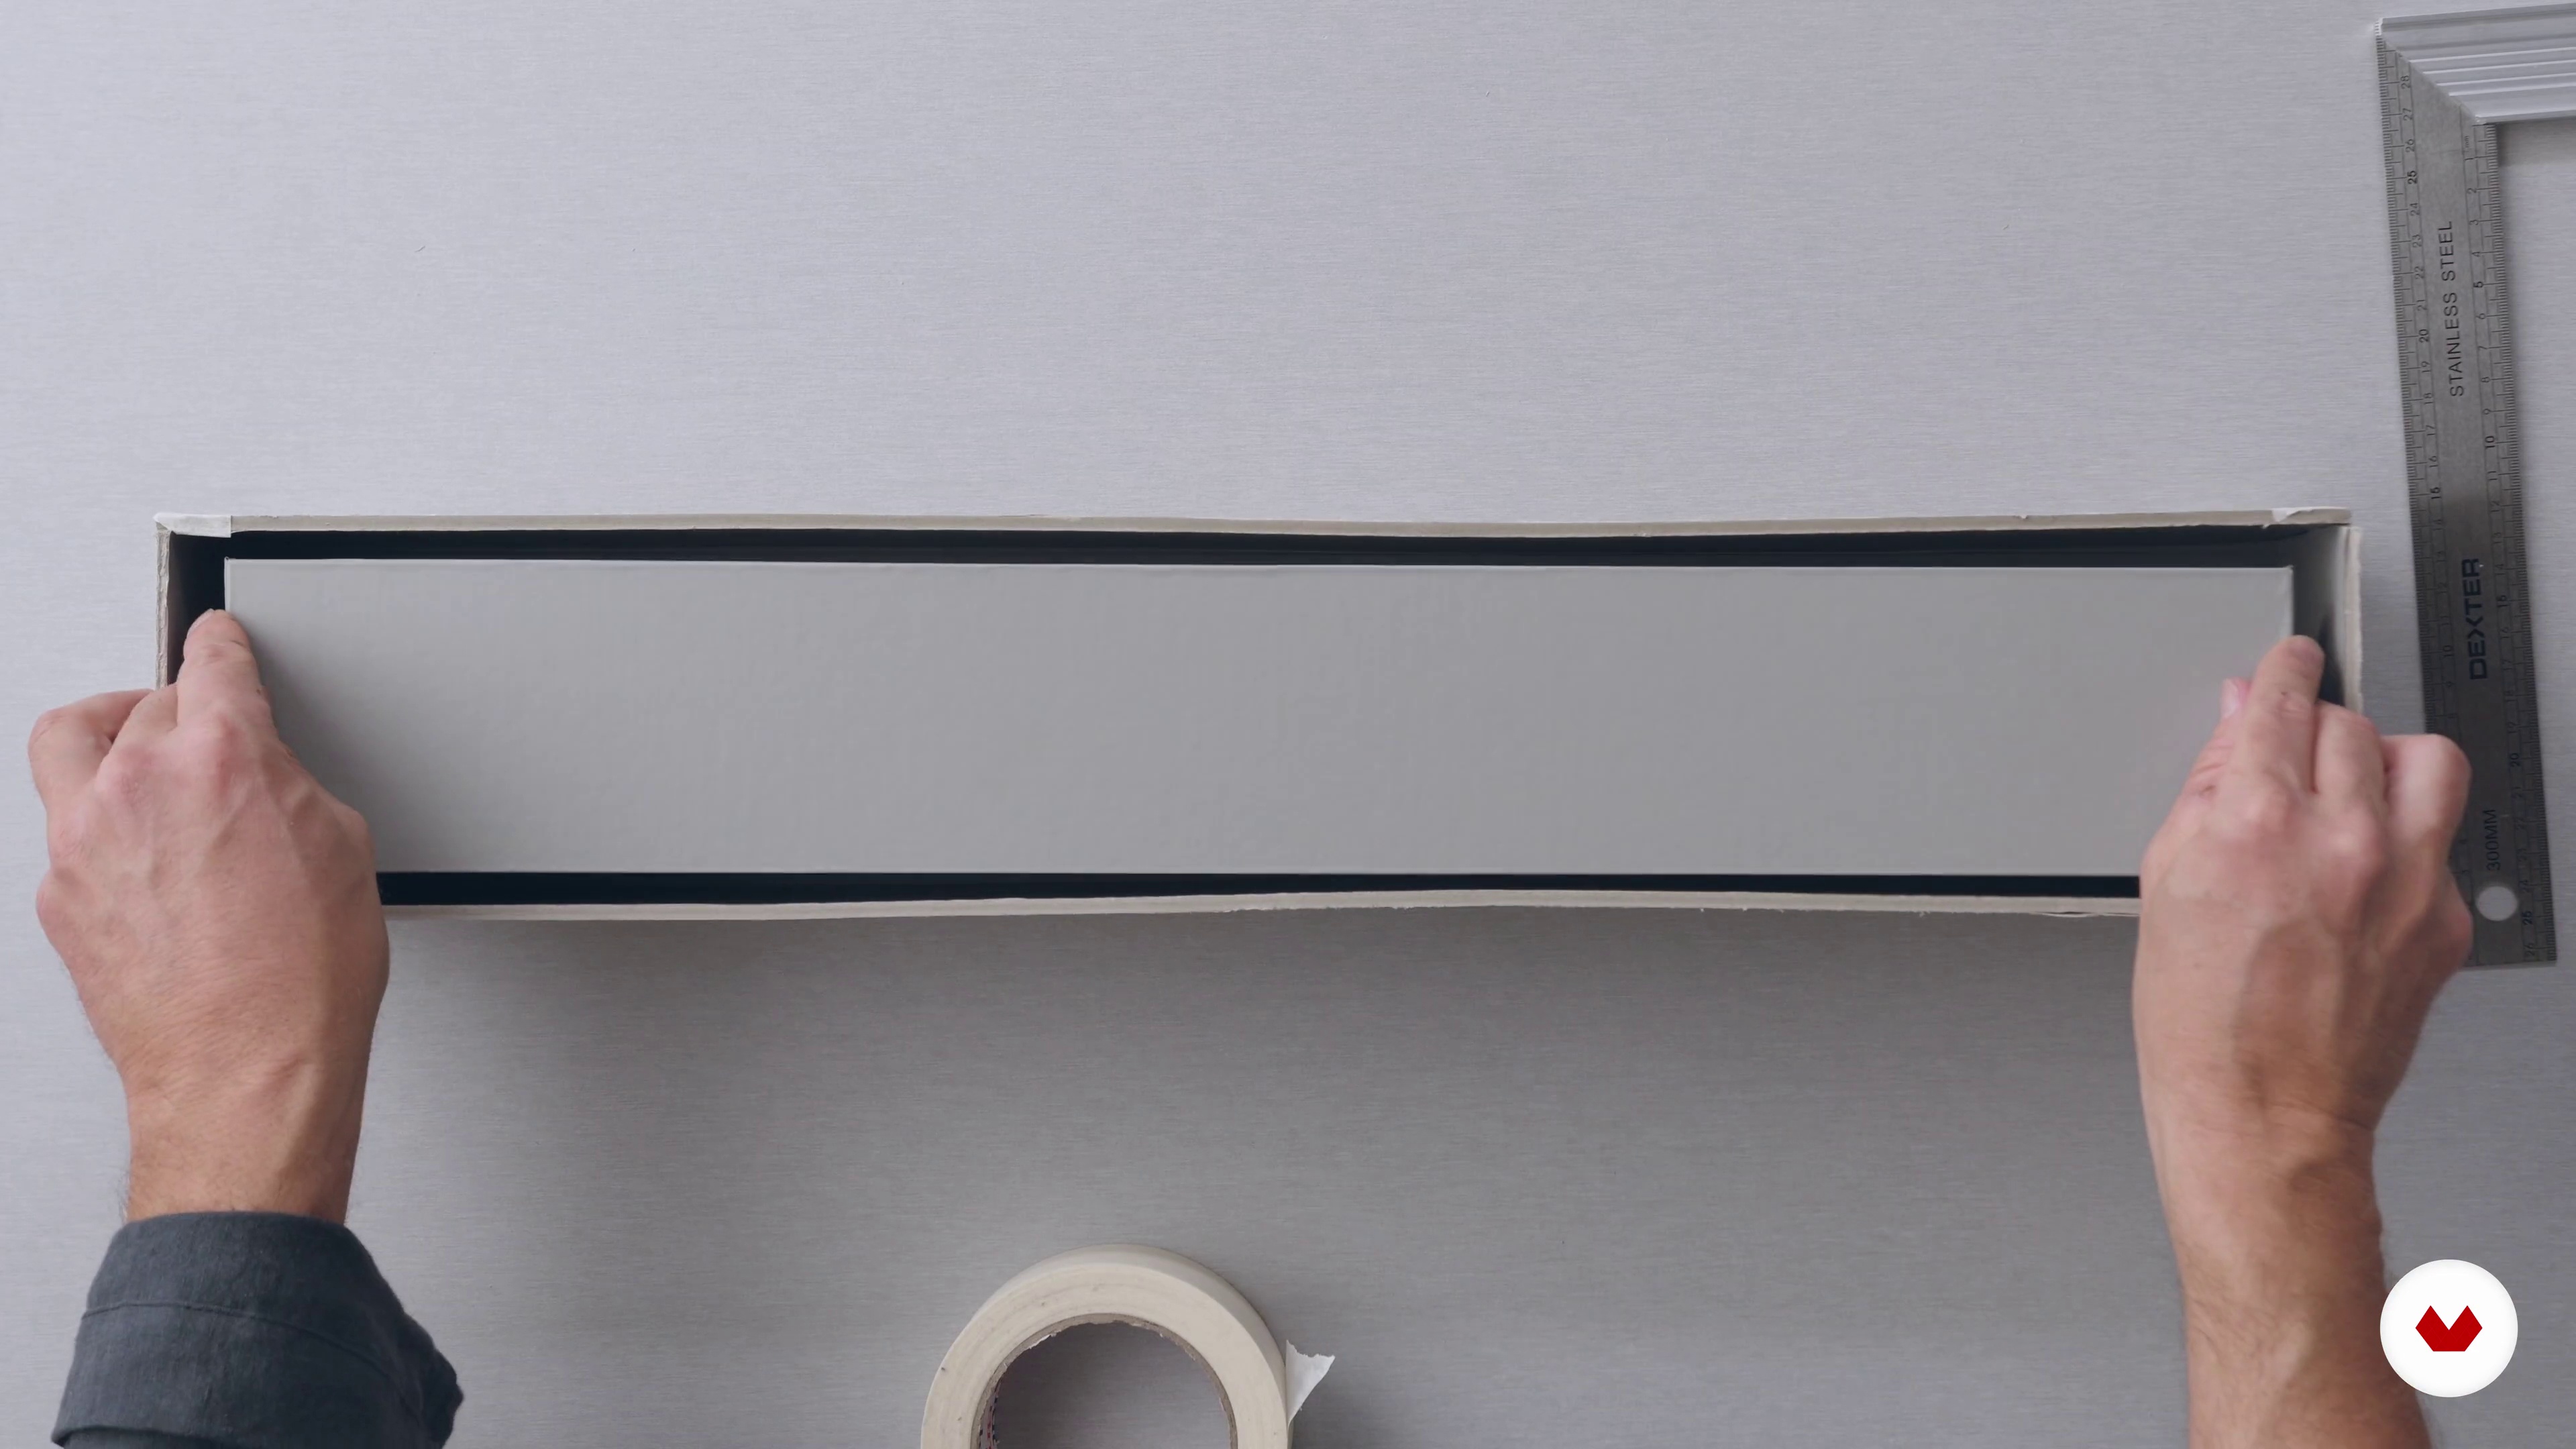
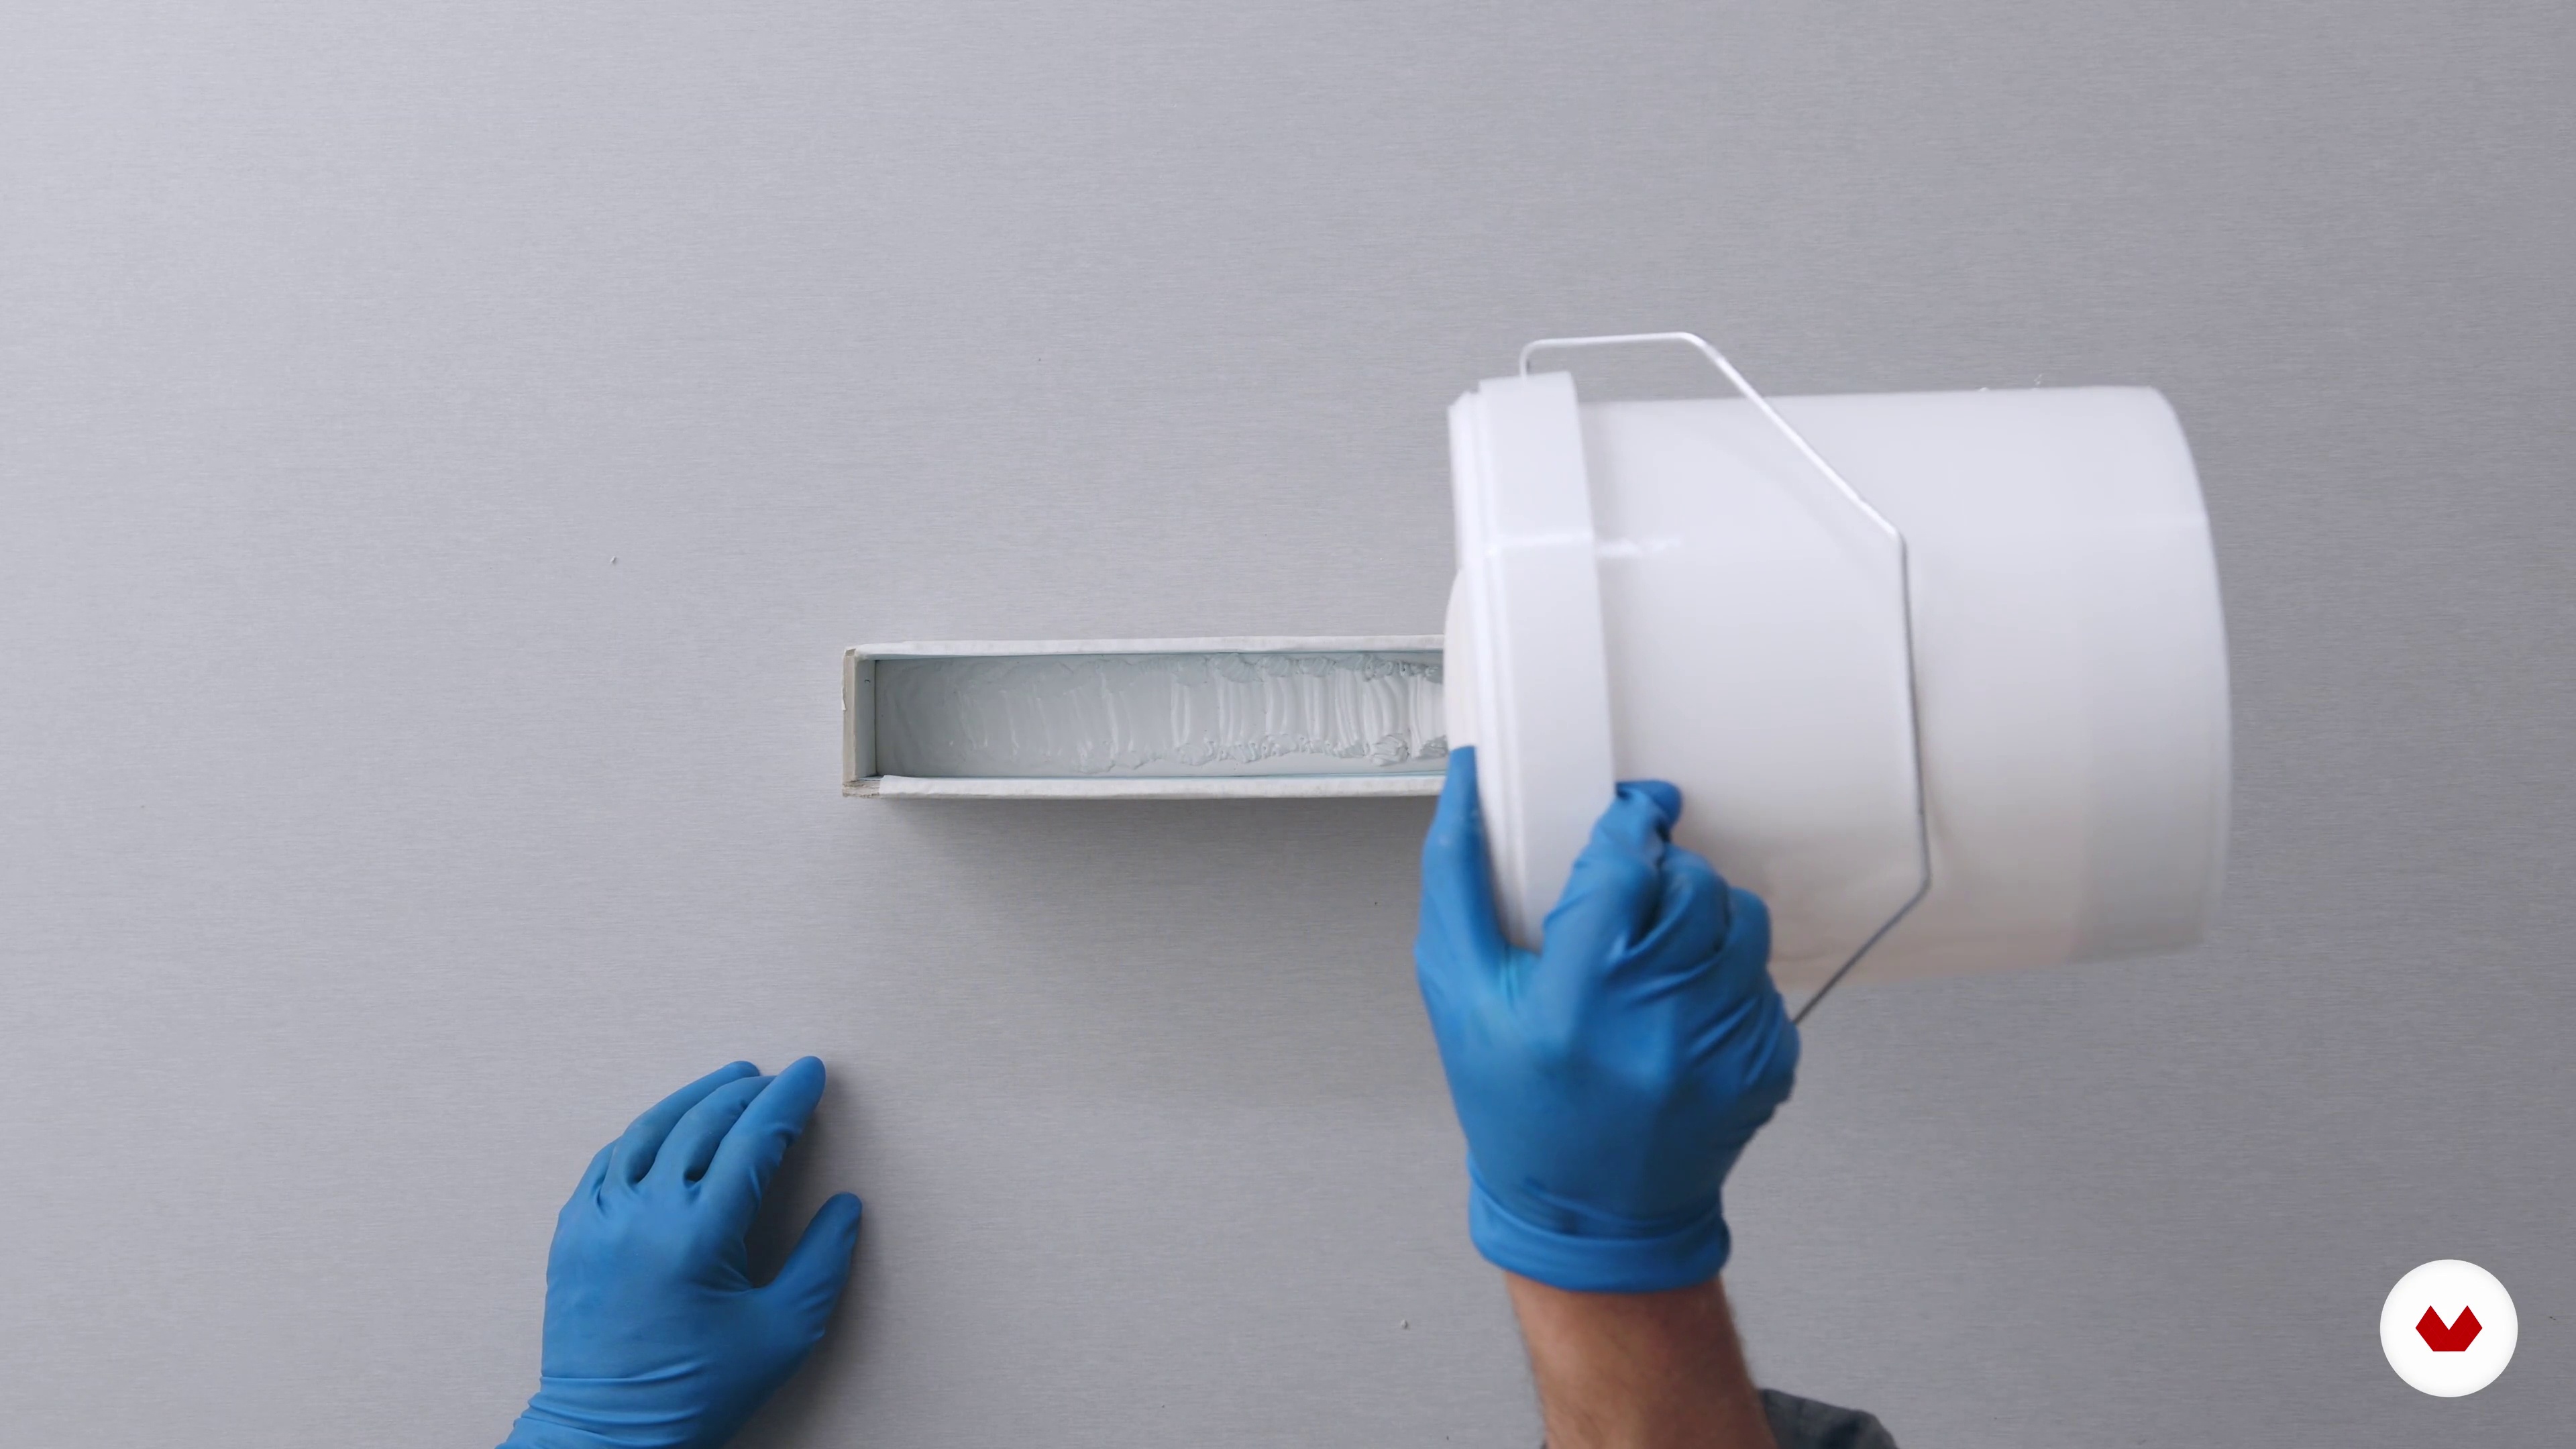
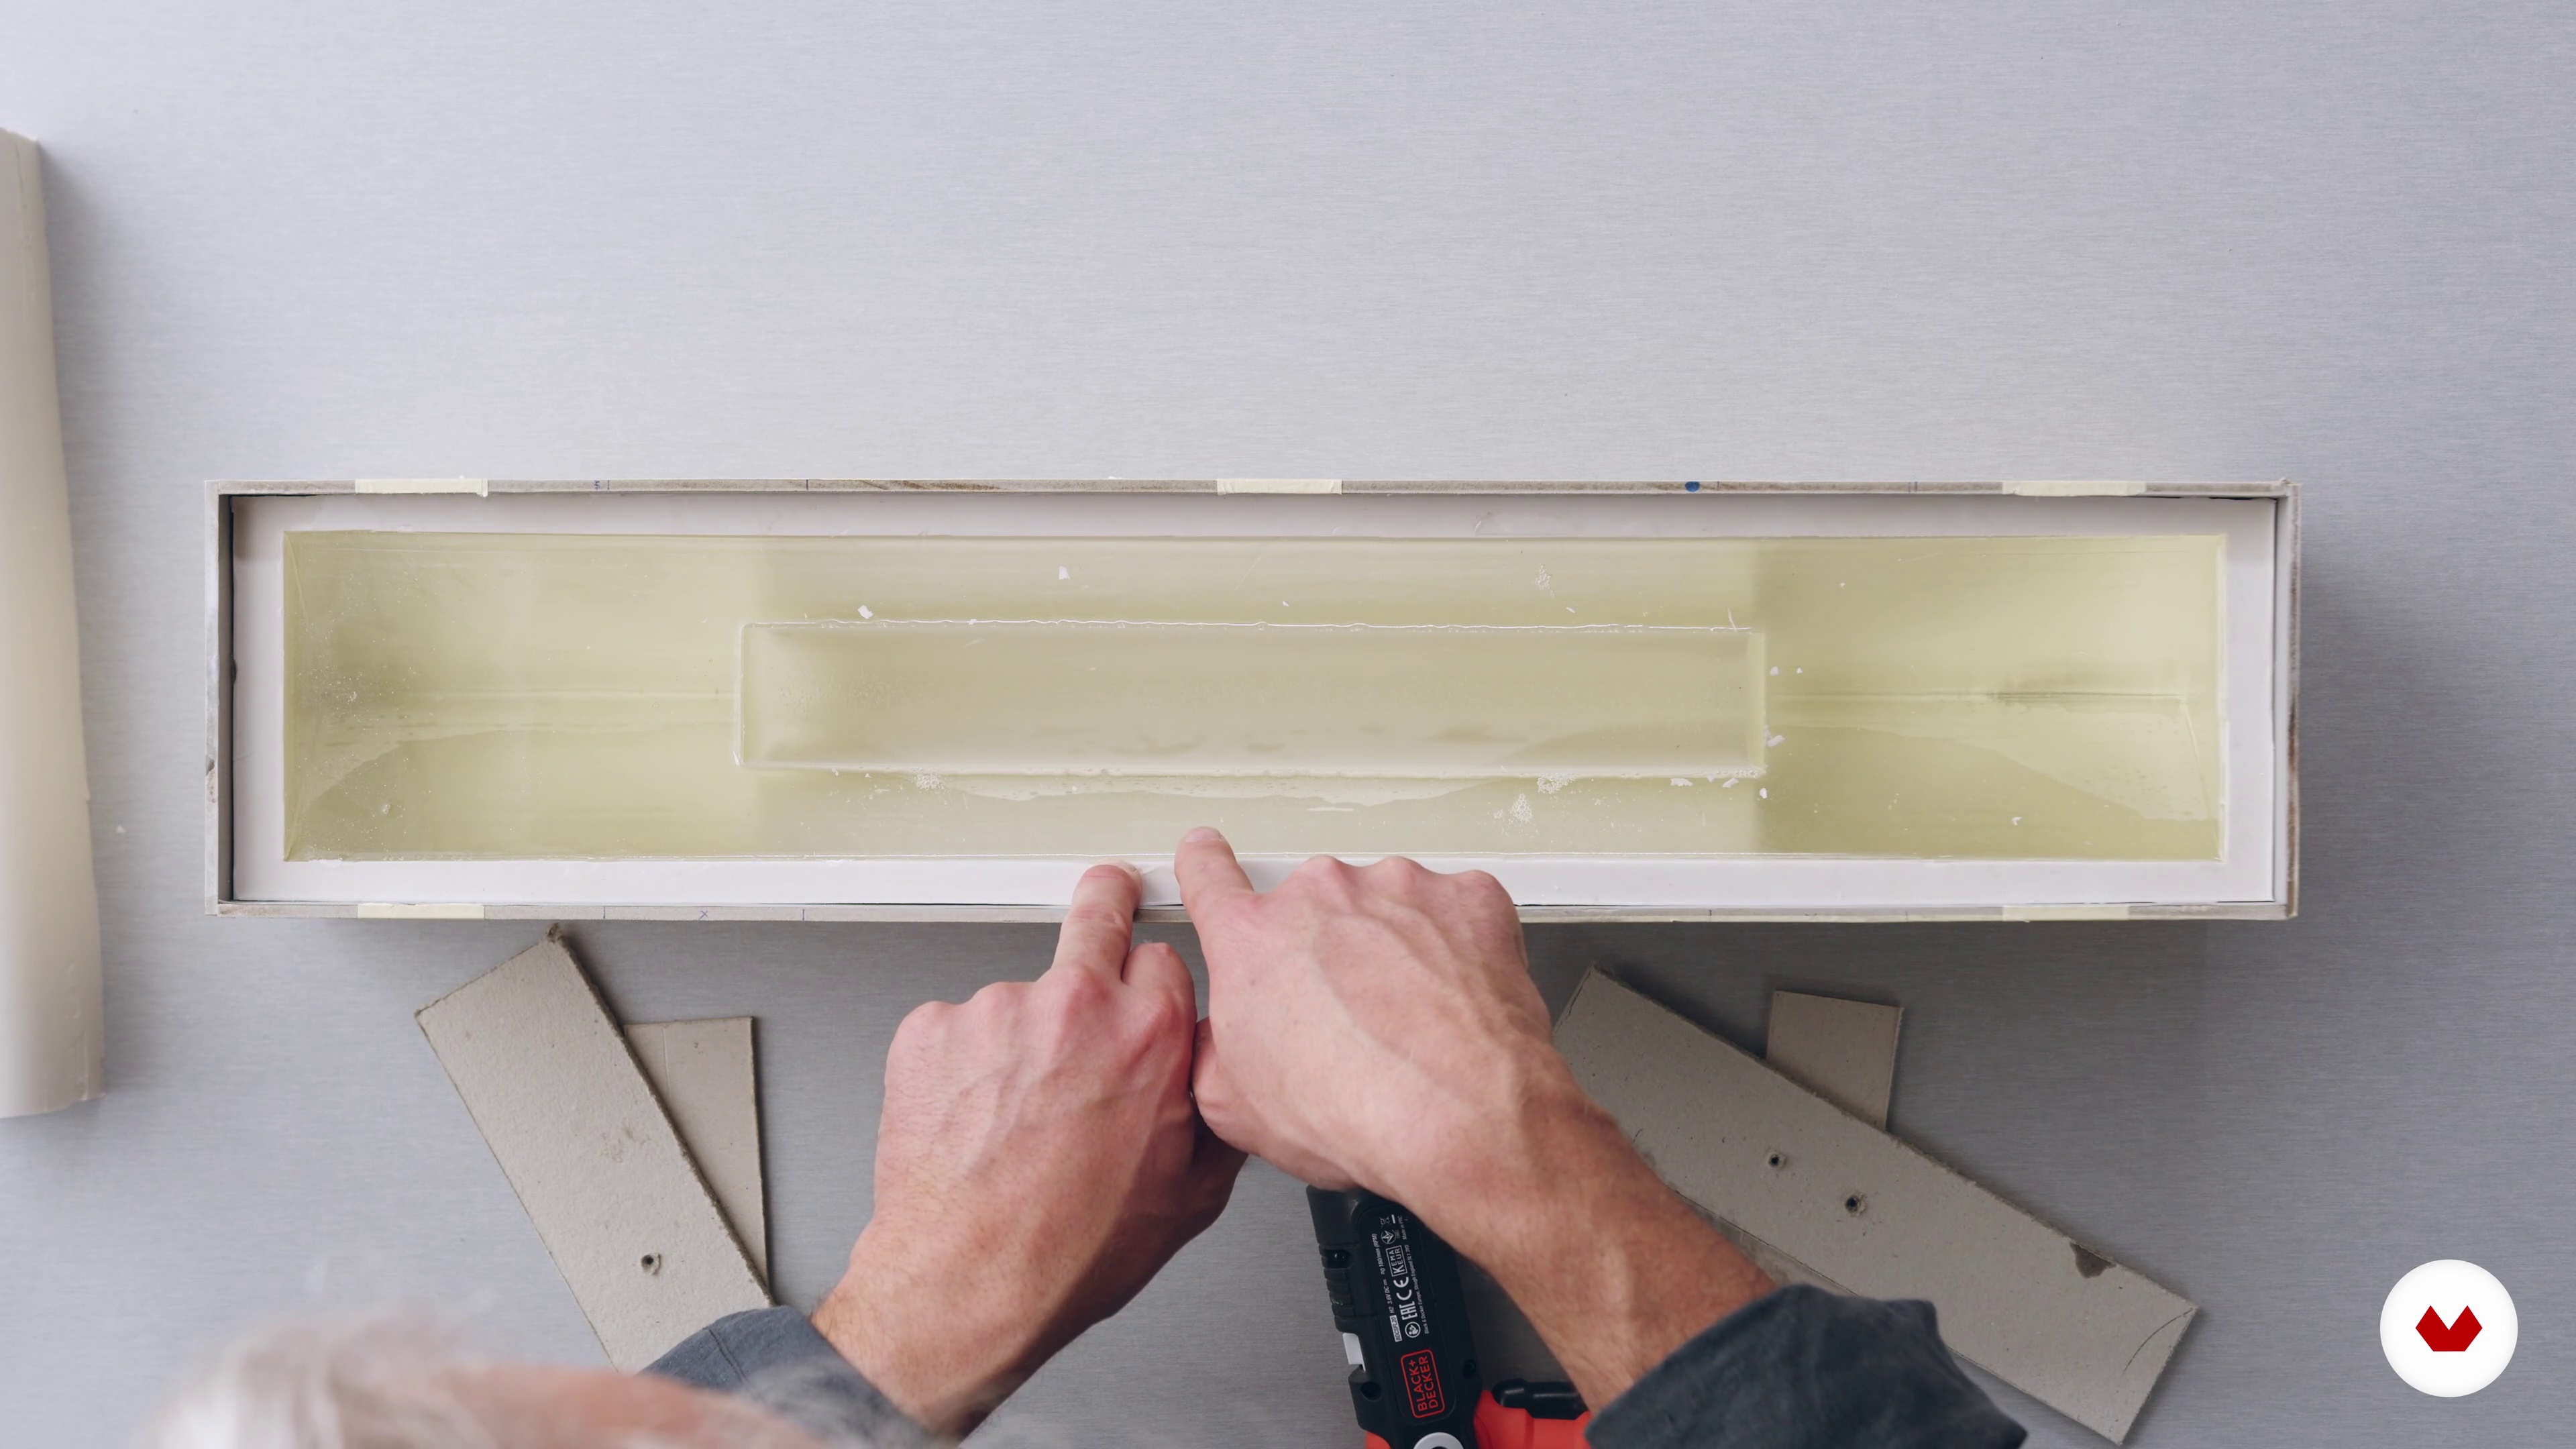
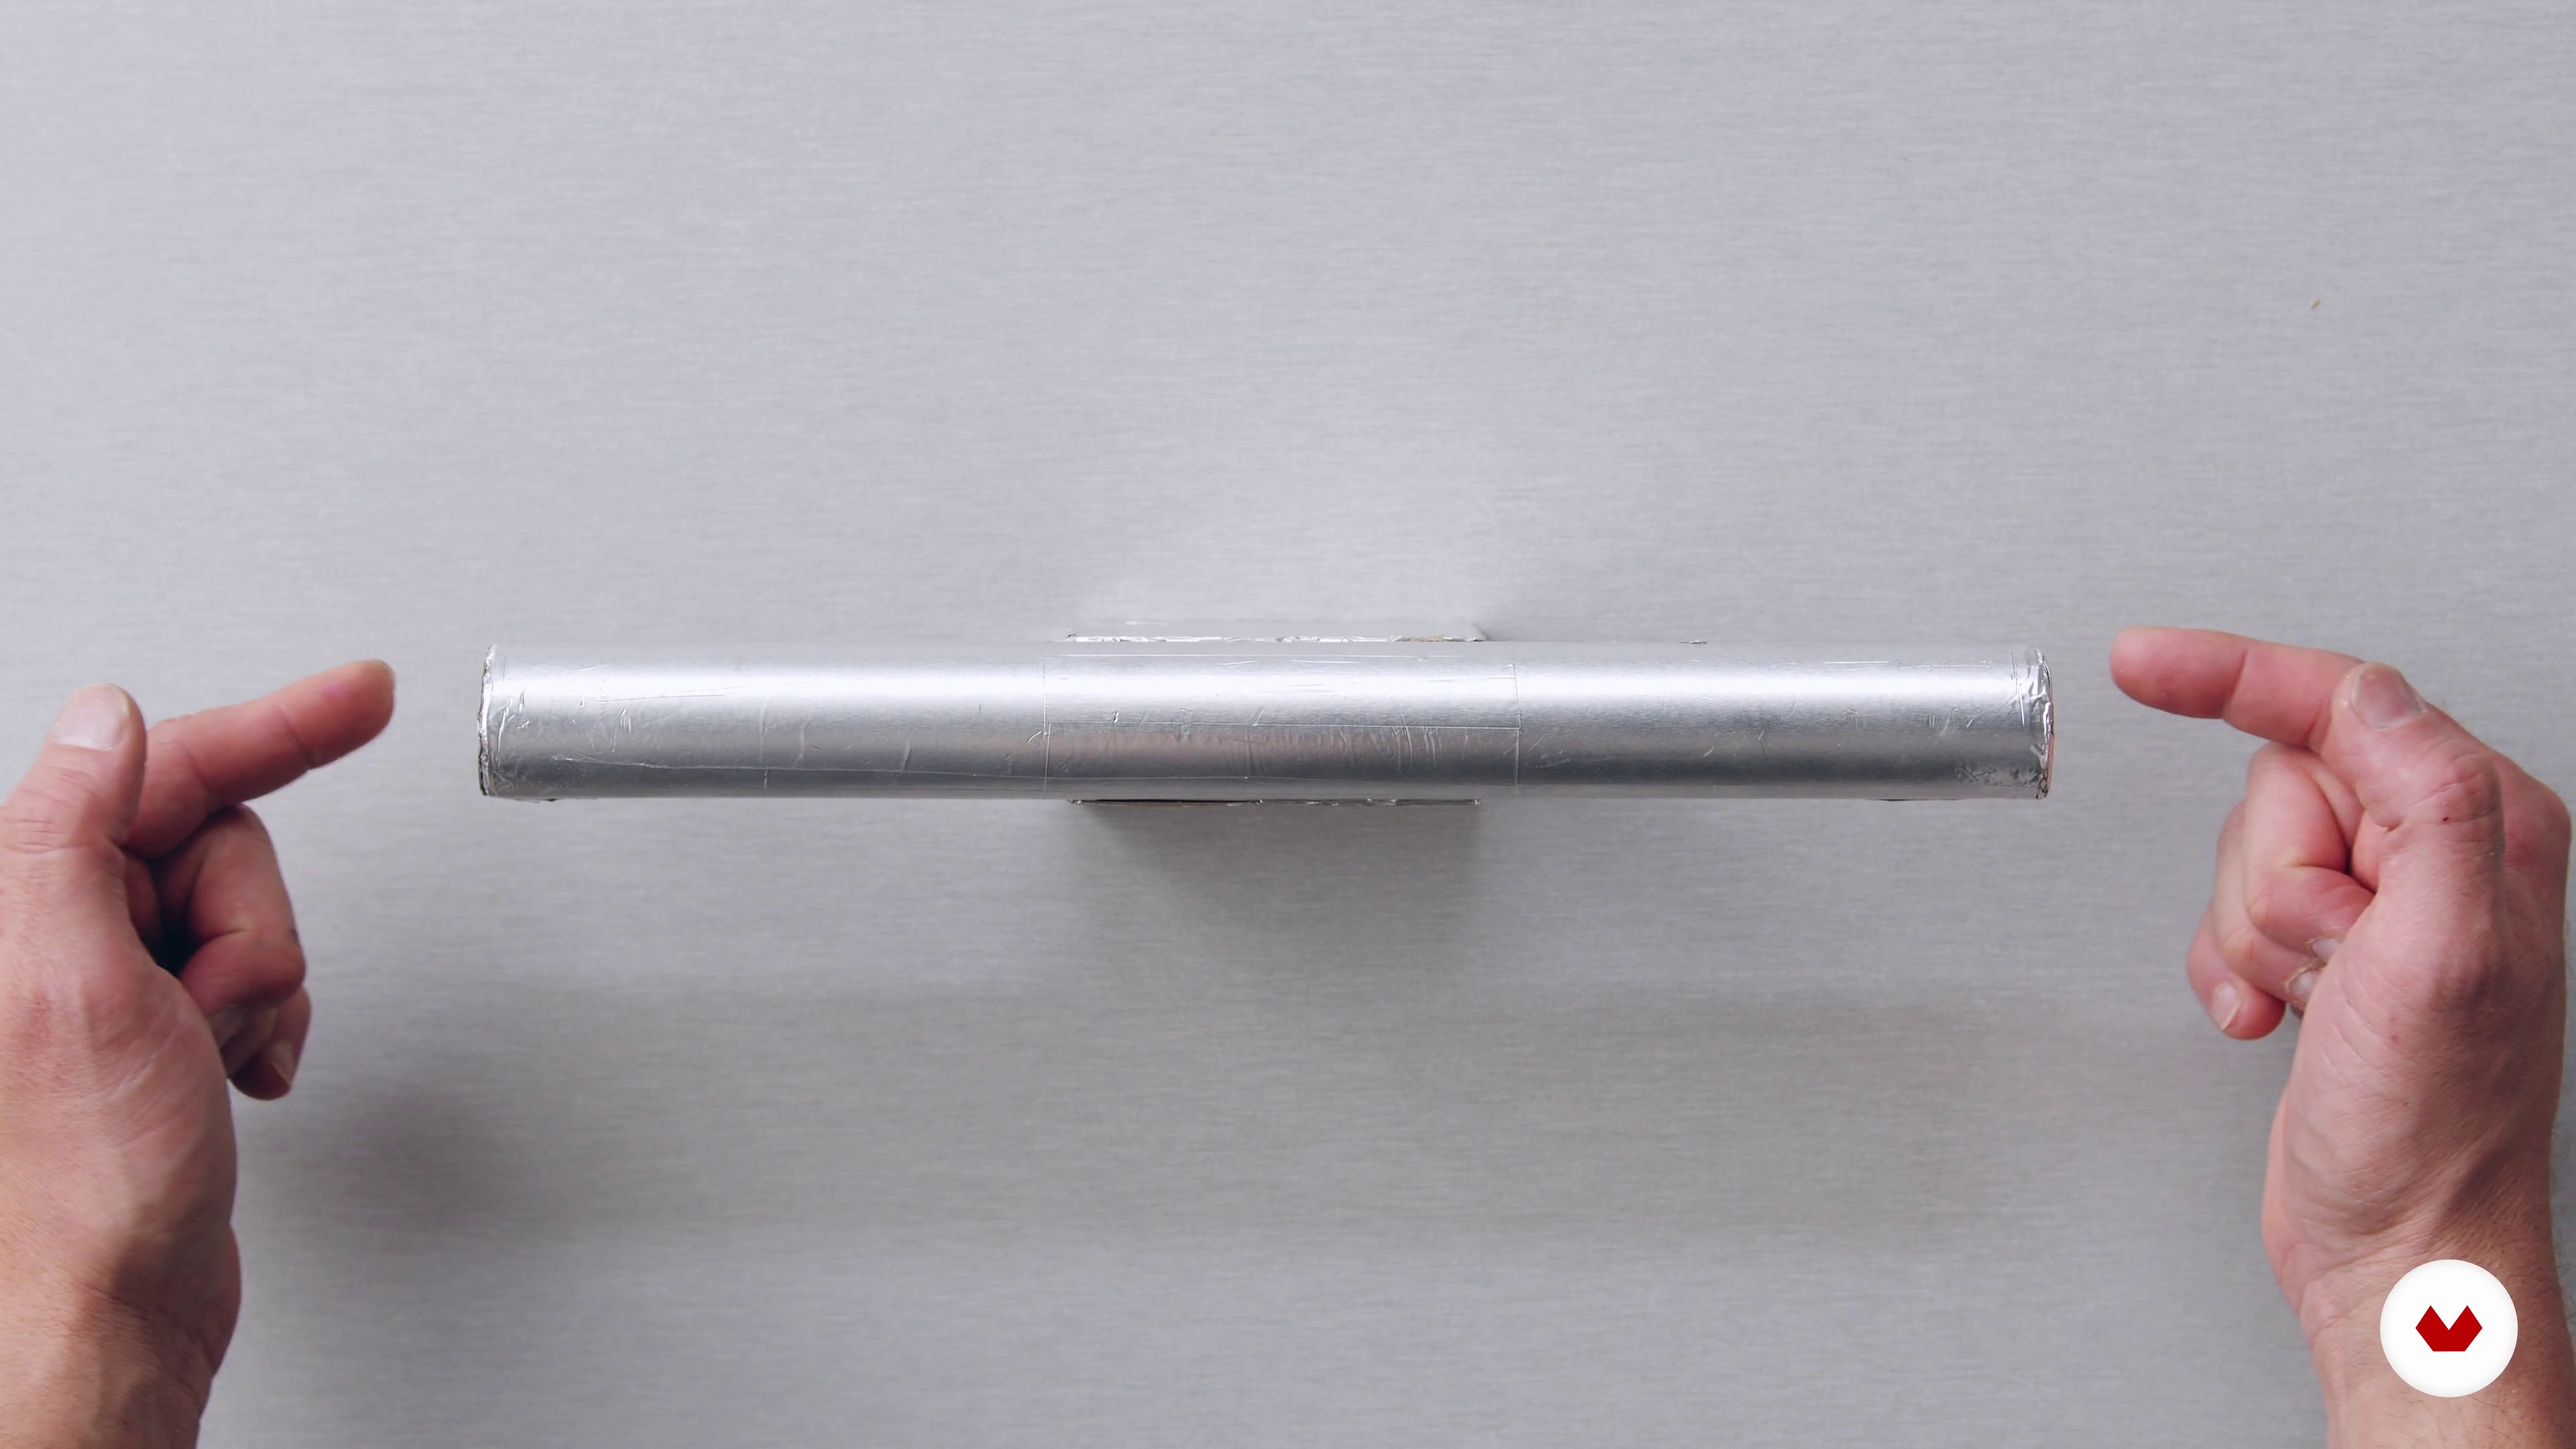
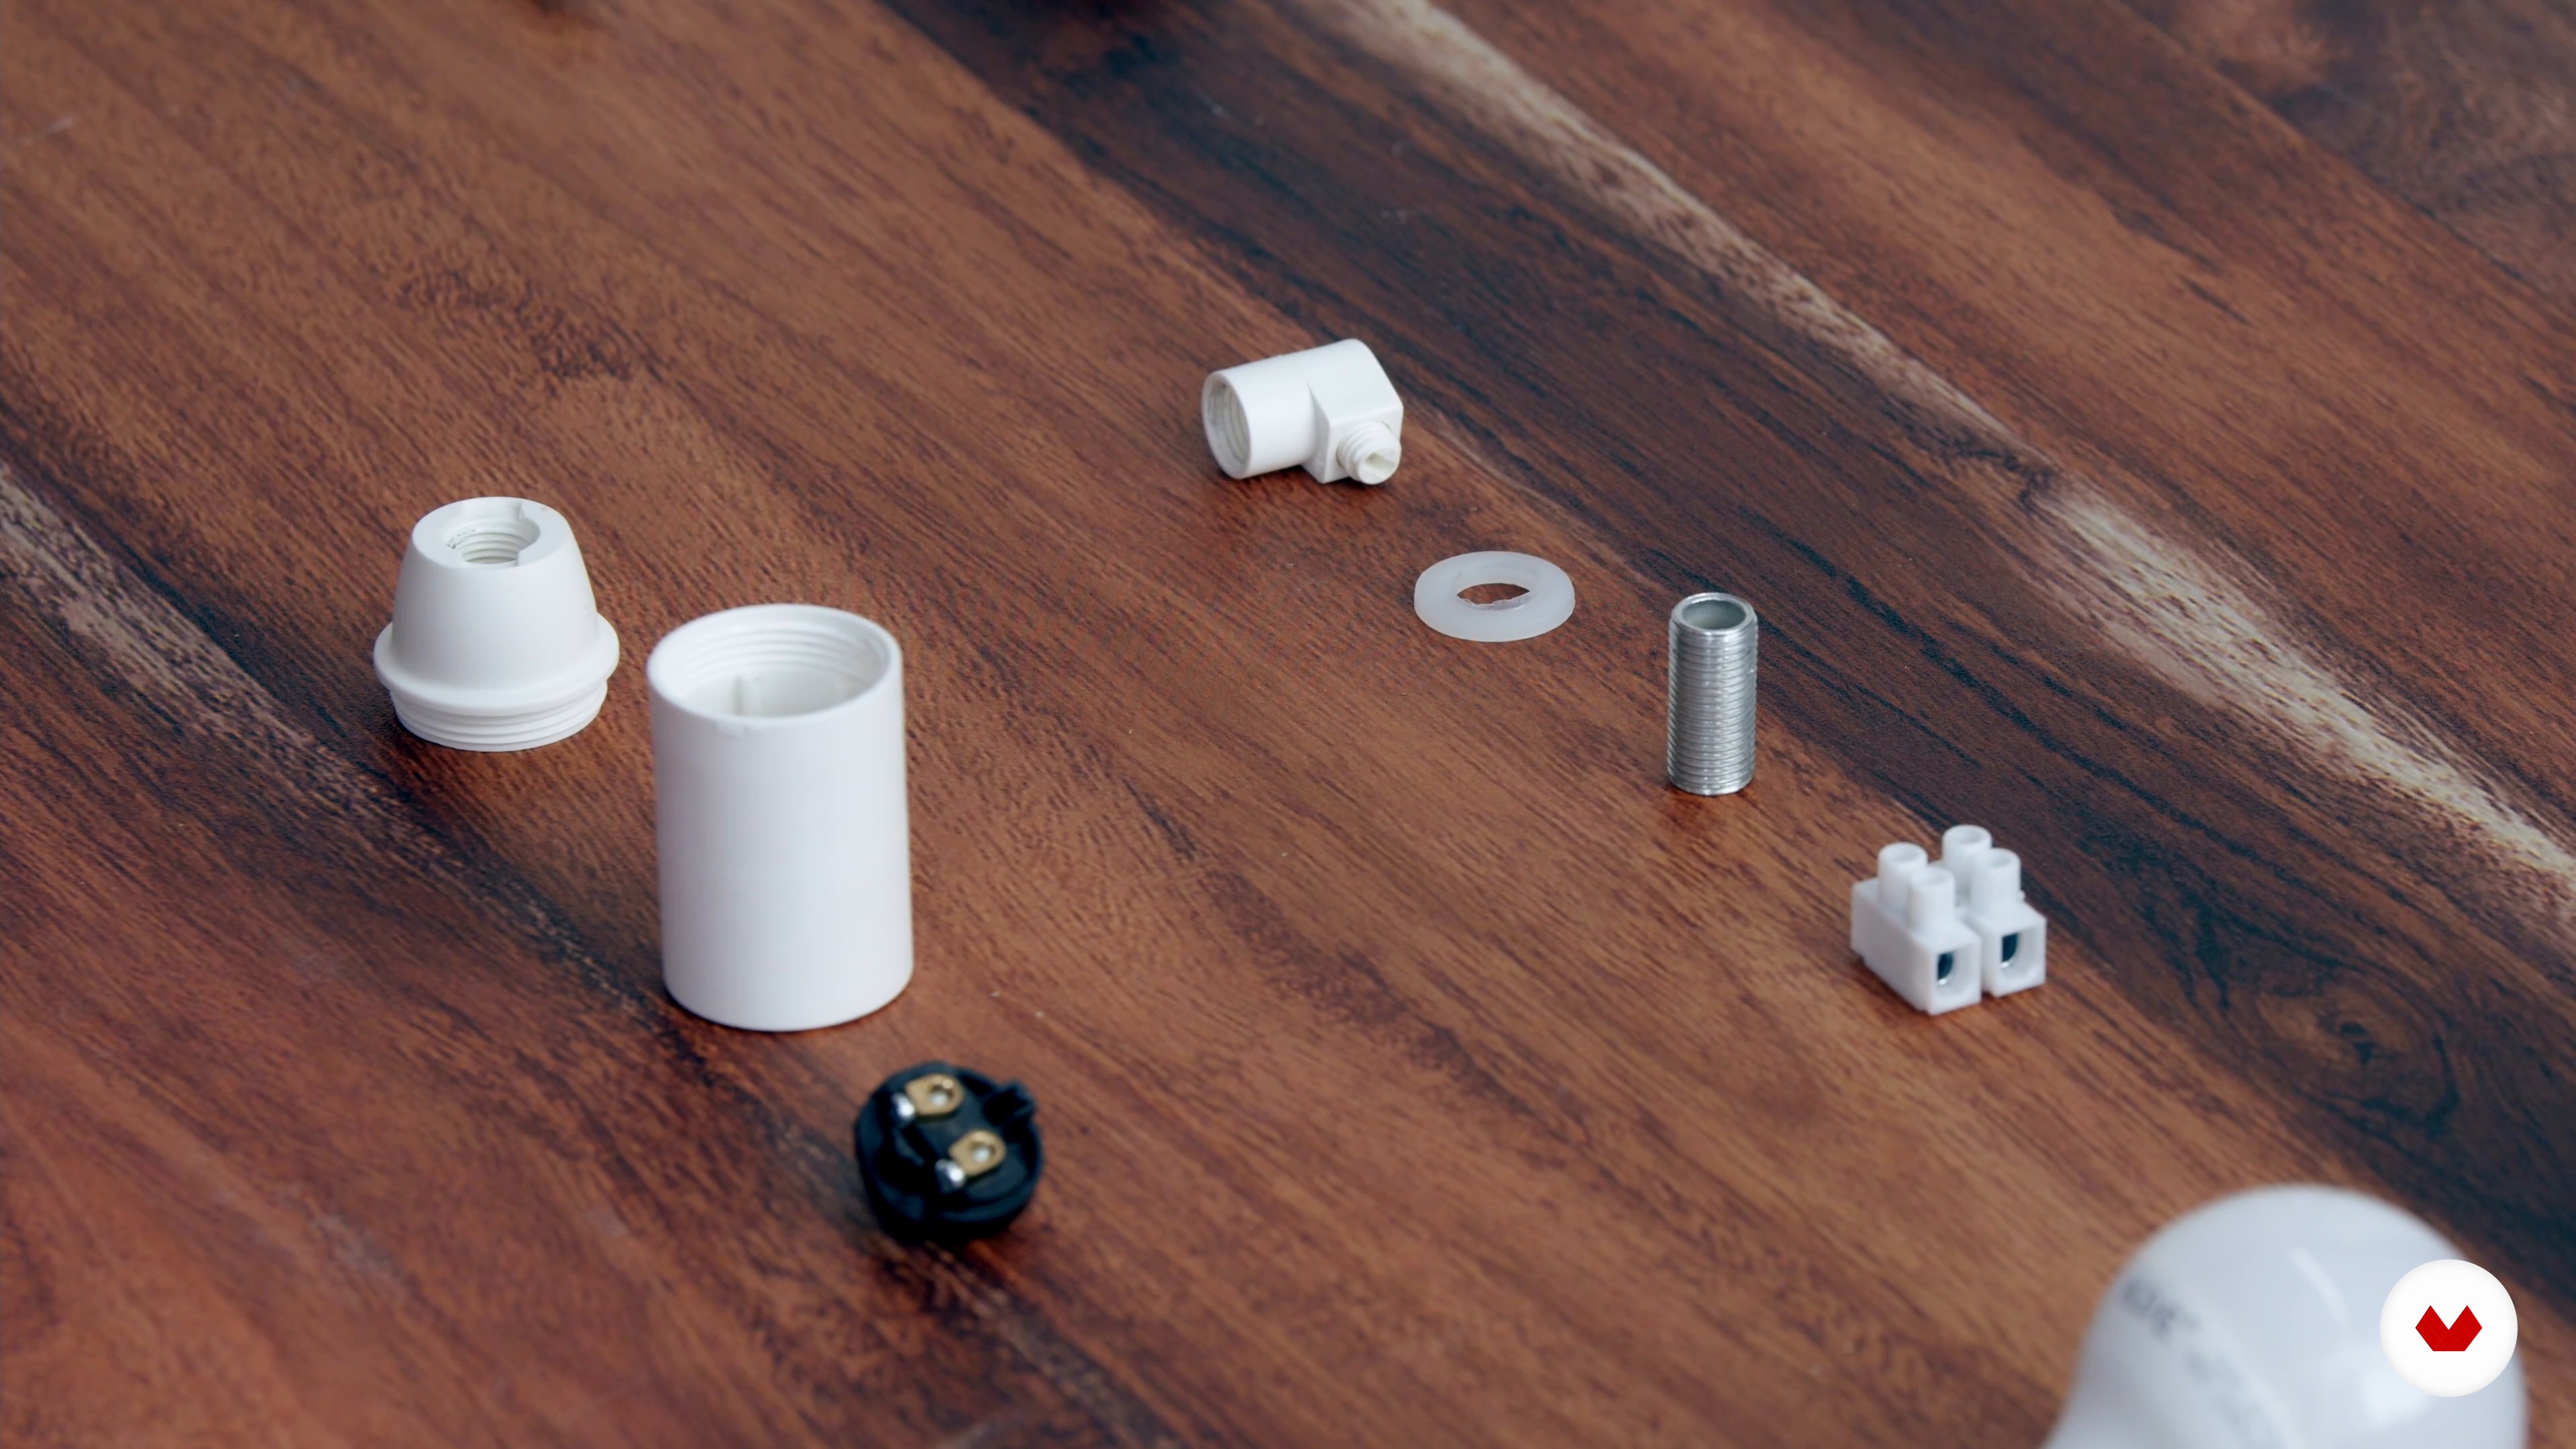
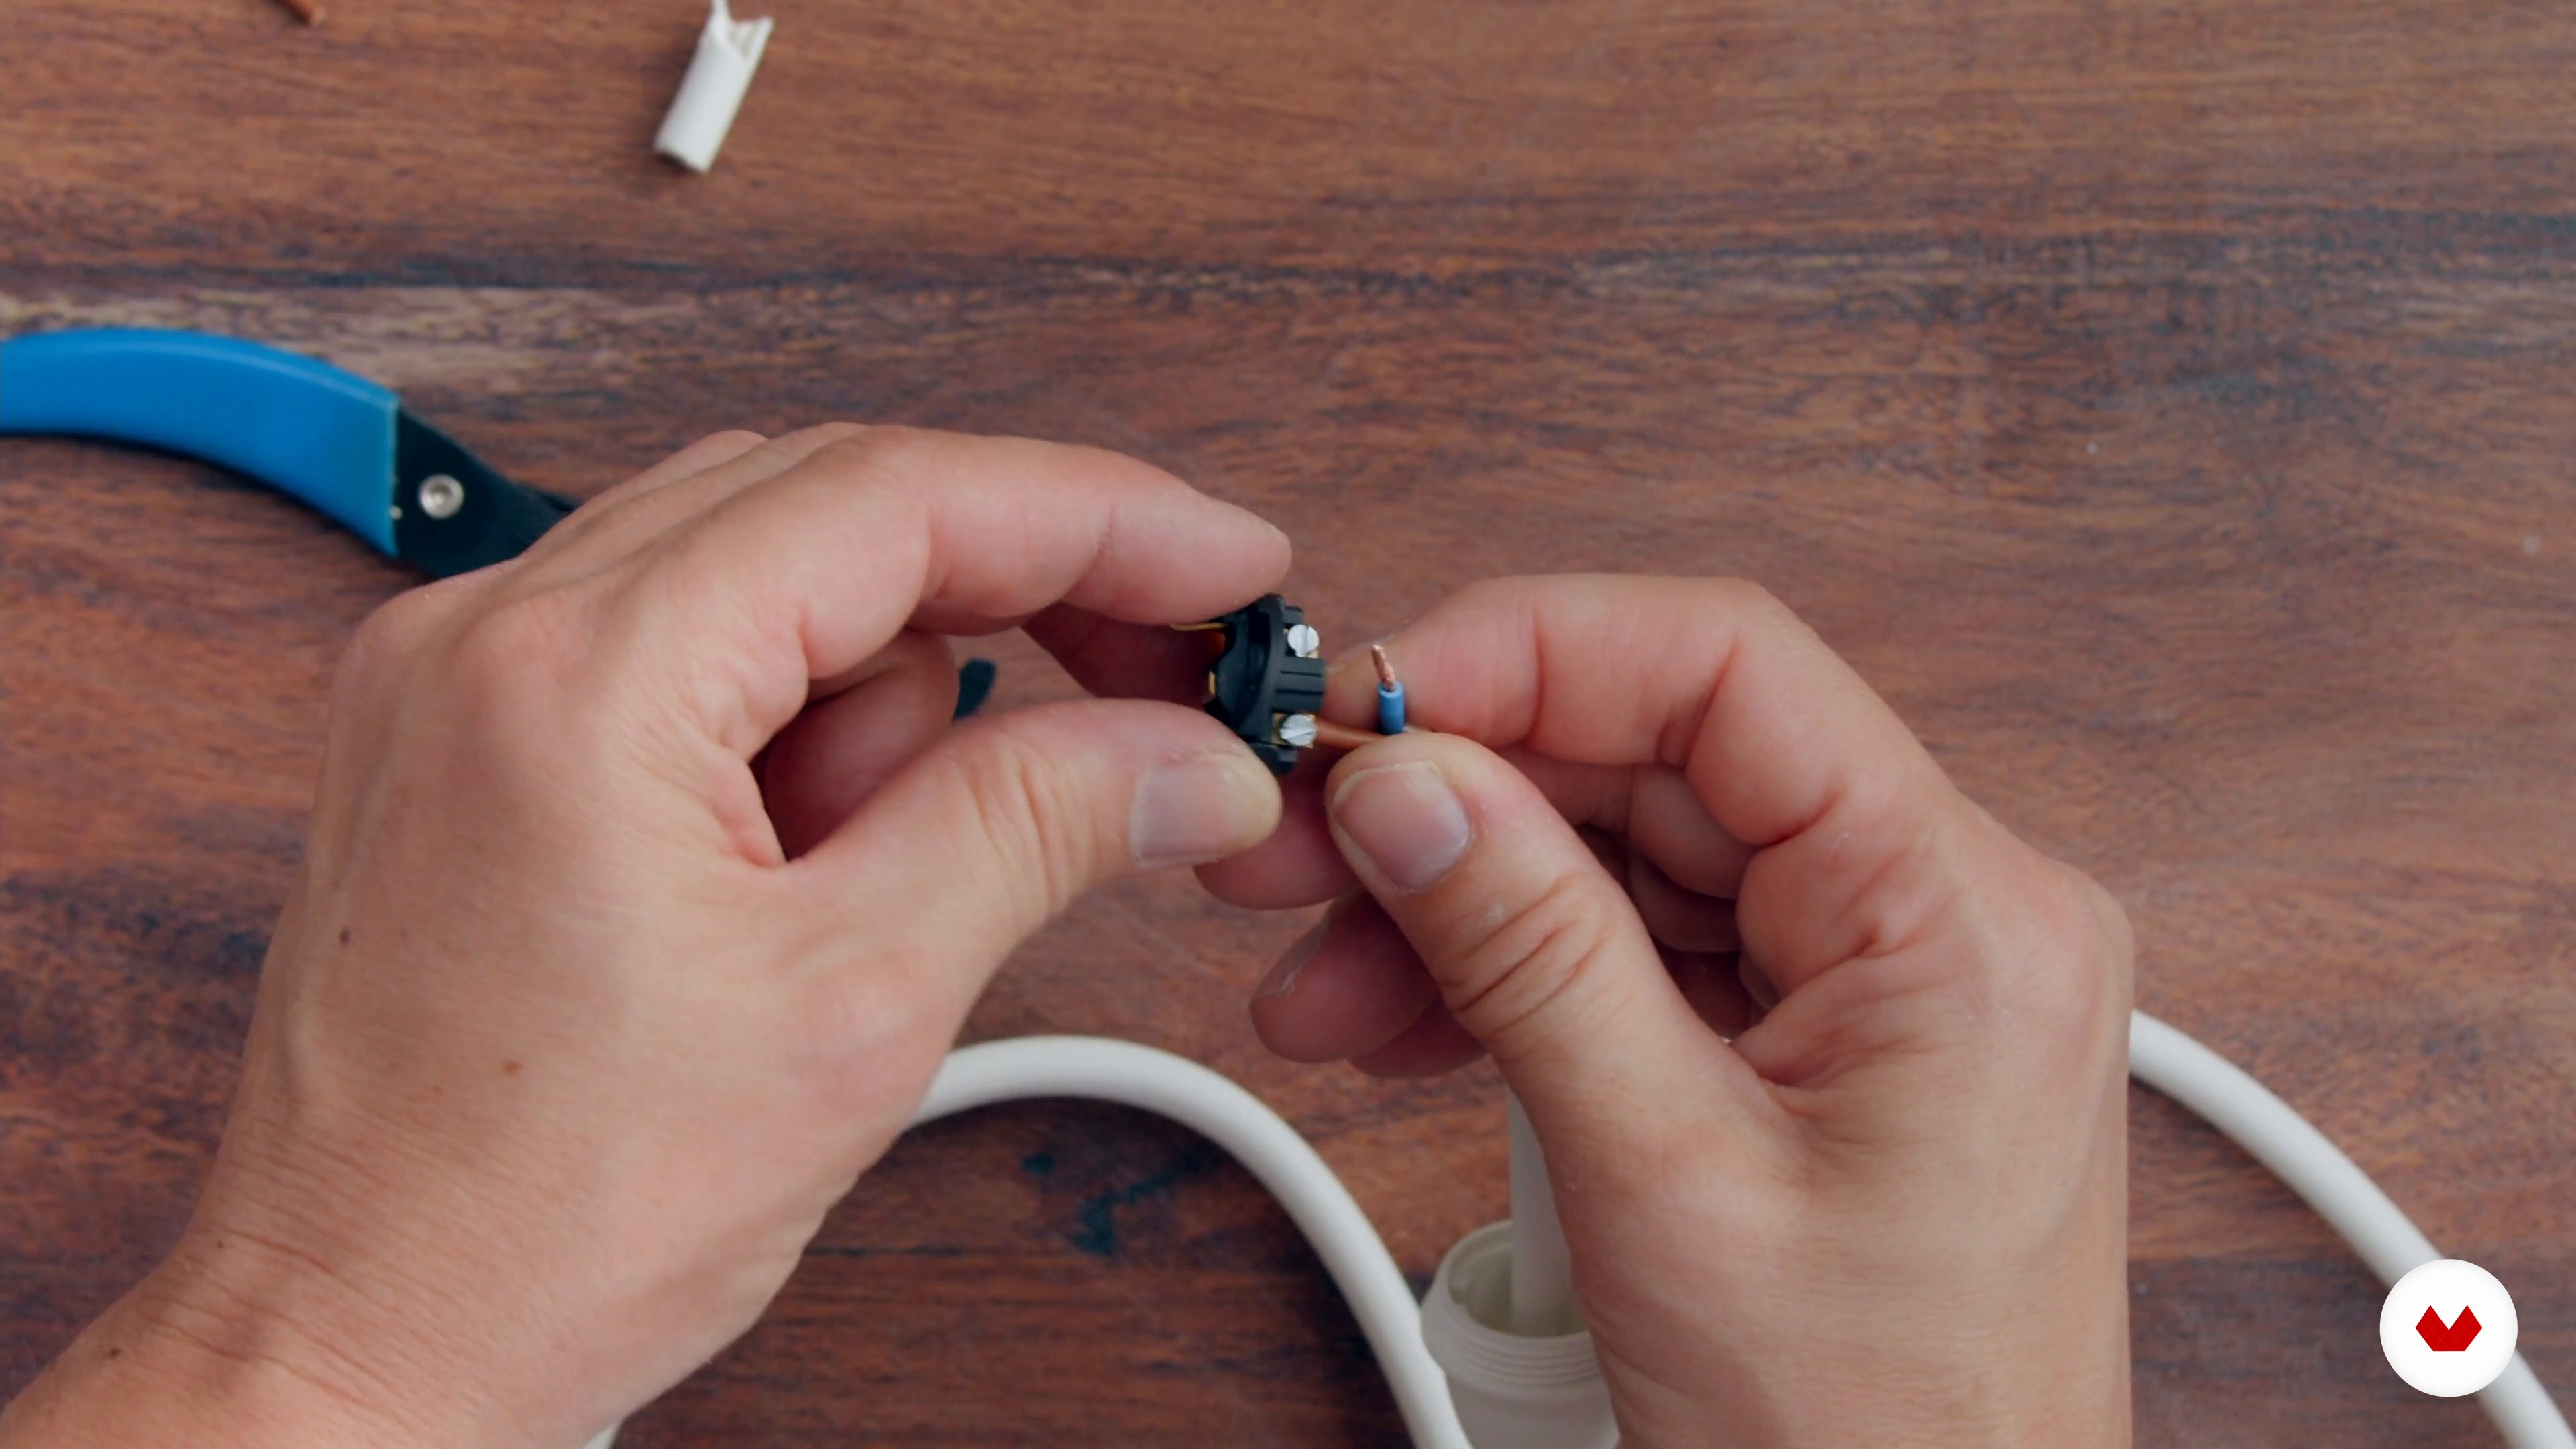
Yes, you’ll follow step-by-step instructions to design, model, mold, cast, finish, and assemble a custom resin wall lamp, including tips for integrating electrical components.
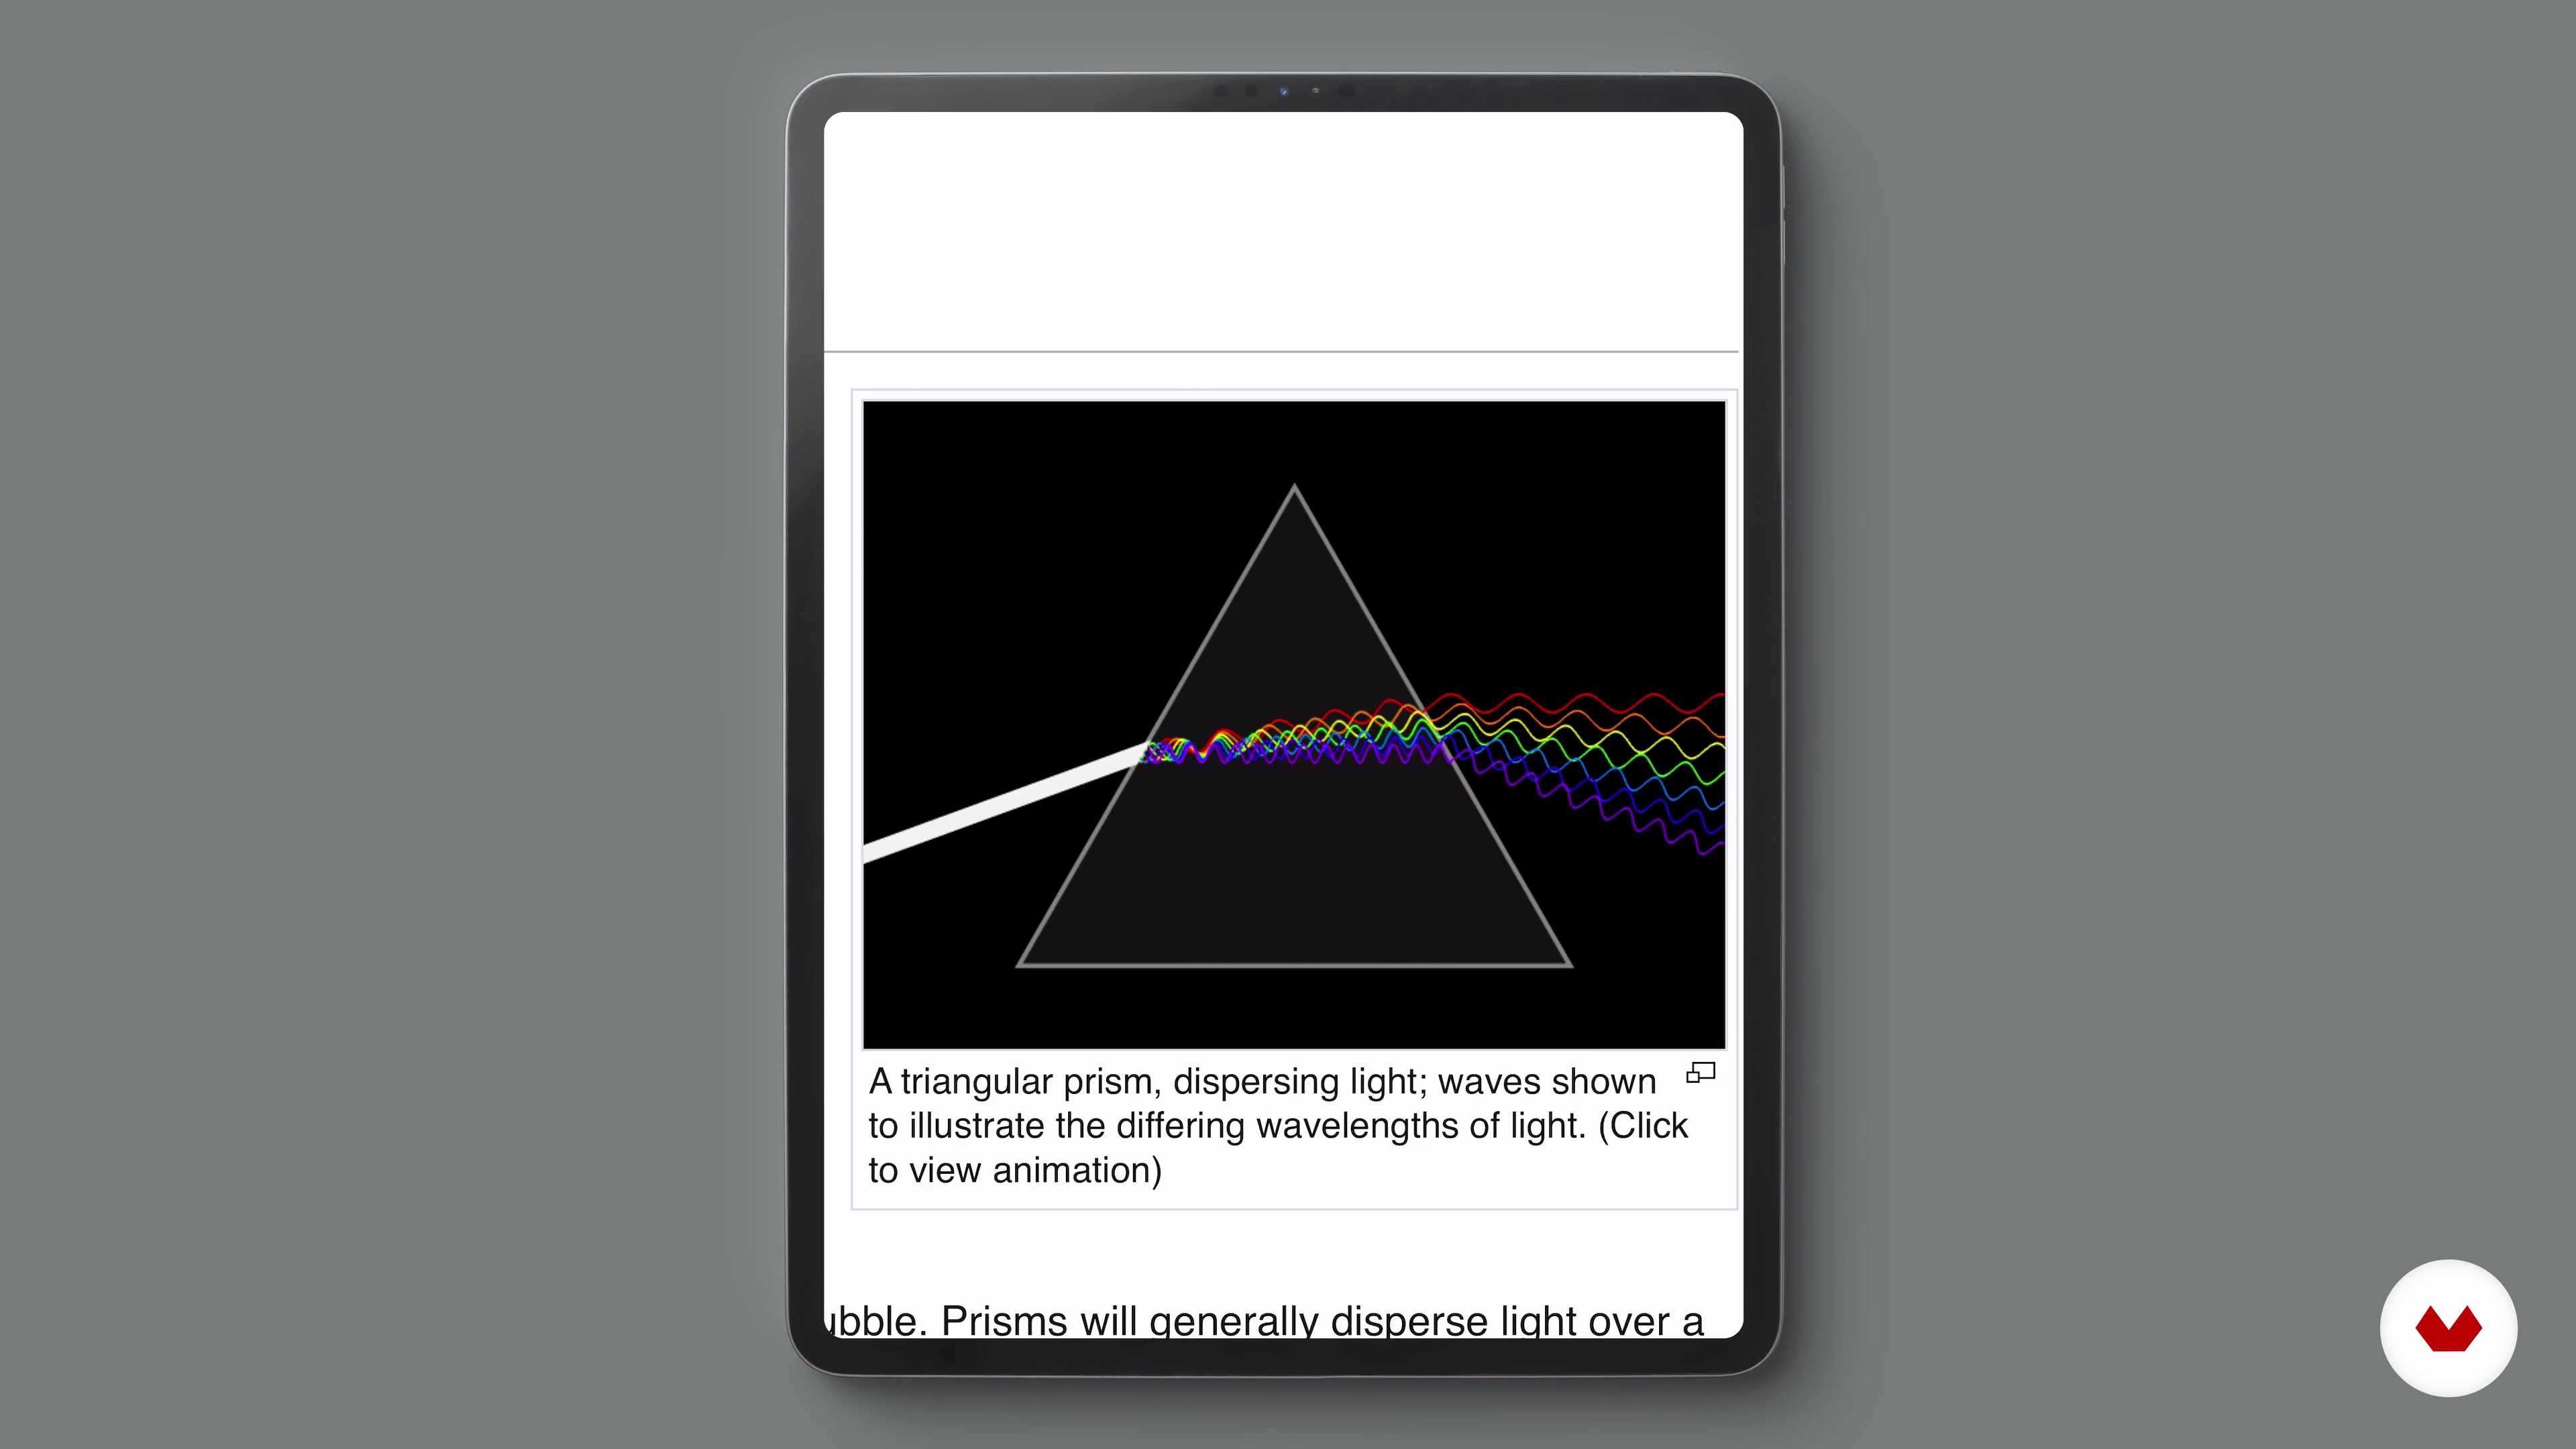
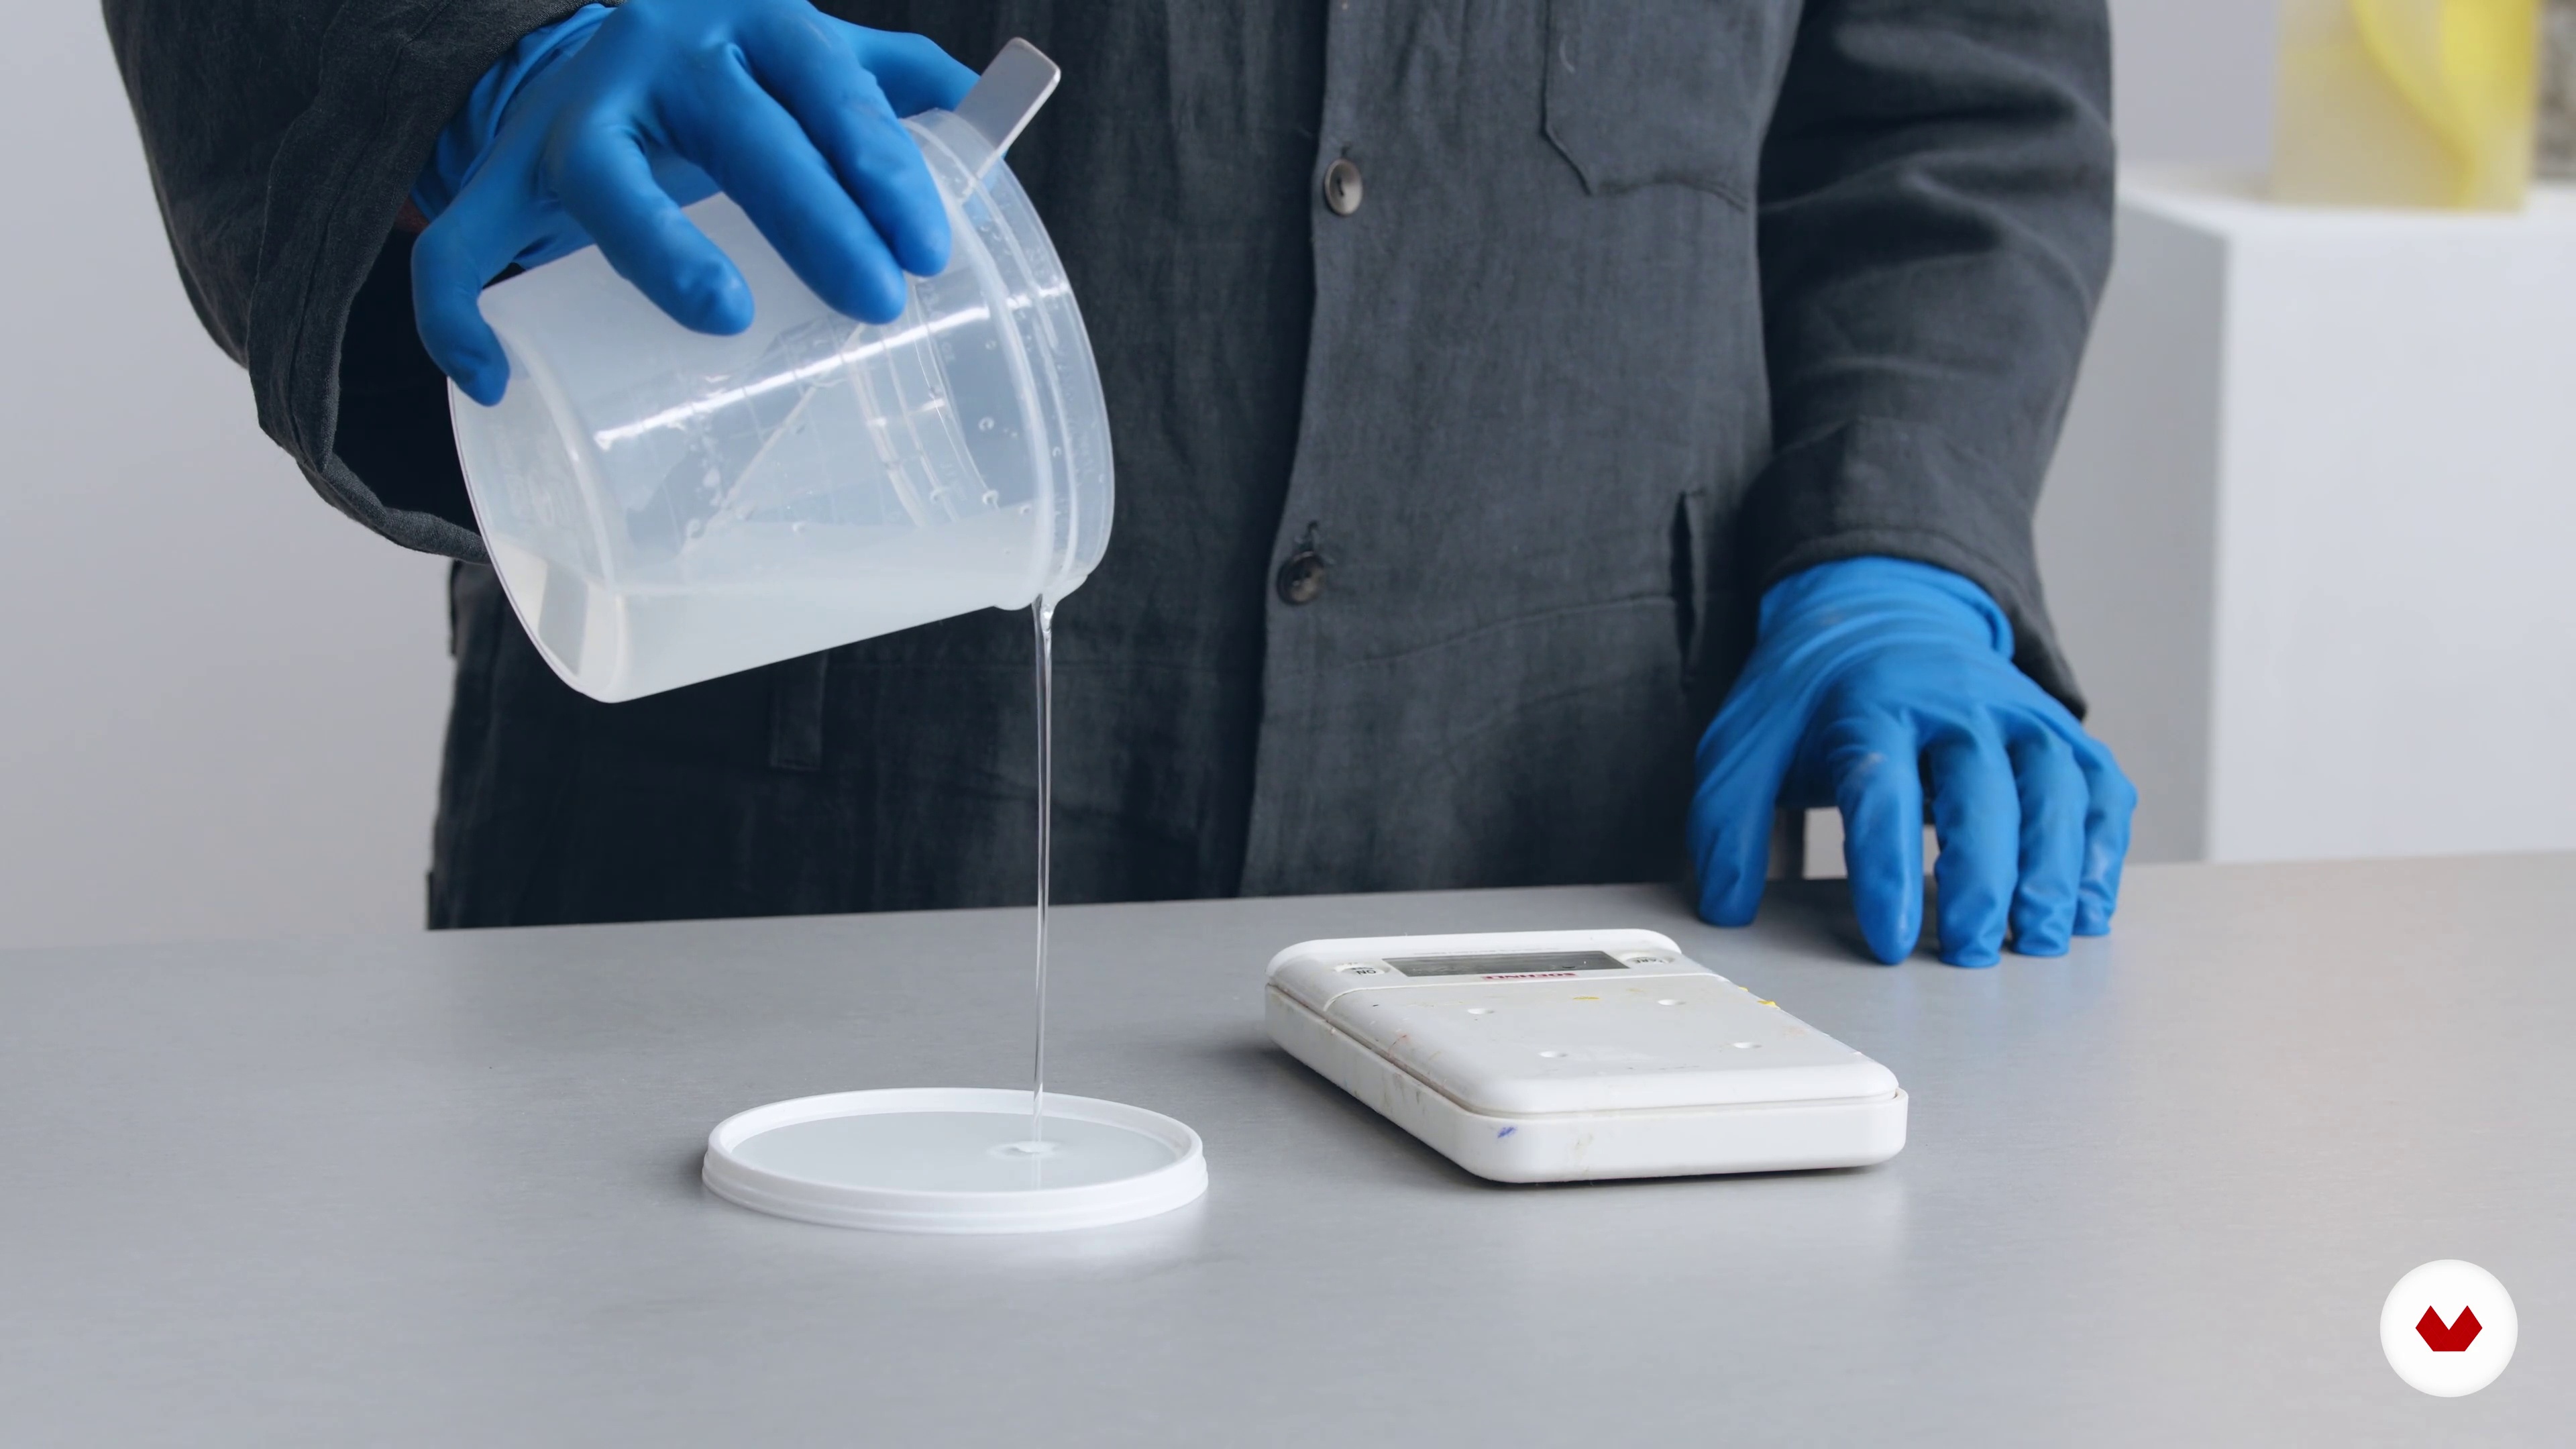
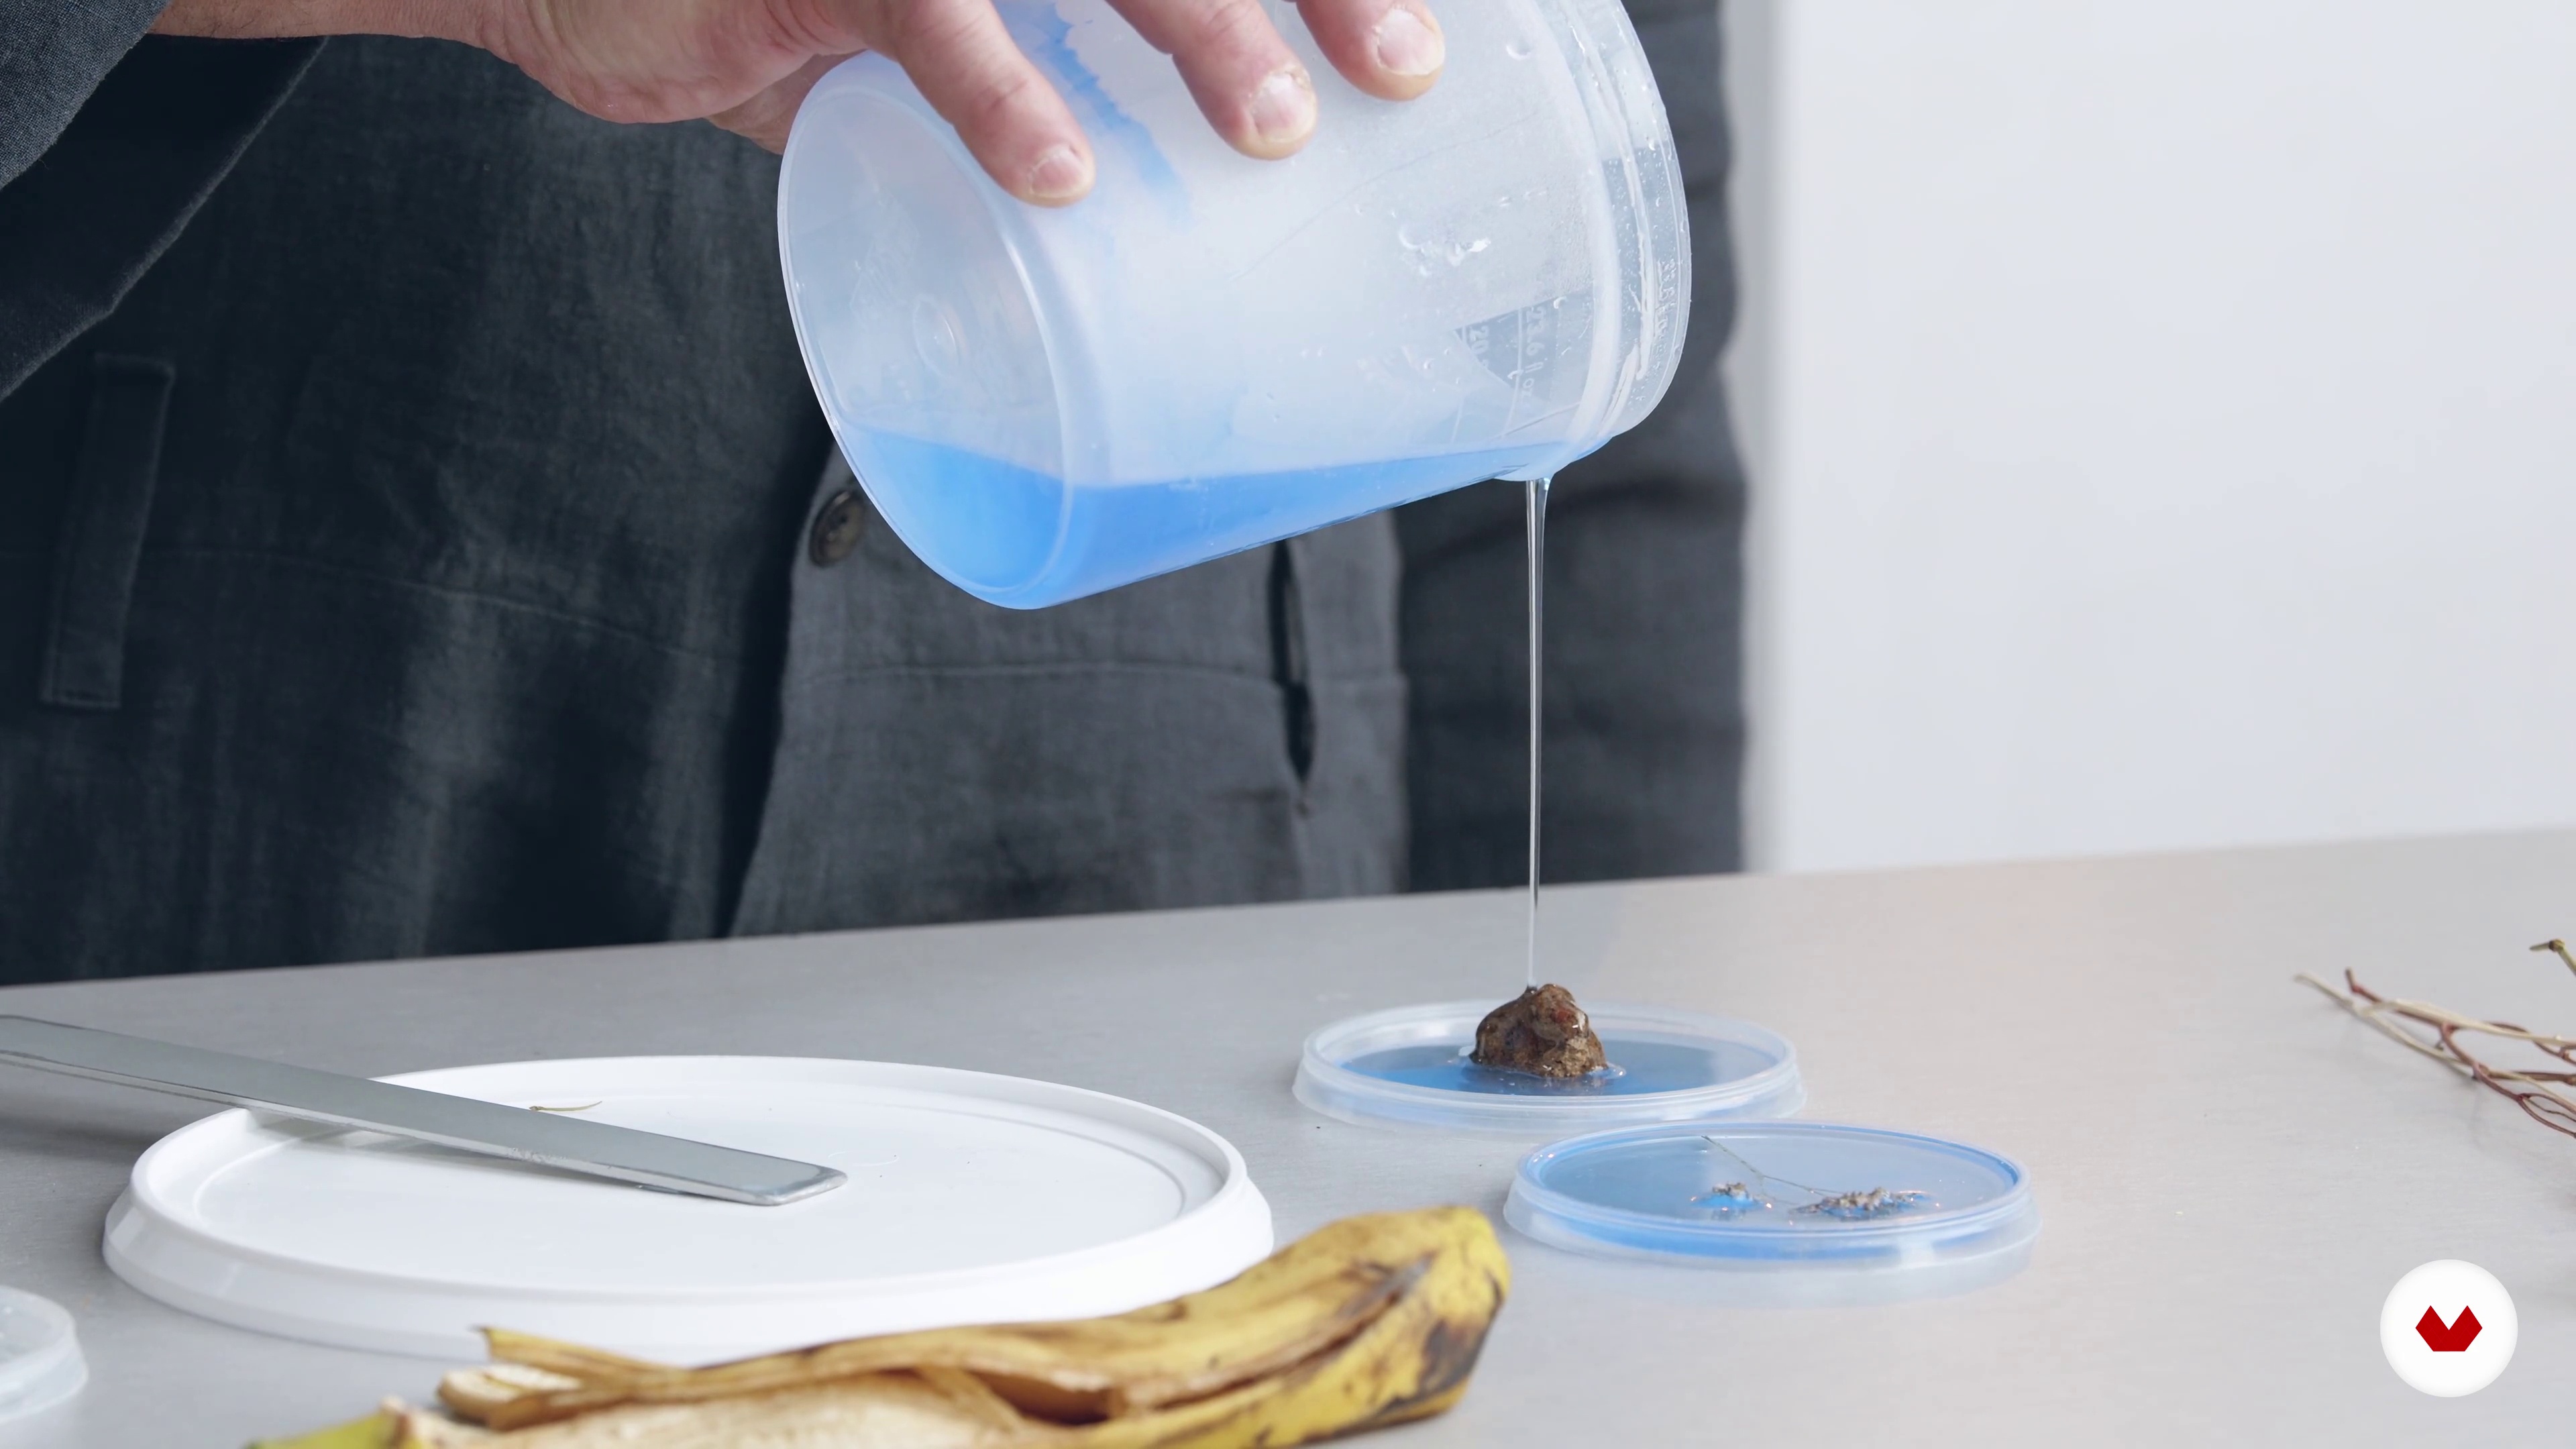
You’ll learn techniques for filtering, pouring, measuring temperature, and using graded abrasives to minimize bubbles and achieve a smooth, polished resin surface.
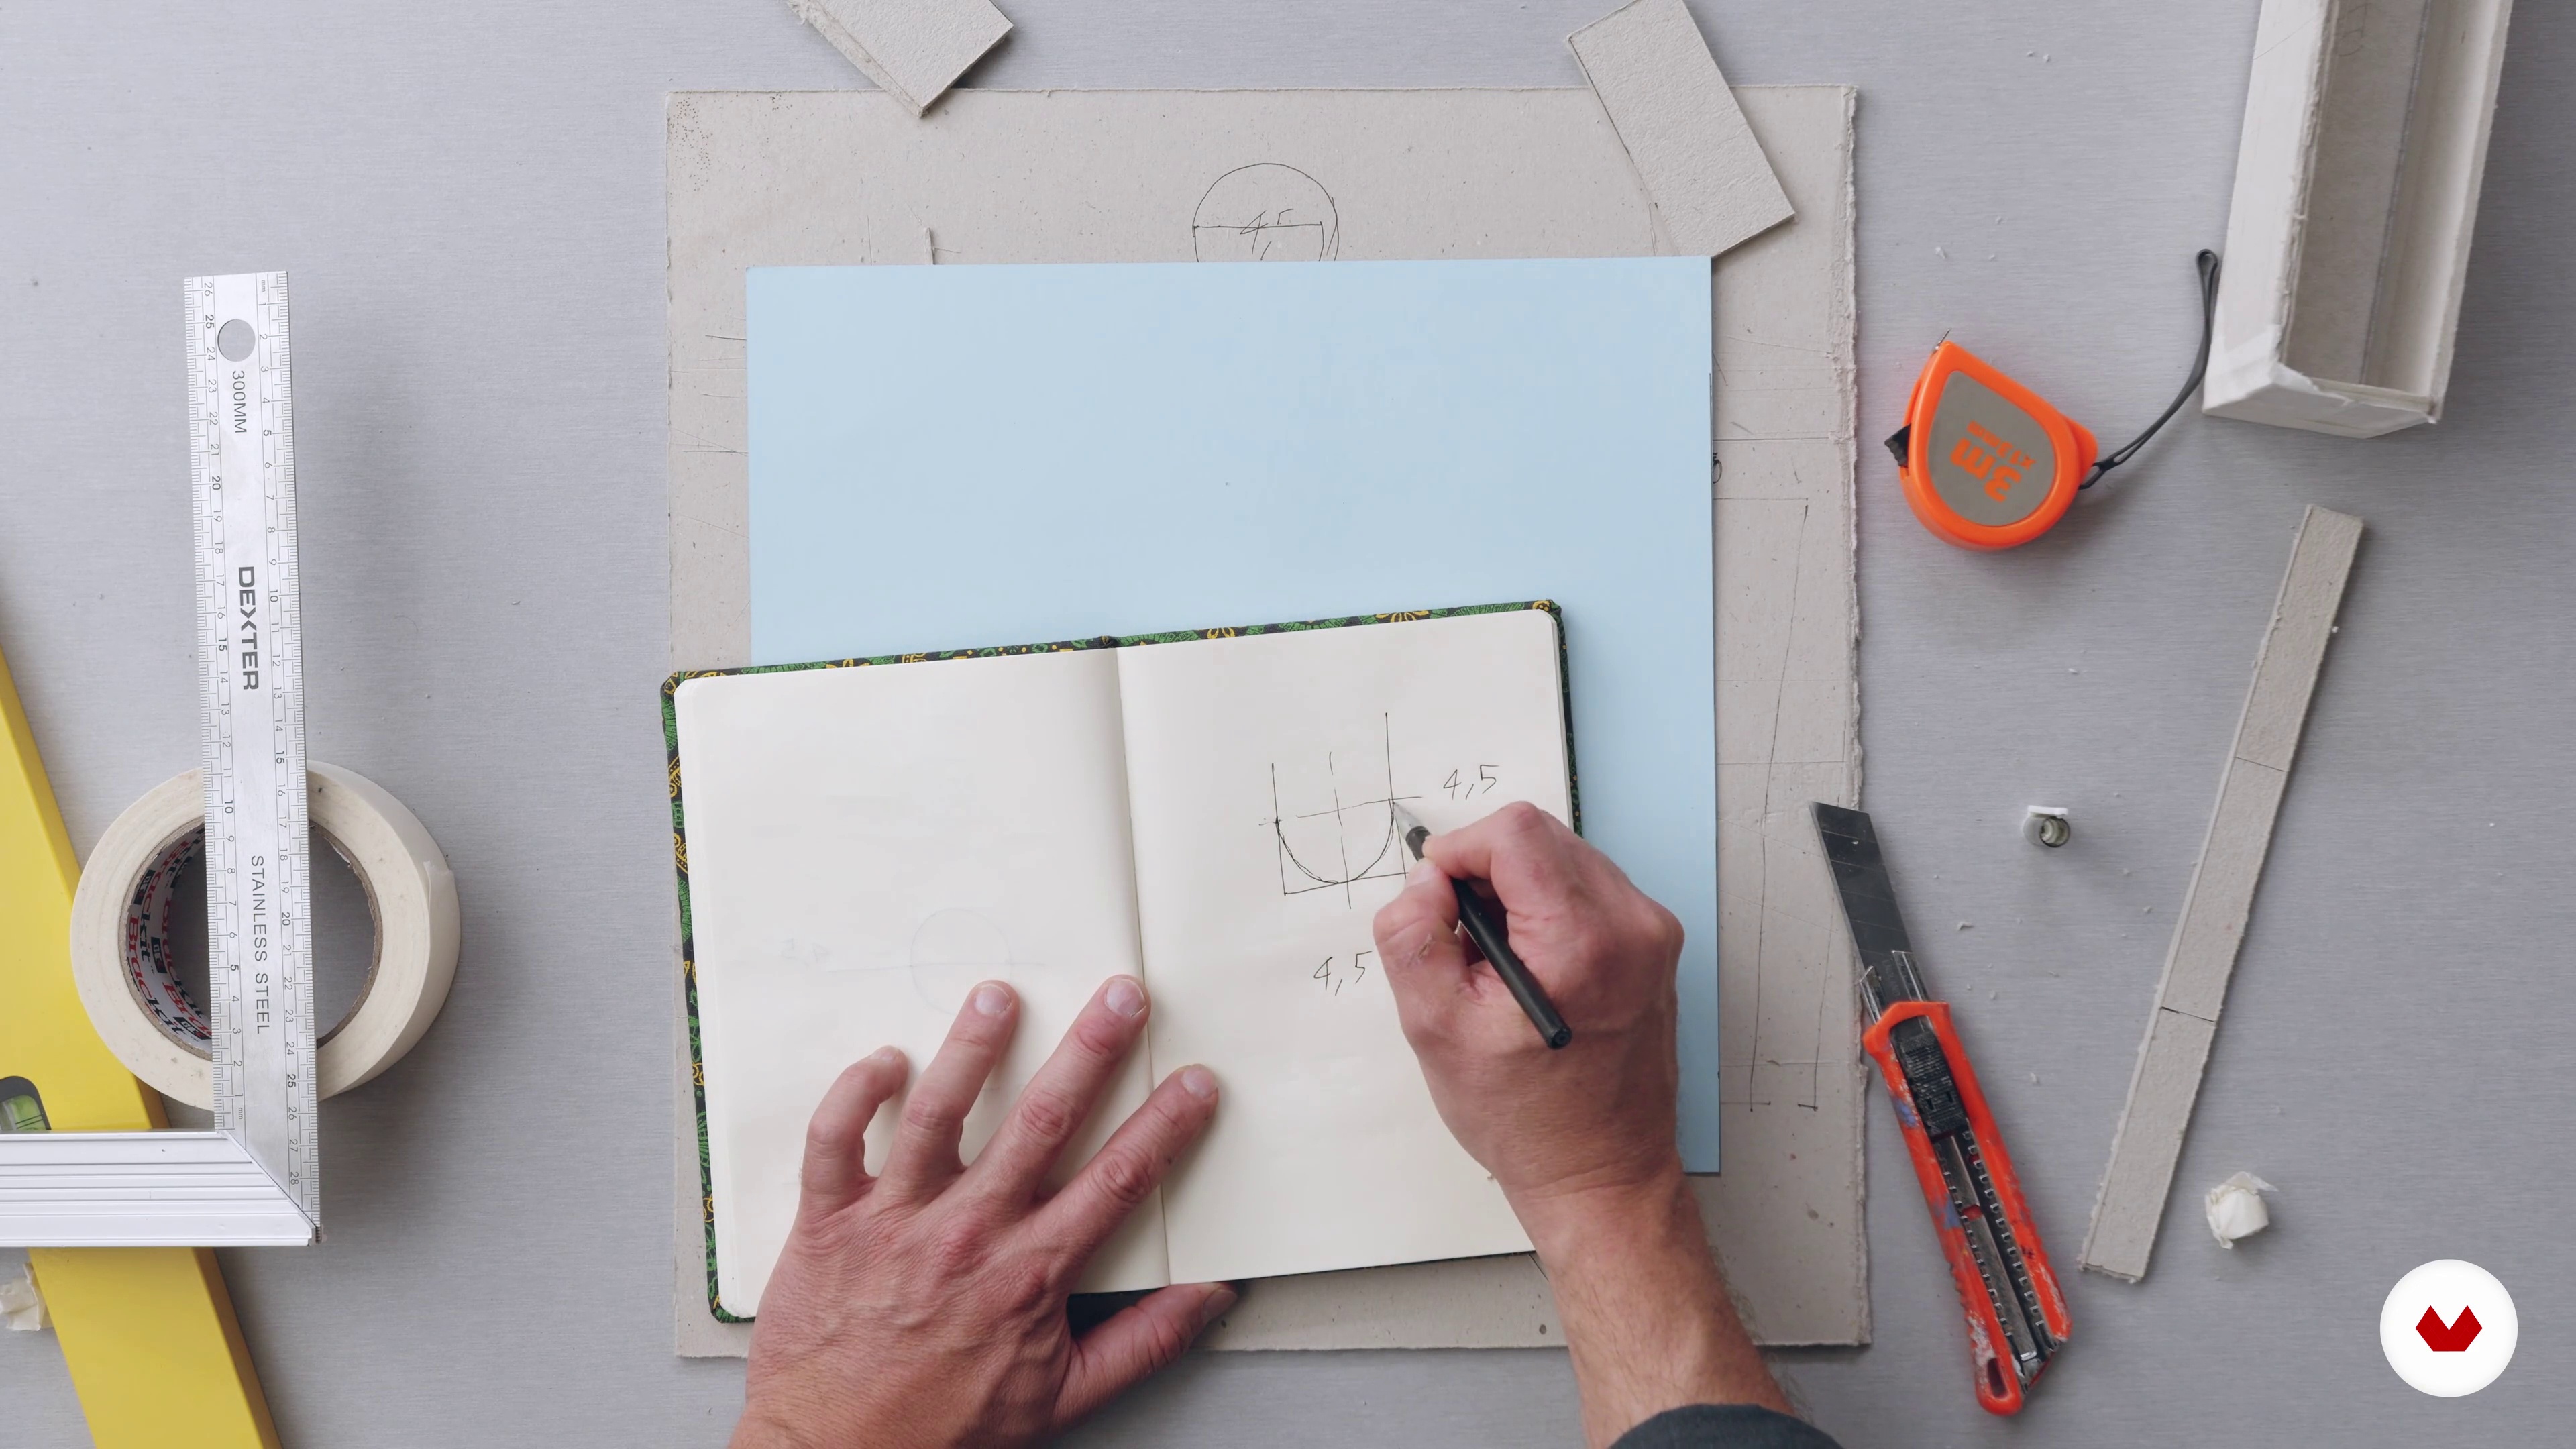
Yes, the course introduces CAD tools and workflows to help you design and prototype resin furniture and architectural models.

