
Create professional landing pages with UX/UI design, storytelling, and conversion optimization techniques for engaging user experiences
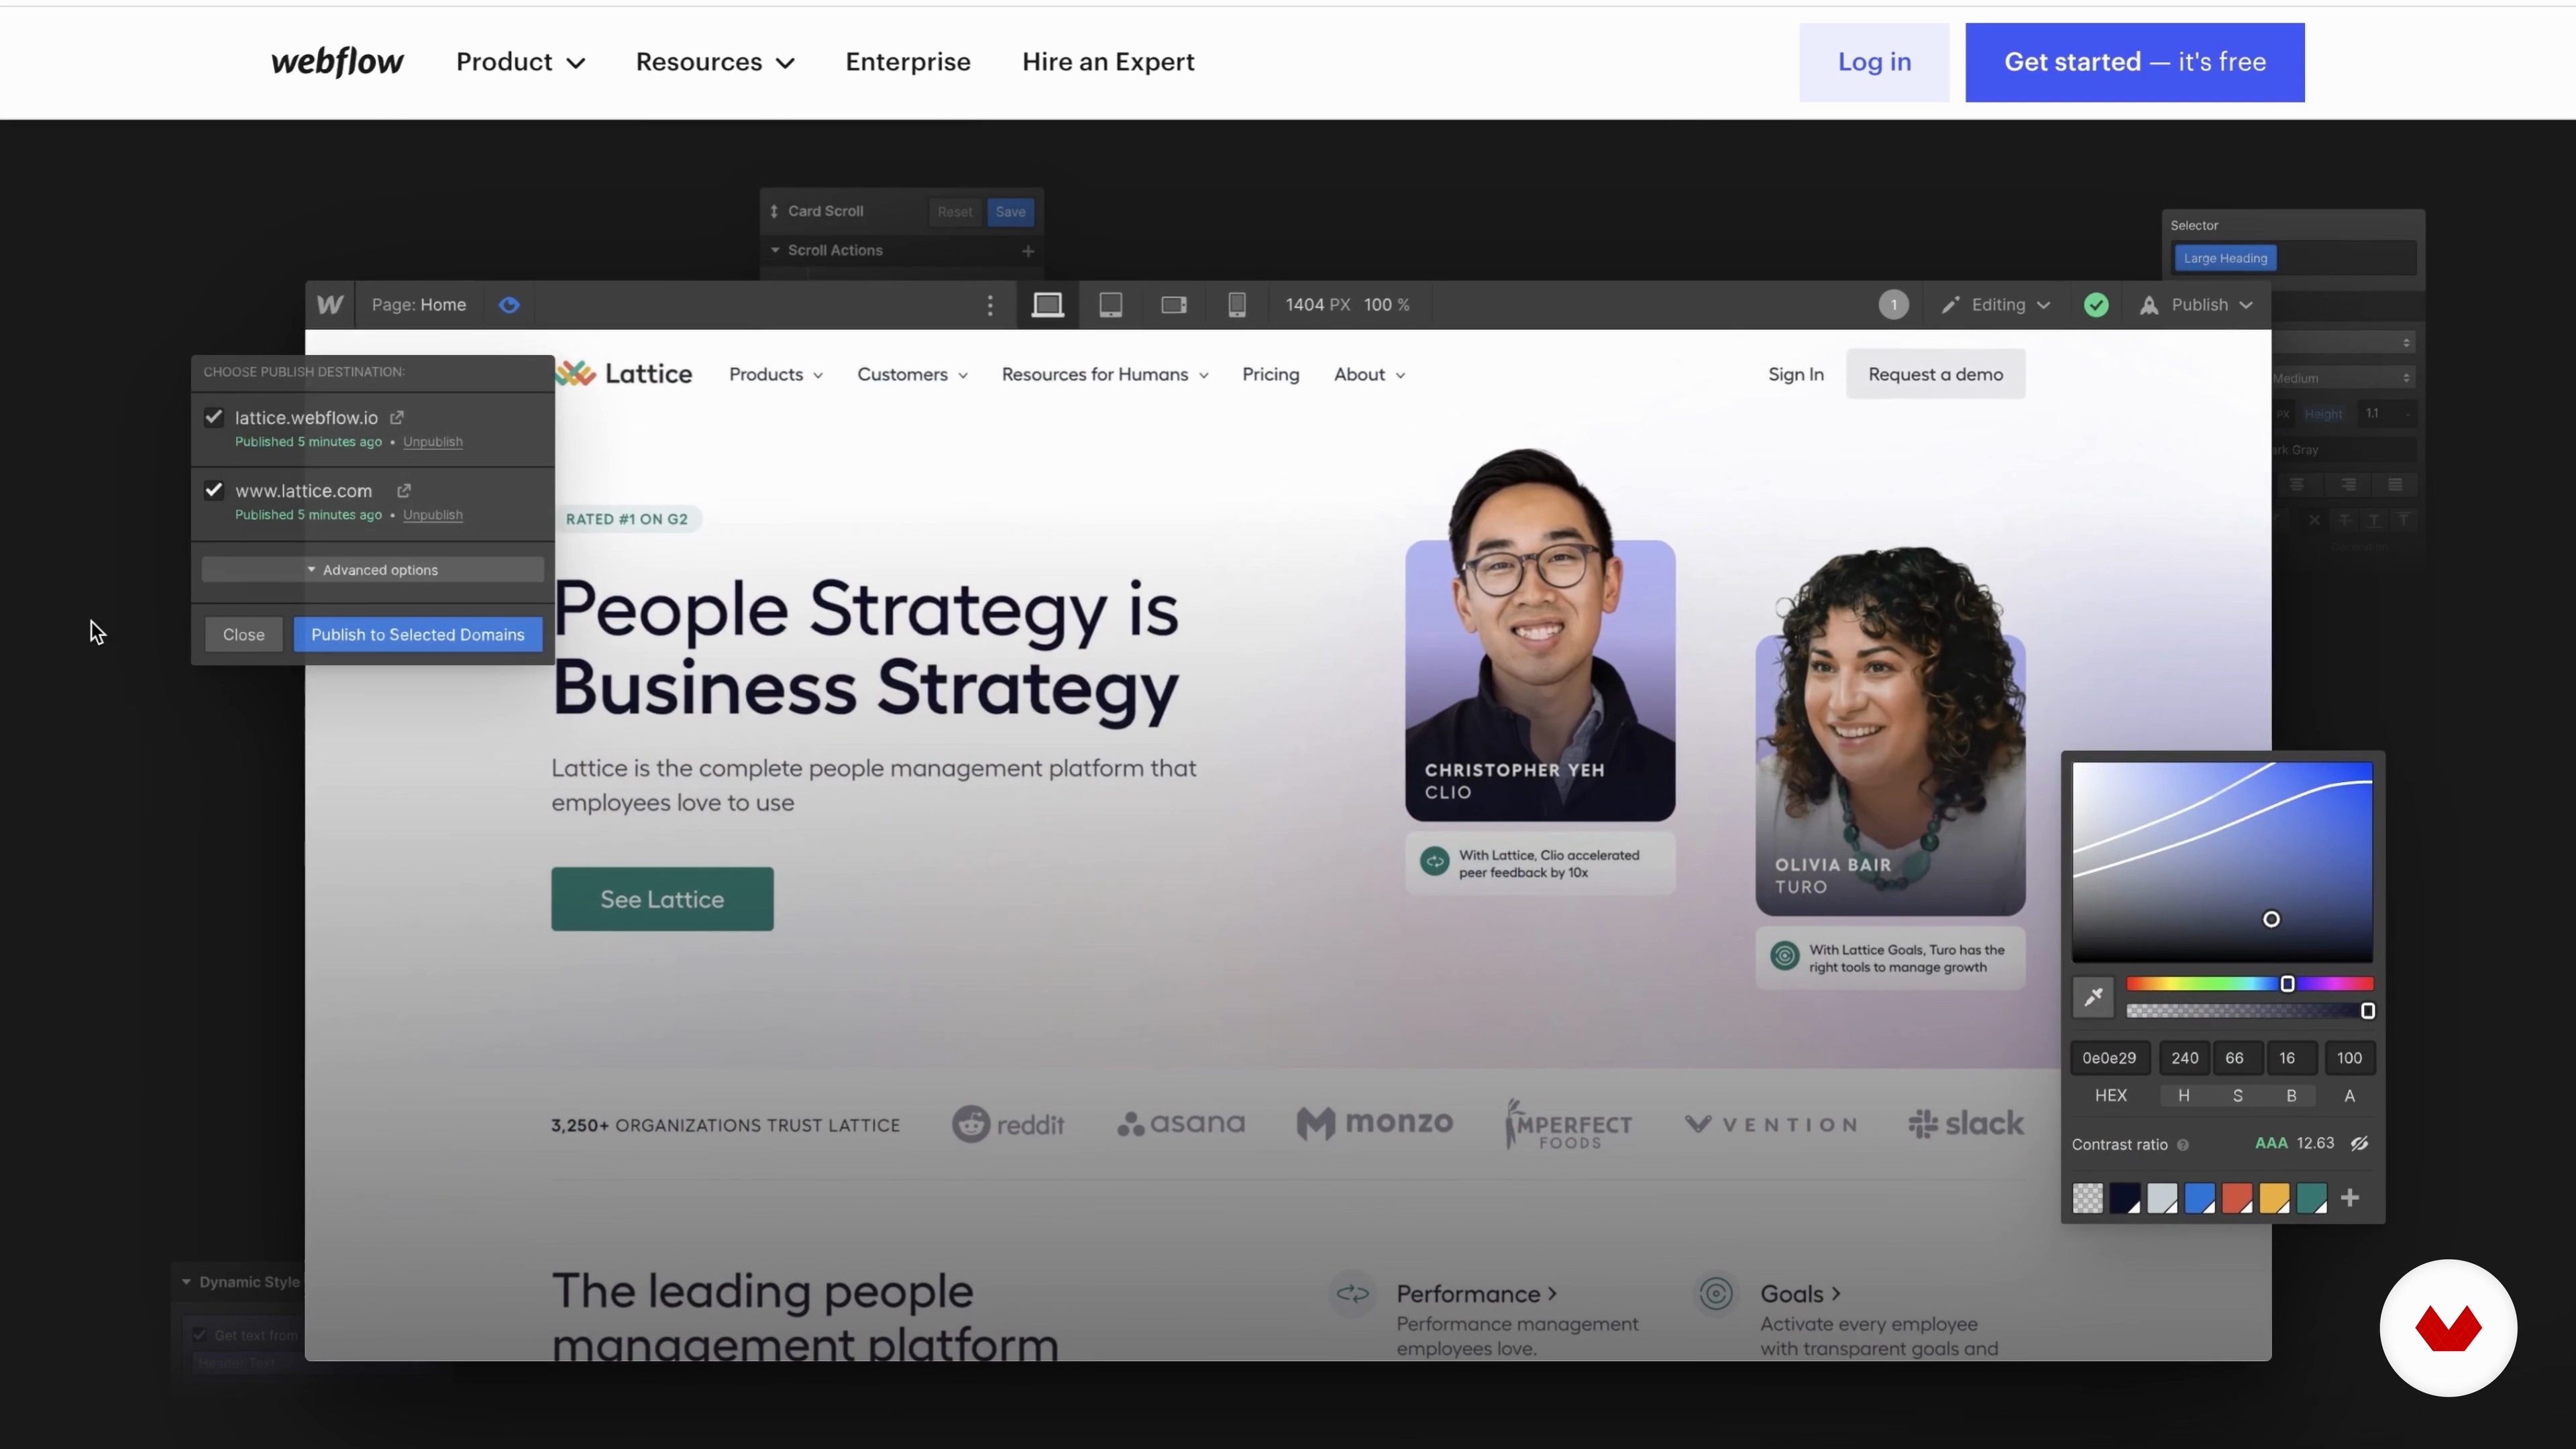
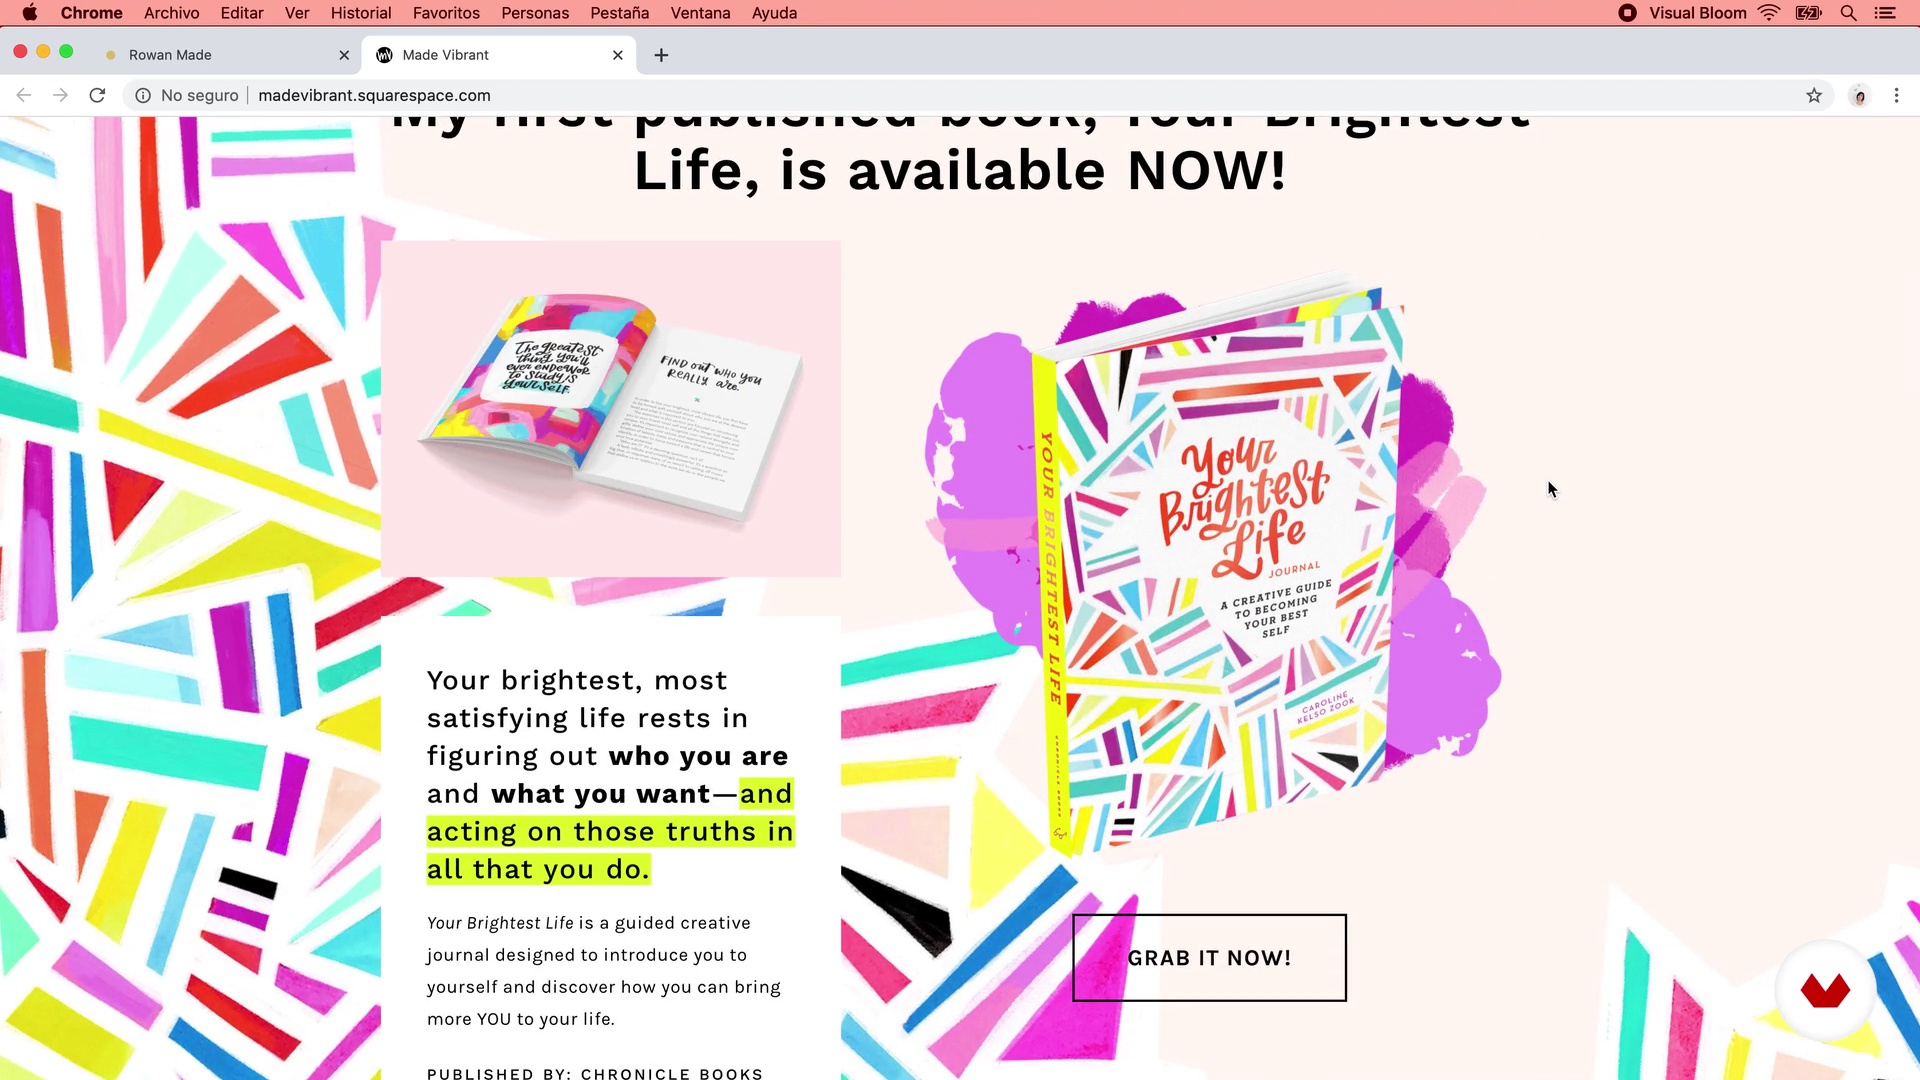
Unlock the potential of no-code web development with our comprehensive specialization in creating stunning digital experiences. Tailored for designers and entrepreneurs, this program takes you from the fundamentals of UX/UI design to the implementation of websites across platforms like Figma, Webflow, Squarespace, and WordPress. You'll dive into storytelling through landing pages, master design systems, and explore the dynamic capabilities of Webflow. Squarespace will guide you in crafting elegant, functional sites, while WordPress with Elementor offers a flexible solution to build powerful web presences.
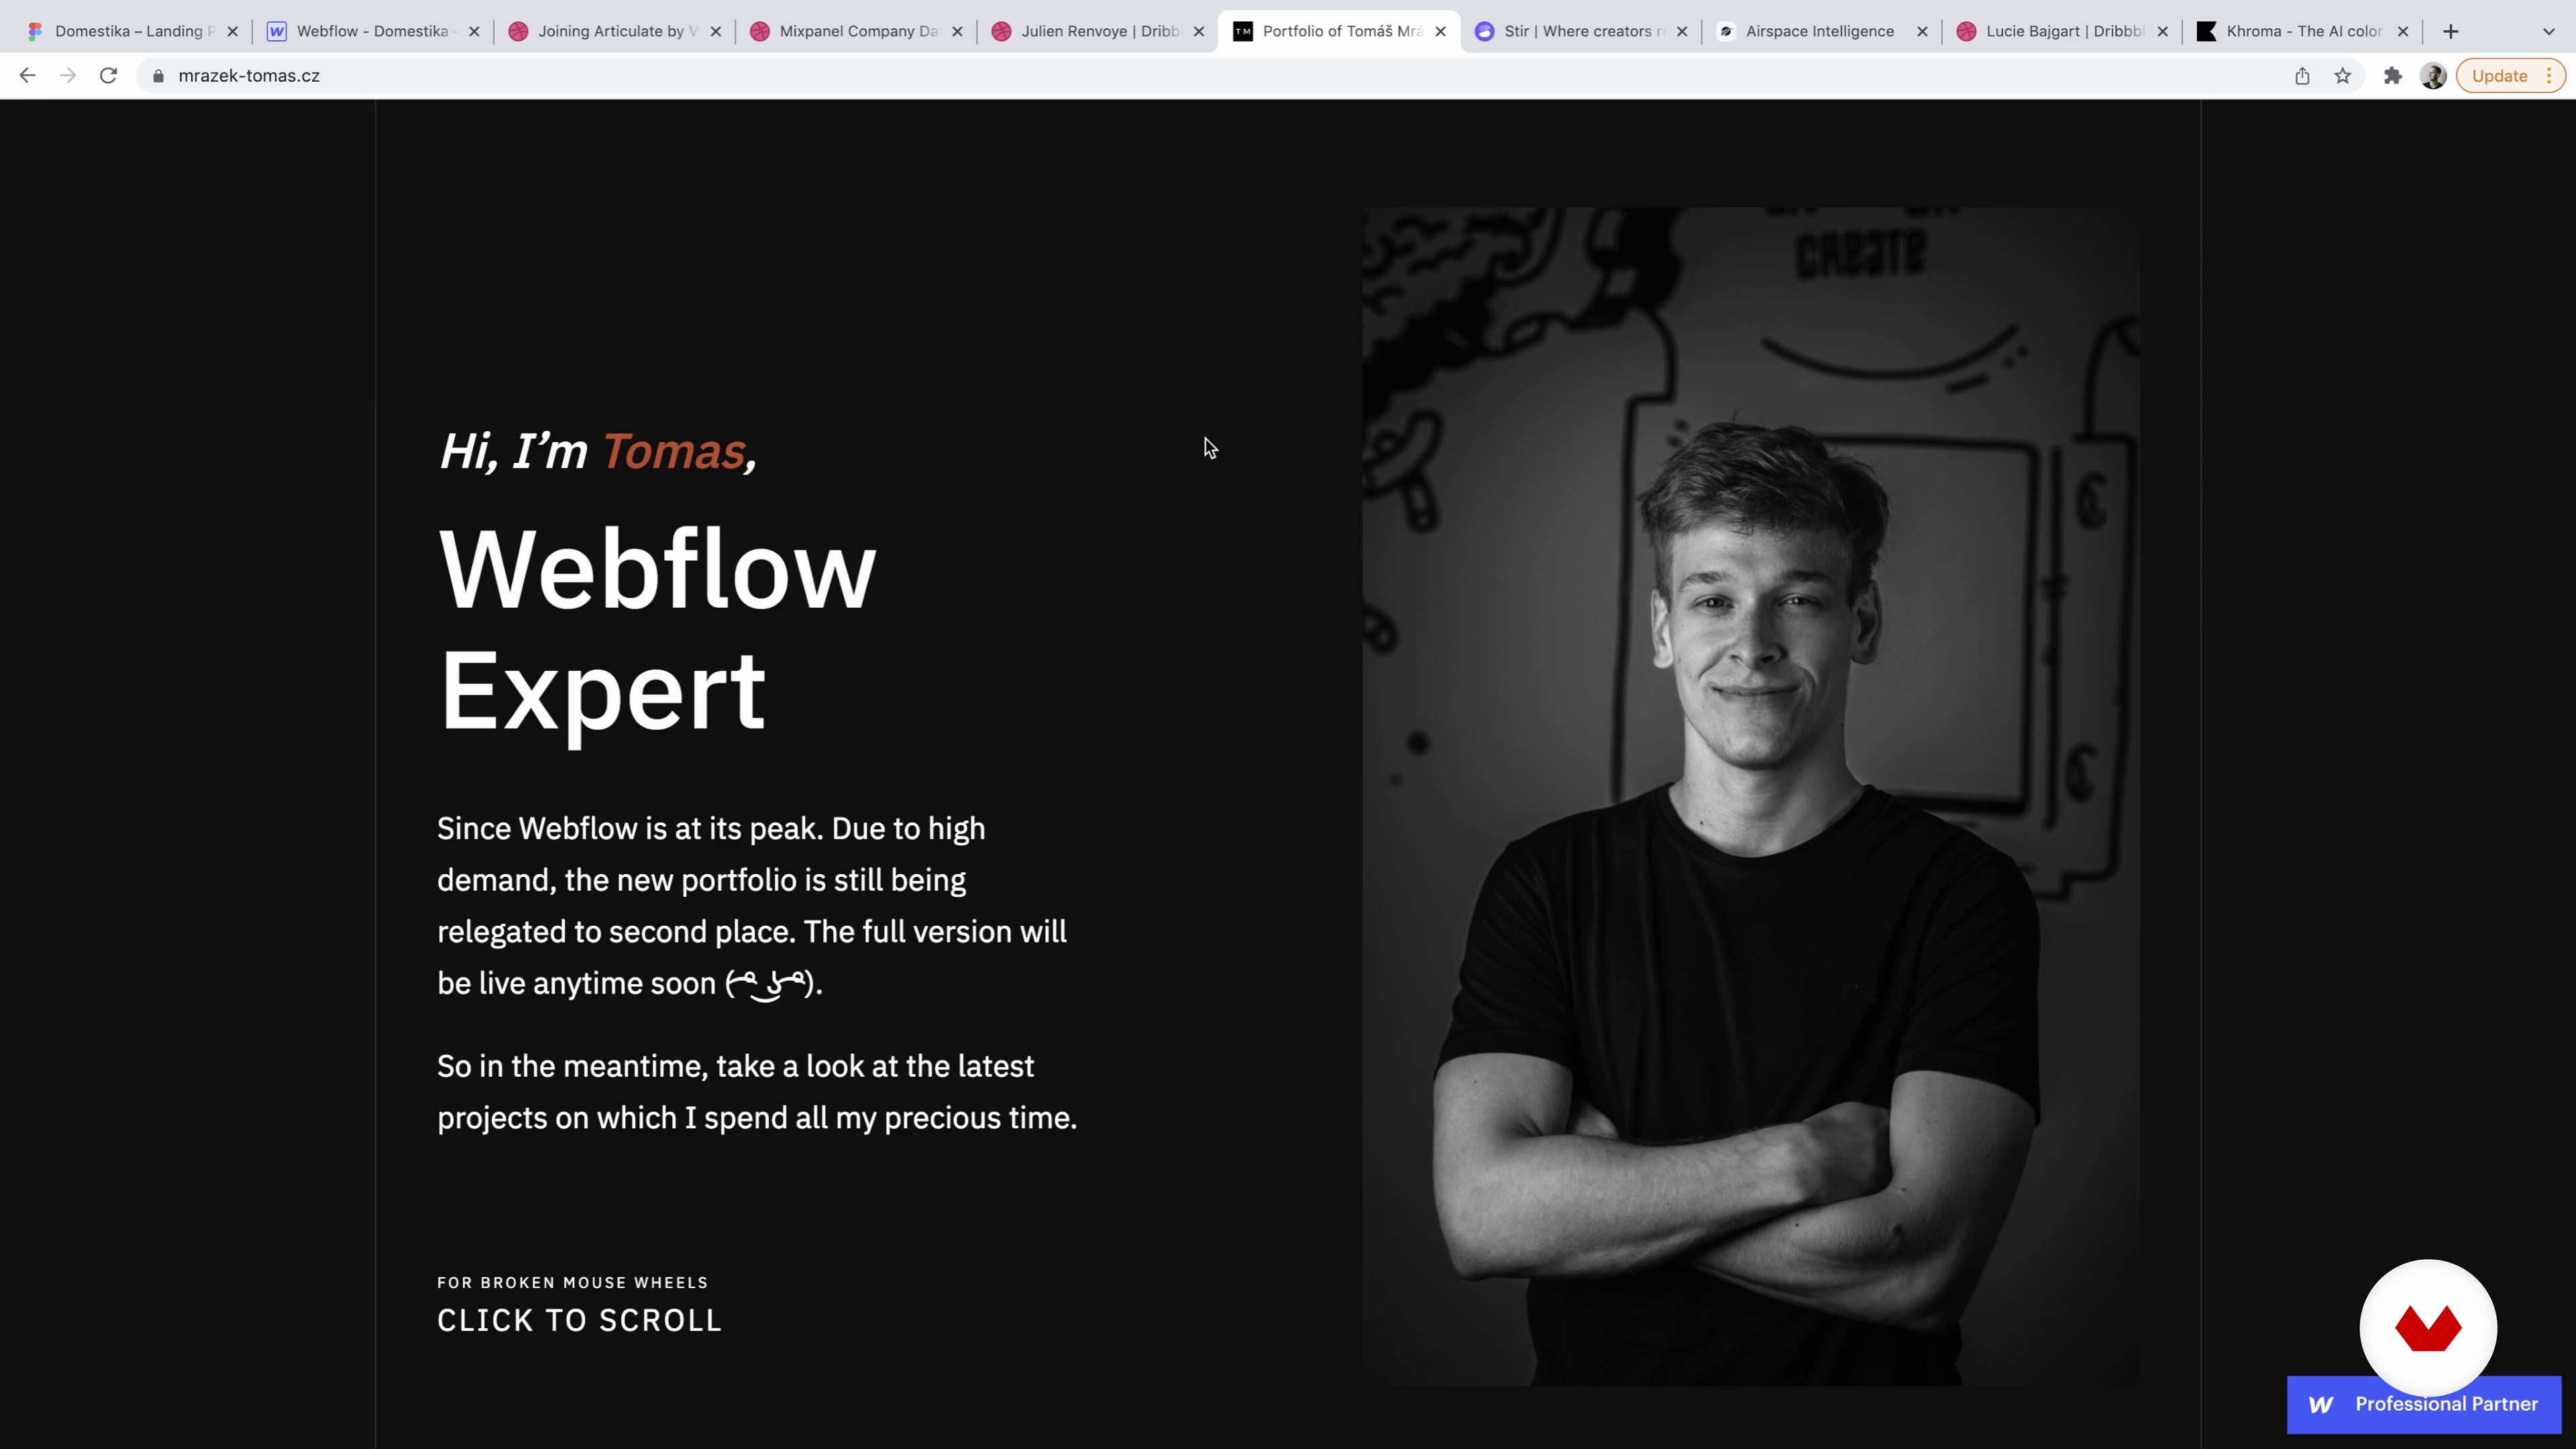
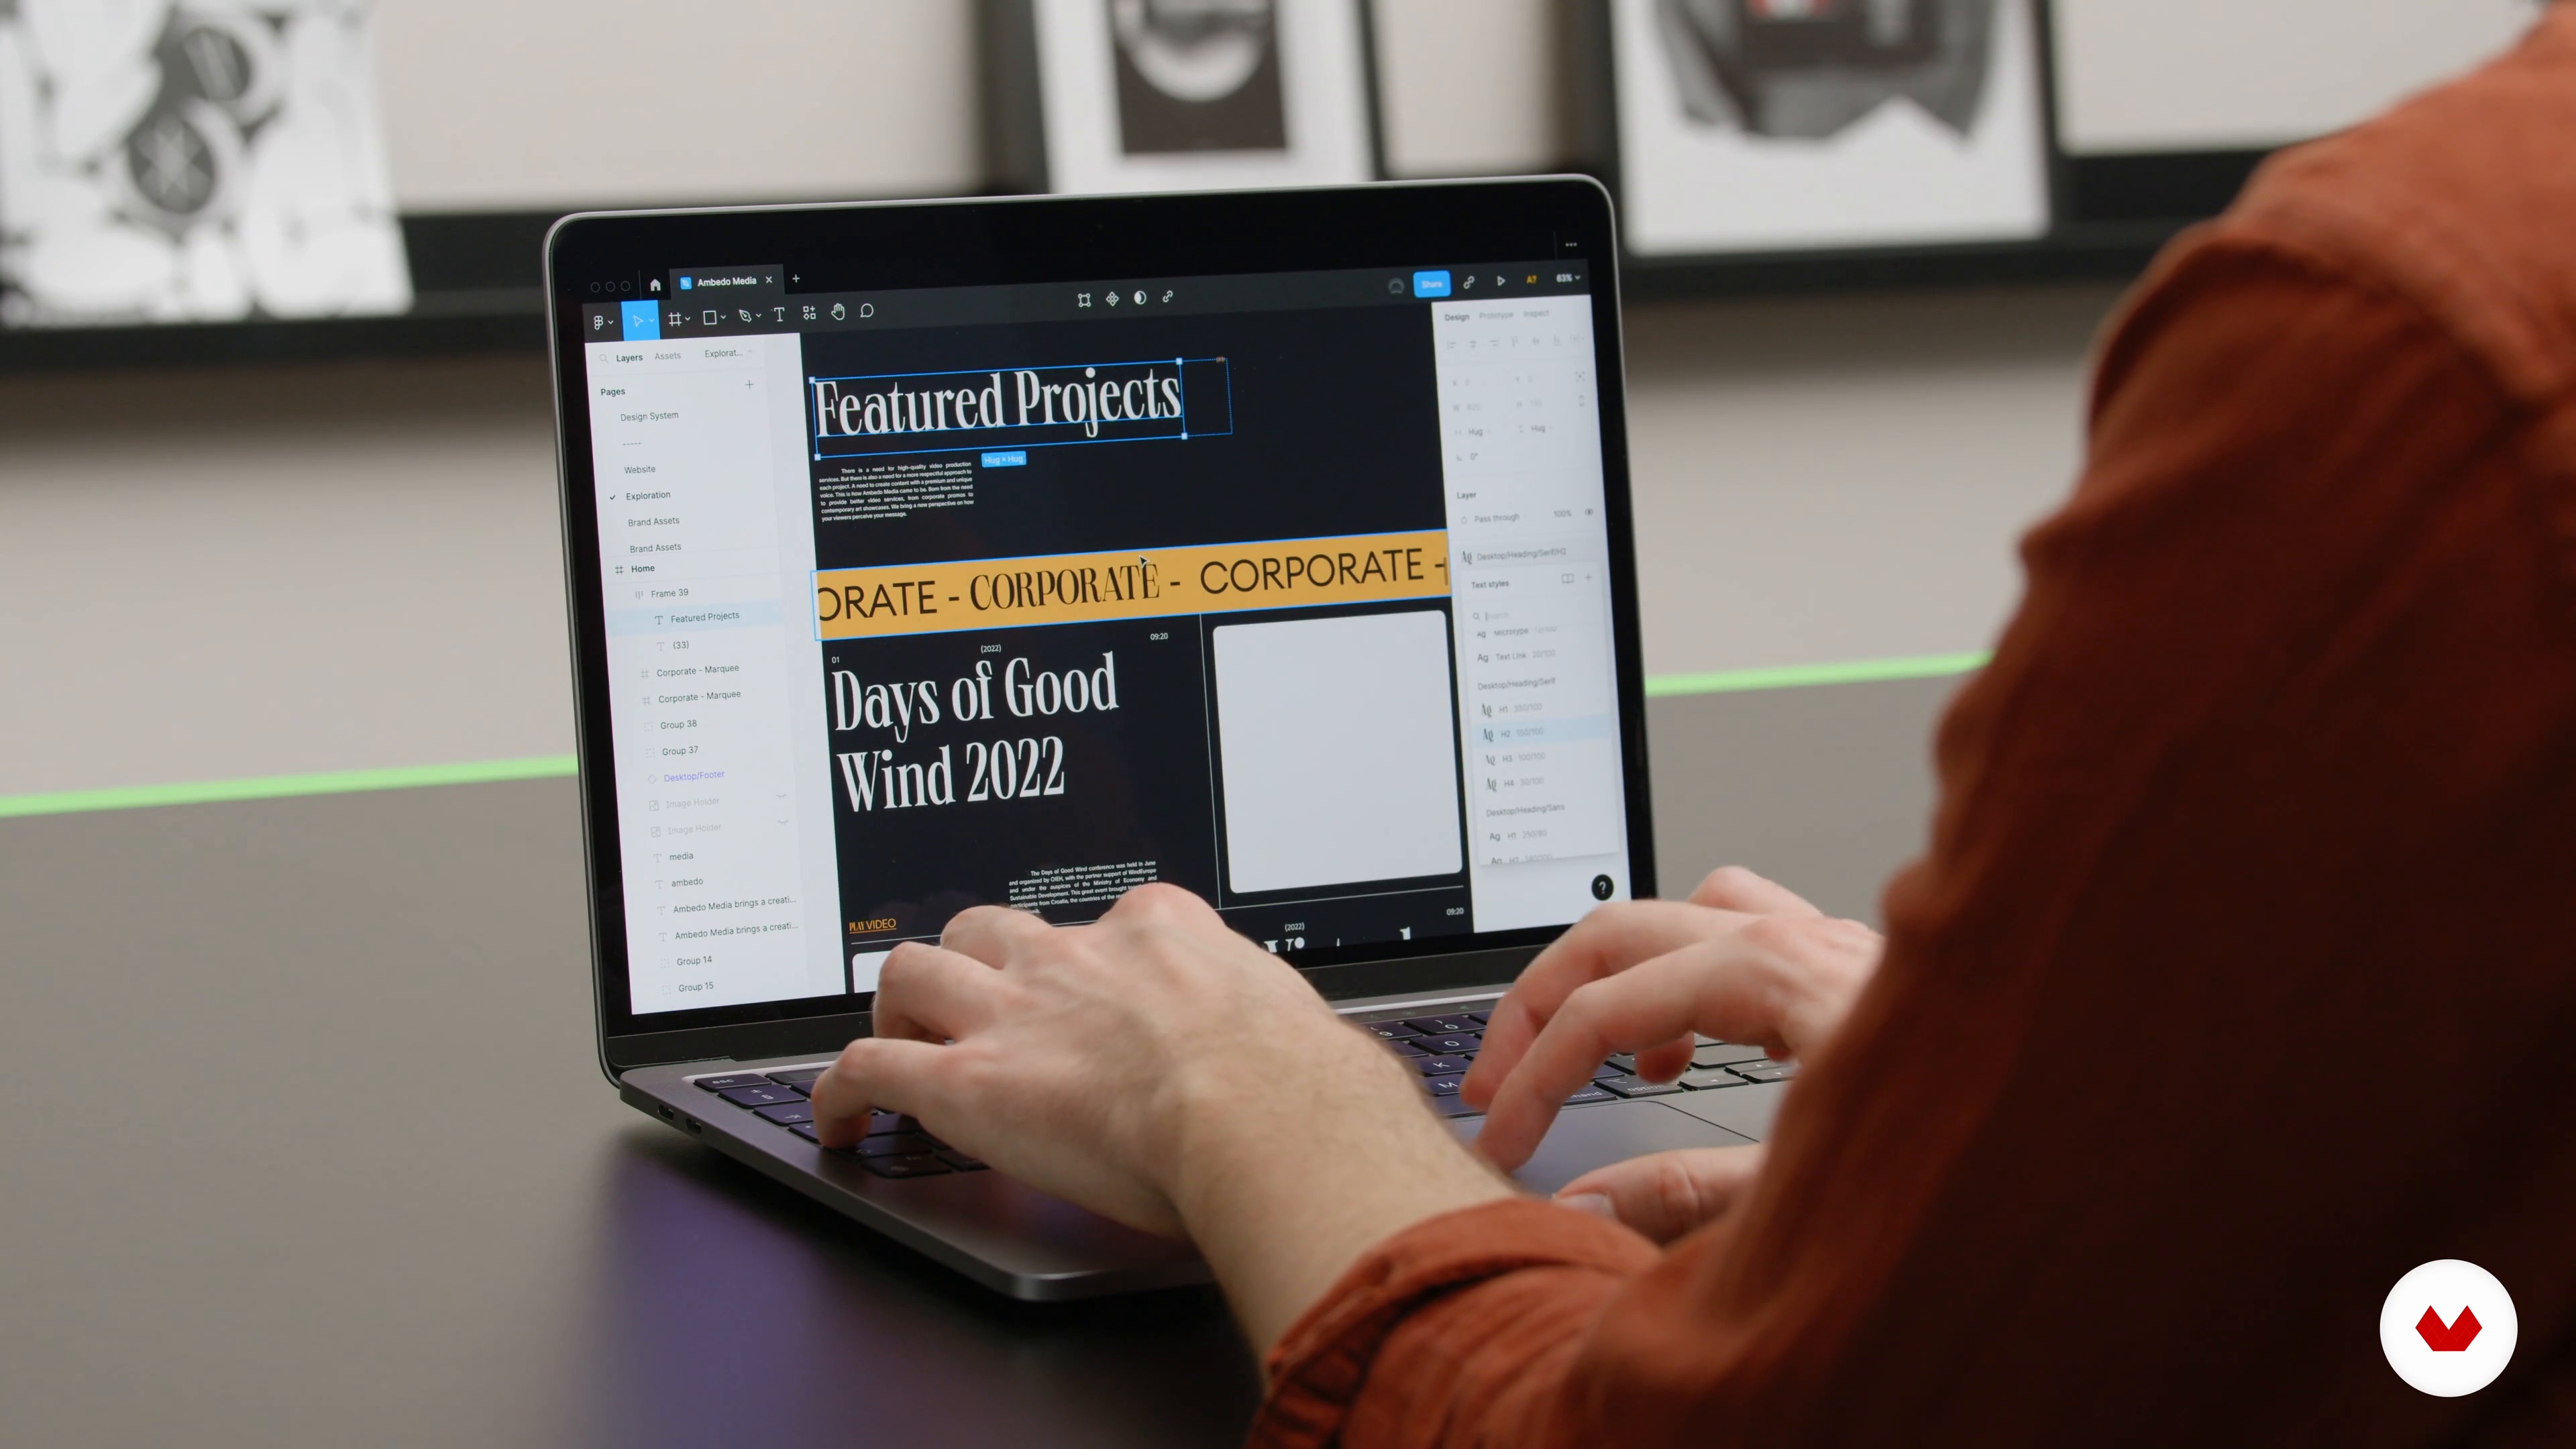
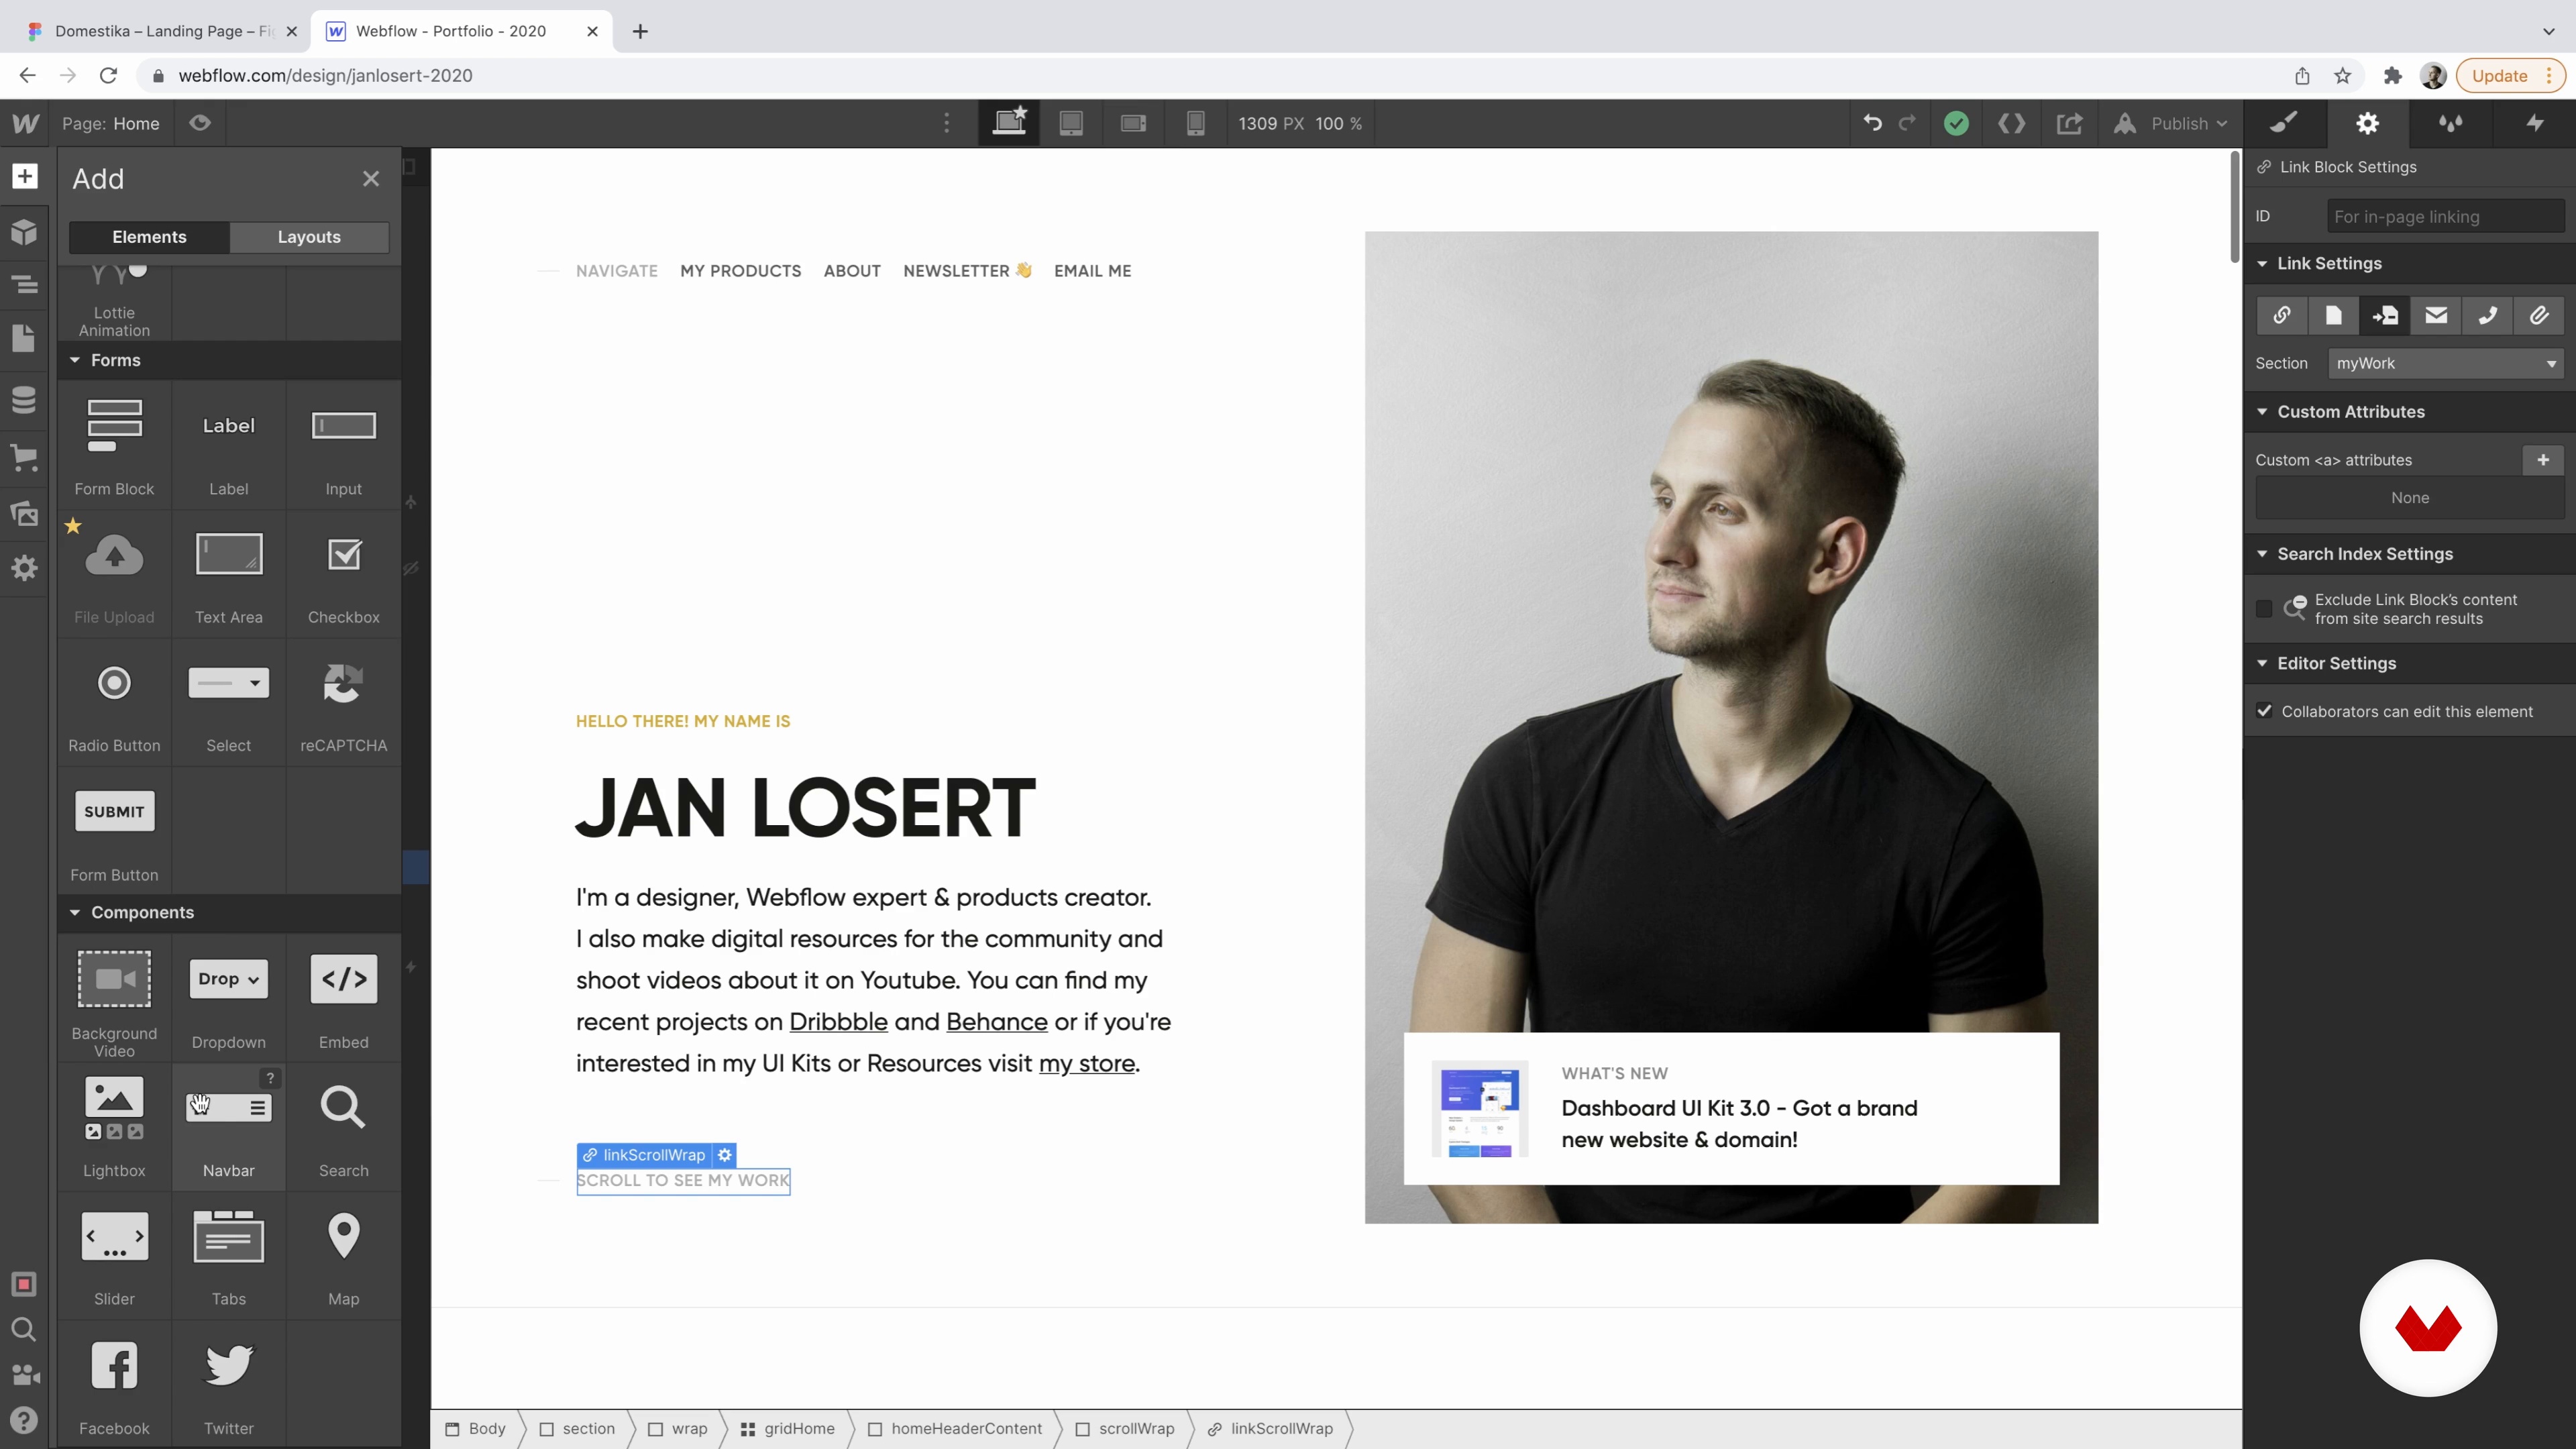
Guided by experts Juan Mora, Filip Felbar, Jan Losert, Mónica Durán, and Isa Macías, this specialization equips you with the skills to develop impactful digital ecosystems without writing a single line of code. You'll learn to create scalable design systems, high-conversion landing pages, and interactive websites tailored to various needs. By the end, you'll have a diverse portfolio showcasing your proficiency with leading no-code tools, ready to provide comprehensive solutions for clients with varying requirements and budgets.
What will you learn in this specialization?


- 100% positive reviews (1)
- 269 students
- 107 lessons (21h 51m)
- 106 additional resources (28 files)
- Online and at your own pace
- Audio: English, German, Spanish, Spanish (Latam), French, Indonesian, Italian, Dutch, Polish, Portuguese, Romanian, Turkish
- English · Spanish · Portuguese · German · French · Italian · Polish · Dutch · Turkish · Romanian · Indonesian
- Level: Beginner
- Unlimited access forever
What is this course's project?
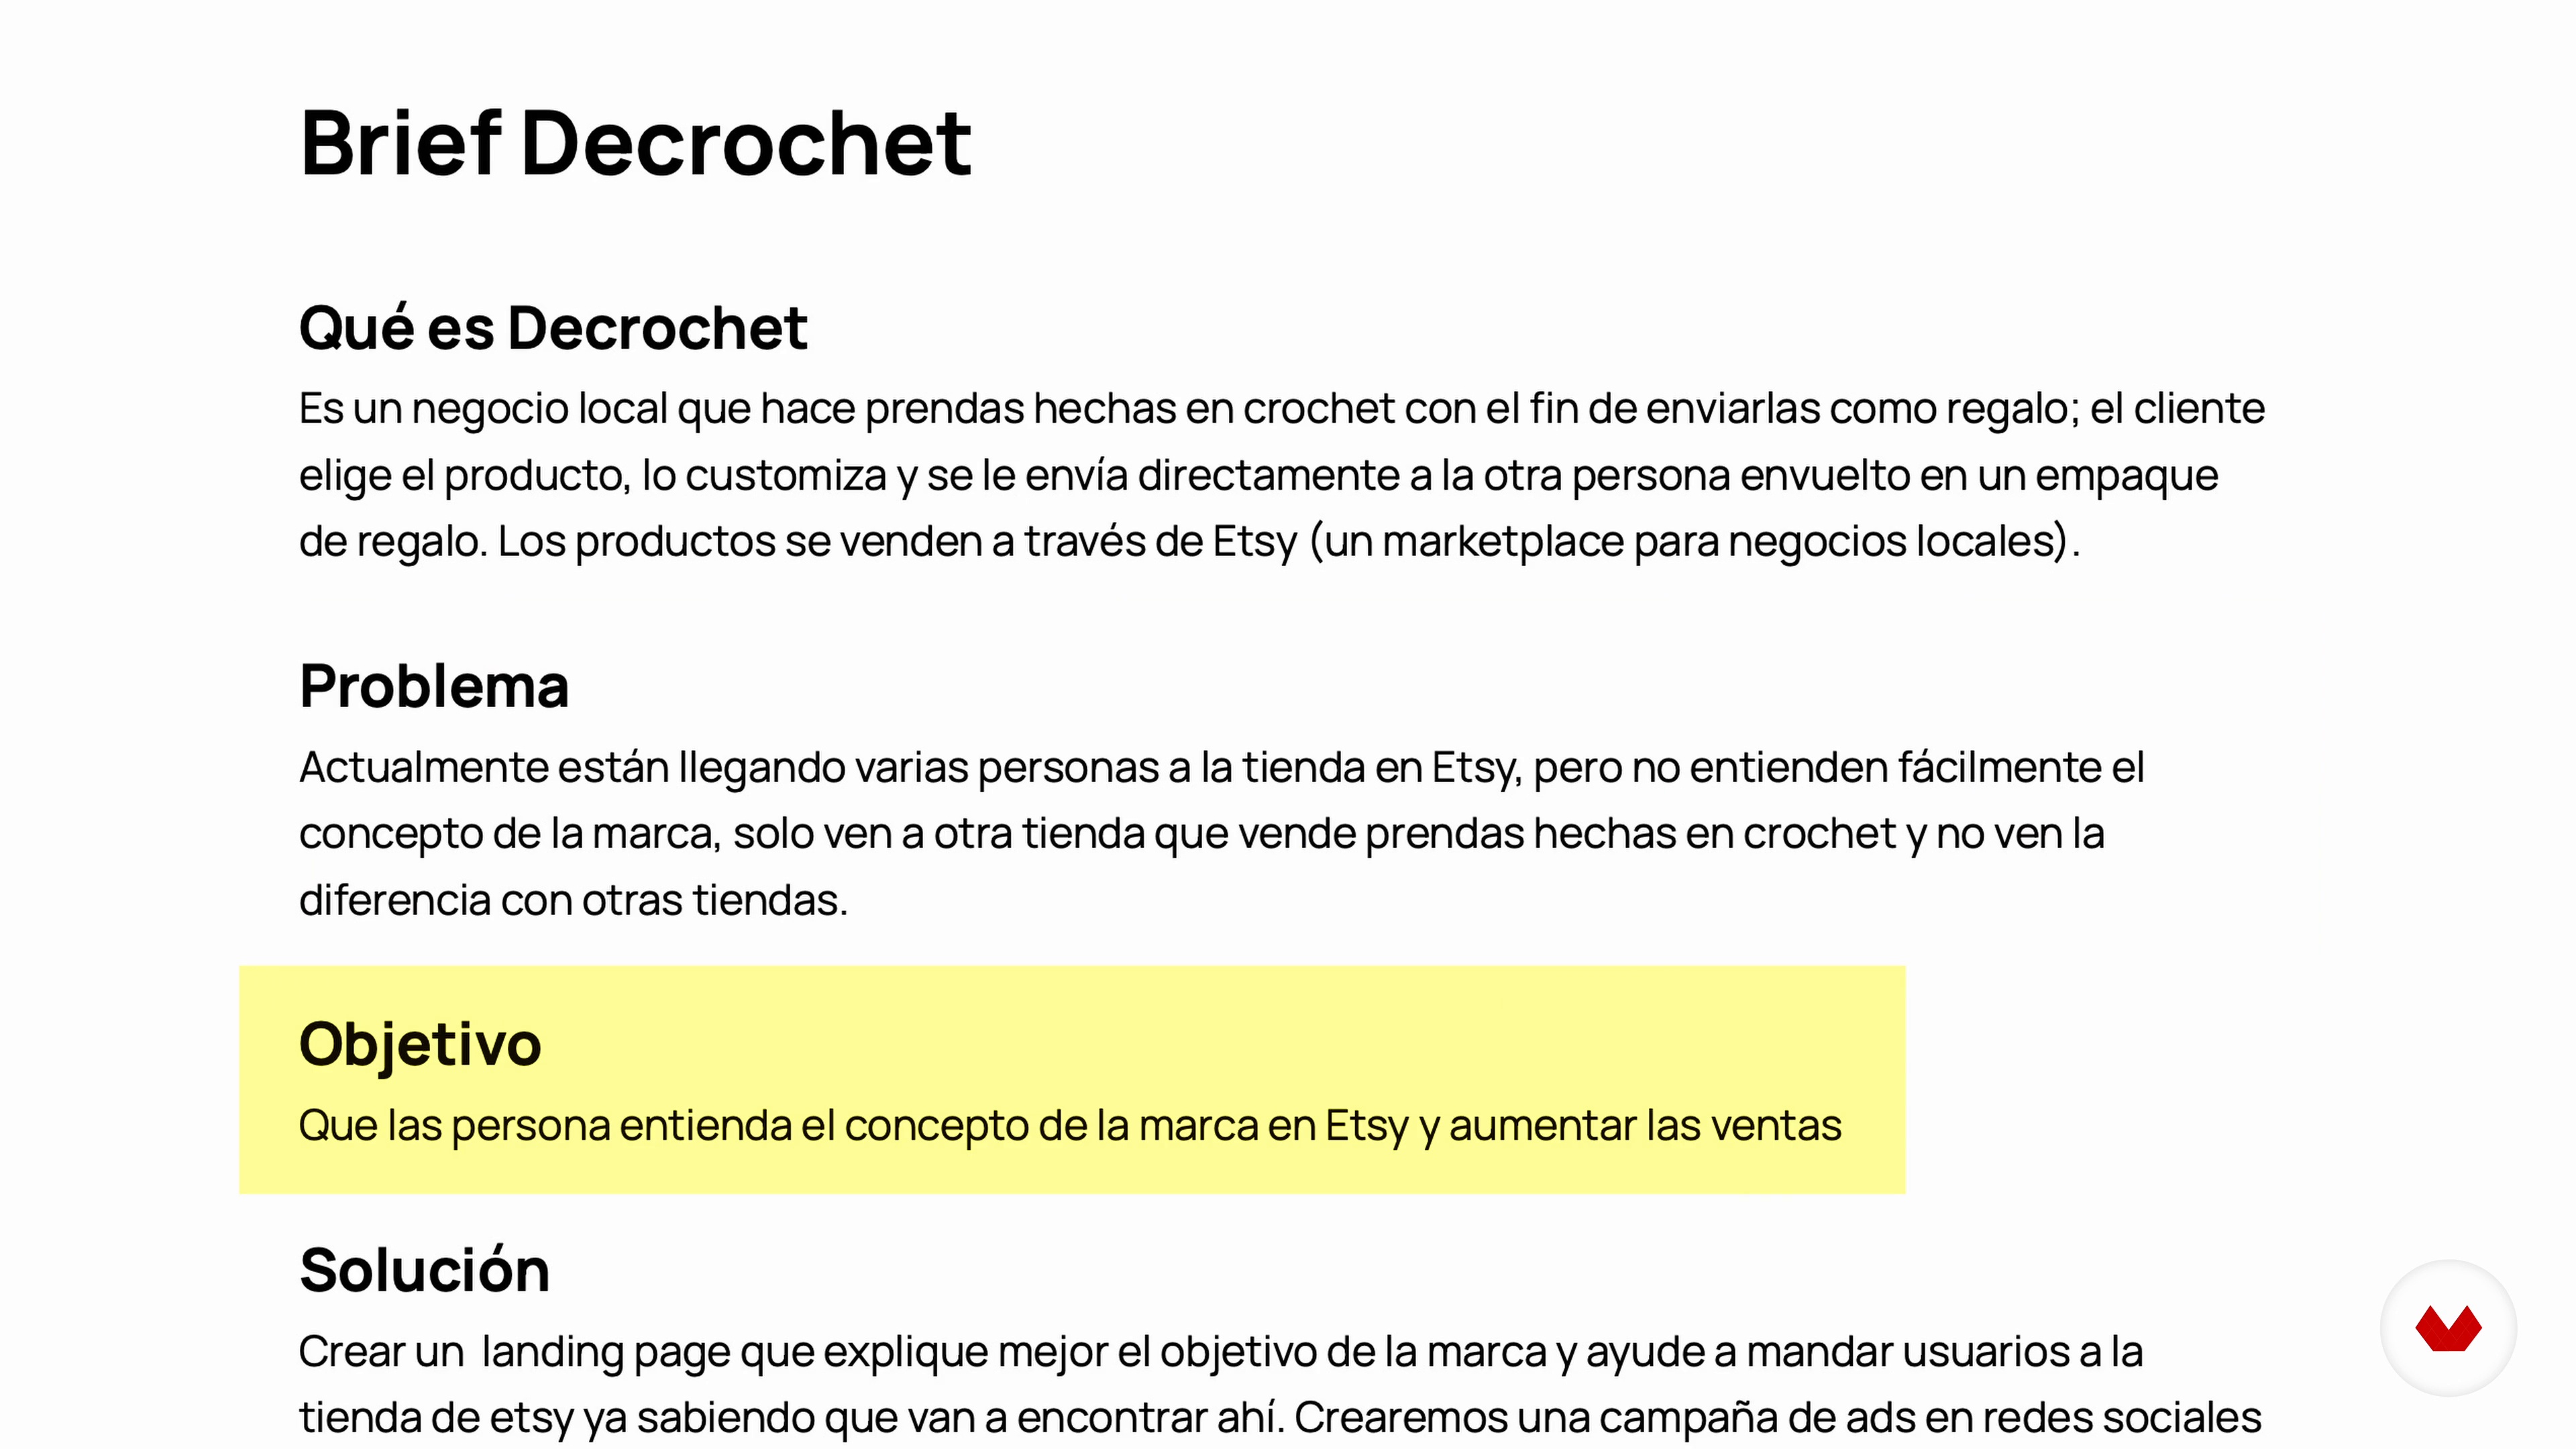
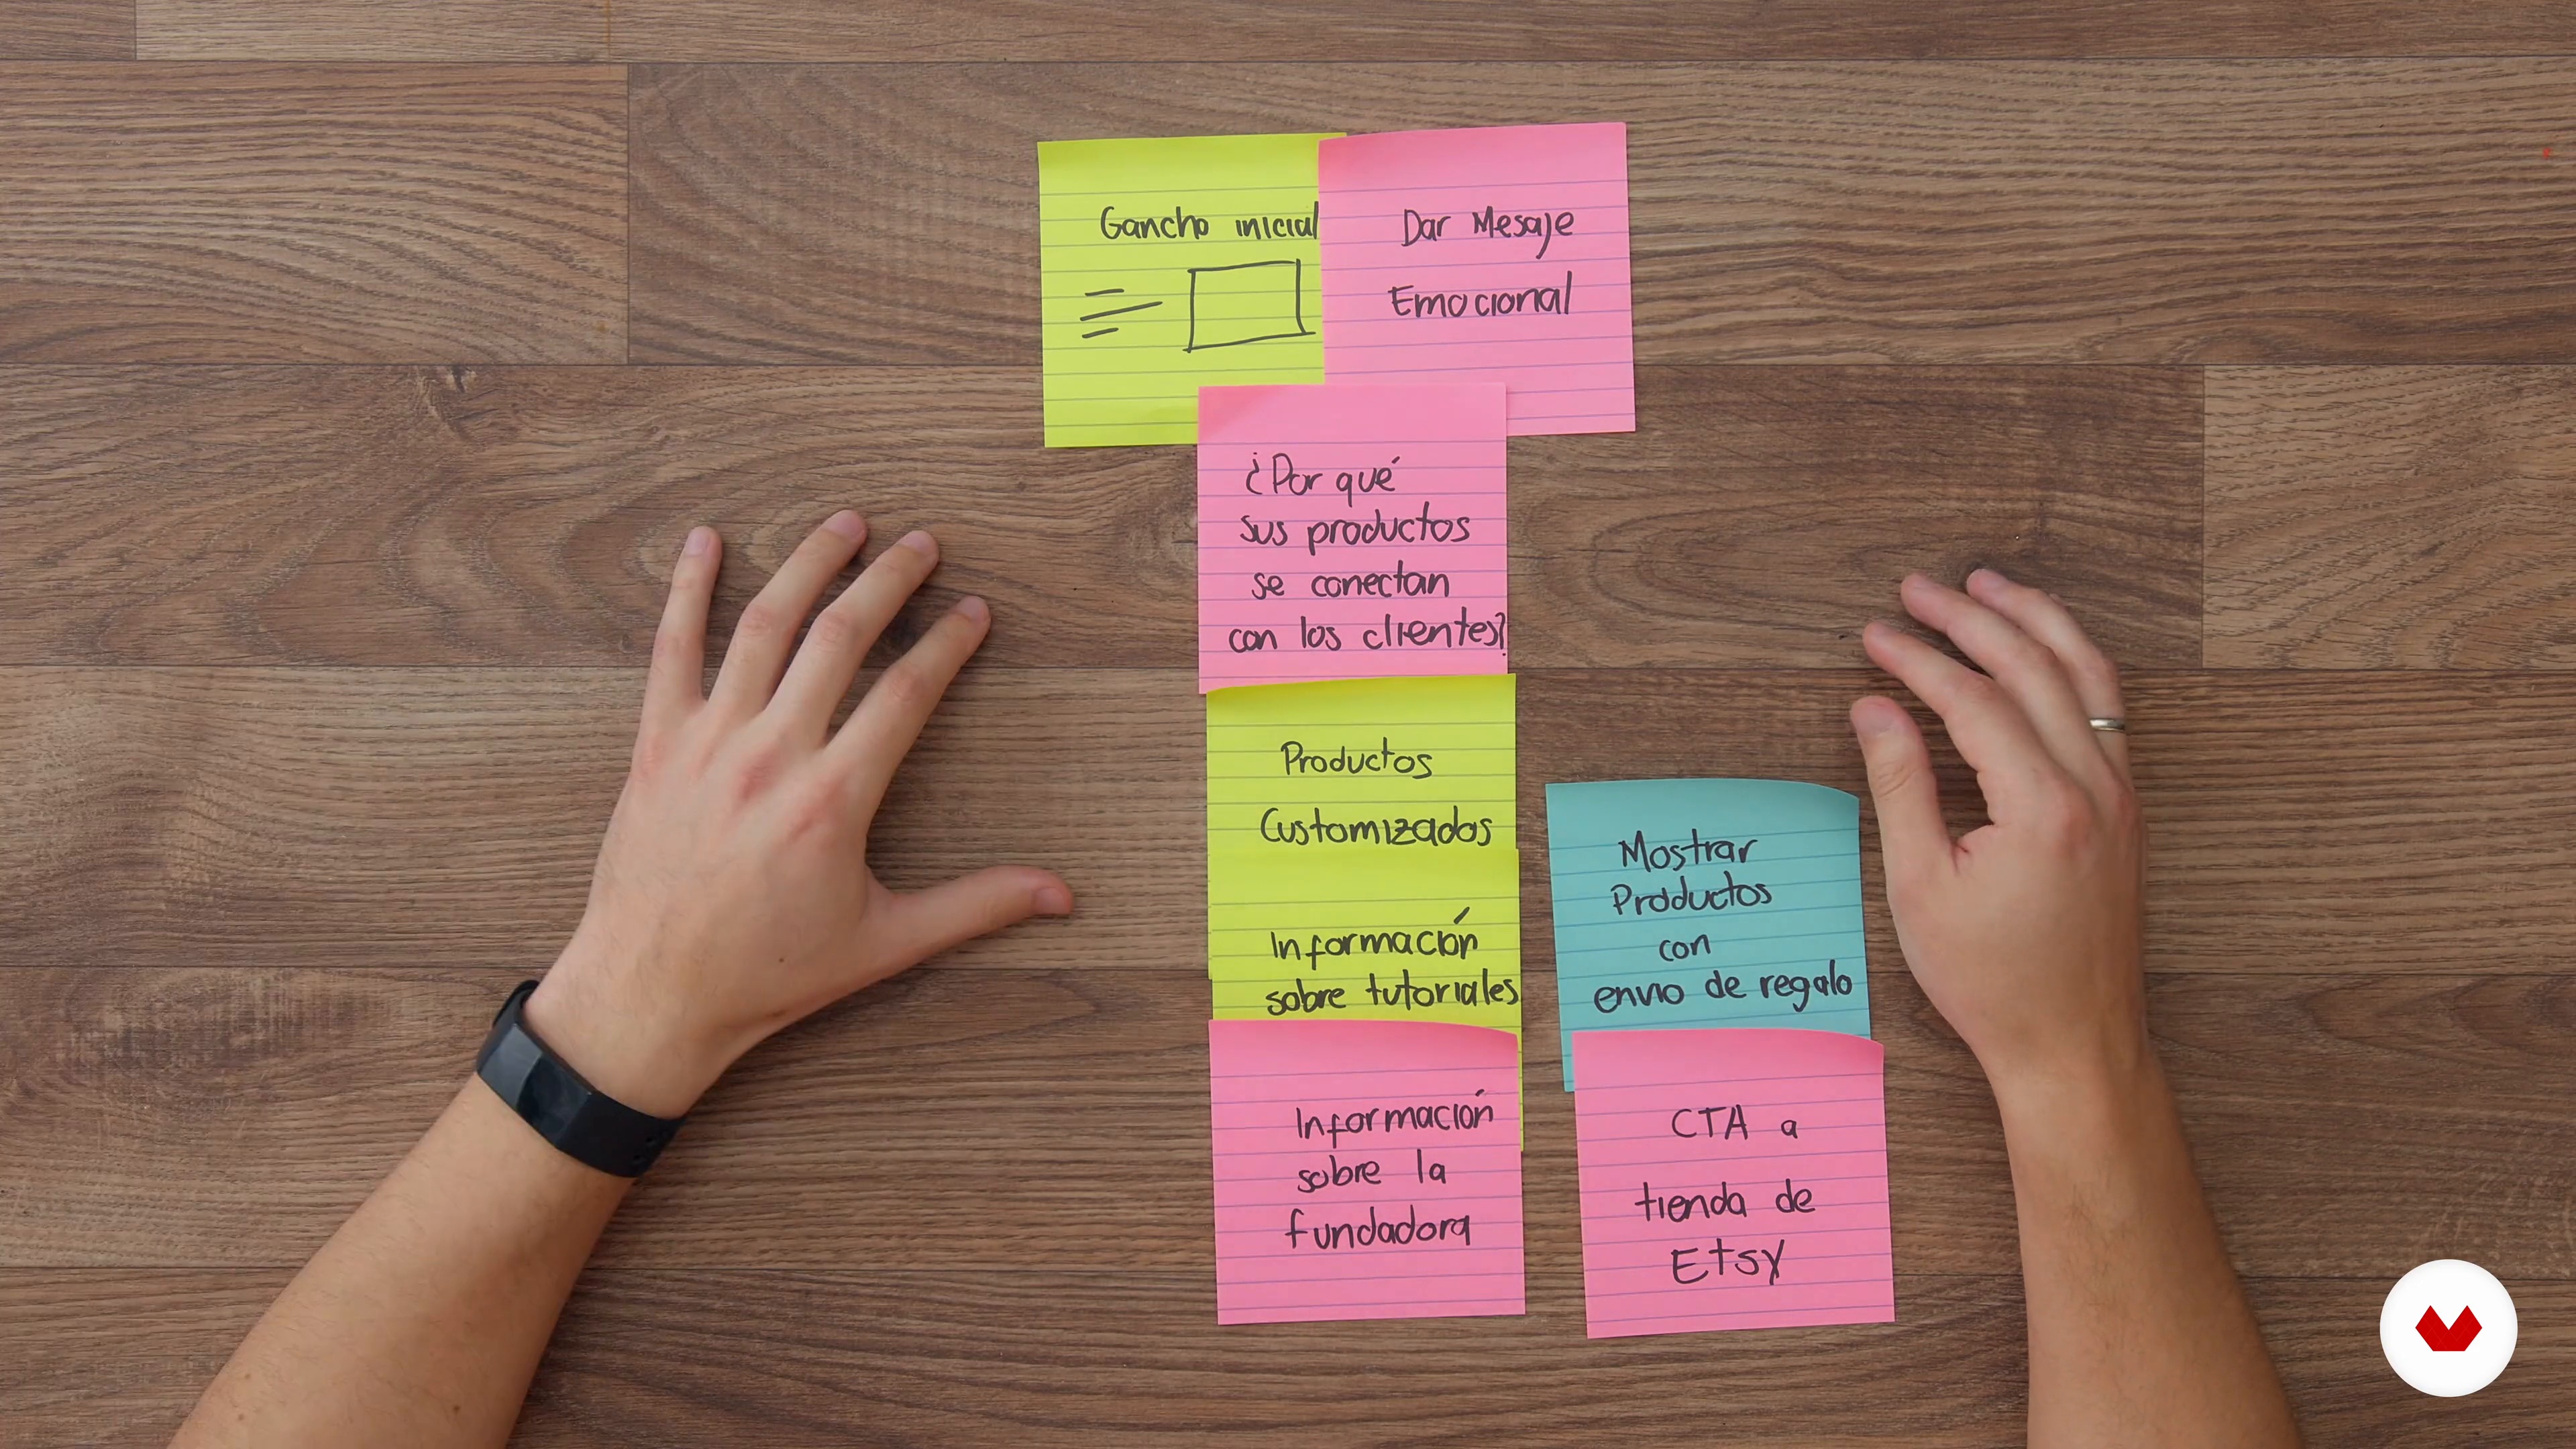
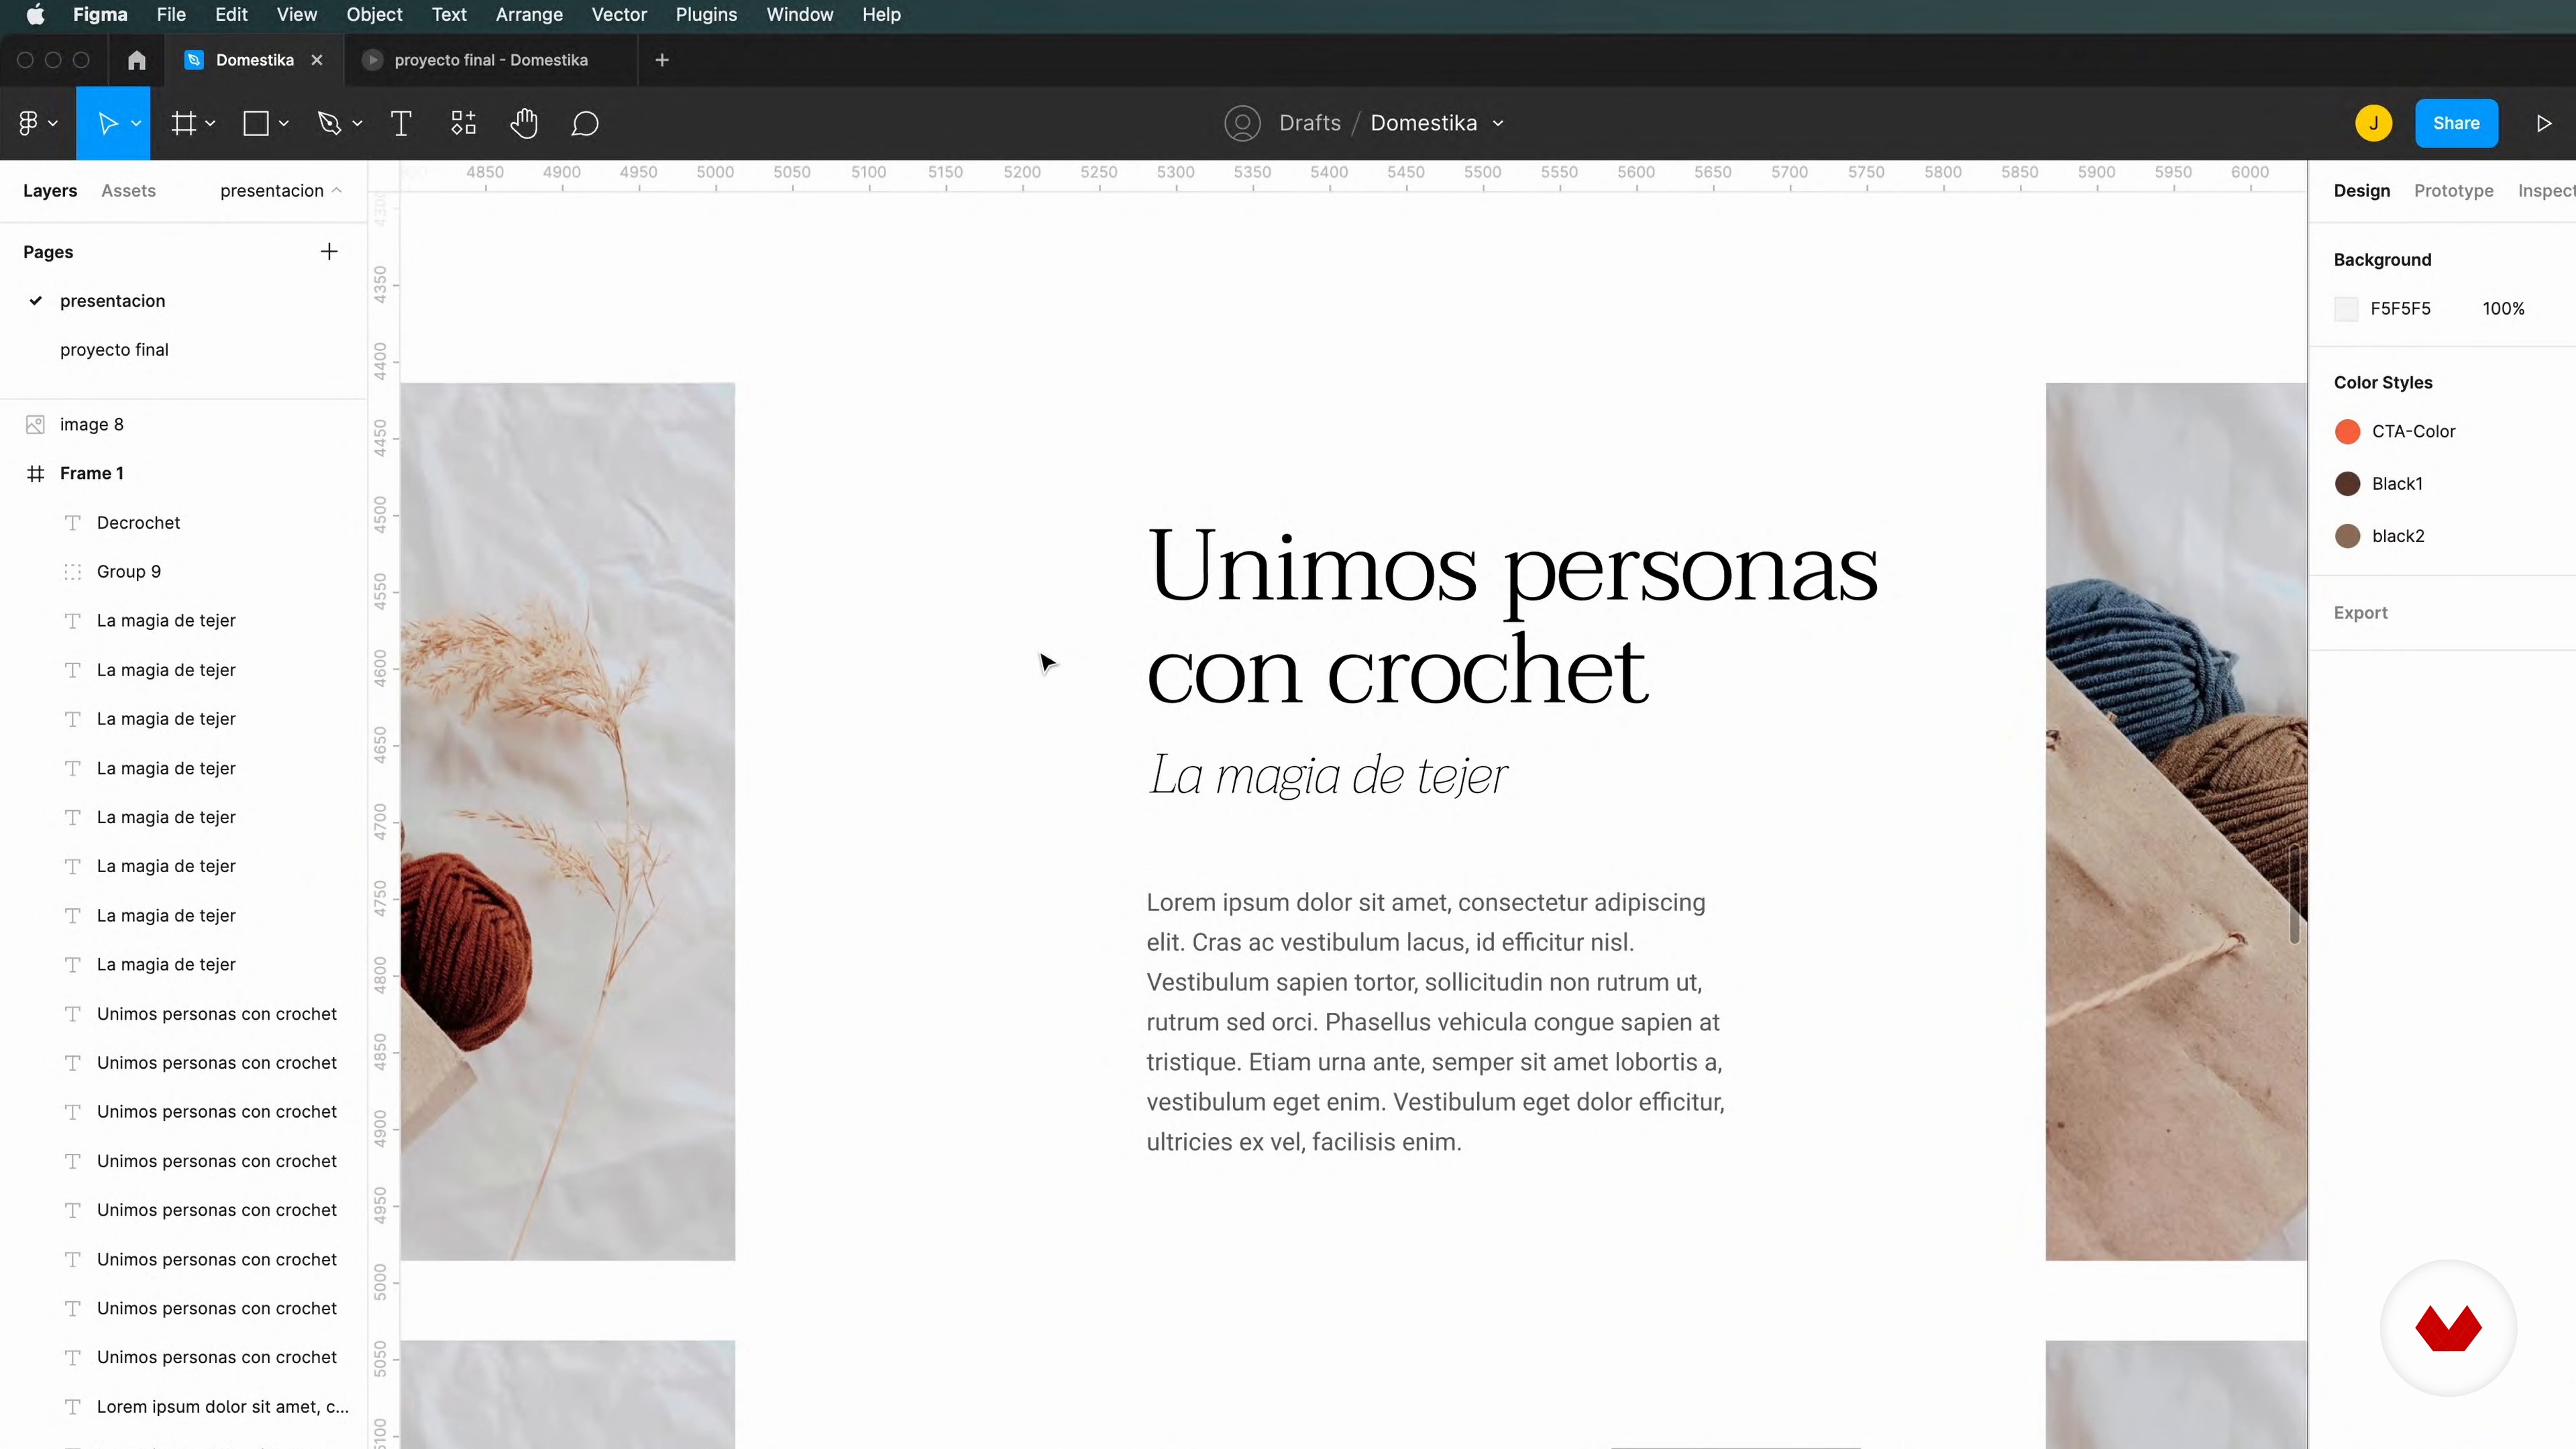
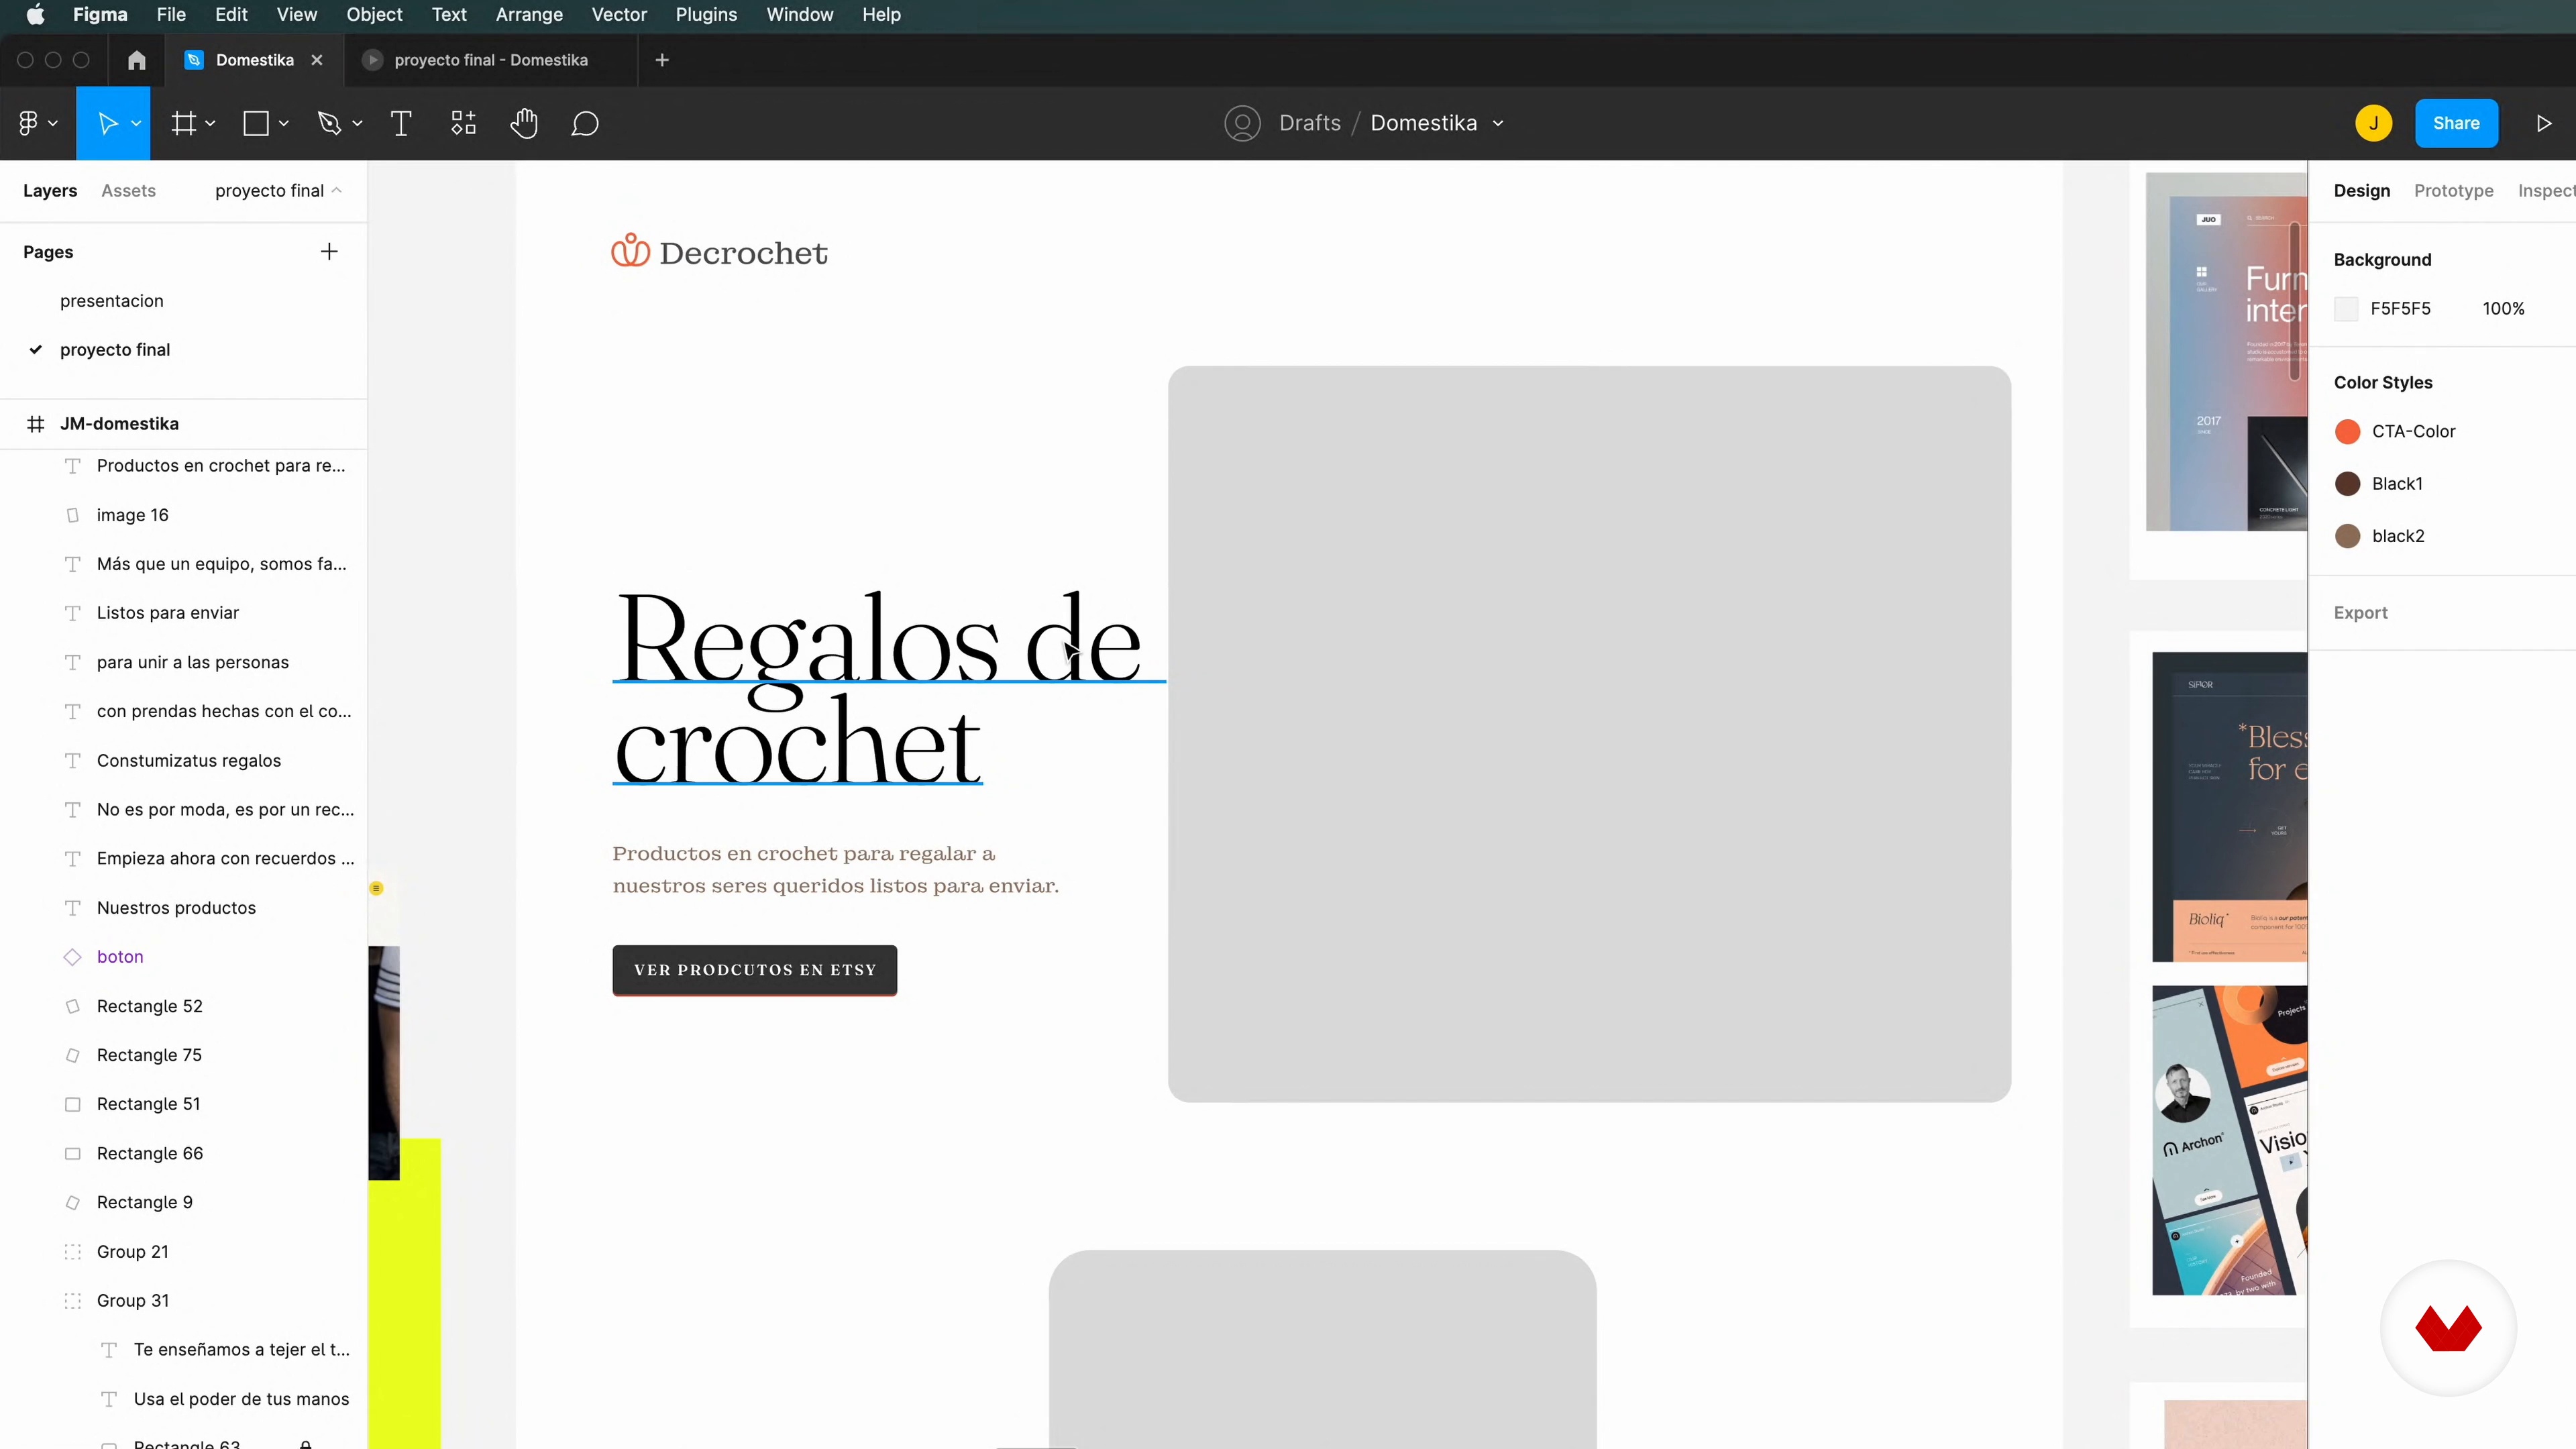
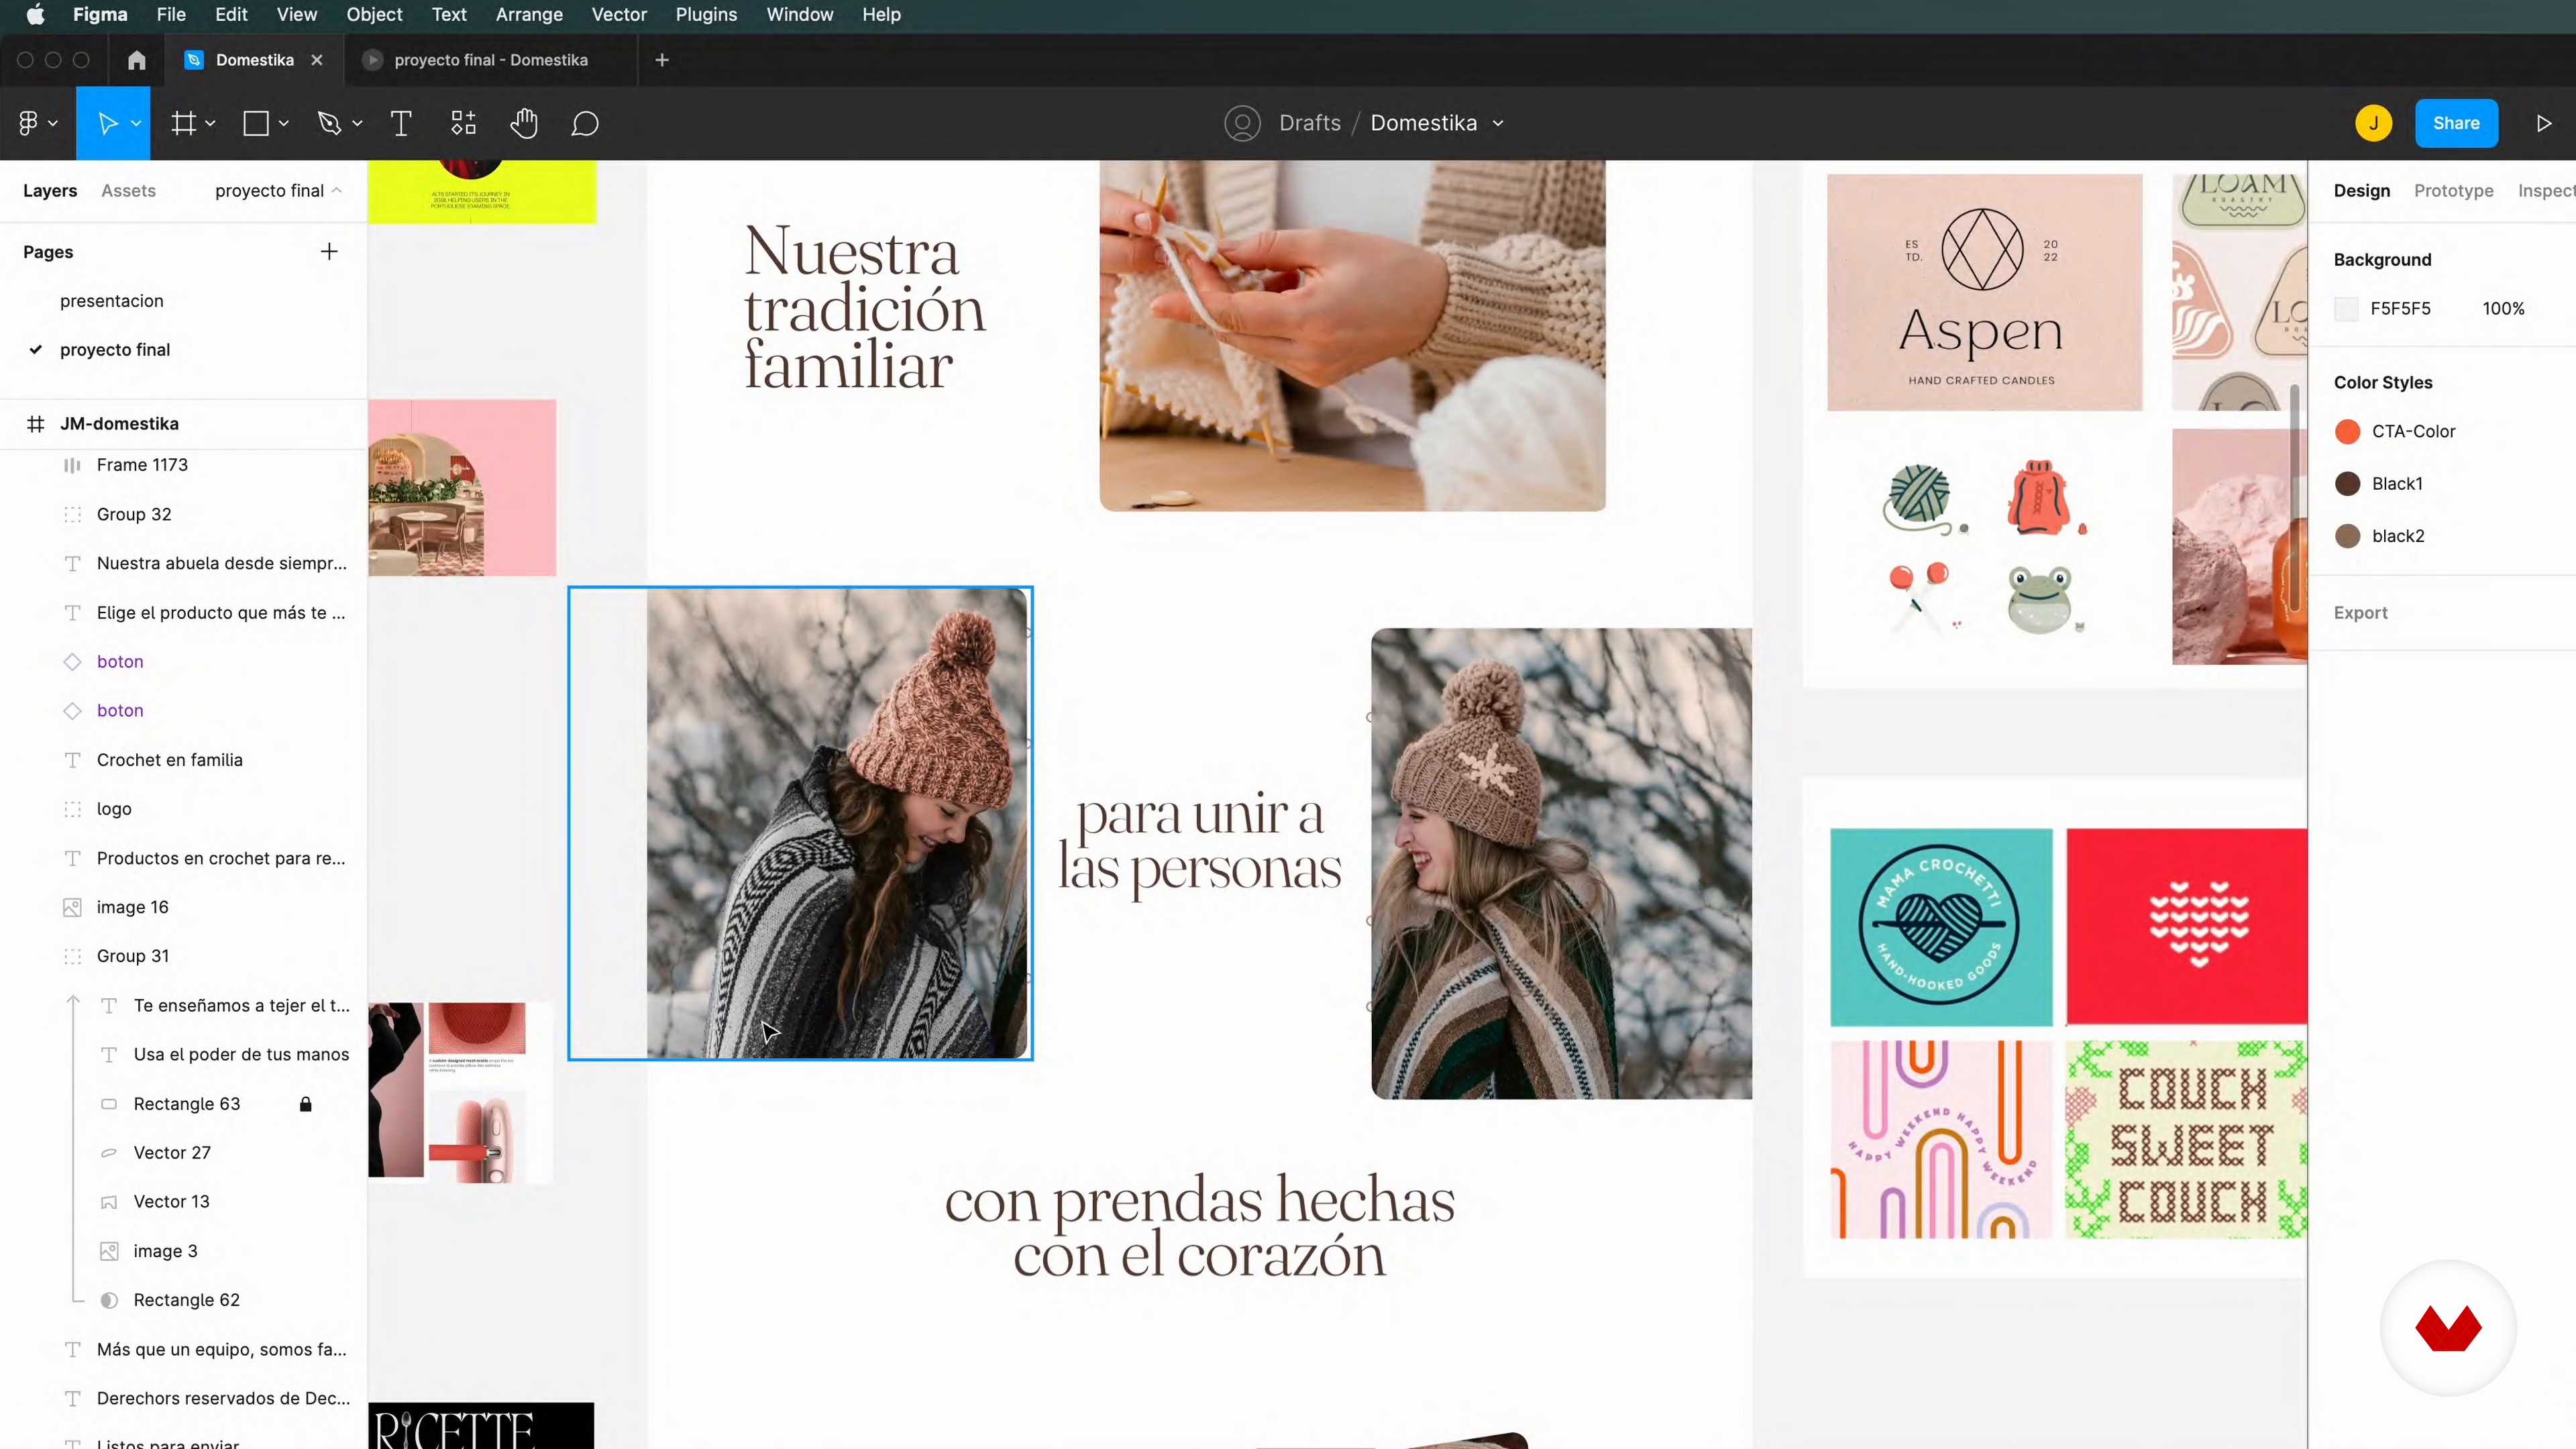
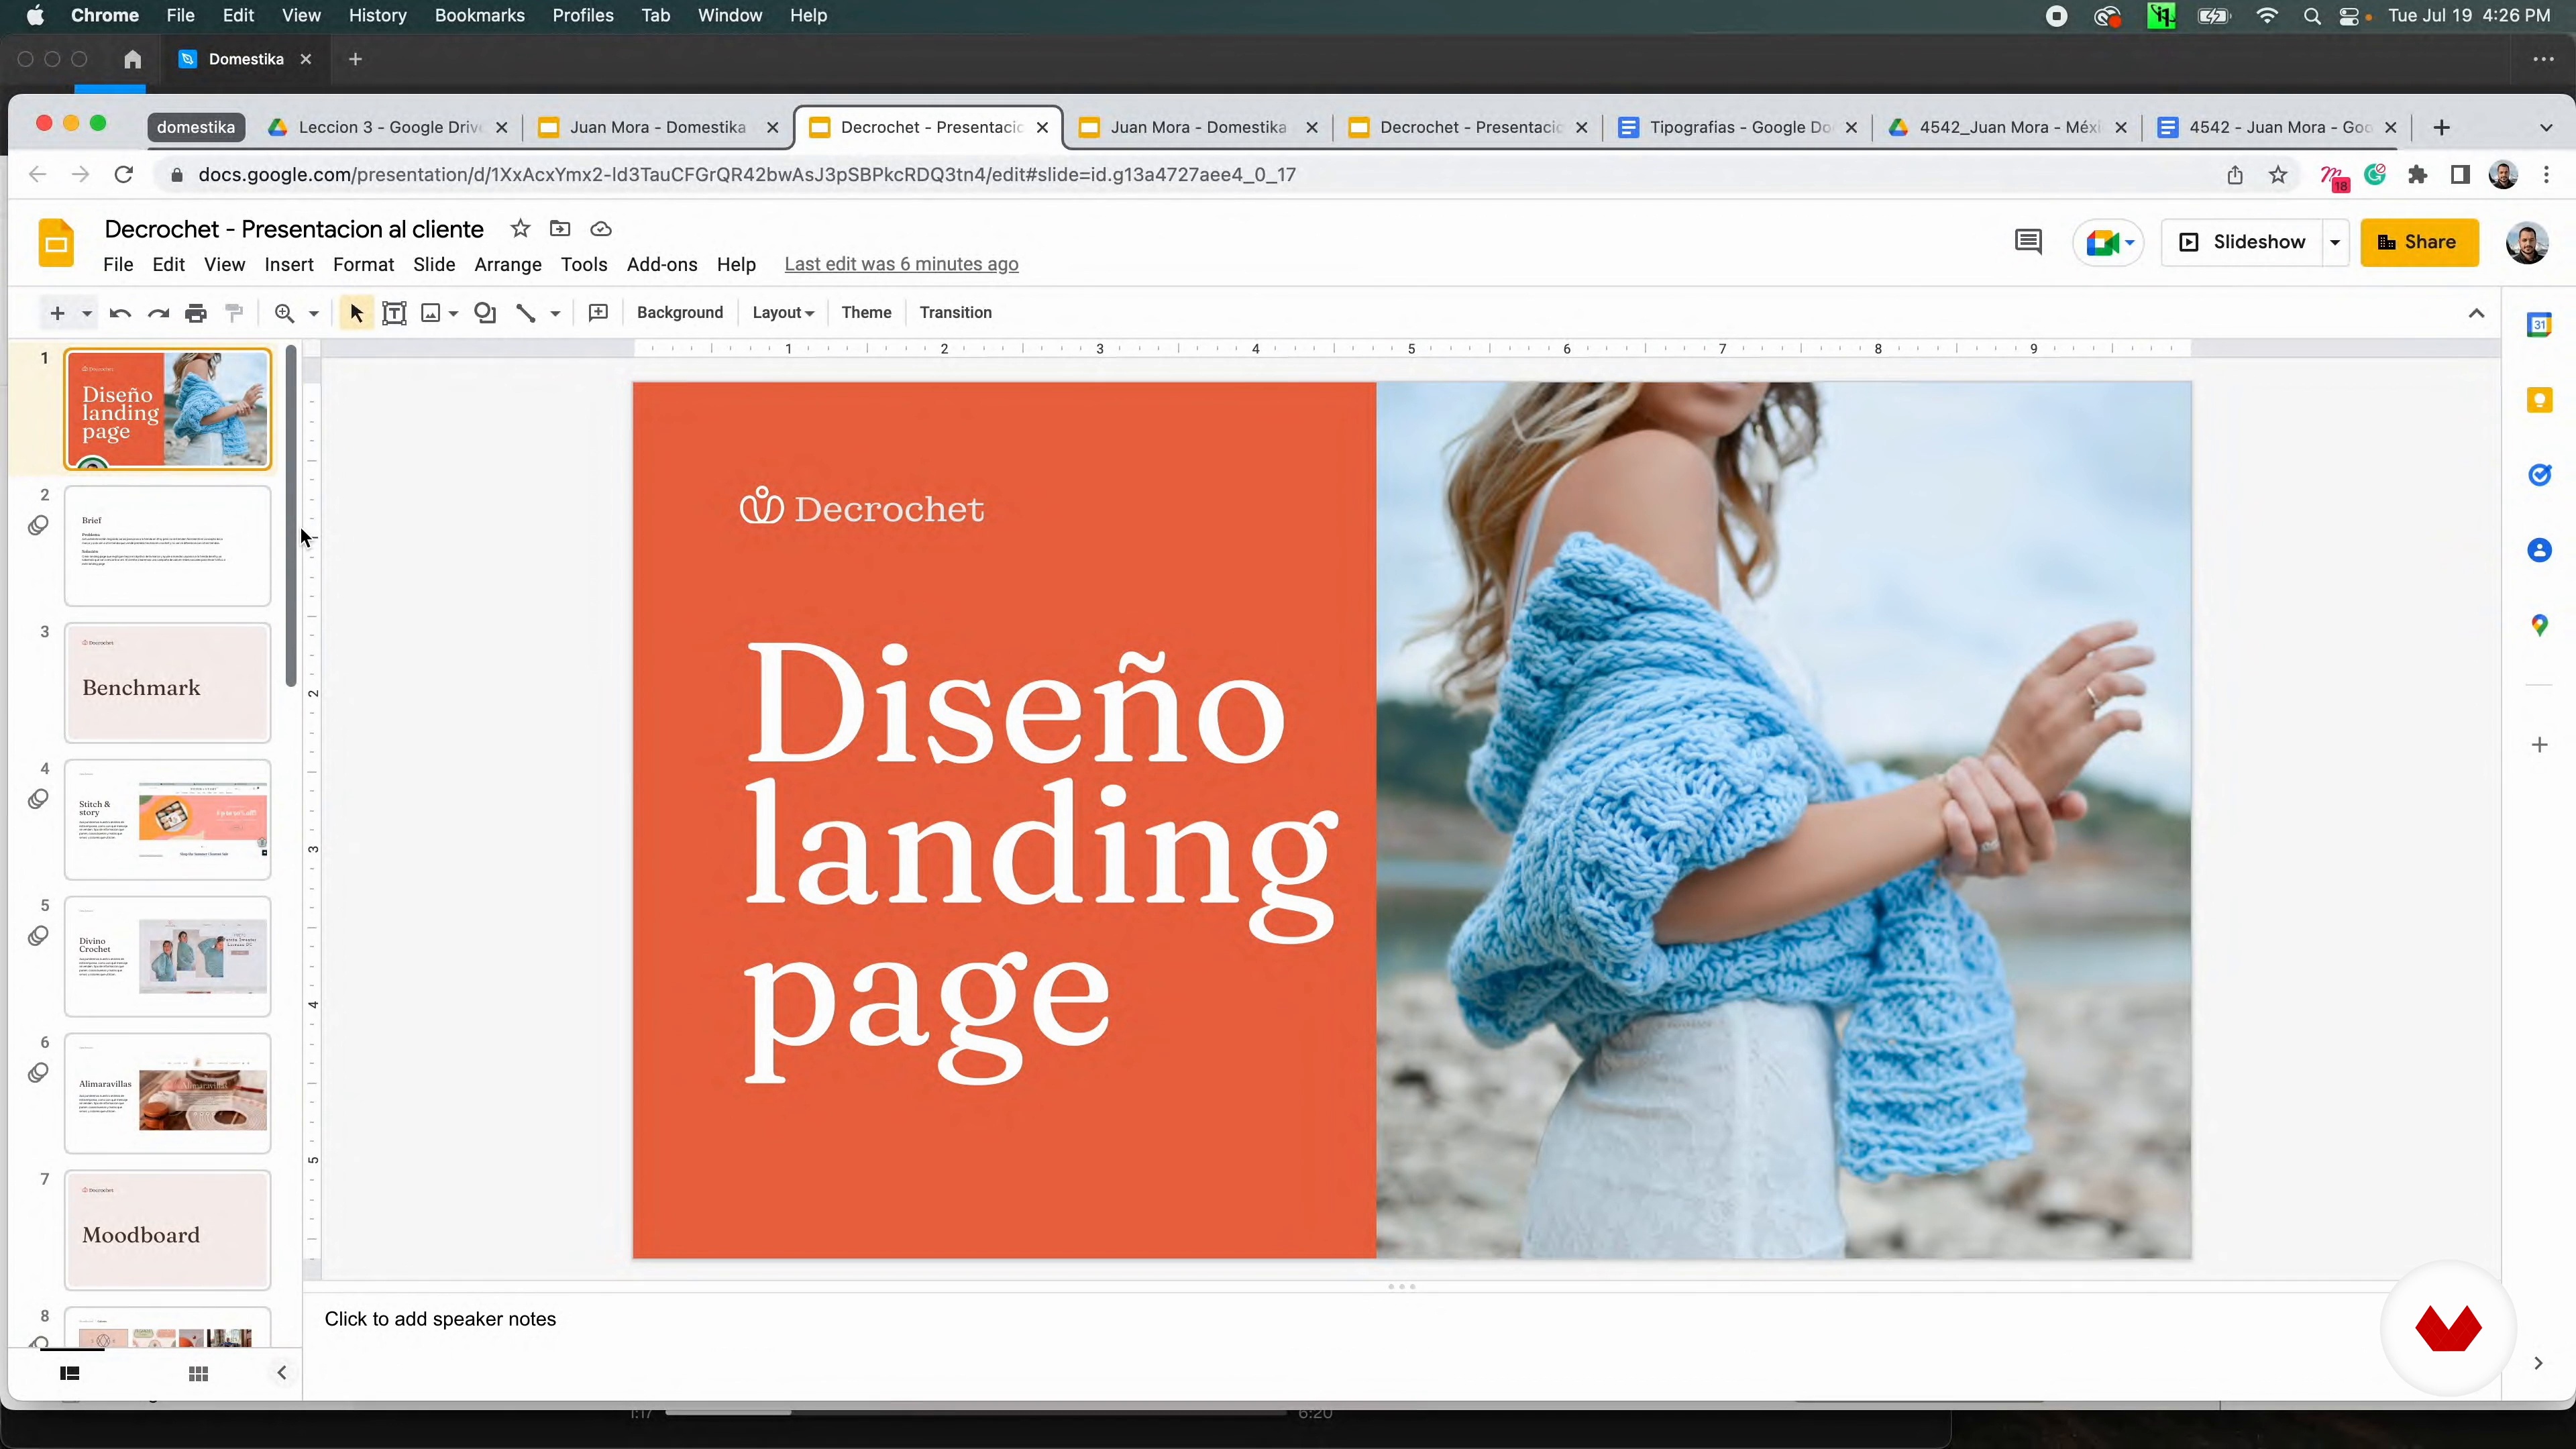
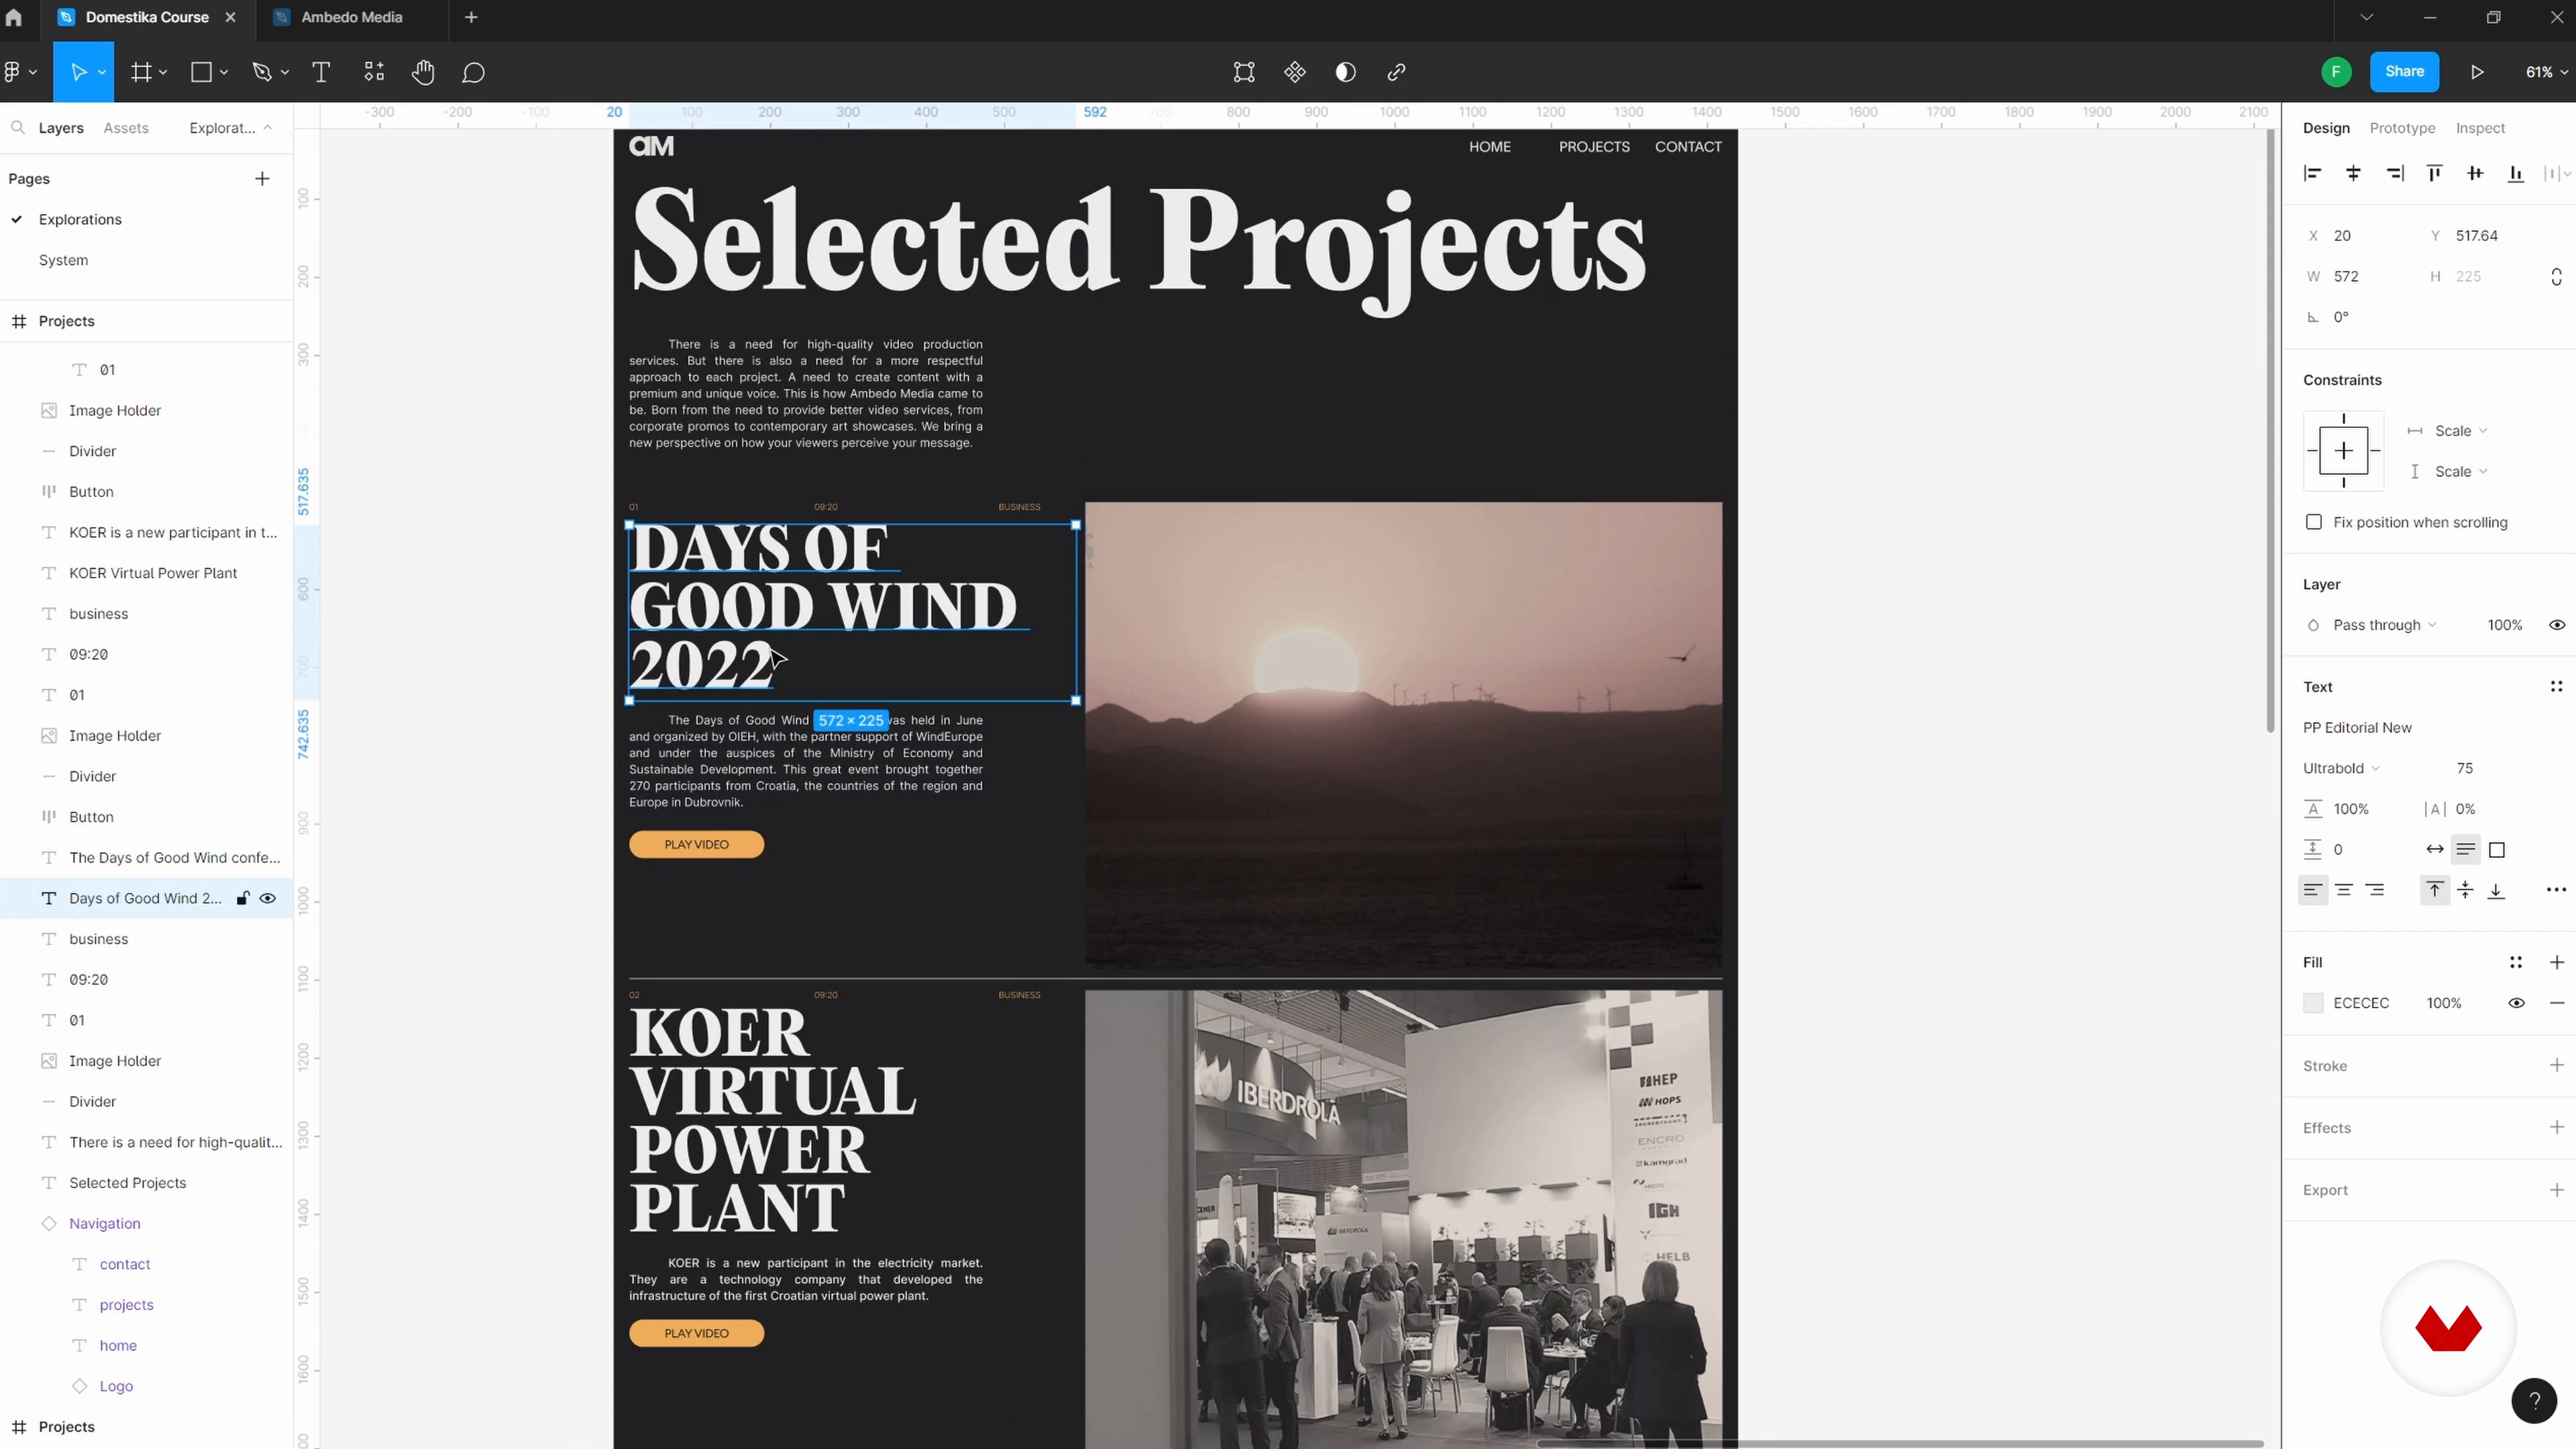
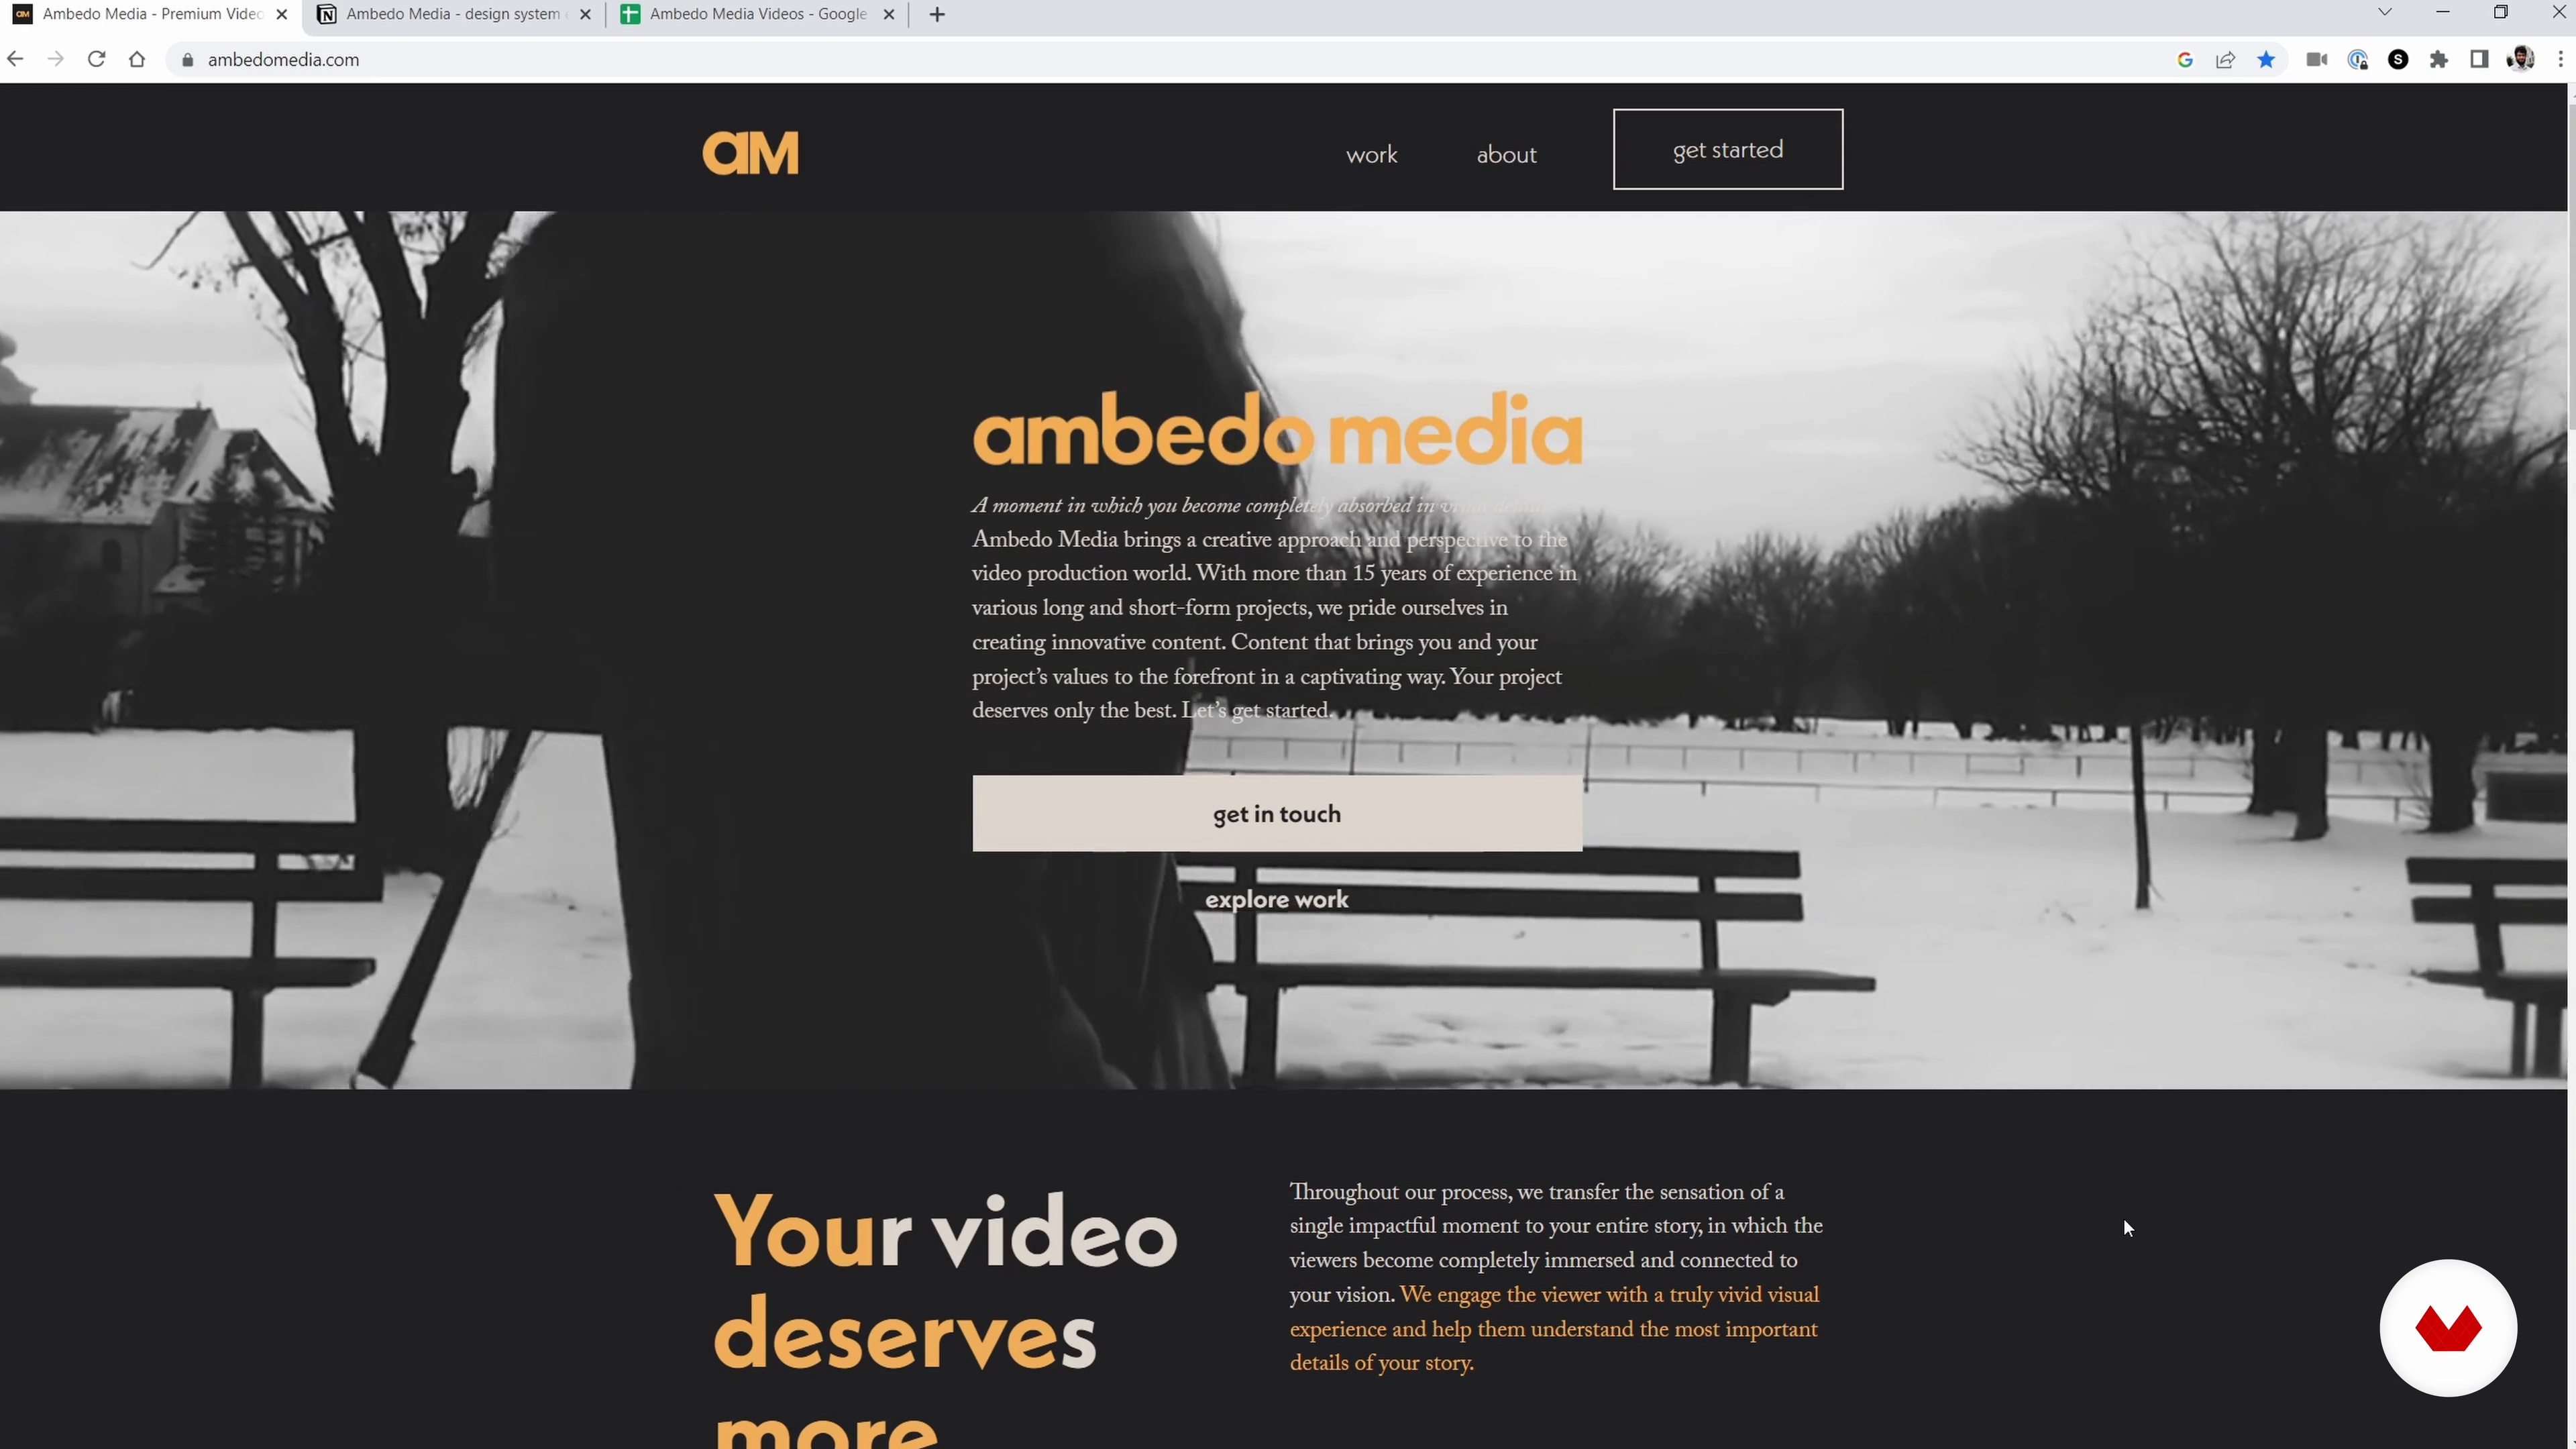
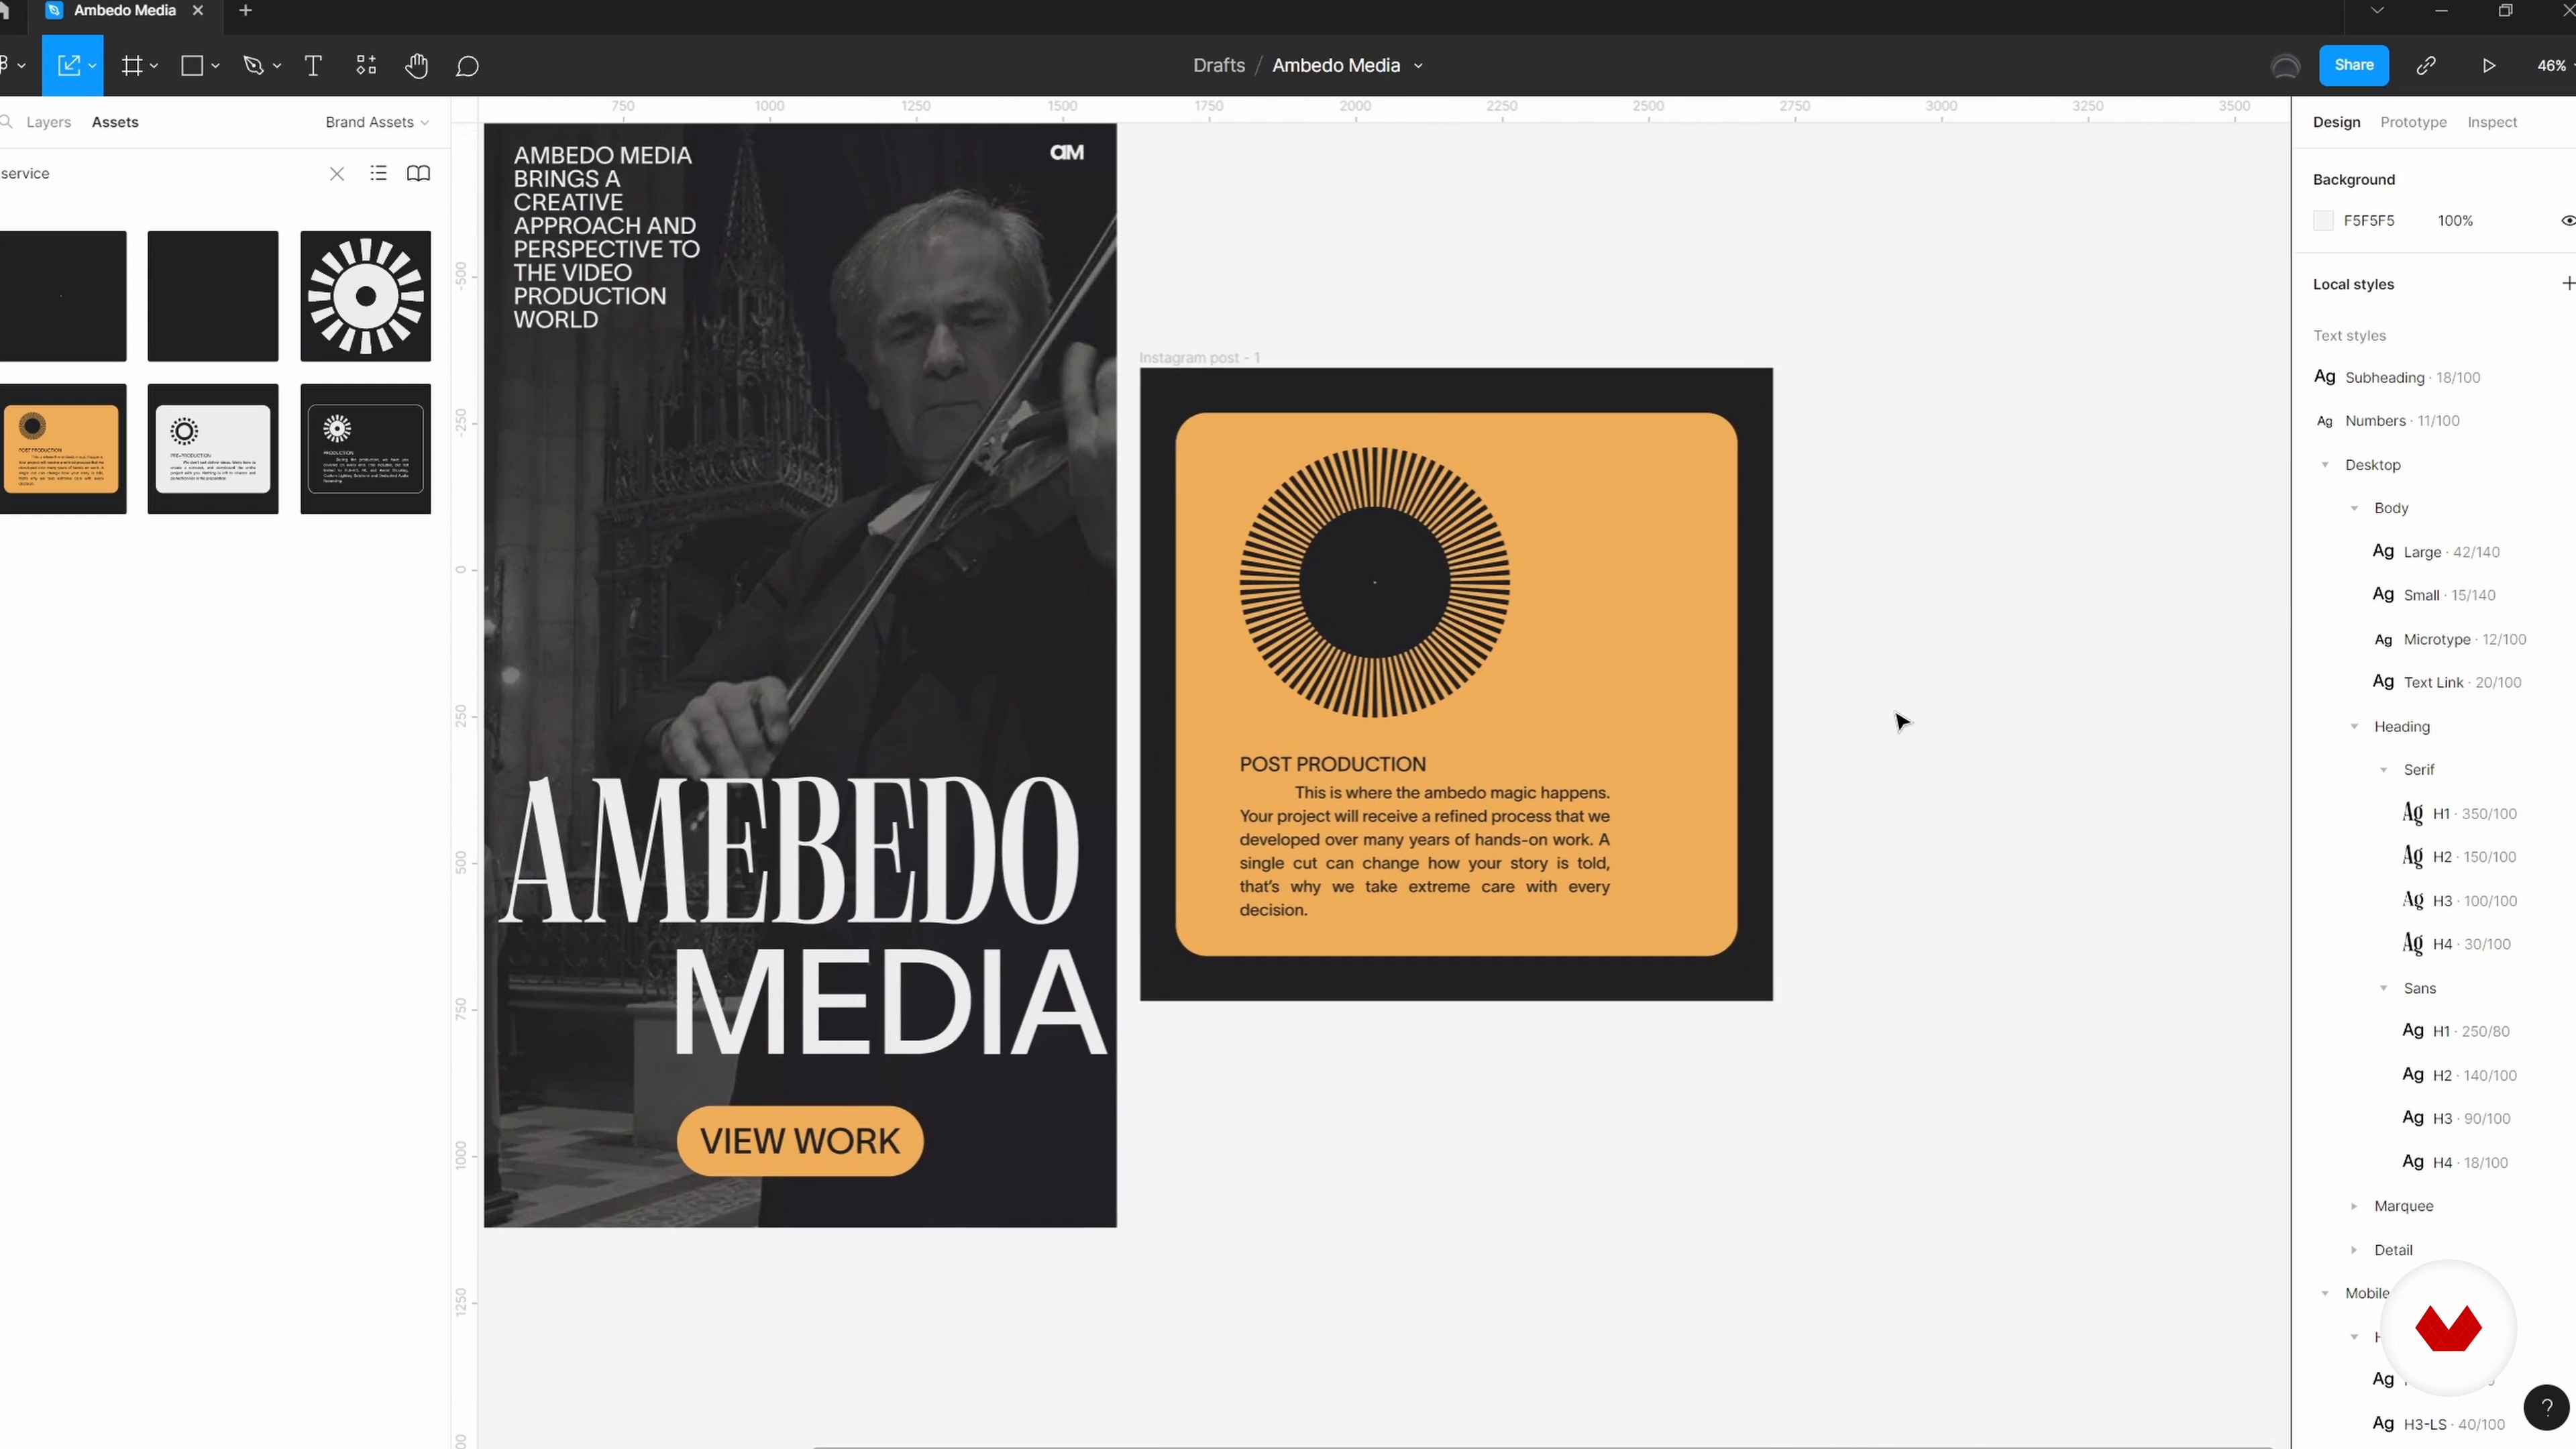
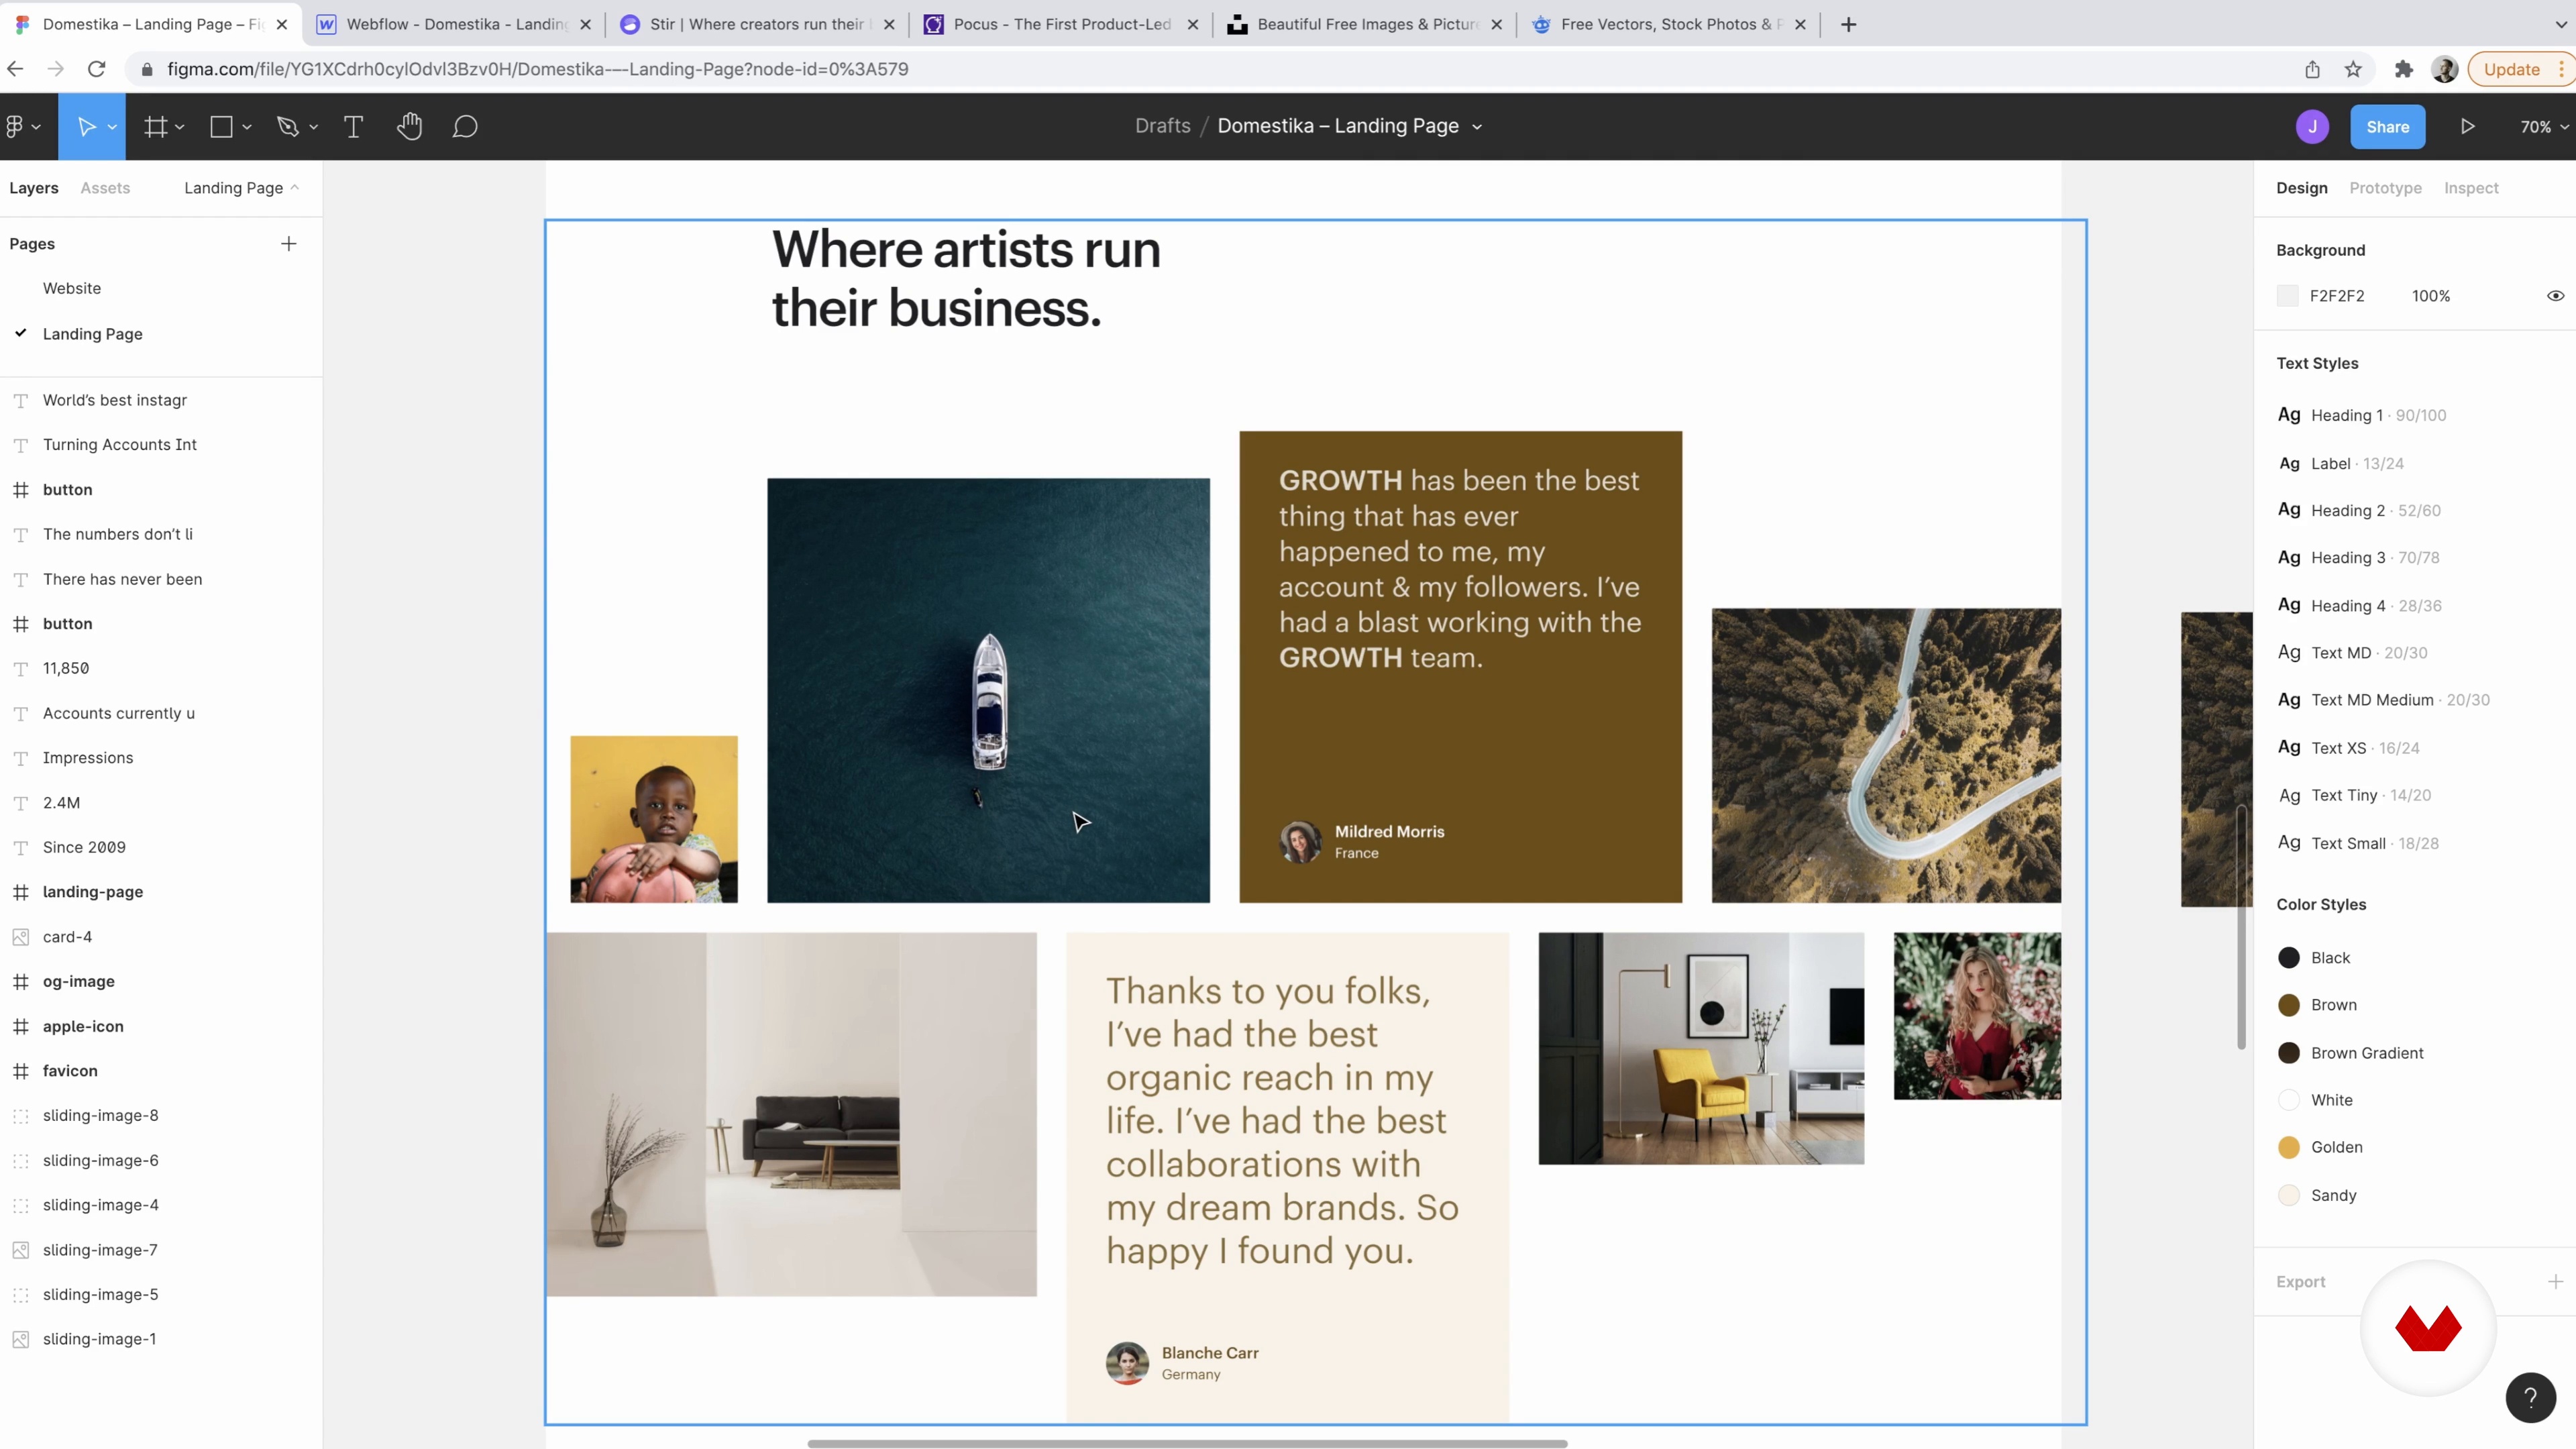
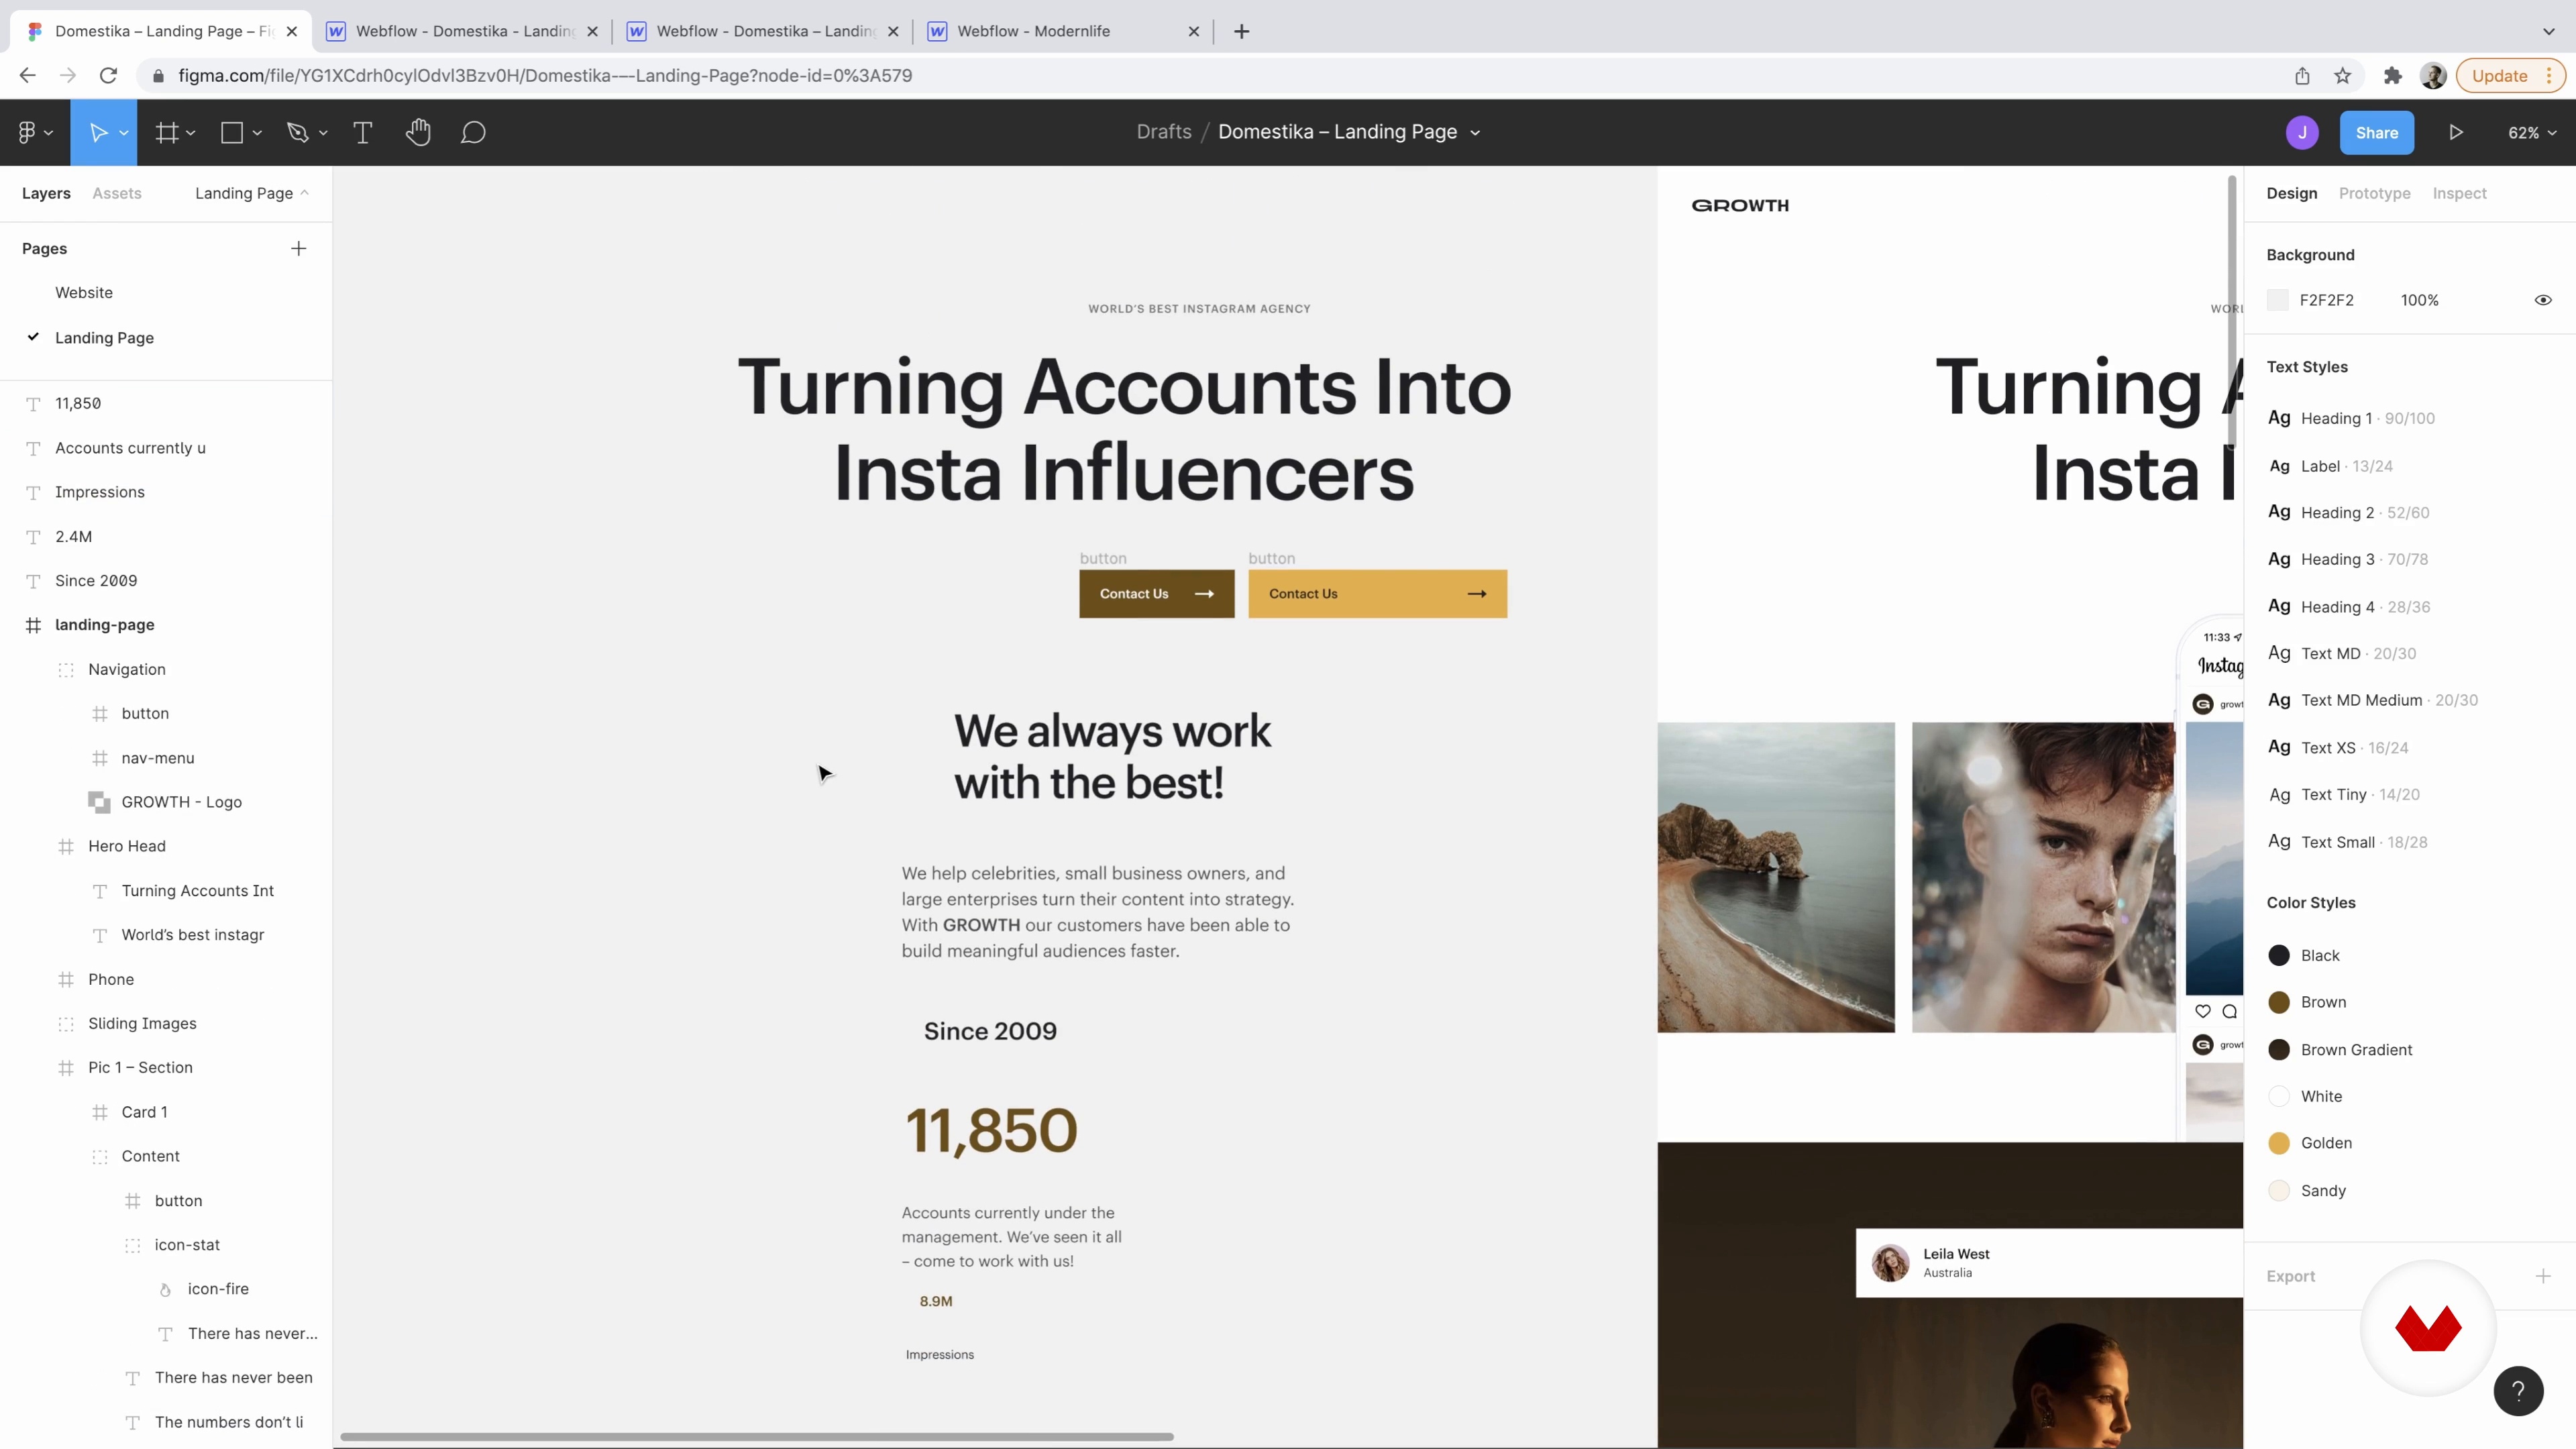
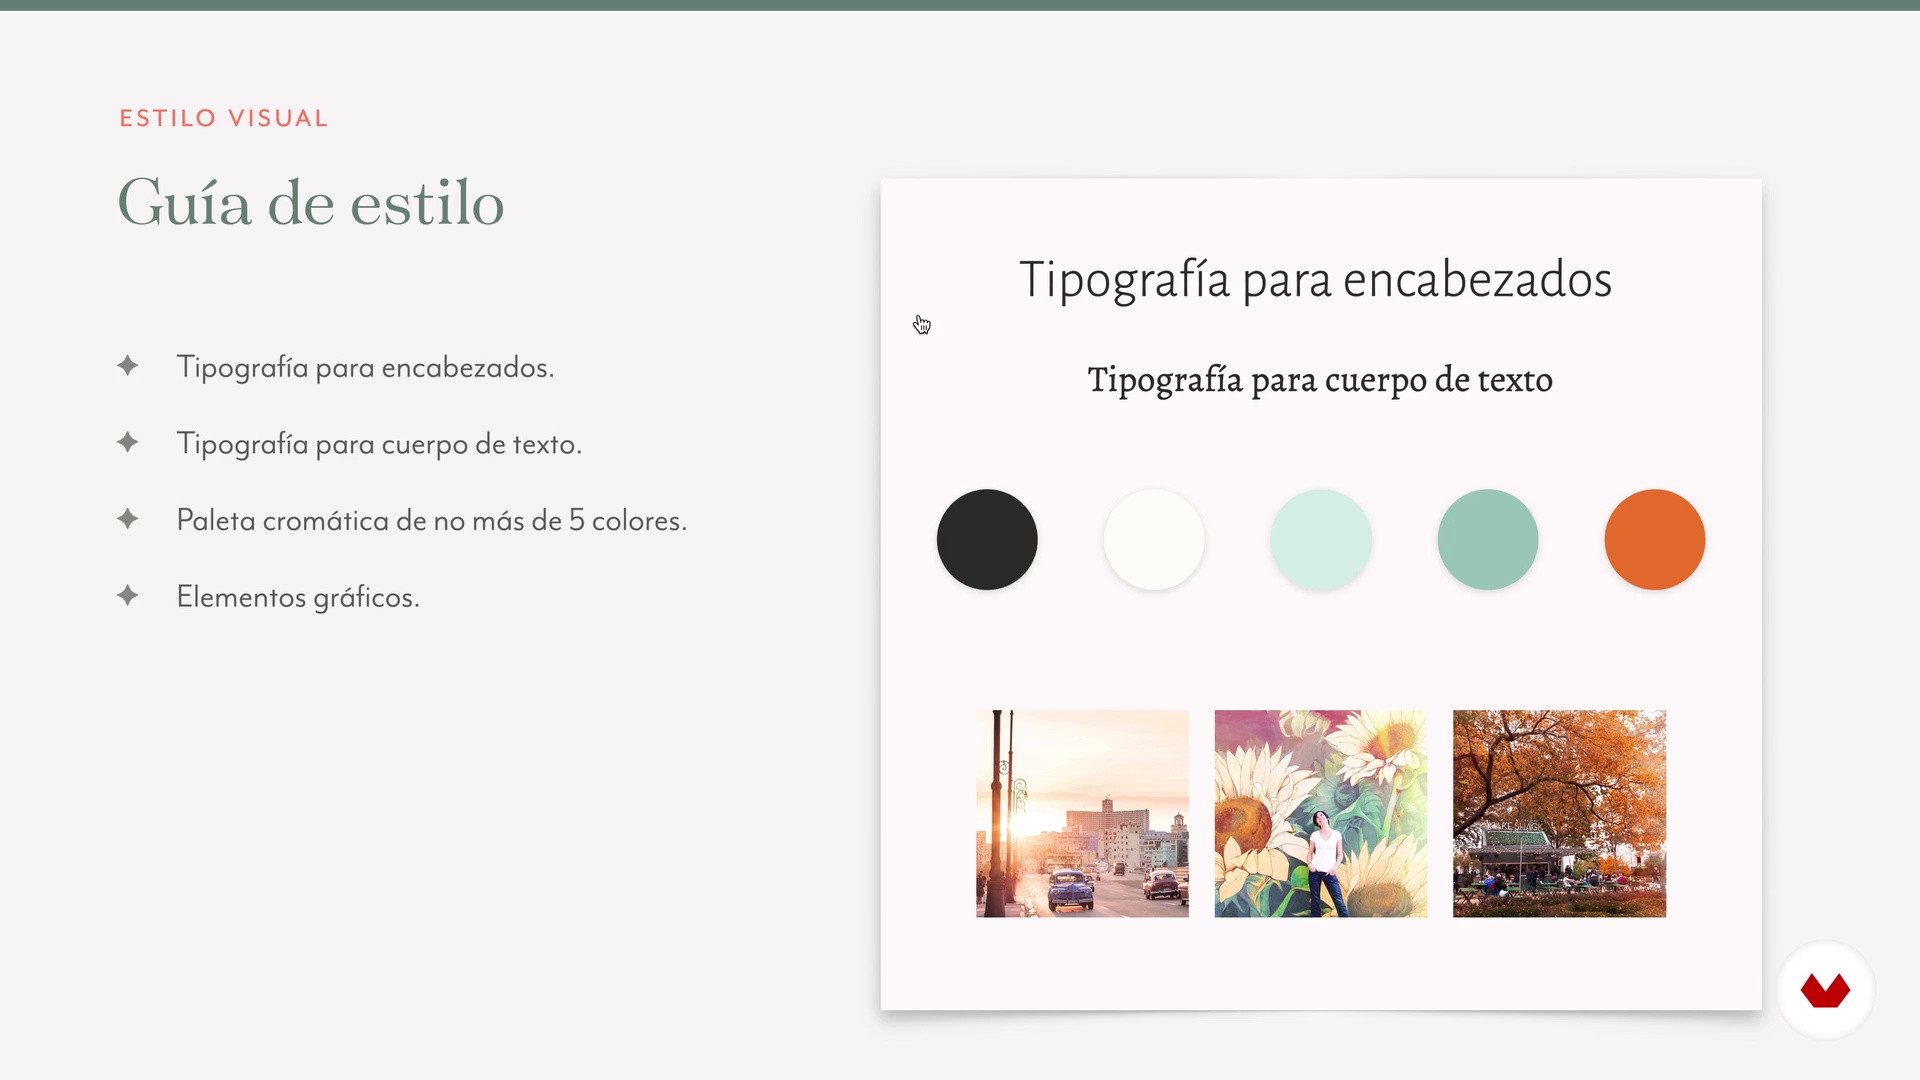
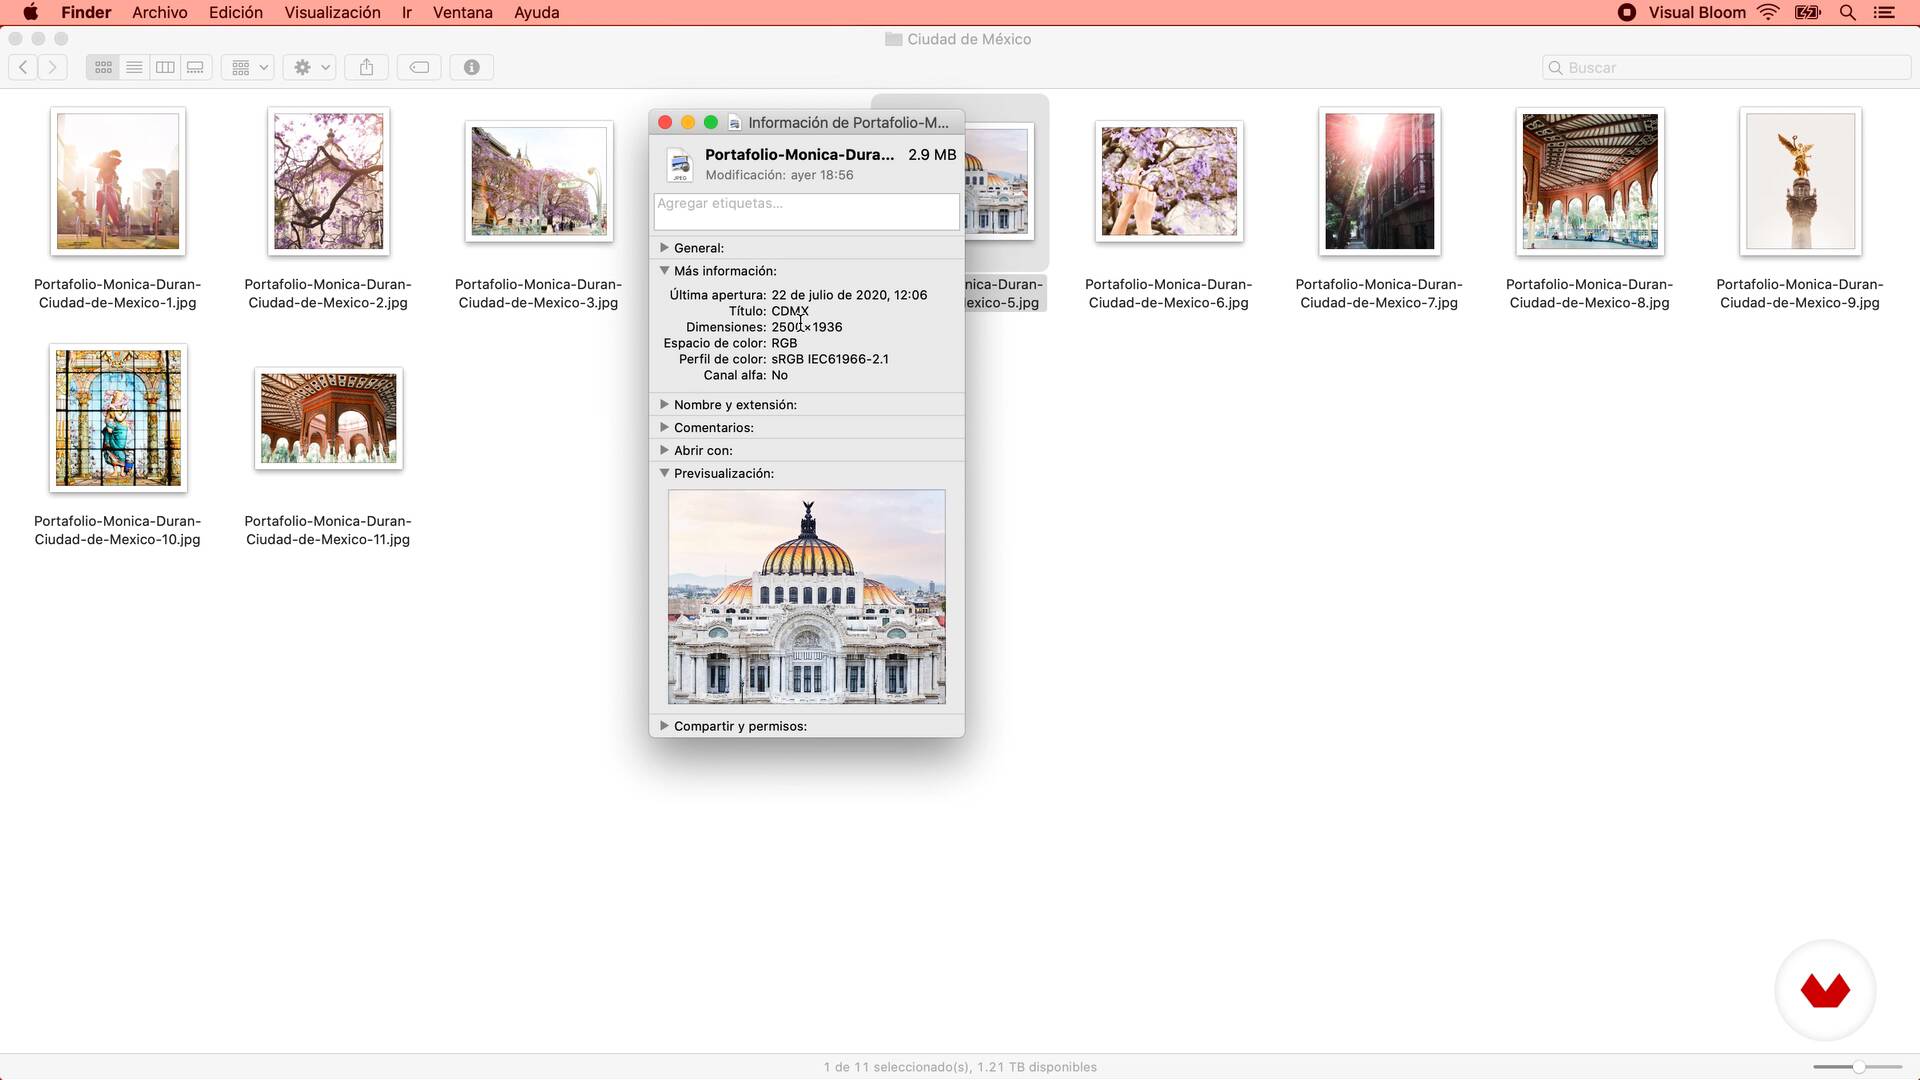
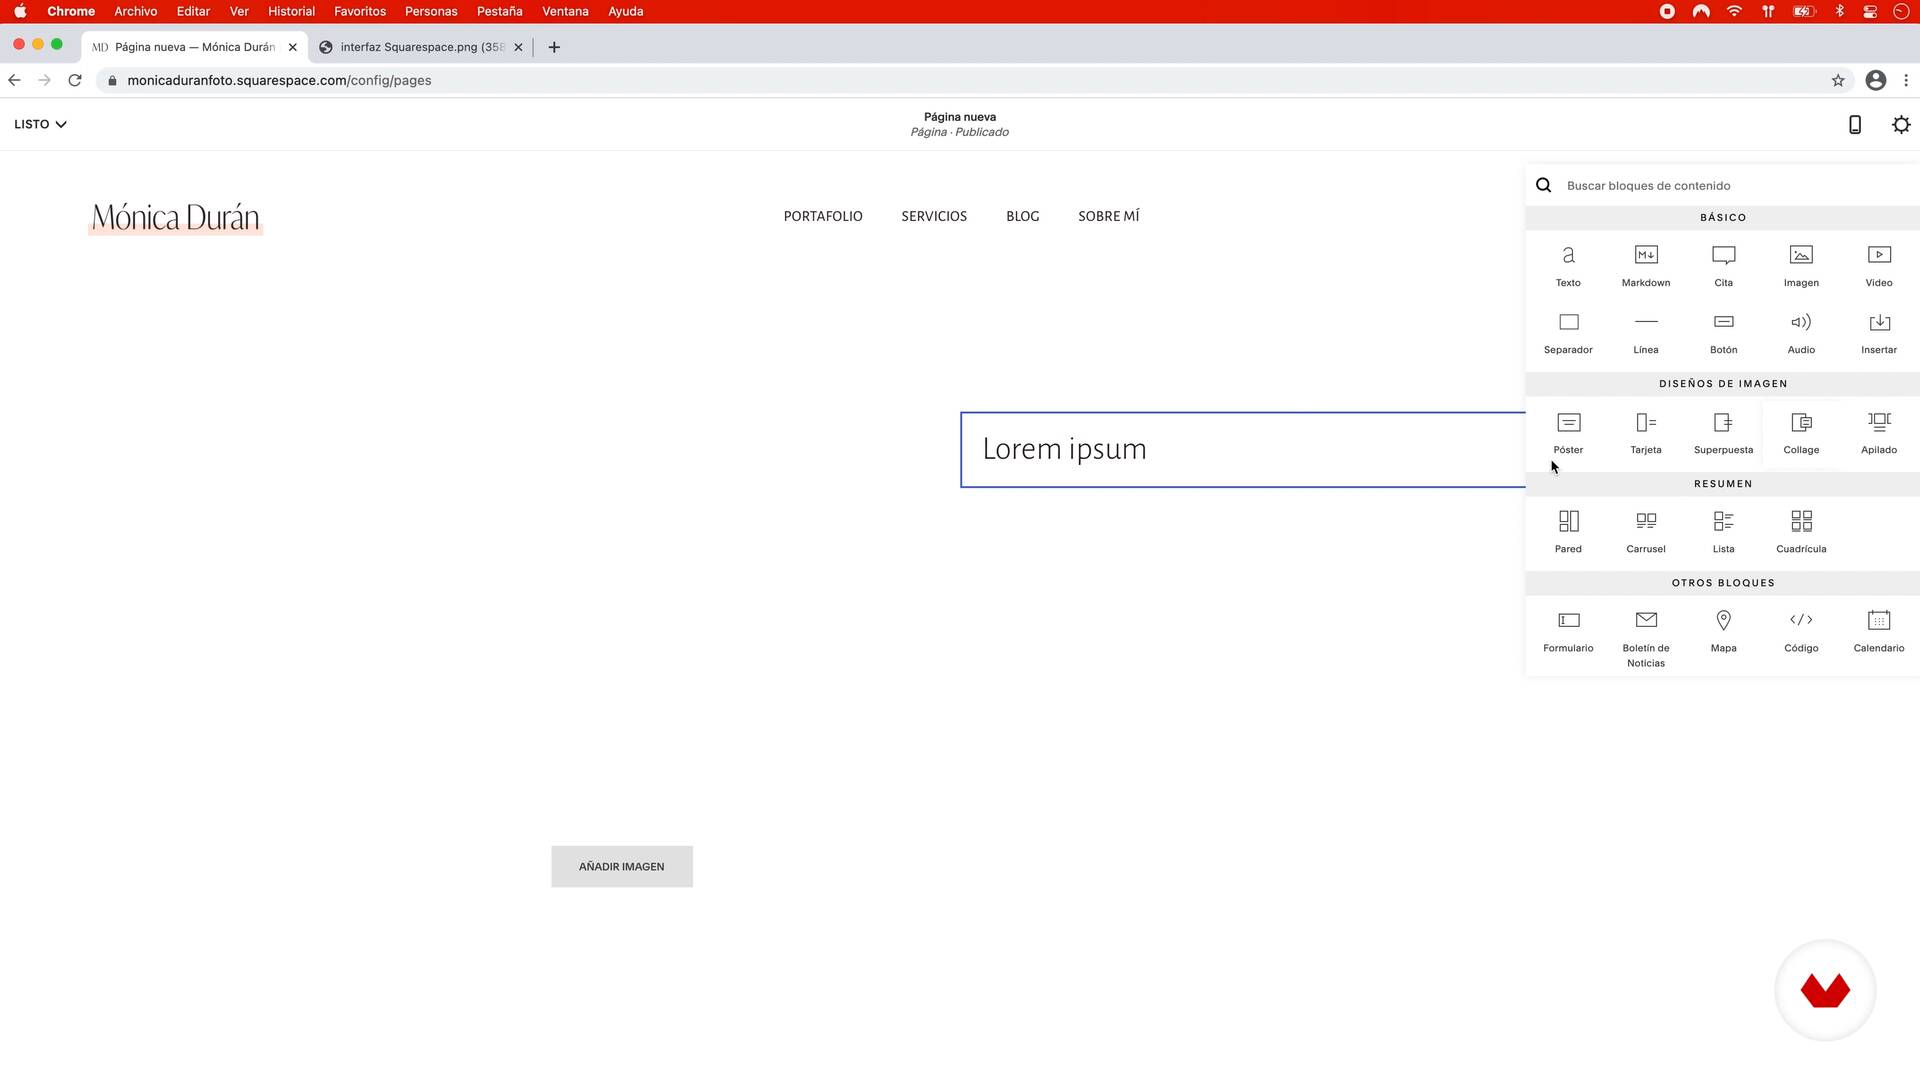
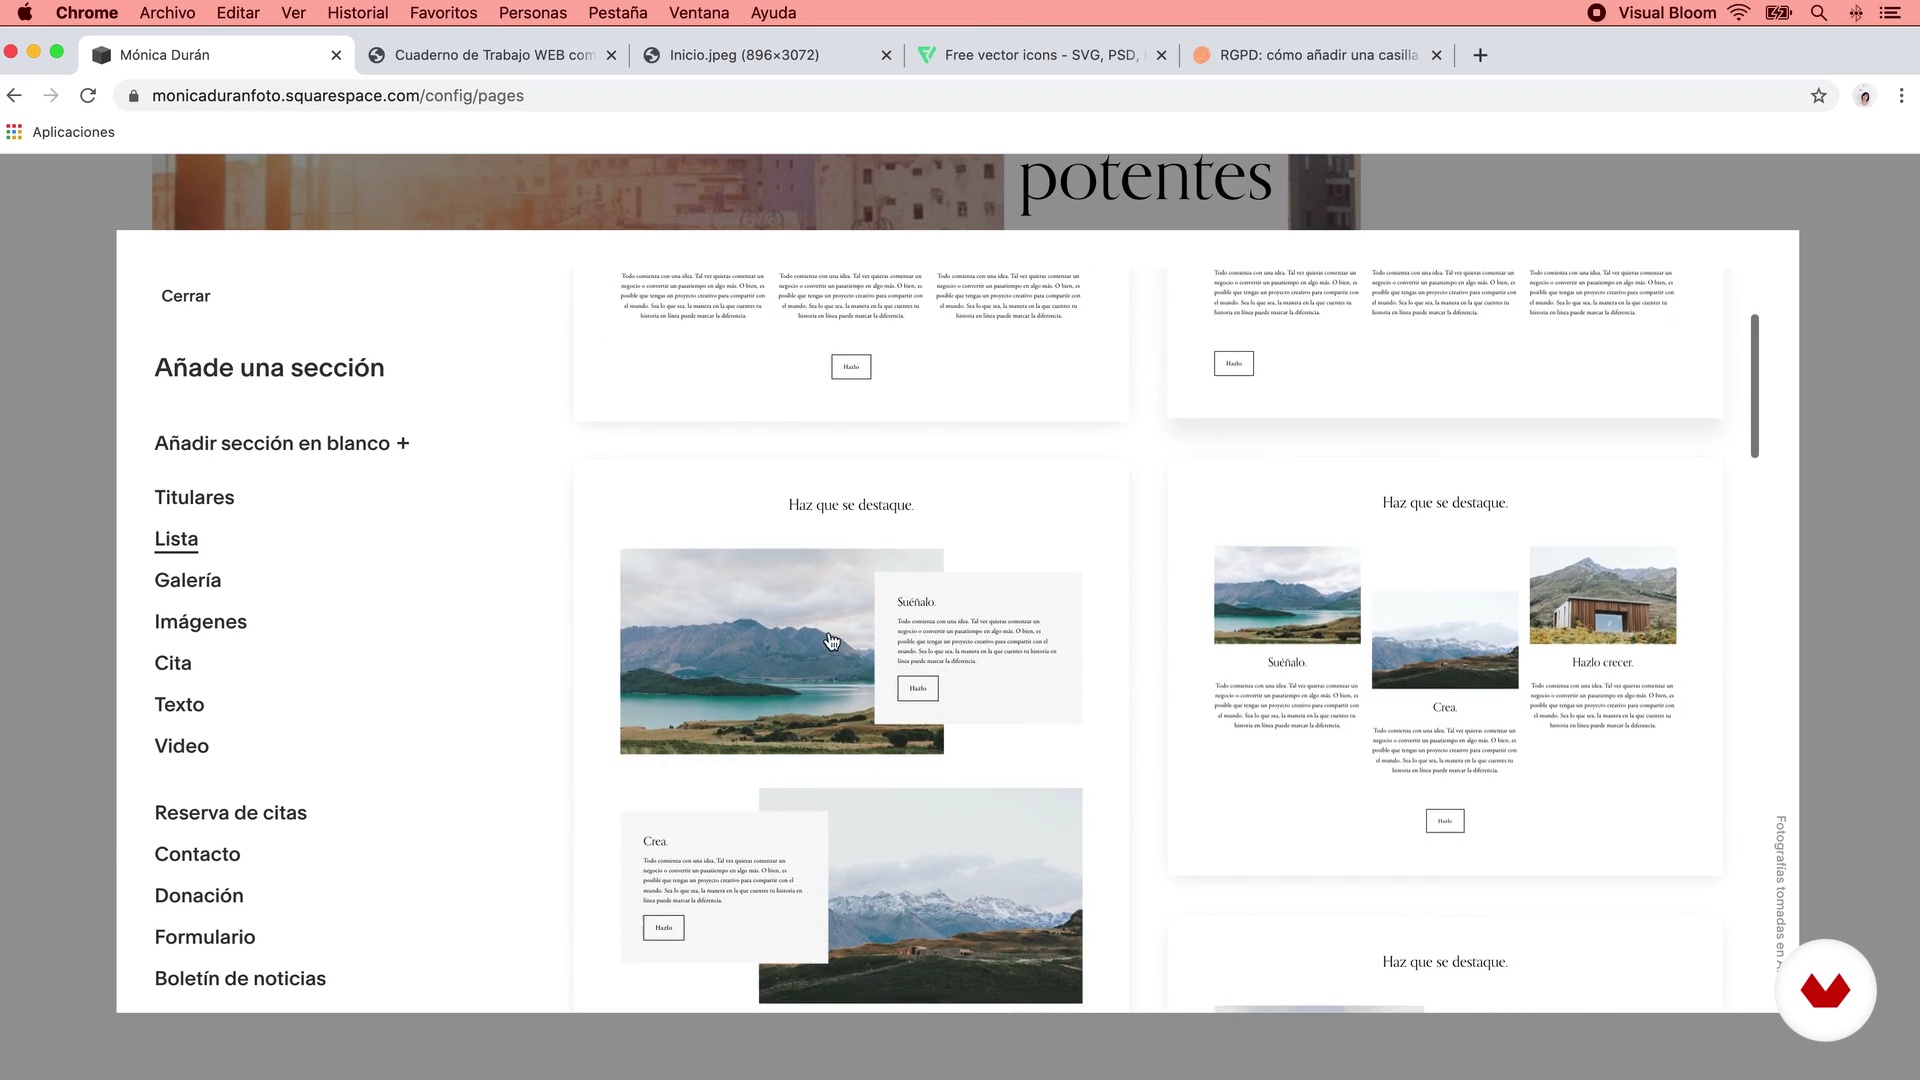
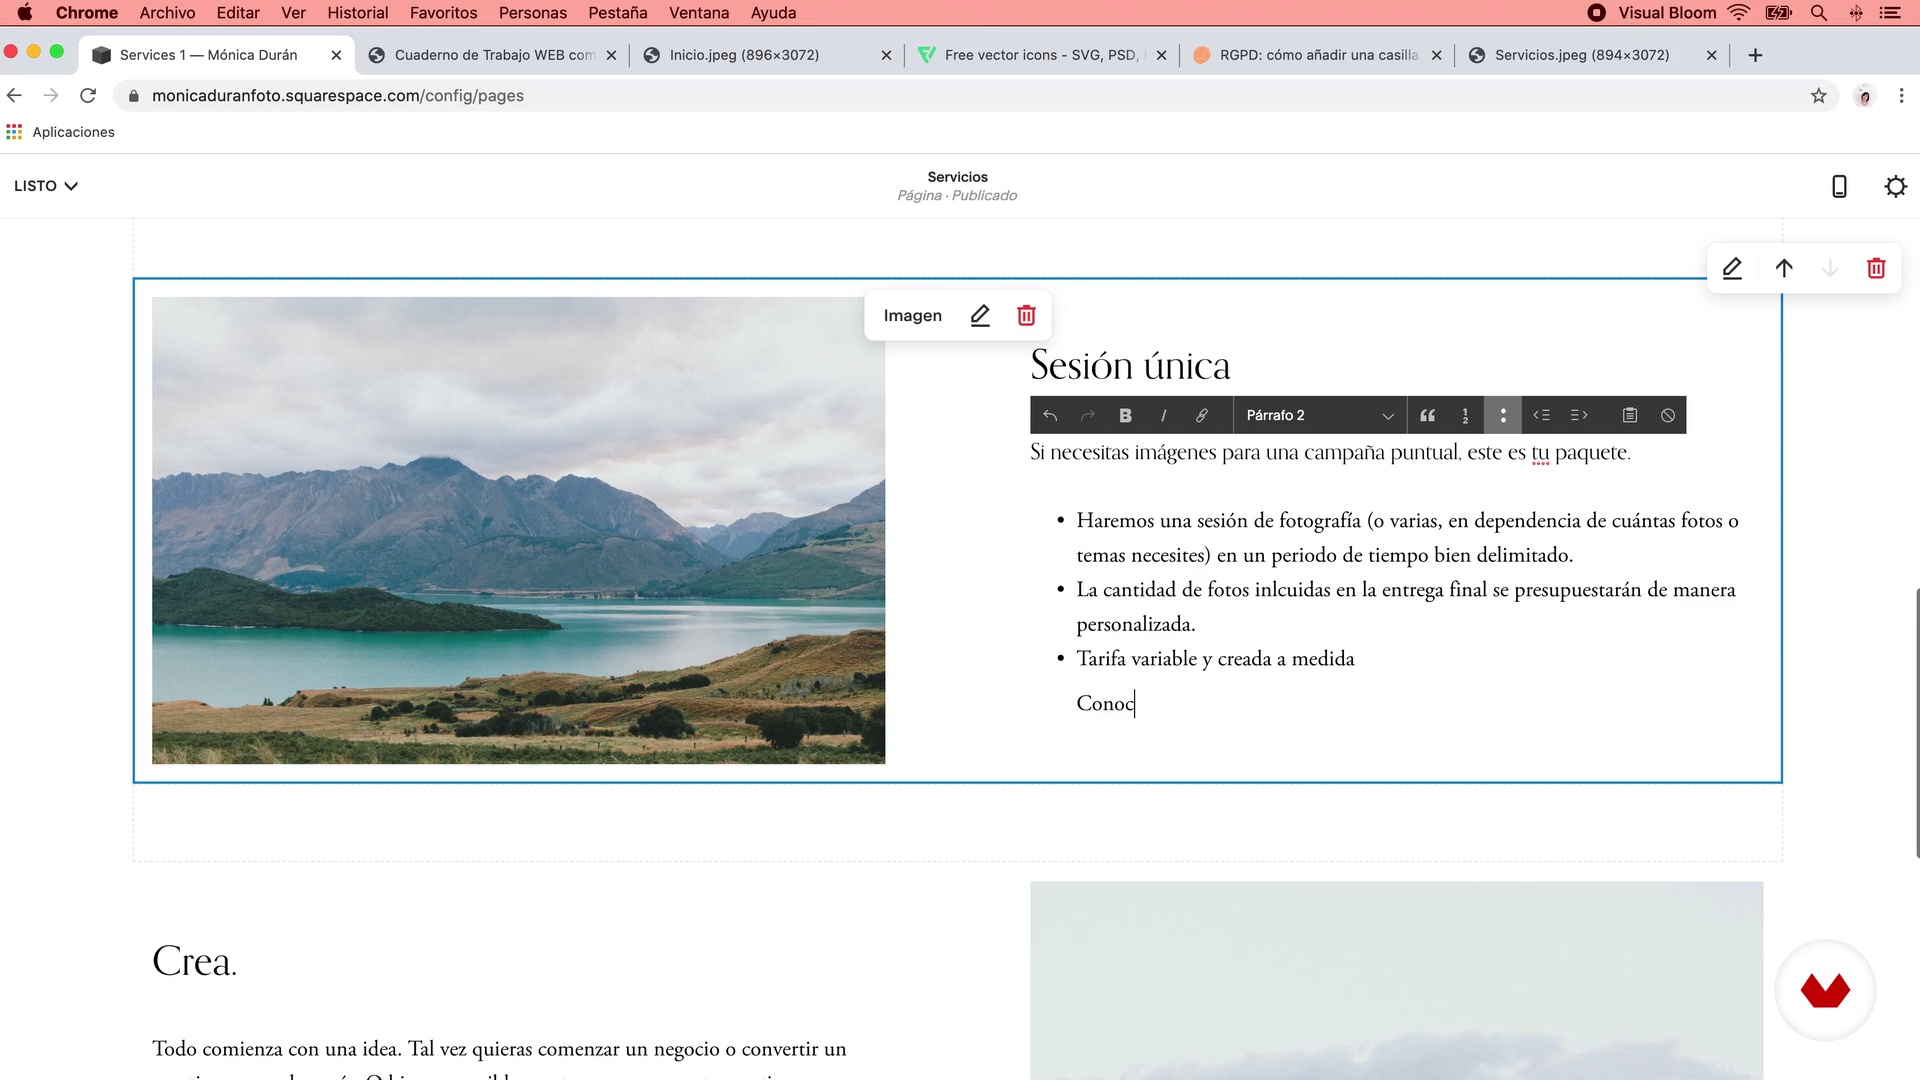
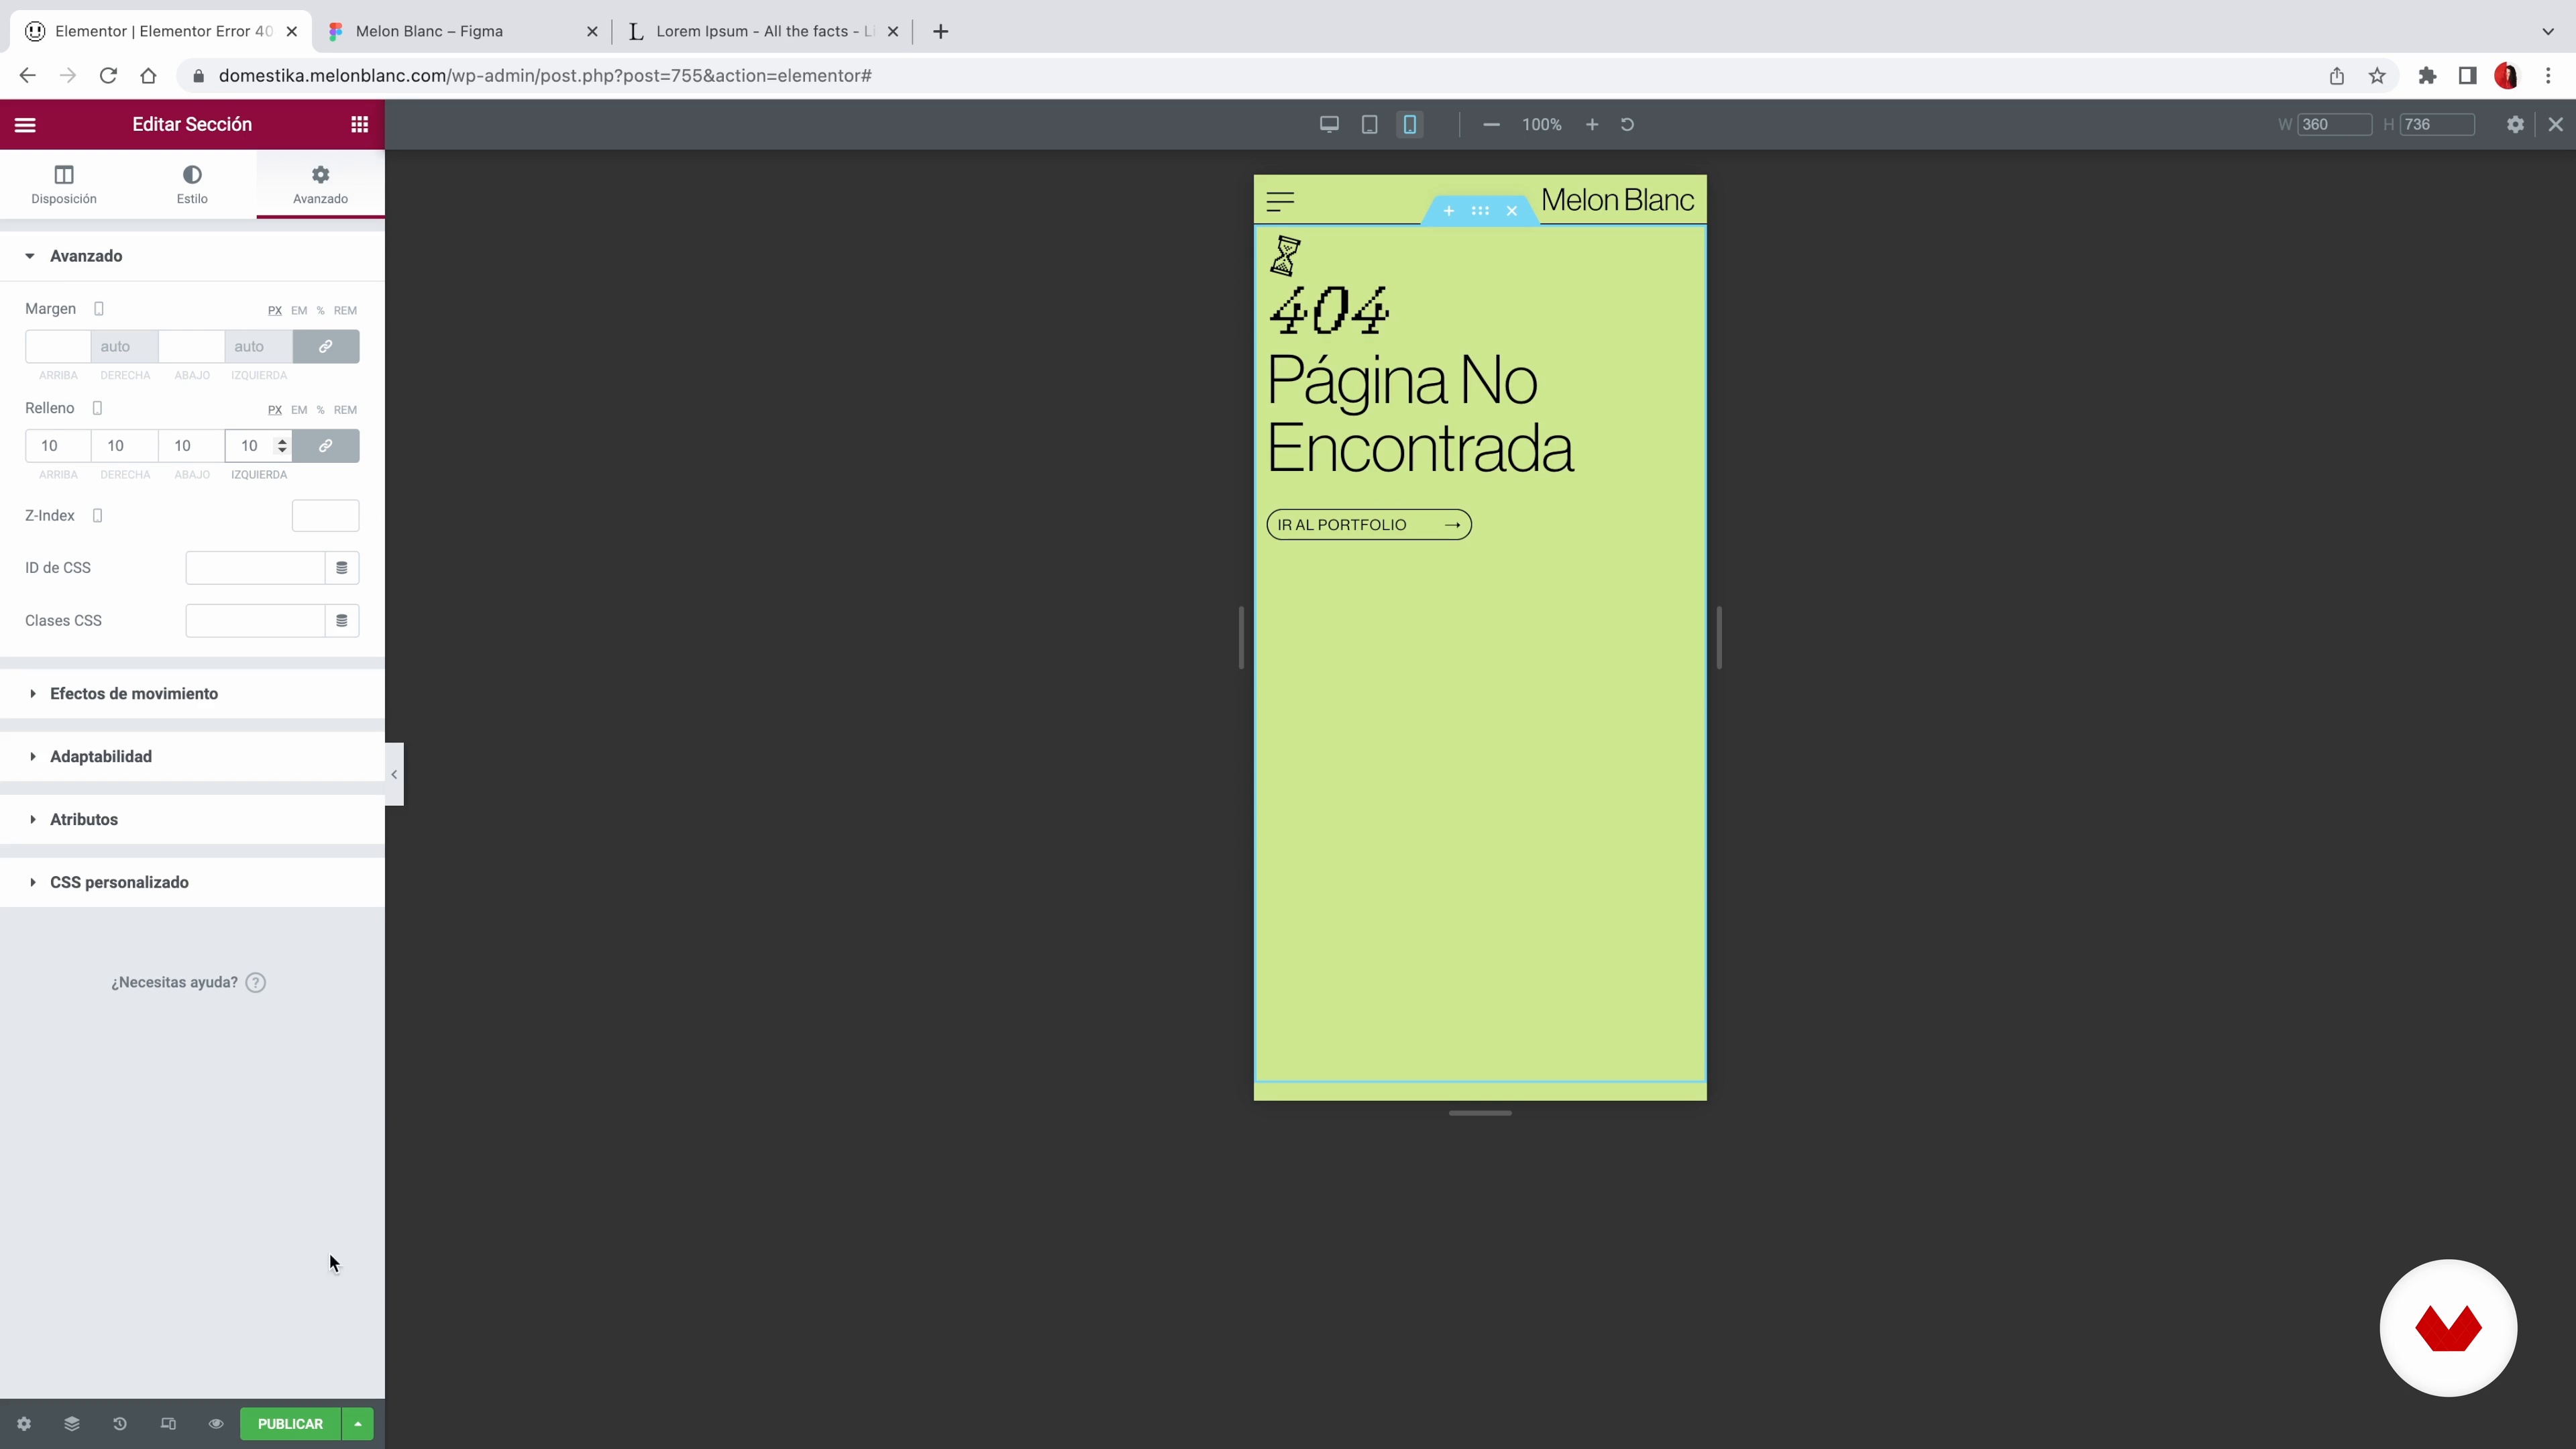
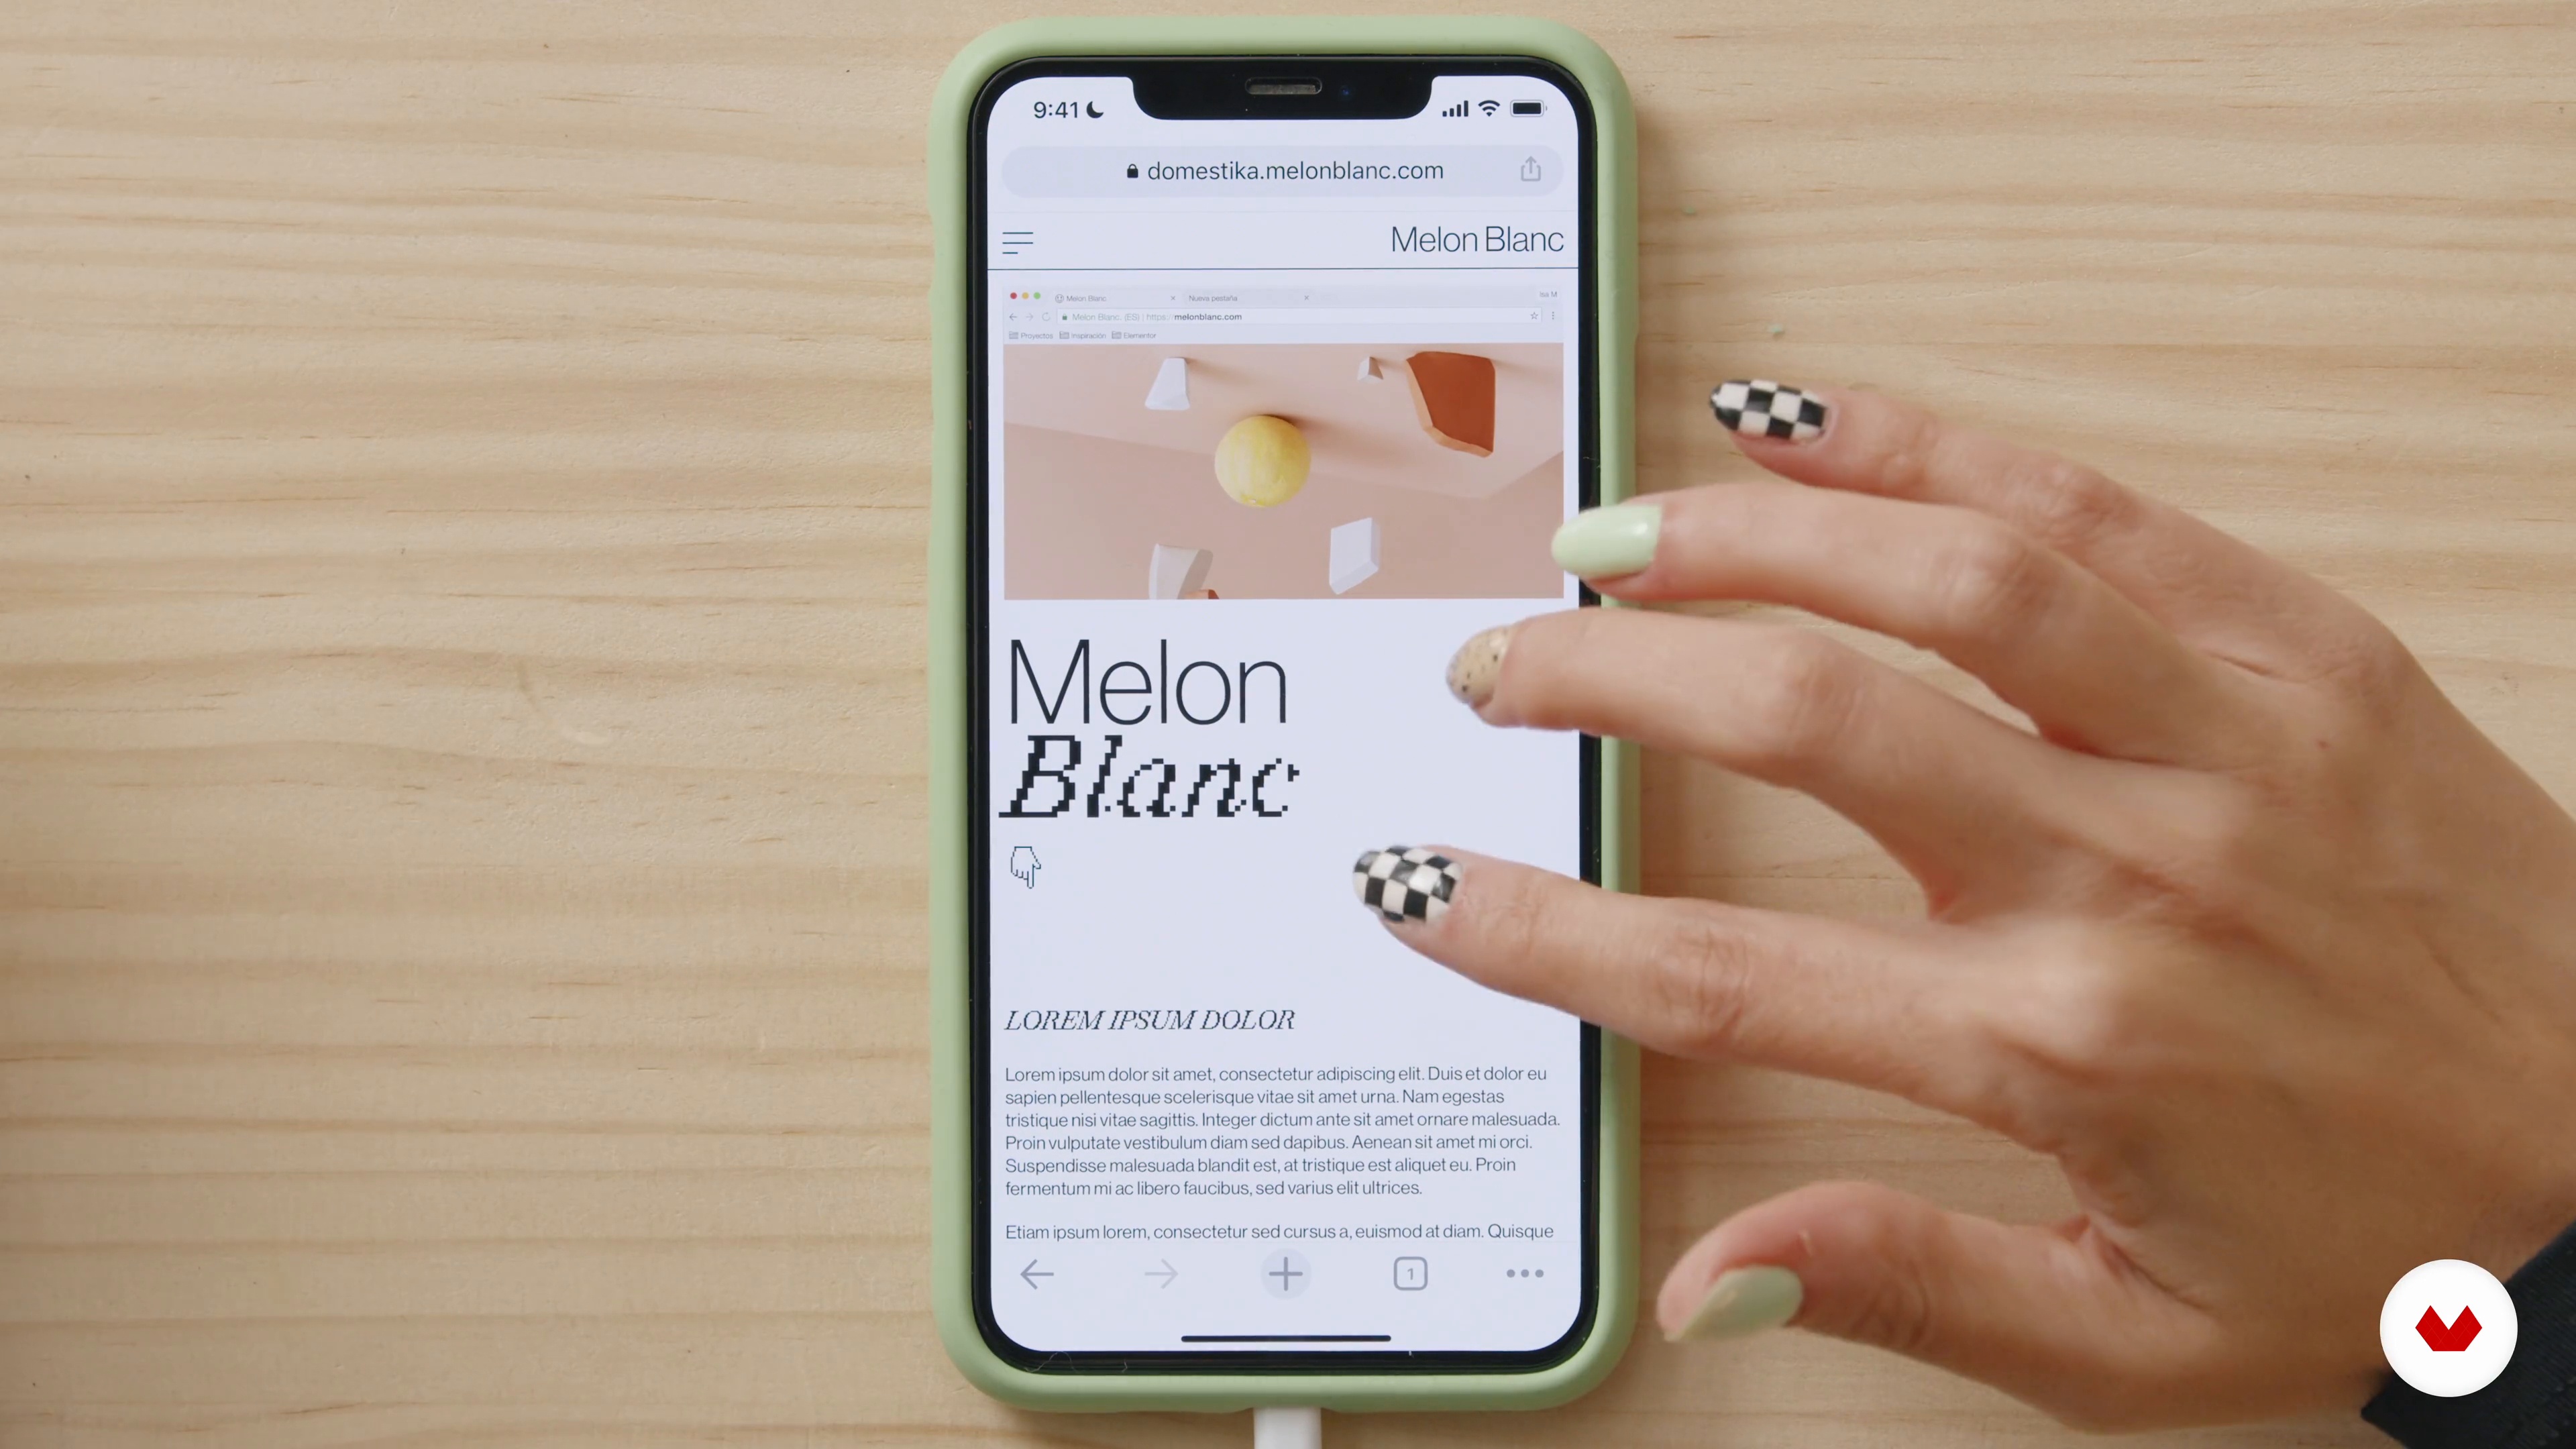
Create a landing page that tells a unique brand story and optimizes user conversion through visual storytelling. Participants will research and design a cohesive narrative, utilizing Figma to gather elements and bring the landing page to life.
Who is this specialization for?
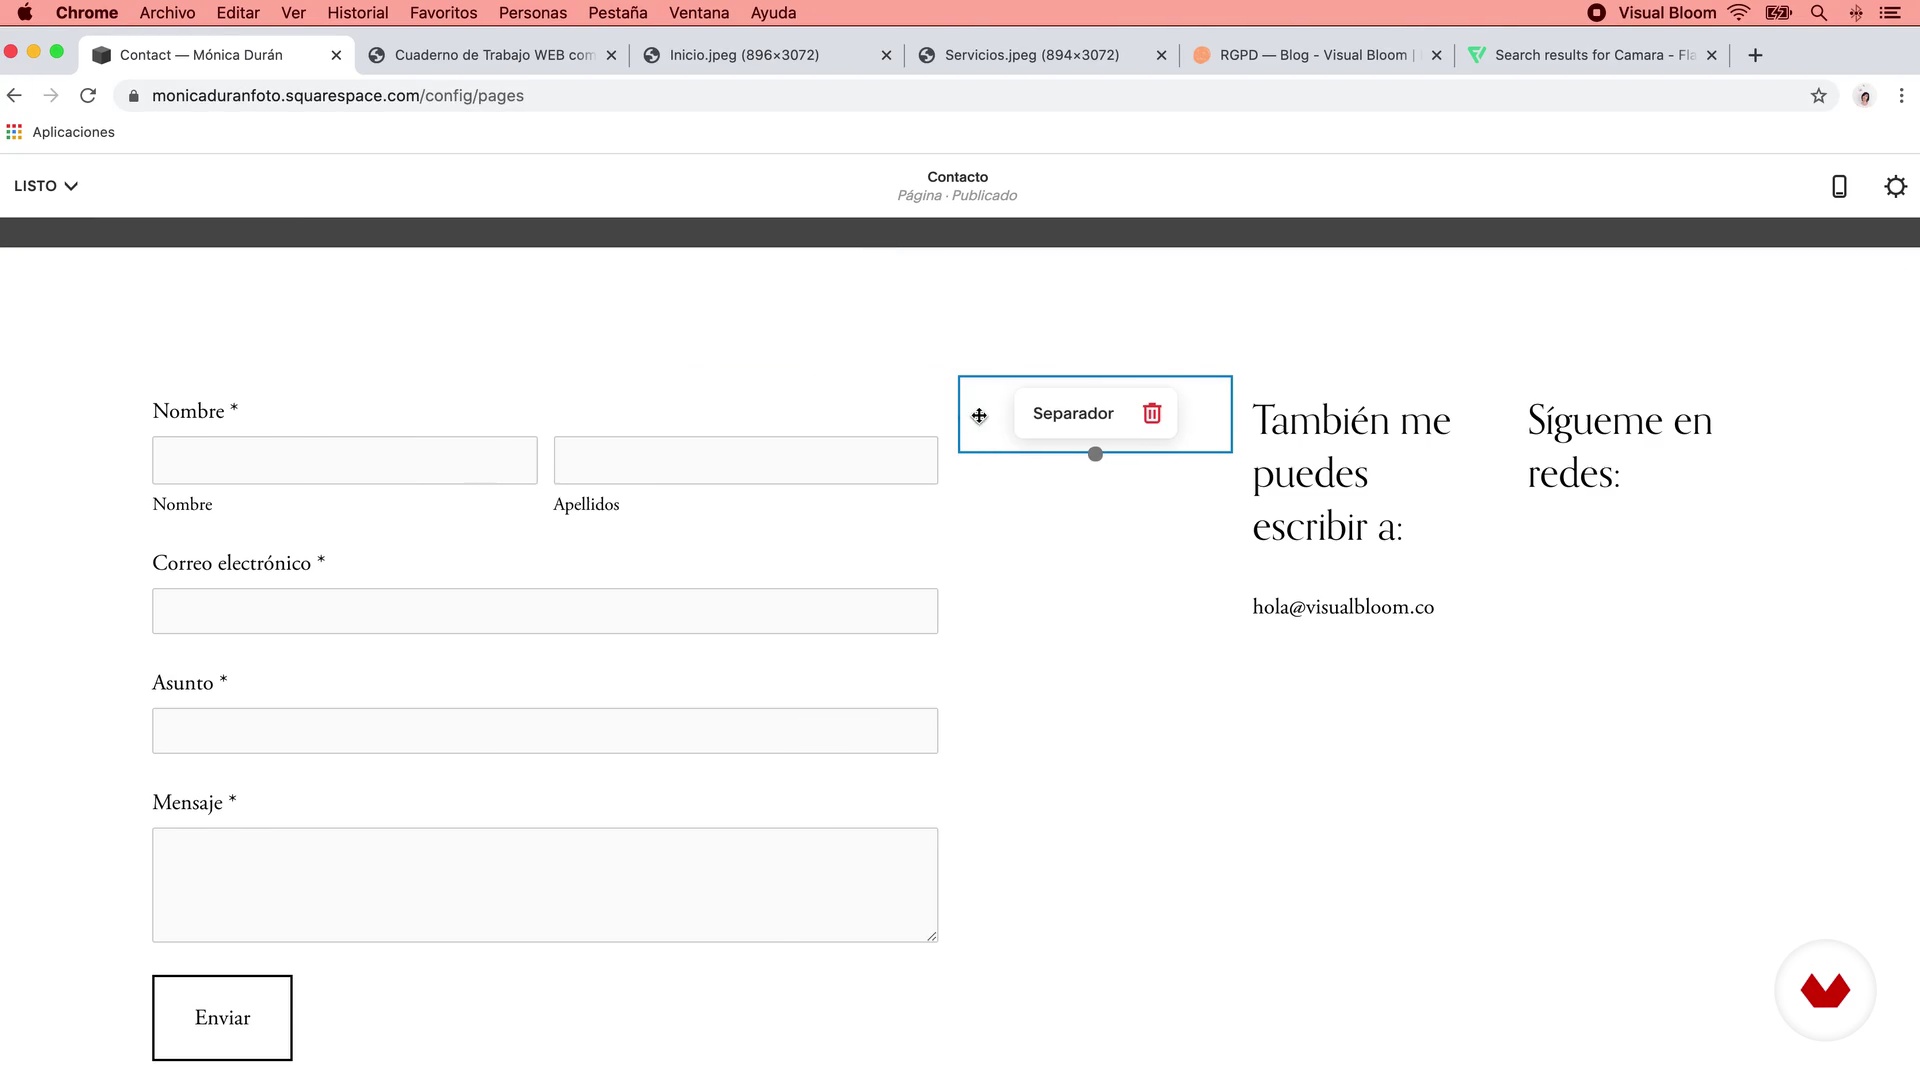
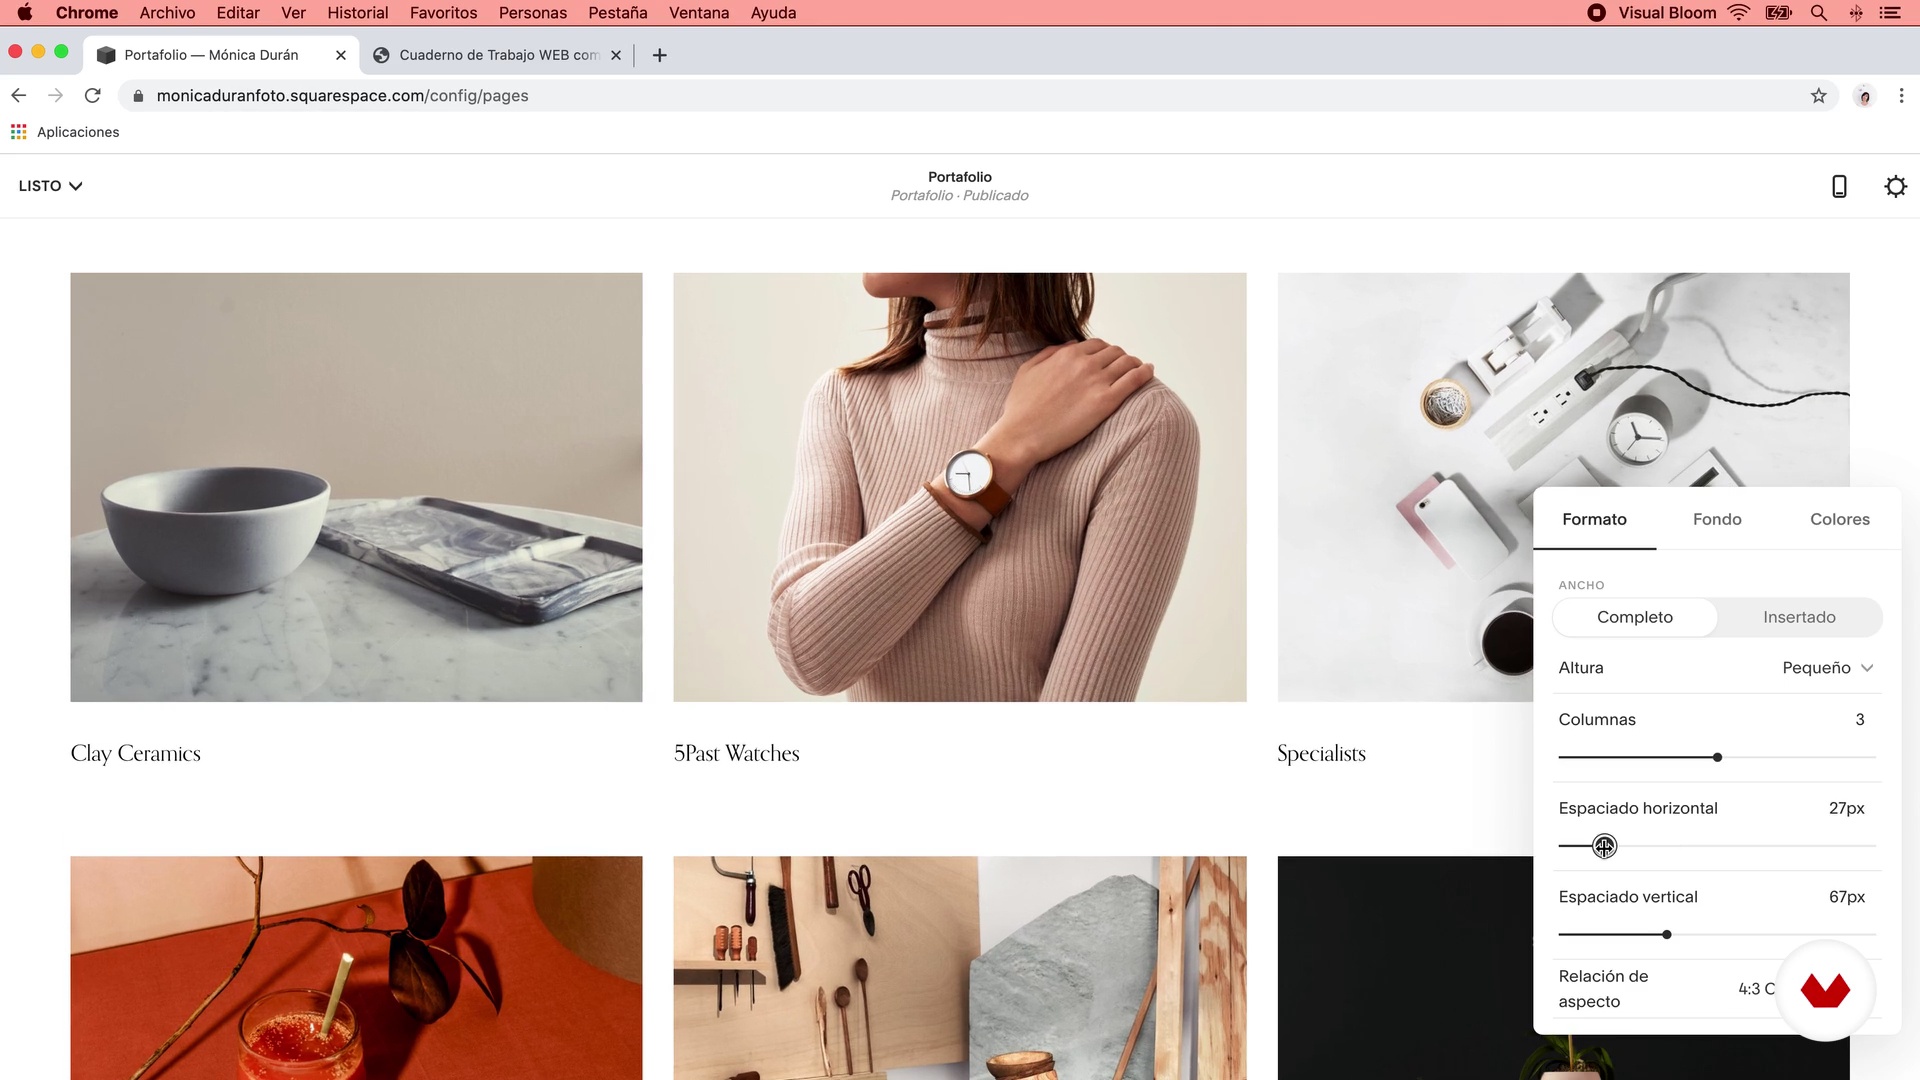
This online course is ideal for designers and entrepreneurs eager to create professional websites without programming knowledge. Perfect for those wanting to master no-code tools and methodologies to develop impactful digital experiences and enhance their web design skills.
Requirements and materials
No extensive prior knowledge is required, but familiarity with digital tools enhances the experience. Access to a computer, internet connection, and basic understanding of design concepts like UX/UI and design systems are beneficial. Enthusiasm for web design is a plus.


Reviews
What to expect from this specialization course
-
Learn at your own pace
Enjoy learning from home without a set schedule and with an easy-to-follow method. You set your own pace.
-
Learn from the best professionals
Learn valuable methods and techniques explained by top experts in the creative sector.
-
Meet expert teachers
Each expert teaches what they do best, with clear guidelines, true passion, and professional insight in every lesson.
-
Certificates
PlusIf you're a Plus member, get a custom certificate for every specialization course. Share it on your portfolio, social media, or wherever you like.
-
Get front-row seats
Videos of the highest quality, so you don't miss a single detail. With unlimited access, you can watch them as many times as you need to perfect your technique.
-
Share knowledge and ideas
Ask questions, request feedback, or offer solutions. Share your learning experience with other students in the community who are as passionate about creativity as you are.
-
Connect with a global creative community
The community is home to millions of people from around the world who are curious and passionate about exploring and expressing their creativity.
-
Watch professionally produced courses
Domestika curates its teacher roster and produces every course in-house to ensure a high-quality online learning experience.
FAQs
Yes, this course is designed for intermediate-level designers who want to deepen their skills in Webflow, Figma, and modern web design techniques, including responsive layouts, animation, and workflow automation.
You’ll need access to Webflow, Figma, and a web browser like Chrome. Familiarity with basic web design concepts will help you get the most from the course.
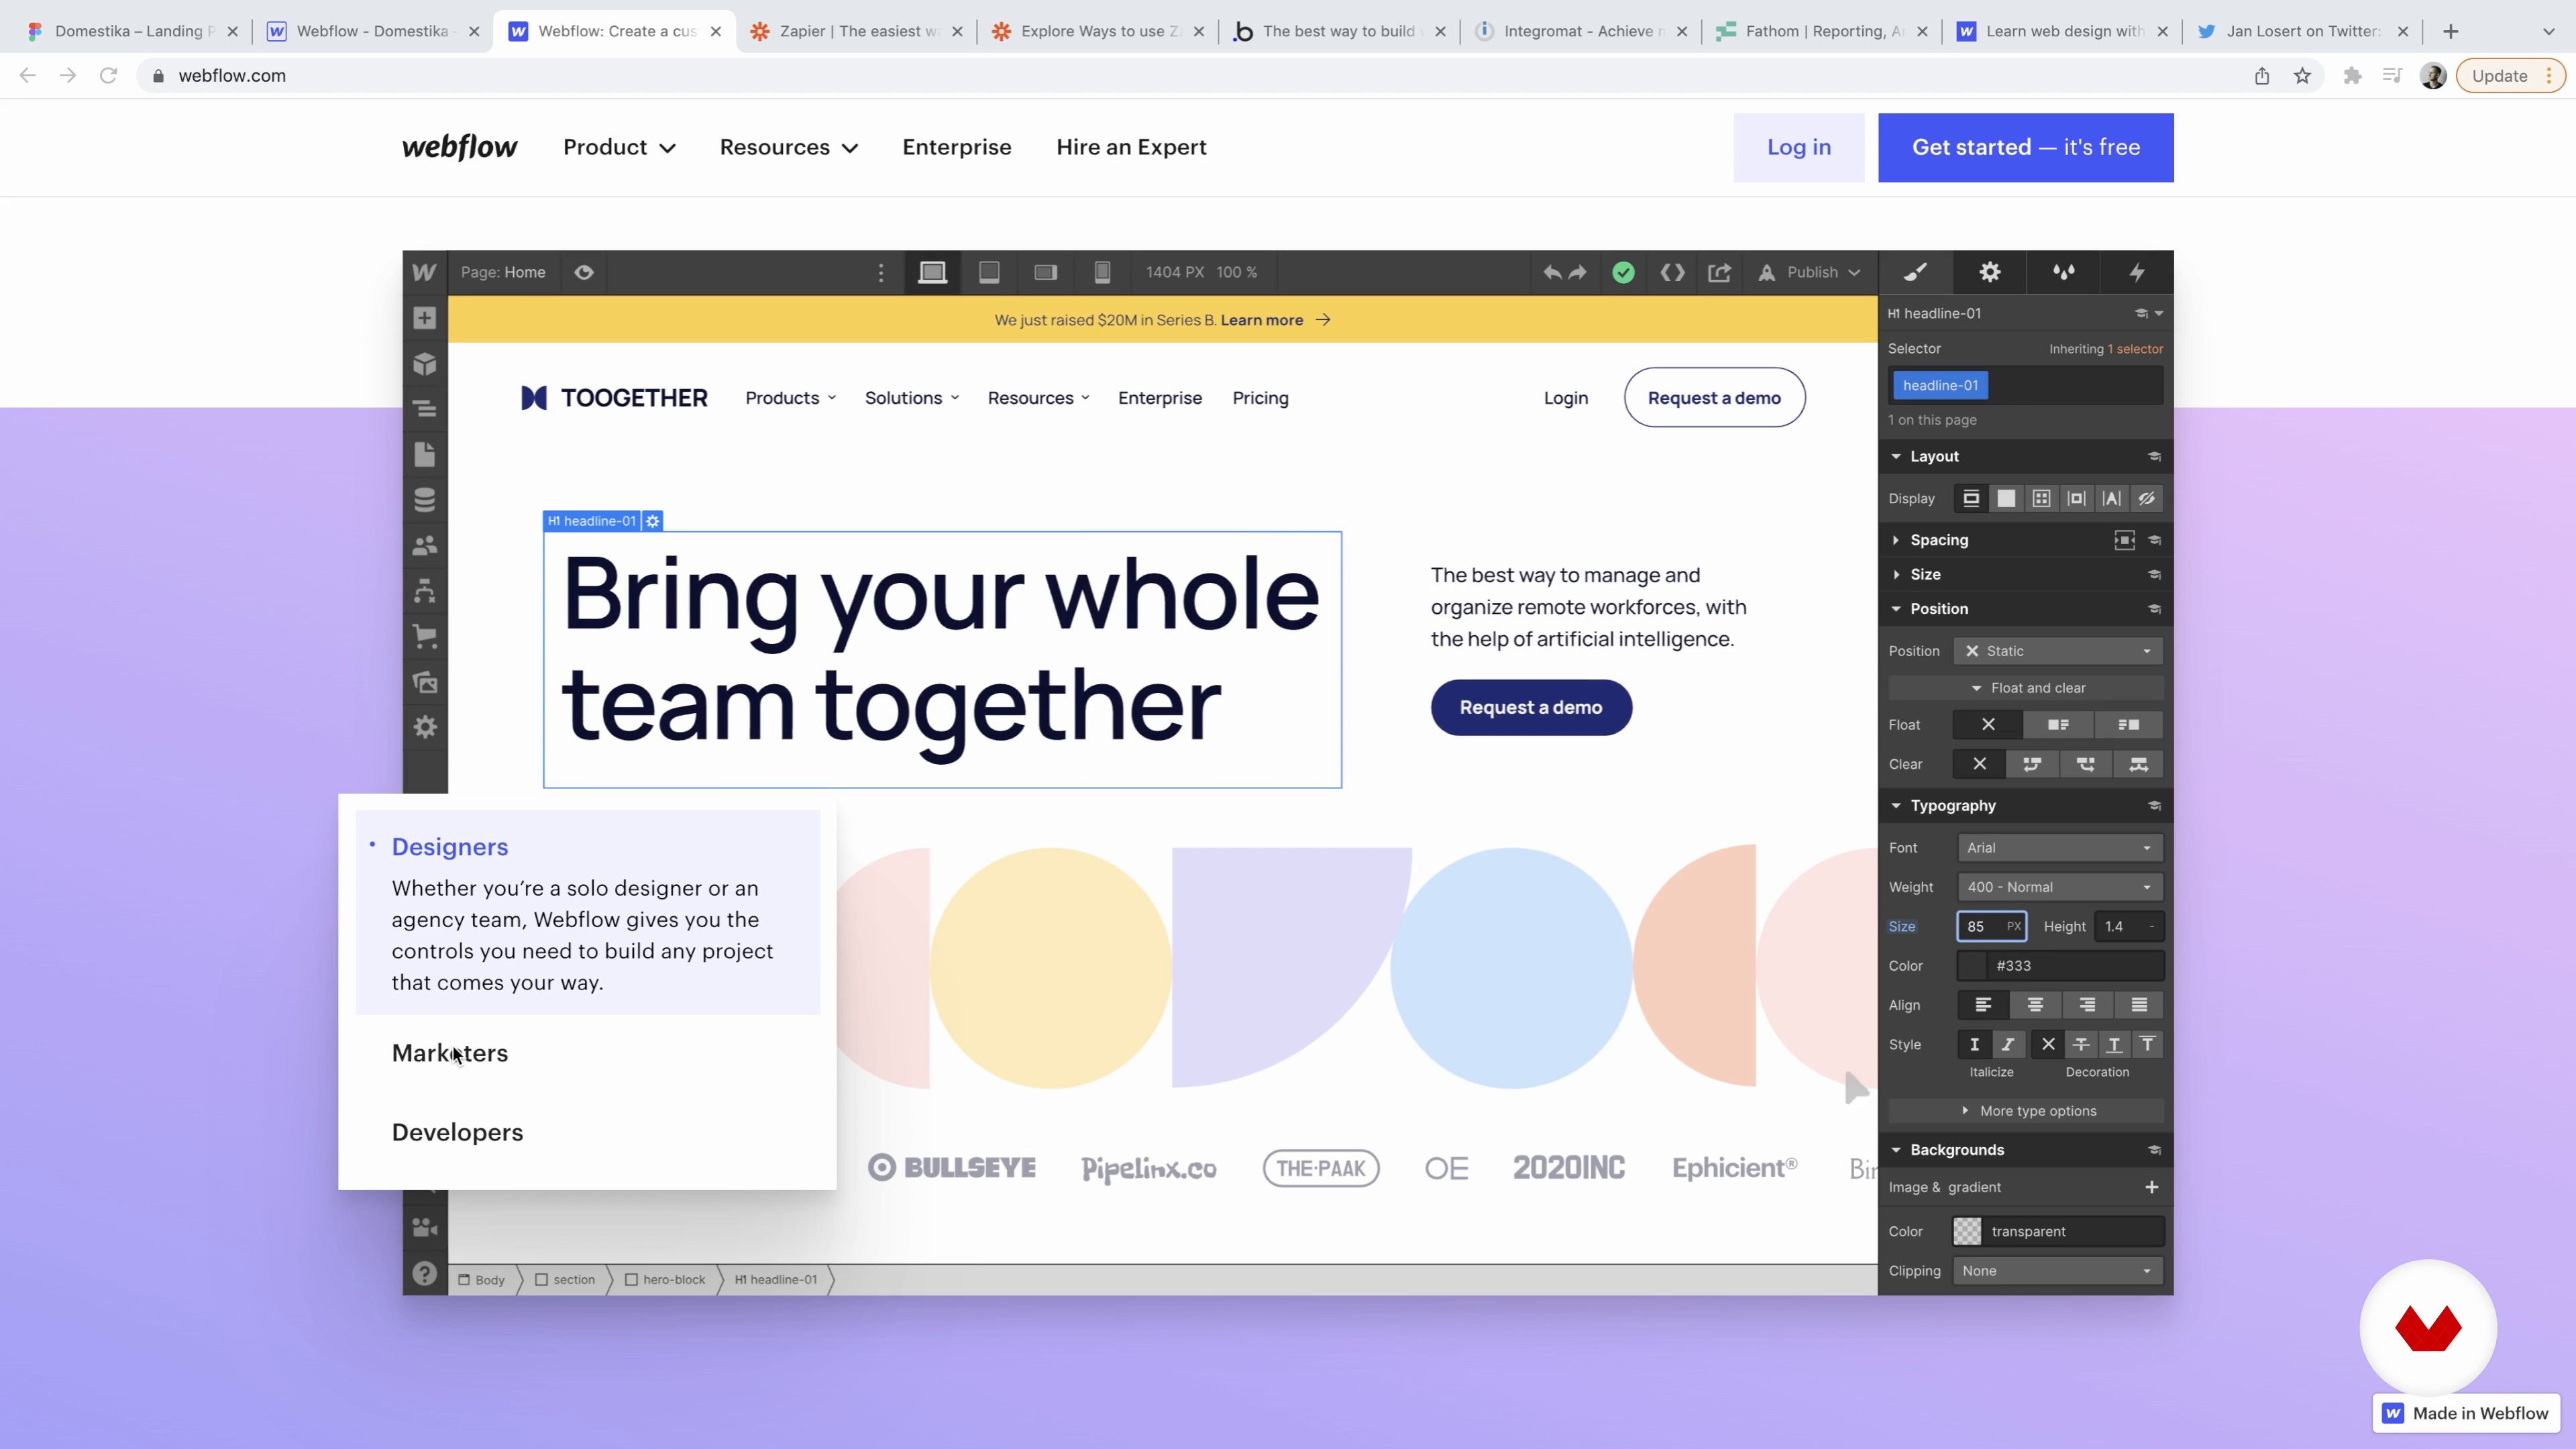
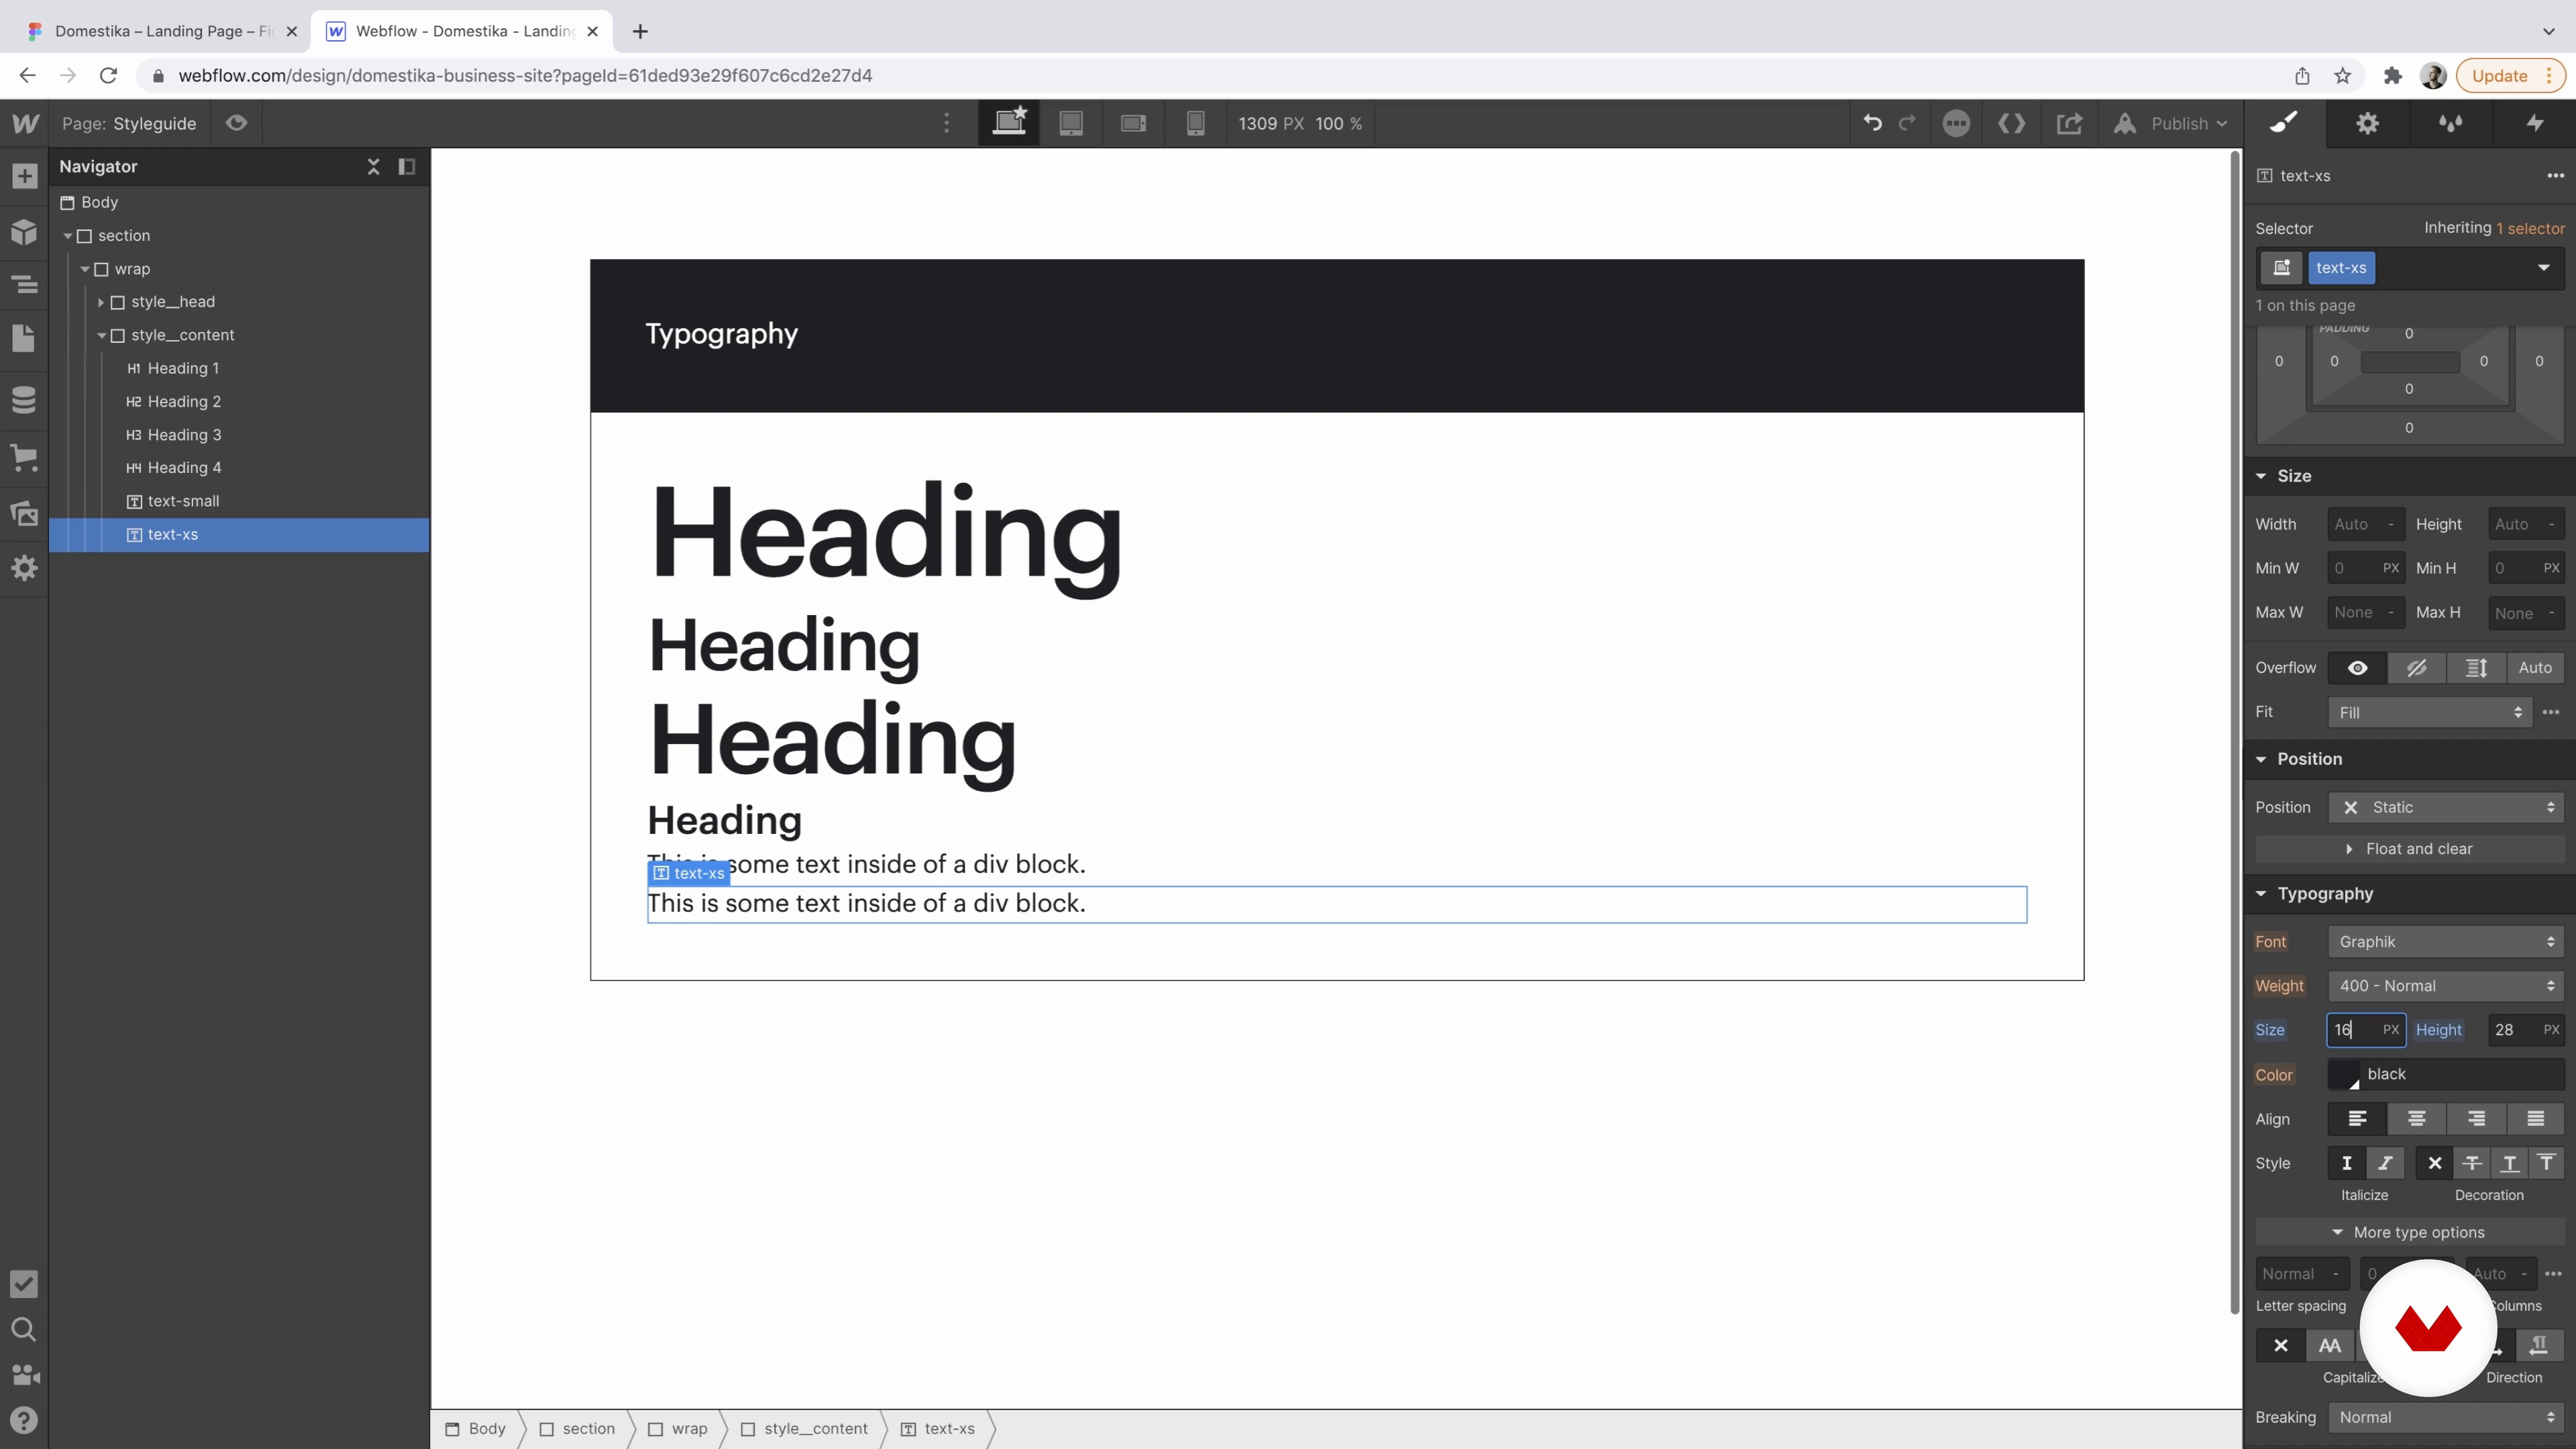
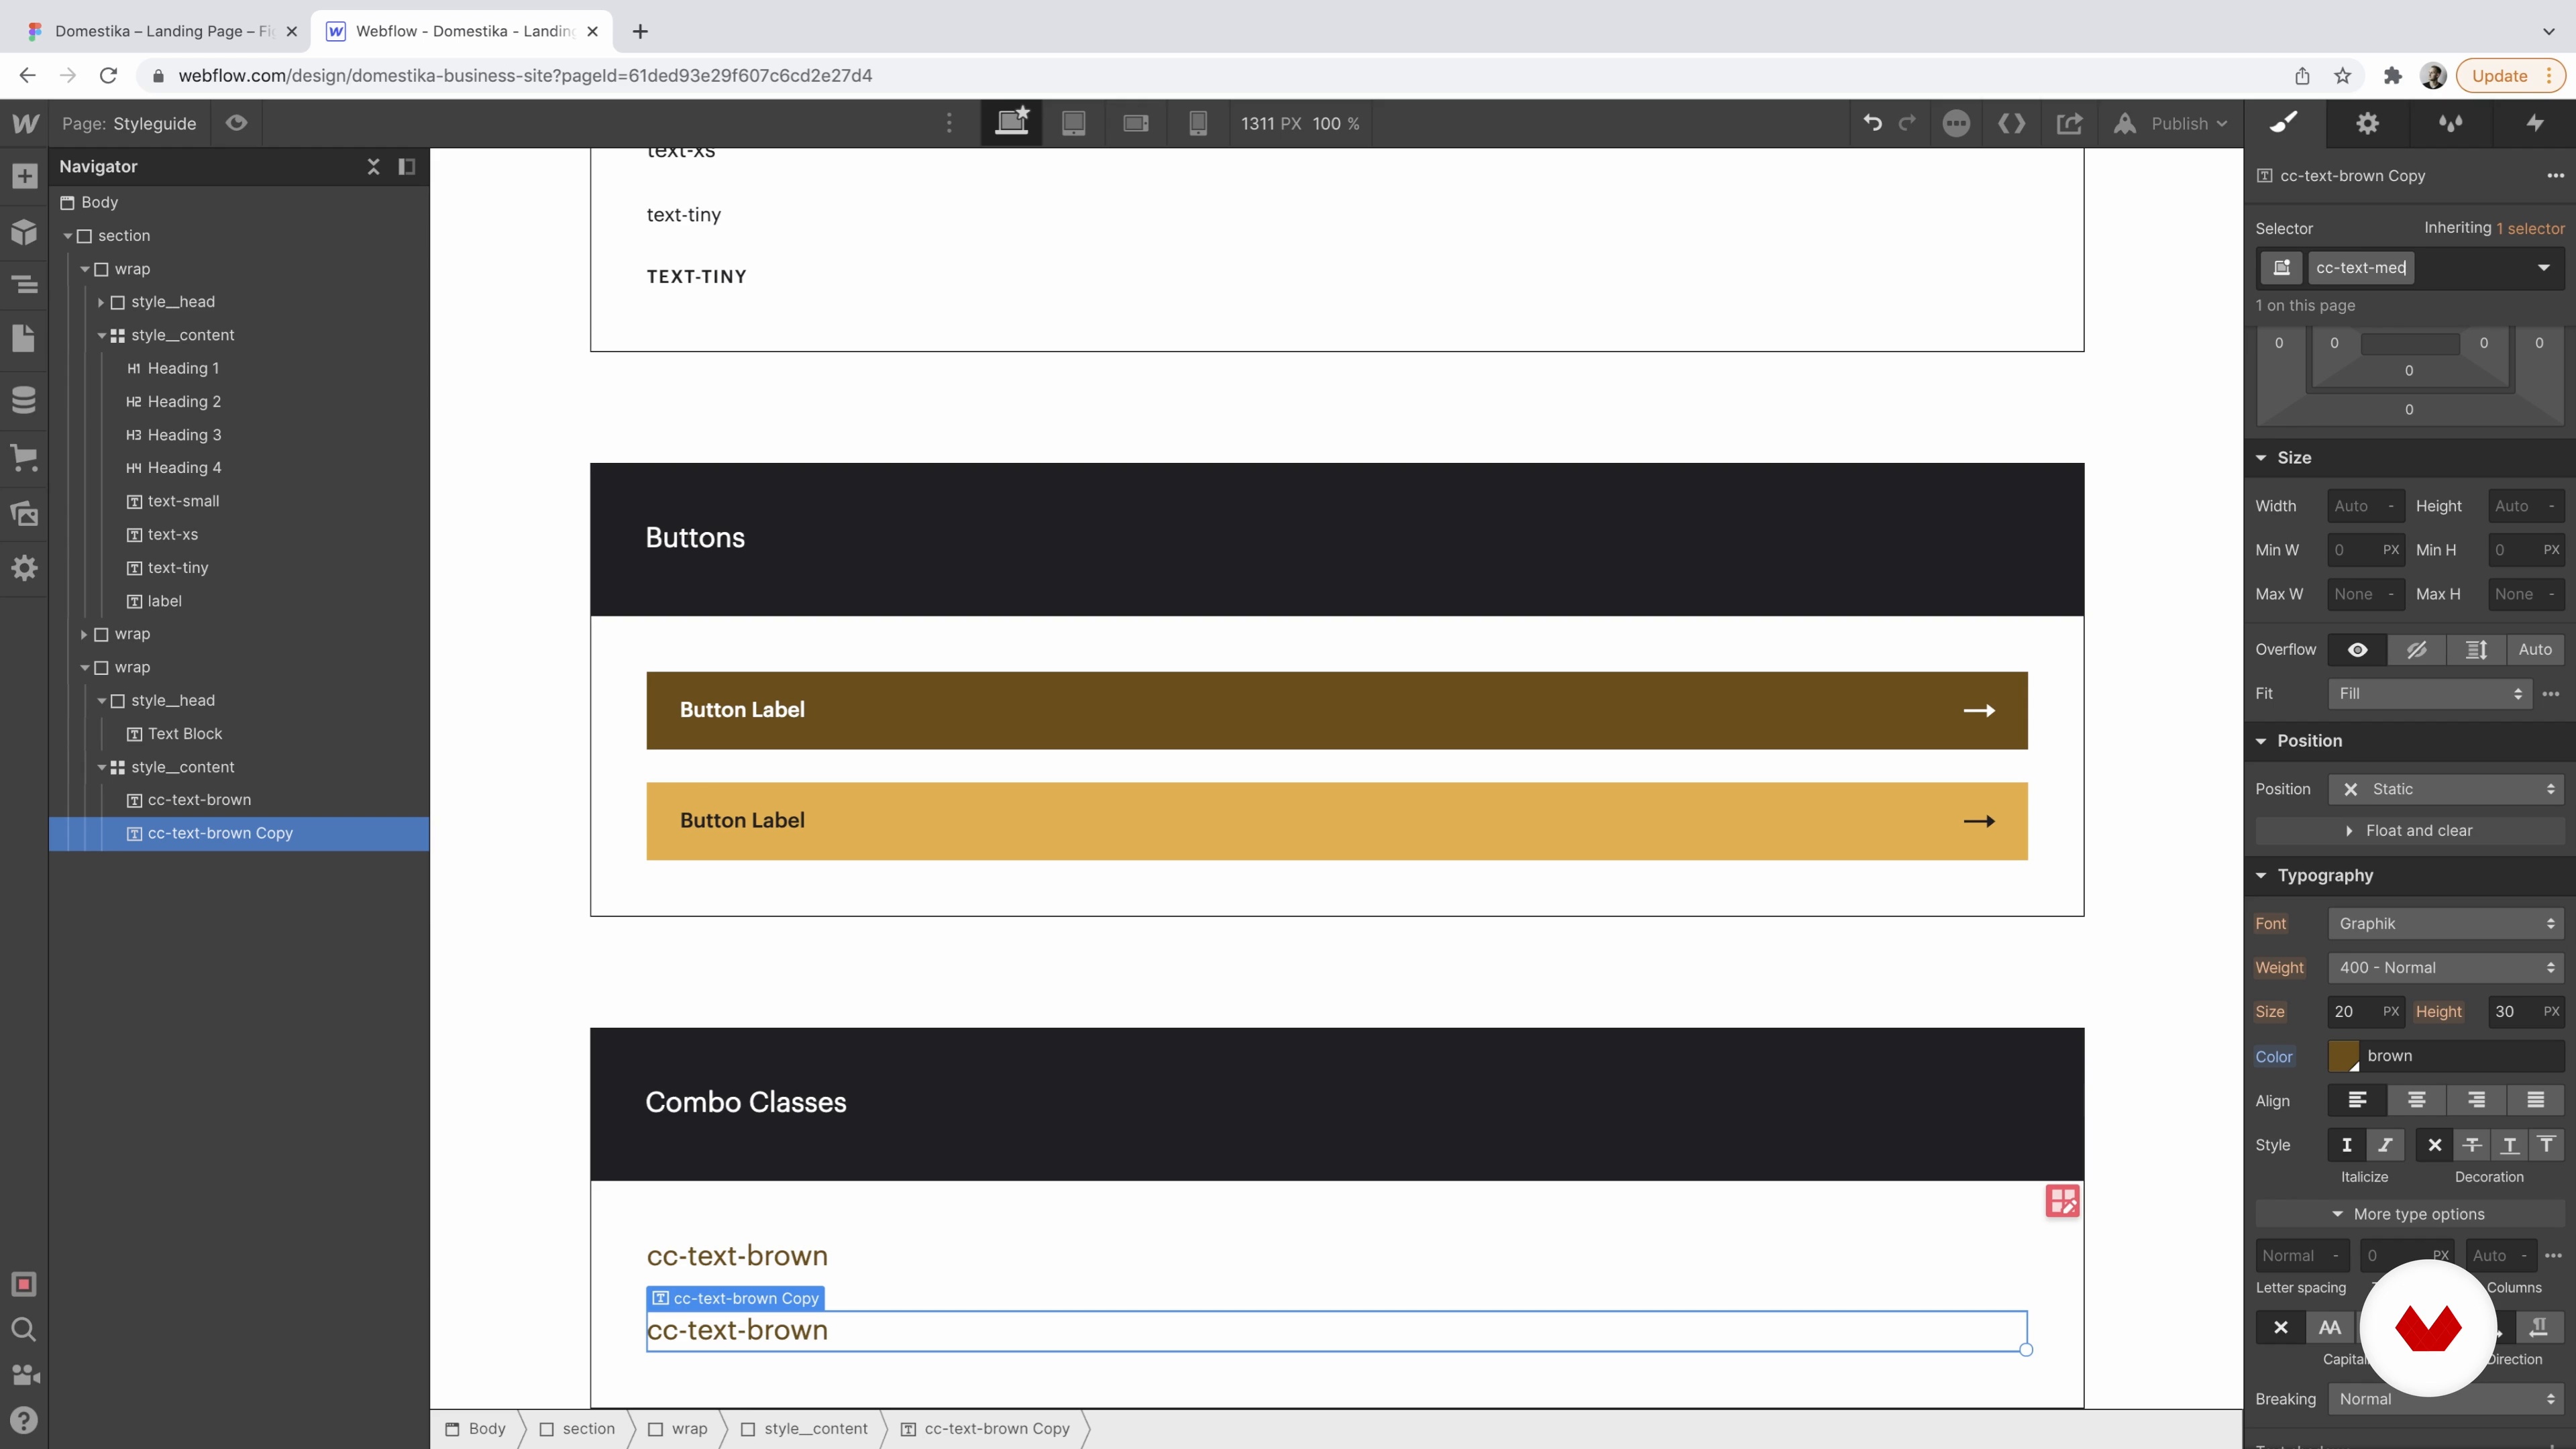
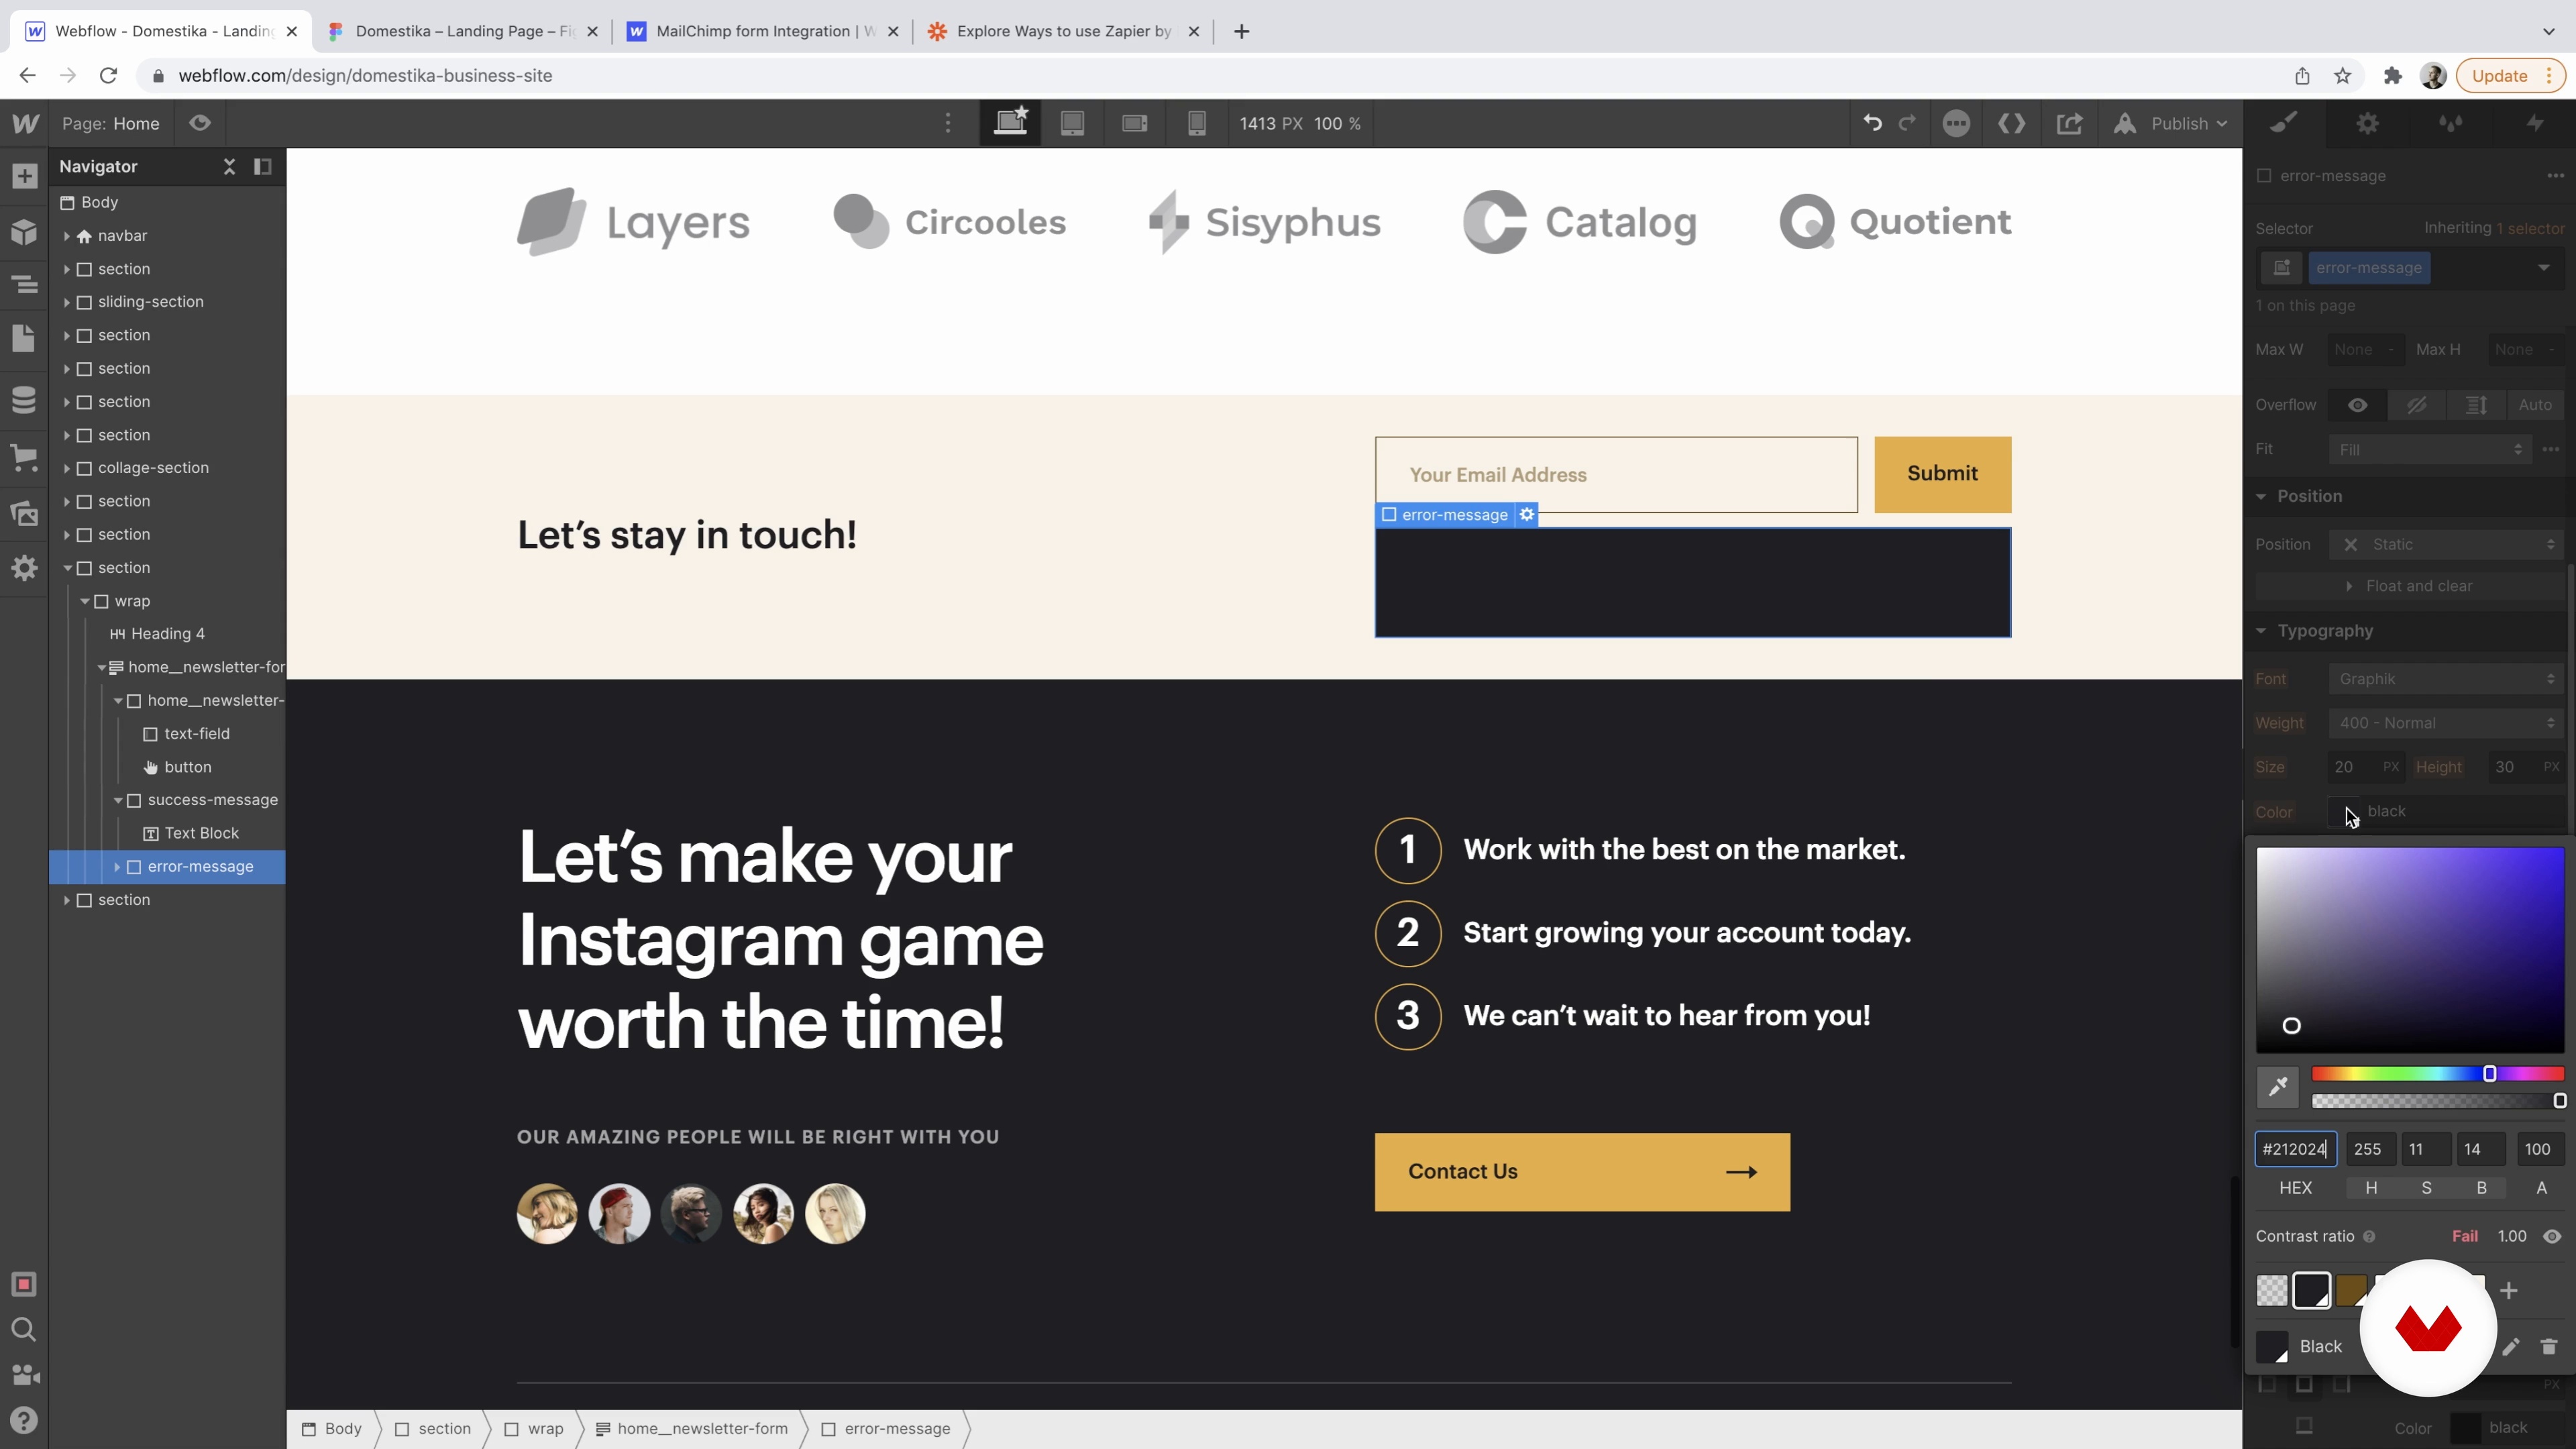
You’ll learn advanced color, typography, and gradient techniques, how to structure responsive layouts, animate web elements, automate workflows, and build scalable design systems using Webflow and Figma.
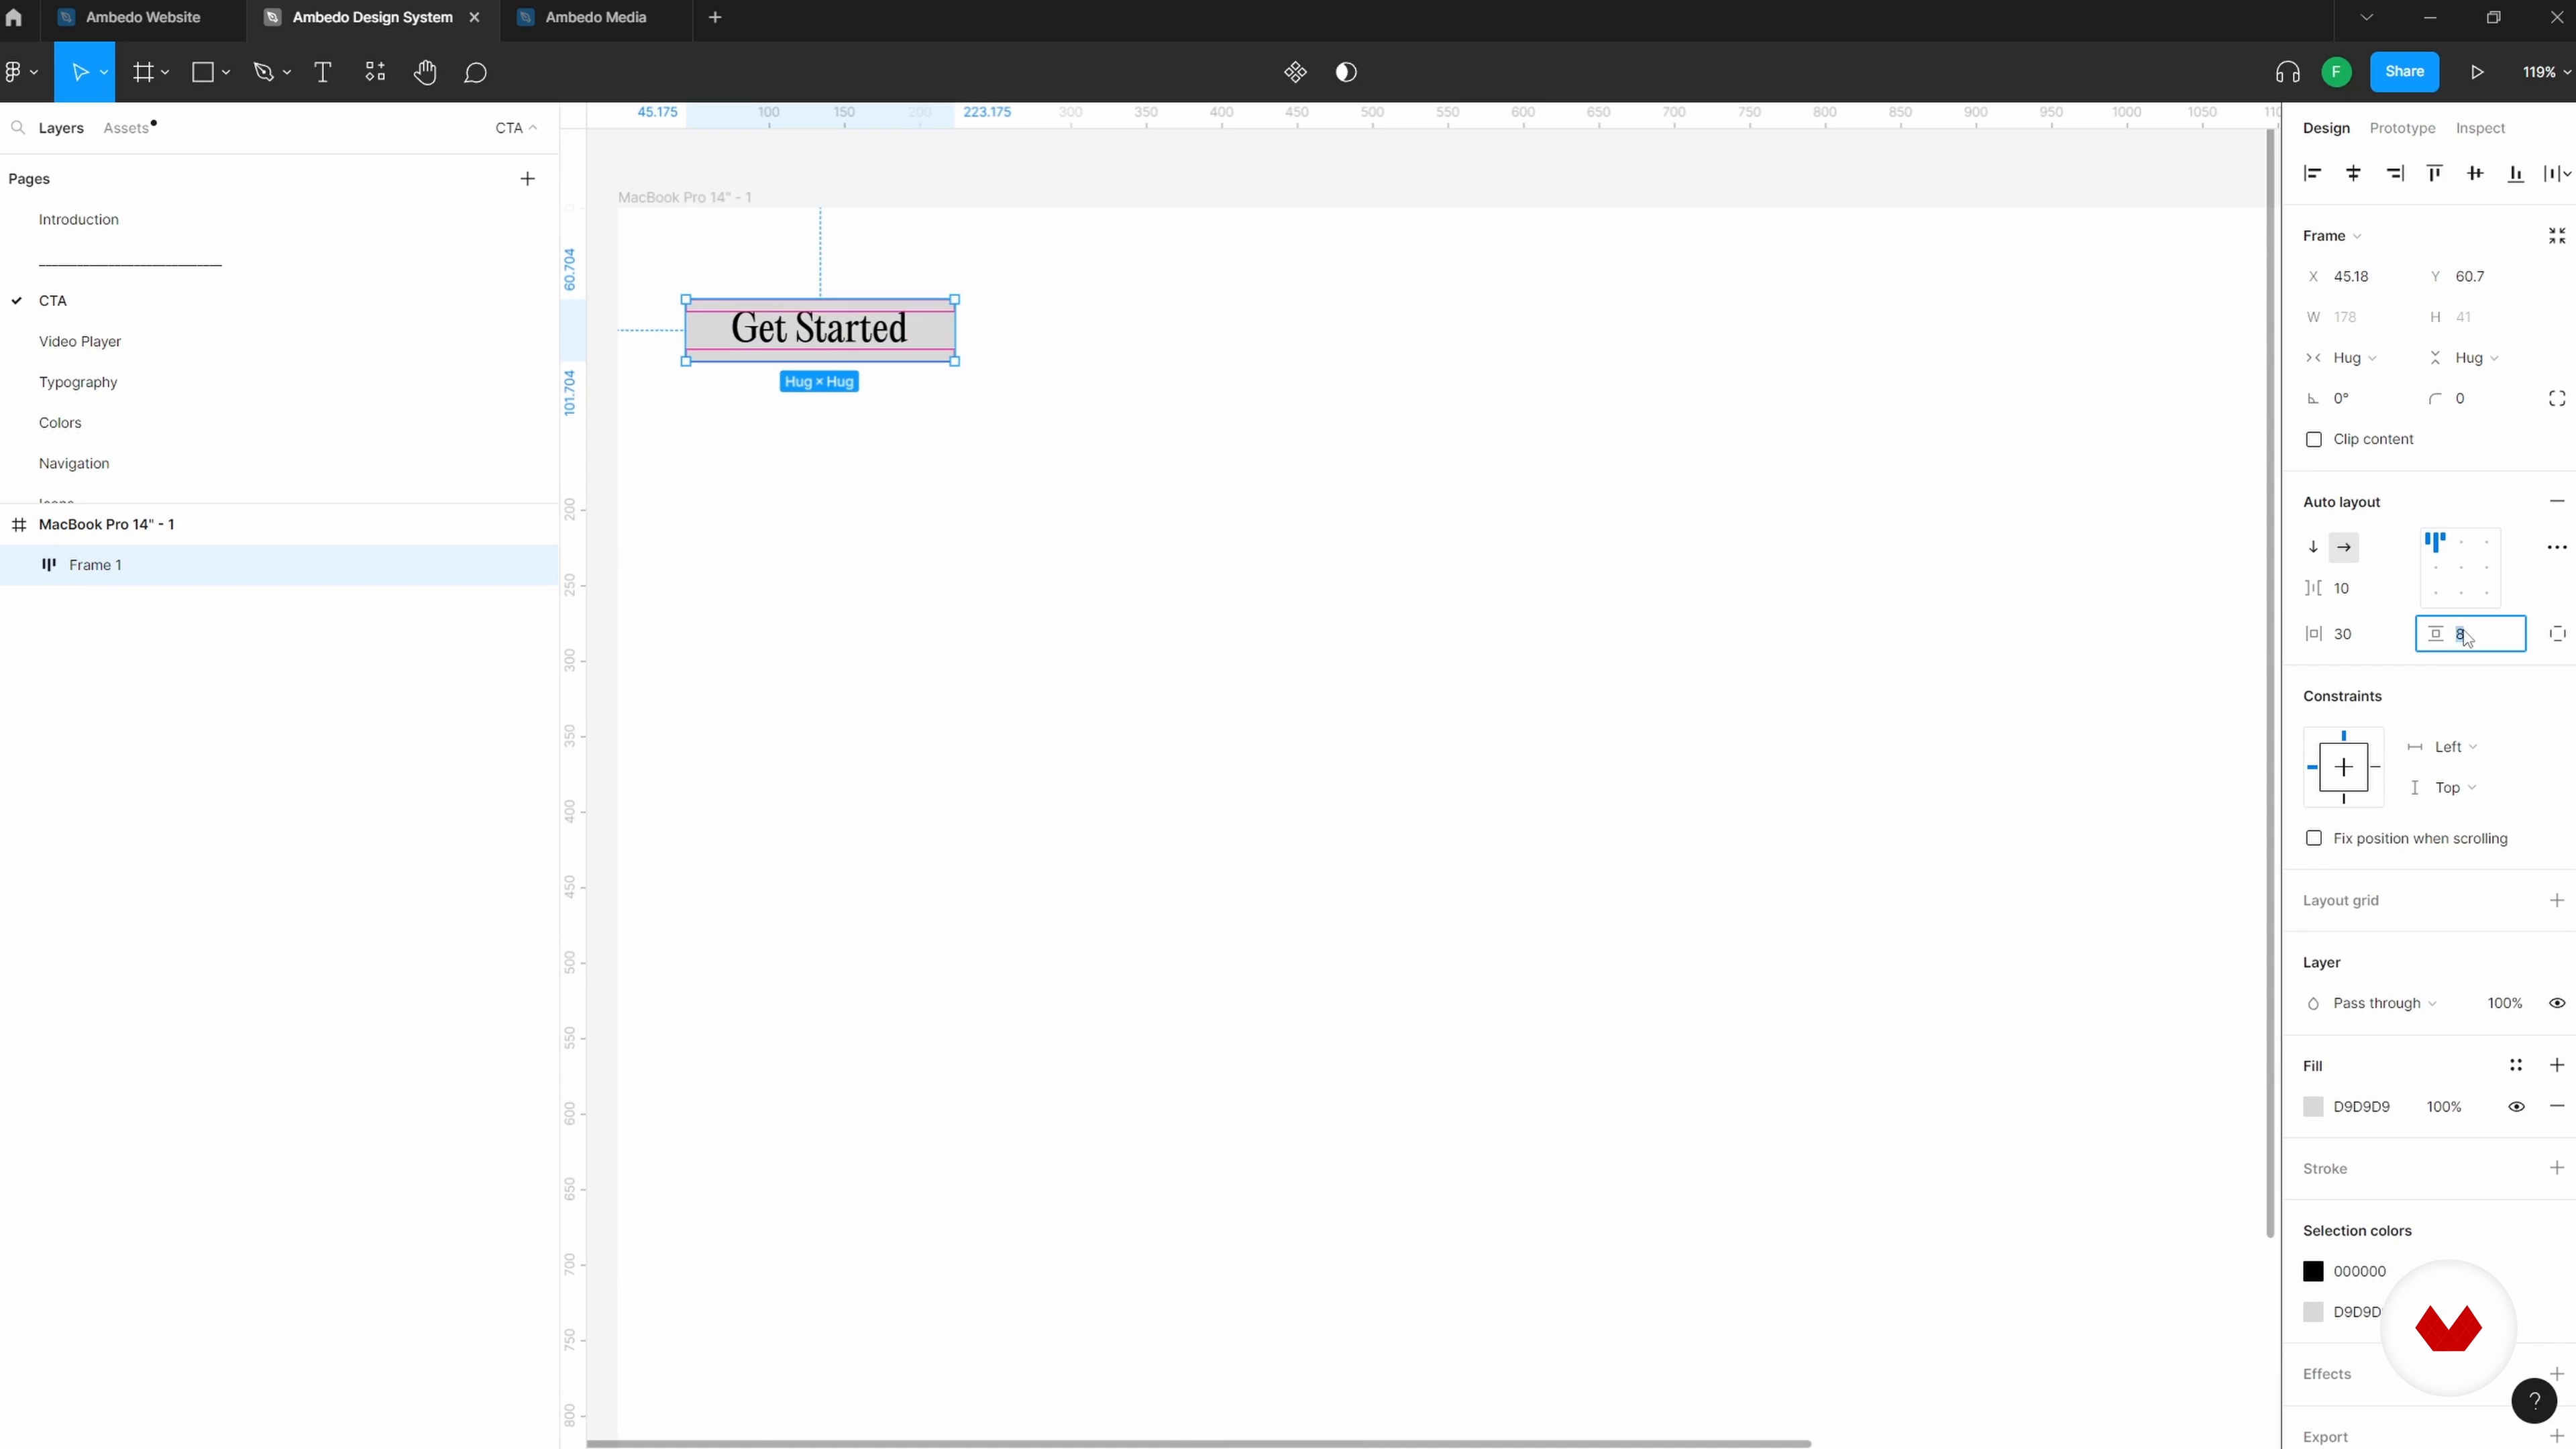
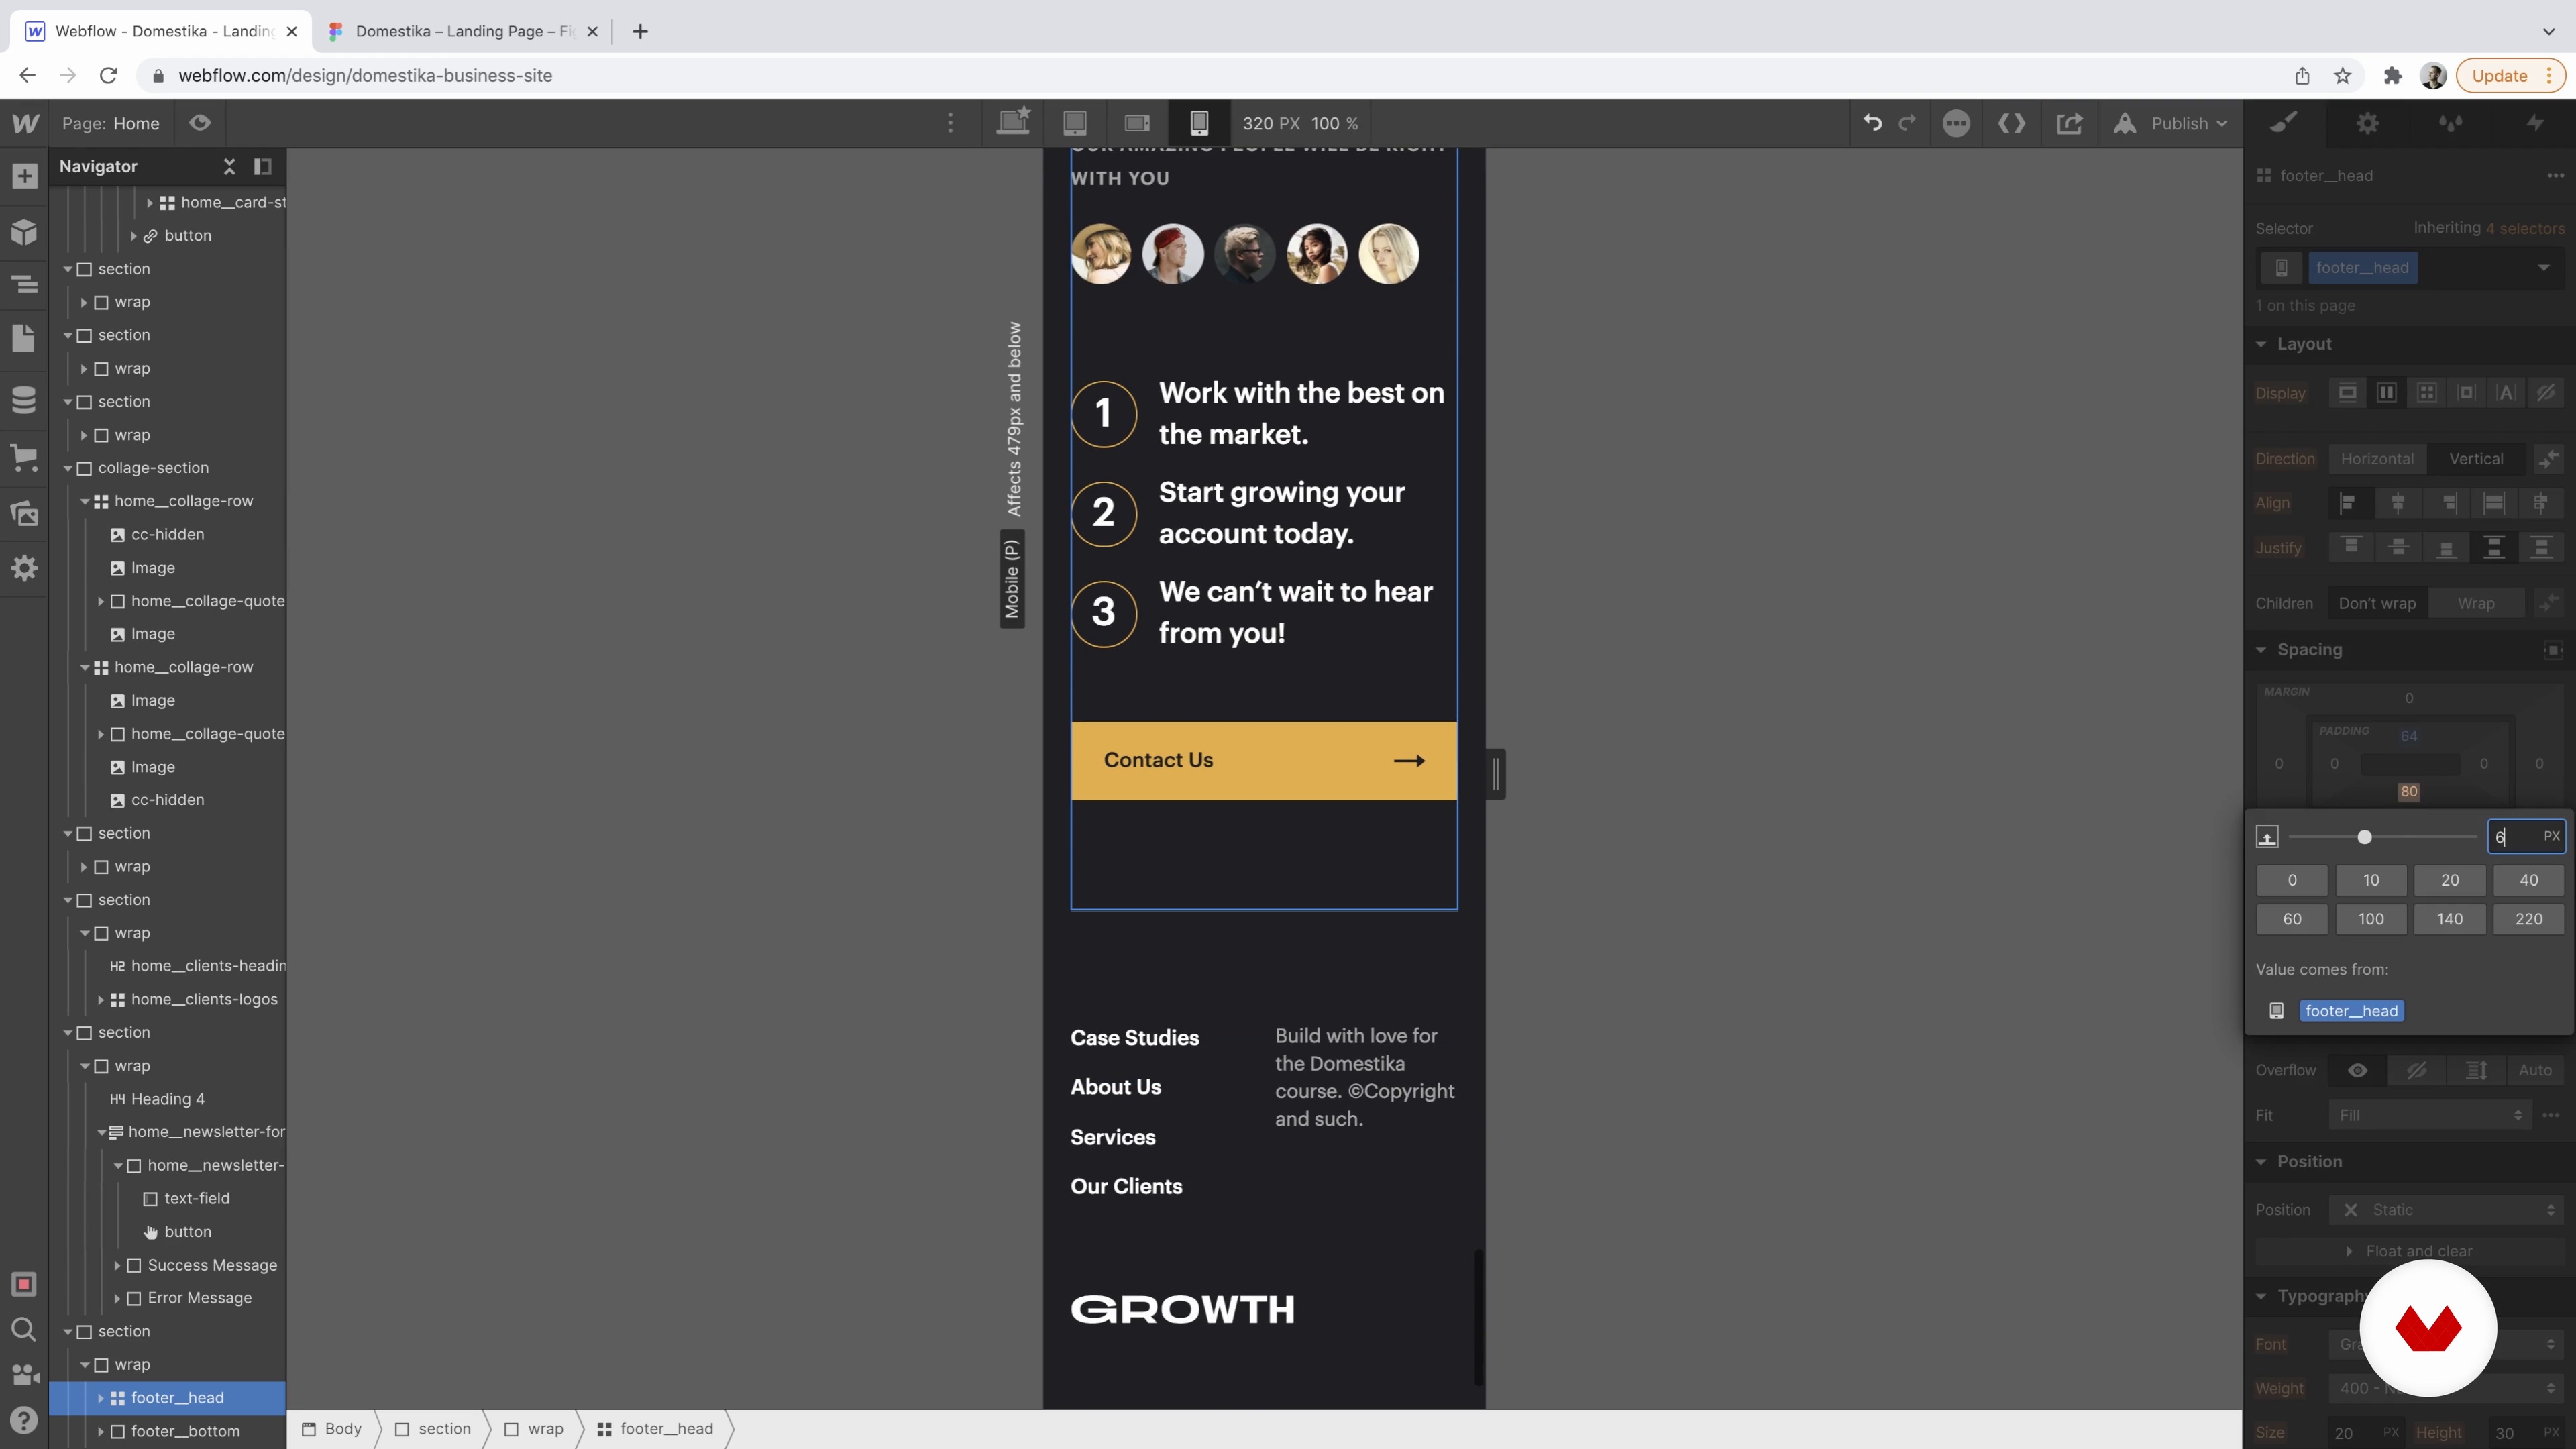
Yes, the course includes step-by-step guidance on translating Figma layouts into fully responsive Webflow websites.
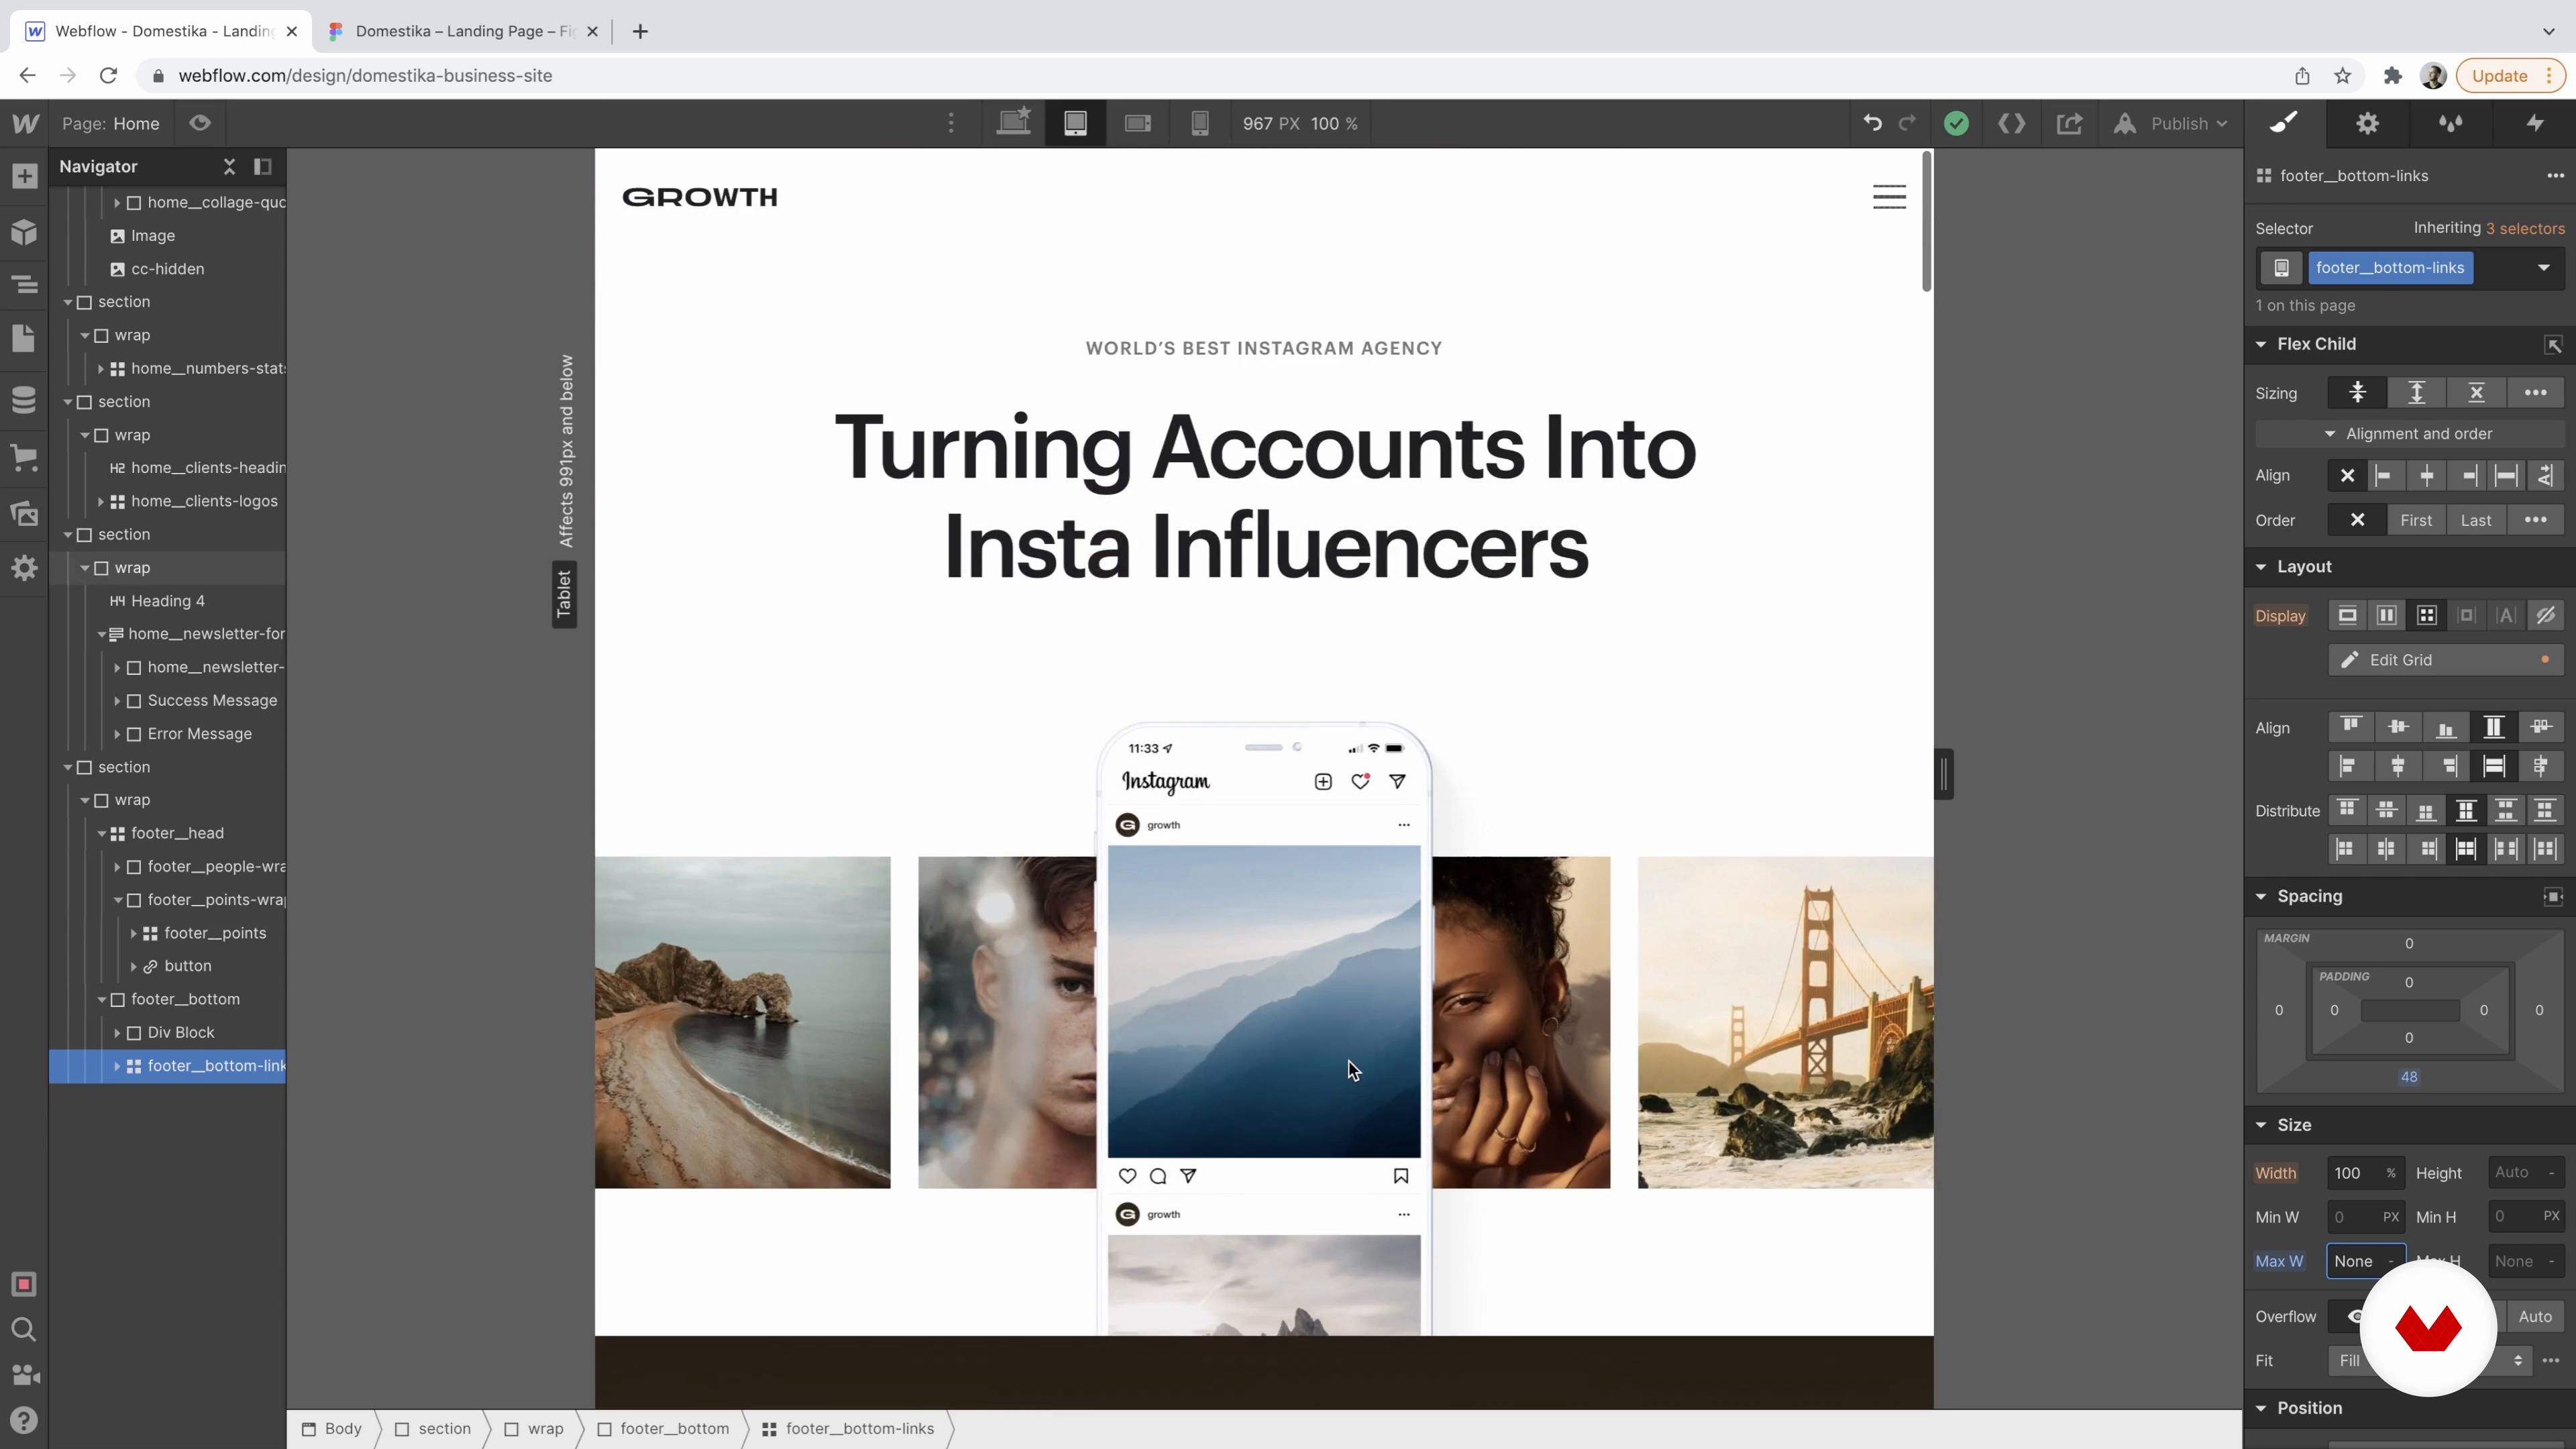
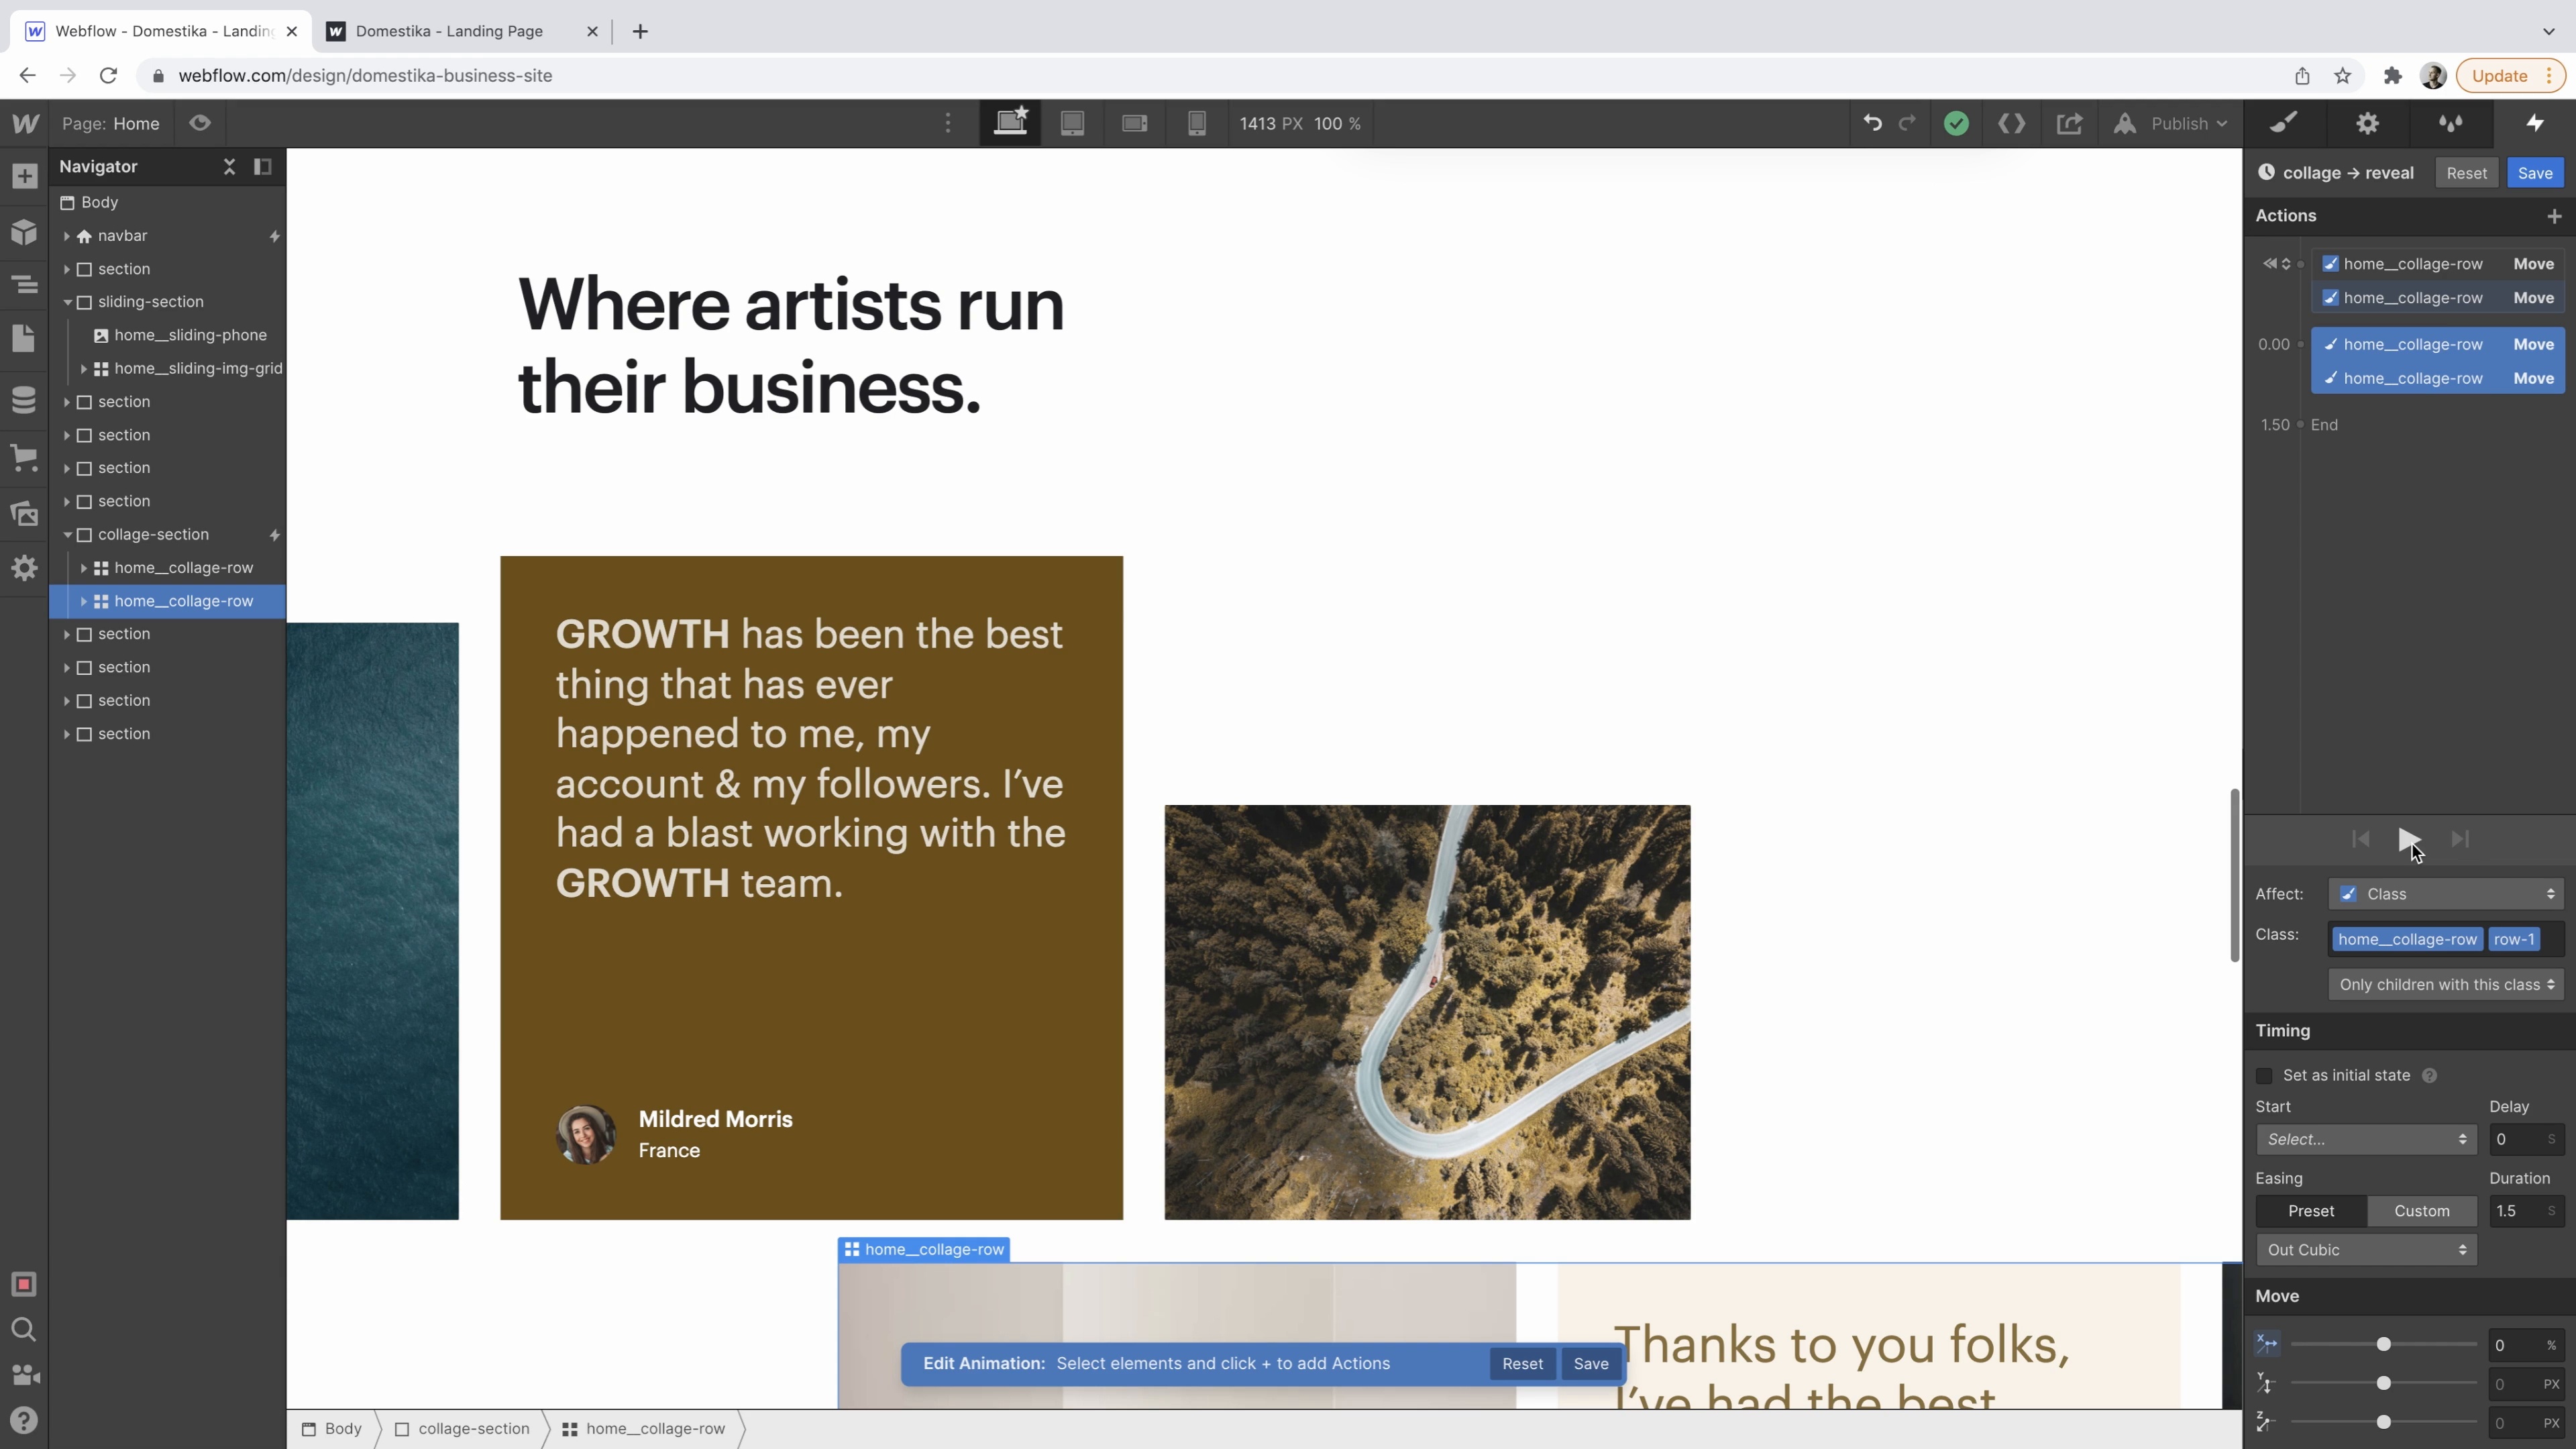
The course teaches you to design and implement subtle hover states, revealing animations, and microinteractions using Webflow’s visual tools.
Yes, you’ll discover how to automate tasks, such as sending Webflow form data to Google Sheets and integrating with third-party tools like Zapier.
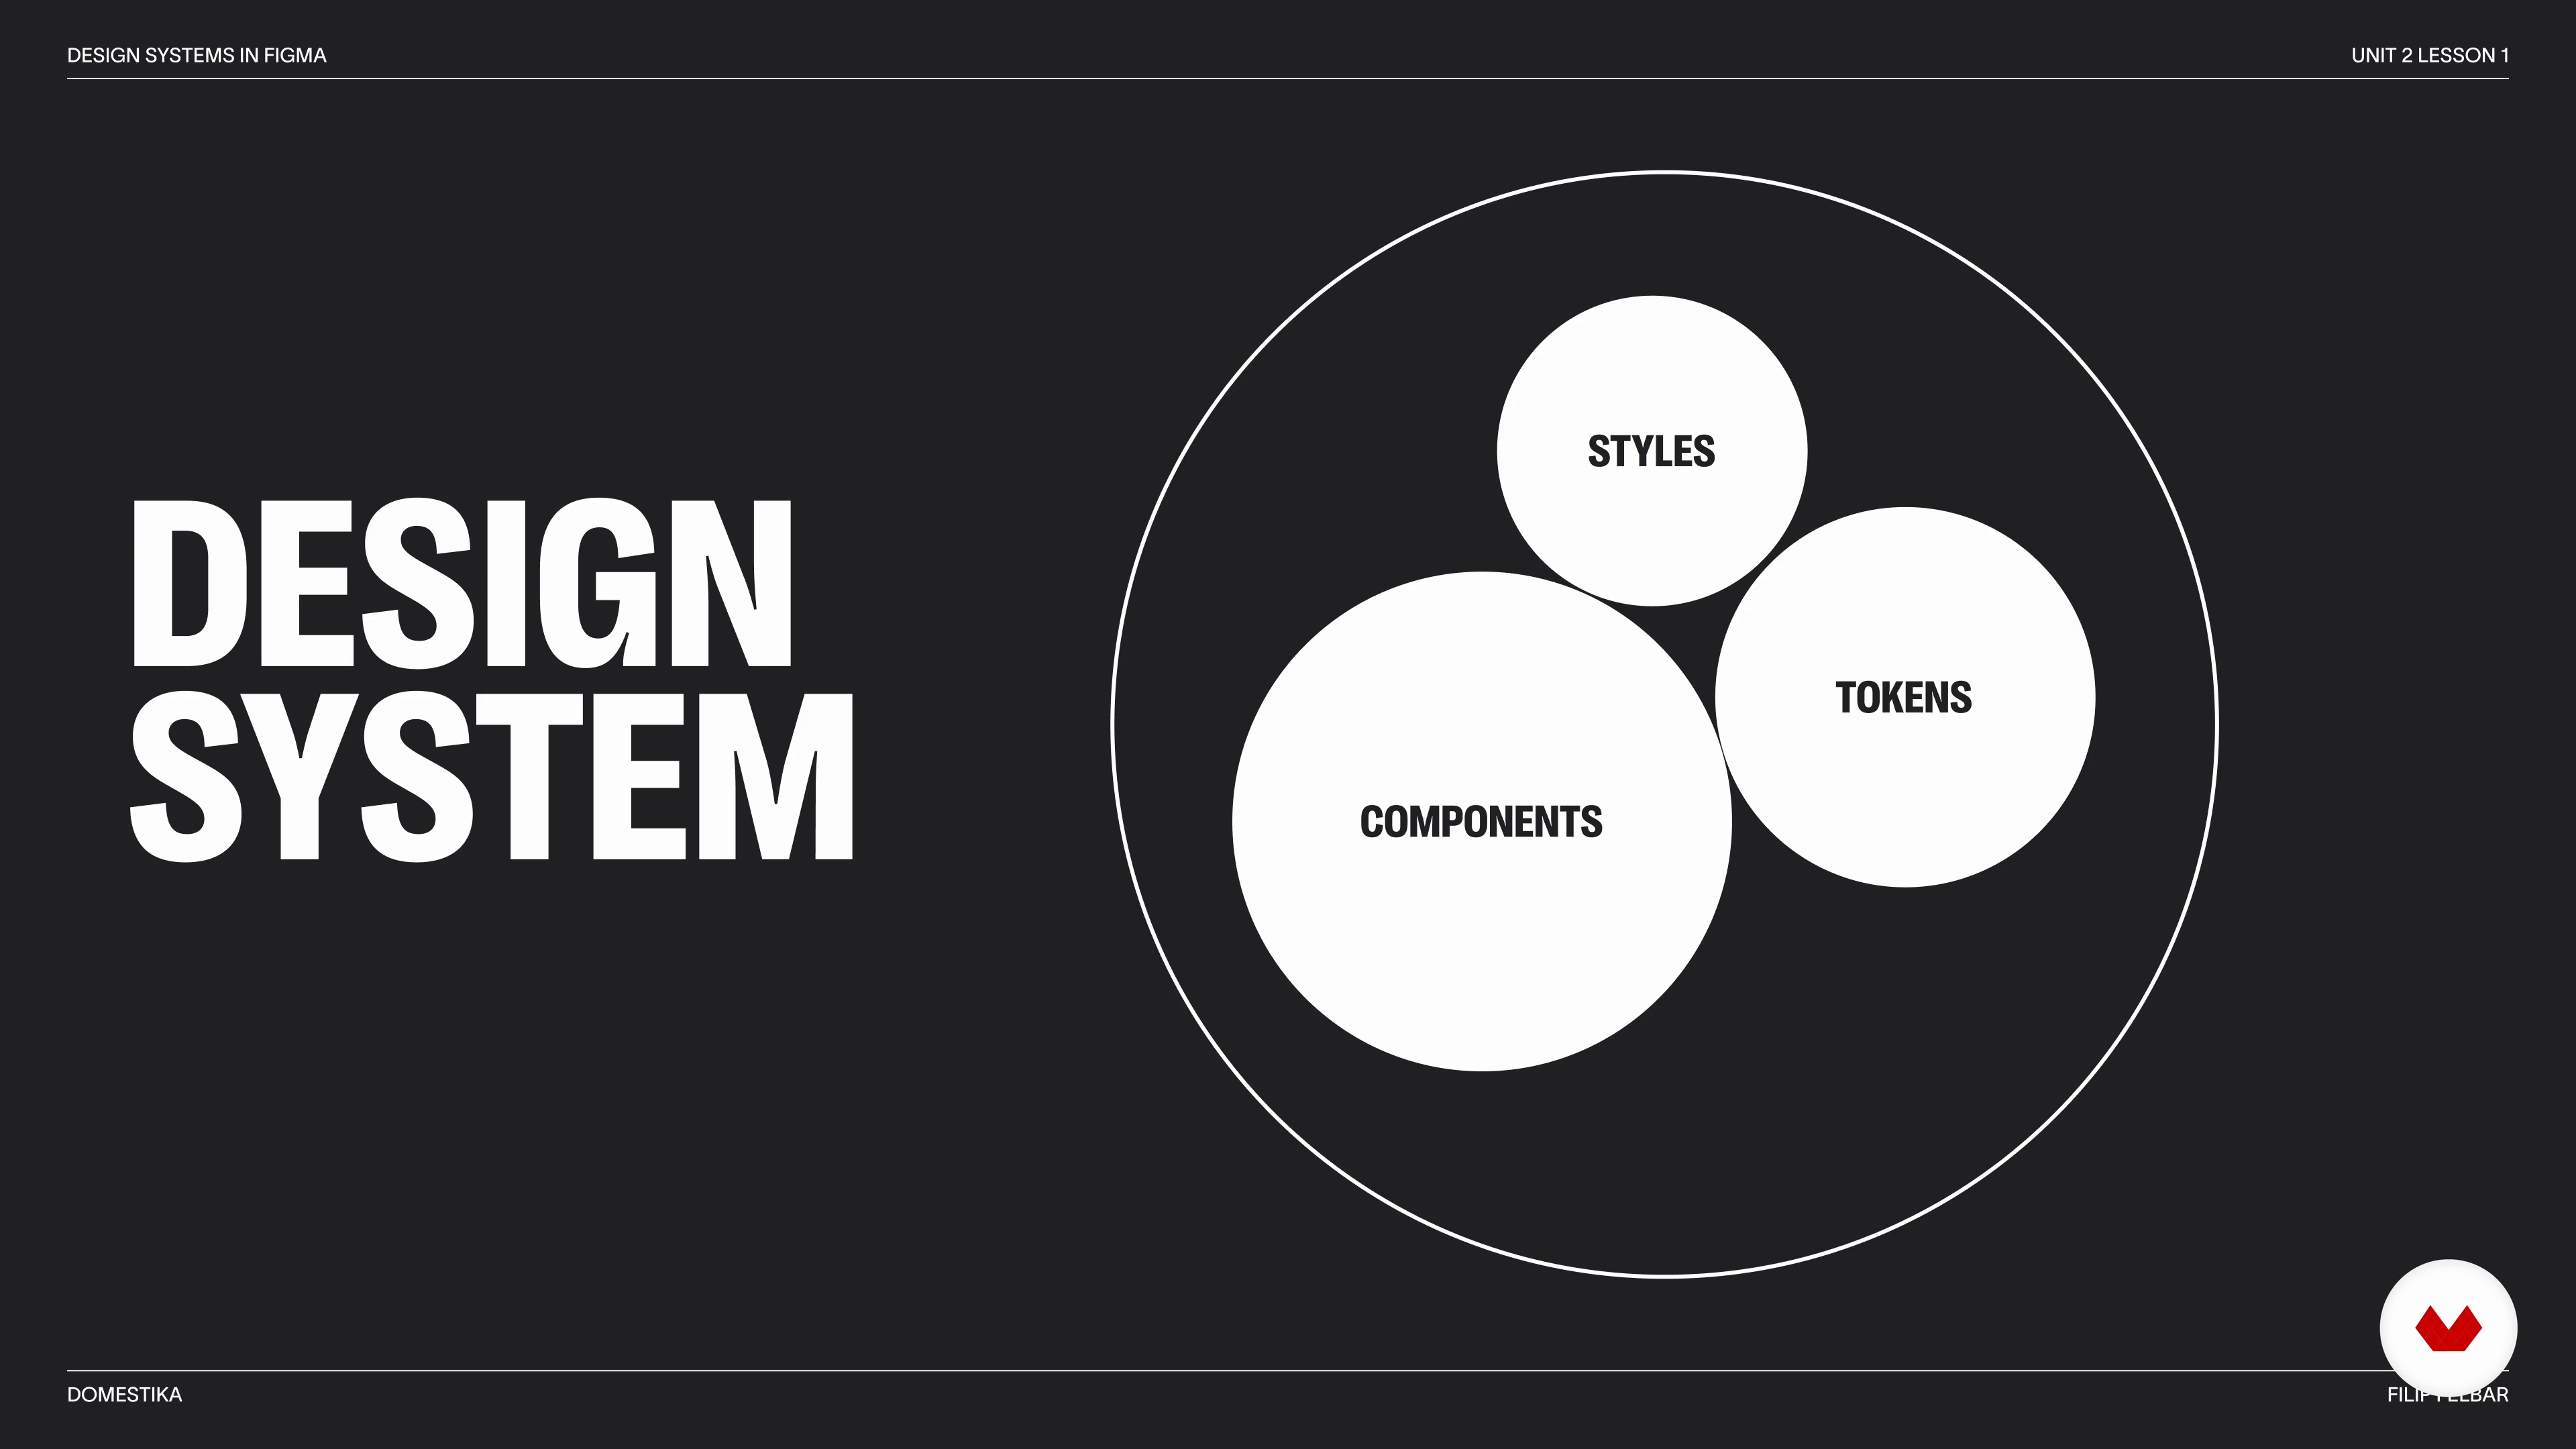
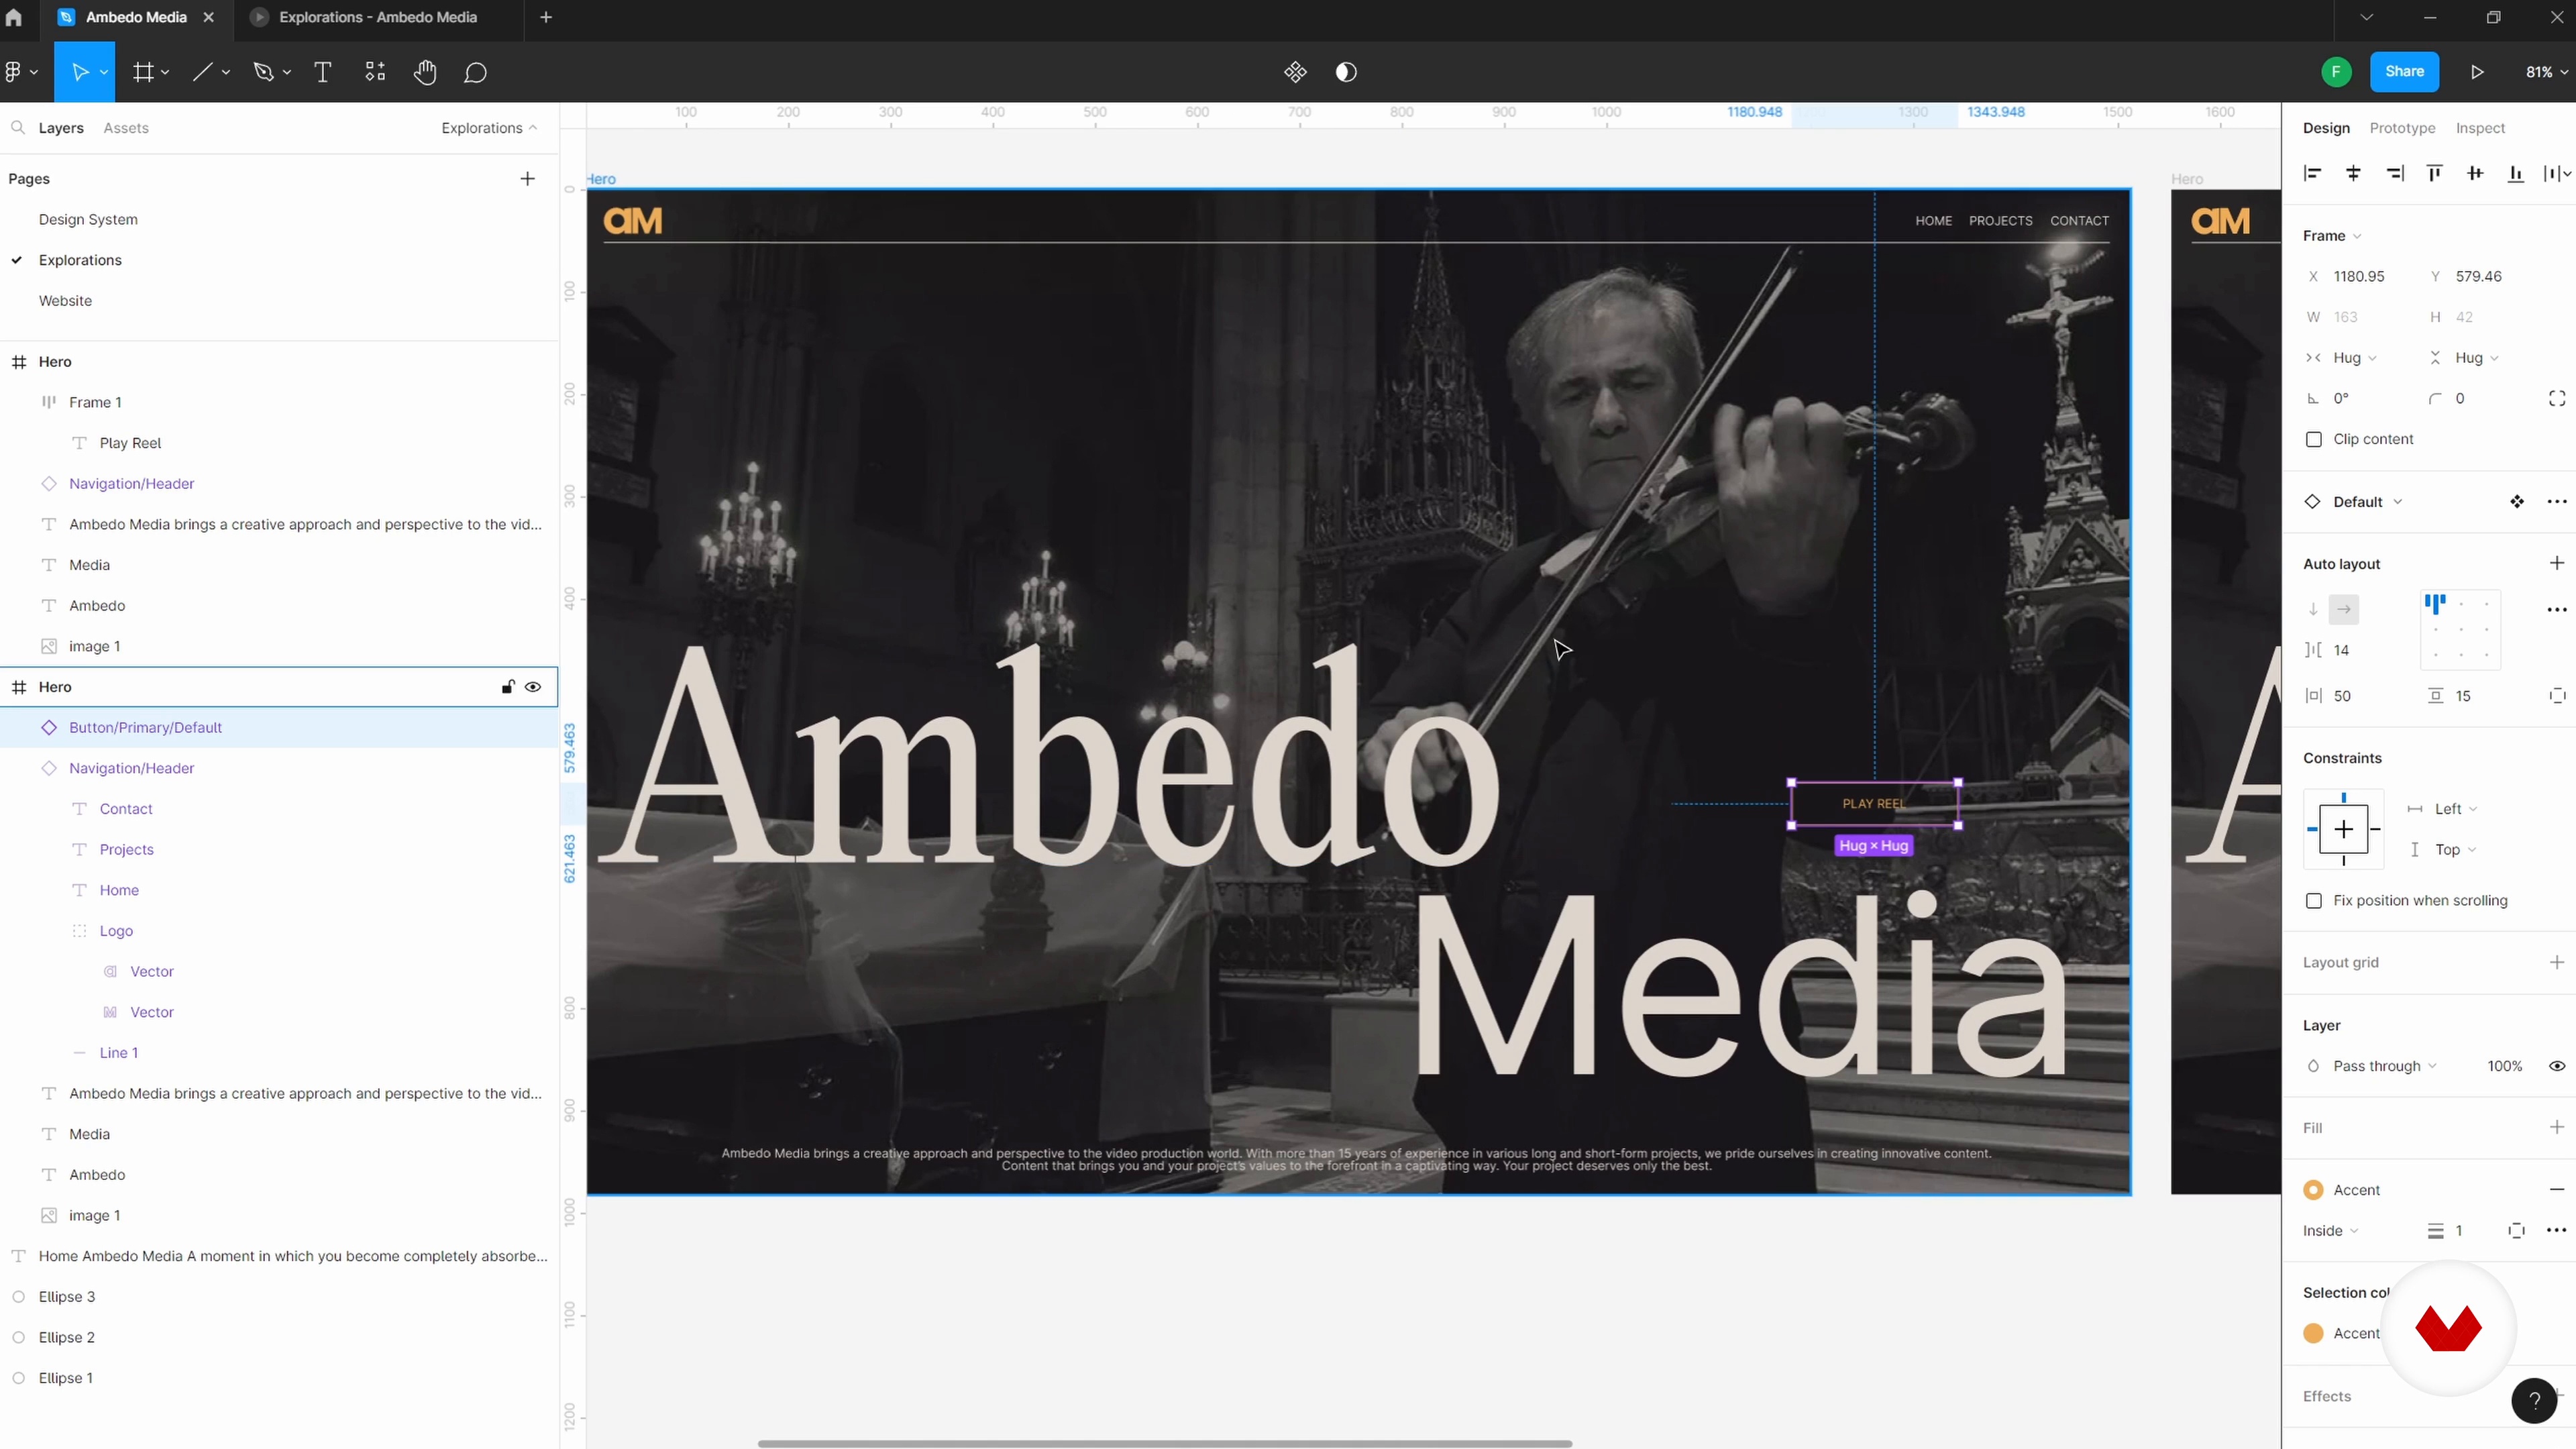
You’ll learn to extract, catalog, and standardize design elements, create style guides, and manage reusable classes to ensure consistency and scalability in your projects.


Very good! This specialization is one of the best I’ve done in Domestika. It really touches the various parts of no code web design. The part about design systems in Figma was specifically useful and insightful.