Specialization

Self Portrait Specialization

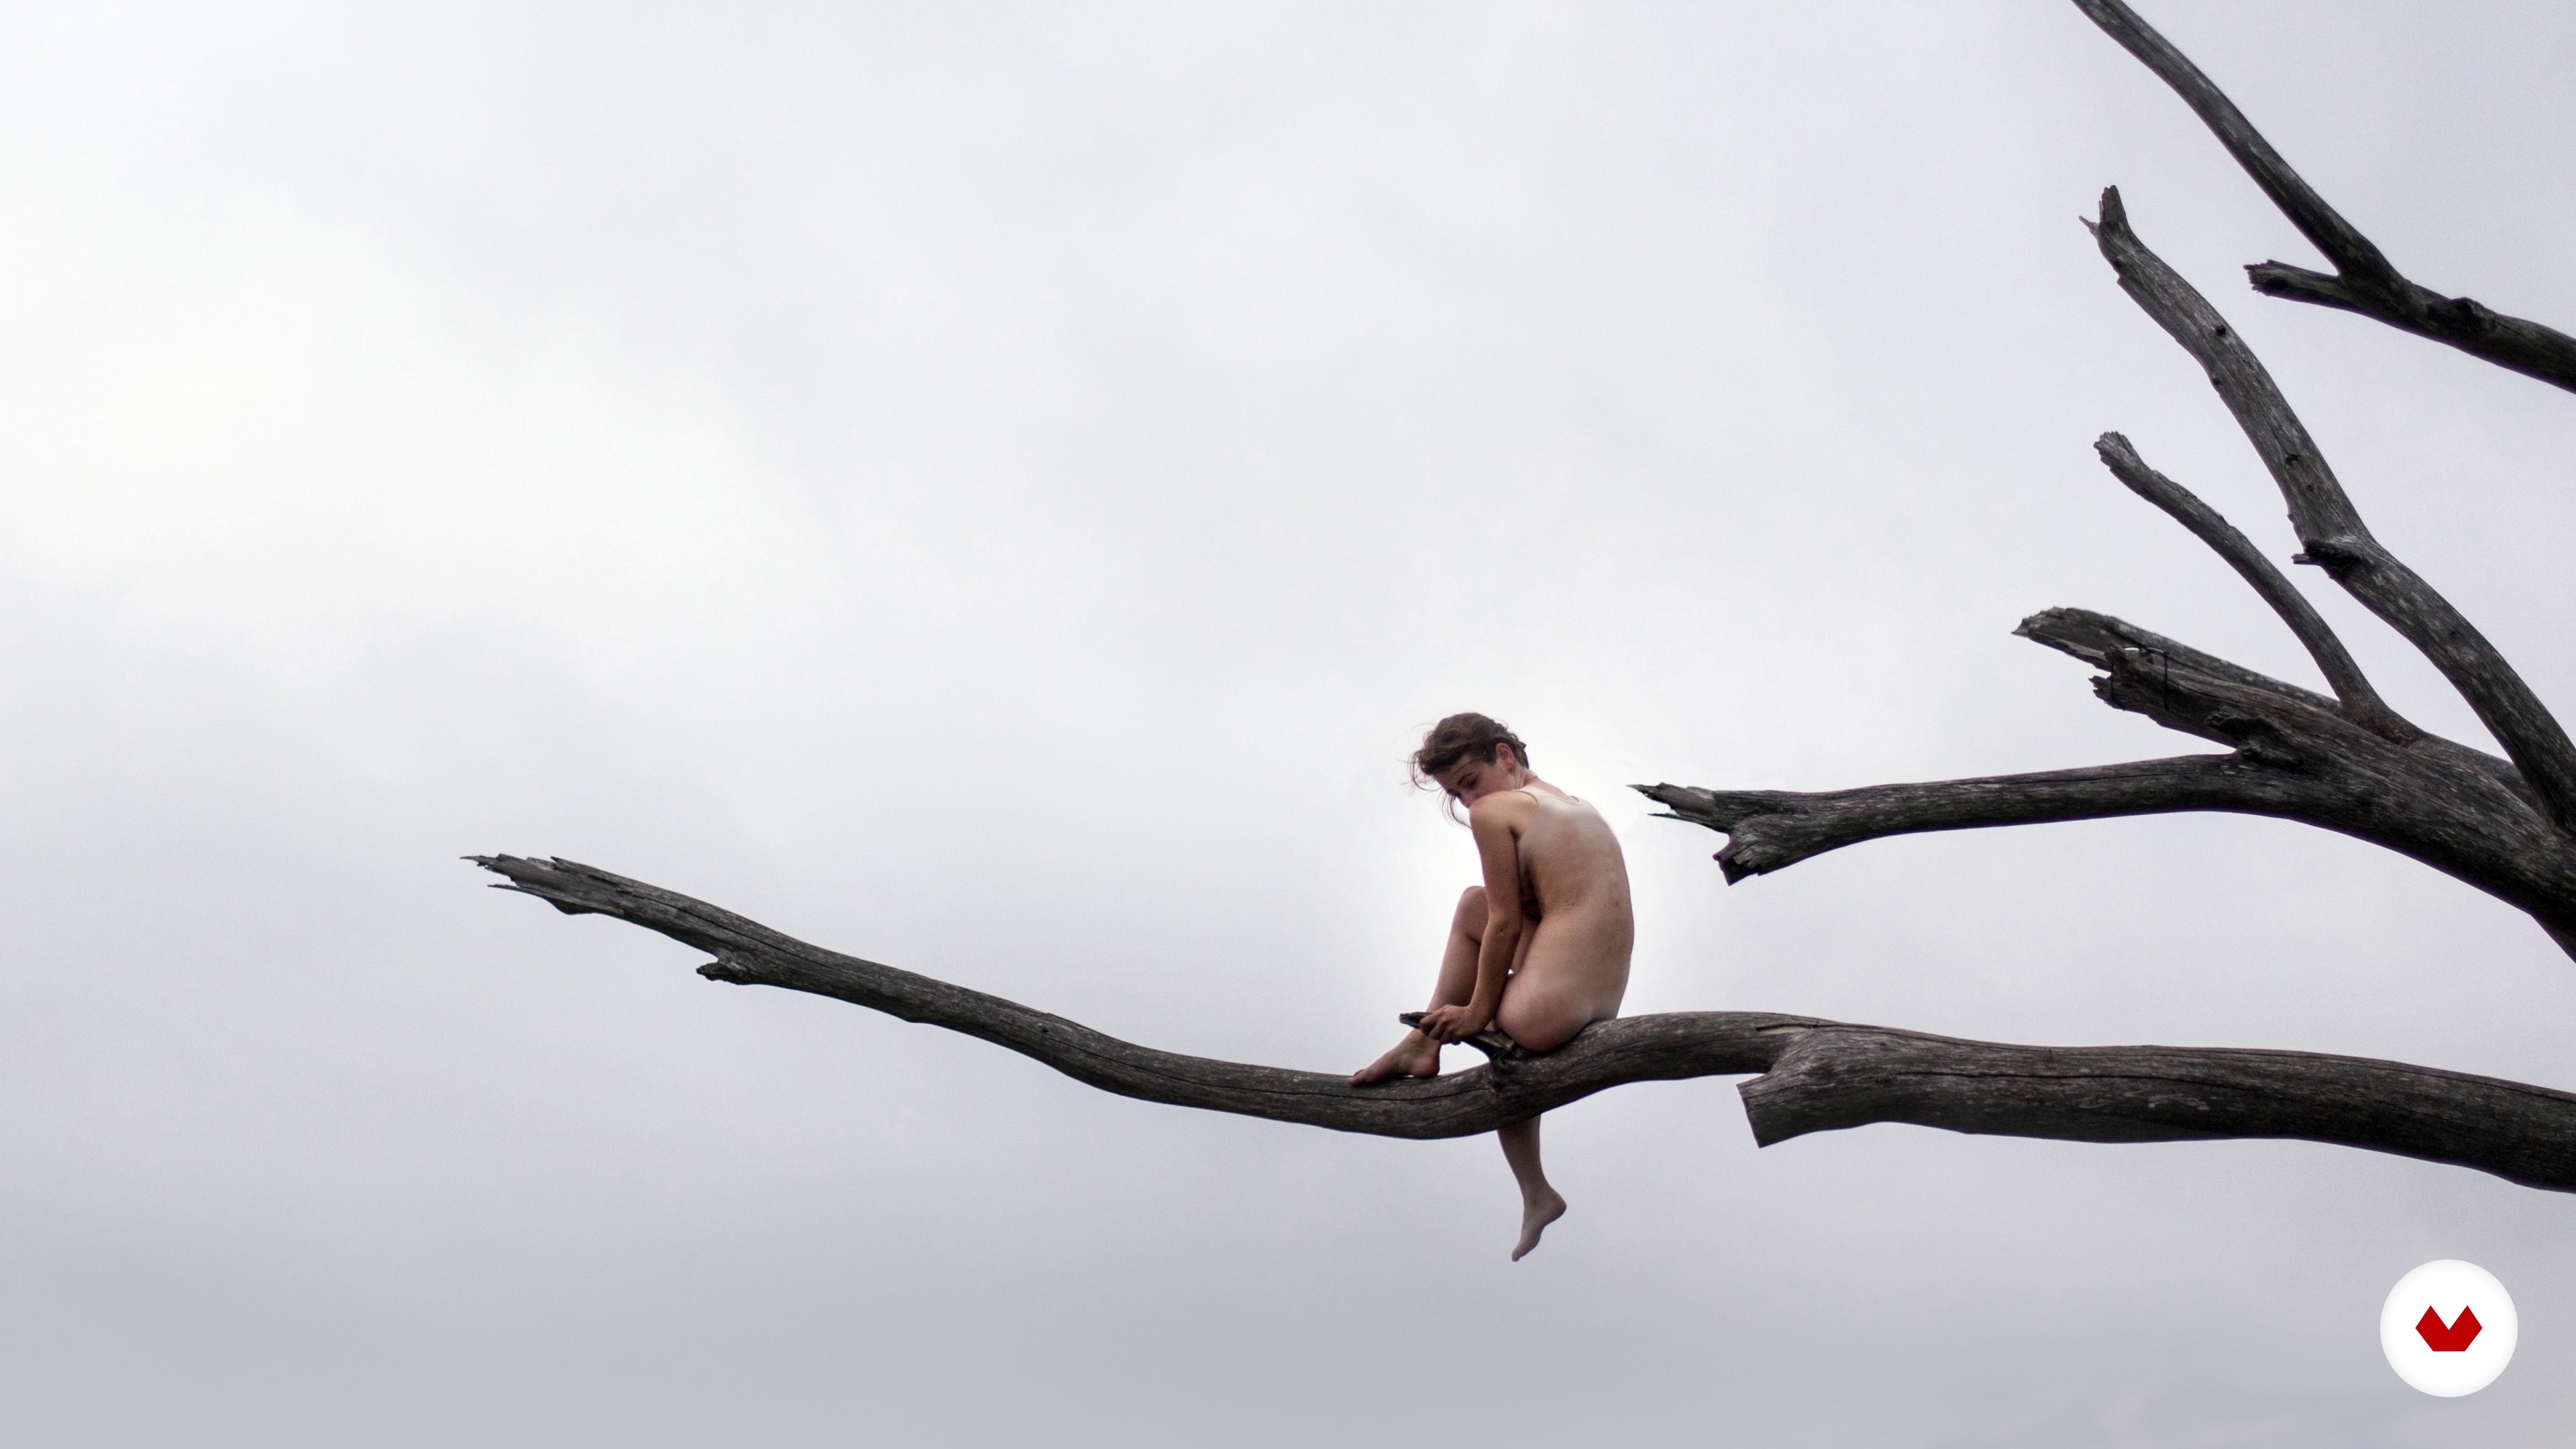
Master self-portrait photography techniques to express emotions, explore personal narratives, and develop your unique visual language

Specialization · 6 modules

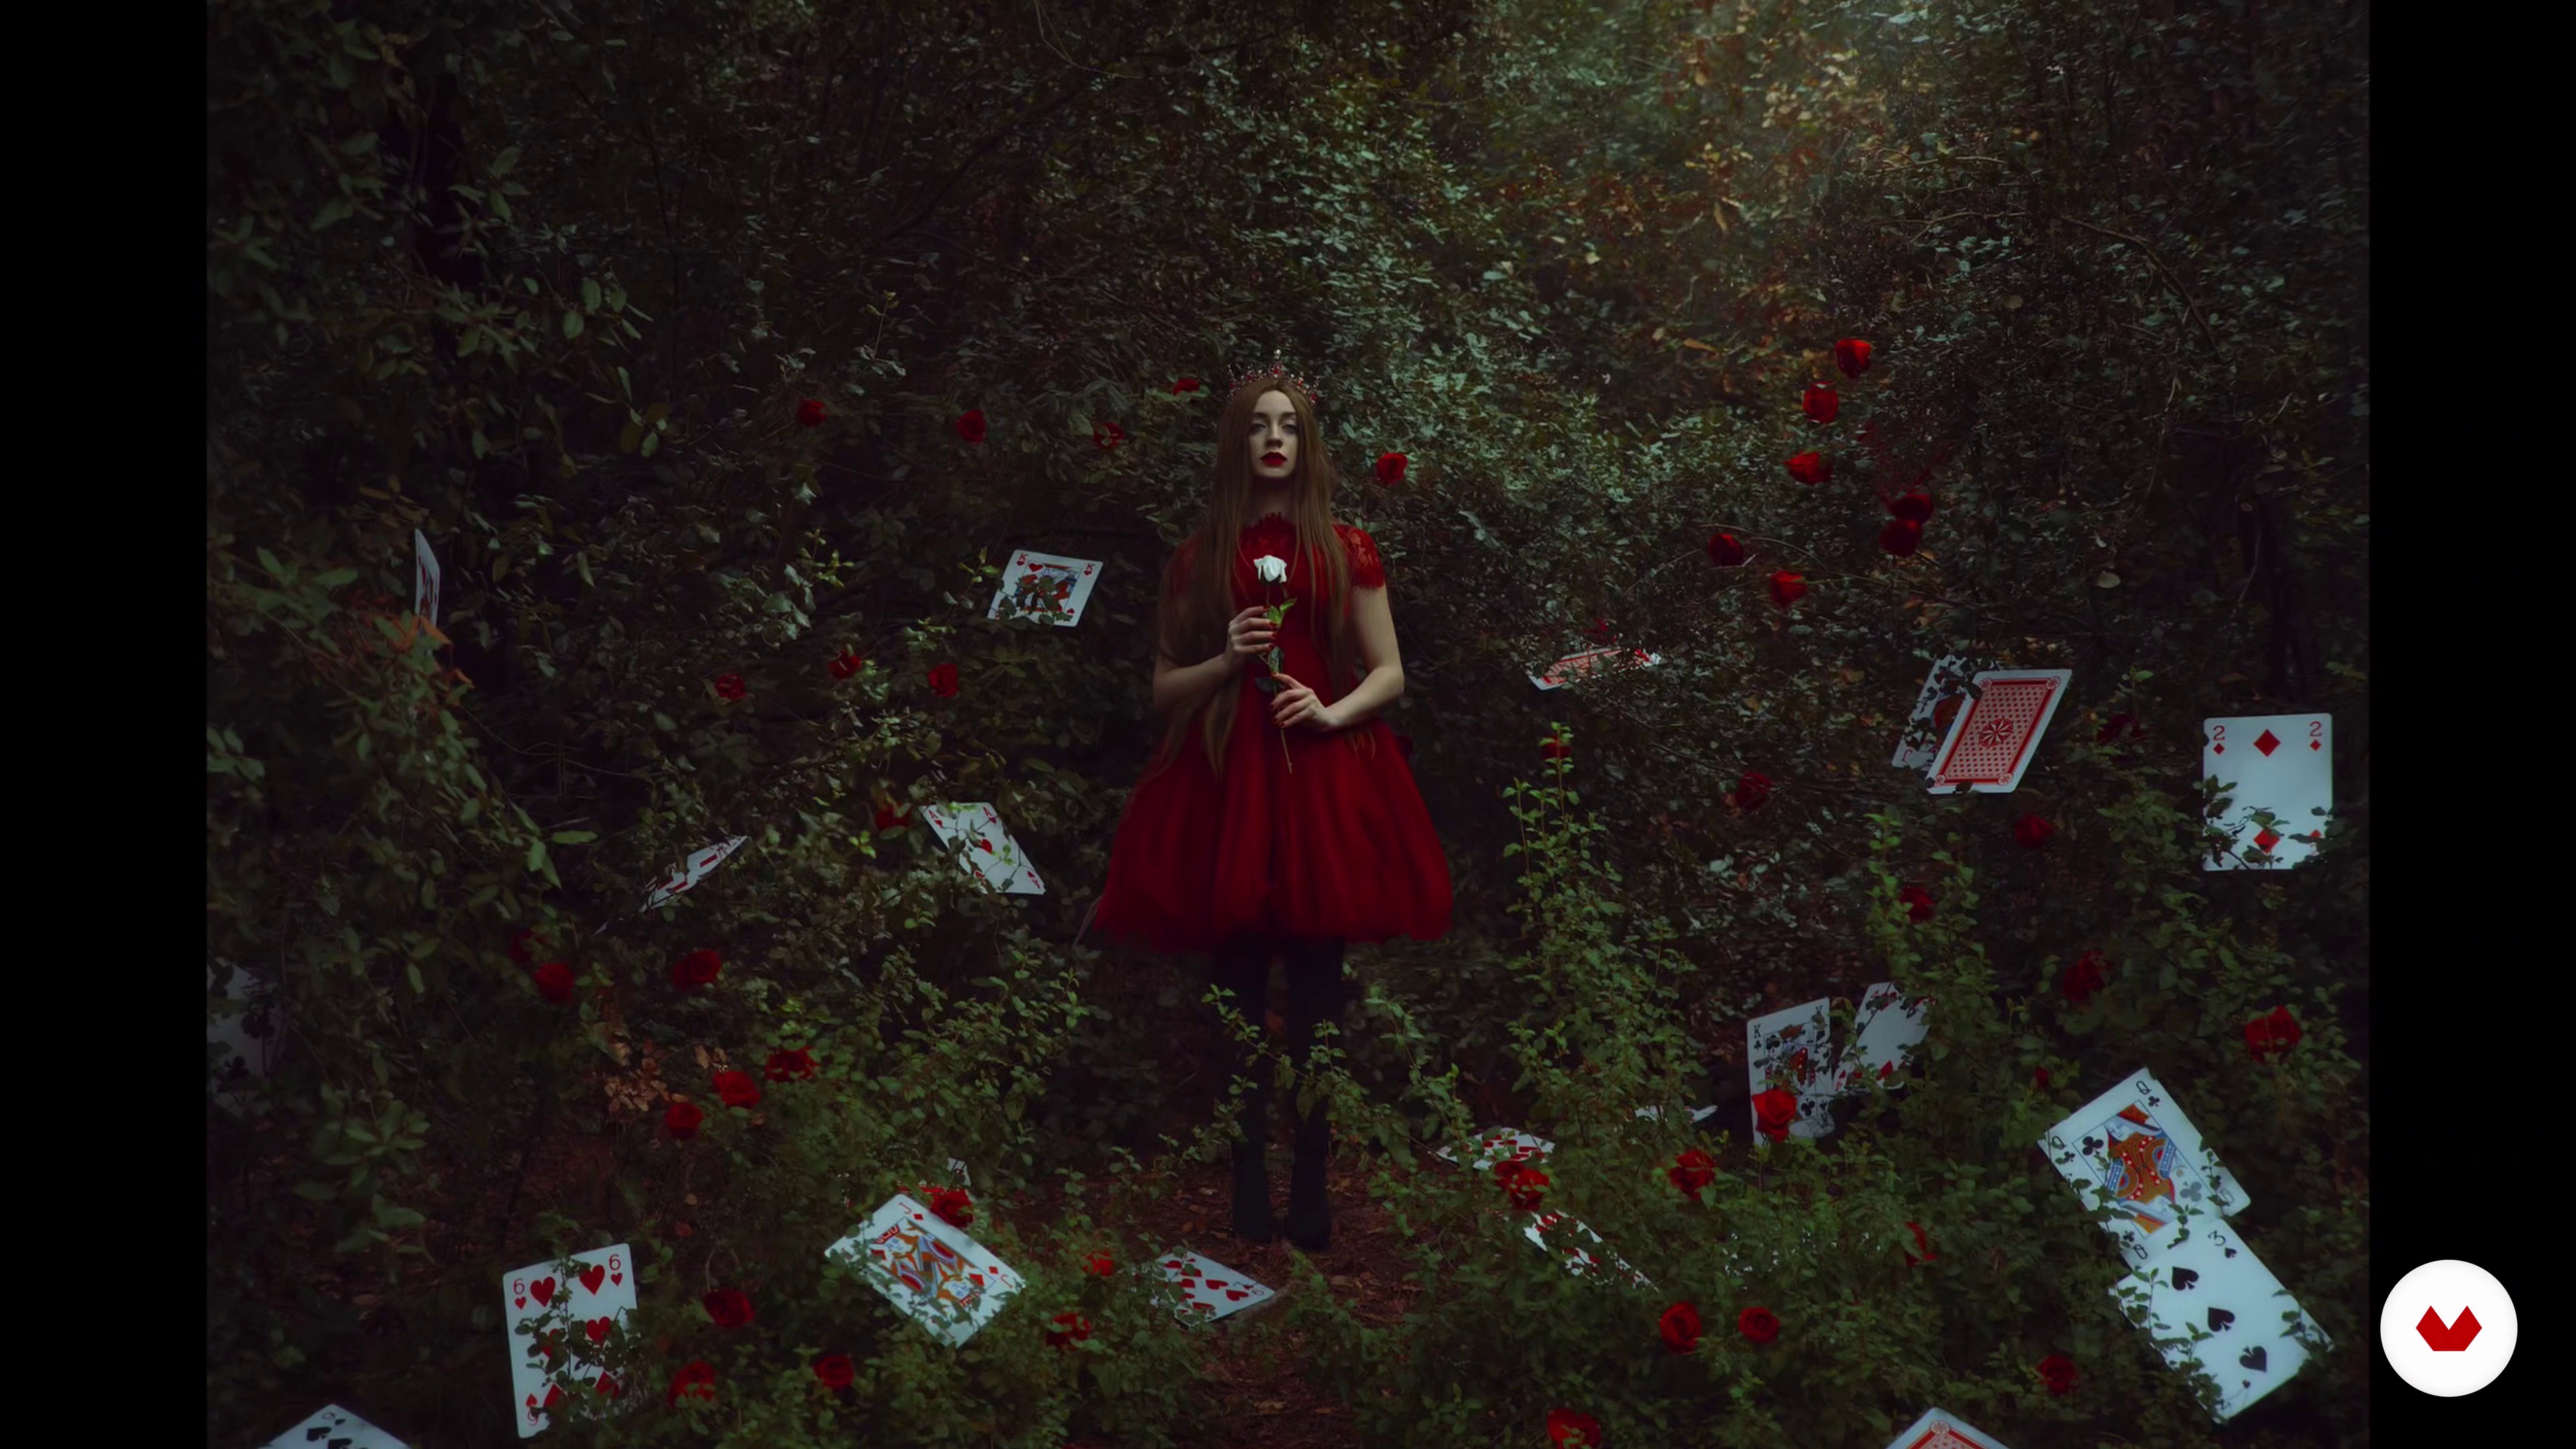
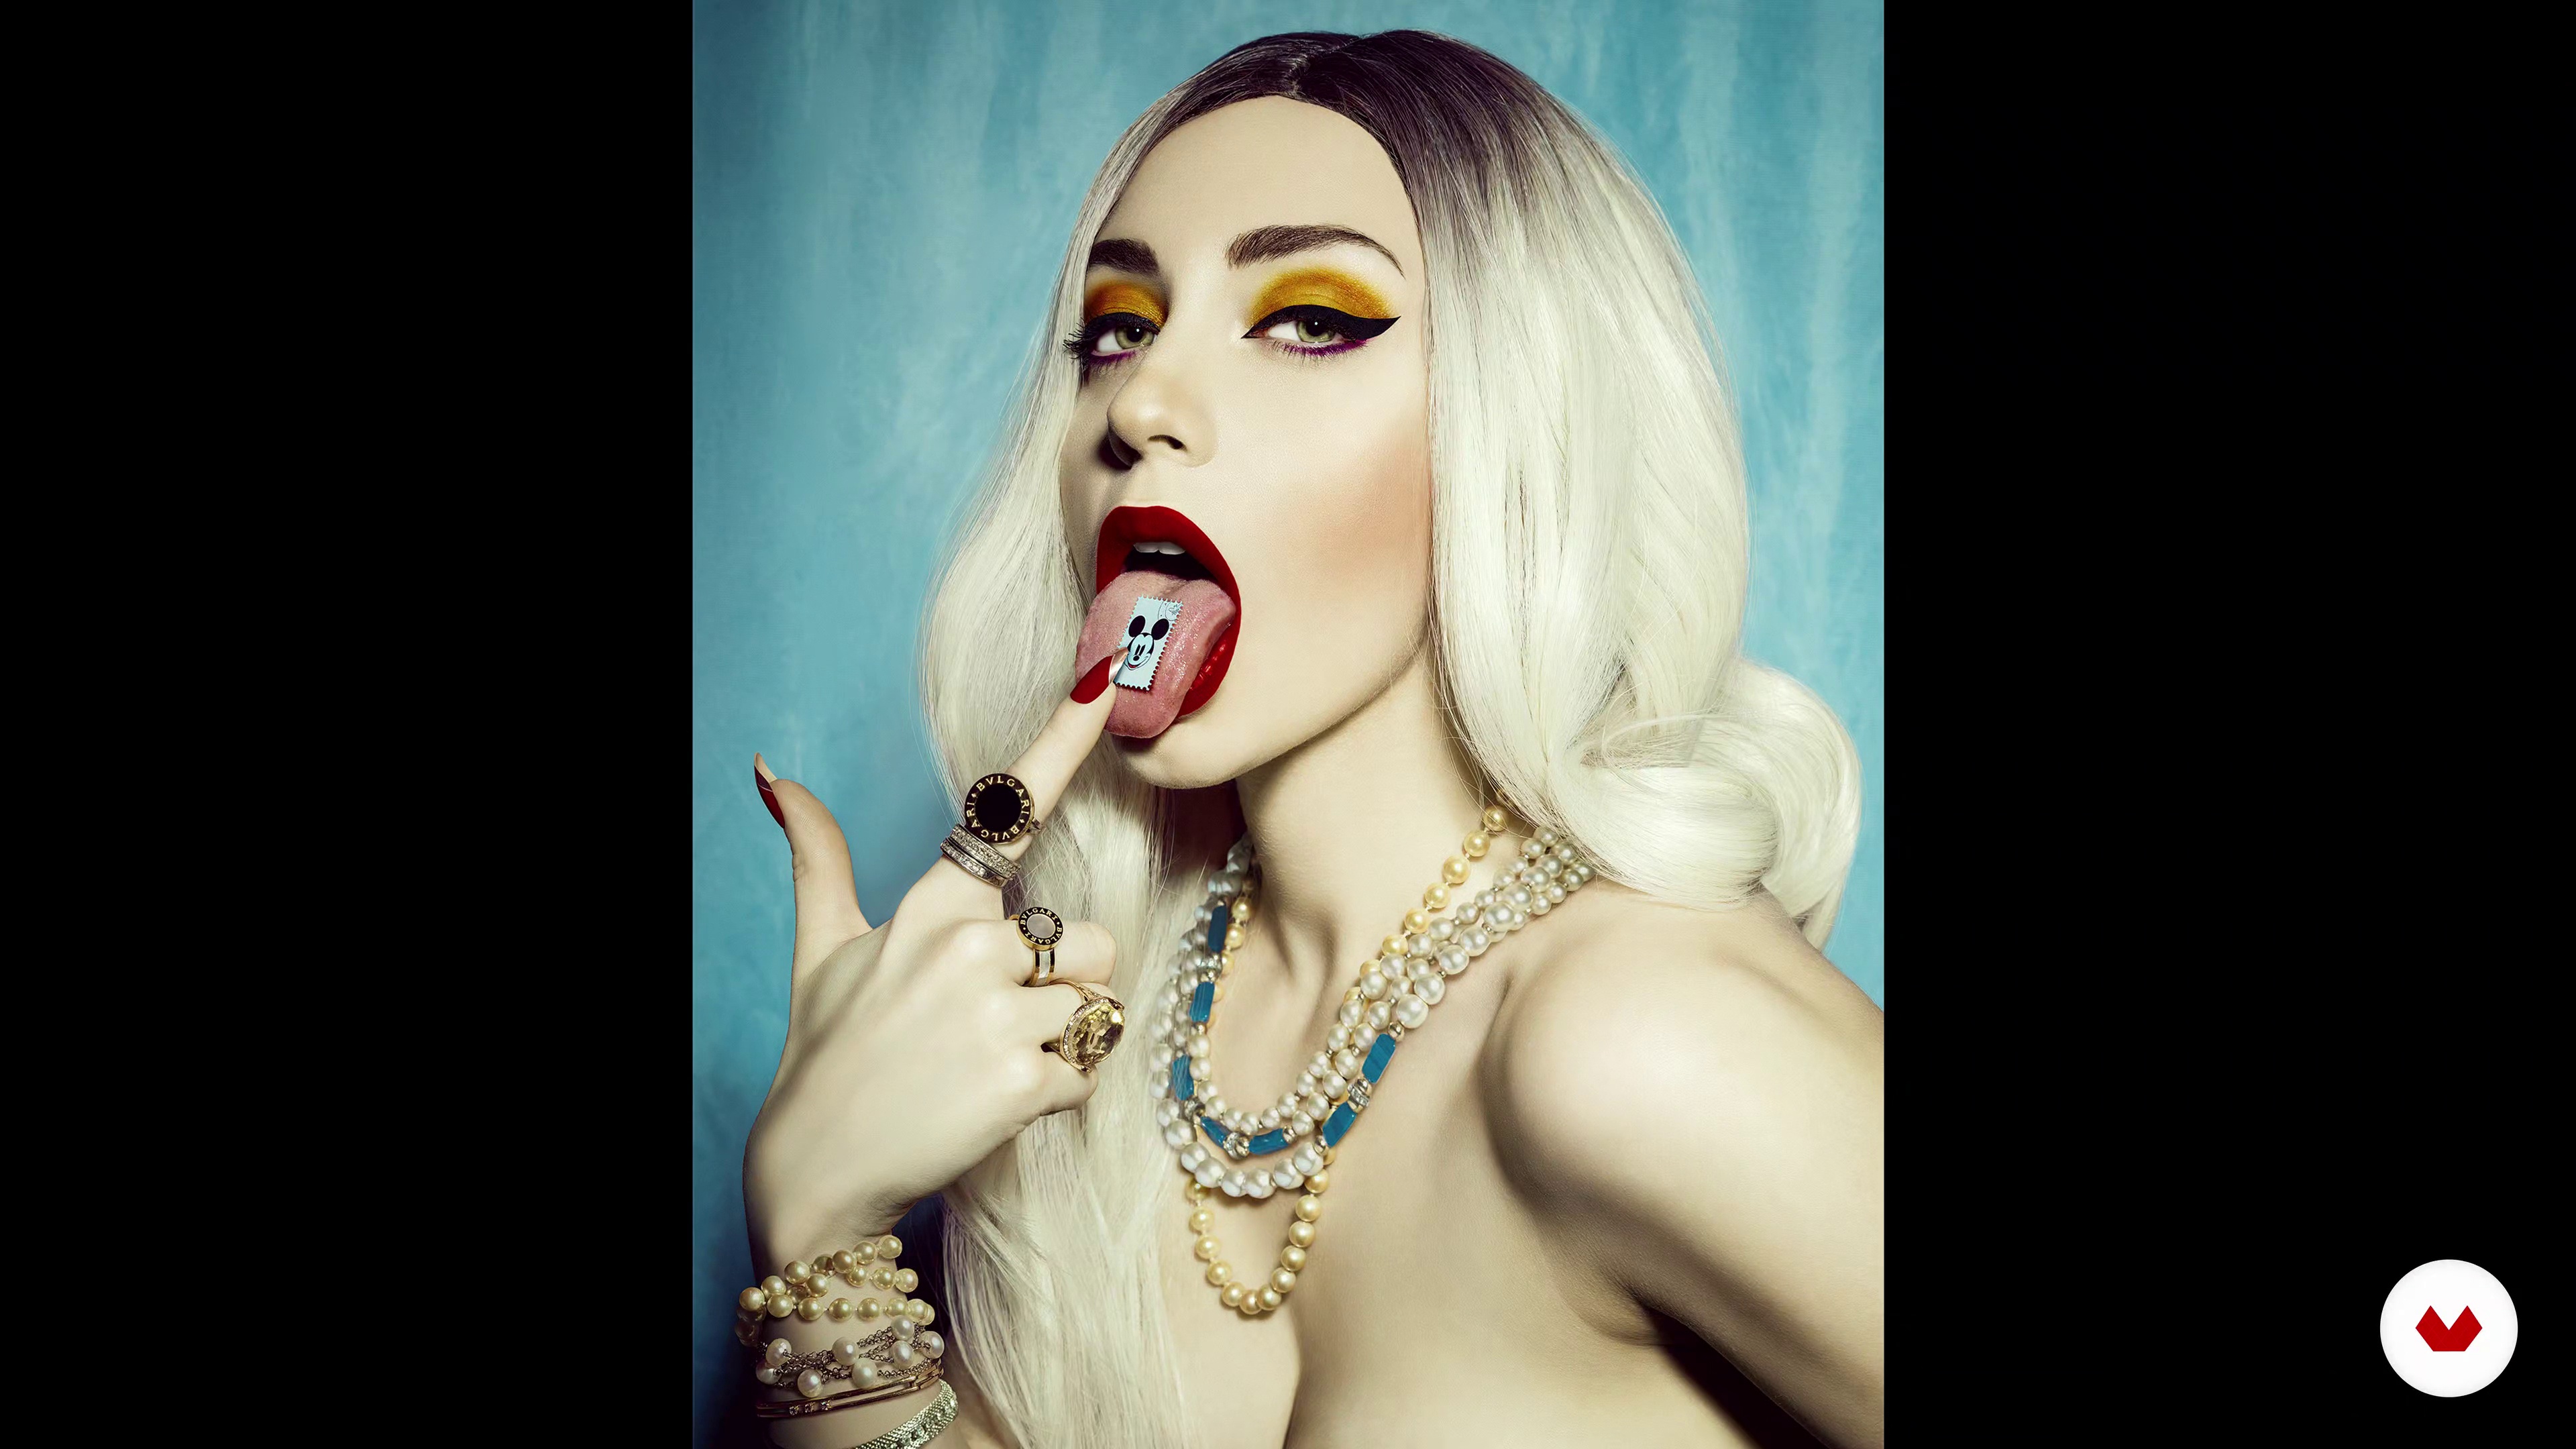
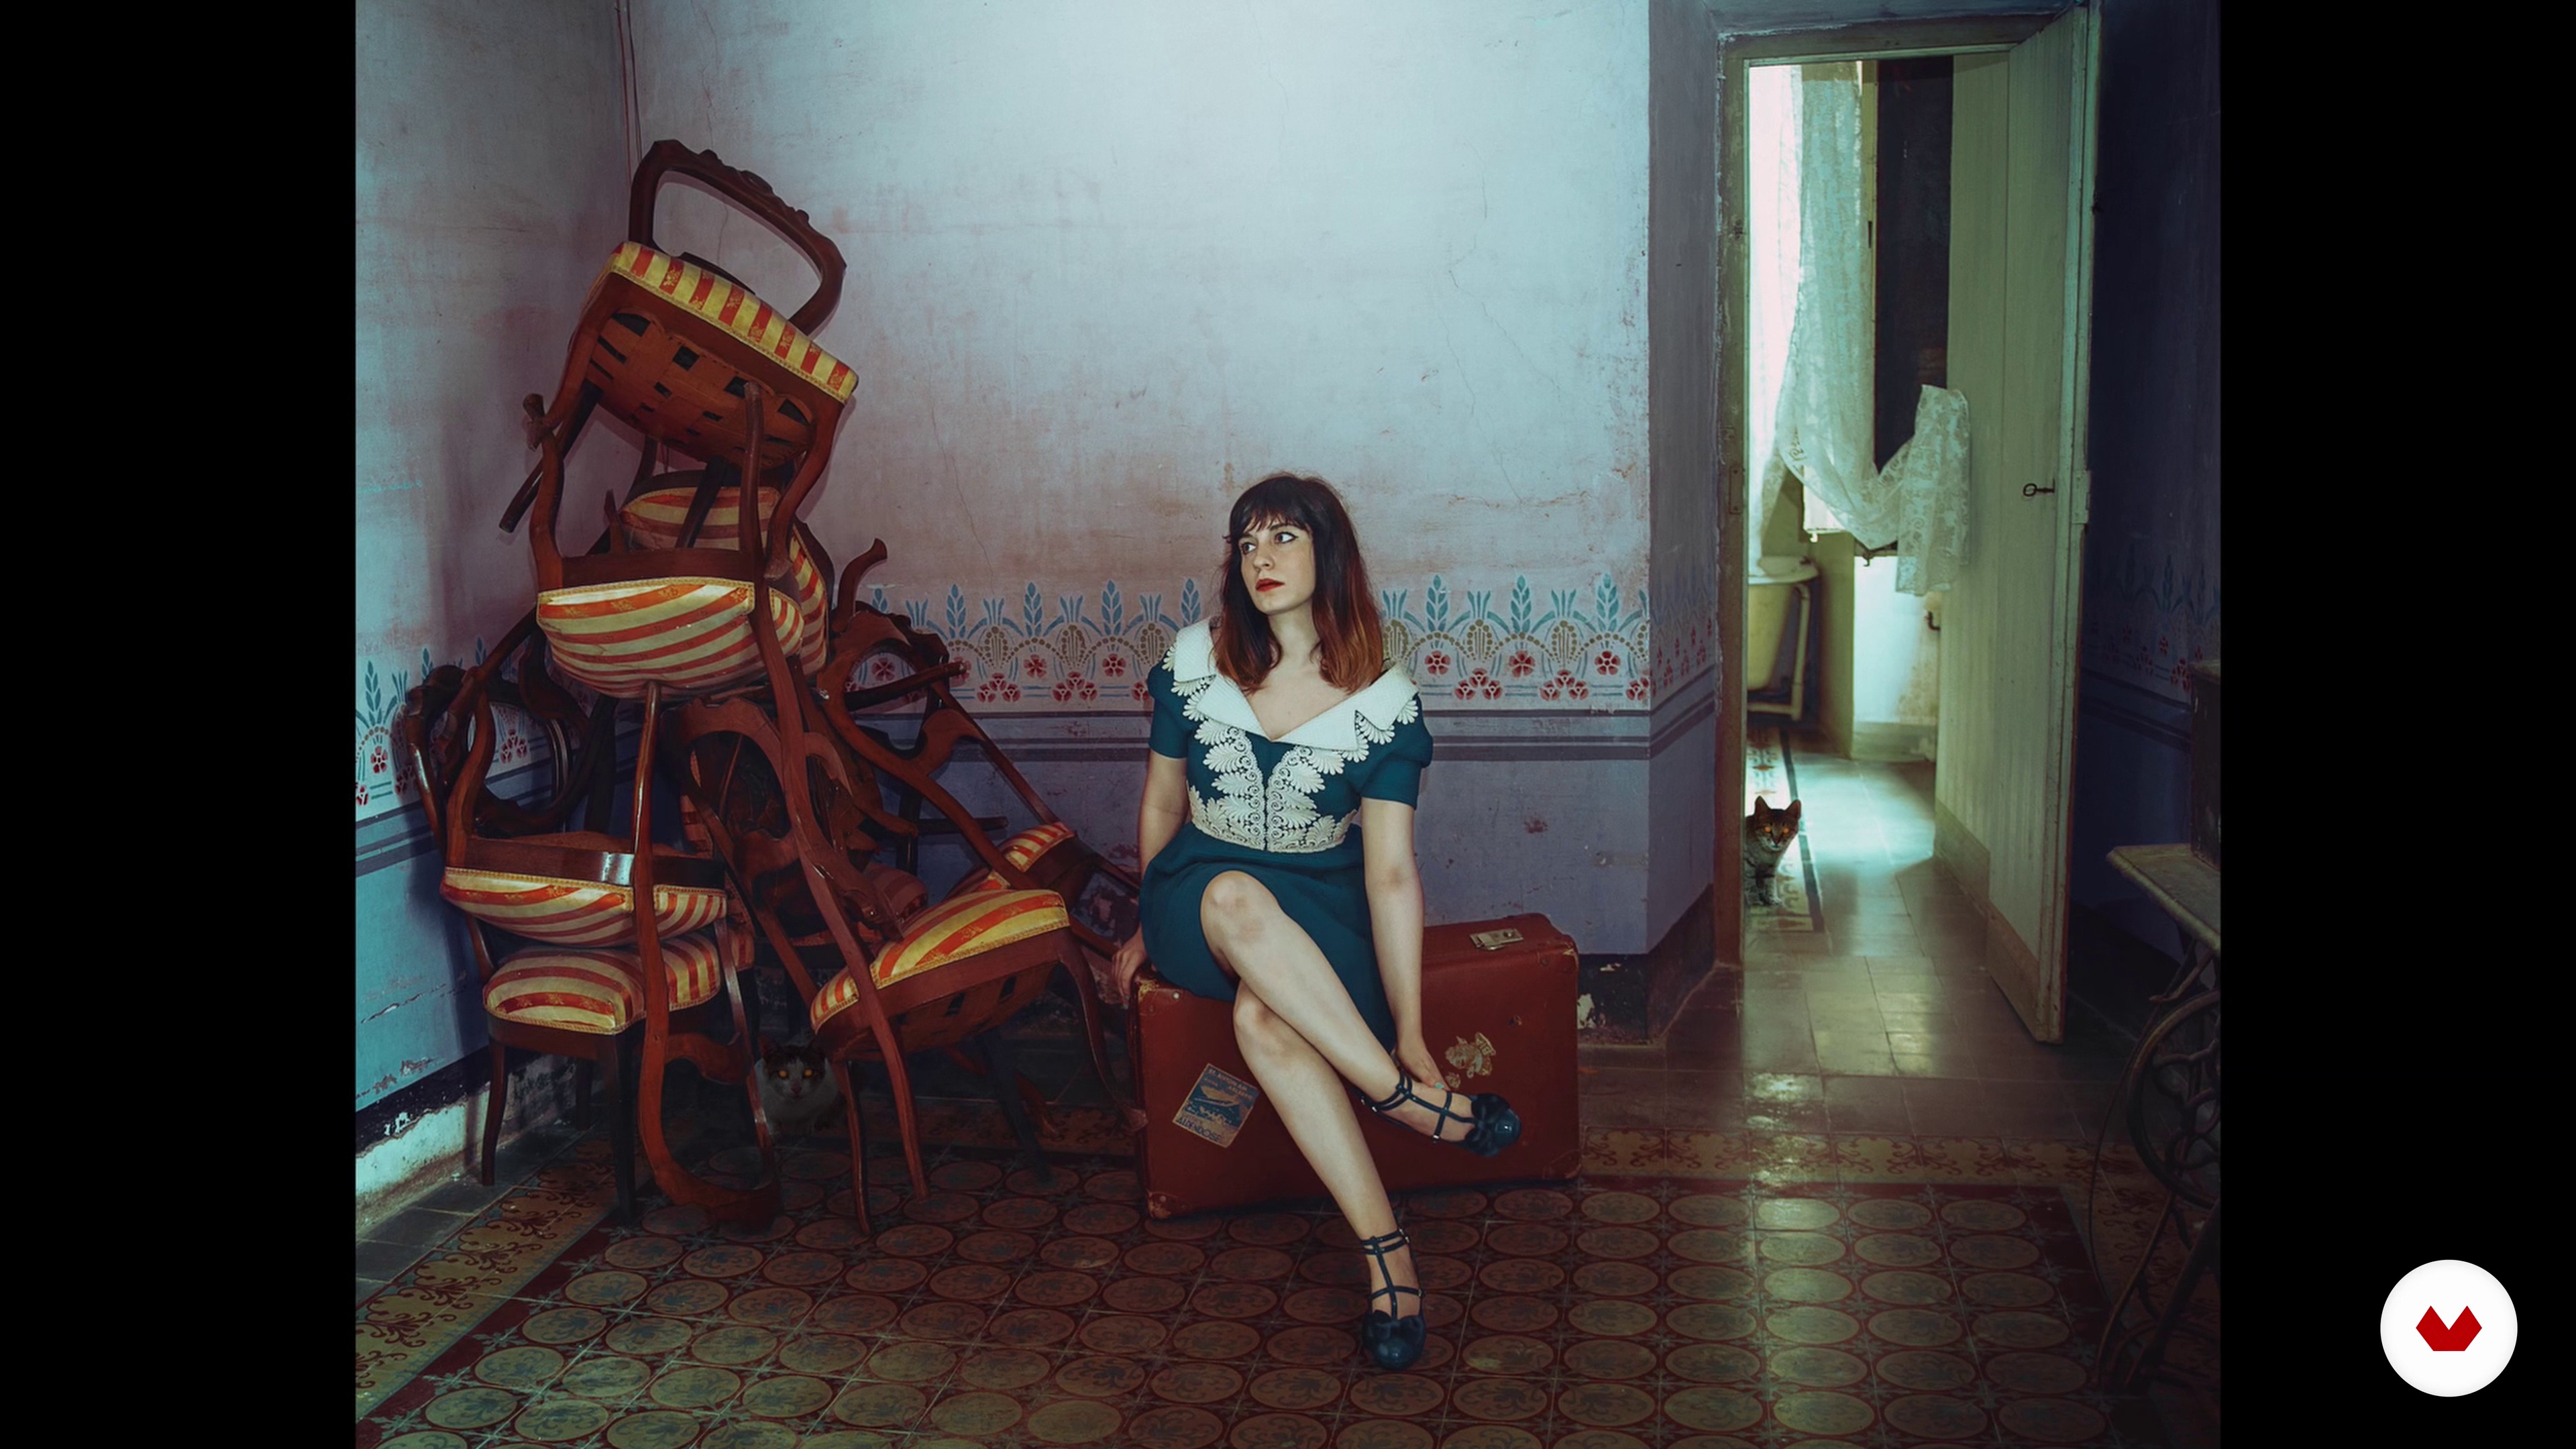
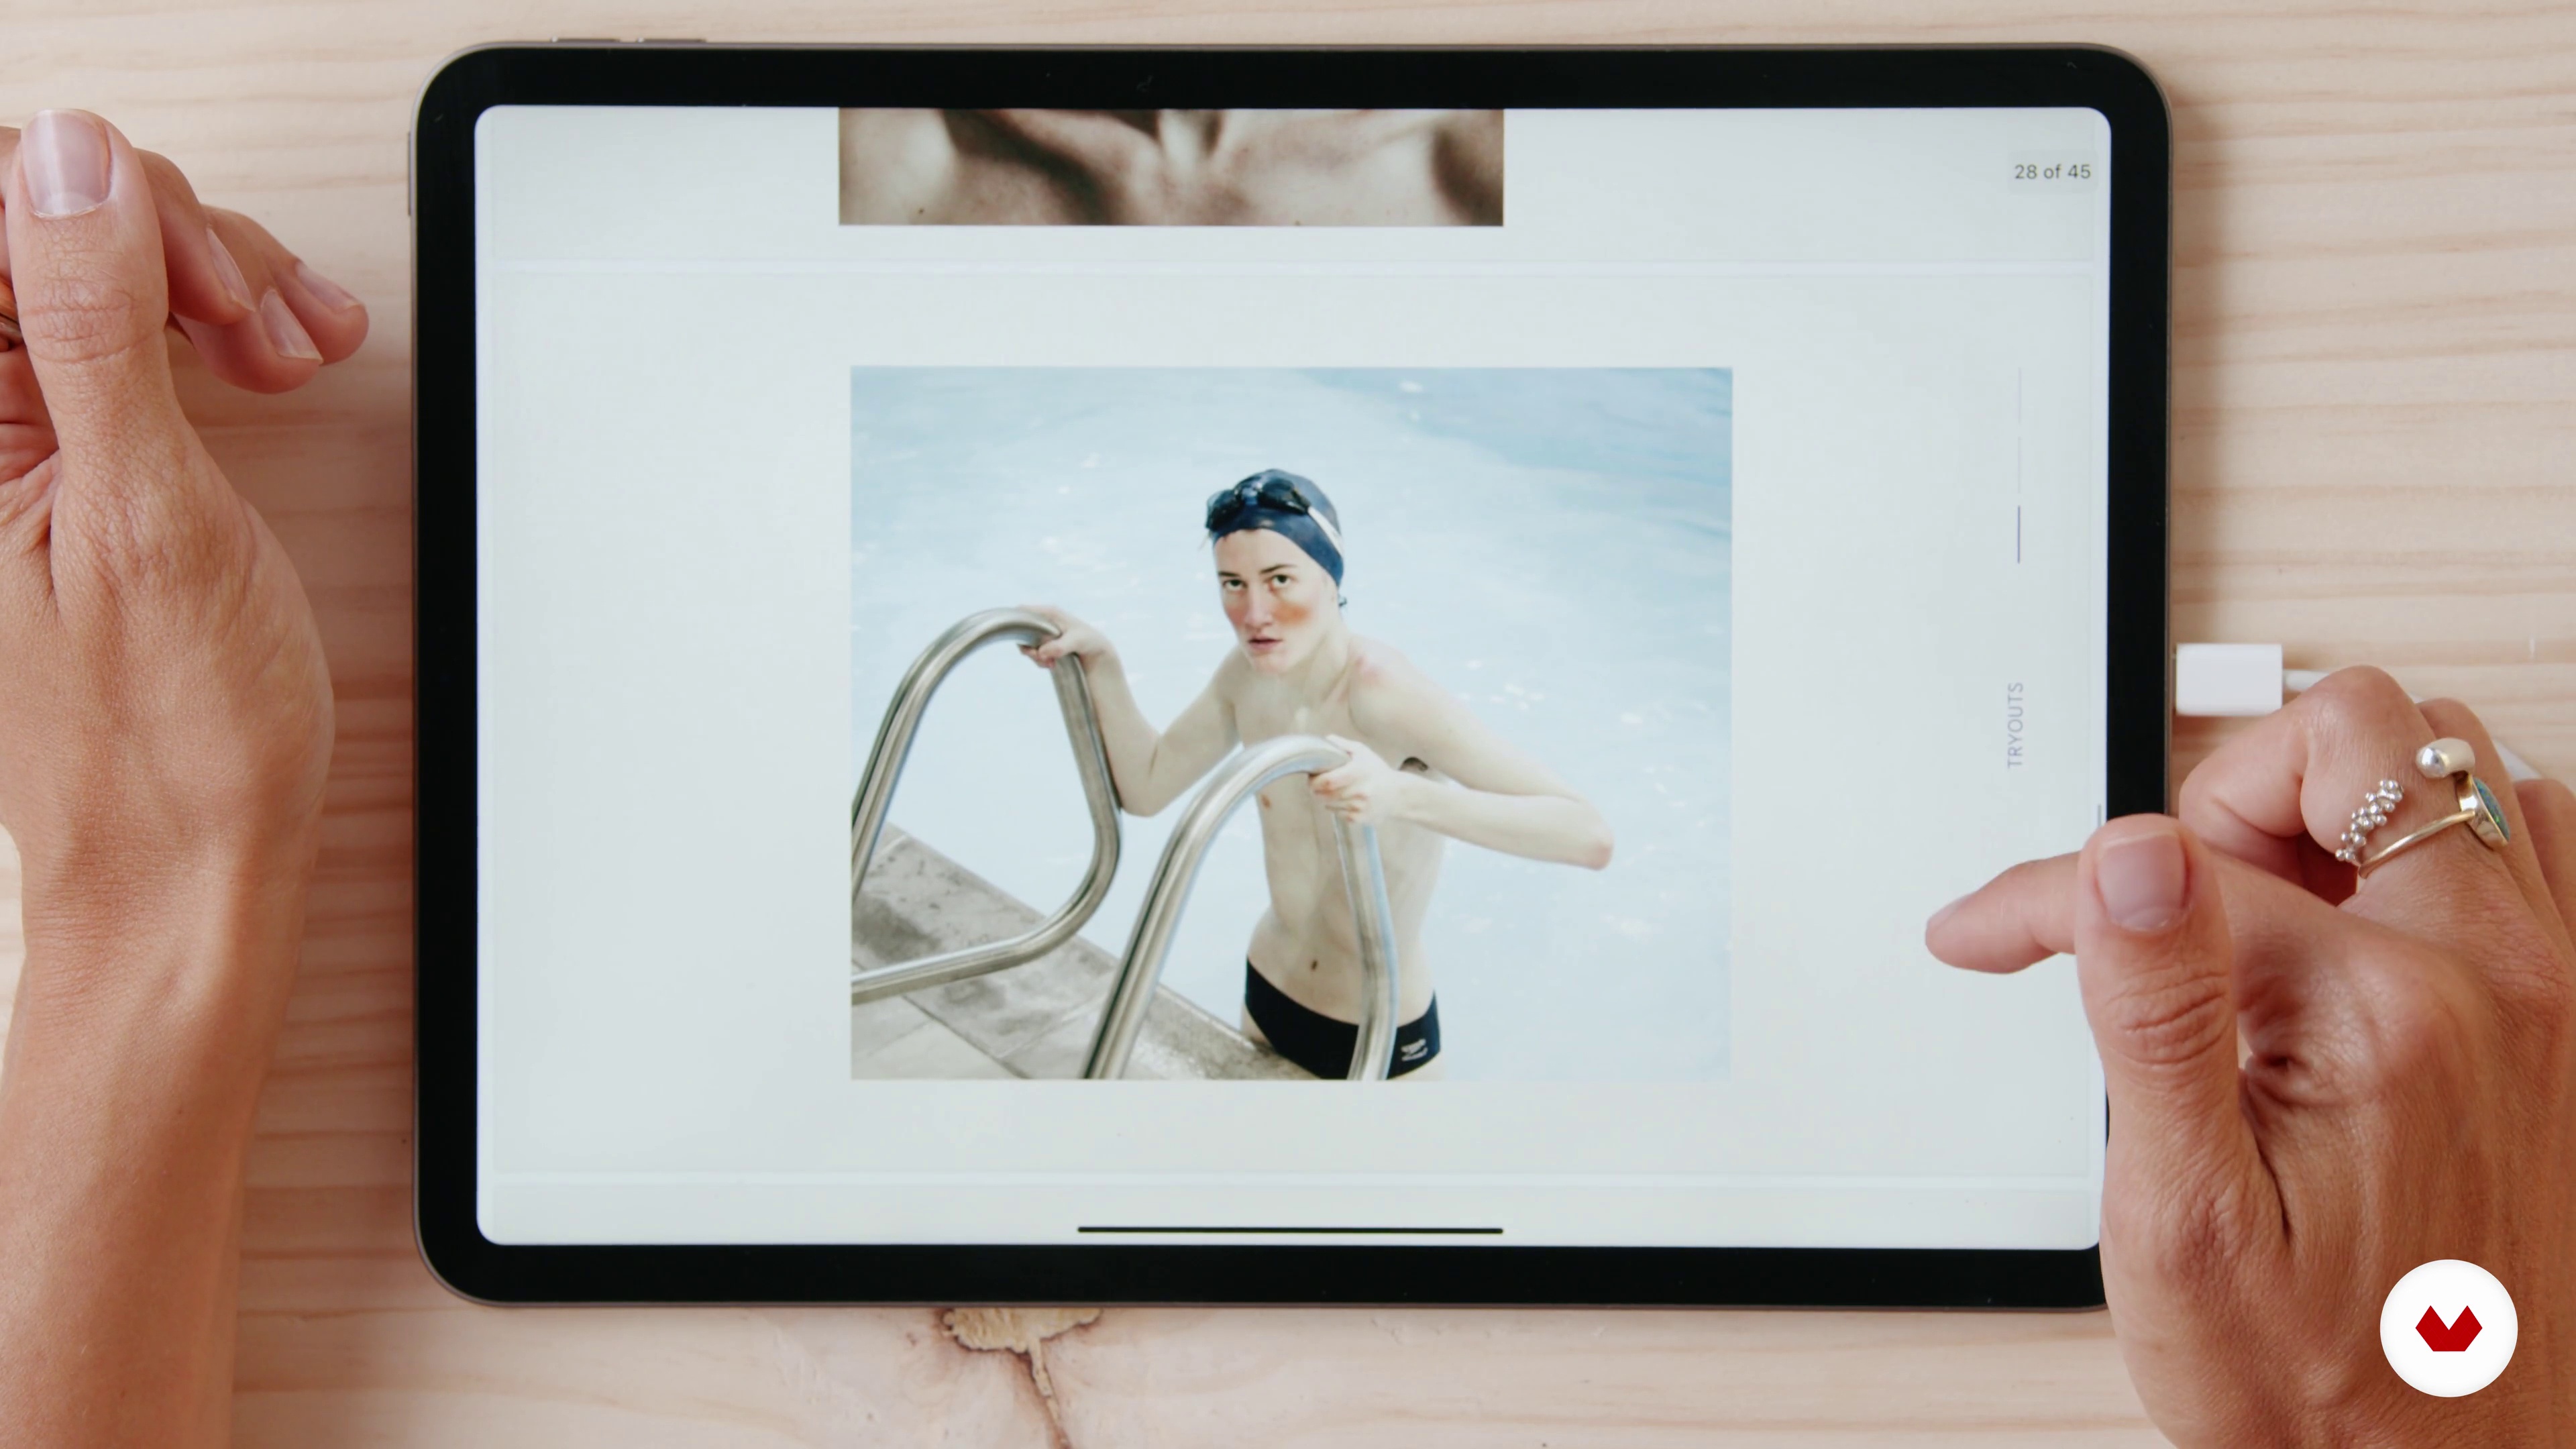
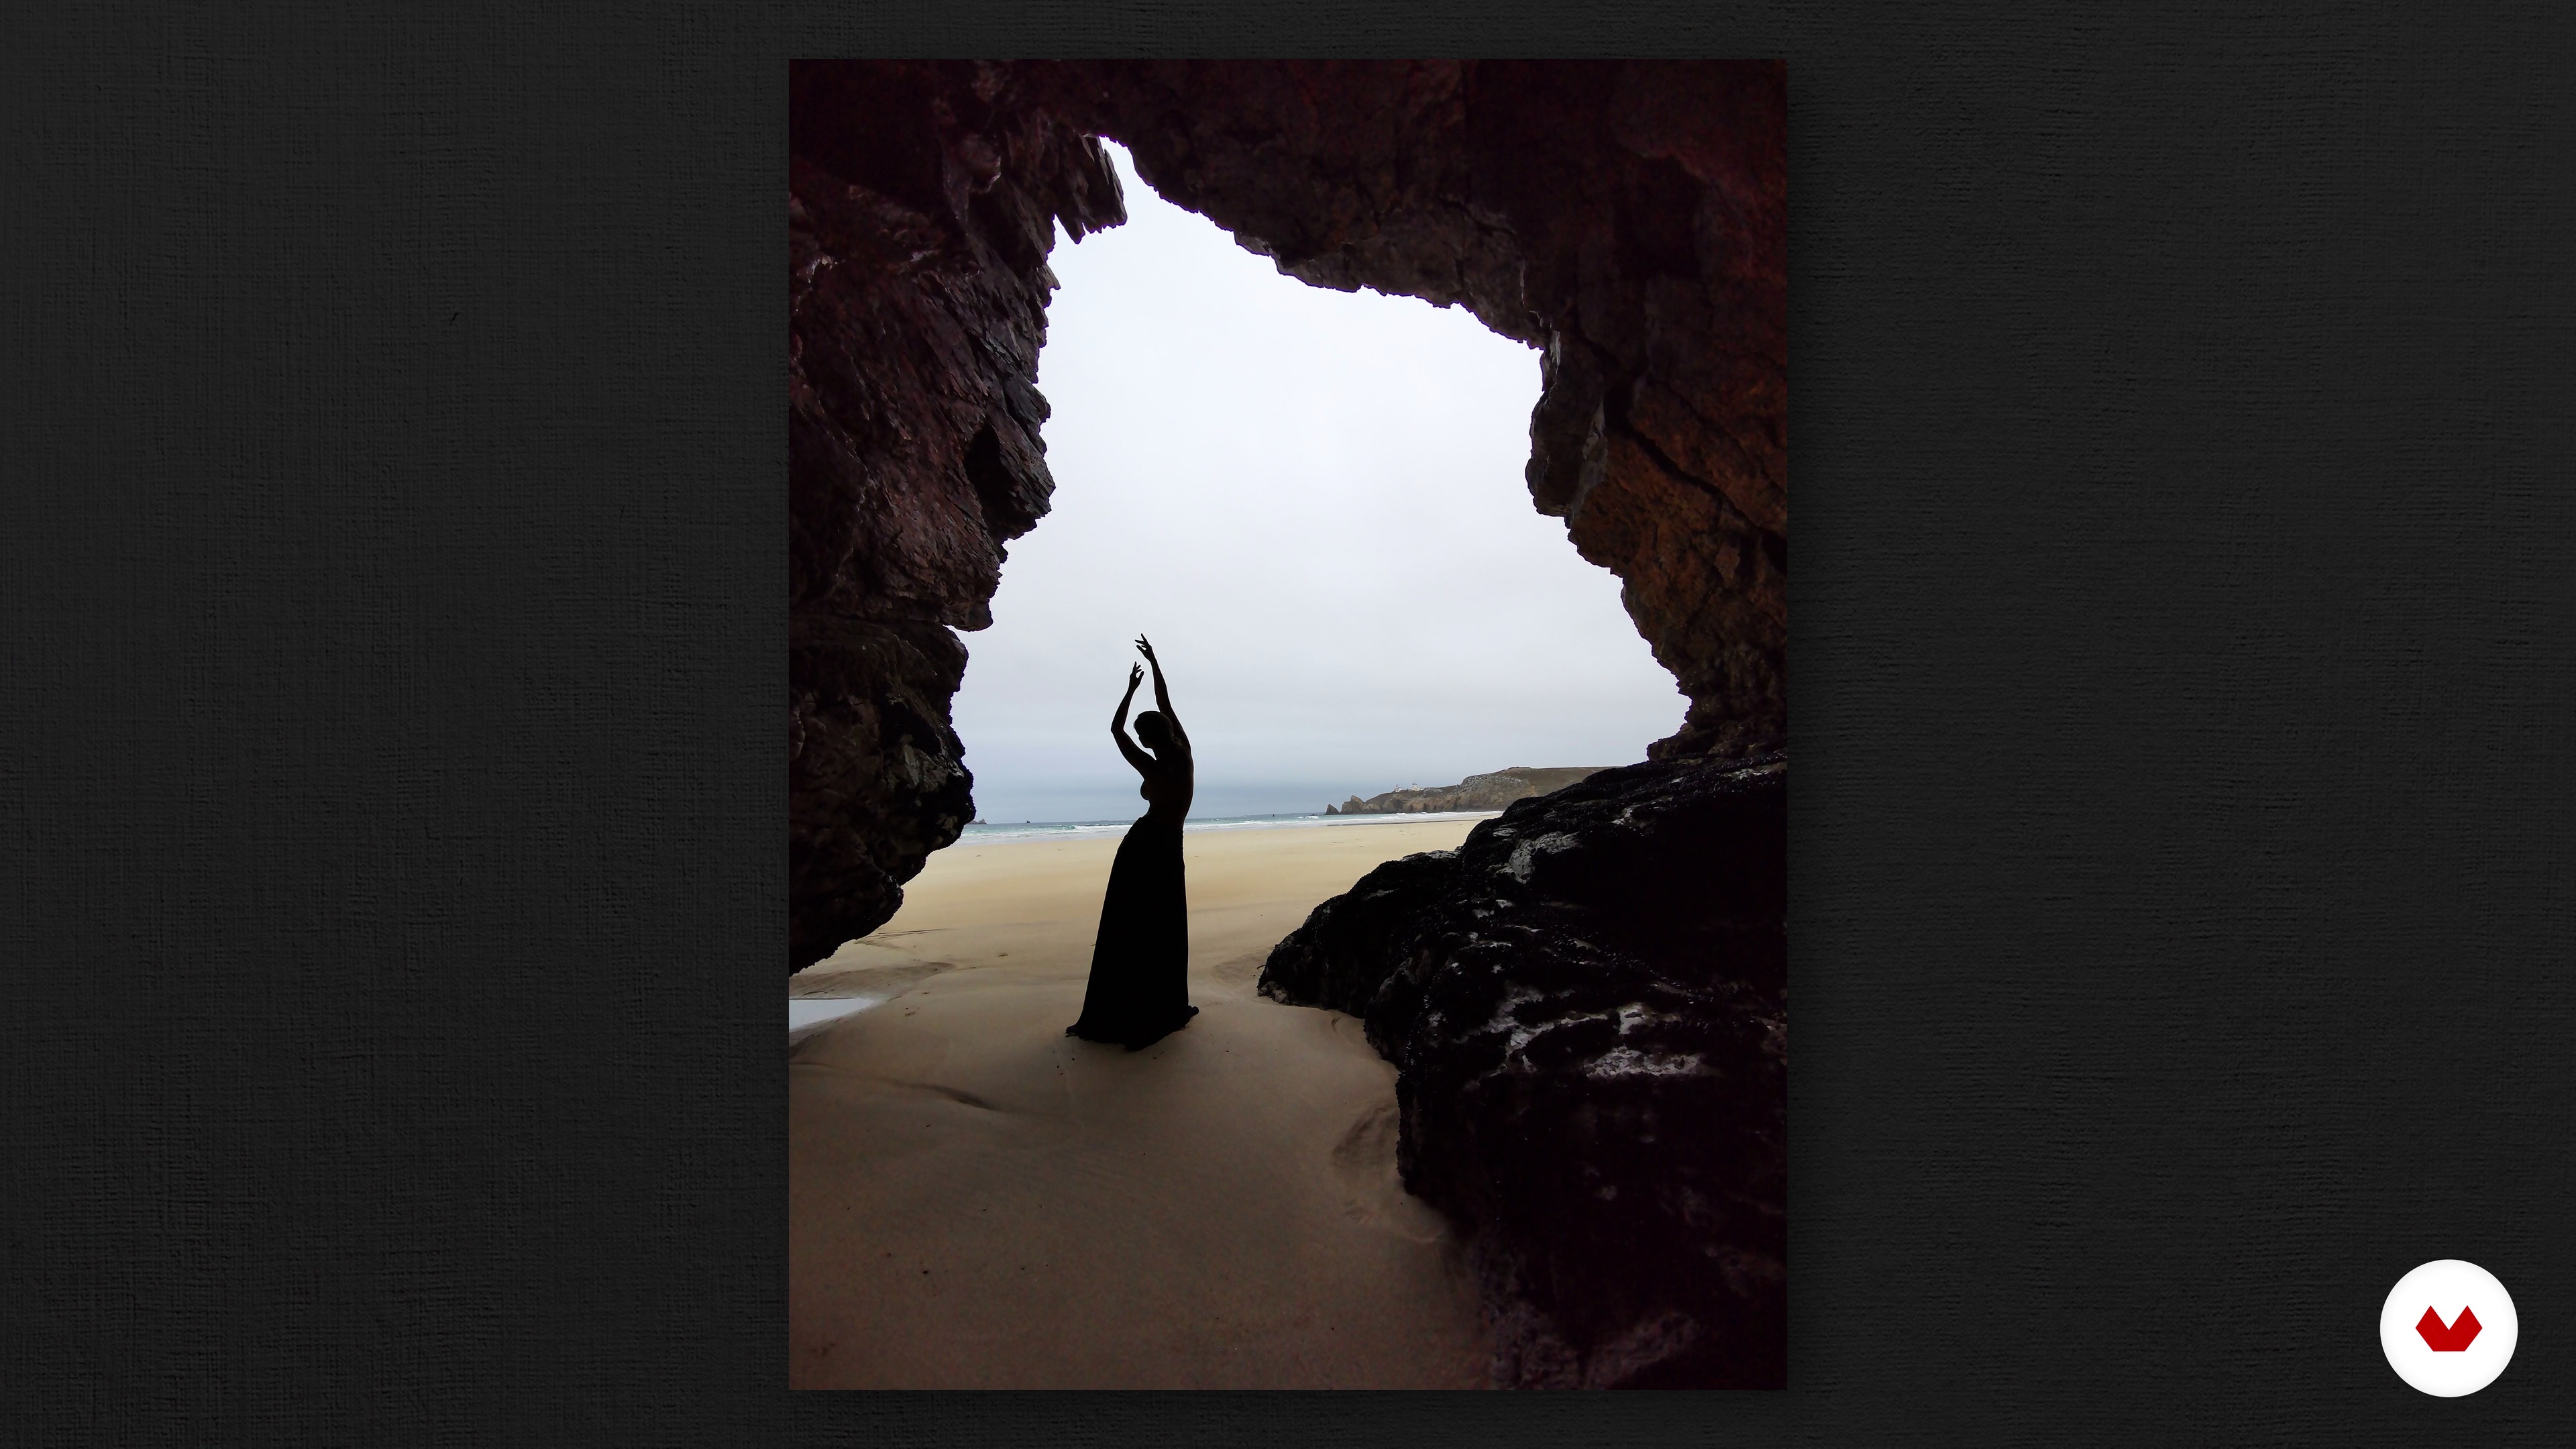
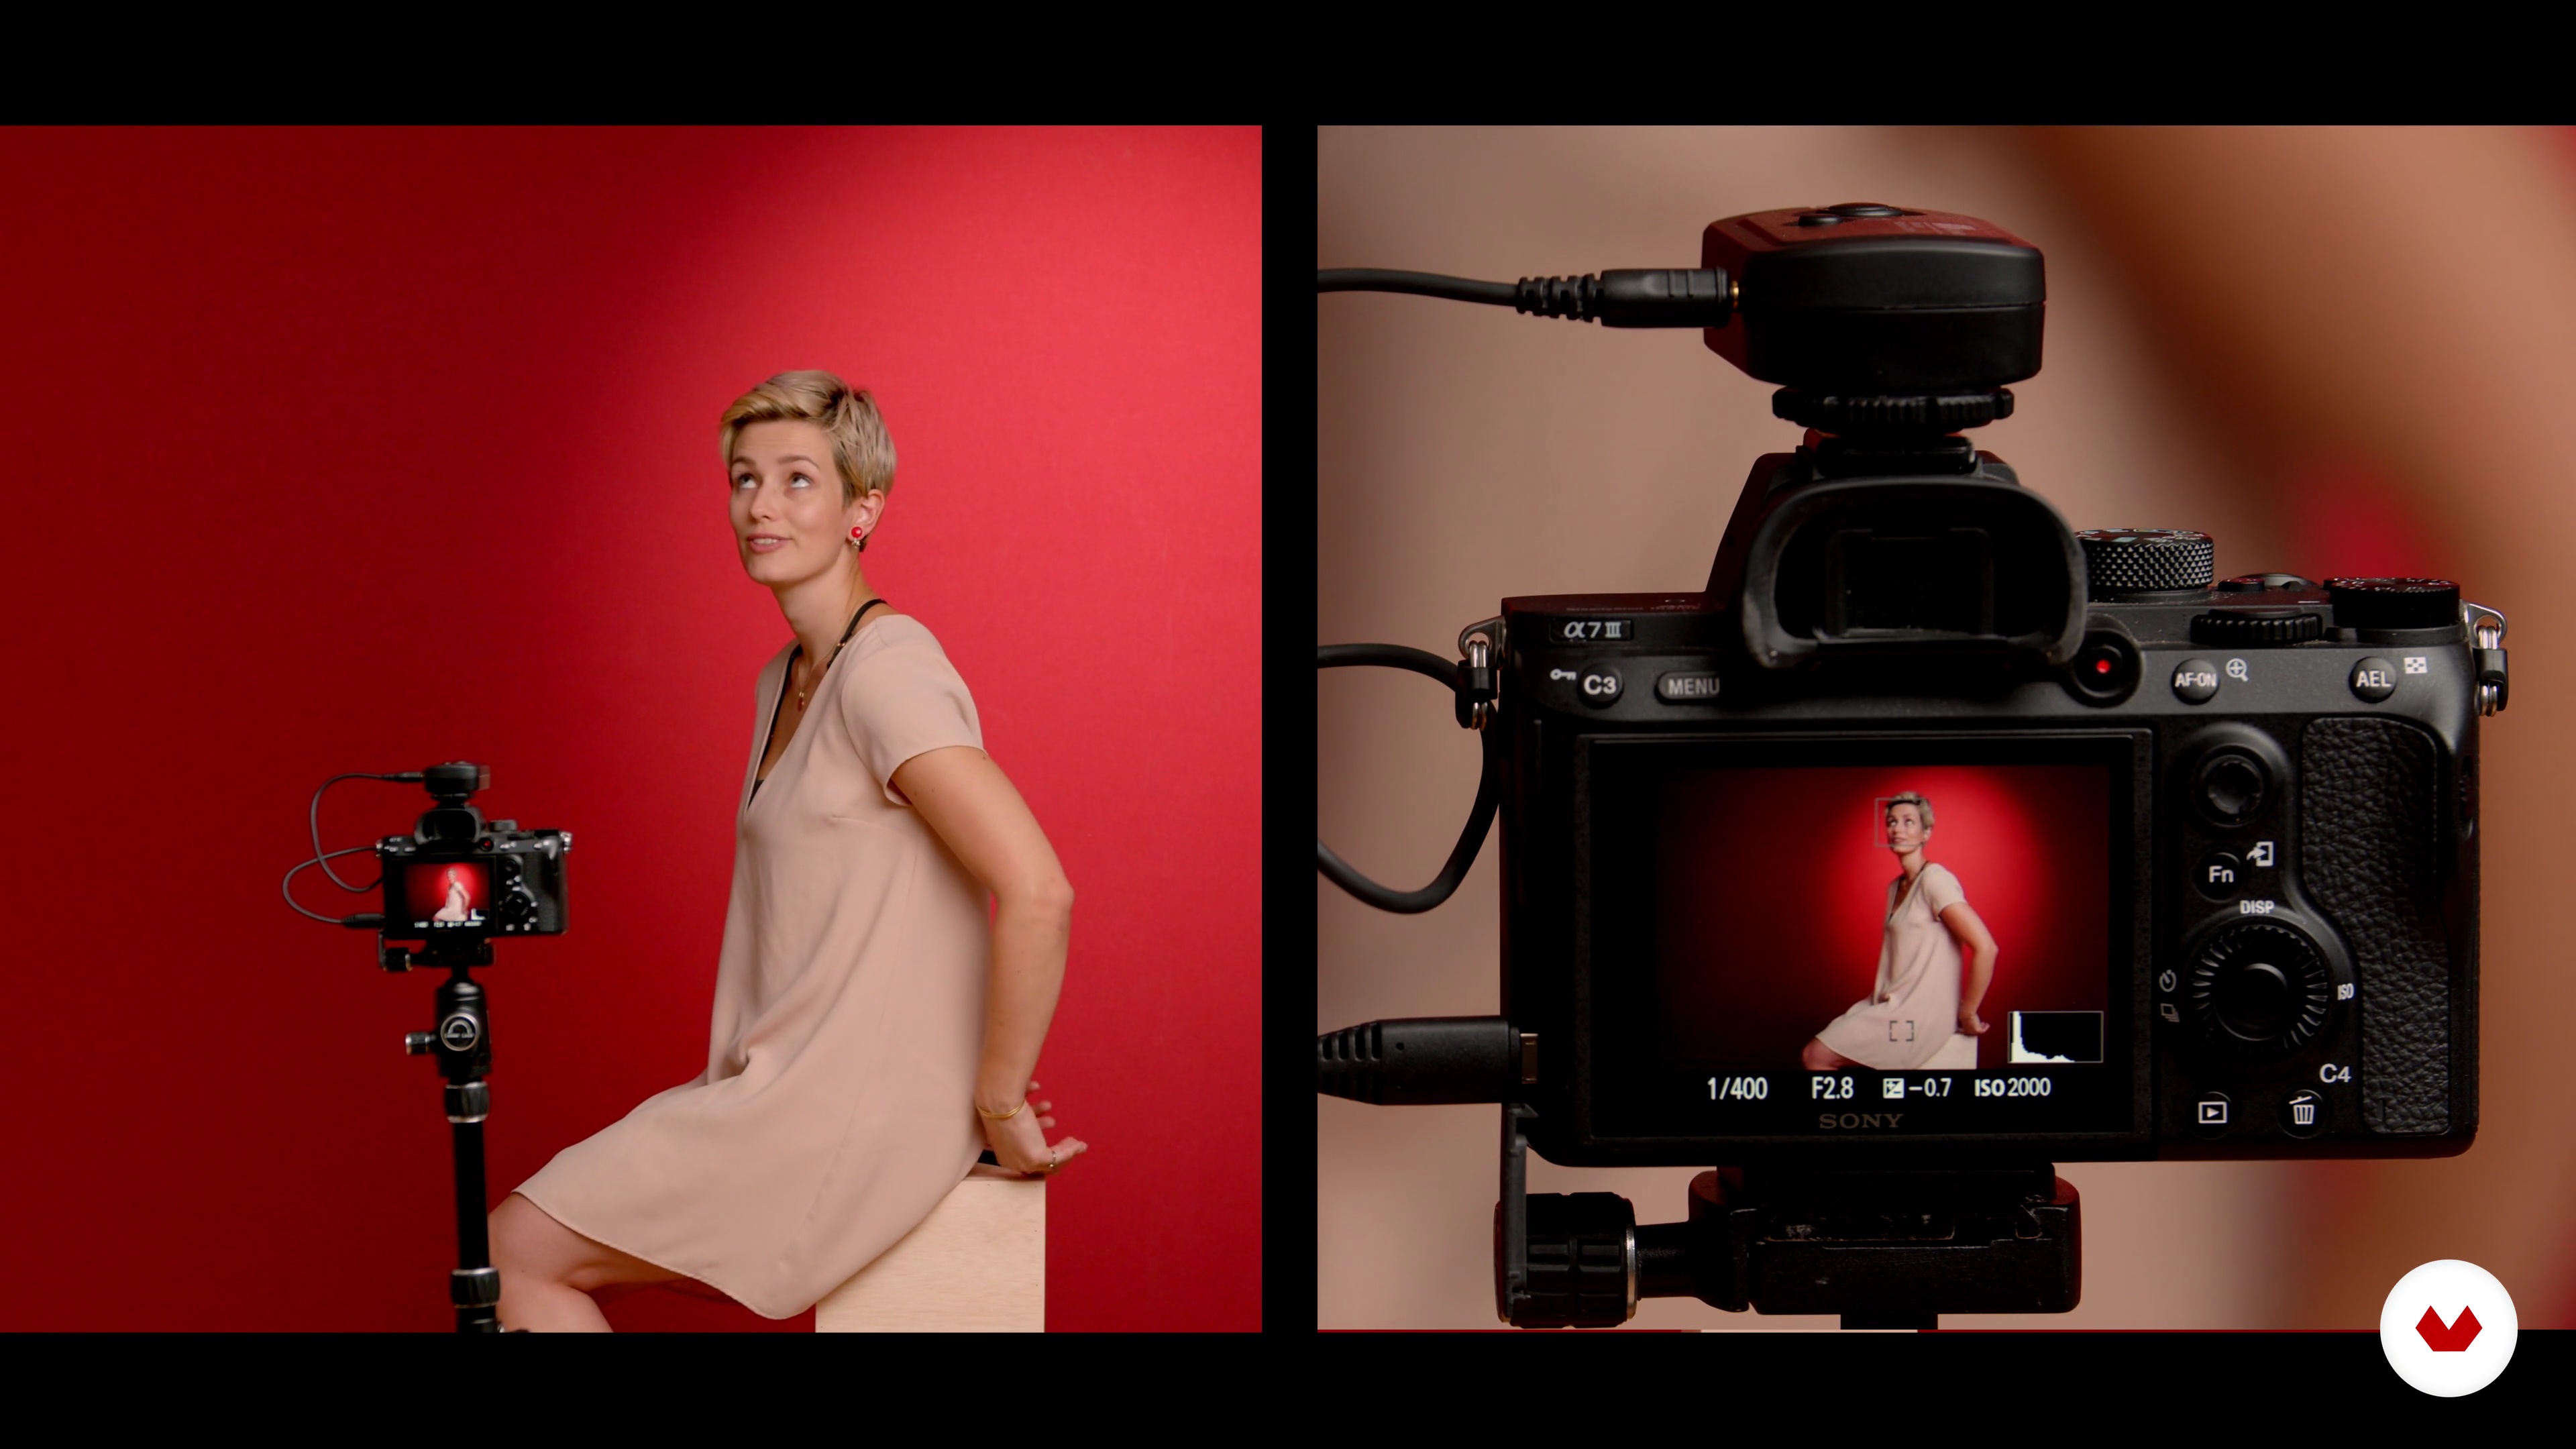
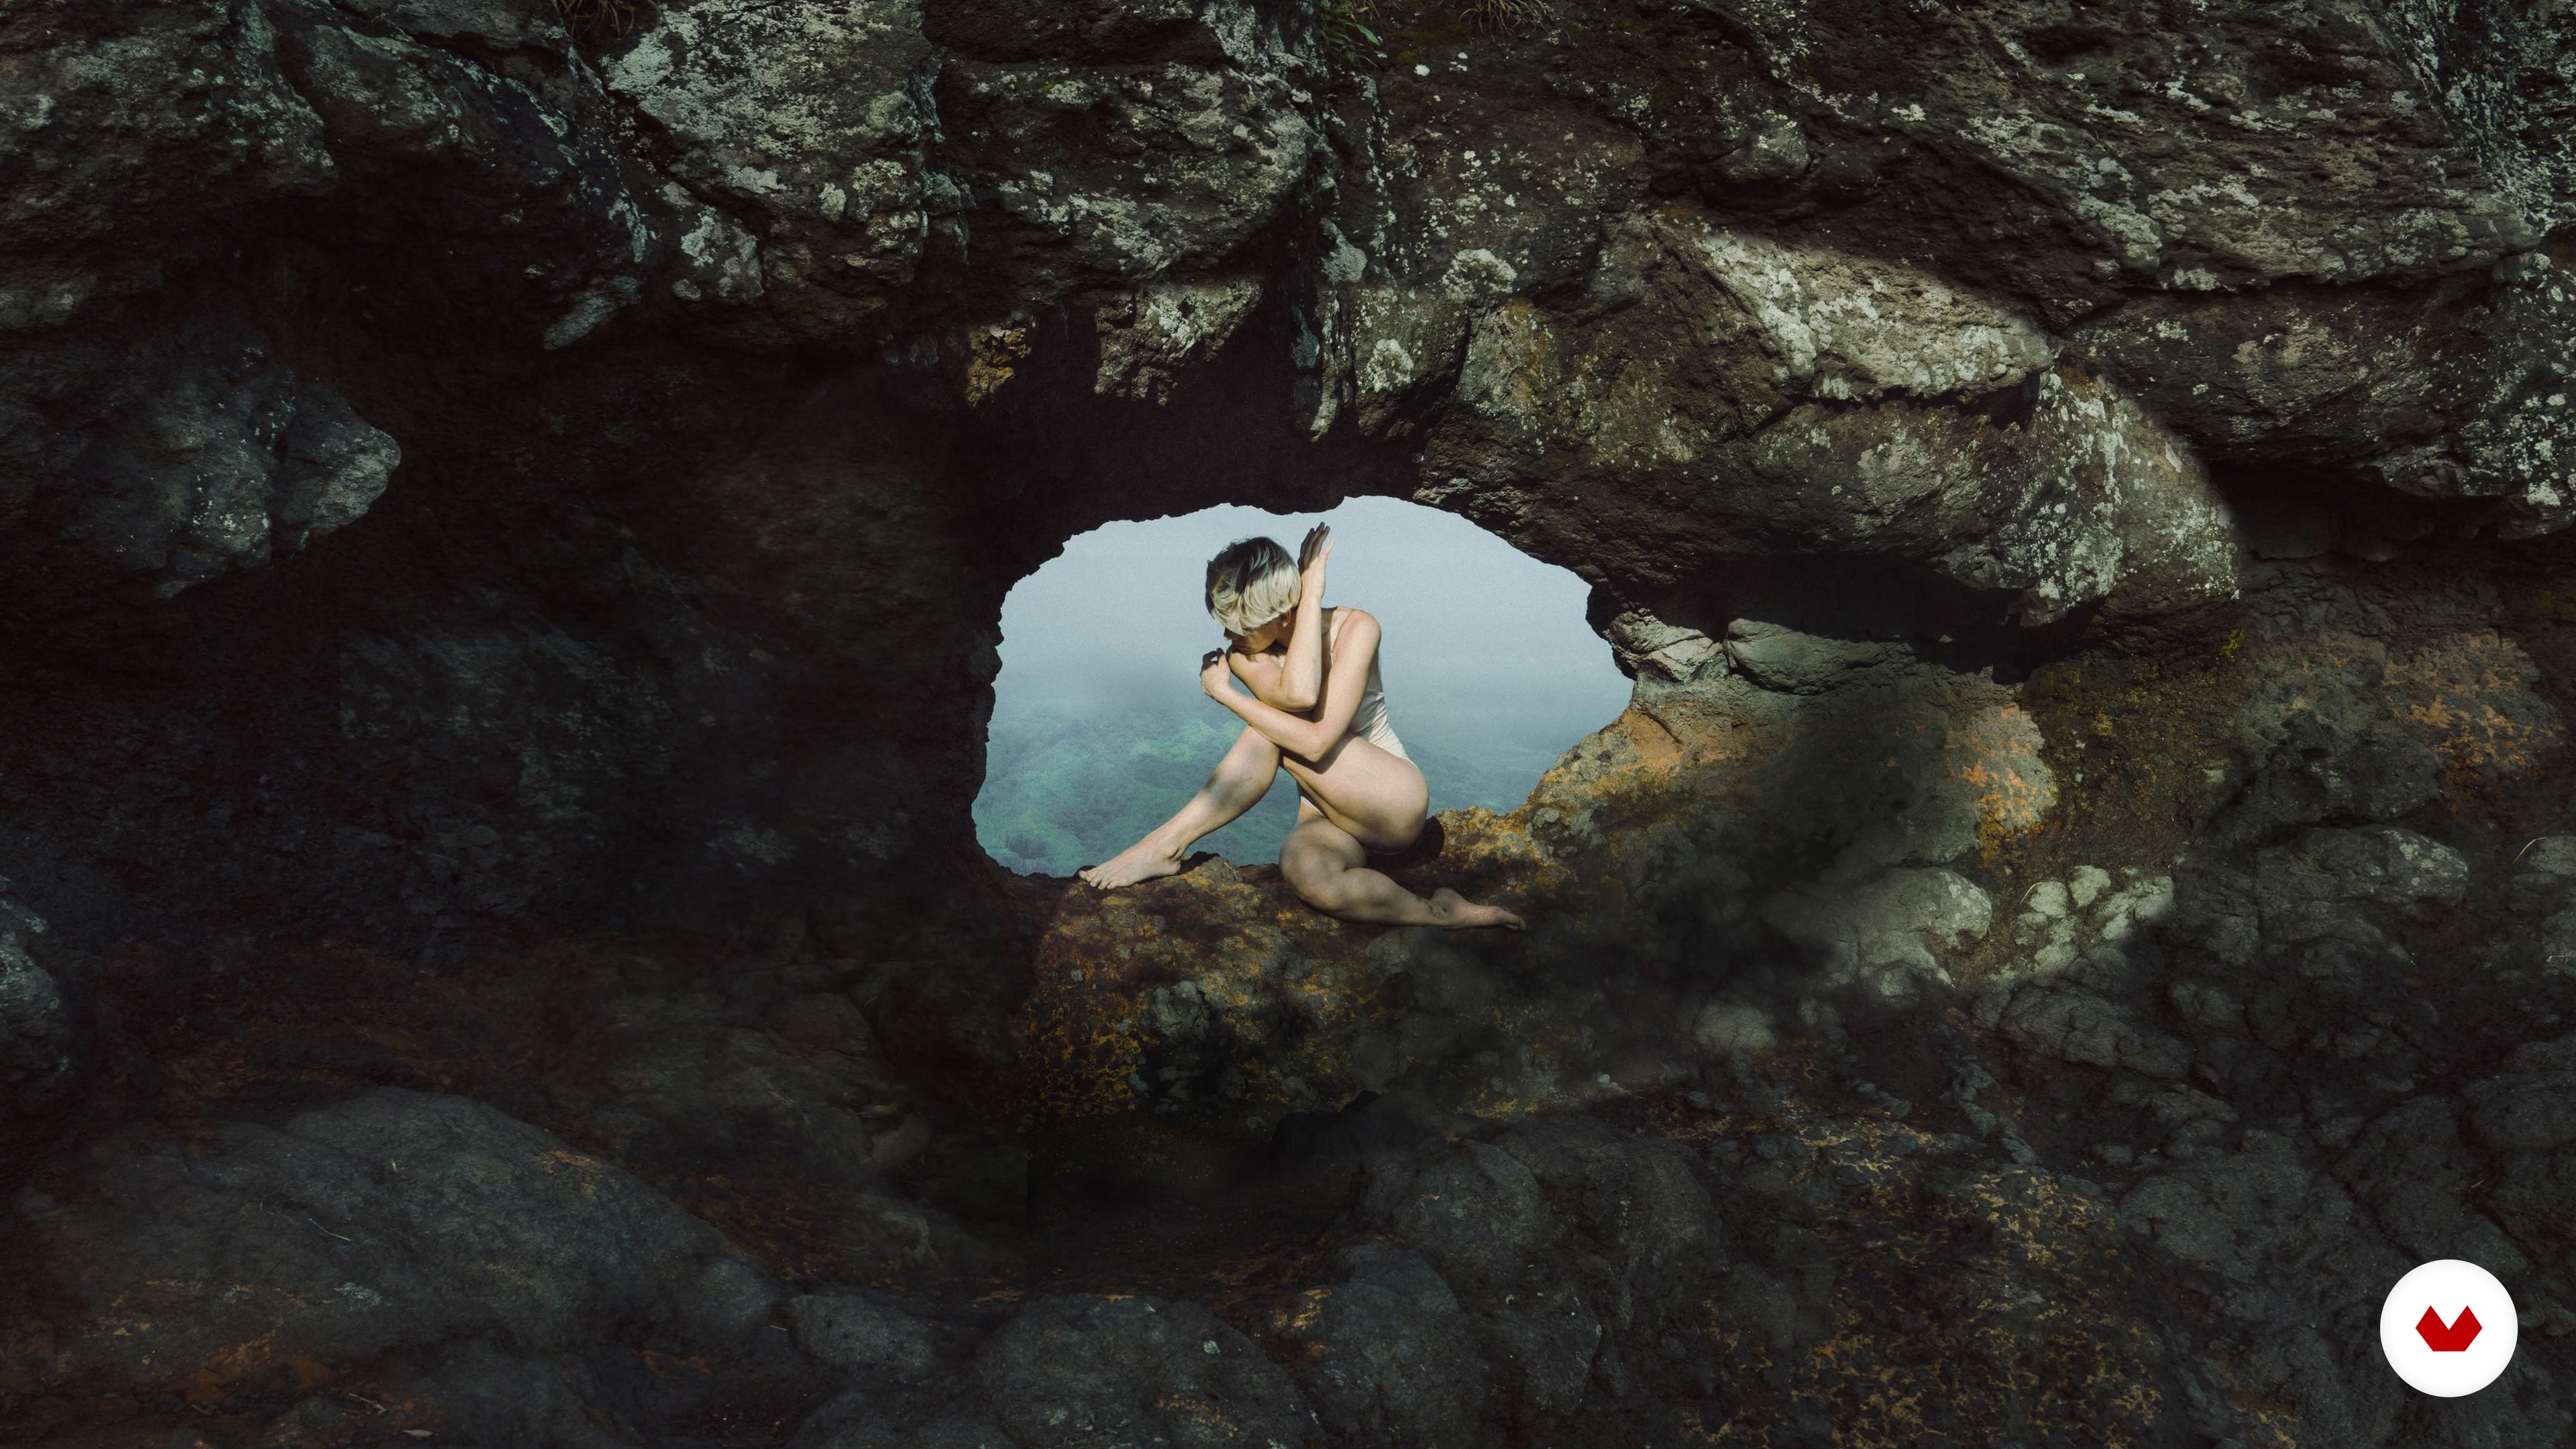
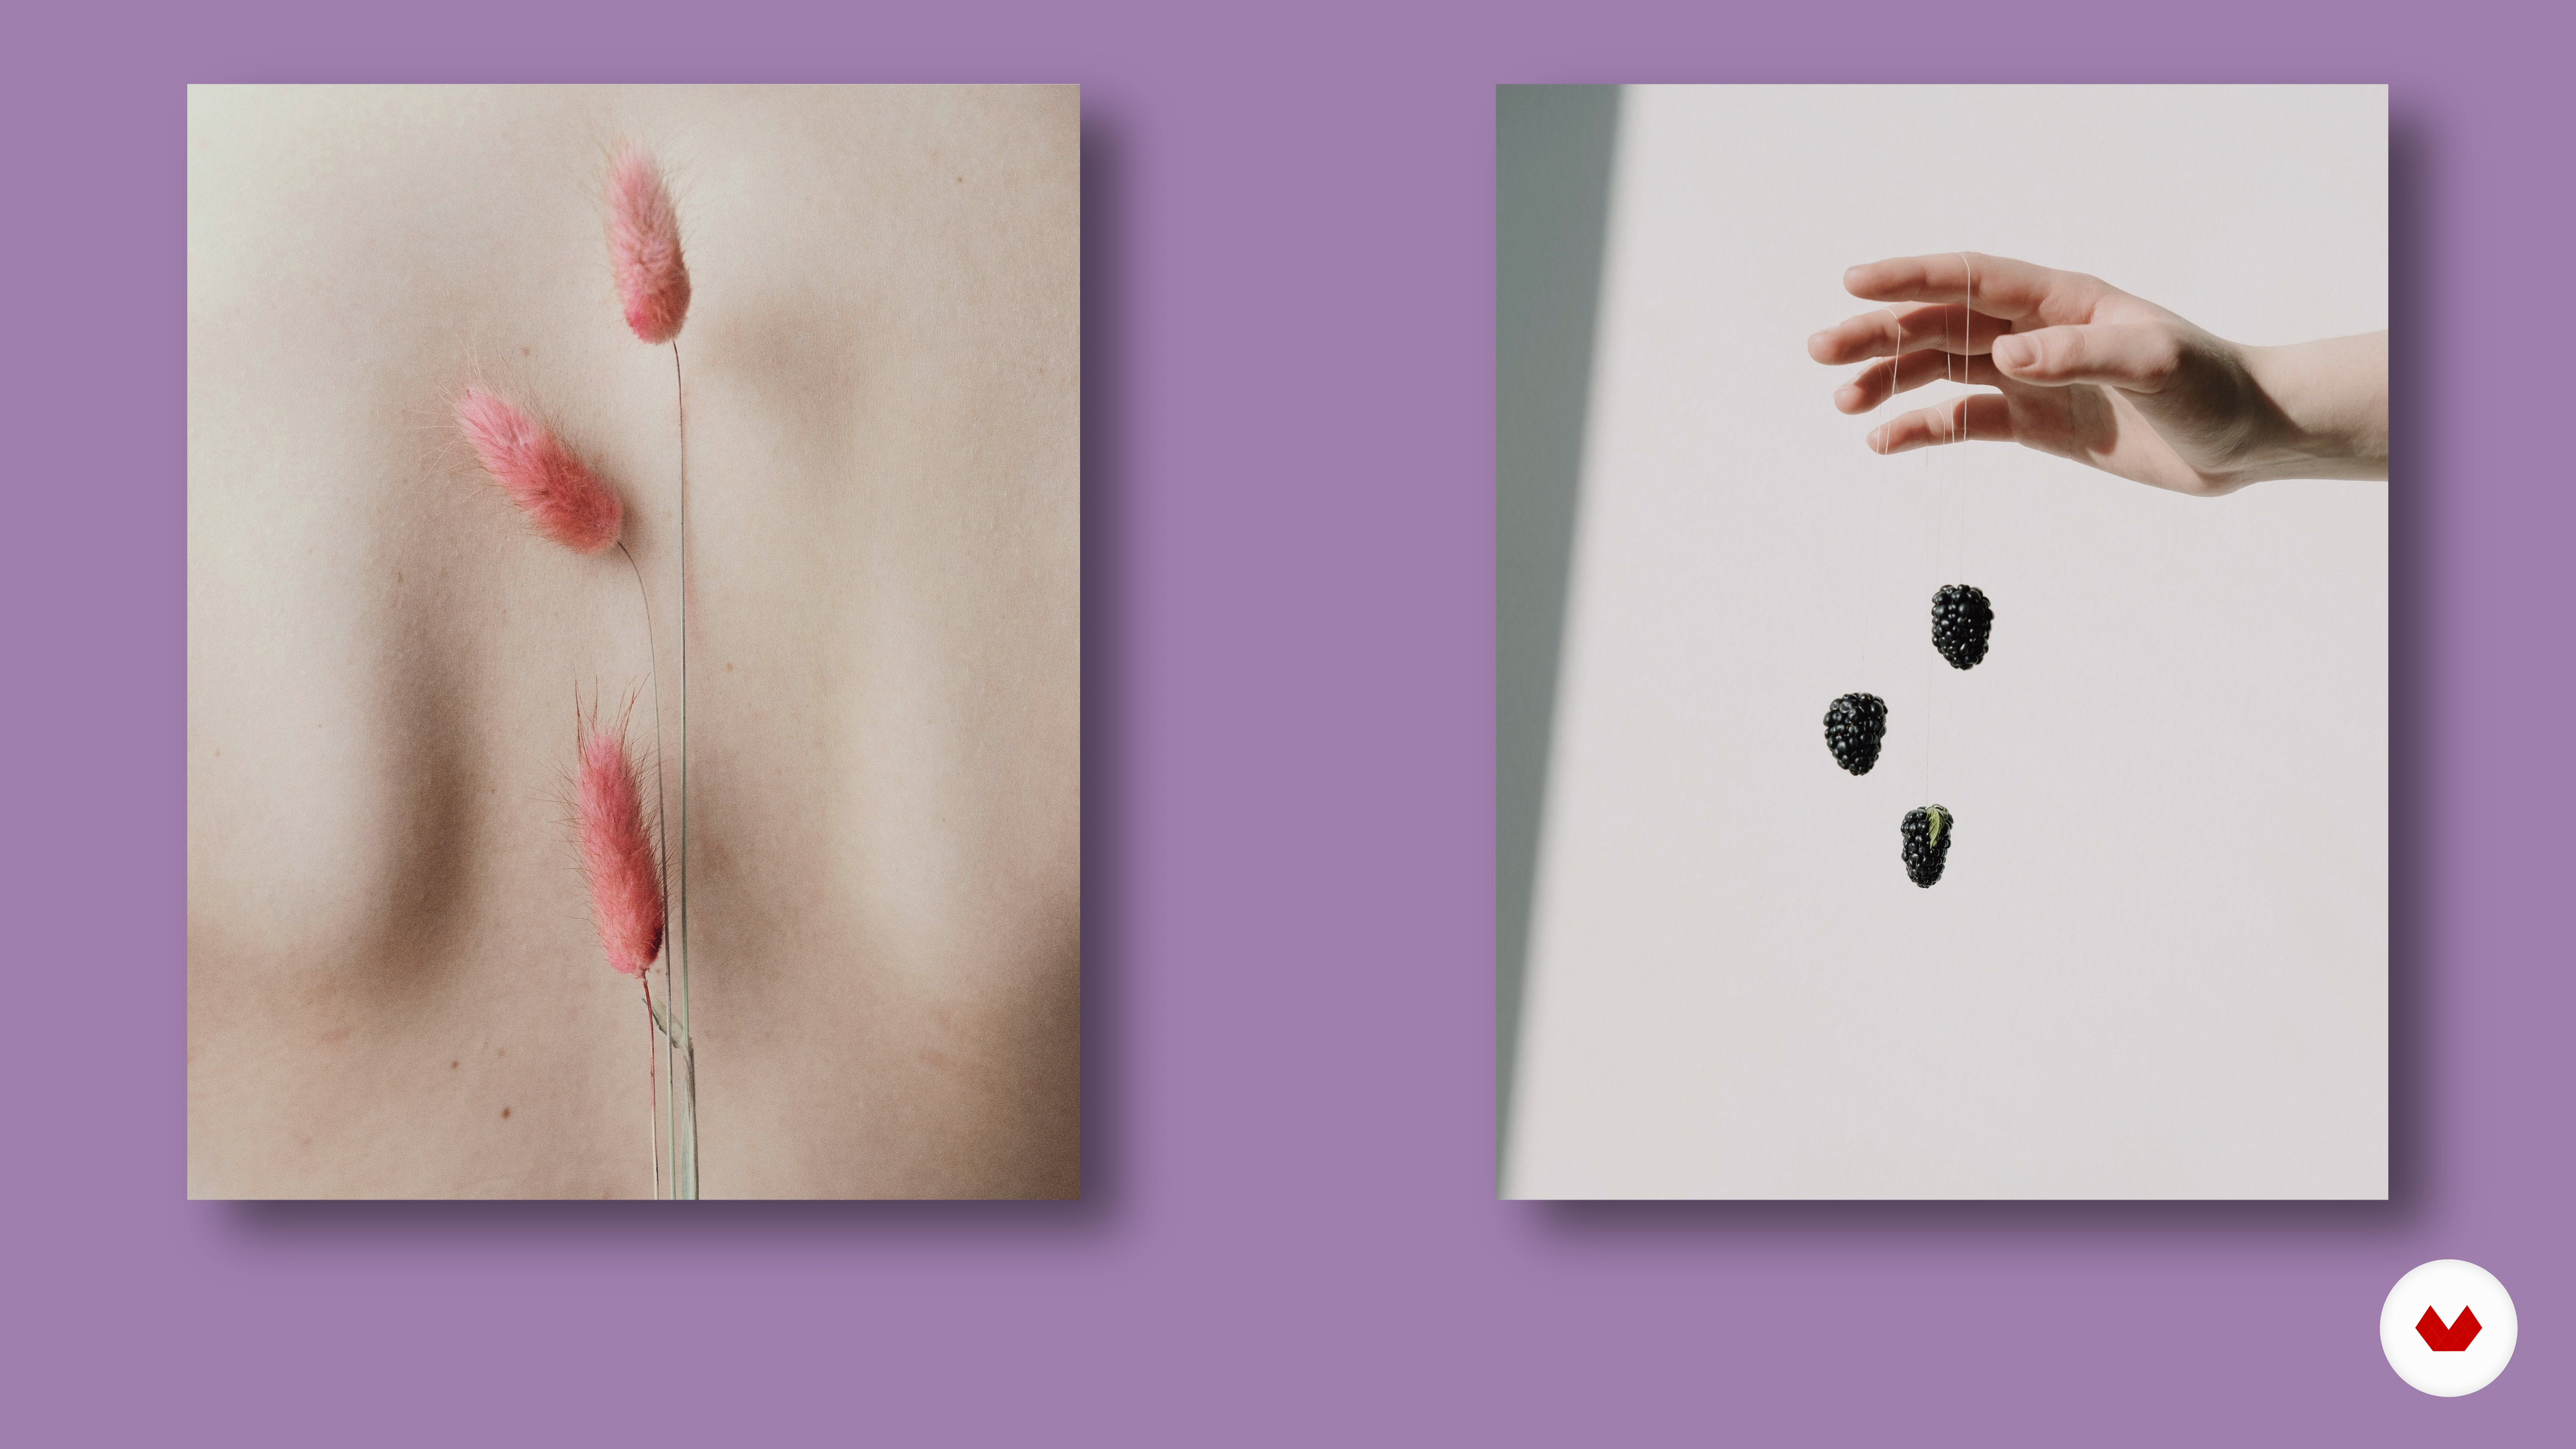
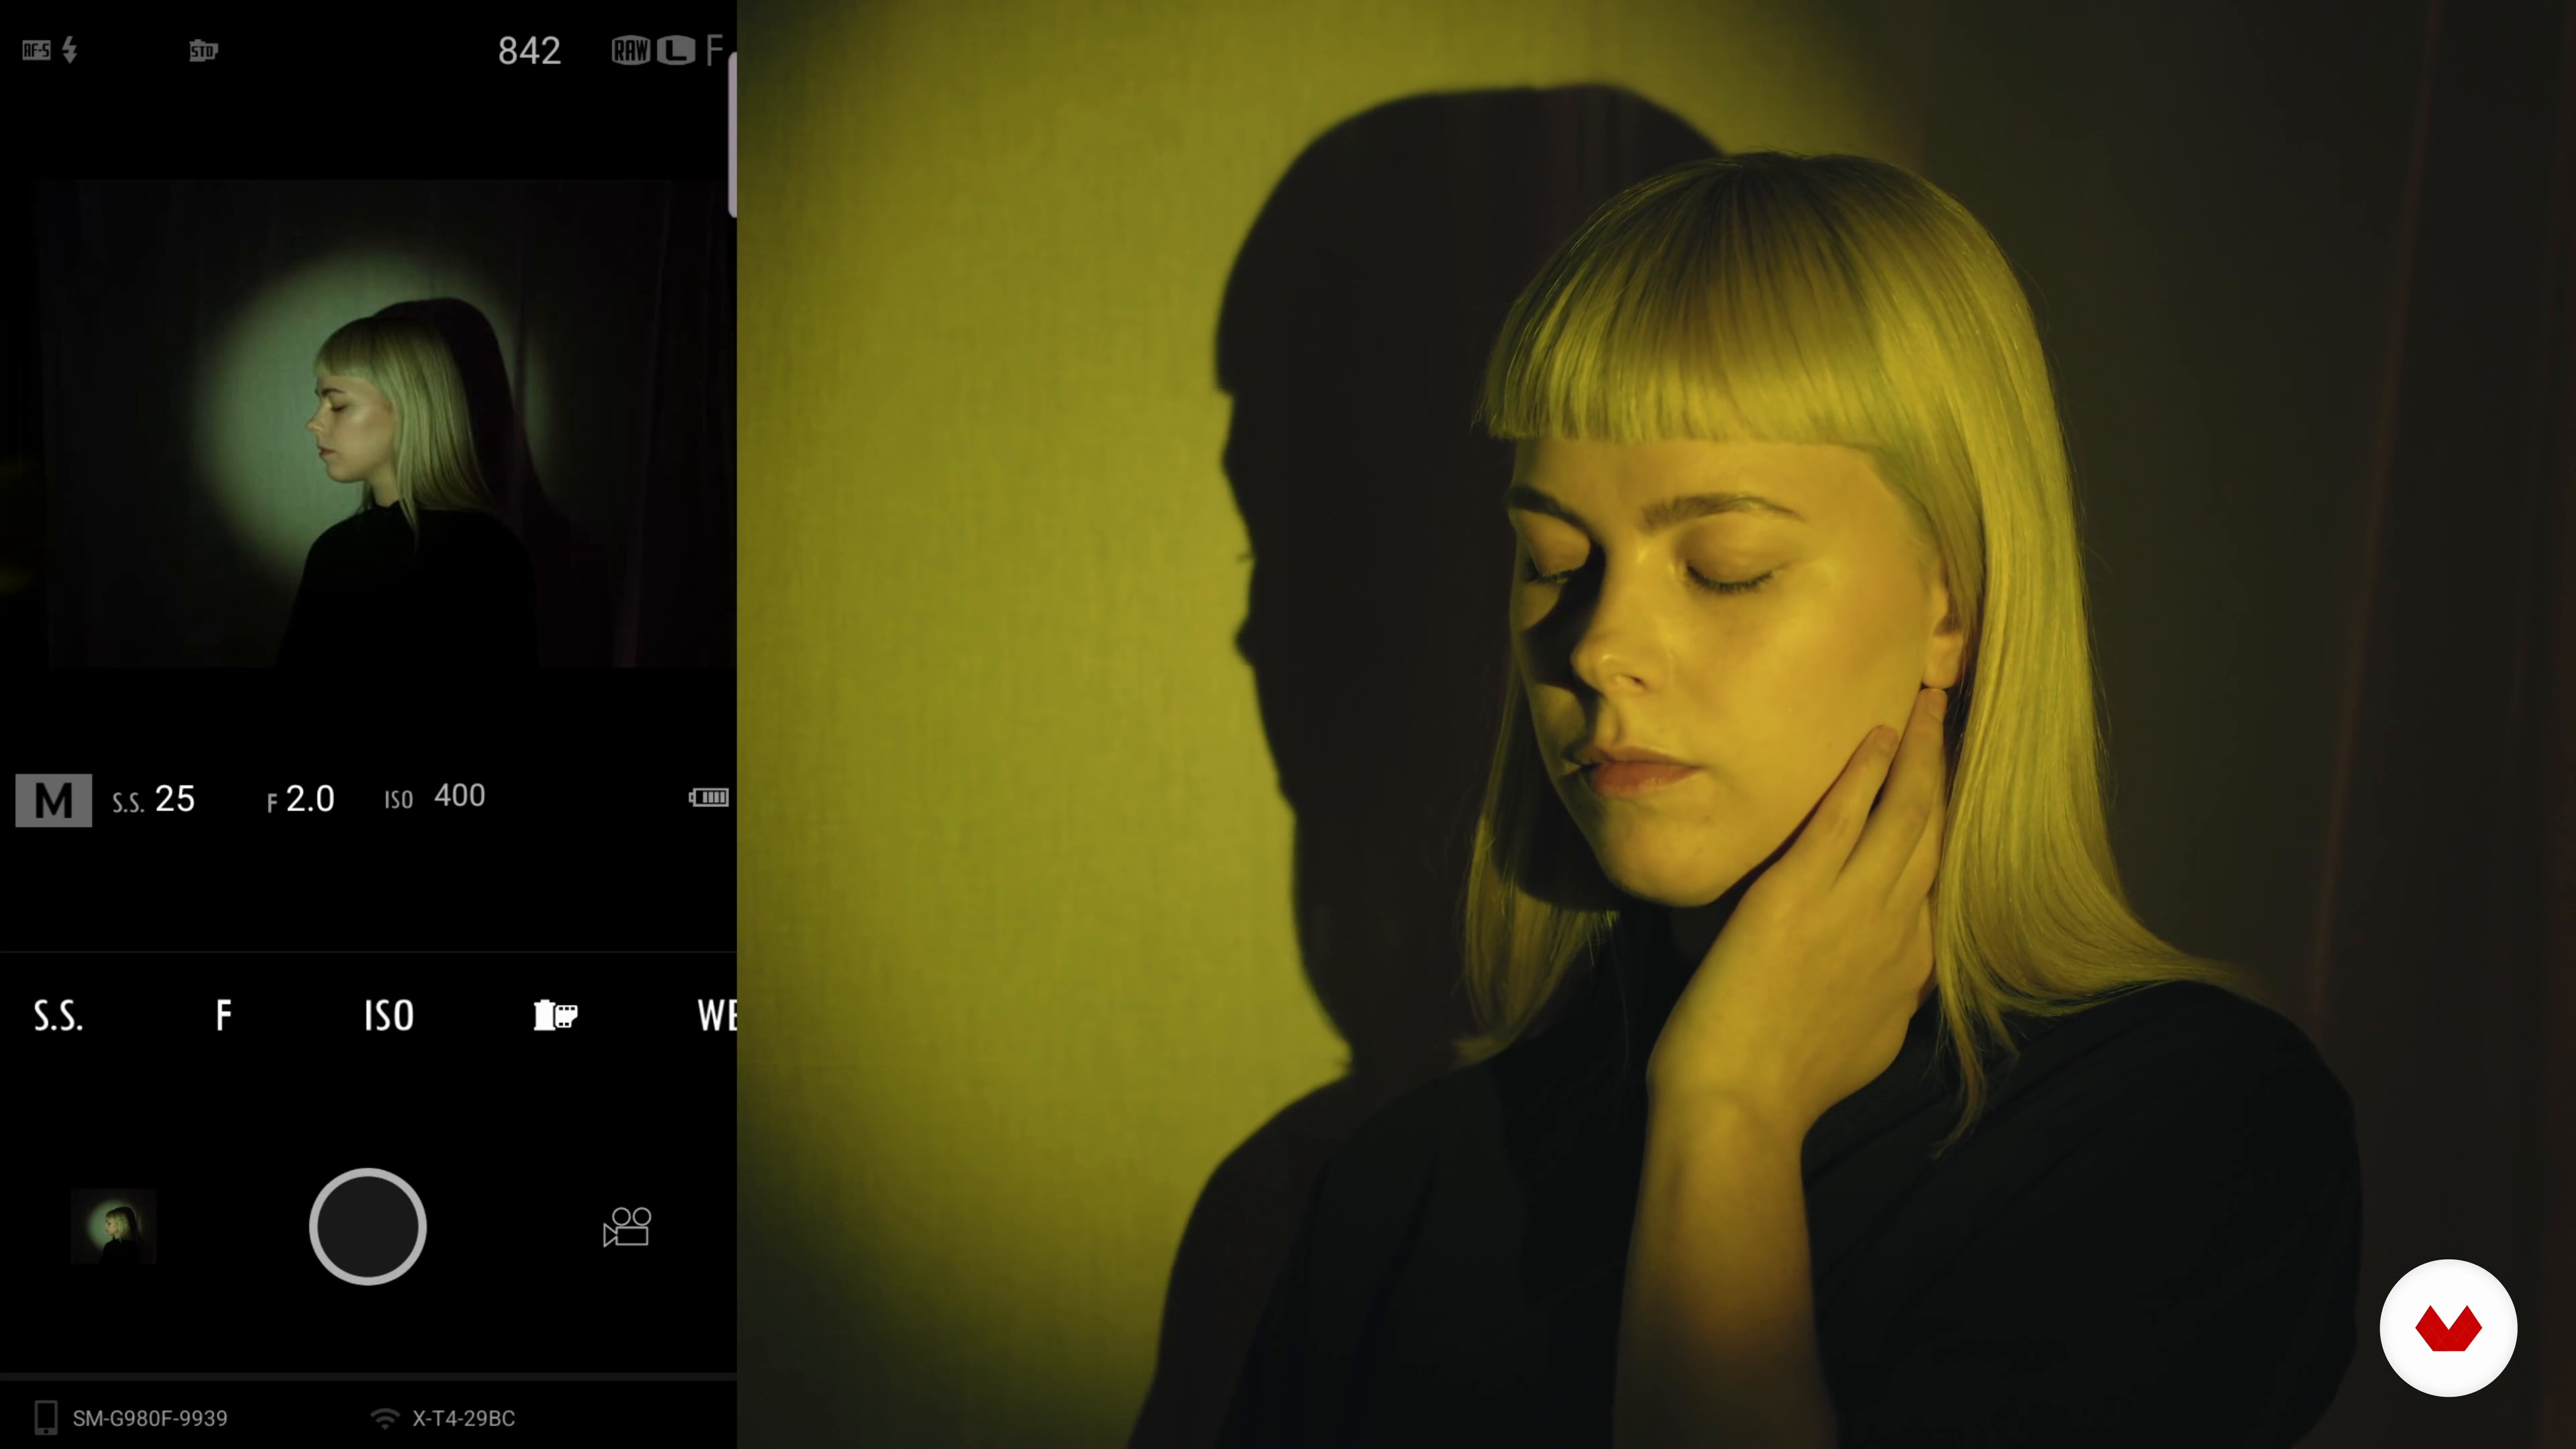
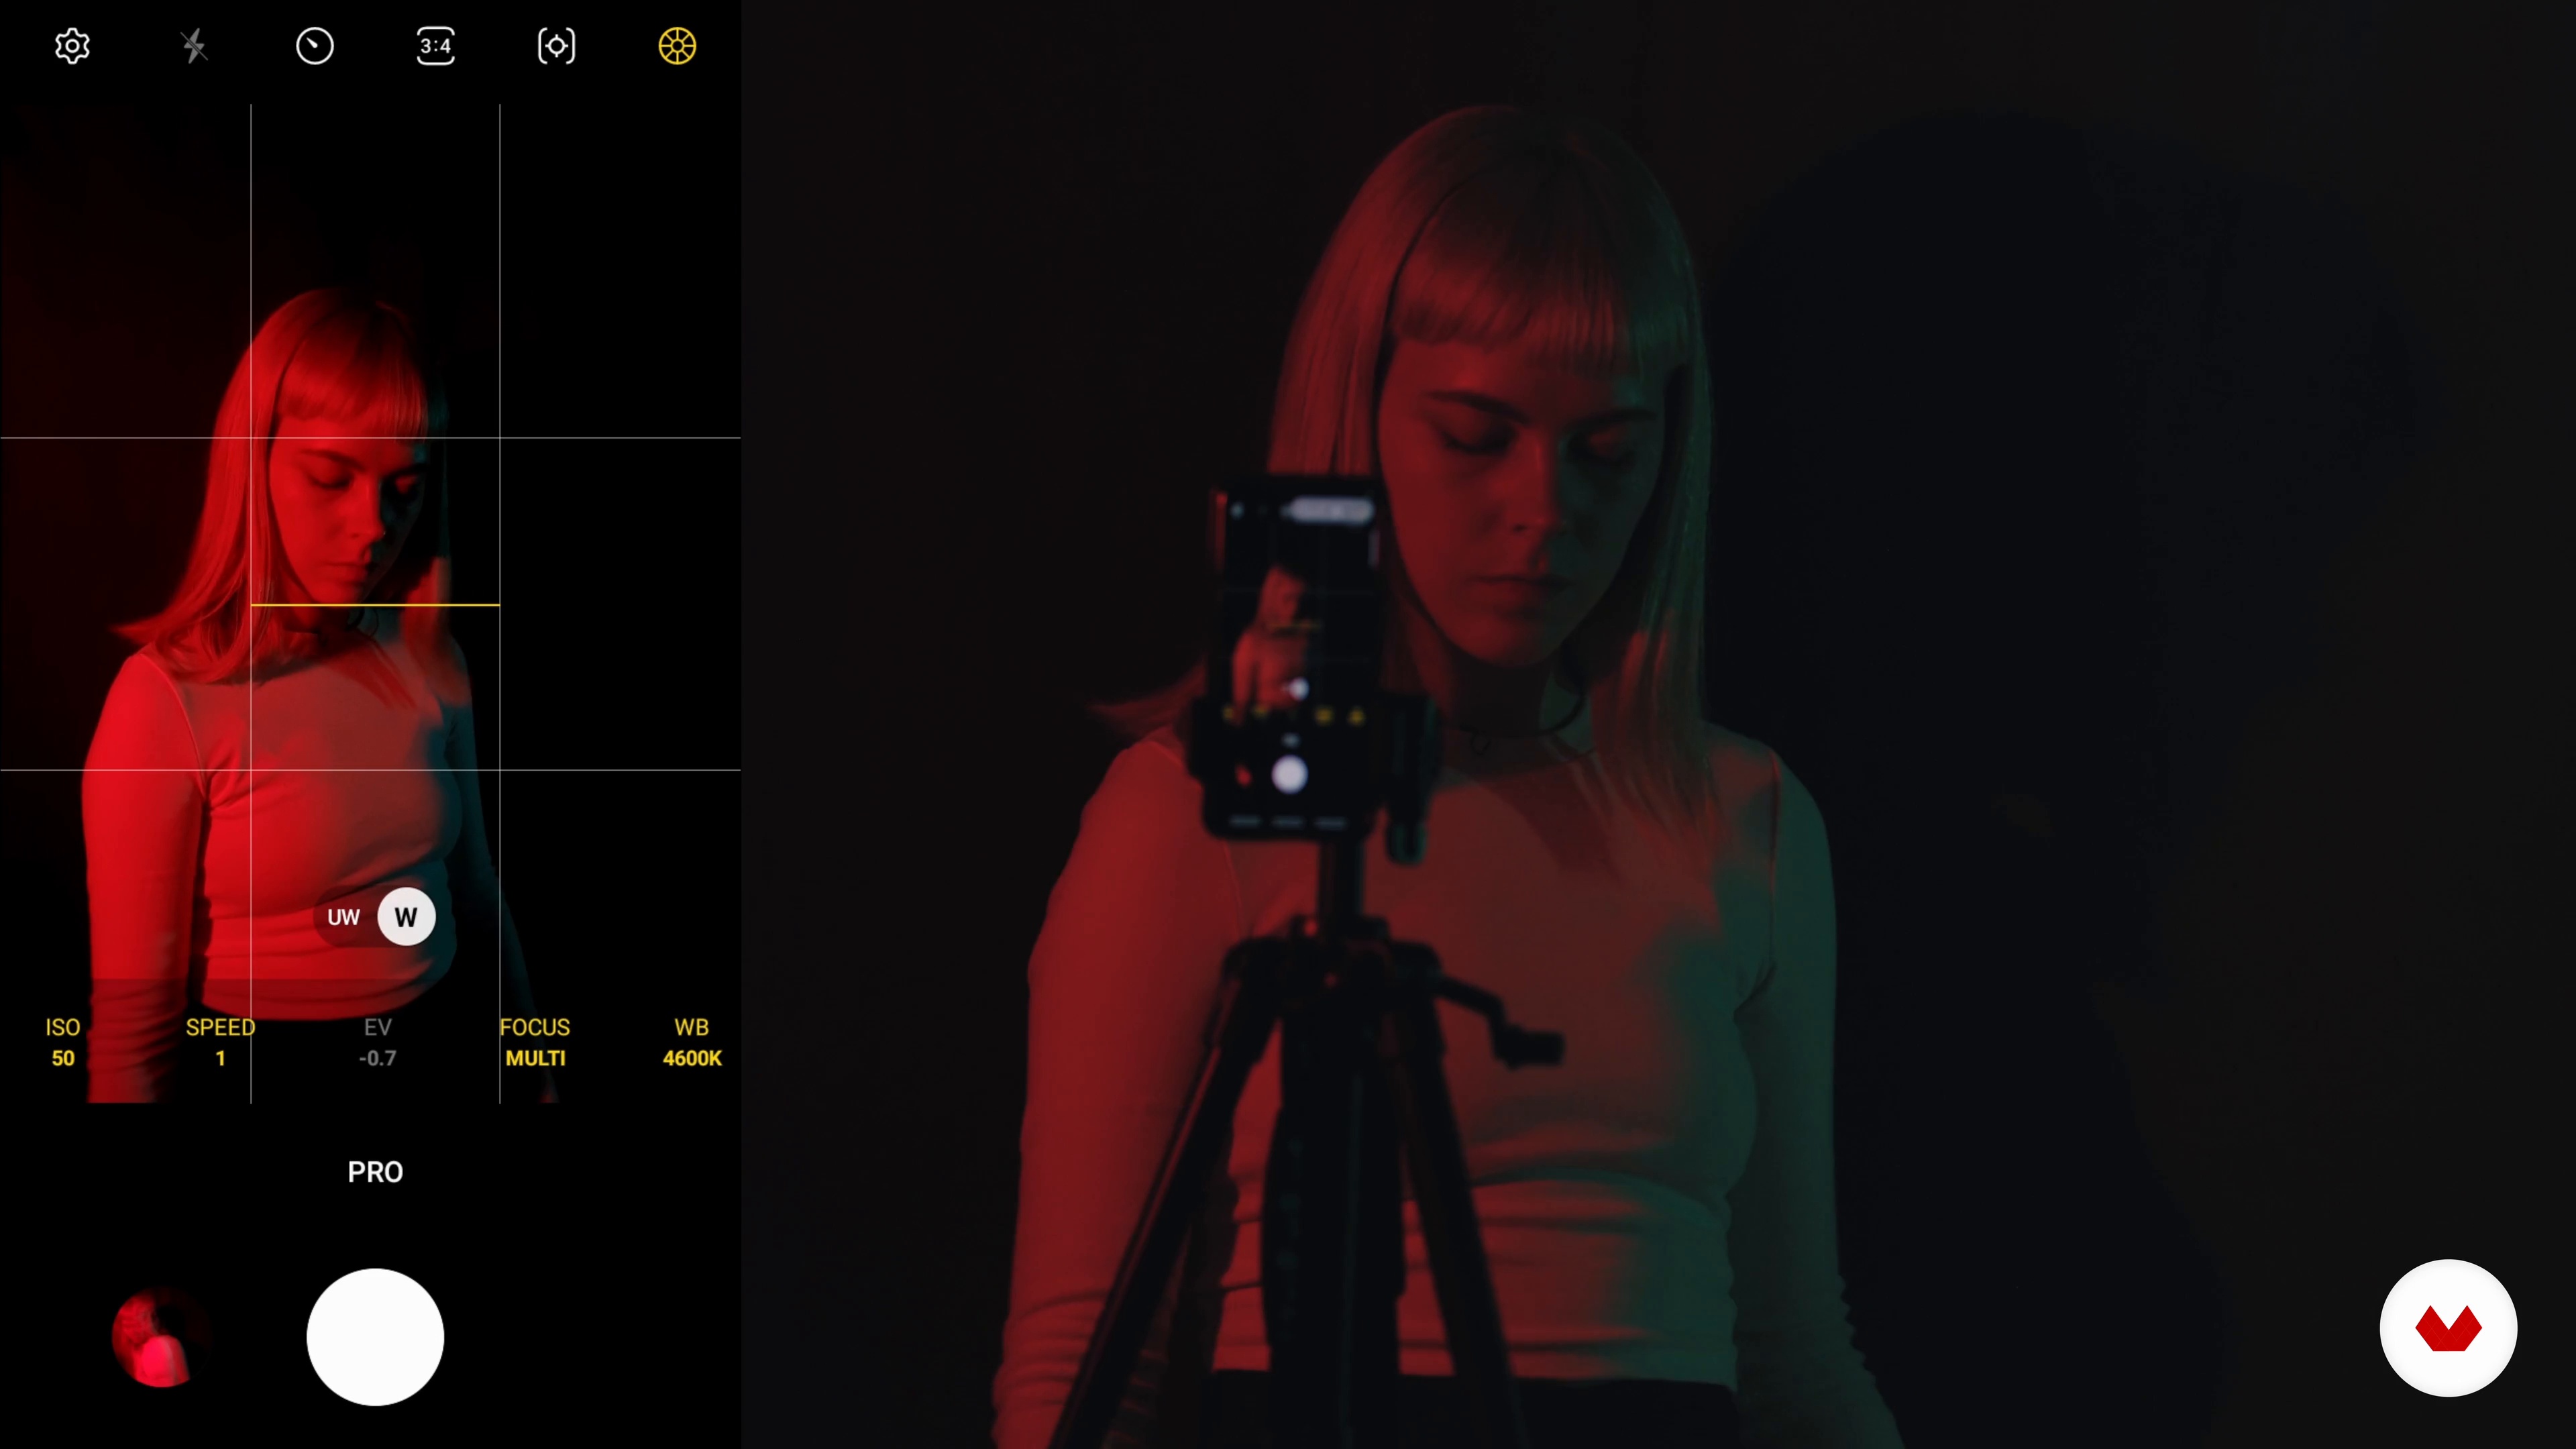
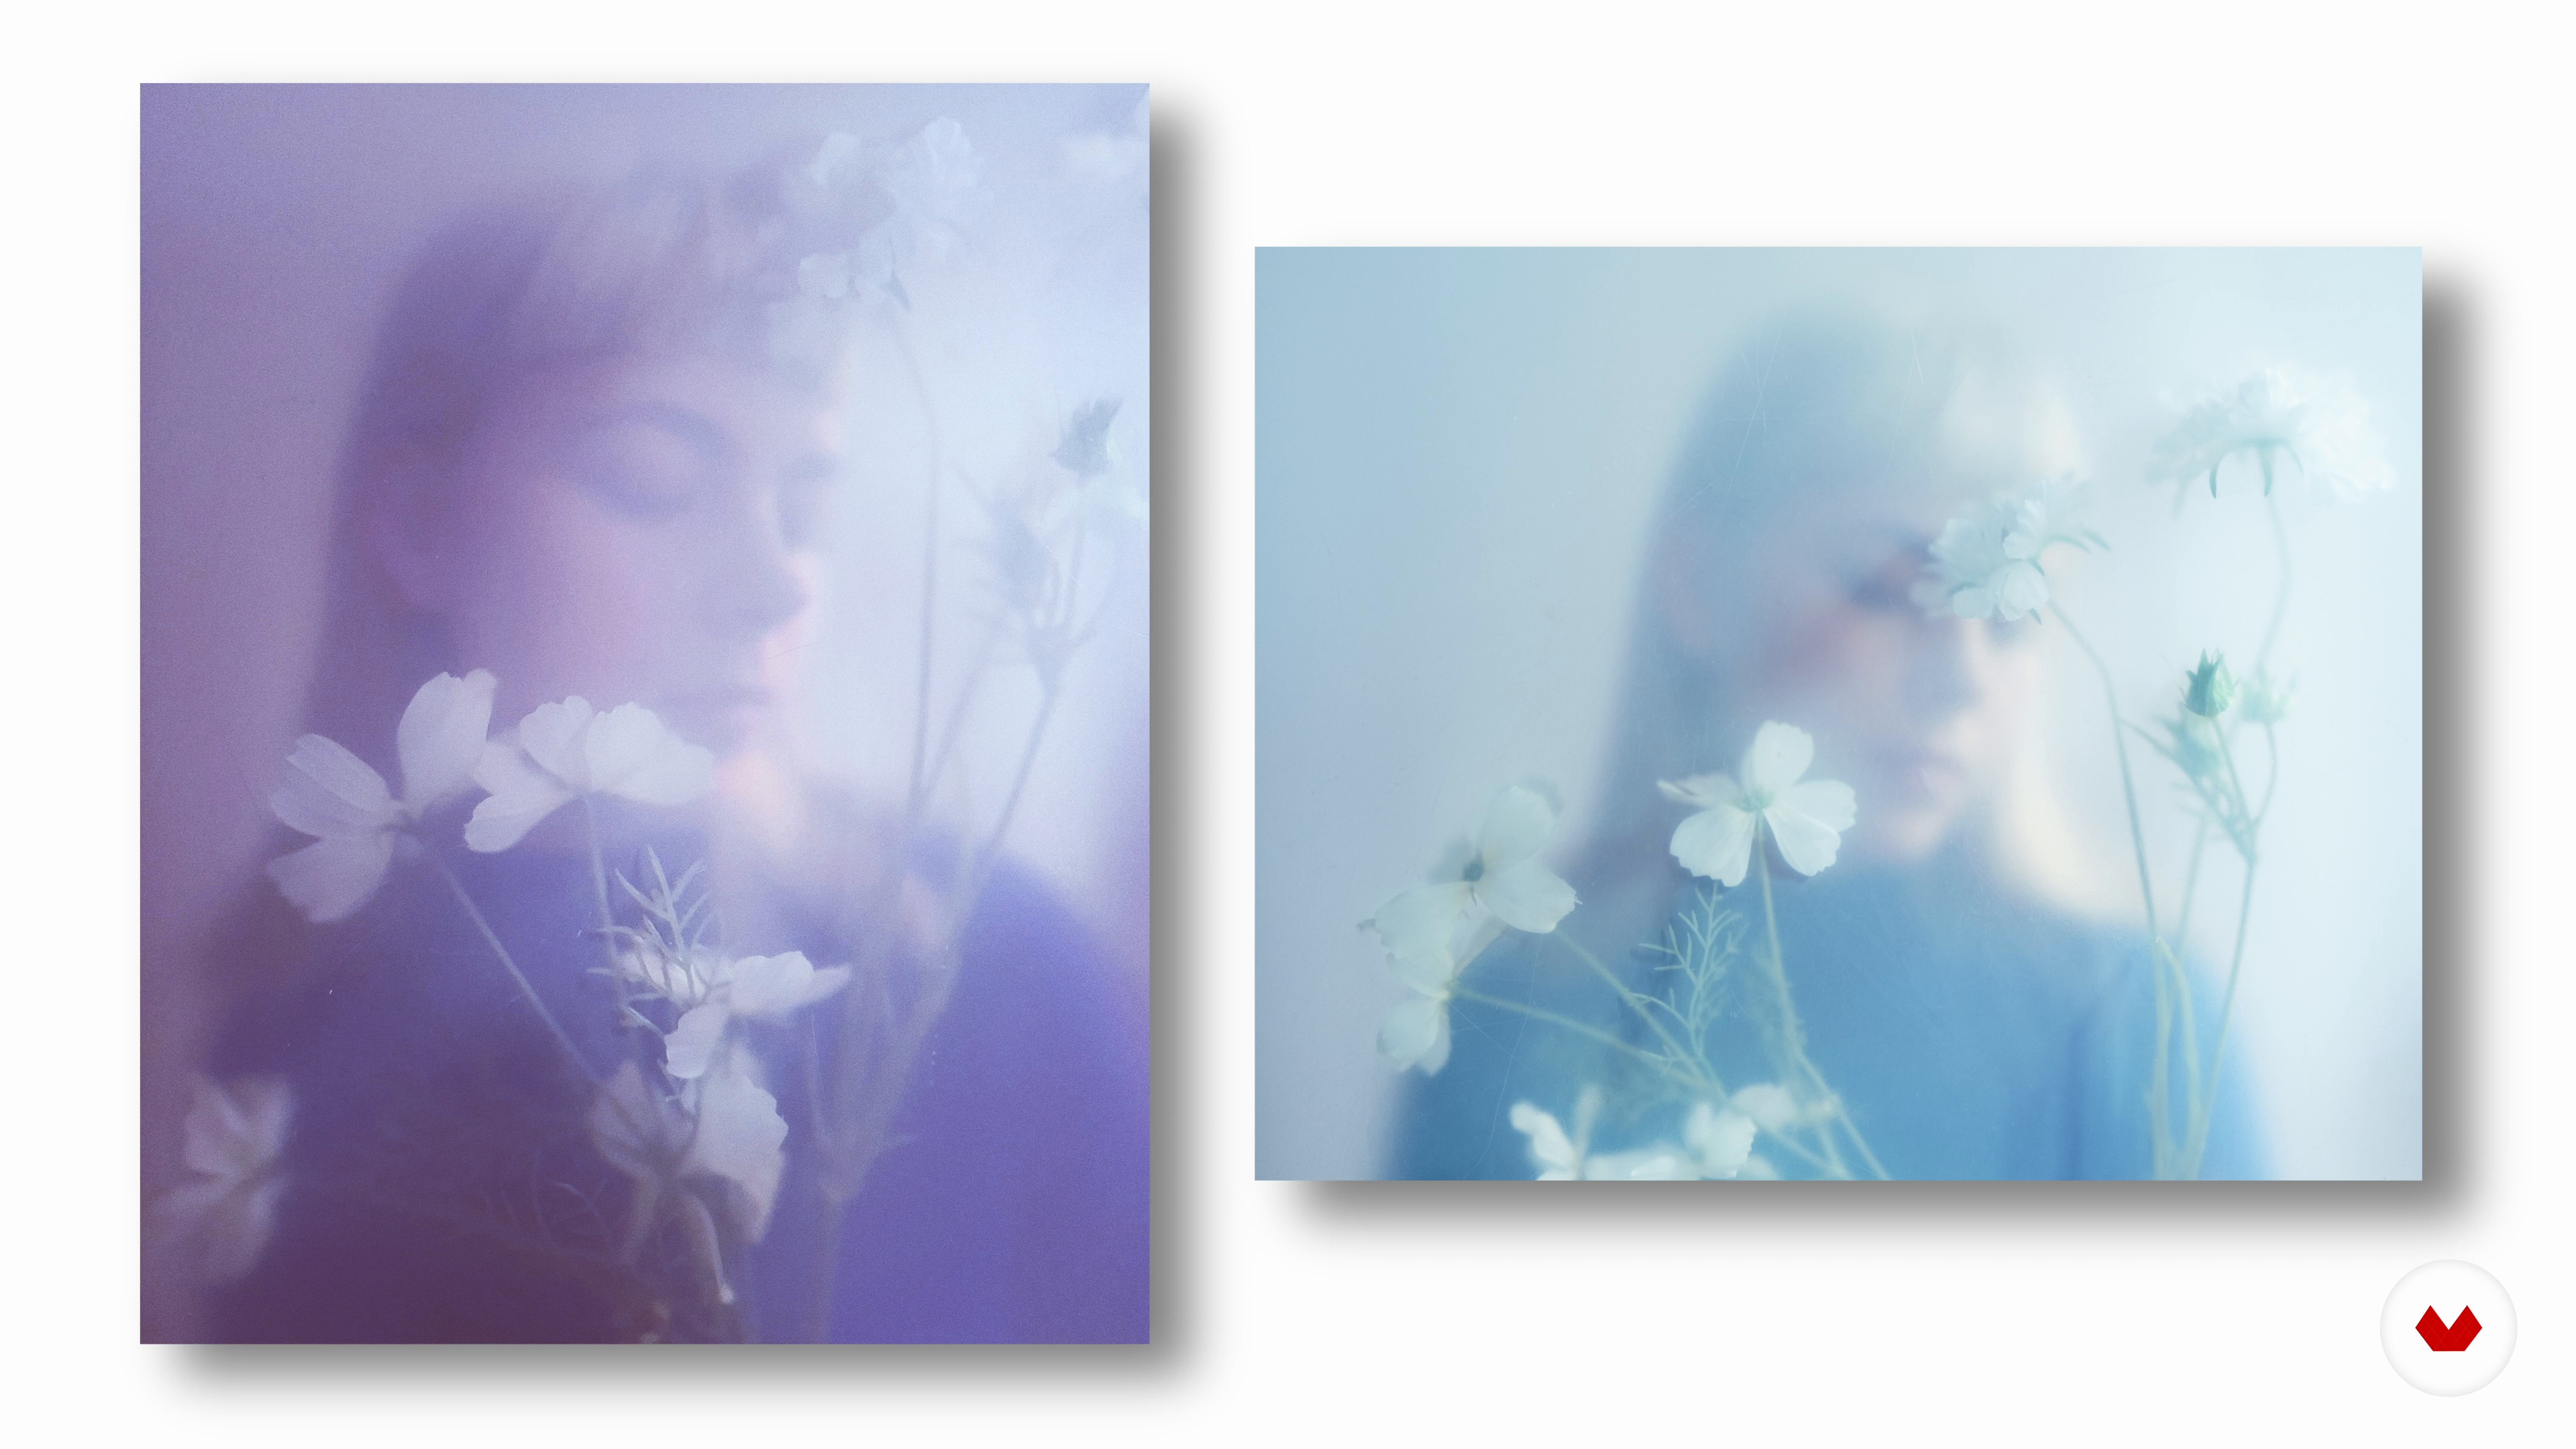
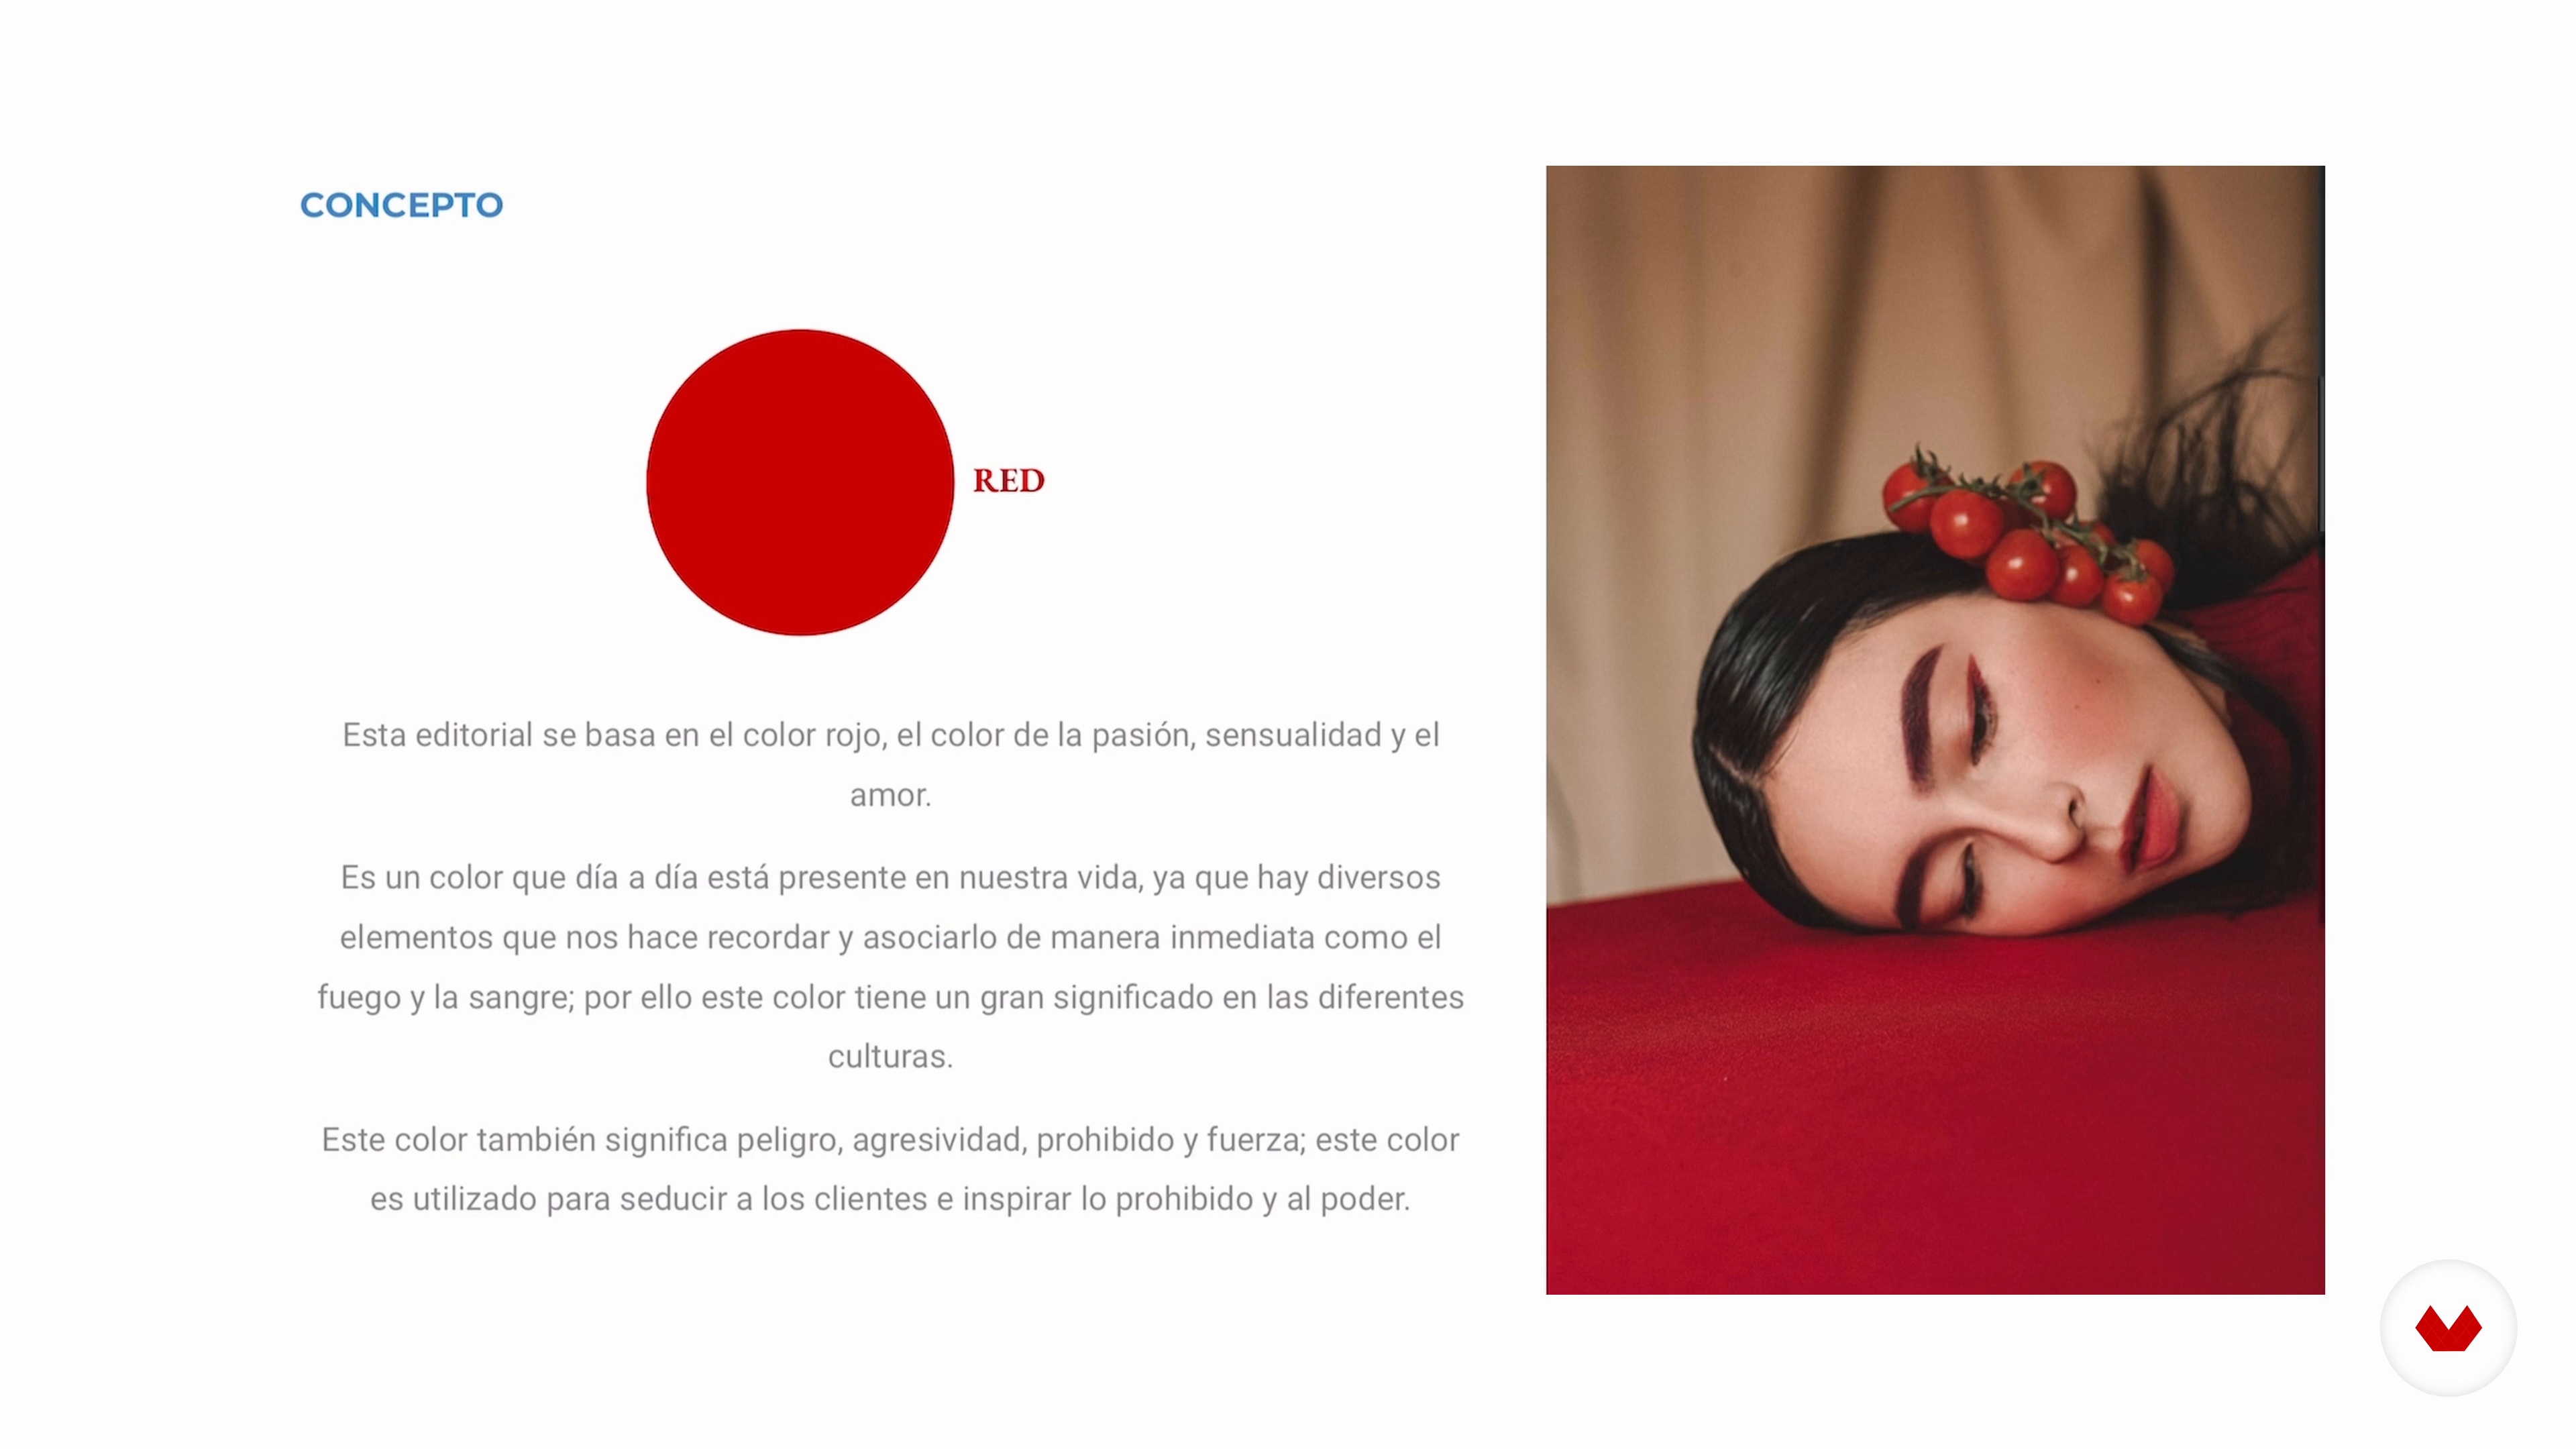
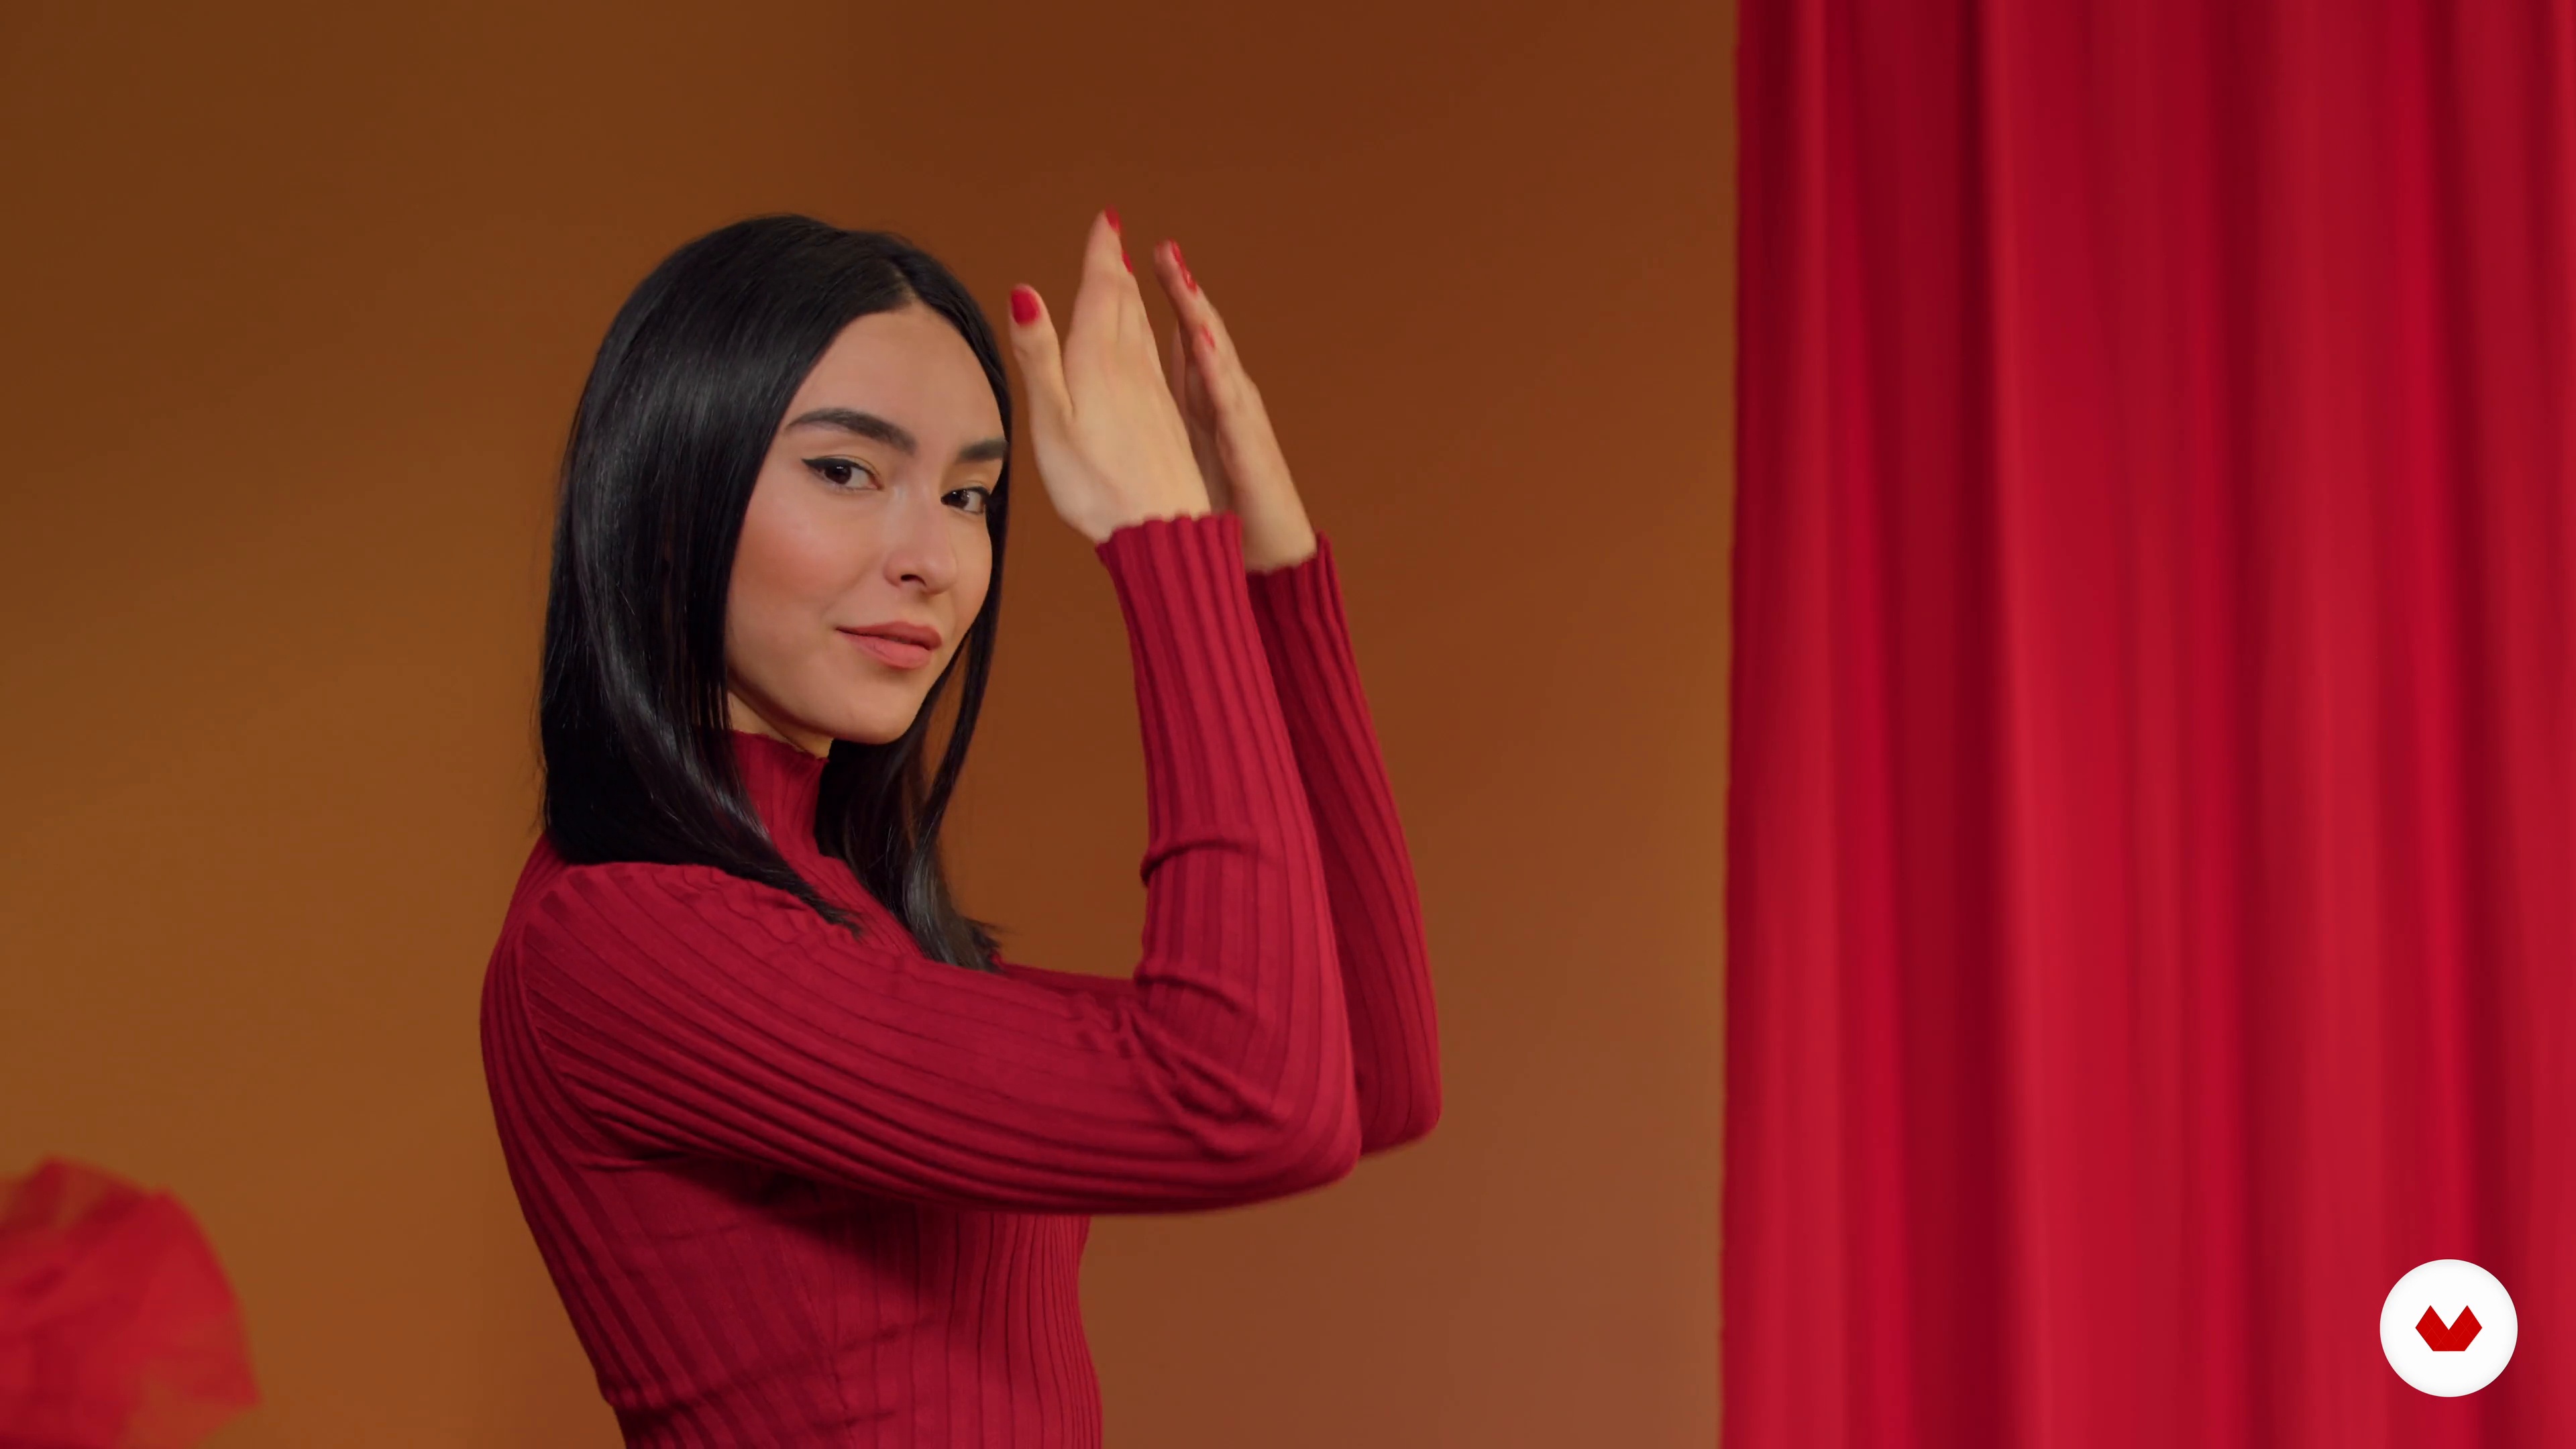
Discover the art of self-portraiture as a powerful medium for personal expression and artistic exploration. This specialization guides you through diverse styles and techniques, from fine art to fashion photography. Dive into the world of symbolism, where images convey deep emotions and concepts. Learn how to create a visual diary that documents your personal journey. Uncover the secrets of lighting and color to craft striking atmospheres and effects. Each course provides unique insights and practical skills, helping you develop a distinct visual language.

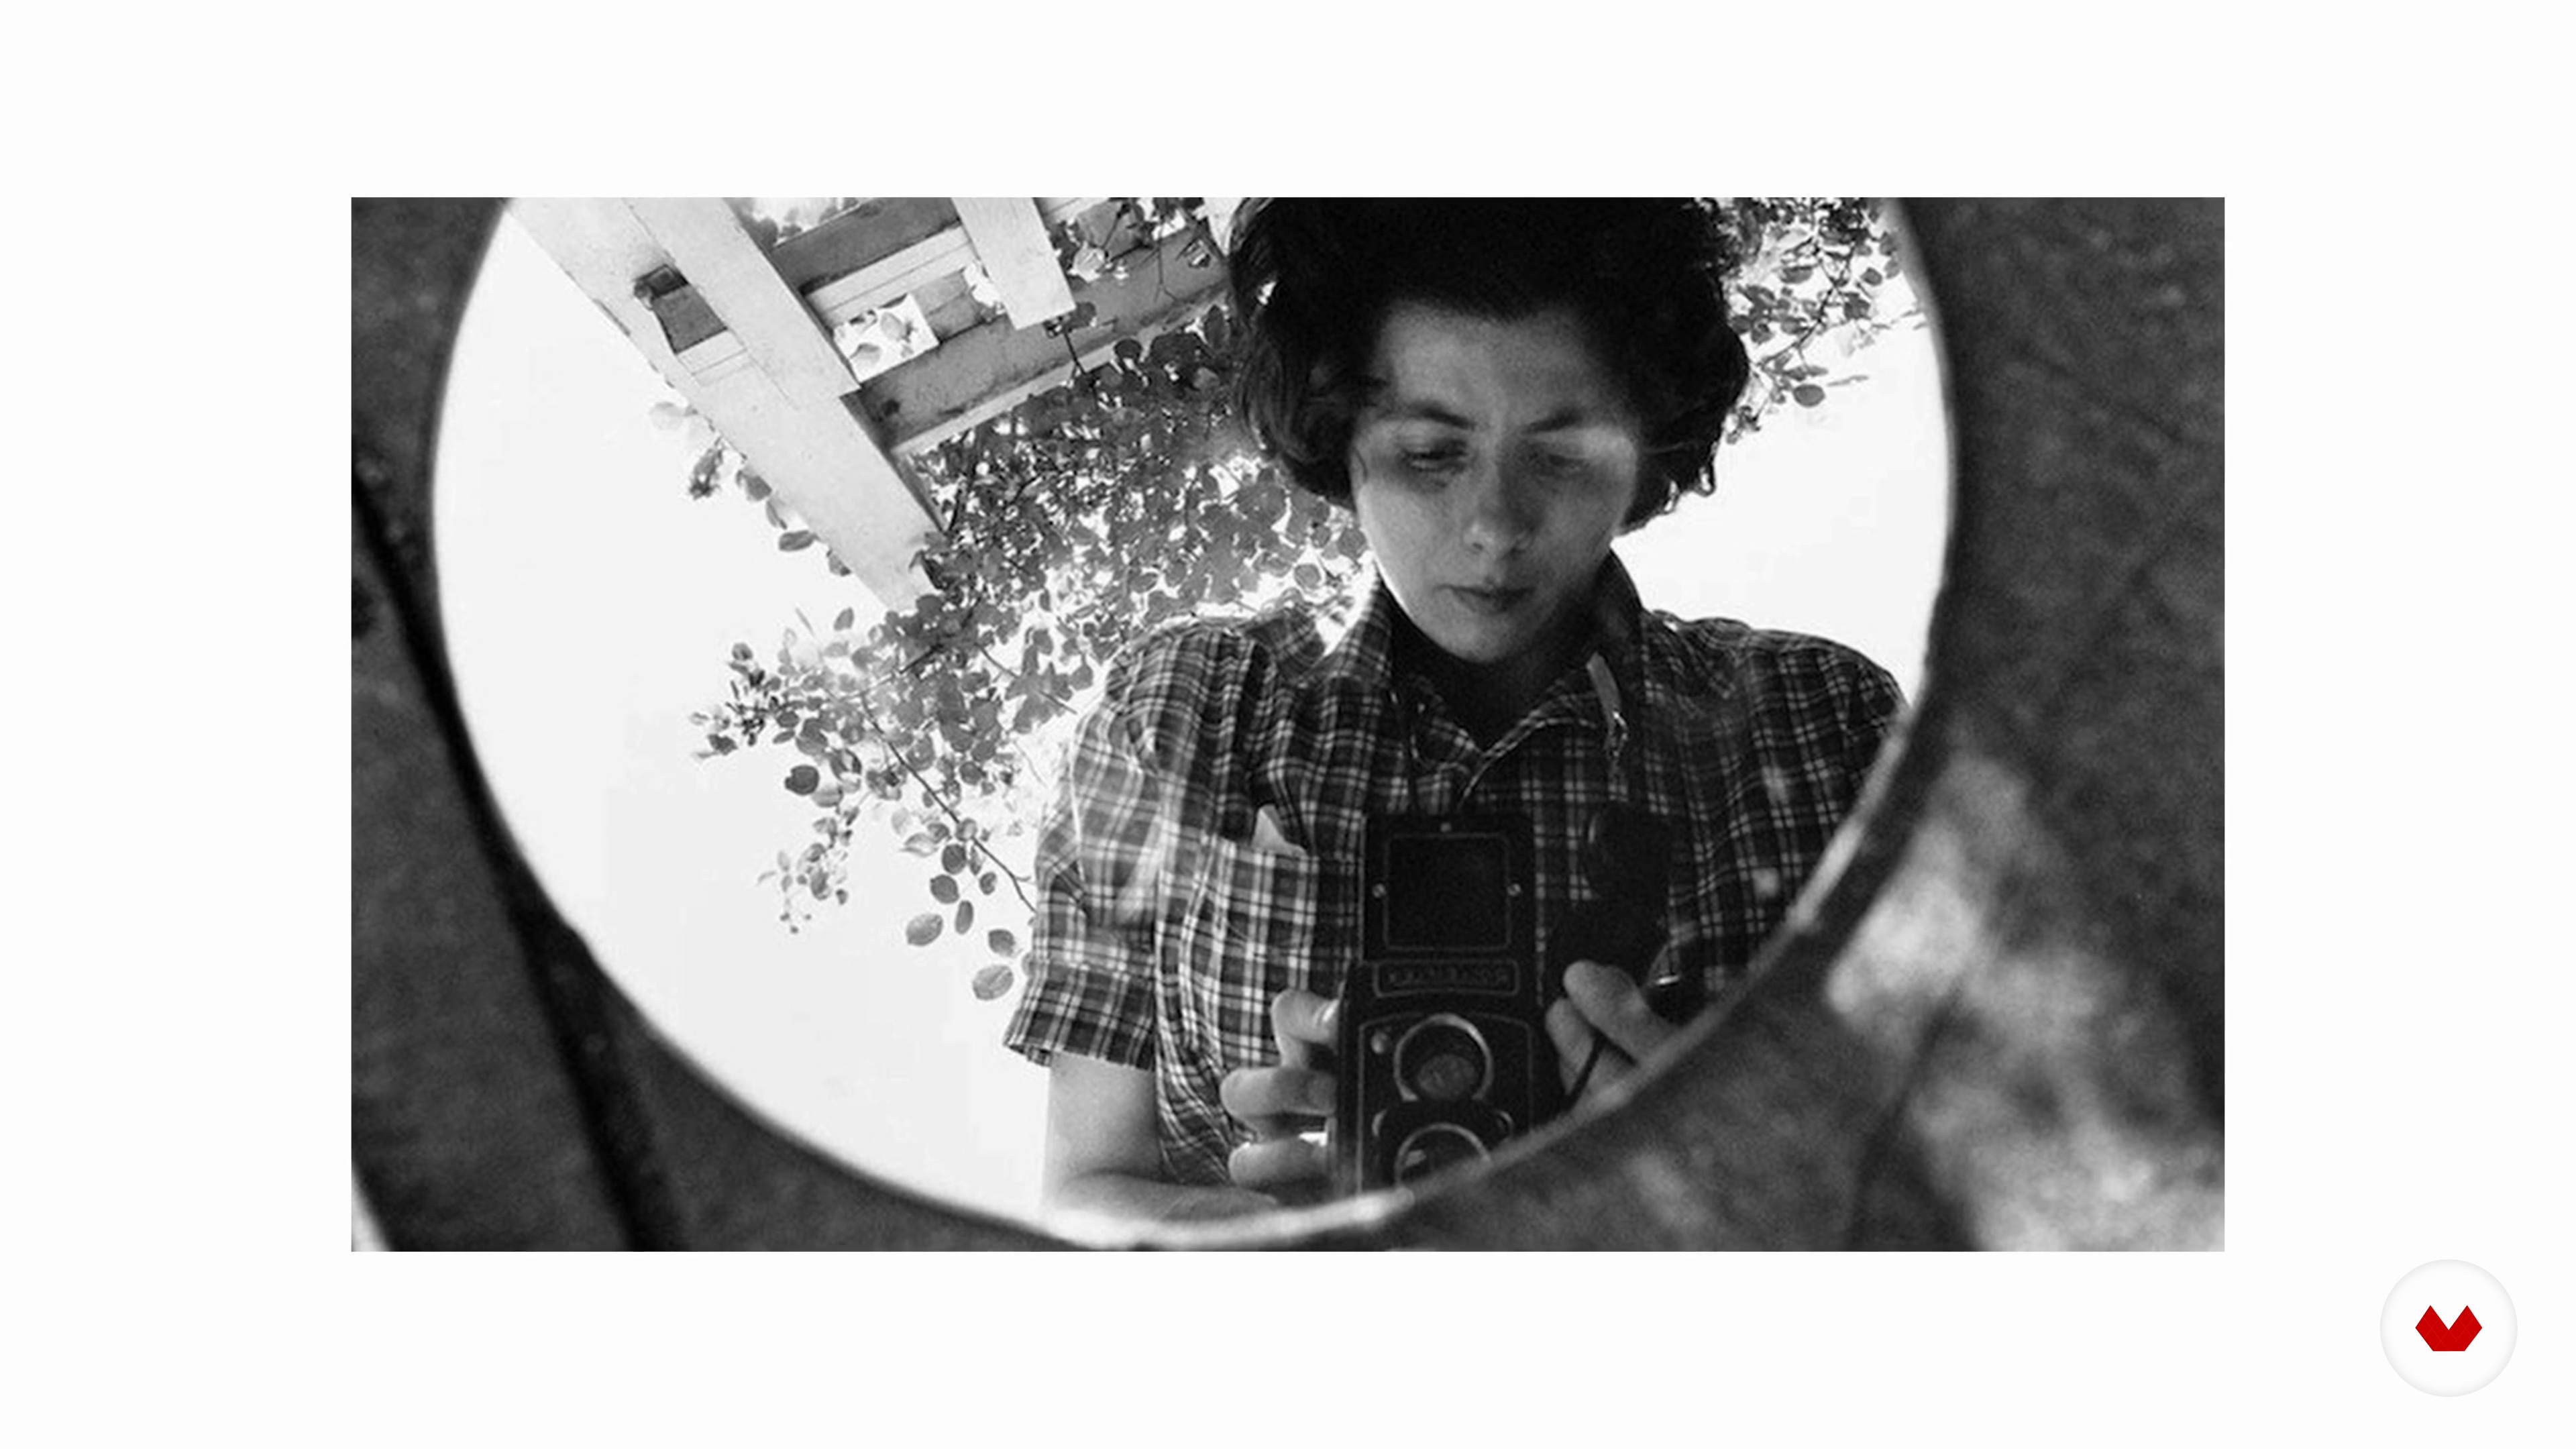
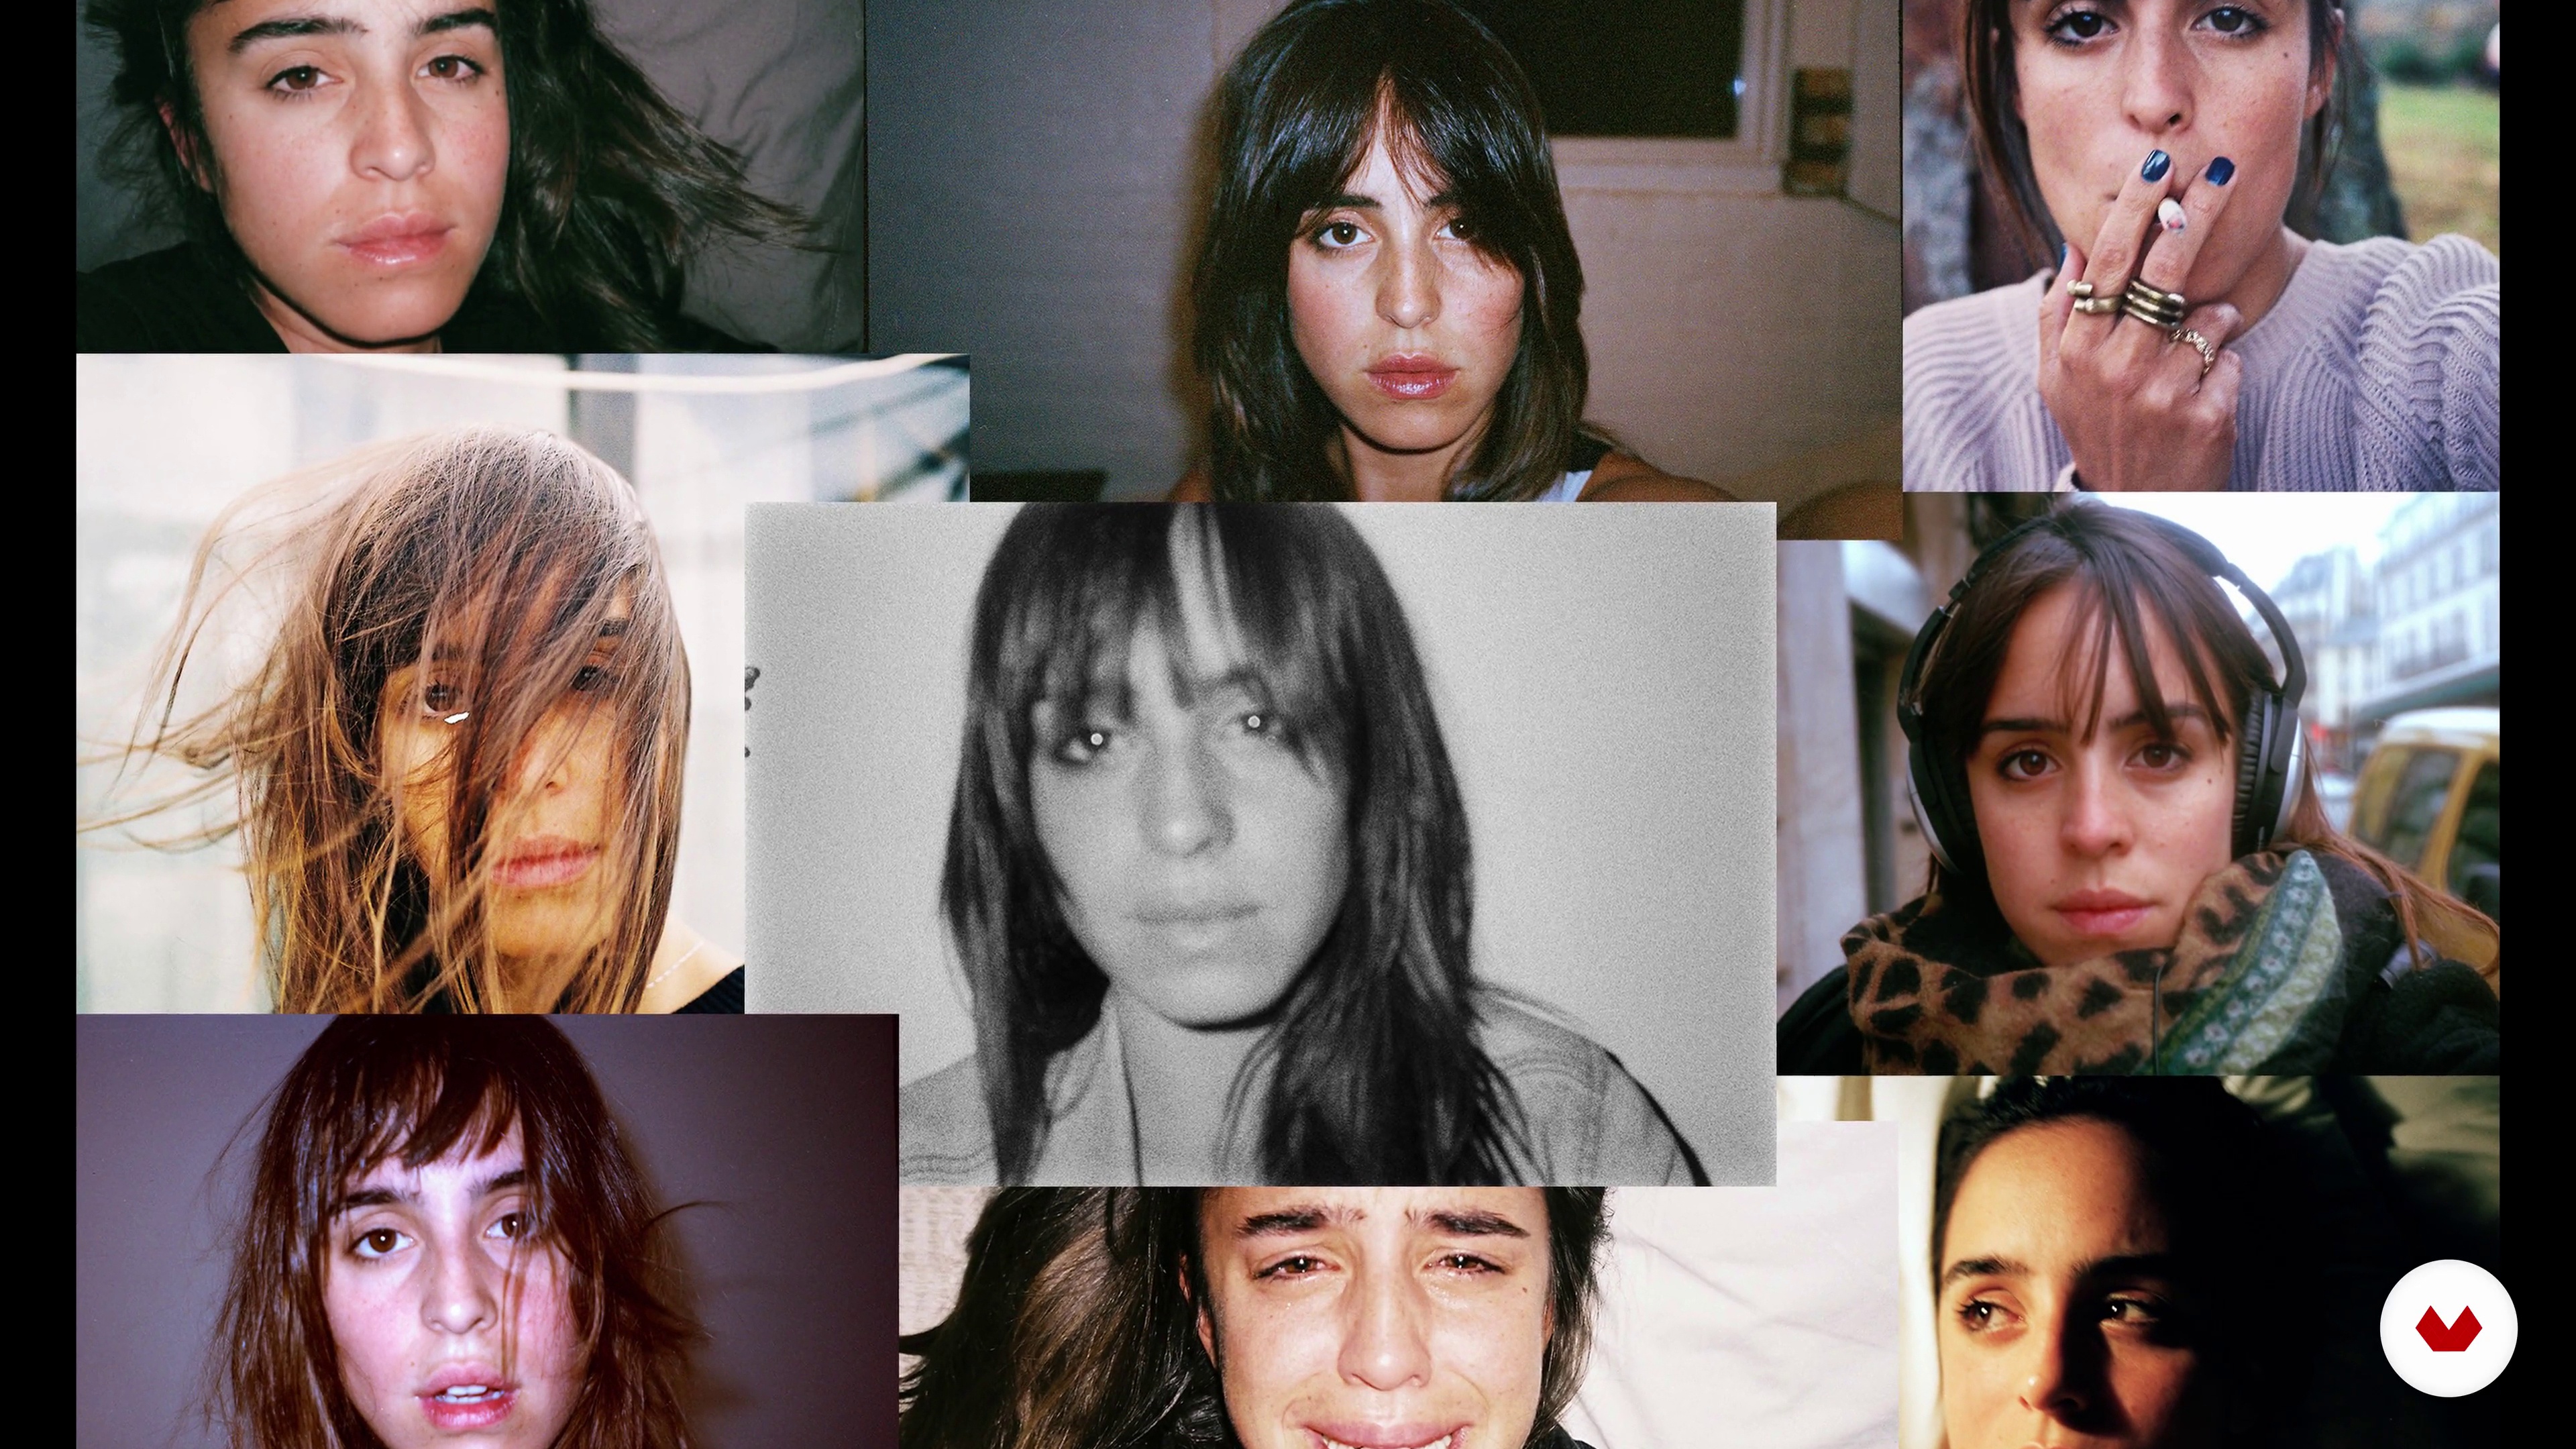
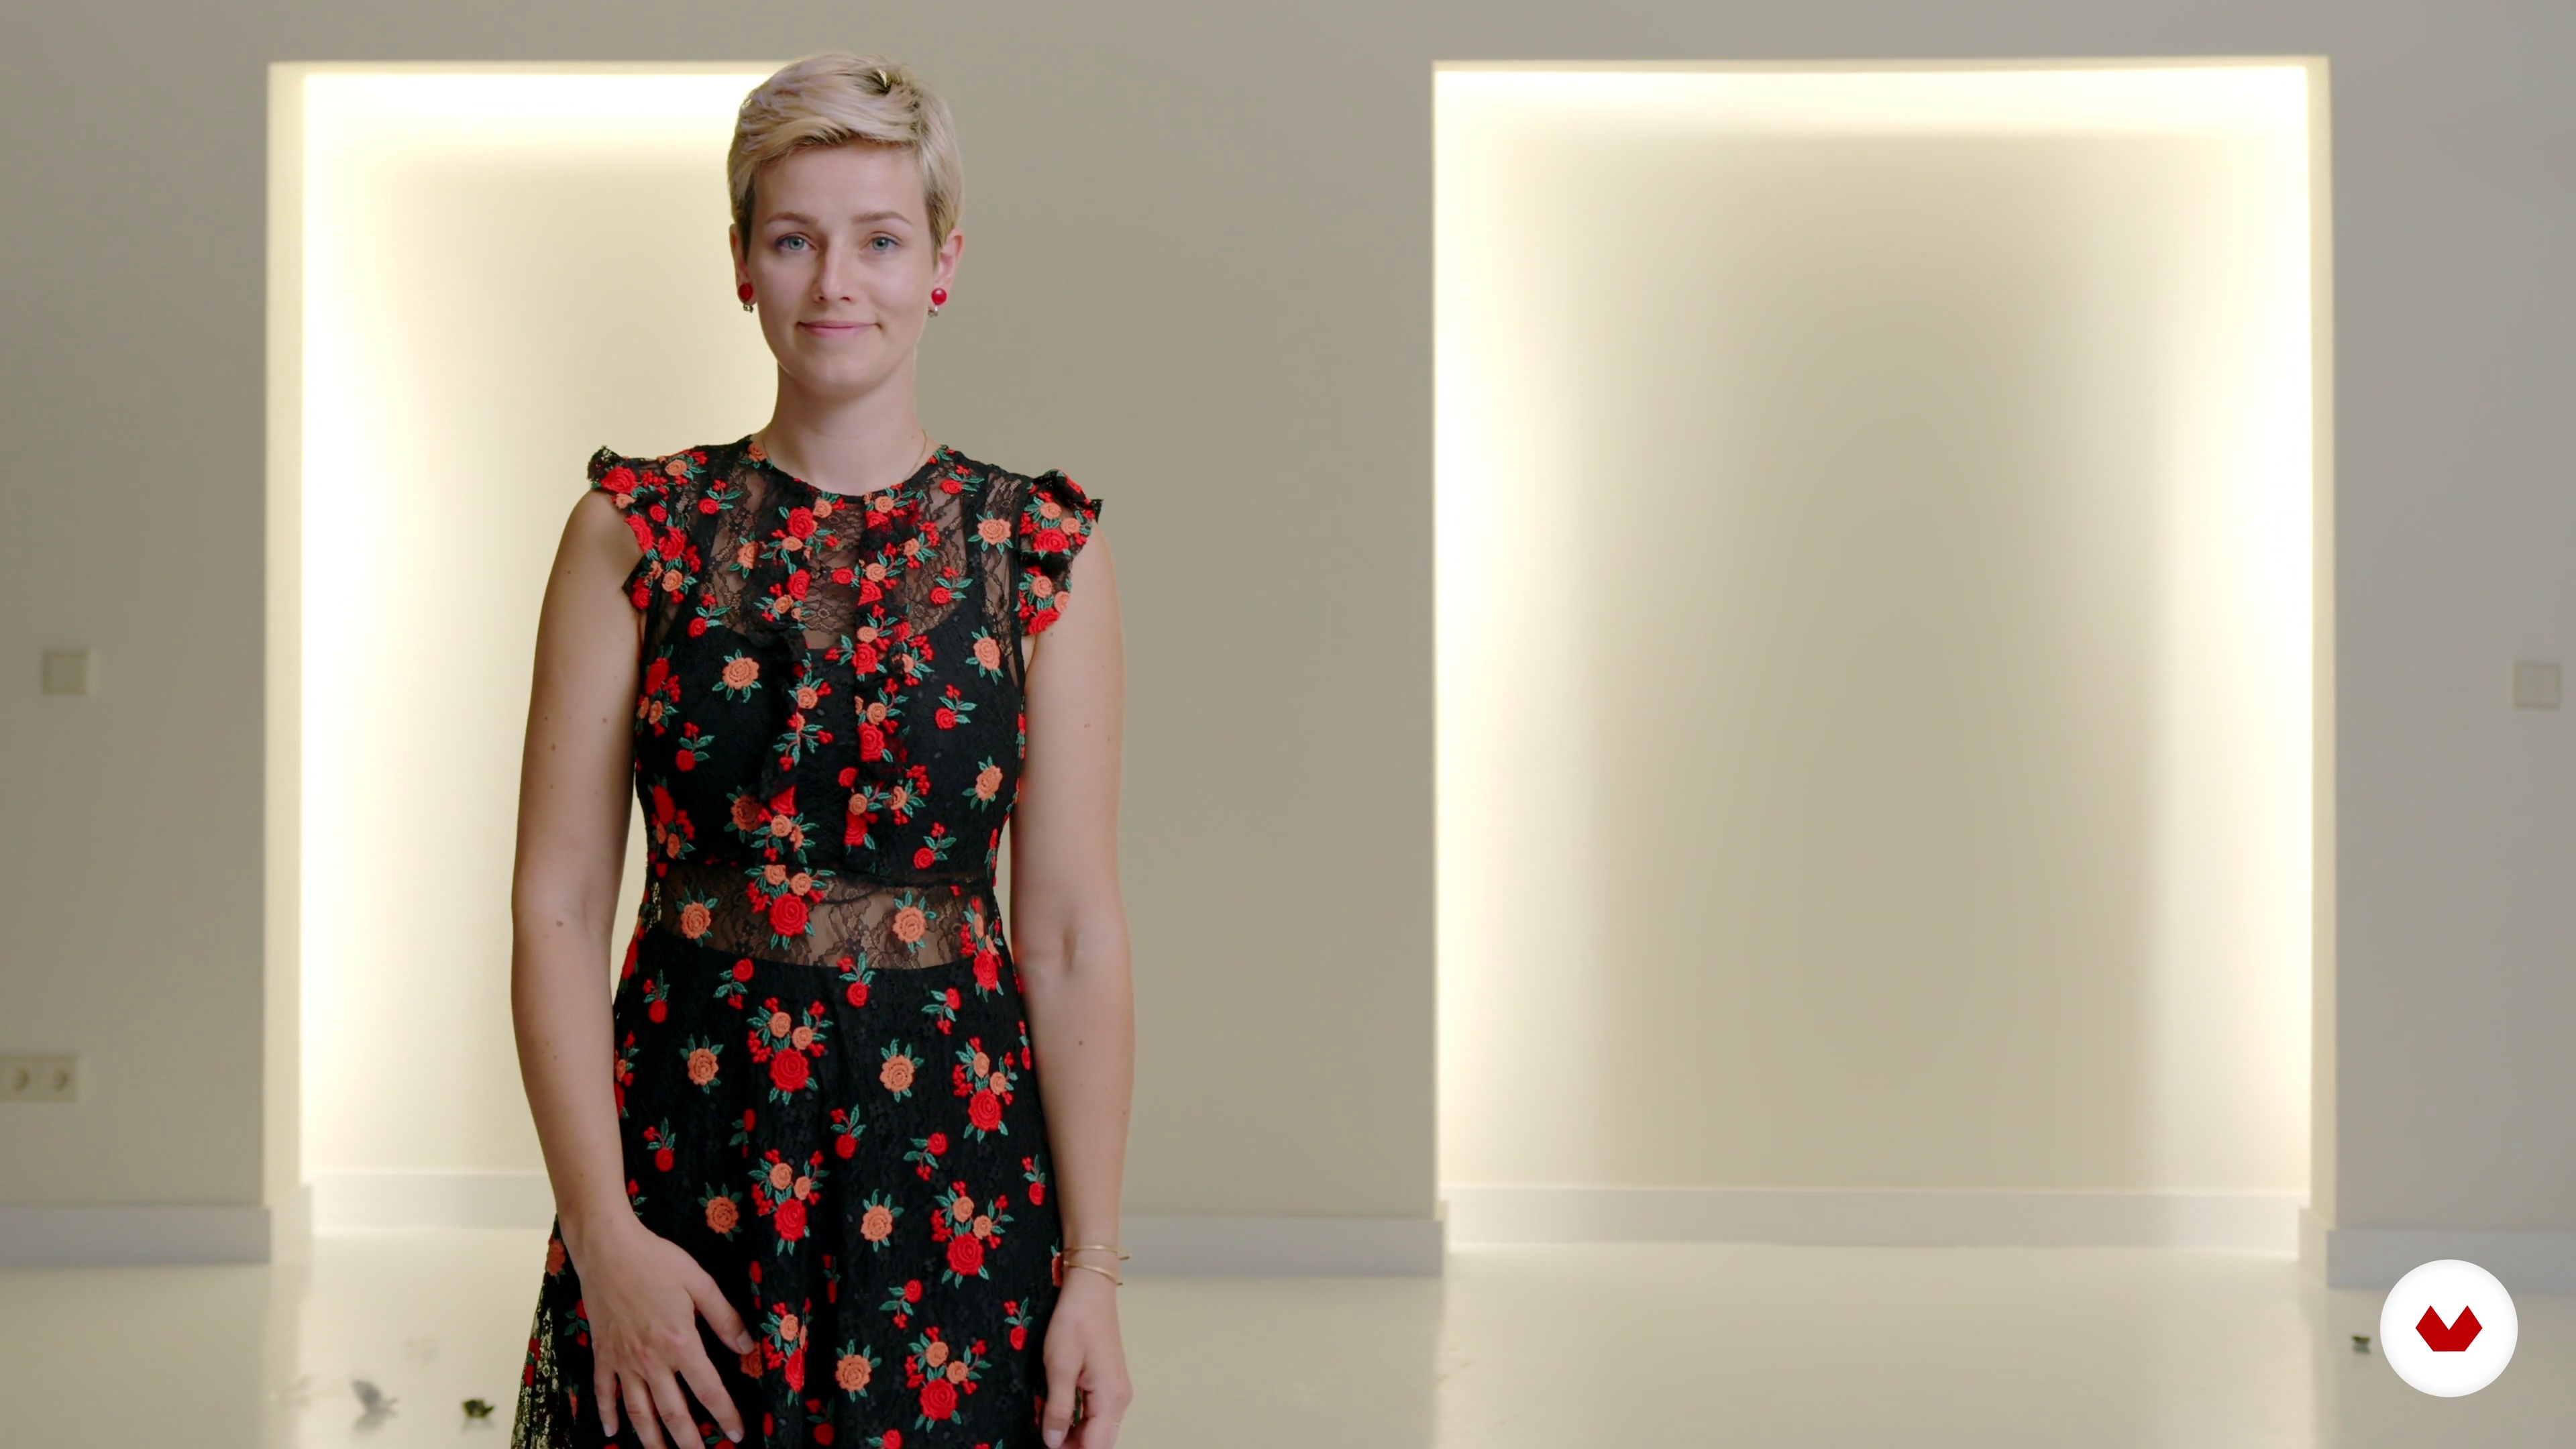
The journey is enriched by the expertise of renowned photographers: Lídia Vives, Daniella Benedetti, Laura Zalenga, Sofie Sund, and Angela Garcia. Their diverse backgrounds and styles offer a comprehensive approach to self-portraiture. Whether you're capturing raw emotions, exploring identity, or merging artistic and commercial elements, this series of courses empowers you to express yourself authentically. By the end, you'll have a multidisciplinary portfolio that reflects your artistic vision and technical prowess, ready to be showcased in exhibitions or used as a professional tool.

Read more ↓

What will you learn in this specialization?

A total of 6 modules and 84 lessons
A total of 14h 10m of vídeo lessons
Taught by 5 selected expert teachers
image
4
Referents of the Self-Portrait
In this lesson you will see some artists of the self portrait that I like and that I think could serve as inspiration.
6m
image
5
Style Guide for Self-Portrait
In this lesson I will teach you some tricks to have your own style and I will explain what mine is like and why it is like that.
6m
image
6
Finding Inspiration and Making the Mood Board
In this lesson I will explain how you can find inspiration and how you could make your mood board.
8m
image
7
Finding Props
In this lesson, I will teach you some tricks to get the props you will need for your self portrait.
7m
image
8
Materials
In this lesson I will show you what materials I am going to work with for my photo session. You will see what possible materials we have, how they work, when you should use them and when not.
2m
image
9
Learning to pose
In this lesson, you will learn the most important things in a self portrait; how to pose so that your image works and looks good on camera.
2m
image
10
Prepare the set: props and lighting
We started with the photo session. You will see how we prepare the set with all the material that we are going to use (both props and lighting) and do the art direction.
4m
image
11
Shooting: close-up
We started with the photo session. You will see how we apply what was previously learned and I will teach you to focus and frame well. We start with a close-up photo.
8m
image
12
Shooting: medium shot
Now we are going to take a photograph of a medium shot. We will review how to change camera settings, how to position the tripod, and how to modify lighting accessories.
6m
image
13
Development in Camera Raw 1
We will start with the development. In this lesson I will teach you how to prepare your image so that you can later retouch it with Photoshop.
10m
image
14
Development in Camera Raw 2
We continue learning how to prepare our photography in Camera Raw.
15m
image
15
Development in Camera Raw 3
We work on the last details of our photo in Camera Raw, before moving on to Photoshop.
16m
image
16
Cleaning the image 1
Now that you've developed your image, I'll show you how to clean it using the plaster and clone pad in Photoshop. I will also show you how I make the photomontage.
10m
image
17
Cleaning the image 2
We continue cleaning the different elements of our image. In this case we will pay special attention to the retouching of a part of the hair and lips.
16m
image
18
Cleaning the image 3
We continue with the cleaning of our image working with elements such as the septum, the eyes or the flowers in the background.
19m
image
19
Cleaning the image 4
We continue cleaning. We continue working on adding and retouching the flowers in the background of our photograph.
13m
image
20
Cleaning the image 5
Before starting to retouch the elements of the photo, we have just cleaned with the integration of the background flowers.
10m
image
21
Skin retouching 1
In this lesson, you will see various methods to do a good skin retouch.
14m
image
22
Skin retouching 2
We continue to learn how to retouch the skin in our image, paying special attention to the face in this case.
18m
image
23
Contrast and color 1
In this lesson, you will learn how to apply contrast and color to your photo.
15m
image
24
Contrast and color 2
We continue to learn how to configure the color and contrast of our photography.
20m
image
25
Liquify filter, focus and texture
We can now put the finishing touch. Here I will teach you how to model with the smoothie and refocus and add texture.
19m
image
26
Saving your Photo
In this lesson you will see the different ways to save your final photograph.
9m
image
27
Submit your photograph
Now that you have your photograph ready, you just have to print it! Here I will show you different supports and why do I recommend each of them.
3m
image
3
Different paths for a project
In this lesson we will see different photographers around the world working with self-portraits and intimate life storytelling. We will see how each of them addresses different styles and photographic solutions.
12m
image
4
Five key questions to think about your project
Next, I'll help you find your personal inspiration. I will show you what my internal processes were and, finally, I will leave you some questions so that you begin to understand what part of you you want to portray.
12m
image
5
How to create a mood board for the project
Now we are going to organize our favorite references and then create a detailed mood board with these images. This is a very useful process that will later serve as a guide for taking our photographs.
4m
image
6
Materials
In this lesson I am going to talk to you about some of the different materials that we can use when taking our photographs. These materials will be our allies and will help us to obtain our final results. I will give you different options to work with.
2m
image
7
From praise to trial and error: recursion
In this lesson we are going to learn to be resourceful with the materials and equipment that we have at our disposal, since many times when we are doing our projects, inspiration or the perfect moment for a photo catches us off guard and with few elements at hand. Here we will learn that we can do a lot with very little.
6m
image
8
Self-portrait shooting: keys
In this lesson you will be able to accompany me, see my way of working closely and you will accompany me in the construction of my final self-portrait. I will show you how I set my camera according to the light I have available, you will see how I build the frame of my image and how I prepare for my performance in front of the camera.
11m
image
9
Self portrait shooting: how to include another person in your photo
Sometimes to take these types of photographs we need the help of some extra hands. That is why in this lesson we will see how we can guide third parties to help us create our photography. We must learn to direct and control the situation.
9m
image
10
Image selection 1
In this lesson I will guide you through the process of selecting the final photograph. We will see why some images work better than others and you will accompany me in my own discarding and selection process towards my ideal final photo.
11m
image
11
Image selection 2
We continue with the process of selecting the images that we have taken during the shooting.
11m
image
12
Basic development in Lightroom 1
Next, we will do a basic development of our photo in Lightroom Classic. We will see the main tools to give a special touch to our photographs and, in addition, I will explain how some filters work and we will see how we can handle them to give a special touch to our photo.
13m
image
13
Basic development in Lightroom 2
We continue to review the step by step process of editing the photos we have taken.
10m
image
14
Manual intervention of the image
In this lesson I will show you how, on some occasions, I manually intervene my images in the form of a diary. This is a new part of my work that I have been exploring for a few months, so together we will explore the manual and digital intervention of our images with text and drawing.
20m
image
15
Storytelling and personal life
Now we are going to create a visual story with the photographs taken during the course and with other photographs from our archives. The idea is to add a context to our images, so we will create a story behind our images with the goal of creating a photographic project or series.
13m
image
4
Where to Find Inspiration
In this lesson, I will show you how I search for inspiration on different online platforms (such as Pinterest and Instagram - which are free) and how I collect them on boards with different topics or themes. We will look into which keywords work best depending on each concept. This is important to find and define your style and to create an image-pool you can browse for future concepts.
11m
image
5
Two Ways of Finding Your Concept or How I Found the Concept for 6 of My Portfolio Images
The most important thing to say here is there is no guaranteed step-by-step plan to find a concept. Because there is no right or wrong. A concept is an idea. And an idea is a very abstract thing as we all know. When an idea becomes an idea? This is the difficulty and the beauty of it. In this lesson, I will show 6 of the most popular of my photographs and explain where the inspiration for them originates, how the concept came together, and how I executed them. And some fun stories around them.
13m
image
6
Scouting Locations
In this lesson, I will share some photos from locations I found directly around the house to show that it is possible. You will be to doing the same in your surroundings, as a practice task. Also, I will provide you with examples from my neighborhood that aim to inspire you to do the same in your neighborhood and look for the corners that have potential but are normally overlooked, like facades, plants, stairs, or special light situations.
14m
image
7
My Equipment
In this lesson, you will see what’s in my bag - cameras (Sony A7rii + Sony A7iii), lenses (35mm 1.4 + 85mm 1.4 + 24-70mm 2.8), and accessories (various objects not related to photography; and how I use them). We will also go over my standard settings and technical details such as connecting the camera to a phone.
6m
image
8
Practice Self-Portrait Technique
In this lesson, I will show you the different technical set-ups to take a self-portrait. From just having a phone with a timer to having an advanced camera that uses a phone as a remote control to take the photo. You will see that any camera with a self-timer gives you the possibility to take a self-portrait.
7m
image
9
Practice Posing
In this lesson, I will show you how to practice and experiment posing by showing you how I experiment with posing. We do that because posing is the language of the body and even subtle changes make a big difference.
12m
image
10
Examine Lighting
In this lesson, we will learn how different natural light situations affect the object we are looking at. We will learn which form of natural light to use best for what expected result. This will help you later on when you have to define which time of the day/ which weather to shoot your final project with to have the result you hope for.
15m
image
11
Examine Composition, Crop, and Ratio
In this lesson, we will look at different compositions and crops of images and how they change the balance and the effect of an image. We will compare different crops and compositions using the same sample image to see what difference these make to the given image.
8m
image
12
Setting Up the Location
In this lesson, I will be covering all the things related to the location: an exploration of the venue, preparation, and equipment set up. In this case, I will be using a camera connected to a phone, which in turn will pose as the remote control to shoot with. Generally speaking, the chosen location is usually fine but sometimes it needs some work to be done to minimize the work we later have to do in editing.
3m
image
13
Test Photos - “Trial and Error”
Here, I will start shooting the first photos to test the light, the composition, the poses, and how the location works in-camera. Test shoots are important in order to get the basics right without ruining the outfit already, or become cold before the actual photos are done.
4m
image
14
The Final Photos
In this lesson, I will use the feedback gained in the previous lessons to shoot the final image. This time I will use the actual outfit and the practiced poses, paying attention to the light, the angle of the shot, and even experimenting with different views on the location.
8m
image
15
Lightroom - Selecting Images
In this lesson, I will show you how I review my images in Lightroom. We will select the best photos from the shoot by making the selection smaller and smaller and we talk about what makes them "the best".
13m
image
16
Lightroom - Basic Editing: Game of Trial and Error
In this lesson, we will look at the basic edit in Lightroom. We will look at the composition and potential of other crops. We will look at the contrast, the overall color, and the individual color tones. Lastly, we will export the image to Photoshop.
15m
image
17
Photoshop - Final Touches 1
In this lesson, divided into two parts, we will use Photoshop to give the final touches.
20m
image
18
Photoshop - Final Touches 2
It is all about details and visually ‘cleaning’ the image to make it more clear.
21m
image
3
Feeling Inspired
To start with, I will talk about how you can draw inspiration from your own feelings and memories, and what you can do to get yourself feeling inspired.
4m
image
4
Experimenting with Colors
How can colors be used to express feelings? In this lesson, I will teach you about basic color theory, like the color wheel, color schemes and what different colors can symbolize in photographs. I will also define the three colors I will be focusing on for the course project.
6m
image
5
Without Light, There Is No Photo
In this lesson, I will talk about how you can experiment with lighting in your photographs and you will learn some basic theories of light.
3m
image
6
The Equipment
What materials will you need for this course? In this lesson, I'll show you what equipment I usually use when shooting self-portraits, and other materials that can be fun to experiment with for your photos.
6m
image
7
Brainstorming and the Mood Board
I will now demonstrate how to create a mood board to prepare and plan your photos. This is an important step in defining the direction of your piece.
6m
image
8
Setting up the Scene
Next, I will provide an example of how to set up your equipment and get ready to shoot your photos. I will also give you some tips and tricks to keep in mind while preparing your set.
6m
image
9
The First Photo: Shaping the Light
How can you manipulate light to create interesting effects? In this lesson, I will show you what's possible by experimenting with the shapes and shades of my lighting.
12m
image
10
The Second Photo: Experimenting with Long Exposure
In this lesson, I will capture a second image. You will learn how to use long exposure to achieve a different and interesting effect in your photo.
18m
image
11
The Third Photo: Working with Natural Light 1
Let's shoot the last image! In this lesson, I will work with natural light using both my camera and phone to show you the difference between the two.
15m
image
12
The Third Photo: Working with Natural Light 2
I will now move to my phone to introduce you to an alternative way to capture your photos. You will learn how to set up your phone—including the placement and internal settings—to achieve the maximum effect.
9m
image
13
Selecting and Editing on a Phone 1
I will now look through all the photos I captured with my phone and bookmark the ones that stand out to me, ready to make a final selection of those that I will take forward.
13m
image
14
Selecting and Editing on a Phone 2
In the second part of this lesson, I will continue to show you my editing process. I will walk you through two different apps that I like to use.
10m
image
15
Selecting and Editing with Adobe Camera Raw and Photoshop 1
It's time to edit the photos I took with my camera! I will show you my editing process on a computer. First, I will do some basic editing in Camera Raw, and then move on to Photoshop.
20m
image
16
Selecting and Editing with Adobe Camera Raw and Photoshop 2
I will now work with the remaining photo, tweaking elements such as exposure, color, contrast, size, and so on to optimize the result.
12m
image
17
The Final Result and Sharing Your Work
I'm happy with the edits I've made. Let's look at the final results! I will talk about what you can do with your photos, and how to share them with others once you've finished them.
13m
image
3
equipment and tools
Do you want to know everything you will need to take this course and take self-portraits? In this lesson, I will show you the possible tools and materials that you will use, from the most basic things like the camera to the editing programs once you have already taken your photos.
1m
image
4
The mood board and the concept
Now I will show you how I choose the concept of my photo session and, from there, I will show you how to create a mood board that will serve as a reference.
4m
image
5
Self-knowledge and posed
As you already know, your project will consist of taking self-portraits. For this reason, it is very important that you experiment in front of the mirror to get to know yourself in more detail: your gaze, your hands, your arms and, ultimately, everything you are going to photograph. I'll show you how to do some self-awareness exercises, and then I'll teach you some key portrait posing tips.
6m
image
6
Fashion editorial makeup
Now you will learn about fashion makeup, from its definition to why it is so important in the artist's discourse. I will also teach you simple and practical techniques that you can perform.
6m
image
7
Styling for the session
It's time for you to become your own stylist for your self-portraits! In this lesson, I will teach you how to take as a reference what you have proposed in your mood board and how to apply it in a simple way in your photo shoot.
2m
image
8
The makeup
Now I will do the makeup for my photo session. First, I'll show you the products I'll be using, and then I'll show you step by step how I do my makeup in front of the mirror and some simple strokes that work great in fashion photography.
3m
image
9
Stage
Although the settings for fashion portraits can be complex and elaborate at times, they are usually simple, since the focus is on the model, her makeup and styling. In this lesson, I'll teach you simple ways to create the background and scenery for your photo shoot and small details that will elevate your results.
2m
image
10
the photo session
It's time to pose in front of the camera and take the pictures! In this lesson, you will carry out your photo session and apply everything you have learned so far.
14m
image
11
Edit the photos
Now you will start by processing the photographs in Adobe Lightroom and make a selection of the ones you like the most and the ones you think best convey your concept. Then, you will proceed to retouch them in Adobe Photoshop and in Lightroom as well.
11m
image
12
Graphic work on photographs
Once you're done with your editing work in Photoshop and Lightroom, in this lesson I'll show you how to do a graphic intervention on some of your photos using the Sketchbook app. I will also tell you about how graphic design impacts fashion photography and takes it to another level.
8m
image
13
Share the photos
I congratulate you because, by now, you already have your photographs edited and intervened. You are one step away from sharing your work with the rest of the community and on social networks. In this lesson, I'll give you tips for sharing your work on Instagram and talk about how you can organize your posts ahead of time to preview how they'll look on your feed.
2m
  • 16 students
  • 84 lessons (14h 10m)
  • 62 additional resources (23 files)
  • Online and at your own pace
  • Audio: English, German, Spanish, Spanish (Latam), French, Italian, Polish, Portuguese, Turkish
  • Spanish · English · Portuguese · German · French · Italian · Polish · Dutch · Turkish · Romanian · Indonesian
  • Level: Beginner
  • Unlimited access forever

What is this course's project?

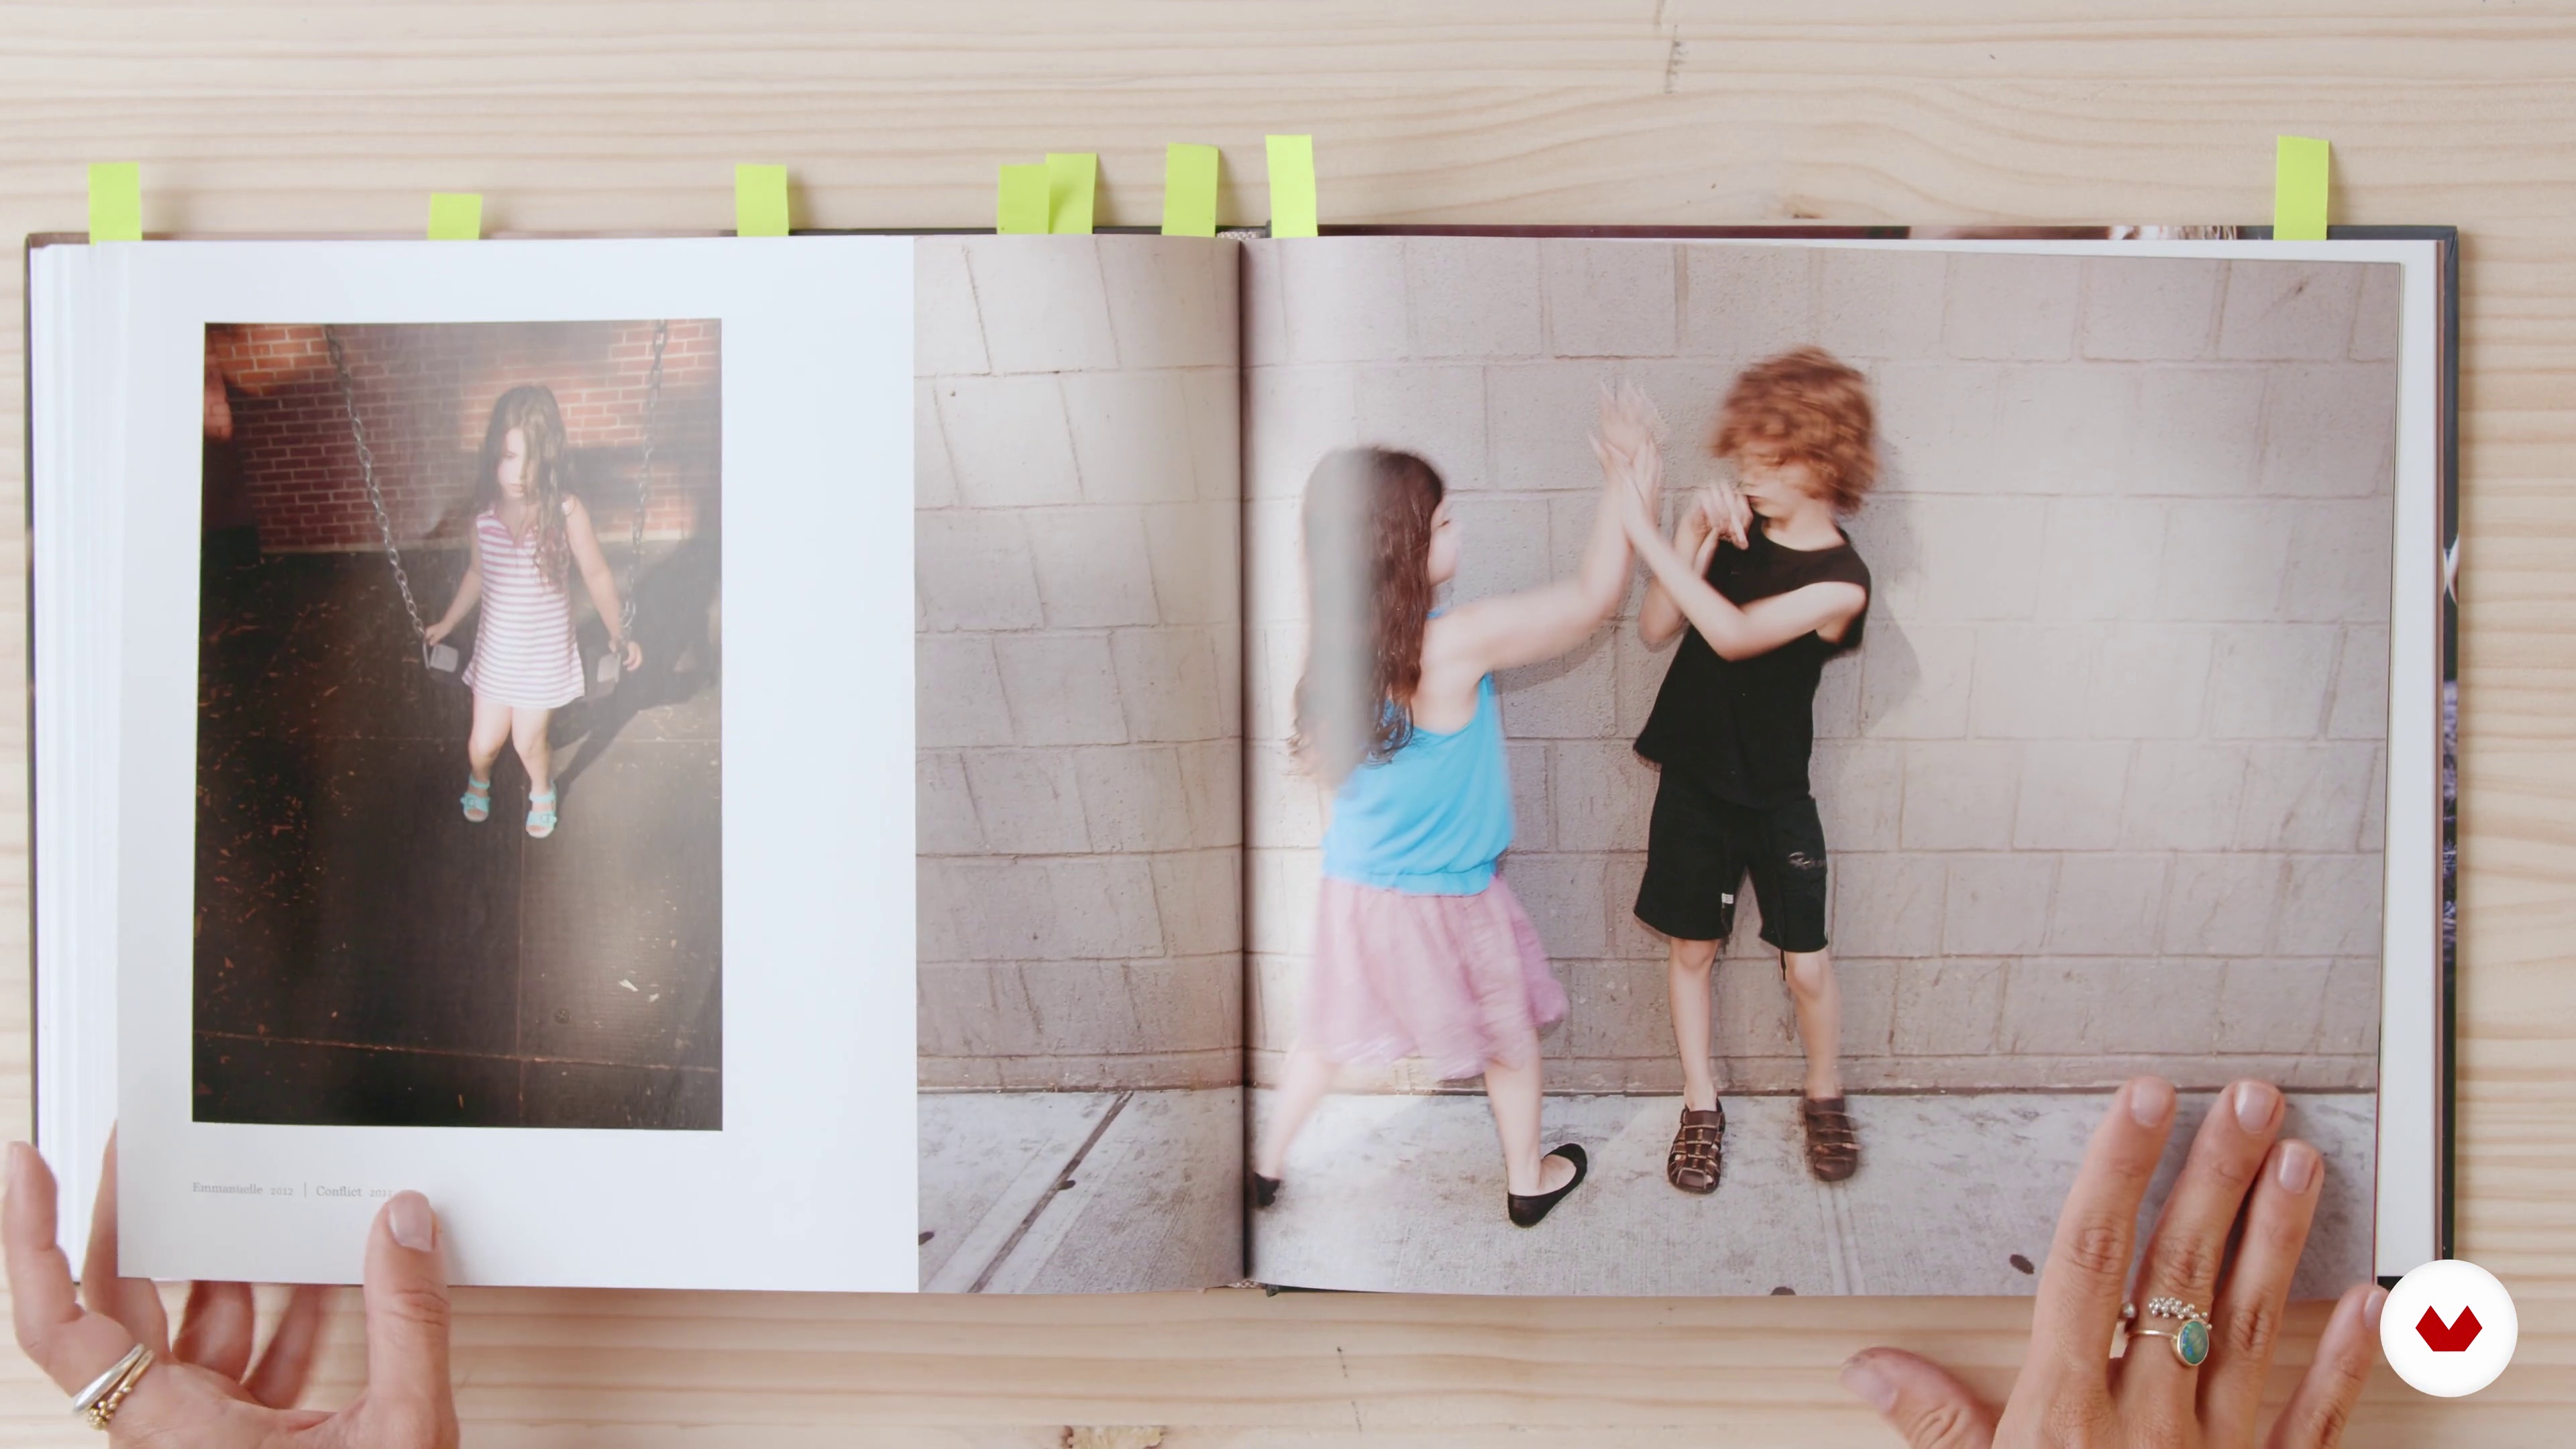
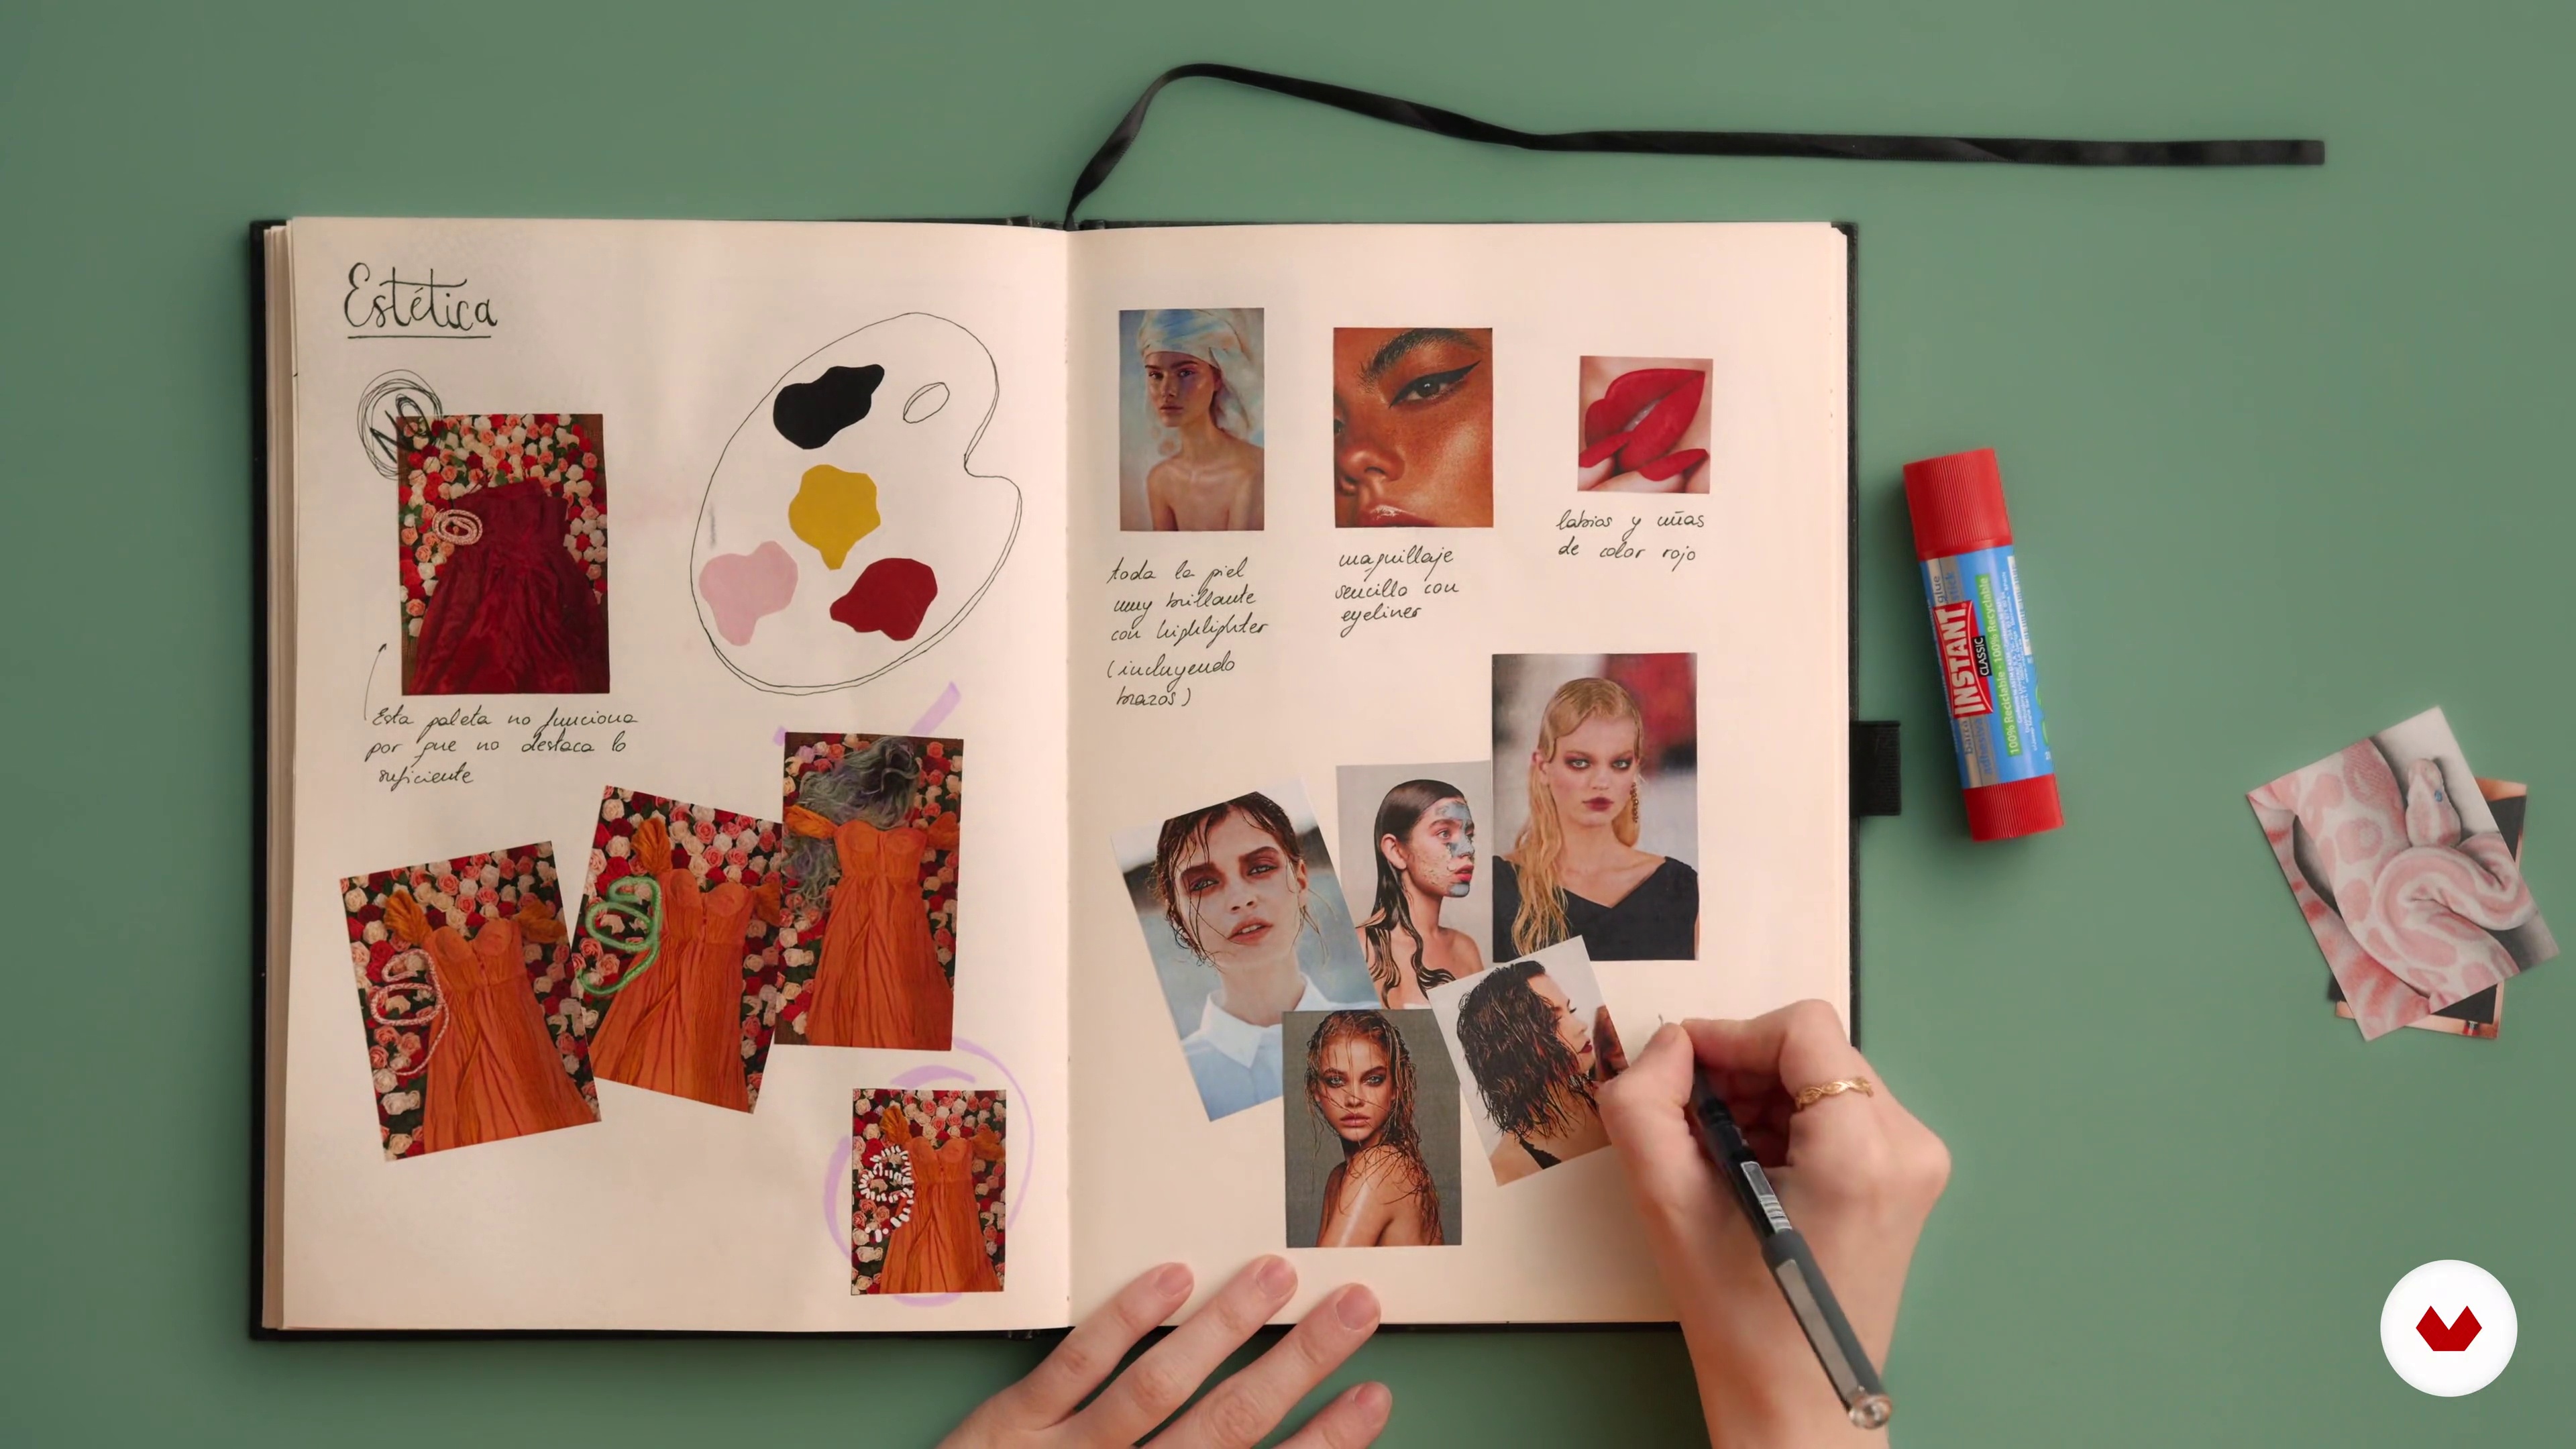
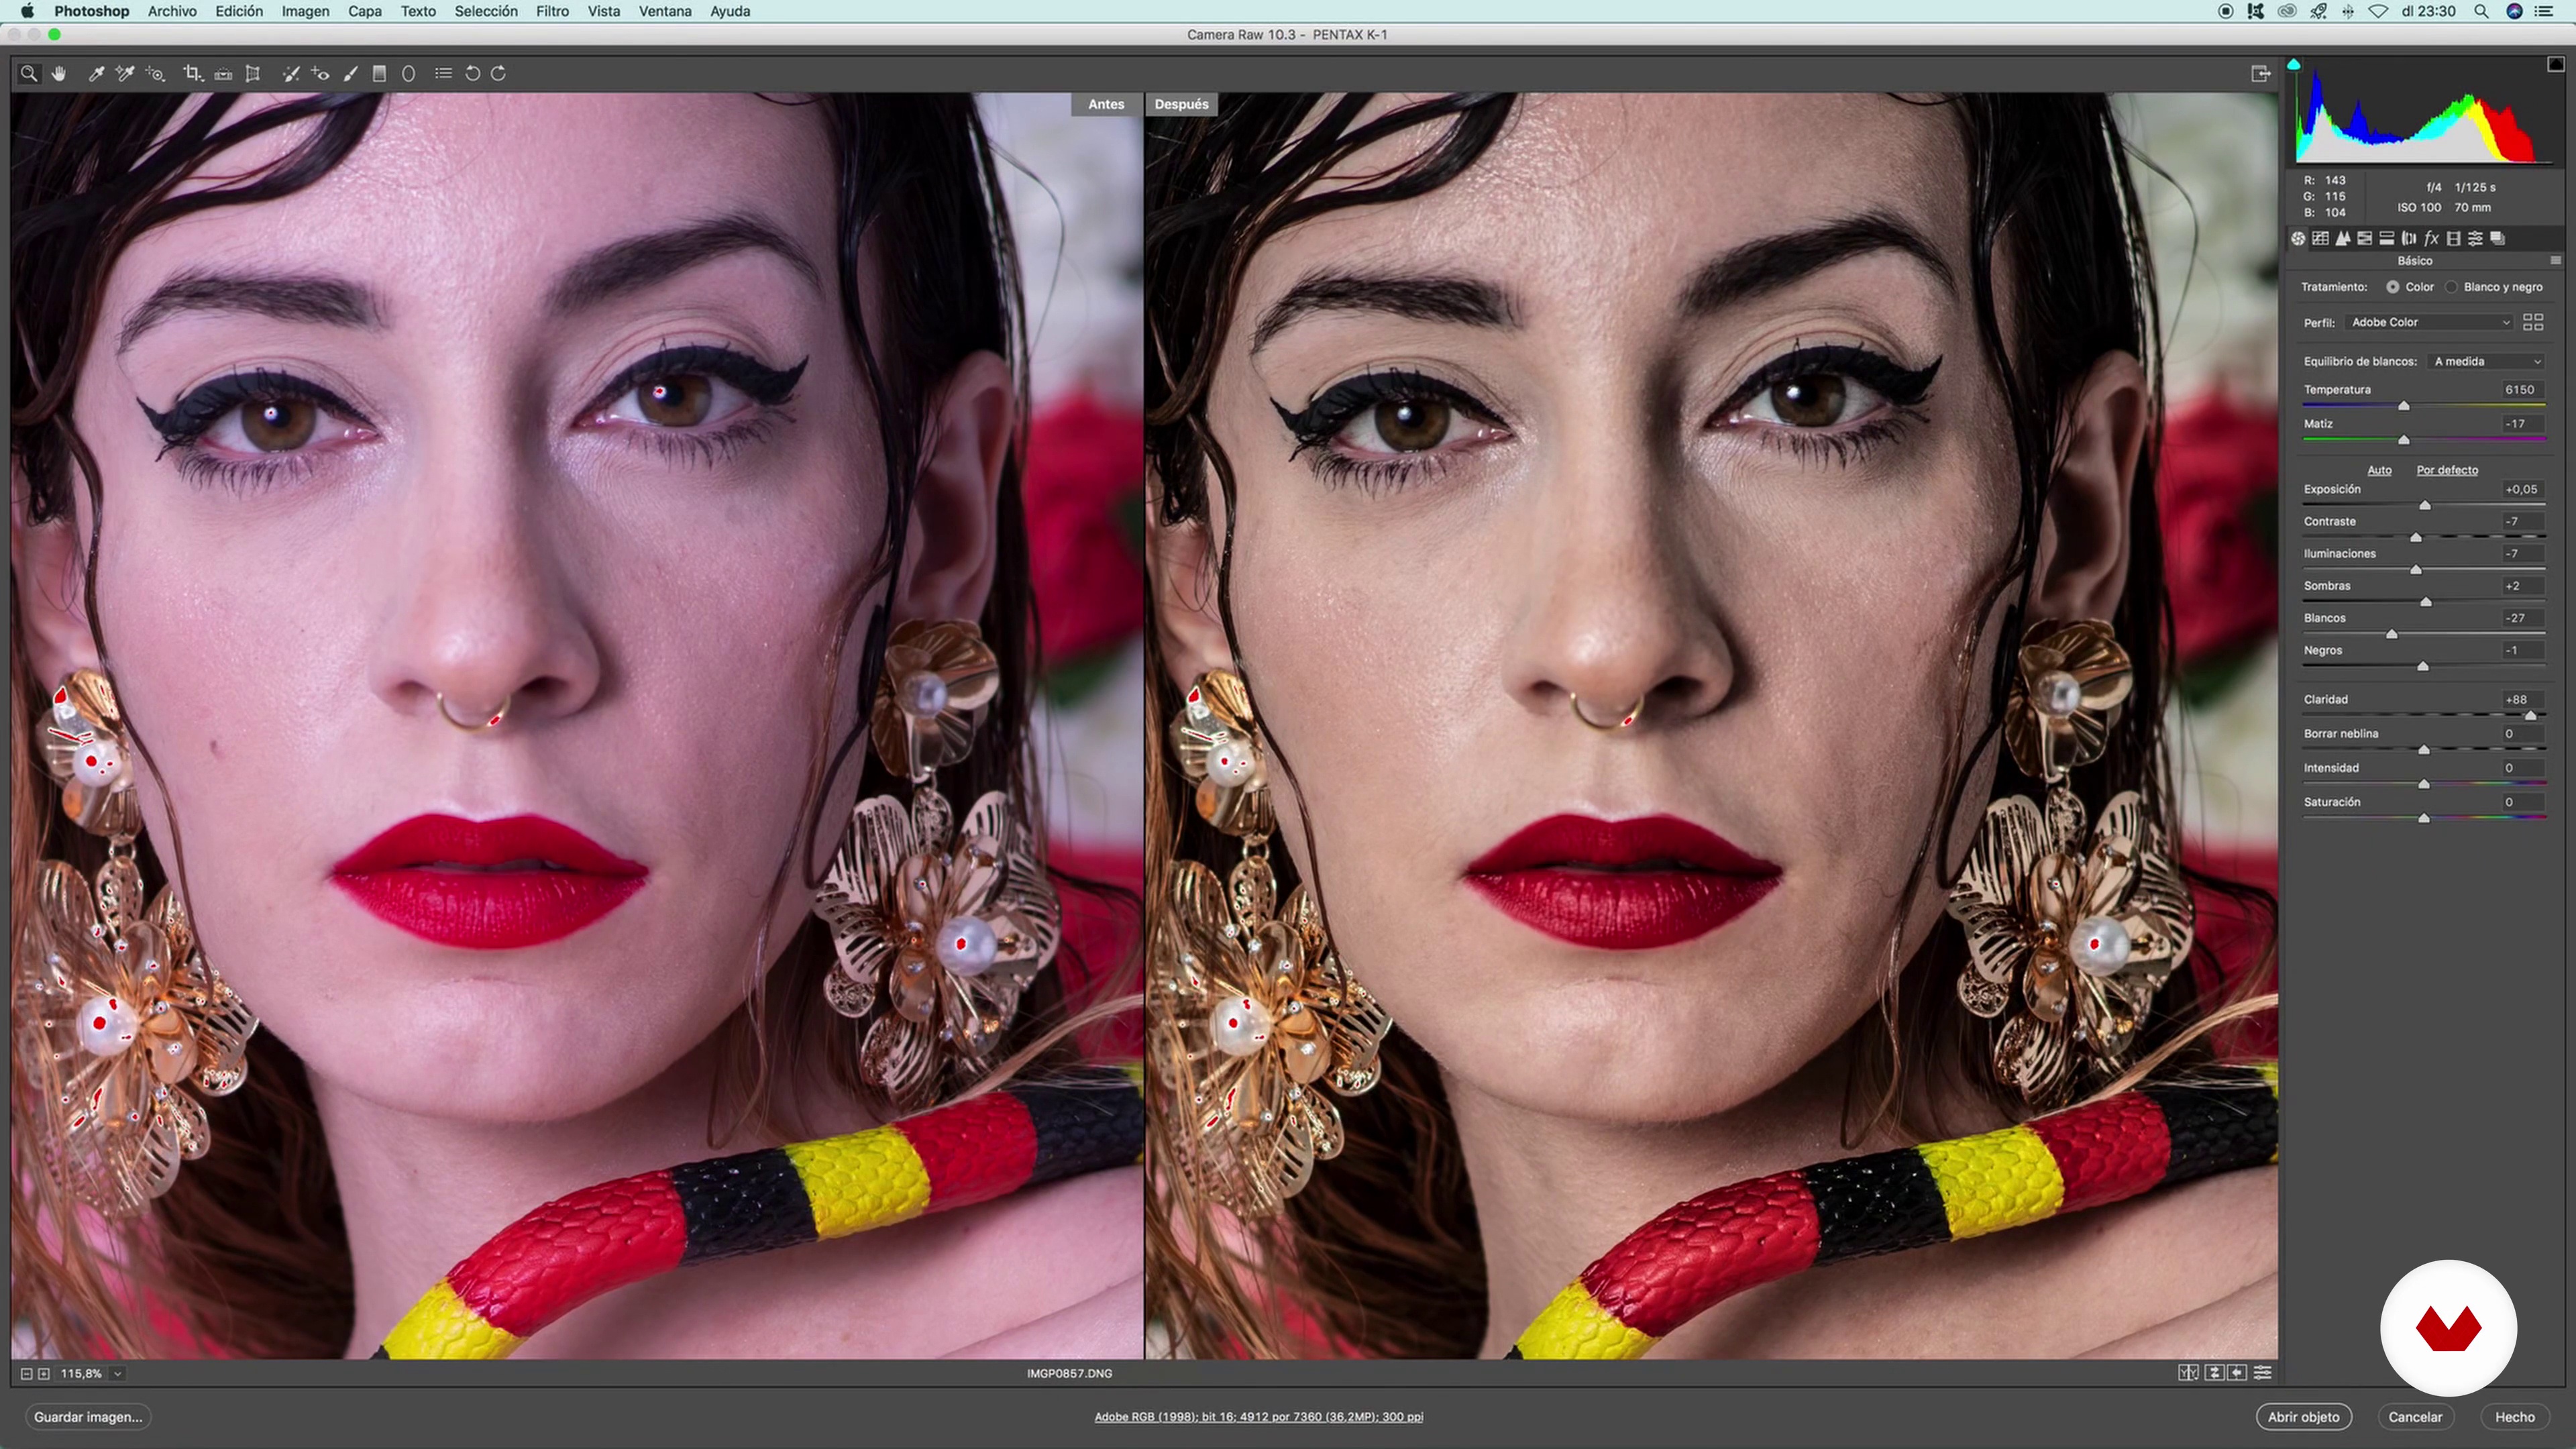
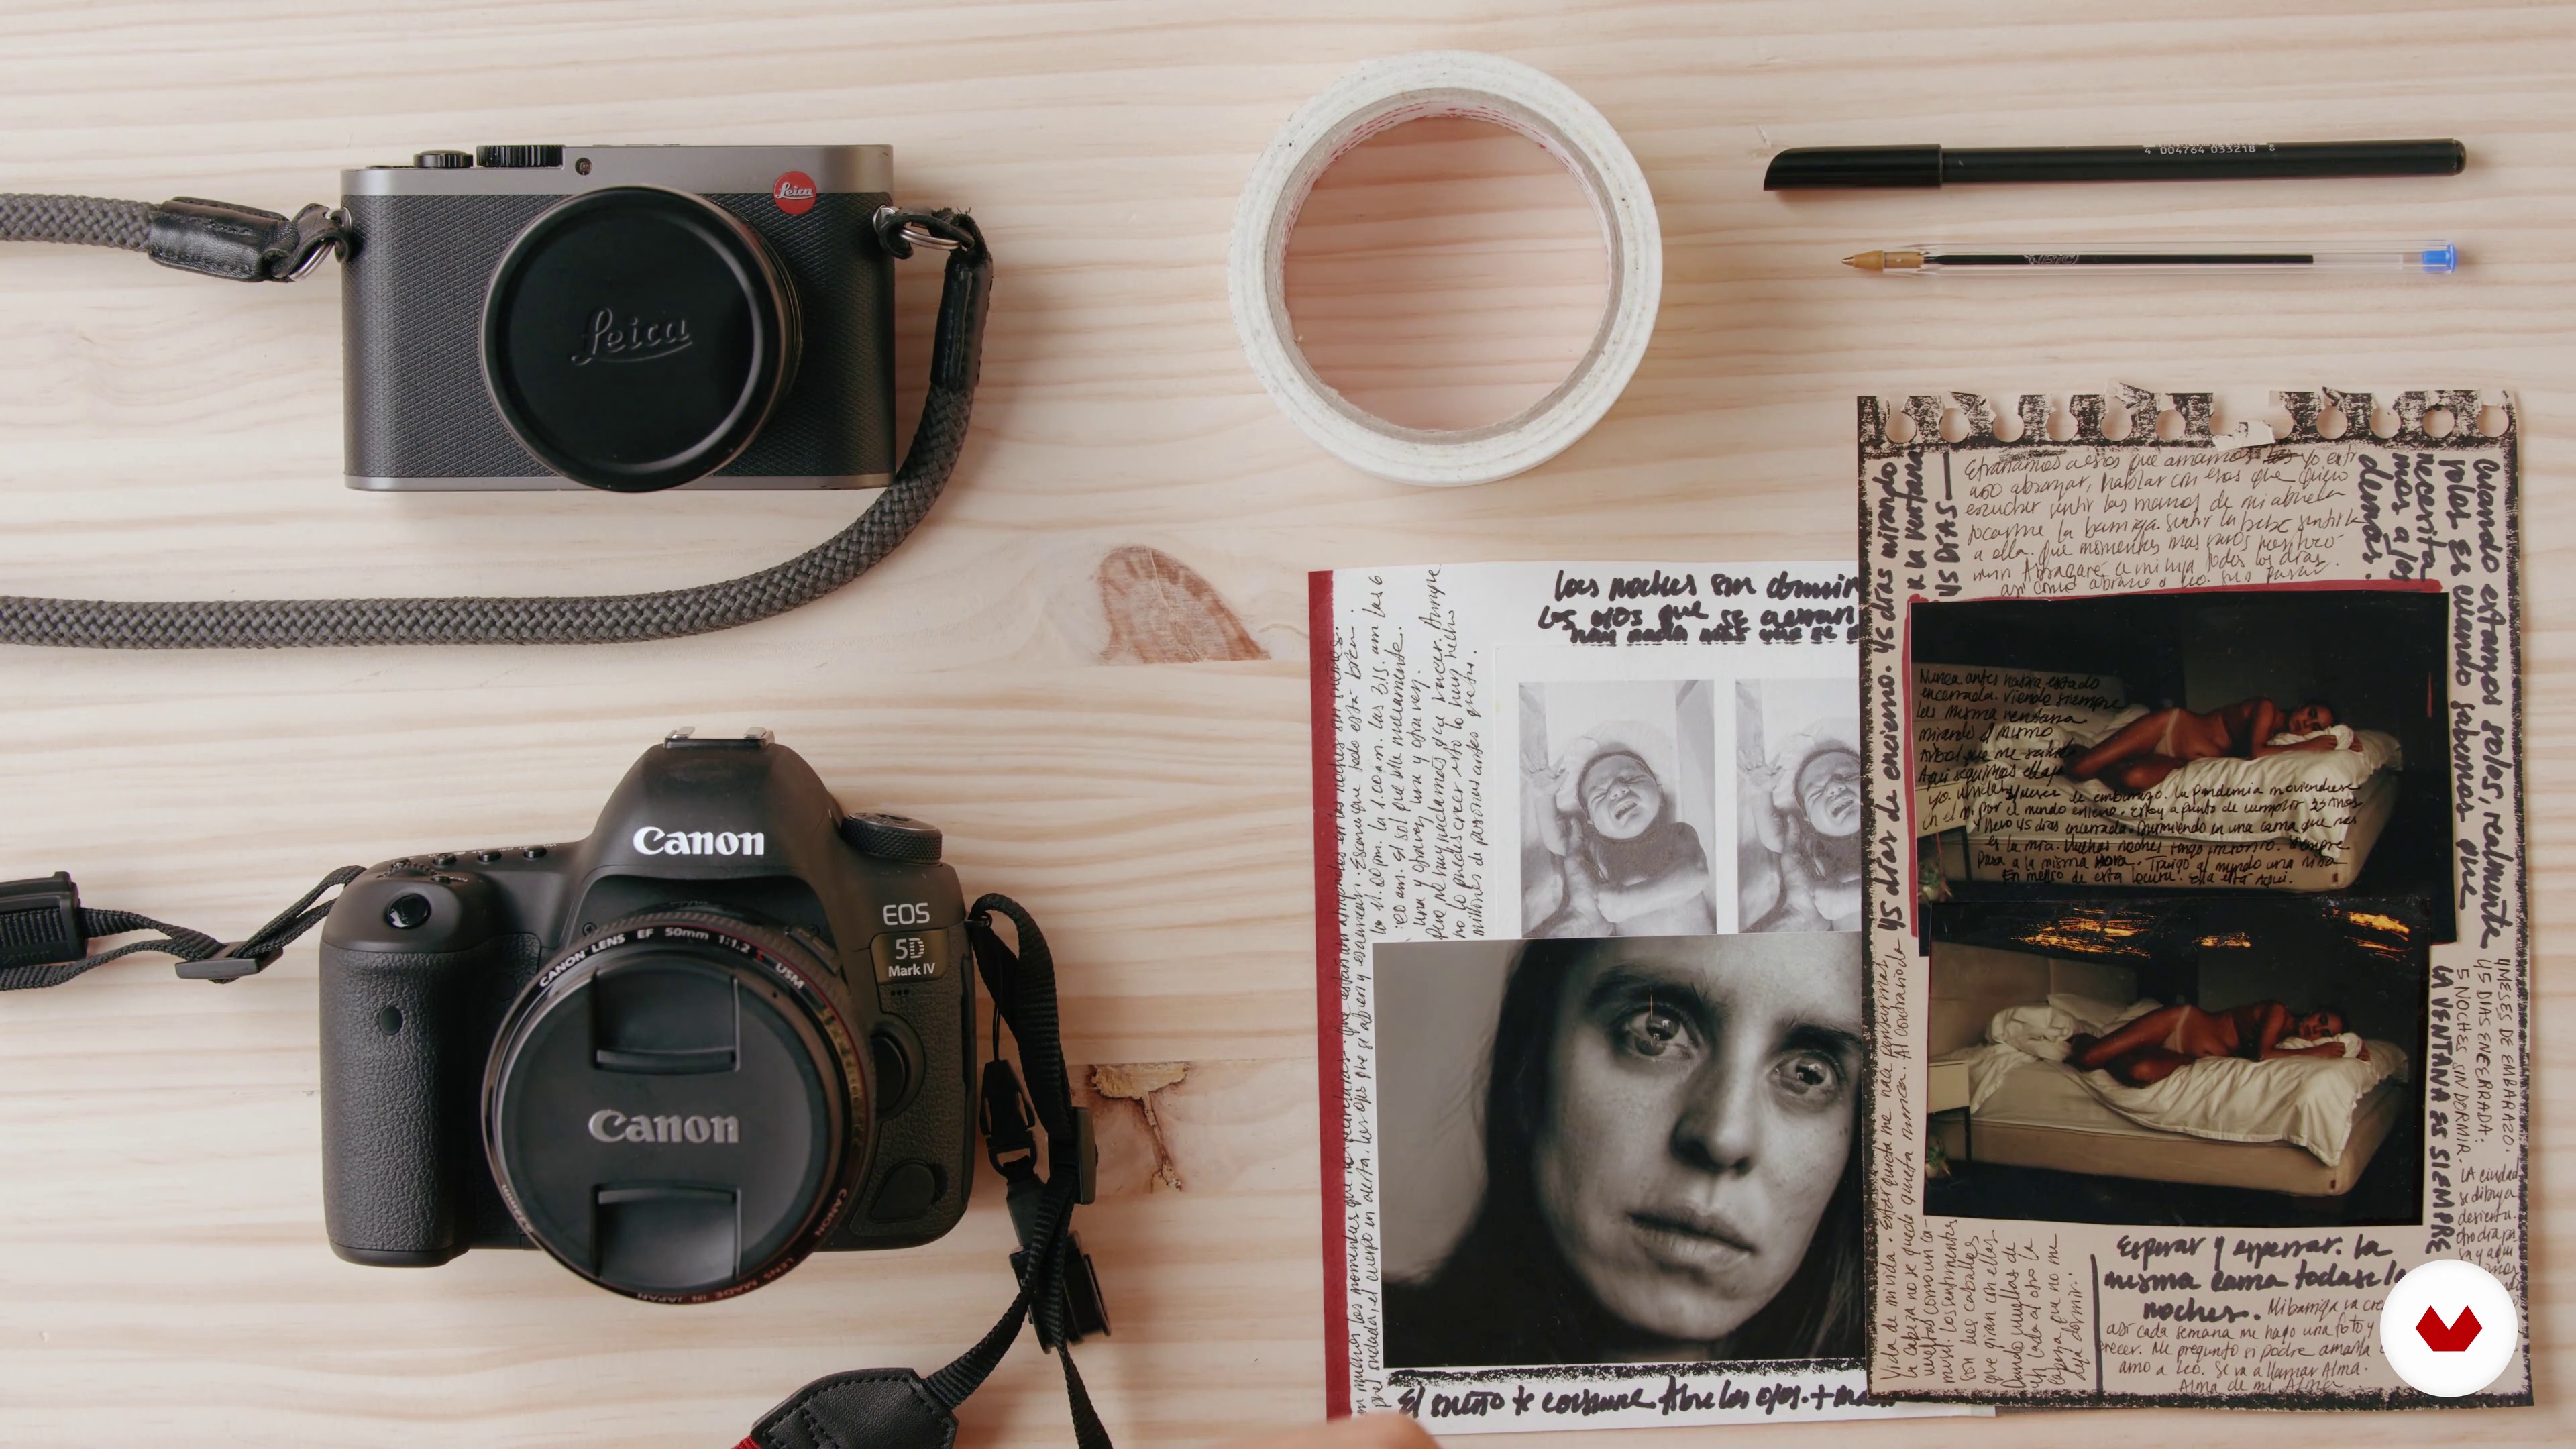
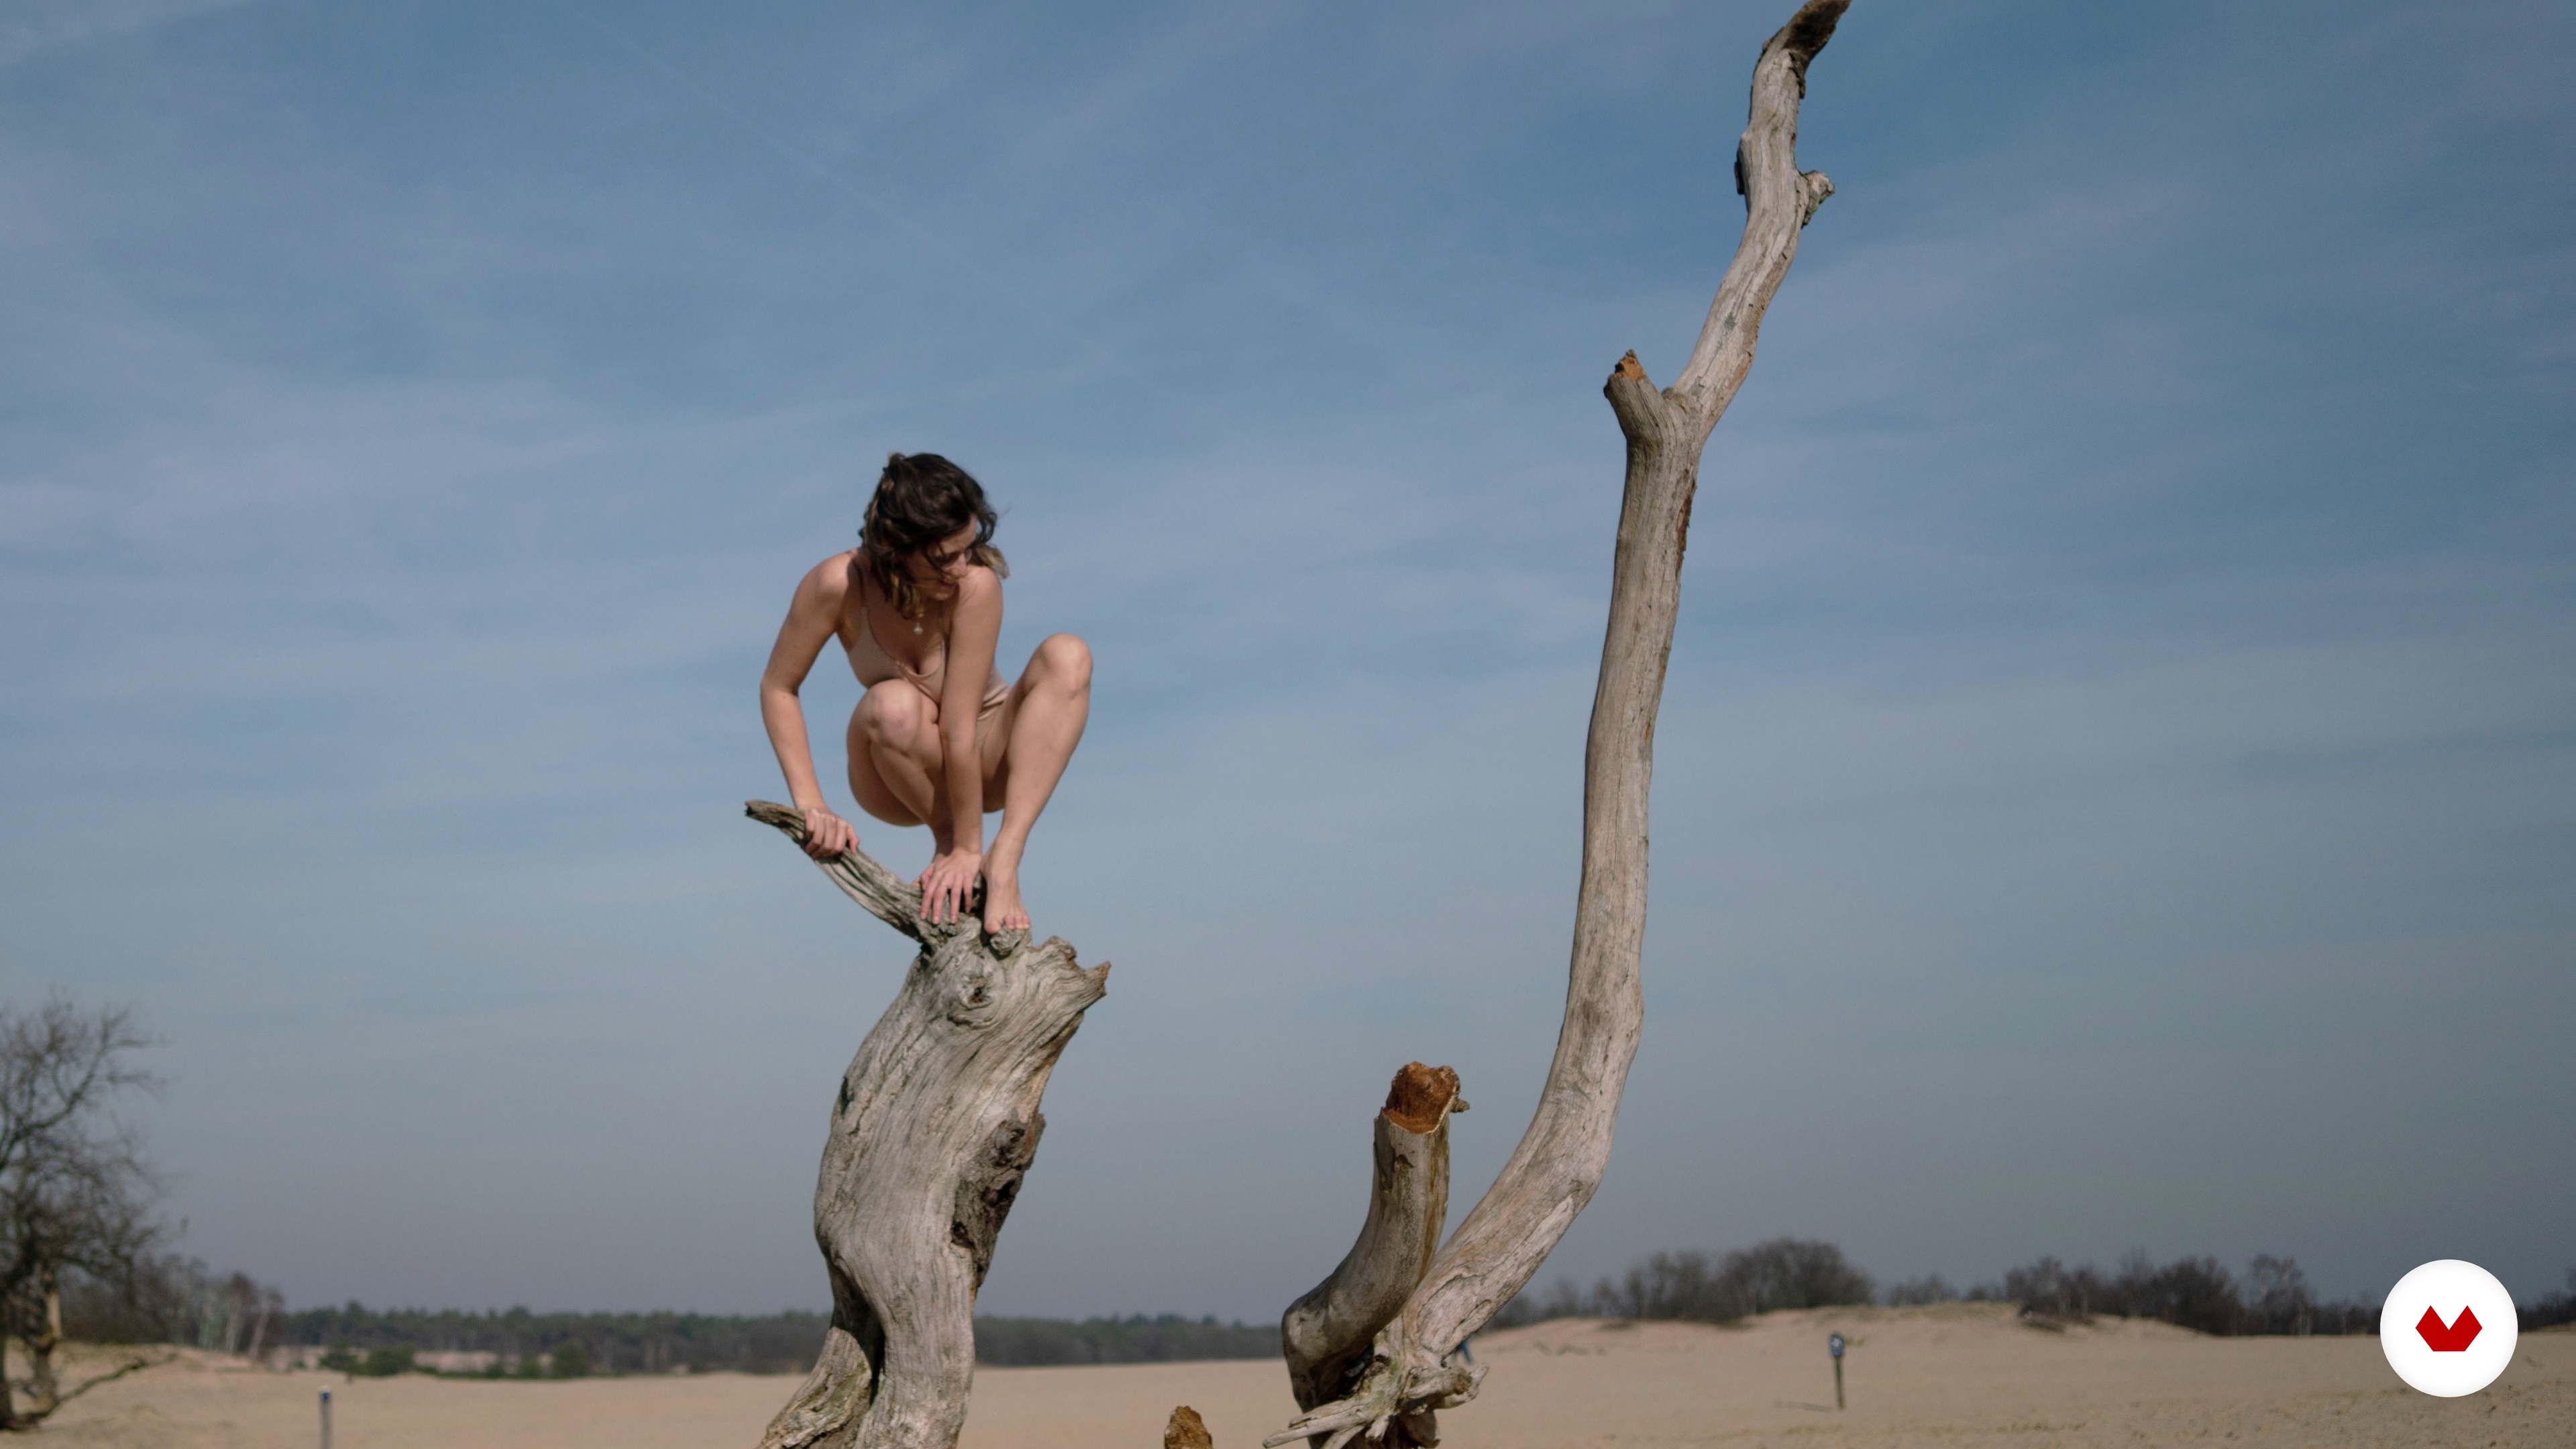
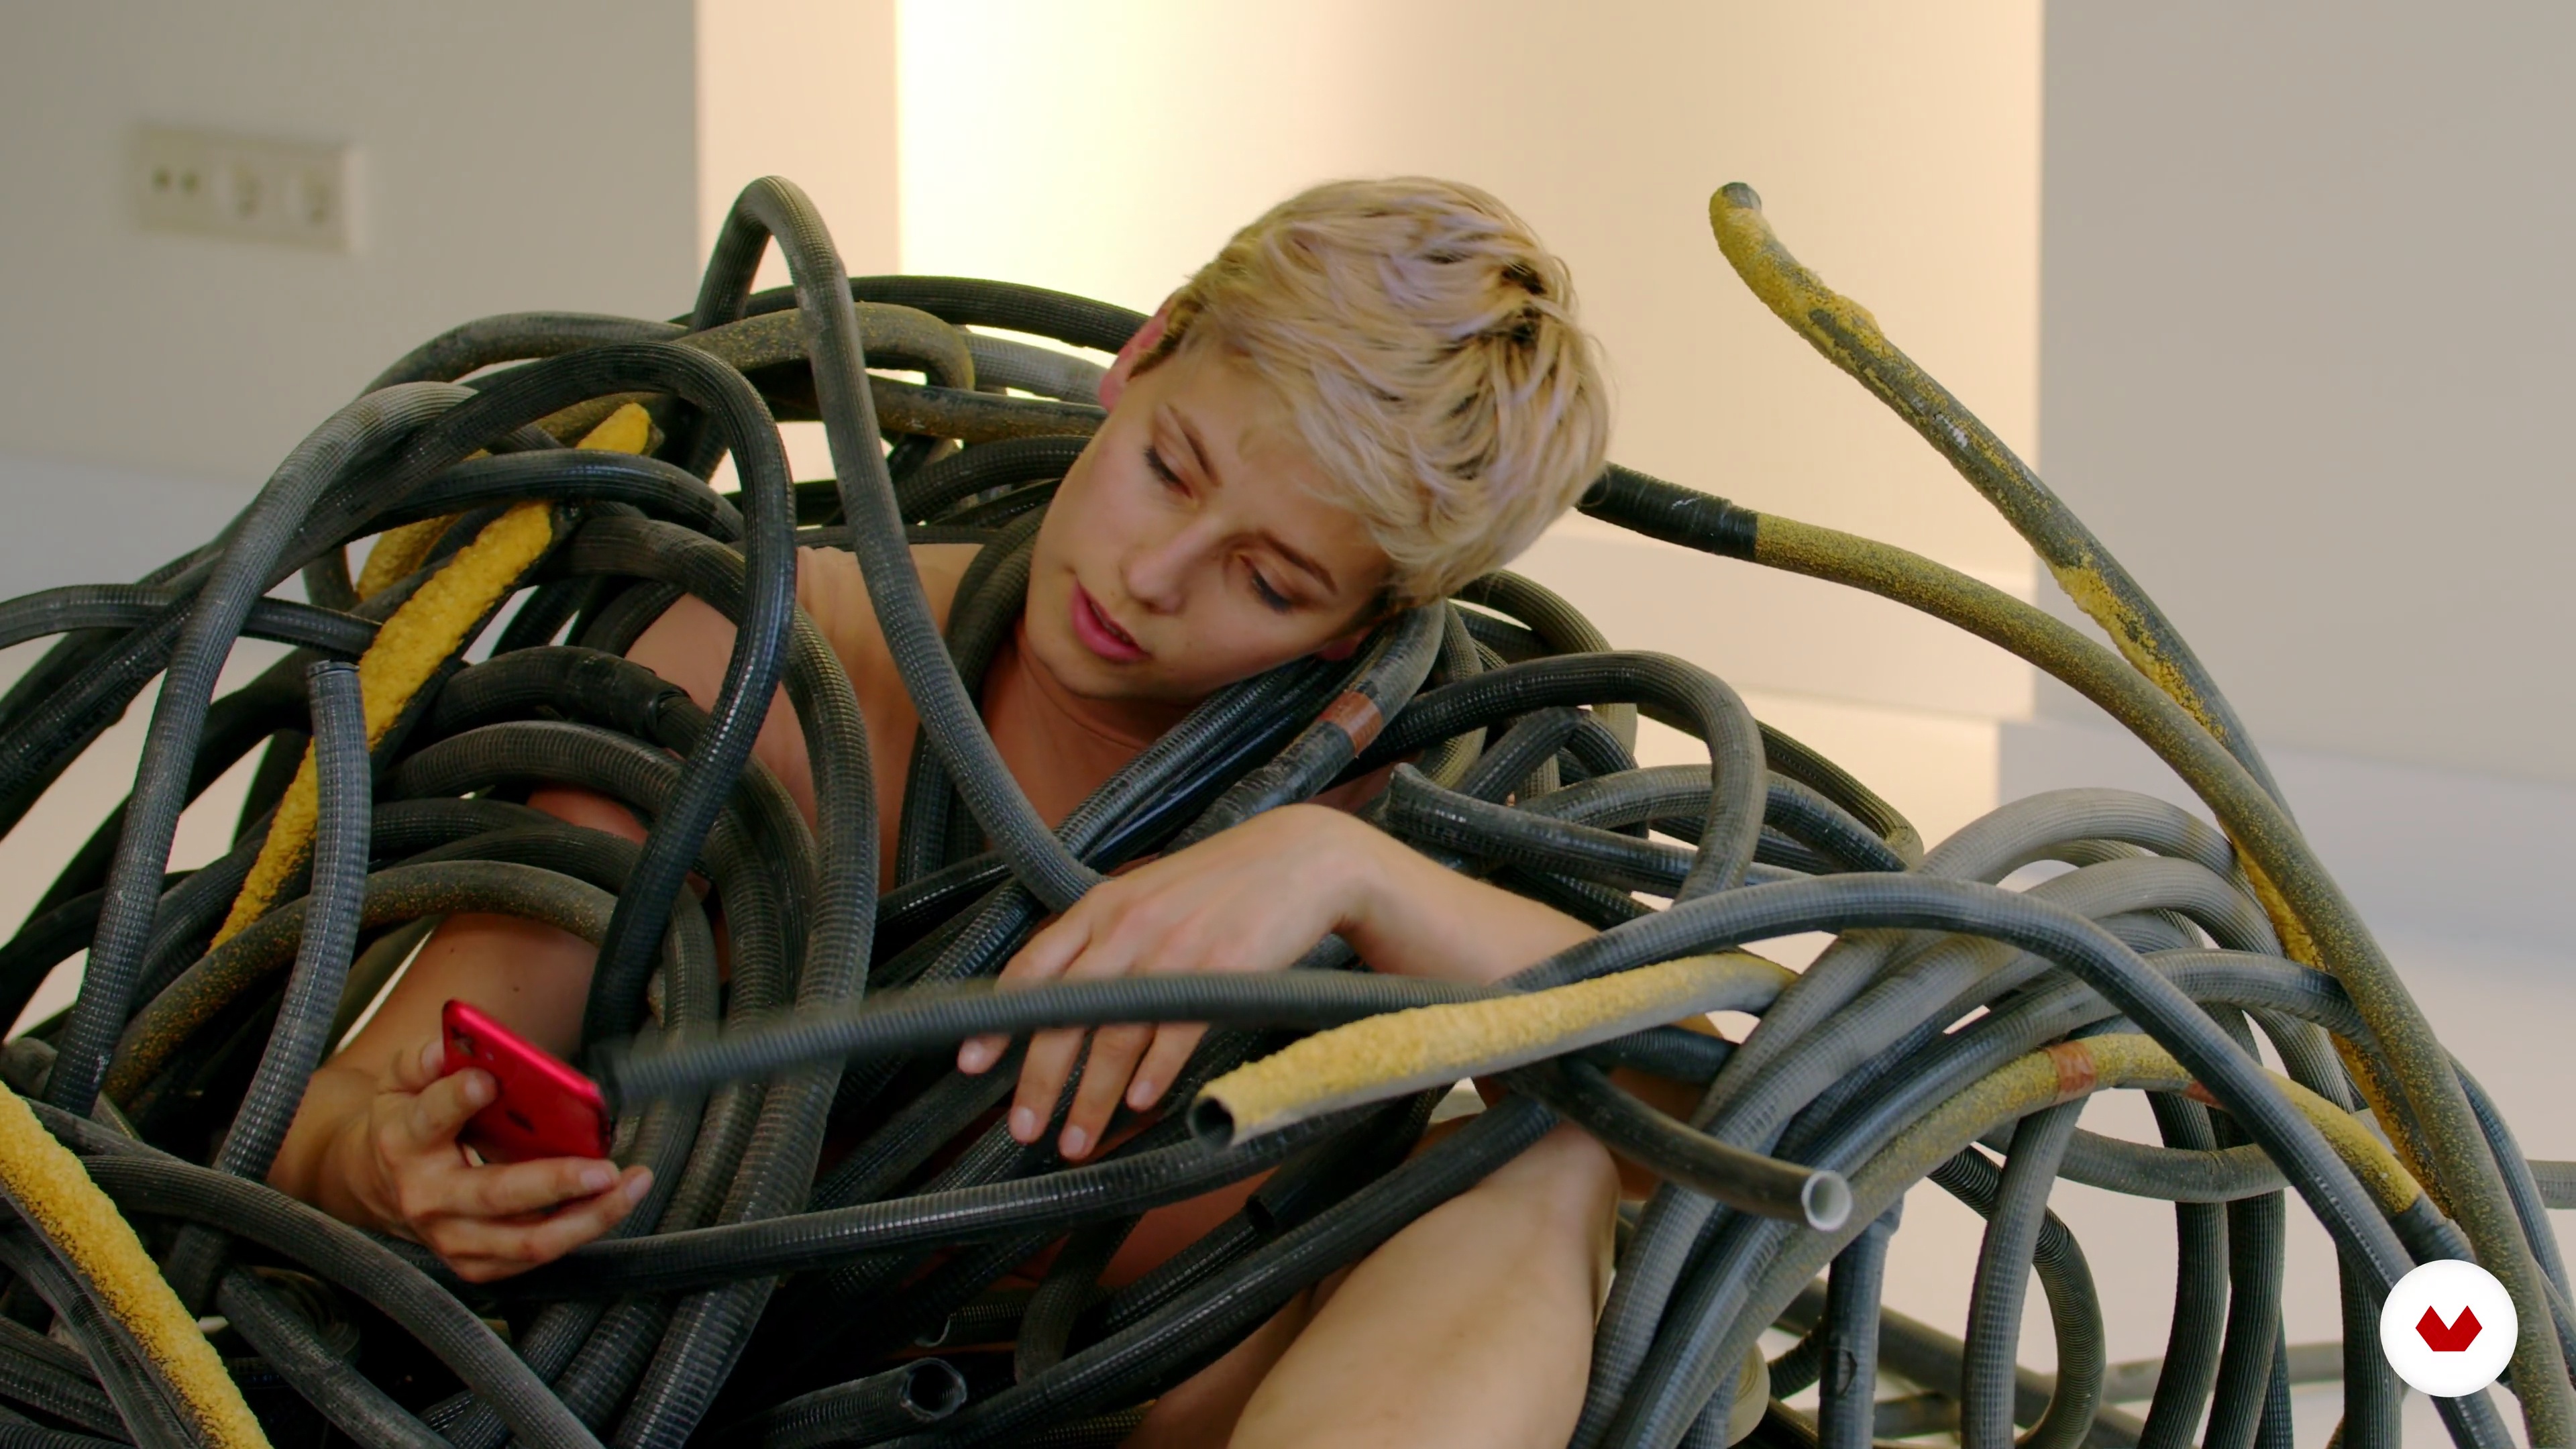
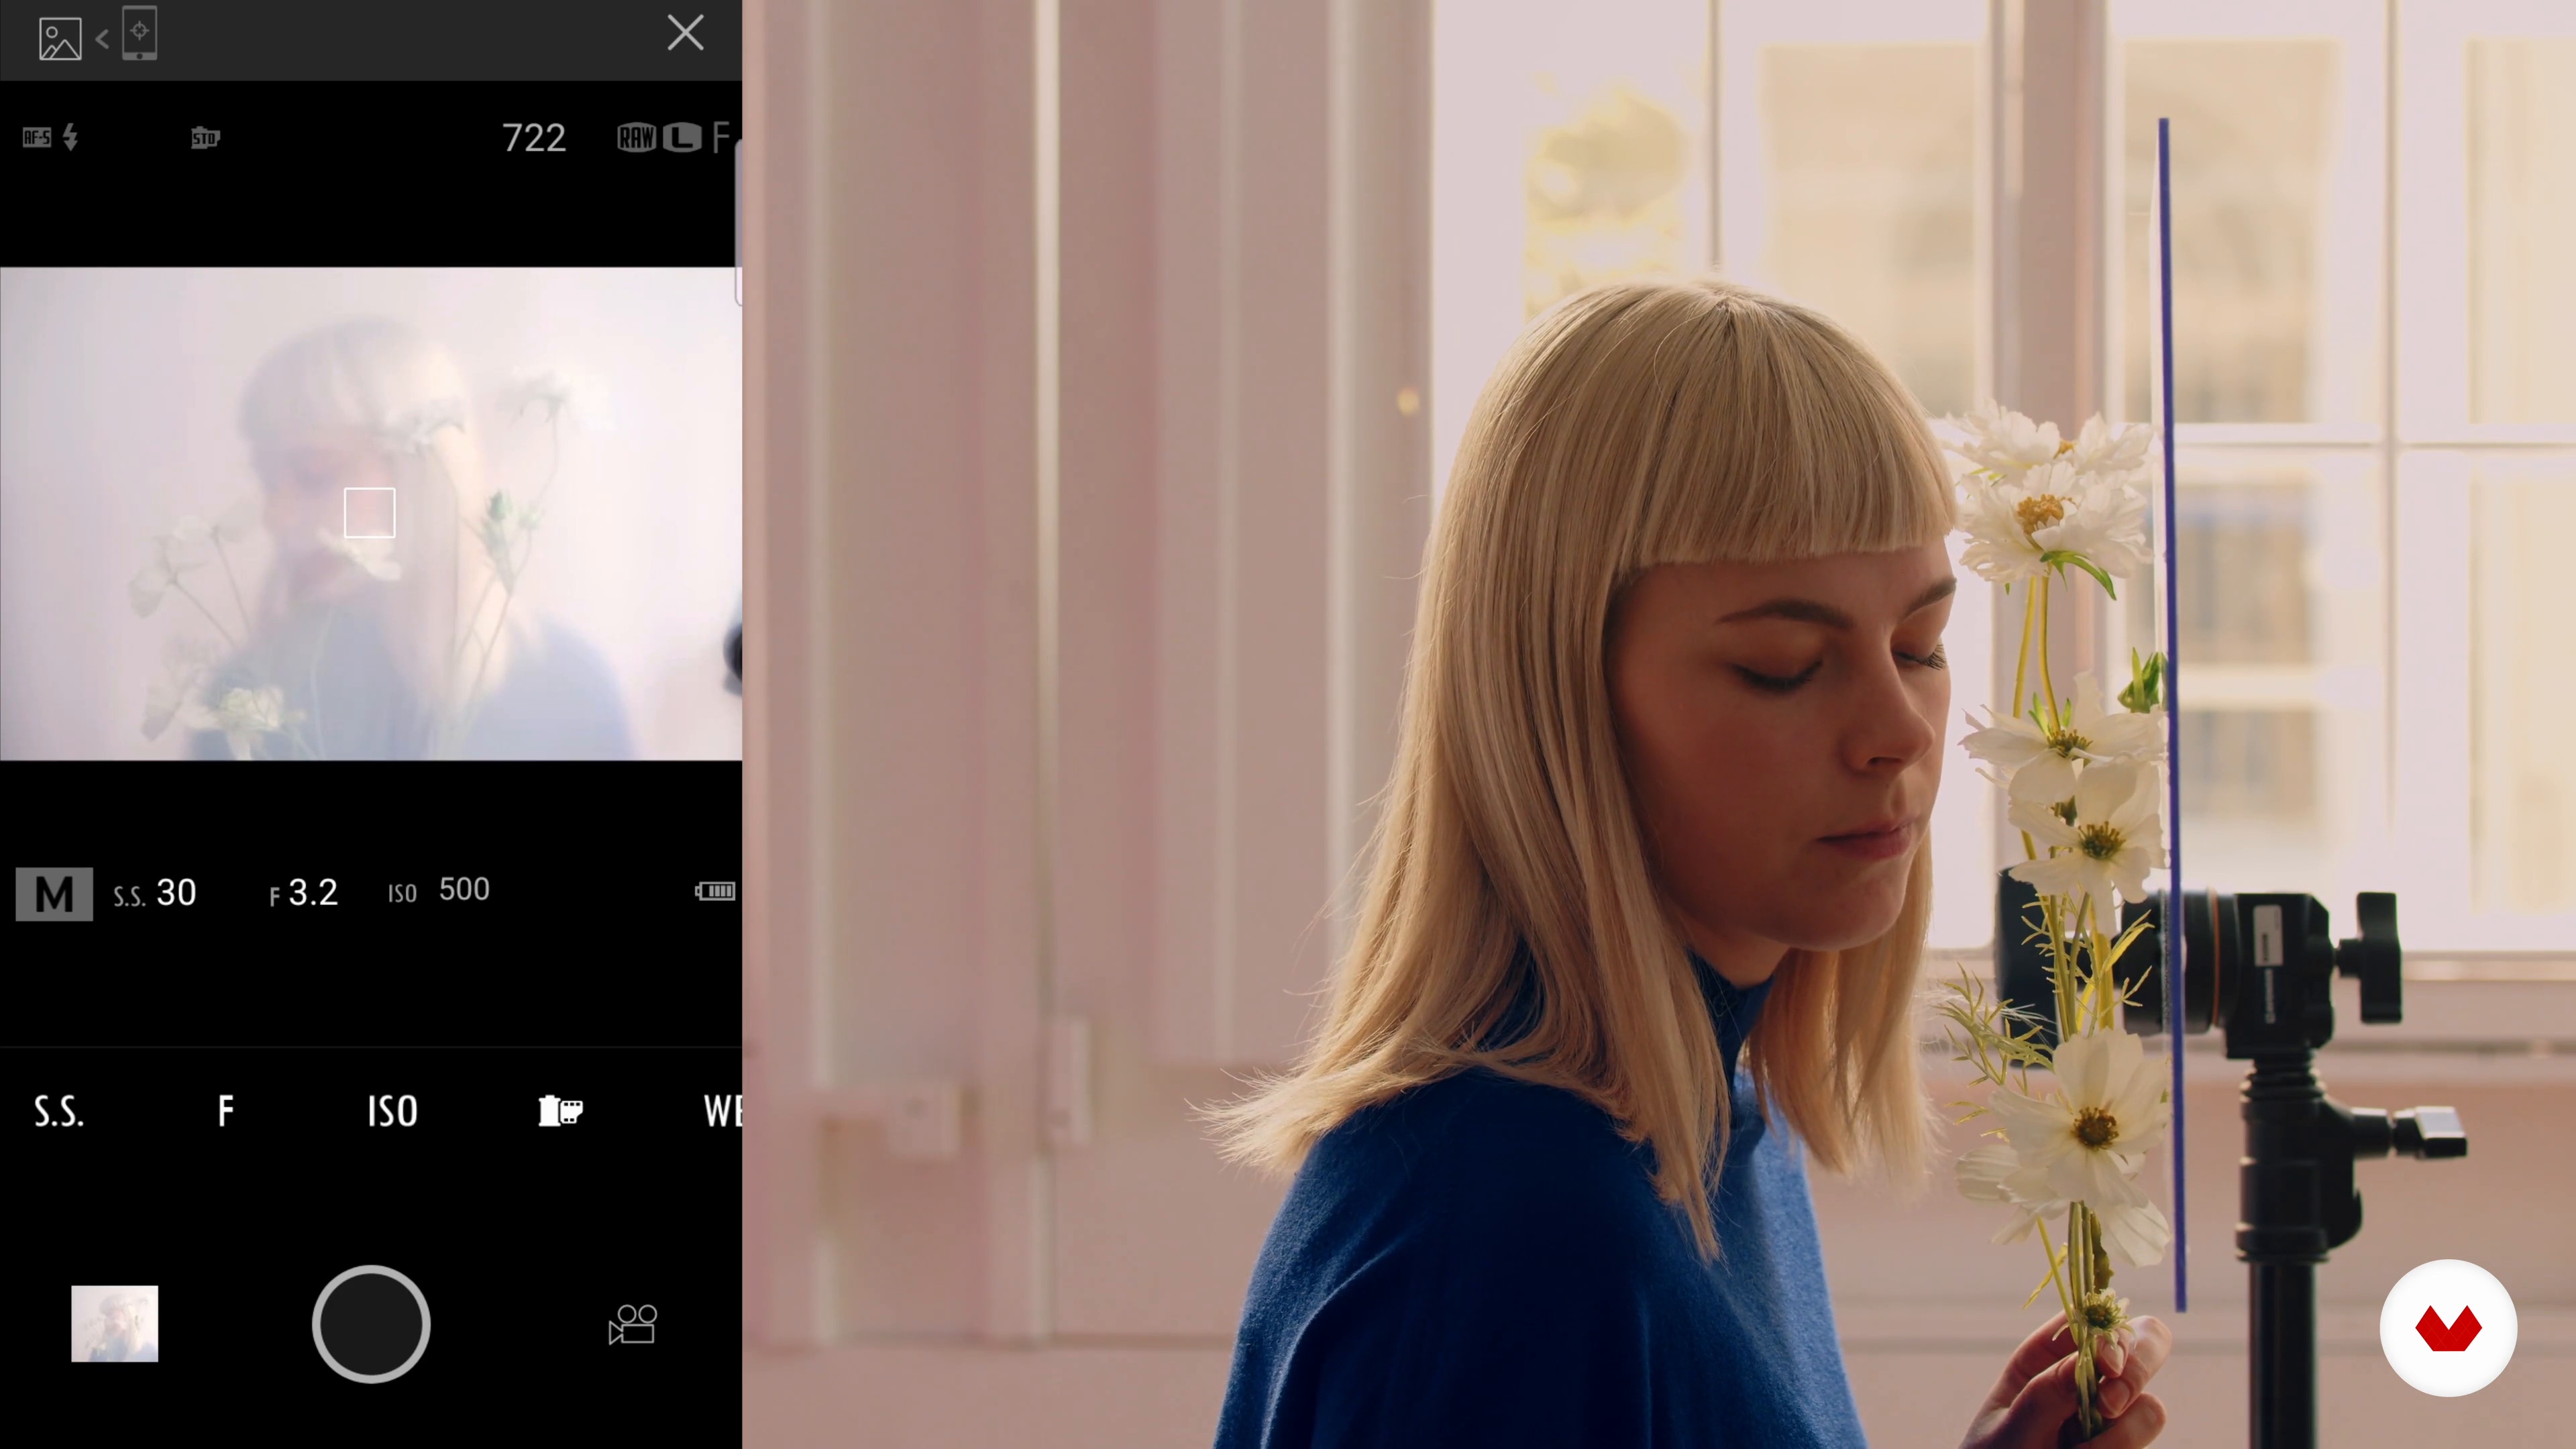
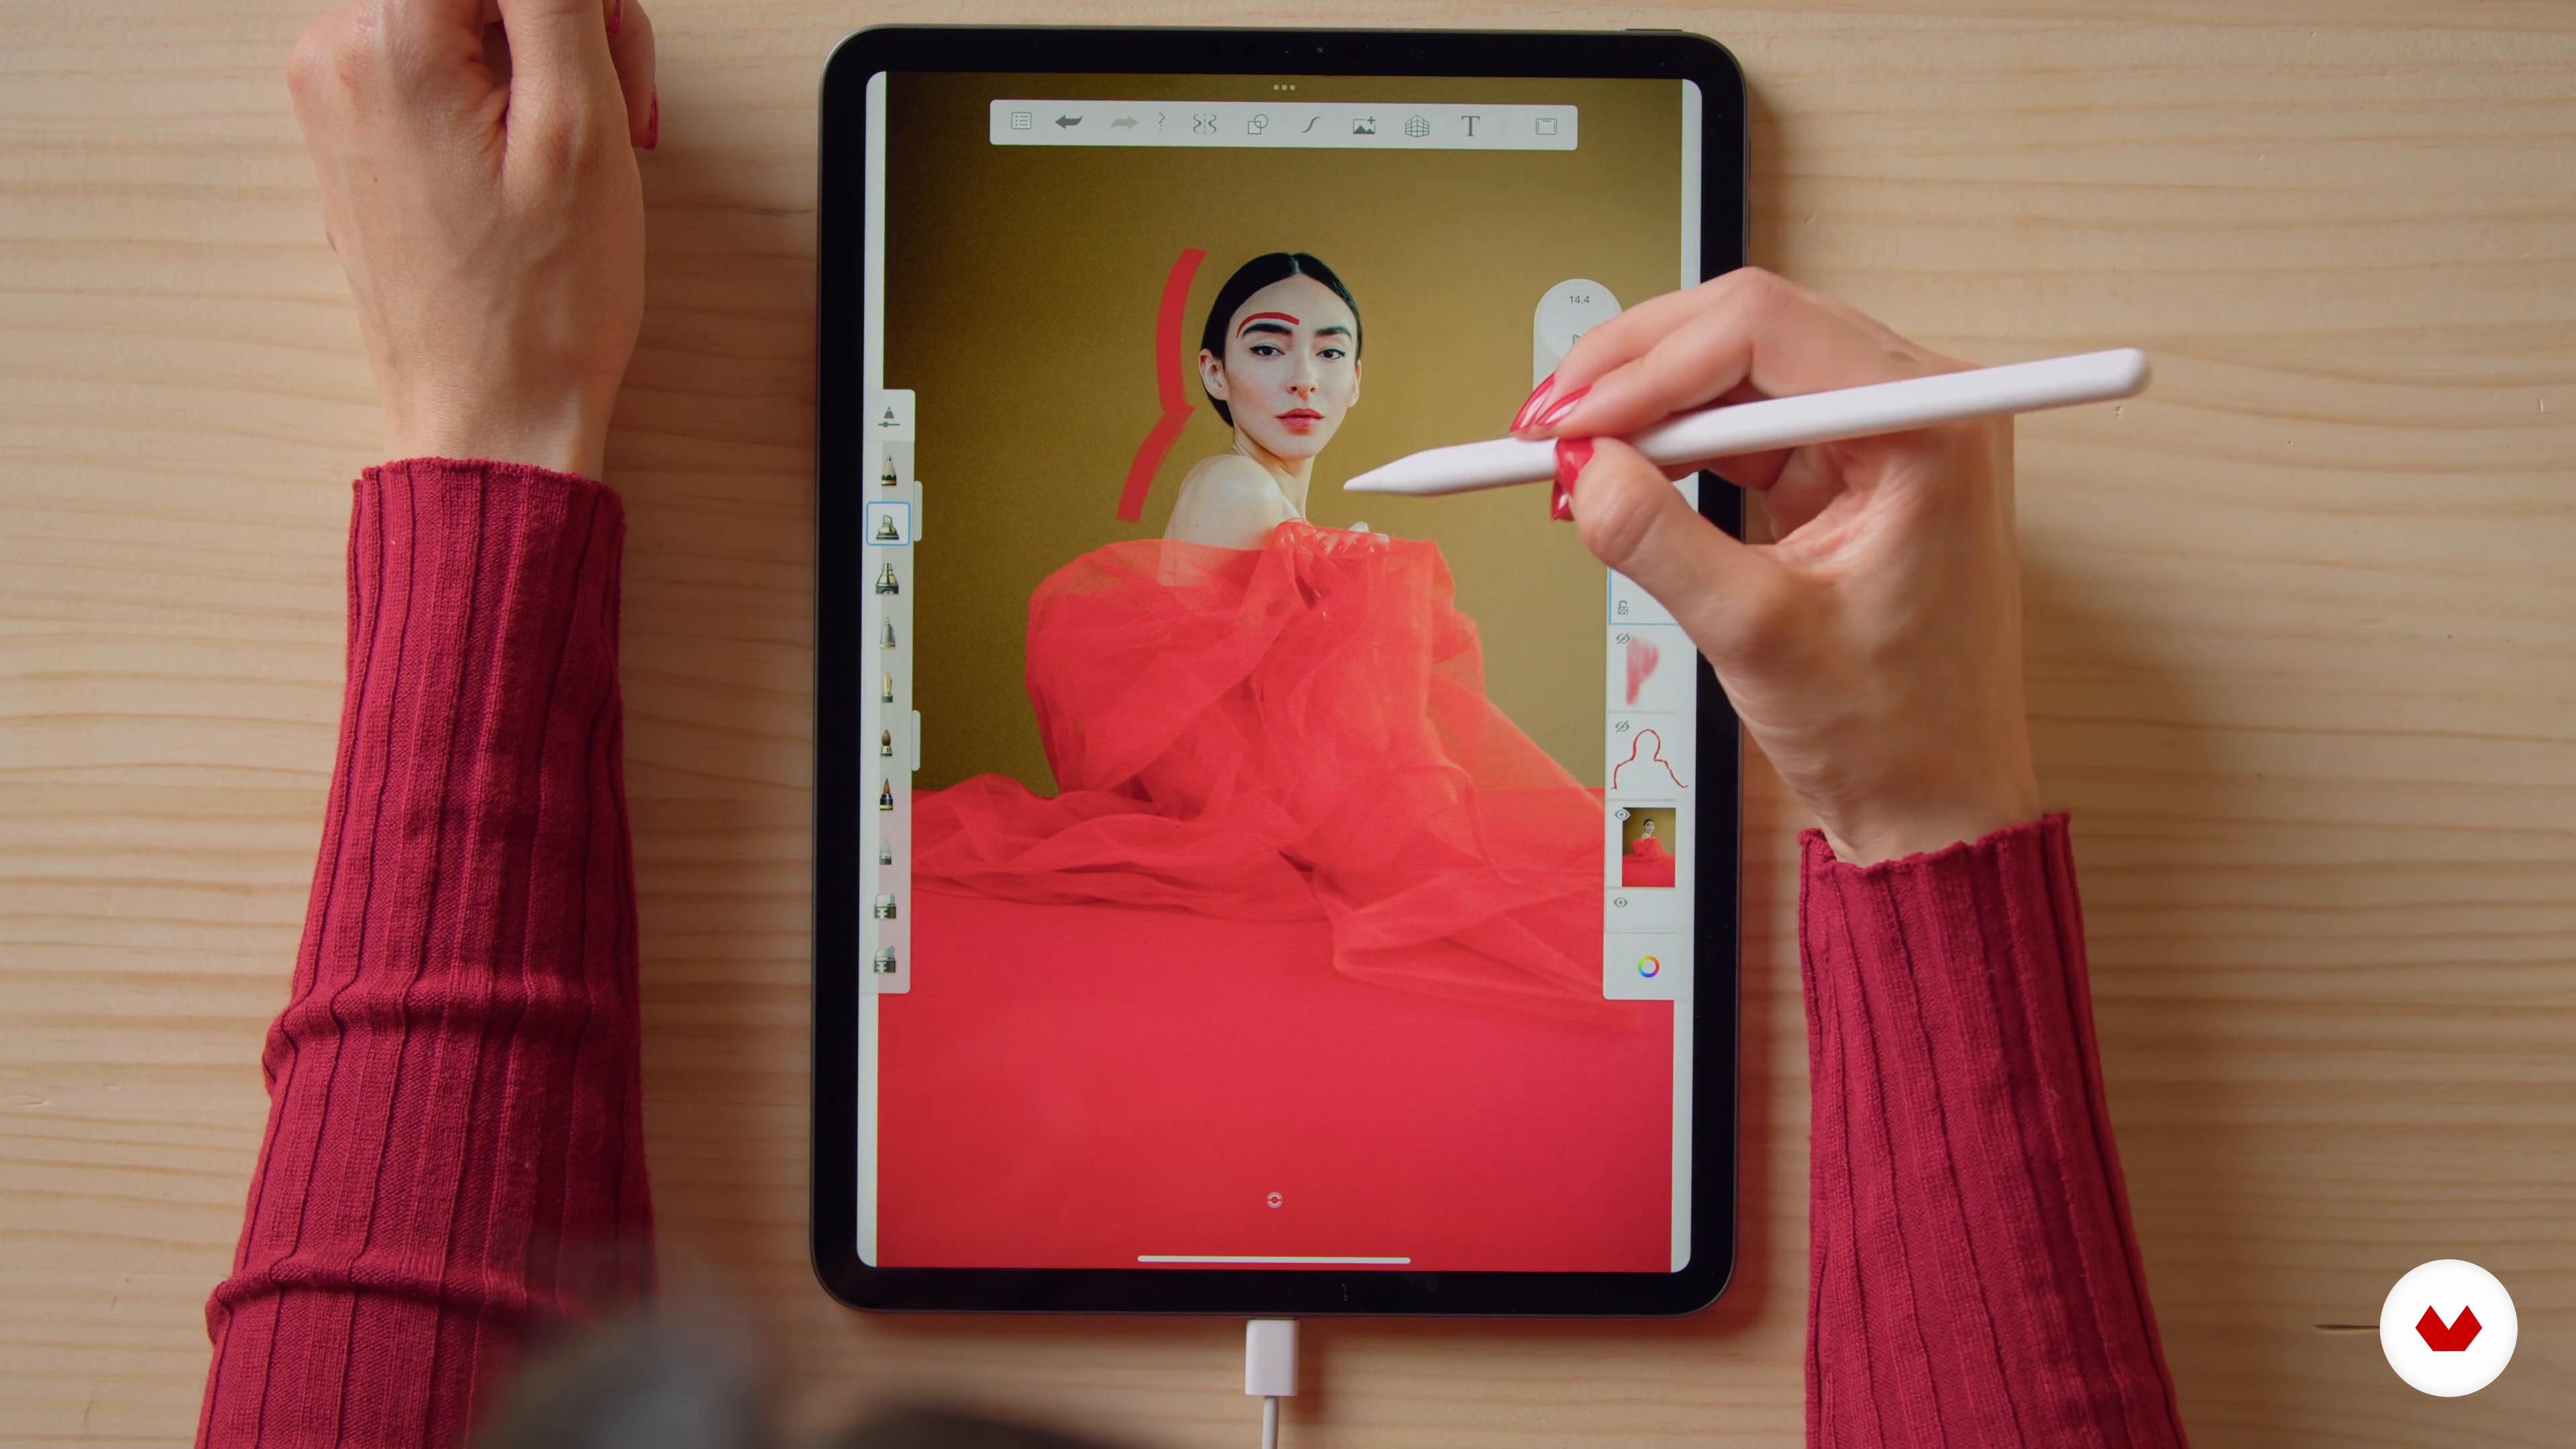
Create a cohesive self-portrait portfolio showcasing mastery in artistic and personal expression. Develop a fine art series with symbolic depth, a visual diary reflecting personal growth, technically advanced lighting and color portraits, and a complete professional fashion session.

Who is this specialization for?

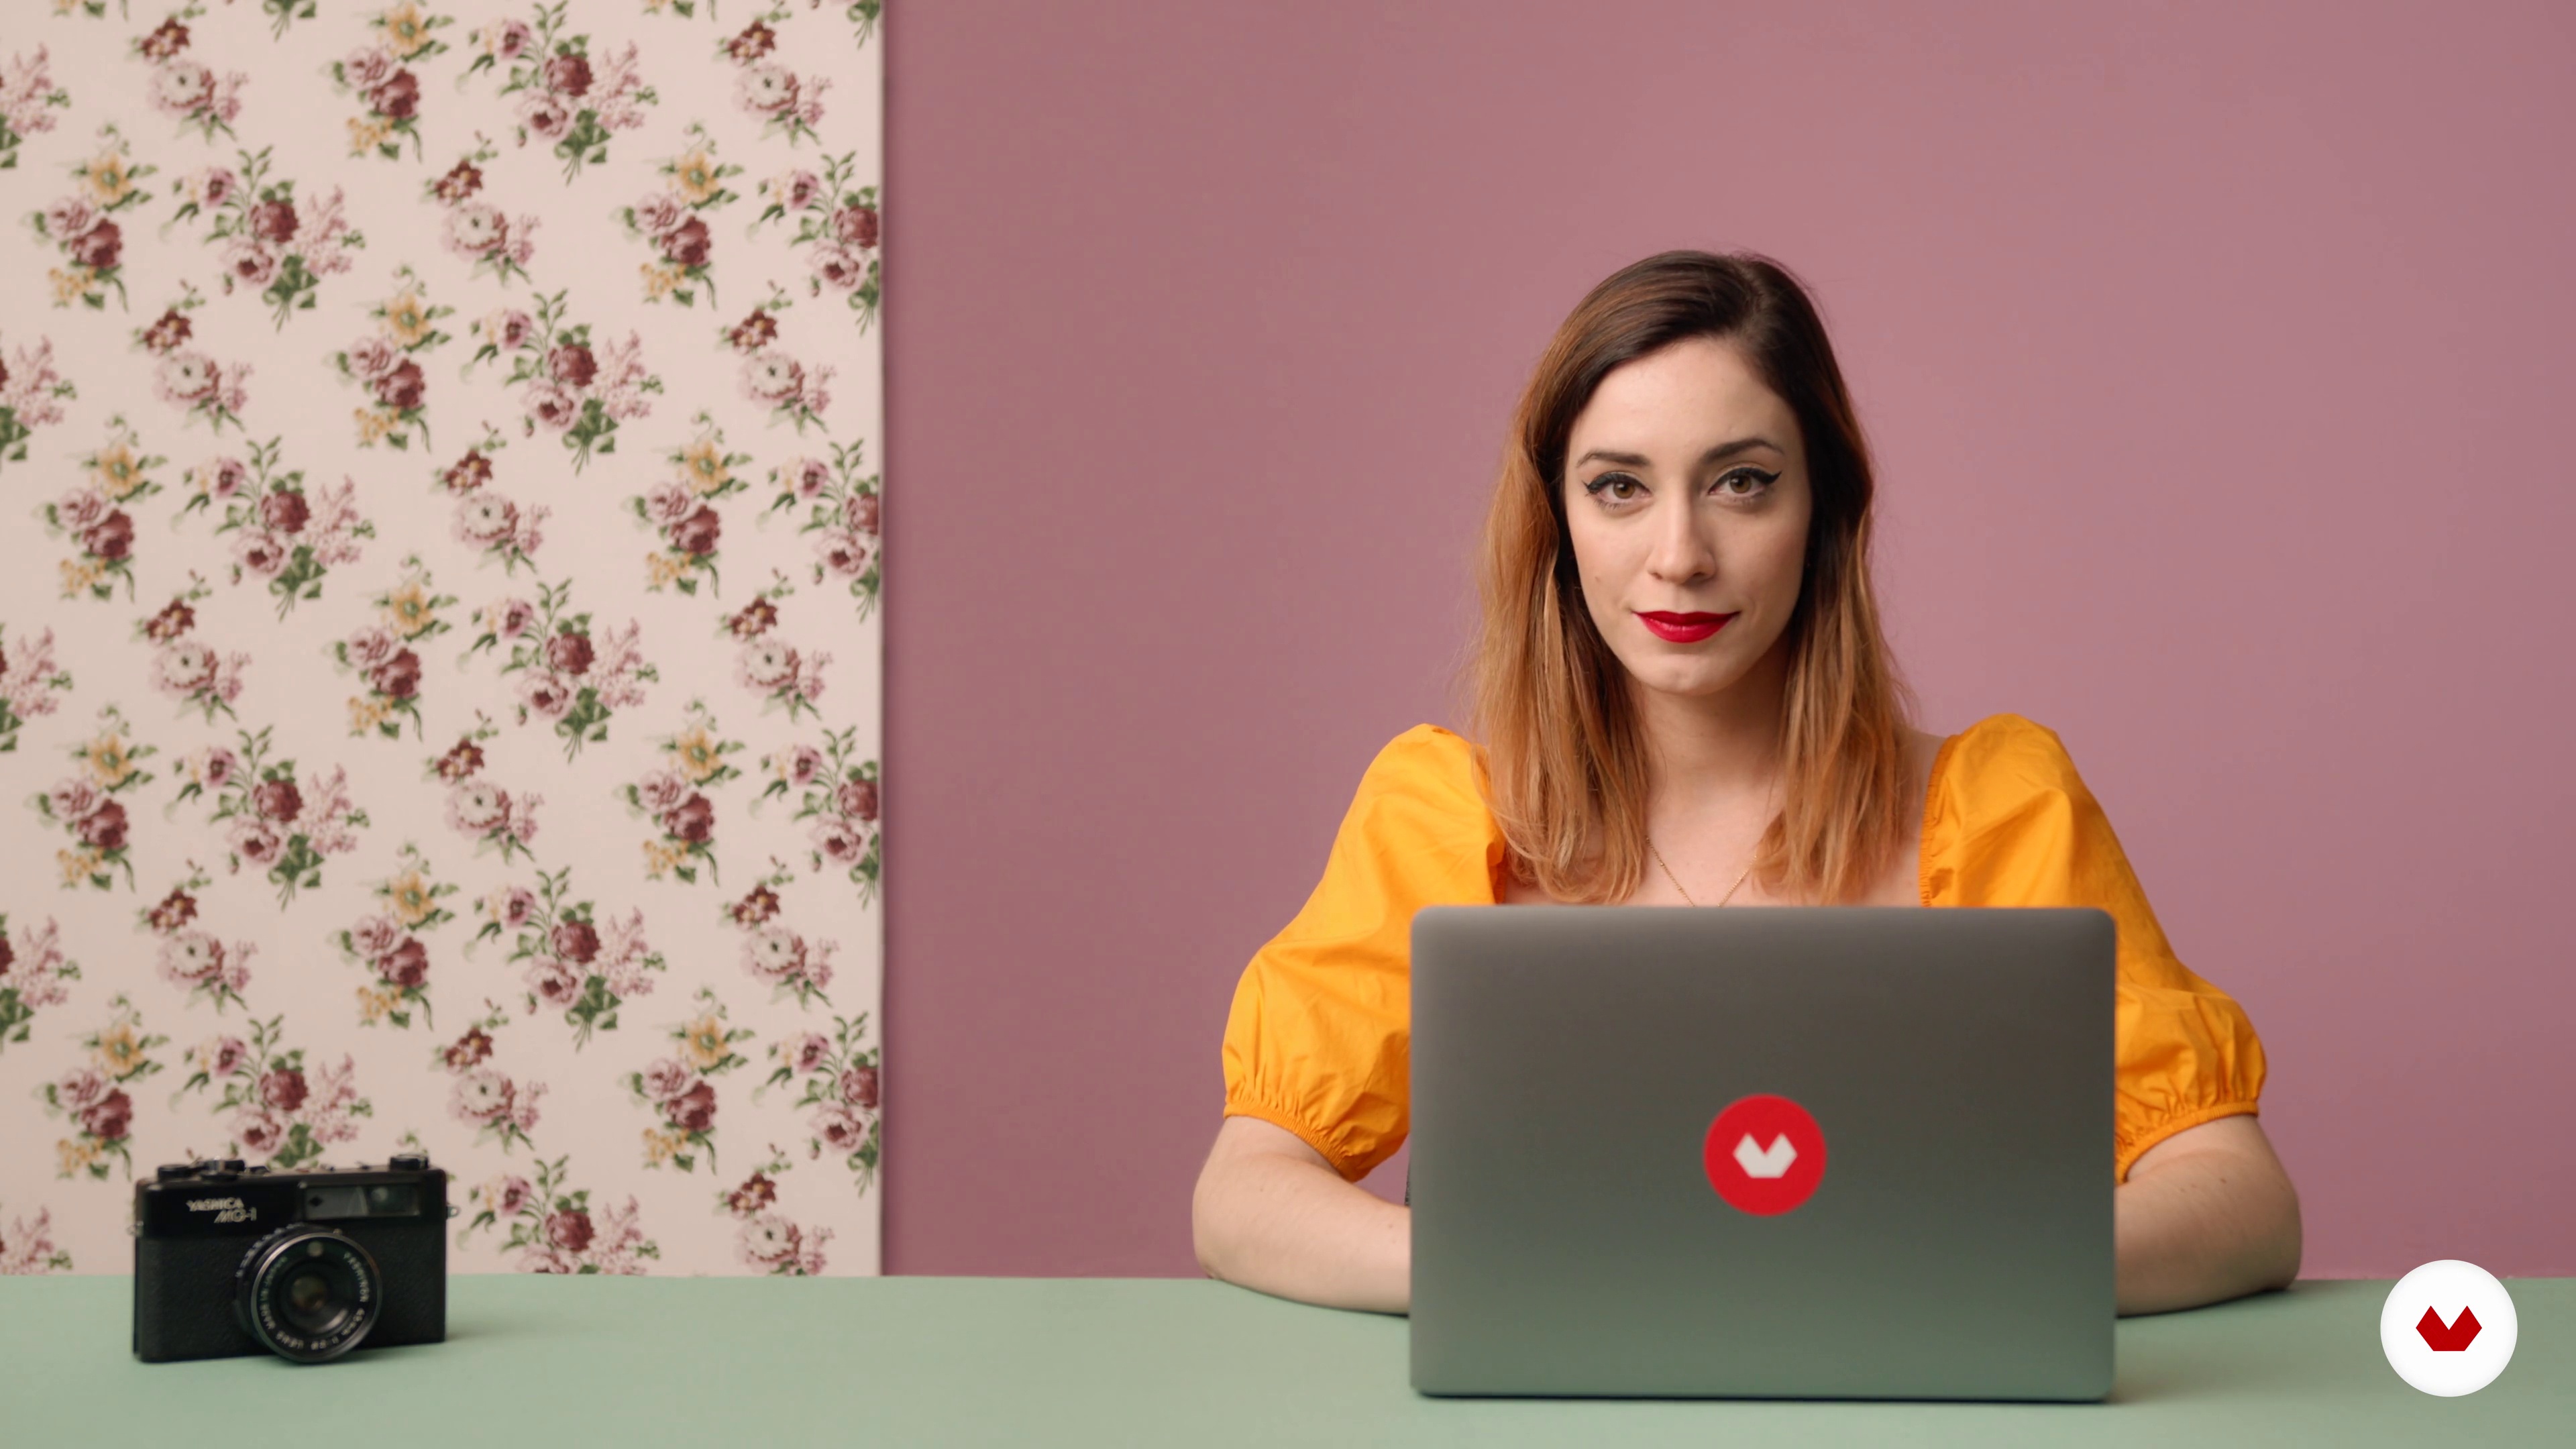
Aspiring photographers and creative individuals eager to explore self-expression through self-portrait photography will find this course ideal. It caters to those interested in mastering various techniques, from fine art to fashion, while developing a unique visual language.

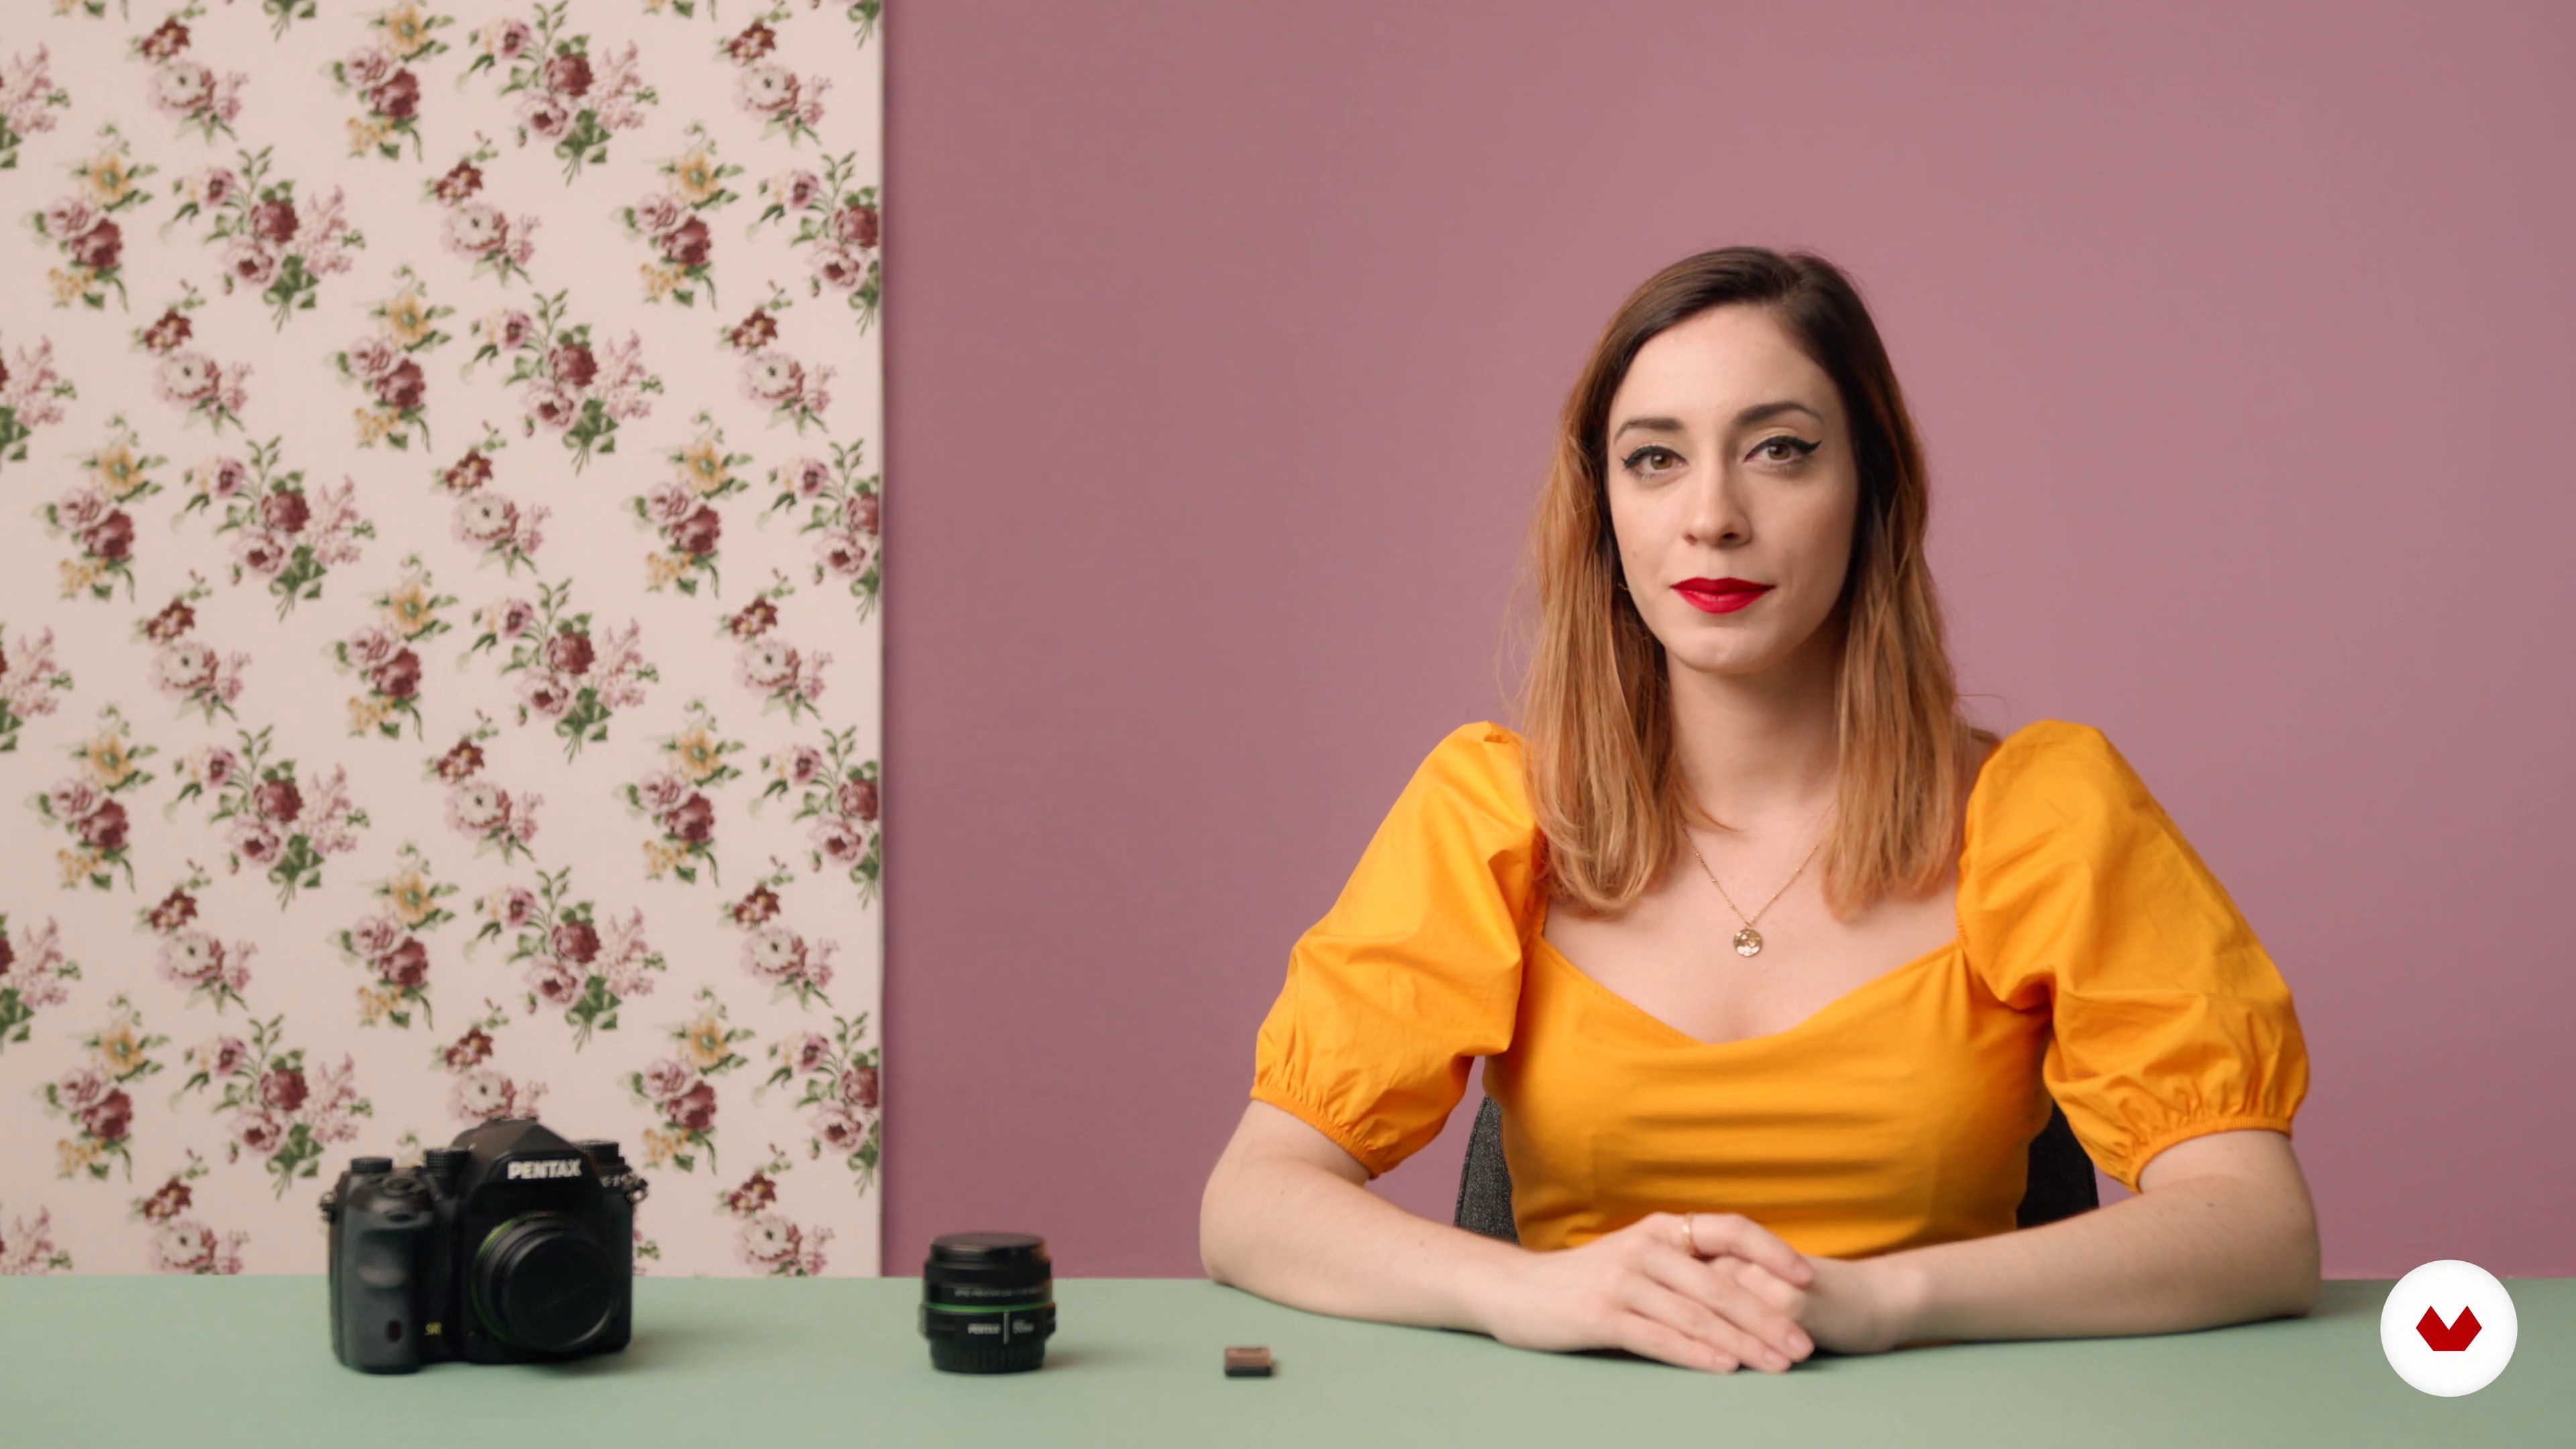
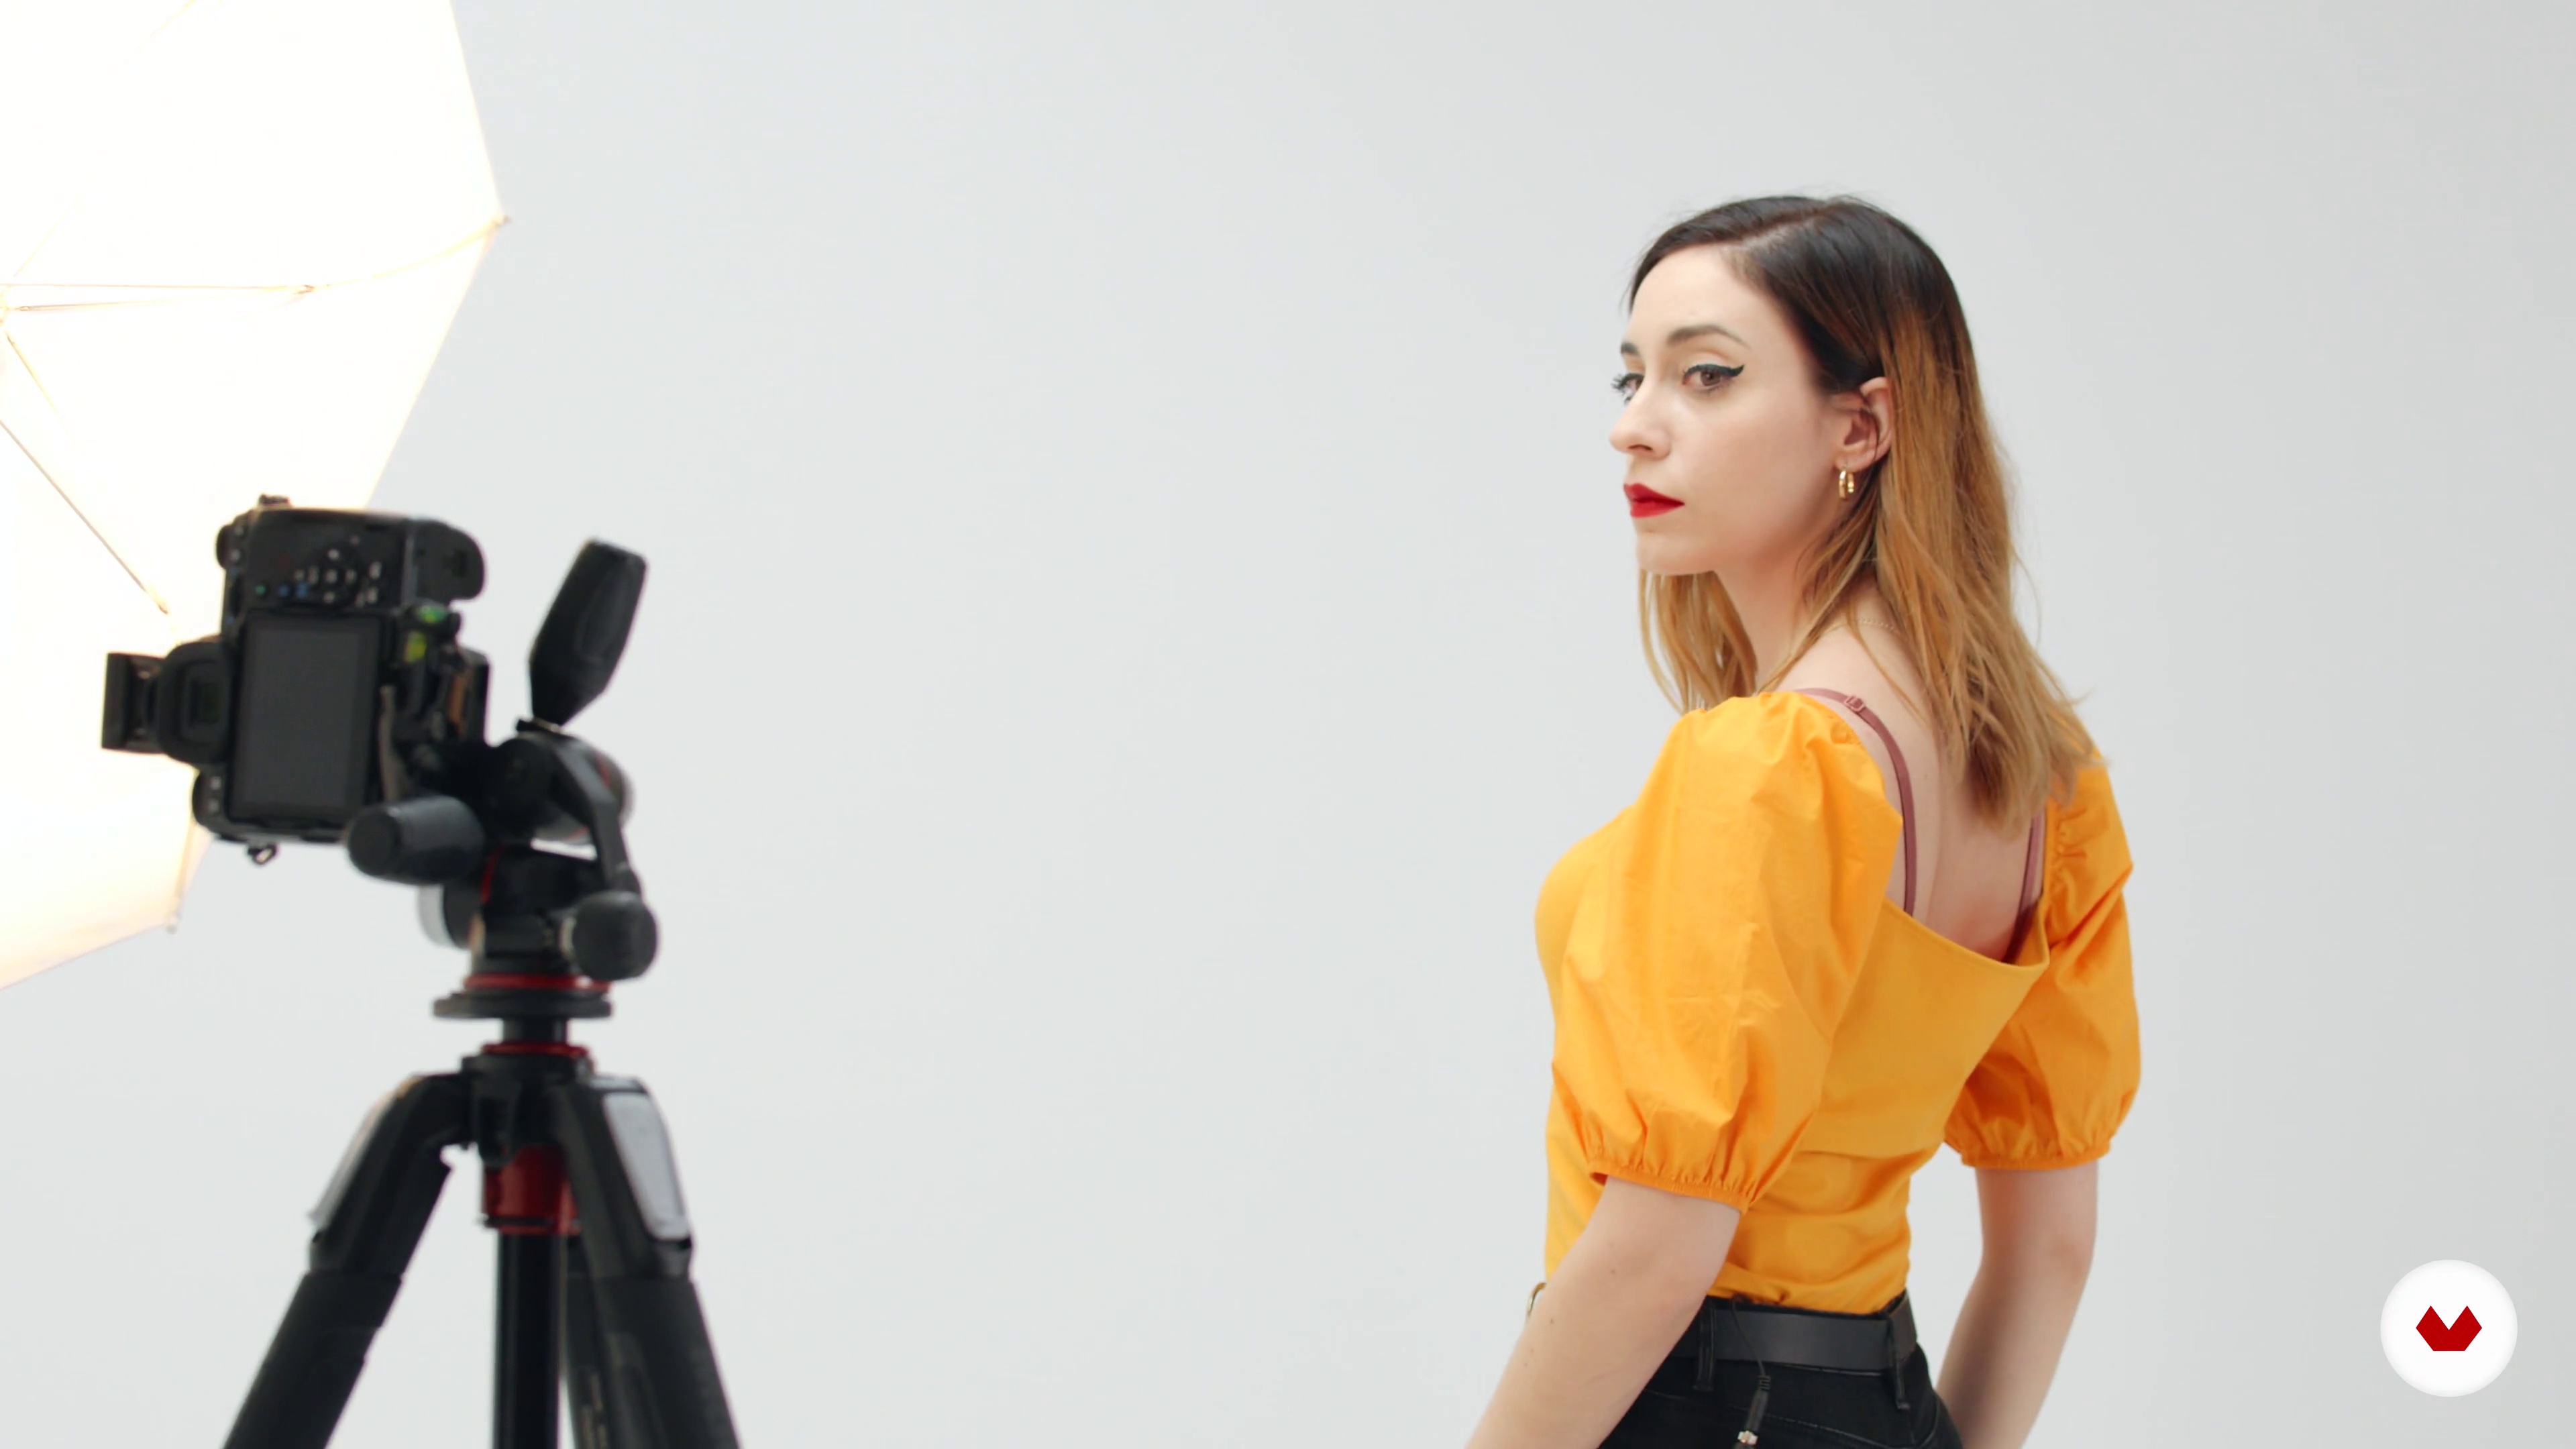
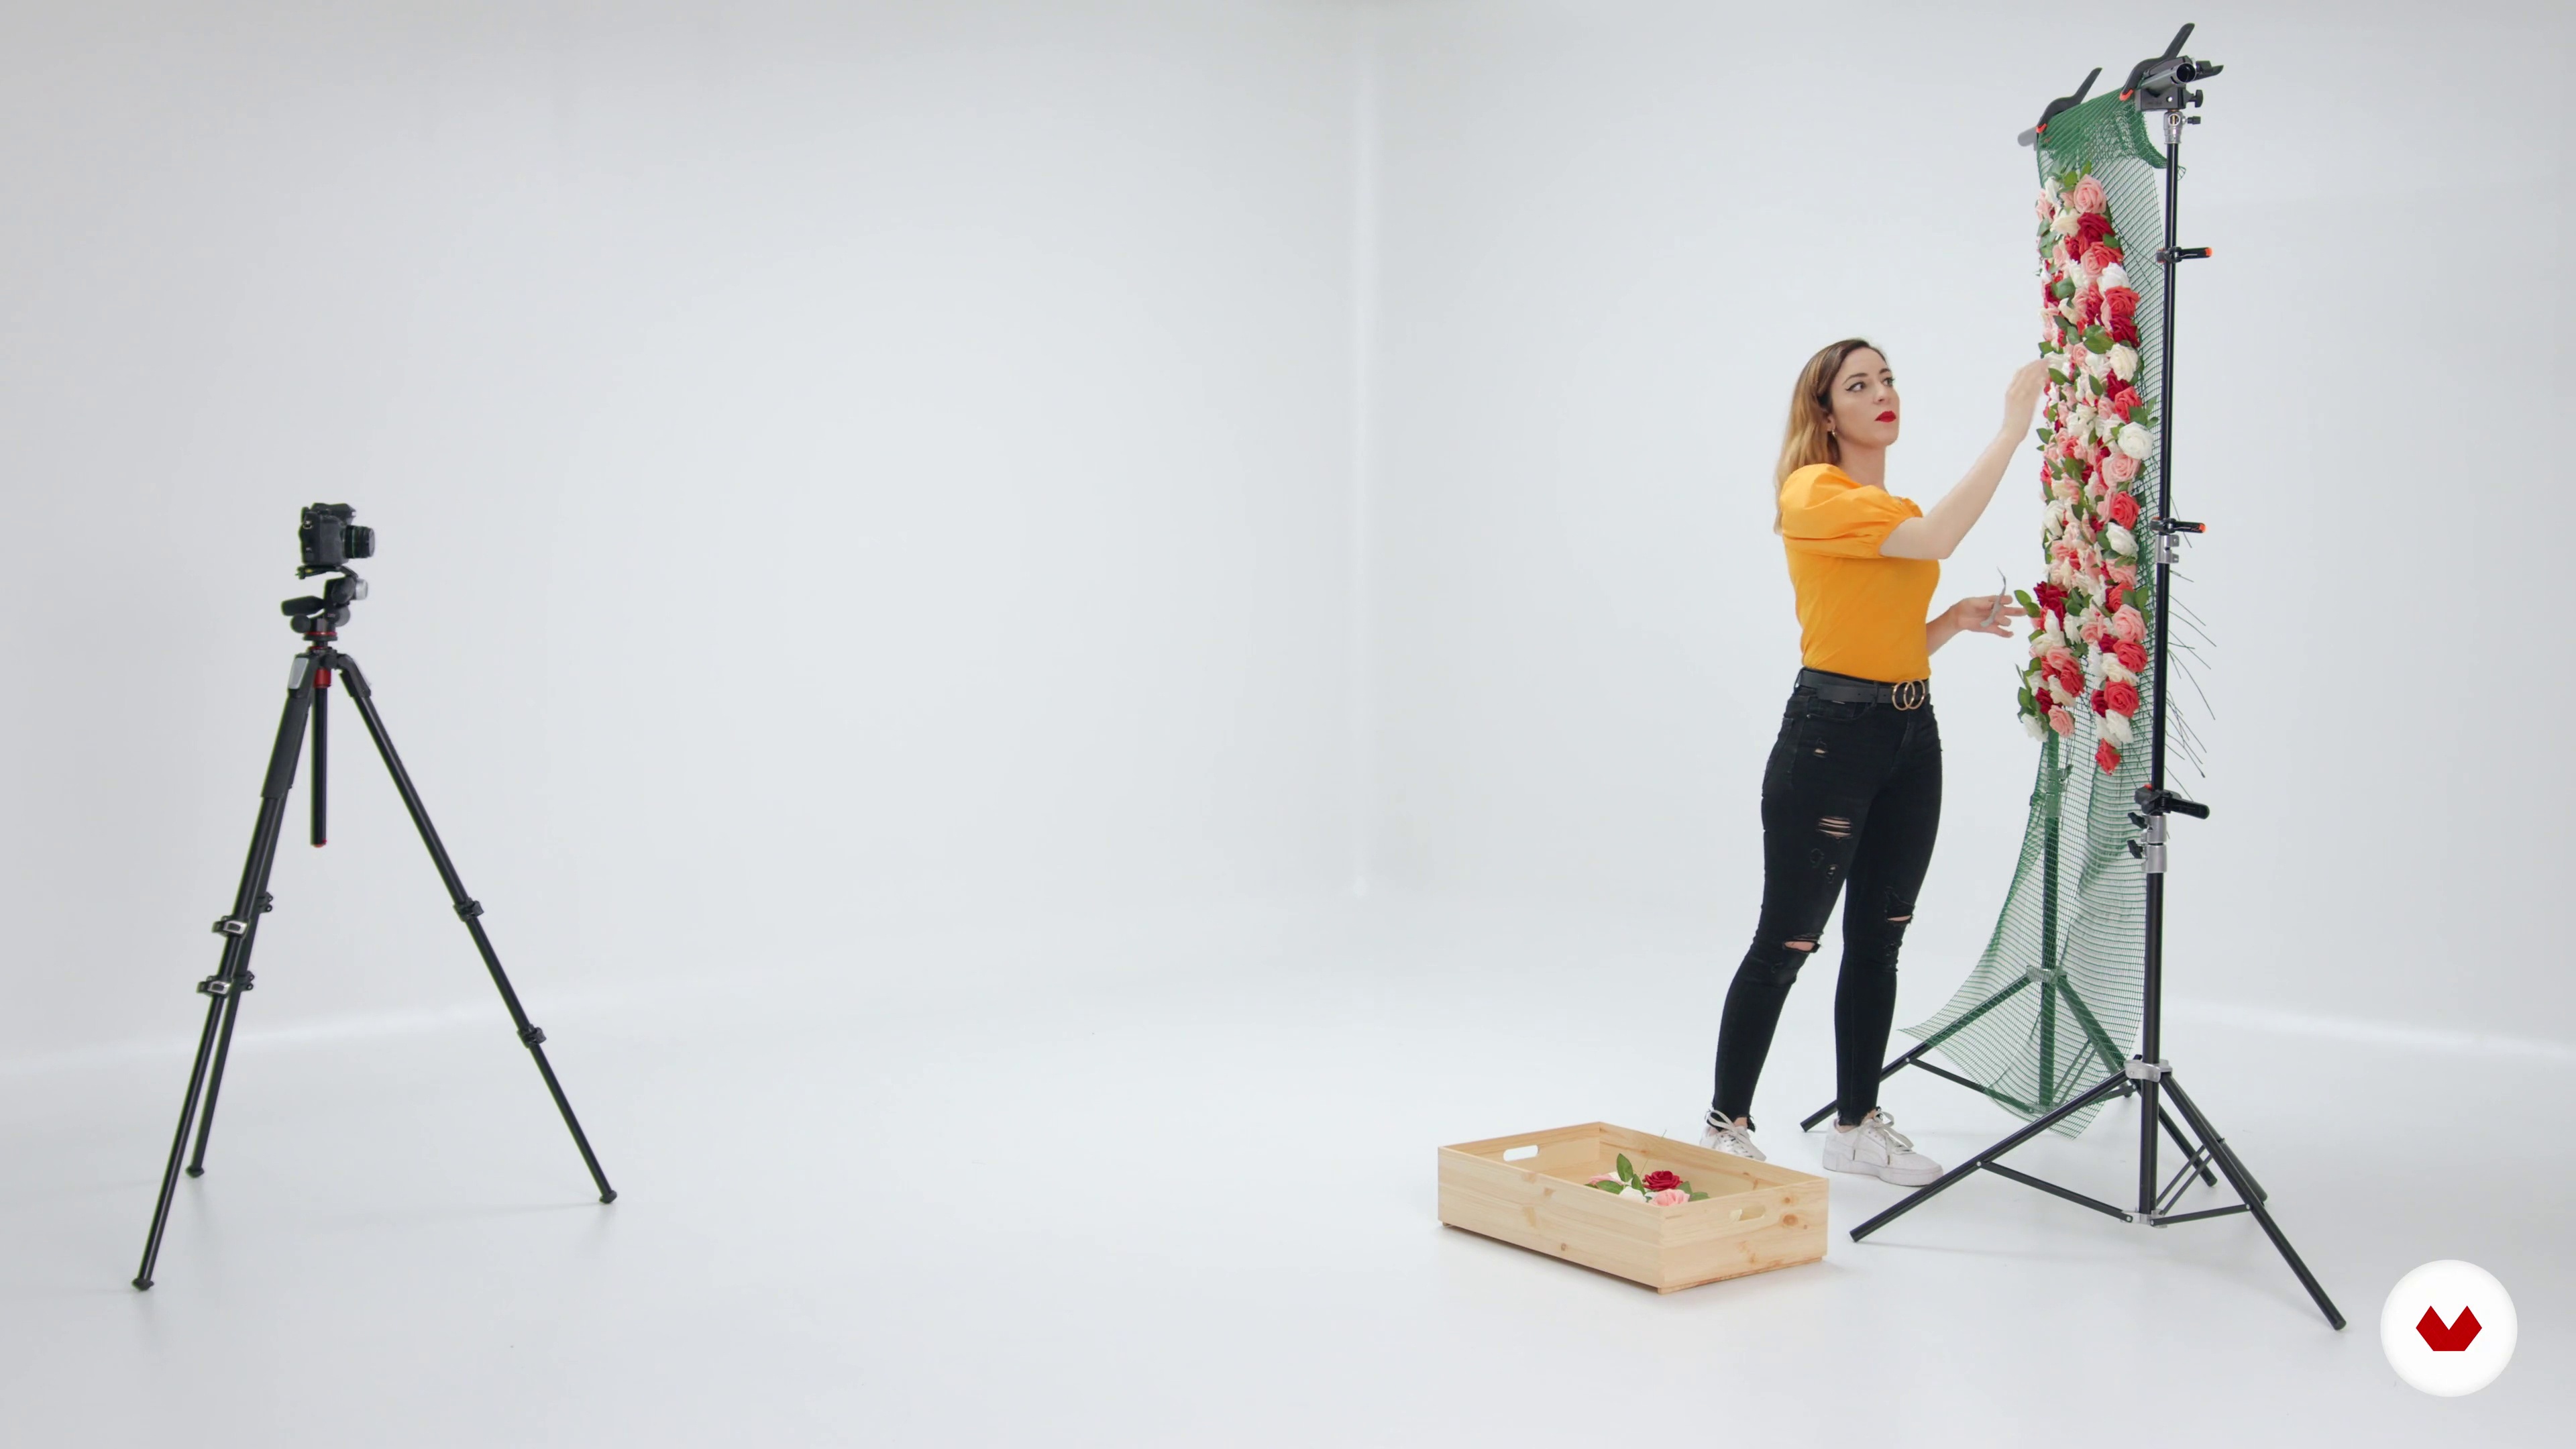
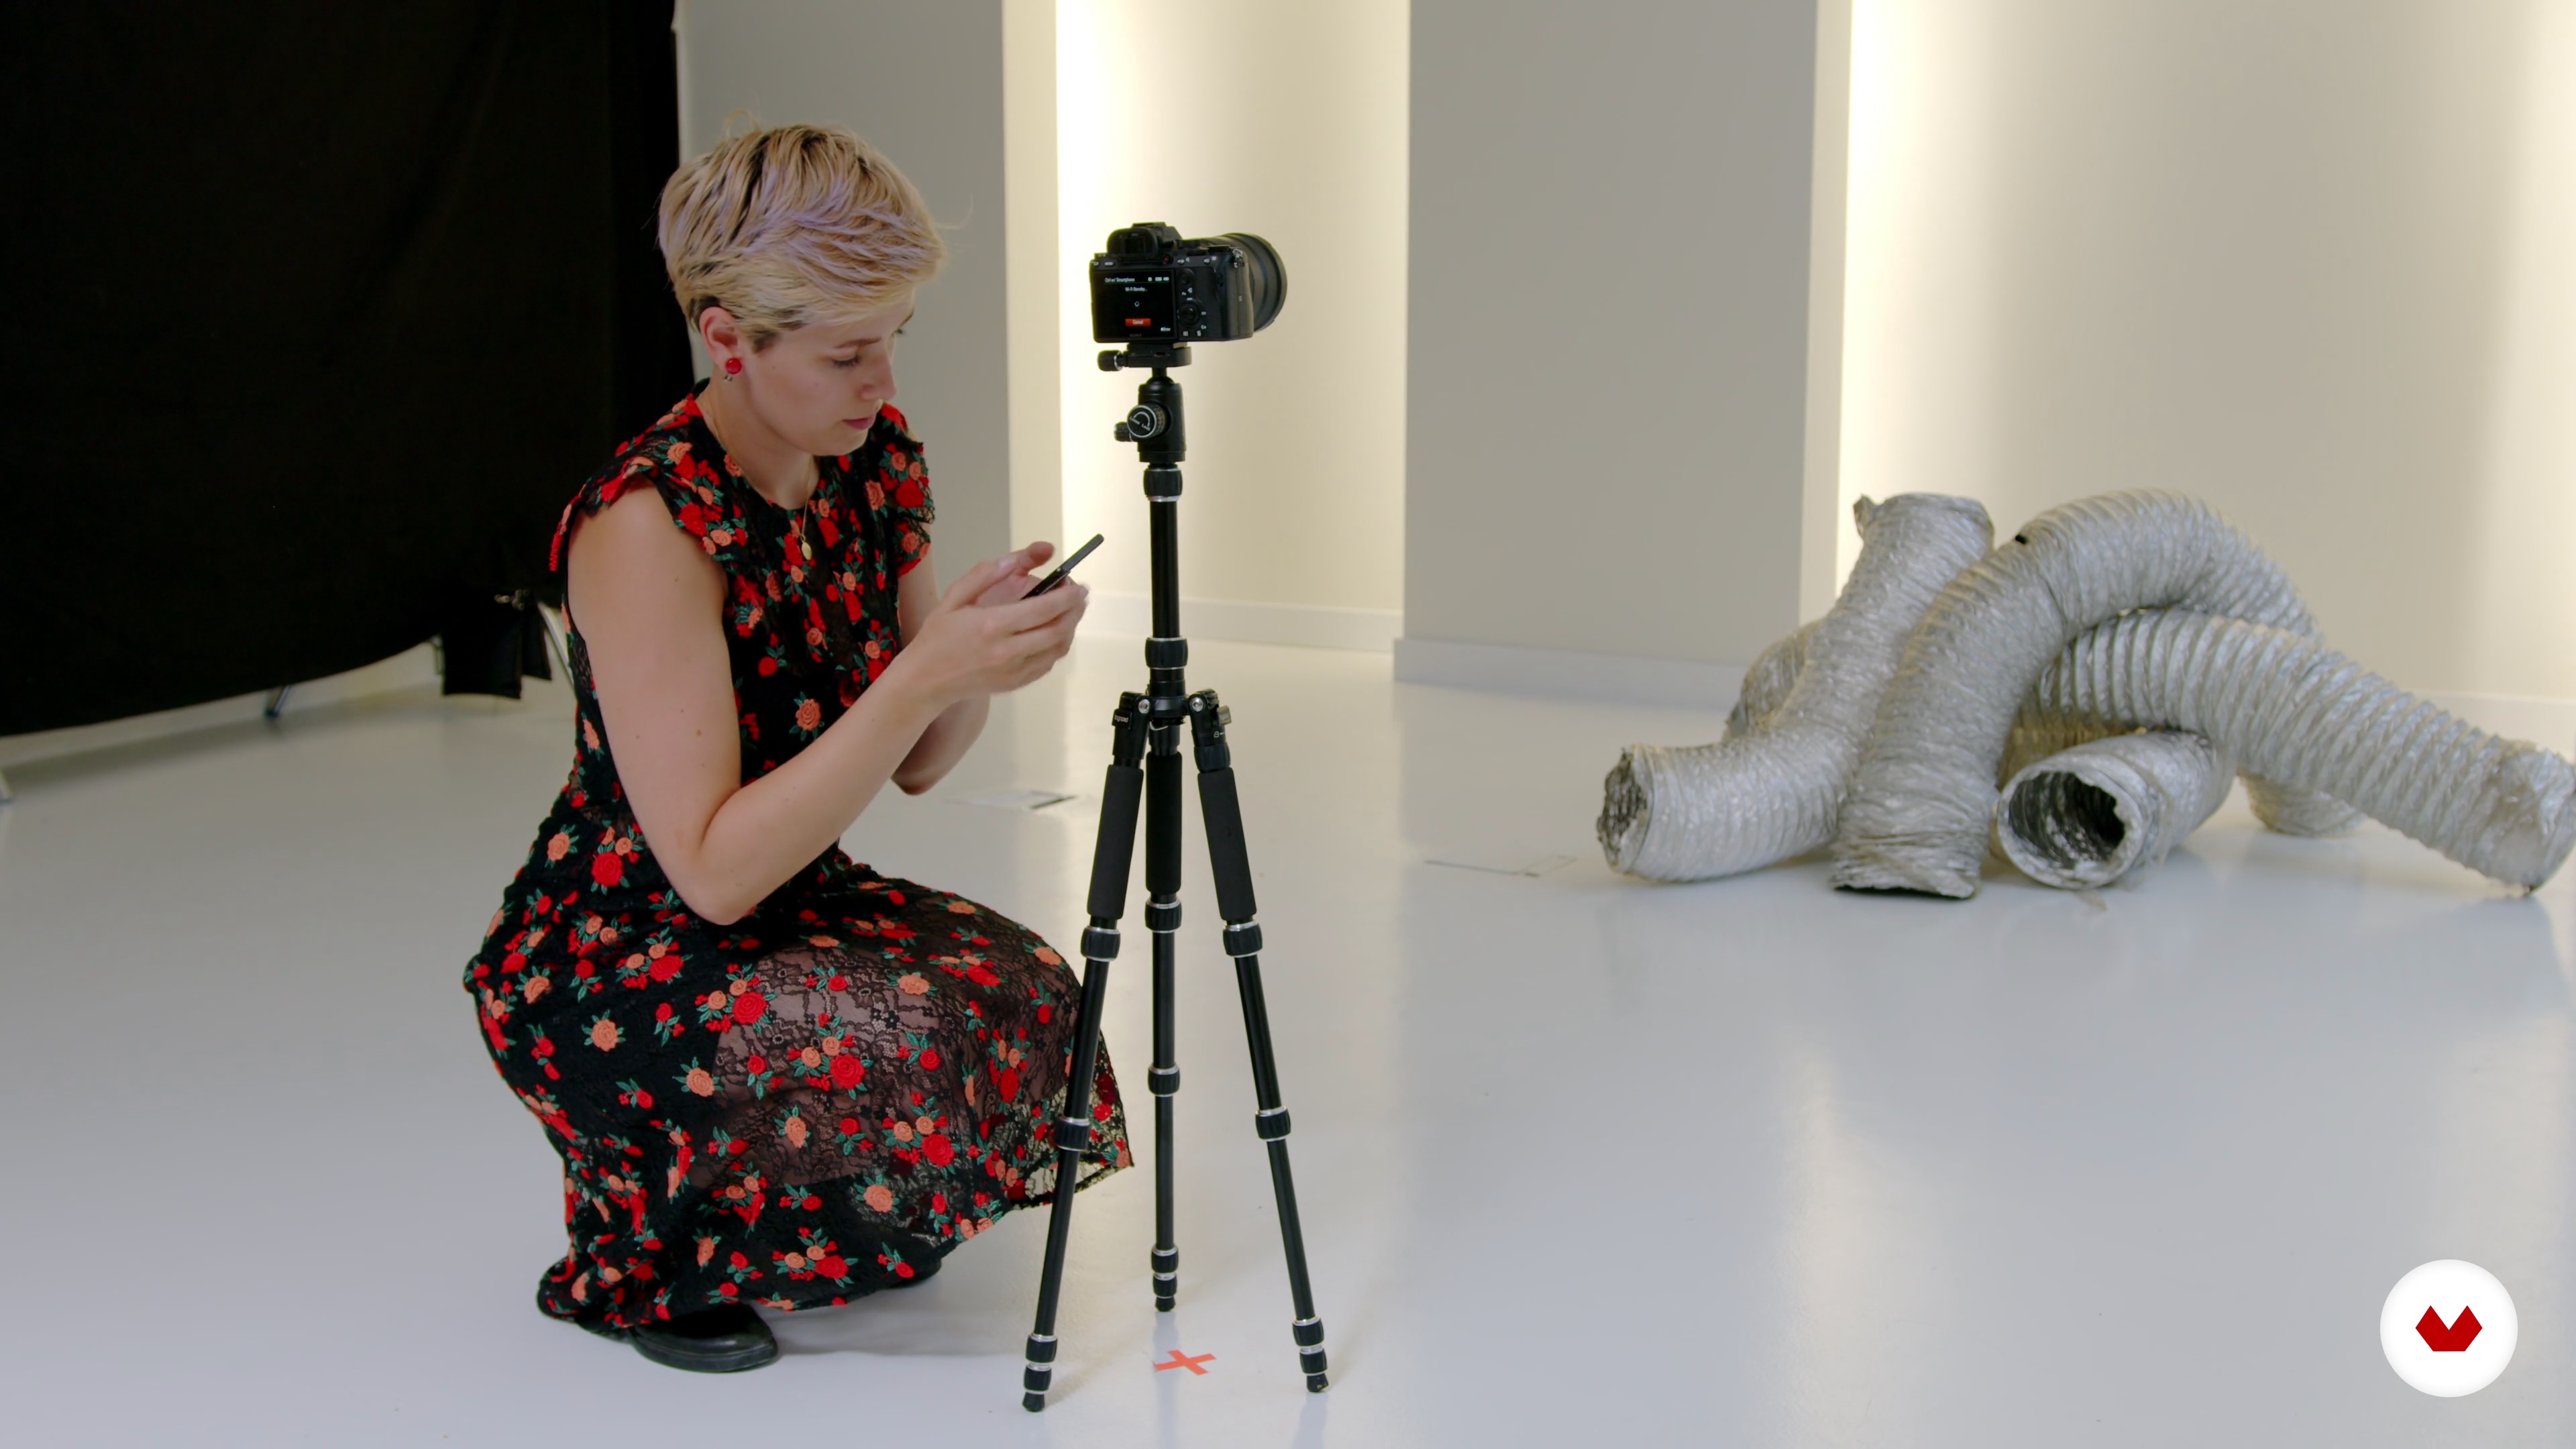
Requirements and materials

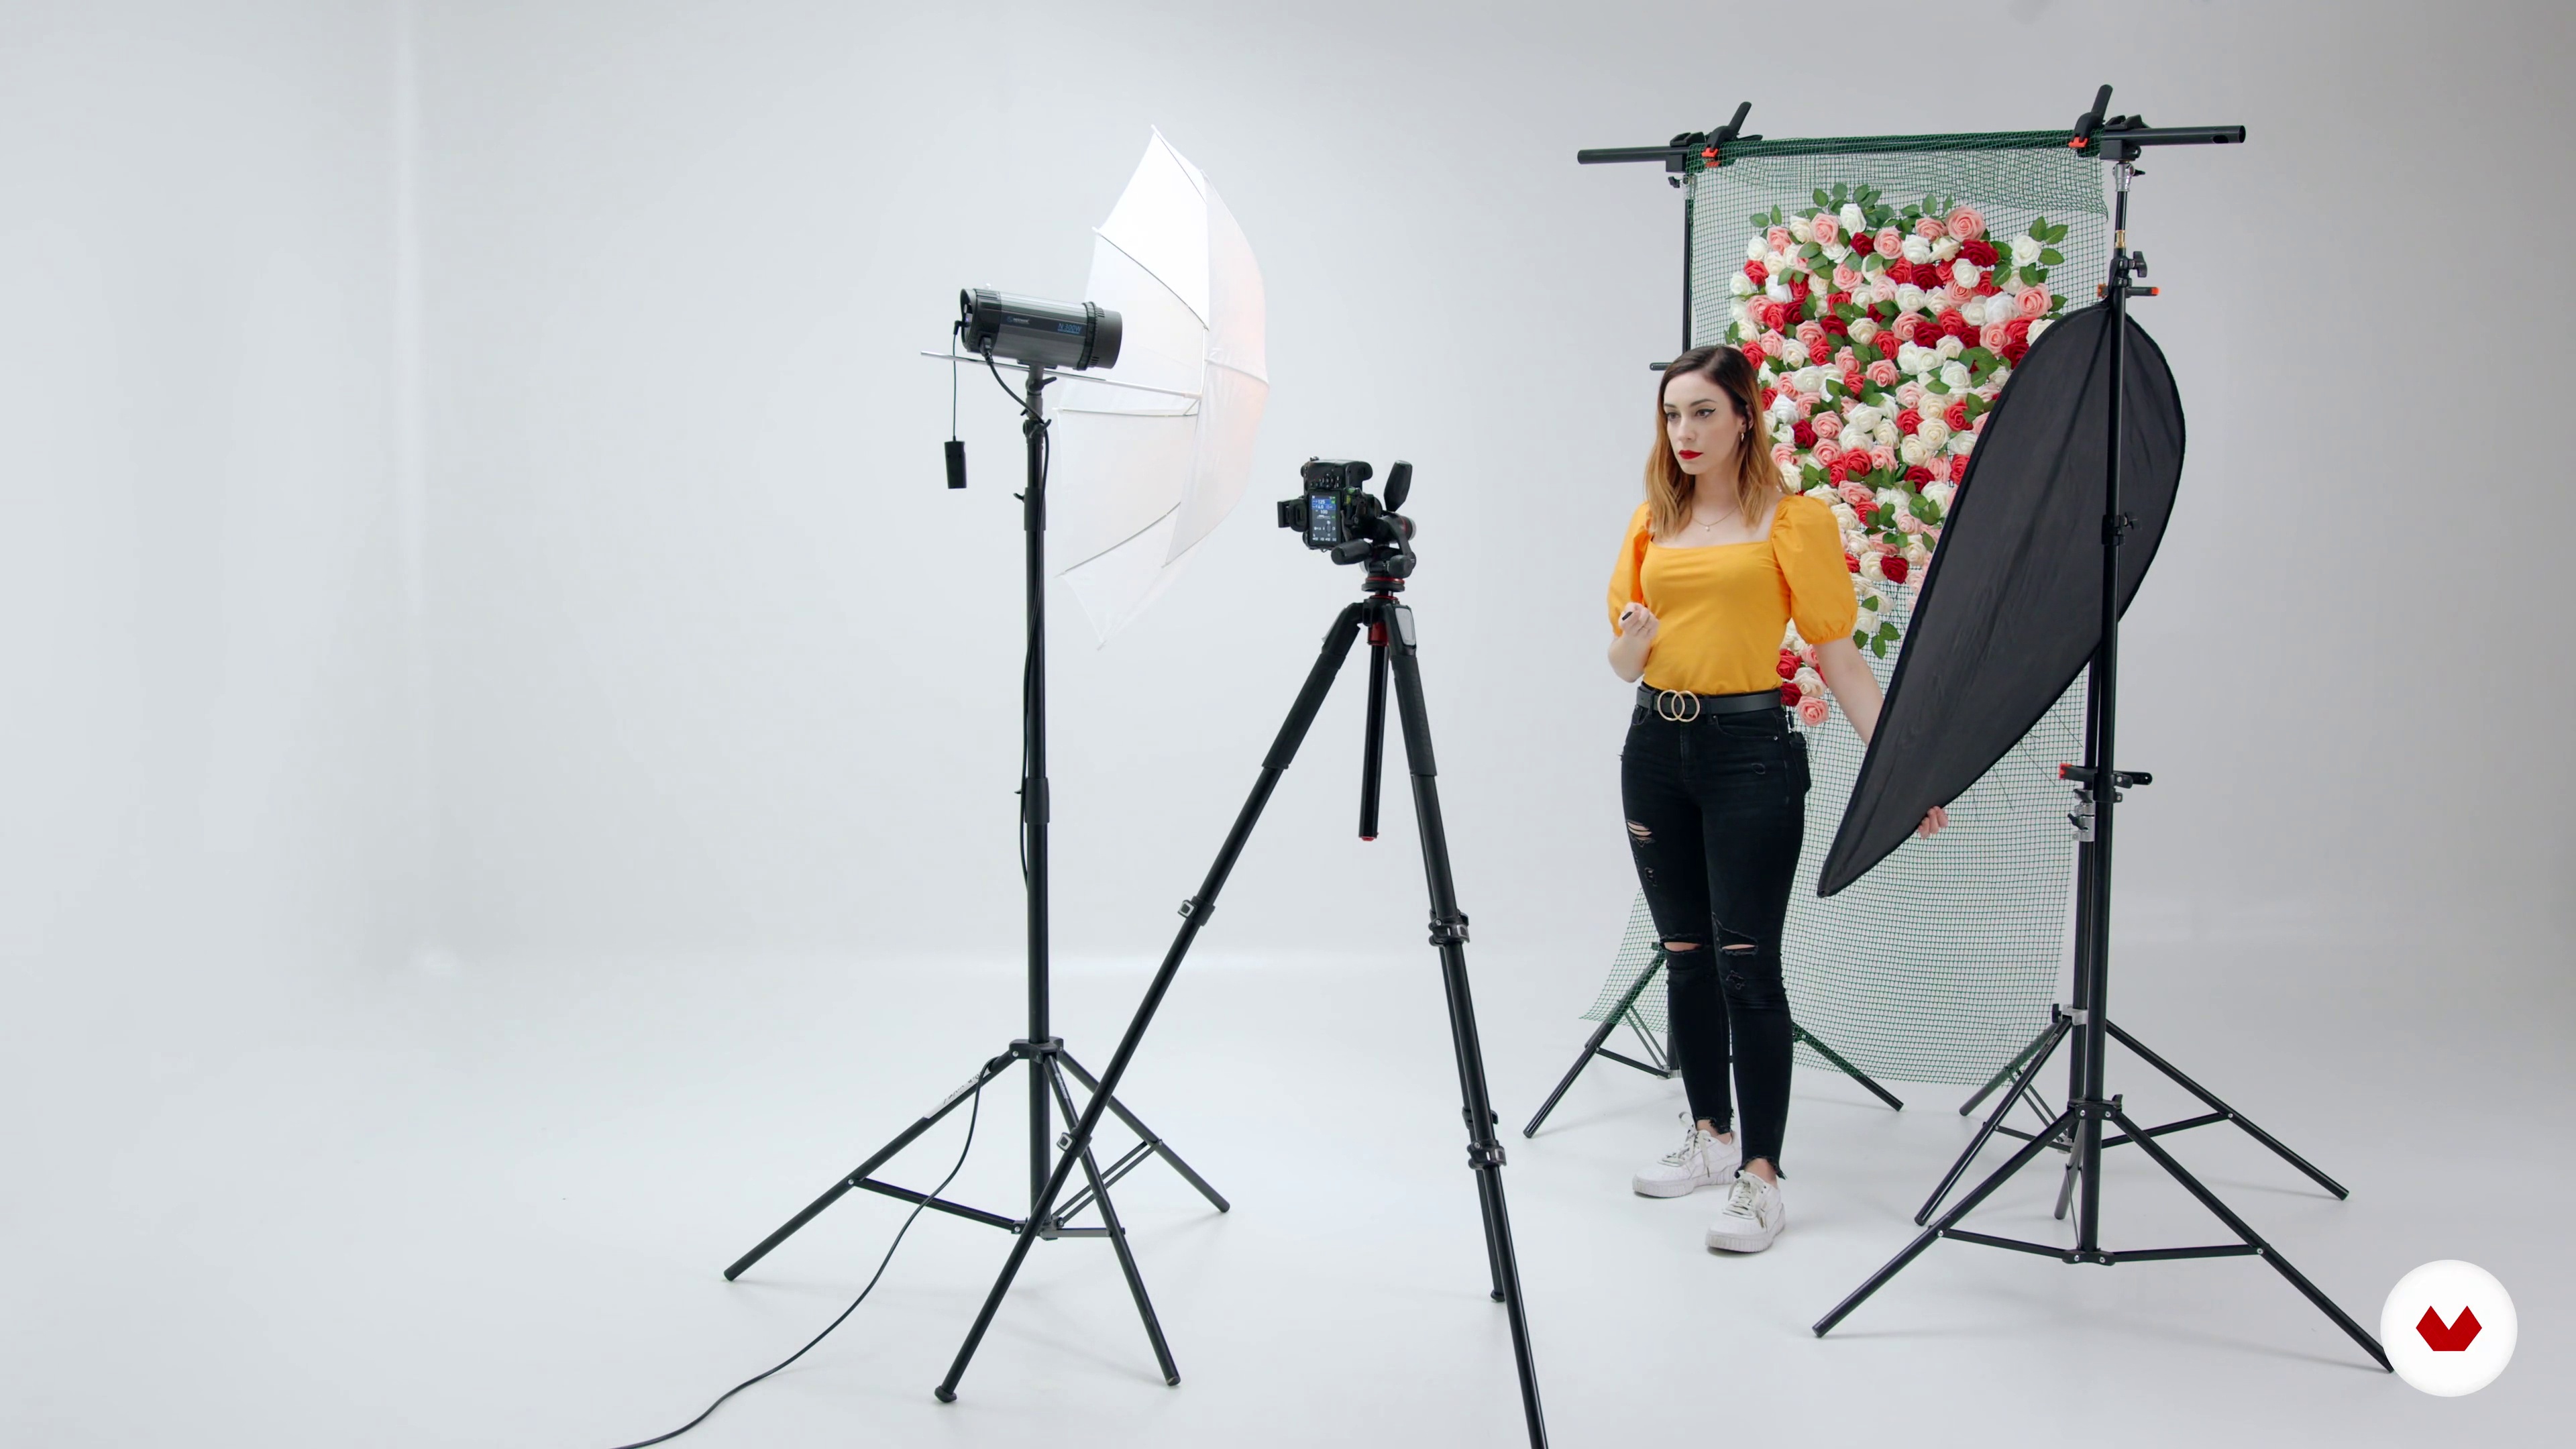
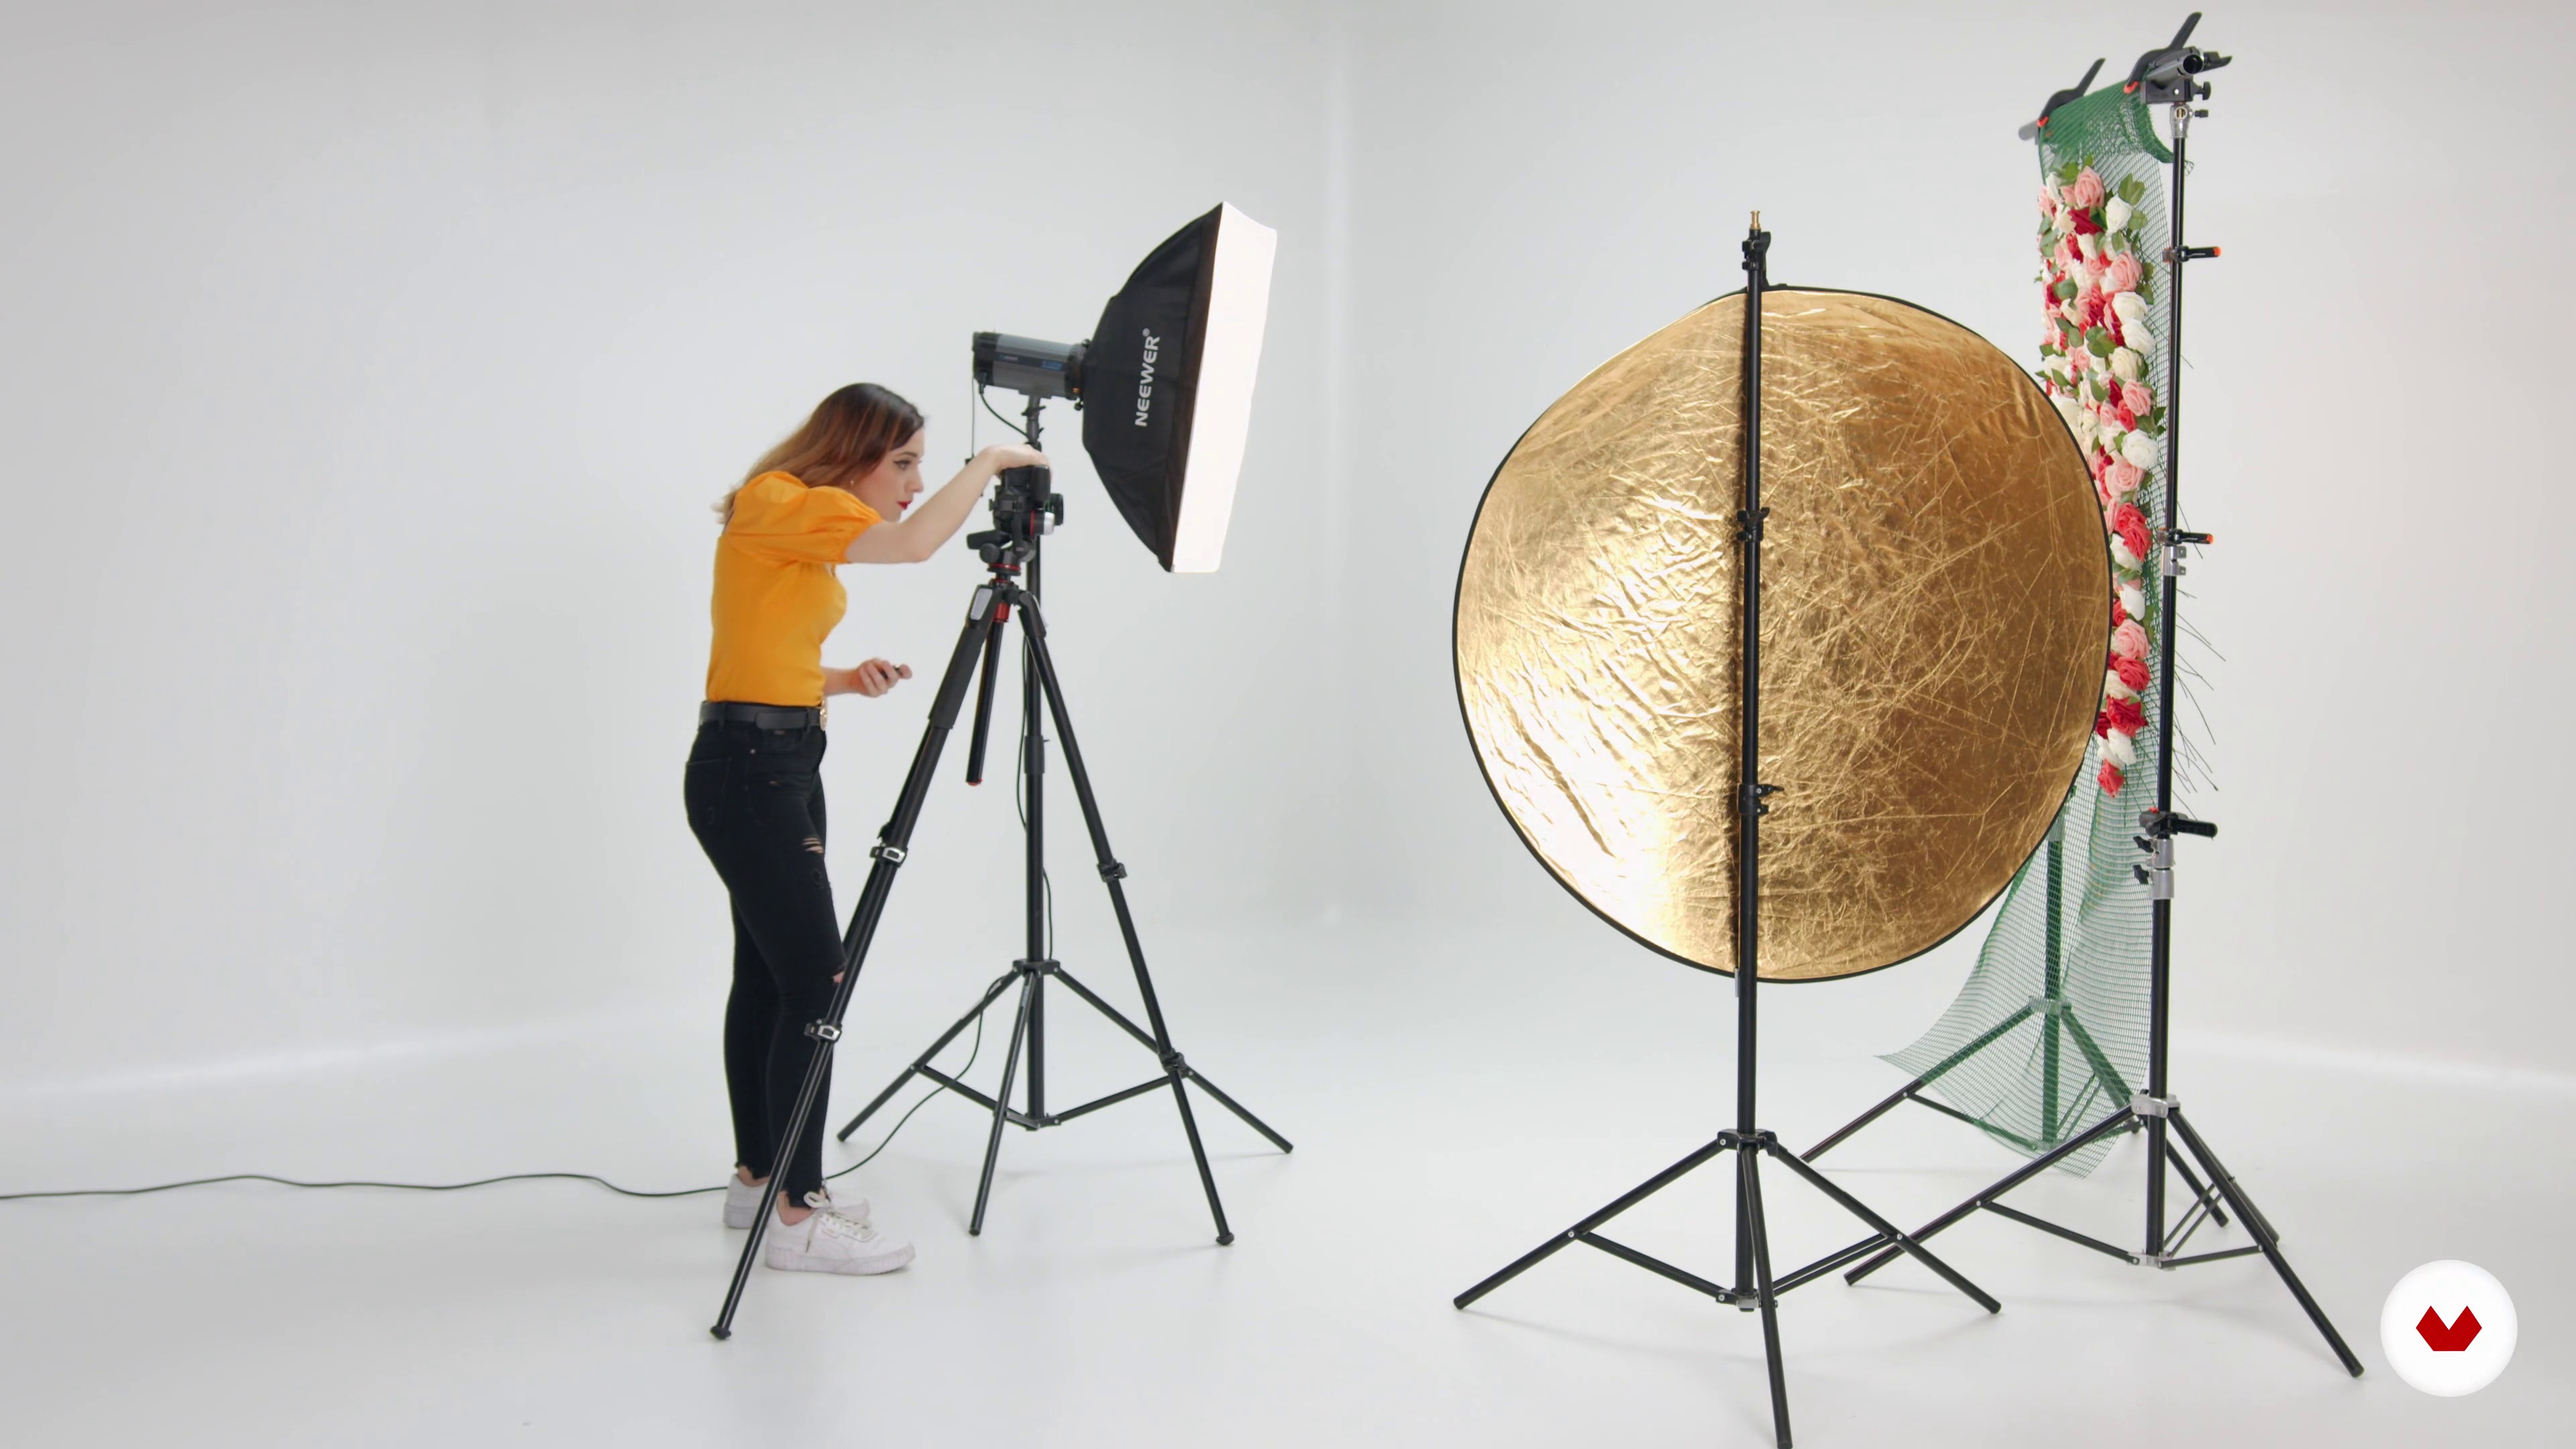
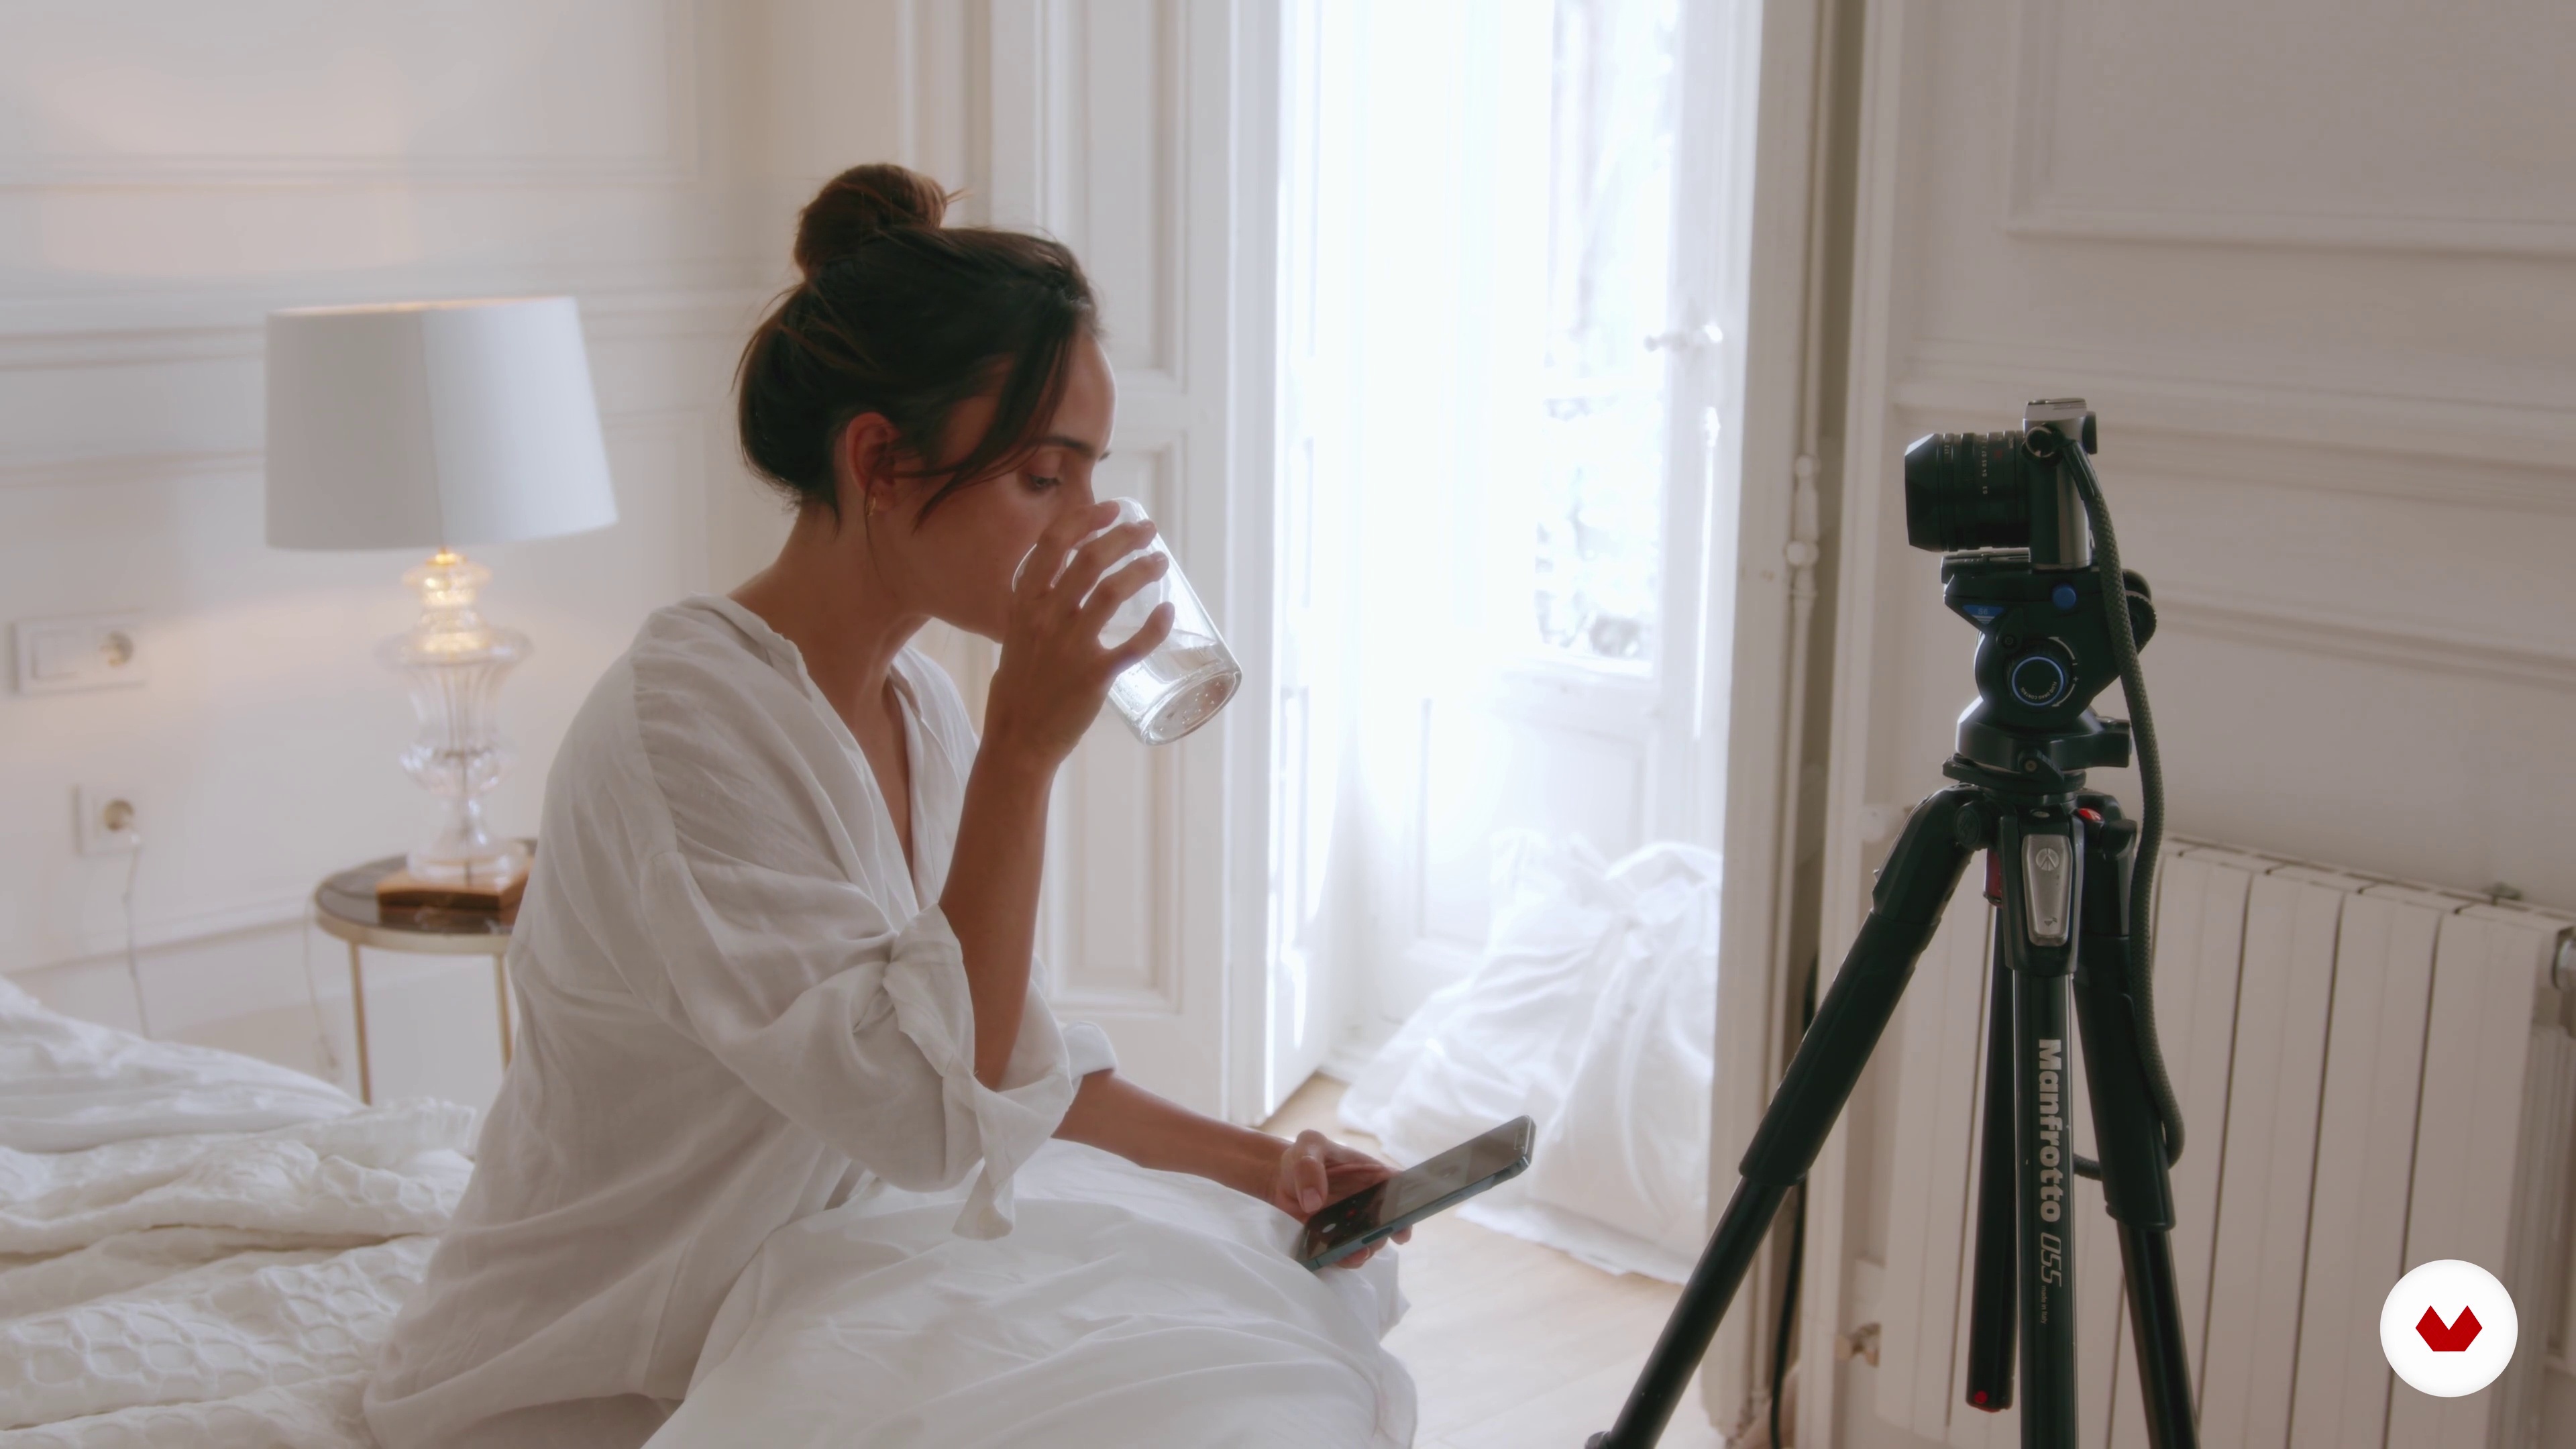
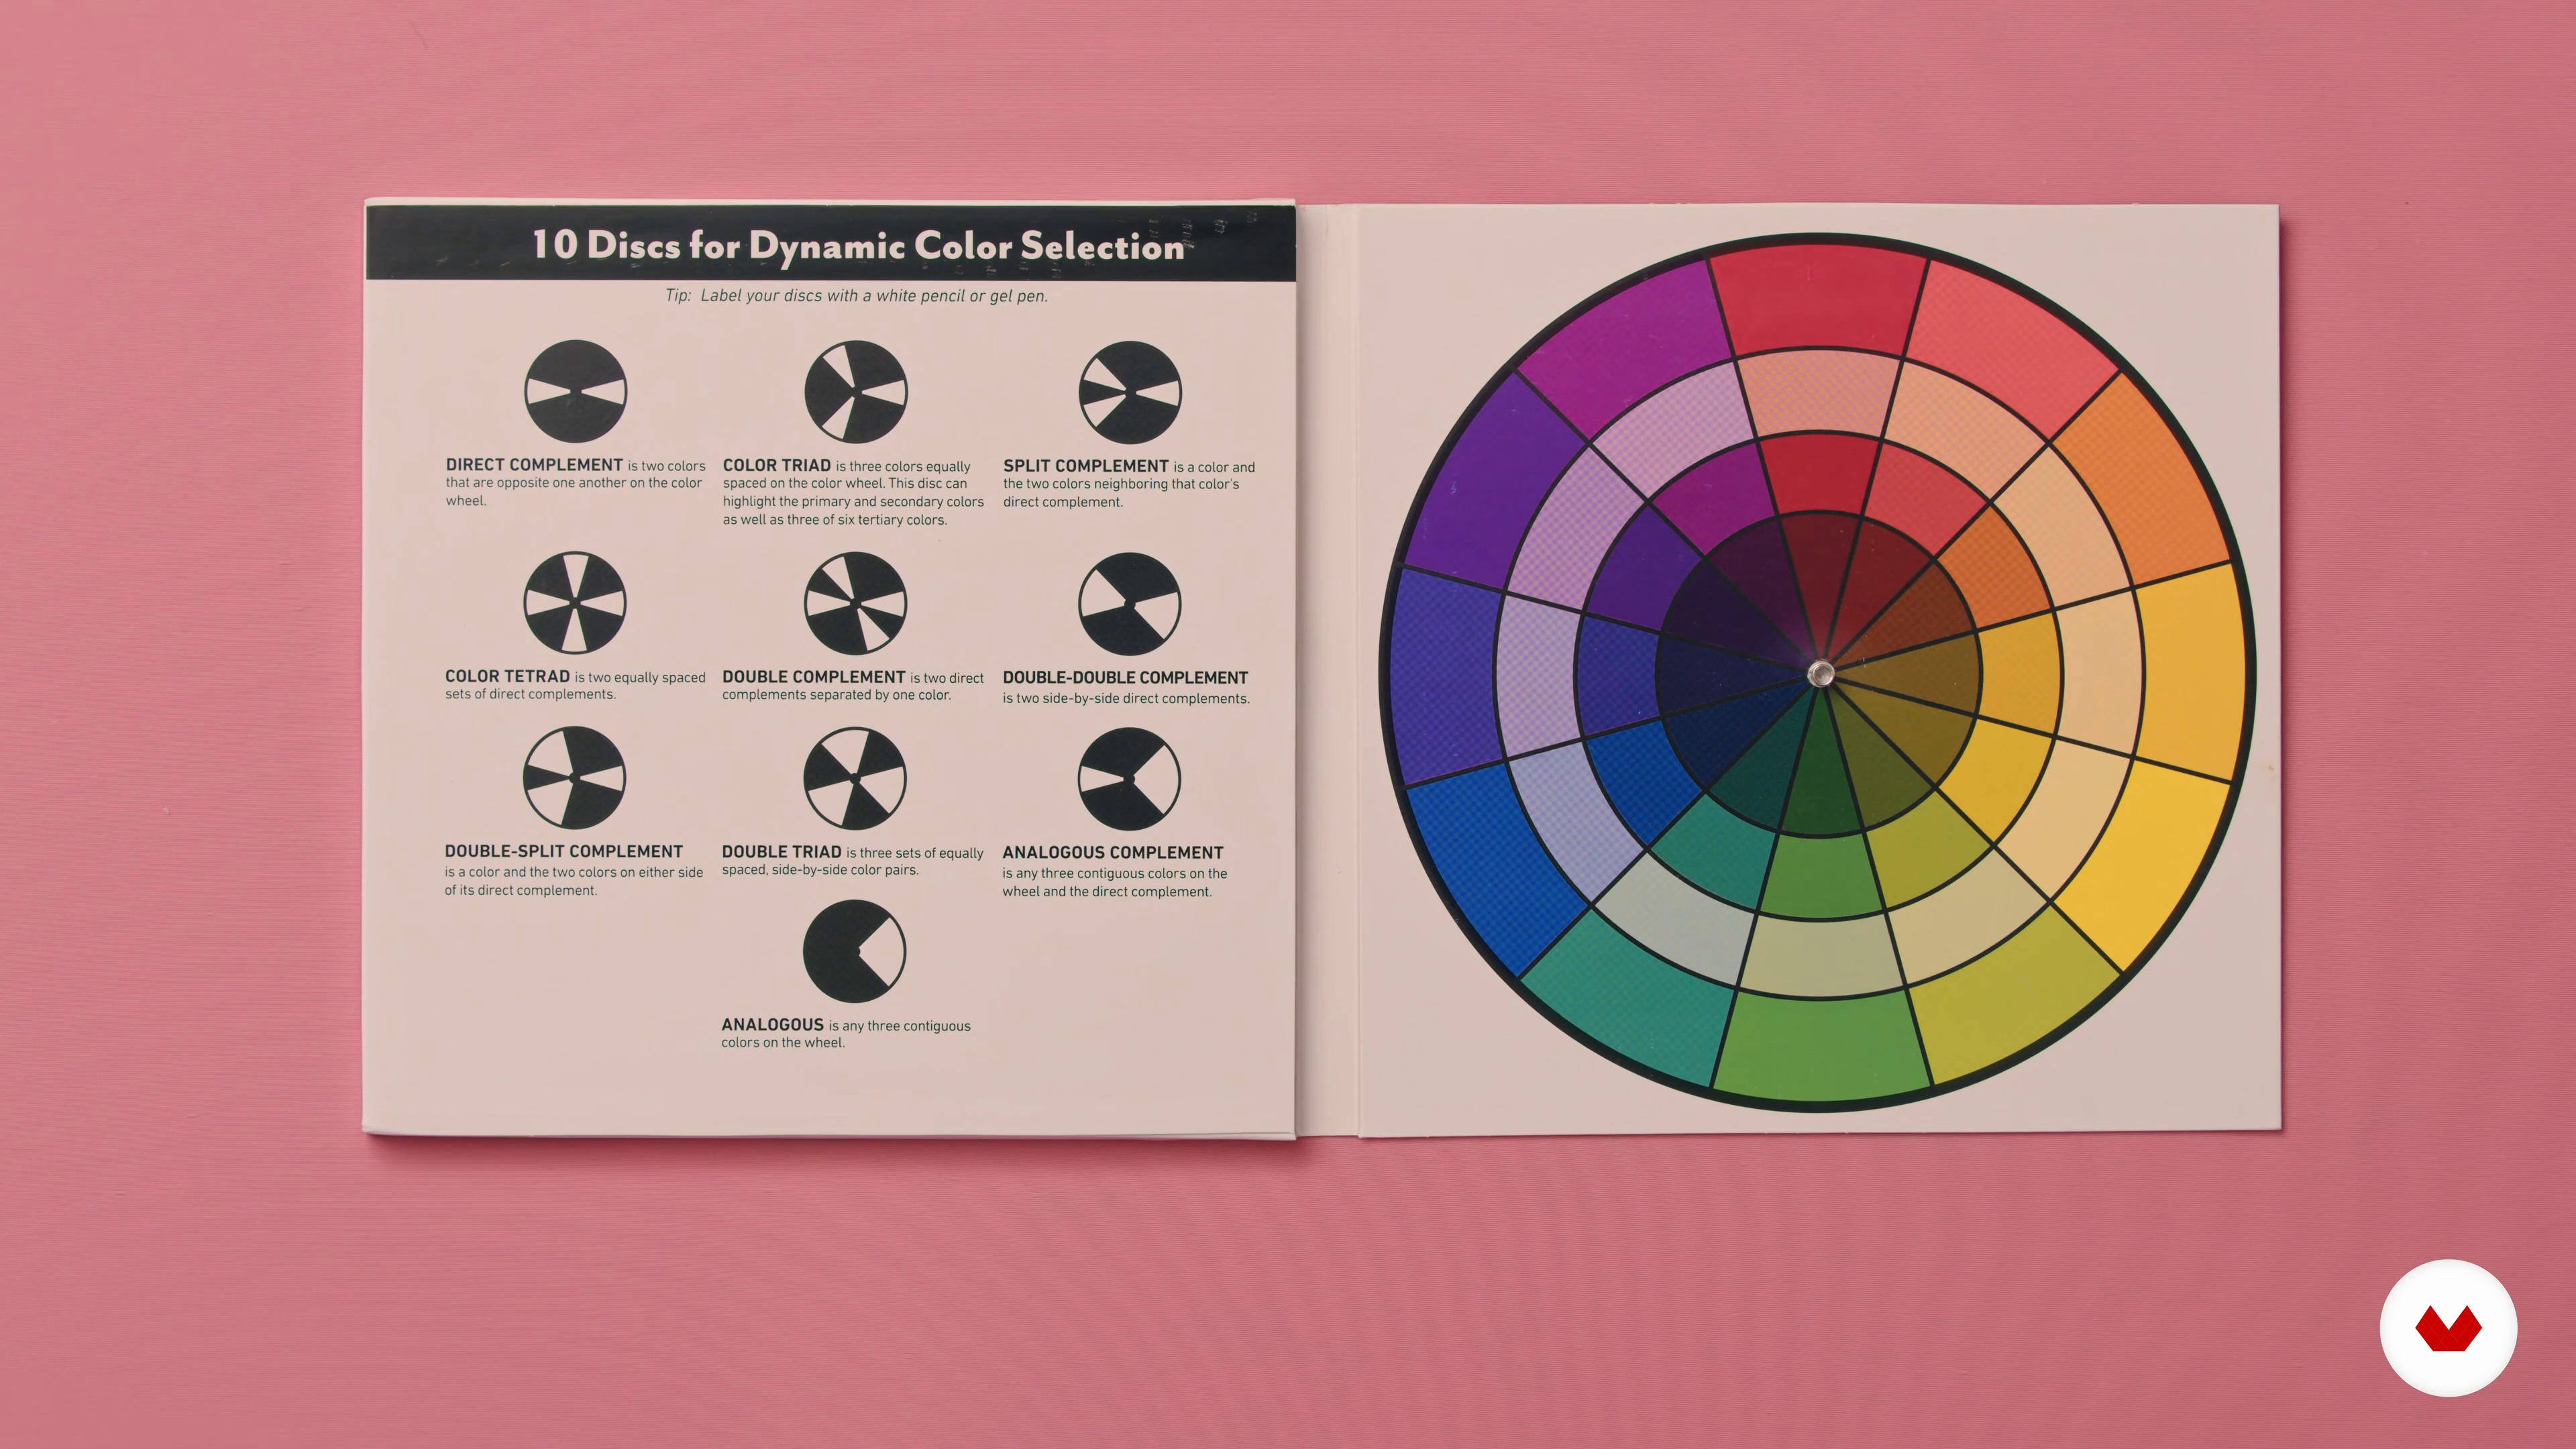
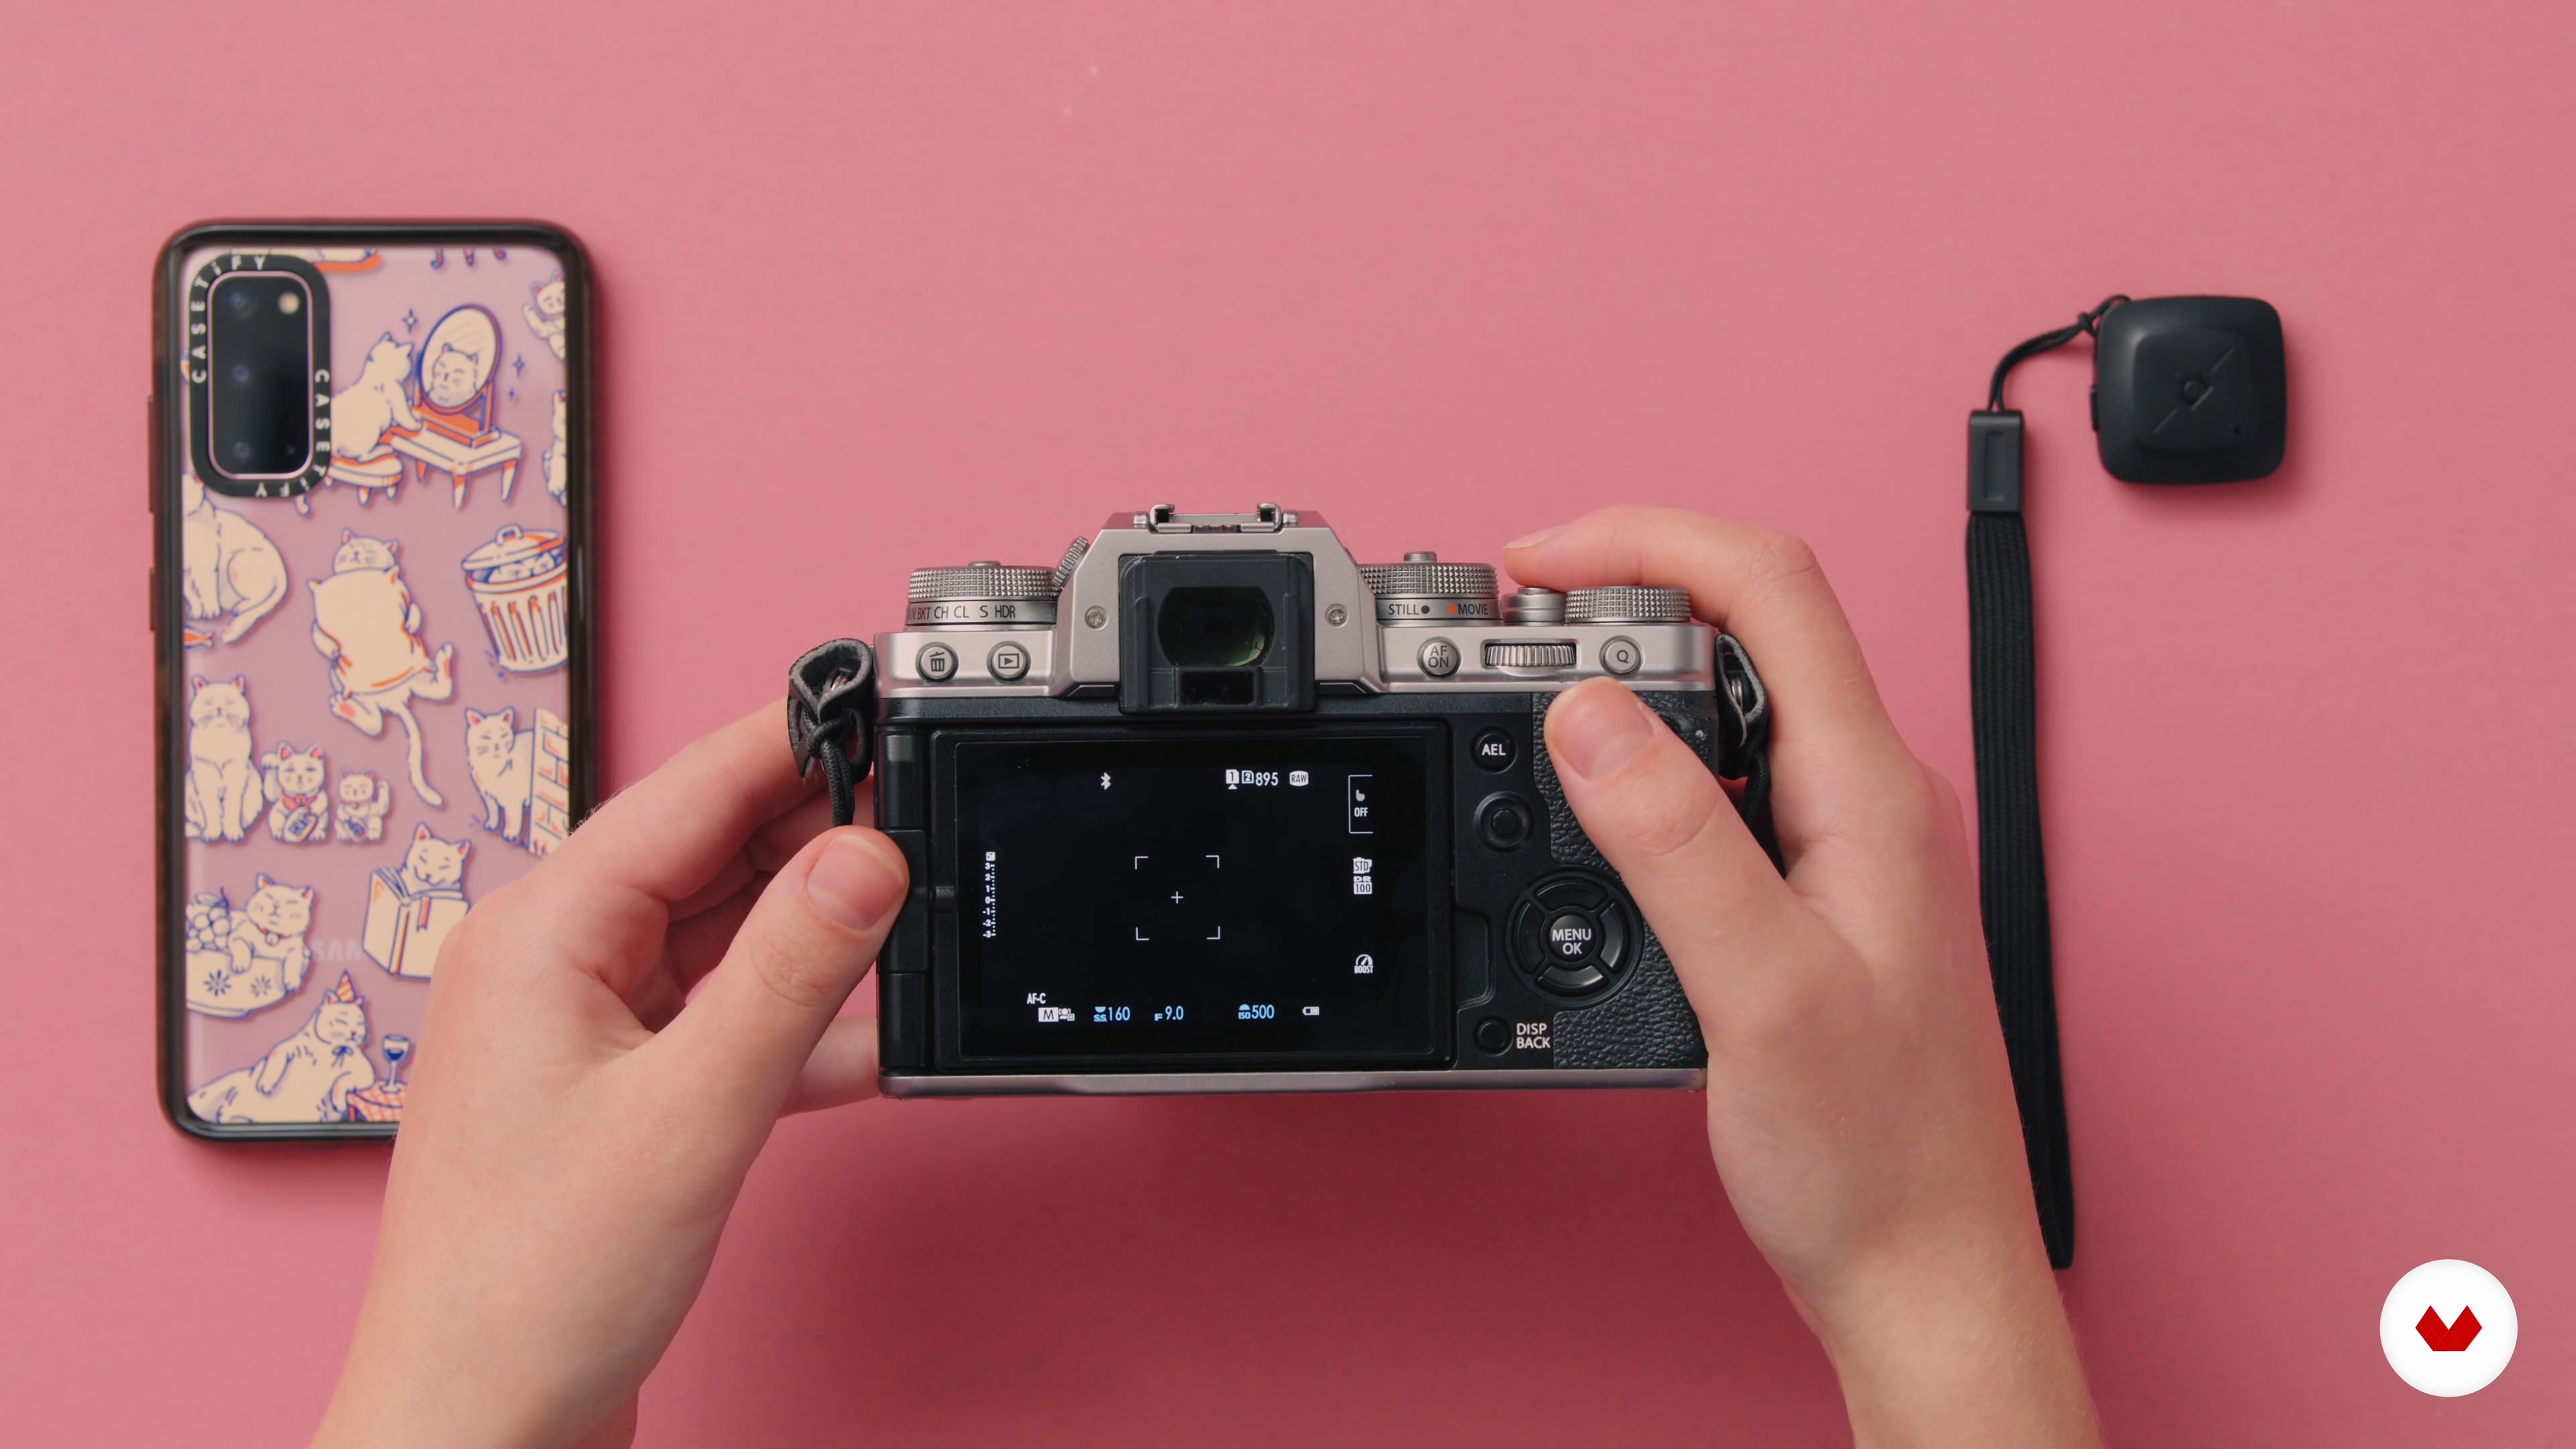
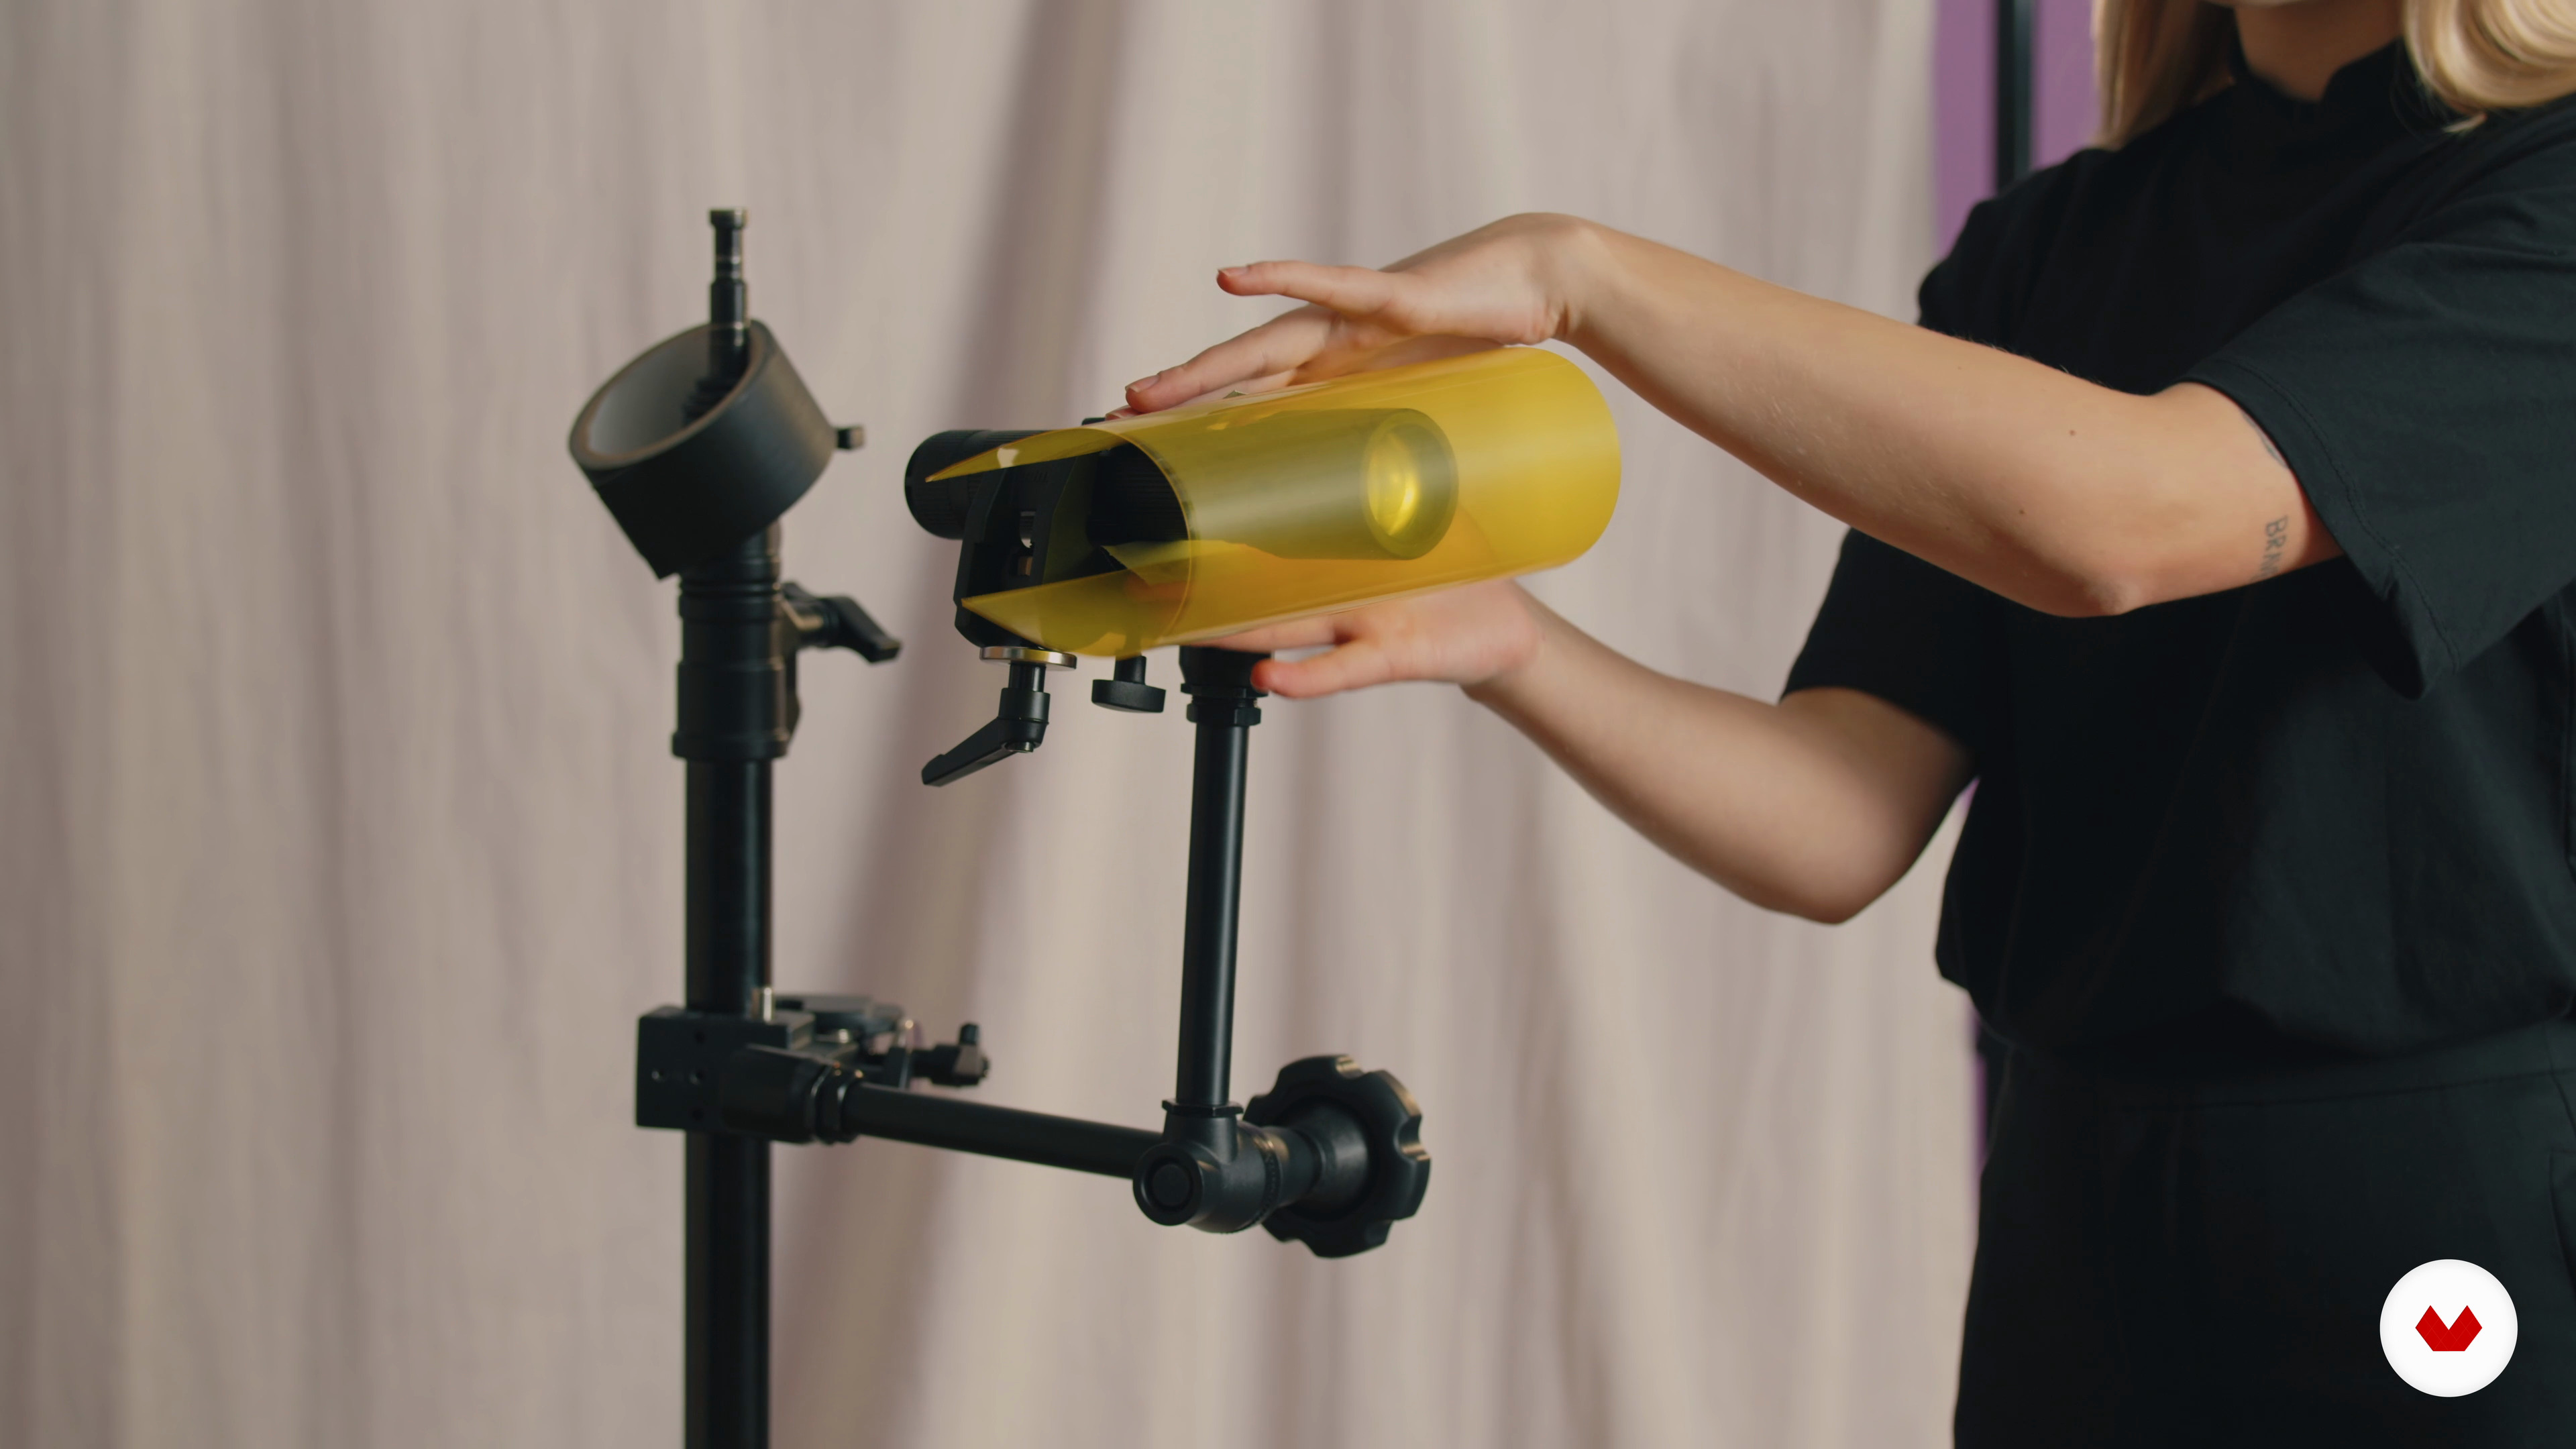
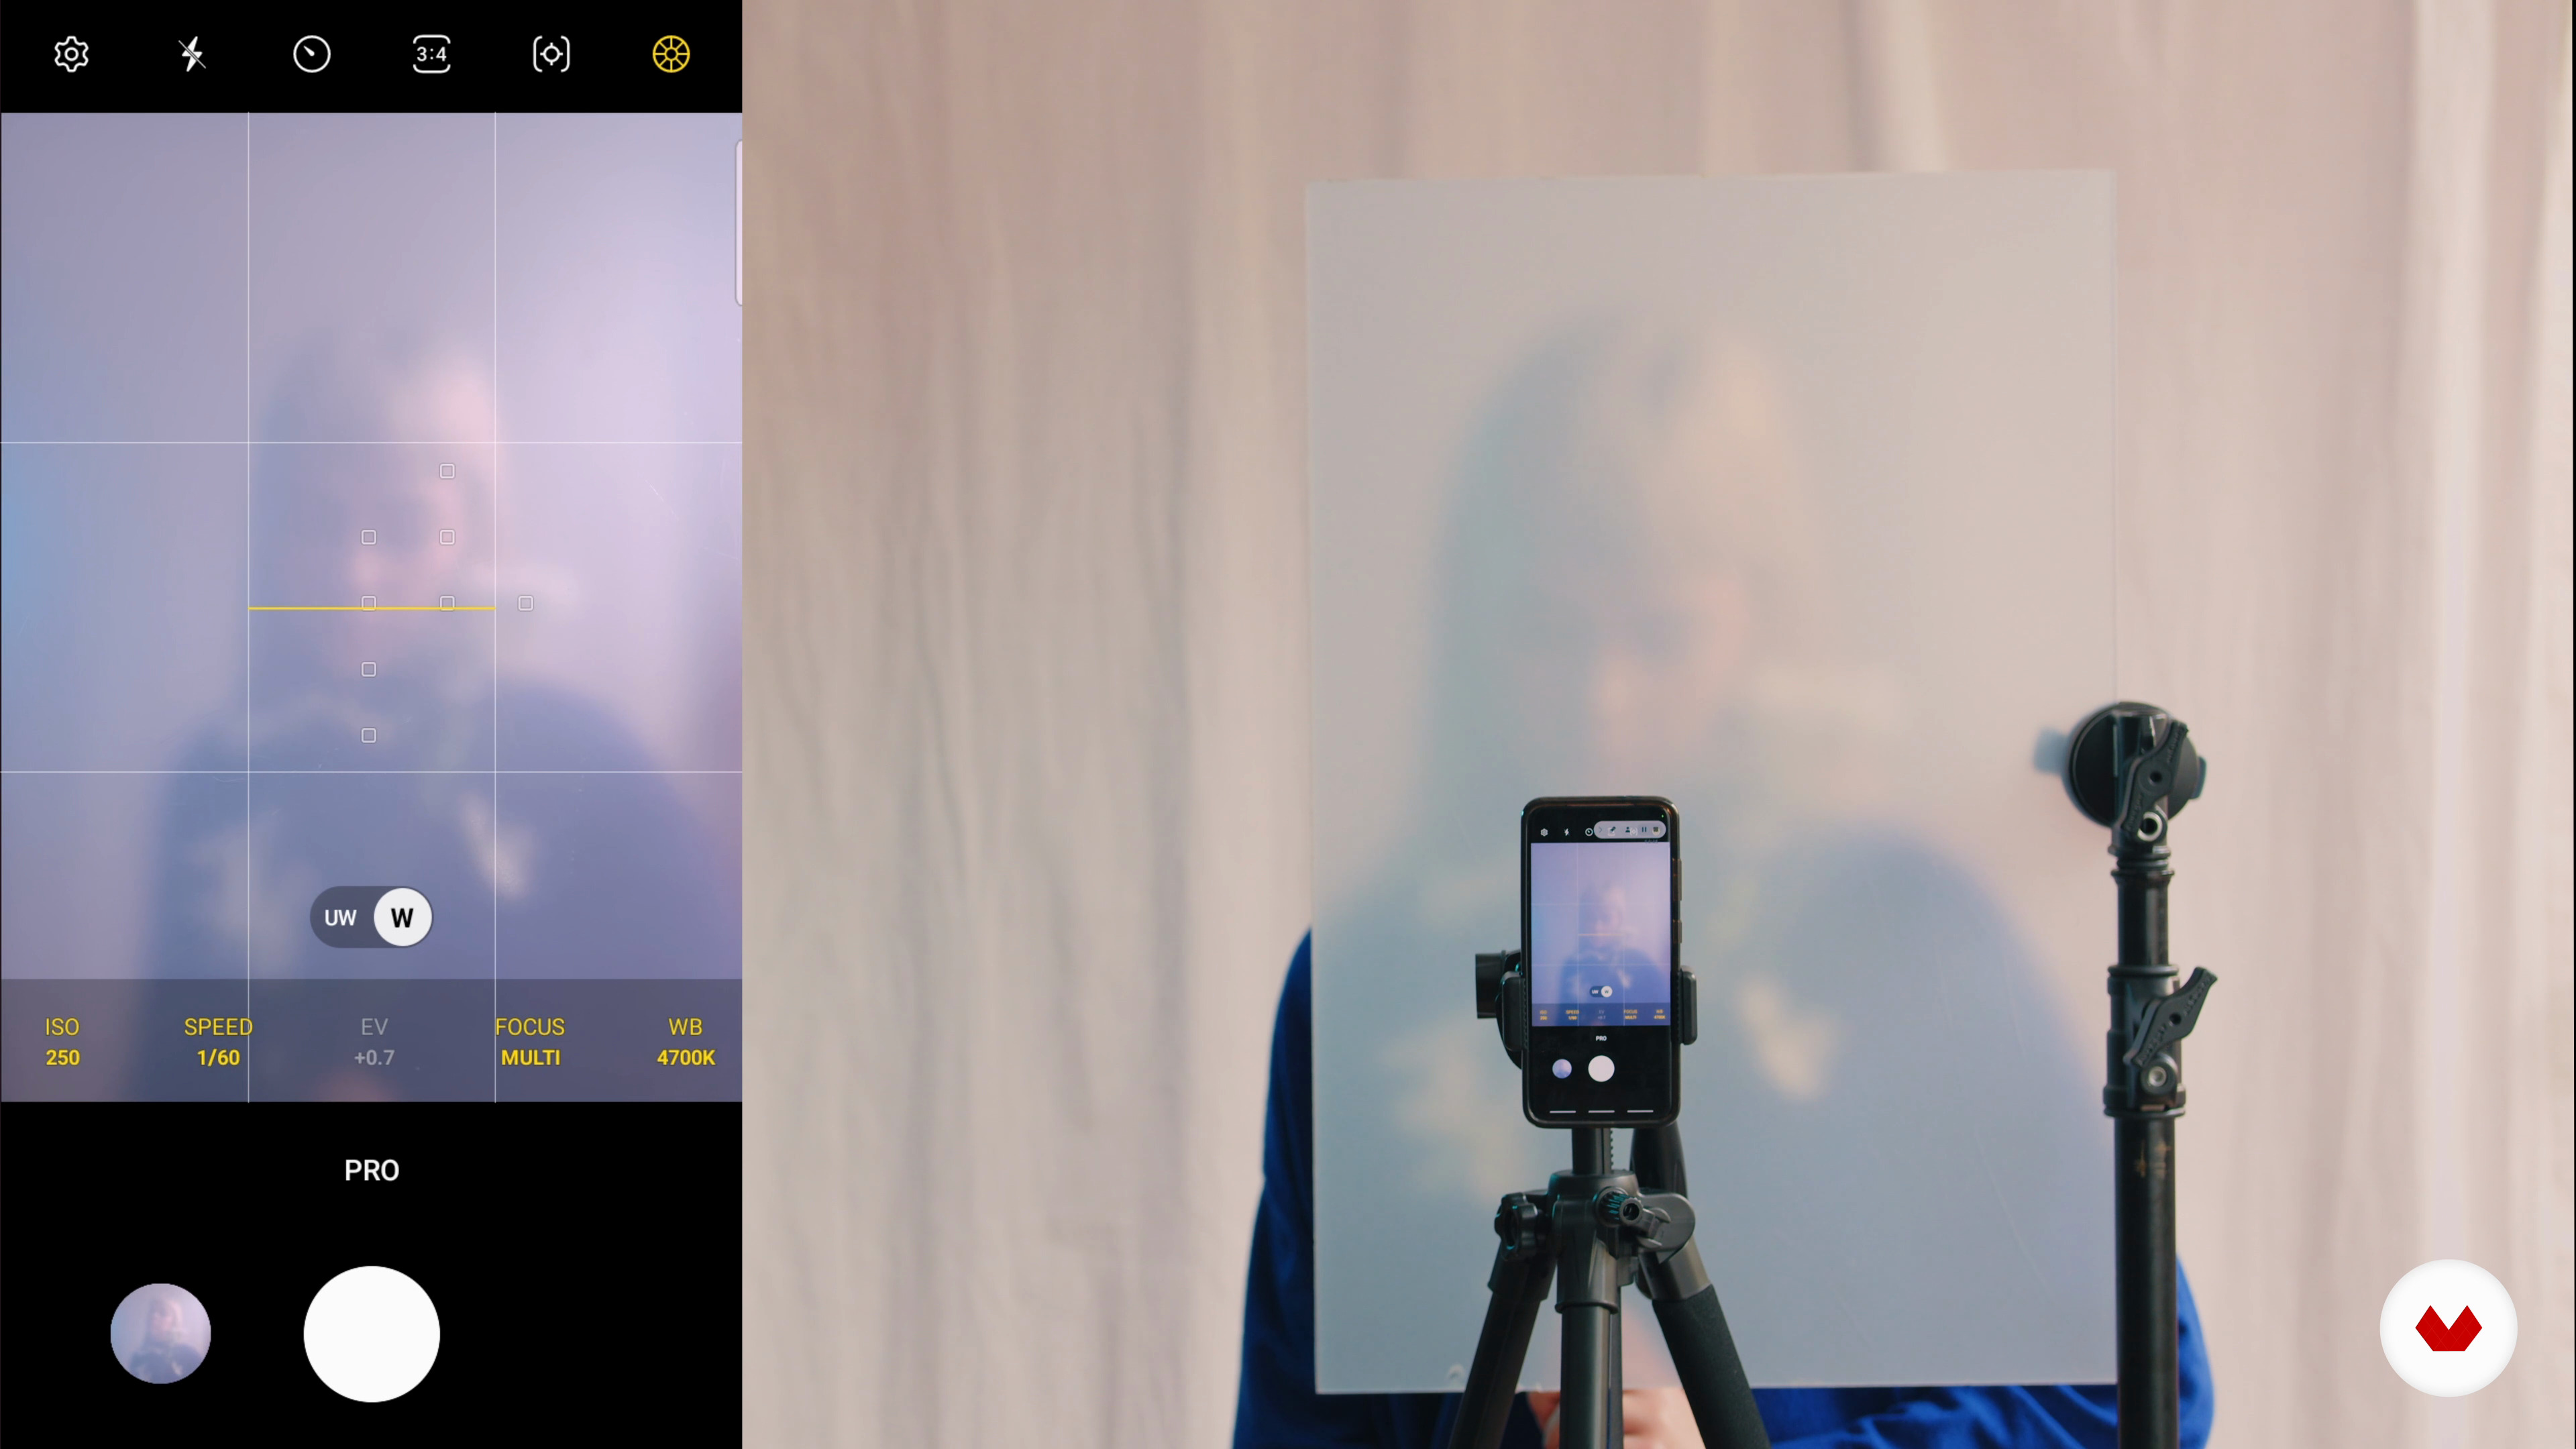
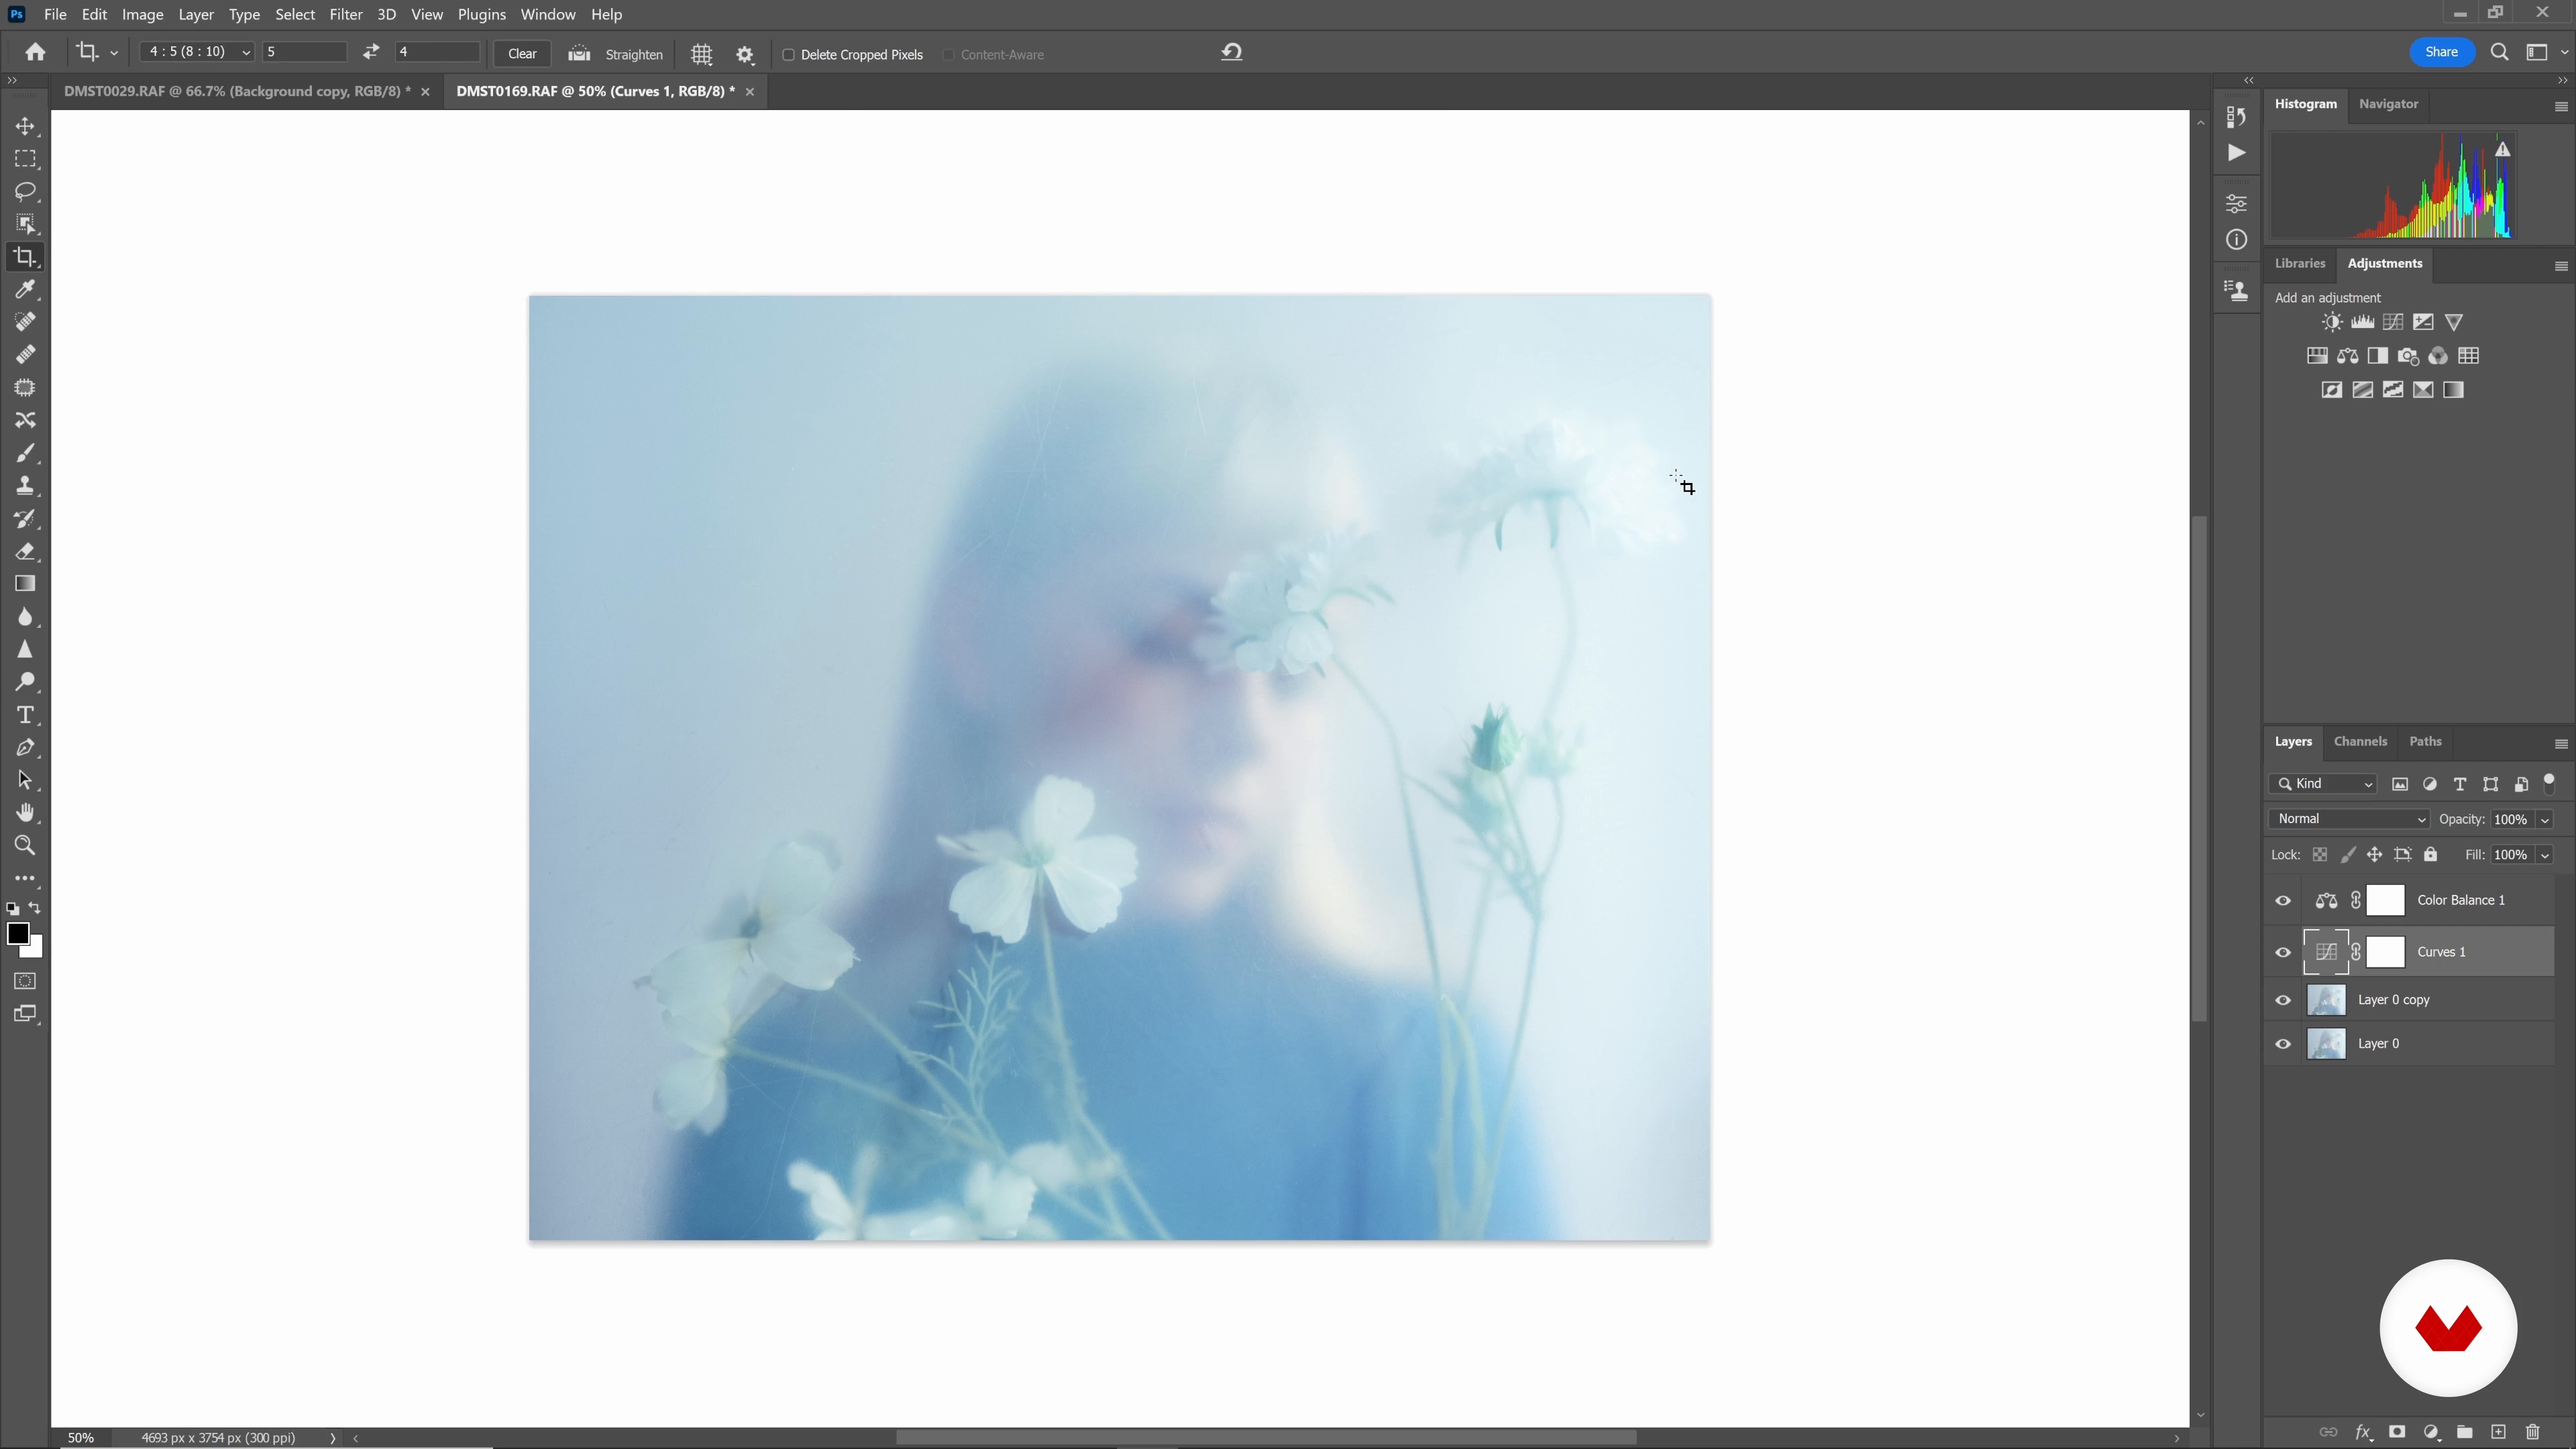
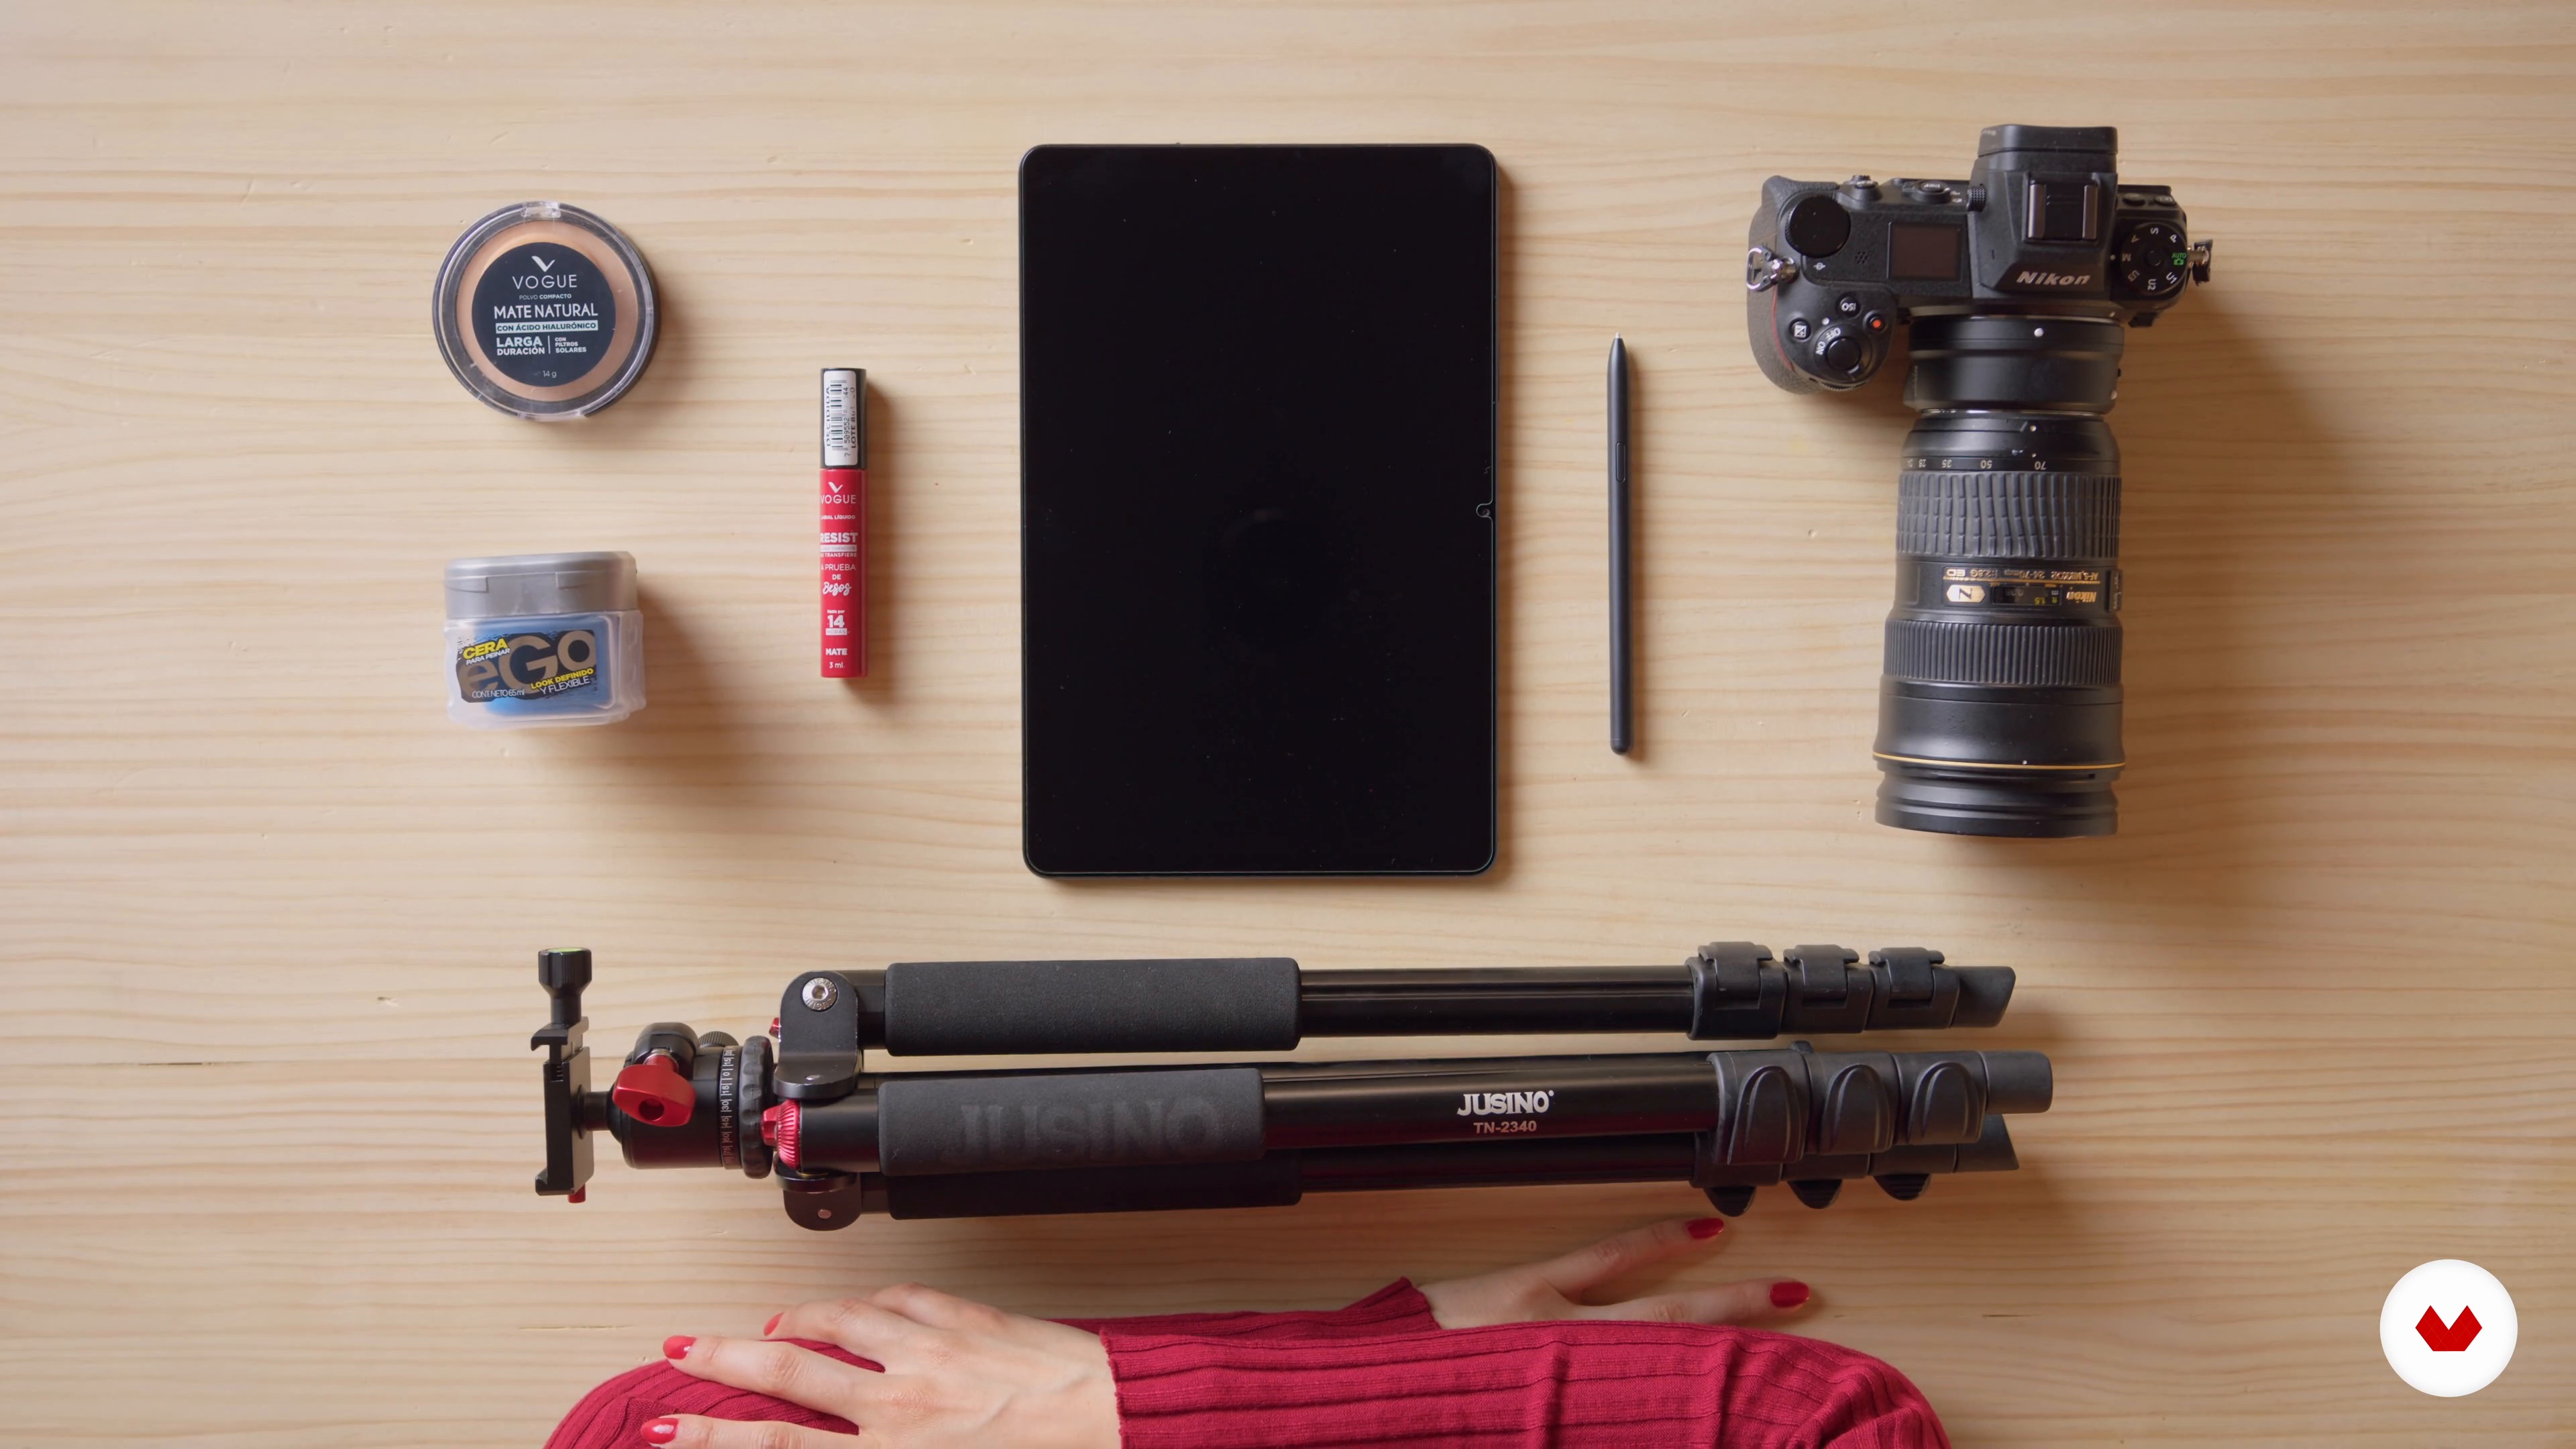
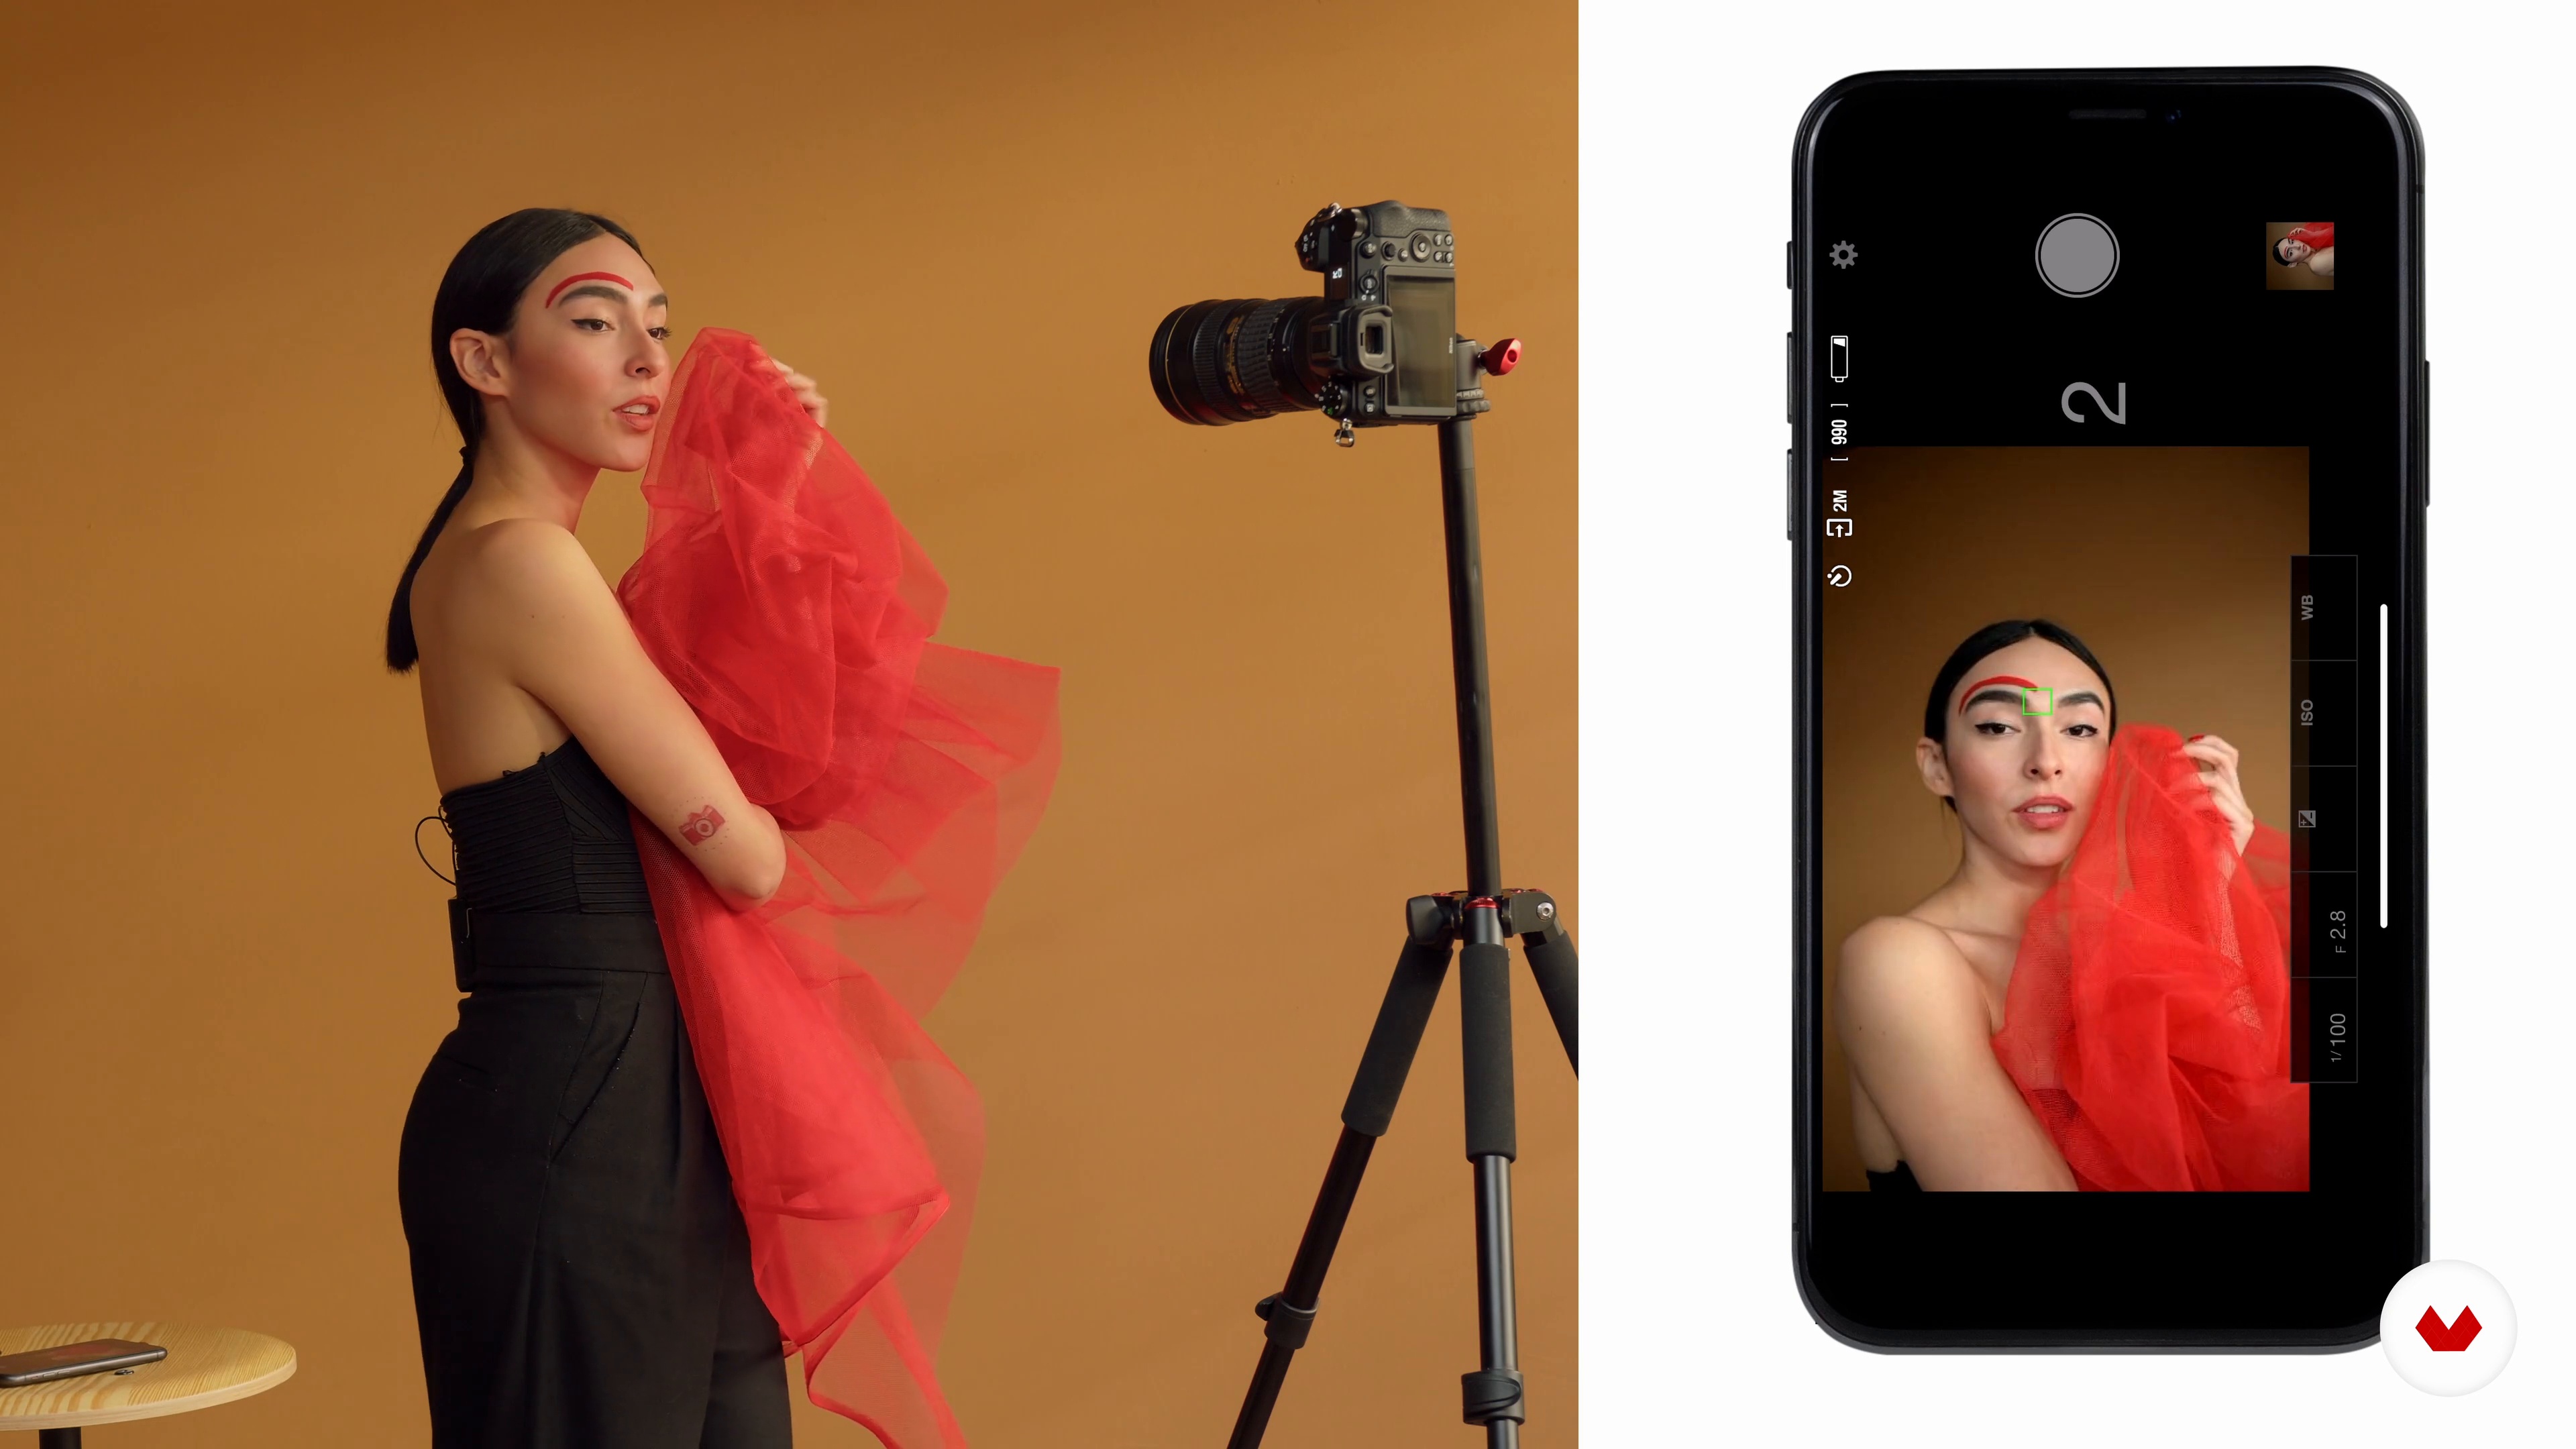
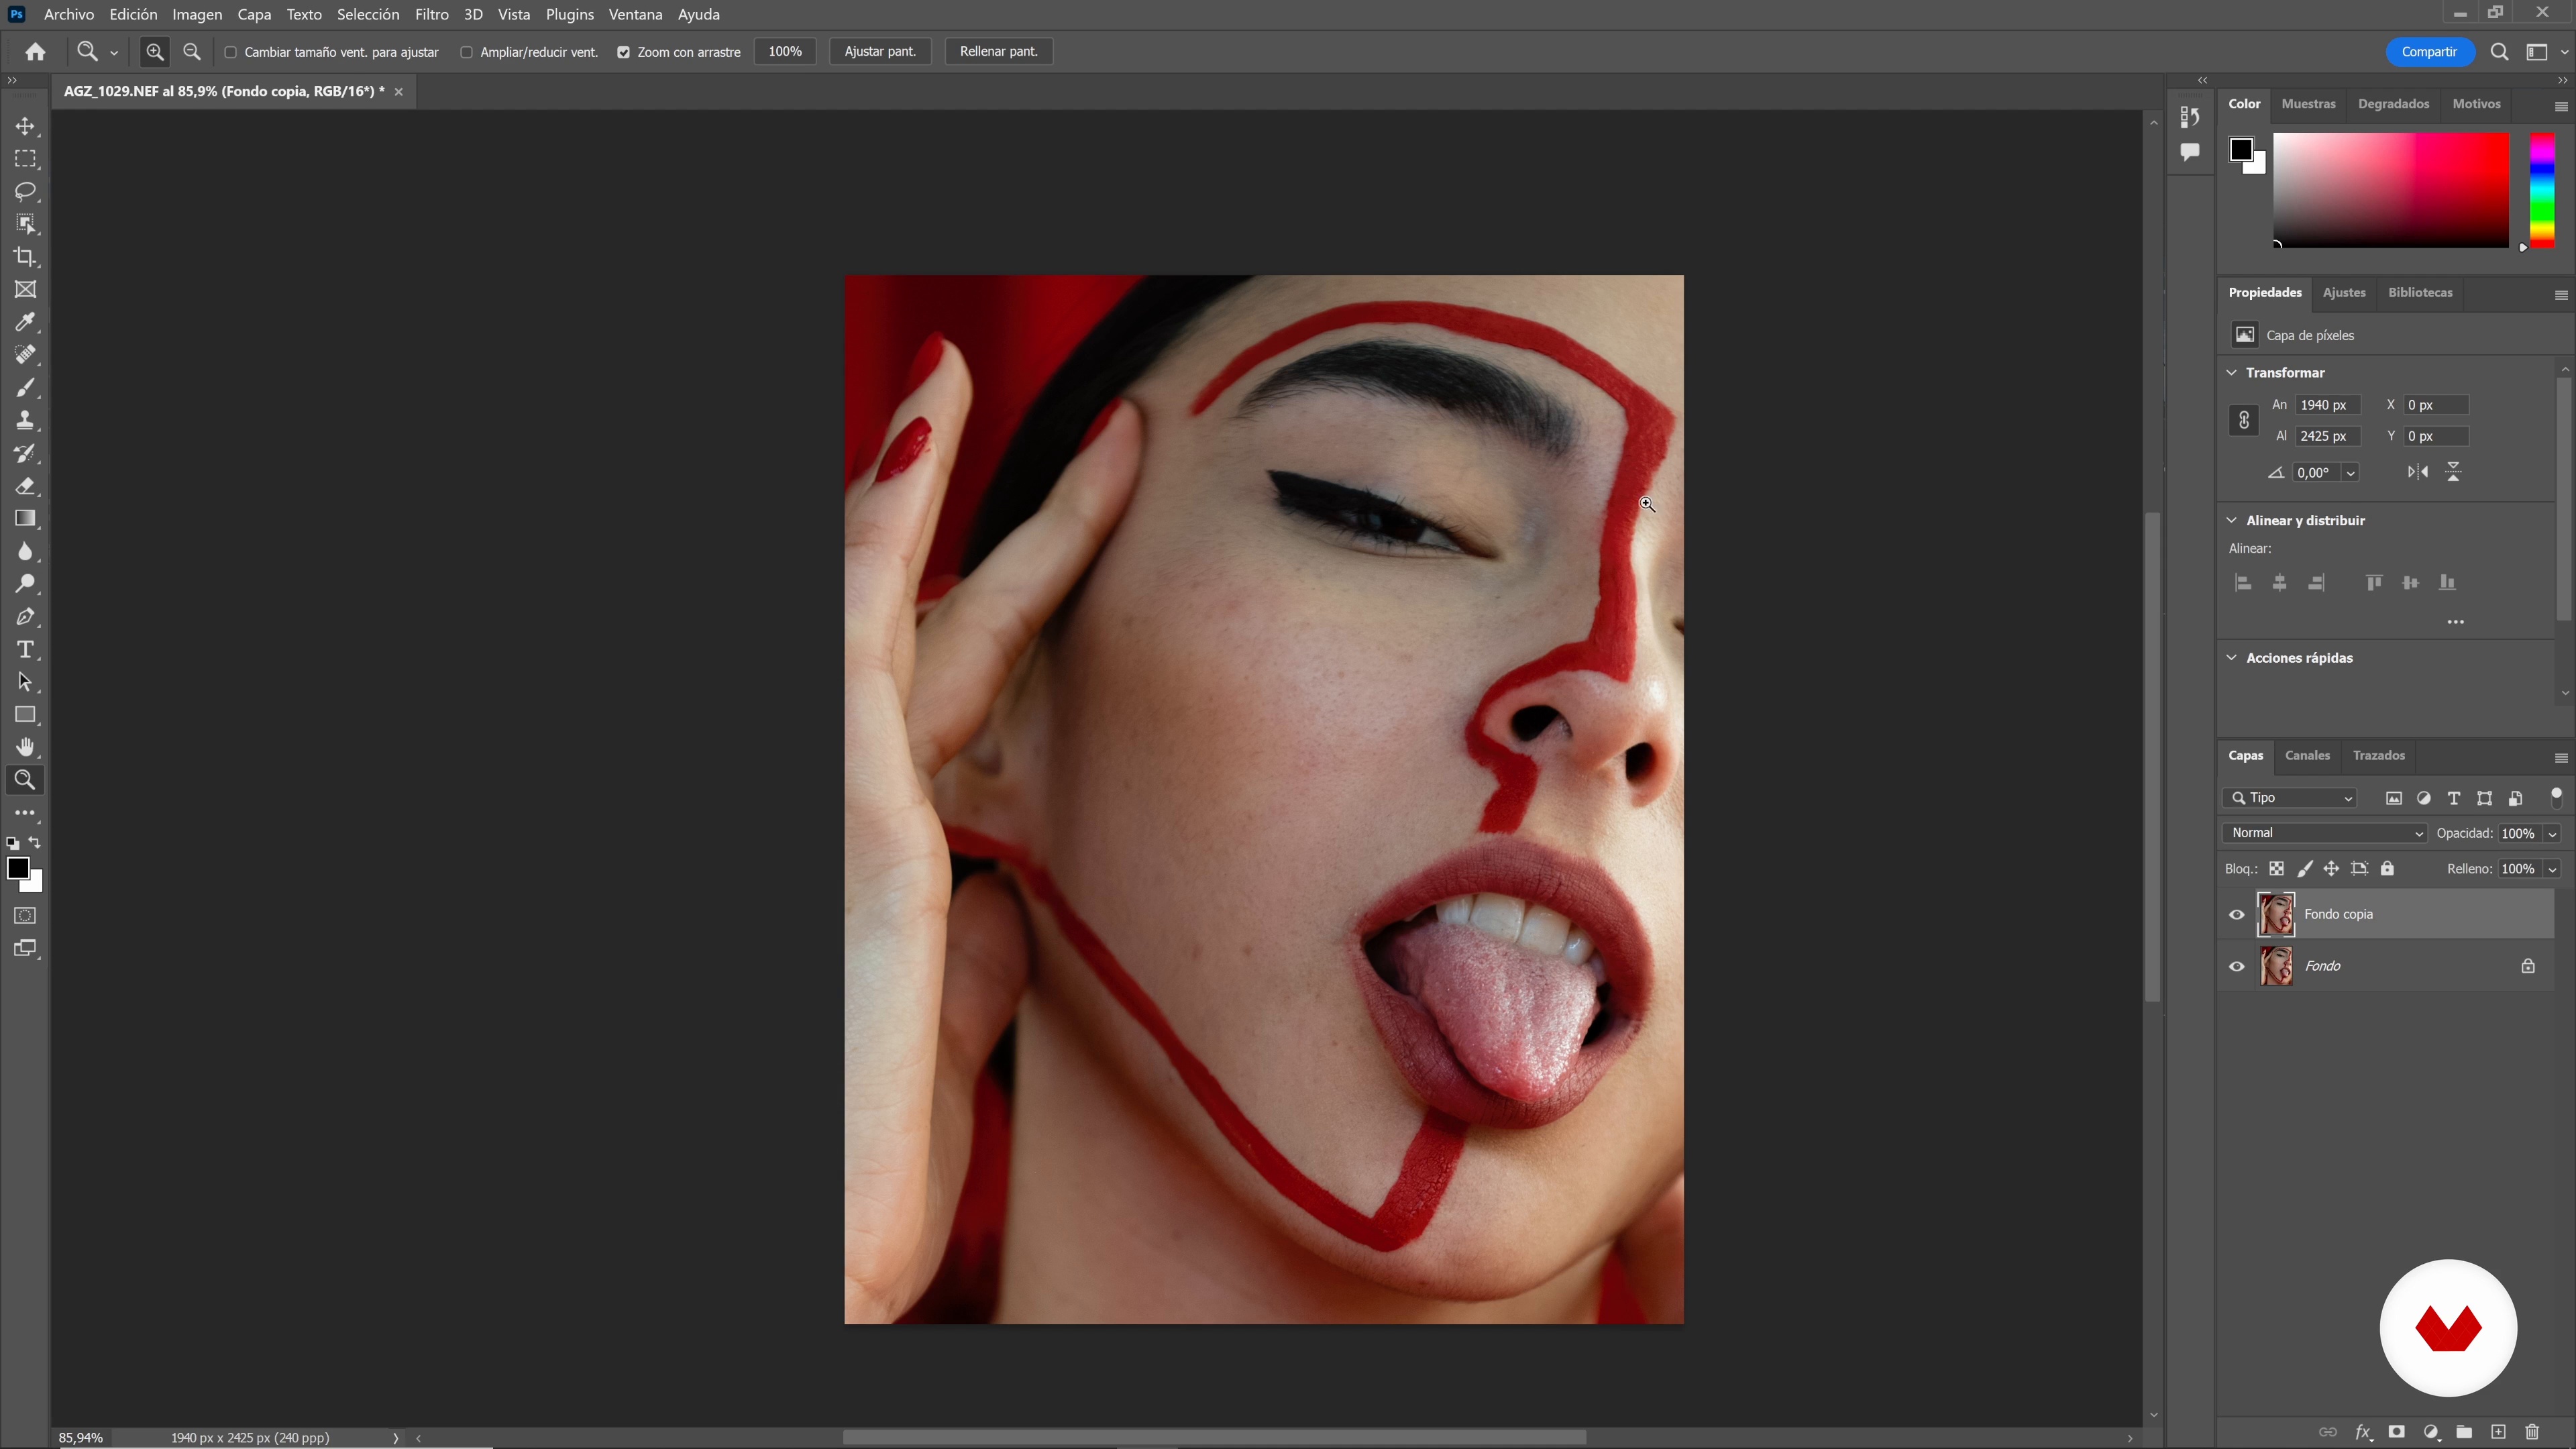
A basic camera and tripod are helpful for capturing self-portraits, while props like fabrics and color gels enhance creativity. No extensive prior knowledge is required, but a willingness to explore personal expression through photography is recommended, alongside a computer for editing.

Select to get to know your teachers in this specialization course
Read more ↓

What to expect from this specialization course

  • Learn at your own pace

    Enjoy learning from home without a set schedule and with an easy-to-follow method. You set your own pace.

  • Learn from the best professionals

    Learn valuable methods and techniques explained by top experts in the creative sector.

  • Meet expert teachers

    Each expert teaches what they do best, with clear guidelines, true passion, and professional insight in every lesson.

  • Certificates
    Plus

    If you're a Plus member, get a custom certificate for every specialization course. Share it on your portfolio, social media, or wherever you like.

  • Get front-row seats

    Videos of the highest quality, so you don't miss a single detail. With unlimited access, you can watch them as many times as you need to perfect your technique.

  • Share knowledge and ideas

    Ask questions, request feedback, or offer solutions. Share your learning experience with other students in the community who are as passionate about creativity as you are.

  • Connect with a global creative community

    The community is home to millions of people from around the world who are curious and passionate about exploring and expressing their creativity.

  • Watch professionally produced courses

    Domestika curates its teacher roster and produces every course in-house to ensure a high-quality online learning experience.


FAQs

Domestika courses are online classes that allow you to learn new skills and create incredible projects. All our courses include the opportunity to share your work with other students and/or teachers, creating an active learning community. We offer different formats:
Original Courses: Complete classes that combine videos, texts, and educational materials to complete a specific project from start to finish.
Basics Courses: Specialized training where you master specific software tools step by step.
Specialization Courses: Learning paths with various expert teachers on the same topic, perfect for becoming a specialist by learning from different approaches.
Guided Courses: Practical experiences ideal for directly acquiring specific skills.
Intensive Courses (Deep Dives): New creative processes based on artificial intelligence tools in an accessible format for in-depth and dynamic understanding.

All specialization courses are 100% online, so once they're published, specialization courses start and finish whenever you want. You set the pace of the class. You can go back to review what interests you most and skip what you already know, ask questions, answer questions, share your projects, and more.

The specialization courses are divided into different modules. Each one includes lessons, informational text, tasks, and practice exercises to help you carry out your project step by step, with additional complementary resources and downloads. You'll also have access to an exclusive forum where you can interact with other students, as well as share your work and your final project, creating a community around the specialization courses.

You can redeem the specialization courses you received by accessing the redeeming page and entering your gift code.

If you're a Plus member, when you complete a course you've purchased, you'll instantly get your personalized certificate. You can see all your certificates in the Certificates section of your profile. You can download your certificates as PDFs and share the link online. Learn more about certificates.
Self Portrait Specialization. Photography, and Video course by Domestika

Self Portrait Specialization

A specialization by multiple teachers
Berkeley, United States.
Joined April 2002
  • 16 students