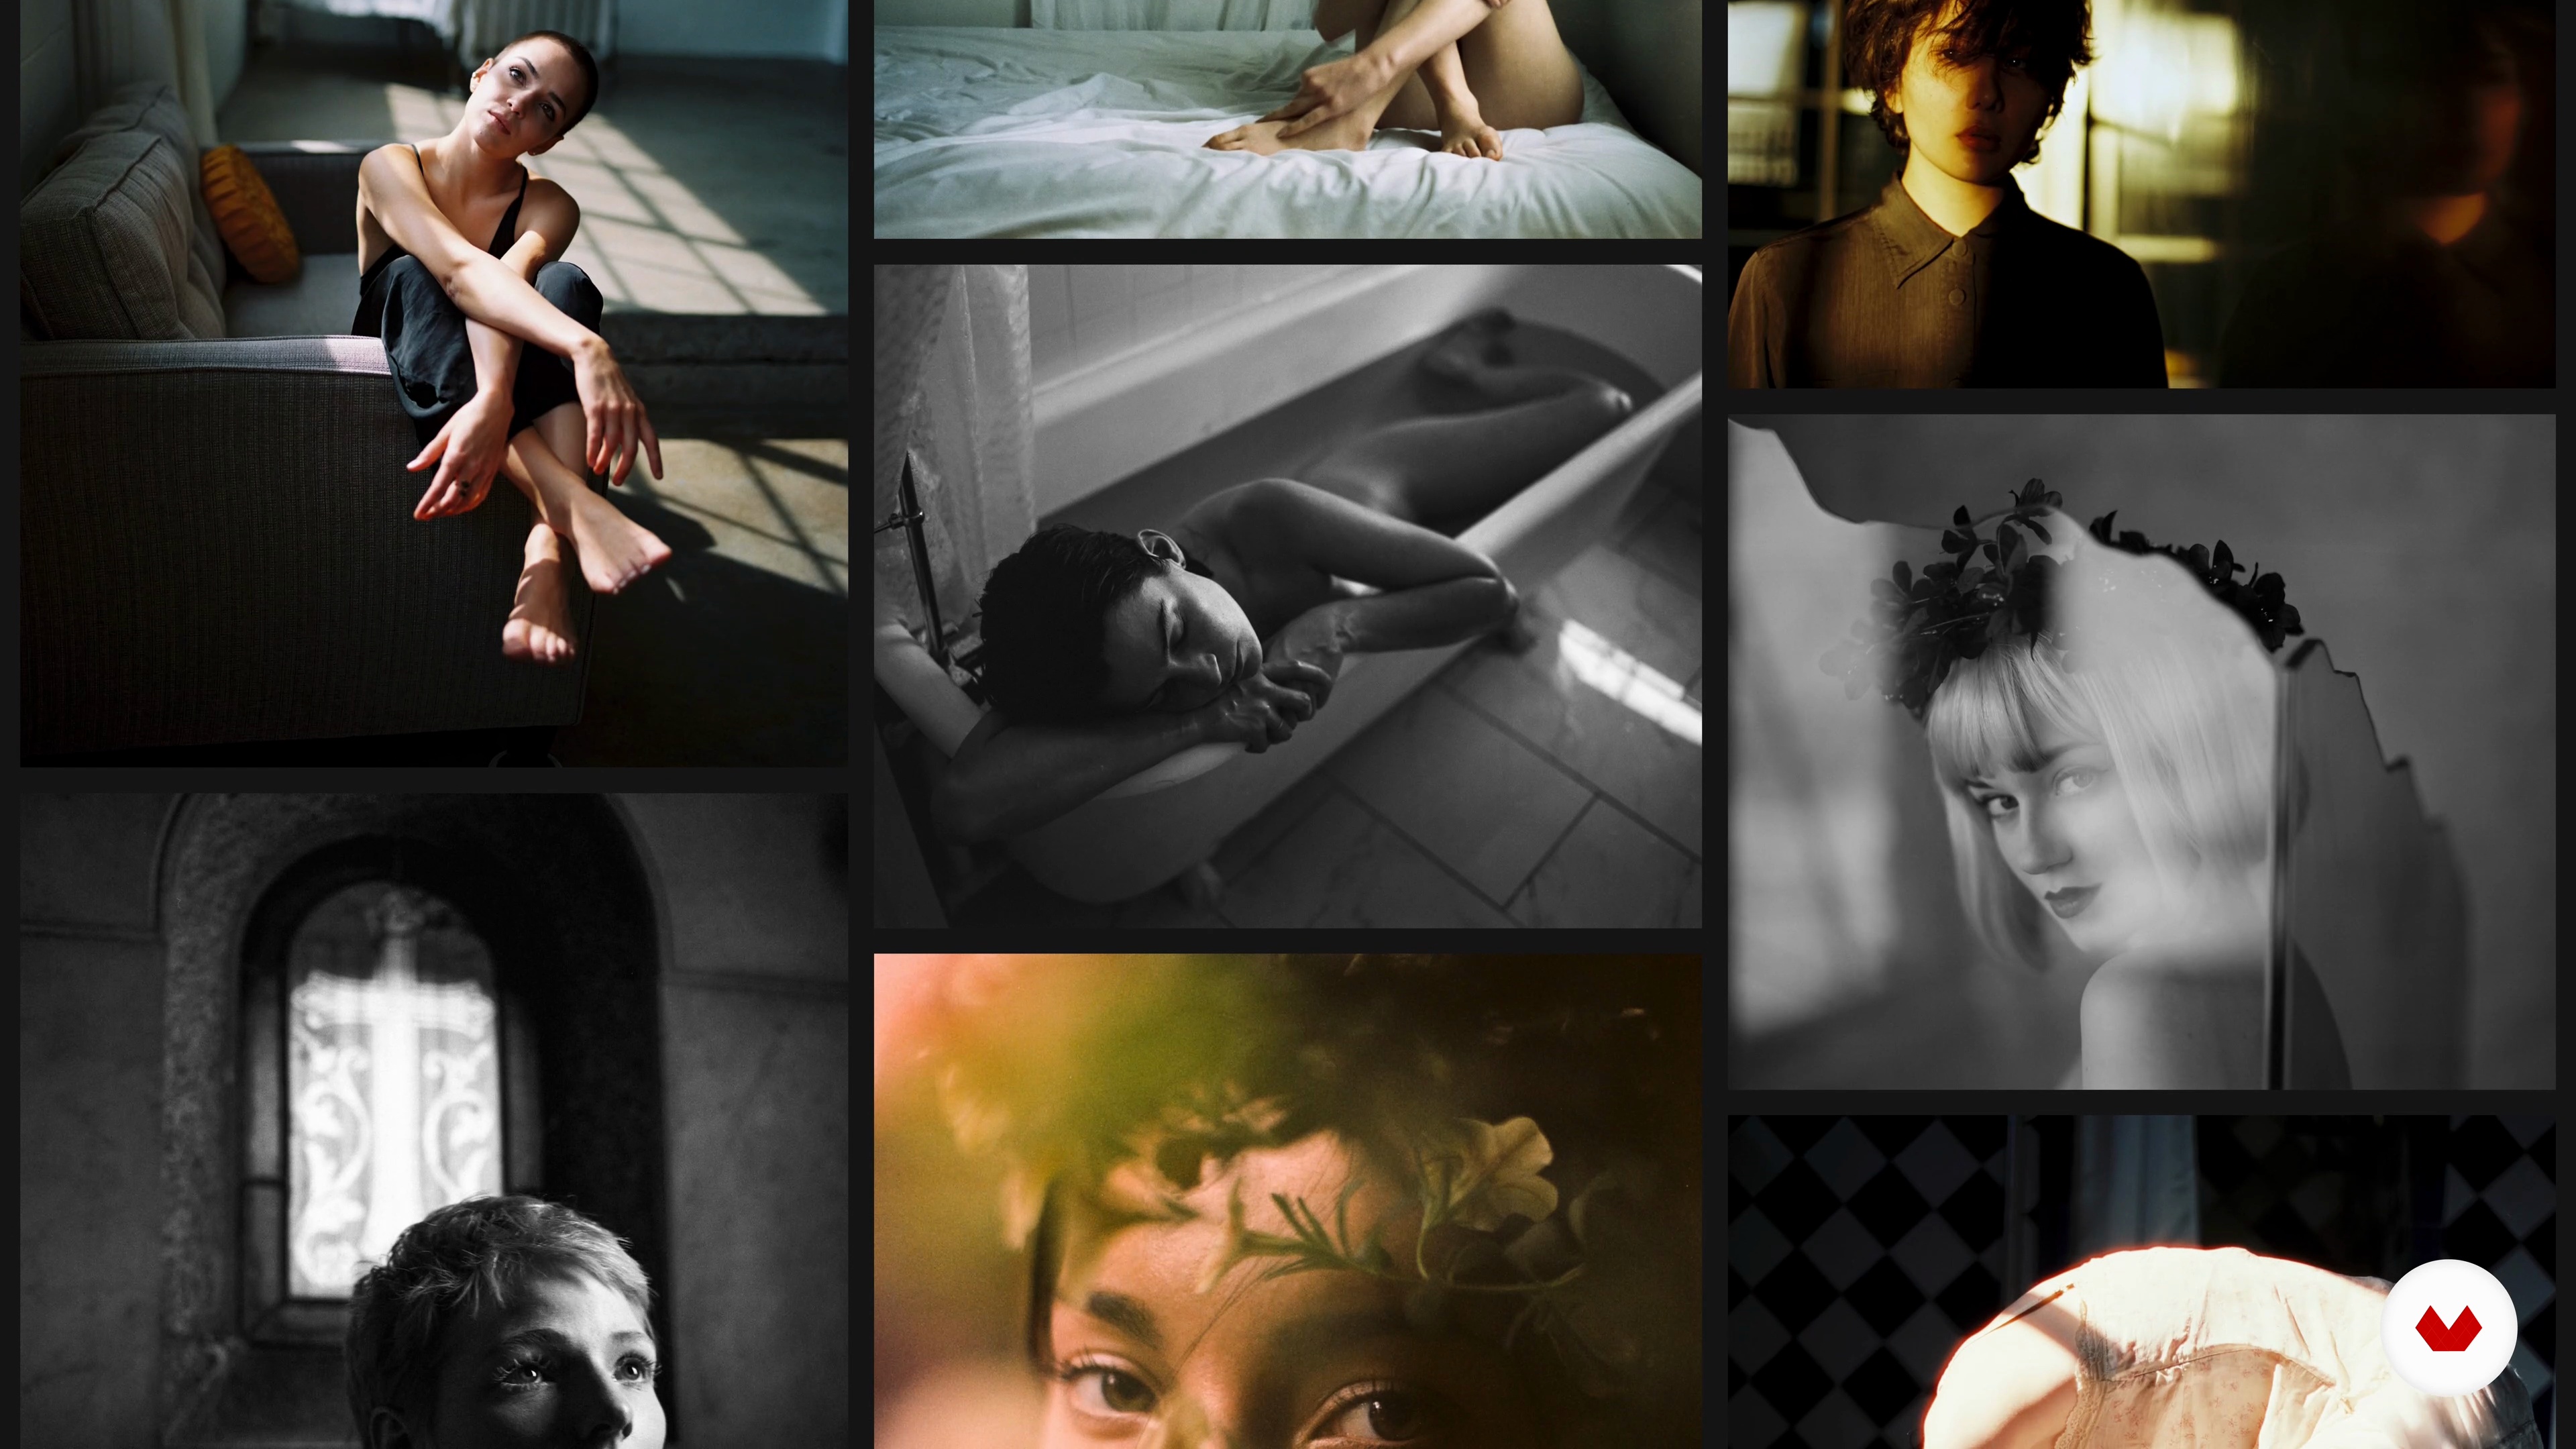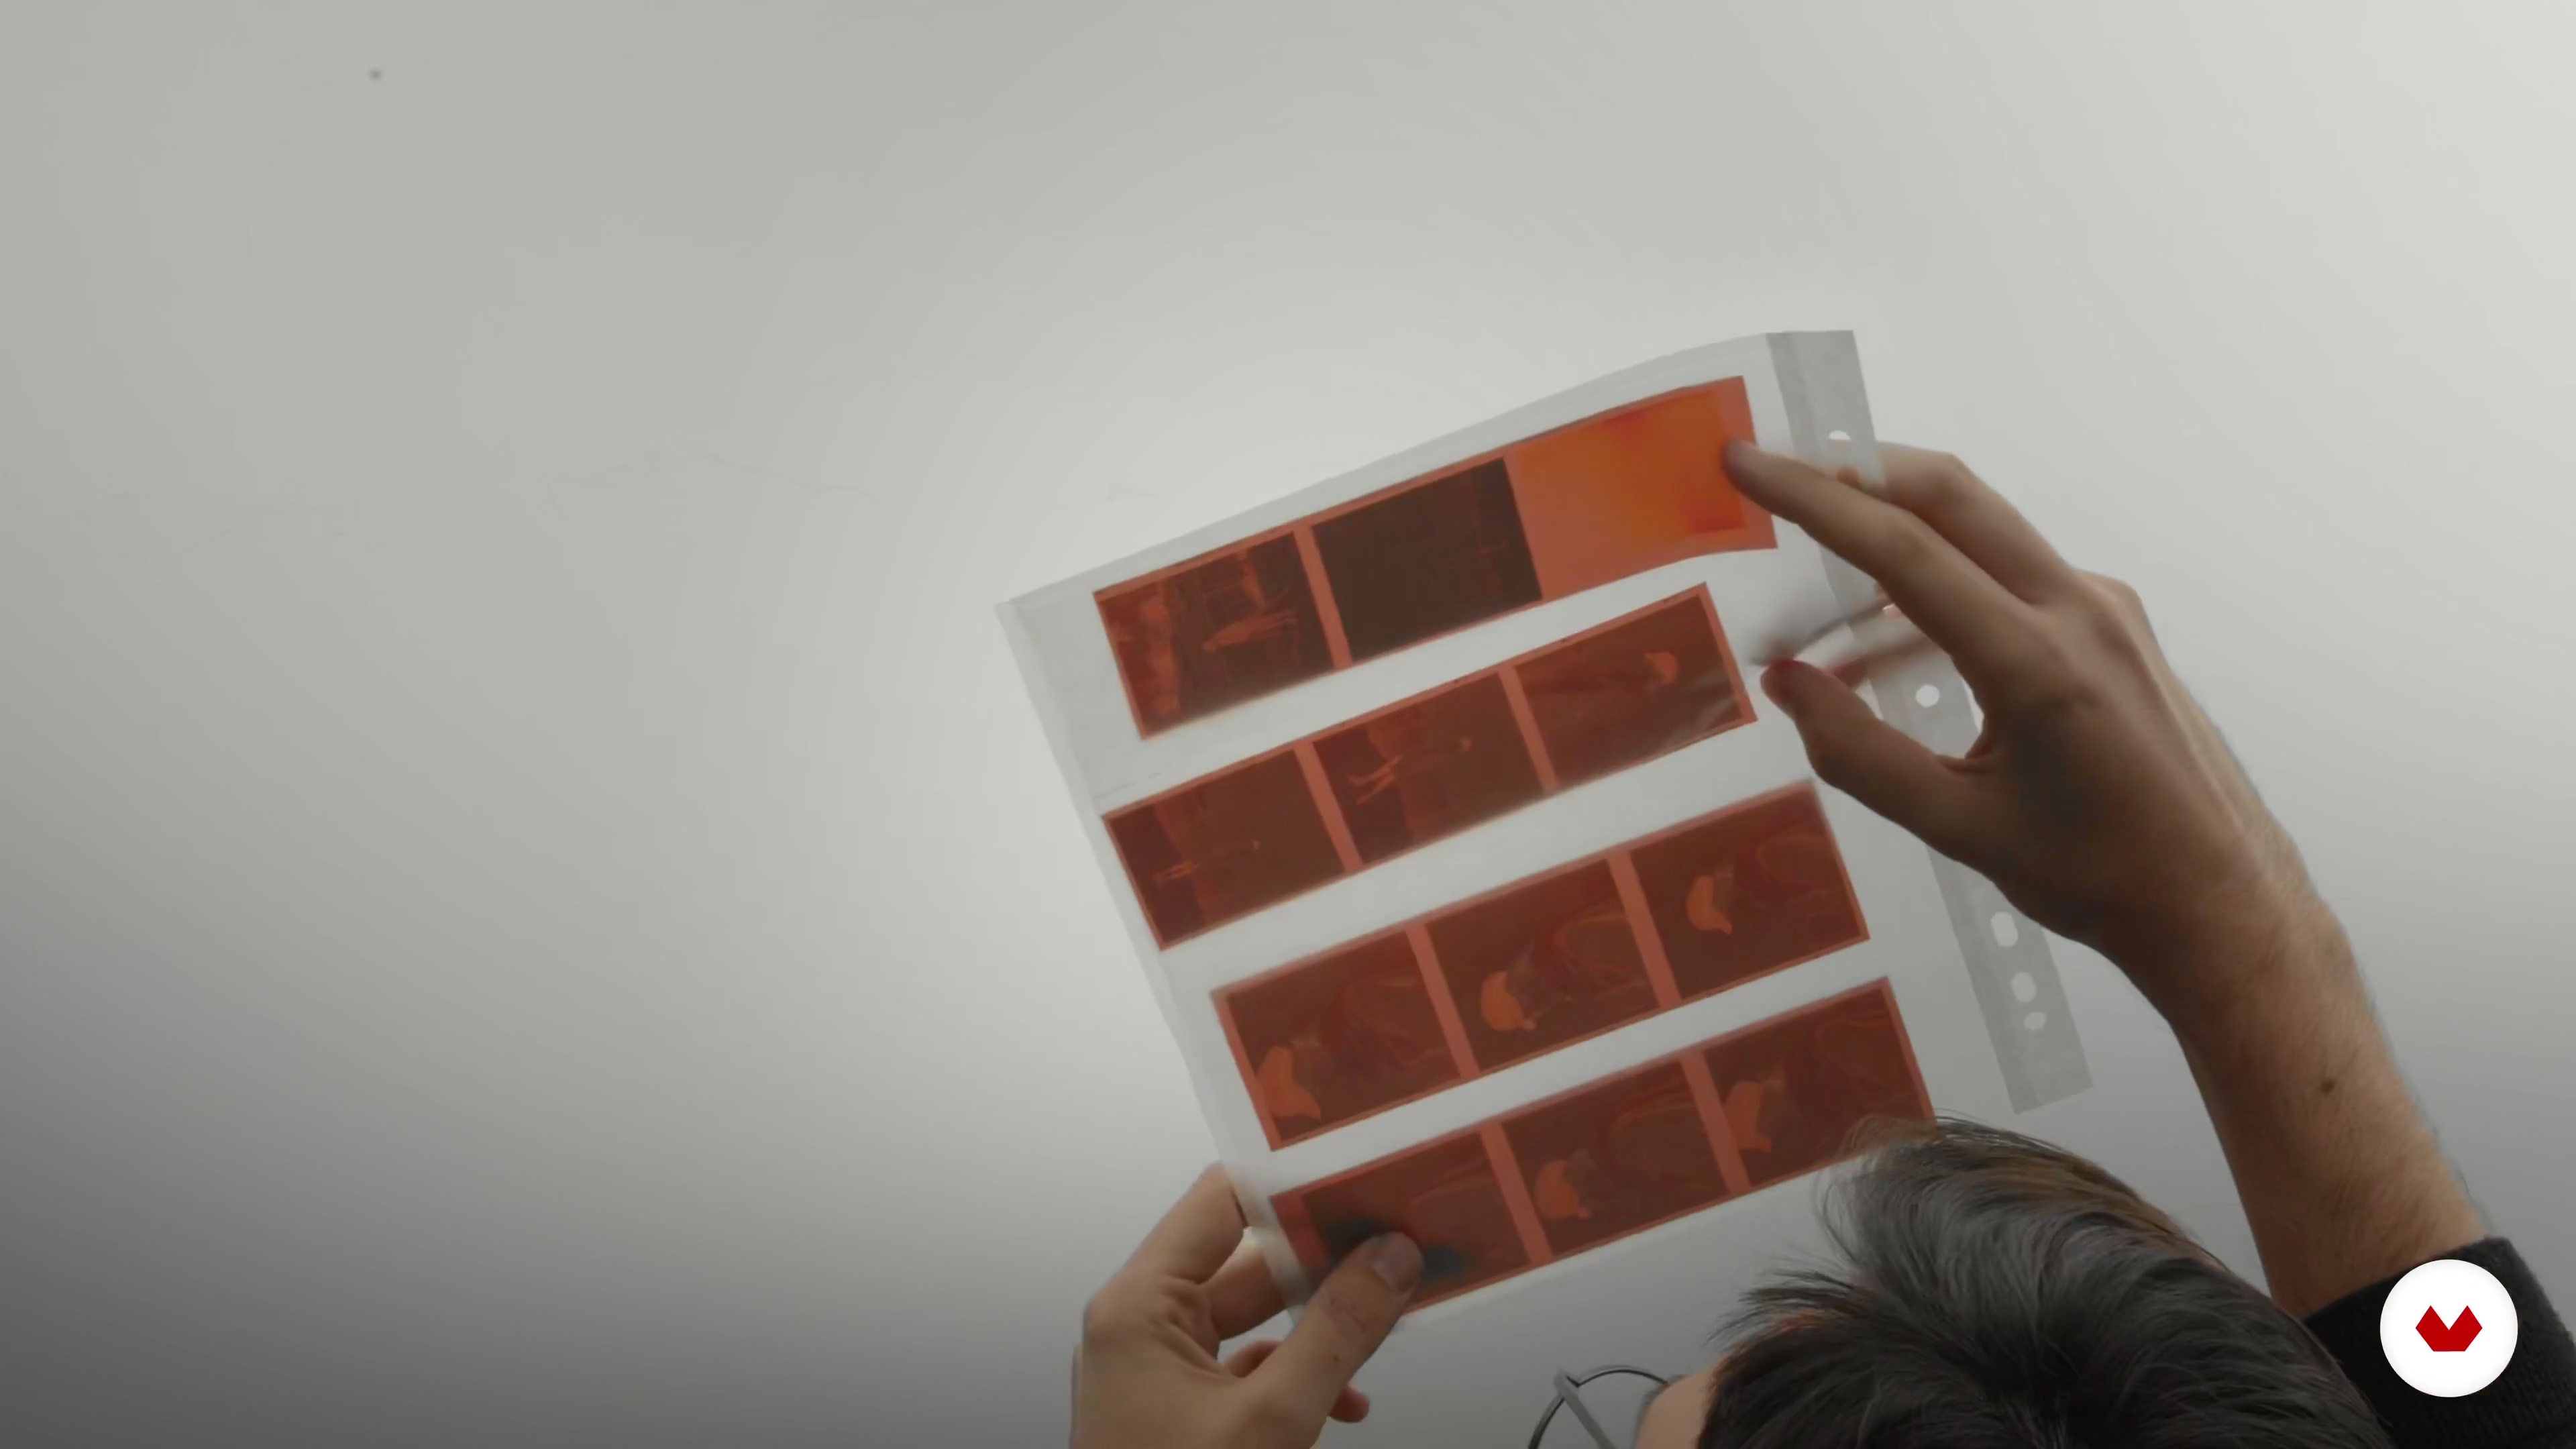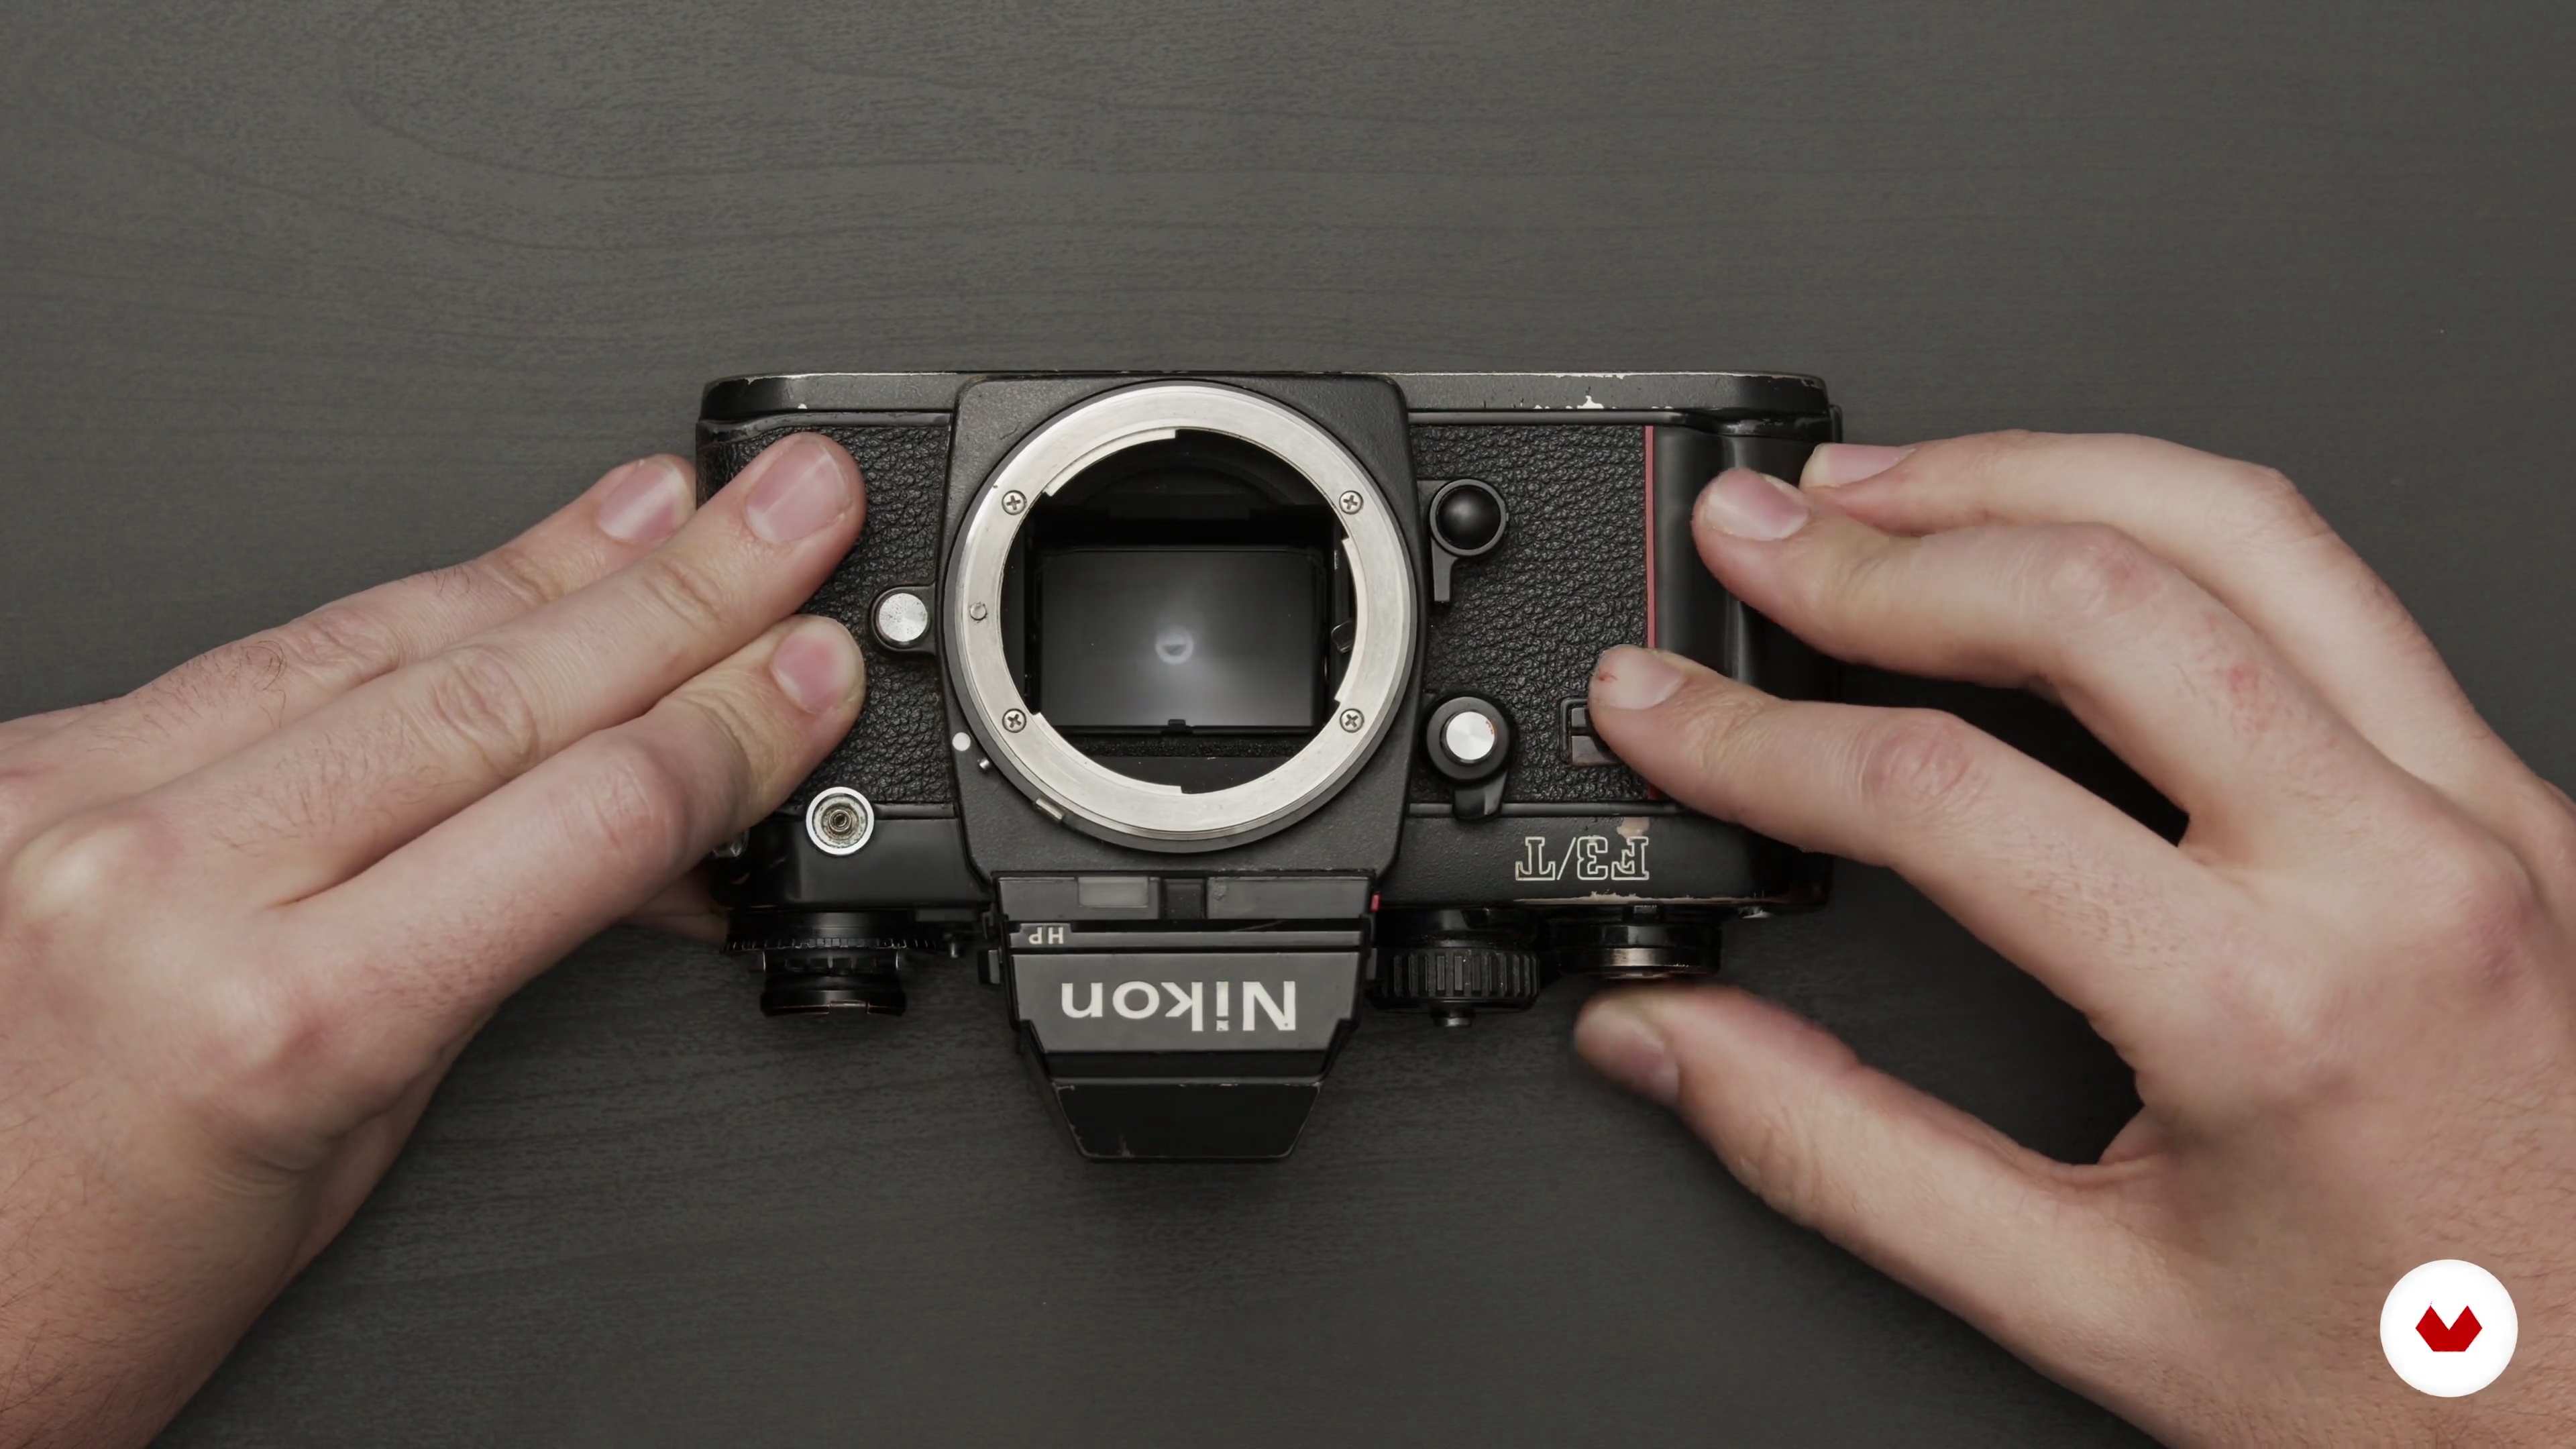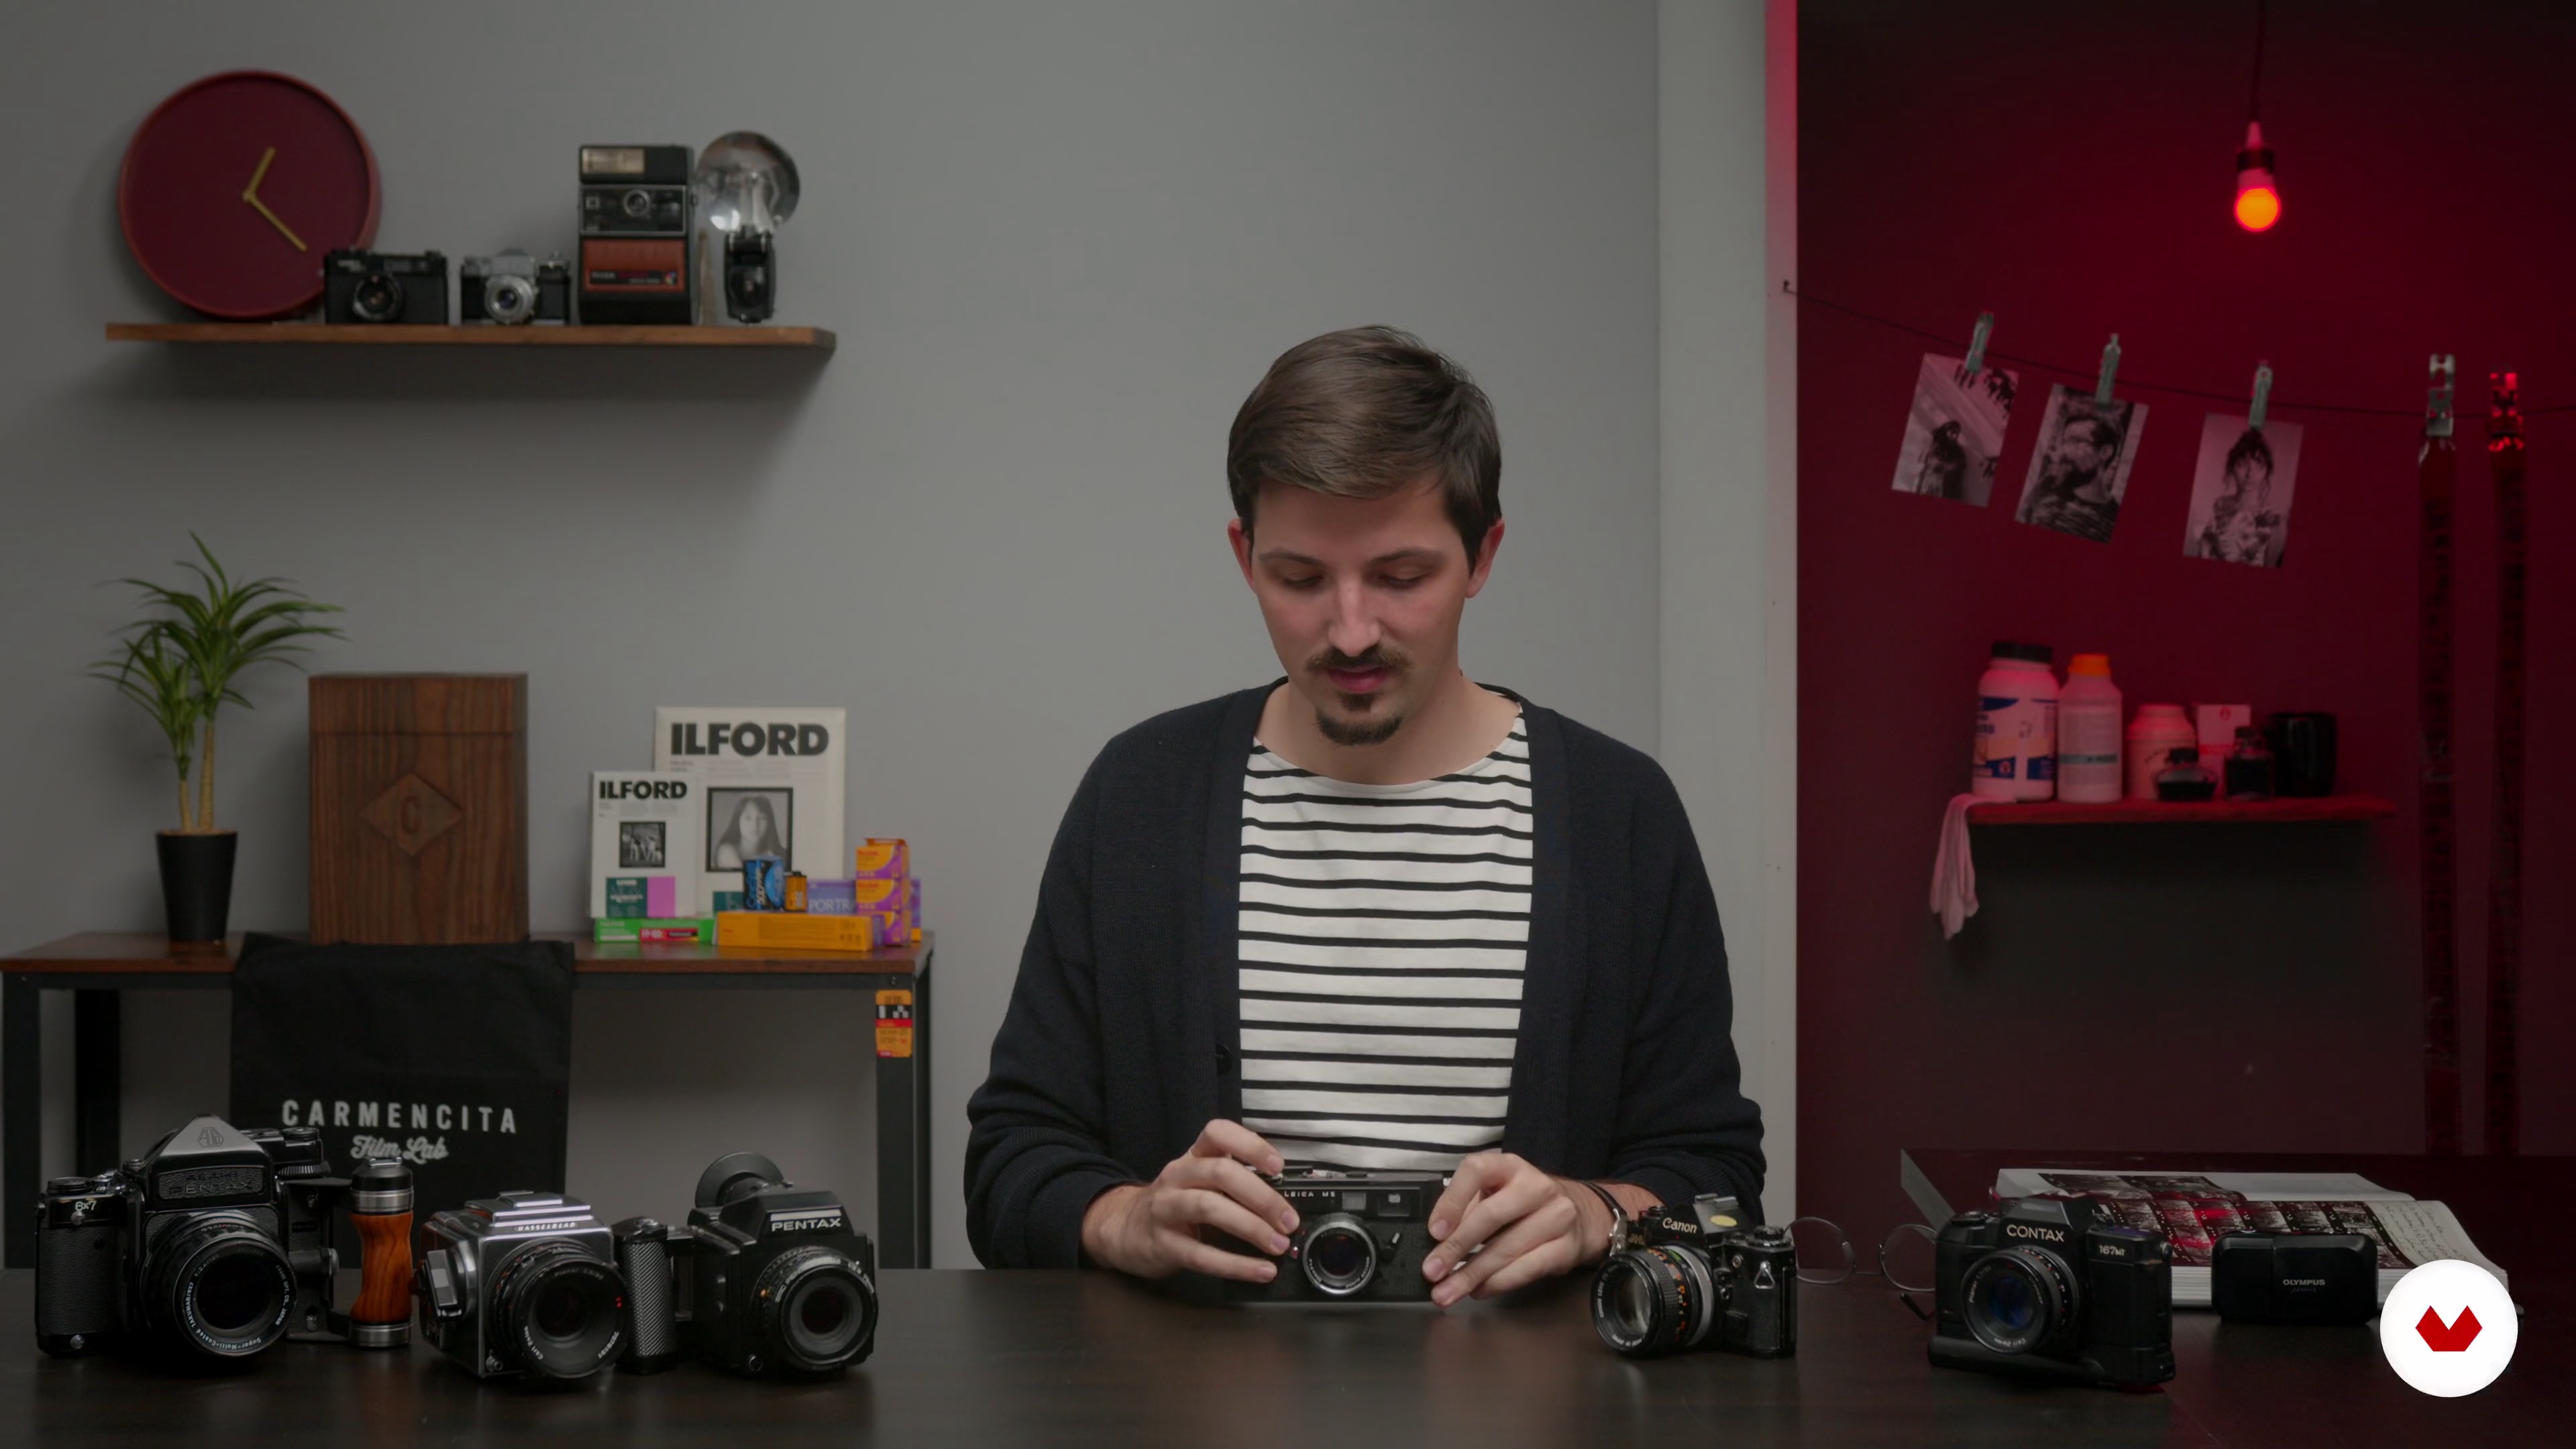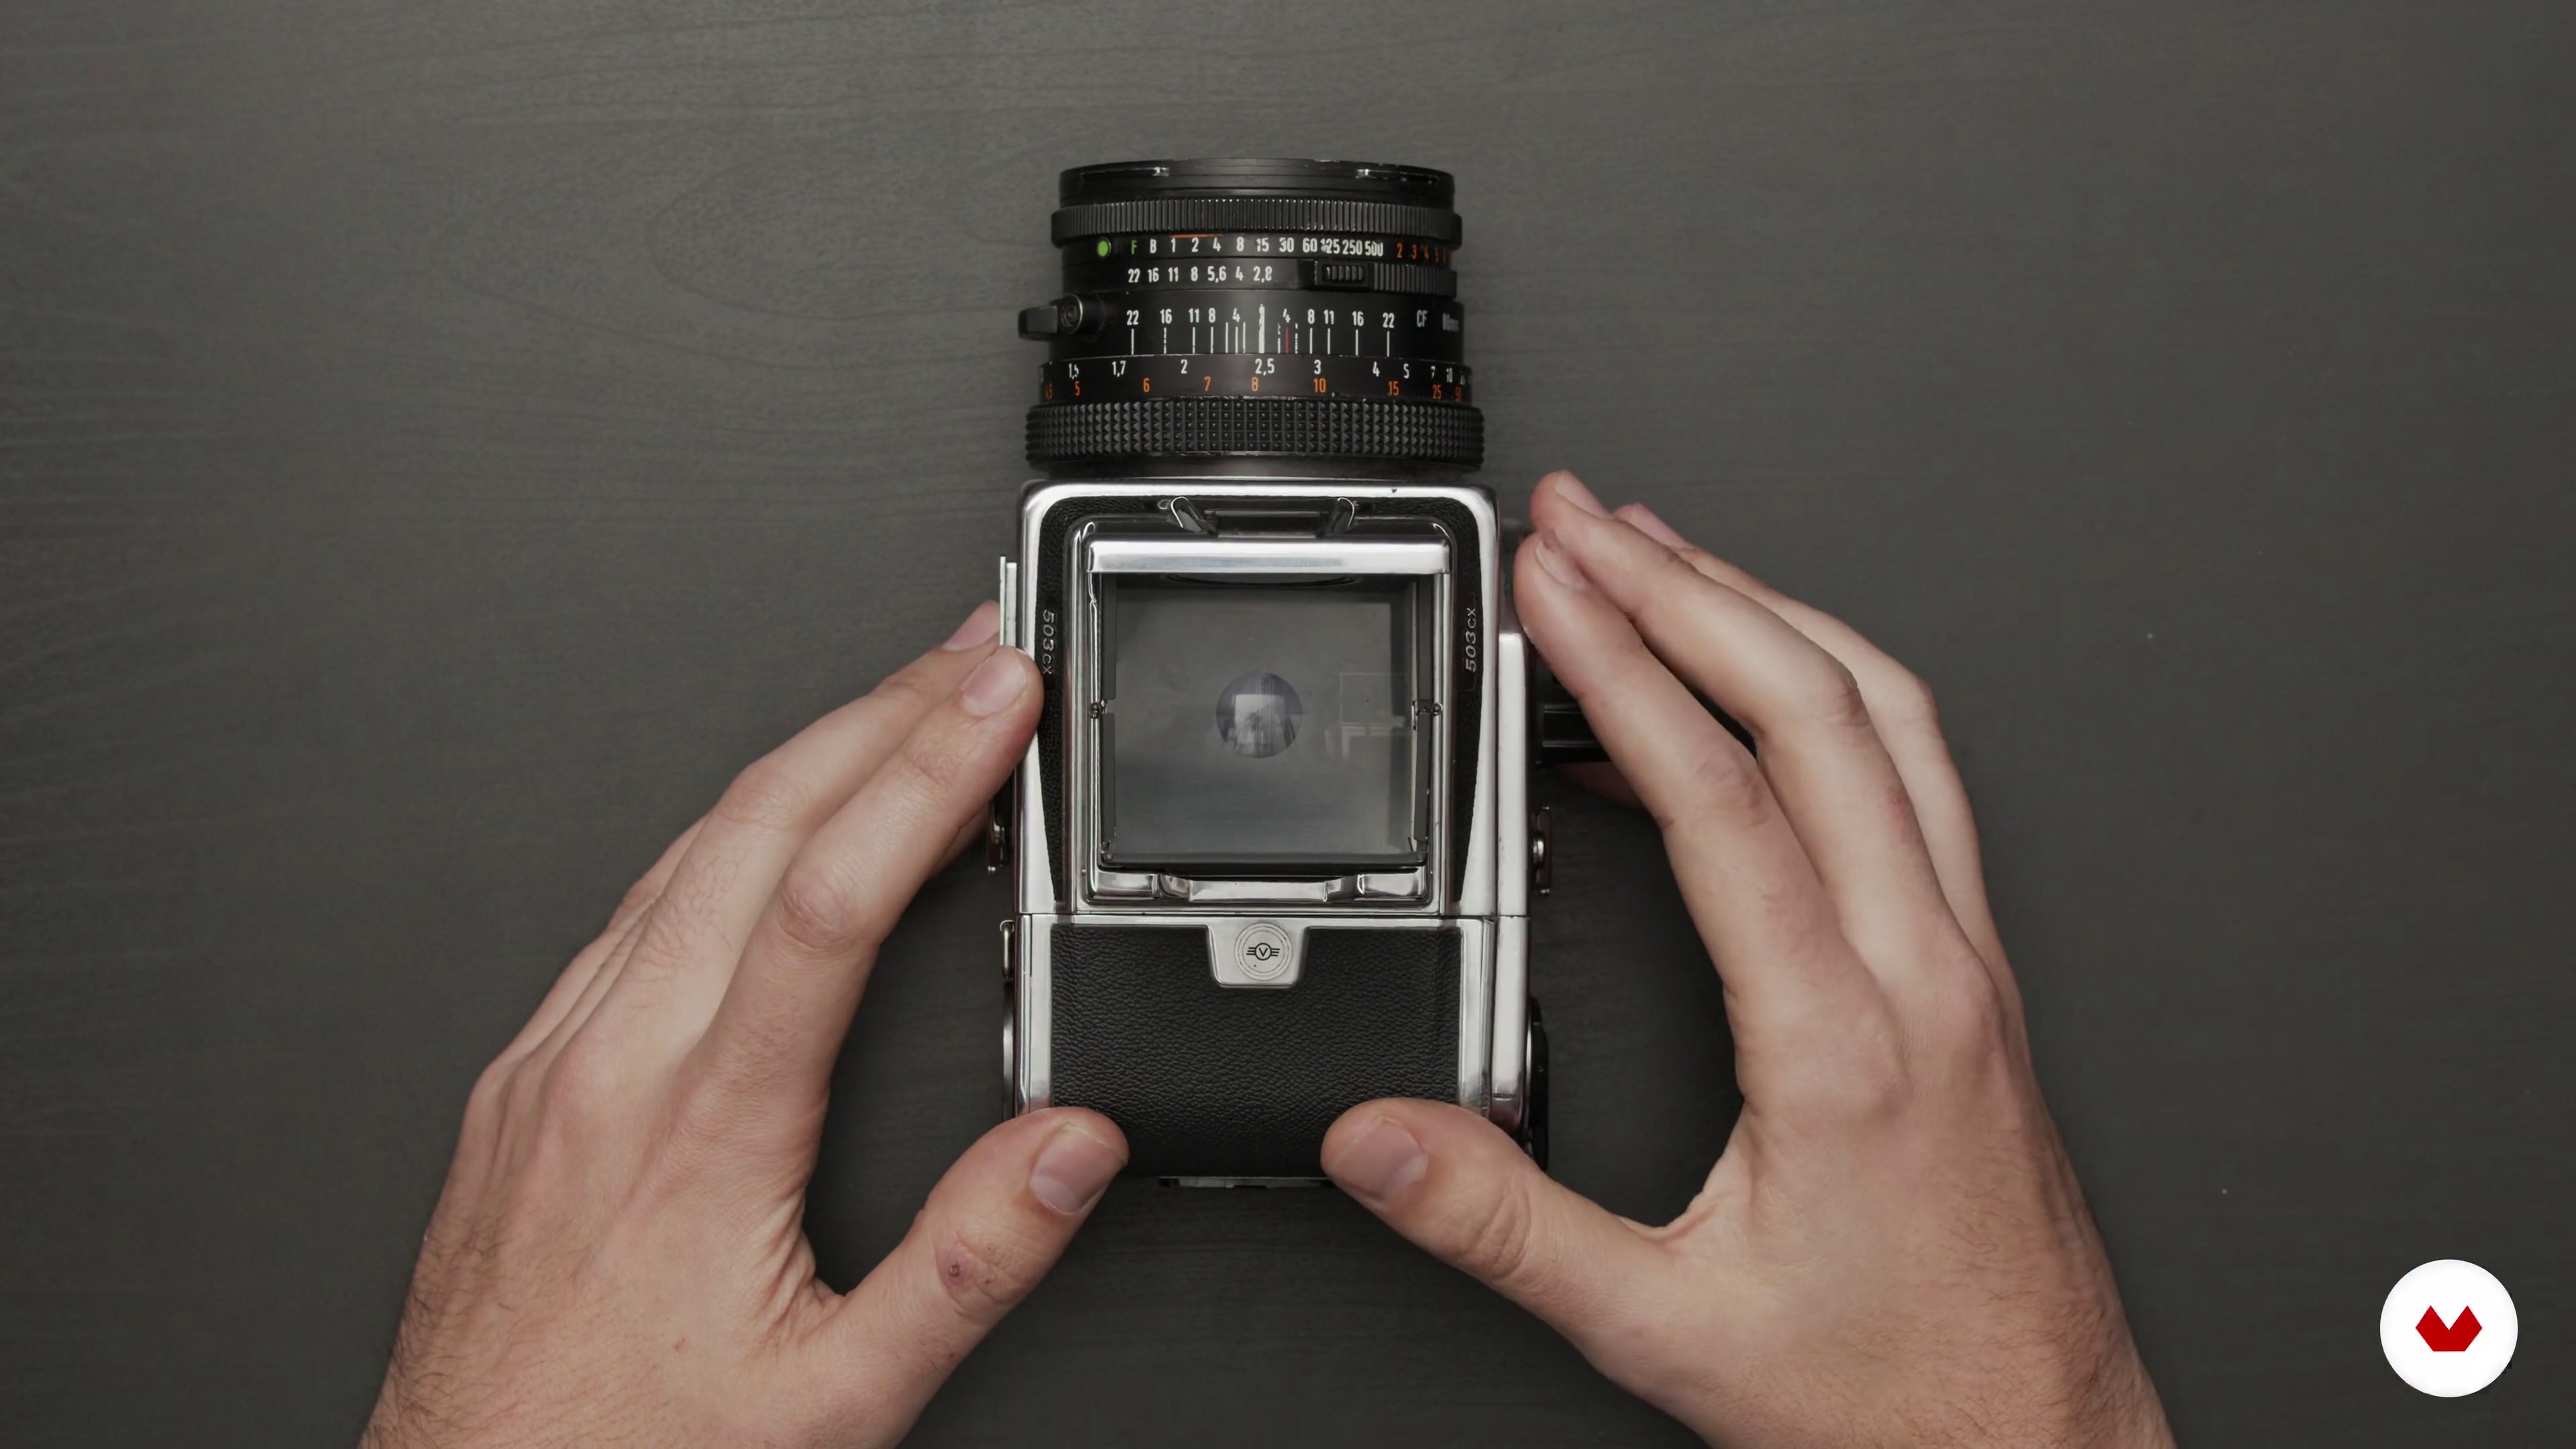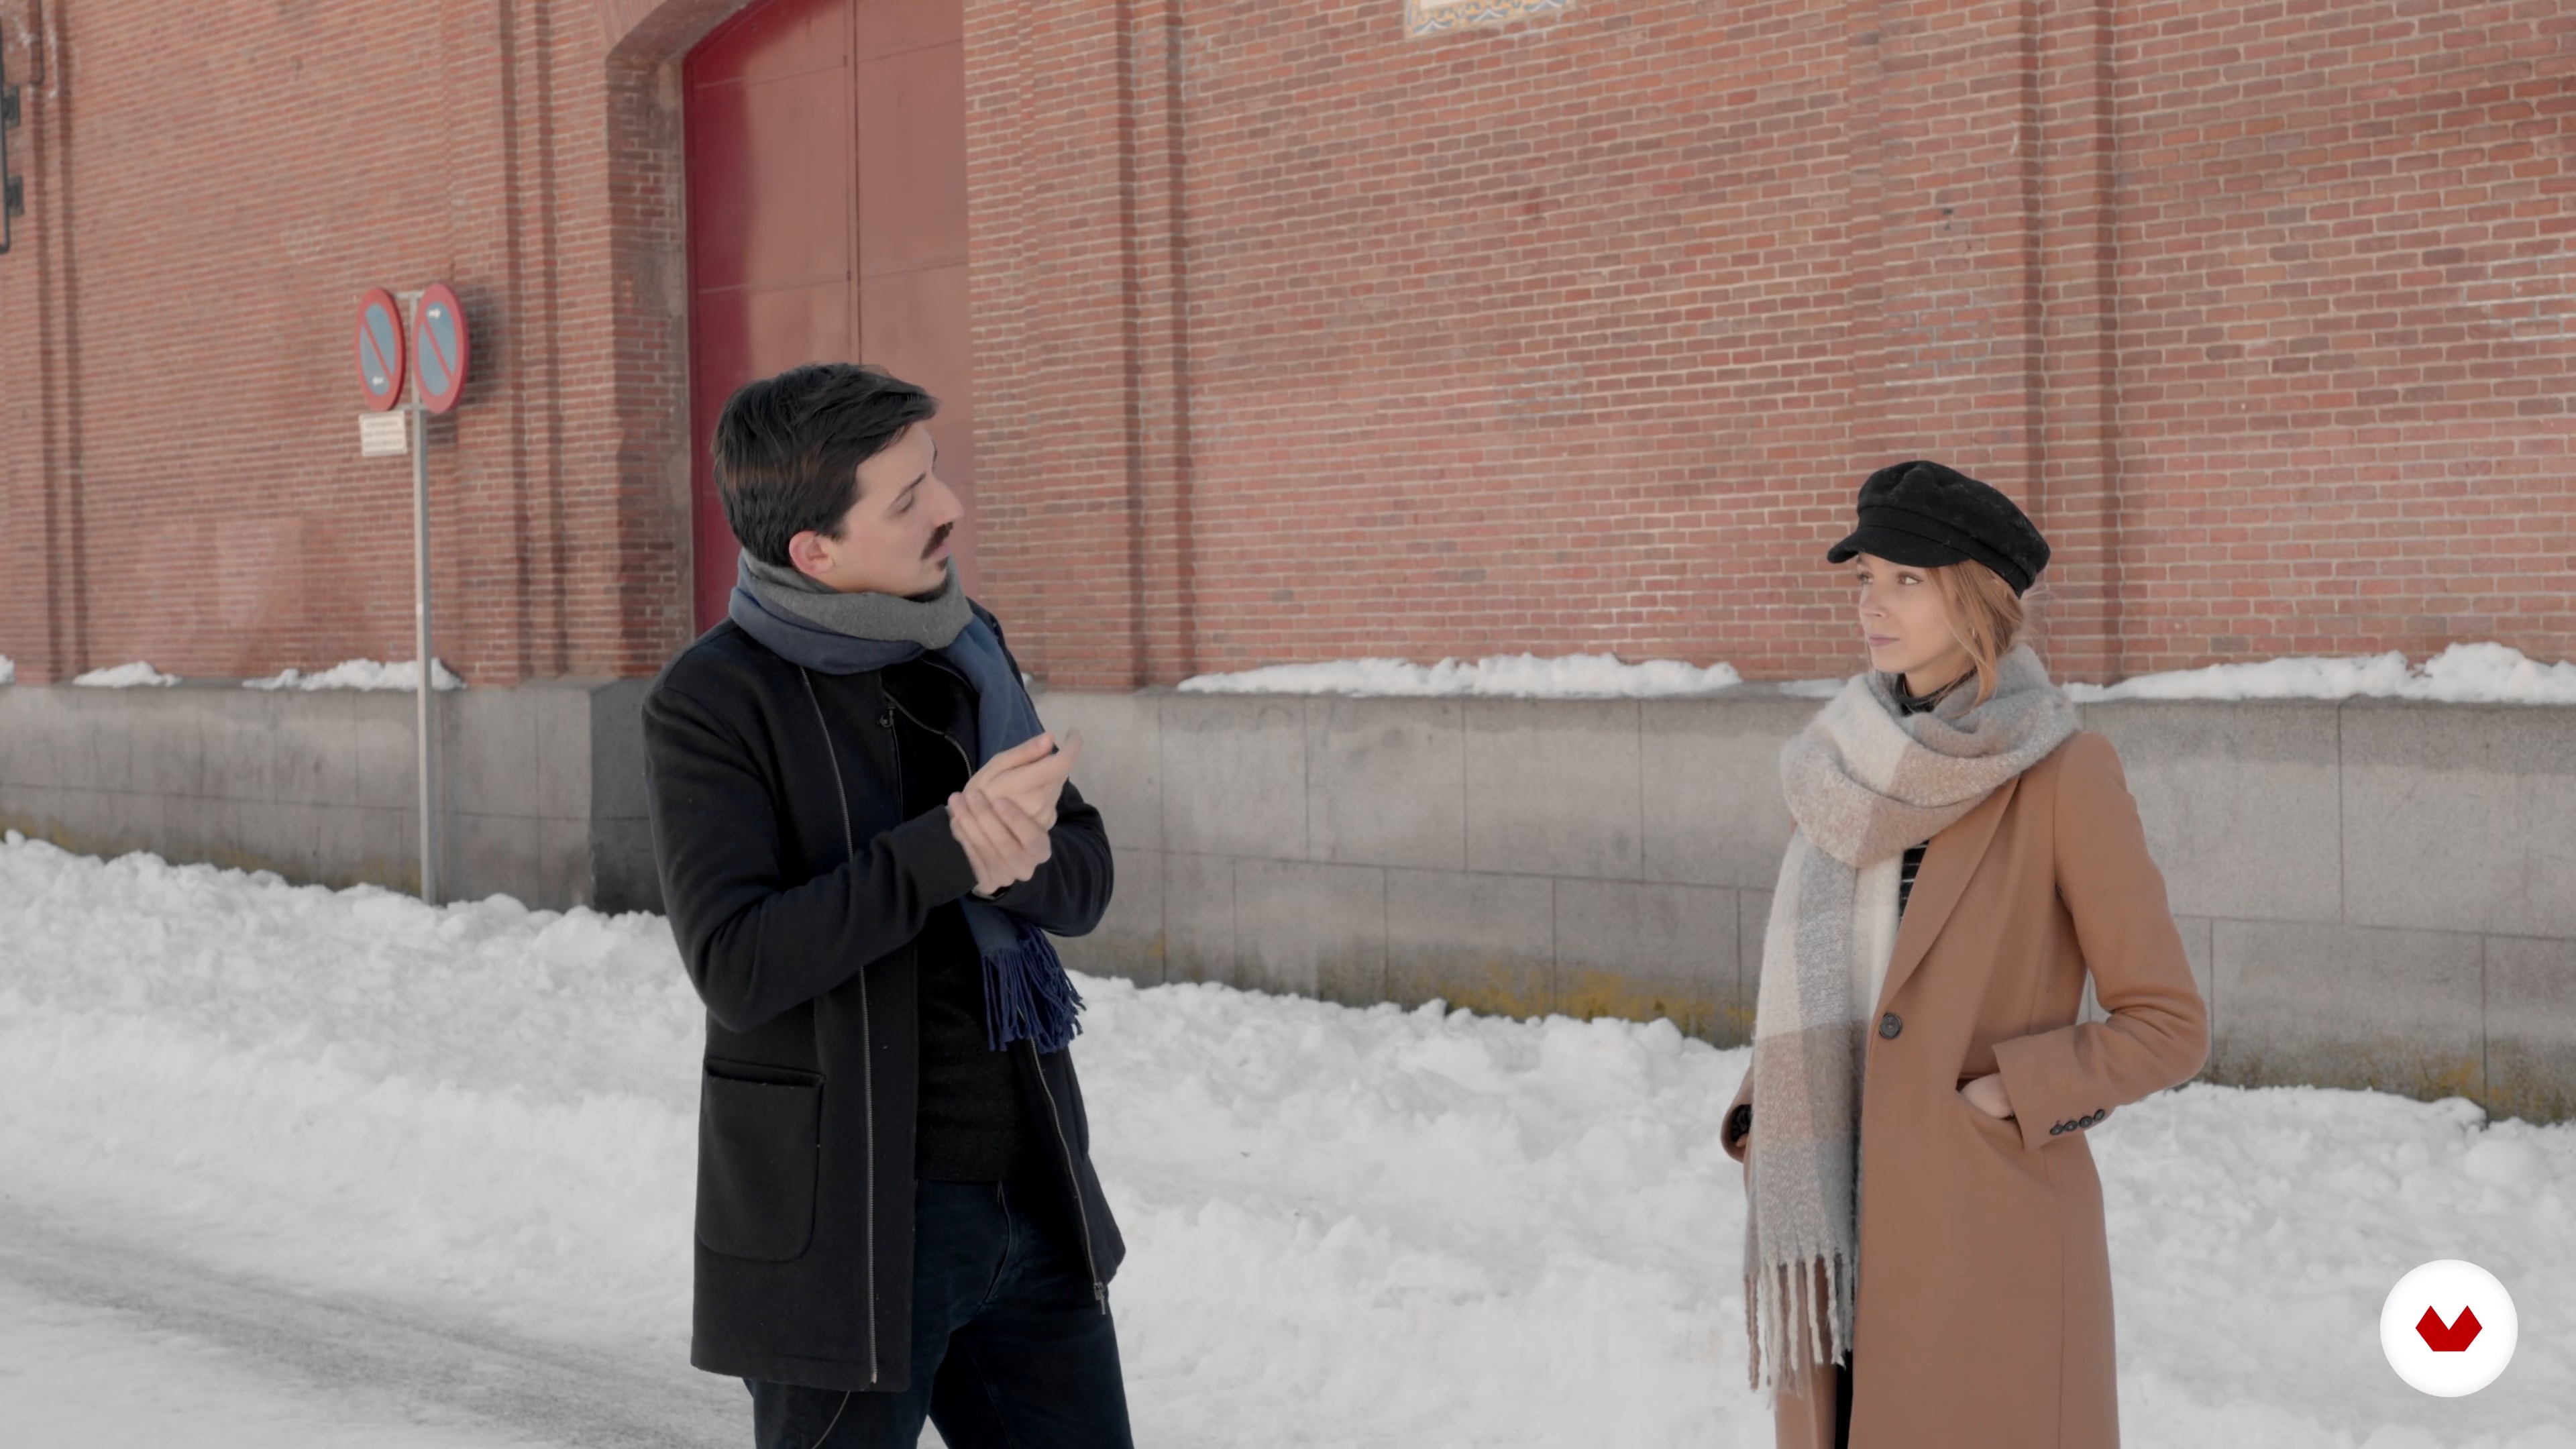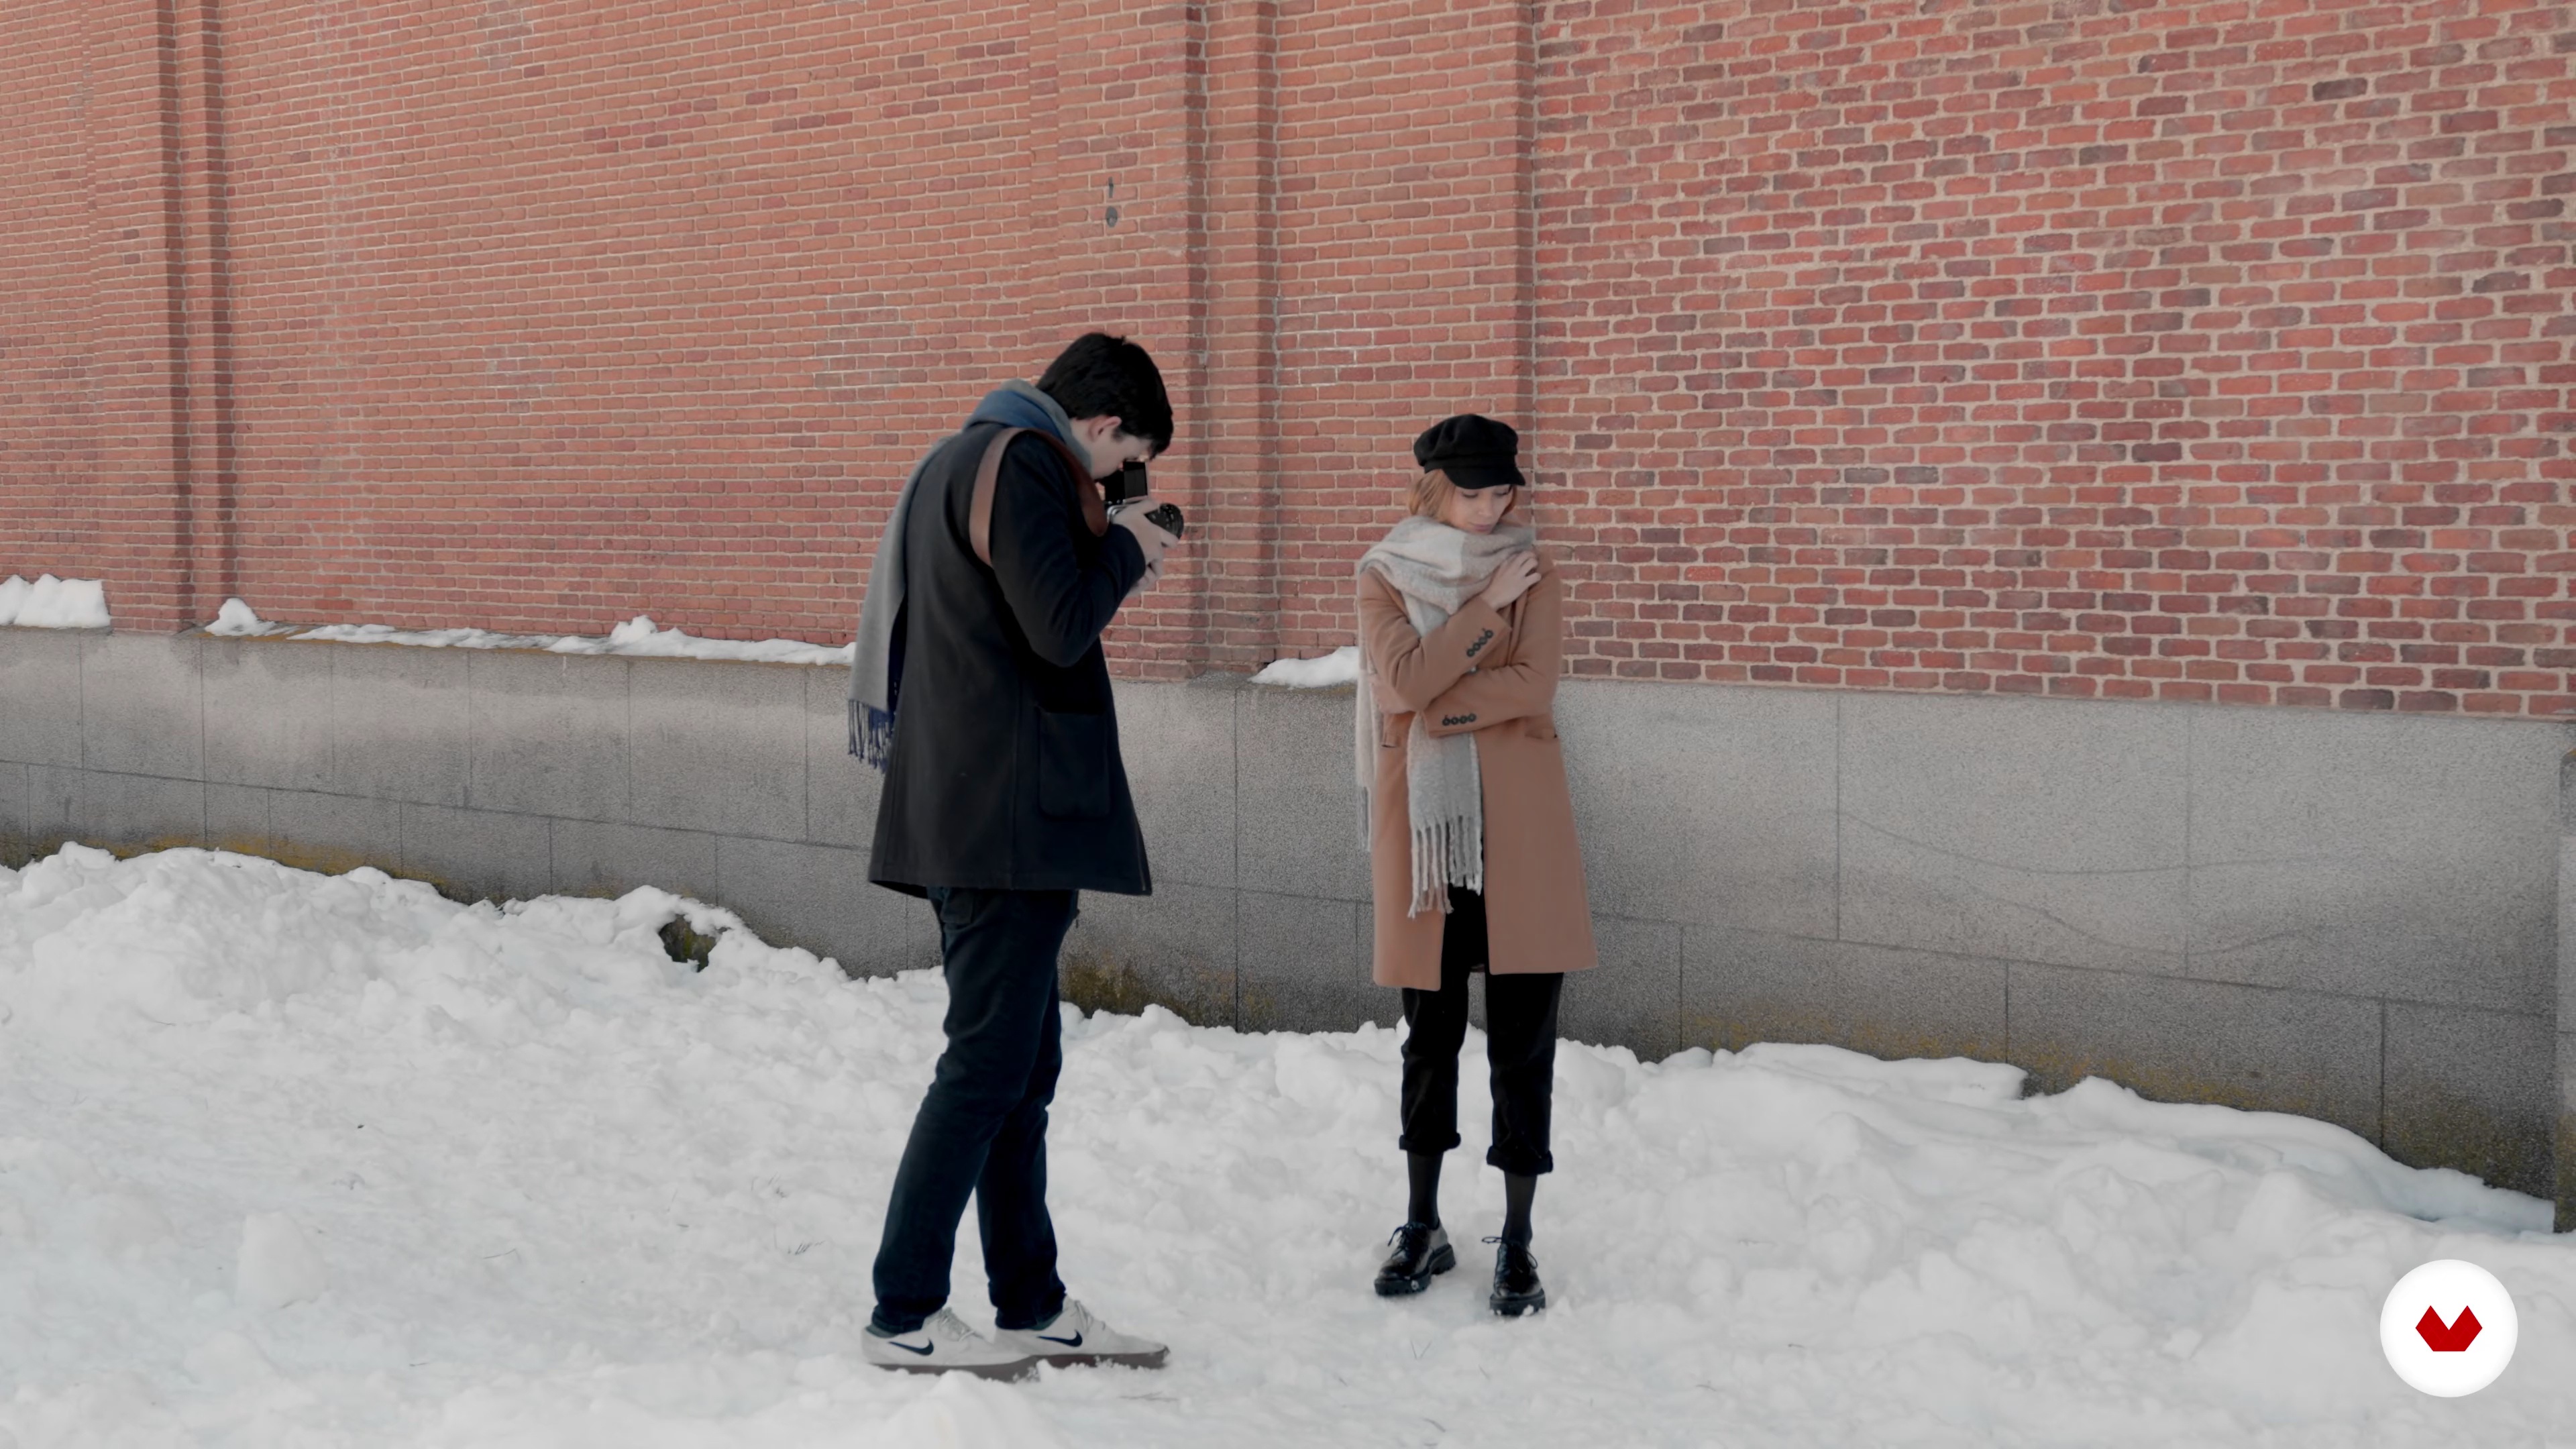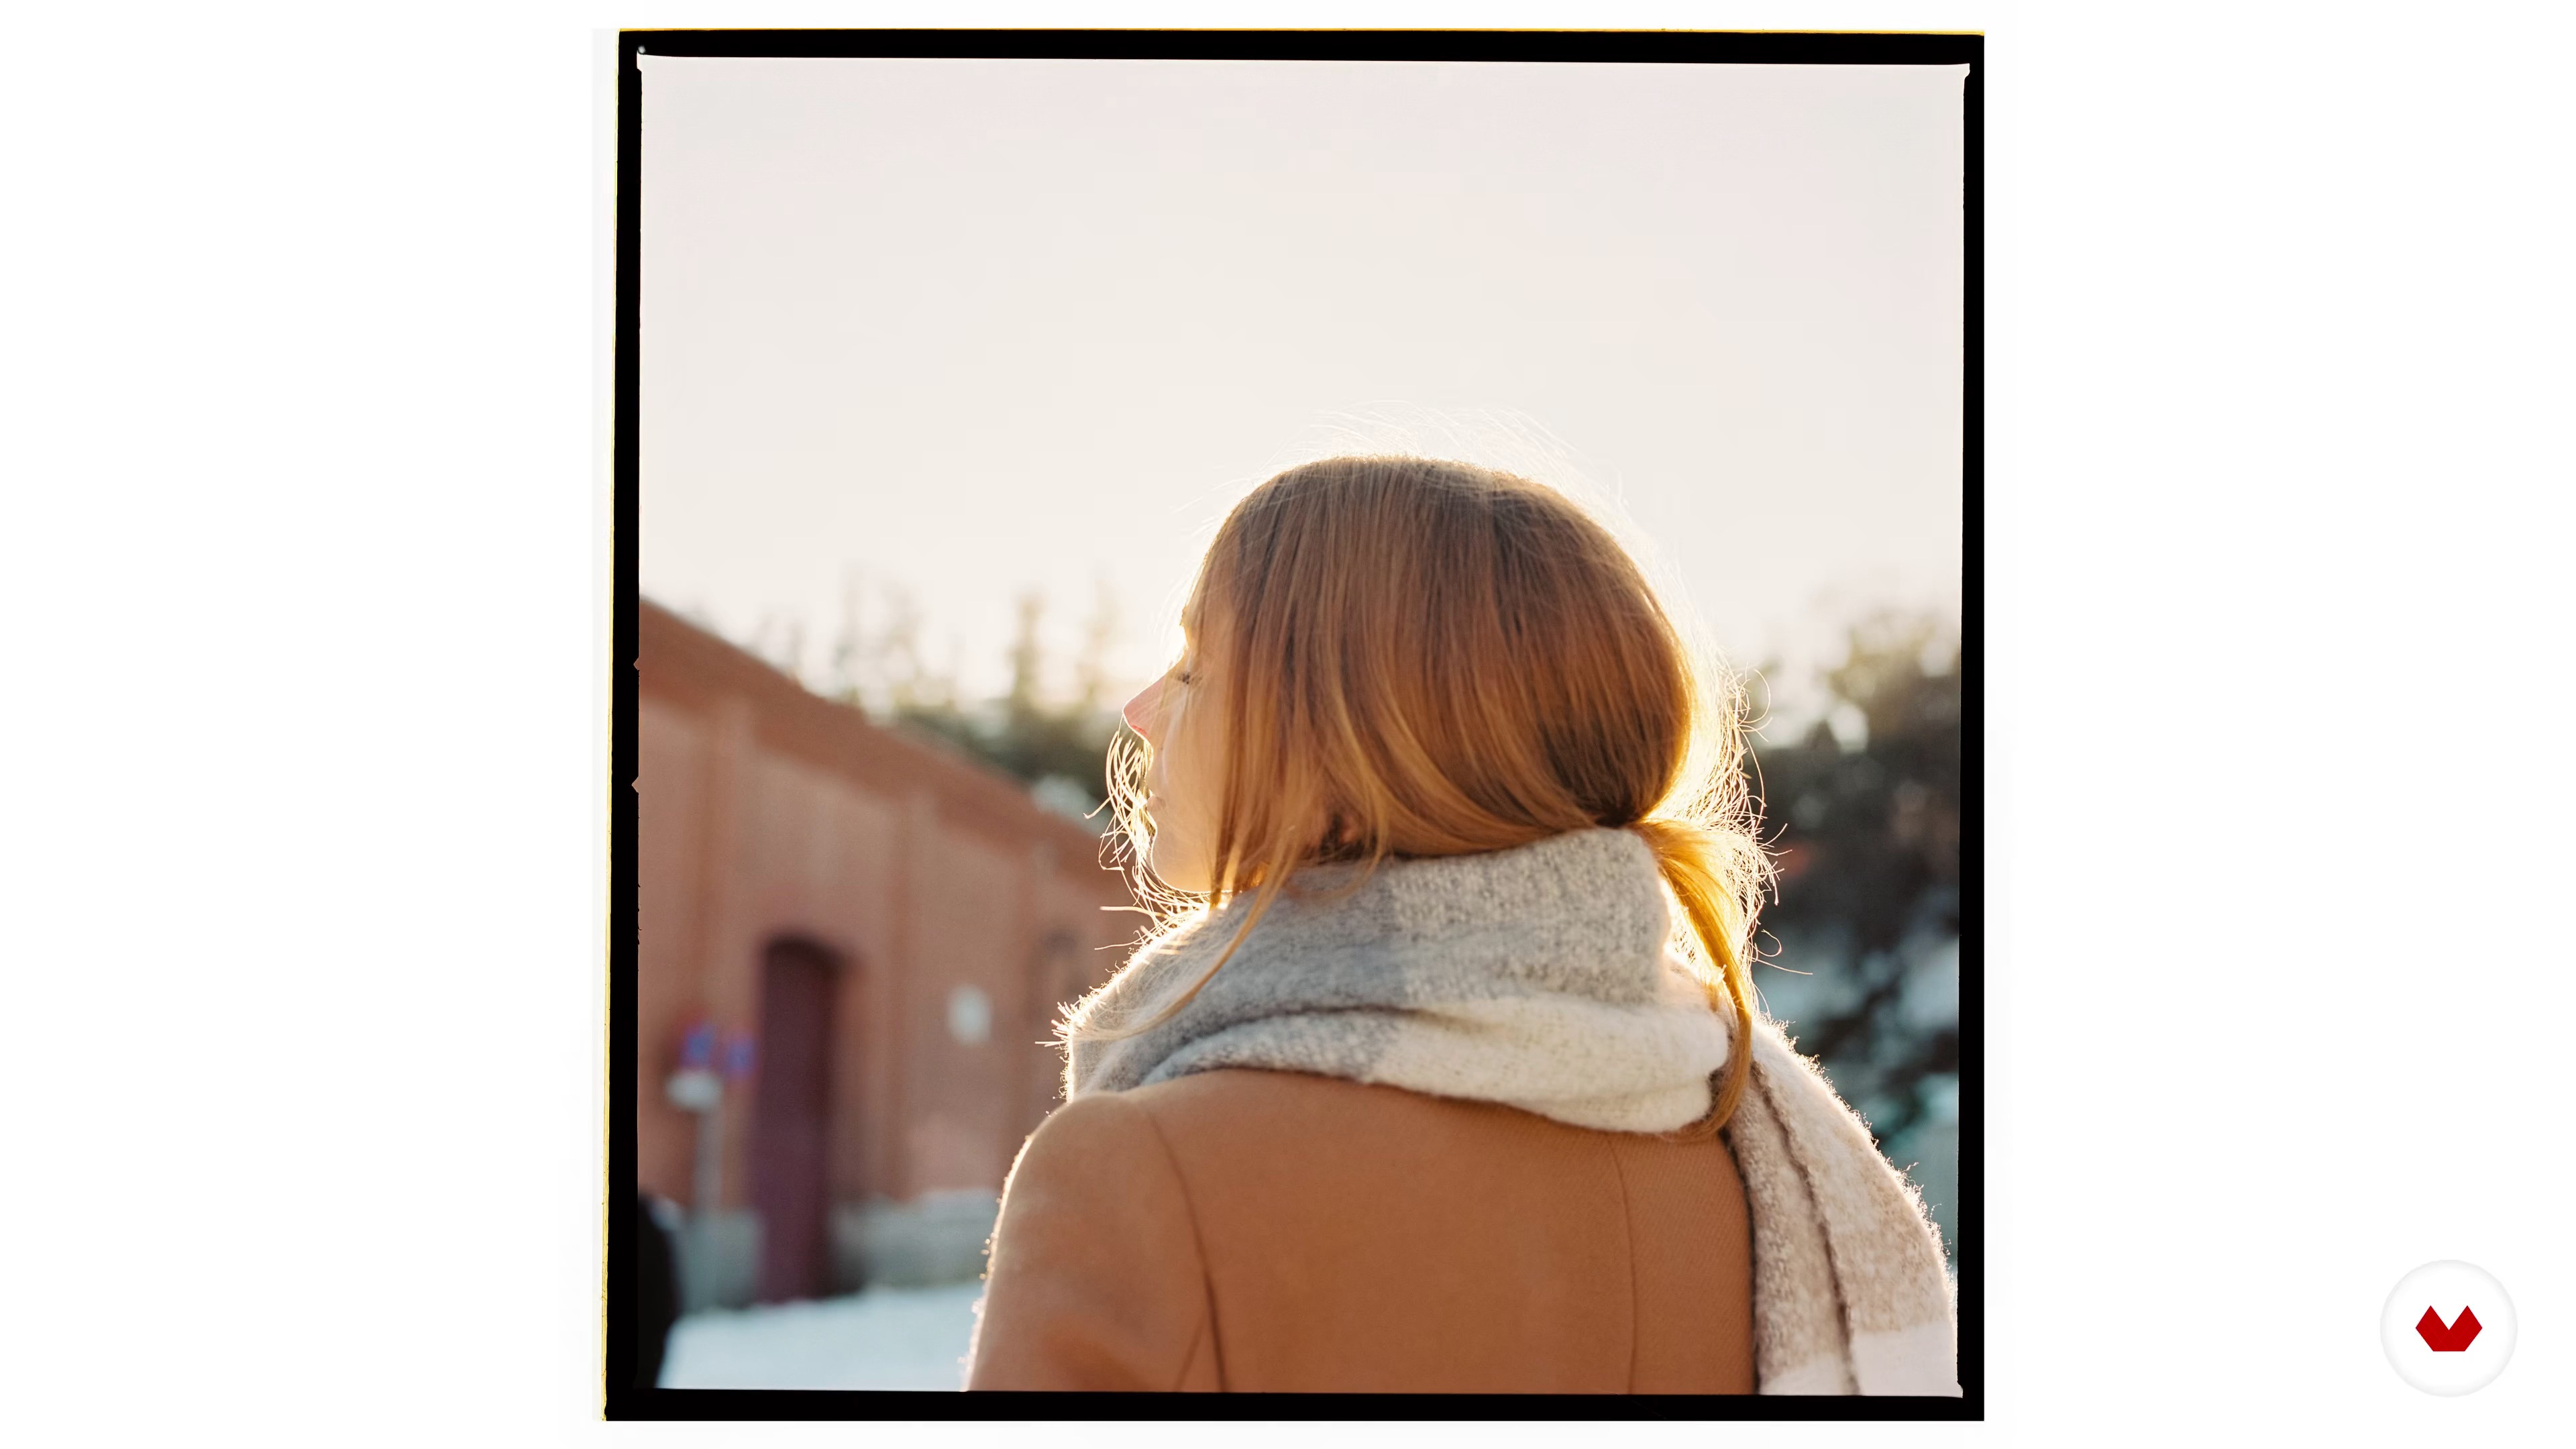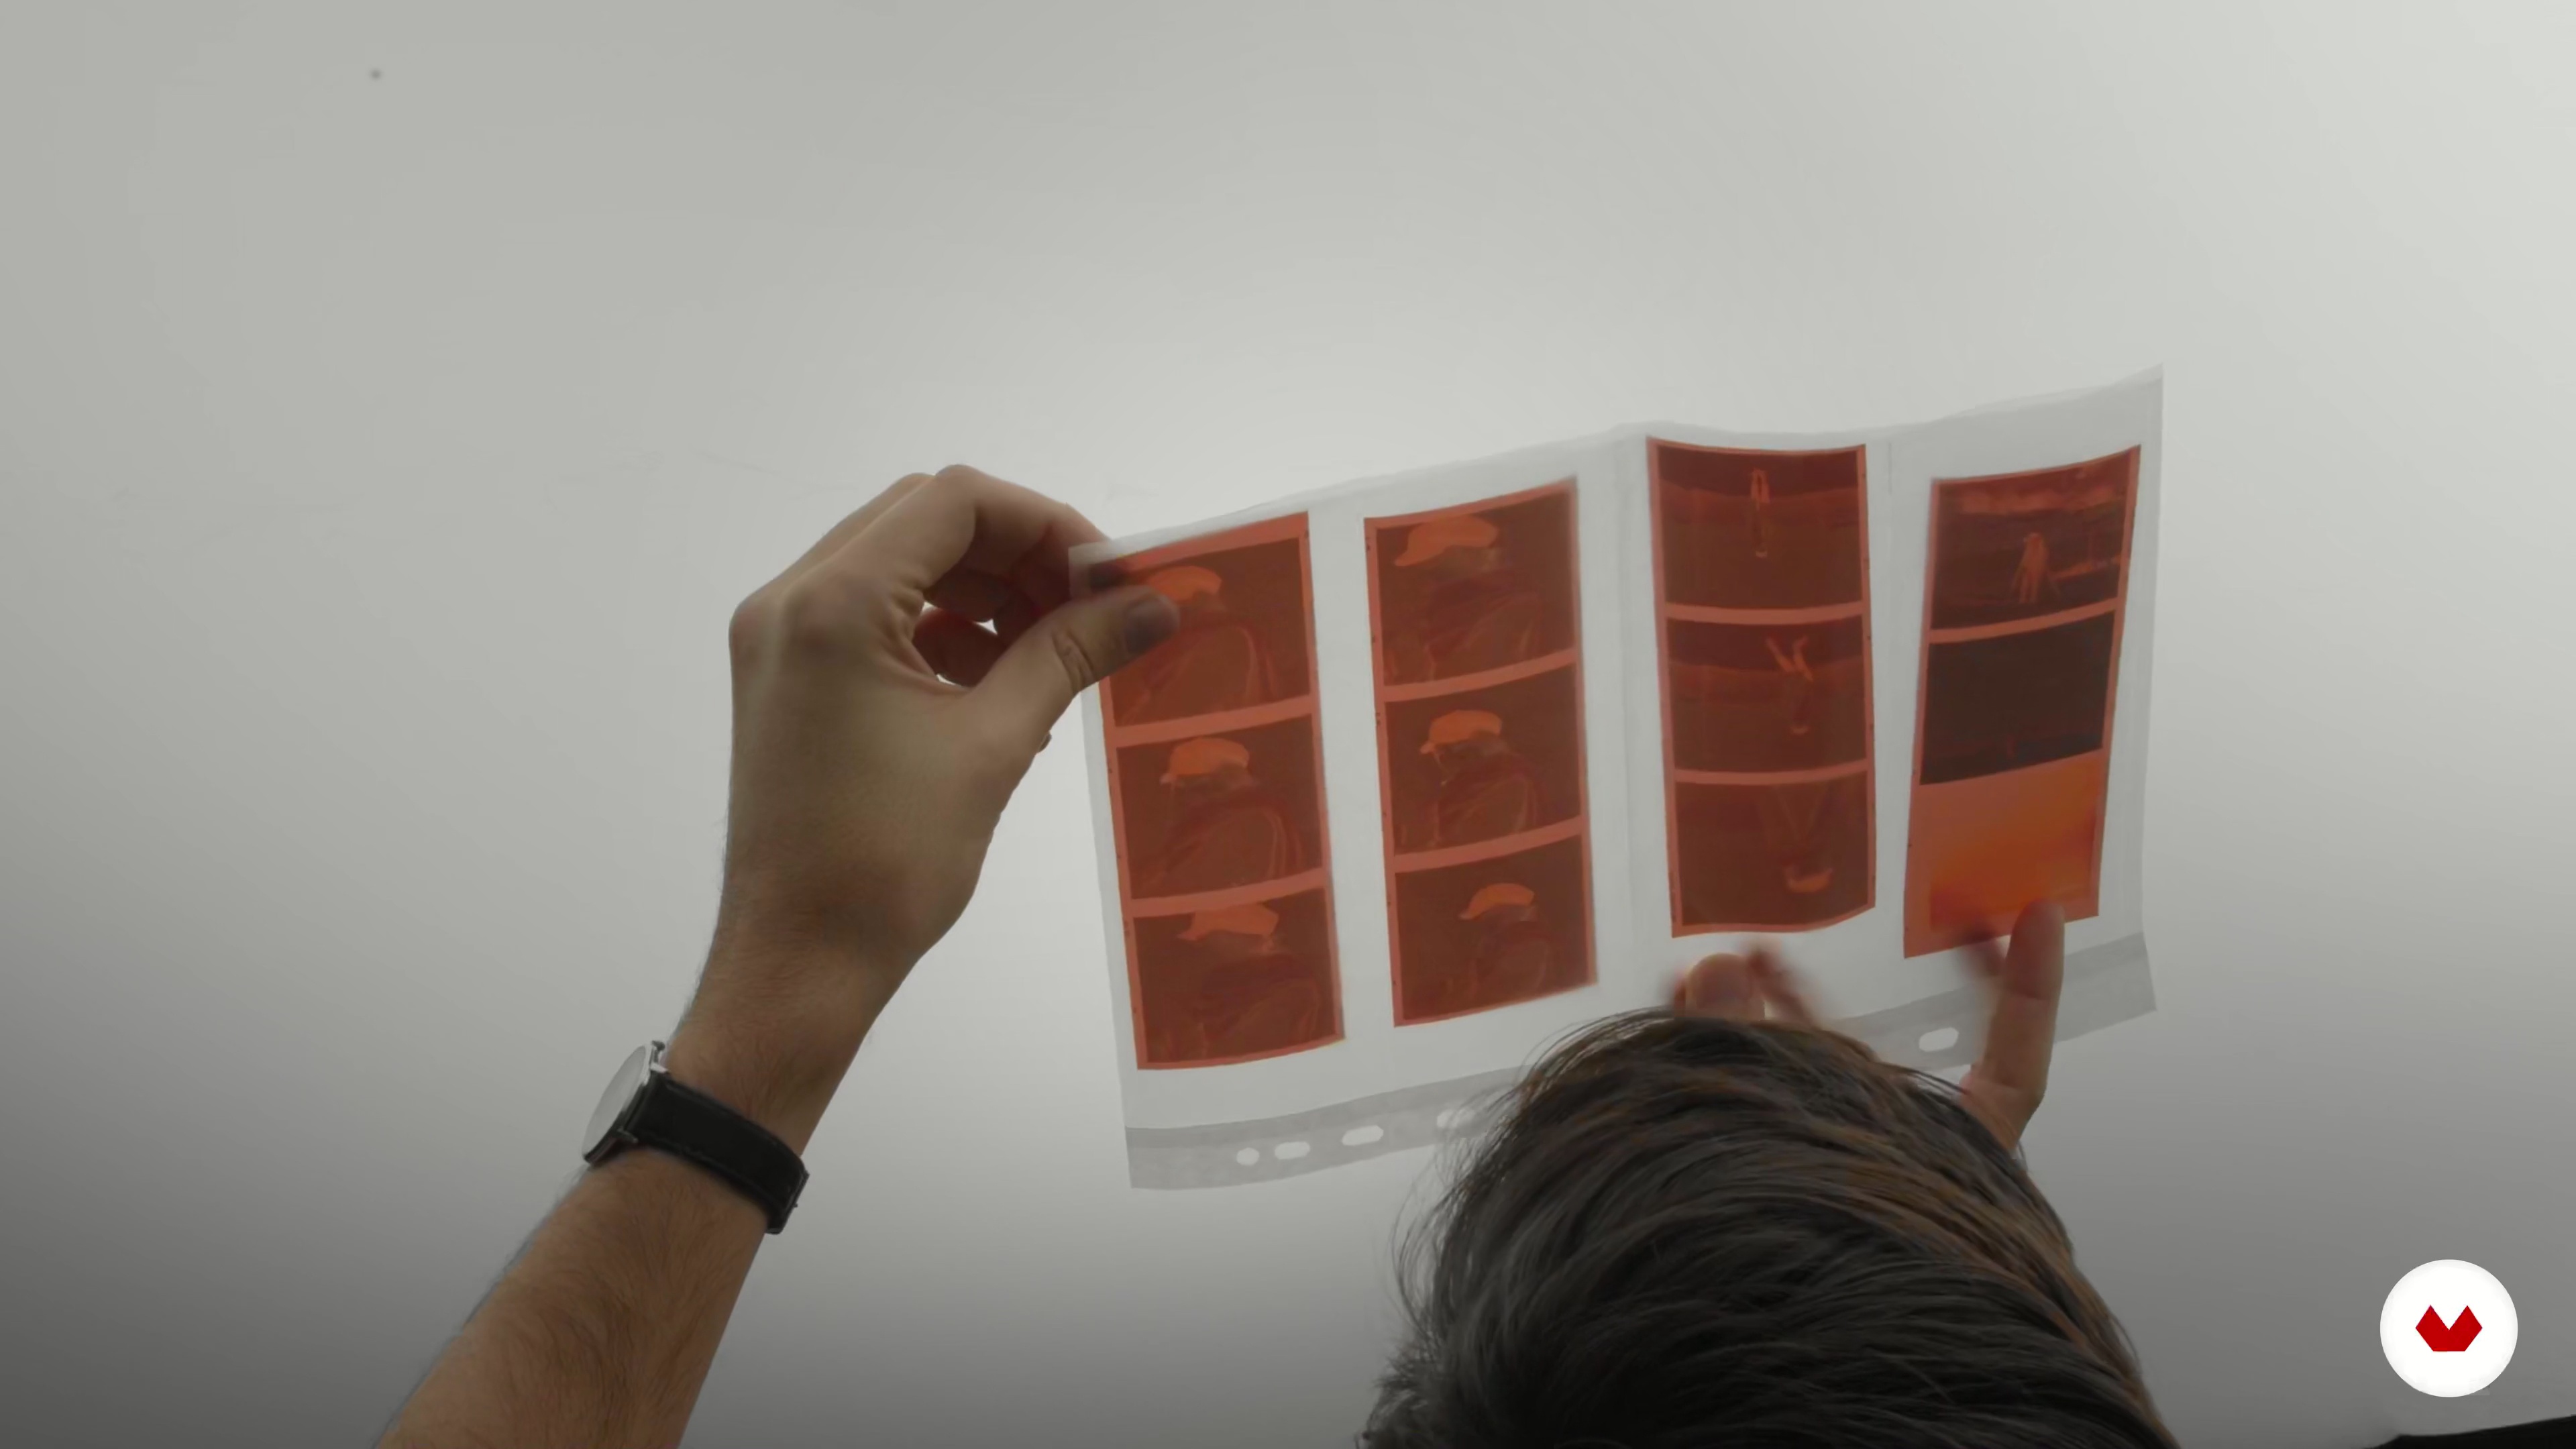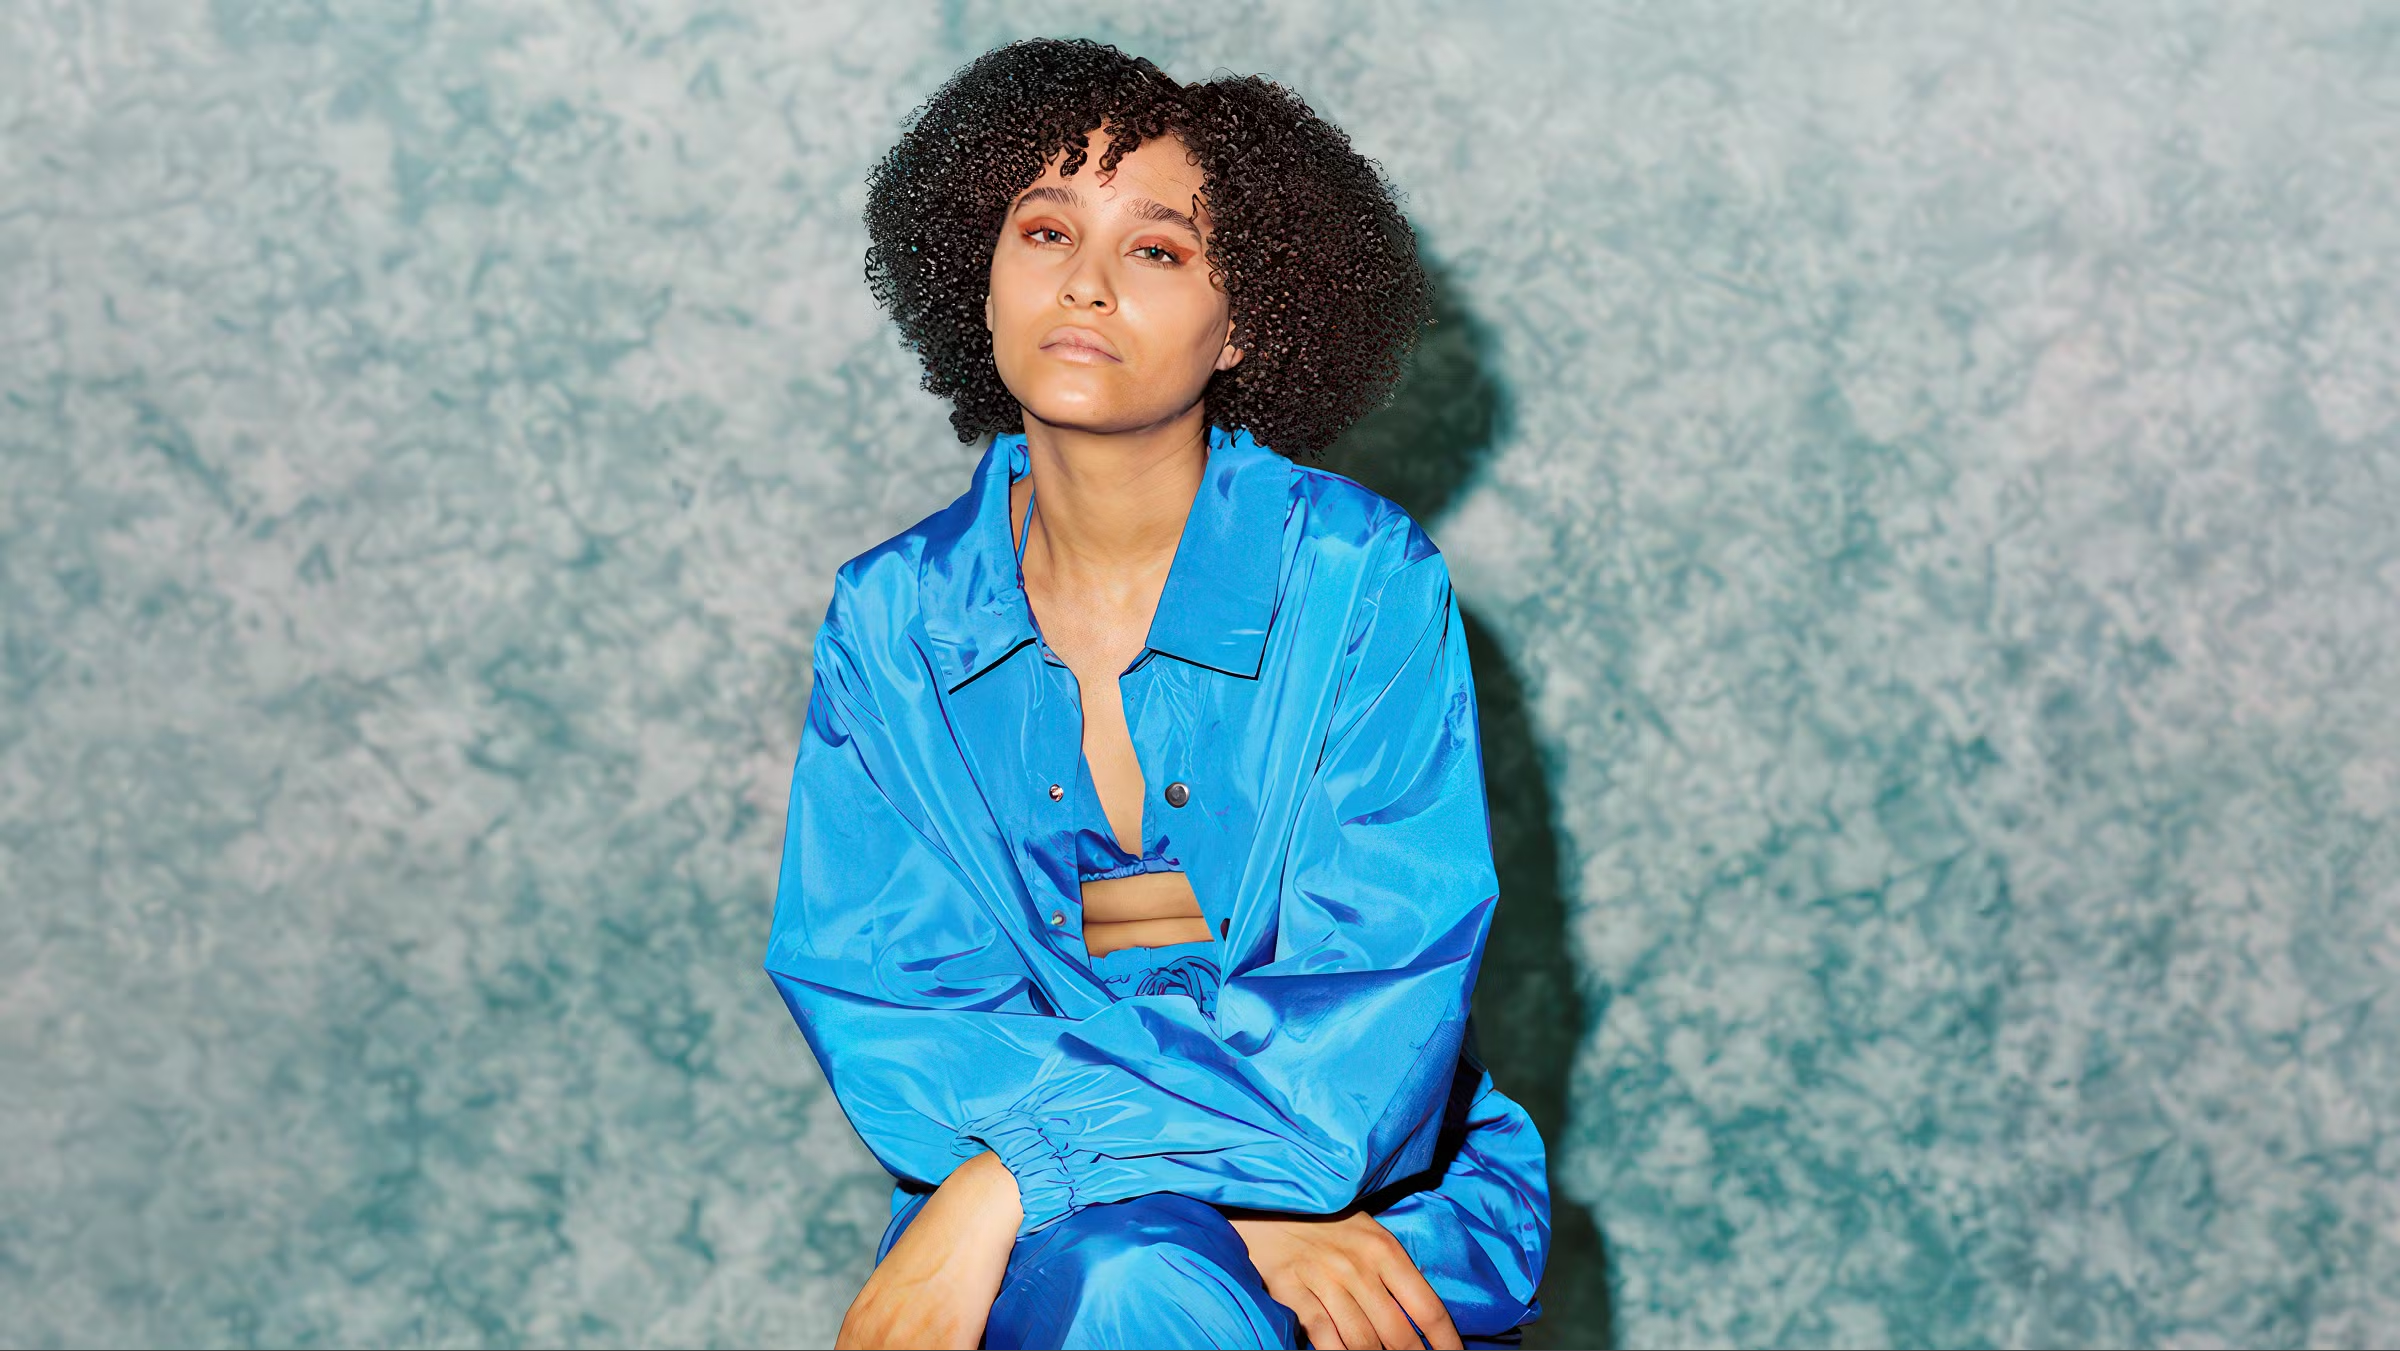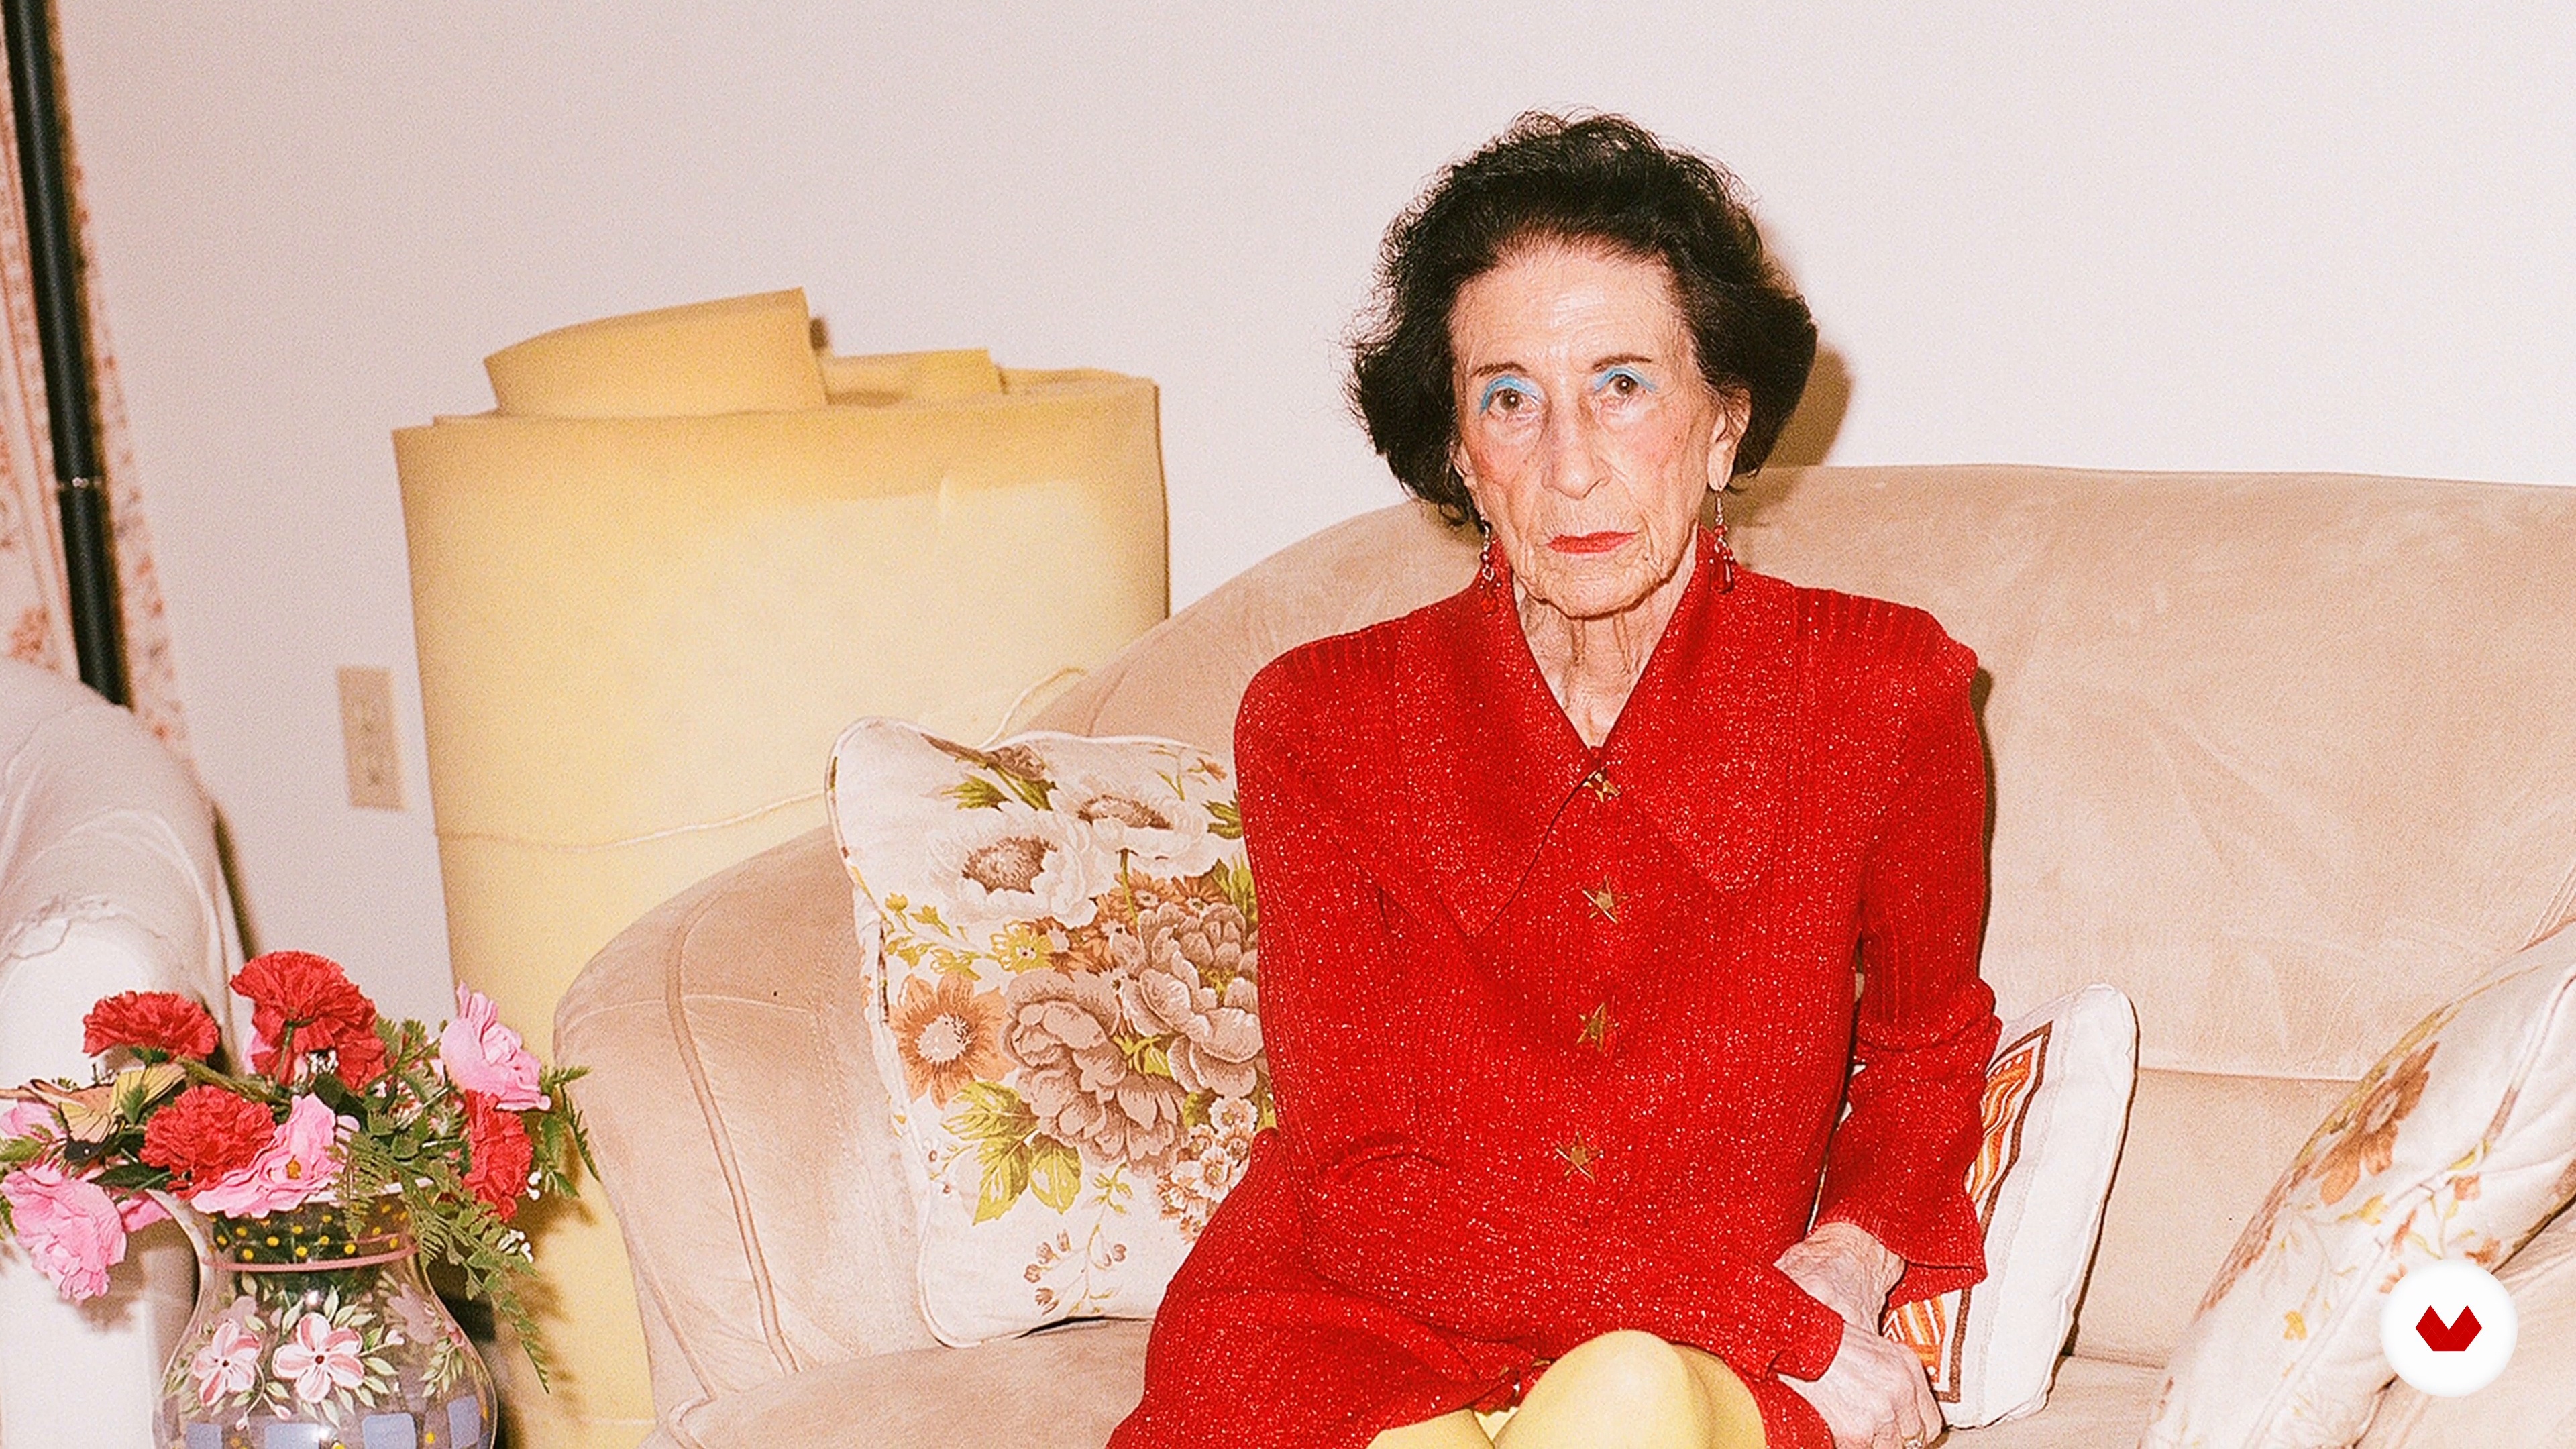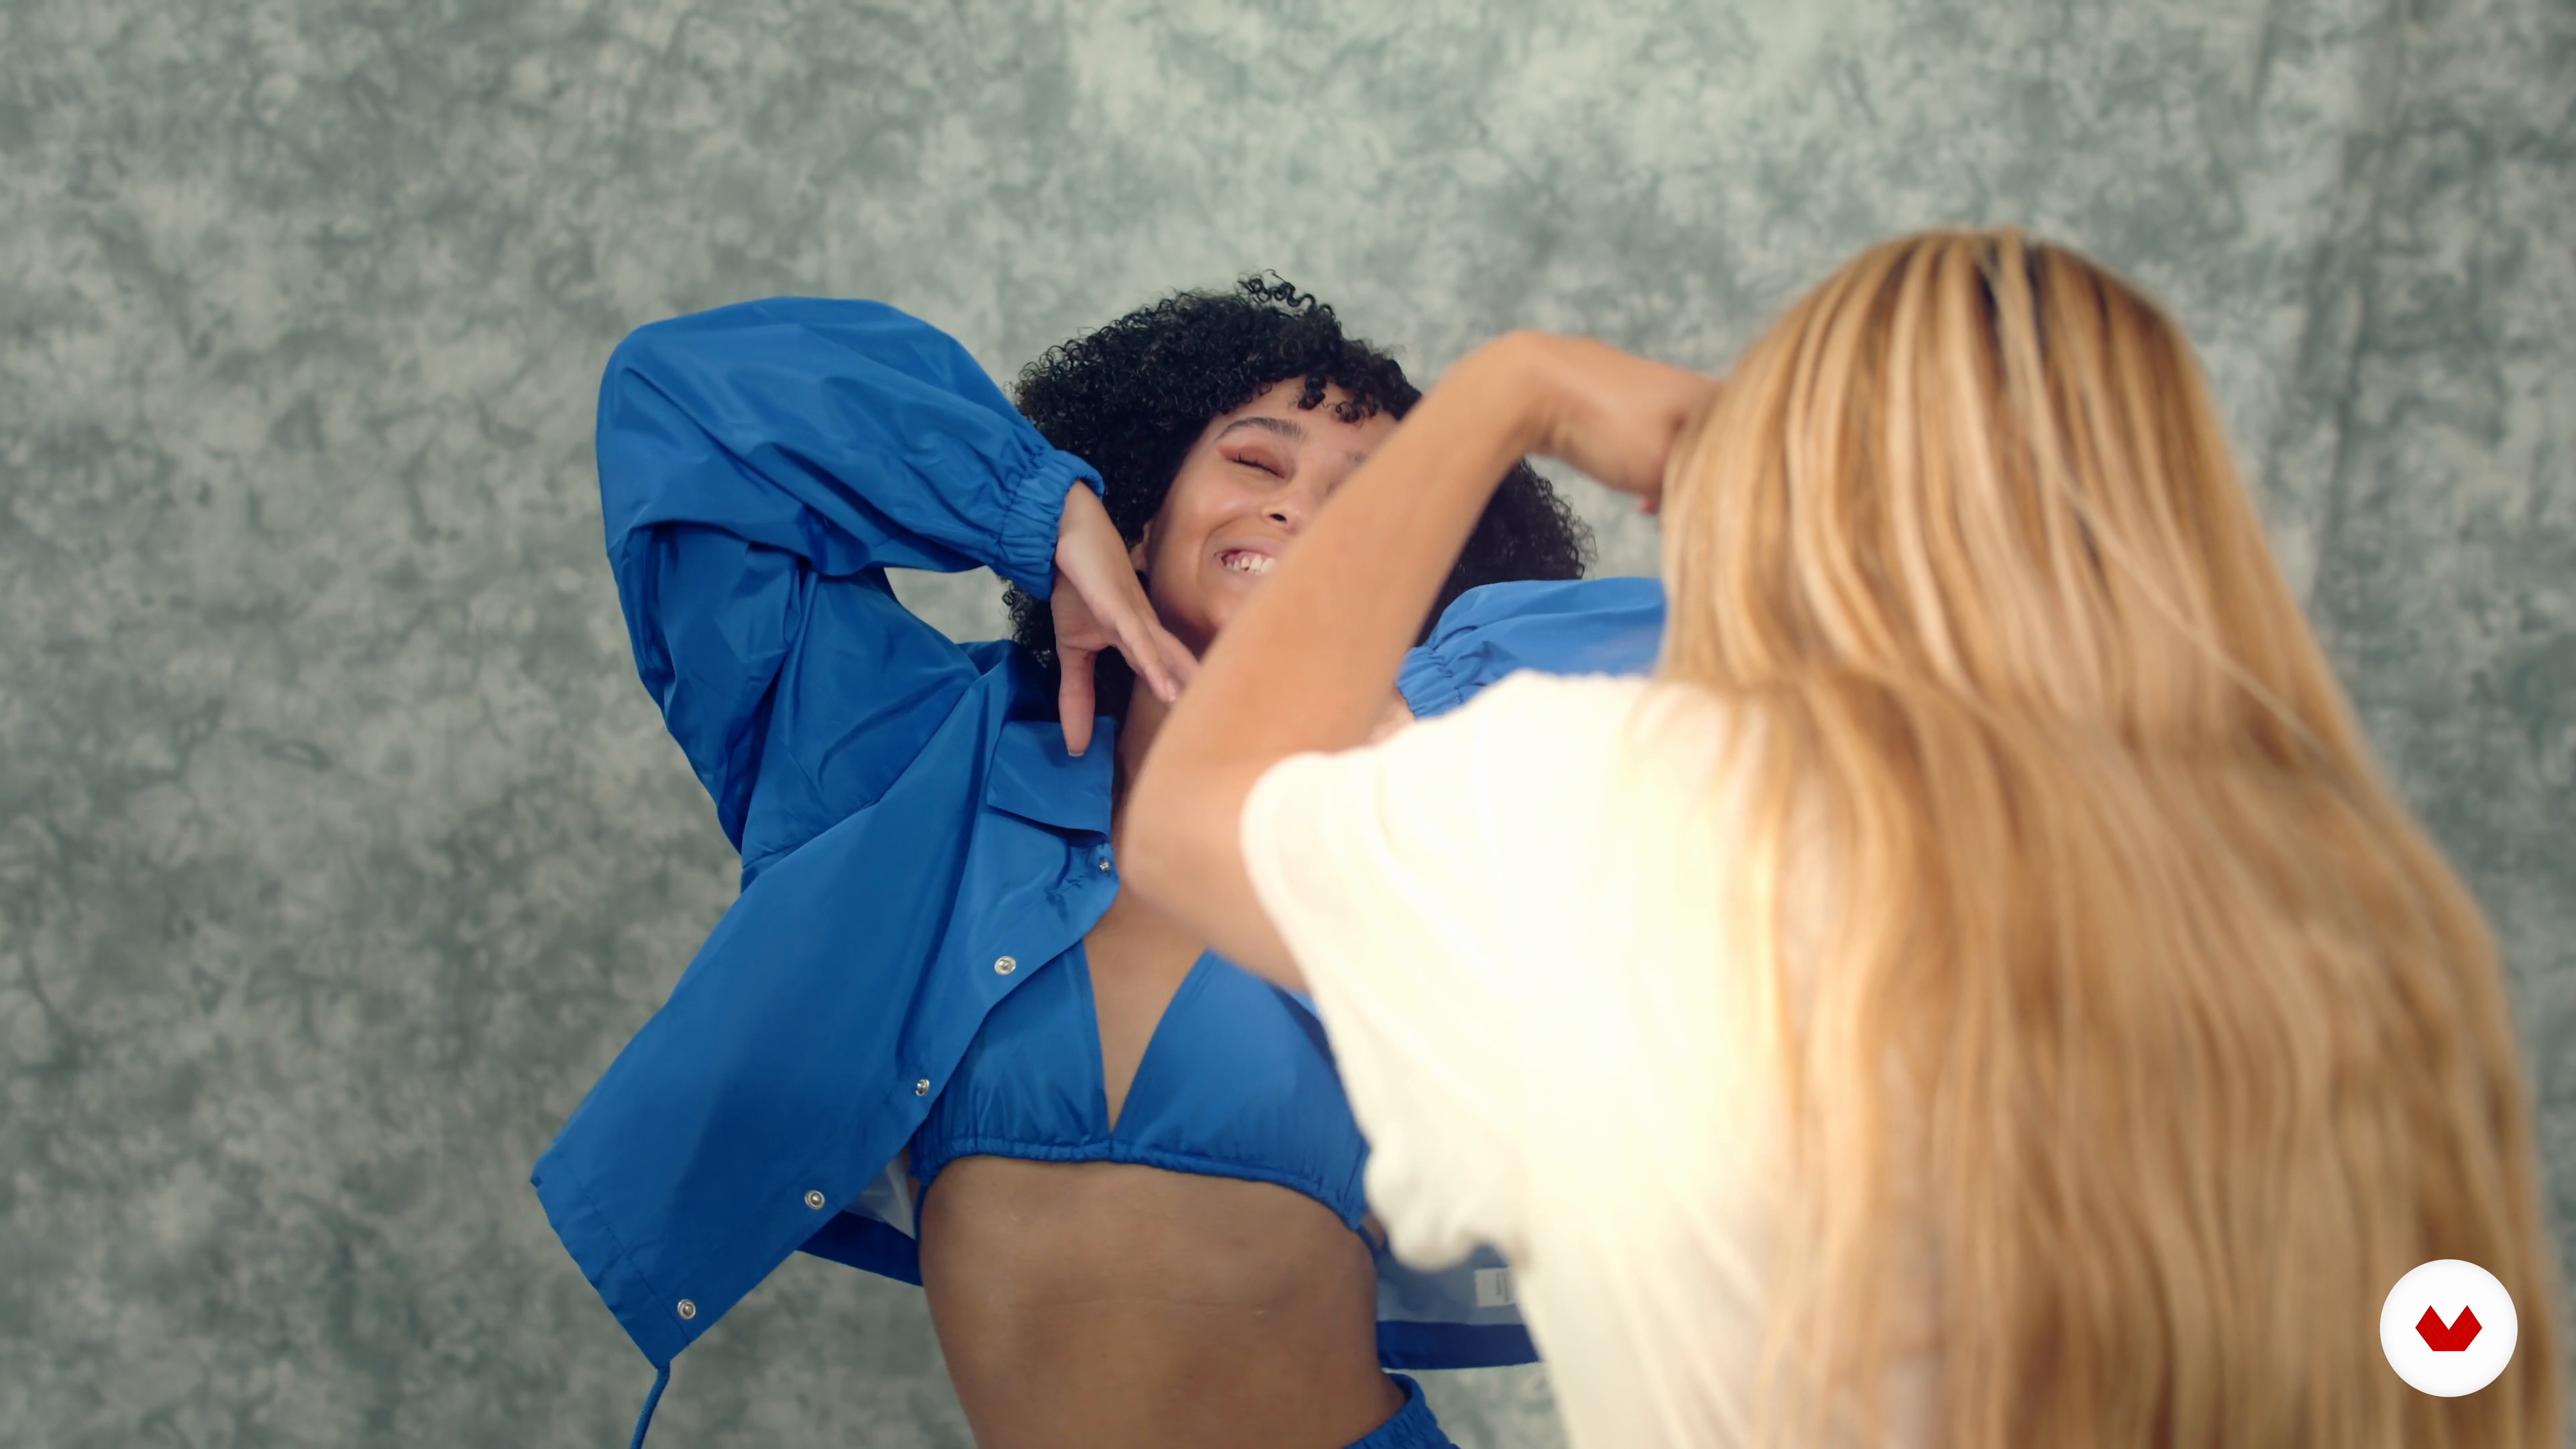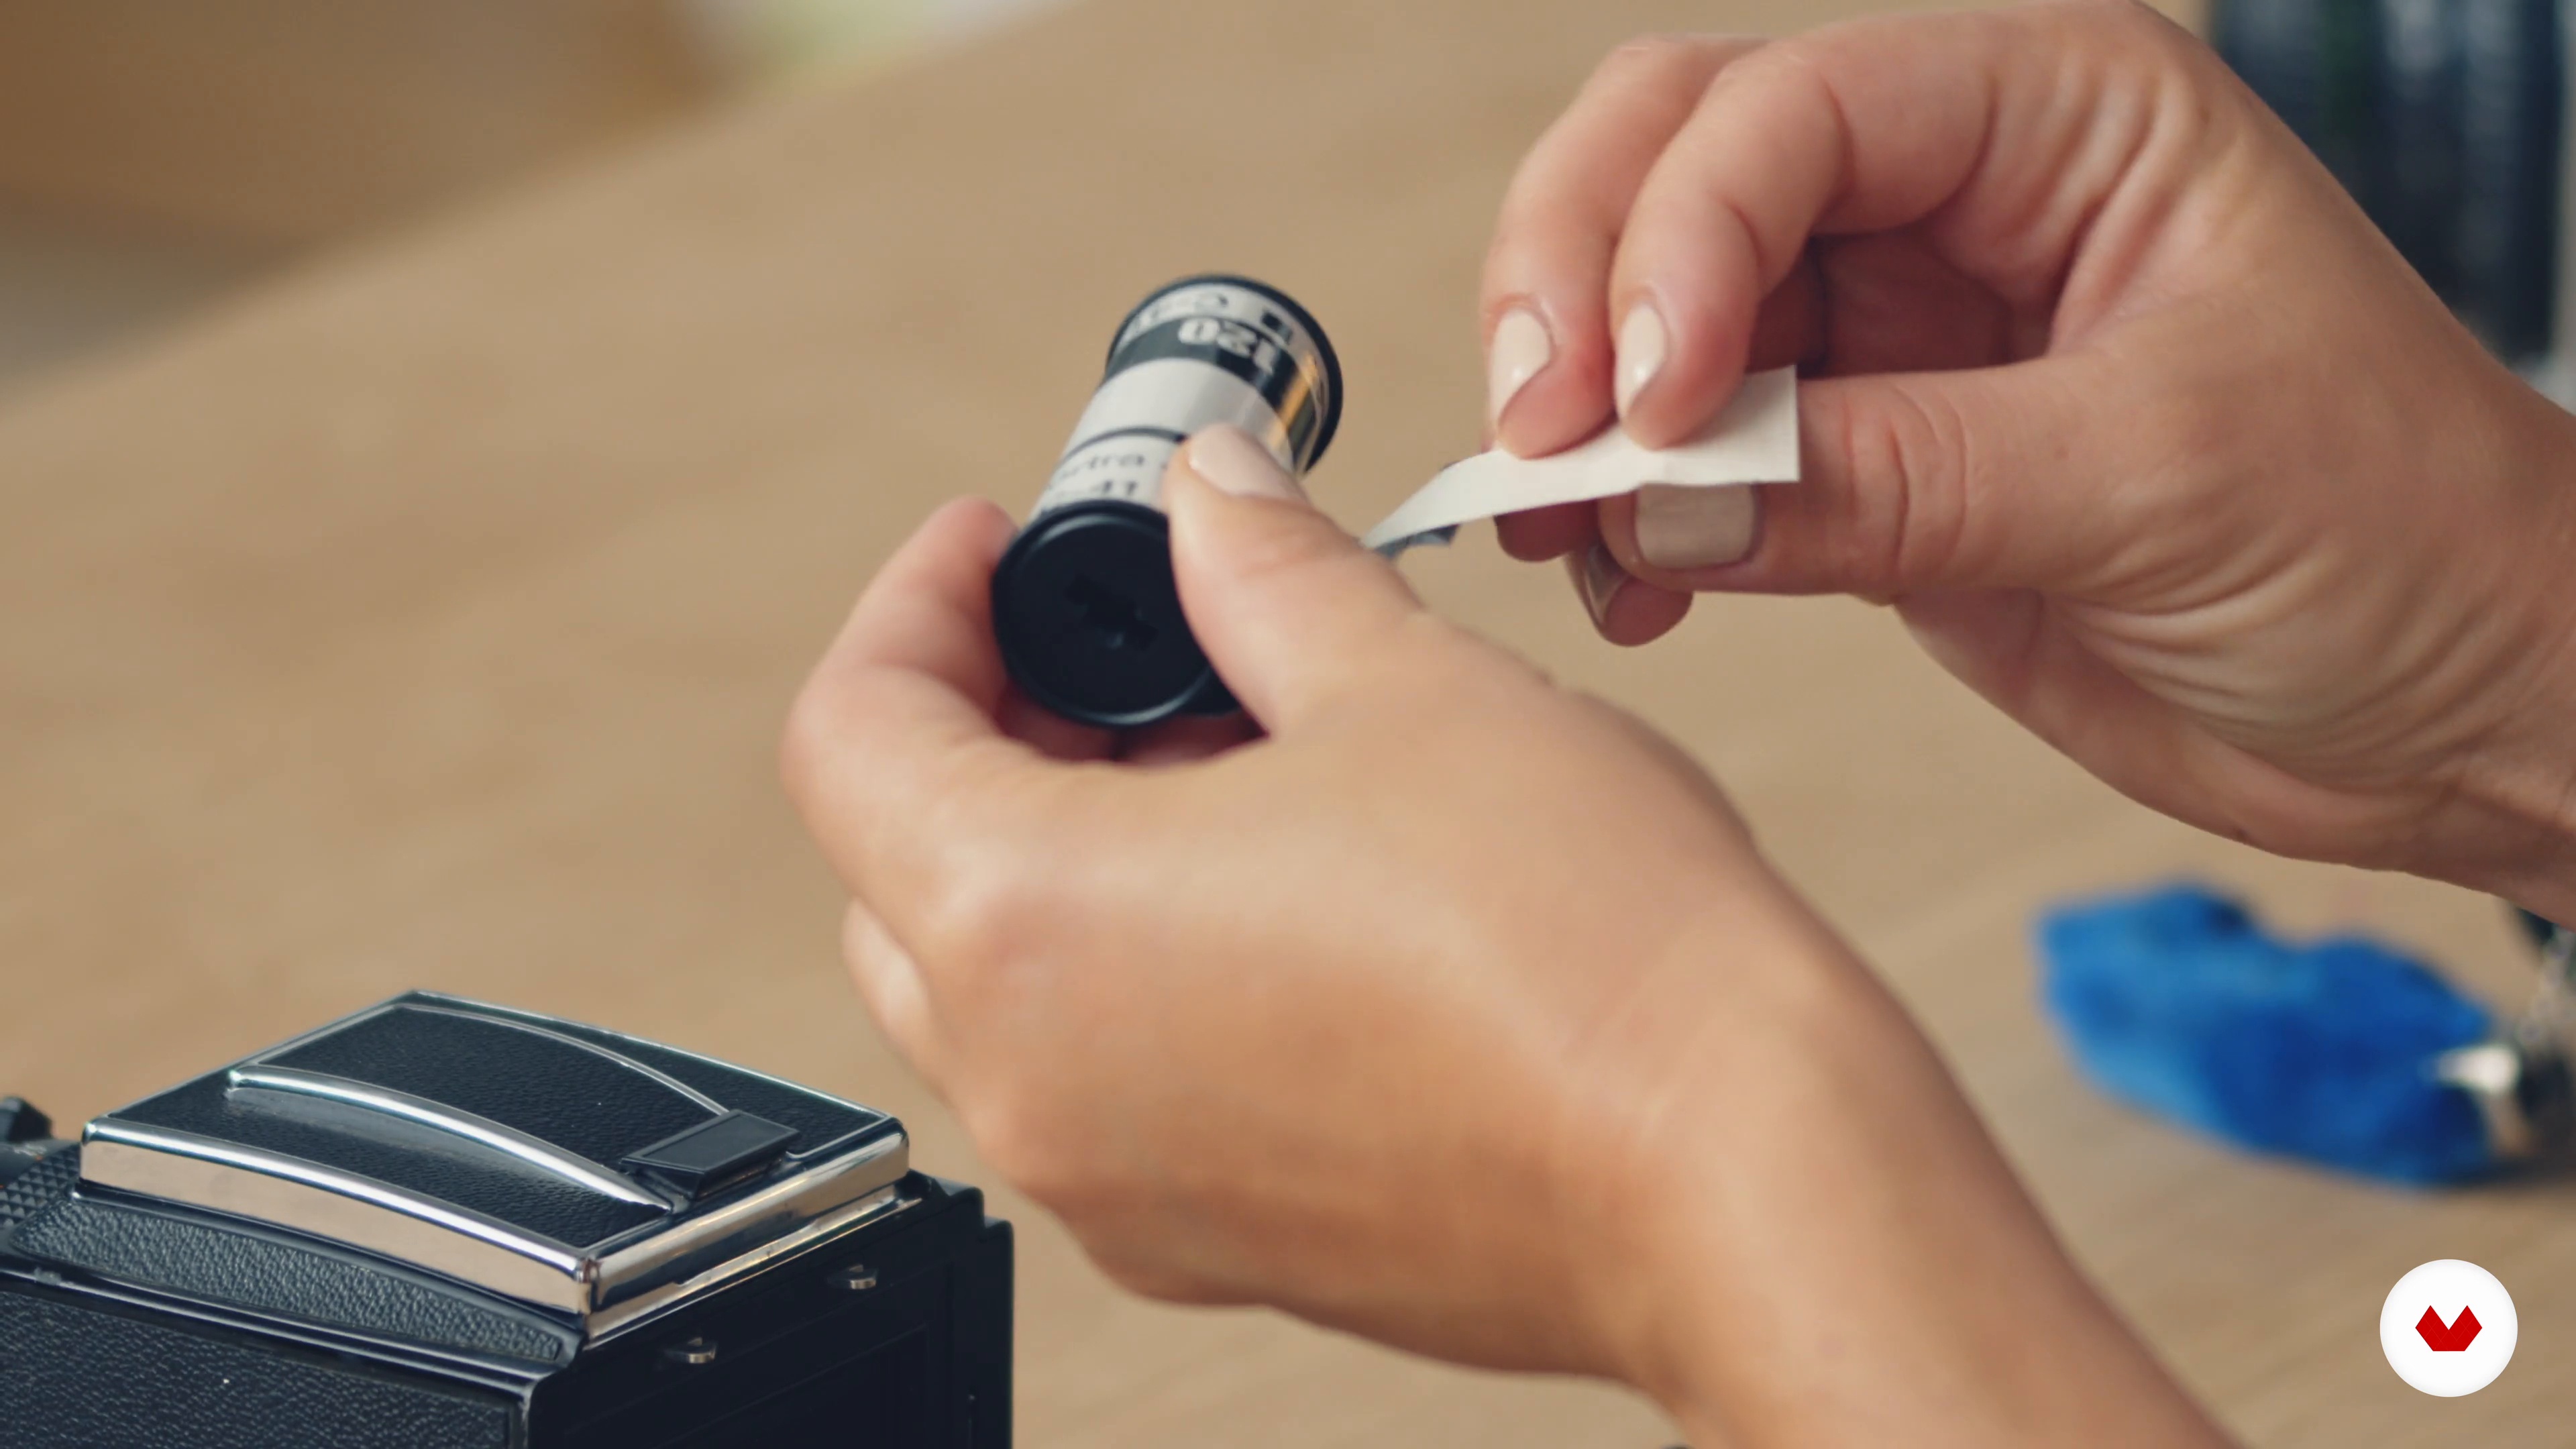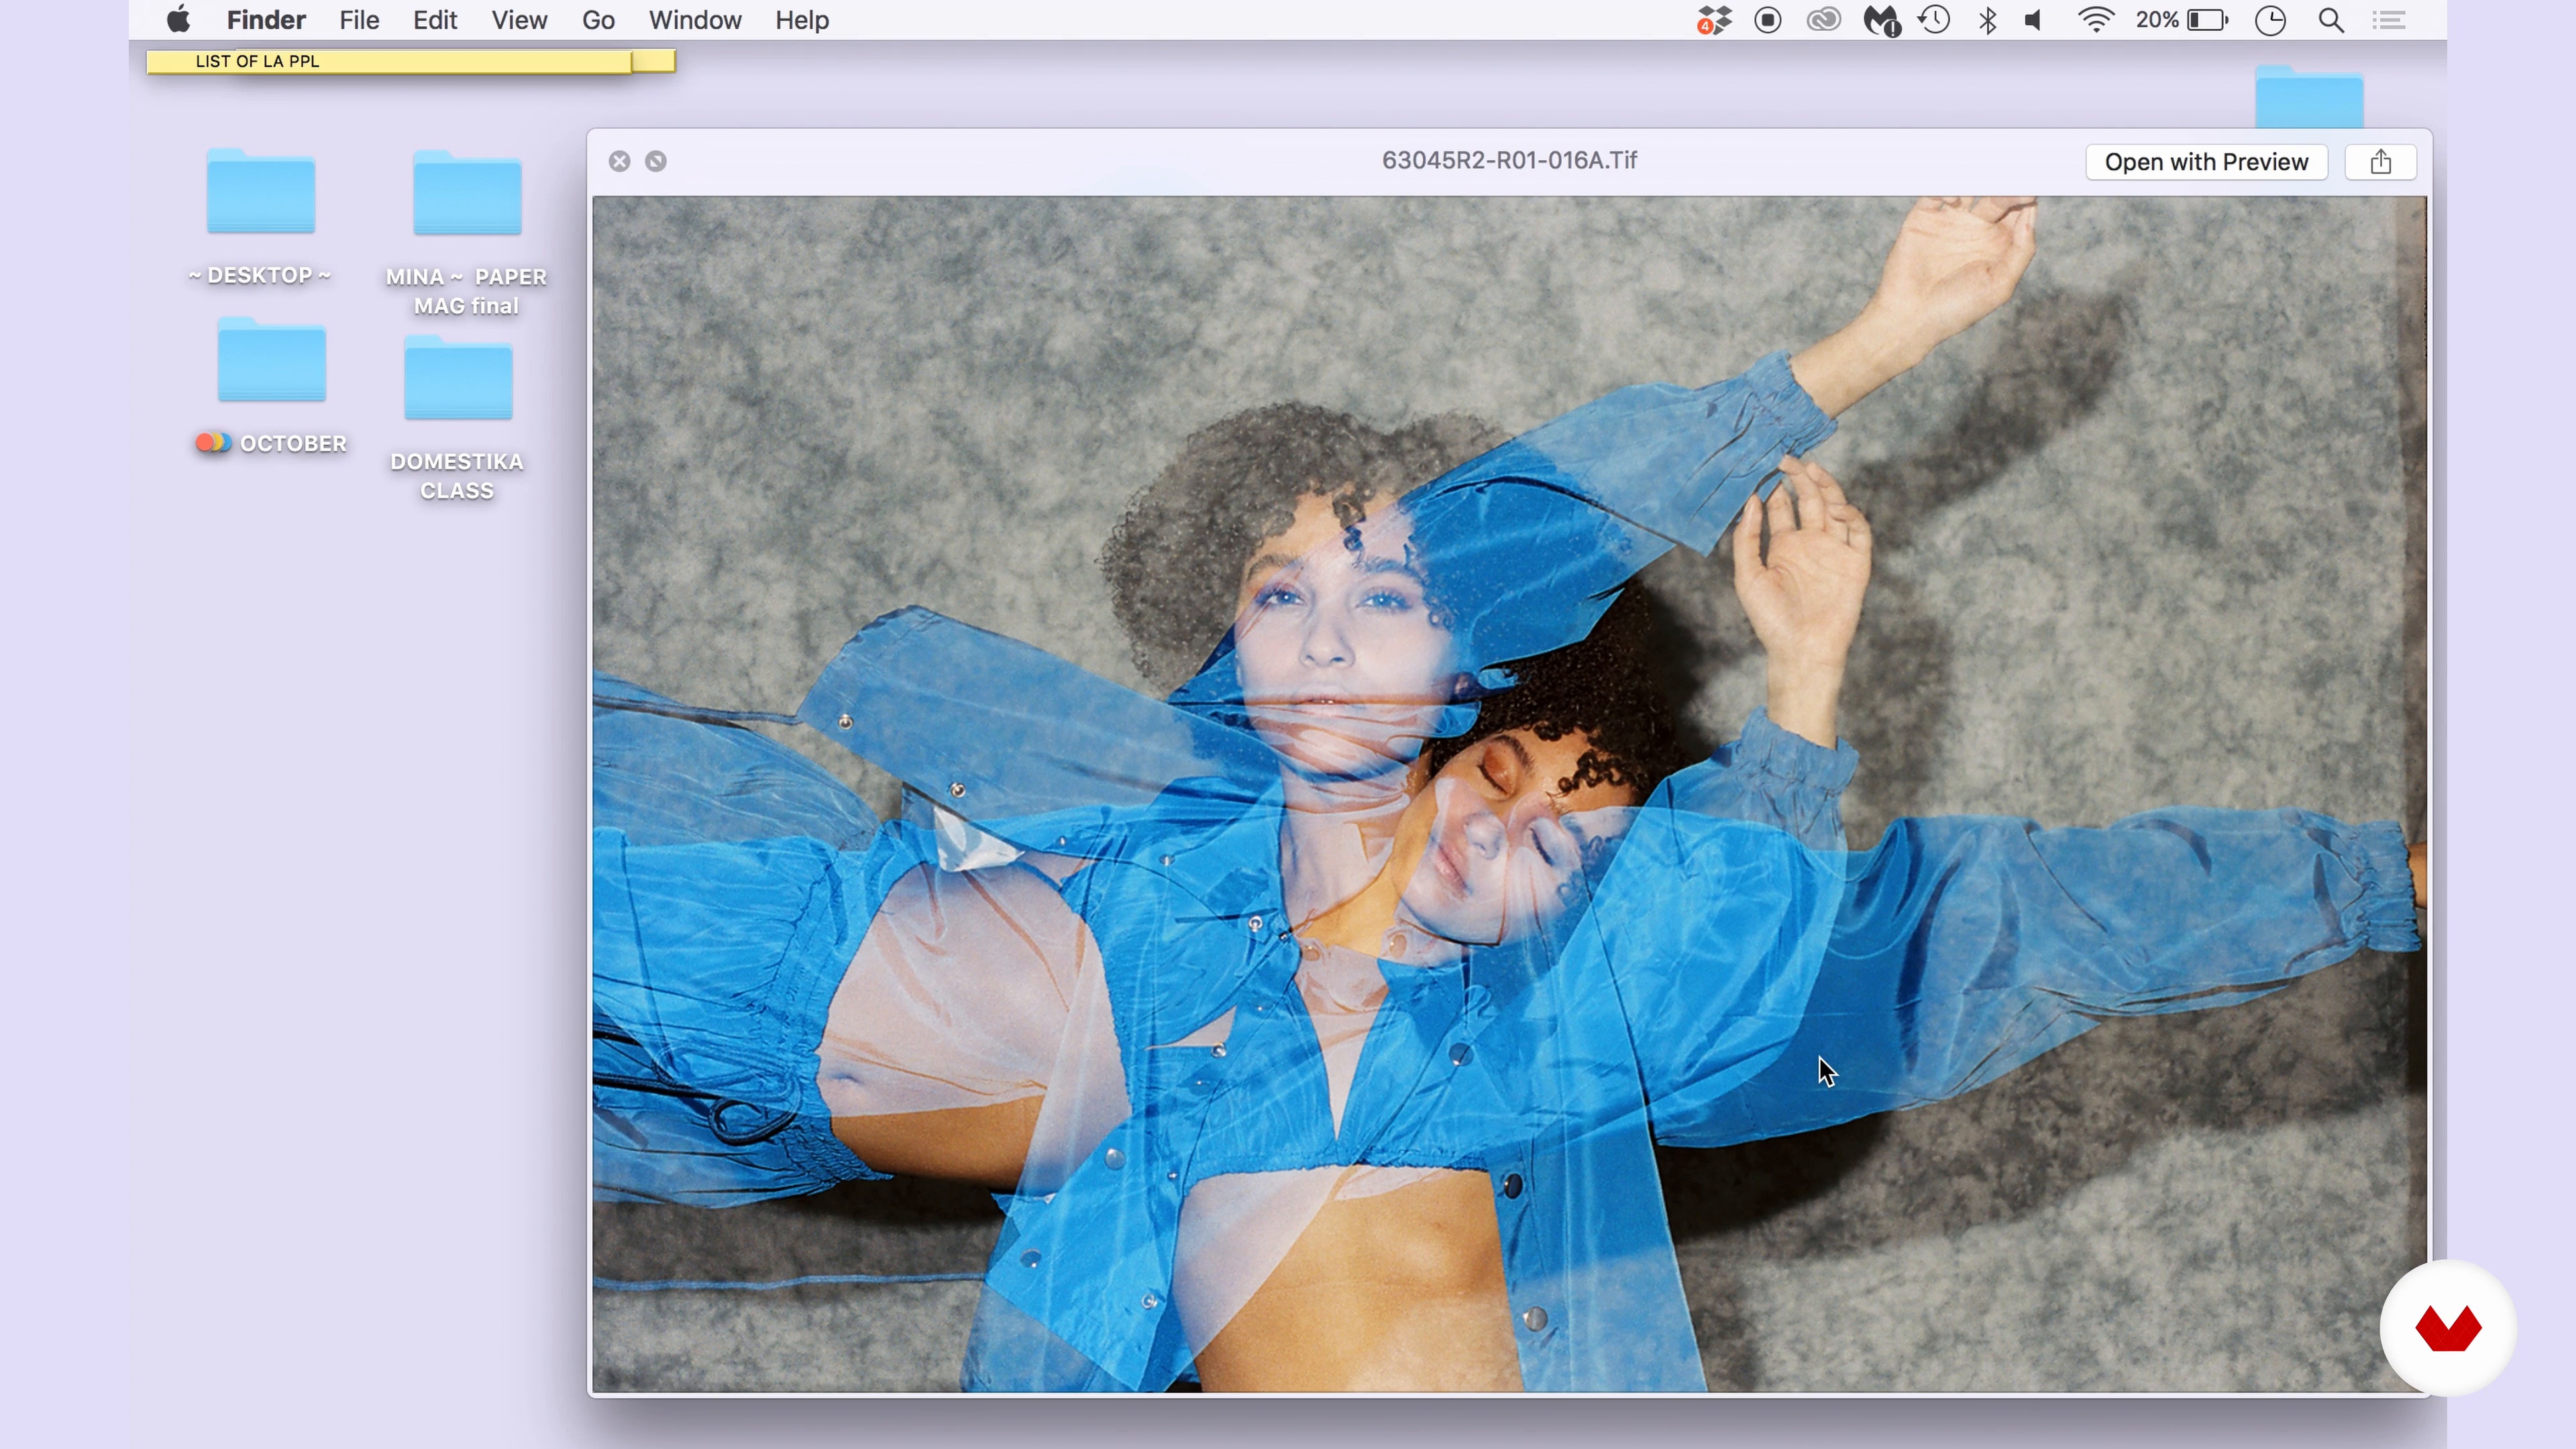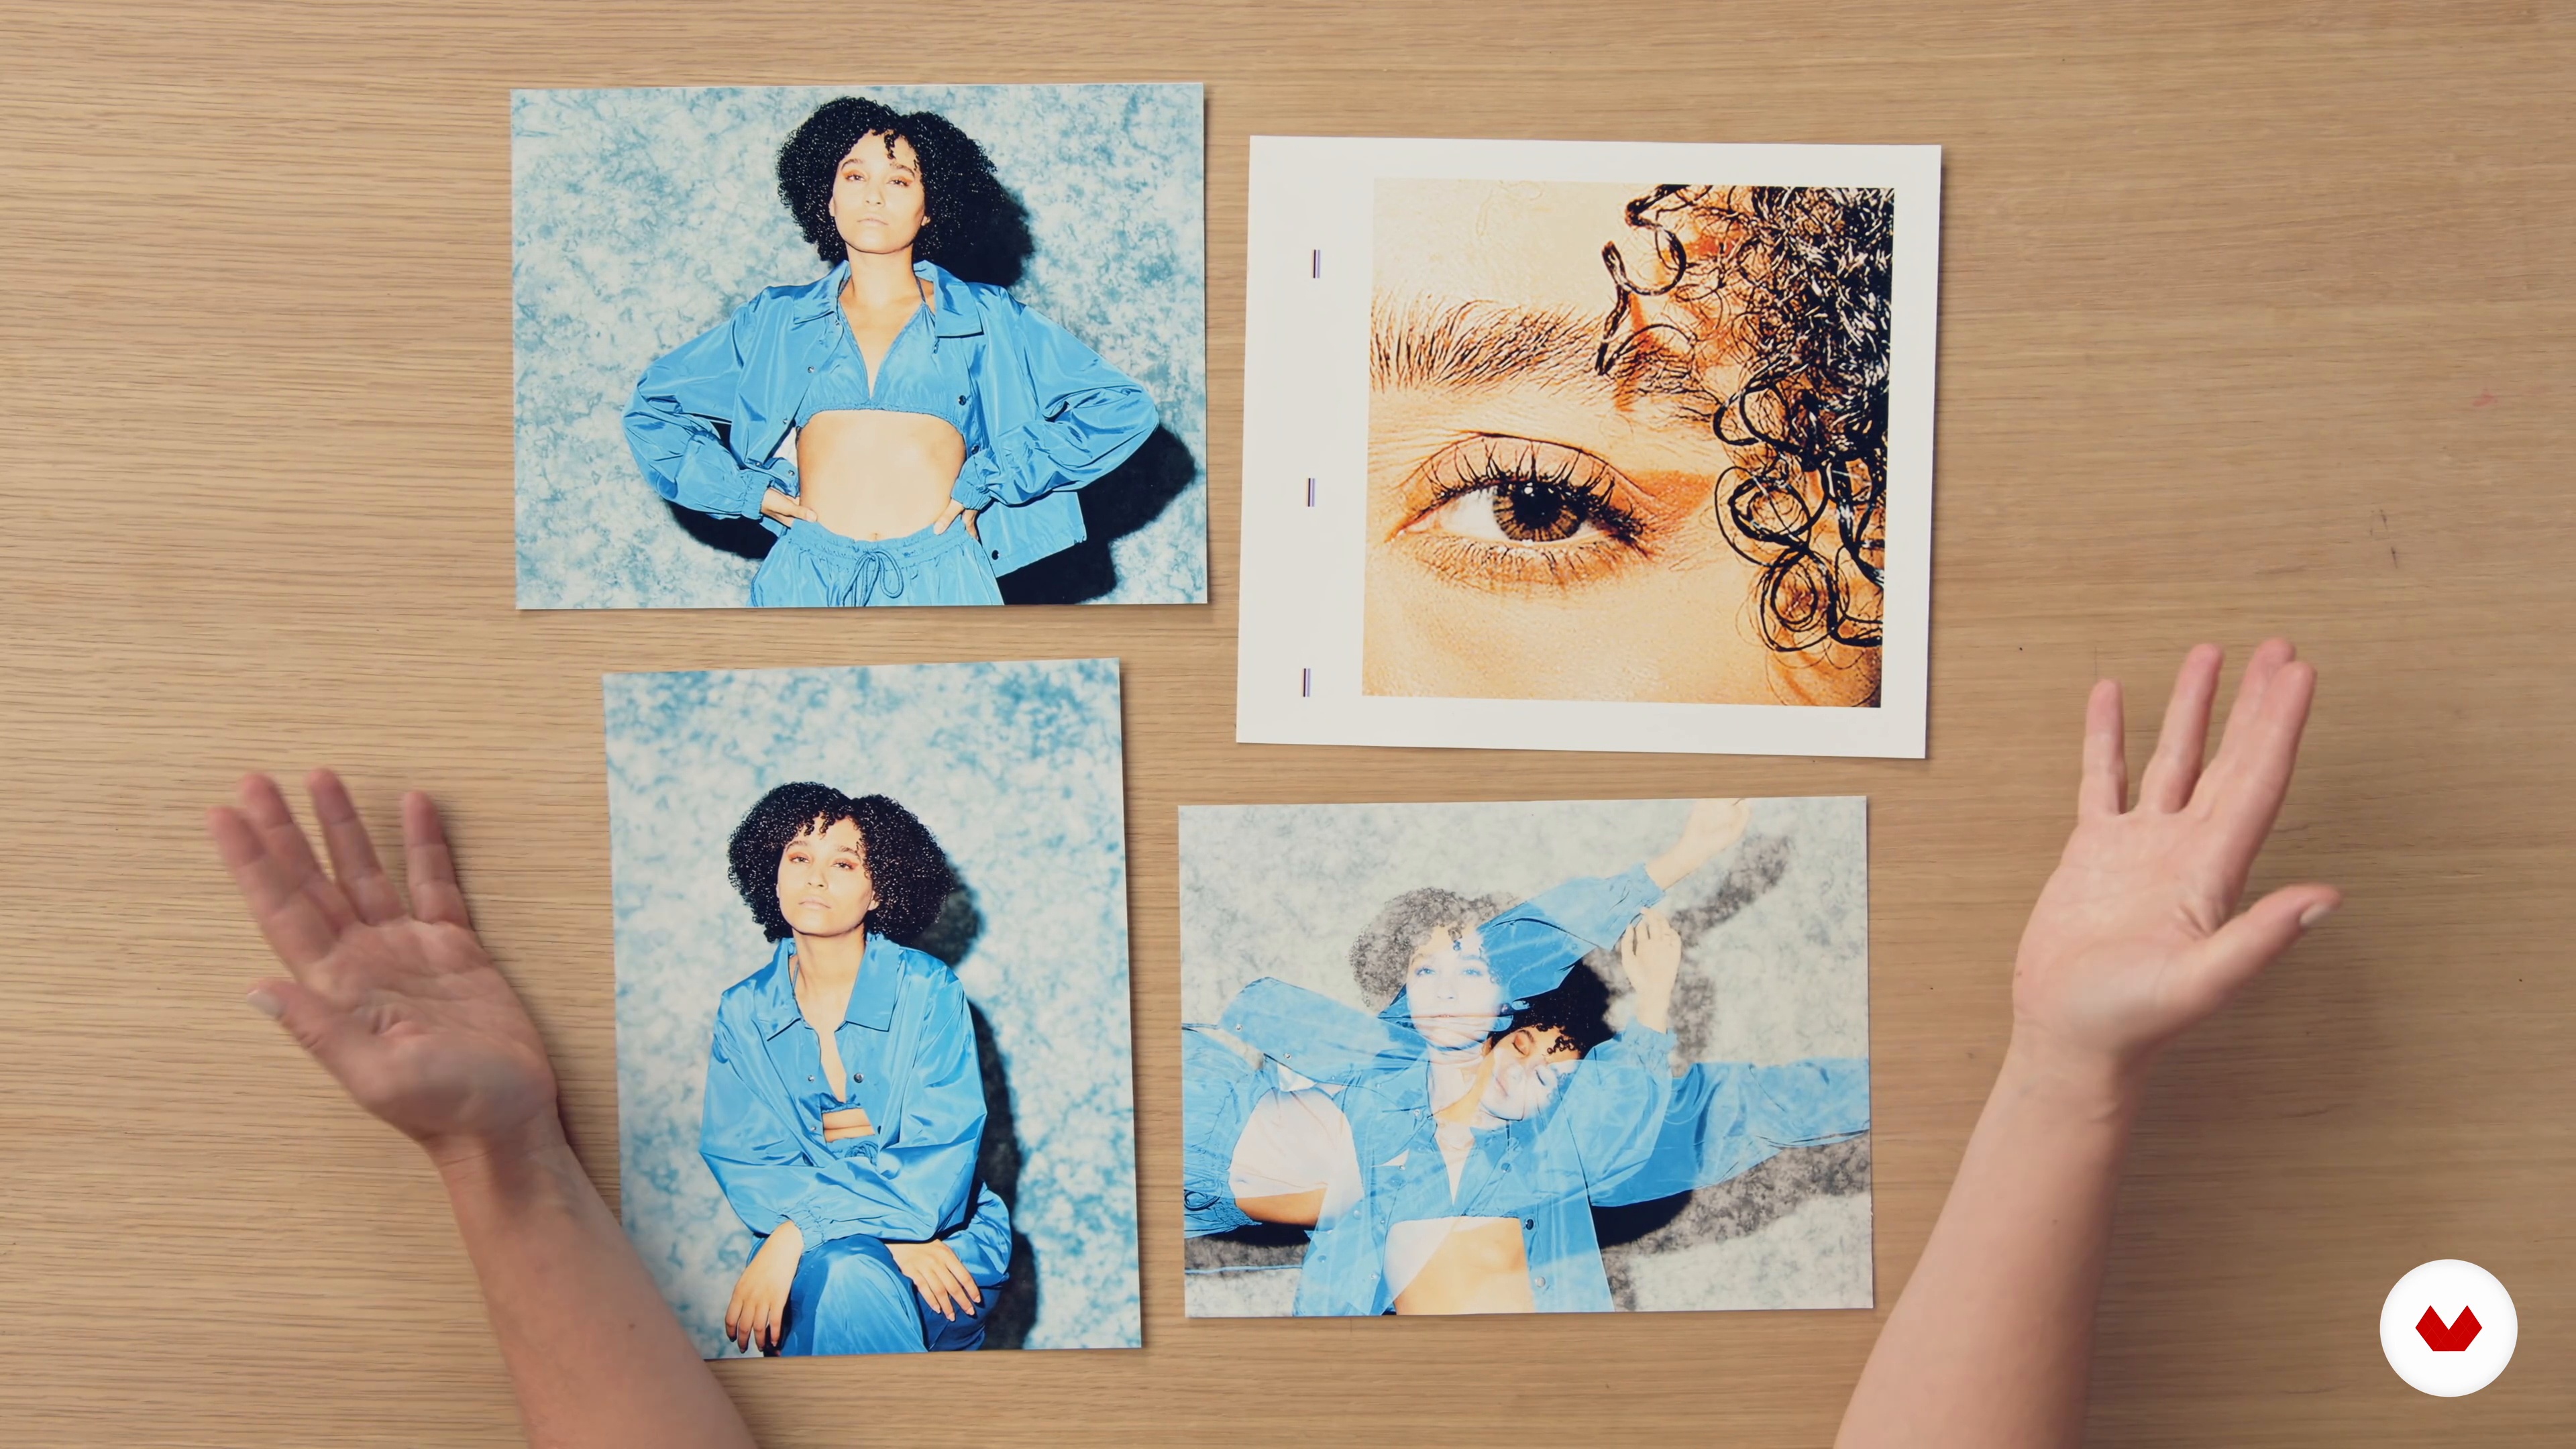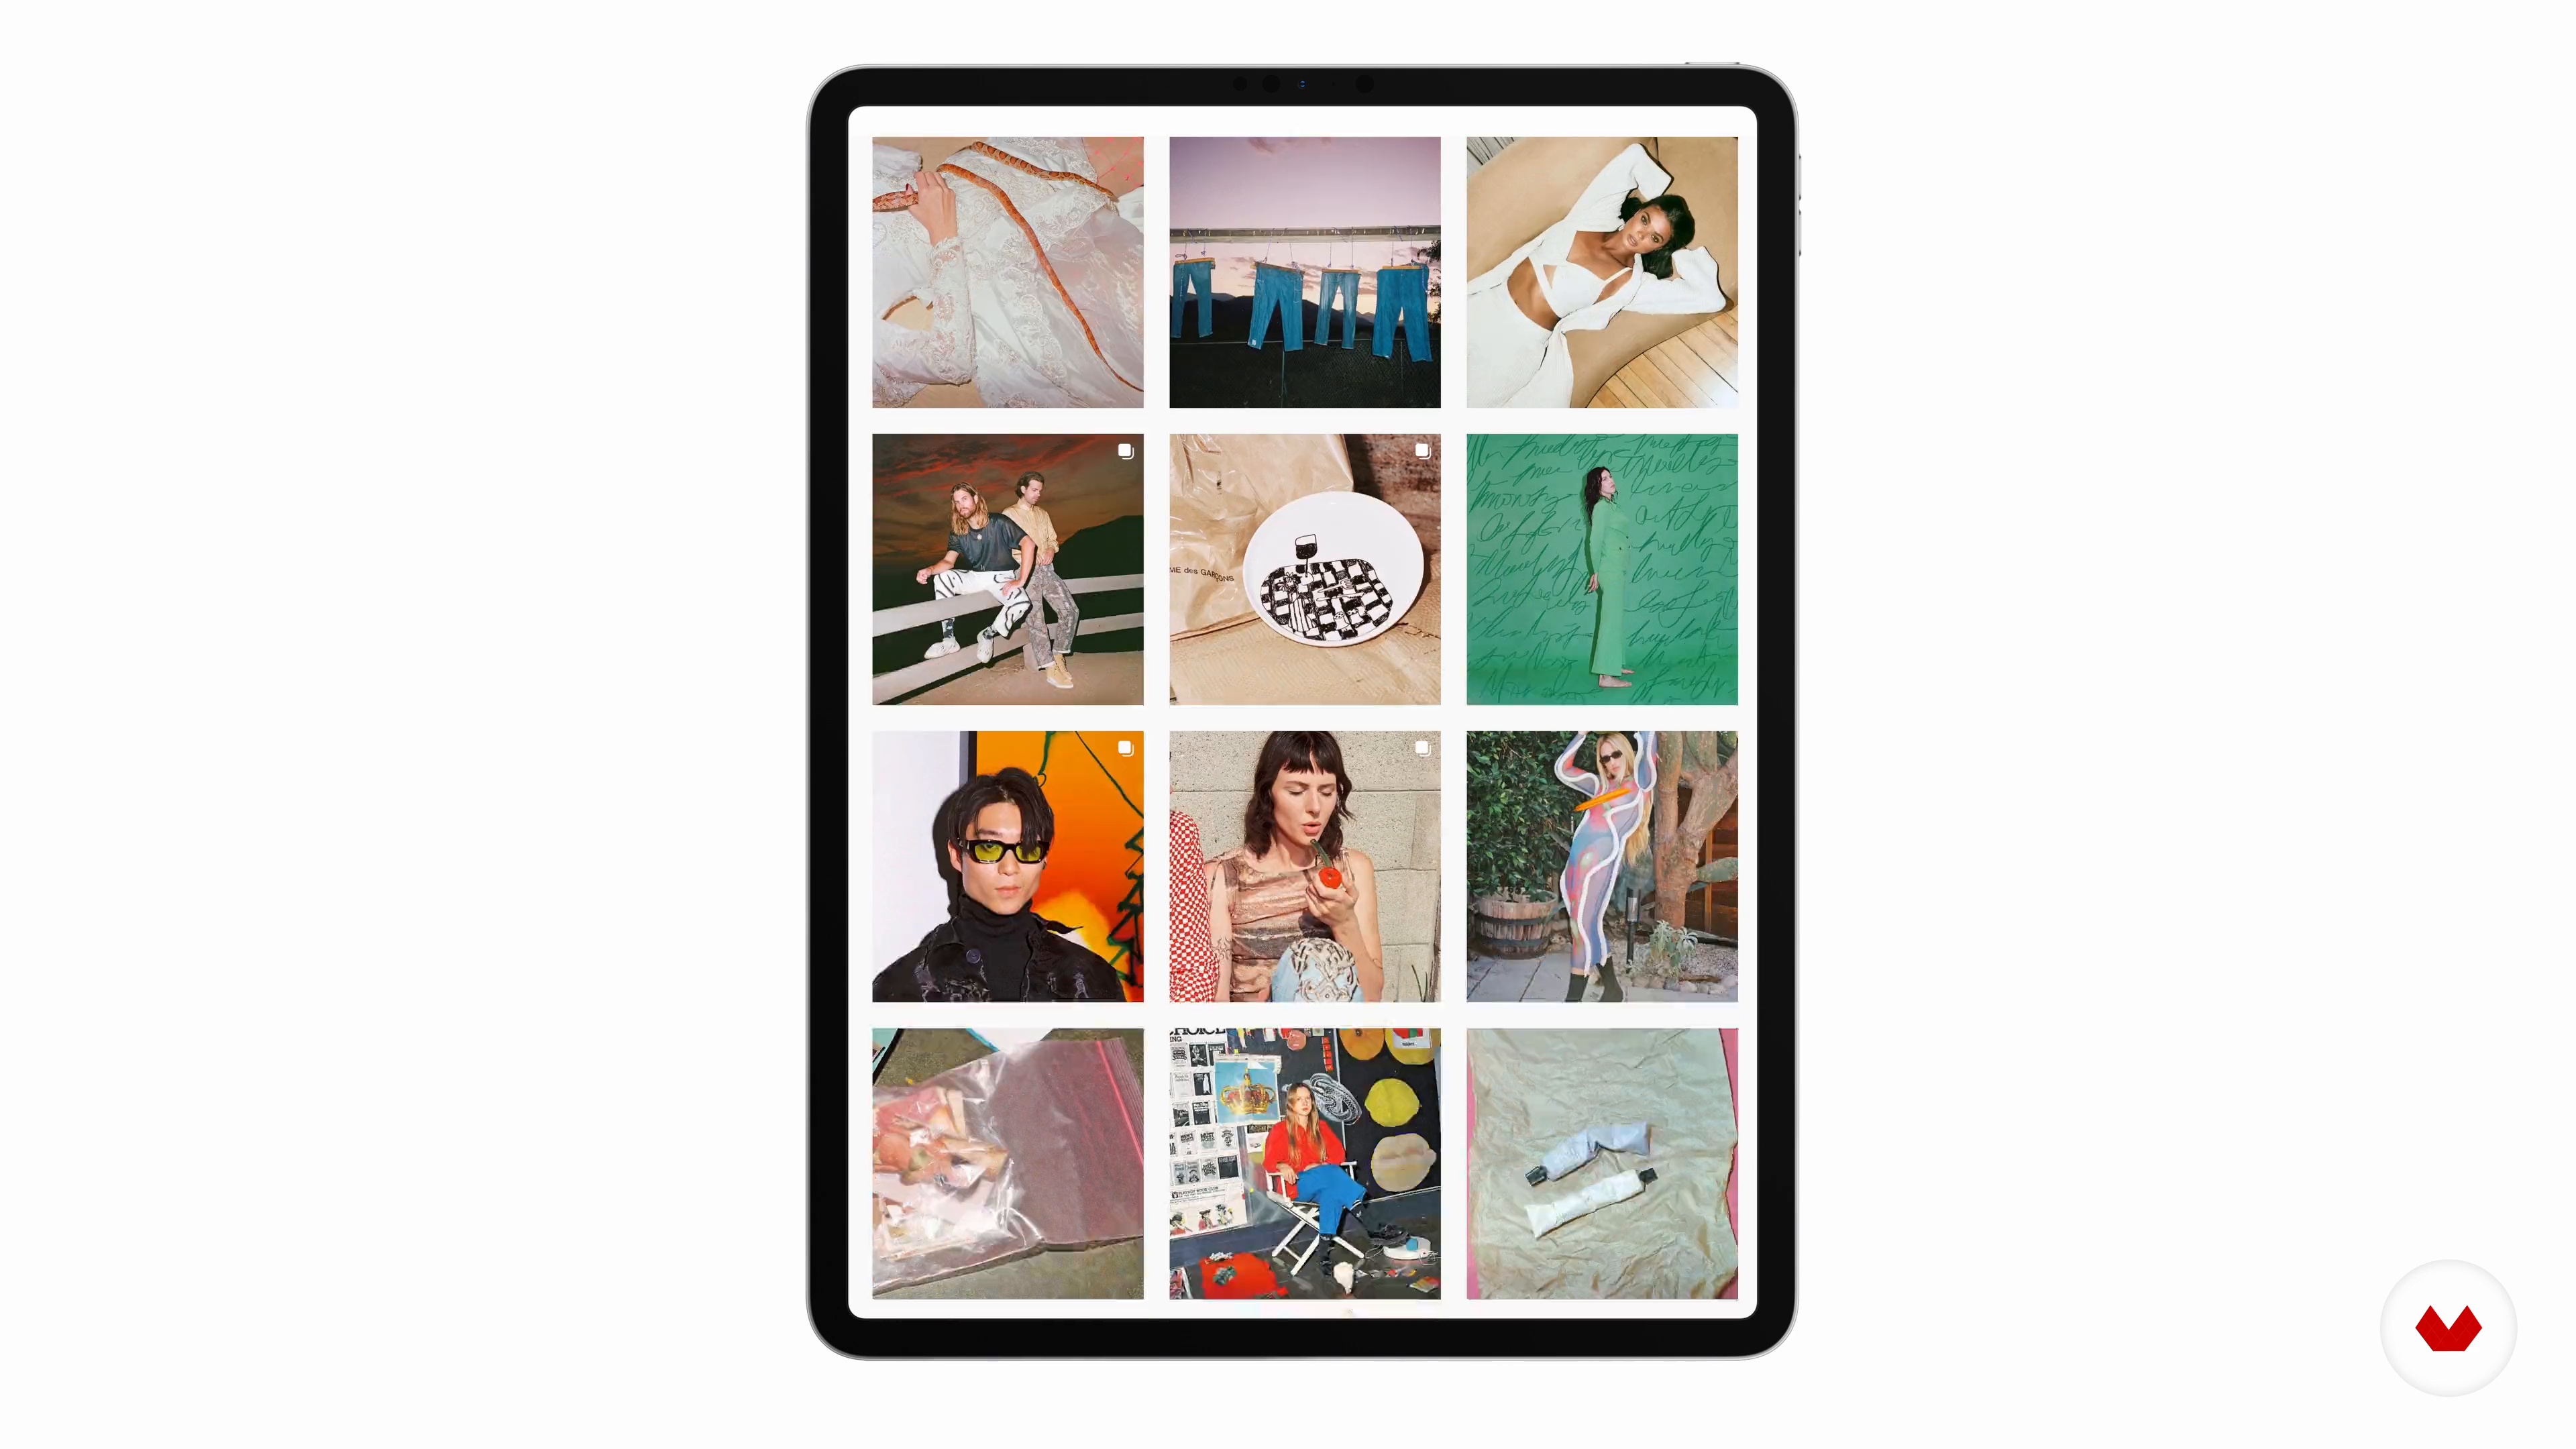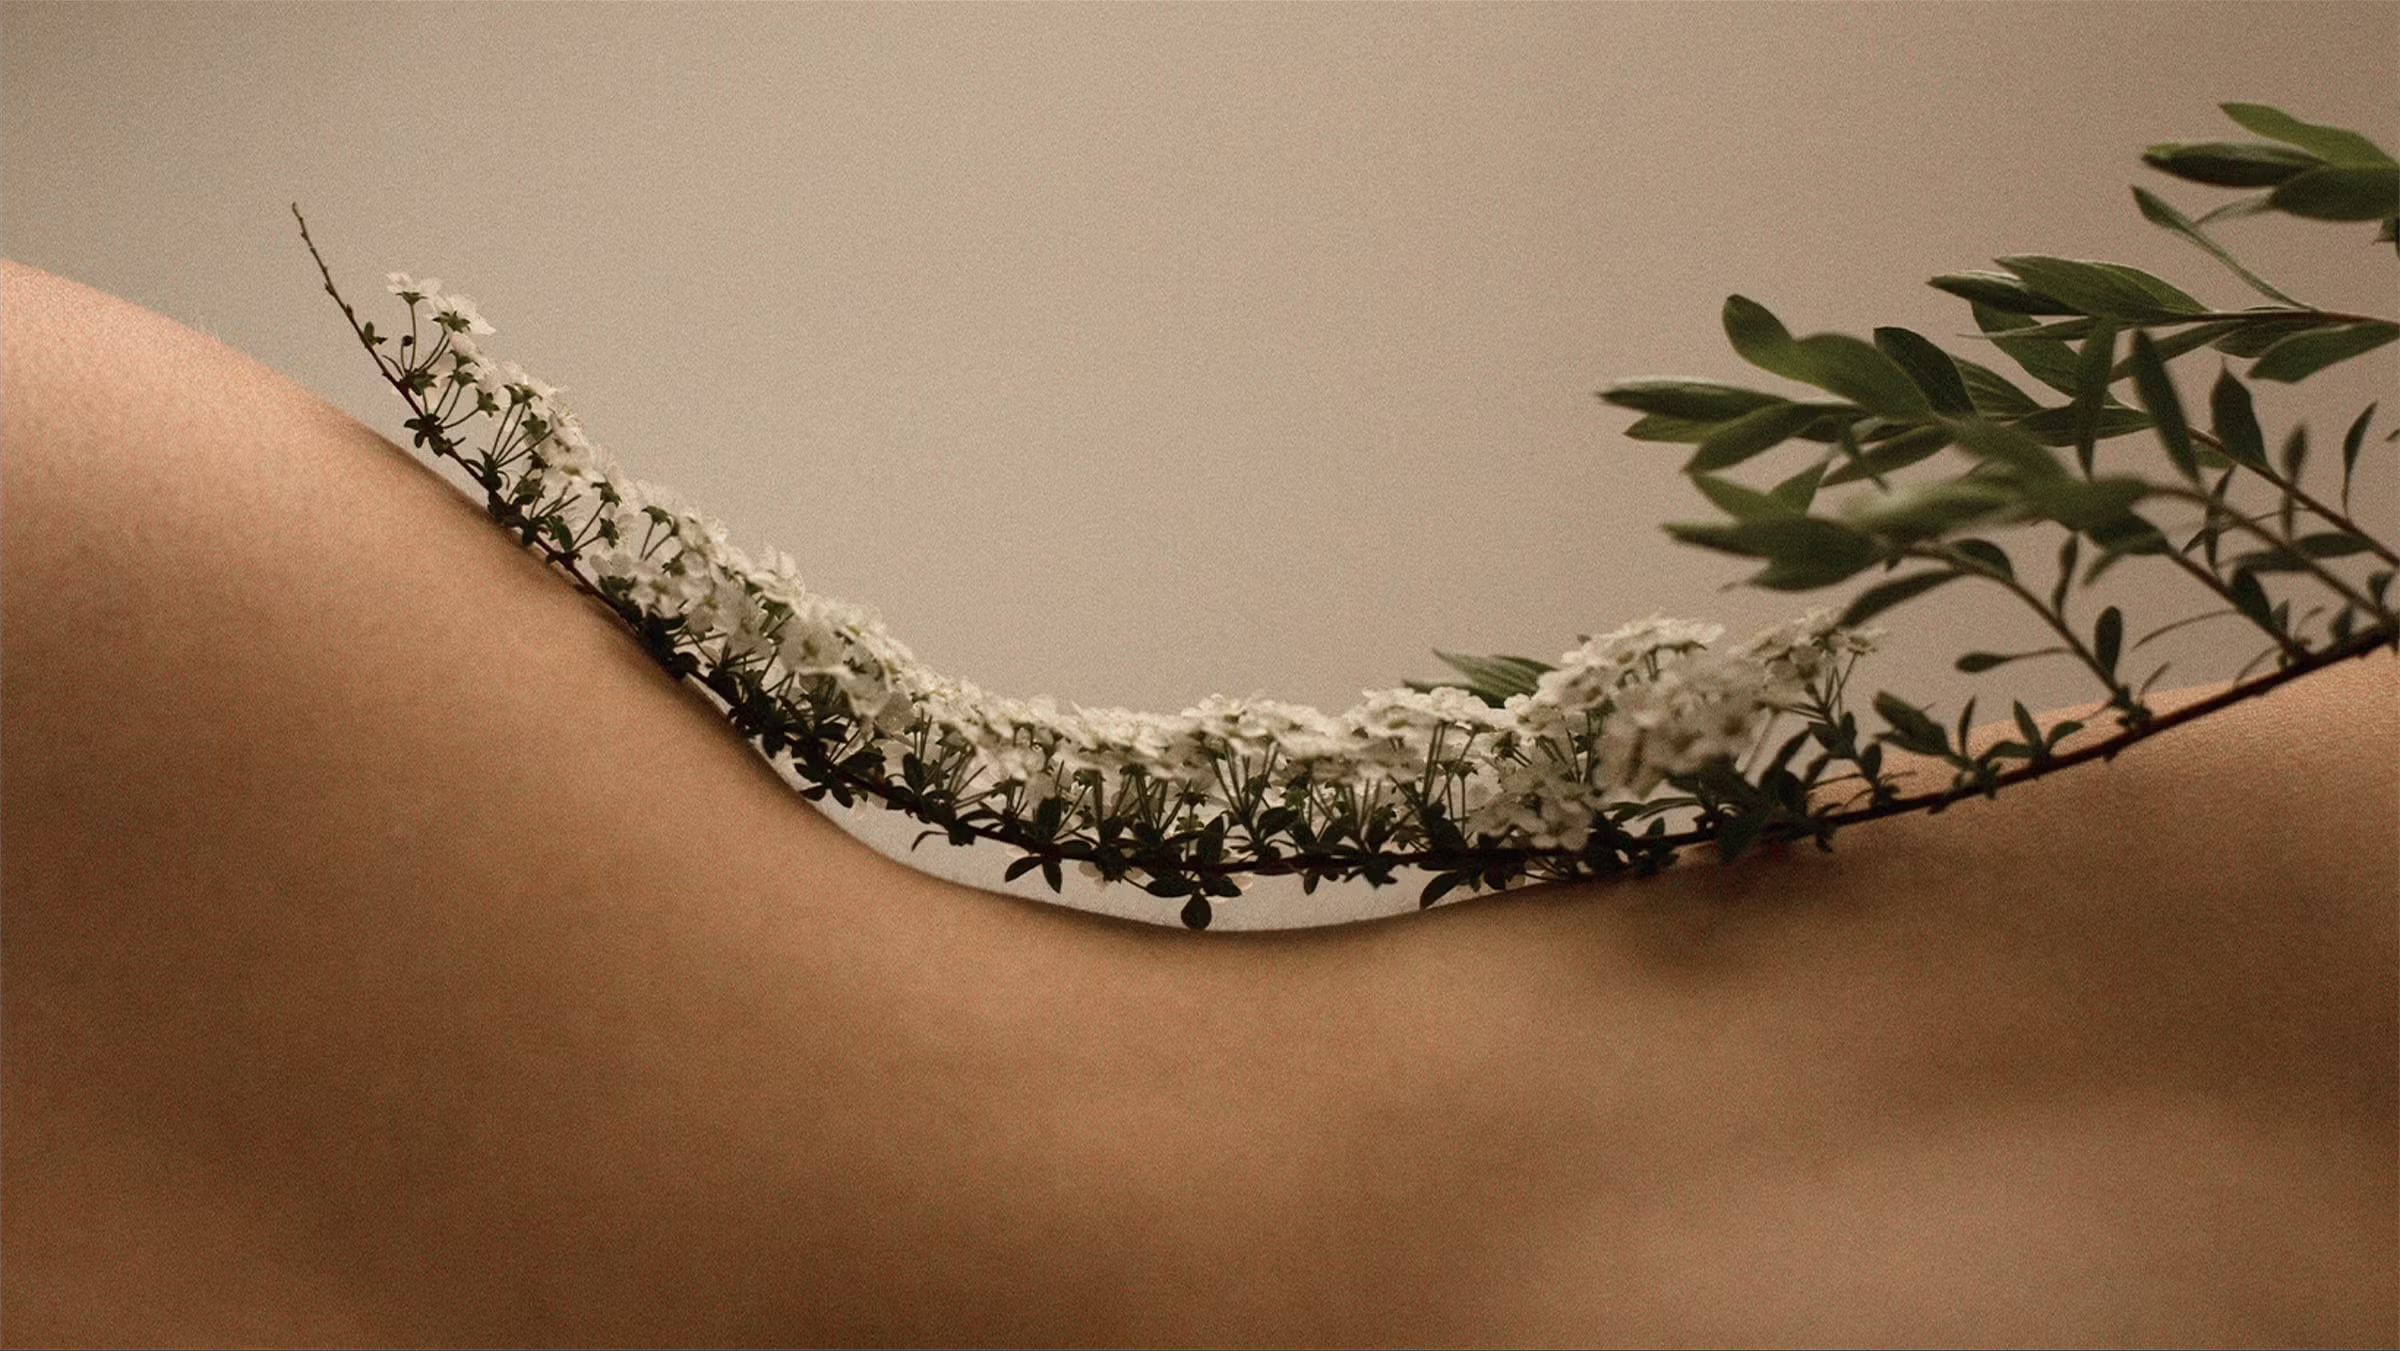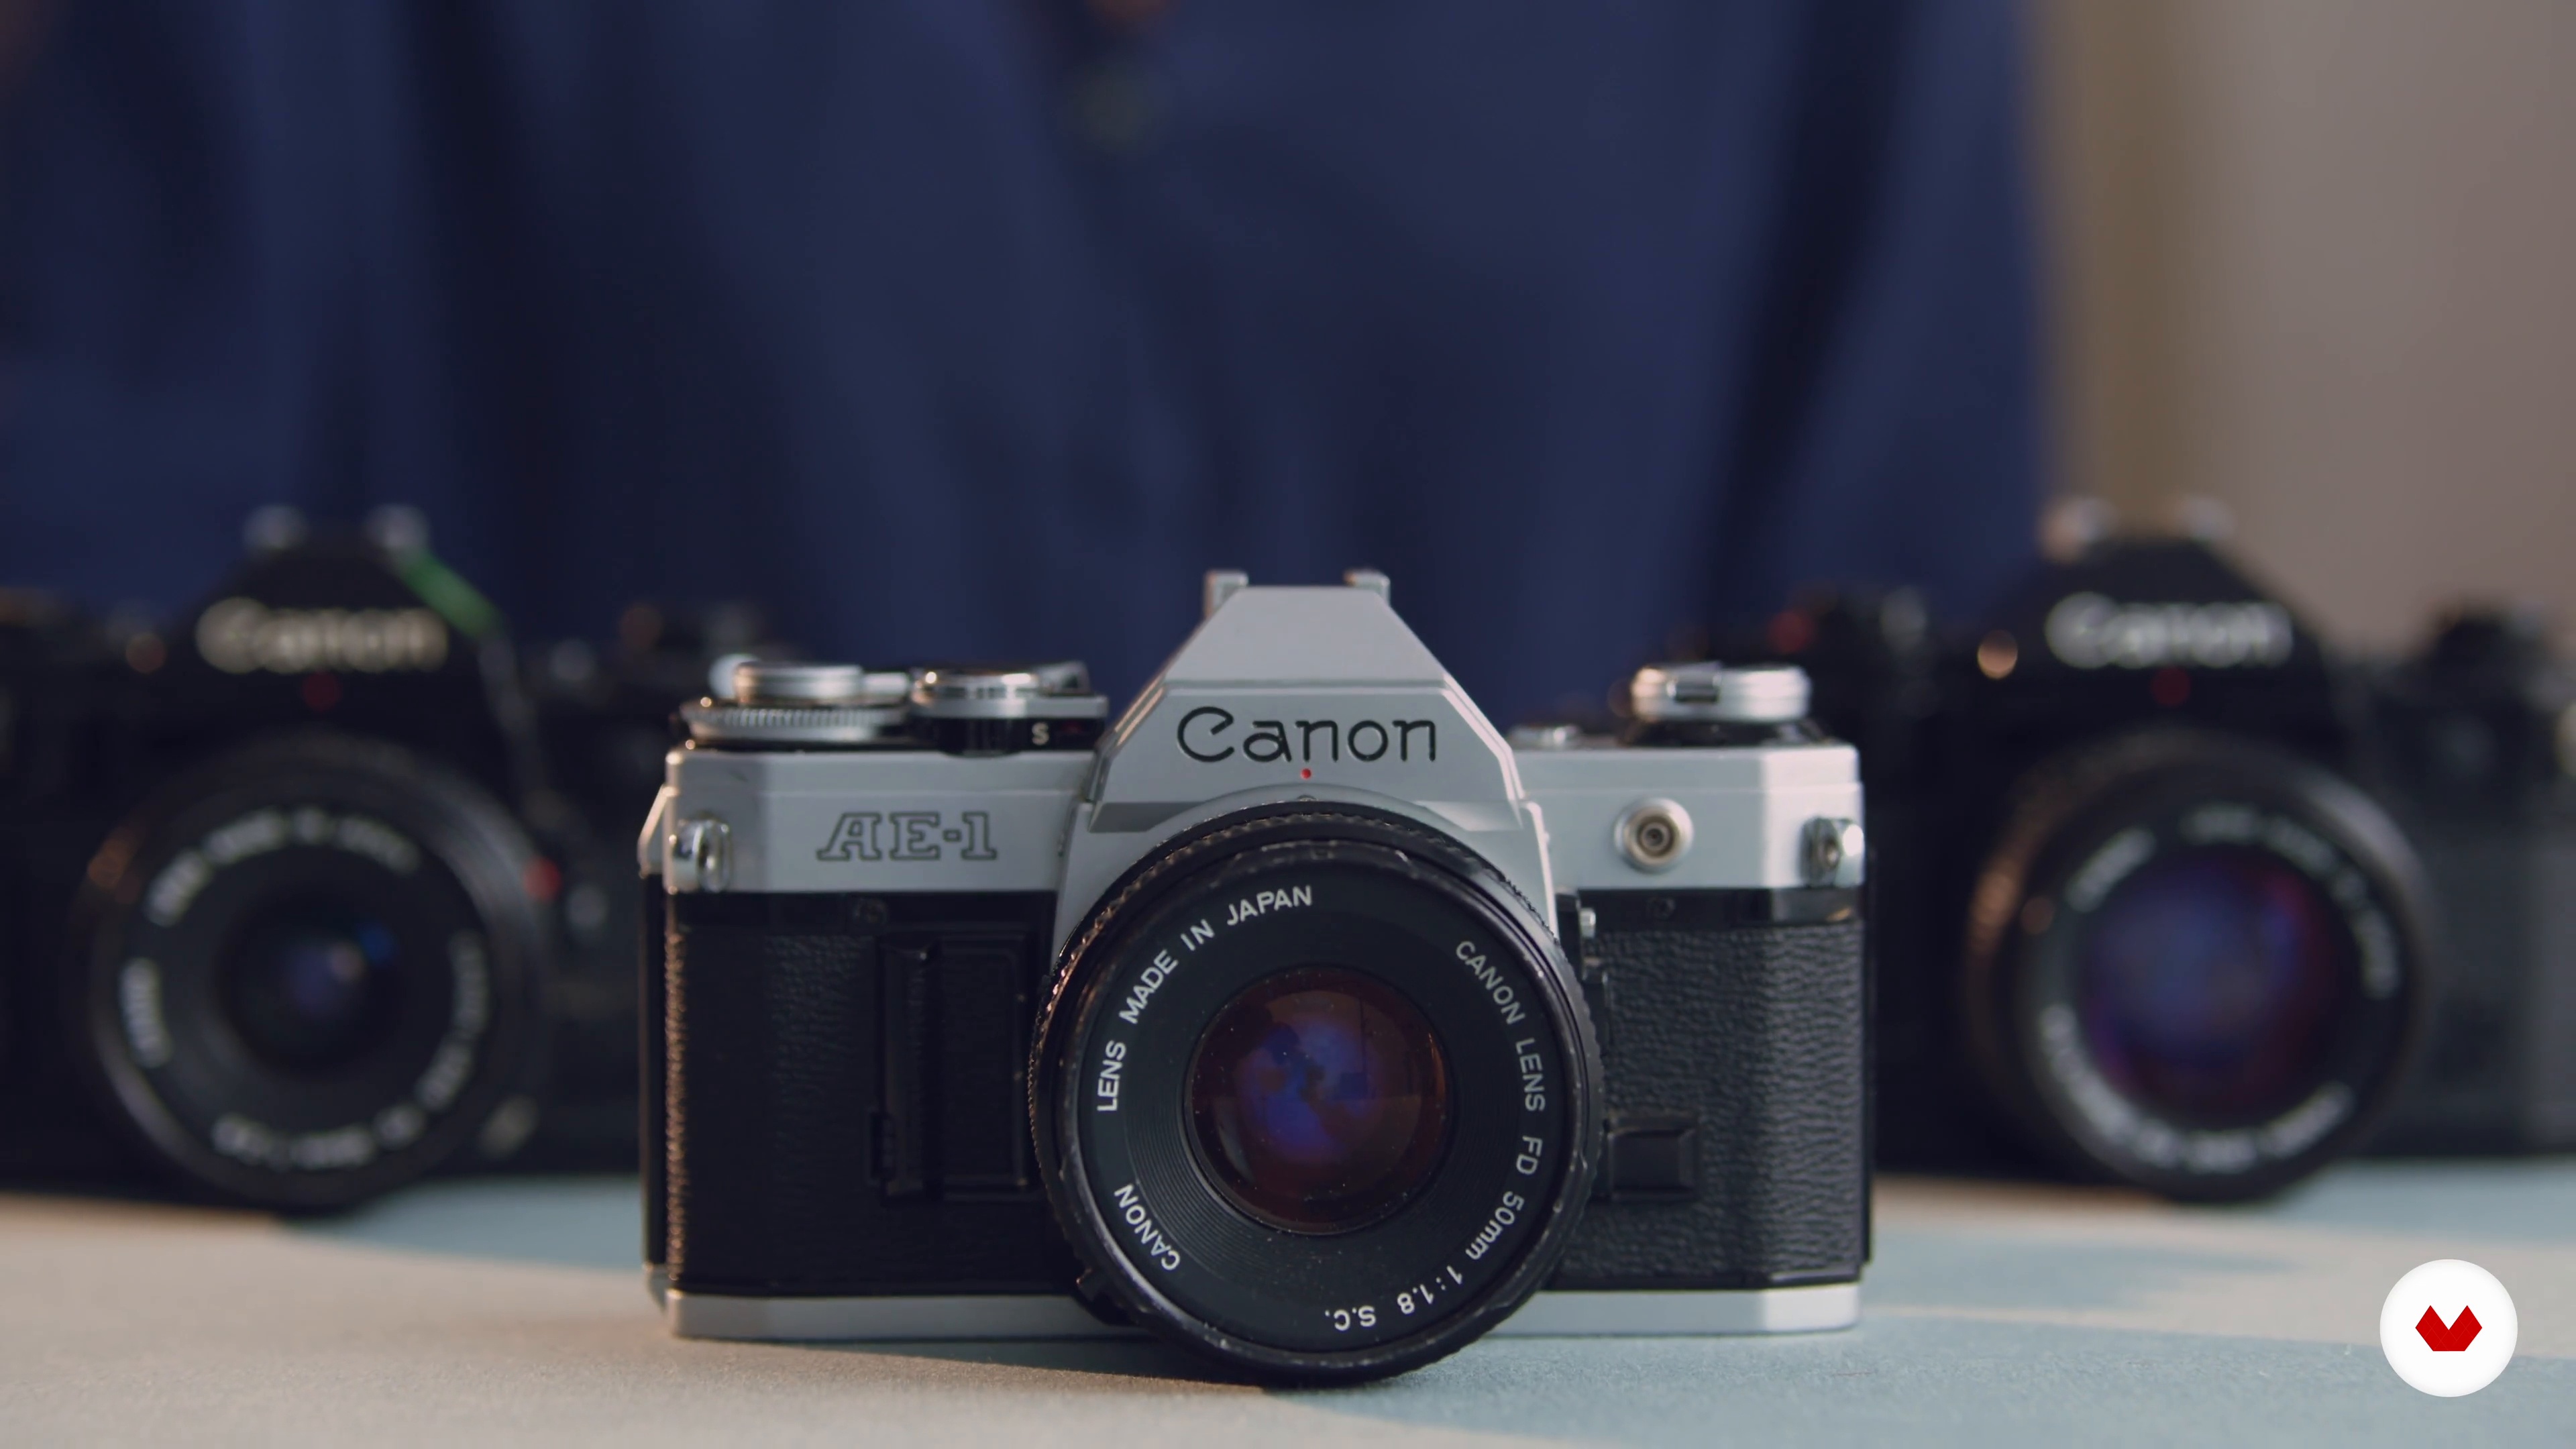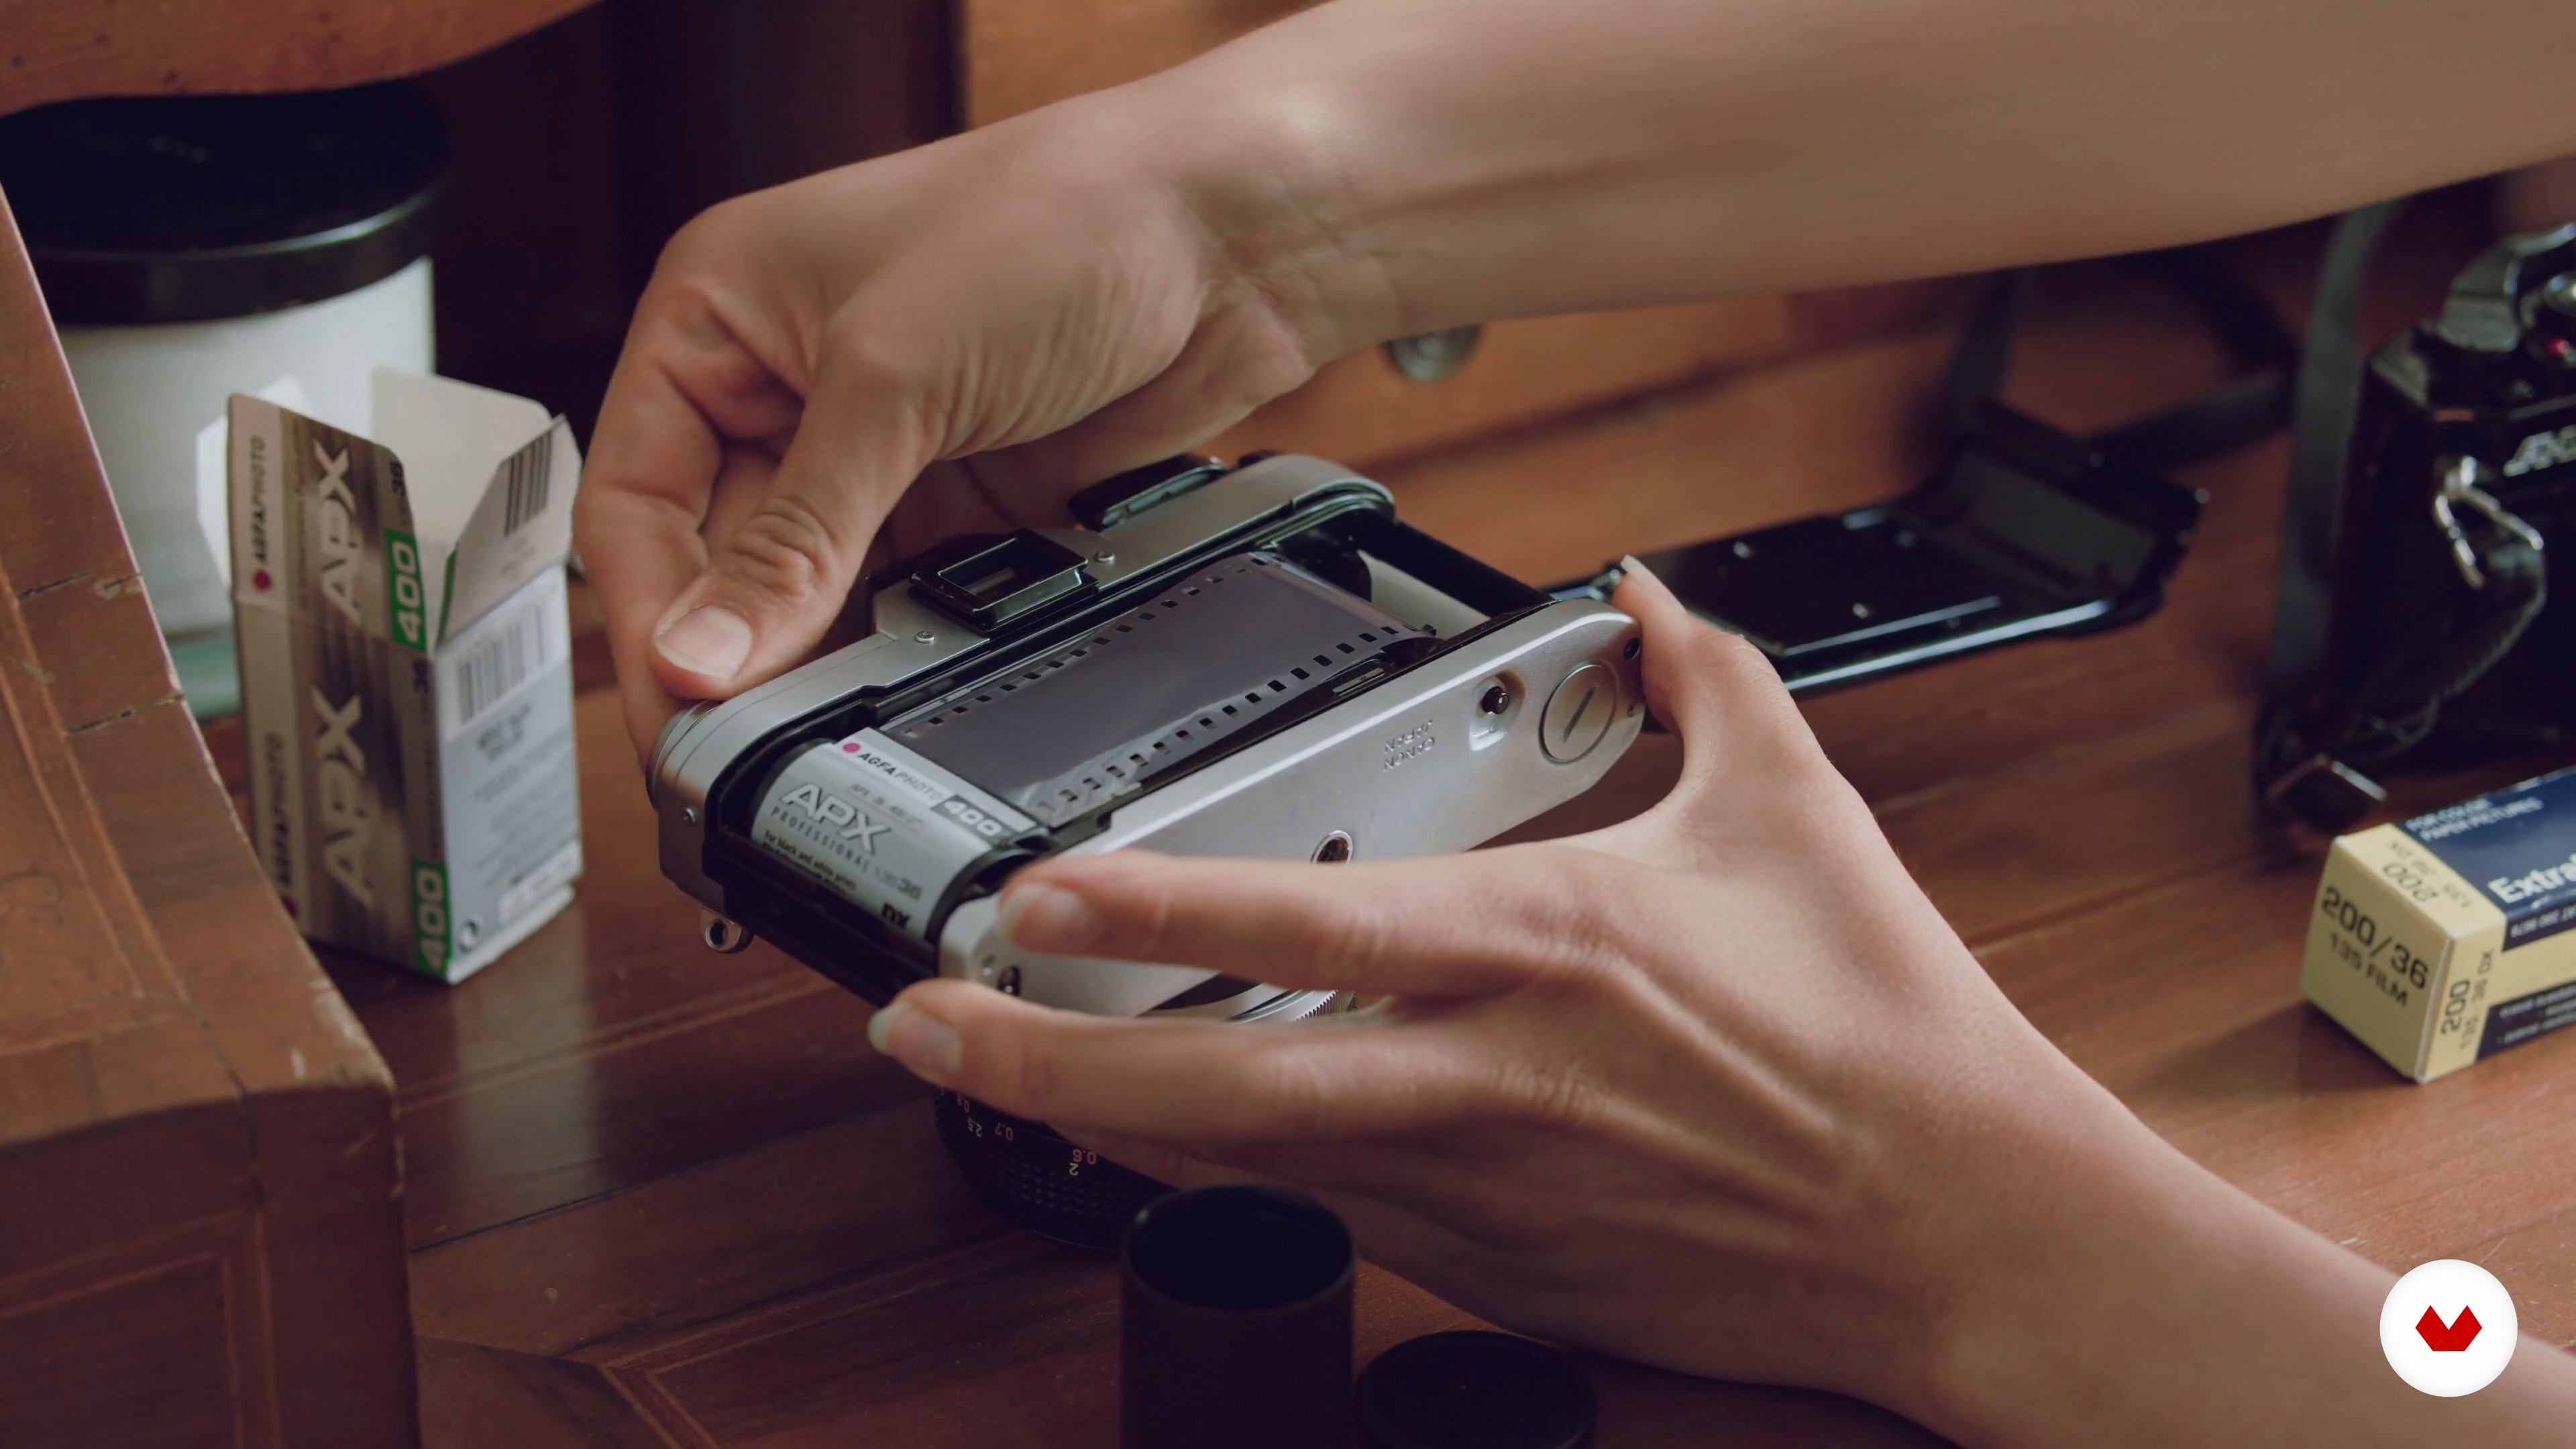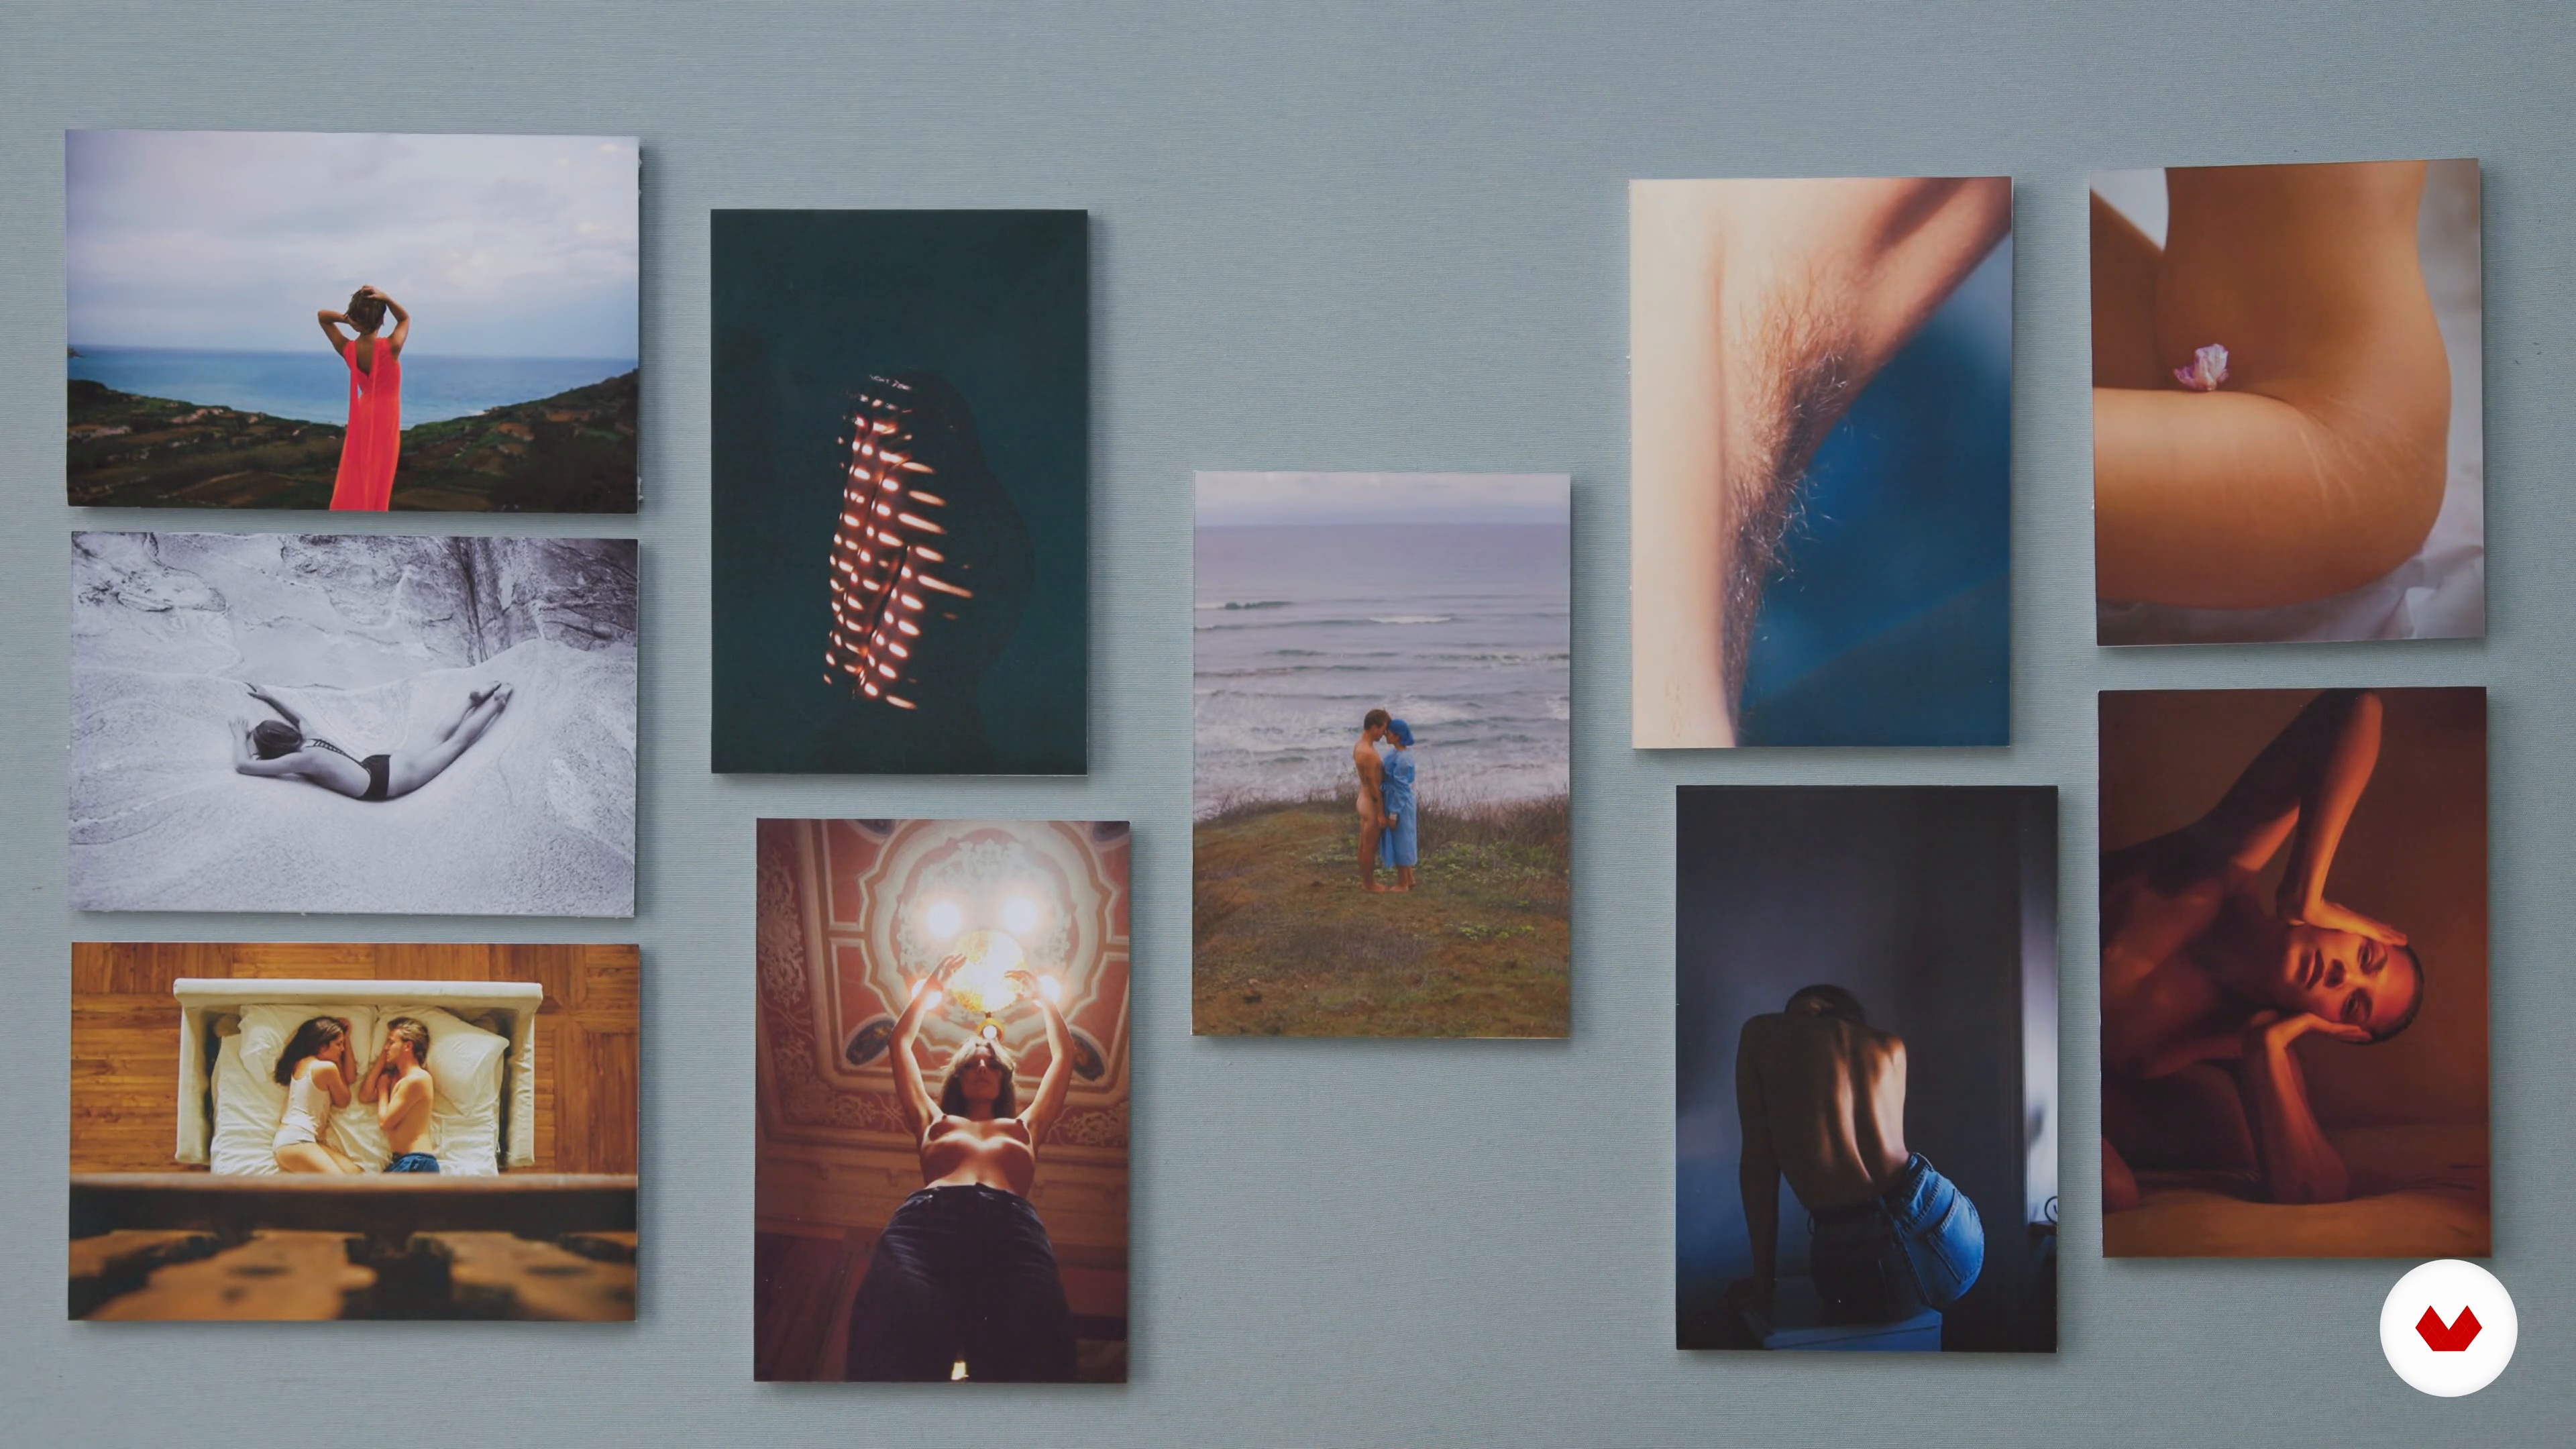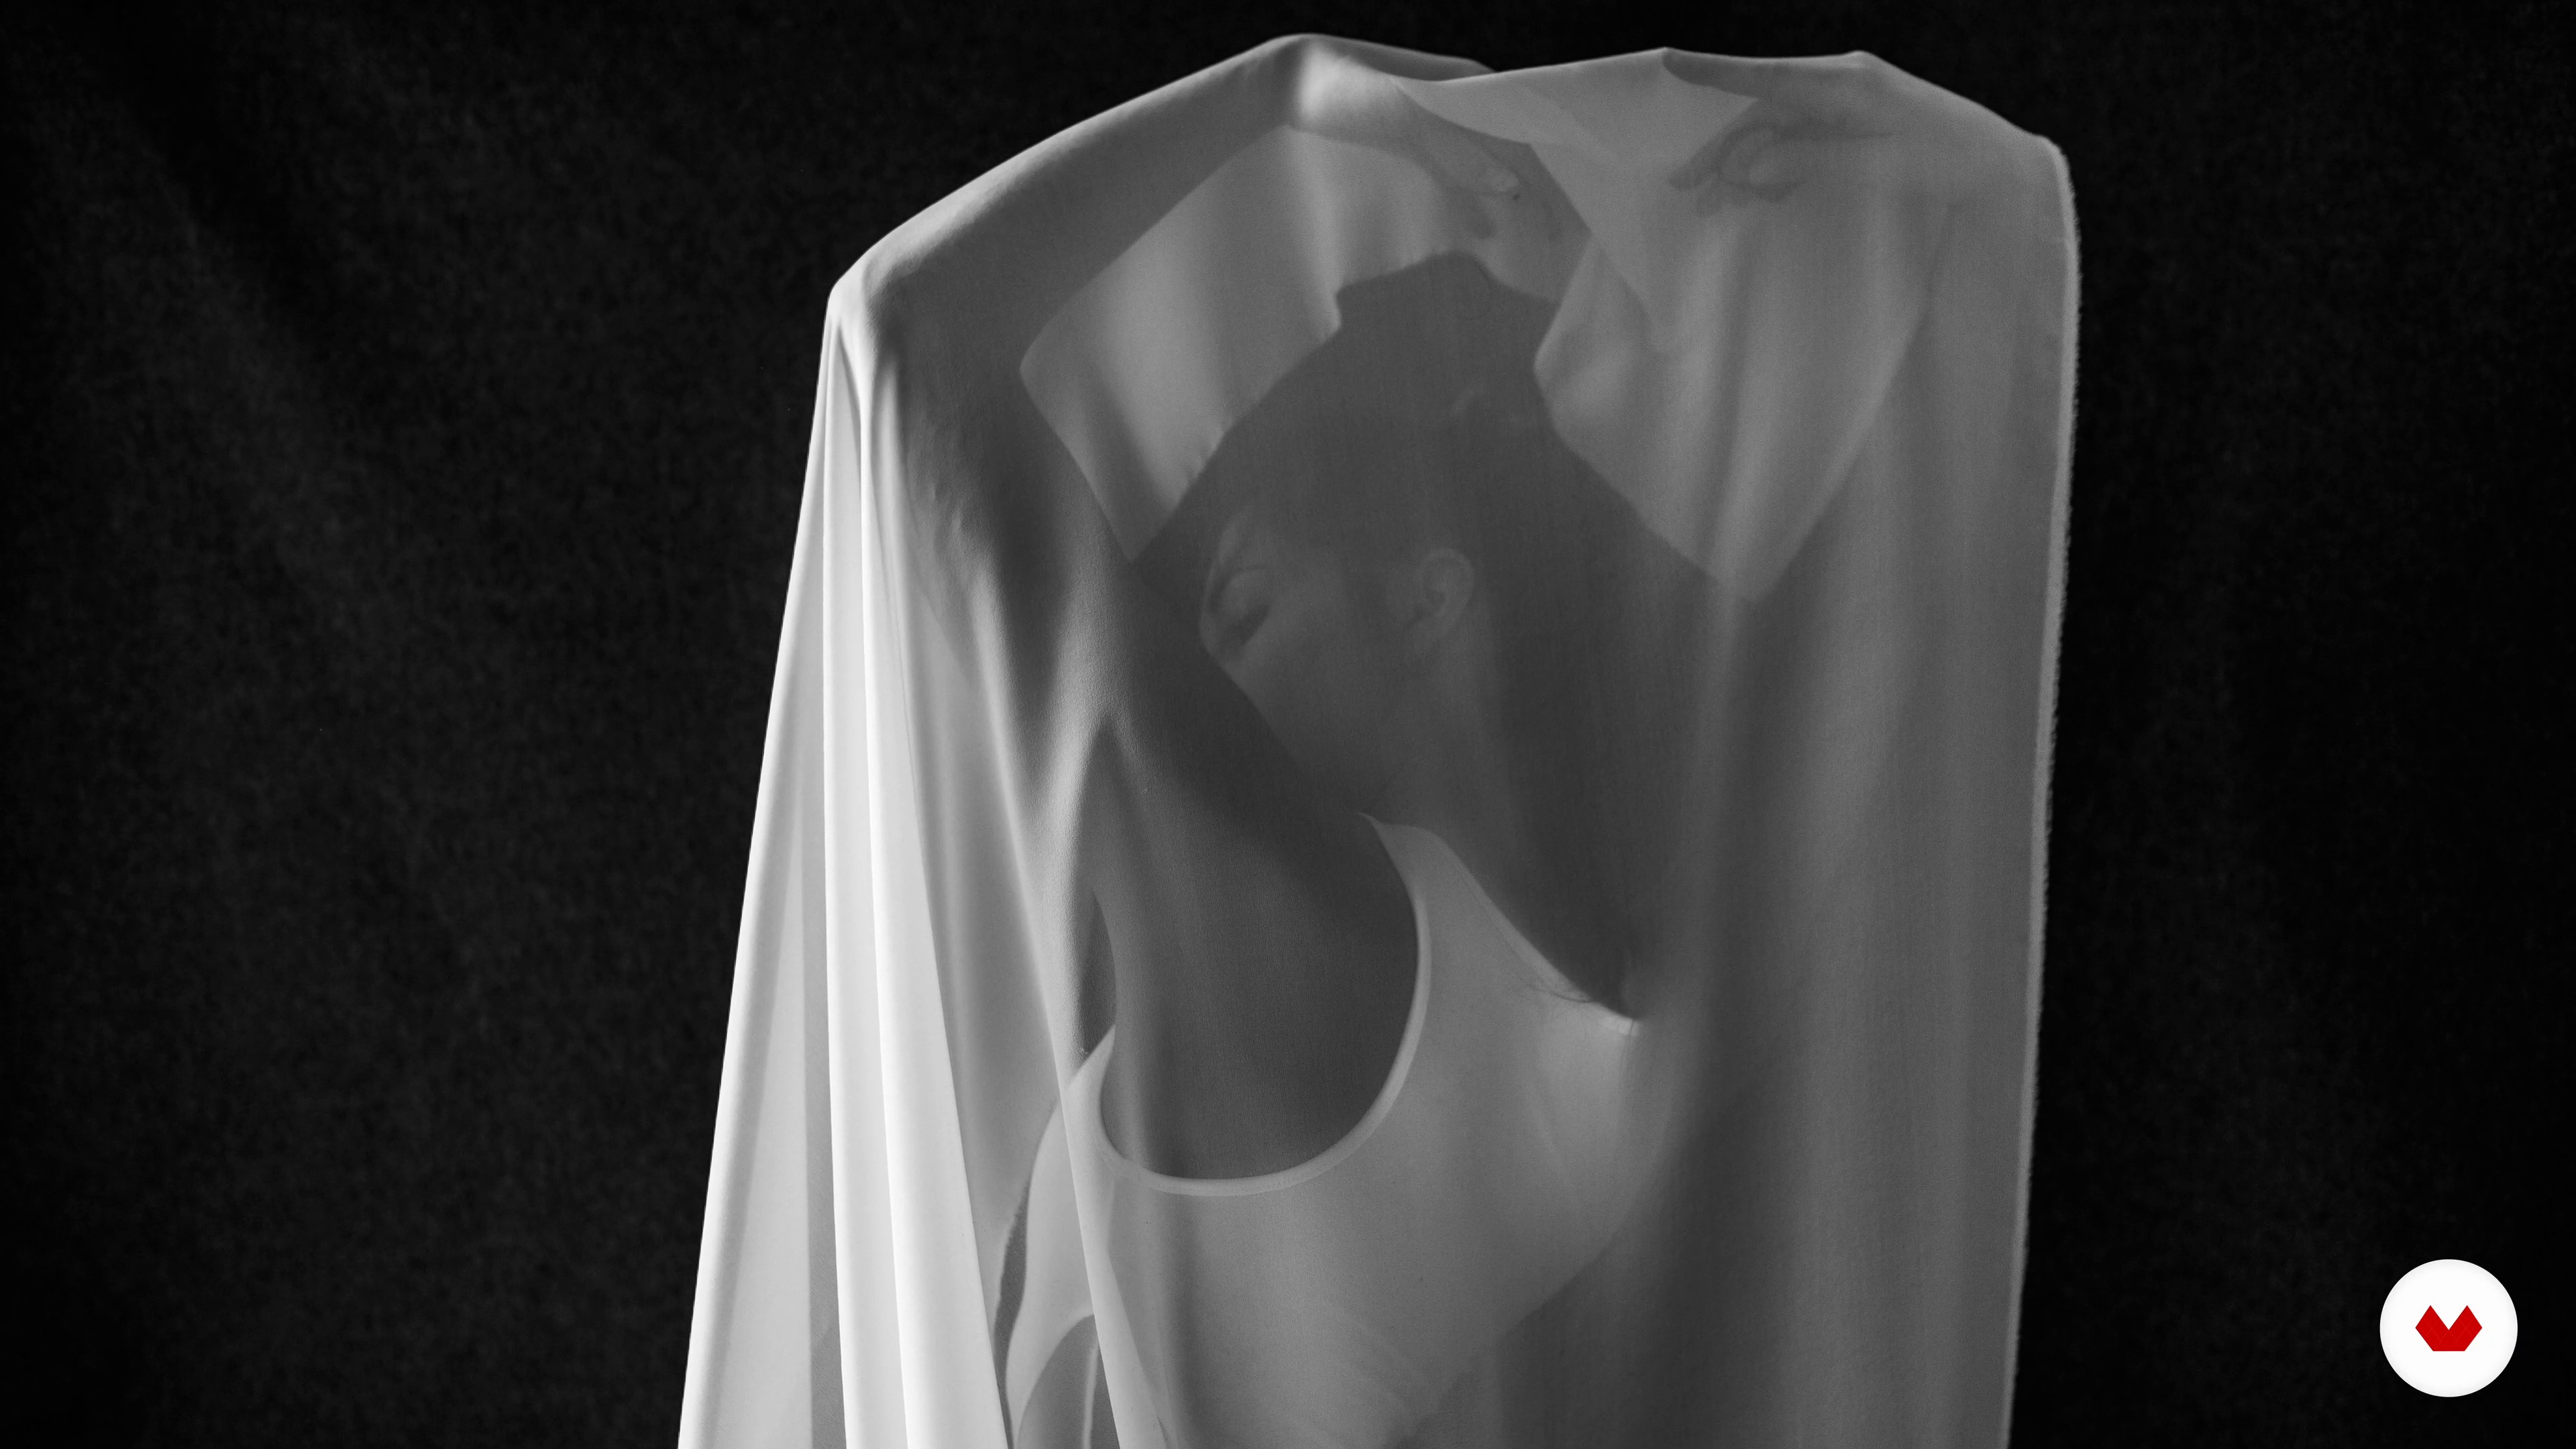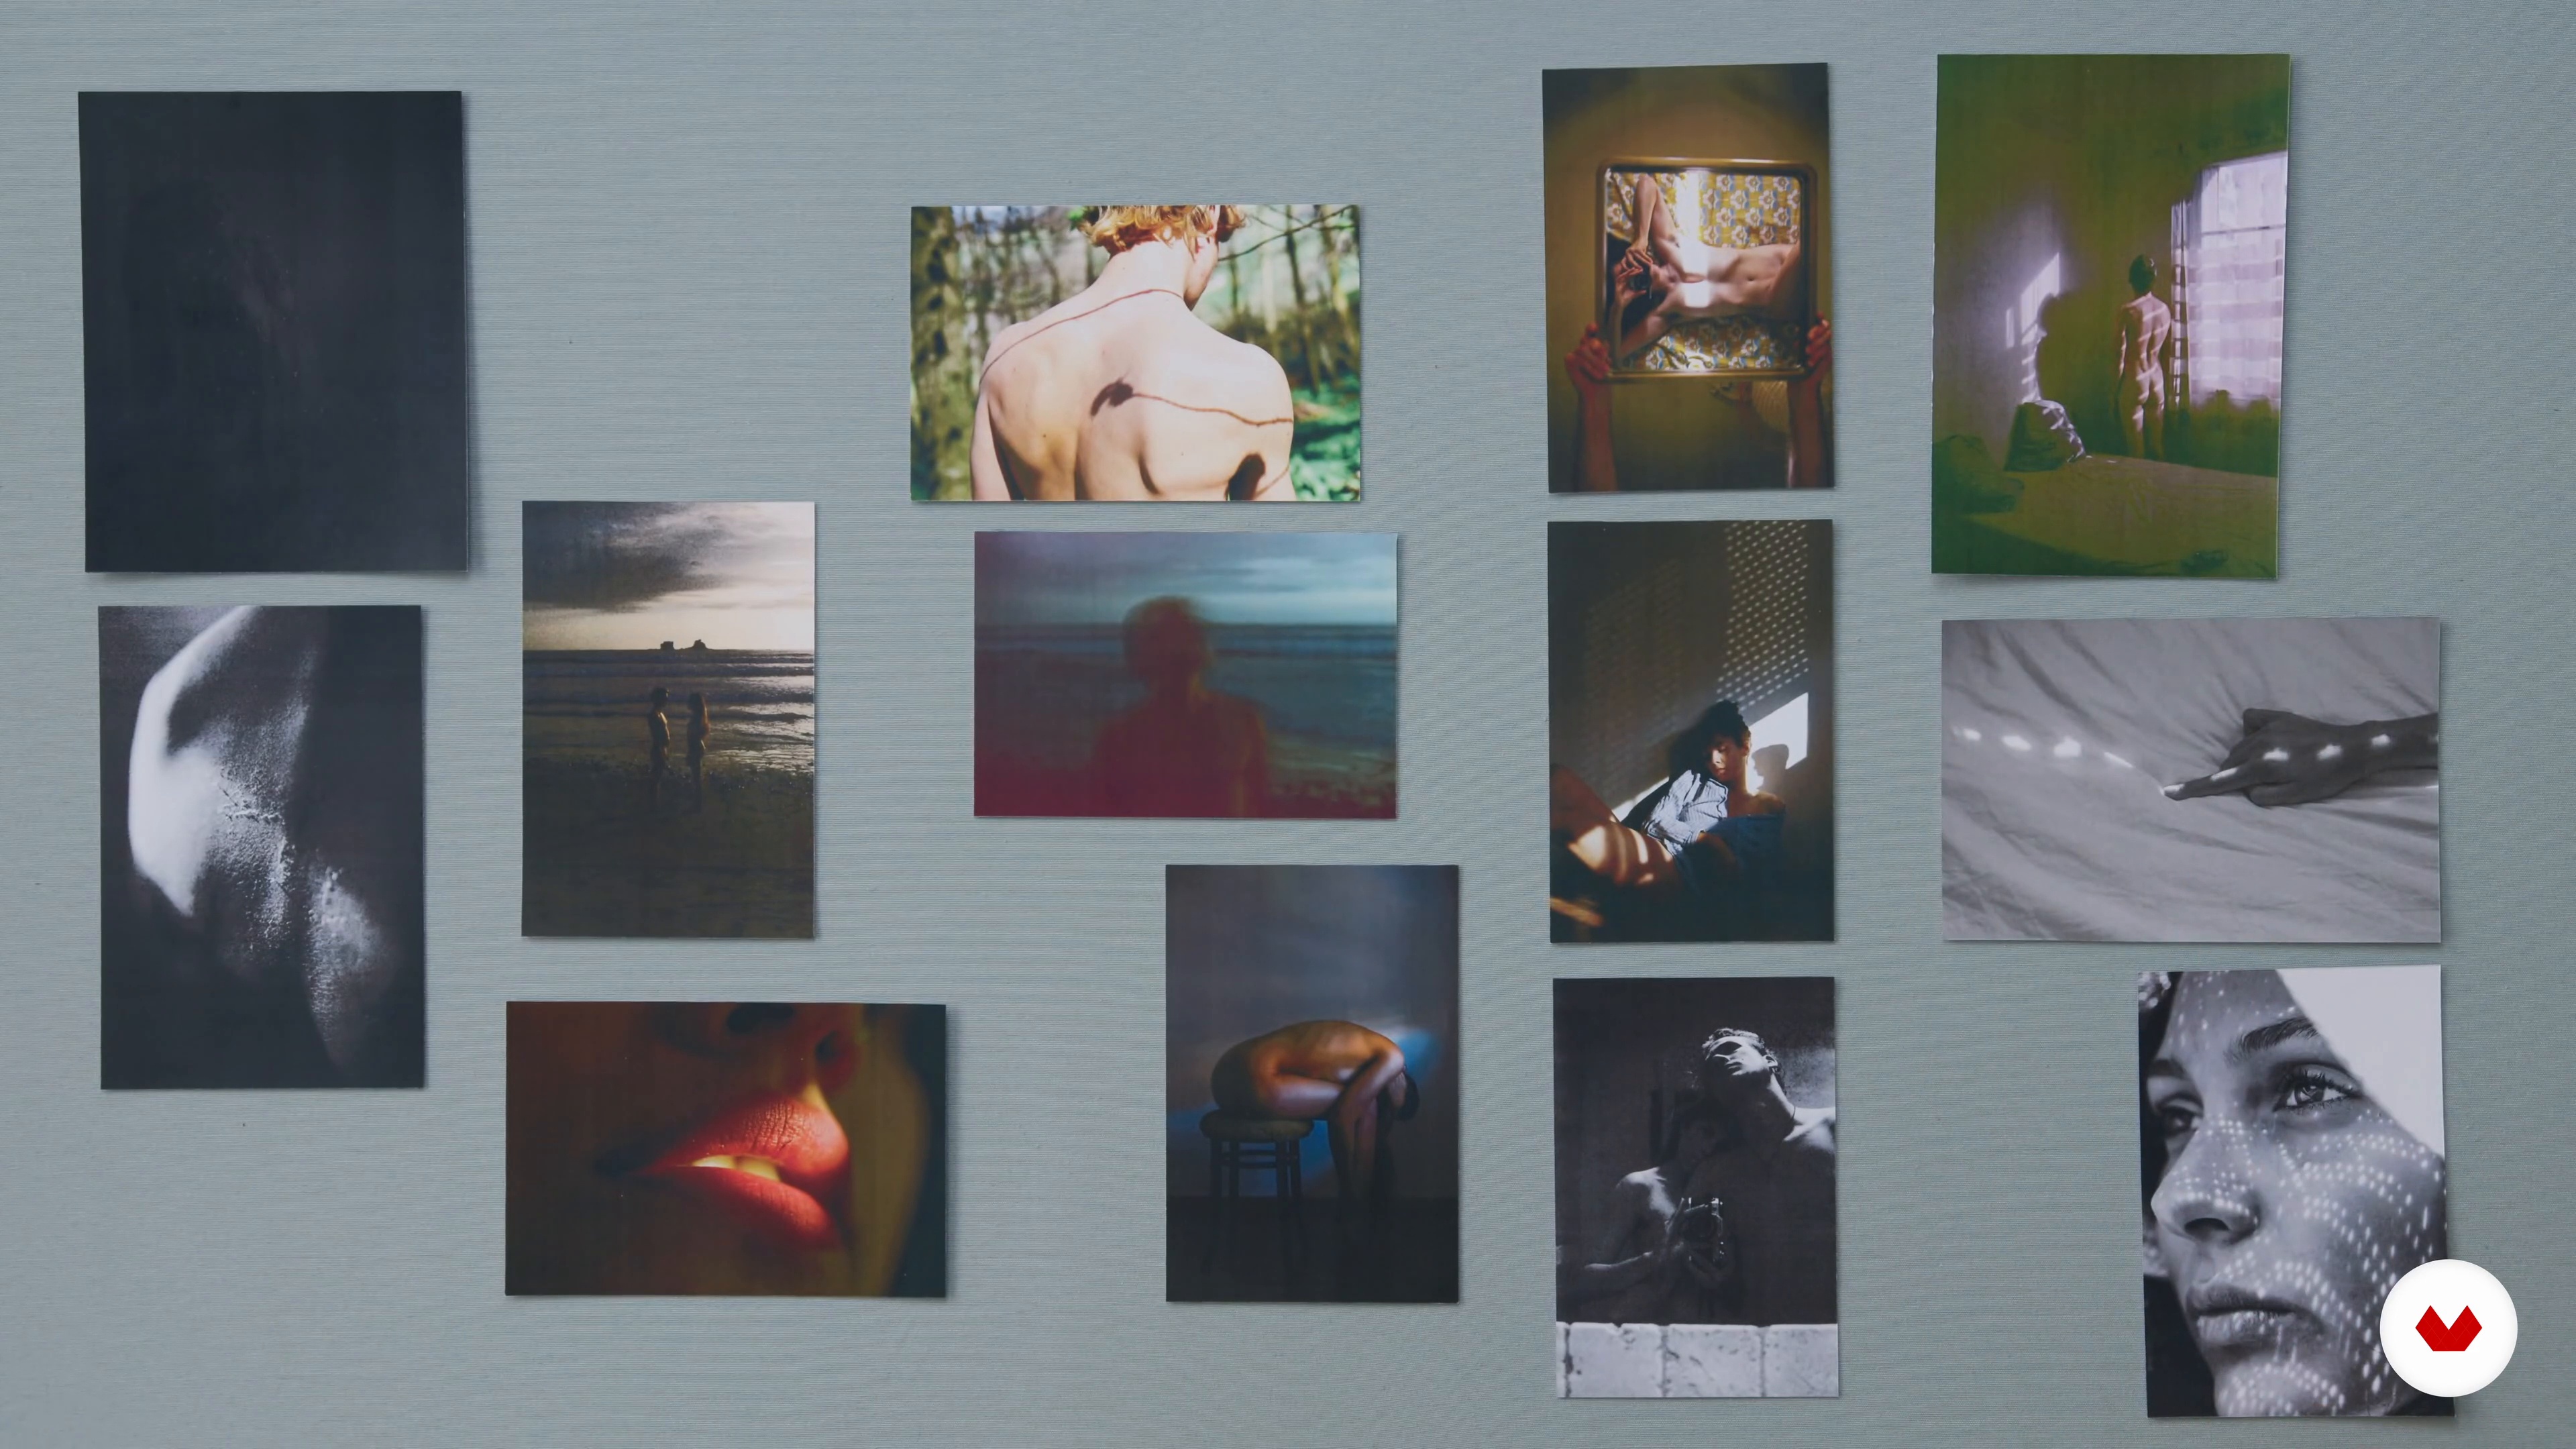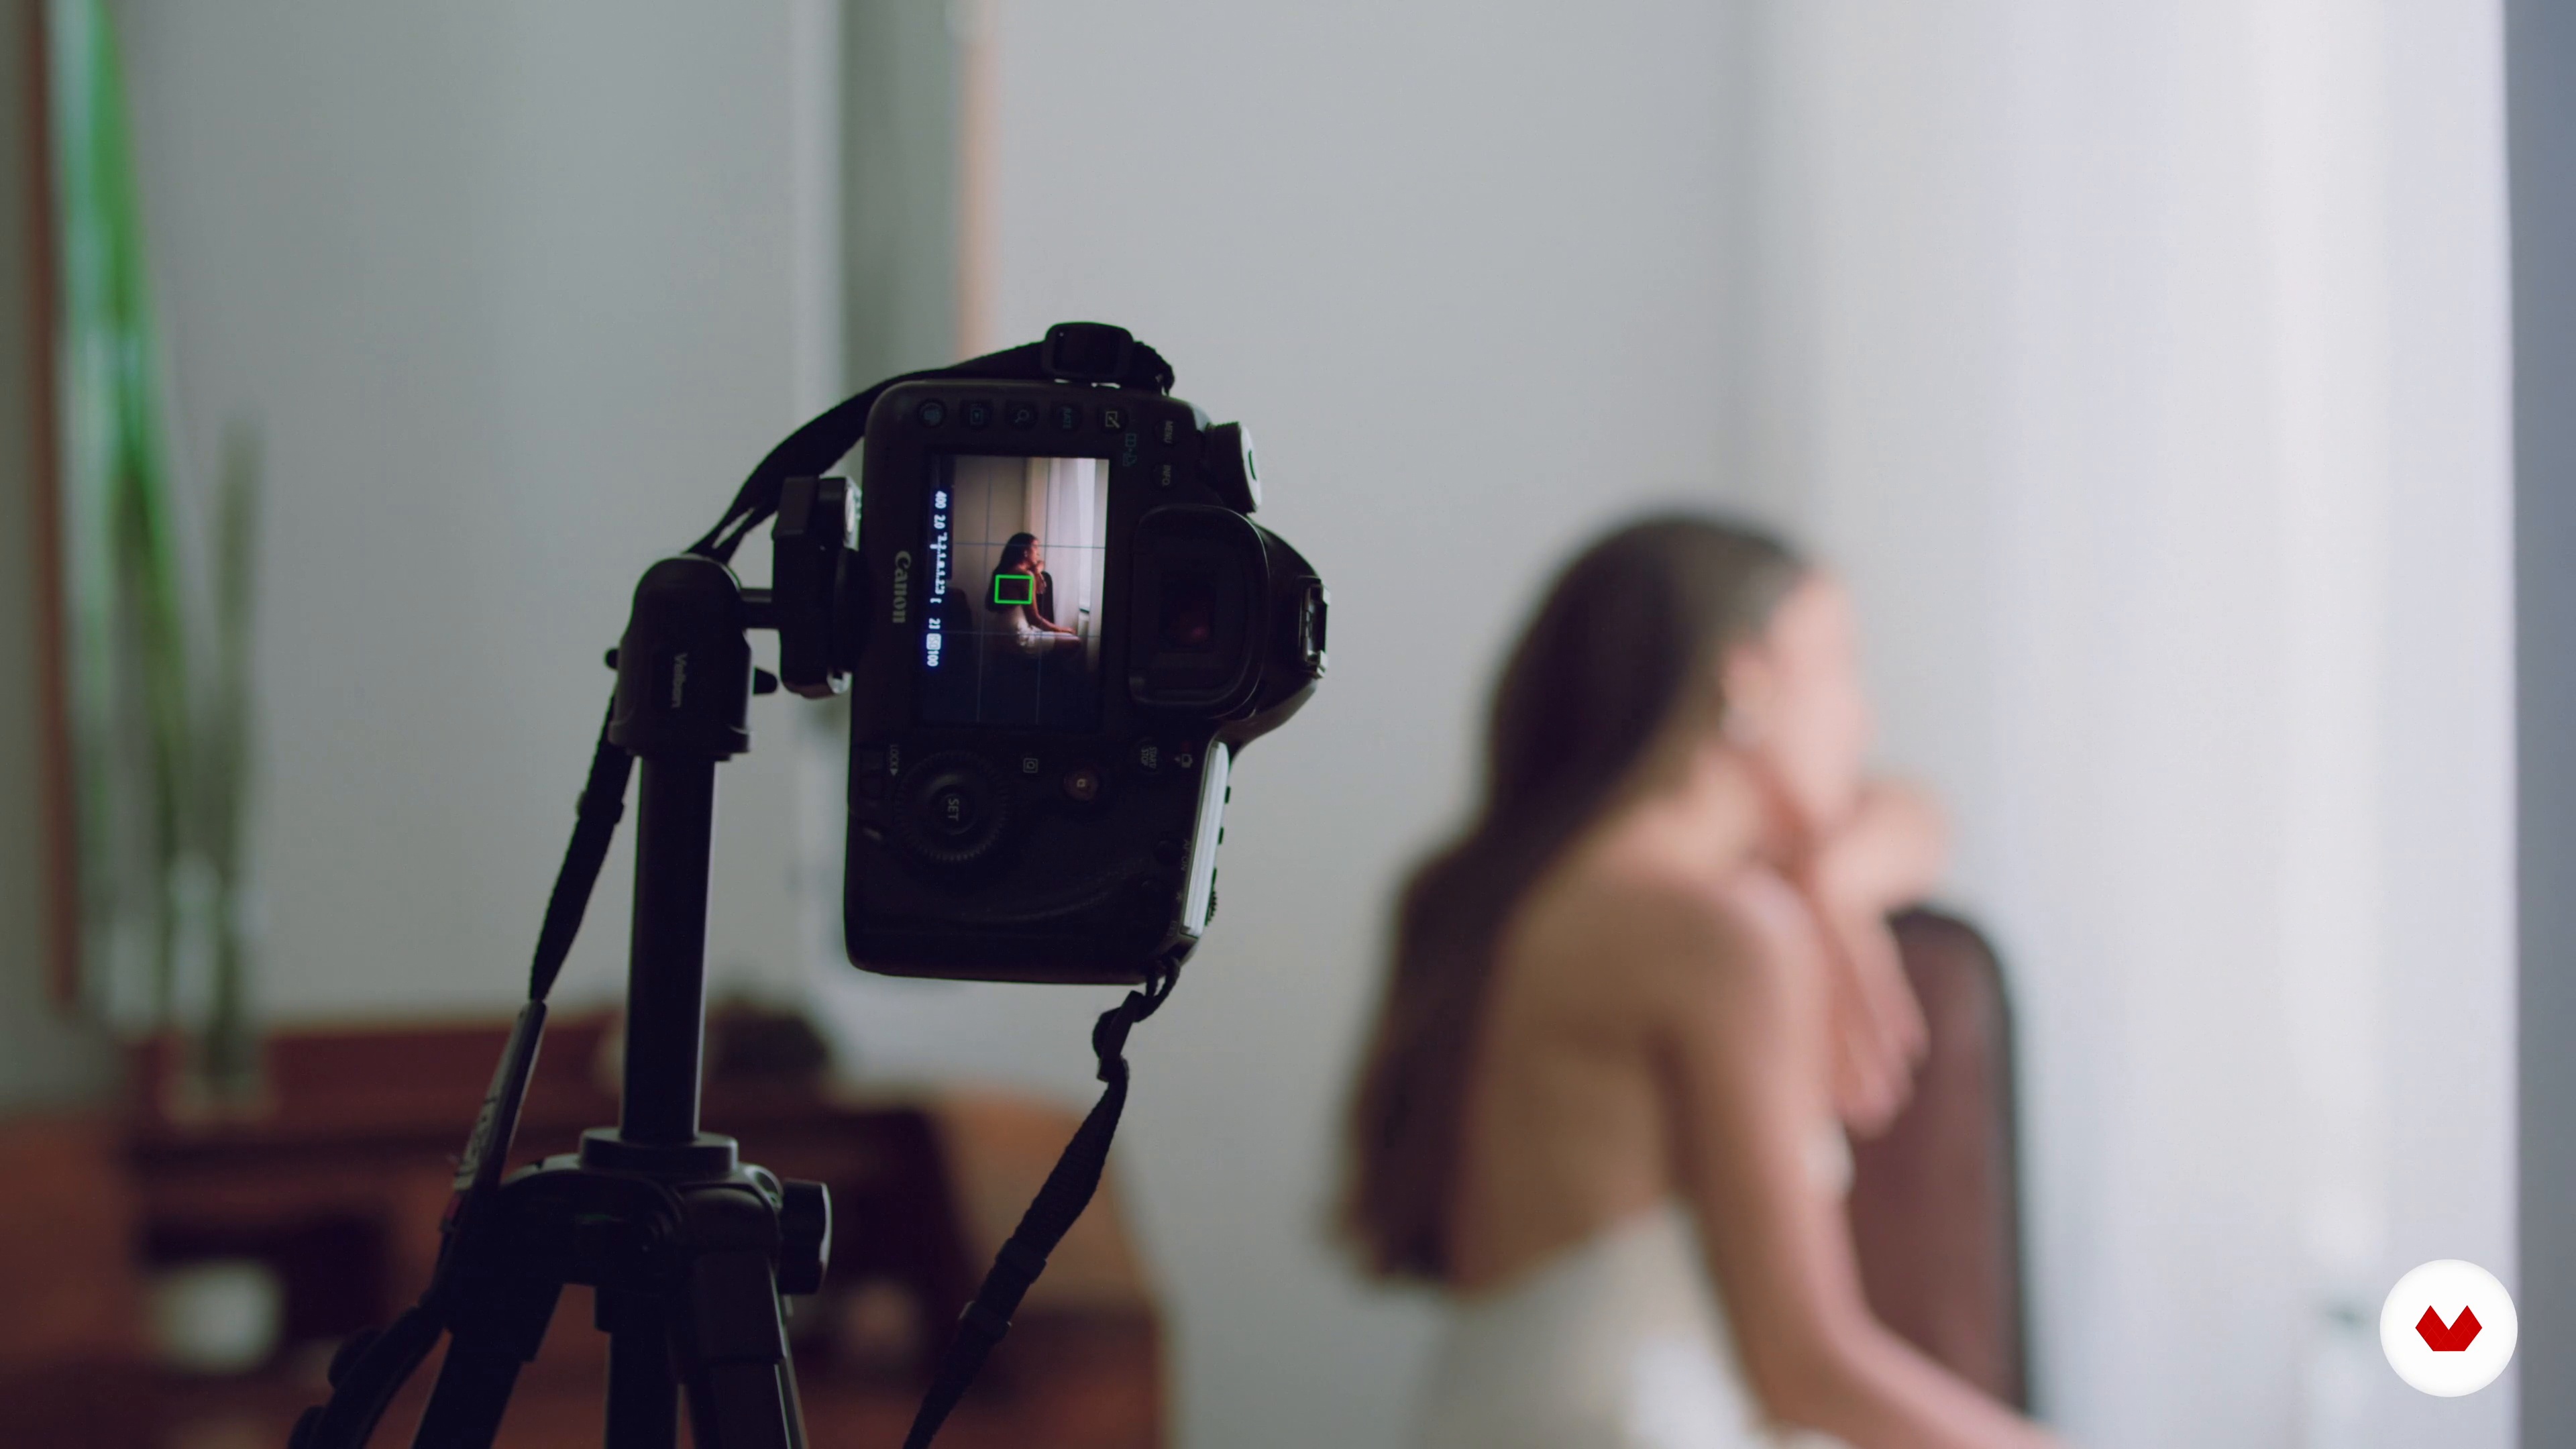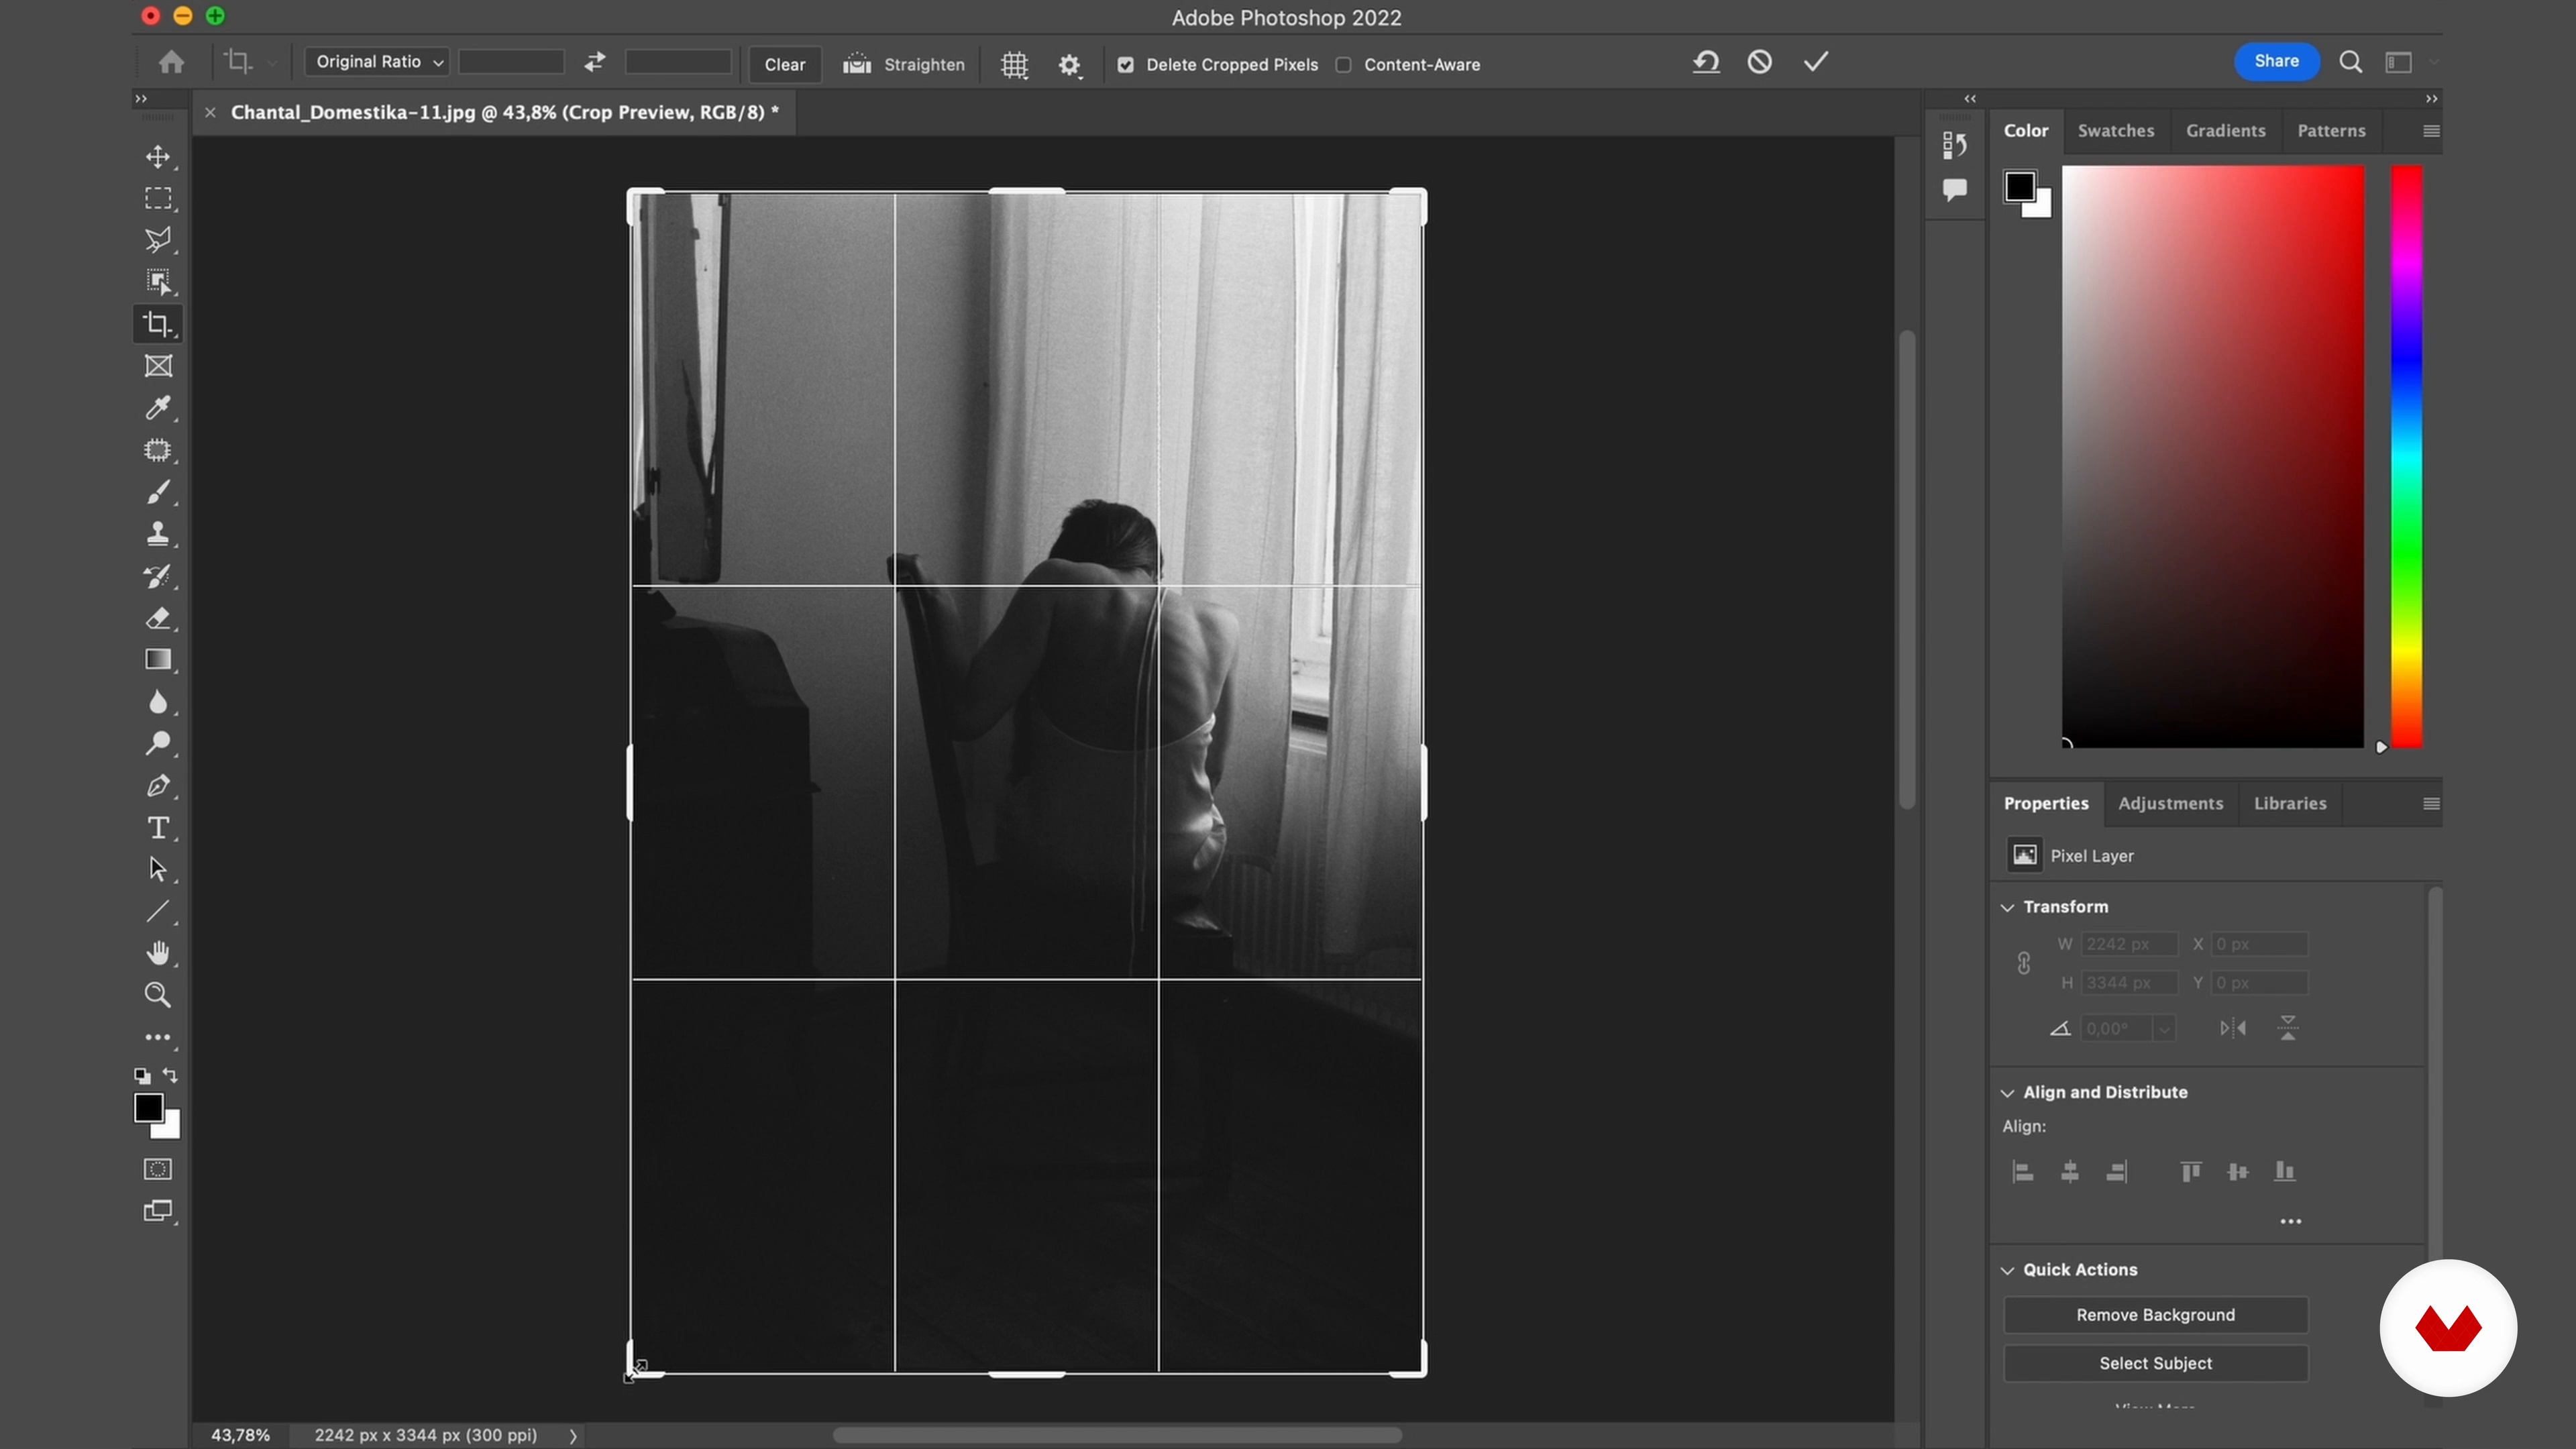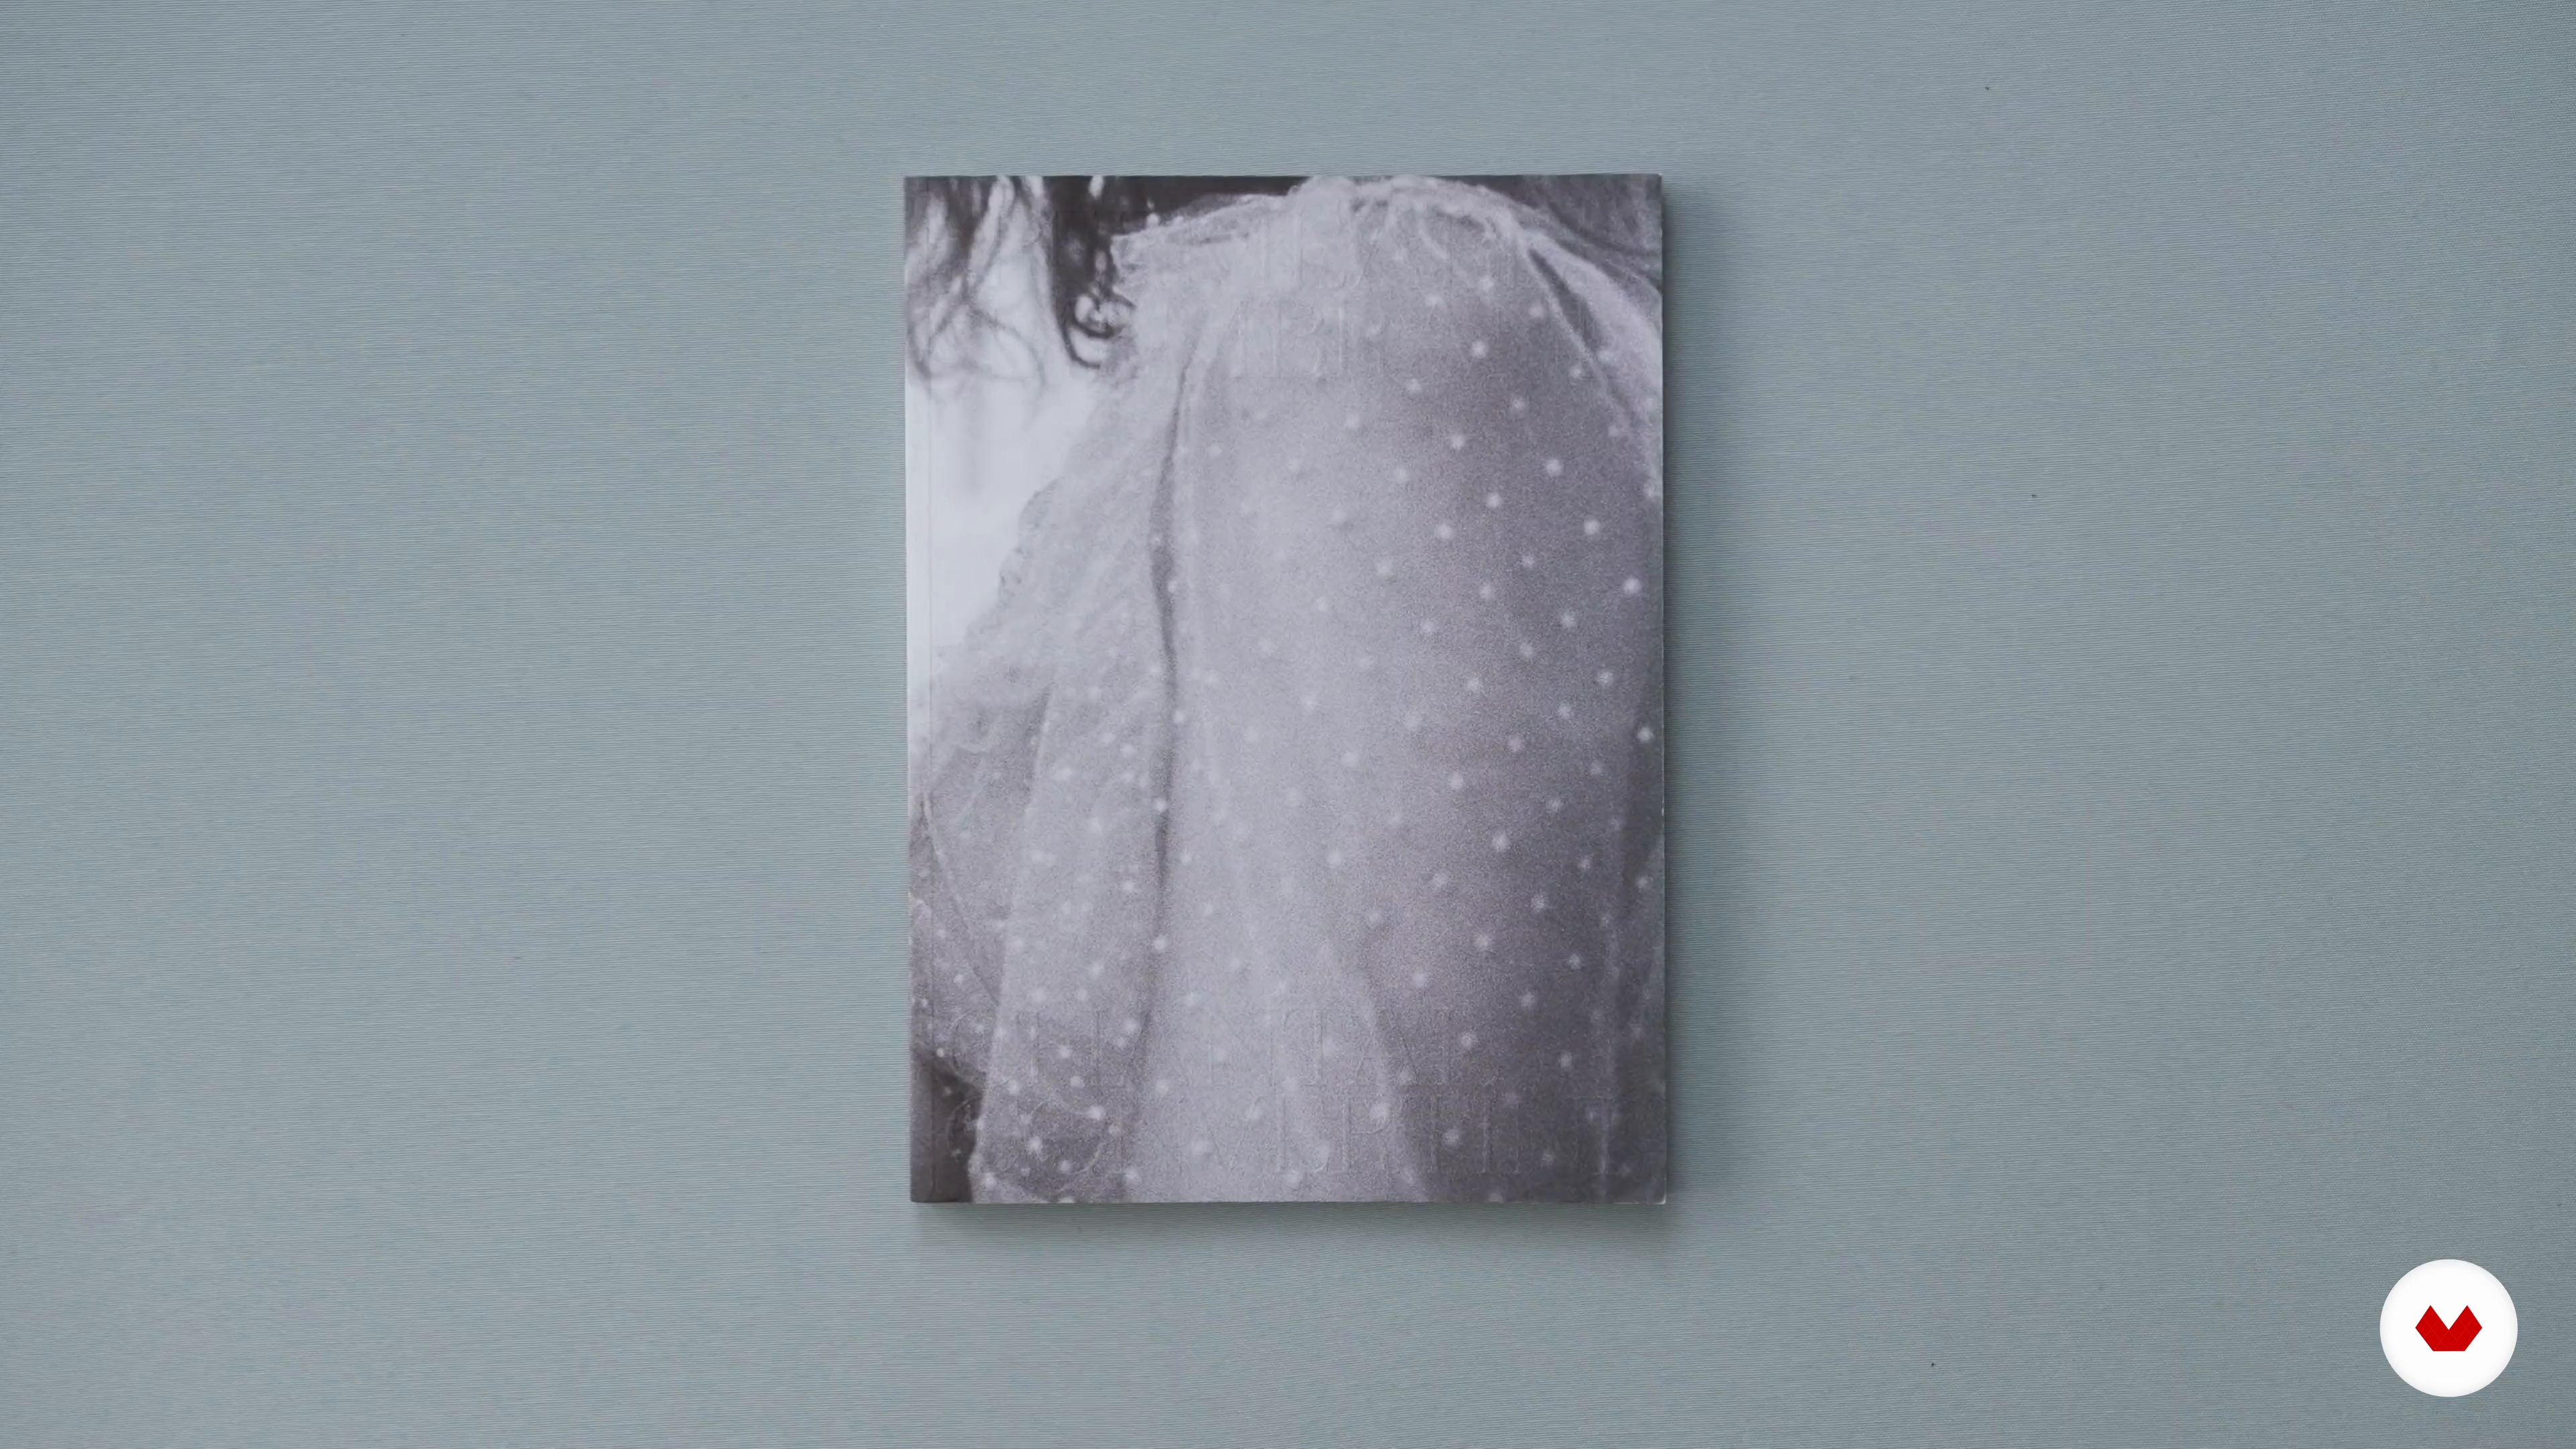
Embark on an enlightening journey into the world of analog photography, where the magic of film and light converge to create timeless art. This specialization takes you through the foundational techniques of natural and artificial lighting, guiding you to mastery in the classic art of analog photography. Discover the nuances of exposure, composition, and camera handling as you craft images that captivate the essence of your subjects. From landscapes bathed in natural light to intimate fine art self-portraits, you'll explore the profound expressive potential of analog formats.
Join expert photographers Fabien Dendiével, CARMENCITA FILM LAB, Maria Louceiro, Maya Fuhr, and Chantal Convertini as they share their insights and experiences. Dive deep into the creative and technical aspects, experimenting with various films and techniques to uncover the unique qualities of analog photography. Develop your own artistic voice through expressive portraits, atmospheric scenes, and personal narratives captured on film. By the end, you'll have a comprehensive portfolio that showcases your mastery of analog photography, ready for exhibitions or professional advancement. Uncover the beauty of imperfection, authenticity, and the art of capturing light on film.
1Introduction
Before pixels, there was chemistry and light. Film photography is more than a technique—it's a ritual. It asks you to slow down, observe with intent, and embrace imperfection. In a fast-paced digital world, it reclaims slowness, honesty, and beauty in the act of creating. In this lesson, you will explore the essence of analog photography as a deliberate and tactile art form. You will reflect on the shift from digital back to film, embracing imperfection, grain, and slowness. Each frame becomes an act of intention, each image a quiet story told in light.
1m
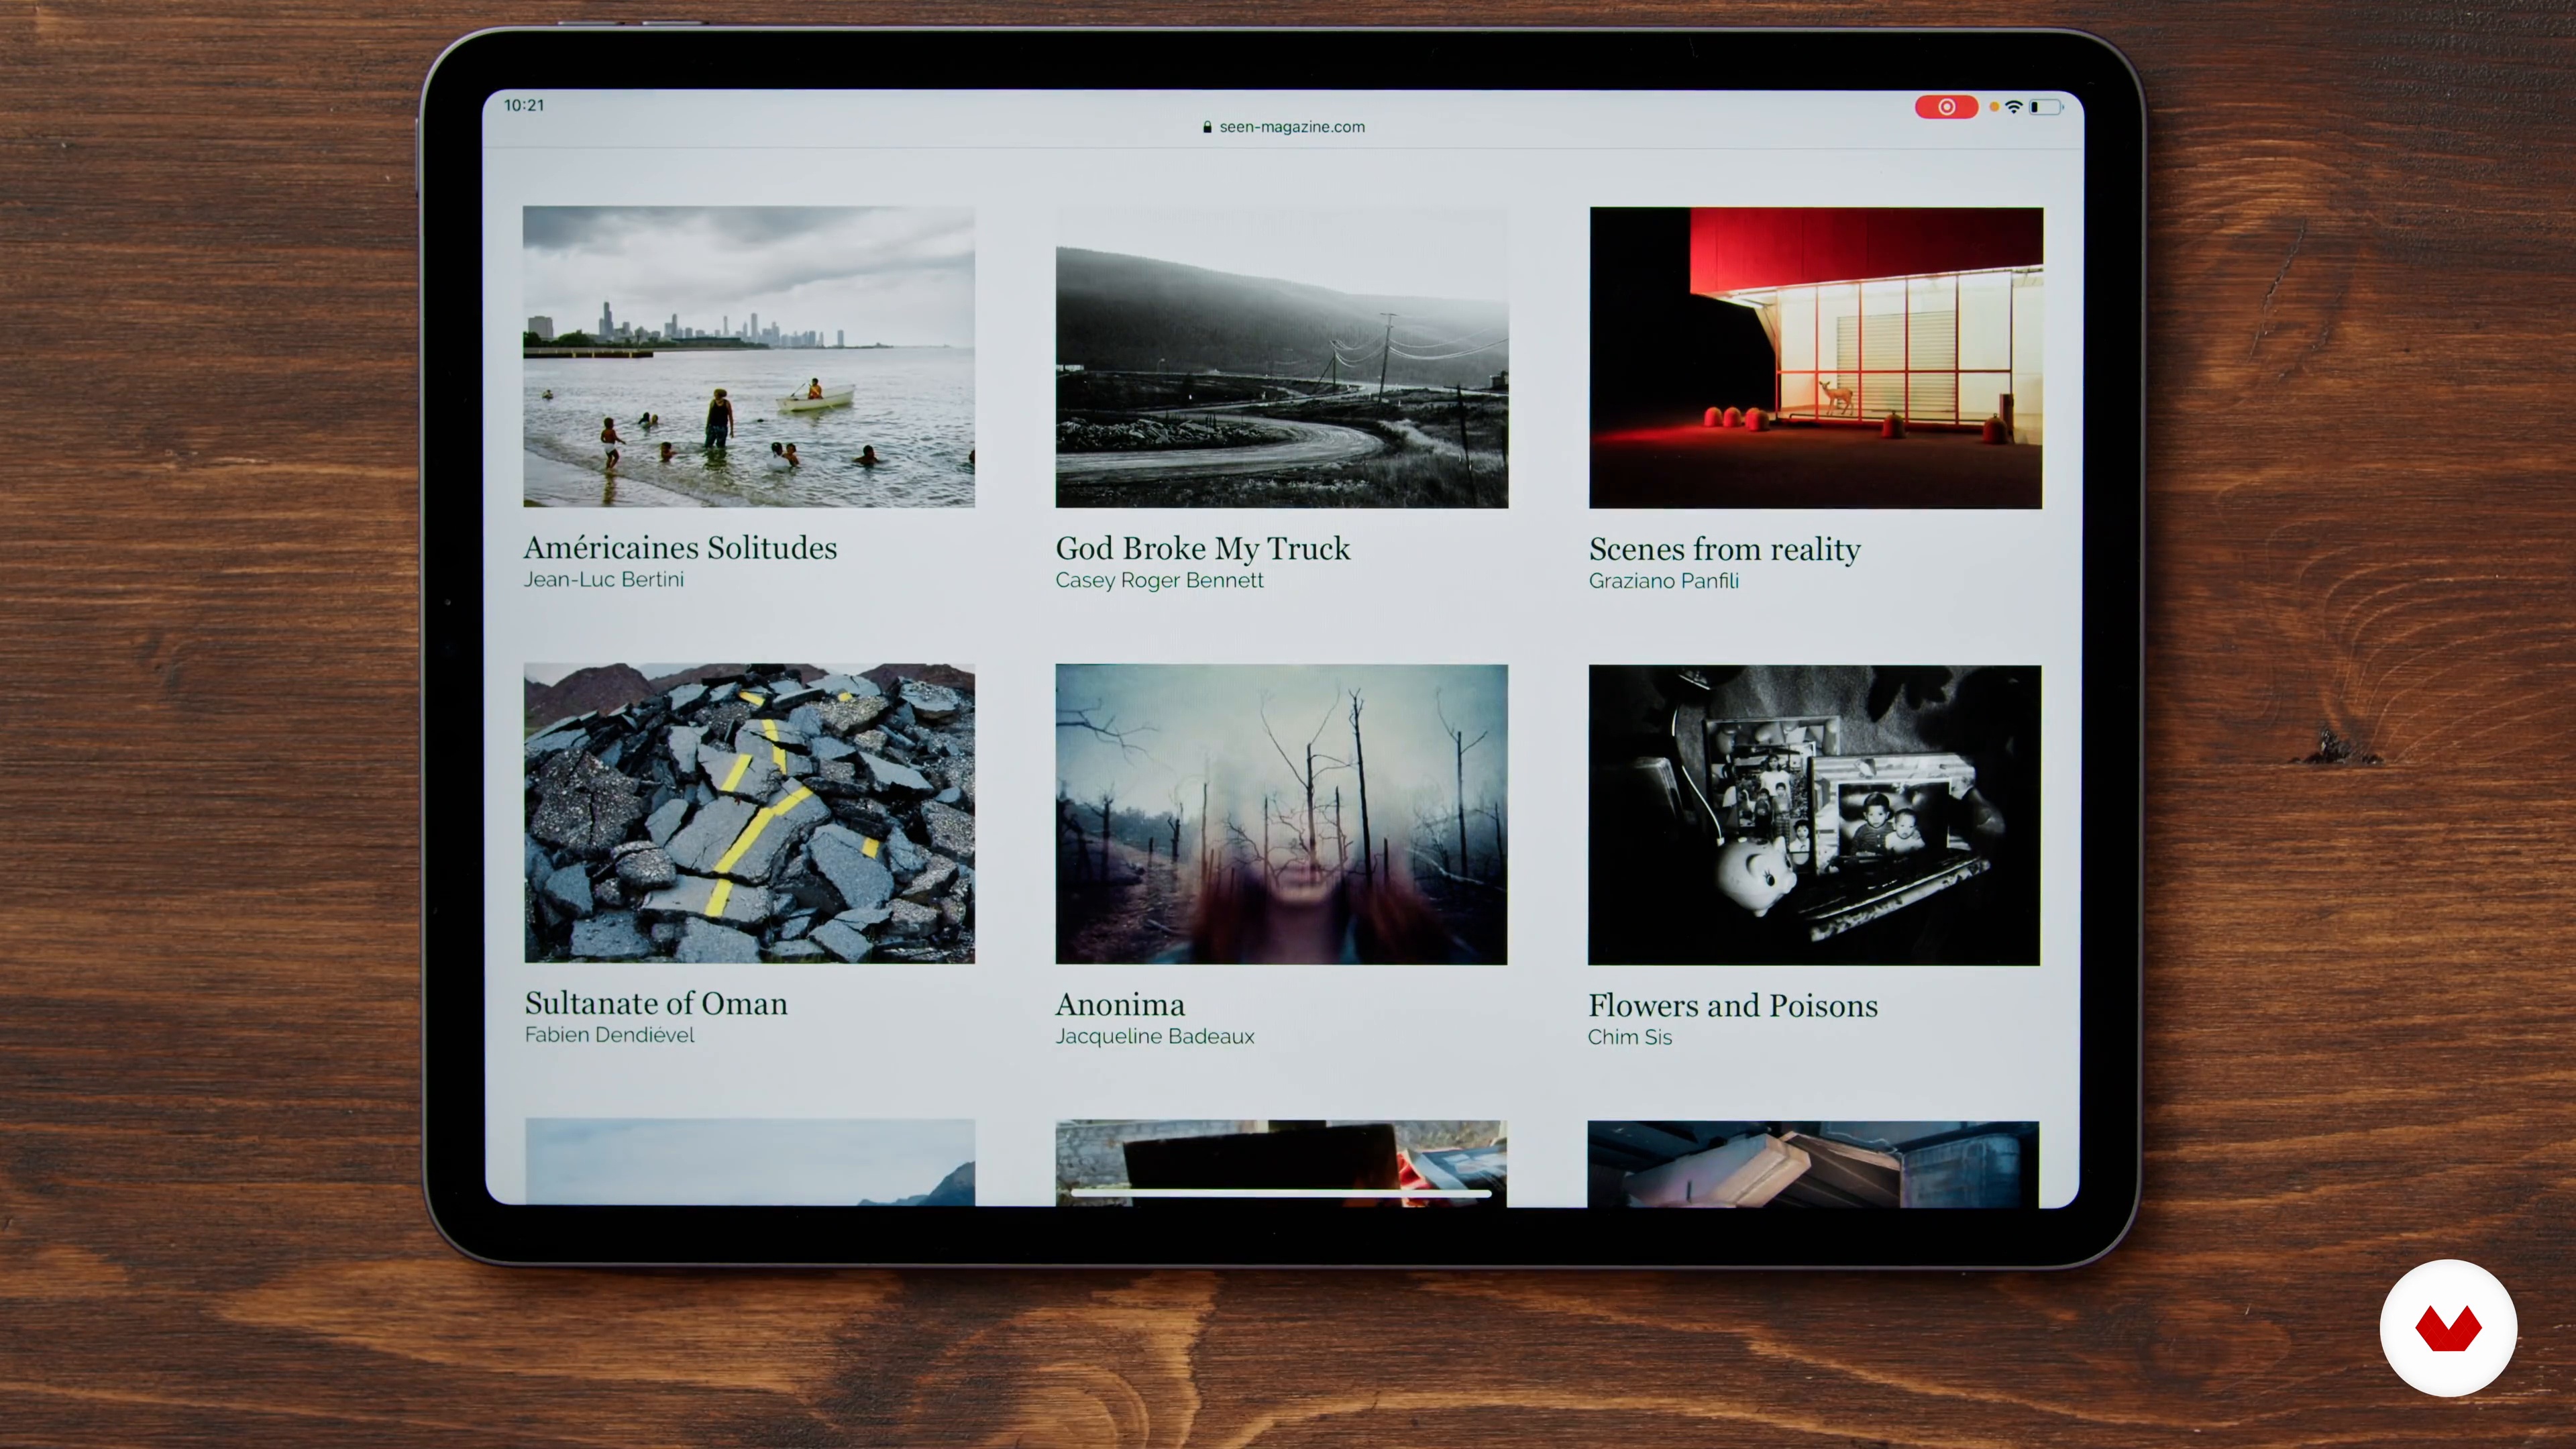
2My sources of inspiration | Fabien Dendiével
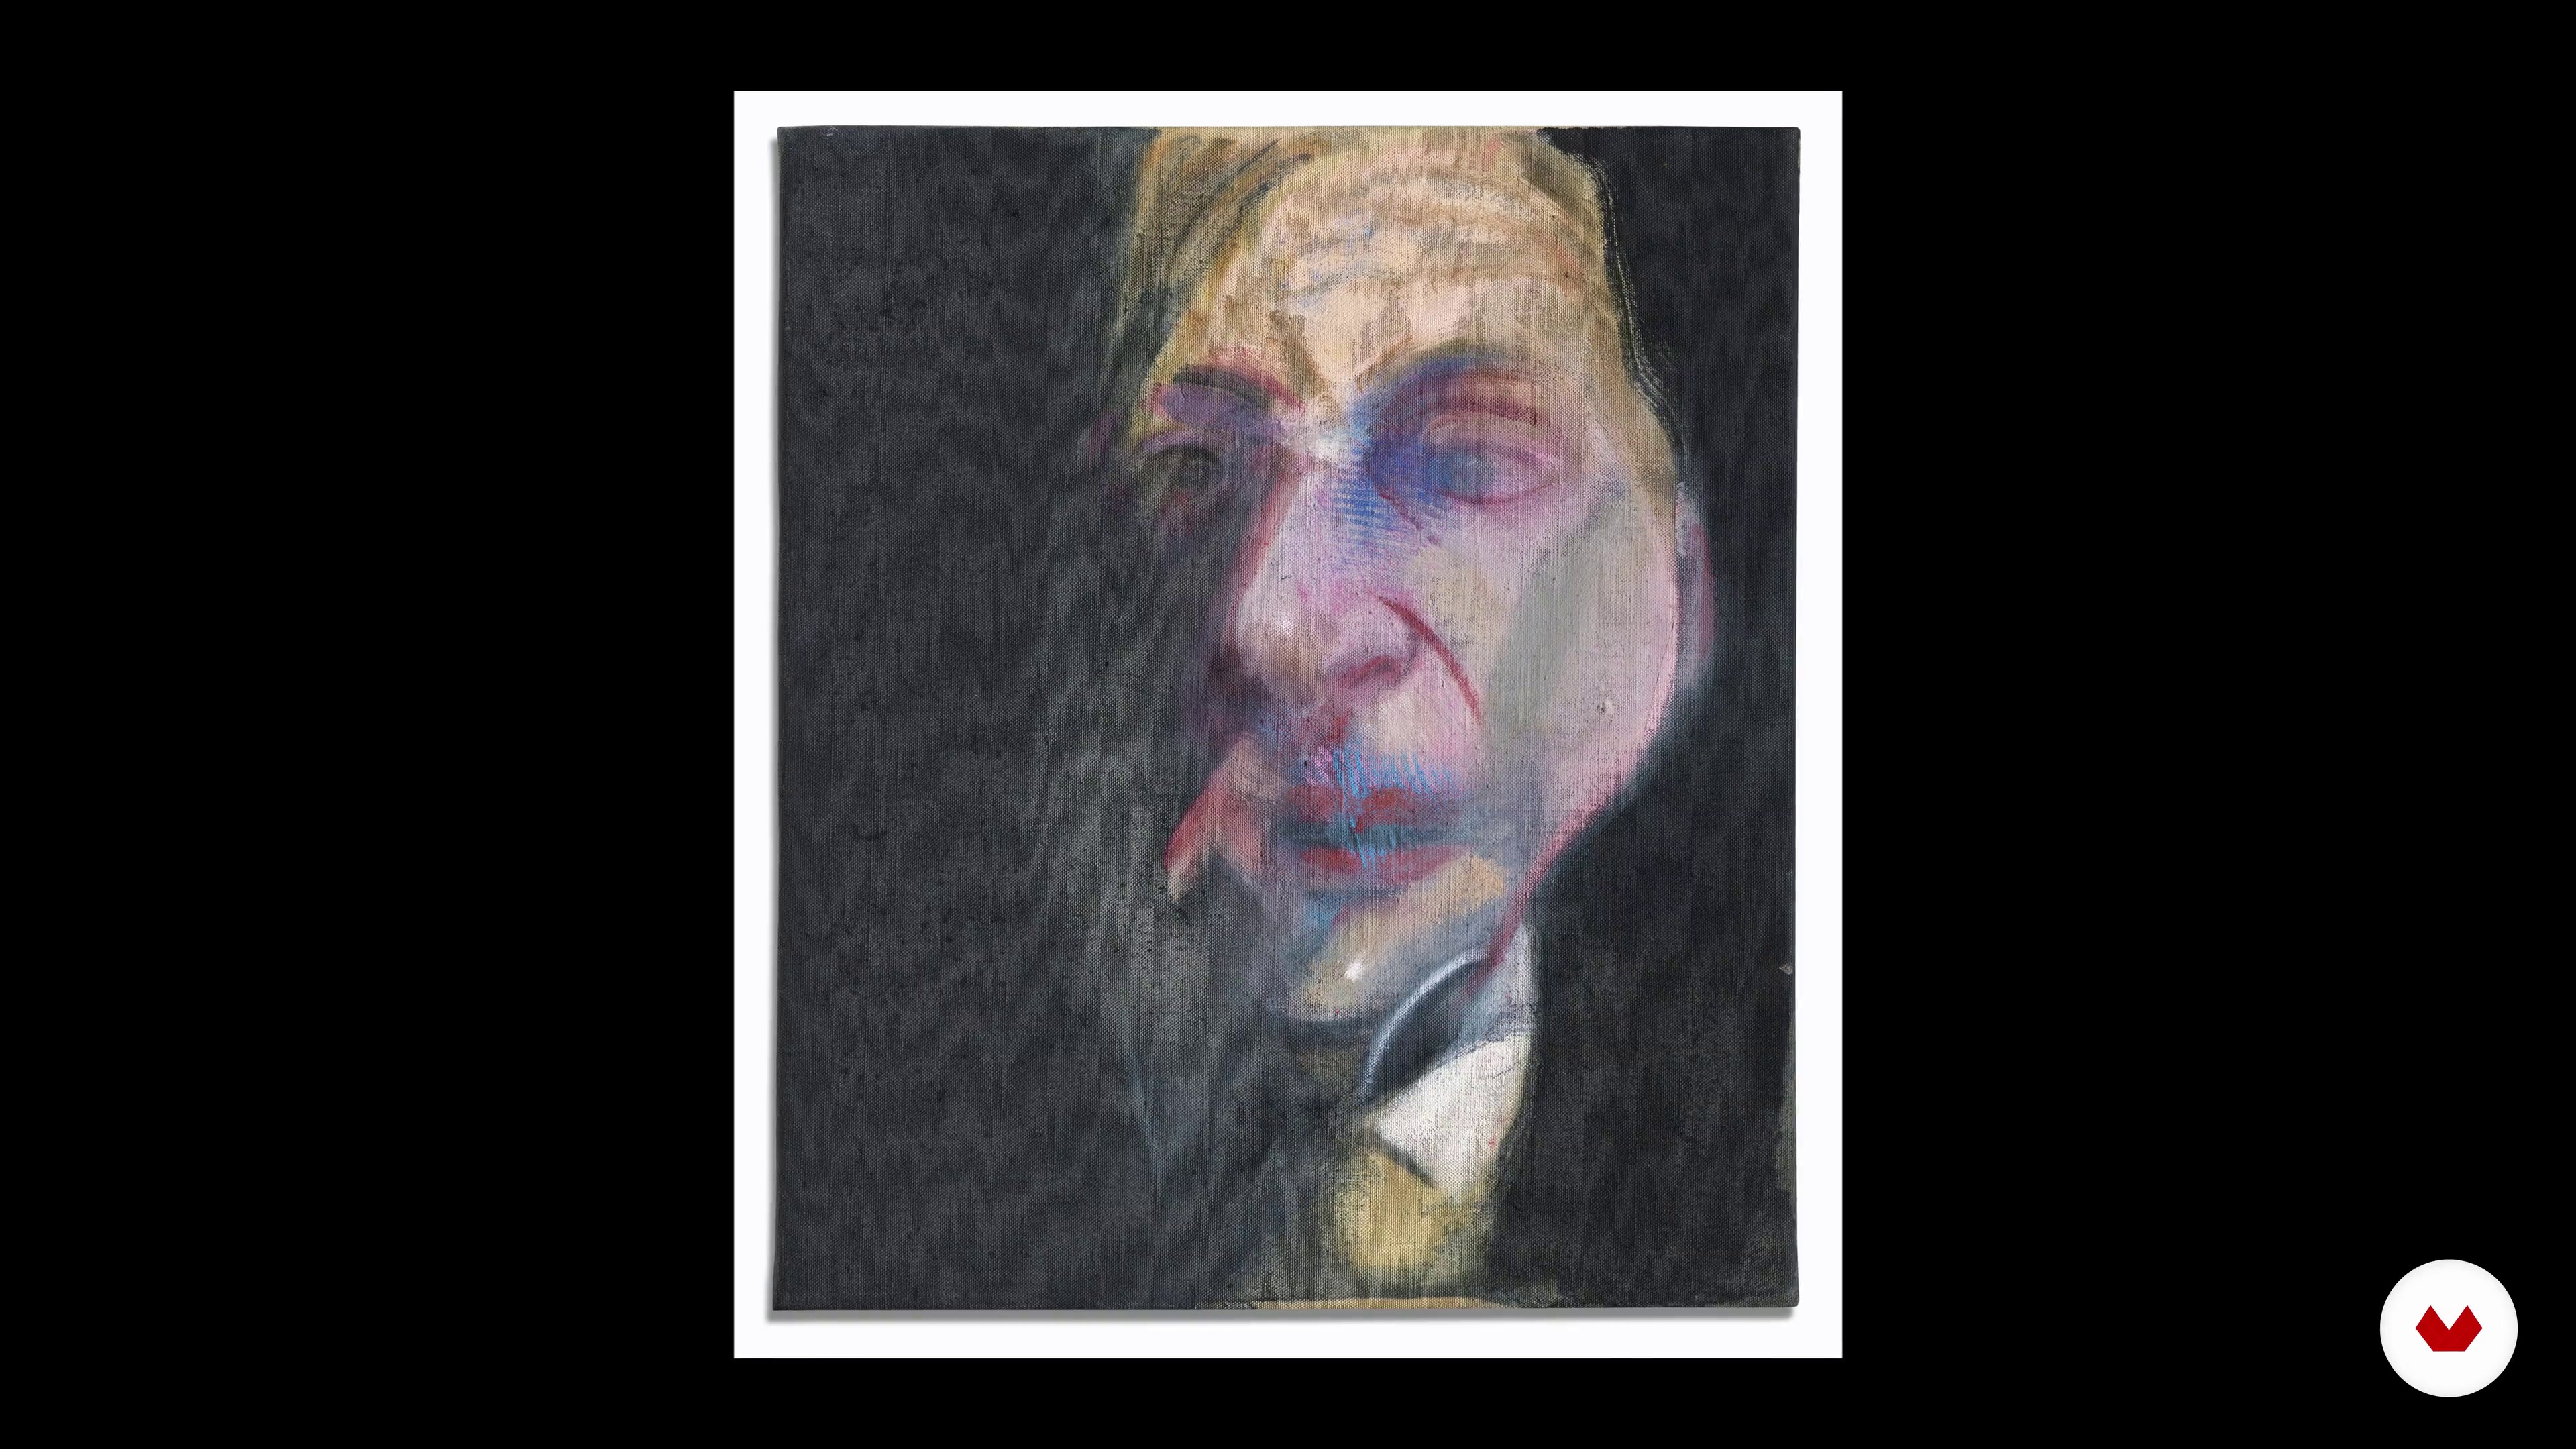
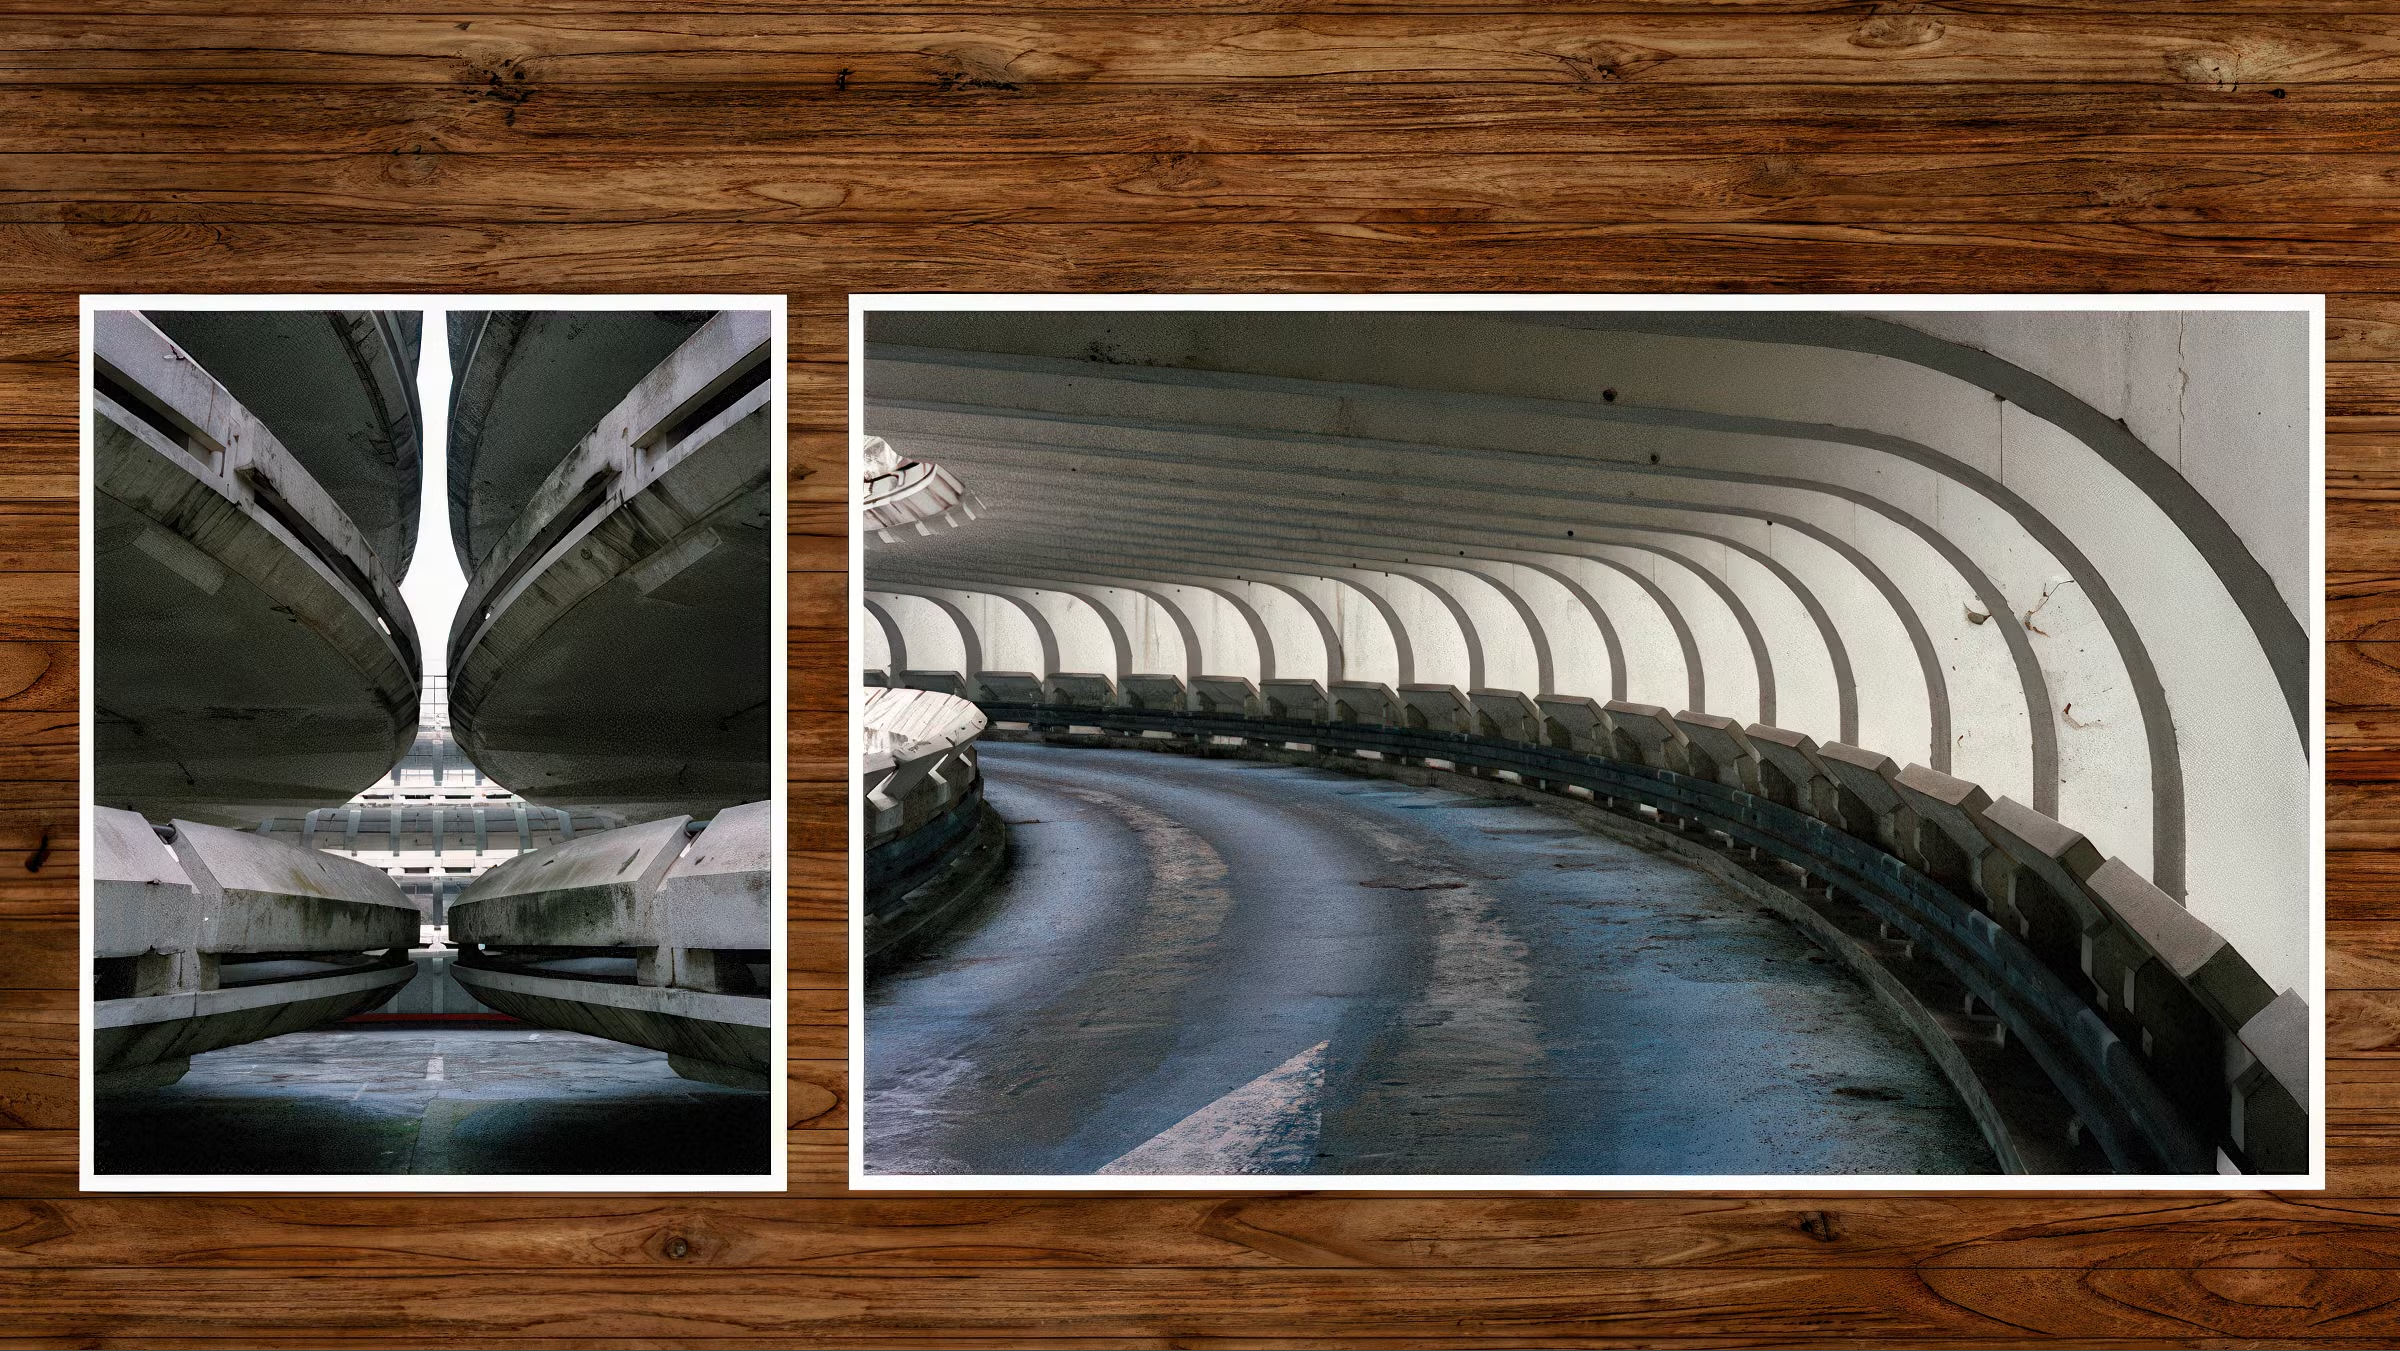
In this lesson, I will introduce you to artists, photographers and painters, who have heightened my perception of color photography.
6m
3Influences | Albert Roig (Carmencita Film Labs)
In this lesson, I will tell you about my main influences and references in photography, both classic and current.
16m
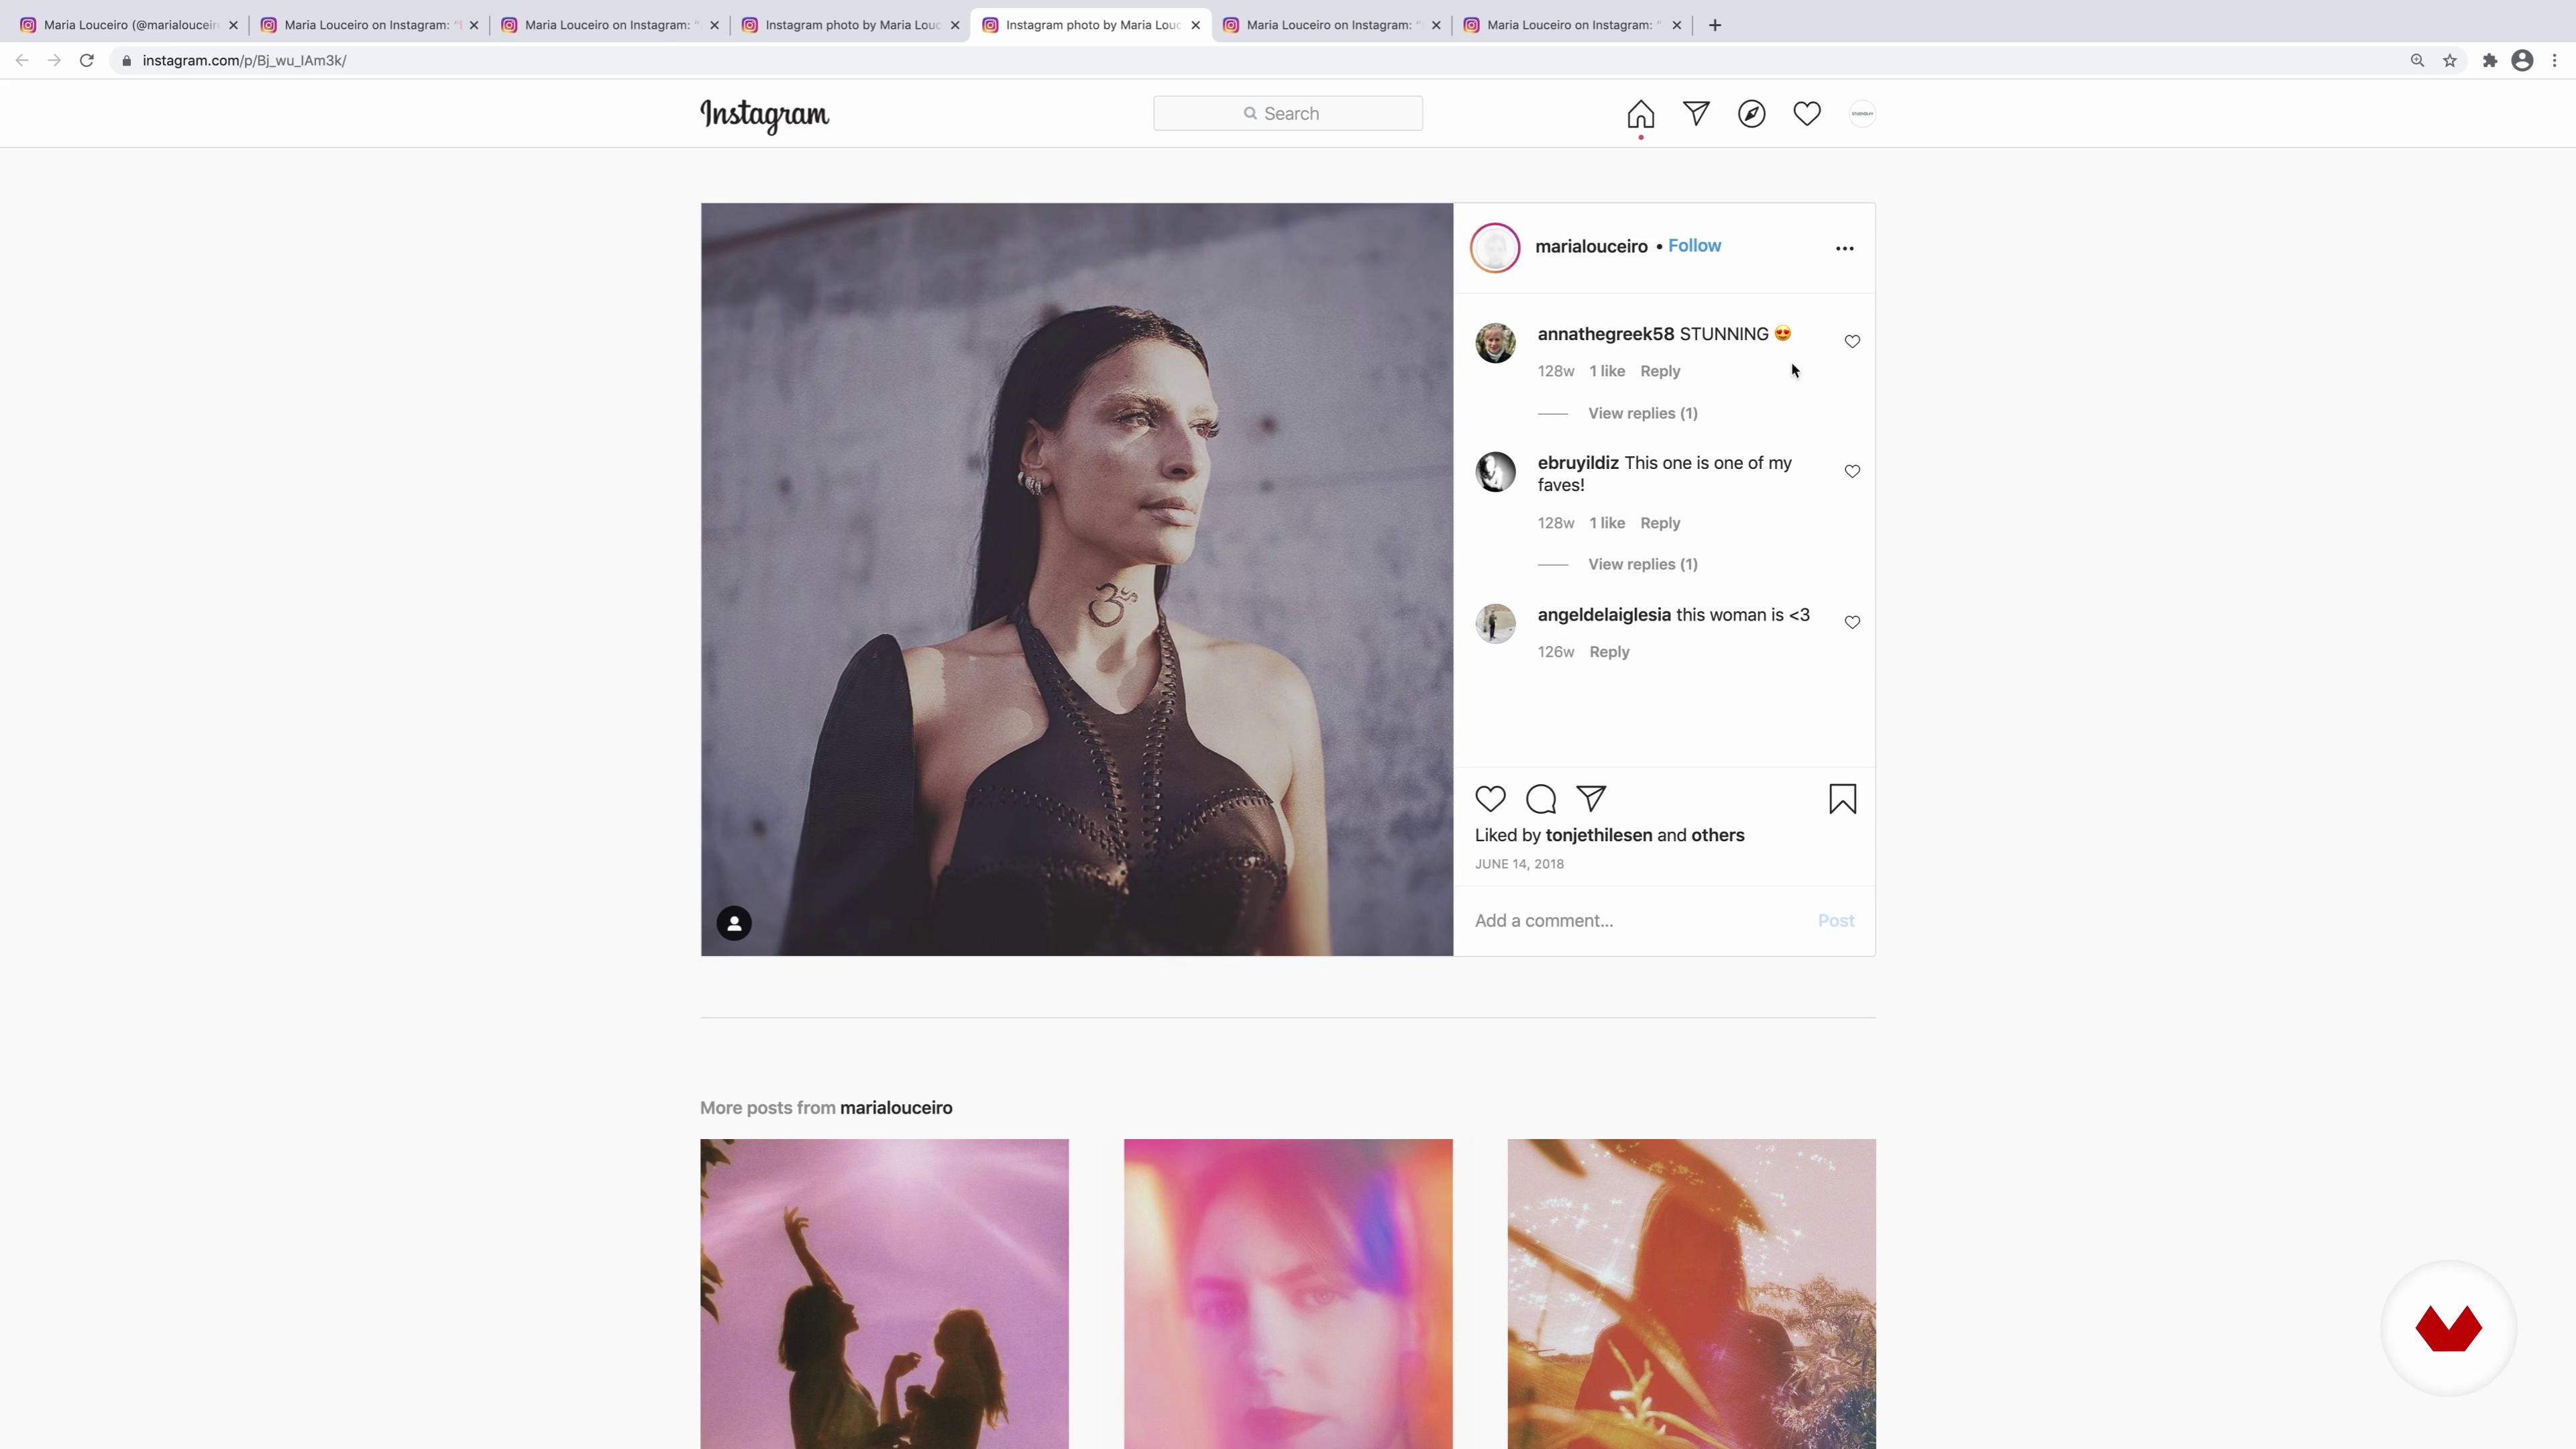
4Influences | Maria Louceiro
I’m pretty much influenced by artists from a diversity of areas that not only photography. I had the dream of becoming a painter when I was a child. To this day, I’m still very influenced by painting, especially the impressionists. What draws me to this particular movement is the way it manipulates natural light as well as the contrast between colors.
2m
5Influences | Maya Fuhr
Images influence us even when we don’t know it. We passively interact with them in our day-to-day life; whether it’s being photographed for school or walking by an advertisement. Some of our greatest memories are captured through portrait photography. Here, I will reflect on three photographers that helped shape the way I look at photographs.
8m
6Influences | Chantal Convertini
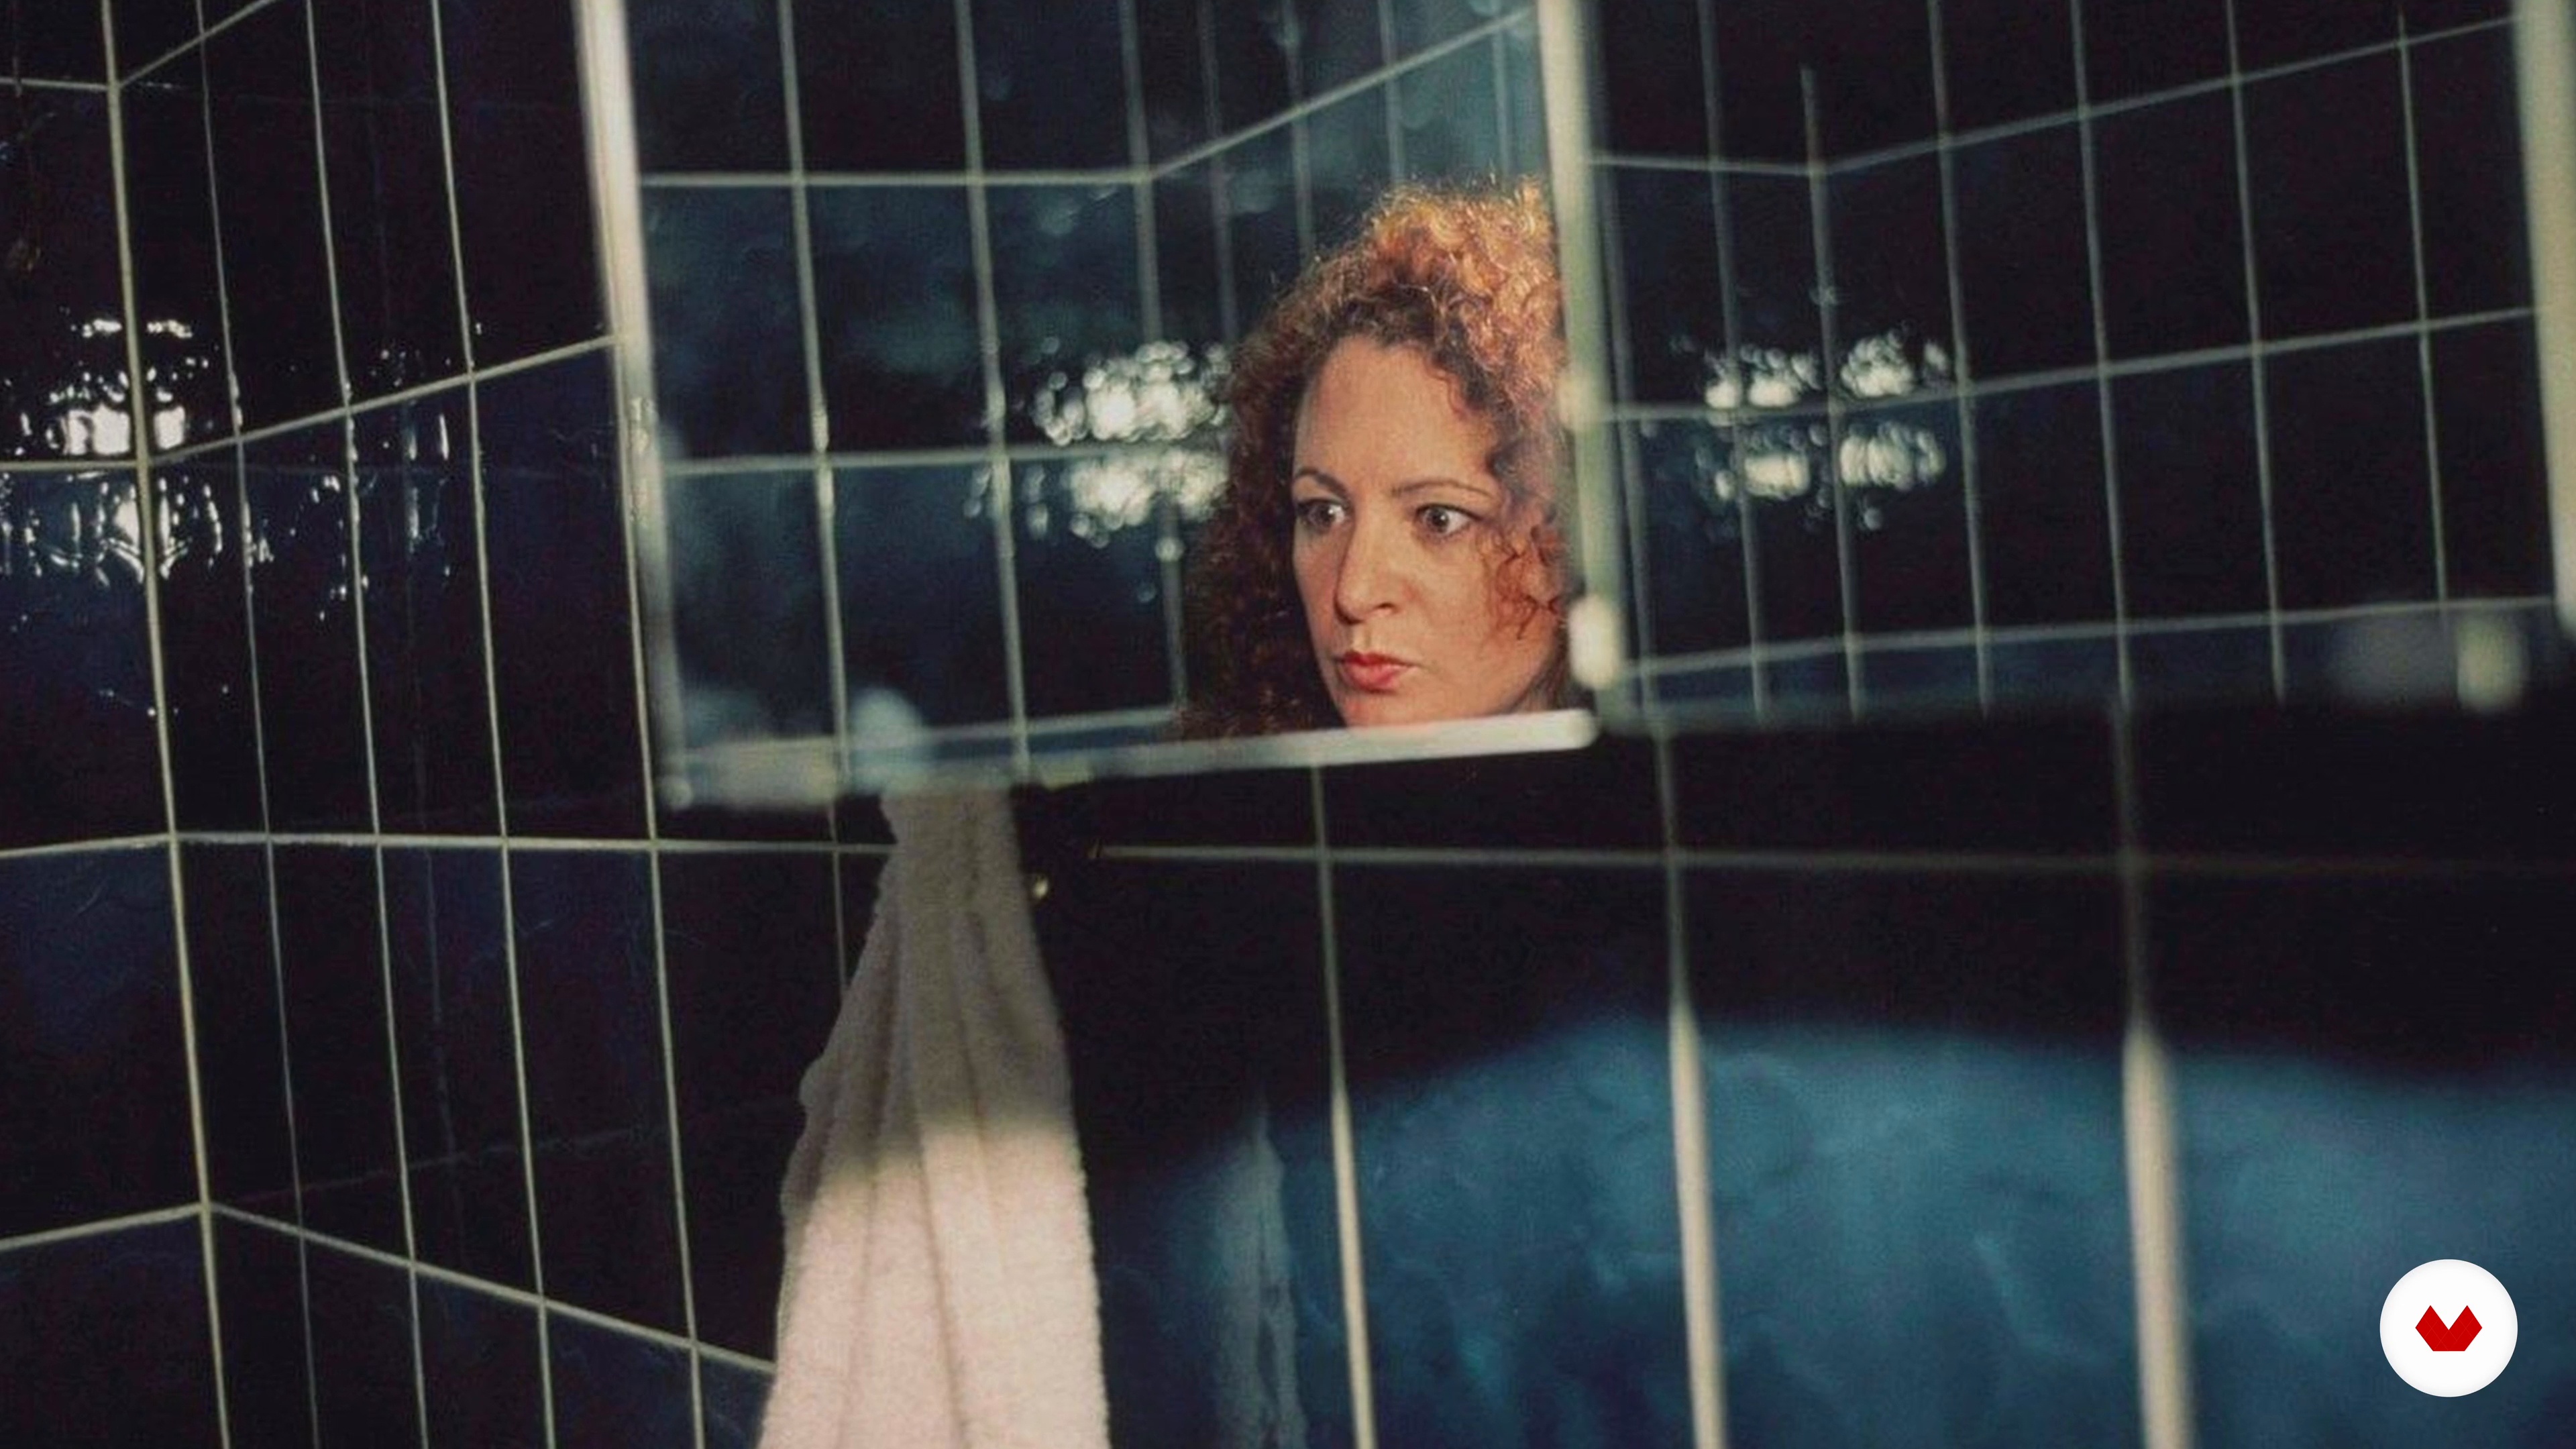
Now you can find out who inspired me on my way into photography, self-portraits and analogue film.
7m
3The Exposure Triangle
So I'm going to start by reminding you of the fundamentals of film photography, starting with the notions of ISO, lens aperture and shutter speed. Together, these three criteria work together to determine exposure: this is called the exposure triangle.
9m
4Film Cameras and Formats
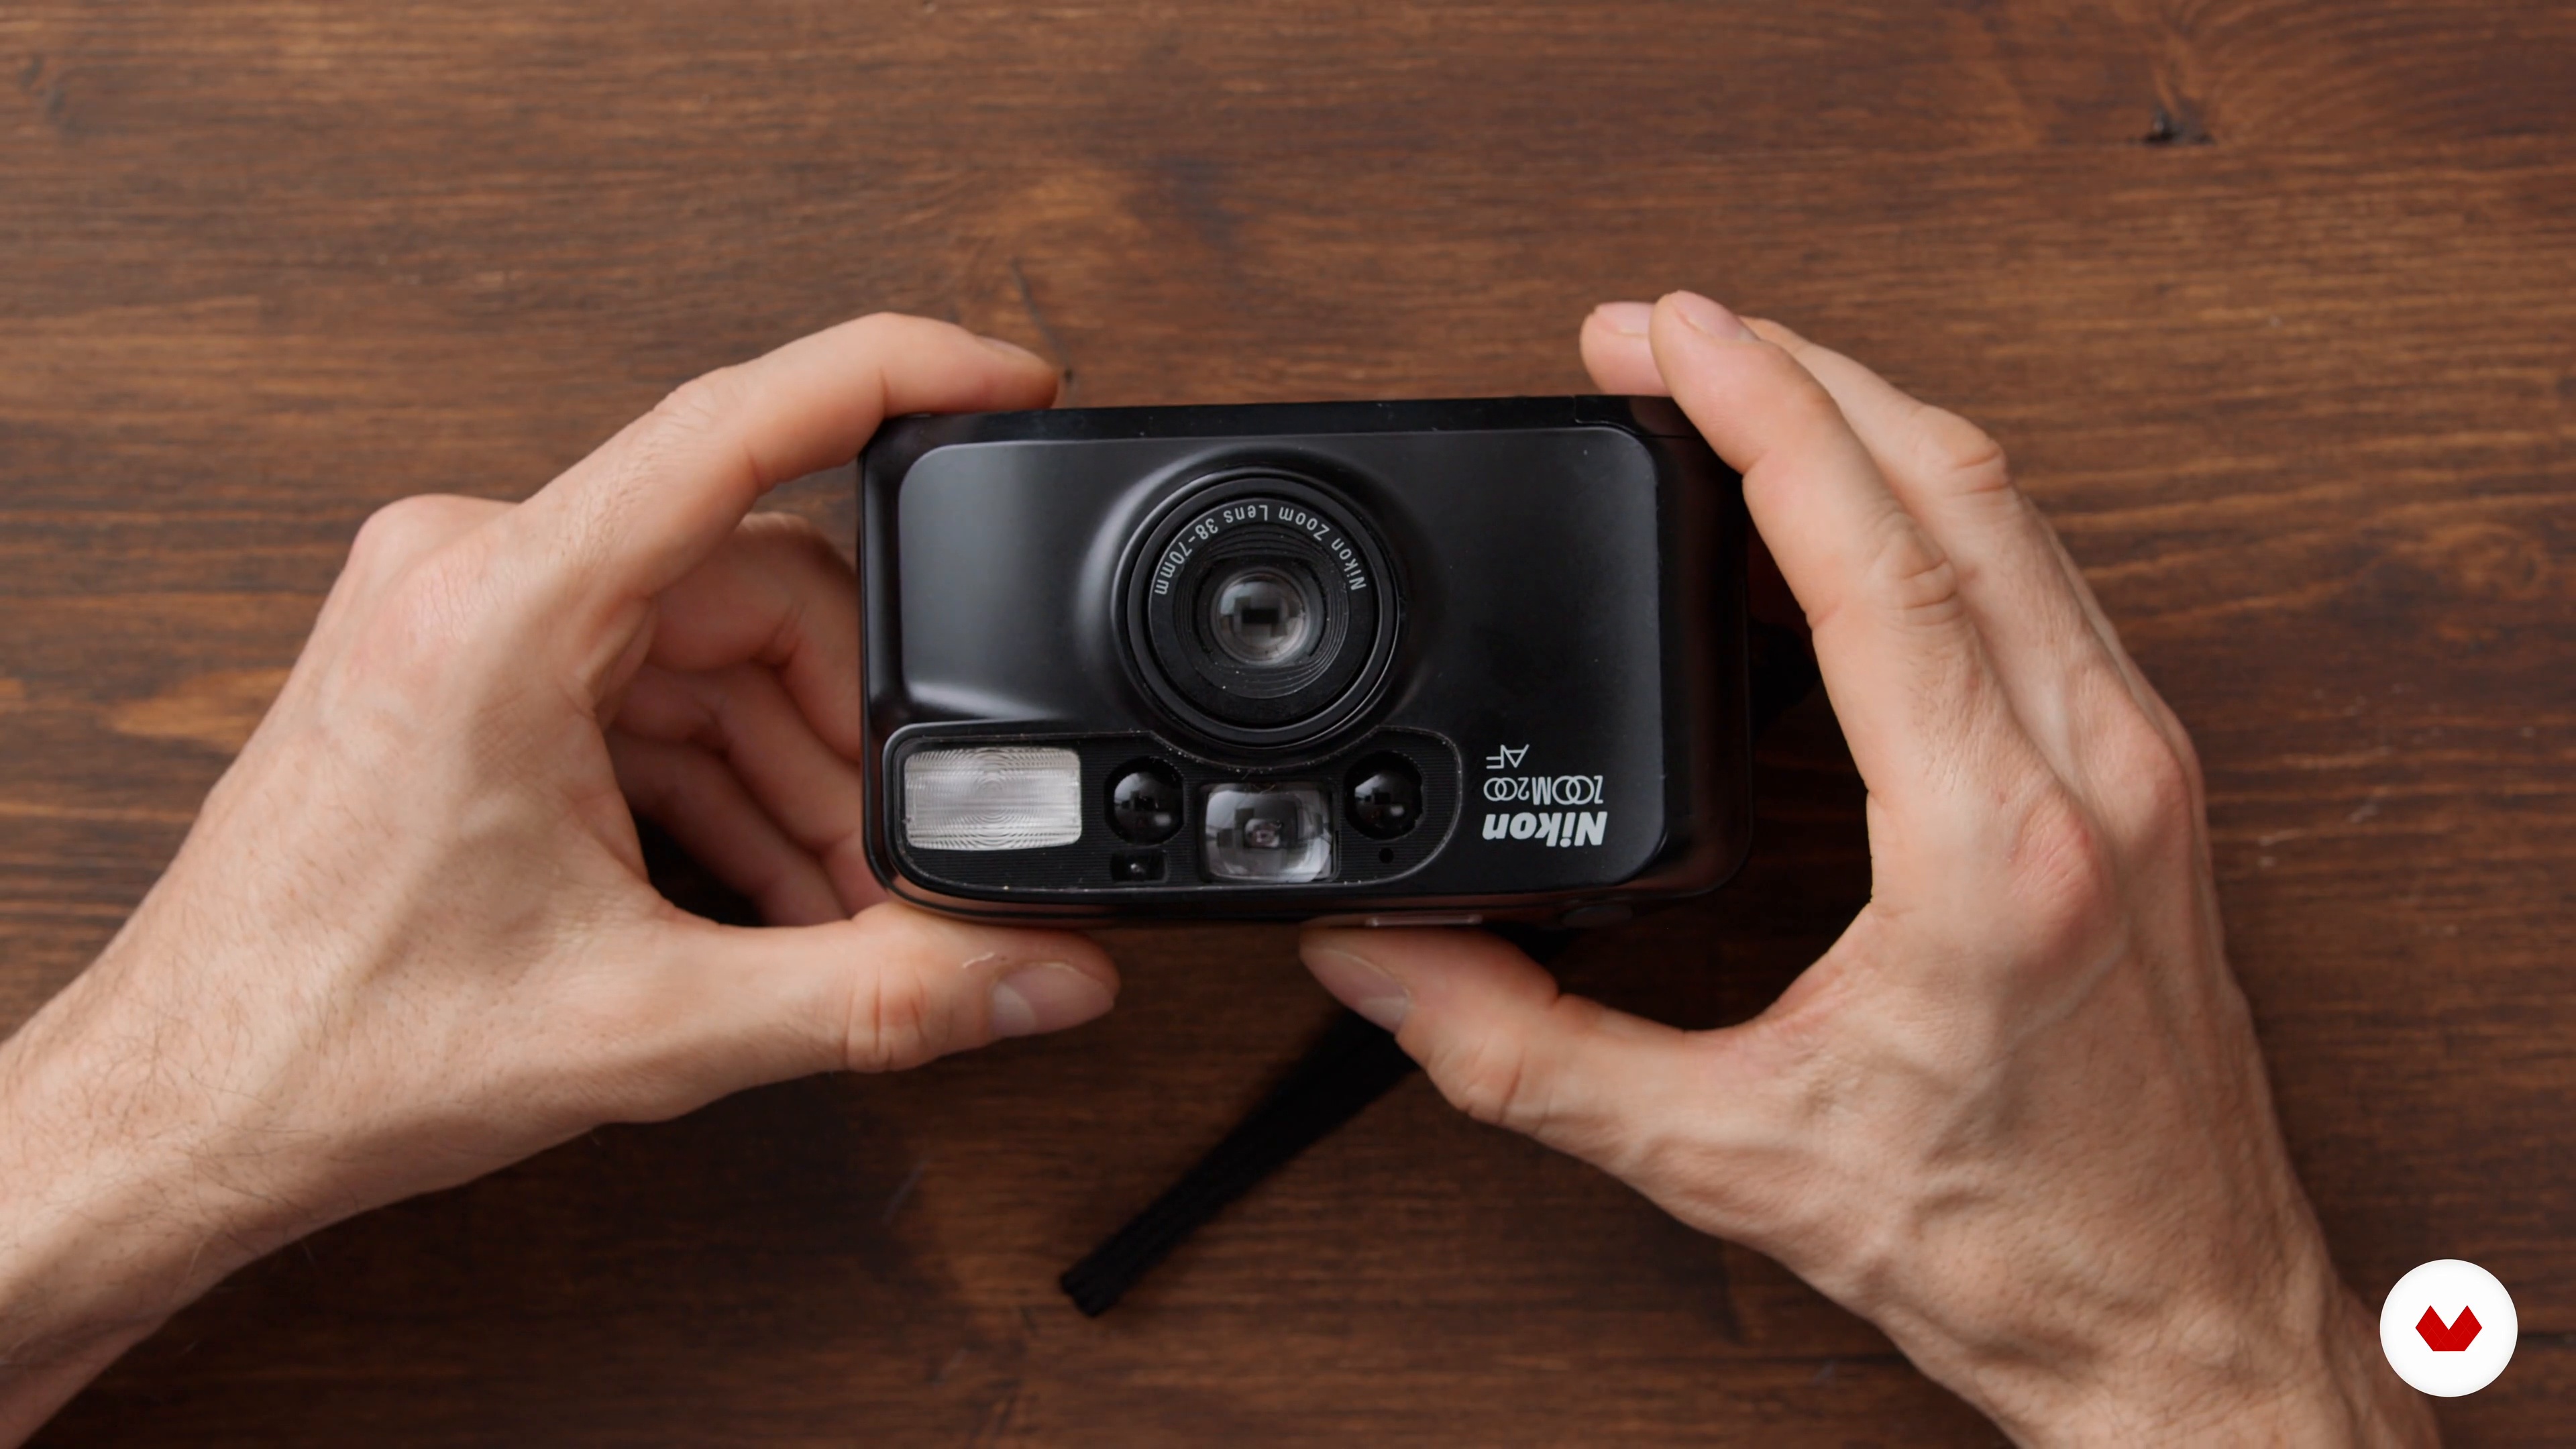
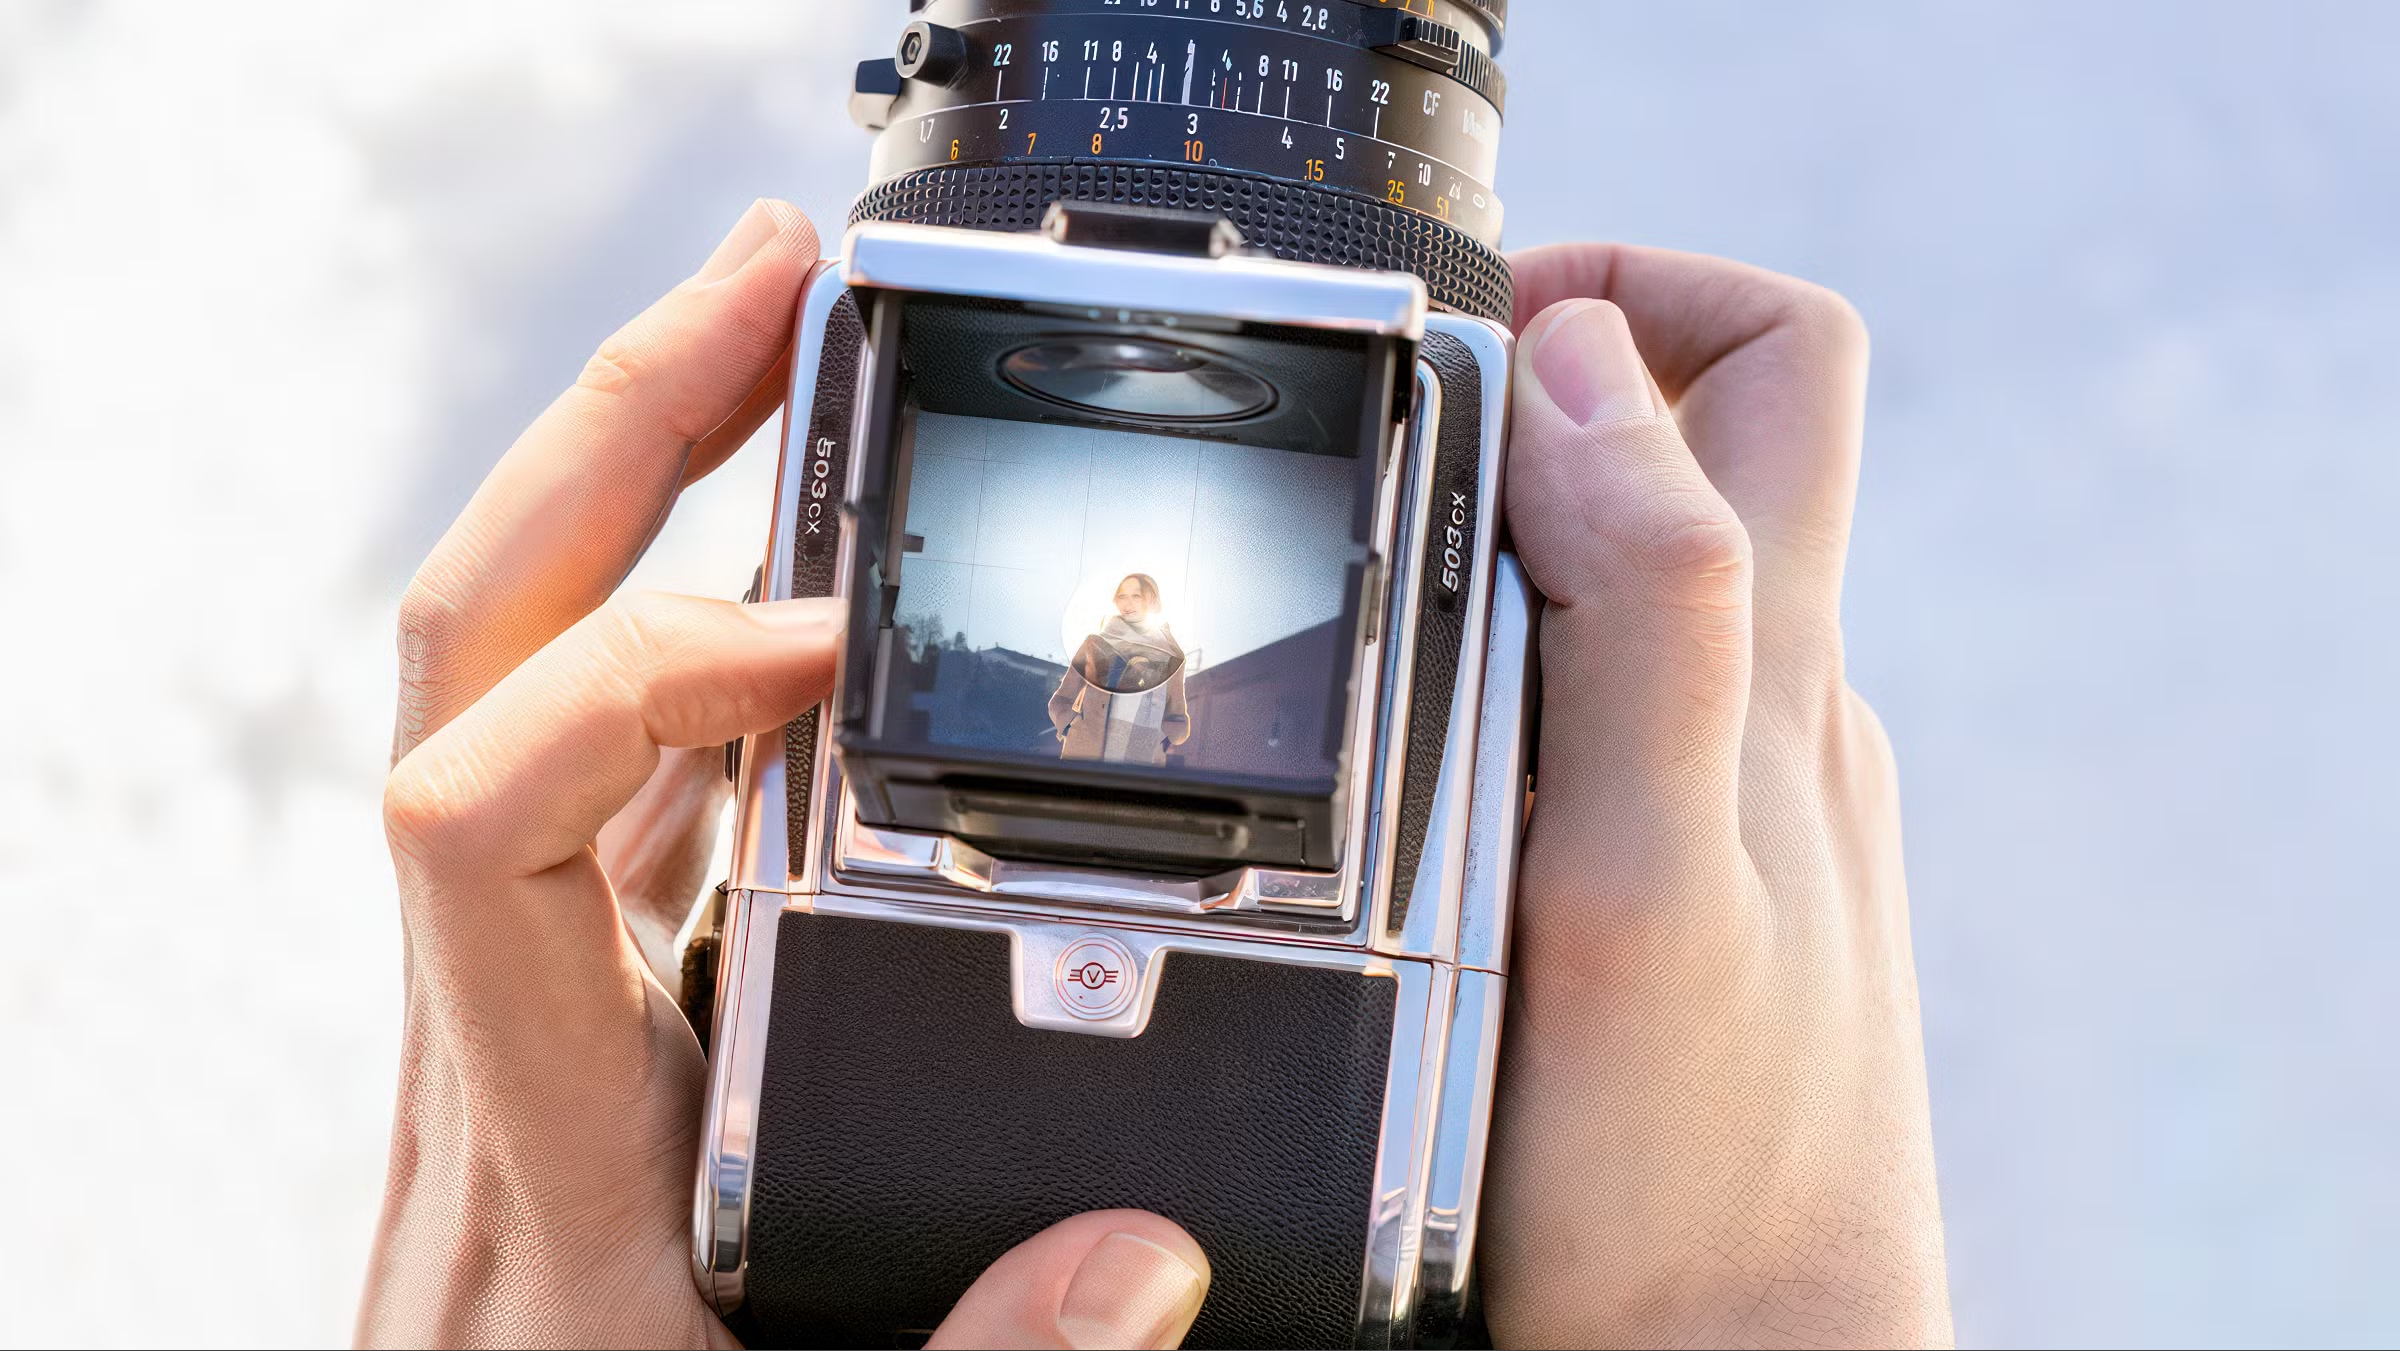
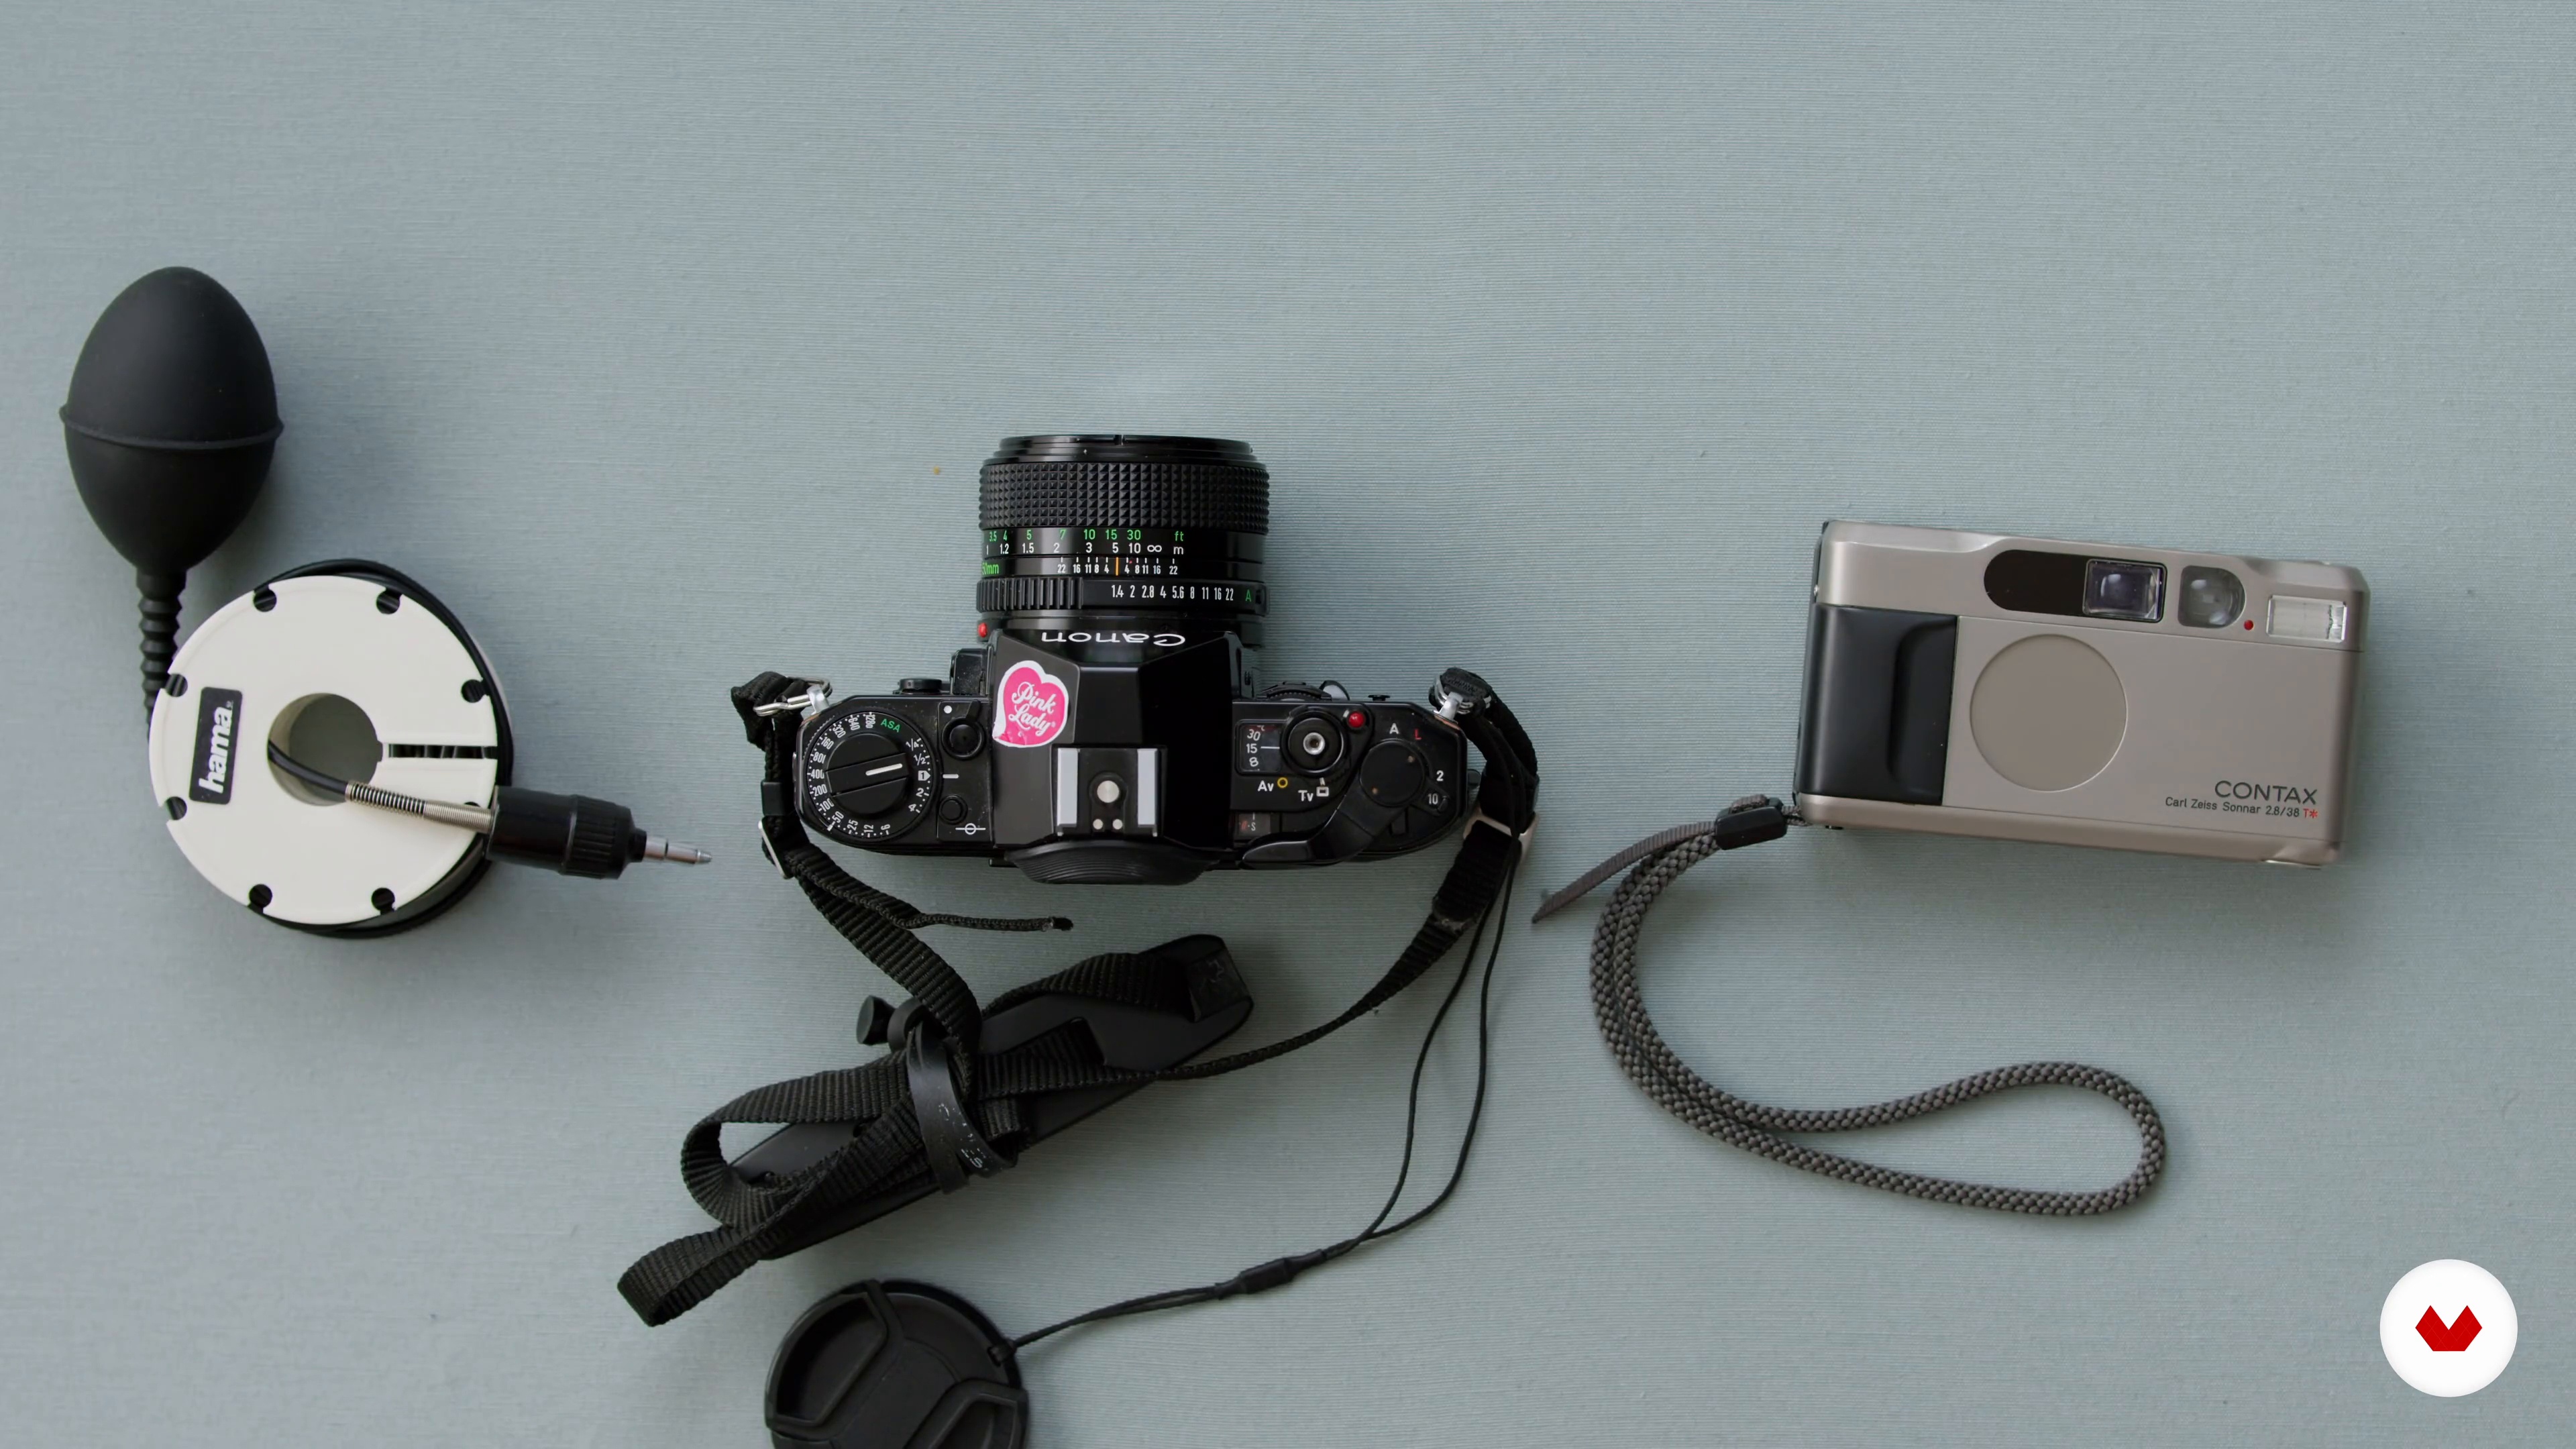
Now I will introduce you to the different types and formats of film cameras. I will start with compact (or “point and shoot”) cameras, then I will talk about film SLRs and medium format.
5m
5Focals and Lenses
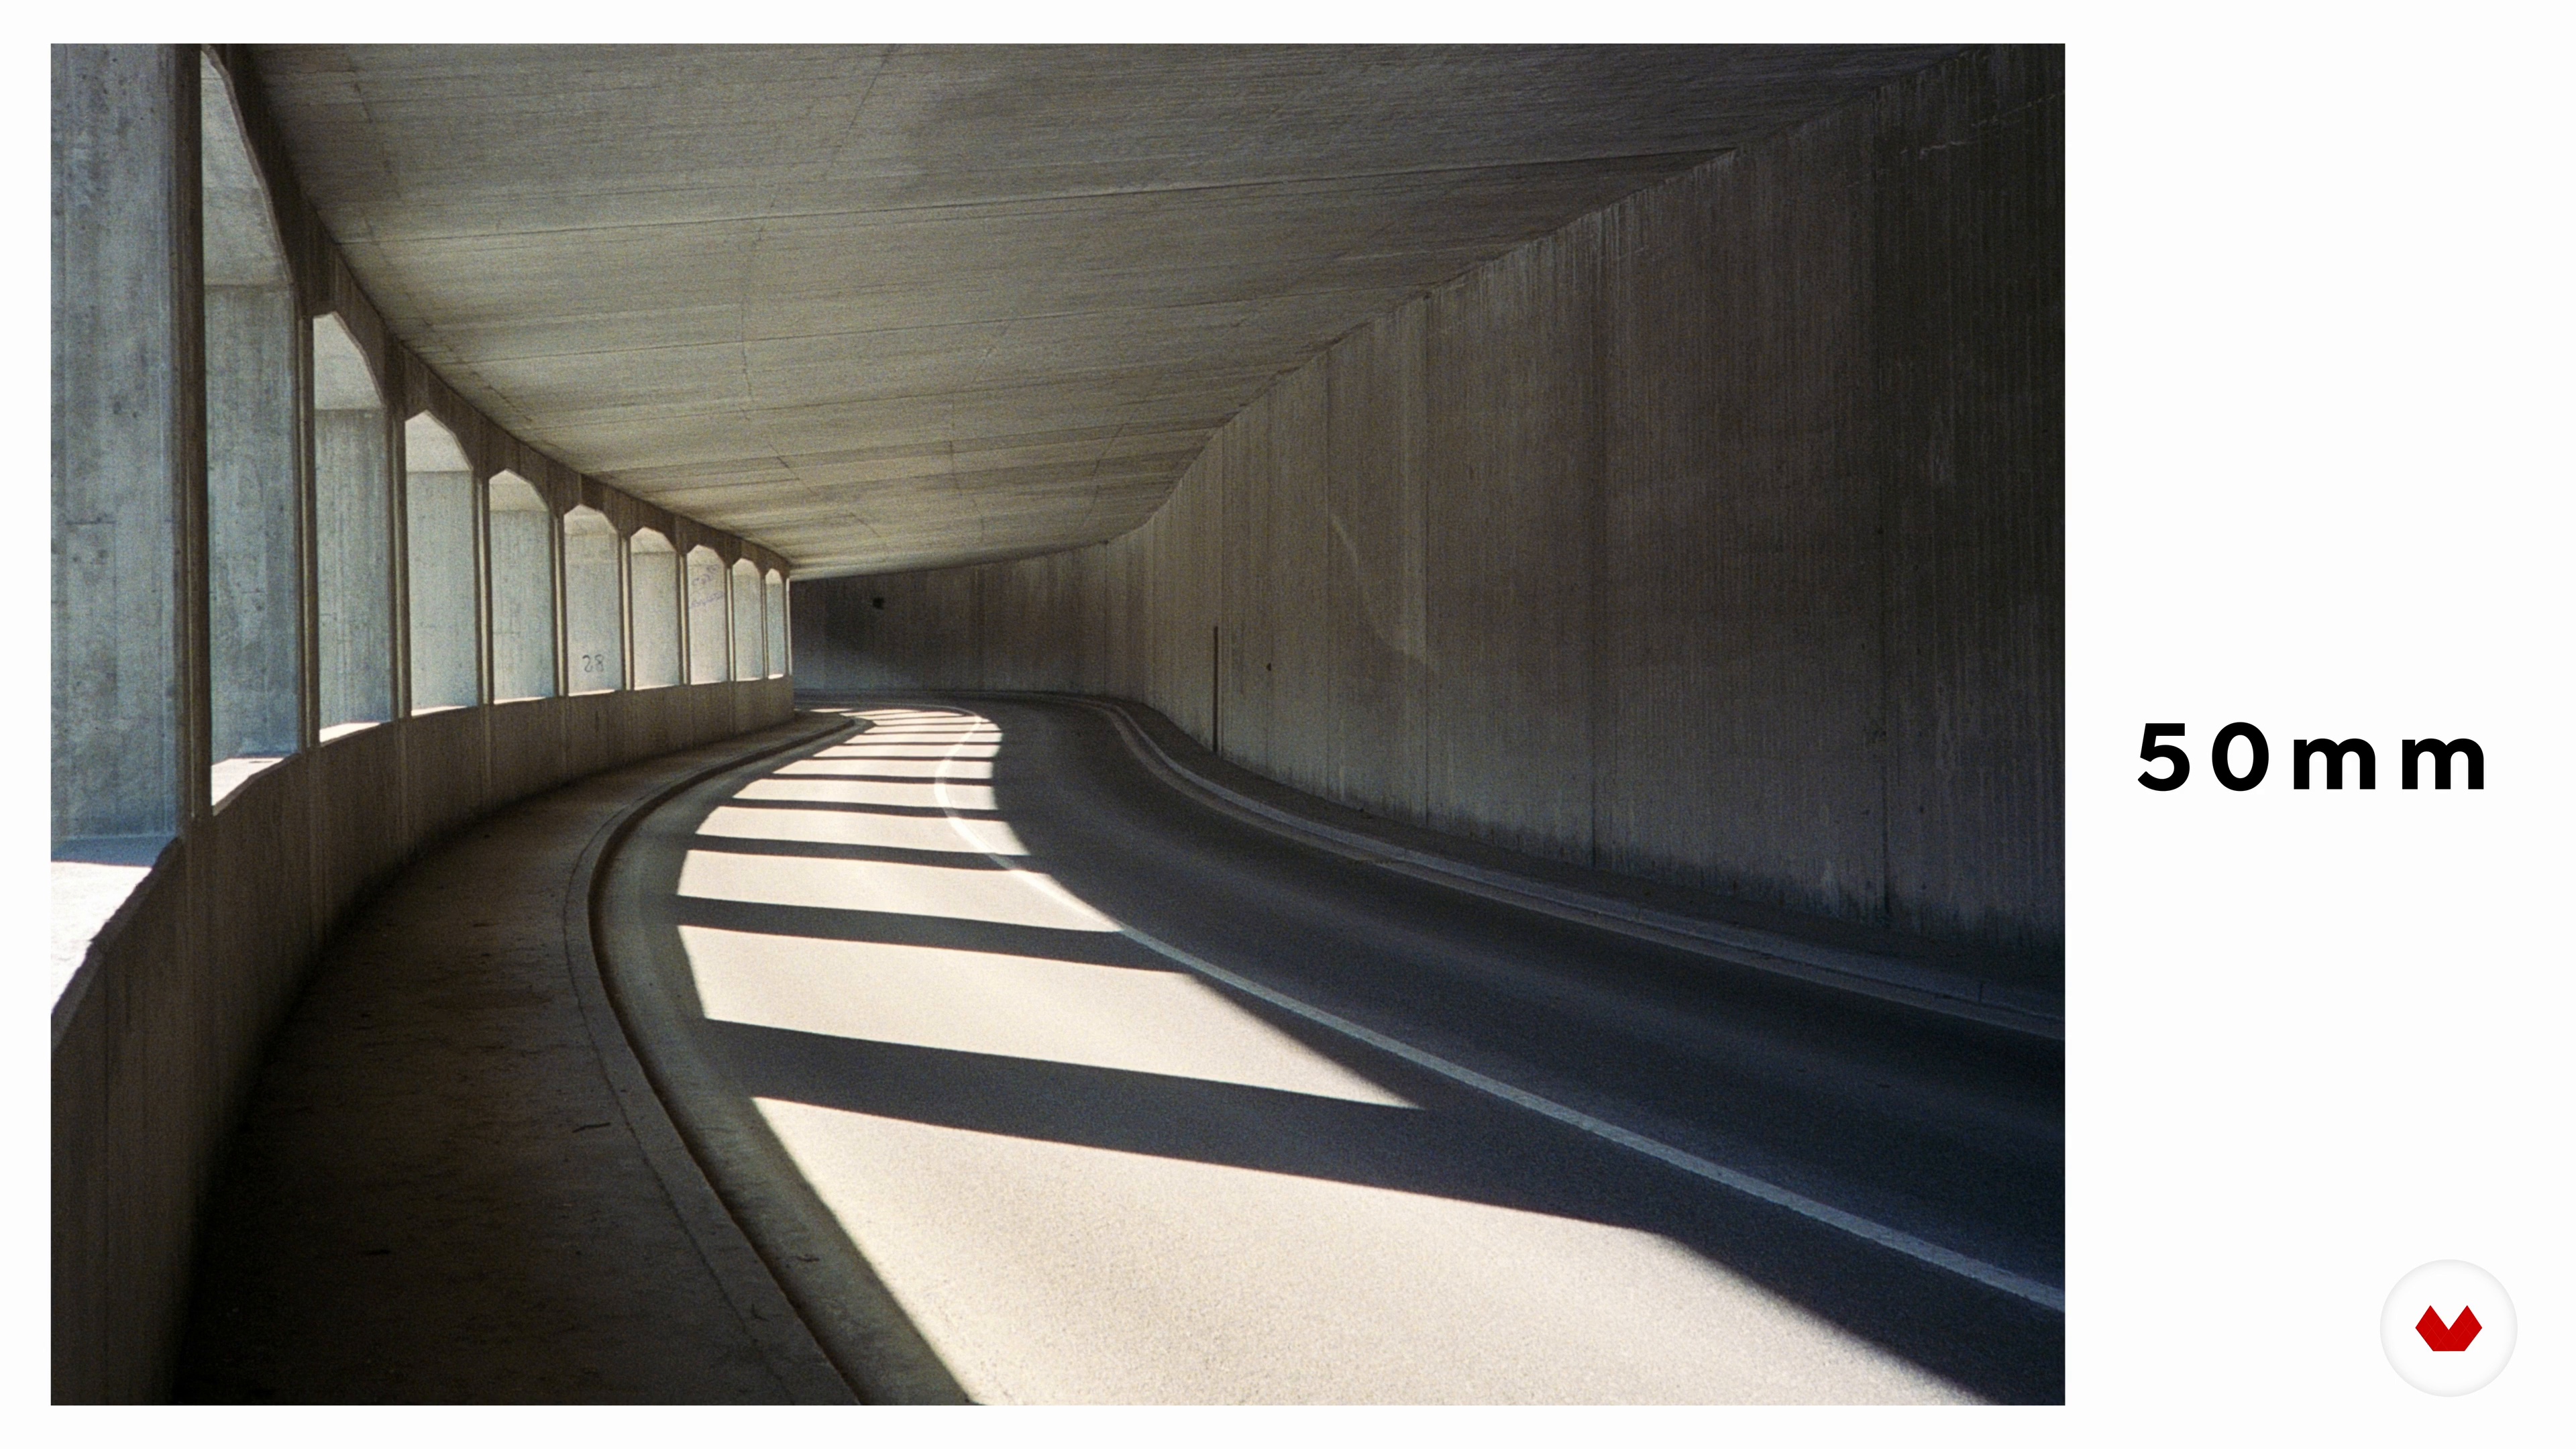
In this lesson, I will detail the types of lenses that exist, from prime to telephoto. I will explain their specificities and give you examples of shots taken with each of these lenses.
4m
6Films
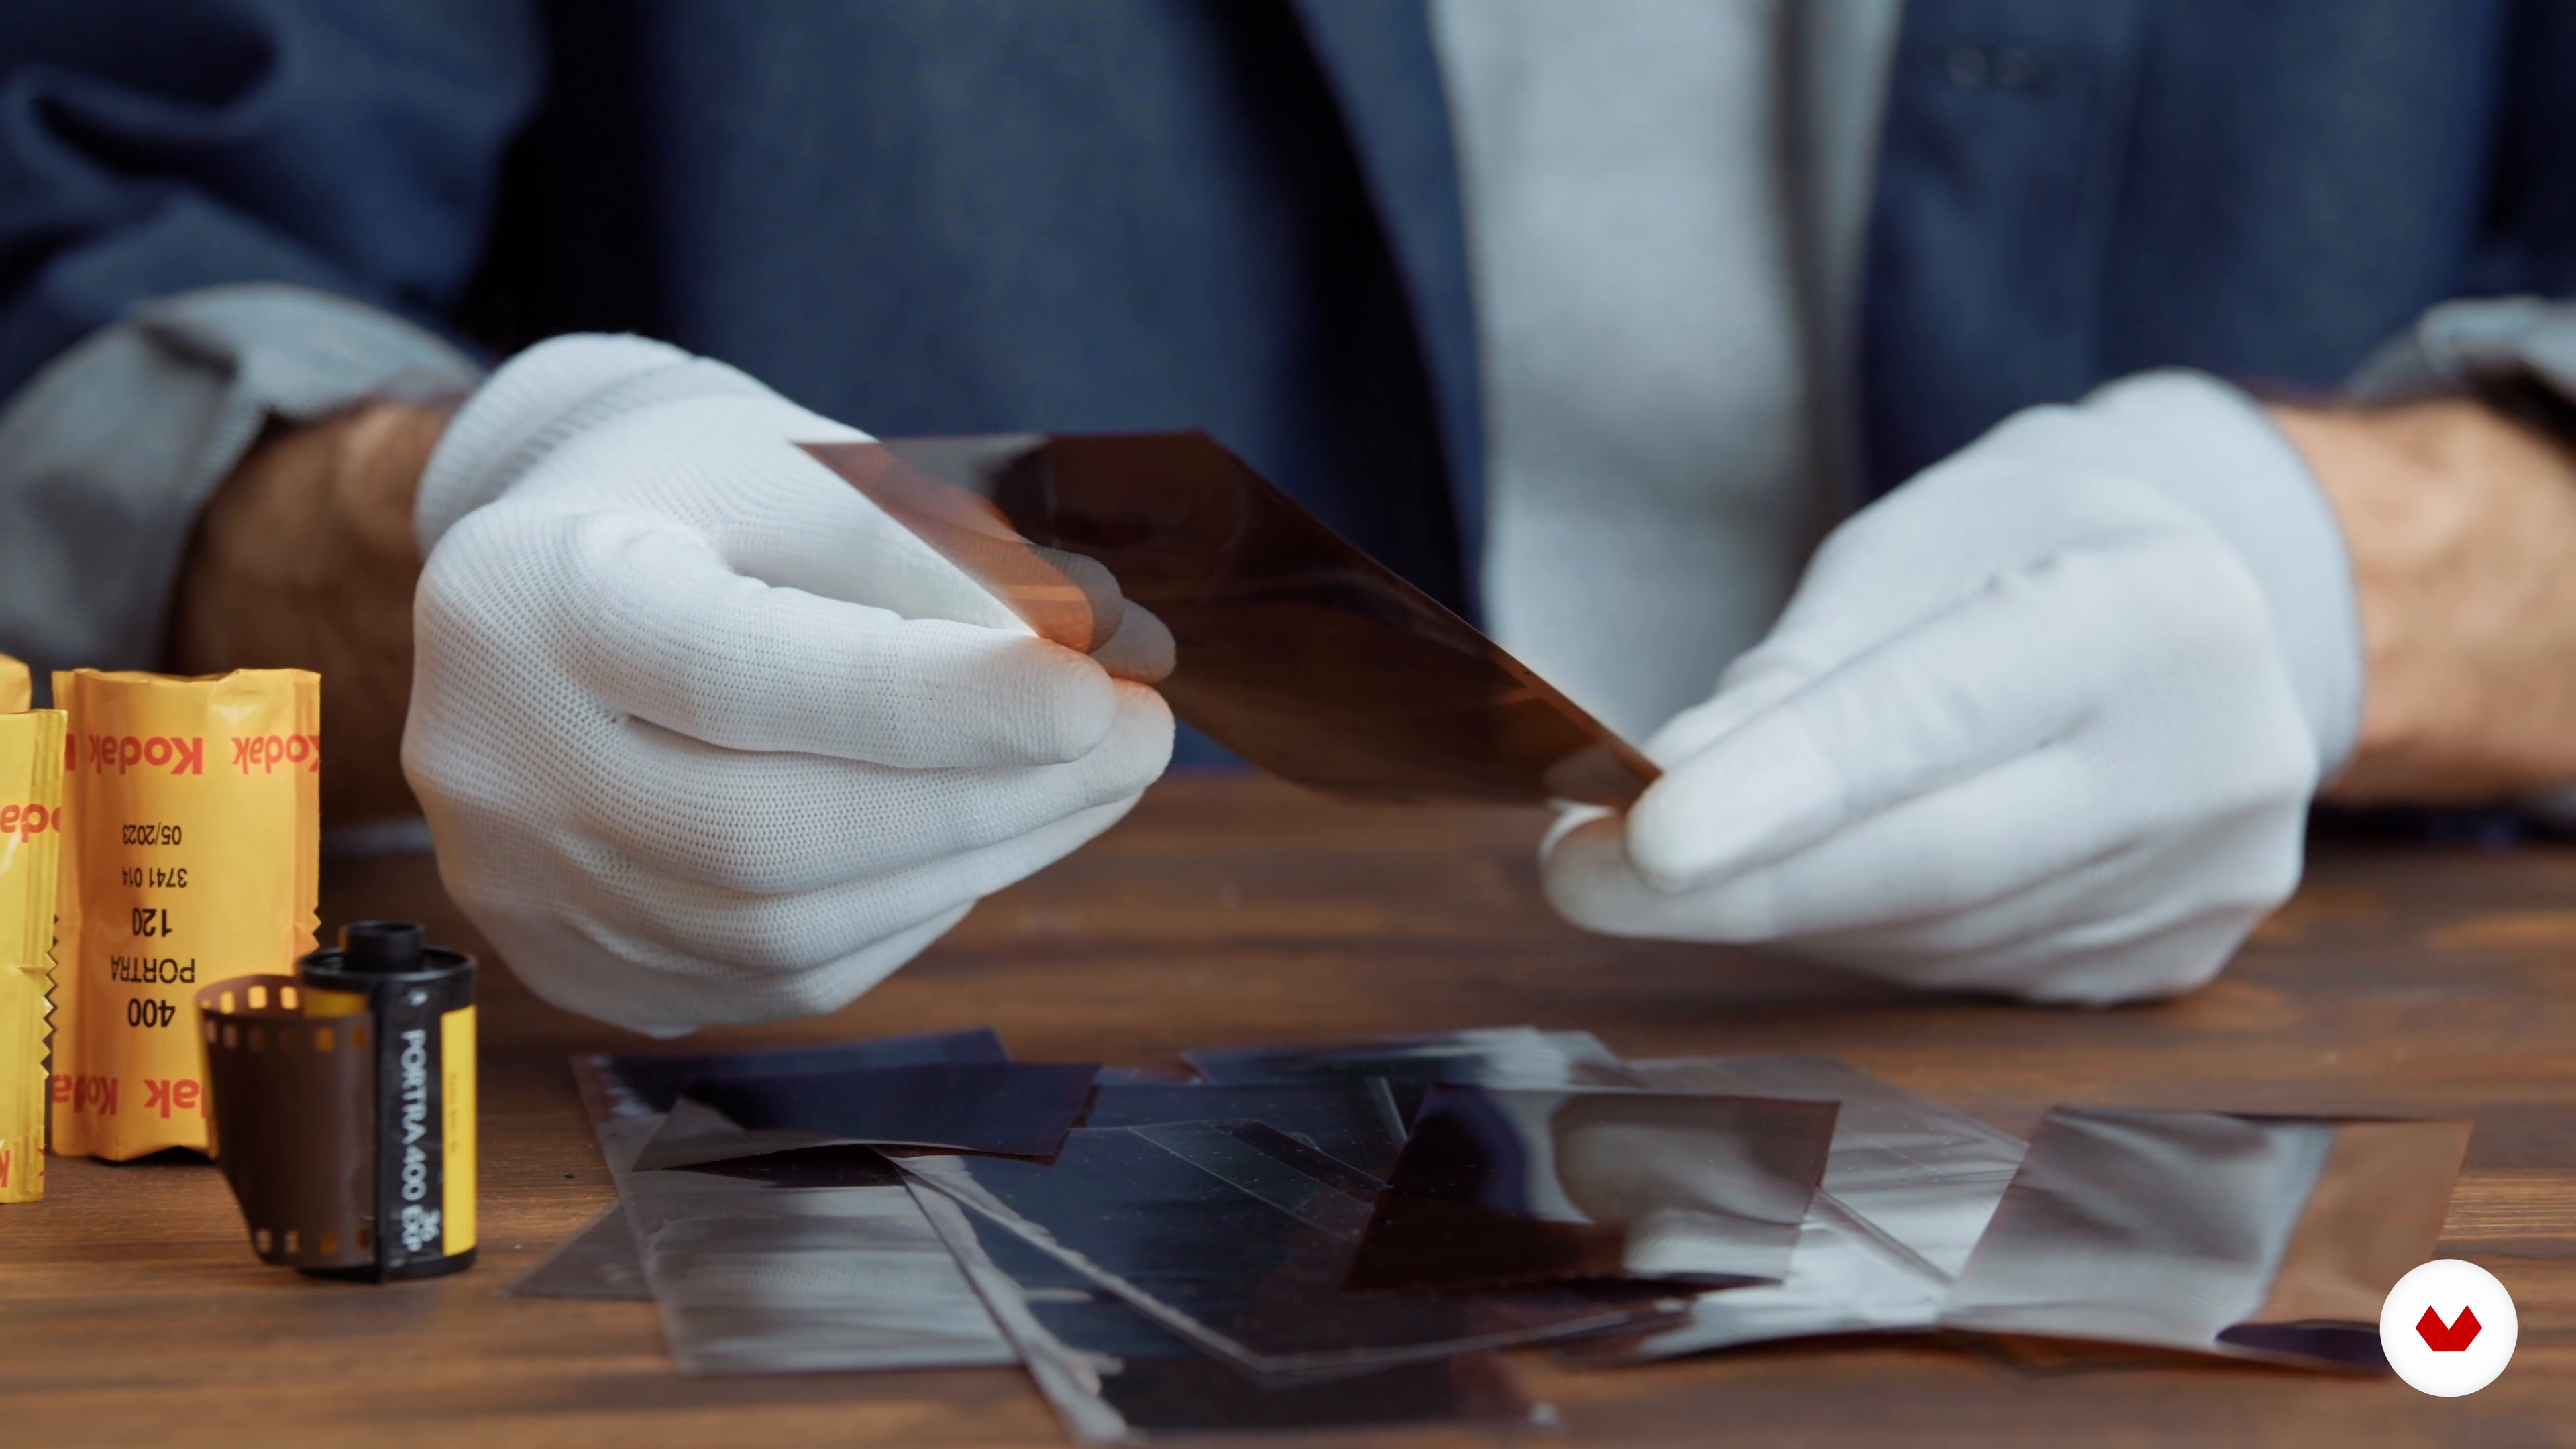
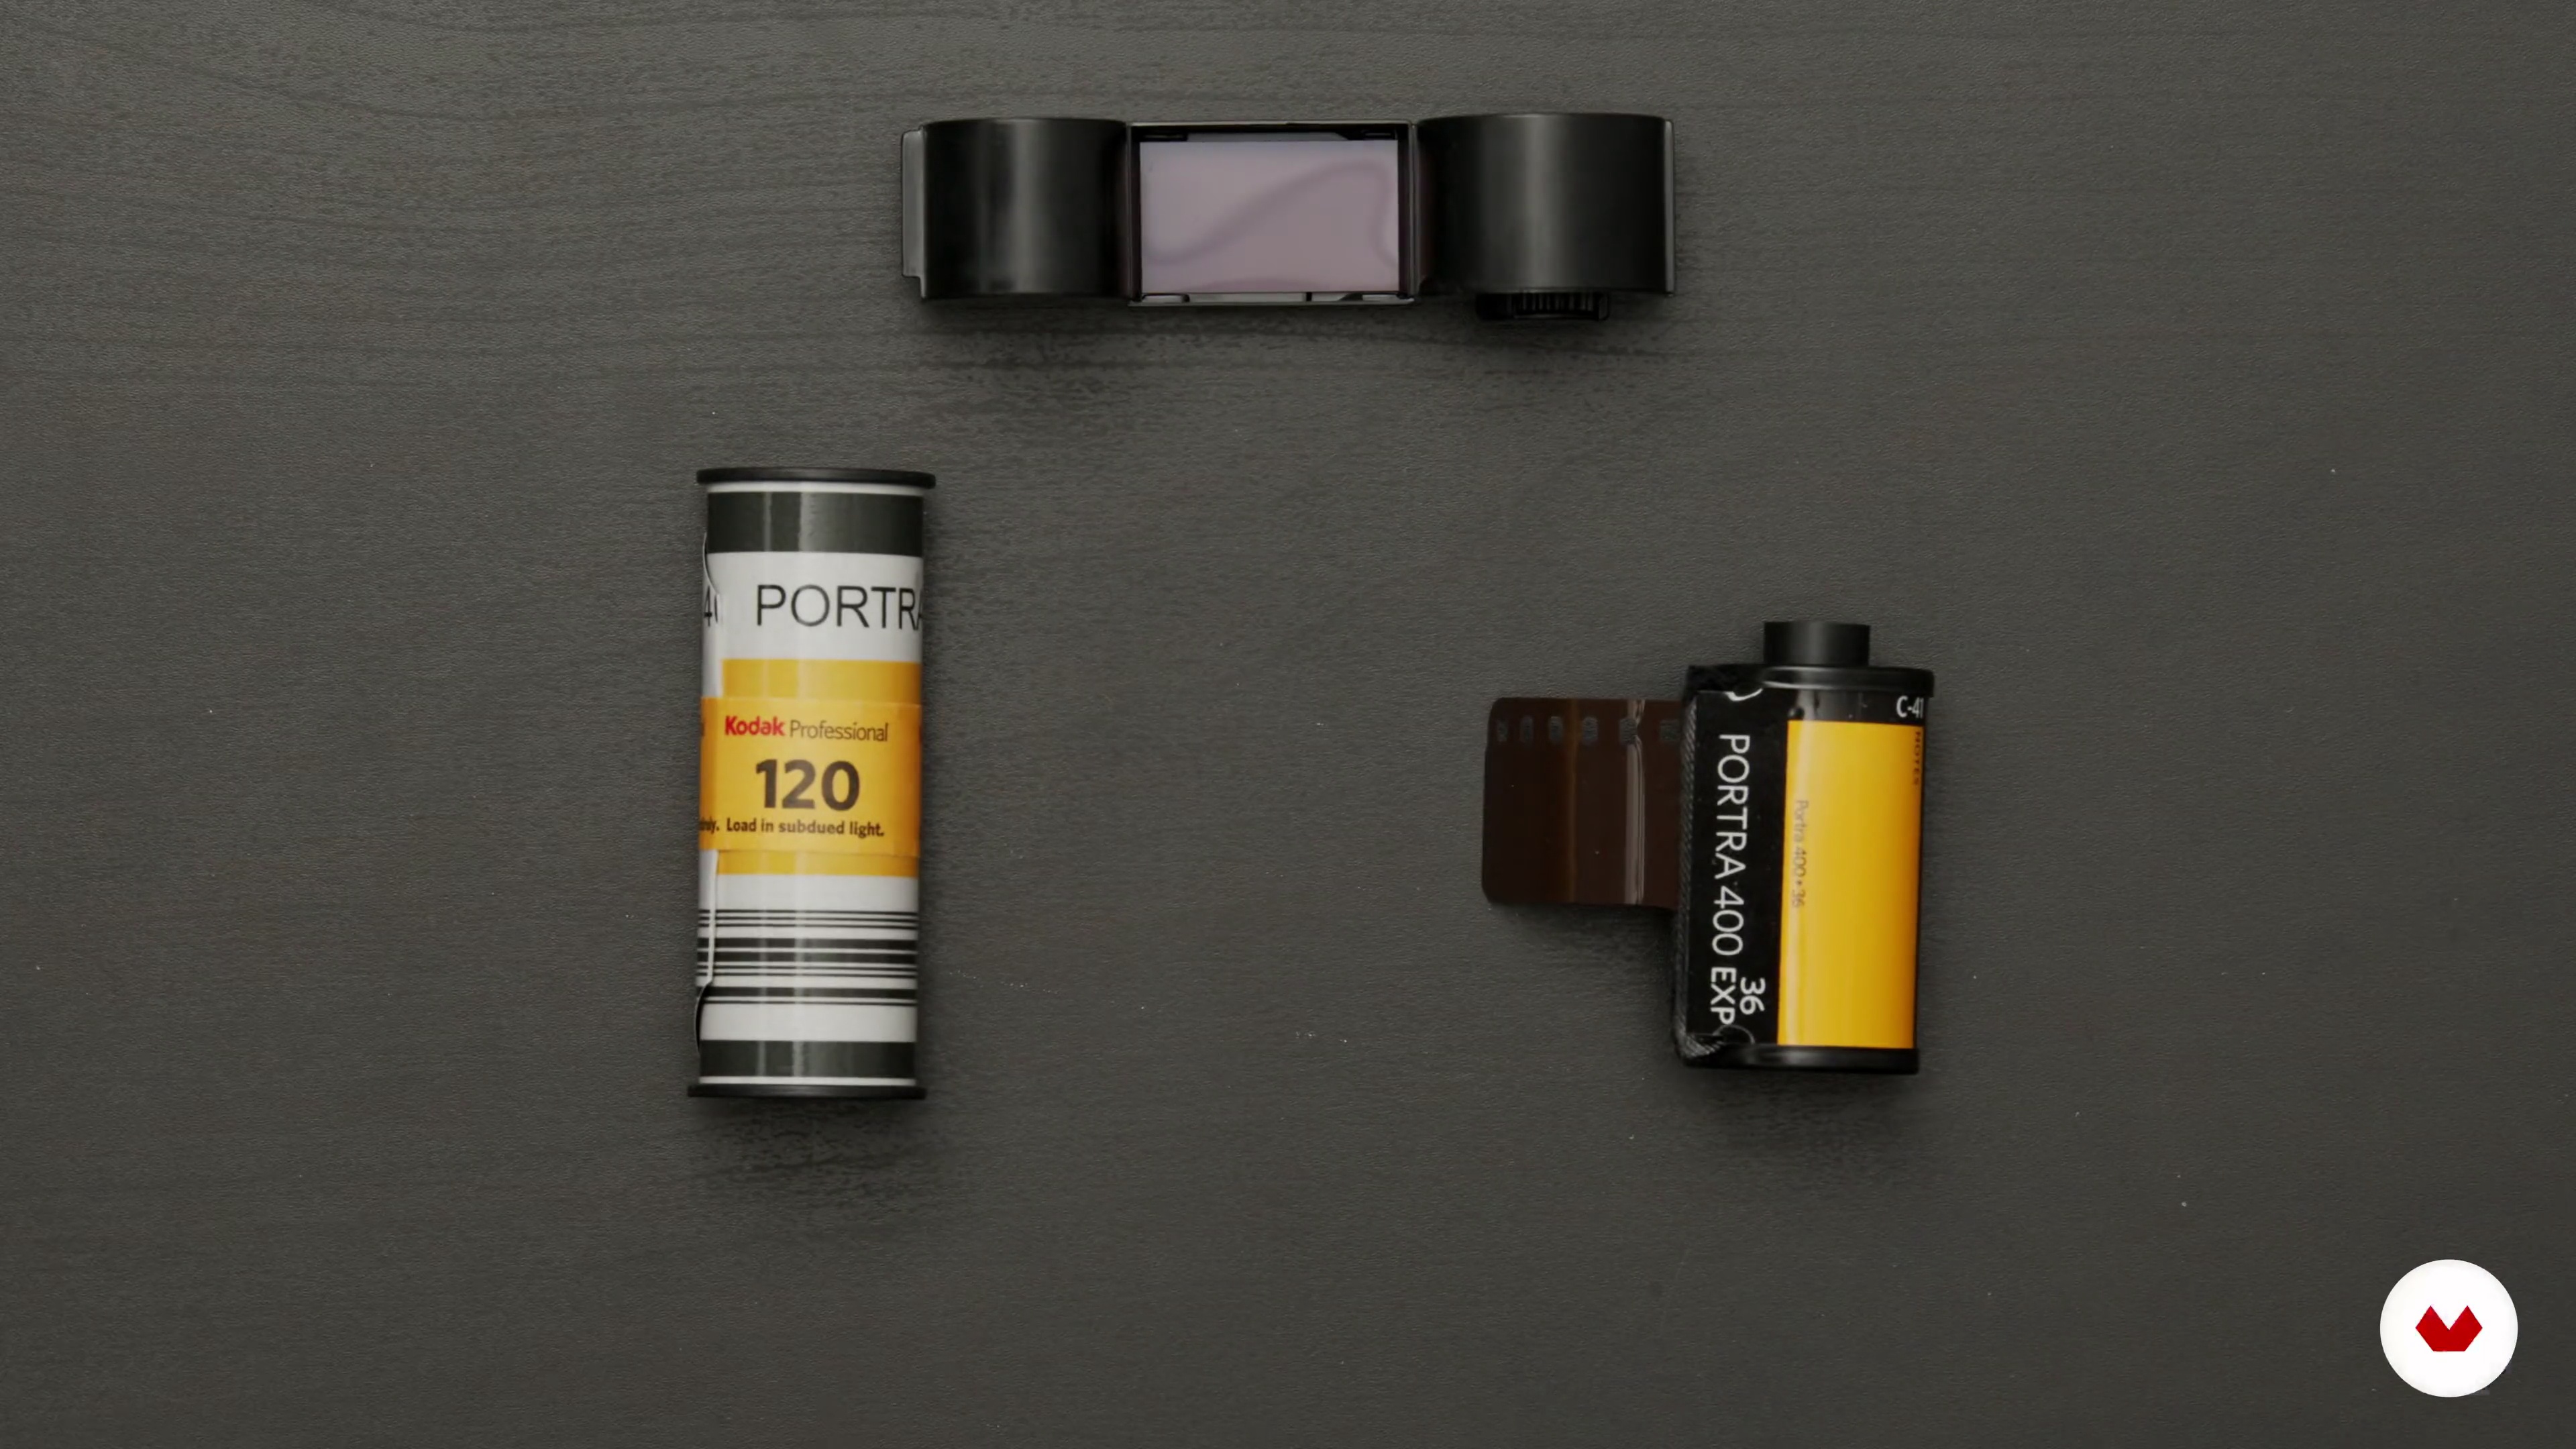
I will now focus on our essential raw material: the film. I will explain to you how the film is composed, then I will also review its characteristics, formats and specificities.
8m
7Composition Analysis
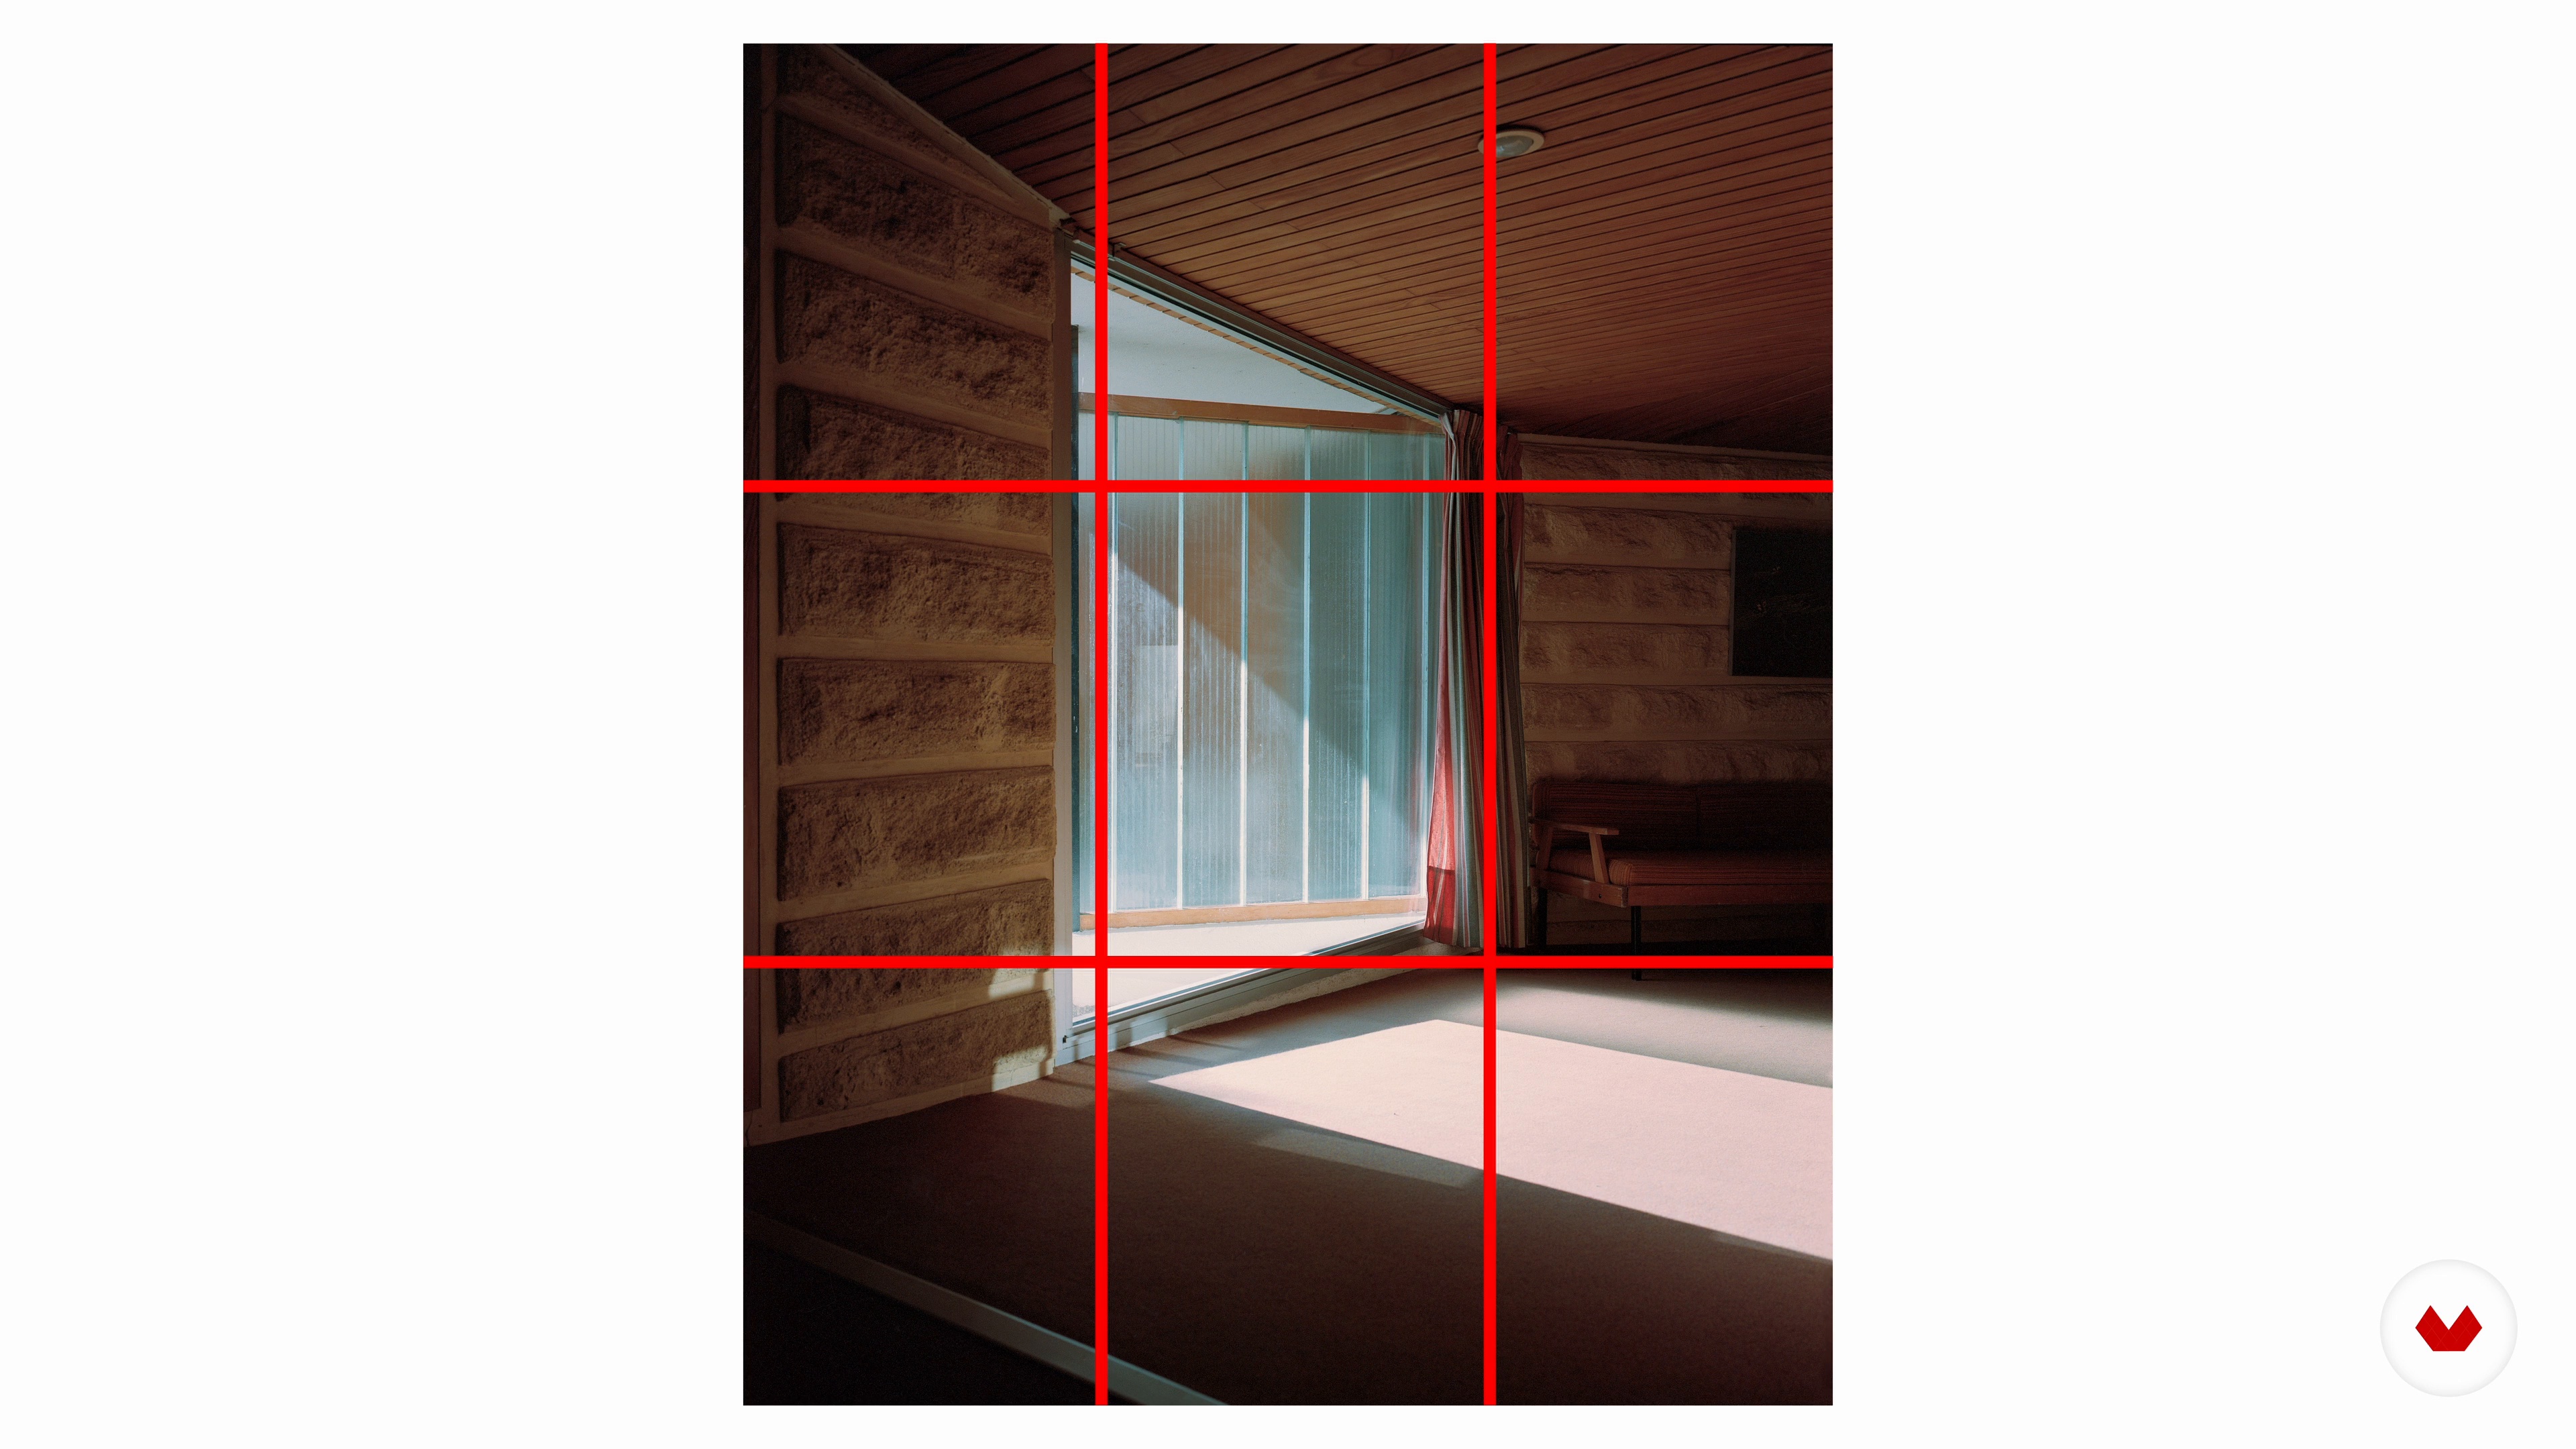
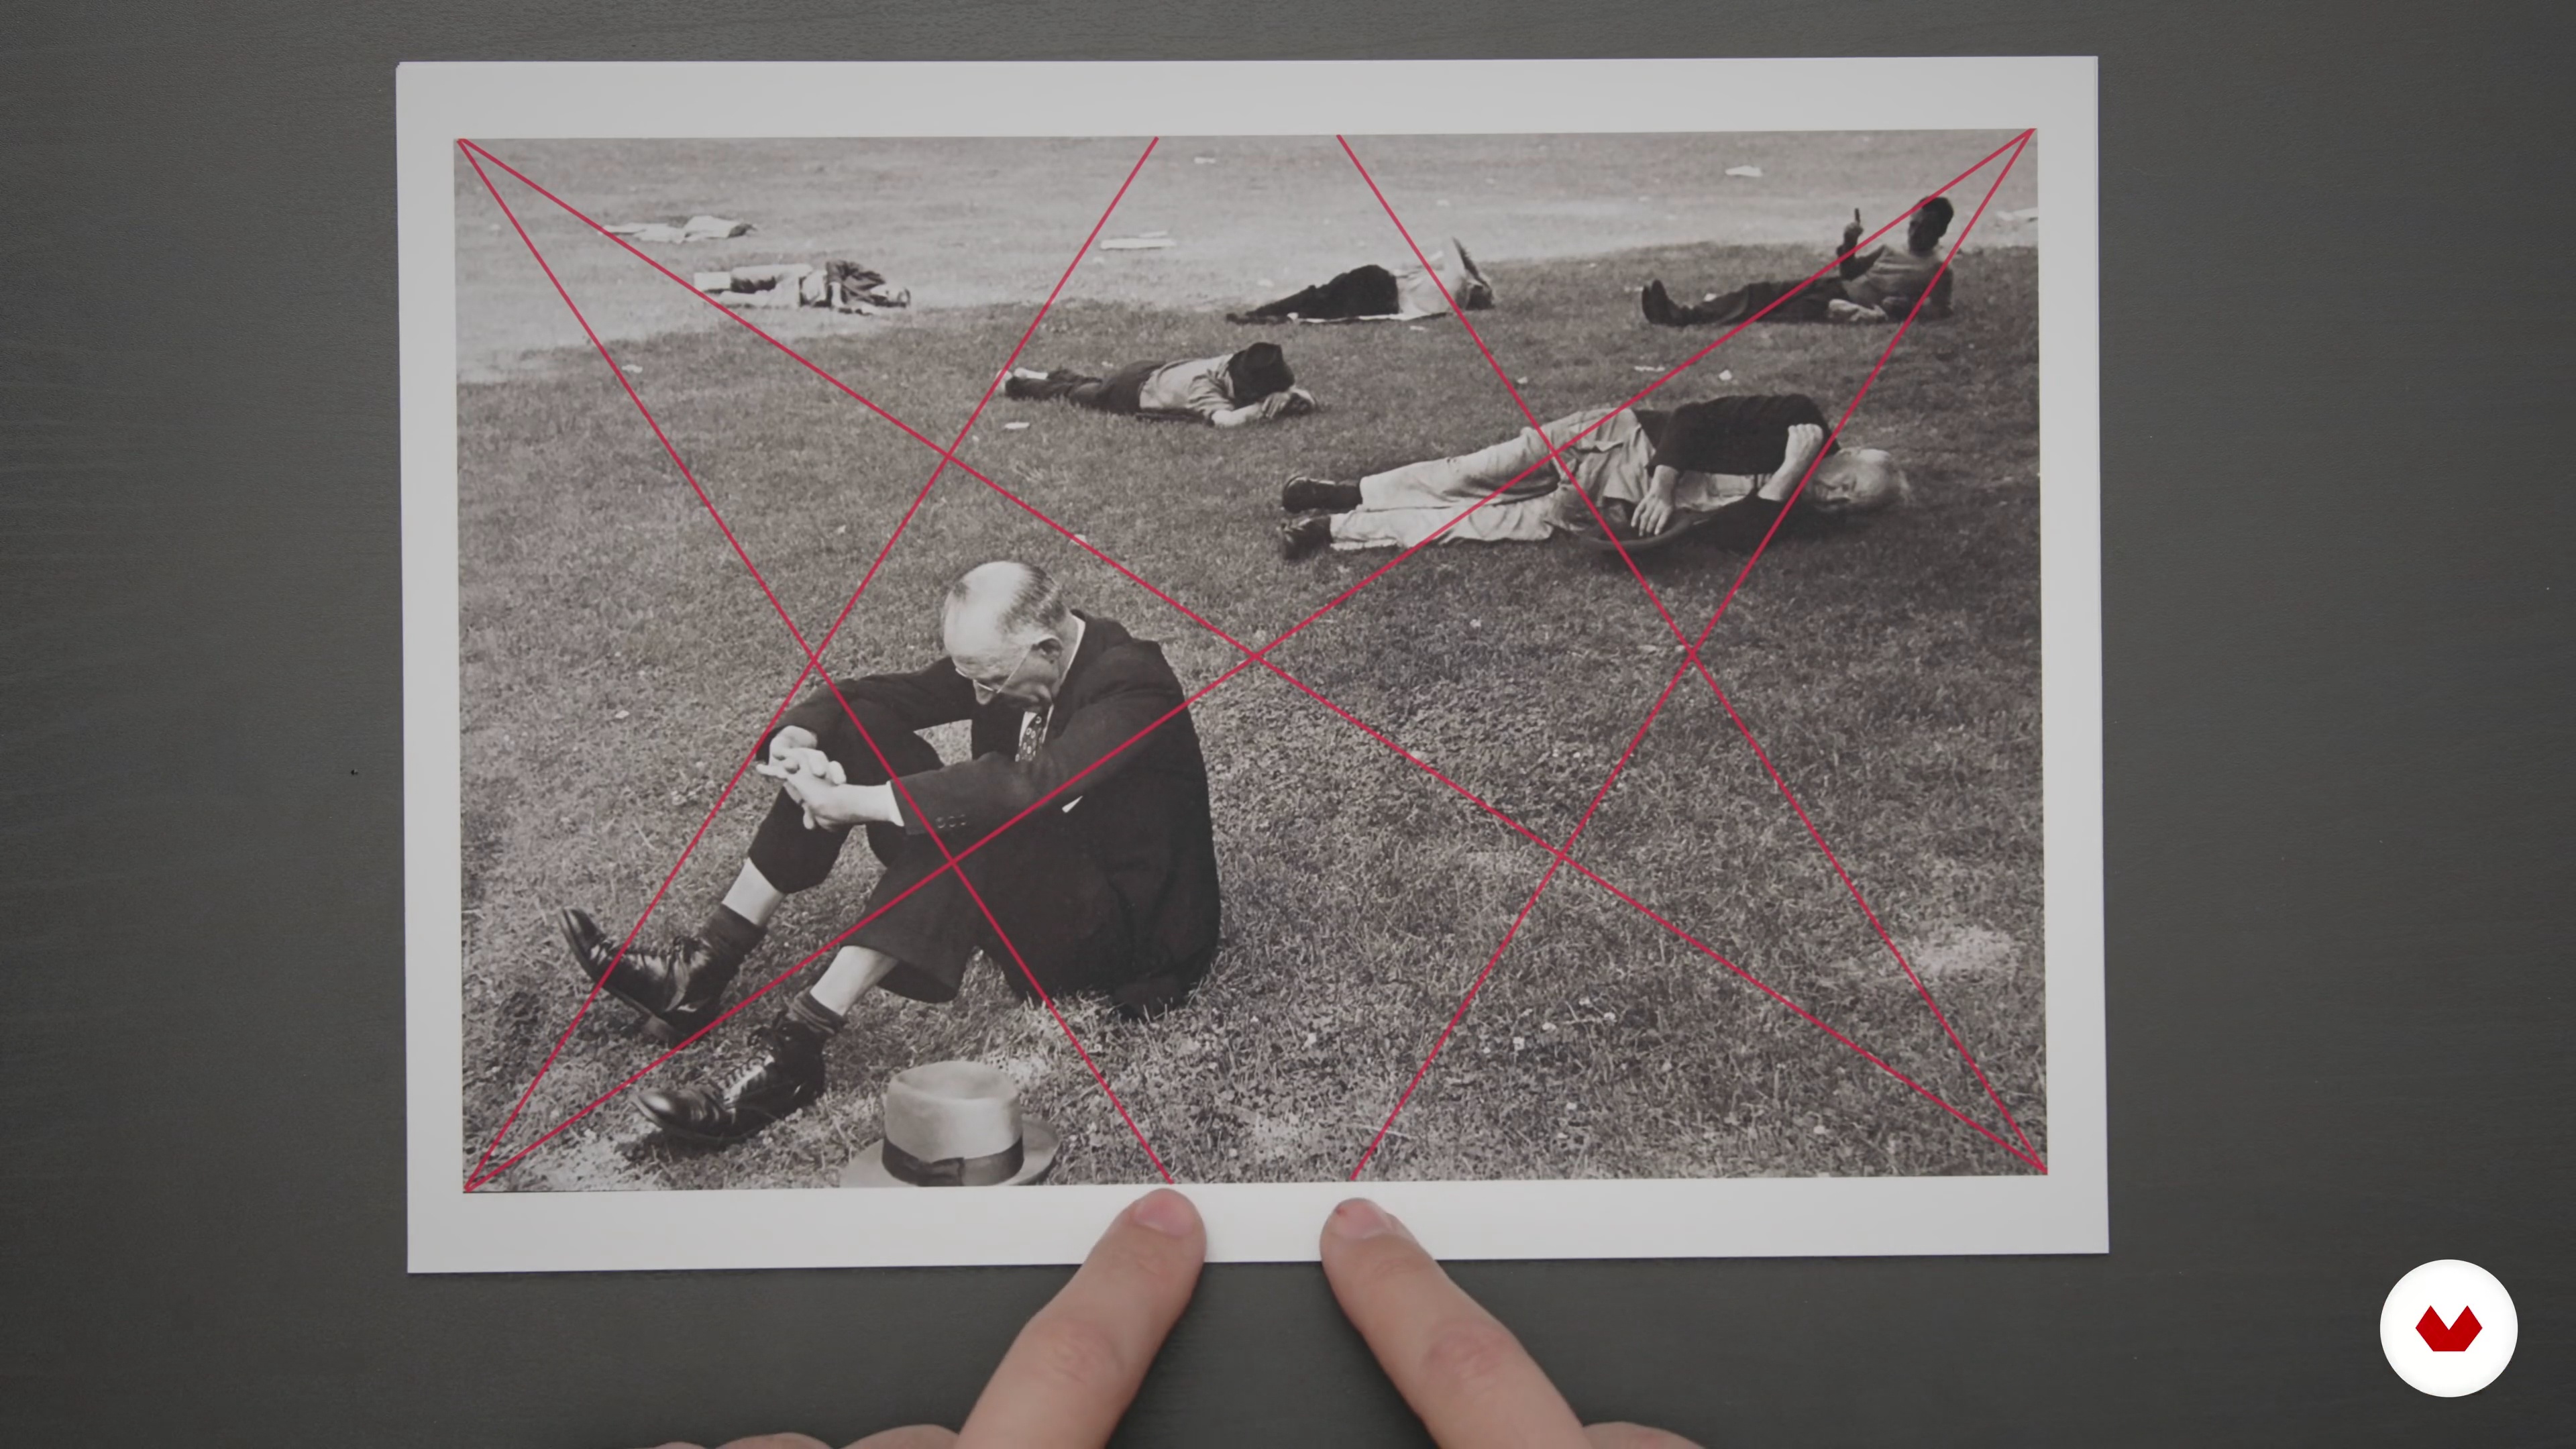
First, I'll walk you through the basics of framing and composition. This includes the notions of point of view, the rule of thirds and vanishing points.
7m
8Light Analysis
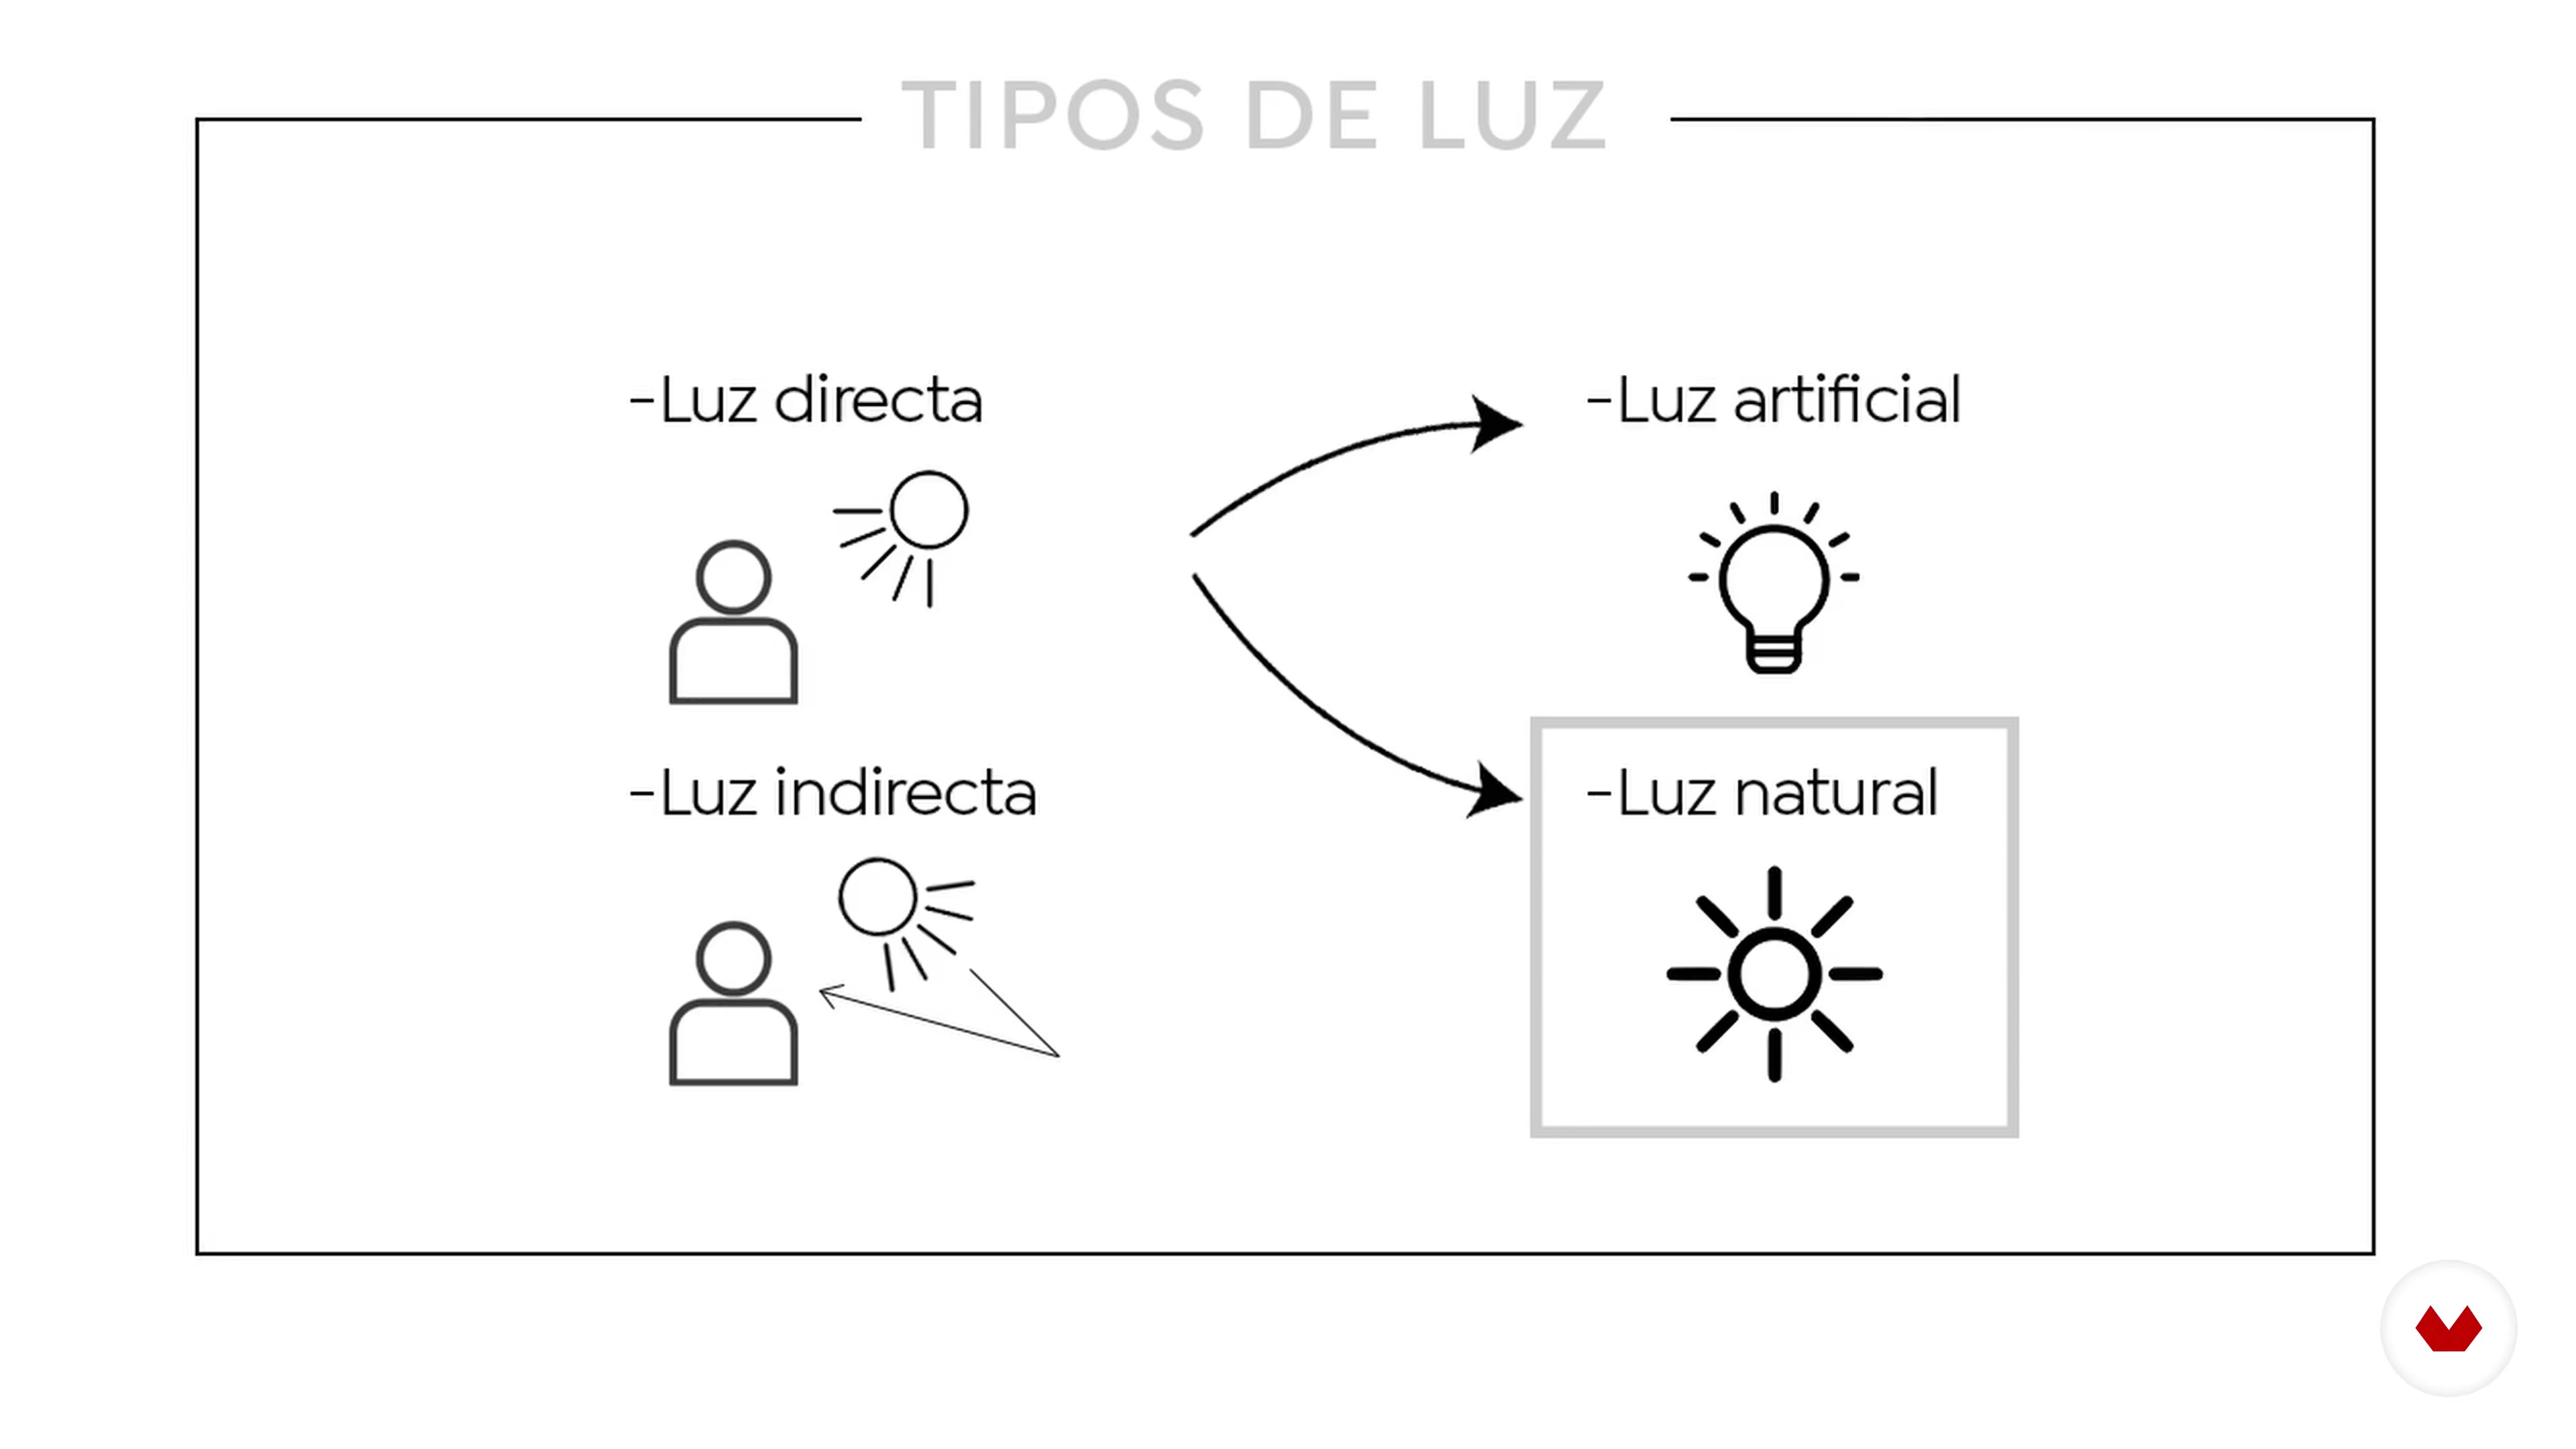
Light is at the heart of all photography. Here I will teach you how to analyze and deal with natural light. I will detail the two types of exposure measurement that you can calculate using a light meter.
5m
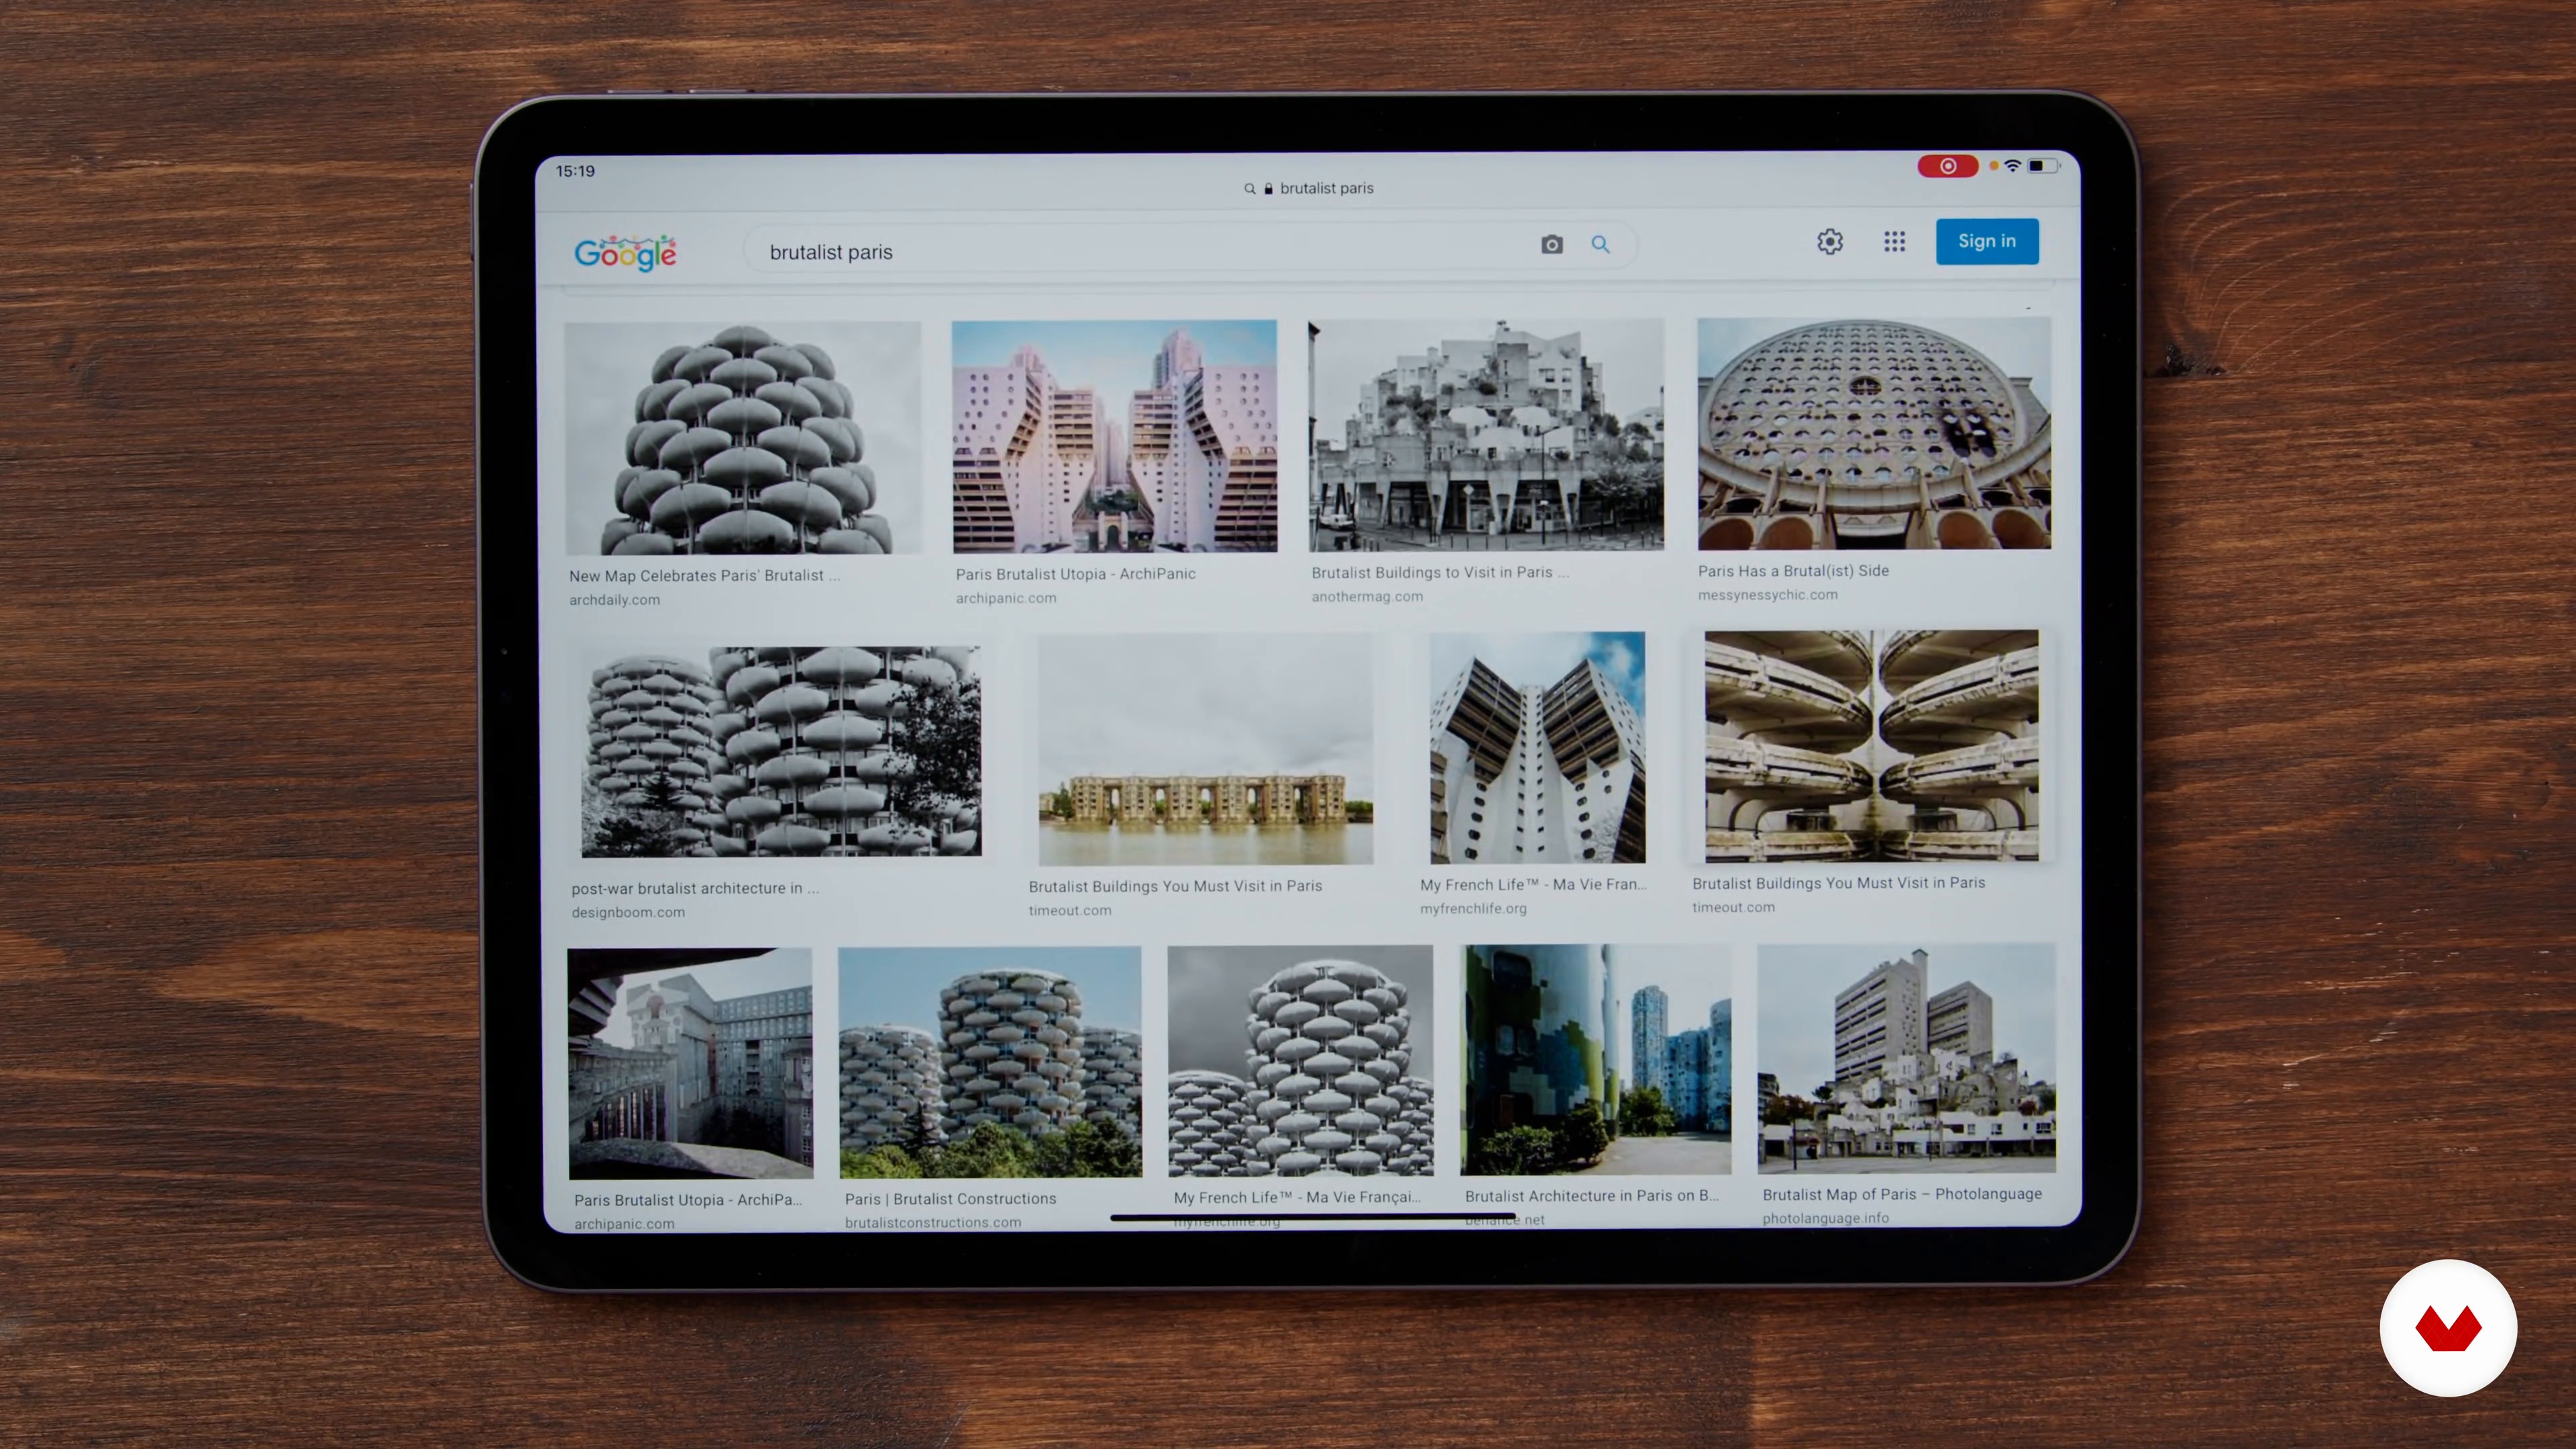
9Finding the Right Place
Next, I will give you tips for locating photogenic places using internet search tools.
2m
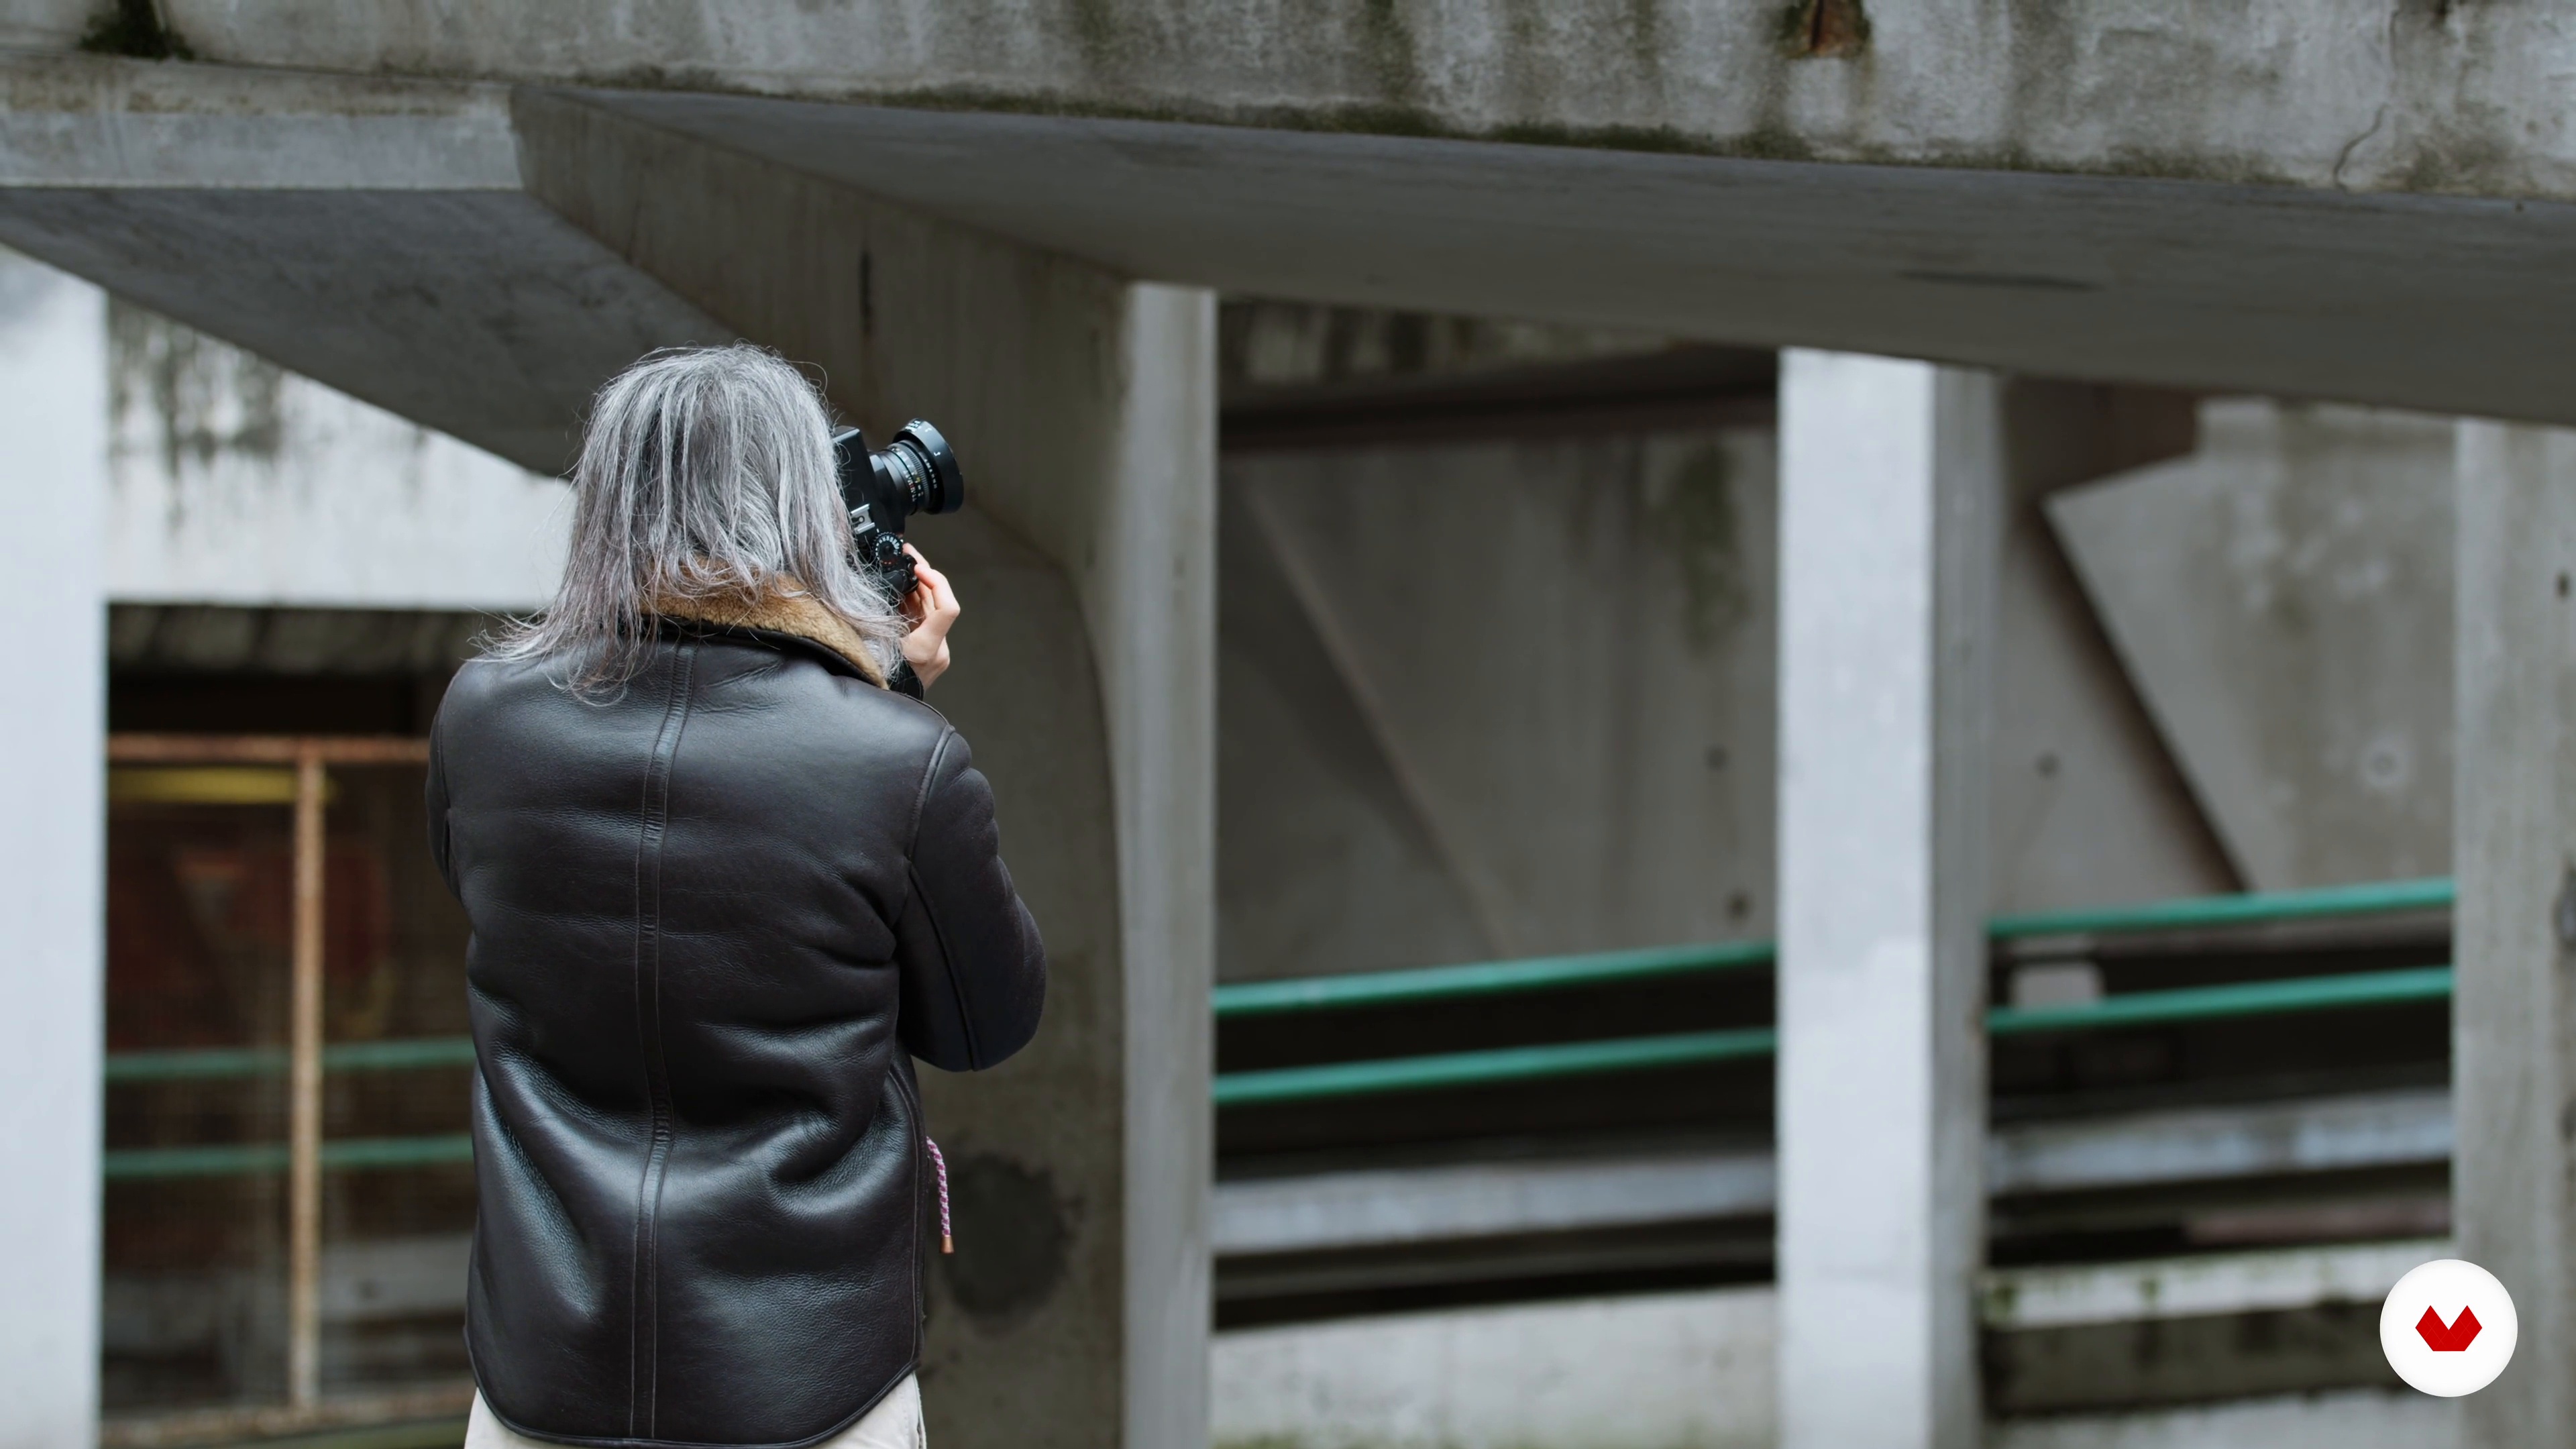
10The Photo Session
You will see here how I settle in the place chosen to take the photos and evaluate the strong points there as well as the orientation of the light. I will explain to you as I go along the settings I make and the adjustments.
3m
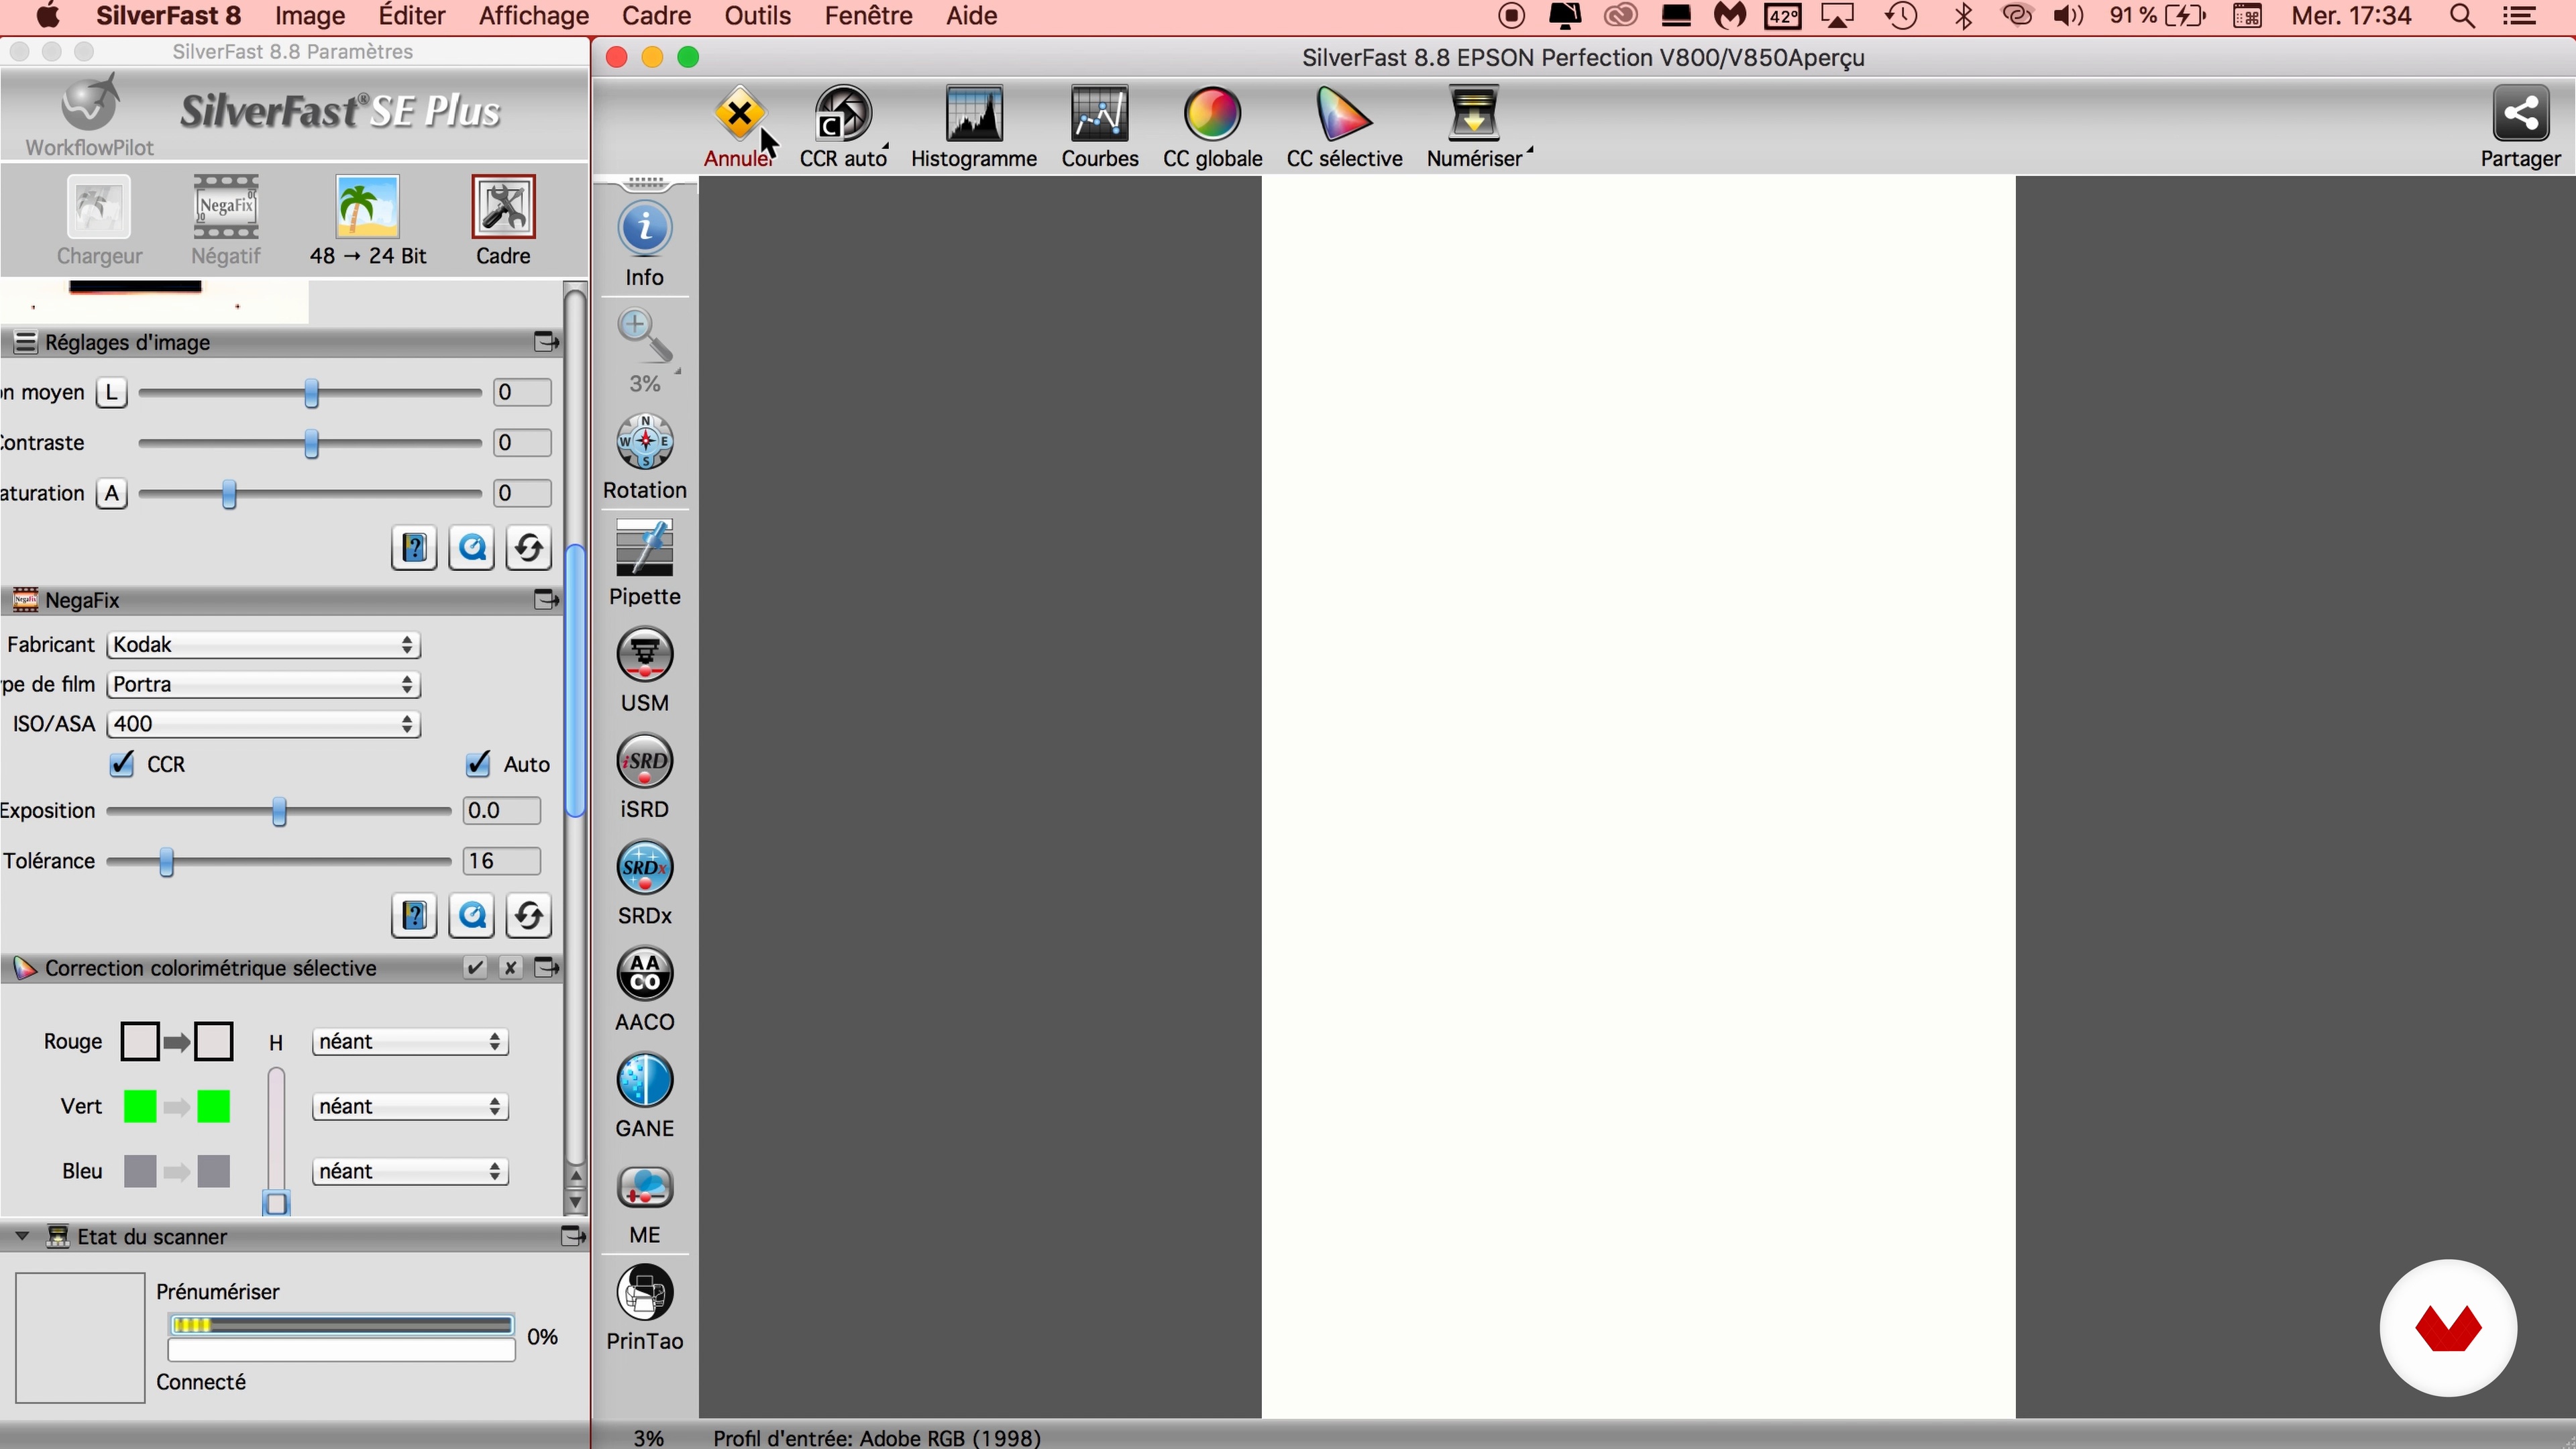
11Digitization
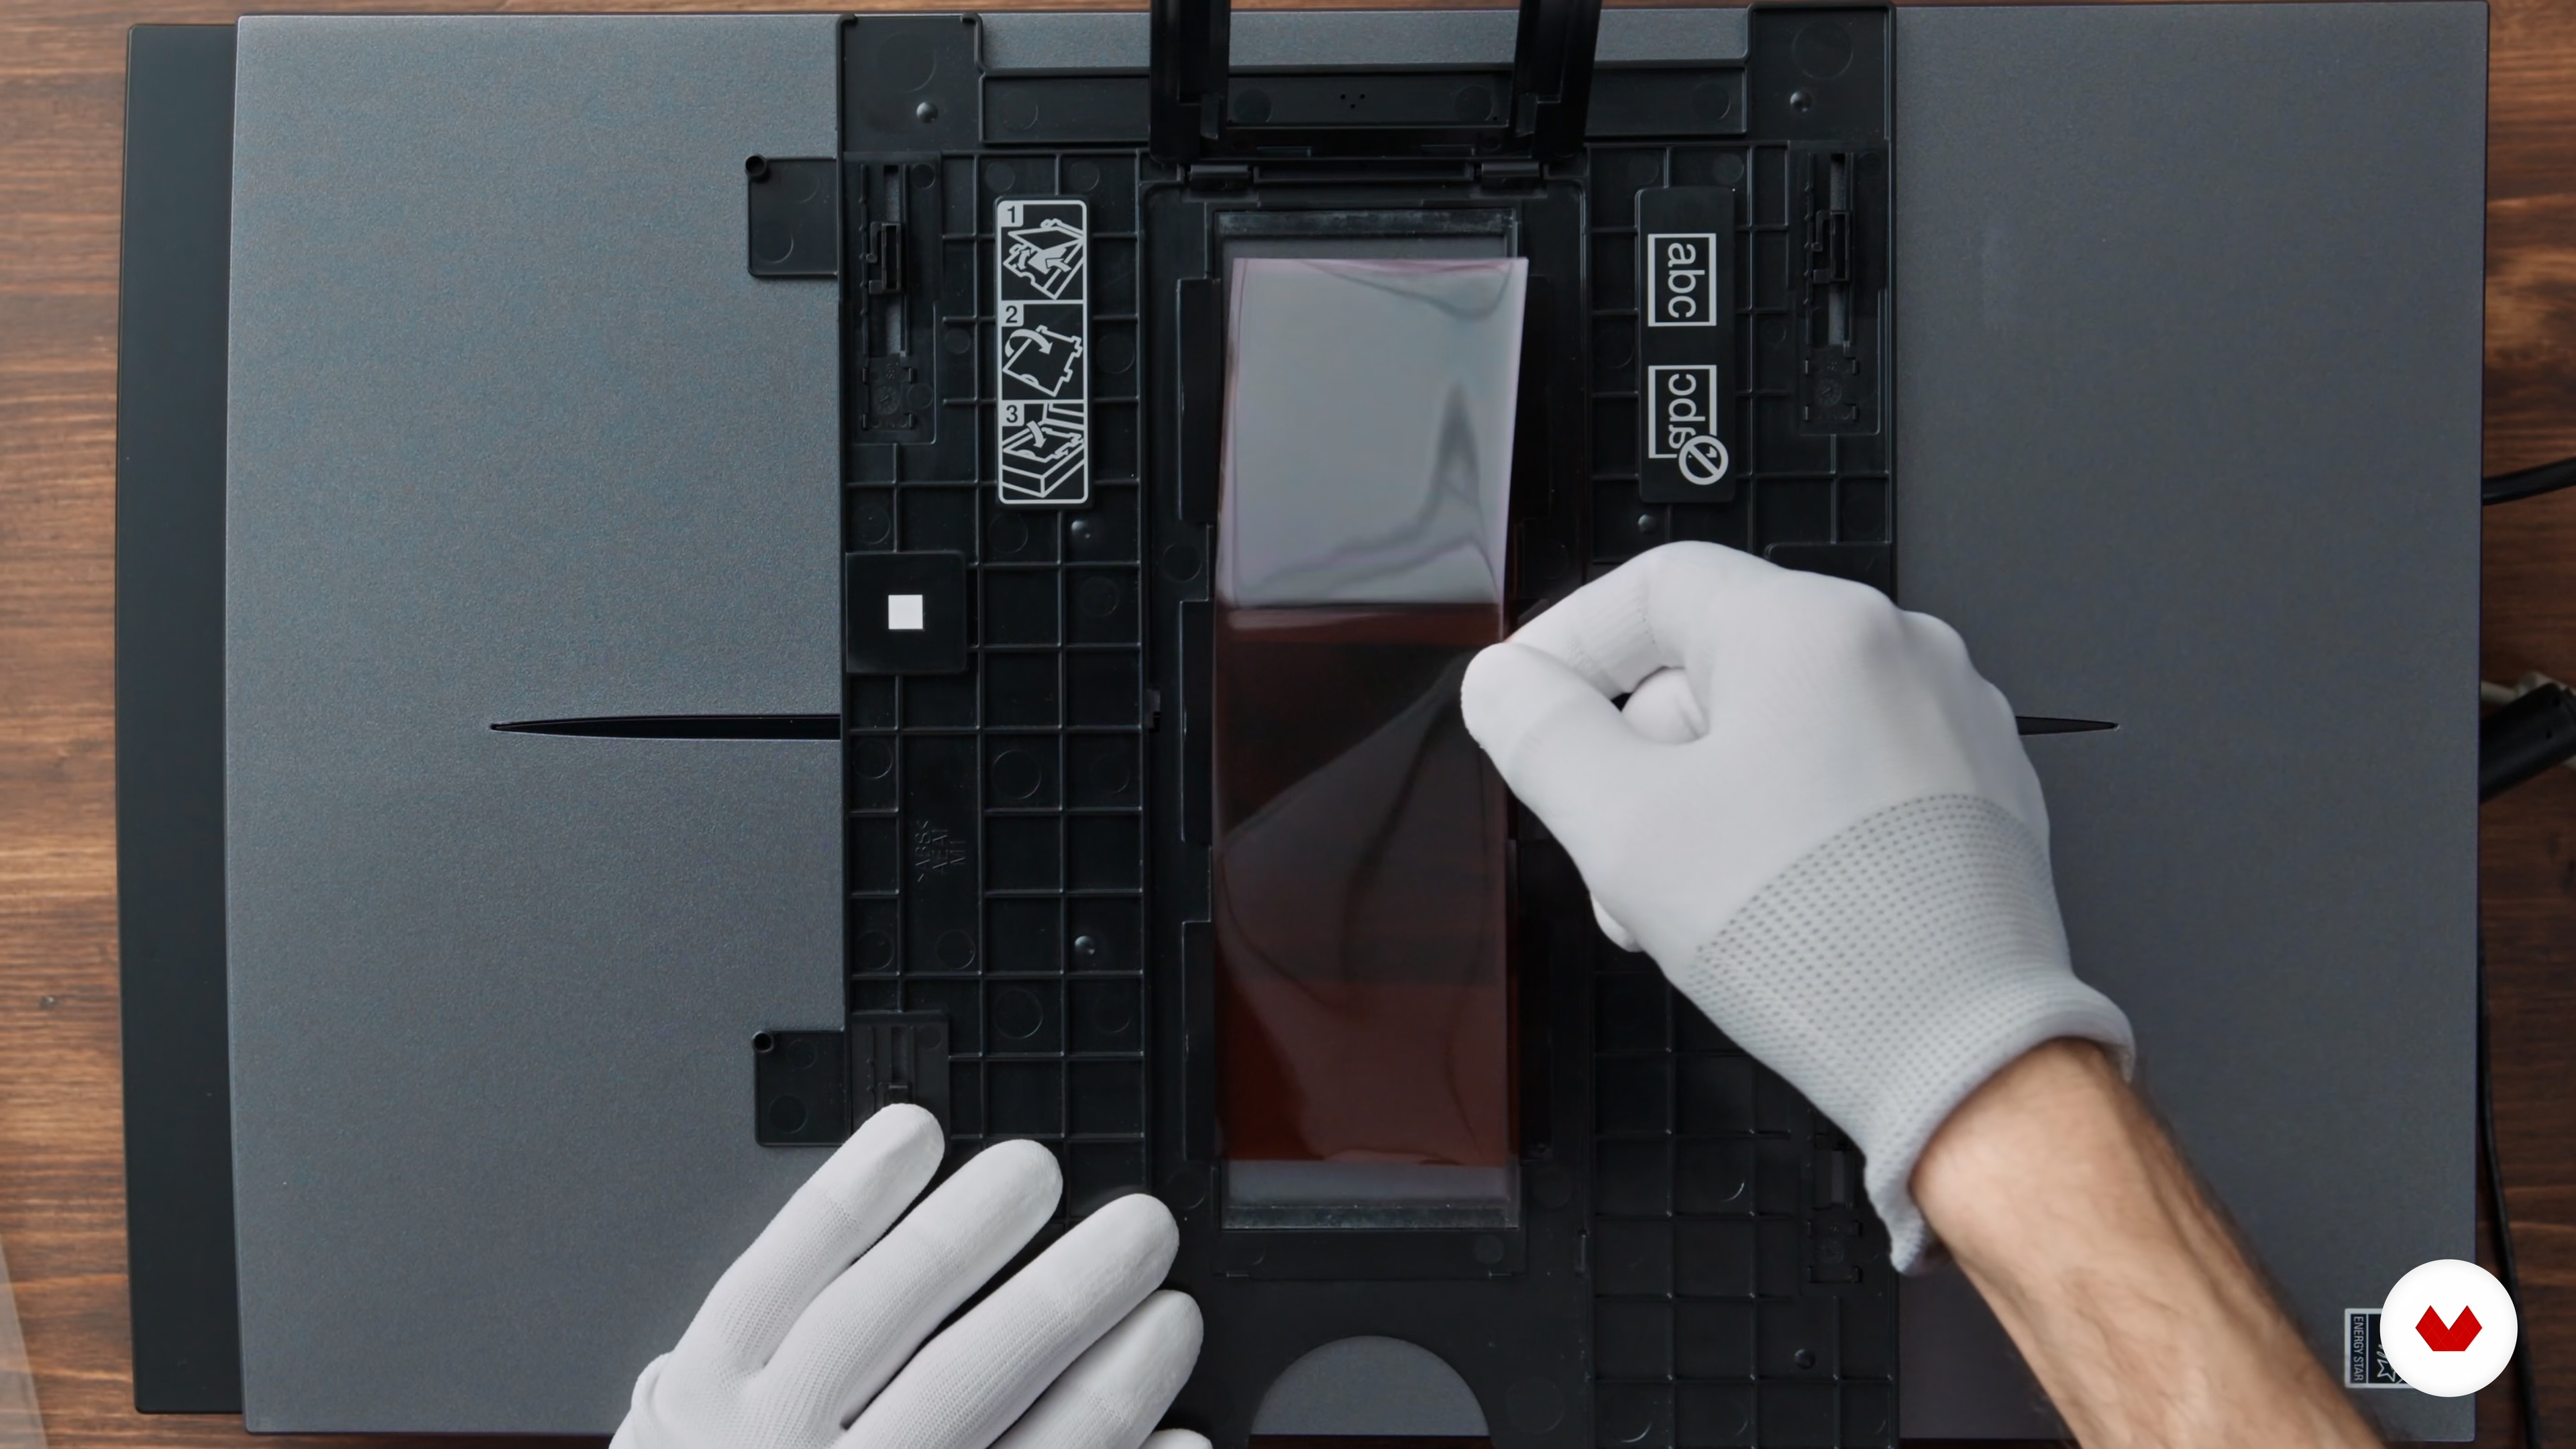
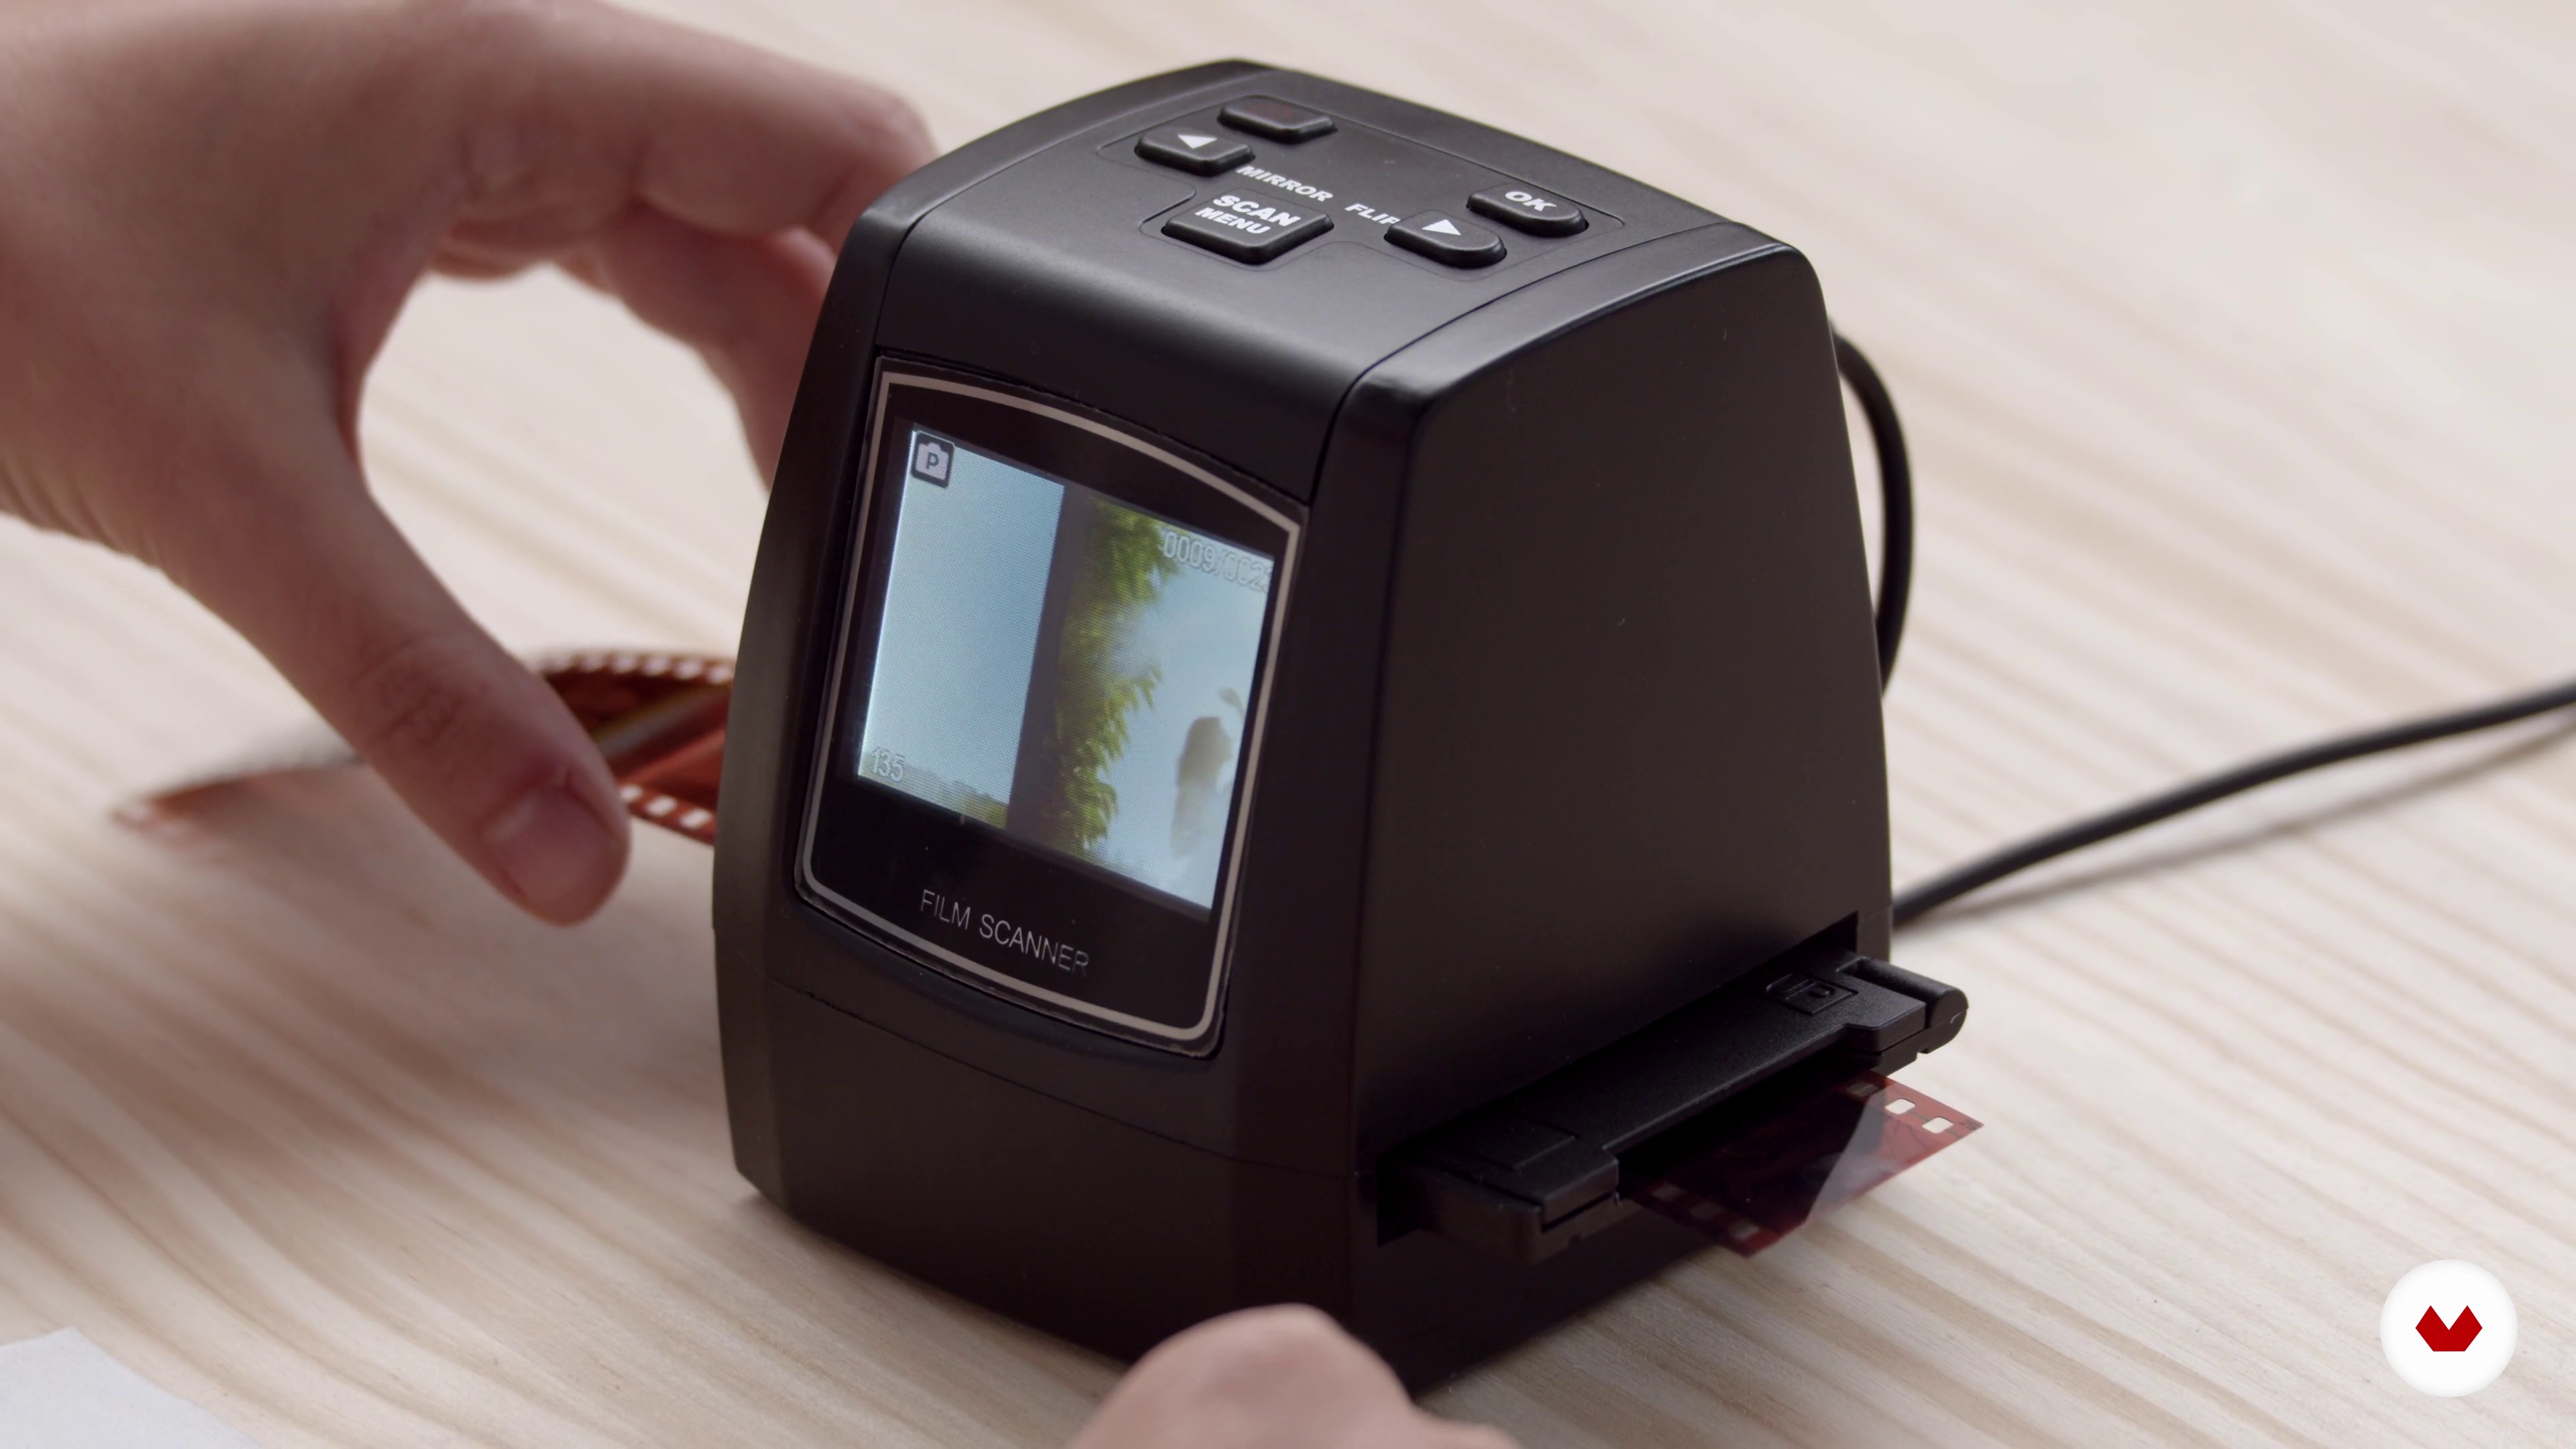
Now that my shots are ready, I will show you how to scan your negatives and digitize them to have a quality image that you can then retouch.
5m
12Choice of the Final Images
Now, I will observe all my scanned images and I will share with you my impressions and my feelings.
4m
13Printing and Sharing the Series
I will tell you here about the different types of prints that you can make to print your photographs. I will also explain my approach to sharing my work on social networks in order to reach the widest possible audience.
4m
14Competitions and Calls for Applications
With practice, you'll get a lot of pictures. Participating in competitions or responding to calls for applications can bring you visibility. It's a good exercise! Here are some tips from my experience to give you your best chance.
4m
3What will we do in the course
First of all we will work on the bases, we do not focus excessively on the fundamentals of photography from scratch since there are many other courses for that. The foundations are the same in both analog and digital, so we will see it above and reinforce the knowledge about ISO, its limitations and its advantages, types of film and types of camera.
1m
4Basic concepts
We will first talk about the parts of the camera that we can change, in a very summarized and didactic way we will explain what the aperture is and how it affects the image, what is the shooting speed and how it affects the image and what is the ISO and how it affects the picture.
13m
5Cameras and formats 1
We will review all types of 35mm cameras (compact, mechanical SLR, autofocus SLR, telemetric) and 120 (645, 6x6, 6x7, 6x9).
9m
6Cameras and formats 2
We continue to analyze different cameras and formats in this second part of the lesson. In this second part of the lesson, we focus on the 645, 66 and 67 format cameras.
15m
7Reels and developing
Here, I will explain what a good development consists of, what types of development there are, which ones are easier to do at home and which ones are perhaps best left in the hands of a professional laboratory. We will also look at the standards of color development and the flexibility of black and white development. Finally, I will briefly explain what to keep in mind if you want to make your developments in regards to chemical components.
11m
8Materials for our project
With all the basic concepts clear, we are going to go over the material we need to get started.
5m
9Pre-shooting light
In this lesson, we will review all the light situations, demonstrating with practical examples the differences in each case. You will learn to identify the light that interests you and how to find or get it.
12m
10Pre-shooting composition
We are going to review the different compositional techniques, showing examples and explaining in each case which composition works and why.
17m
11Working with model
Here, we will talk about the aspects to consider when working with models, from the garments that it leads to the details that we want to highlight in our photographs.
4m
12Shooting 1
We will see the entire shooting process, from how we analyze the scene and talk with the model, to the different types of light and the angles from which to shoot.
18m
13Shooting 2
We continue with the shooting, trying to capture the ideas that we can come up with and using the different types of natural light to our advantage.
18m
14Revealed
In this lesson, we will teach you the materials you need and how the black-and-white development process is different from the color development process.
12m
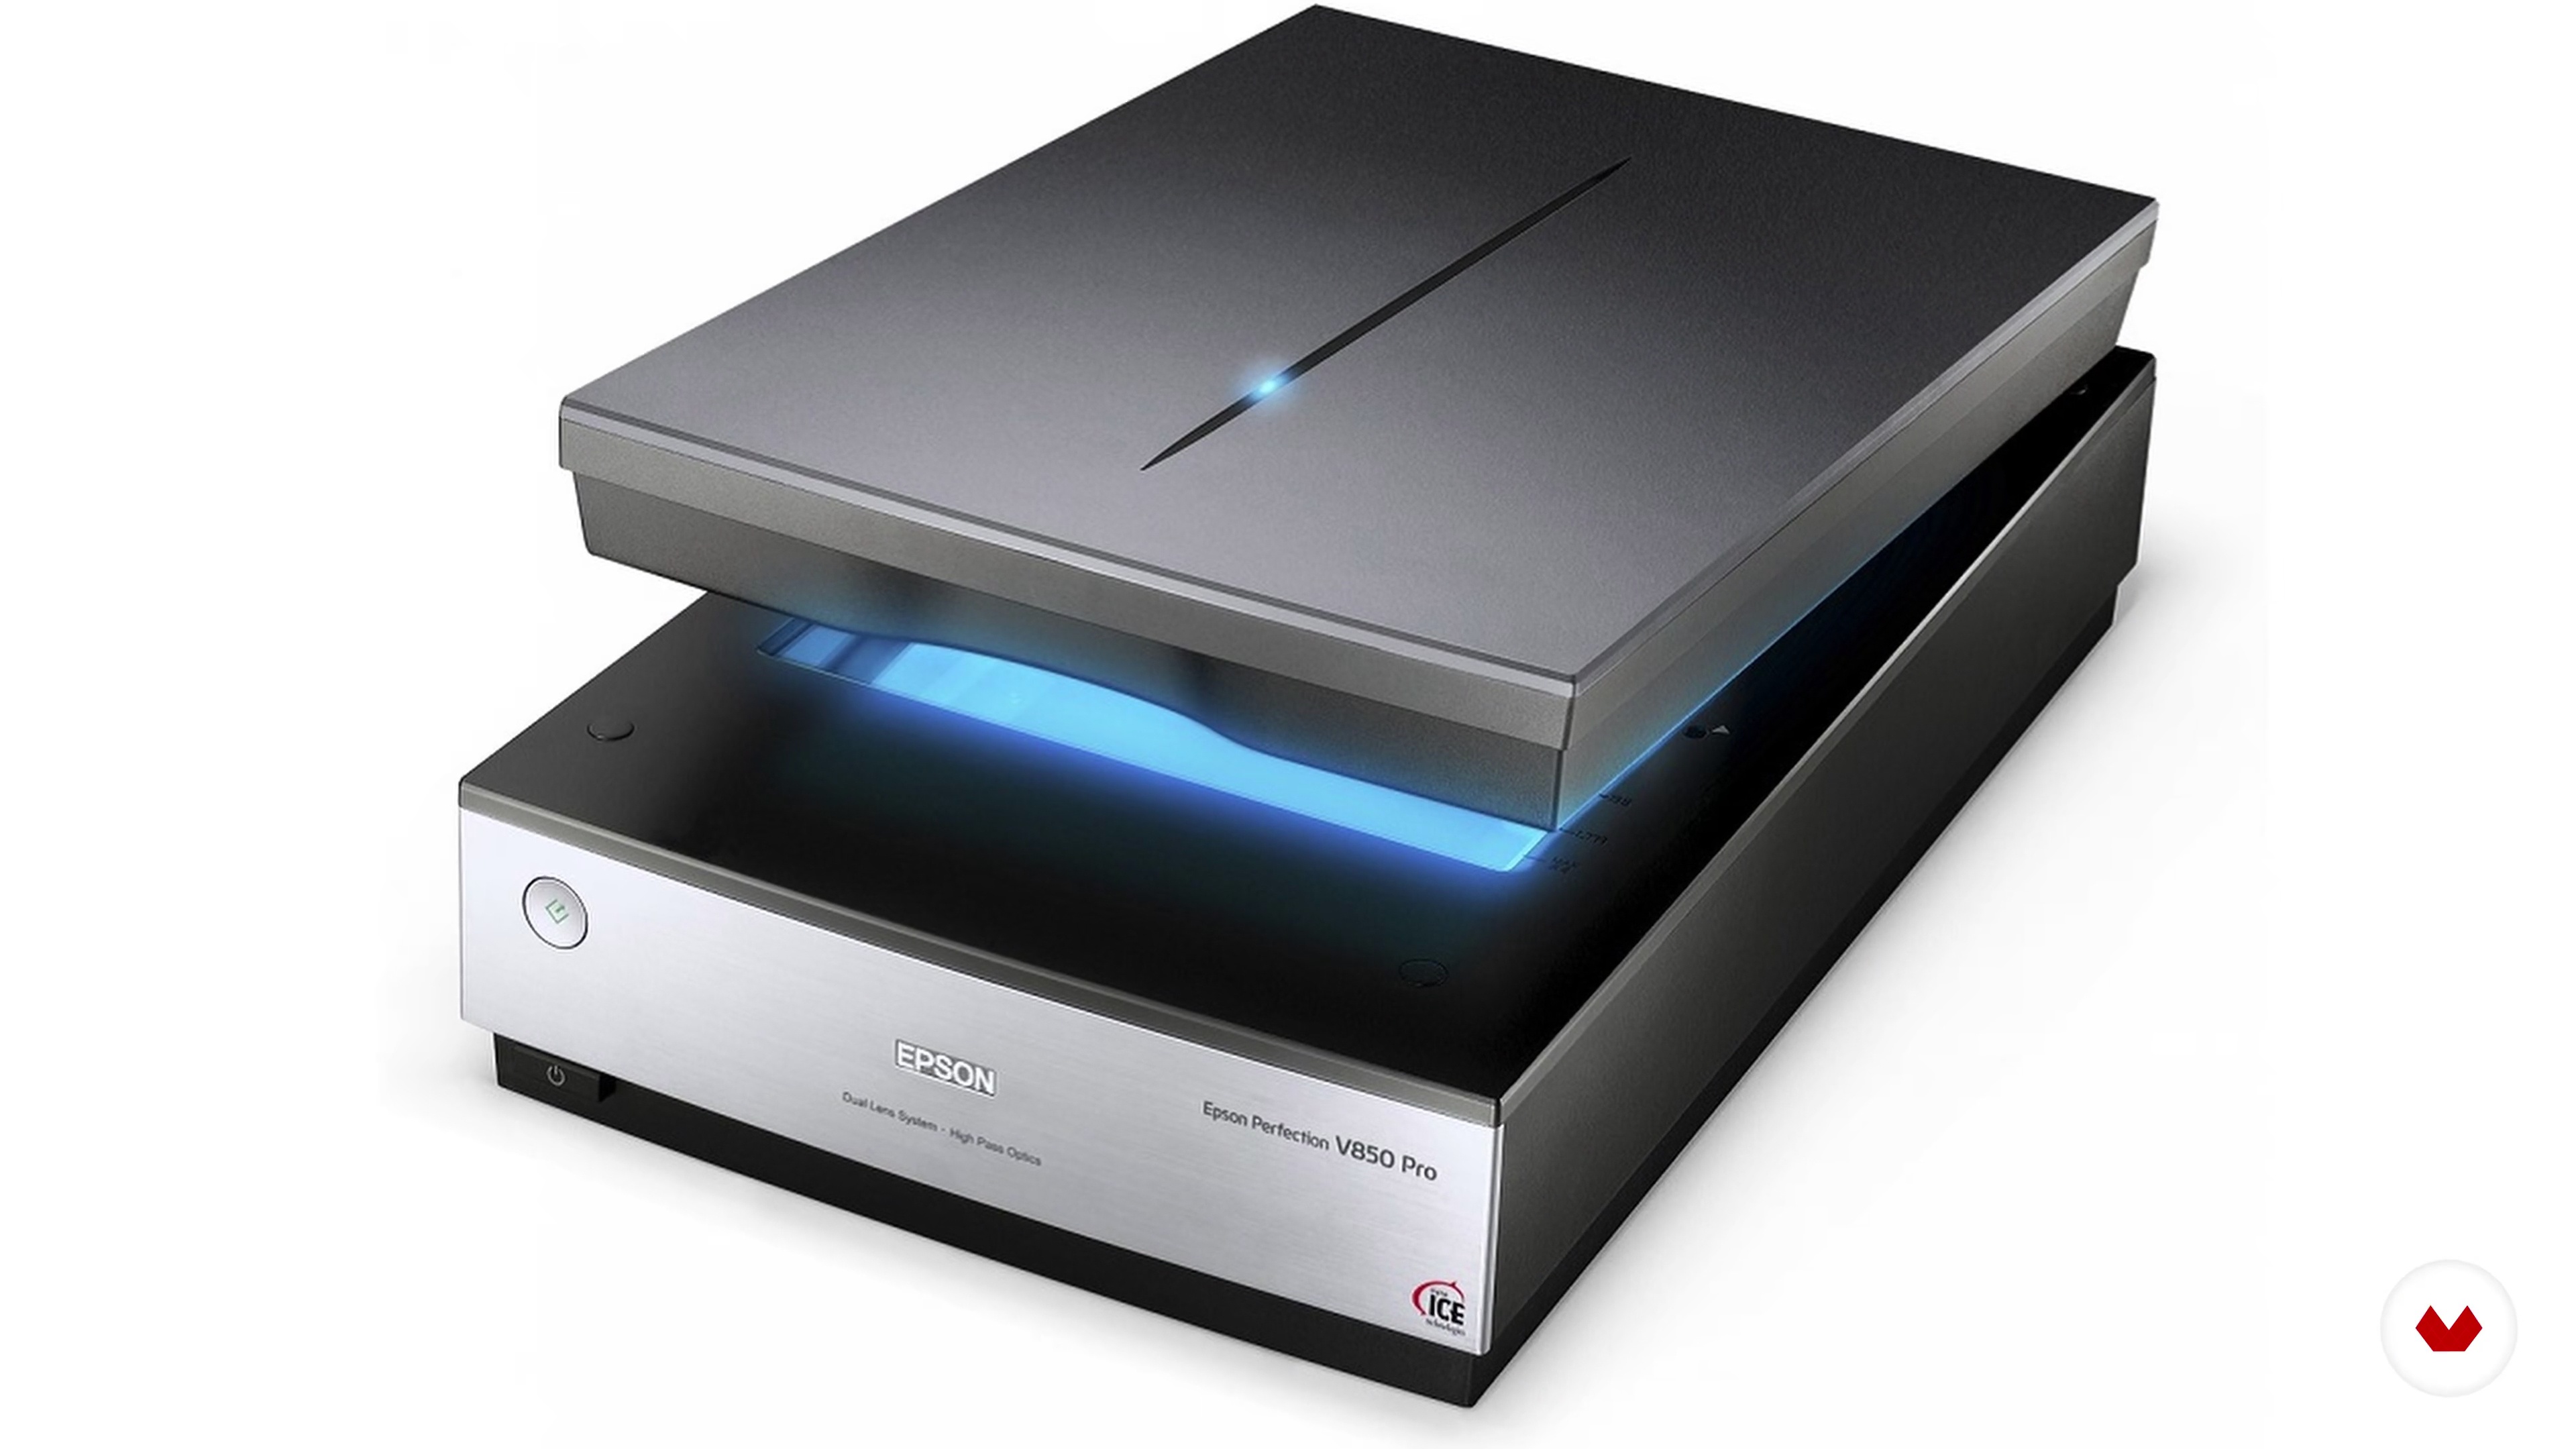
15Scanning
We are going to see the different types of scanners, options and results. You will learn to differentiate and identify one type of scan from another and understand what color curves are and why they are important.
7m
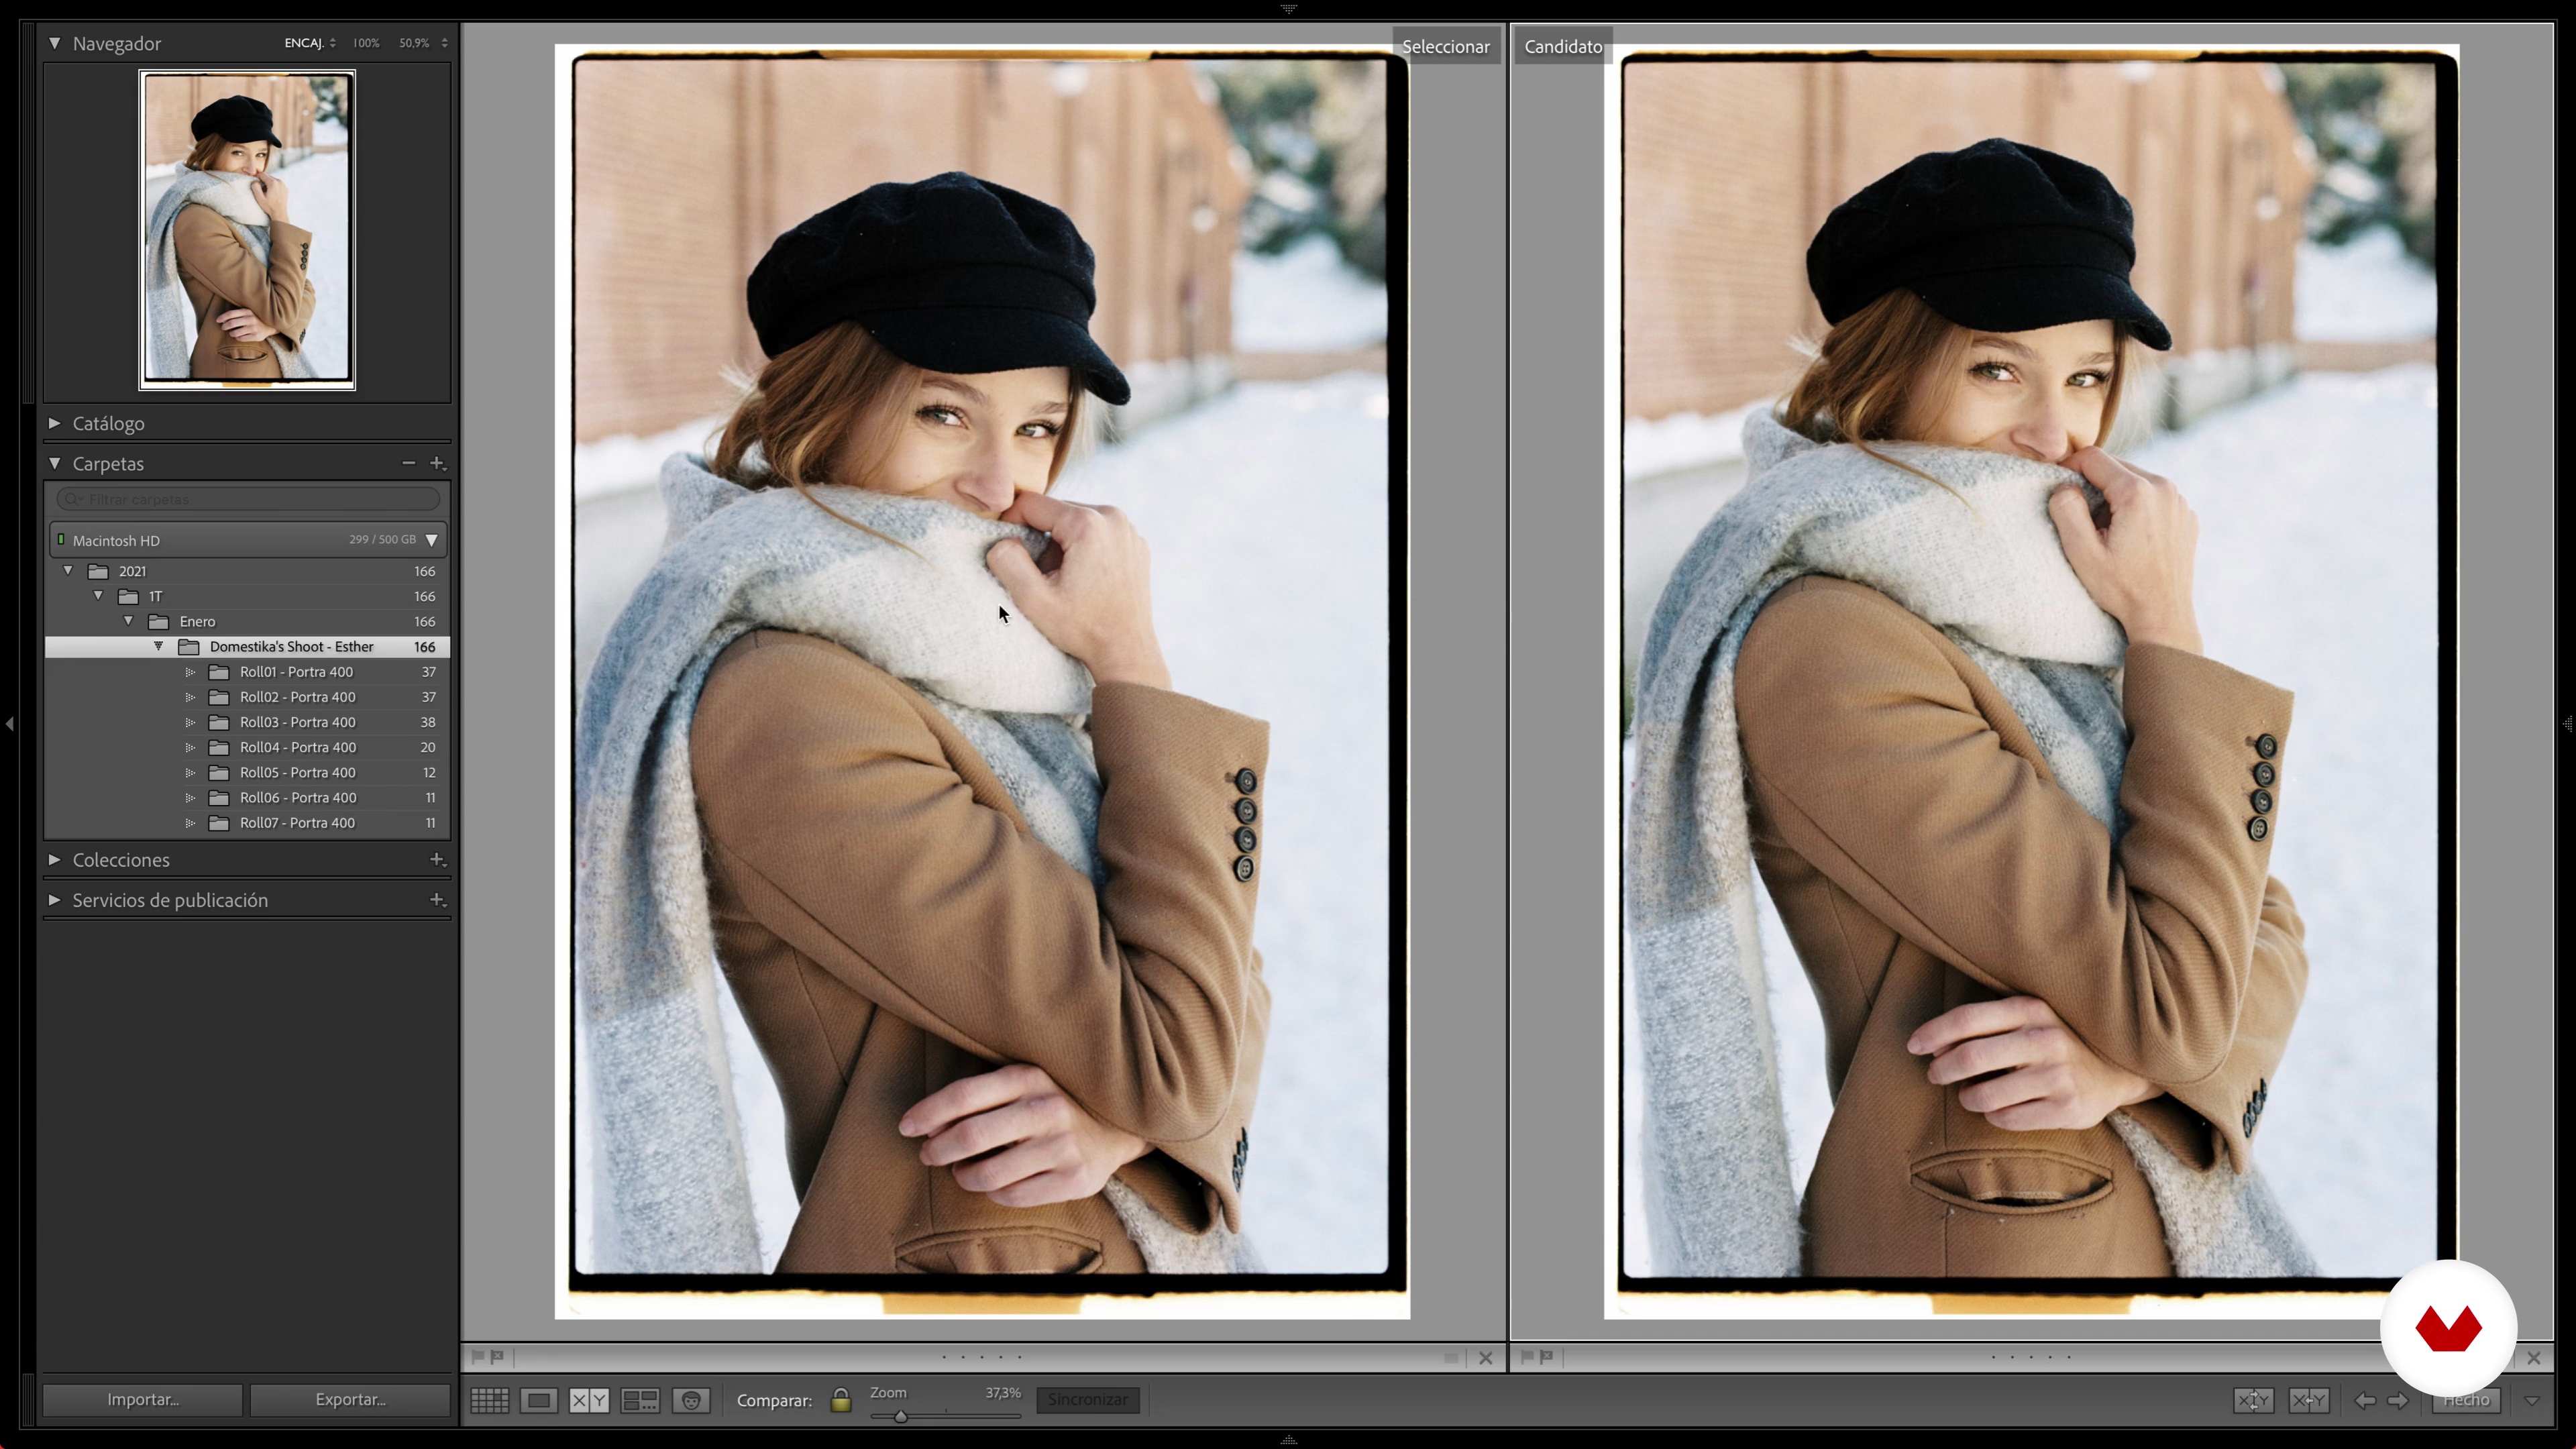
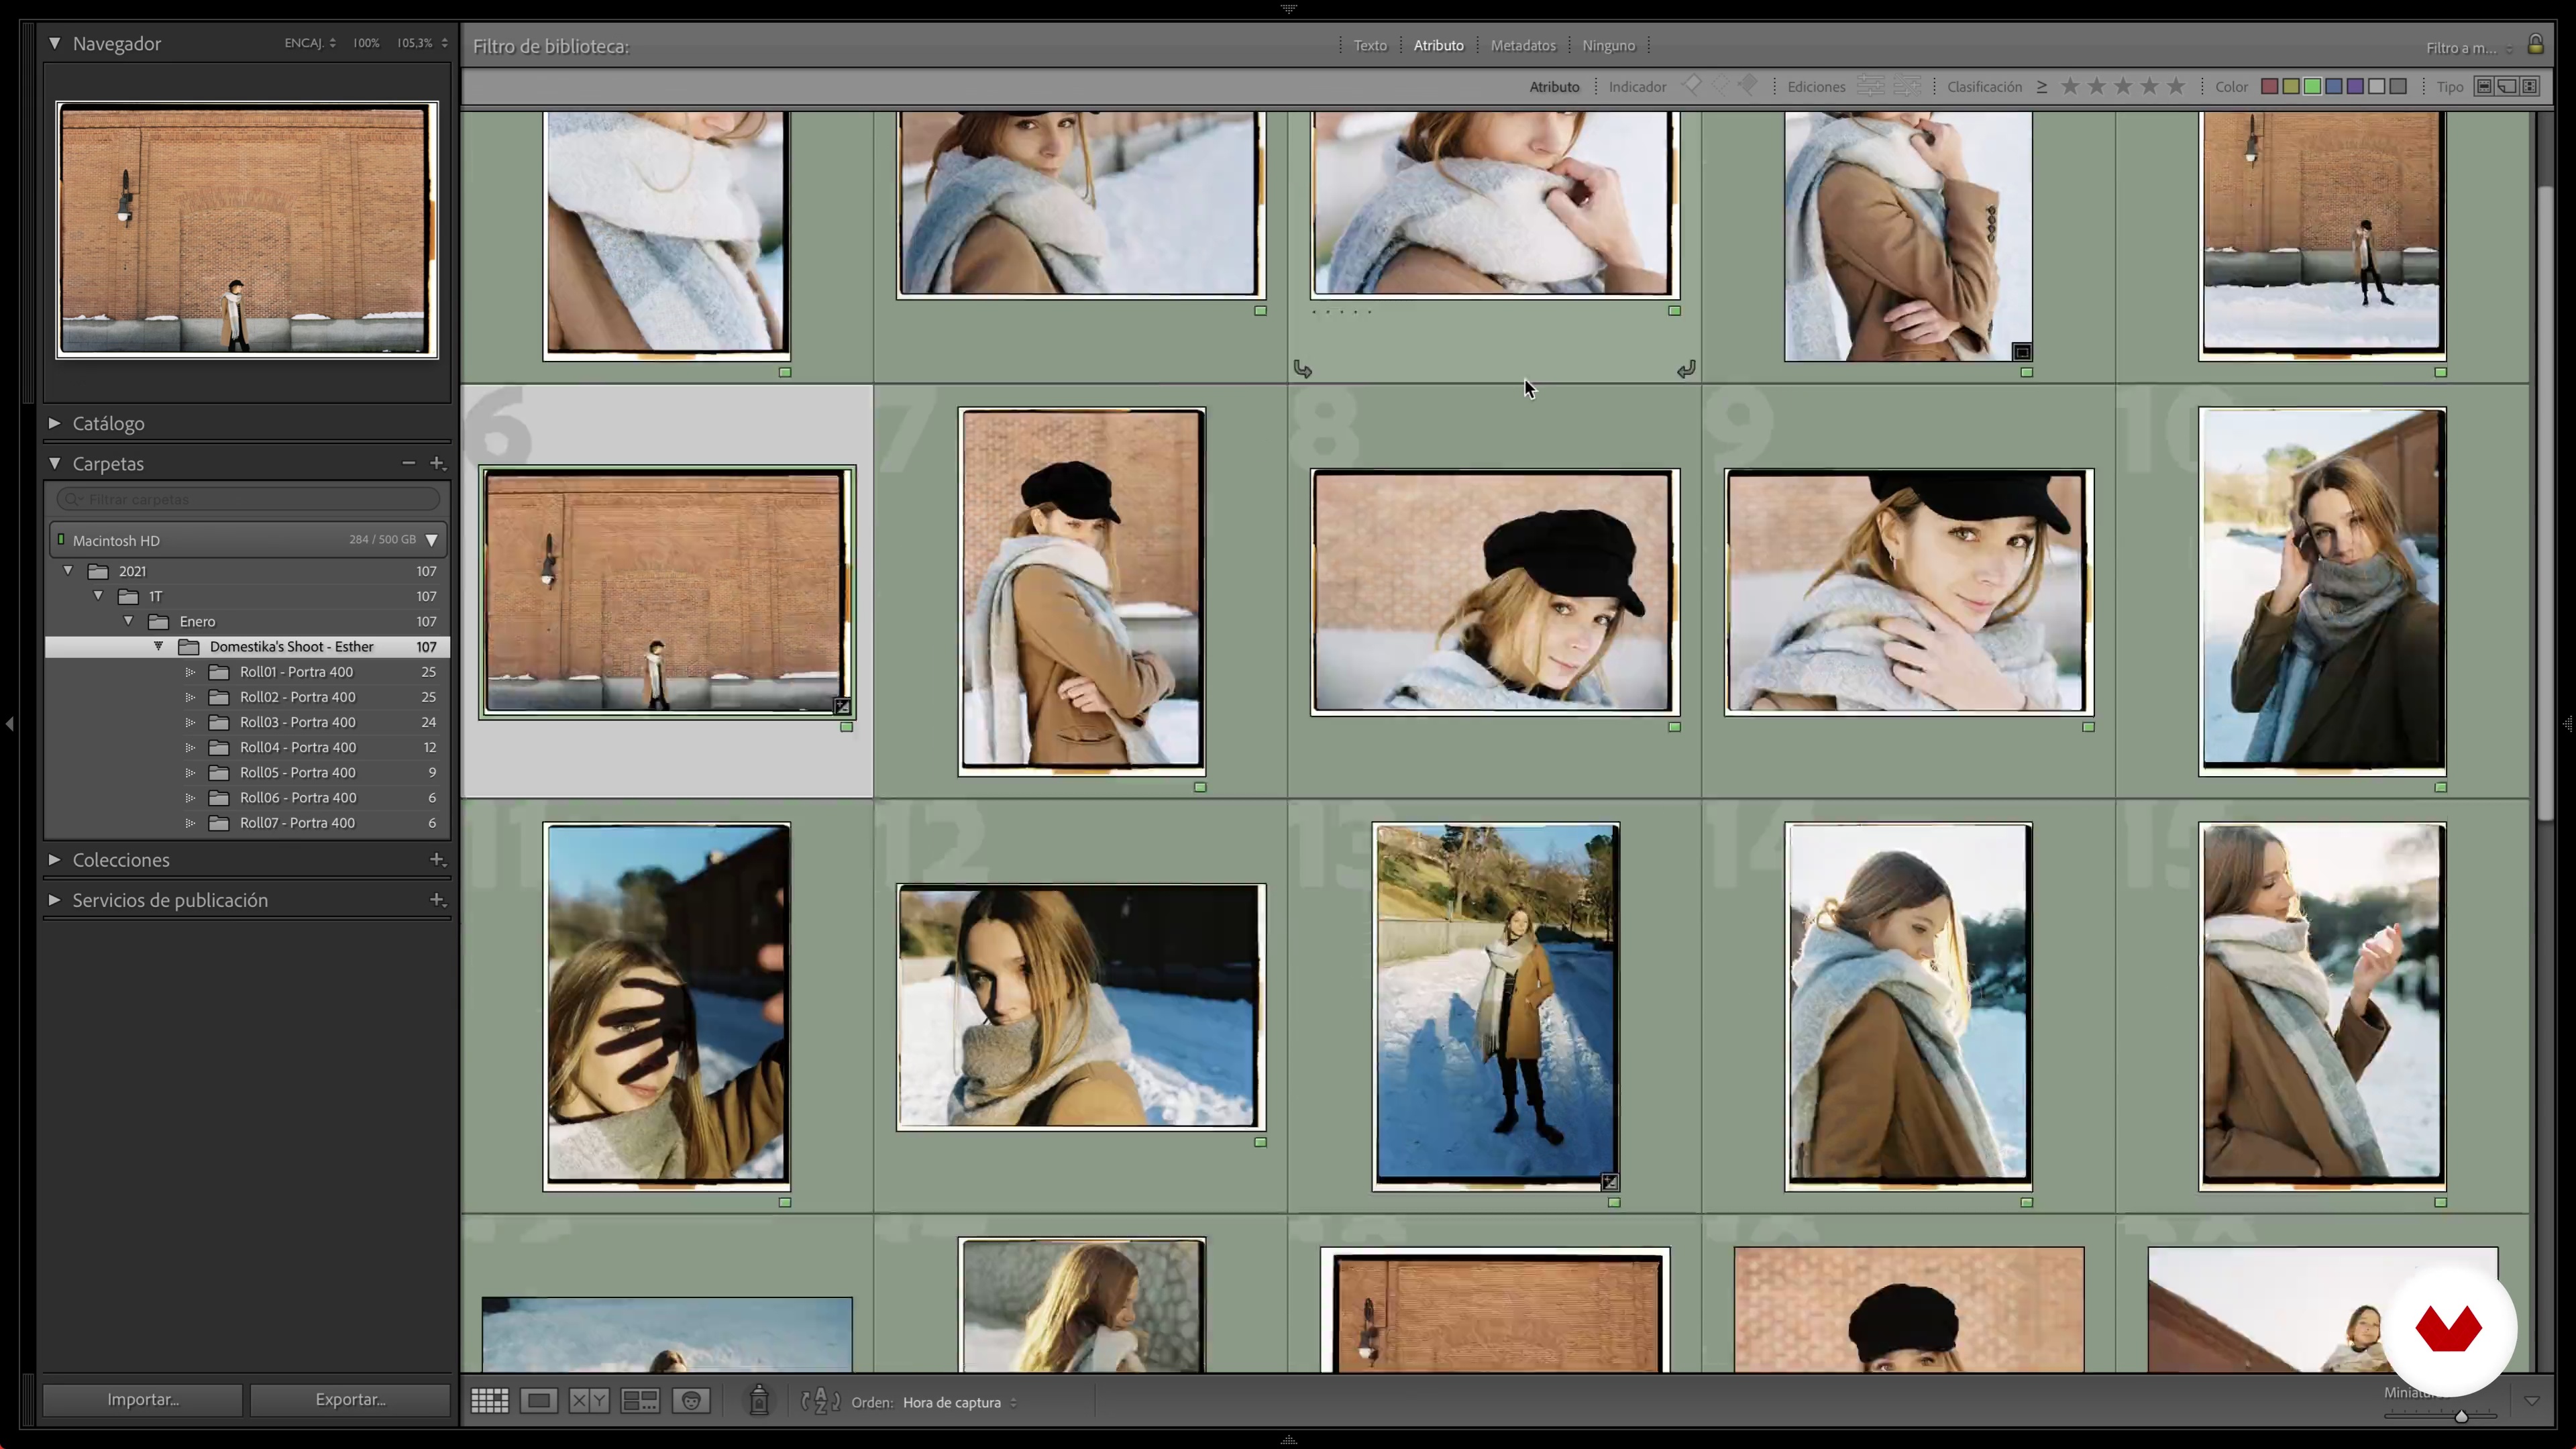
16Editing and selection 1
We will review the selection process and give you tips to be more strict when selecting your work, guides to use with the selection programs and composition criteria that we can use. For editing, we will see what we should pay attention to once we have our preferred images selected, analyze the scan result and how we can correct or polish it to take the image where we want through the editing settings.
18m
17Editing and selection 2
We continue with the process of screening and editing the photographs.
19m
3What Will We Do in This Course?
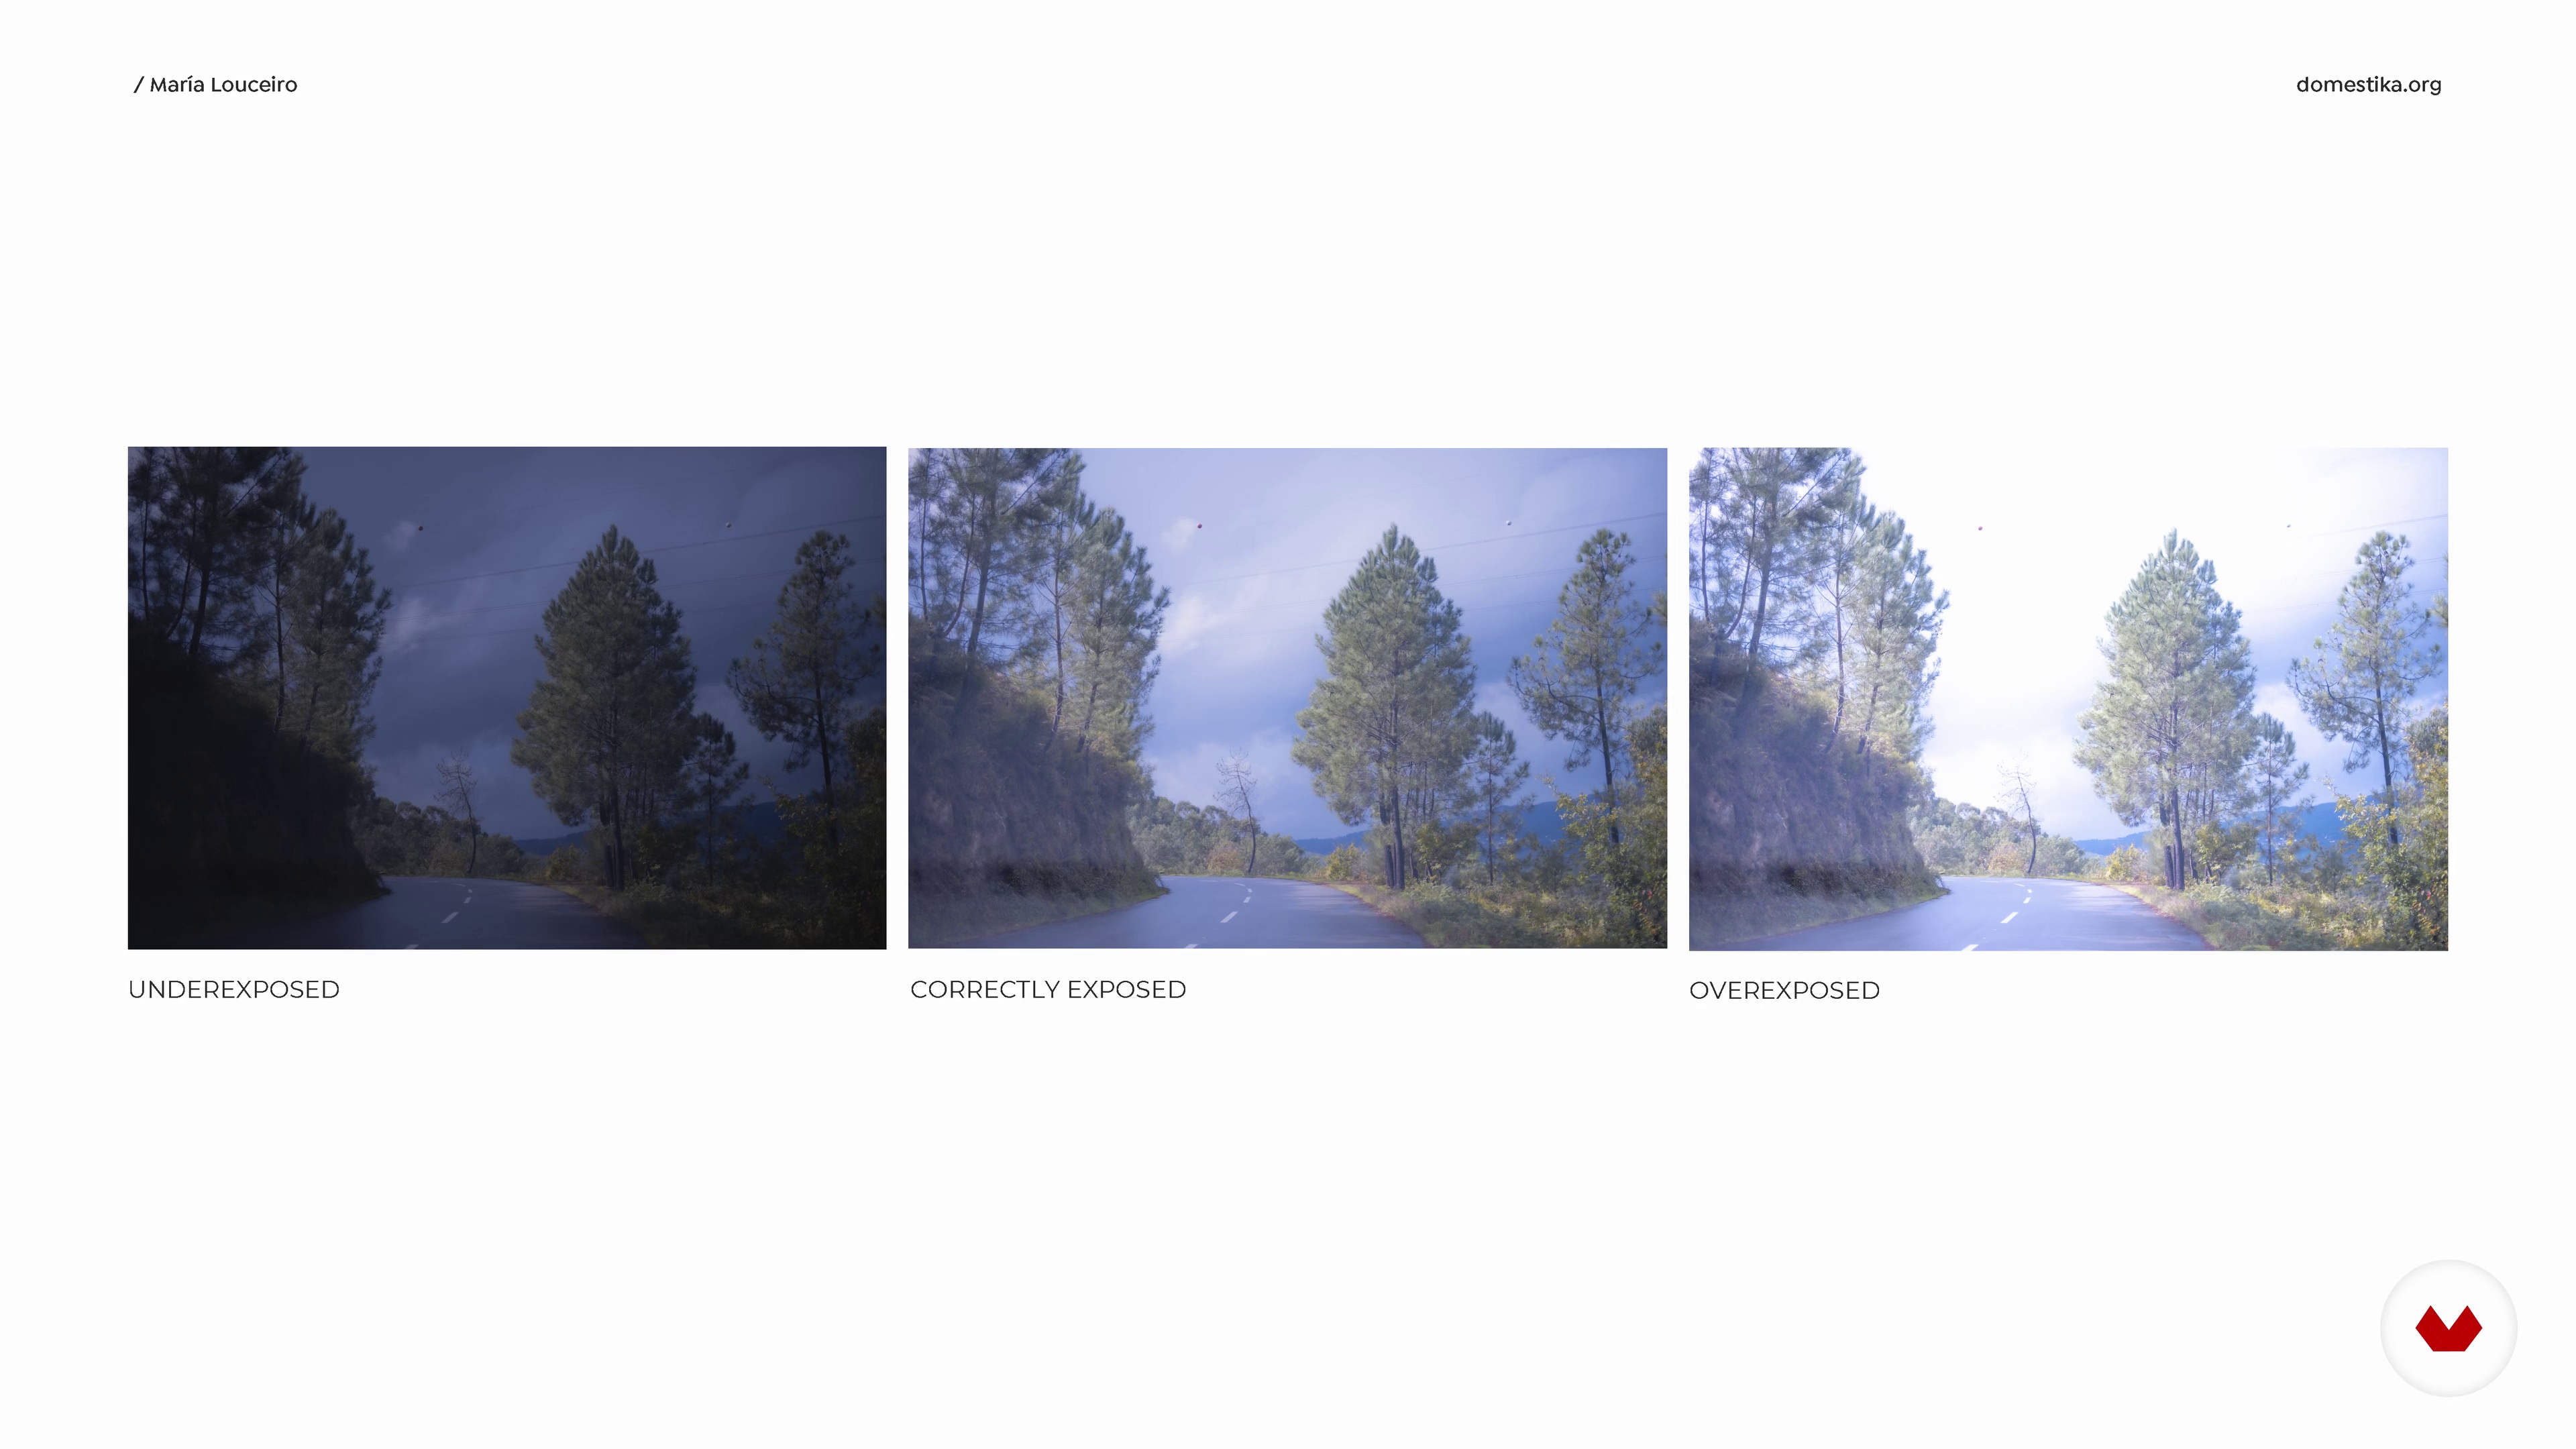
In this lesson, I will tell you what we will do in this course. Over this course, we will complete a portrait project using an analog camera and applying experimental methods with in-camera filters and post-production. I’m going to talk about the process from choosing the equipment to conceptualizing and making your vision for the final images become a reality. You will edit your images and build a portfolio that represents your work. For the final project, we will complete a series of five to eight portraits using an analog camera.
2m
4Cameras, Films, and Technique
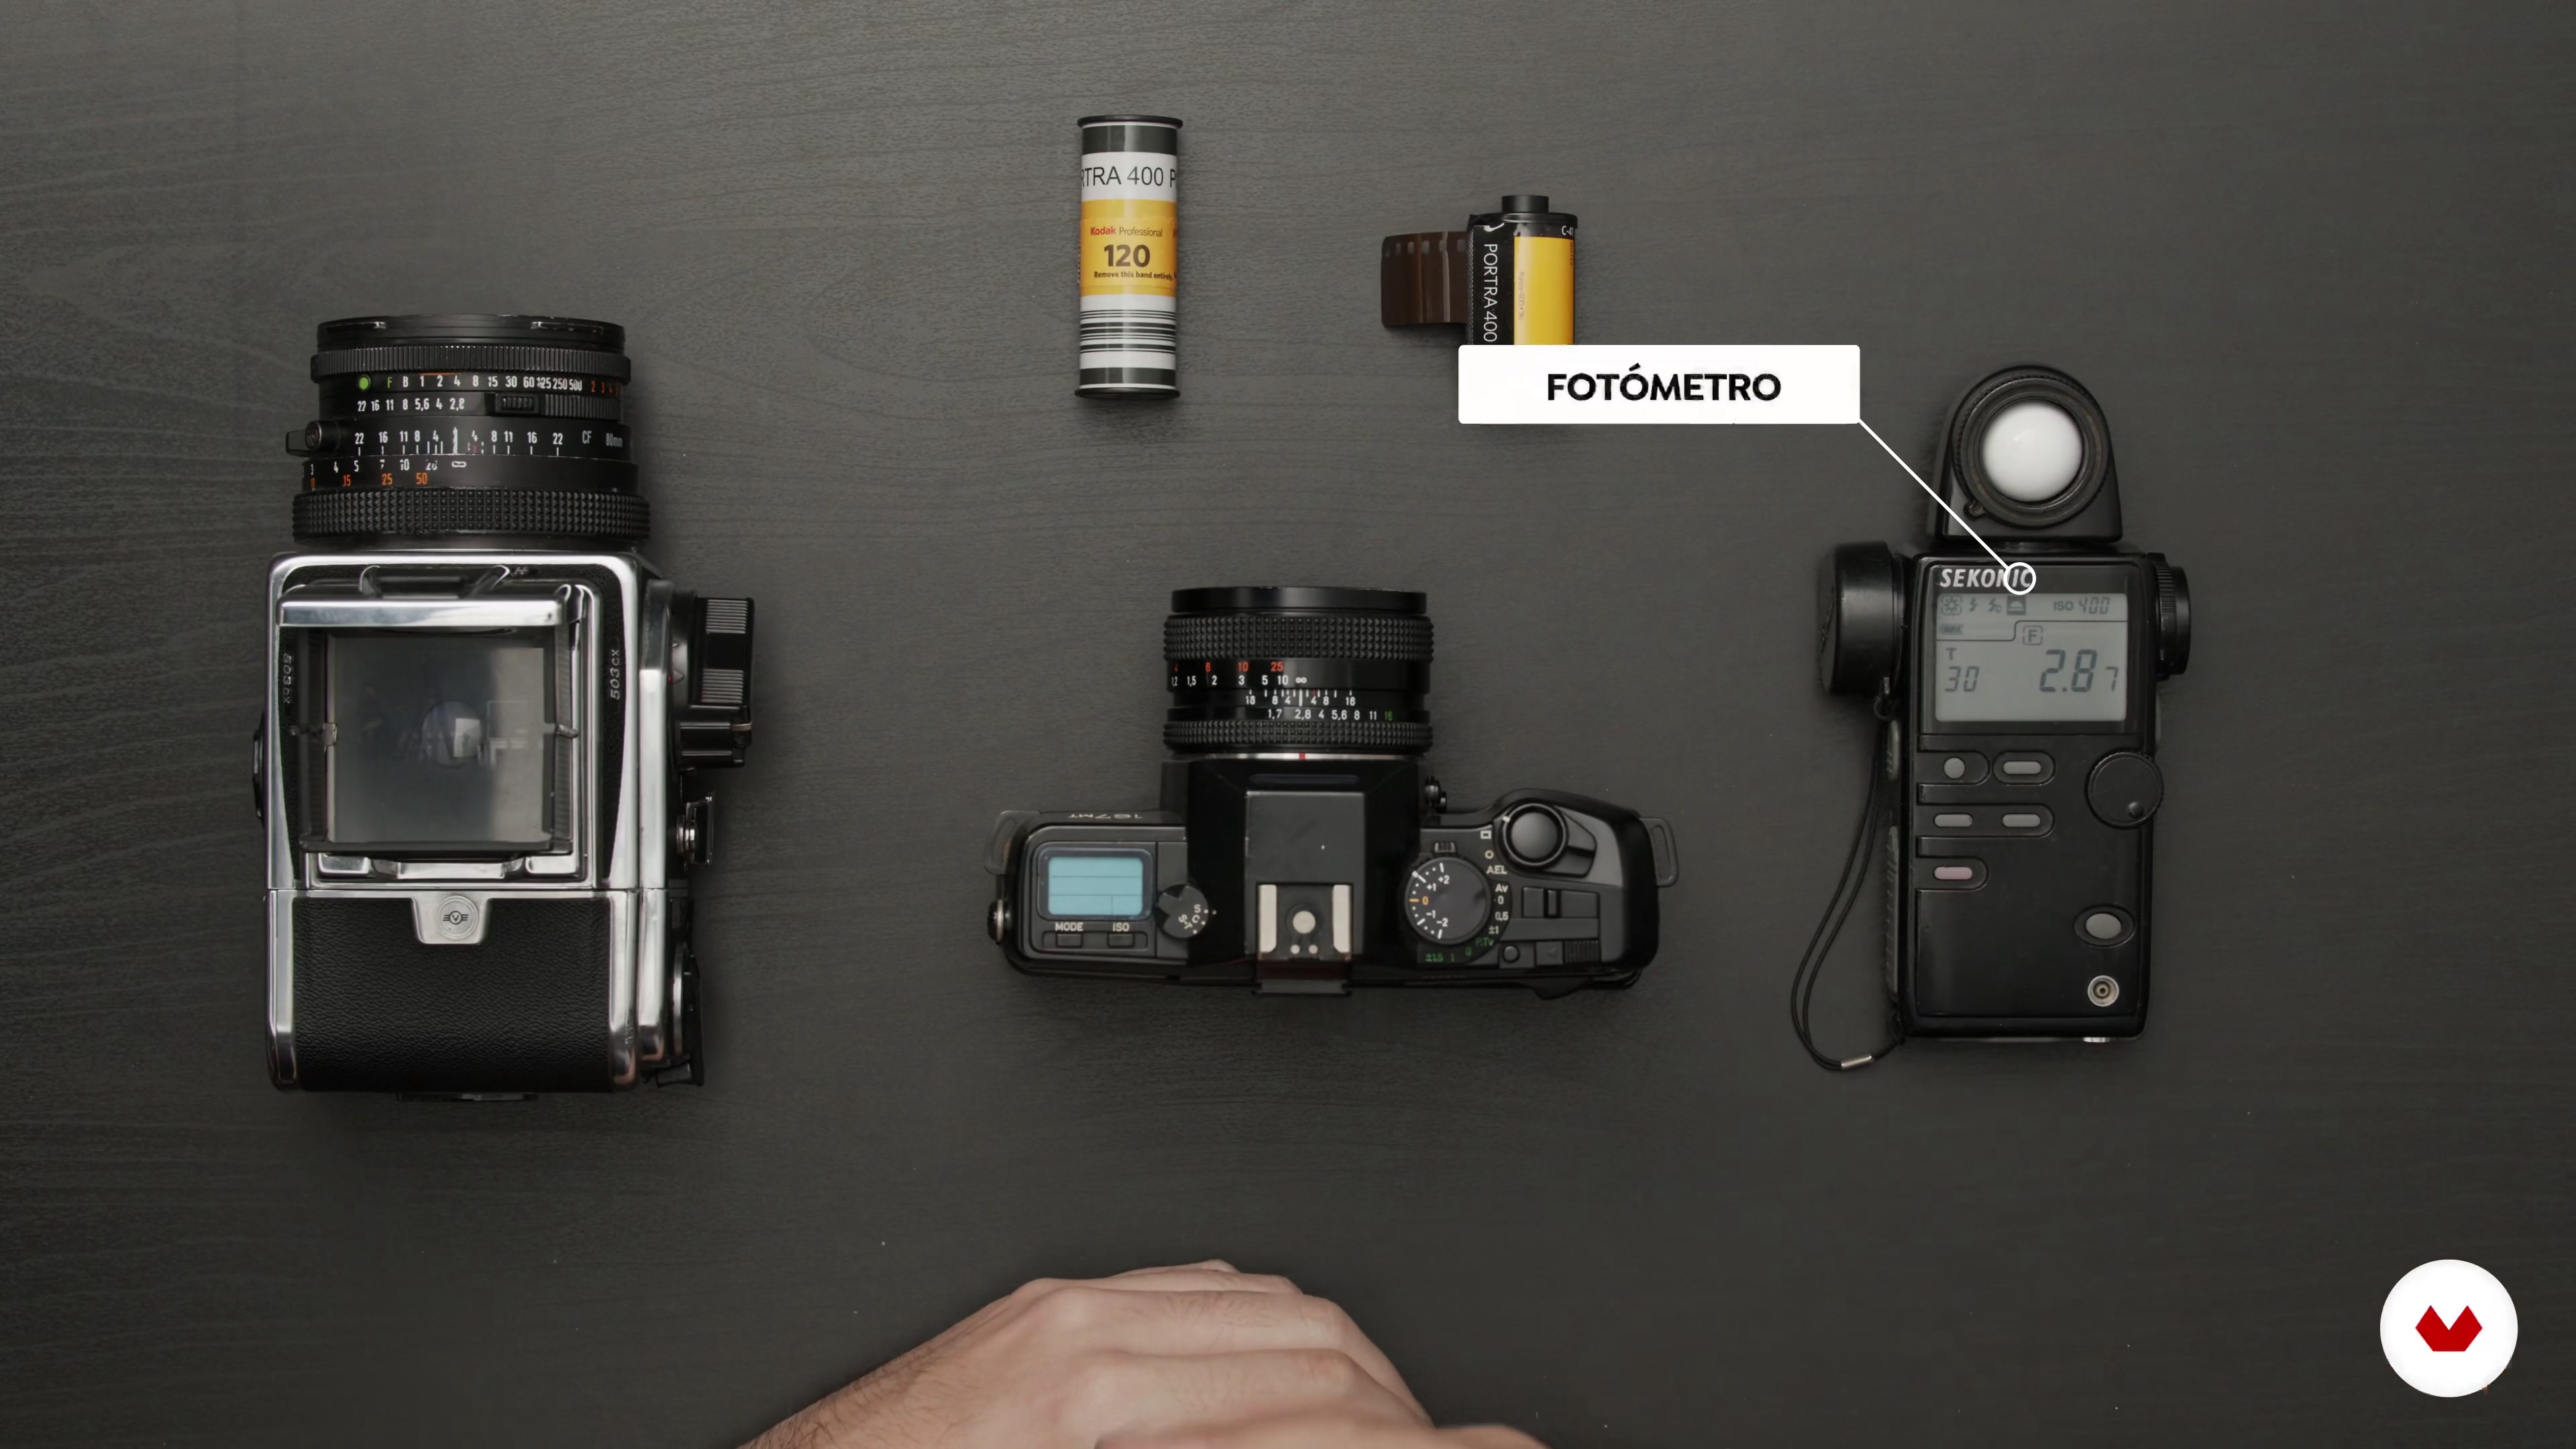
In this lesson, I will explain the differences between some analog cameras and types of film formats. You will understand about aperture, speed, and ISO and I will show you how a photometer works.
8m
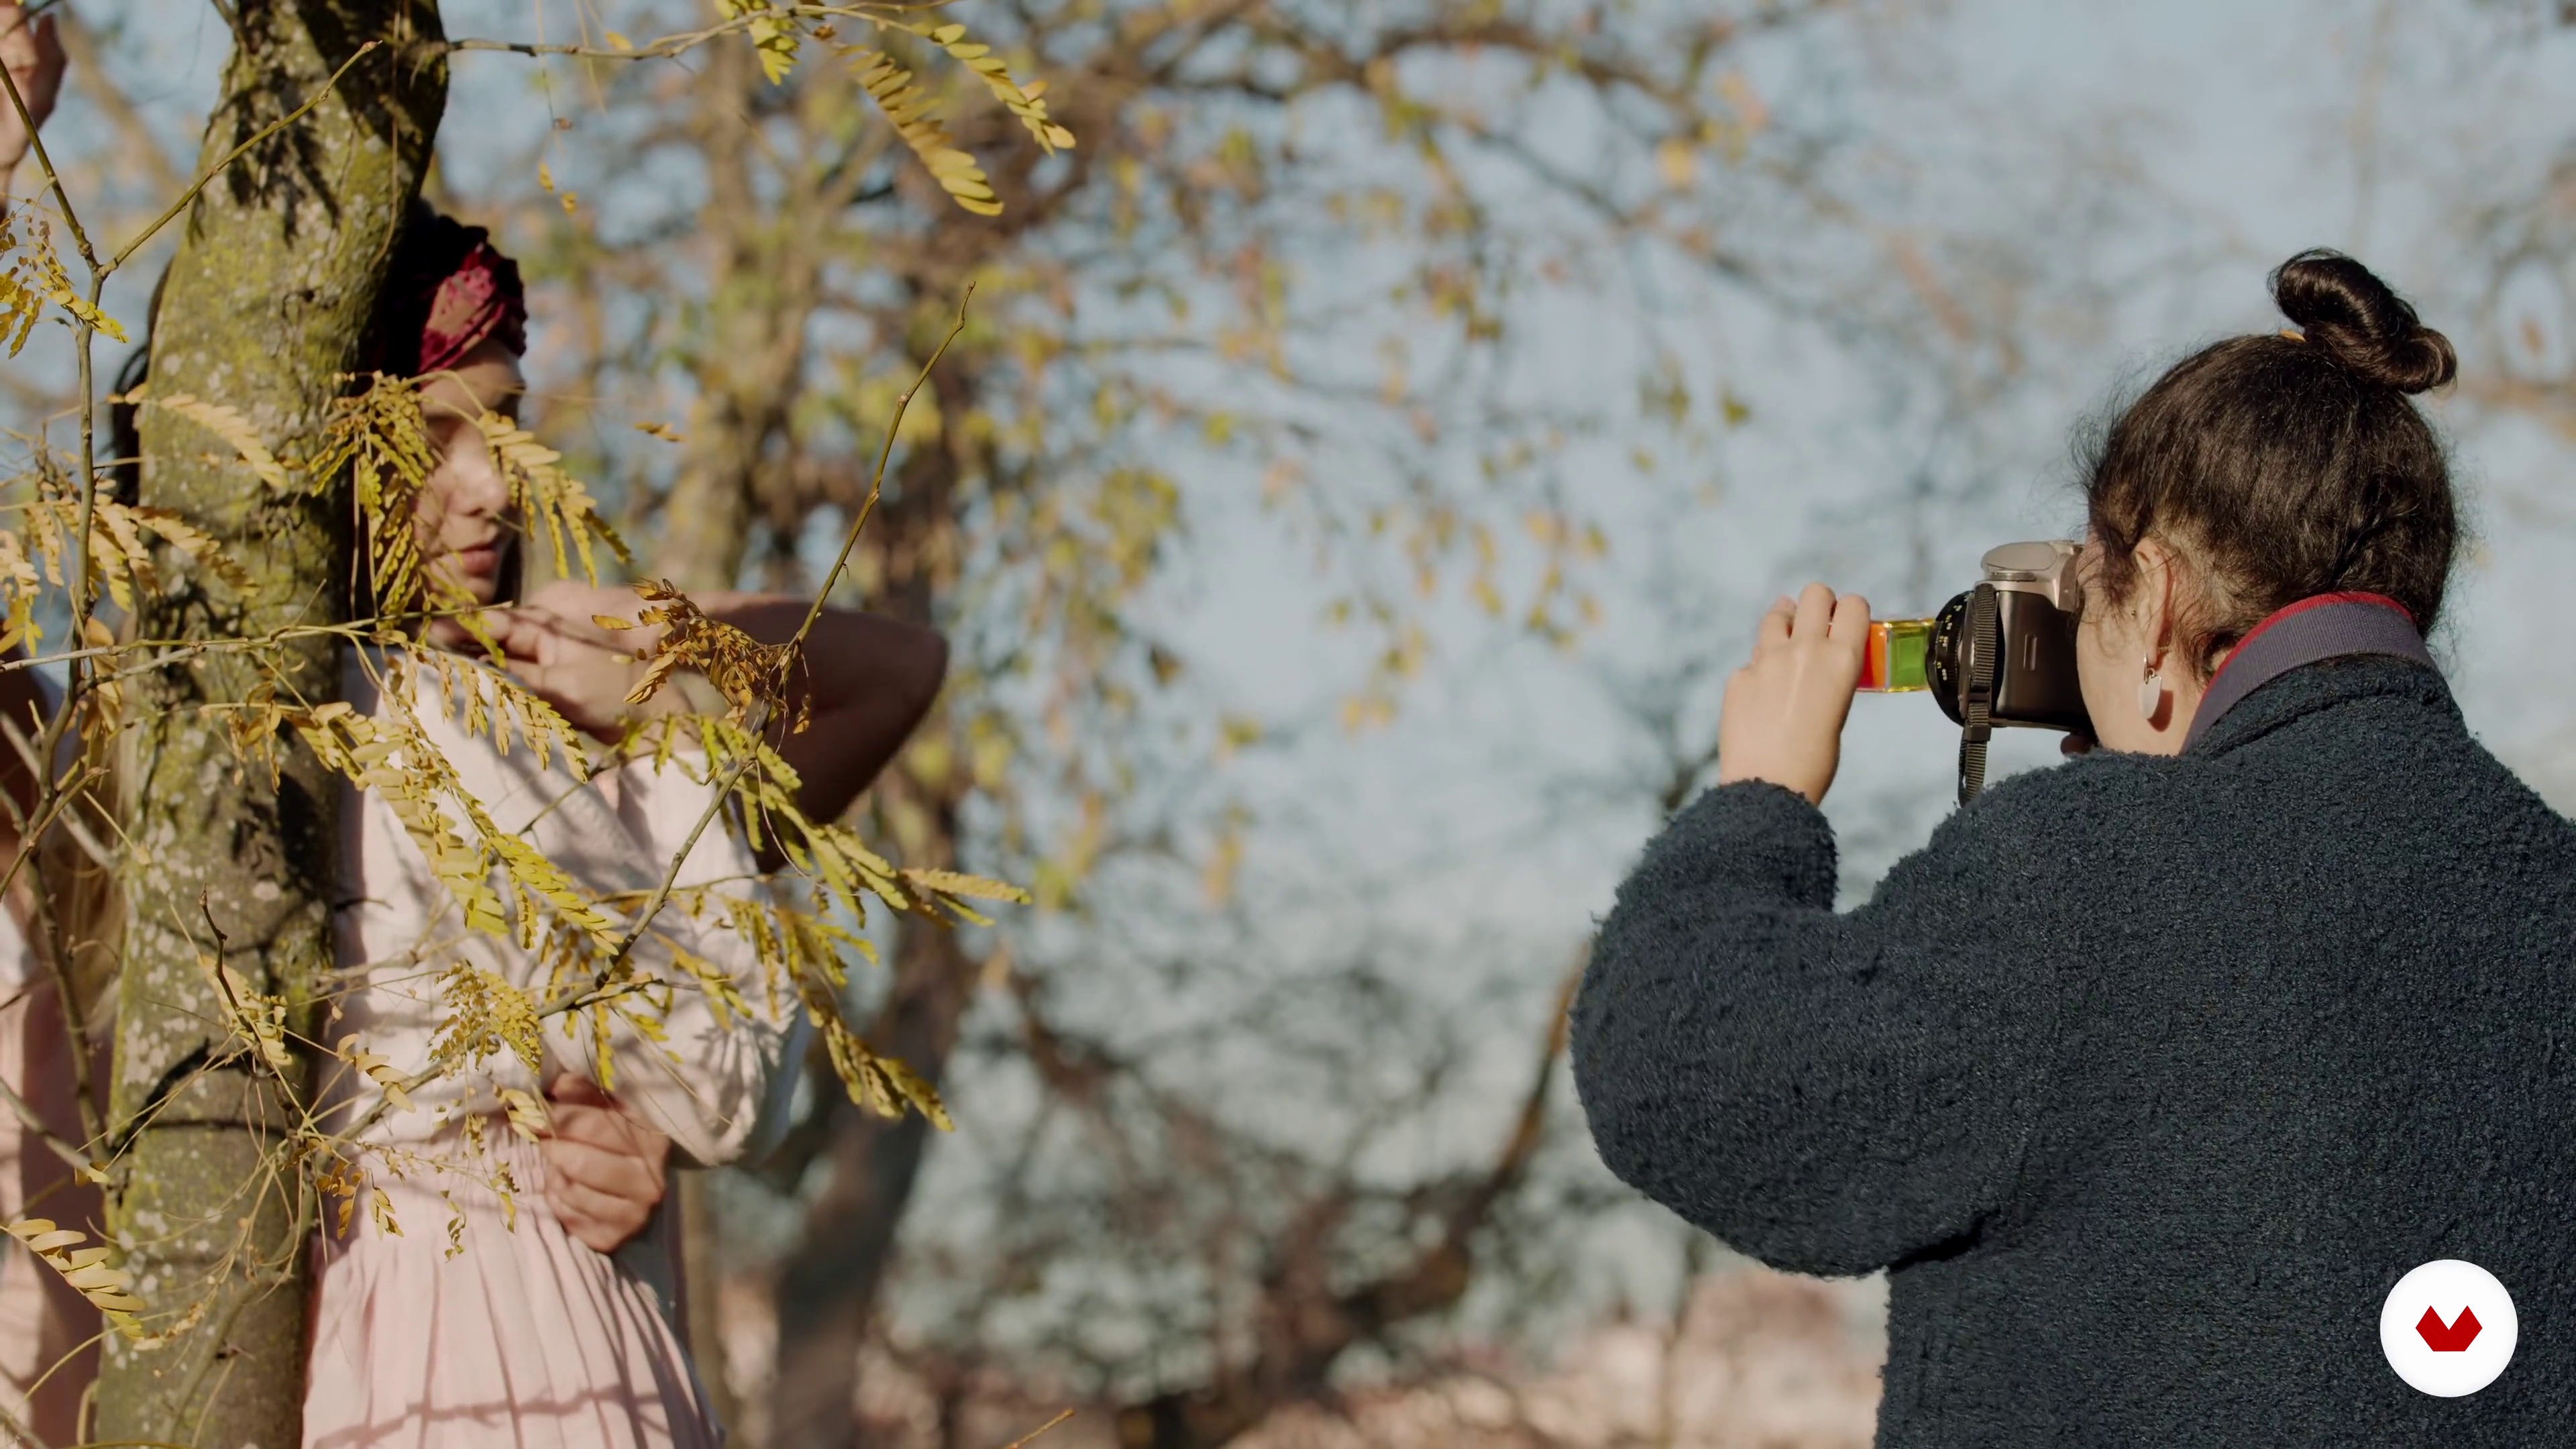
5Selecting the Equipment: Analog Cameras and Filters
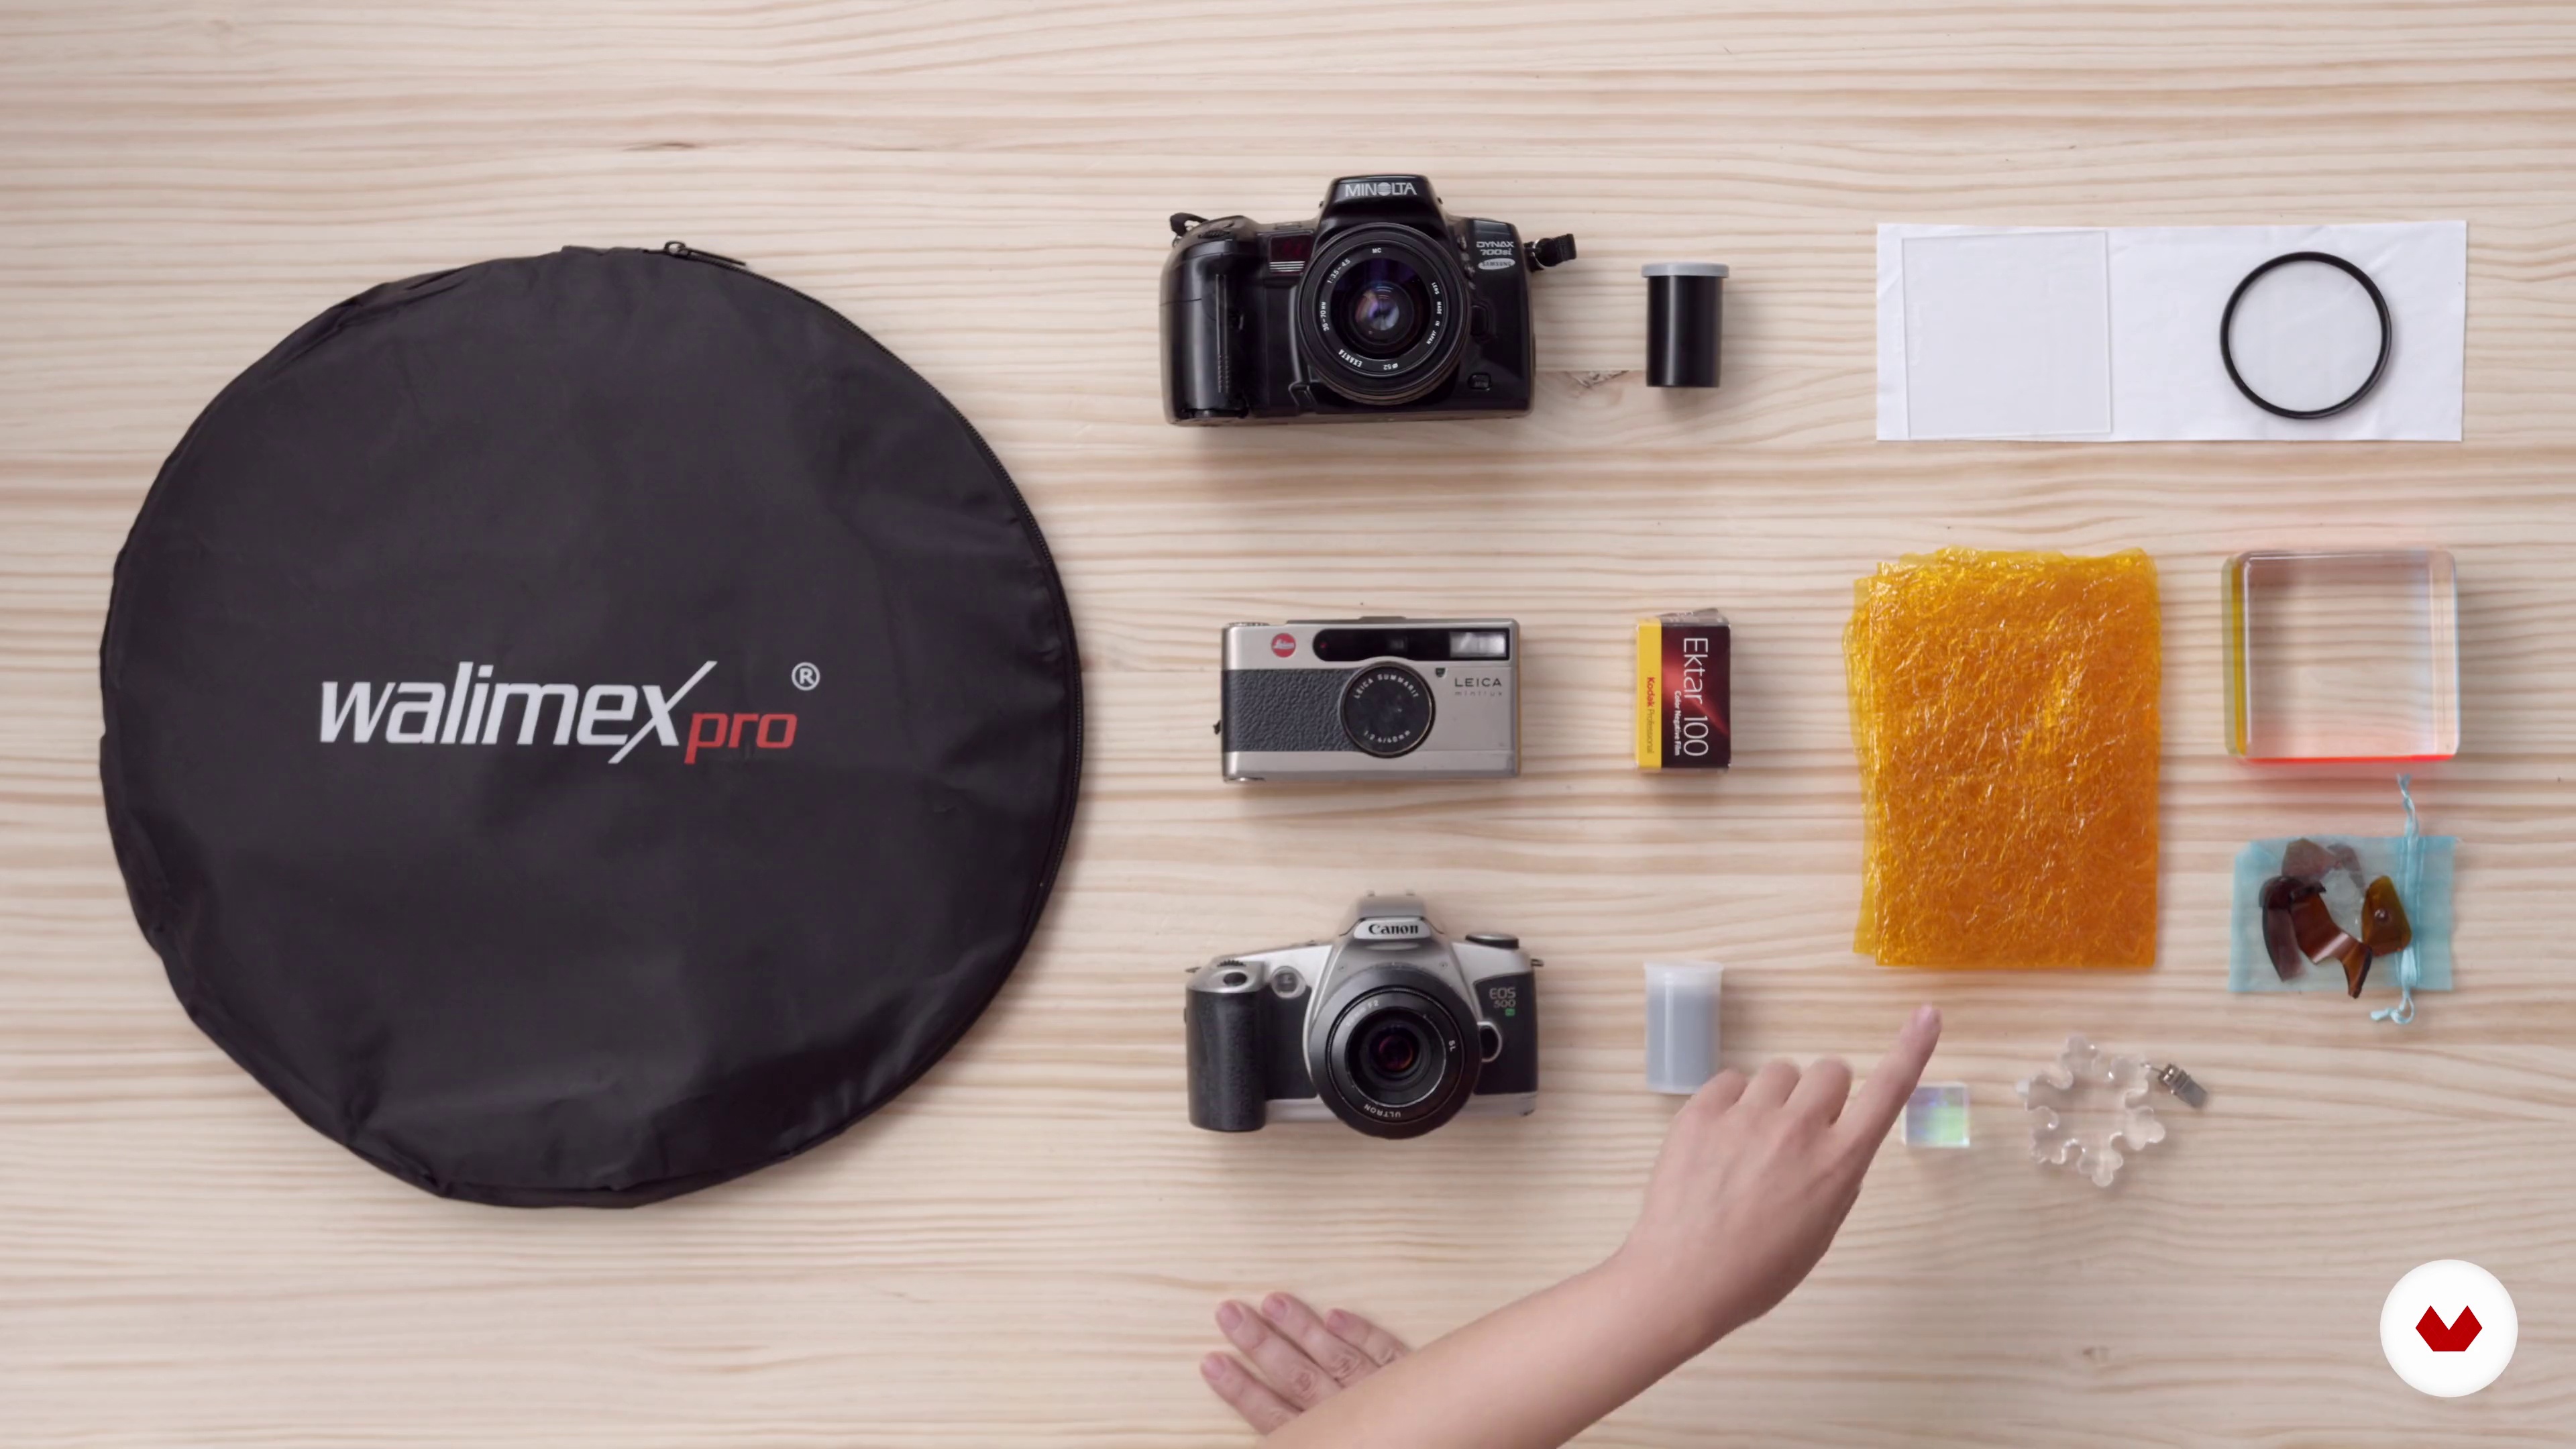
In this lesson, I am going to present to you the equipment that I will use during the photoshoot. I will also present to you my favorite filters, as they can be used as creative tools. They will bring personality and a particular mood to your portraits.
3m
6Research and Mood Board
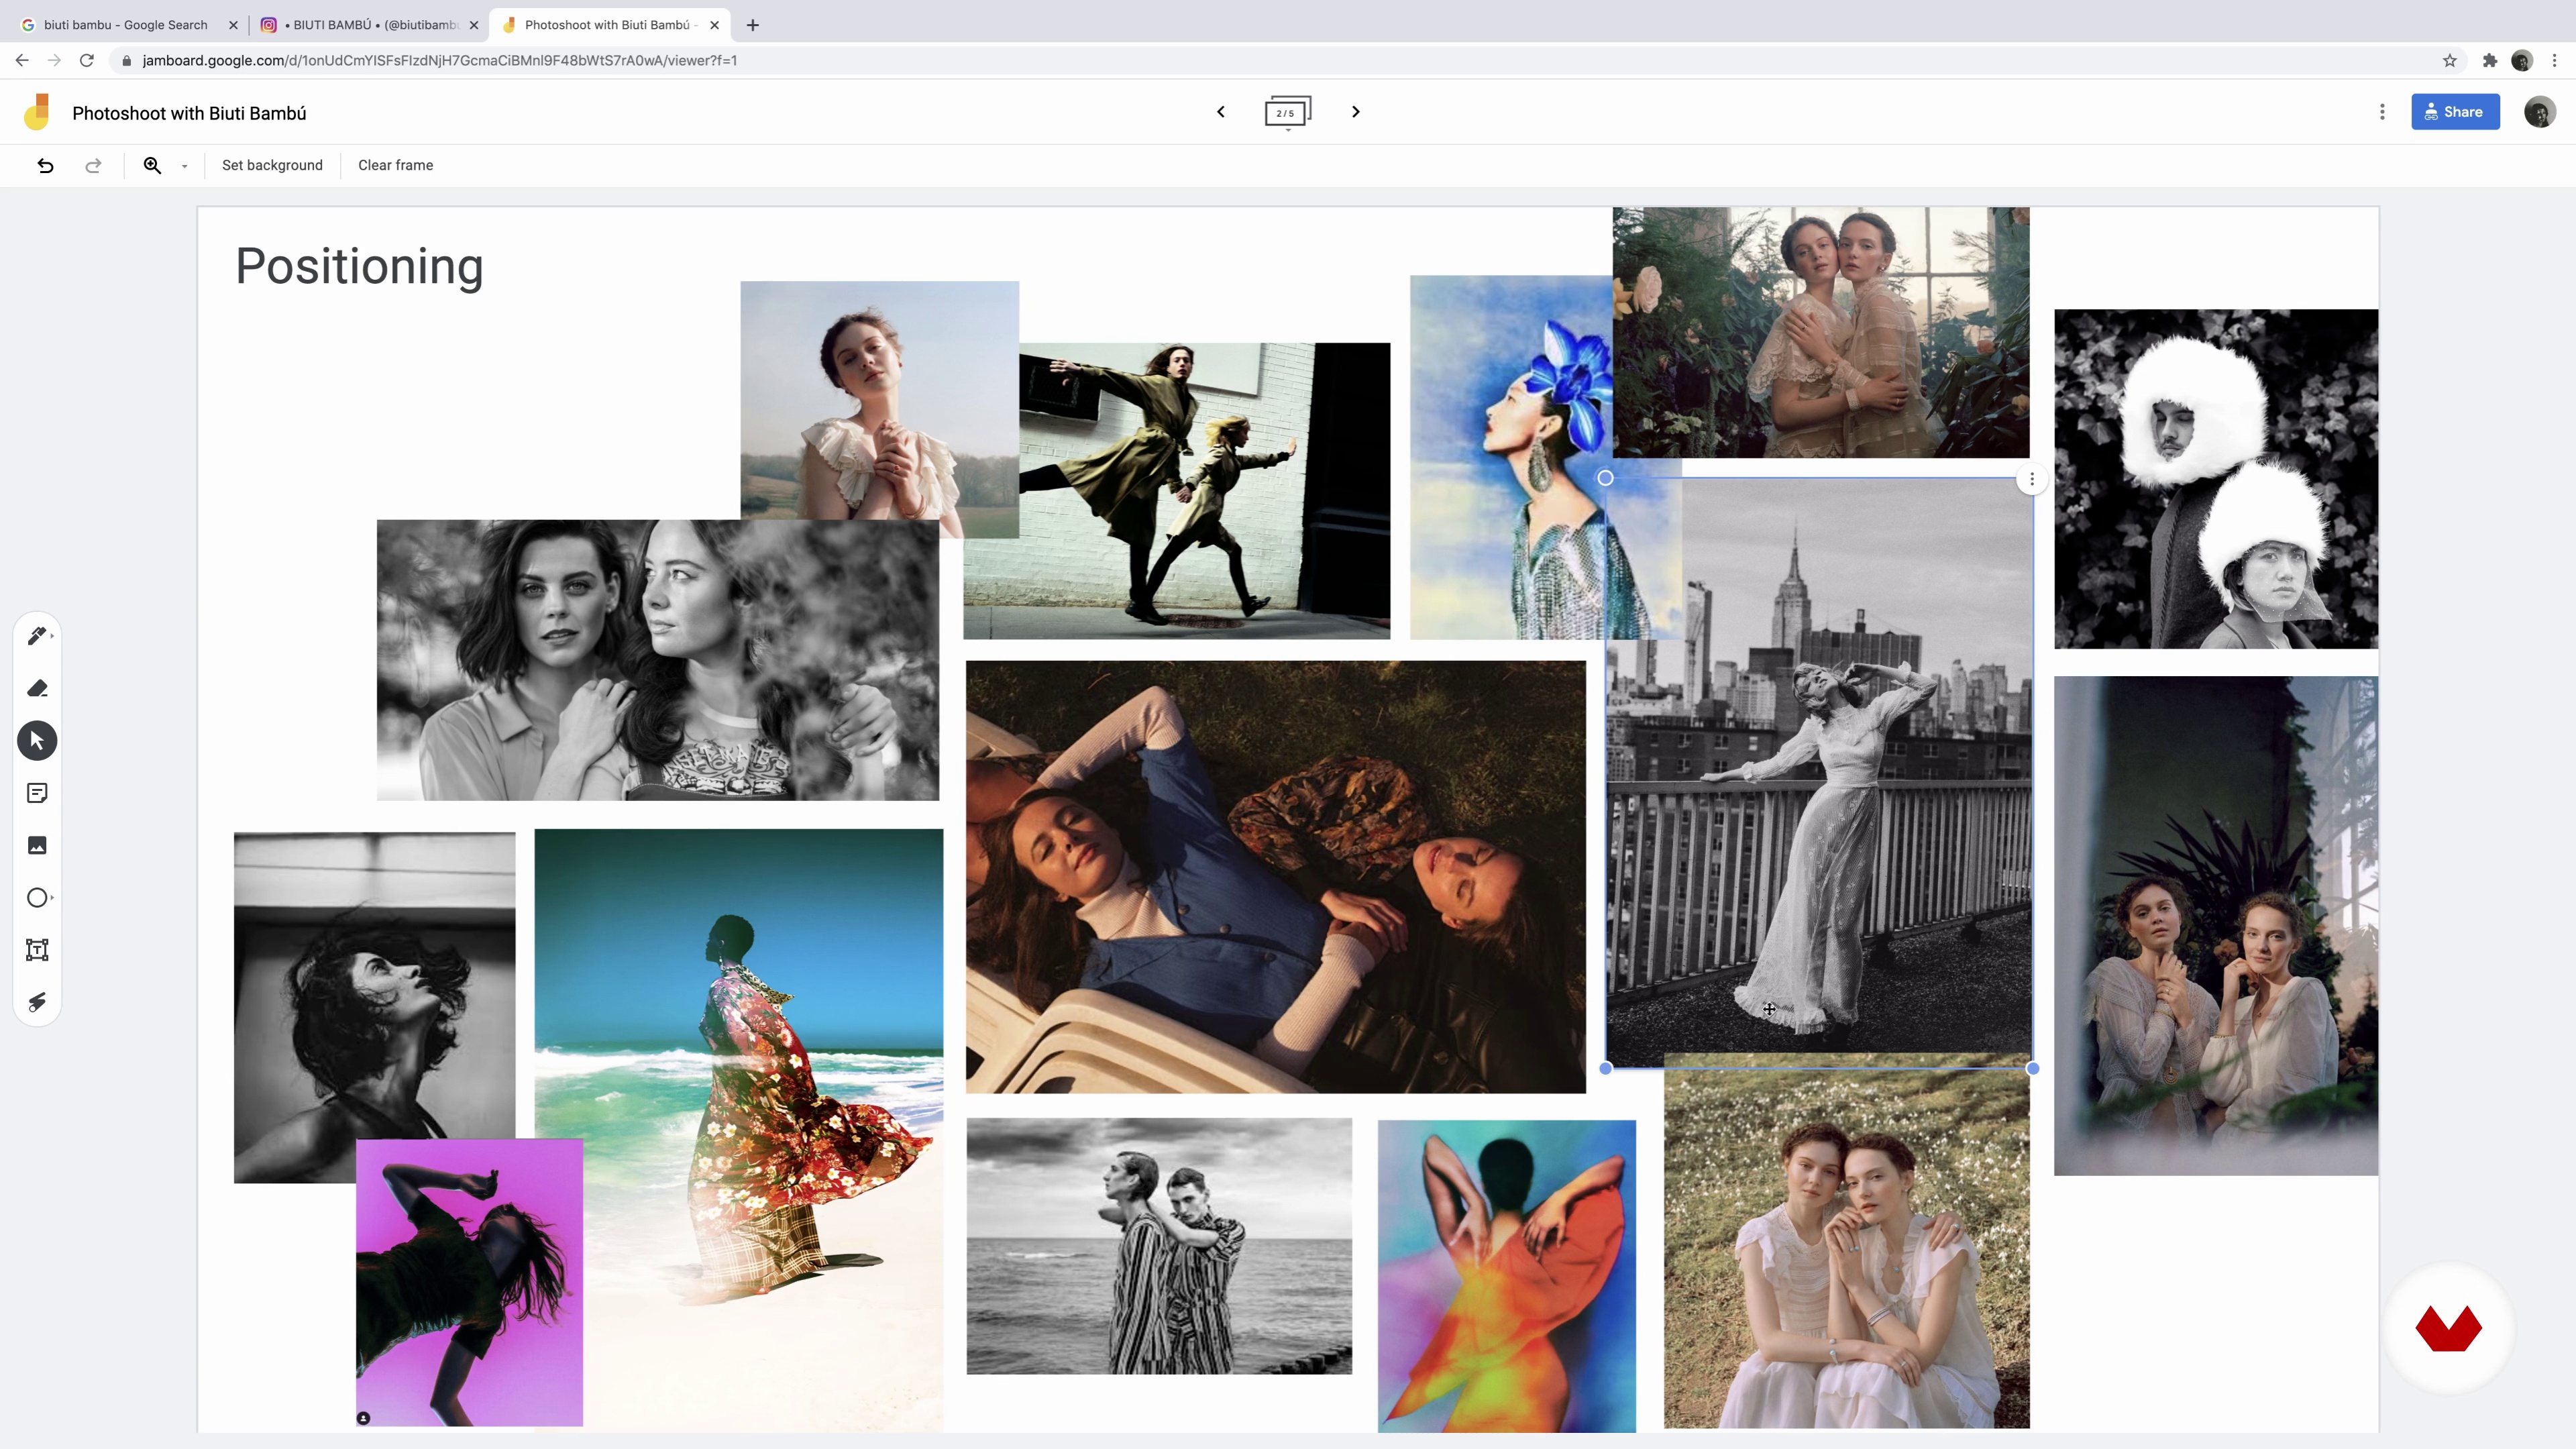
In this lesson, I am going to show you how I do my research and create my mood board. You will see how I understand the style of the music produced by my models, a Spanish folk duo named Biuti Bambu.
17m
7Location
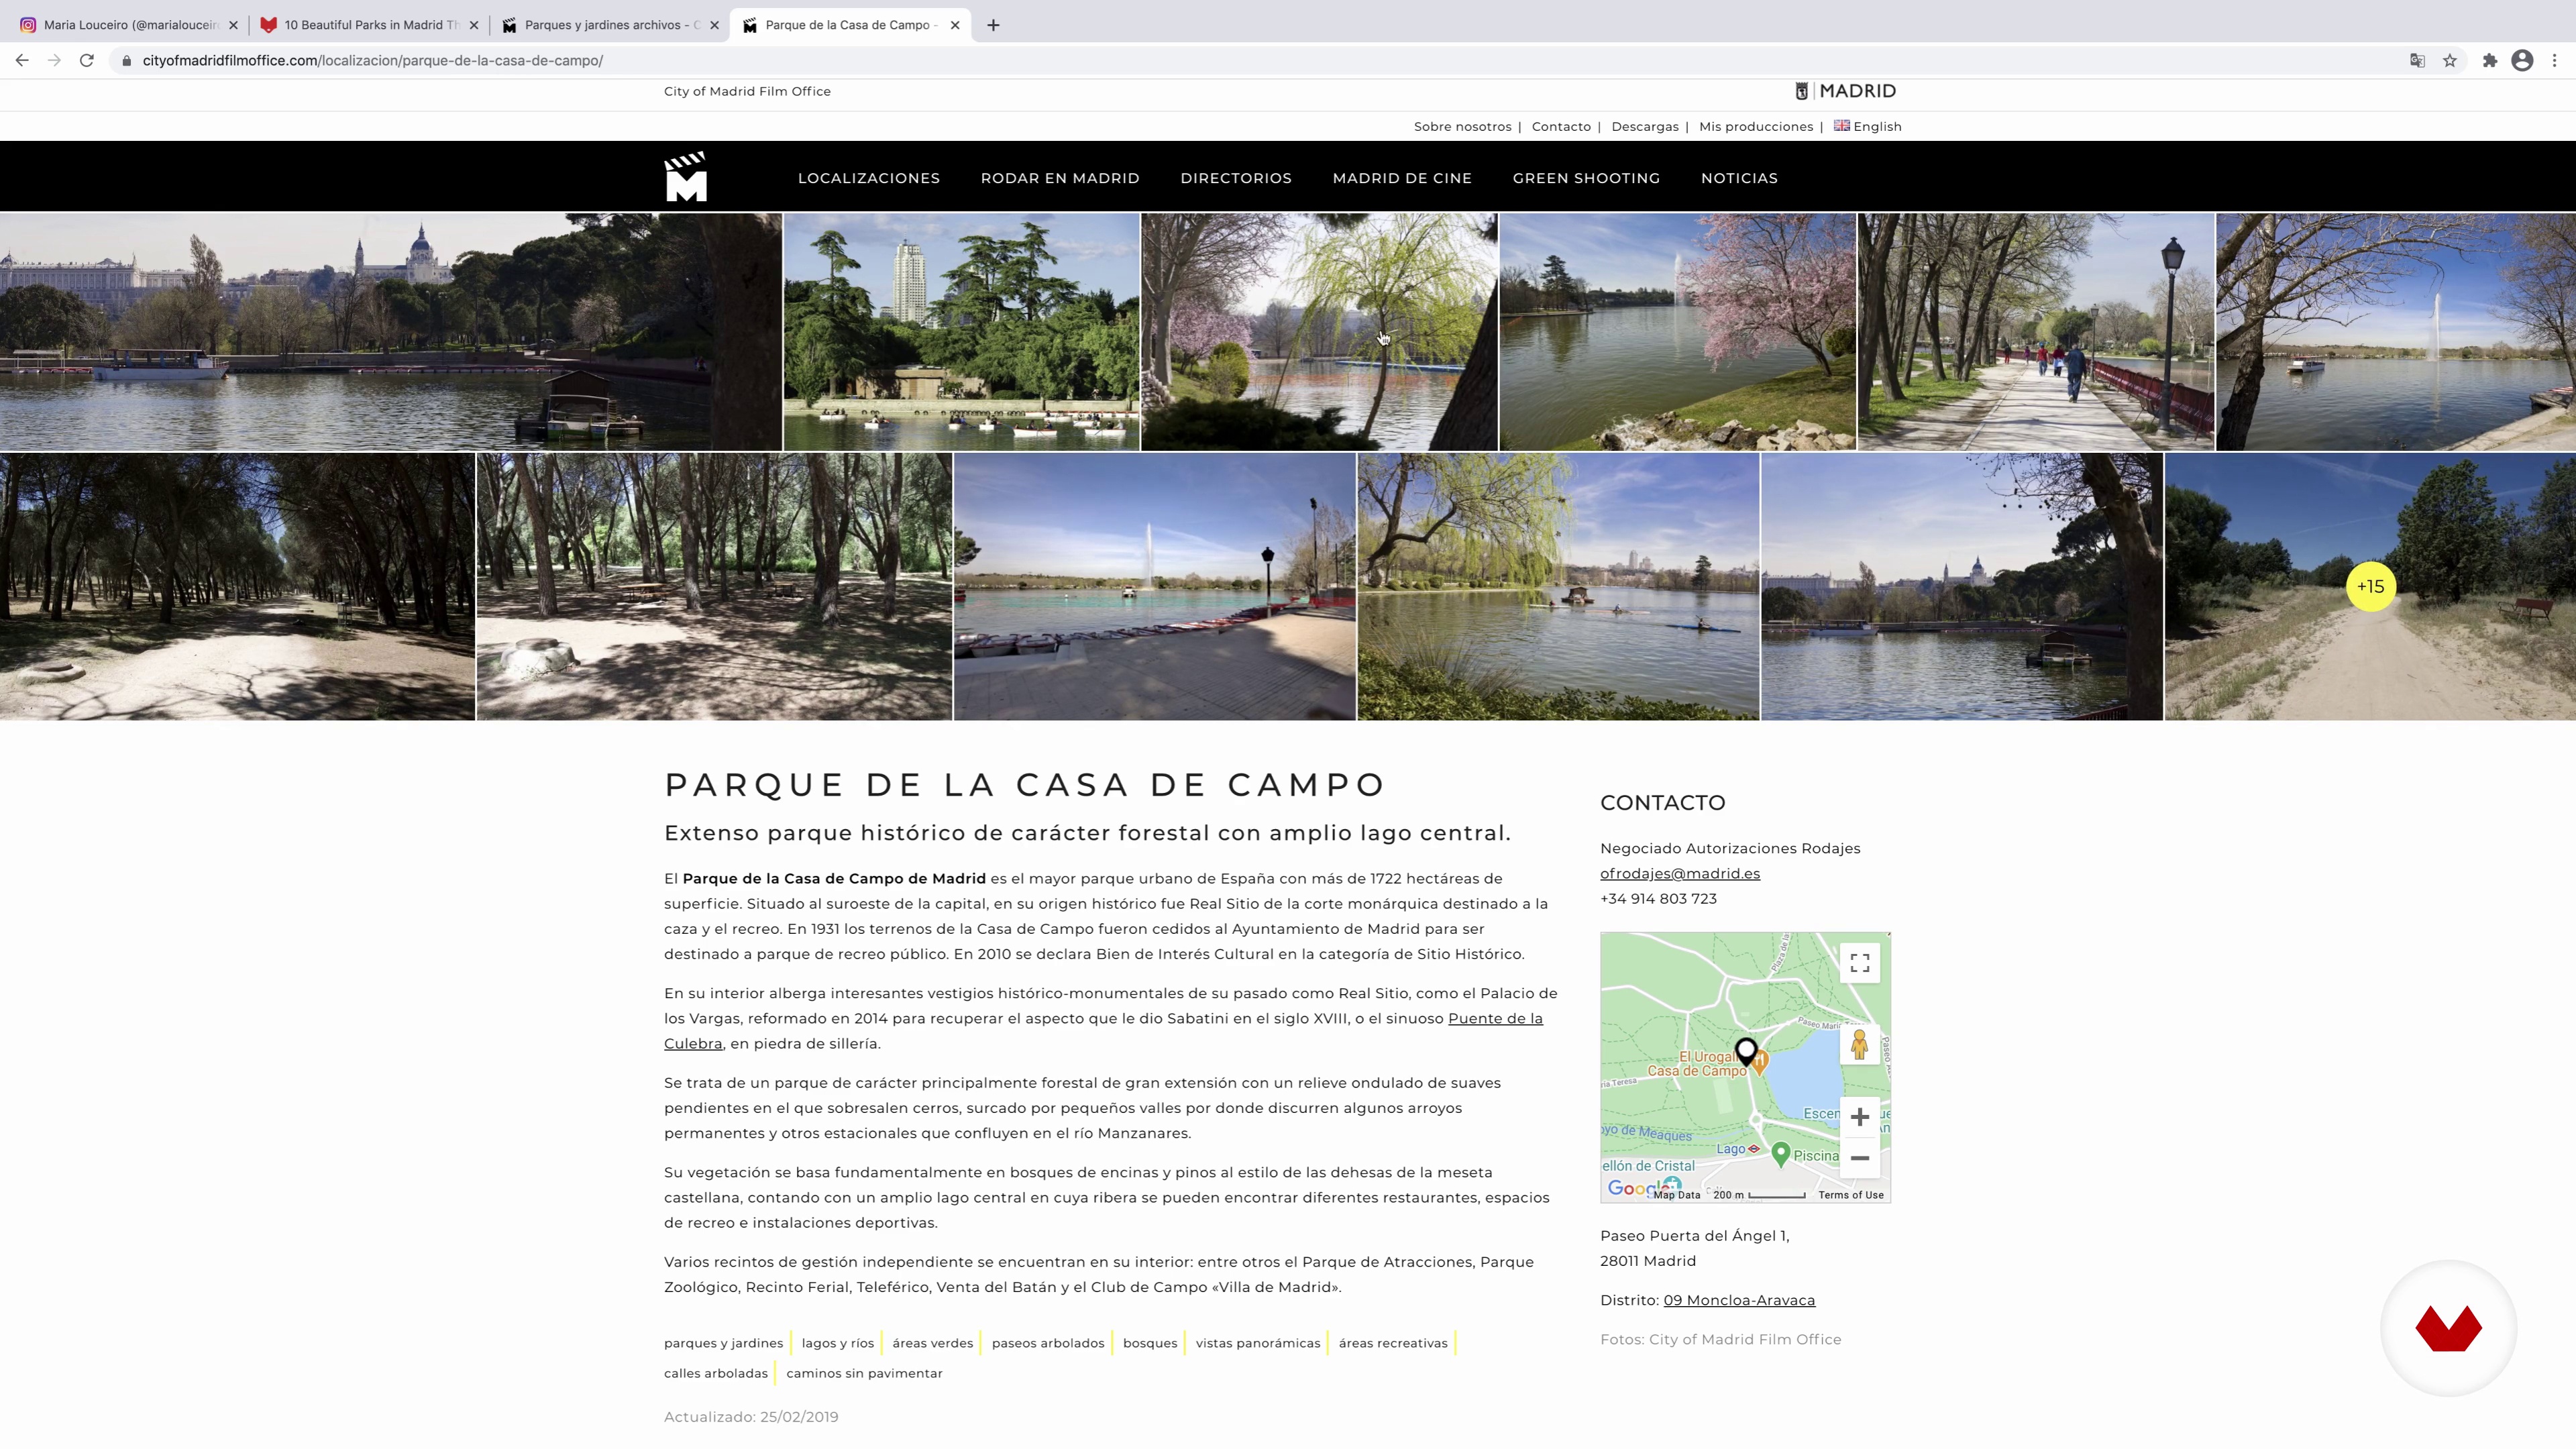
In this lesson, I will talk about choosing and setting up a place for a shoot. You will see how I start looking for a place using the internet and searching on the Film Commission website. I will also give you some examples of my previous work.
6m
8Choosing the Background
In this lesson, we are going to talk about backgrounds and how they can take your image to the next level. Thinking about the background is one of the many elements you can consider when improving your raw work. In addition, I will provide you with some relevant examples.
6m
9Preparing the Material
In this lesson, I will show you how I set up my camera and select the filters that I use during a photoshoot.
2m
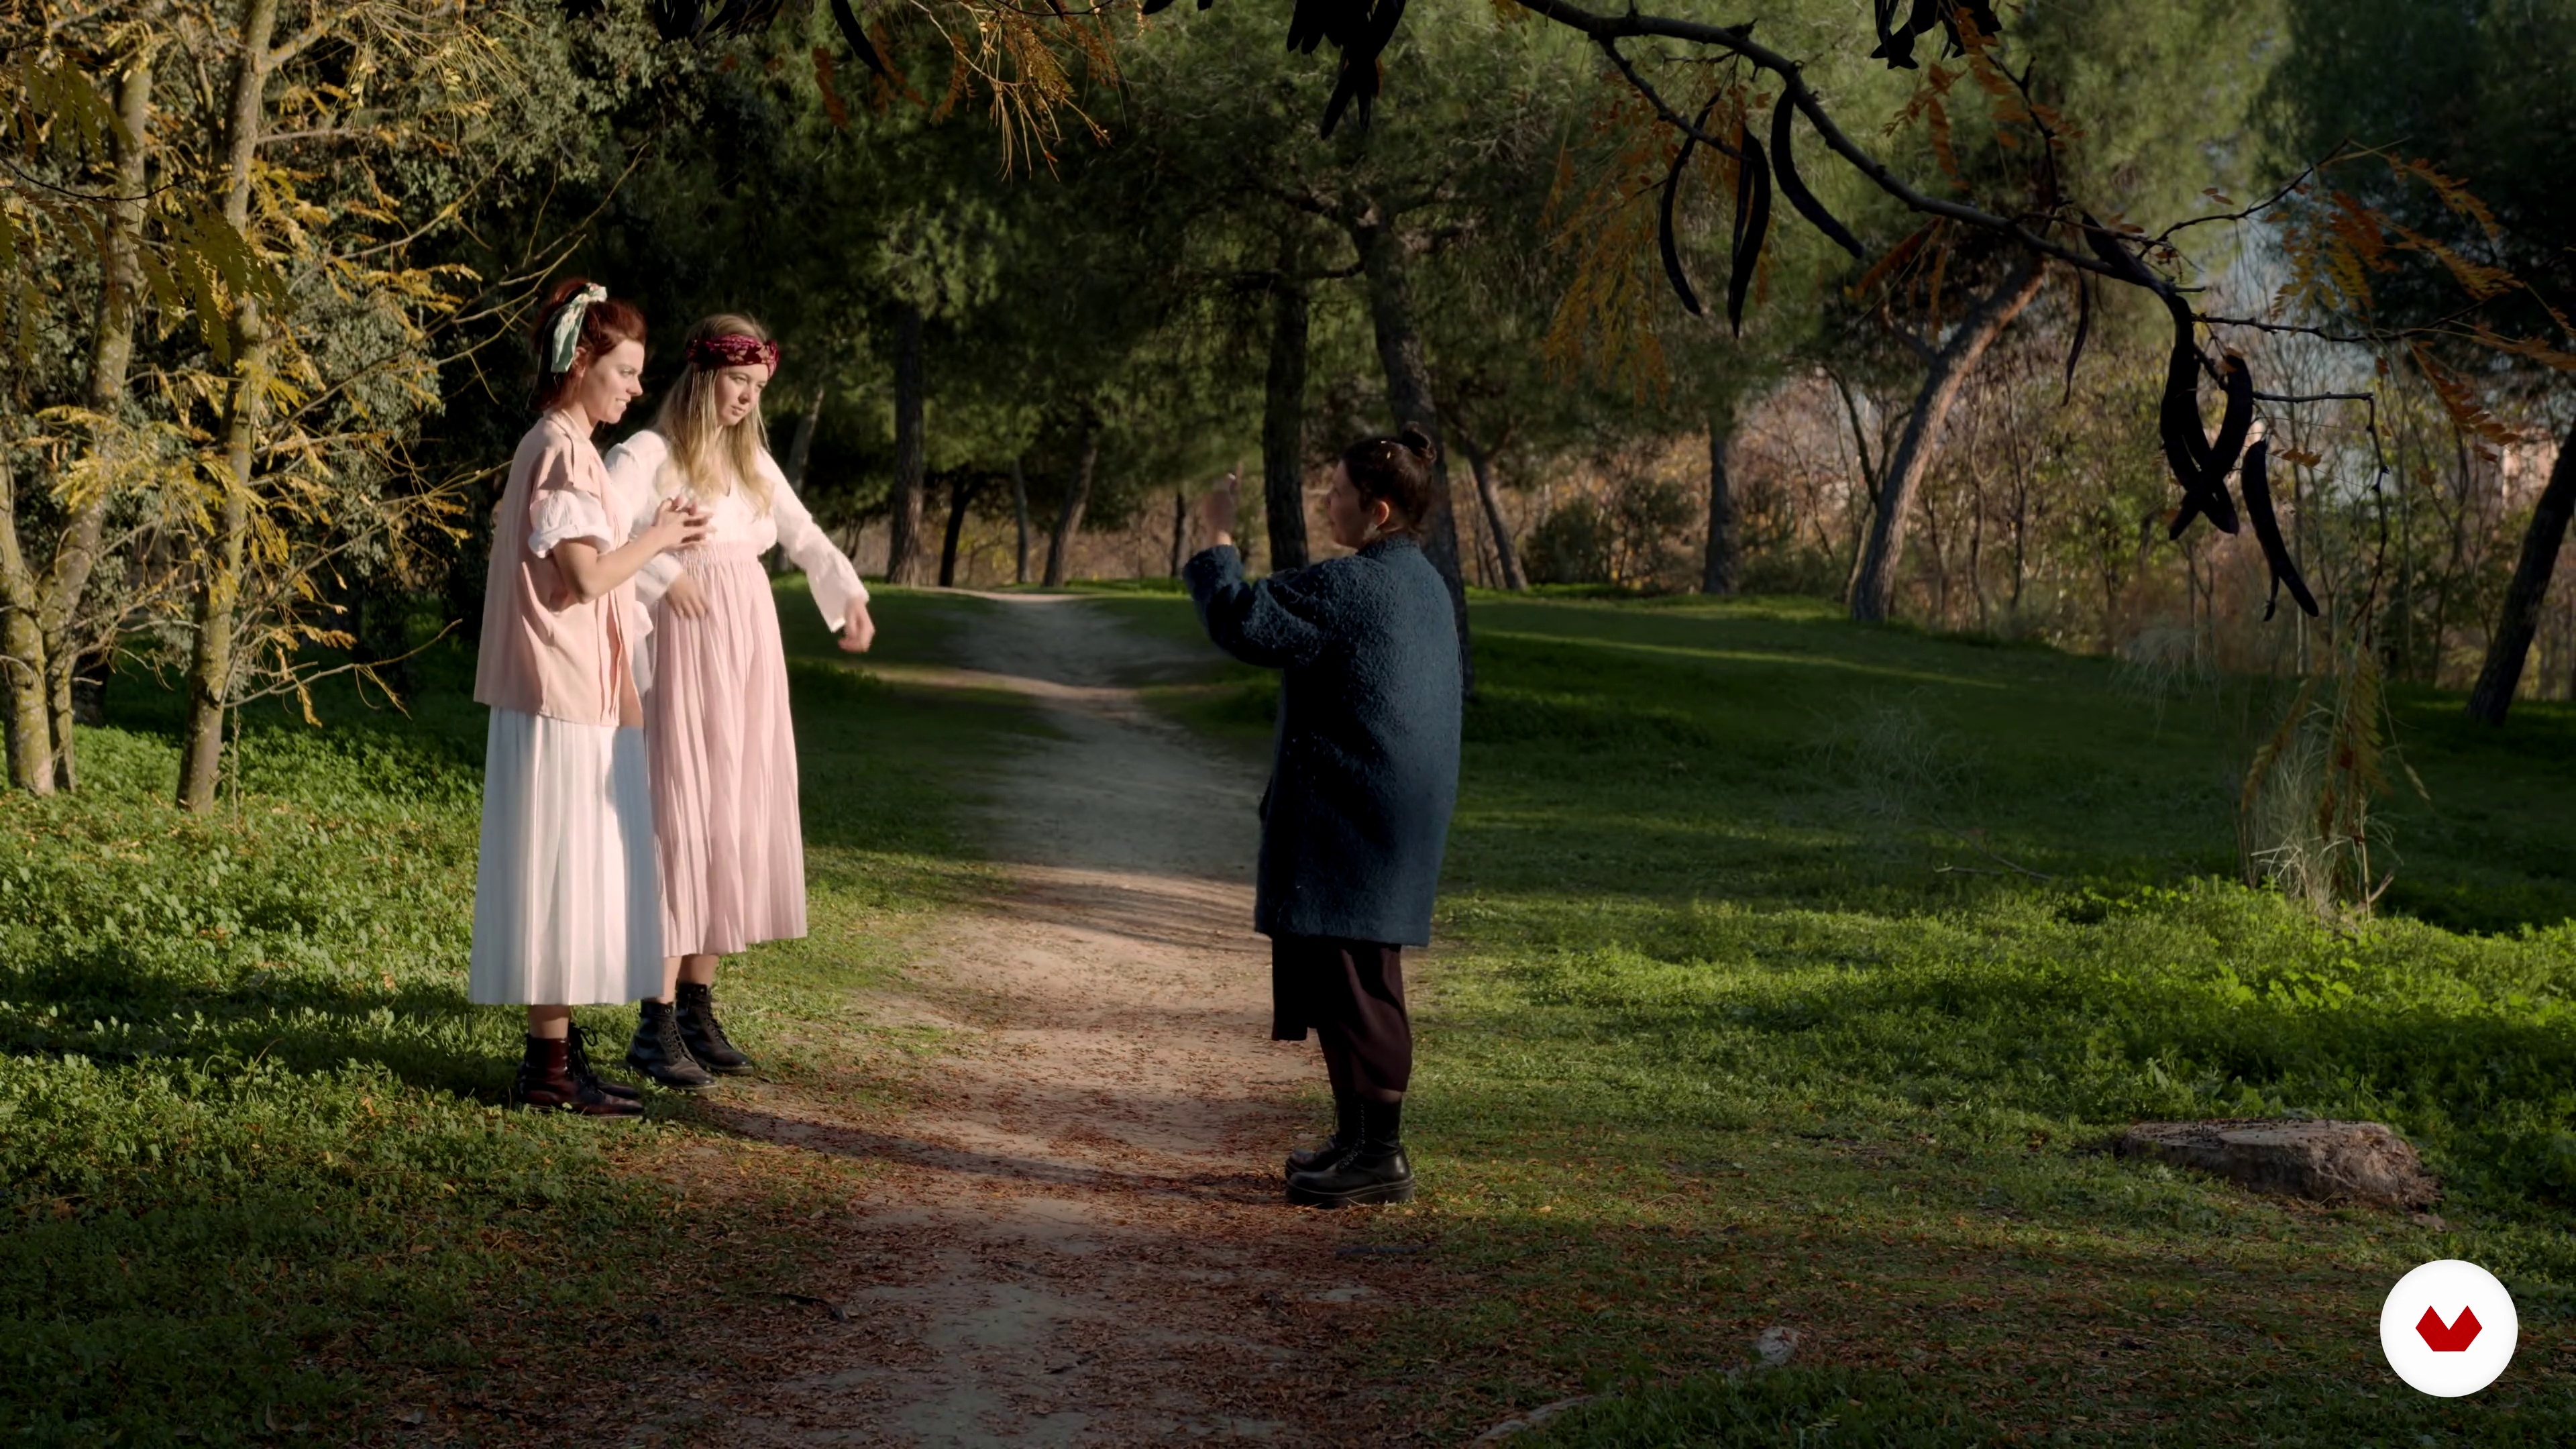
10Starting the Photoshoot
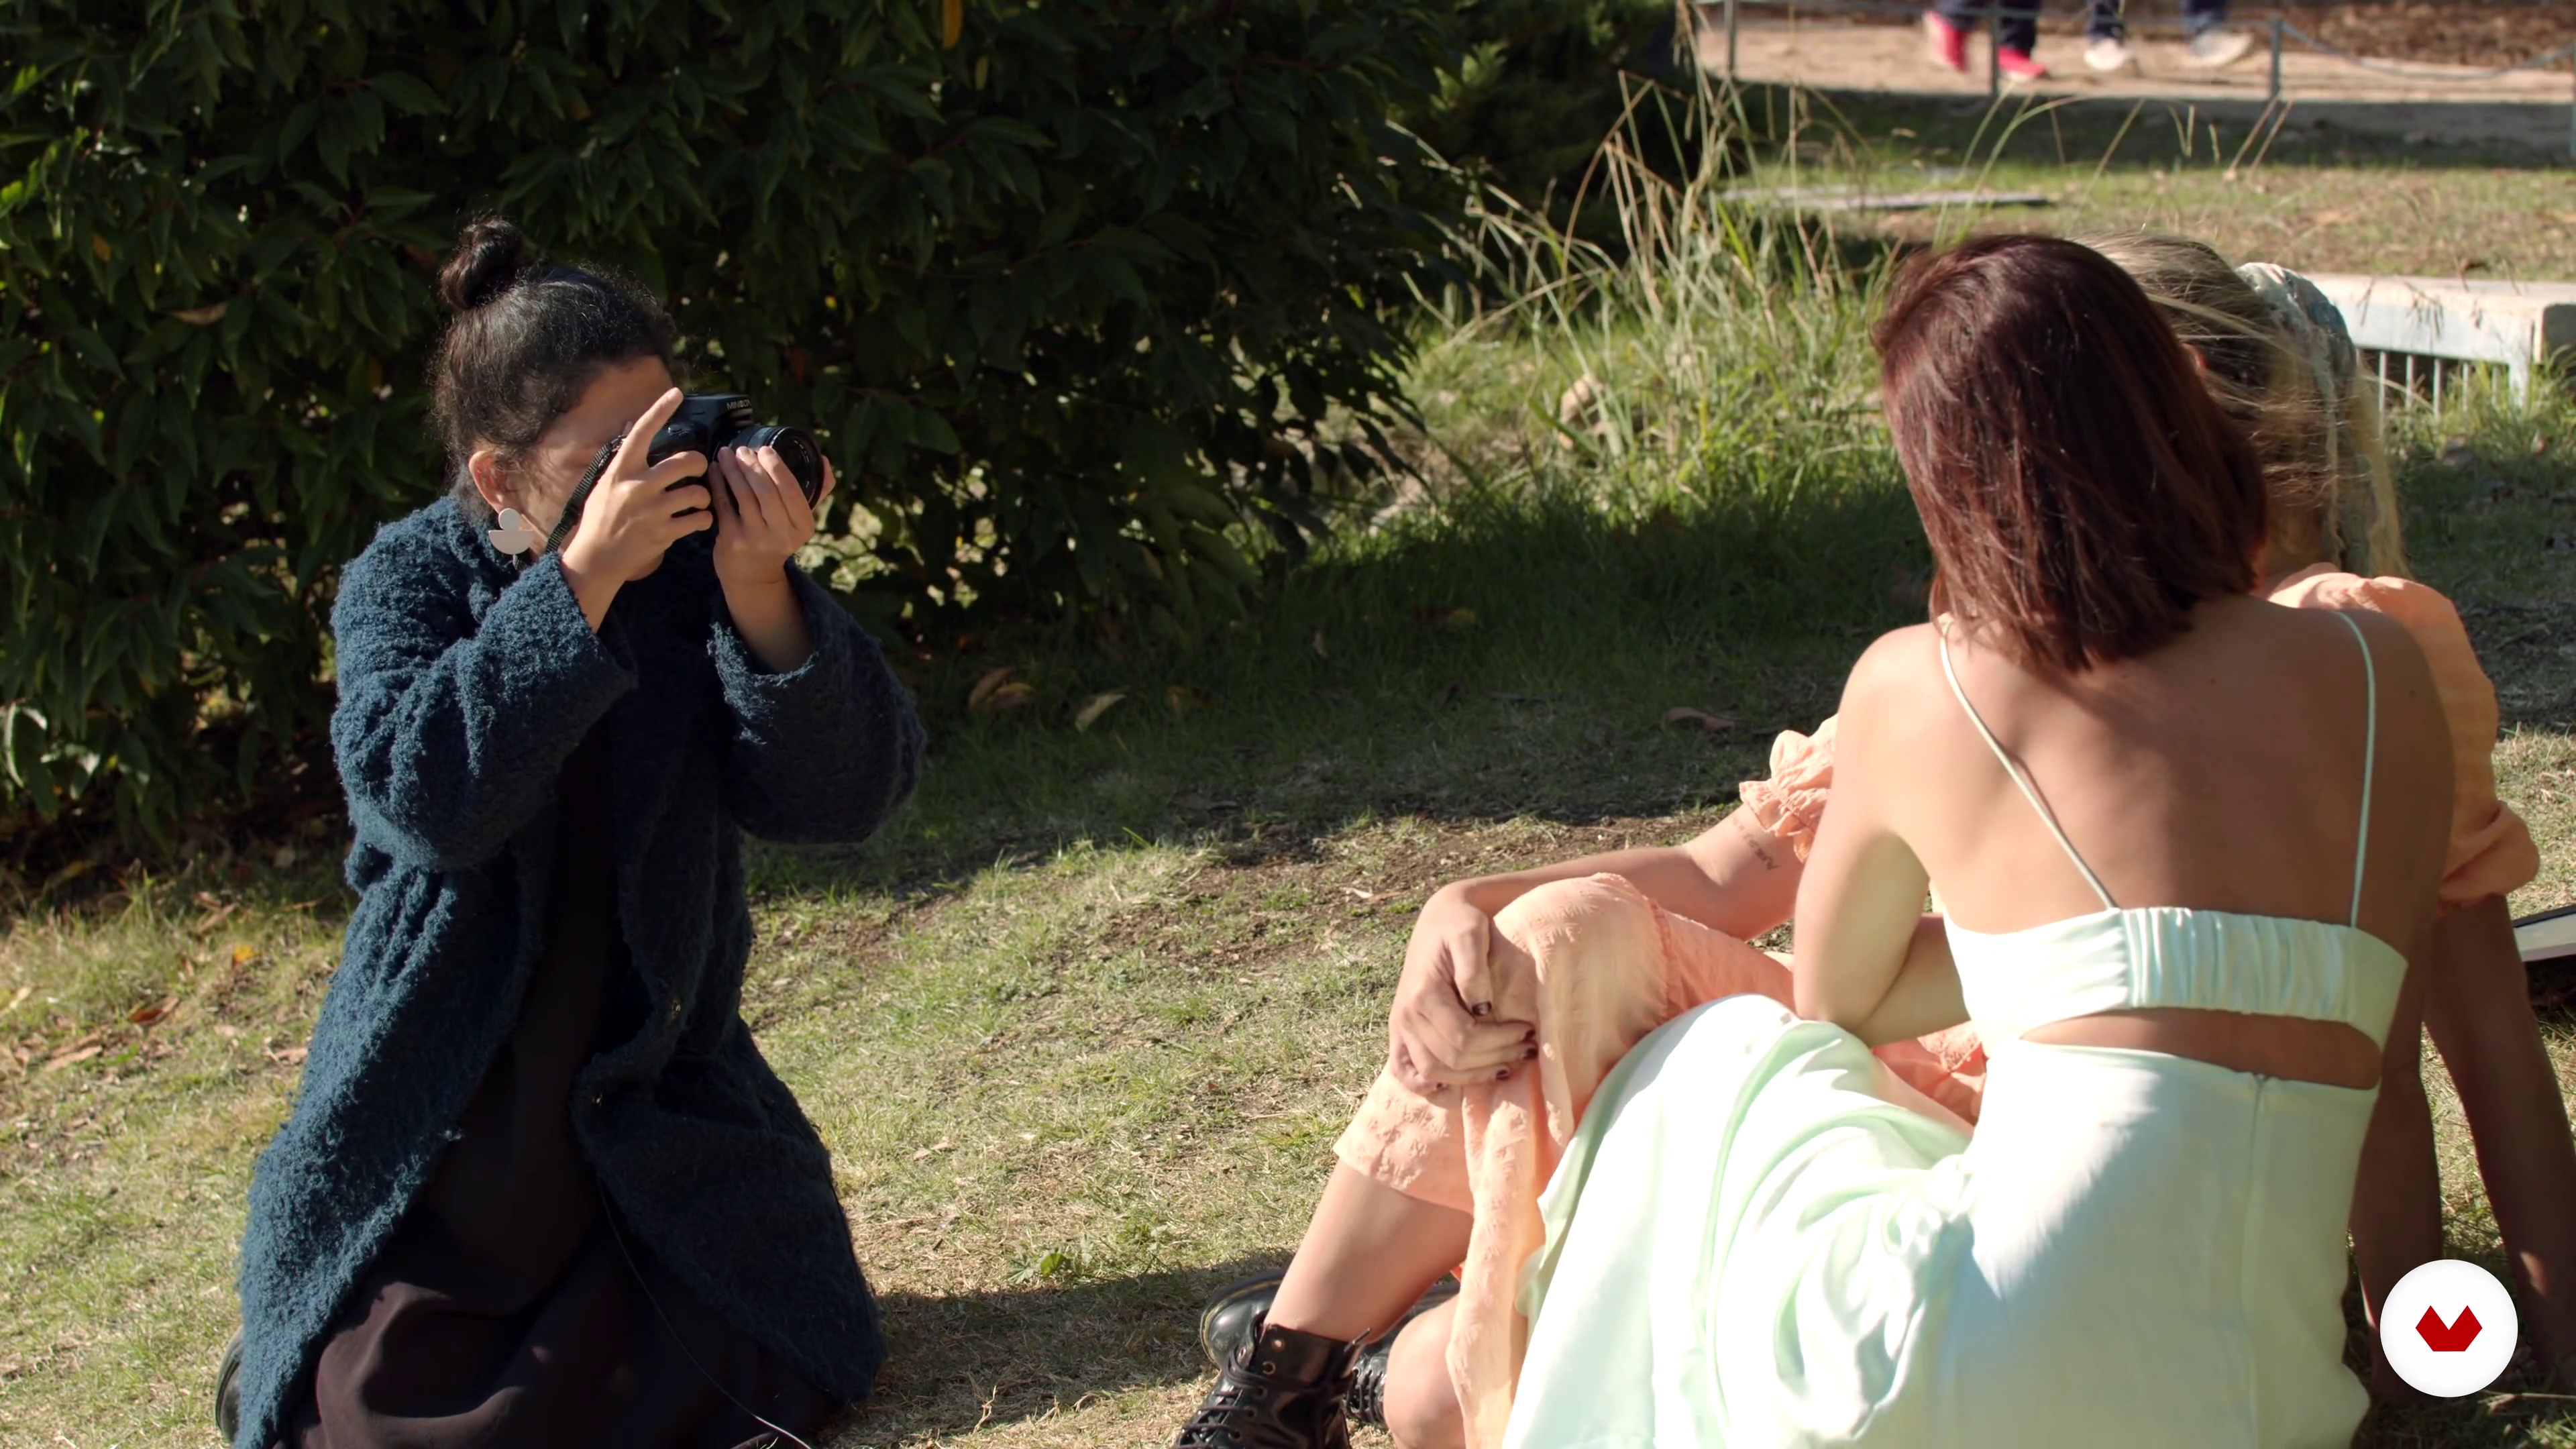
In this lesson, you will see how I start my photoshoot, approach, and direct the models in order to create interesting and dynamic compositions. Now that we have the place setting and the model and/or the subject ready, we need to learn how to connect and direct them in order to draw natural positions that create interesting framing. Also, the right approach here is that all the elements that take part in the process, that is, you, the model, the scenery, the materials have to work together in unison.
6m
11Frames and Composition
In this lesson, I will talk about how framing and composition work together to convey a certain mood and ambiance through the use of filters. I will show you how to use filters in different types of framing in order to create or accentuate other contexts and meanings within the image.
12m
12Developing and Scanning
In this lesson, you will see how I scan my films after I got my negatives from the lab. It is the first time that I am going to see my photos. Remember, it is important that after the photo shoot, you keep your films secure so that you can send them for development securely and safely. After receiving the negatives we can proceed to scan them at home.
9m
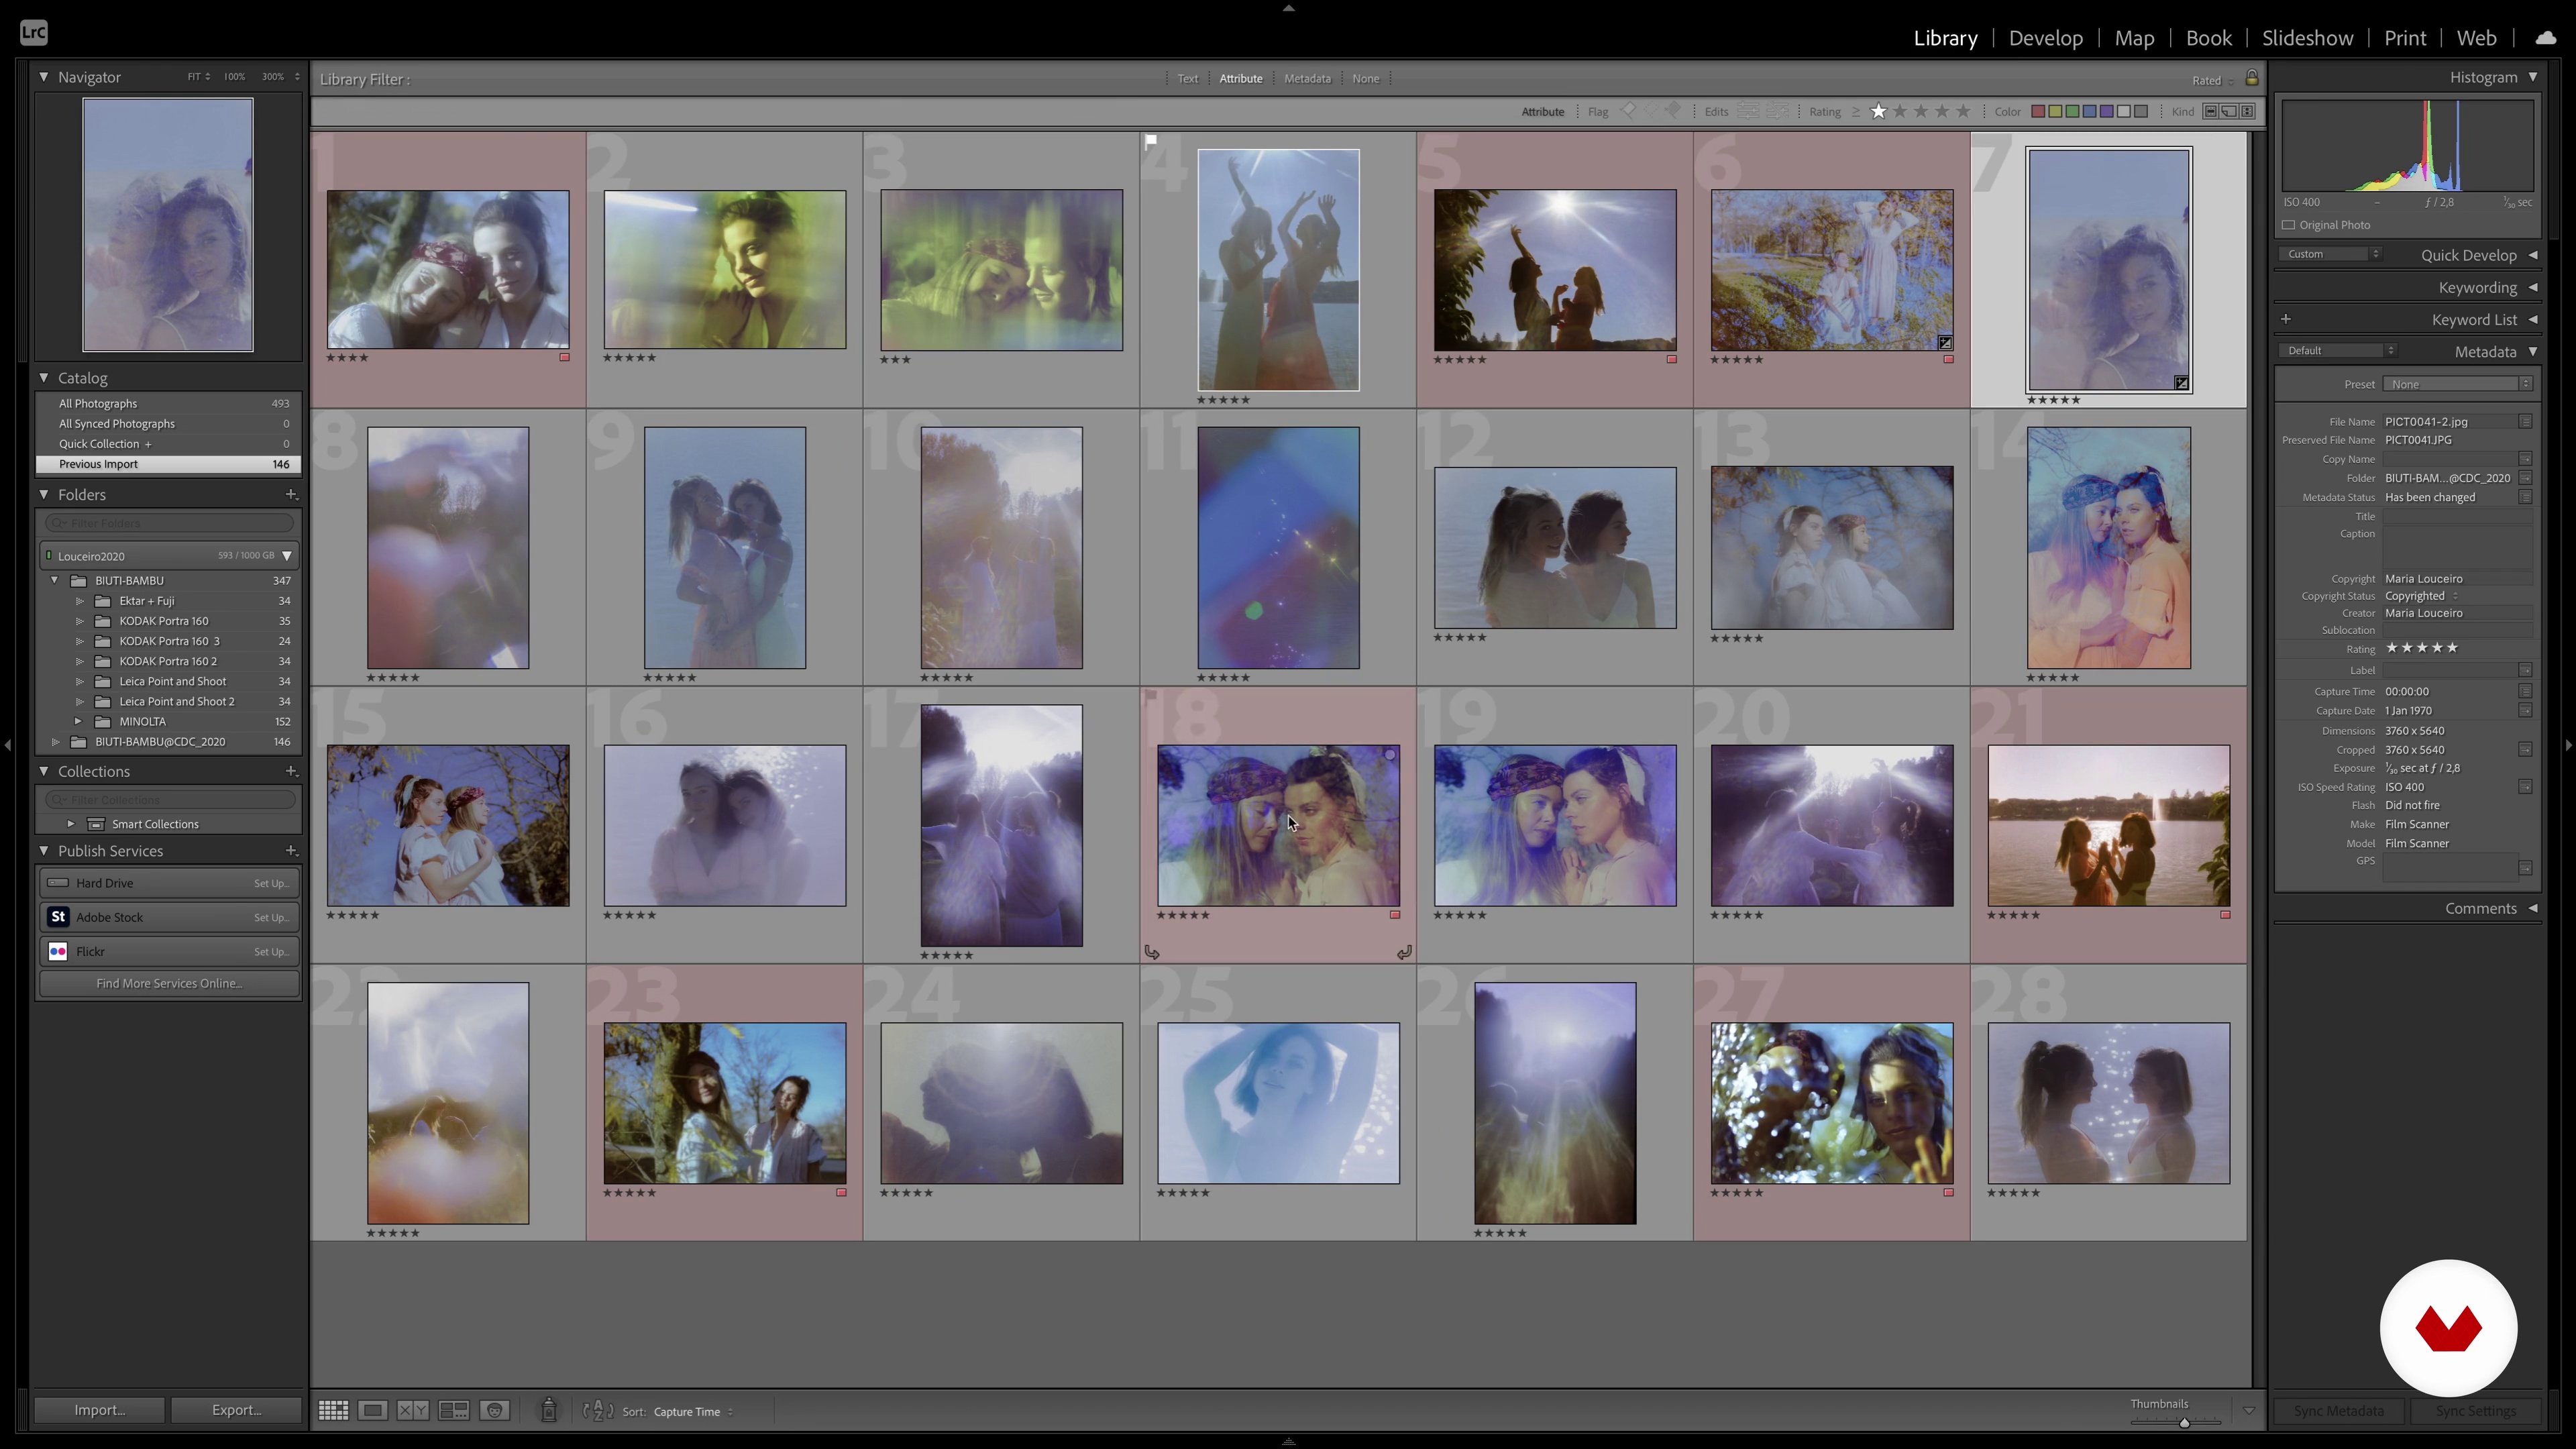
13Selection and Edition
In this lesson, we are going to talk about what images to choose for post-processing. Such editing will be made using Lightroom and Photoshop. I will show you how I edit my photos in both Lightroom and Photoshop.
14m
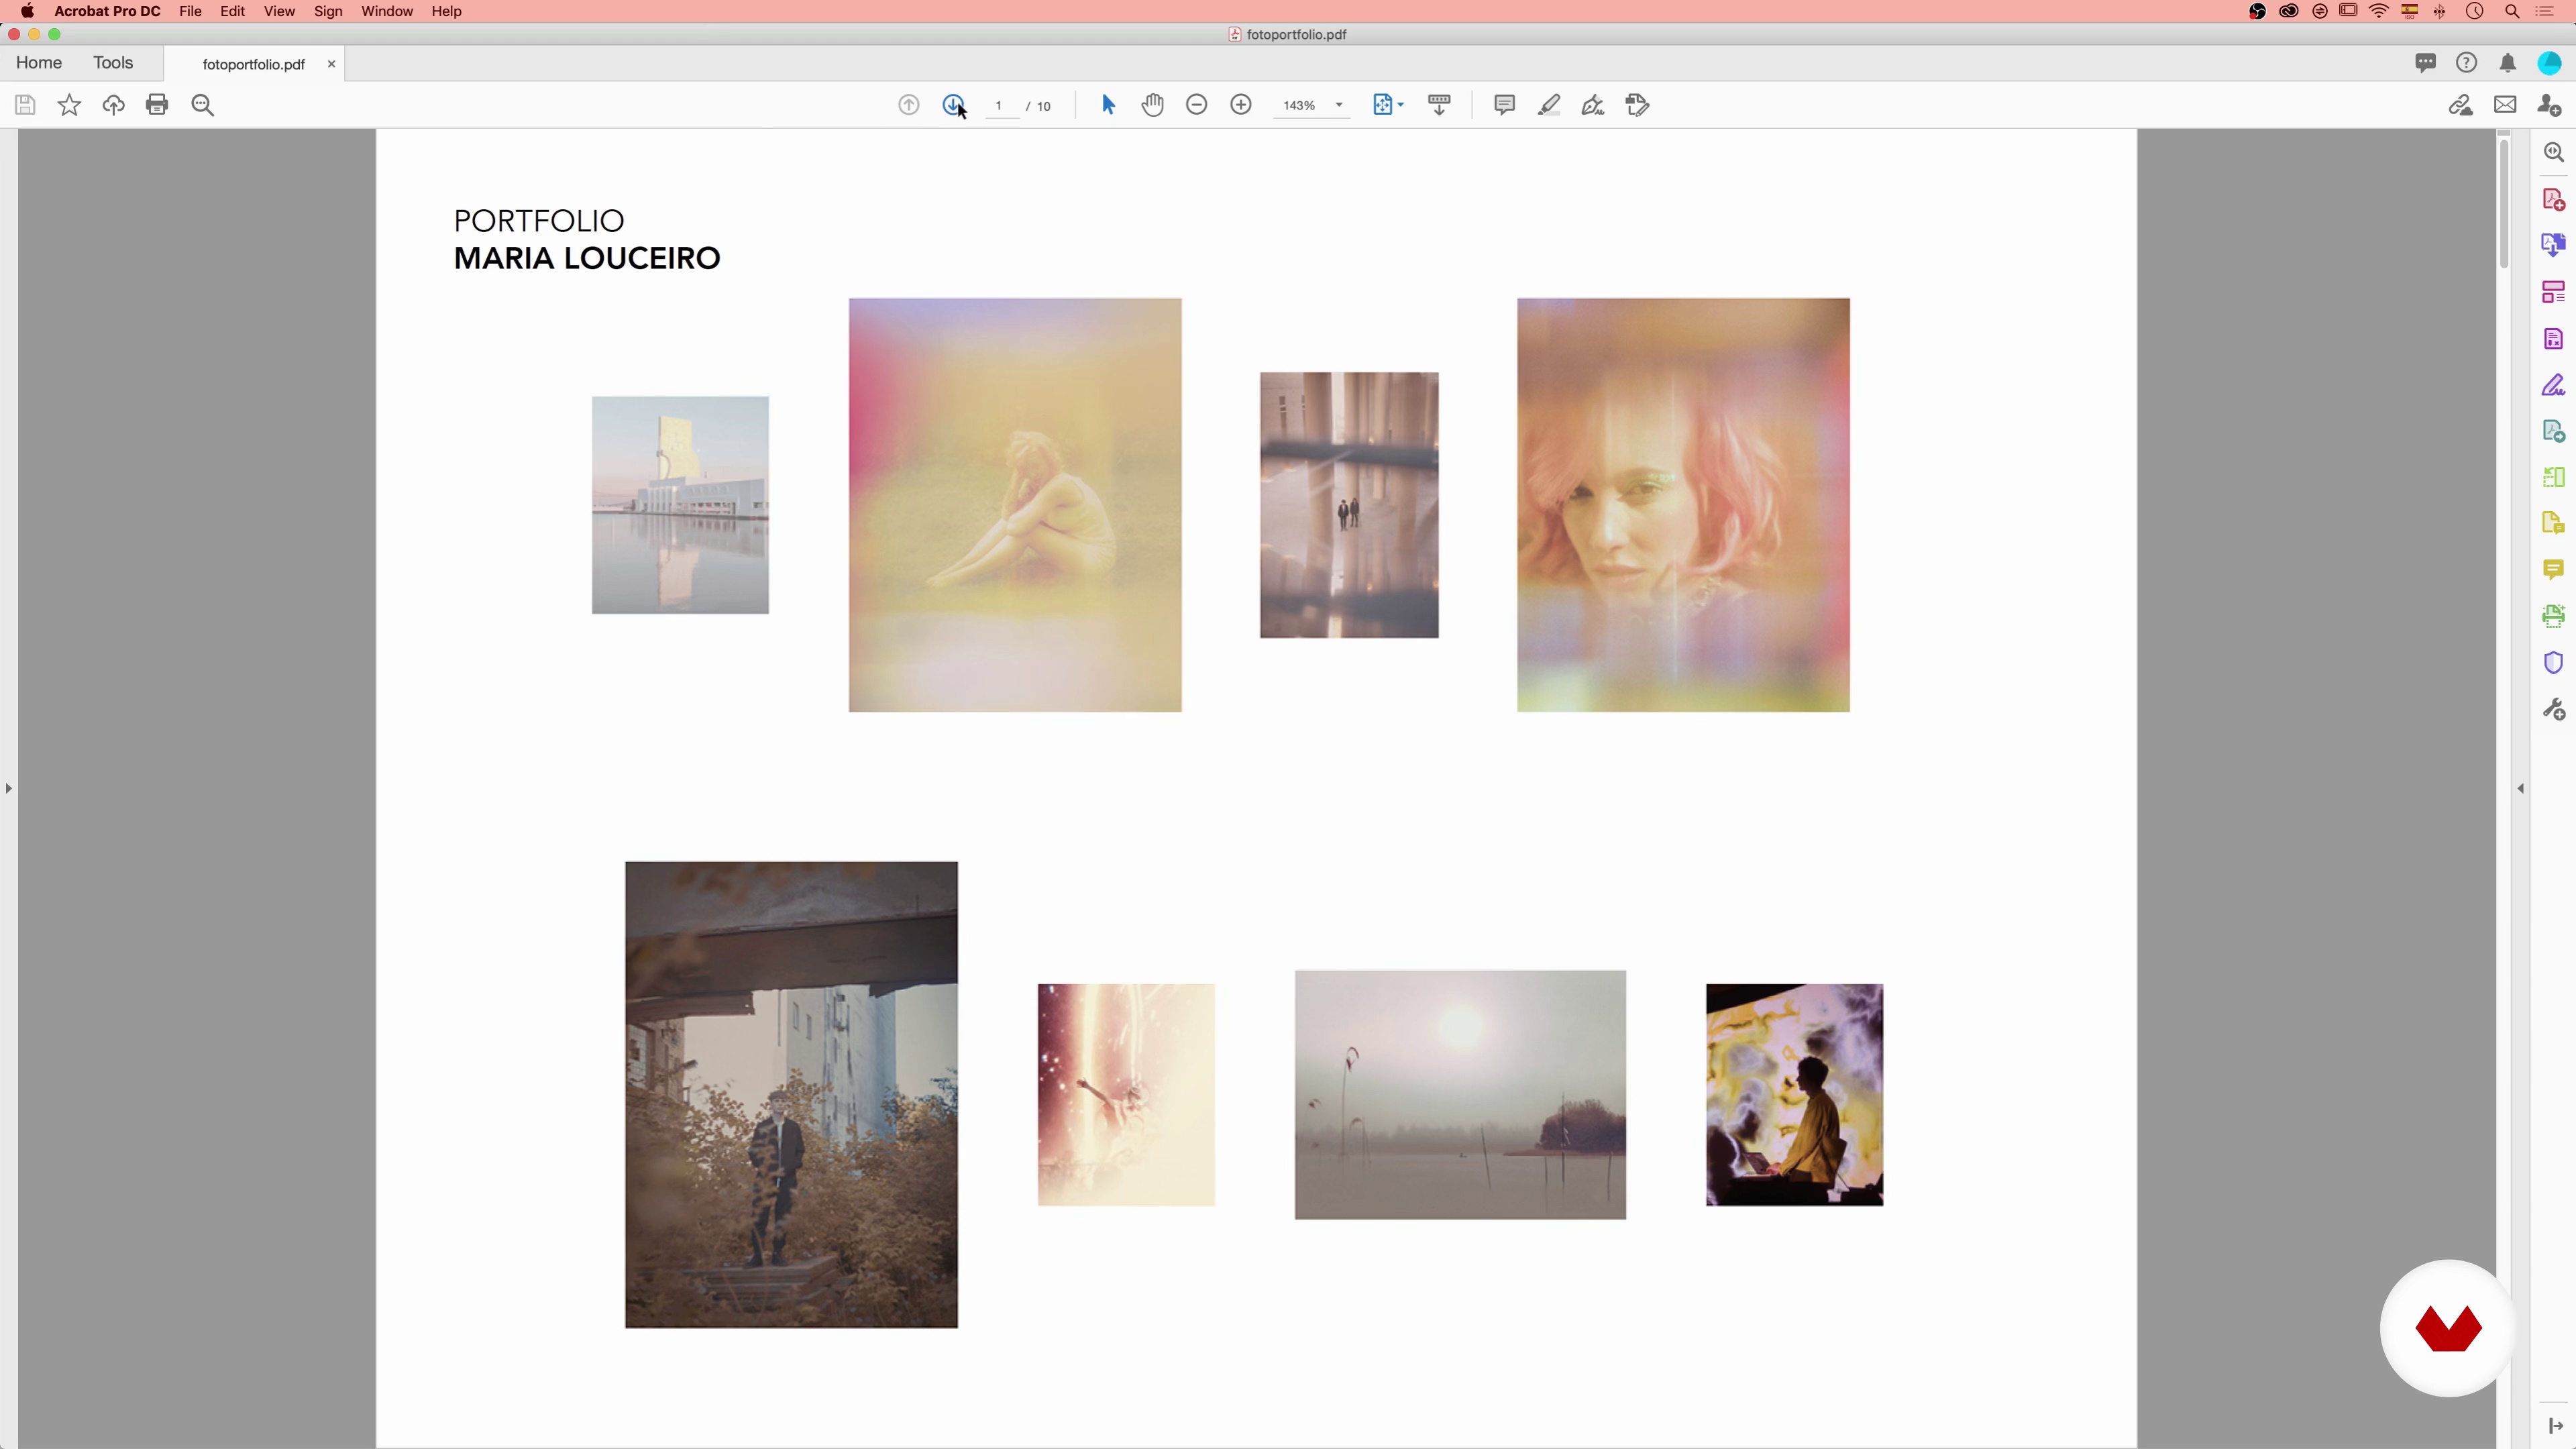
14Building a Portfolio and Useful Tips
In this lesson, I will talk about how to present your work and collaborate with the client. I will also show you how to create a great portfolio and take advantage of your Instagram account to promote your work.
18m
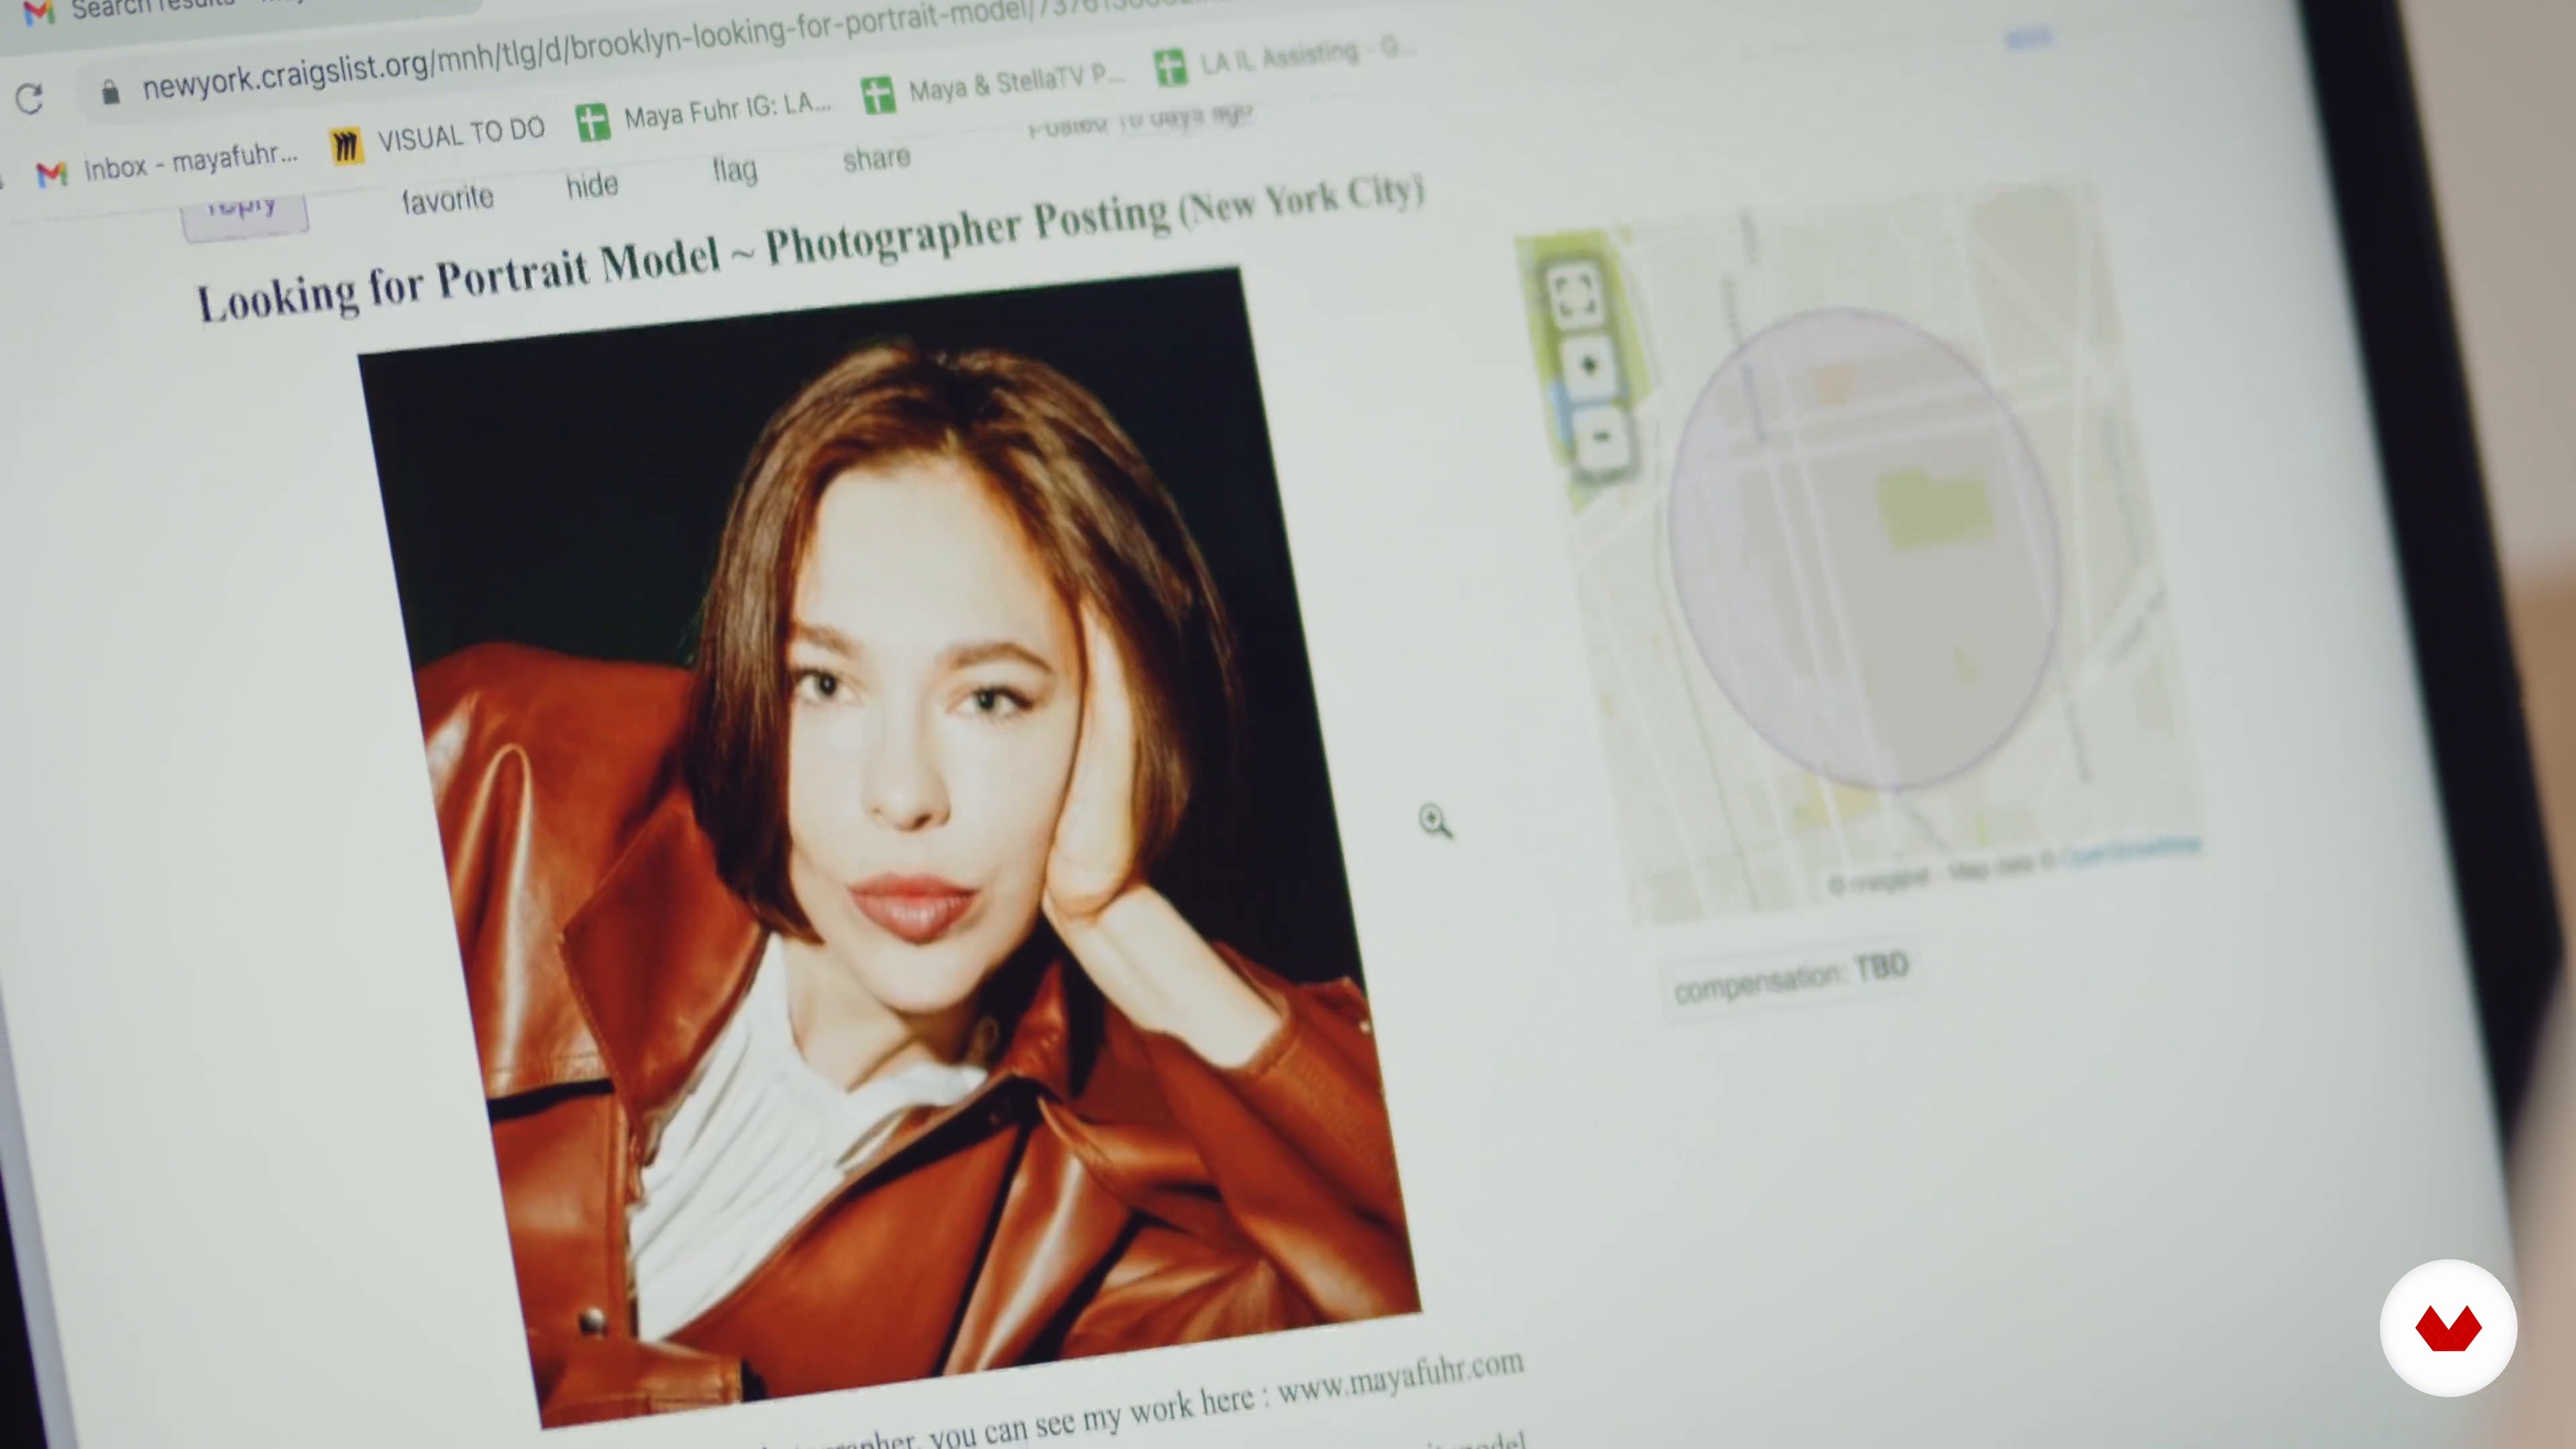
3Casting Your Subject
In this lesson, you’ll find out the best places to look to cast your subject and what questions to ask yourself along the way.
7m
4Choosing Your Background or Location
Here, you will learn how to choose the background or location that you'd like to shoot your subject in.
8m
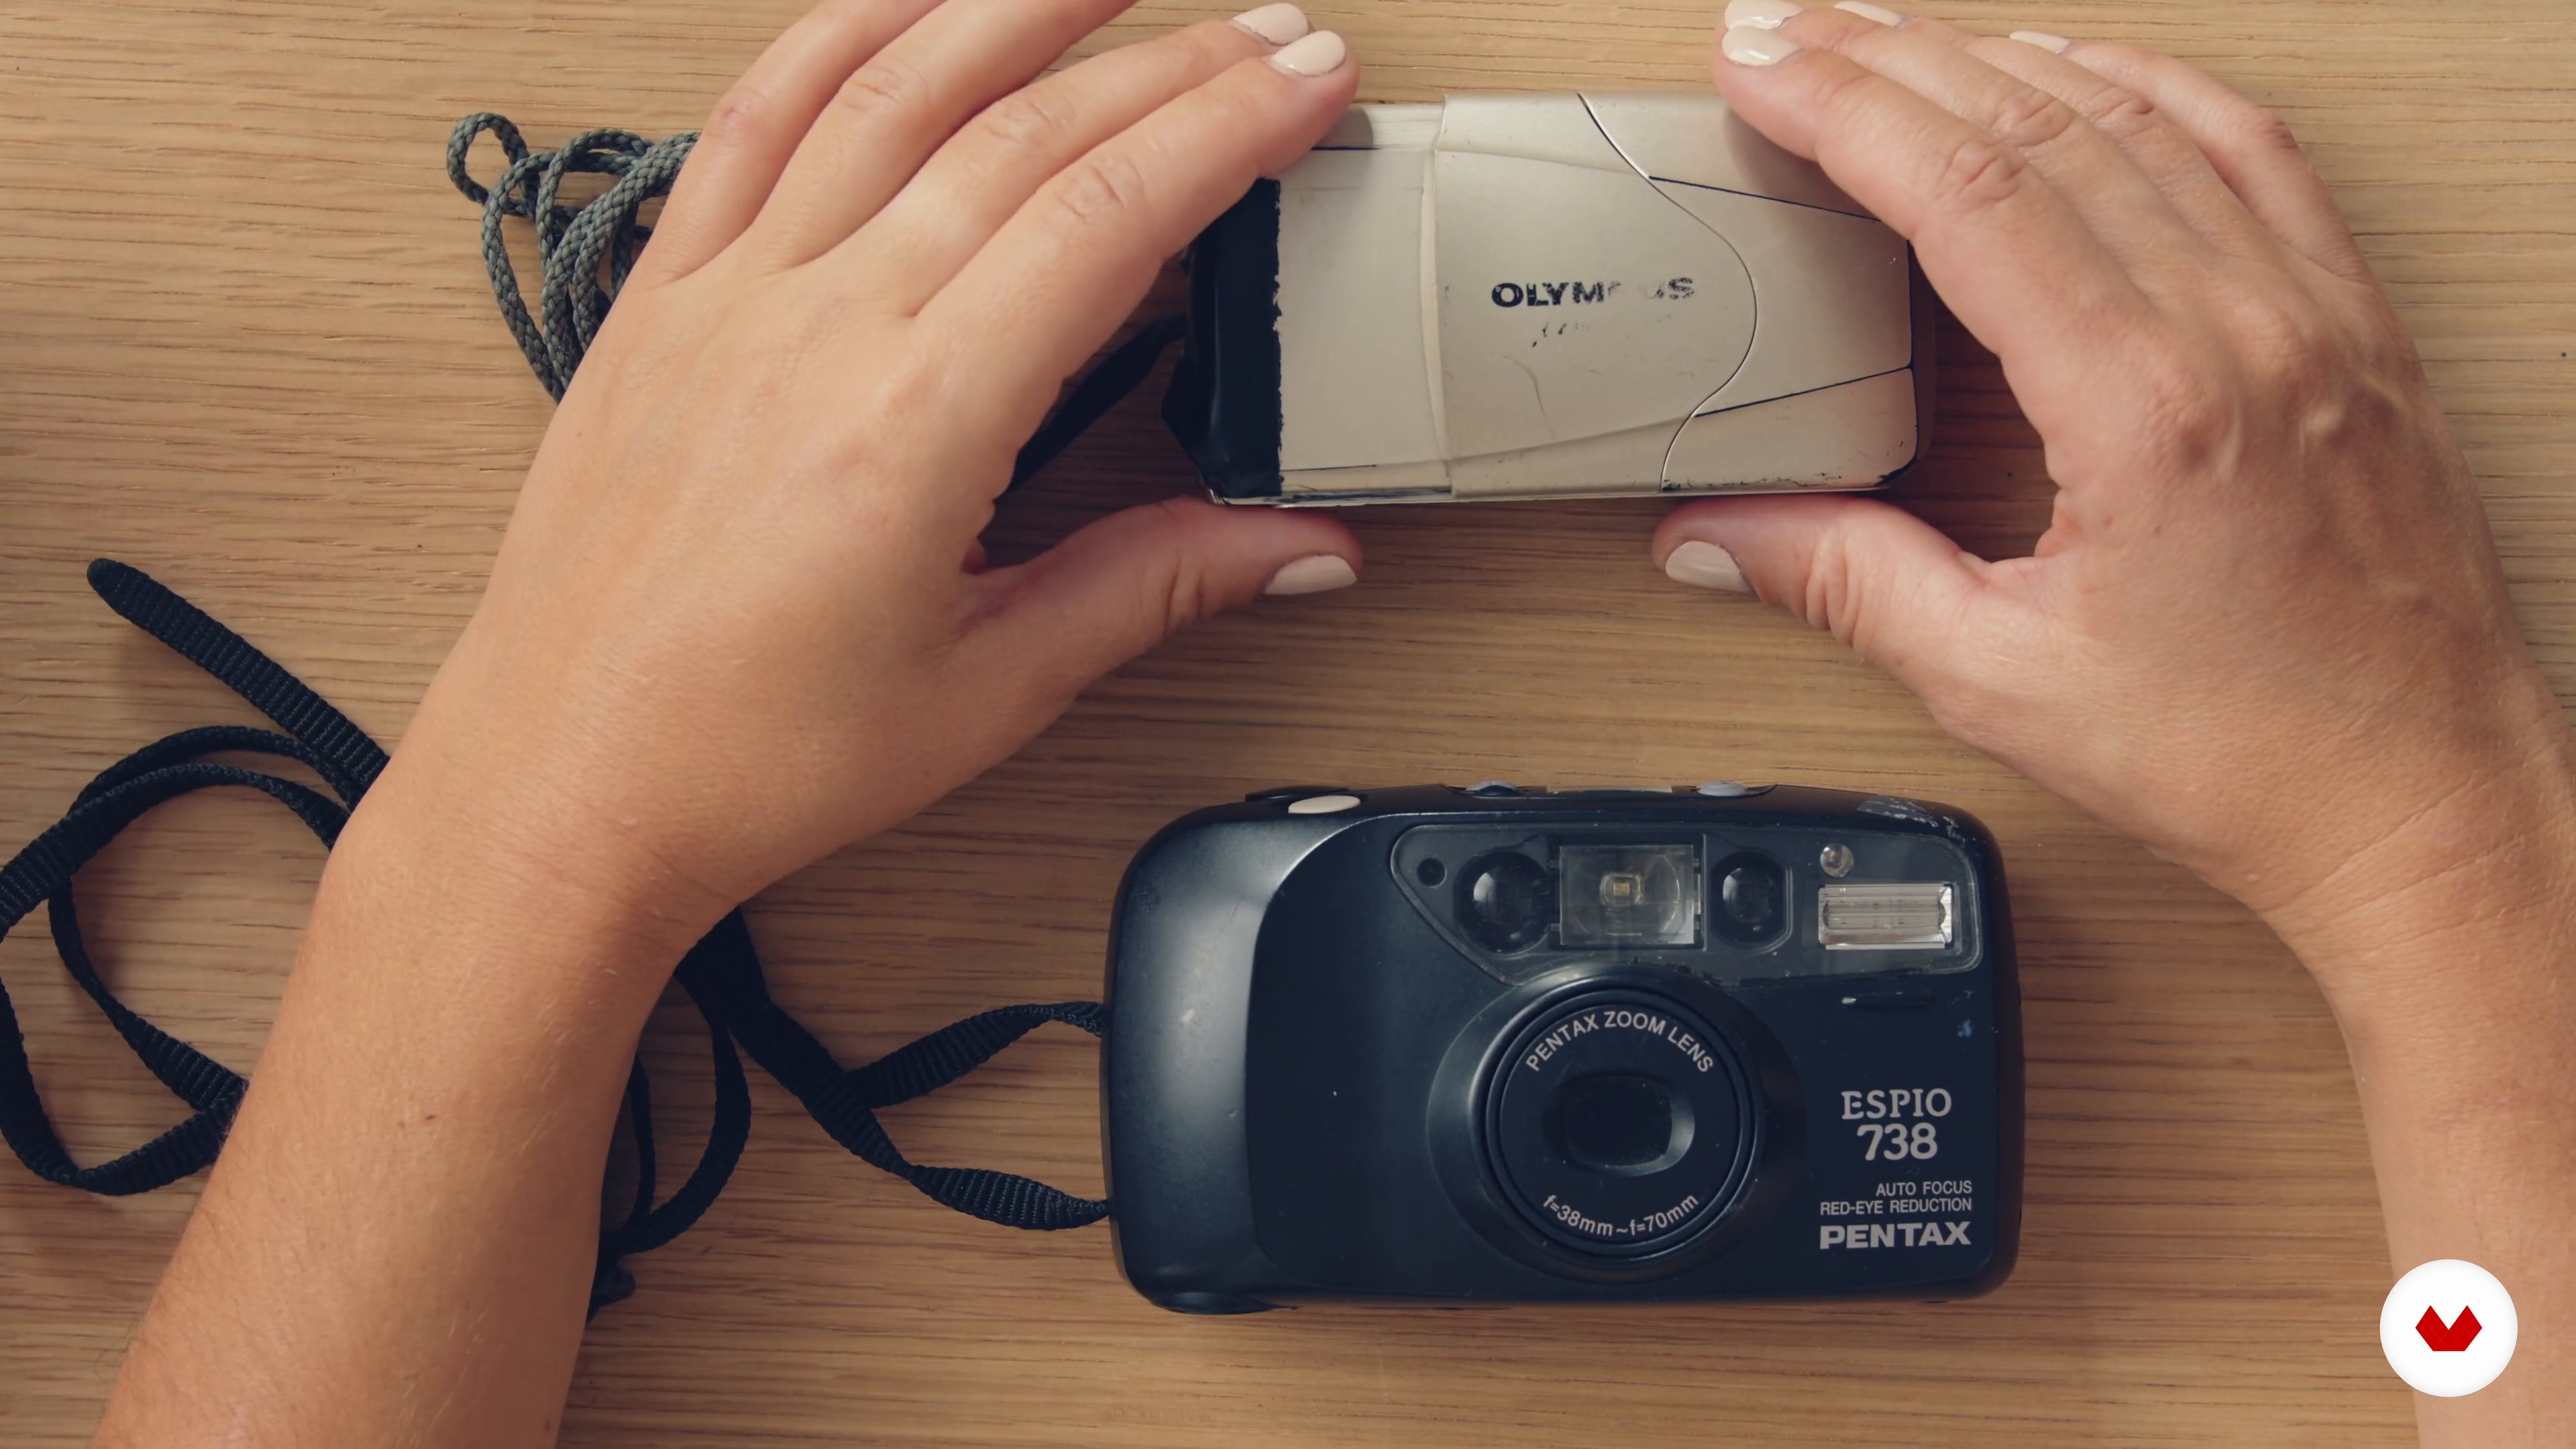
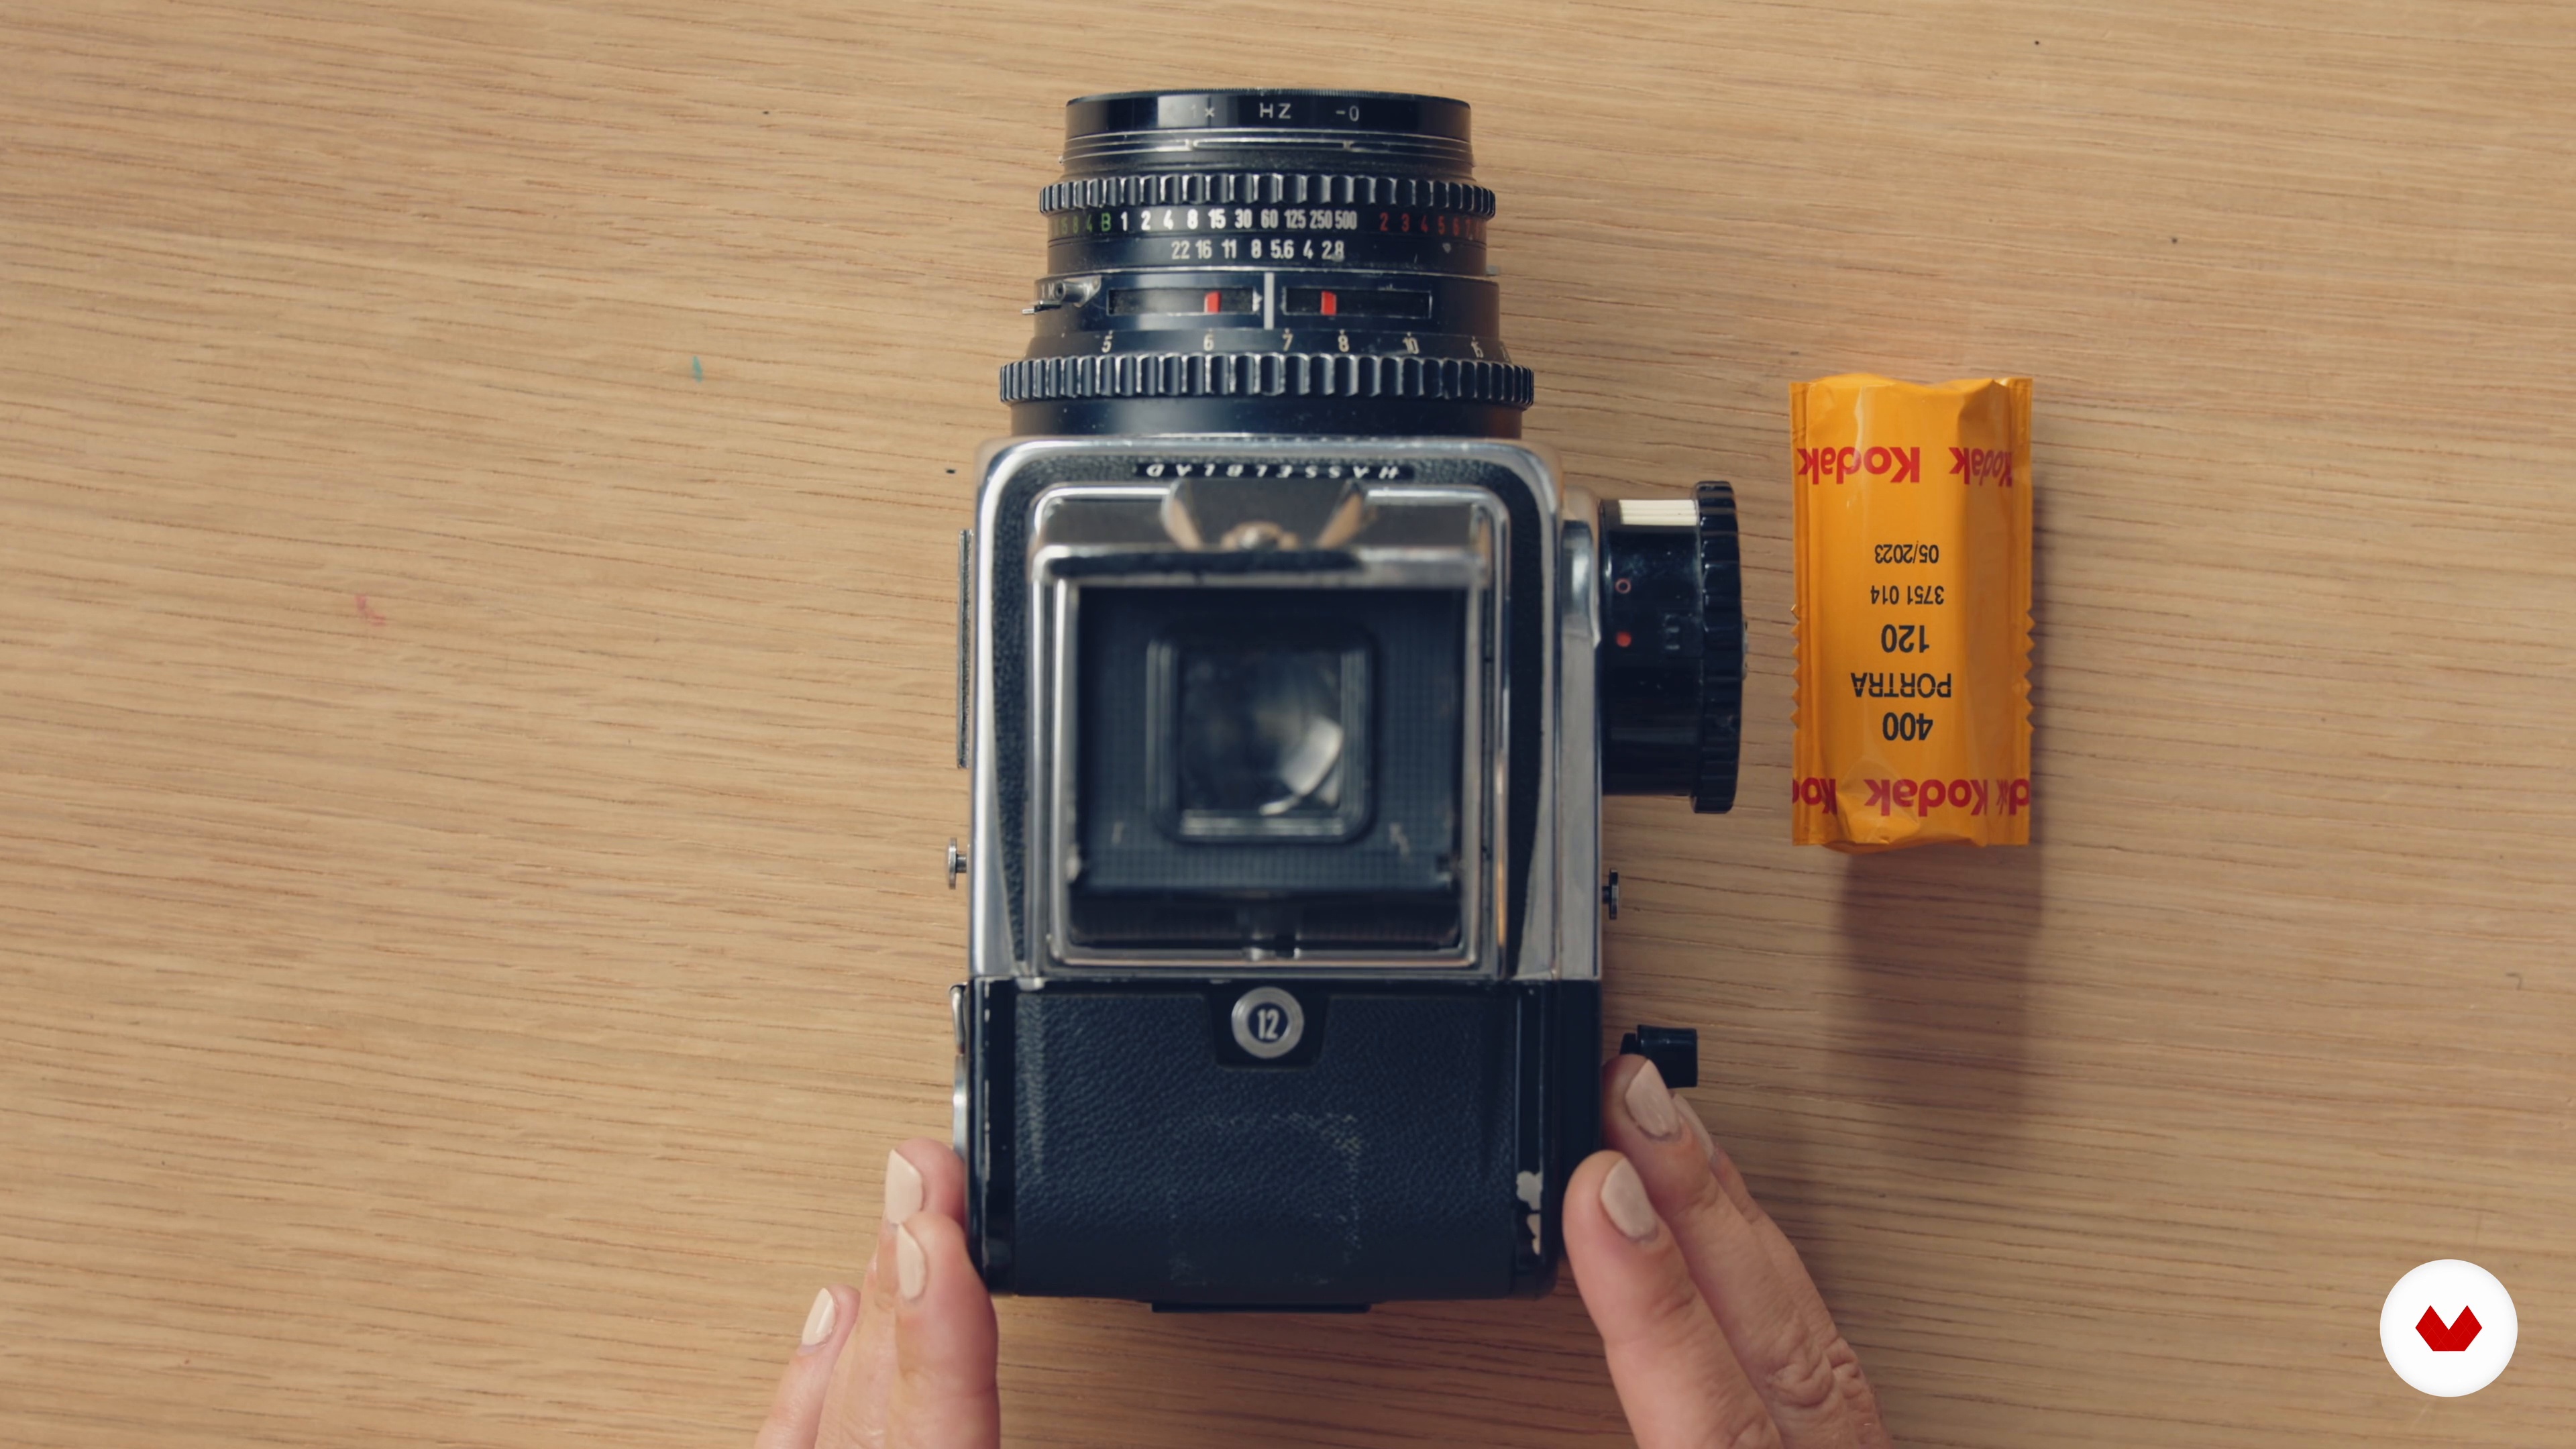
5Choosing Your Camera and Film
Now, I will explain the difference in medium format, 35mm, and point-and-shoot cameras. I will explore the different flashes that you can use on each camera. And finally, where to buy the cameras and film from.
15m
6Loading Your Film and Setting up Your Camera
Before your subject arrives, you'll need to have your camera ready. So, grab your camera and let’s load it up!
12m
7Shooting Your Subject
Now that your camera is ready to go, it's time to capture your photos. In this lesson, you’ll learn how to approach your subject and make them feel at home.
20m
8Double Exposure and Rewinding Your Film
Let's embrace an element of unpredictability! In this lesson, I'll teach you how to have fun with your shots.
7m
9The Selection Process
In this lesson, I will discuss one of the most important parts of an amazing portrait: sifting through them and spotting the ones that are extra authentic. You’ll learn what to look for and how to narrow down your selection.
16m
10Editing Your Selects
Here, I’ll demonstrate how to evaluate the photo selects and then edit them.
15m
11Posting on Social Media
Now that we have your three final photographs ready, let’s share them on Instagram as a grid formation!
3m
3Materials
In this lesson I share with you the most important tips and tricks for analog 35 mm cameras and show you which films I use for which image looks. I also explain what the most important process differences are for me when I work analog or digital.
5m
4Introduction to the Analog Camera
Here I will go into what the big differences are between the working process with a digital and an analogue camera. I would also like to show you my favorite film looks and explain the characteristics of the films.
17m
5Brainstorming
Using examples of my work, I will now tell you what inspires me and where you can find ideas everywhere.
11m
6Introduction to Self-Portrait
To go a little deeper into my work, I'll tell you my story about the self-portrait. You will experience what a self-portrait can mean and what you can learn from it.
6m
7Light, Poses, and Expression
An essential component for photography in general is light. I show you how I use the light in my work and how it can inspire the idea for a picture.
14m
8Test Images with Digital Camera
In this lesson I will show you how I use the digital camera to first find my picture. This involves finding the right frame, choosing the exposure and pose and taking test photos.
10m
9Self-Portraits on Analogue Film
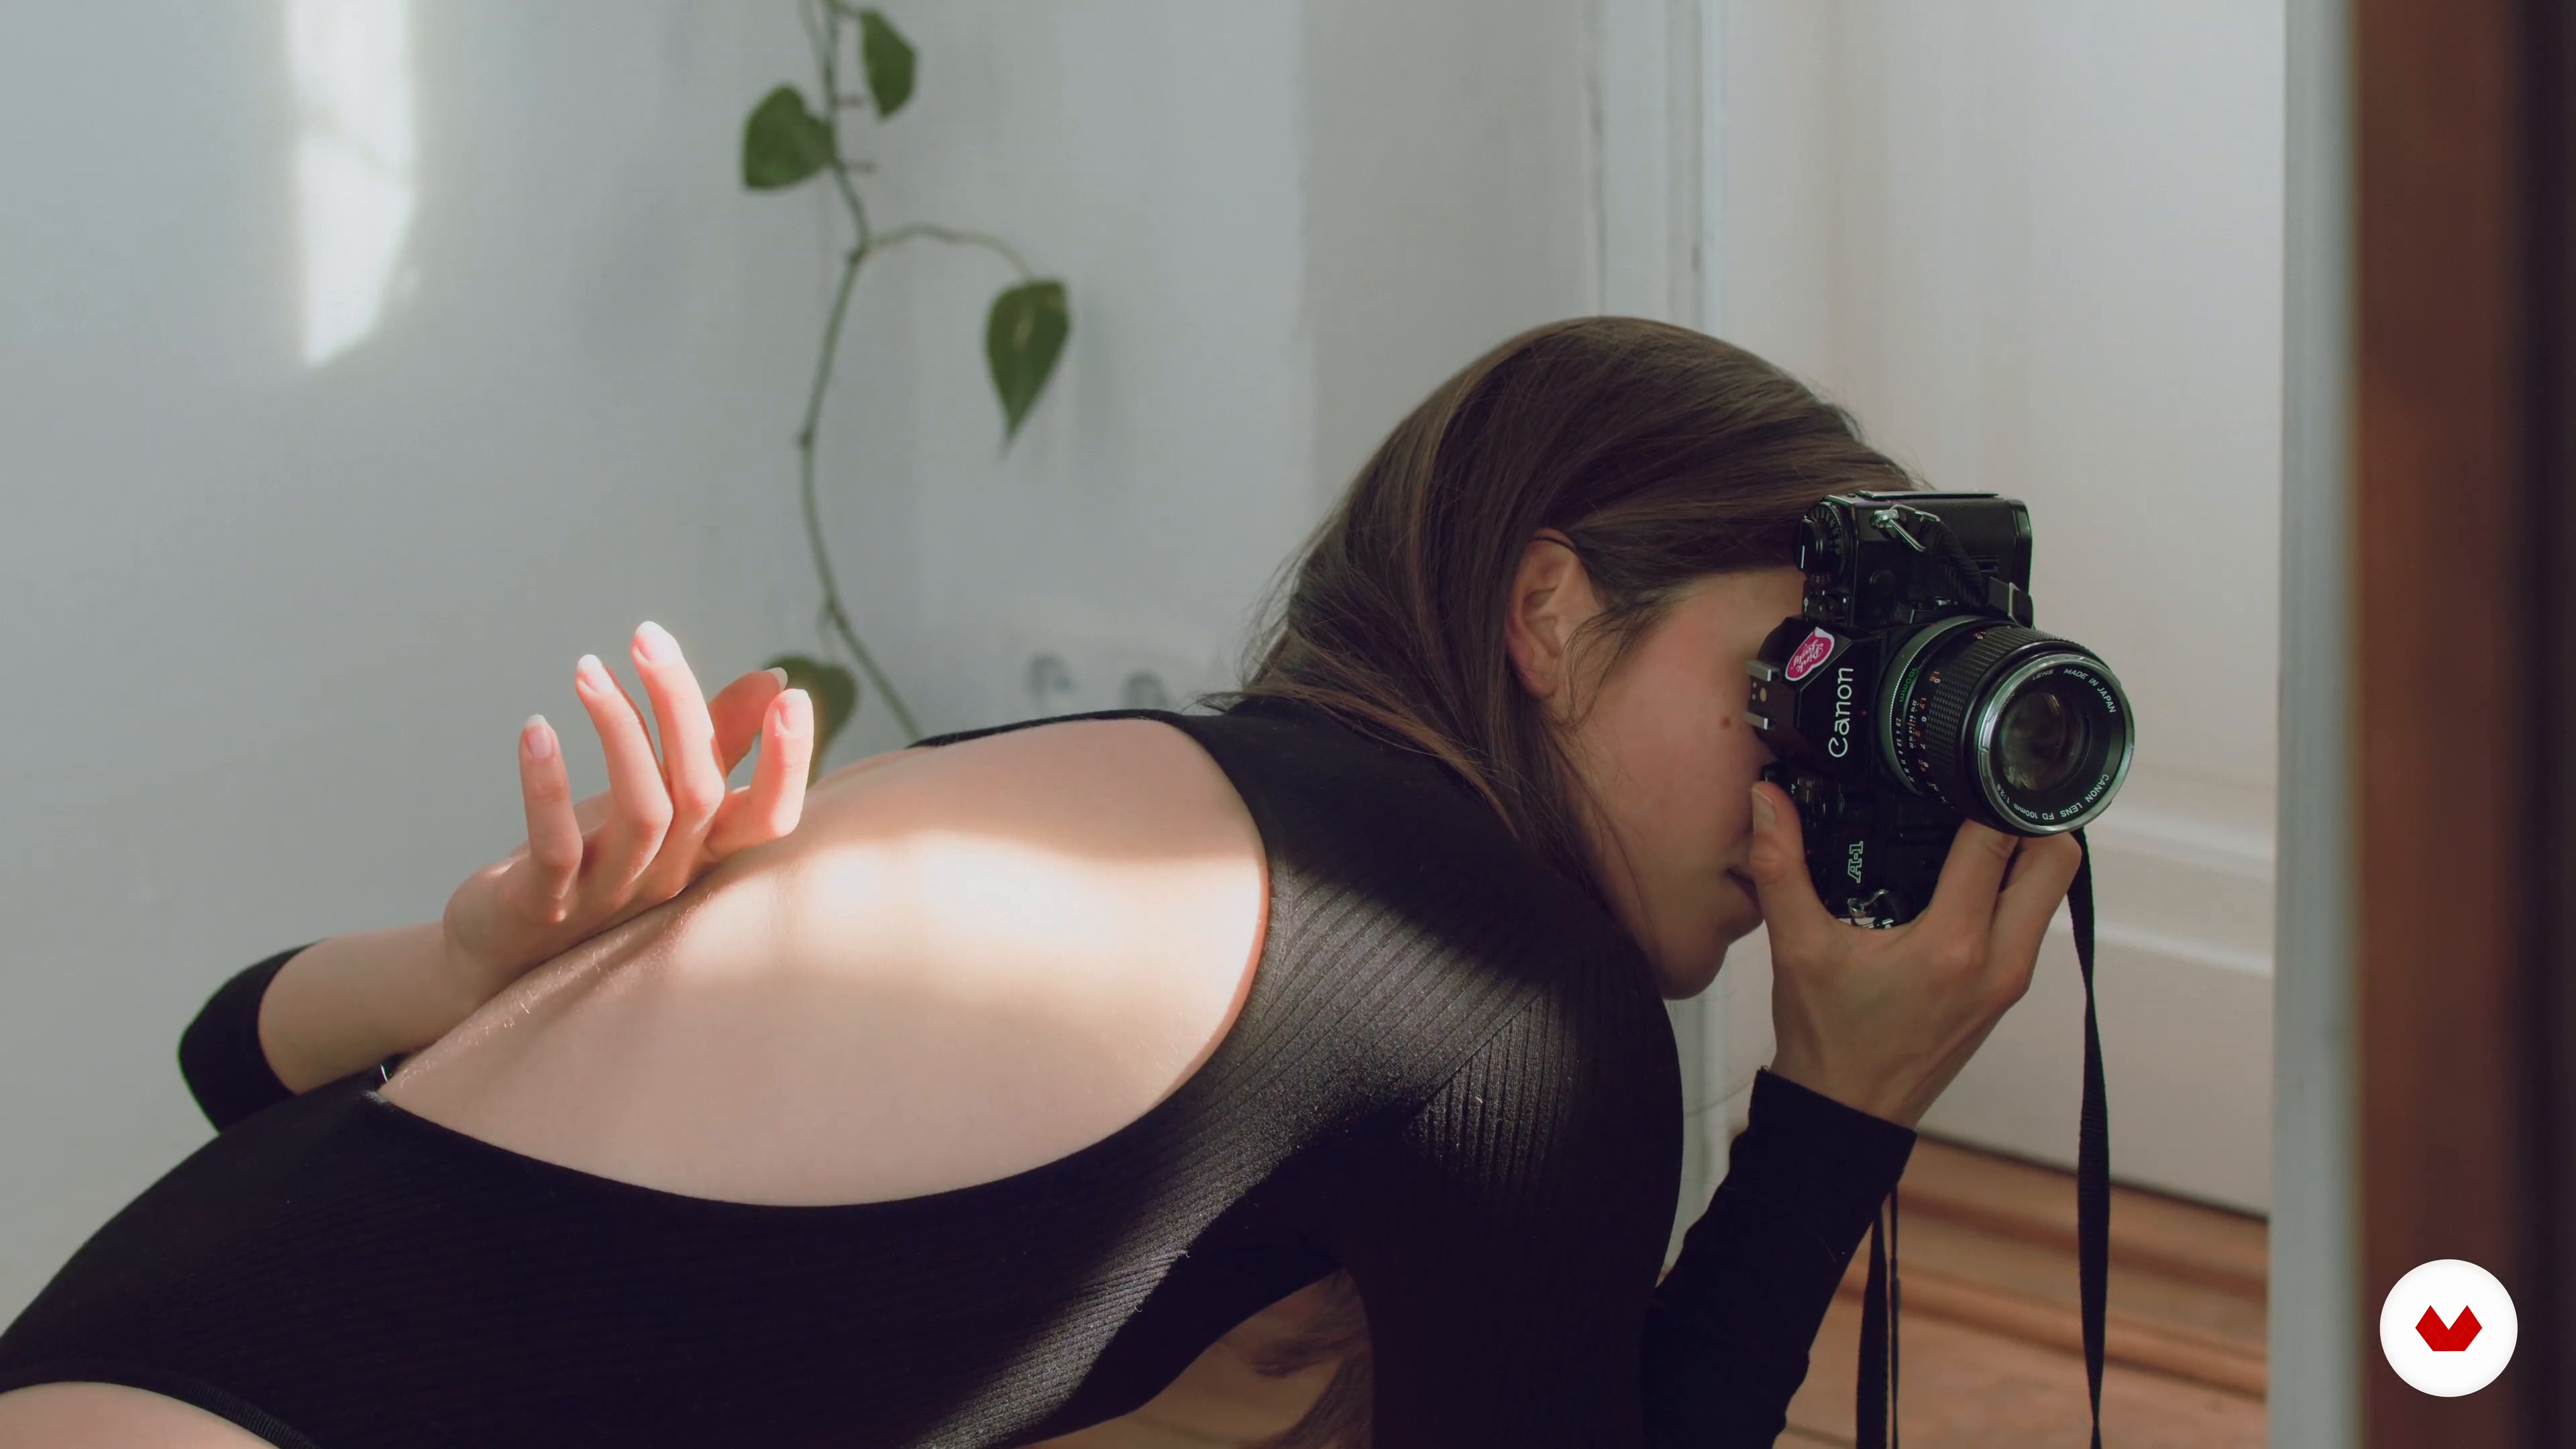
Photographing with an analog camera requires a lot of careful preparation and, of course, a lot more control than working with a digital camera. That's why I'll show you first of all the different techniques and possibilities there are for capturing a self-portrait on film.
12m
10Pictures with Analog Camera
After I have looked closely at the images that I have developed digitally, I select the appropriate film and prepare the setup. Then finally comes the moment to capture the self-portrait on analogue film.
6m
11Have Rolls of Film Developed
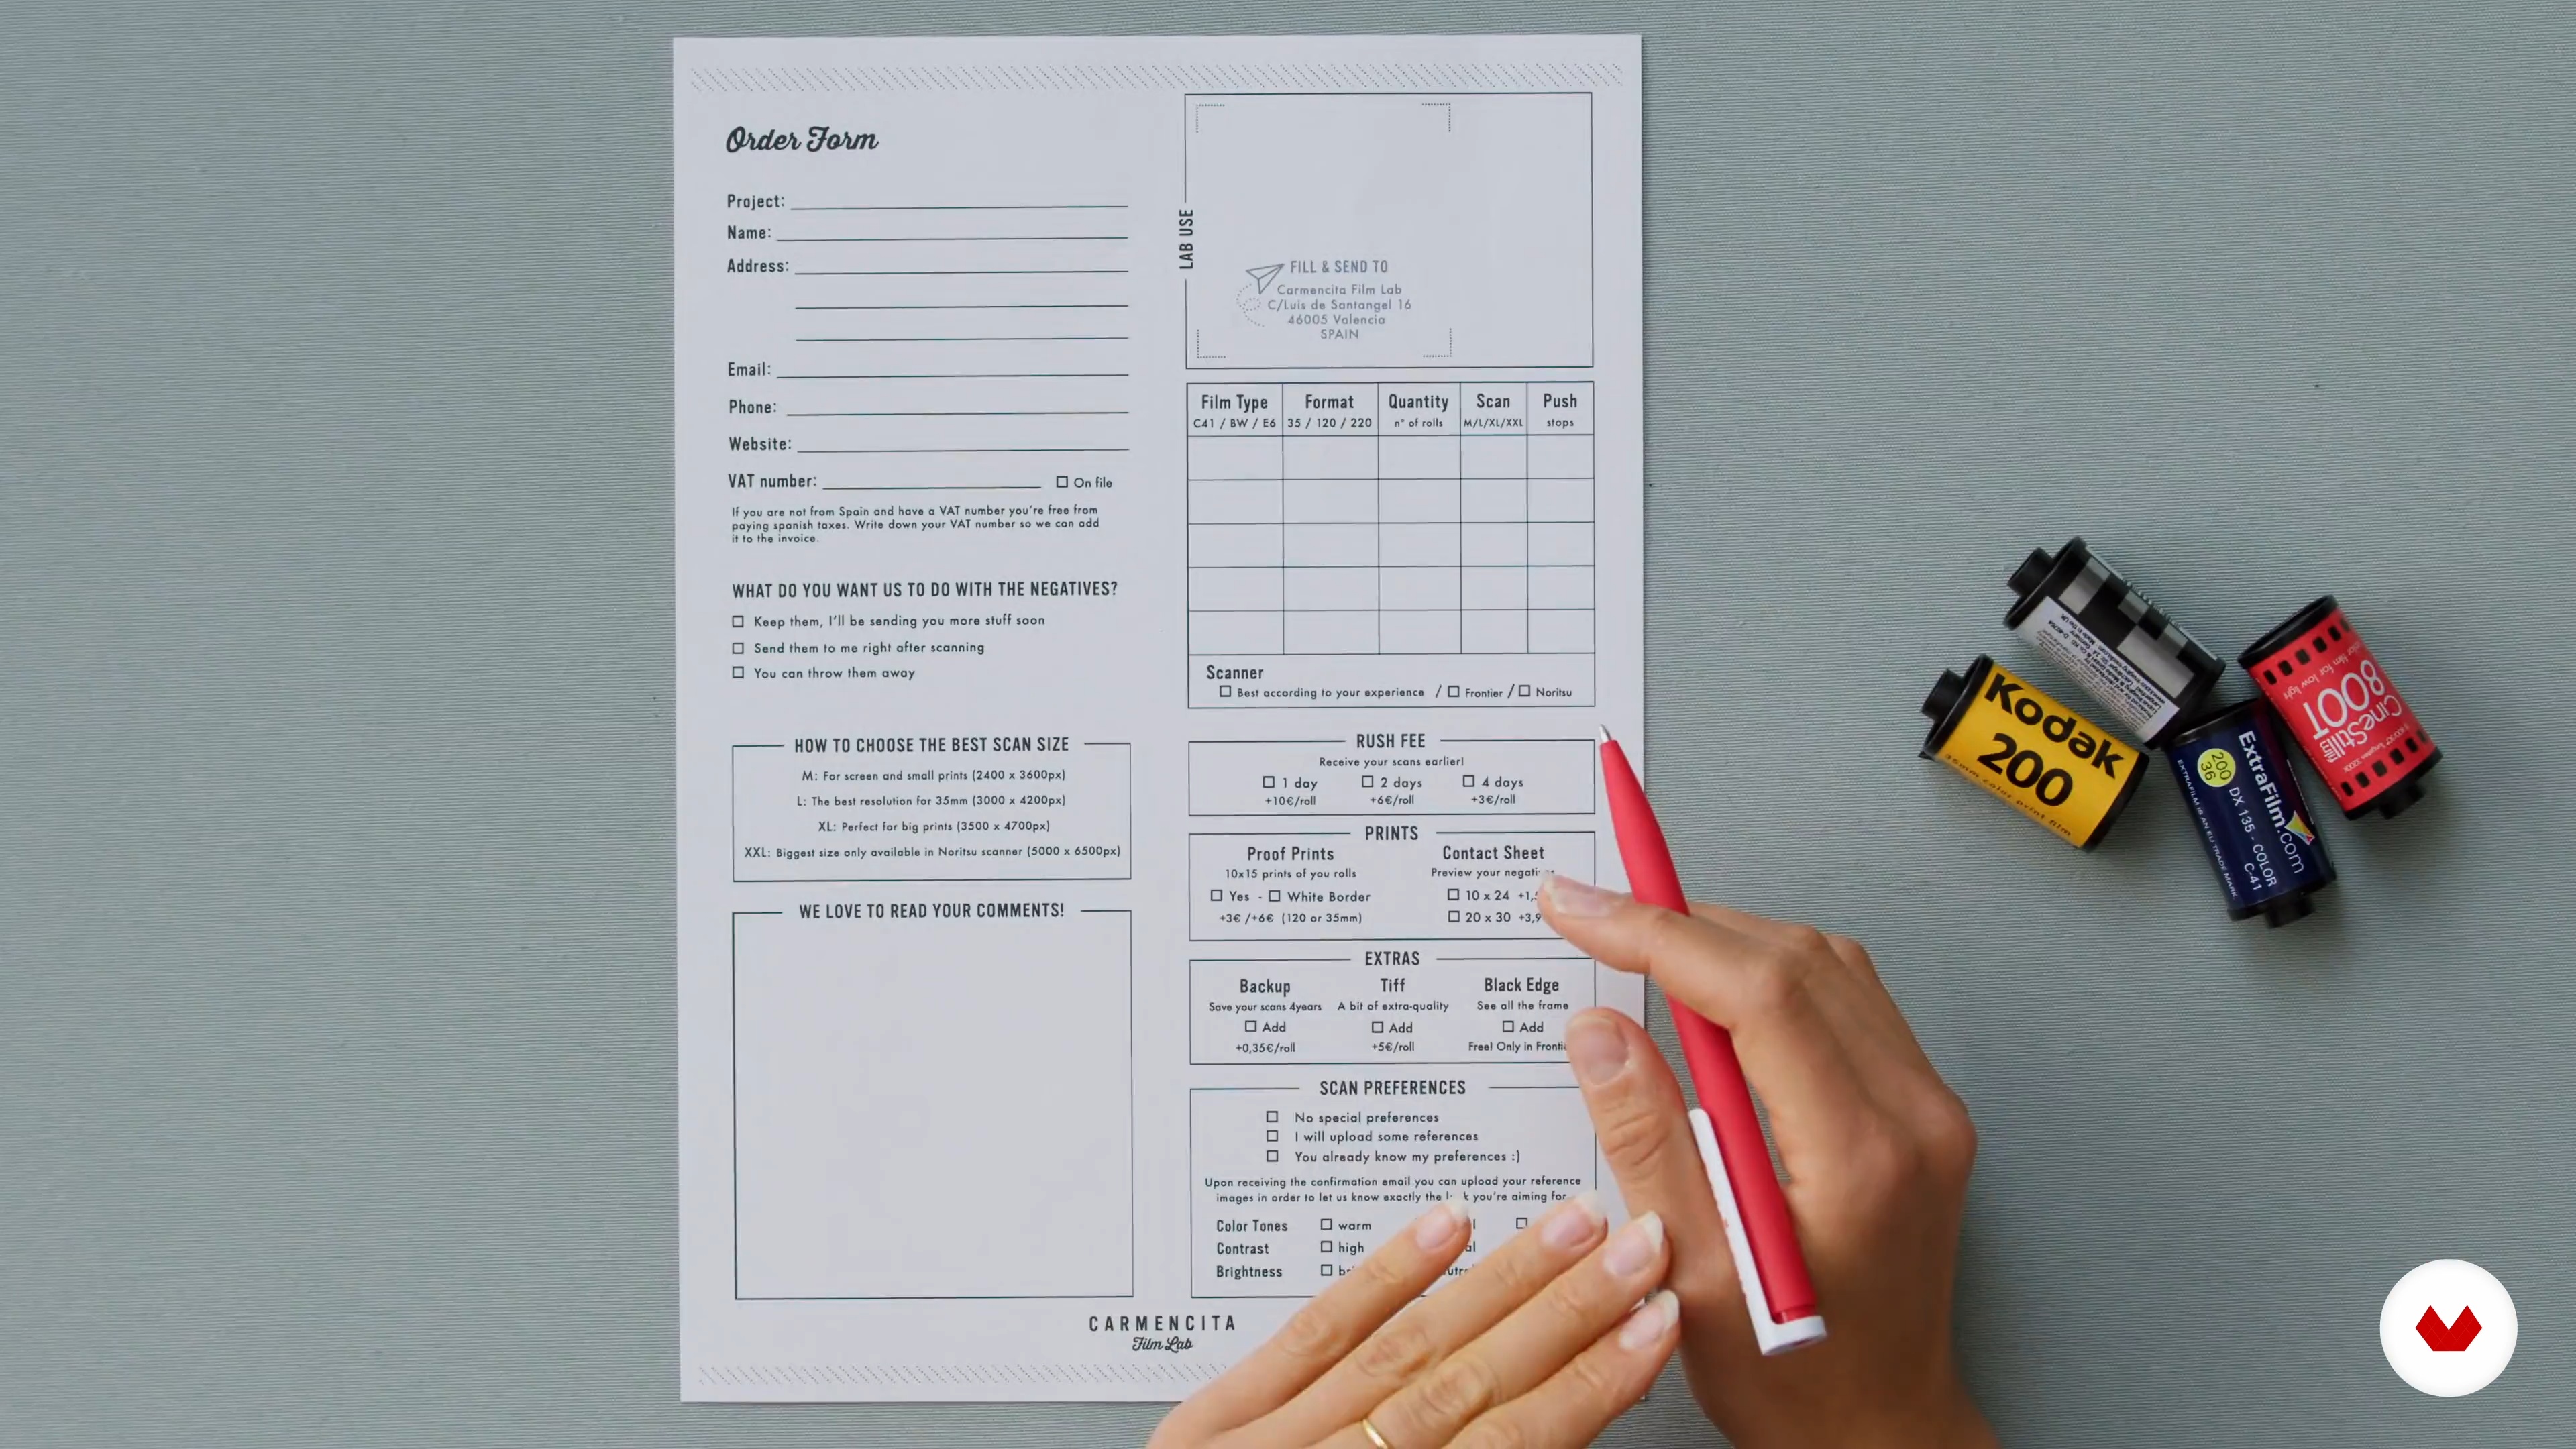
In this section I will introduce my film laboratory and describe how I prepare and have my films developed.
10m
12Image Selection and Editing 1
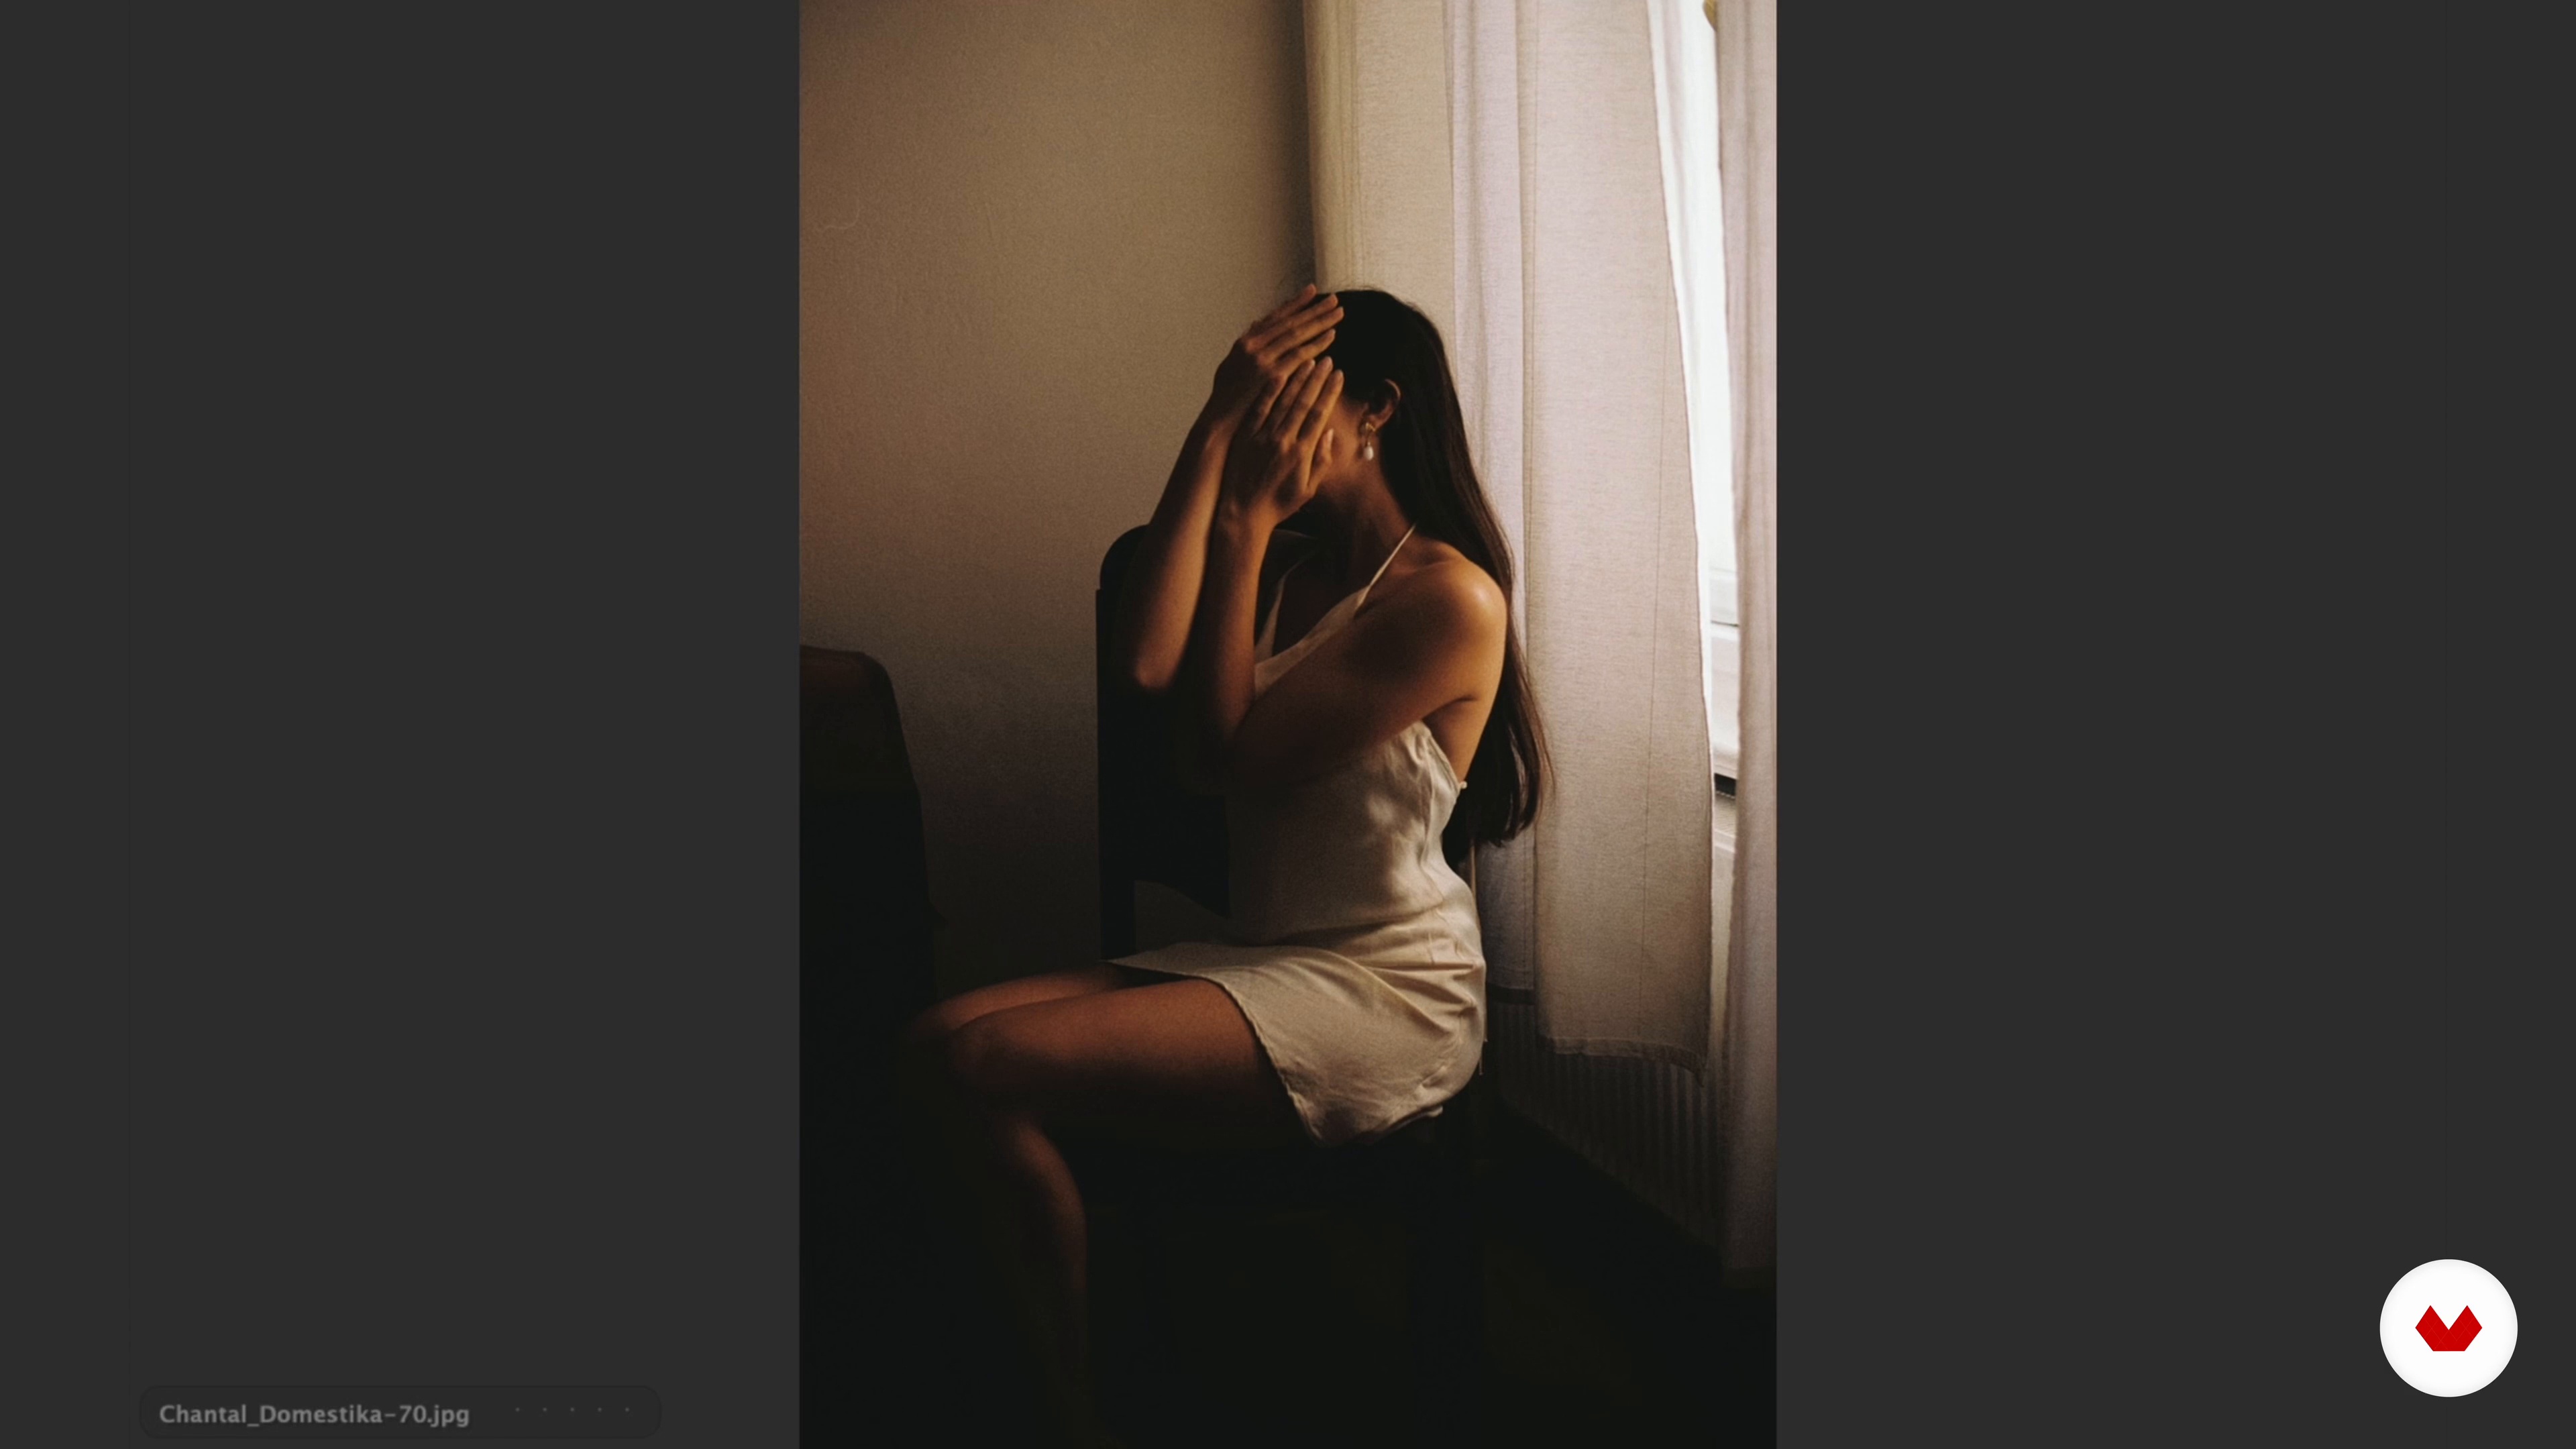
What do we do when the pictures are finally here? Here I show you how I select my analogue photos and give them the finishing touches.
15m
13Image Selection and Editing 2
It is important to look at the pictures with a fresh and objective view in order to really appreciate them. Because often we have certain expectations that influence our ratings and make us feel disappointed. So I would like to explain to you how you can deal with this feeling.
12m
14What Can You Do with the Pictures?
In this lesson you will learn what my everyday life as an artist and photographer is like, what I do with all my pictures and what is particularly important to me.
11m
Create a comprehensive analog photography portfolio showcasing mastery of natural and artificial light, various film techniques, and artistic expression through atmospheric portraits, dramatic flash photography, and intimate fine art self-portraits, culminating in a cohesive photo book or exhibition.
This online course is designed for photographers eager to master analog techniques, visual artists interested in traditional processes, professionals aiming to stand out, and enthusiasts who appreciate the unique aesthetics and expressive power of analog photography.
Embark on your analog photography journey with a film camera and basic understanding of its operation. No extensive prior knowledge needed, just curiosity and willingness to learn. Essentials include a camera, film rolls, and a passion for capturing moments.