
Master retail design, create immersive commercial spaces, enhance brand identity, and engage customers with innovative storytelling
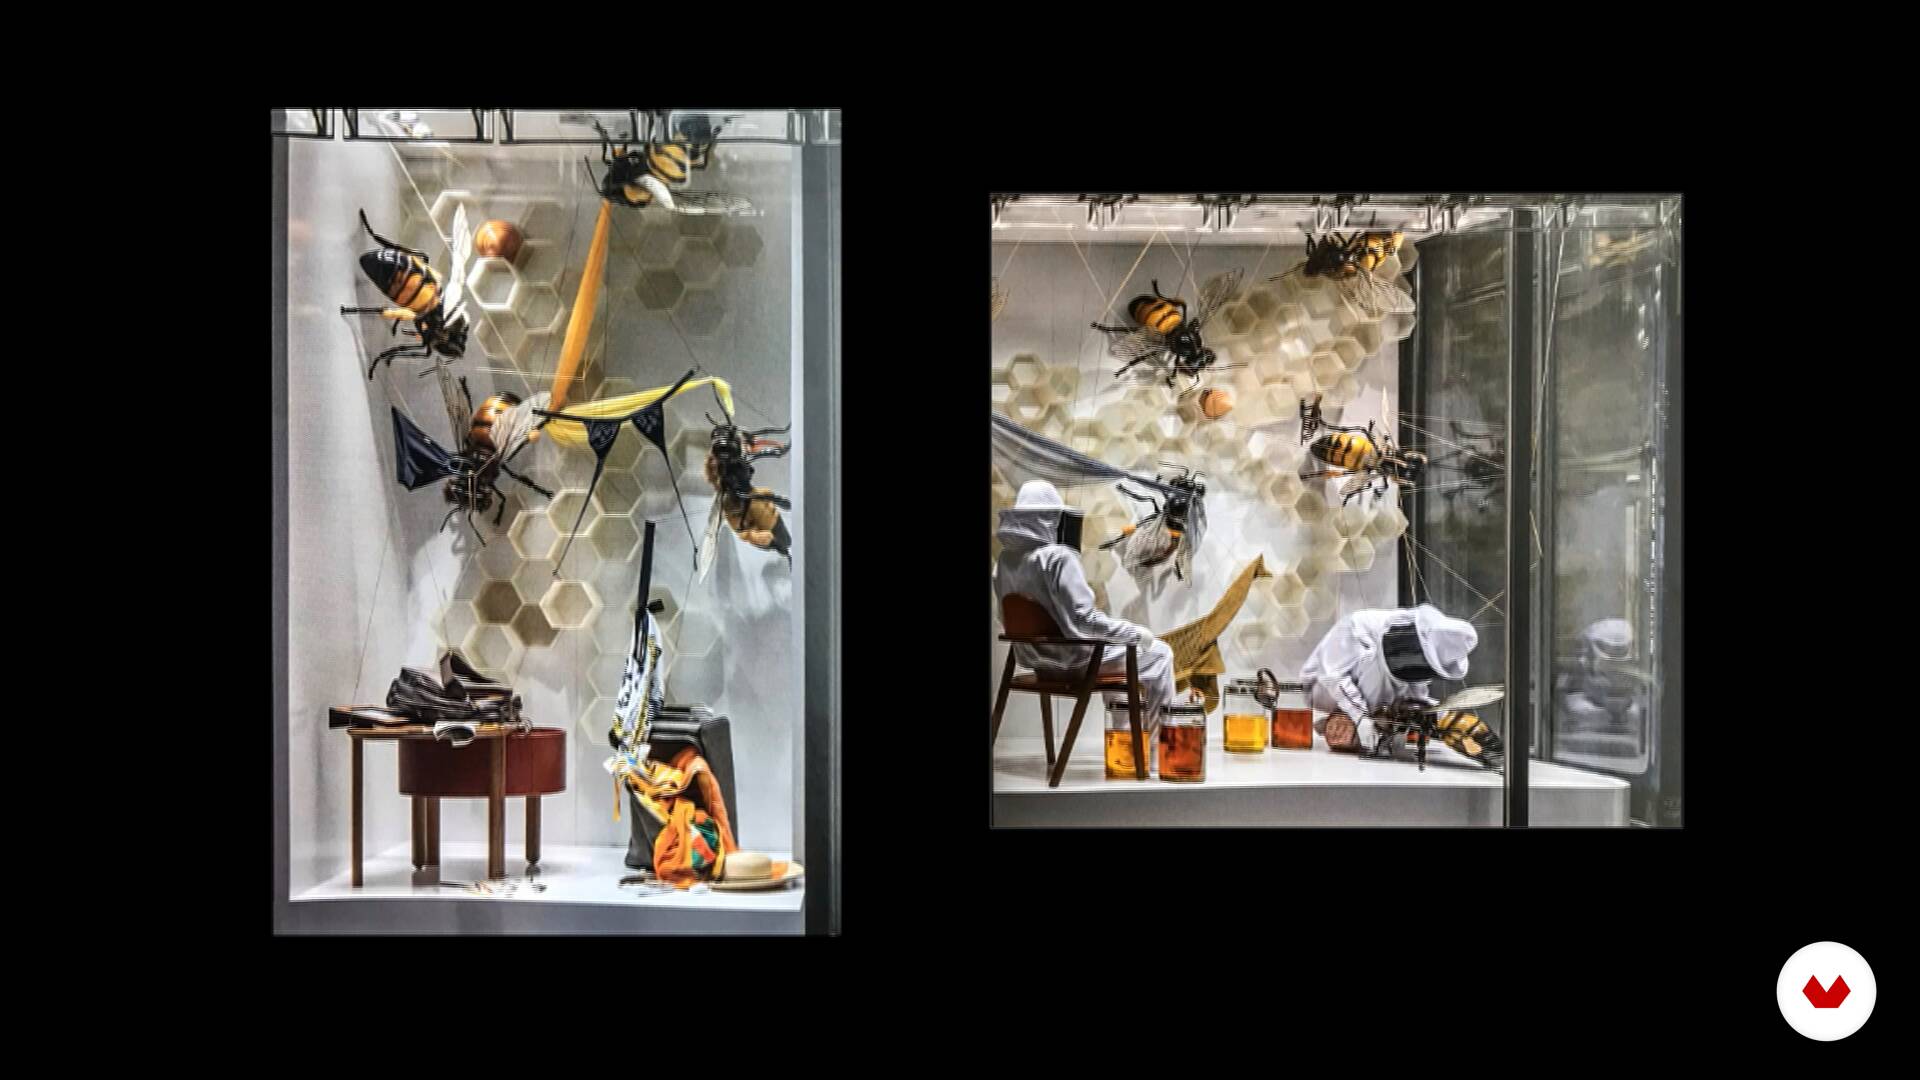
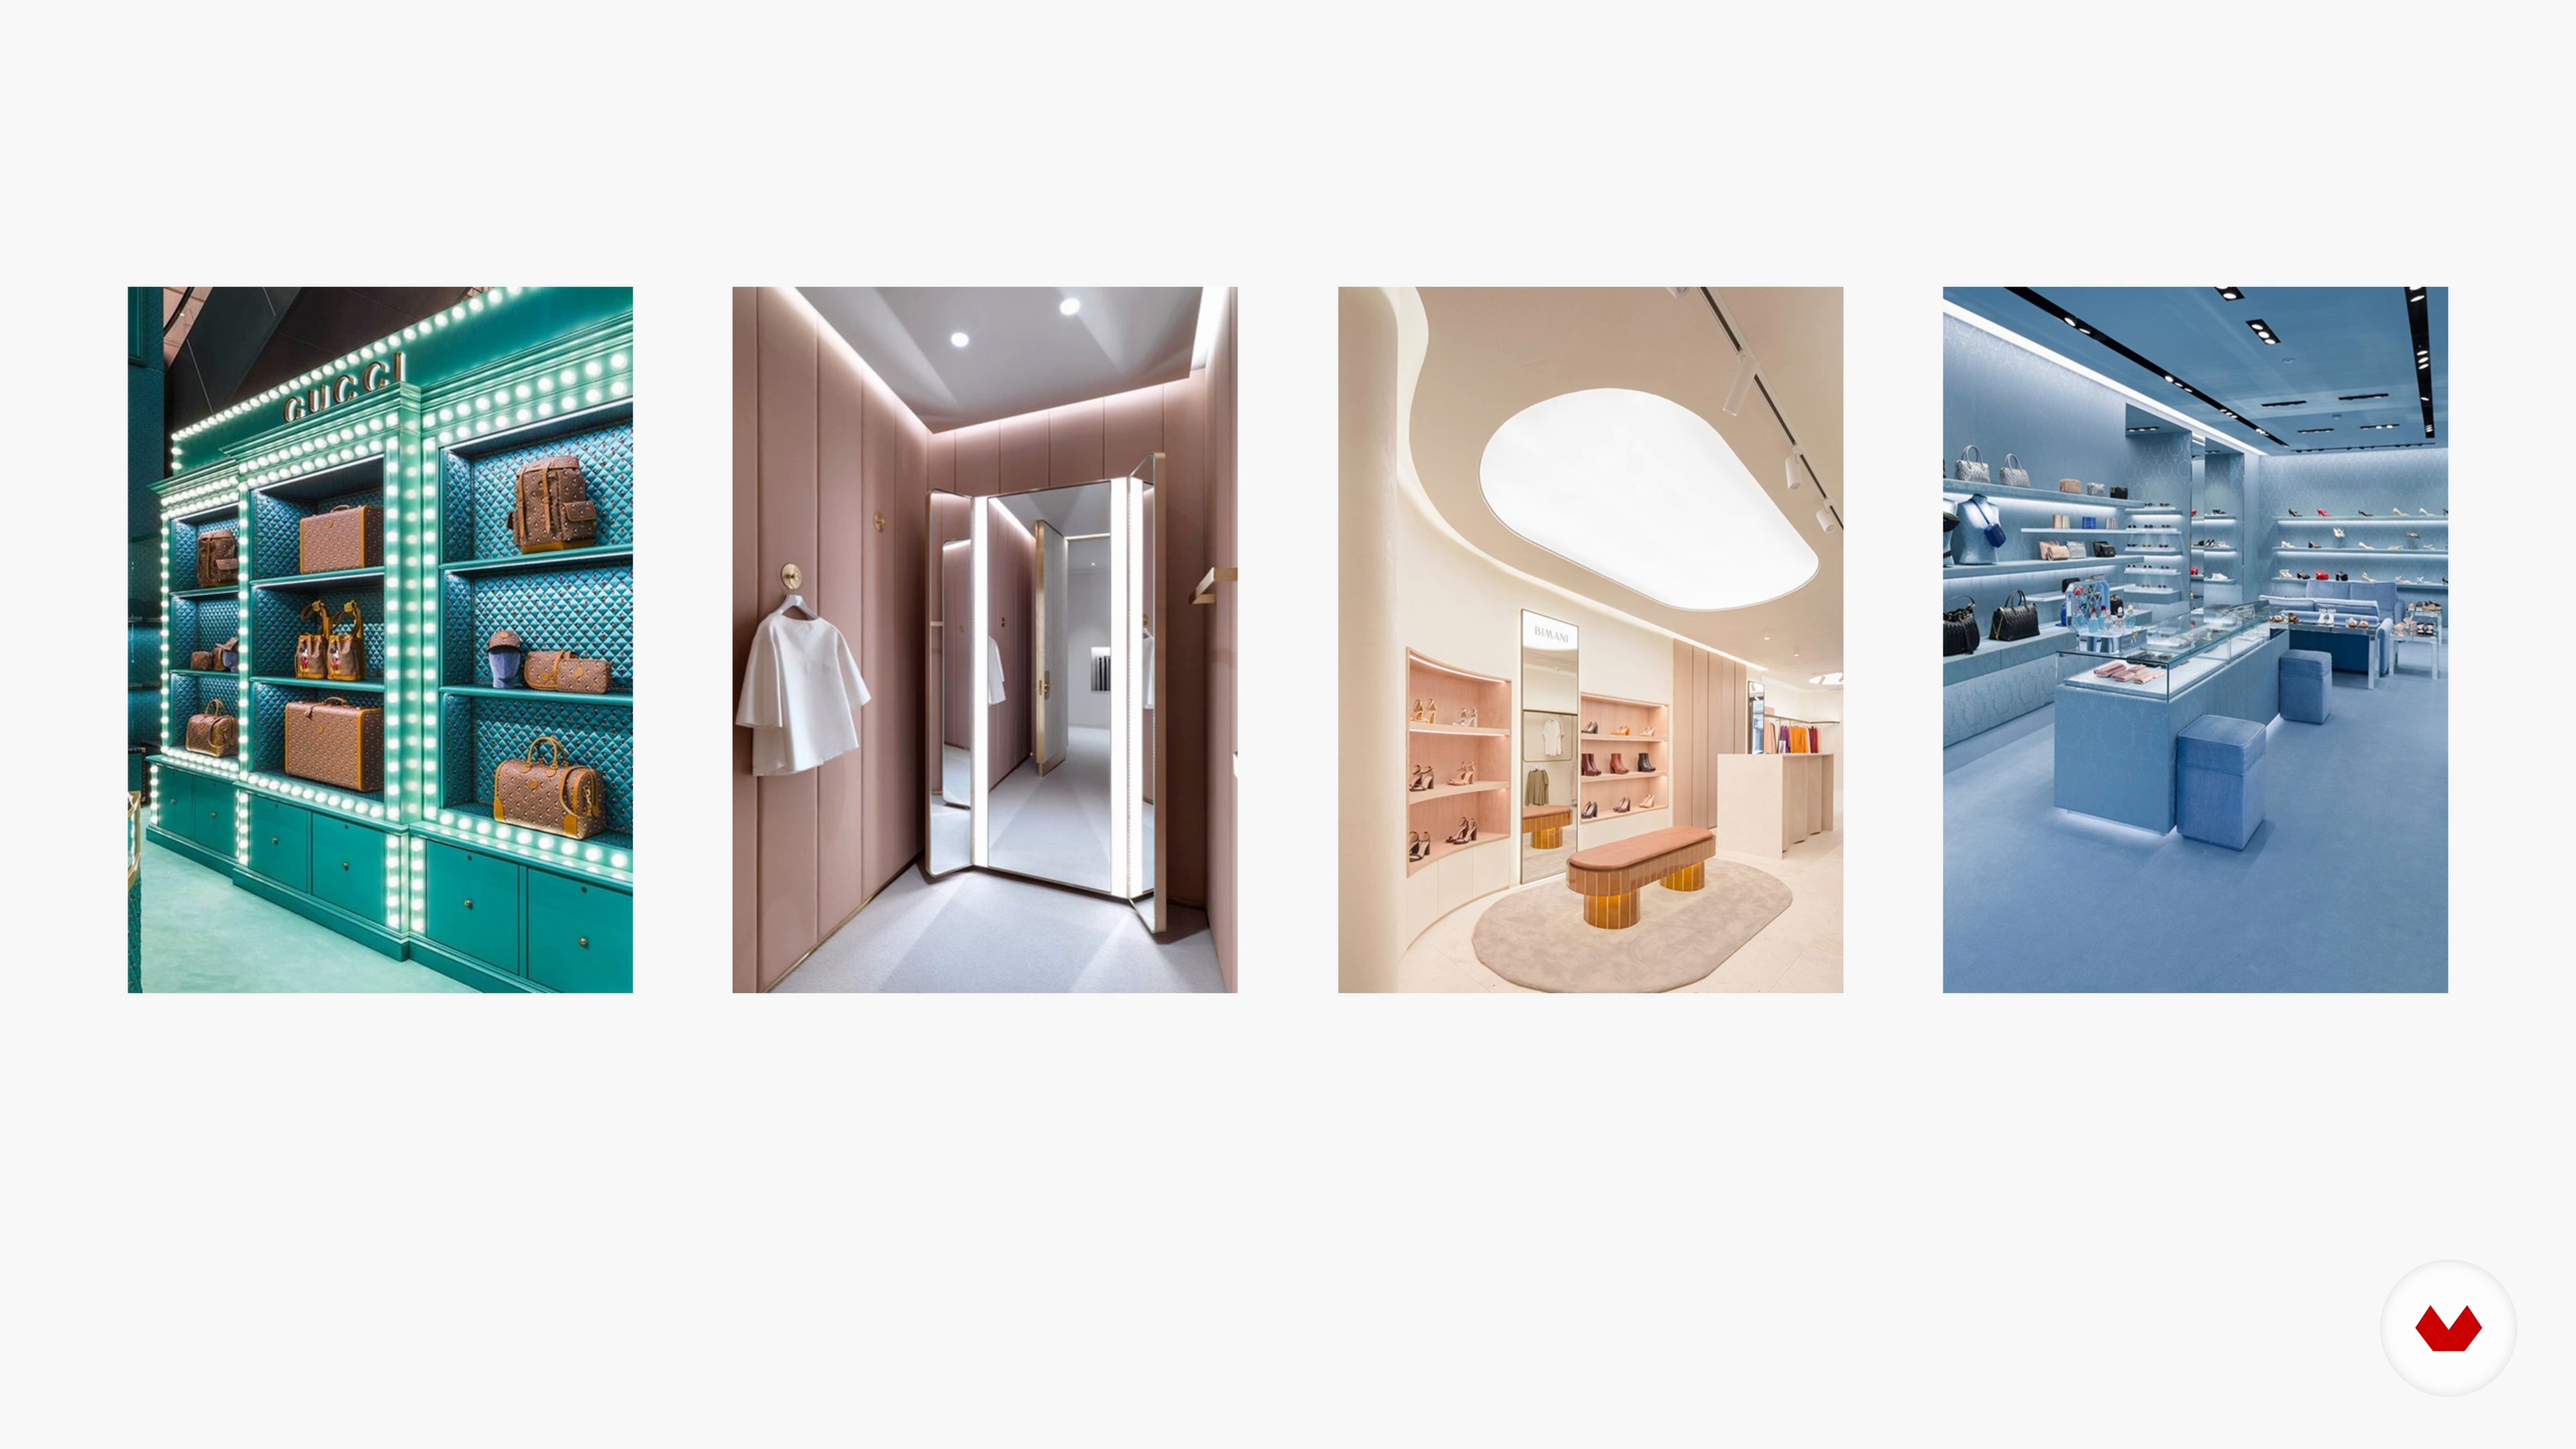
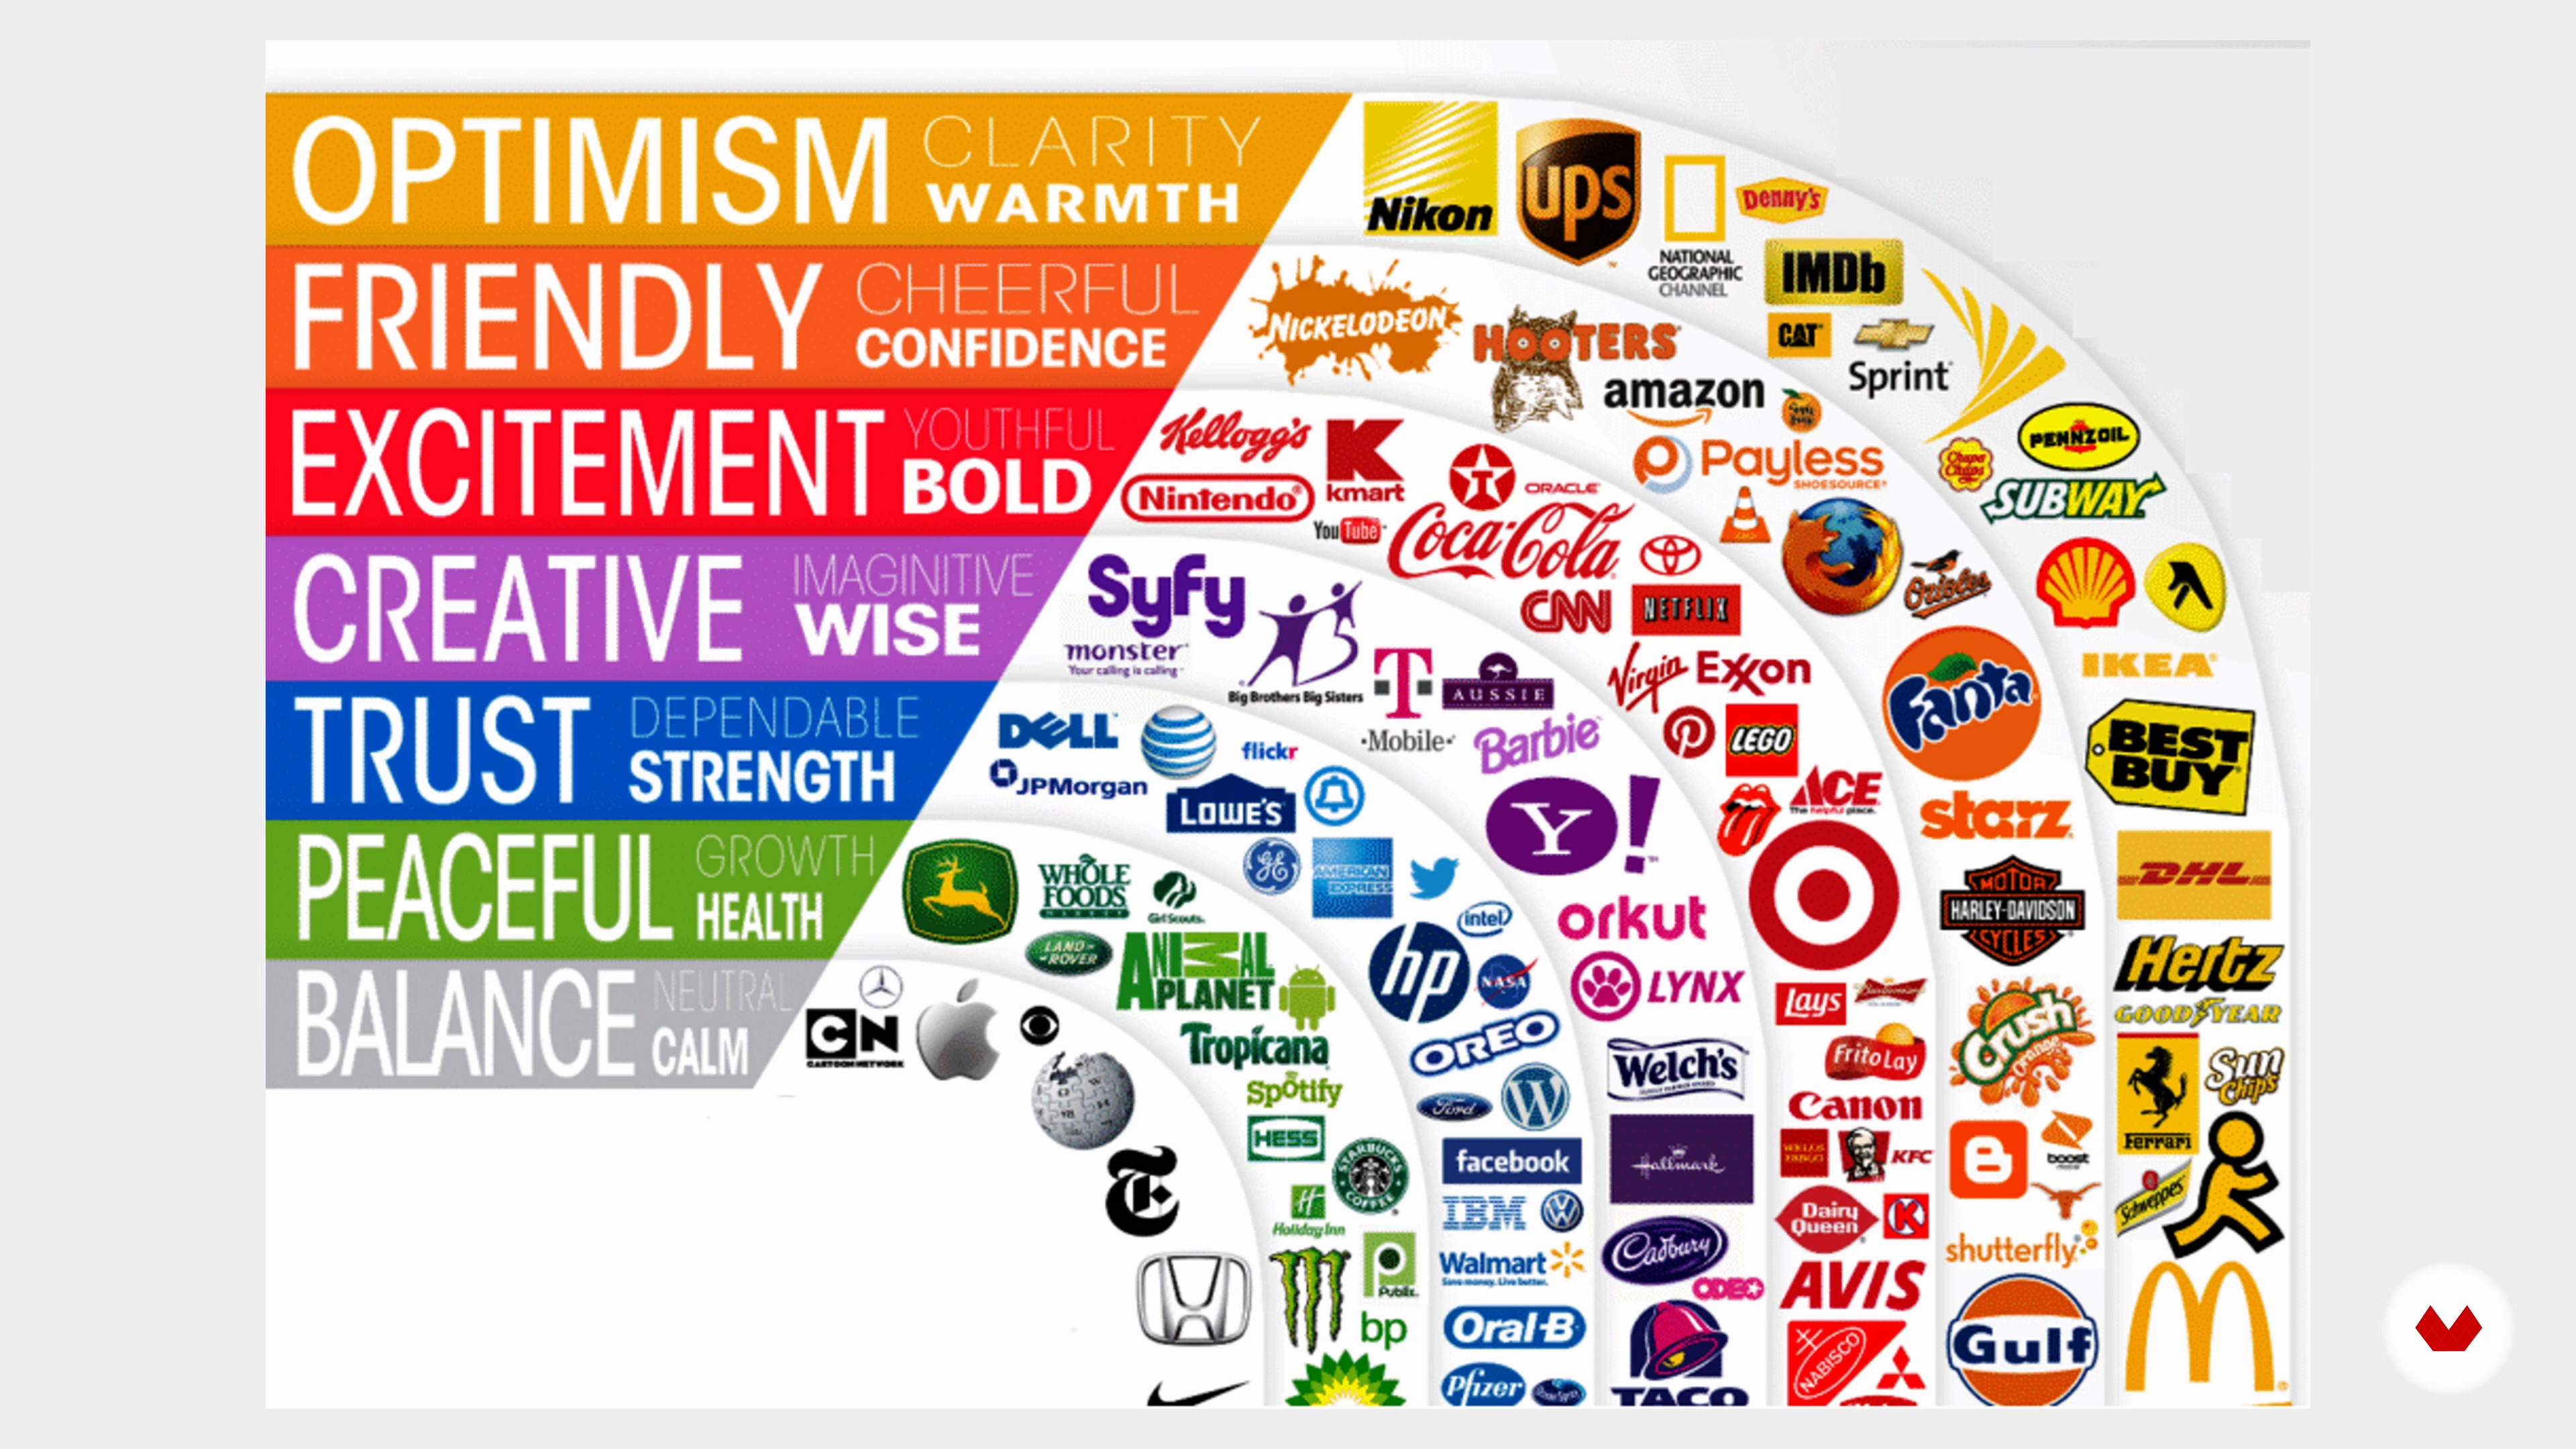
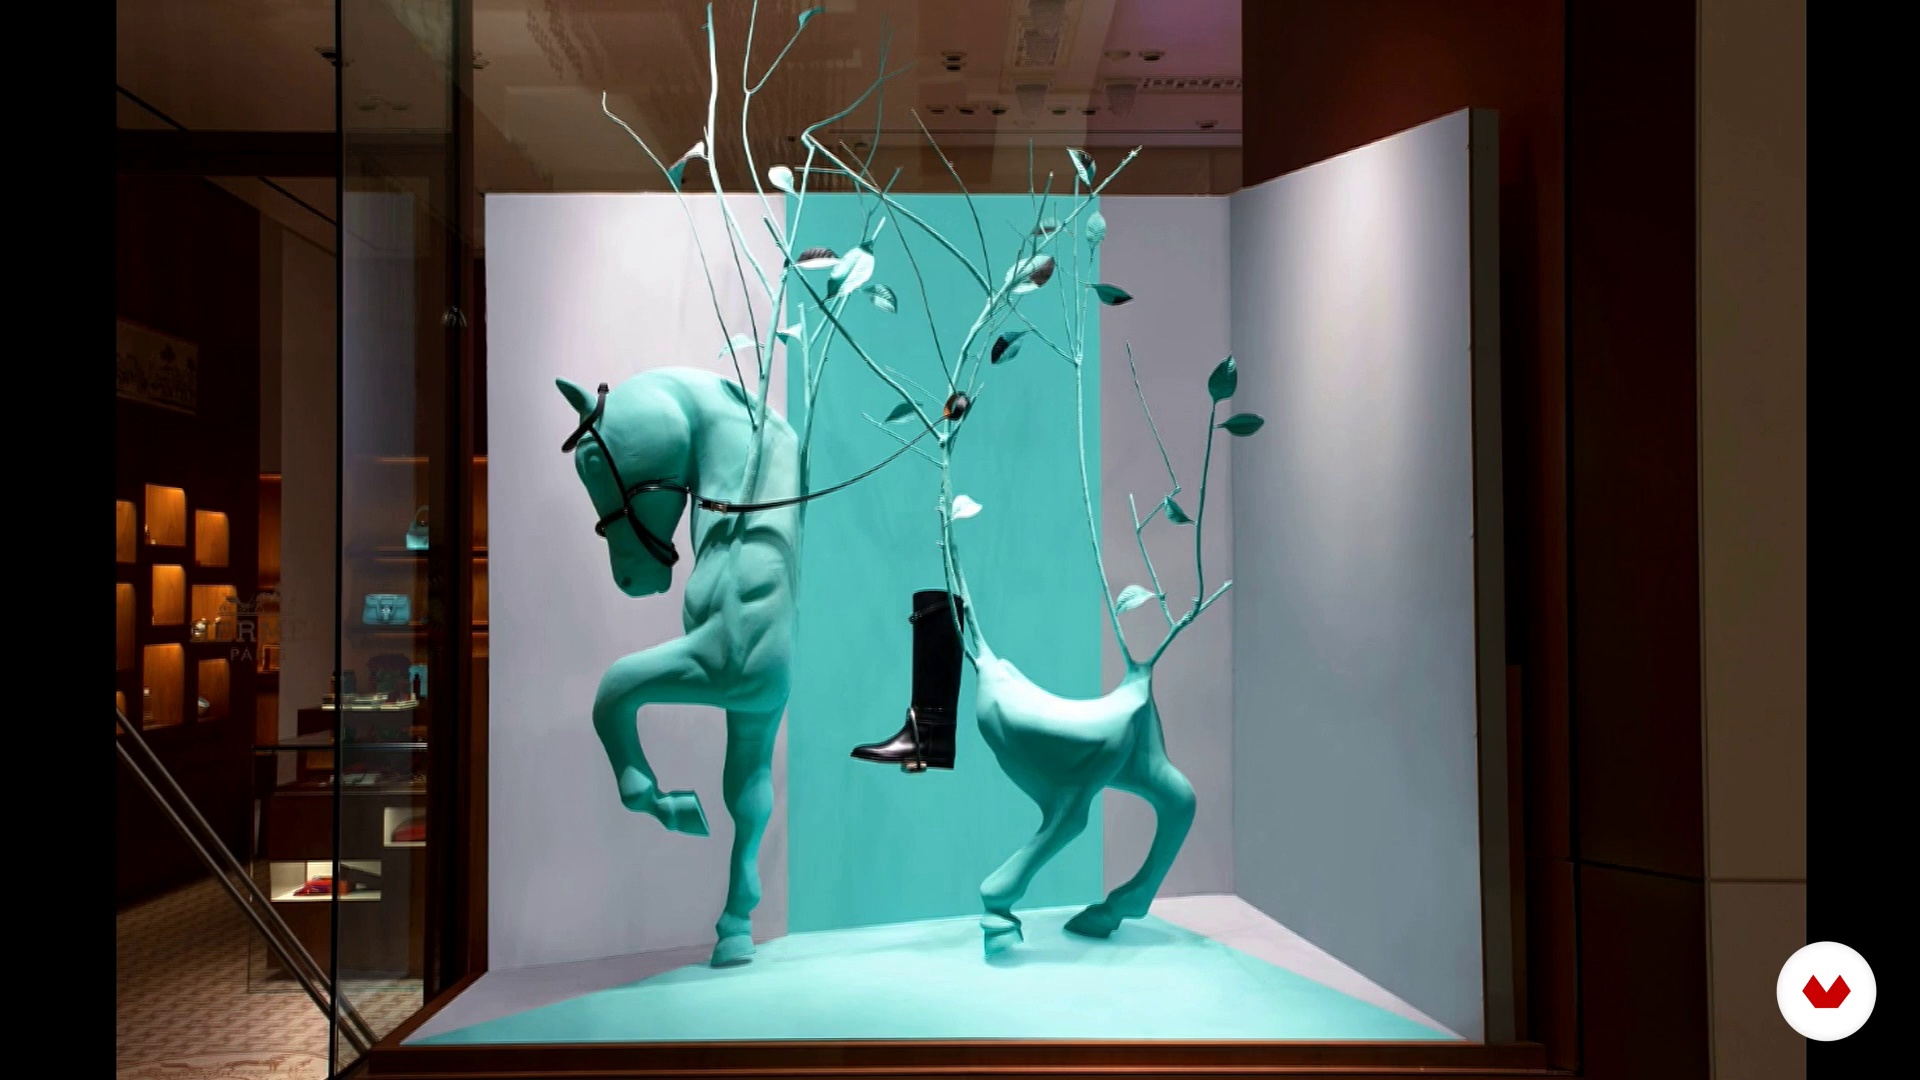
Unlock the artistry of retail spaces with an all-encompassing specialization designed to transform your creative skills. Delve into the world of retail design, from vibrant window displays to sophisticated luxury spaces. Explore the fundamentals of vitrinism, learning to craft compelling narratives that captivate customers at first glance. As you progress, expand your expertise to encompass entire commercial environments, harnessing the psychology of color and brand DNA to create immersive shopping experiences.
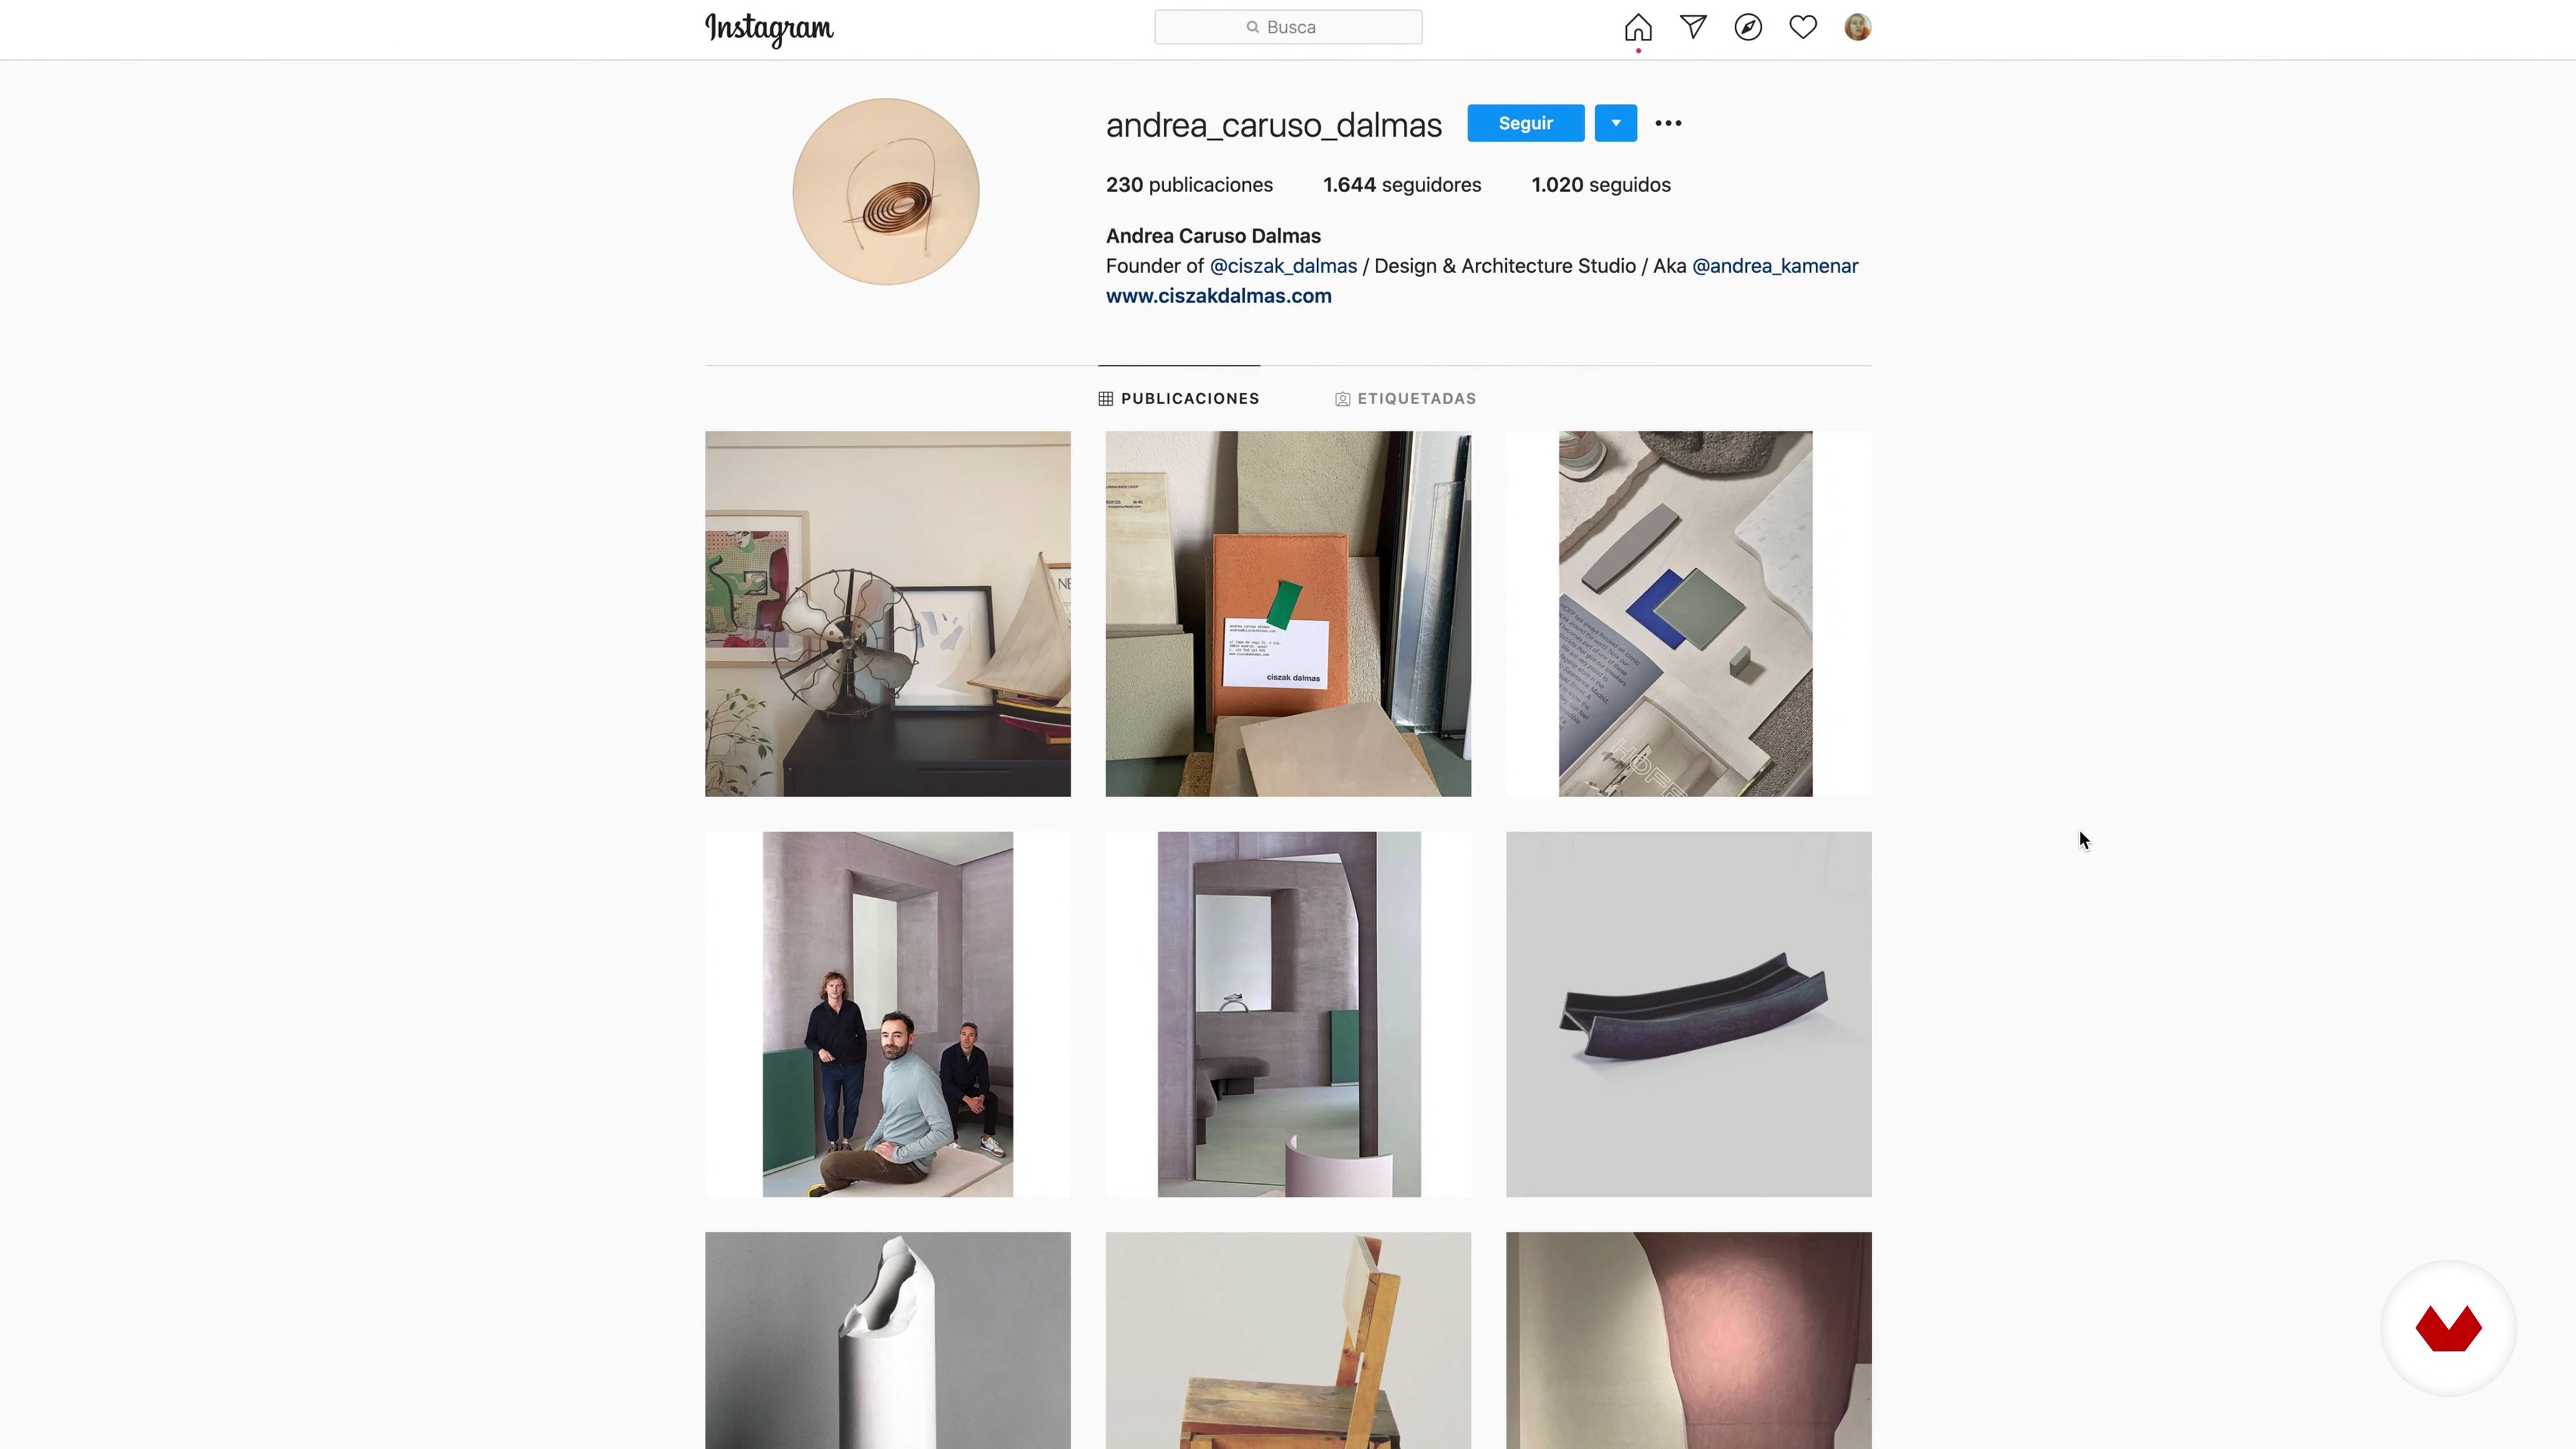
Join the journey with industry experts Kiosco Creativo, JoAnn Tan, Anna Broeng, Clap Studio, and Ciszak Dalmas Ferrari, as they guide you through a comprehensive curriculum. Master the art of visual storytelling, develop strategic material selections, and perfect the balance between aesthetics and functionality. By the end of the program, you will be equipped with the skills to design memorable retail environments that not only attract but also retain loyal customers. Embrace the opportunity to elevate your portfolio and make a lasting impact in the world of retail design.
What will you learn in this specialization?


- 100% positive reviews (1)
- 208 students
- 81 lessons (12h 1m)
- 97 additional resources (42 files)
- Online and at your own pace
- Audio: English, German, Spanish, Italian, Portuguese
- English · Spanish · Portuguese · German · Italian
- Level: Beginner
- Unlimited access forever
What is this course's project?
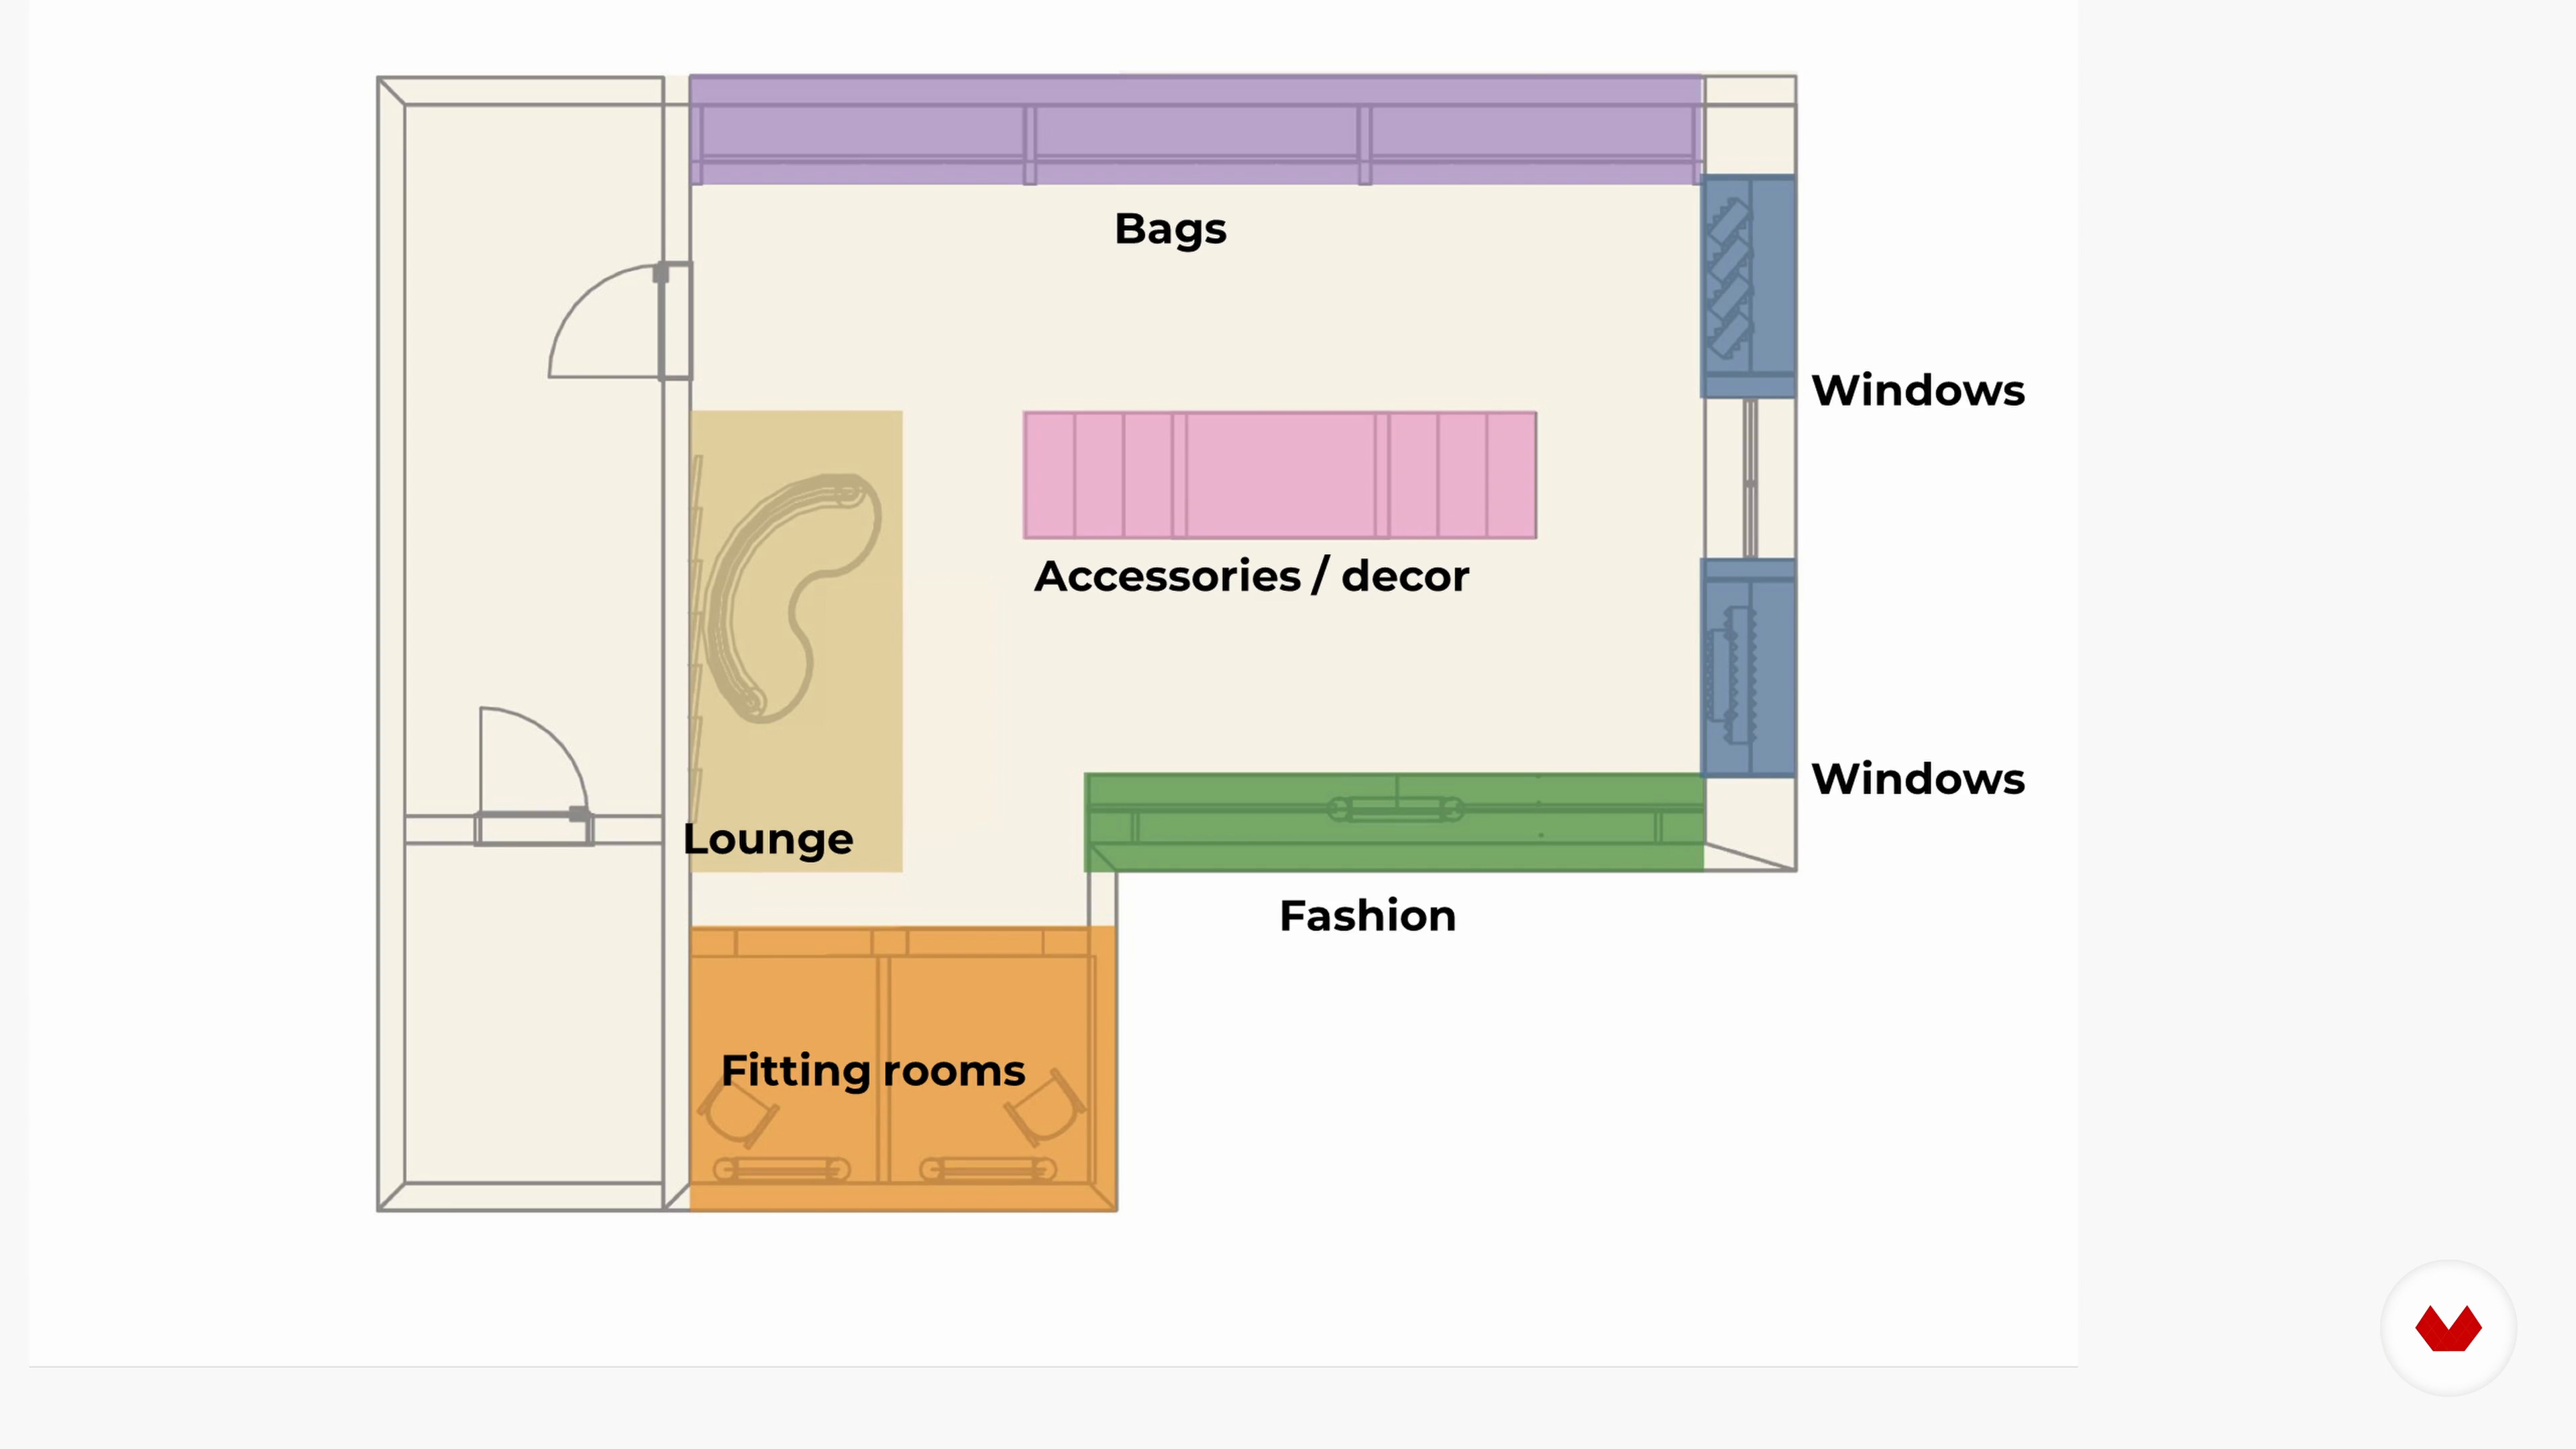
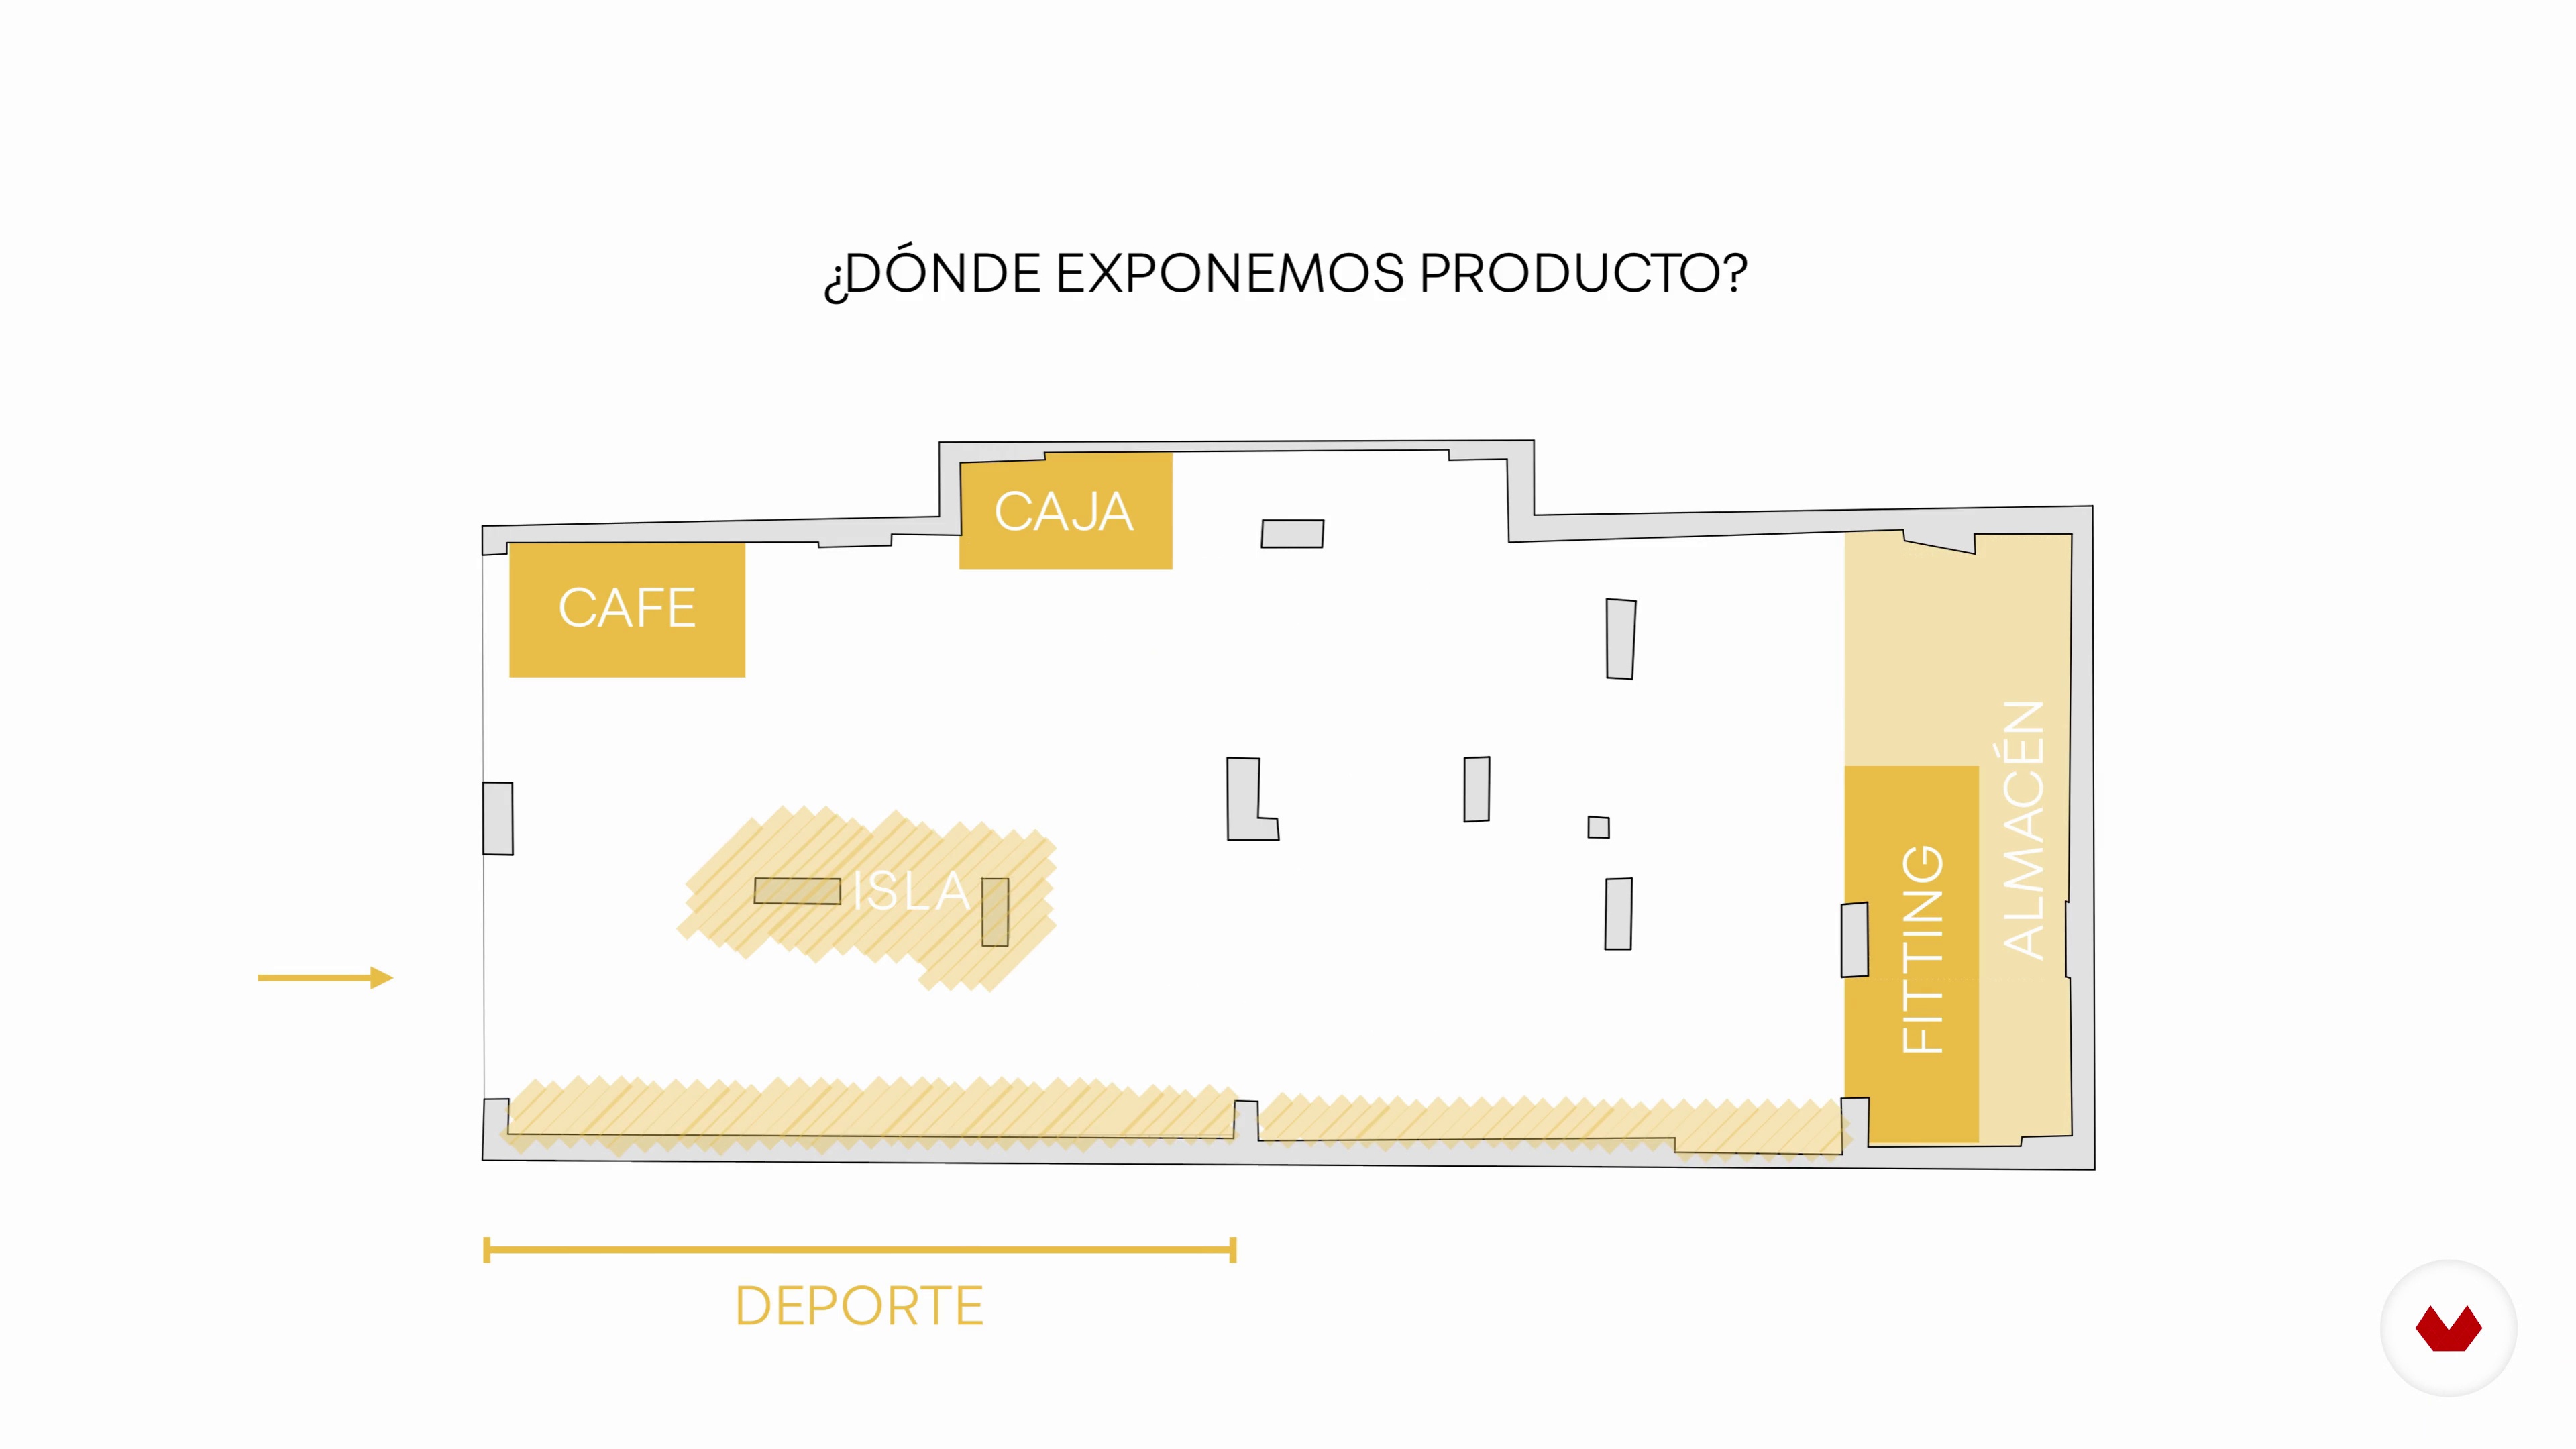
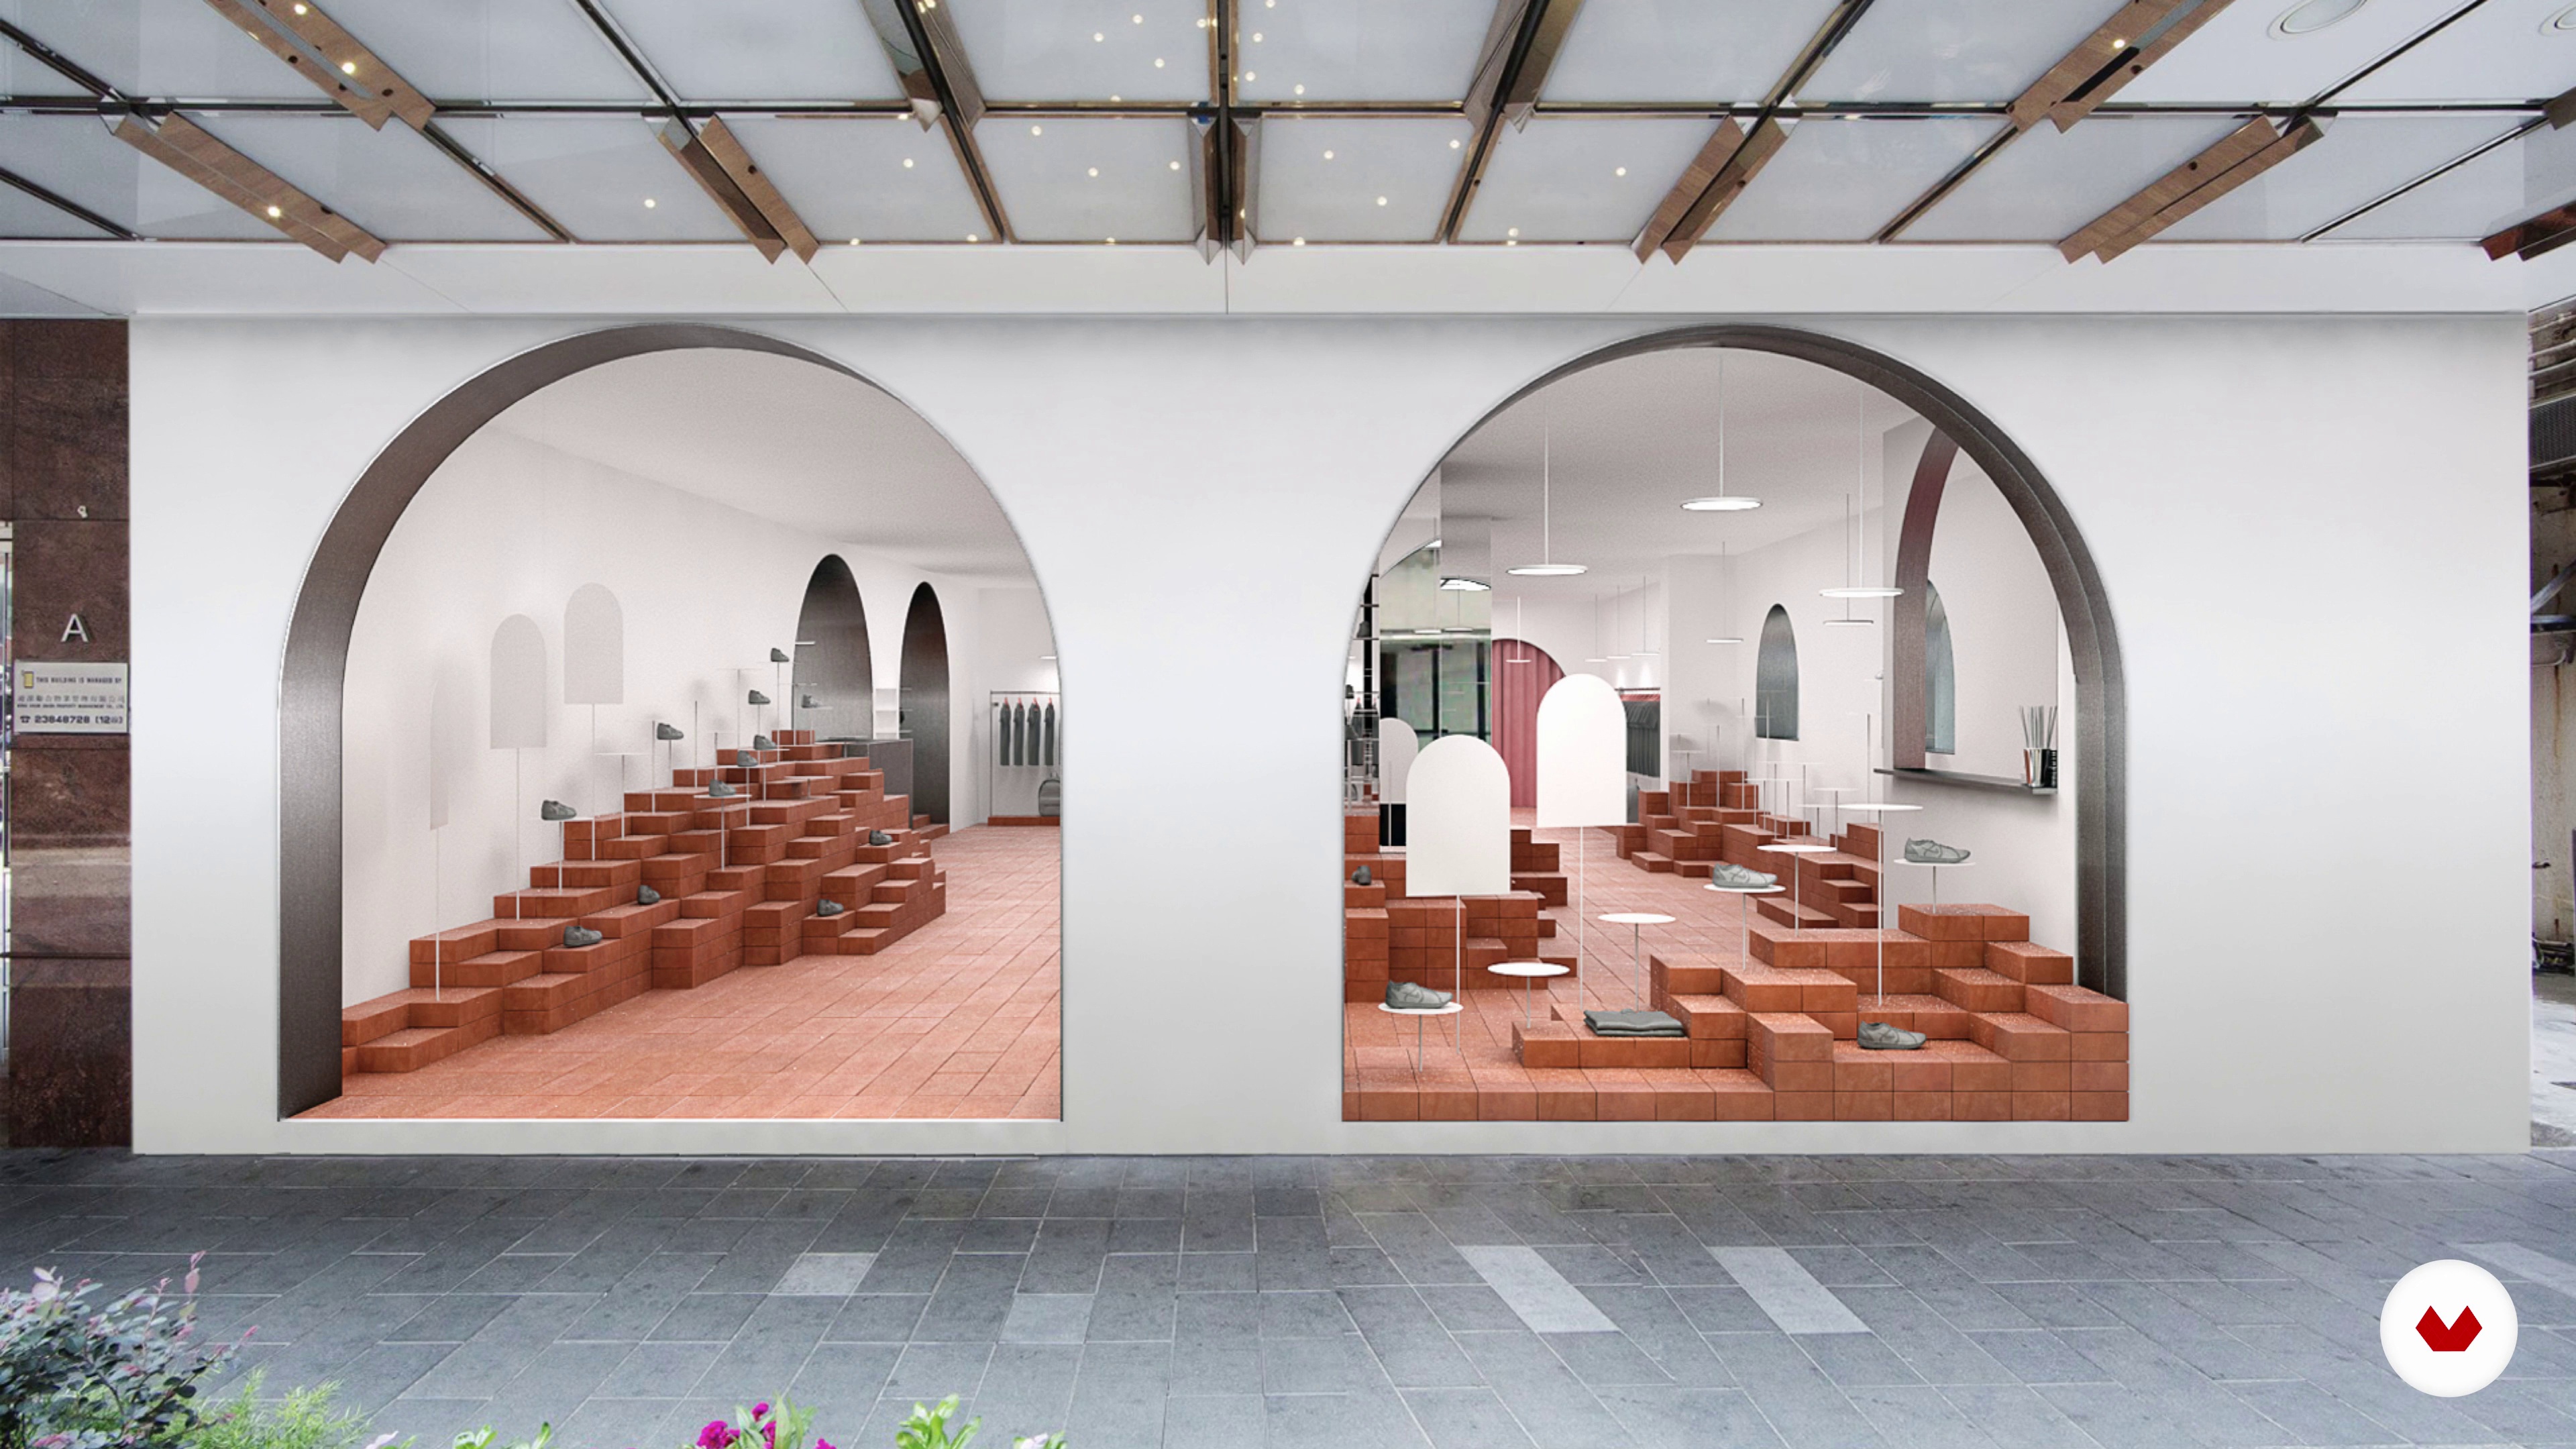
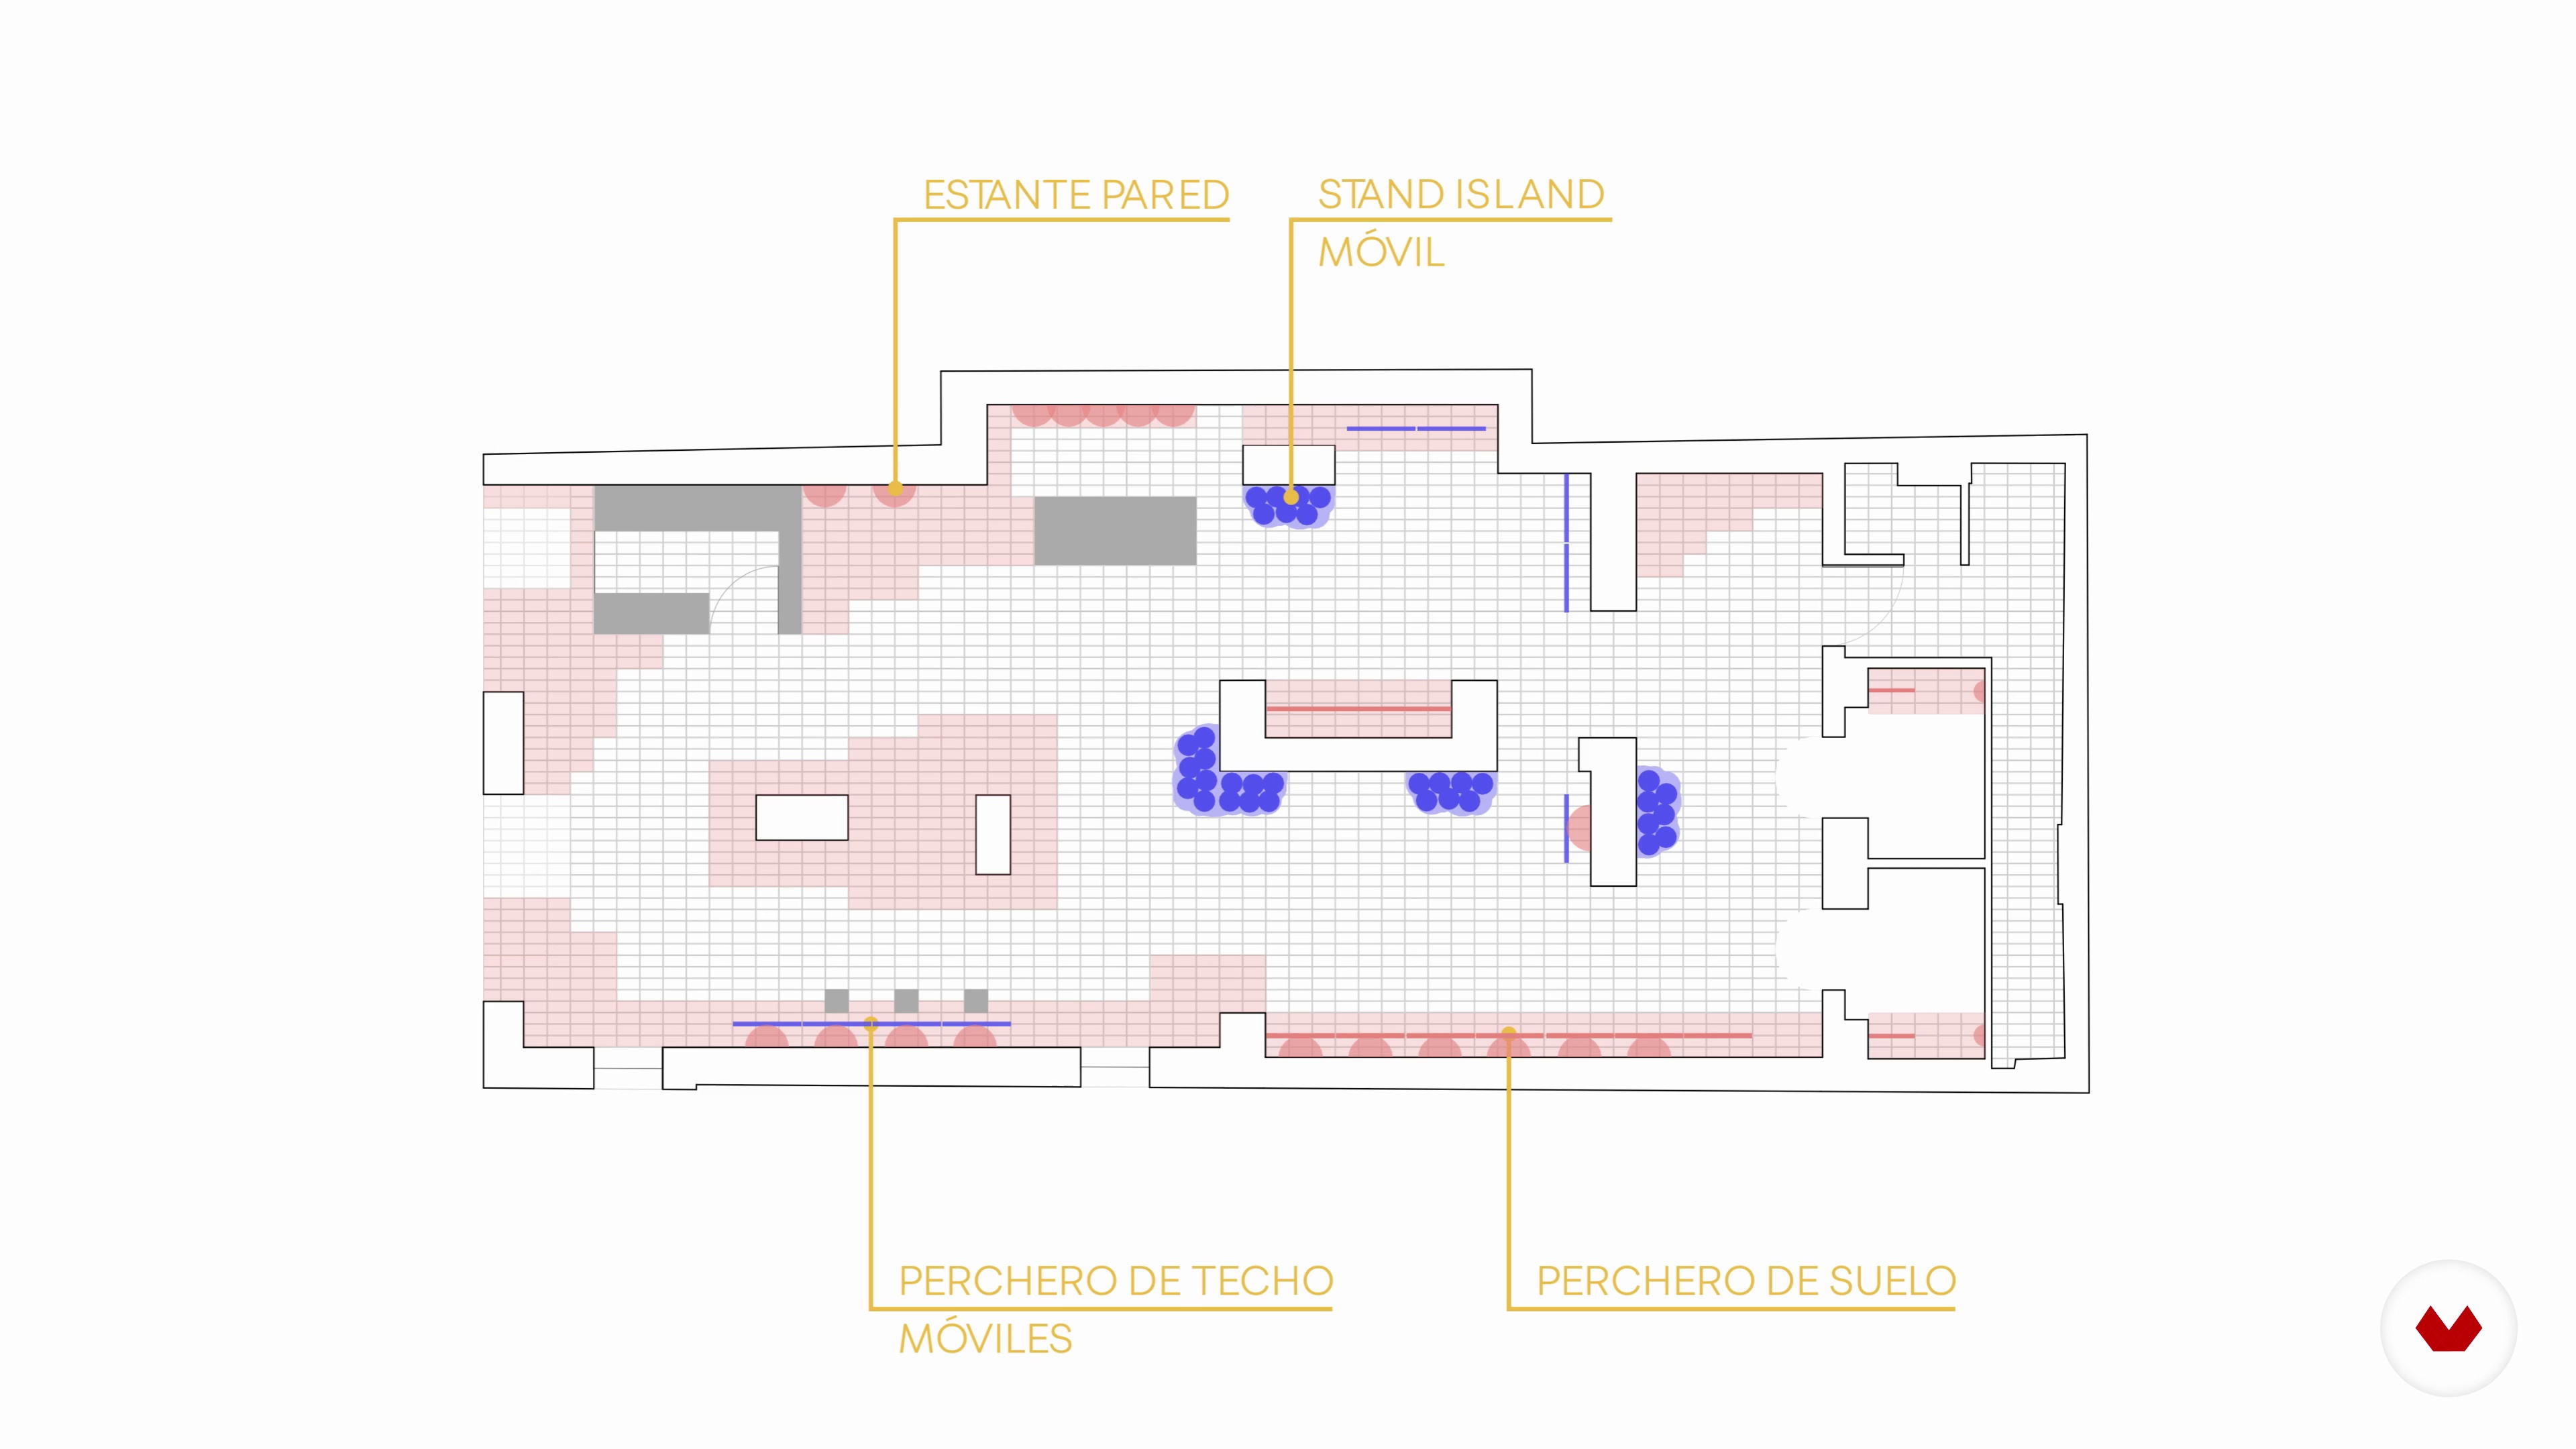
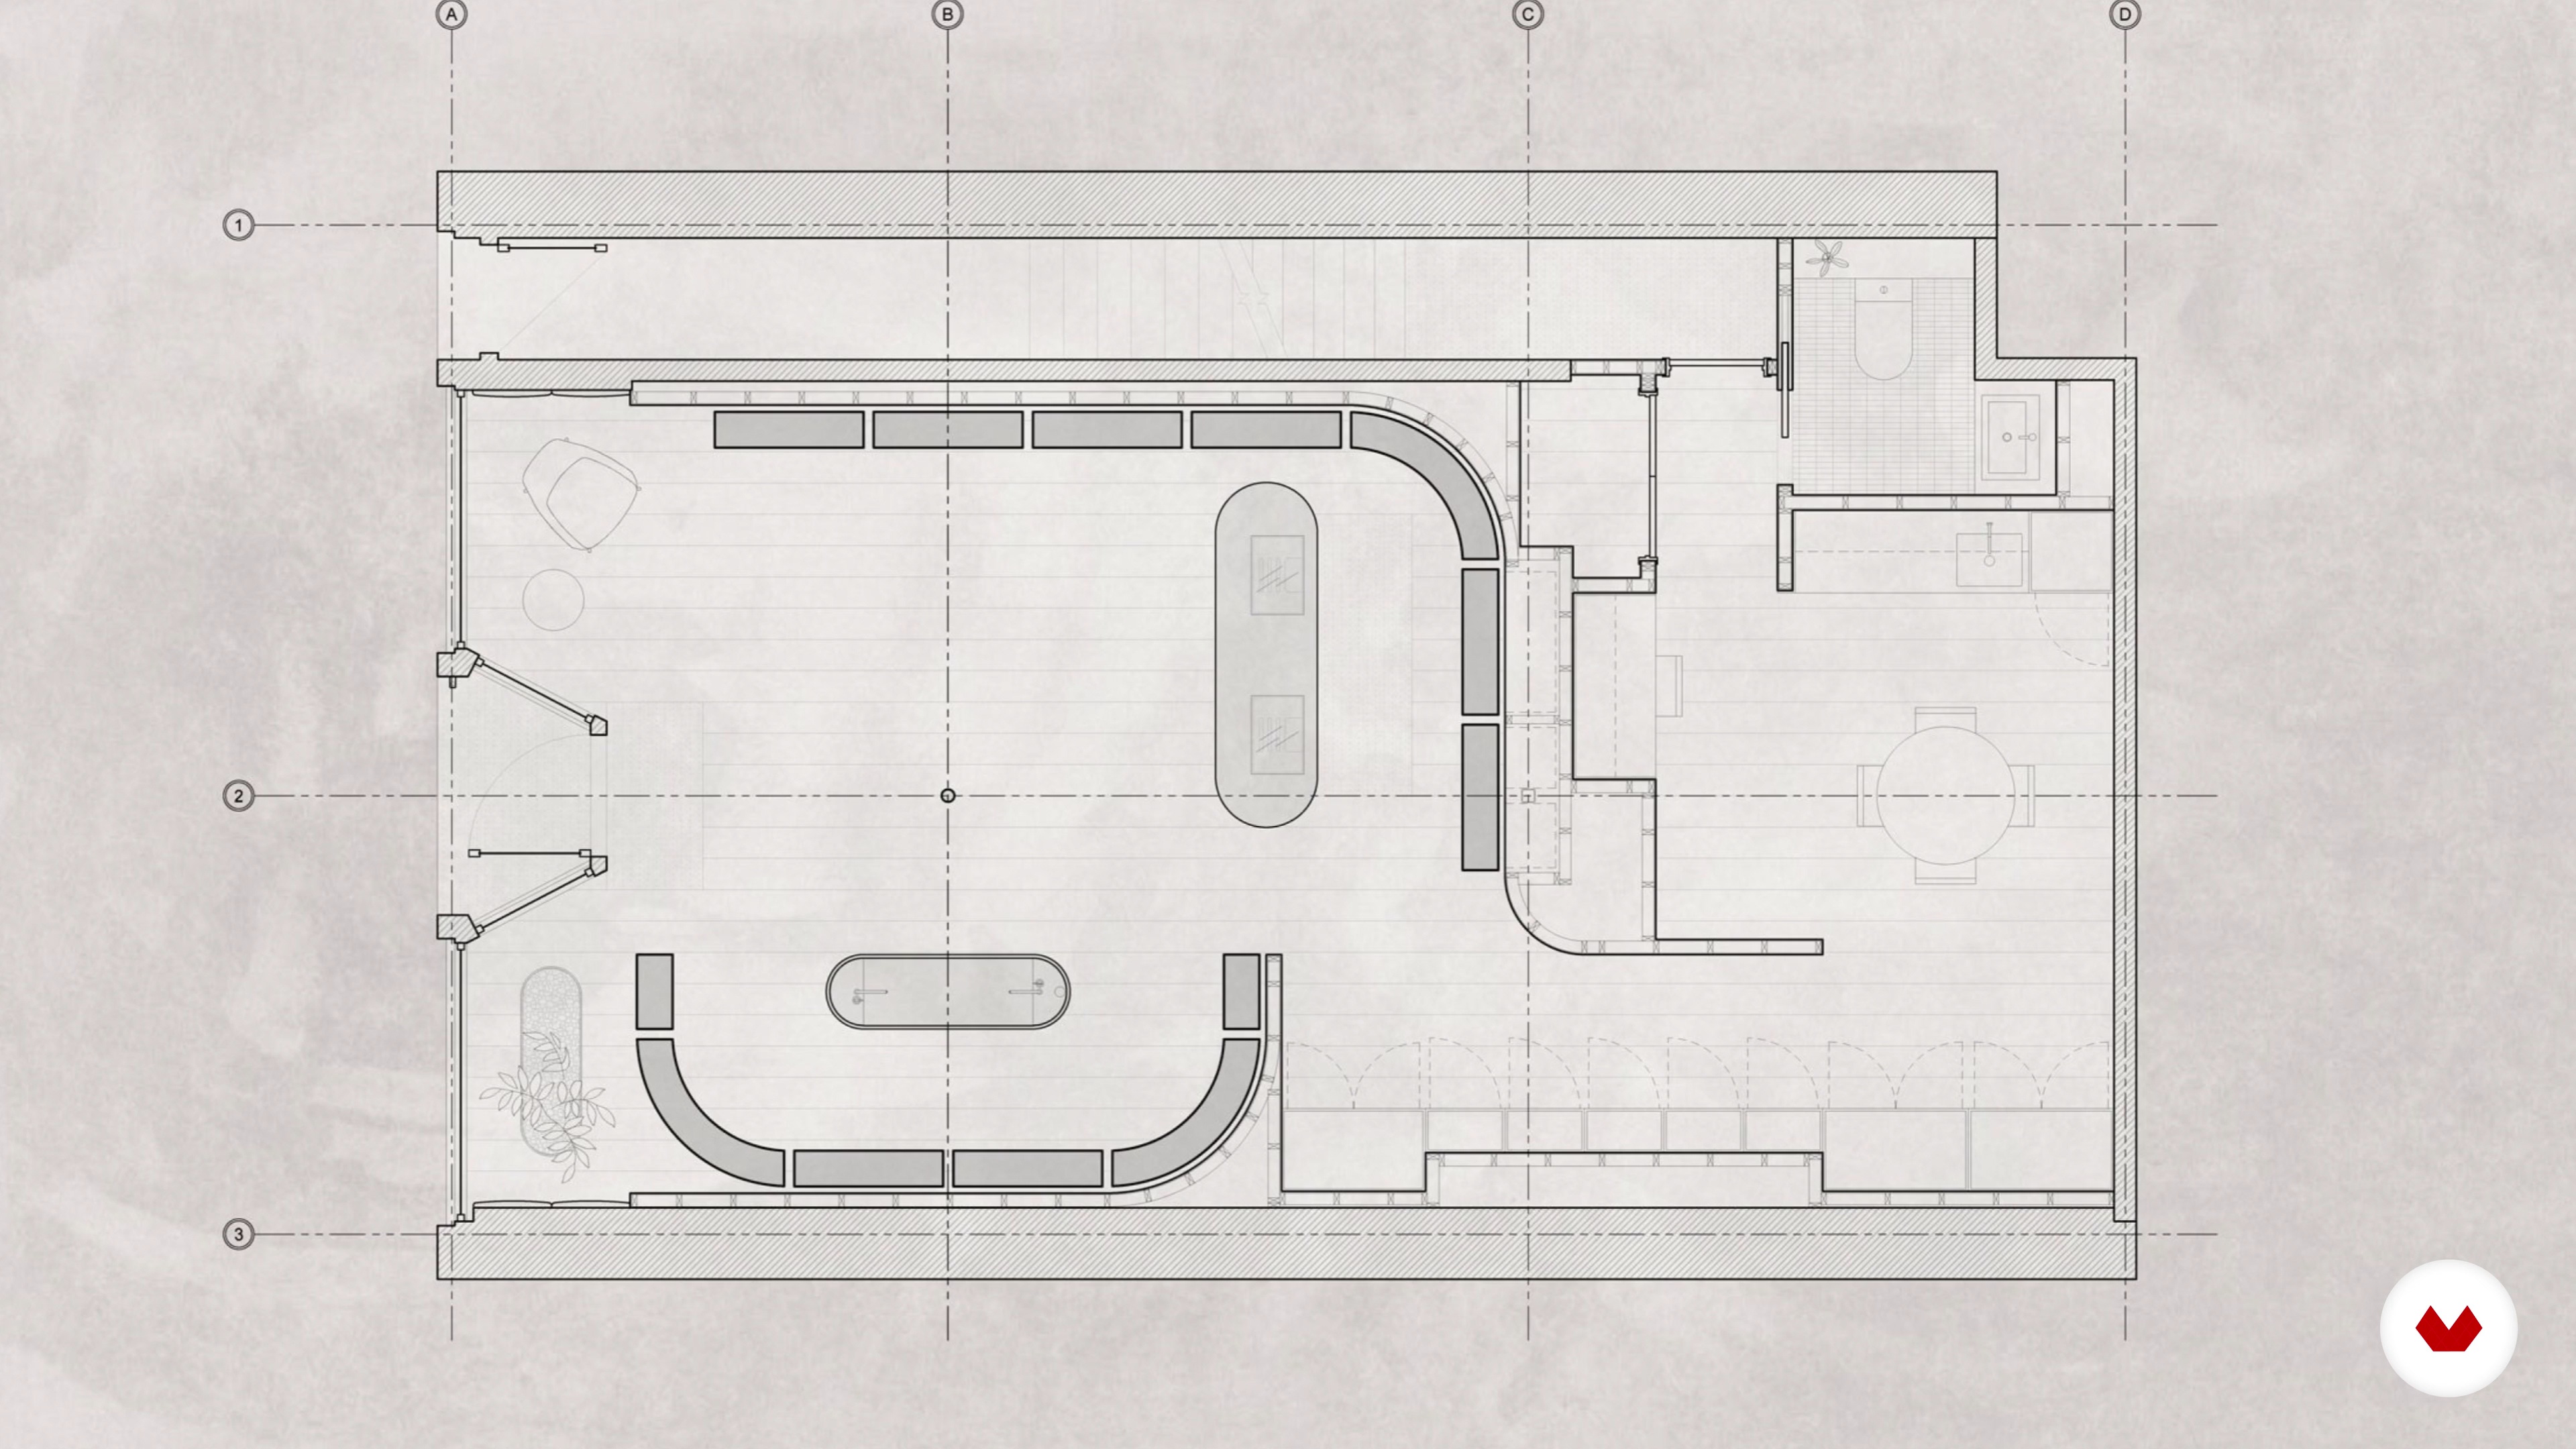
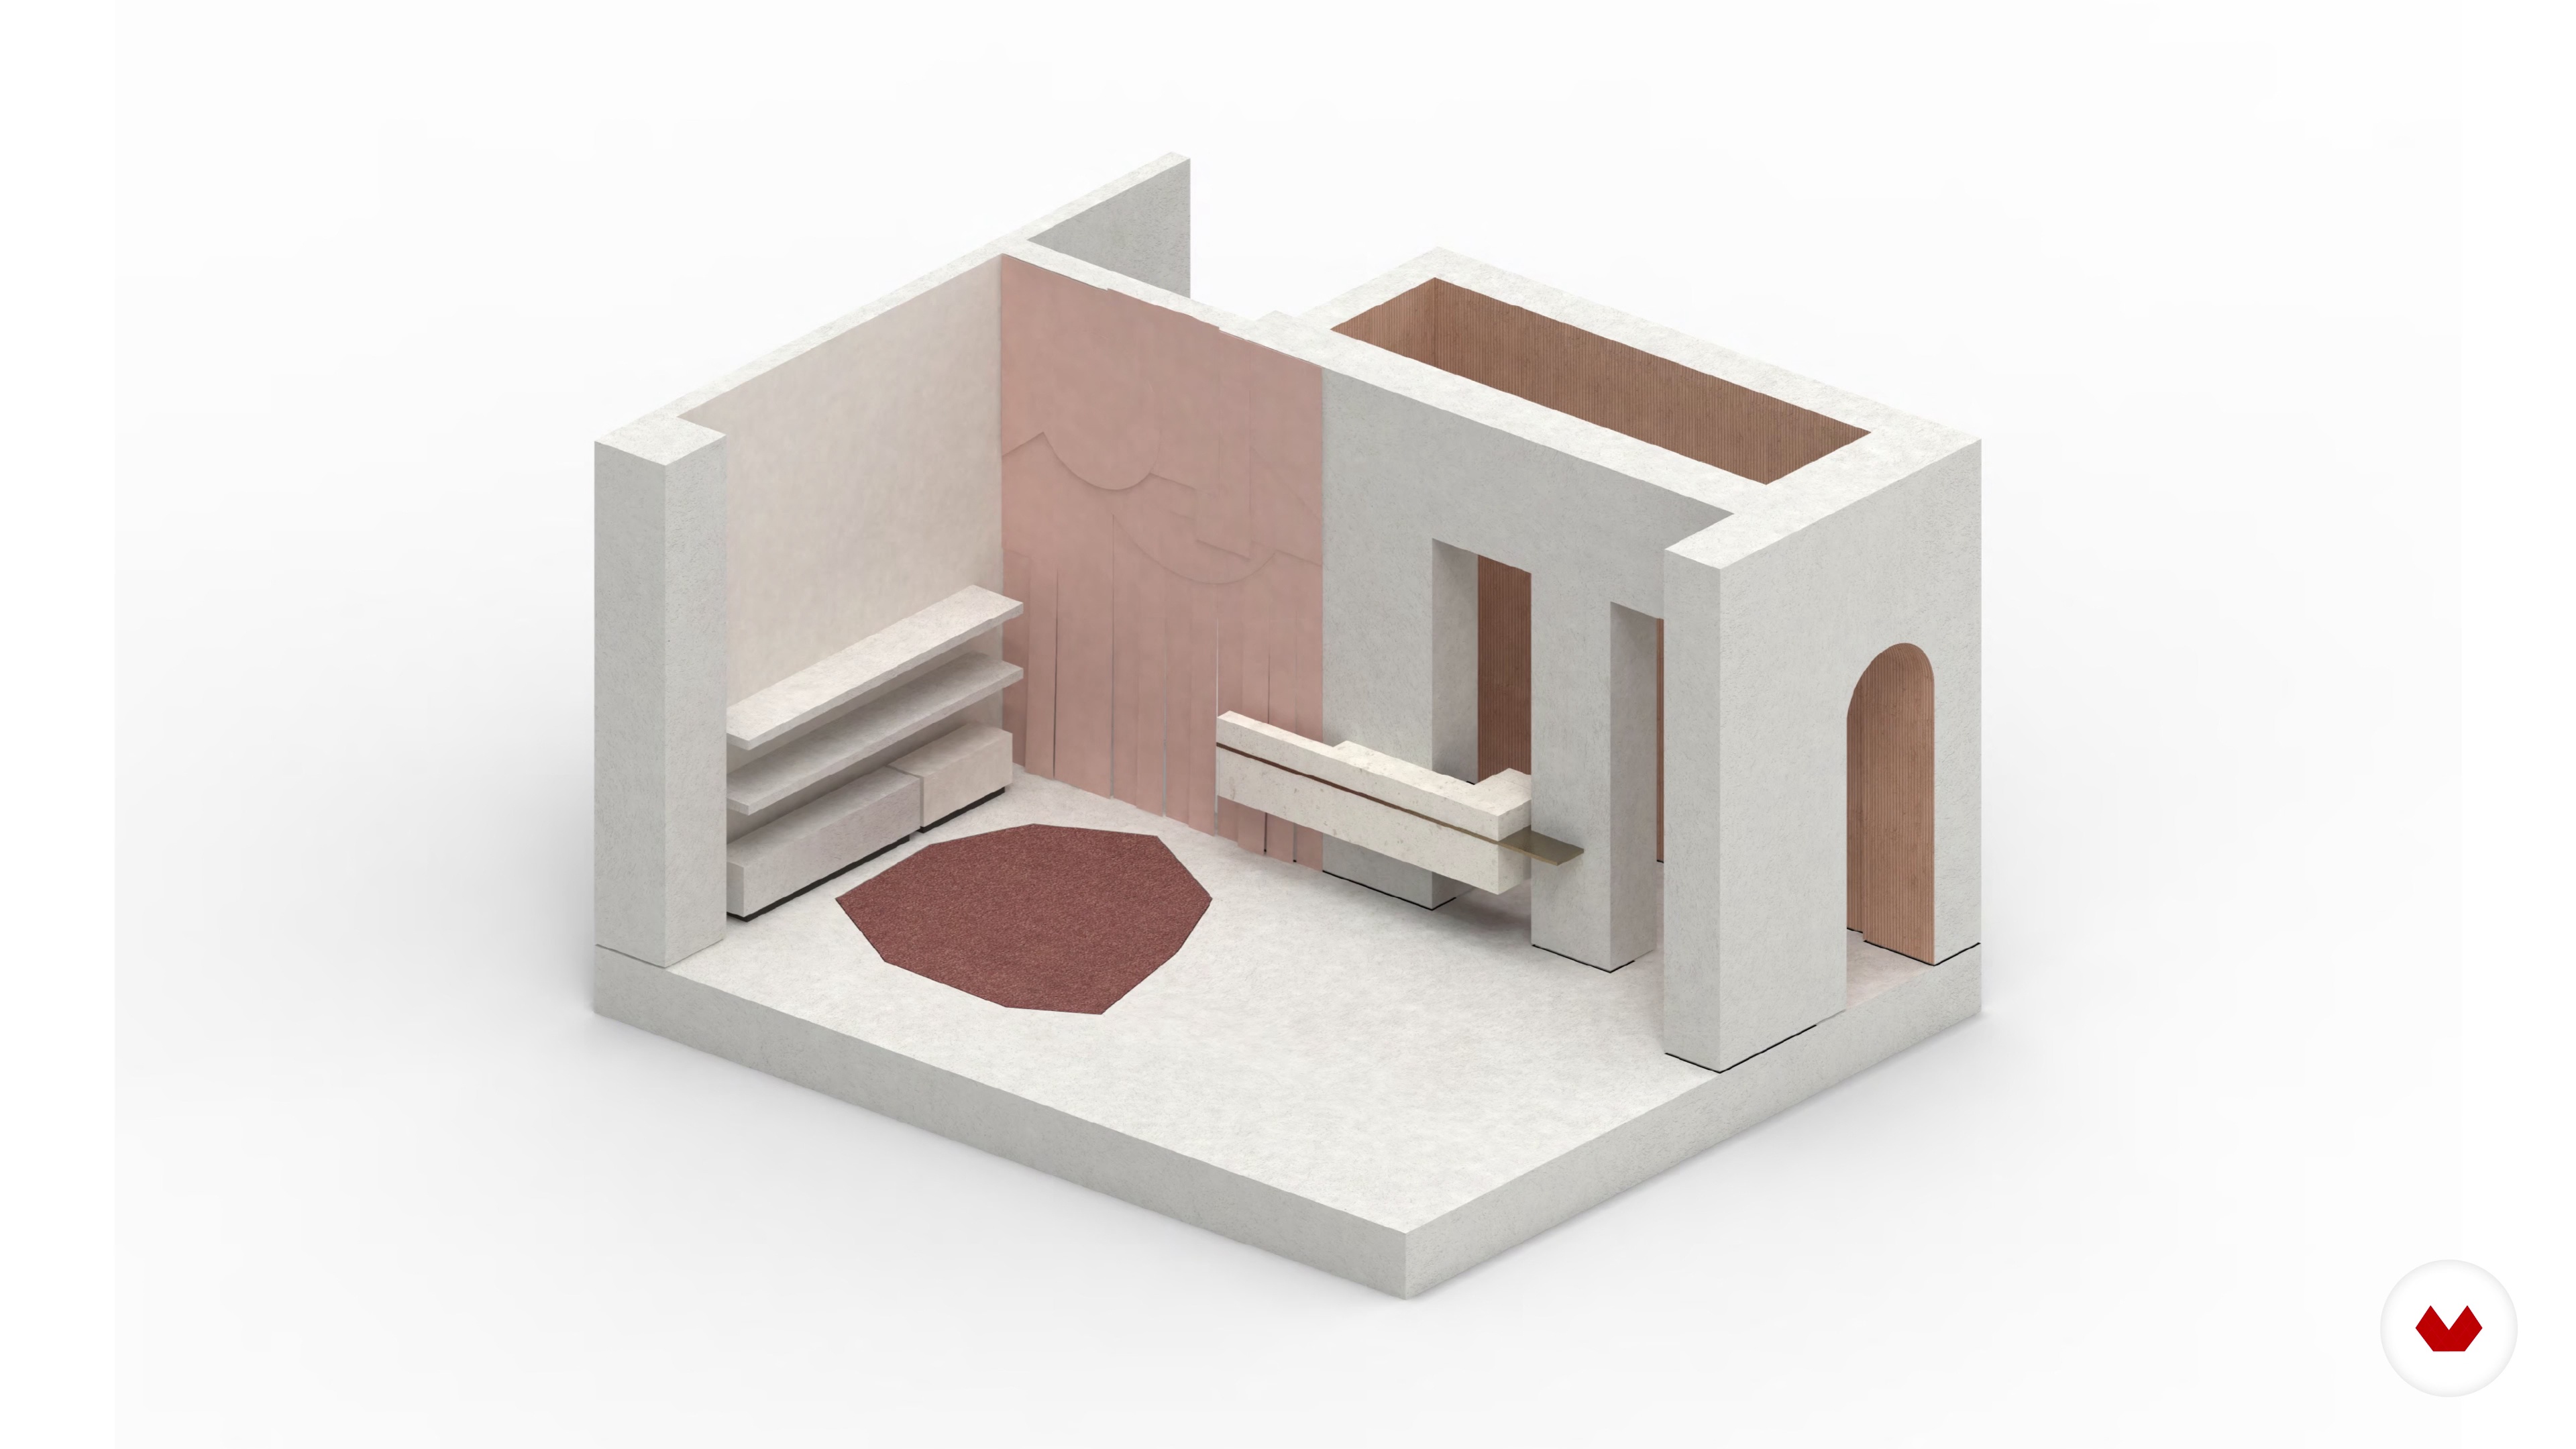
Create an innovative retail design concept applied to a 160m² commercial space. Develop planimetry, graphical representation, and a professional presentation, integrating unique shopping experiences that align with brand identity, customer journey, and strategic use of materials.
Who is this specialization for?
Creatives and designers eager to master retail design will find this course ideal. It's tailor-made for interior designers, architects, visual merchandisers, art directors, entrepreneurs, and marketing professionals aiming to craft memorable commercial spaces that captivate and engage audiences.
Requirements and materials
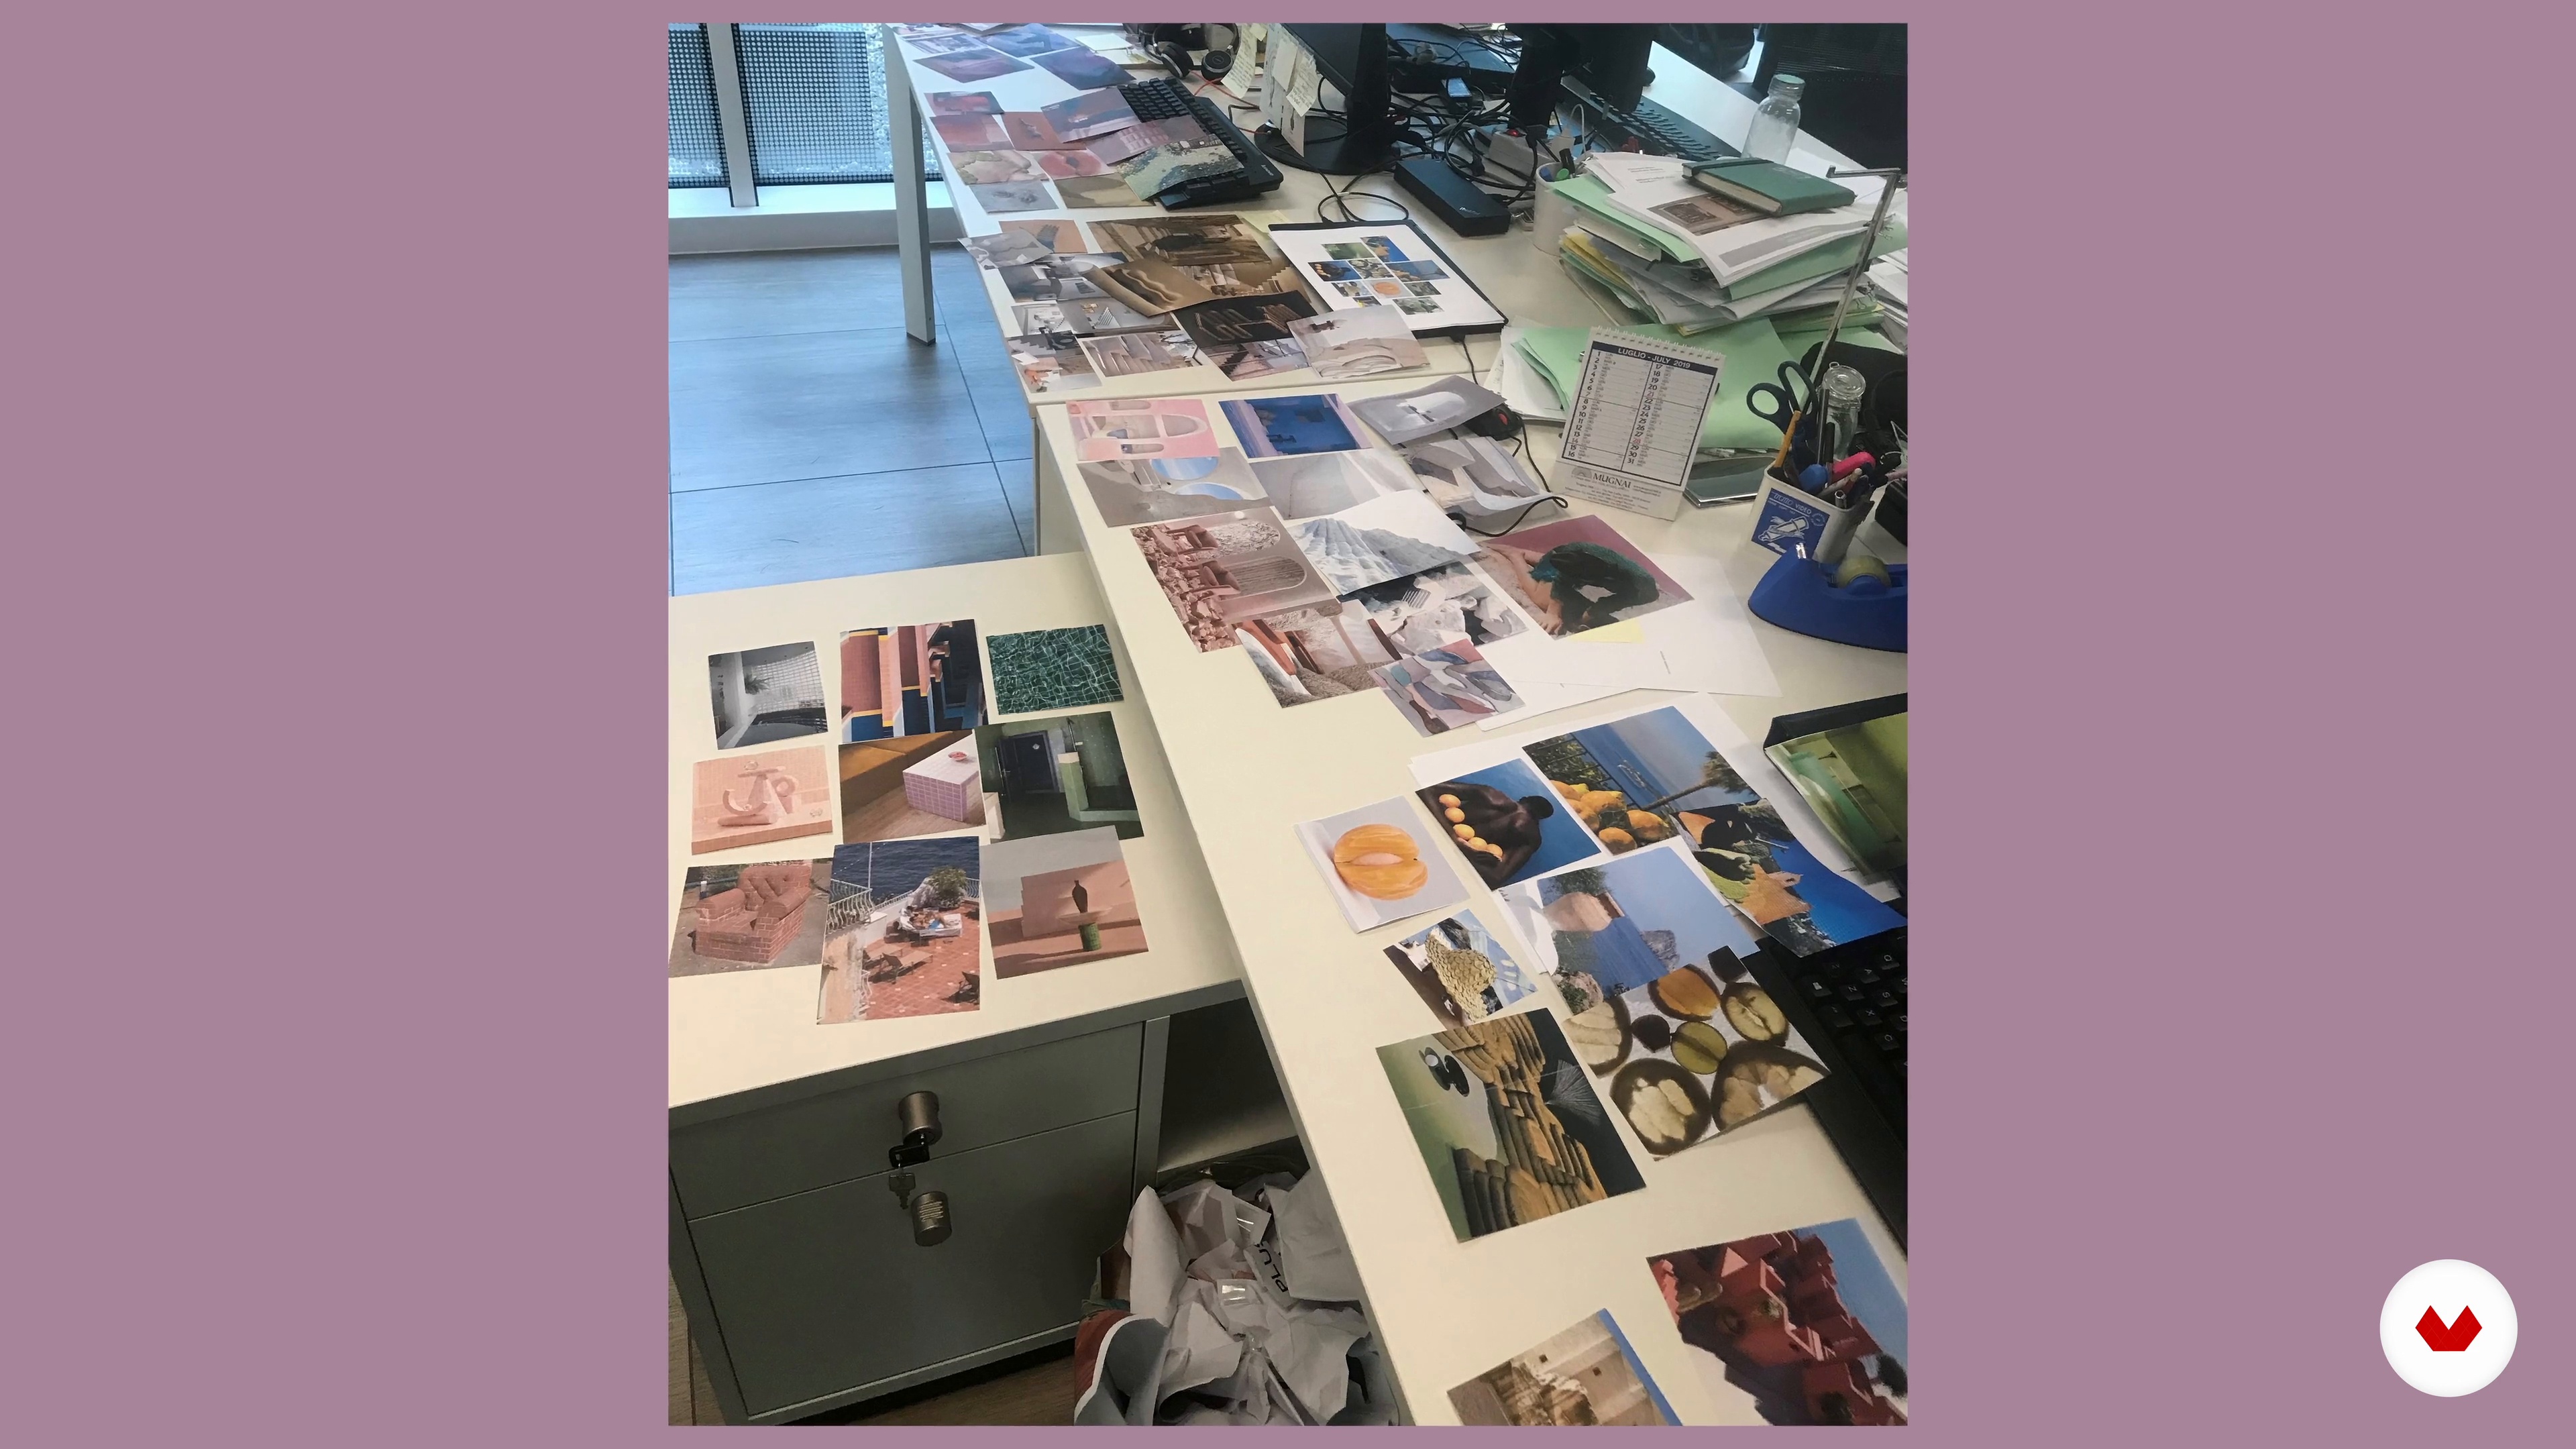
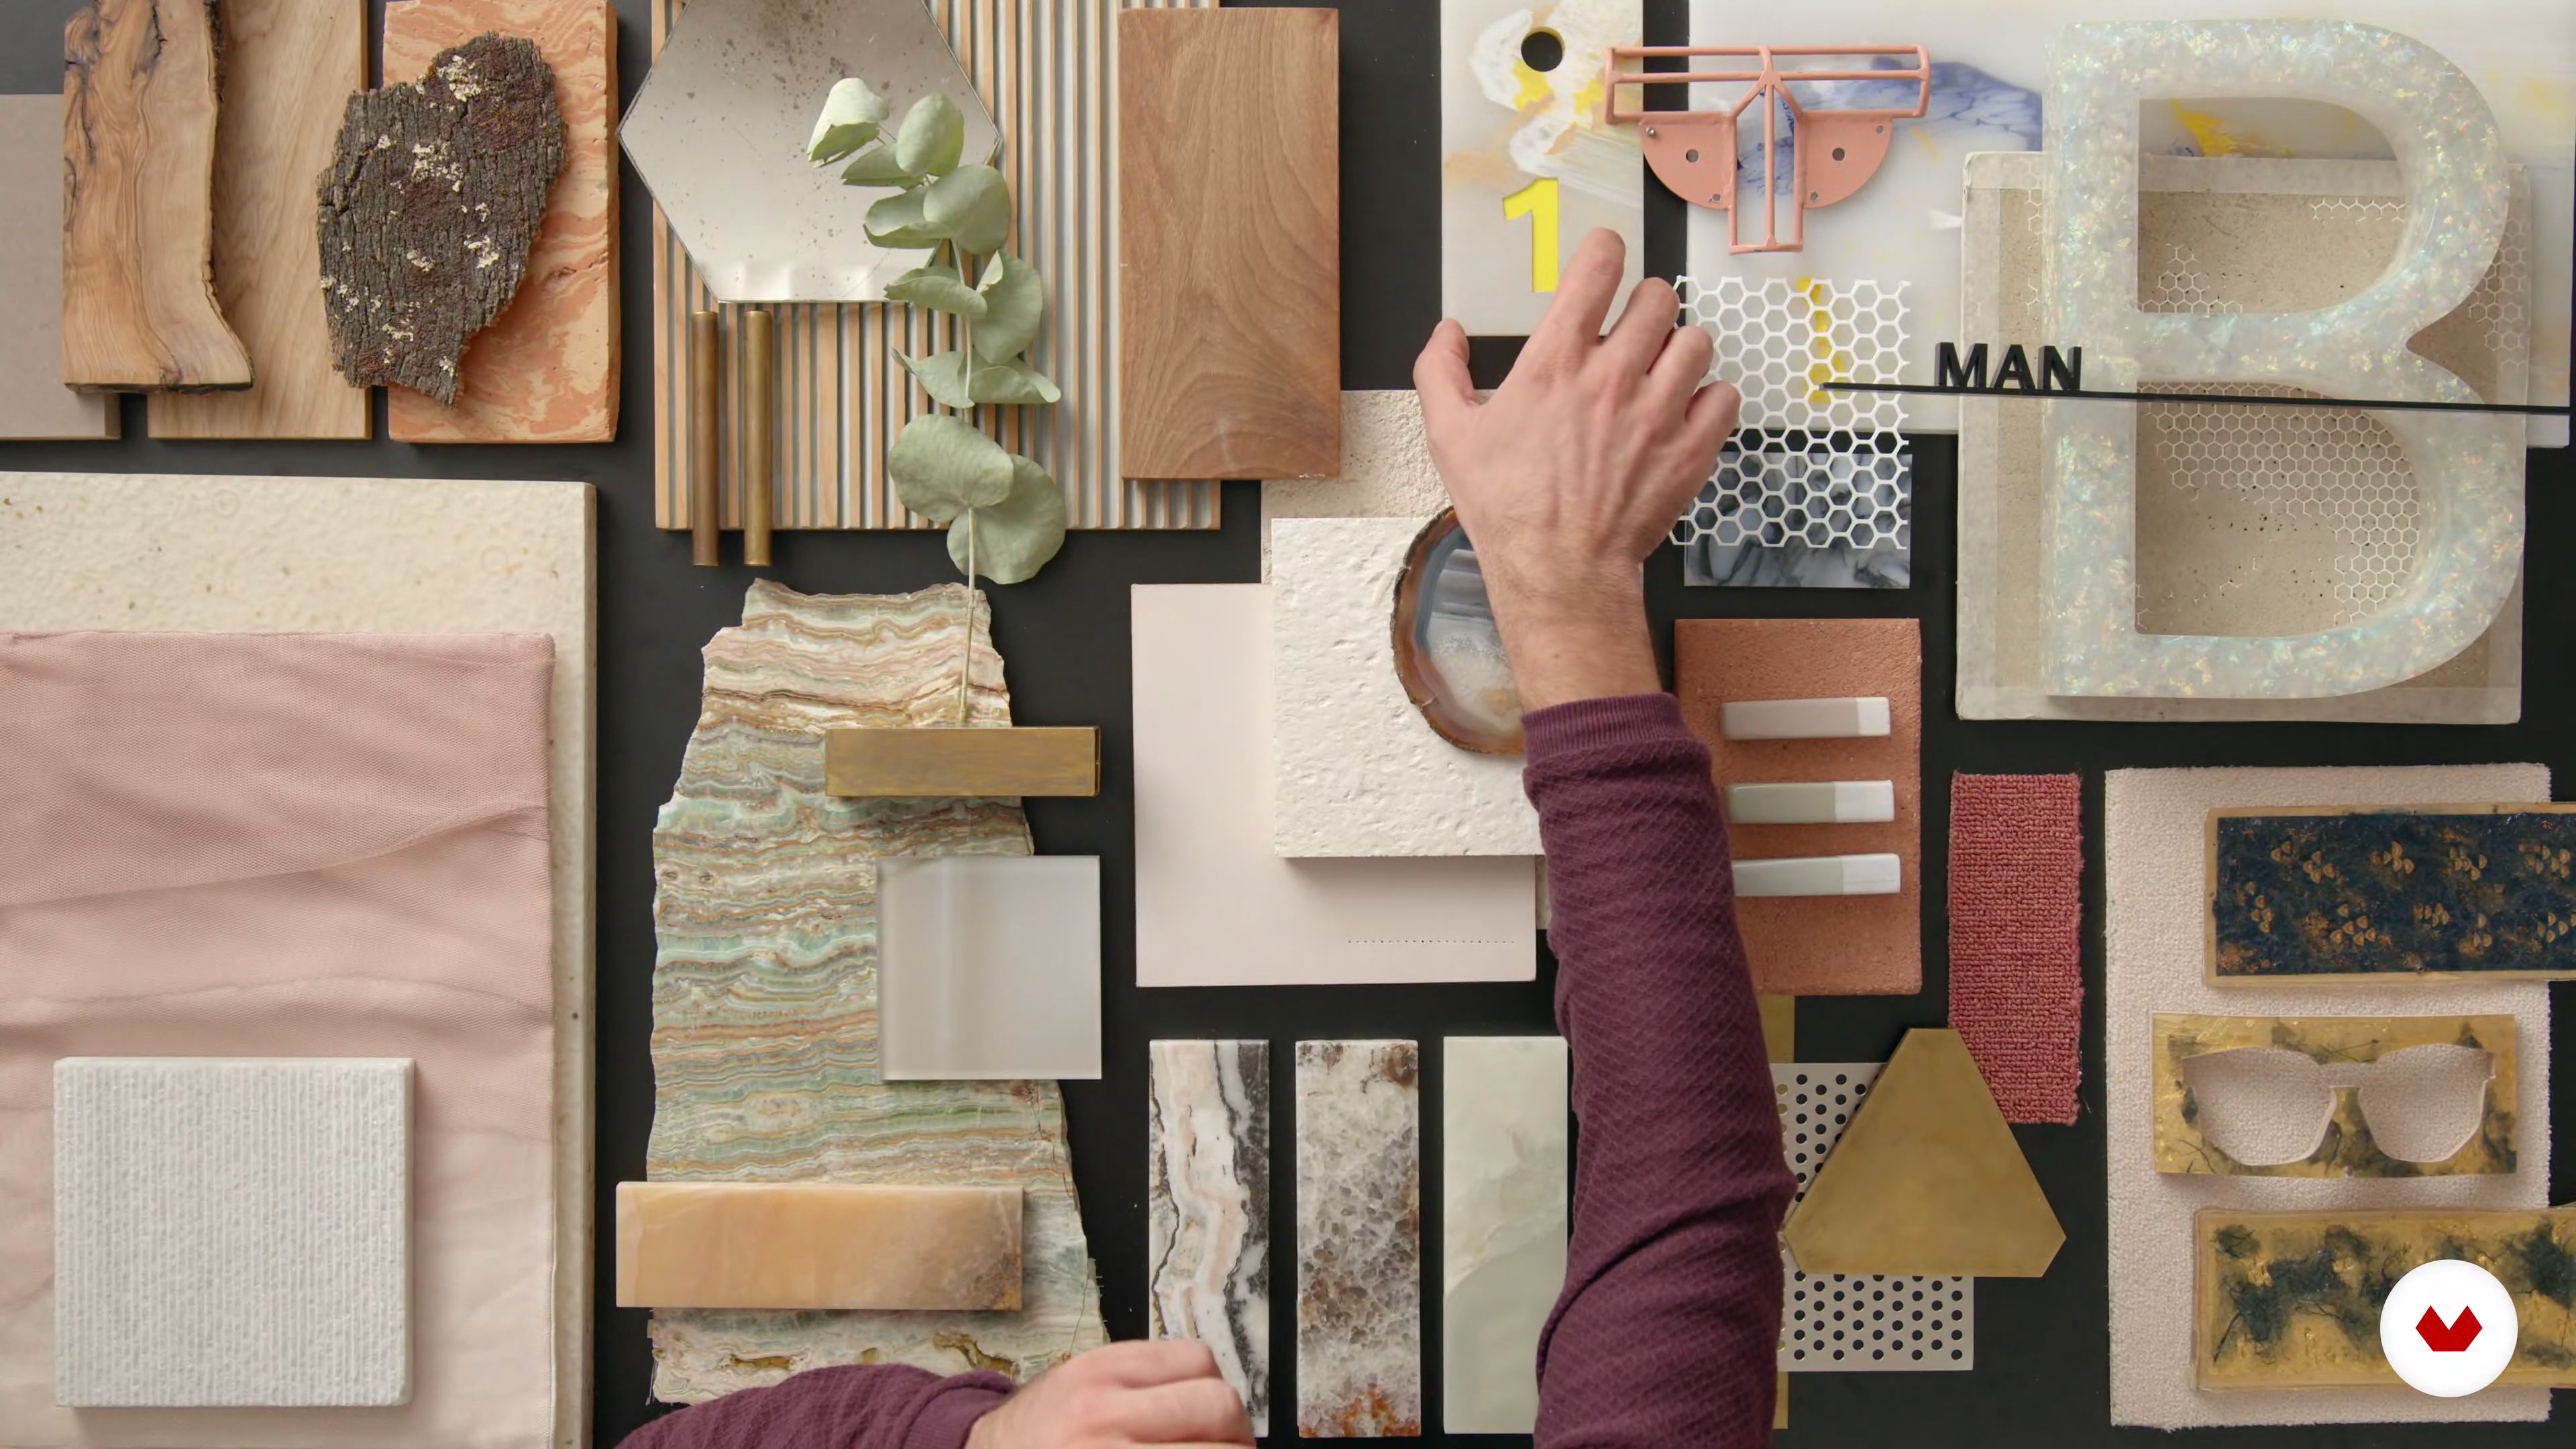
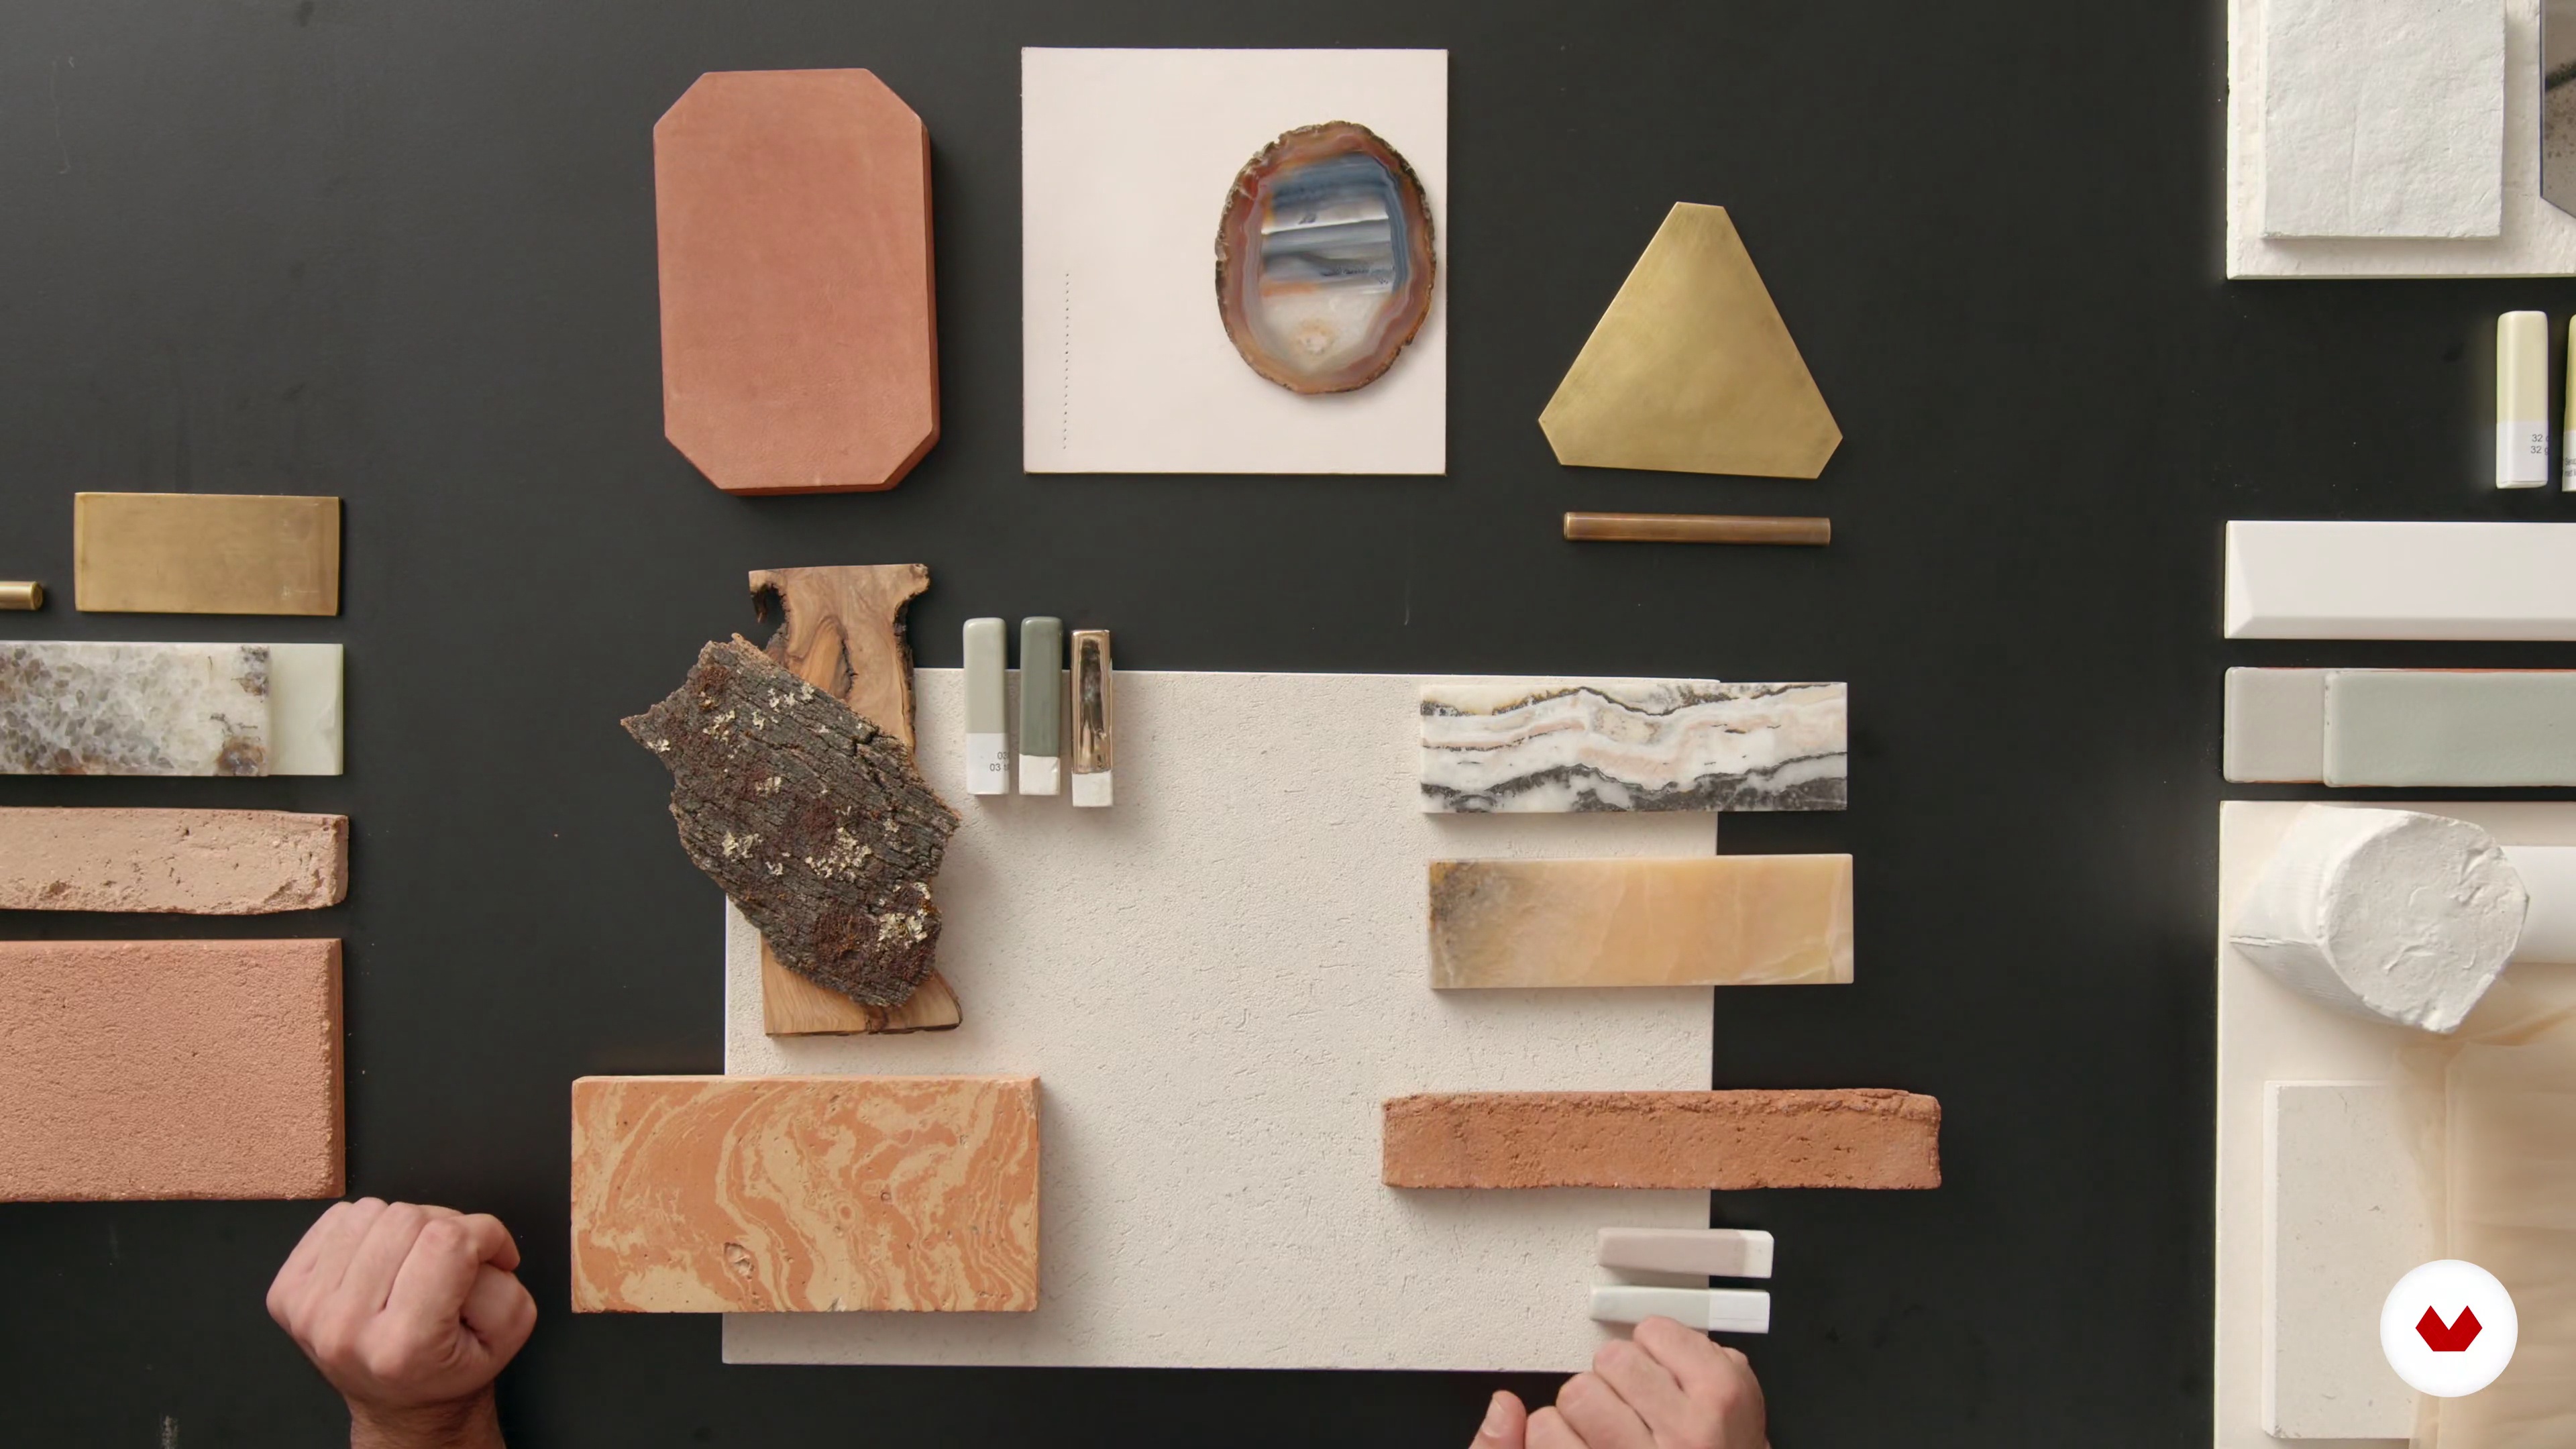
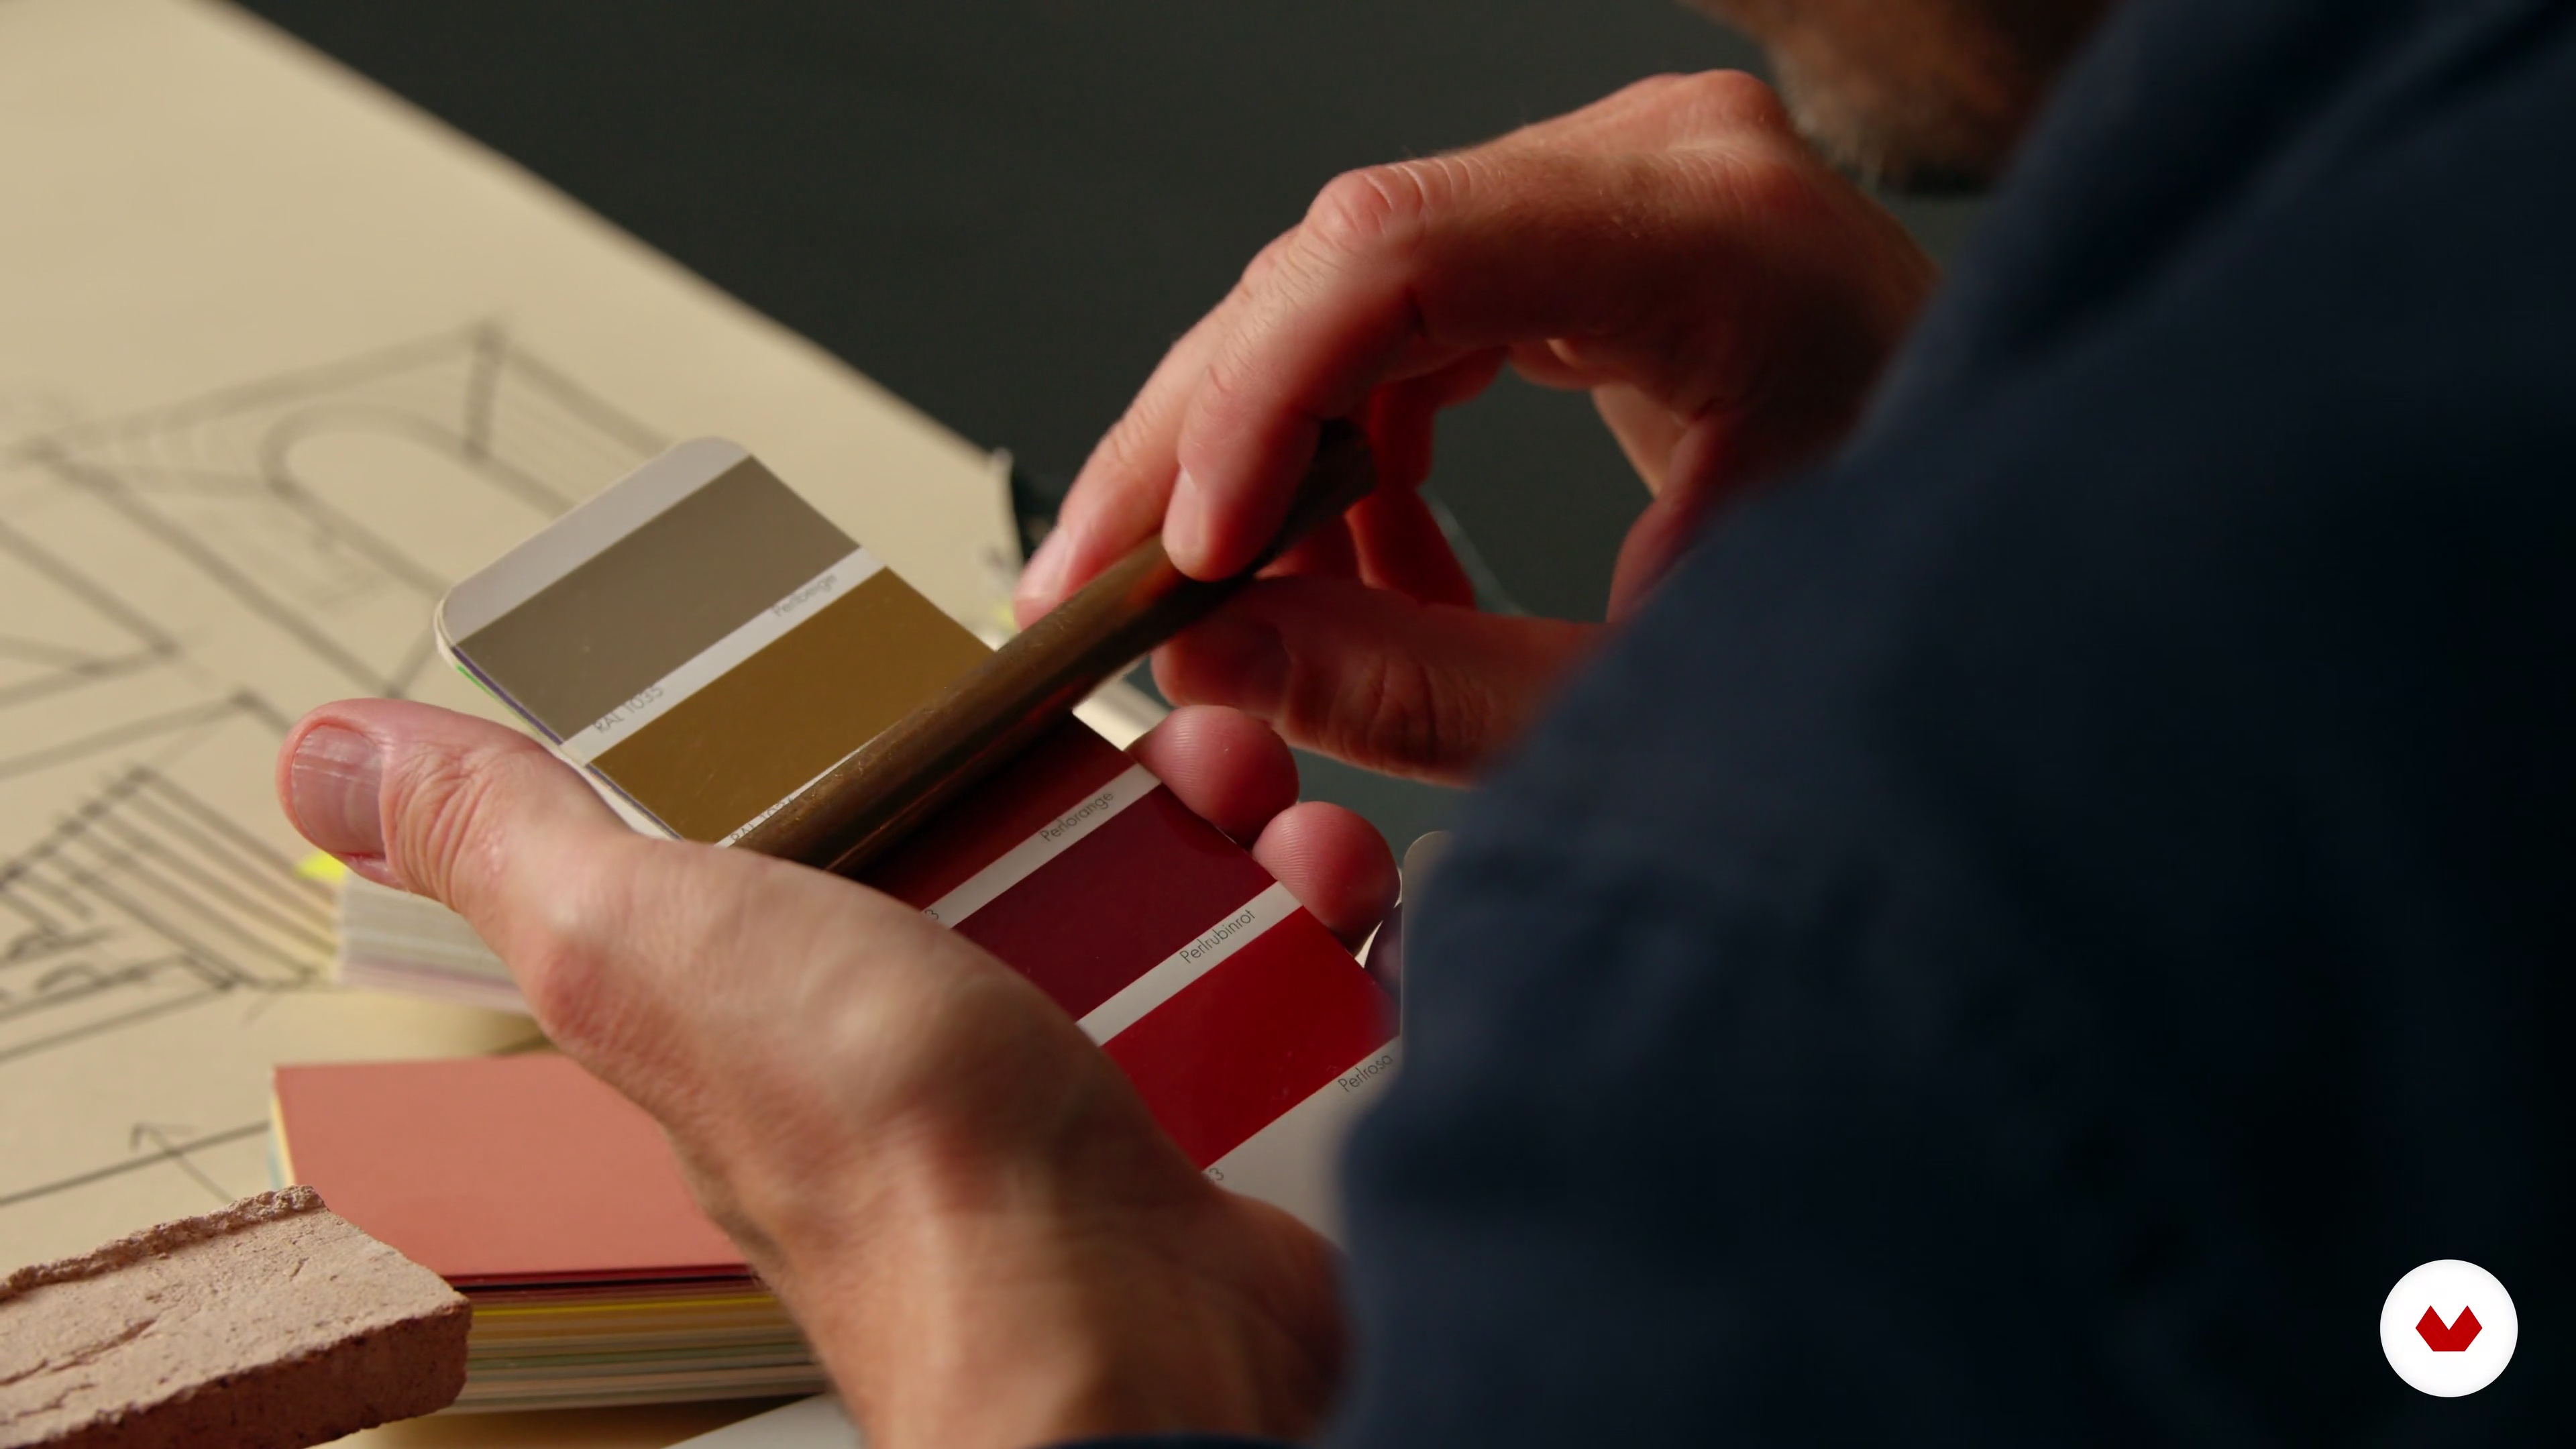
No extensive prior knowledge is needed, just a creative mindset and basic understanding of design tools like Photoshop. Gather materials such as mood boards, color palettes, and design sketches. Bring curiosity for exploring retail design and storytelling through visual displays.


Reviews
What to expect from this specialization course
-
Learn at your own pace
Enjoy learning from home without a set schedule and with an easy-to-follow method. You set your own pace.
-
Learn from the best professionals
Learn valuable methods and techniques explained by top experts in the creative sector.
-
Meet expert teachers
Each expert teaches what they do best, with clear guidelines, true passion, and professional insight in every lesson.
-
Certificates
PlusIf you're a Plus member, get a custom certificate for every specialization course. Share it on your portfolio, social media, or wherever you like.
-
Get front-row seats
Videos of the highest quality, so you don't miss a single detail. With unlimited access, you can watch them as many times as you need to perfect your technique.
-
Share knowledge and ideas
Ask questions, request feedback, or offer solutions. Share your learning experience with other students in the community who are as passionate about creativity as you are.
-
Connect with a global creative community
The community is home to millions of people from around the world who are curious and passionate about exploring and expressing their creativity.
-
Watch professionally produced courses
Domestika curates its teacher roster and produces every course in-house to ensure a high-quality online learning experience.
FAQs
Yes, this course is designed for learners with intermediate experience in design, offering advanced concepts in interior and retail design, spatial analysis, and brand integration.
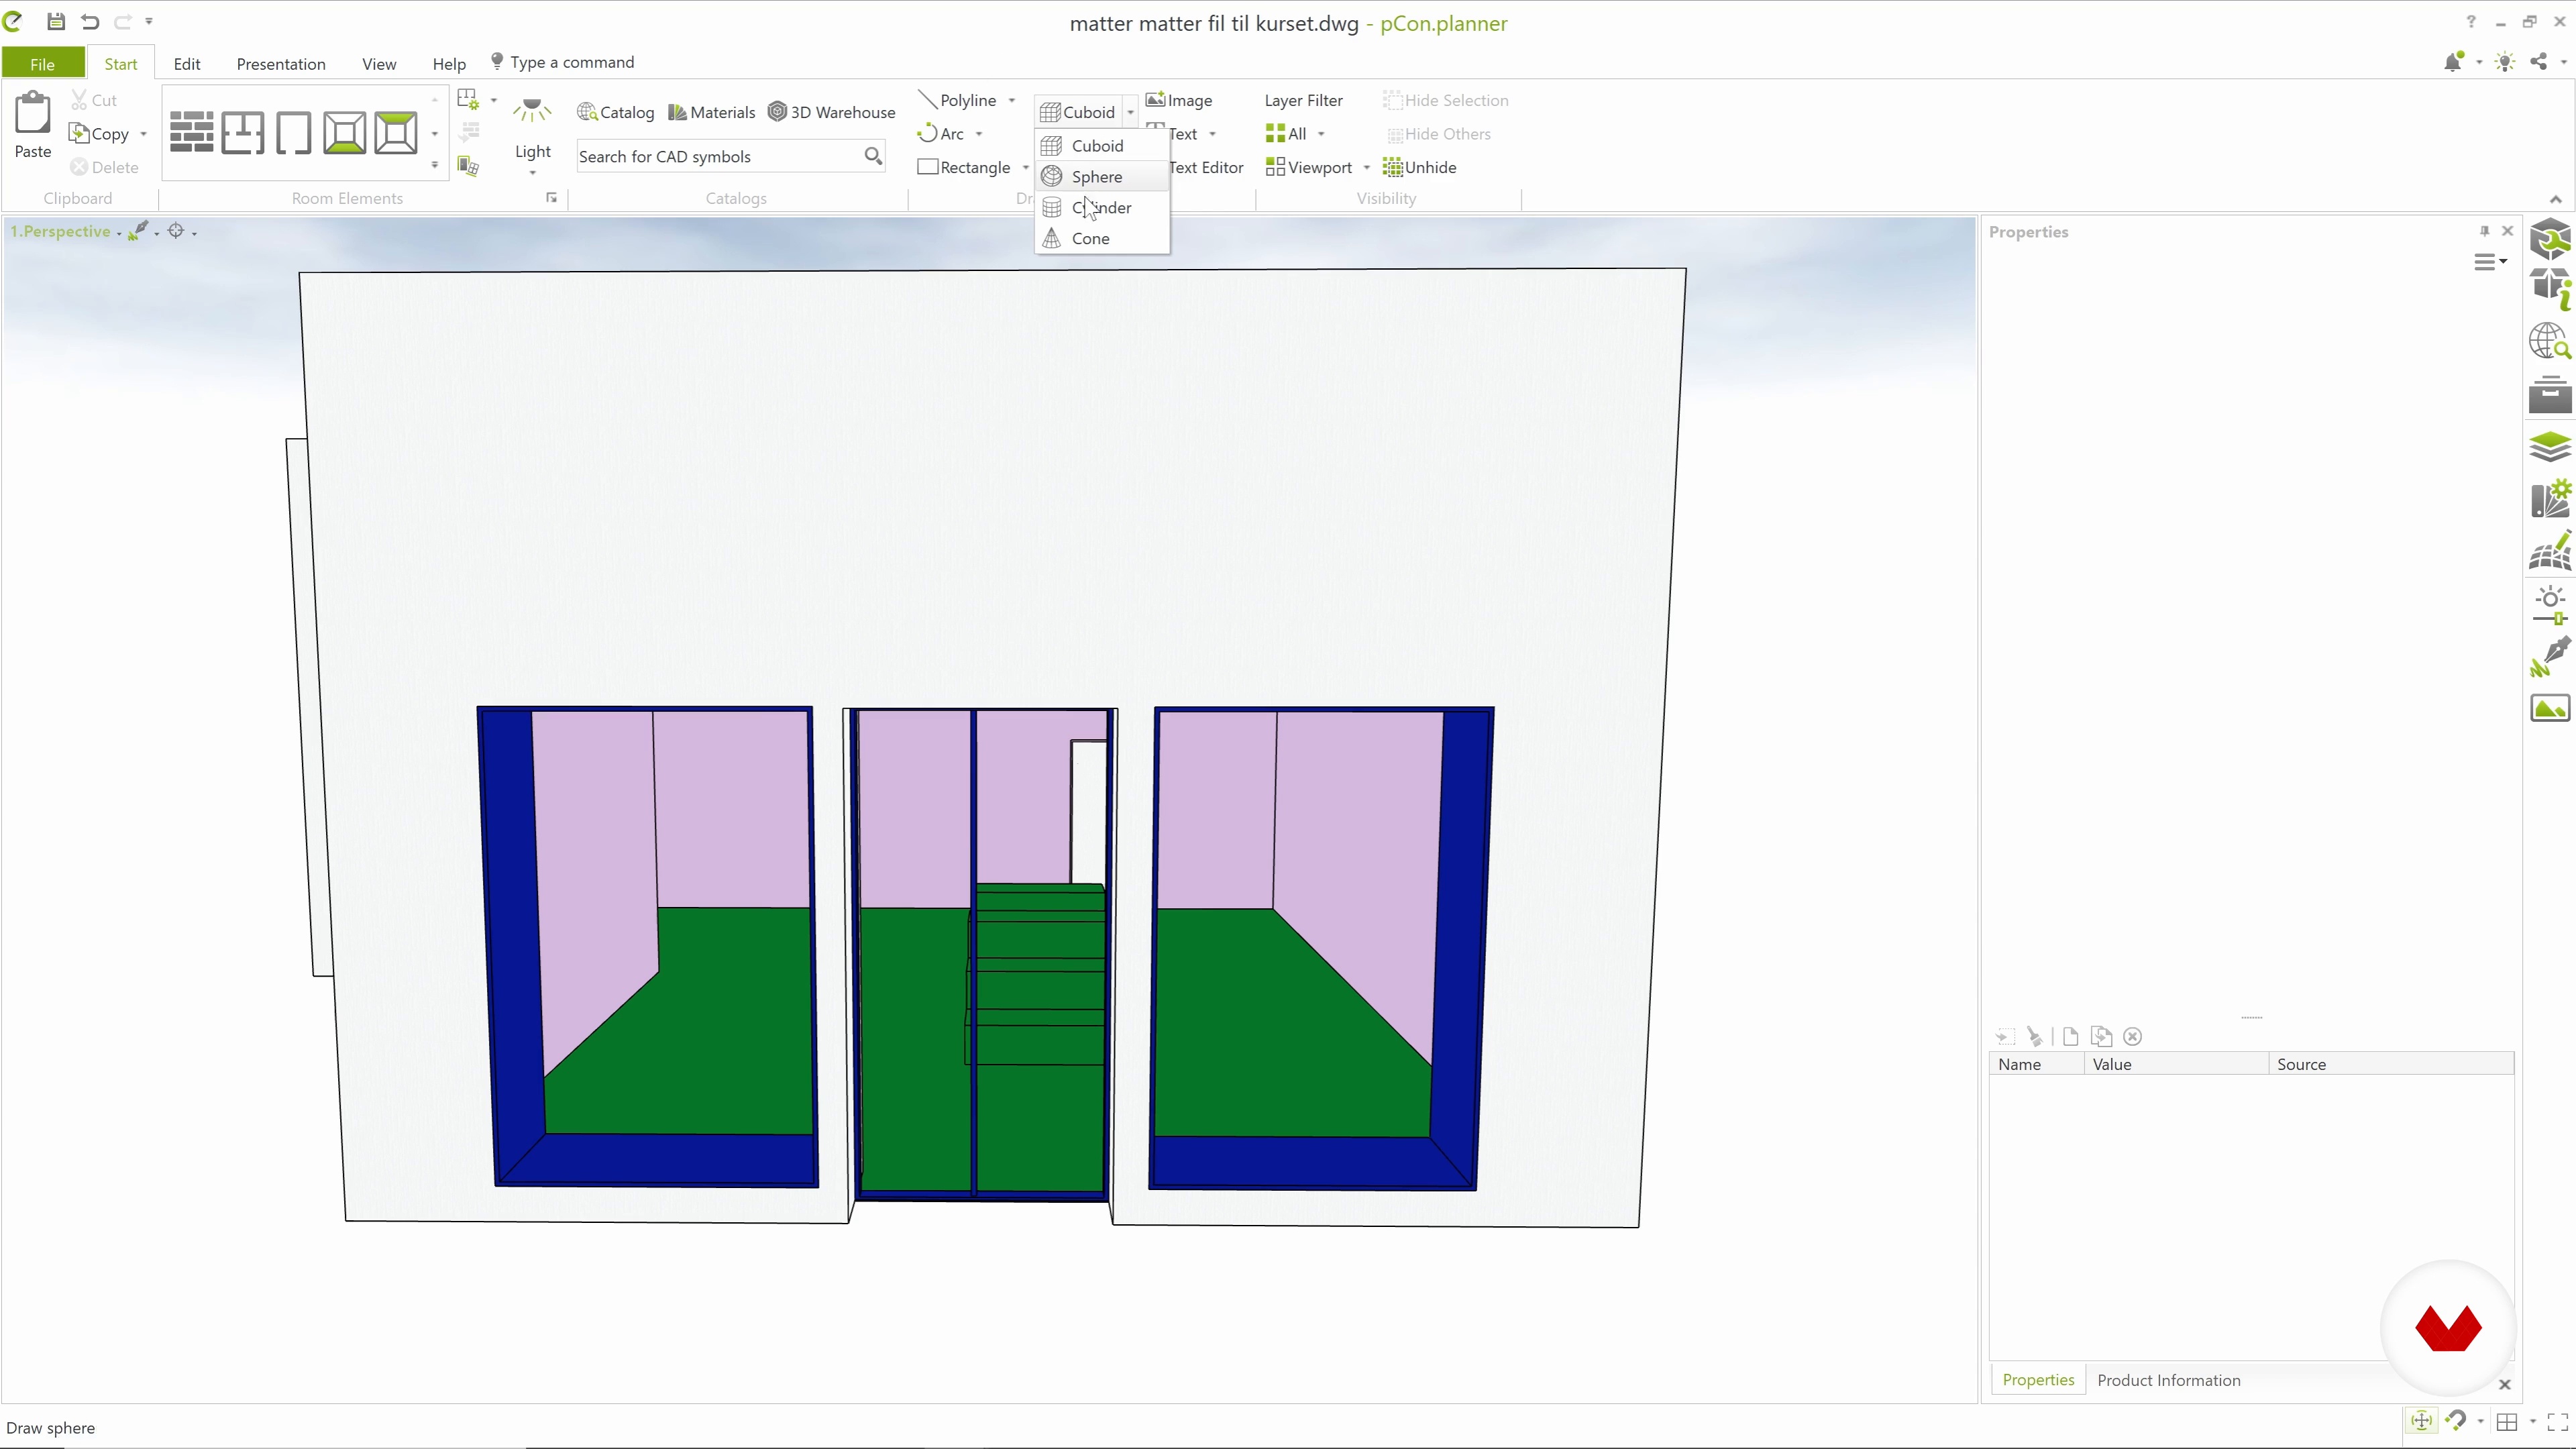
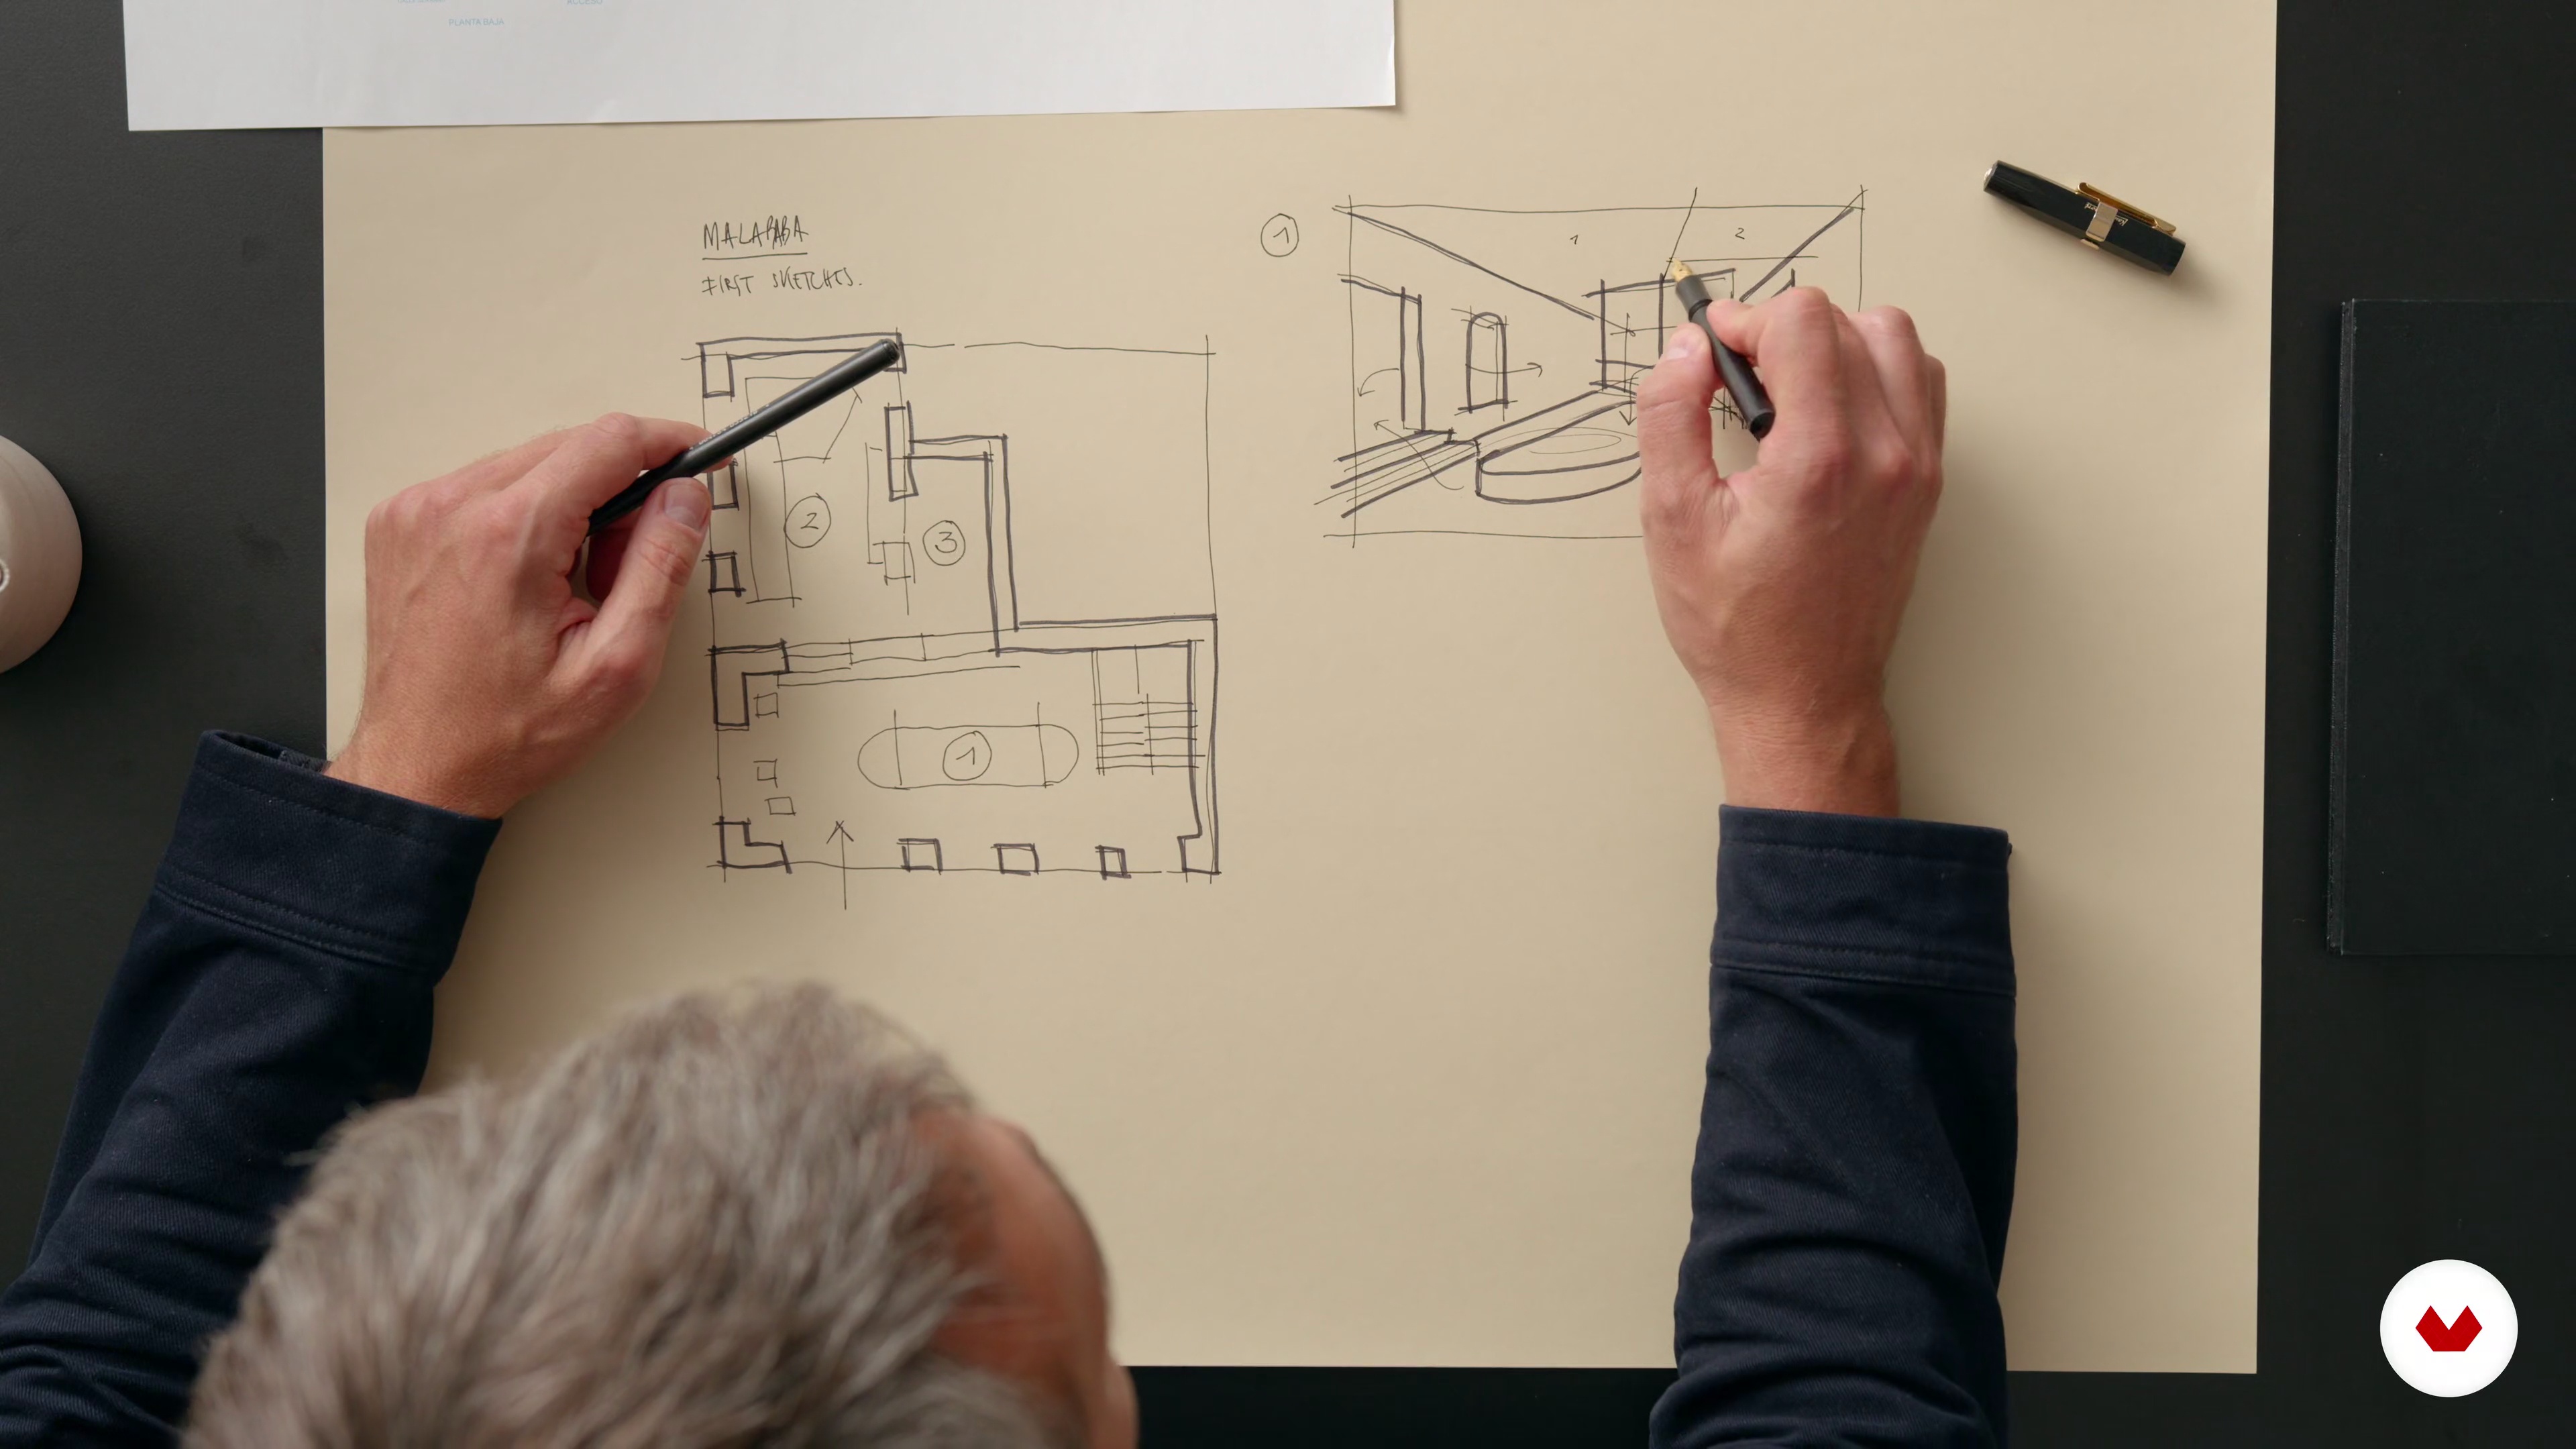
You'll need sketching tools, a laser measure, access to digital software like SketchUp, materials for creating mood boards, and a device for online research and reference organization.
You’ll learn to analyze client needs, develop spatial layouts, select materials, integrate brand identity, optimize store layouts, and create compelling presentations using both analog and digital tools.
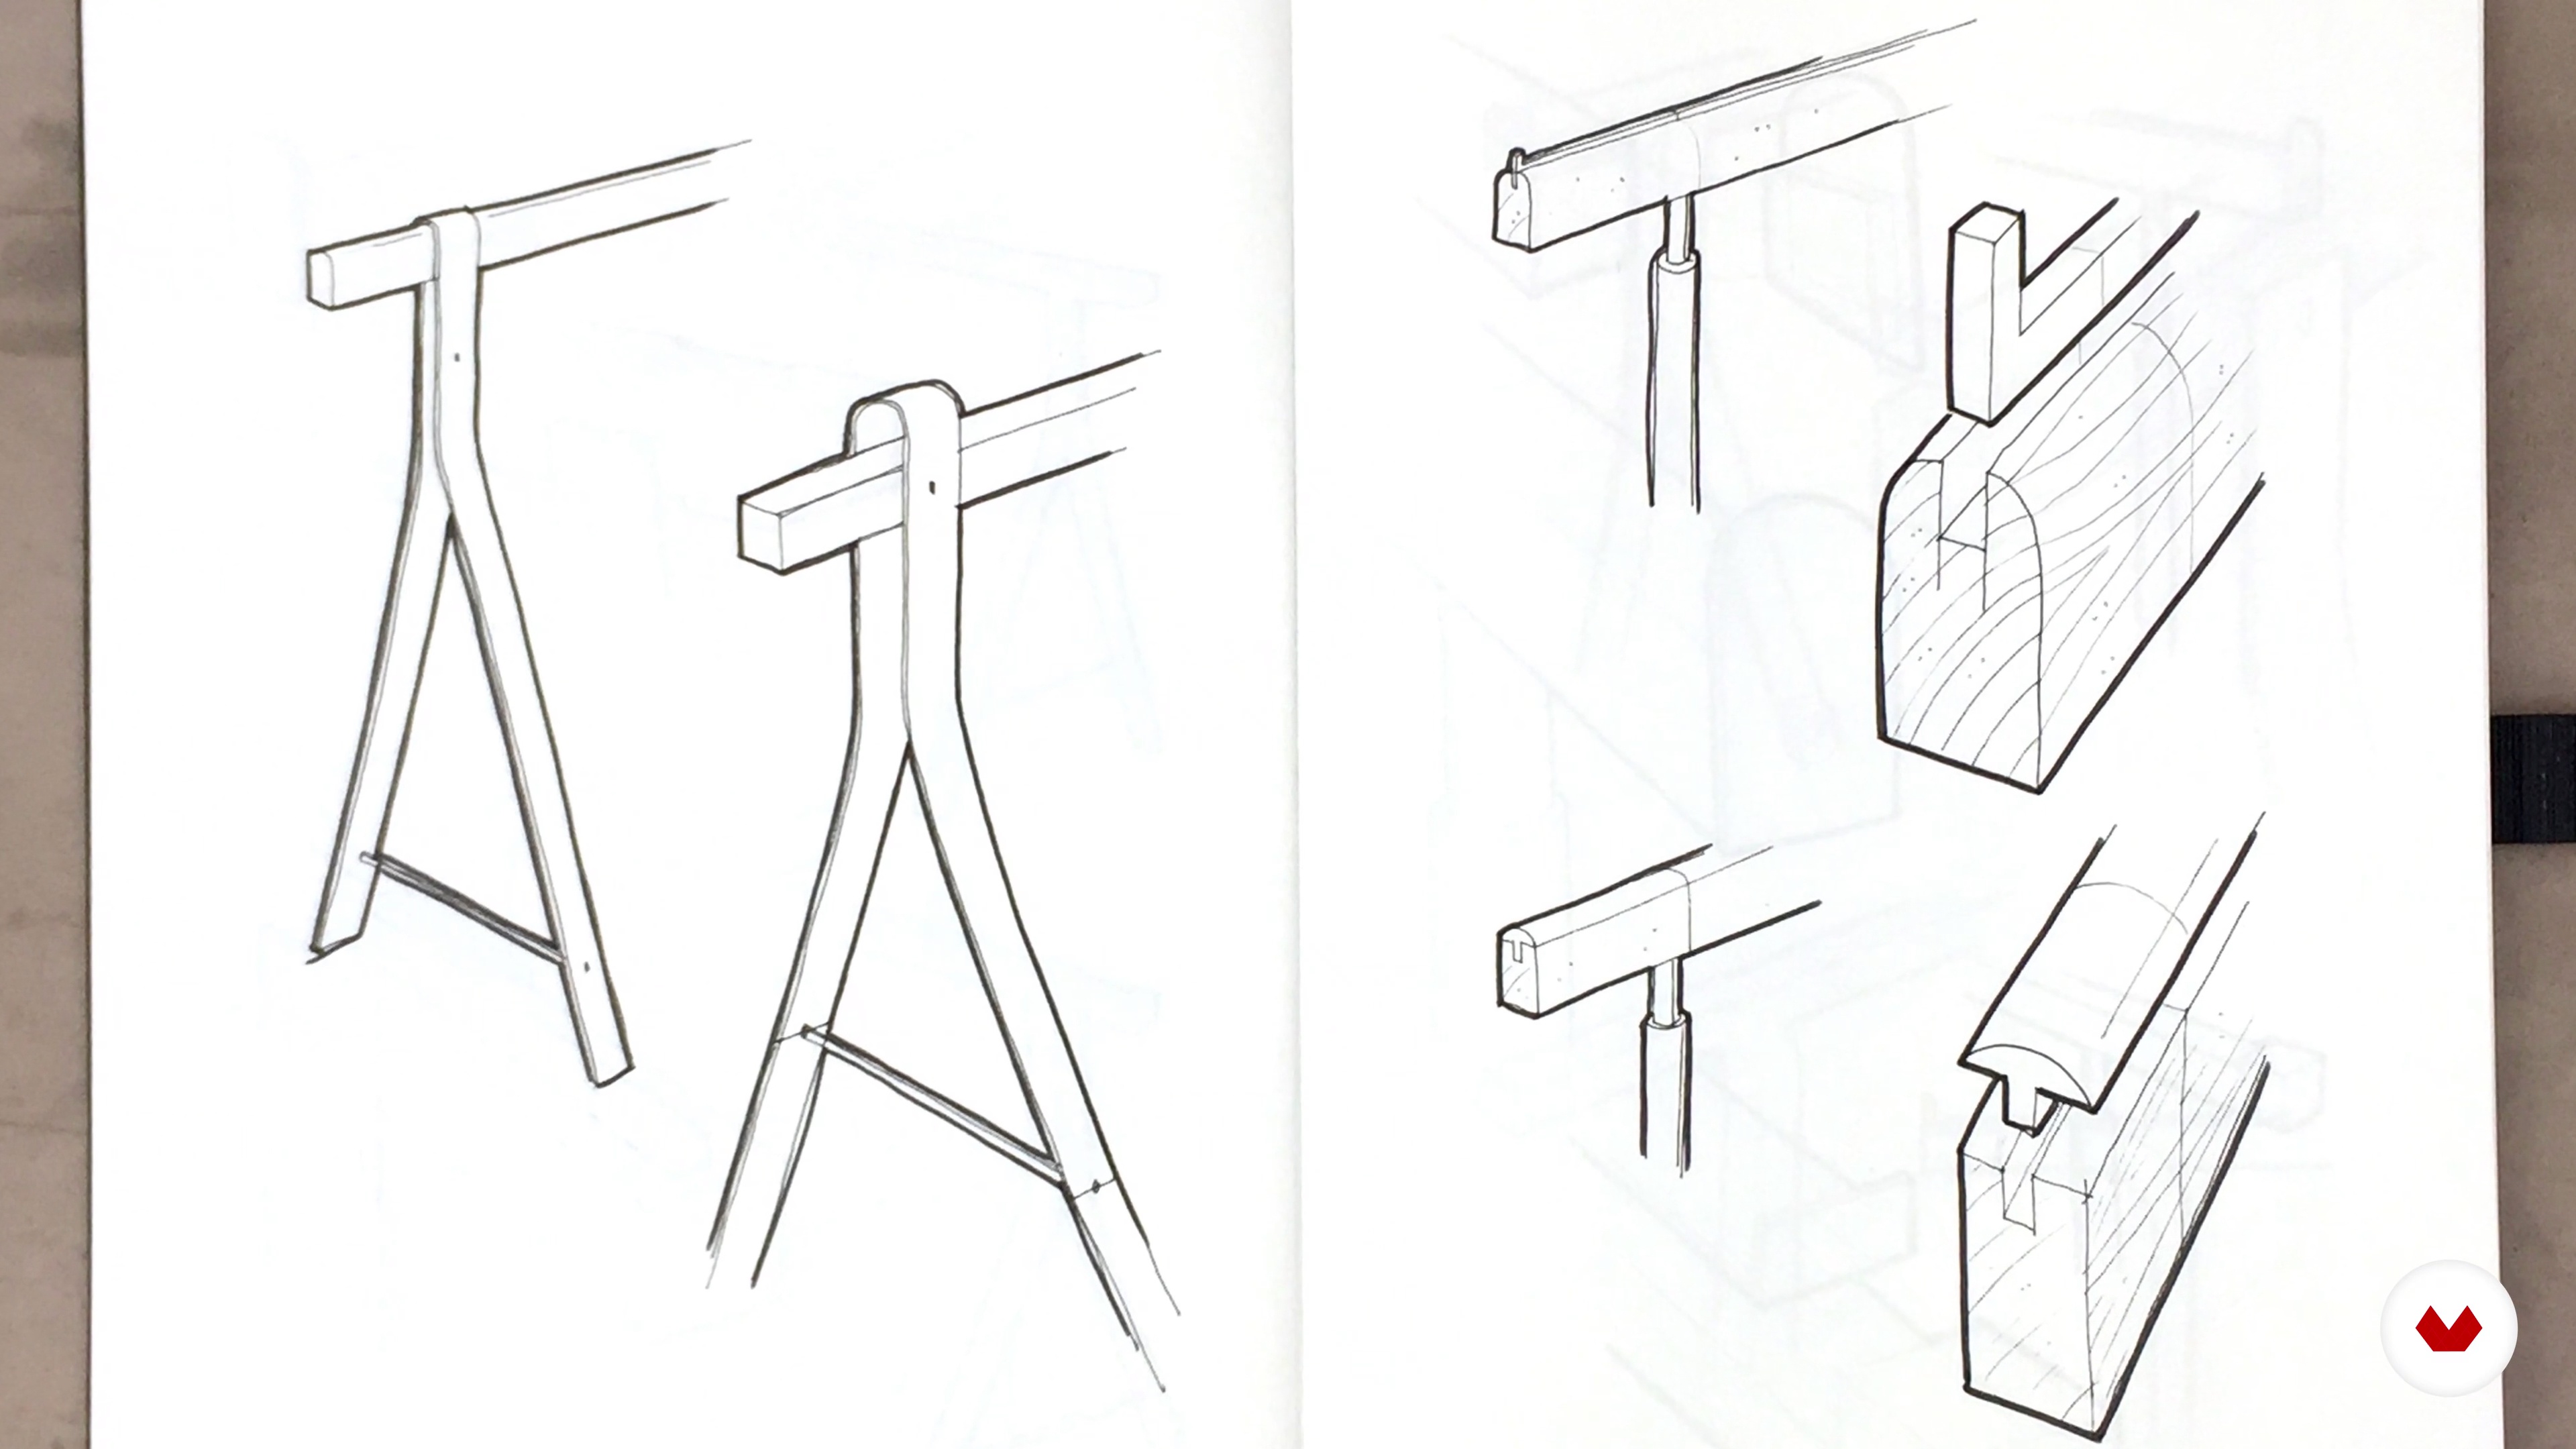
Yes, the course includes training in hand sketching, volume exploration, and creating both physical and digital prototypes to develop and communicate design concepts.
Absolutely. The course teaches how to evaluate and select materials that express brand identity, enhance user experience, and create distinctive retail environments.
Yes, lighting strategies and inspiration for interiors and retail spaces are a core part of the curriculum, covering both functional and experiential aspects.
Basic familiarity with SketchUp and similar digital modeling tools is helpful but not strictly required, as foundational guidance will be provided.


Wonderful and great structured course