Specialization
Best seller

Specialization in Creative Writing and Children's Illustration

5 Teachers

Write captivating children's books by exploring narrative techniques and age-appropriate language for young readers.

Write captivating children's books by exploring narrative techniques and age-appropriate language for young readers.

5 Teachers
Specialization · 6 modules

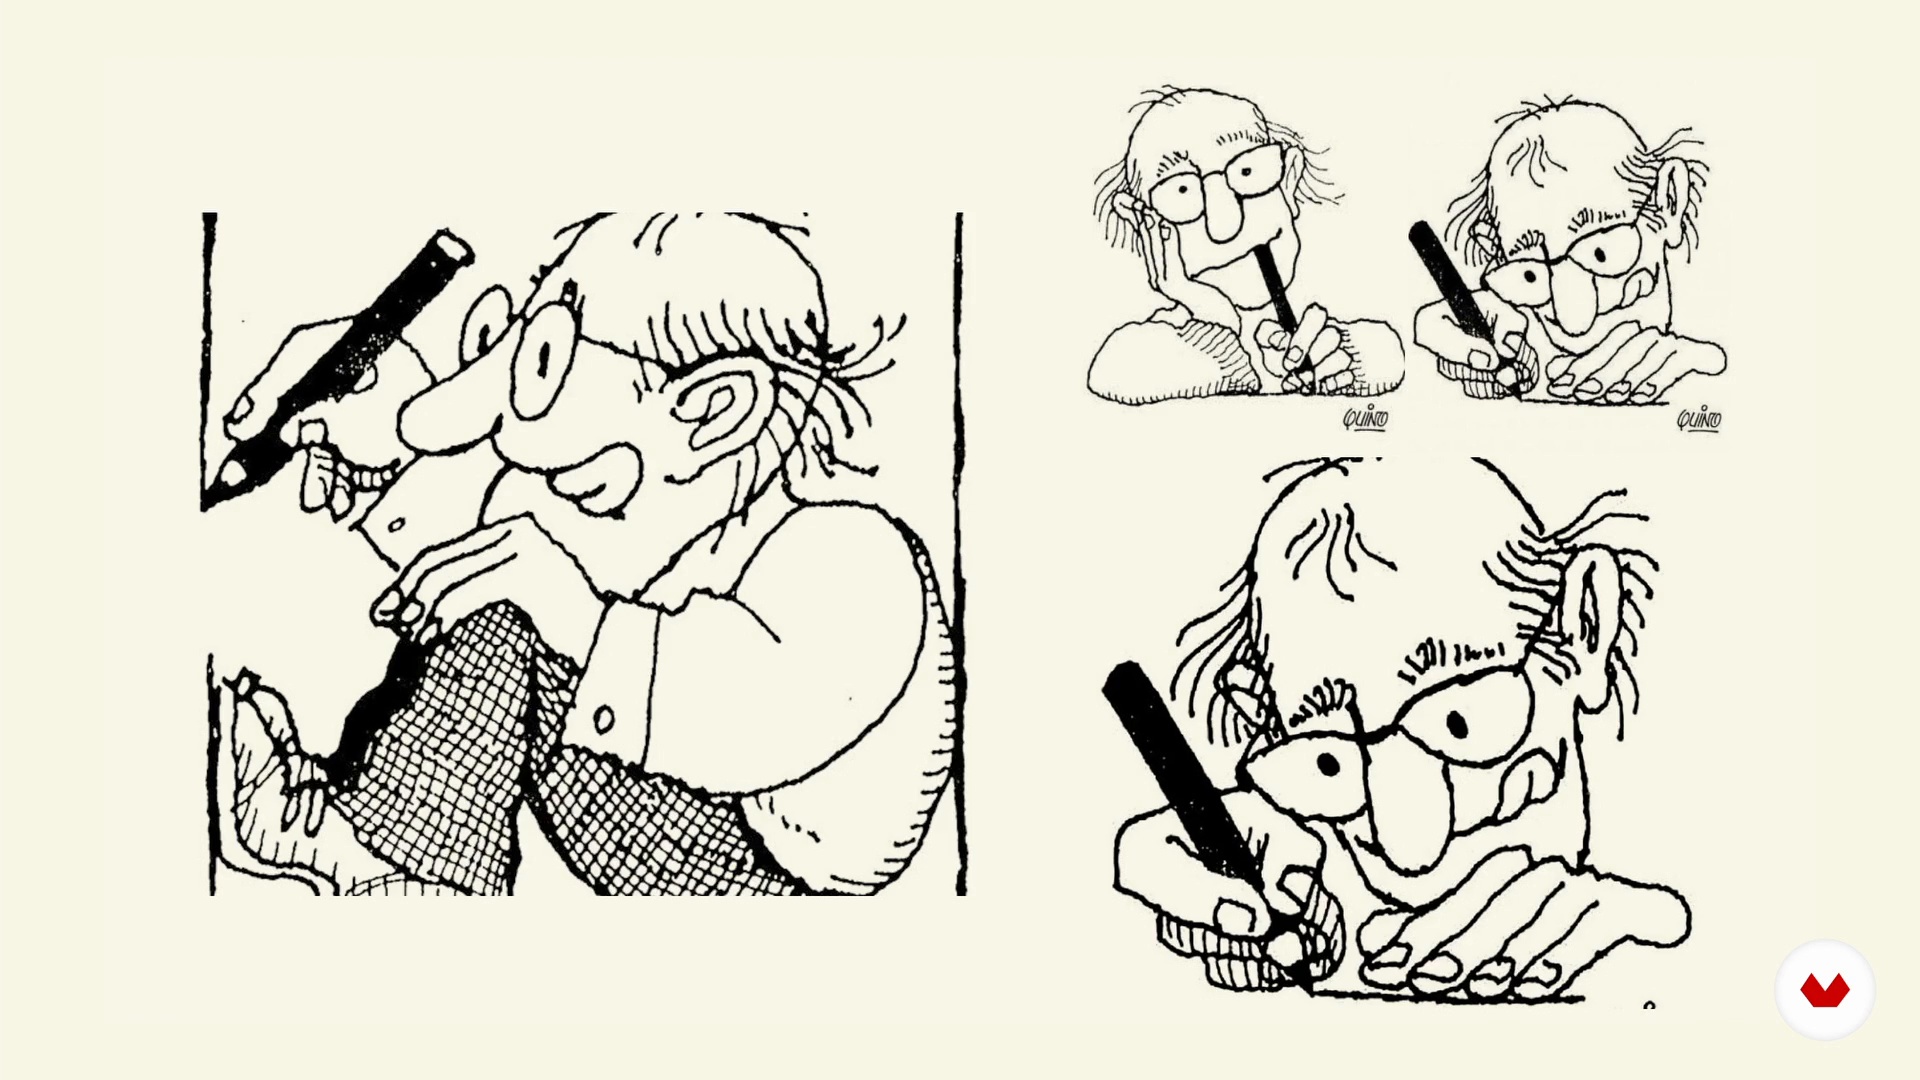
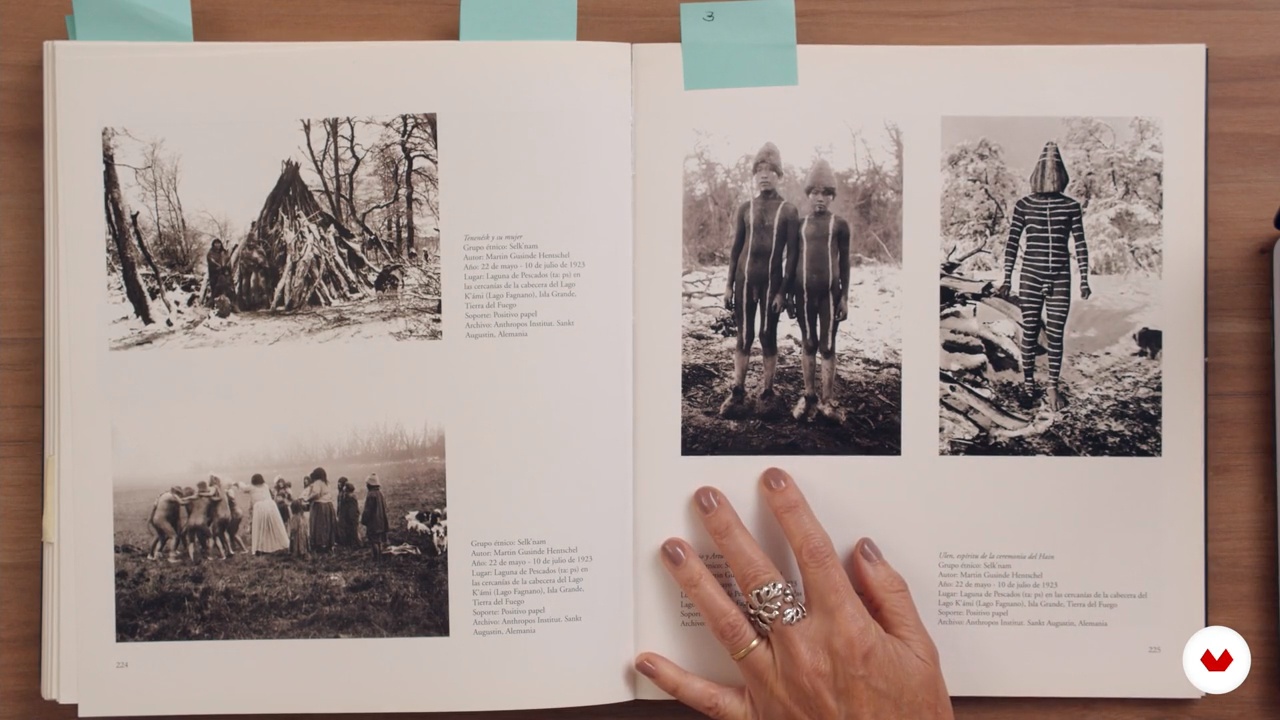
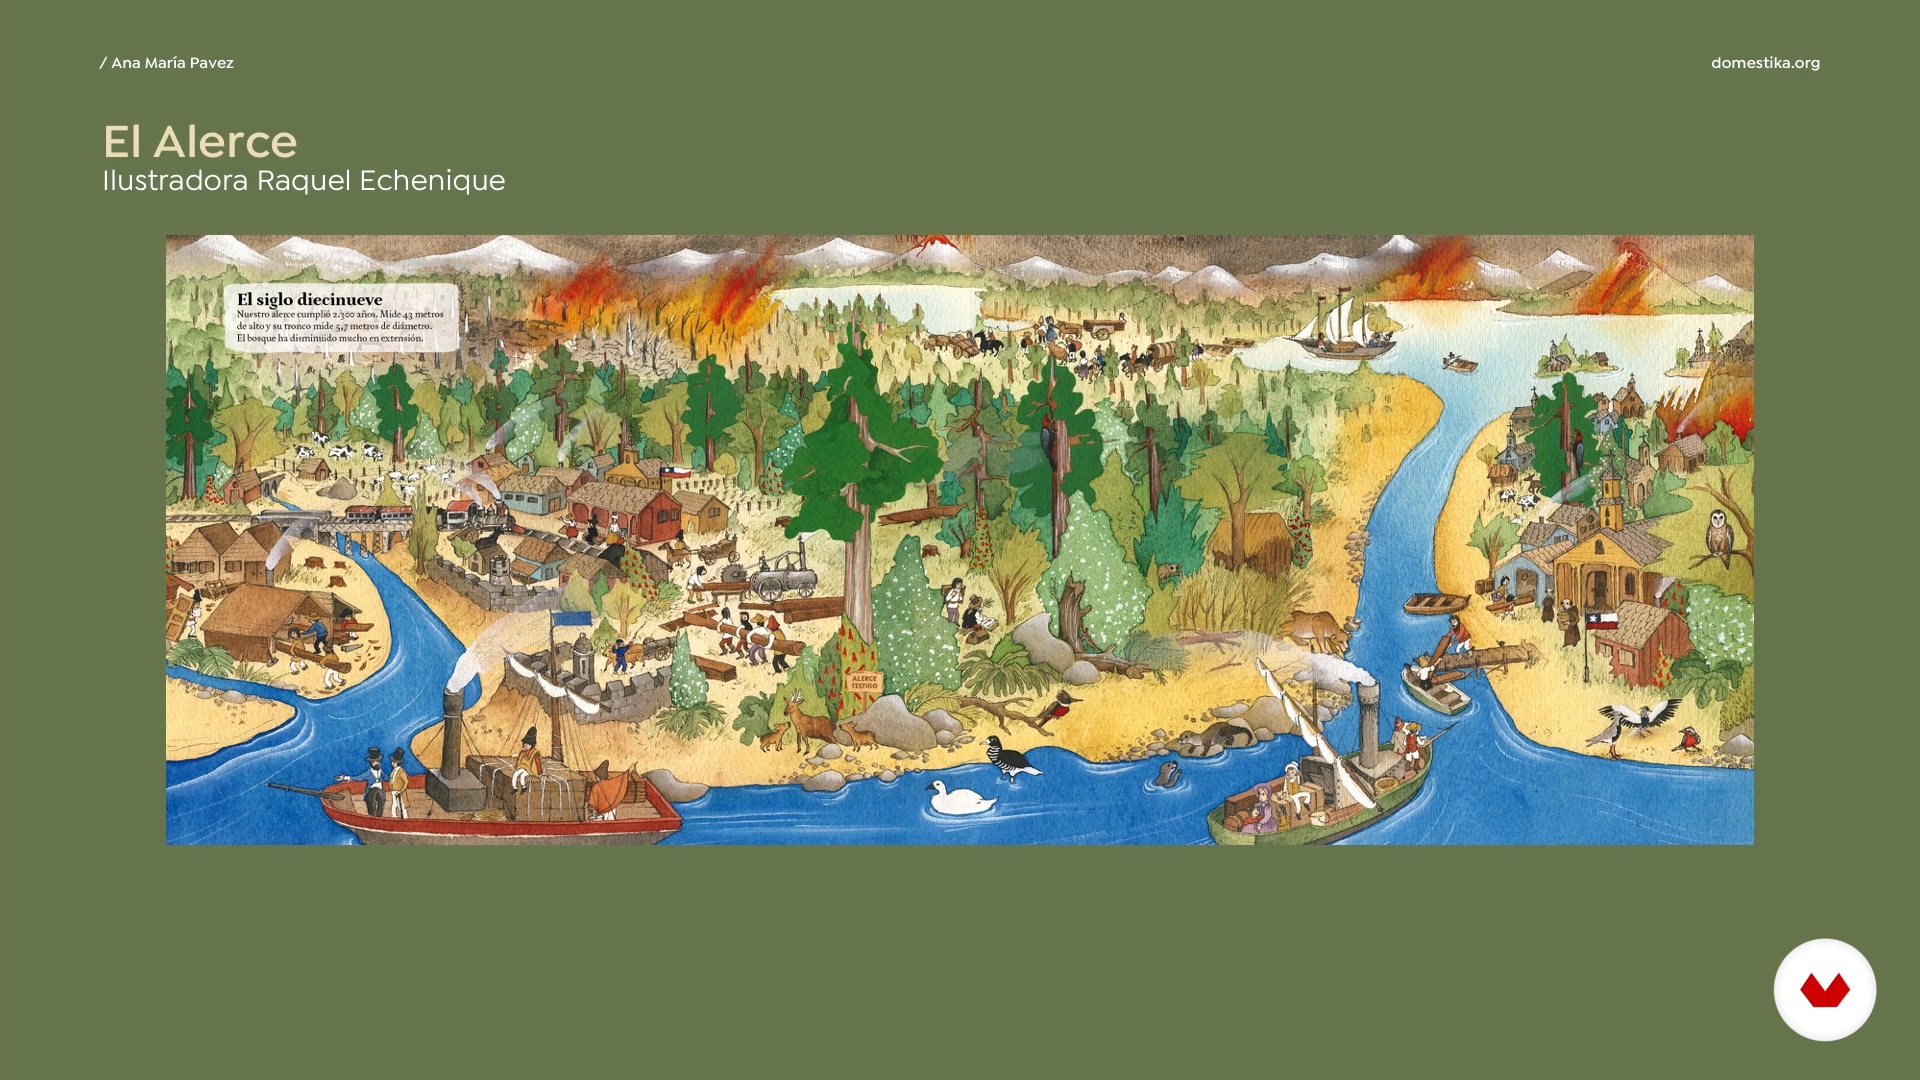
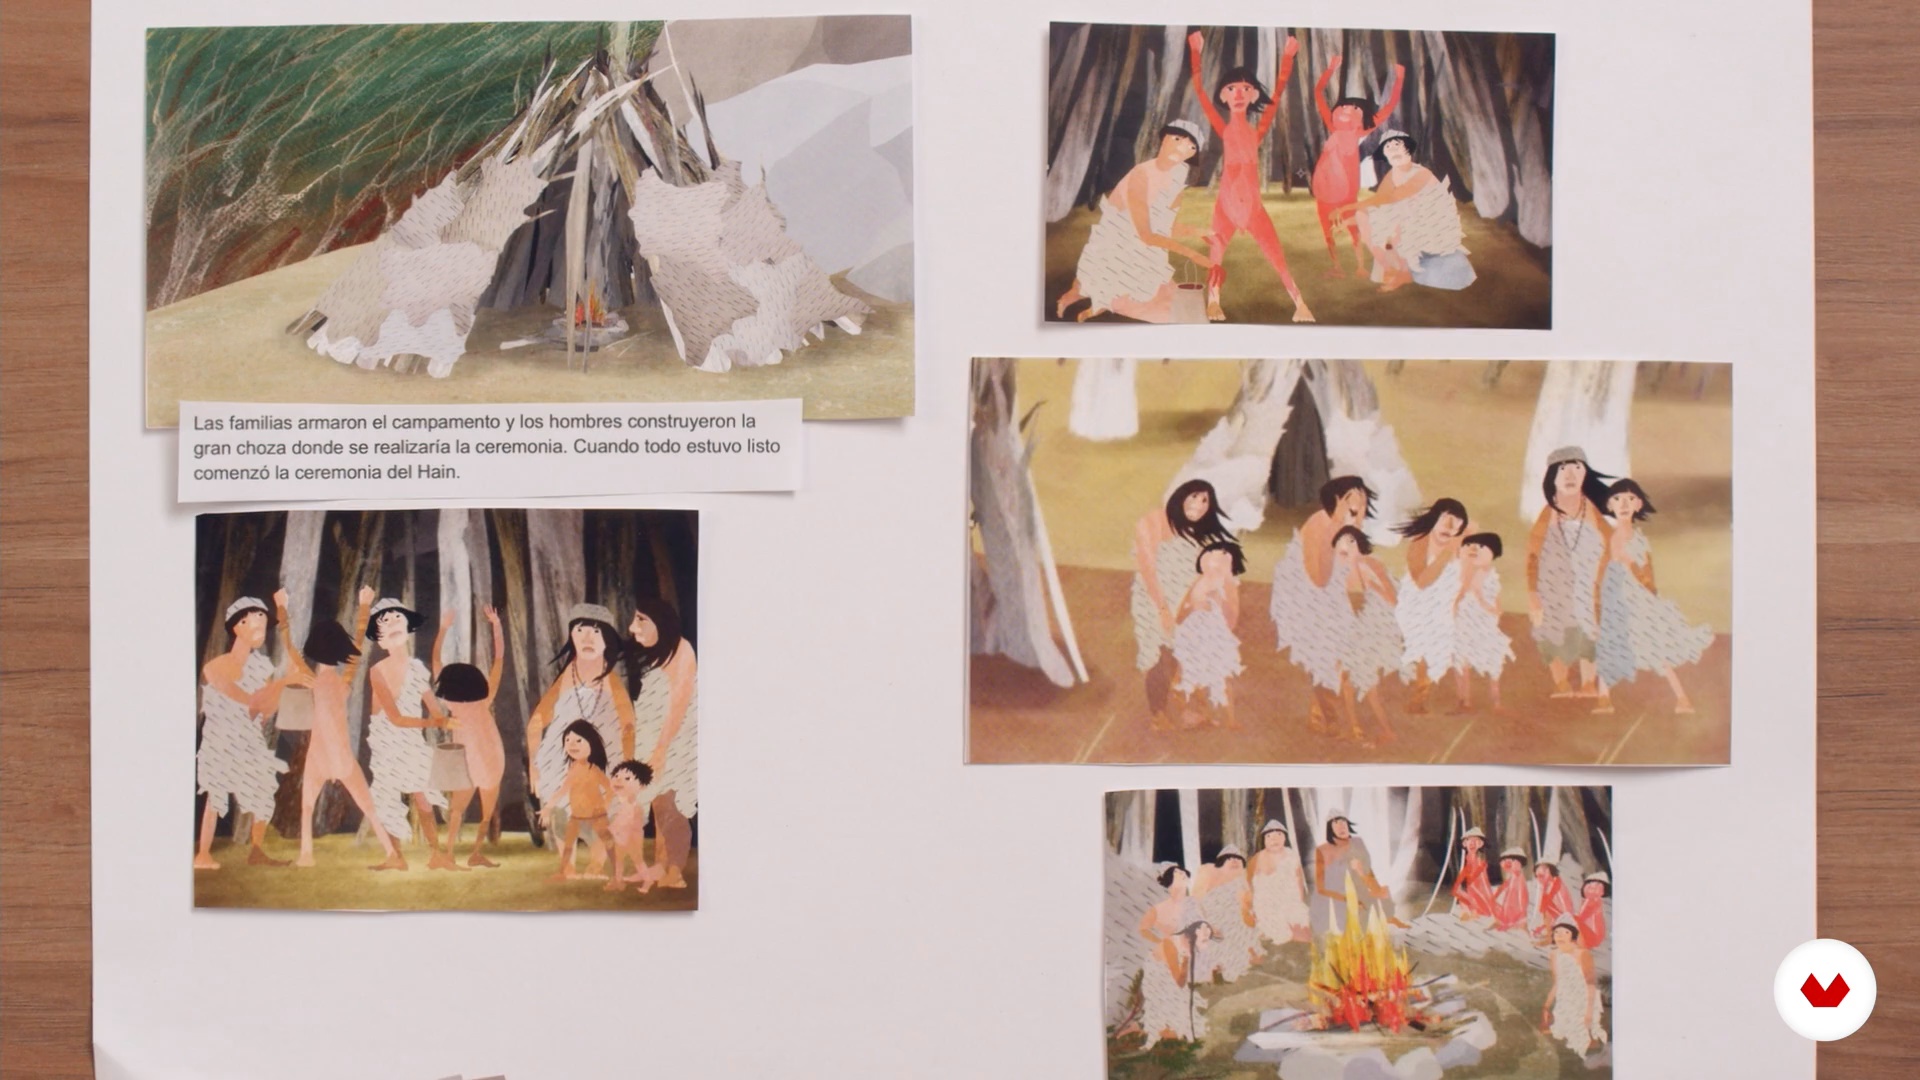
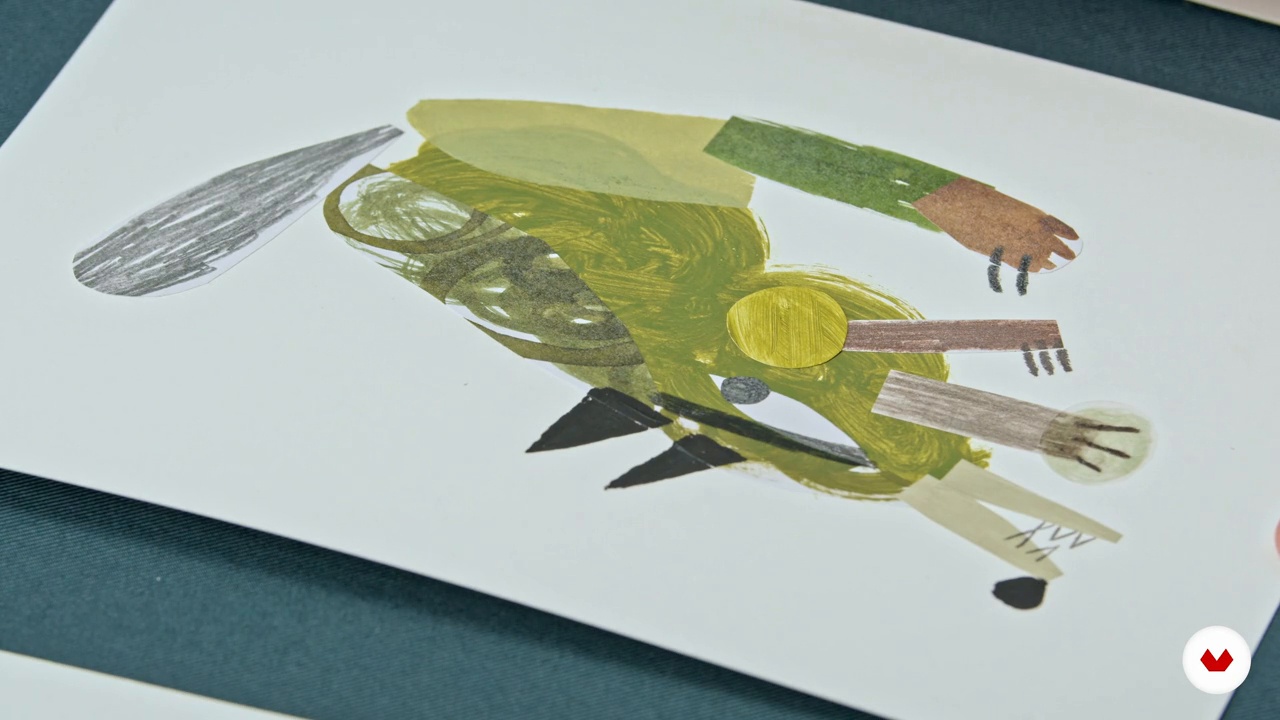
There is a unique art that transforms whispered words in the dark into luminous worlds and lines traced on a canvas into creatures that dance in the imagination of the youngest minds. This course takes you across that delicate threshold where storytelling meets illustration. Acclaimed author Ana Pavez and writer José Urriola will guide you through the pathways of children's narrative, while the talented team of illustrators—Jimena S. Sarquiz, Natalia Colombo, and Natalia Gurovich—will reveal the secrets to visually bringing those imagined universes to life.

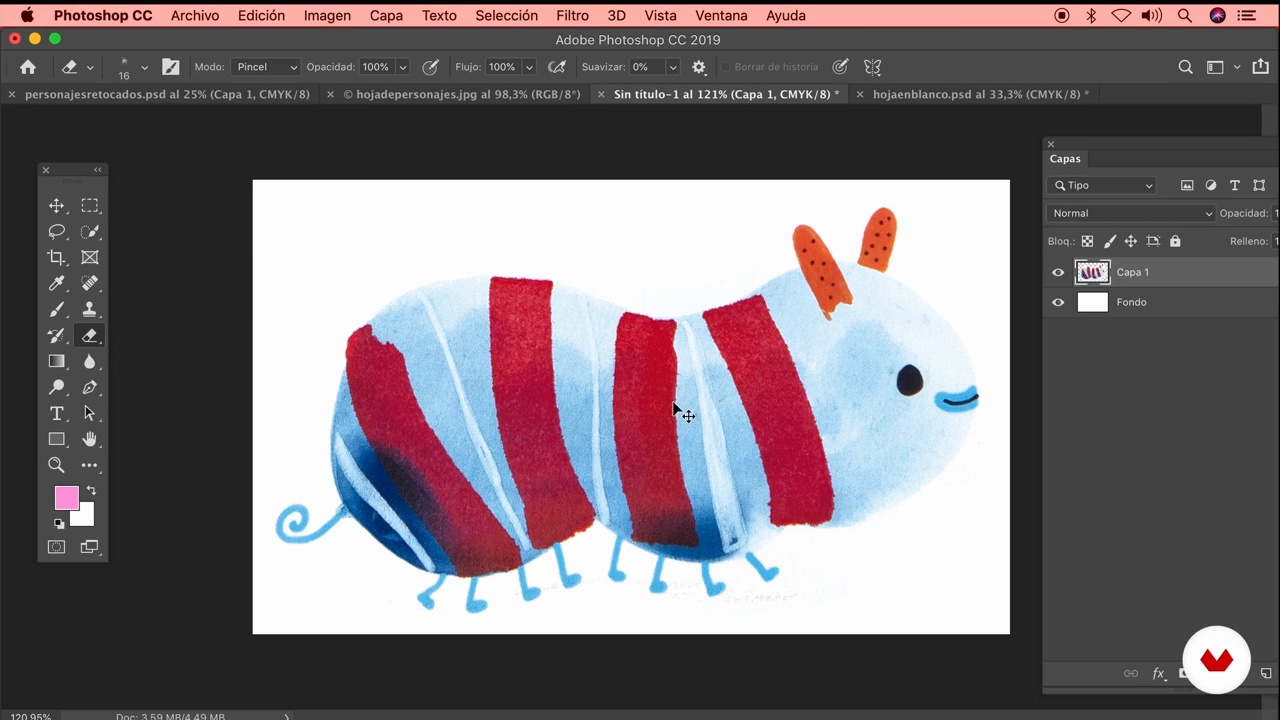
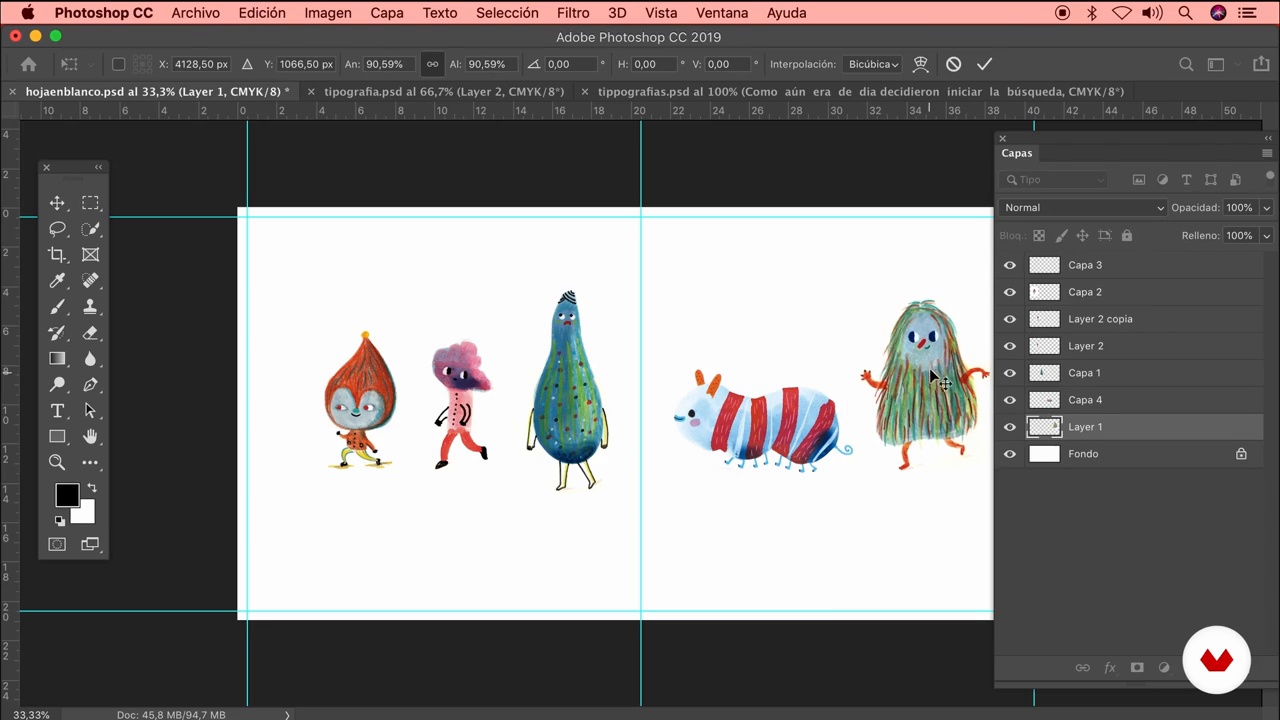
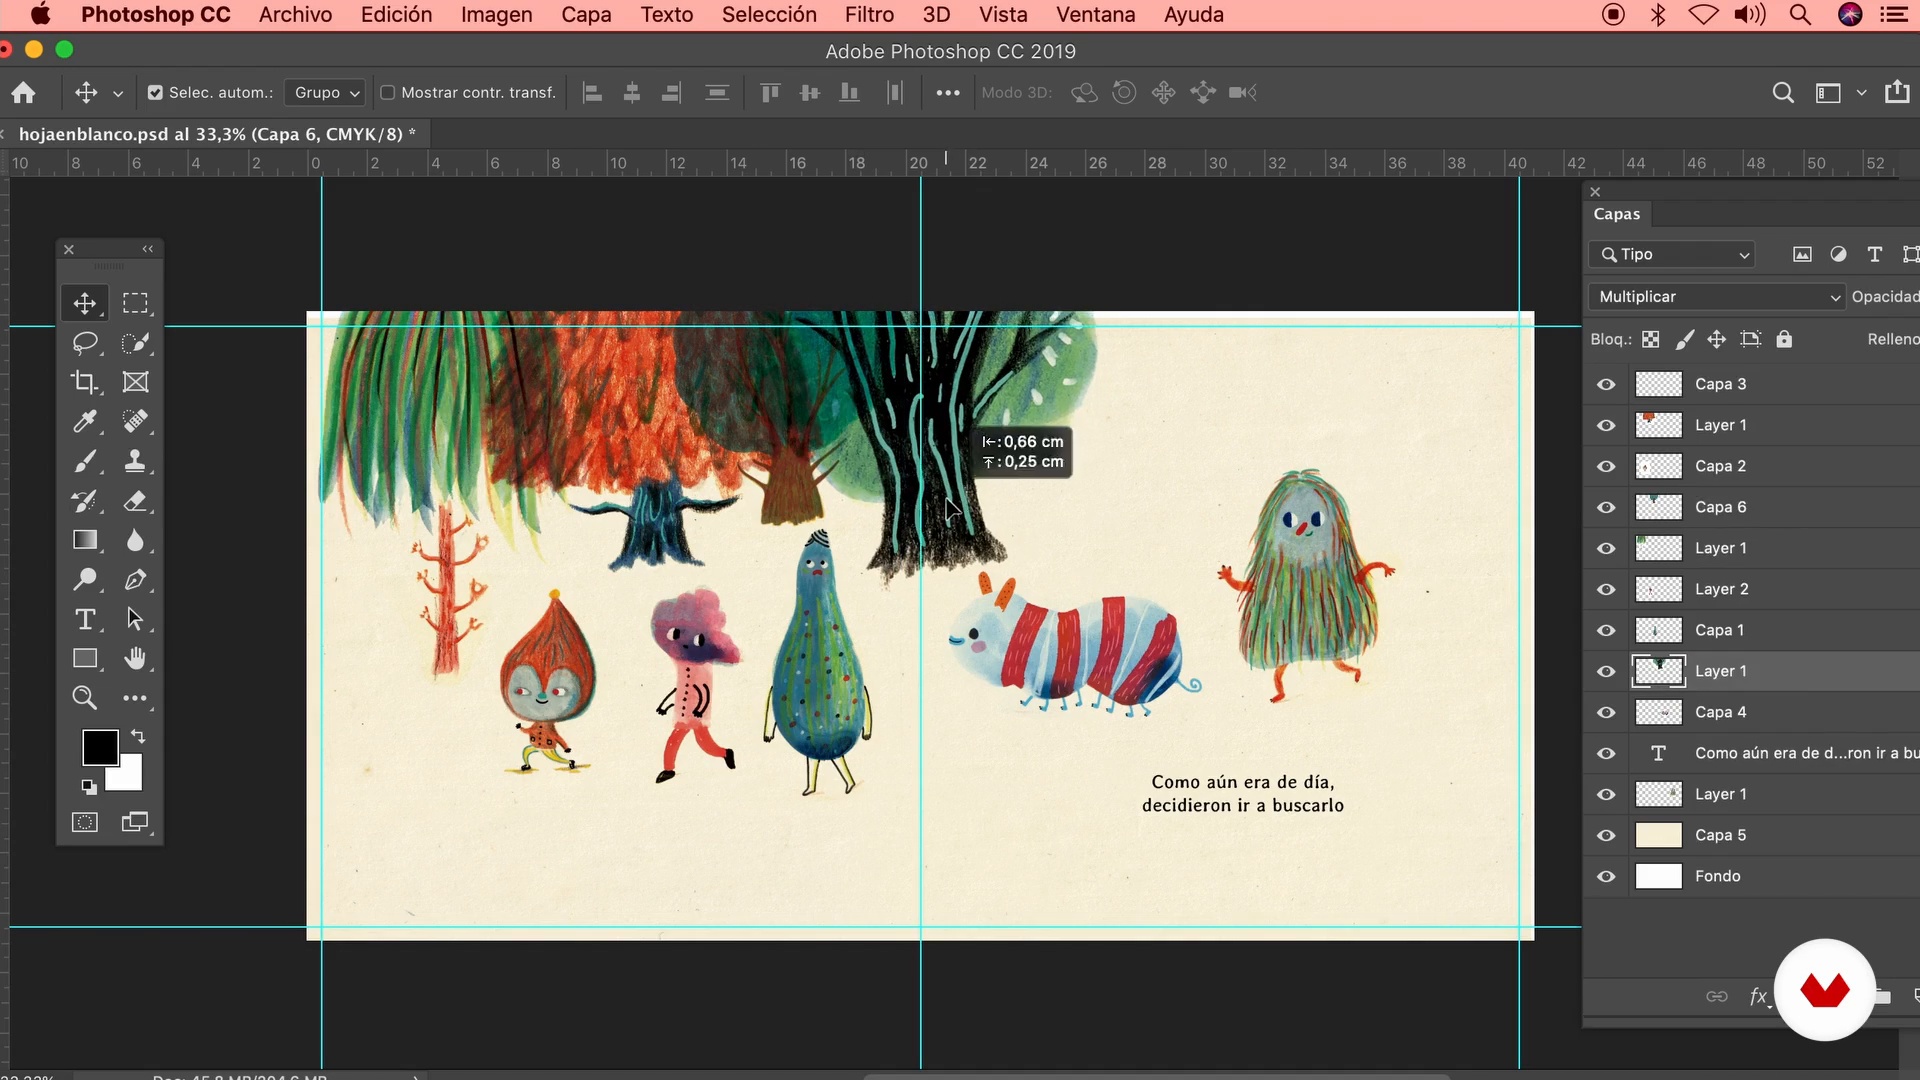
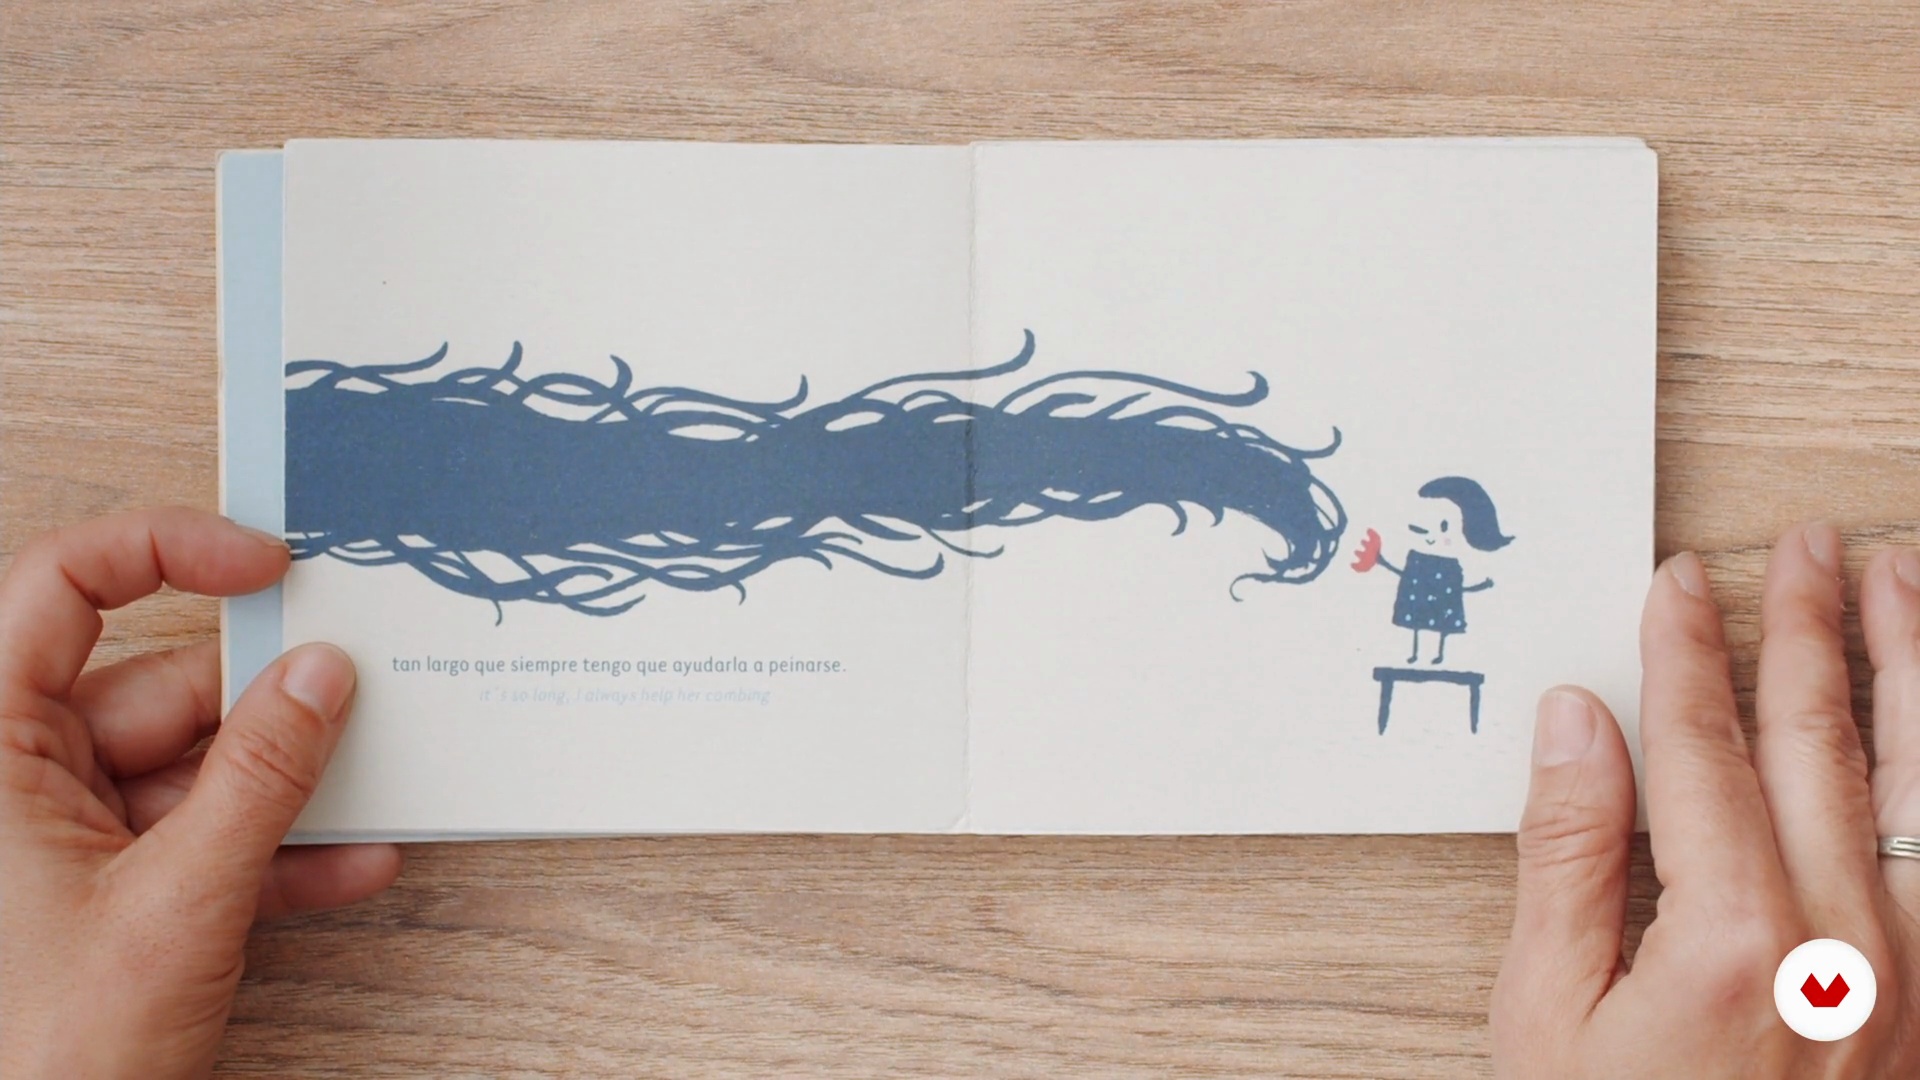
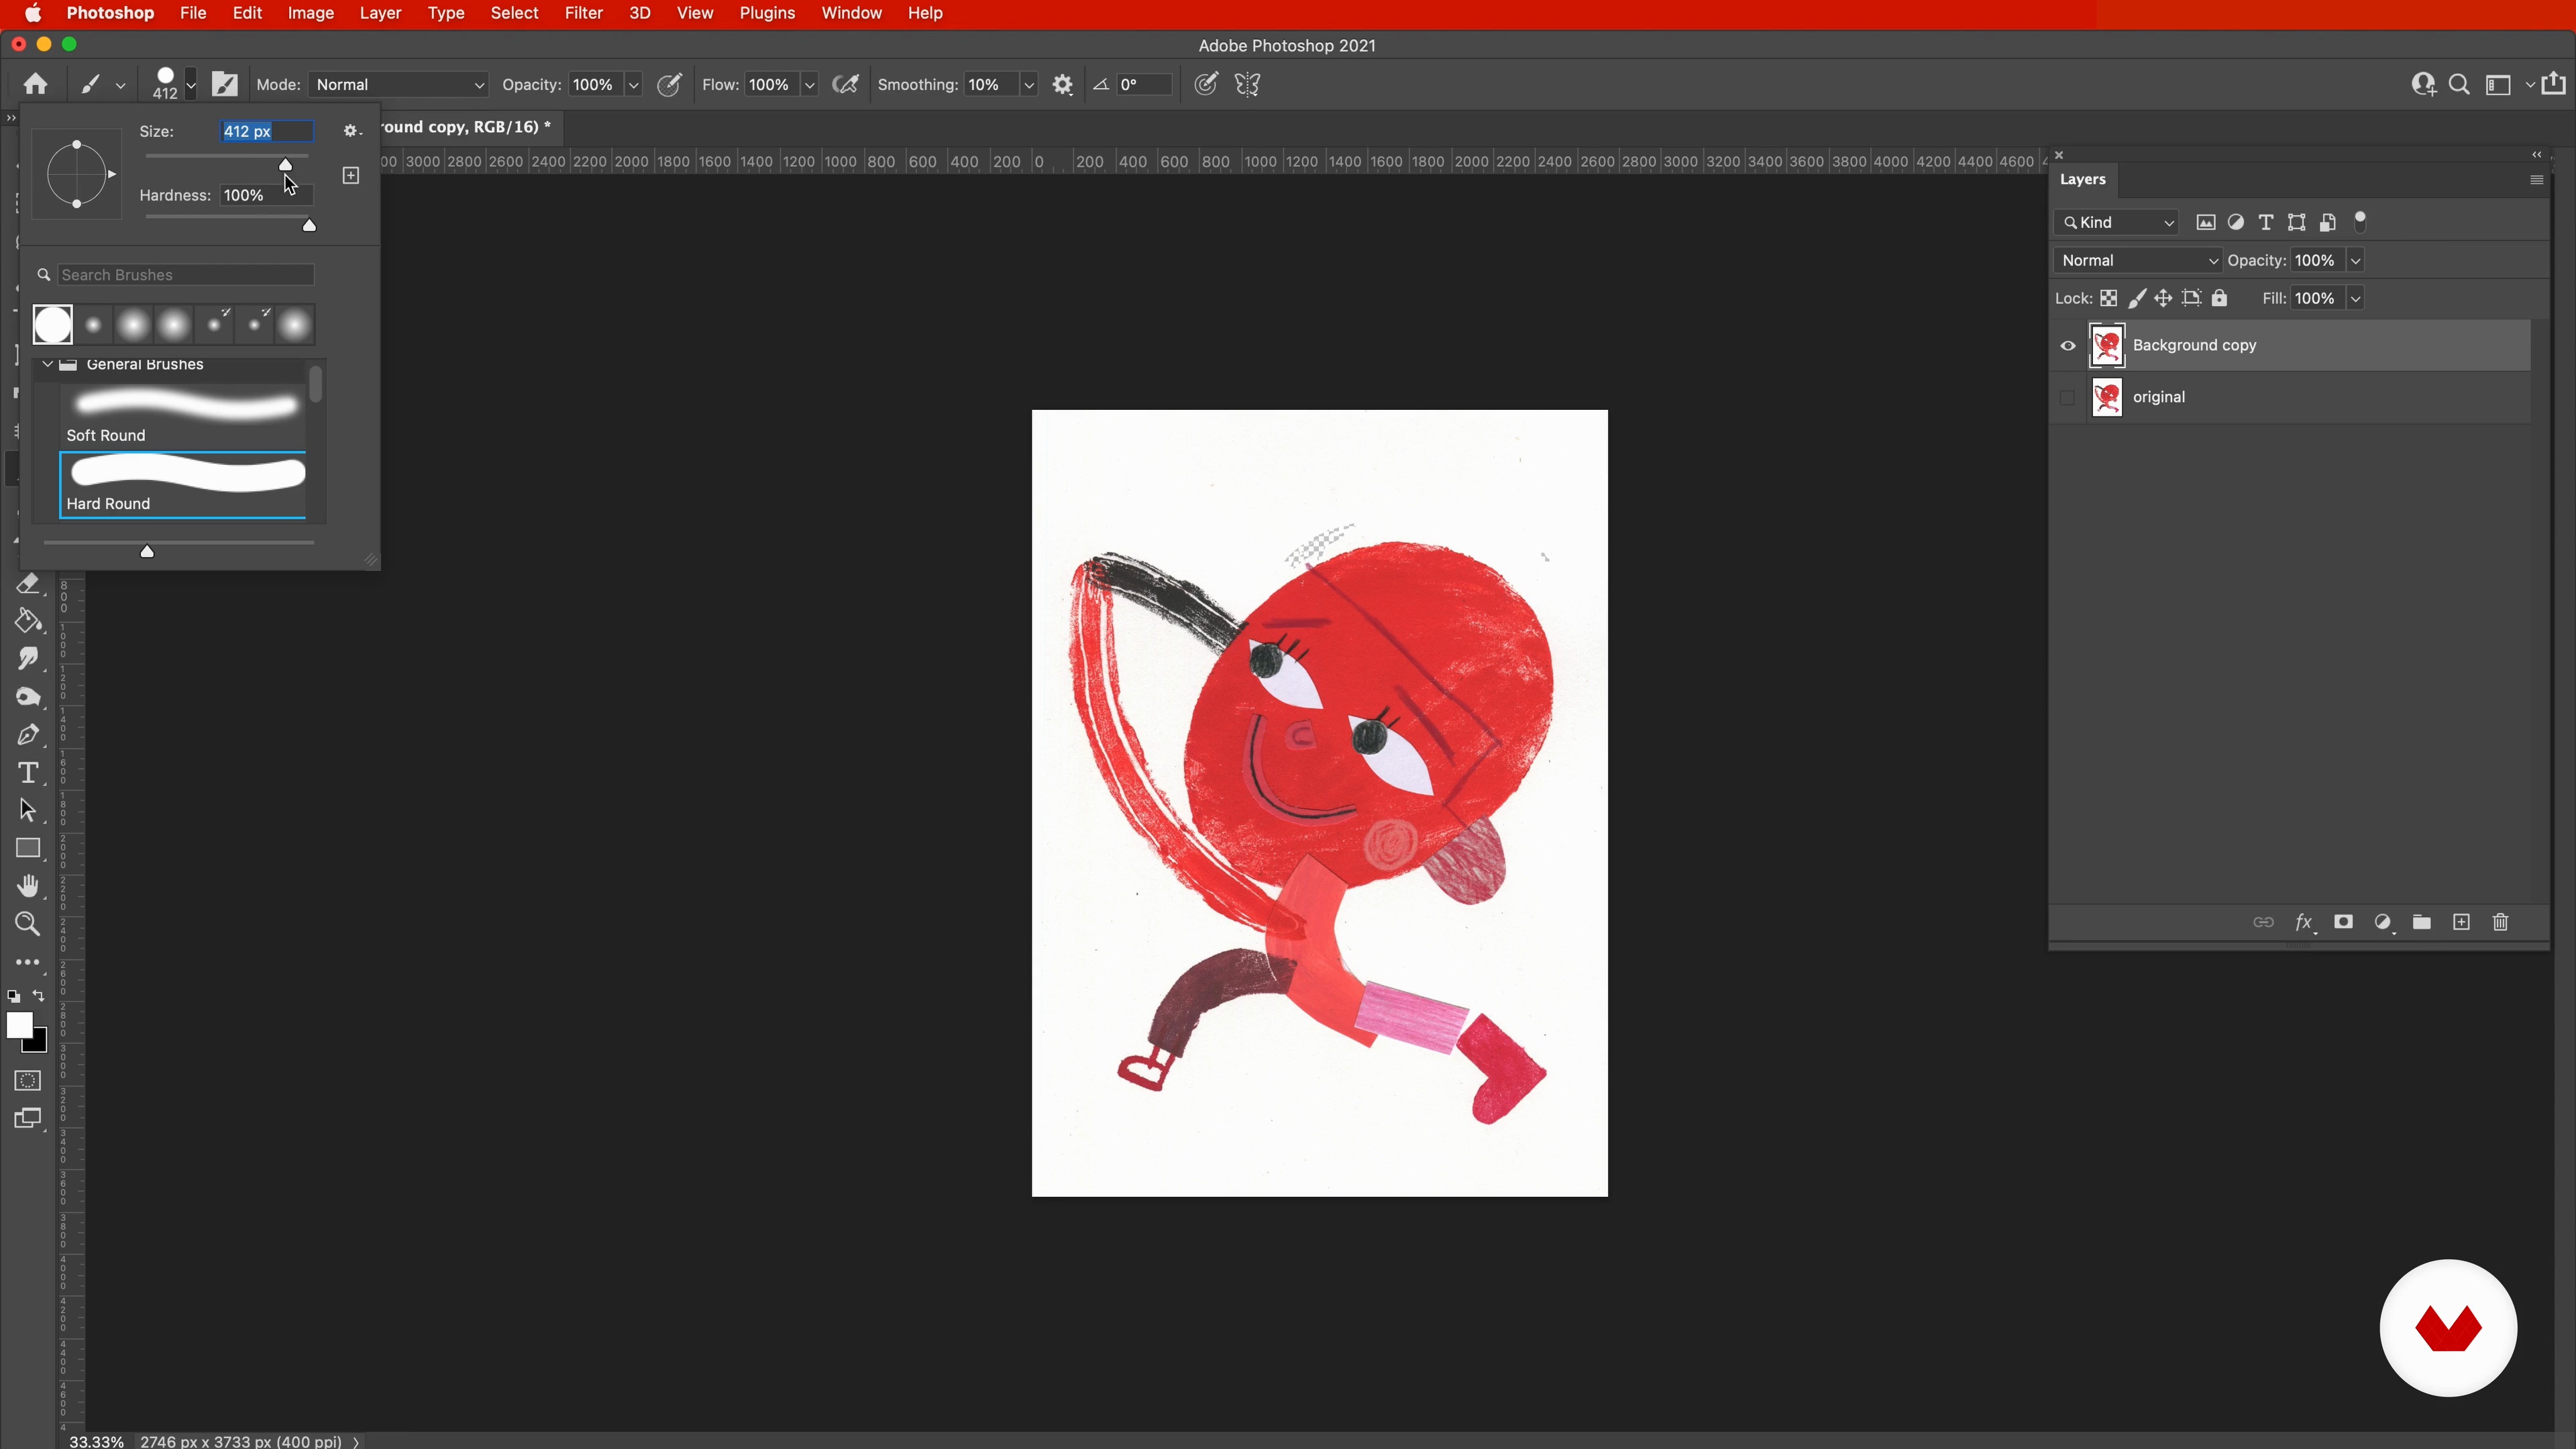
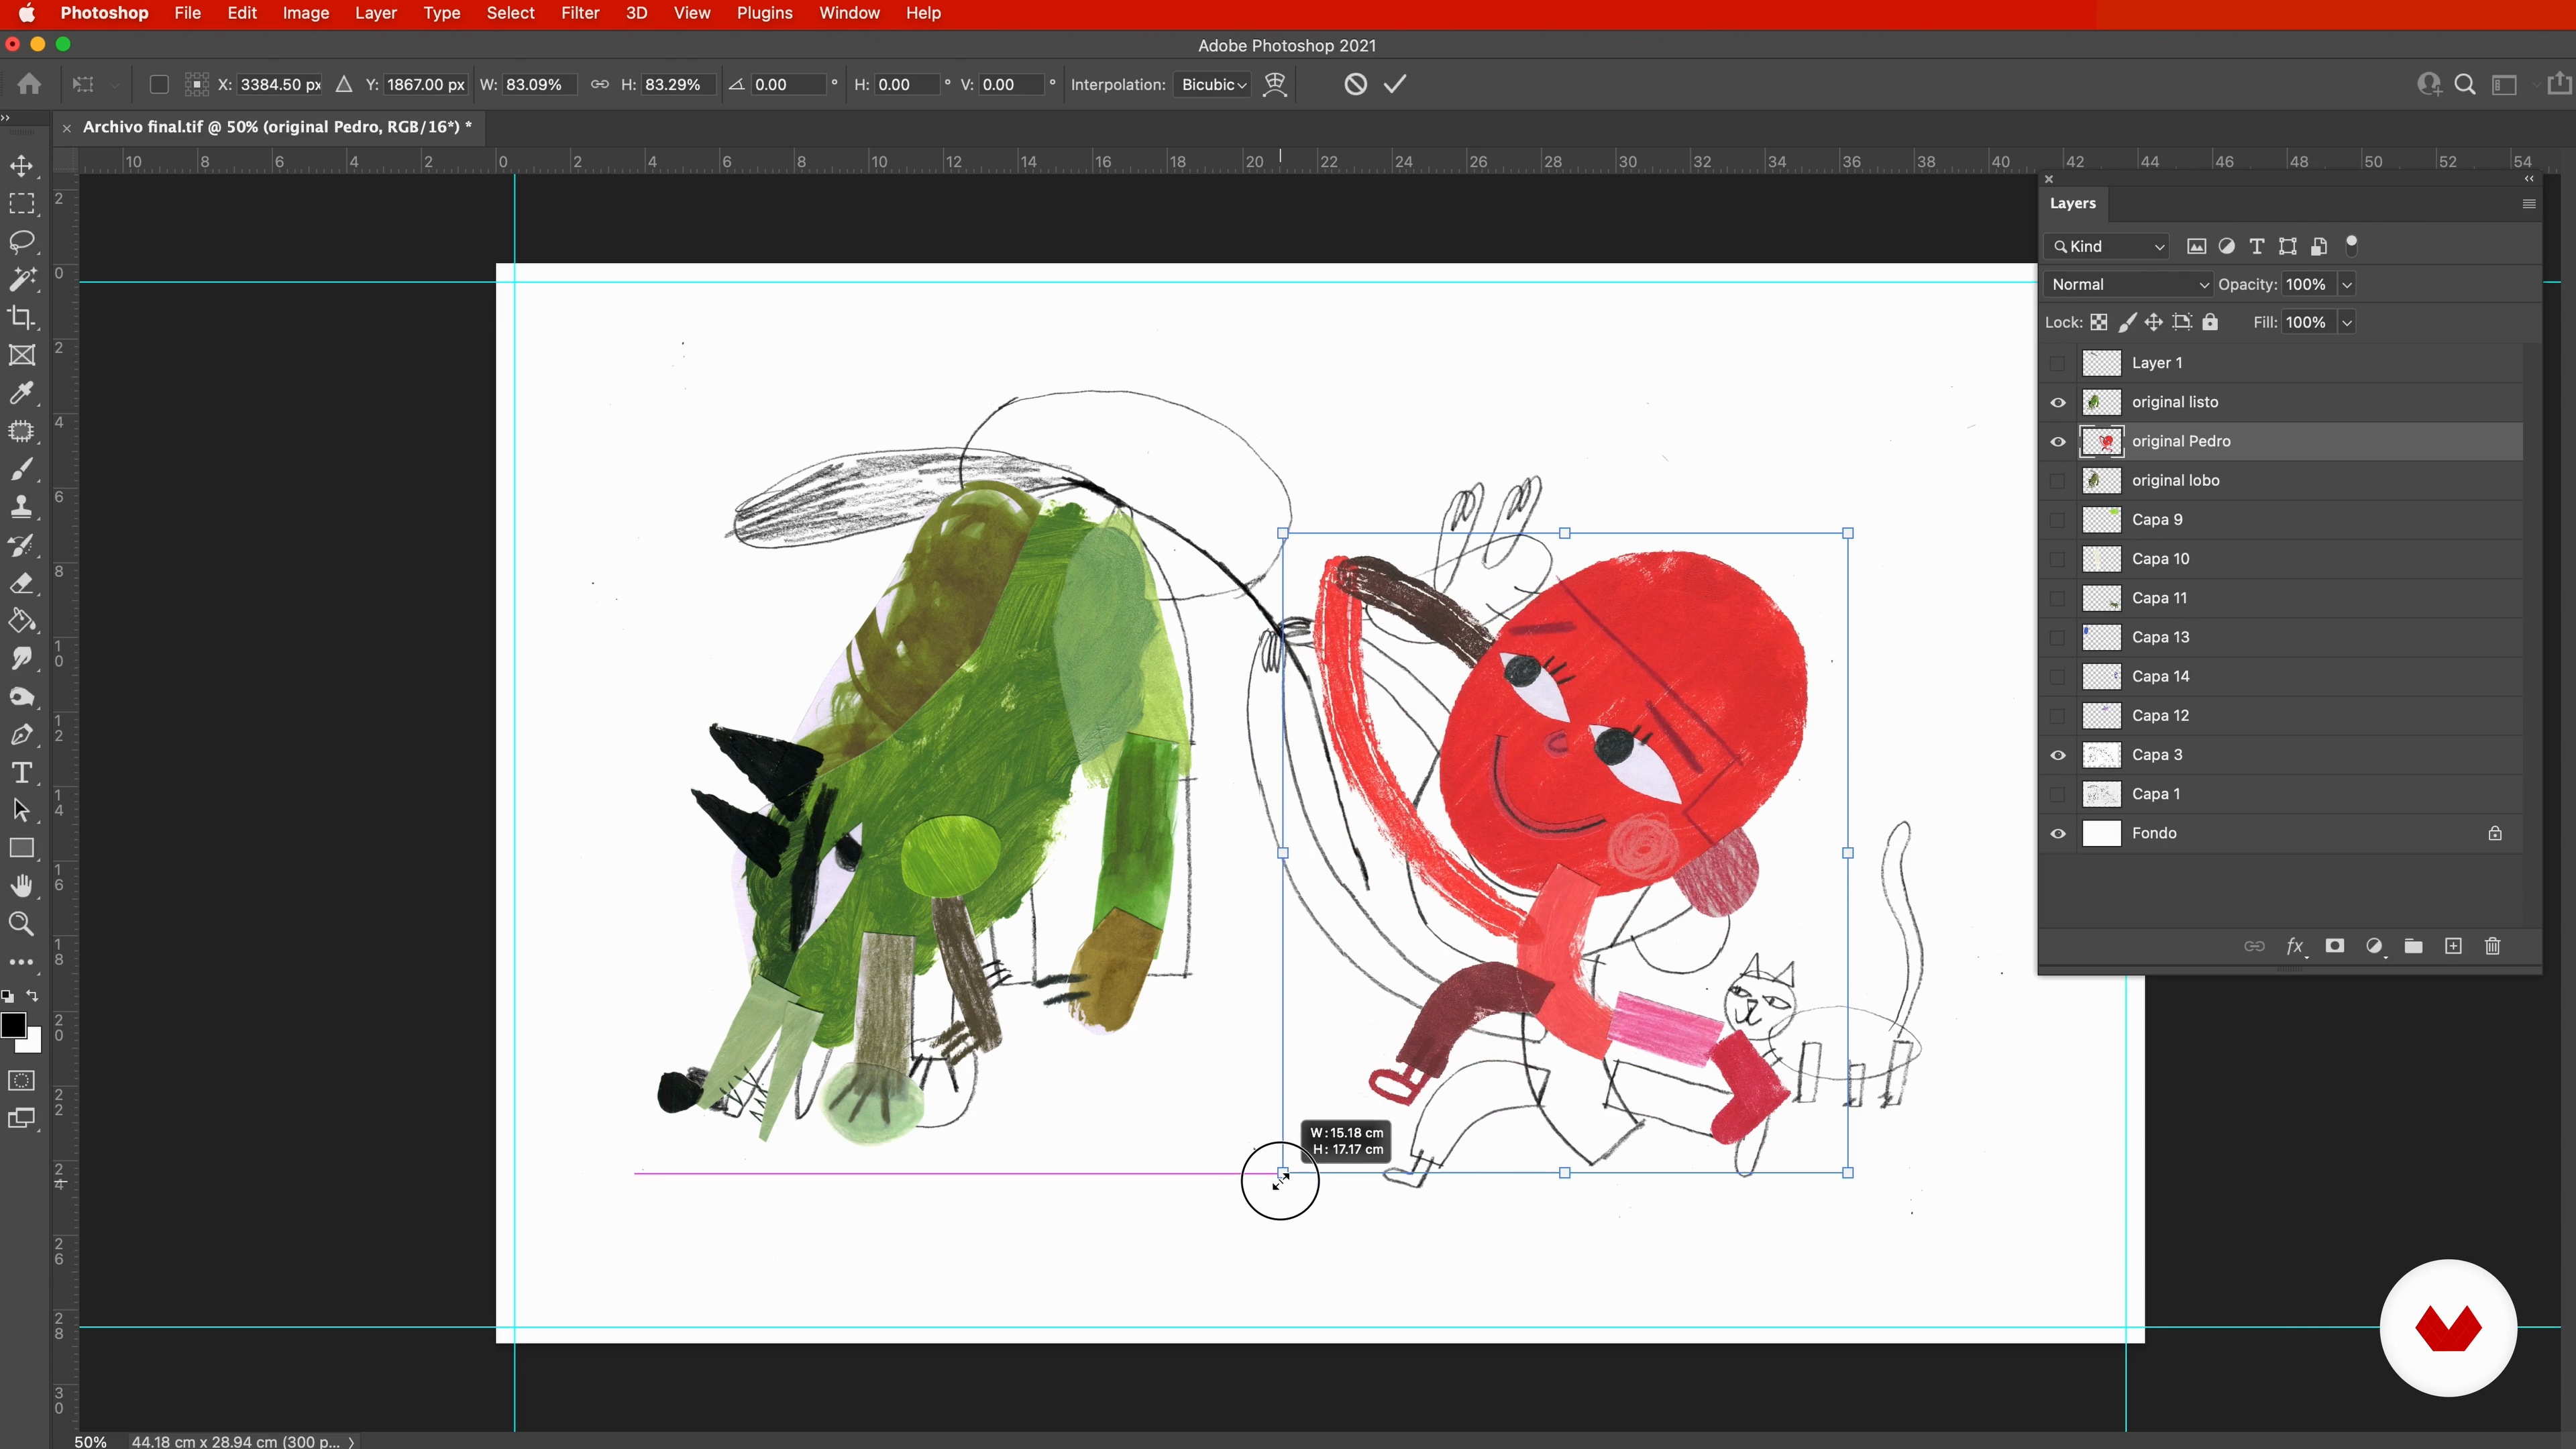
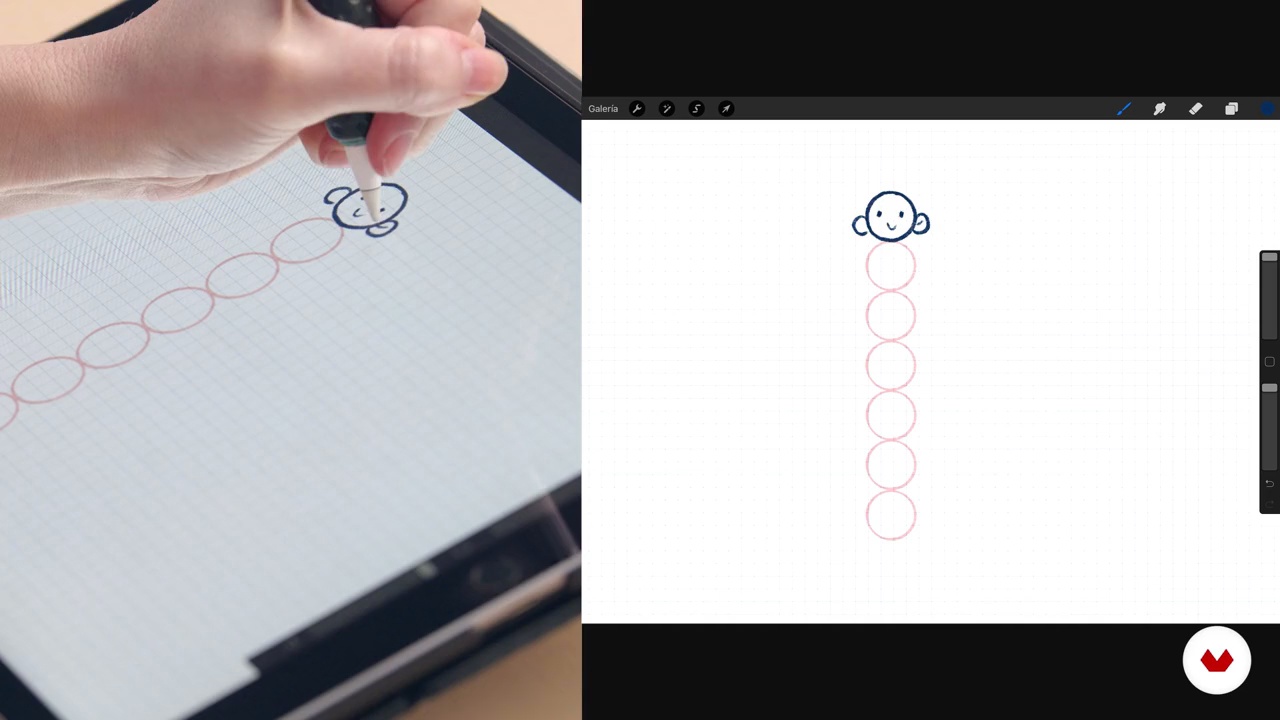
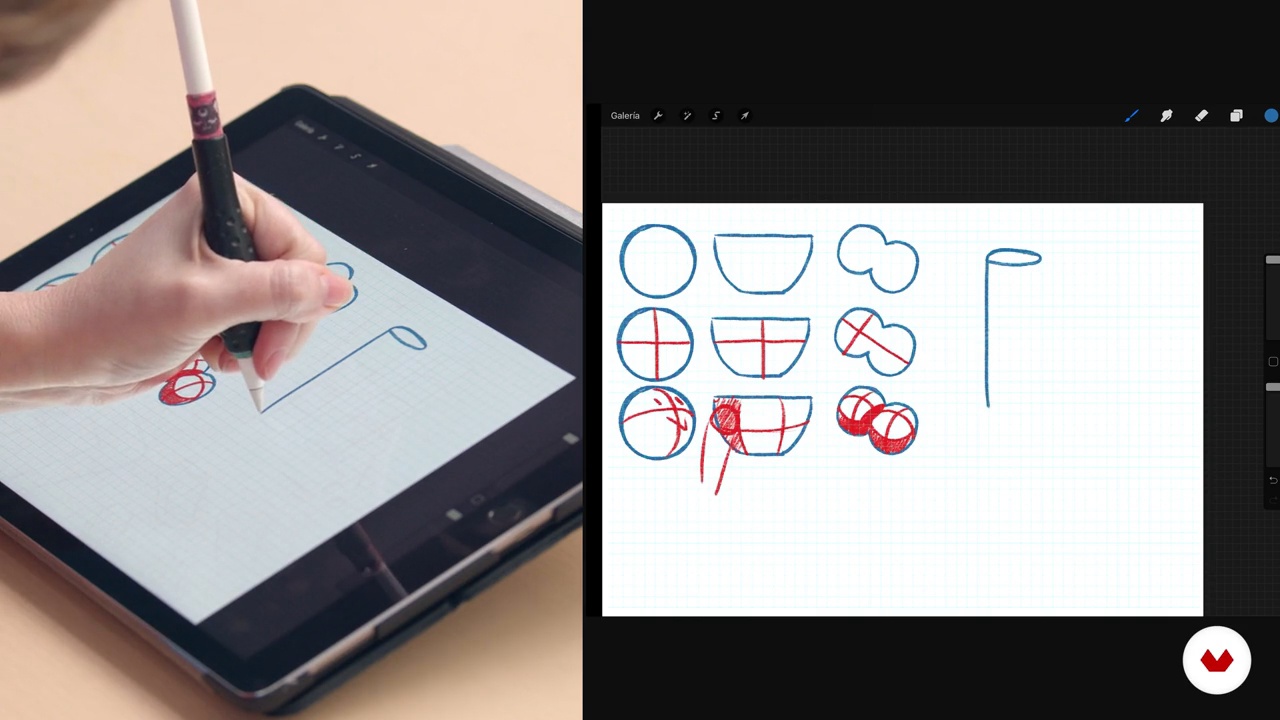
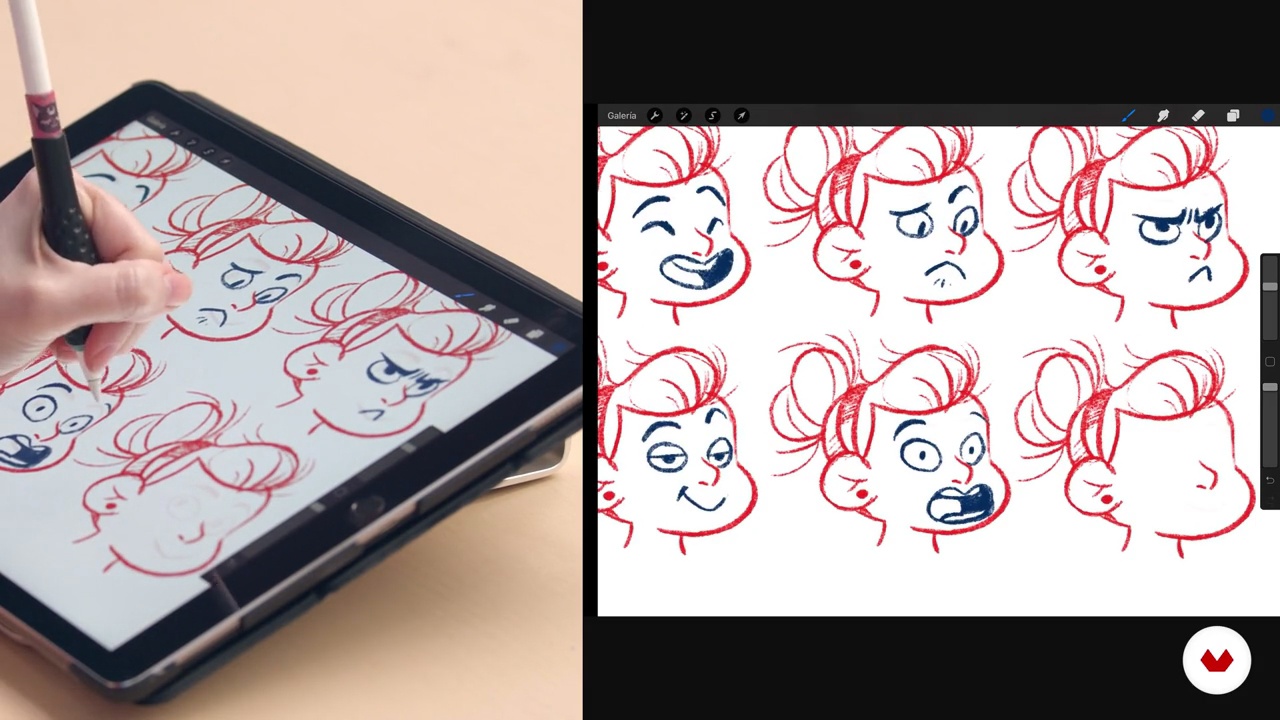
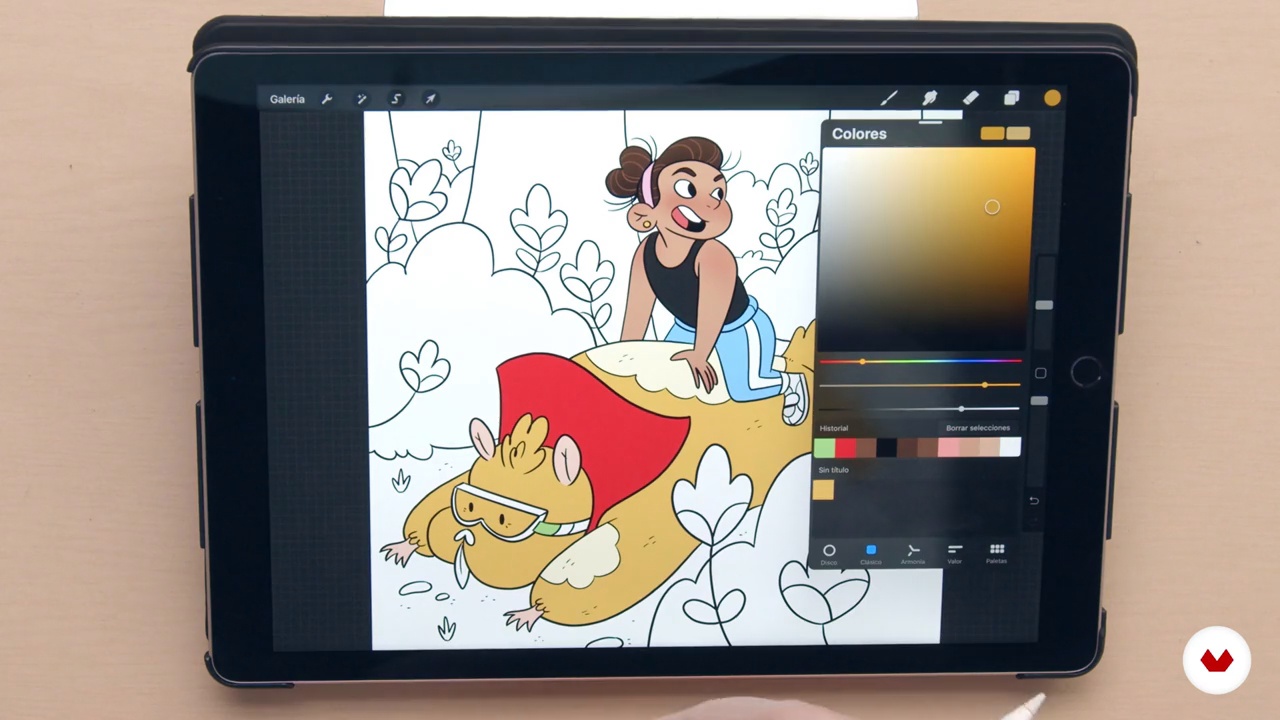
In this artistic journey, the tradition of storytelling merges with the digital precision of Photoshop and Procreate, tools that become extensions of your creative vision. Under the guidance of these five masters, each bringing their unique perspective from writing to digital illustration, you will discover how to infuse emotions and gestures into every page. By the end, you will have the technical mastery and narrative voice needed to transform your ideas into visual stories that will inspire new generations of readers.

Read more ↓

What will you learn in this specialization?

A total of 6 modules and 70 lessons
A total of 14h 37m of vídeo lessons
Taught by 5 selected expert teachers
image
1
Introduction
To begin, you will learn how to explore the fascinating world of children's literature, where storytelling and illustration come together to educate and inspire. During this course, you will discover how children's books foster creativity, teach values, and connect young readers to diverse cultures. Finally, you will reflect on the importance of authenticity and passion when creating meaningful stories that spark imagination and inspire future generations.
1m
image
2
Inspiration / Jose Urriola
You will now explore influences such as Mafalda, The Martian Chronicles, Moebius comics and the music of Depeche Mode, which inspire humour, imagination and deep emotions. You will also reflect on puddles as creative portals to parallel and fantastic worlds.
6m
image
3
Inspiration / Ana Pavez
In this lesson, you will discover how artists from diverse disciplines can profoundly impact a creative path. From Annie Alberts, whose textile work connects the manual with the narrative, to Louise Bourgeois, who transforms her past into a visual language full of symbolism, you will explore how art conveys stories without words.
10m
image
4
Inspiration / Natalia Colombo
During this lesson, you will learn how the influences of unique artists have shaped one illustrator's creative work. You will discover the world of Max Cachimba and his absurd, dreamlike humor and distinctive use of color; and how Elenio Pico inspires creative freedom by enjoying the process more than the result.
8m
image
5
Inspiration / Natalia Gurovich
In this lesson, you will discover how medieval bestiaries and Max Ernst’s surreal collages inspire imaginary worlds filled with visual narrative. You will learn about the authenticity of children’s drawings in Jean Dubuffet and Cy Twombly, and explore magical composition in Sergio Larraín’s photography.
14m
image
6
Inspiration / Jimena S. Sarquiz
Finally, you’ll explore how personal influences enrich creative work through specific stories and artists that inspire illustration. Drawing on reflections on figures such as Quino, Tony Ross, Oliver Jeffers, Kate Beaton and Luke Pearson, you’ll discover how each impacts different aspects of visual storytelling, such as wordless comedy, technical exploration, and expressive use of colour and character design.
16m
image
1
Children's books: a serious matter
To begin, I will try to point out some issues that should be avoided in order NOT to fall into the commonplaces that are usually associated with children's literature.
8m
image
2
Strategies for capturing ideas
Here we will focus on the search for inspiration, the sources that are used to capture it, grasp it, and then begin to land it on the blank page.
13m
image
3
Structure and gender 1
You need to think carefully and decide what exactly you want to tell and how you are going to tell it. You will need to decide what will be the most appropriate structure for your work, as well as the choice of the genre that best suits your book. In this lesson I will explain how.
14m
image
4
Structure and gender 2
We continue to analyze different genres and structures so that you can think about what will best fit your project.
7m
image
5
To illustrate or not to illustrate?
If you only write and don't dare to illustrate, you will face a dilemma: to illustrate or not to illustrate? In this lesson you will see the relationships between text and illustration, as well as the importance of working as a team with an illustrator.
10m
image
6
How a book is born
It's time to define your character's characteristics, the context in which he finds himself, the events that happen to him and how they make him feel. In this lesson I will teach you how to do it.
11m
image
7
A handmade map
In my experience as an author, I have learned that it is important to make a map by hand. In this lesson, we will develop a map, outline, or itinerary that will serve as a skeleton for the story you will later develop.
18m
image
8
Landing the ideas
We must give shape to all those ideas that are floating around in our minds and that have fallen into our network. Write them down, build bridges and relationships between them; try to write them down in a first version that you will then polish.
10m
image
9
The hard task of correcting
Now we are going to study some techniques and recommendations to correct, edit, prune and always ensure beautiful, complex and difficult simplicity.
14m
image
10
Putting order in the disorder
We are going to focus on one of the possibilities for structuring a book that is composed of several short, self-contained stories. We will also look at some notions for approaching classical narration.
17m
image
11
Working with the illustrator
Sometimes you have to team up with someone who has a talent you lack. What does that work together look like? How do you work together with the illustrator? In this lesson I will give you some tips to achieve the best synergy between the two of you.
17m
image
12
Publish or self-publish?
Now that you have a fairly solid book project, there are several considerations to take into account: from entering contests to self-publishing. In this lesson I will give you some options for publishing your story.
8m
image
1
Writing an illustrated book
To begin this module, I will explain the similarities and differences between a picture book and an informational book, and I will also explain how text and images can be related in a picture book.
21m
image
2
Publics
I will tell you about the audiences that children's illustrated books are aimed at, and the main characteristics of each one of them. Knowing this information will be very useful for you to think about the first definitions of your final project.
15m
image
3
The main idea
You will learn how to find an original idea to make your project. This idea will be the starting point for the rest of the project development.
15m
image
4
Investigation
I will show you how to conduct appropriate research for the development of your project, through the use of various types of sources and the analysis of the state of the art of the topic worked on.
18m
image
5
Writing a first draft
During this lesson, I will teach you my process for taking the research and project definitions I have made and putting them into a script that serves as the structure of the story.
20m
image
6
Writing the scenes
With the first draft ready, it's time to start writing the scenes. You'll see that it's also a process that may seem simple, but it requires a lot of concentration, creativity and constant corrections.
16m
image
7
Storyboard
I'll show you how to make a storyboard using all the material you've collected, from your research to the written scenes. You don't need to know how to illustrate, but you do need to think about text and image at the same time. Visuality is very important in this type of project!
18m
image
8
Working on the illustration
You will learn about the three options you have for the illustration. The first is that you illustrate your project yourself, the second is that you look for an illustrator who wants to share this adventure with you; or that you present the storyboard without illustrations to a publisher. Whatever your decision, it will be useful to know about the dynamics of working with an illustrator, from the search for a suitable illustrator, the process of selecting the scenes, and the illustration style.
19m
image
9
Final version and final model 1
During this lesson, I will show you how to turn the storyboard into a mock-up of the illustrated book, with fourteen scenes and thirty-two pages. In addition, you will see how to make some revisions and corrections to the written text, to obtain a final version.
17m
image
10
Final version and final model 2
I'll continue by showing you some of the tweaks I'll be making to my project until it's as good as it can be, and I'll tell you what changes I'm making and why. This way you'll be able to better guide yourself when you're polishing your final version.
7m
image
11
Project presentation
Making your project is not enough, it must have a life of its own! In this lesson, I will show you how to make a summary of the project so that it can be presented to publishers, contests, fairs, and others that allow your work to reach its audience.
10m
image
12
Cultural appropriation and property rights
Finally, I'll share some thoughts on using inspirational materials that you don't own. I'll also give you tips on how to address intellectual property rights and cultural appropriation in your work.
6m
image
1
Materials
First, I will show you the materials we will need to do our experimentation exercises throughout the course.
6m
image
2
Experiment to unlock
Next, we will start experimenting to tackle the blockage. Also, I will tell you about my experience when I am faced with the blank page.
7m
image
3
Ink stains
Now you will begin to experiment with ink blots to encourage you to face the blank page in a relaxed way and start creating your characters.
14m
image
4
Geometric shapes
In this lesson, I will teach you how to draw geometric shapes with markers. You will see that there are hidden characters there too!
12m
image
5
Drawing by erasing
We are going to reverse the process and draw shapes with the eraser. We will make a drawing with the eraser on a surface that we will complete with graphite.
17m
image
6
Casting of characters
In this lesson I will give you some tips on choosing your characters. Afterwards, it will be time to work on their expressions and details.
13m
image
7
Where do the characters live? 1
Next, we will use the same techniques we saw to create context elements and backgrounds (simple, but powerful) where your characters will live.
10m
image
8
Where do the characters live? 2
We will continue working on the different elements of the world in which our characters will live.
10m
image
9
Miniscript
Now that we have created the characters and their world, we need to create a story for them. In this lesson I will explain how to think about the double page based on a mini-script.
16m
image
10
Retouch
Now, I'll show you how to work on your characters and background elements in Photoshop. We'll retouch lights, shadows, colors and textures.
8m
image
11
Composition
Now that we have retouched the characters and the background, I am going to teach you how to compose your double page.
4m
image
12
Backgrounds and textures
I'll show you how to integrate backgrounds and characters. I'll also teach you how to apply textures to give the finishing touch to your project.
7m
image
13
How and where to present your work?
Finally, I will teach you how to present your book projects to publishers and at fairs. I will also talk about some competitions and tell you what is important to keep in mind. Finally, I will give you some tips for sending your work by email.
7m
image
1
Children's books, illustrators, artists and techniques
First of all, I will tell you about the basics of a children's picture book and we will look at interesting examples that relate to plastic work.
14m
image
2
Choose the story to illustrate: Pedro and the wolf
Now I will tell you specifically about the story I selected for the course project. I will explain why I chose it and give you some information about the time in which it was written.
5m
image
3
Ideas, scenes and characters
In order to illustrate a story, you have to read it! In this lesson, we will do a first and second reading of the text in order to choose and begin to develop an illustration within the context of the book.
12m
image
4
The characters: color and characteristics
We will look at ideas for defining the characters. To do this, I will focus on the personality of the characters and give each one a color that represents them.
6m
image
5
Playing with materials
In order to work on your project, you will need some materials that I will present to you in this lesson. We will also do some practical and creative exercises with them.
18m
image
6
The characters: from the general to the particular 1
If you are going to illustrate a book, you have to develop the characters, their lines and shapes. To do this, you will see here how to explore the plastic possibilities of the characters according to their characteristics.
7m
image
7
The characters: from the general to the particular 2
I finished exploring the character of Pedrito. Here I will continue with the other characters: the grandfather, the bird, the duck, the hunters, the wolf, and the cat.
14m
image
8
The final sketch 1
Now that we have worked on the characters, we can move on to the final sketch of the chosen scene. I will show you the different sketches I made to define the composition of my illustration. Then you will see how to use collage and stains to make each part and character of the scene separately.
16m
image
9
The final sketch 2
I've already repeated the same process with the other characters. I'll show you how they turned out.
4m
image
10
Preparing the digital collage
From the sketch we will digitize and clean up the parts of the illustration before assembling the final image in Photoshop.
8m
image
11
Digital collage process
During this lesson, I will show you how to put together the previously digitized parts of the illustration and work on them in Photoshop to obtain the final image.
20m
image
12
Care and recommendations: digital and analog
The illustration is now ready! Now we will look at some recommendations for printing, caring for and displaying your work, either digitally or analogously.
11m
image
1
Know your workspace
To start, I want to show you how I set up my workspace in Procreate. I'll show you different options you have to customize your document and your workspace. I'll also go over the iOS gestures compatible with the program I use the most. Finally, I'll explain which brushes I'm going to use for our project and show you how to create a folder to save your brushes.
18m
image
2
Where do ideas come from?
Whether your project starts with a brief, a literary text, or an idea in your head, there are certain questions you should ask yourself about a character. In this lesson, I will use the phrase “a boy and his imaginary friend” to create two characters. I will explain what questions you should ask yourself to bring your character to life.
7m
image
3
Mood boards
In this lesson, I'll explain what a mood board is. I'll show you how I use it to gather images that I'll use as reference and inspiration throughout my project. Finally, I'll create my mood board in Procreate by dragging images into a document from my photo app.
14m
image
4
Drawing with basic figures
Now I'll show you how to create characters, both human and not so human, from simple shapes. I'll explain how, when you combine variations in sizes and shapes, your characters look more diverse. Finally, I'll create a template with characters to serve as an example for you to start making your own combinations.
13m
image
5
Thinking in 3 dimensions
Now that you've practiced creating different characters, let's talk about the importance of seeing your figures as three-dimensional objects. This way we can give the illusion of volume to our characters.
18m
image
6
First sketches
In this lesson I'm going to combine what I taught you about drawing with basic shapes with the information from my mood board to create a human character and his imaginary friend. I'll show you how, after creating my basic structure, I add details until I have a first version of my characters.
14m
image
7
An emotional face
The face is the first thing we notice about a character. It's where we look for clues about what they're thinking and feeling. In this lesson I'll show you how to draw the head in different positions and with different facial expressions.
16m
image
8
An expressive body
After the head comes the body. I'll explain how to draw the body, paying attention to the silhouette and legibility of your image. I'll show you how I look for poses that help me best tell my character's story. By the end of this lesson, I'll have my character sketch ready to use in an illustration.
11m
image
9
The final sketch
I'm going to sketch out my final illustration. I'll take the sketch of my characters interacting and add the missing background. I'll show you how to use the drawing guide tool to add a perspective grid to help you place elements in your scene.
11m
image
10
Inking
In this lesson I will teach you how I ink my drawings. I will show you how to customize a Procreate brush so you can paint more comfortably.
13m
image
11
Color 1
In this lesson I will show you how I color my illustrations. I will show you some Procreate tools that help me color faster. I will show you how I create my color palettes in a very simple way.
16m
image
12
Color 2
In this second part of the lesson, I will teach you how to change the color of the contour lines once you have already painted them.
11m
image
13
Lights and shadows 1
In this lesson I will teach you how I add light and shadow to my drawings and what colors I use.
18m
image
14
Lights and shadows 2
After adding light and shadow to the illustration, I show you what we could do if we wanted to set it at night or in a less illuminated space.
4m
image
15
And now what do I do with my illustration?
In this lesson I will teach you how to export your finished illustrations. I will talk about the different export formats and which ones you should use depending on the use your image will have.
10m
  • 100% positive reviews (1)
  • 683 students
  • 70 lessons (14h 37m)
  • 91 additional resources (38 files)
  • Online and at your own pace
  • Audio: Spanish, English
  • Spanish · English · Portuguese · German · French · Italian · Polish · Dutch
  • Level: Beginner
  • Unlimited access forever

What is this course's project?

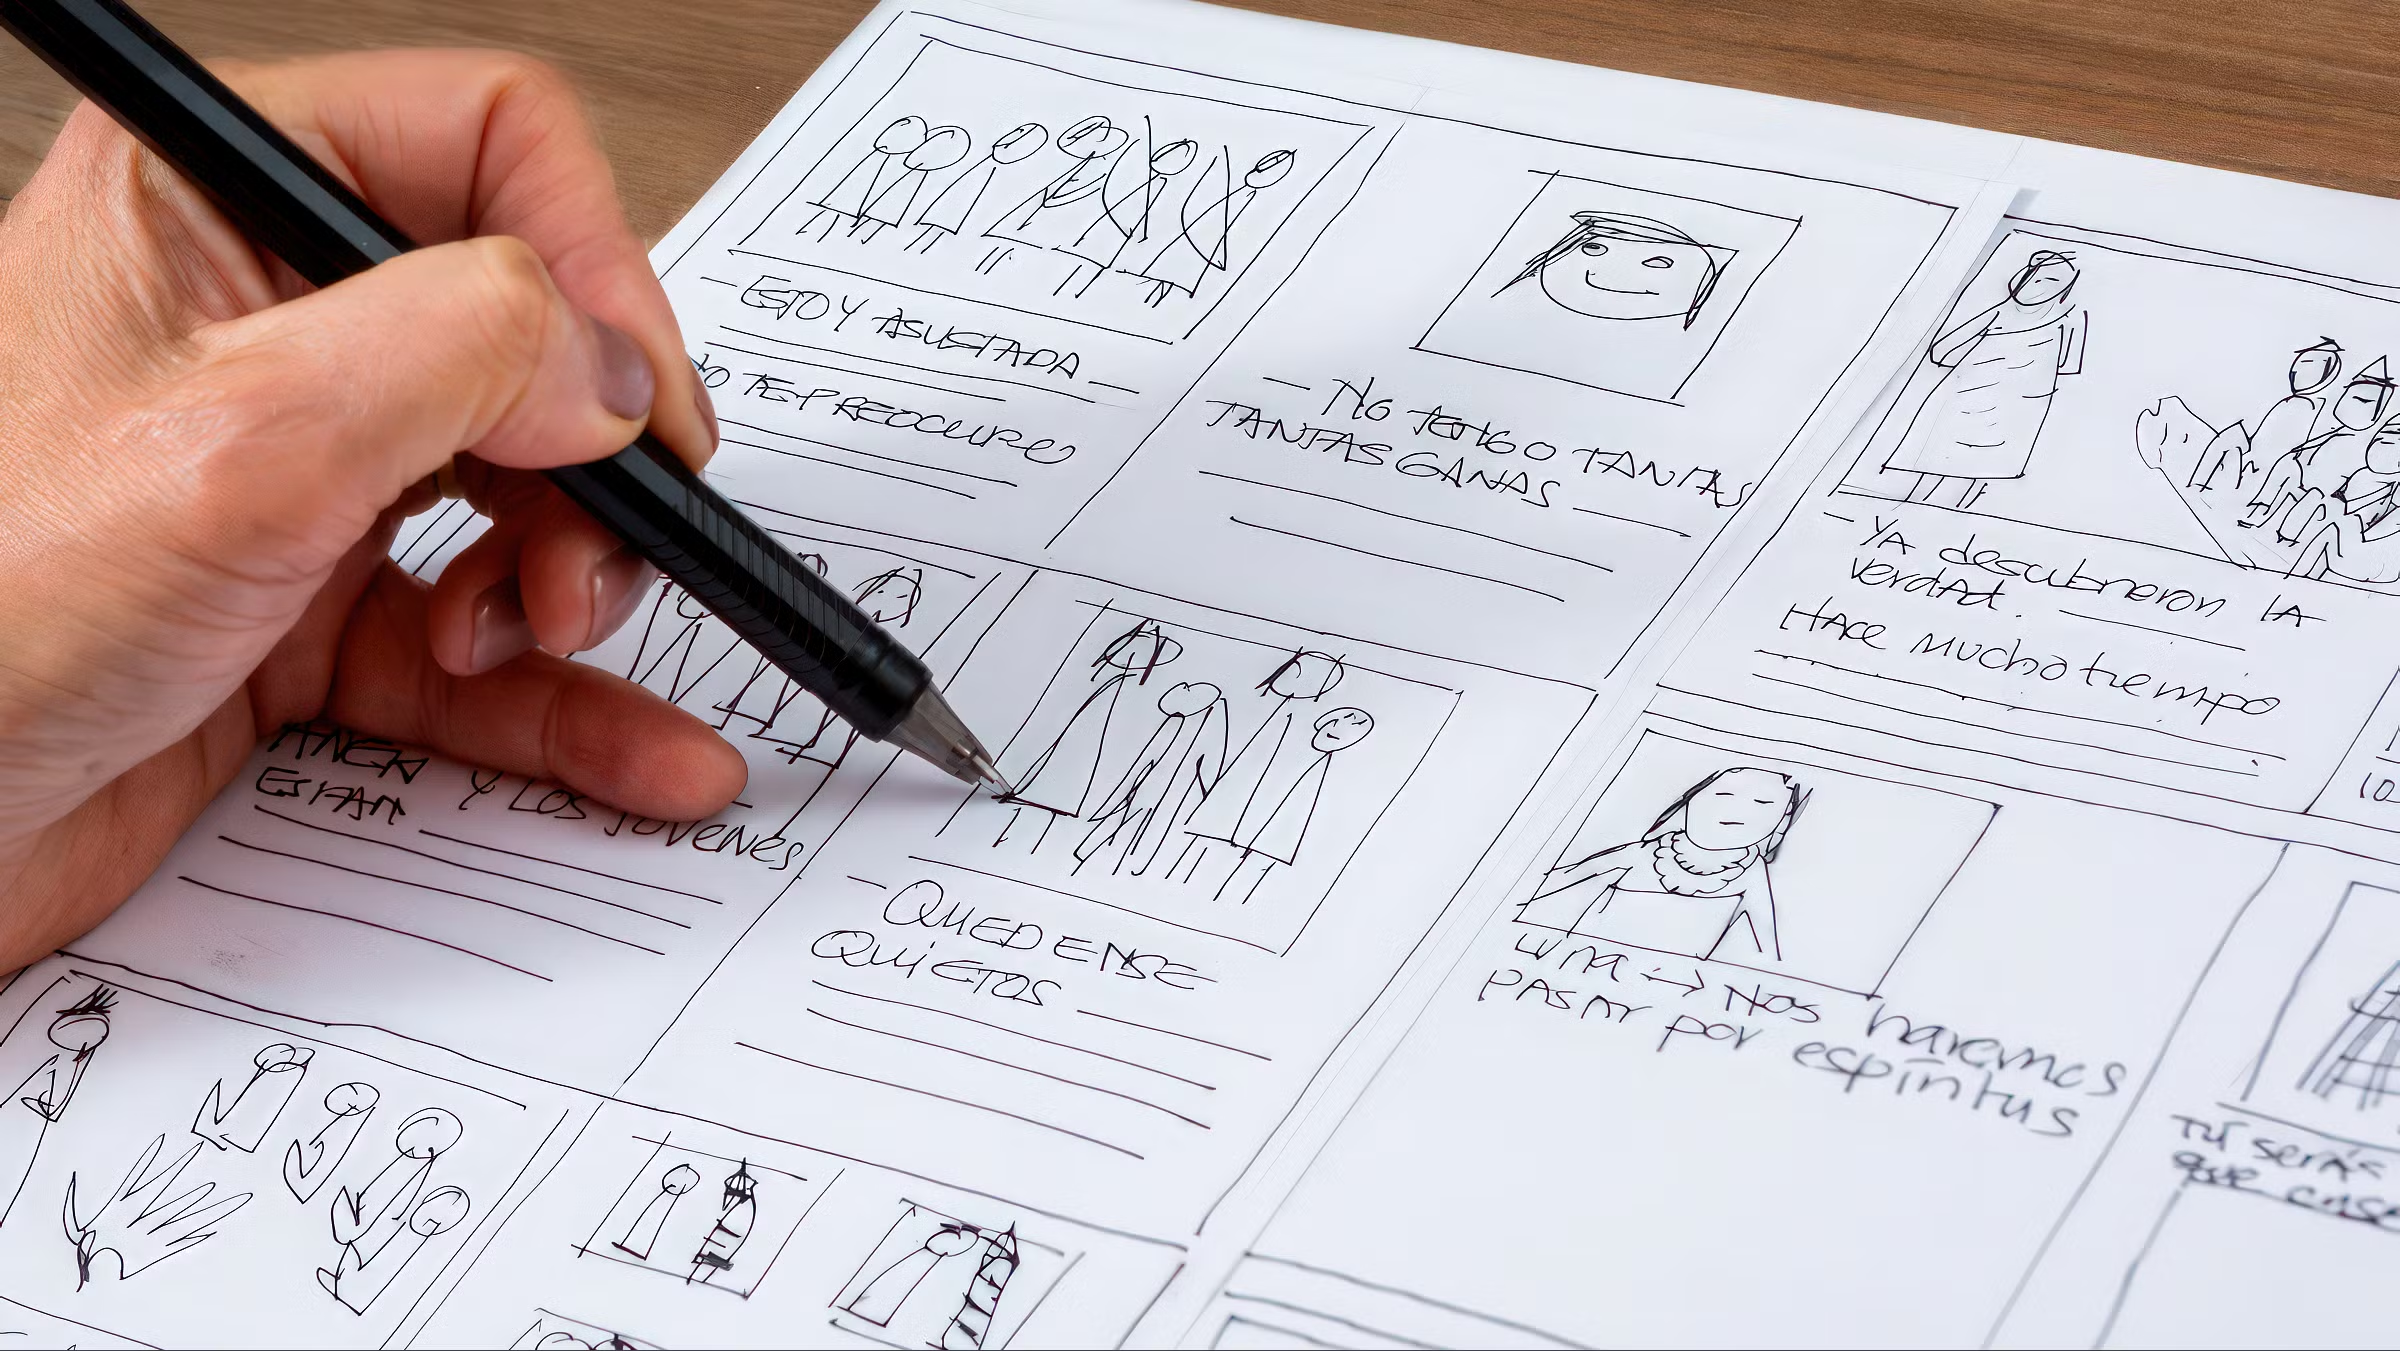
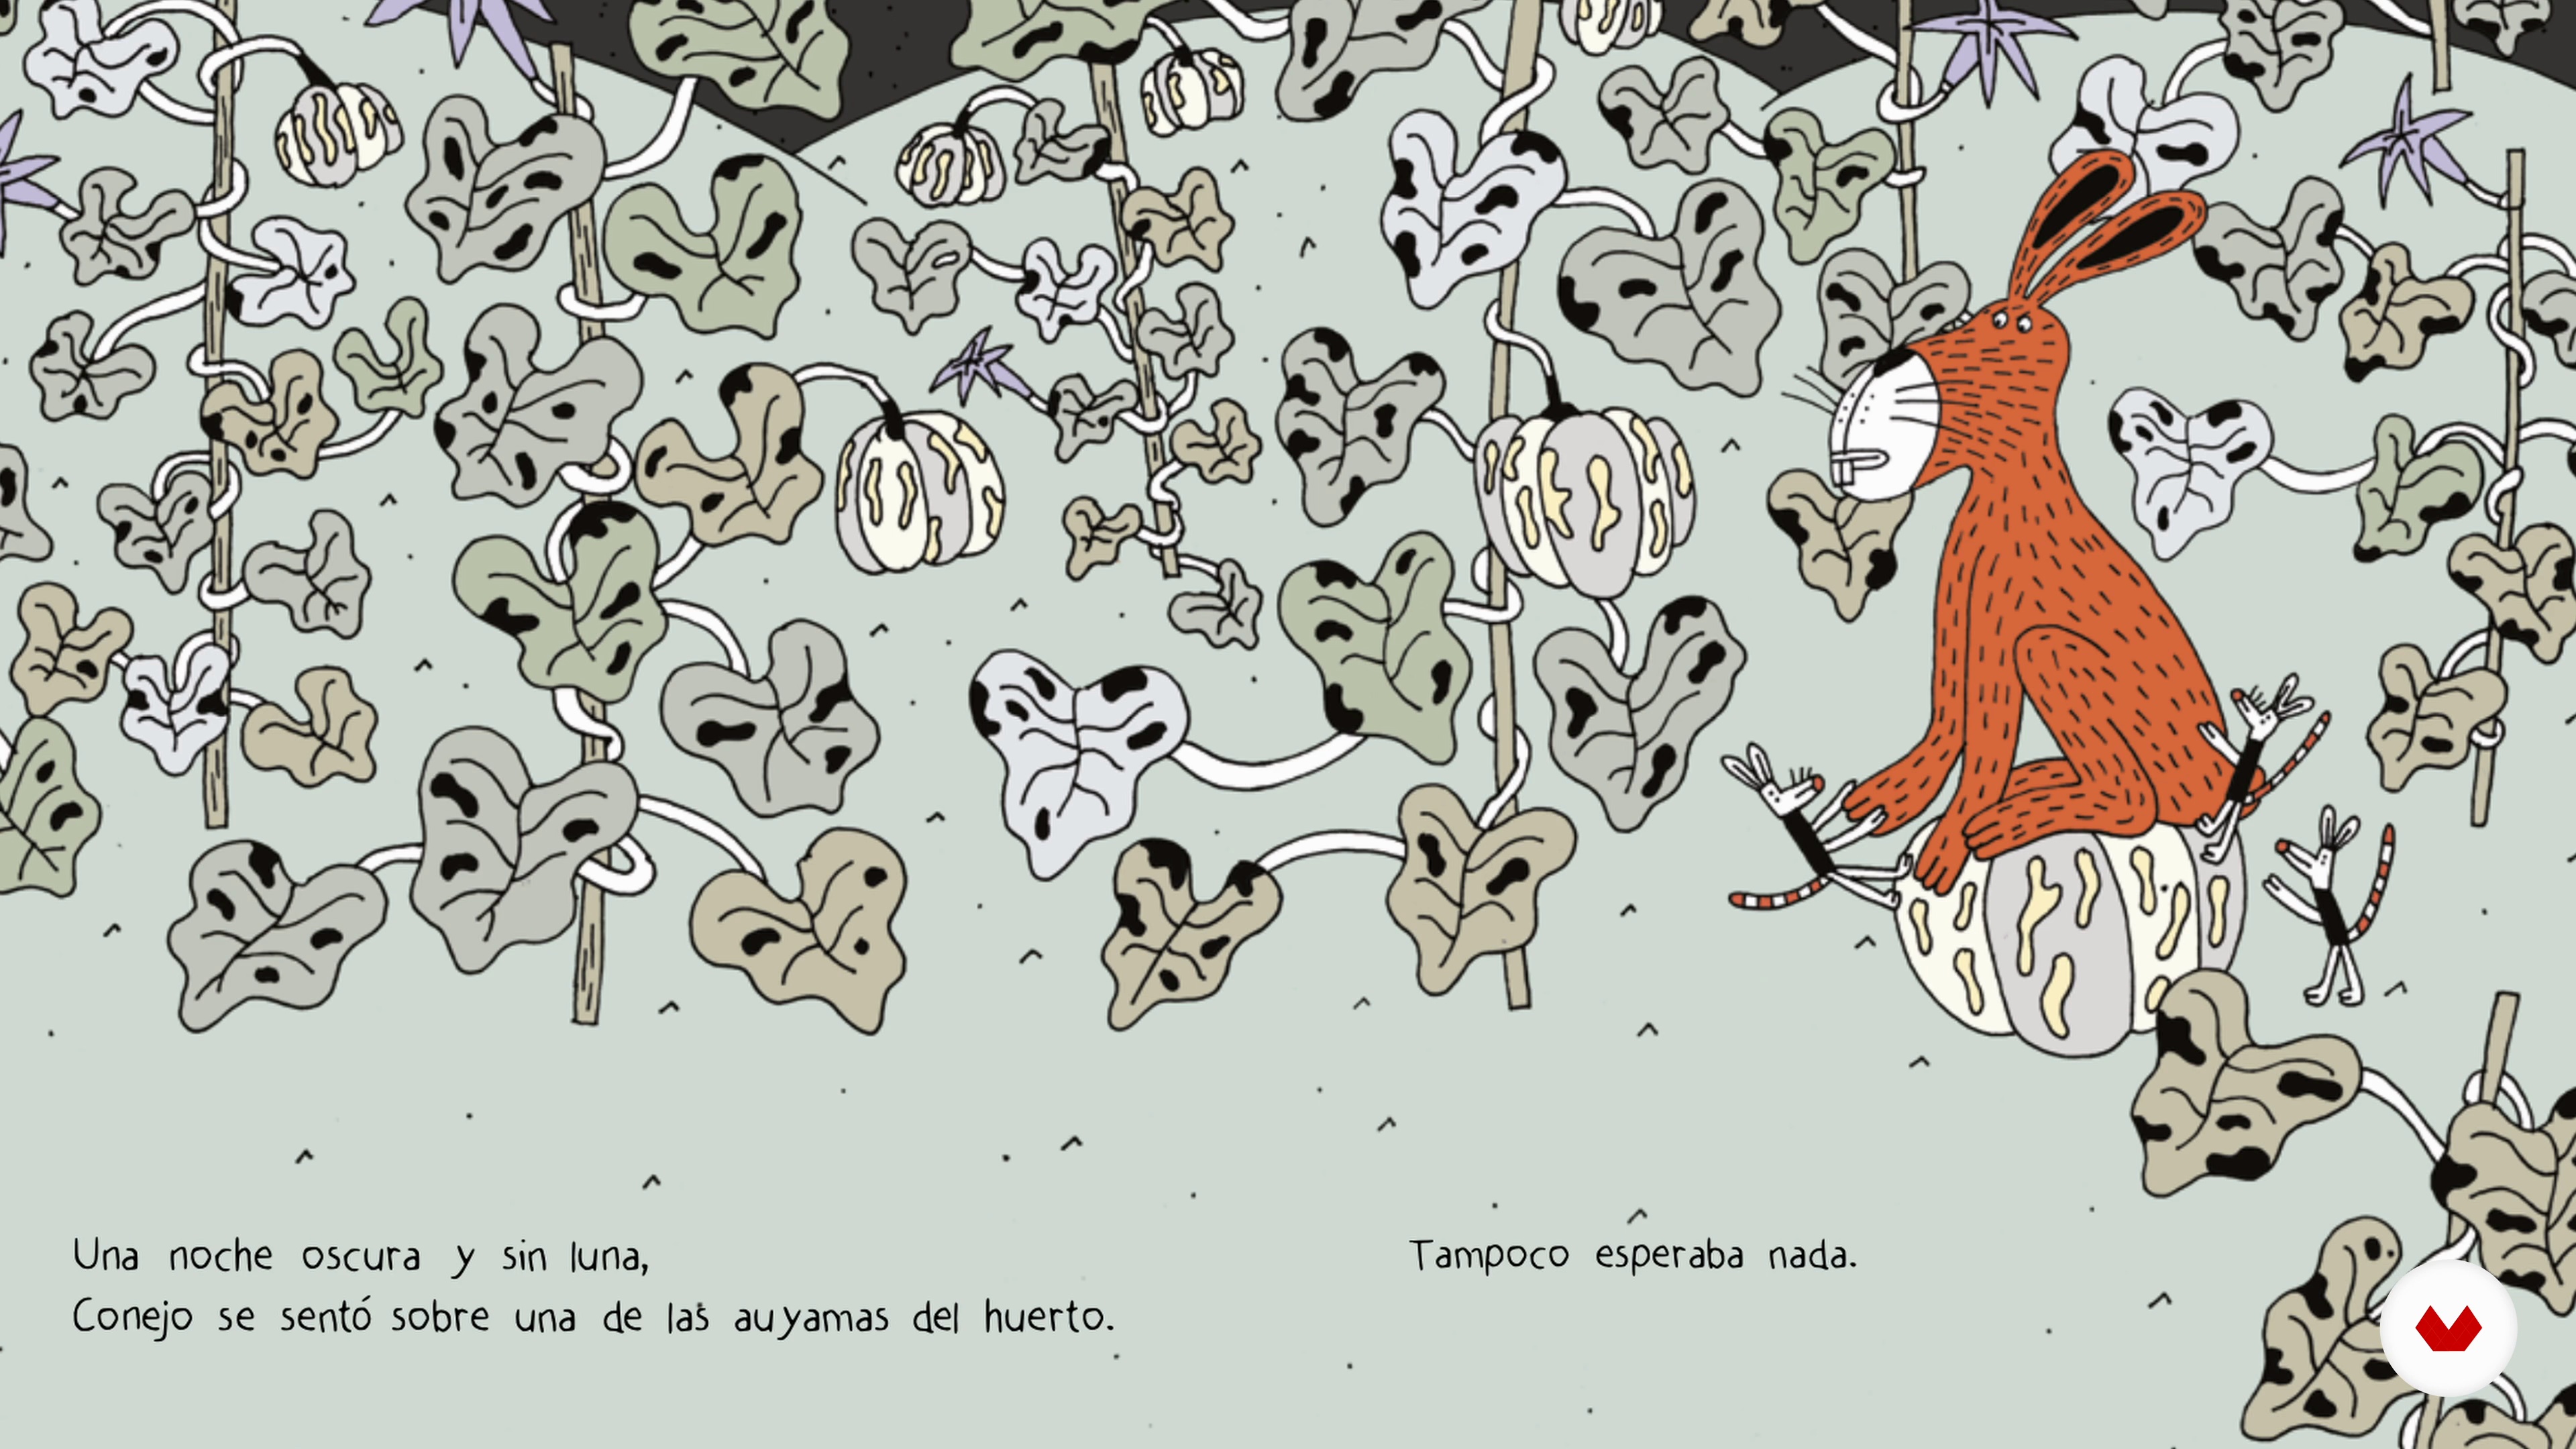
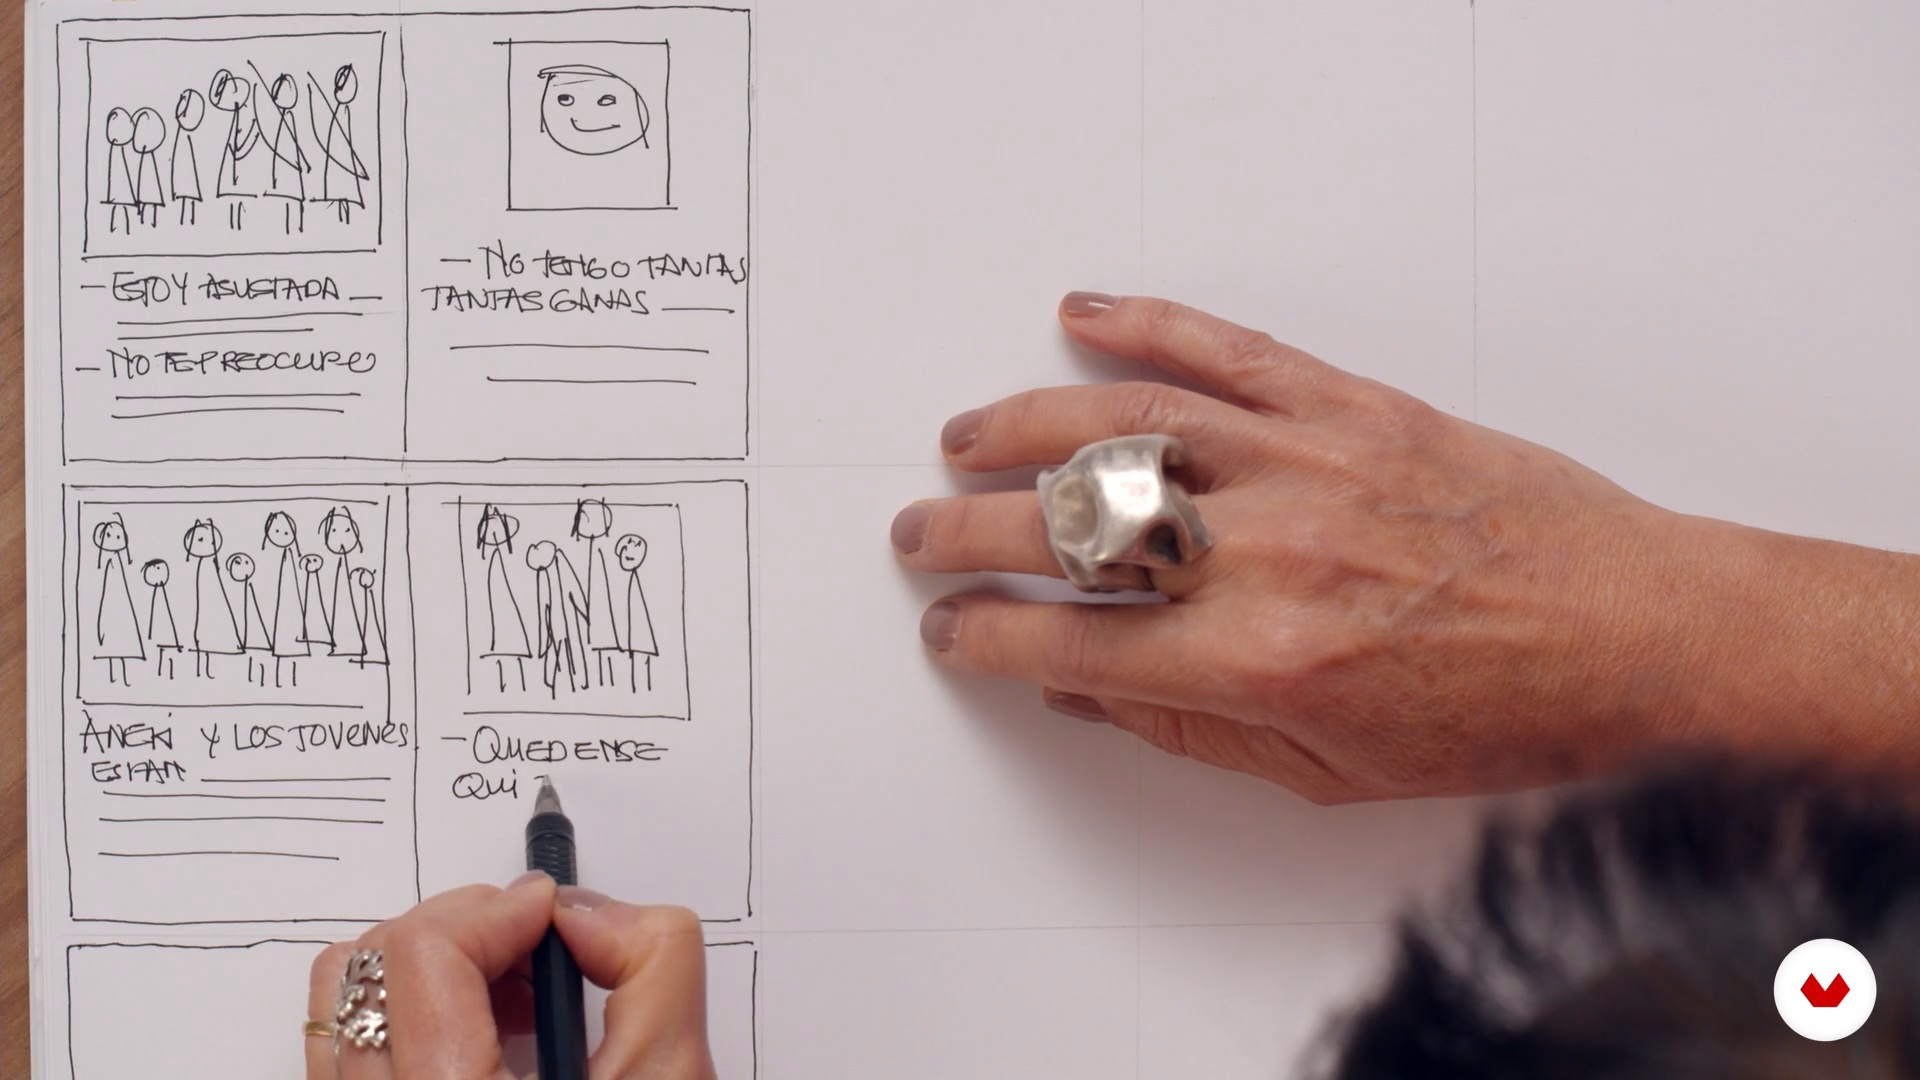
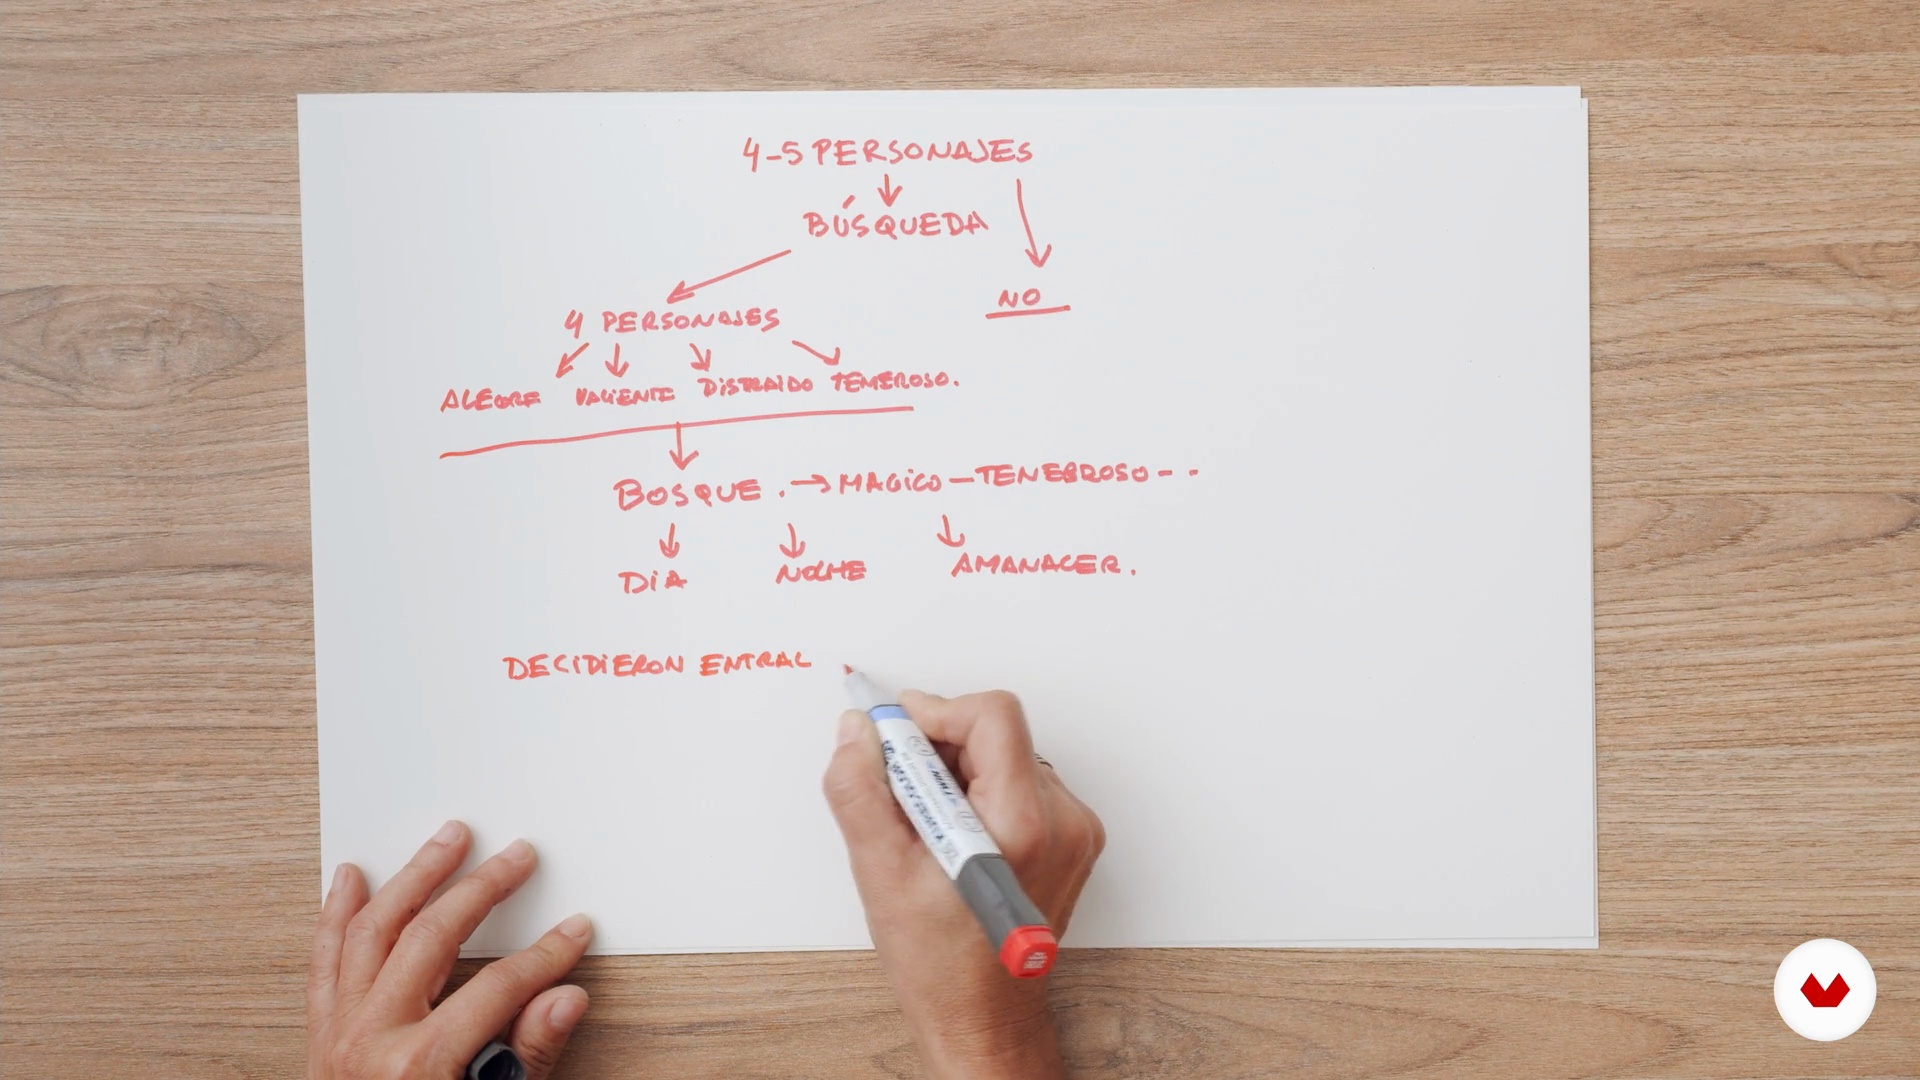
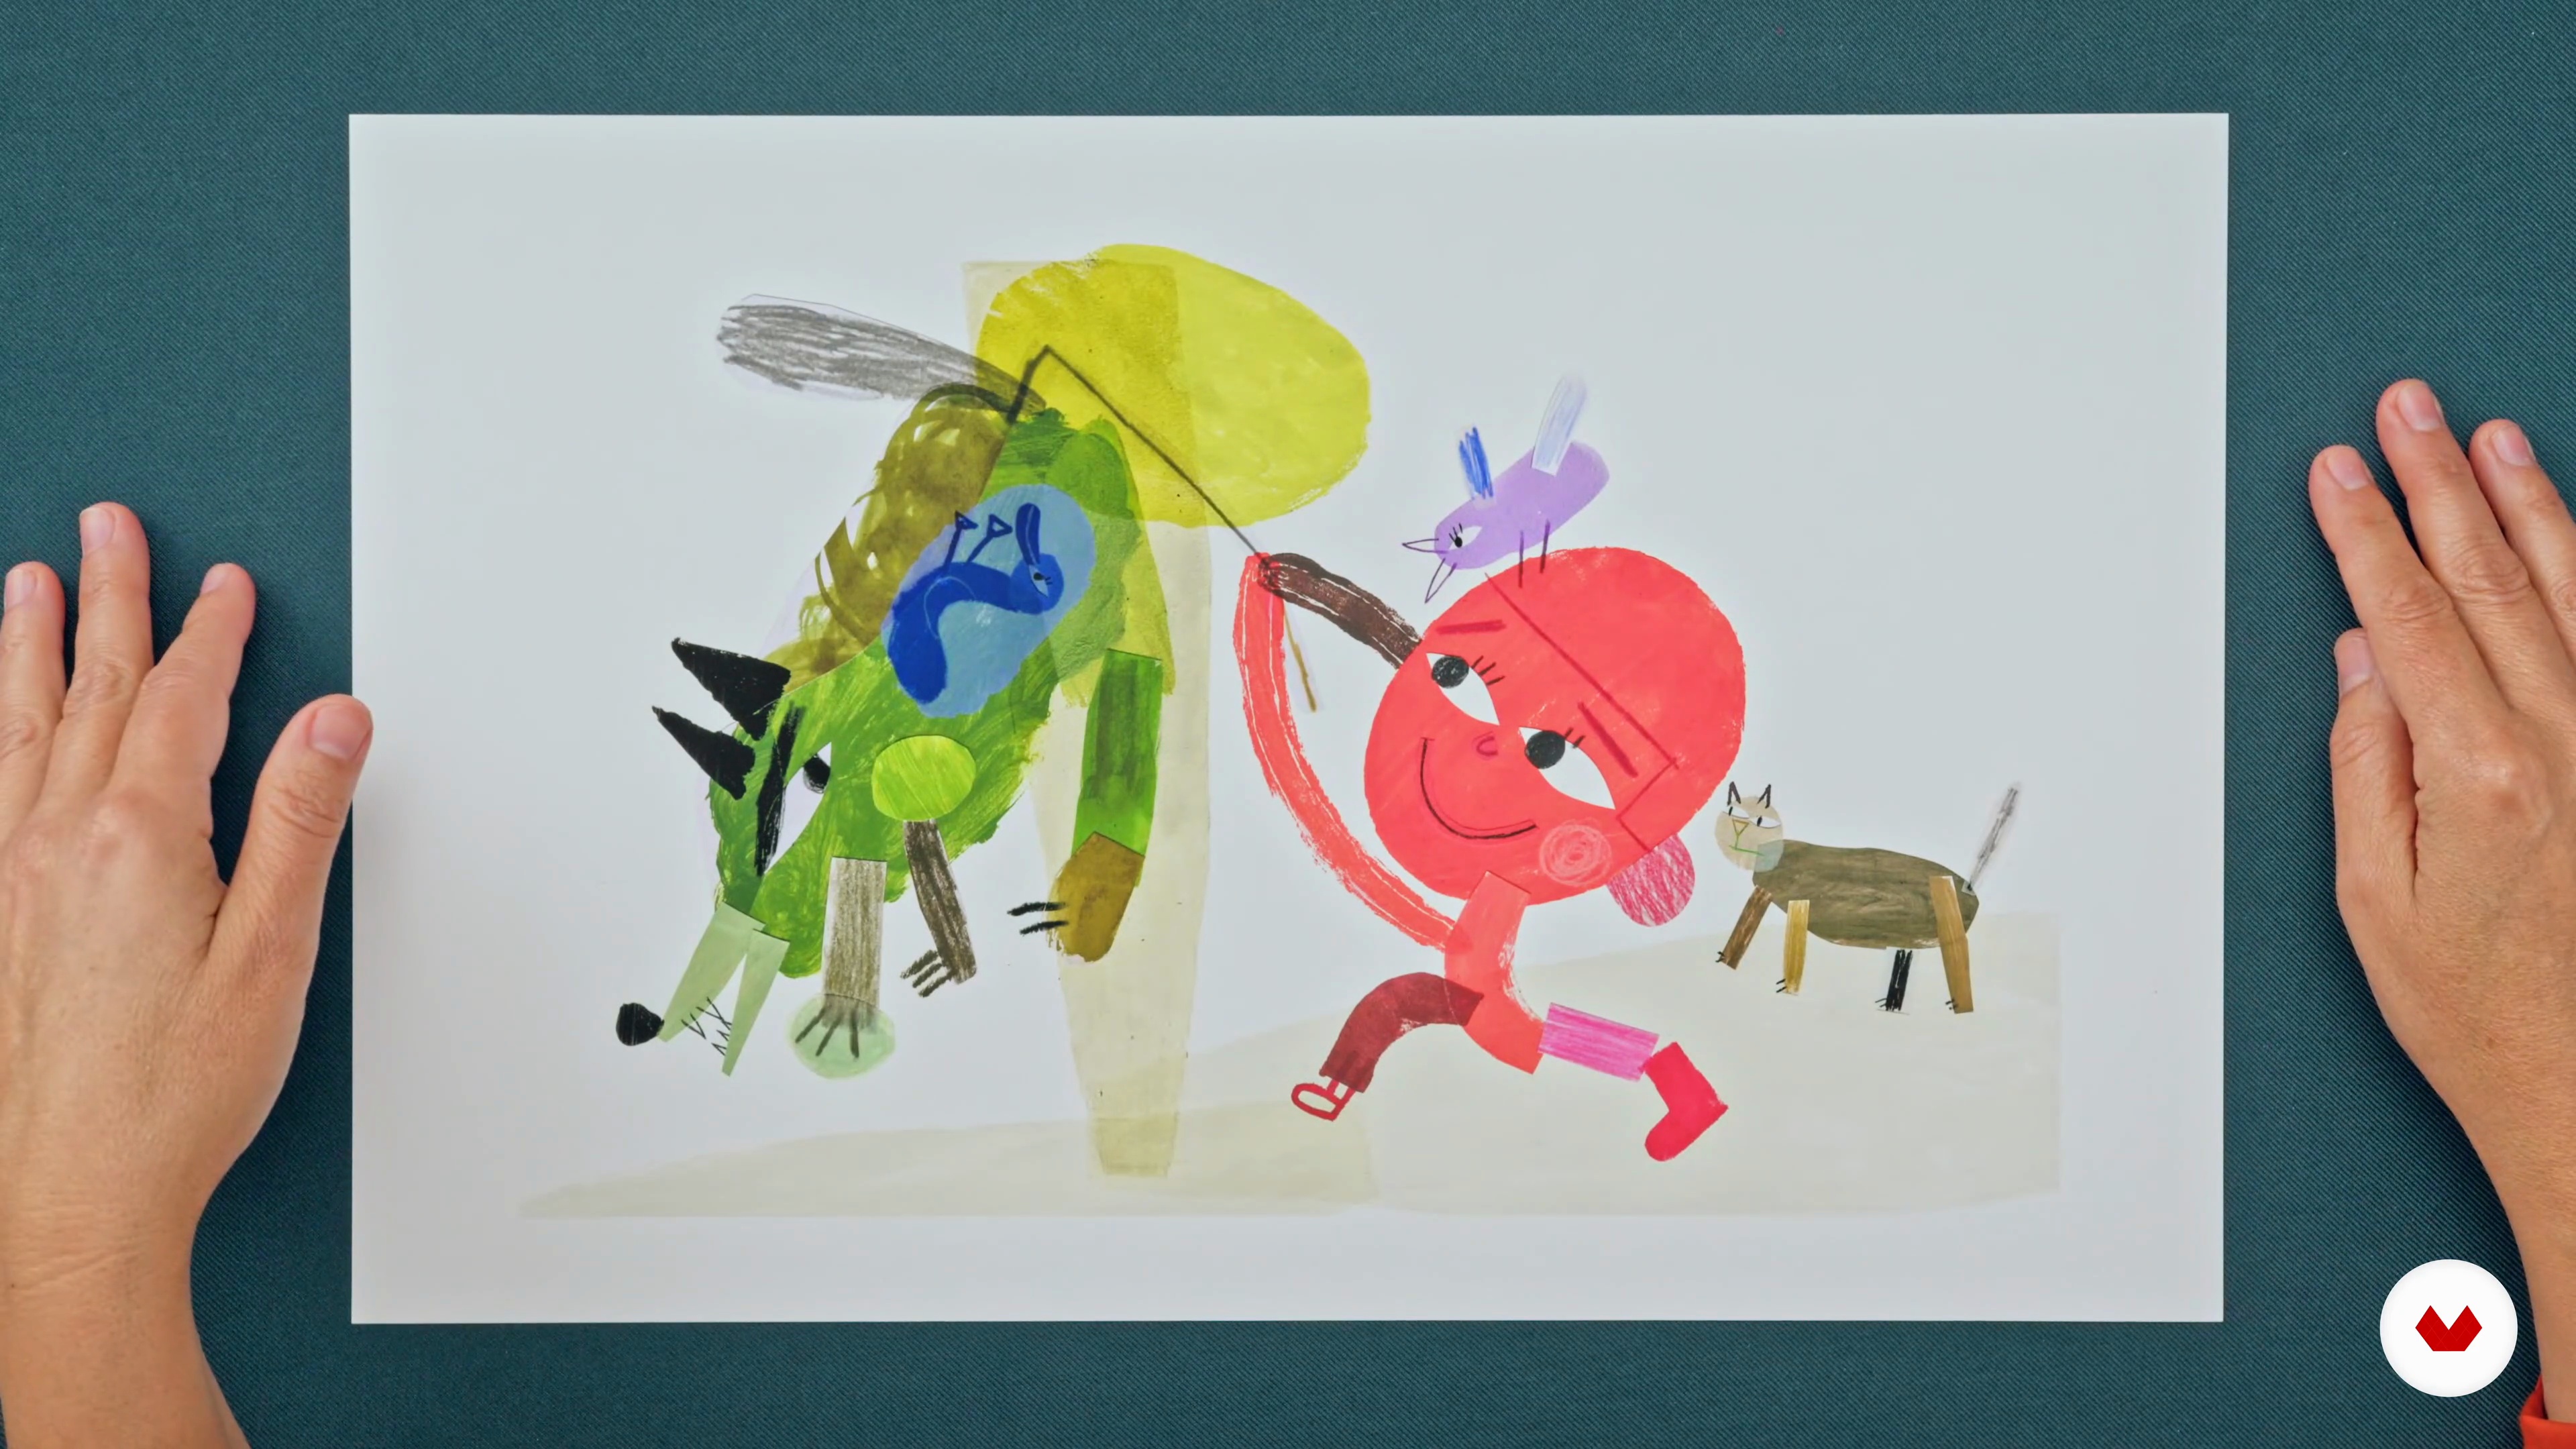
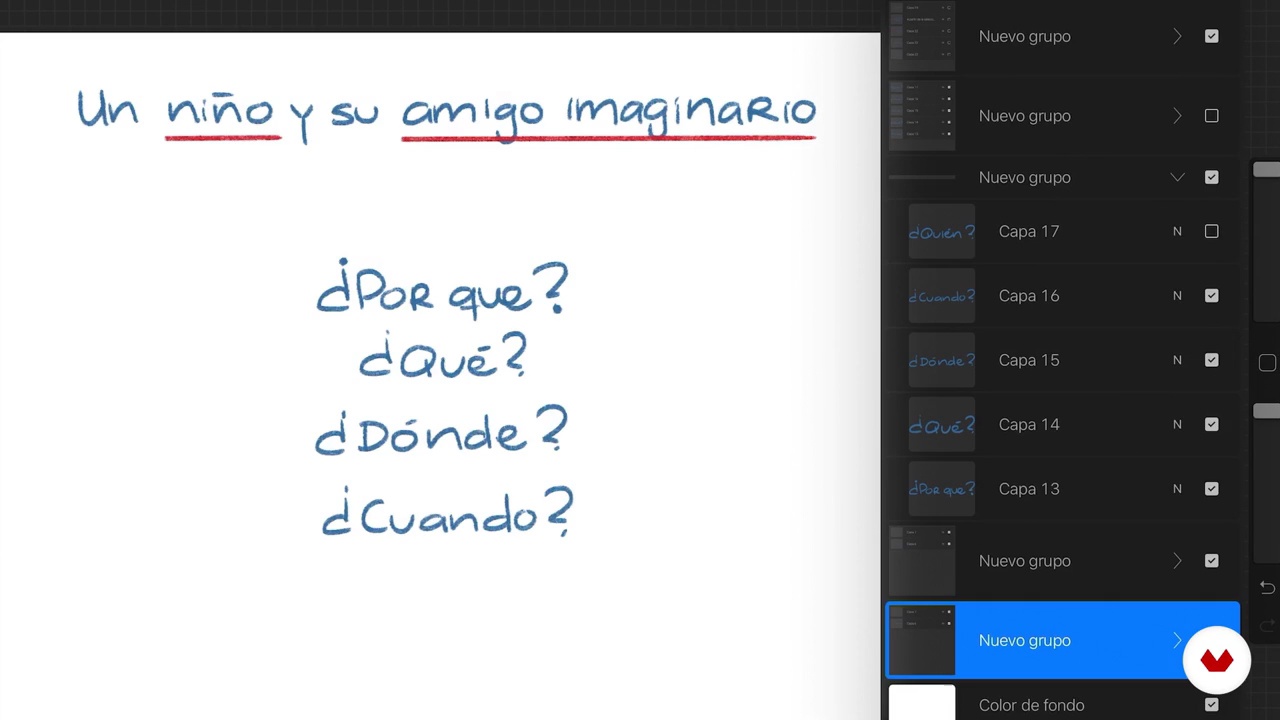
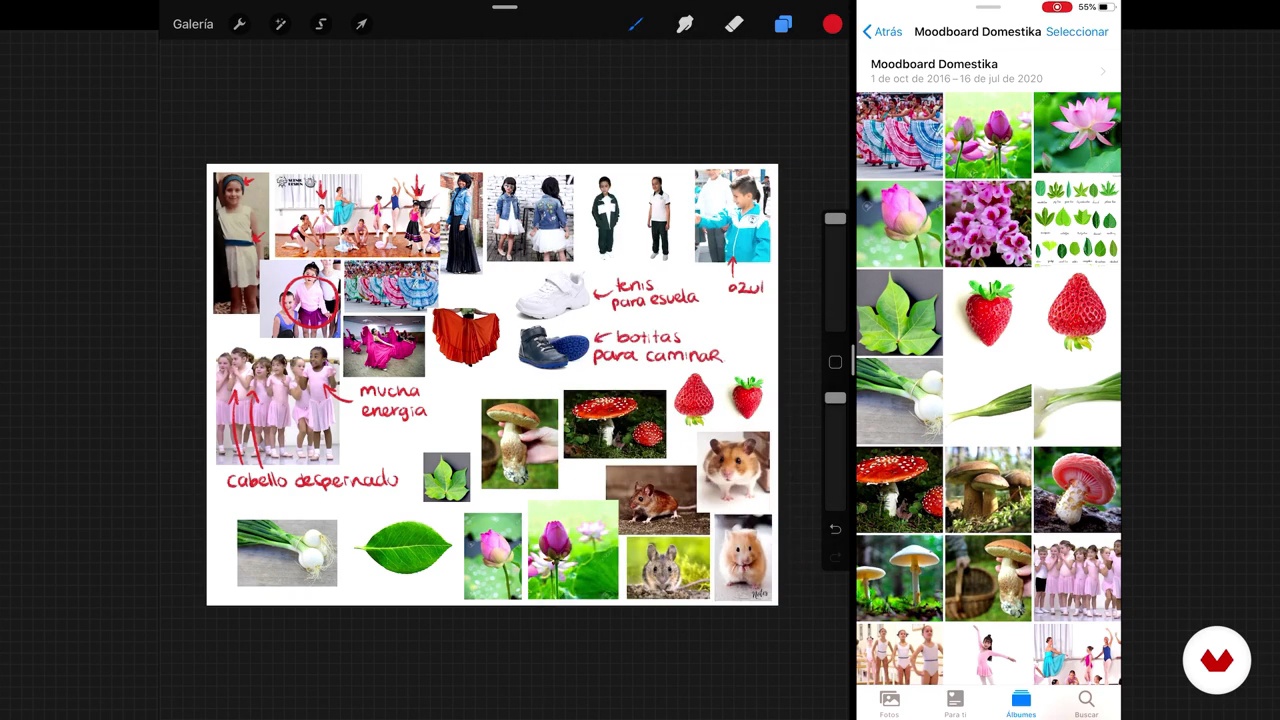
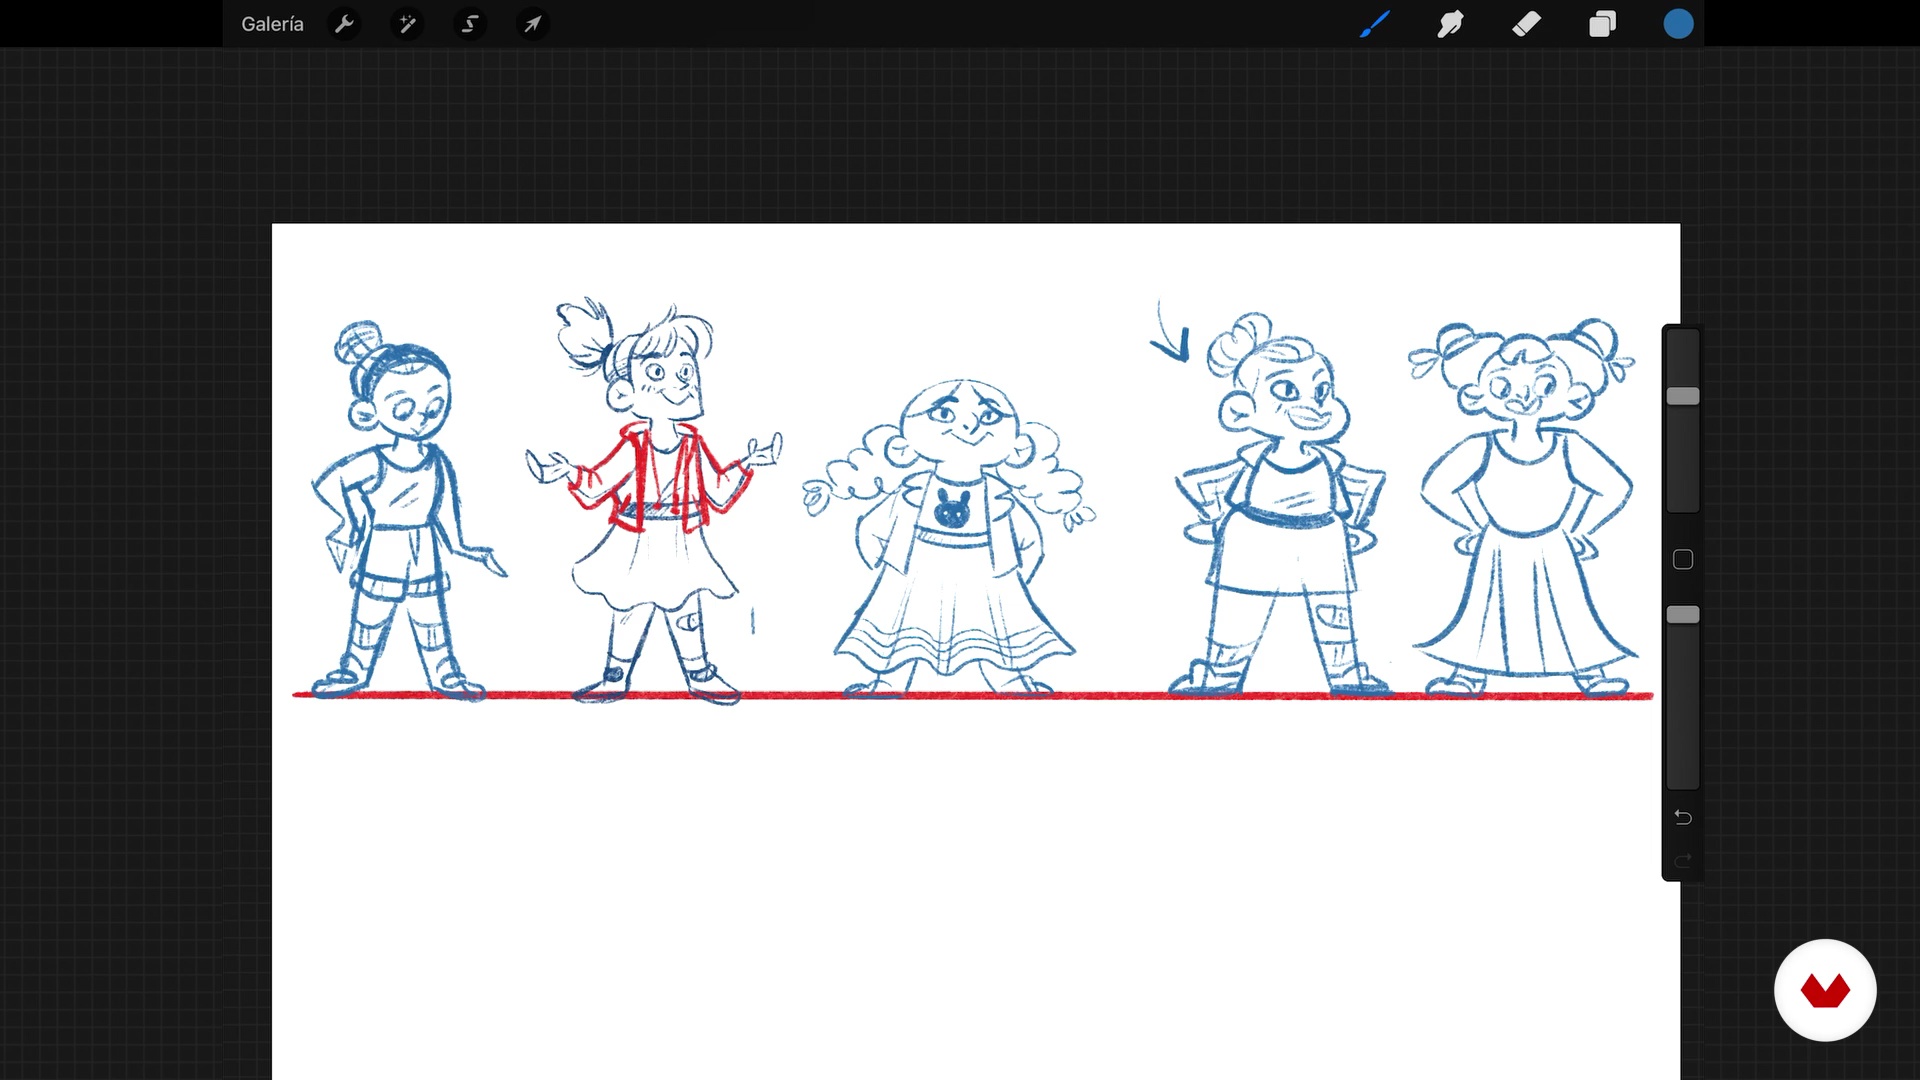
Students will develop a complete draft of a children's story, creating well-structured characters and an engaging narrative. They will also write a script for an illustrated book, designing a mock-up and preparing professional documentation to present to publishers.
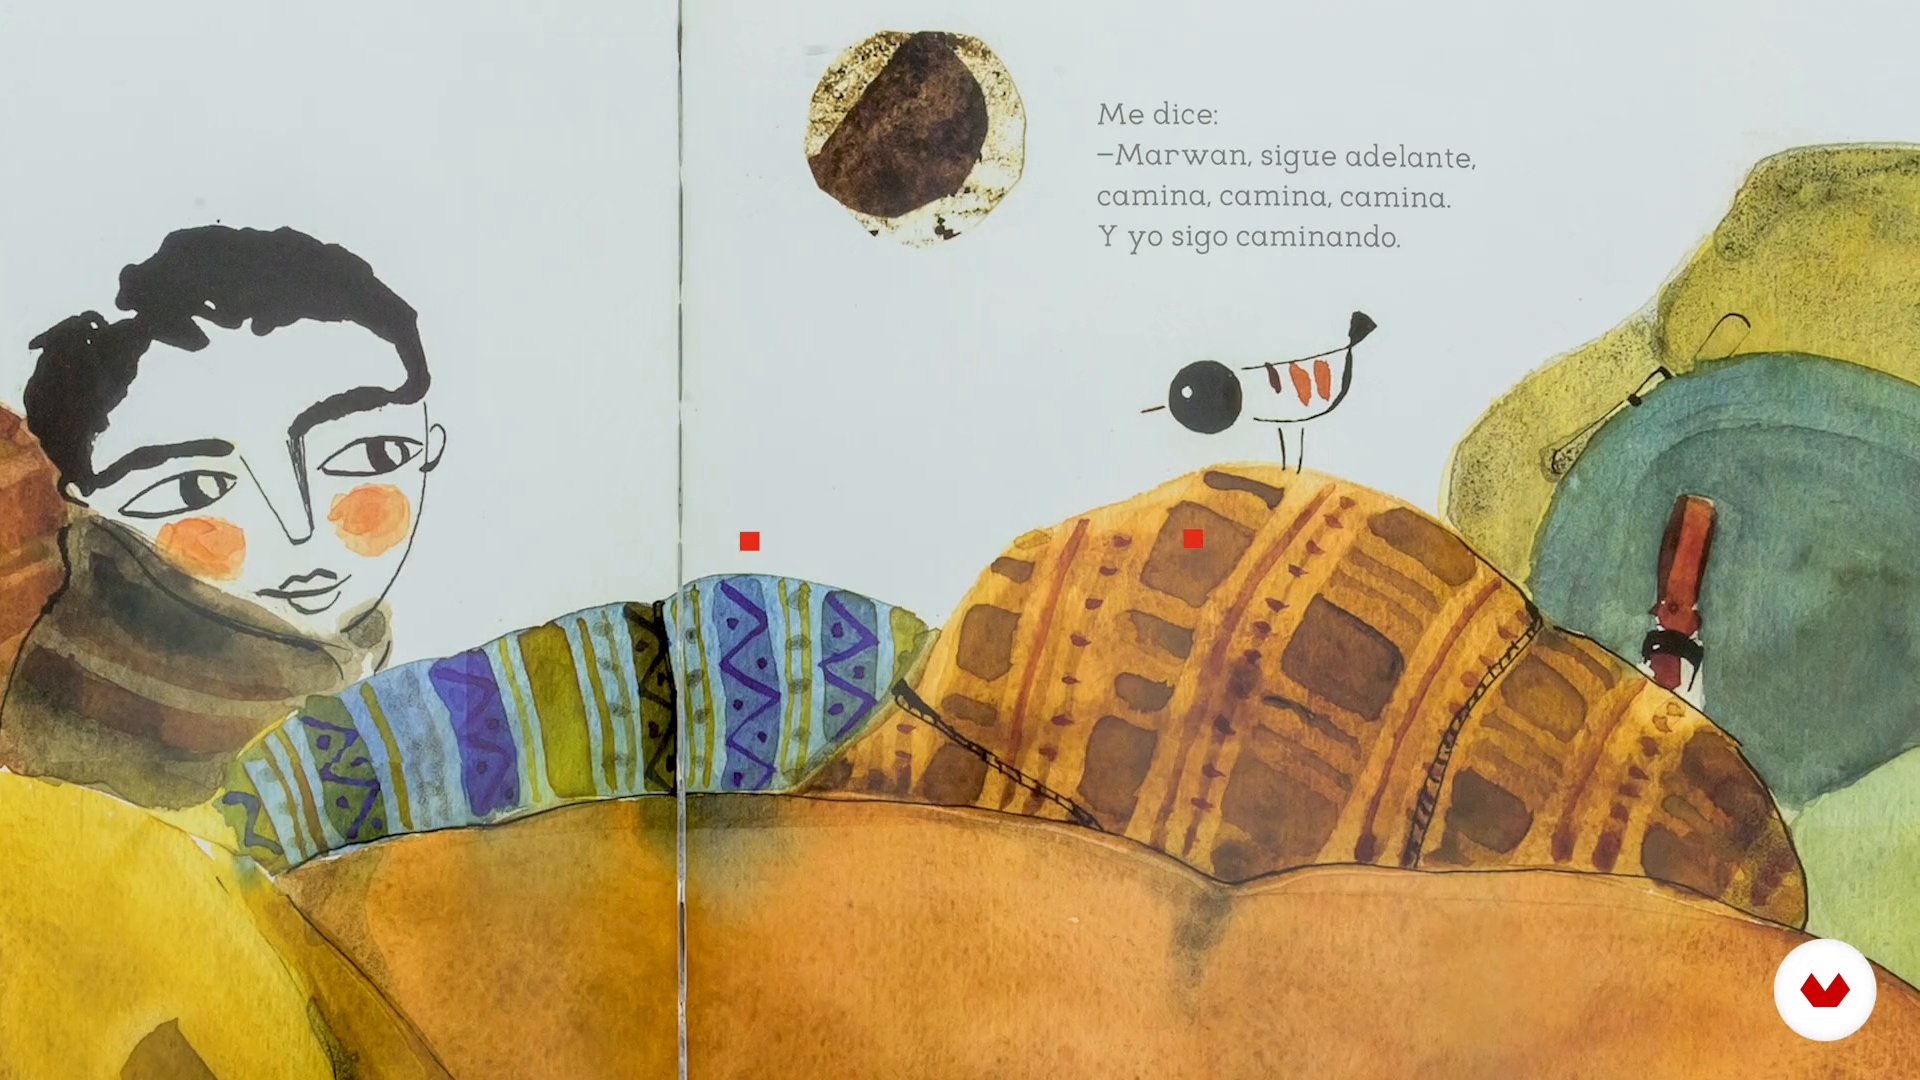
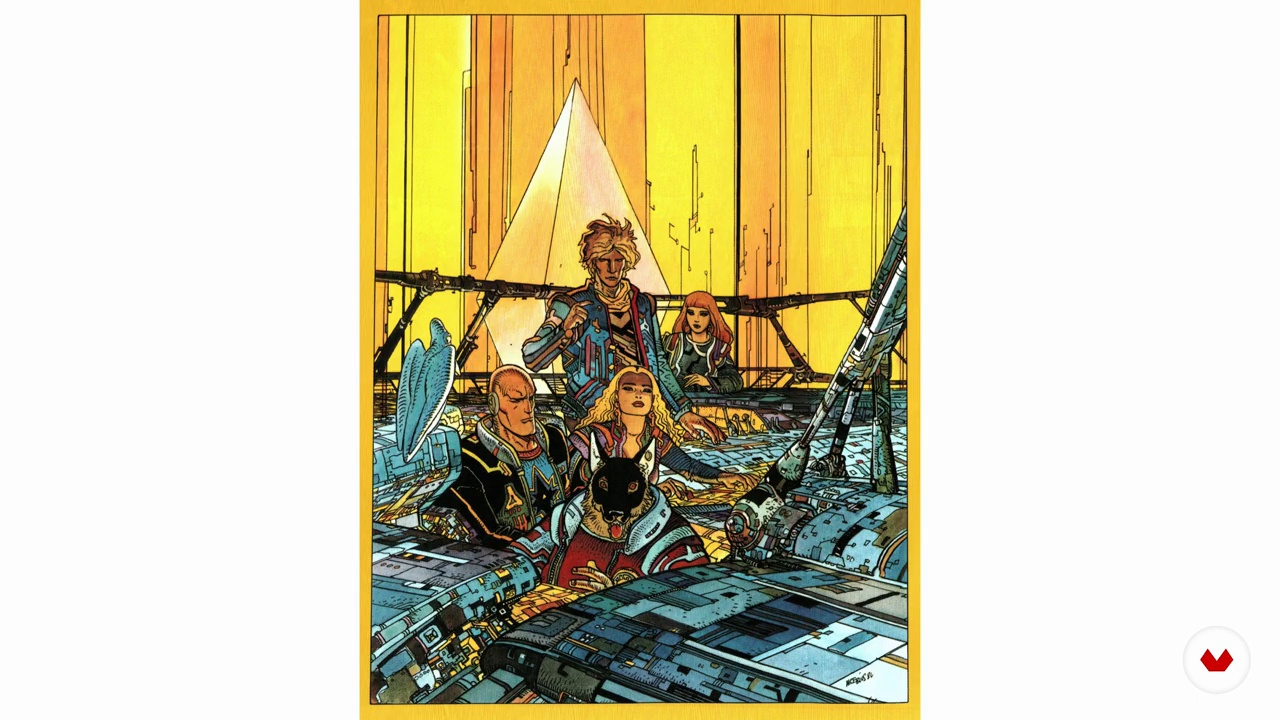
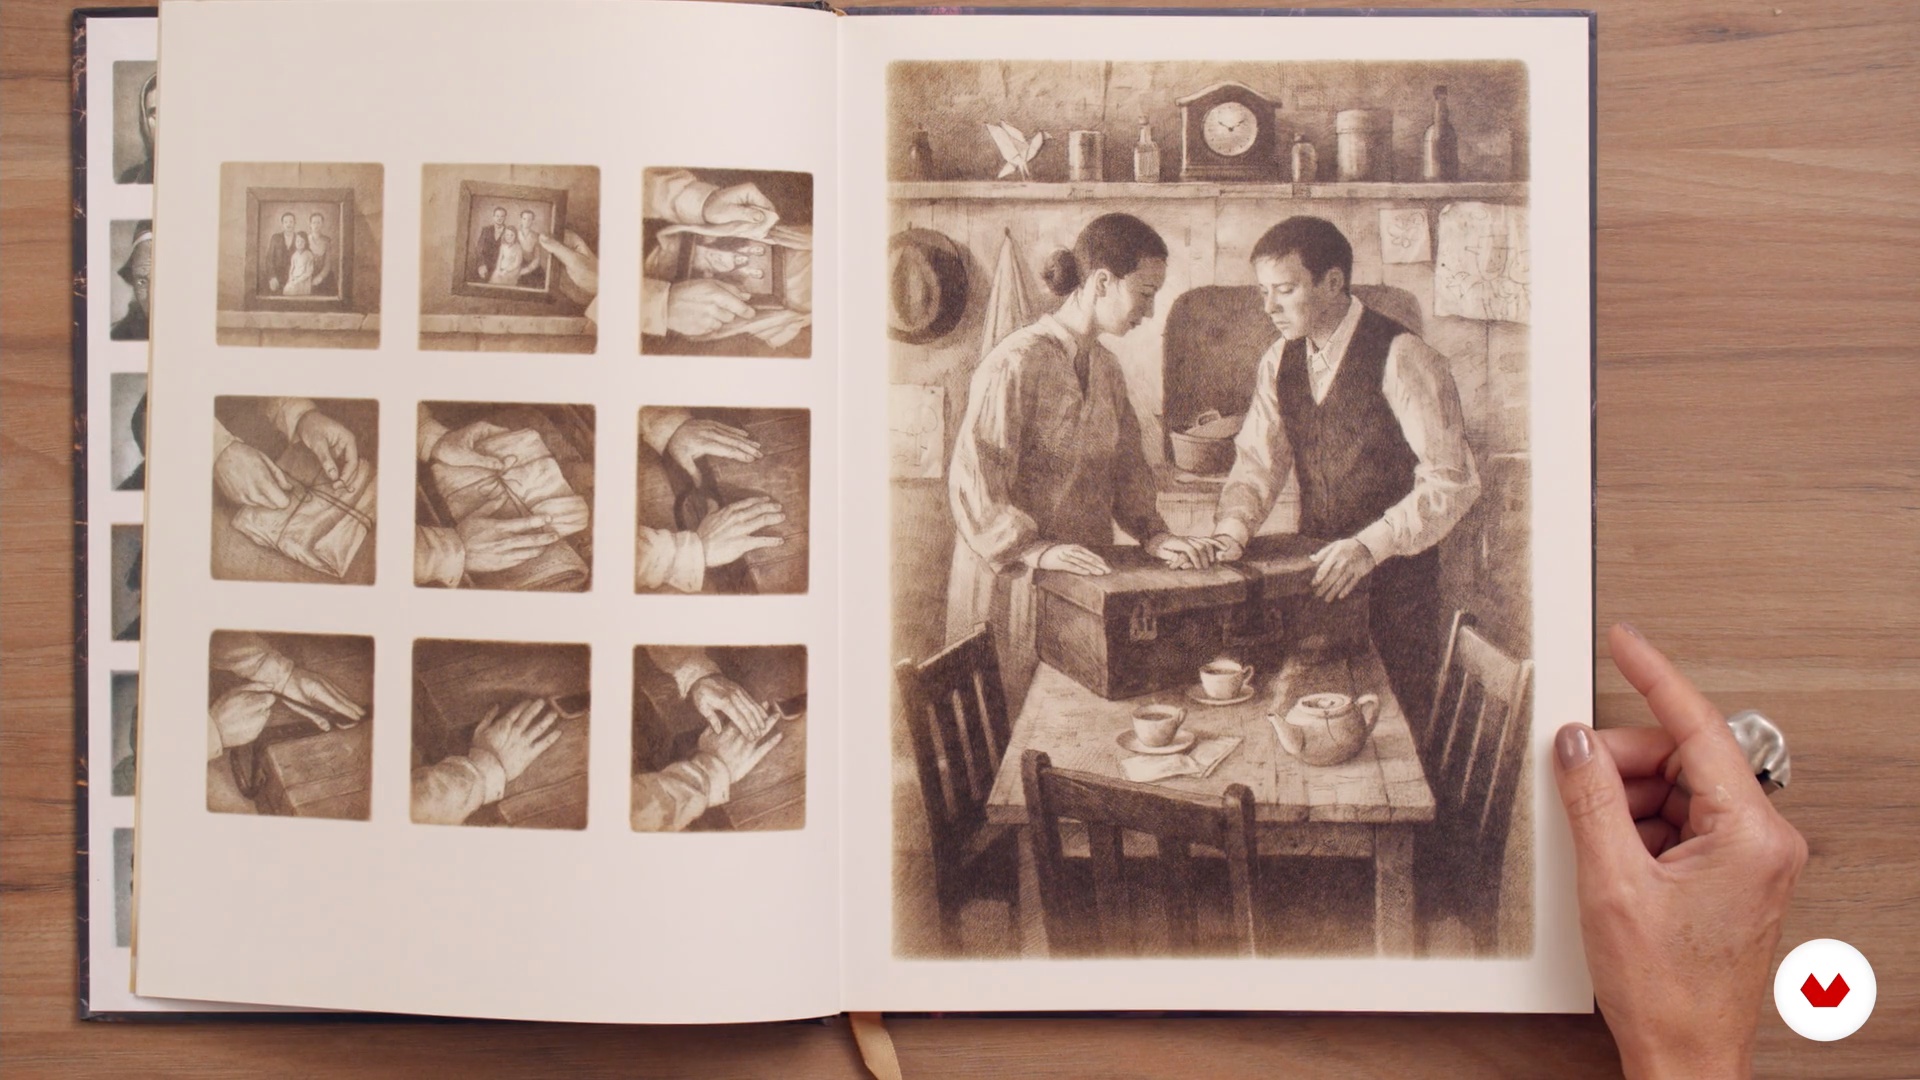
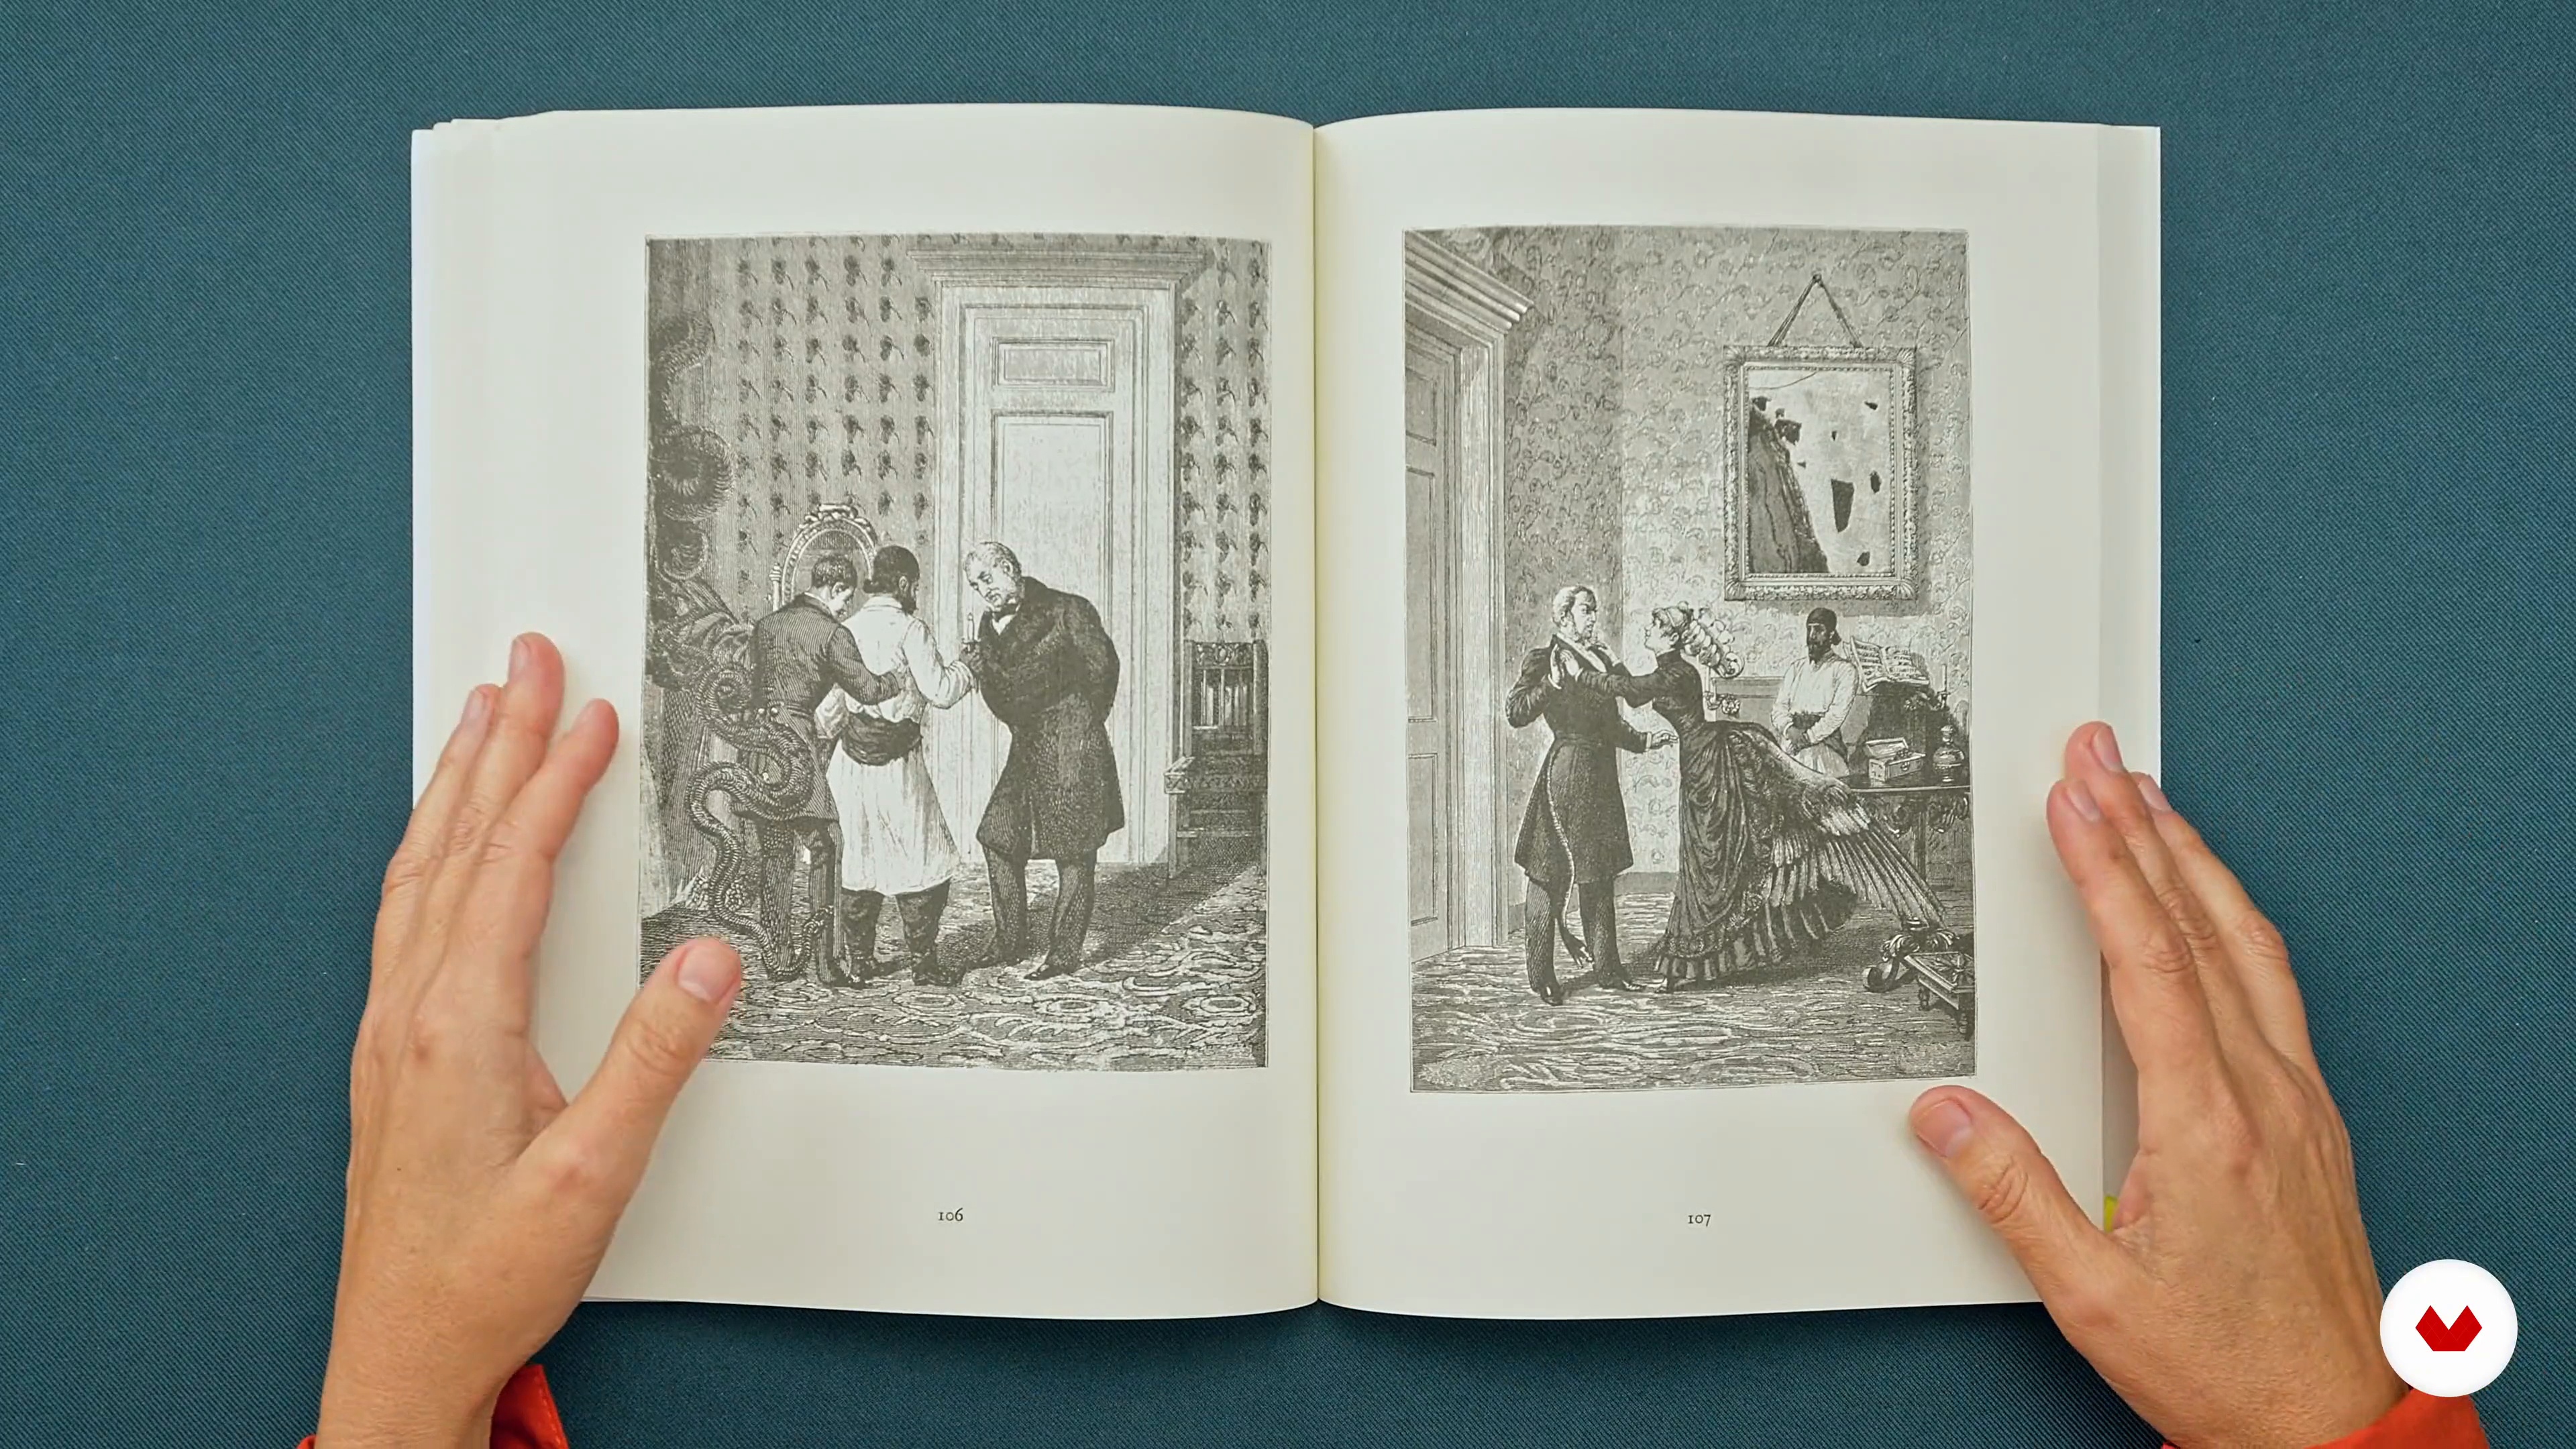
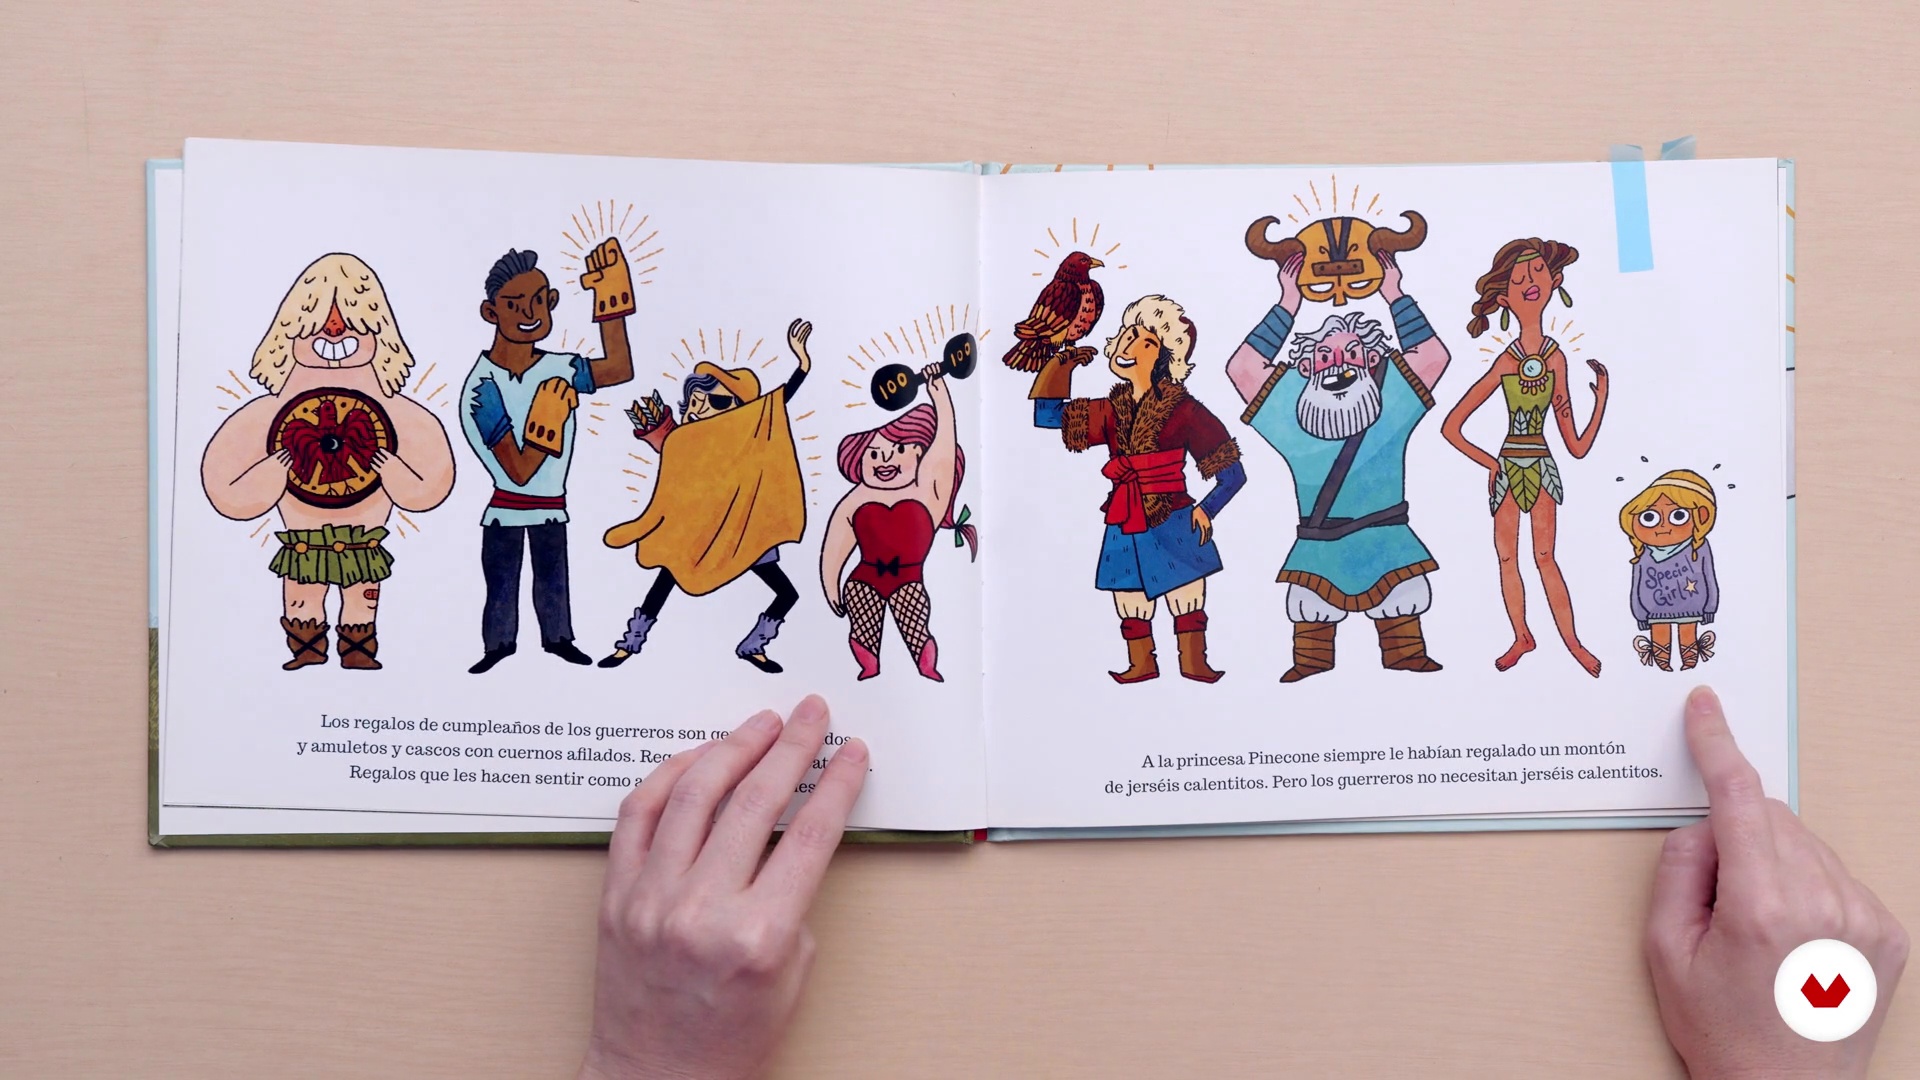
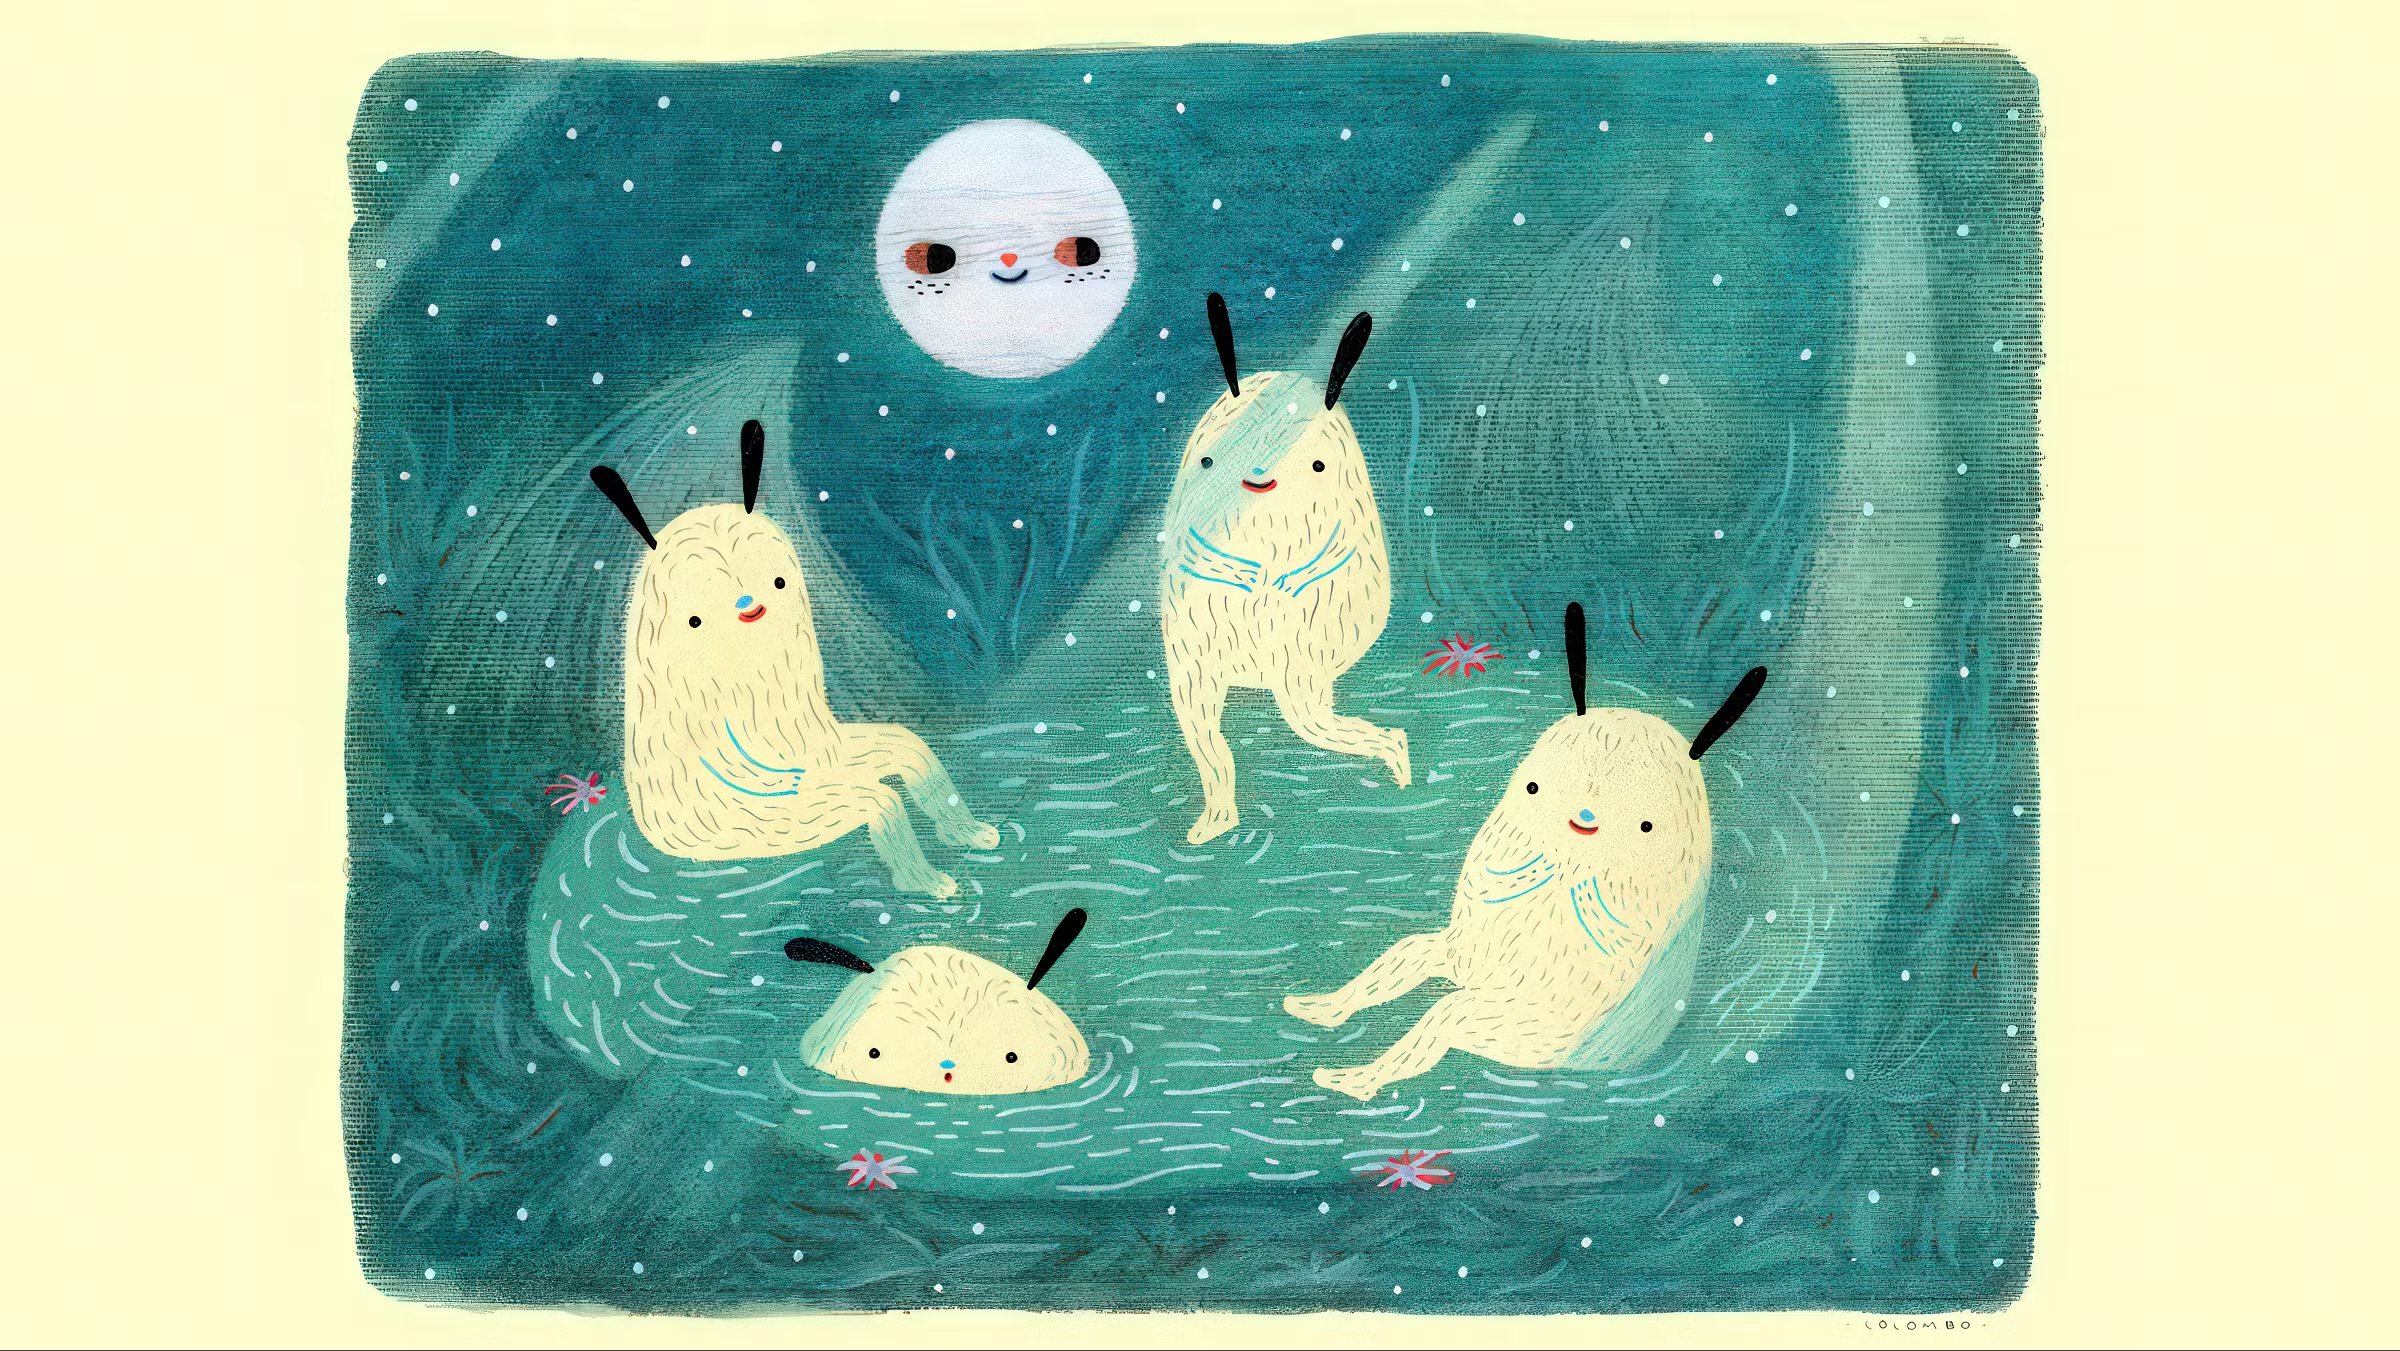
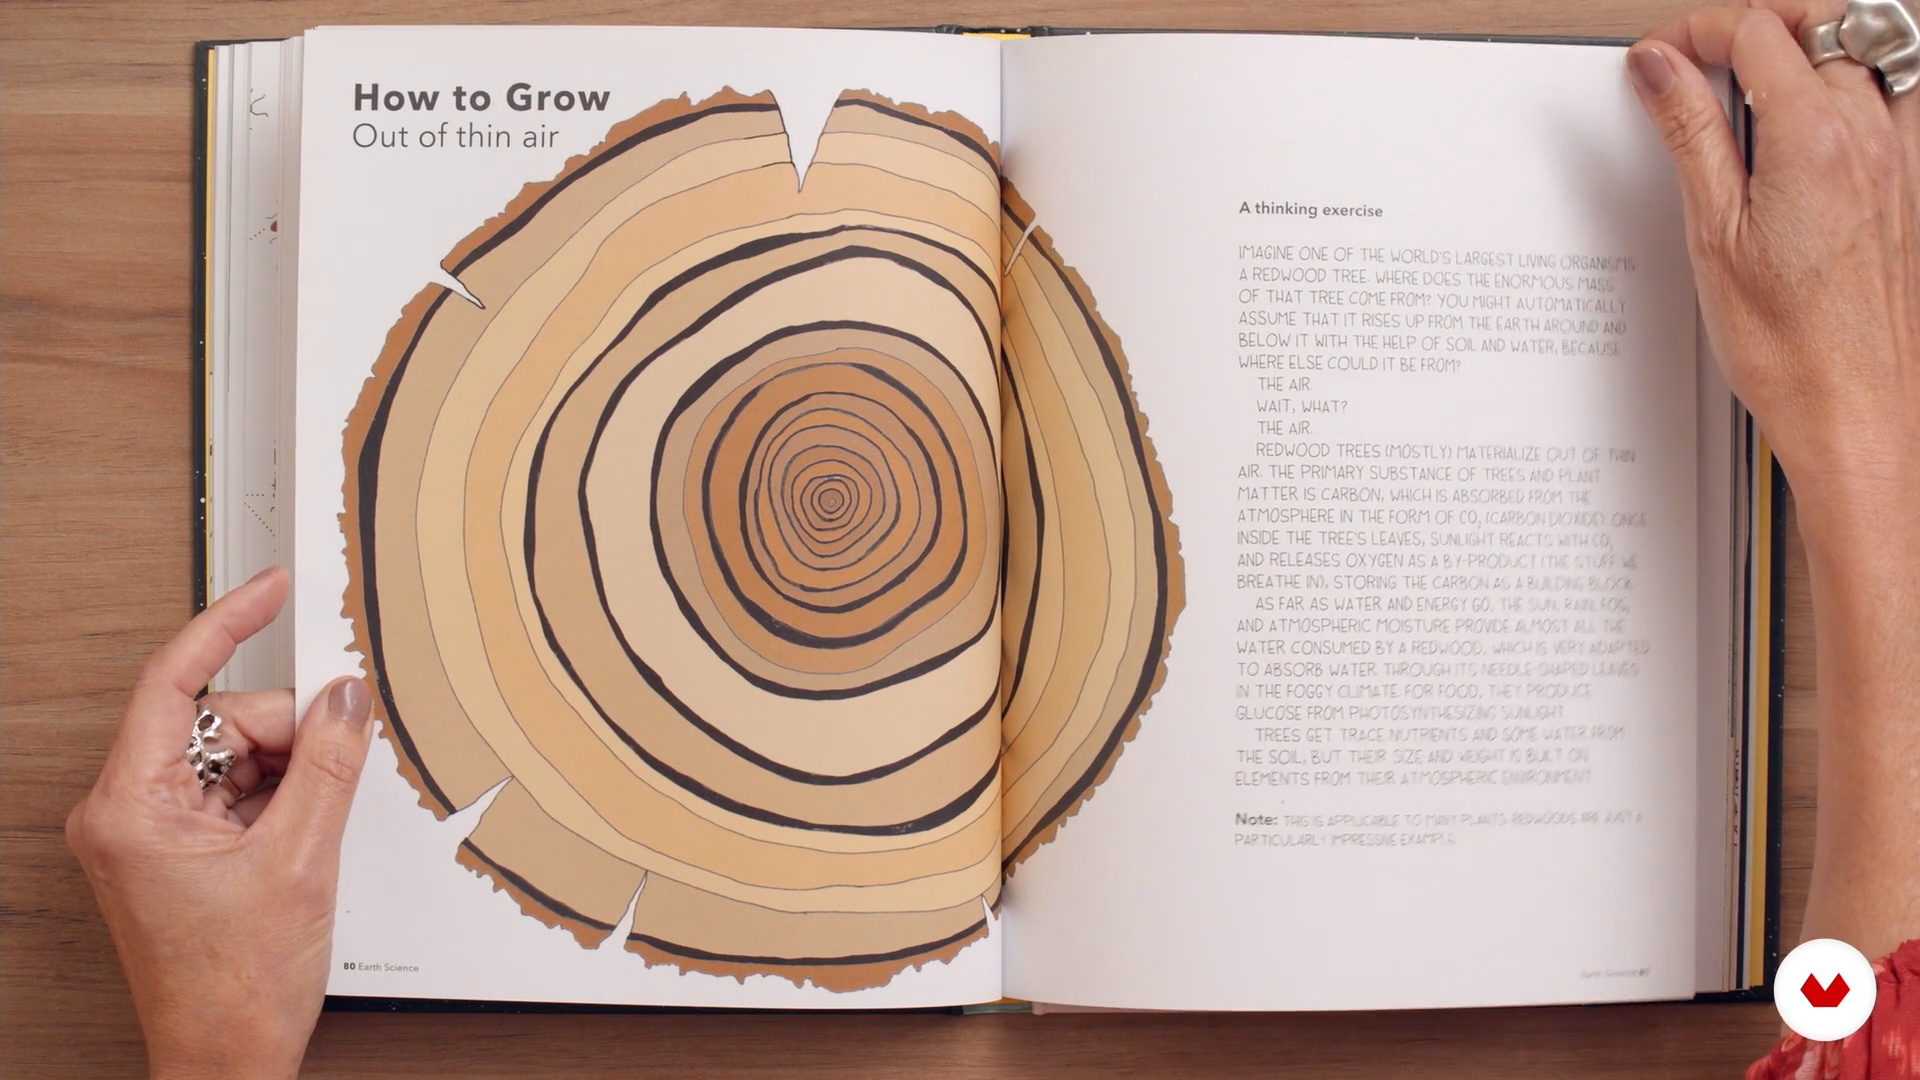
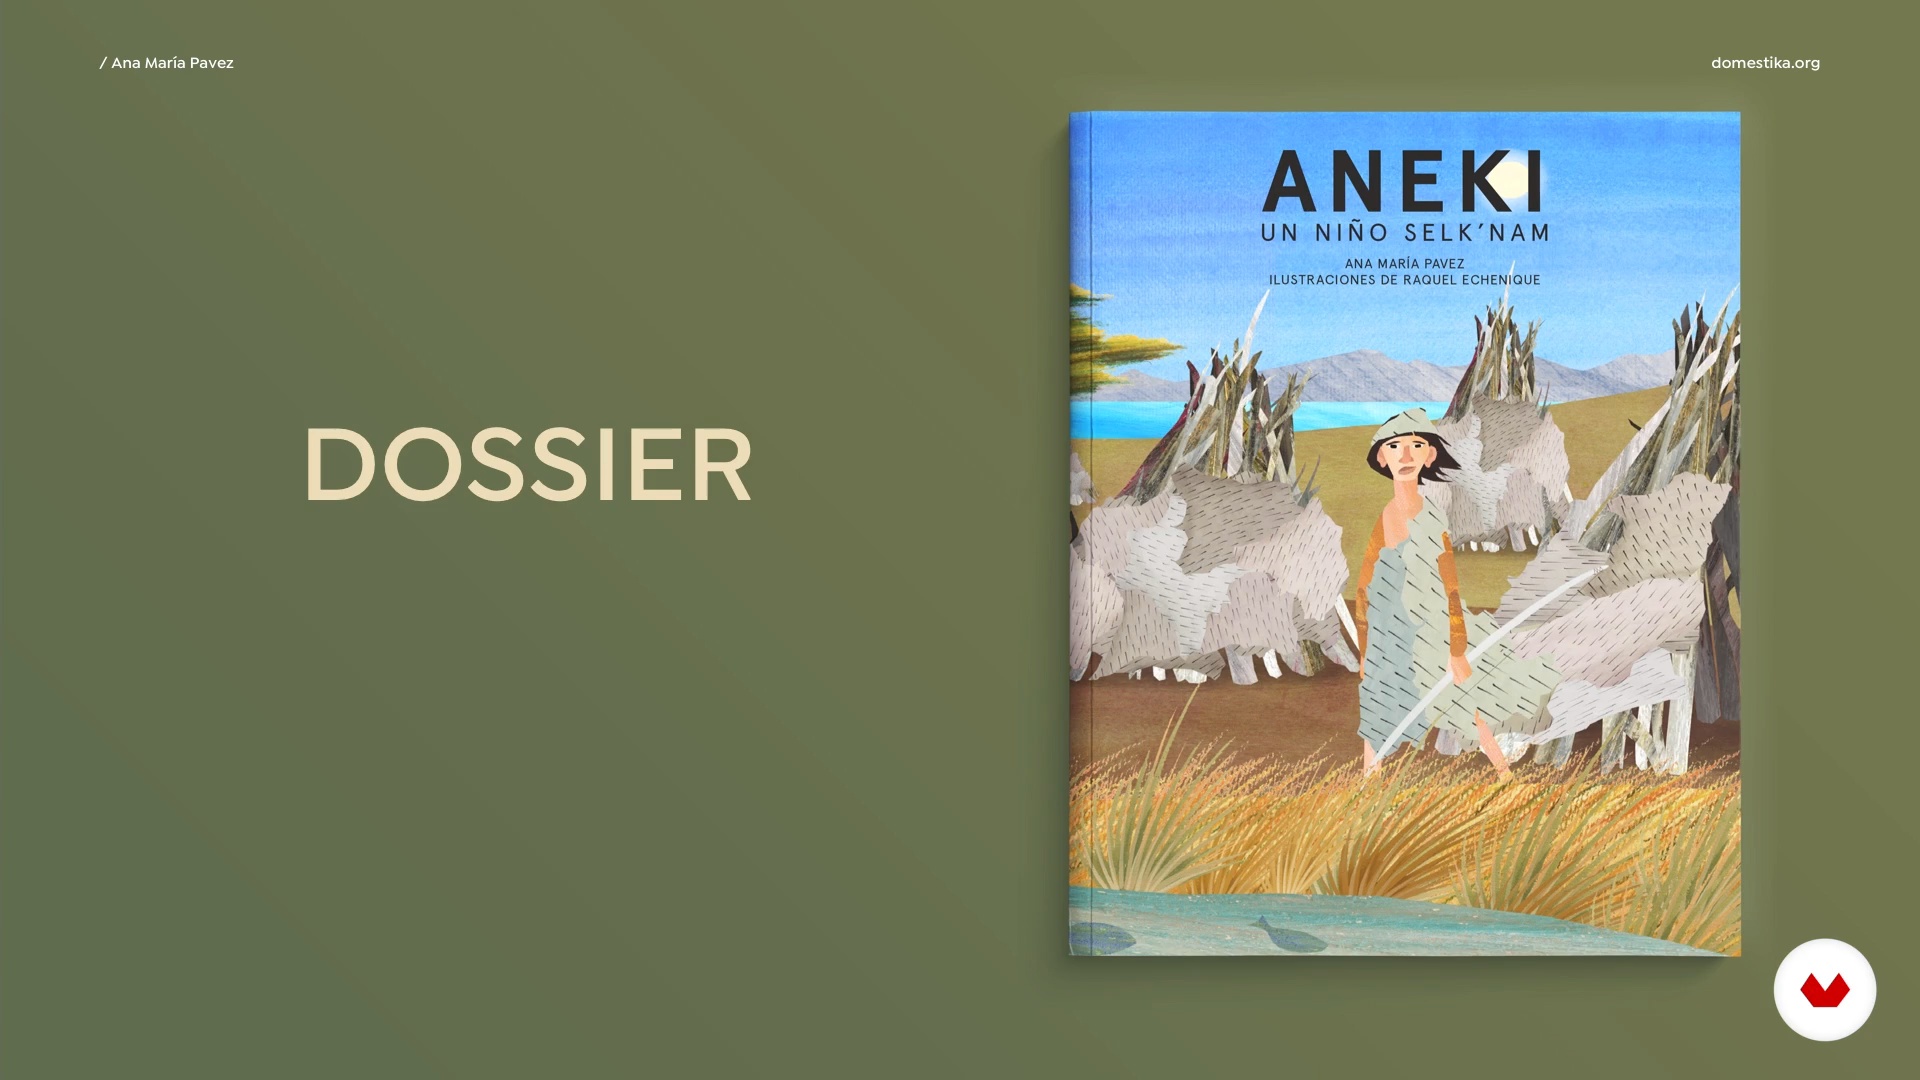
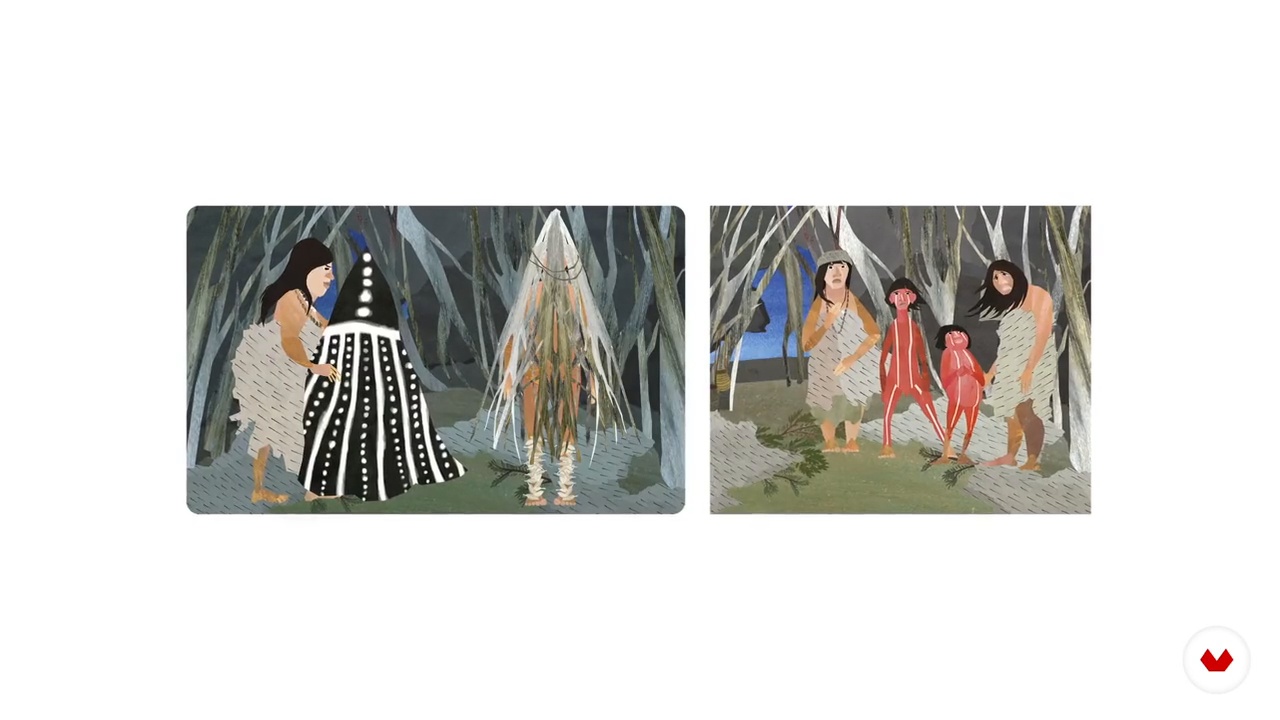
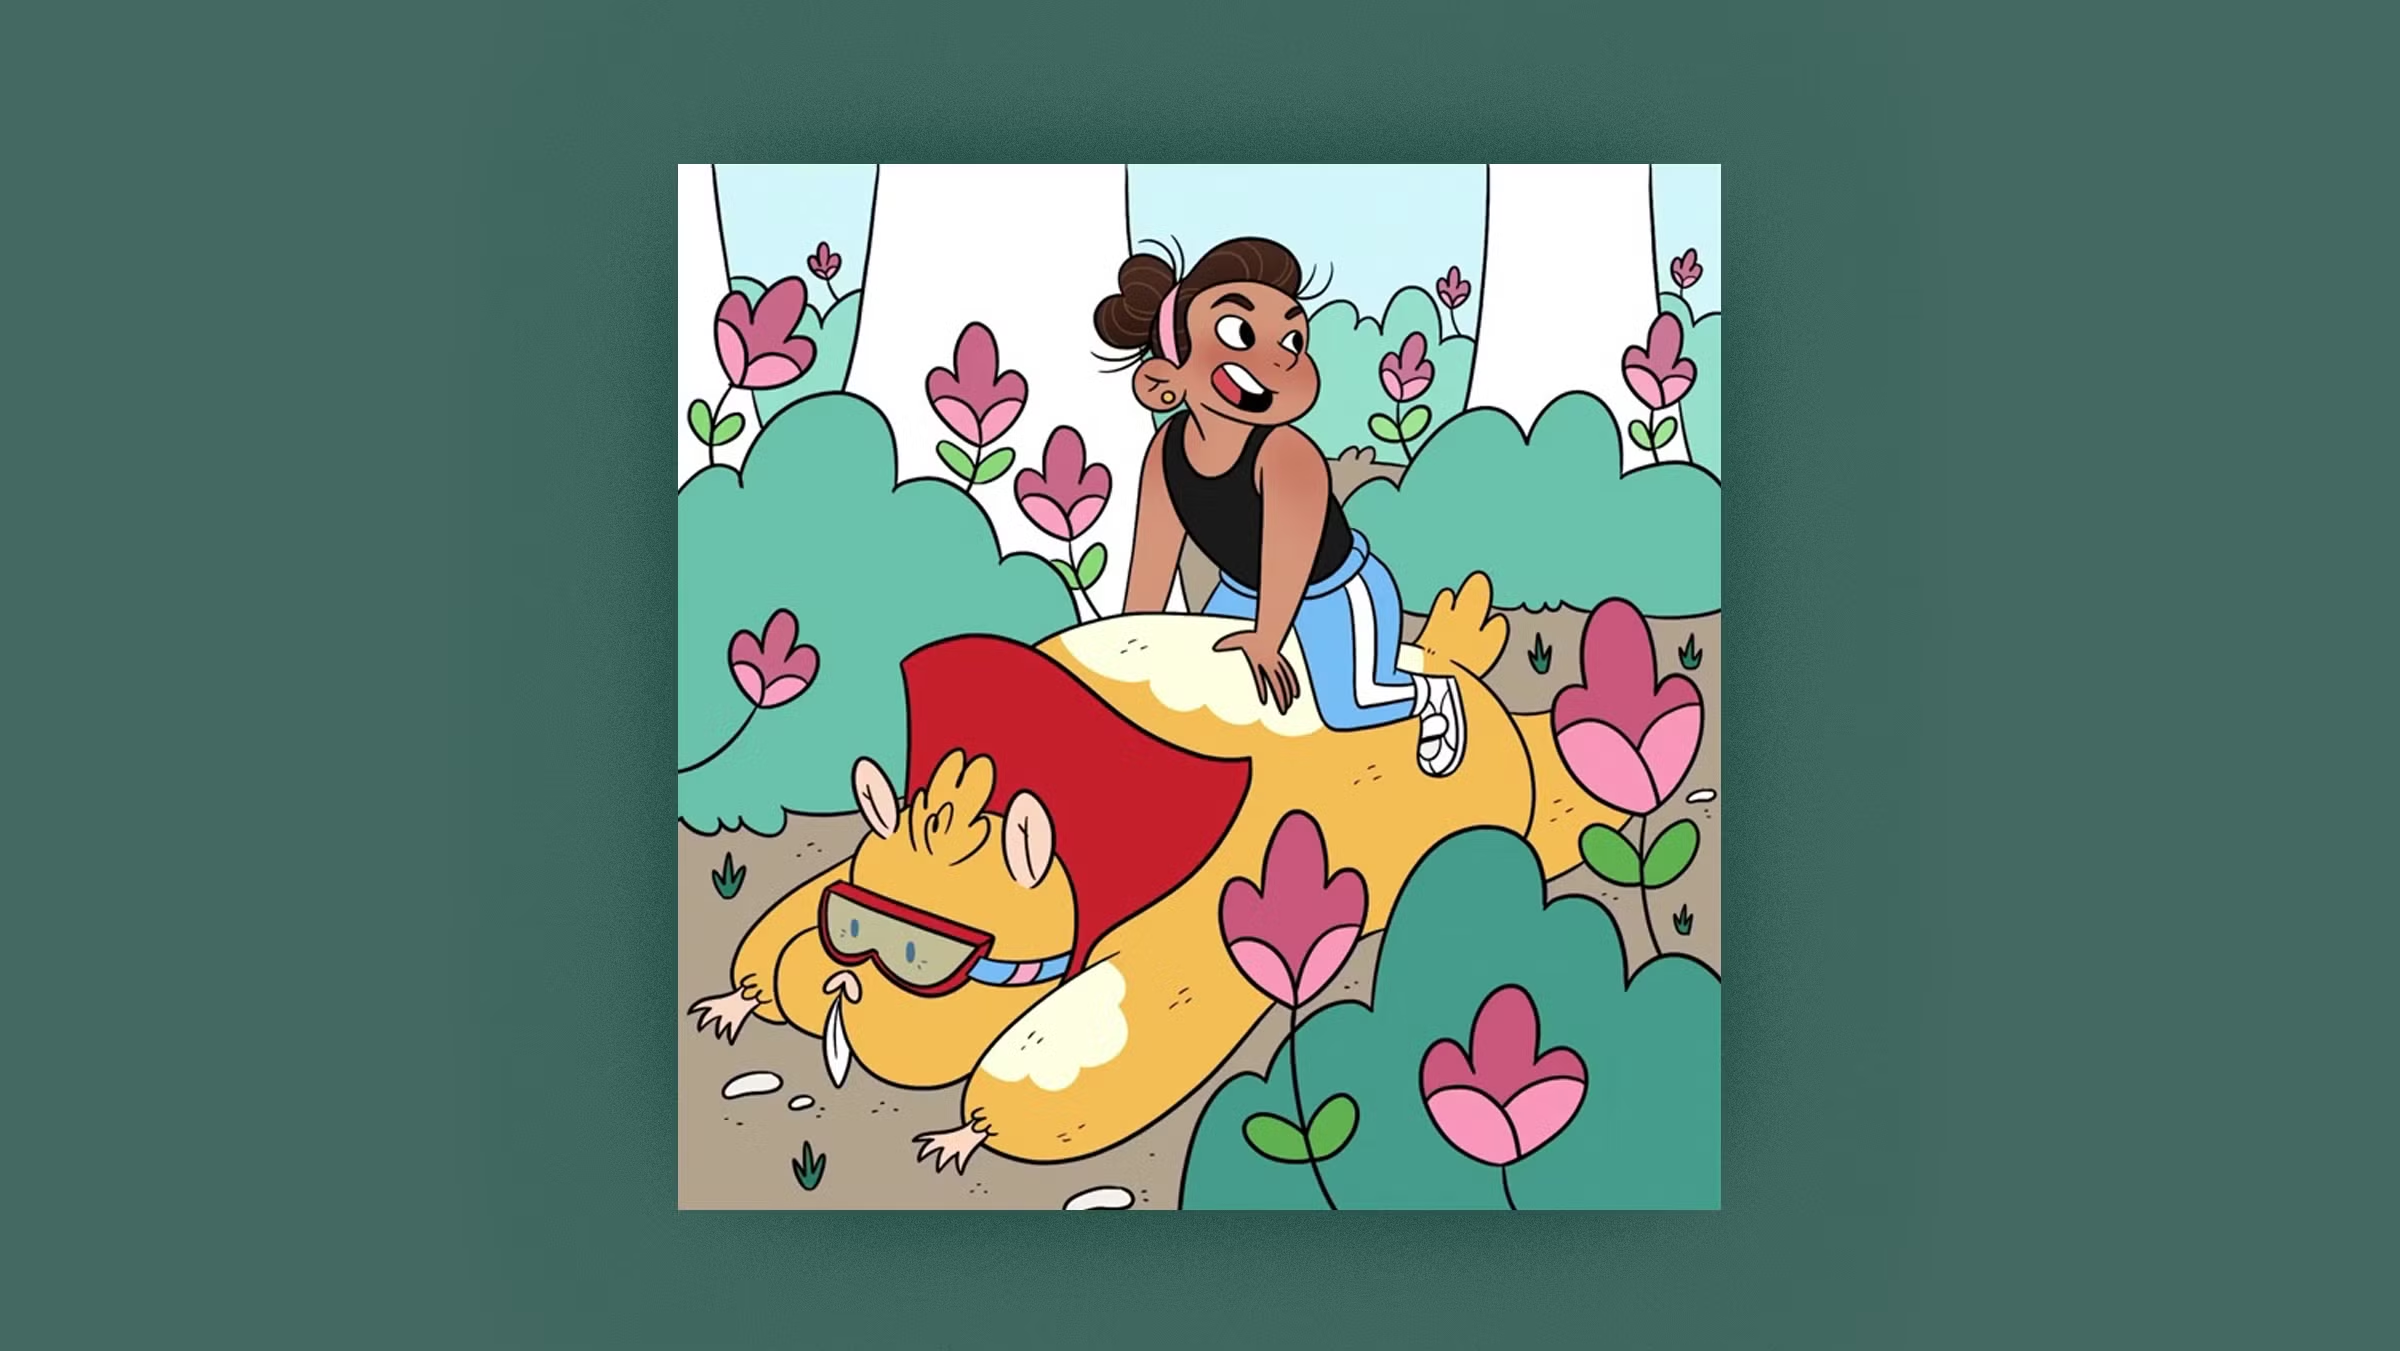
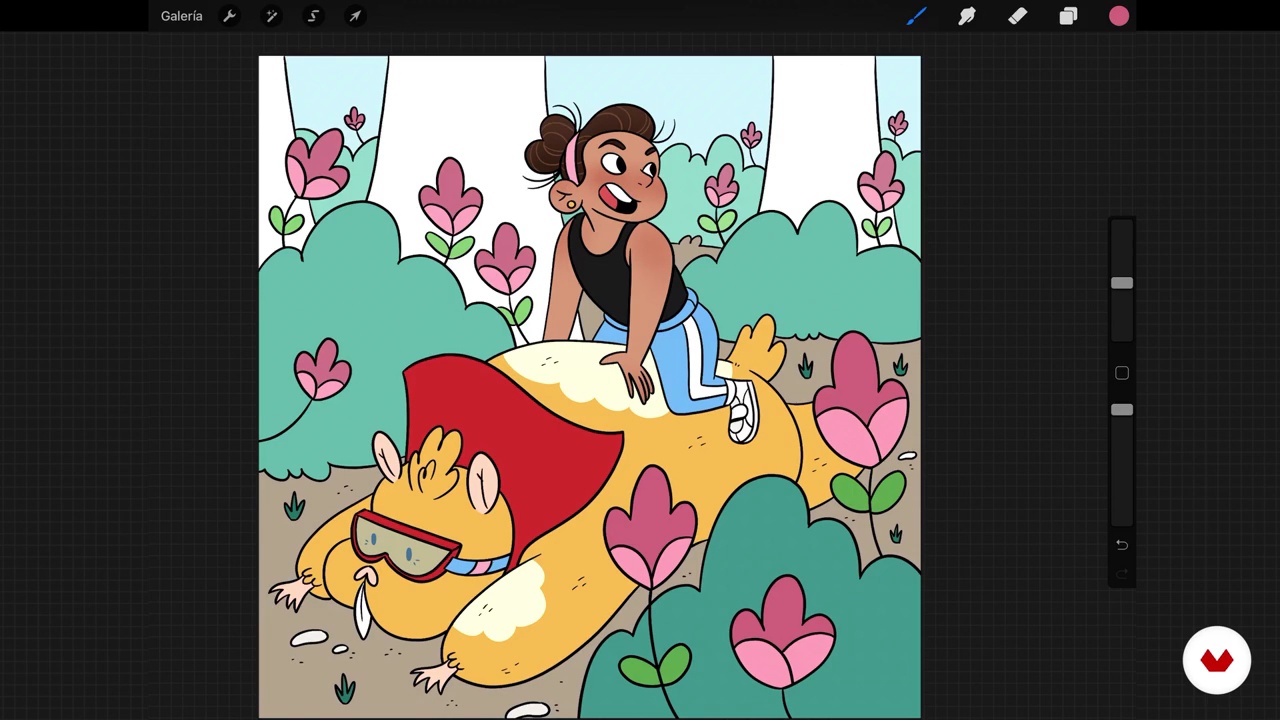
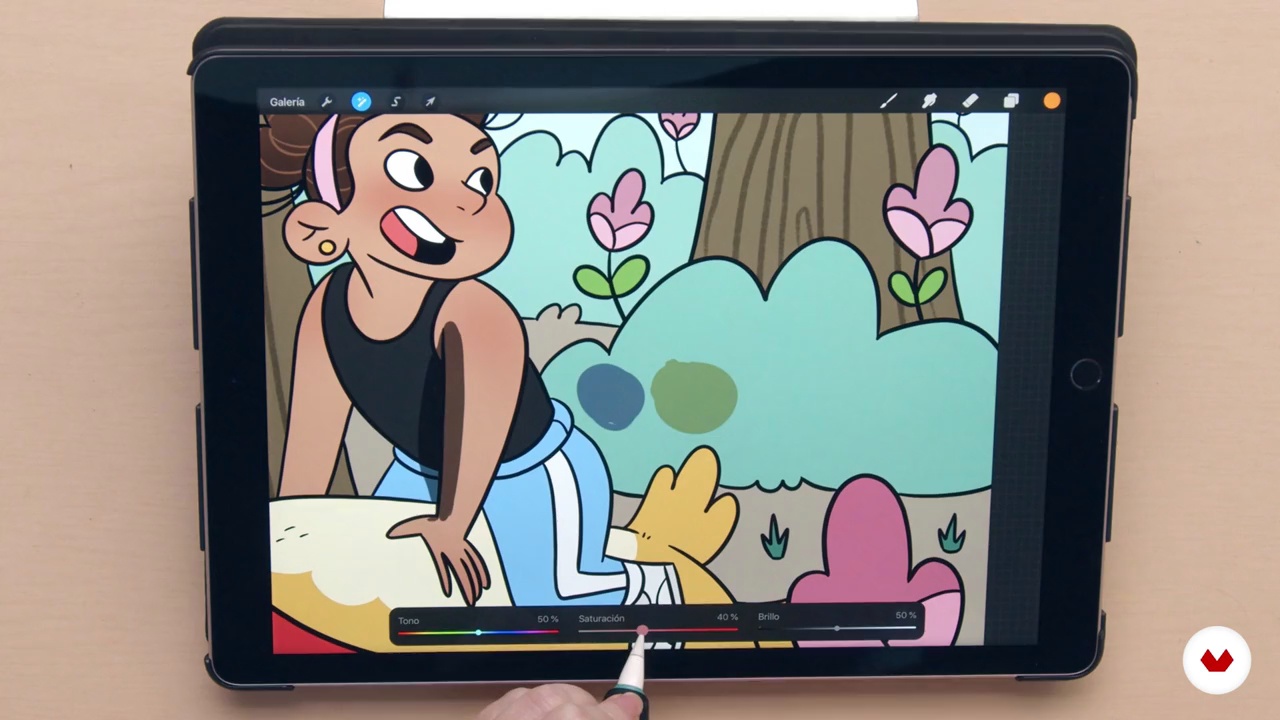
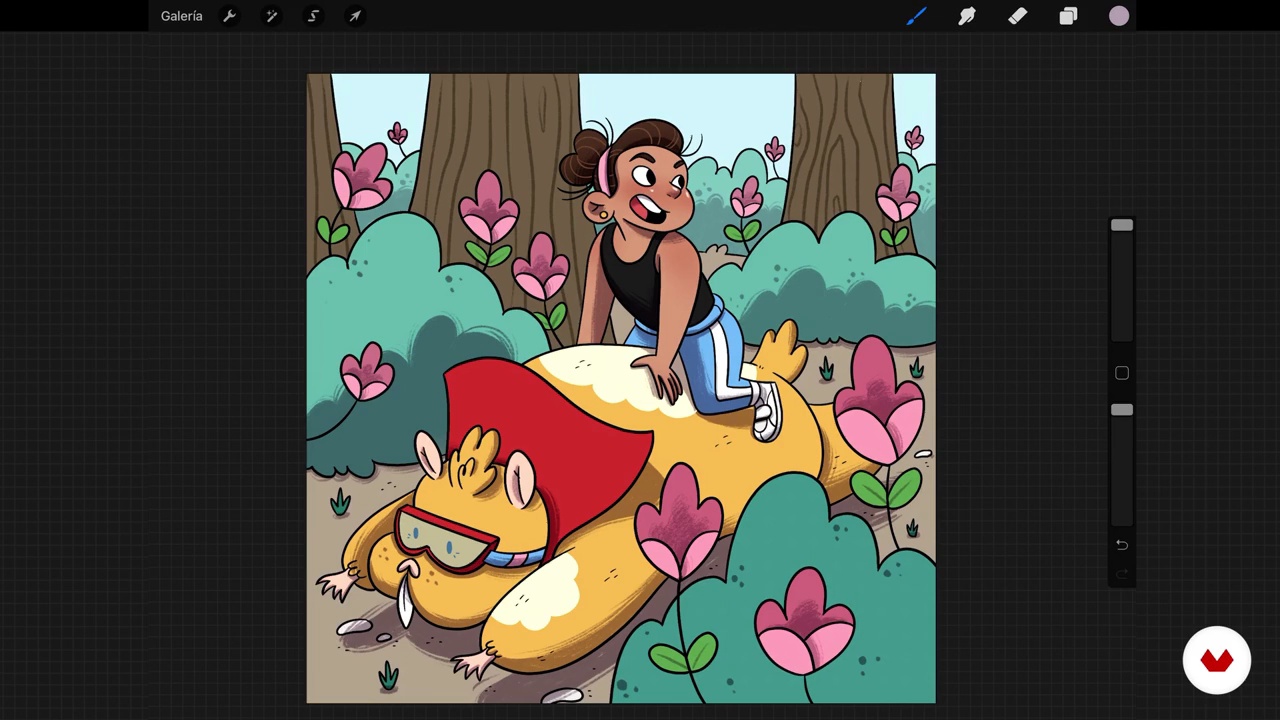
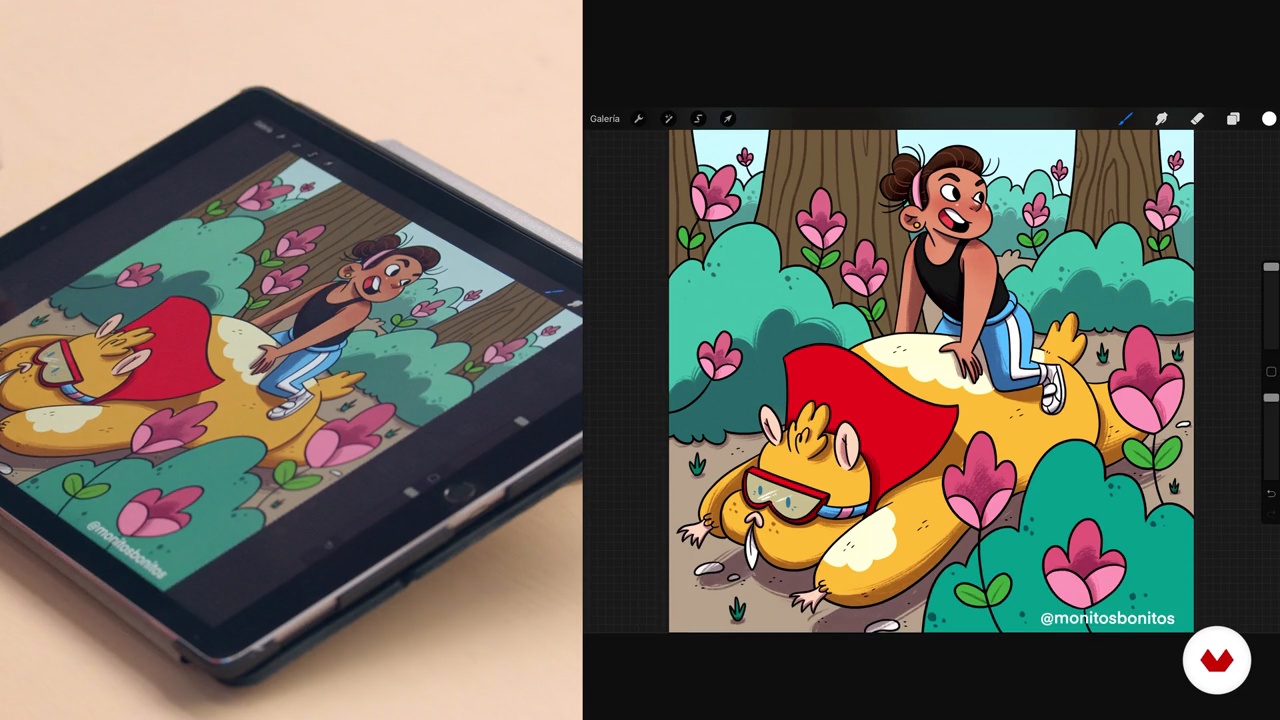
Who is this specialization for?

This course is designed for writers, illustrators, and enthusiasts of children's literature who want to learn how to create captivating stories and unique characters. It is also ideal for those looking to improve their narrative and artistic techniques in the field of children's books.

Requirements and materials

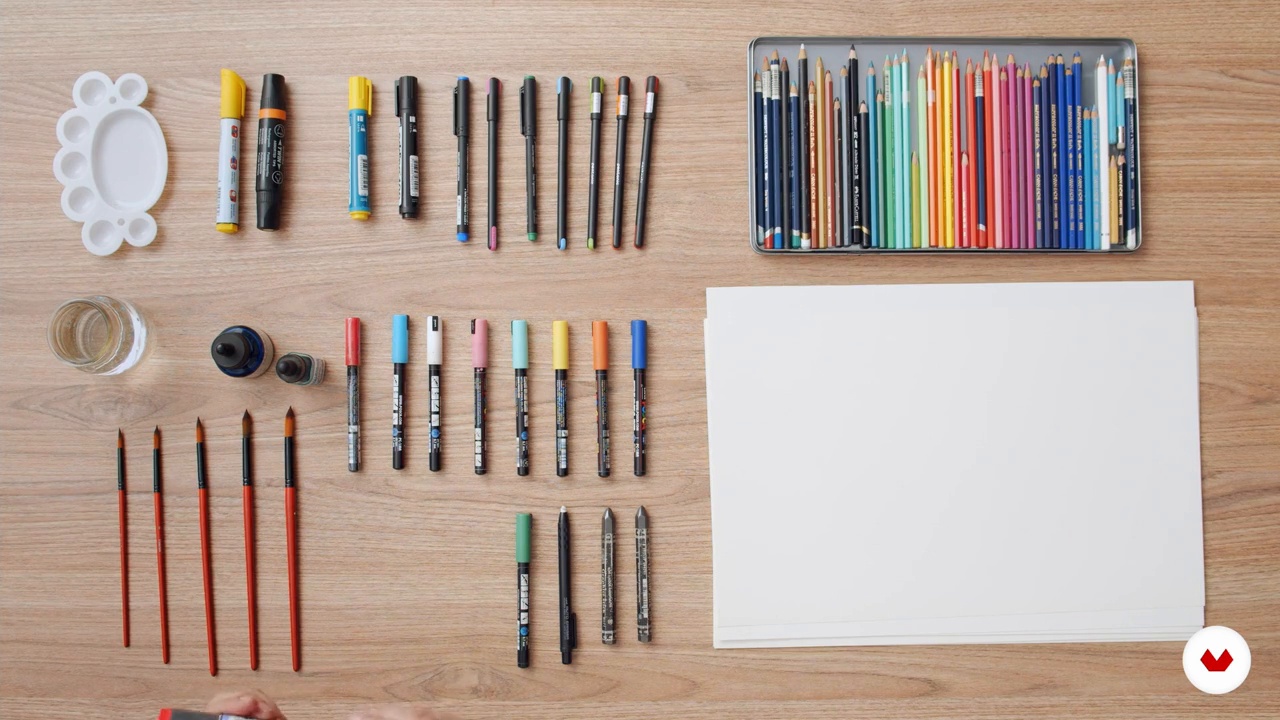
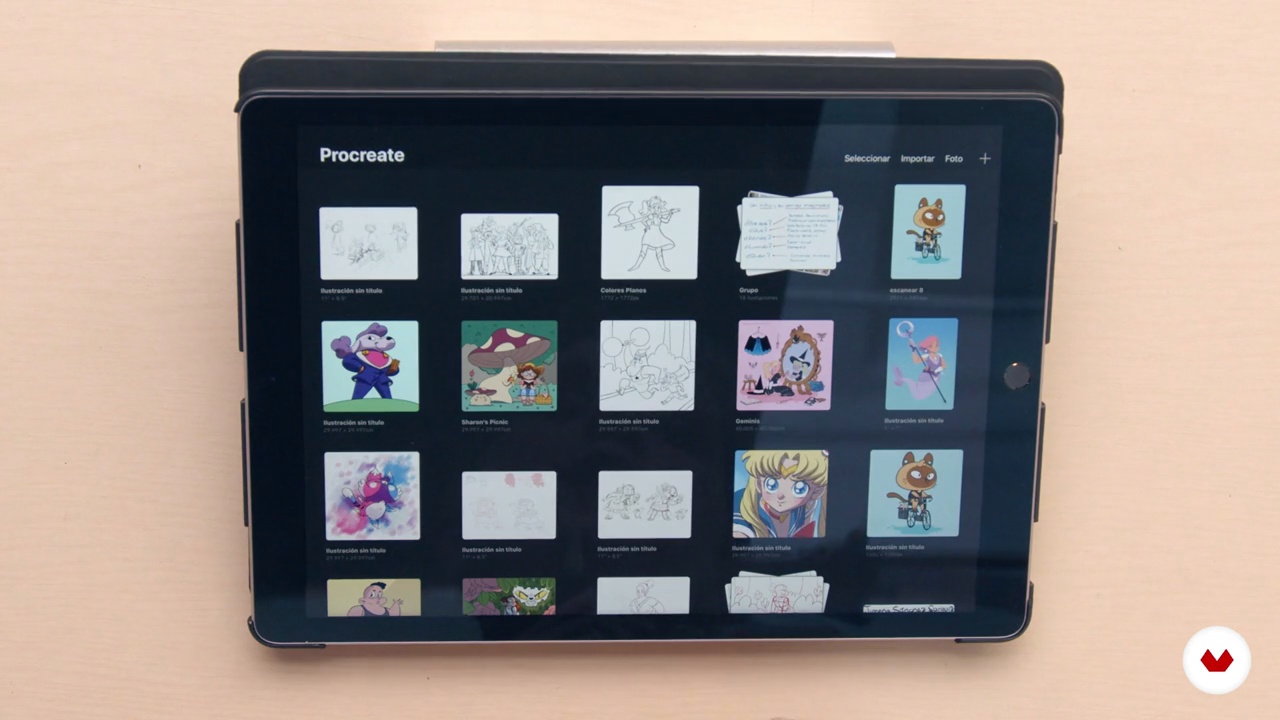
Extensive prior knowledge is not required, only basic notions of illustration or writing. You will need access to digital tools such as Procreate and Photoshop, as well as traditional materials like paper and pencils to experiment with mixed artistic techniques.

Select to get to know your teachers in this specialization course
Read more ↓

Reviews

683 Students
1 Reviews
100% Positive ratings


What to expect from this specialization course

  • Learn at your own pace

    Enjoy learning from home without a set schedule and with an easy-to-follow method. You set your own pace.

  • Learn from the best professionals

    Learn valuable methods and techniques explained by top experts in the creative sector.

  • Meet expert teachers

    Each expert teaches what they do best, with clear guidelines, true passion, and professional insight in every lesson.

  • Certificates
    Plus

    If you're a Plus member, get a custom certificate for every specialization course. Share it on your portfolio, social media, or wherever you like.

  • Get front-row seats

    Videos of the highest quality, so you don't miss a single detail. With unlimited access, you can watch them as many times as you need to perfect your technique.

  • Share knowledge and ideas

    Ask questions, request feedback, or offer solutions. Share your learning experience with other students in the community who are as passionate about creativity as you are.

  • Connect with a global creative community

    The community is home to millions of people from around the world who are curious and passionate about exploring and expressing their creativity.

  • Watch professionally produced courses

    Domestika curates its teacher roster and produces every course in-house to ensure a high-quality online learning experience.


FAQs

Domestika's specialization courses are online classes that provide you with the tools and skills you need to complete a specific project. Every step of the project combines video lessons with complementary instructional material, so you can learn by doing. Domestika's specializations also allow you to share your own projects with other students, creating a dynamic course community.

All specialization courses are 100% online, so once they're published, specialization courses start and finish whenever you want. You set the pace of the class. You can go back to review what interests you most and skip what you already know, ask questions, answer questions, share your projects, and more.

The specialization courses are divided into different modules. Each one includes lessons, informational text, tasks, and practice exercises to help you carry out your project step by step, with additional complementary resources and downloads. You'll also have access to an exclusive forum where you can interact with other students, as well as share your work and your final project, creating a community around the specialization course.

You can redeem the specialization course you received by accessing the redeeming page and entering your gift code.

If you're a Plus member, when you complete a course you've purchased, you'll instantly get your personalized certificate. You can see all your certificates in the Certificates section of your profile. You can download your certificates as PDFs and share the link online. Learn more about certificates.
Specialization in Creative Writing and Children's Illustration . Illustration, and Writing course by Domestika Best seller

Specialization in Creative Writing and Children's Illustration

A specialization by multiple teachers
Specialization Course. Berkeley, United States.
Joined April 2002
  • 100% positive reviews (1)
  • 683 students