Specialization

Fashion Specialization: Upcycling, Printing and Personalization

6 Teachers

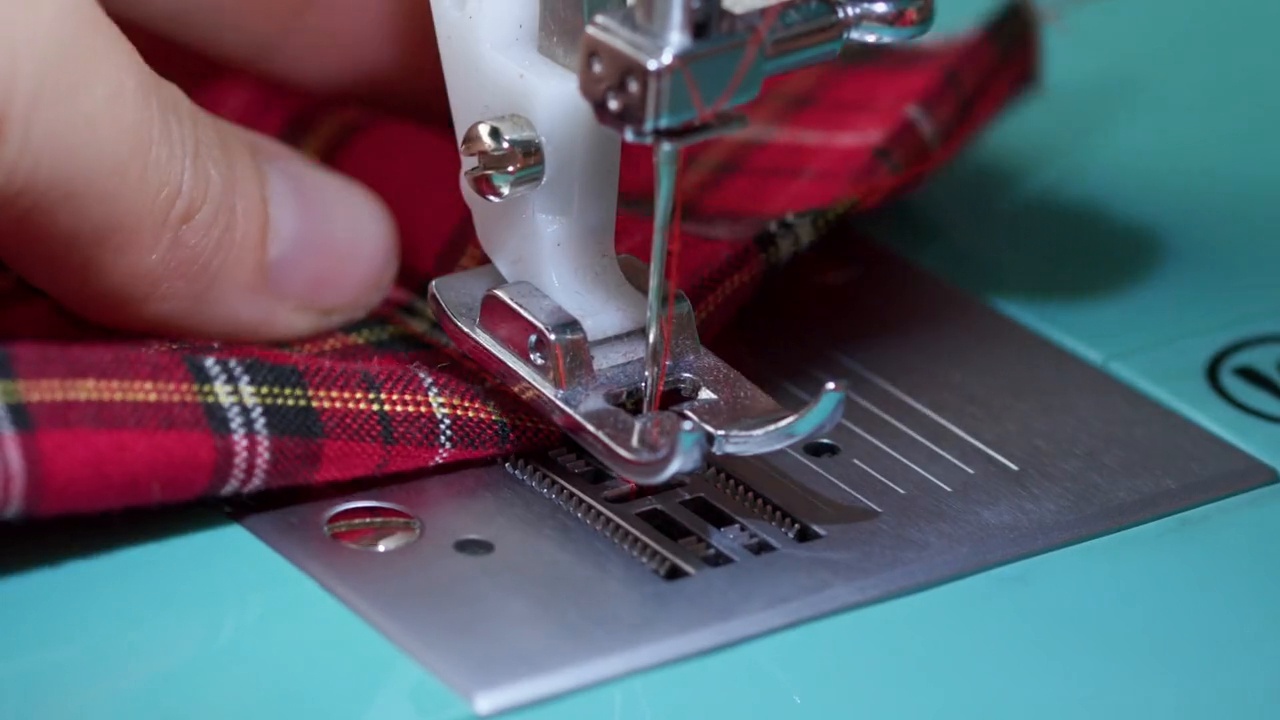
Transform old garments into unique, sustainable fashion pieces by mastering upcycling techniques and essential sewing skills

Transform old garments into unique, sustainable fashion pieces by mastering upcycling techniques and essential sewing skills

6 Teachers
Specialization · 7 modules

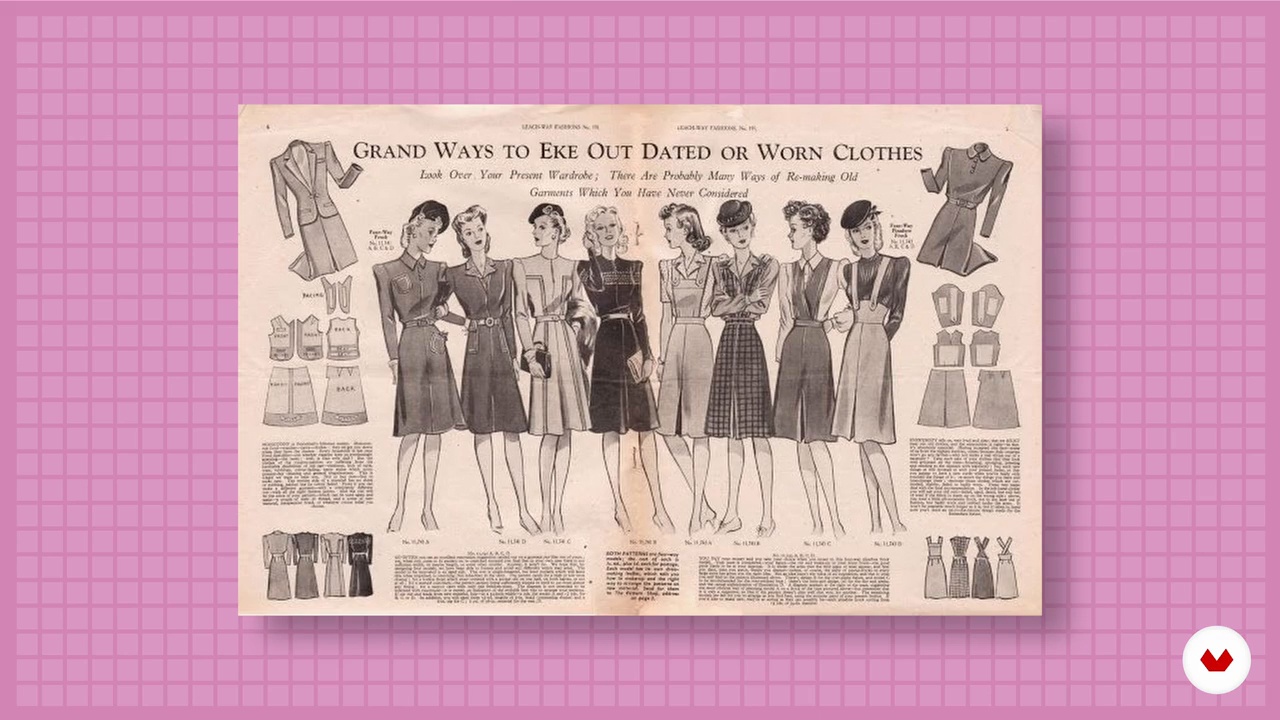
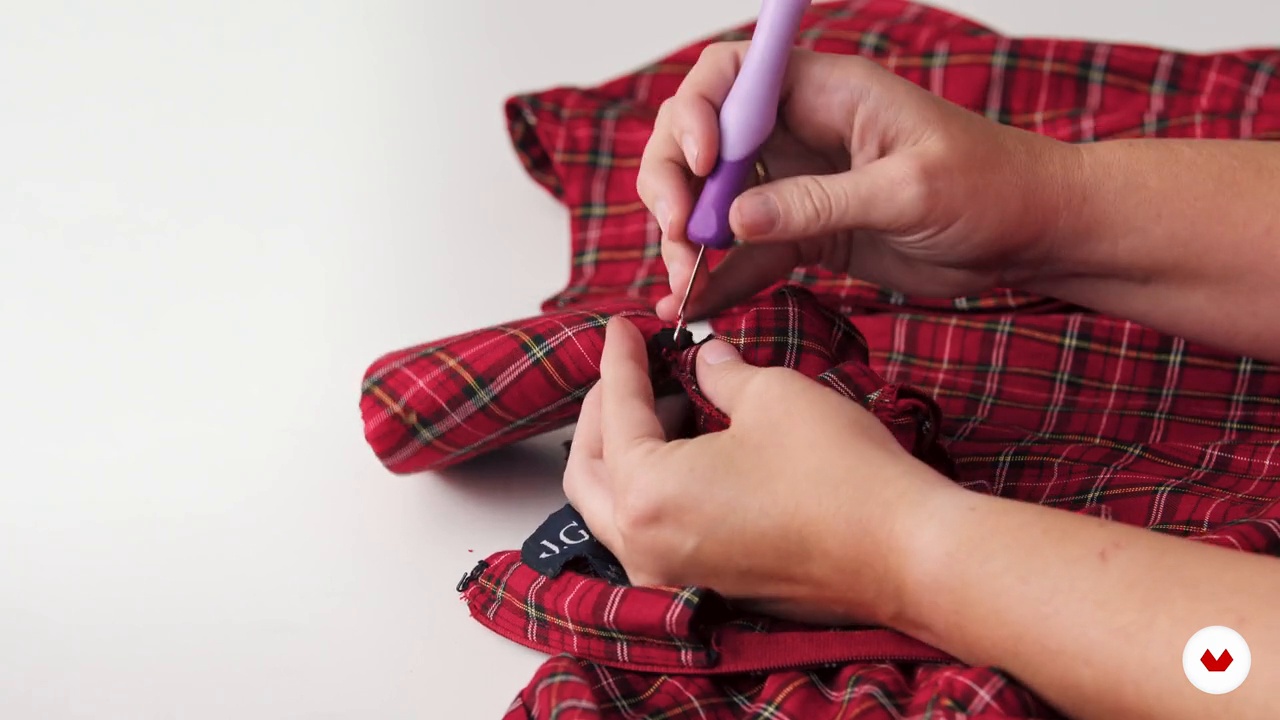
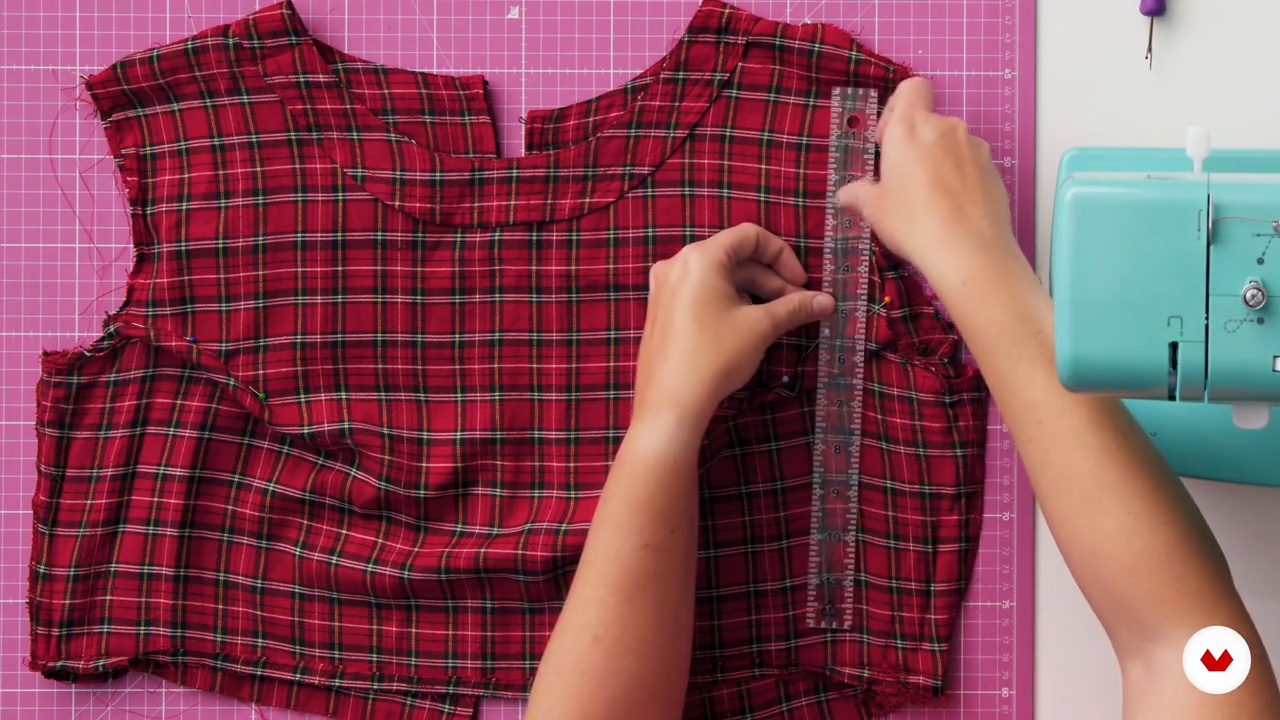
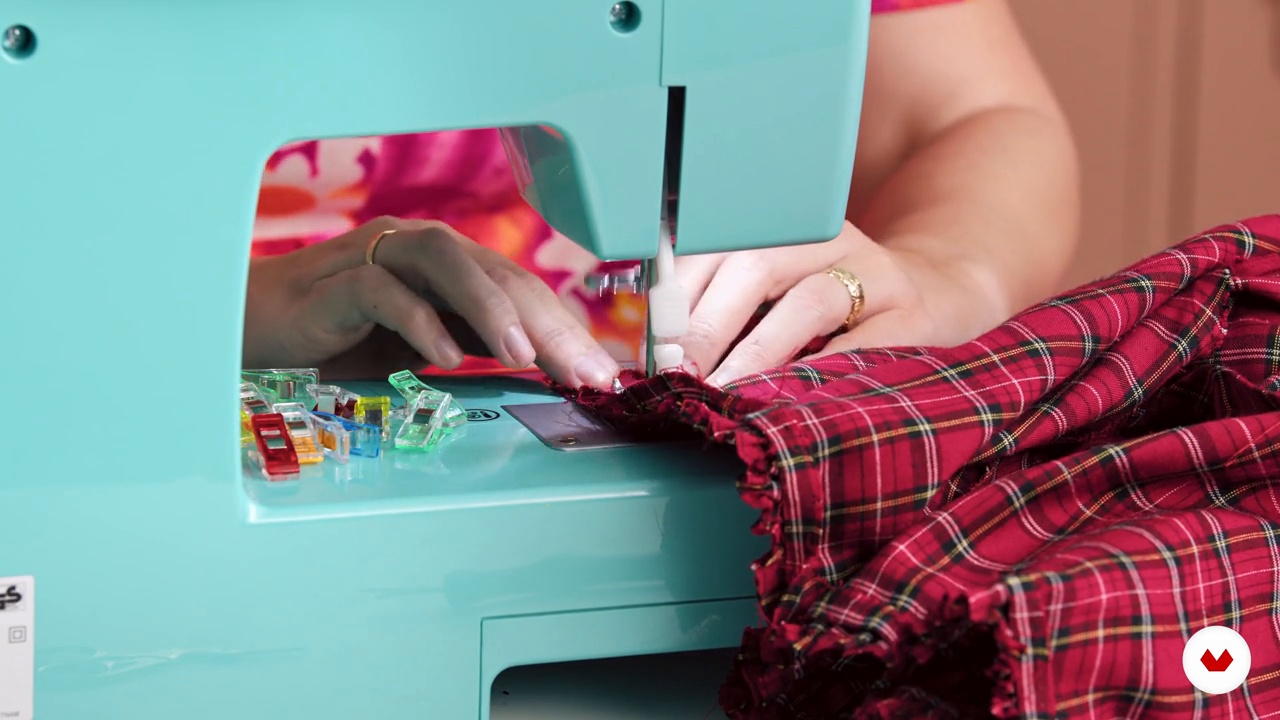
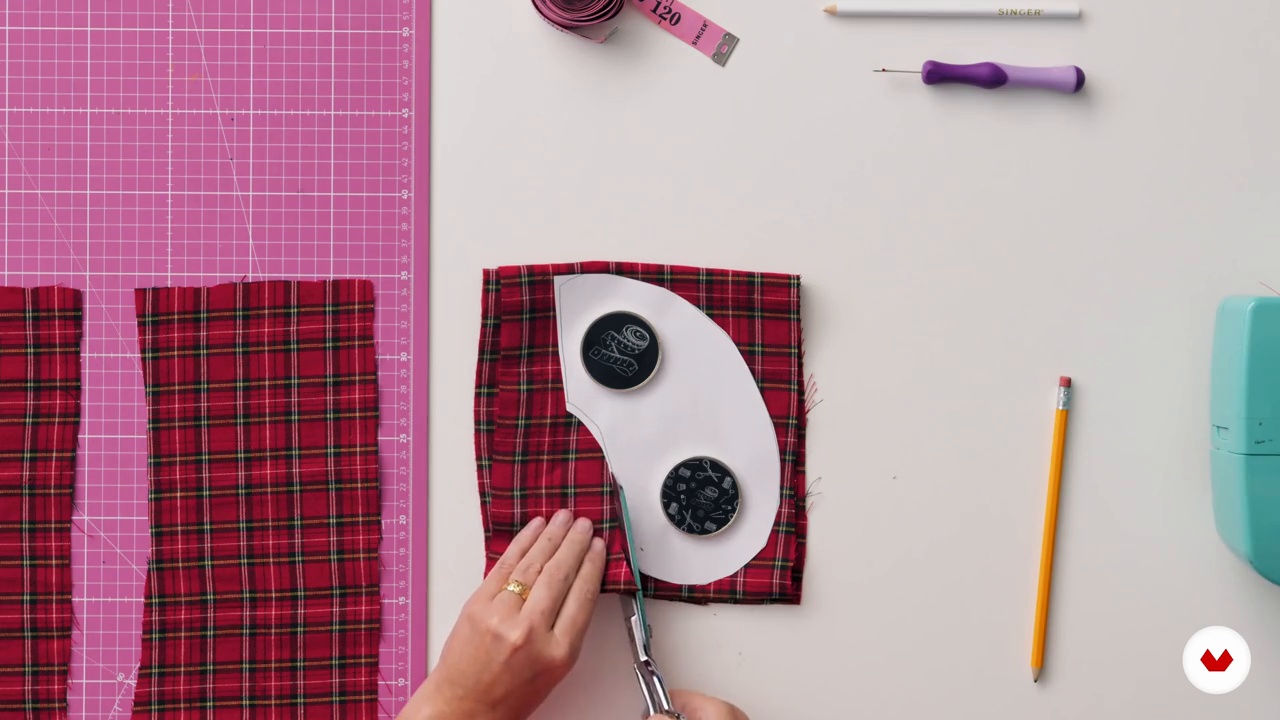
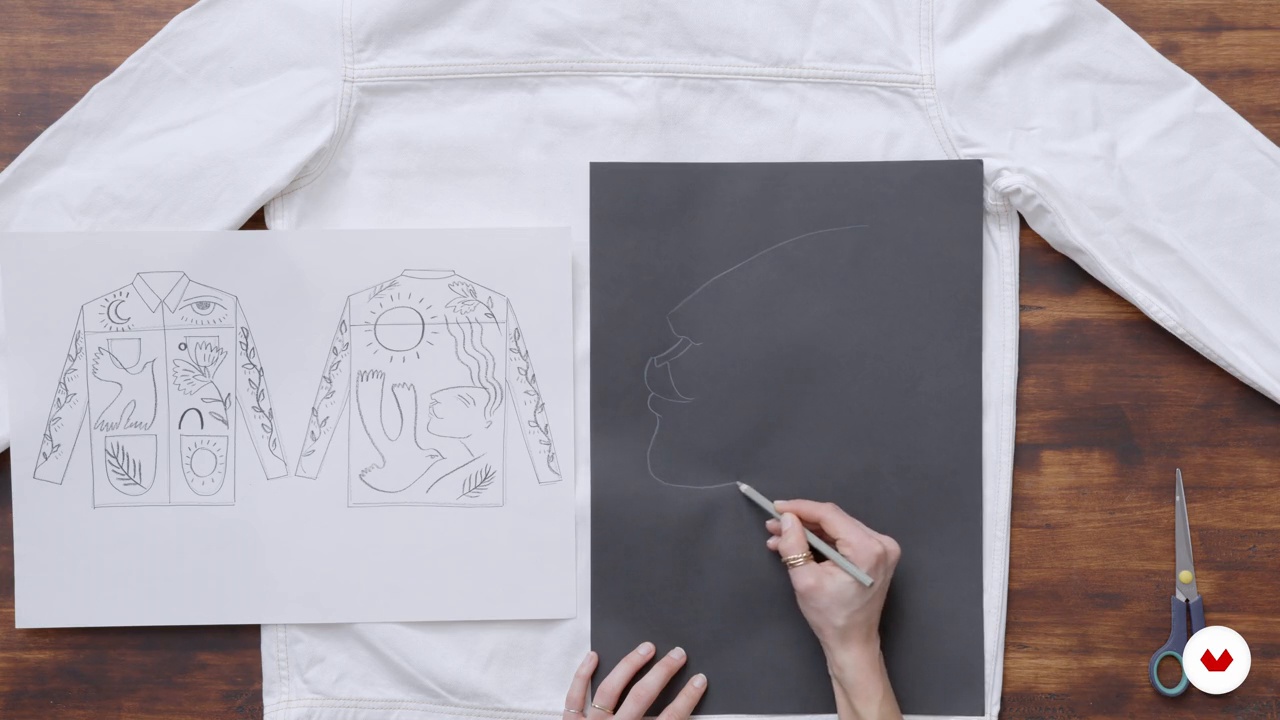
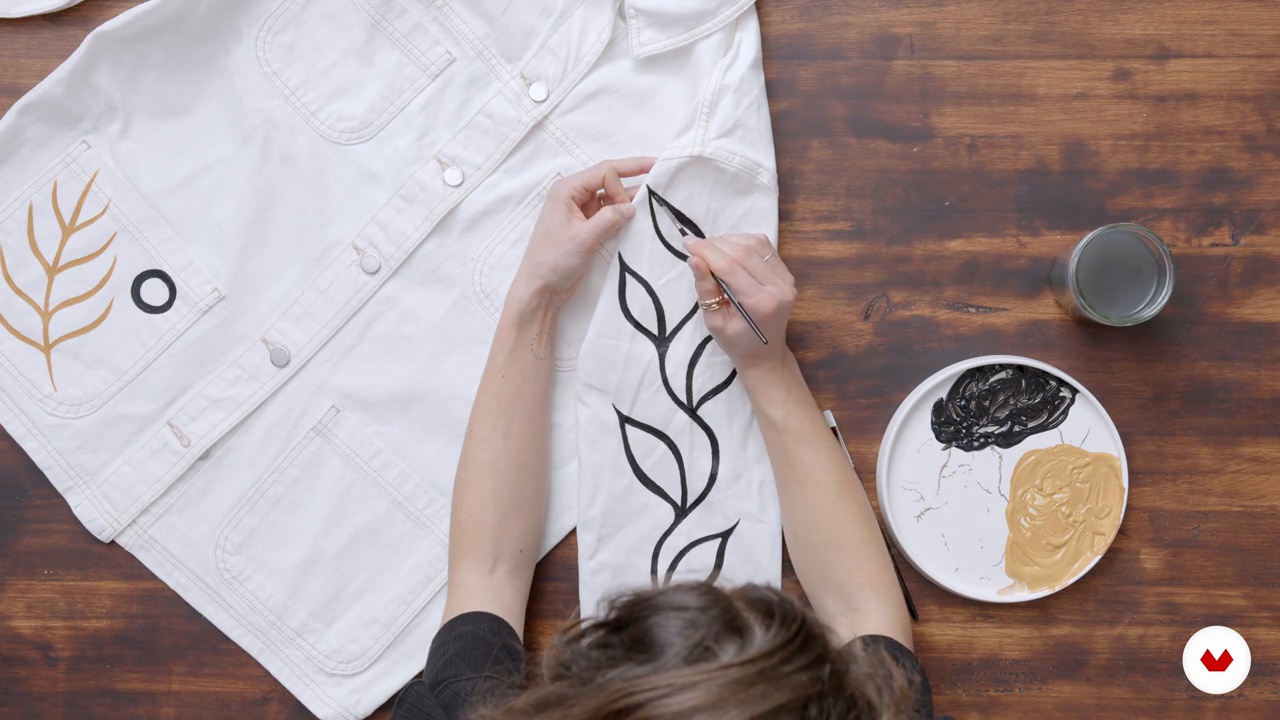
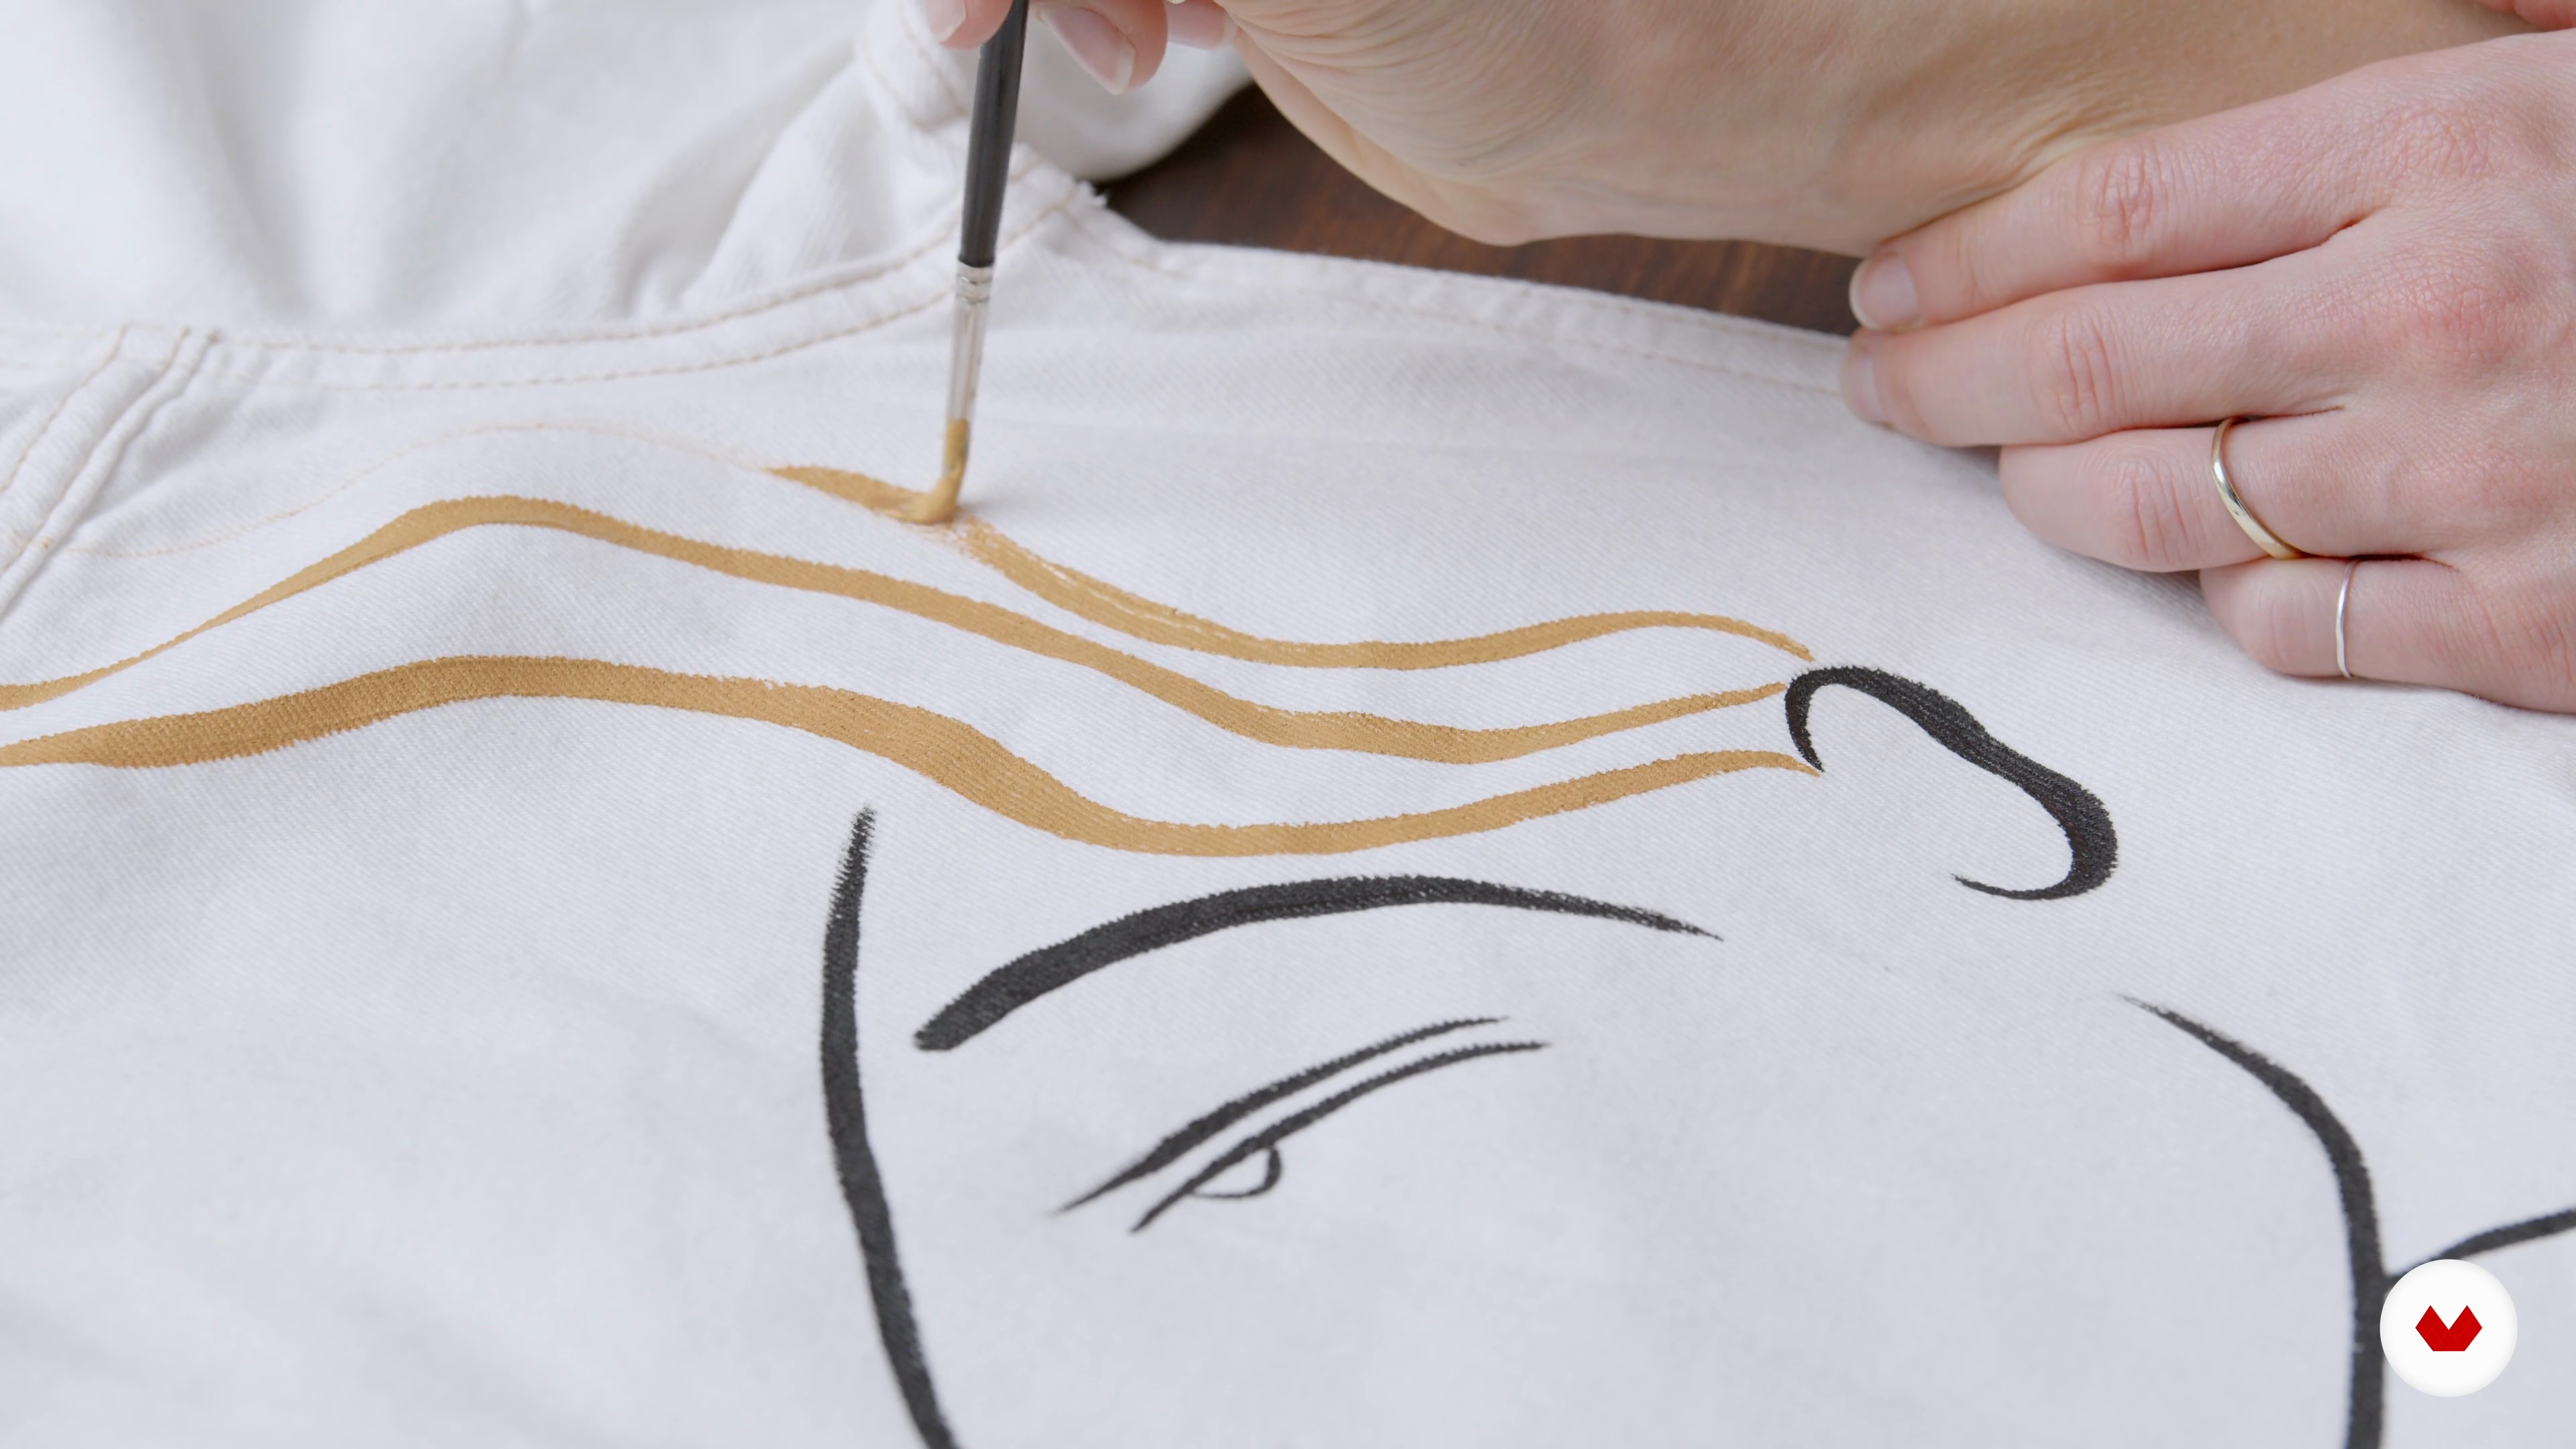
Unleash your creativity and embrace sustainable fashion with the Domestika Sustainable Fashion Specialization. Explore the art of upcycling with Caitlin Trantham, transforming old garments into unique, modern pieces through essential sewing skills and customization techniques. Dive into textile printing with Julia Pelletier and discover four distinct methods, from sublimation to needle felting, to create charming, wearable art. Express your inner artist by hand-painting clothing under the guidance of Amy Isles Freeman, using drawing techniques and color mixing to turn garments into personal masterpieces.

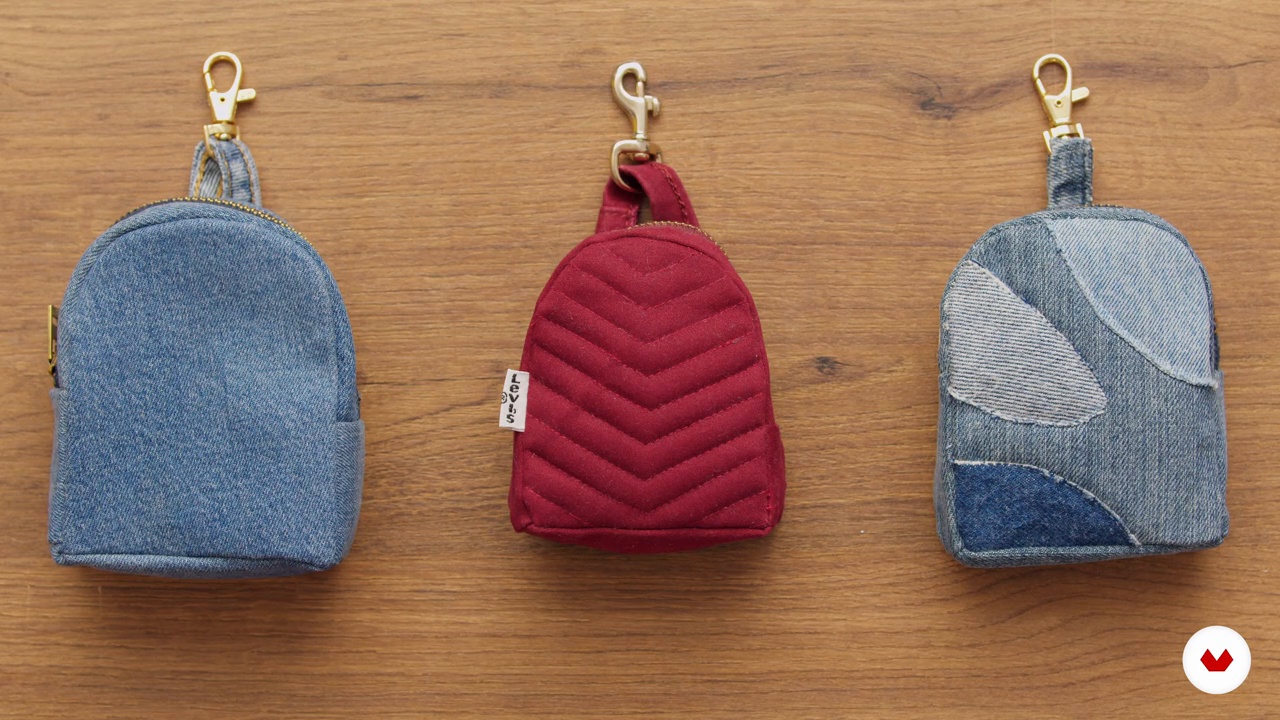
Elevate your style with embroidered patches through typography and embroidery techniques taught by talented instructors. Learn the fundamental art of crochet with a focus on sustainability, repurposing old textiles into new functional items. Finally, join Luisa Hurtado to transform second-hand clothes into fashionable backpacks, applying upcycling techniques to minimize waste. This specialization empowers you to revolutionize your wardrobe with eco-friendly practices, allowing for personal expression and creativity in every stitch, print, and patch.

Read more ↓

What will you learn in this specialization?

A total of 7 modules and 88 lessons
A total of 11h 34m of vídeo lessons
Taught by 6 selected expert teachers
image
1
Introduction
In this lesson, you’ll dive into the world of sustainable fashion—where creativity meets responsibility! From repurposing fabrics to cutting-edge eco-friendly designs, you’ll discover how style and sustainability go hand in hand. Get ready to rethink waste, experiment with innovative techniques, and transform the old into something unforgettable!
2m
image
2
Inspiration / Caitlin Trantham
In this lesson, you will explore the concept of upcycling as a response to fast fashion’s environmental impact. Once a necessity, reusing textiles has become an art form, offering both sustainability and creative expression. Through this course, you will transform a discarded dress into a custom piece, extending its life and purpose beyond the landfill.
2m
image
3
Inspiration / Julia Pelletier
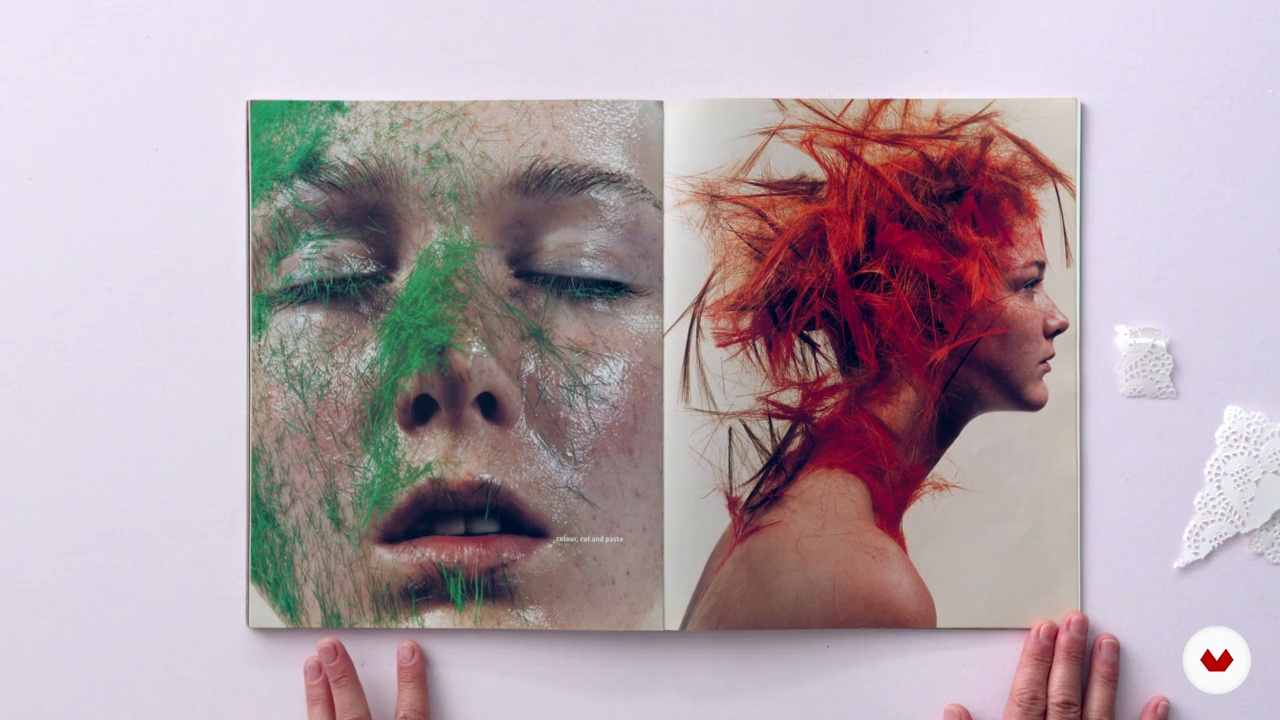
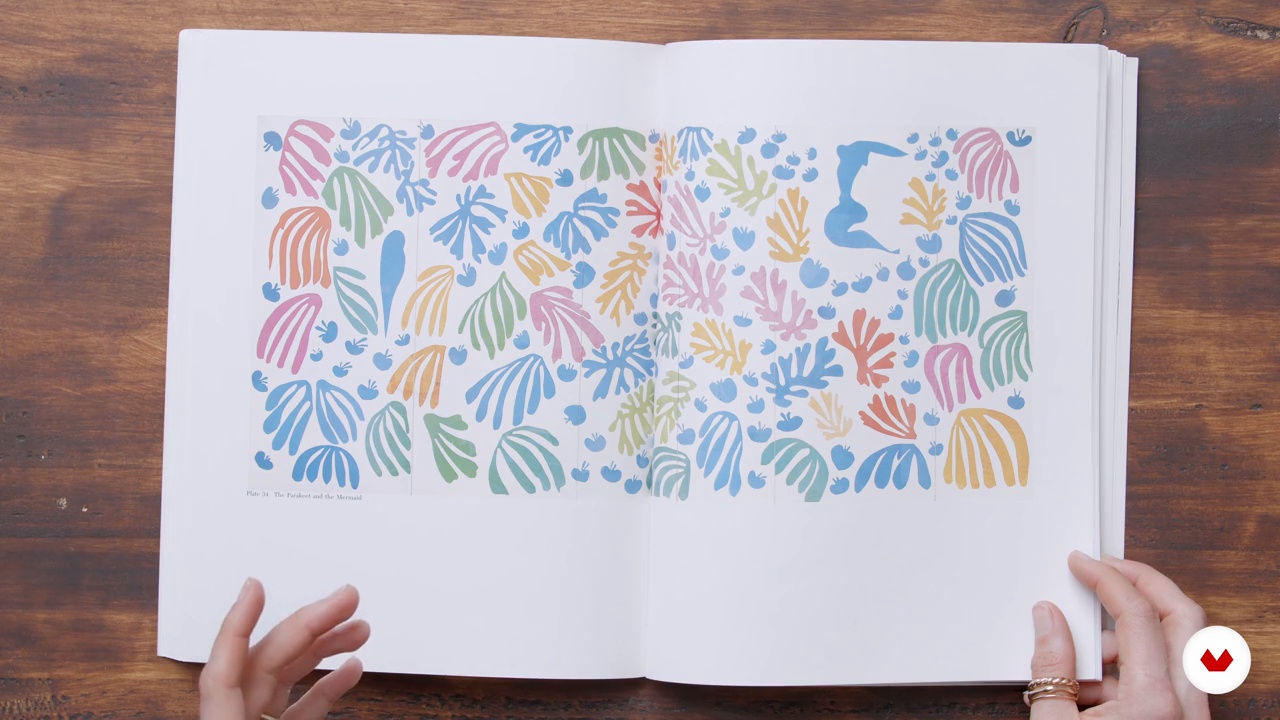
Get to know artistic influences that shape creative work, from Mark Rothko’s vibrant color compositions to Paul Cox’s dynamic textures and Matisse’s iconic paper cutouts. Through collage, textiles, and contemporary design, you’ll see how different mediums inspire unique artistic expression.
8m
image
4
Inspiration / Amy Isles Freeman
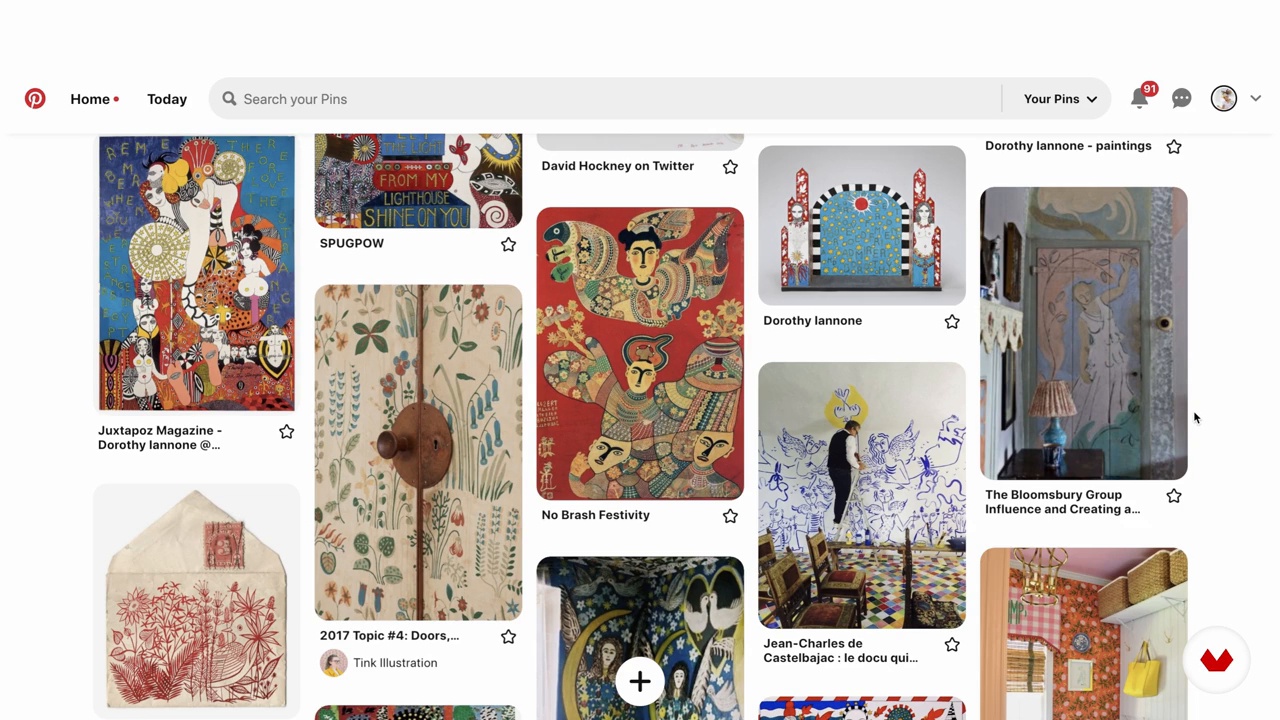
Learn about the artistic influences that have shaped a unique creative voice. From childhood exposure to American folk art to the expressive human forms of Egon Schiele, each reference adds depth and meaning. Matisse’s vibrant compositions and Dorothy Iannone’s joyful feminism further inspire a playful, movement-filled approach. Next, we’ll review the materials needed for the project.
3m
image
5
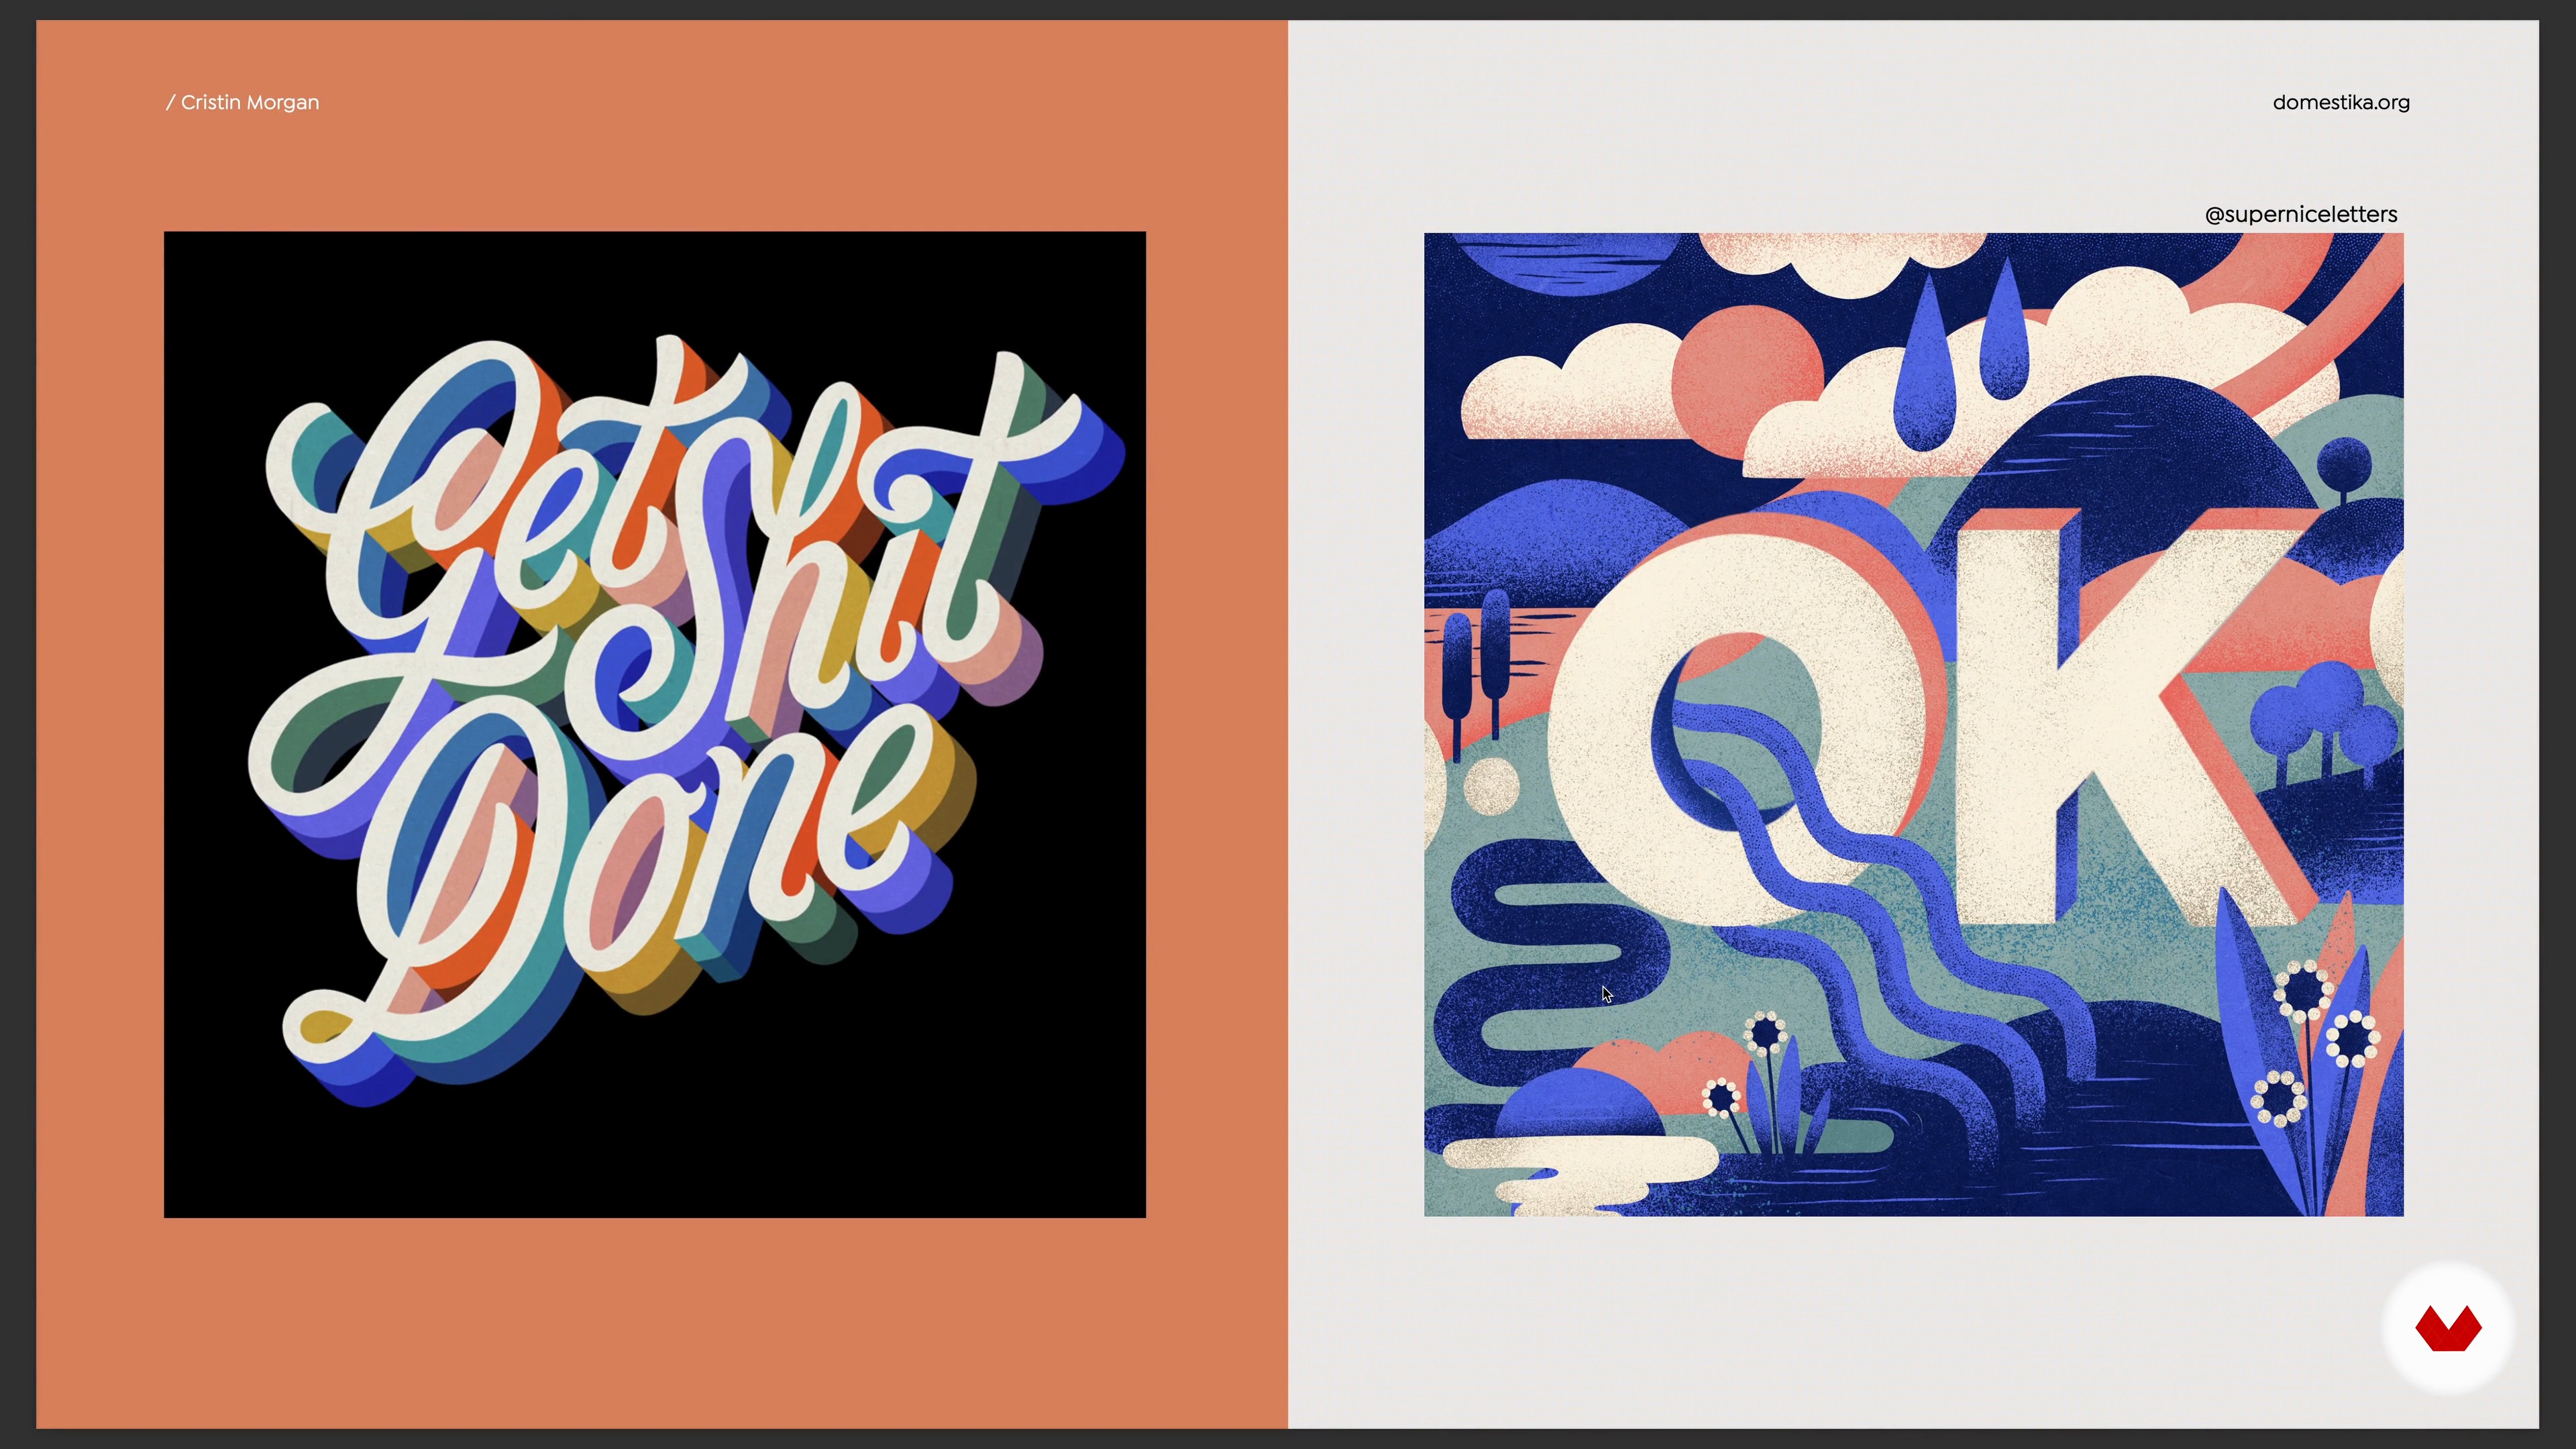
Inspiration / Christin Morgan
Lisa Congdon’s bold color palettes and stylized illustrations bring energy to her designs, often incorporating quilt patterns. Laquina MacIvor’s vibrant murals blend text and textiles in striking ways. Carmi Grau’s balanced lettering, Yumeko Higuchi’s clean embroidery, and Judy Just’s textured tapestries all offer unique inspiration. Next, we'll prepare for the embroidery project.
5m
image
6
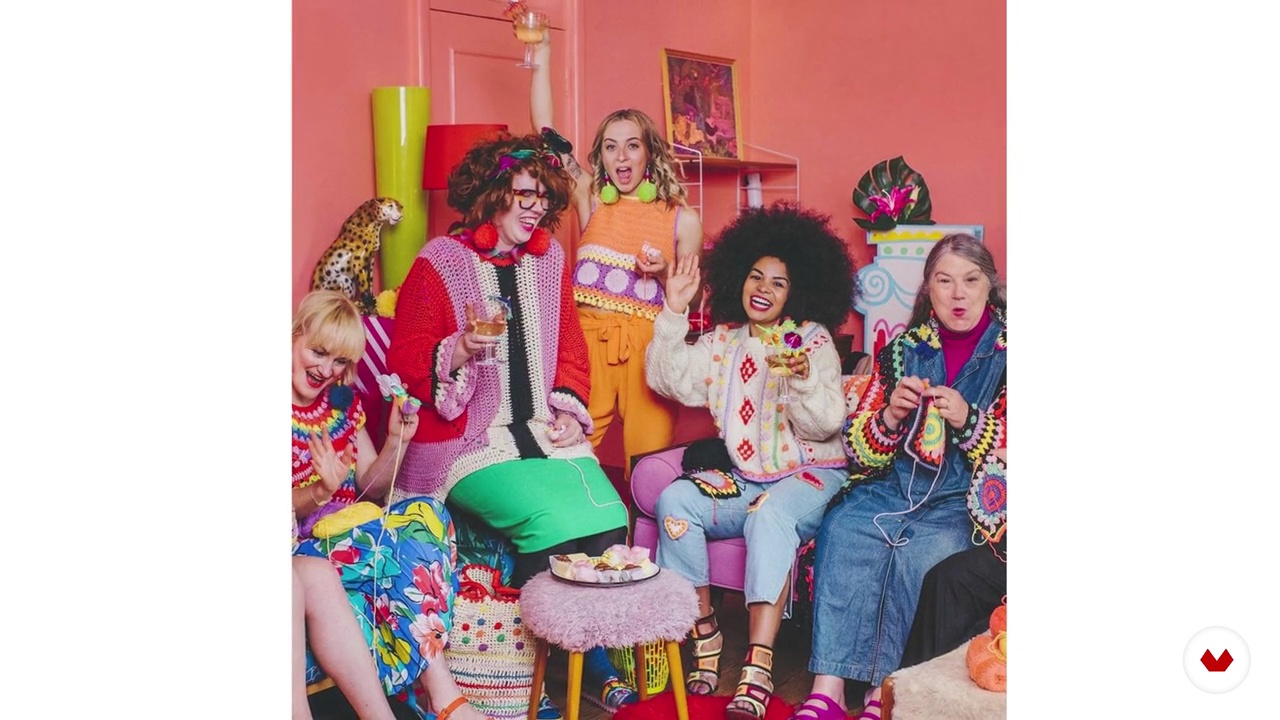
Inspiration / Emma Friedlander-Collins
Let's explore key creative influences, from pioneering knitwear designer Elizabeth Zimmermann to the vibrant landscapes of the South Downs. You’ll also discover how designers like Katie Jones and Kaffe Fassett, as well as museums like the V&A, inspire artistic expression, sustainability, and innovation.
6m
image
7
Inspiration / Luisa Hurtado
Family, creativity, and sustainability are key inspirations. A grandmother who sewed without electricity, a mother who transformed and repaired clothing, and a deep appreciation for resourcefulness shape this approach. Rather than traditional designers, thrift stores, vintage magazines, and discarded garments spark new ideas.
2m
image
1
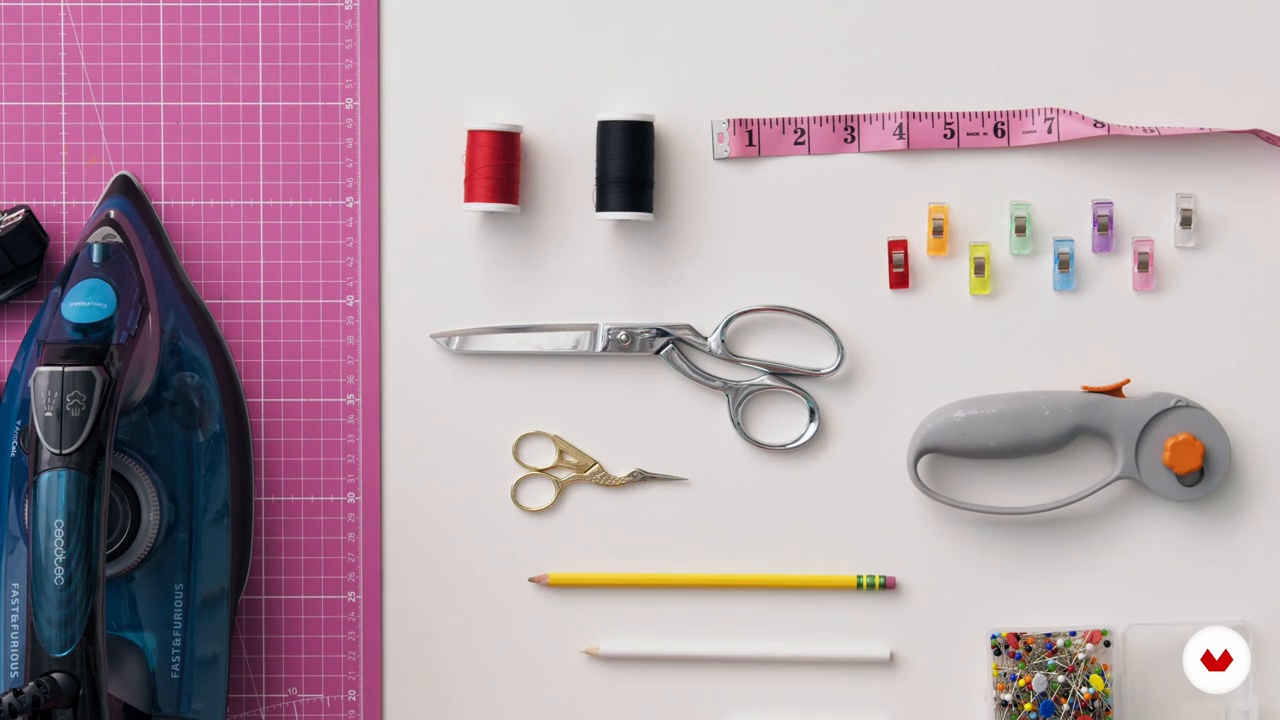
Tools and Materials
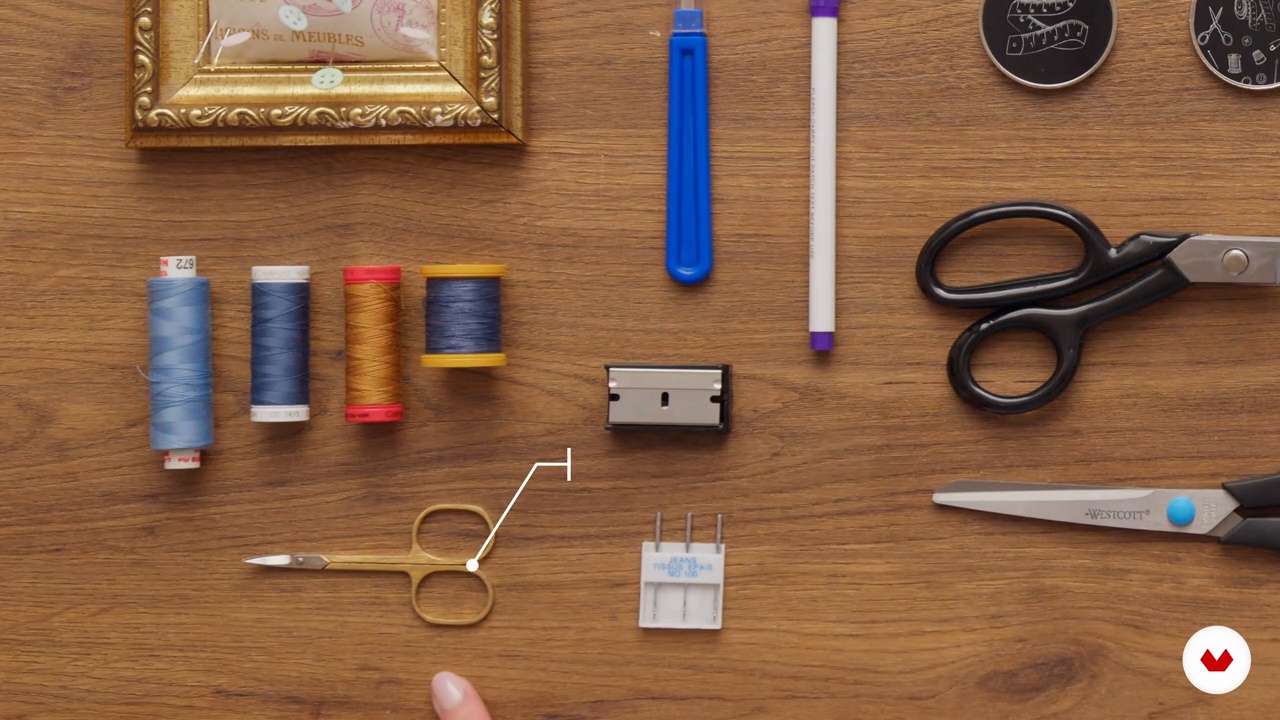
In the lesson, I will share the tools I use to create and what you need to transform your garments. I’ll tell you briefly about the tools and why we need them.
3m
image
2
Selecting Your Project Piece
I will share my strategies for finding the right piece to upcycle. You will learn how to assess a garment and choose things with the greatest potential. I will also teach you some tips for shopping at a thrift store and what to avoid while shopping!
6m
image
3
Basic Sewing Skills
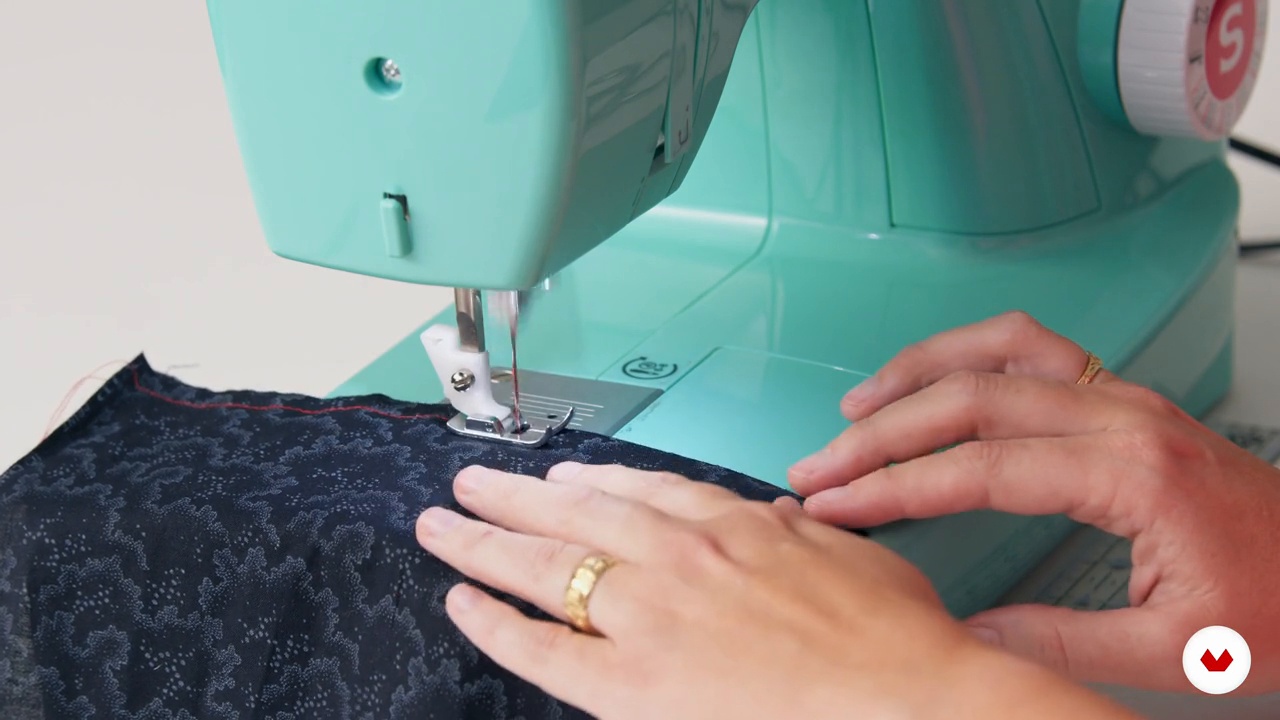
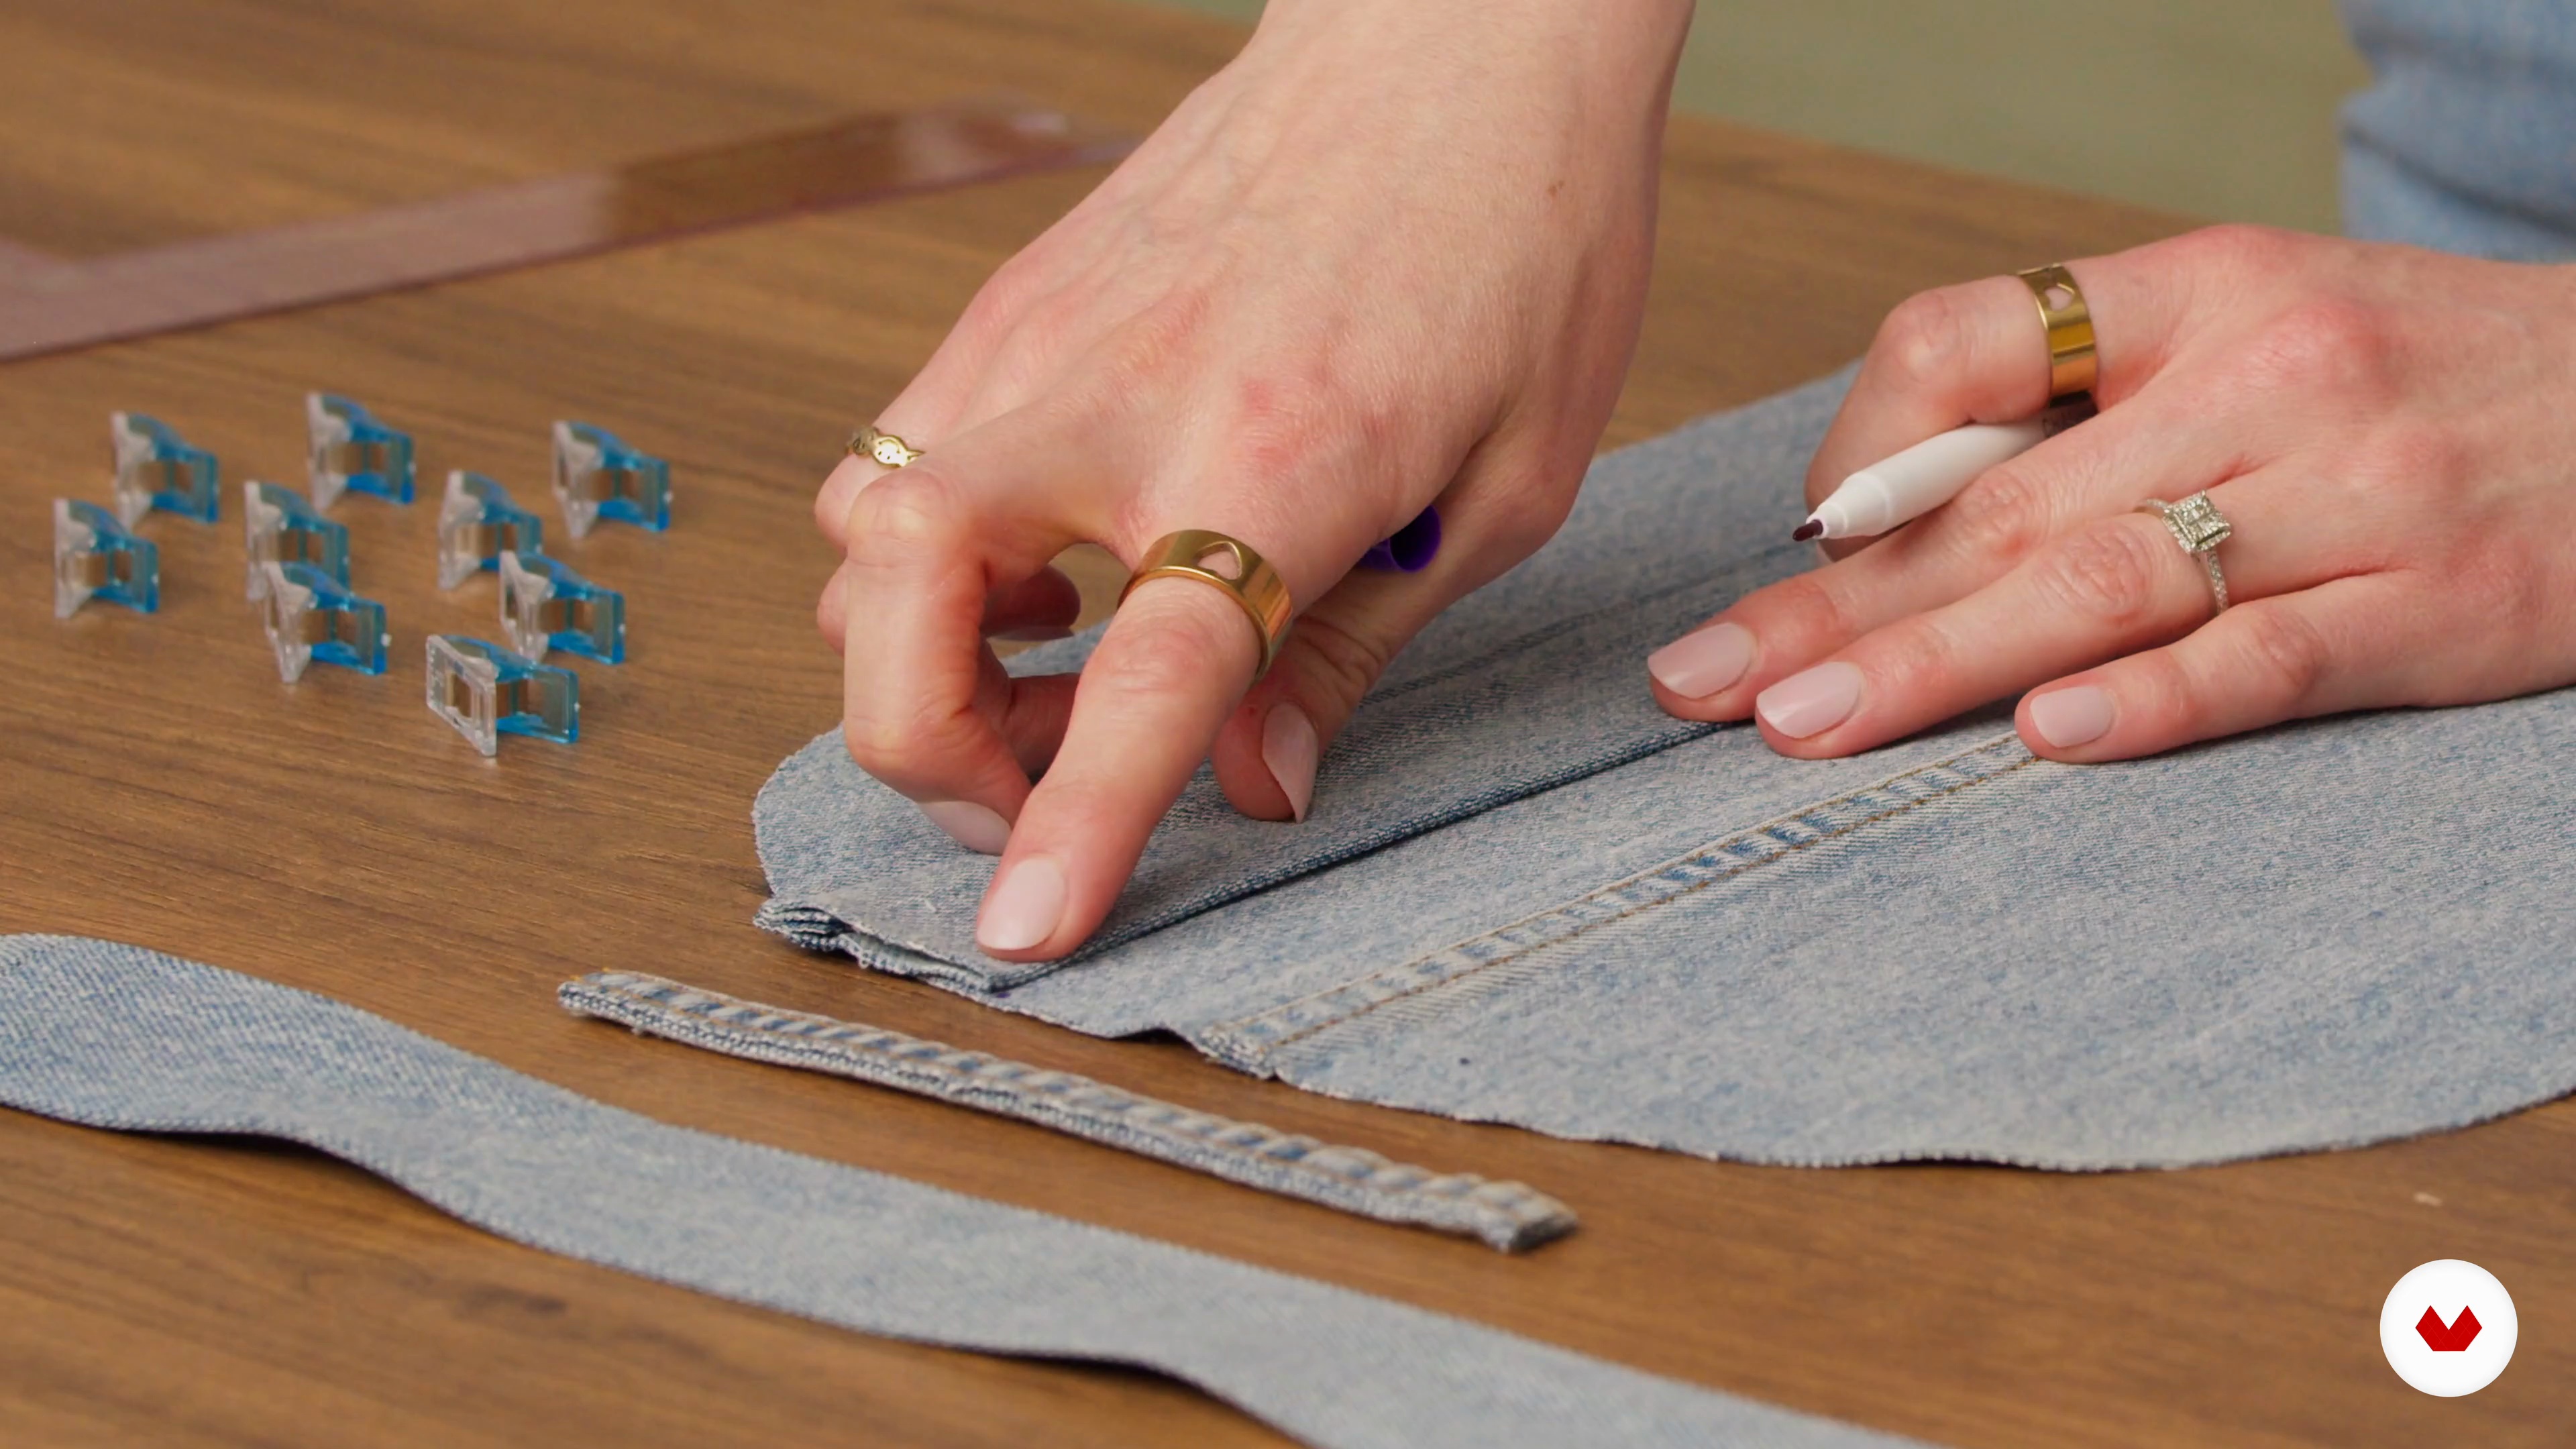
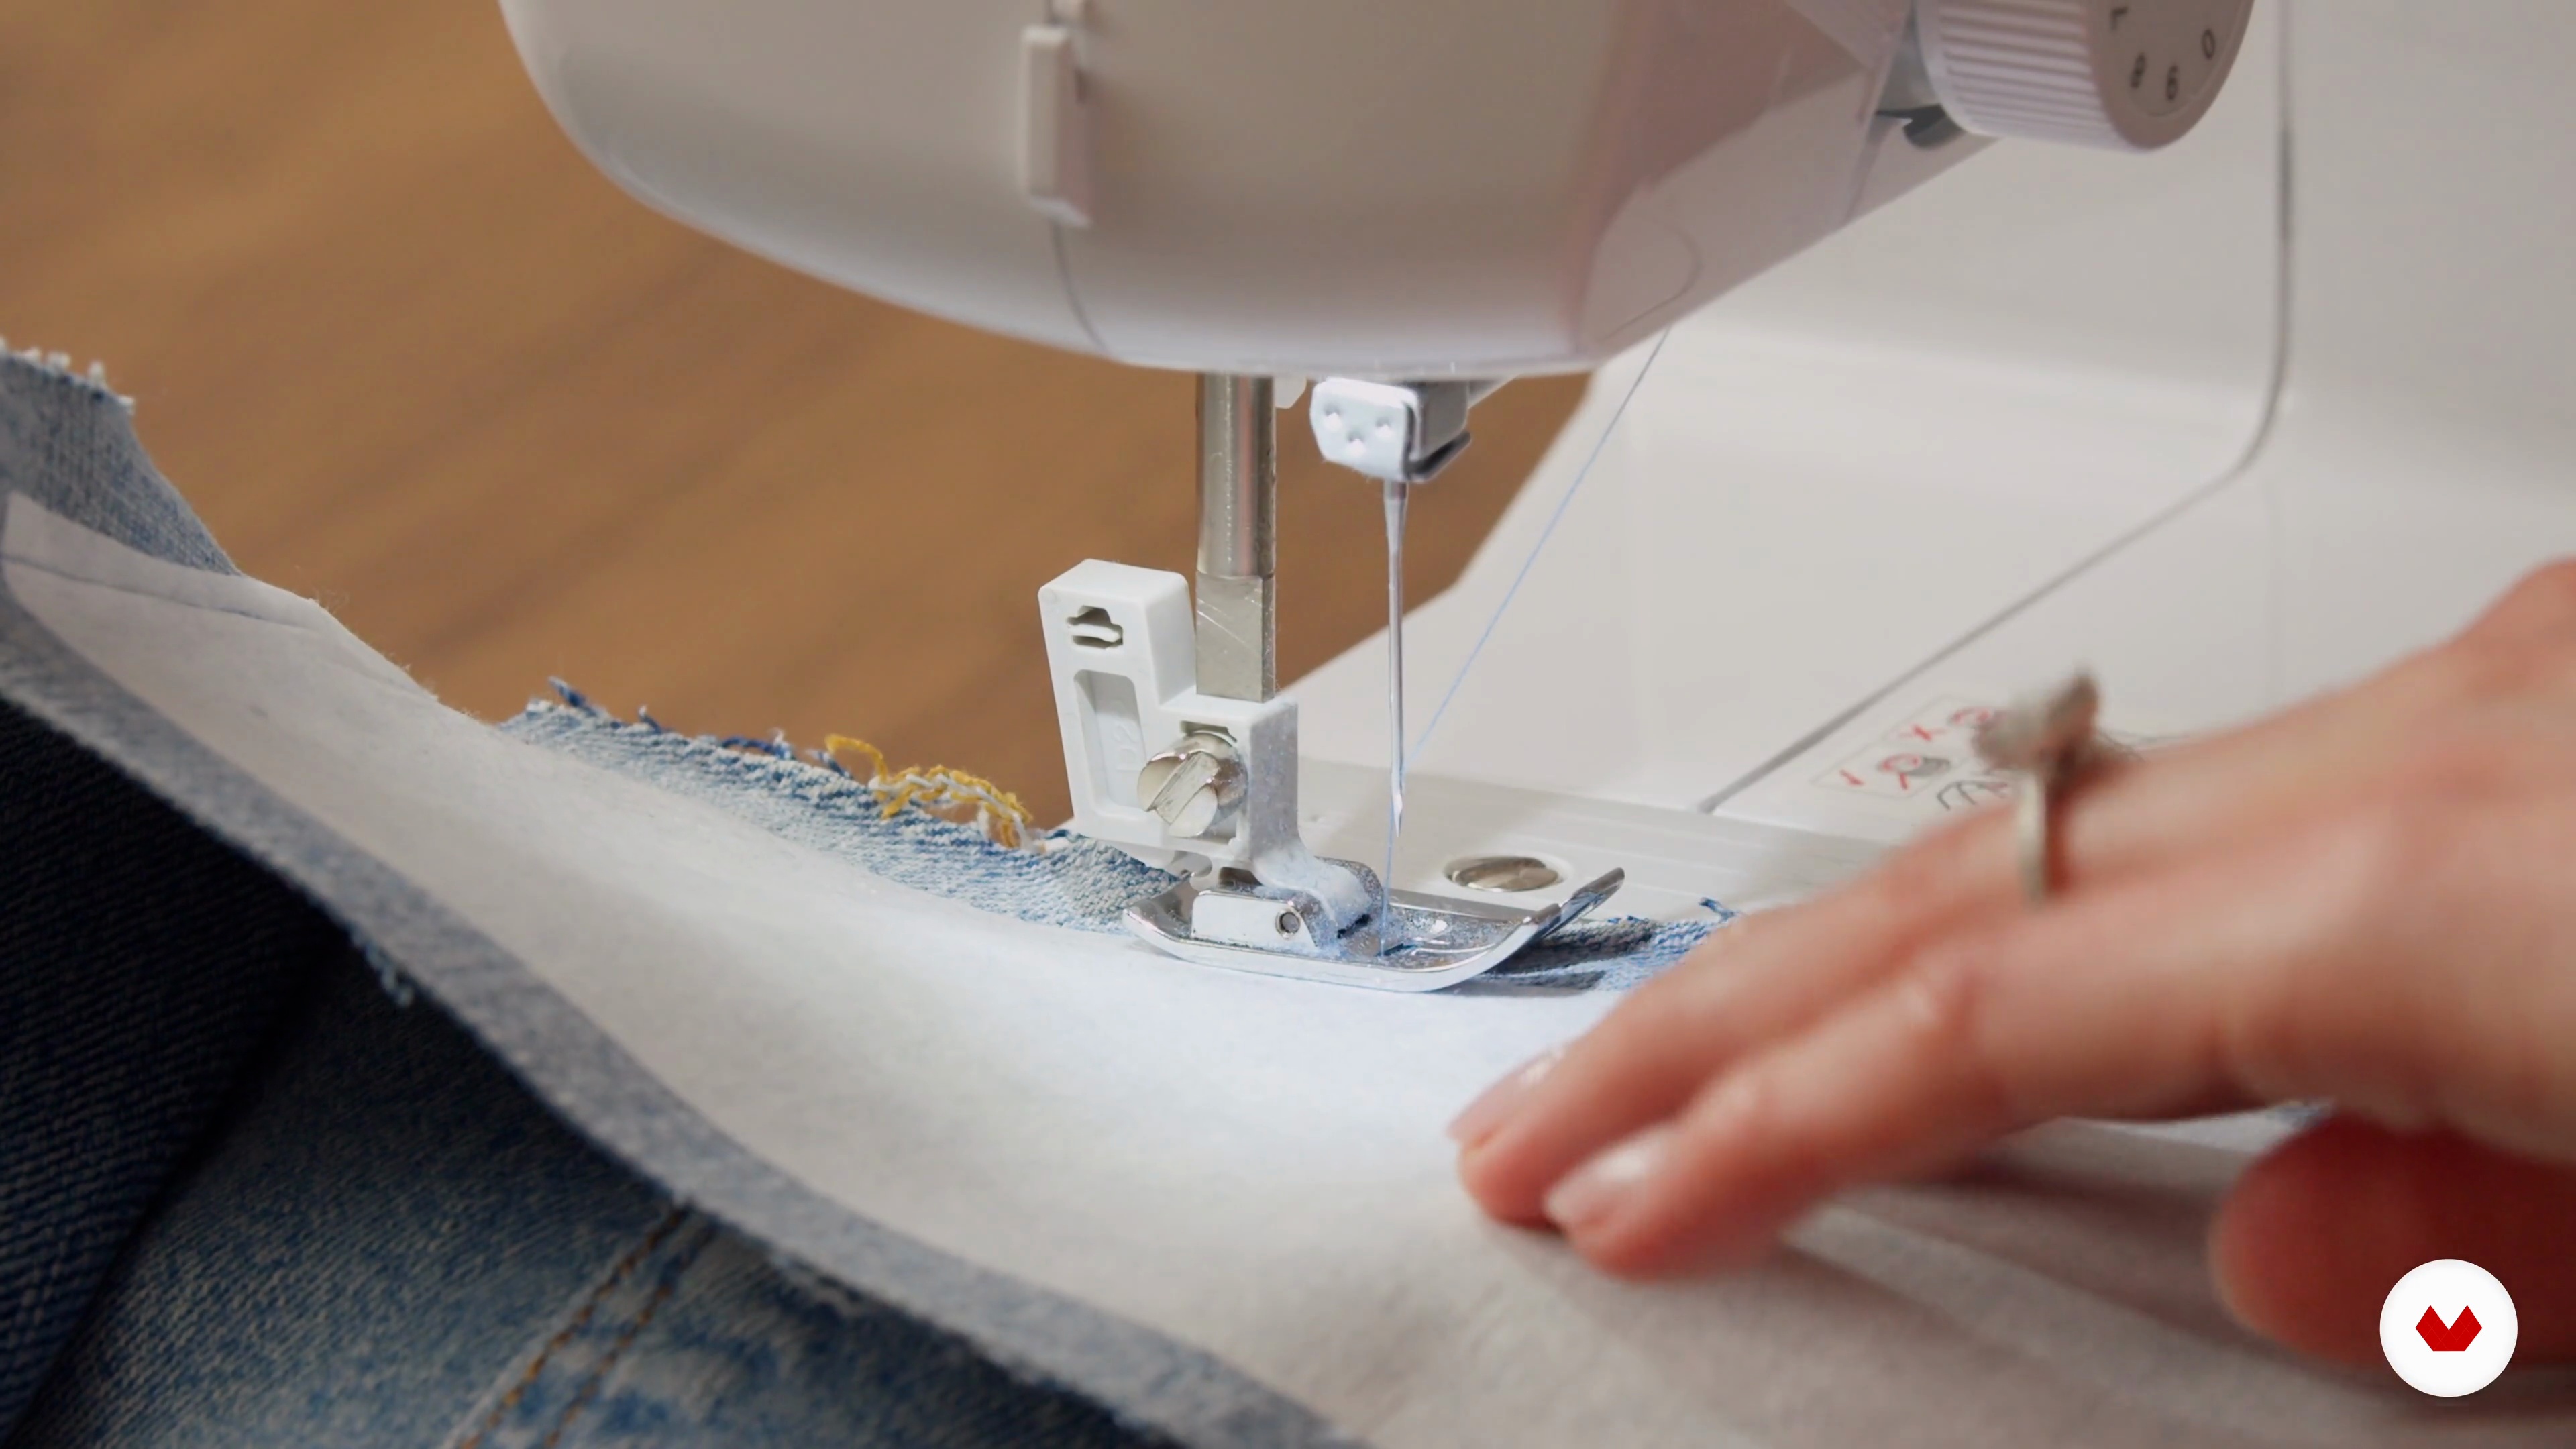
This lesson highlights some basic skills we will be doing for this project, such as finishing edges, gathering, and adding darts.
11m
image
4
Measuring Yourself
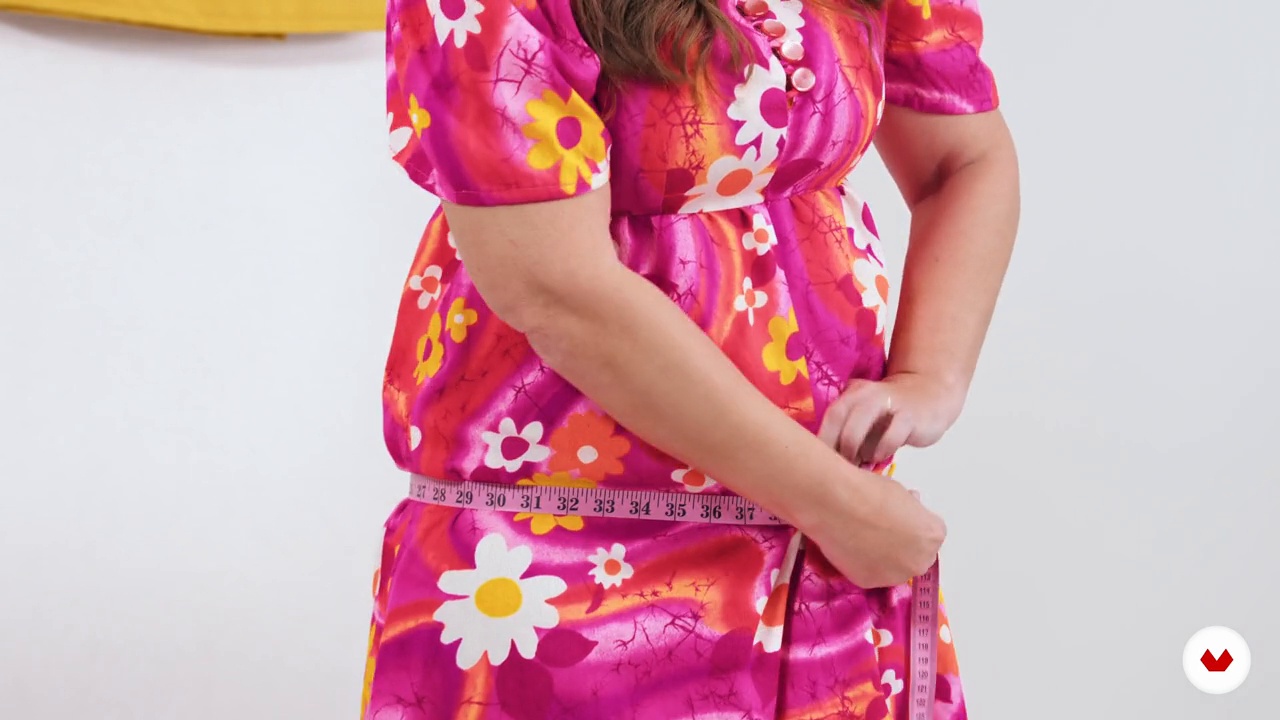
Now that we have some basics down, let’s learn how to measure ourselves. Knowing your measurements will help with finding garments, and adjusting the fit while upcycling.
3m
image
5
Planning Your Project
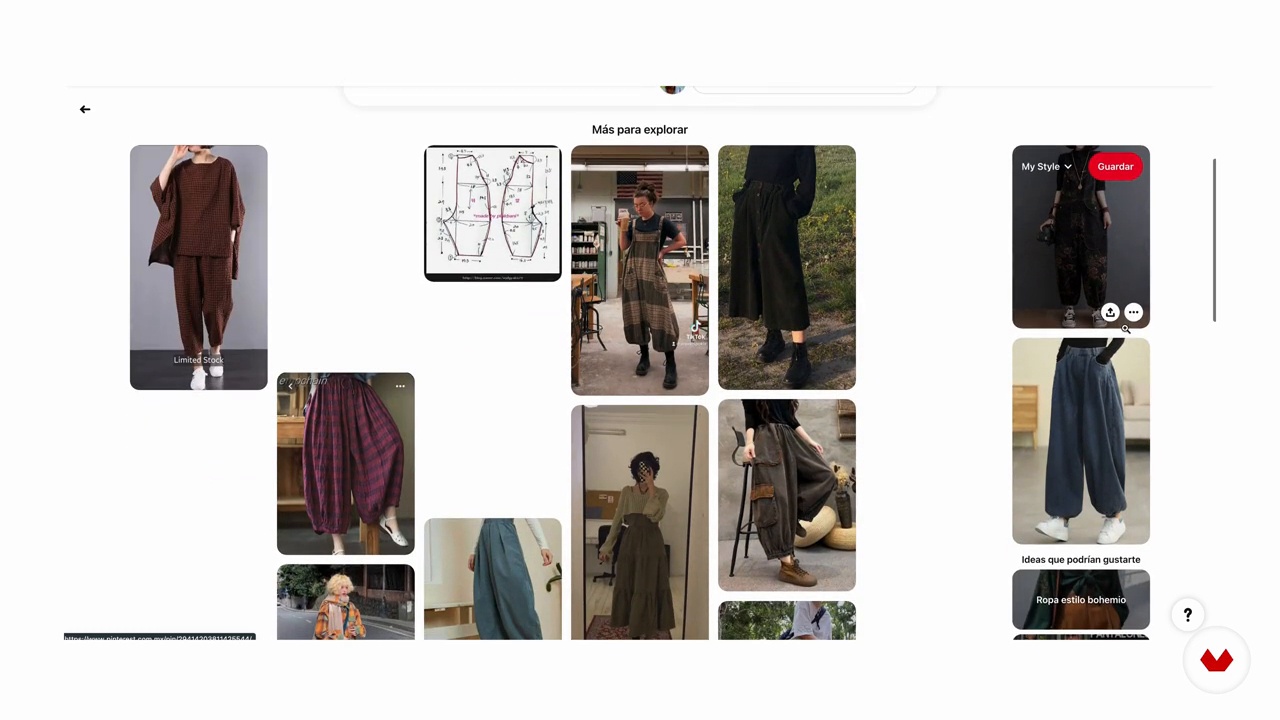
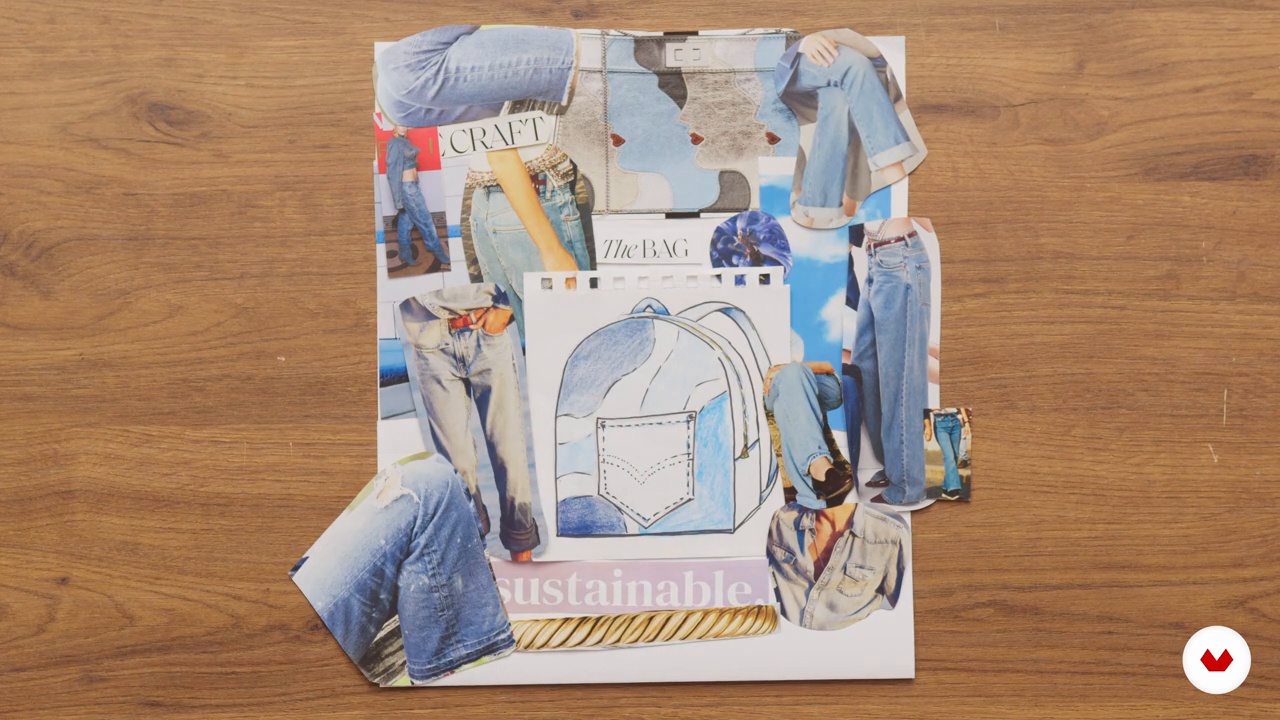
Now, I will let you get a glimpse into my creative process. I will share with you how I visualize my projects and how you can do the same.
3m
image
6
Deconstruction Techniques
We’ll get our seam rippers in this lesson and take apart our garments. I will show you my steps and how to save as much fabric as possible.
7m
image
7
Adjusting Fits and Shapes
Now, we are going to fit our garment. In this lesson, I will show you how to add darts to your bodice and where to put them to fix fit issues. I will also show you how to hem and change the skirt shape.
20m
image
8
Reconstructing the Garment
In this lesson, I will share the steps for putting your garment back together and how to finish the basic structure of your piece.
4m
image
9
Adding and Removing Elements
During this lesson, I will show you how to add two types of pockets, share some resources for cute collars, and show some of my past projects for inspiration.
7m
image
10
Embellishing and Personalizing
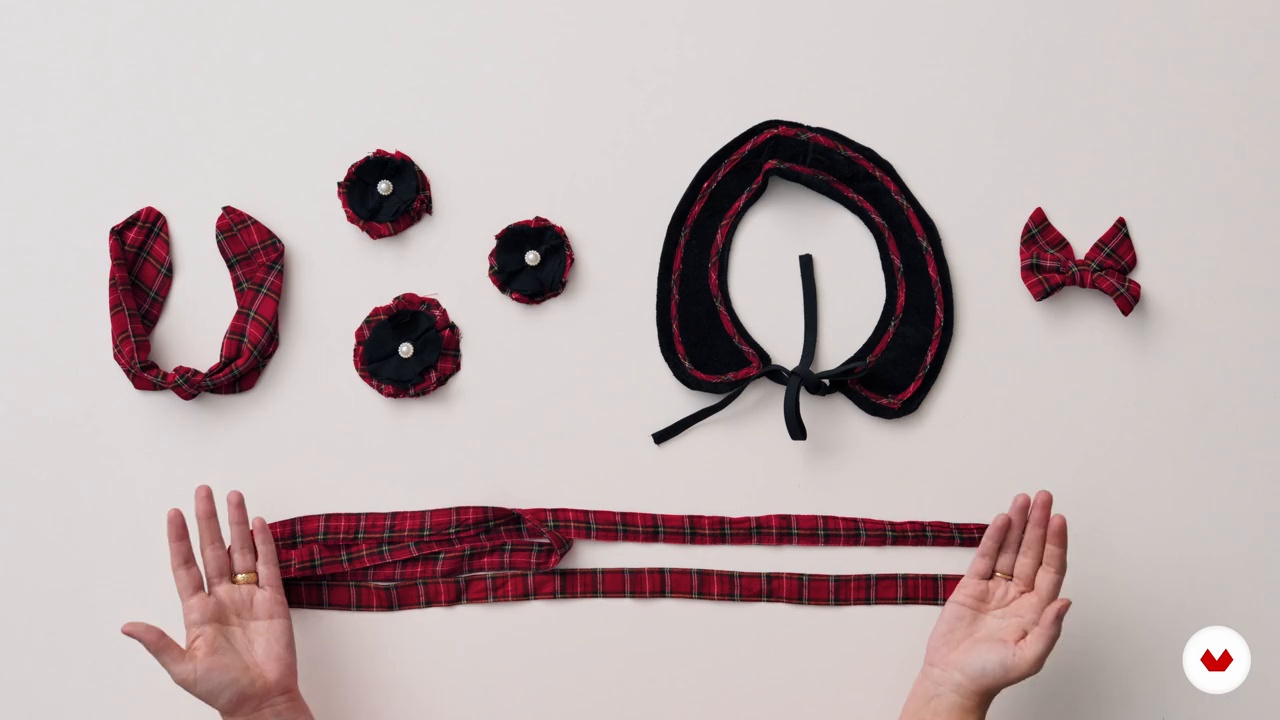
This lesson is all about making cute accessories, and creative ways to reuse your materials. I will also share some of my past projects, and talk about different ways I embellished them.
5m
image
11
Combining Garments
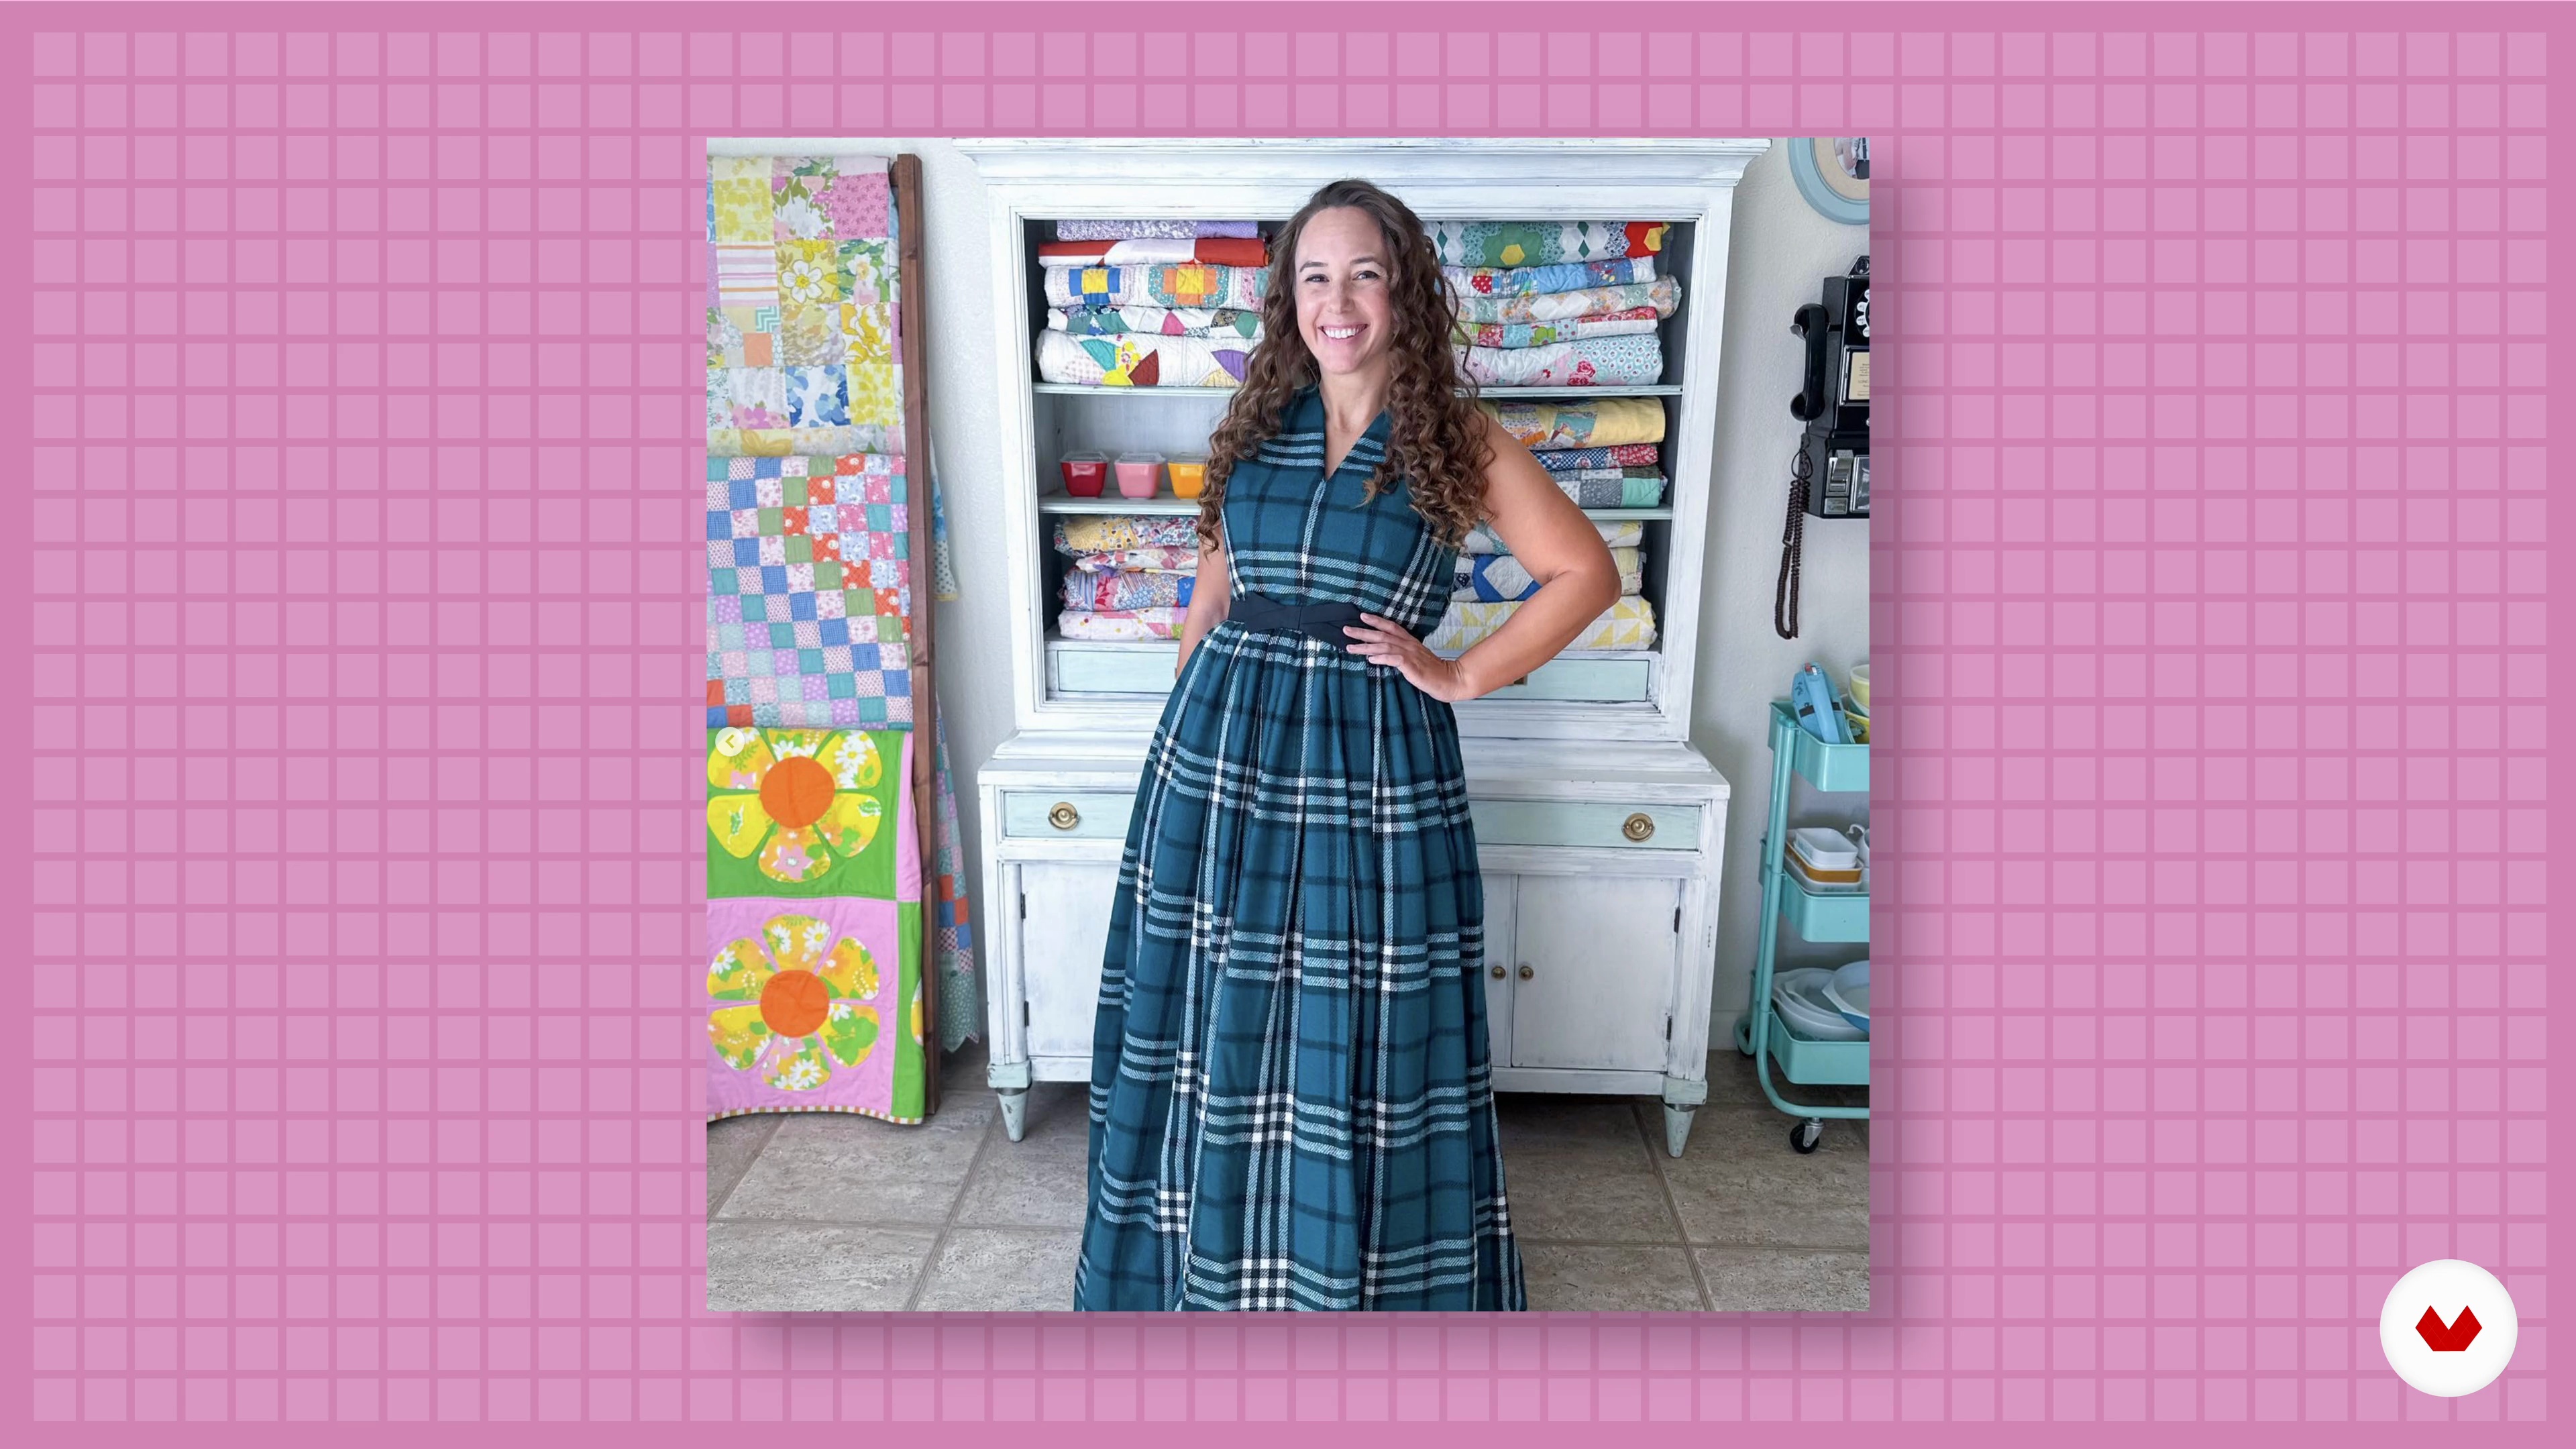
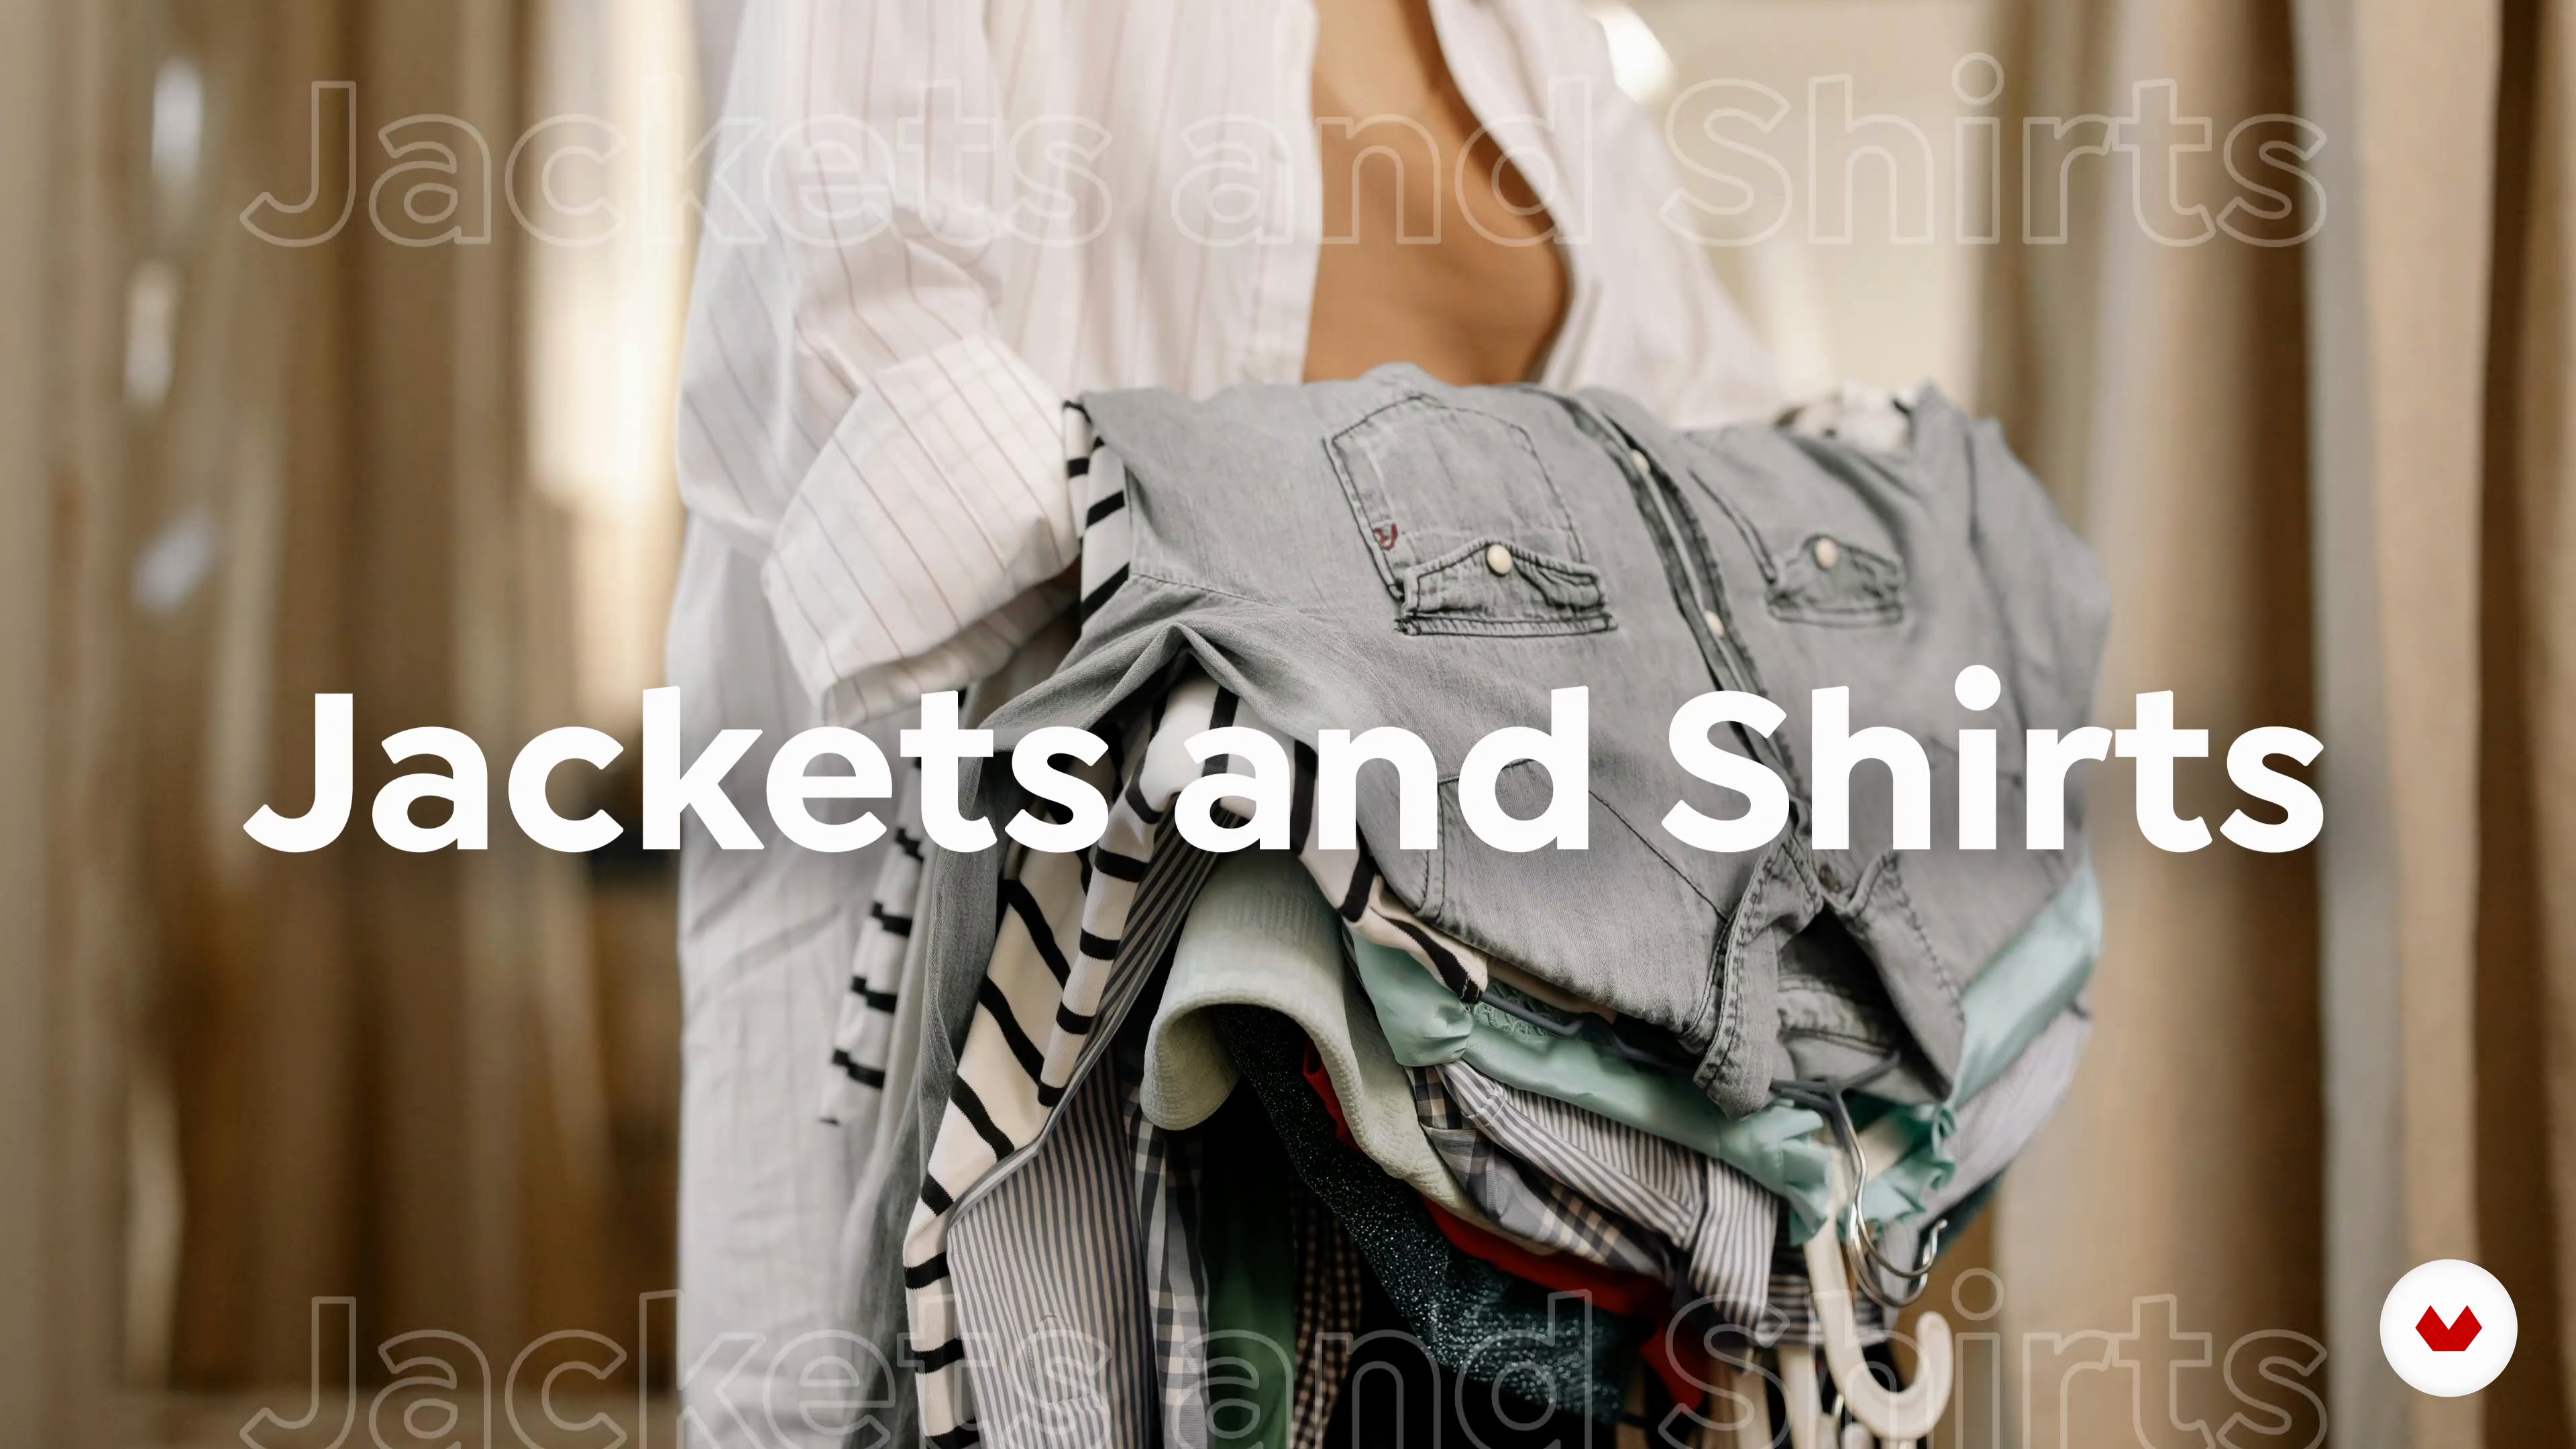
Let me teach you how to combine different garments and materials to craft unique pieces creatively. You'll discover how to select parts from various items—like merging the bodice of one dress with the skirt of another or combining multiple dresses into a grand gown. Examining specific projects gives you insight into transformative upcycling techniques that can expand your creative horizons.
1m
image
12
Styling Your Dress
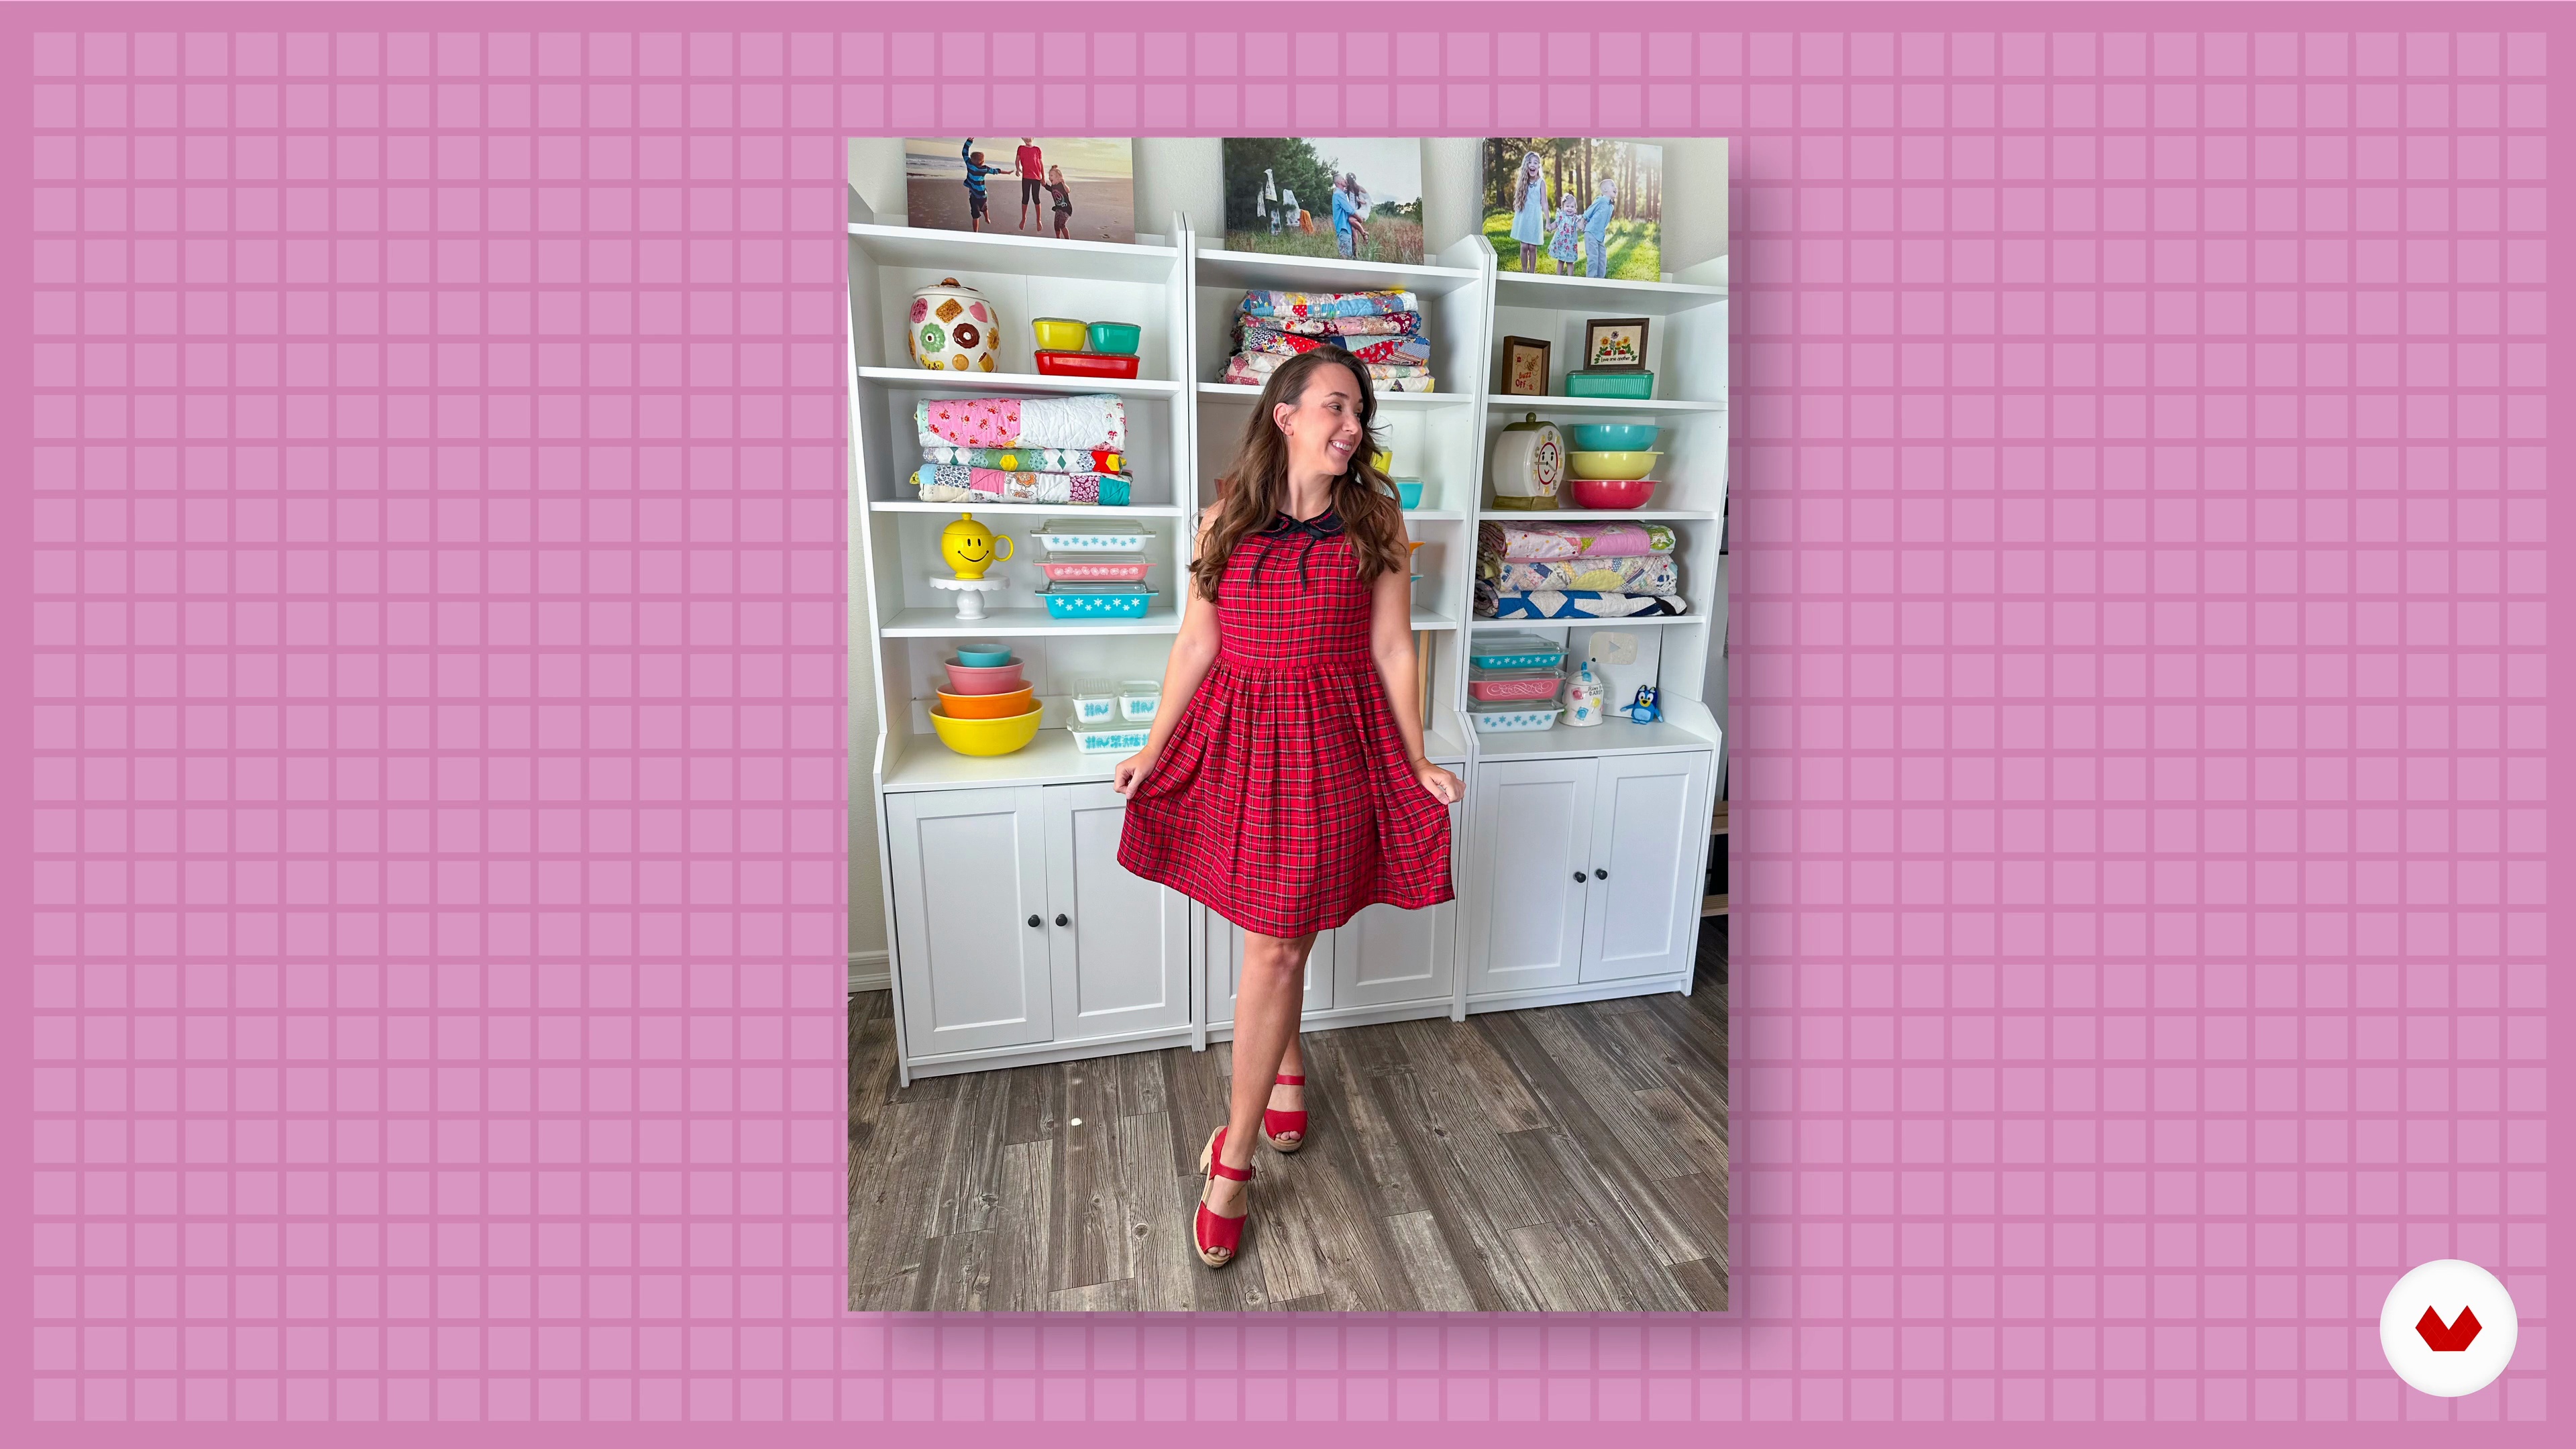
In this lesson, I will share my styling tips and how I add extra special touches to my looks.
1m
image
13
Care and Maintenance
Lastly, you'll learn how to extend the life of your dress with proper care techniques. We'll cover inspecting your dress for damage, deciding when washing is necessary, choosing between handwashing and machine washing, and the benefits of air drying. These tips will help you maintain your dress in top condition, even with a busy lifestyle.
1m
image
1
What Will We Do in This Module?
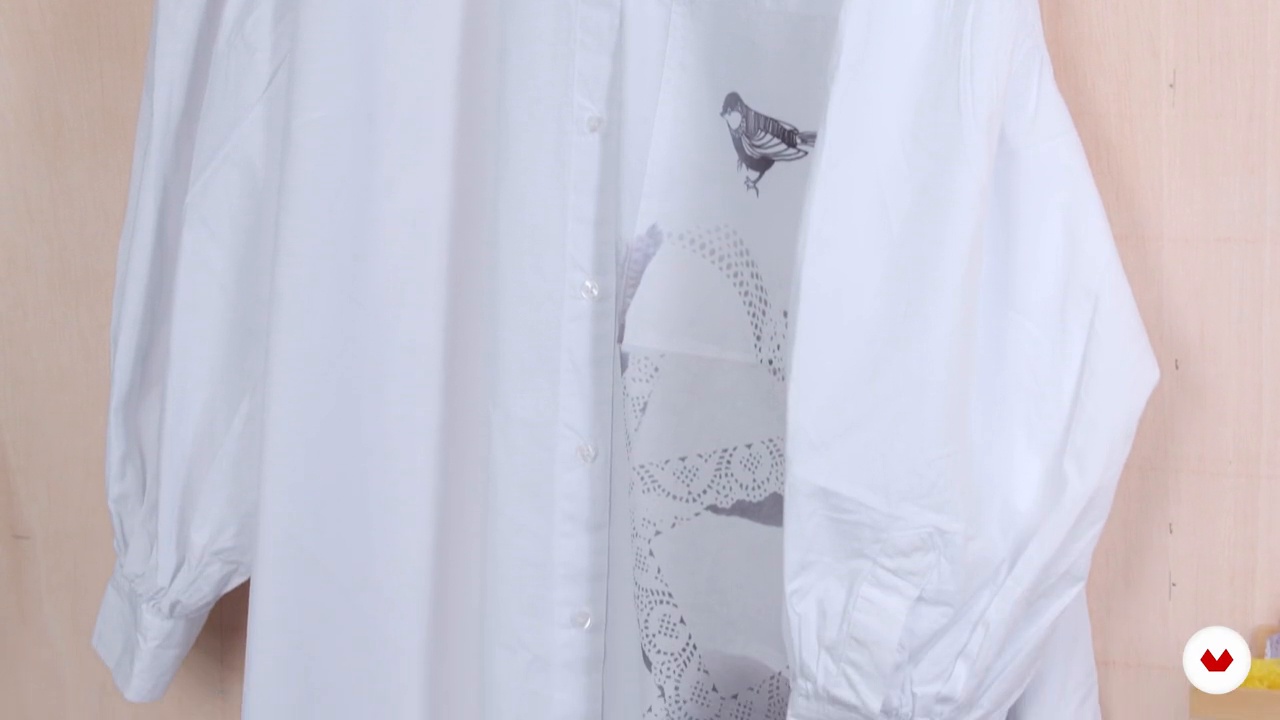
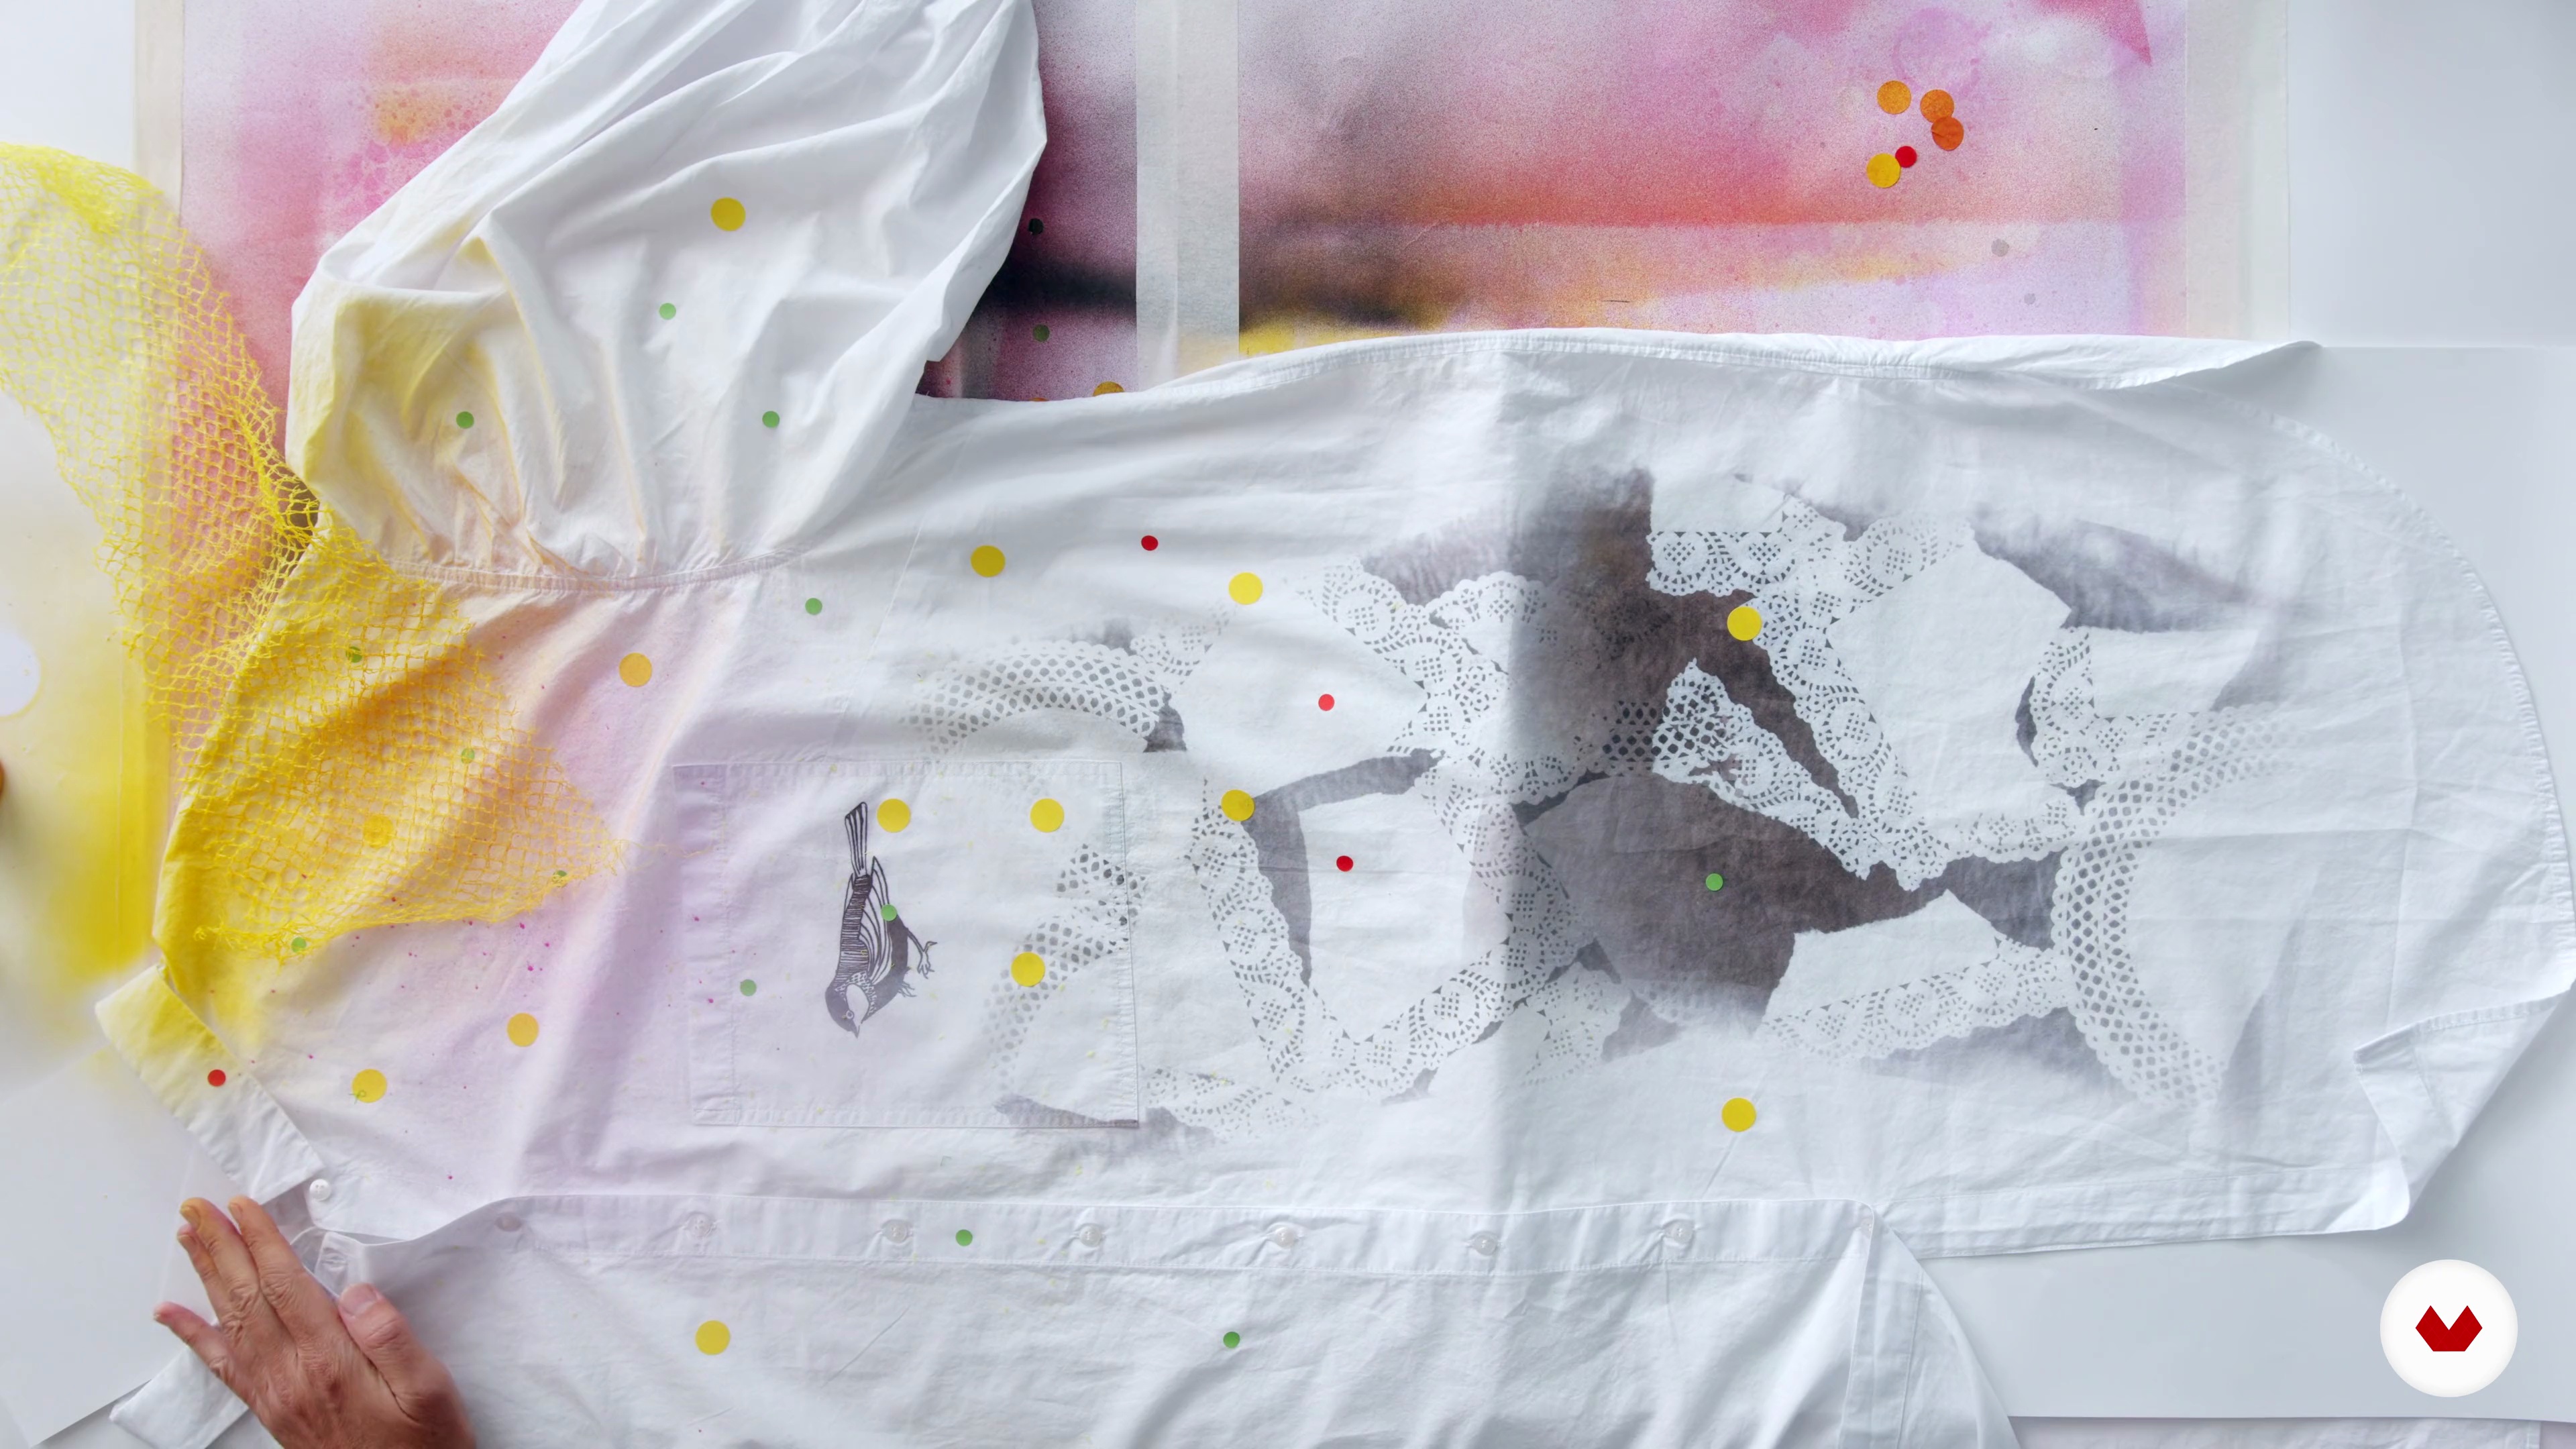
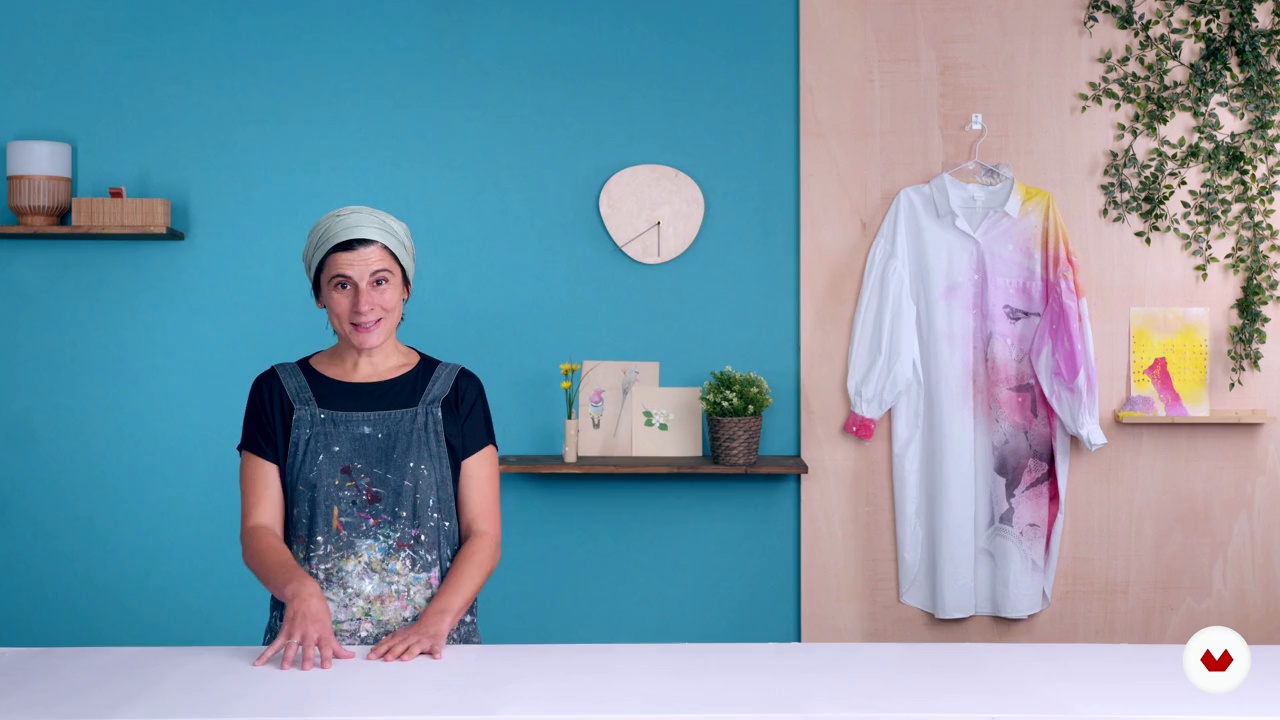
Let's talk about what the course is about. My goal is to teach you how to print with different techniques I really like to work with onto an oversize white dress. From personal investigation, you will create drawings, patterns, textures, define colors, and materials. All will be reflected in a personal notebook full of your own references and ideas you will be able to refer to all along the course. I will teach you 4 different techniques you will be able to combine as you wish to finally create your own printed garment that will exist forever. The print you will create will be like a small painting on a white canvas, a unique, artistic, and personal composition to wrap your body with.
1m
image
2
Materials Needed for Each Technique
In this video lesson, I will go over the materials you are going to need to apply each of the techniques displayed in the course.
8m
image
3
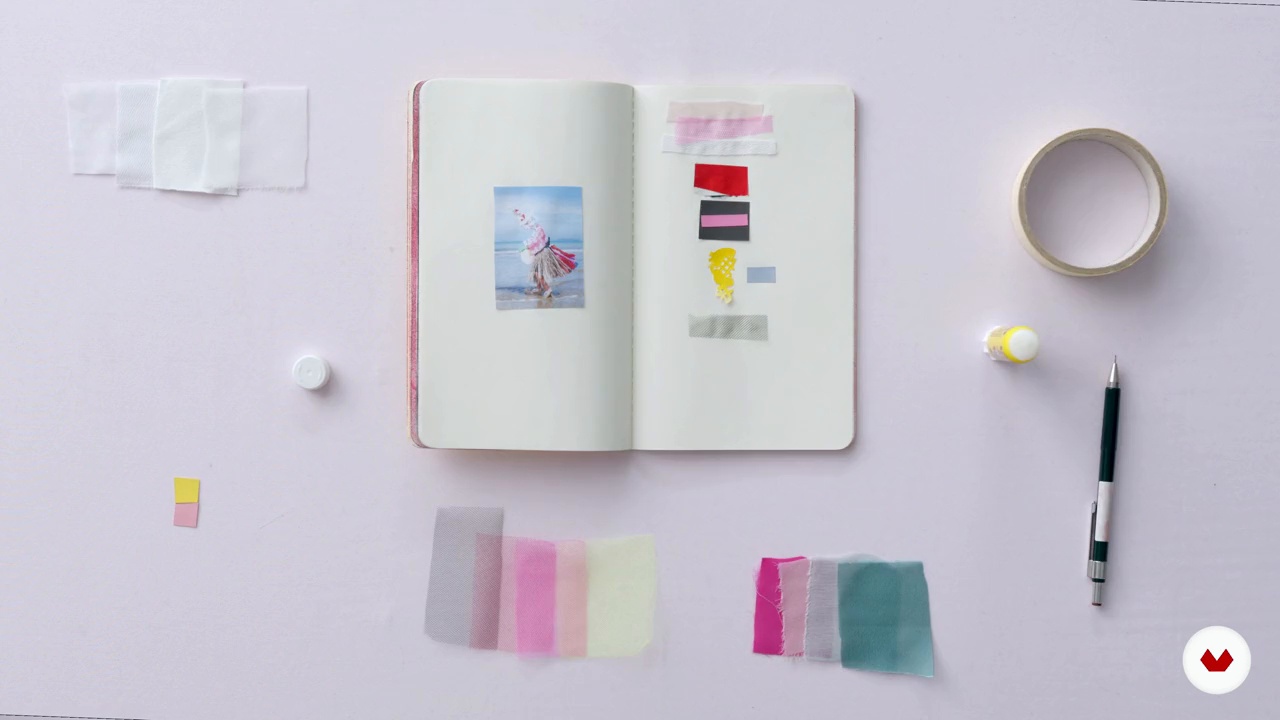
An Inspirational Notebook
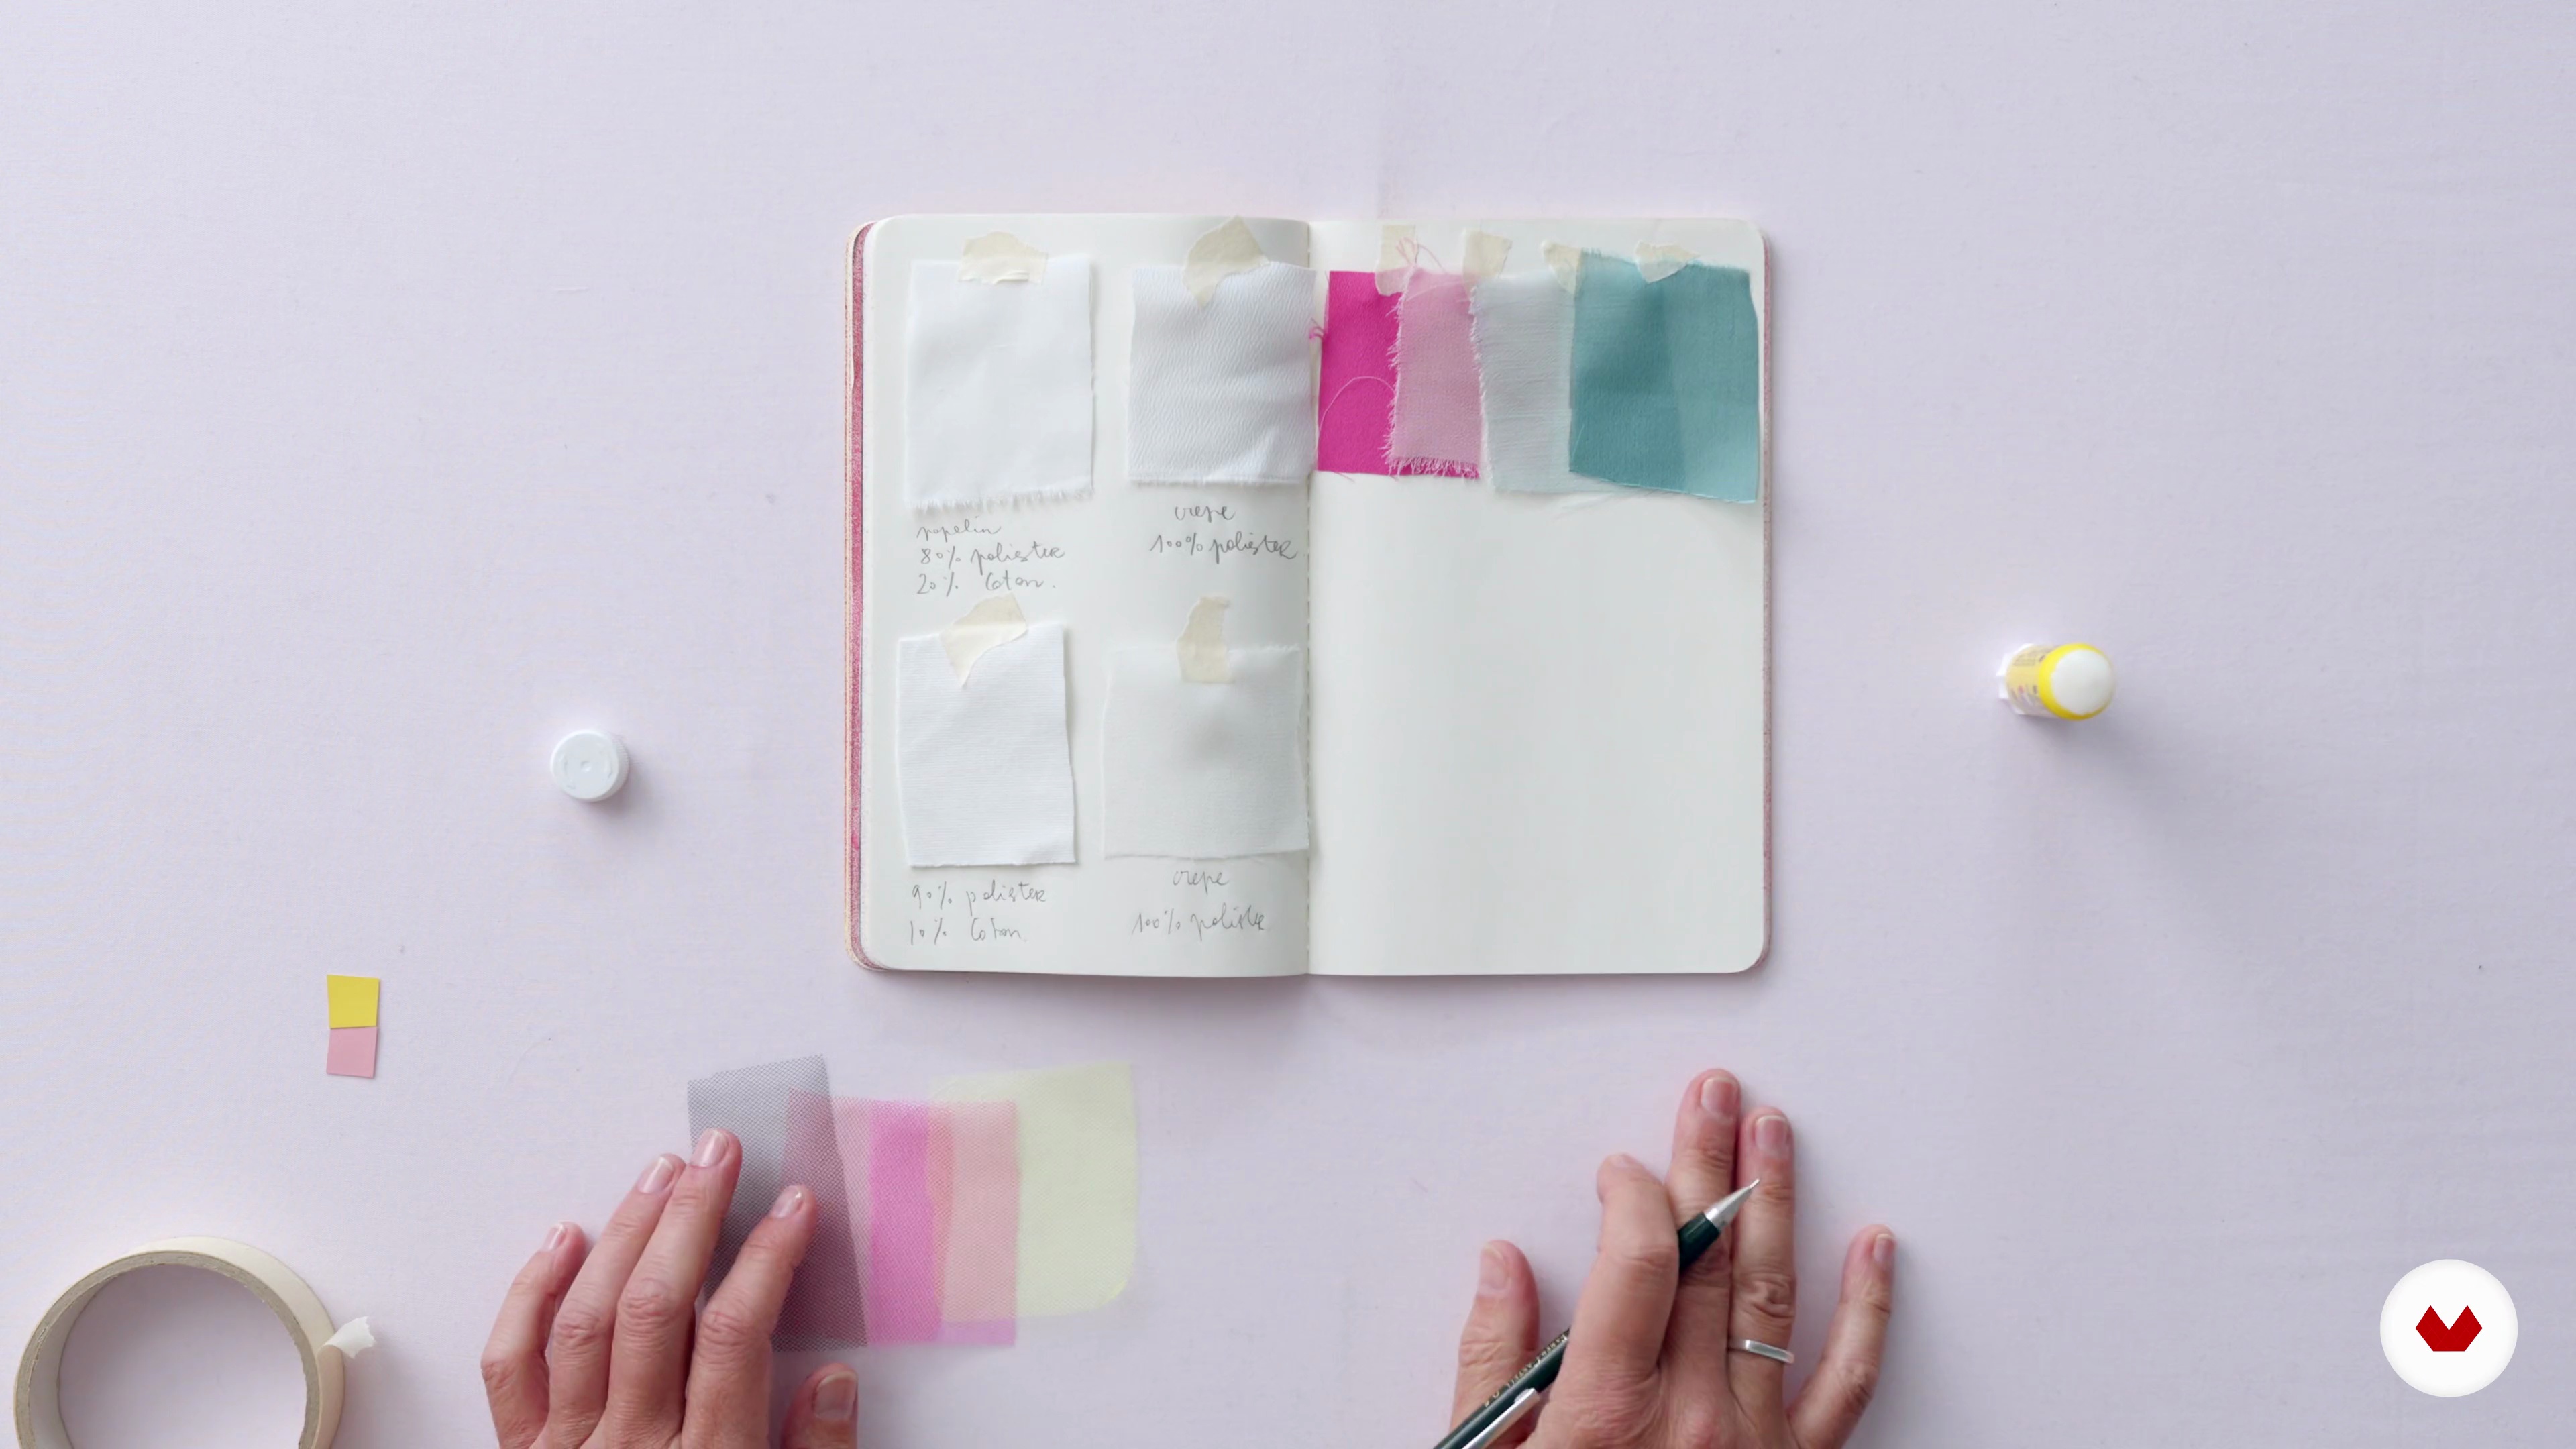
Let's search some nice references considering our theme: "birds under the rain and landscapes". You will fill out a notebook where to keep all your ideas. In this valuable object, you will define your personal concept and show your references.
4m
image
4
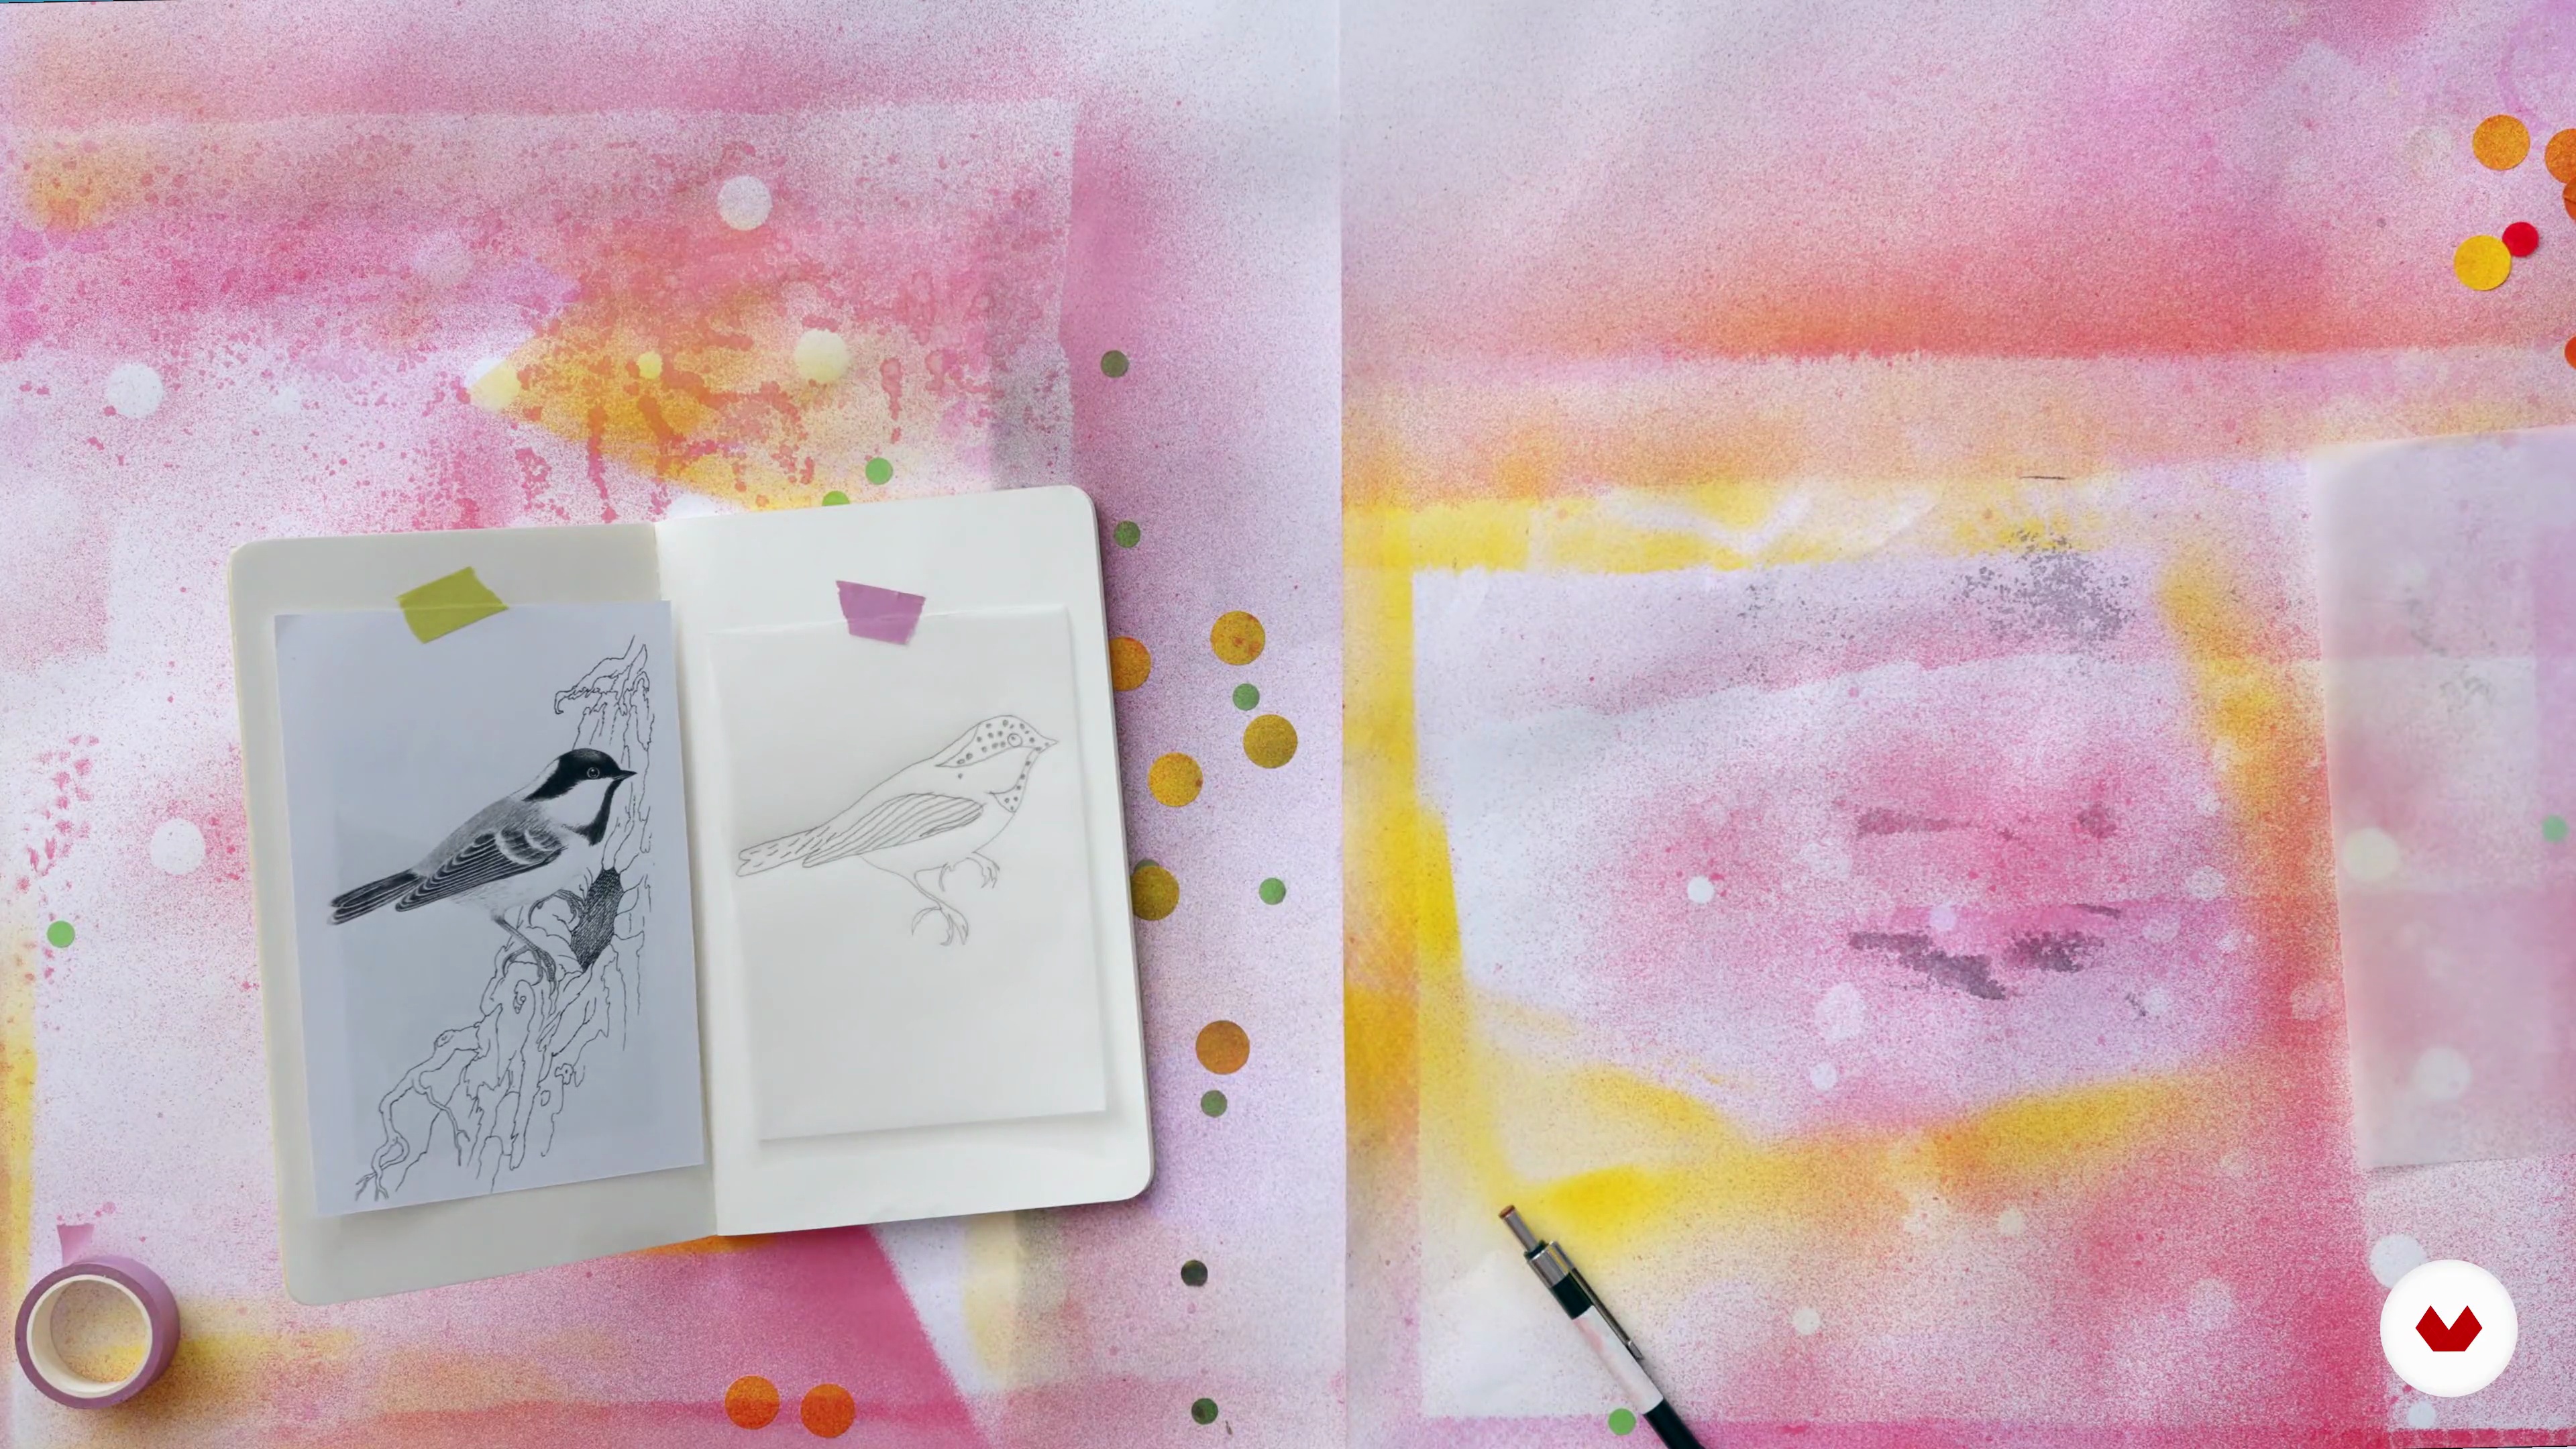
Getting Ready Patterns, Drawings and Textures to Work with
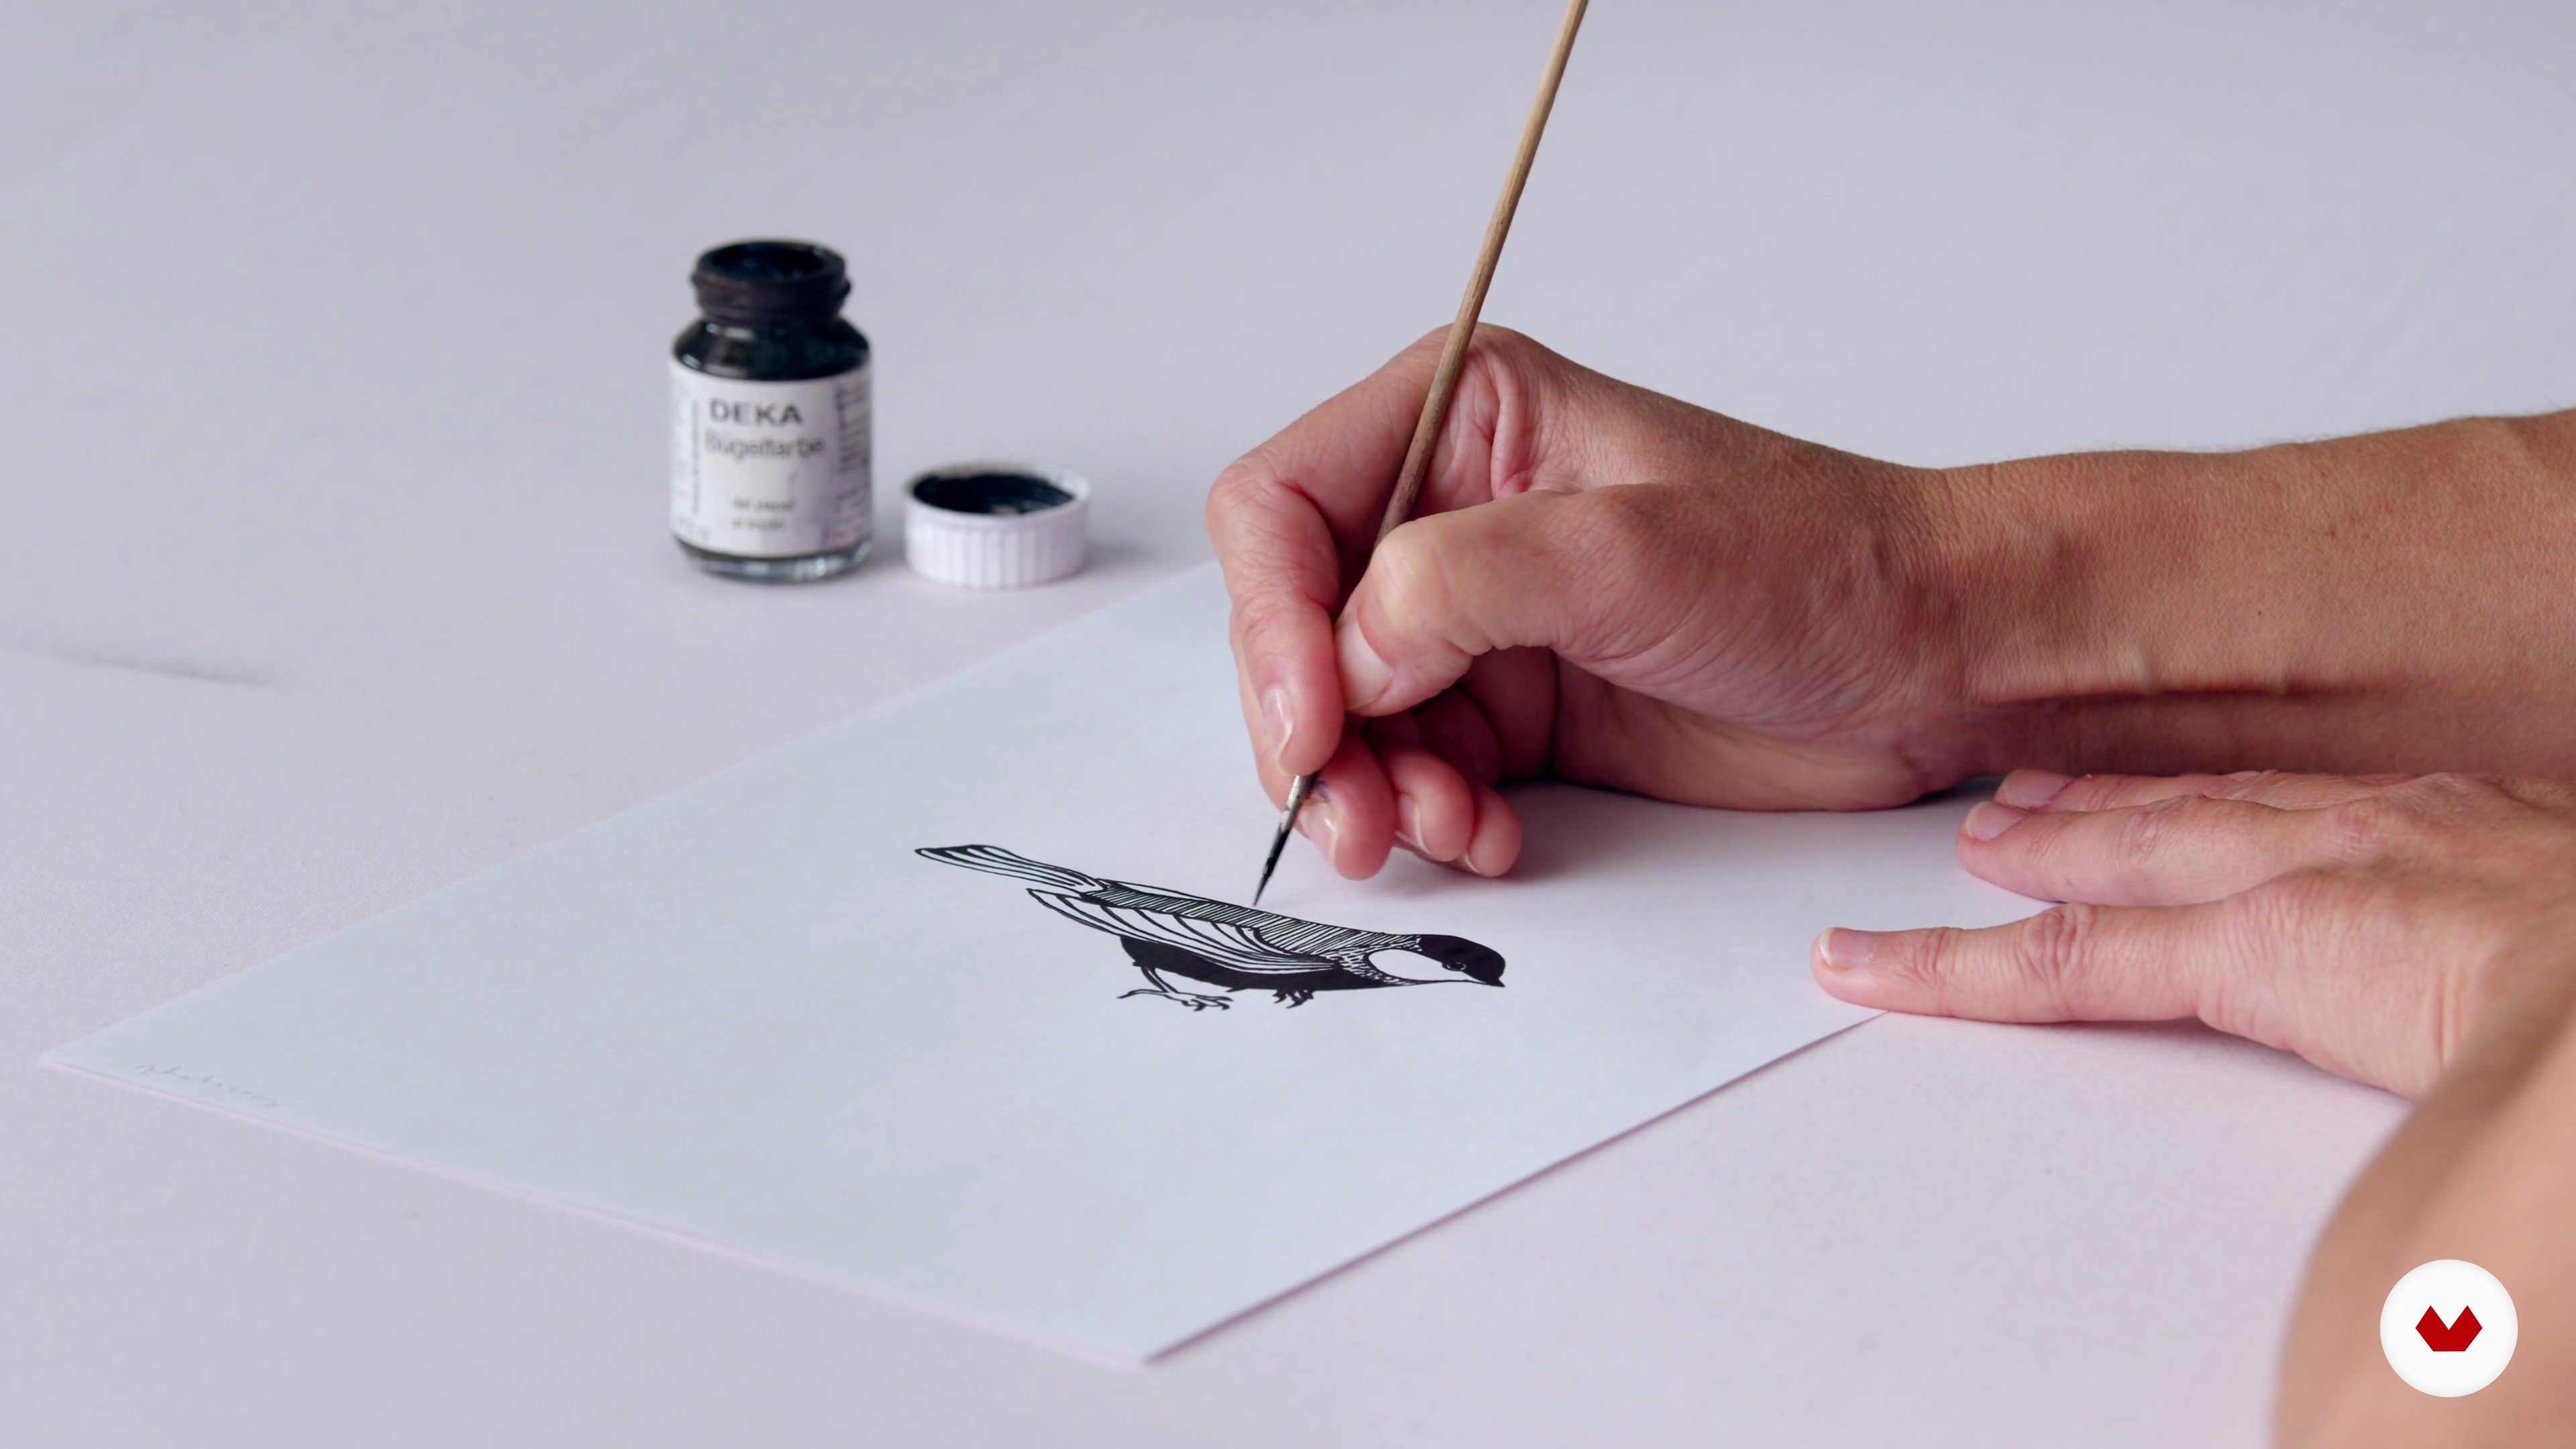
Now we have to draw and define patterns. The idea is that you shouldn’t be afraid of drawing. In this lesson you will be able to use photocopies, tracing paper, and use recycled flat materials in a creative way. So do not worry!!
8m
image
5
Selection of Color Palette & Fabrics
In this lesson, we have to define our color palette as well as our fabric.
11m
image
6
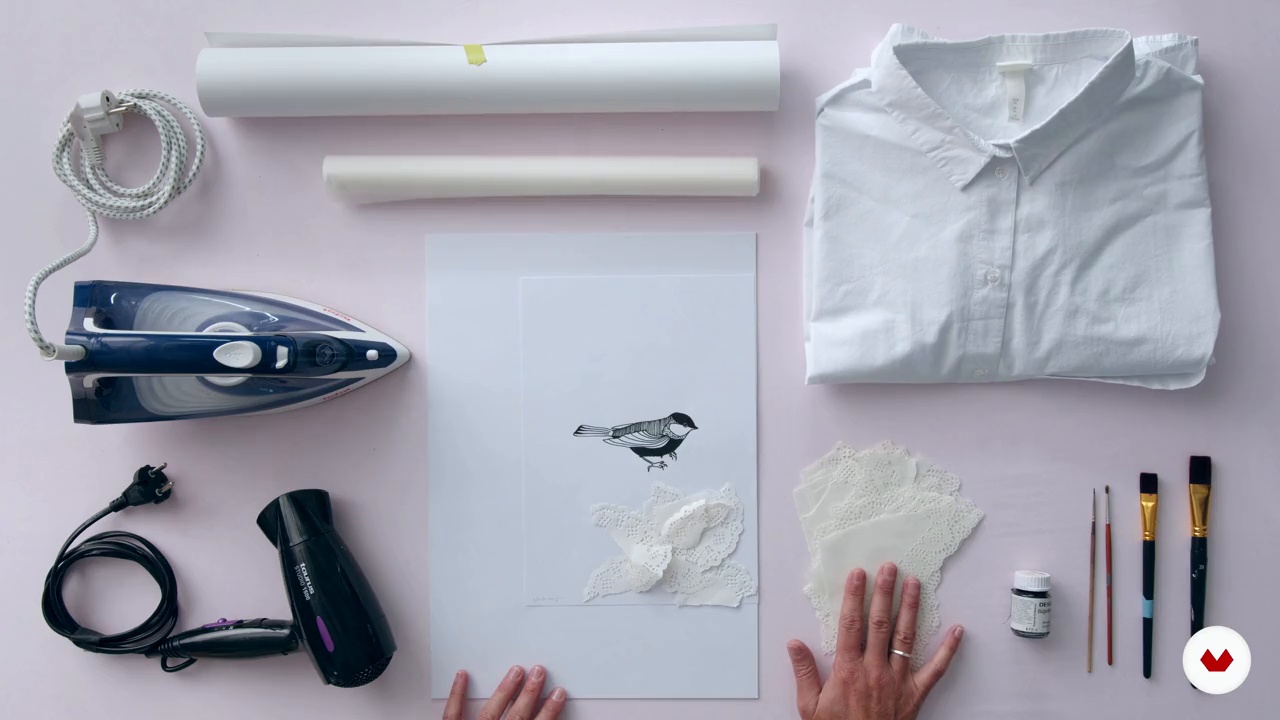
Sublimation 1
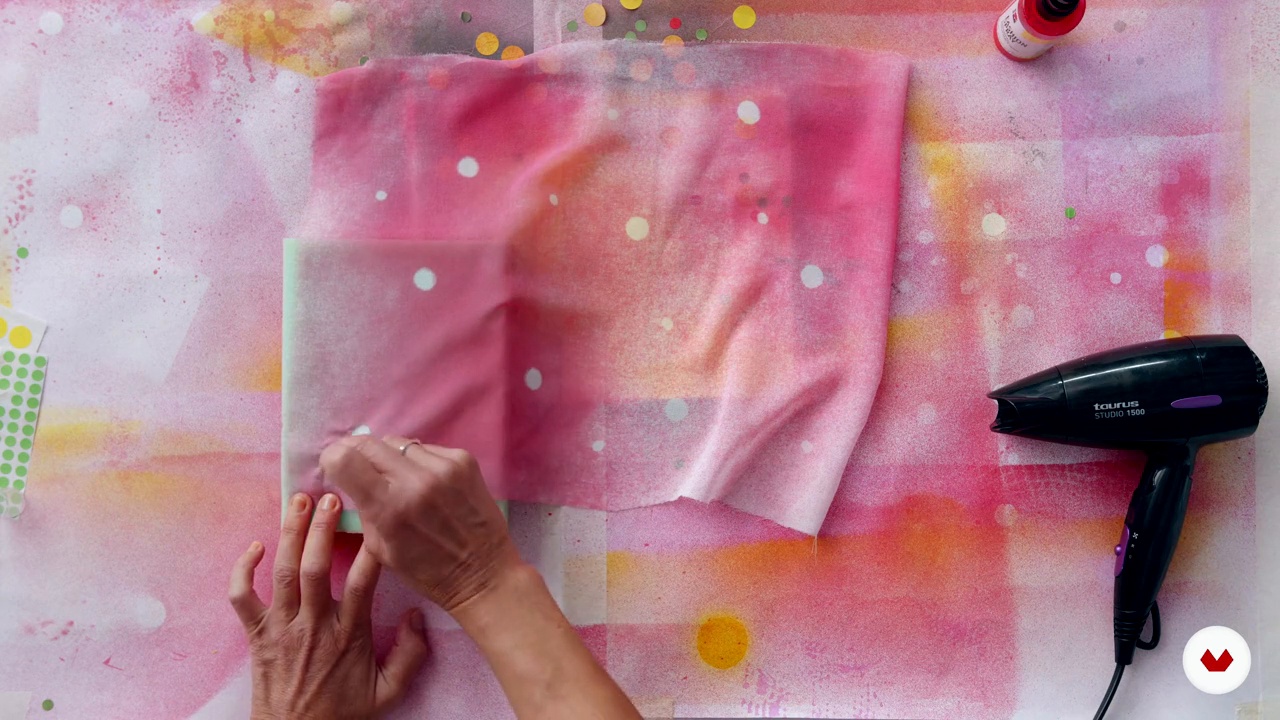
With this technique, you will be able to transfer, using special ink and a heat process, your drawings, and create beautiful textures. It is a surprising and magical technique!
10m
image
7
Sublimation 2
Let's keep on discussing the sublimation technique.
13m
image
8
Textile Sprays
Now we will work with another great technique, very easy to work with and quite fun!
12m
image
9
Textile Manipulation with Felting Needle and Spray
A technique I just love as it allows our fabric to get a gorgeous tactile effect. It is very easy to create and fun to make.
7m
image
10
Collage
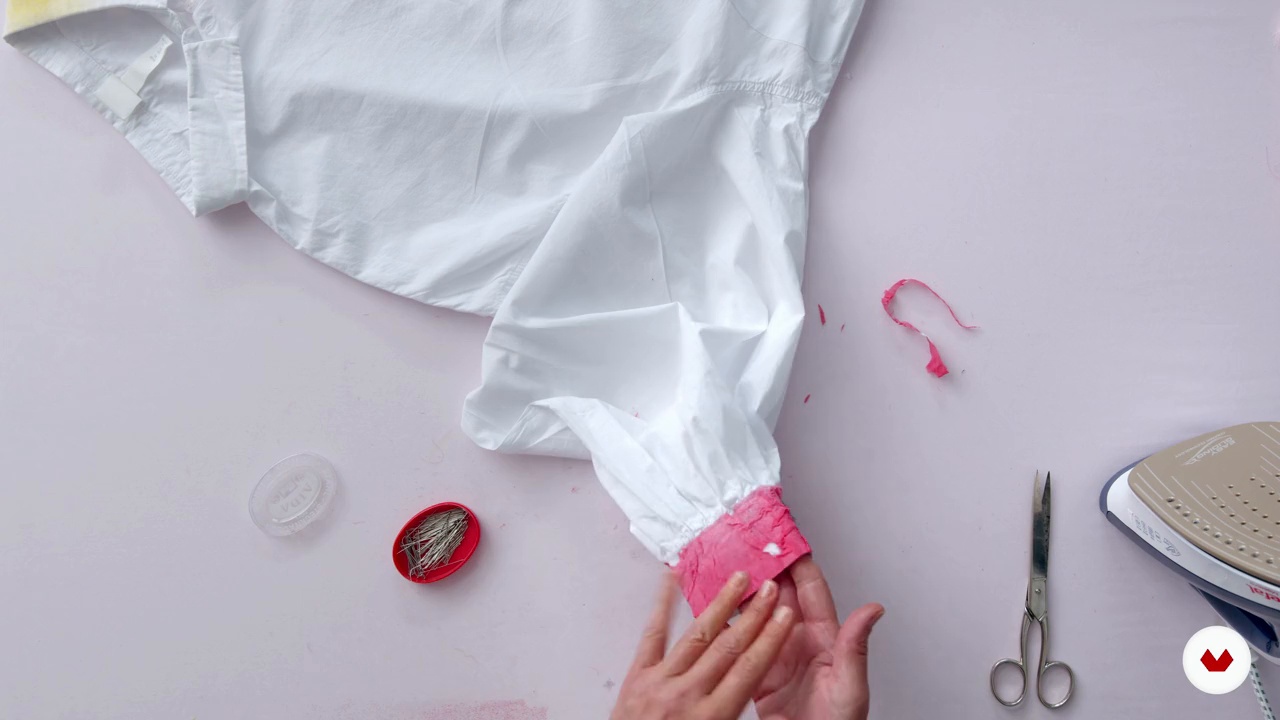
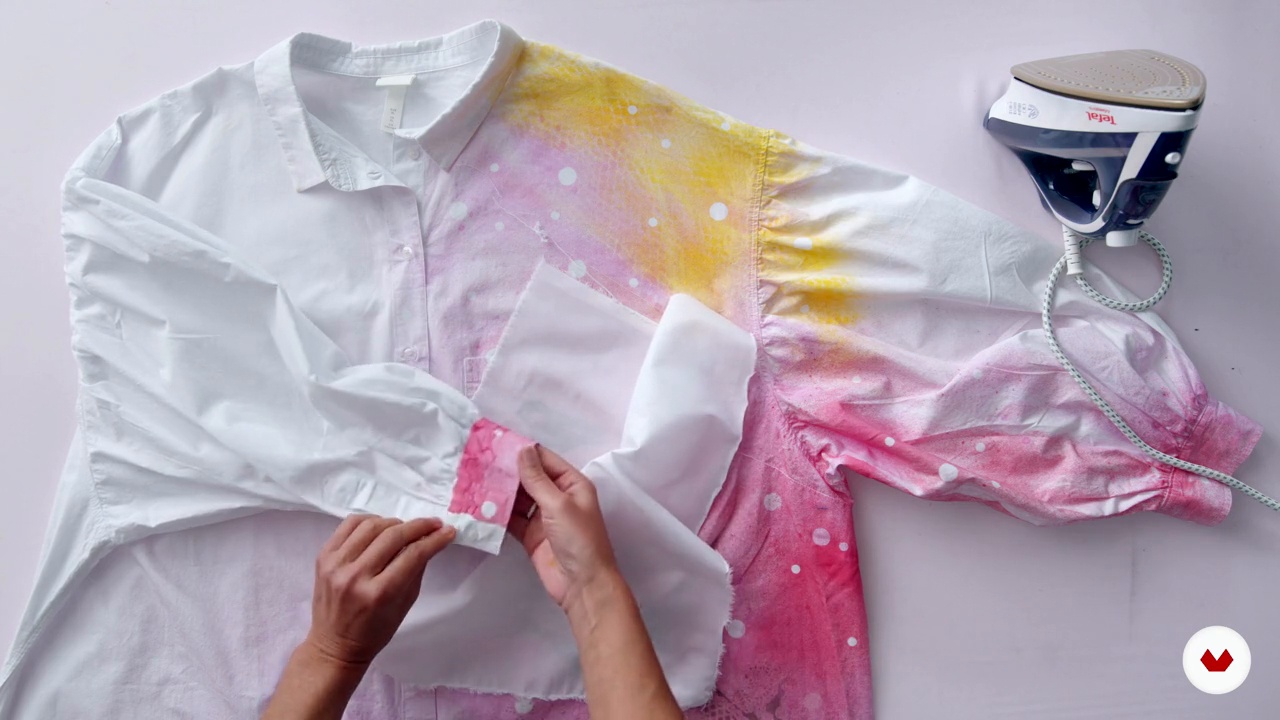
Now I will teach you how to make a collage of one printed fabric onto our oversize dress. It is just a great technique!
15m
image
11
How to Fix Textile Ink for a Print to Last Longer
A very important moment!!! After printing and letting it dry, we need to check if our print is totally dry and fixed. Let’s now use an iron and a white clean piece of fabric.
2m
image
12
How to Wash and Dry Our Printed Garments
This a very important step! Having a printed garment, I want to be sure you will take proper care of it.
2m
image
1
Materials
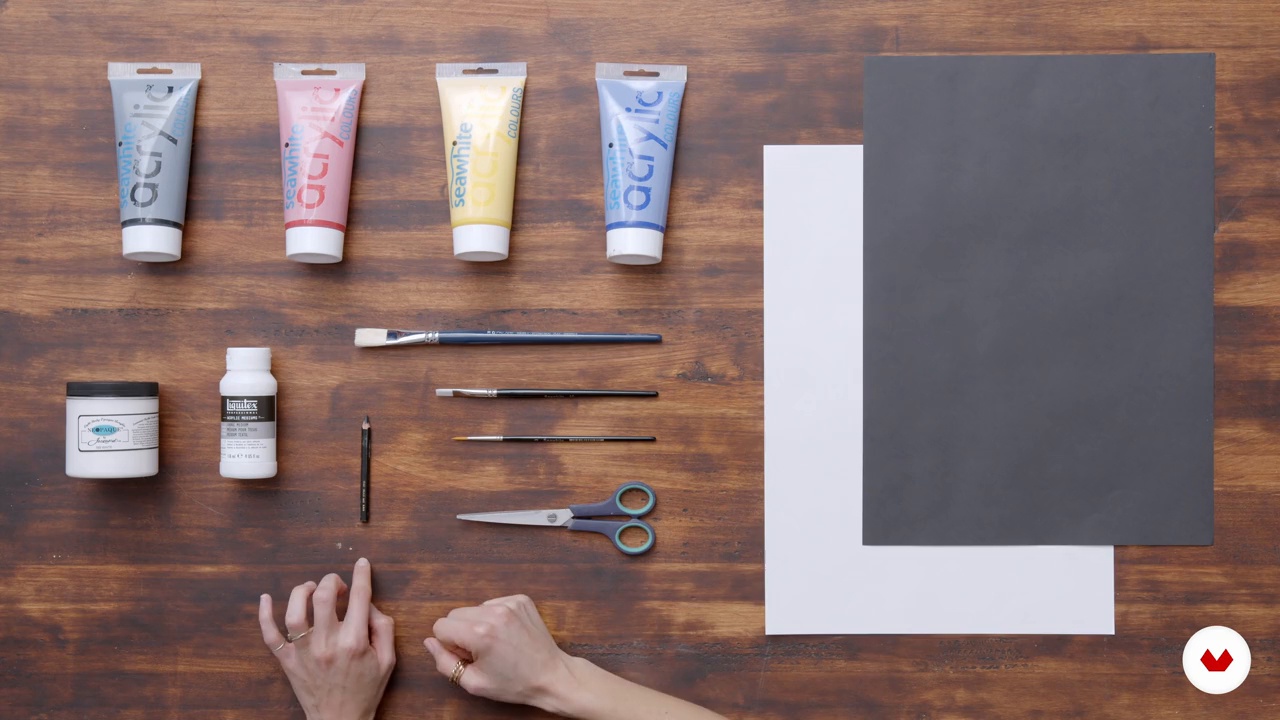
In this lesson, we will explore what materials can be used to create your painted clothing. For my course project, I will use a white denim jacket.
4m
image
2
Mood Board and Garment
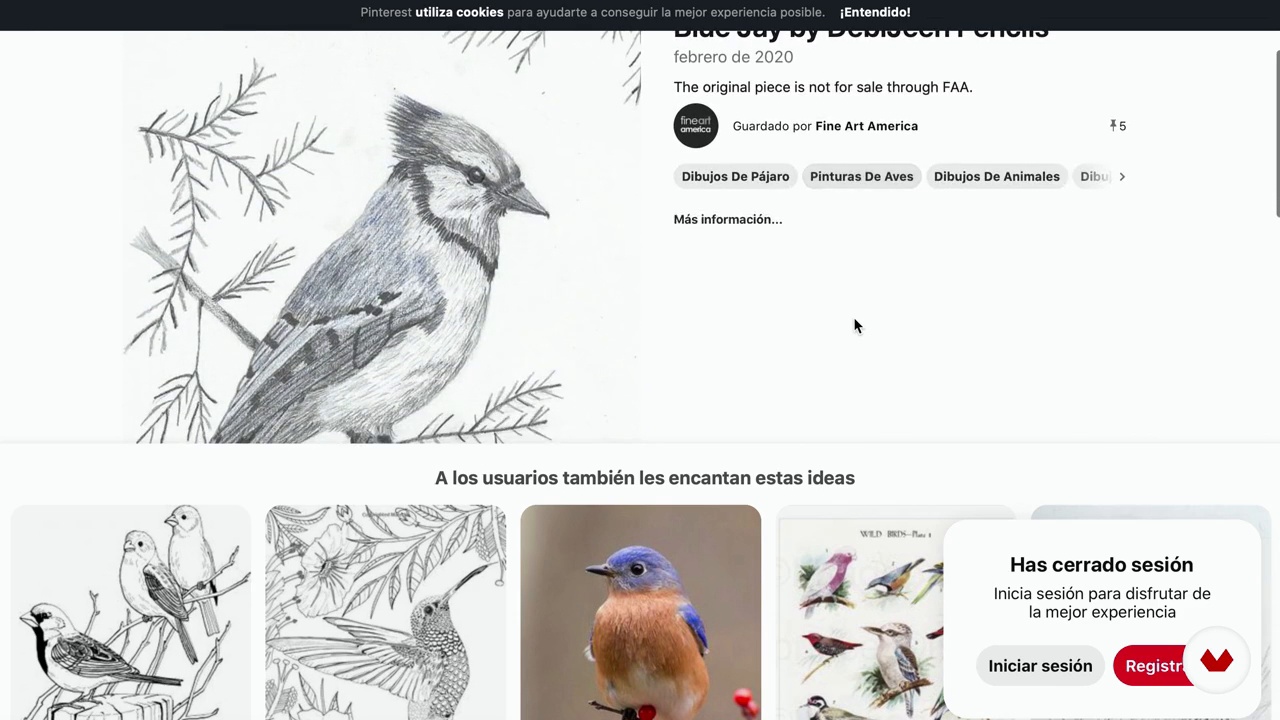
Next, we will look at how to go about making a mood board, gathering images that inspire you, and I will show you my favourite platform for sourcing second-hand clothes.
8m
image
3
Drawing
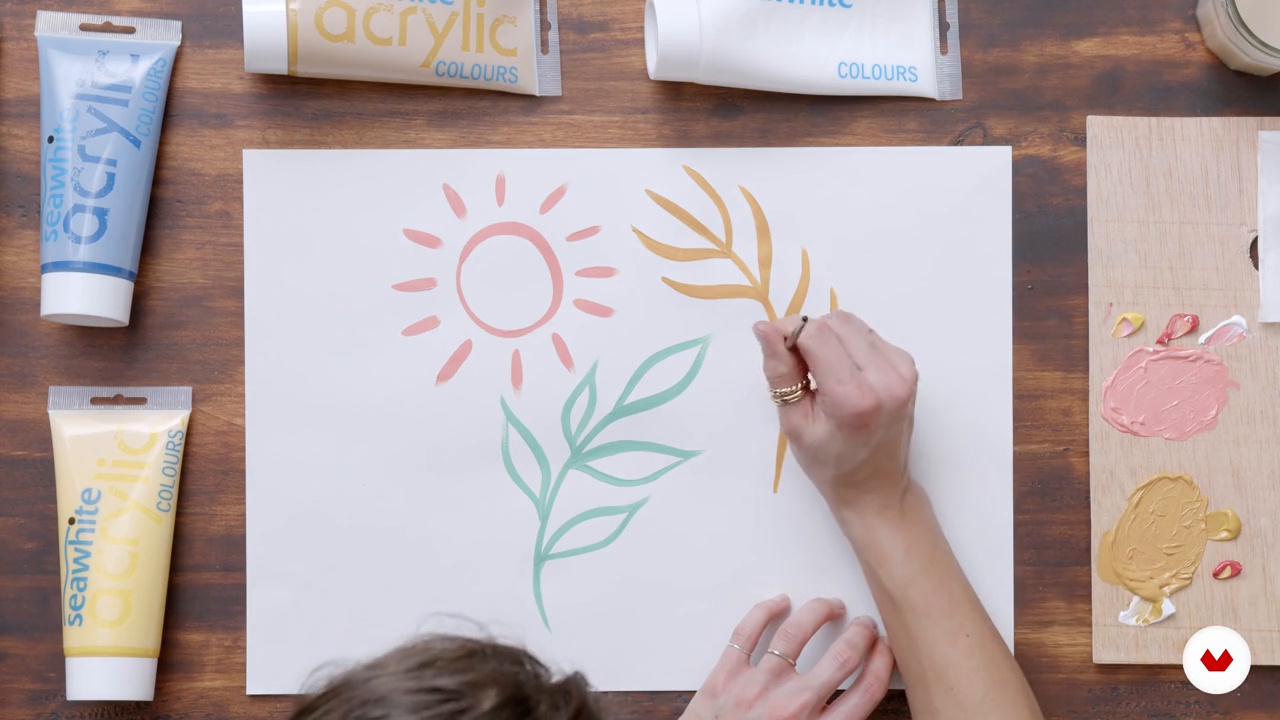
Drawing is the basis of all visual practices. In this lesson, I will get you started on the process of making sketches. From this, we will start thinking about themes that interest and excite us, developing our own style – a visual language – that we want to use for our illustrations.
10m
image
4
Colour Mixing
Colour is so important, but it can be tricky to know exactly how to make the one that you are after. I will show you how to mix three of my most used colours.
7m
image
5
Mark Making
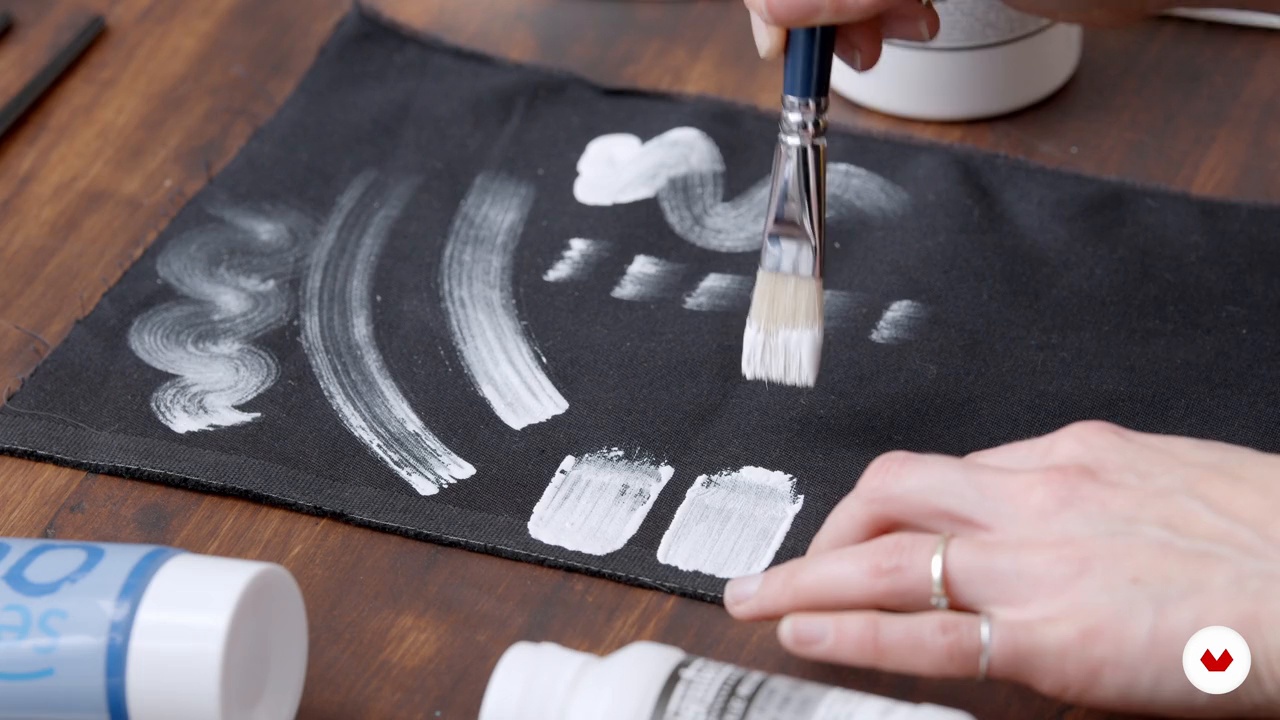
In this lesson, we will explore the various different marks that you are able to achieve using the brushes that you have. Practice is important: get to know your materials by playing with different paints, brushes, textures, and fabrics.
10m
image
6
Planning Out and Stenciling
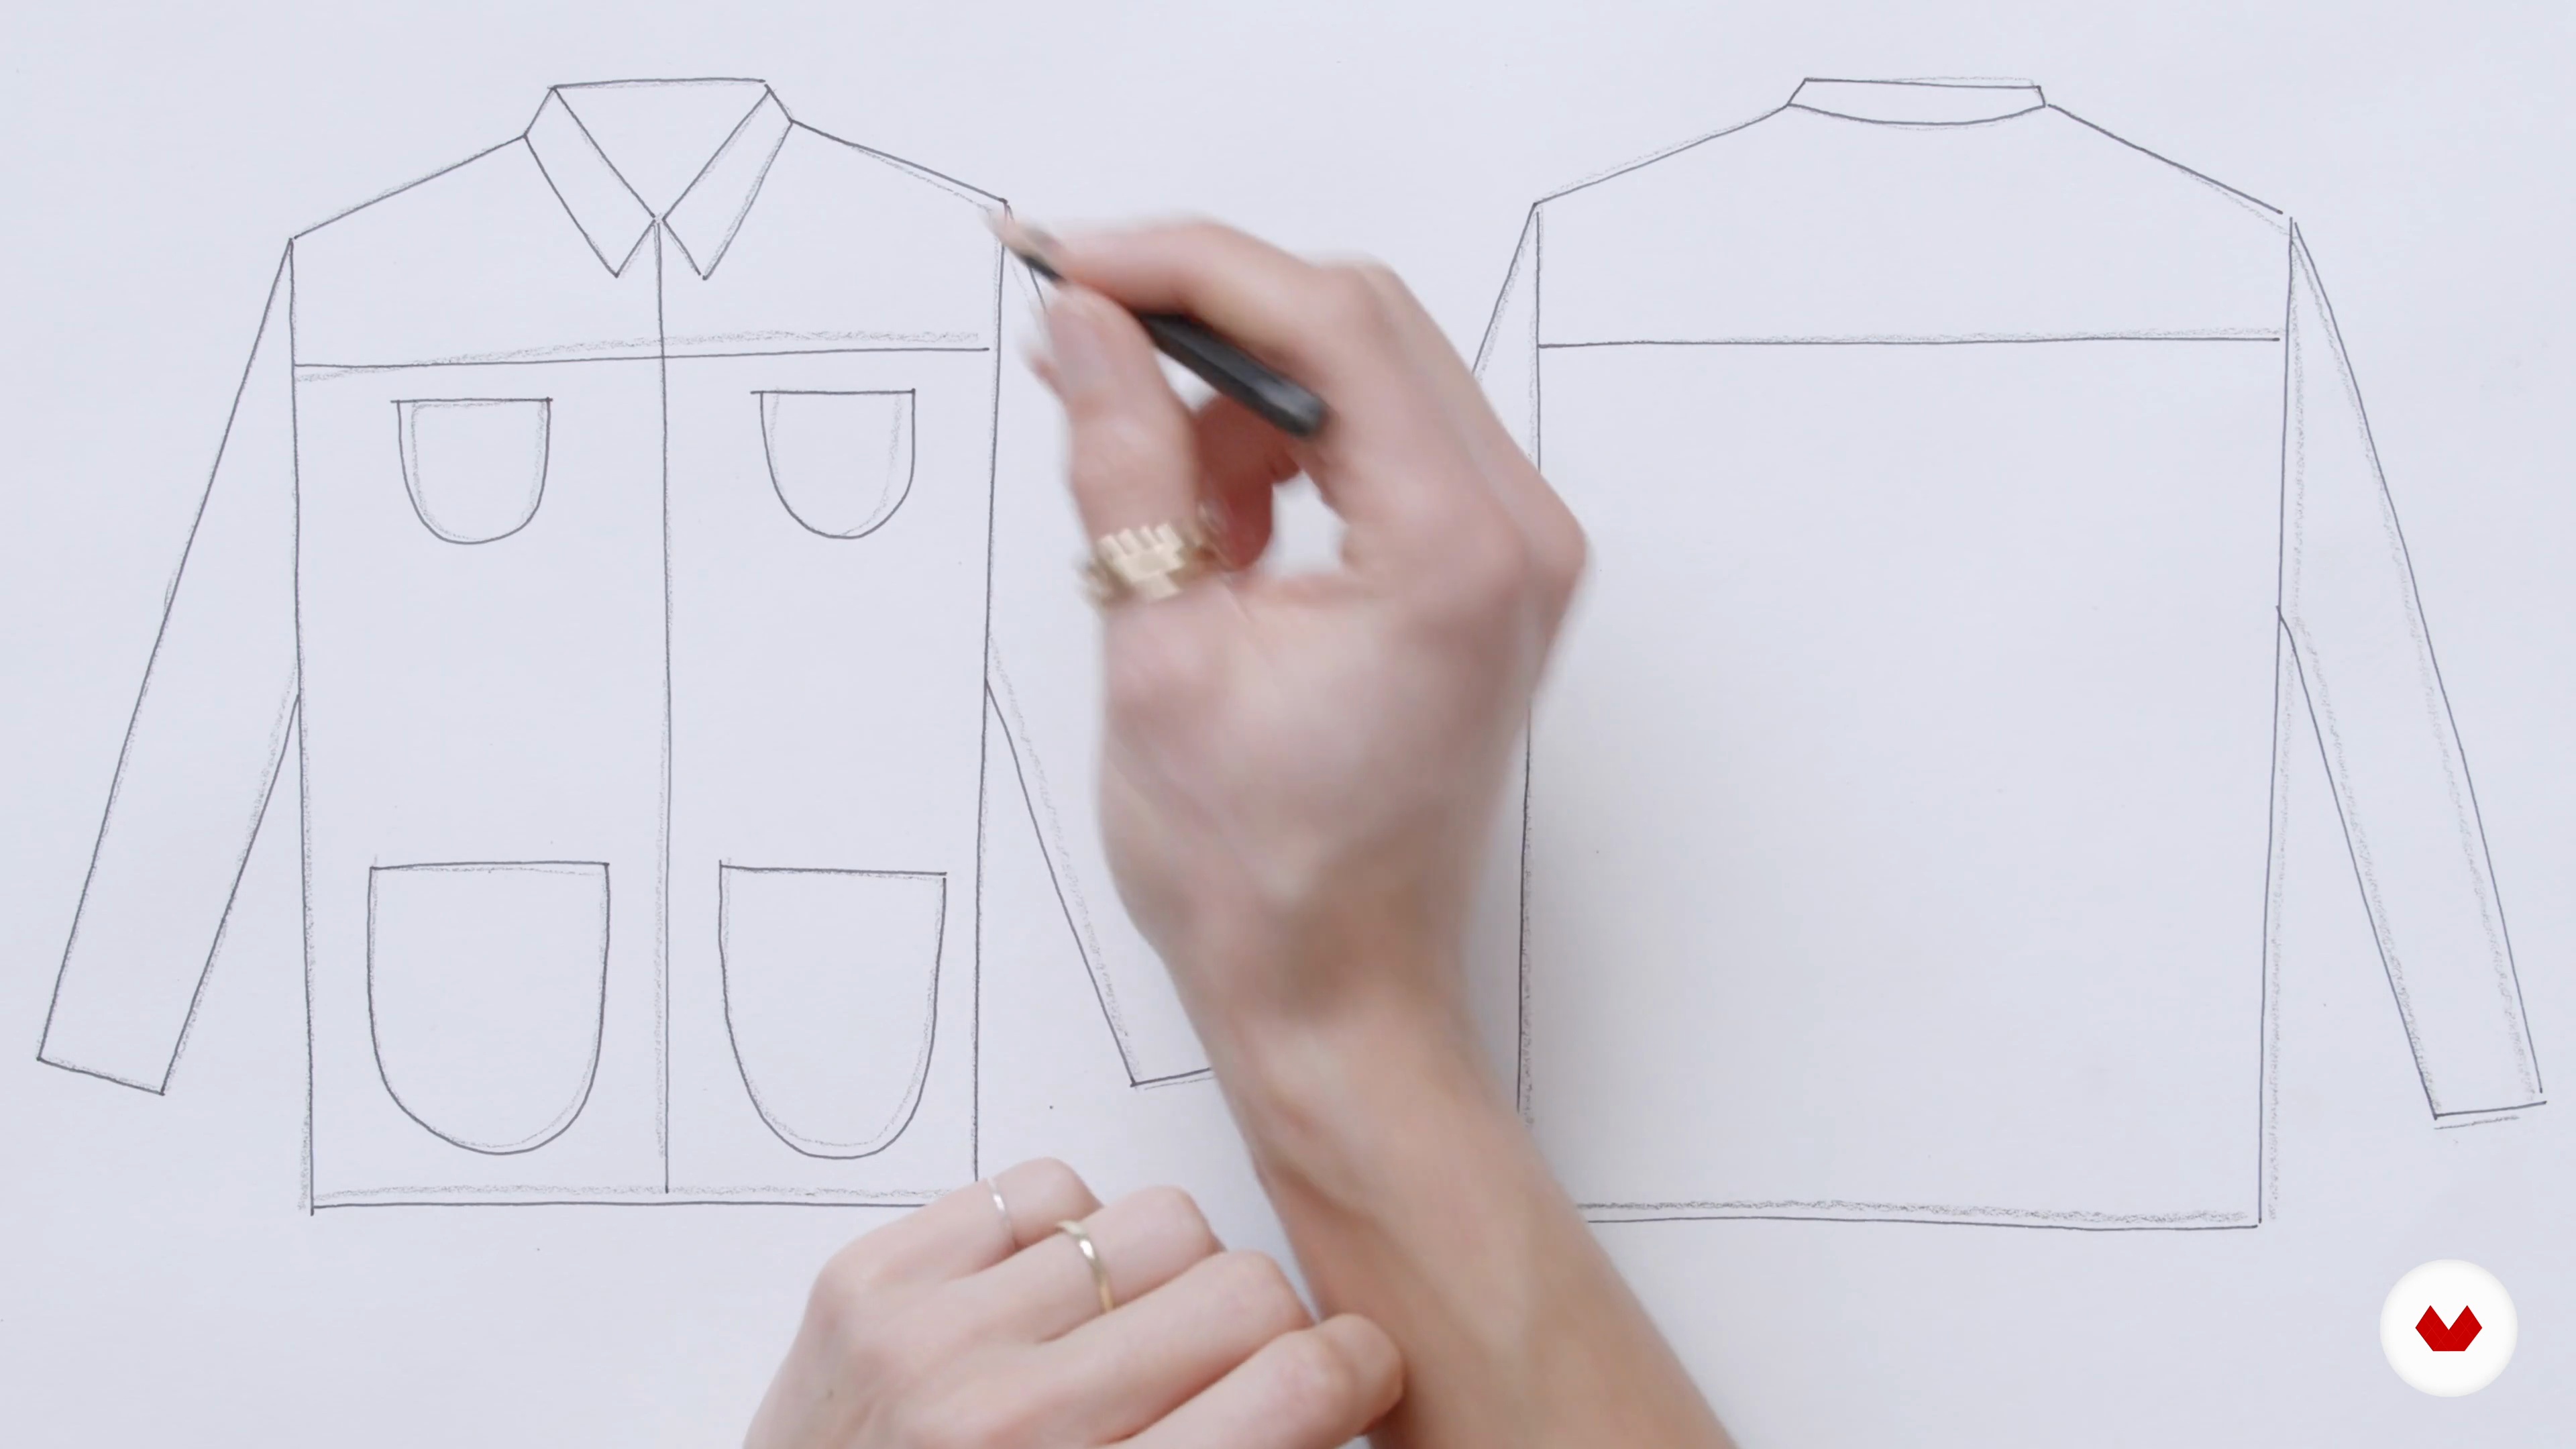
Roughly sketching out the front and back of your garment, you can begin to place your illustrations where you think they work best. With a sketch as a handy guide, you can scale up your drawings and create stencils to help in the painting process.
4m
image
7
Painting Free Hand
Let's start painting now! Using flowing lines, I will paint freehand onto the garment, starting with the front and the sleeves of my jacket.
9m
image
8
Painting with Stencils
Continuing with the back of my jacket, I will show you how I use stencils to get some of the more important, complicated shapes and then add details freehand.
10m
image
9
Photographing for Social Media
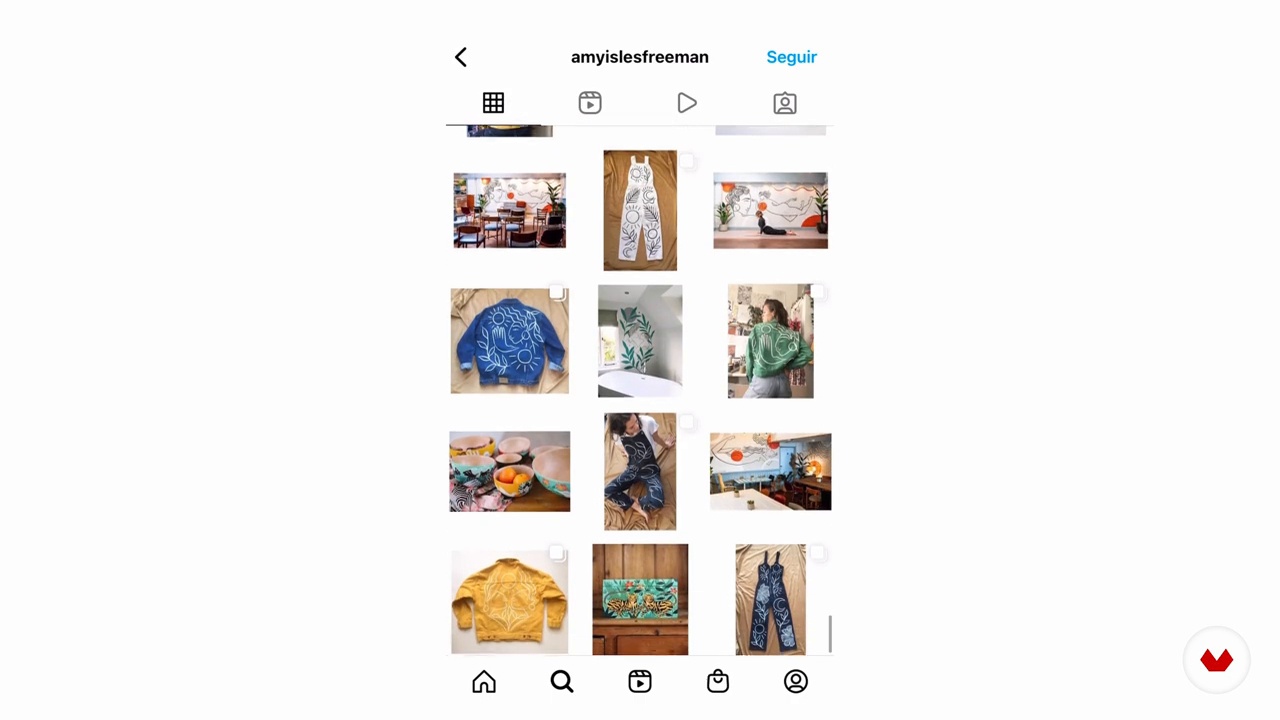
Social media has been the best way to get the world to see my work. So, I encourage you to share your projects! For this, photographing your work well is really important. Here, I will show you how to photograph your piece and curate your images.
2m
image
10
Other Garments
Now that you have seen the process of painting a jacket, here I show you some further examples of other garments that you can get creative with!
2m
image
1
Tools and Materials
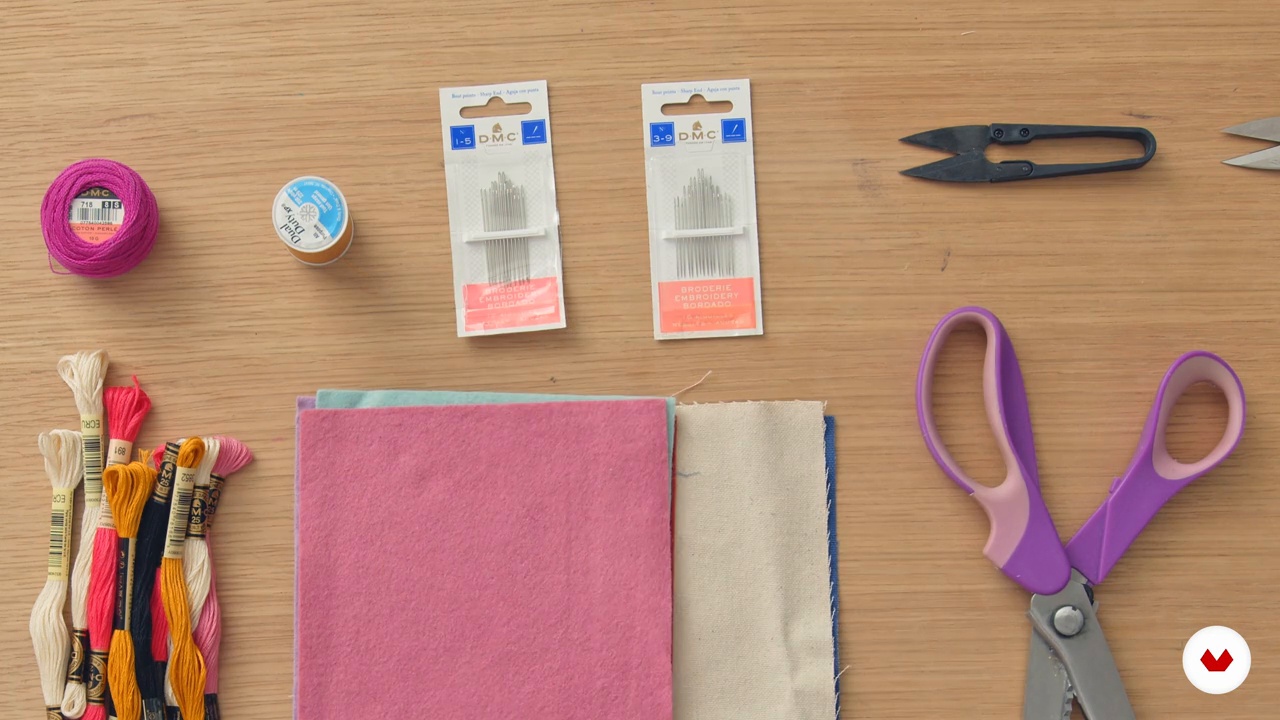
In this lesson, I’ll cover the tools and materials you’ll need for your project.
8m
image
2
Basic Embroidery Stitches 1
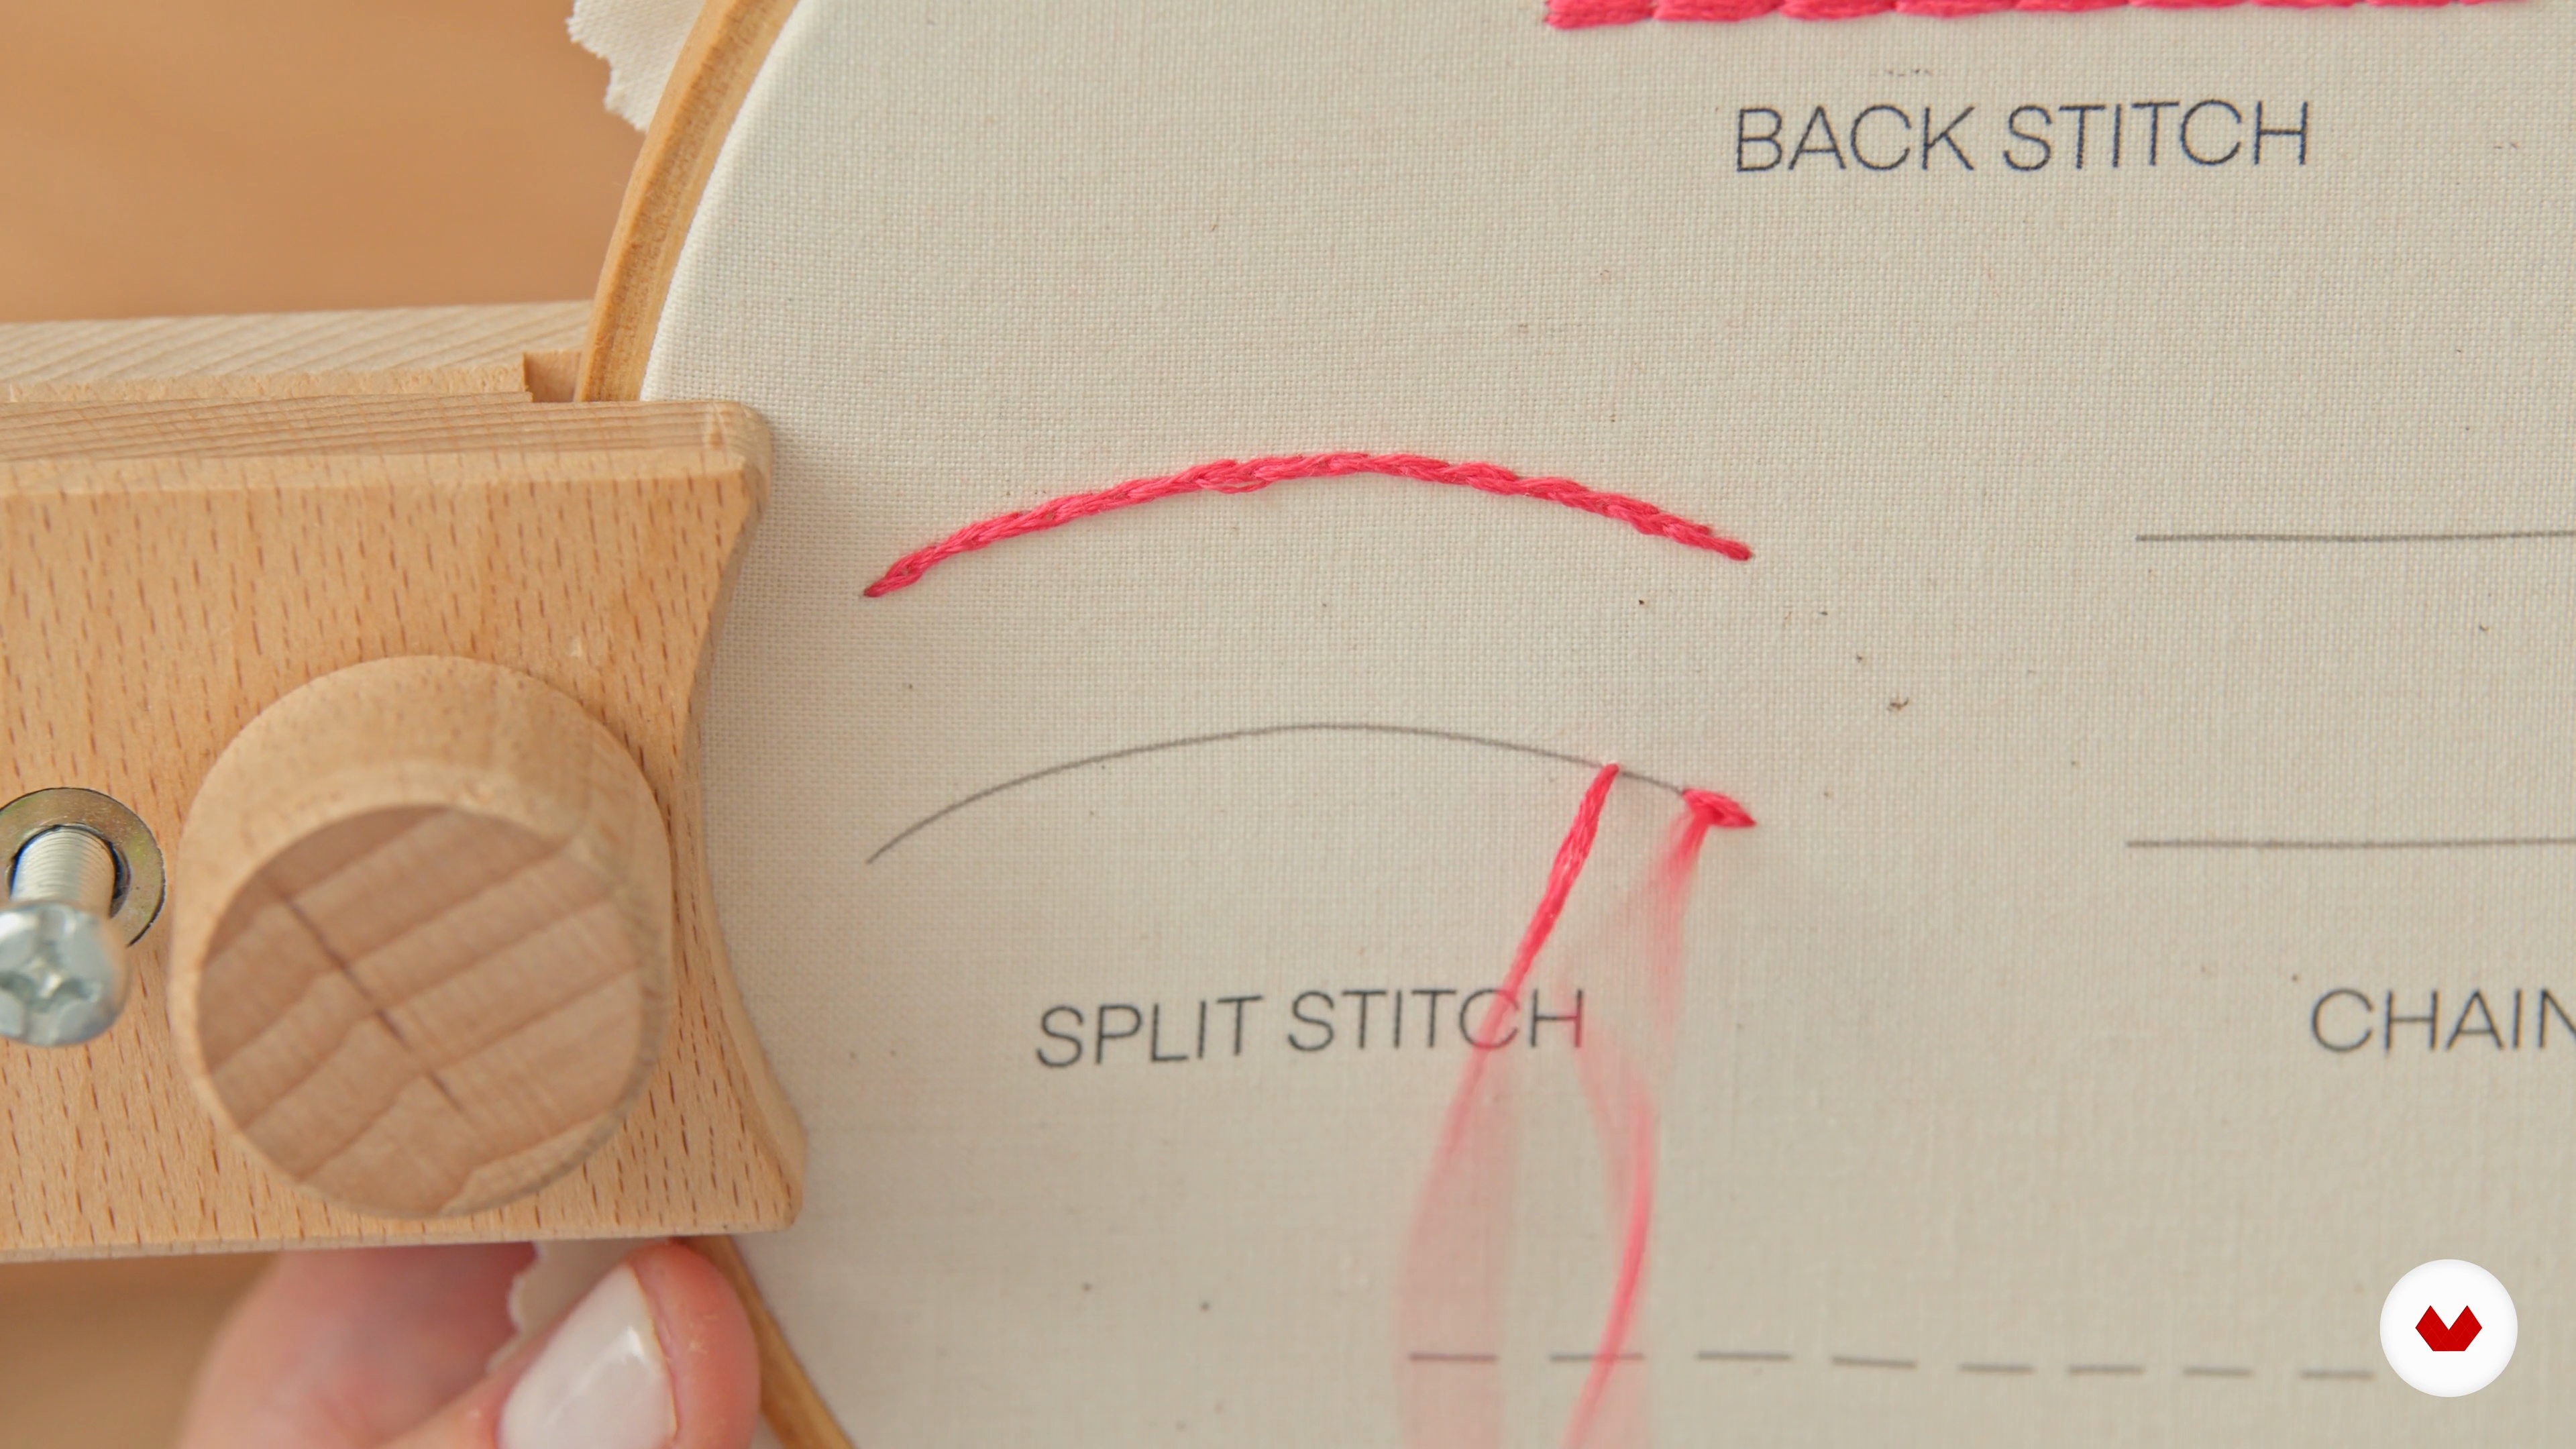
Here, I will demonstrate seven basic embroidery stitches and show how to use each one in your final project.
17m
image
3
Basic Embroidery Stitches 2
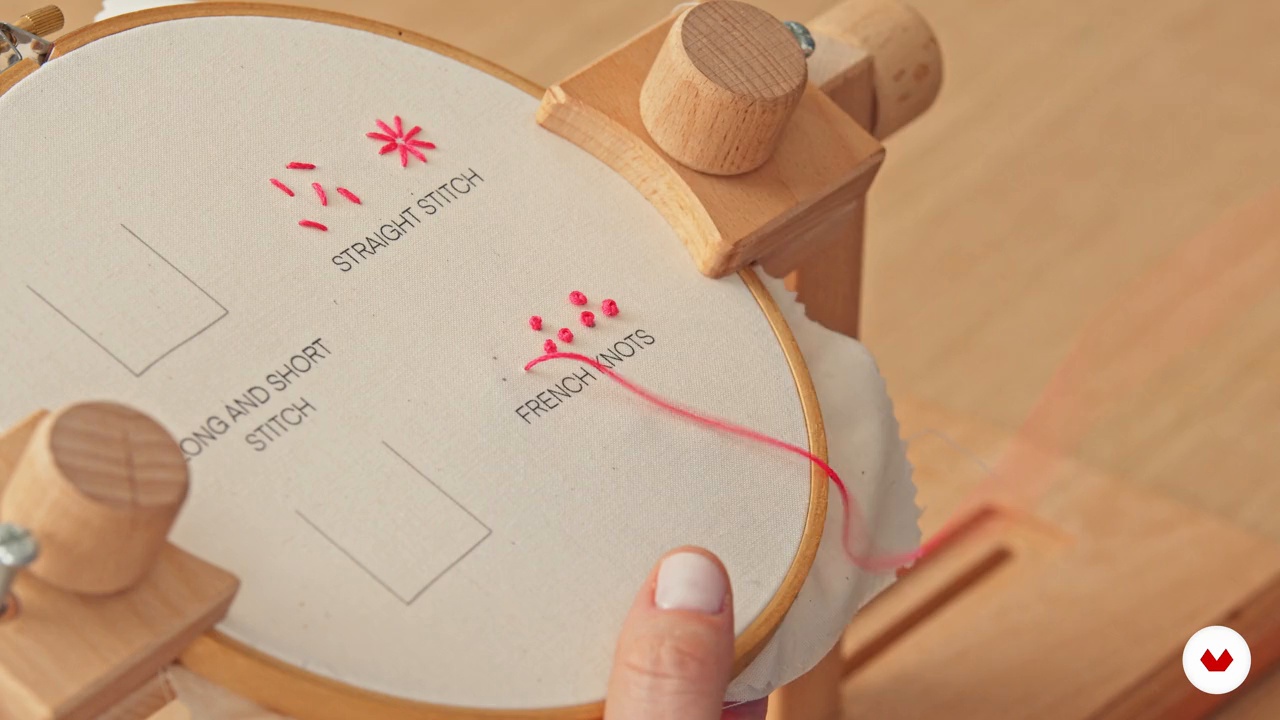
I'll continue teaching you some basic stitches like the long and short, straight stitch, and french knots.
10m
image
4
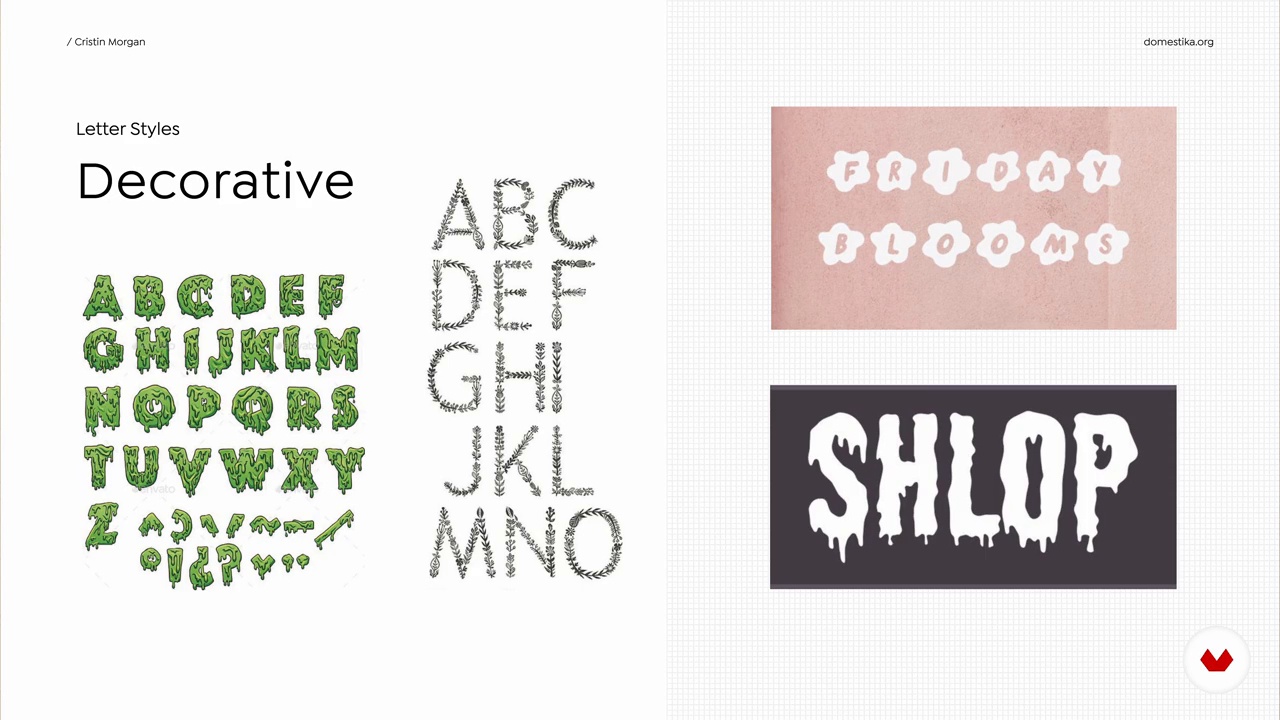
References
You'll look at some reference images to get inspired to create your patches.
9m
image
5
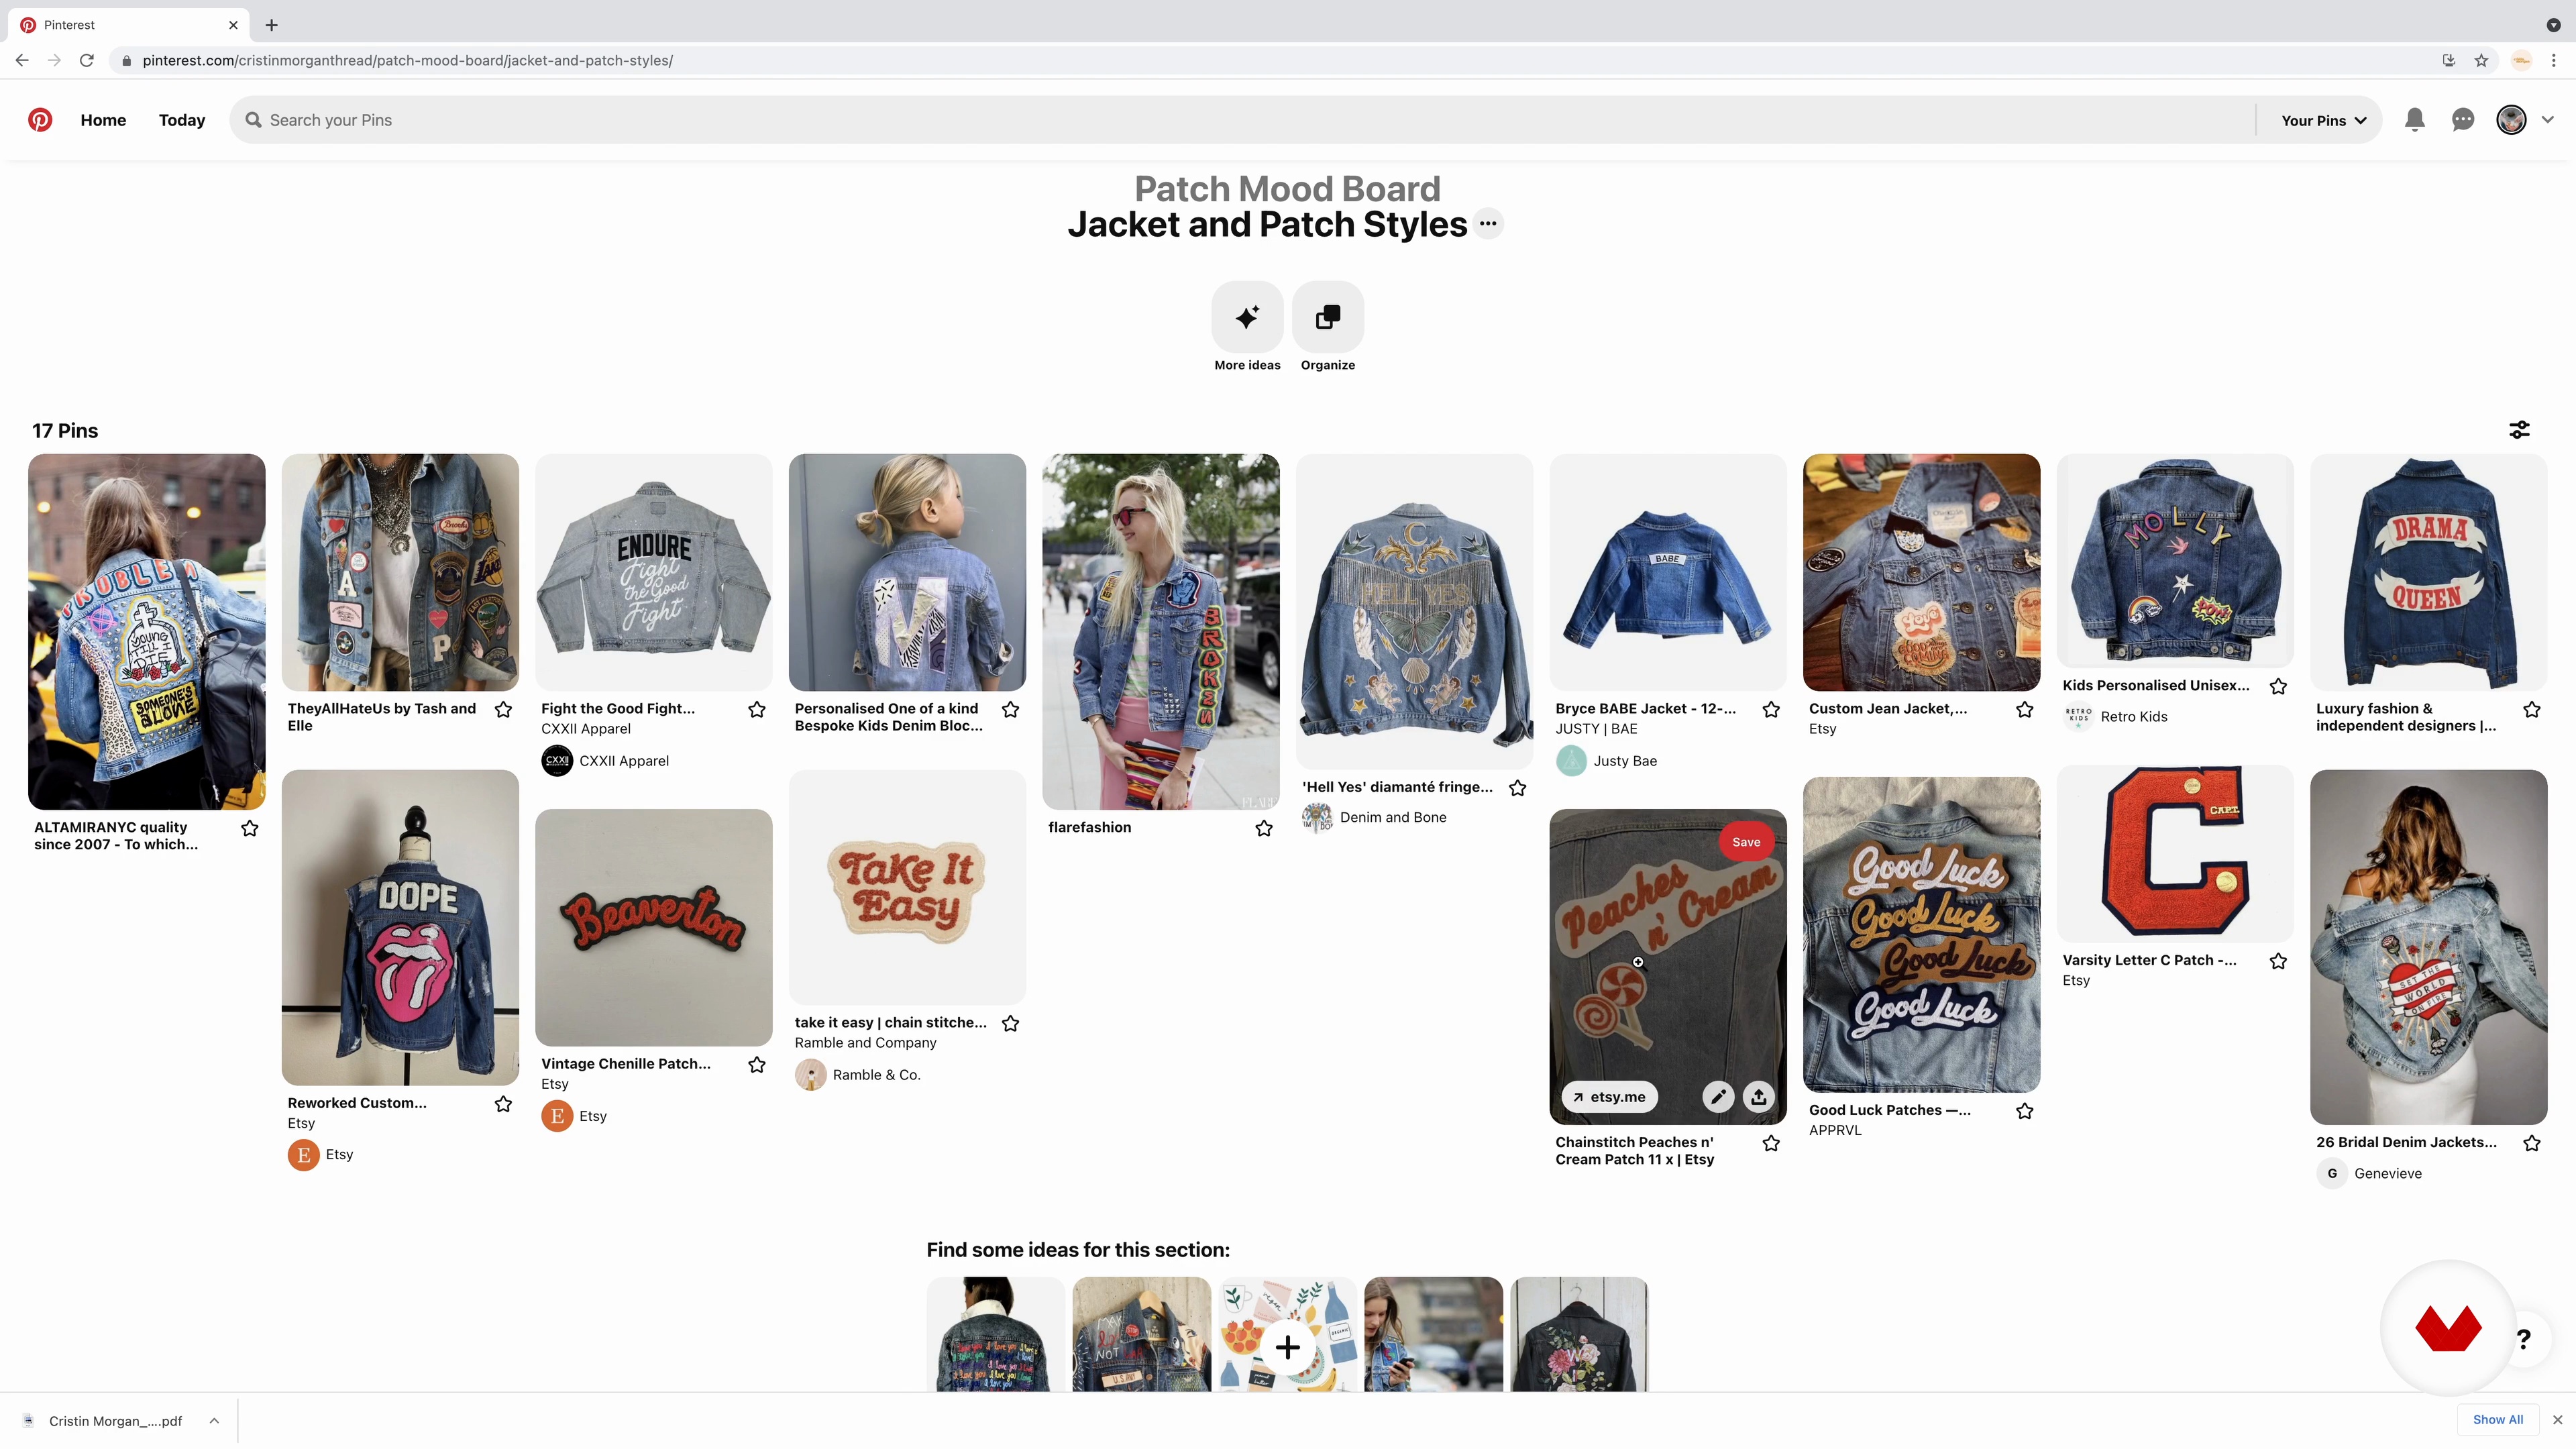
My Mood Board
In this lesson, I’ll walk you through my process for creating a mood board for my patch. I’ll also show you some of the tools I use to help me select a beautiful color palette for my embroidery project.
9m
image
6
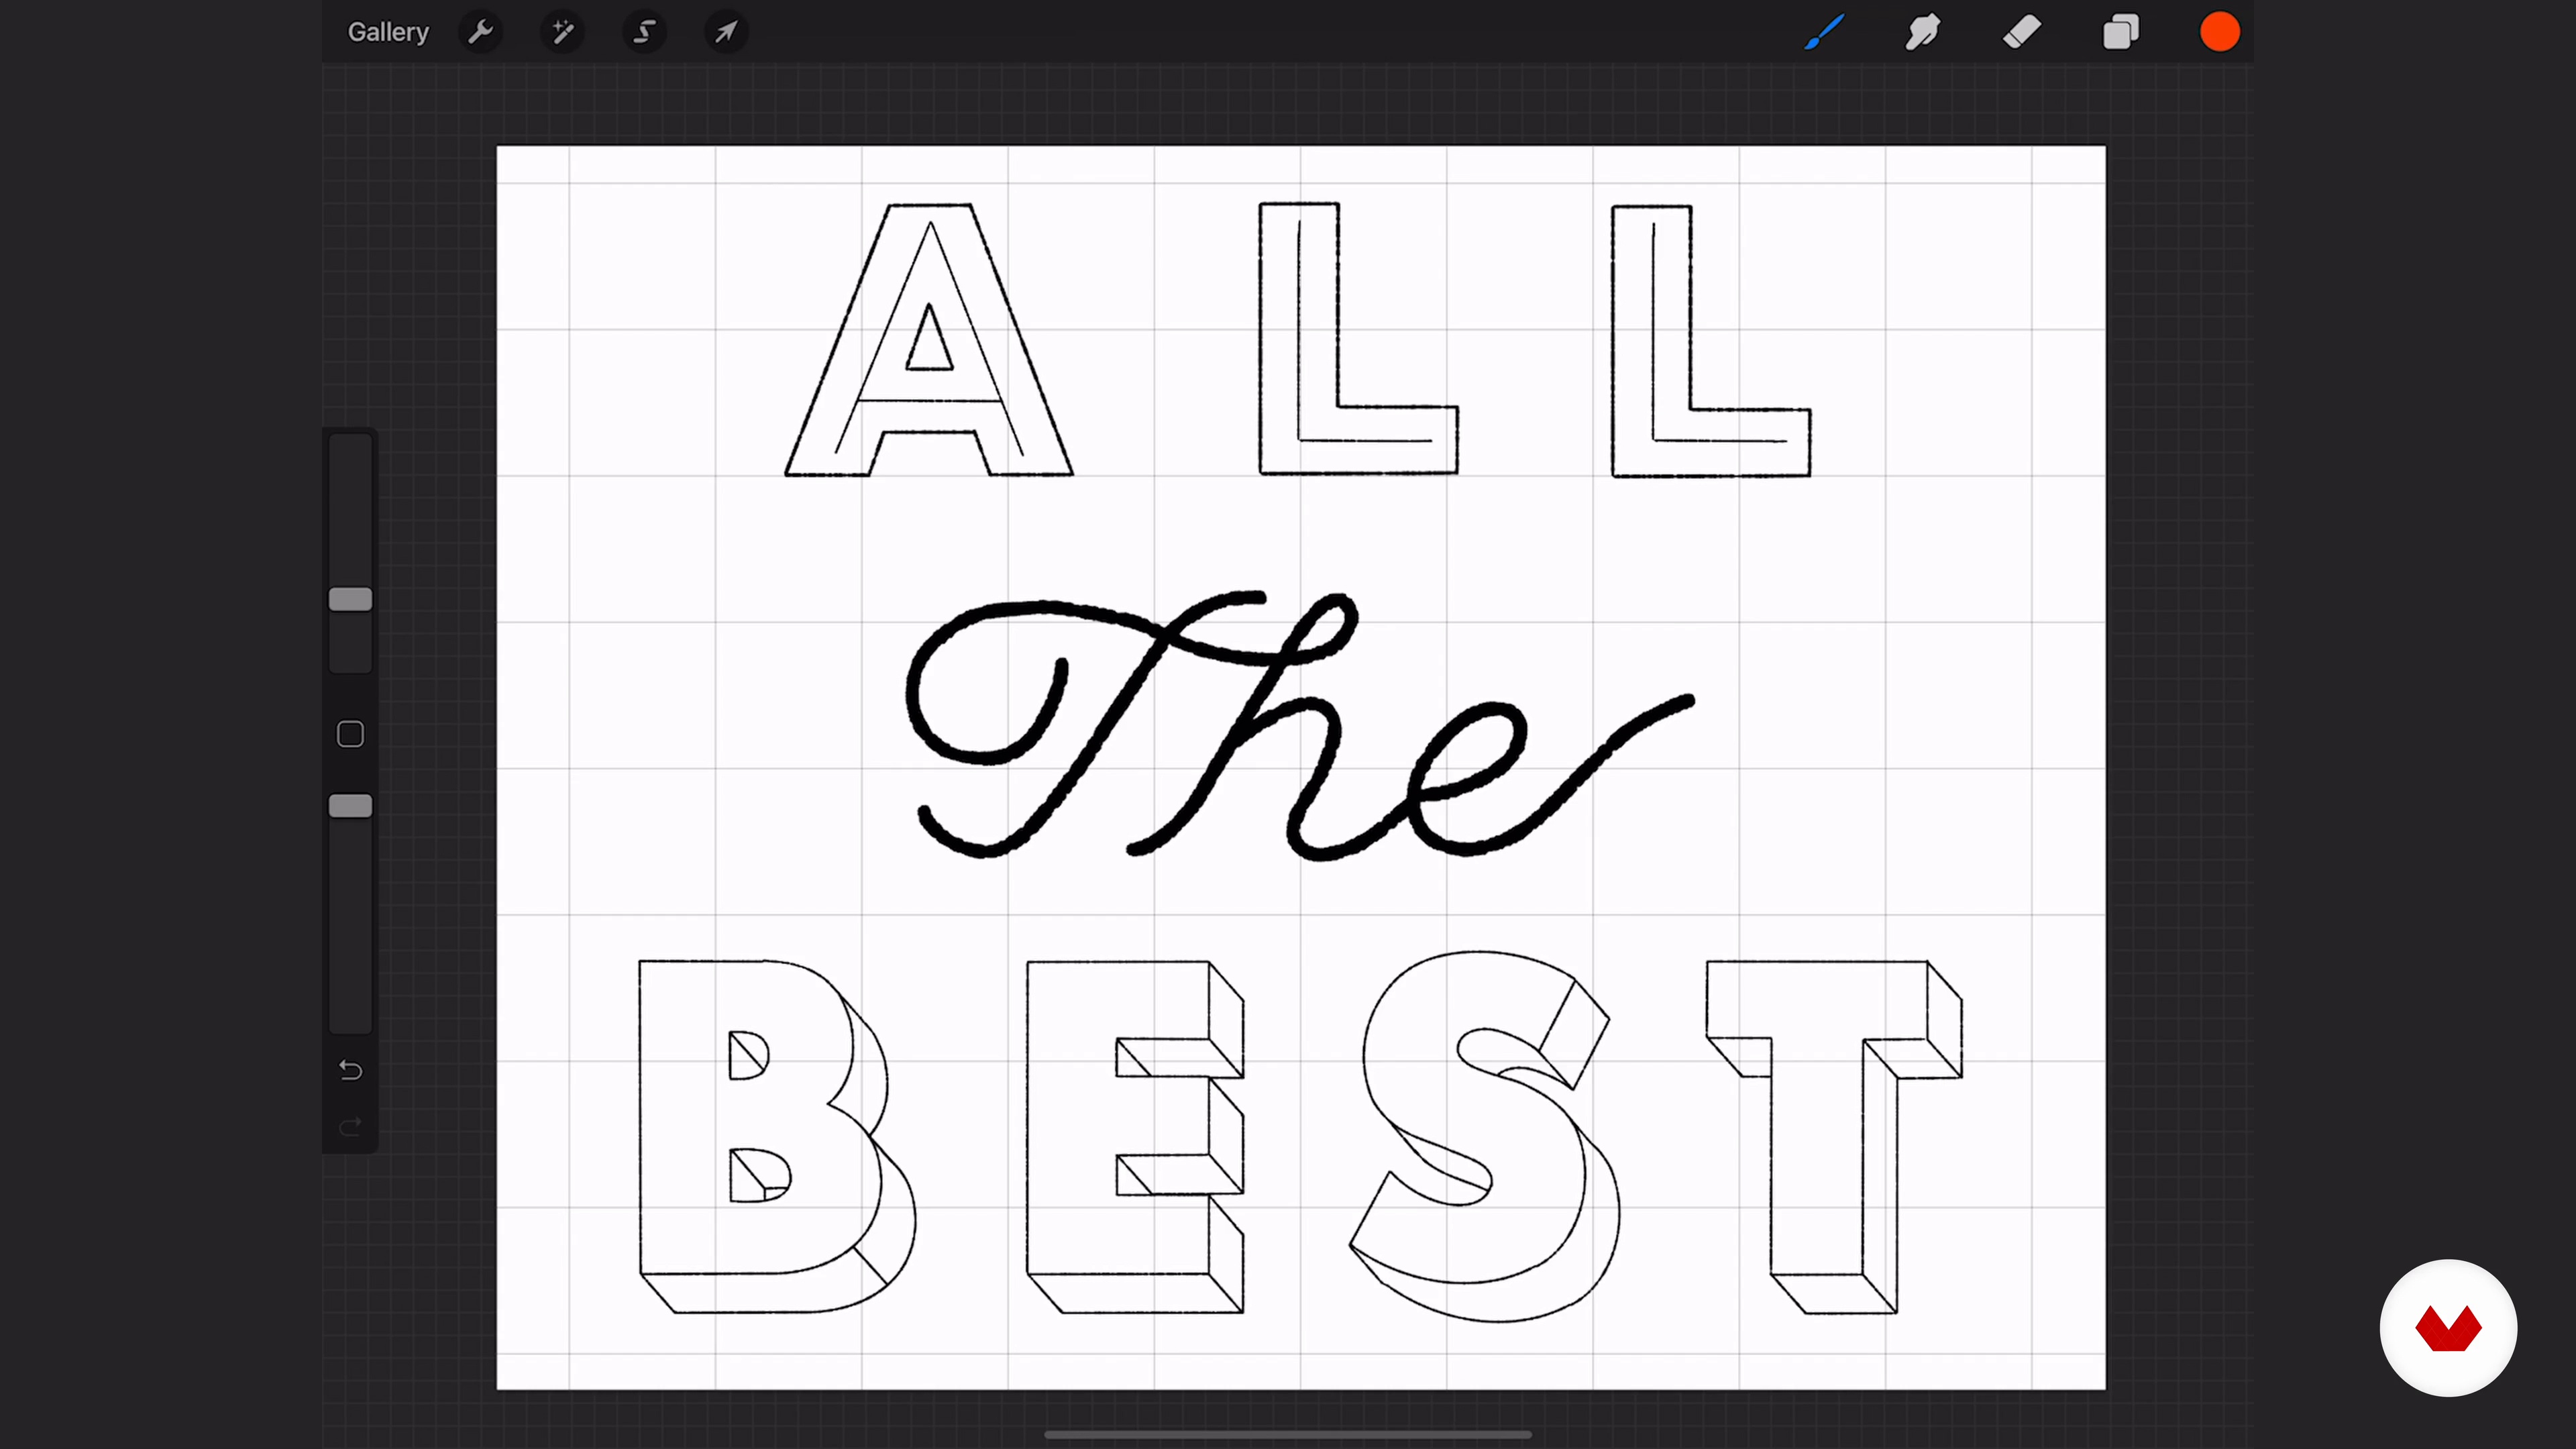
Designing Your Patch
I’ll begin designing the patch. I’ll start by making some rough sketches of the layout of our patch and any embellishments I plan to add based on my mood board. Then, I’ll create a template for the text using accessible online tools. I’ll then make the final template for the project.
10m
image
7
Transferring Your Design to Fabric
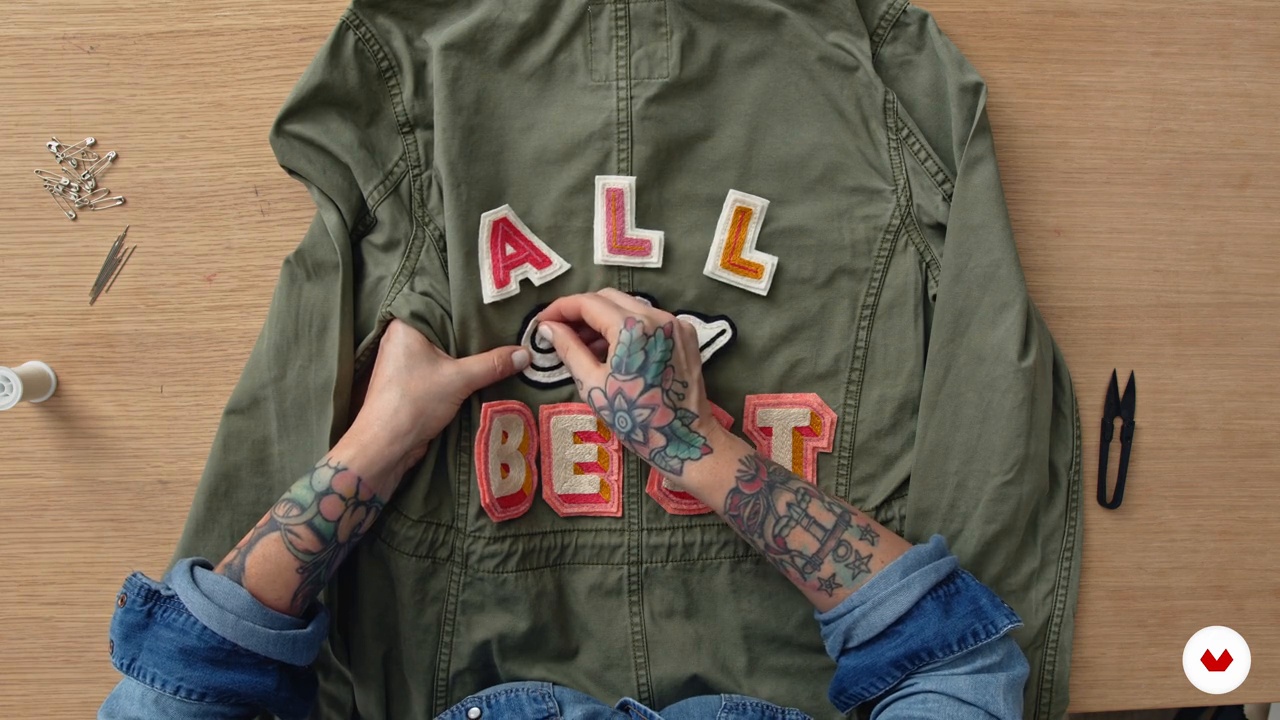
You’ll now learn four different methods for transferring your design to fabric and when you might want to use each one depending on your material.
7m
image
8
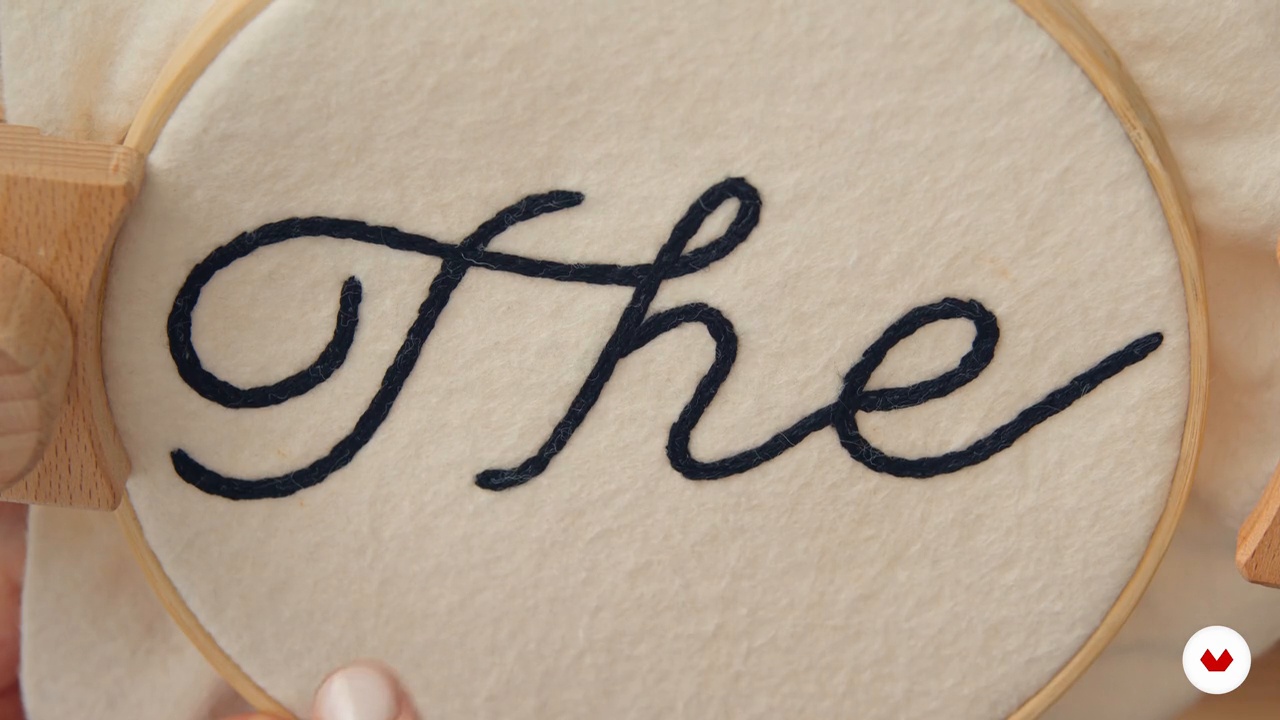
Embroidering the Patch: Cursive Letters
Now, you’ll begin to embroider your patch. I’ll start with my favorite method for stitching cursive letters. First, you’ll stitch a singular line; then, you’ll build on that to add weight and achieve a bolder effect. I’ll also show you how to overlap your lines, depending on up and down strokes to give your letters dimension.
9m
image
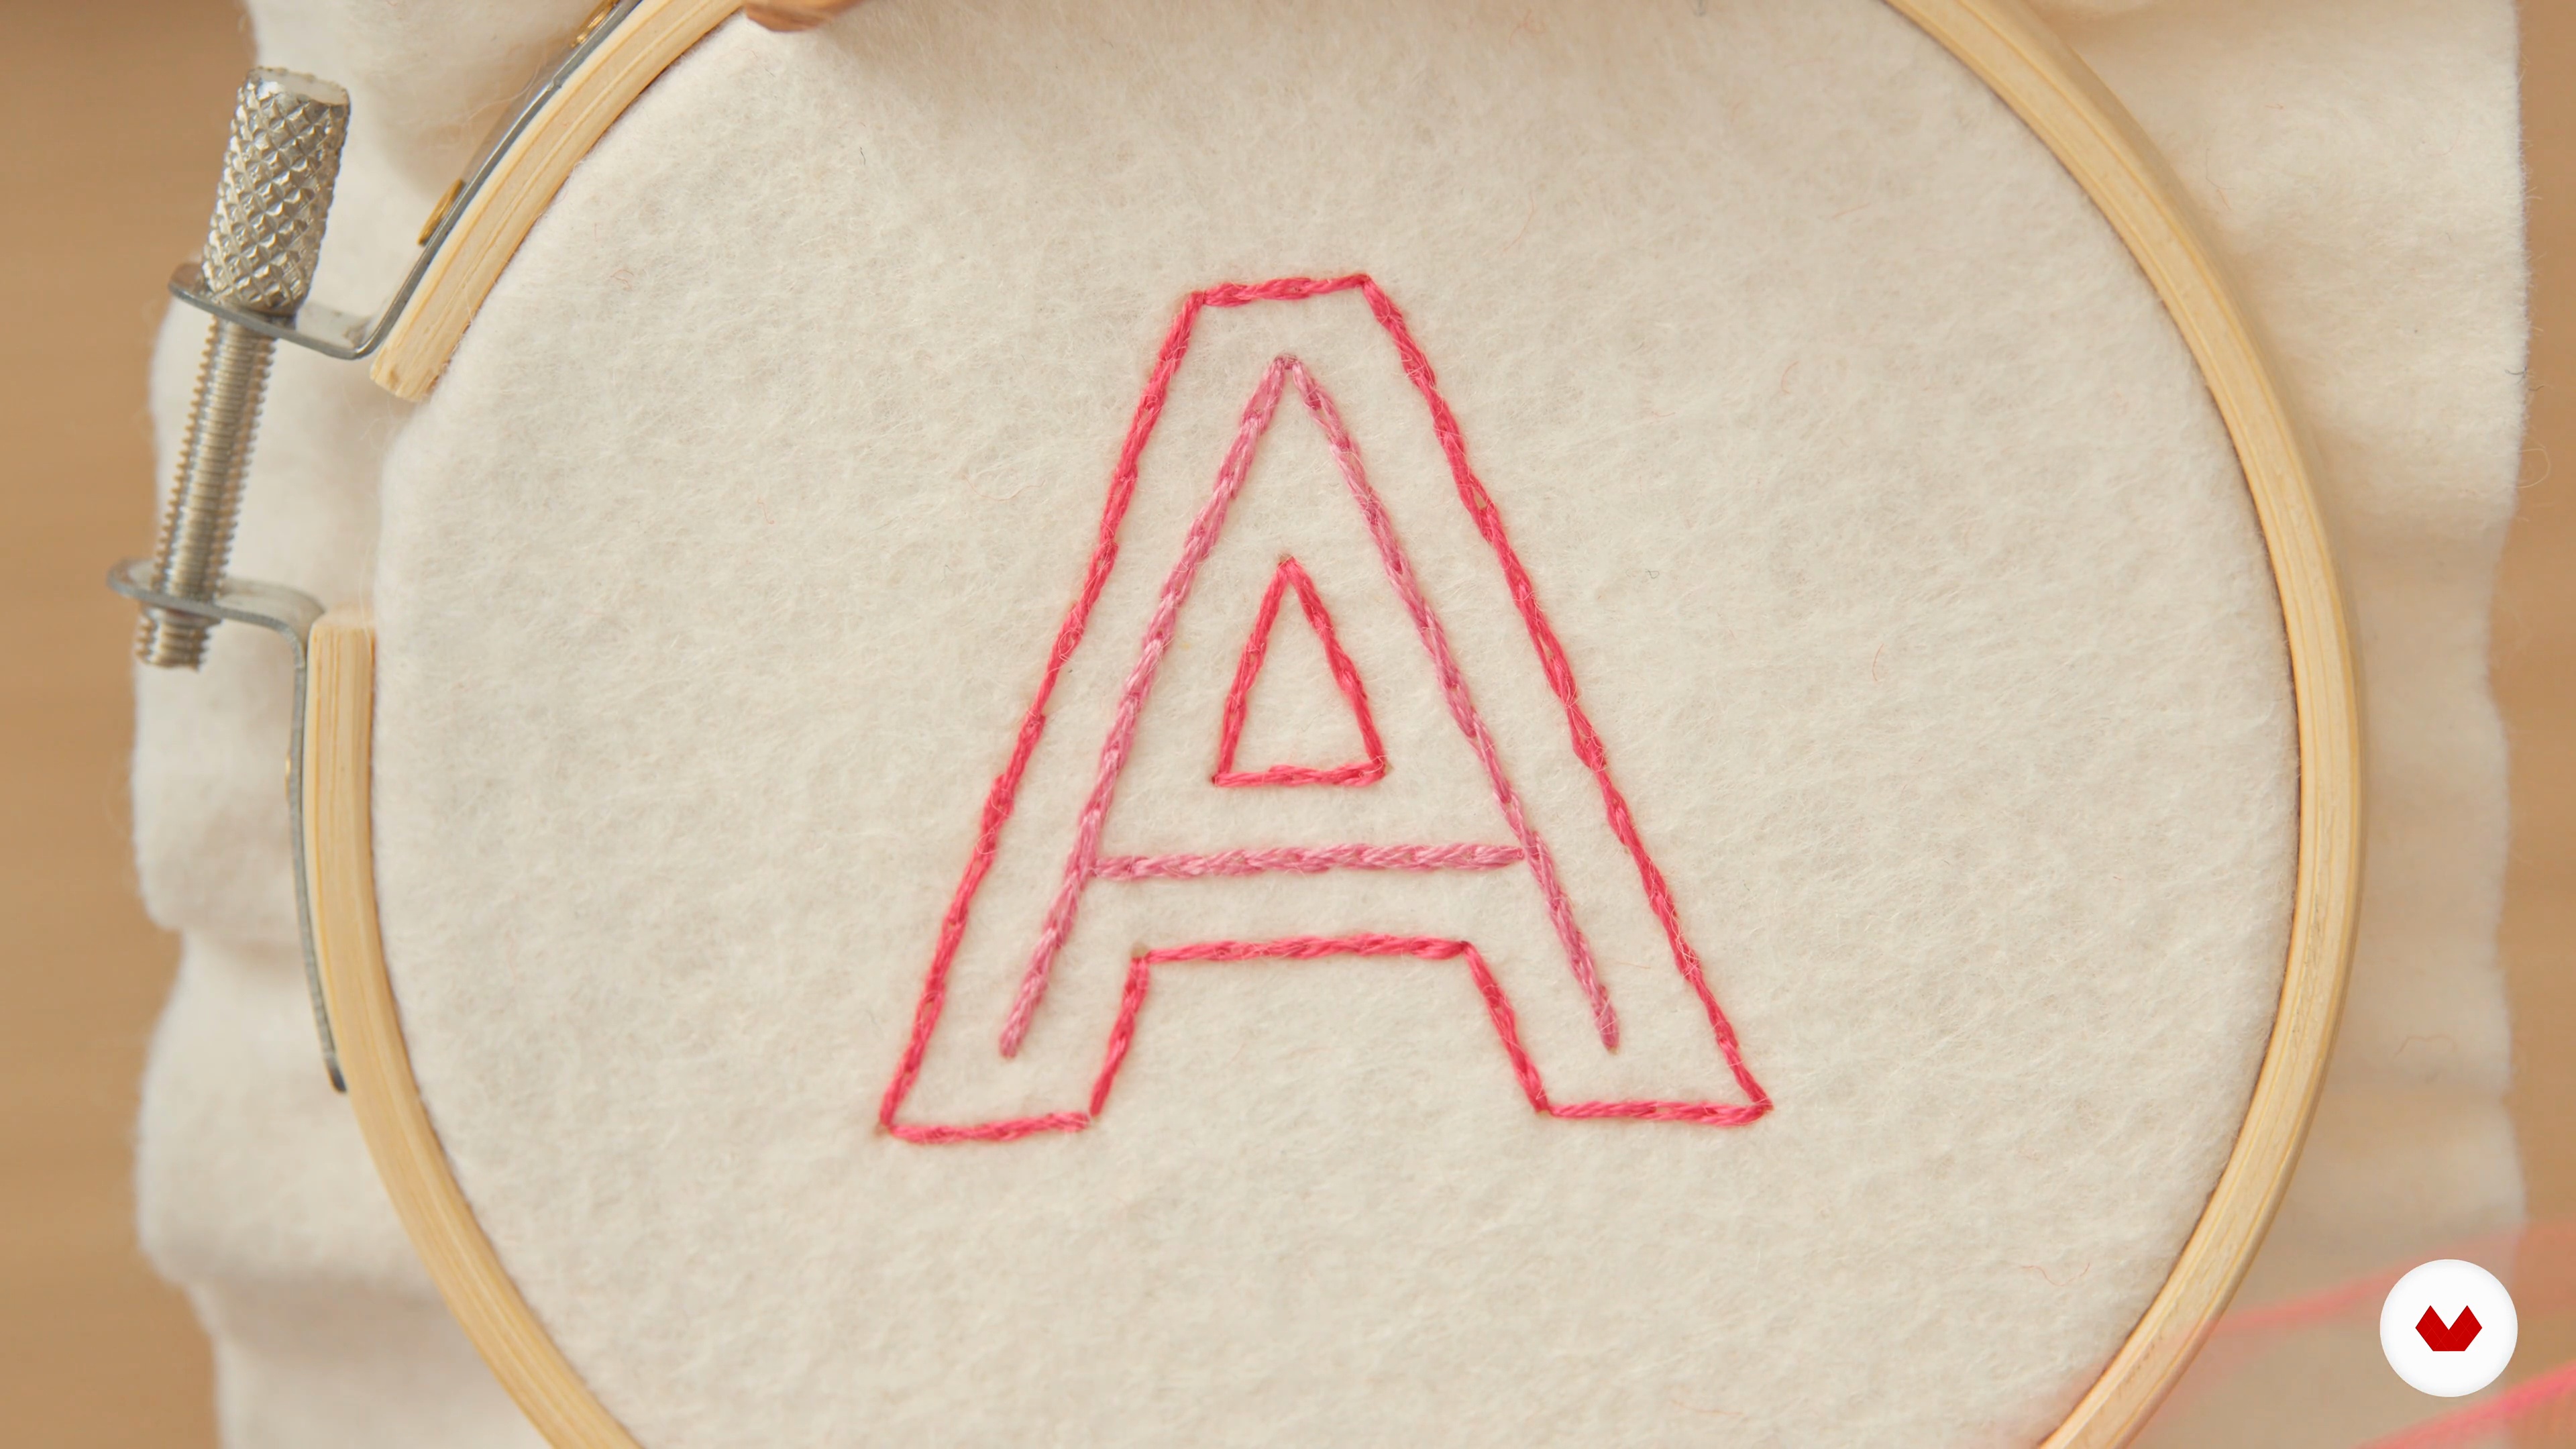
9
Embroidering the Patch: Block Letters
Let's continue to embroider the patch, but this time you will work on block letters. You'll begin with an outline to give your letter definition and a clean shape. Then, you'll fill them in, adding texture and dimension with stitches.
13m
image
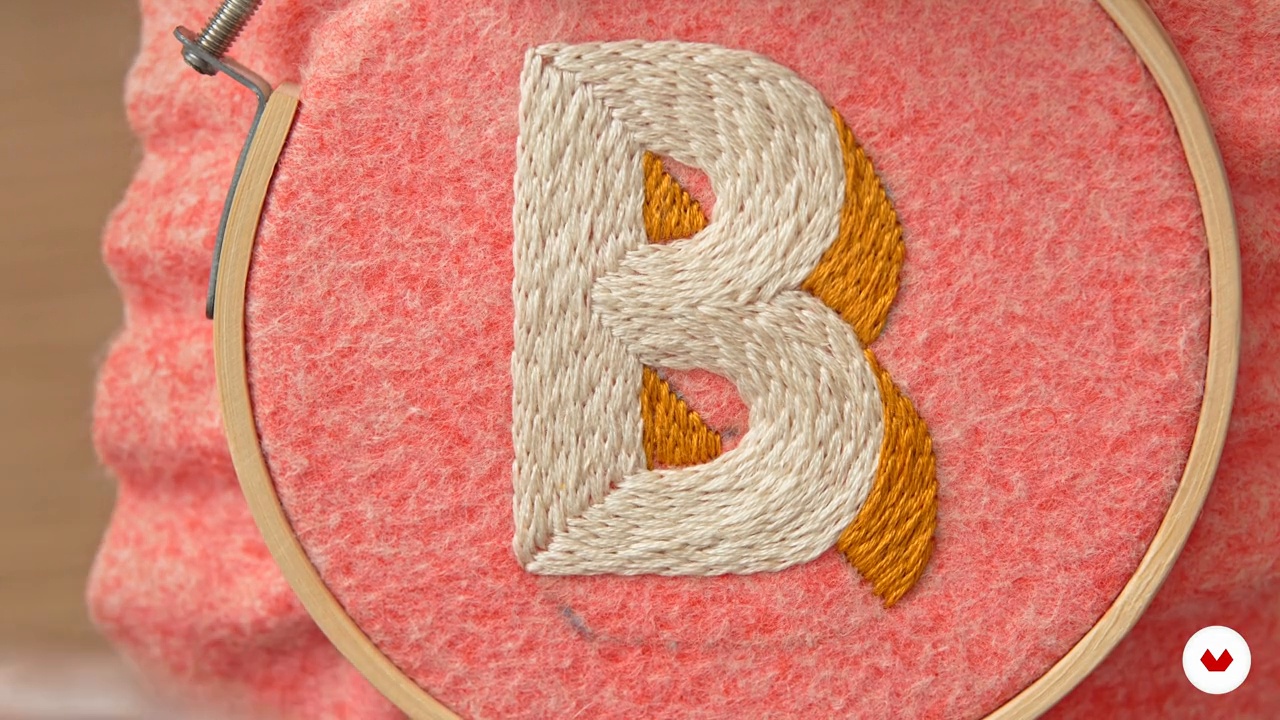
10
Add Dimension and Details
I'll teach you how to add dimension with shading to some letters for a modern effect.
17m
image
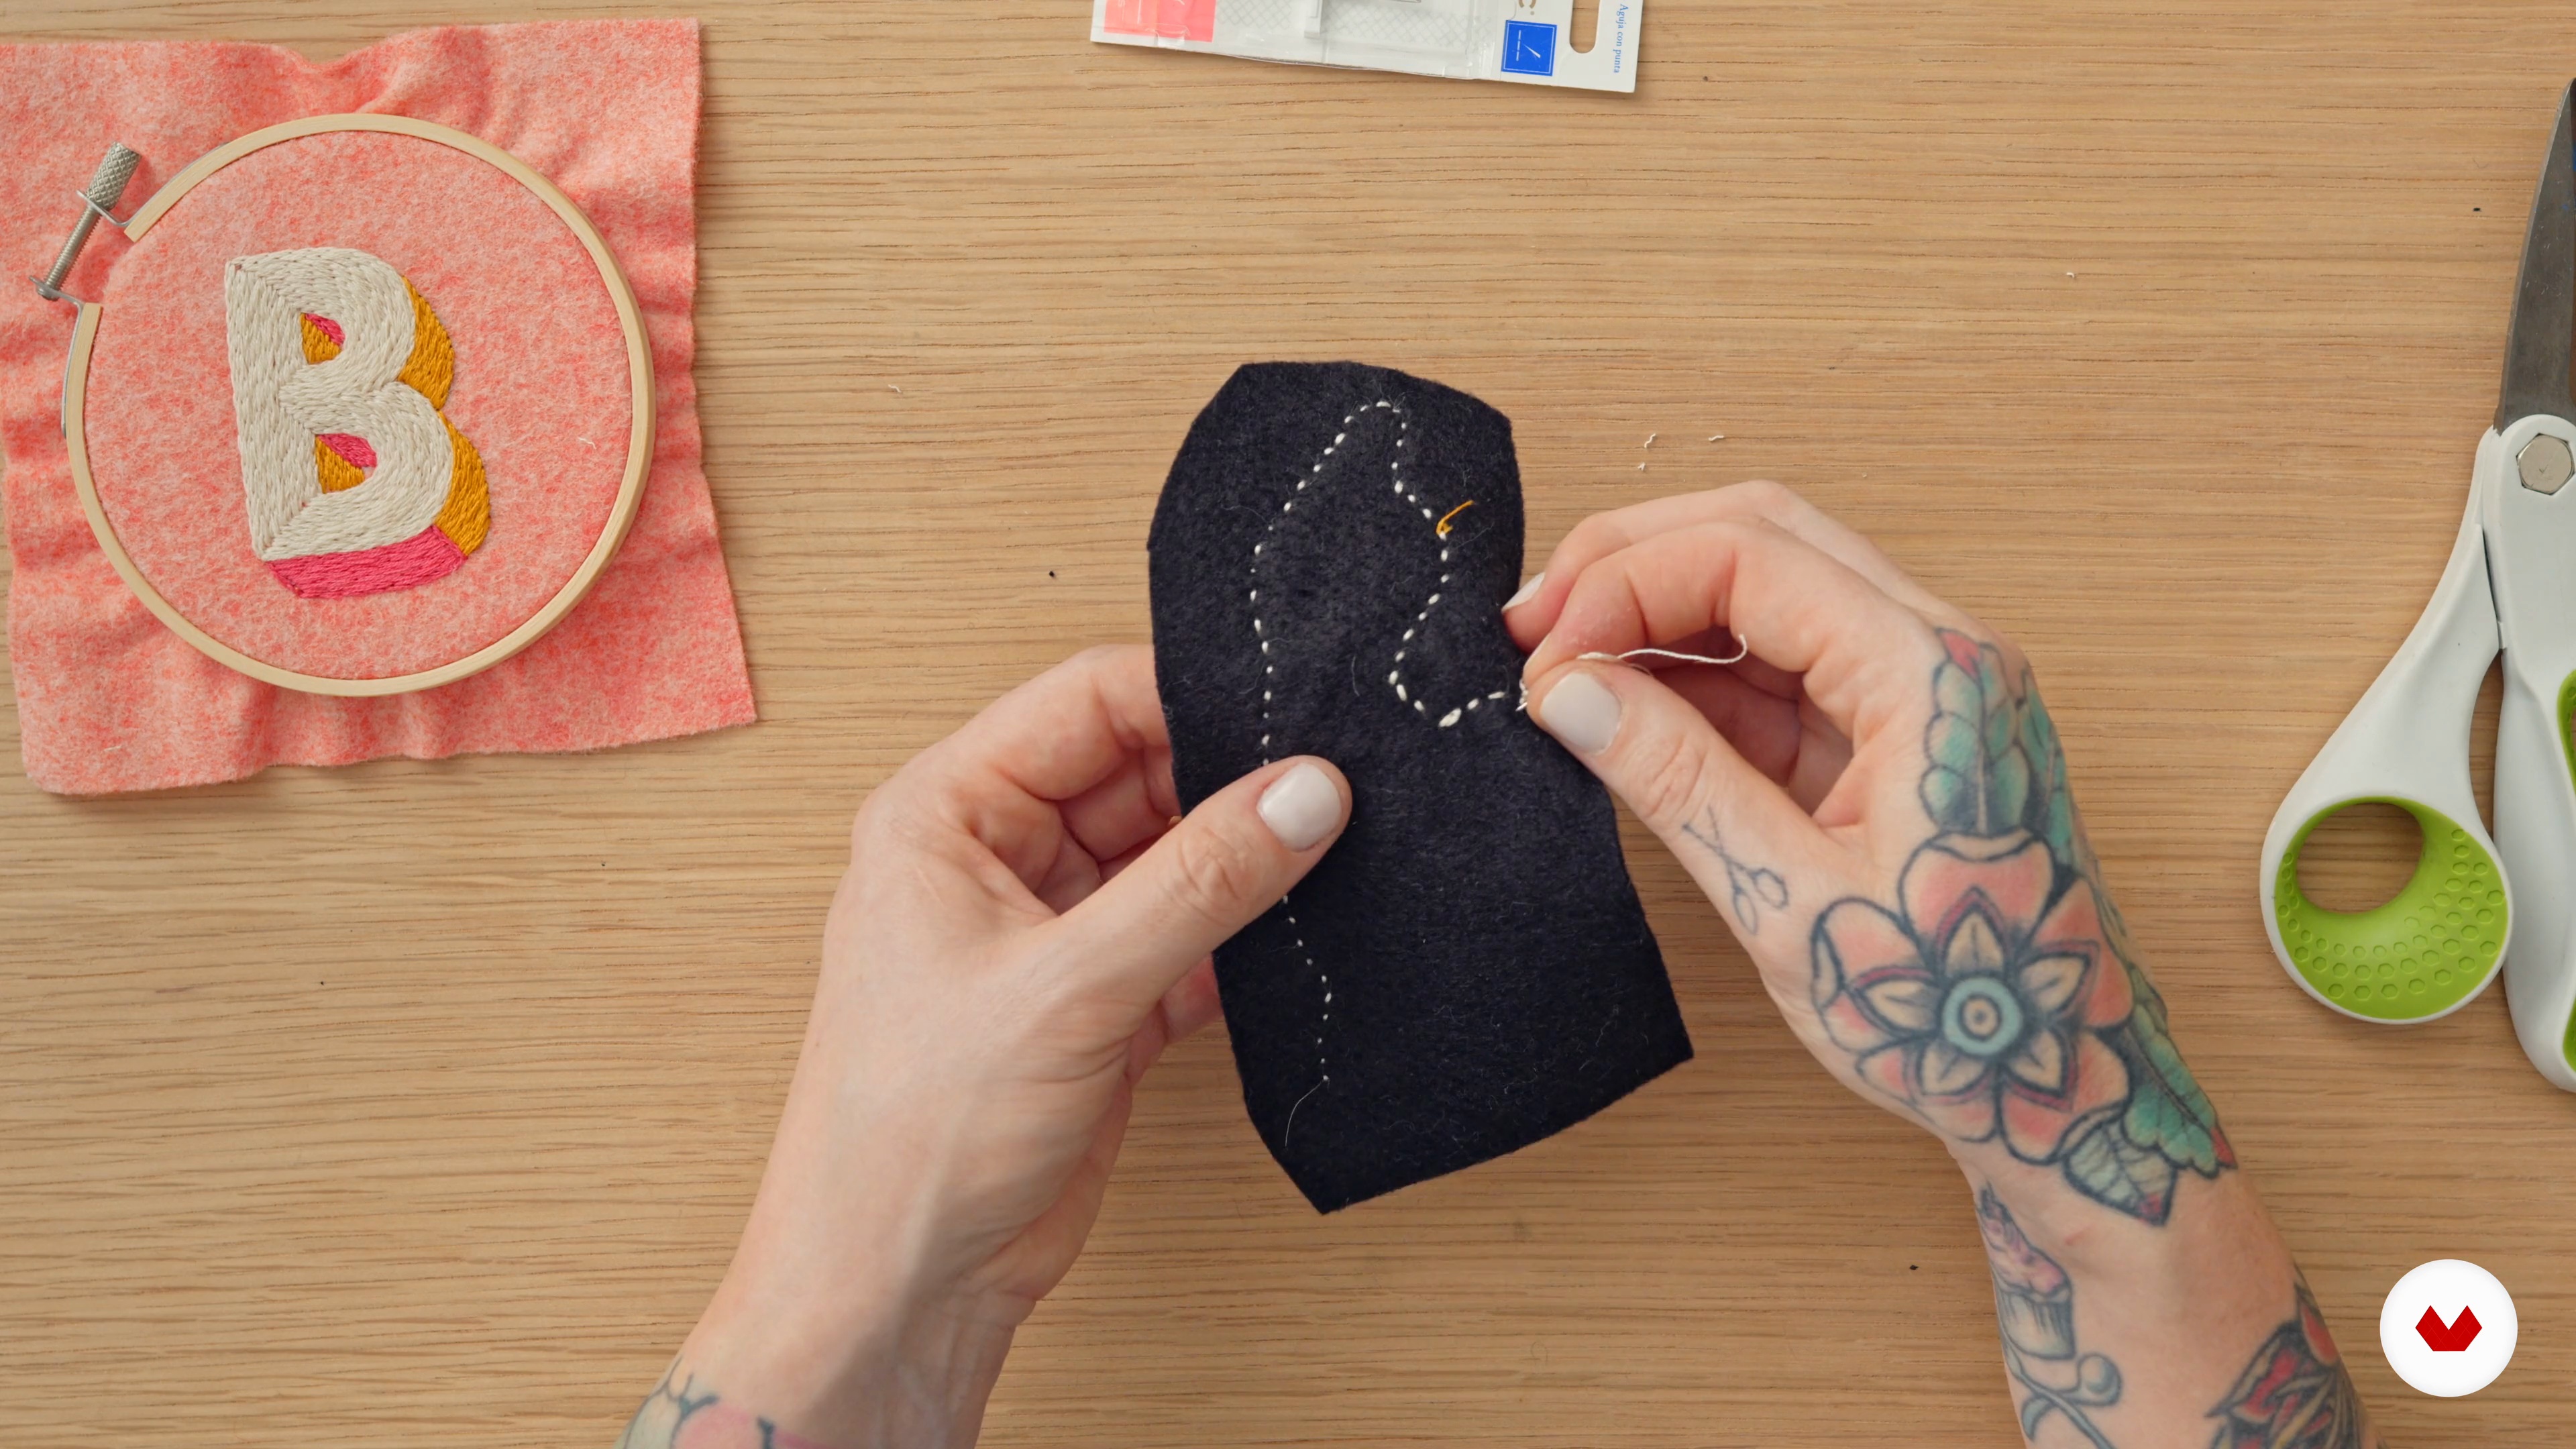
11
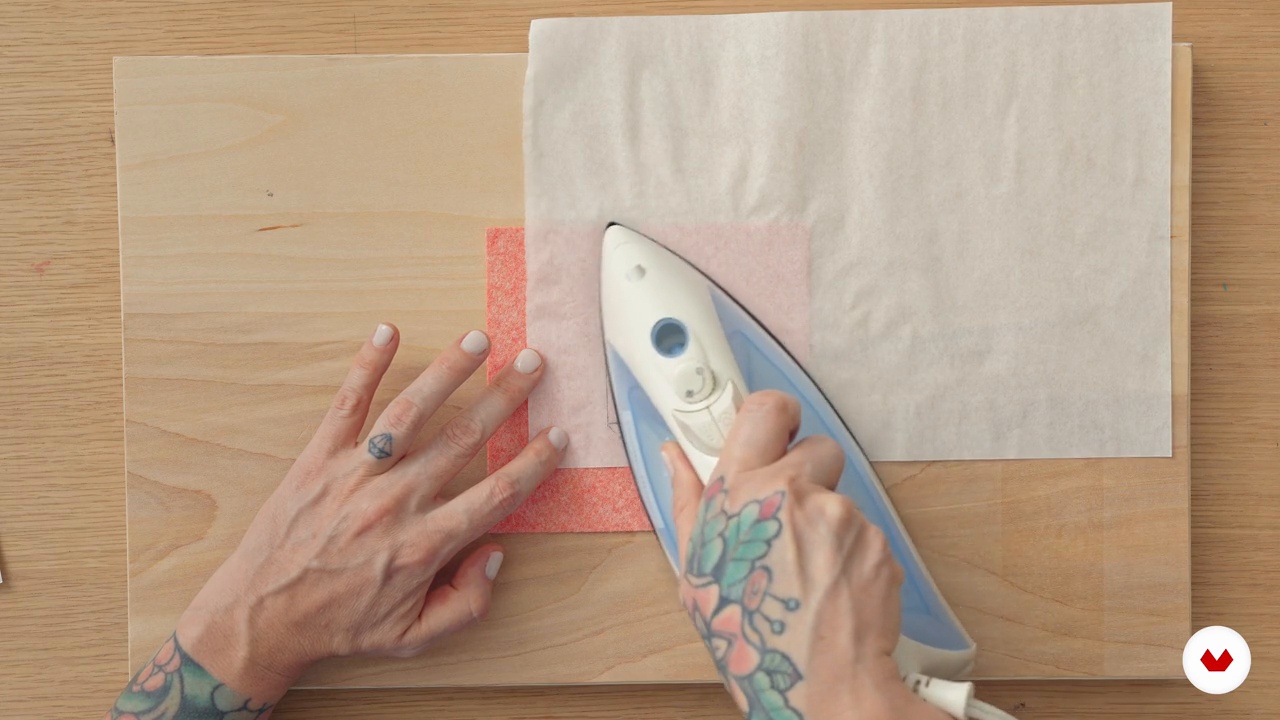
Finishing Your Patch
In this lesson, you’ll transform our embroidered design into a finished patch. I’ll use a simple construction method to add structure to our patch and cover the stitches on the back of the embroidered piece.
13m
image
12
How to Attach and Care for Your Patch
You'll learn how to attach your finished patch to a garment and how to care for the patch to make sure it lasts.
6m
image
13
Alternate Applications
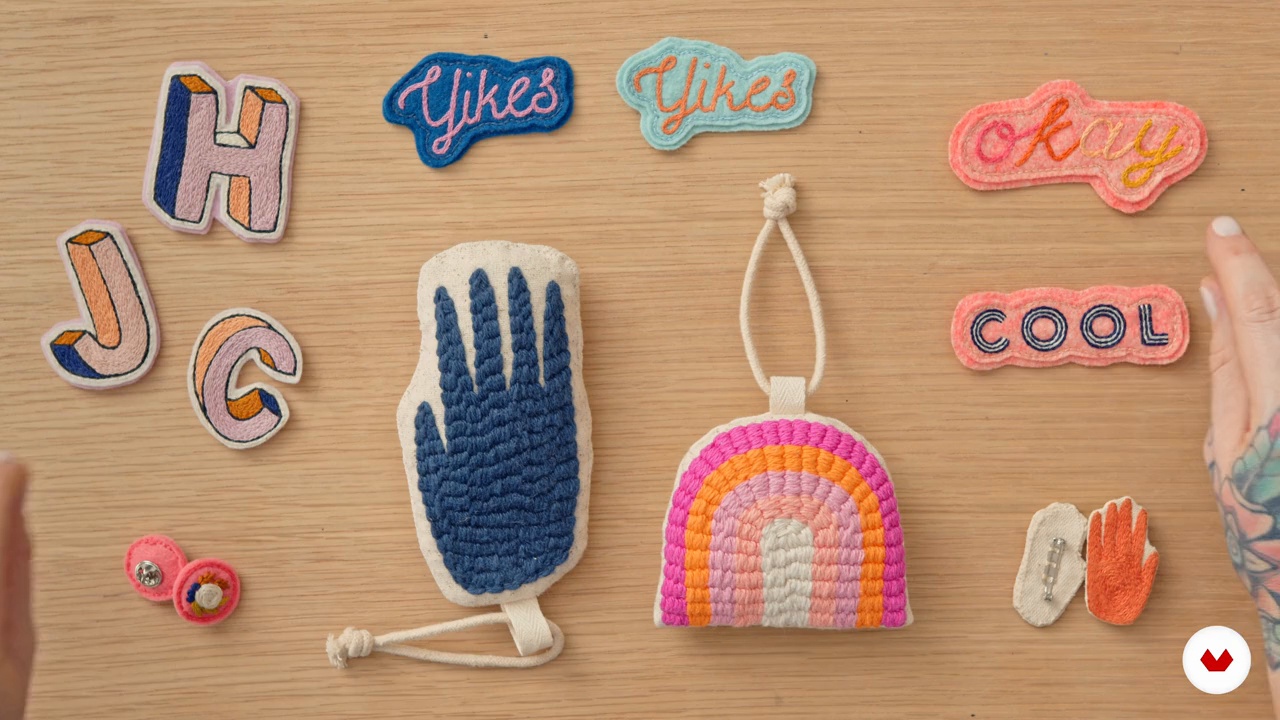
Lastly, I'll suggest other ways you could apply the methods I've covered to create different types of accessories, ornaments, wall art, and more. The possibilities are endless!
3m
image
1
What We Will Learn
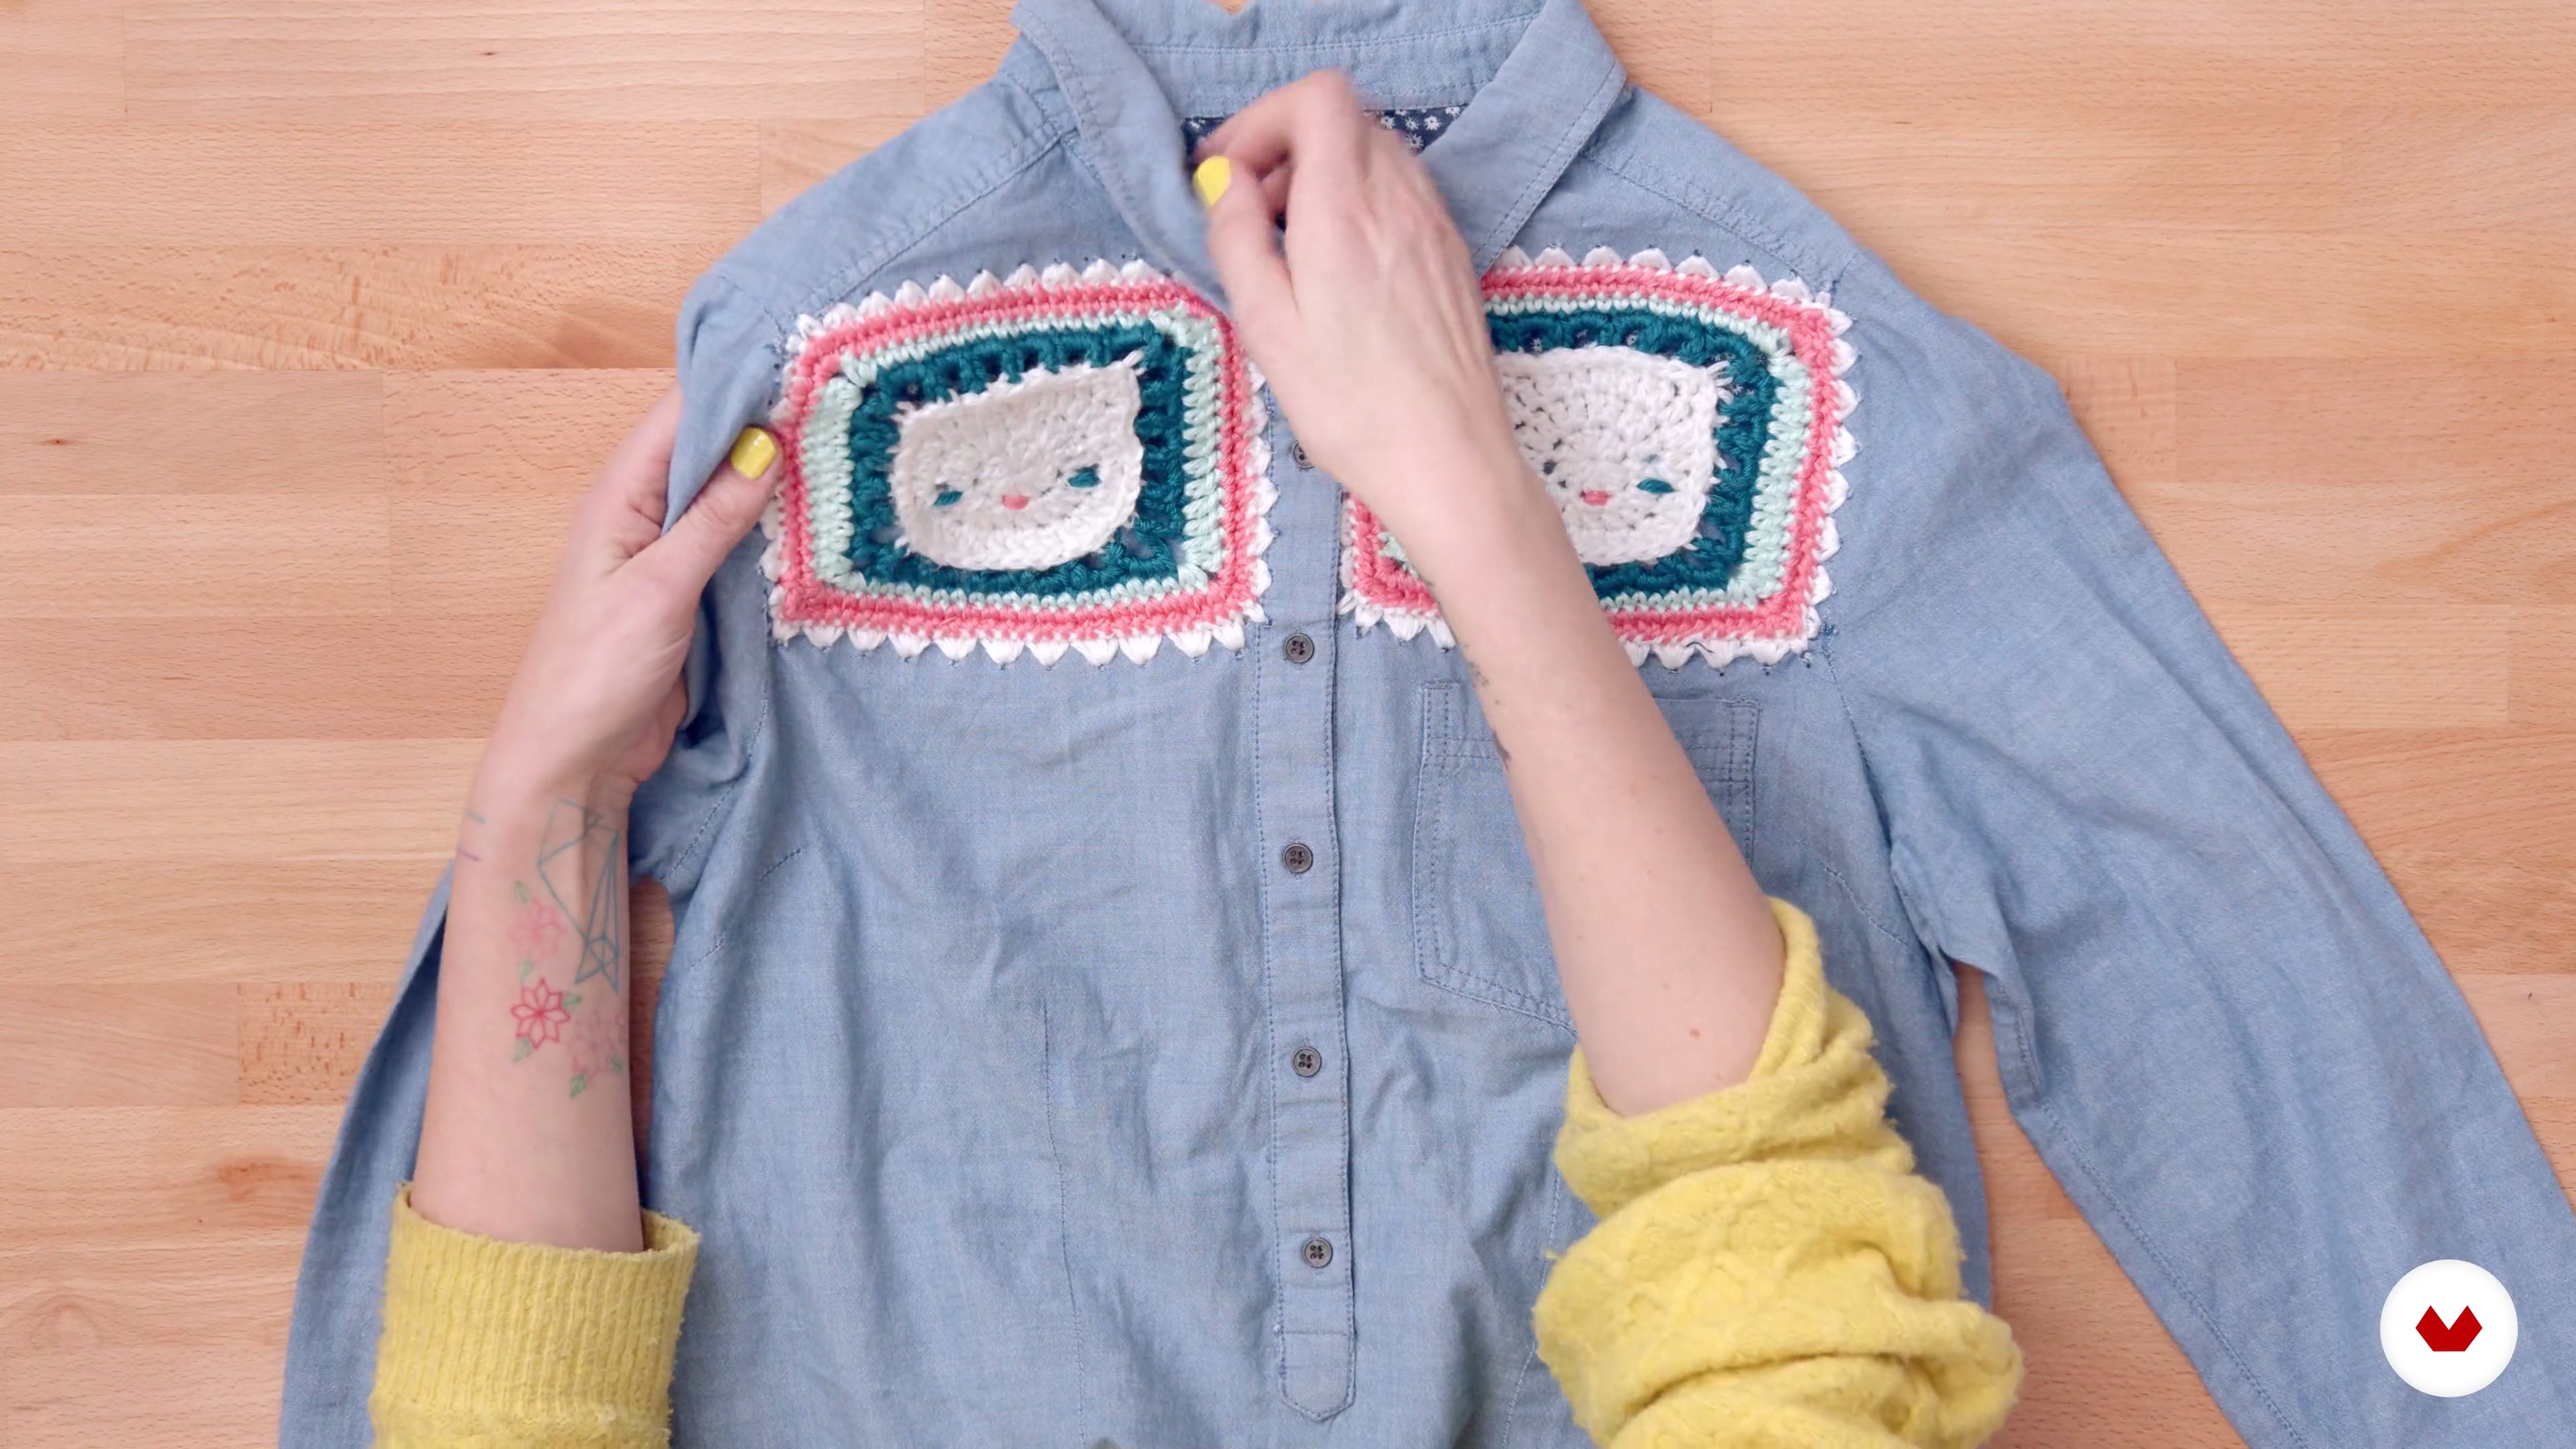
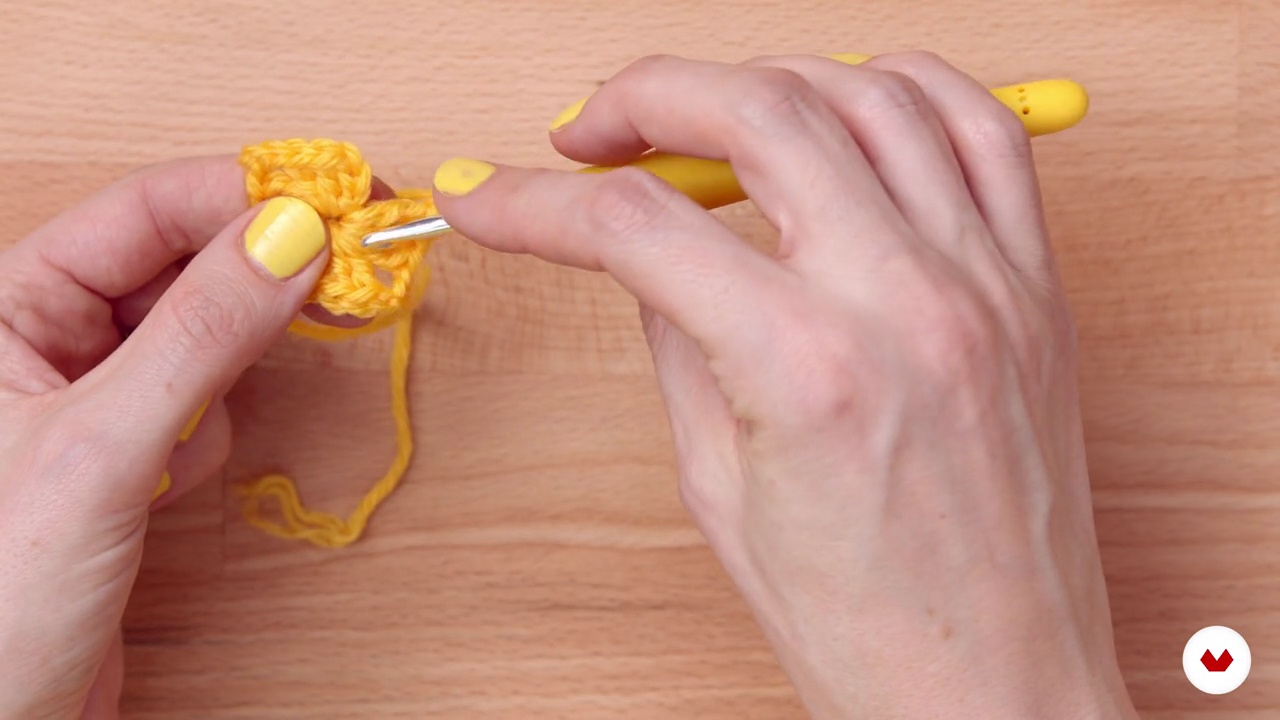
I will talk you through what we will do on the course, with a brief introduction to the granny square as well as an introduction to crochet hacking, the art of upcycling with crochet.
1m
image
2
Choosing Yarn
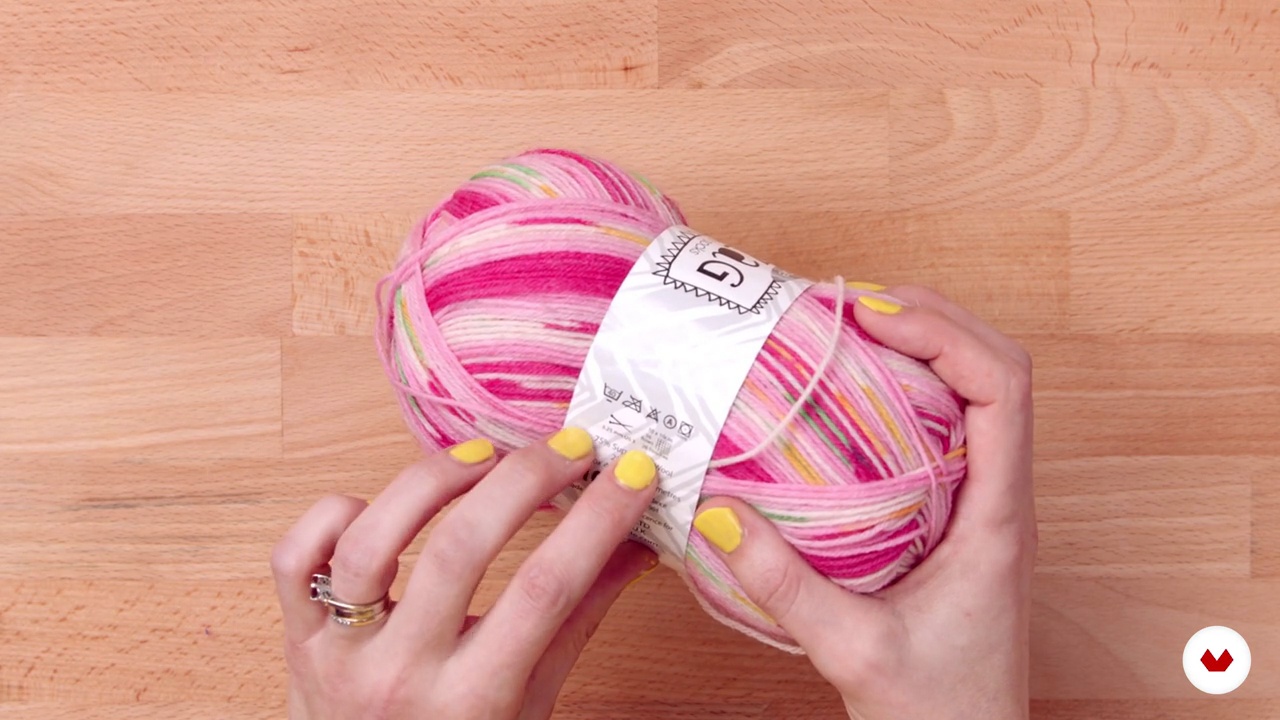
In this lesson, you will get to grips with how to understand the info sleeves on packs of yarn, and we will look at different types of yarn so that you can begin to tell your cotton from your acrylic and choose the best material for your project.
5m
image
3
Choosing the Hooks and Other Tools
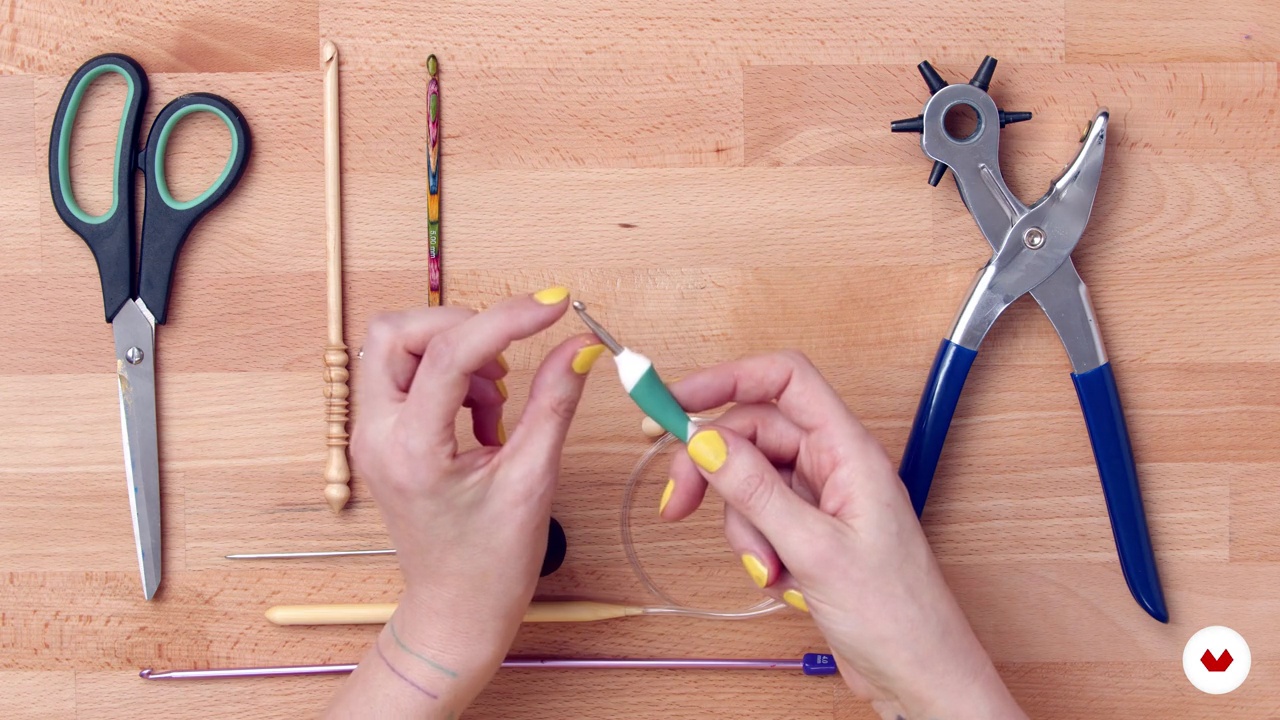
You are going to learn how to choose the right hook for a project, I will show different hooks and explain their different properties.
6m
image
4
Chain and Slip Stitch
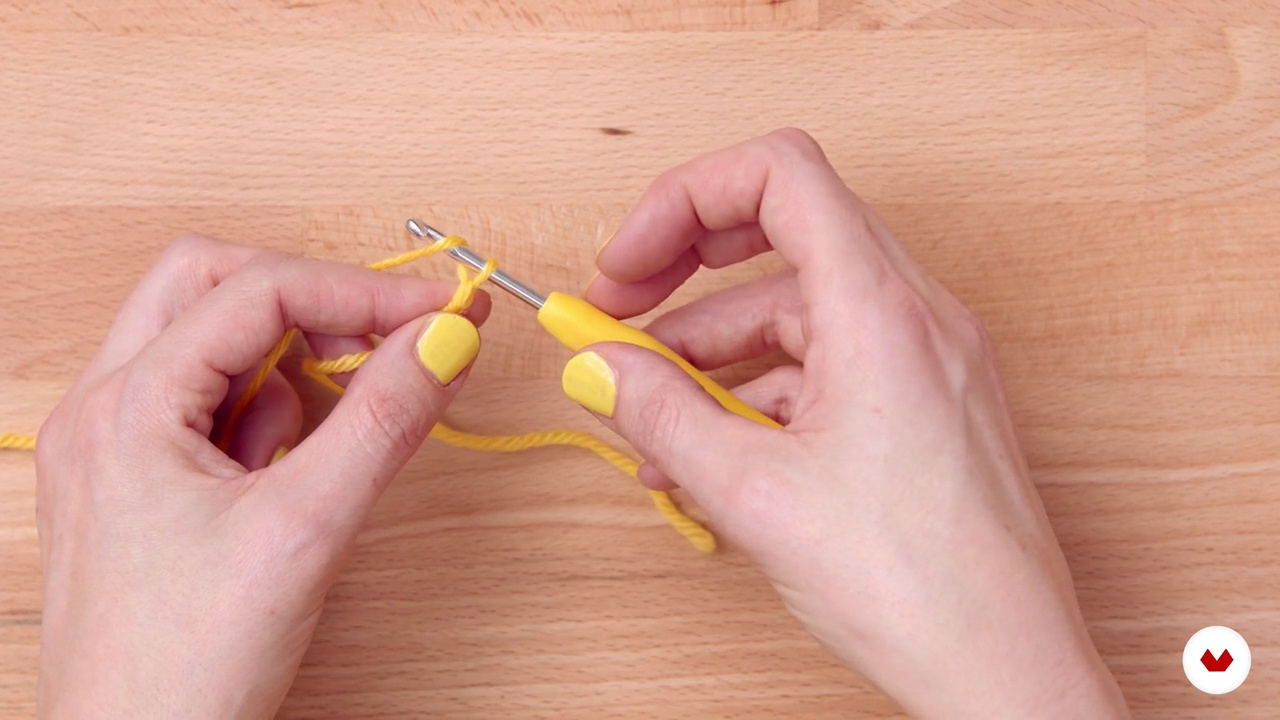
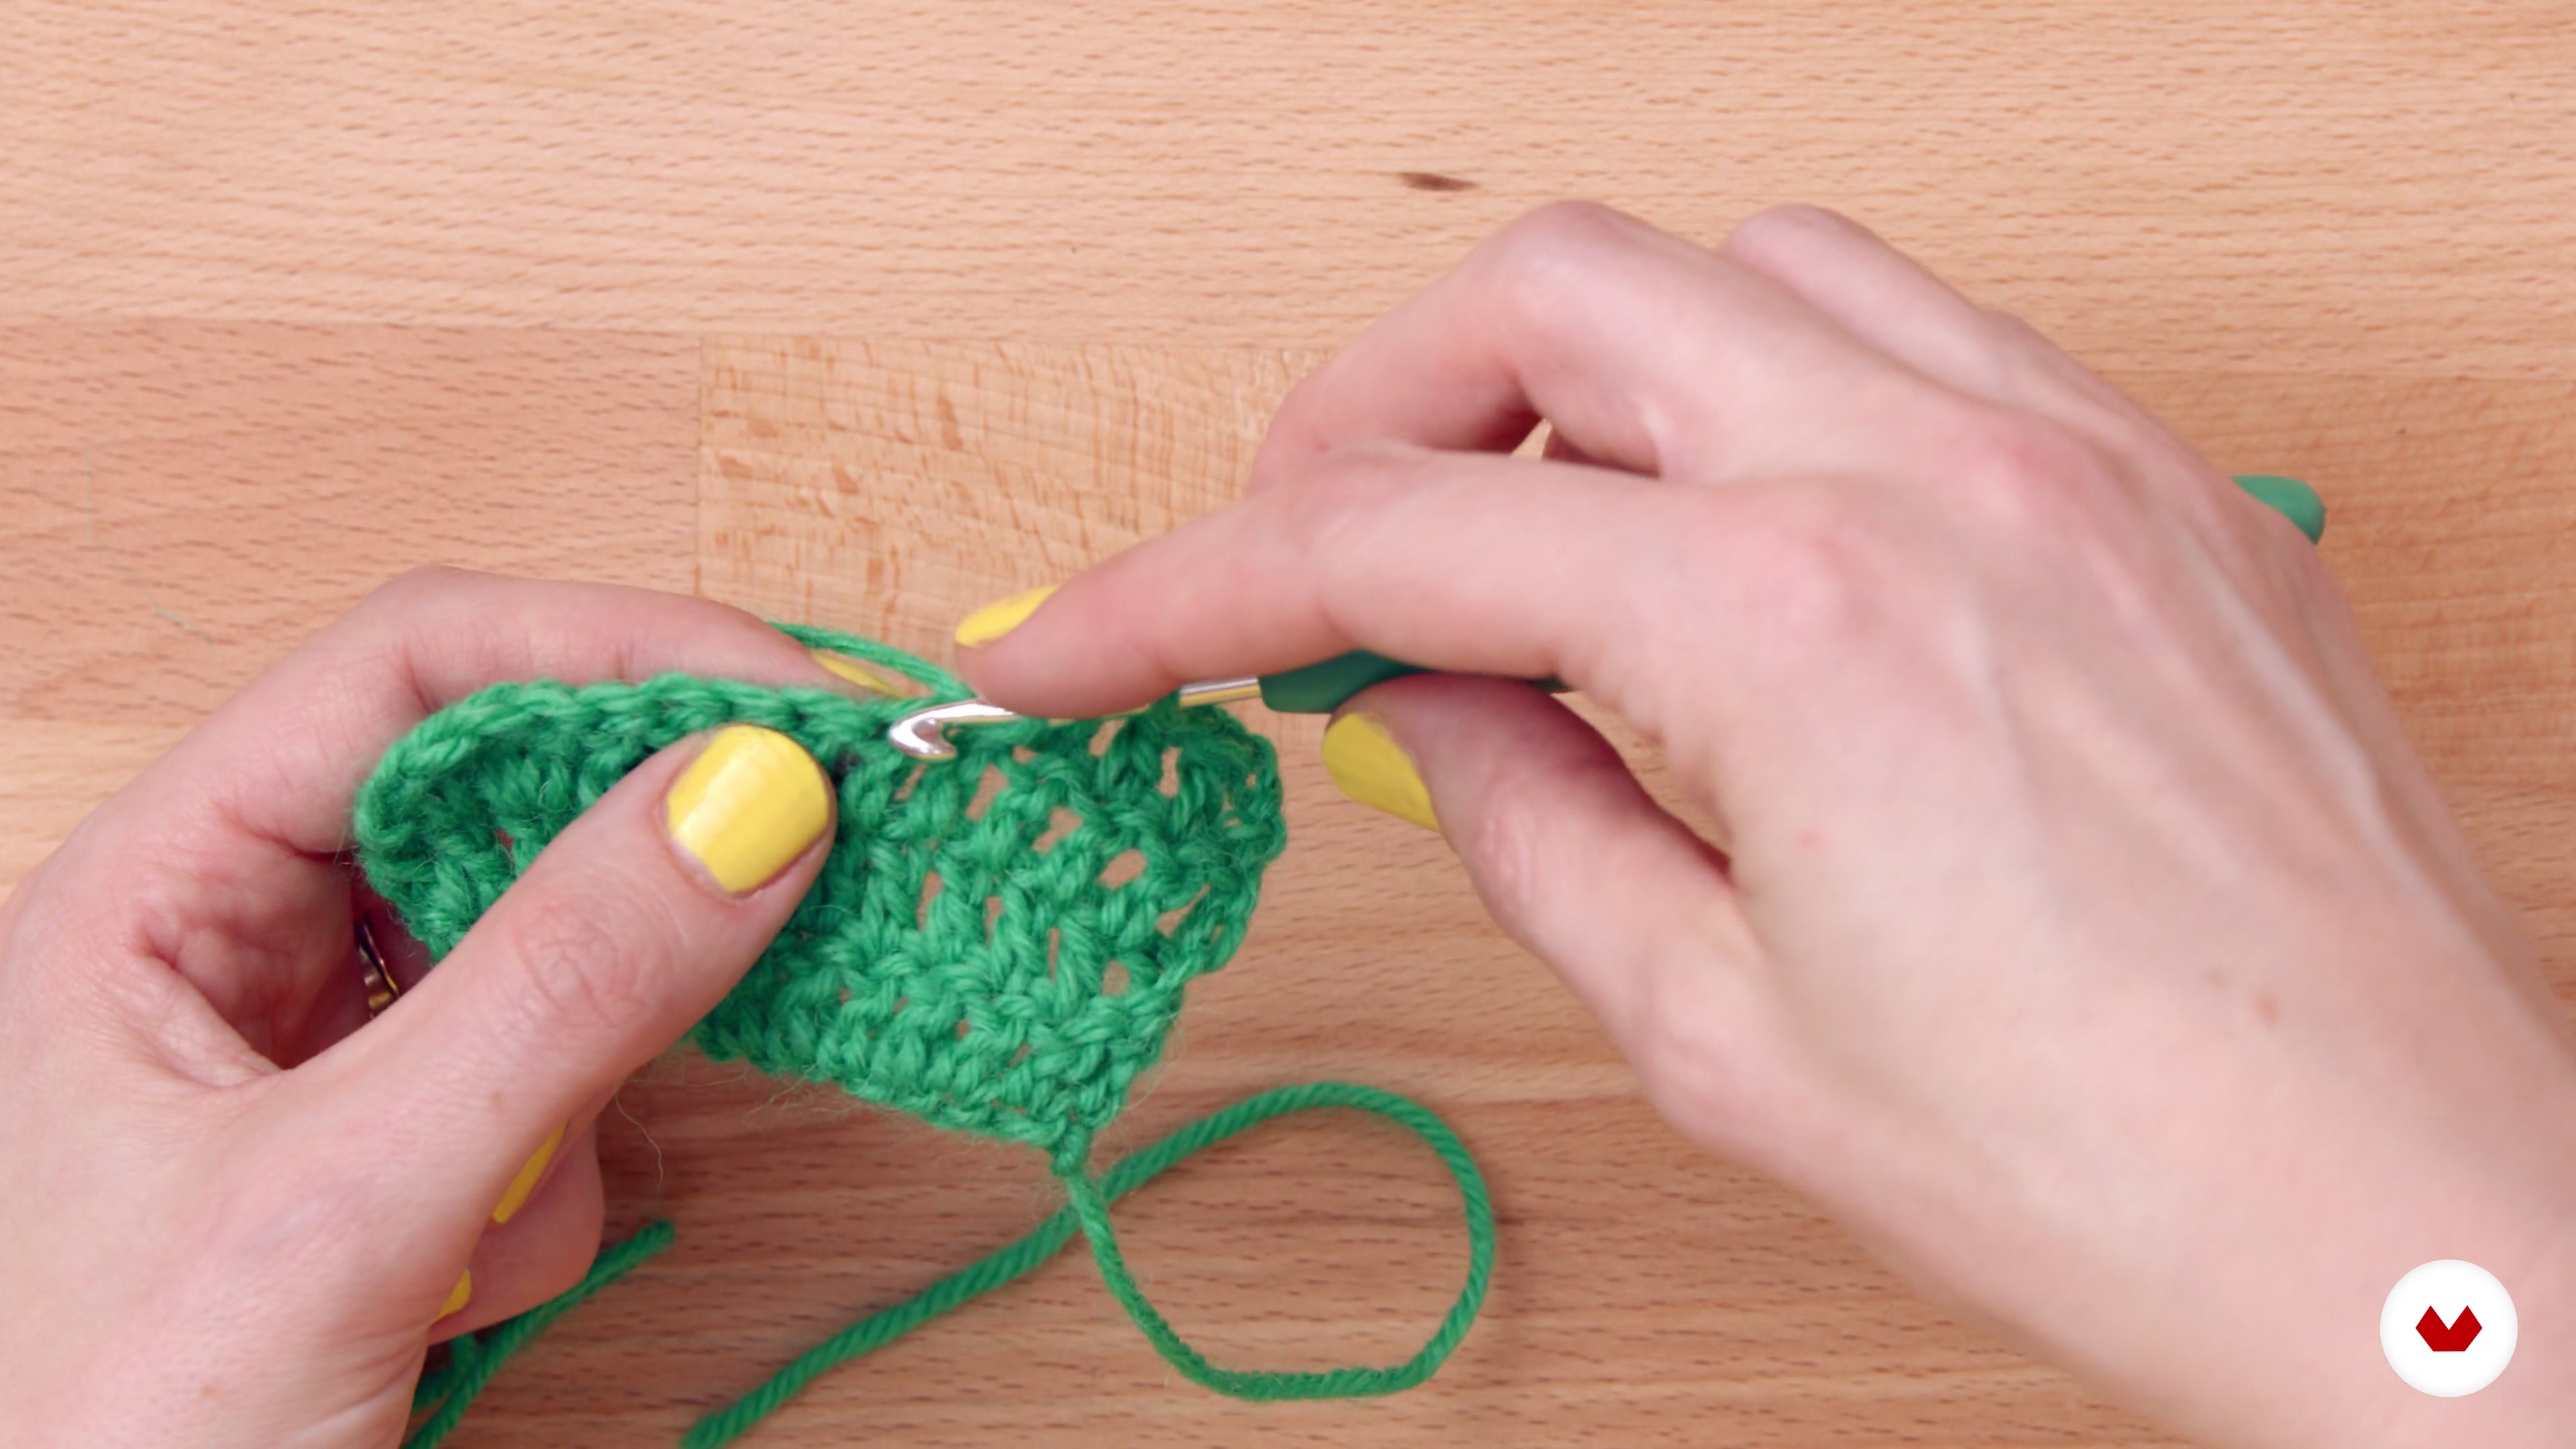
Now, you will learn how to hold the yarn, create a slip stitch and work a chain stitch. If you ever learned finger knitting as a child, this is exactly the same thing, just using a crochet hook instead of a finger! It makes a stitch that looks just like the chain of a necklace.
4m
image
5
Double Crochet
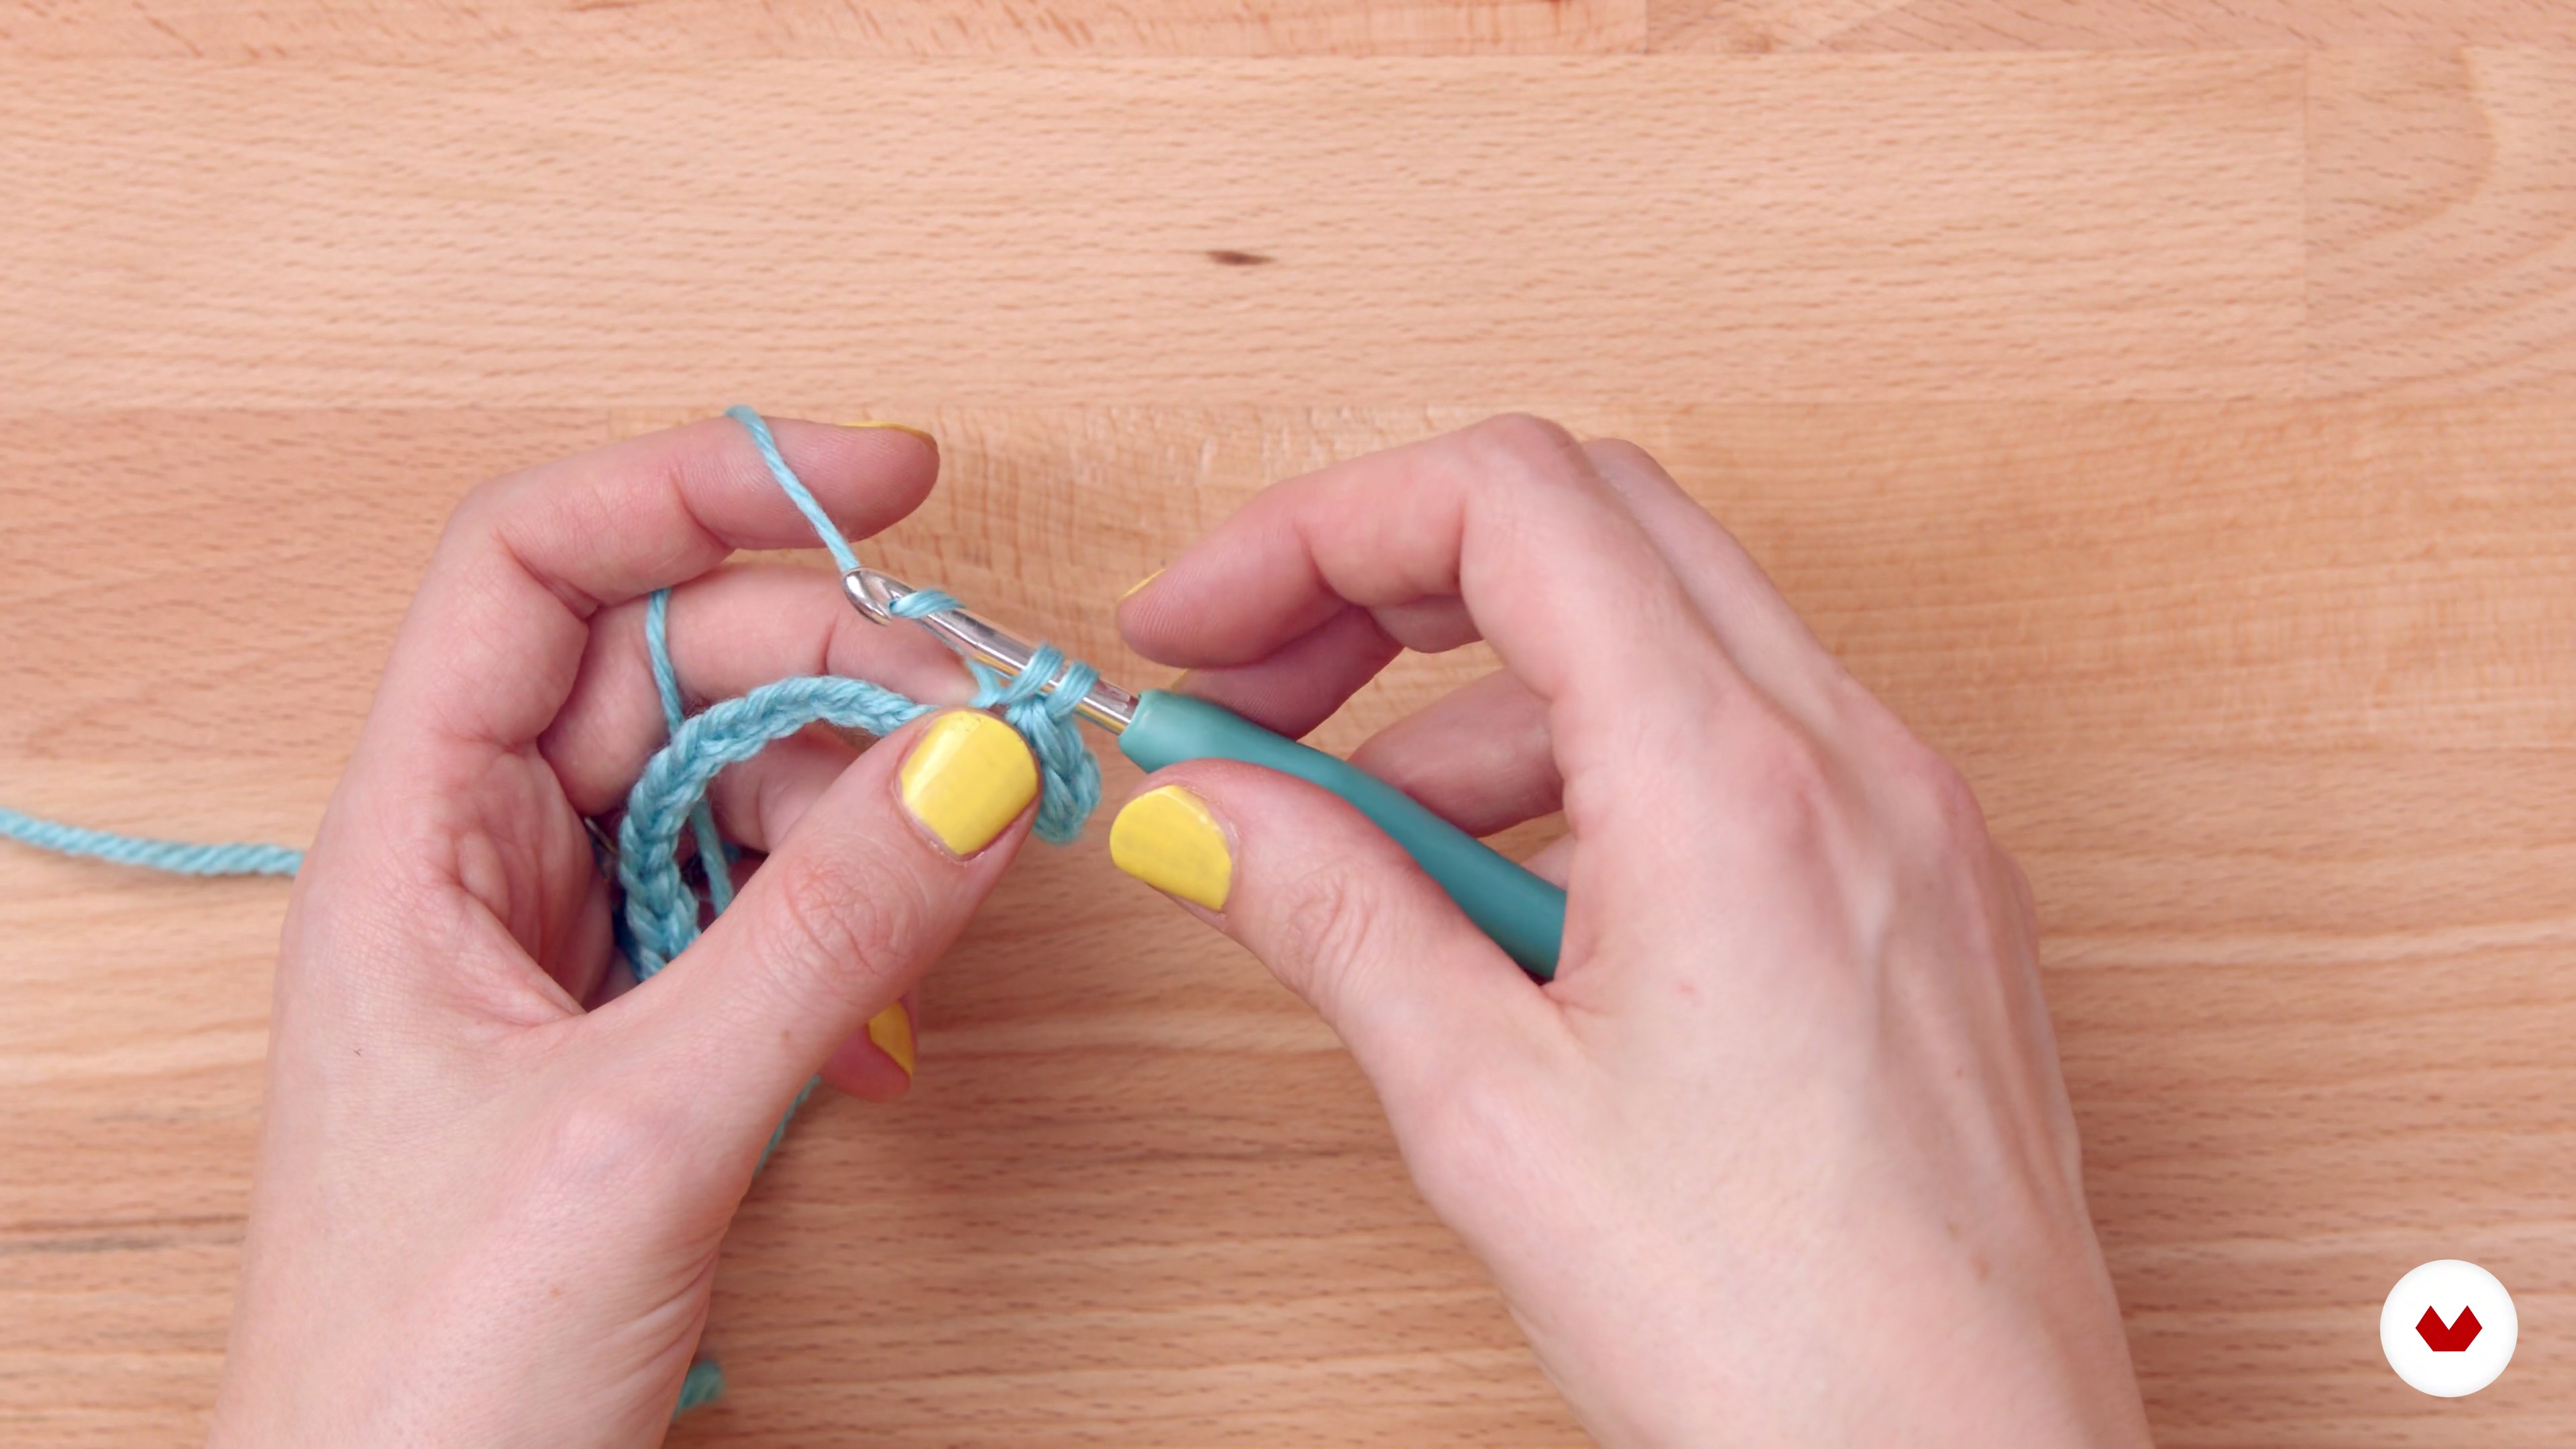
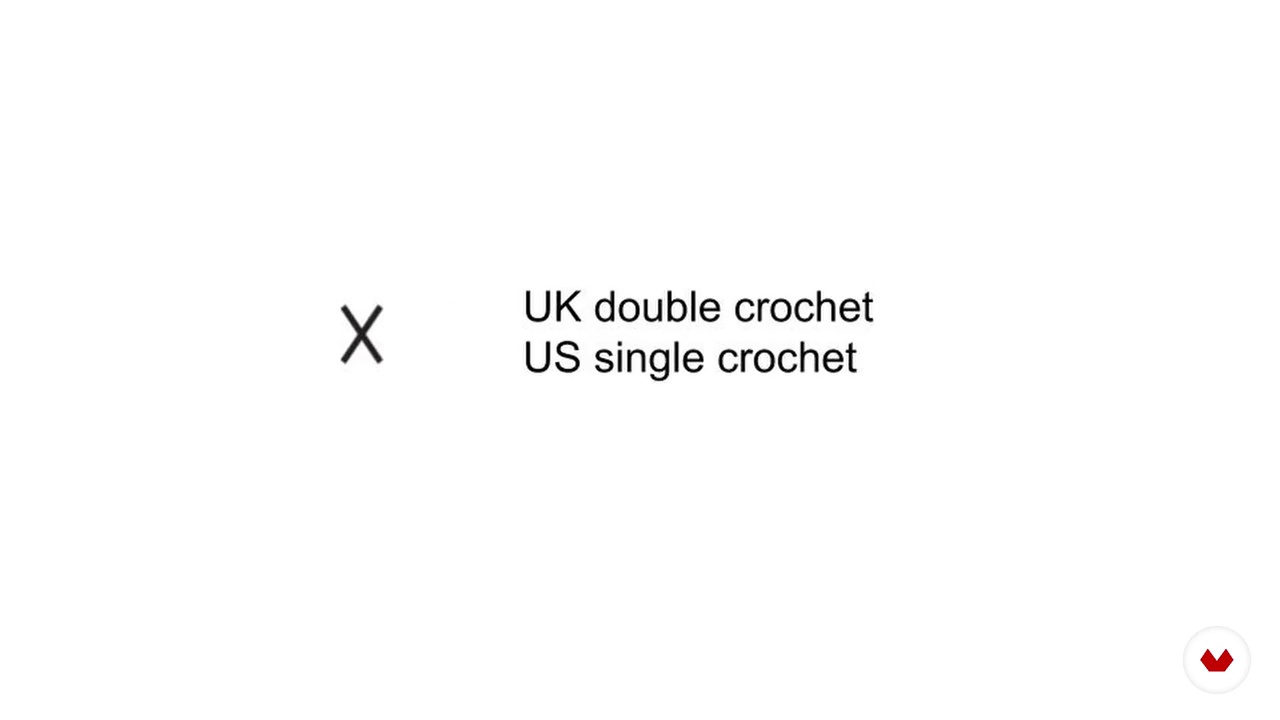
In this lesson, you will learn how to make a UK double crochet or a US single crochet. This is as simple as pulling one loop of yarn through another using a crochet hook.
5m
image
6
Treble Crochet
Learn how to make a UK treble crochet or a US double crochet. This uses the same technique as a UK double crochet but make a stitch that is twice the height.
5m
image
7
Increasing and Decreasing
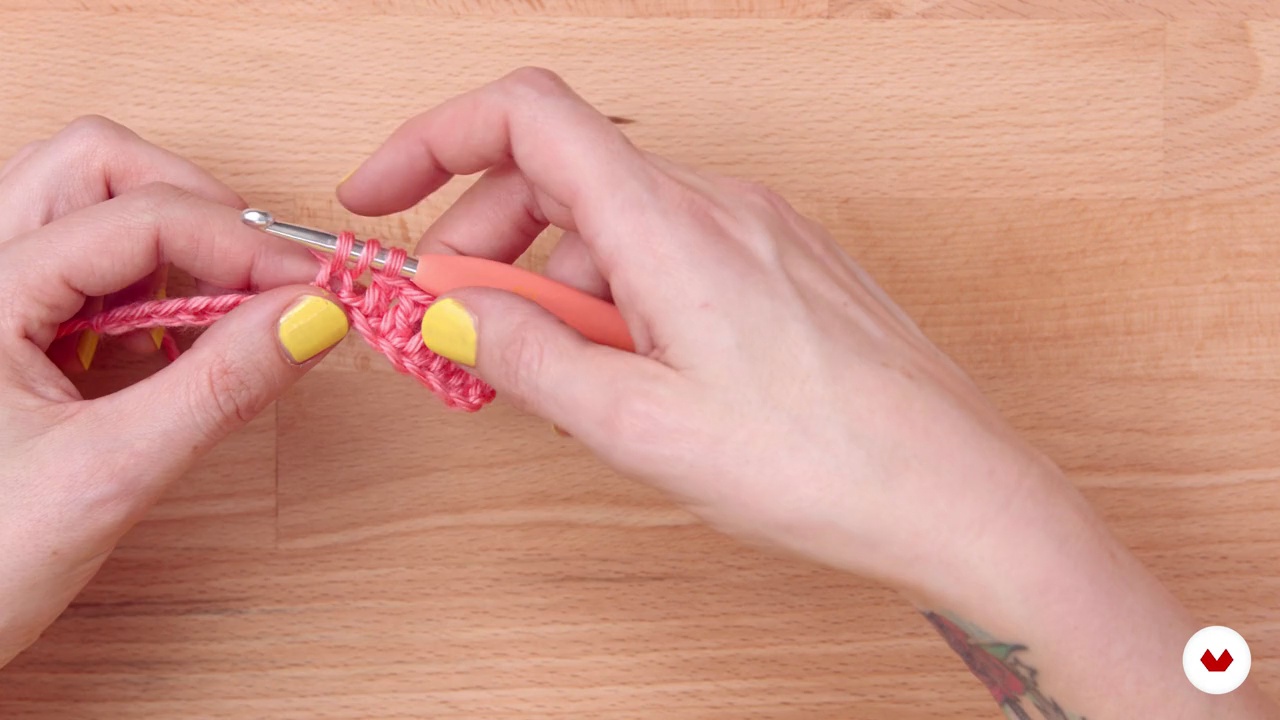
Let me show you how to increase and decrease stitches. These techniques are used to create shape in garments, add patterns in your work or help you to create corners in a square.
6m
image
8
How Crochet Can Be Used for Upcycling
In this lesson, you will begin to explore the different possibilities of upcycling and remaking using crochet.
5m
image
9
Choosing Colours
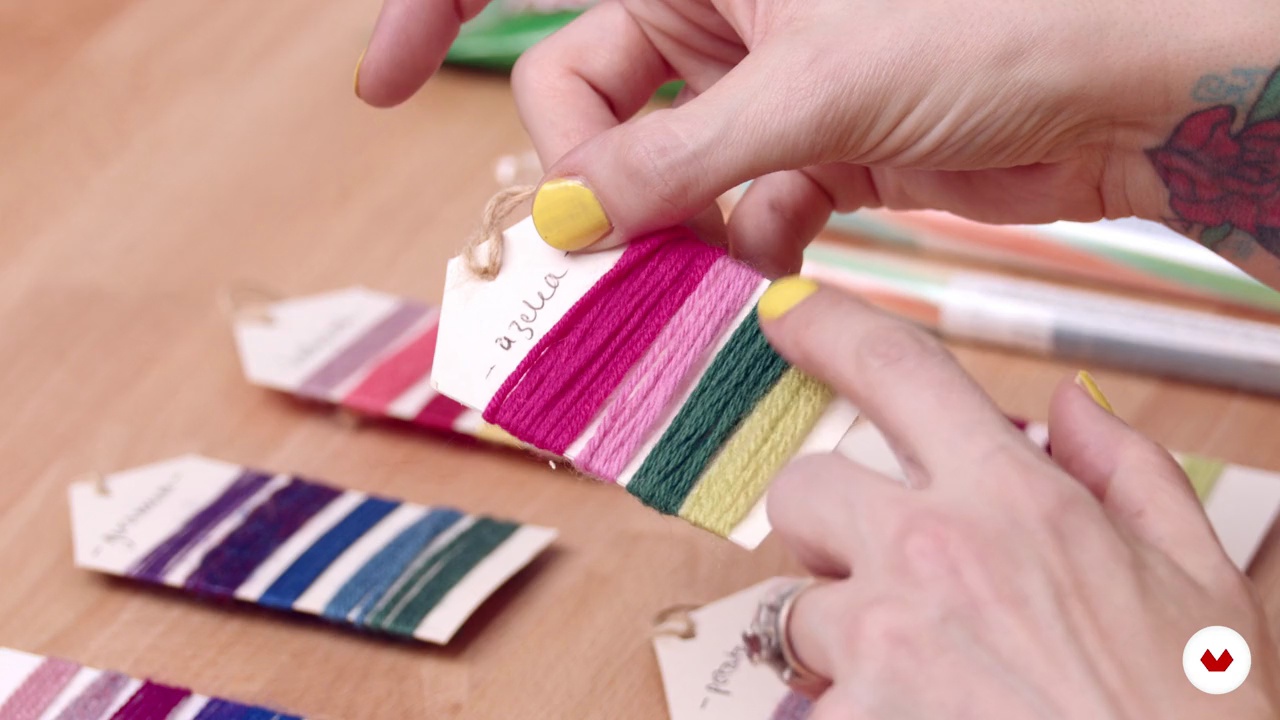
I will share with you the way that I create colour palettes for different projects and show you how to make your own.
9m
image
10
How to Read a Pattern
During this lesson, you will learn how to read written crochet patterns and understand the symbols on crochet charts.
3m
image
11
Making a Square 1
In this lesson, I will show you how to start and make the first round of a square and secure the yarn at the end.
6m
image
12
Making a Square 2
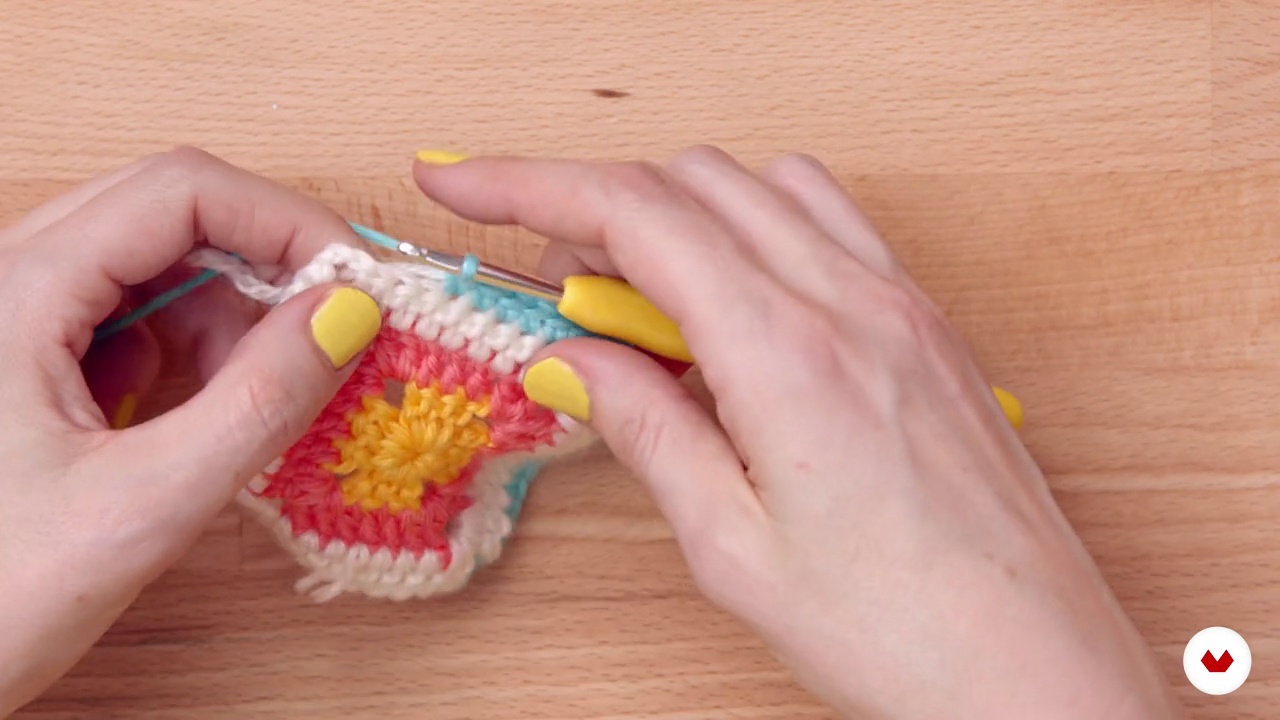
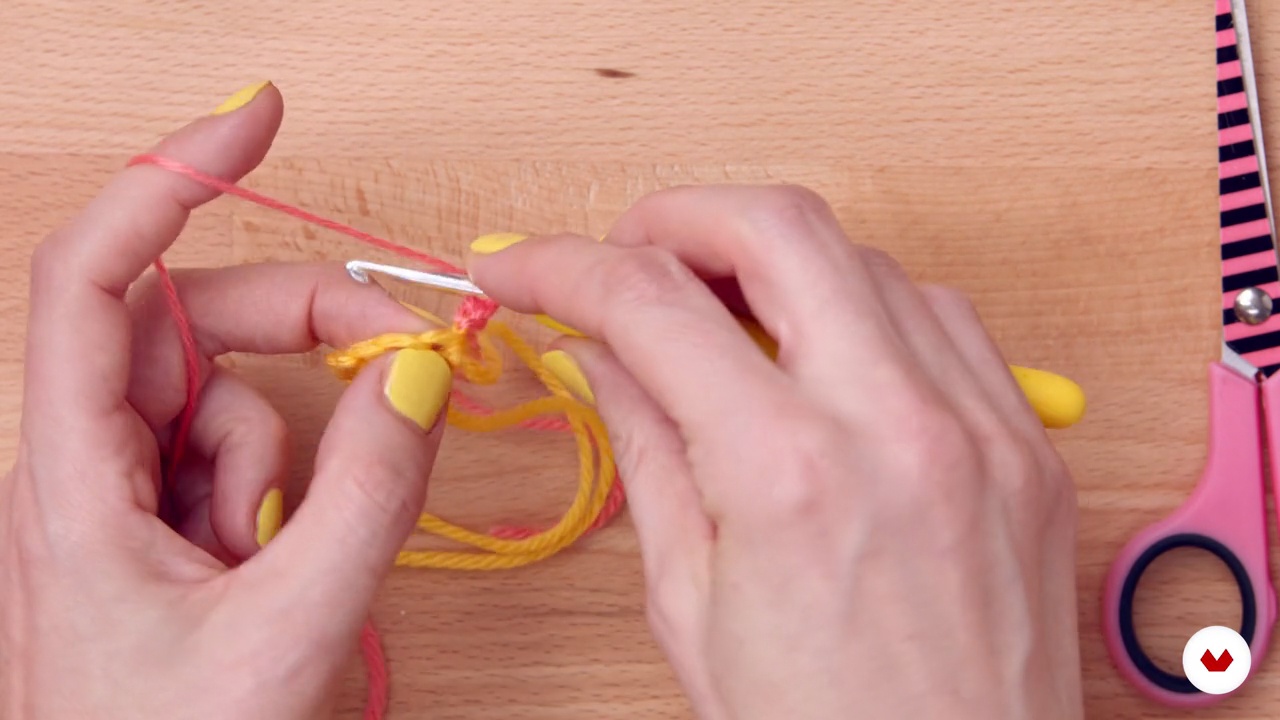
In this second part of the lesson, I will show you how to join on a new colour, work further rounds, fasten off yarn and weave in the ends.
16m
image
13
Making a Half Square
Now, I will show you how to start and make the first row of a triangle and secure the yarn at the end.
8m
image
14
How to Prepare the Flip-Flop
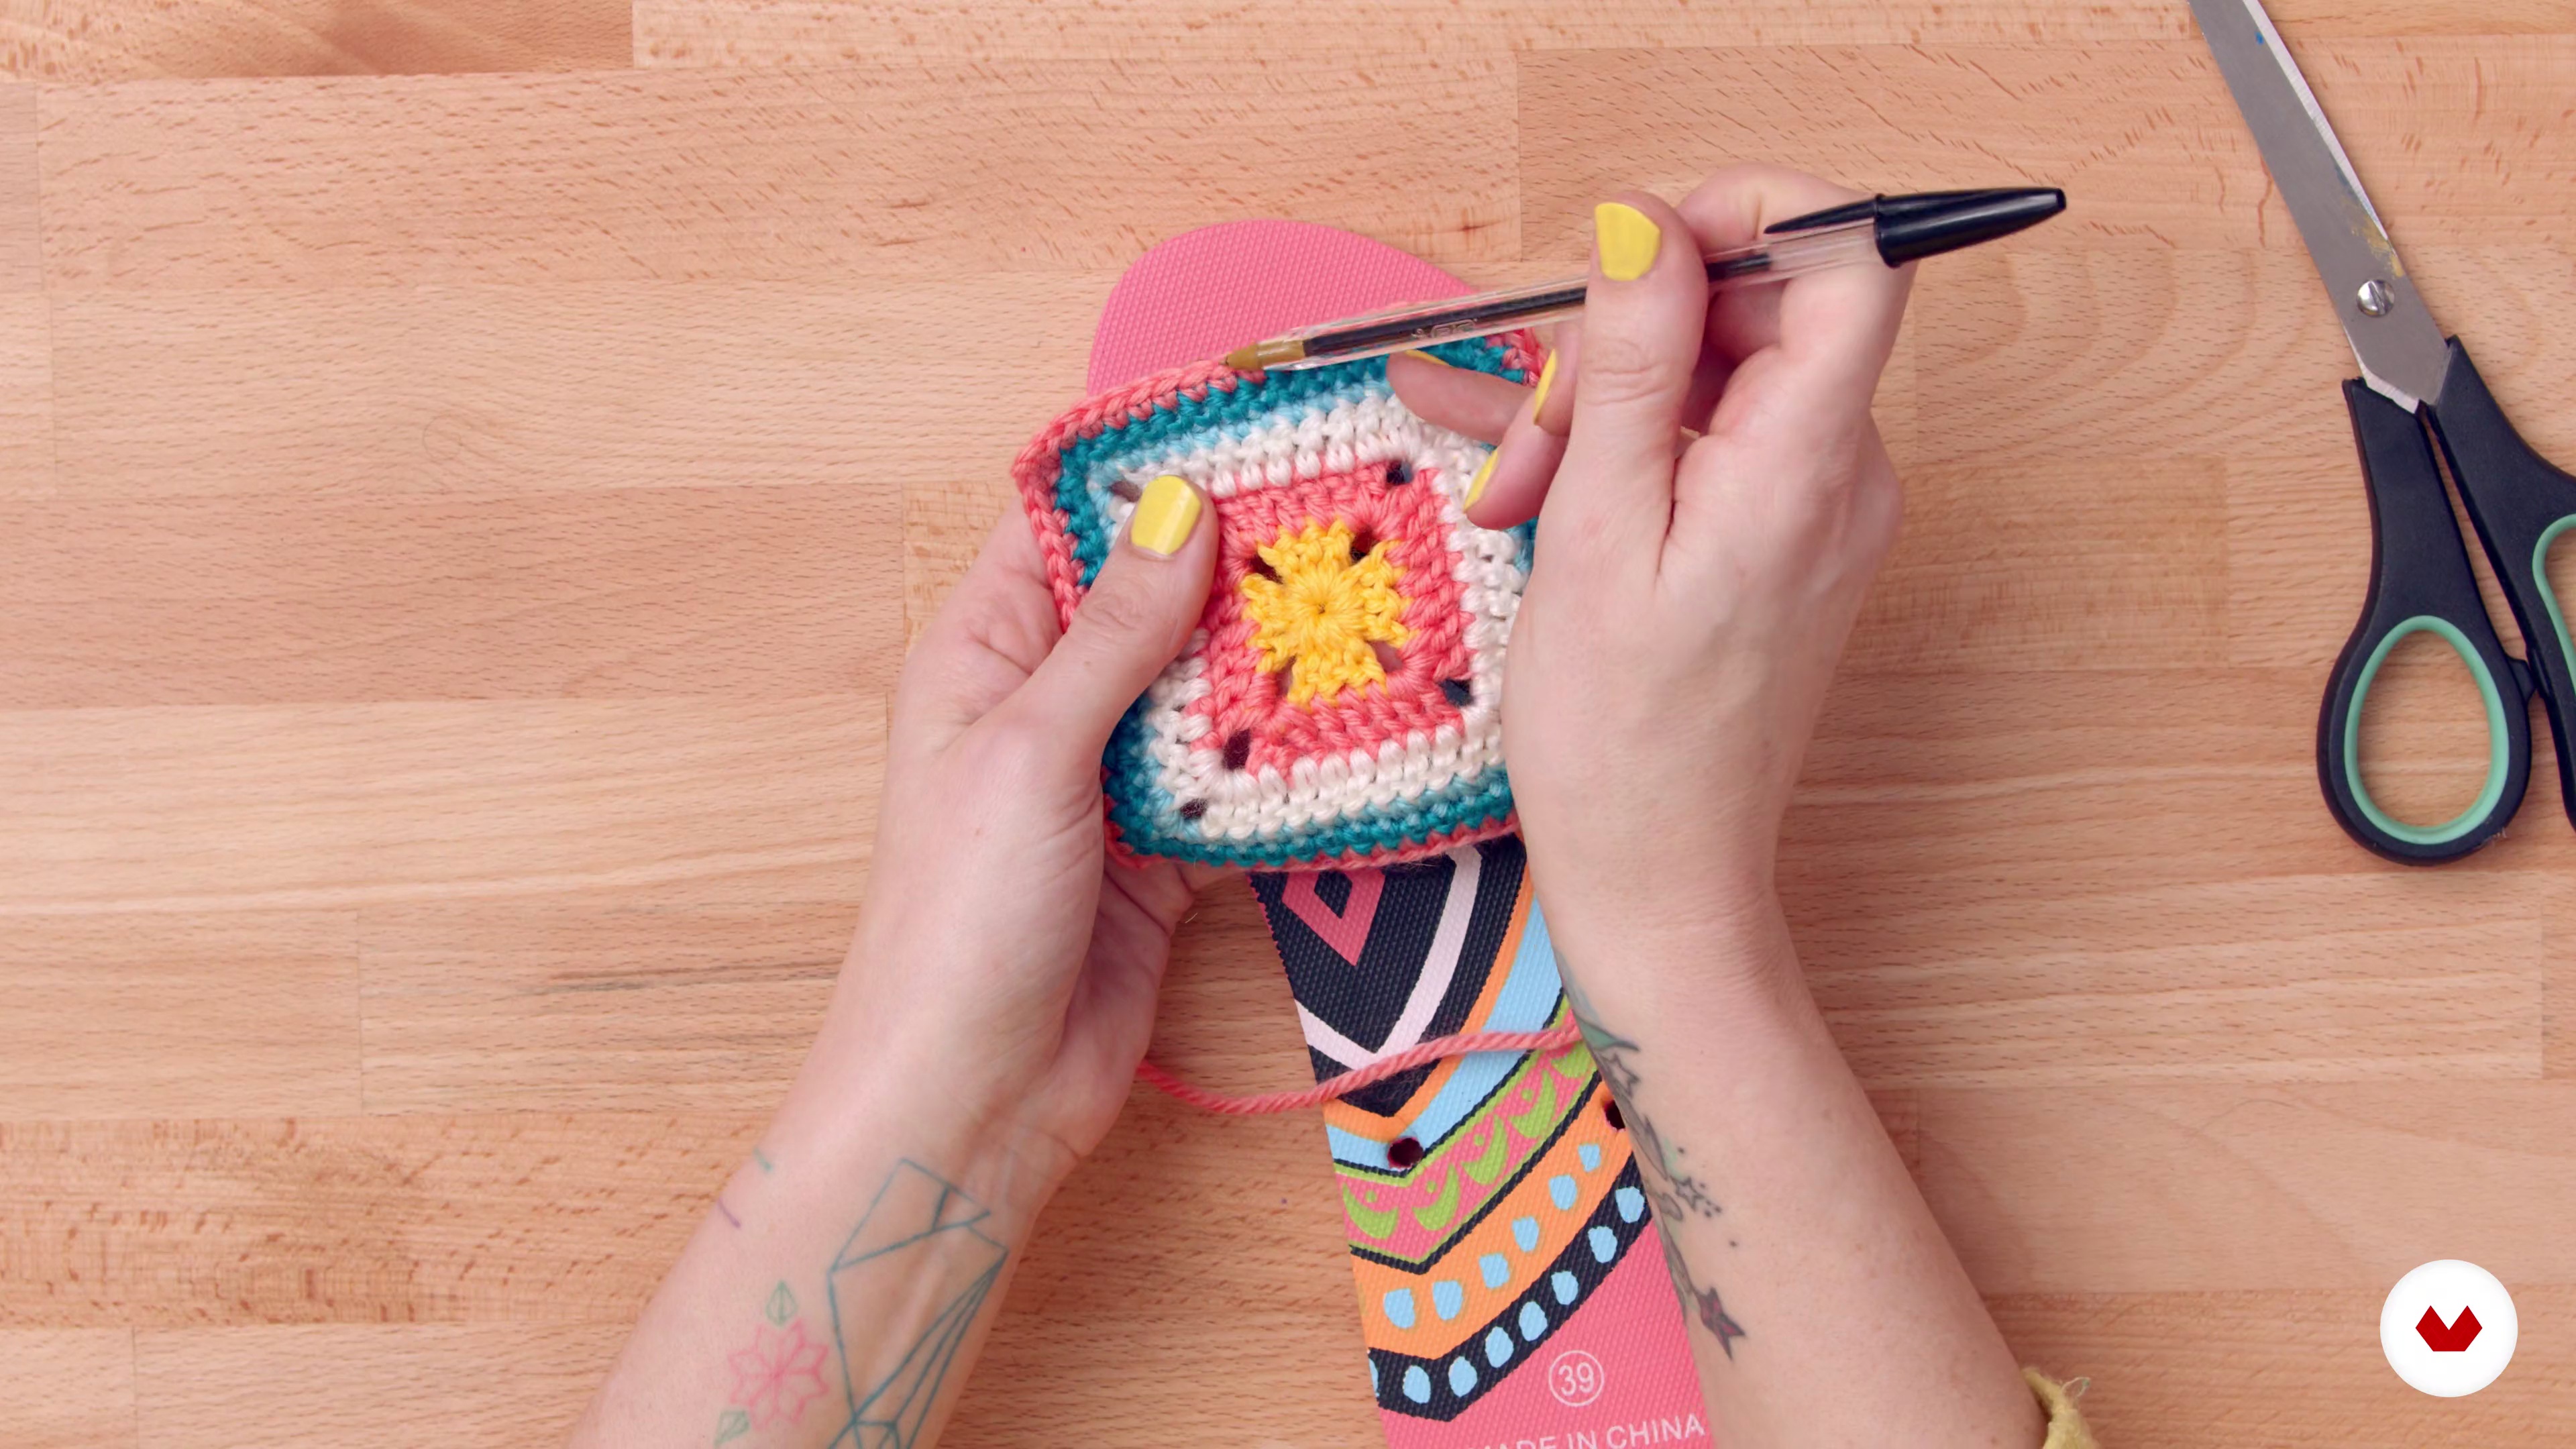
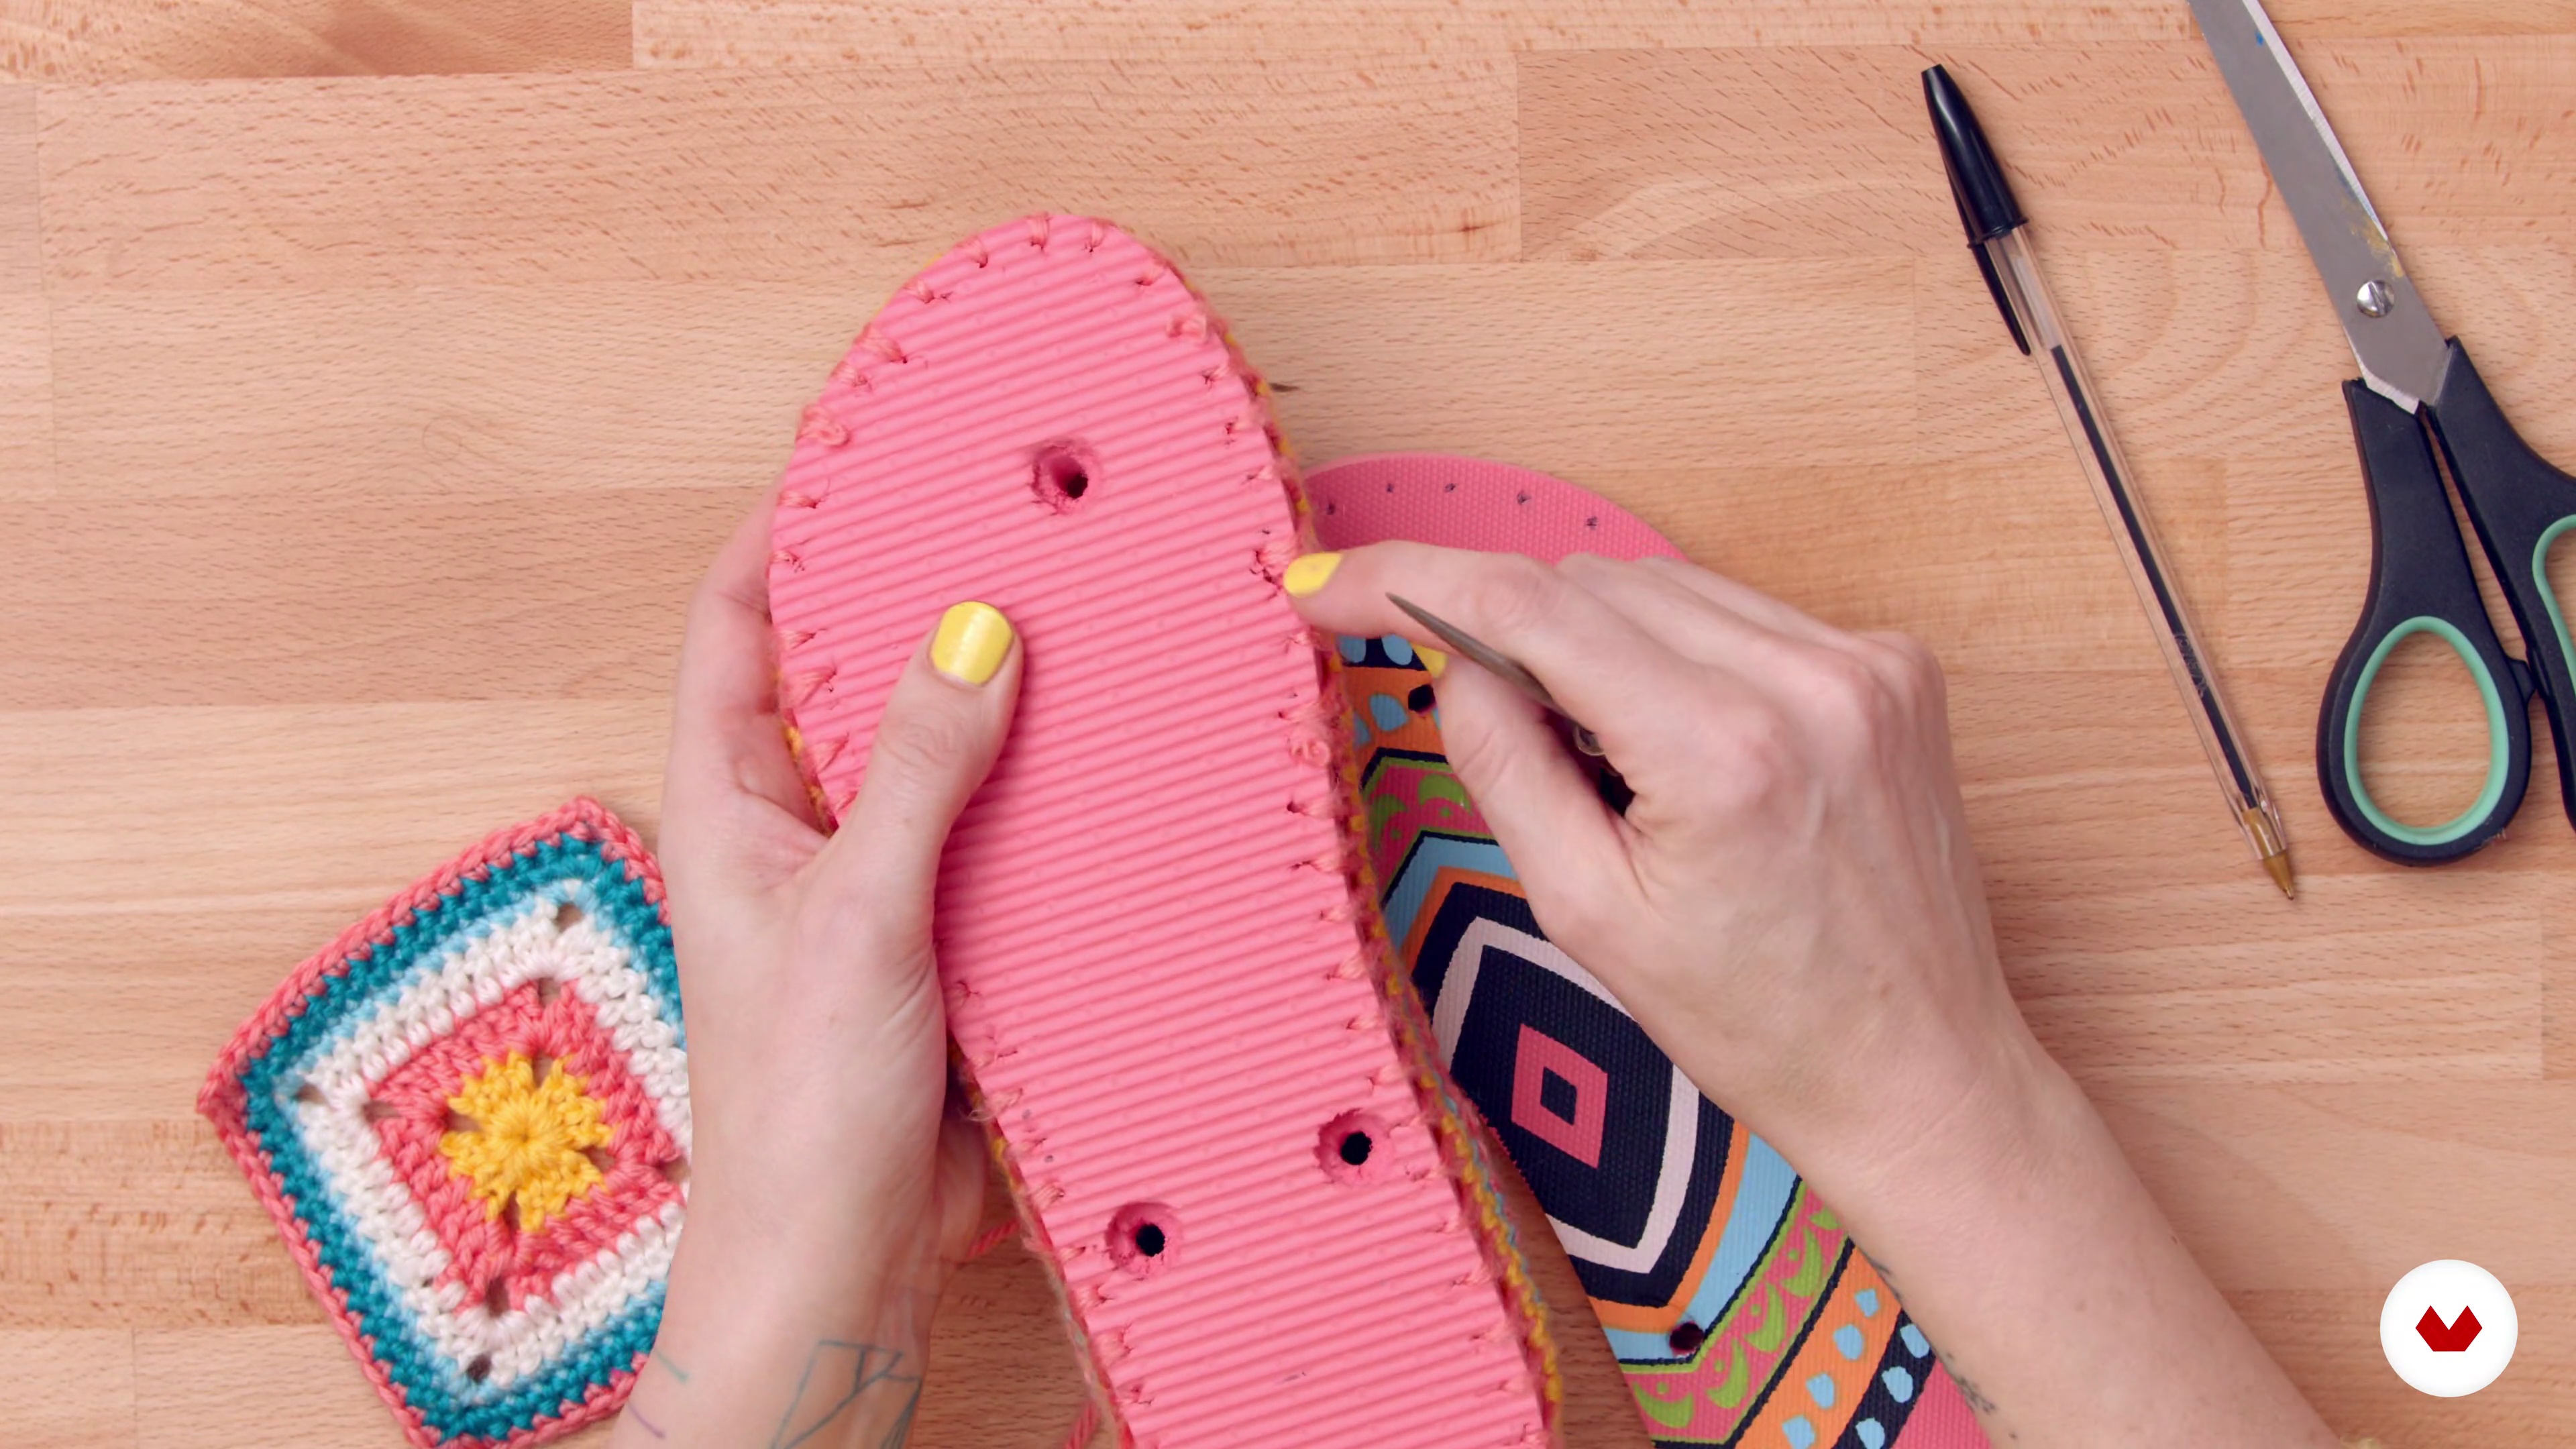
It's time to show you how to prepare the flip-flop and create holes the right width apart for crochet stitches.
6m
image
15
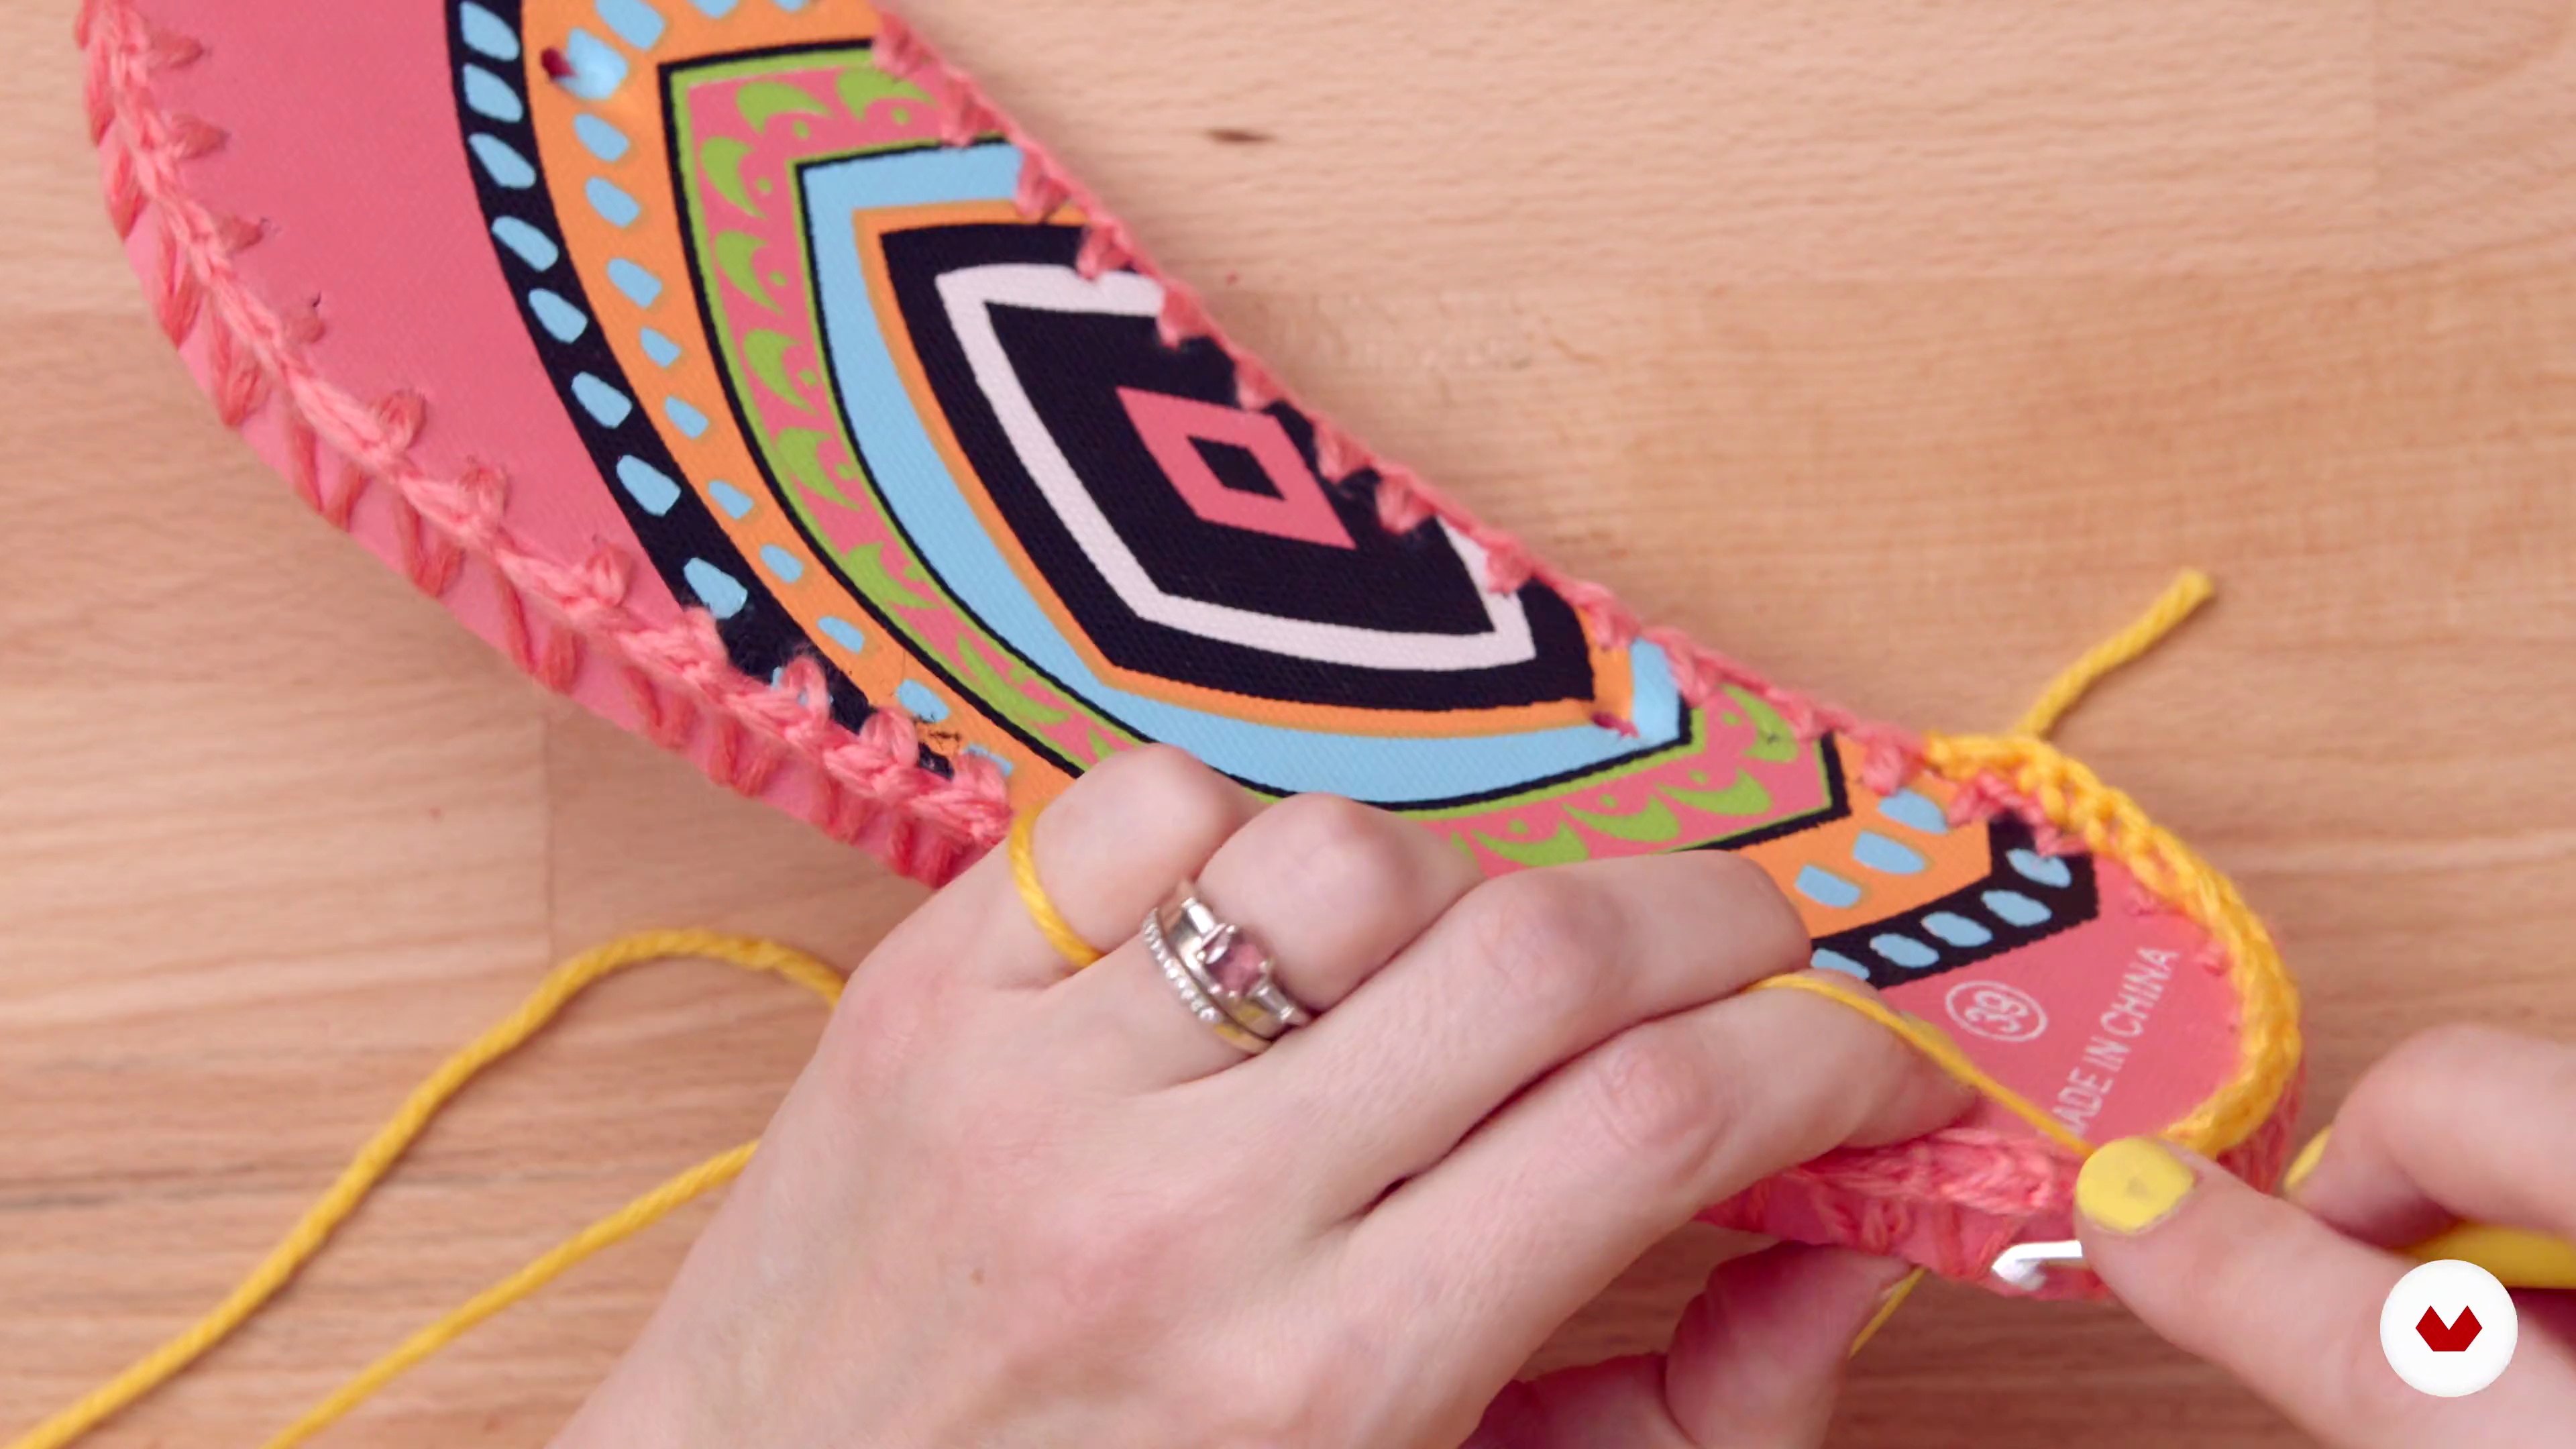
Crochet into Flip-Flop
Learn how to crochet into the sole of the flip-flop. This technique of working into another material is ideal for all sorts of upcycling projects.
13m
image
16
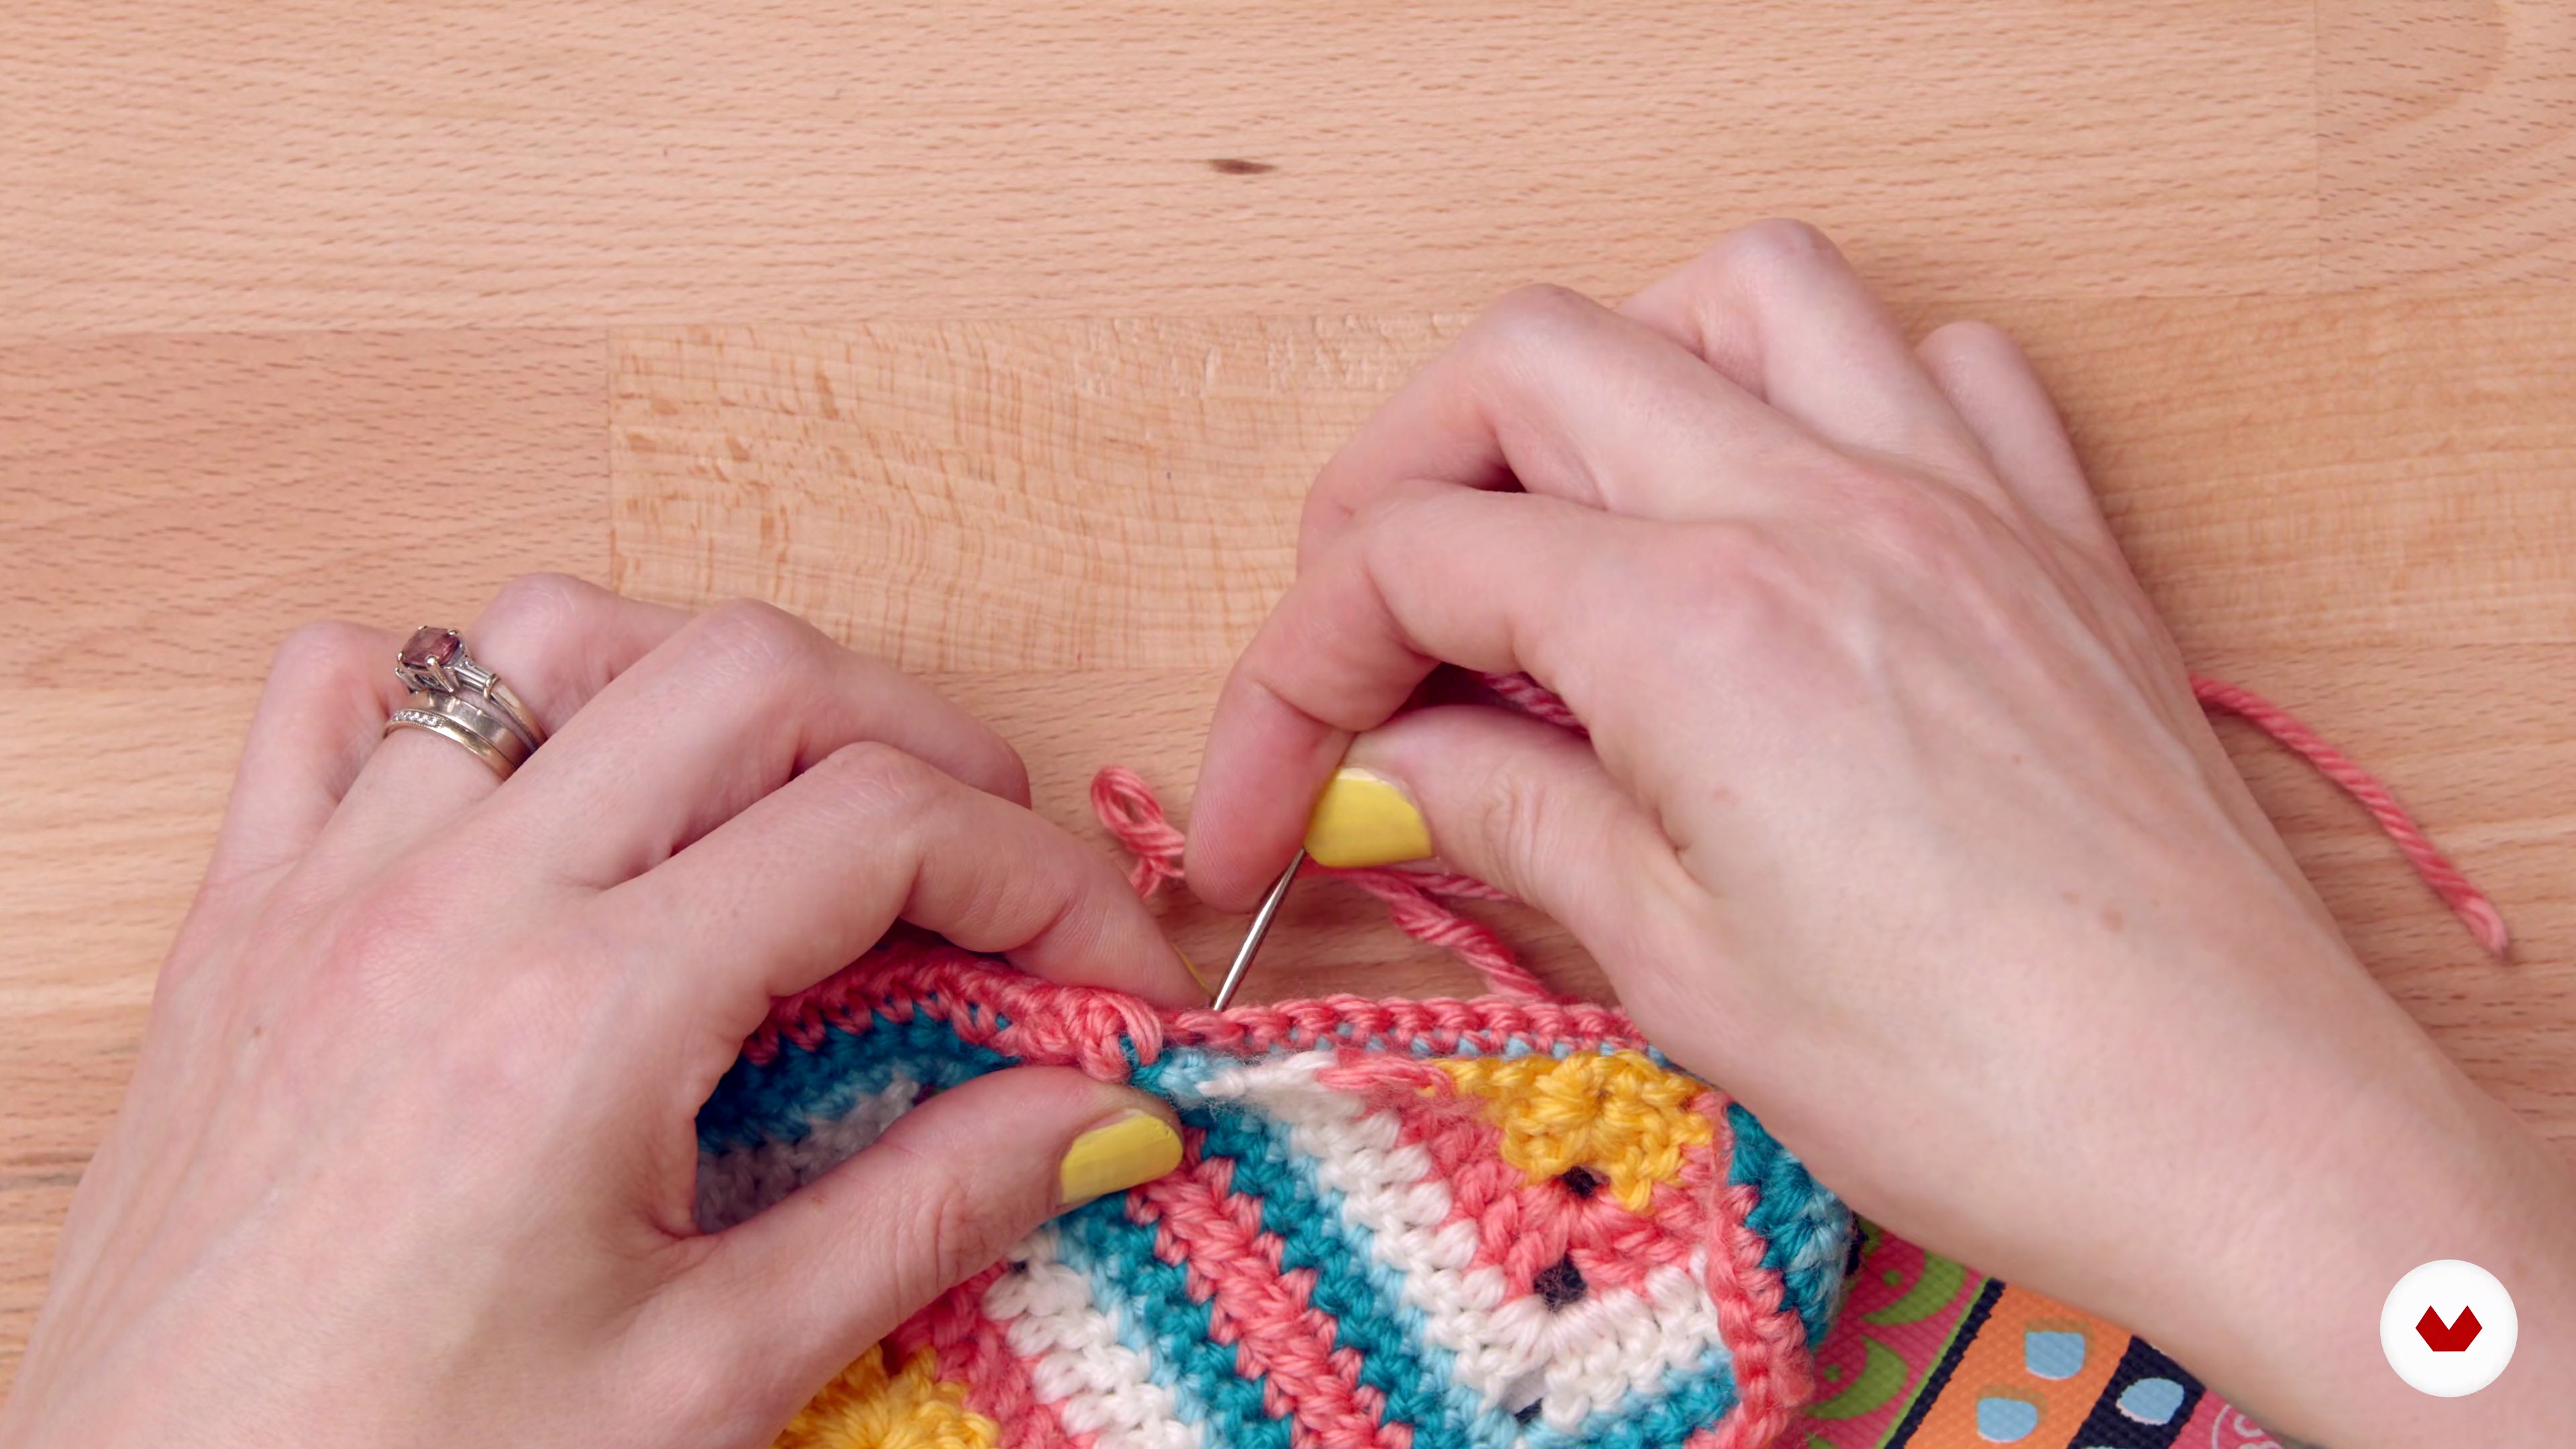
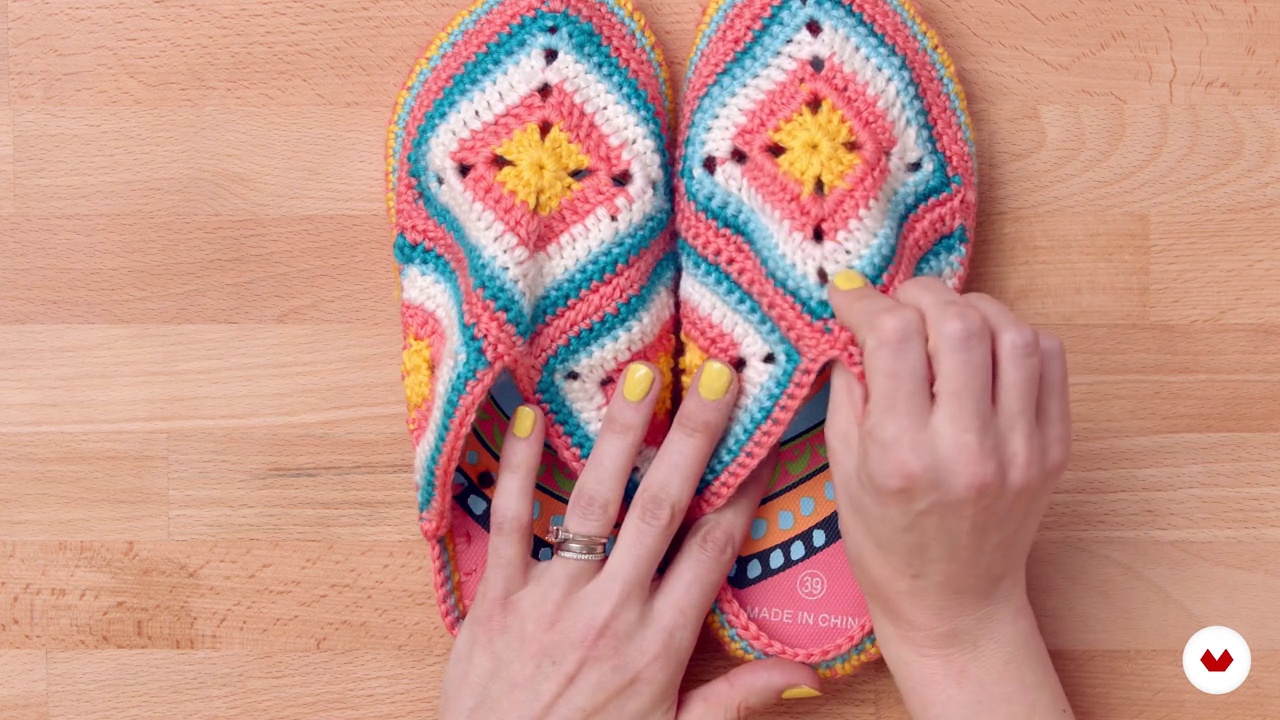
Stitching Everything Together!
In this lesson, we will learn how to sew a whip stitch to join the crochet elements together to finish the slipper.
17m
image
17
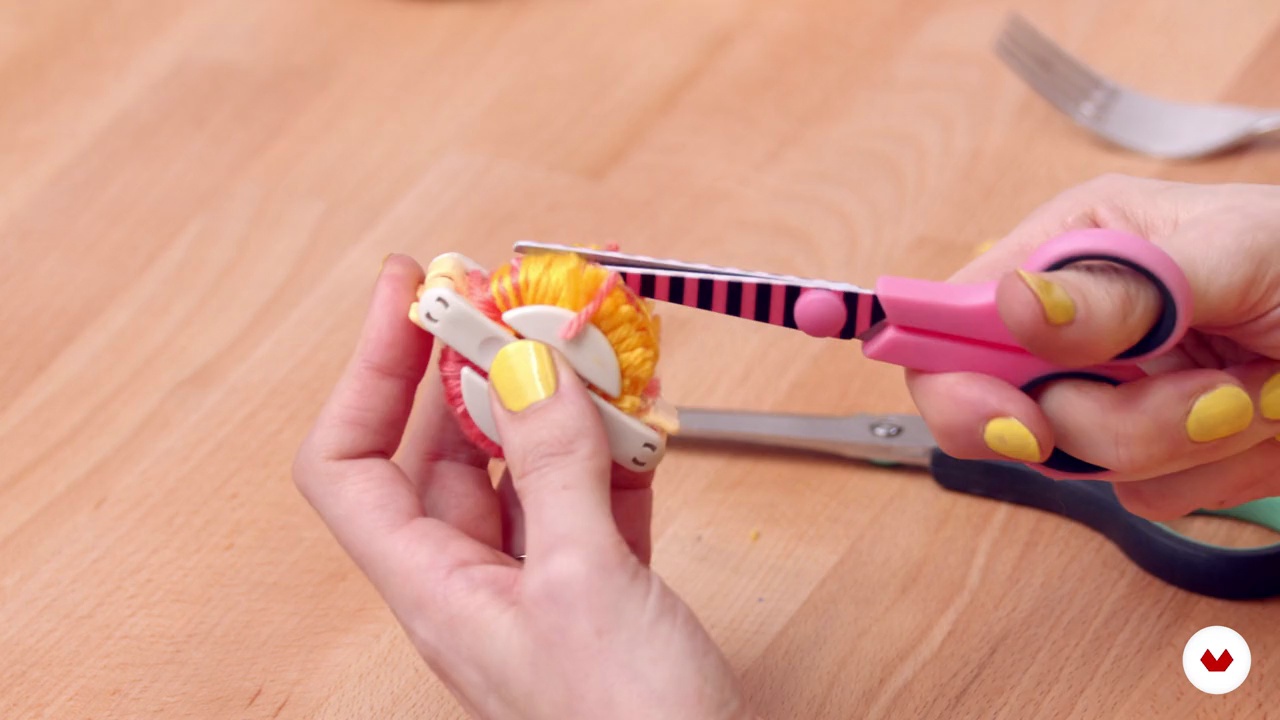
Customise Your Flip-Flops
During this lesson, you will be encouraged to think of ways to customise their flip-flops.
12m
image
18
How to Care for Your Slippers
In this lesson, you will learn how to care for your slippers.
1m
image
1
Materials
Let's start by preparing for our project. I'll guide you through the materials to transform old garments into stylish new pieces. Gather your tools, and let's get ready!
2m
image
2
Selecting and Understanding Your Materials
In this lesson, we'll learn how to choose the best garments for upcycling. I'll share tips on selecting fabrics that will elevate your final creations.
2m
image
3
How to Conceptualize a Design from Existing Clothes
Now we are going to start looking deeper at our garment before we create our final design & sketch.
3m
image
4
Sketching and Planning
In this next lesson, we will bring our ideas out on paper, and I will show you how simple it can be. Then we will progress to make the pattern for our backpack.
14m
image
5
Preparing and Deconstructing Your Garment
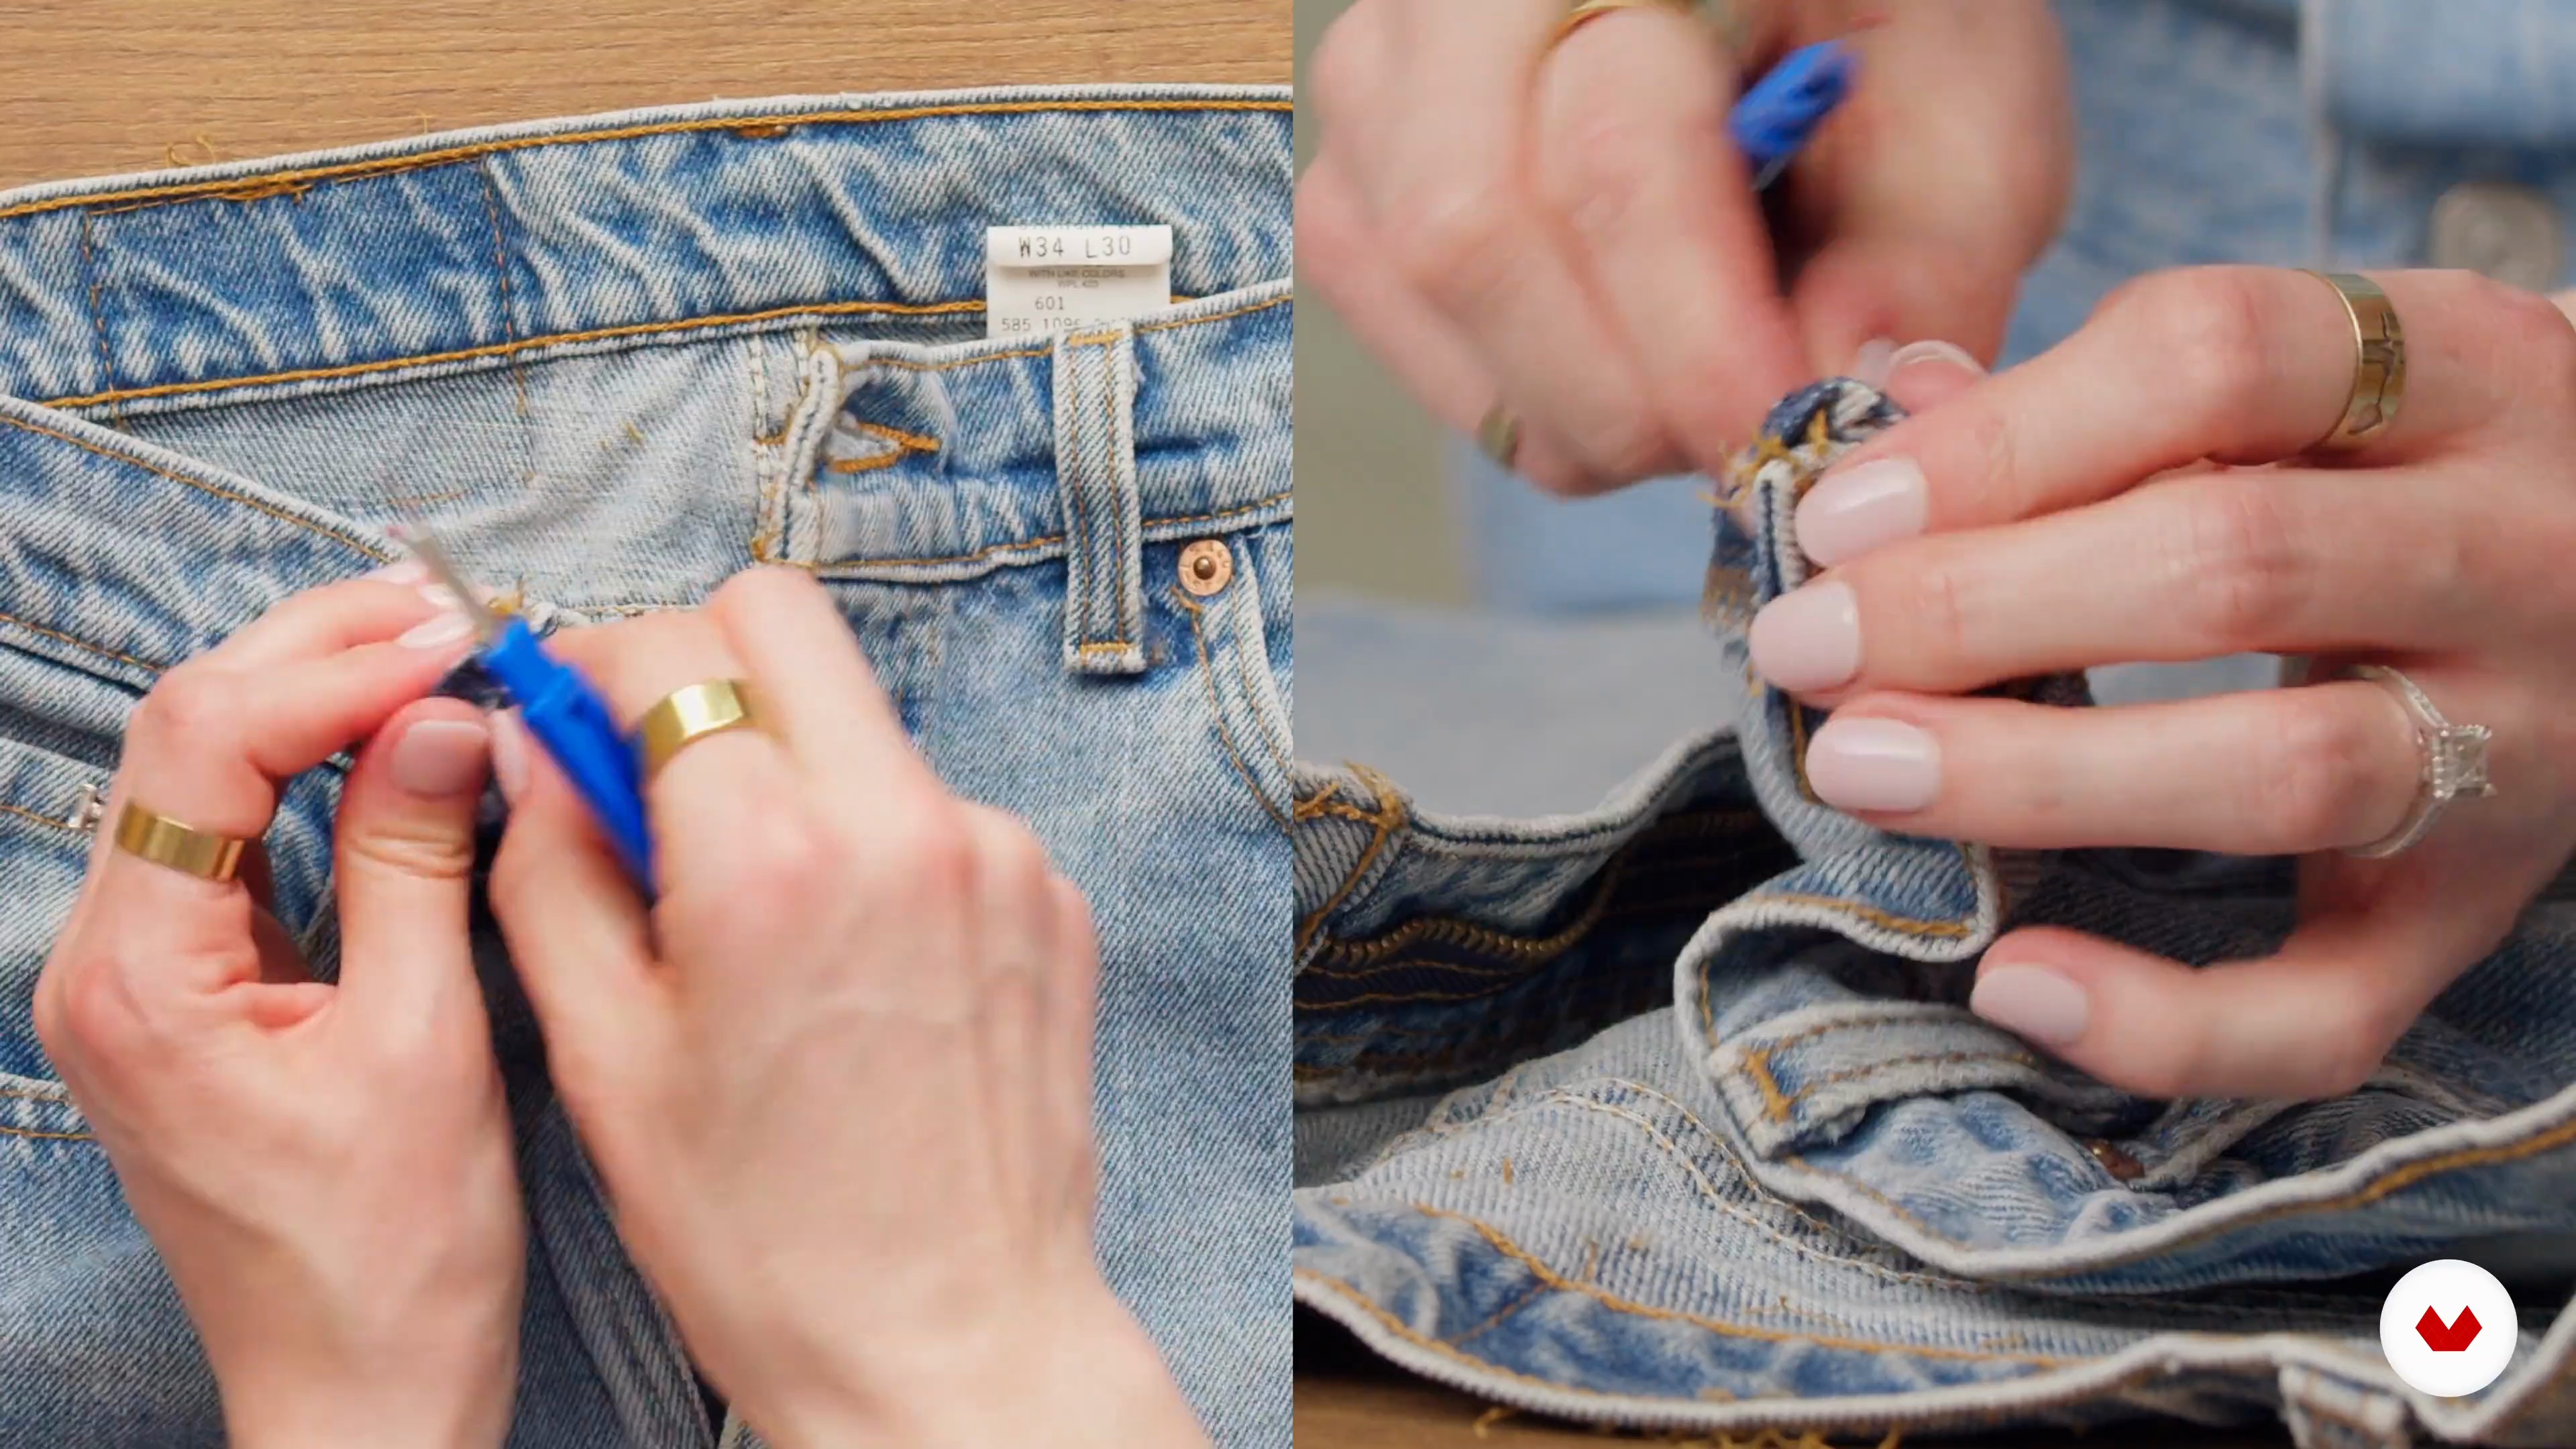
Before we start sewing, we need to deconstruct our garments. I'll show you how to carefully remove your jeans and use as much fabric as possible for our backpack.
11m
image
6
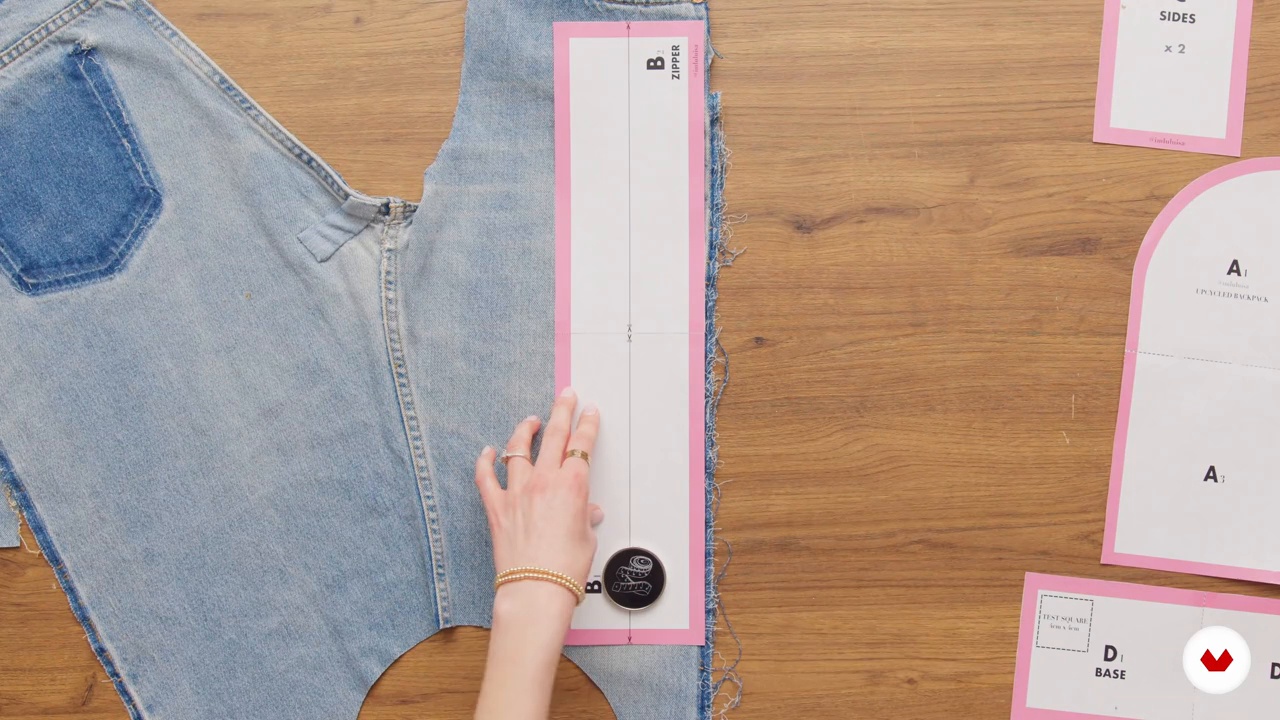
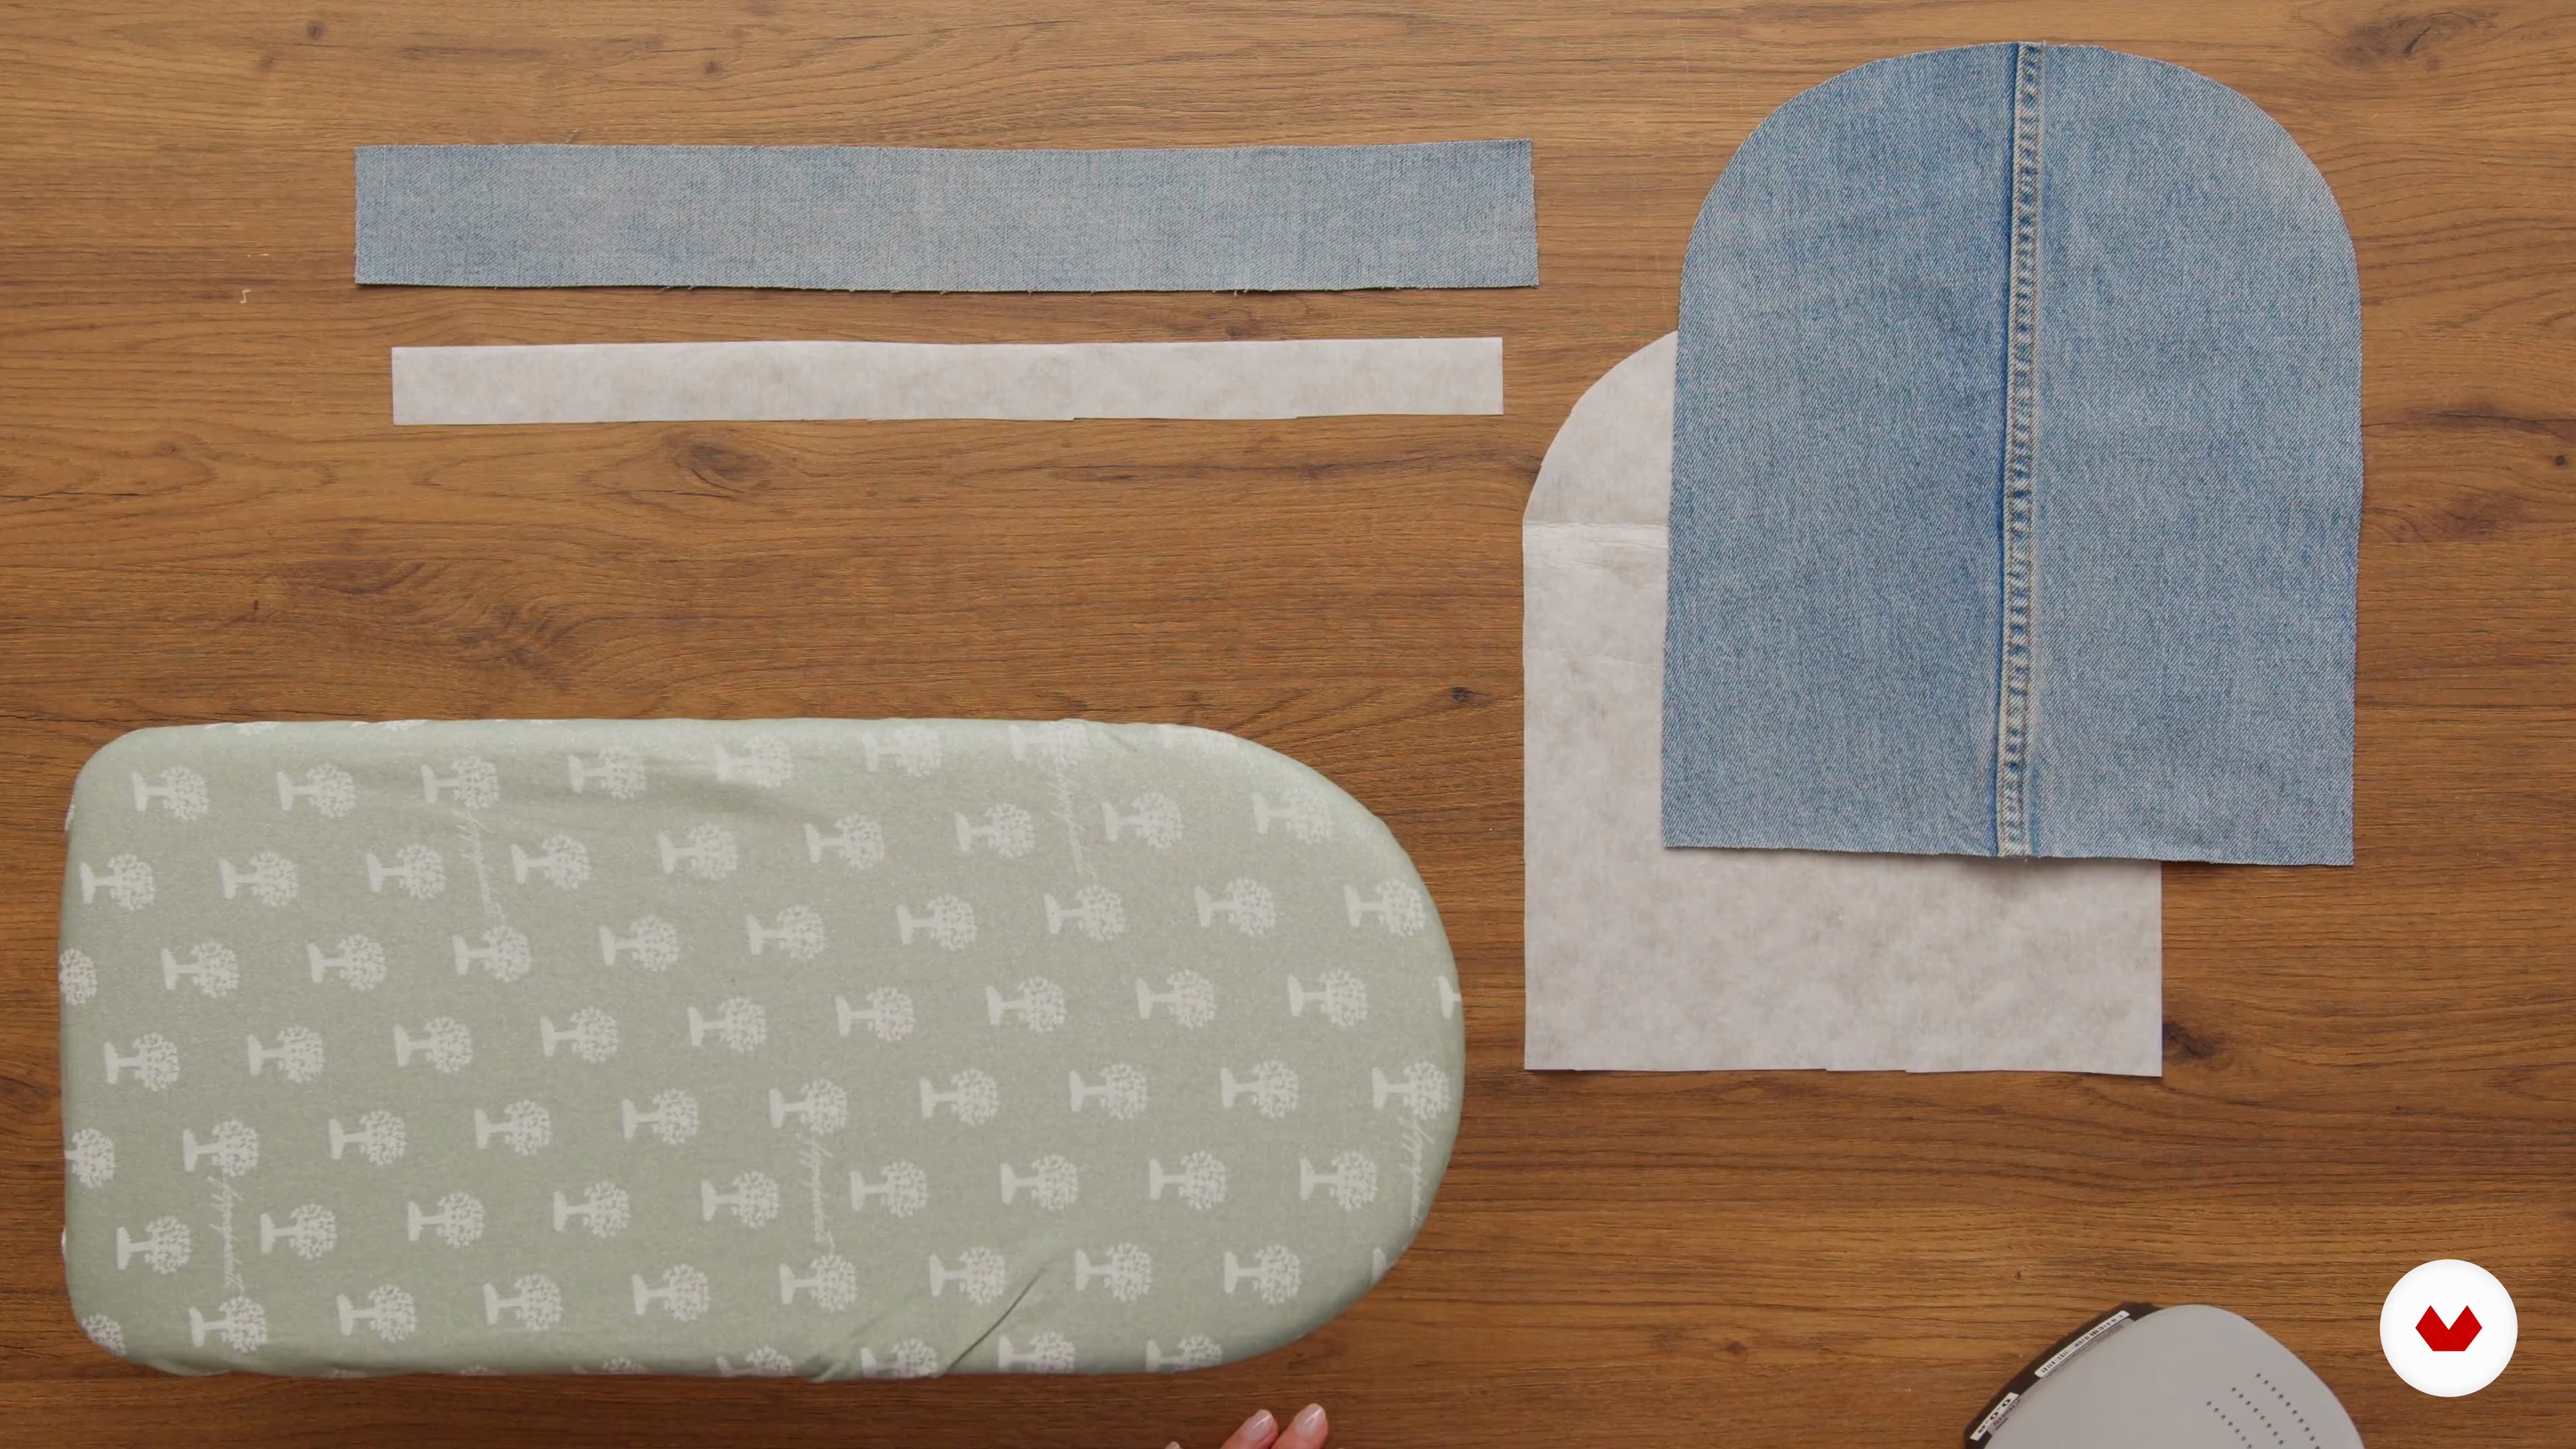
Cutting Our Sewing Pattern & Preparing the Pieces 1
It's time to cut our fabric using the sewing patterns. Follow along as we prepare each piece needed for our backpack, ensuring minimal waste and maximum use of material.
19m
image
7
Cutting Our Sewing Pattern & Preparing the Pieces 2
We continue delving into exciting ideas in this part of the lesson. Pay close attention!
9m
image
8
Designing the Front and Sewing the Zipper
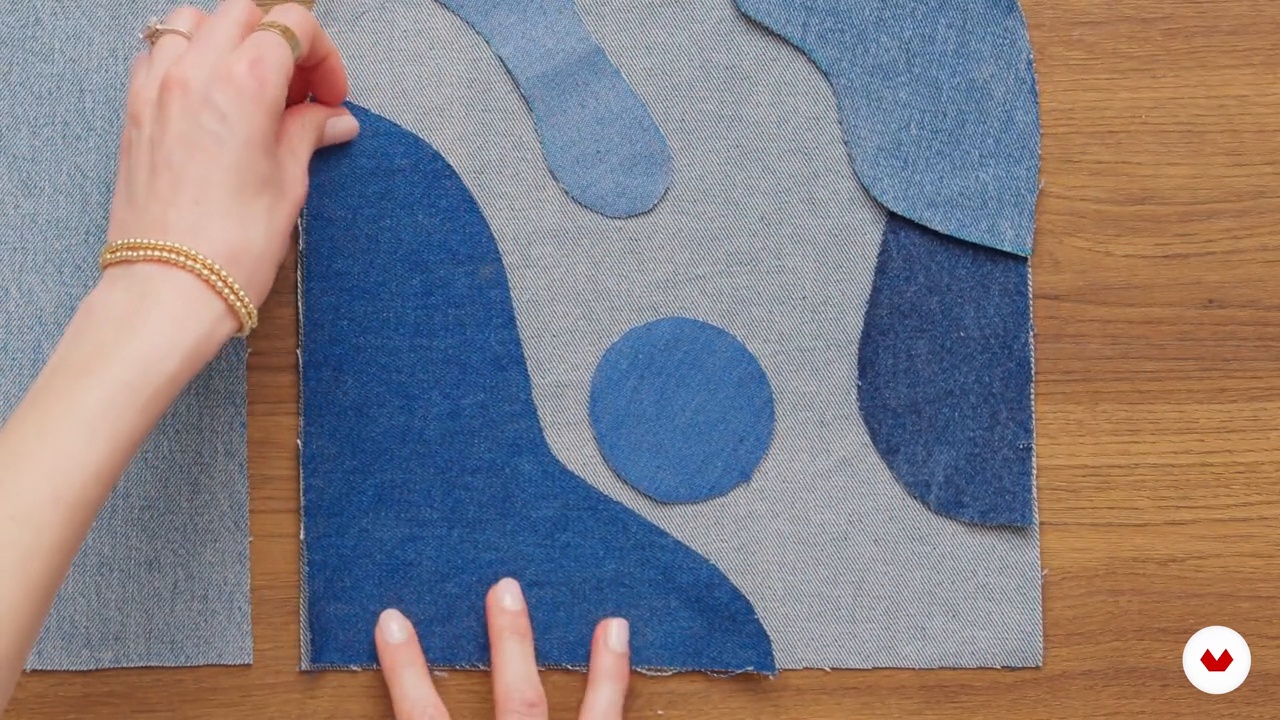
Let's get into the fun part: designing the front of our backpack and sewing the zipper. I'll share tips for beginners and advanced sewers to make this step smoother and more creative.
12m
image
9
Sewing the Straps and Building the Backpack 1
Now, we'll assemble our backpack. I'll guide you through sewing the straps and making all the pieces to form a functional and stylish bag.
16m
image
10
Sewing the Straps and Building the Backpack 2
We keep addressing interesting concepts in this stage of the lesson. Don’t miss it for anything!
8m
image
11
Lining and Finishing the Backpack
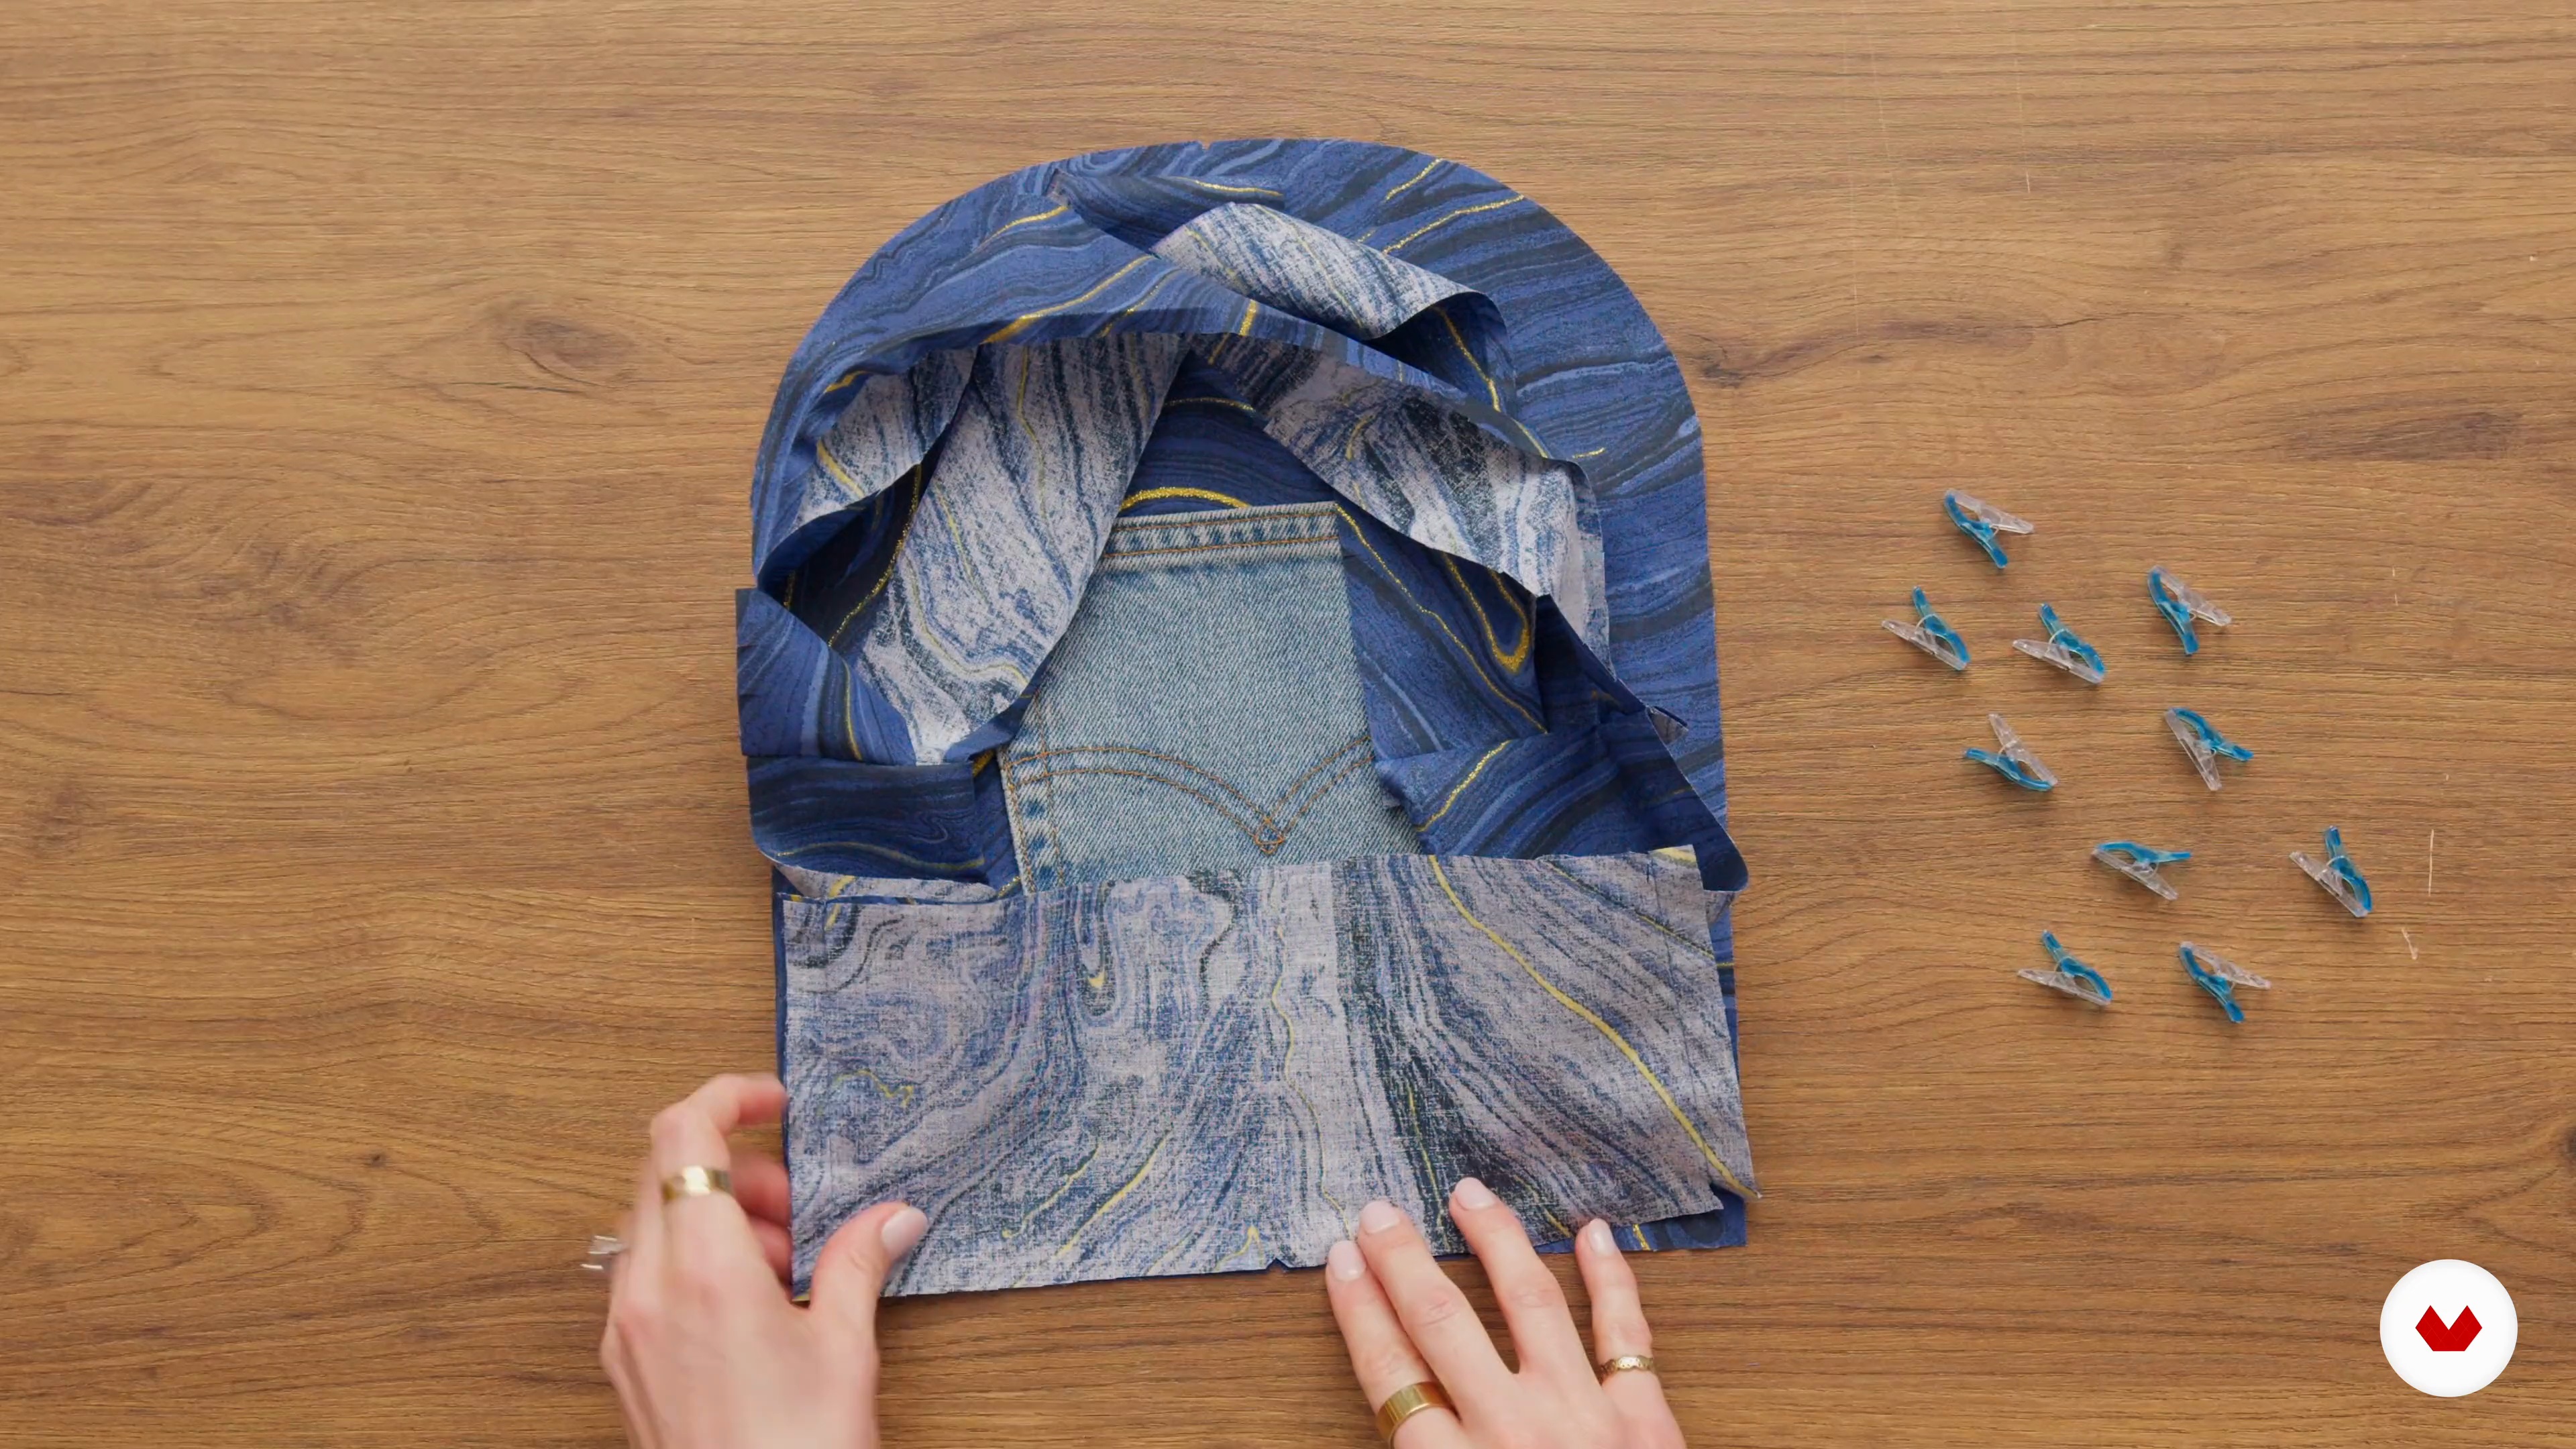
We'll cut and sew the lining for our backpack and complete the final assembly. I'll show you how to give your backpack a professional finish, ensuring it looks great inside and out.
16m
image
12
Finishing Touches
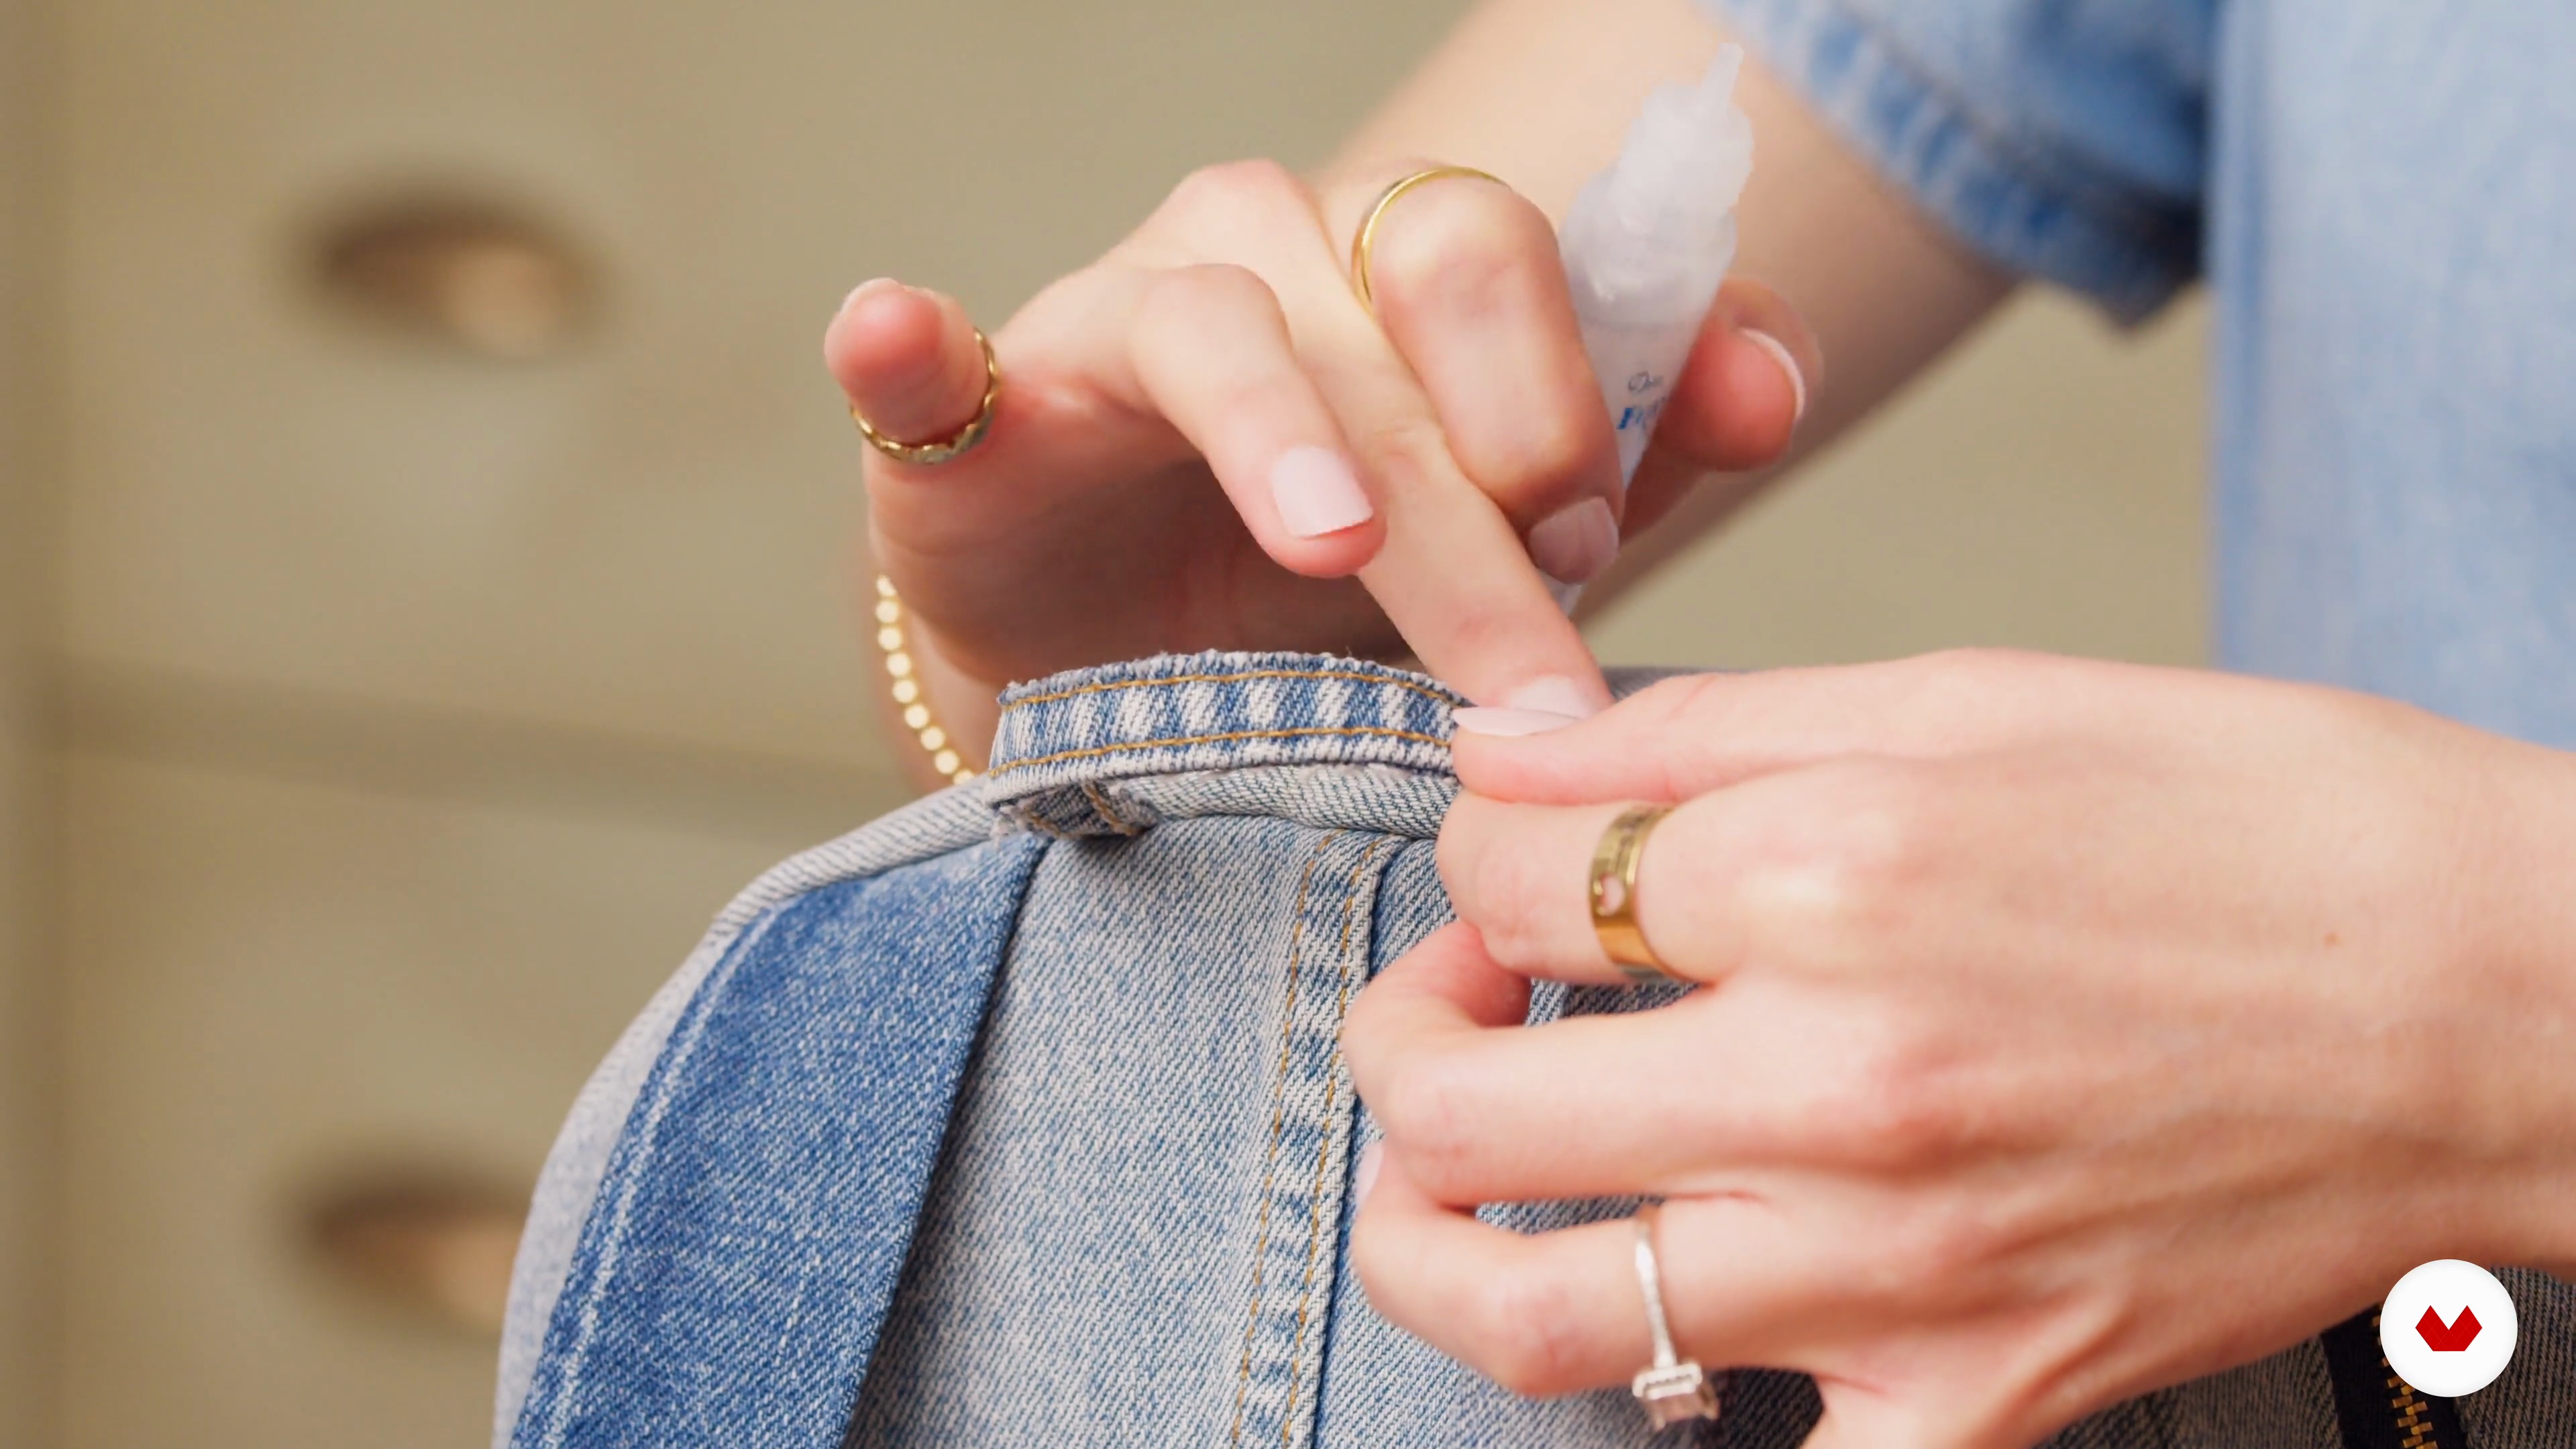
Before I start using my bags or backpacks, I make sure I secure all the seams and everything looks finished.
2m
image
13
Creative Extensions and Upcycling Common Challenges
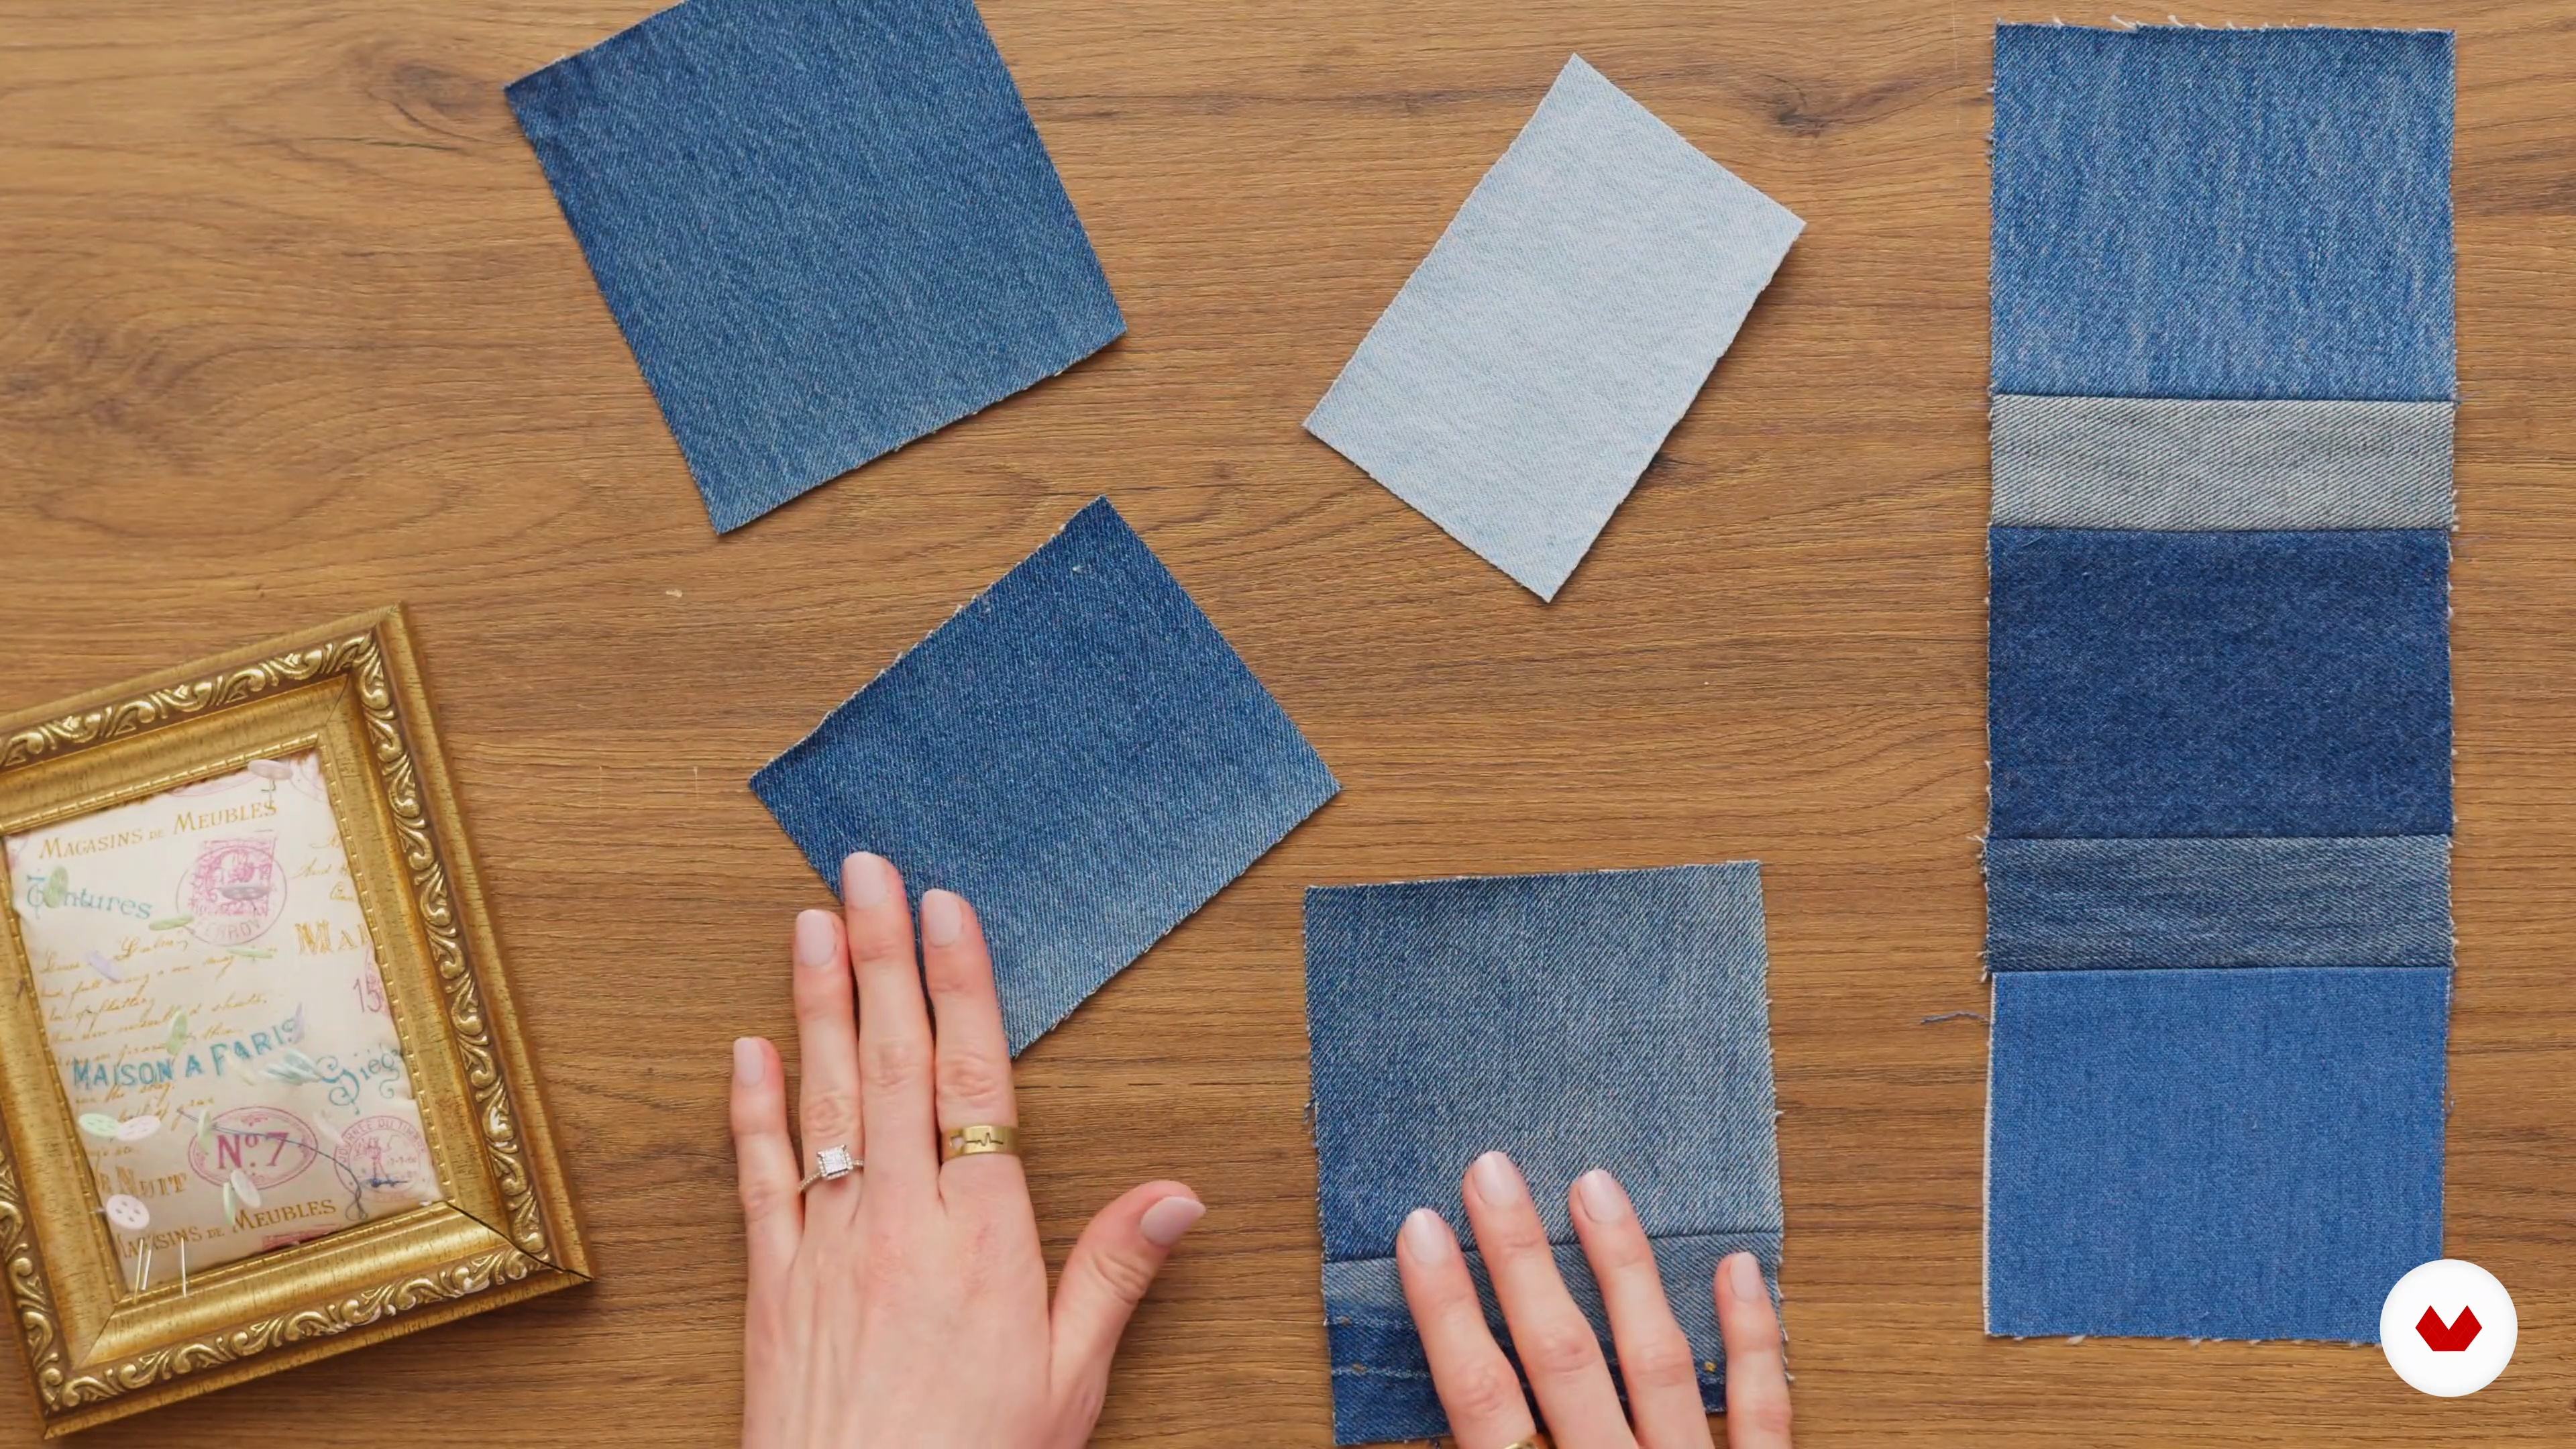
Everything works! I will show you how to use some leftover material and elevate your final project.
2m
image
14
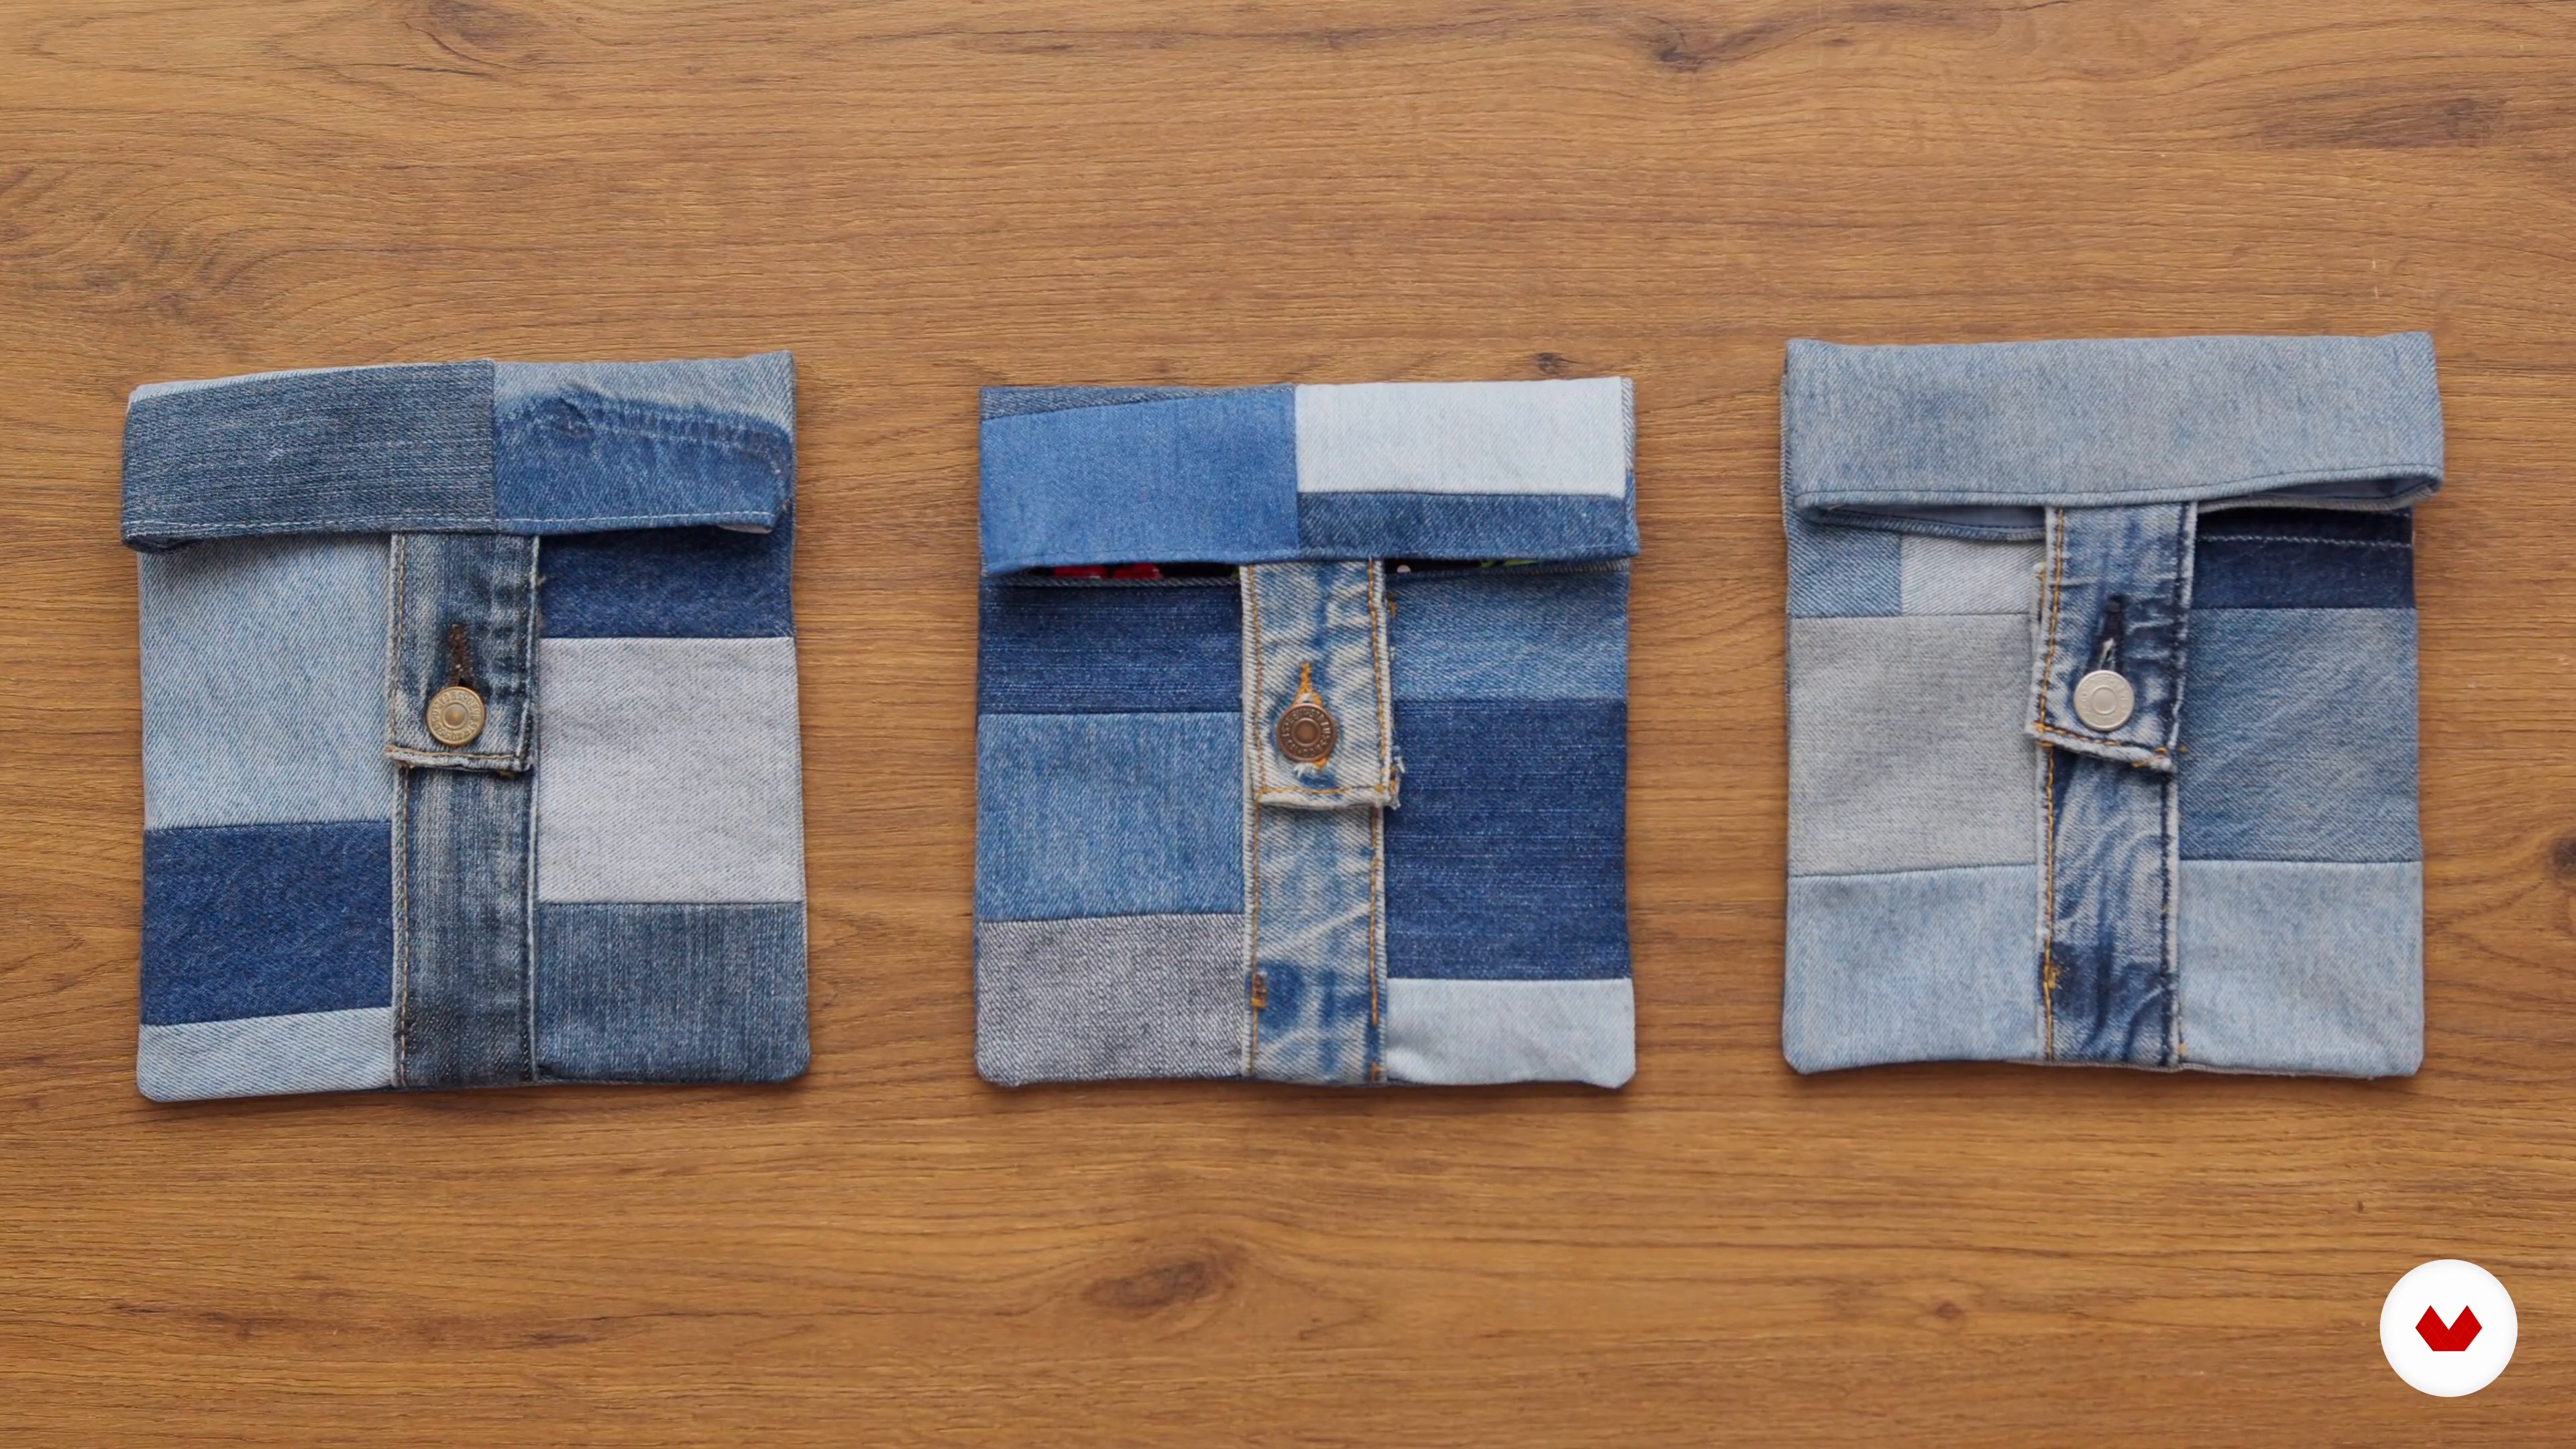
Designing your Makeup Bag with Scraps, Cutting and Assembling
Let’s decide what size our makeup bag should be. You can make it as big or small as you want. Then, let’s cut the pieces we need for our bag.
4m
image
15
Sewing and Adding Features
In this lesson, we will sew and line the makeup bag. Then, we will add the closing feature using a reused button to finish it.
13m
  • 100% positive reviews (1)
  • 164 students
  • 88 lessons (11h 34m)
  • 109 additional resources (38 files)
  • Online and at your own pace
  • Audio: English, Spanish
  • English · Spanish · Portuguese · German · French · Italian · Polish · Dutch
  • Level: Beginner
  • Unlimited access forever

What is this course's project?

Transform a discarded dress into a personalized garment with a fresh, modern touch by deconstructing the original piece and applying sewing and customization techniques to tailor it to your unique, sustainable style.

Who is this specialization for?

Passionate fashion enthusiasts and sustainability advocates eager to transform old garments into unique, customized pieces will love this course. Discover sewing, printing, and creative techniques, all while promoting eco-friendly practices and personal expression in wearable art.

Requirements and materials

No extensive prior knowledge is required. You'll need basic sewing skills, a sewing machine, old garments for upcycling, fabric paints, embroidery threads, crochet hooks, and second-hand clothing. Gather your creativity and a passion for sustainable fashion.

Select to get to know your teachers in this specialization course
Read more ↓

Reviews

164 Students
1 Reviews
100% Positive ratings


What to expect from this specialization course

  • Learn at your own pace

    Enjoy learning from home without a set schedule and with an easy-to-follow method. You set your own pace.

  • Learn from the best professionals

    Learn valuable methods and techniques explained by top experts in the creative sector.

  • Meet expert teachers

    Each expert teaches what they do best, with clear guidelines, true passion, and professional insight in every lesson.

  • Certificates
    Plus

    If you're a Plus member, get a custom certificate for every specialization course. Share it on your portfolio, social media, or wherever you like.

  • Get front-row seats

    Videos of the highest quality, so you don't miss a single detail. With unlimited access, you can watch them as many times as you need to perfect your technique.

  • Share knowledge and ideas

    Ask questions, request feedback, or offer solutions. Share your learning experience with other students in the community who are as passionate about creativity as you are.

  • Connect with a global creative community

    The community is home to millions of people from around the world who are curious and passionate about exploring and expressing their creativity.

  • Watch professionally produced courses

    Domestika curates its teacher roster and produces every course in-house to ensure a high-quality online learning experience.


FAQs

Domestika's specialization courses are online classes that provide you with the tools and skills you need to complete a specific project. Every step of the project combines video lessons with complementary instructional material, so you can learn by doing. Domestika's specializations also allow you to share your own projects with other students, creating a dynamic course community.

All specialization courses are 100% online, so once they're published, specialization courses start and finish whenever you want. You set the pace of the class. You can go back to review what interests you most and skip what you already know, ask questions, answer questions, share your projects, and more.

The specialization courses are divided into different modules. Each one includes lessons, informational text, tasks, and practice exercises to help you carry out your project step by step, with additional complementary resources and downloads. You'll also have access to an exclusive forum where you can interact with other students, as well as share your work and your final project, creating a community around the specialization course.

You can redeem the specialization course you received by accessing the redeeming page and entering your gift code.

If you're a Plus member, when you complete a course you've purchased, you'll instantly get your personalized certificate. You can see all your certificates in the Certificates section of your profile. You can download your certificates as PDFs and share the link online. Learn more about certificates.
Fashion Specialization: Upcycling, Printing and Personalization. Craft, and Fashion course by Domestika

Fashion Specialization: Upcycling, Printing and Personalization

A specialization by multiple teachers
Specialization Course. Berkeley, United States.
Joined April 2002
  • 100% positive reviews (1)
  • 164 students