Specialization

Ink Mastery: From Design to Tattoo Specialization

5 Teachers

Custom Tattoo Design with Procreate. Learn Anatomy, Artistic Style, and Effective Client Communication.

Custom Tattoo Design with Procreate. Learn Anatomy, Artistic Style, and Effective Client Communication.

5 Teachers
Specialization · 6 modules

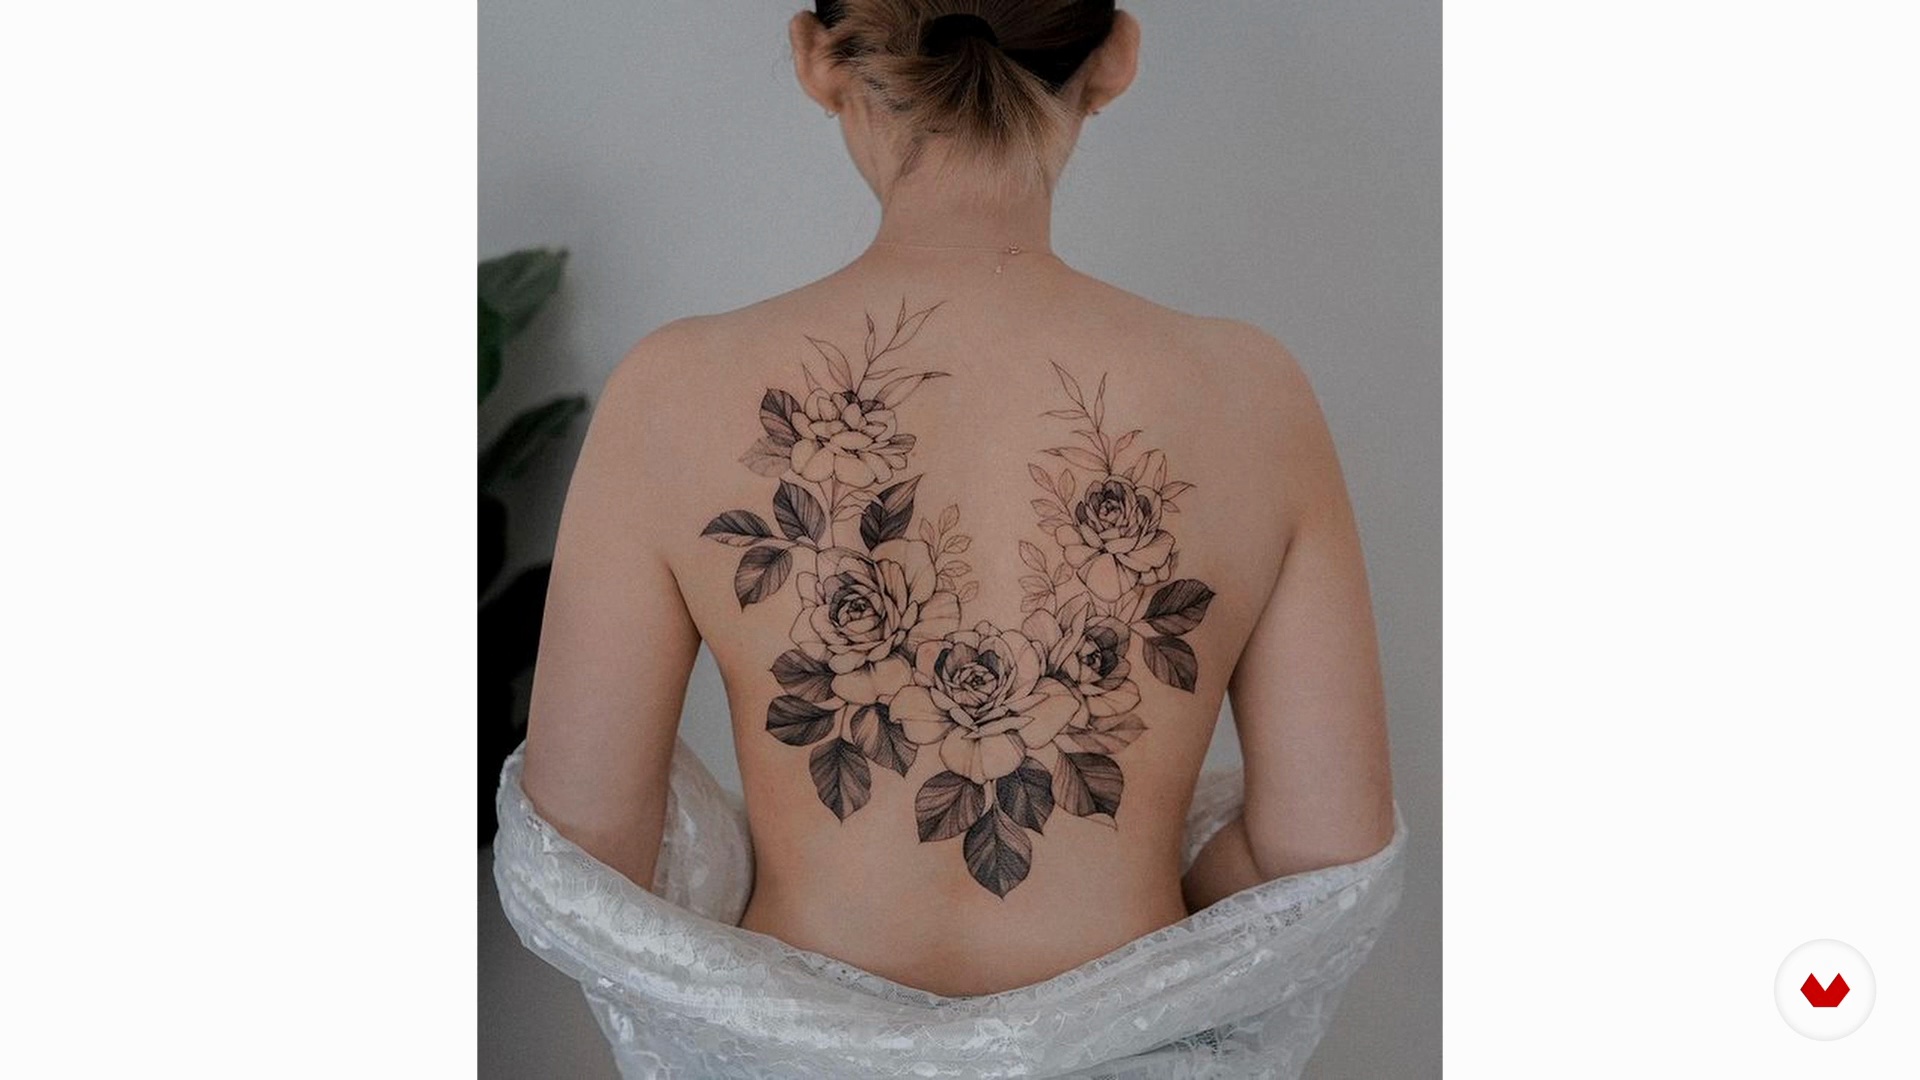
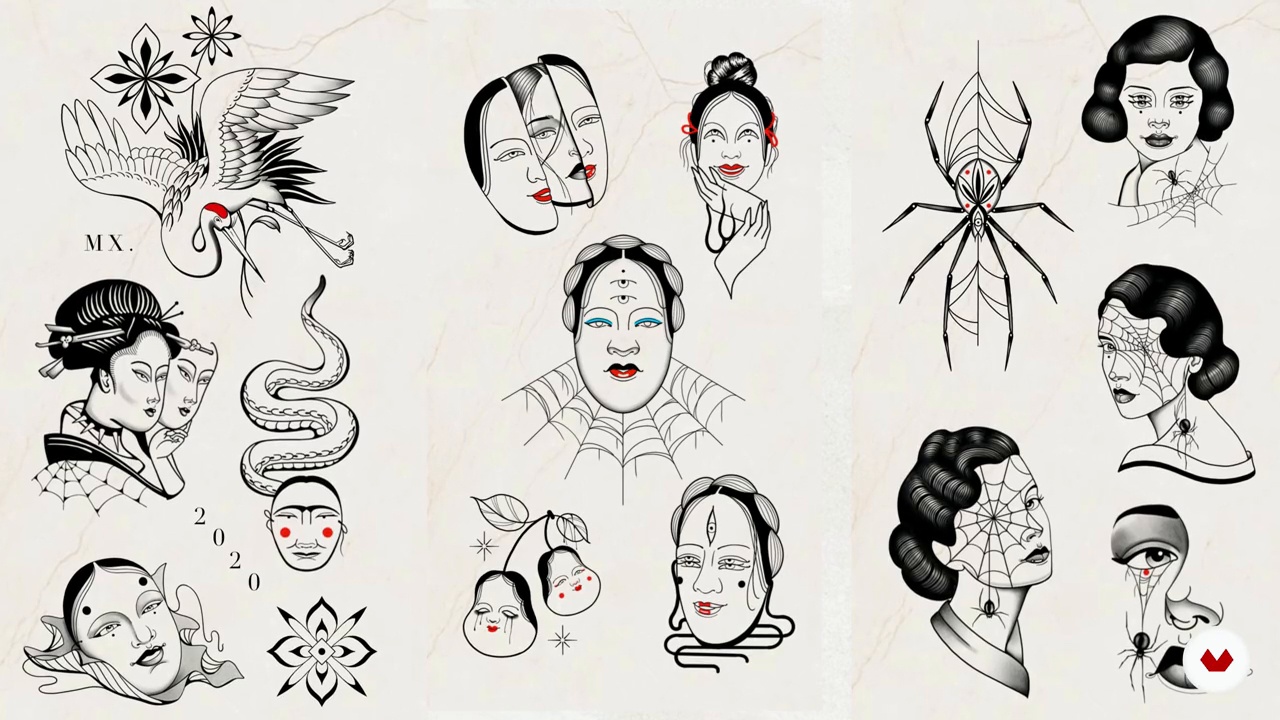
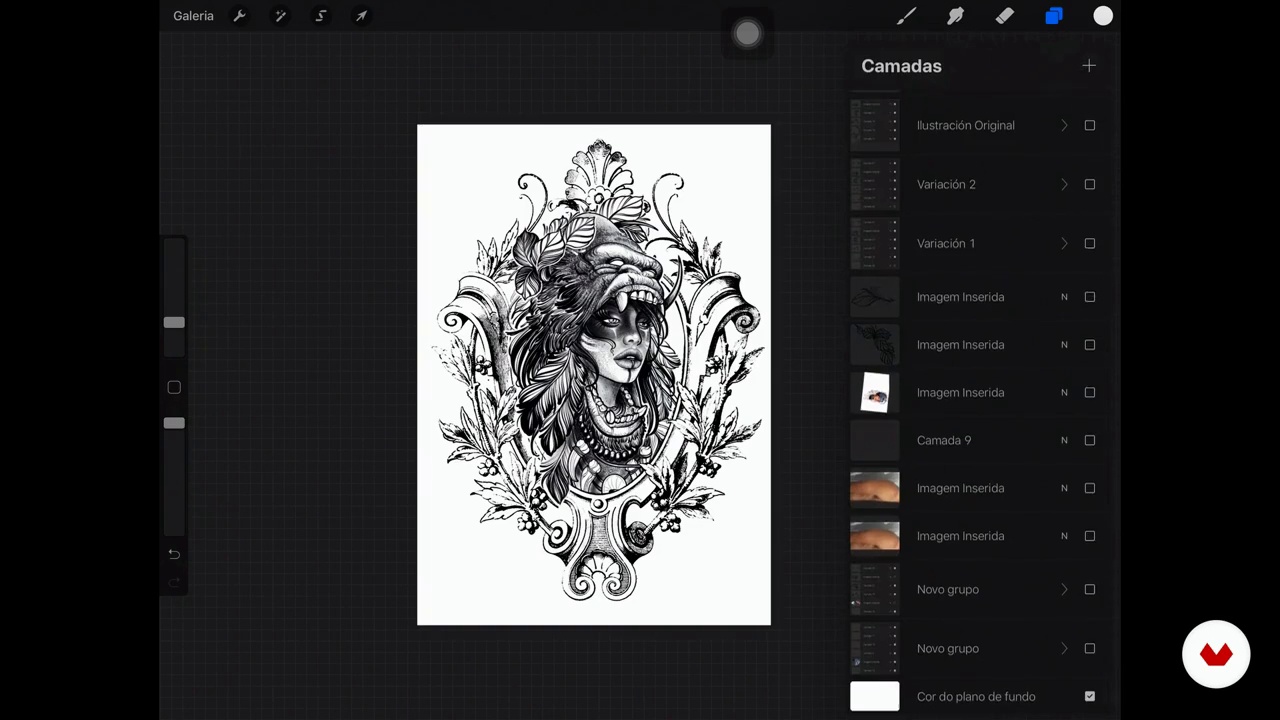
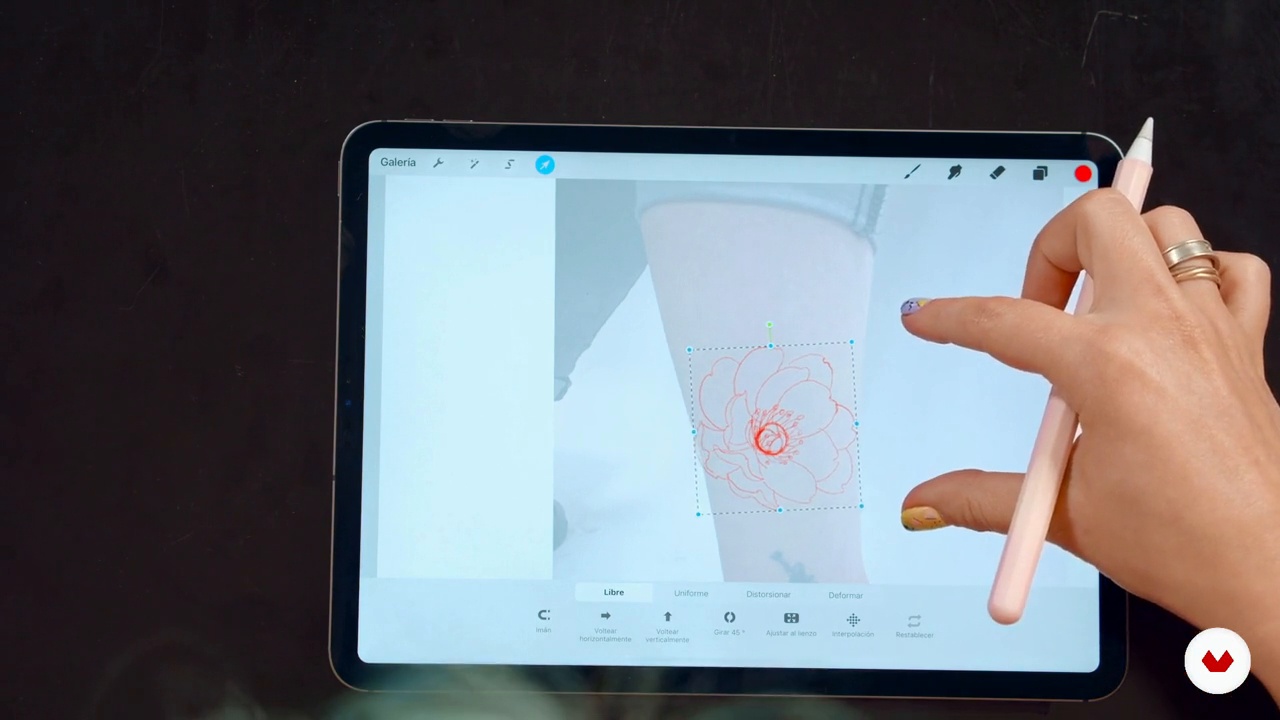
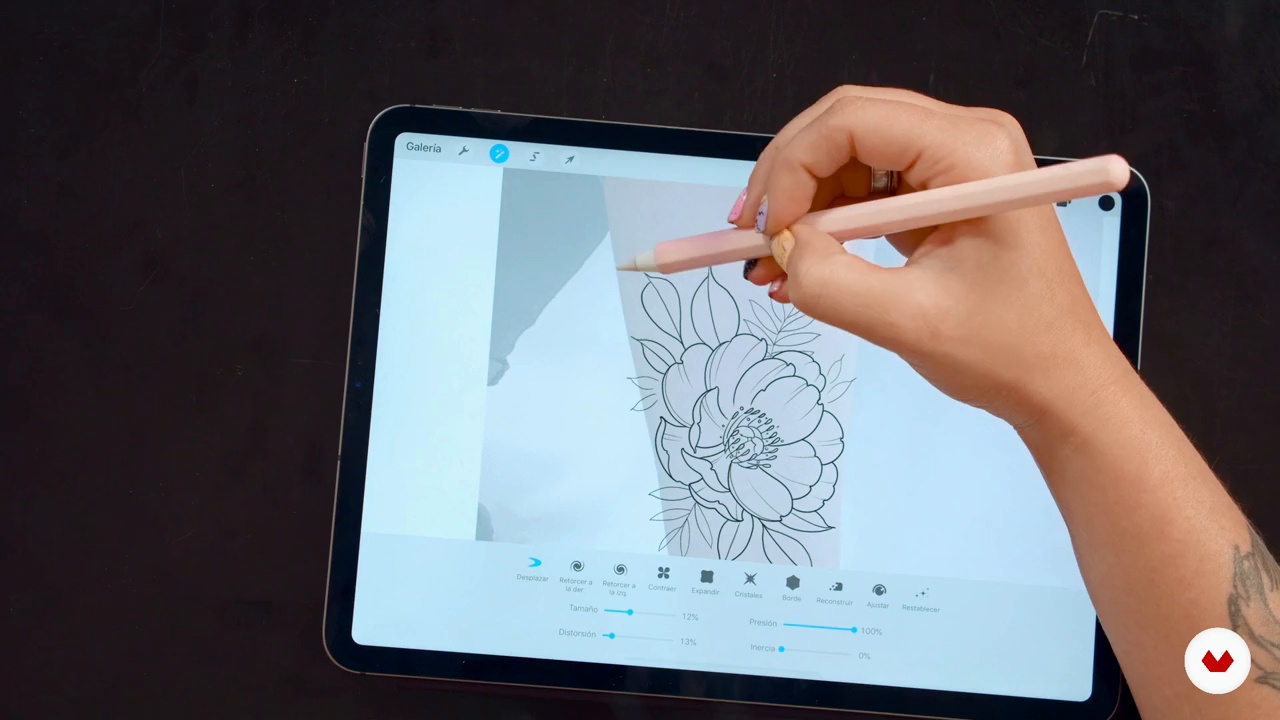
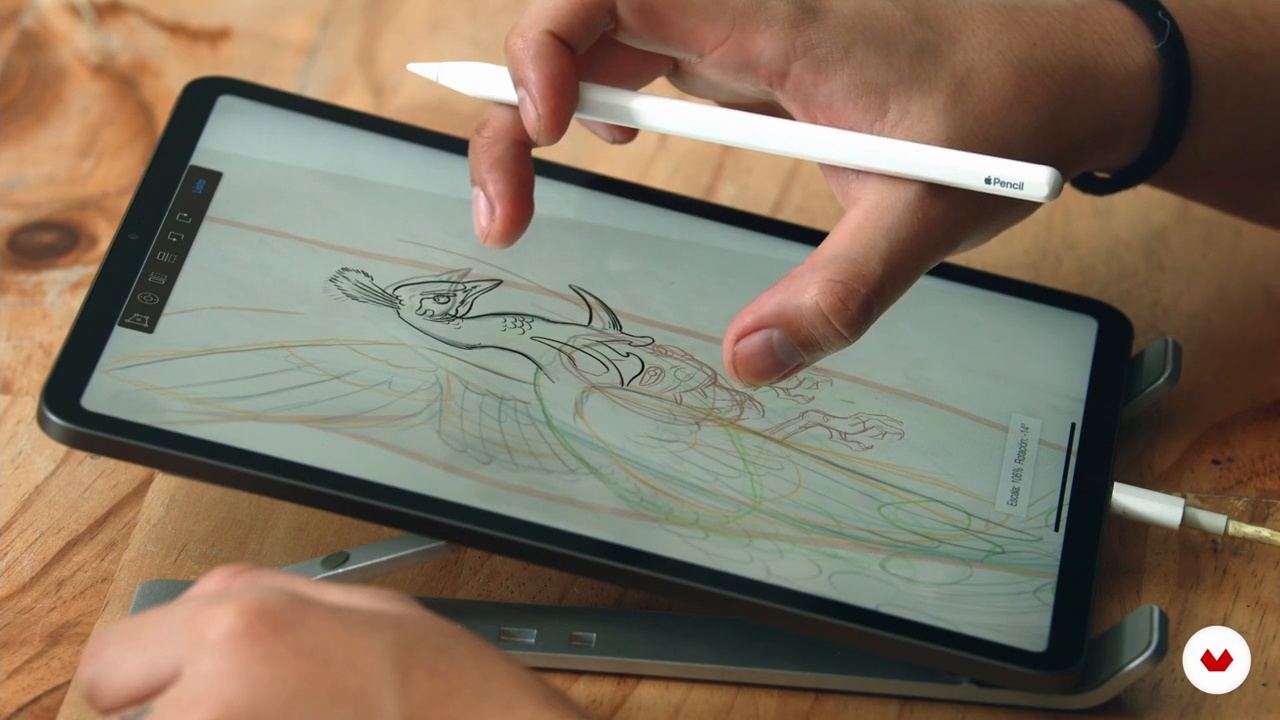
Discover the art of designing custom tattoos with Procreate, a tool that will allow you to explore your creativity and enrich your portfolio with unique works. Learn to define your own style while creating templates and skin-ready illustrations. Digital technology facilitates the creative process, offering precision and flexibility in your designs. Diana Felix guides you on this path to mastery of digital tattoo design.

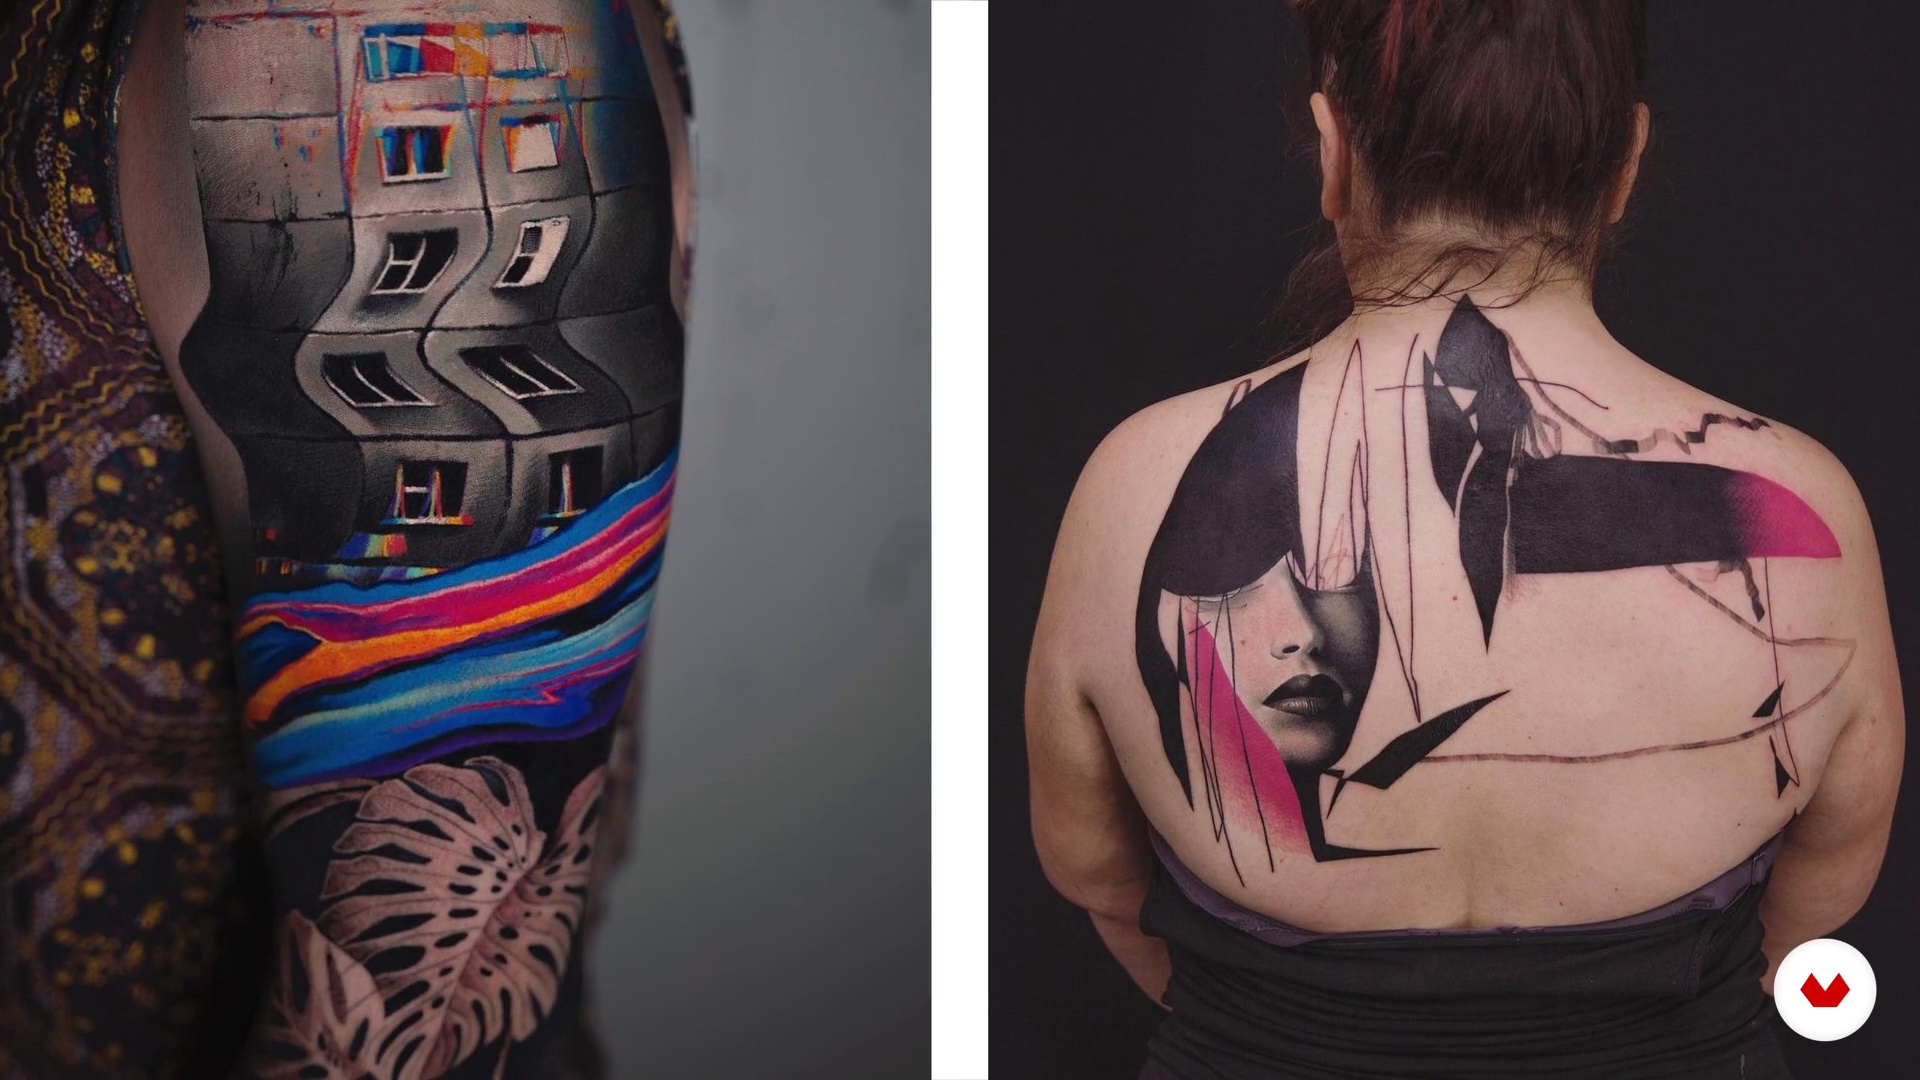
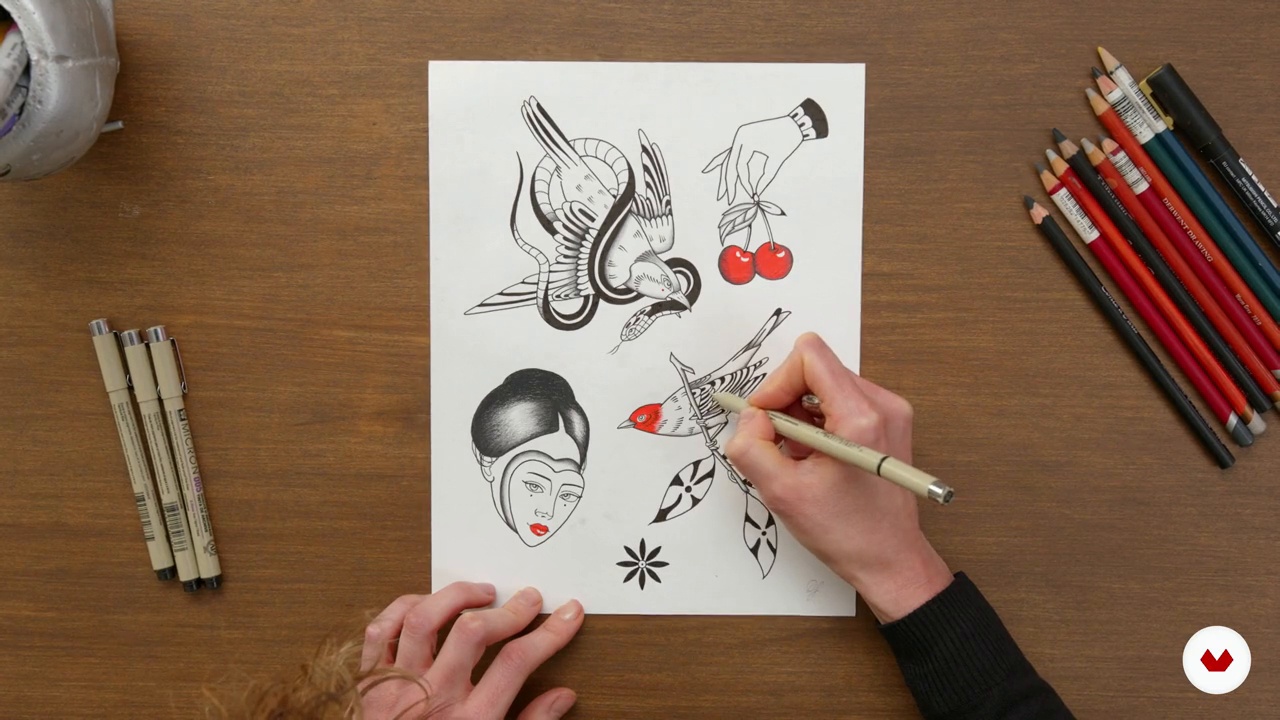
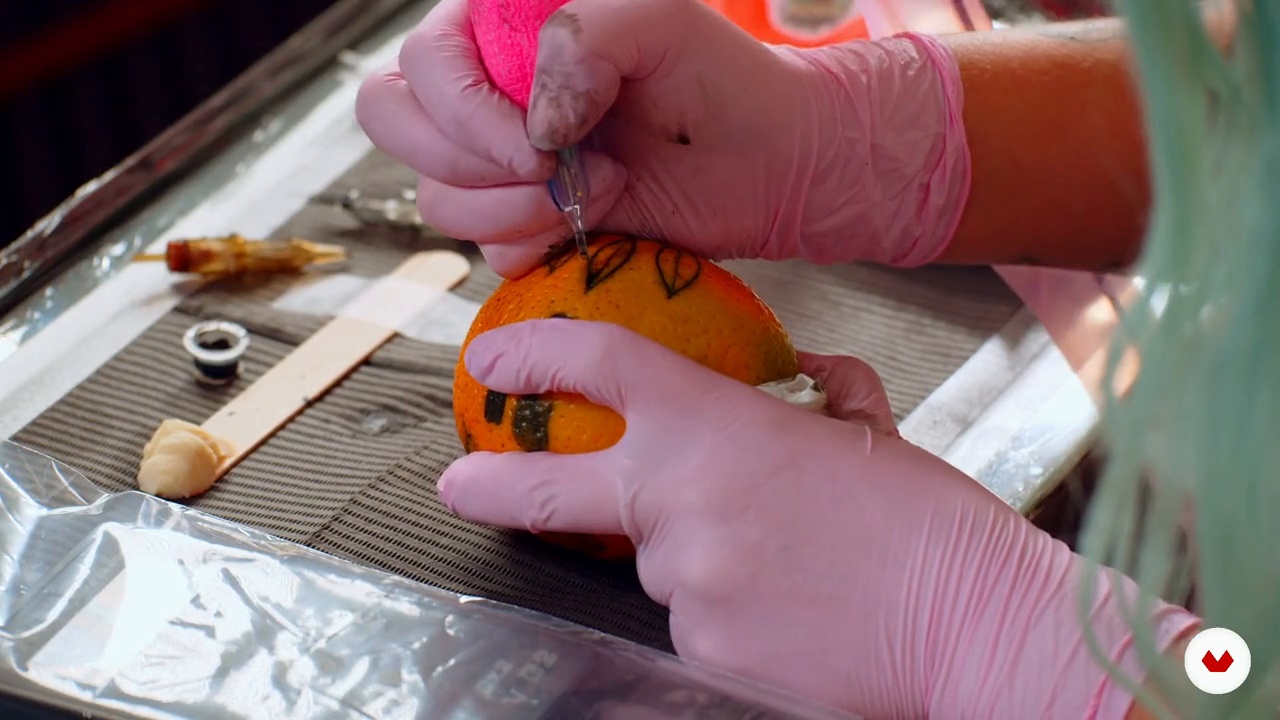
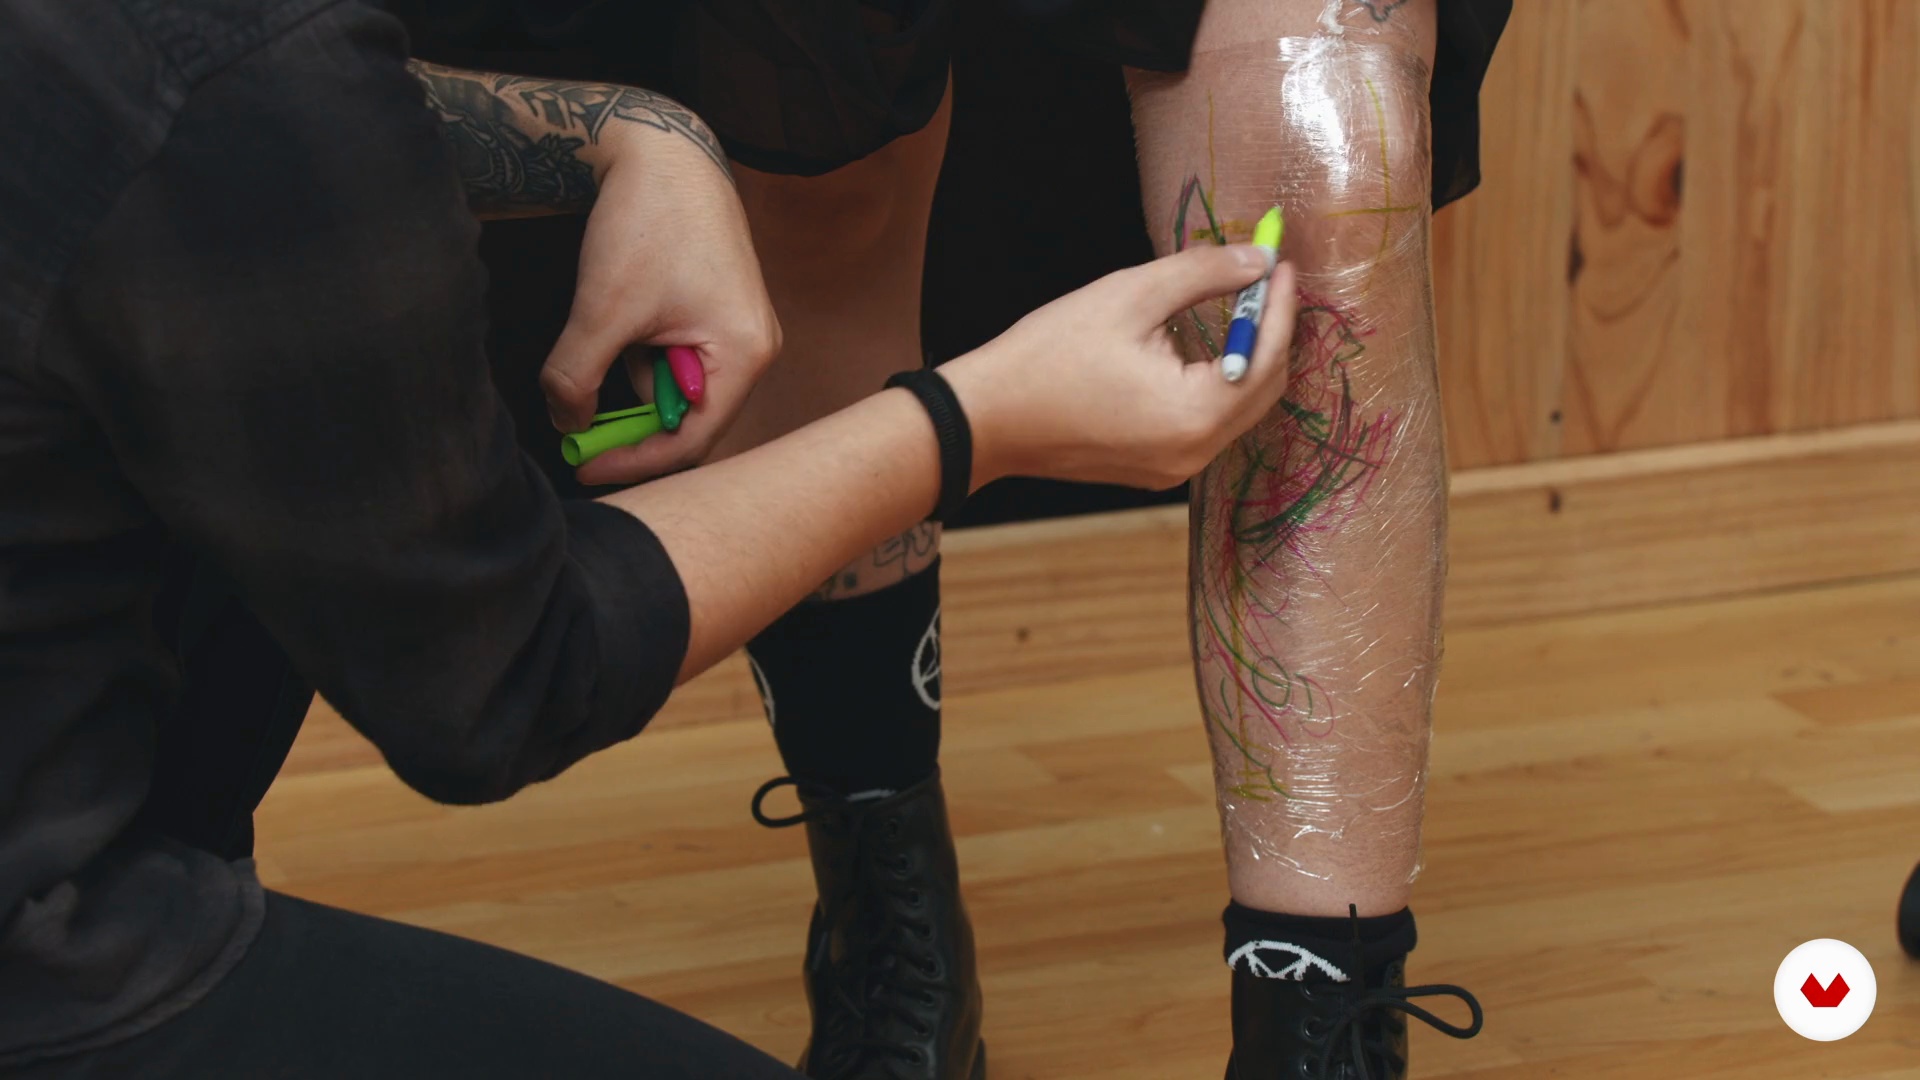
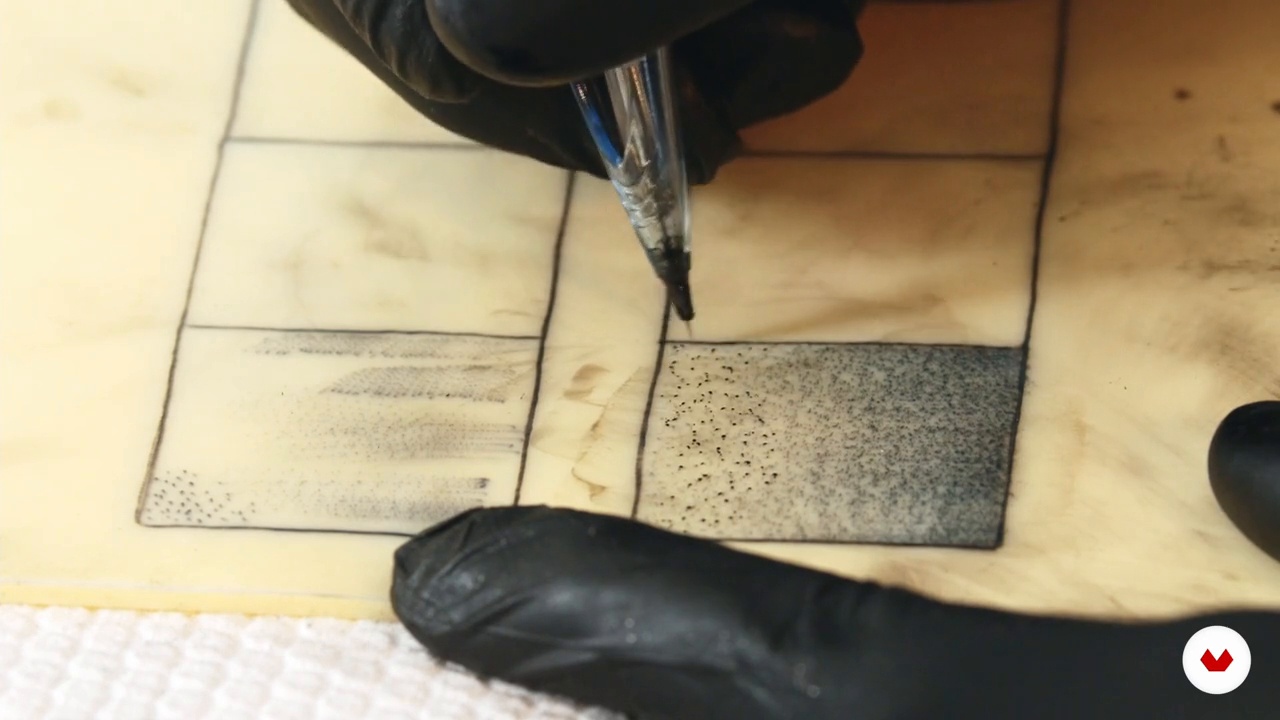
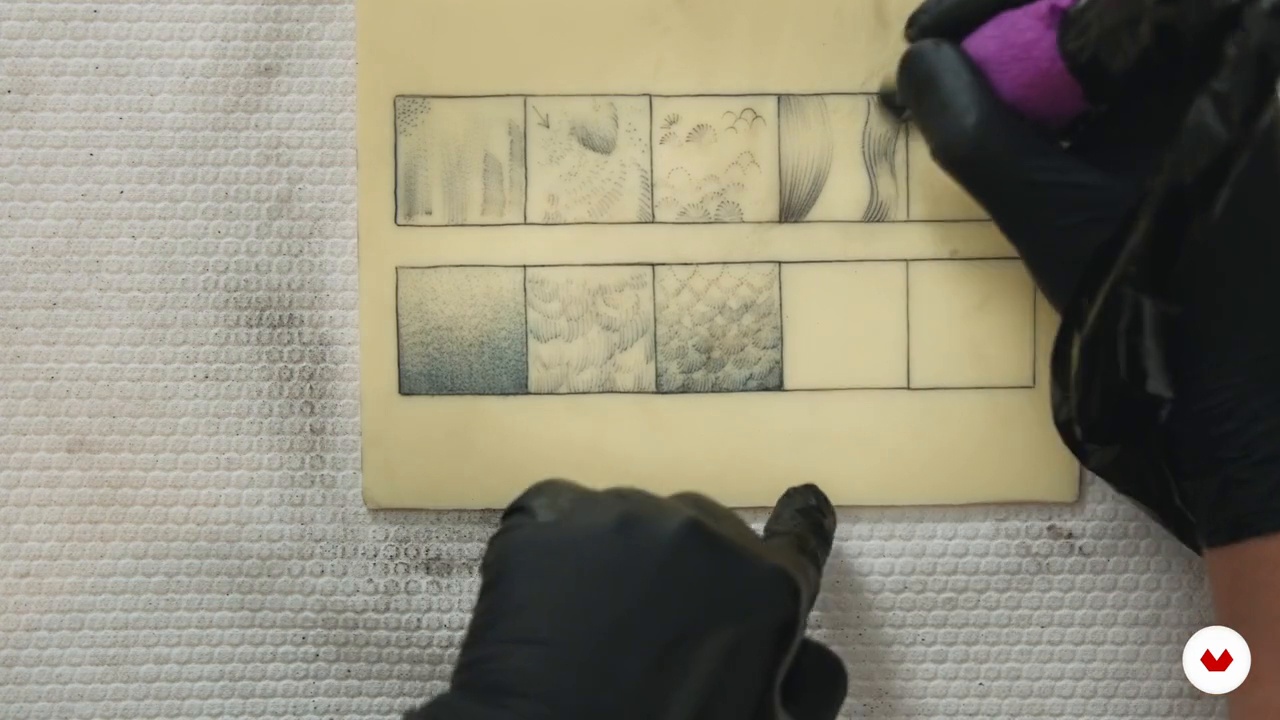
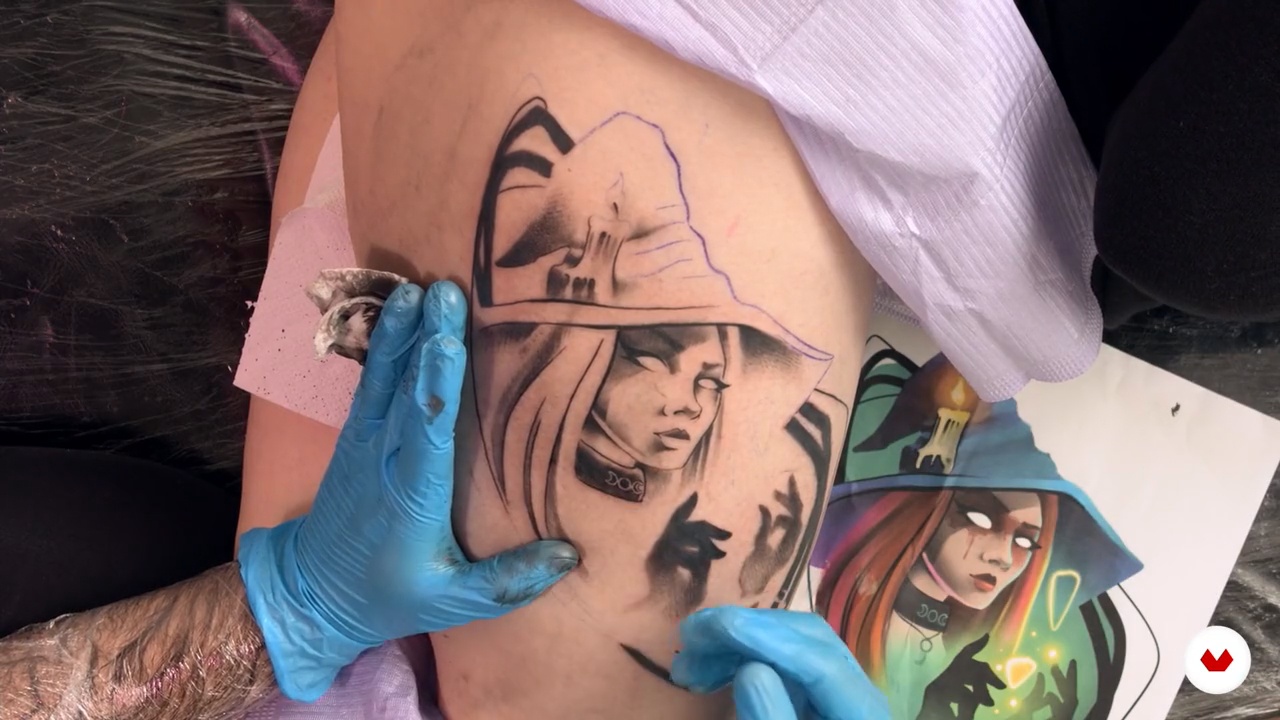
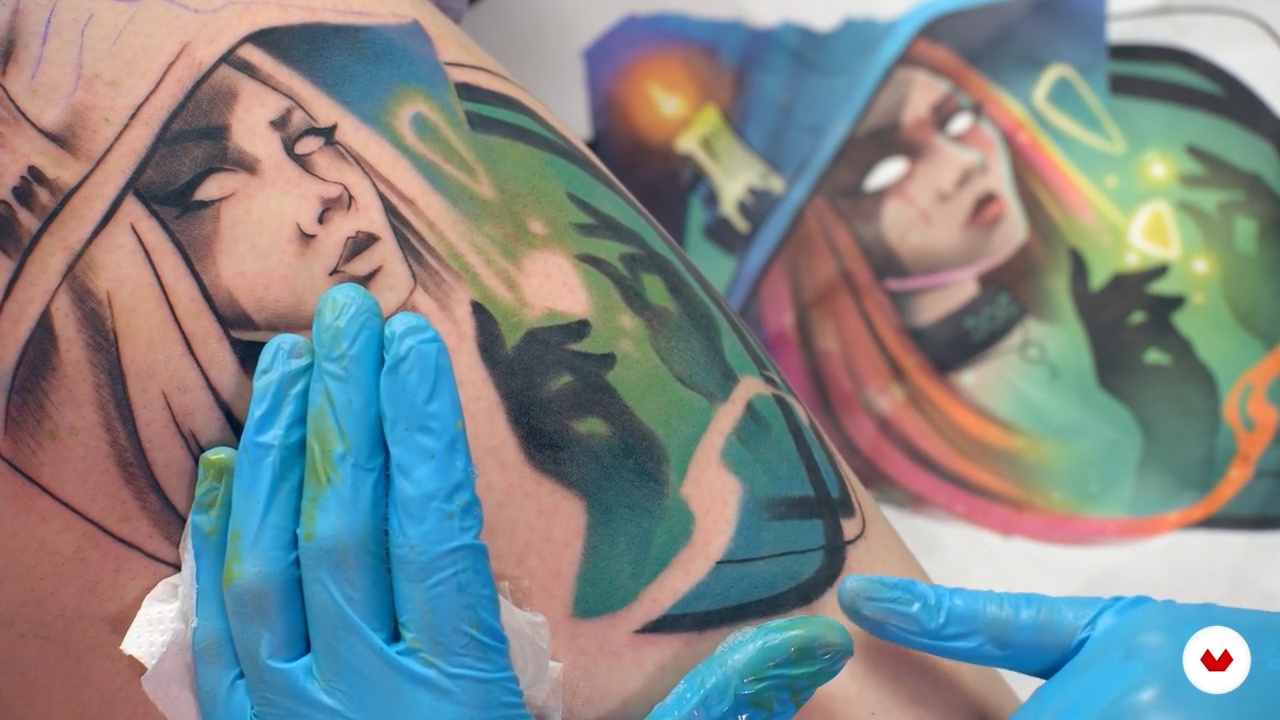
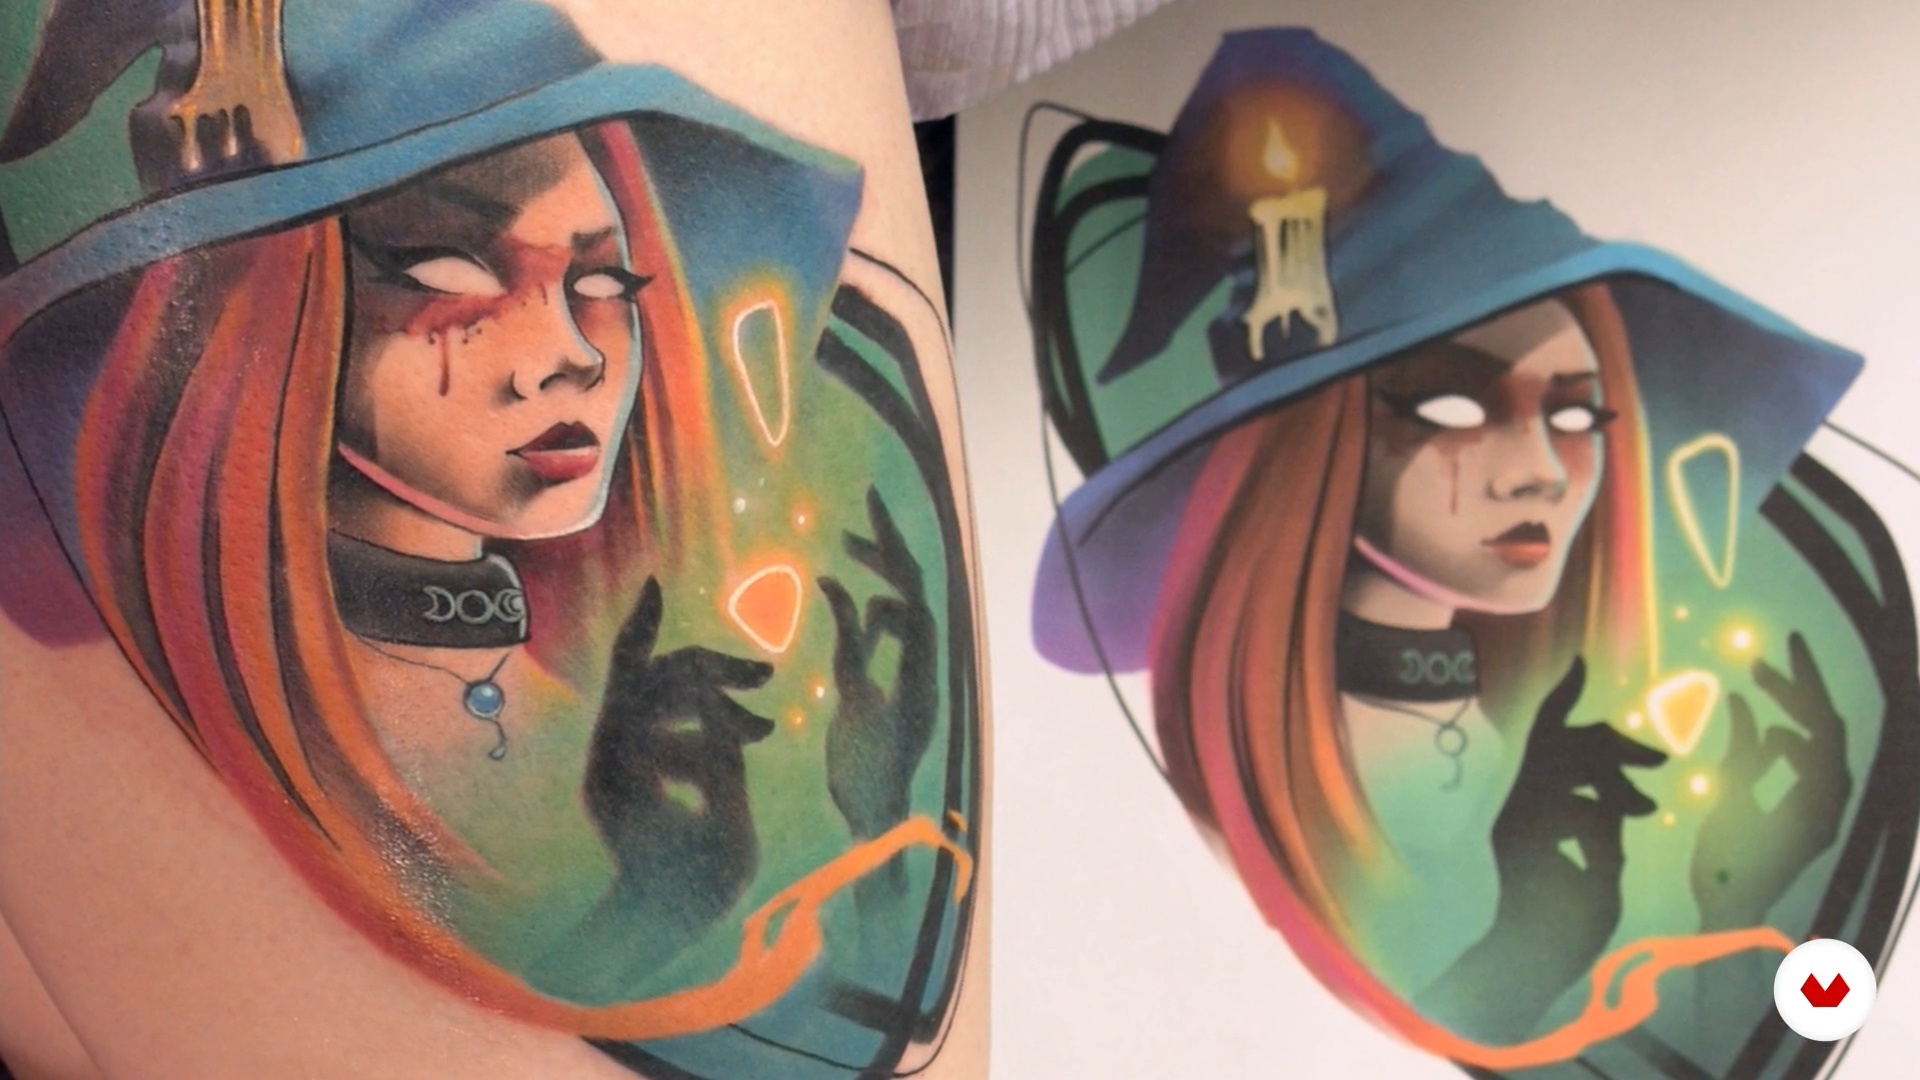
Explore a variety of tattoo techniques, from fine line work and stippling with Mazvtier, to vibrant color application with Molina Tattoo. Dive into the world of blacklight tattooing with Tania Maia, or start from scratch with Polilla Tattoo, learning everything from machine setup to practicing on an orange. Each course offers a different perspective, allowing you to develop skills in different styles and techniques. With these tools and knowledge, you’ll be ready to take your designs from paper to skin.

Read more ↓

What will you learn in this specialization?

A total of 6 modules and 73 lessons
A total of 12h 35m of vídeo lessons
Taught by 5 selected expert teachers
image
1
Introduction
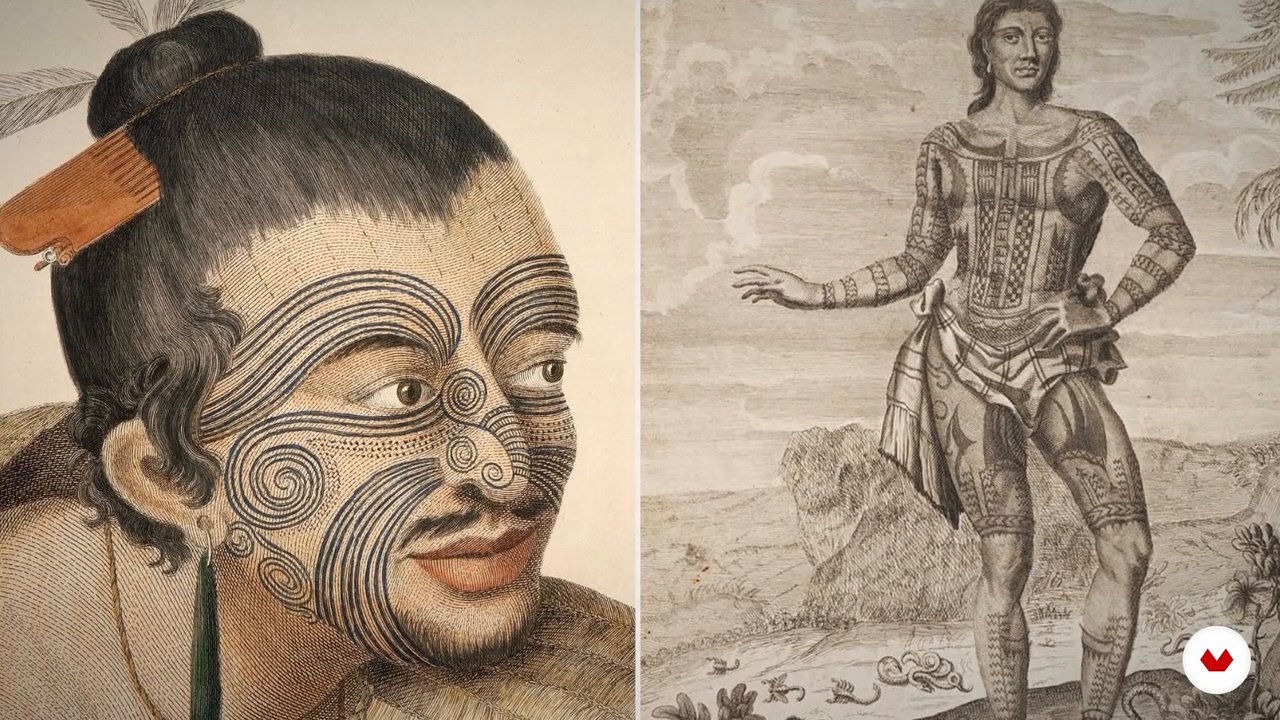
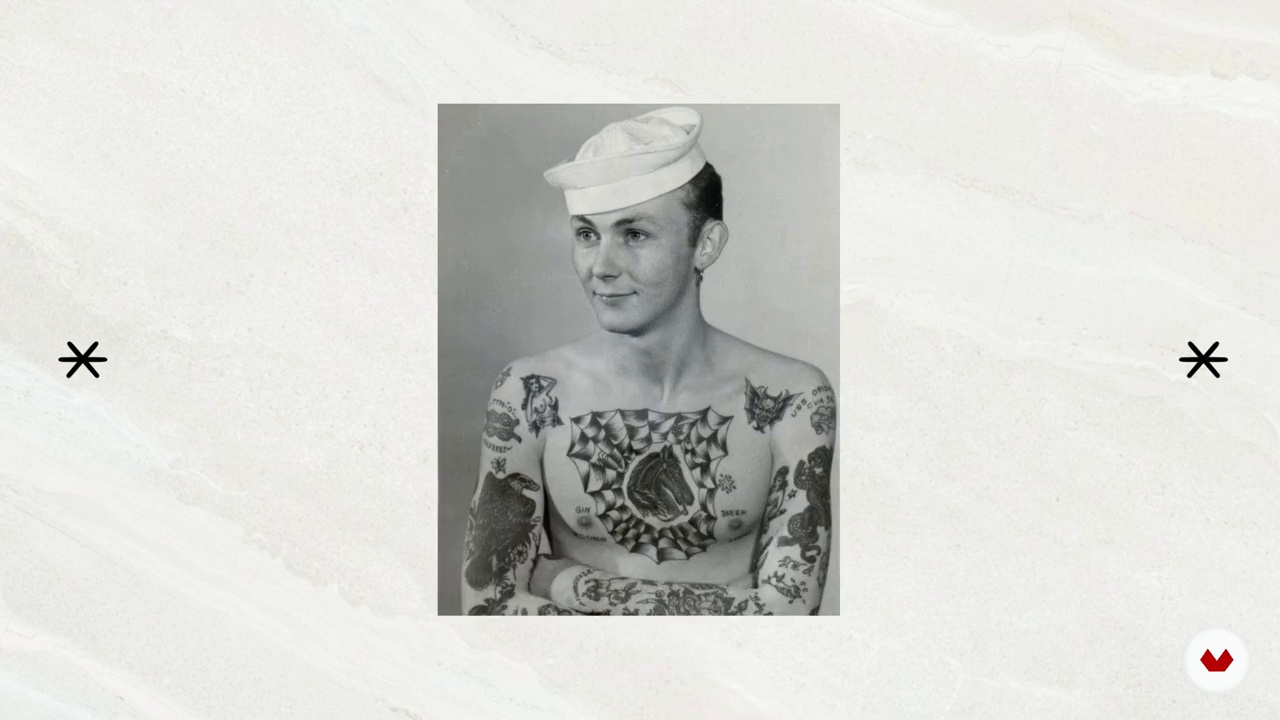
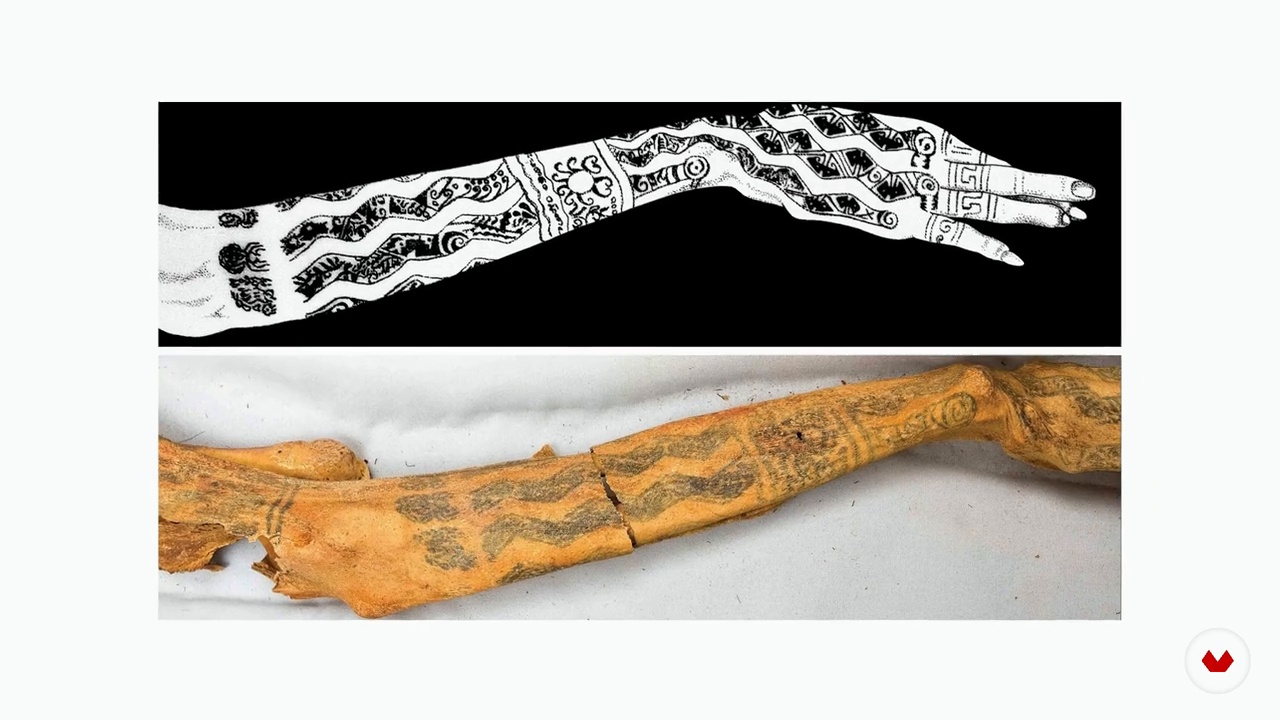
You will explore tattooing as a universal language that reflects identity, history and culture. You will learn about its evolution, from the Maori warriors to the invention of the electric machine in 1891. In addition, you will discover how tattooing is today a form of self-expression, a profession and an art without limits.
1m
image
2
Inspiration / Diana Felix
You'll discover key influences in building a distinctive graphic style. From the metallic sensuality of Sorayama to the transgressive eroticism of Toshusaeki and the psychological horror of Shuehiro Maruo, you'll explore how different artists impact illustration and tattooing. Share your own references in the forum.
4m
image
3
Inspiration / Tania Maia
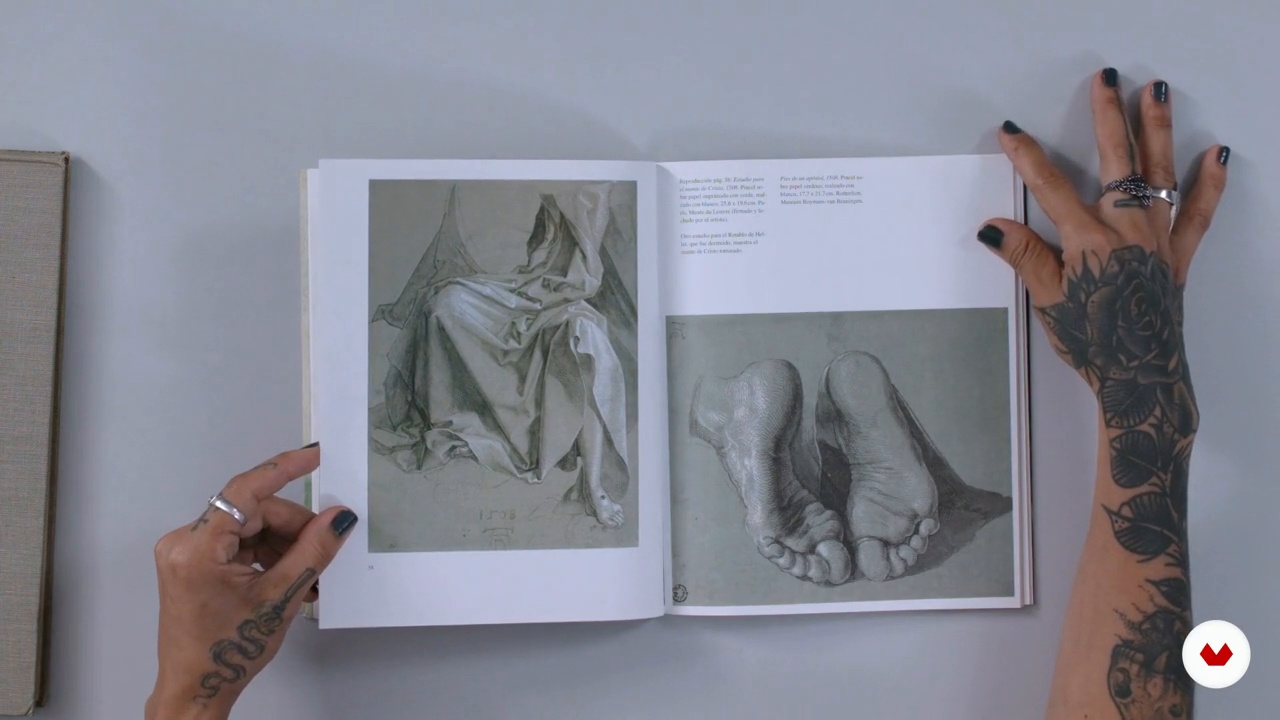
You'll learn about key artistic influences in illustration and tattooing. From the rich detail of Gustave Doré and Dürer to the visual nostalgia of Jacques Callot, you'll discover how studying printed images refines the artistic eye. Now, we'll put this inspiration into practice and start designing.
5m
image
4
Inspiration / Moth Tattoo
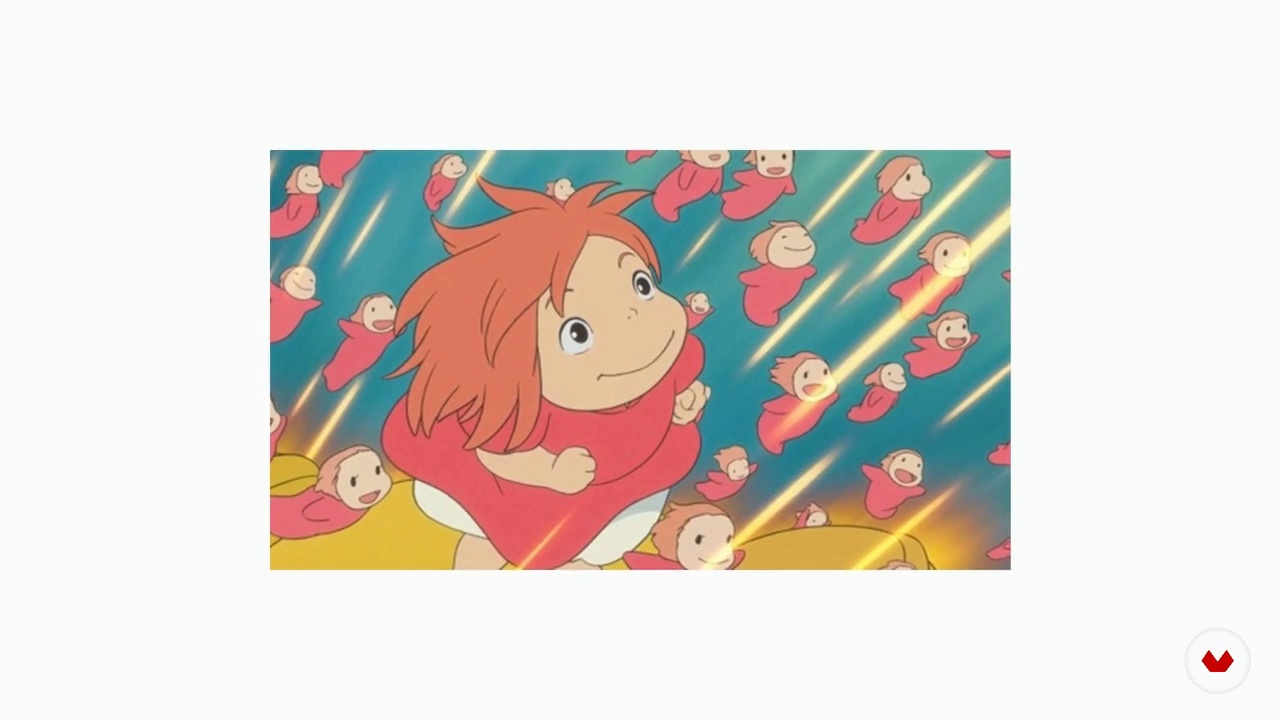
In this lesson, you will learn about the artistic influences that have shaped a unique style of tattooing. From Miyazaki's animation to Chilean comics, Rion's surrealism and Seewada's botany, you will discover how different disciplines inspire the creation of characters and visual narratives on the skin.
12m
image
5
Inspiration / Mazvtier
You'll explore key influences in illustration and tattooing, from the detailed, dark work of Grant Design to the botanical delicacy of Adela and Siwa. You'll also discover the impact of neo-traditional on complex compositions and the innovation of contemporary blackwork. In the next lesson, we'll look at essential materials.
2m
image
6
Inspiration / Molina Tattoo
You'll discover key influences in illustration and tattooing, from the dynamism of Todd McFarlane and the realism of Luis Royo to the abstract fluidity of Lux Altera and the experimentation of Timur Licenko. You'll learn how to integrate references into your work to develop a unique style. In the next lesson, we'll look at tattoo basics.
4m
image
1
What will we do in the course?
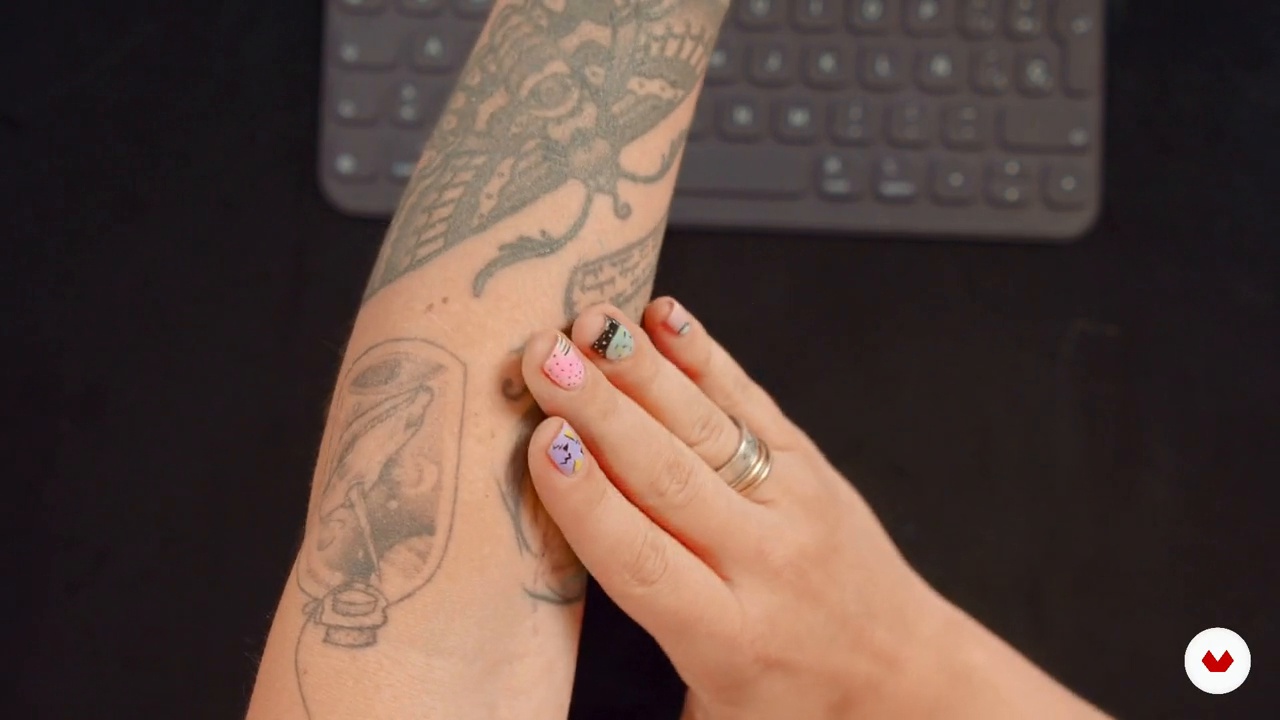
I'll tell you more about what I'll be doing during the module. Are you ready?
1m
image
2
History of tattoos and their different names
In this lesson I will tell you how tattoos came about in the West, the different terms used to refer to tattoos and how to know when it is a designer tattoo or not.
5m
image
3
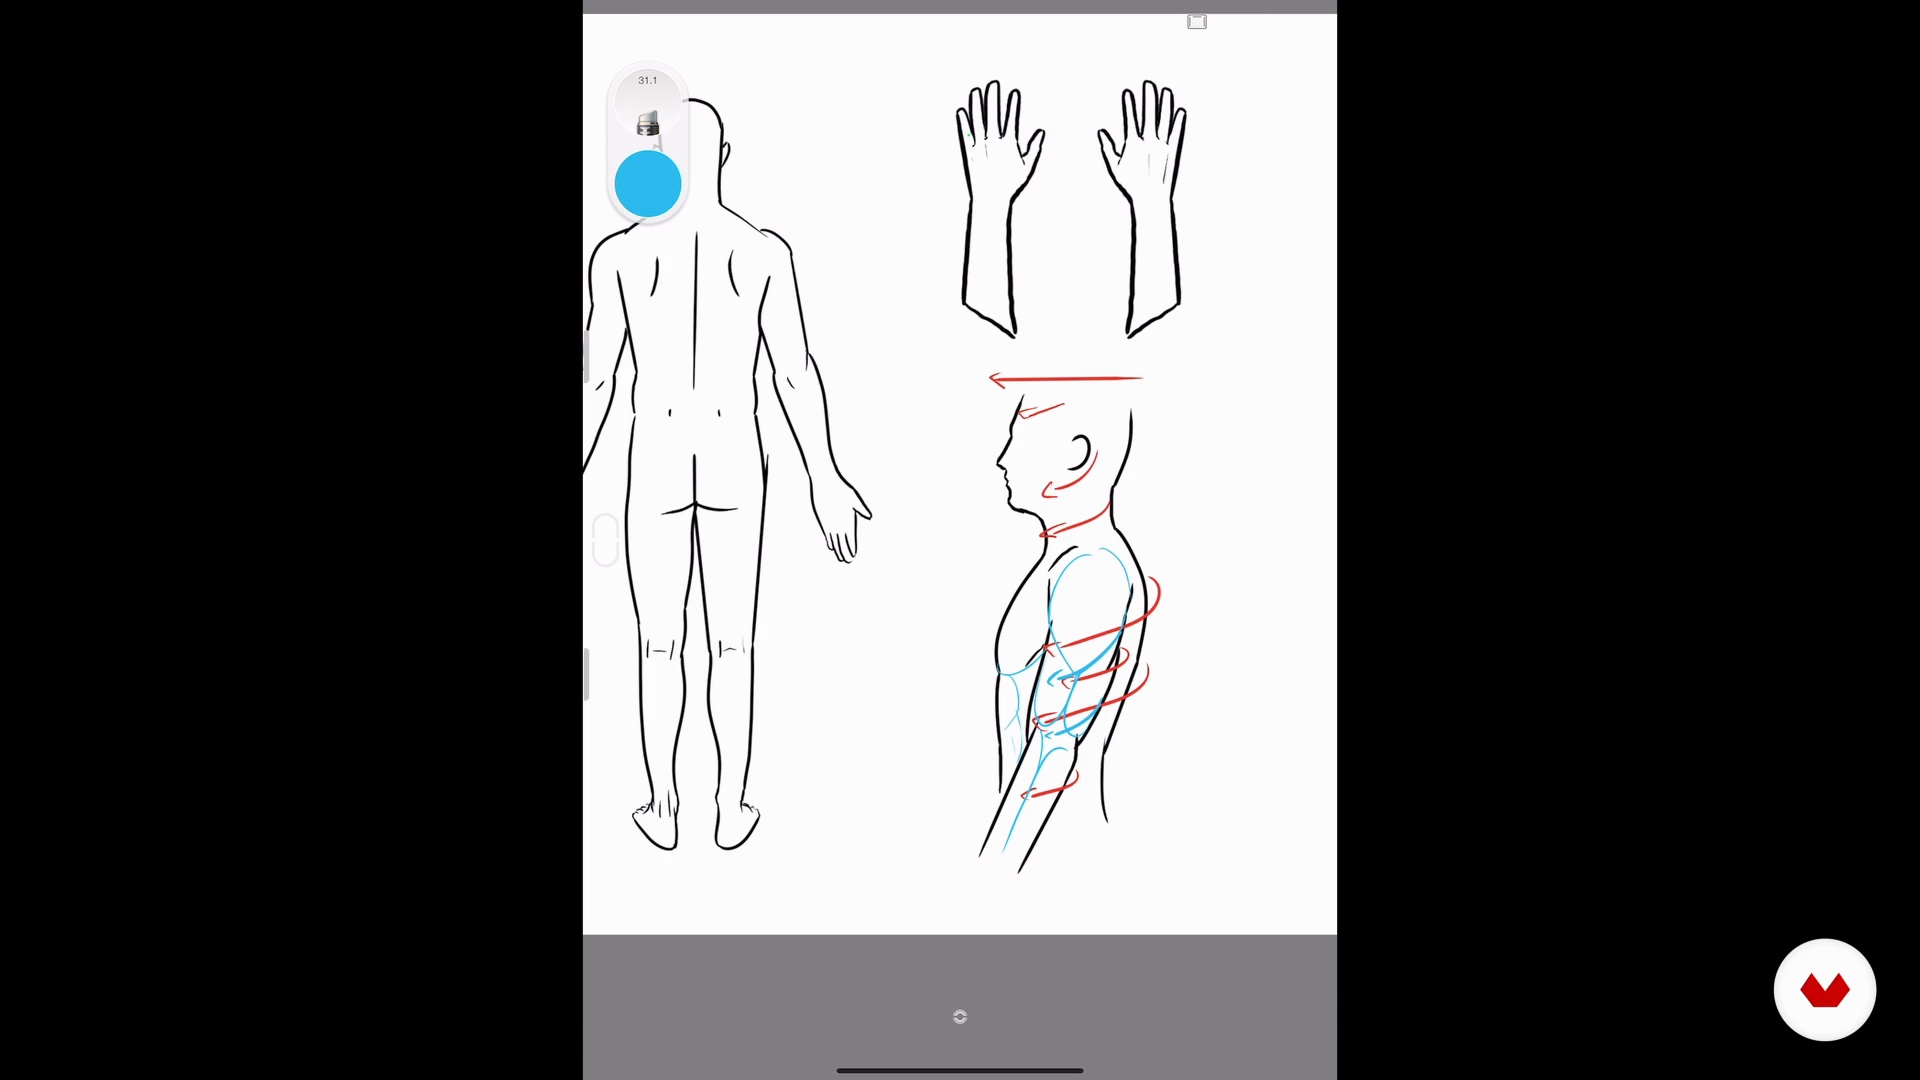
Let's talk about the body and its composition
Let's start by analyzing the different parts of the body and why it is important to know them before starting to tattoo.
7m
image
4
How do I define my style?
You will learn how you can find your own style through your tastes and I will show you how mine have evolved, from my beginnings until today.
3m
image
5
How do I land my ideas? From the mood board to my first design
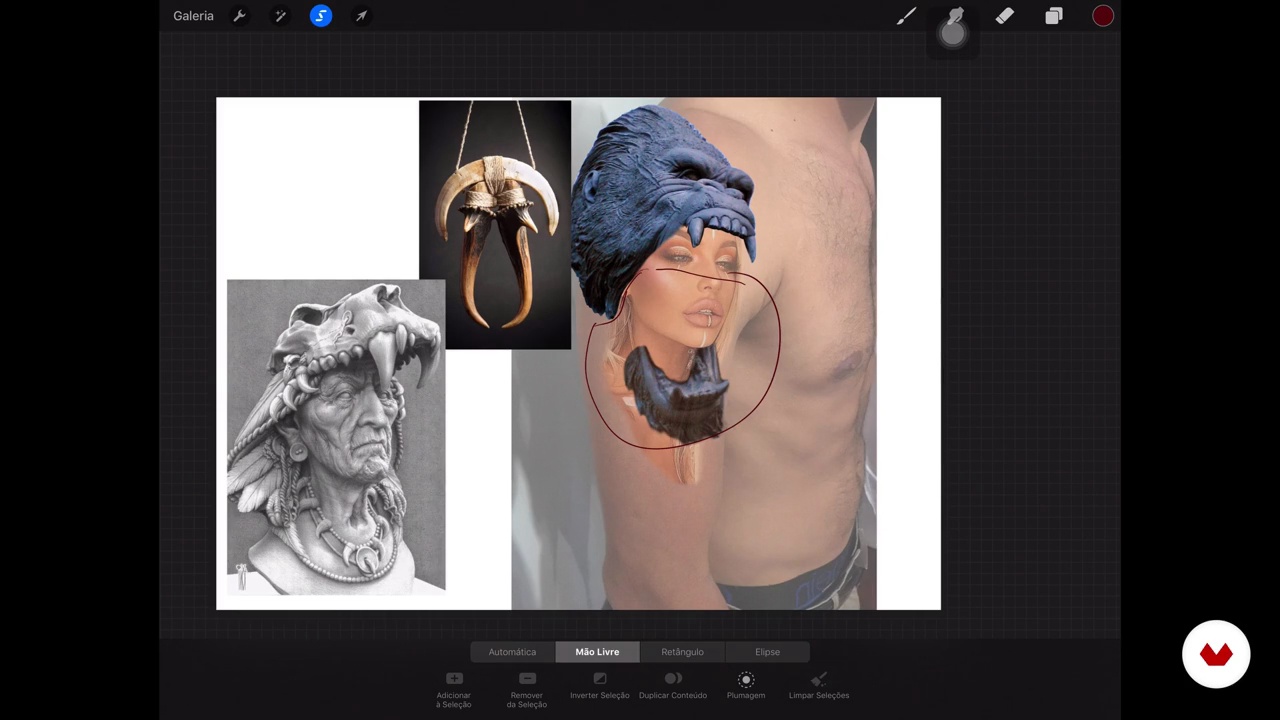
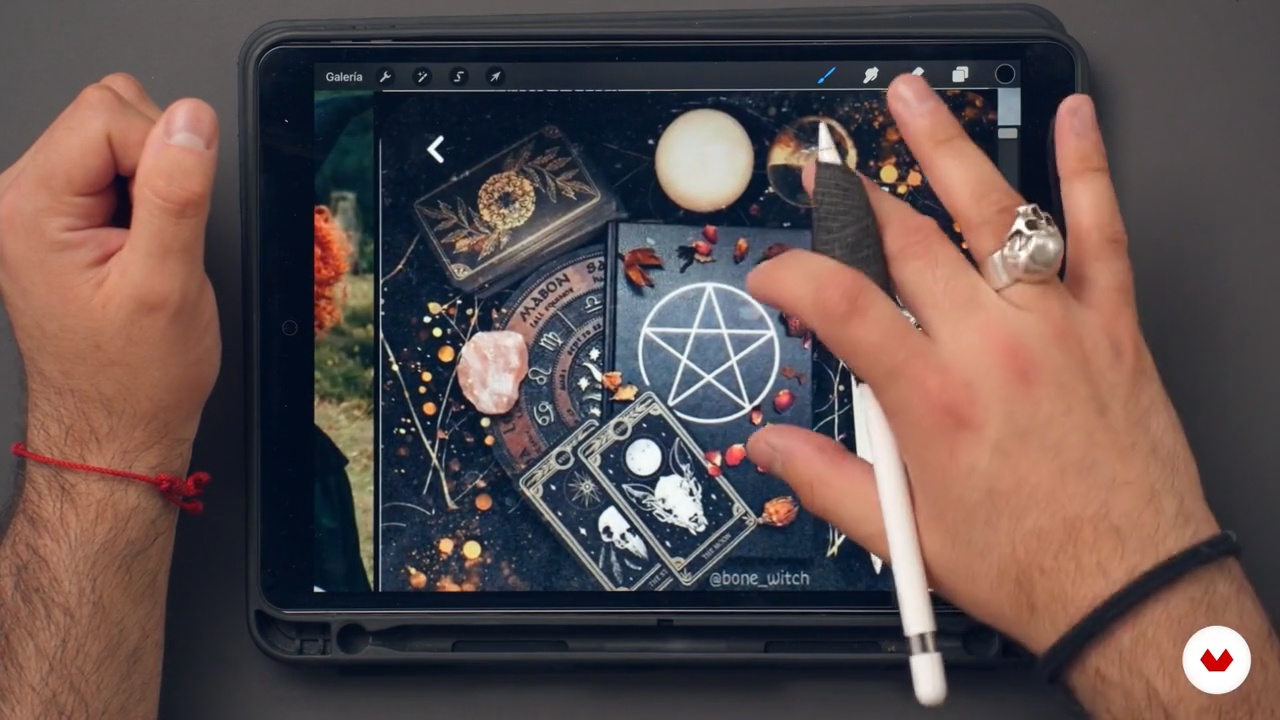
I will show you how to start making a mood board with reference images that you identify with and that represent you, to choose three elements and draw them.
11m
image
6
Know your customer
In this lesson you will learn the information you should obtain from your client and consider before starting your creative process to work on their design.
3m
image
7
Documentation
During this lesson you will learn about my process of finding the reference images that I will use to create the design.
6m
image
8
Collage
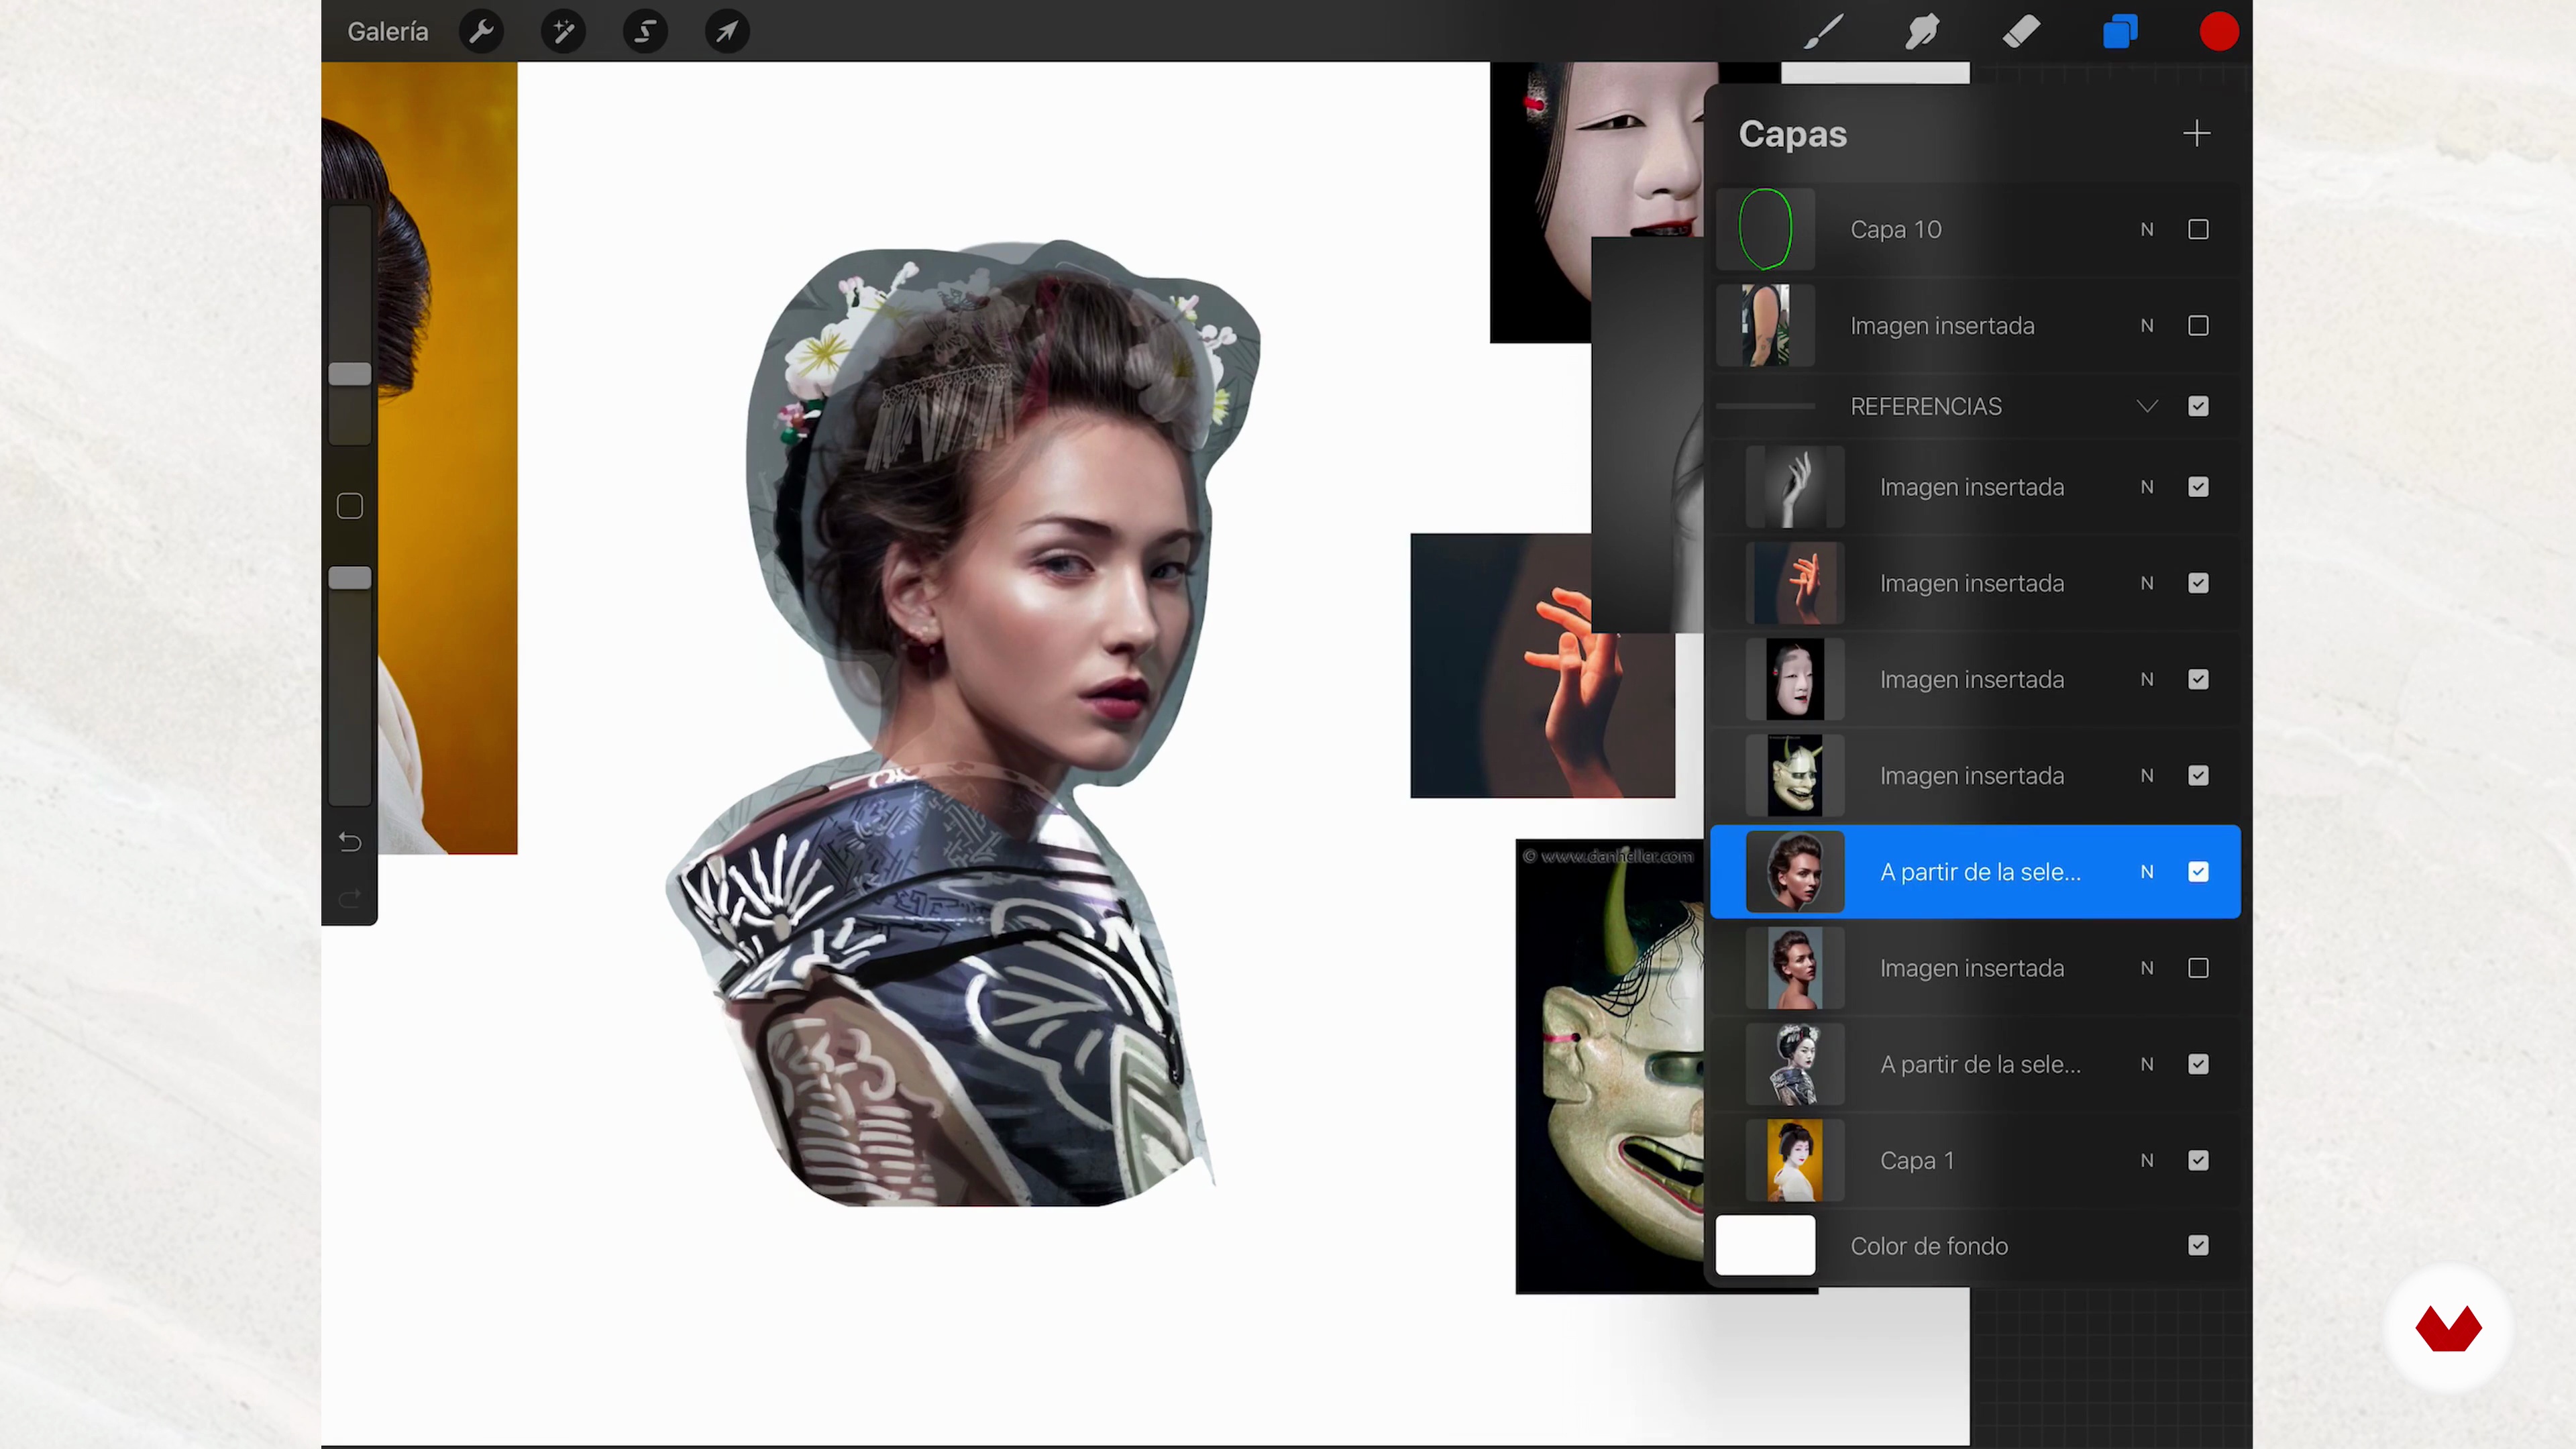
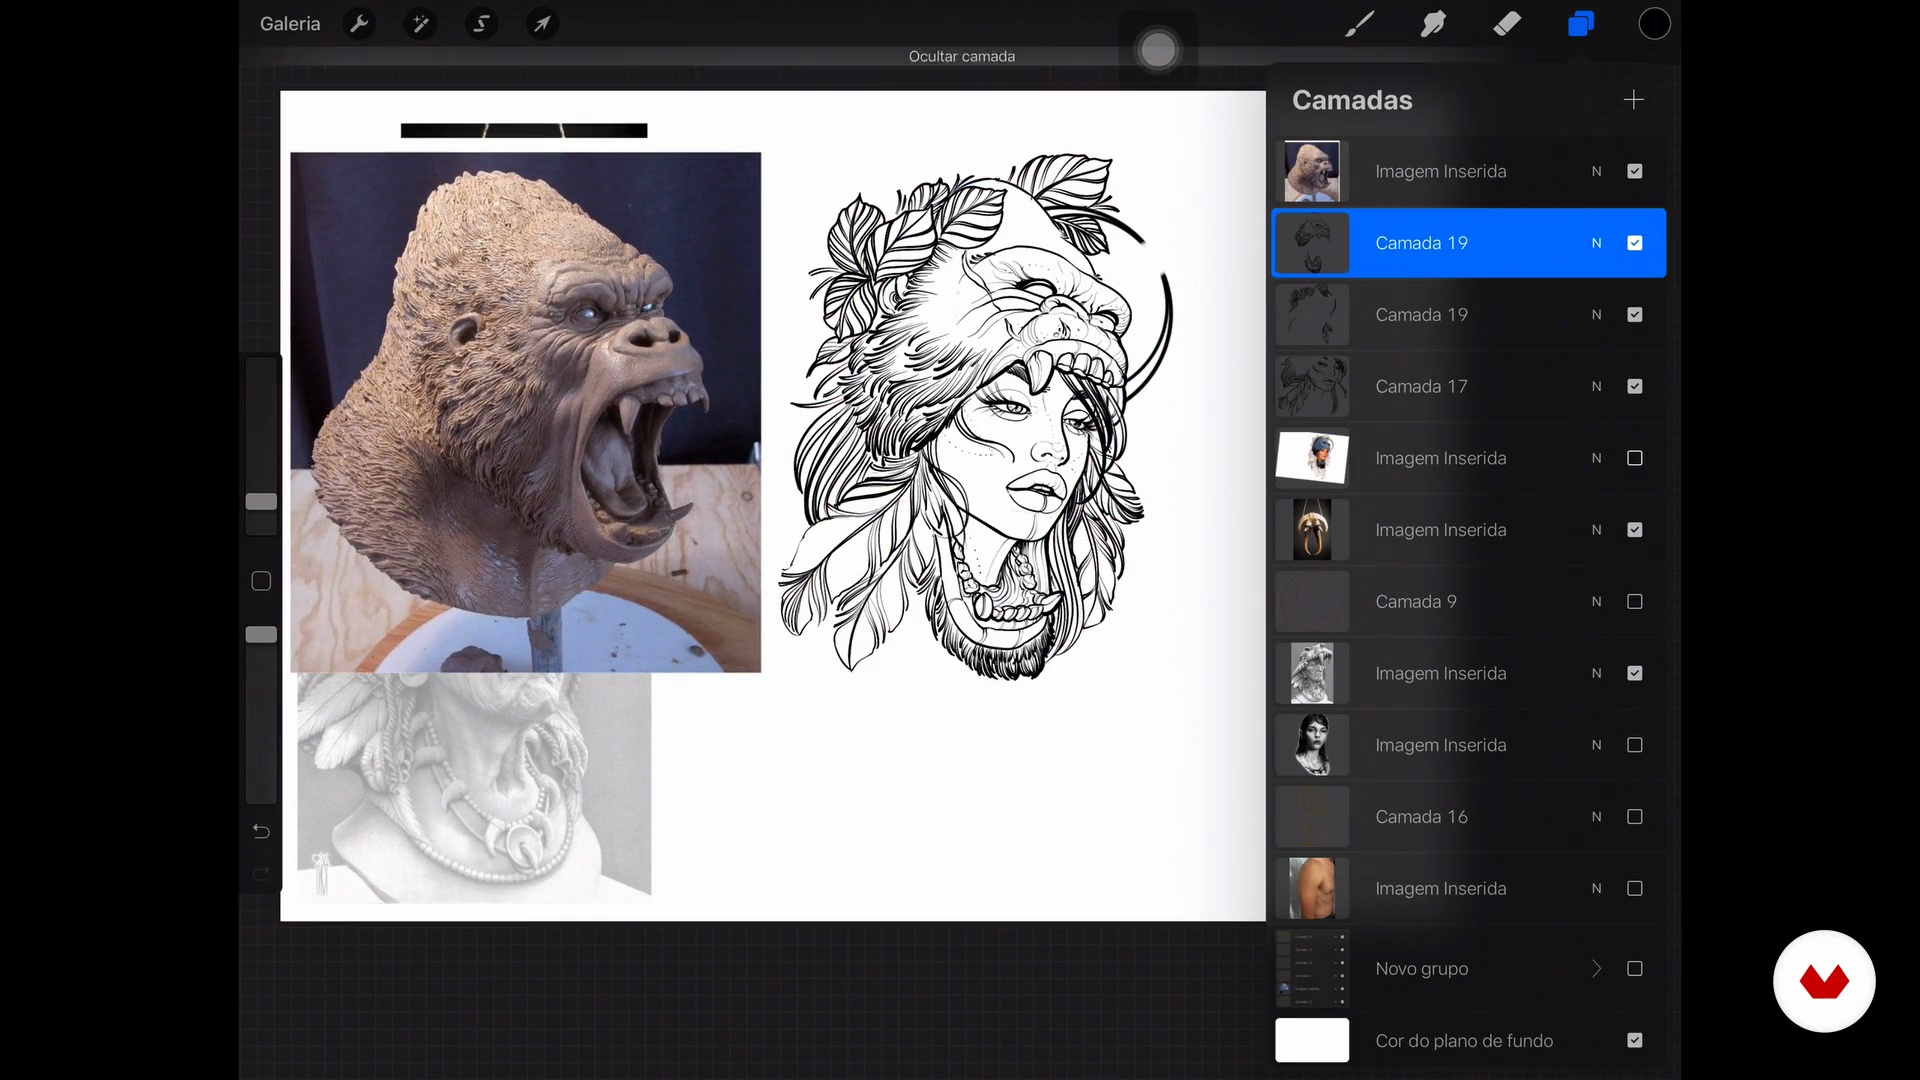
Now I will show you how to make the collage with the images we downloaded in the previous lesson.
6m
image
9
Sketching and final stroke
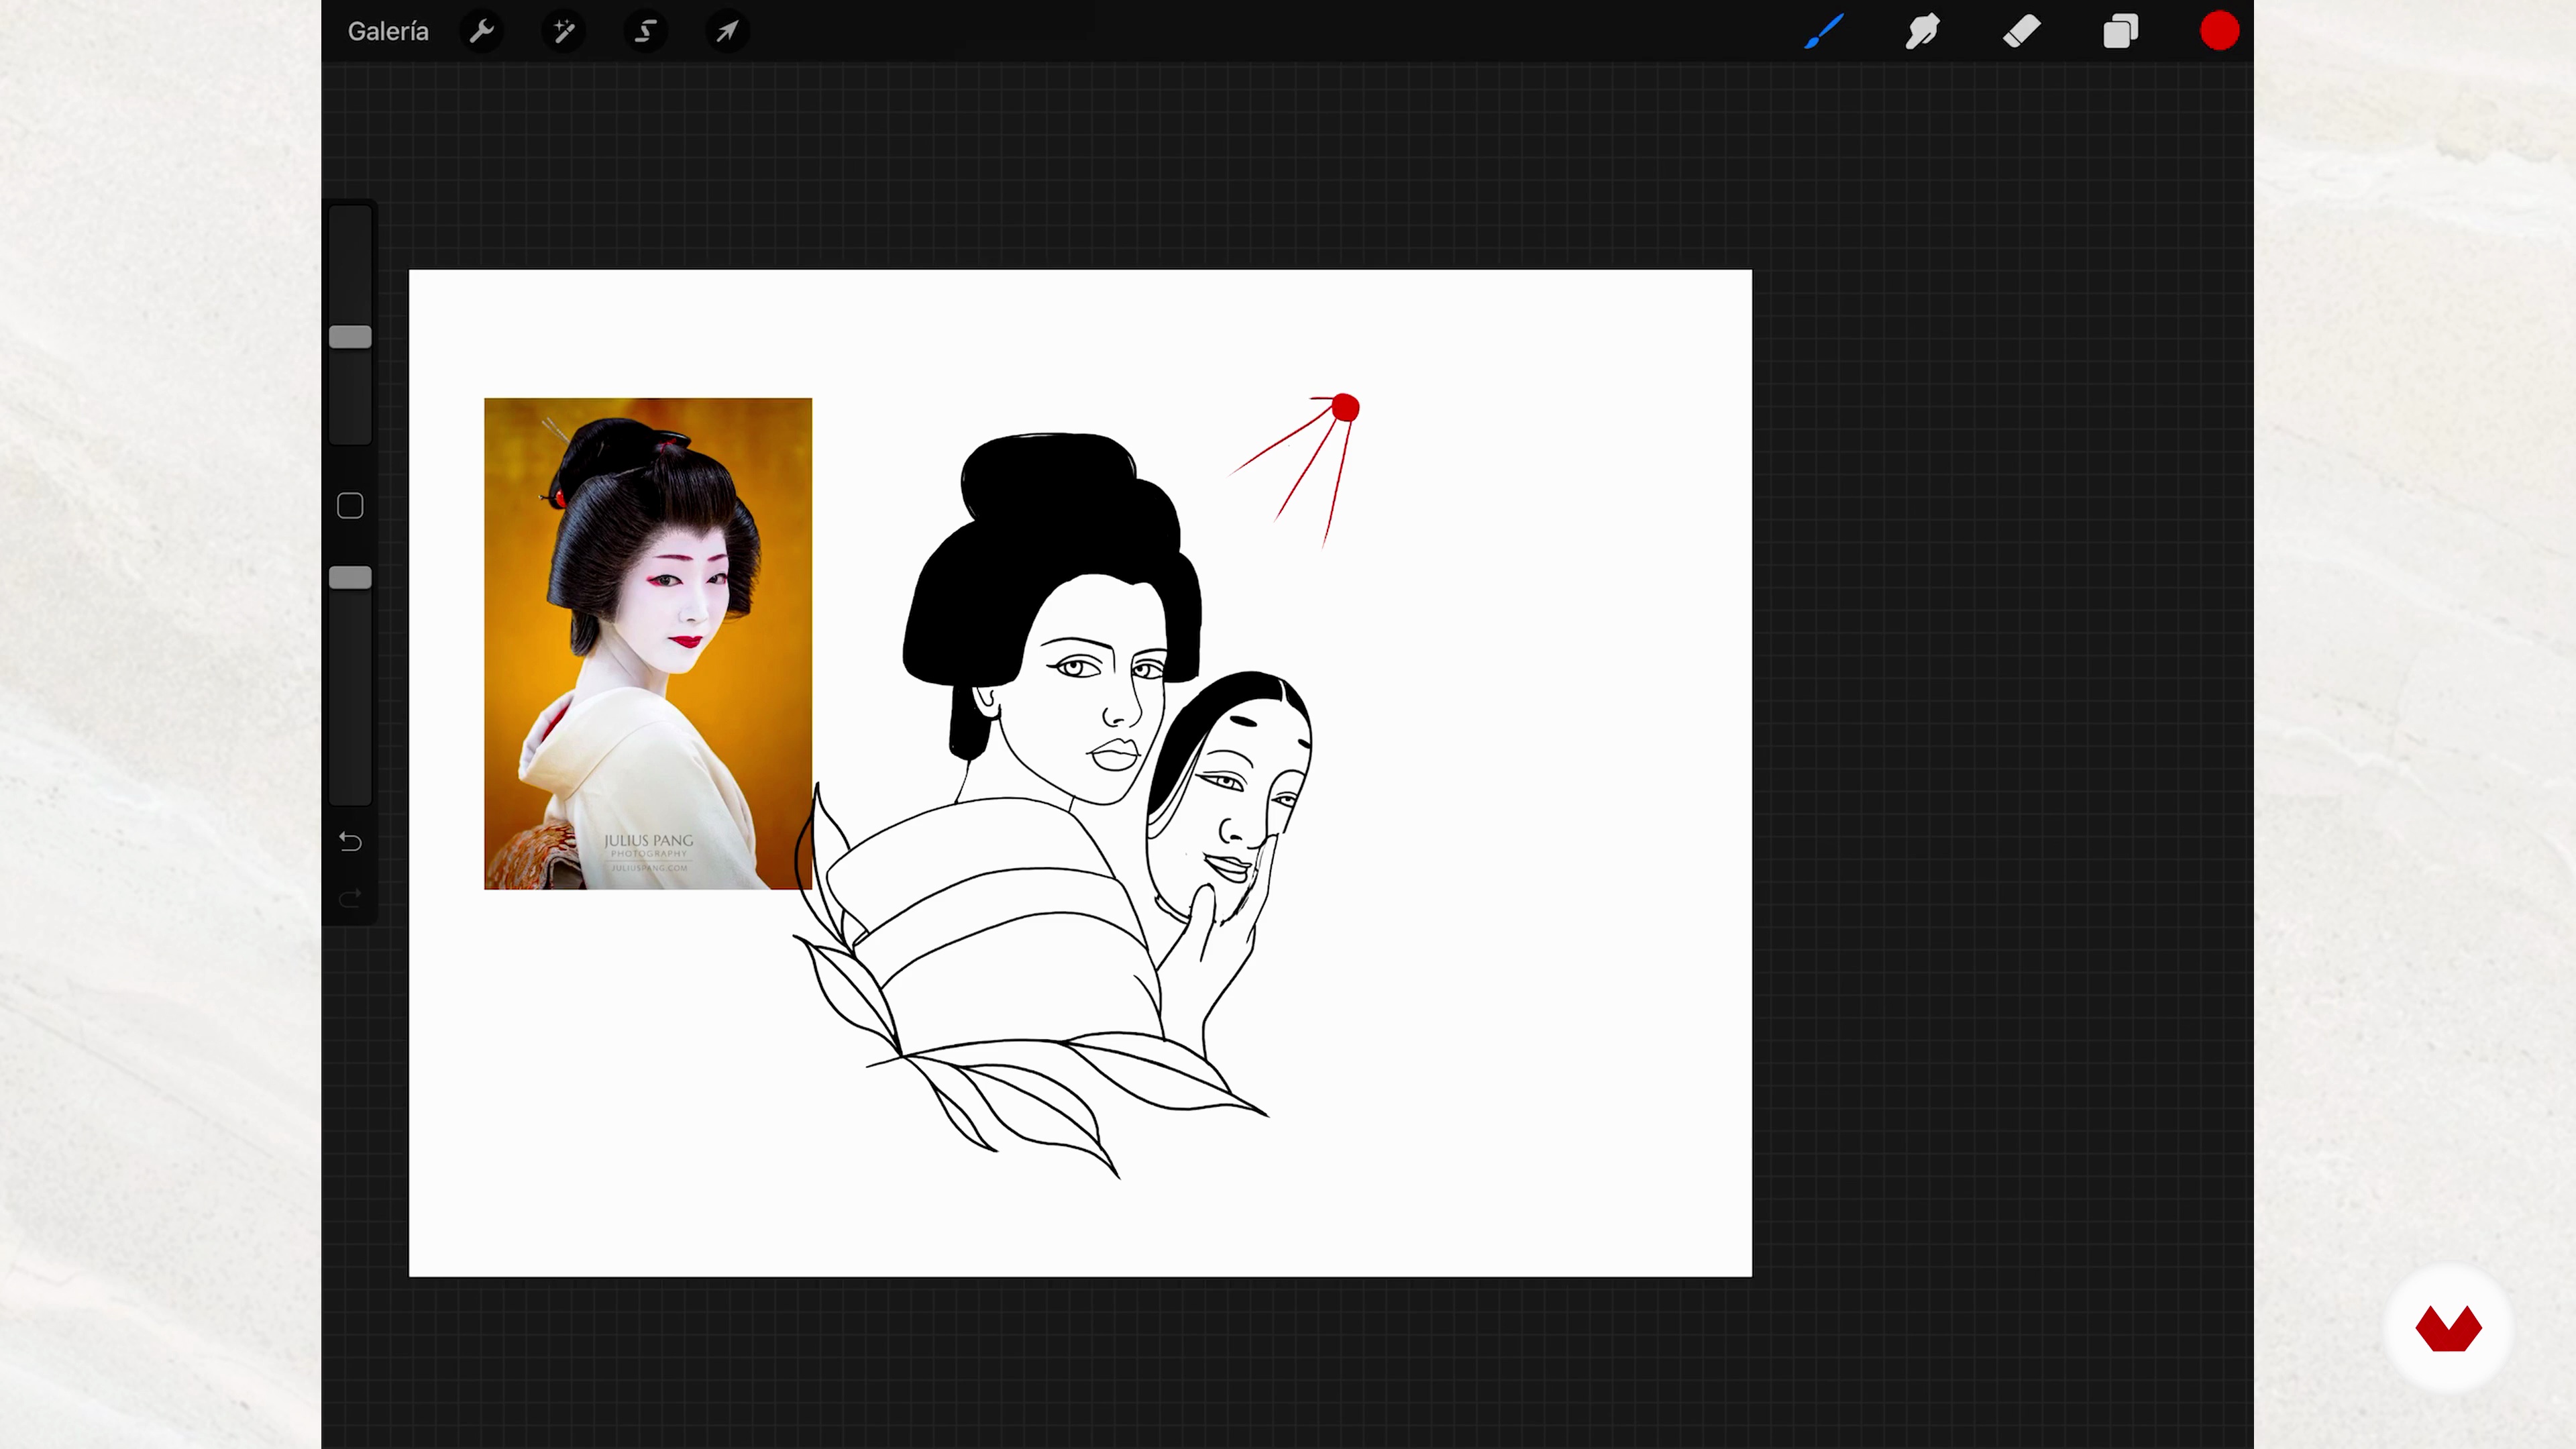
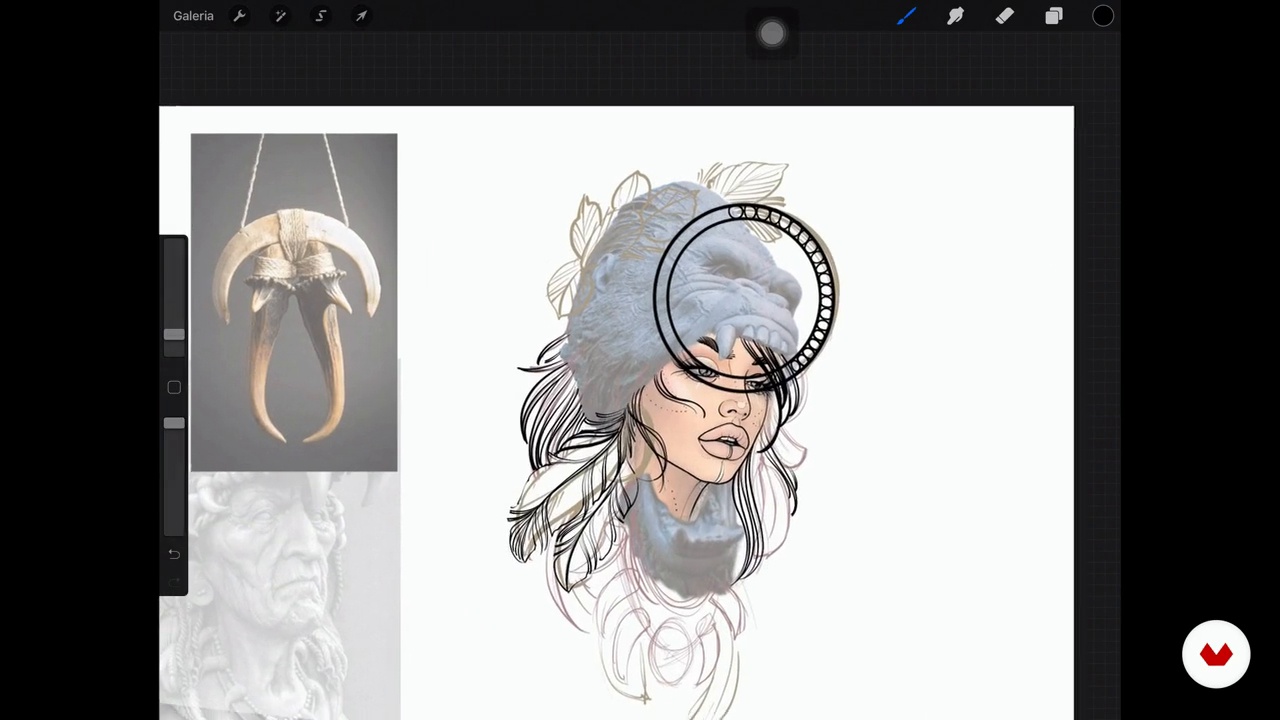
I will show you how to first sketch the collage and then polish it to get to the final stroke.
15m
image
10
Our design on the skin
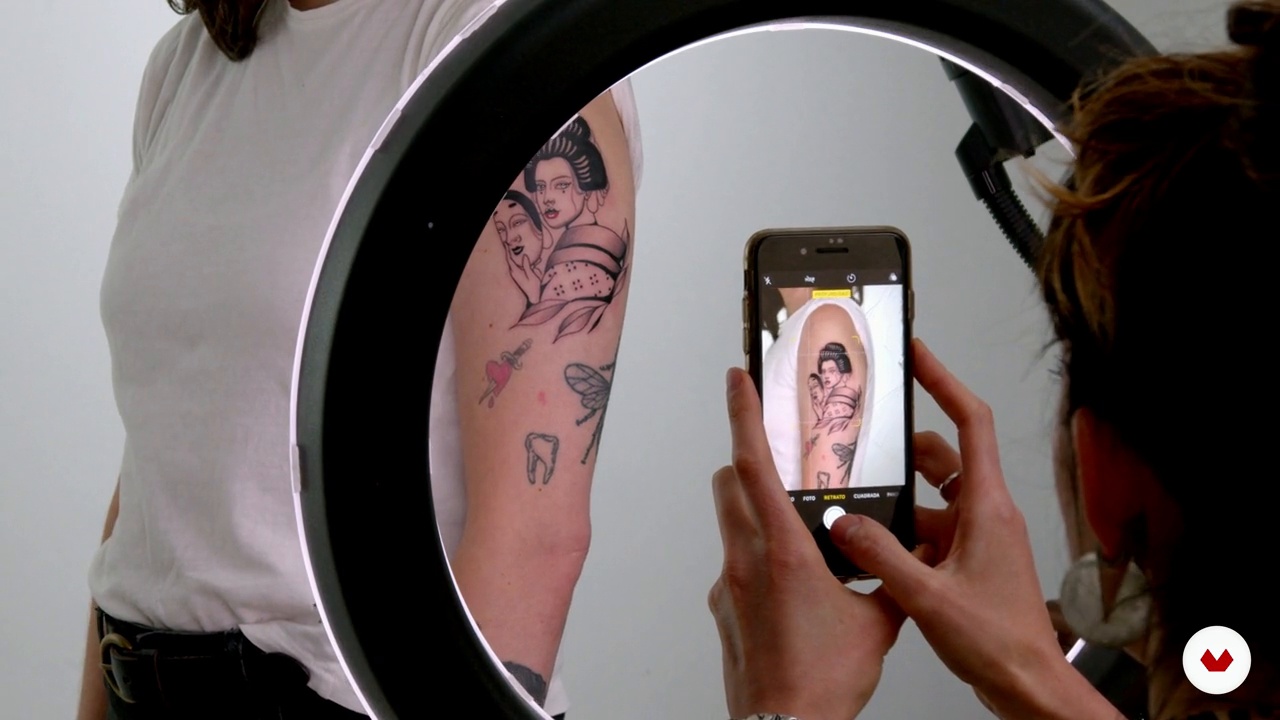
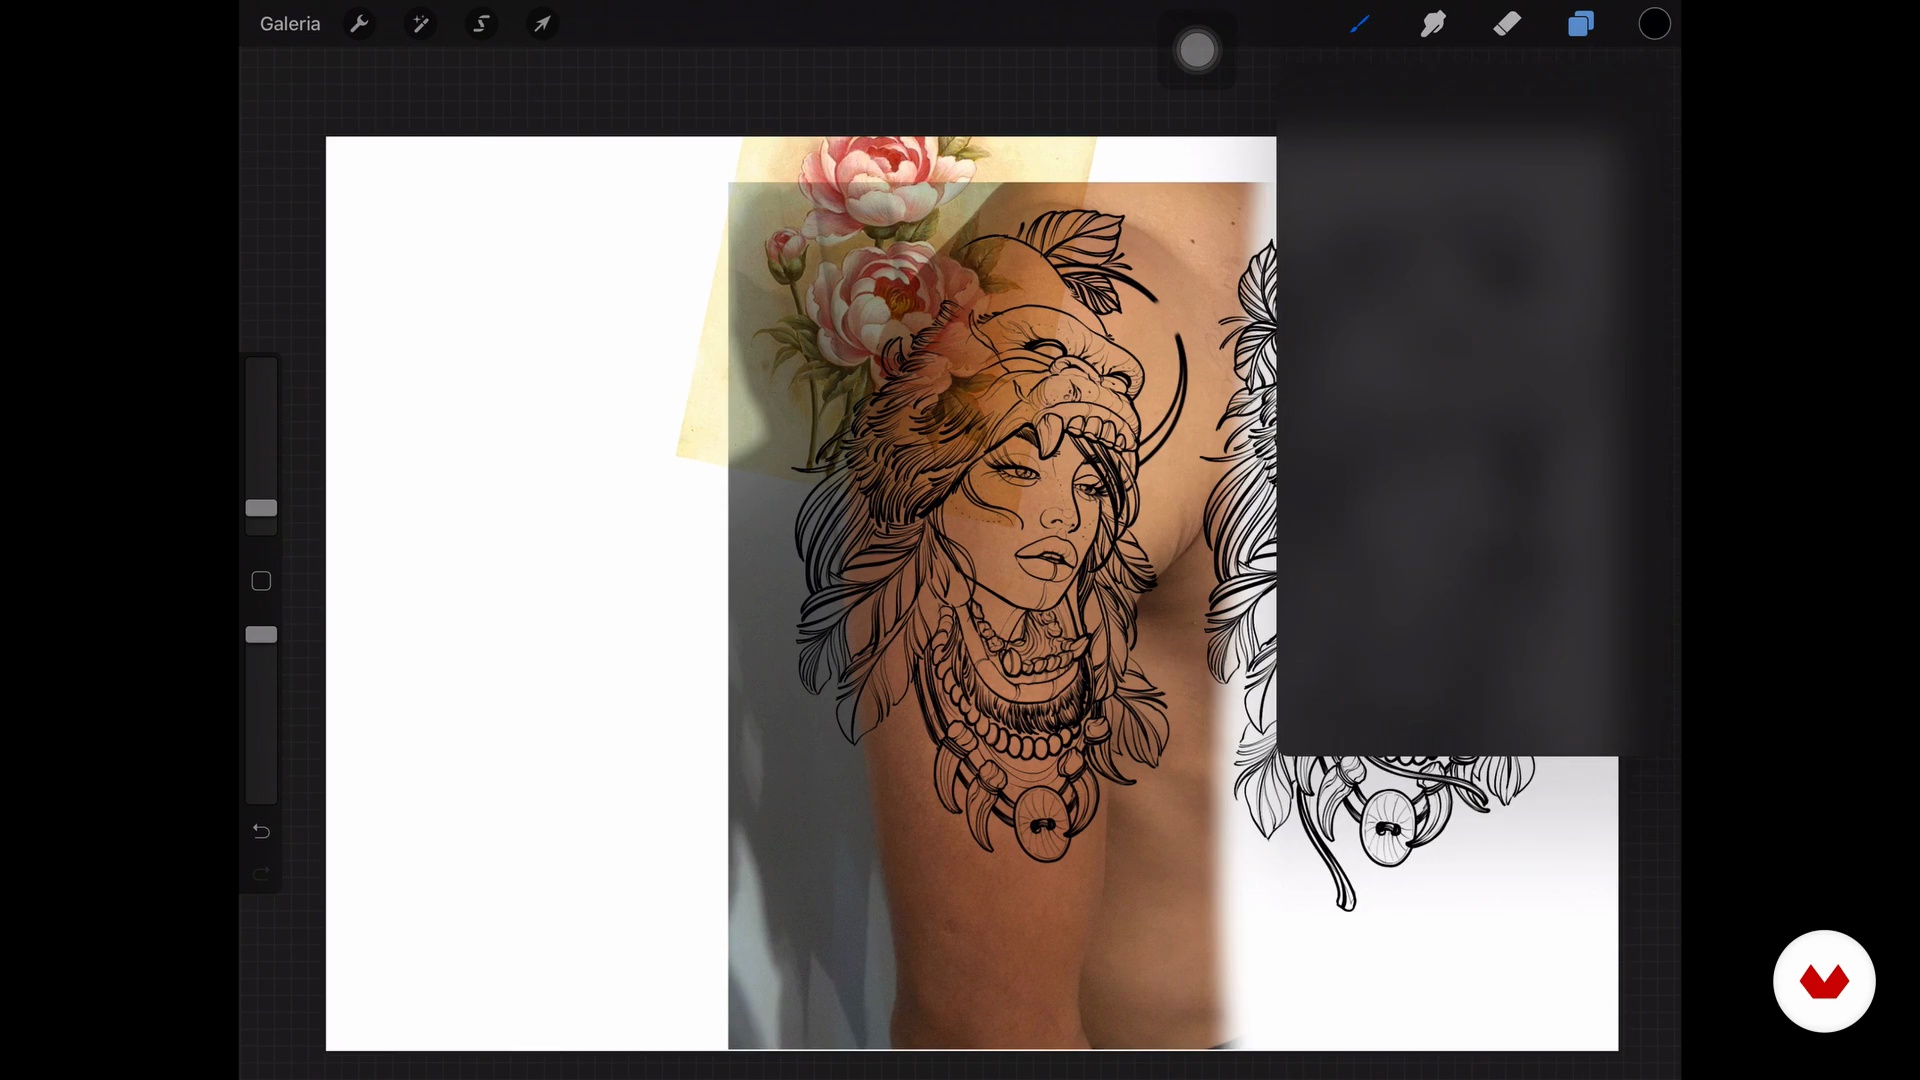
It's time for you to see the finished work. In this lesson I will show you how the drawing looks on the skin and I will give you a couple of tips to take a photo that will make your work look even better.
4m
image
11
Make a spreadsheet
In this lesson you will finish polishing the sketch that was pending from the previous unit and we will design two others with similar characteristics to create a spreadsheet ready to sell on your social networks.
8m
image
12
Keep drawing and create your portfolio
Finally, I will talk to you about the importance of constantly drawing, creating a portfolio and always generating content on your social networks.
2m
image
1
Briefing
In this lesson I will show you how I prepare a briefing for my clients with all the information I need to create the design that will then be tattooed.
8m
image
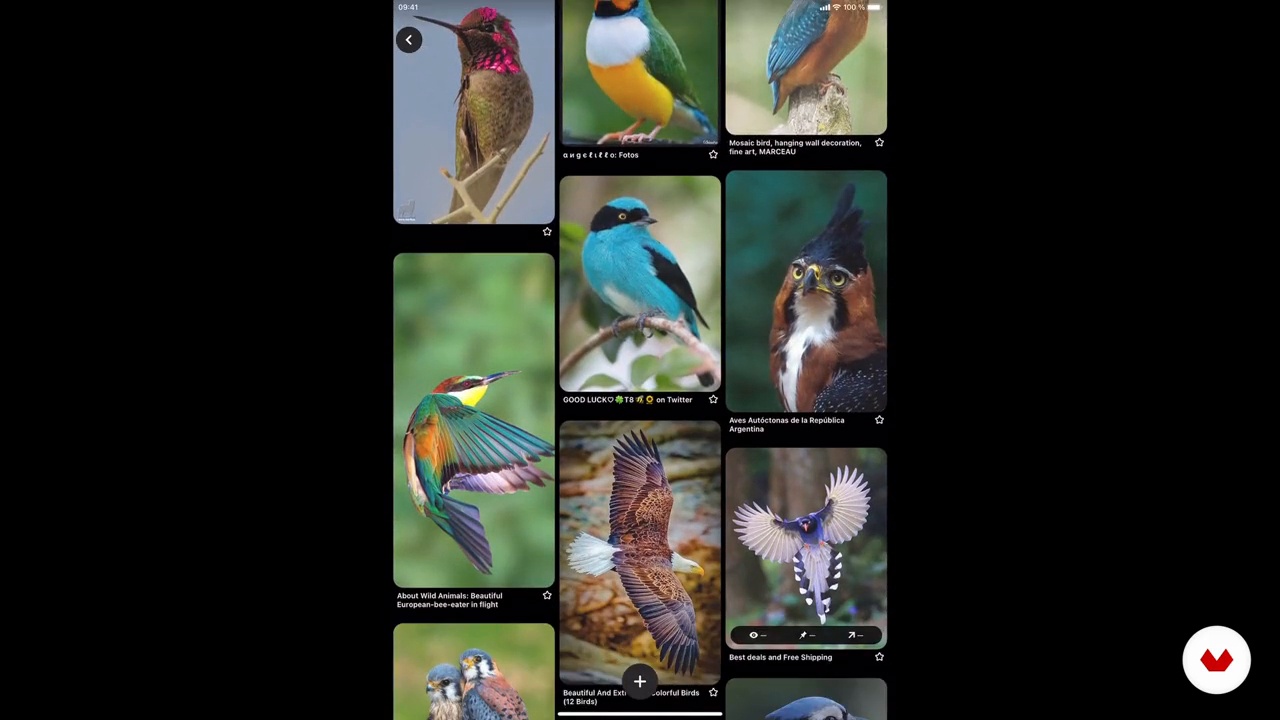
2
Reference image research
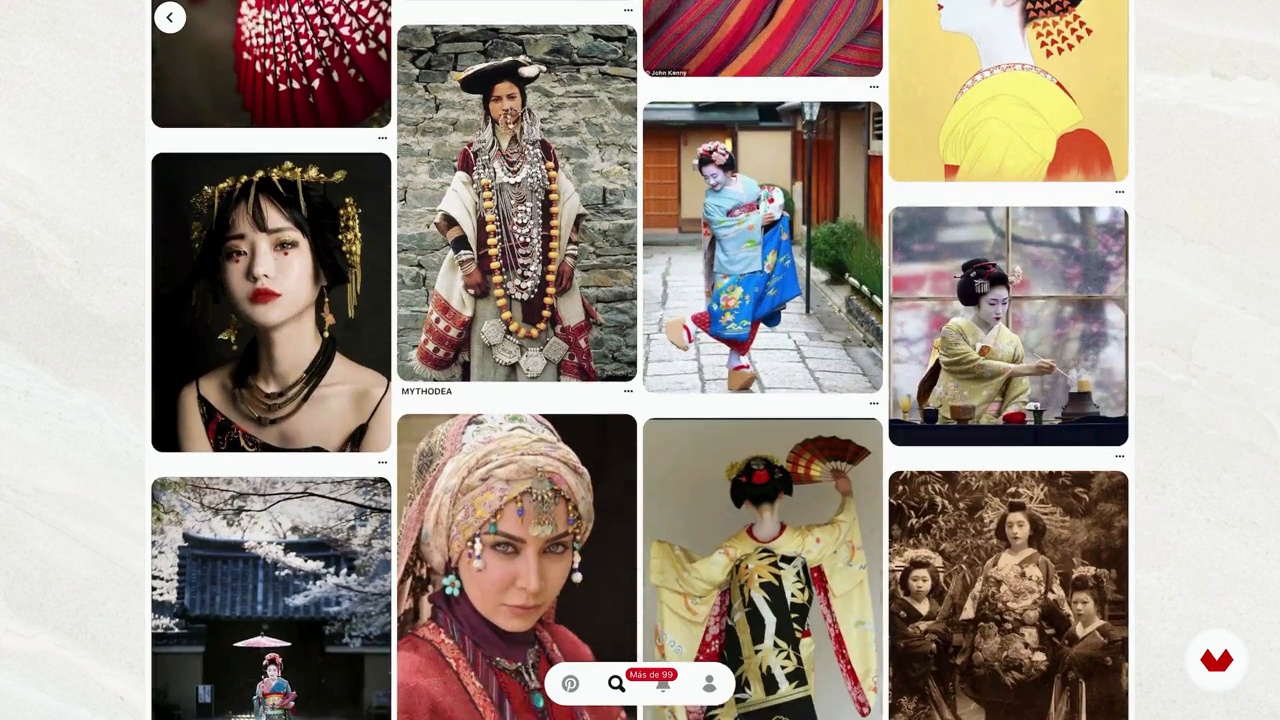
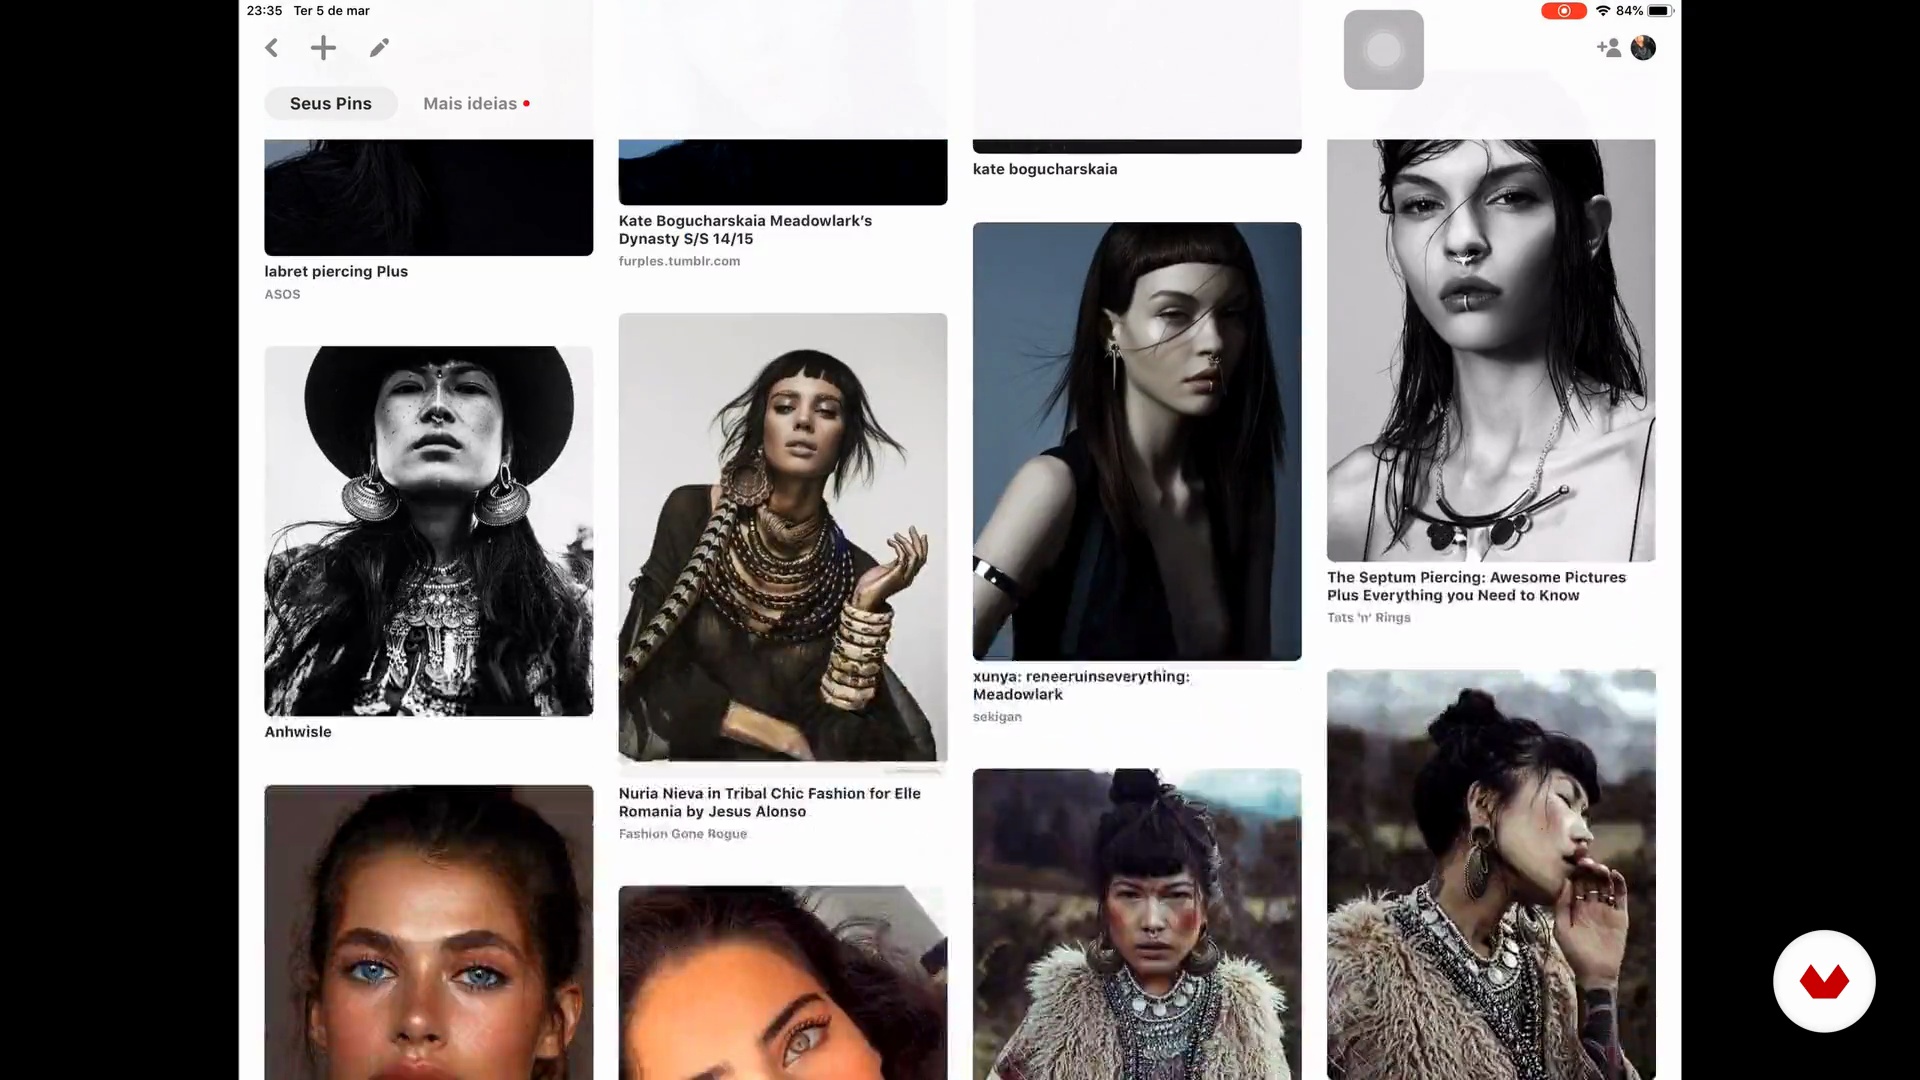
I'll talk to you about searching for reference images. I'll also show you the pages I use to do my searches and you'll learn how to organize them in such a way that, if you want to use them again in the future, you can find them more easily. I'll also share some basic tips to make your search more objective.
11m
image
3
Mounting design on canvas
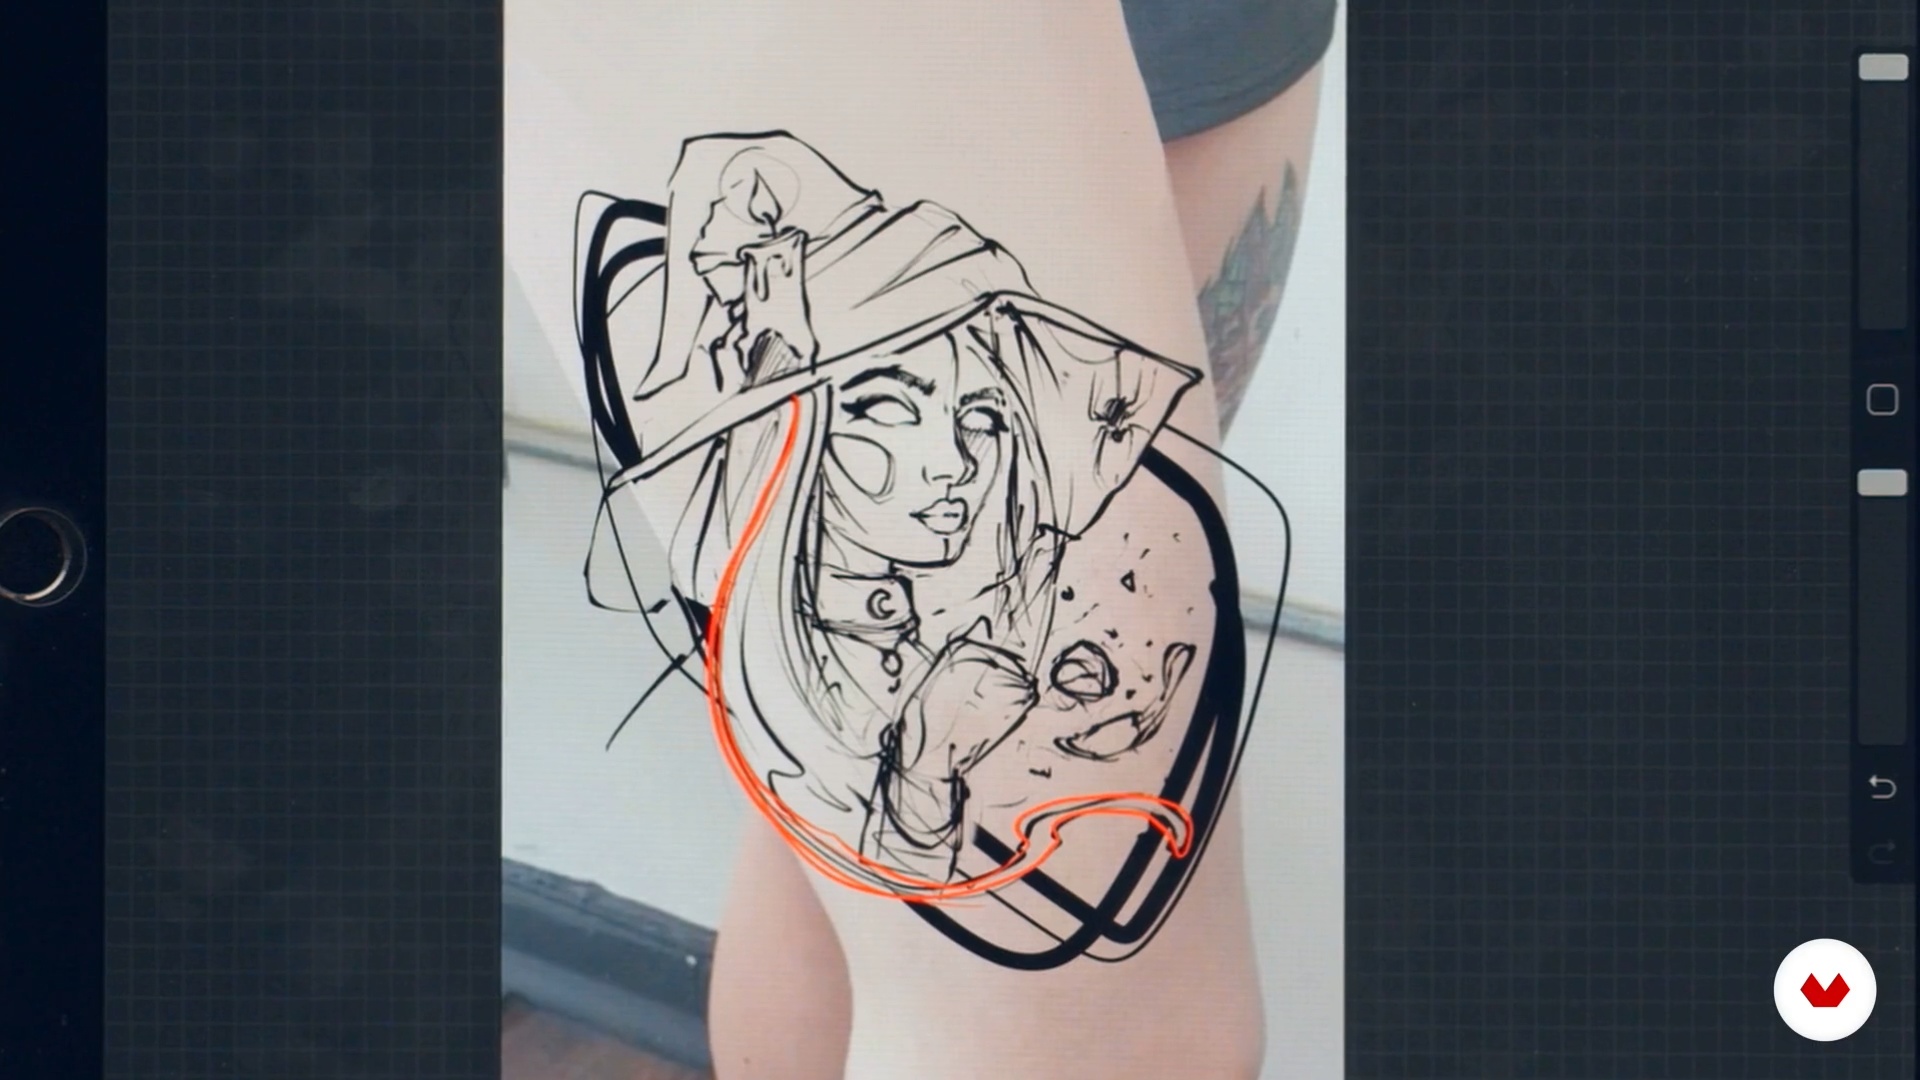
You will learn my way of making collage for an illustration, using the reference images collected in the previous lesson. Applying them directly and following the natural shape of the body area to be tattooed, to then create a design with greater precision.
18m
image
4
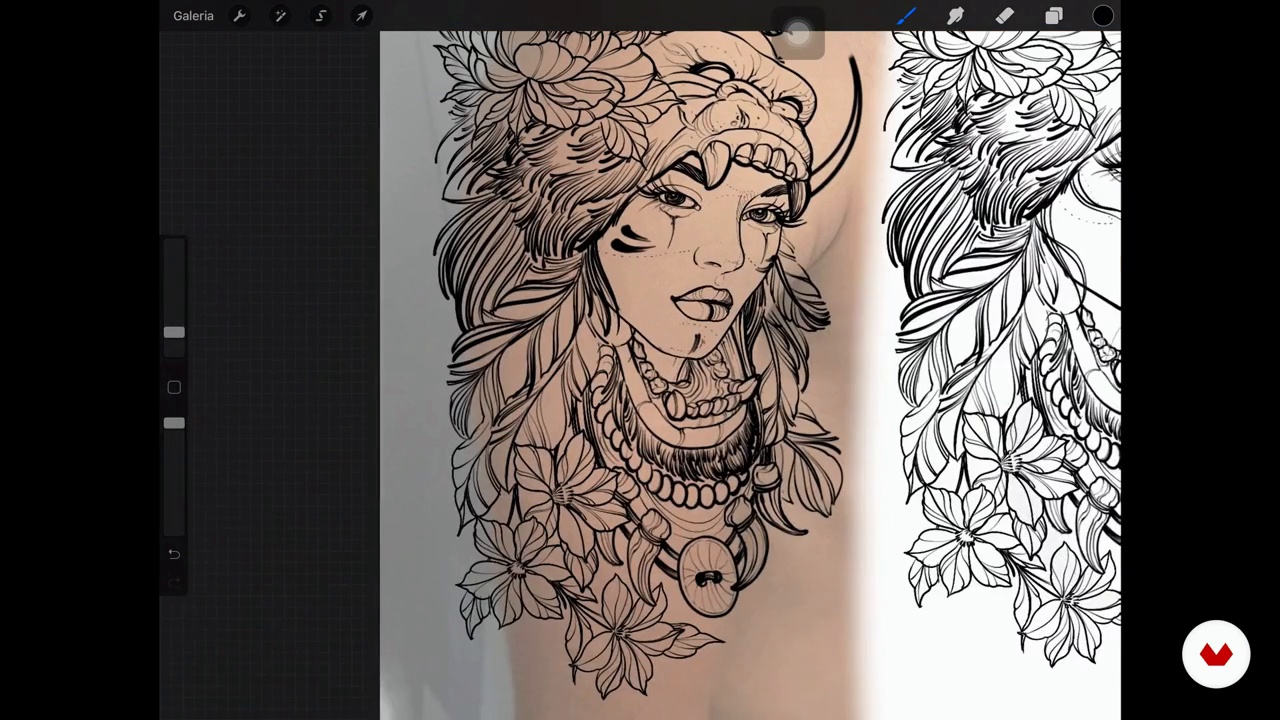
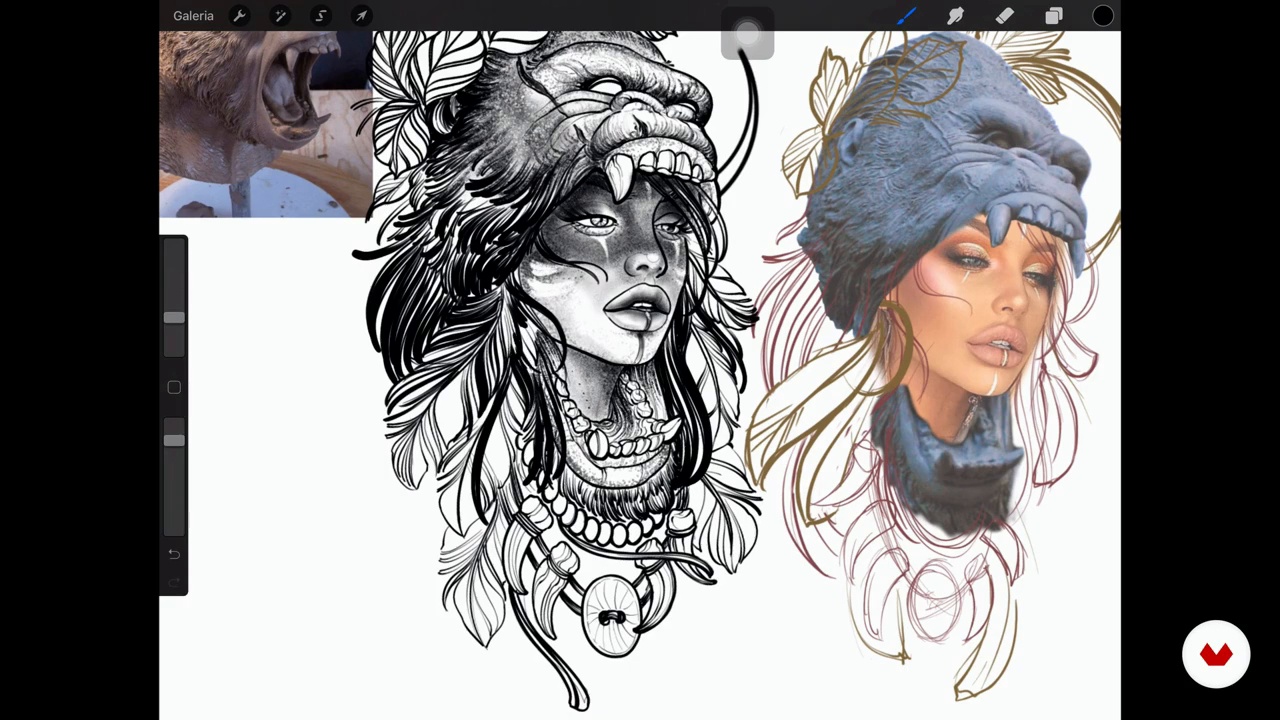
Outline design 1
In this lesson I will teach you how to transform a realistic image into a tattoo illustration.
13m
image
5
Outline design 2
For this second part of the lesson, I will continue sharing with you some tricks to carry out the eyeliner.
13m
image
6
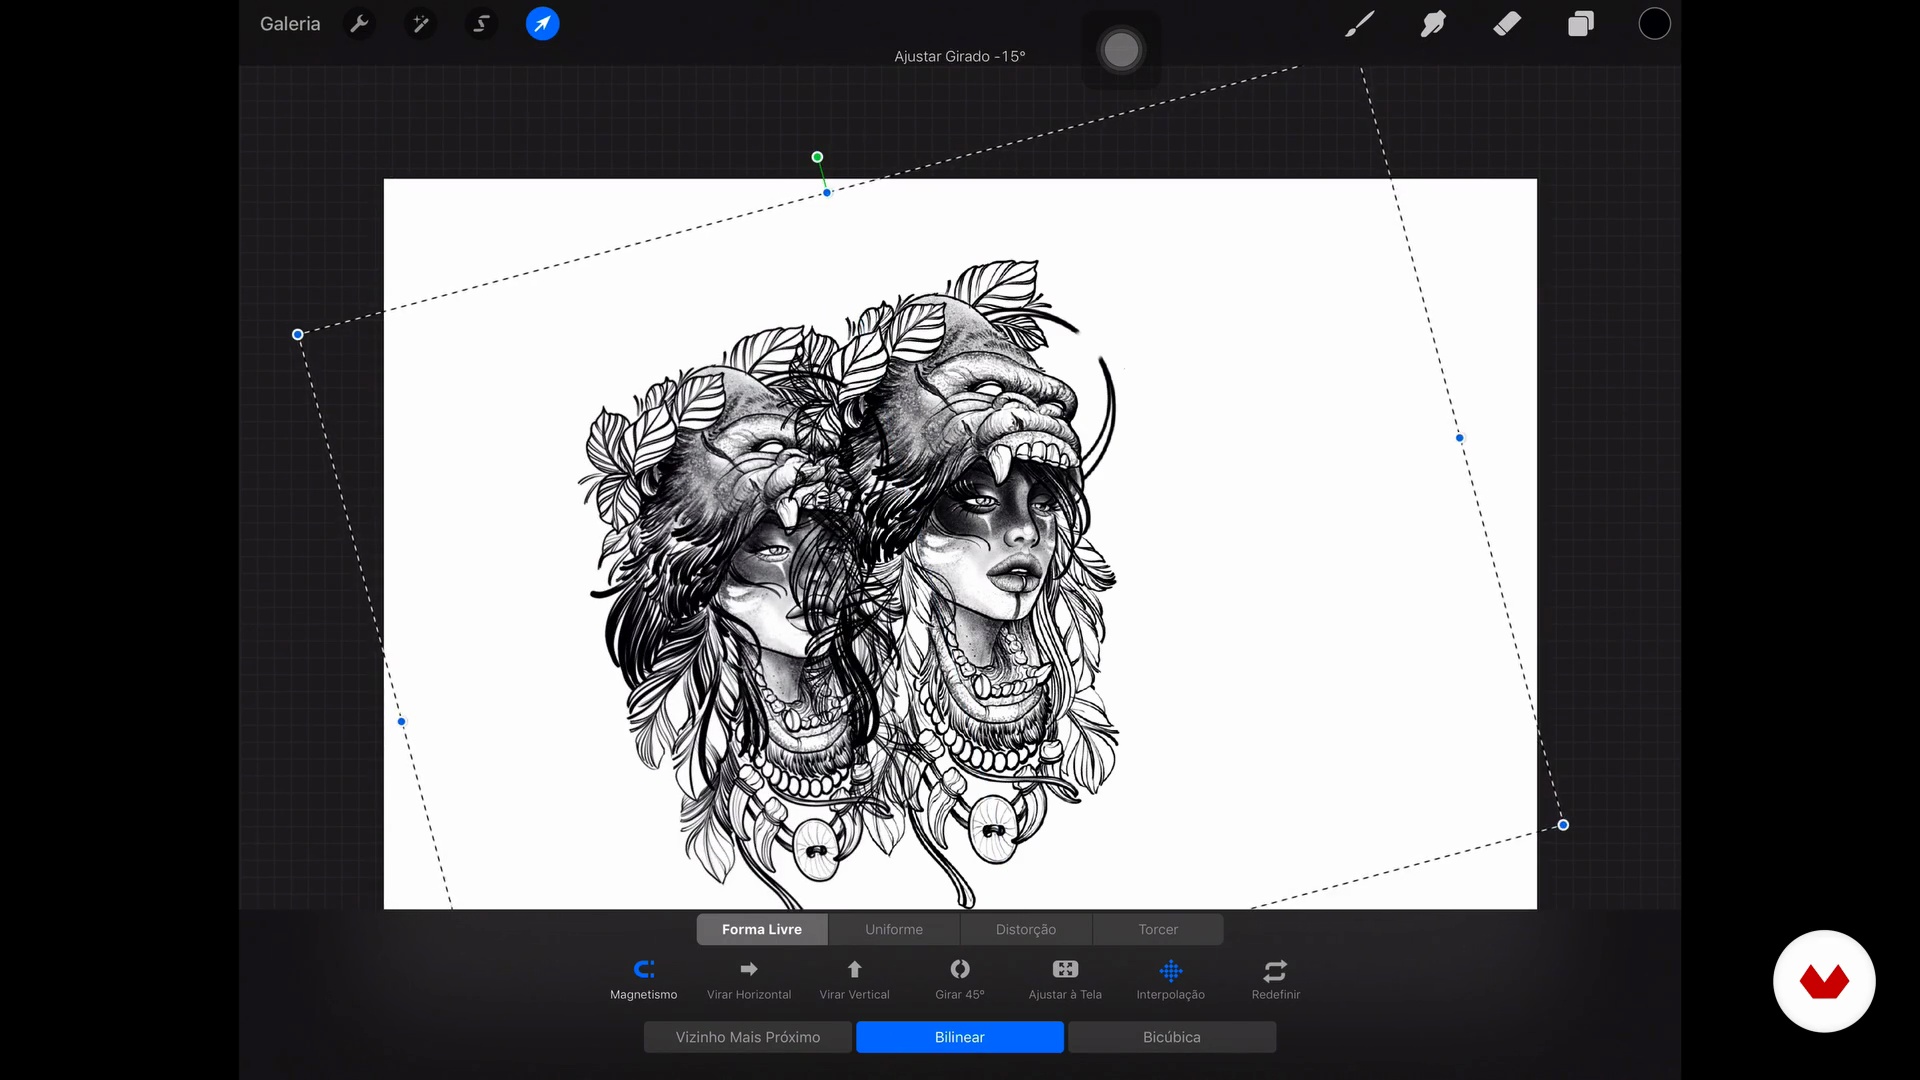
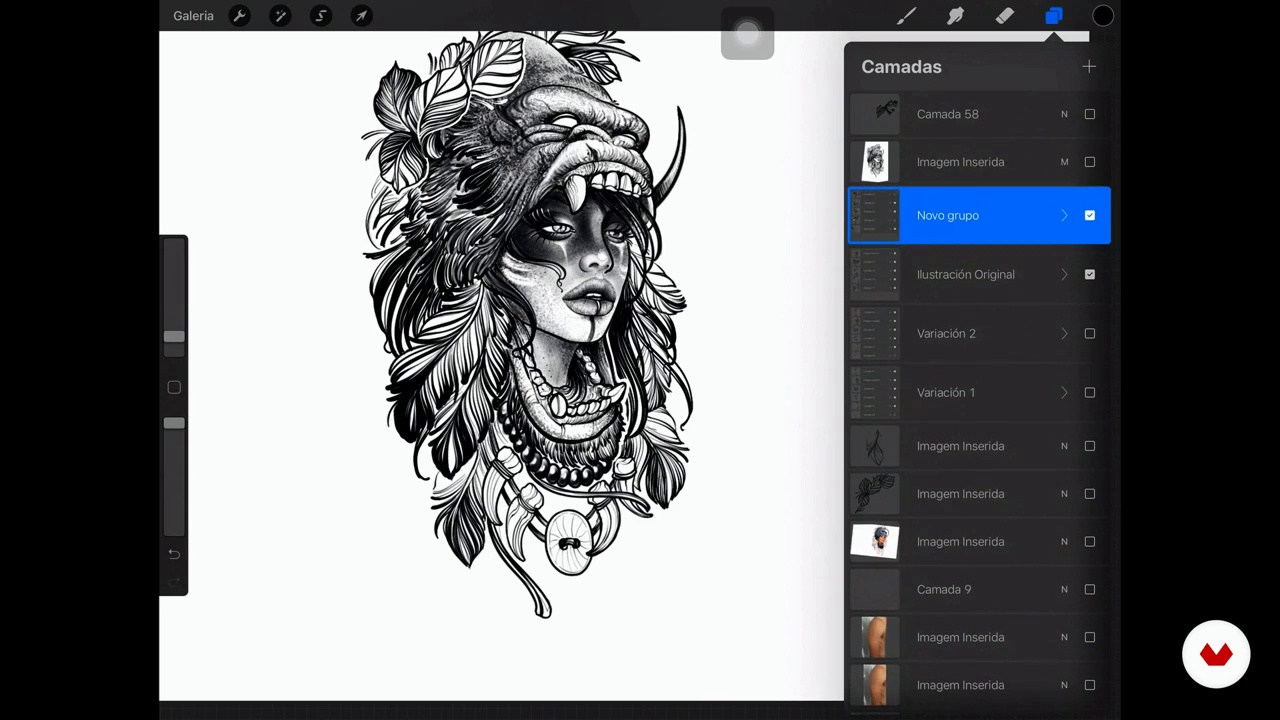
Design variations 1
As the title says, here I am going to show you how to vary the same design, just by changing the location of the elements or replacing them with others but always keeping elements of the main image.
16m
image
7
Design variations 2
During this second part of the lesson, I will show you another variation of the original design. This will help you to show more alternatives to your clients.
7m
image
8
Shadows, textures and volume
Once we have the line design and its variations, it is in this lesson that I will teach you how to make the textures and shading in my style, in a more basic way but with the intention of saving time and without losing quality in your work.
15m
image
9
Final art for tattoo 1
It's time to work on the illustration, refining the shadows and textures made in the previous lesson.
11m
image
10
Final art for tattoo 2
In this second part of the lesson, I will teach you in detail how to create shadows and textures that enhance your tattoo design.
9m
image
11
Final art for print
To conclude this module, you will see how to transform the illustration by adding elements so that you can market it as a print or any other use you want to give to the design, such as framing it in a painting.
7m
image
1
What will we do in the course?
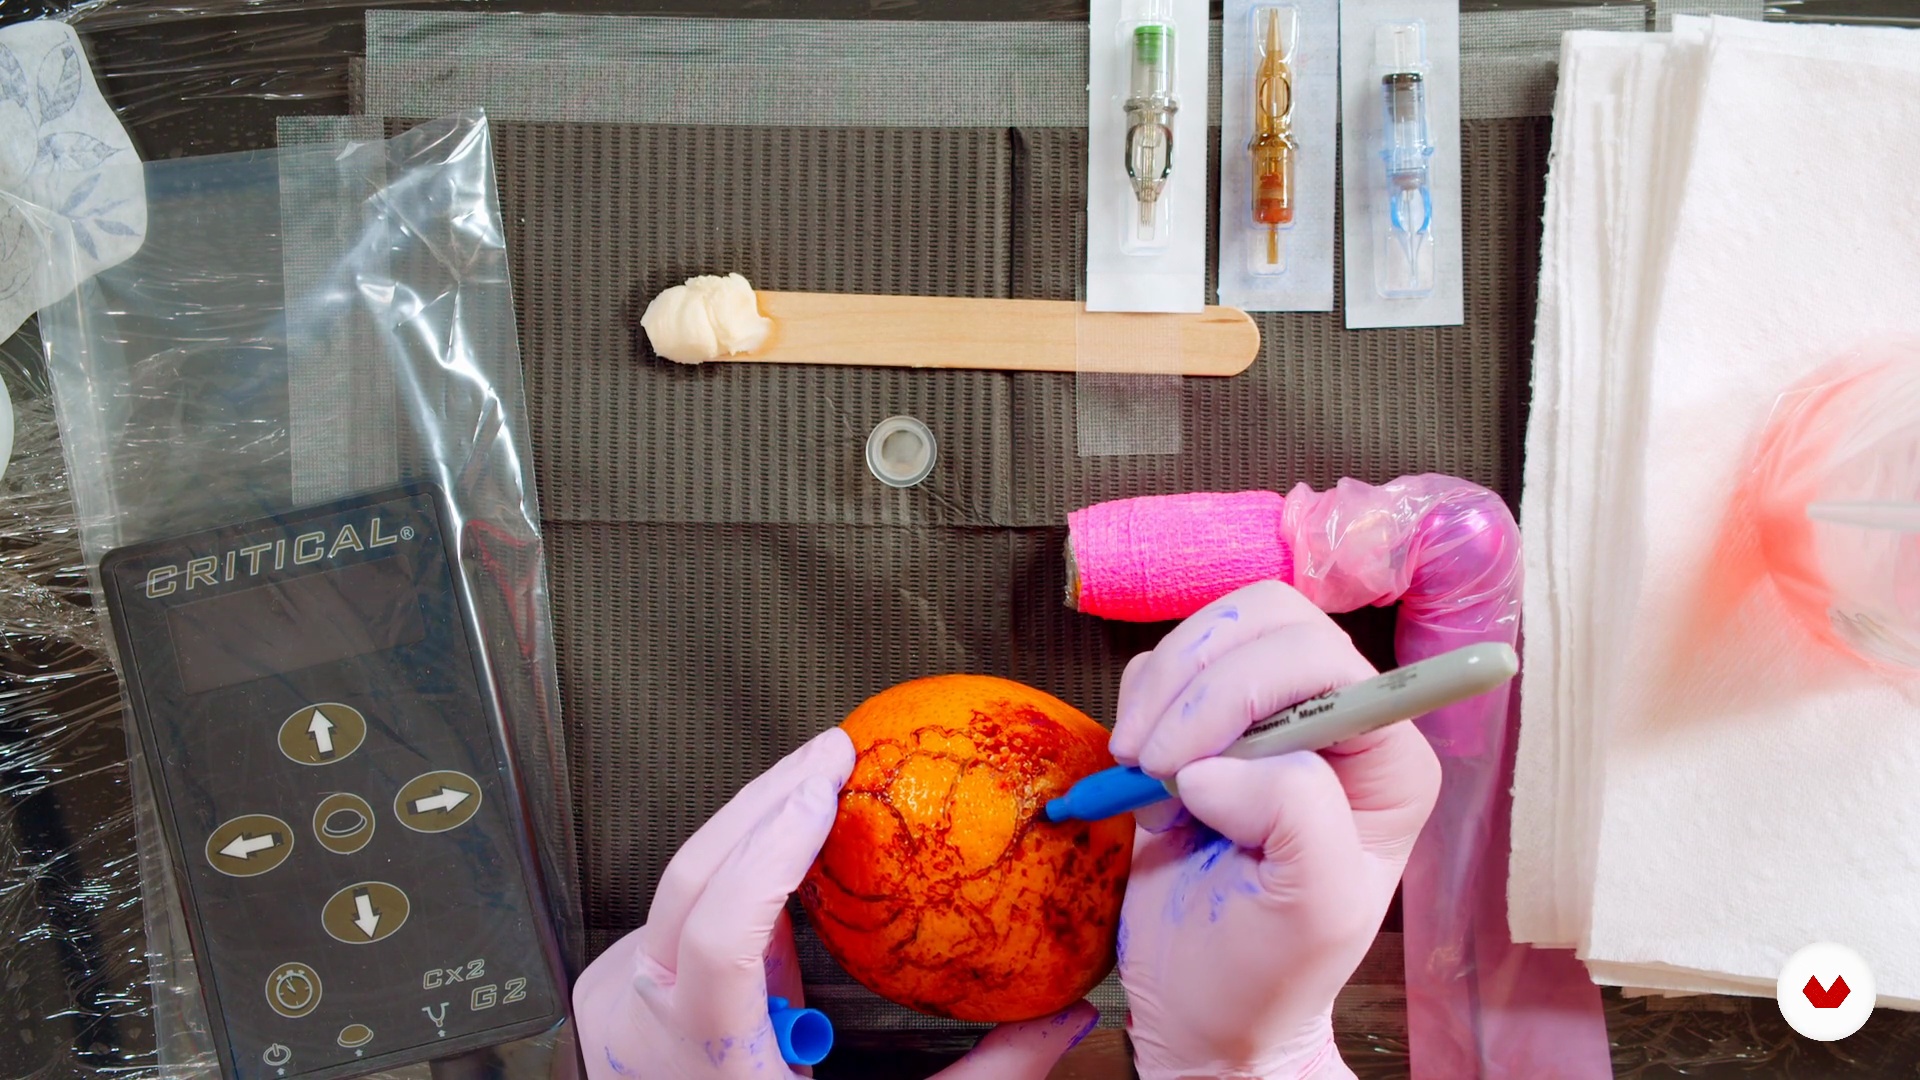
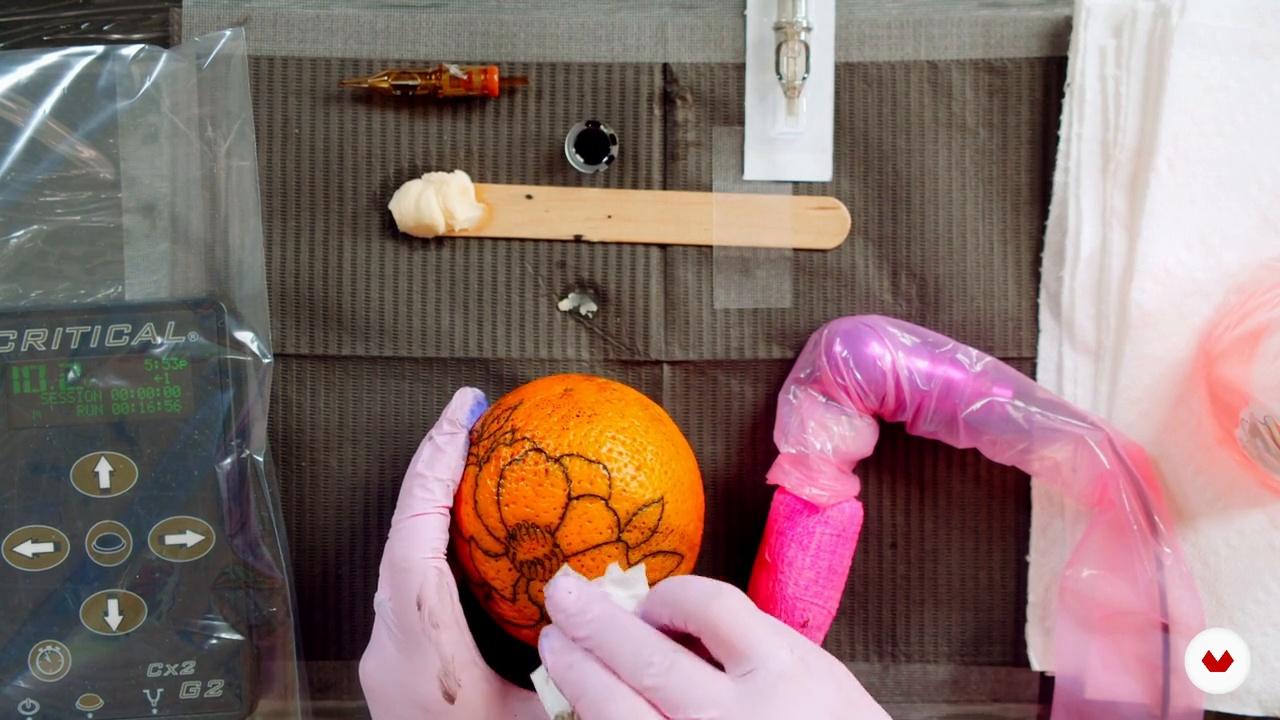
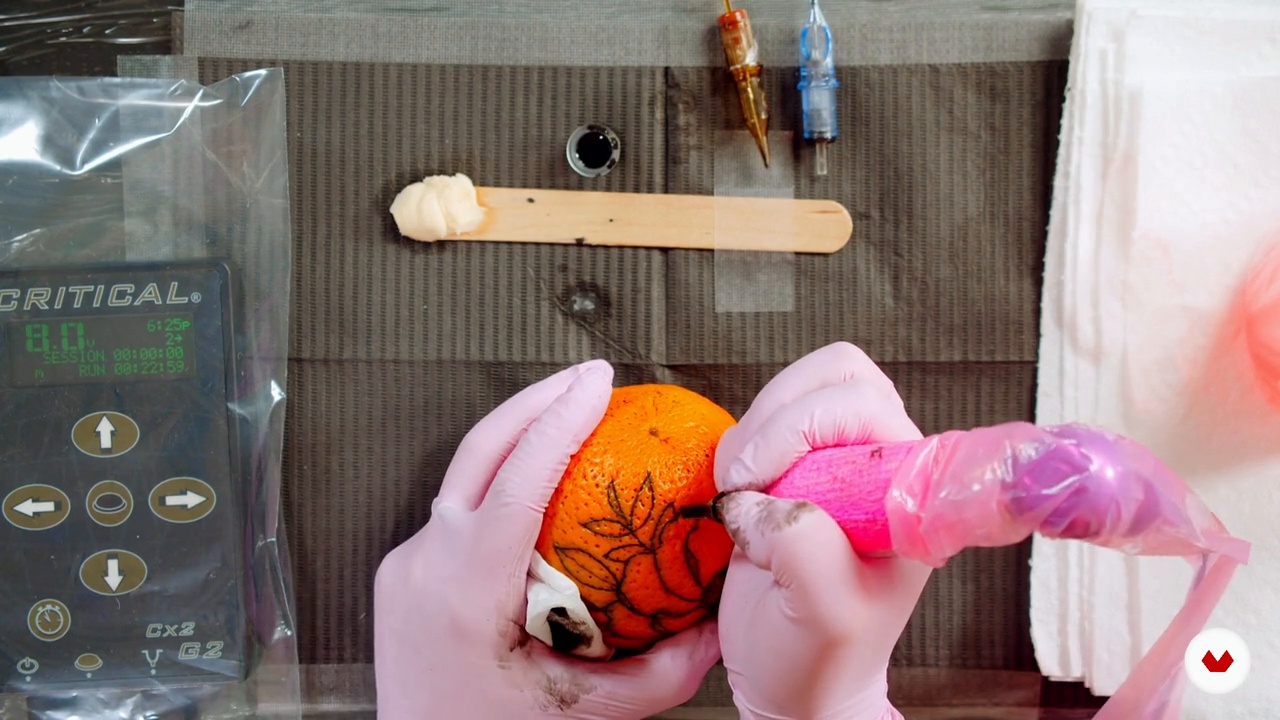
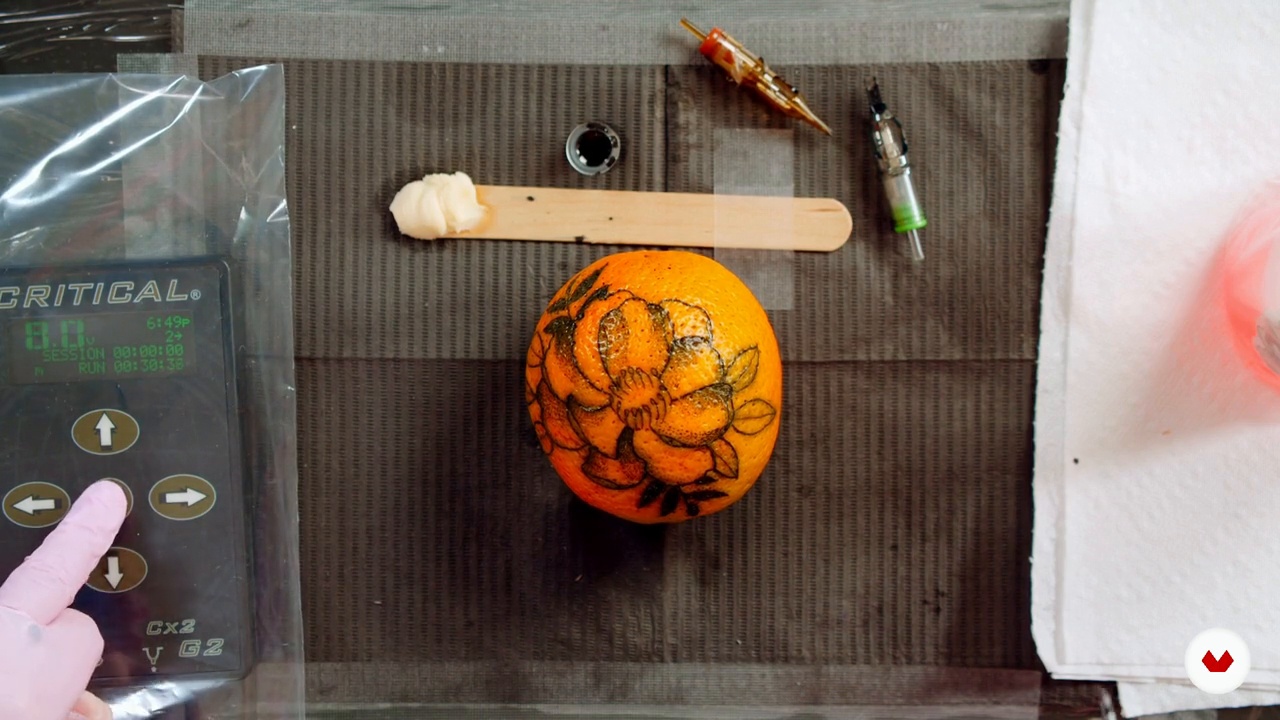
This module will result in a tattooed design on an orange as an alternative support to the skin. (You can apply it to the skin if you have someone to practice with) You will apply line, filling and pointillism techniques, achieving a tattoo that meets all the basics to start tattooing.
1m
image
2
History of tattoos, types, styles and their evolution
In this lesson we will talk about how tattooing began in the world, its evolution and how it has adapted to the contemporary world. We will see the main styles of tattoos, their characteristics and how various avant-gardes have broken structures to provide new proposals and experiments on the body.
9m
image
3
How to put together your first basic or professional kit
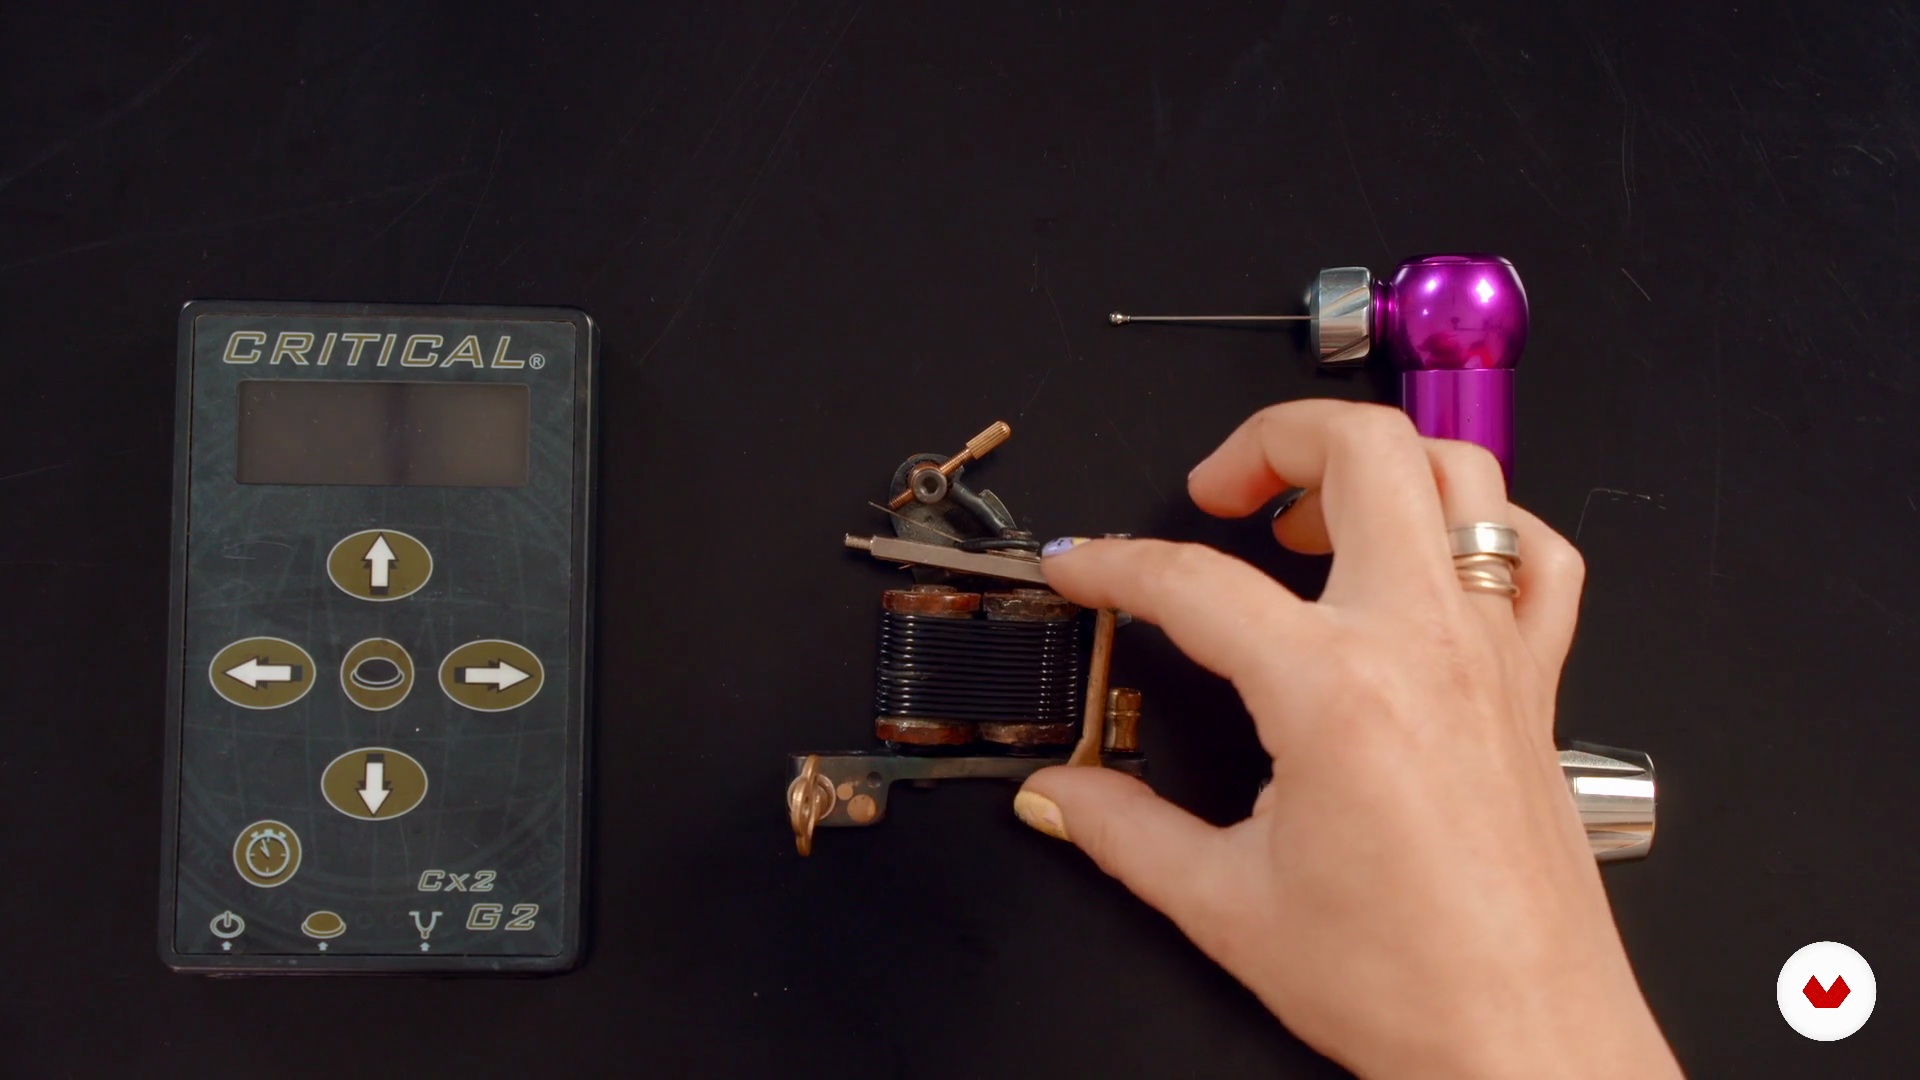
I will give you some tips in this lesson on choosing your first tools to start with, their differences and approximate values. We will talk about brands, my personal preferences and I will also recommend a tattoo kit that will allow you to professionalize your equipment.
15m
image
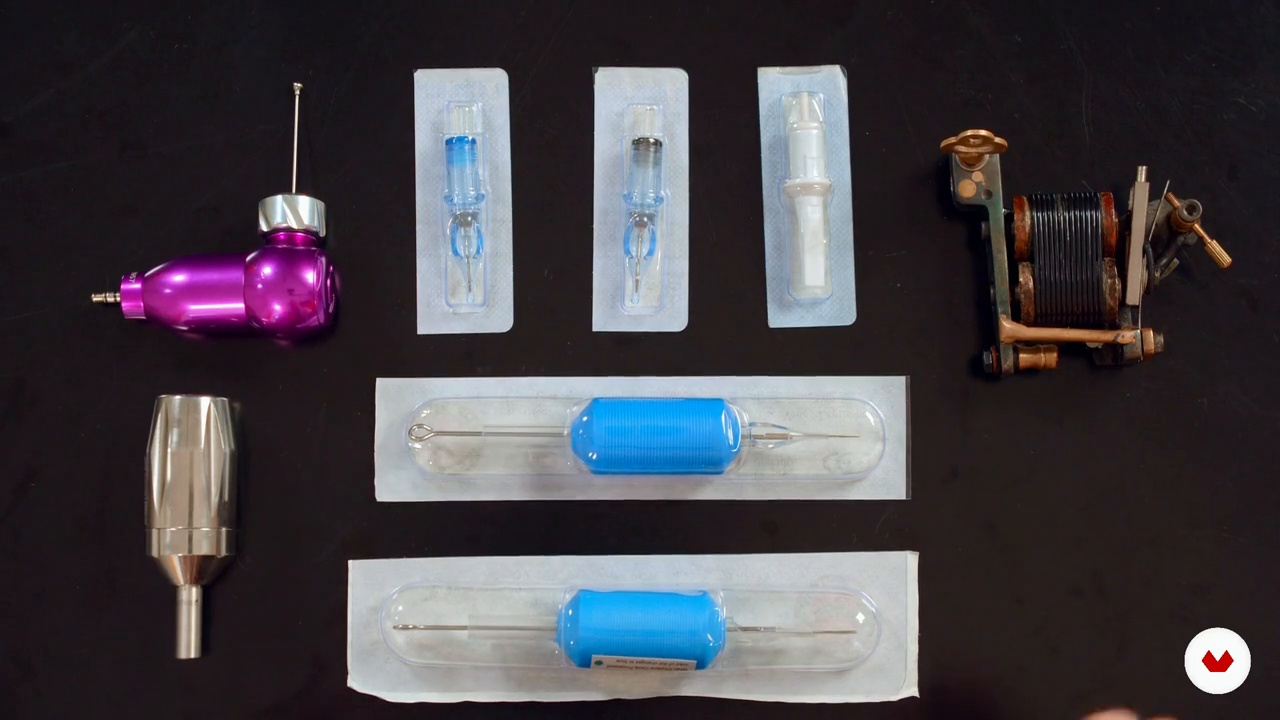
4
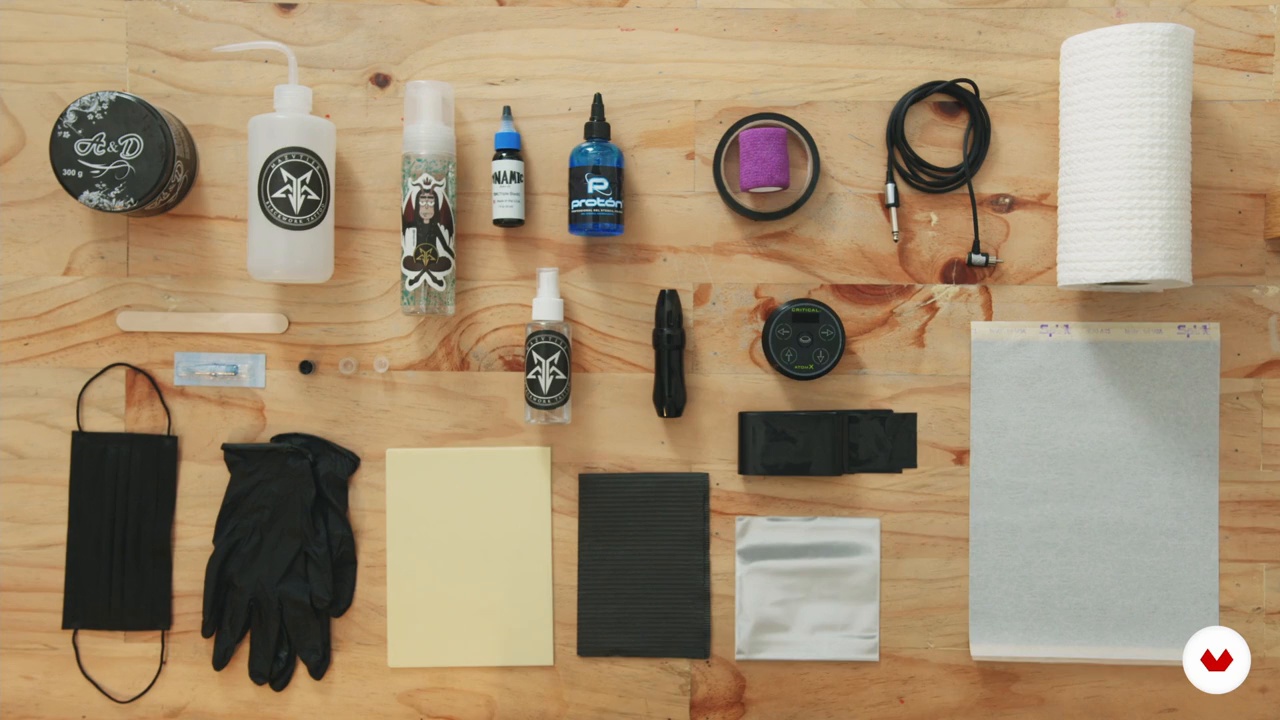
Materials 1
I will teach you everything you need to start tattooing. What machines exist, the types of tools, needles and all the information about the equipment you will need to get started.
9m
image
5
Materials 2
We continue to review everything you need to start tattooing. Machines, types of tools, needles and all the information about the equipment needed to get started.
12m
image
6
Skin types and anatomical considerations before tattooing
We will learn how to evaluate the skin before tattooing, how to adapt the design to the body area and see the ideal size. We will see how to prepare the skin to transfer the design appropriately and the materials necessary to achieve this.
9m
image
7
Creating Design 1
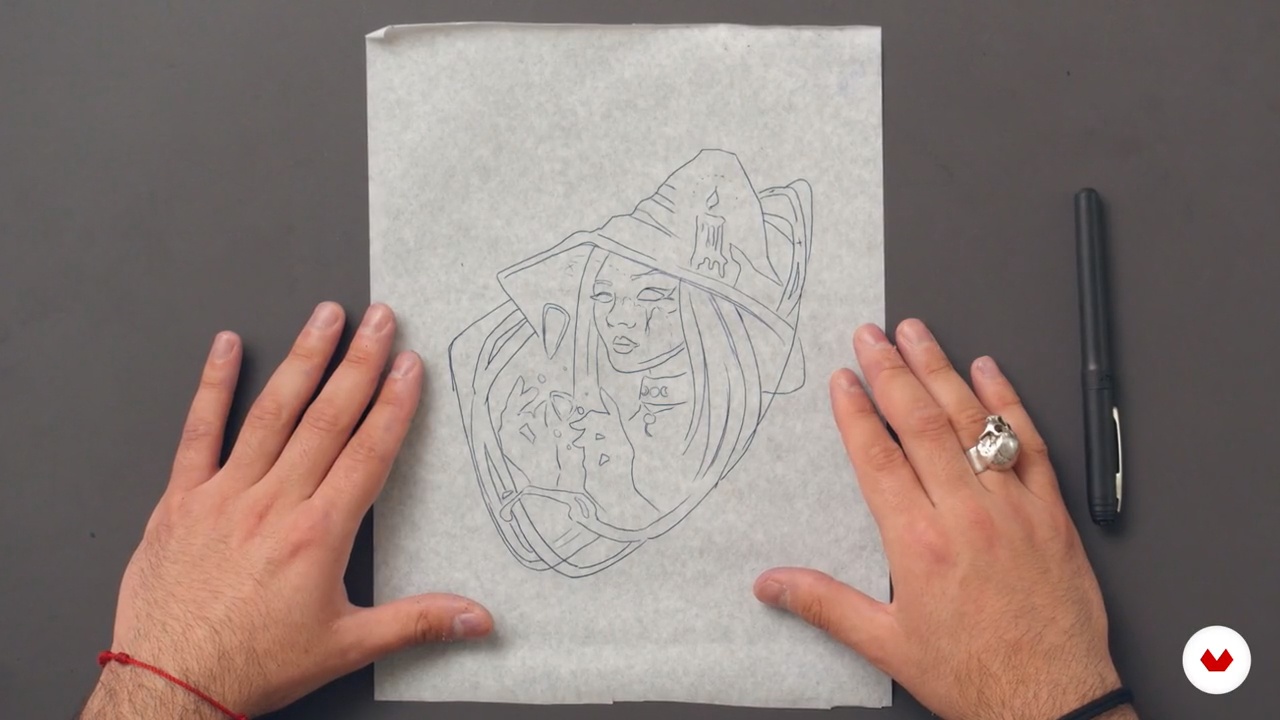
We will see how to create the design and all the tools to facilitate this process. We will prepare the tracing to then transfer the design to the surface and see how its application works.
10m
image
8
Creating Design 2
During this second part of the lesson, I will continue to show you the best tricks to finish the design.
16m
image
9
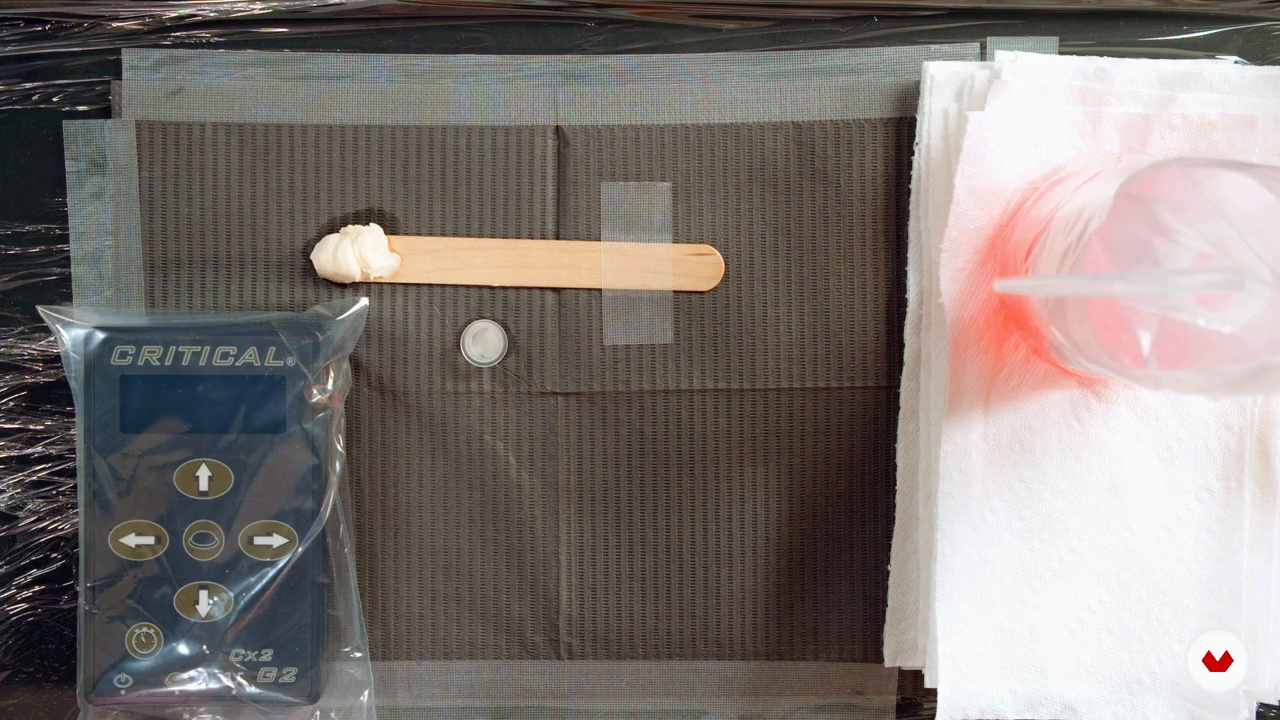
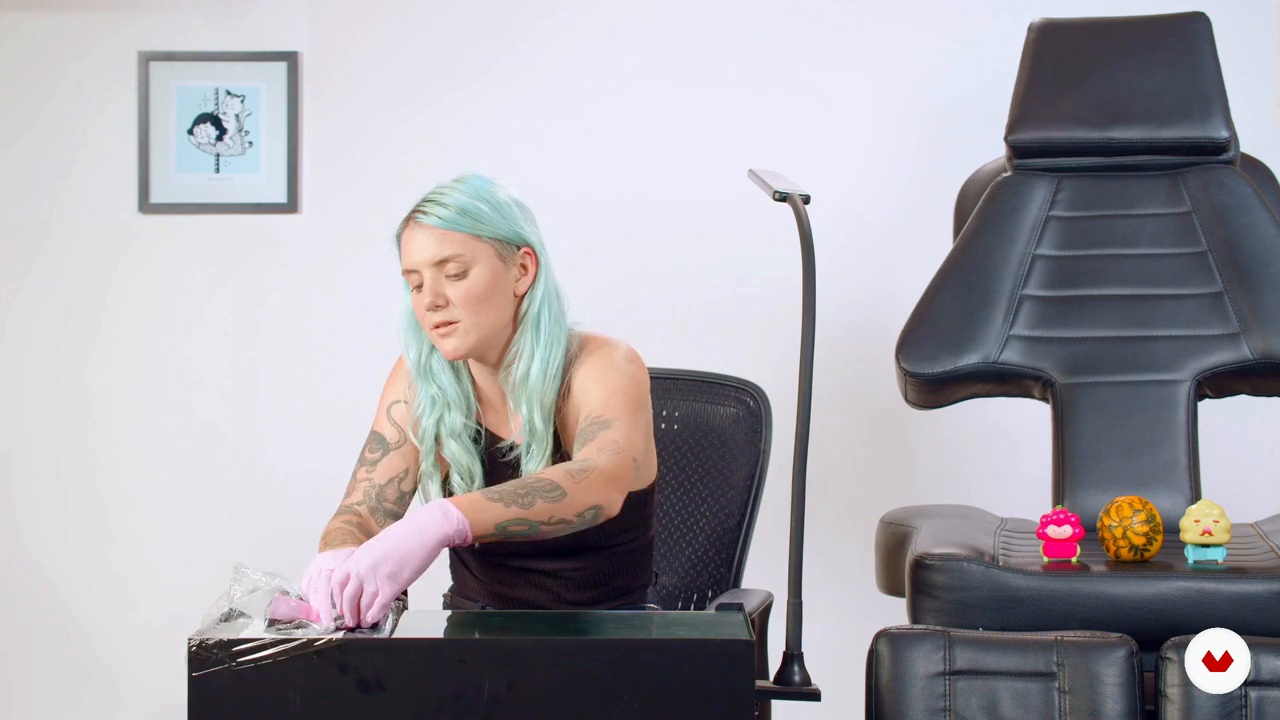
Table preparation and hygiene
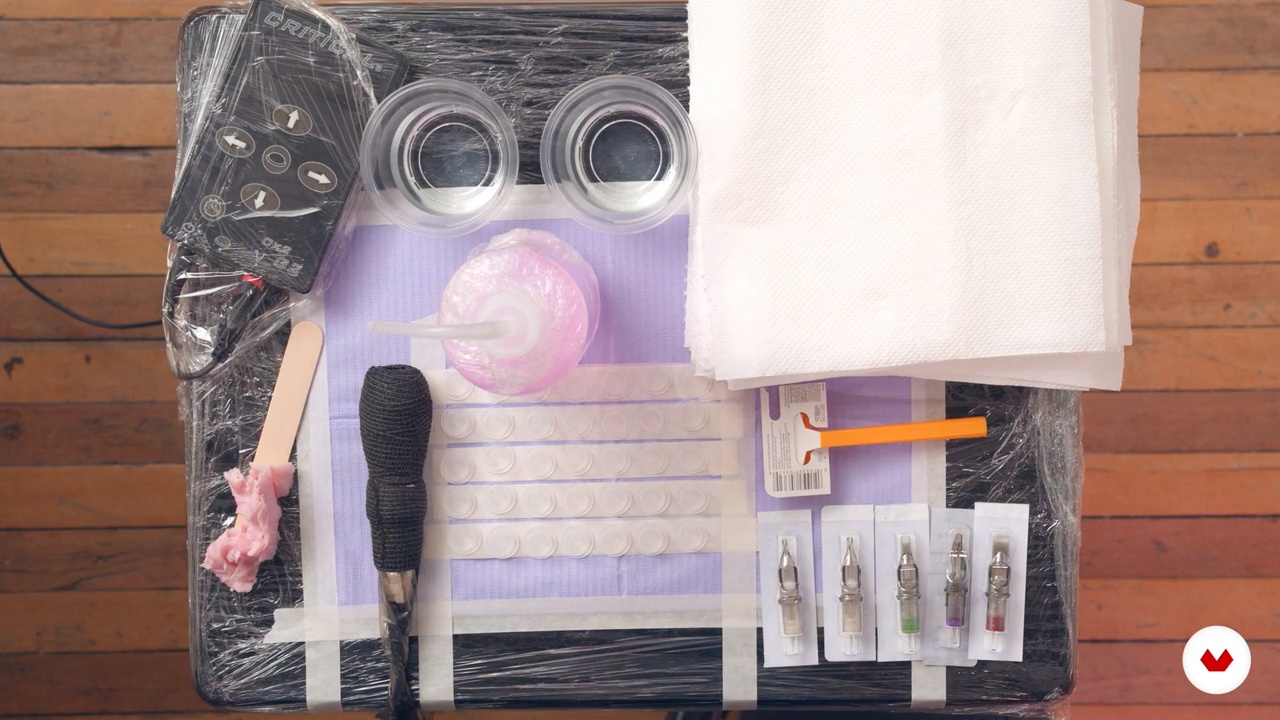
In this unit we will see how to set up your table before tattooing and all the necessary information to avoid cross contamination, spread of diseases and infections.
15m
image
10
Outline 1
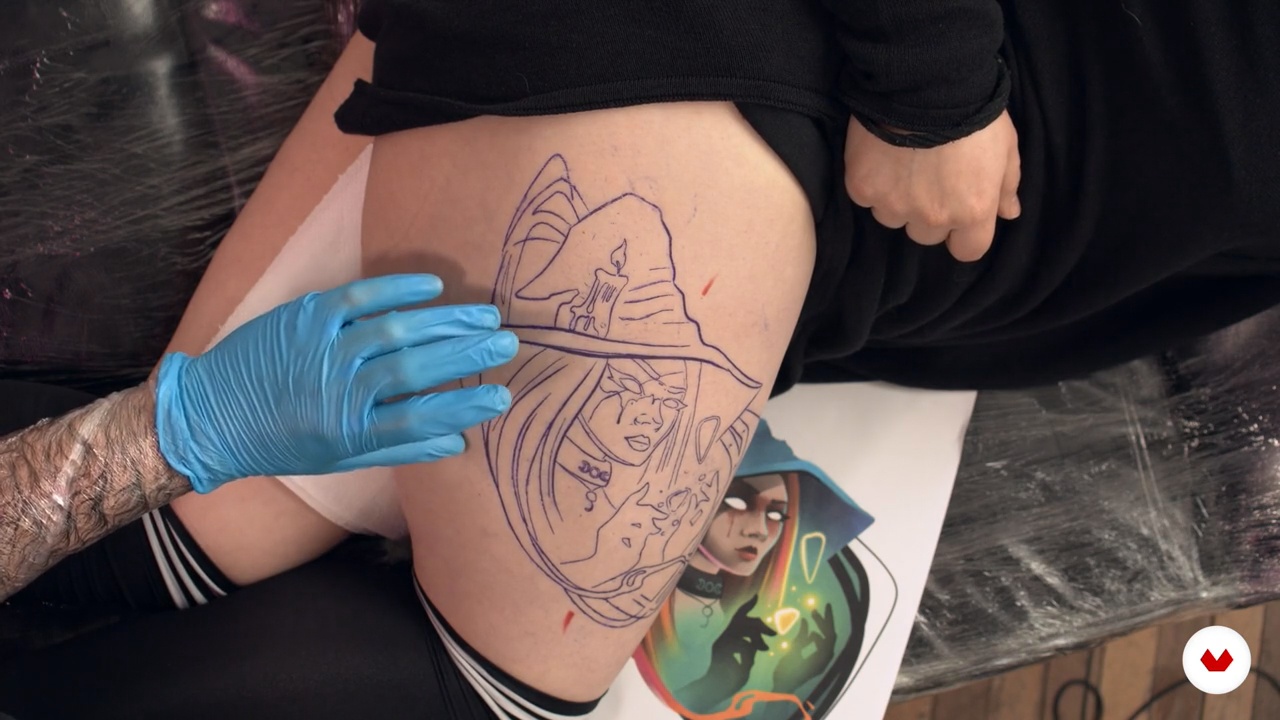
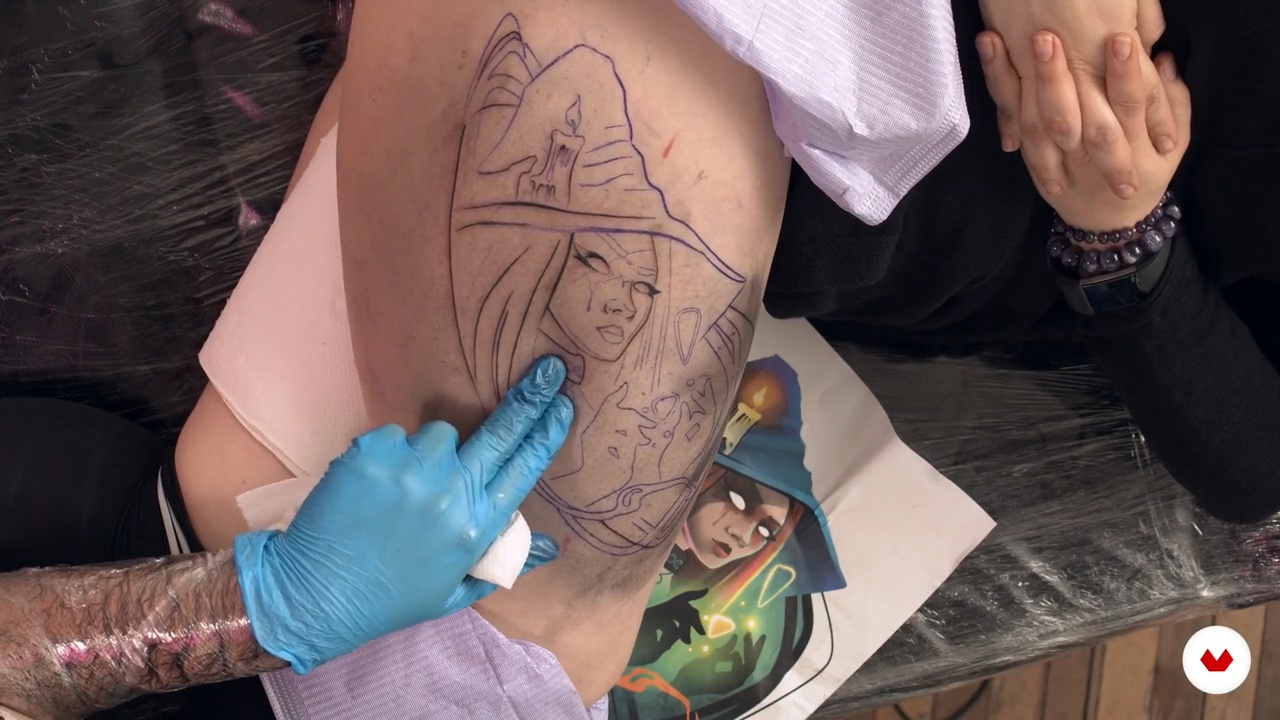
In this lesson we will learn how to transfer our design to the skin or the support to be tattooed.
11m
image
11
Outline 2
Now we will learn how to make lines, the necessary materials, their correct application and linear valorization.
15m
image
12
Step-by-step filling technique
Now, we will learn how to make fillings, the necessary materials, their correct application, types of needles needed and different ways to apply color and solid blocks.
7m
image
13
Pointillism and dotwork shading techniques
I will explain how to do pointillism in different ways, the materials needed, the voltage differences and the wrist movements we need to get different results. Also, what the different applications and shades of grey are for. We will learn sweeping techniques, quick pointillism, dot by dot and whipshading.
14m
image
14
How to disassemble the table and care recommendations
Finally, I will show you how to take apart your work table with the necessary hygiene precautions. We will take the opportunity to talk about the recommendations I make to my clients for post-tattoo care.
8m
image
1
Materials
I will show you the materials you will need to complete the project in this course, including needles, inks, and machines. In addition, you will learn the correct way to use all the materials and their characteristics.
6m
image
2
Skin tones, types and composition
I will explain the characteristics you need to take into account when working on different skin types and tones. You will also see how to create the composition of a design based on the anatomy of the area of the body you are going to tattoo.
7m
image
3
Ideas and references for design
During this lesson, I will show you my creative process prior to creating the design.
10m
image
4
Digital sketch
I will explain to you step by step the process to create your own digital sketch, and I will also teach you some tips that will be very useful for your design.
13m
image
5
Hand sketch
Now I will explain to you step by step the process to create your own sketch on paper and in special cases such as freehand.
7m
image
6
Techniques: shading and hatching 1
You will learn different shading and hatching techniques to achieve different textures and effects in your tattoo. I will teach you how to perform an exercise on synthetic skin.
18m
image
7
Techniques: shading and hatching 2
I will continue to teach you how to work on some shading. The important thing is that you observe in detail so that you can do the exercises before tattooing the skin.
17m
image
8
Prepare the material and the workspace
In this lesson I will teach you how to prepare your workstation correctly, maintaining the highest standards of hygiene and biosafety.
7m
image
9
Prepare the area and template location
Now I will show you how to prepare the area of the body you are going to tattoo and how to place the stencil correctly.
5m
image
10
Lines: thick and thin
You will see the process to carry out your tattoo. I will explain different ways of outlining using fine strokes and different needle thicknesses.
15m
image
11
Shadows and details 1
During this lesson, I will teach you how to apply the techniques learned in the previous lessons, so you can generate shading, textures and contrasts that will give greater enhancement to your tattoo.
12m
image
12
Shadows and details 2
You will see how to work and perfect the shadows and details of the tattoo. For this part of the lesson you will have to be patient, remember that all work has its reward.
14m
image
13
Lighting and highlights
I will show you how to apply white ink as a subtle element of illumination.
5m
image
14
Tattoo care
One of the most important things is the care that must be taken with the tattoo. Here I will explain the correct care that must be used so that a tattoo can heal properly.
4m
image
15
Discard contaminated materials
Finally, I will teach you how to properly disassemble your workbench and how to properly dispose of contaminated materials.
3m
image
1
Observation through drawing
You will learn some drawing exercises that will help you develop your observation skills, and will make you aware of the control you must have over your body when tattooing.
19m
image
2
Composition
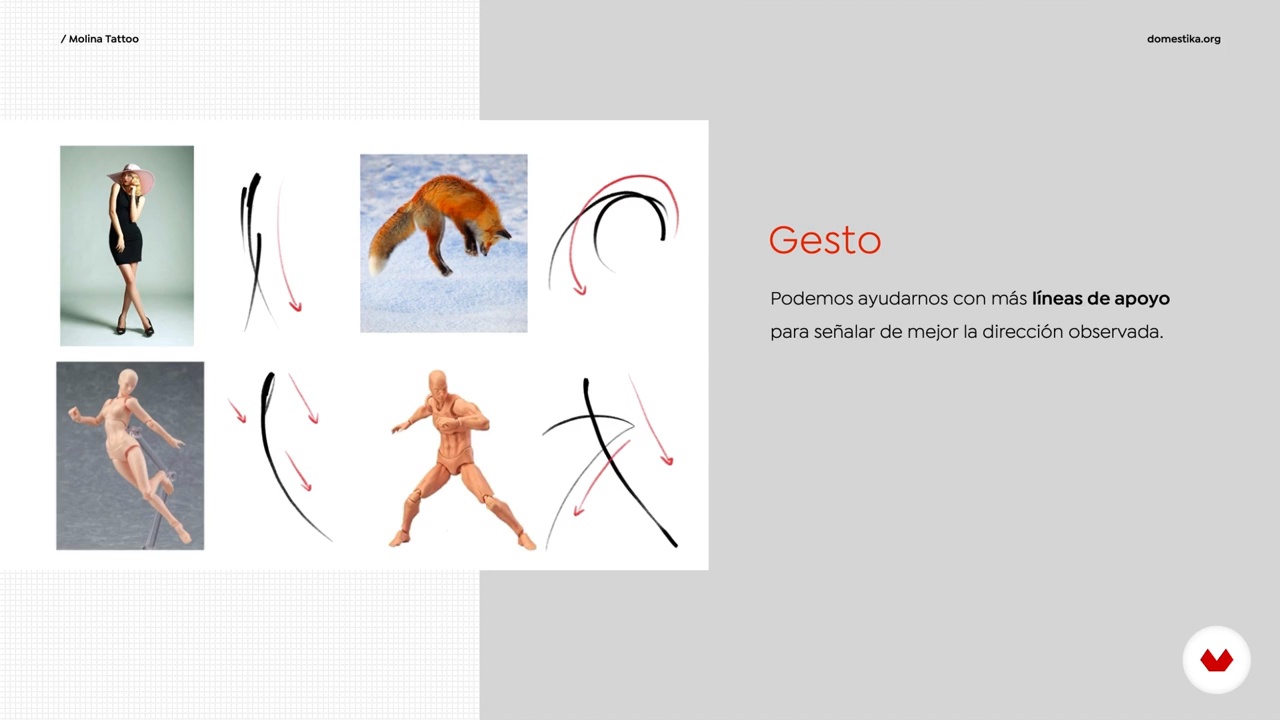
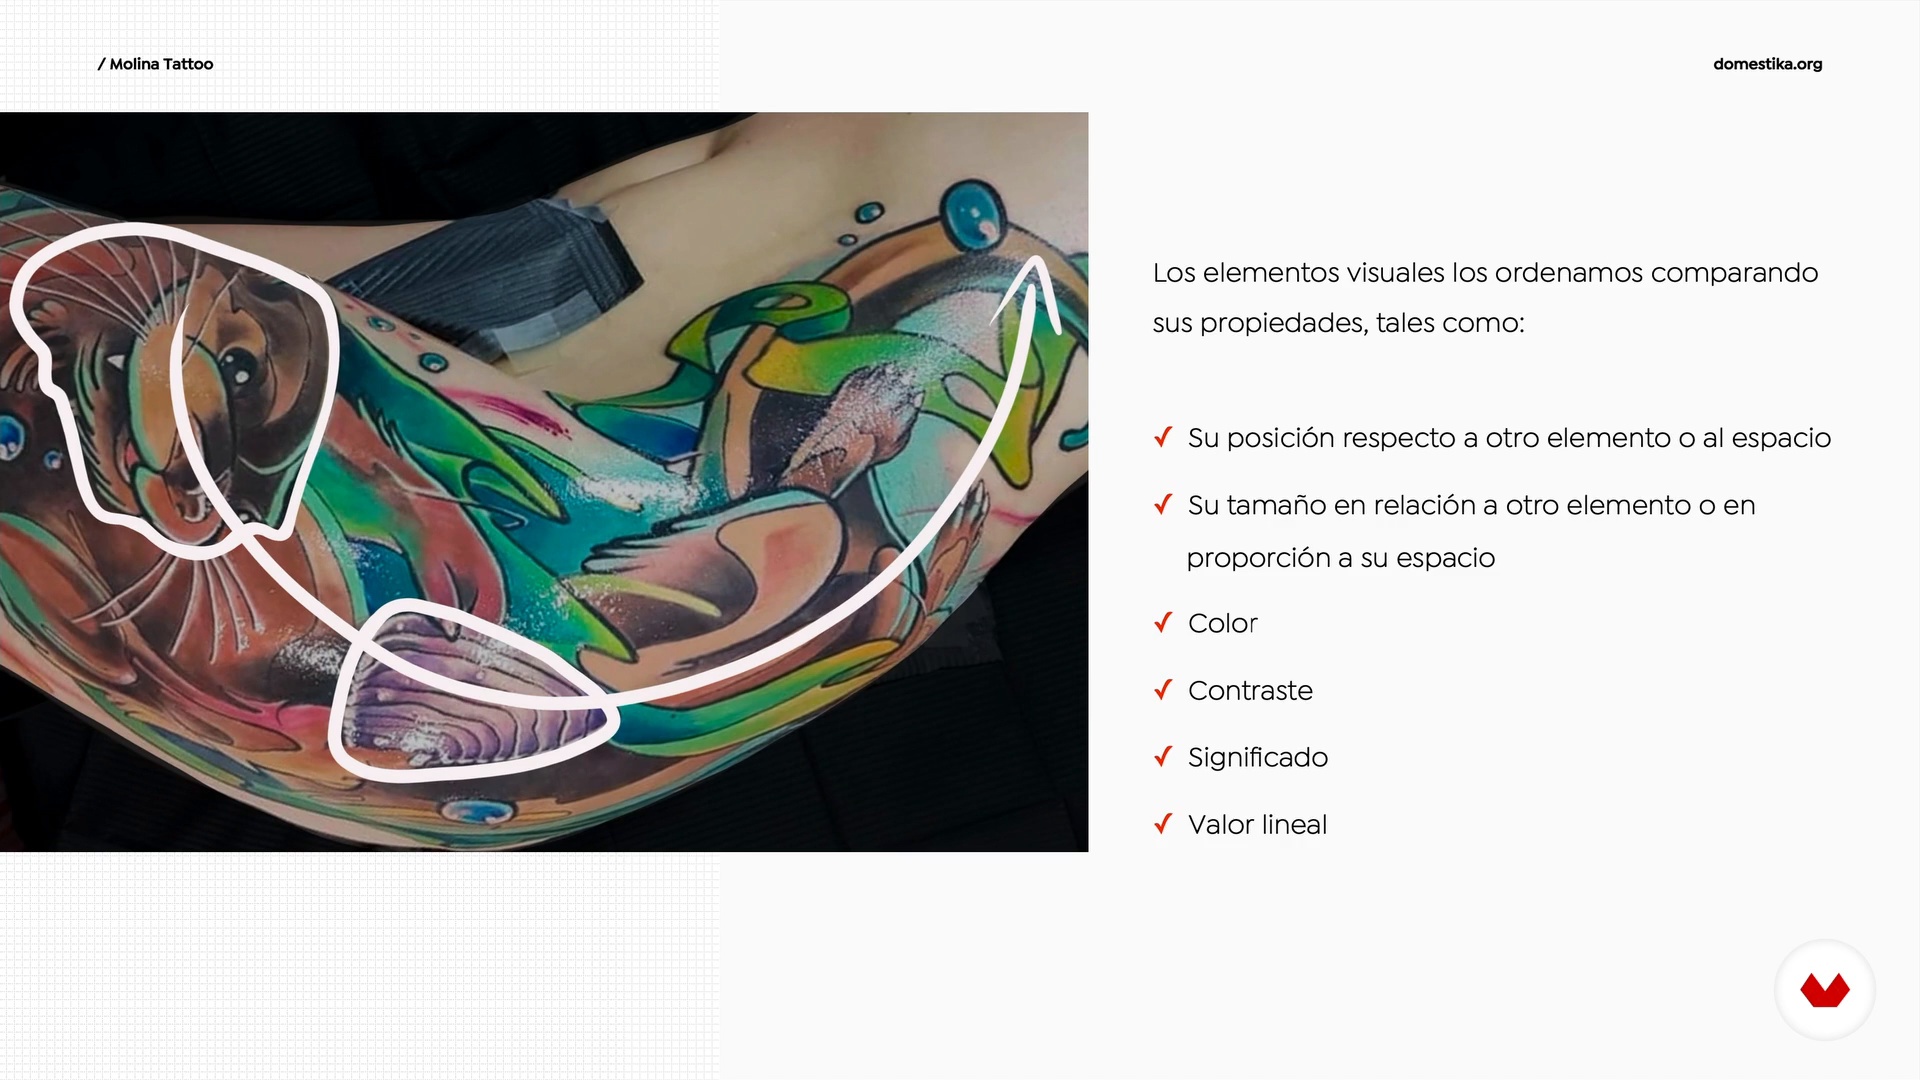
Composing visually is not an easy job. In this lesson, you will learn how to organize elements in relation to each other and the elements in relation to their space, and you will also understand composition concepts that will help you when designing considering the area of the body you are going to tattoo.
13m
image
3
Colors
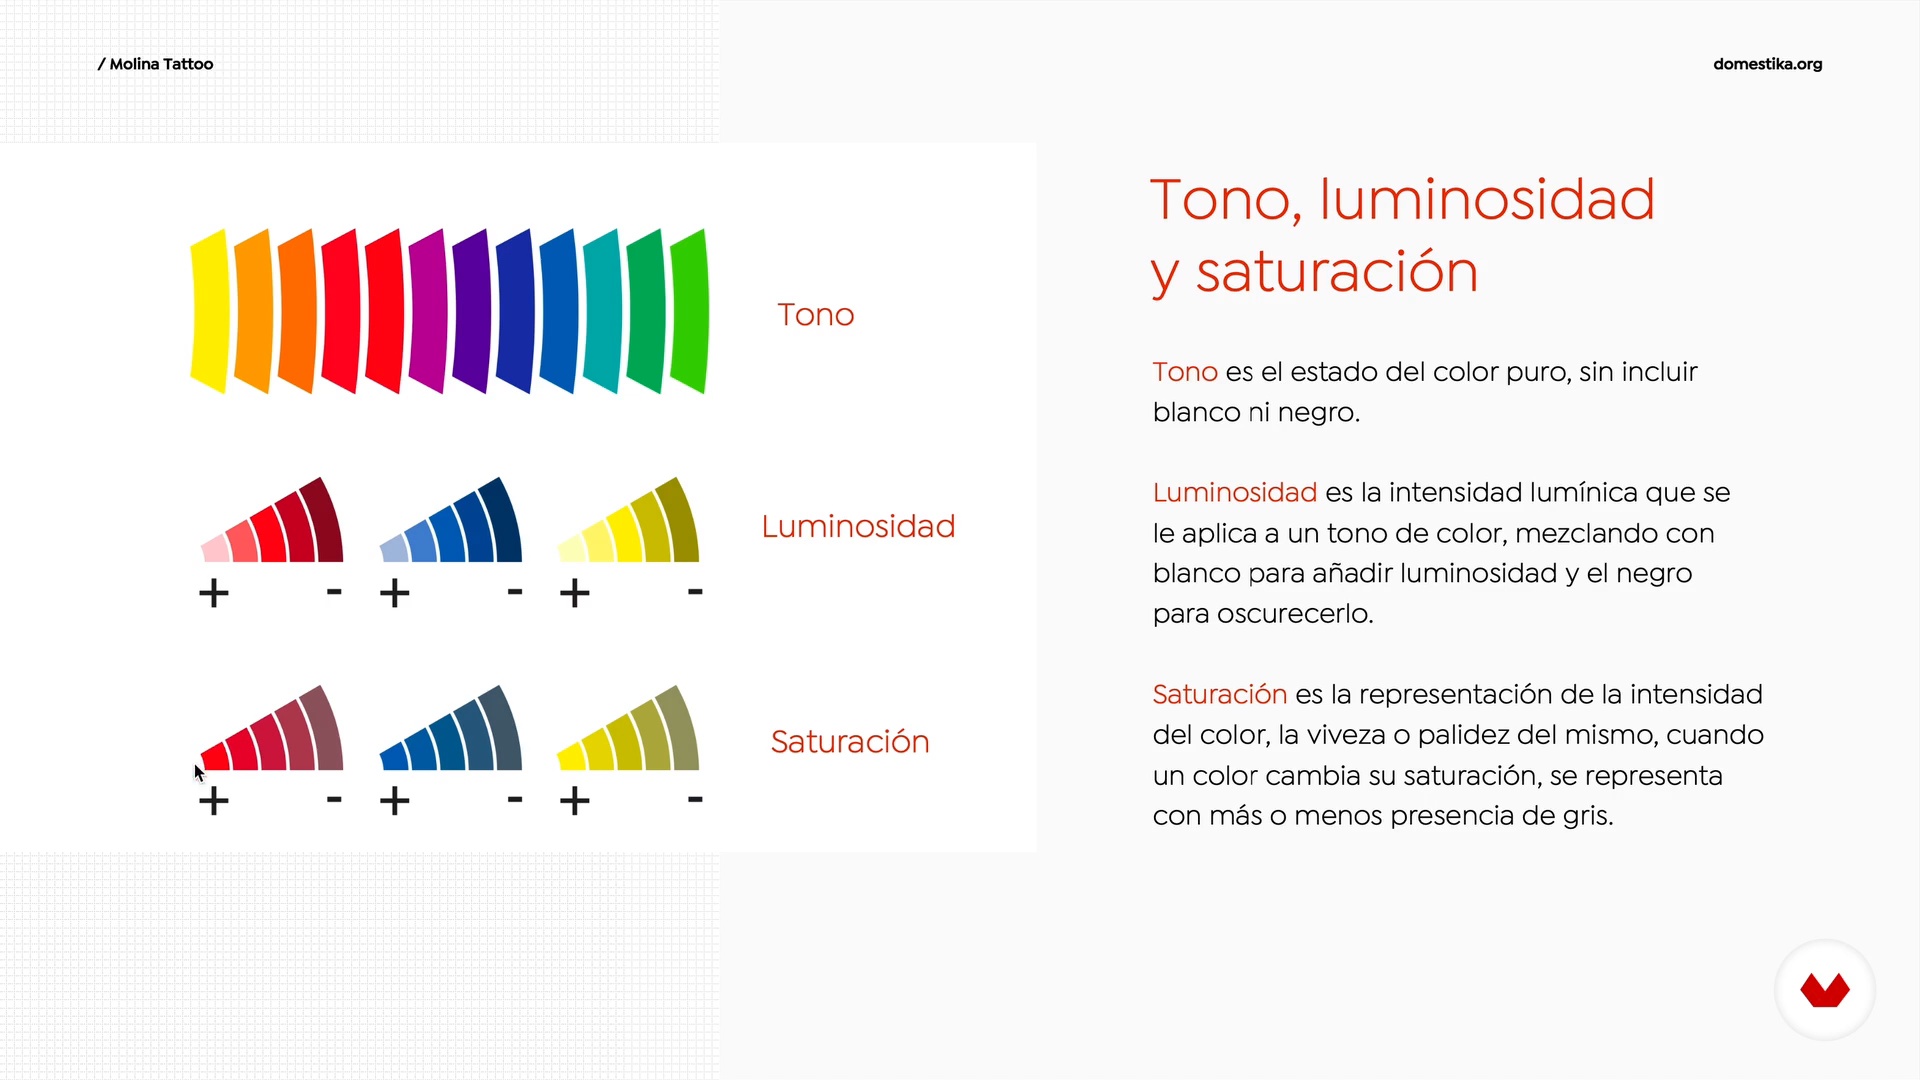
I will teach you how to use color in your designs so that they are viable when applied to the skin.
8m
image
4
Materials
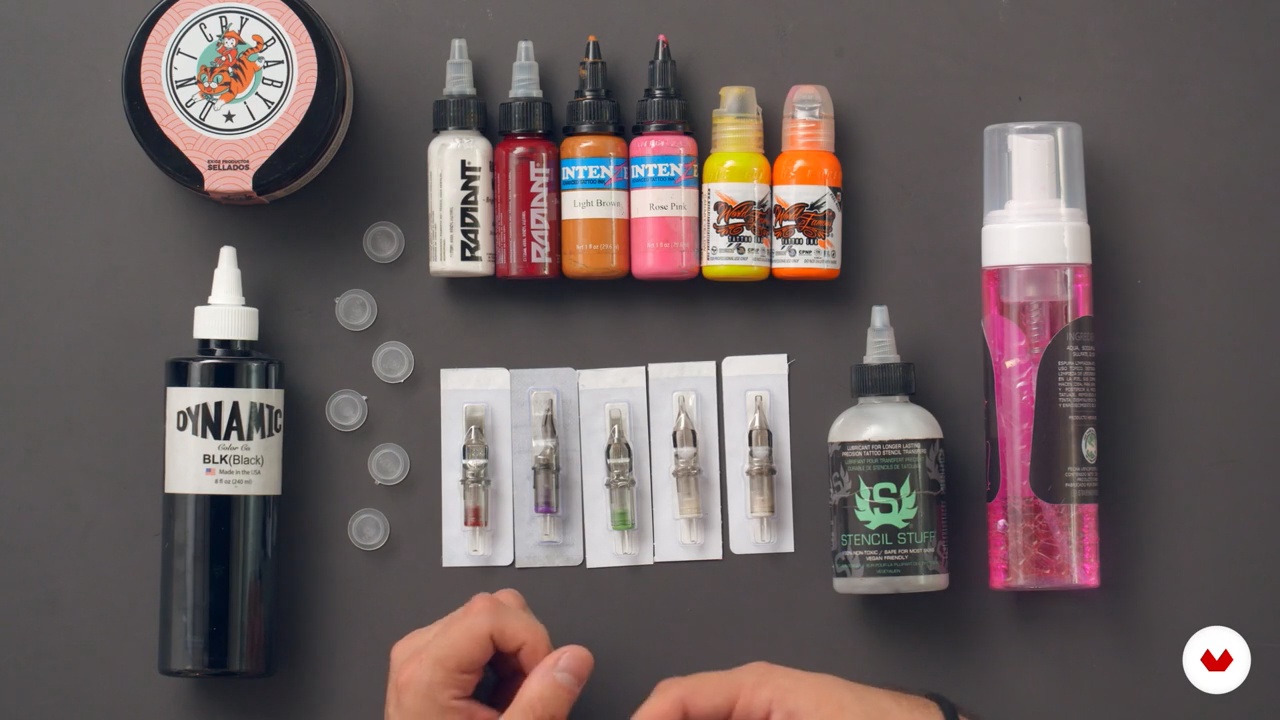
You will see the materials you will use to complete your final project for the course.
9m
image
5
What are we going to tattoo?
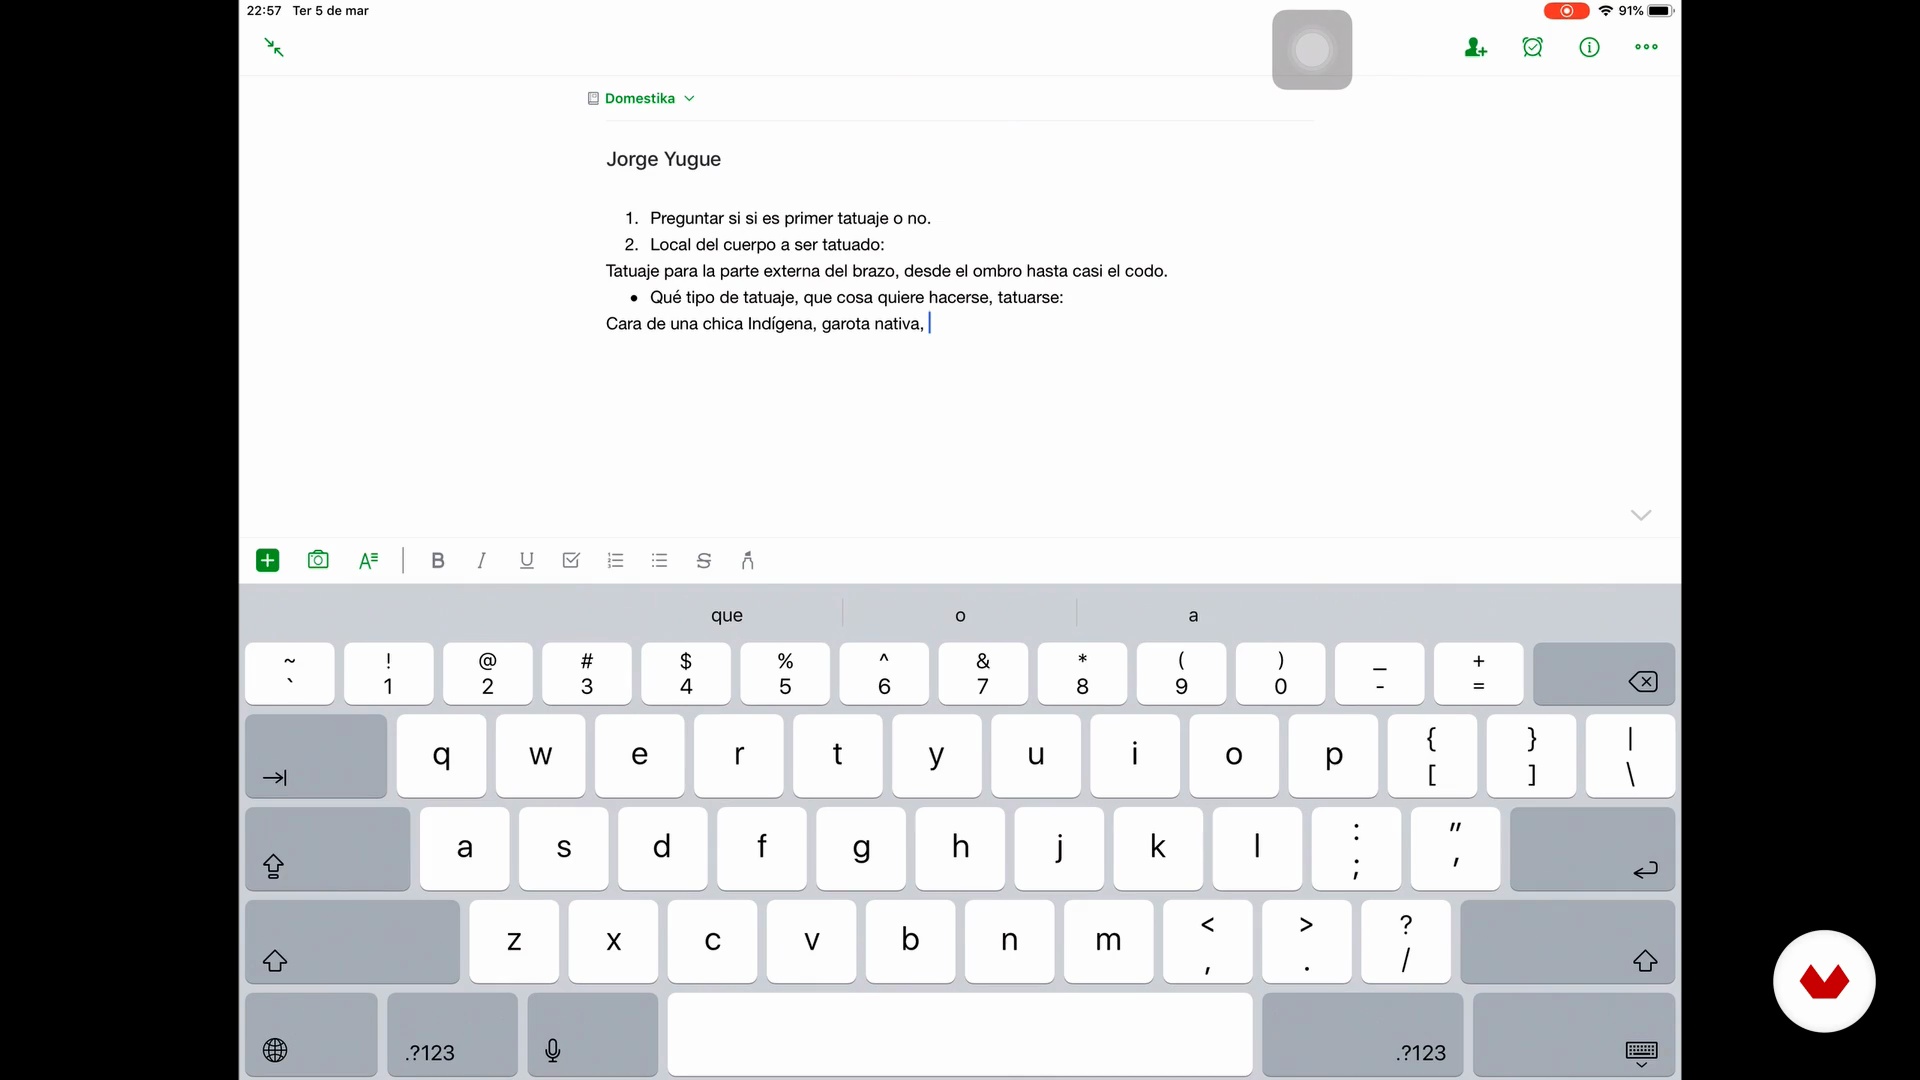
In this lesson, I'll show you my process of talking with a client, going through the definition of the area to be tattooed, and thematic and aesthetic considerations. You'll see how all of this is then materialized in a mood board!
8m
image
6
Tattoo design
You will see how to go from ideas collected on the mood board to the design of a tattoo. You will learn how to create it through a digital collage process.
19m
image
7
Color palette and colorization
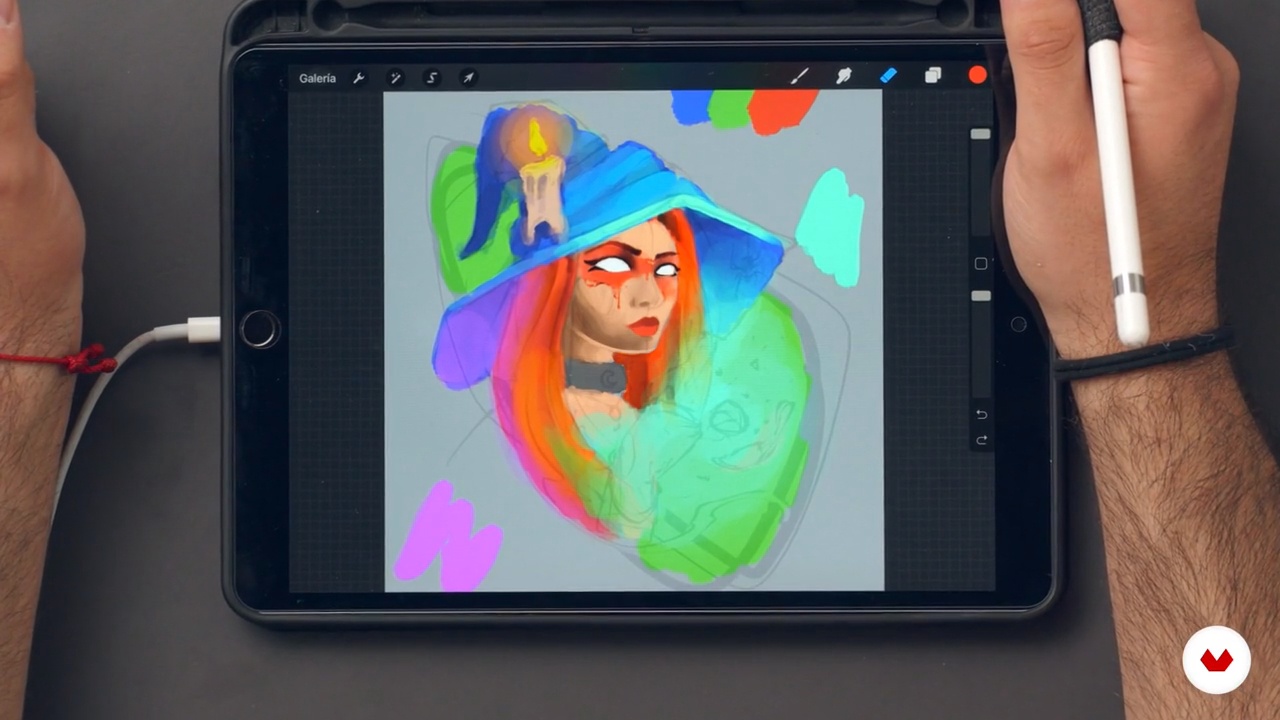
I will show you my process for choosing the colors to work on for your tattoo.
19m
image
8
Colorization details
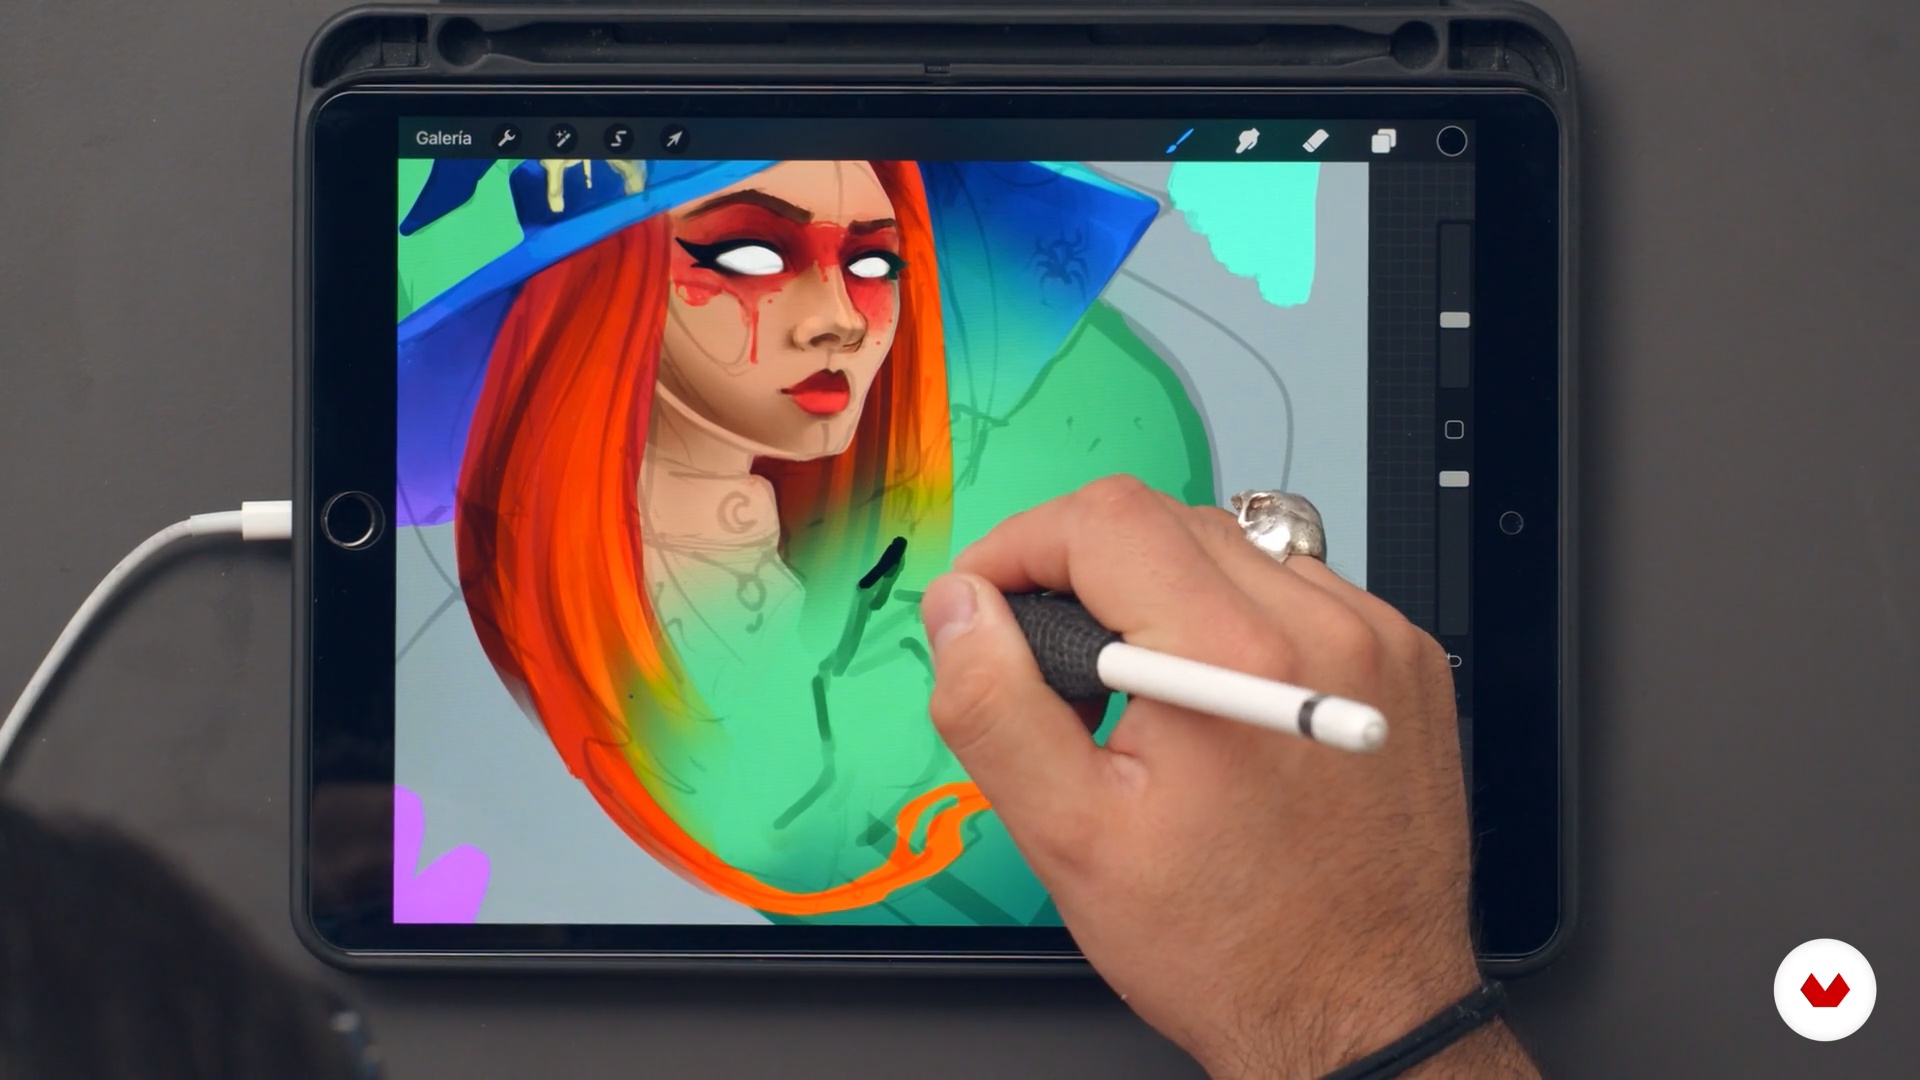
Now, I will explain to you which details you need to take care of to get your final illustration. In addition, you will learn how to highlight the colors more, since you are going to bring this illustration to your client's skin, so it is important that I also show you how to make contrasts in your design.
15m
image
9
Stencil preparation
Once you have your design ready and approved, it's time to prepare the lines for your stencil, either digitally or printed. I'll show you how below.
13m
image
10
Preparing the workspace
Skin asepsis and keeping your work table tidy can influence the outcome of your tattoo.
15m
image
11
Lines 1
In my style of tattooing, I like to tattoo the black lines before applying the shading and colors. In this lesson, I will show you which needles I like to use for each line.
14m
image
12
Lines 2
I will continue working on some lines of the design. I will explain the relationship between speed vs. accuracy and how you can make some thick lines.
14m
image
13
Shading and black sectors
Shading, believe it or not, plays a fundamental role in full color tattoos. I will show you how to shade with a gradient without diluting the ink.
10m
image
14
Color
You will see how to apply the color in the tattoo, you will know the order in which I apply the different tones according to their brightness and the area of the skin.
17m
image
15
Final considerations
To close this process, I will leave you with some final recommendations or tips for the care of your tattoo.
5m
  • 318 students
  • 73 lessons (12h 35m)
  • 64 additional resources (19 files)
  • Online and at your own pace
  • Audio: Spanish, English
  • Spanish · English · Portuguese · German · French · Italian · Polish · Dutch
  • Level: Beginner
  • Unlimited access forever

What is this course's project?

You will create a custom tattoo design based on a real client's ideas, capturing their personality and preferences. This project will enrich your creative portfolio by reflecting your ability to transform concepts into unique and meaningful illustrations.

Who is this specialization for?

Body art and technology lovers who want to create custom tattoo designs will find this course an invaluable tool. Ideal for those looking to develop digital illustration skills and explore their unique artistic style with Procreate.

Requirements and materials

Extensive prior knowledge is not required, but an iPad with Procreate installed and an Apple Pencil are essential. Basic familiarity with digital tools and an interest in tattoo design will help you get the most out of the course.

Select to get to know your teachers in this specialization course
Read more ↓

What to expect from this specialization course

  • Learn at your own pace

    Enjoy learning from home without a set schedule and with an easy-to-follow method. You set your own pace.

  • Learn from the best professionals

    Learn valuable methods and techniques explained by top experts in the creative sector.

  • Meet expert teachers

    Each expert teaches what they do best, with clear guidelines, true passion, and professional insight in every lesson.

  • Certificates
    Plus

    If you're a Plus member, get a custom certificate for every specialization course. Share it on your portfolio, social media, or wherever you like.

  • Get front-row seats

    Videos of the highest quality, so you don't miss a single detail. With unlimited access, you can watch them as many times as you need to perfect your technique.

  • Share knowledge and ideas

    Ask questions, request feedback, or offer solutions. Share your learning experience with other students in the community who are as passionate about creativity as you are.

  • Connect with a global creative community

    The community is home to millions of people from around the world who are curious and passionate about exploring and expressing their creativity.

  • Watch professionally produced courses

    Domestika curates its teacher roster and produces every course in-house to ensure a high-quality online learning experience.


FAQs

Domestika's specialization courses are online classes that provide you with the tools and skills you need to complete a specific project. Every step of the project combines video lessons with complementary instructional material, so you can learn by doing. Domestika's specializations also allow you to share your own projects with other students, creating a dynamic course community.

All specialization courses are 100% online, so once they're published, specialization courses start and finish whenever you want. You set the pace of the class. You can go back to review what interests you most and skip what you already know, ask questions, answer questions, share your projects, and more.

The specialization courses are divided into different modules. Each one includes lessons, informational text, tasks, and practice exercises to help you carry out your project step by step, with additional complementary resources and downloads. You'll also have access to an exclusive forum where you can interact with other students, as well as share your work and your final project, creating a community around the specialization course.

You can redeem the specialization course you received by accessing the redeeming page and entering your gift code.

If you're a Plus member, when you complete a course you've purchased, you'll instantly get your personalized certificate. You can see all your certificates in the Certificates section of your profile. You can download your certificates as PDFs and share the link online. Learn more about certificates.
Ink Mastery: From Design to Tattoo Specialization. Illustration course by Domestika

Ink Mastery: From Design to Tattoo Specialization

A specialization by multiple teachers
Specialization Course. Berkeley, United States.
Joined April 2002
  • 318 students