
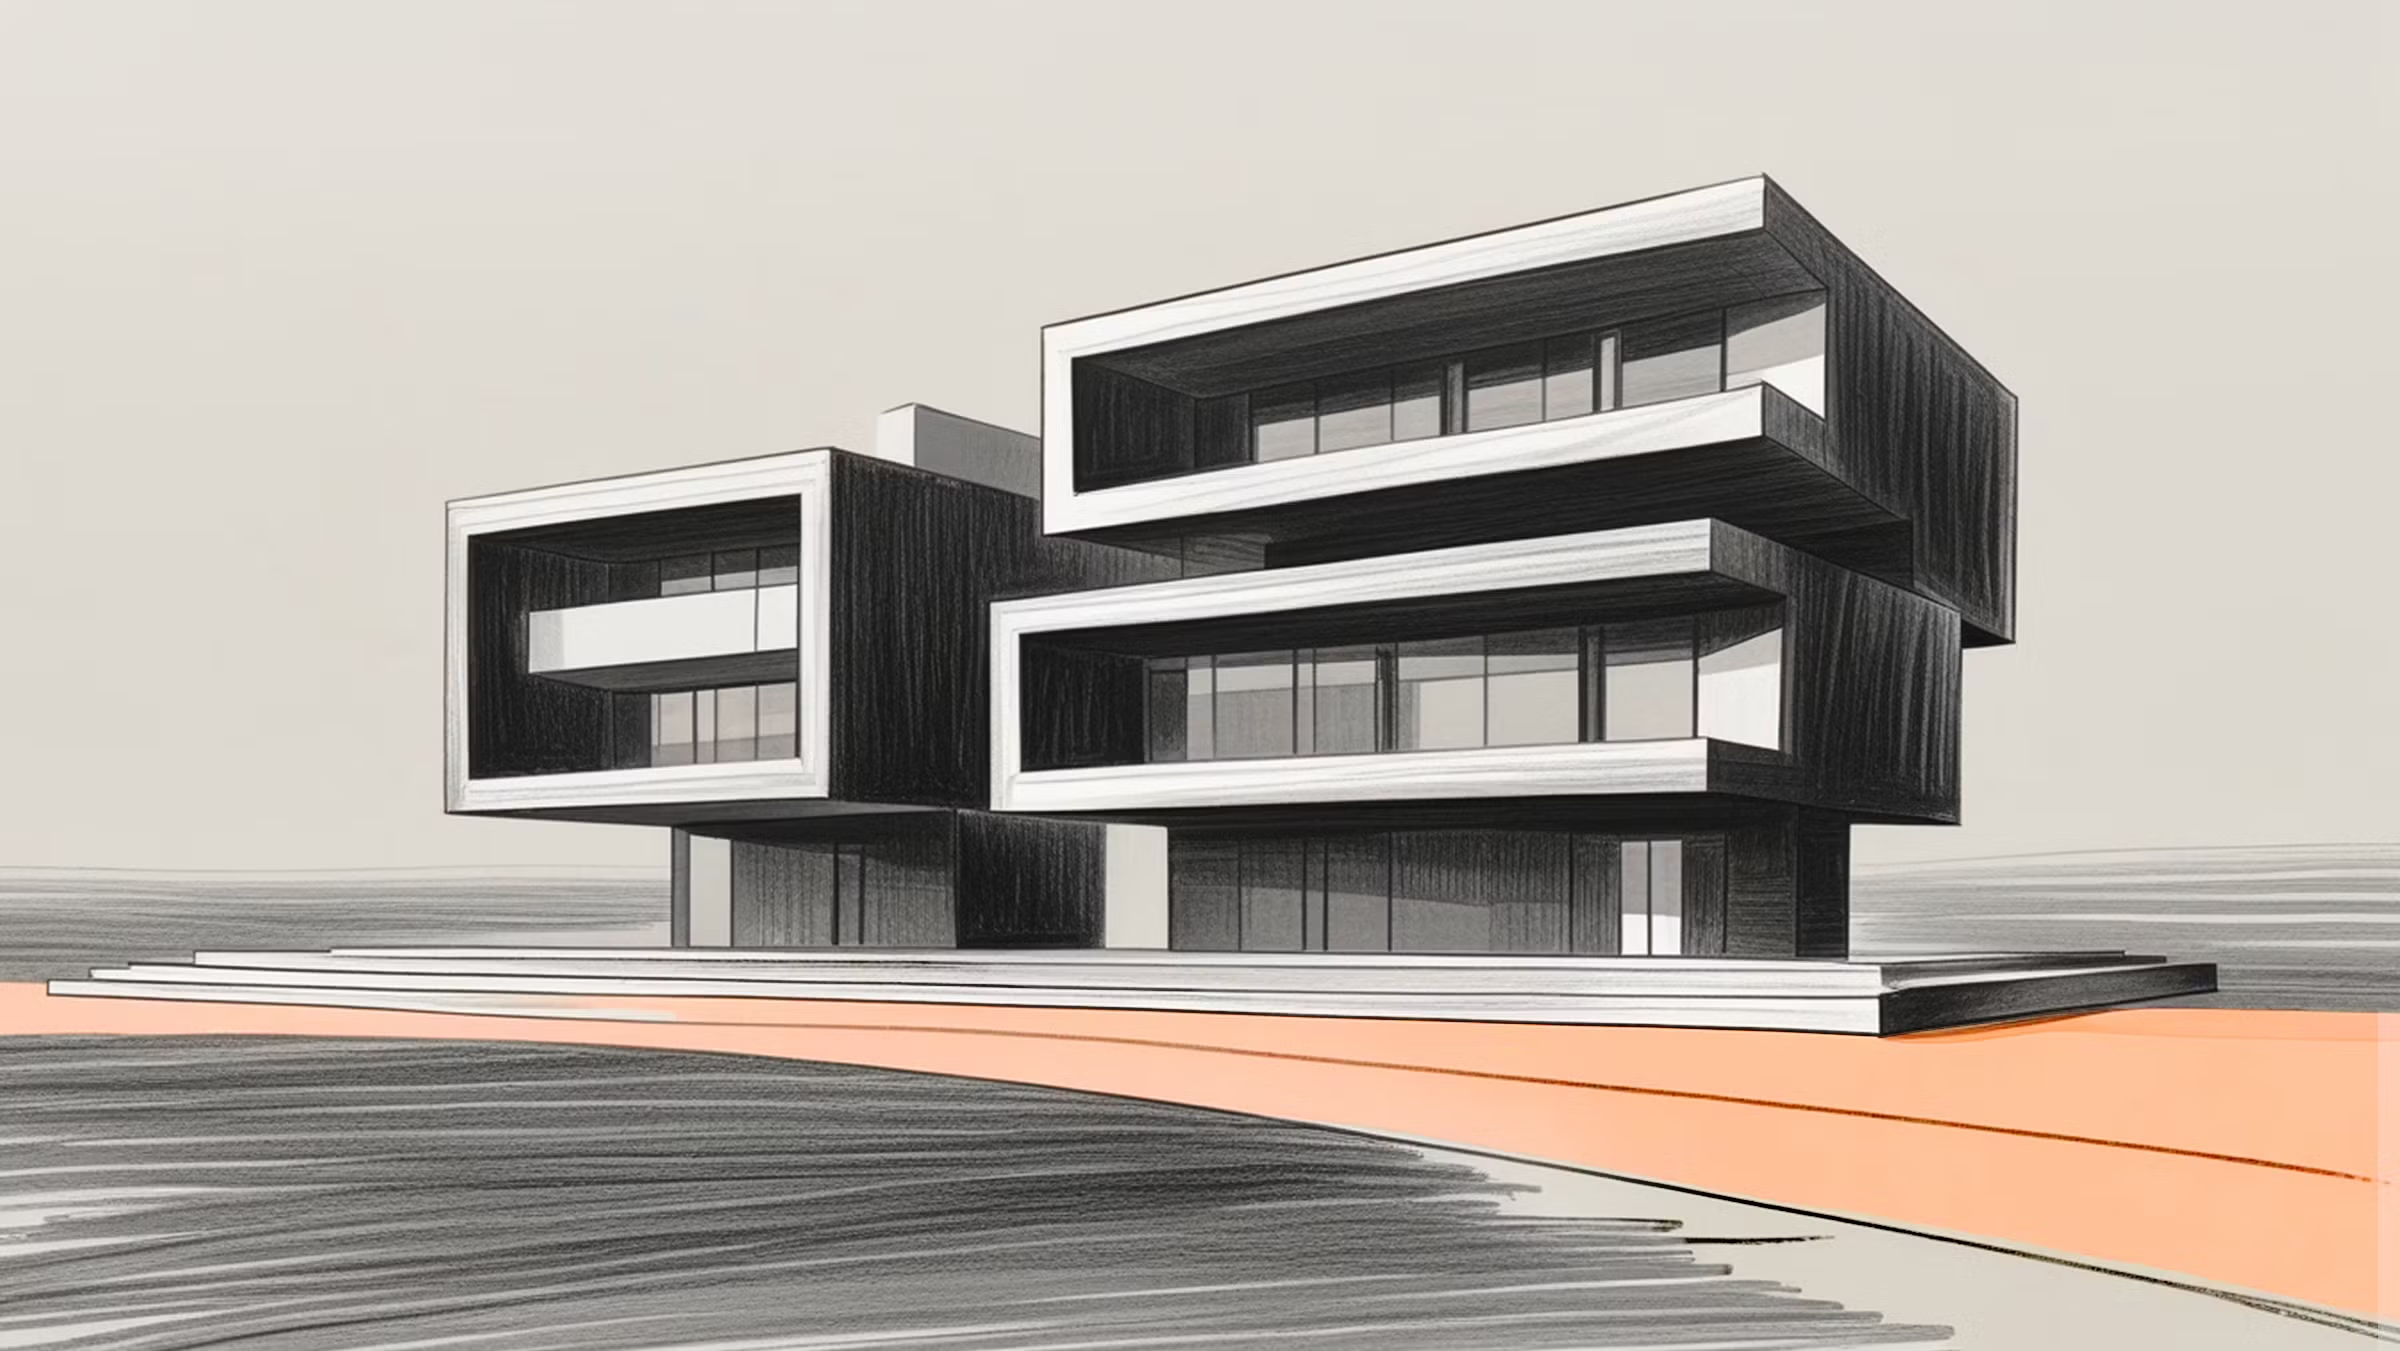
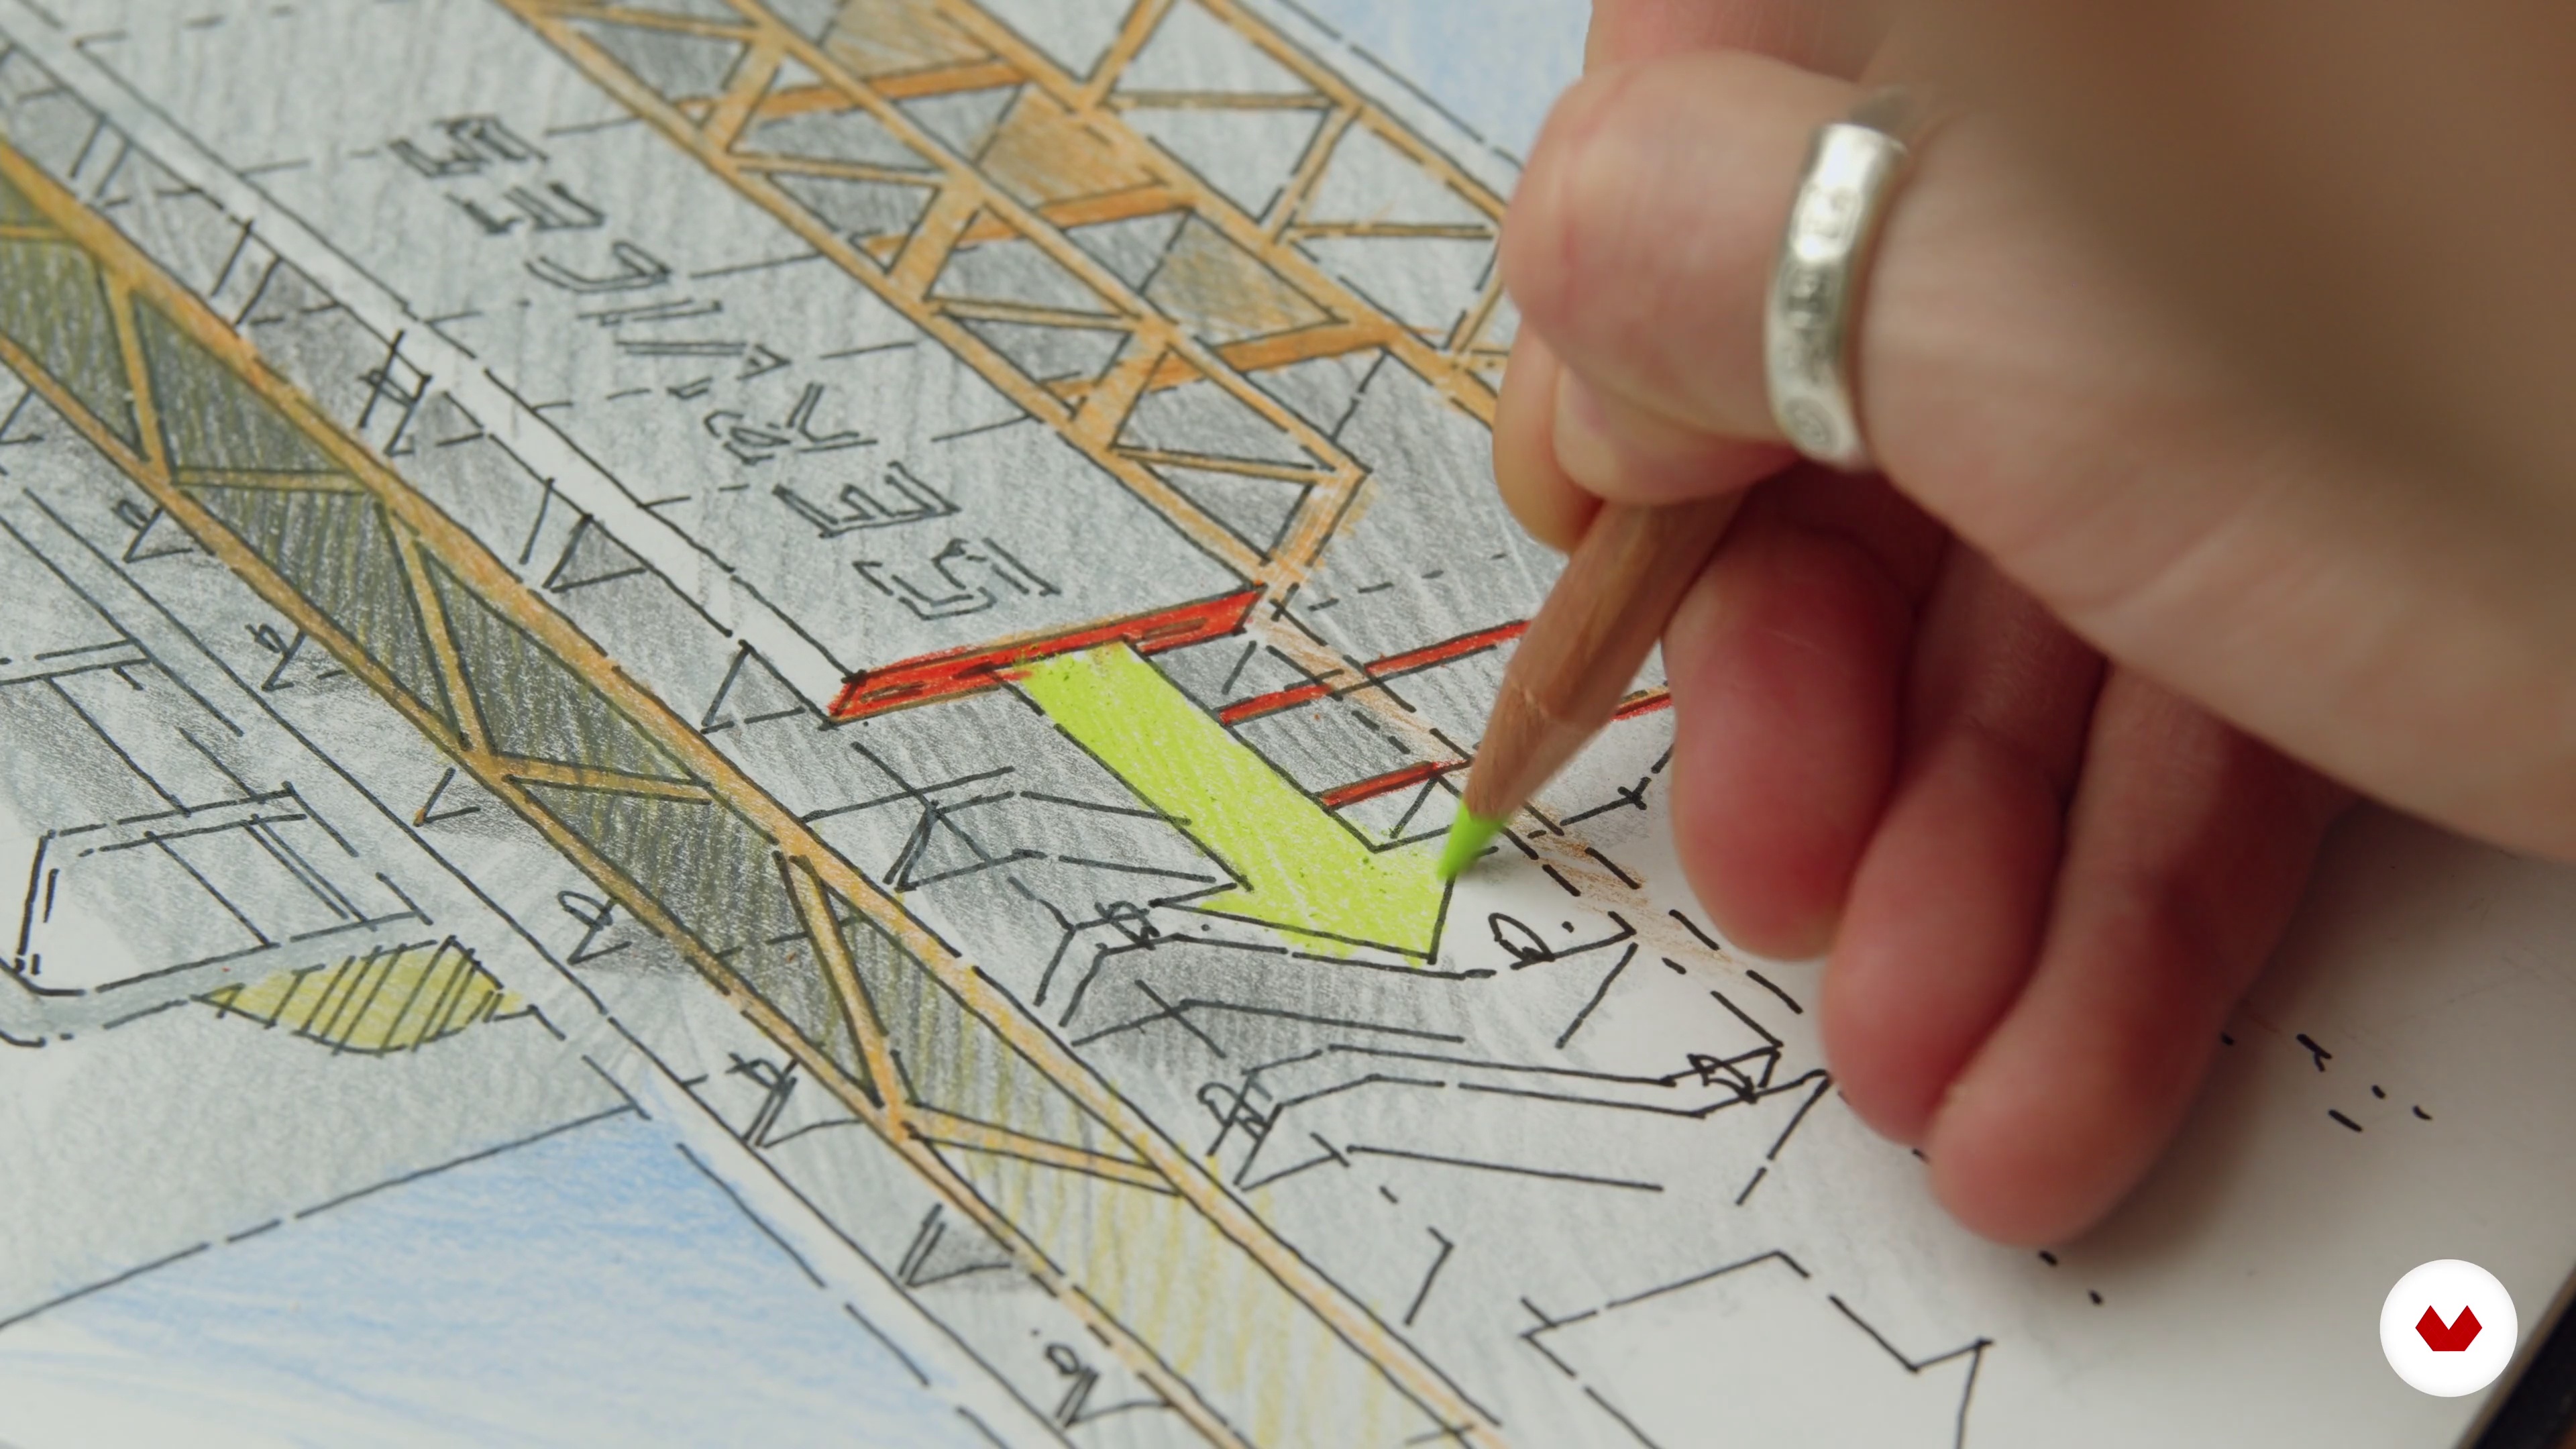
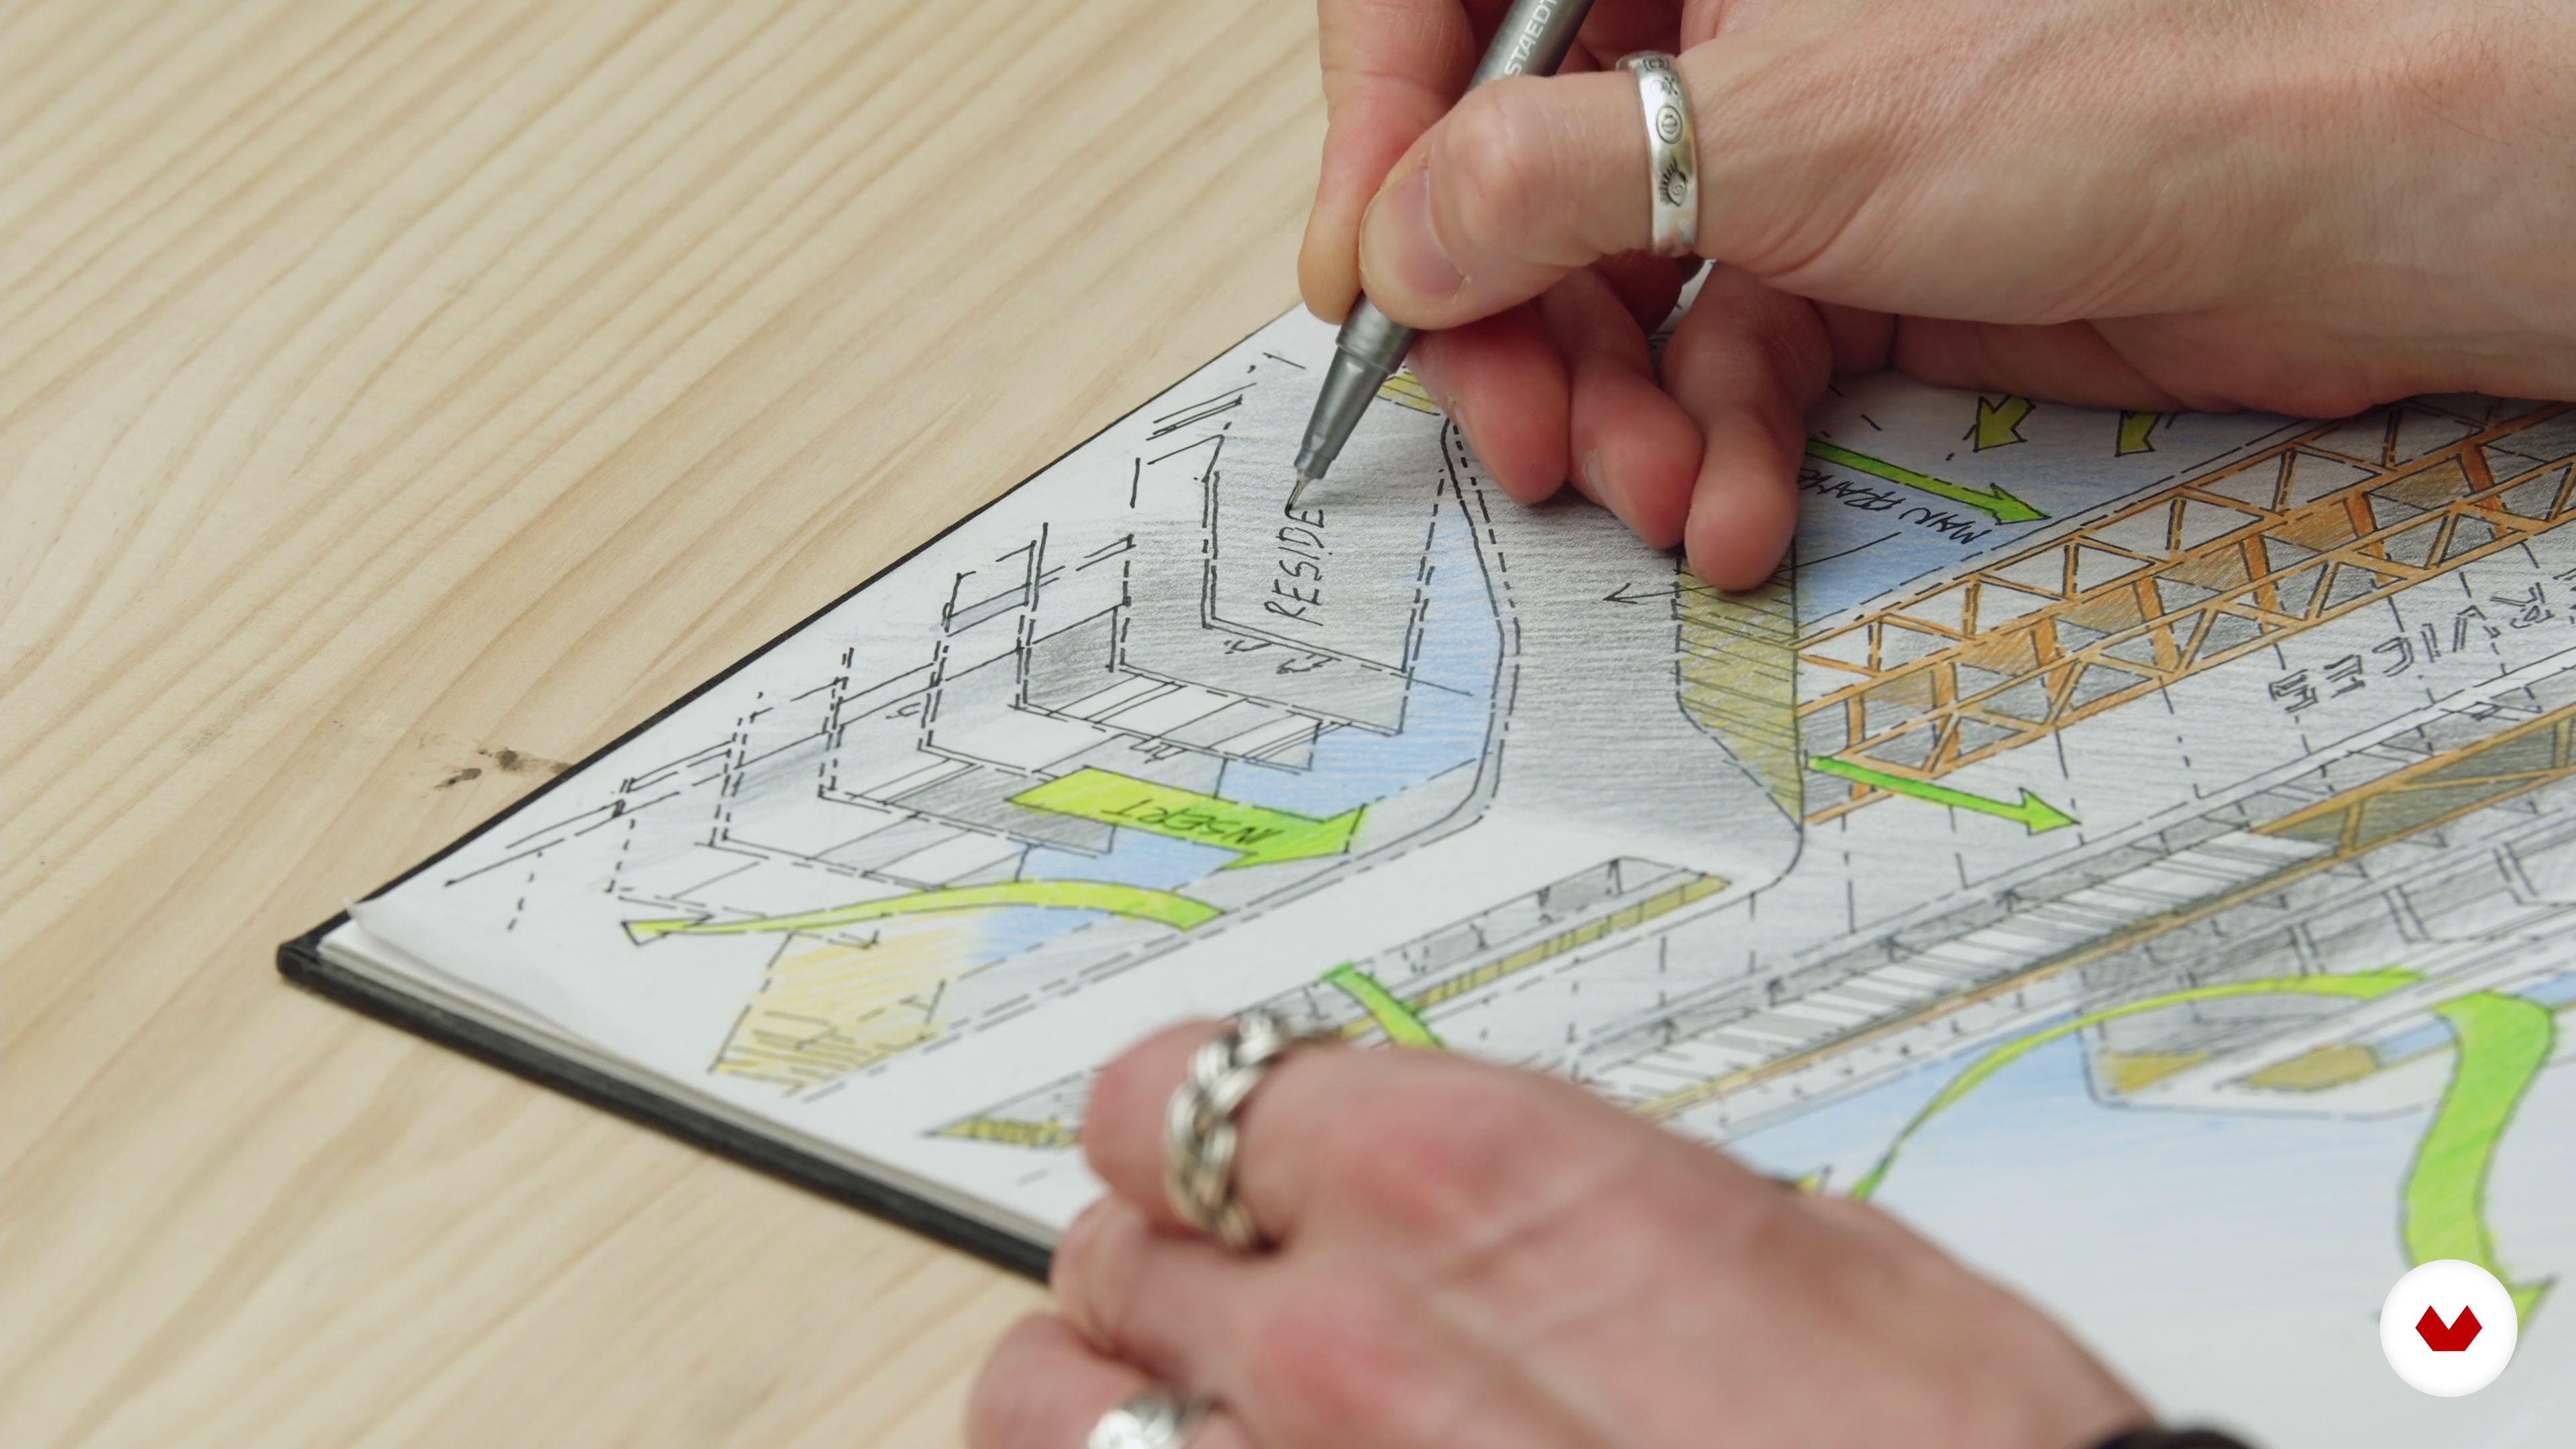
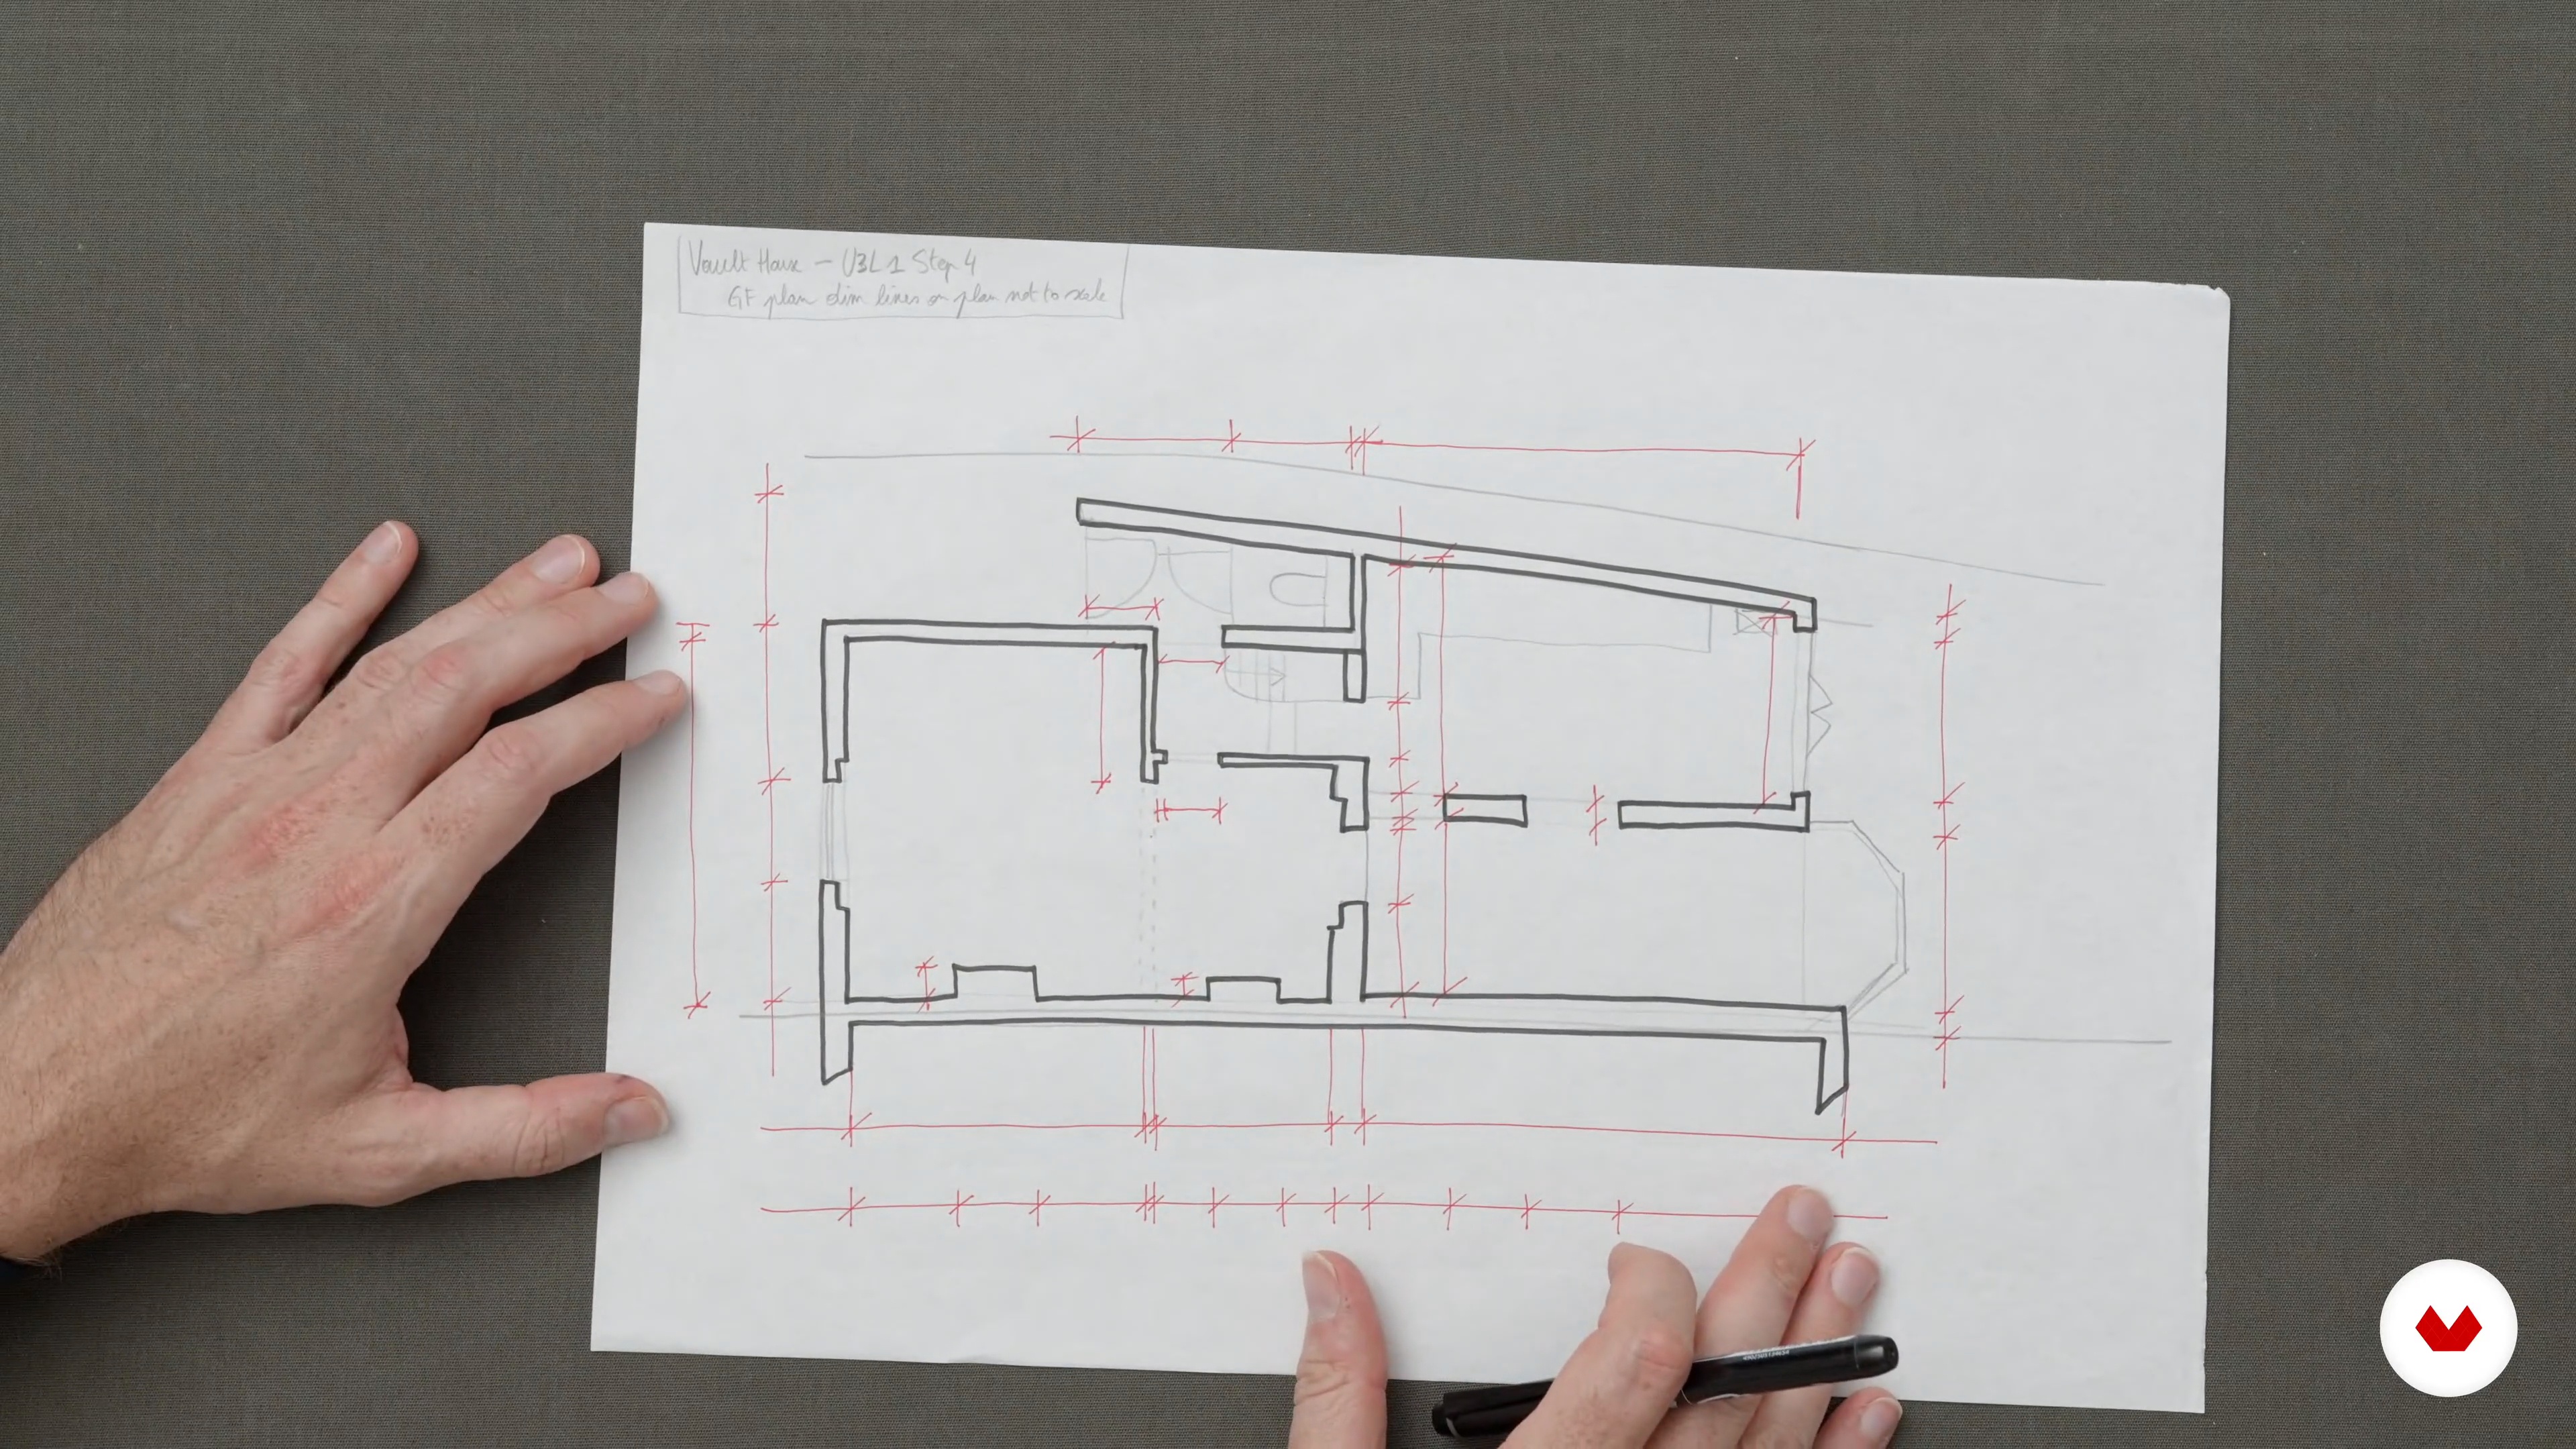
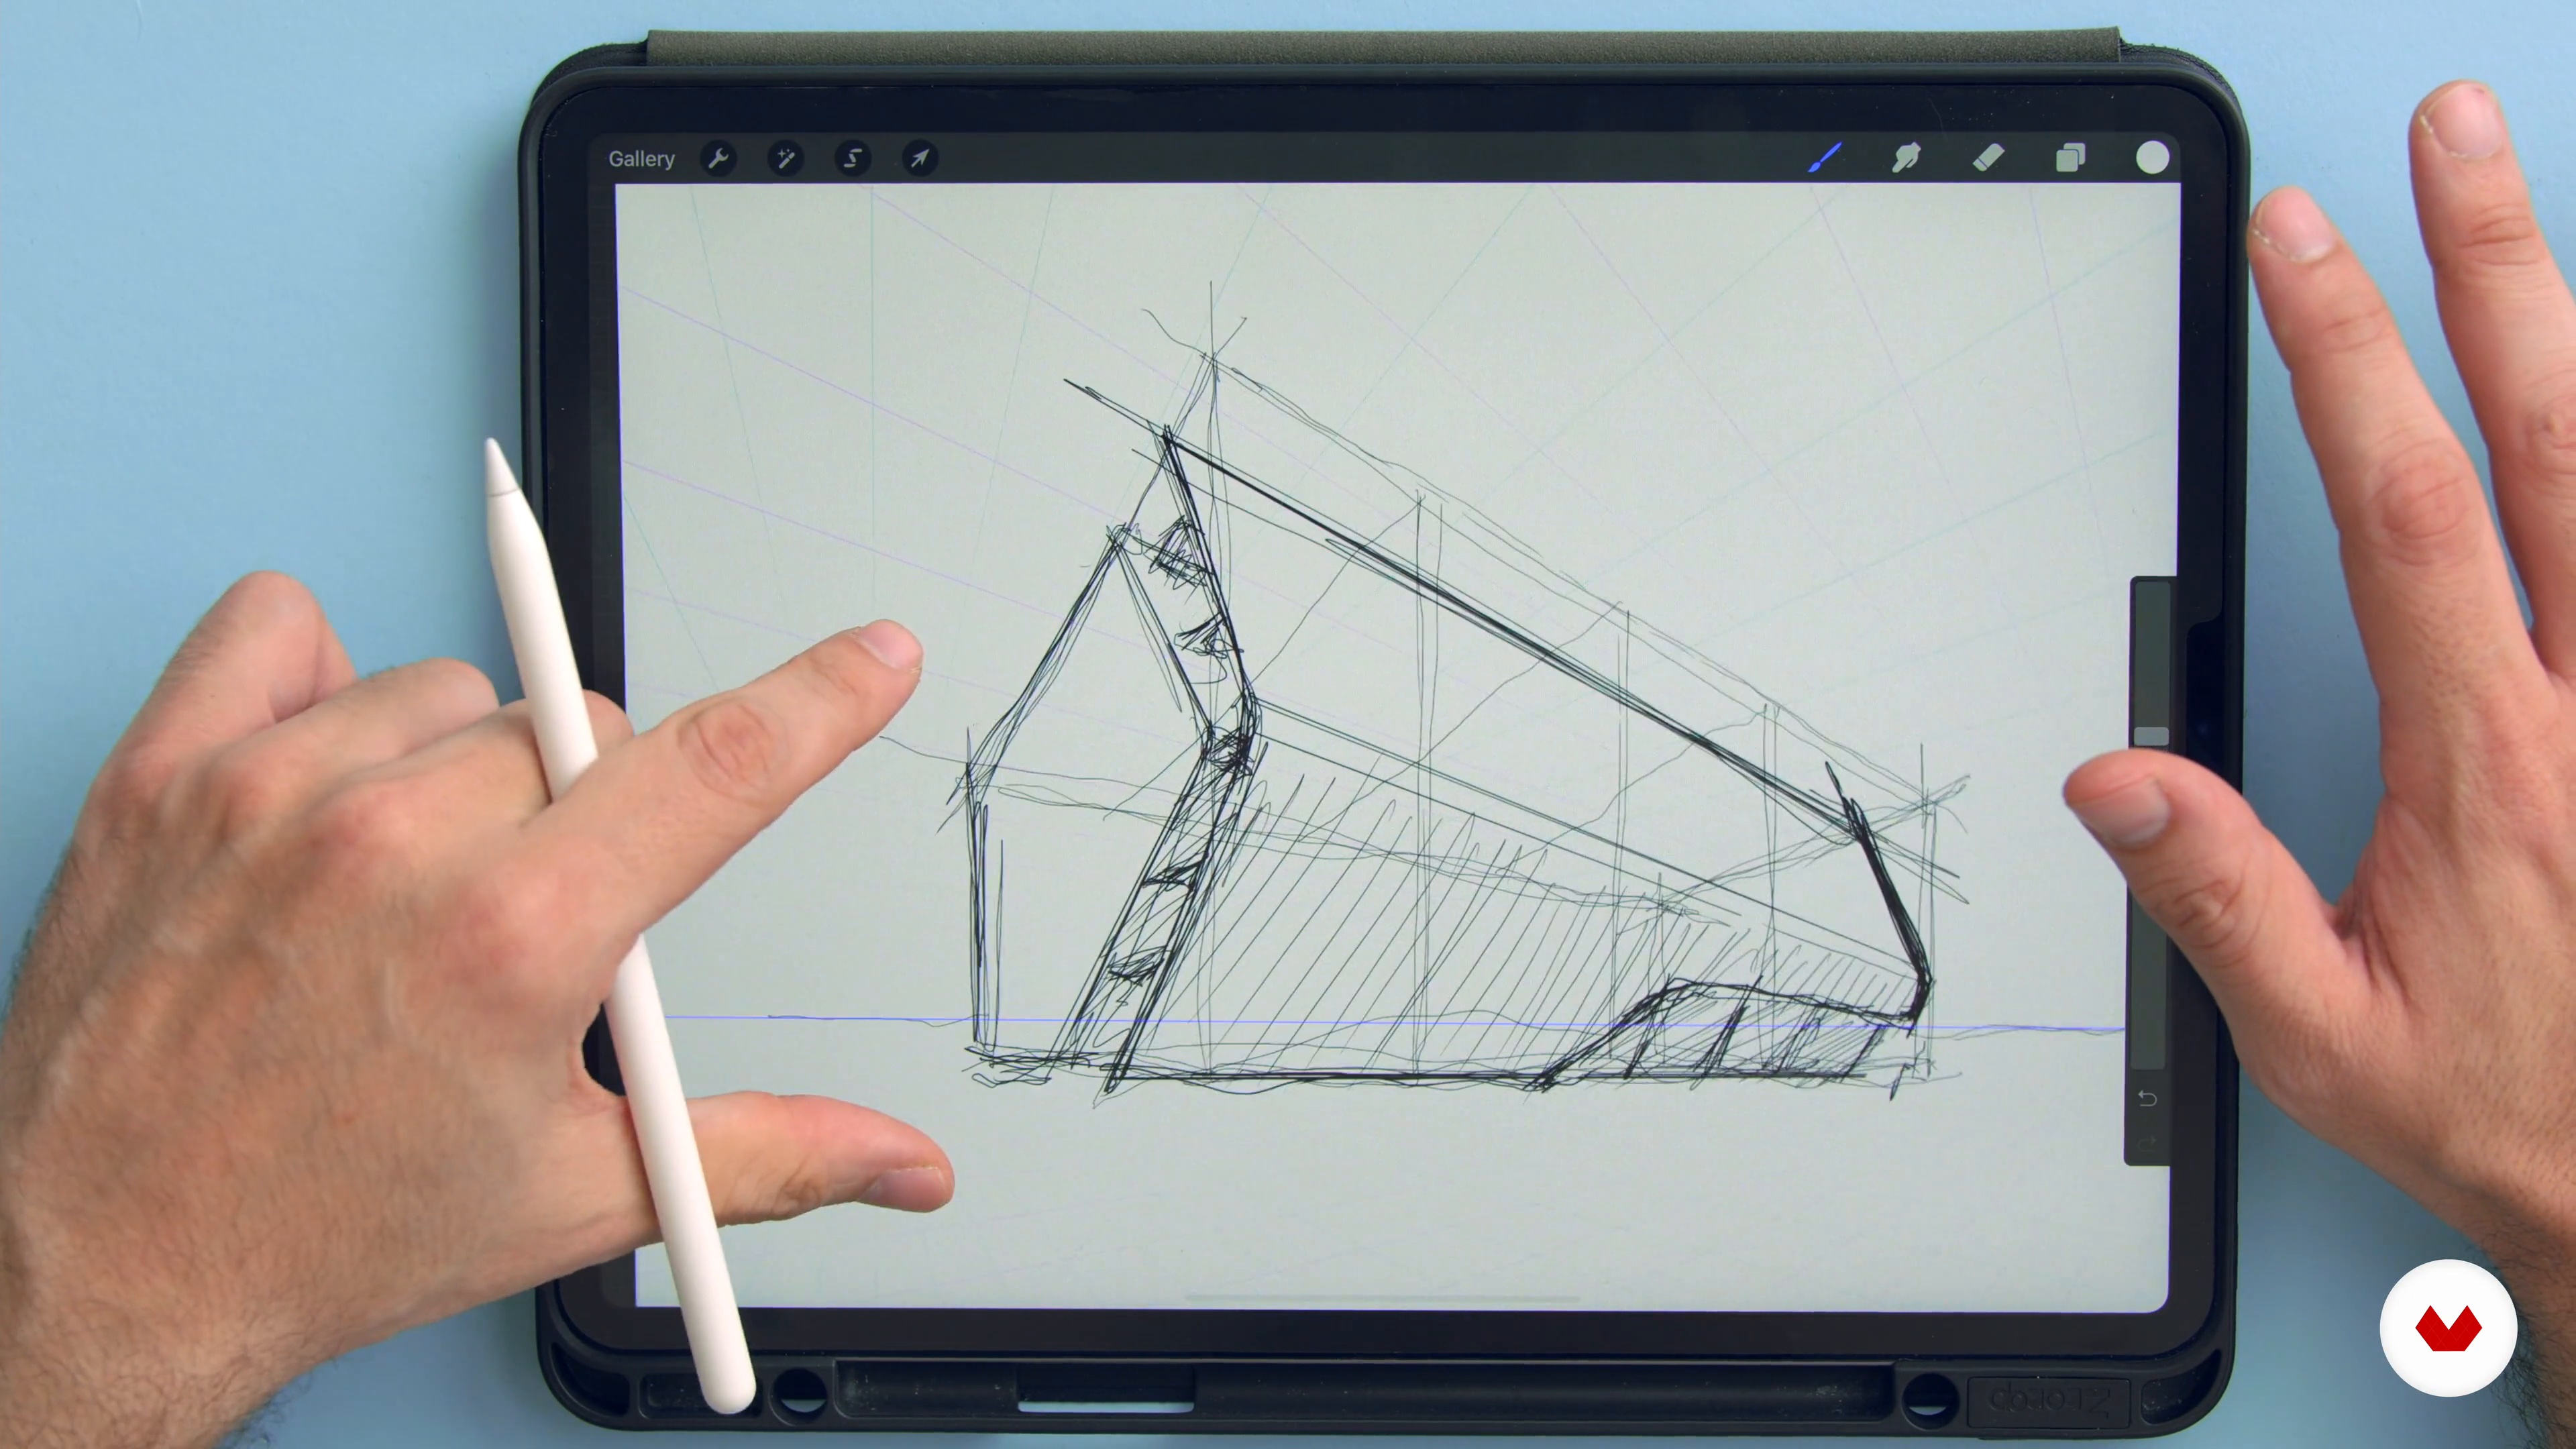
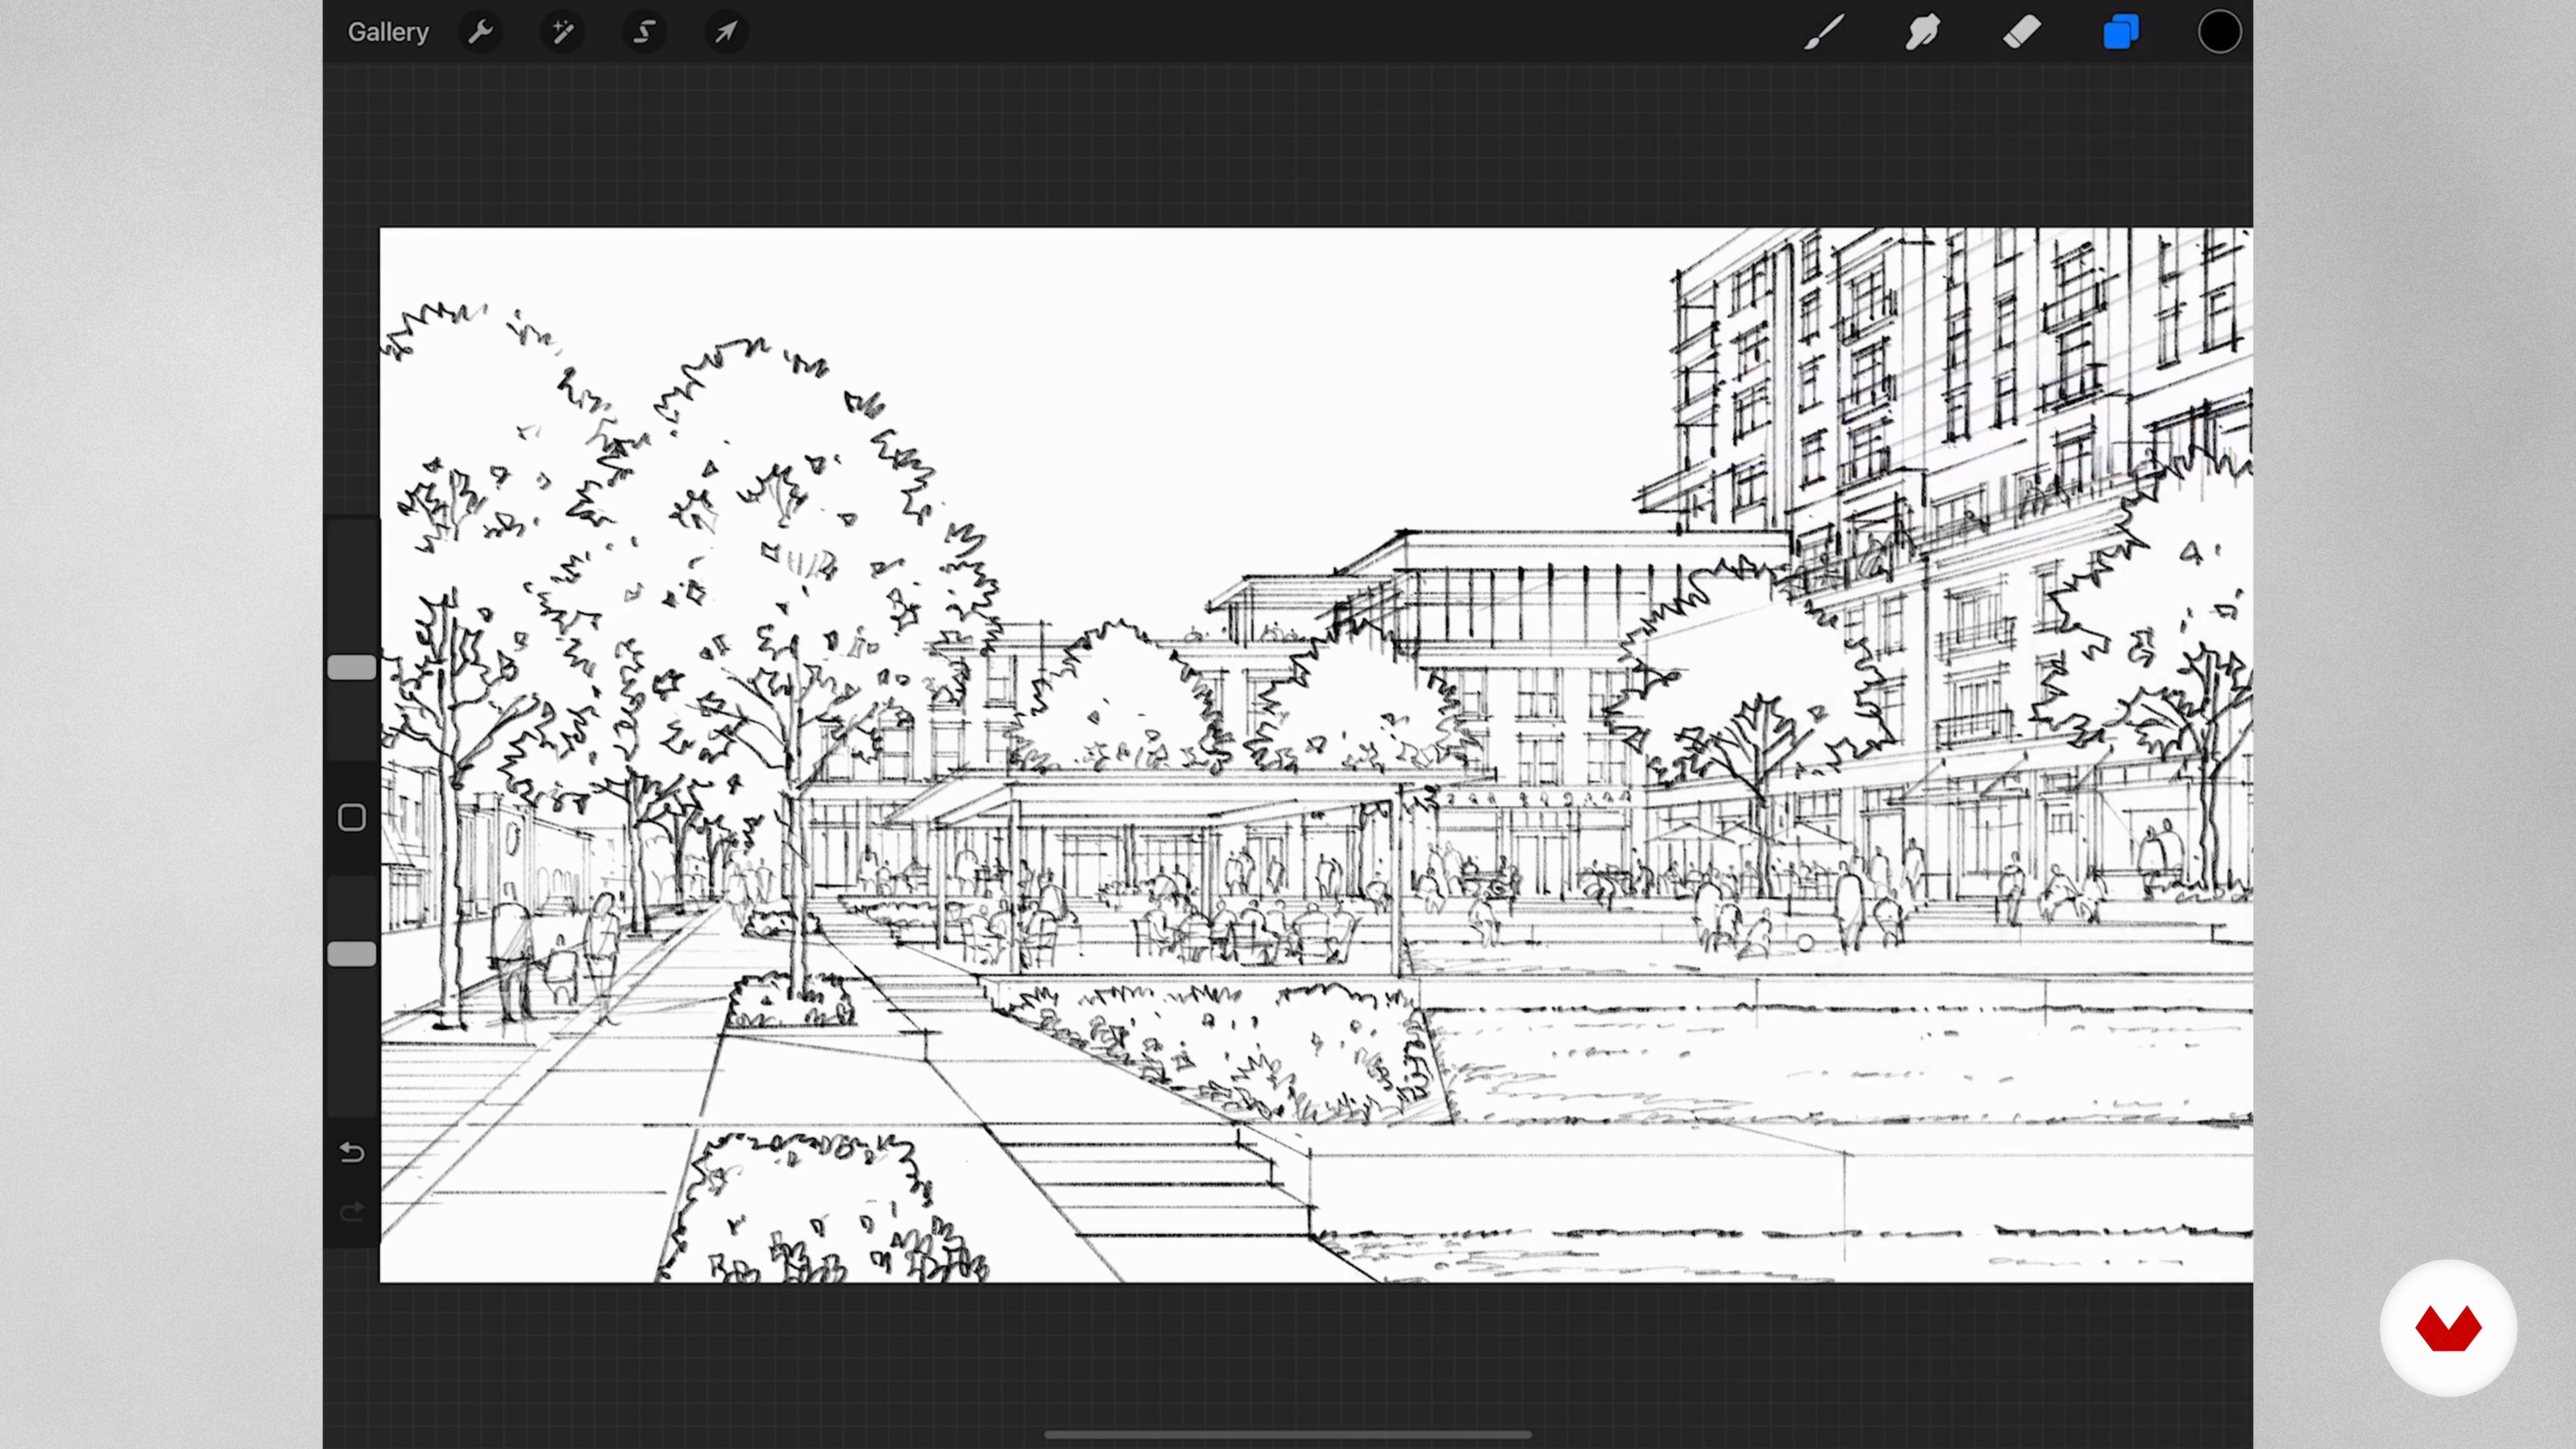
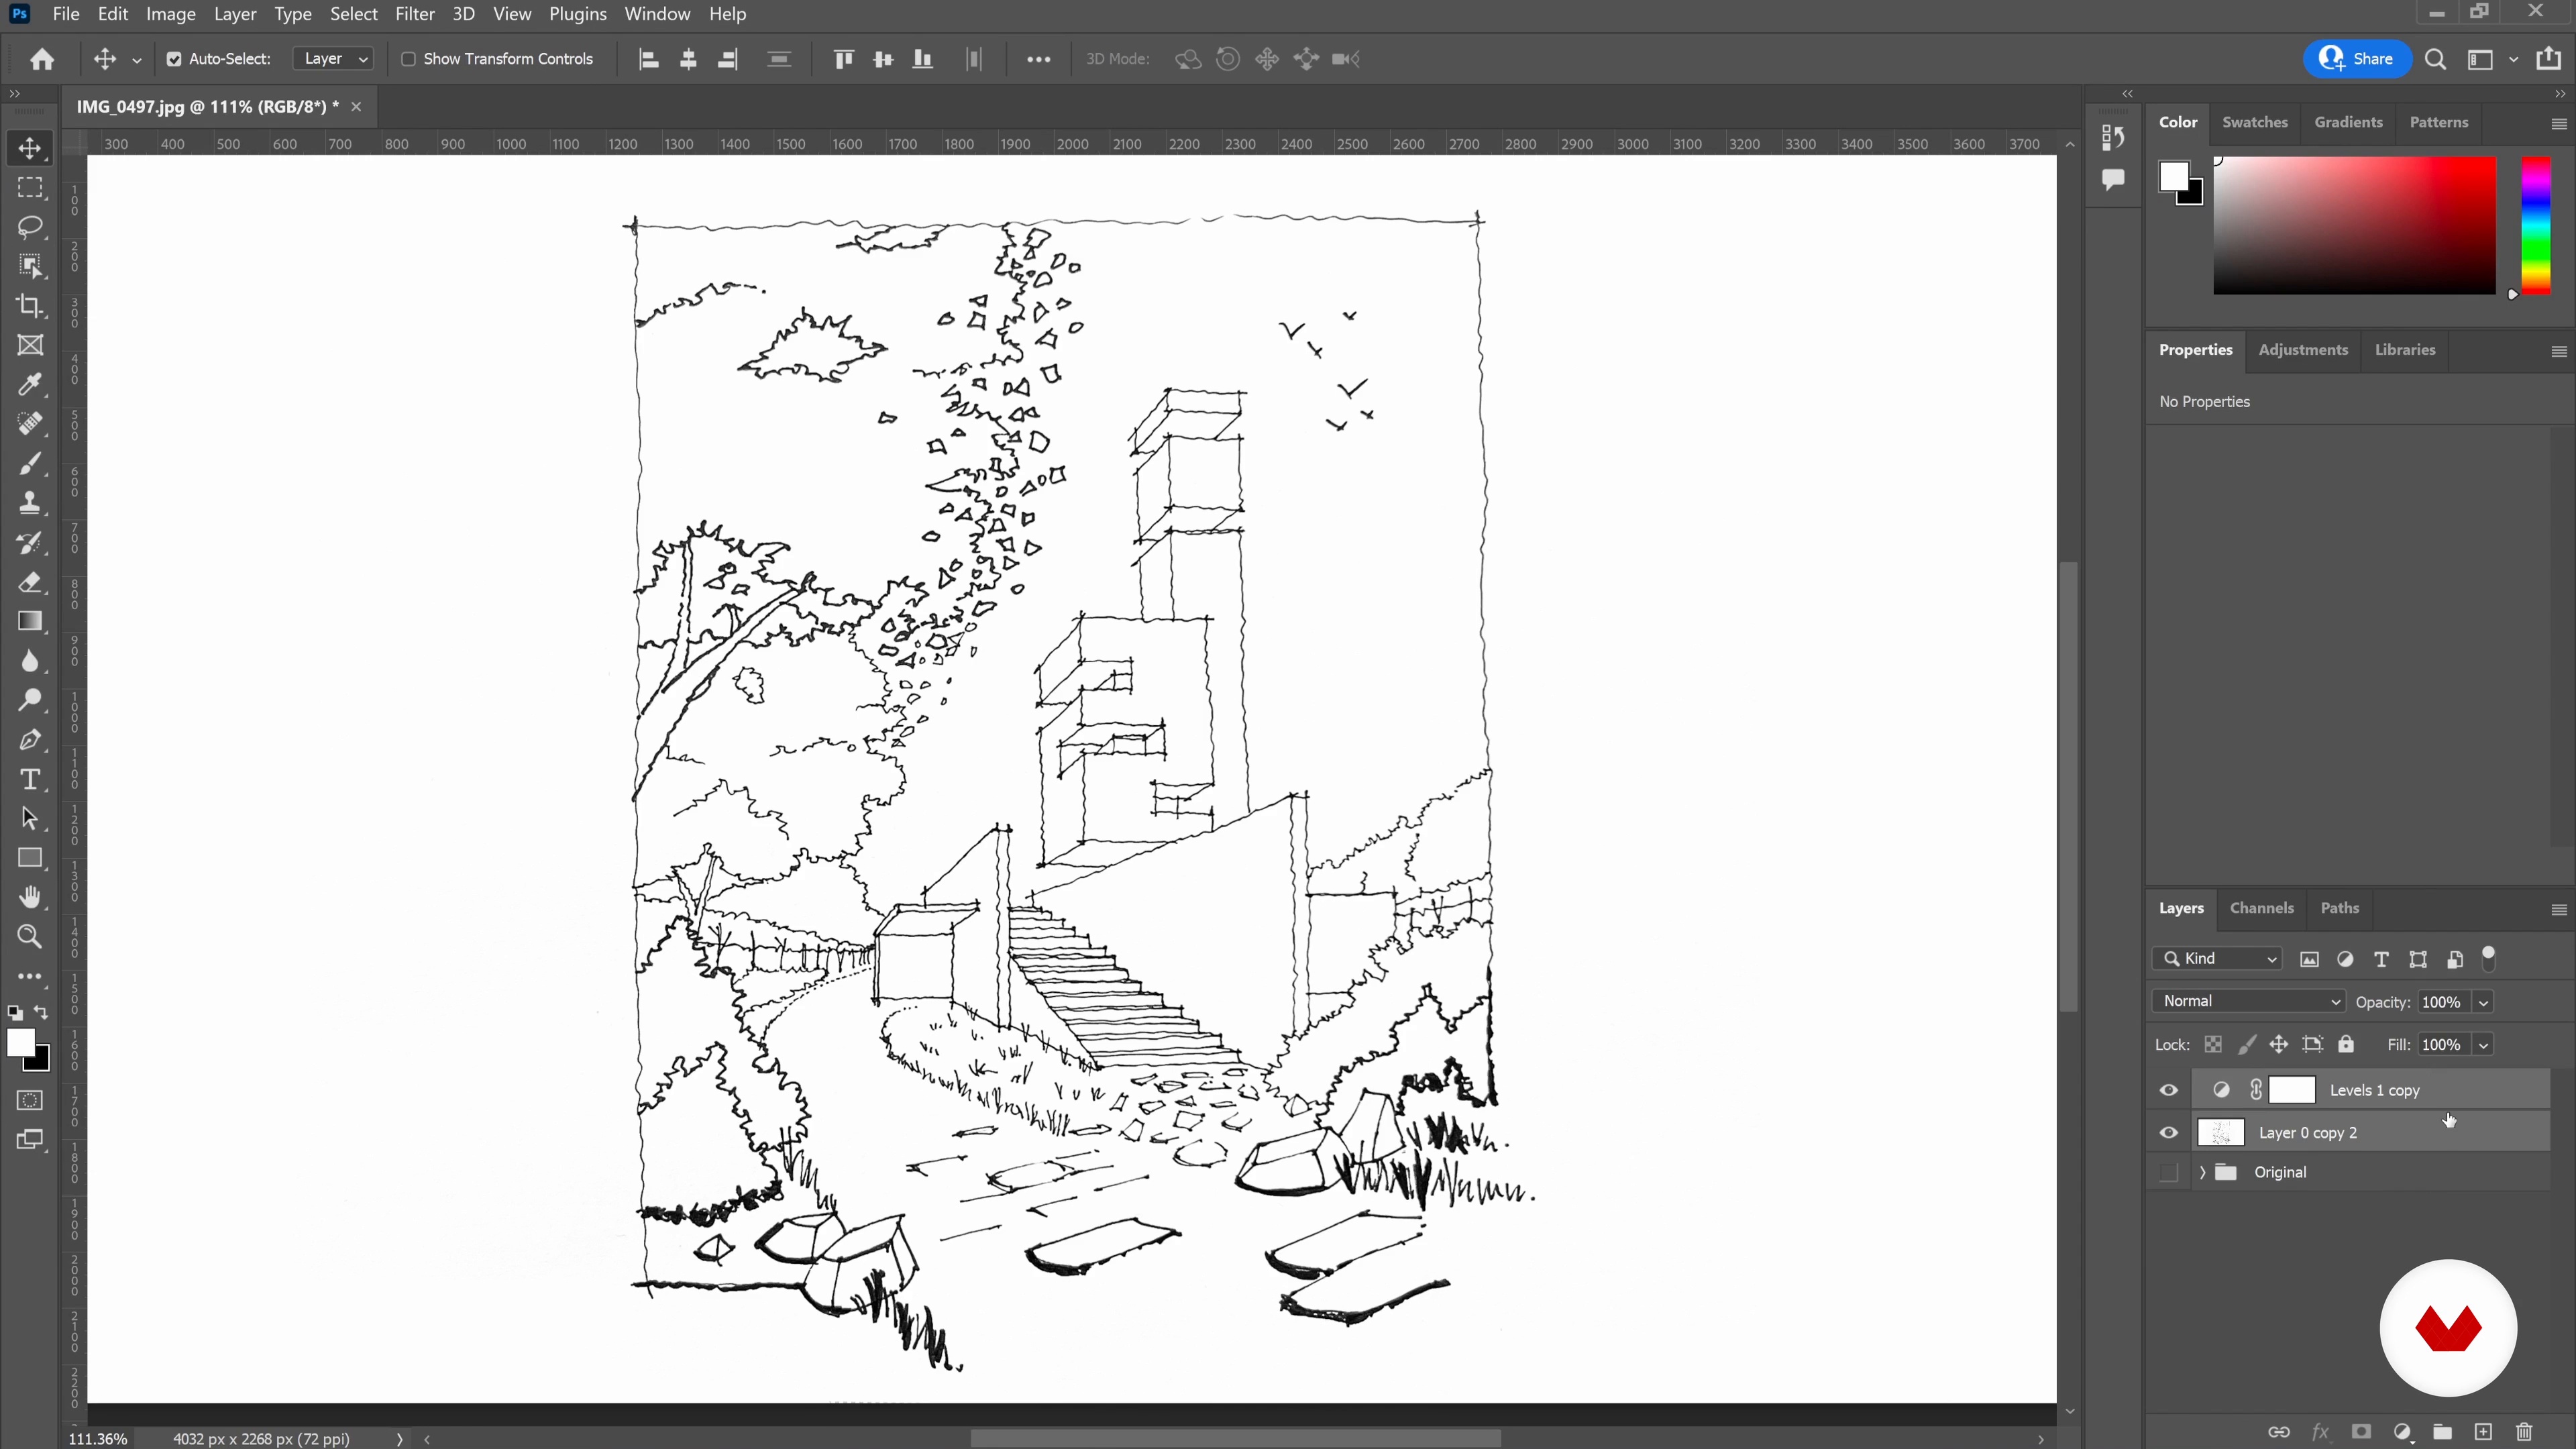
Learn conceptual architectural sketching, translating abstract ideas into coherent, creative drawings using freehand techniques
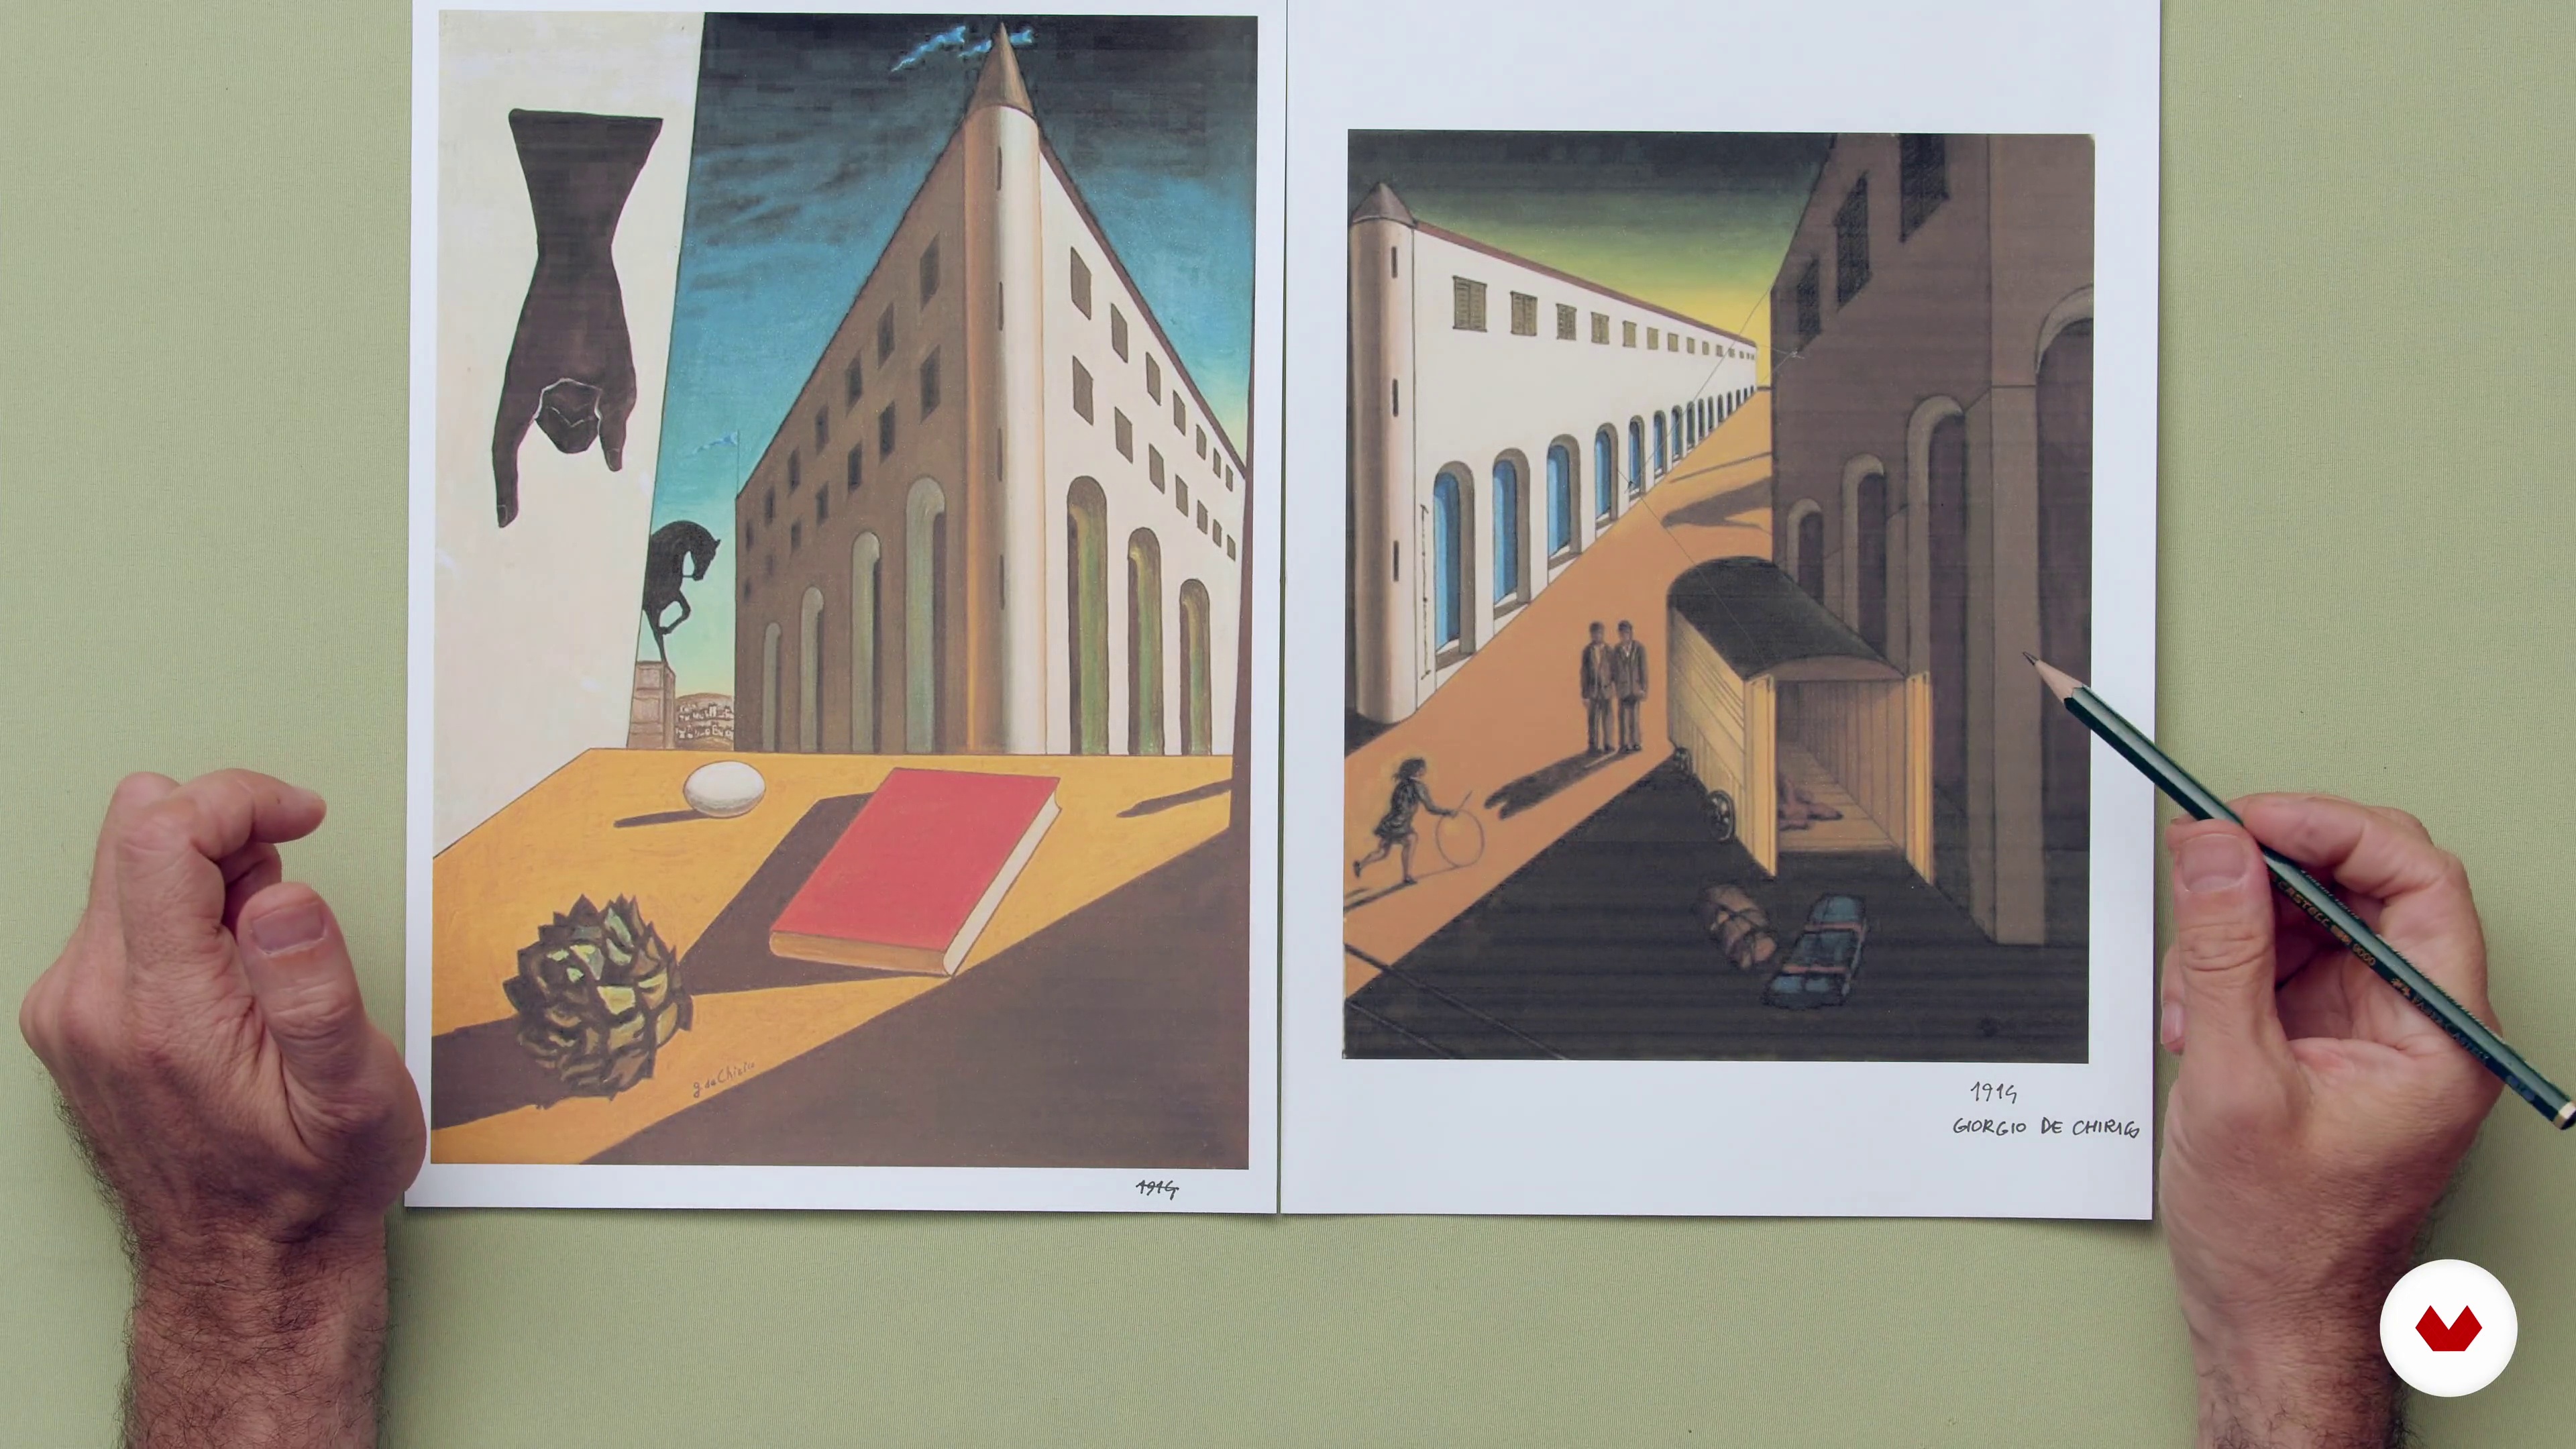
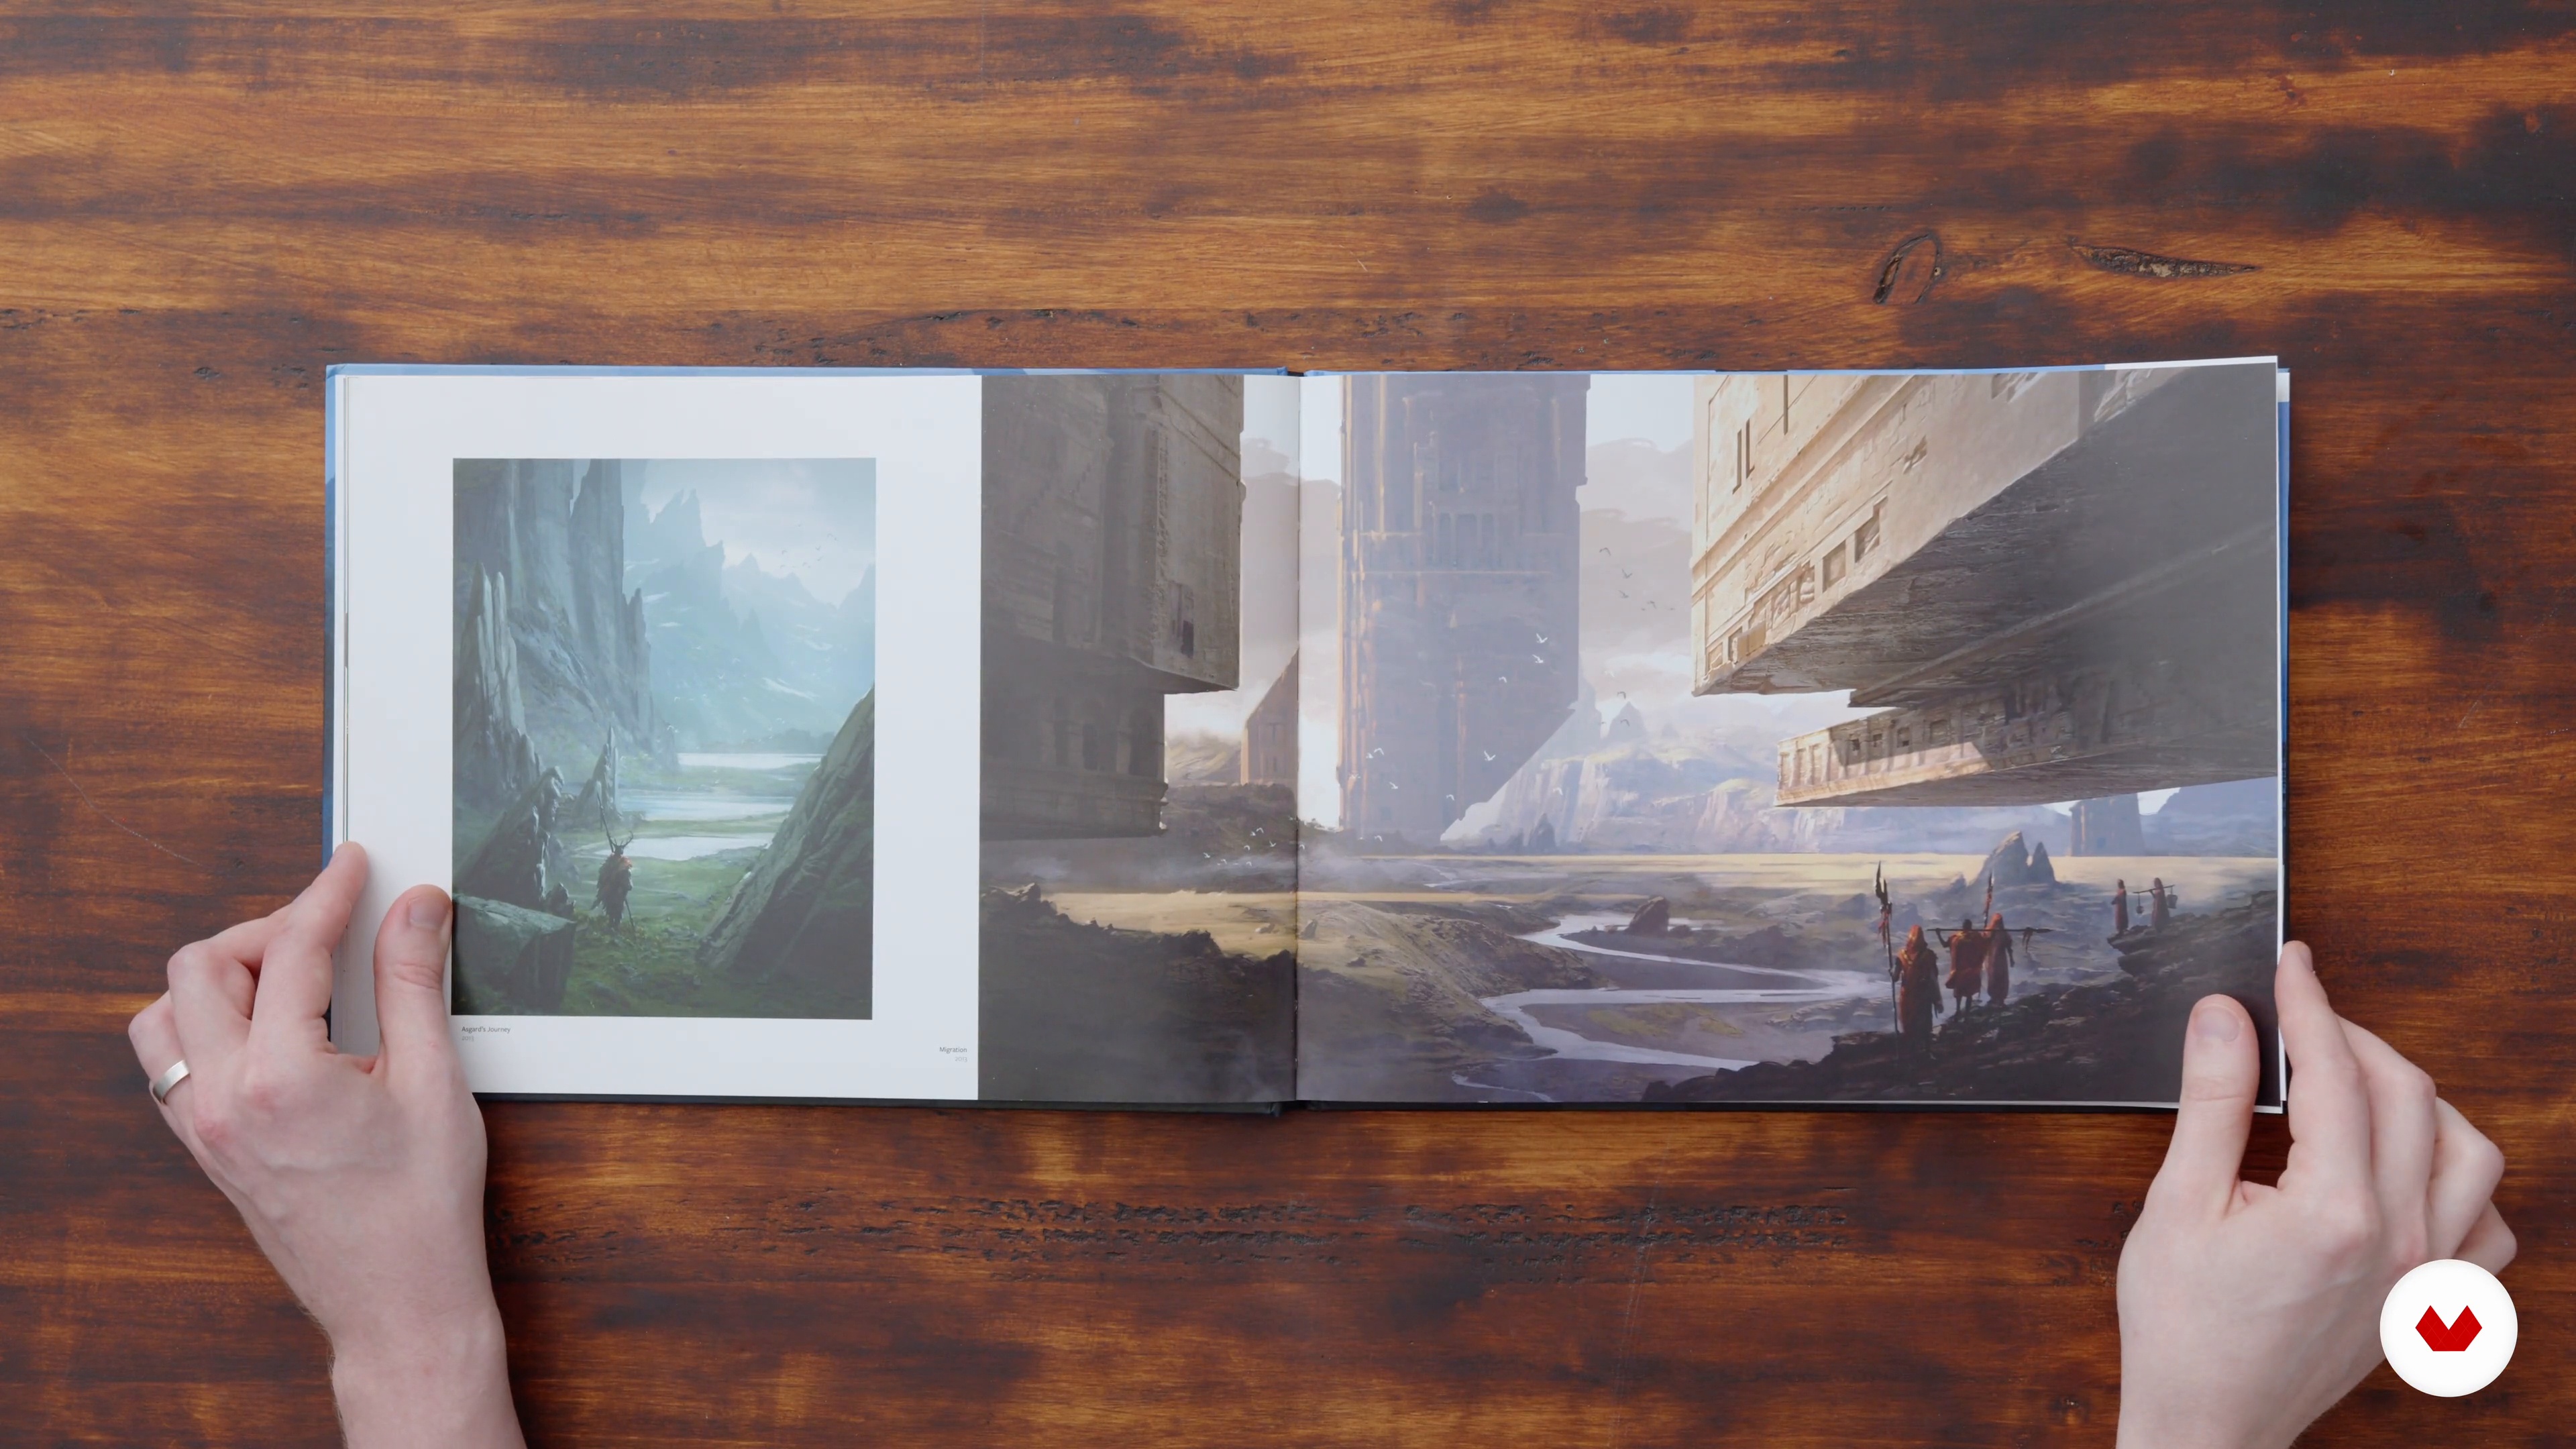
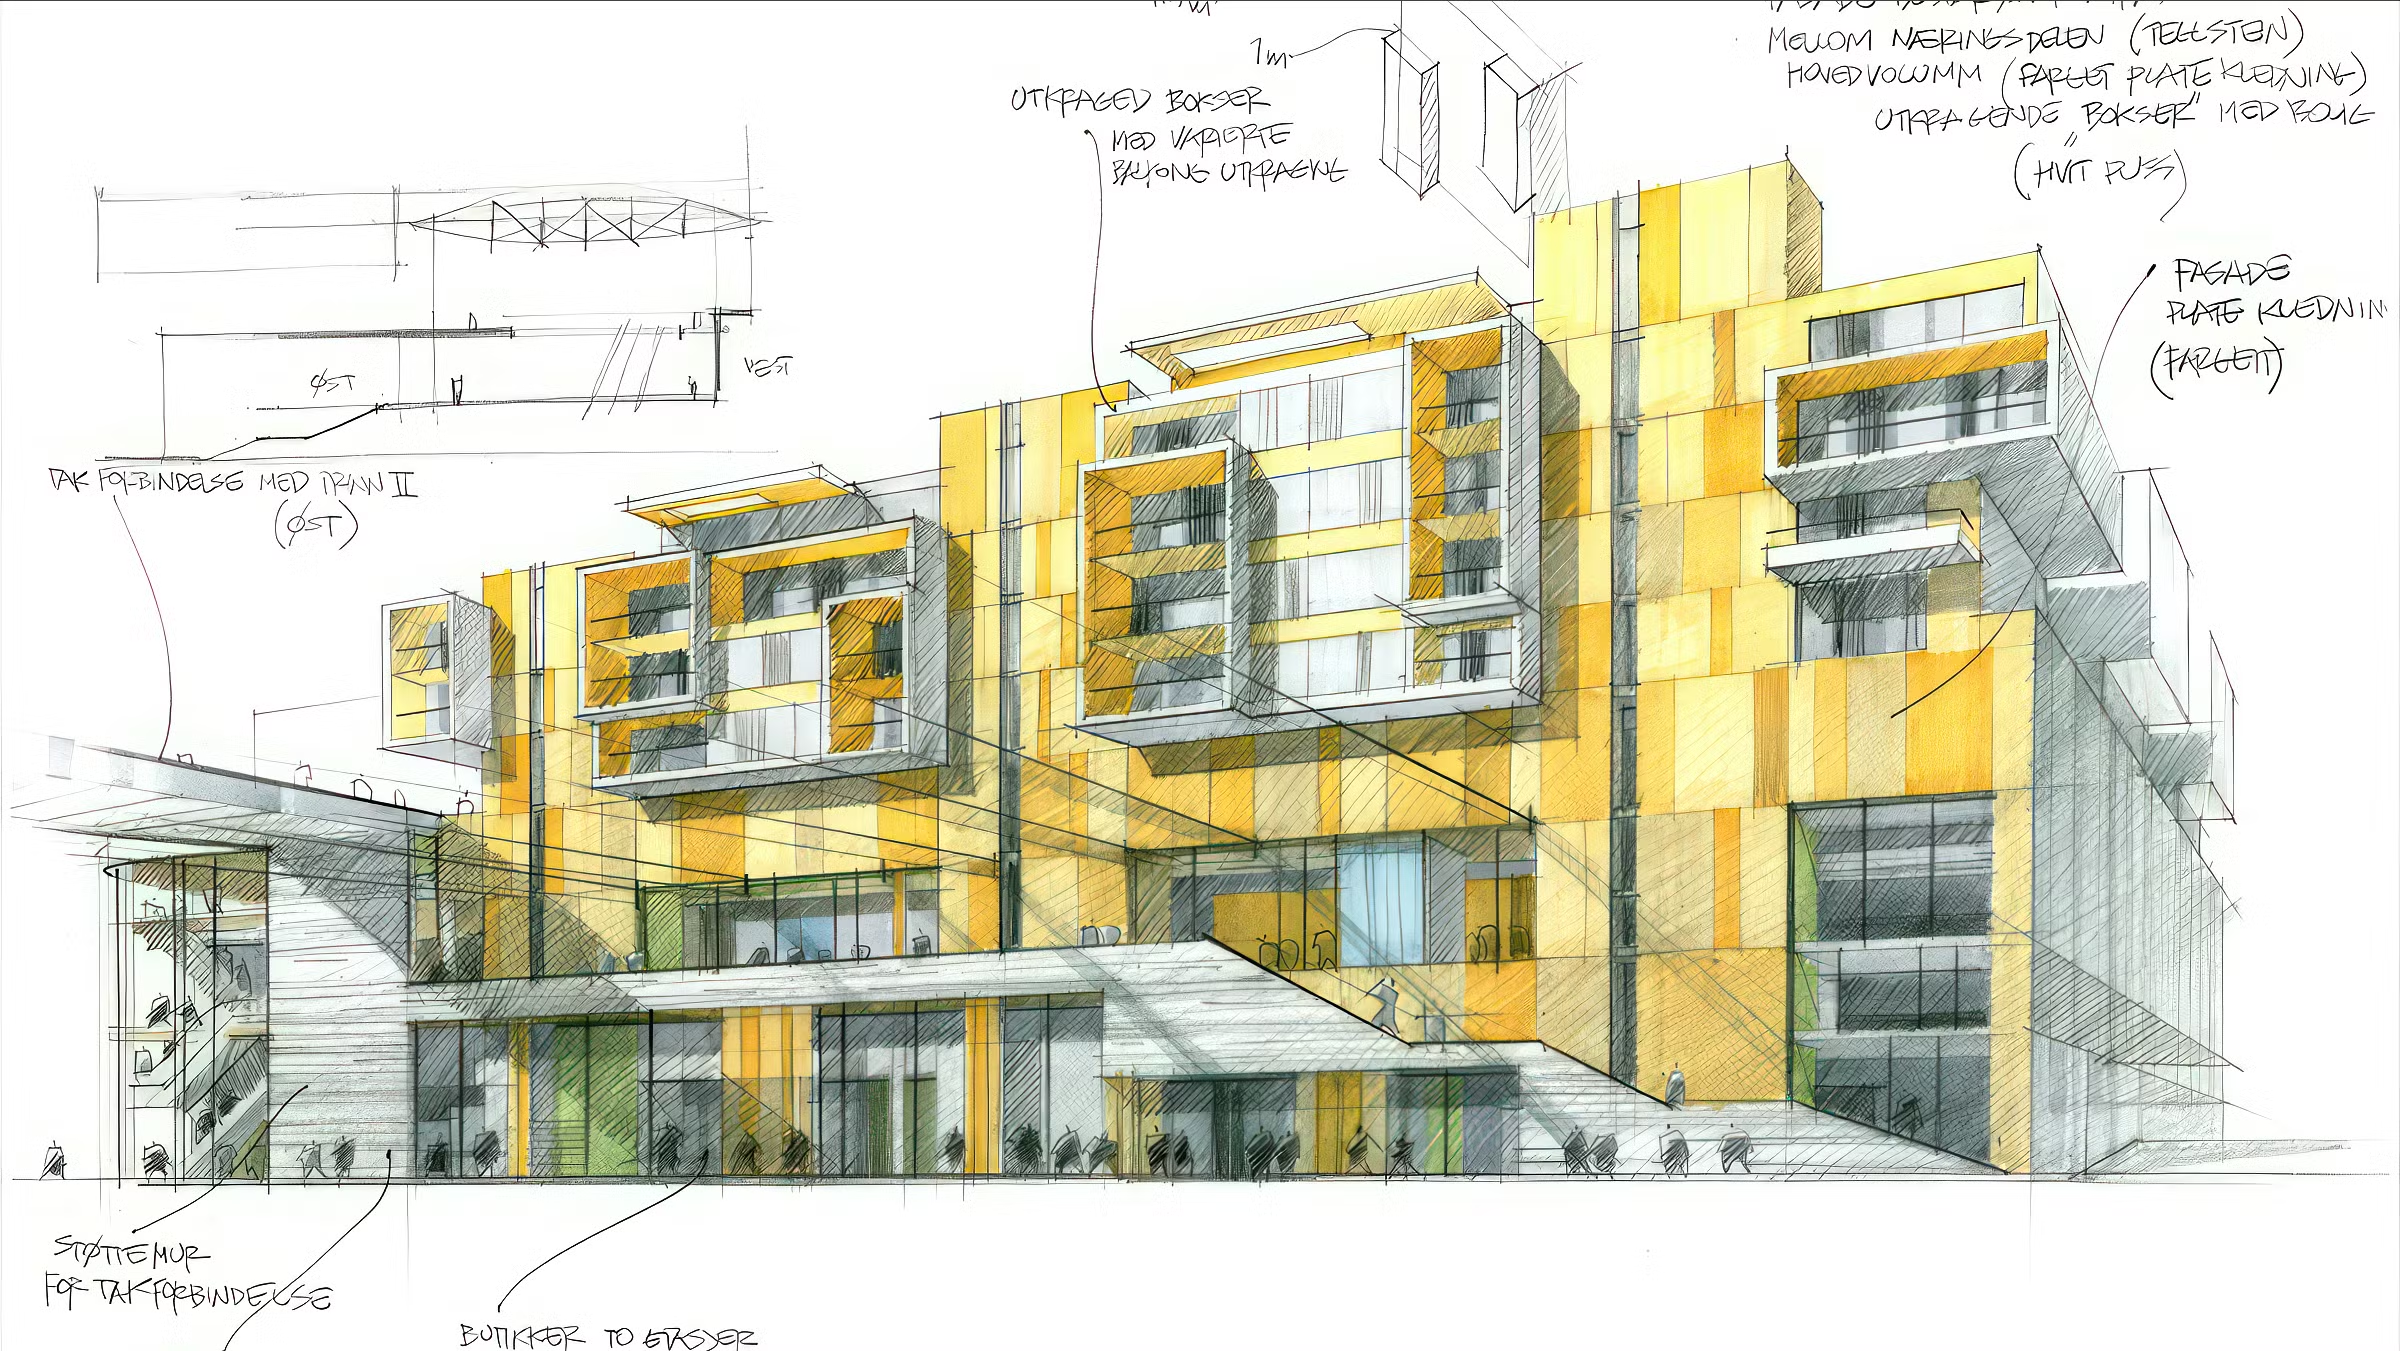
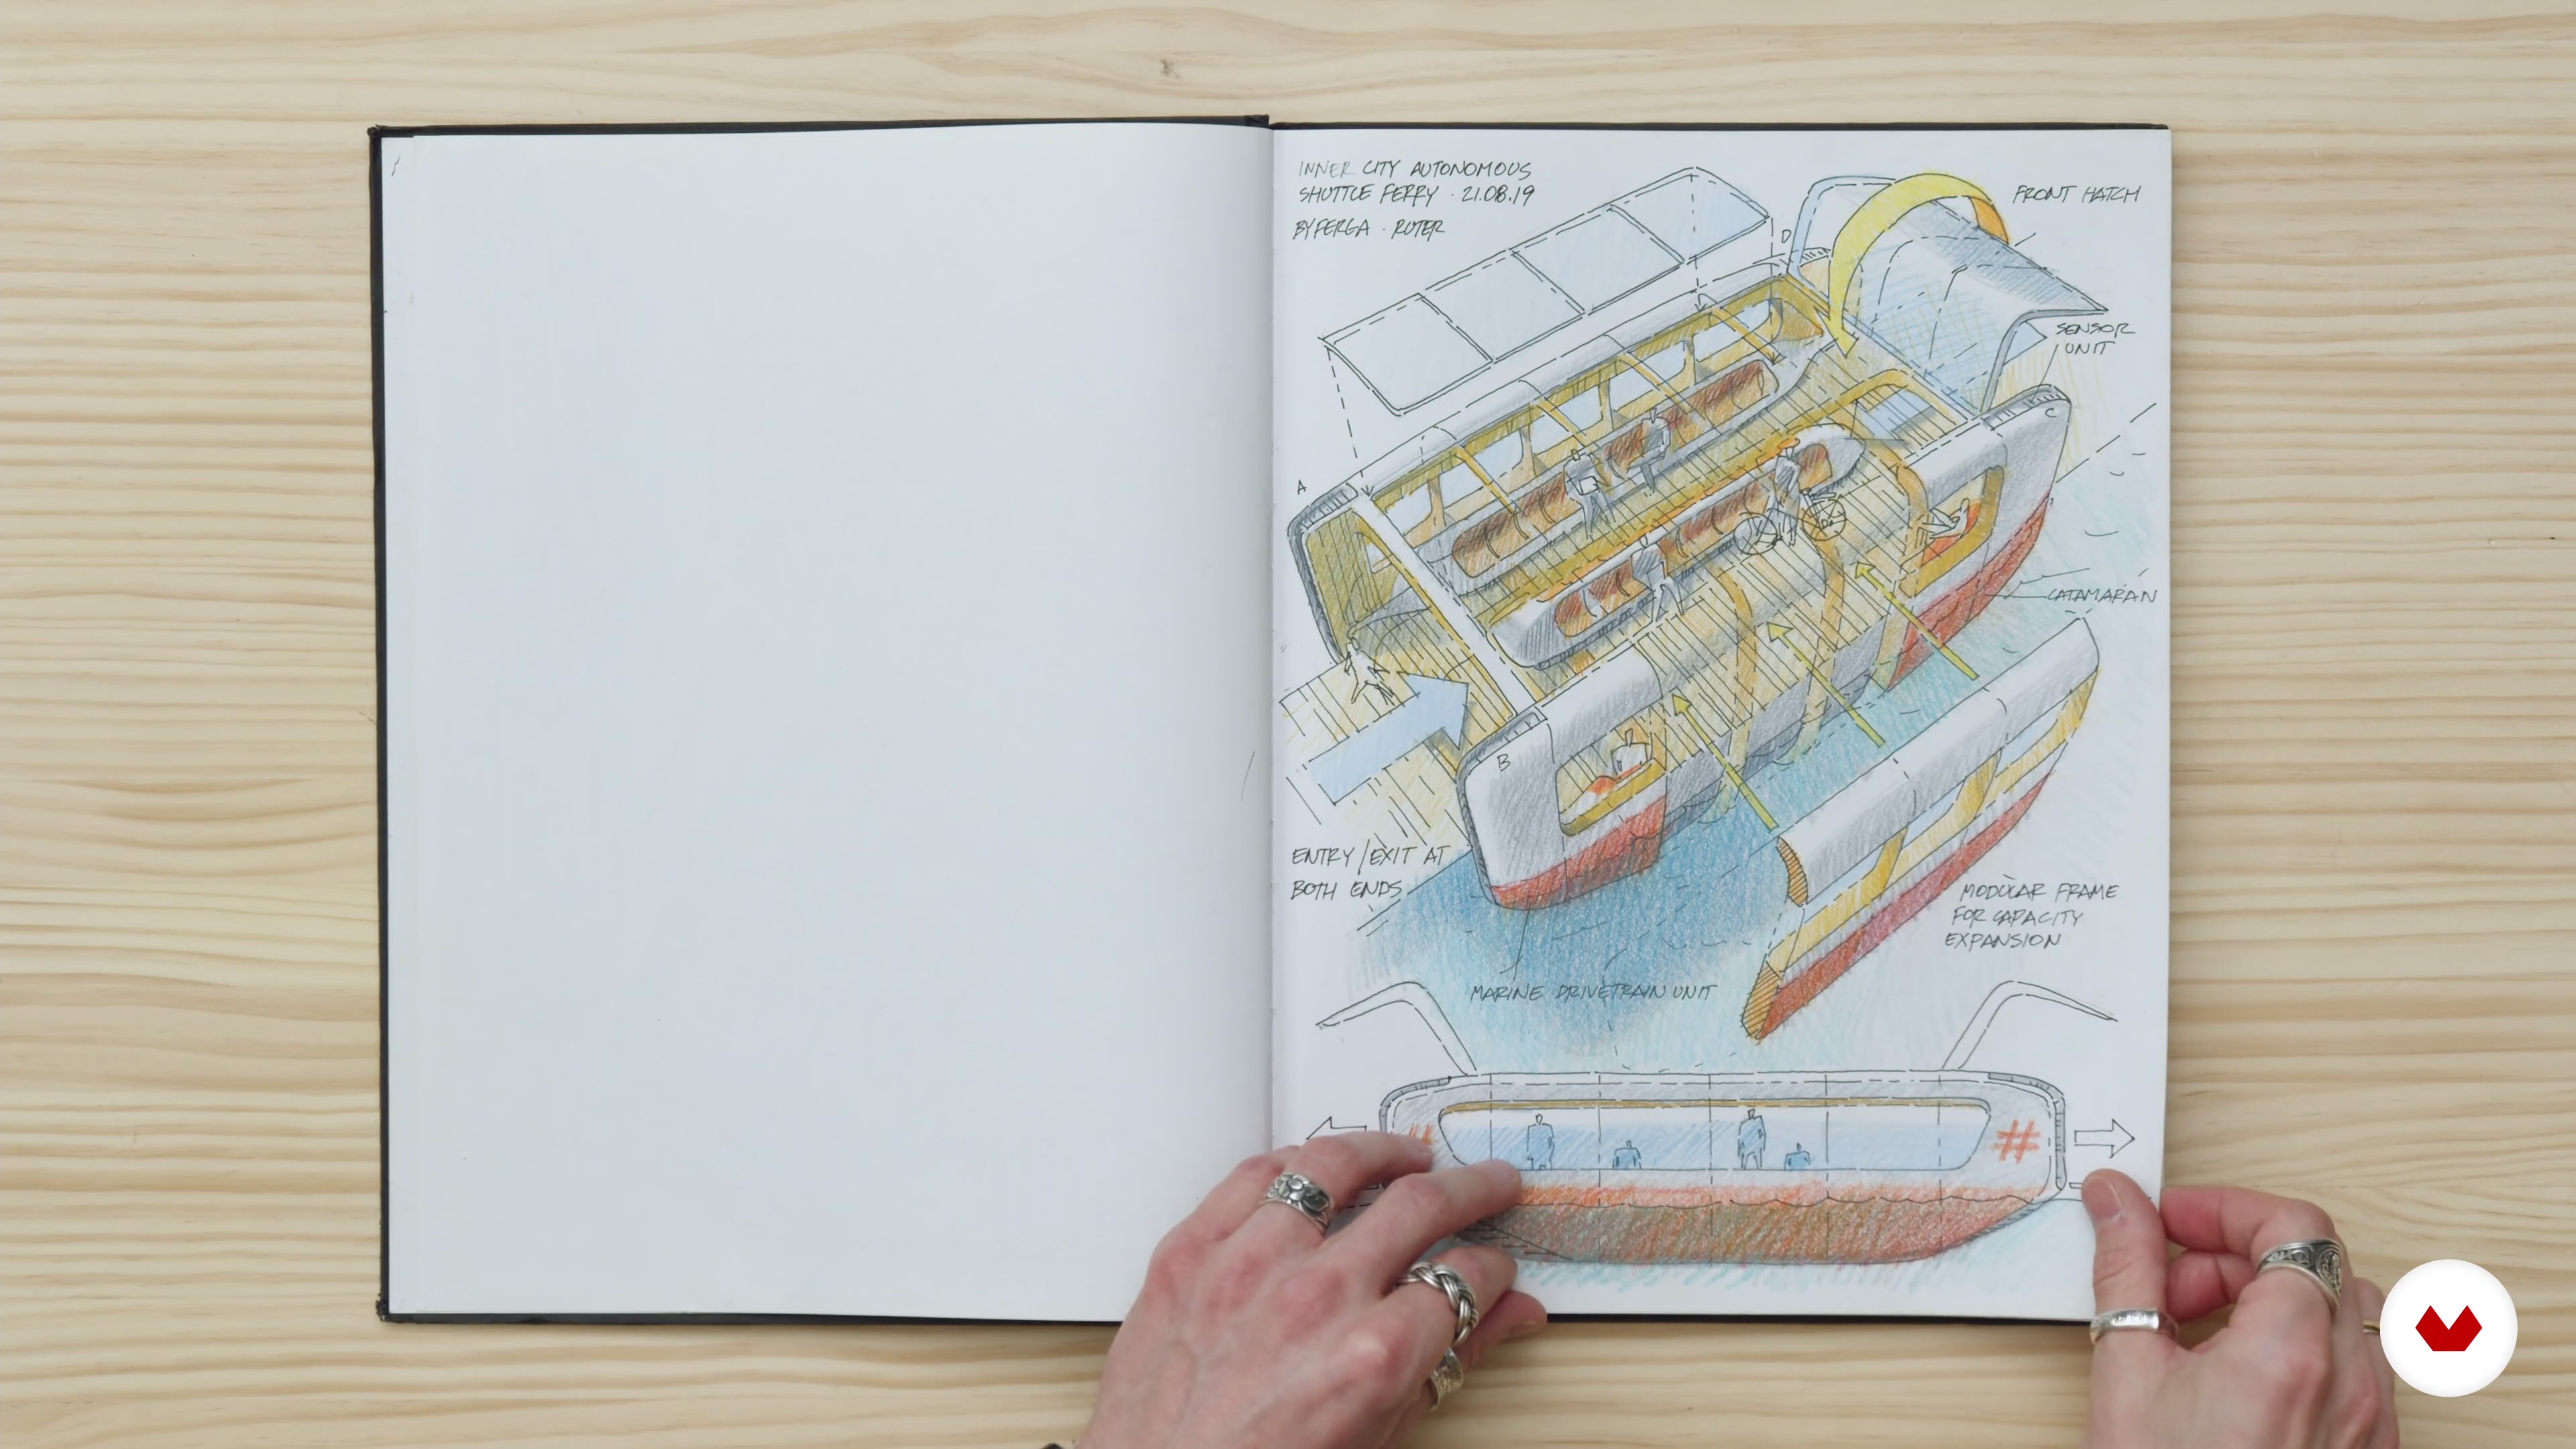
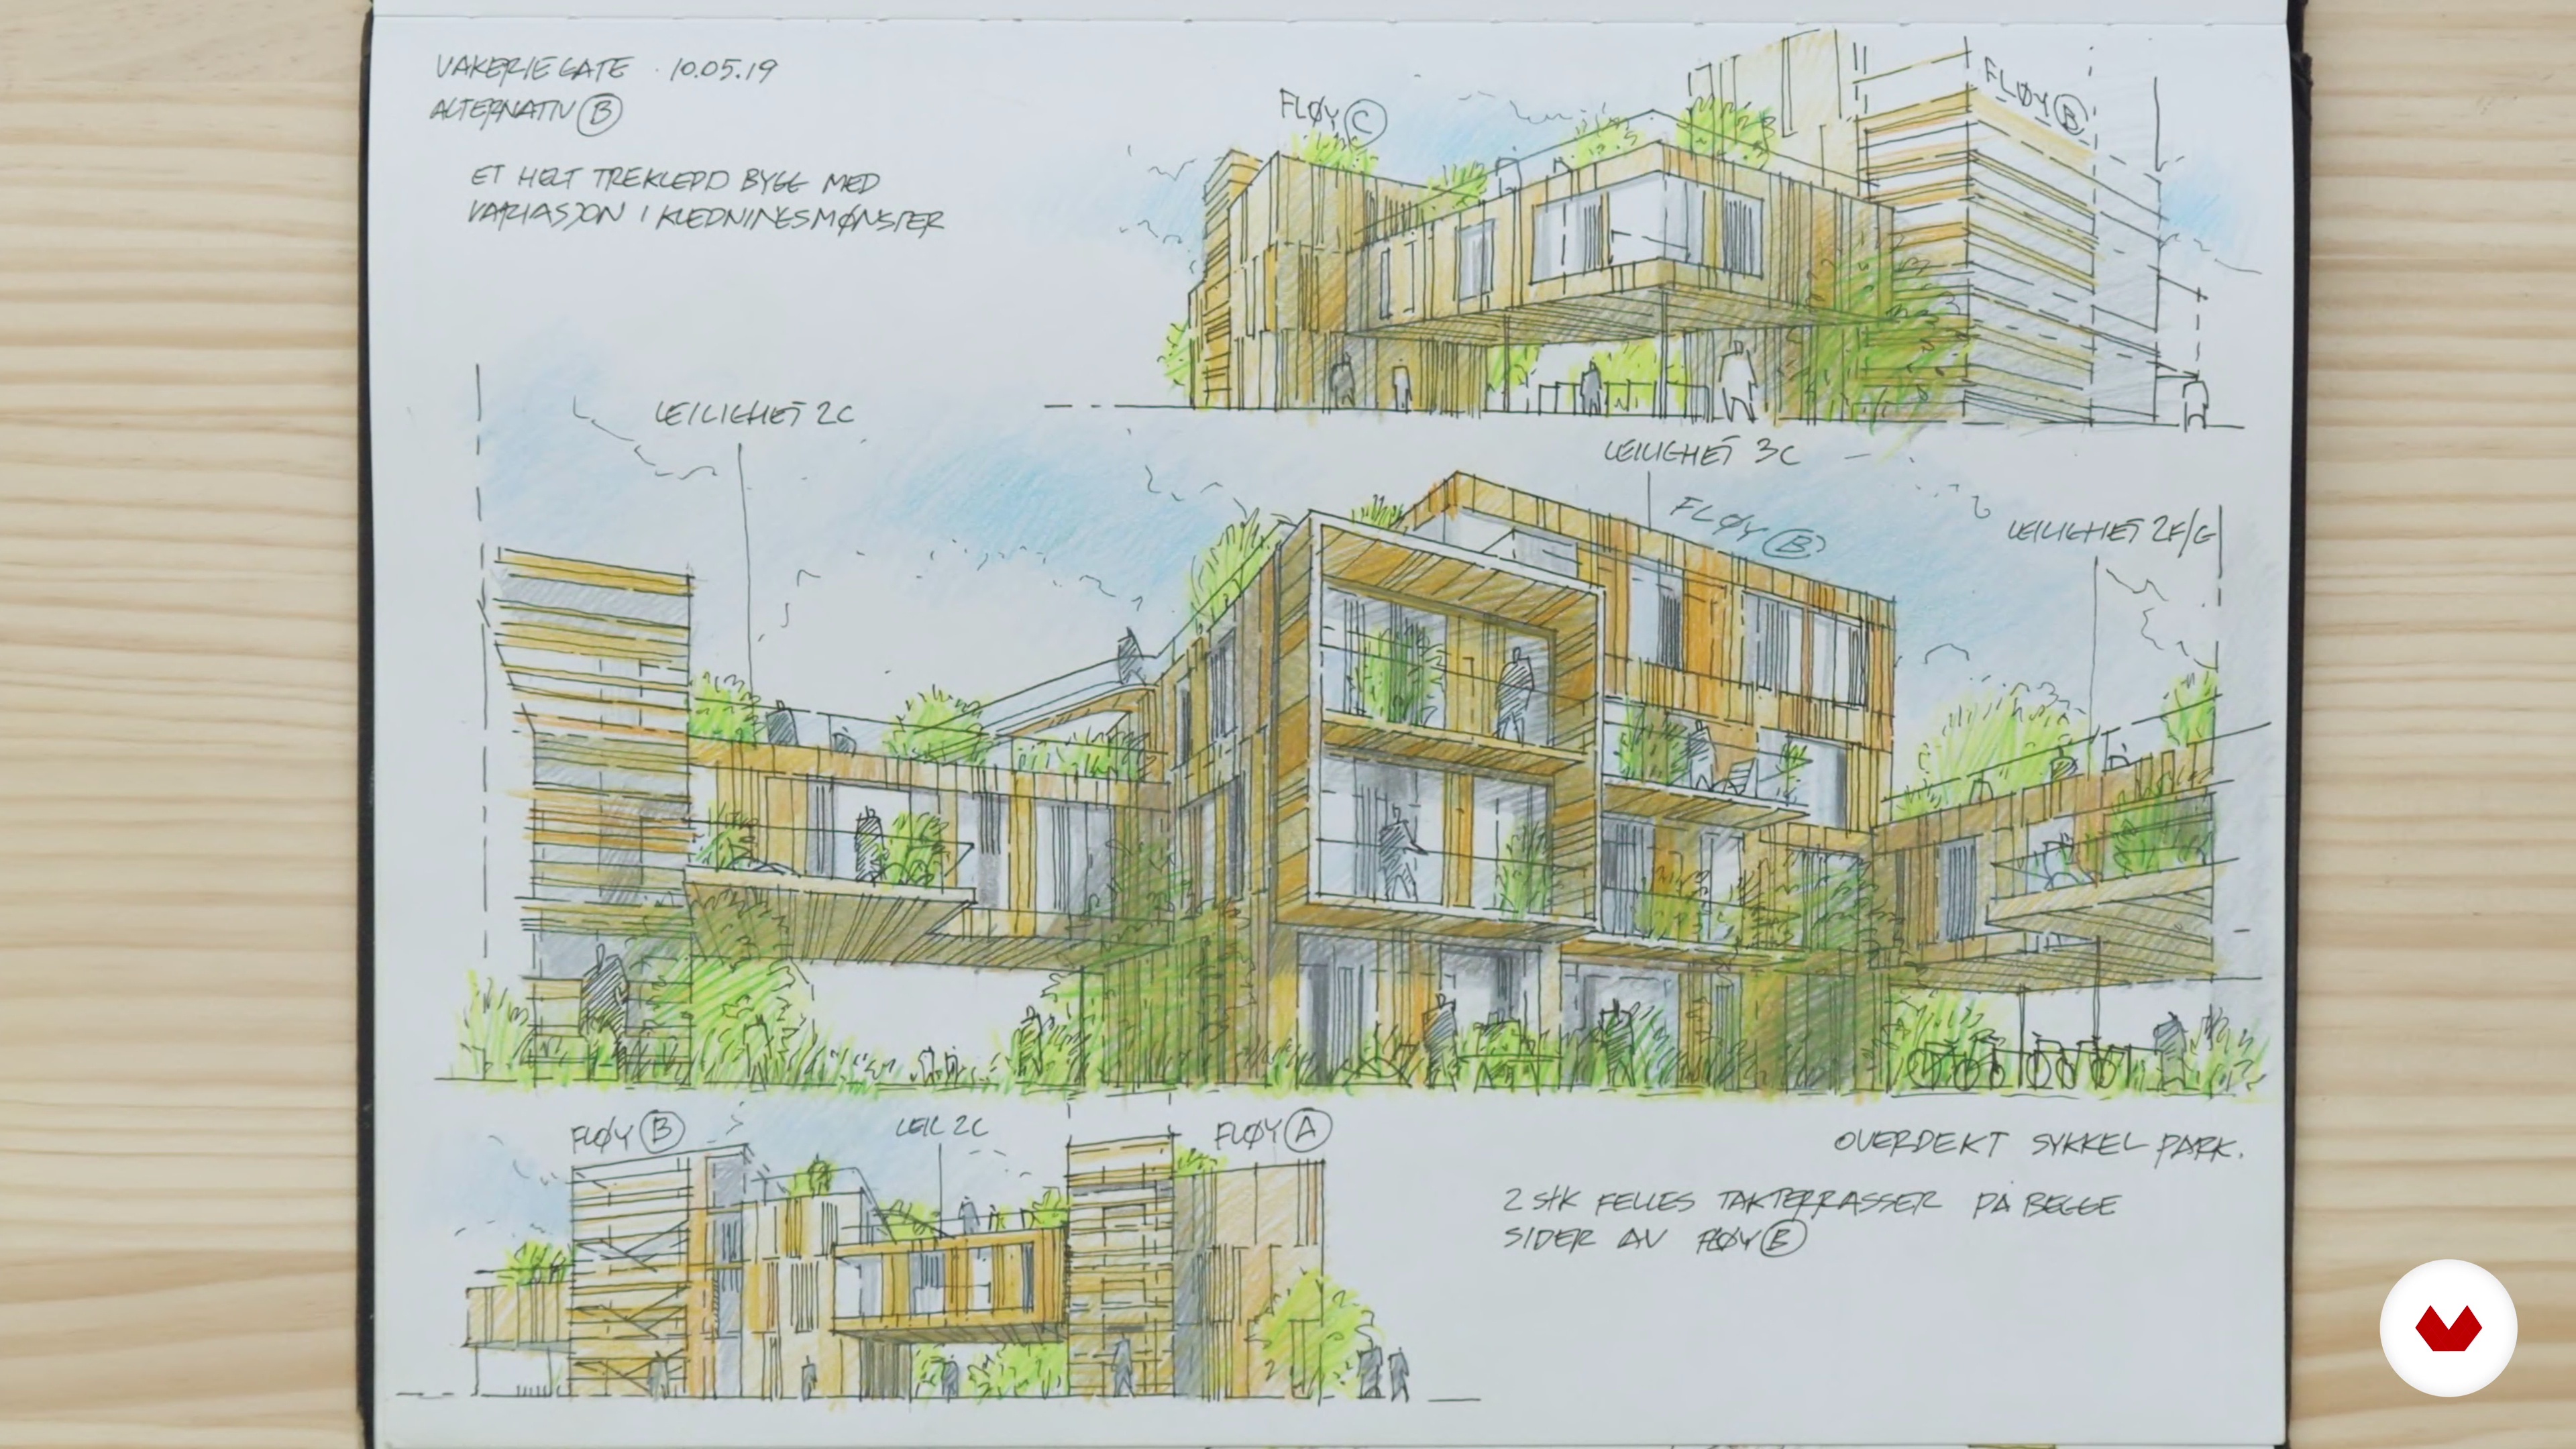
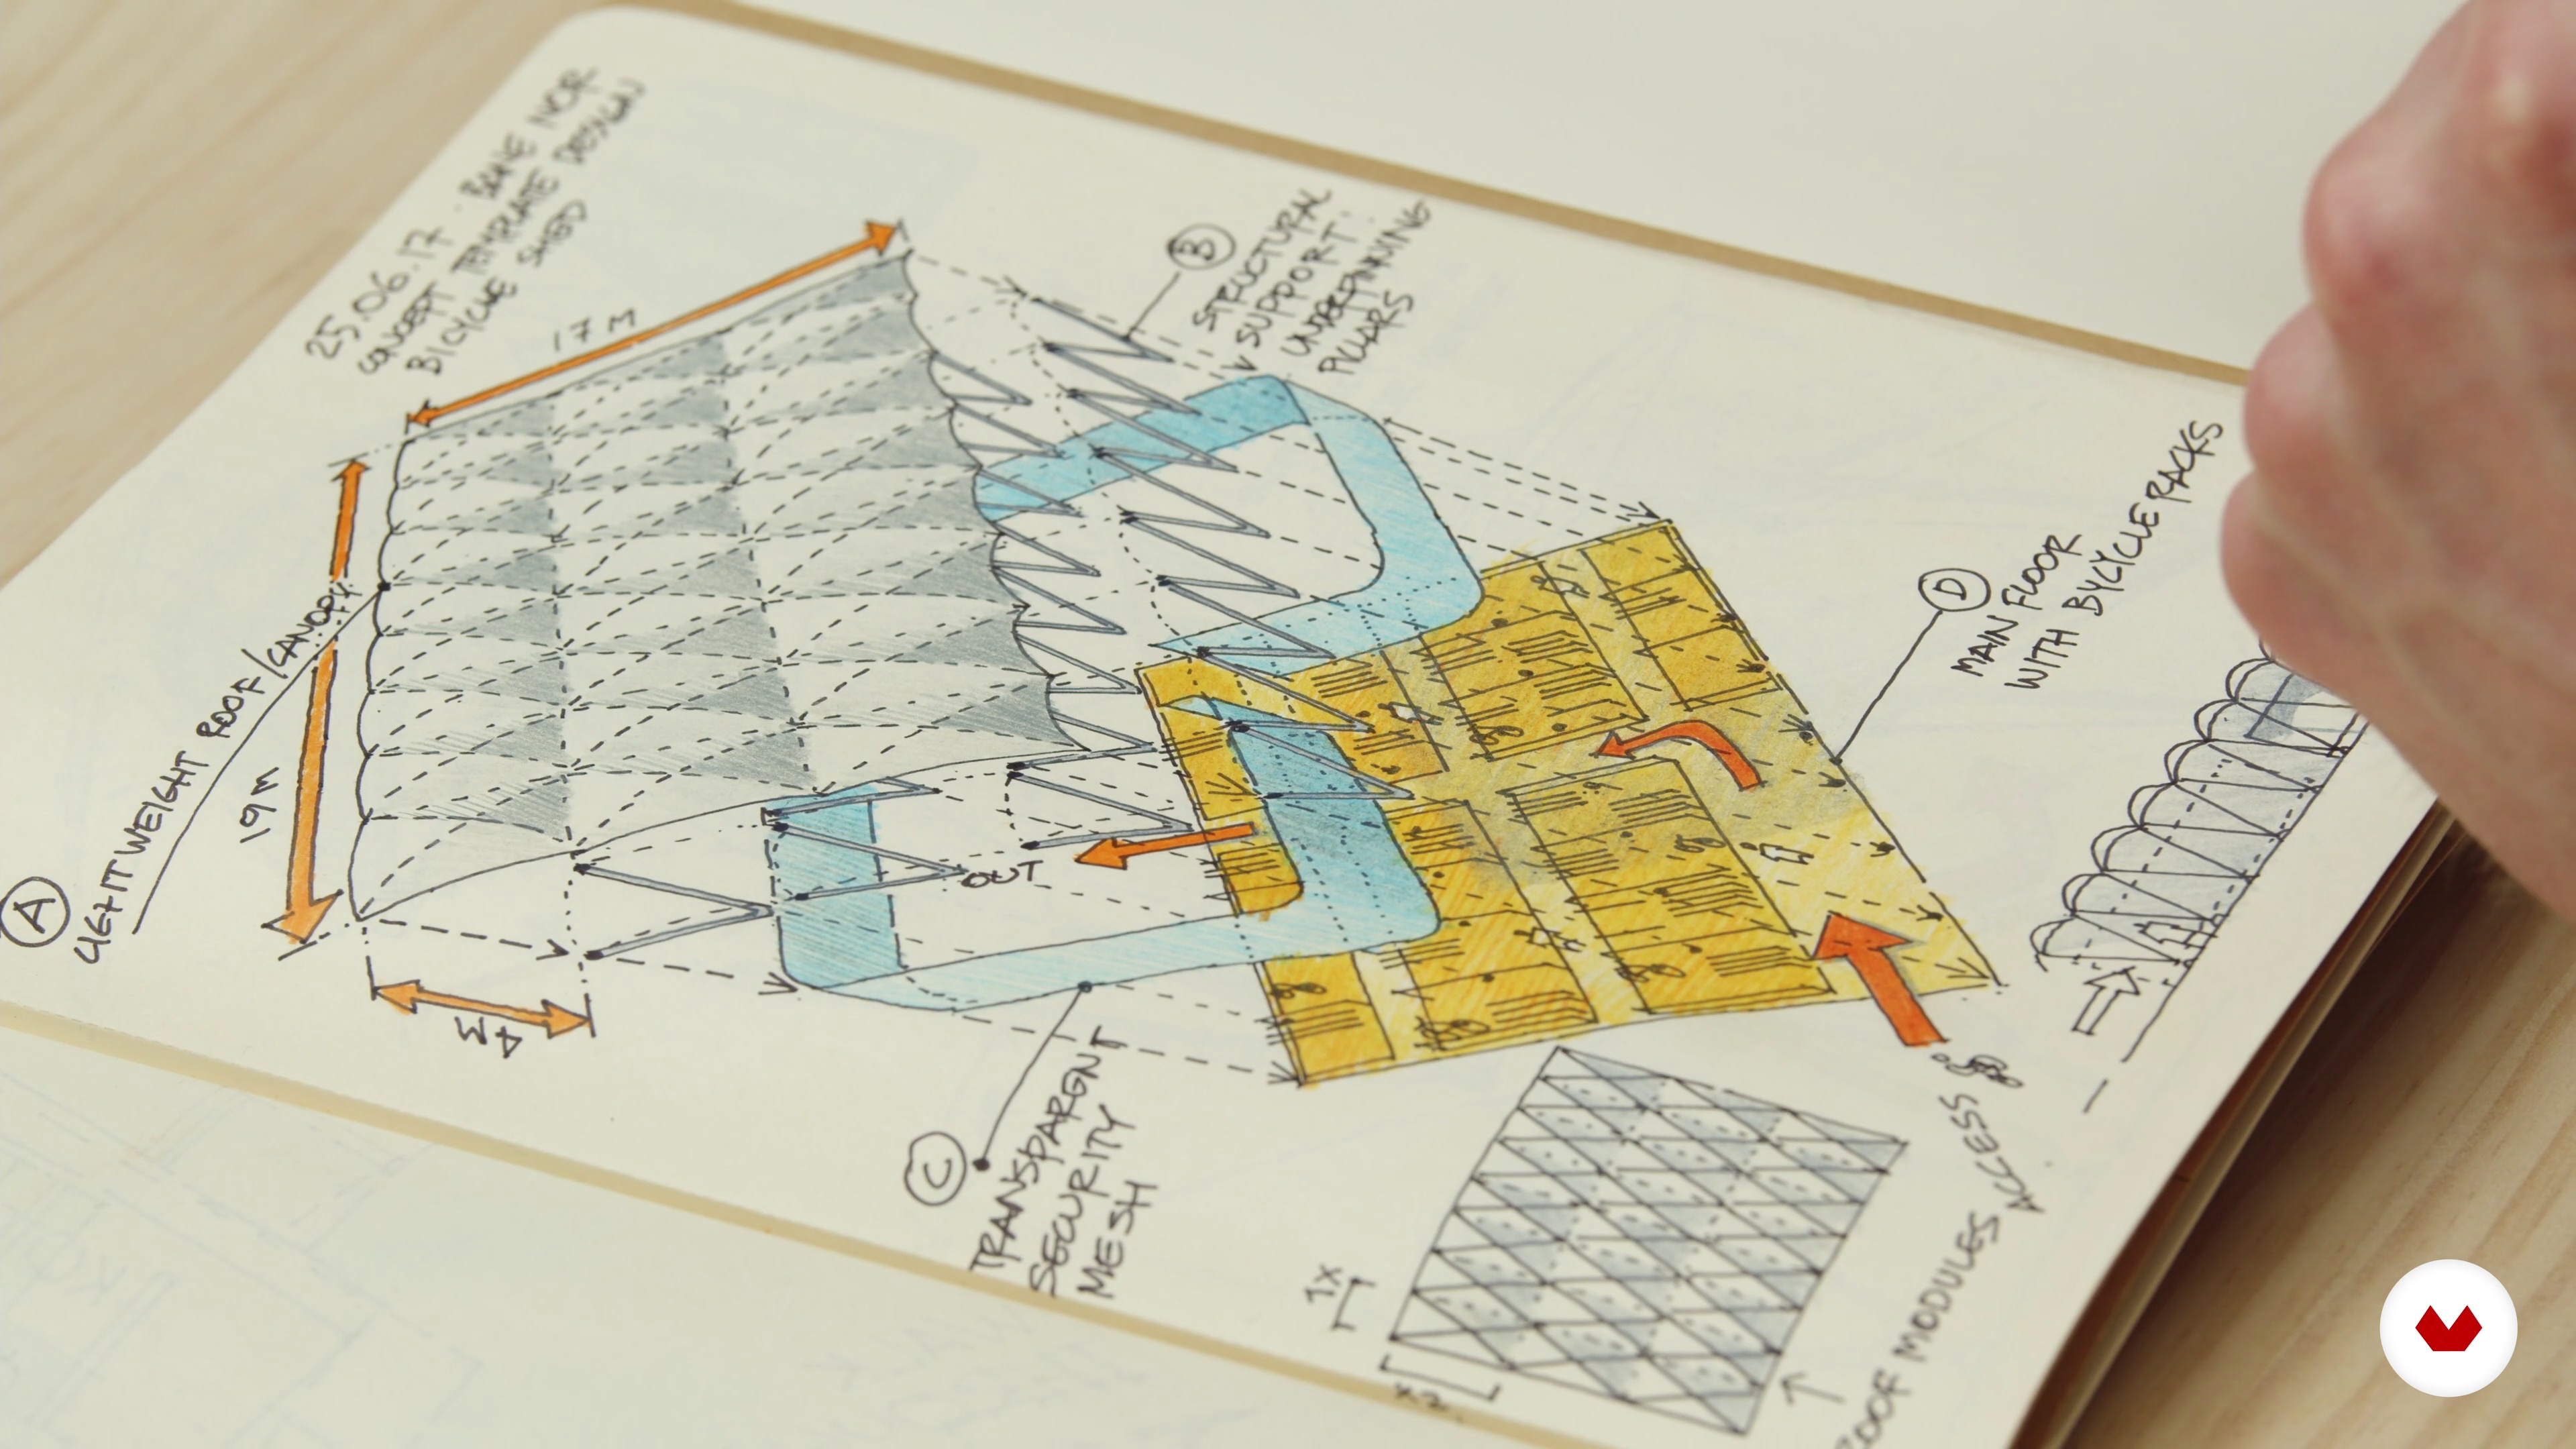
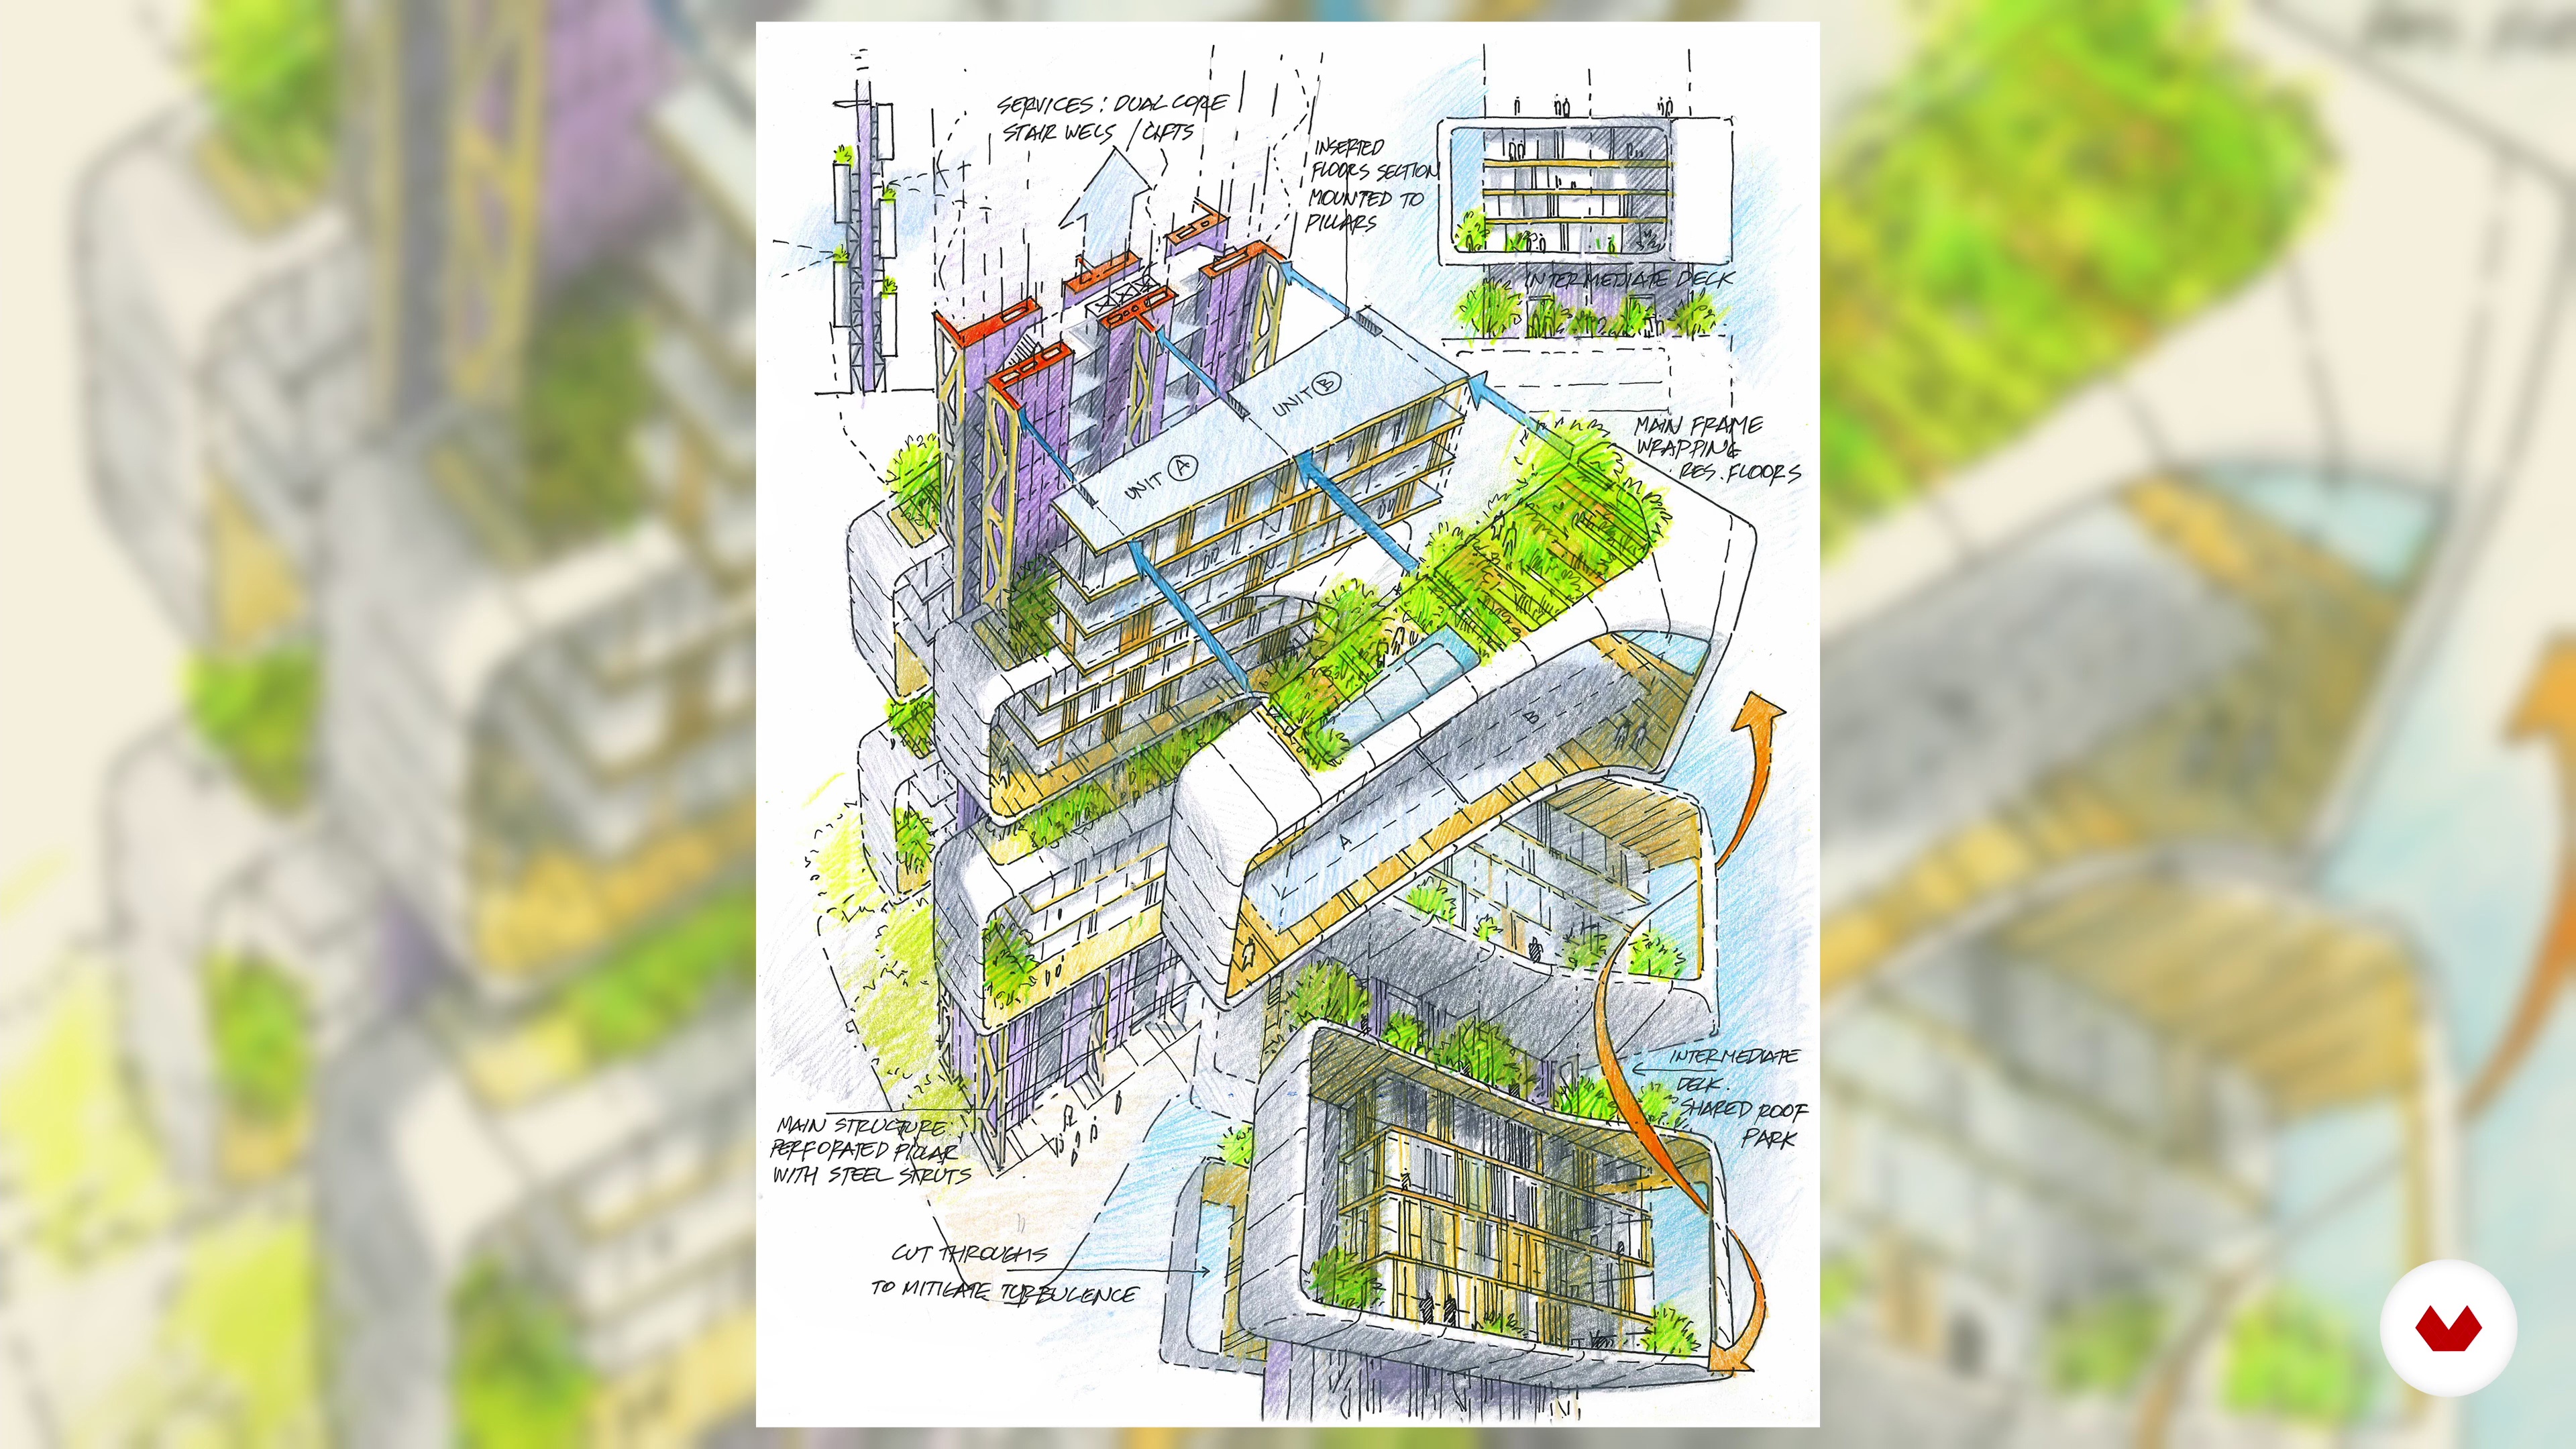
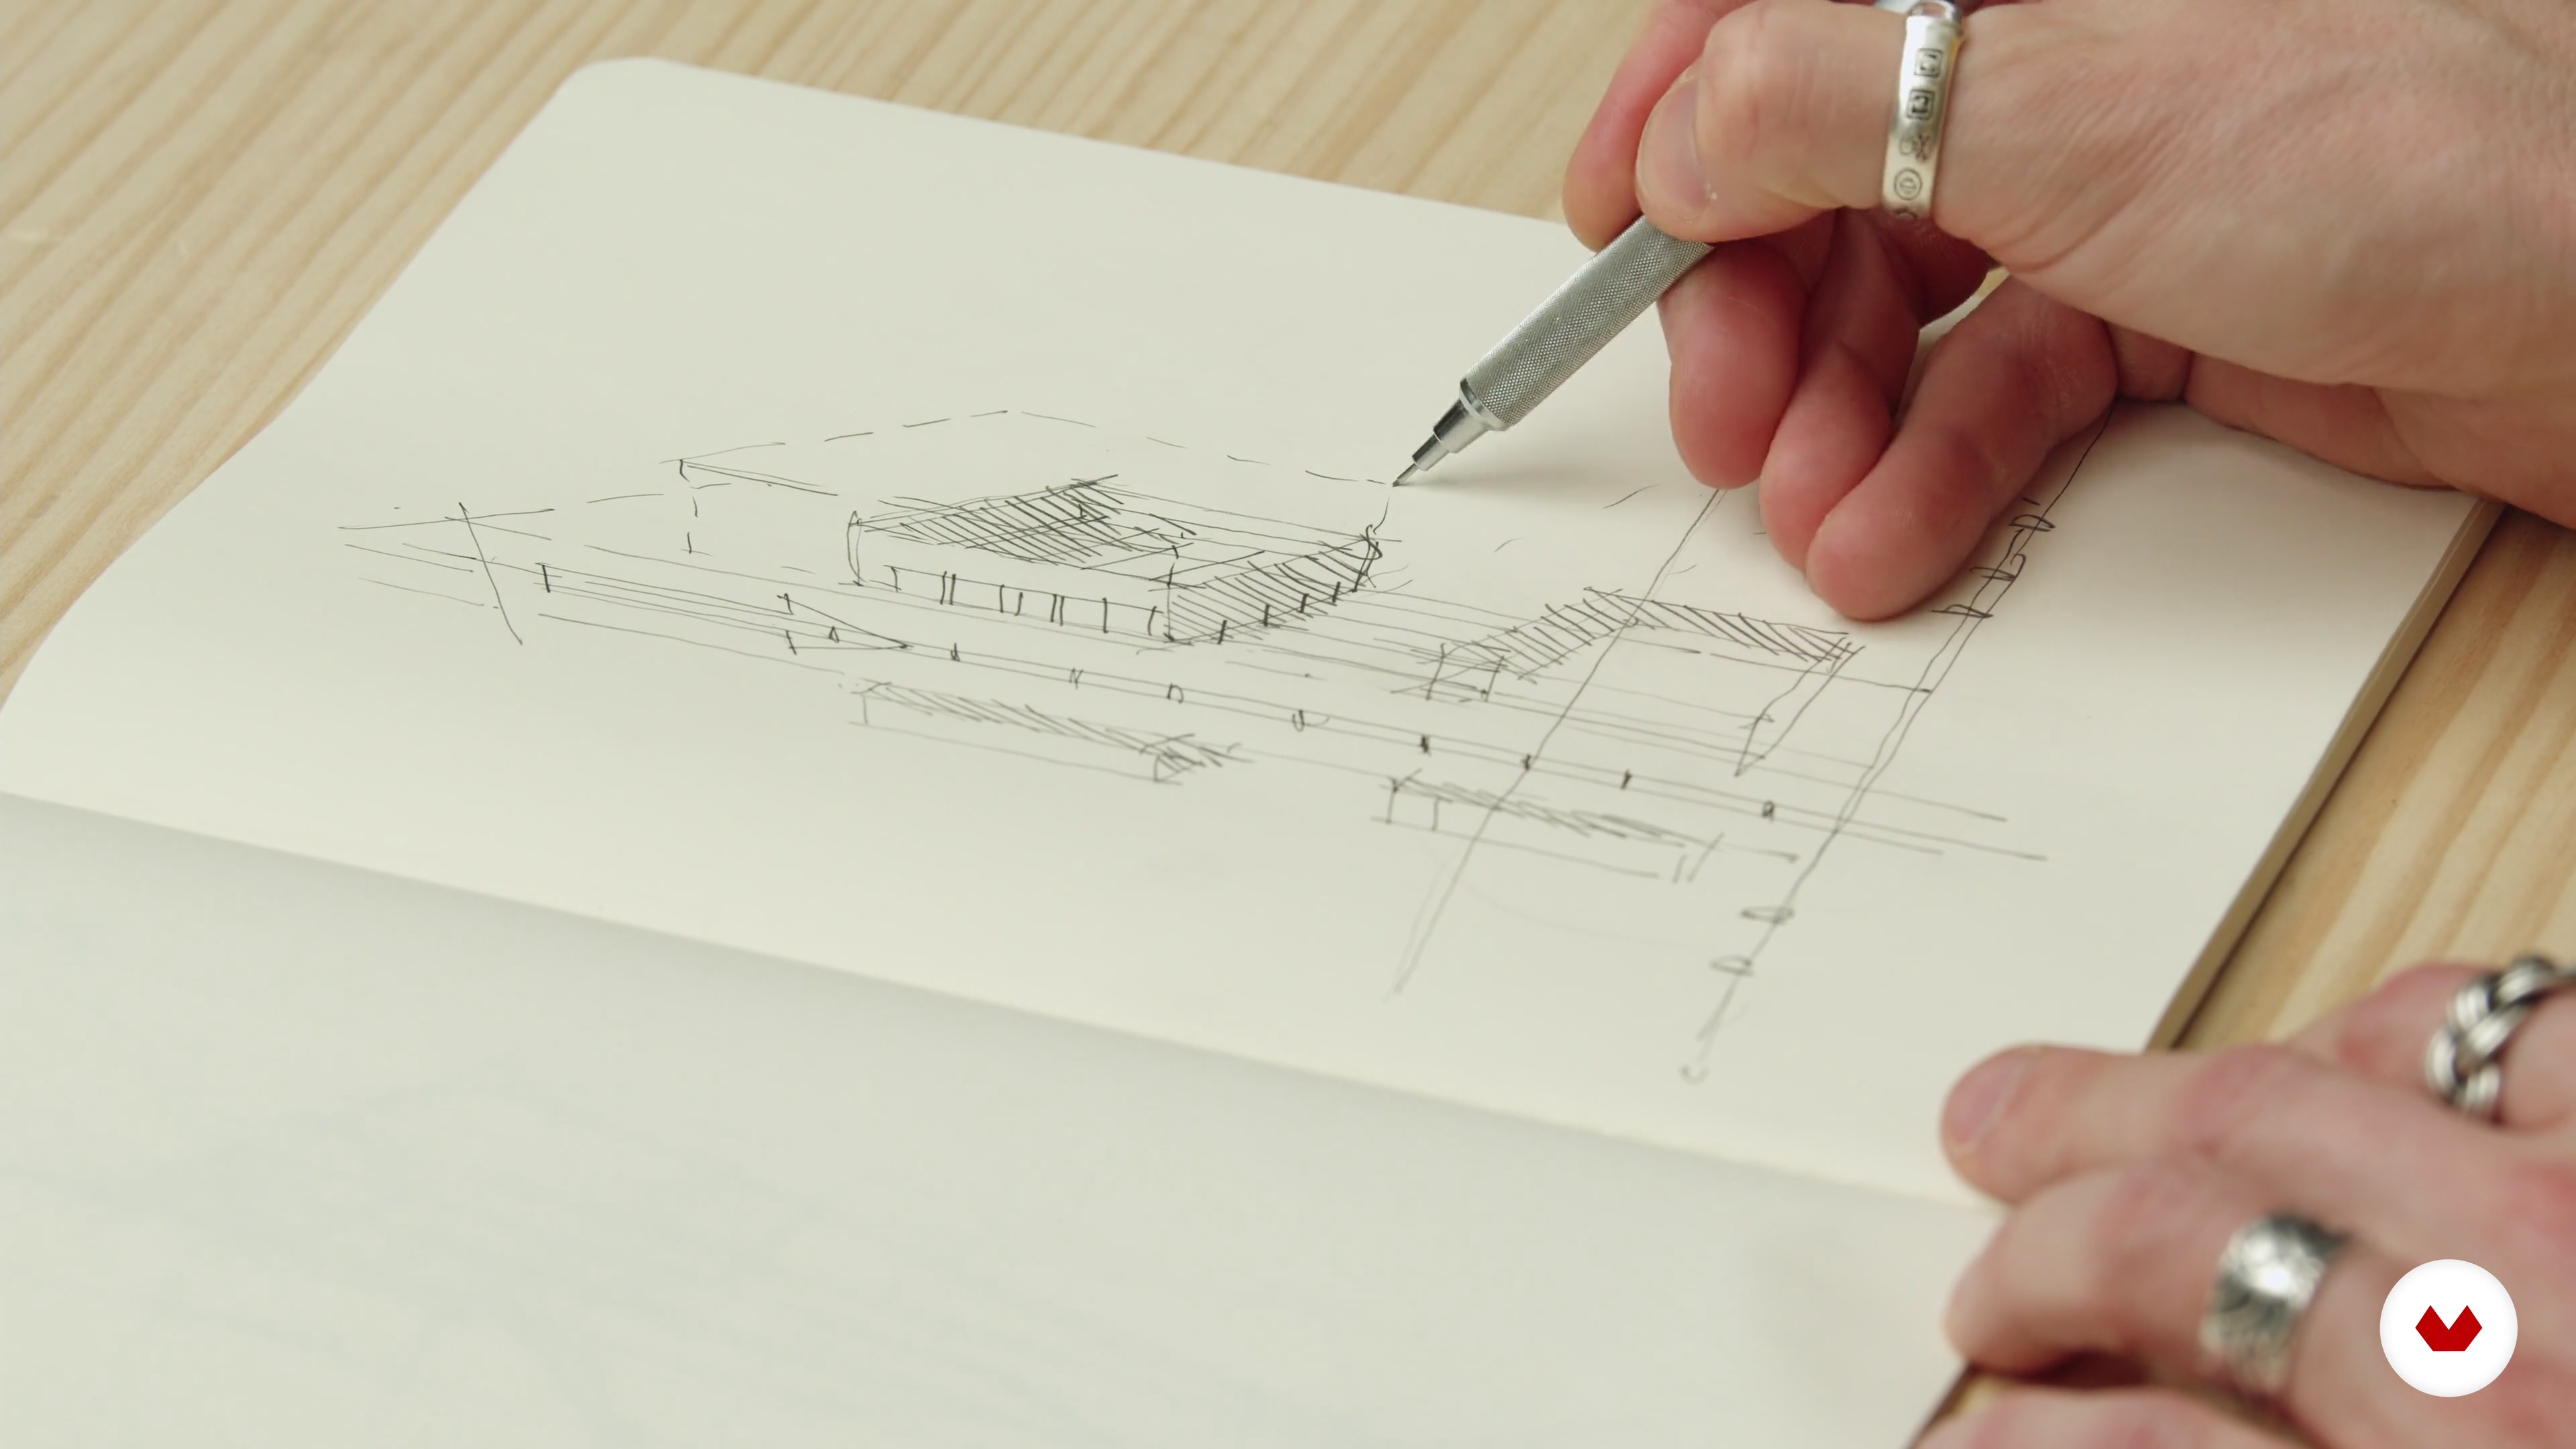
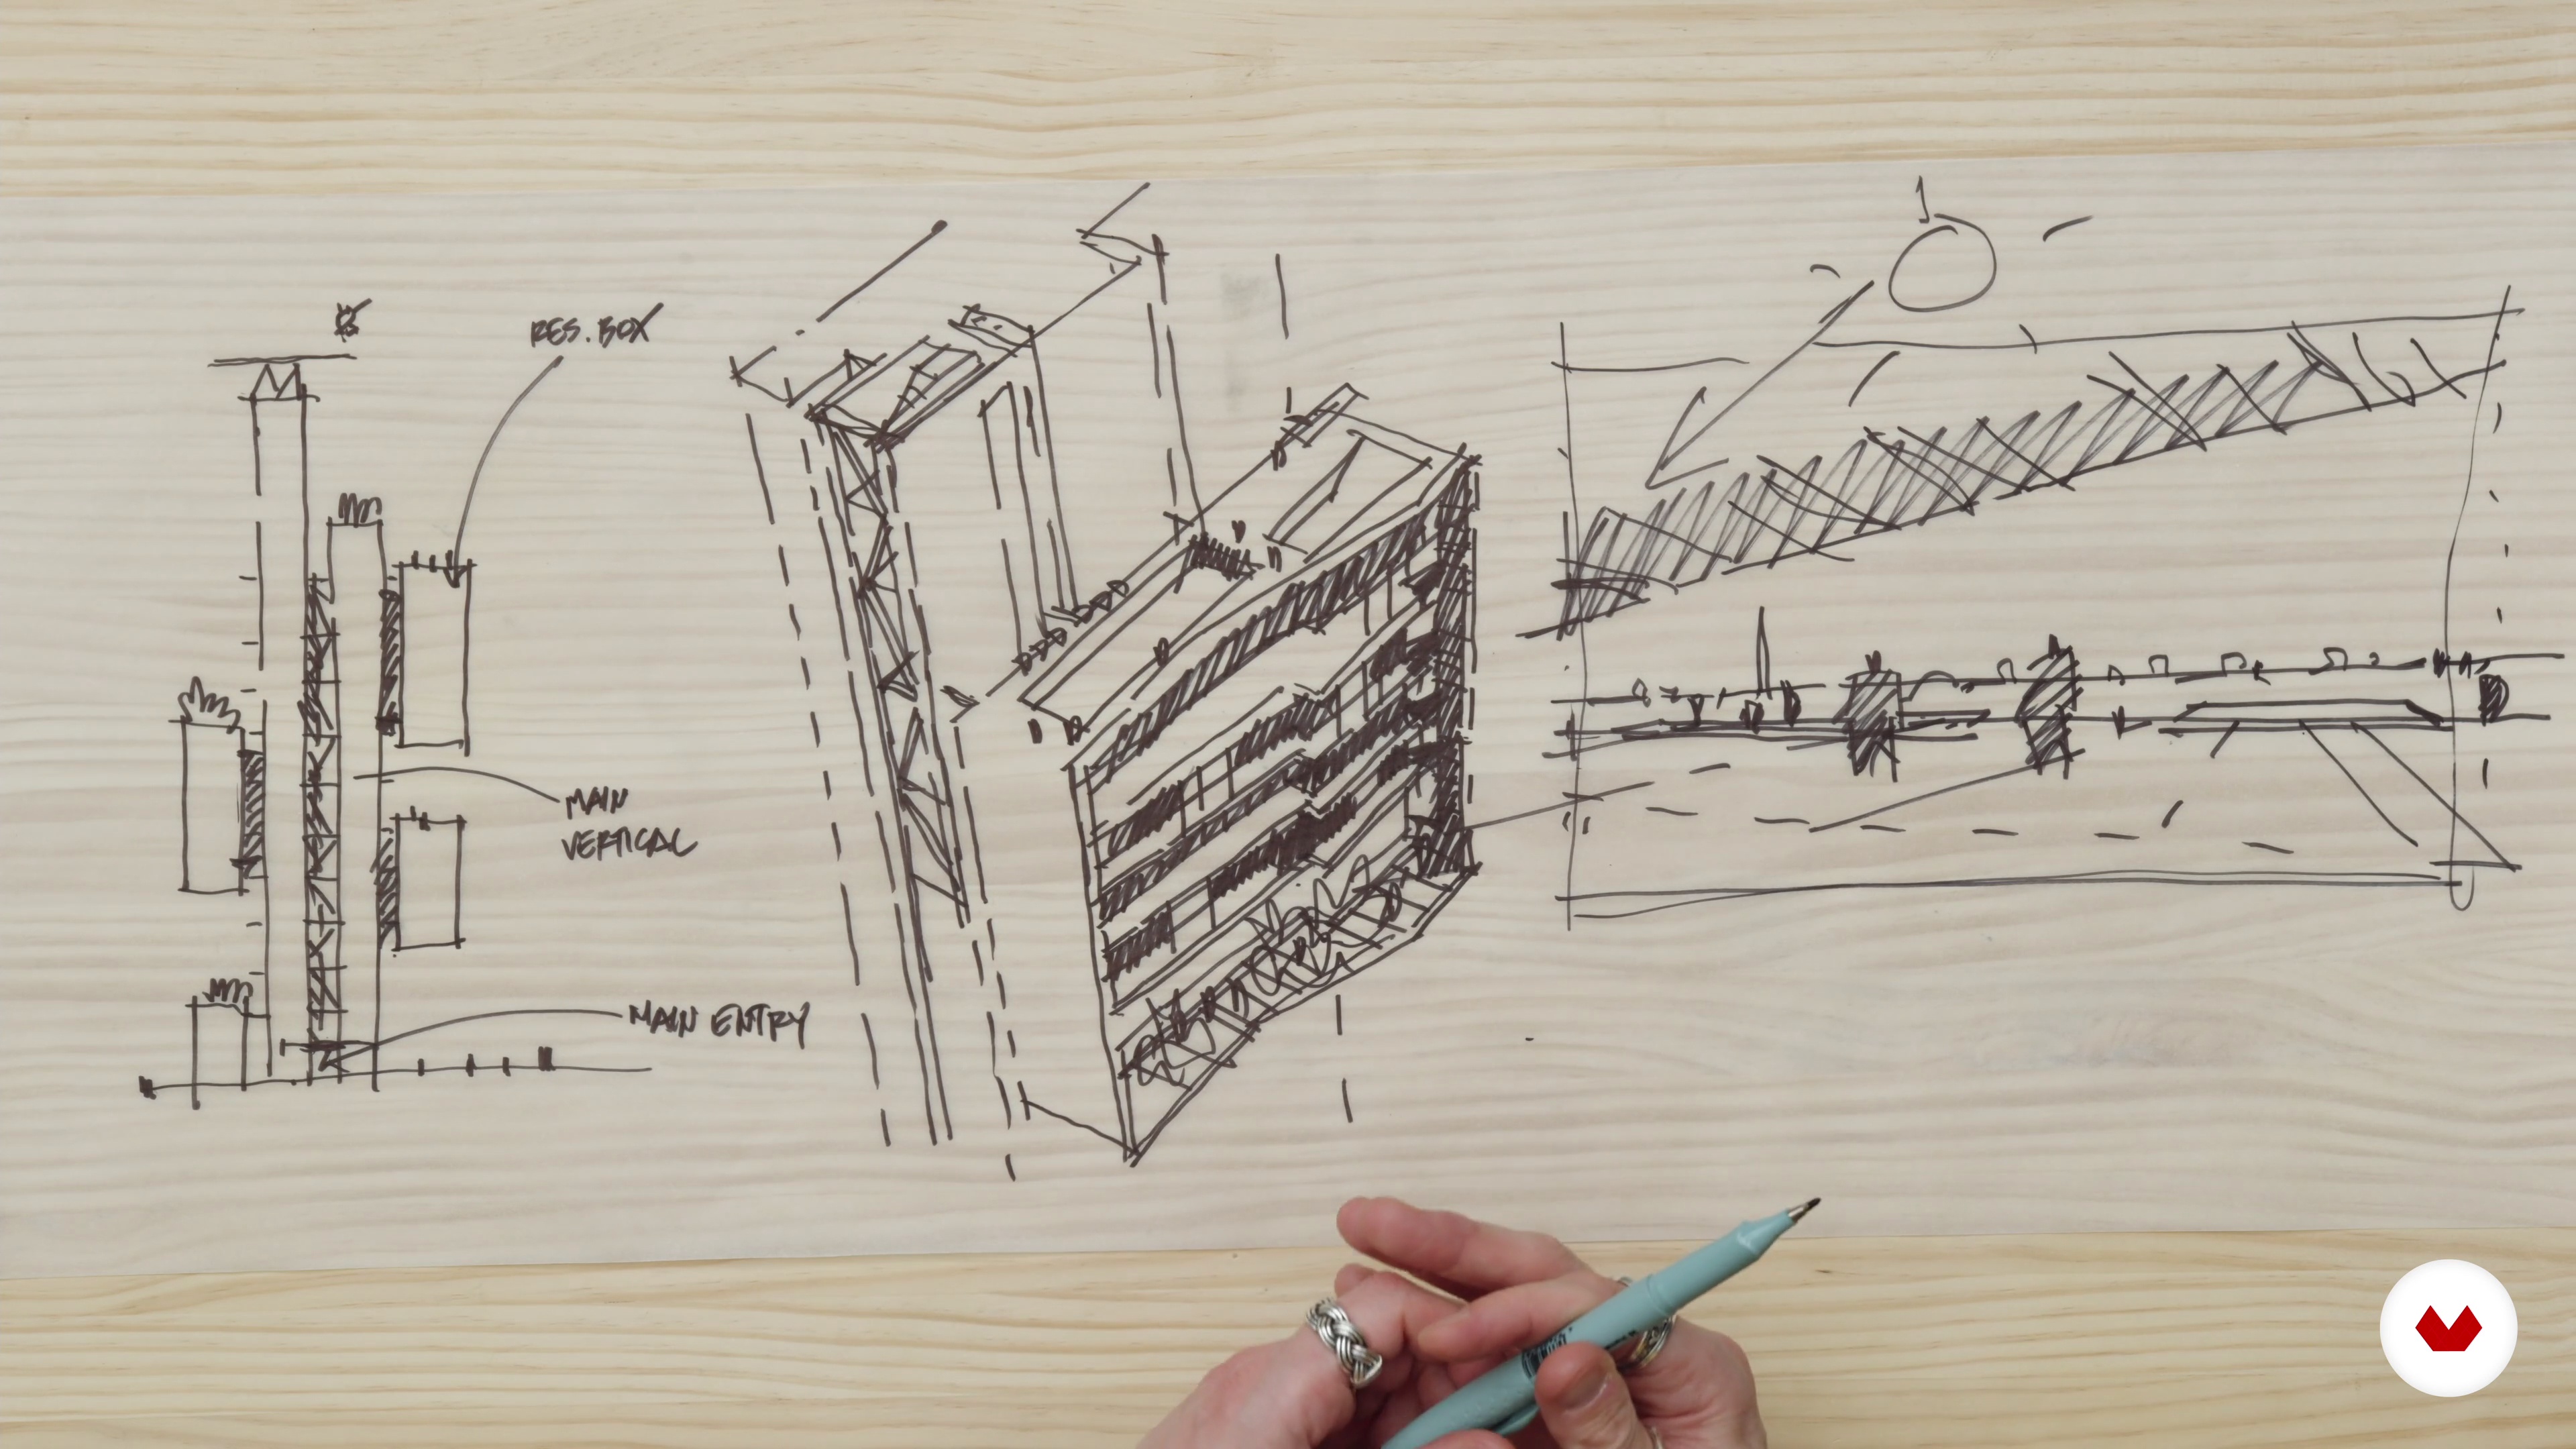
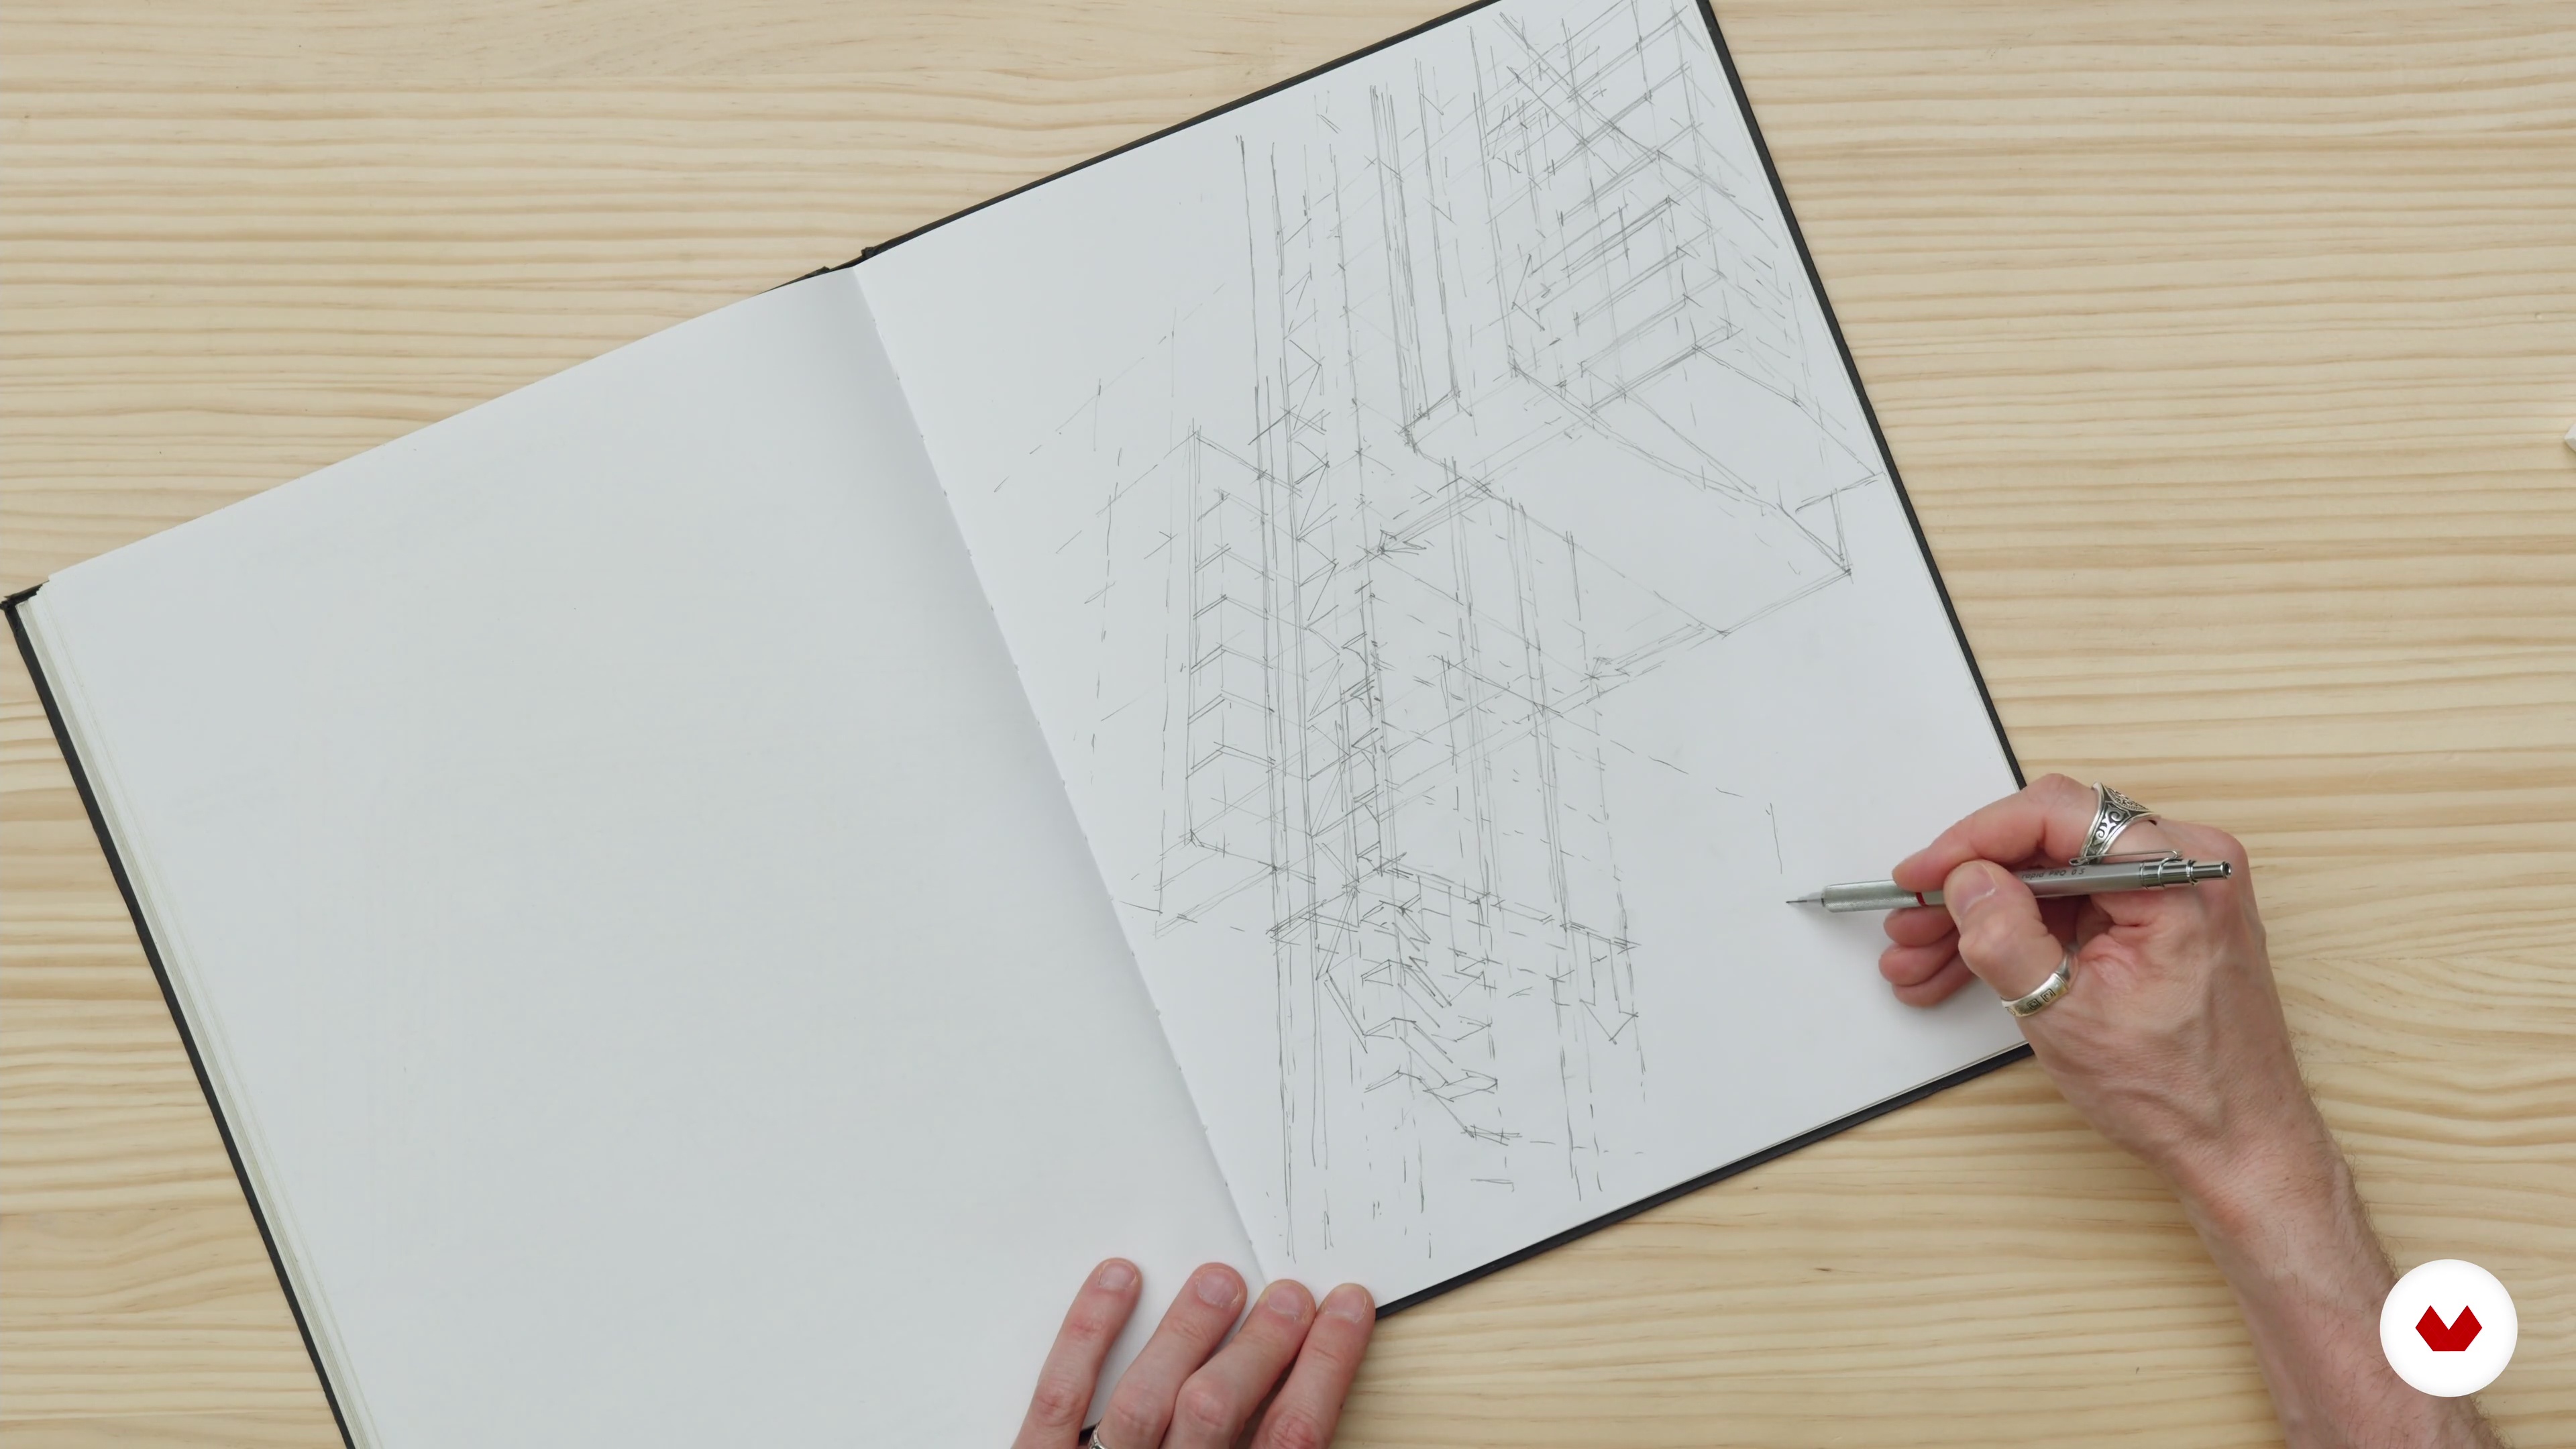
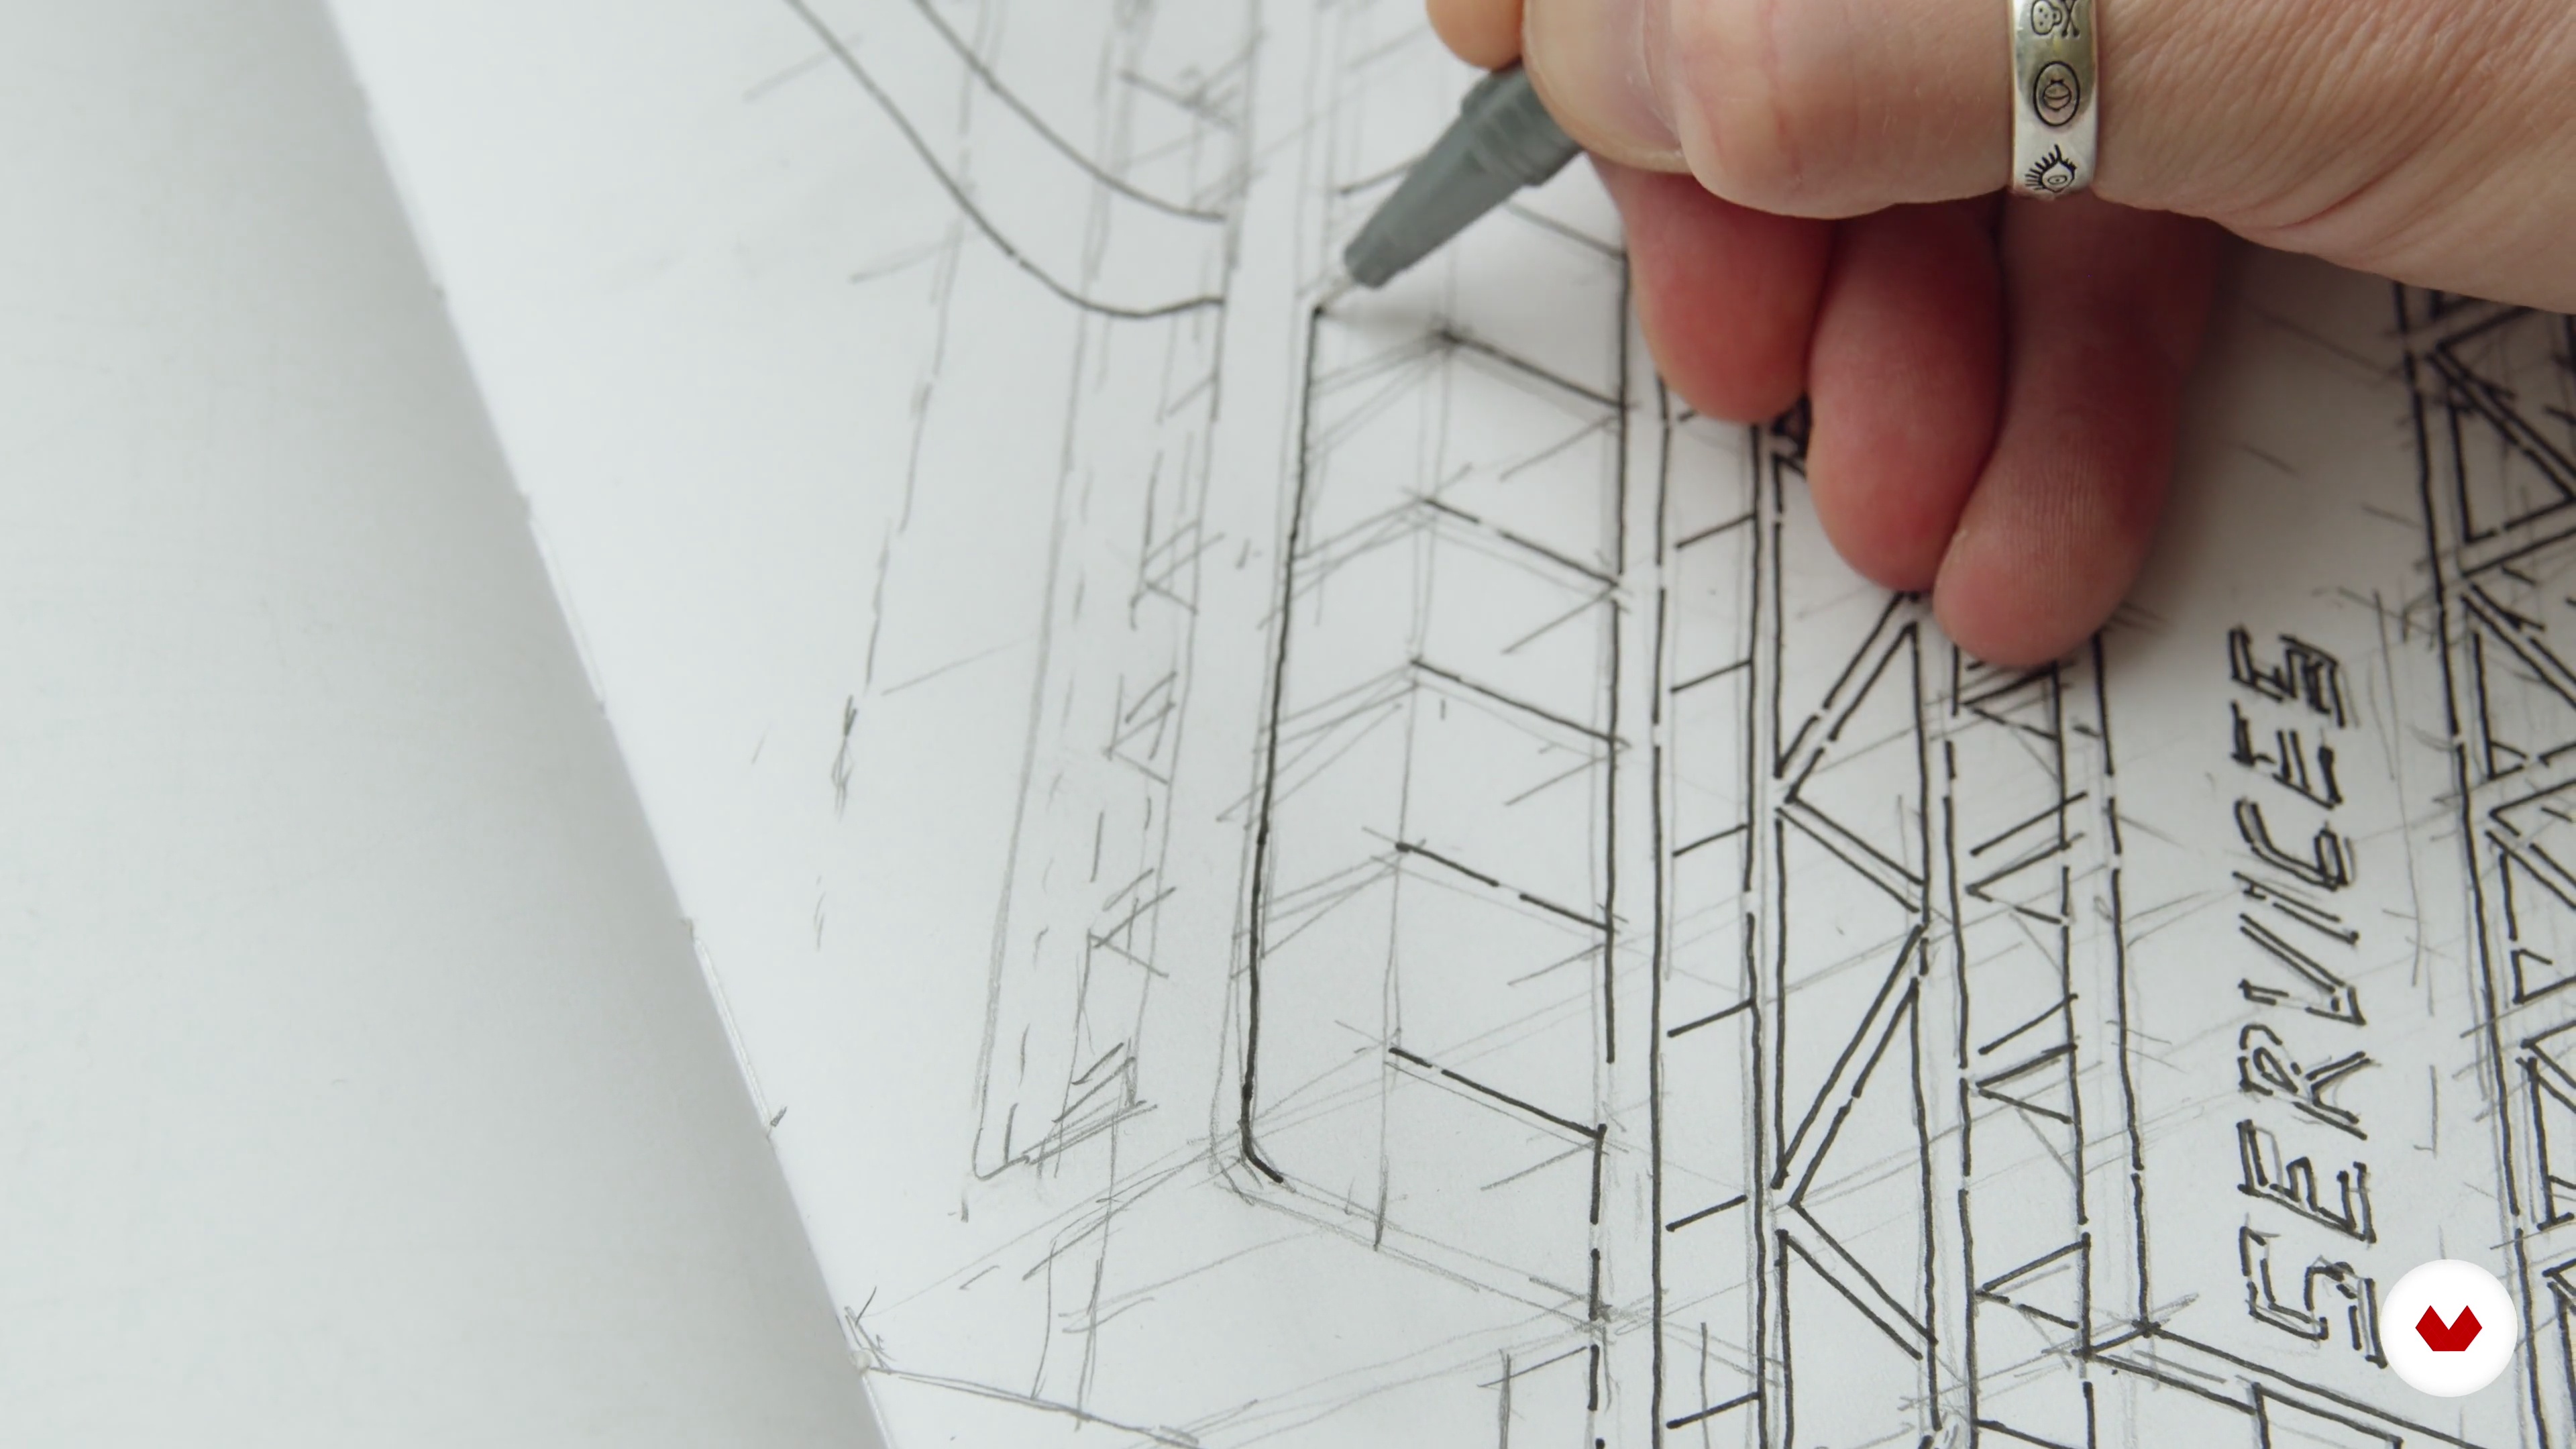
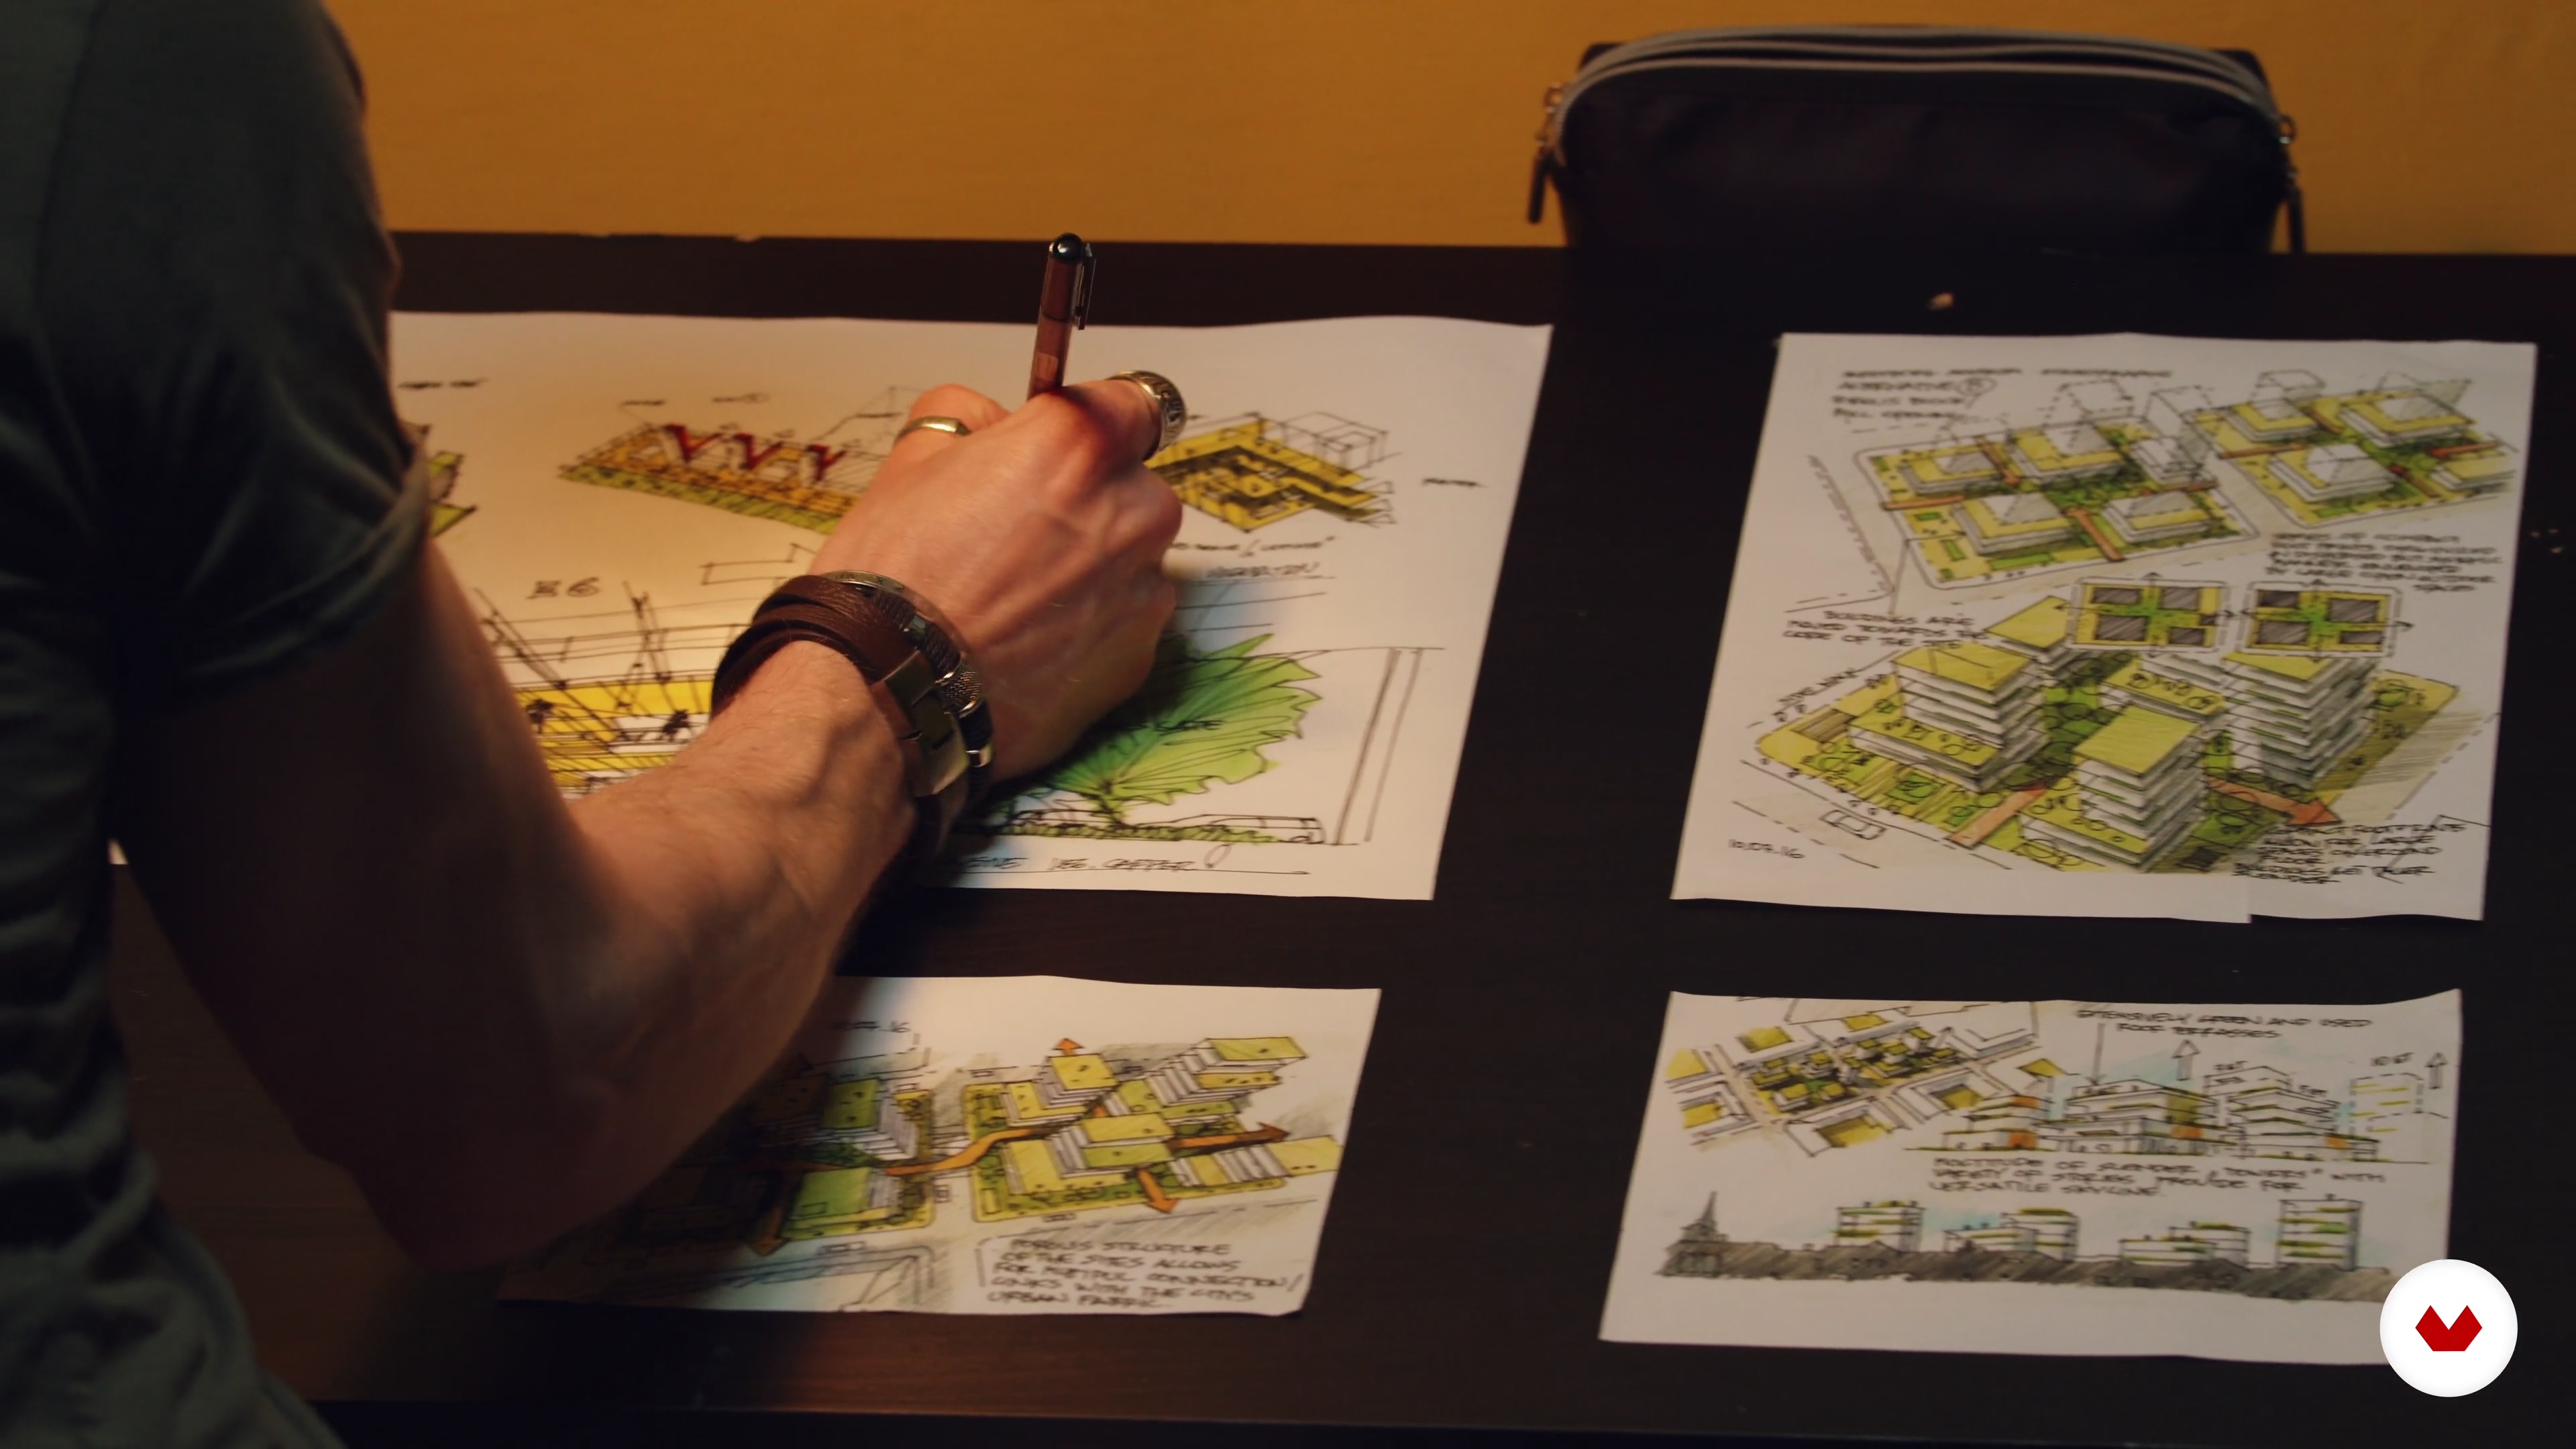
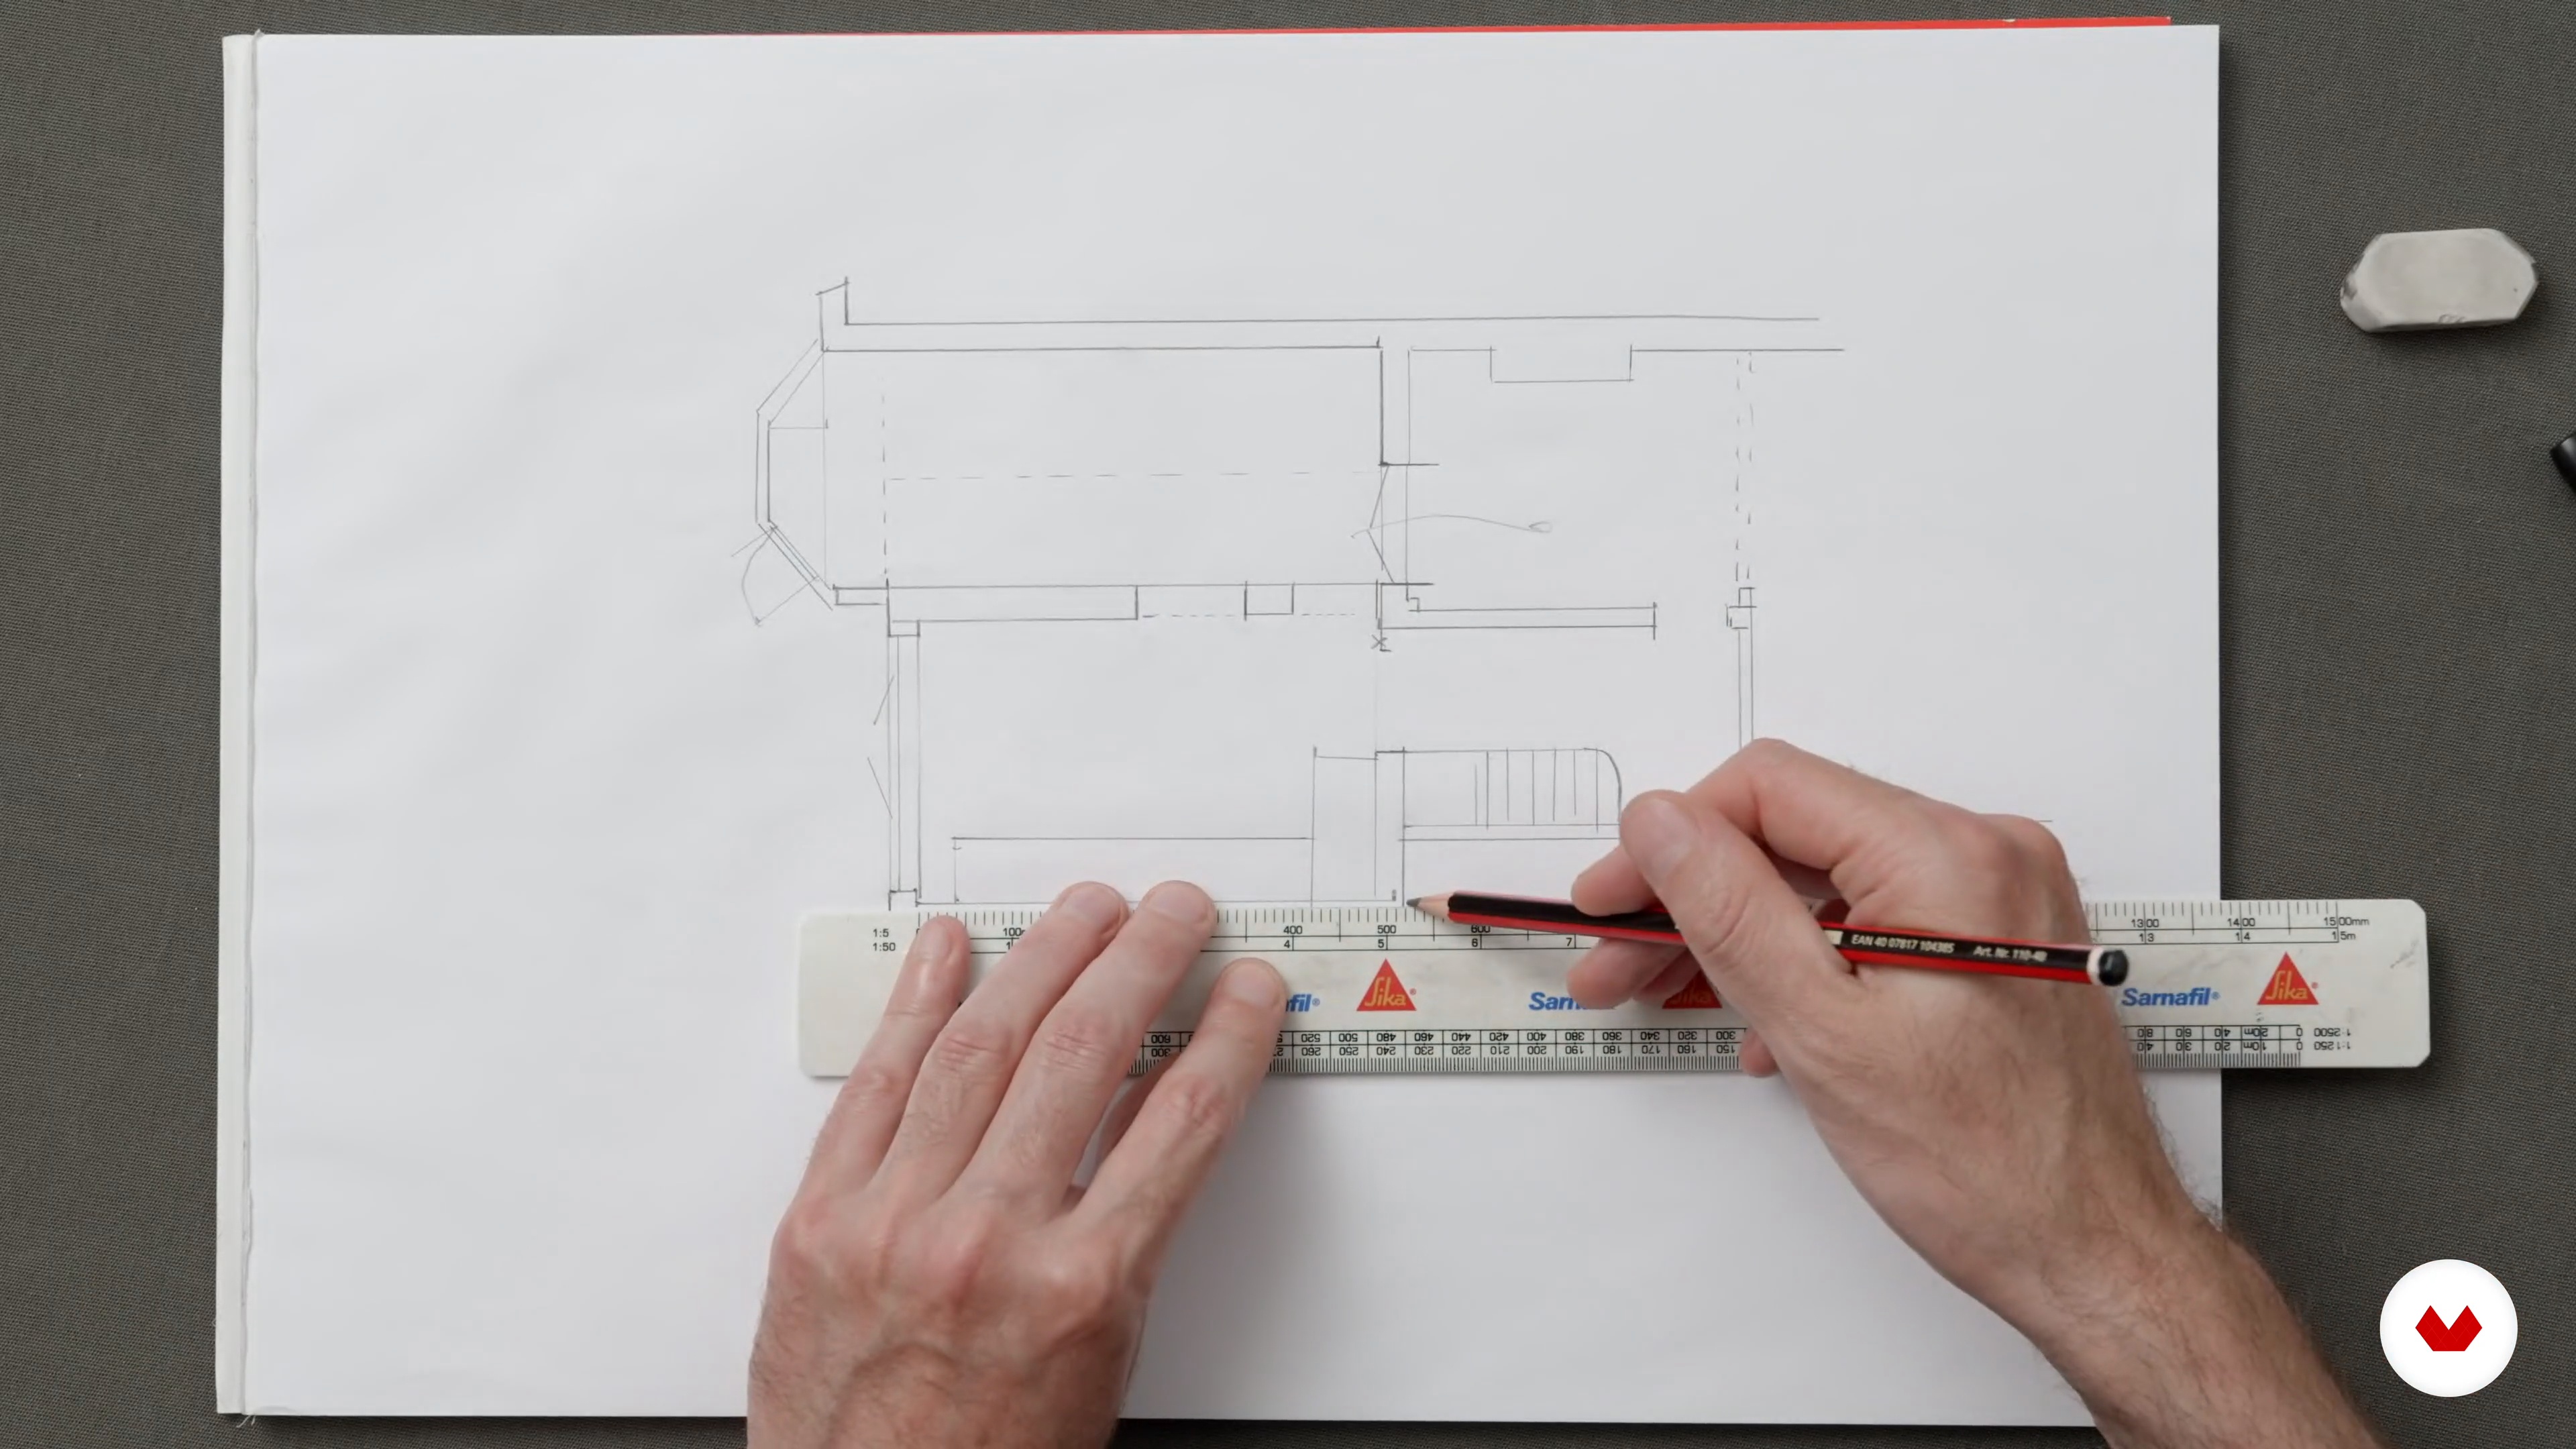
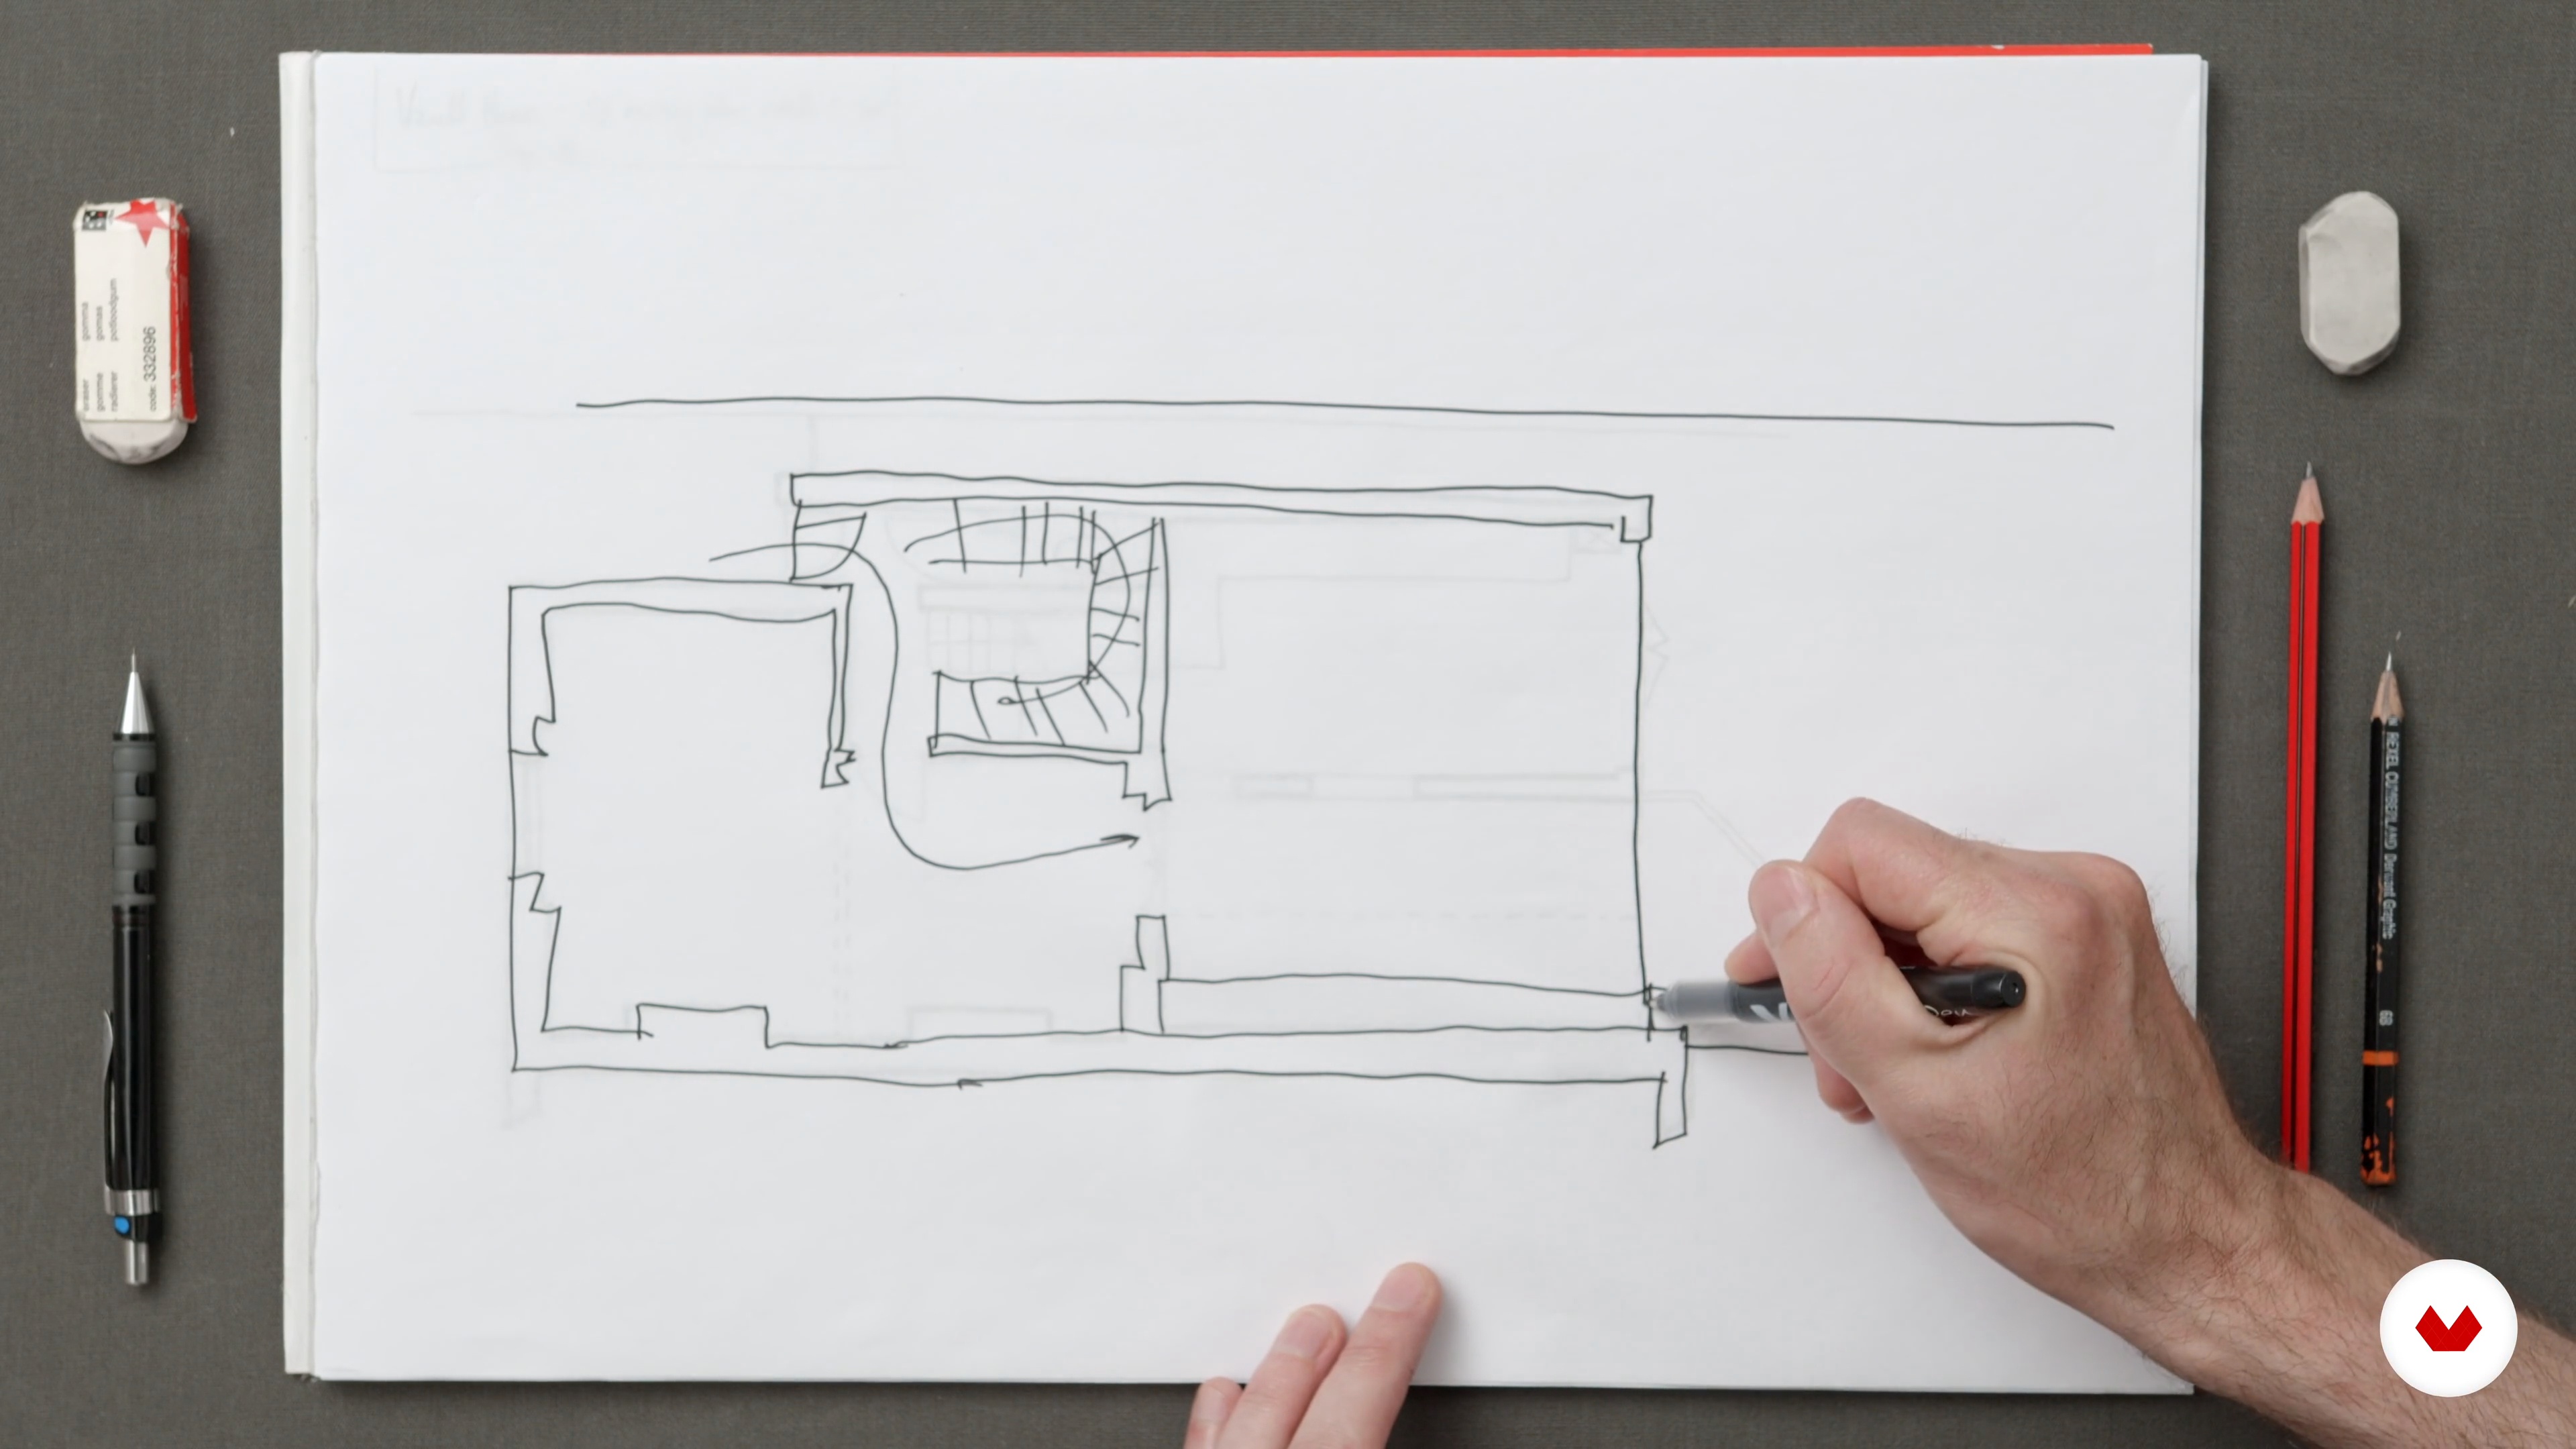
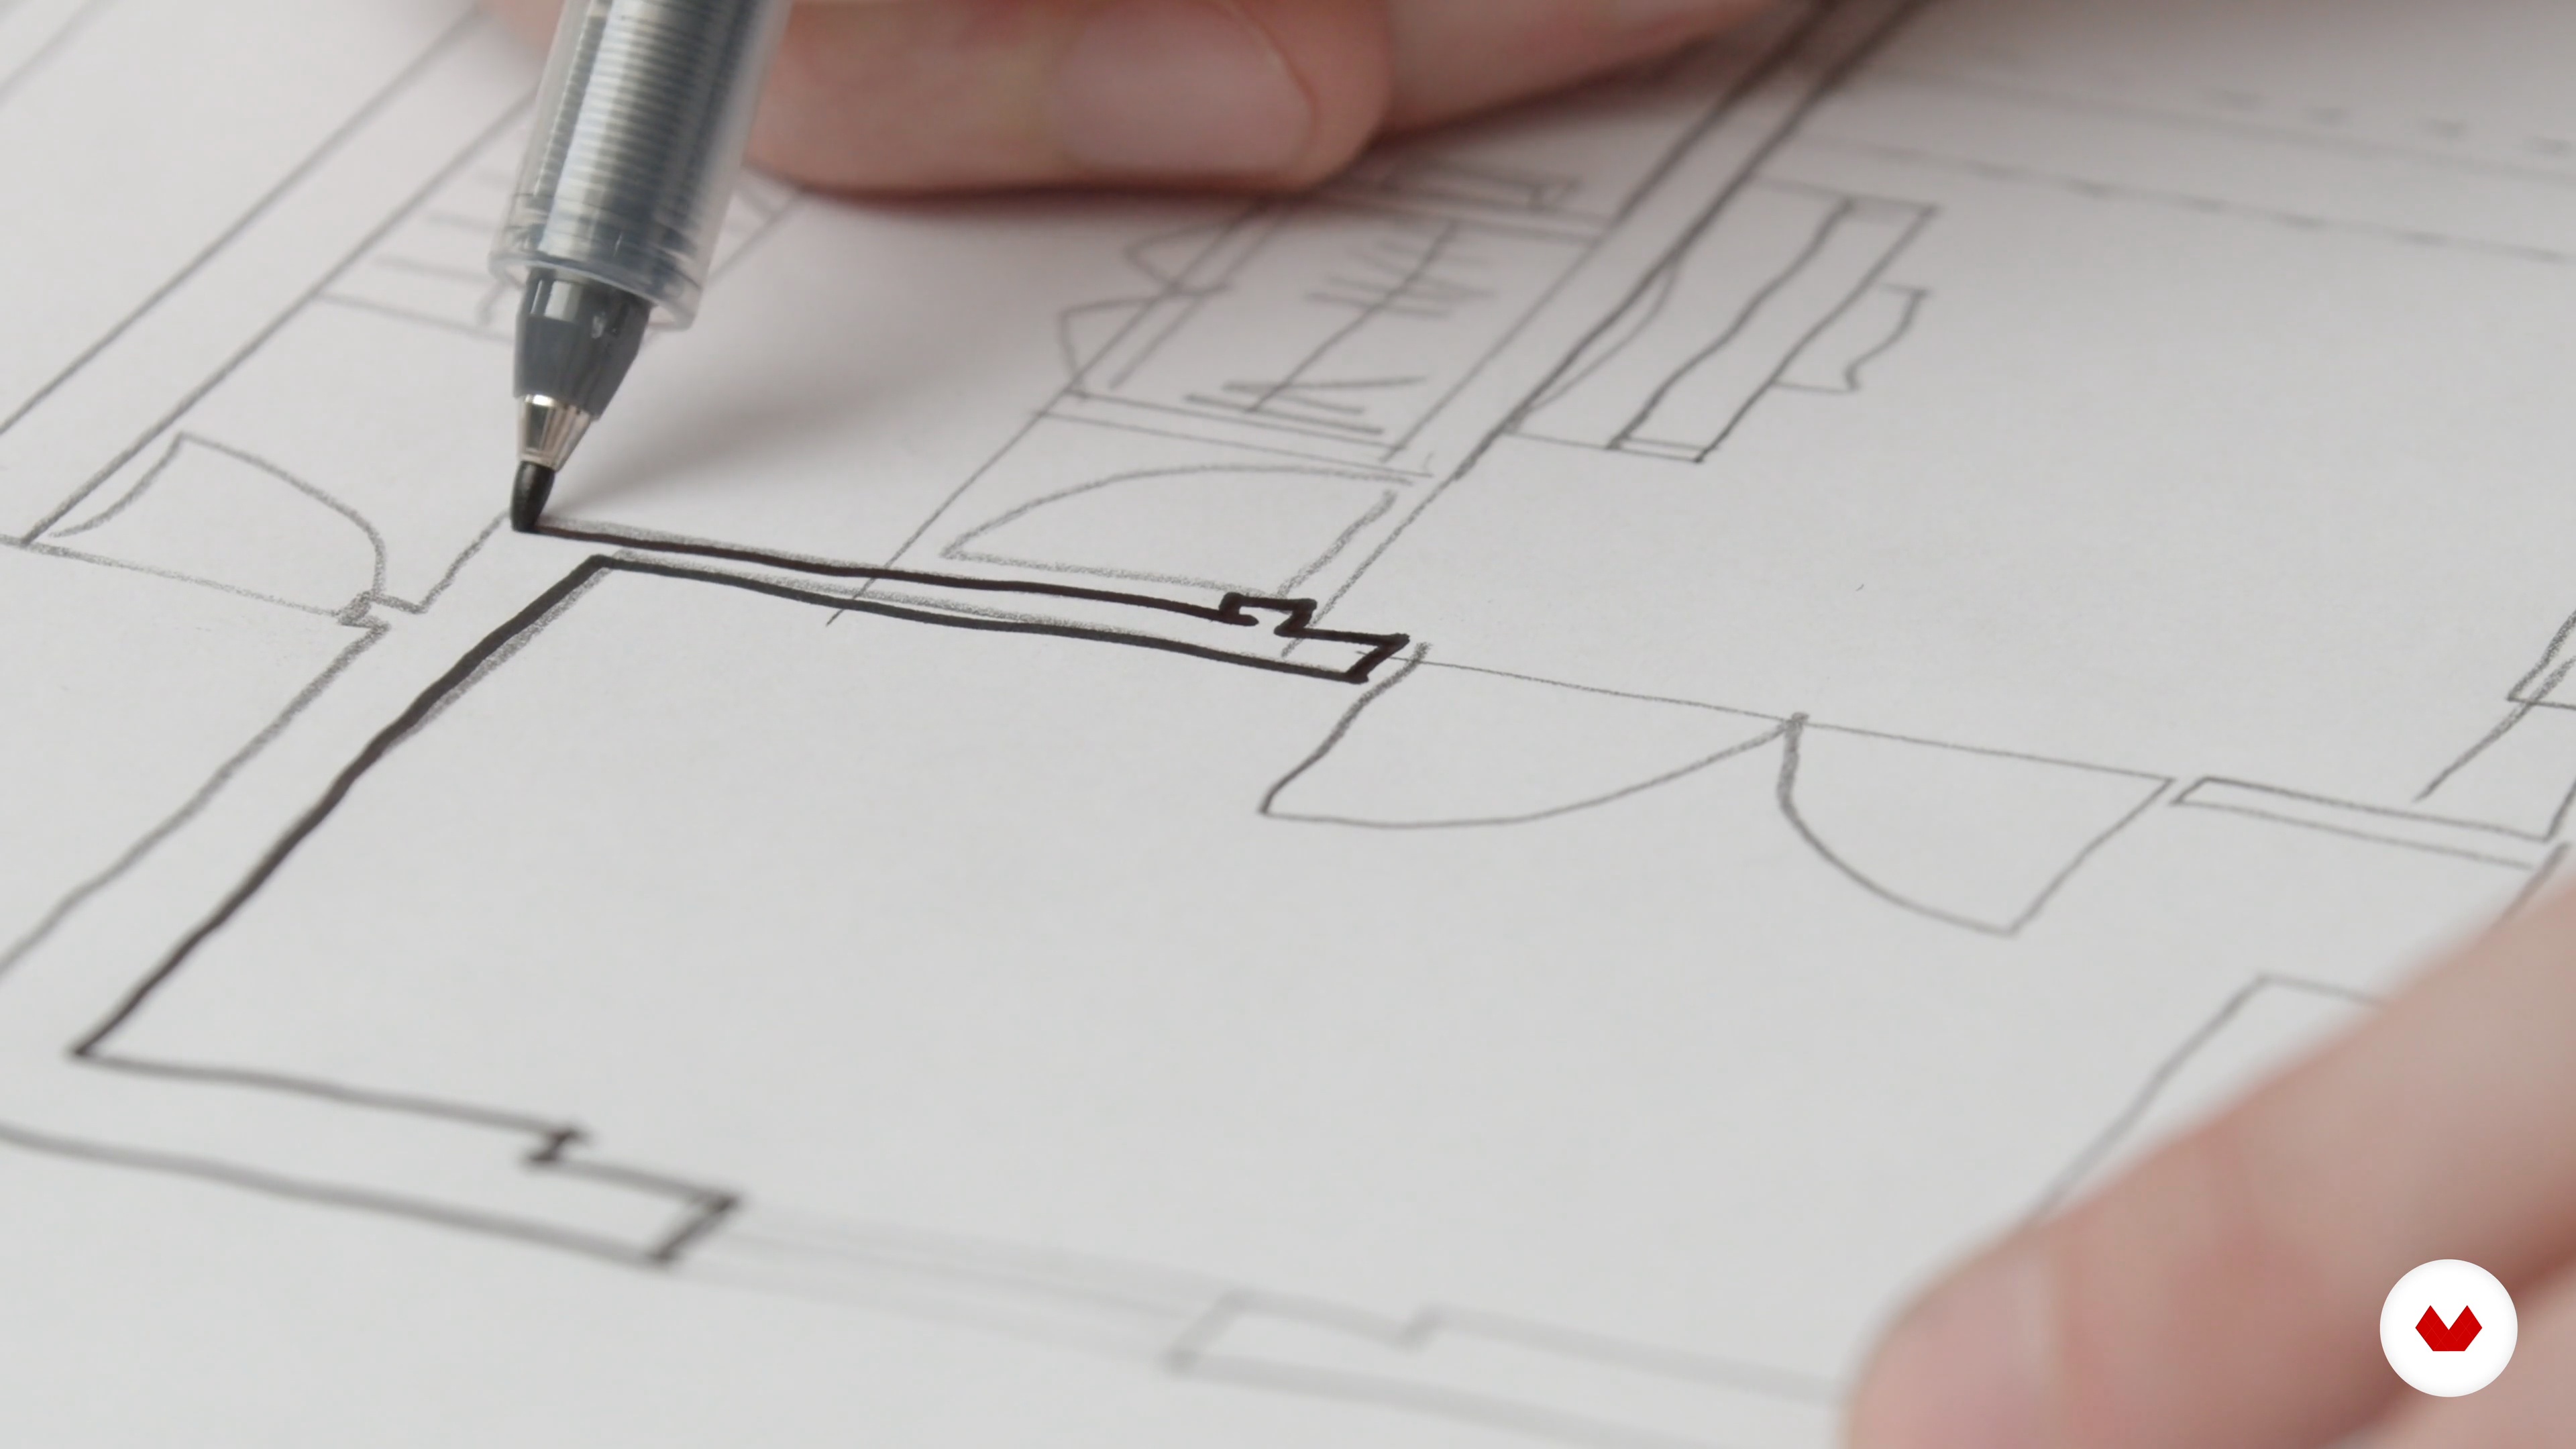
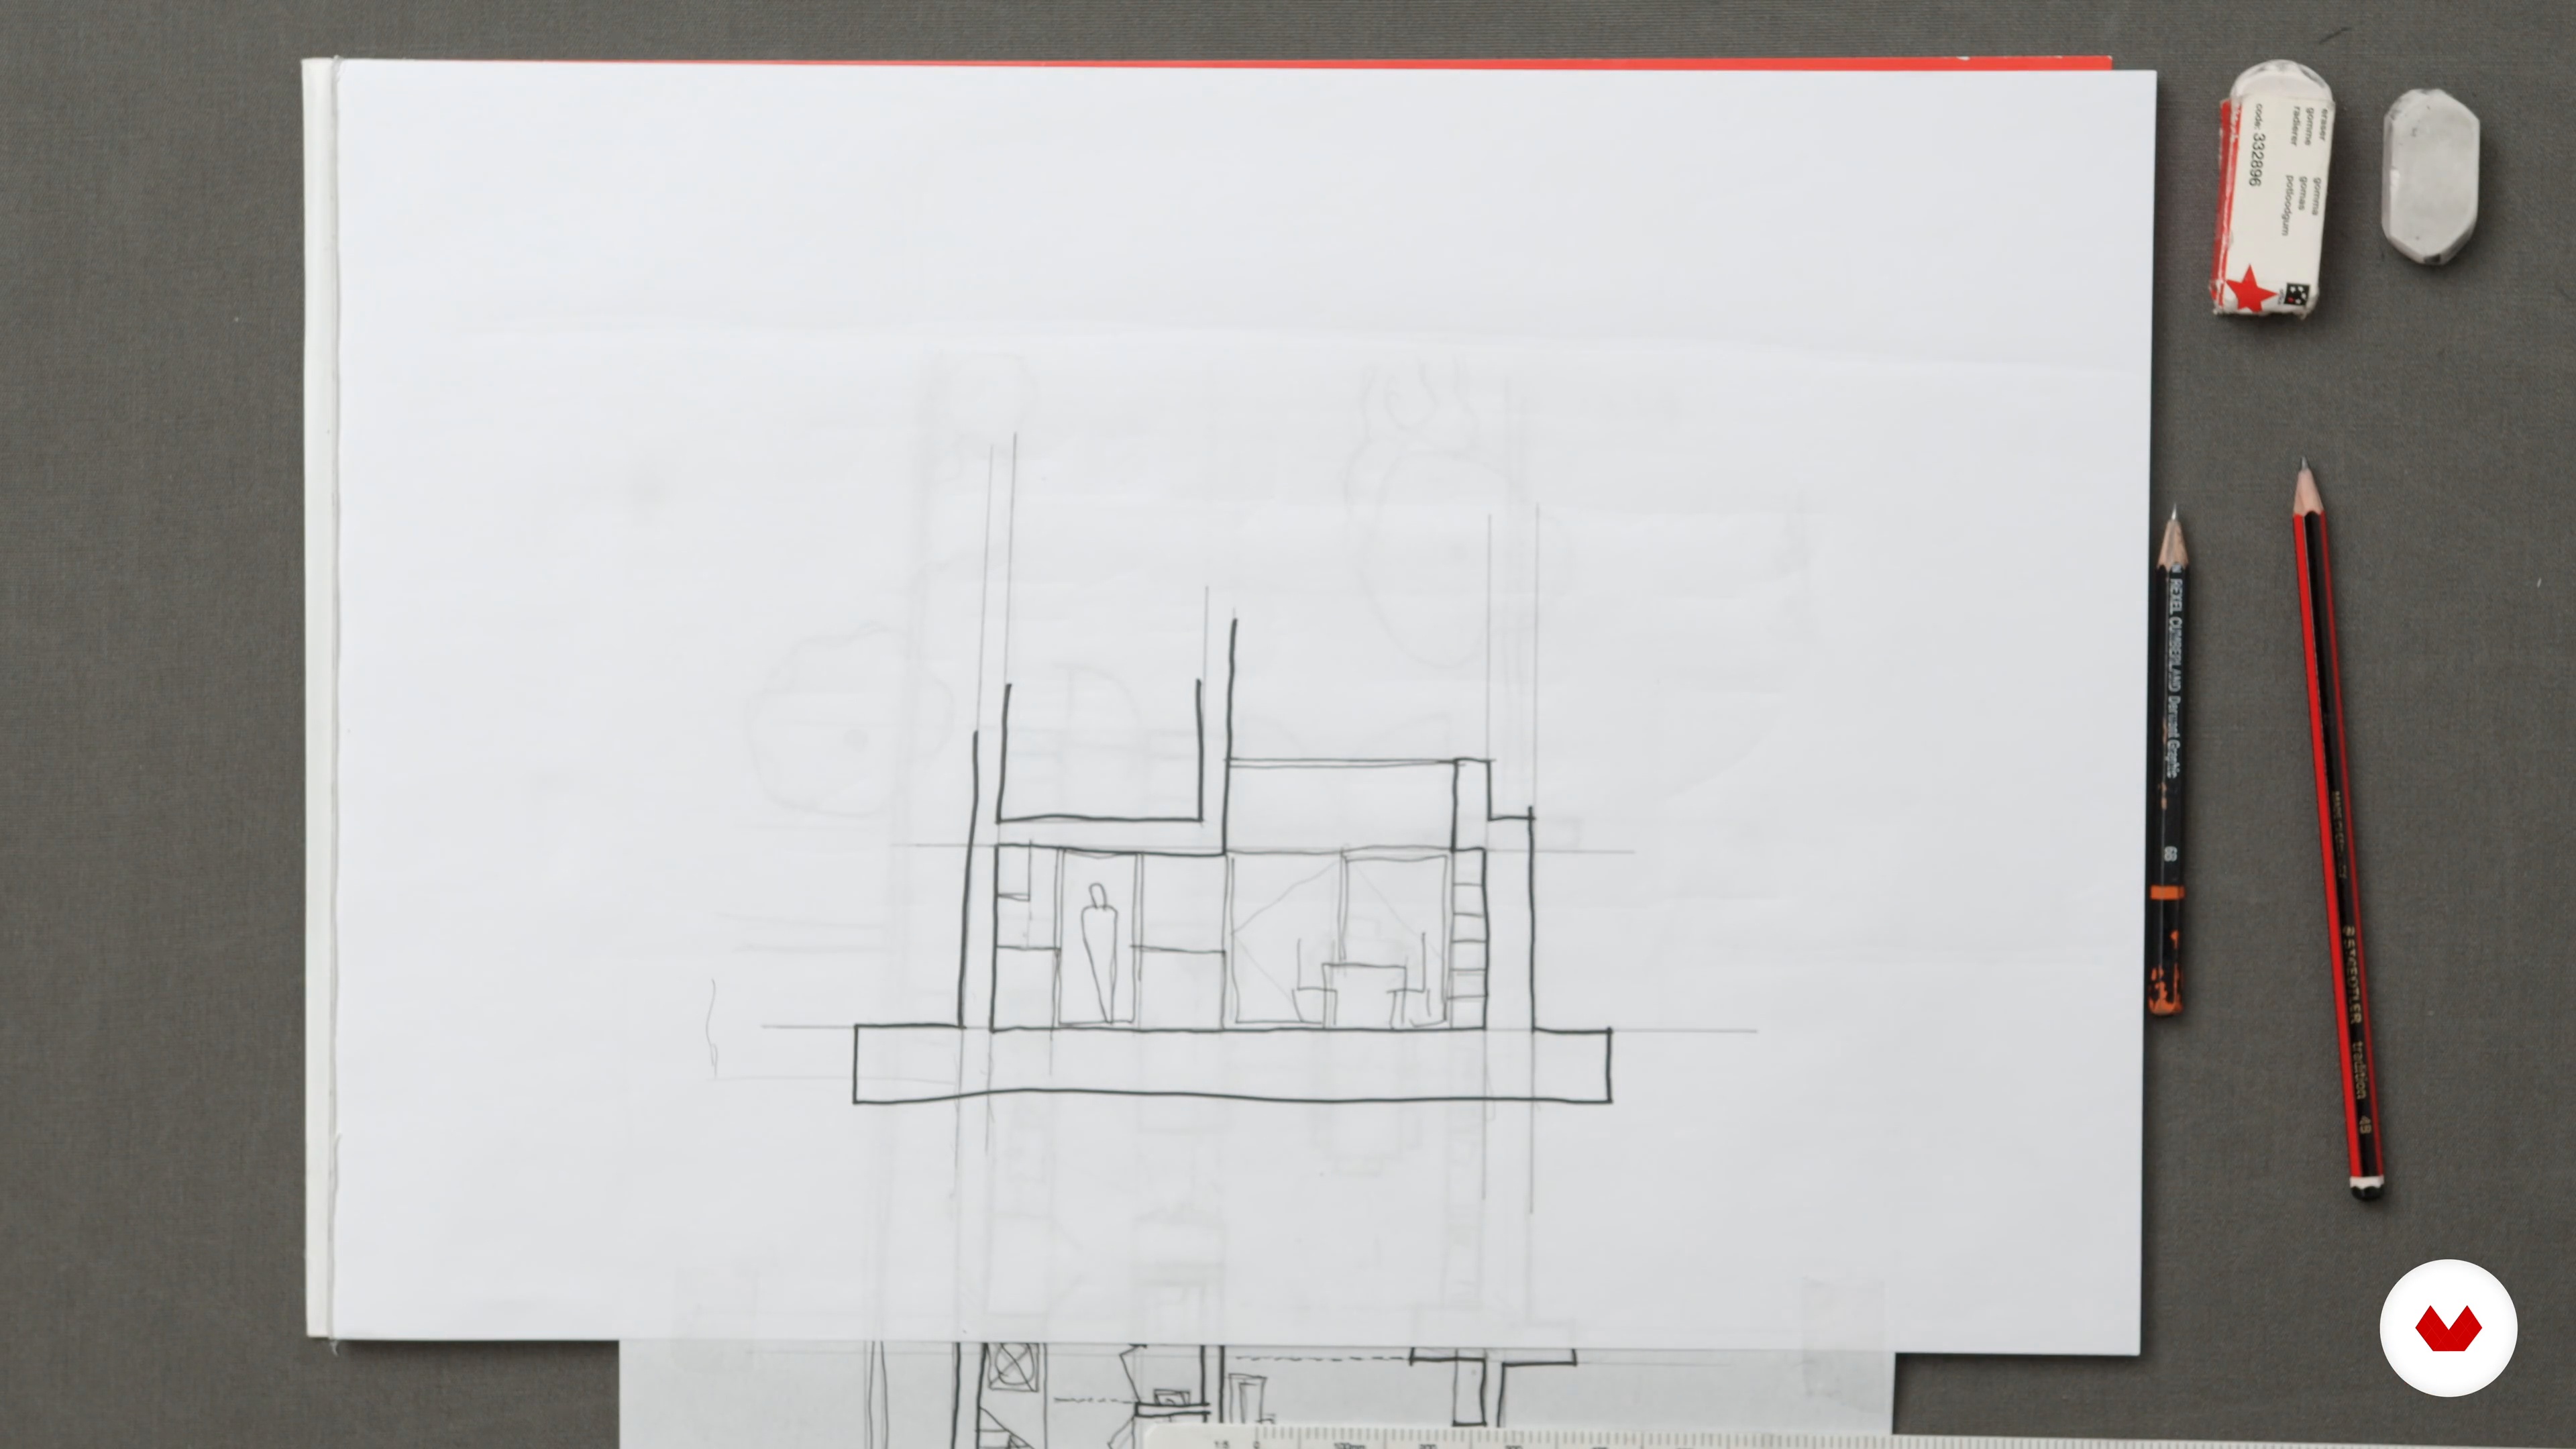
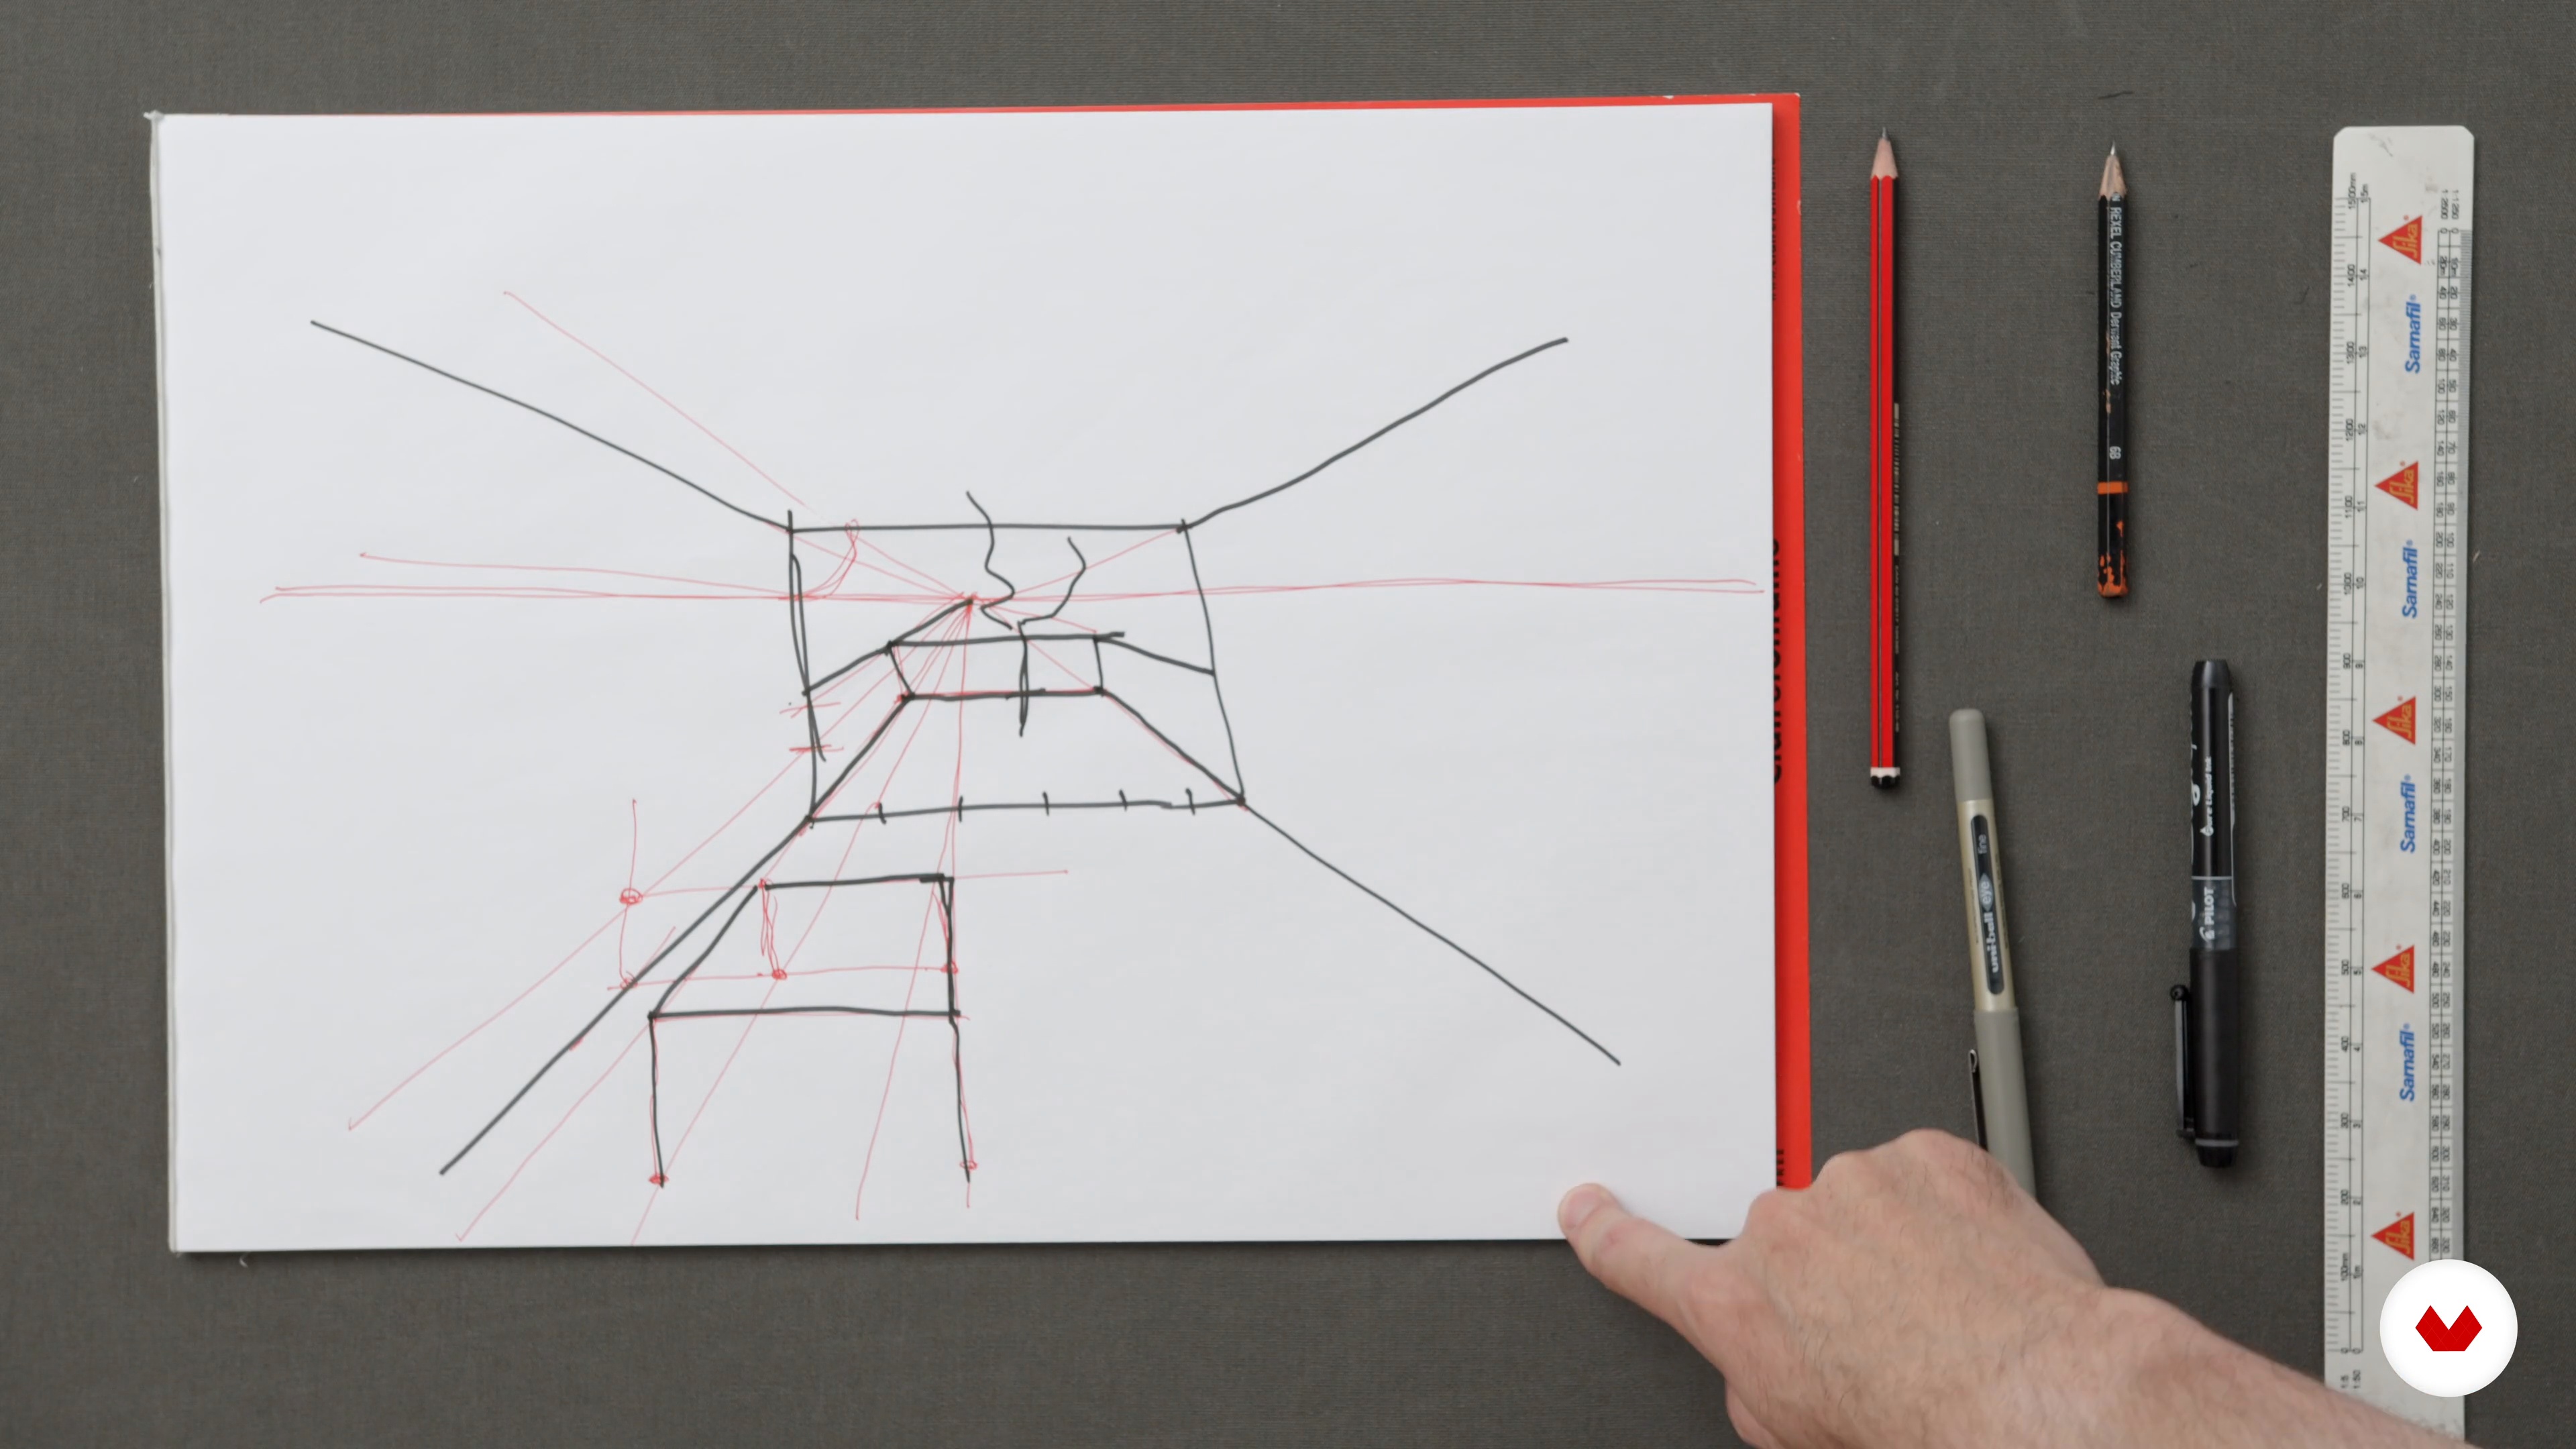
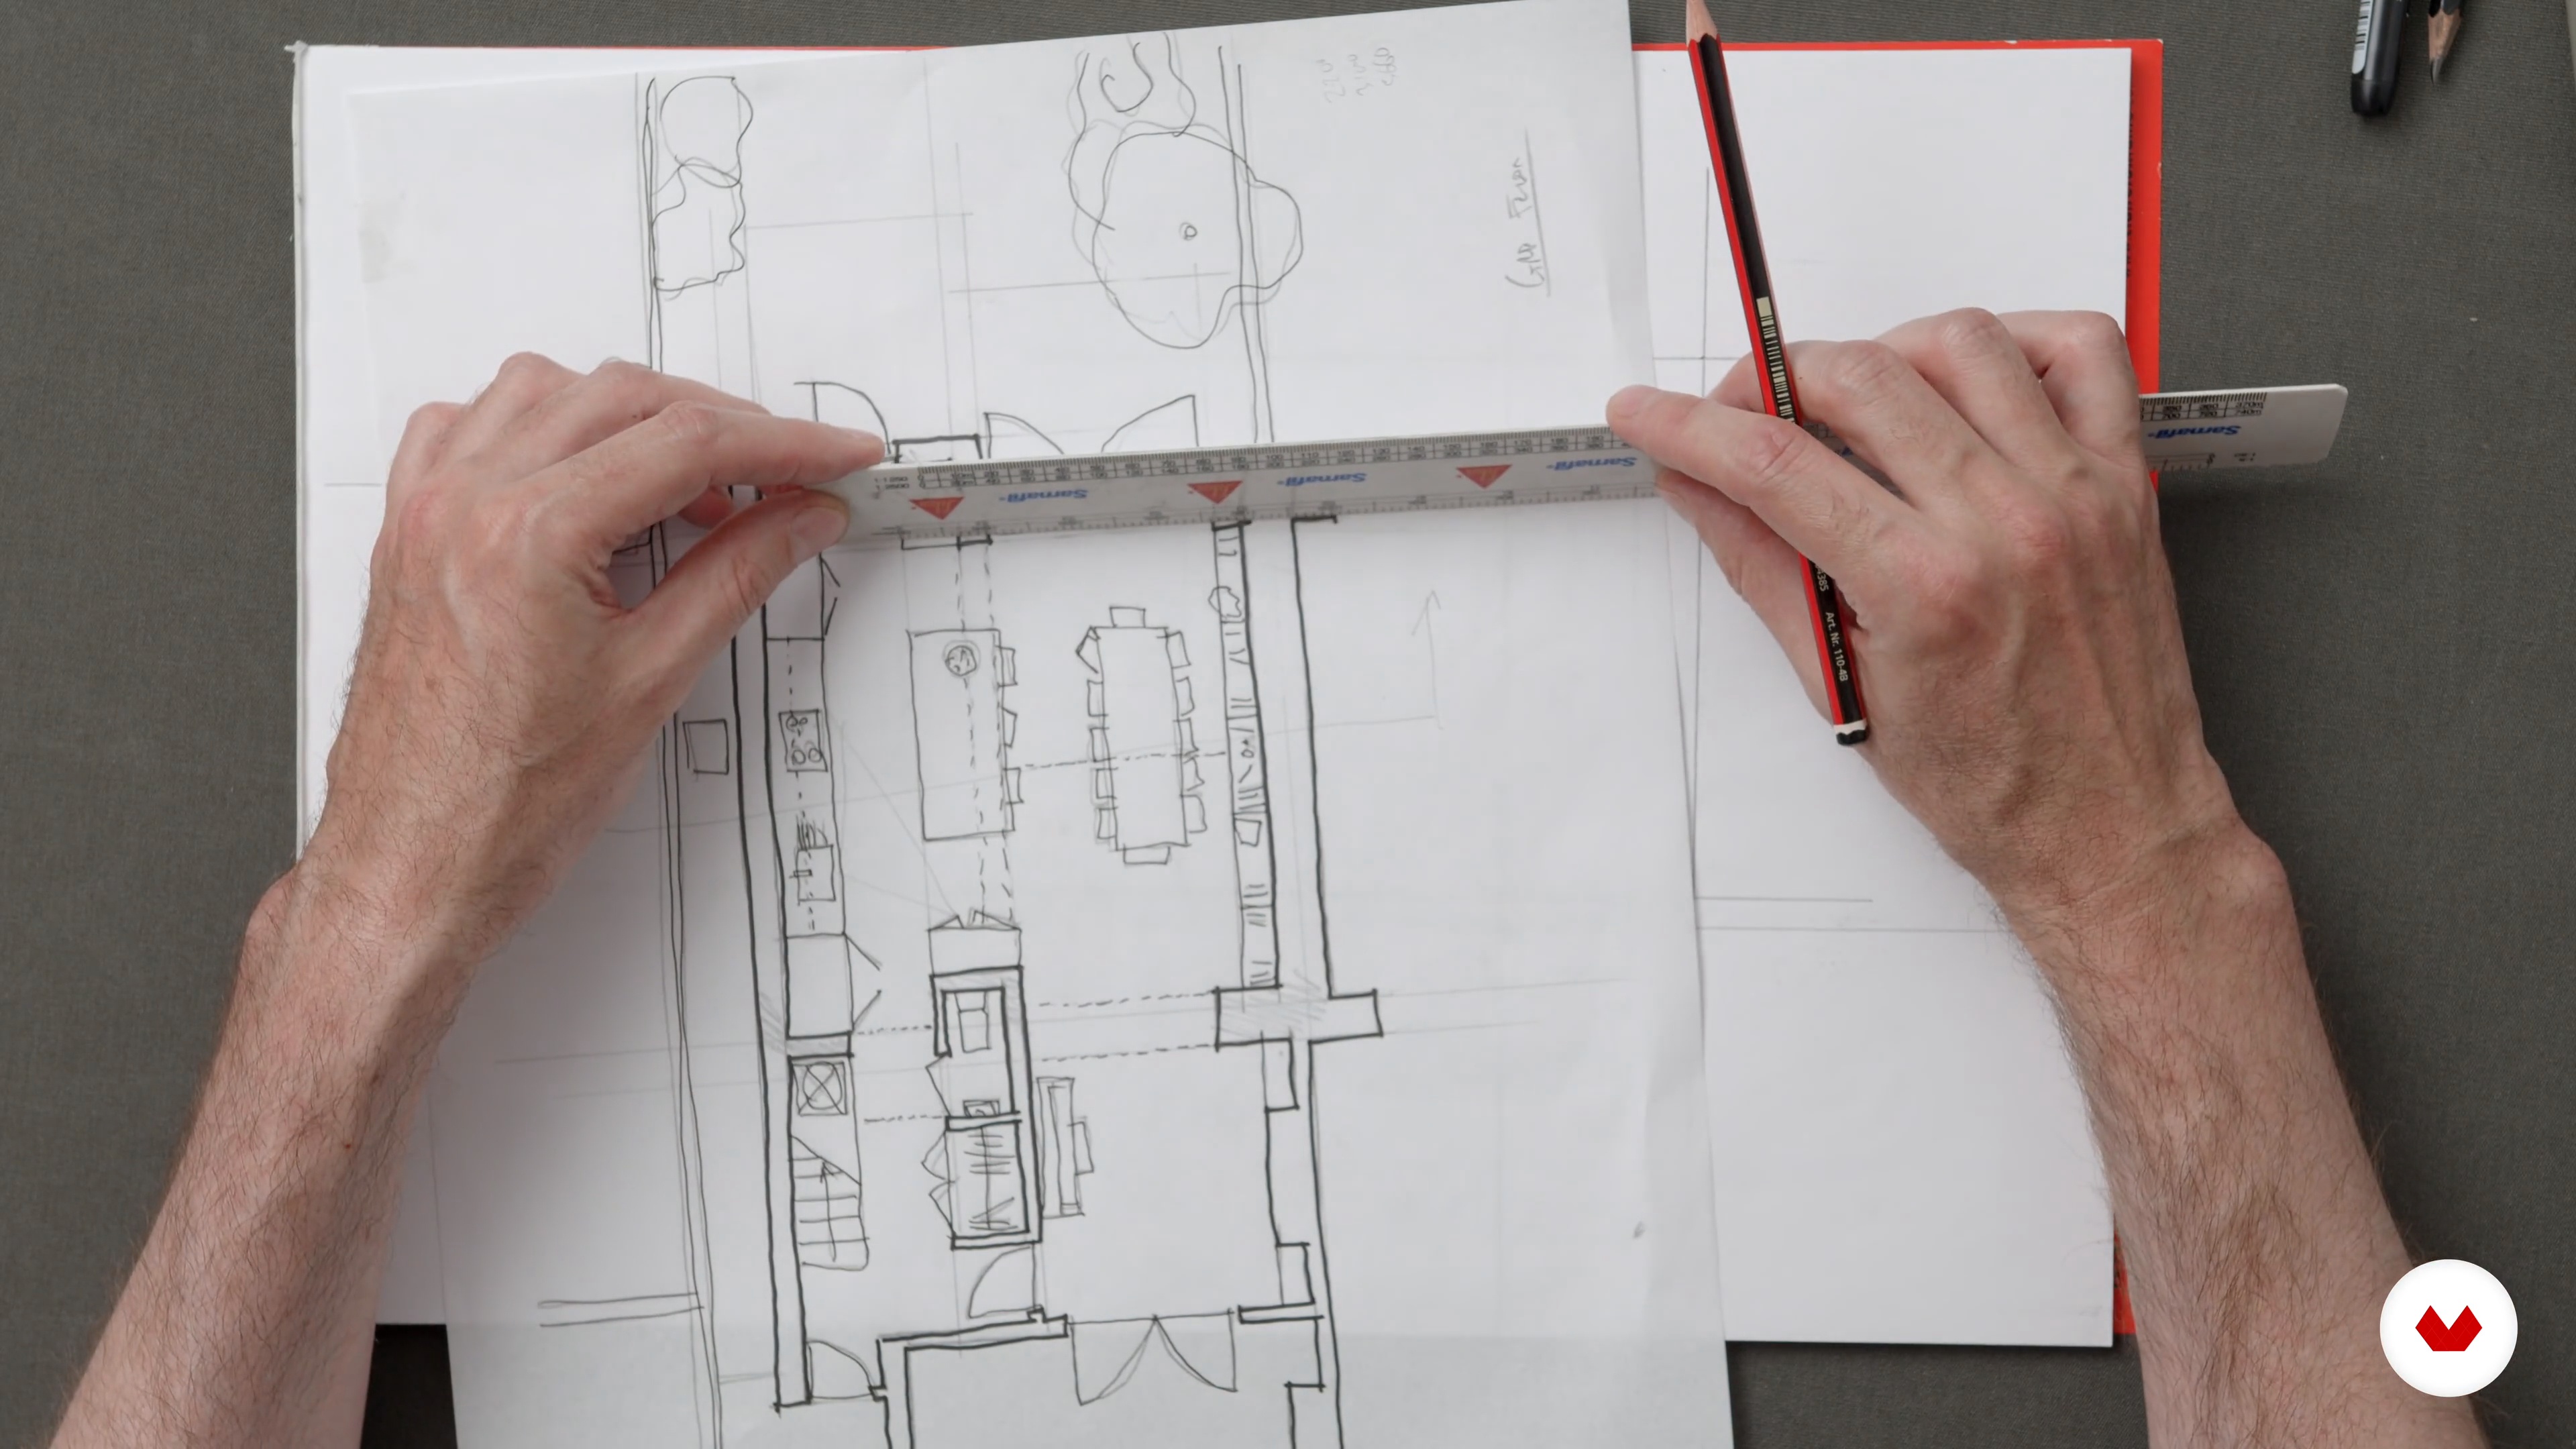
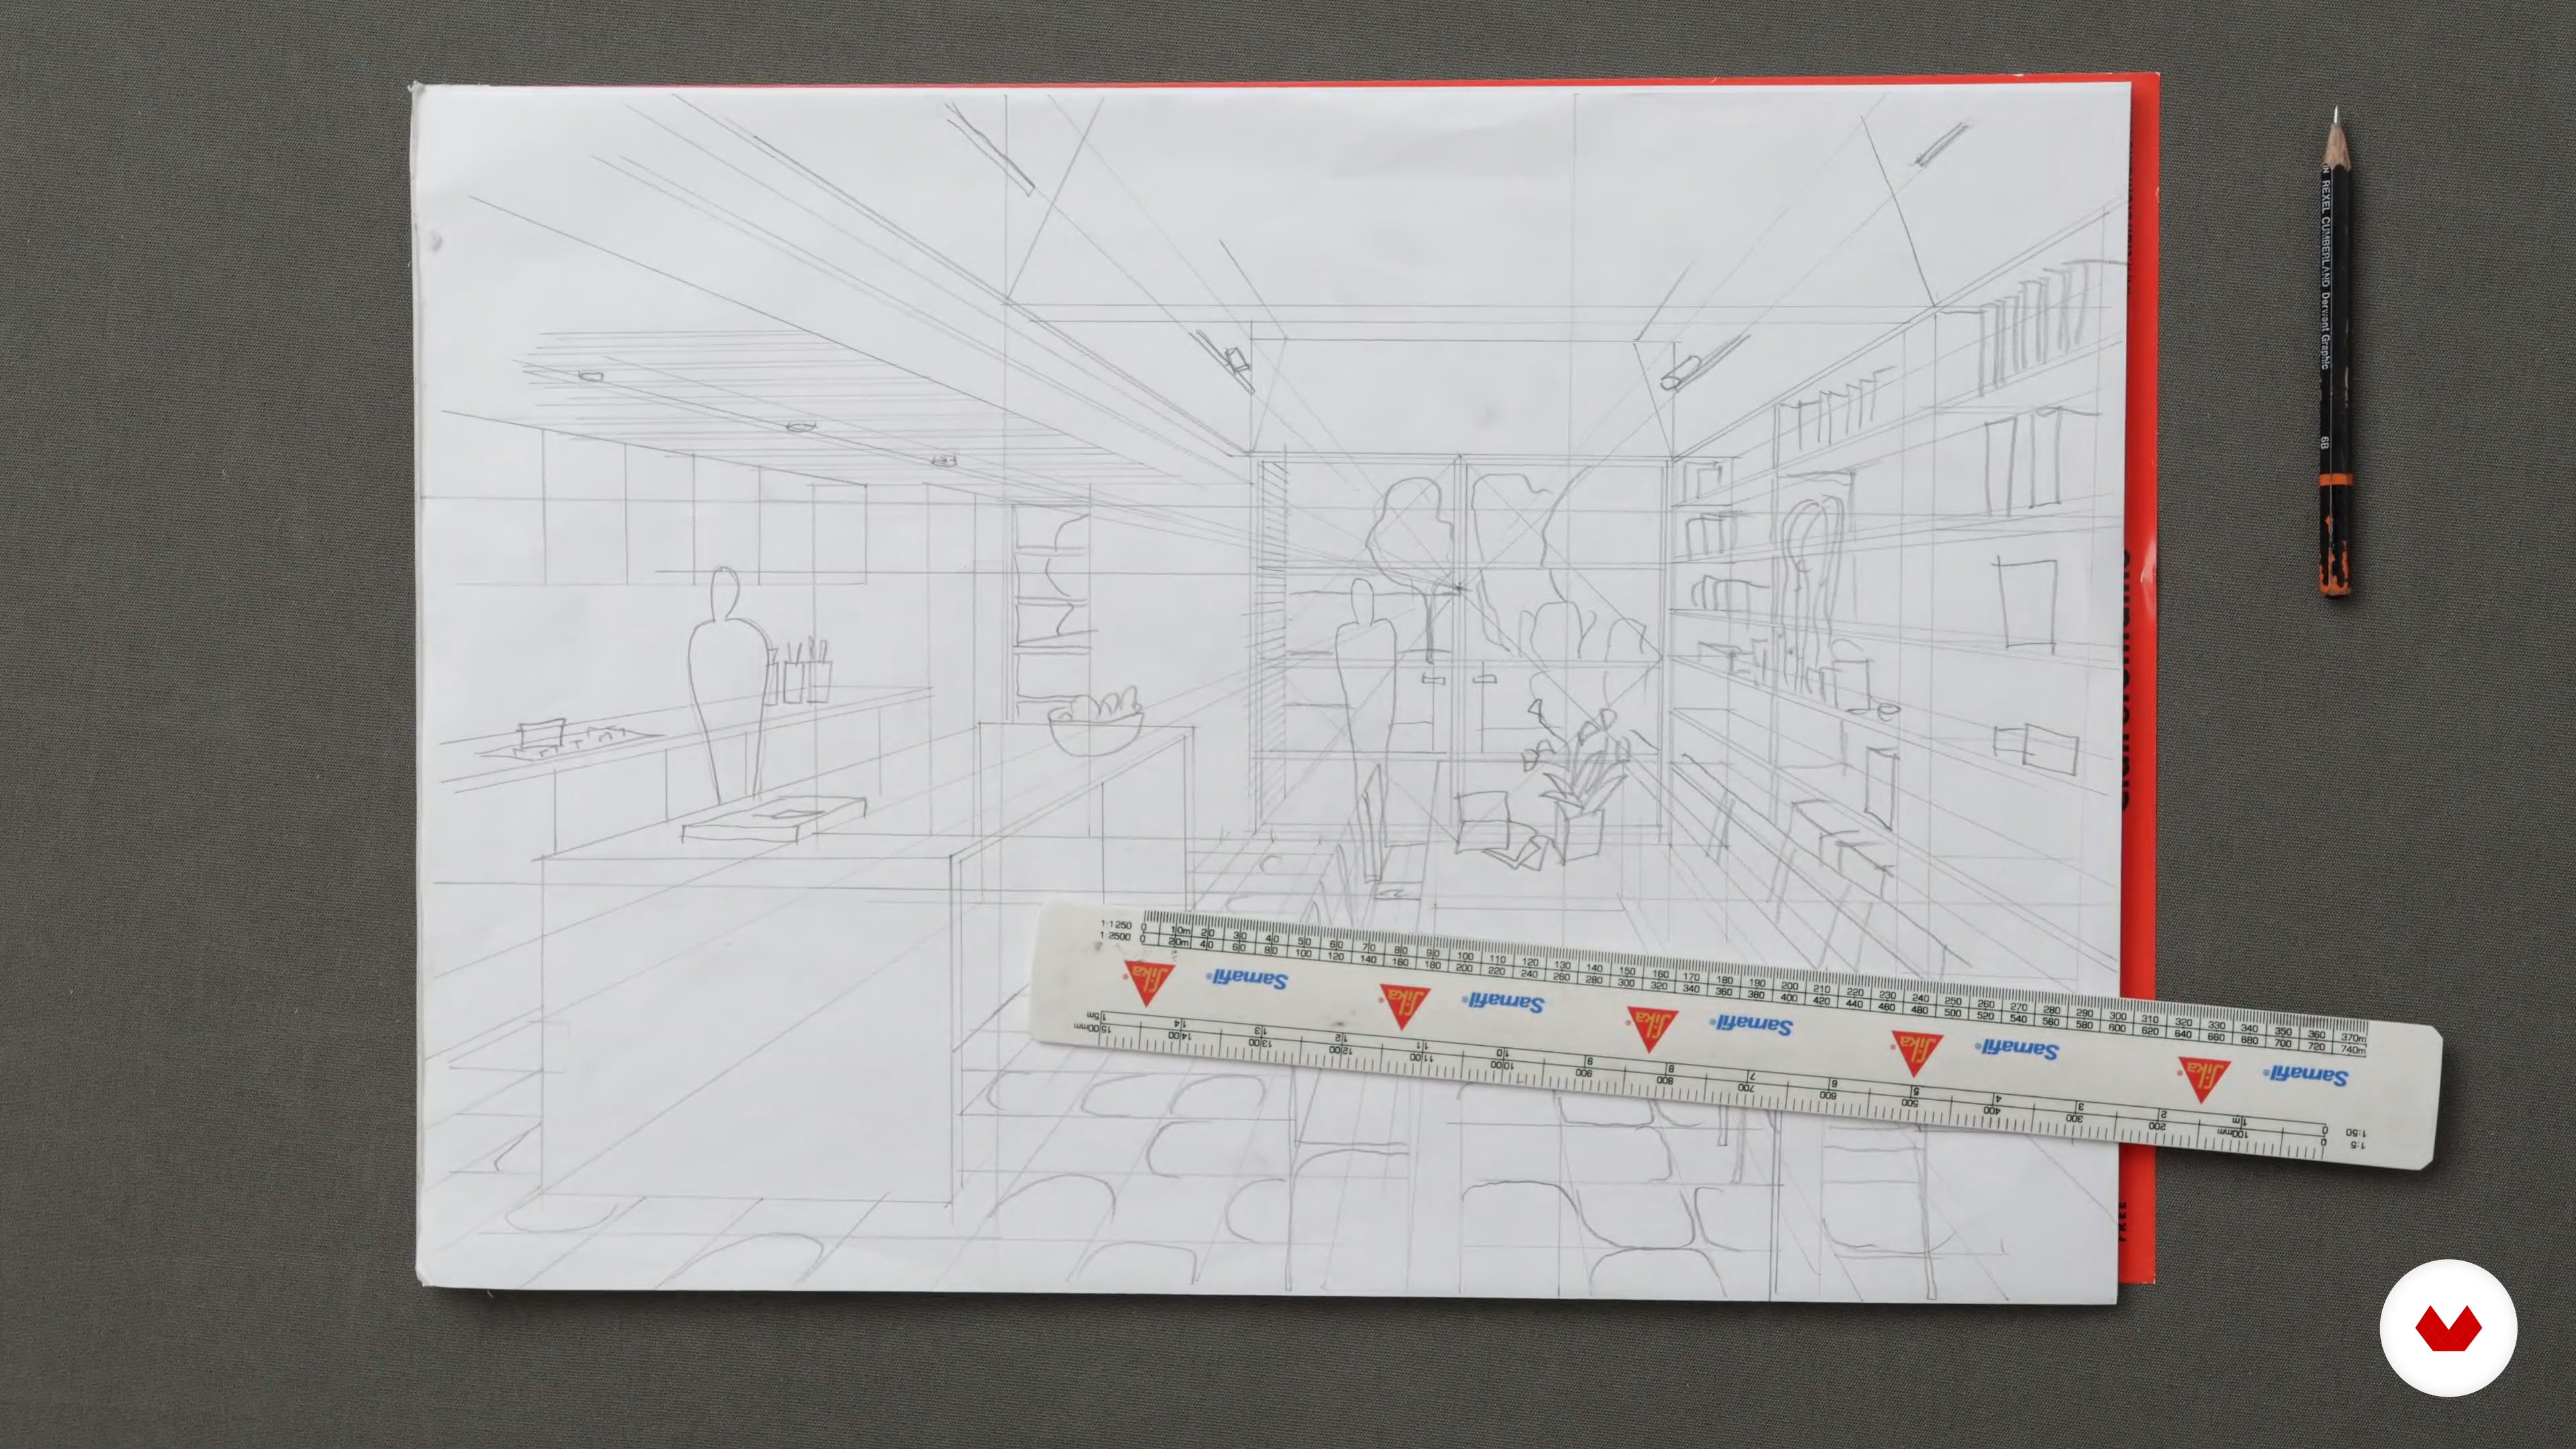
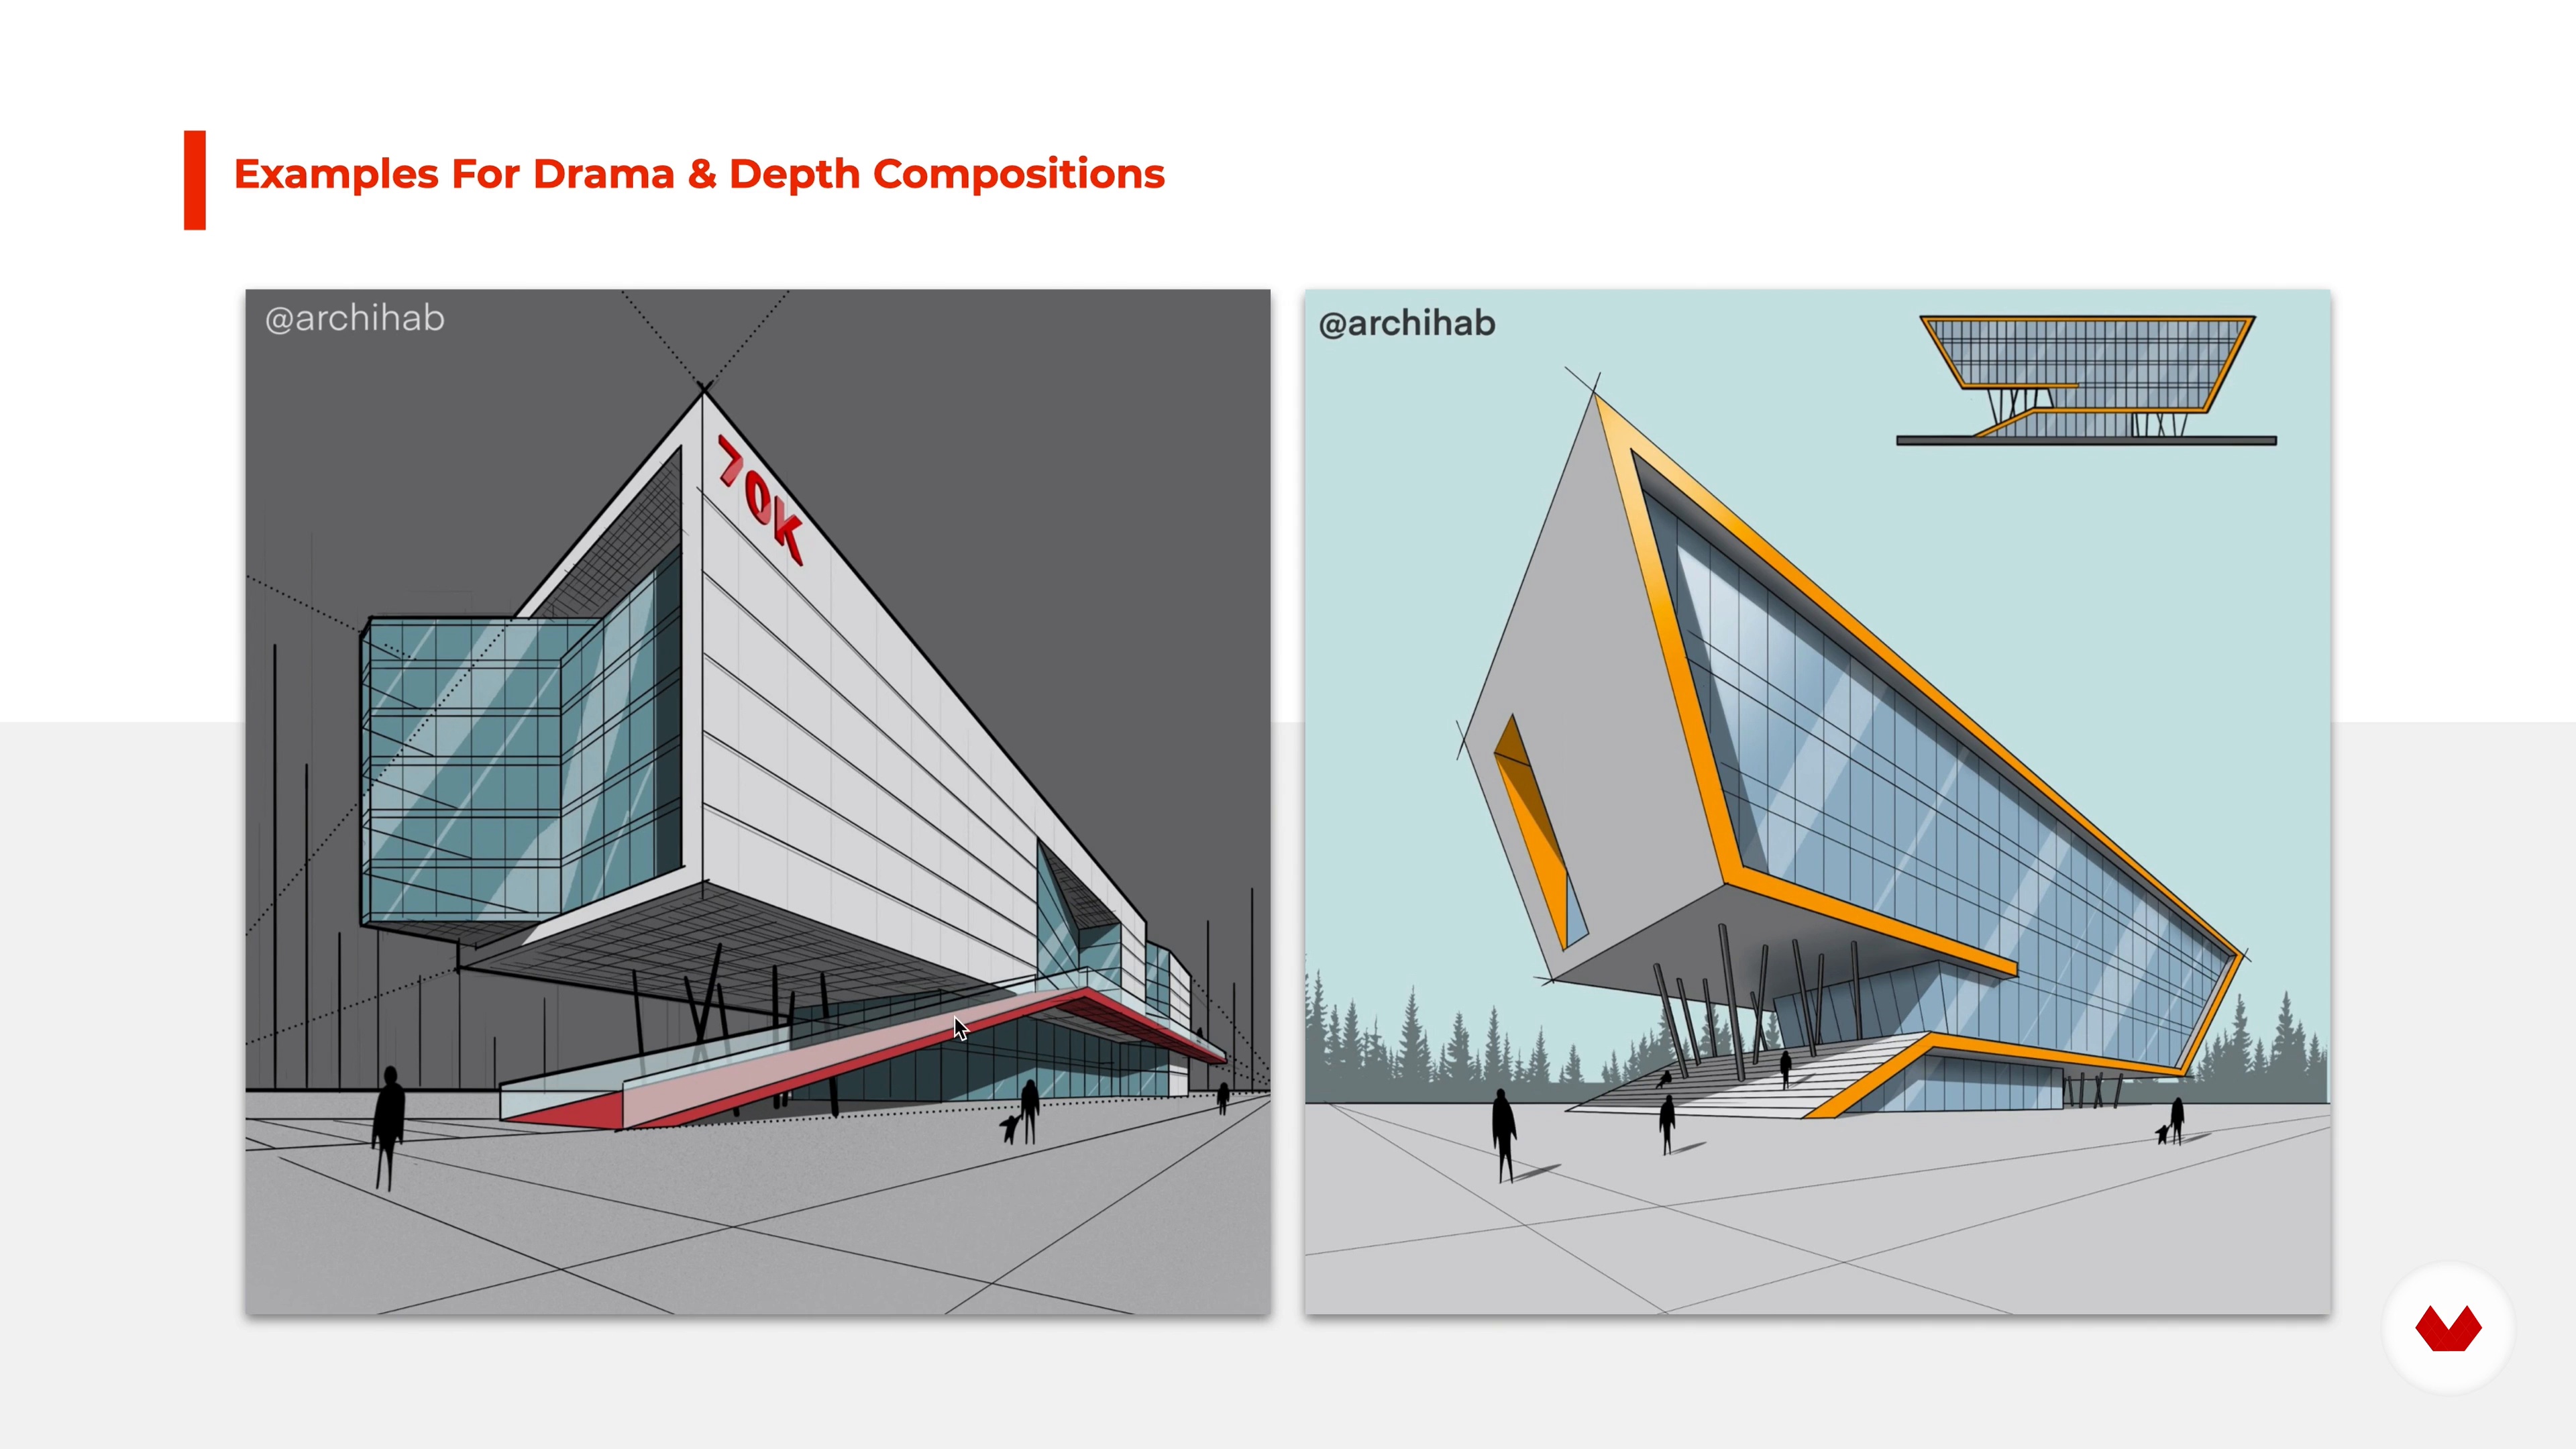
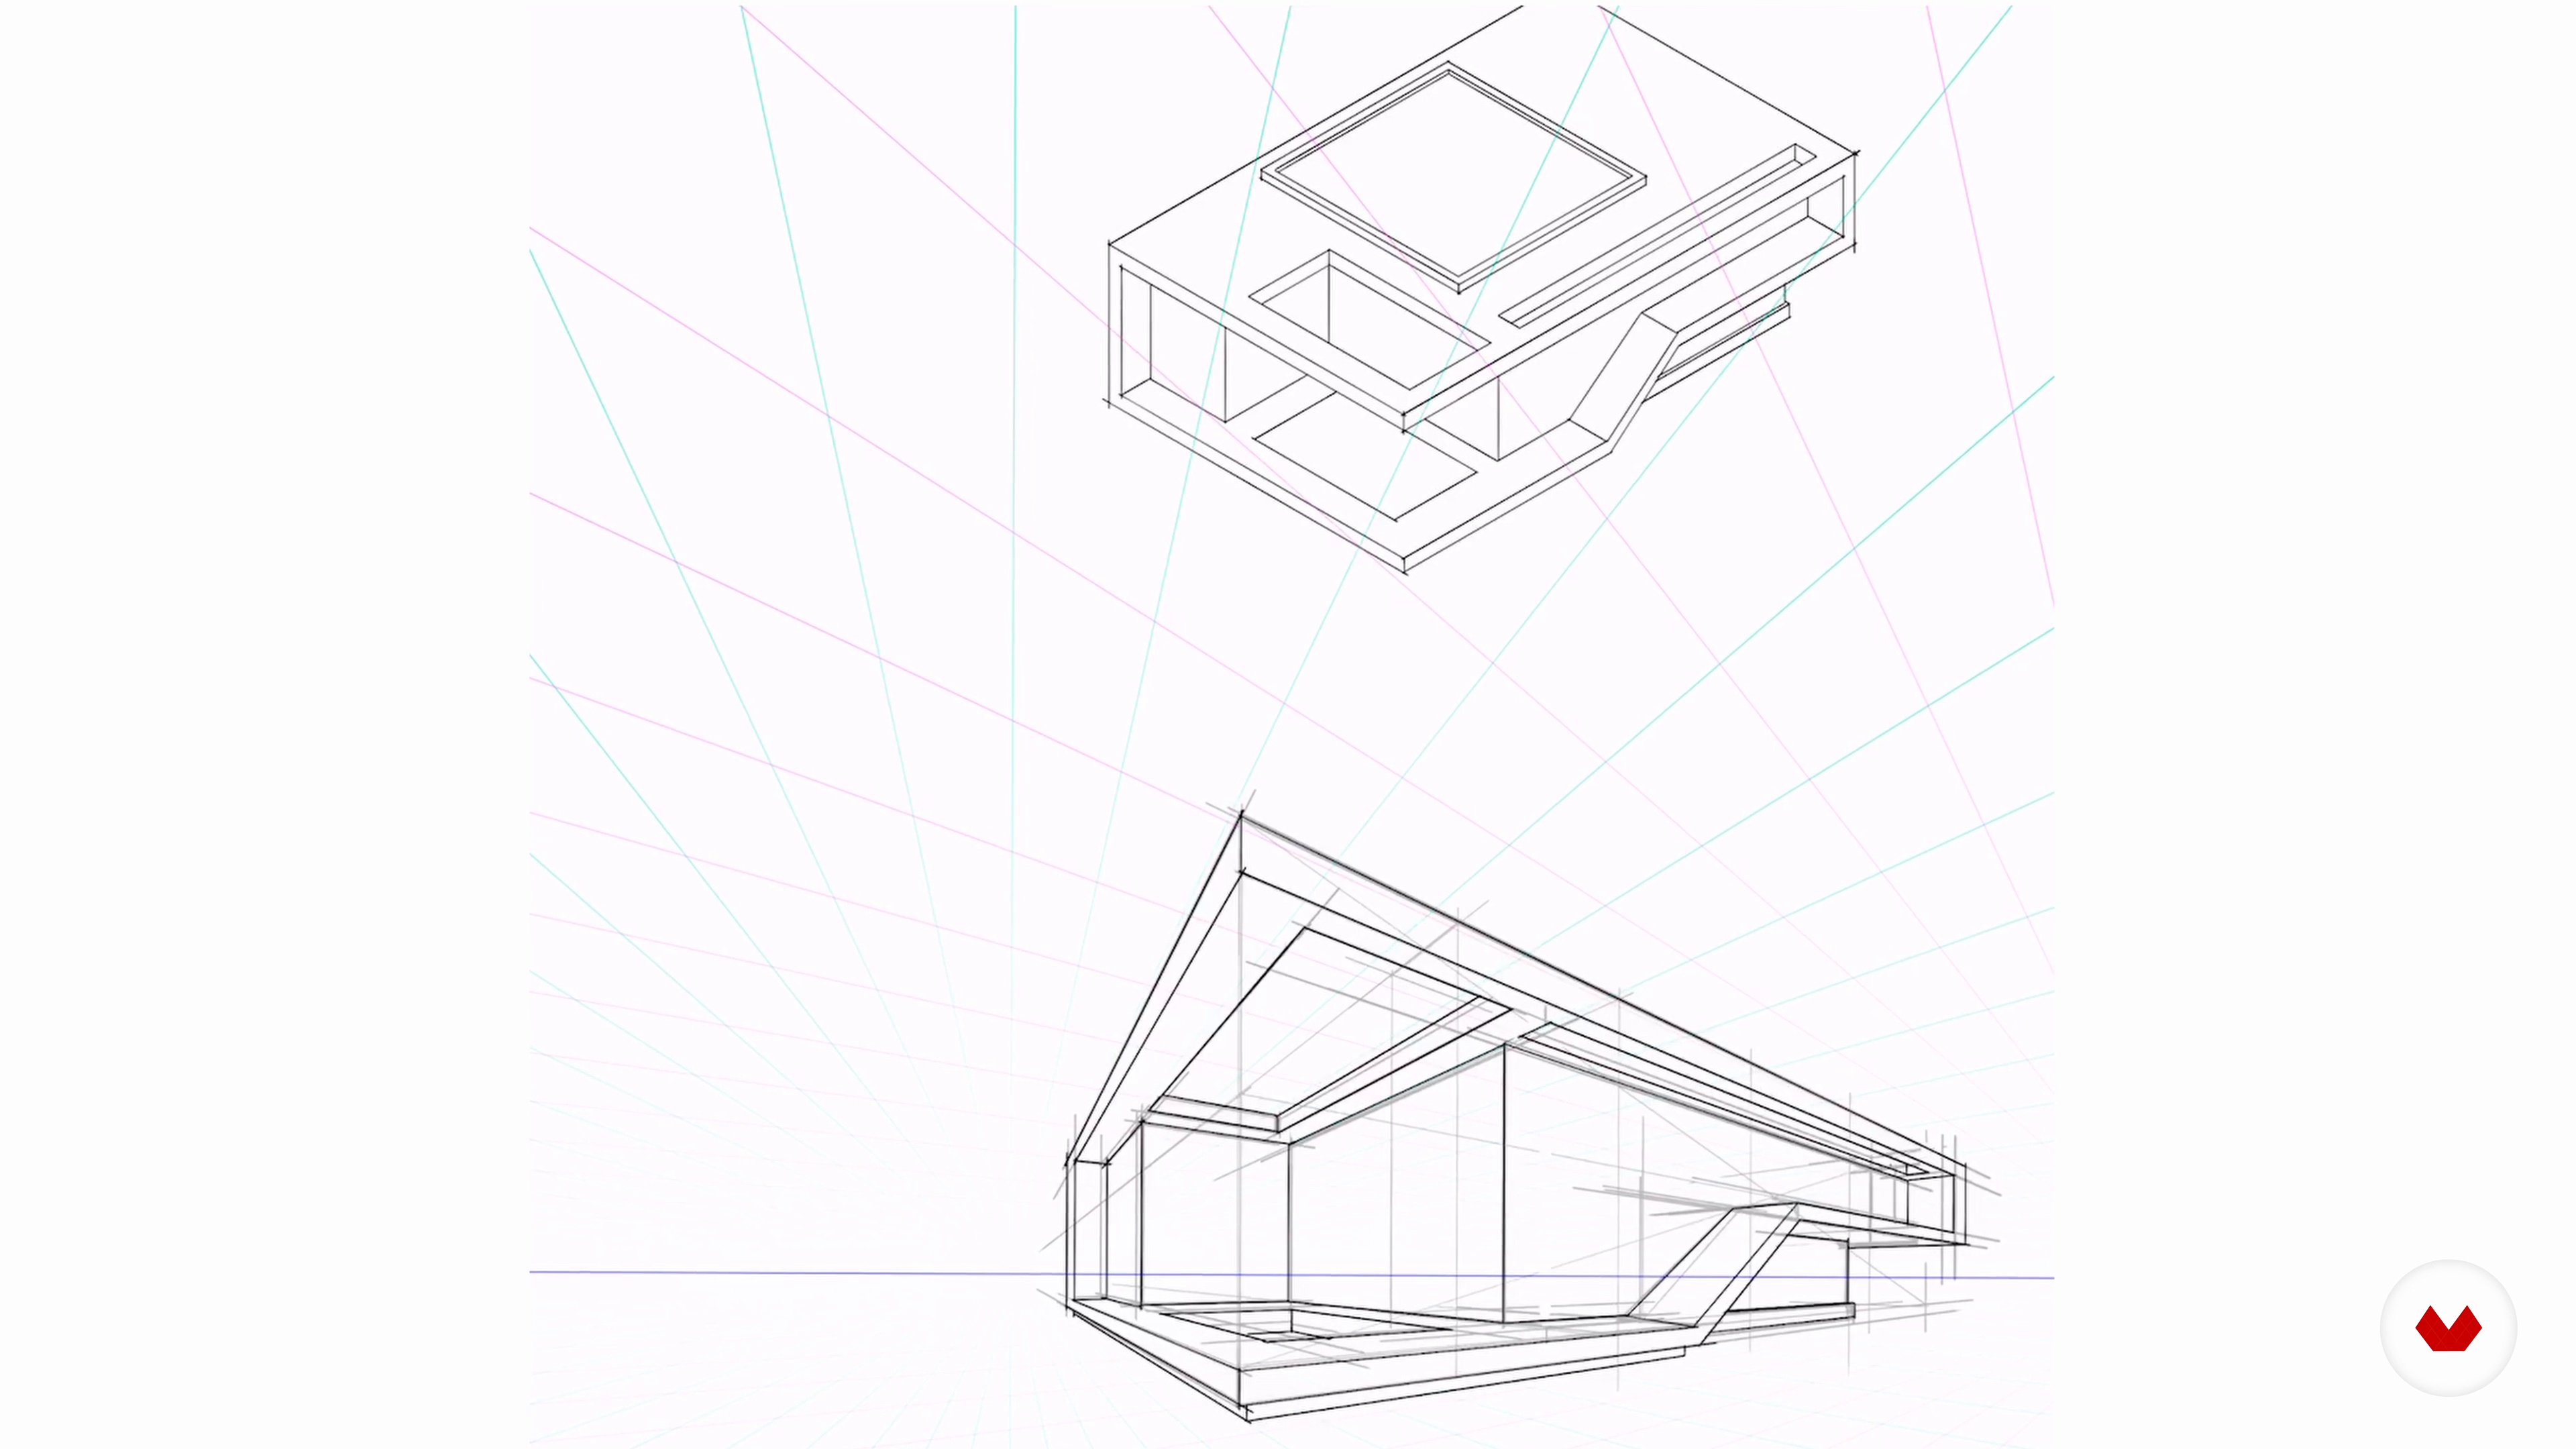
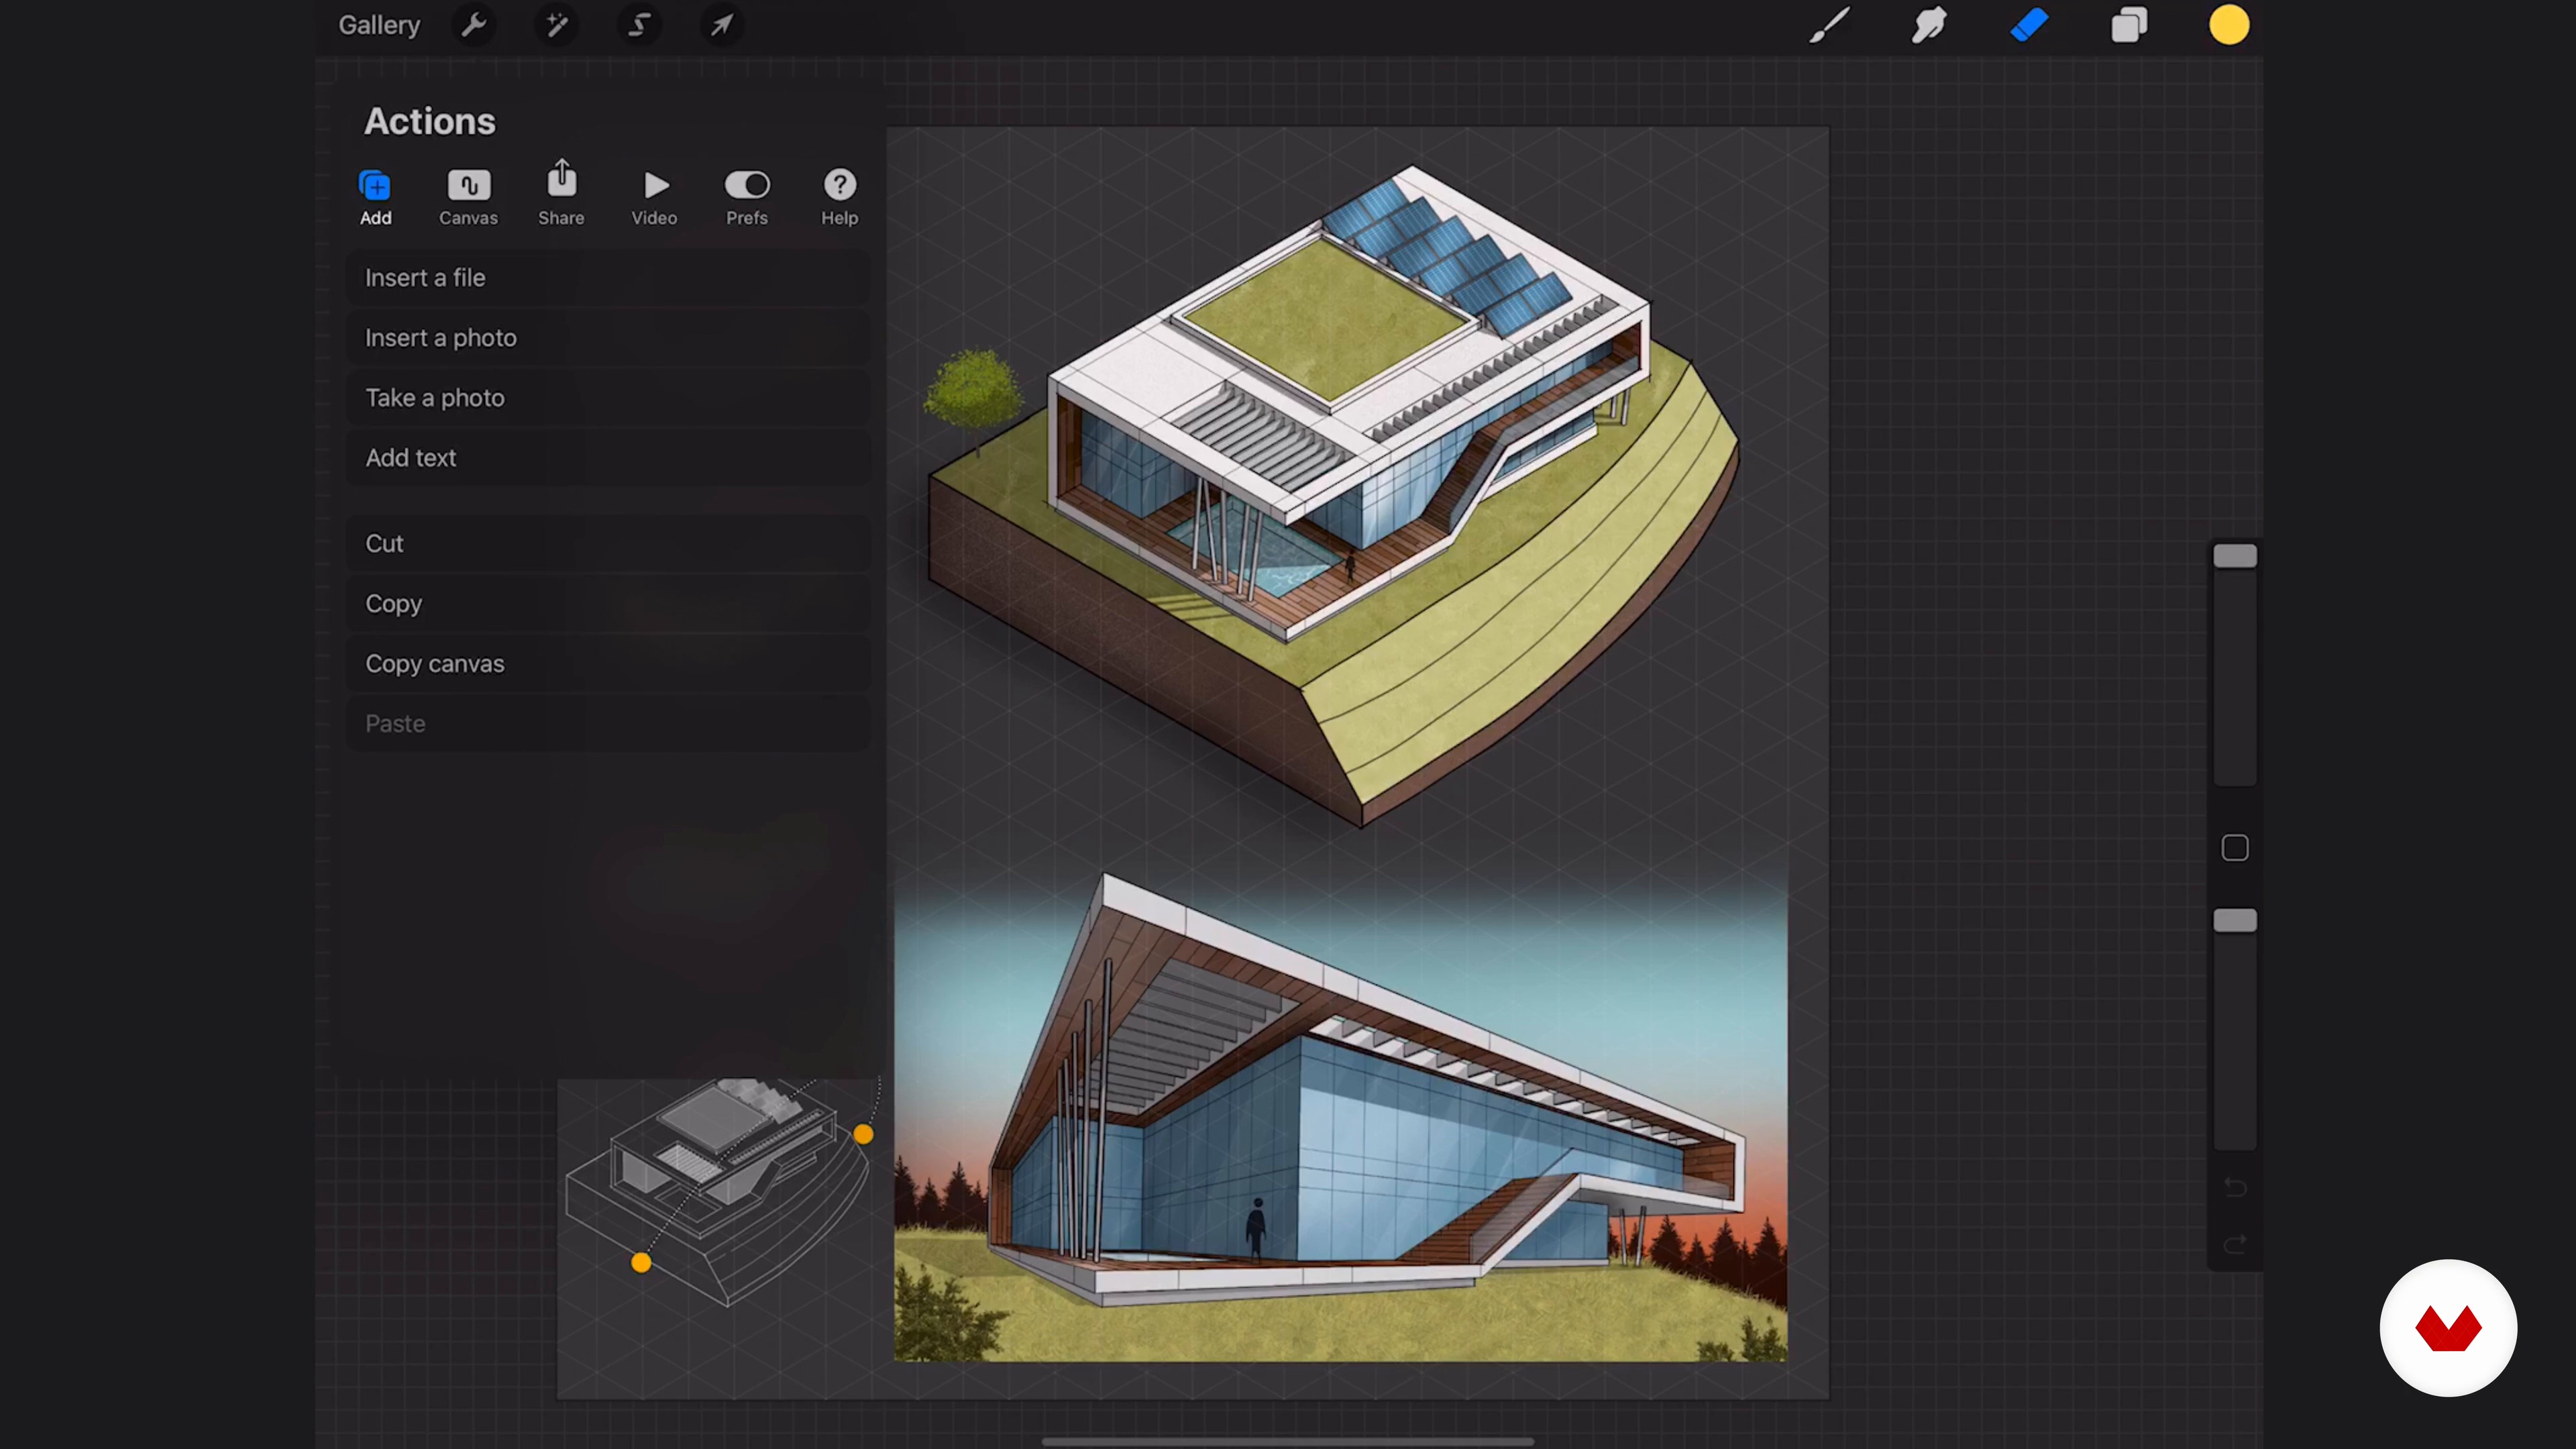
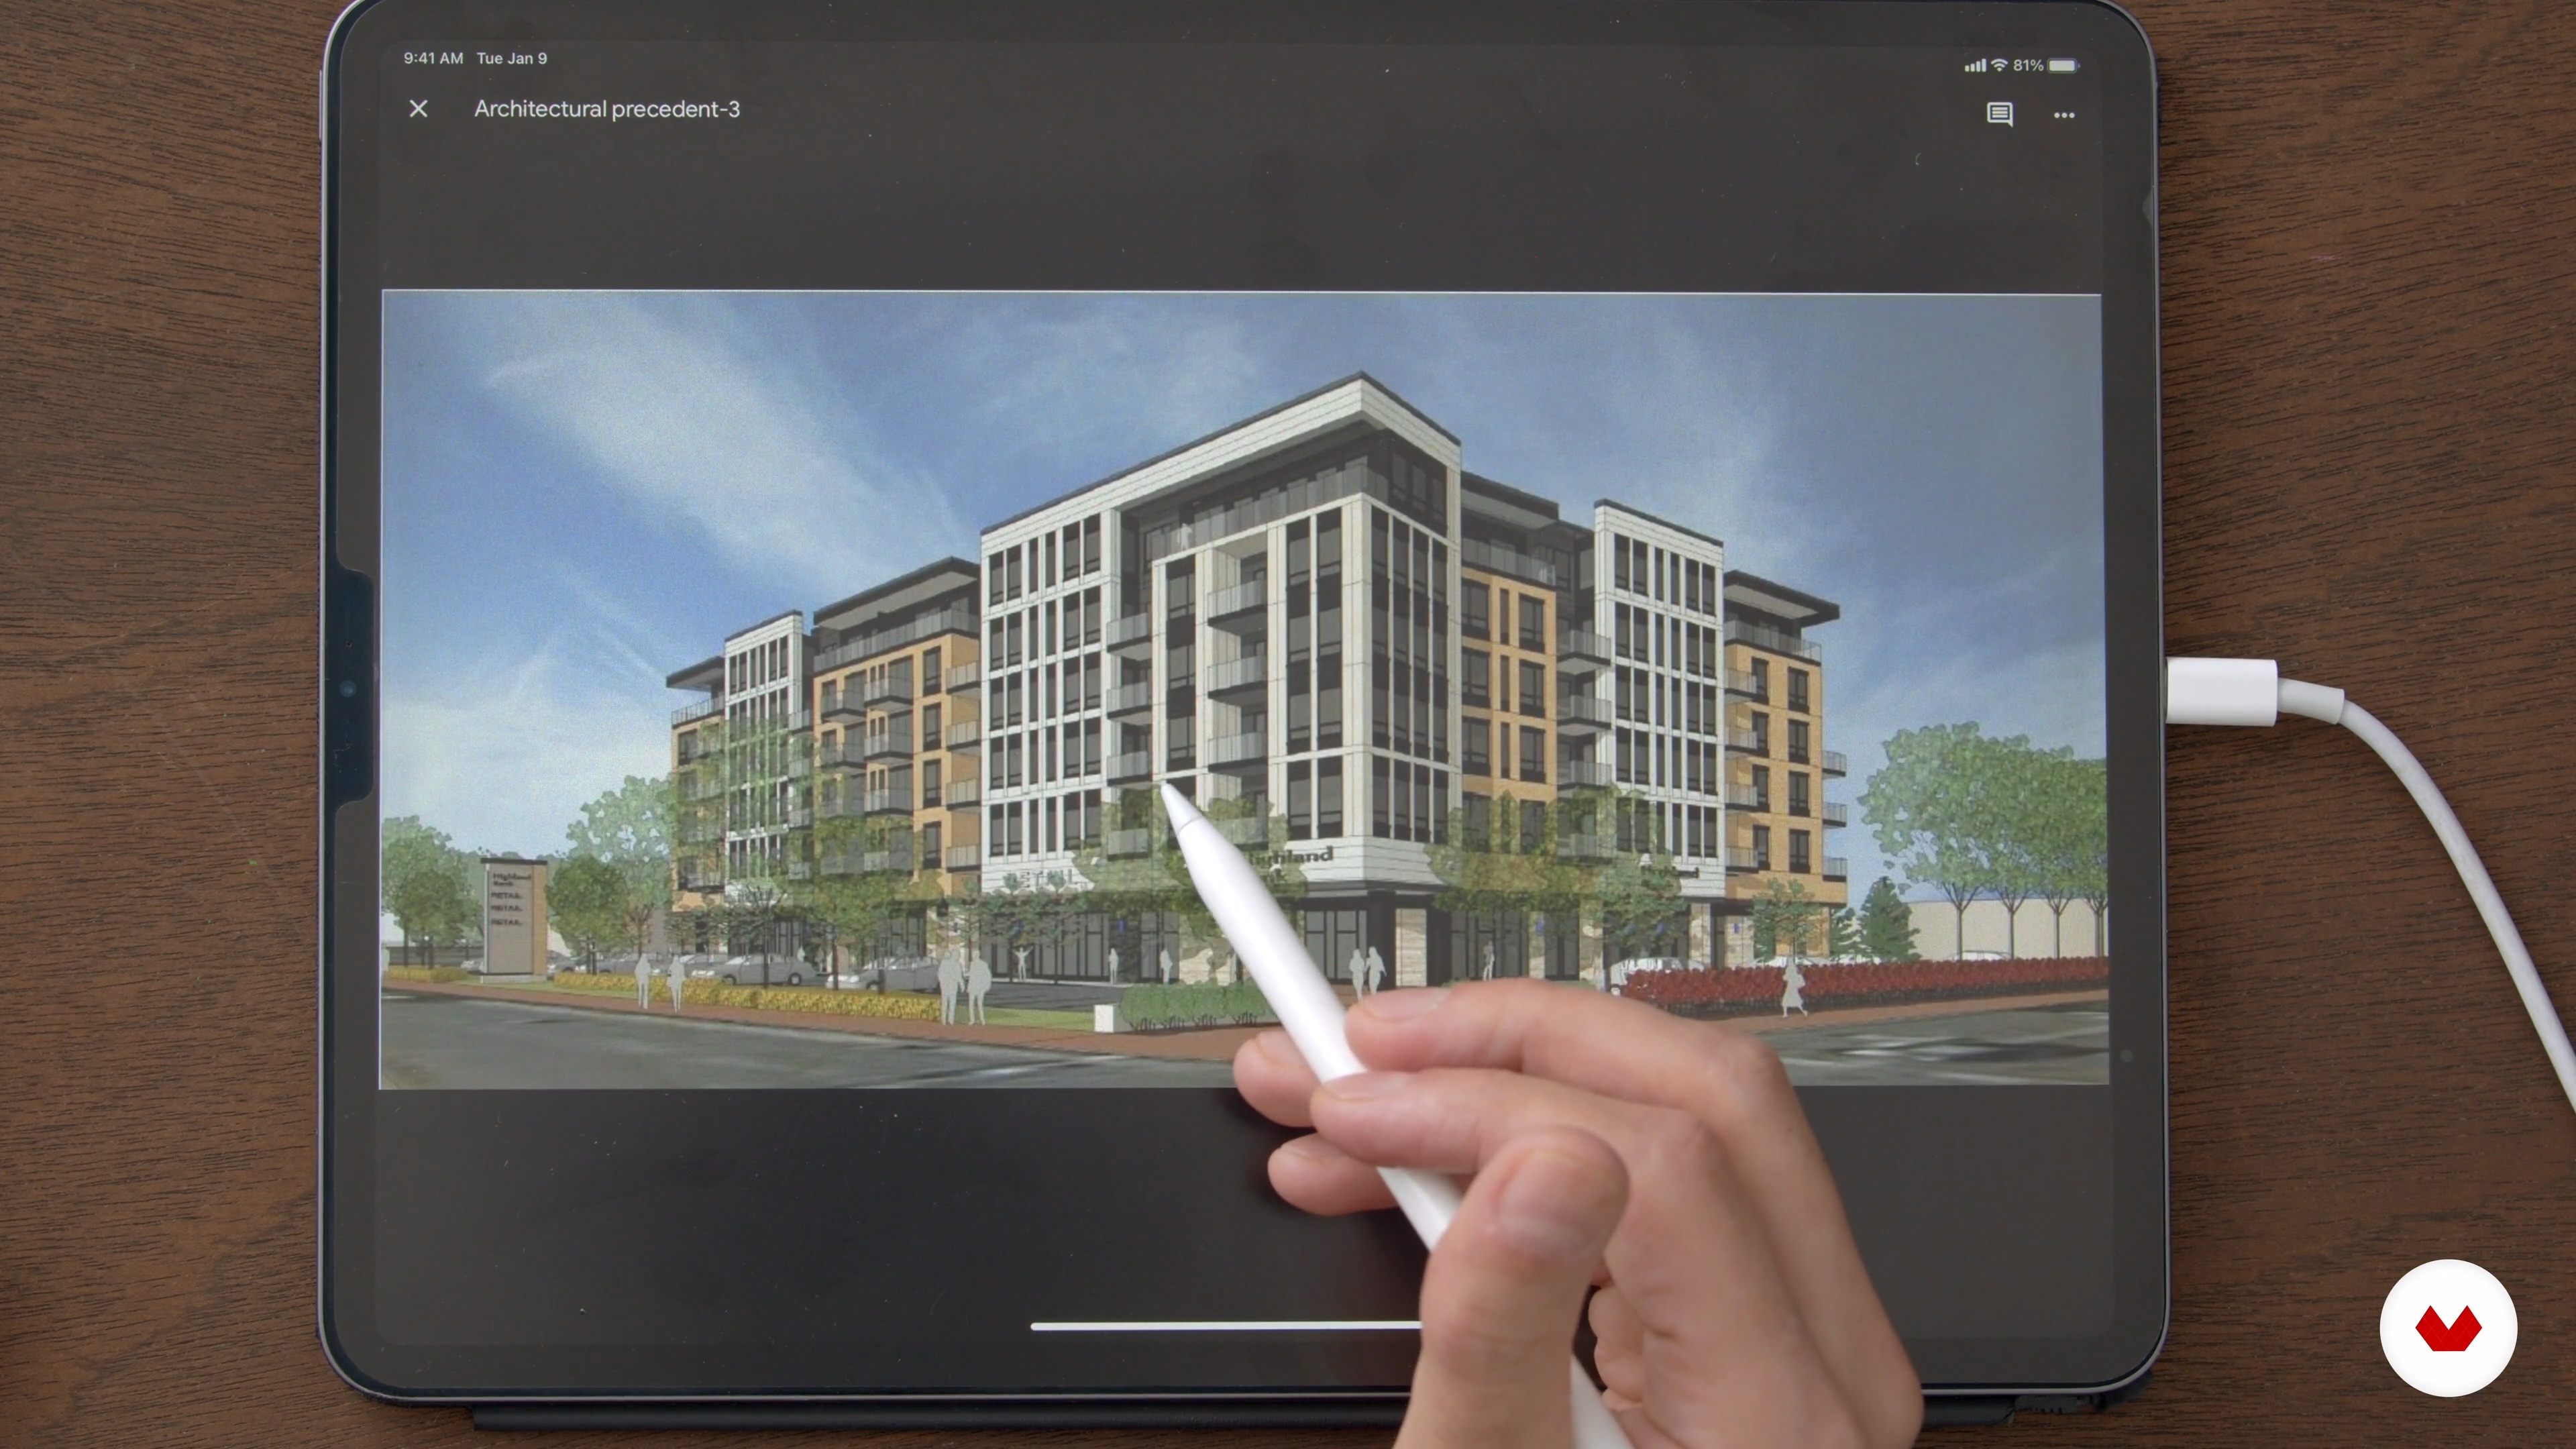
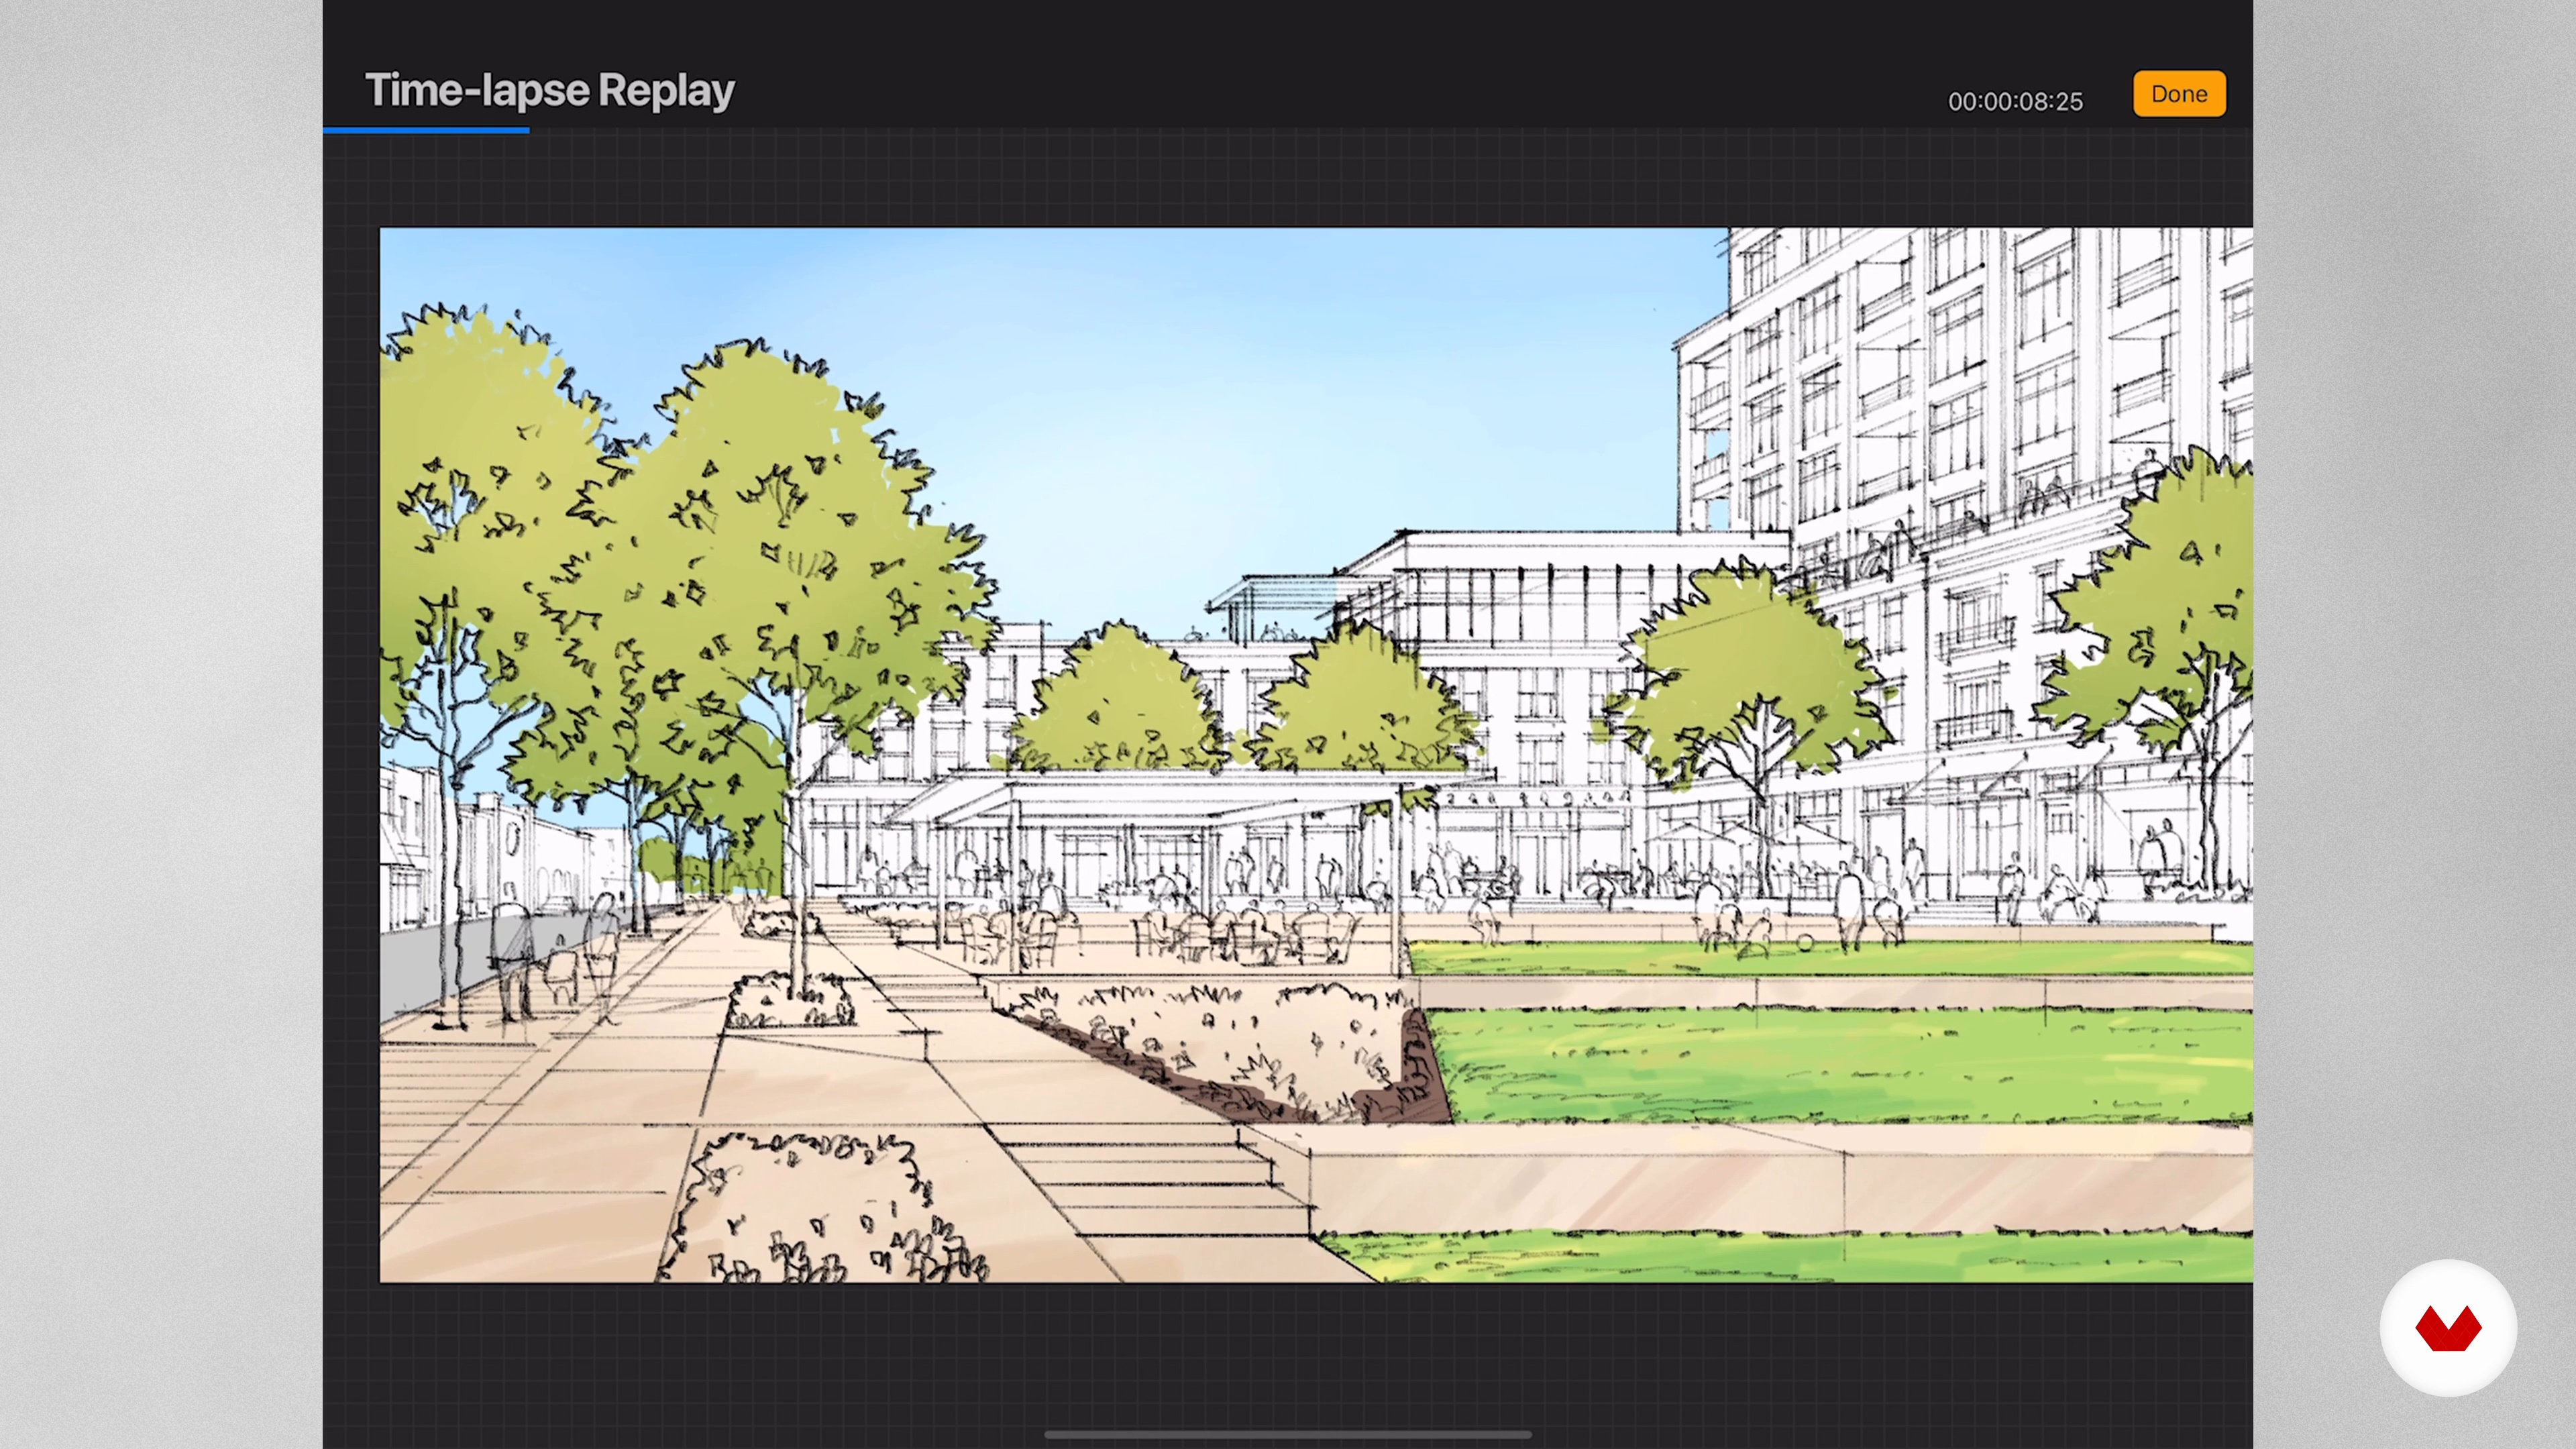
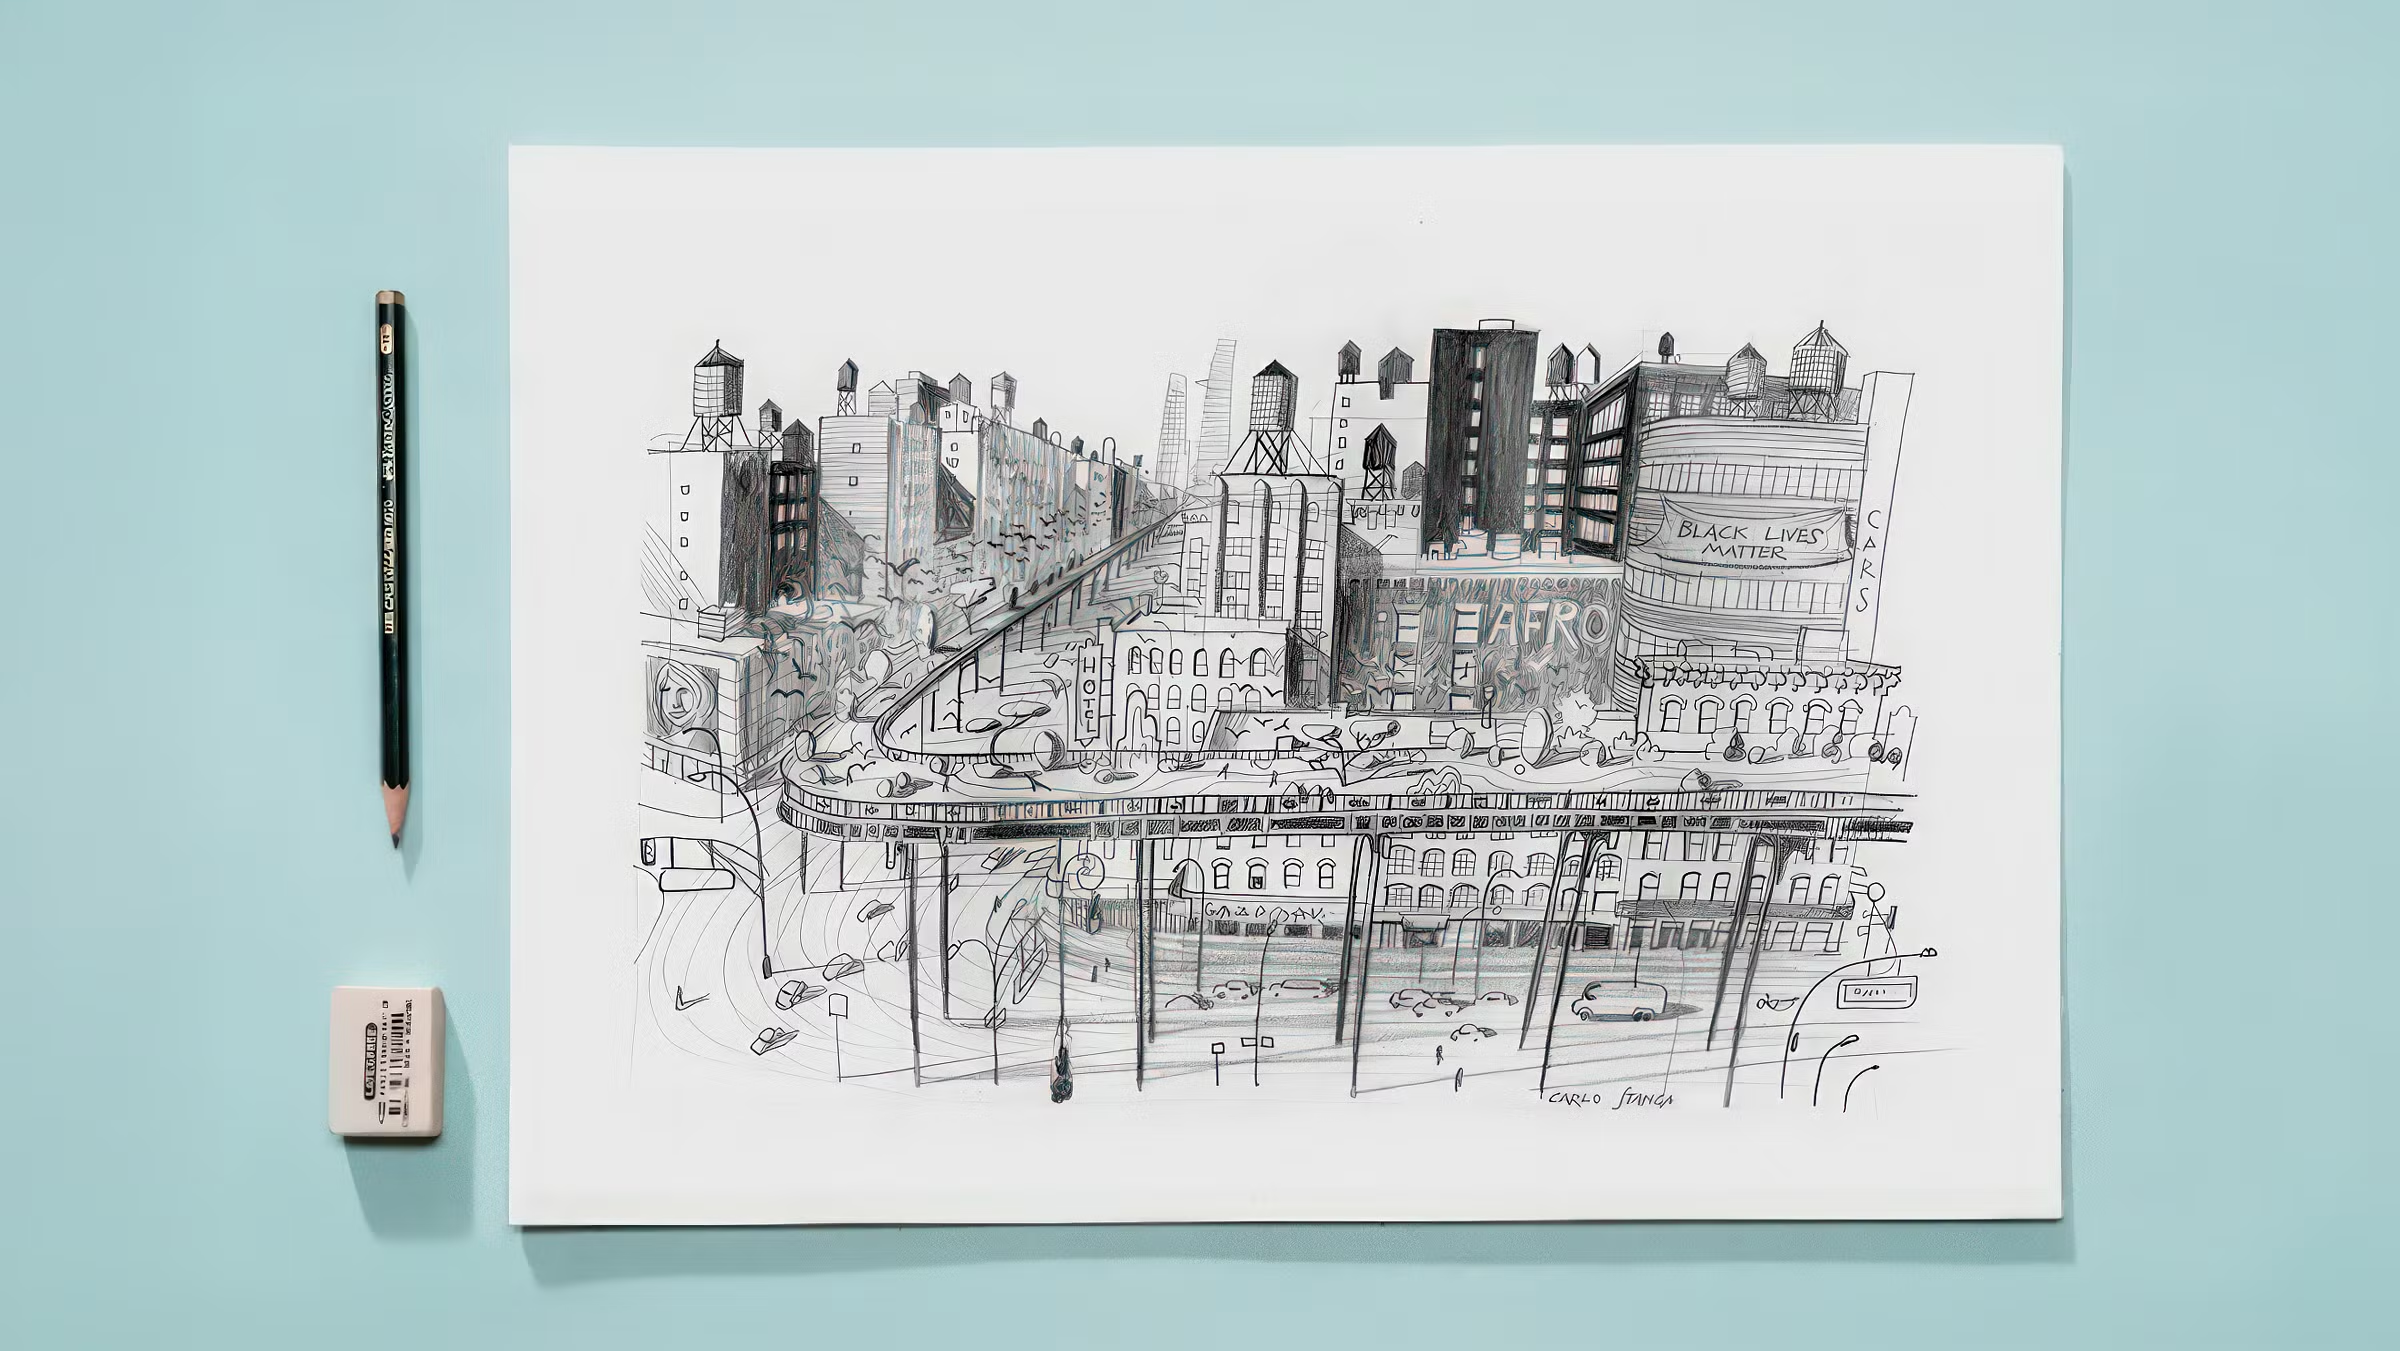
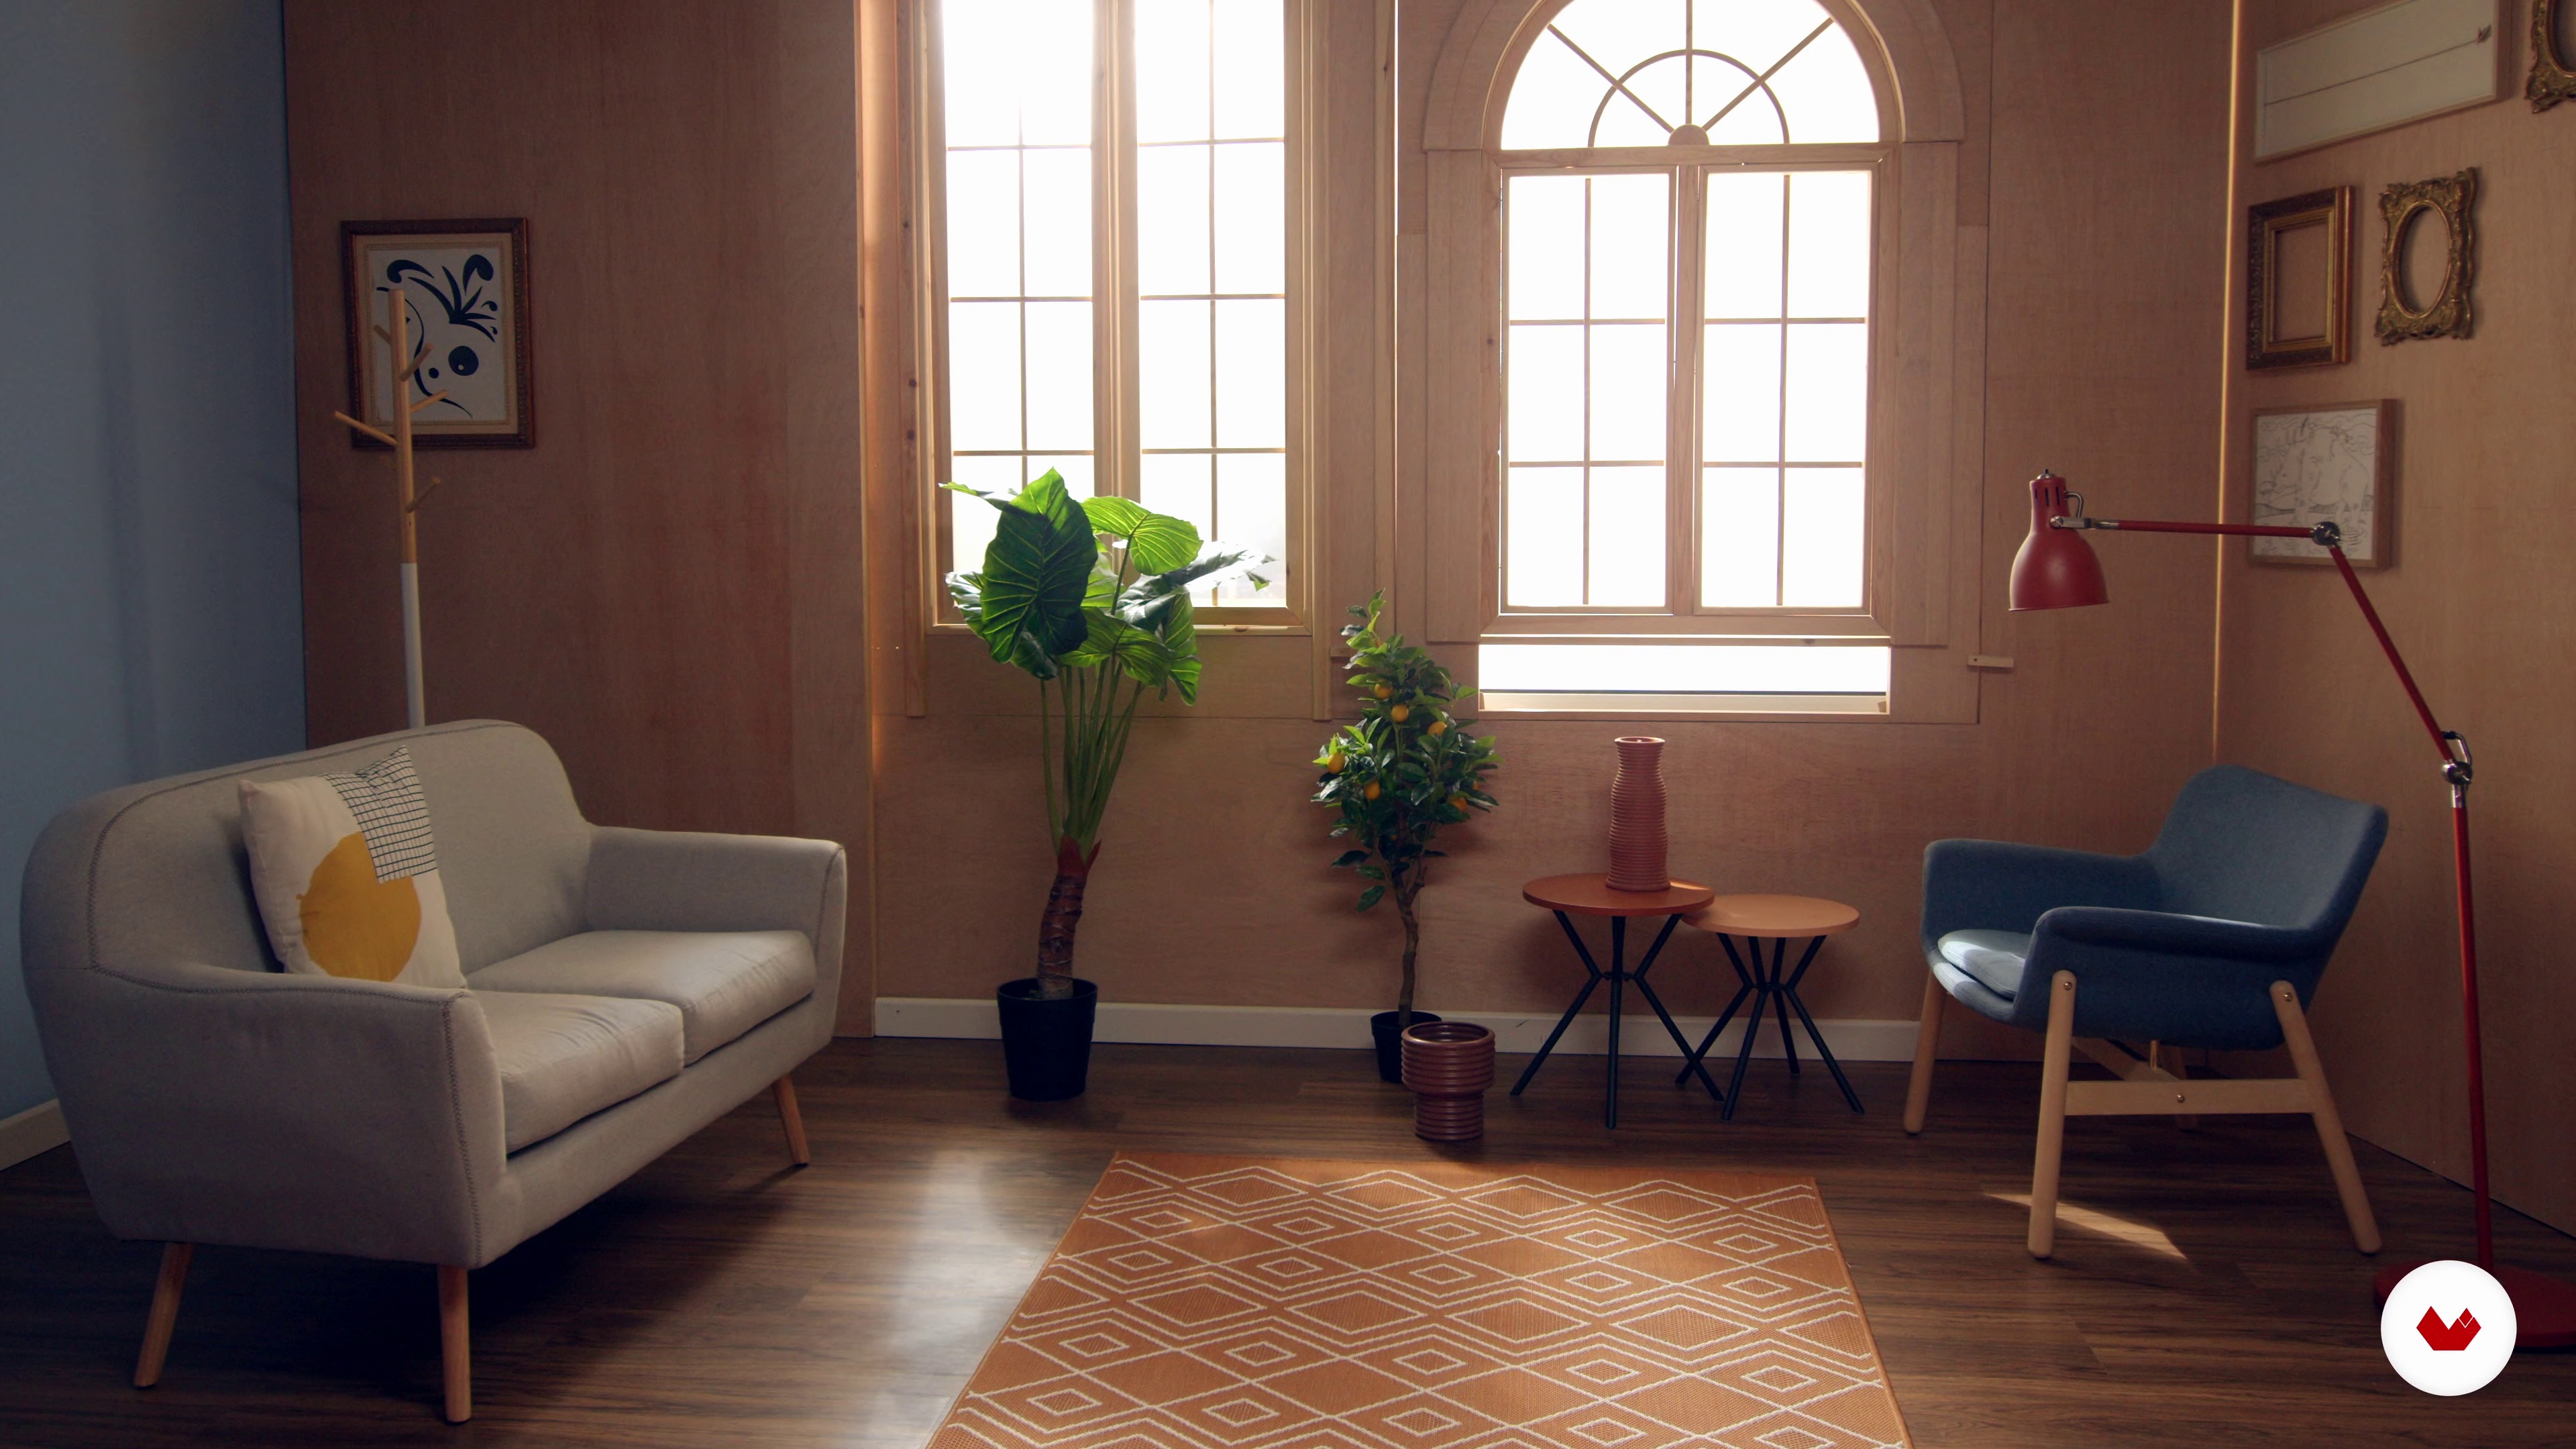
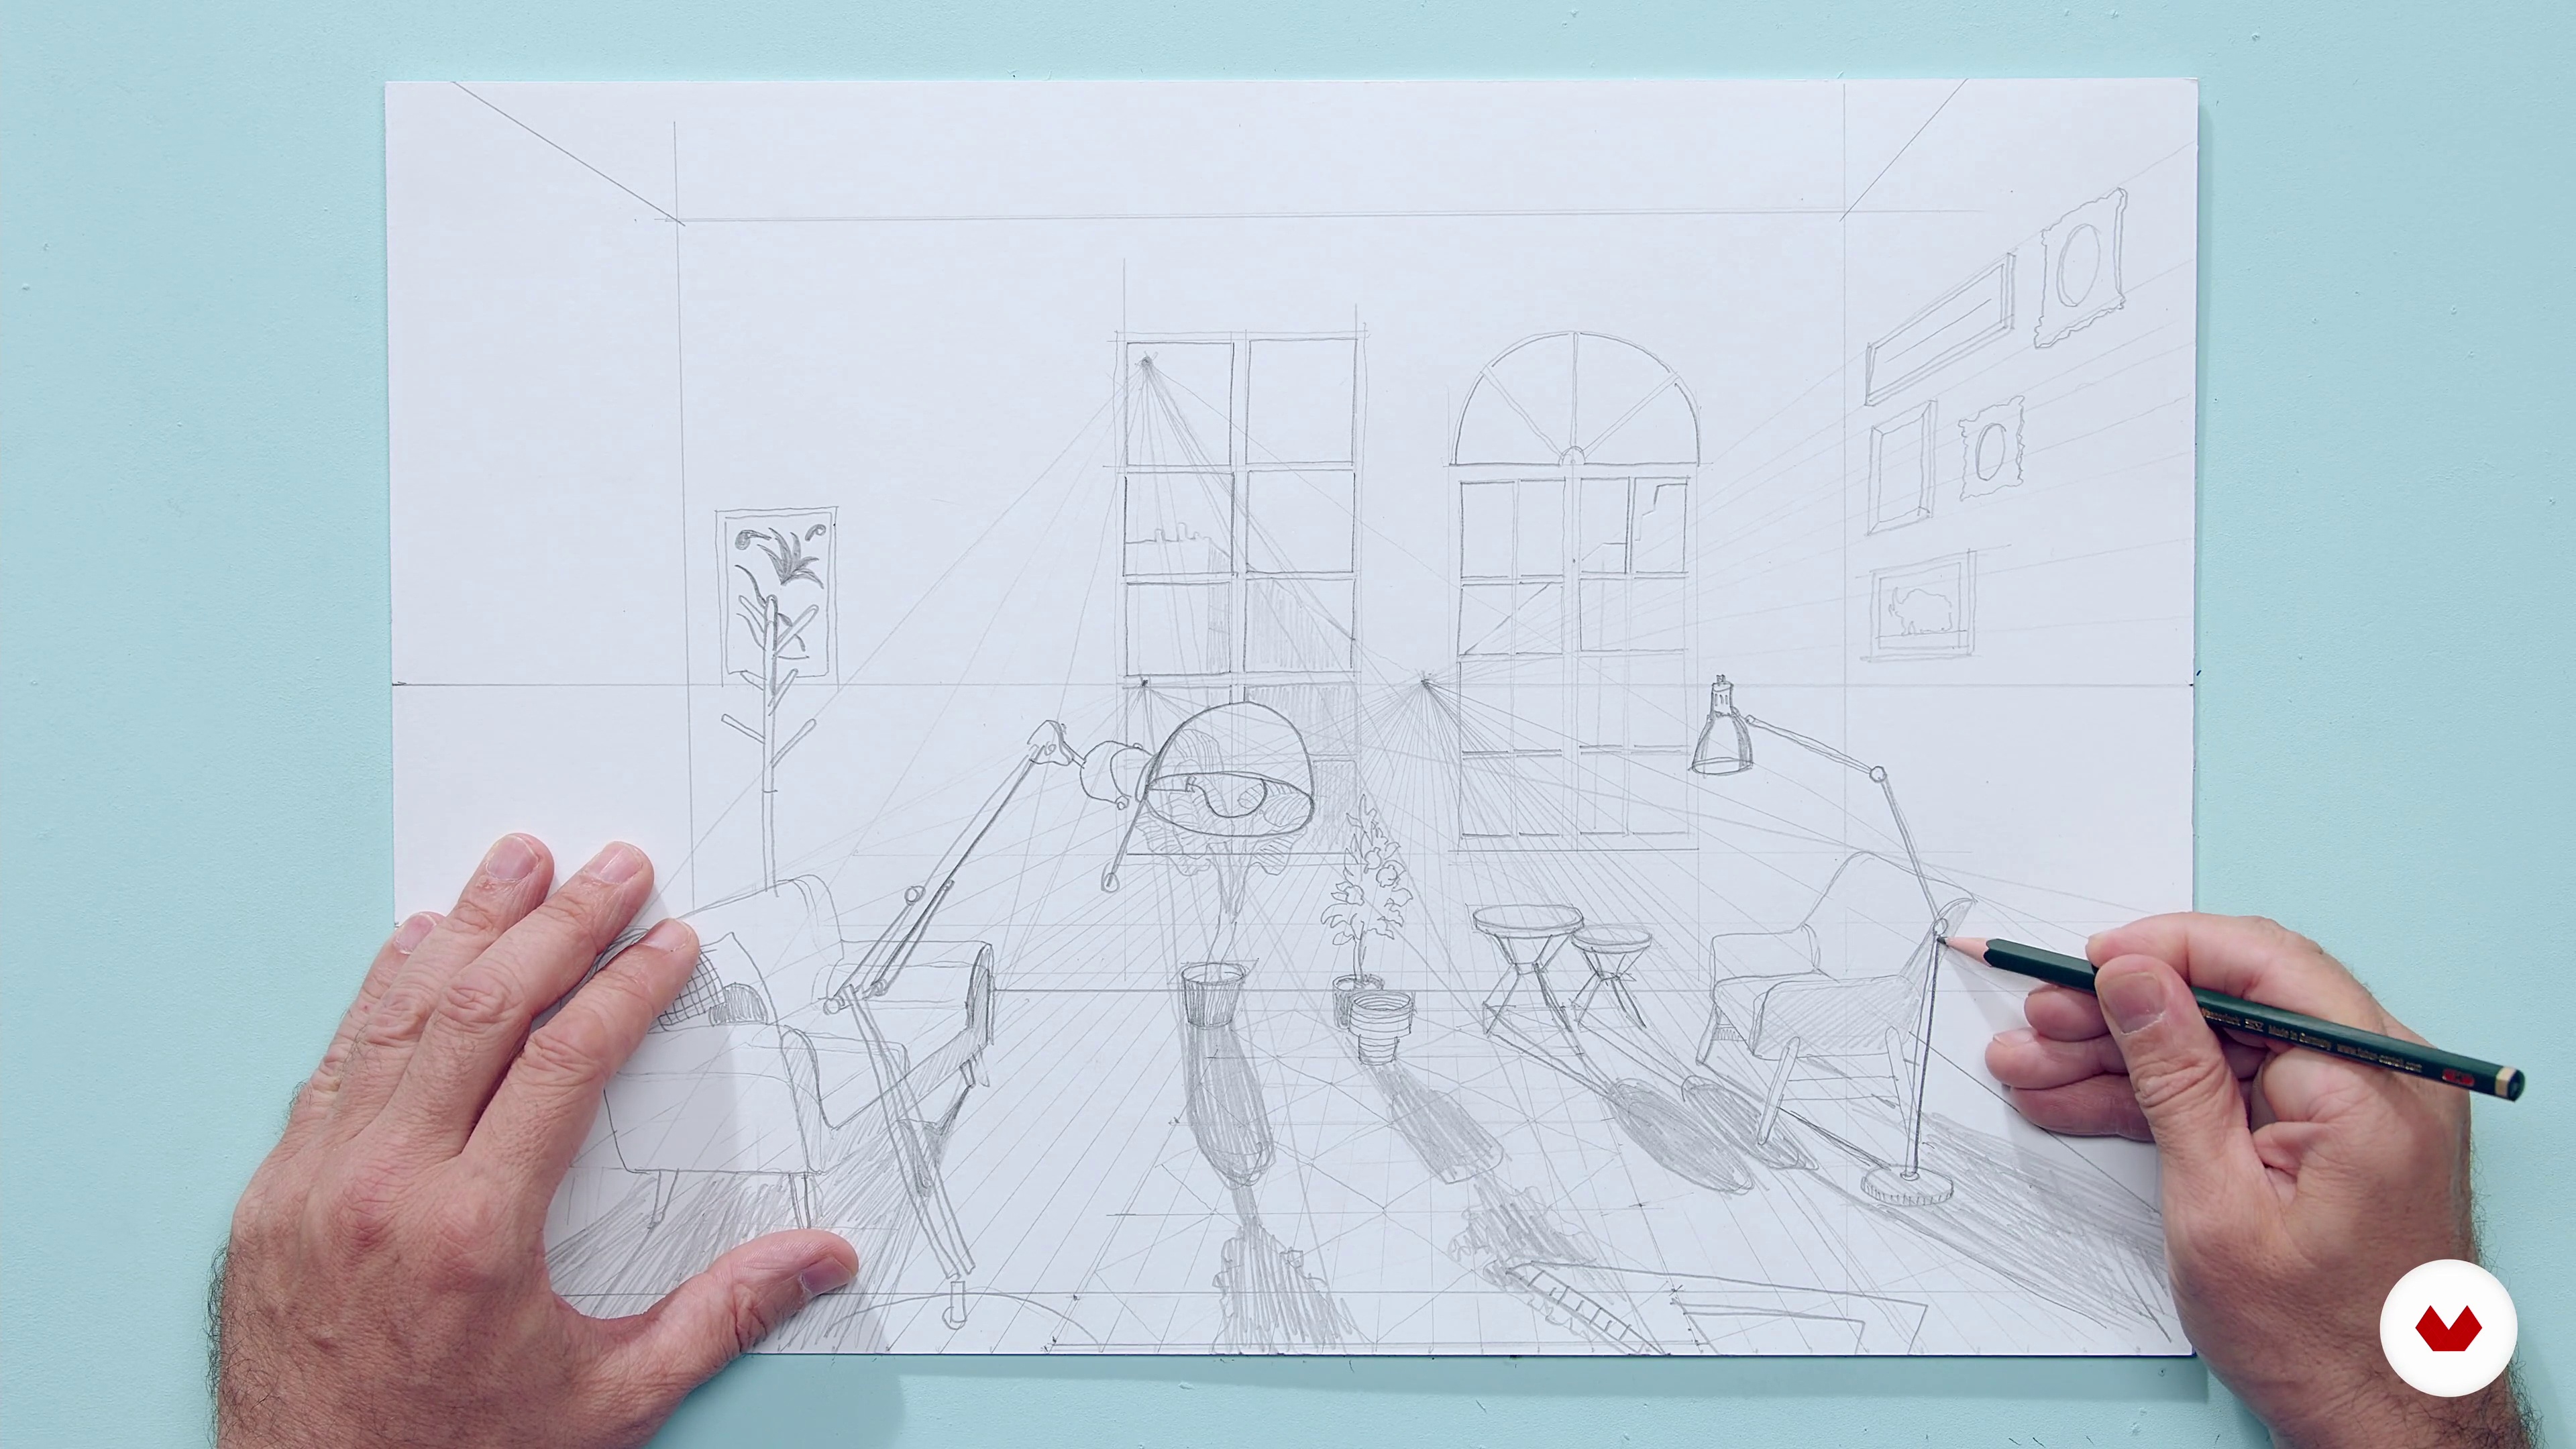
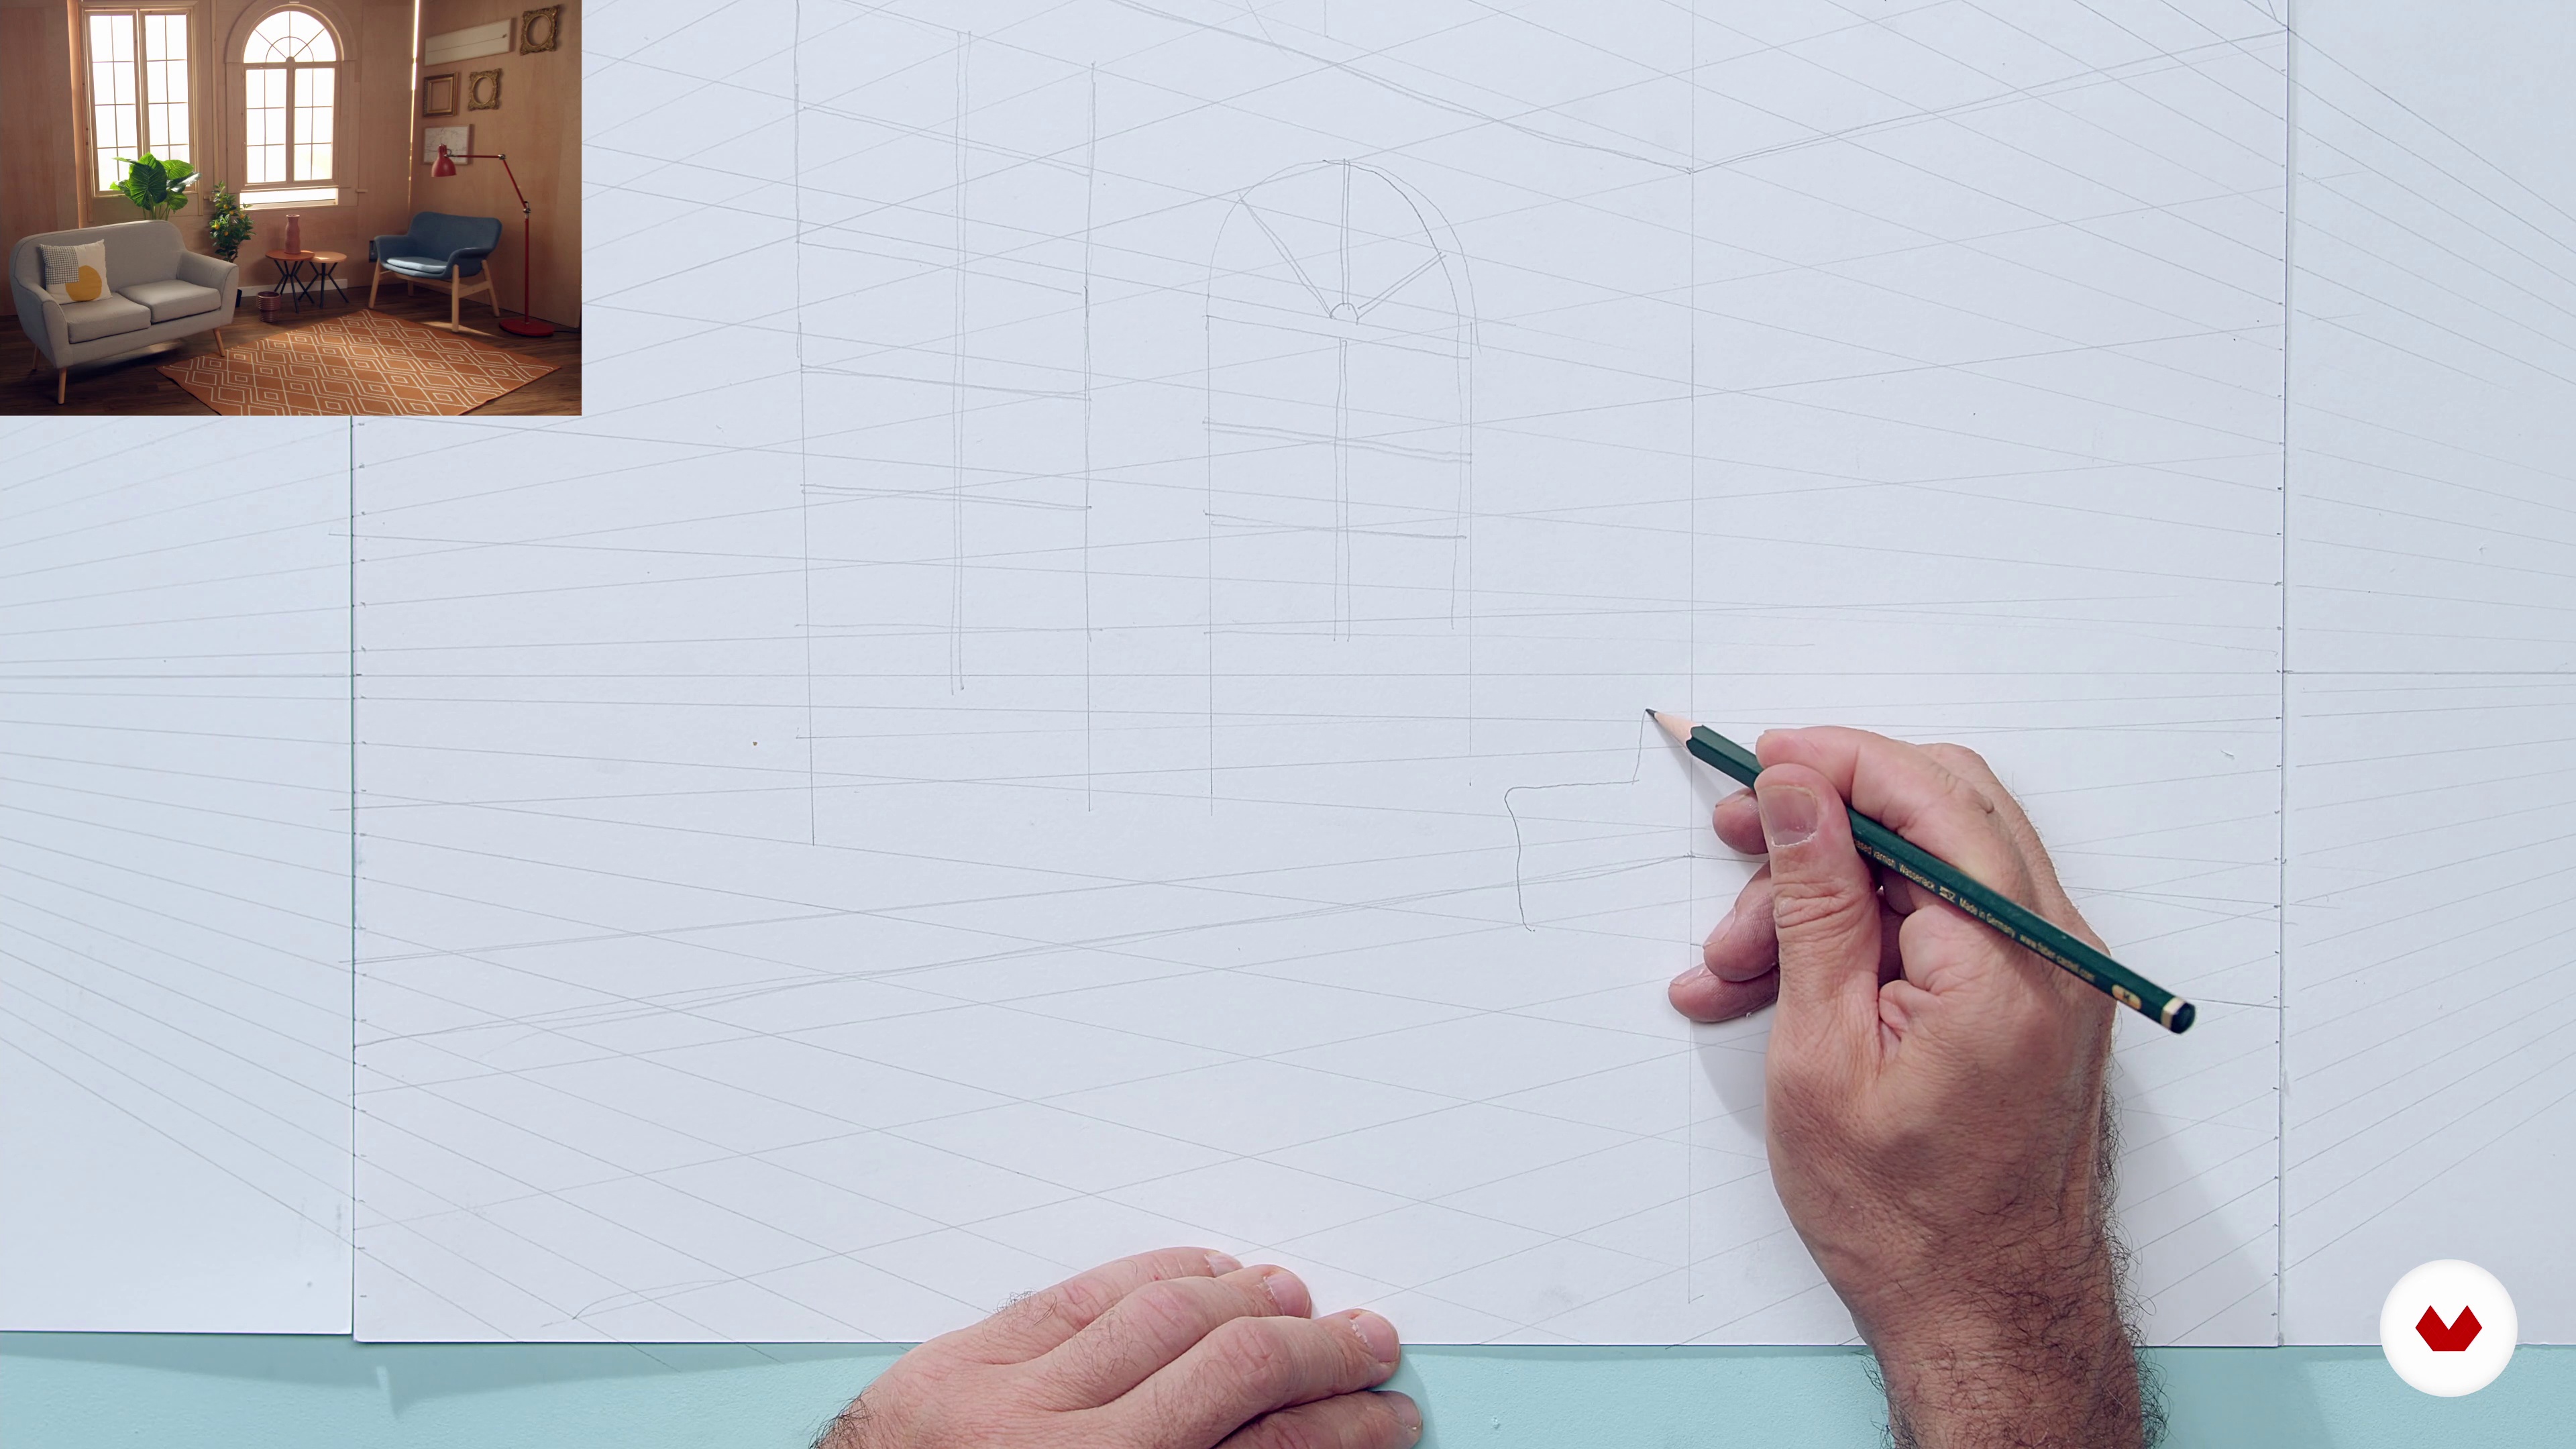
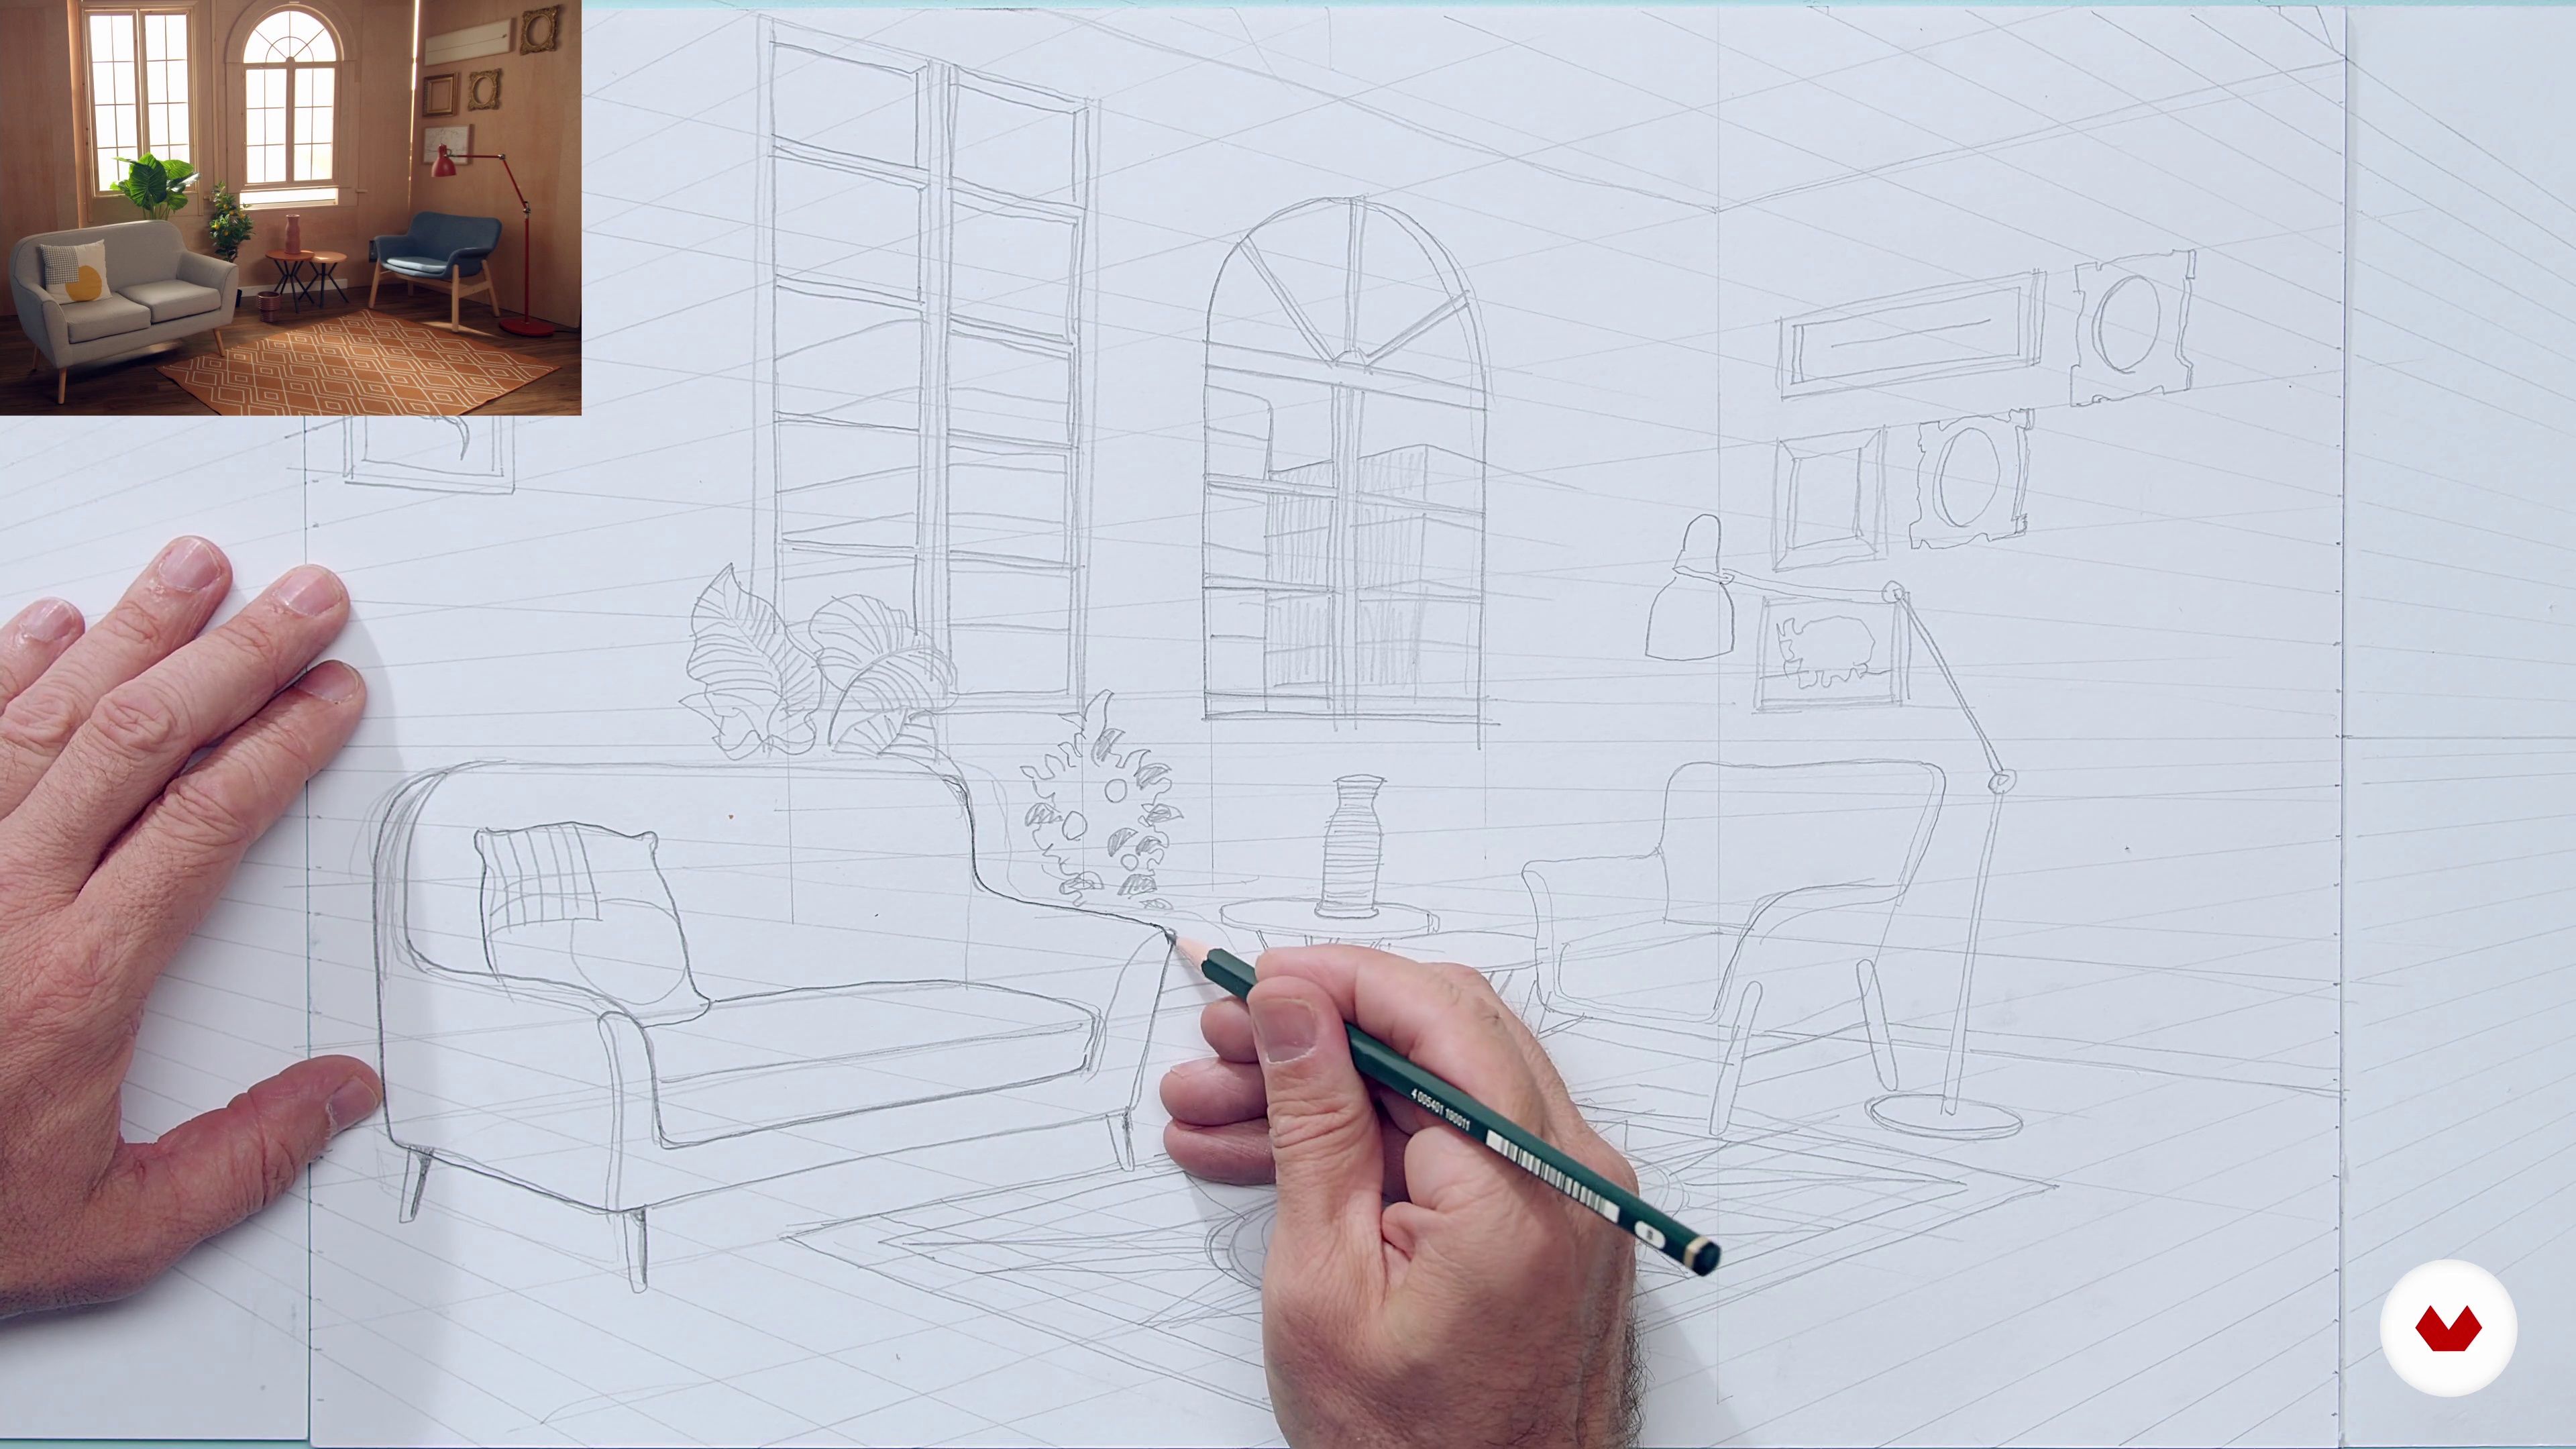
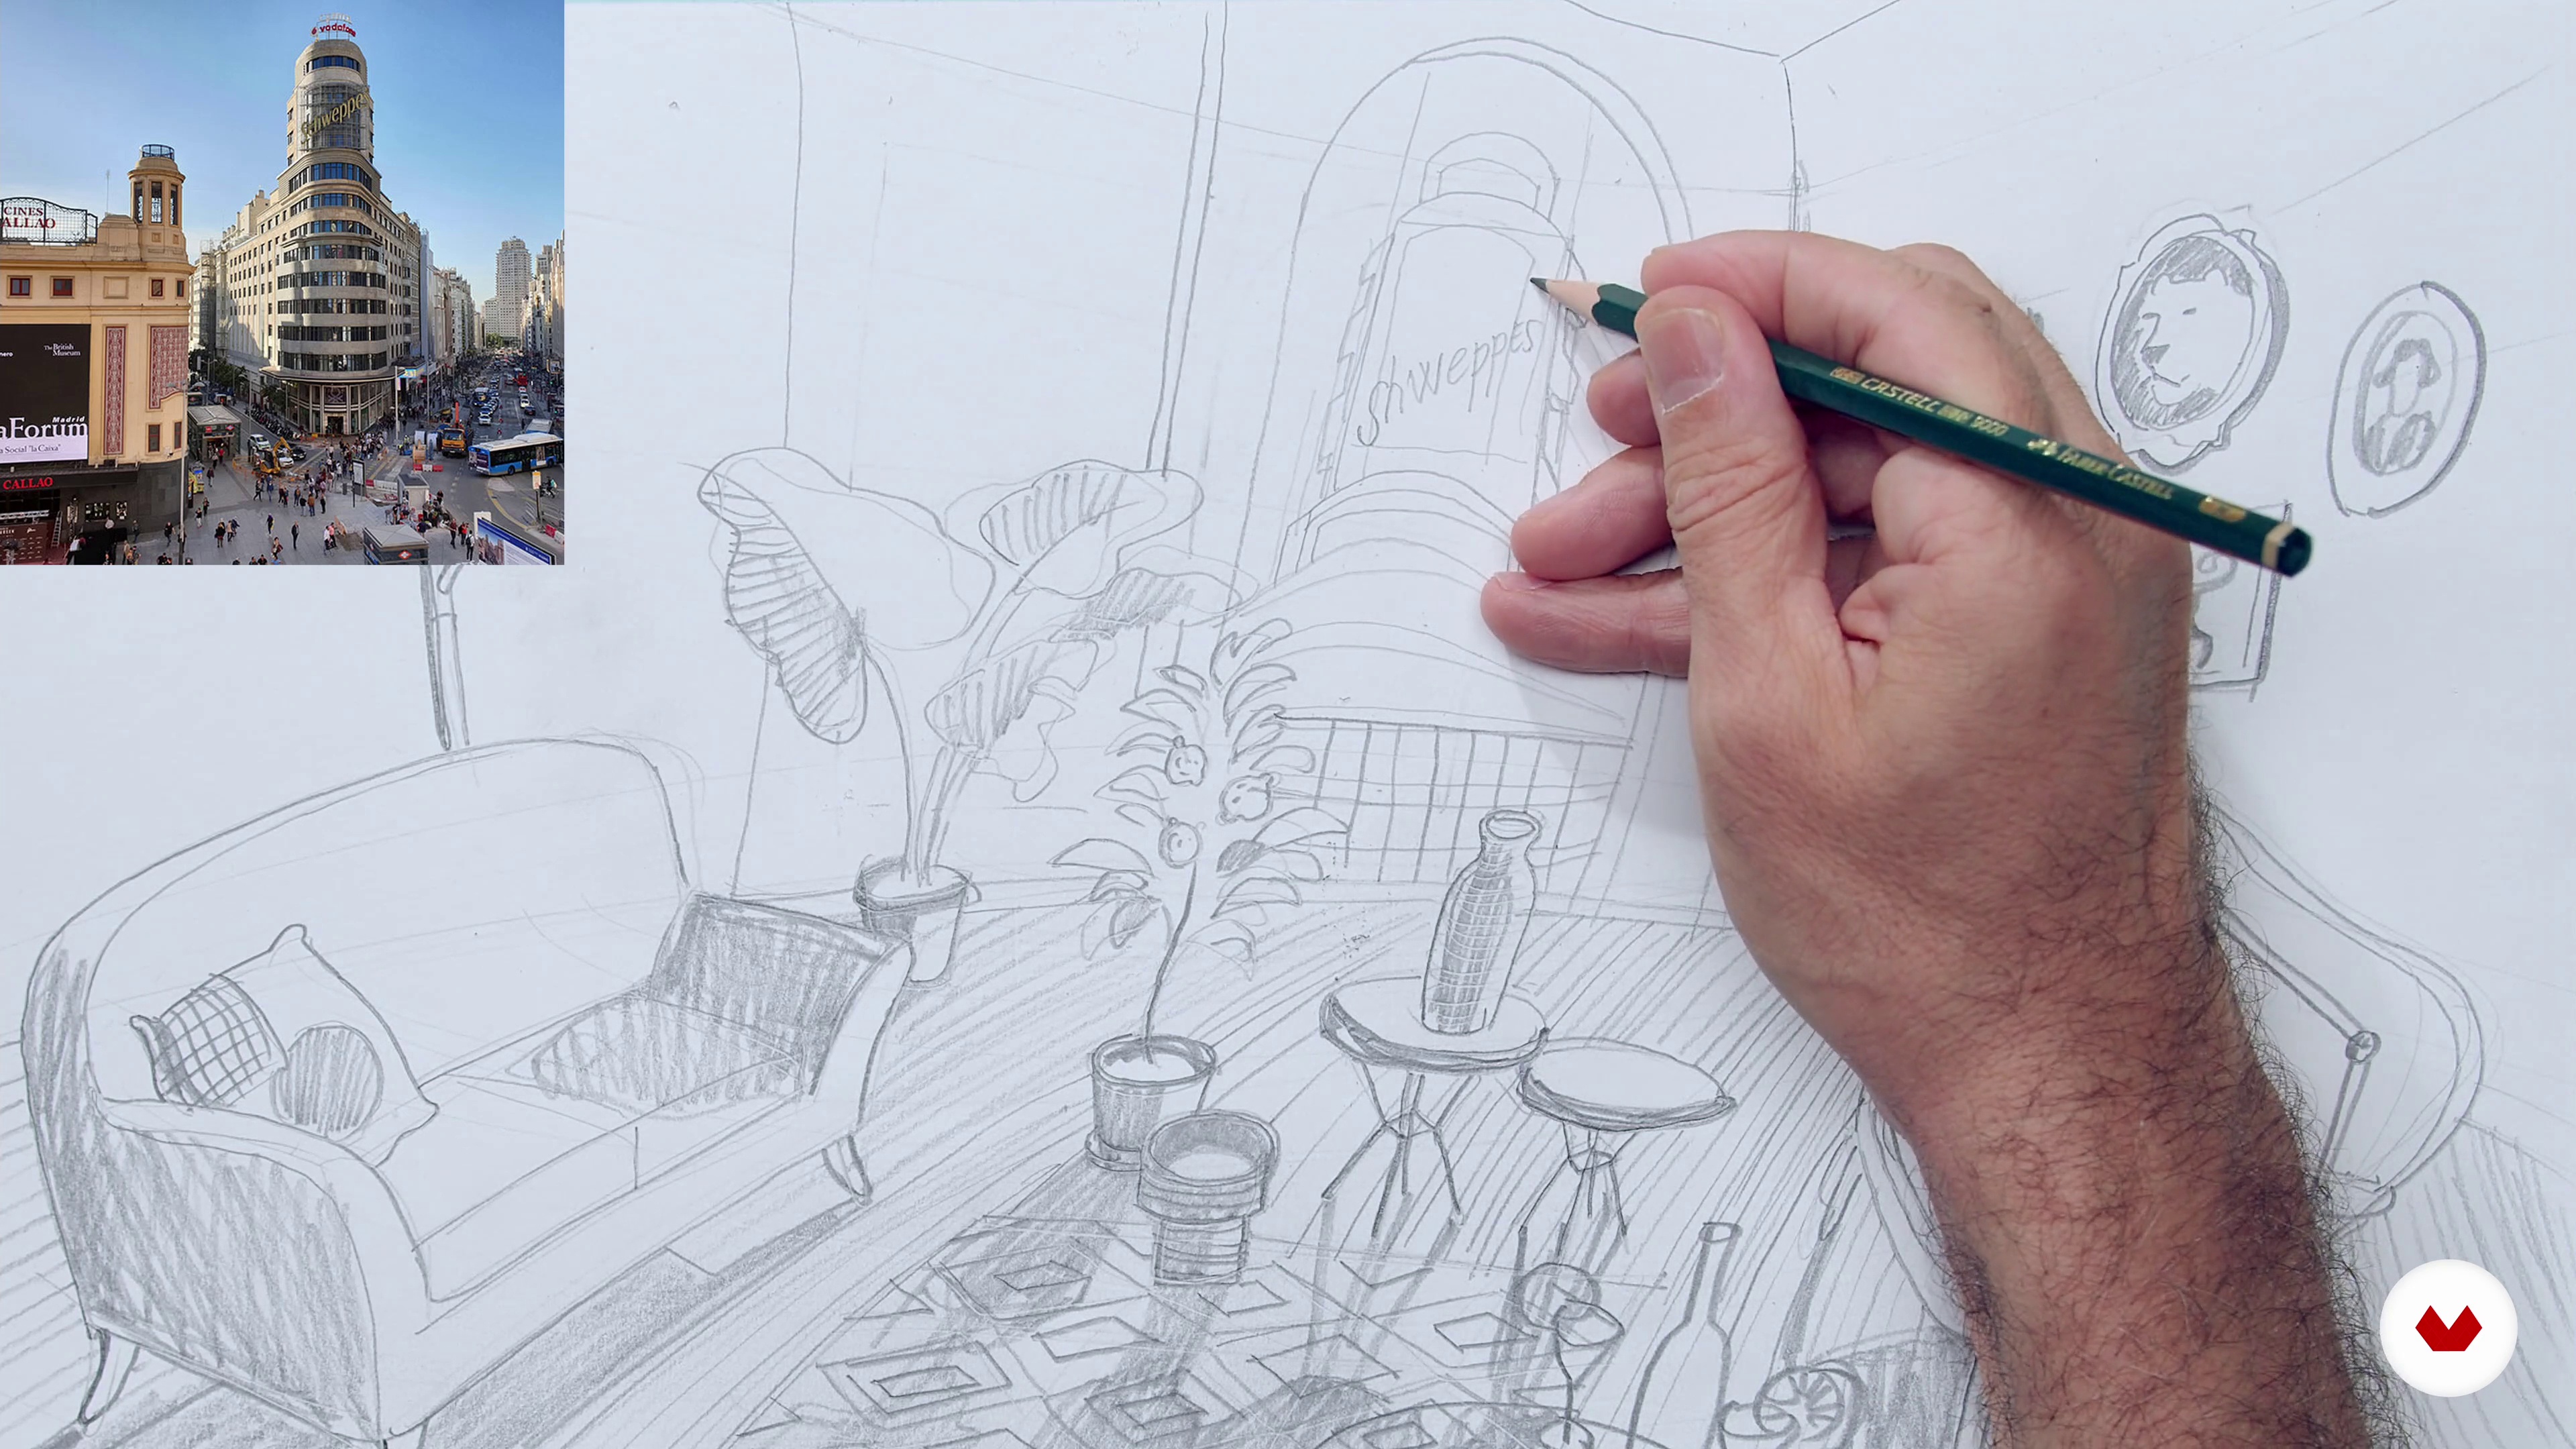
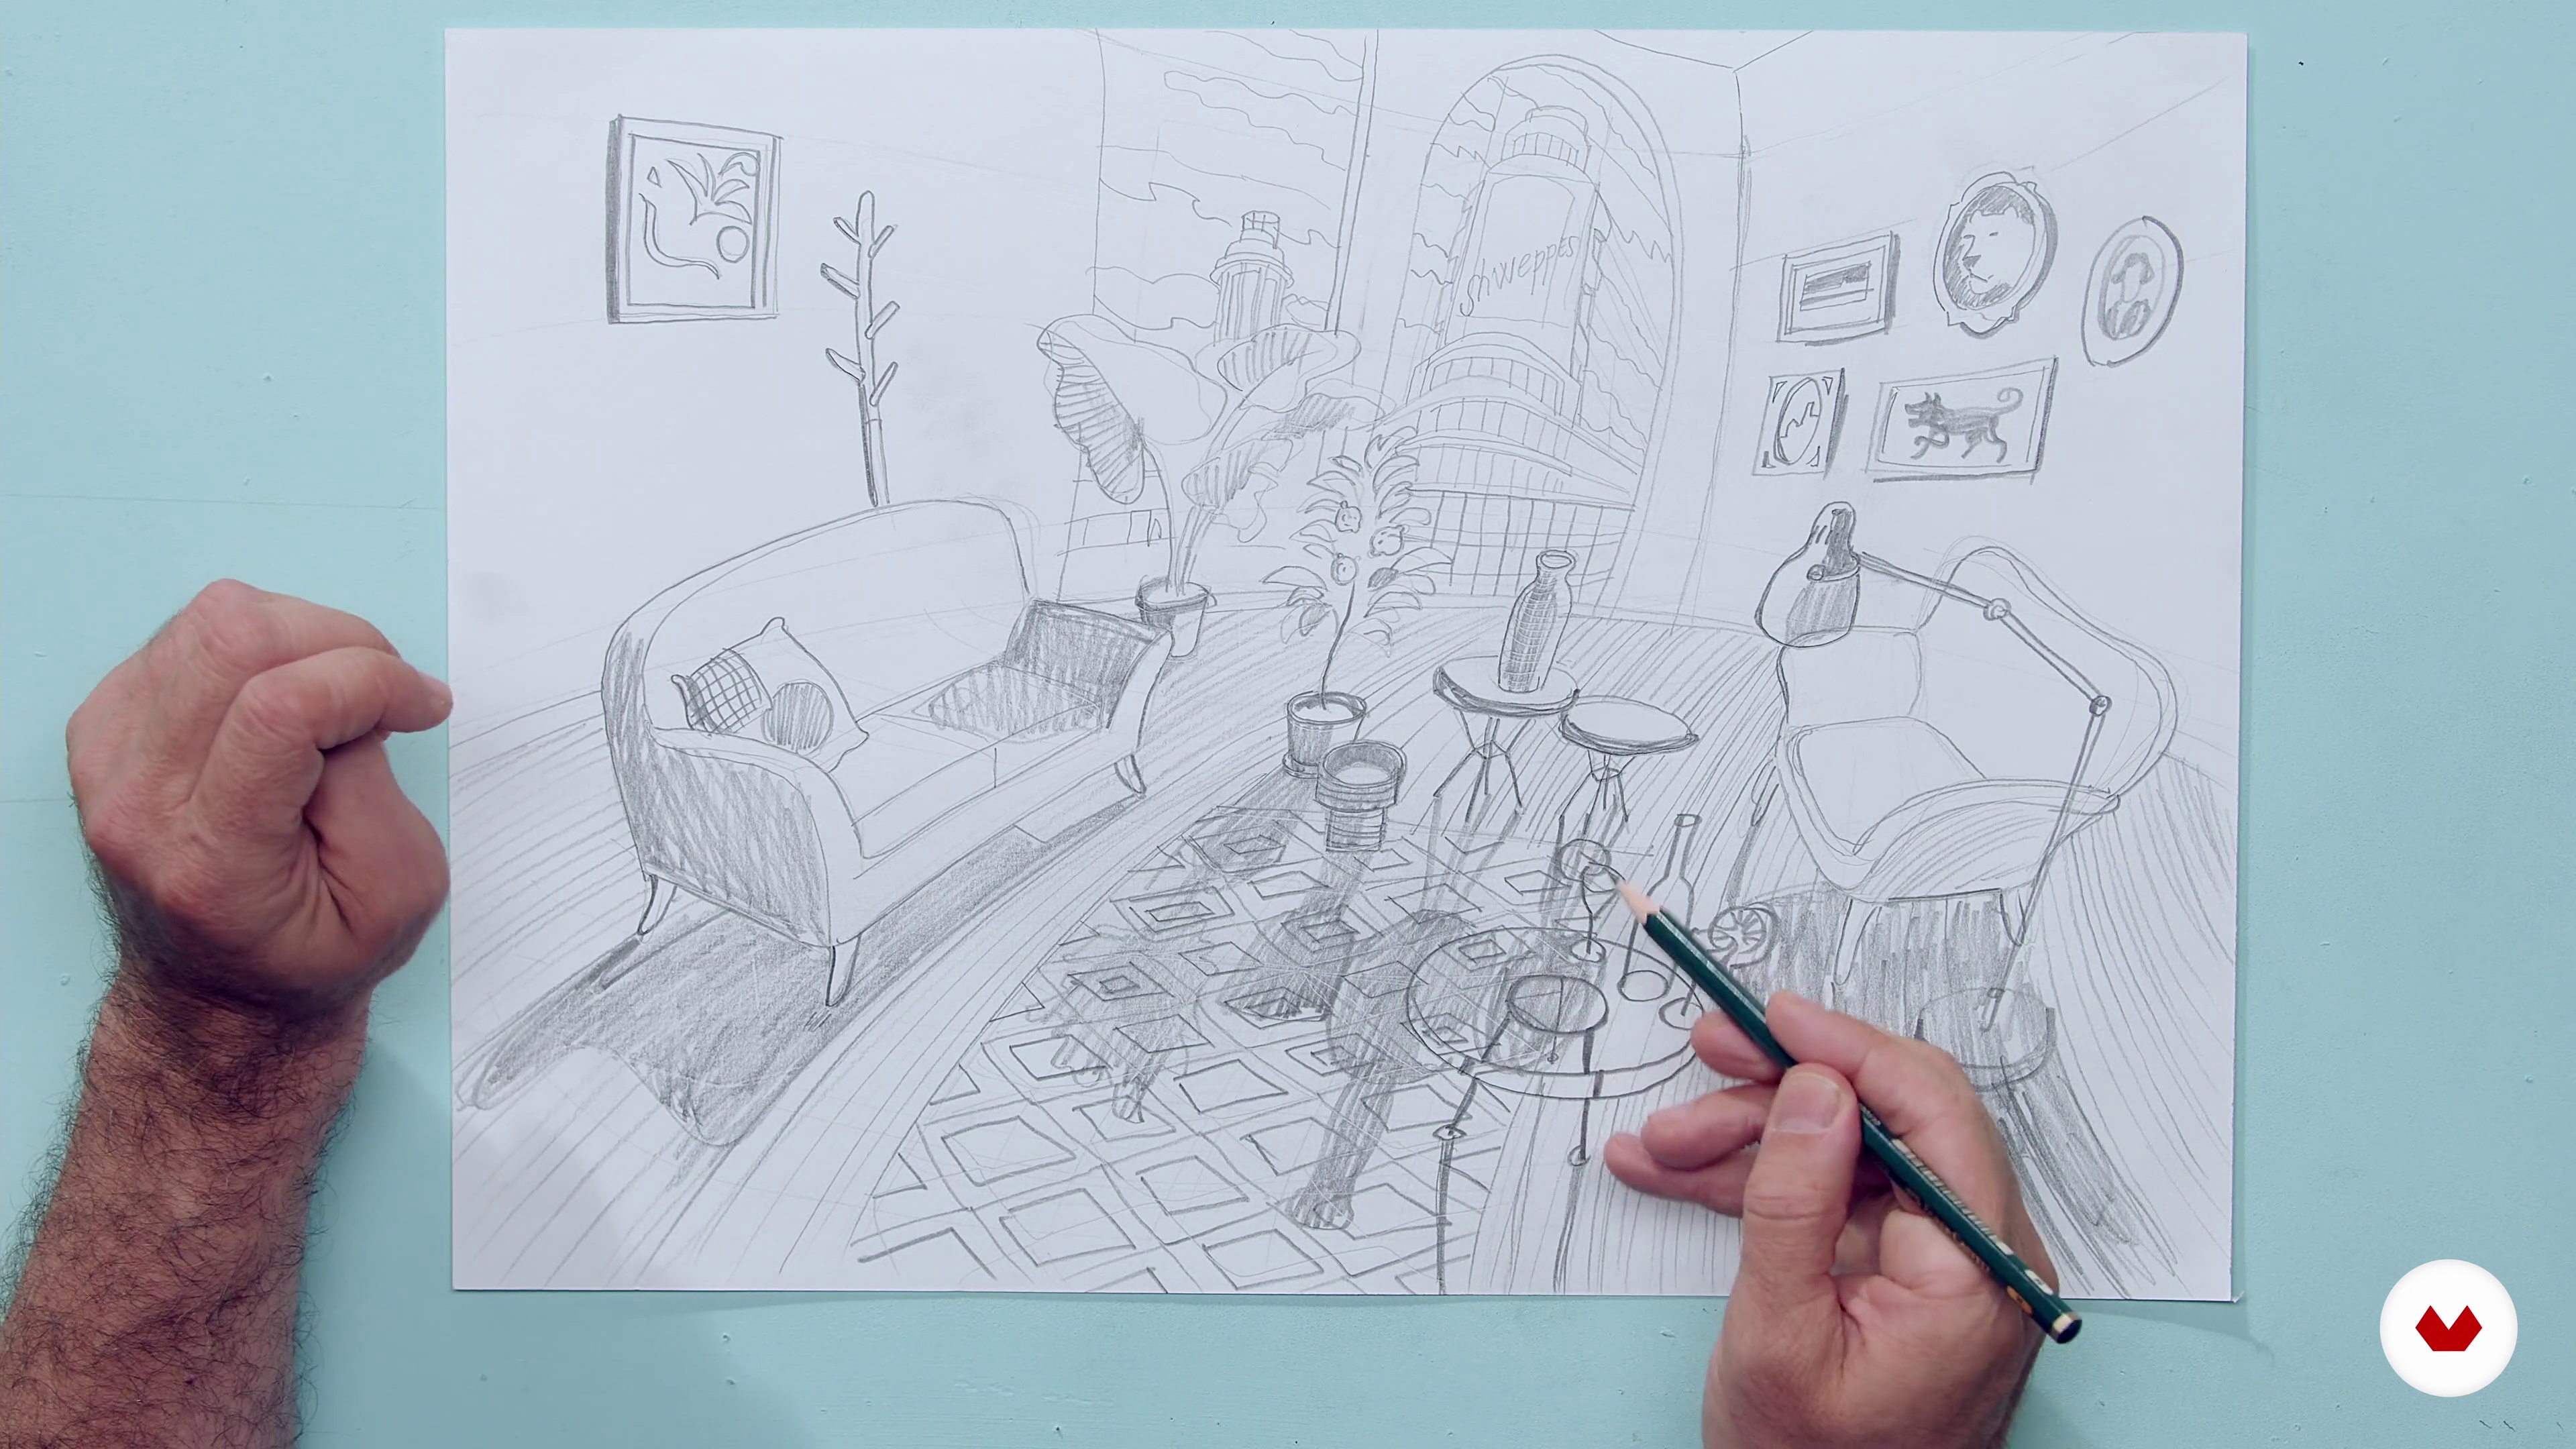
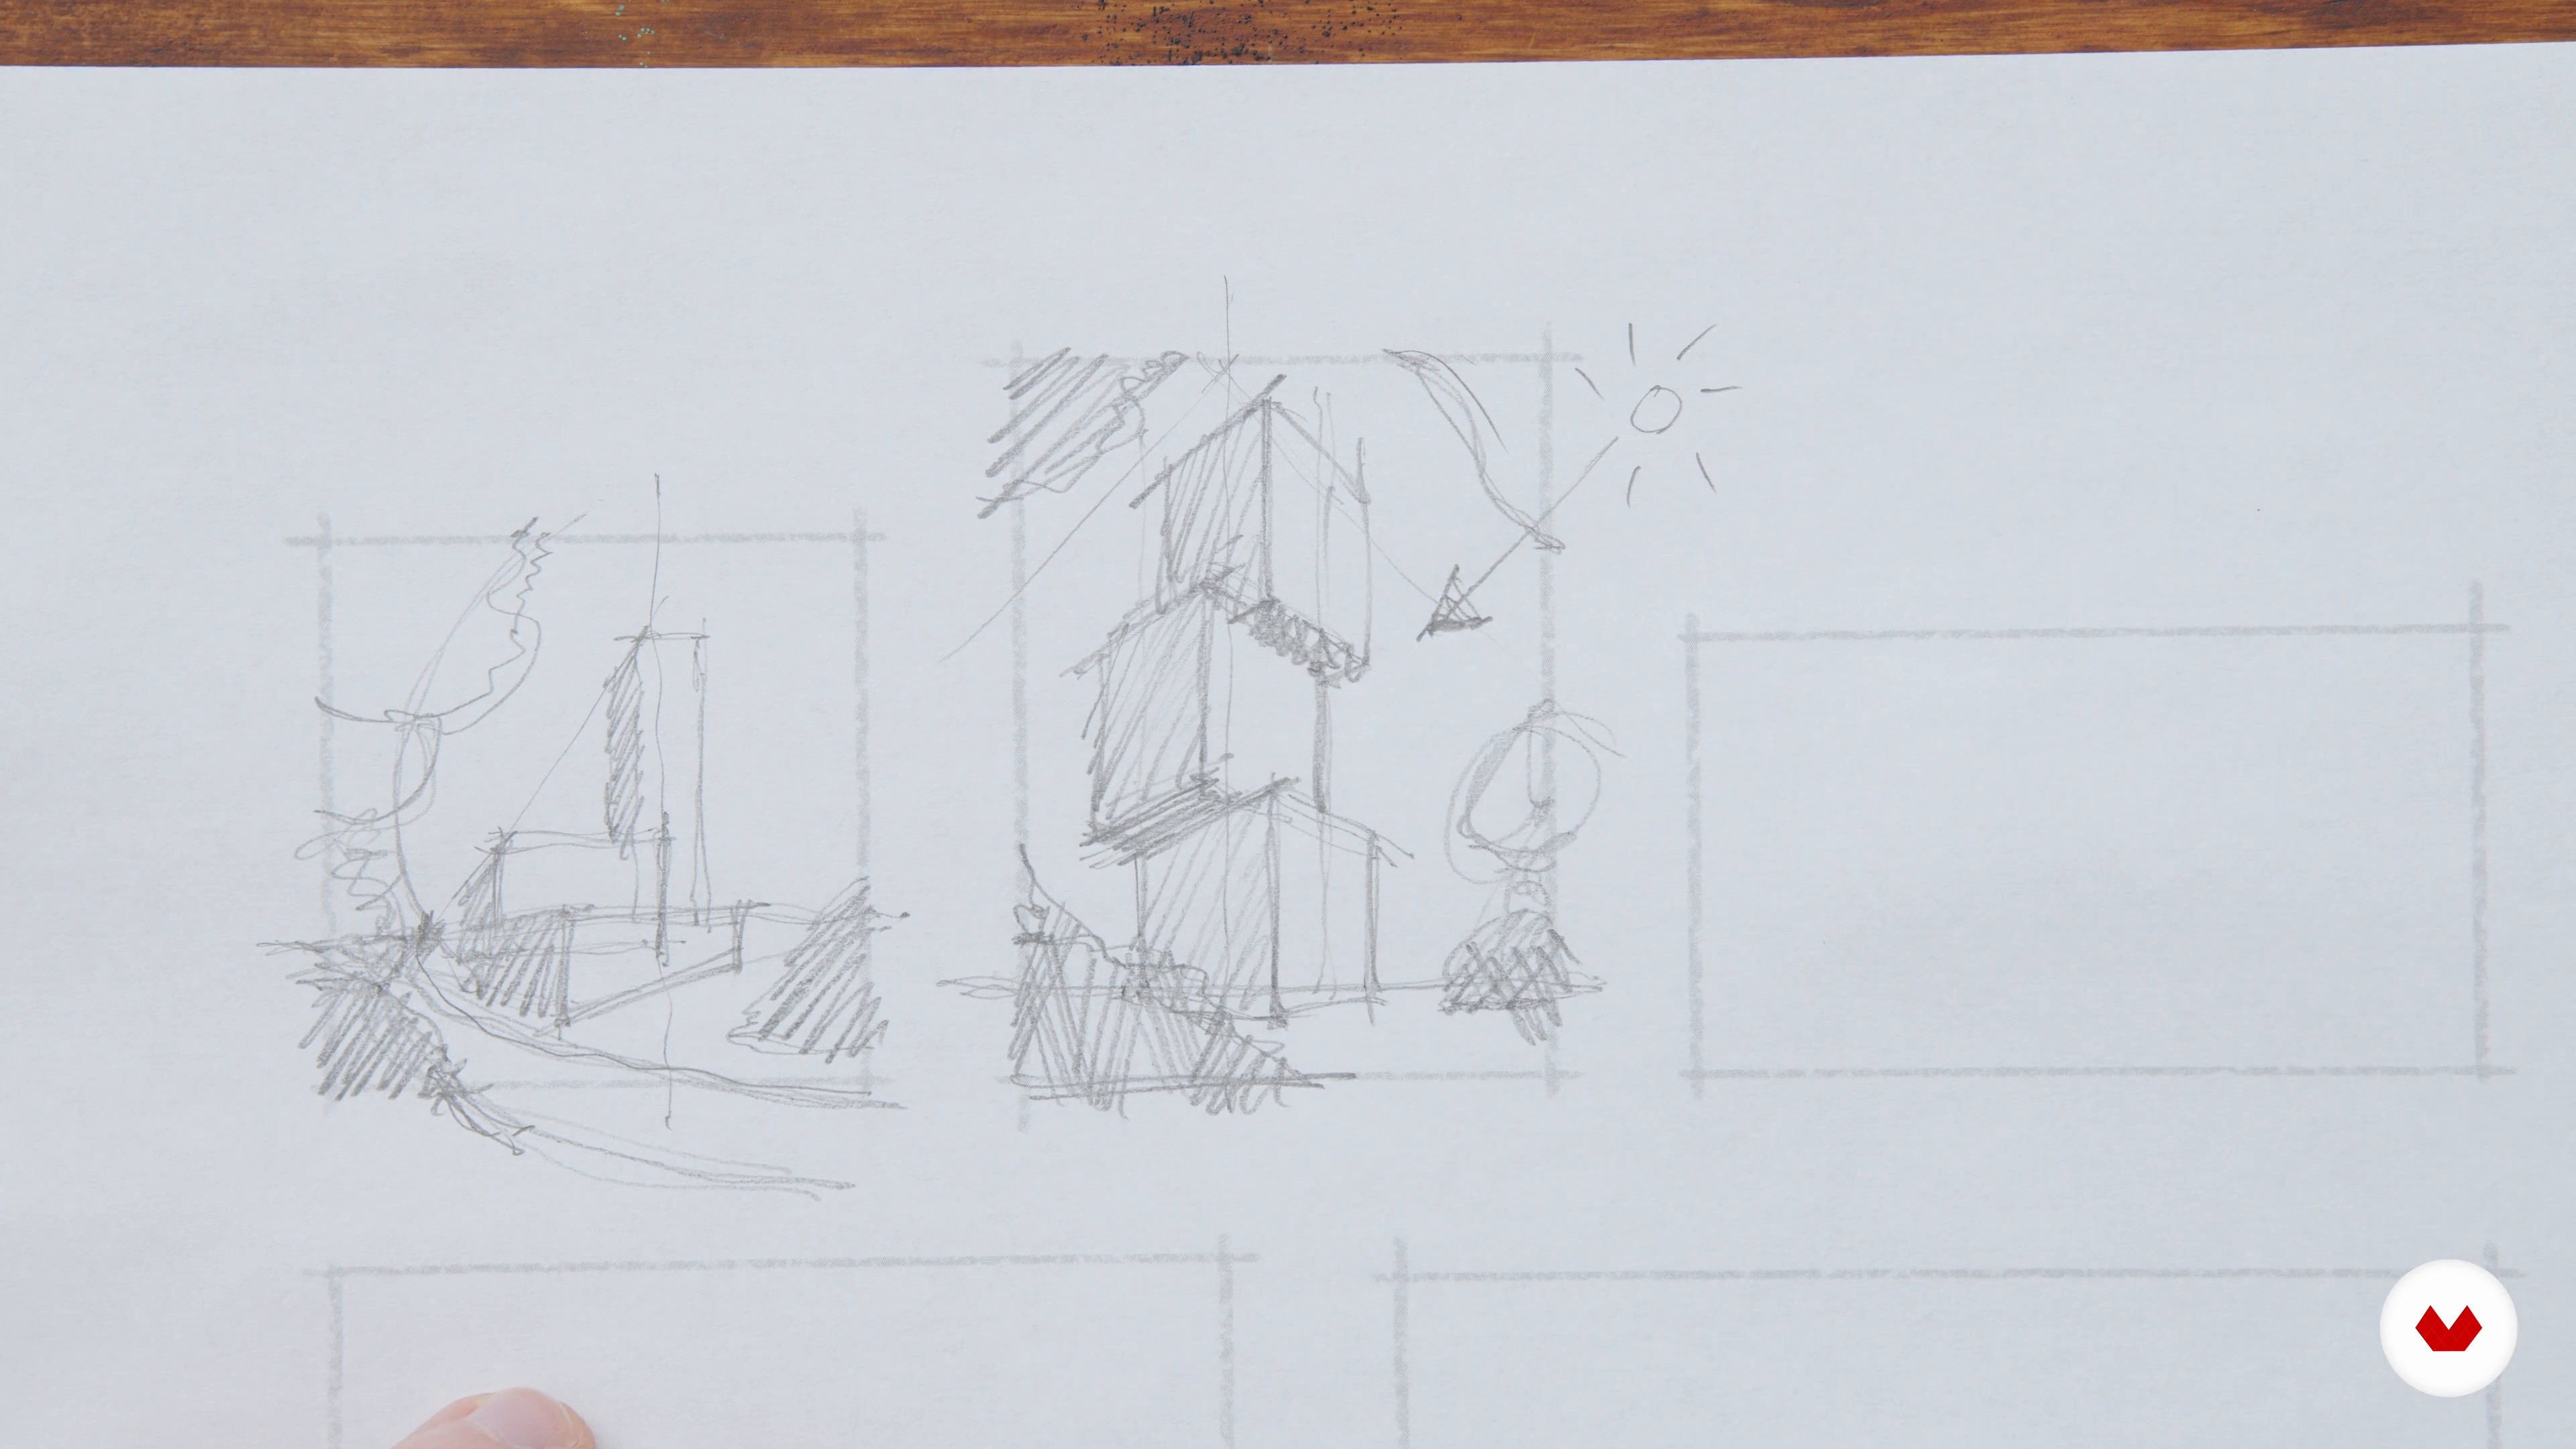
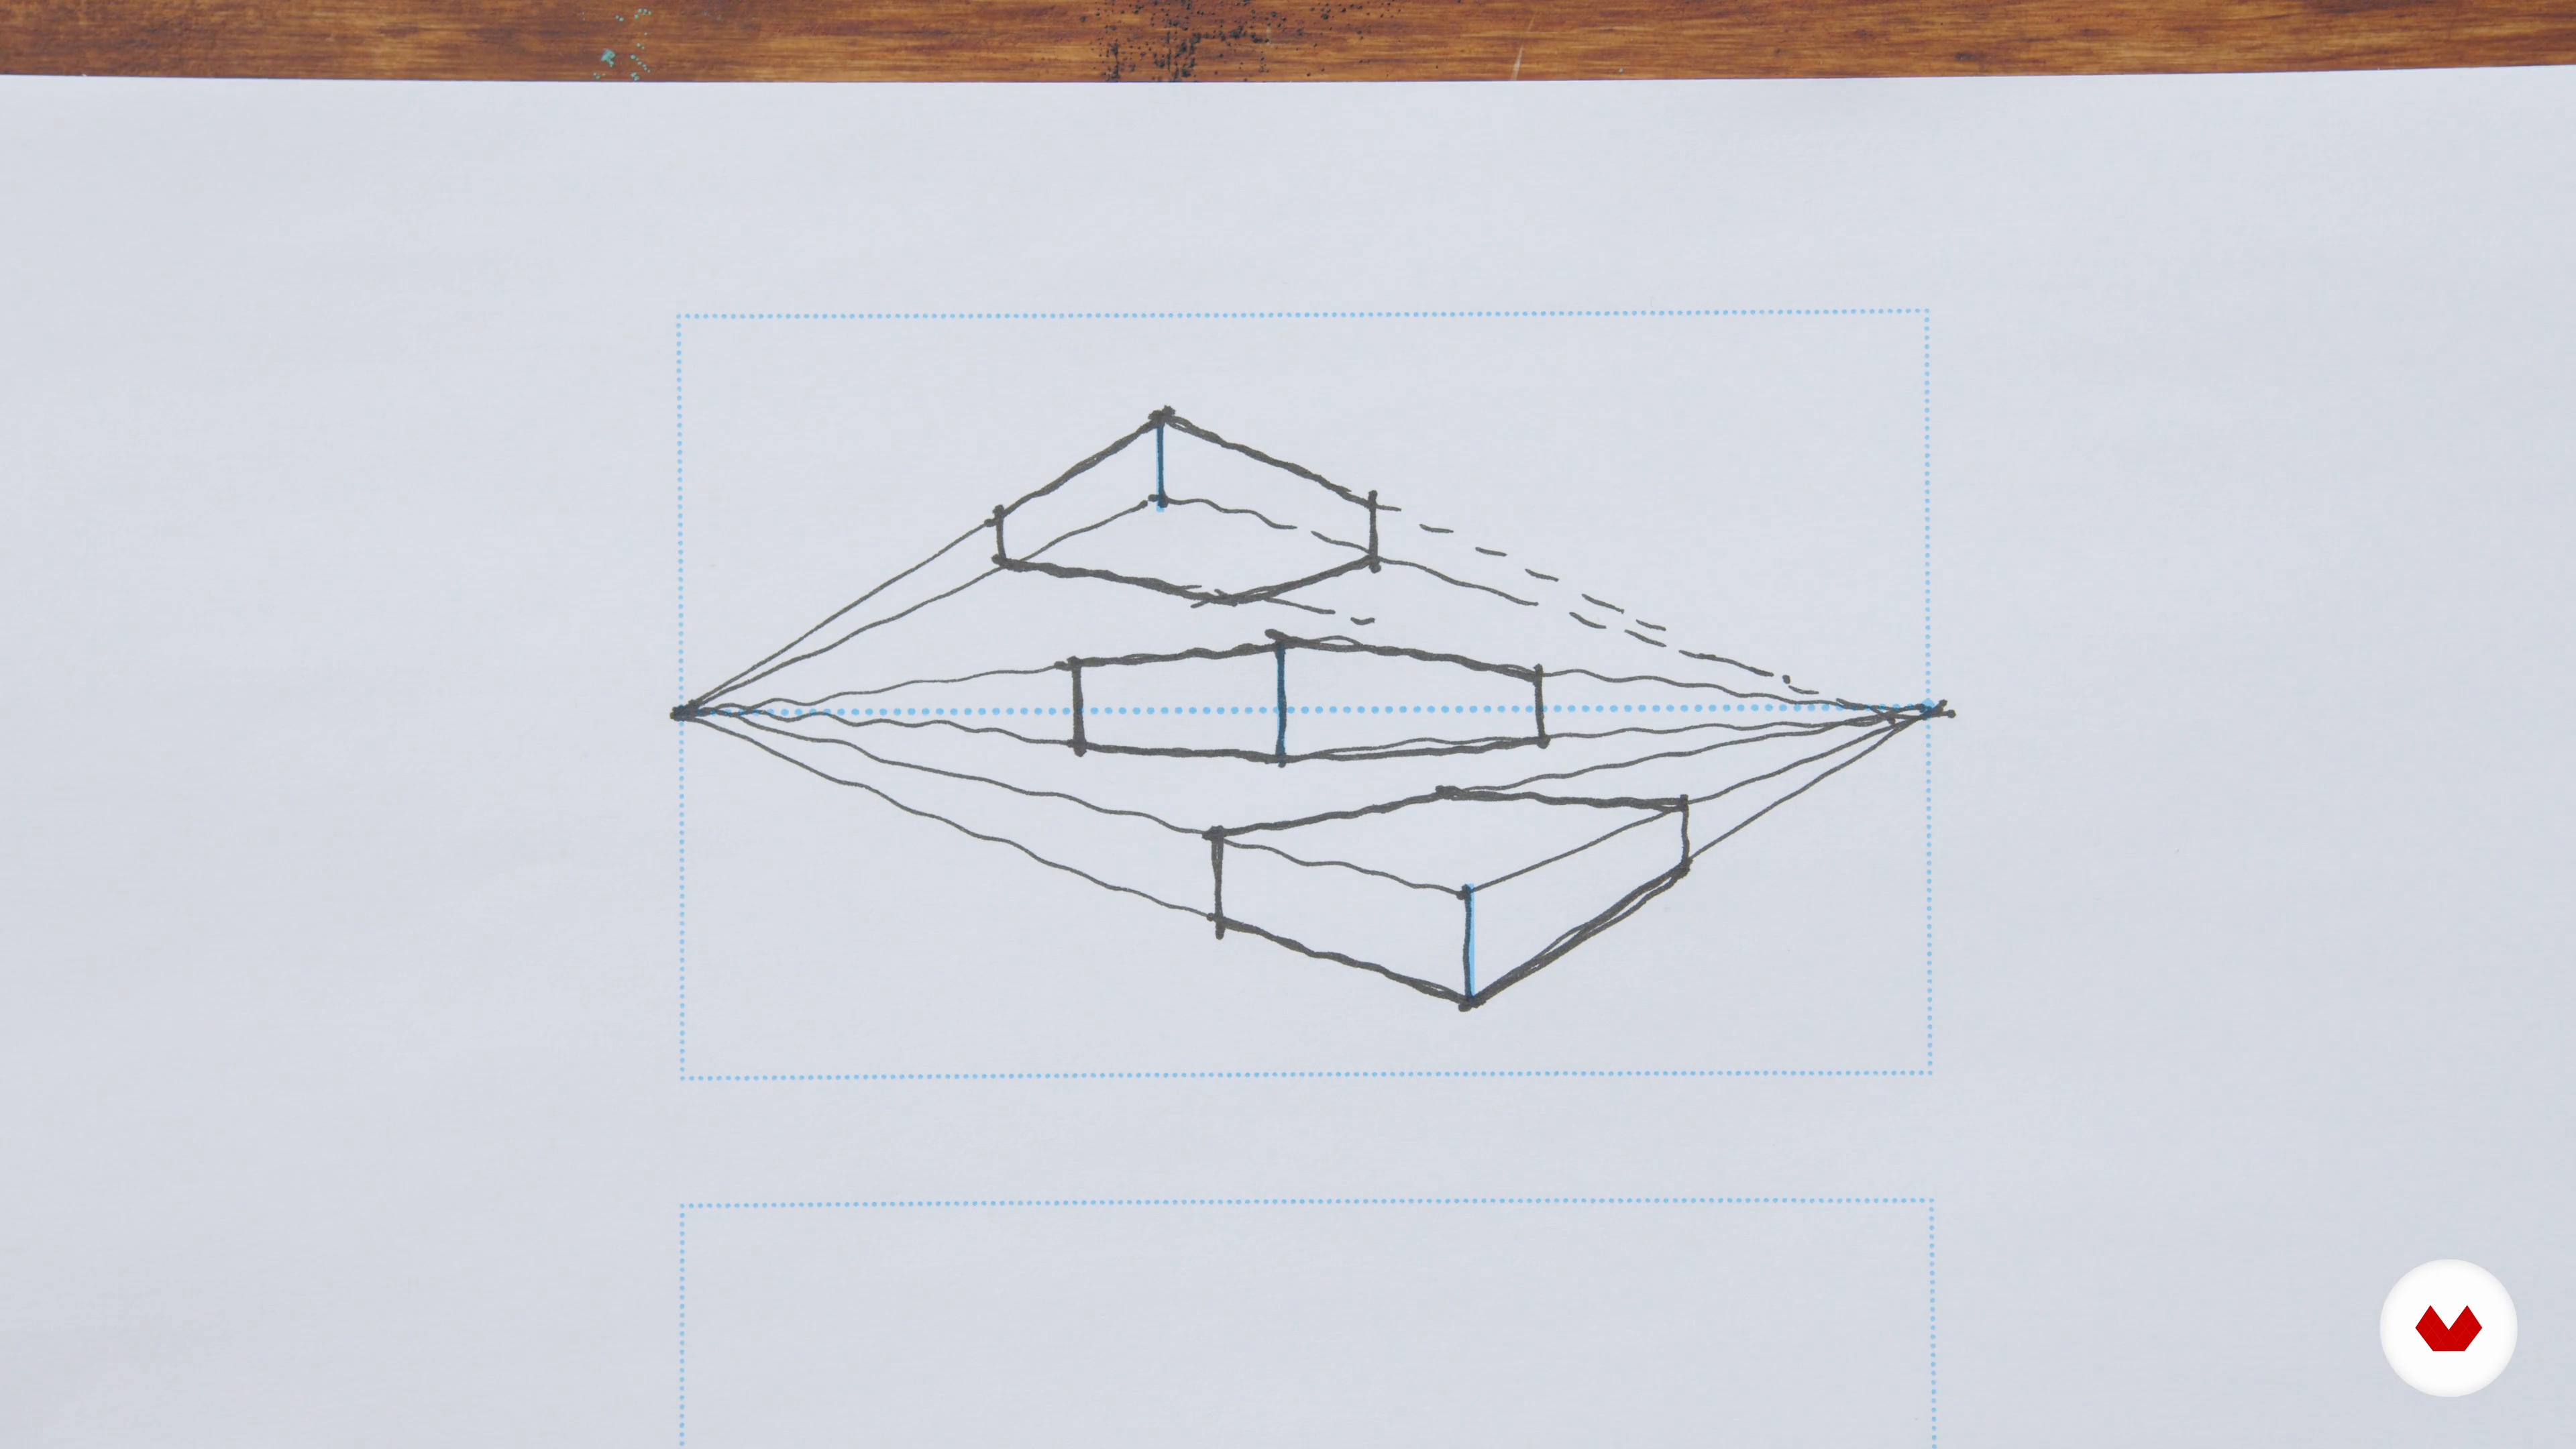
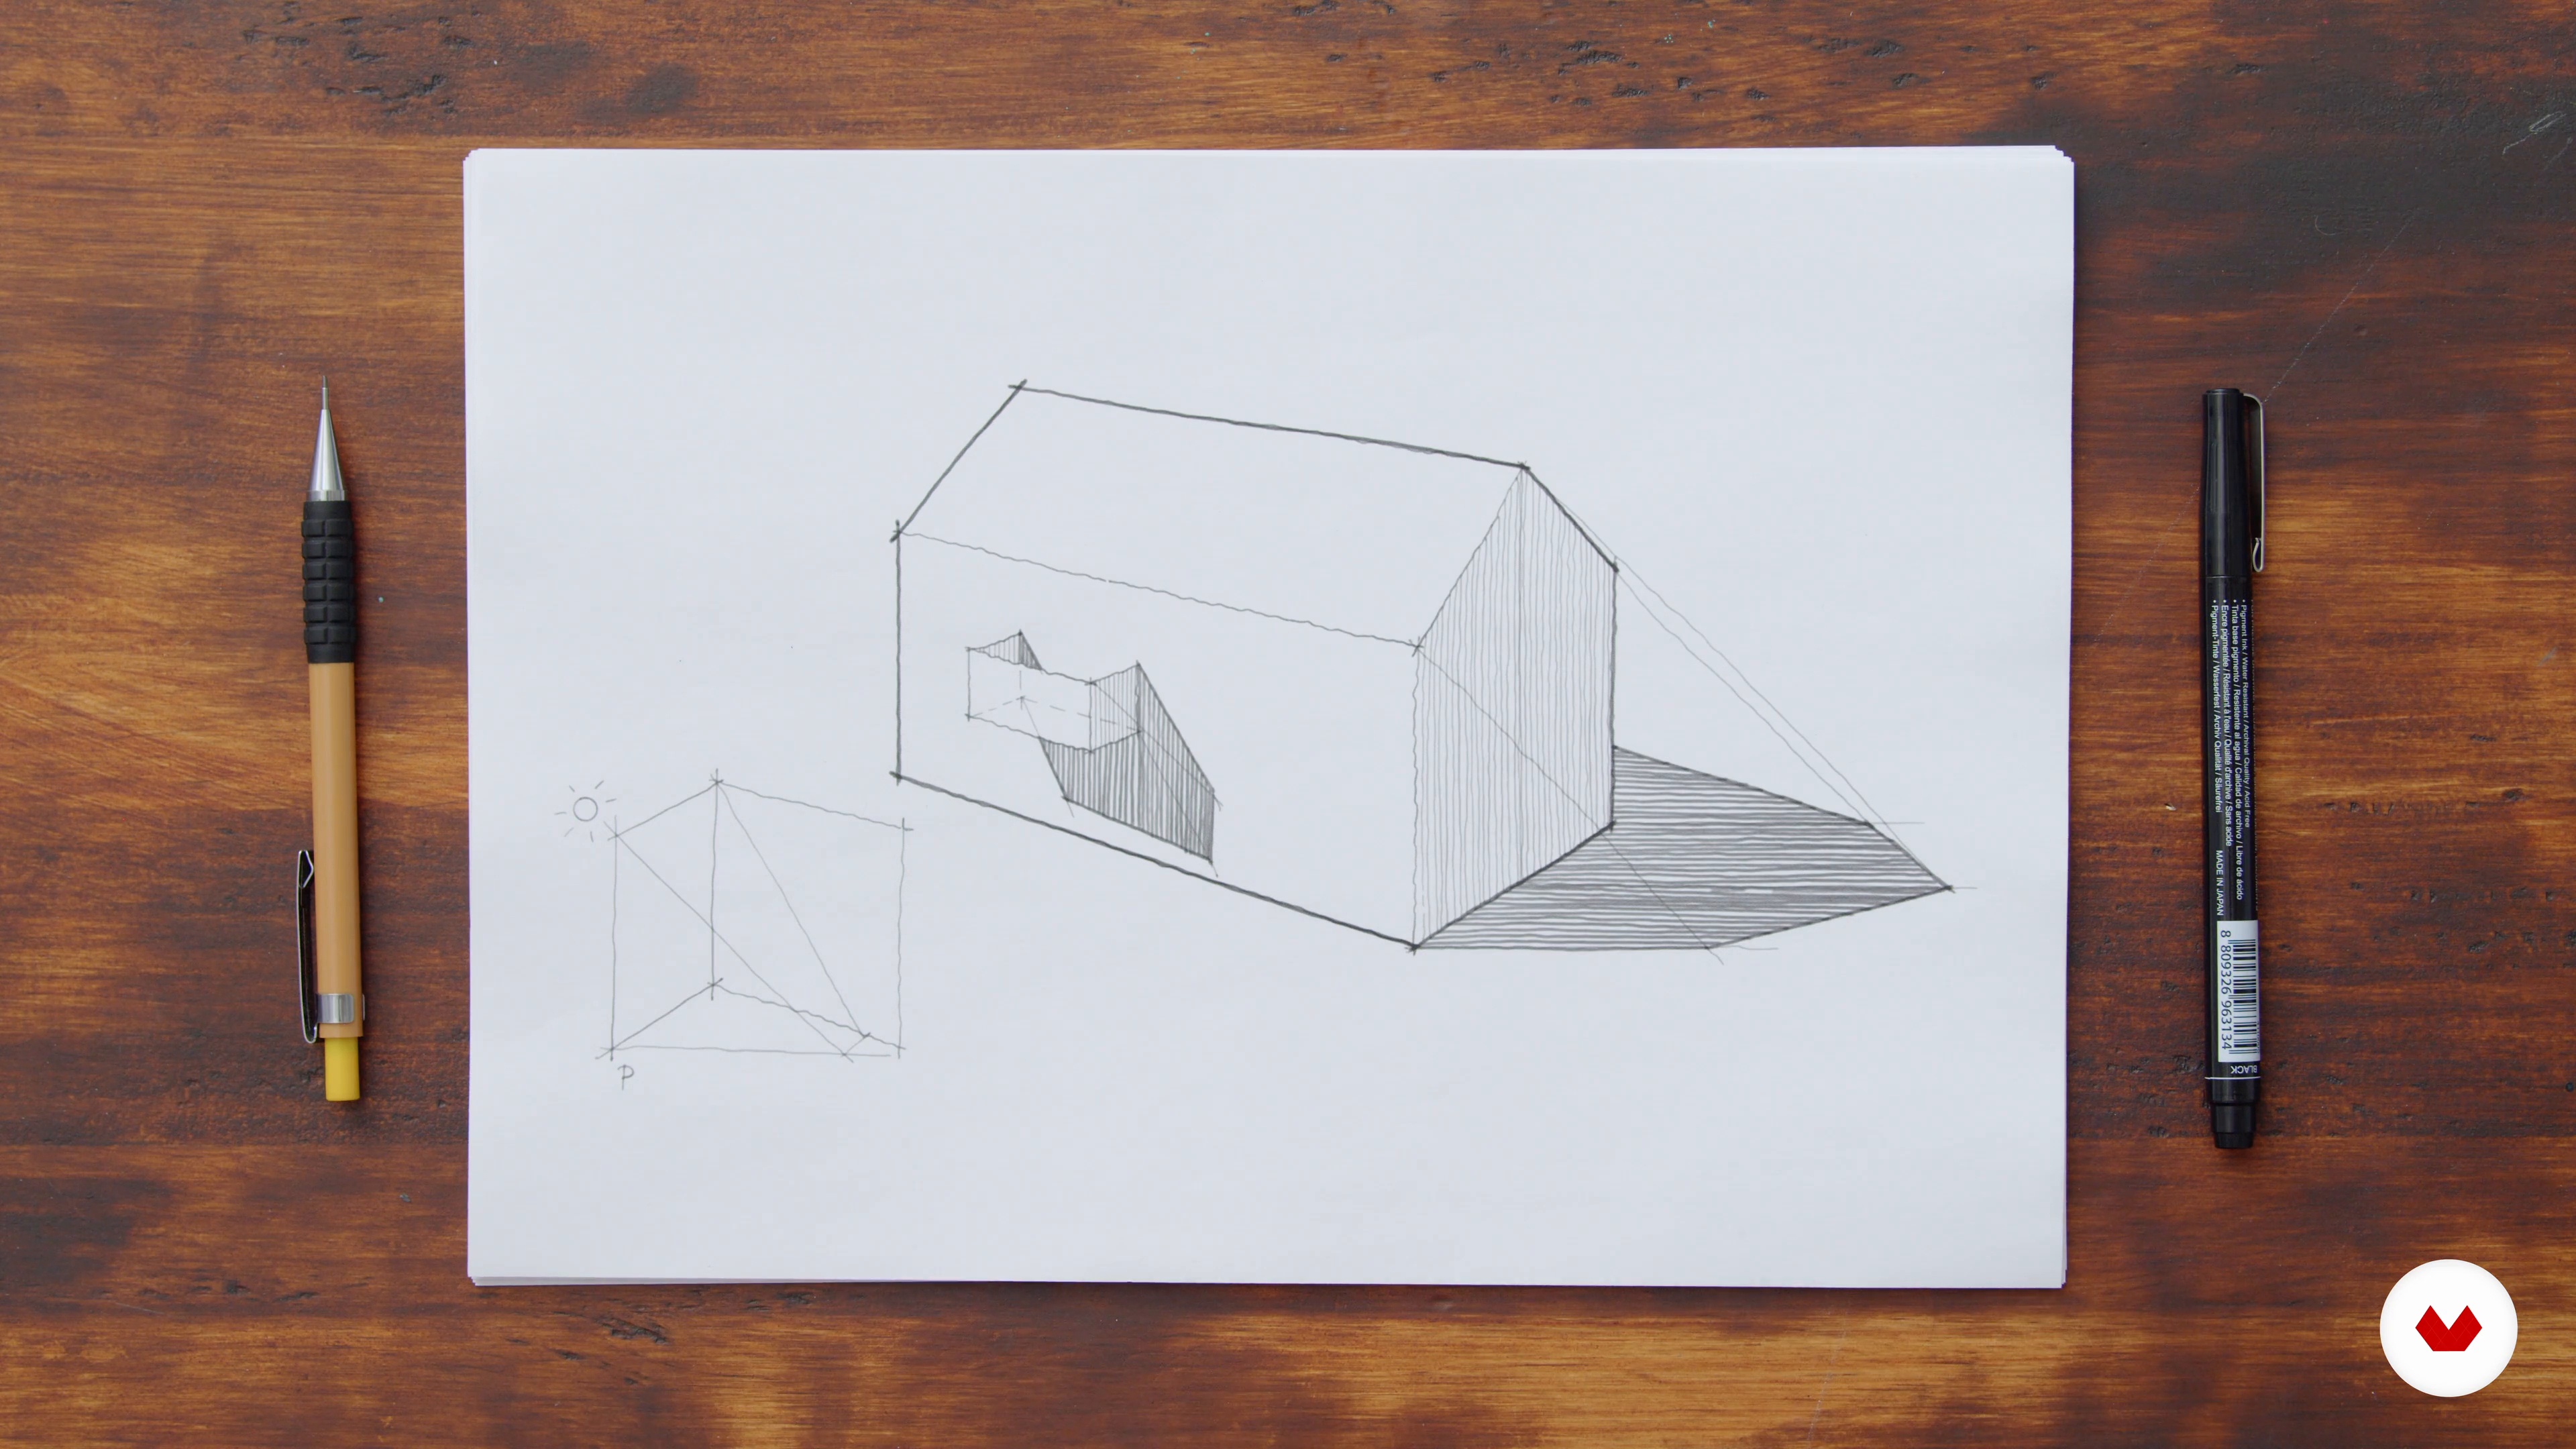
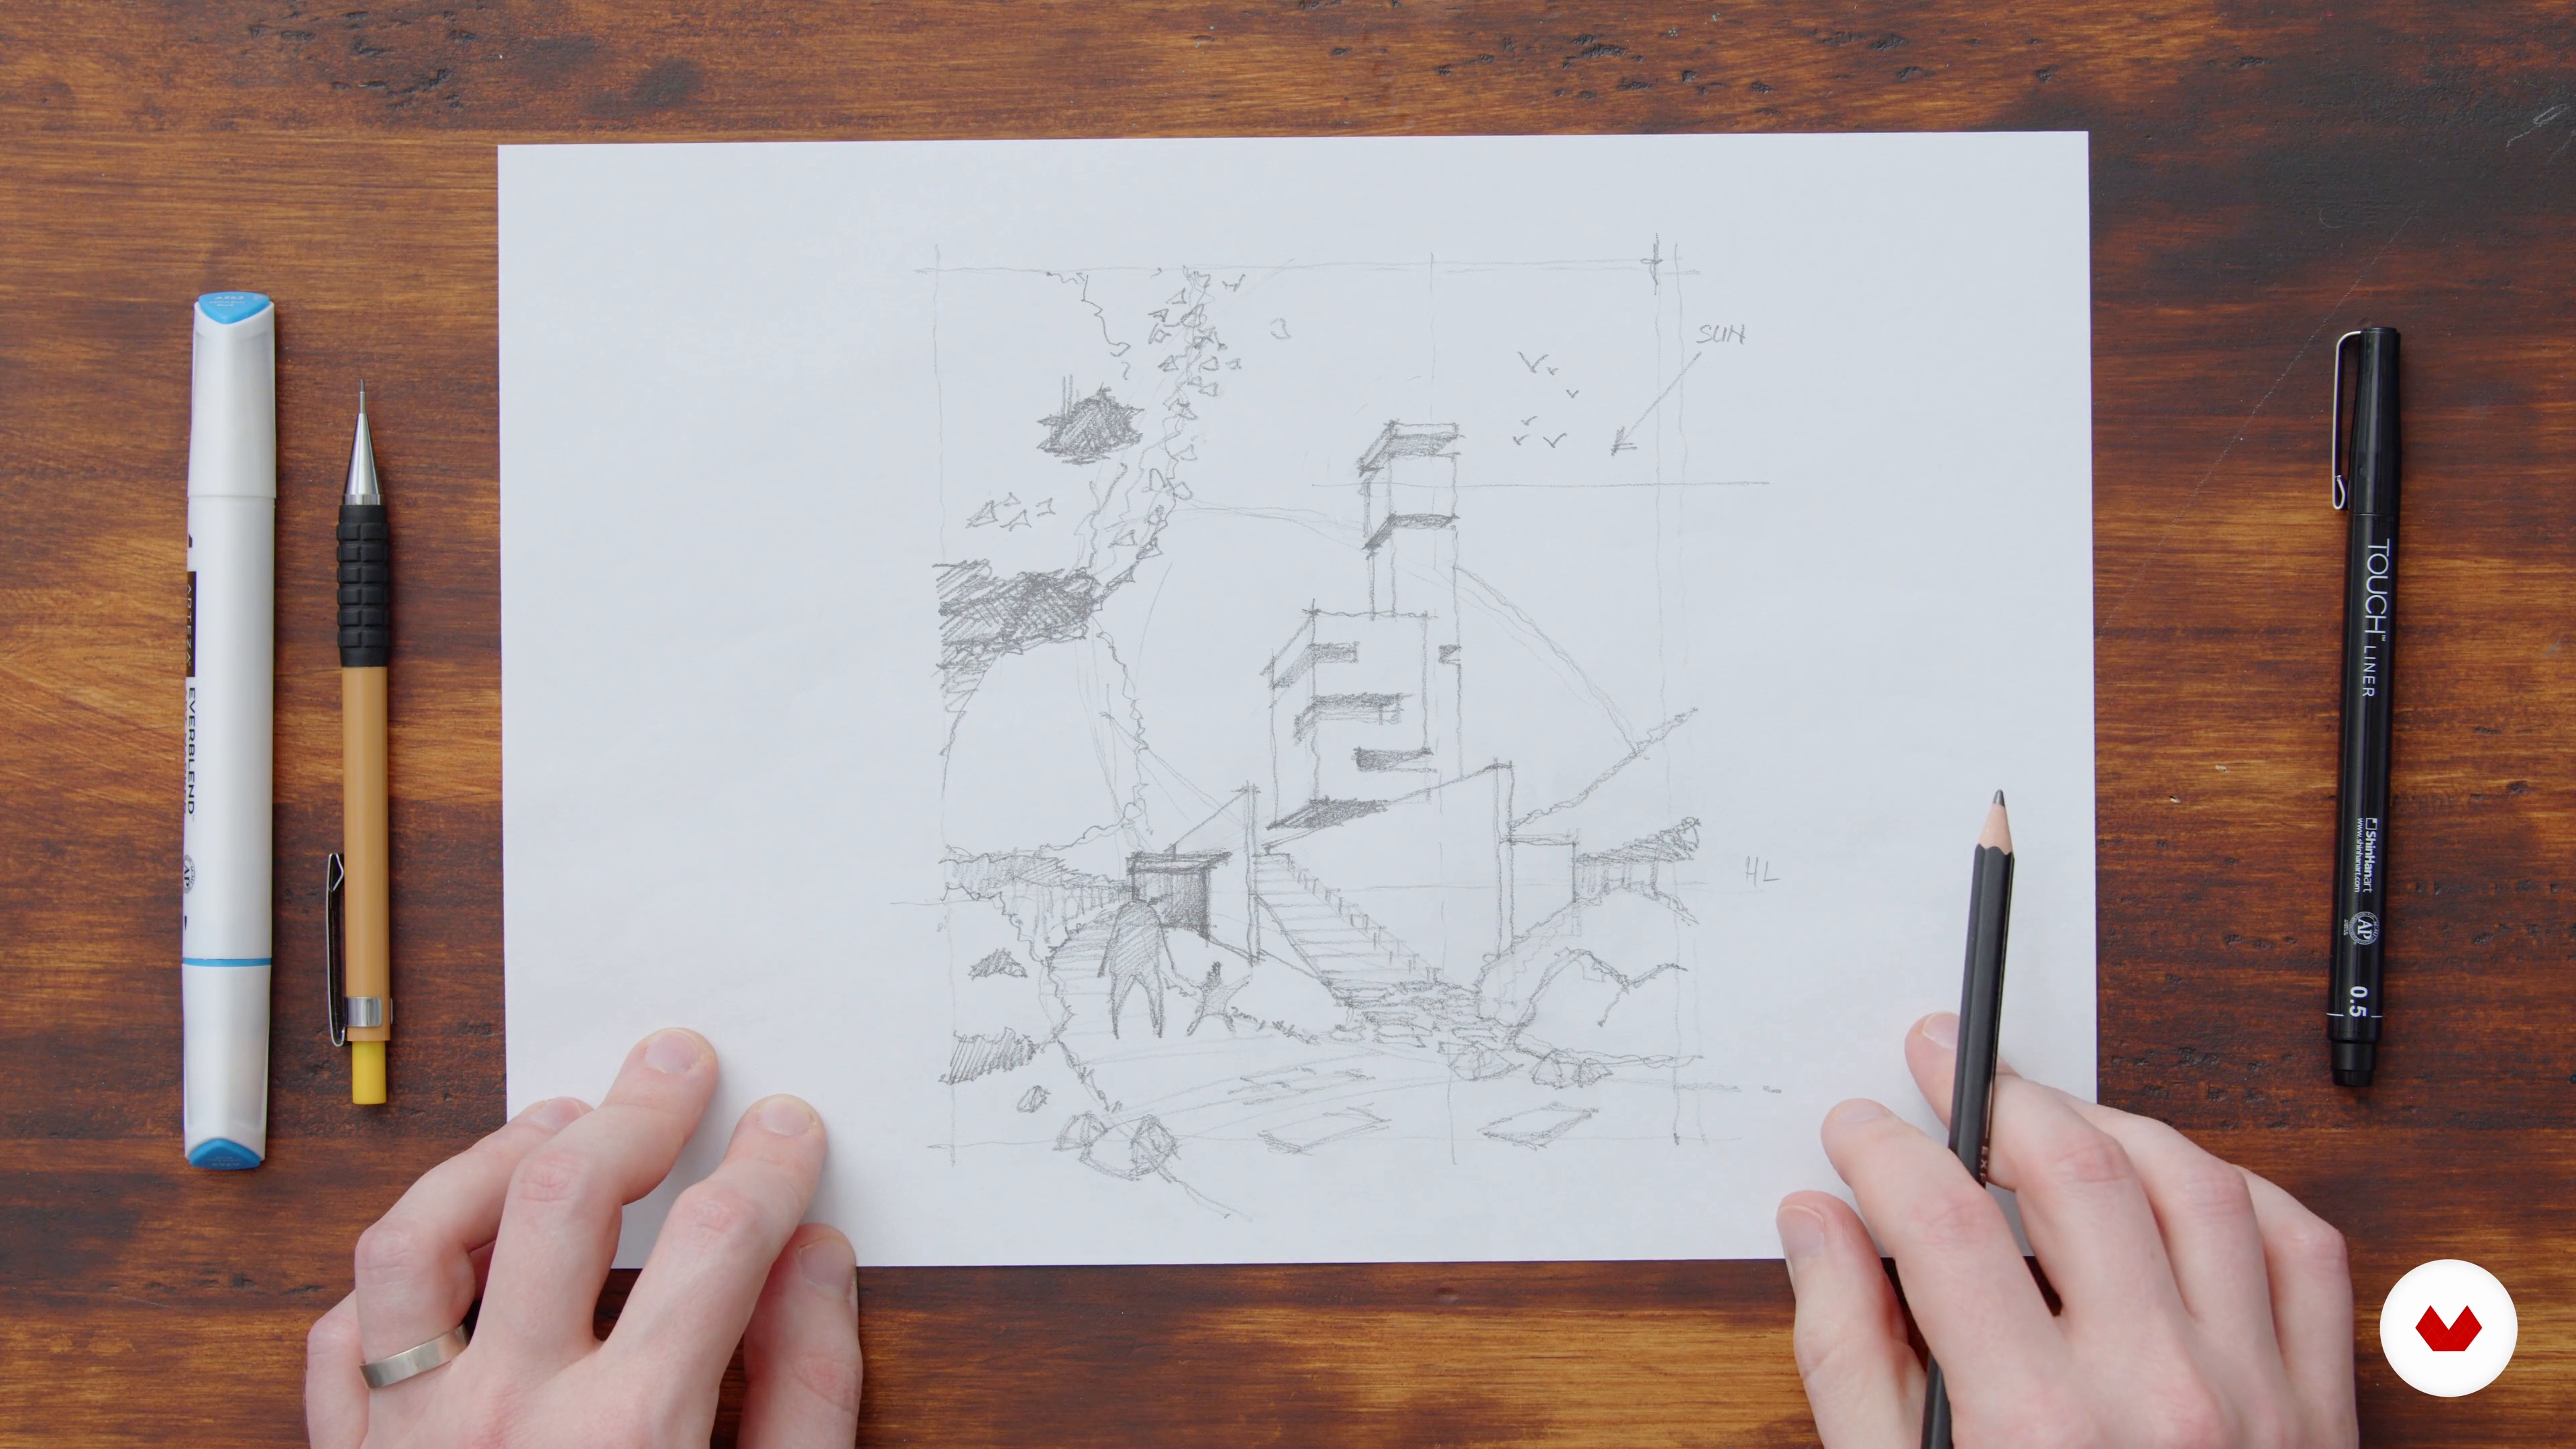
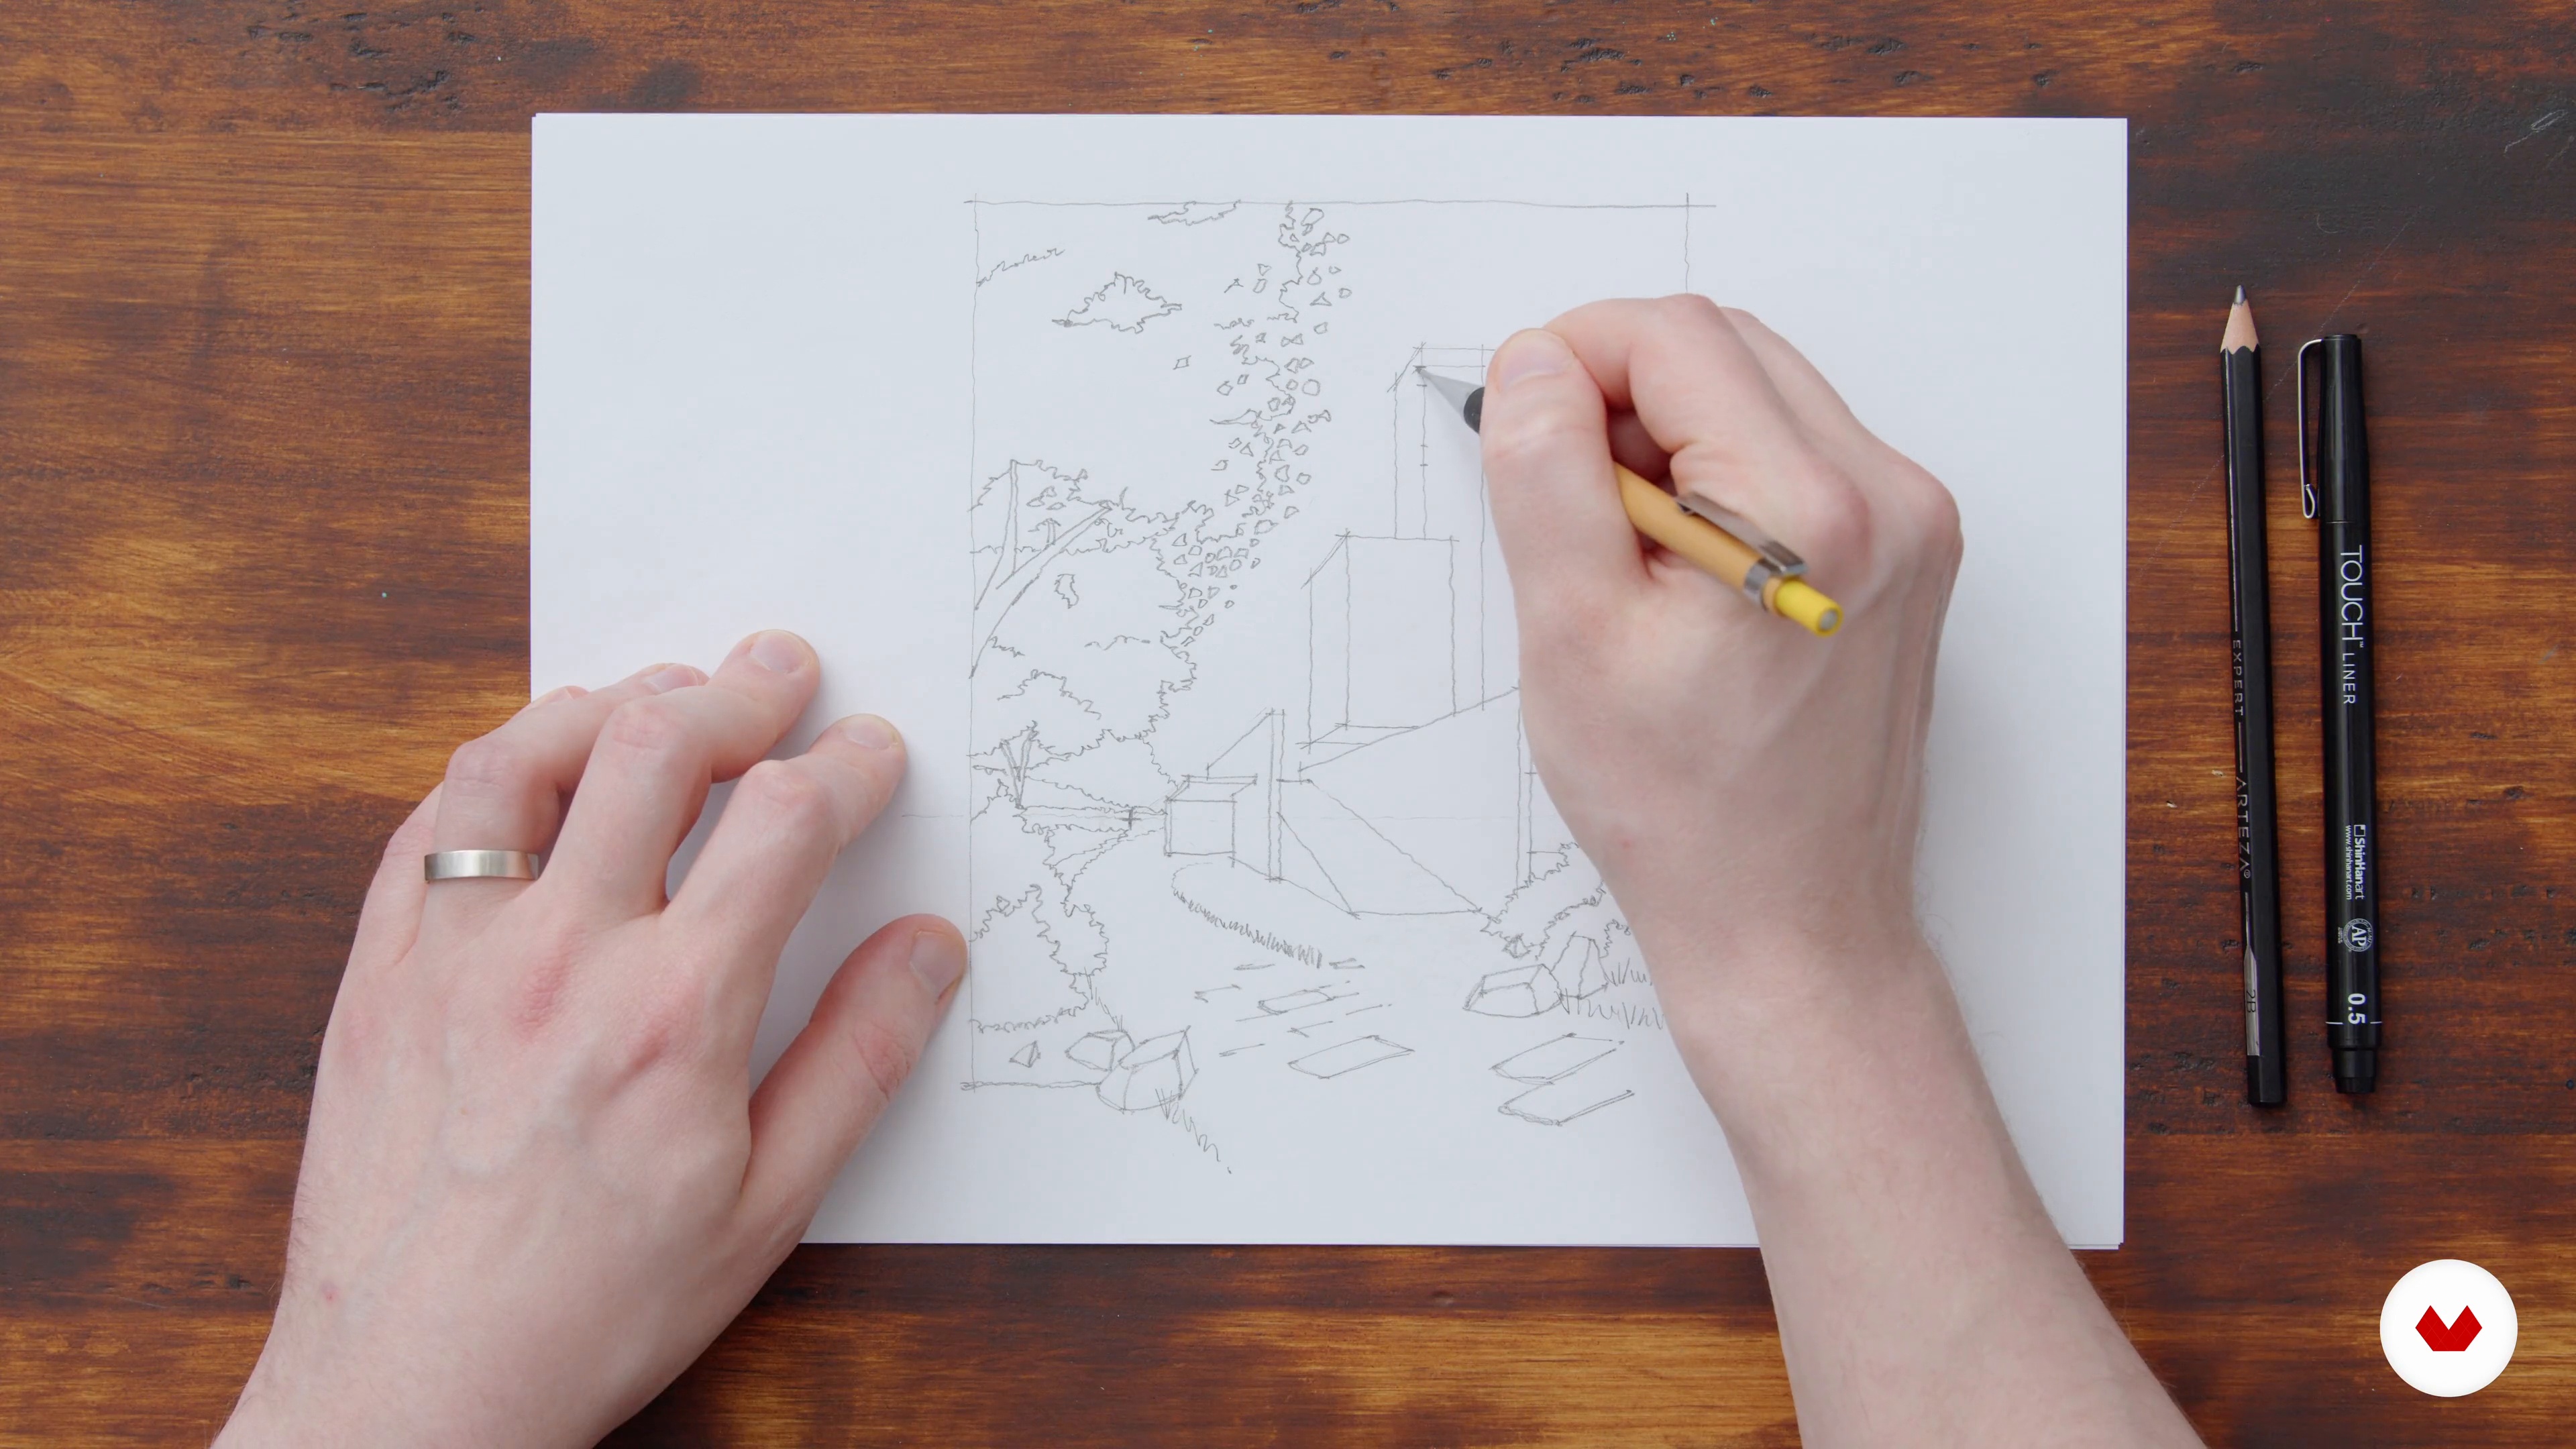
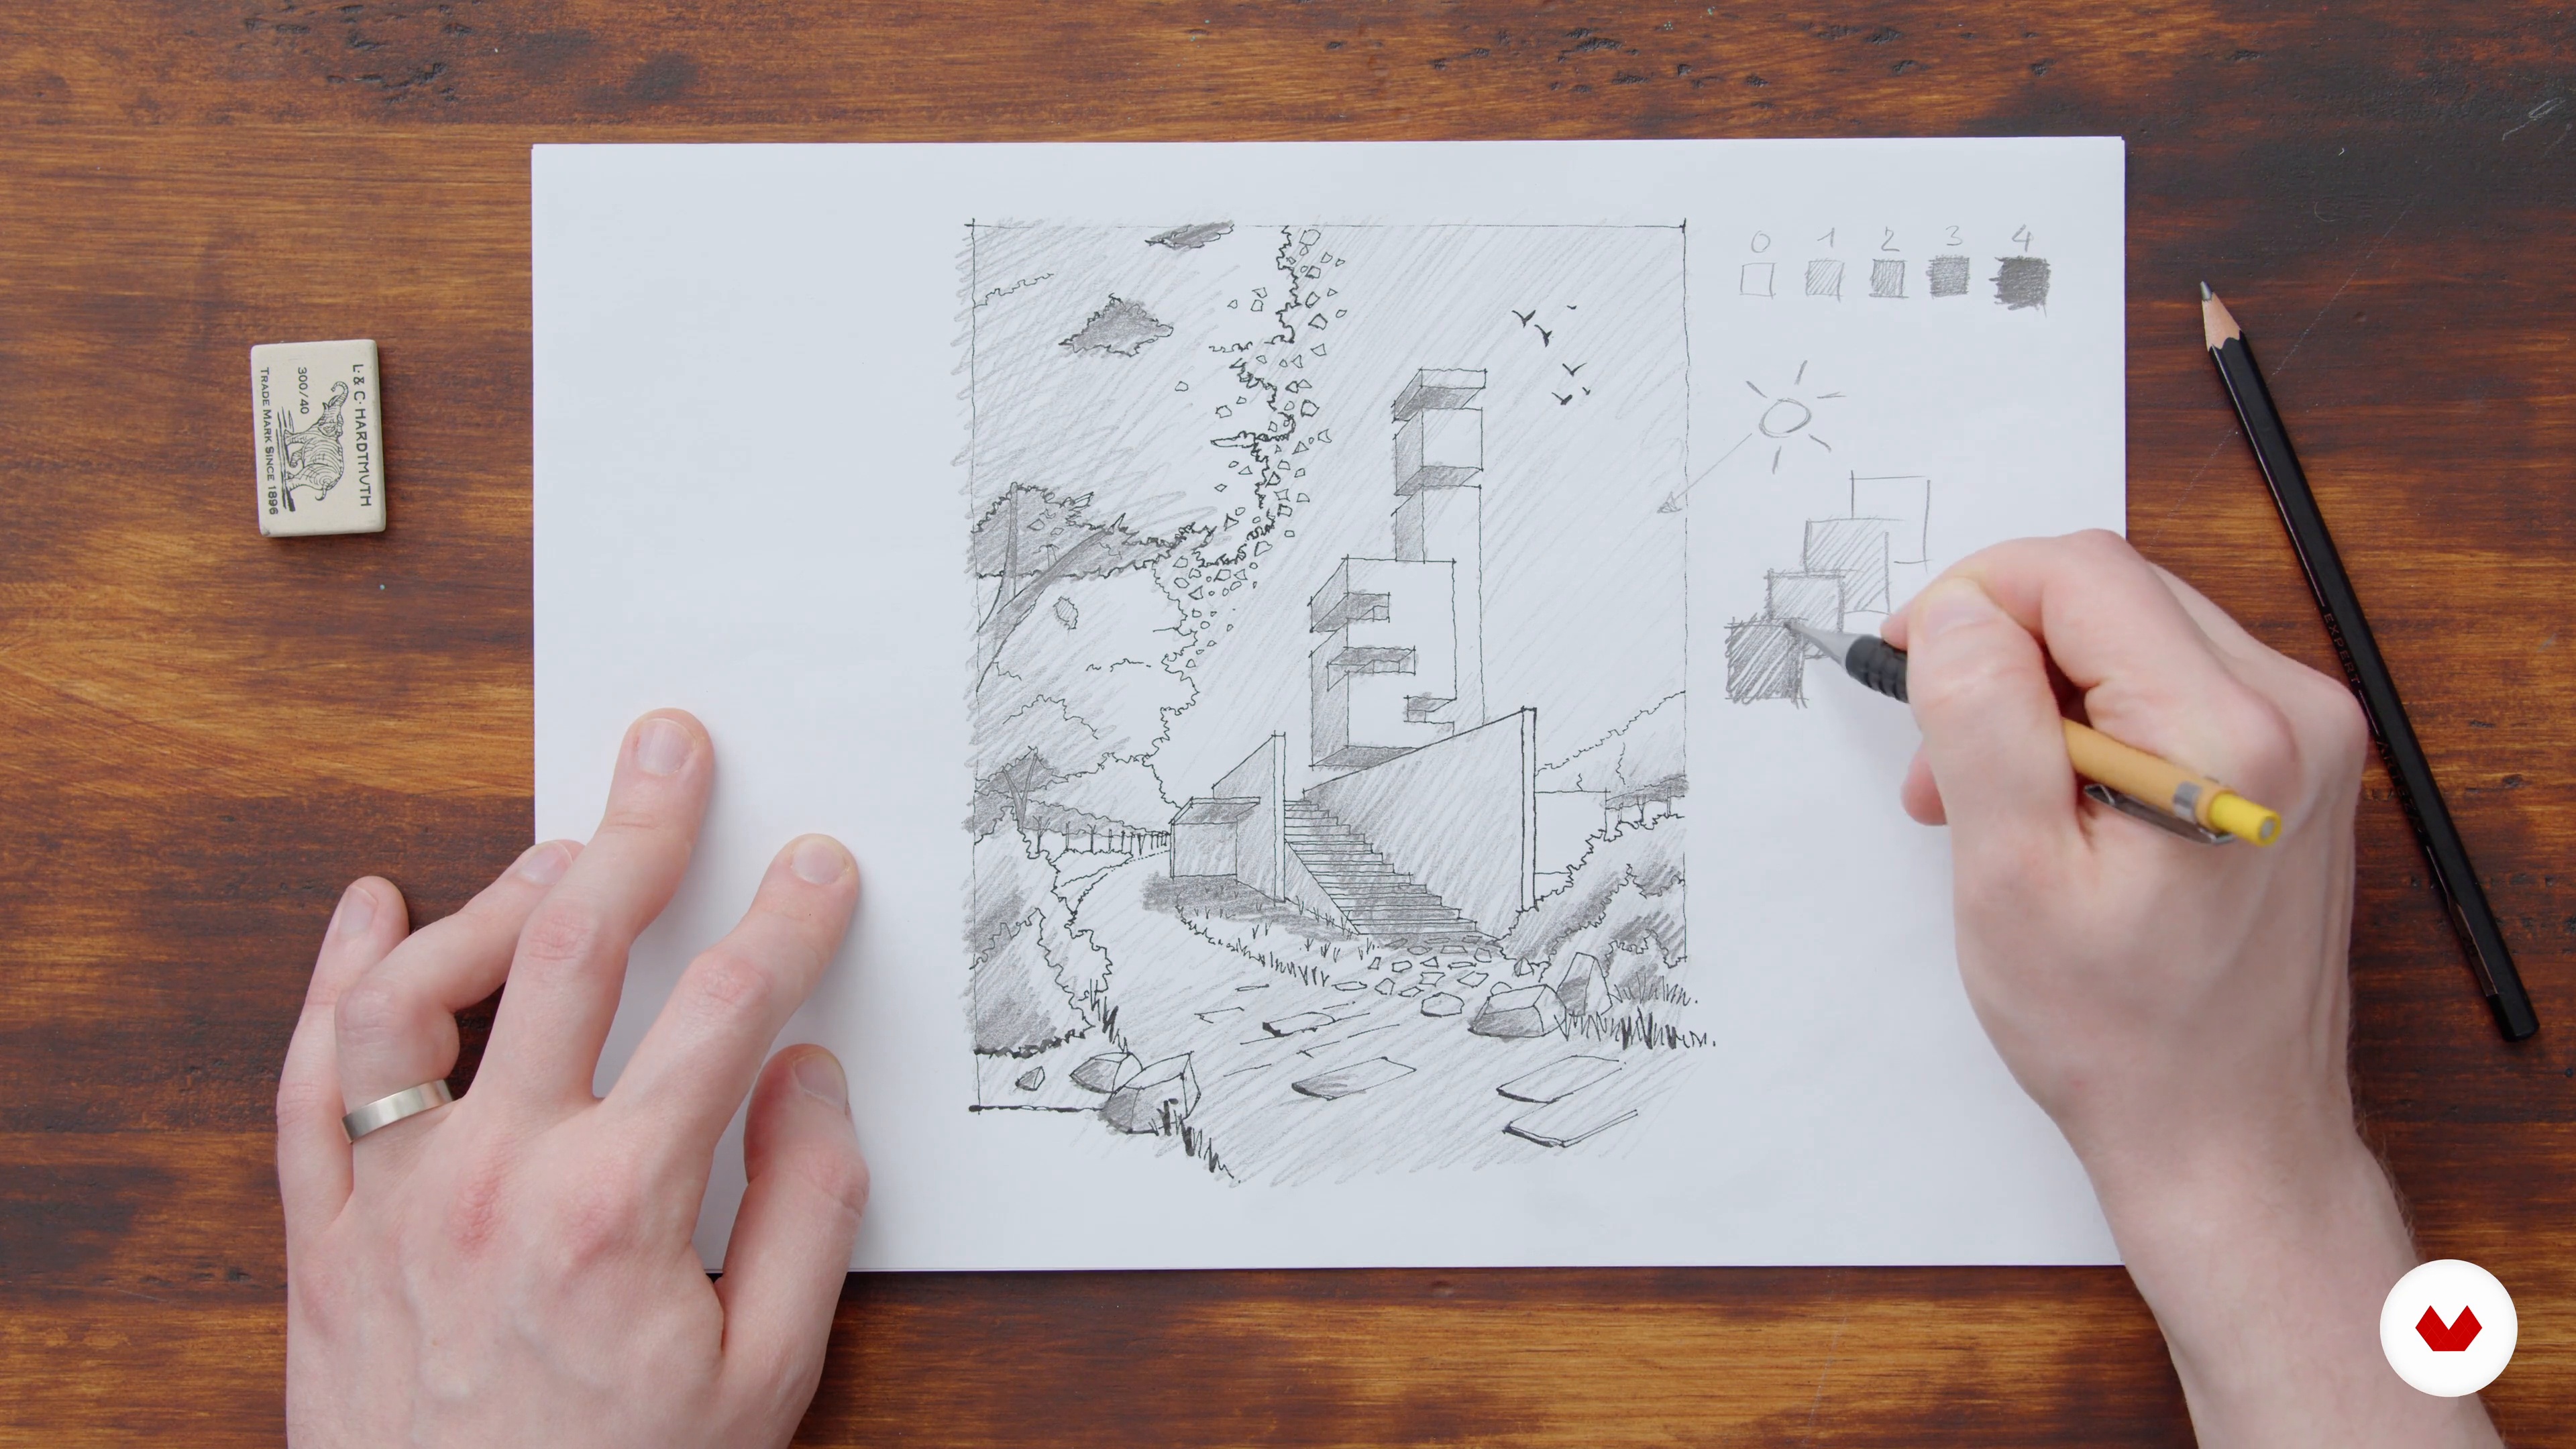
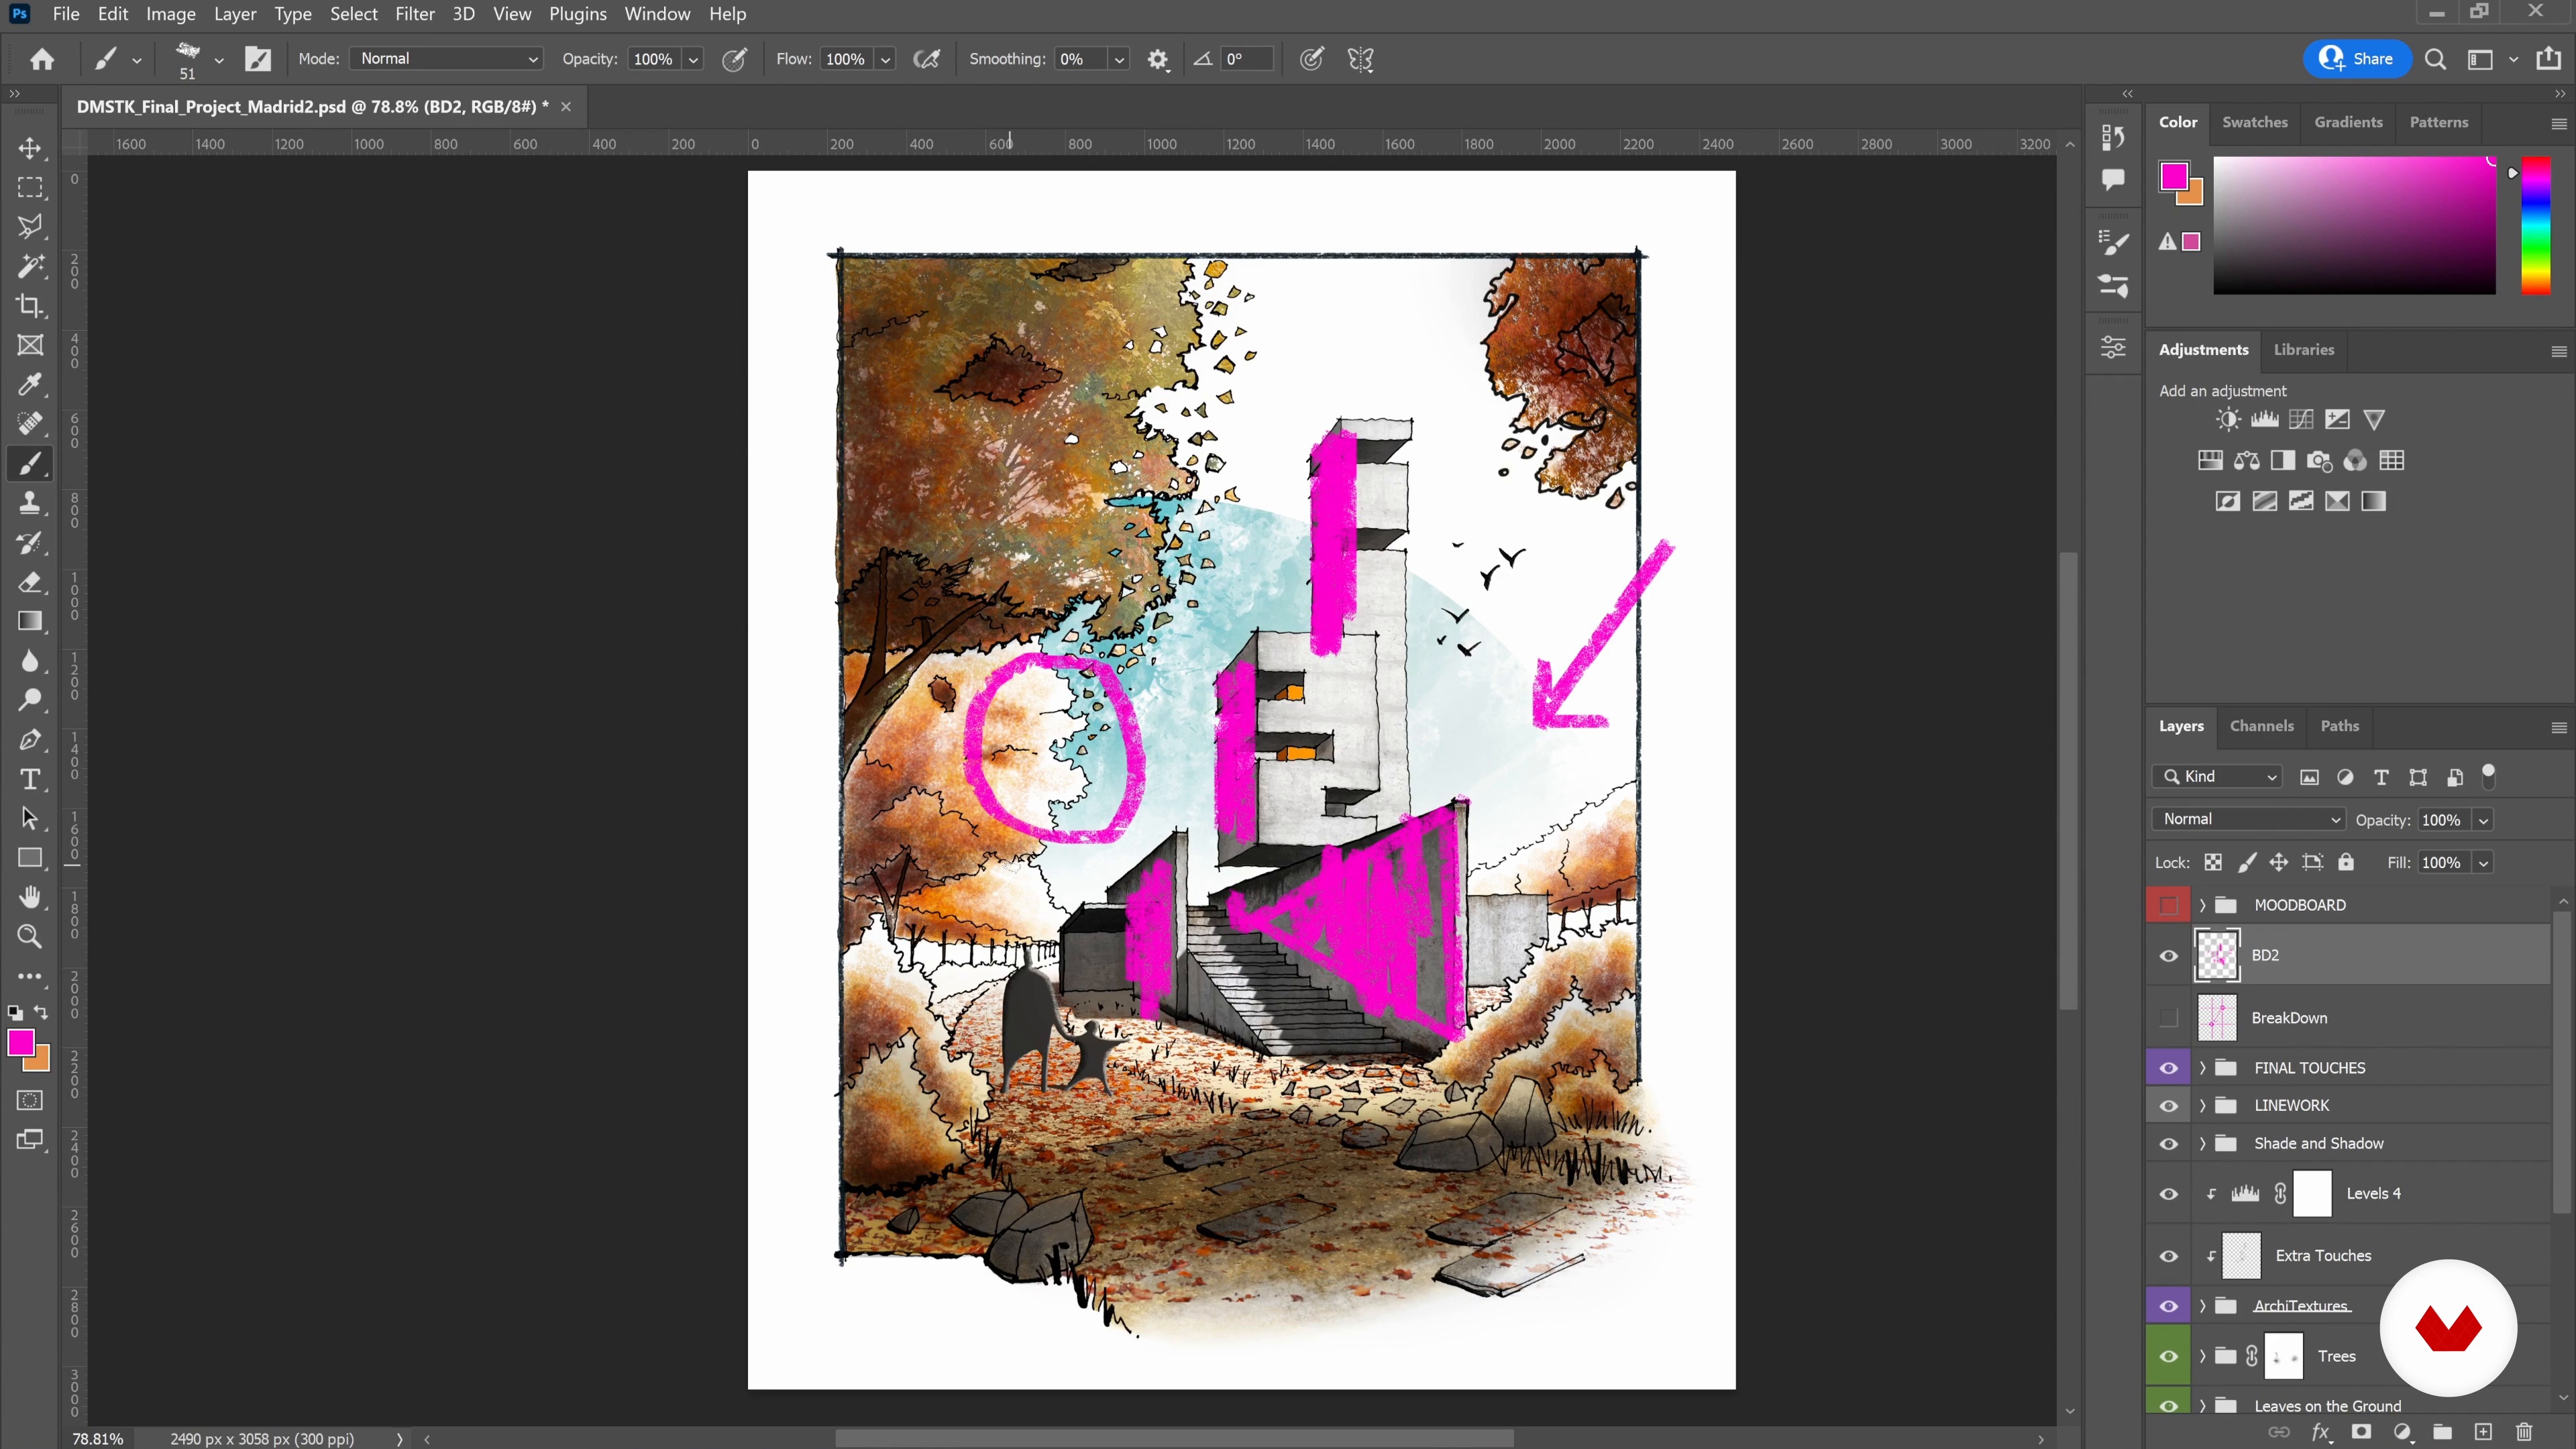
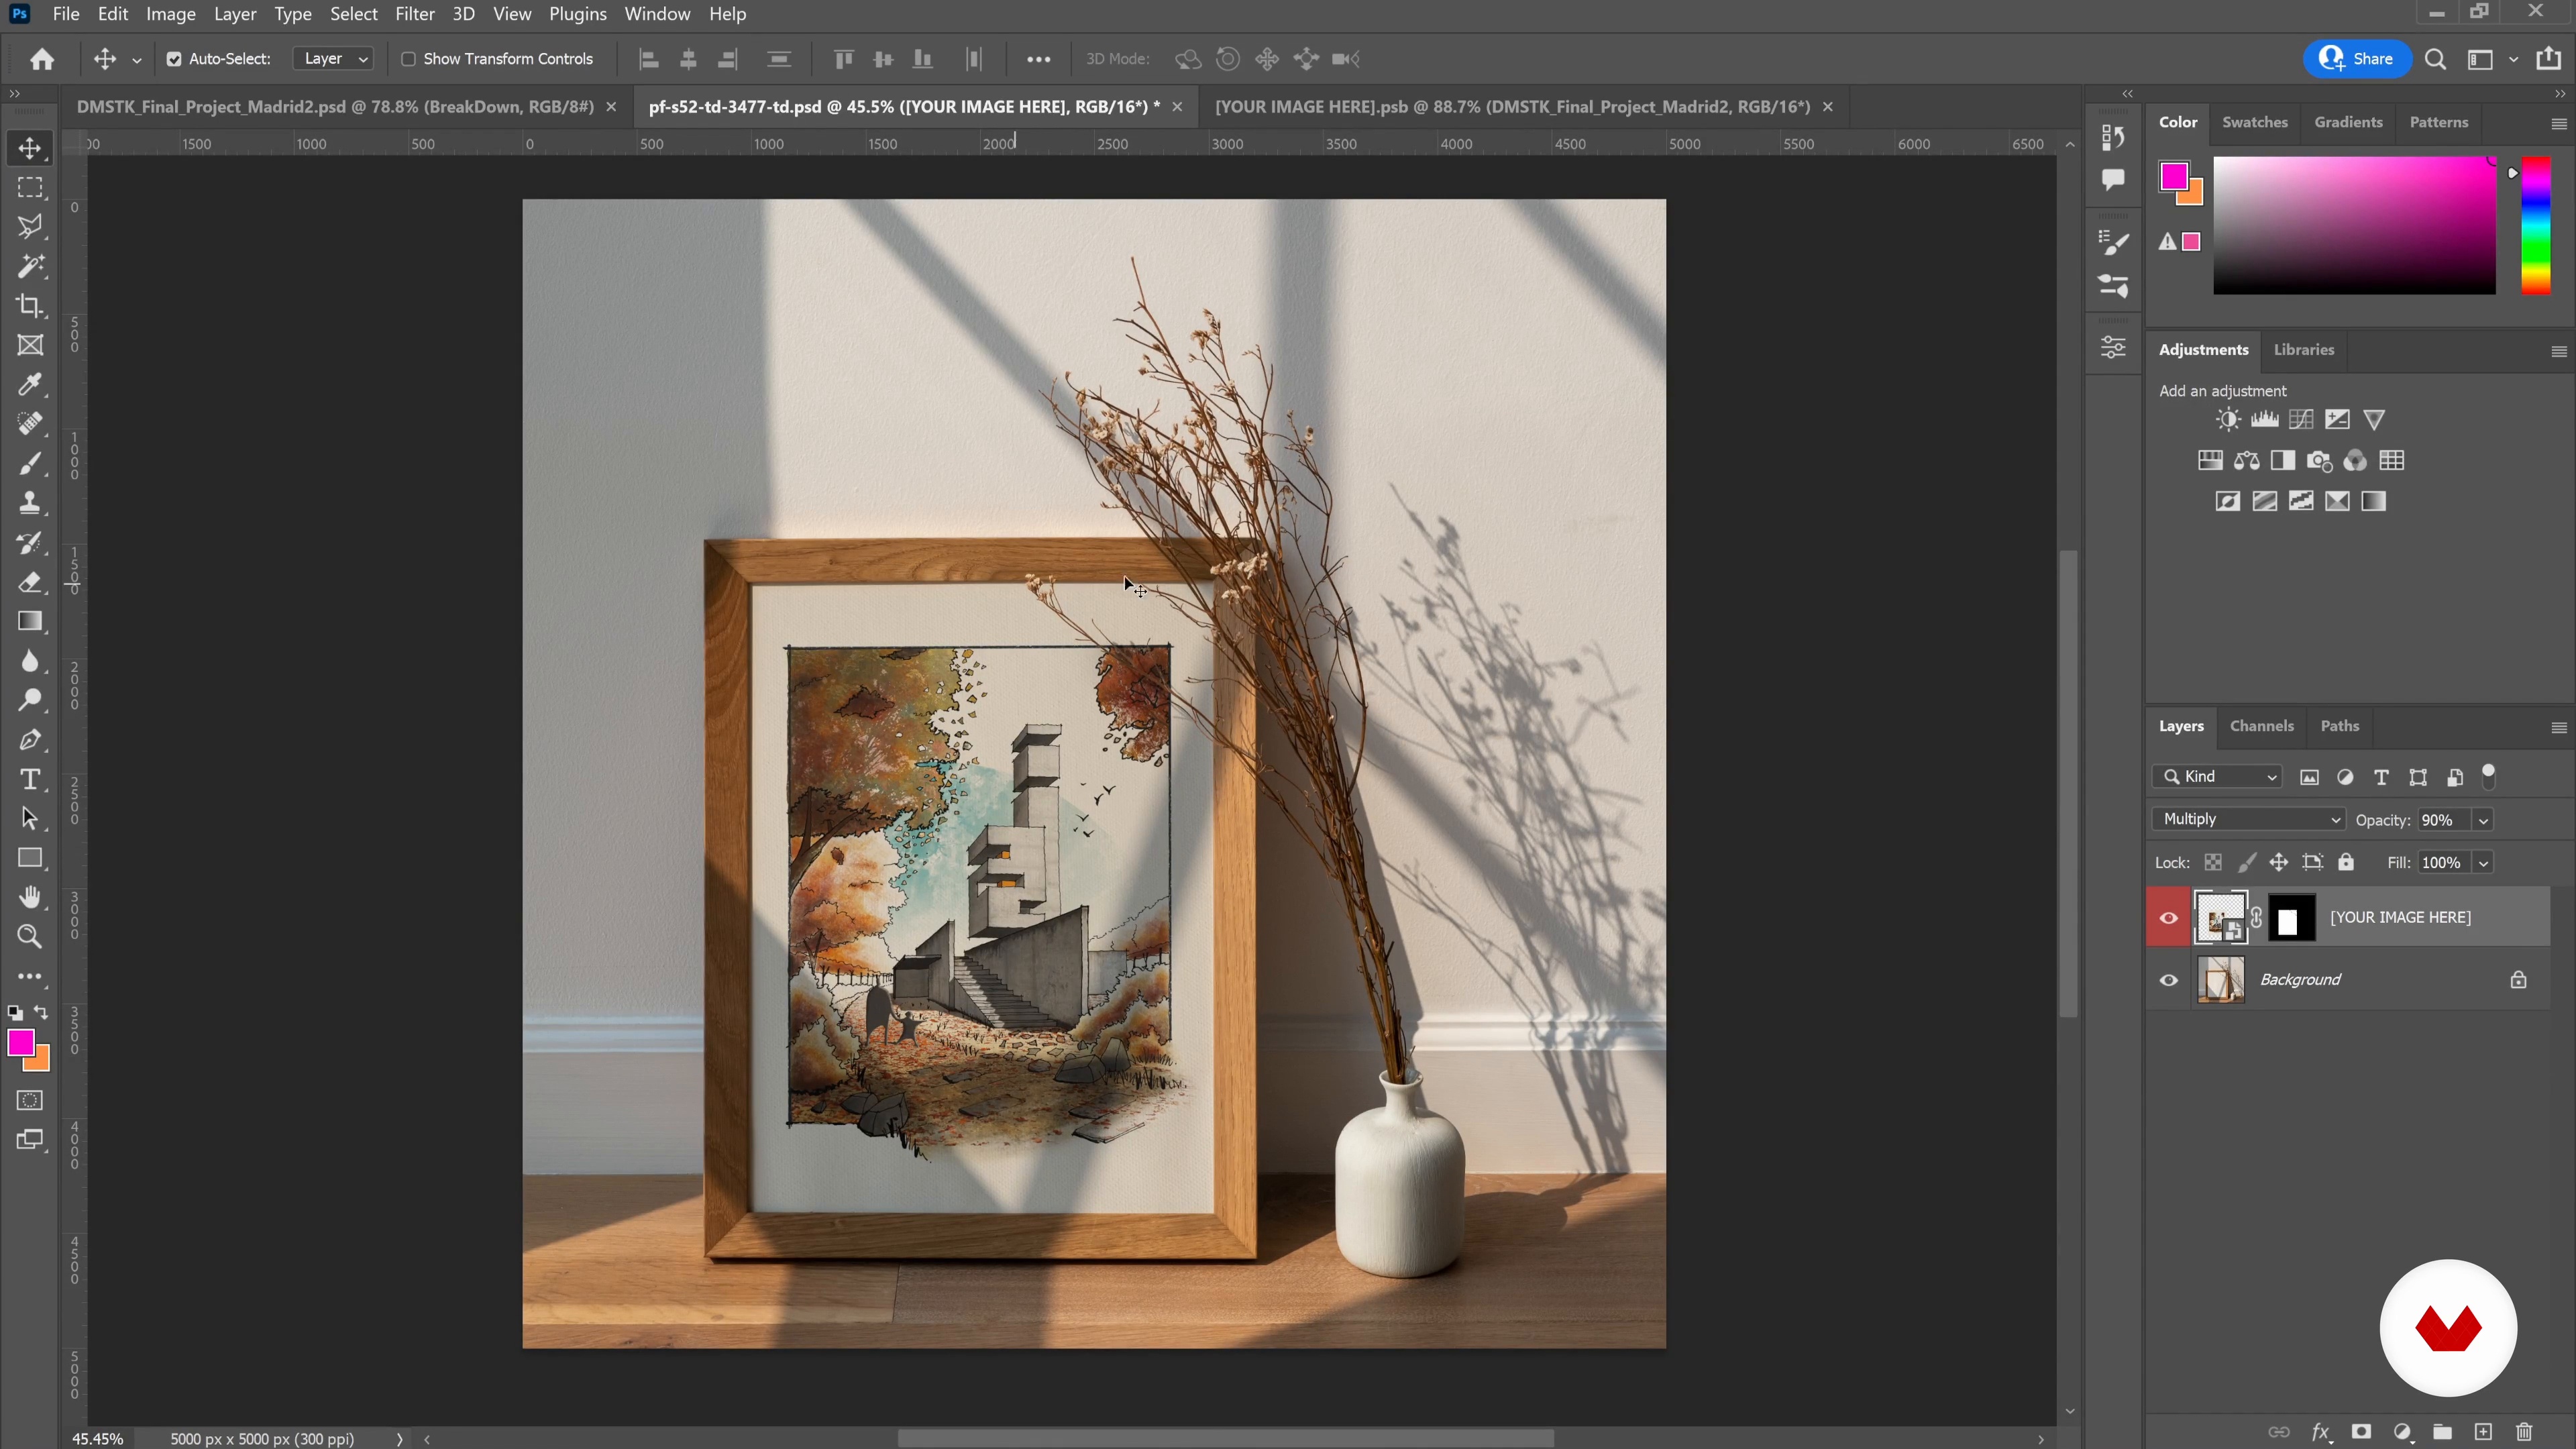
Embark on a creative journey with the "Architectural Drawing Specialization" and unlock your potential in architectural visualization. This comprehensive course takes you from freehand sketching to advanced digital rendering, providing a well-rounded skill set for aspiring architects and designers. Discover the art of conceptual sketching, translating your abstract ideas into tangible forms while maintaining creativity and coherence. Learn to master perspective techniques, ensuring accurate representation of depth and space in your architectural drawings.
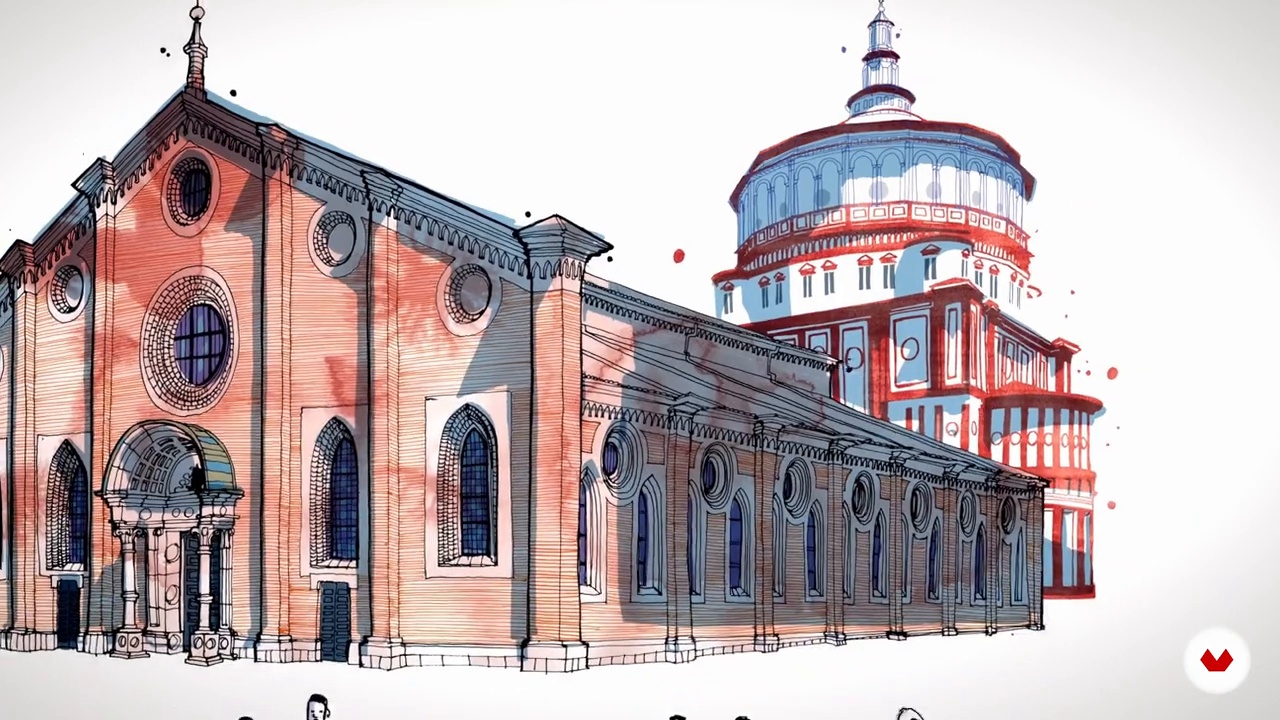
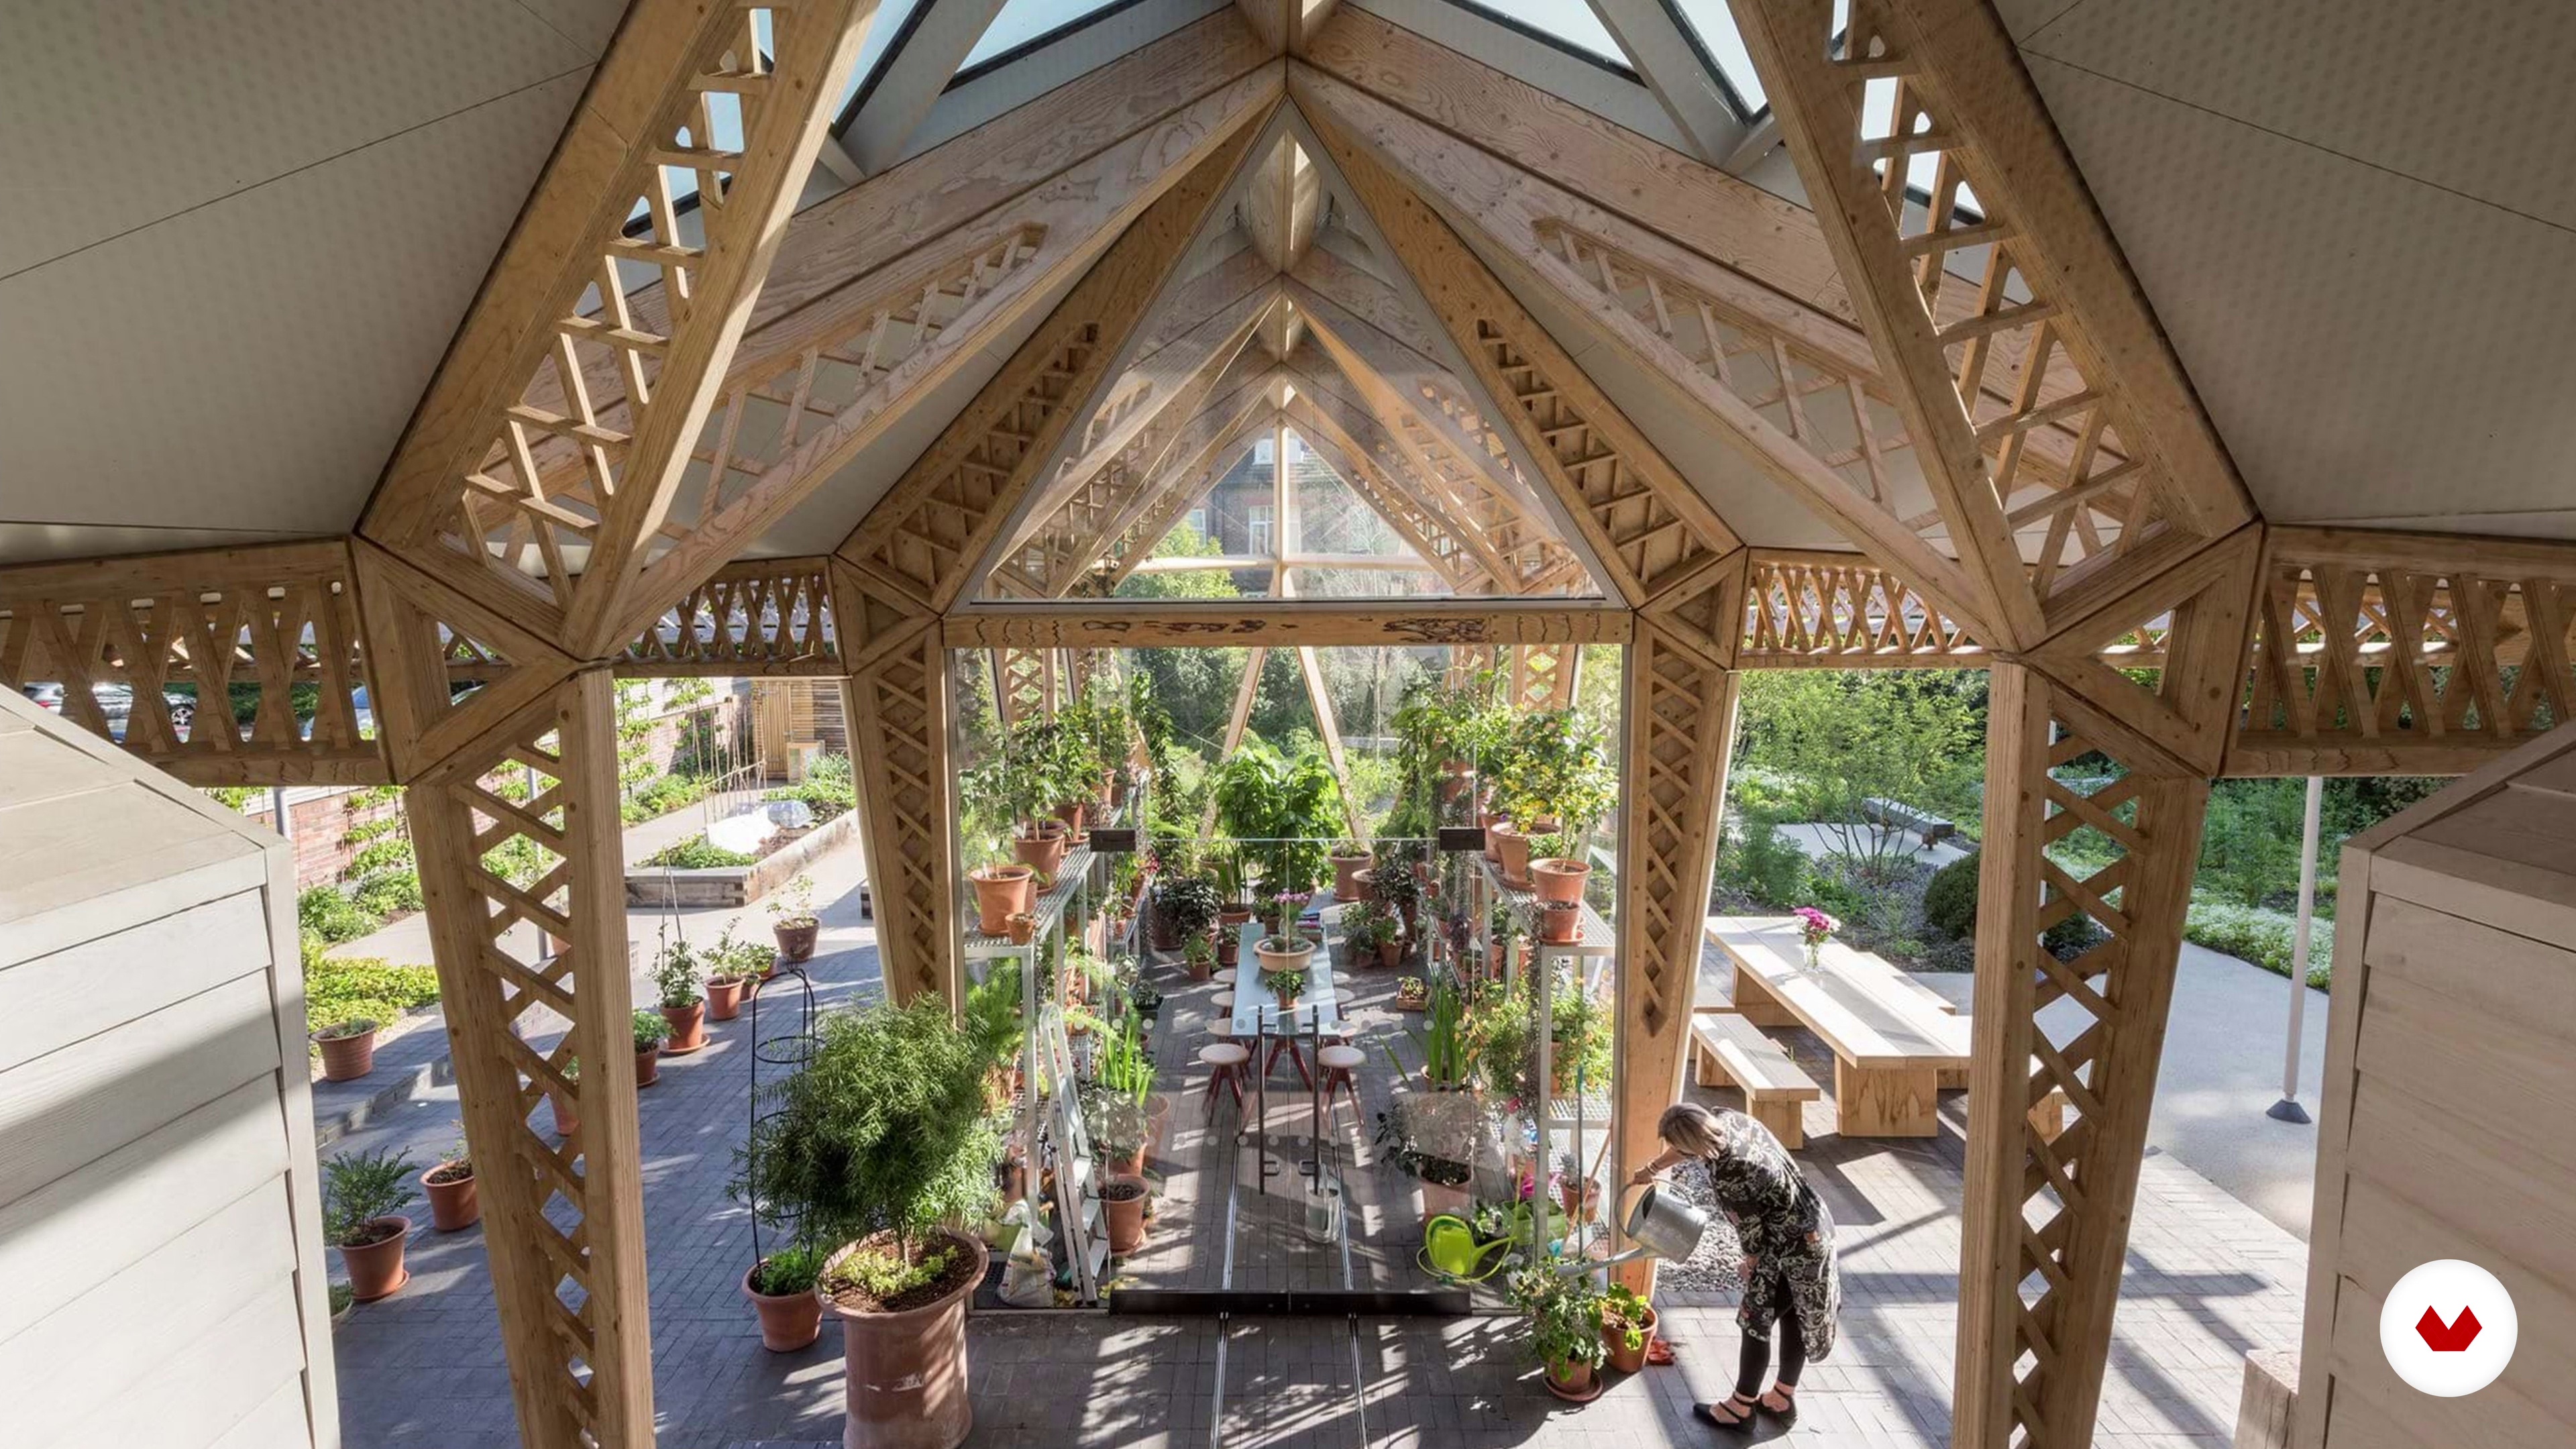
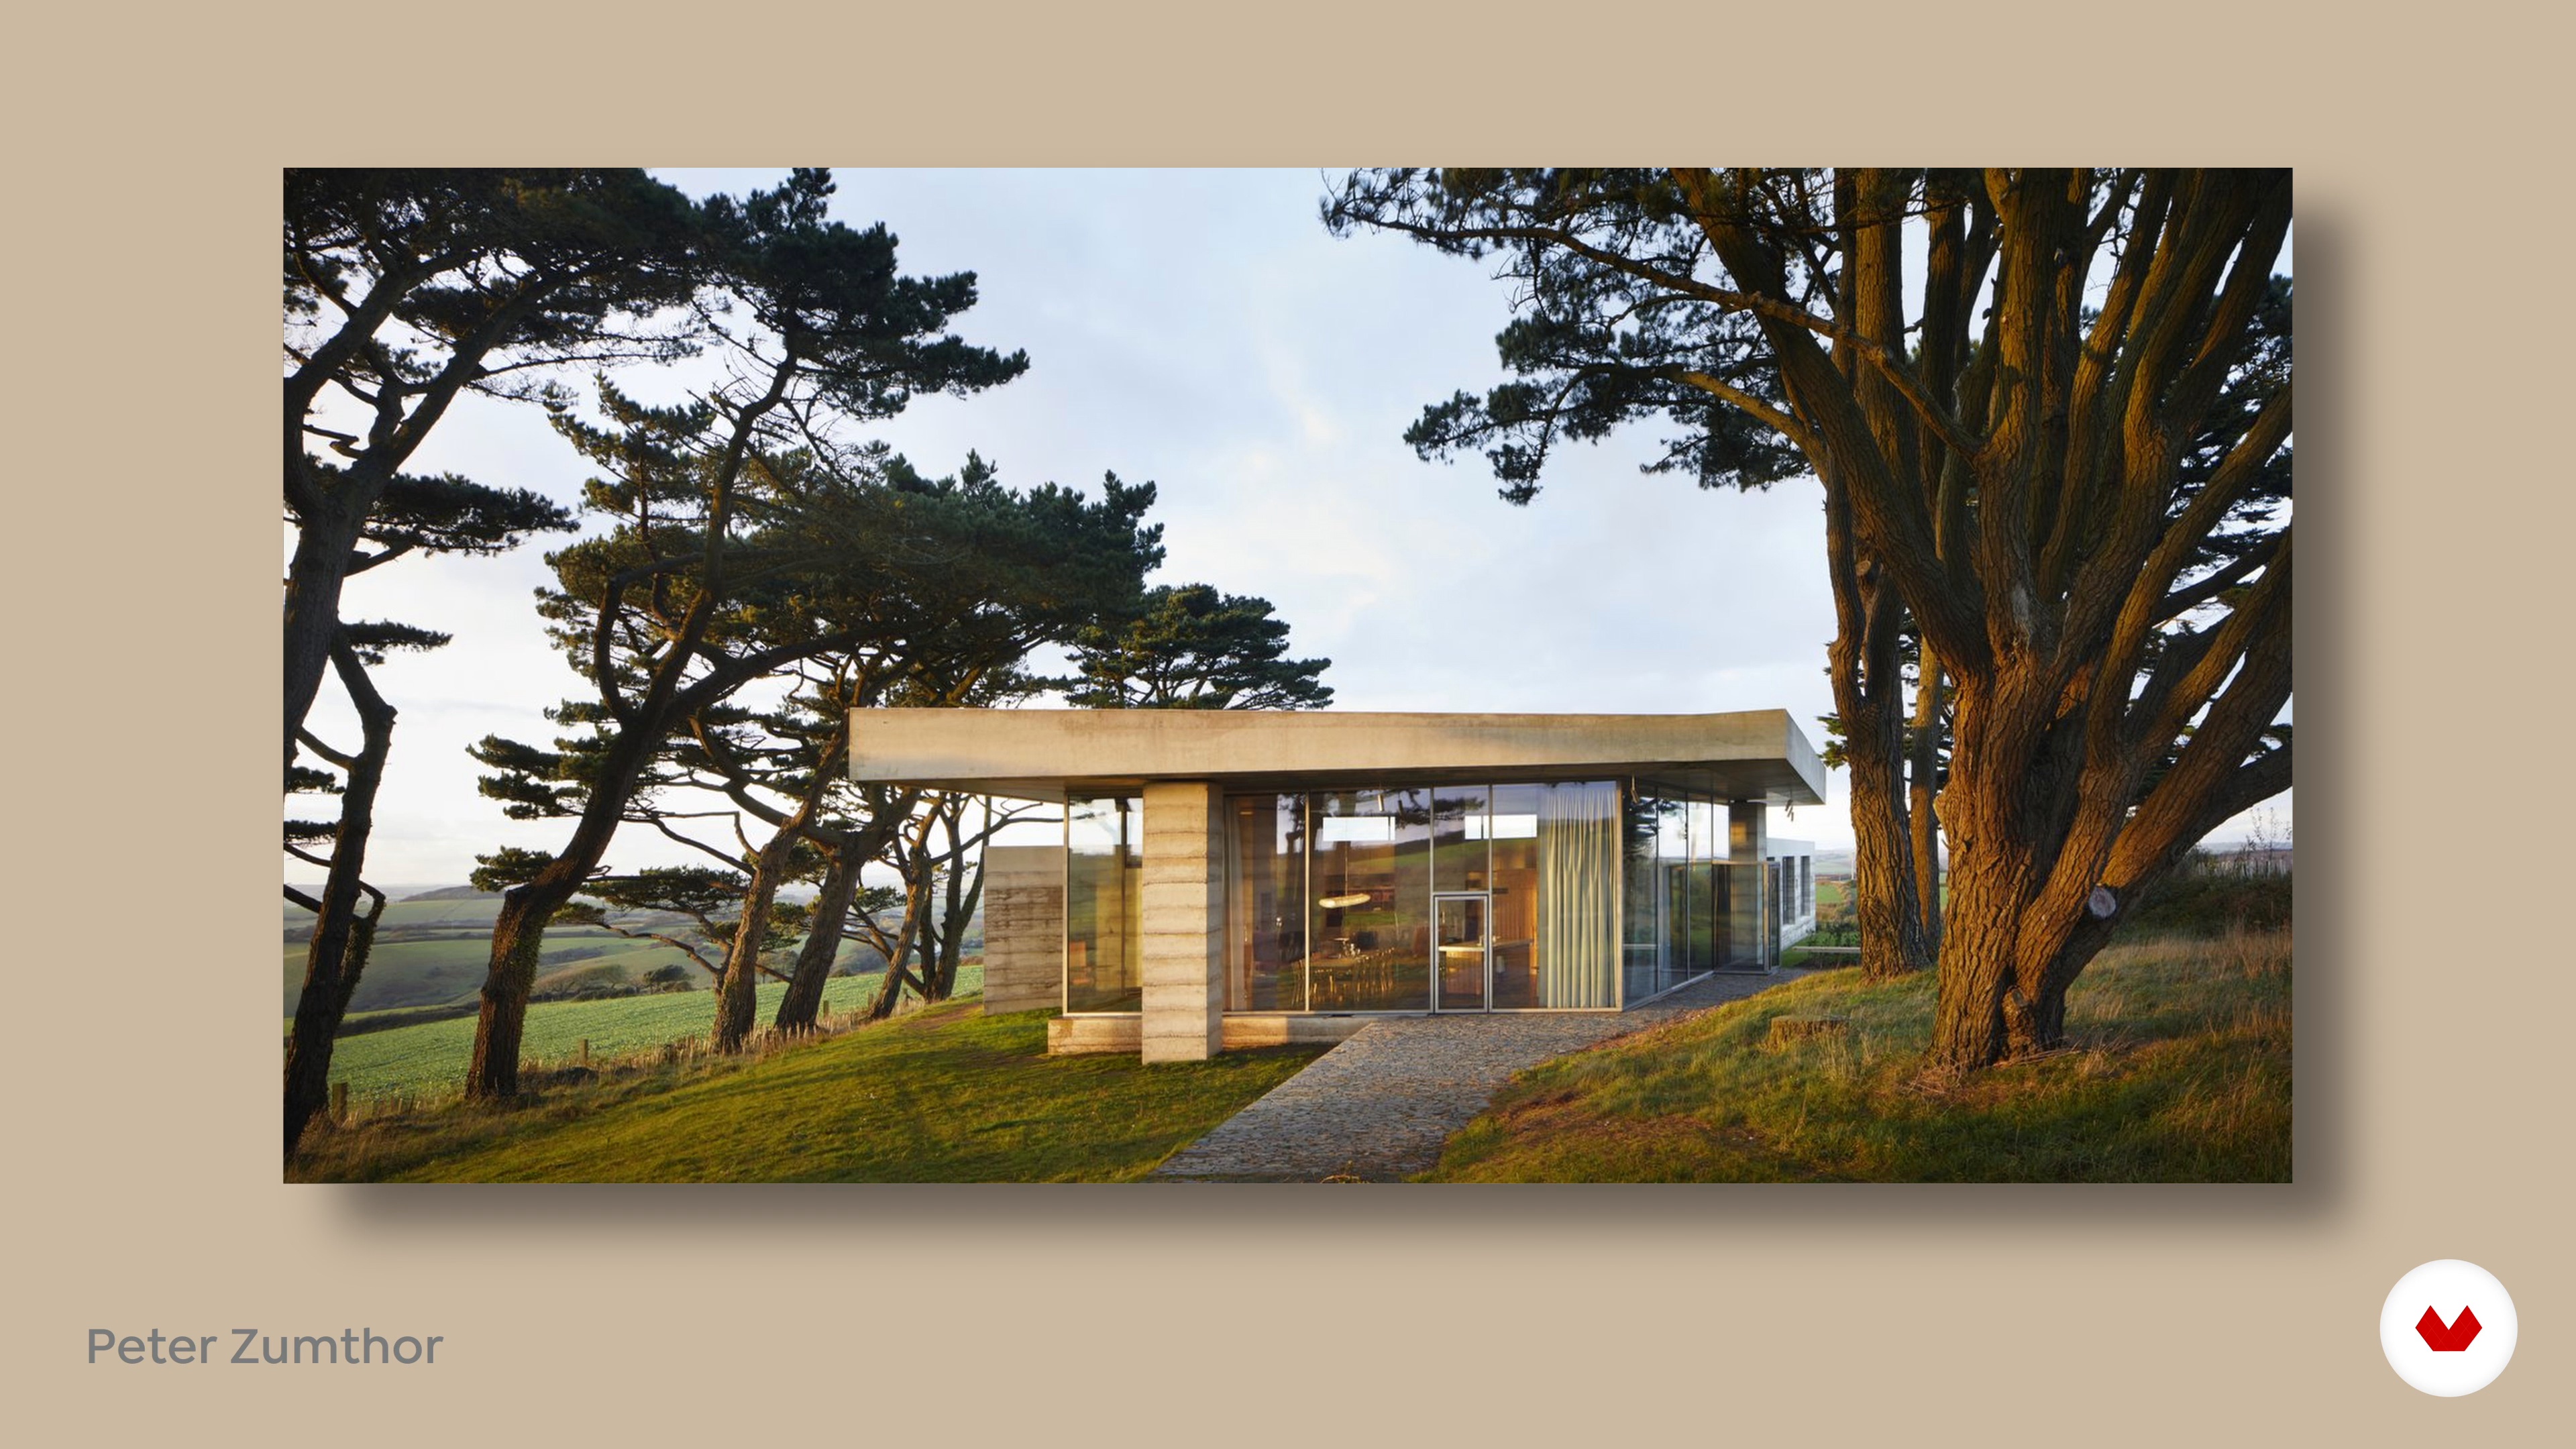
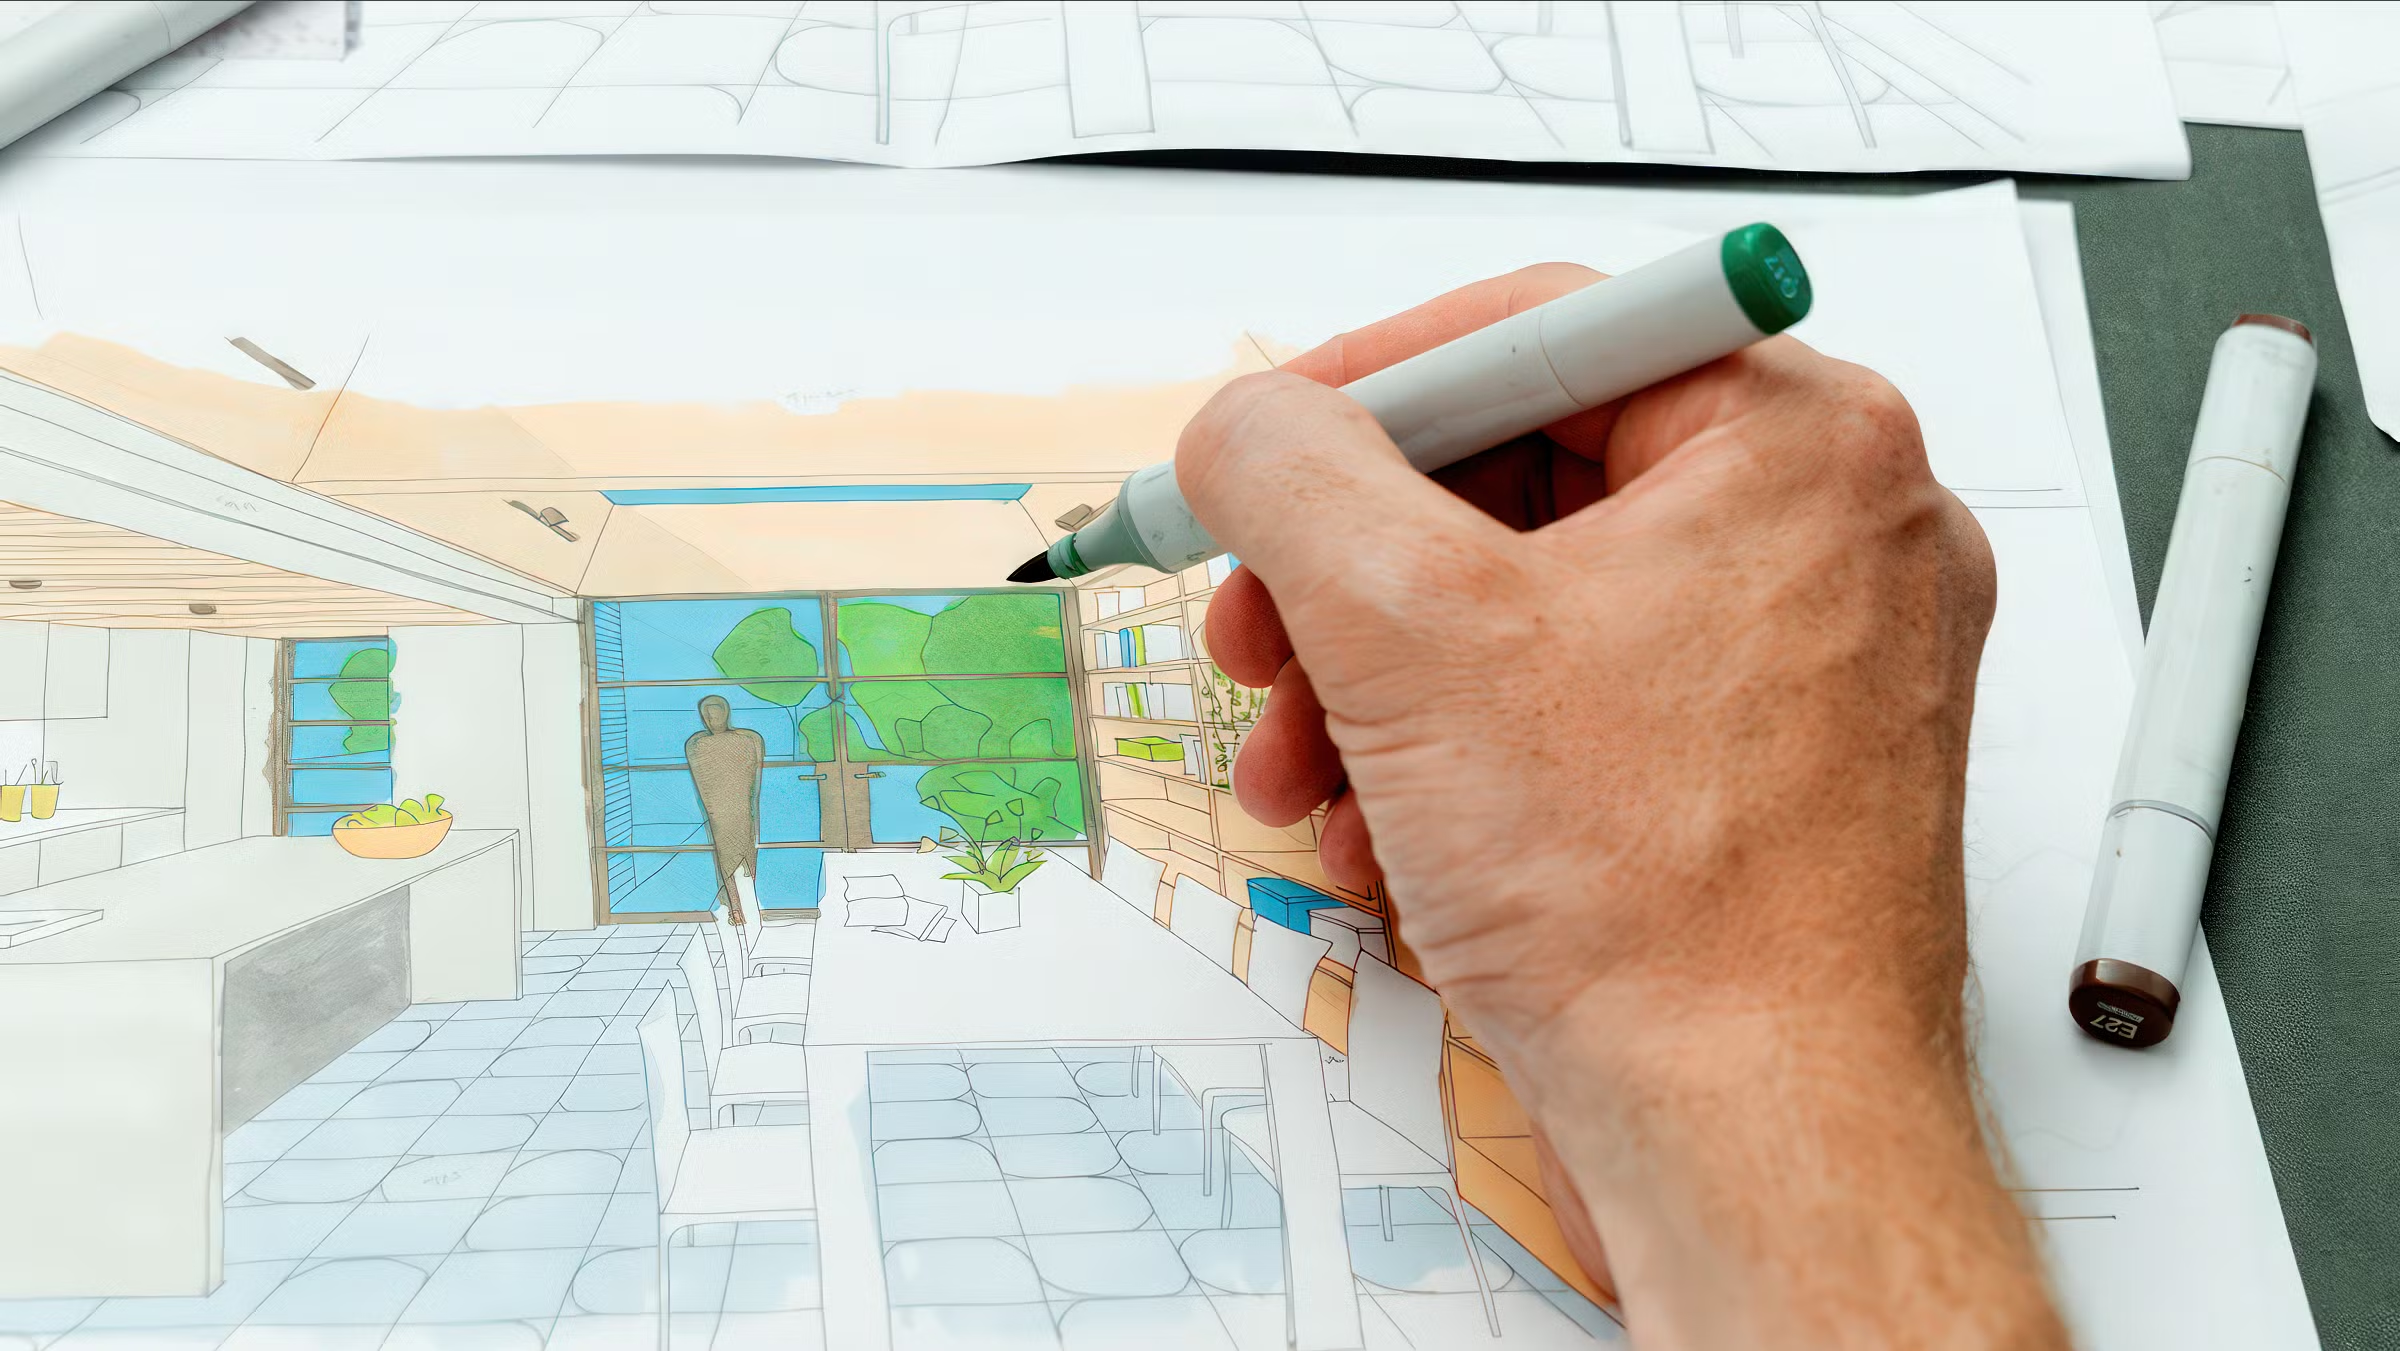
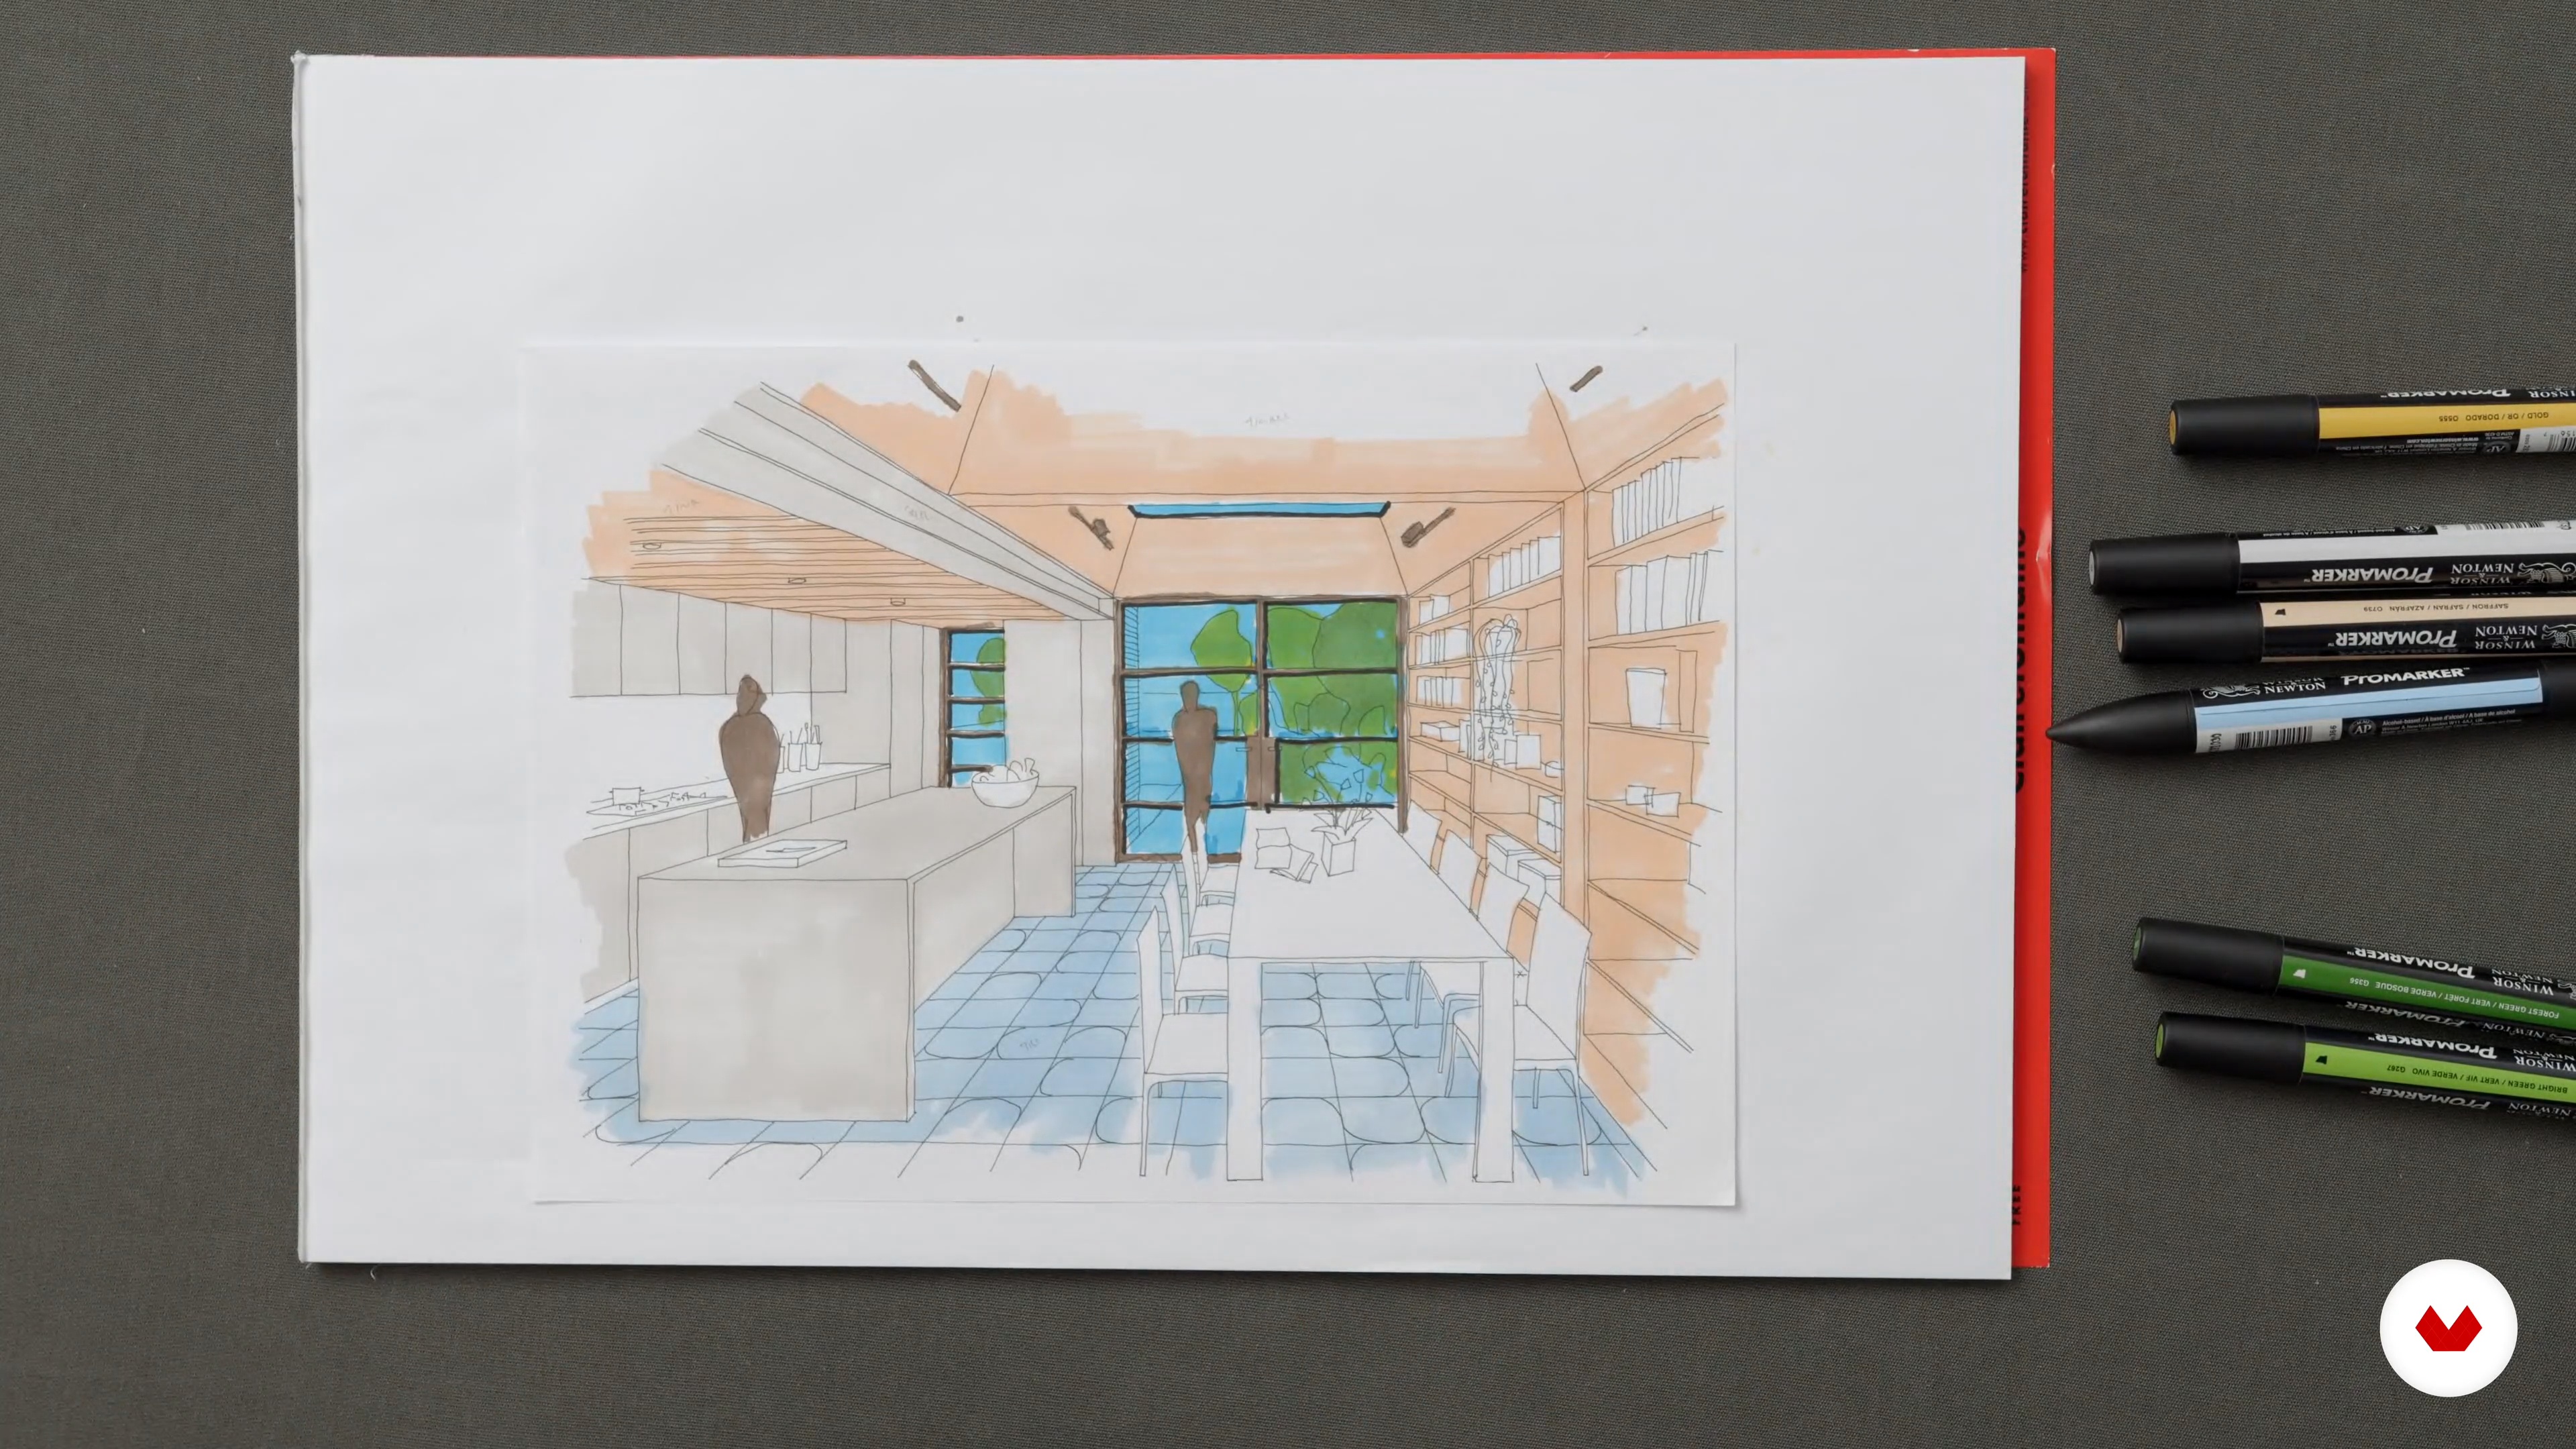
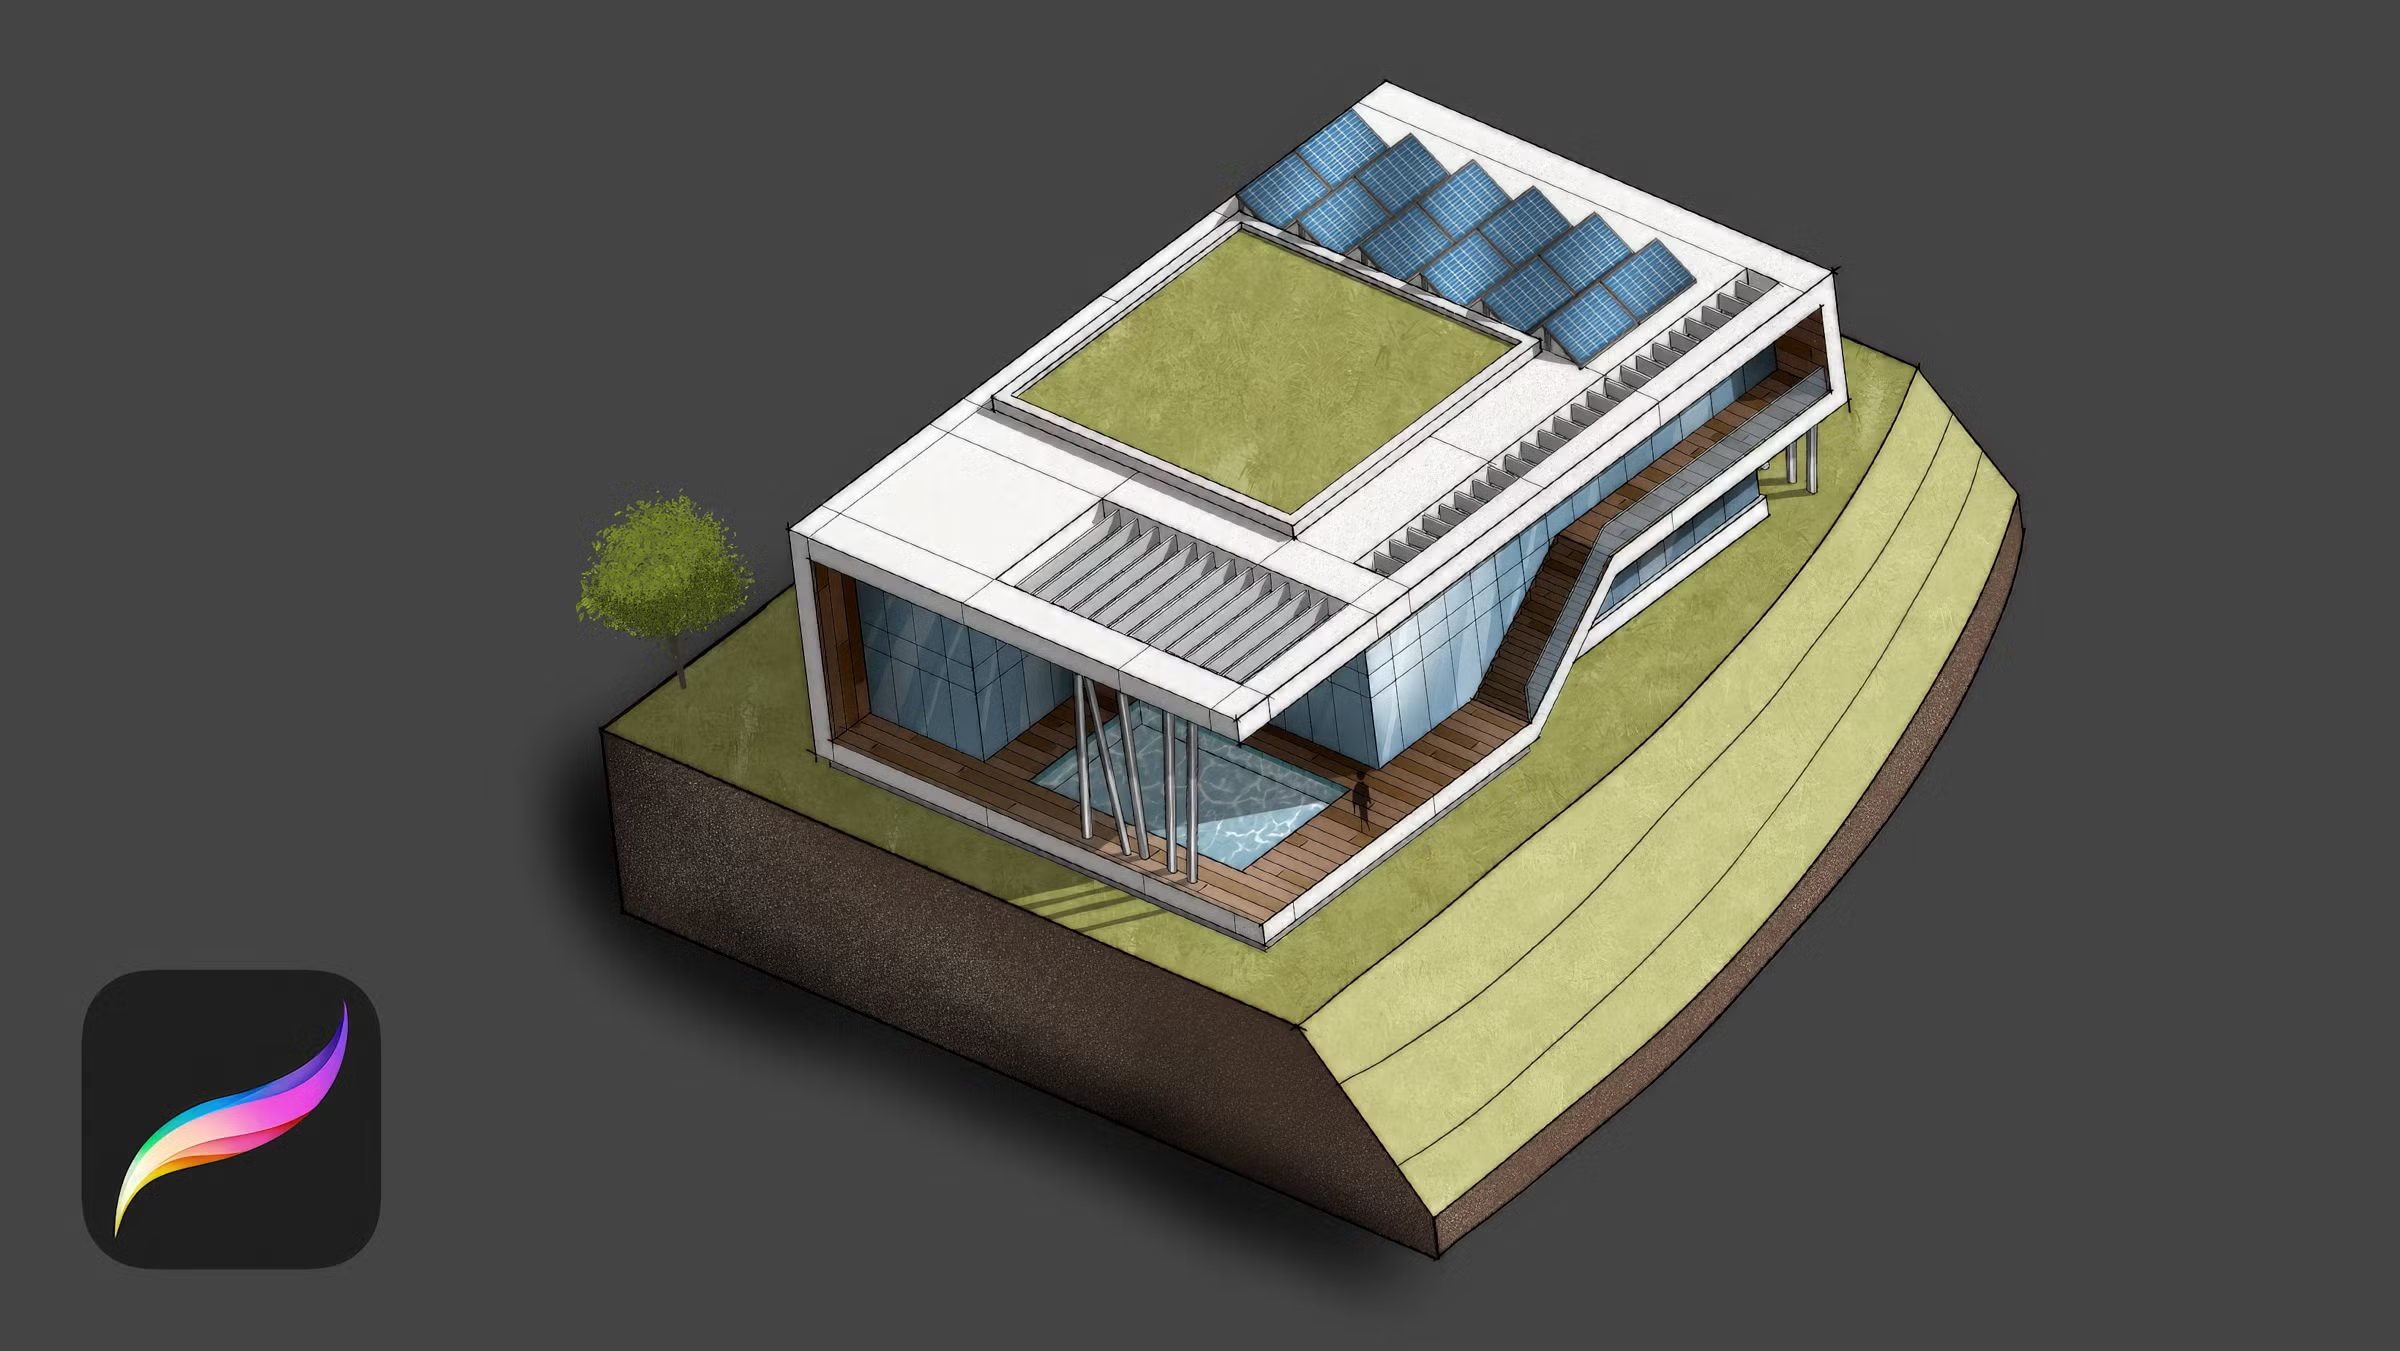
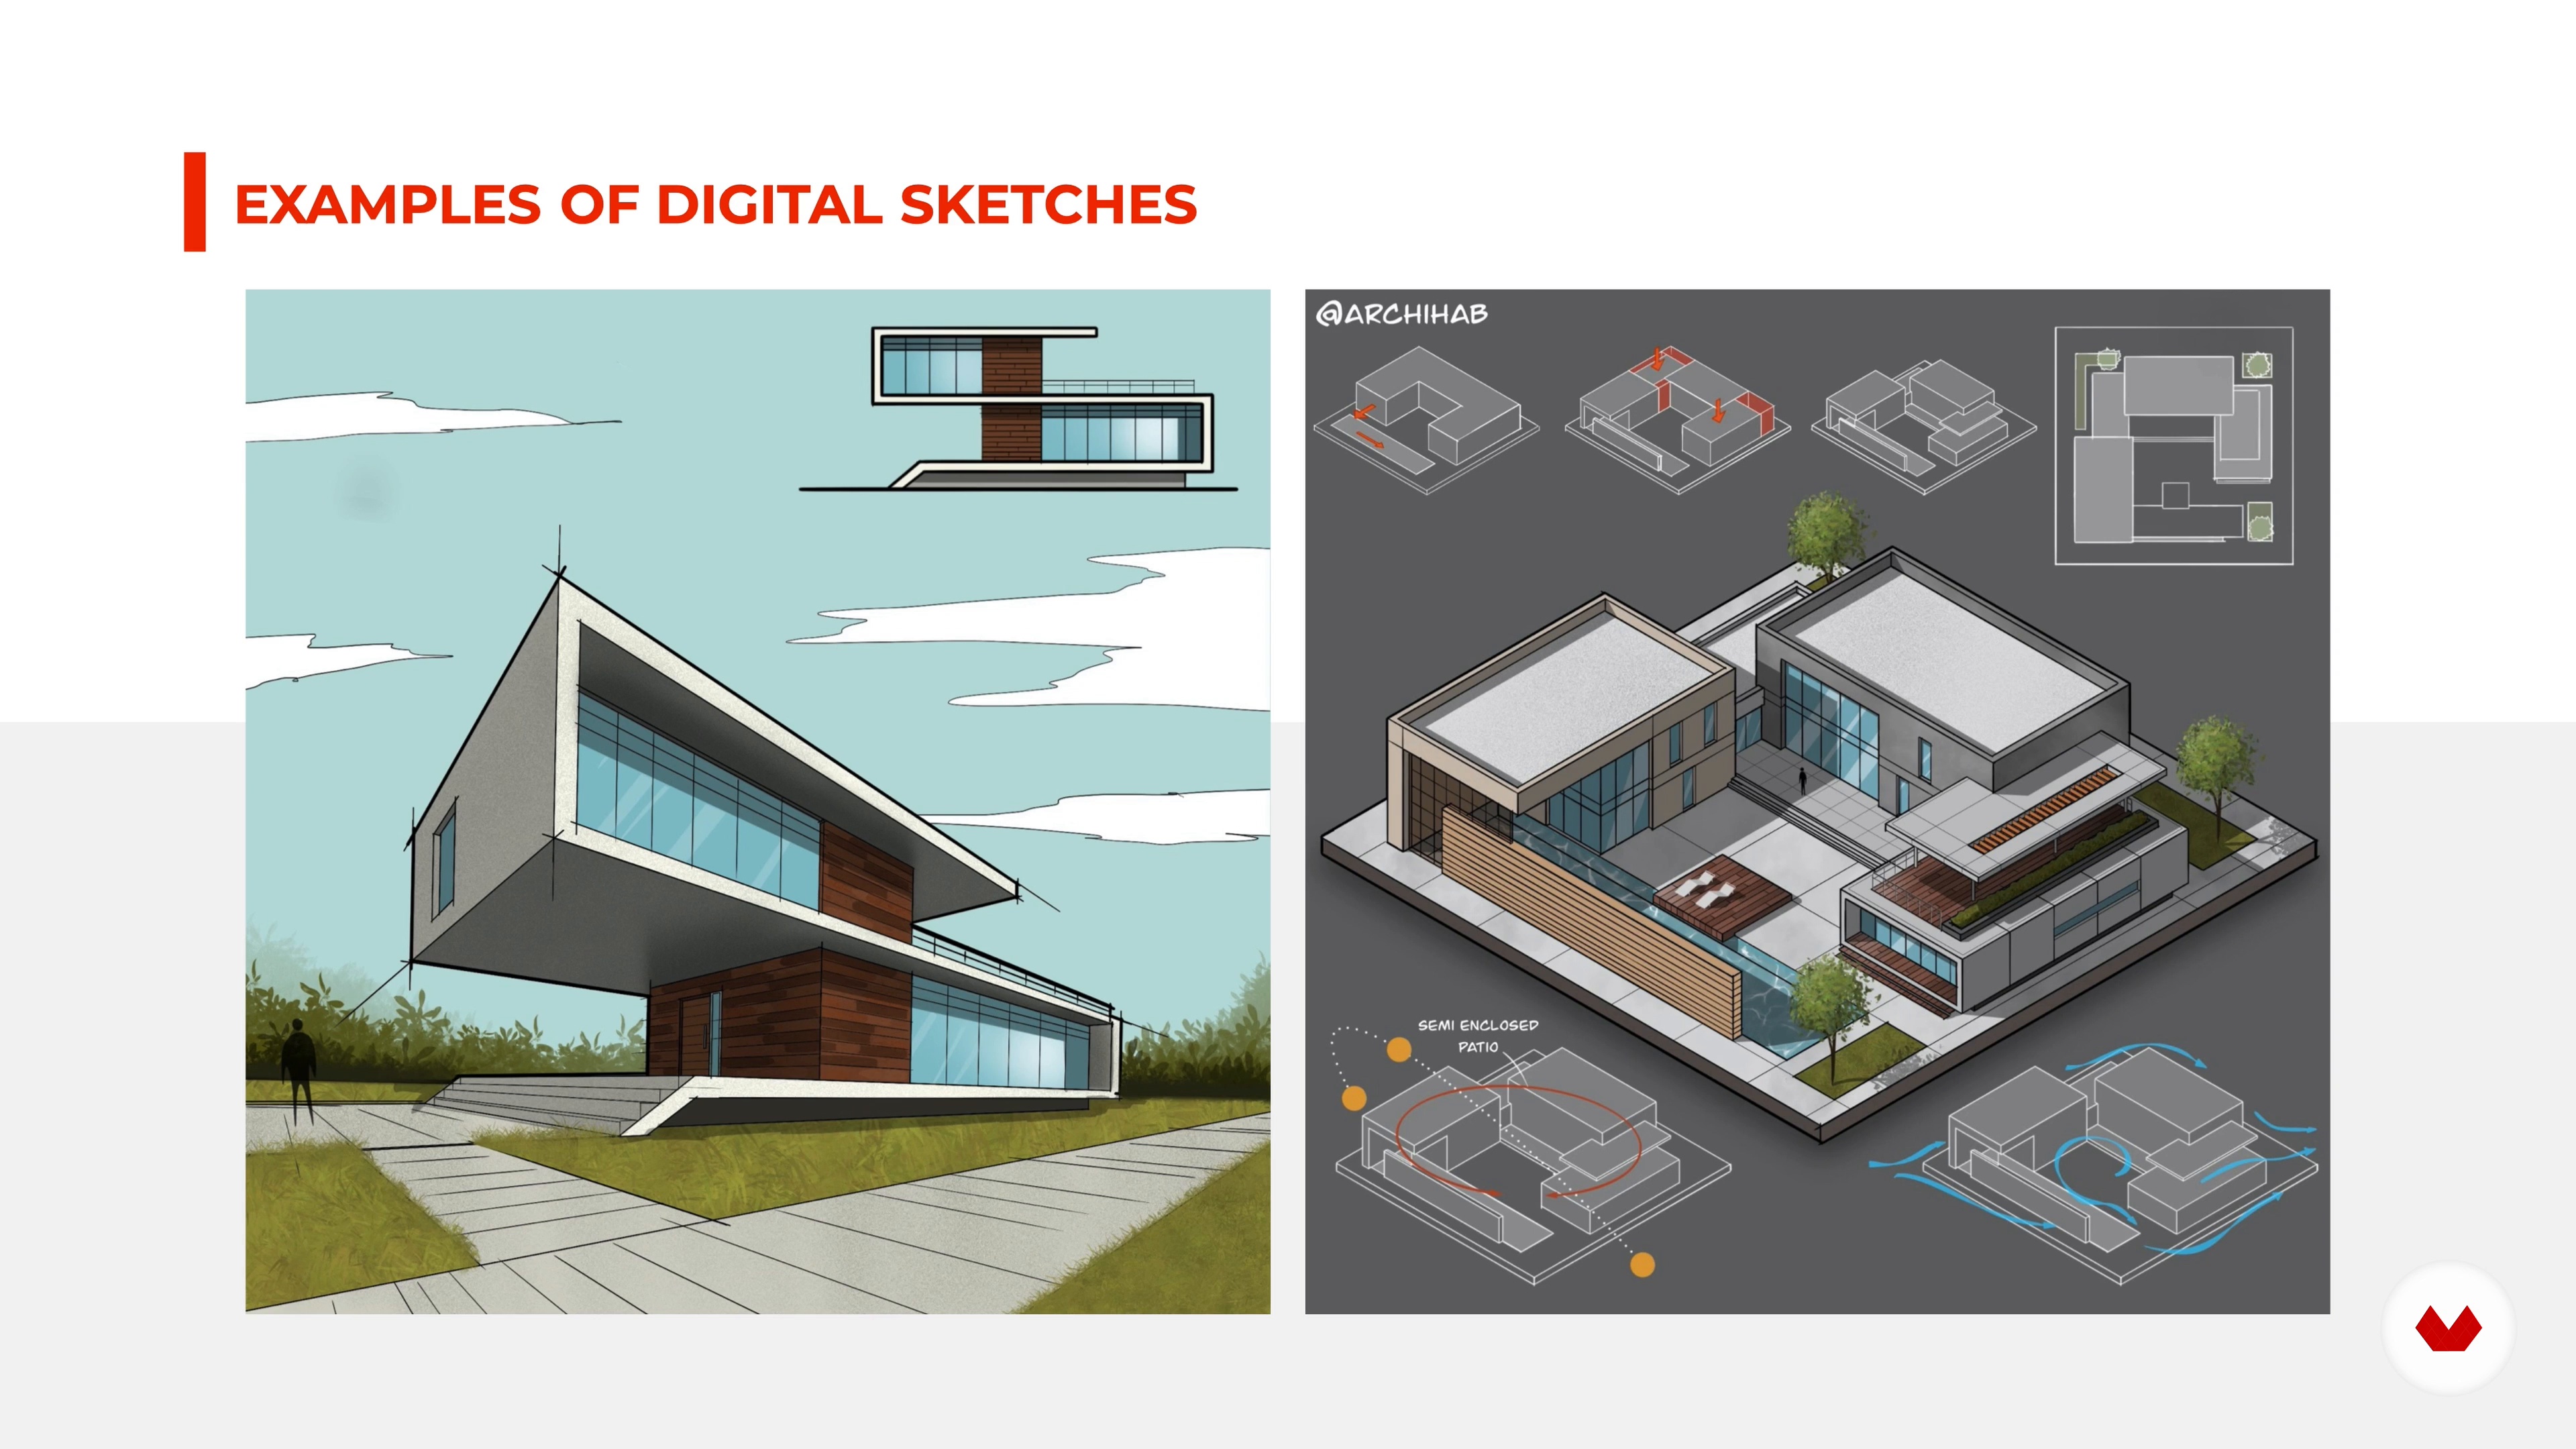
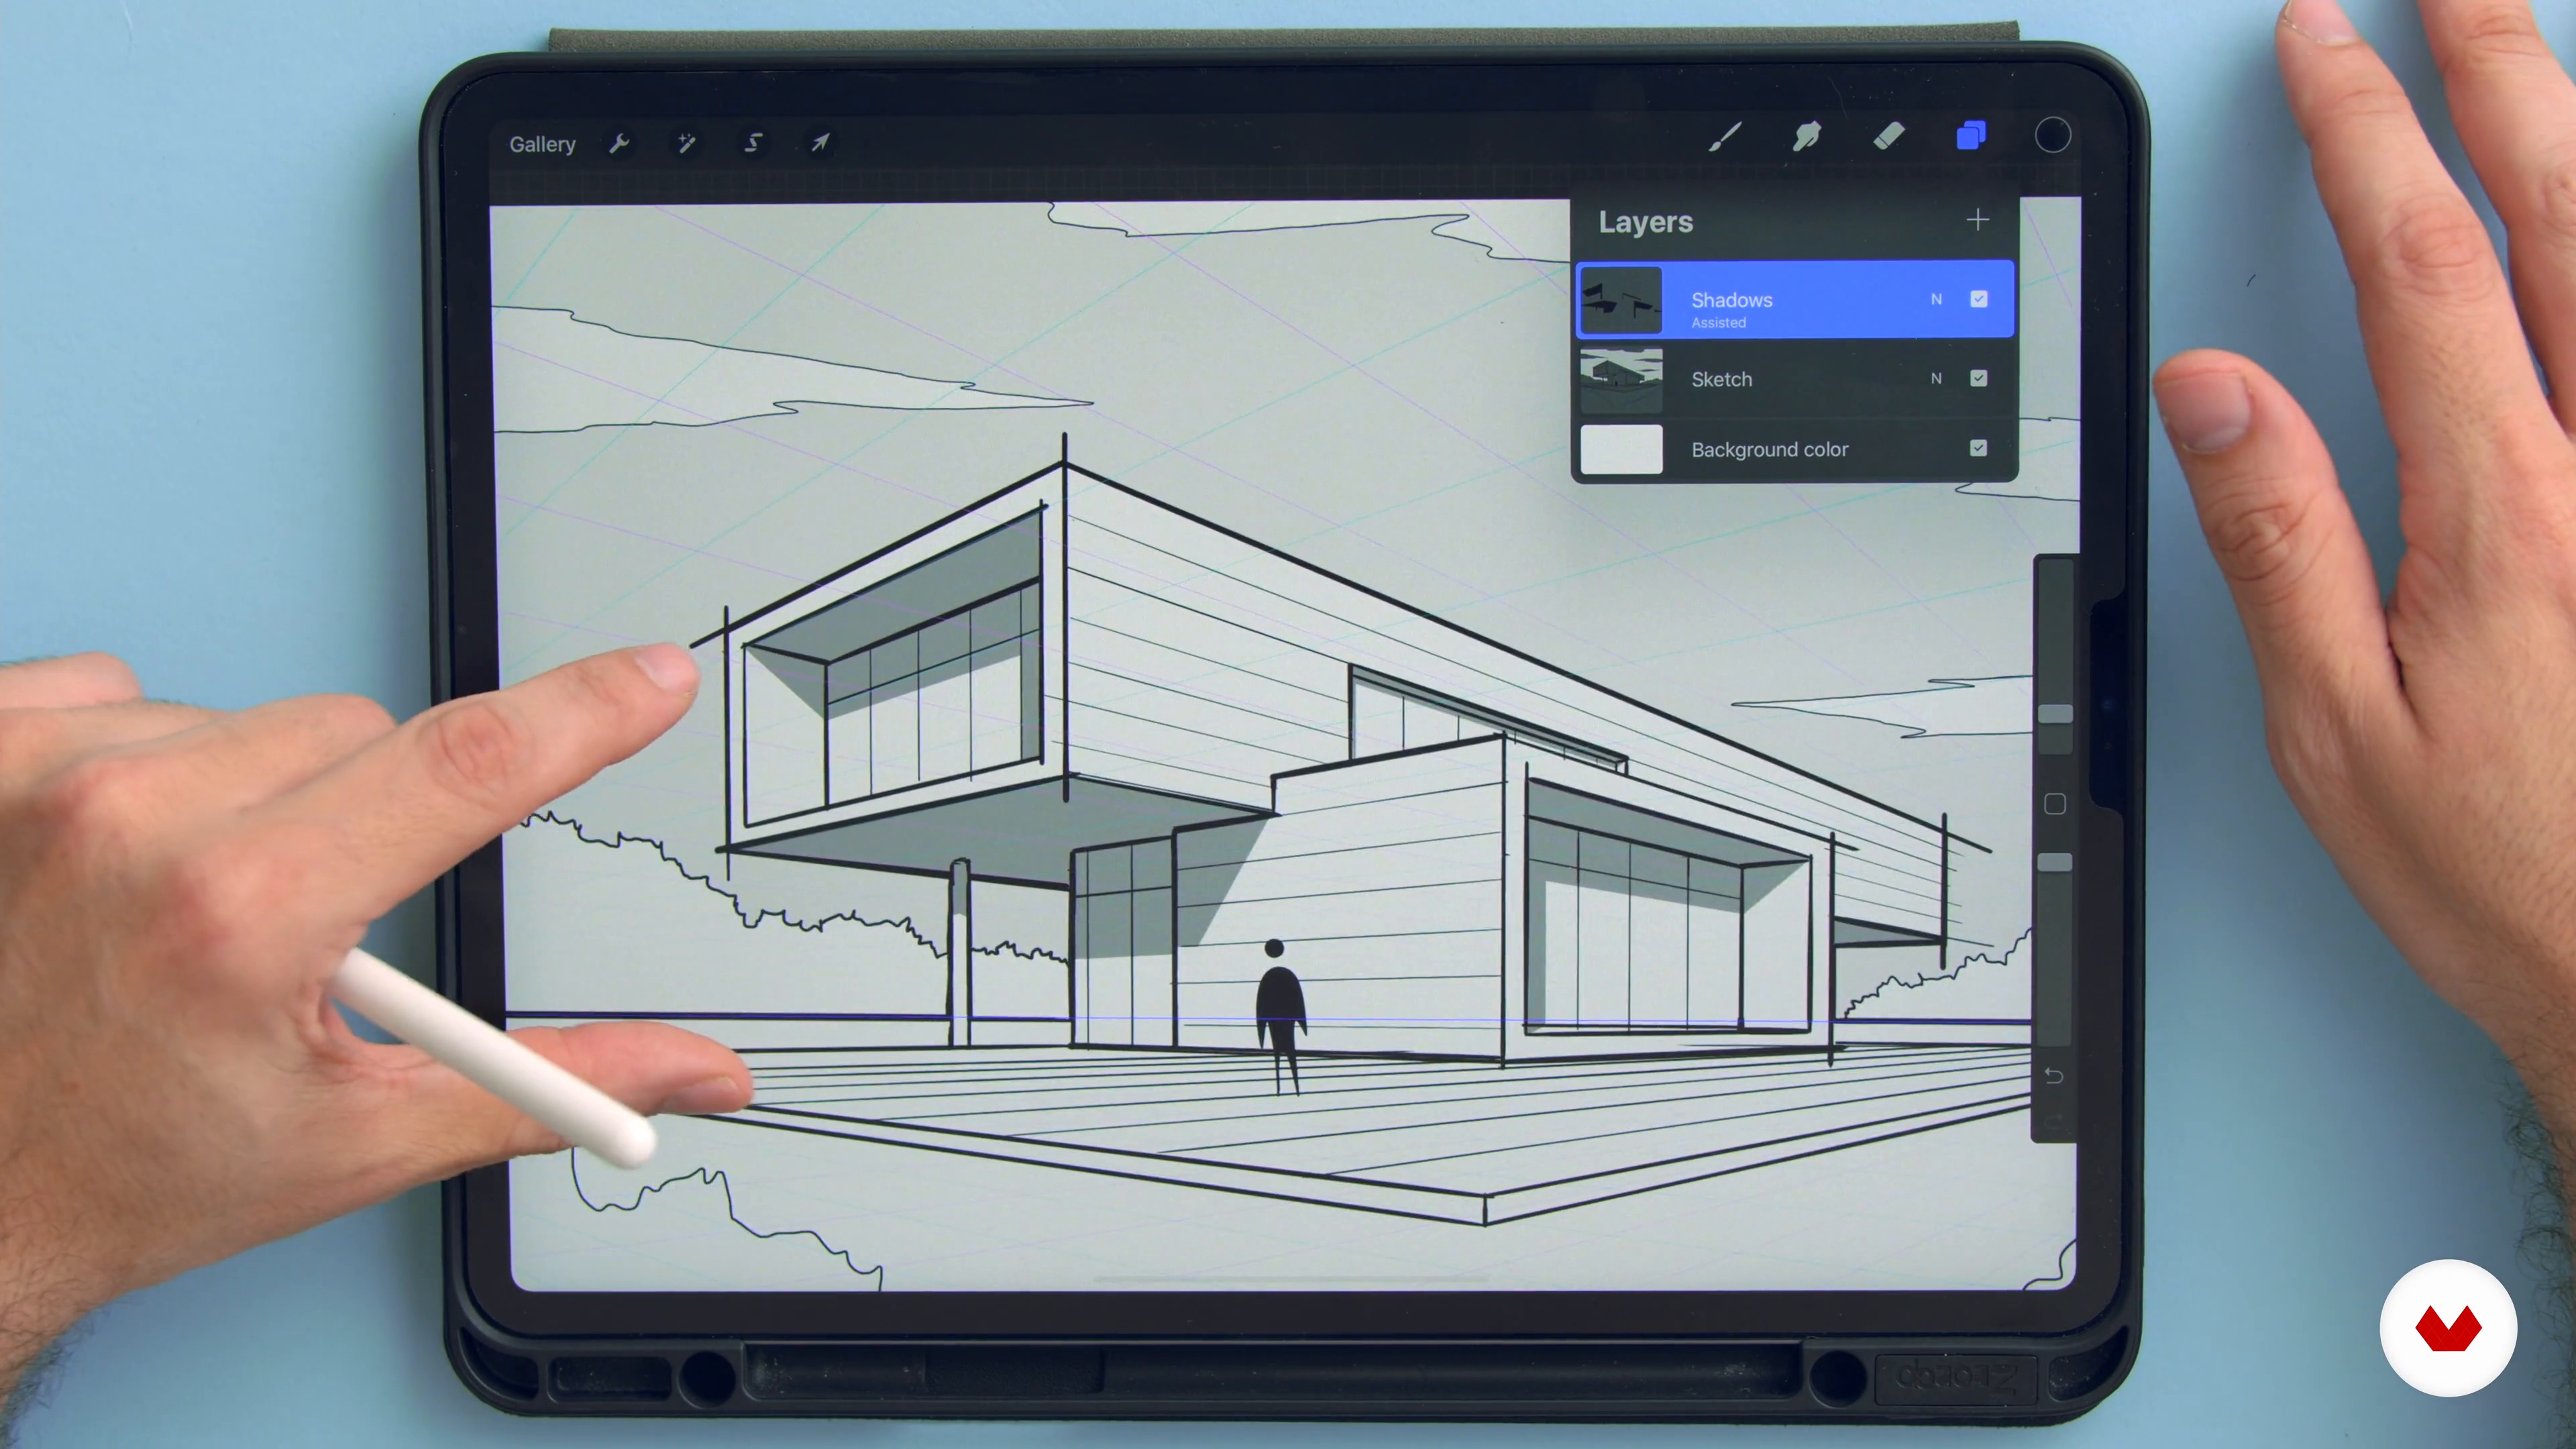
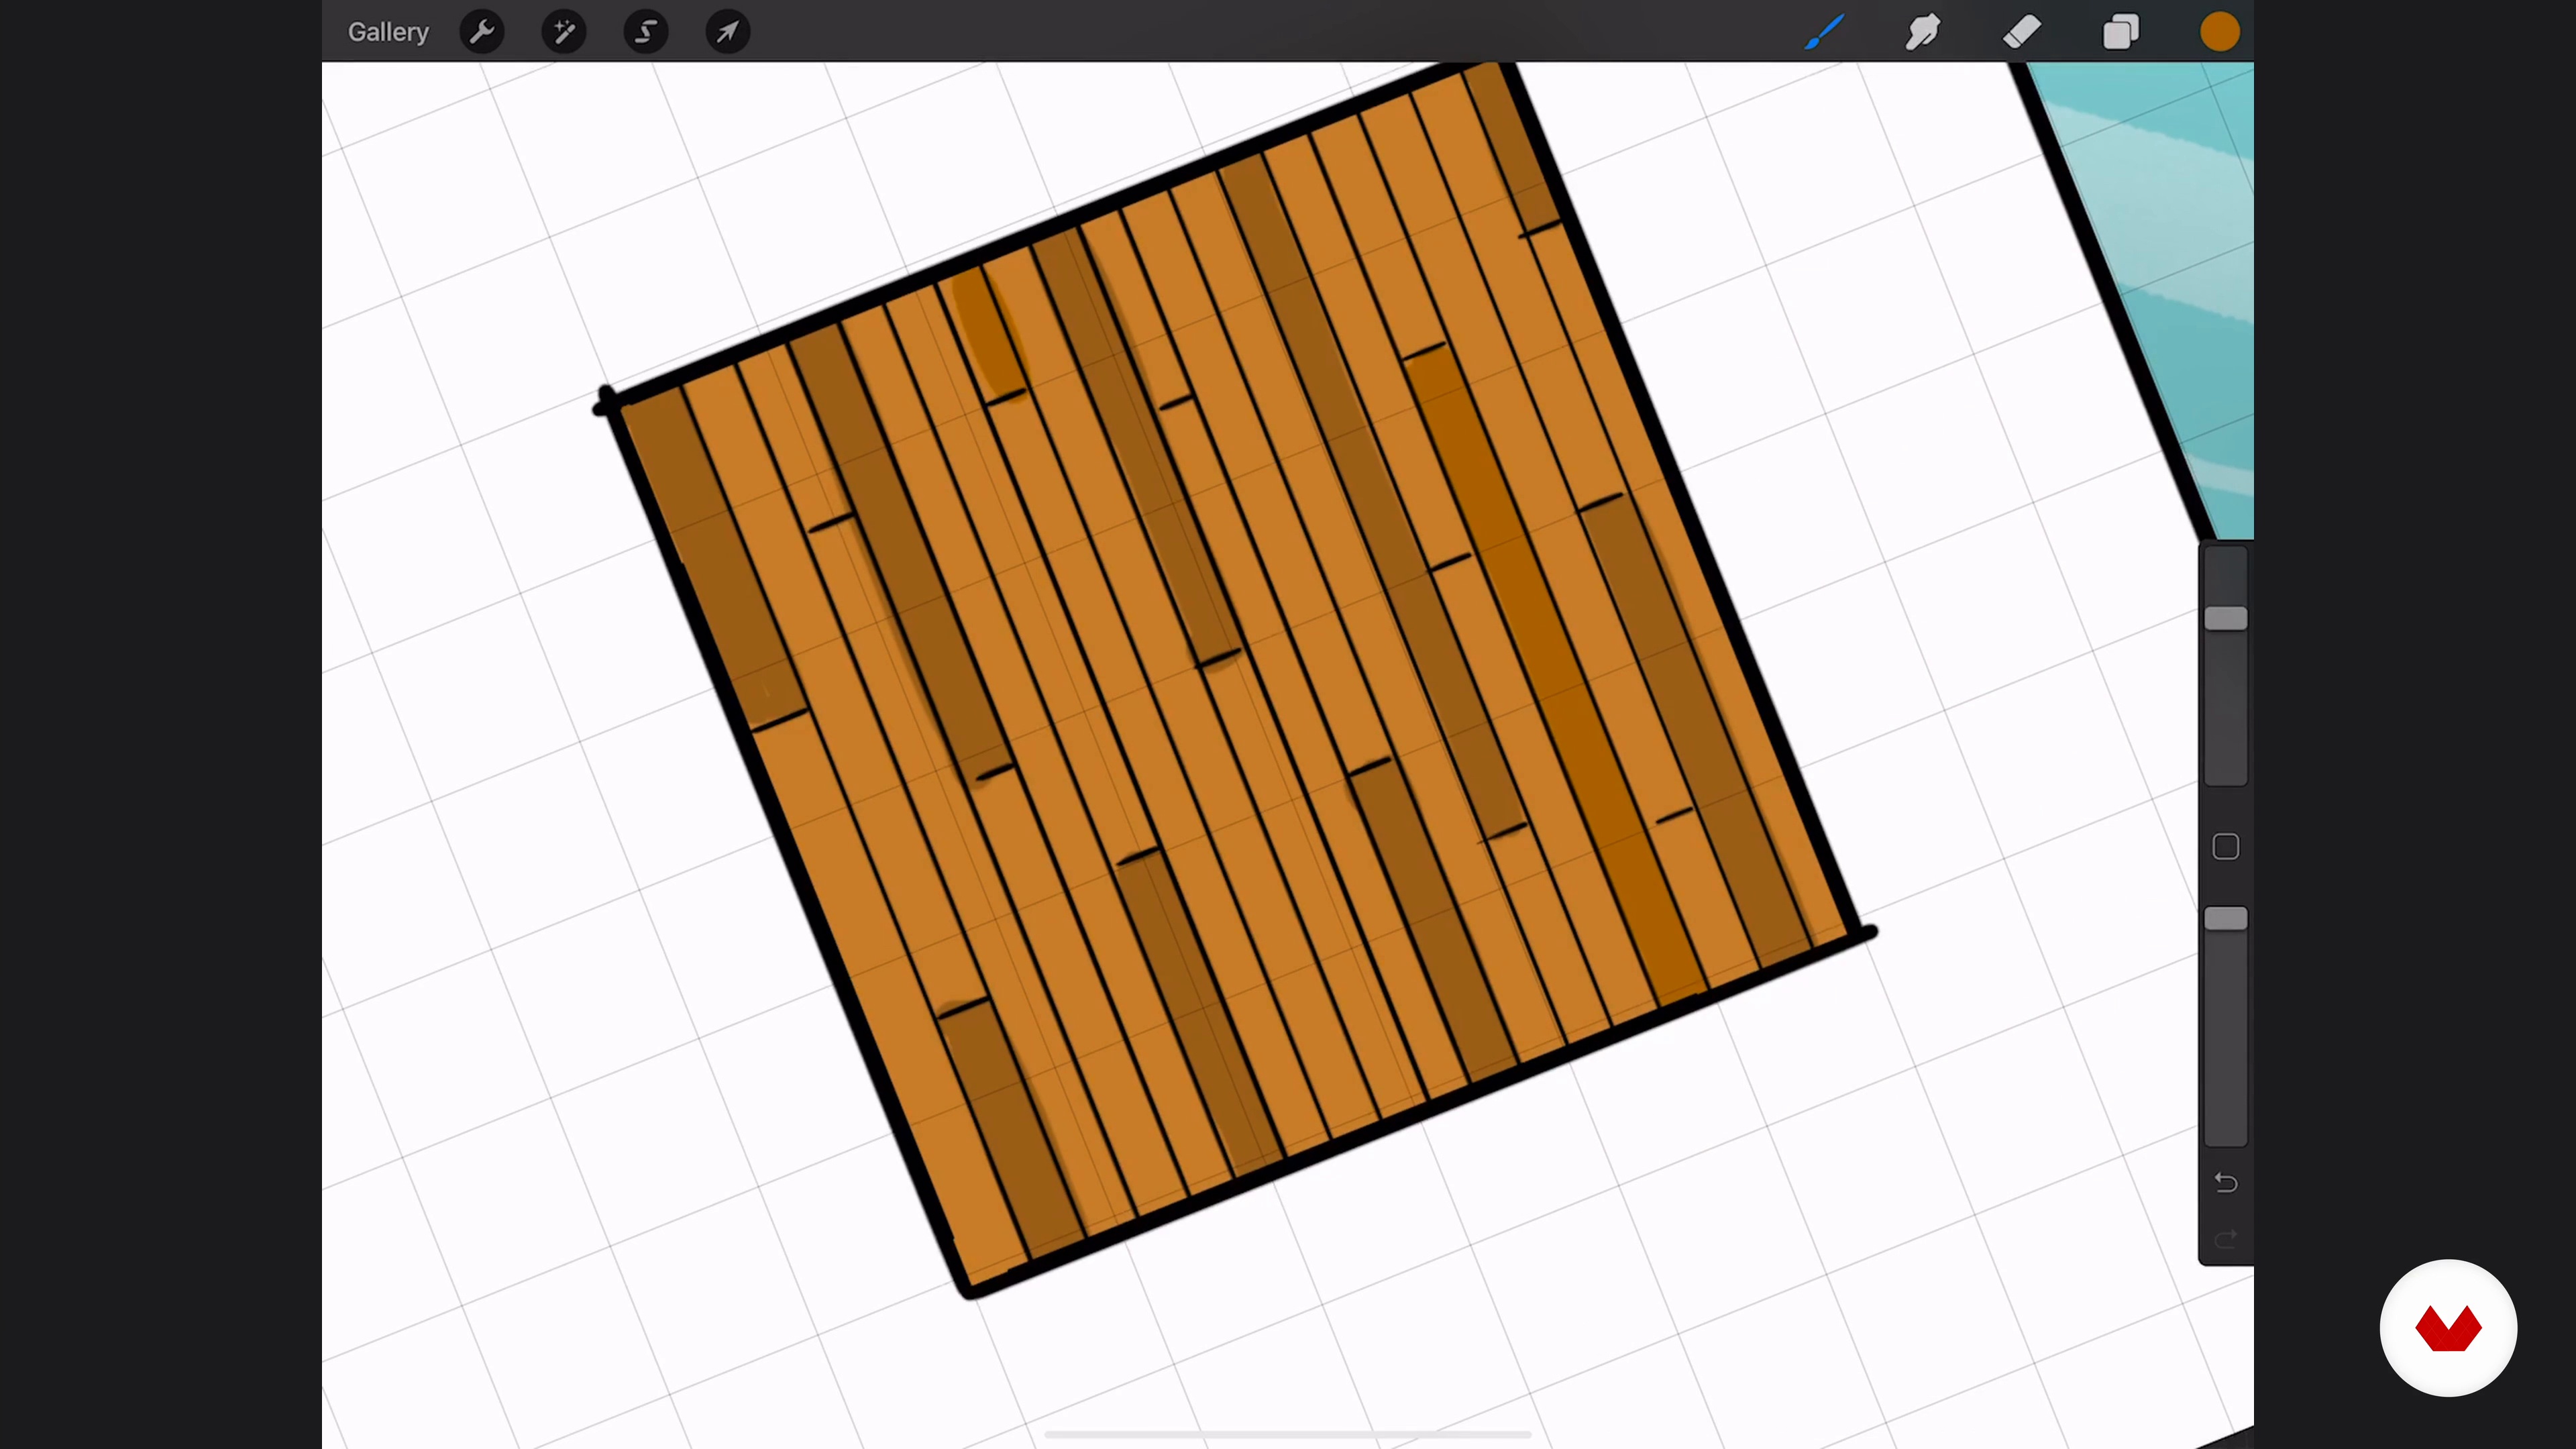
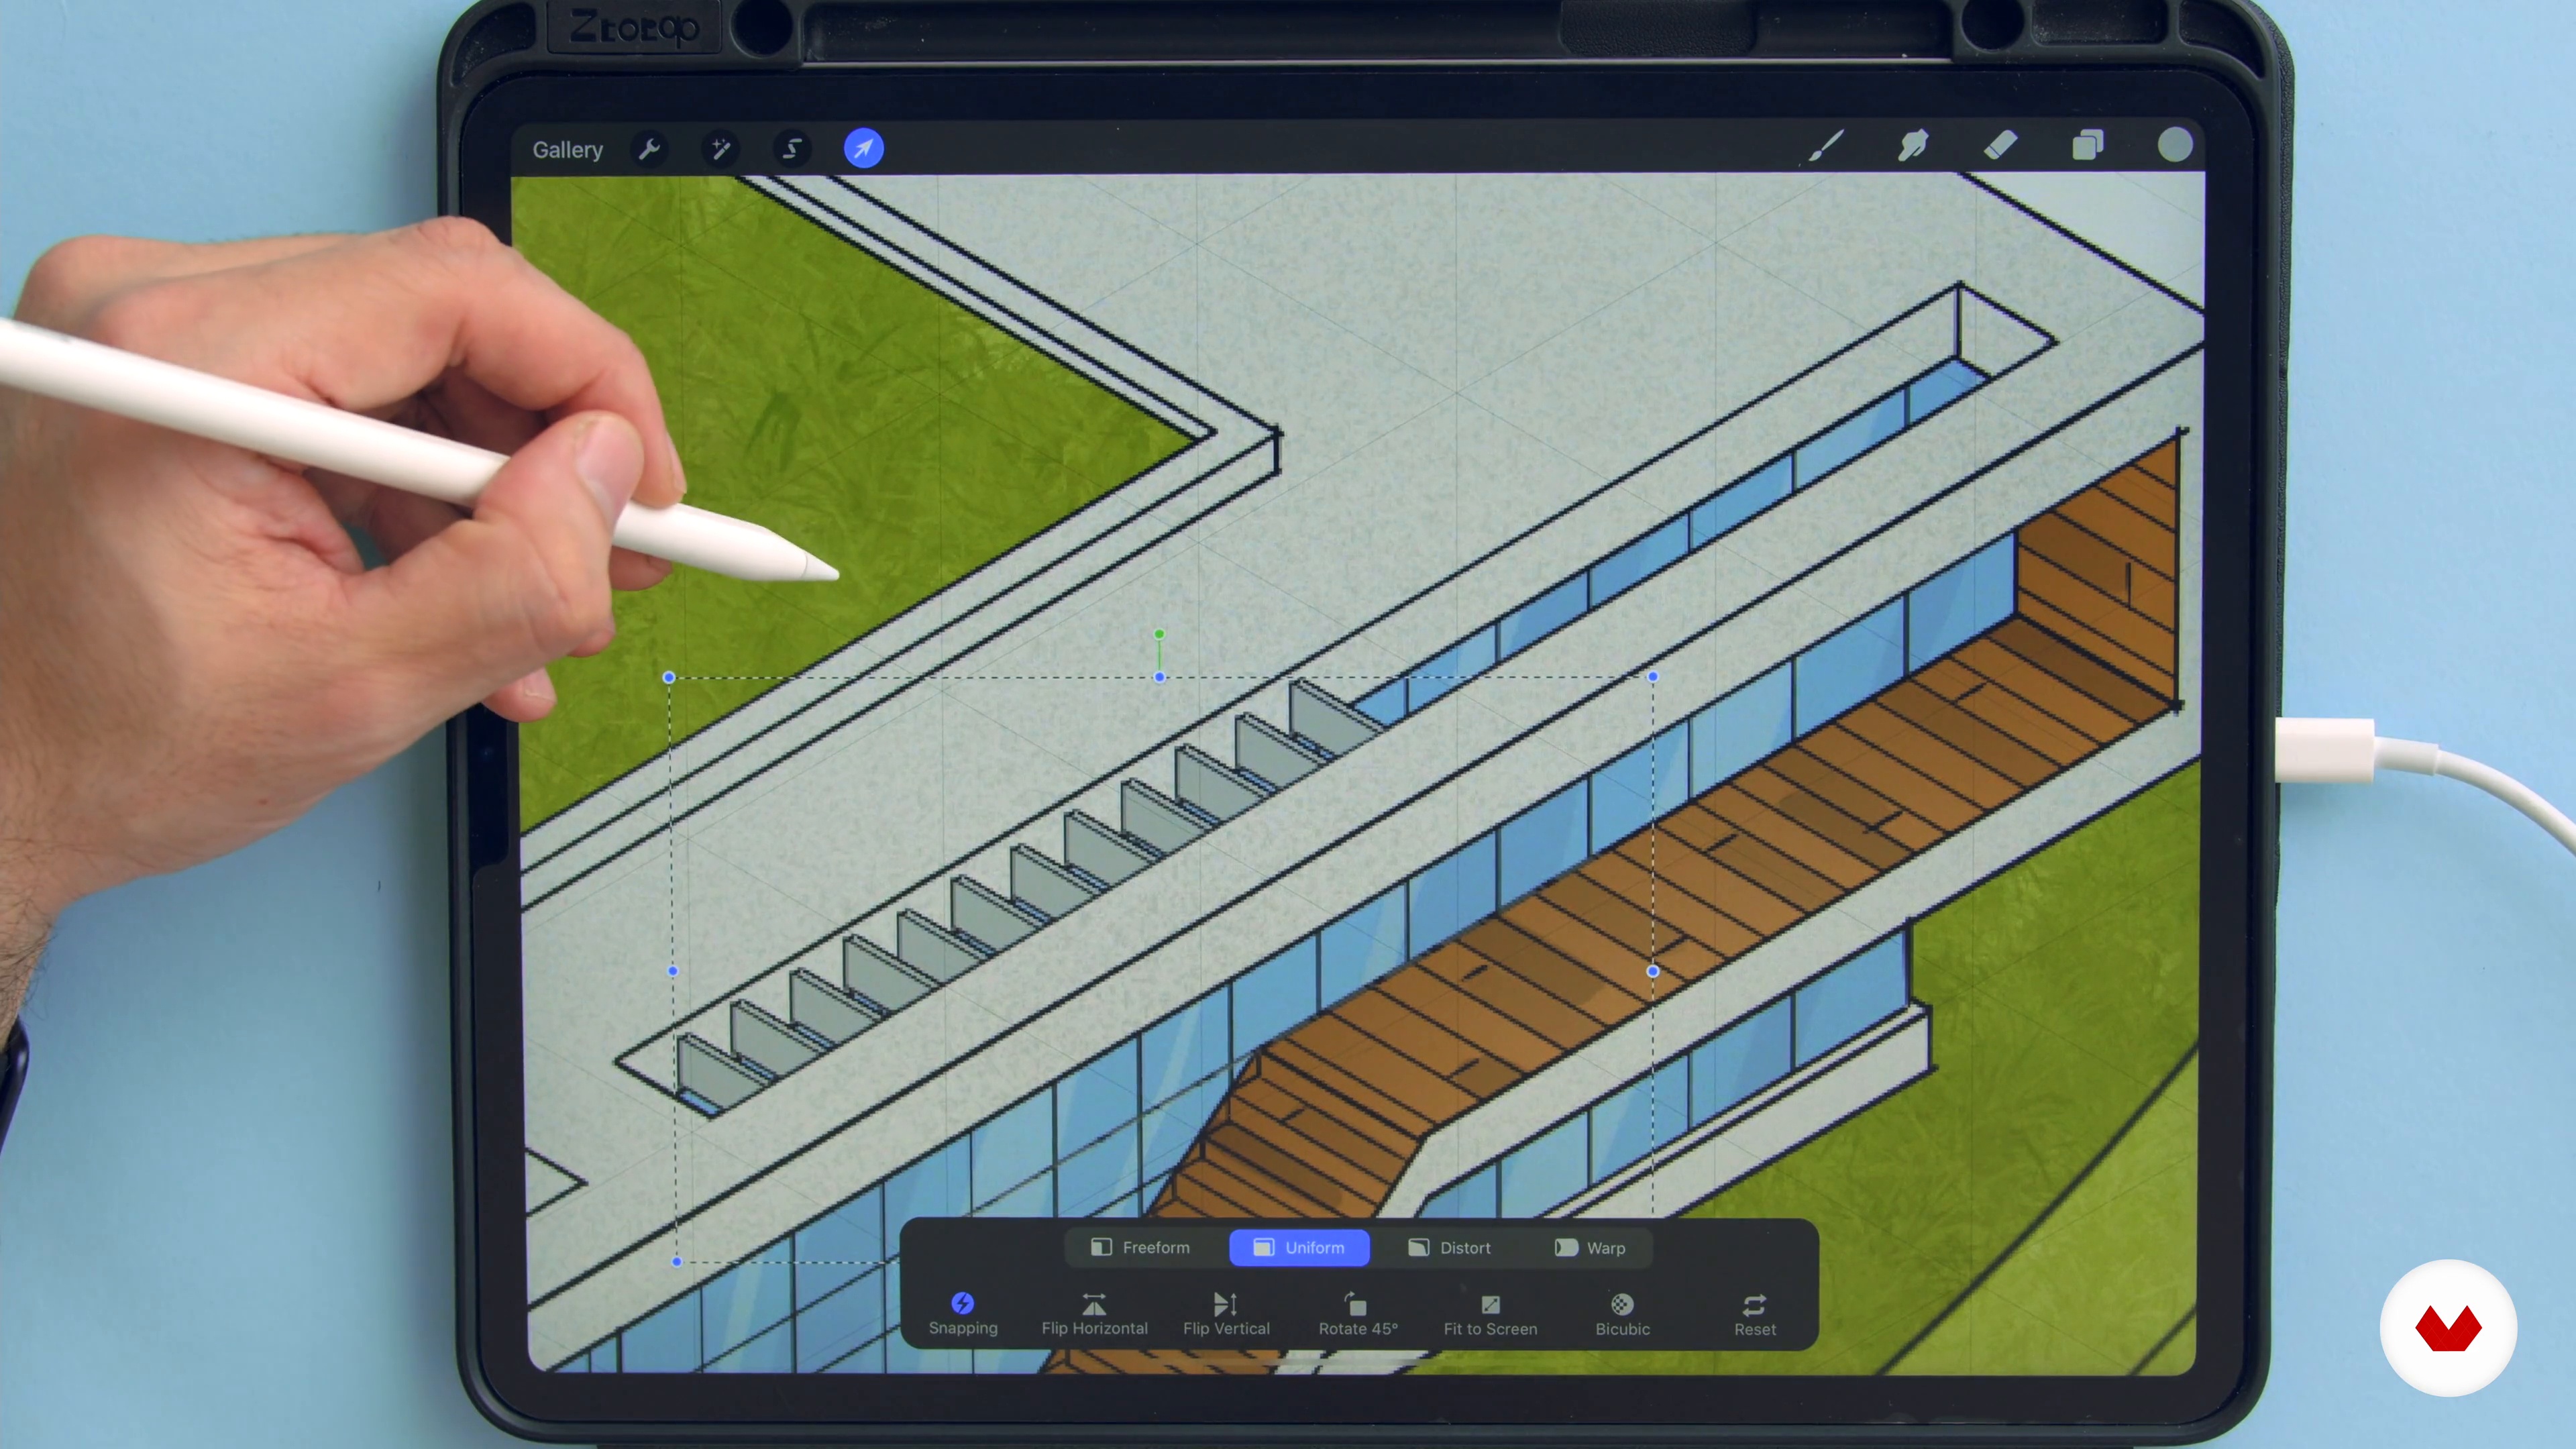
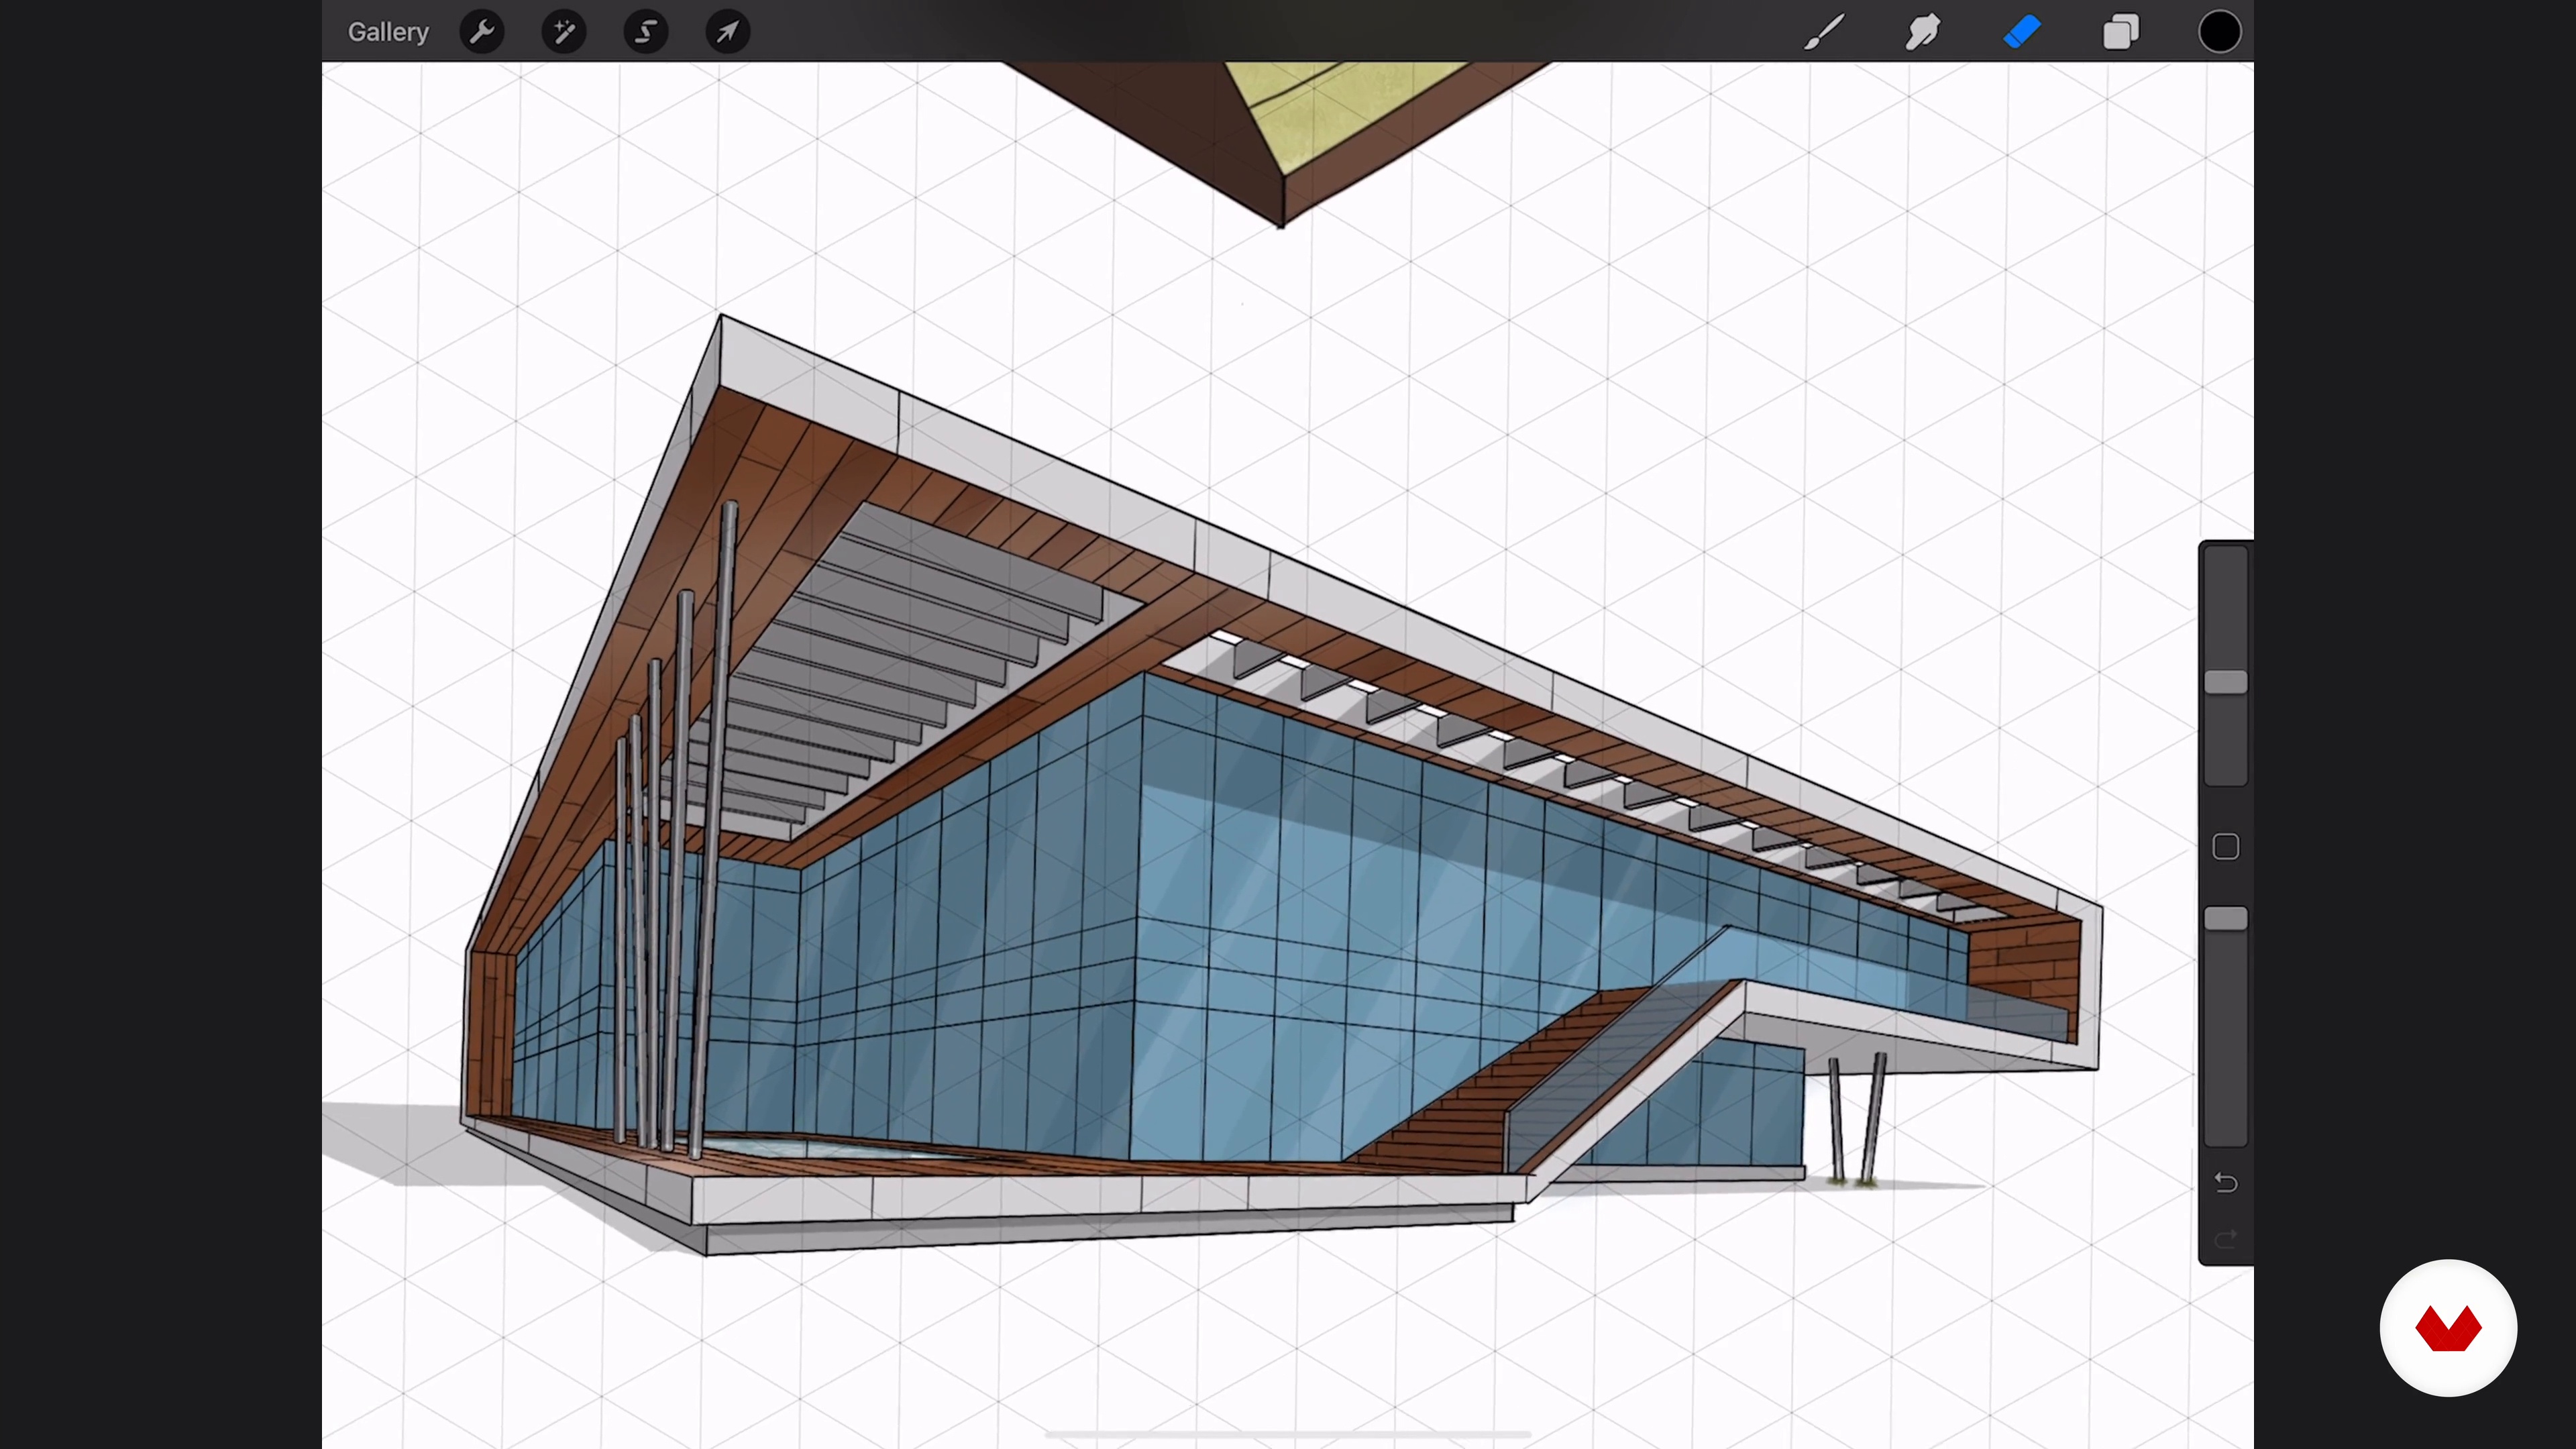
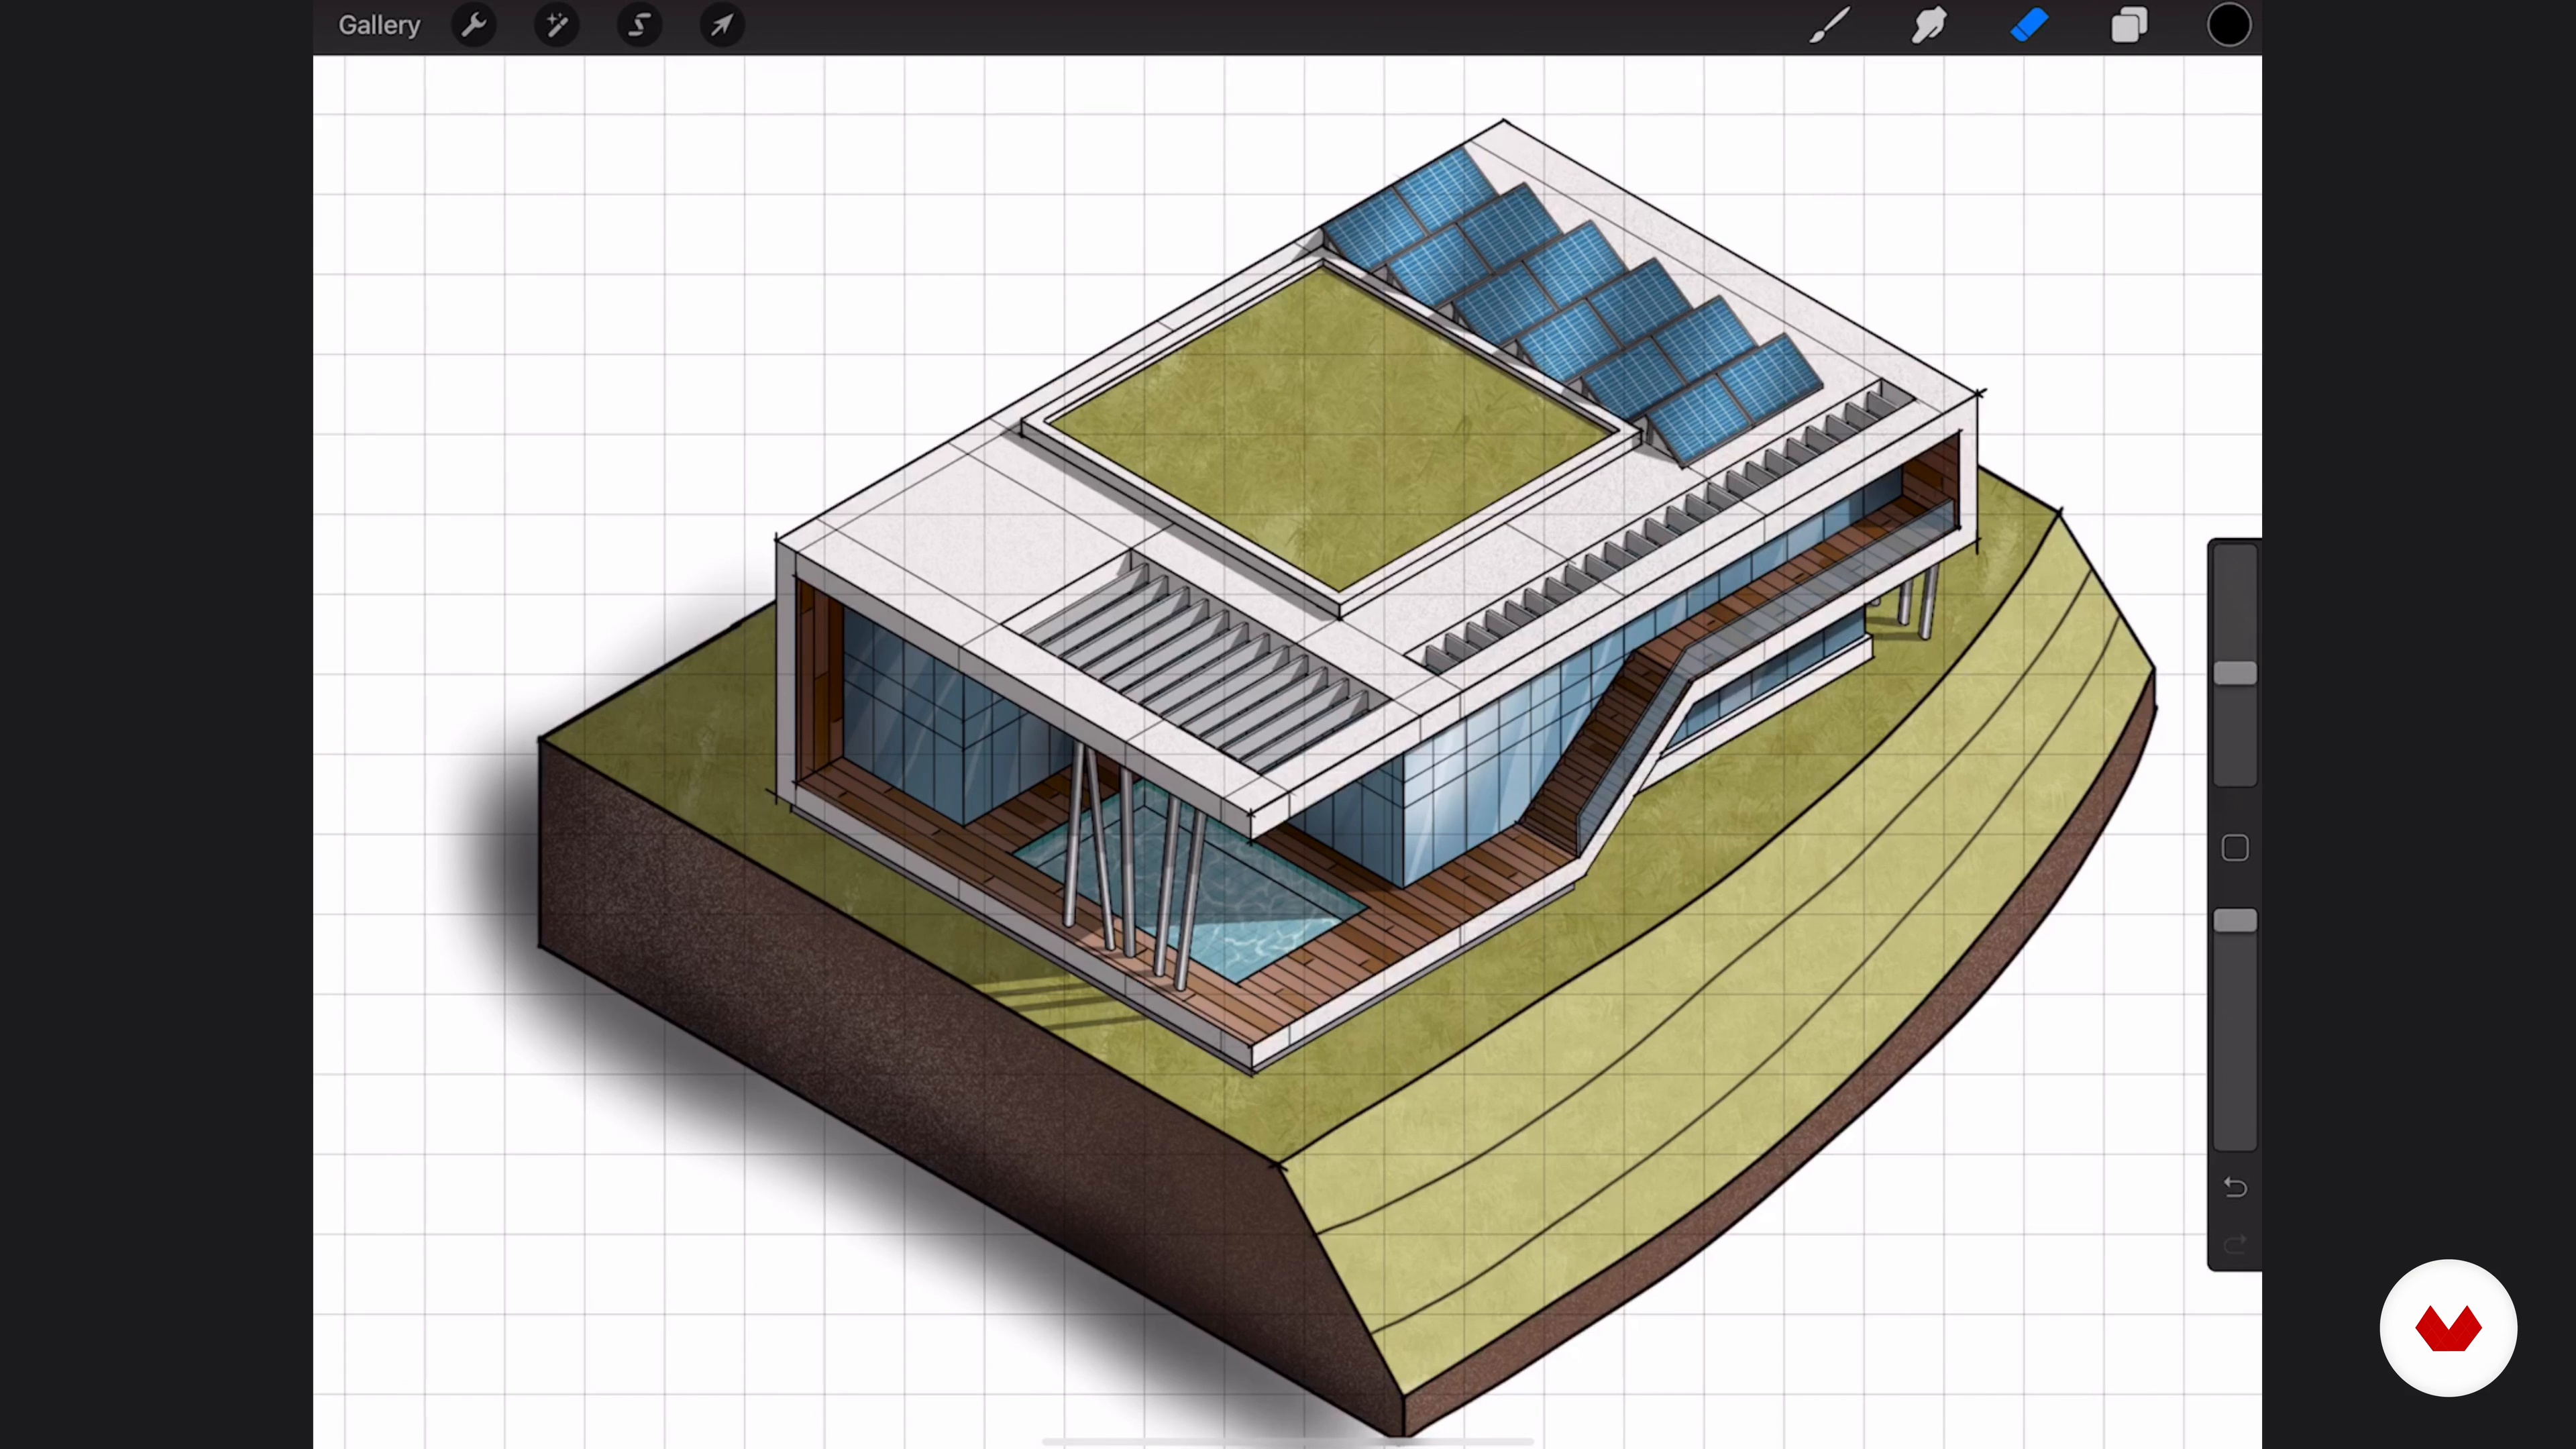
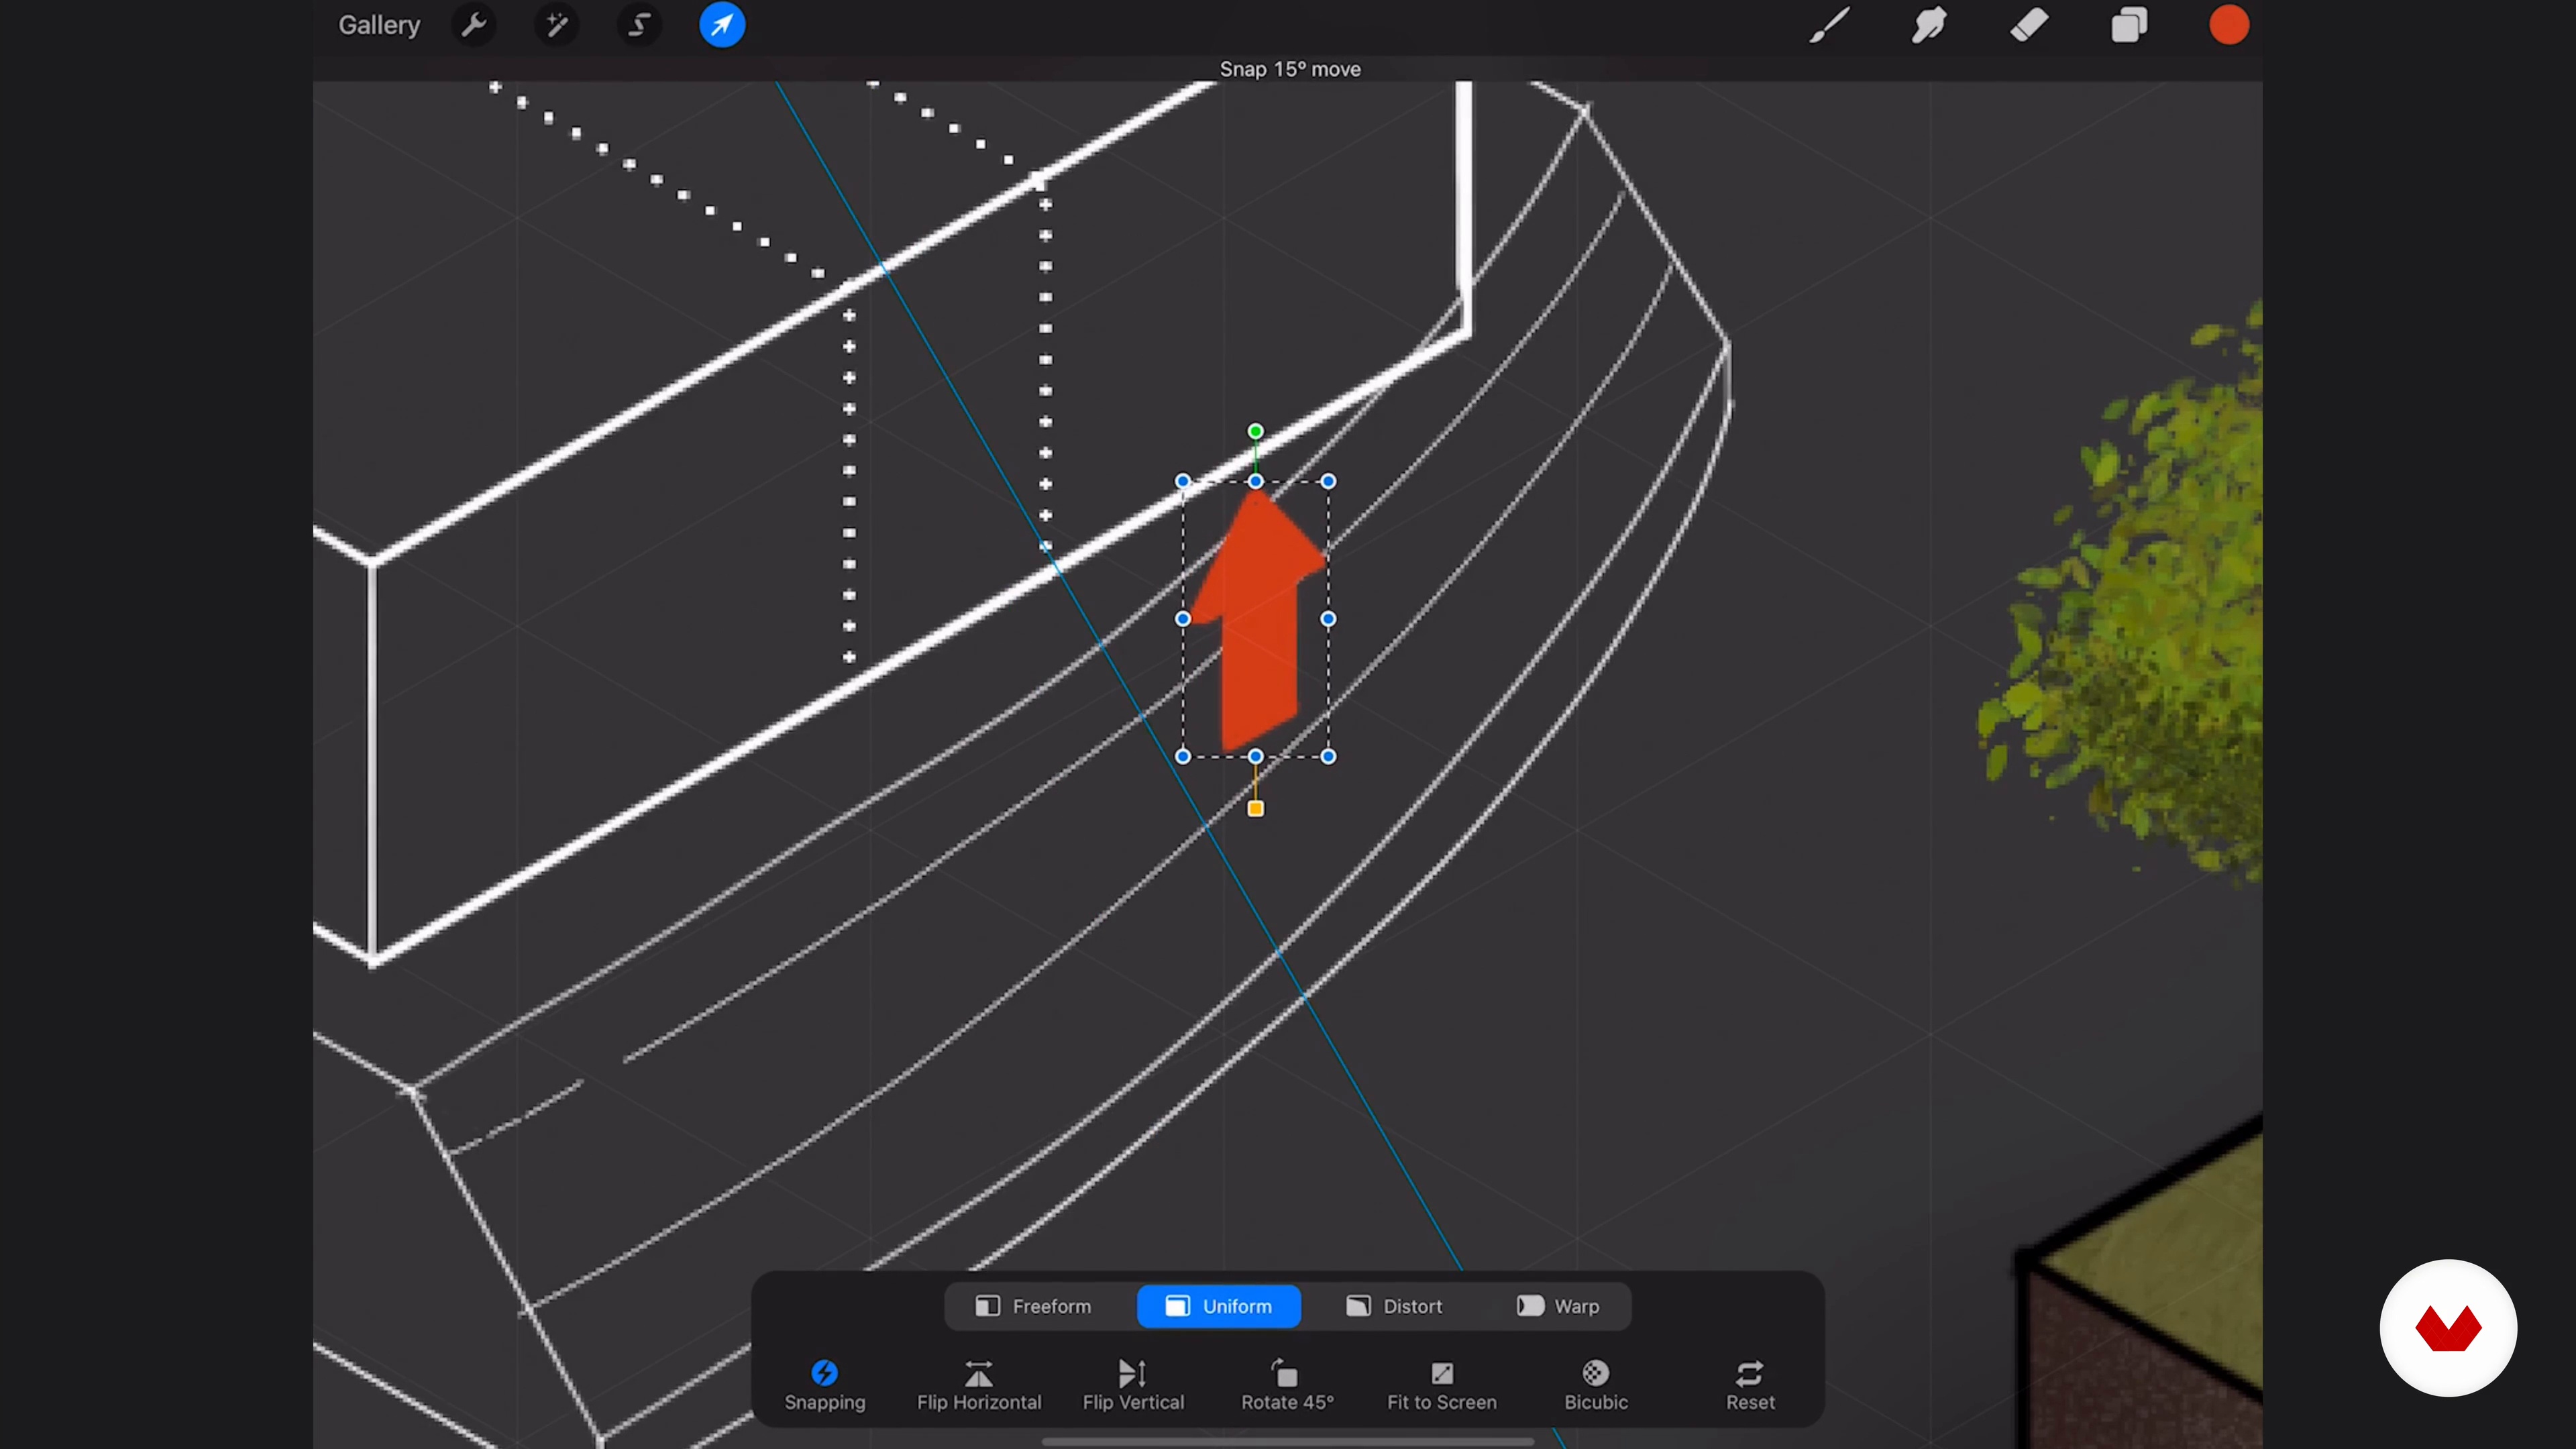
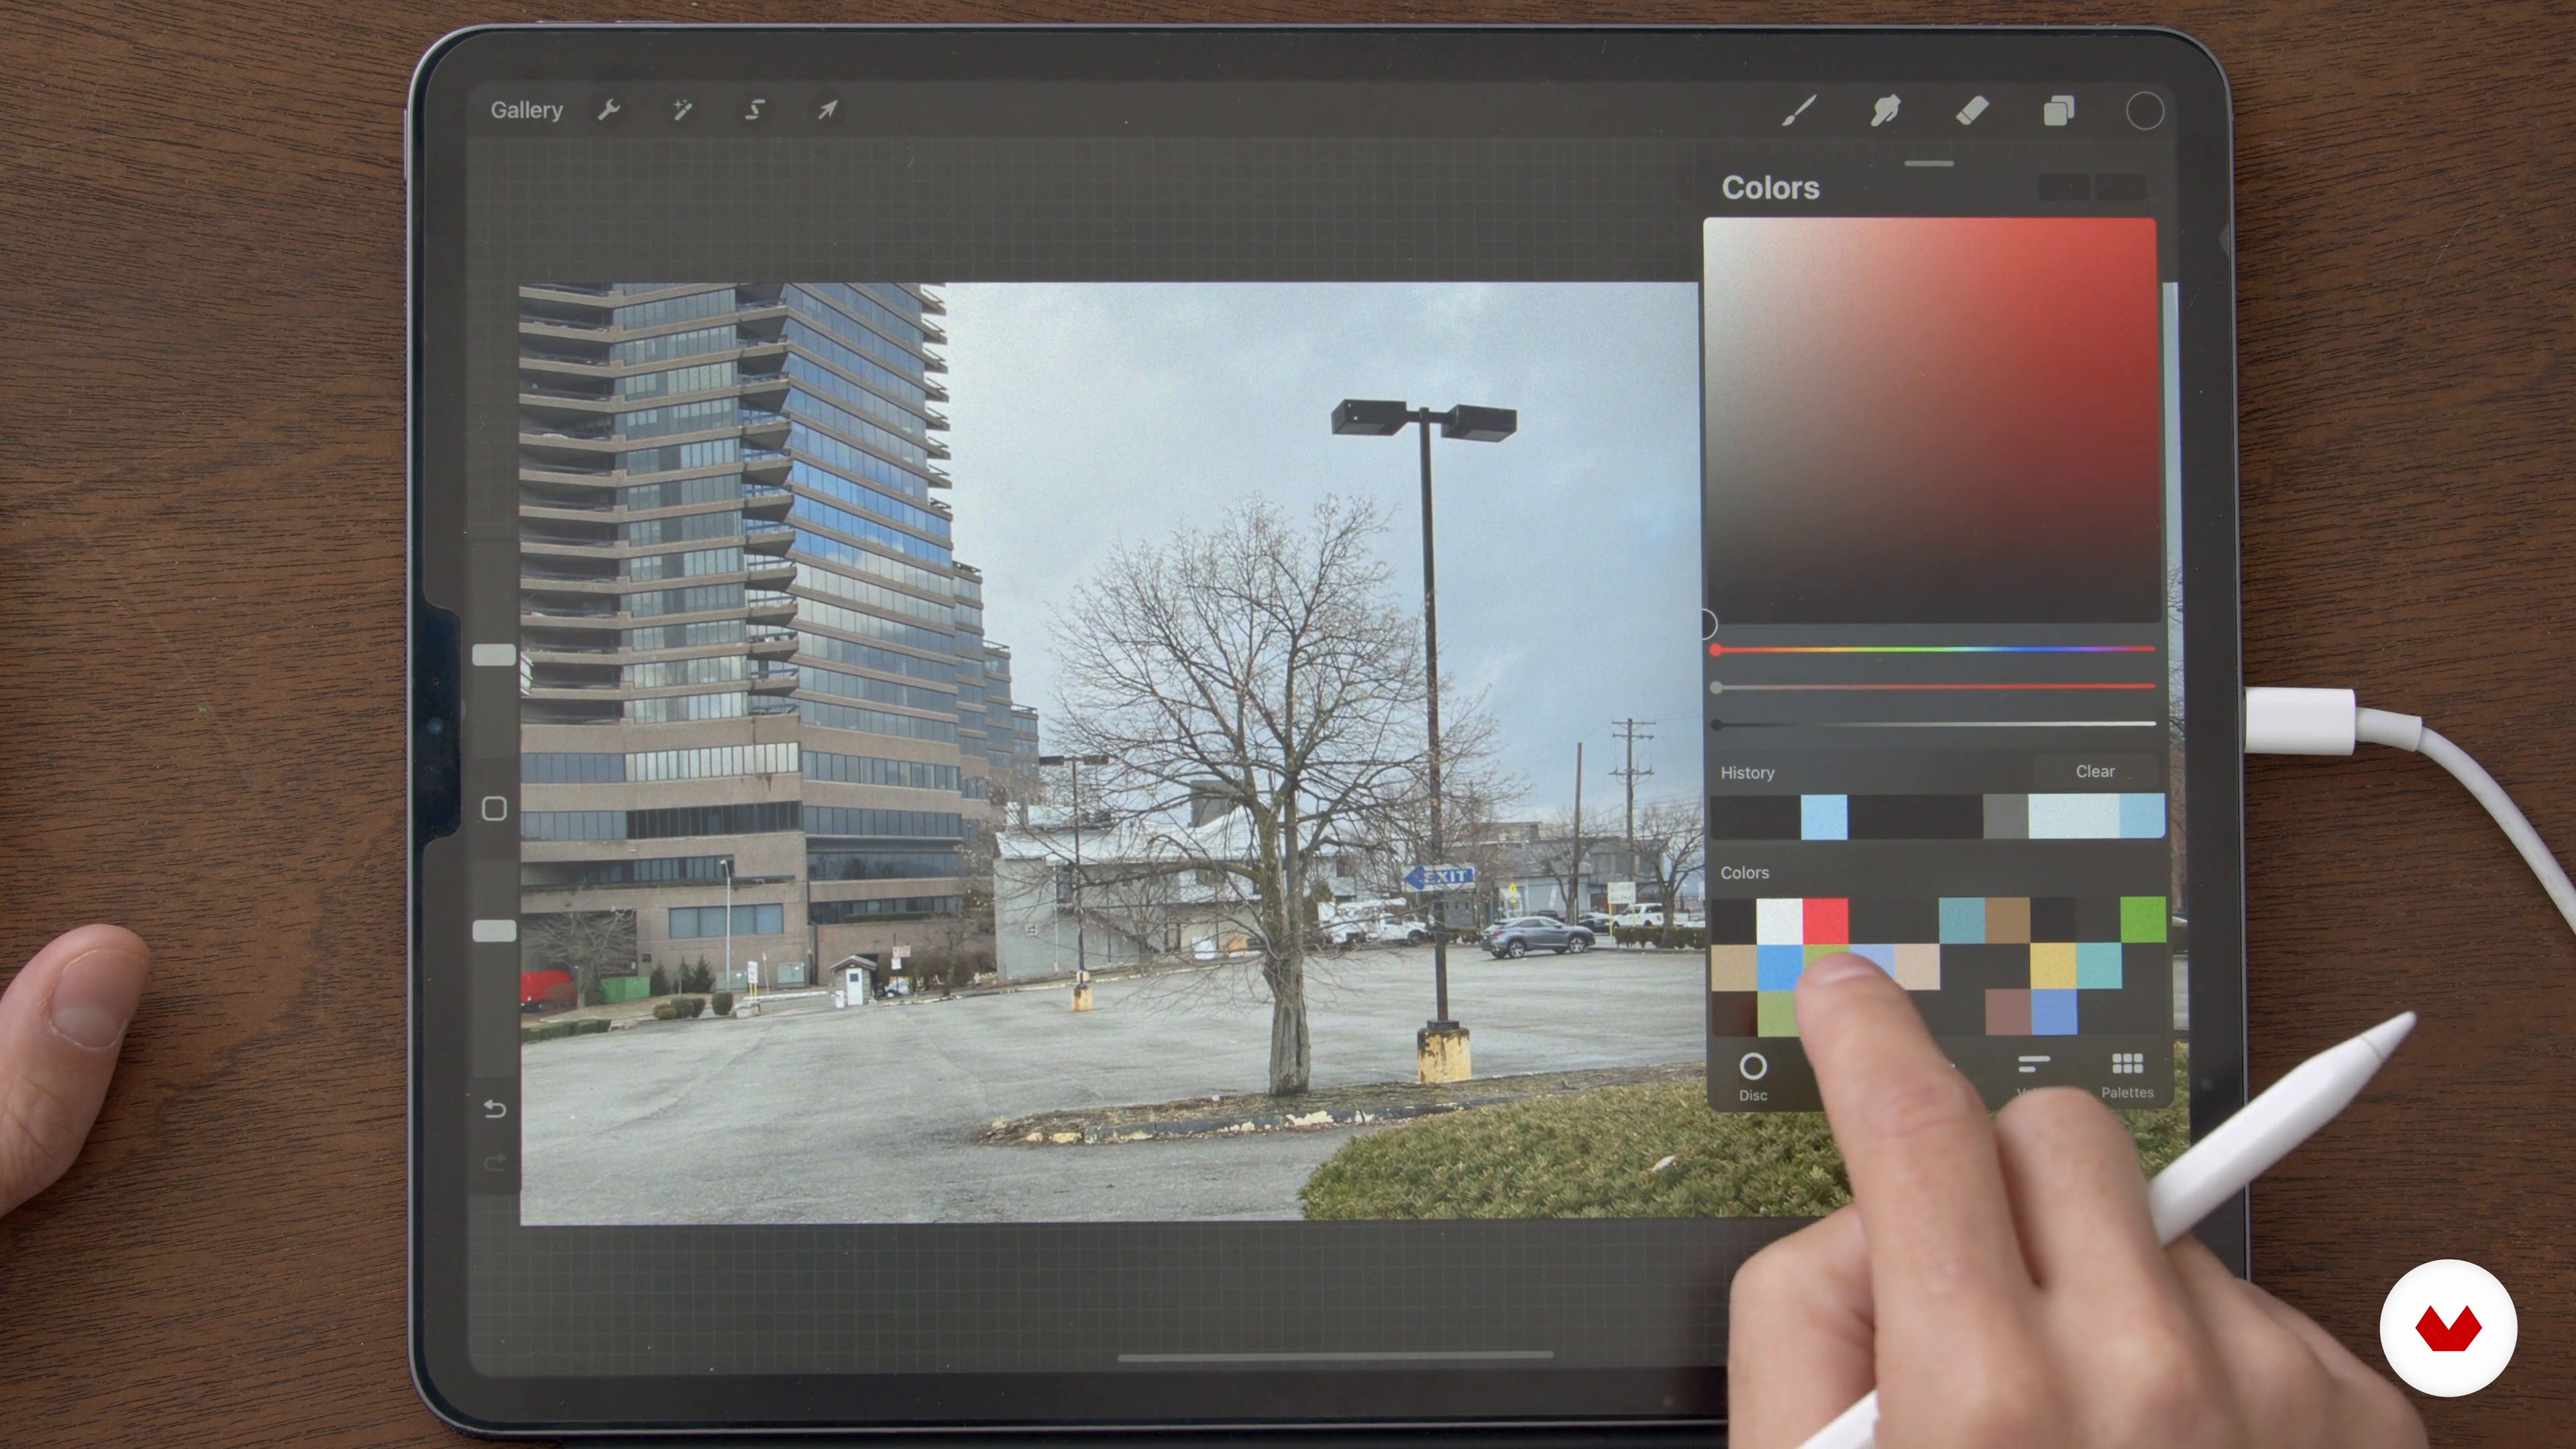
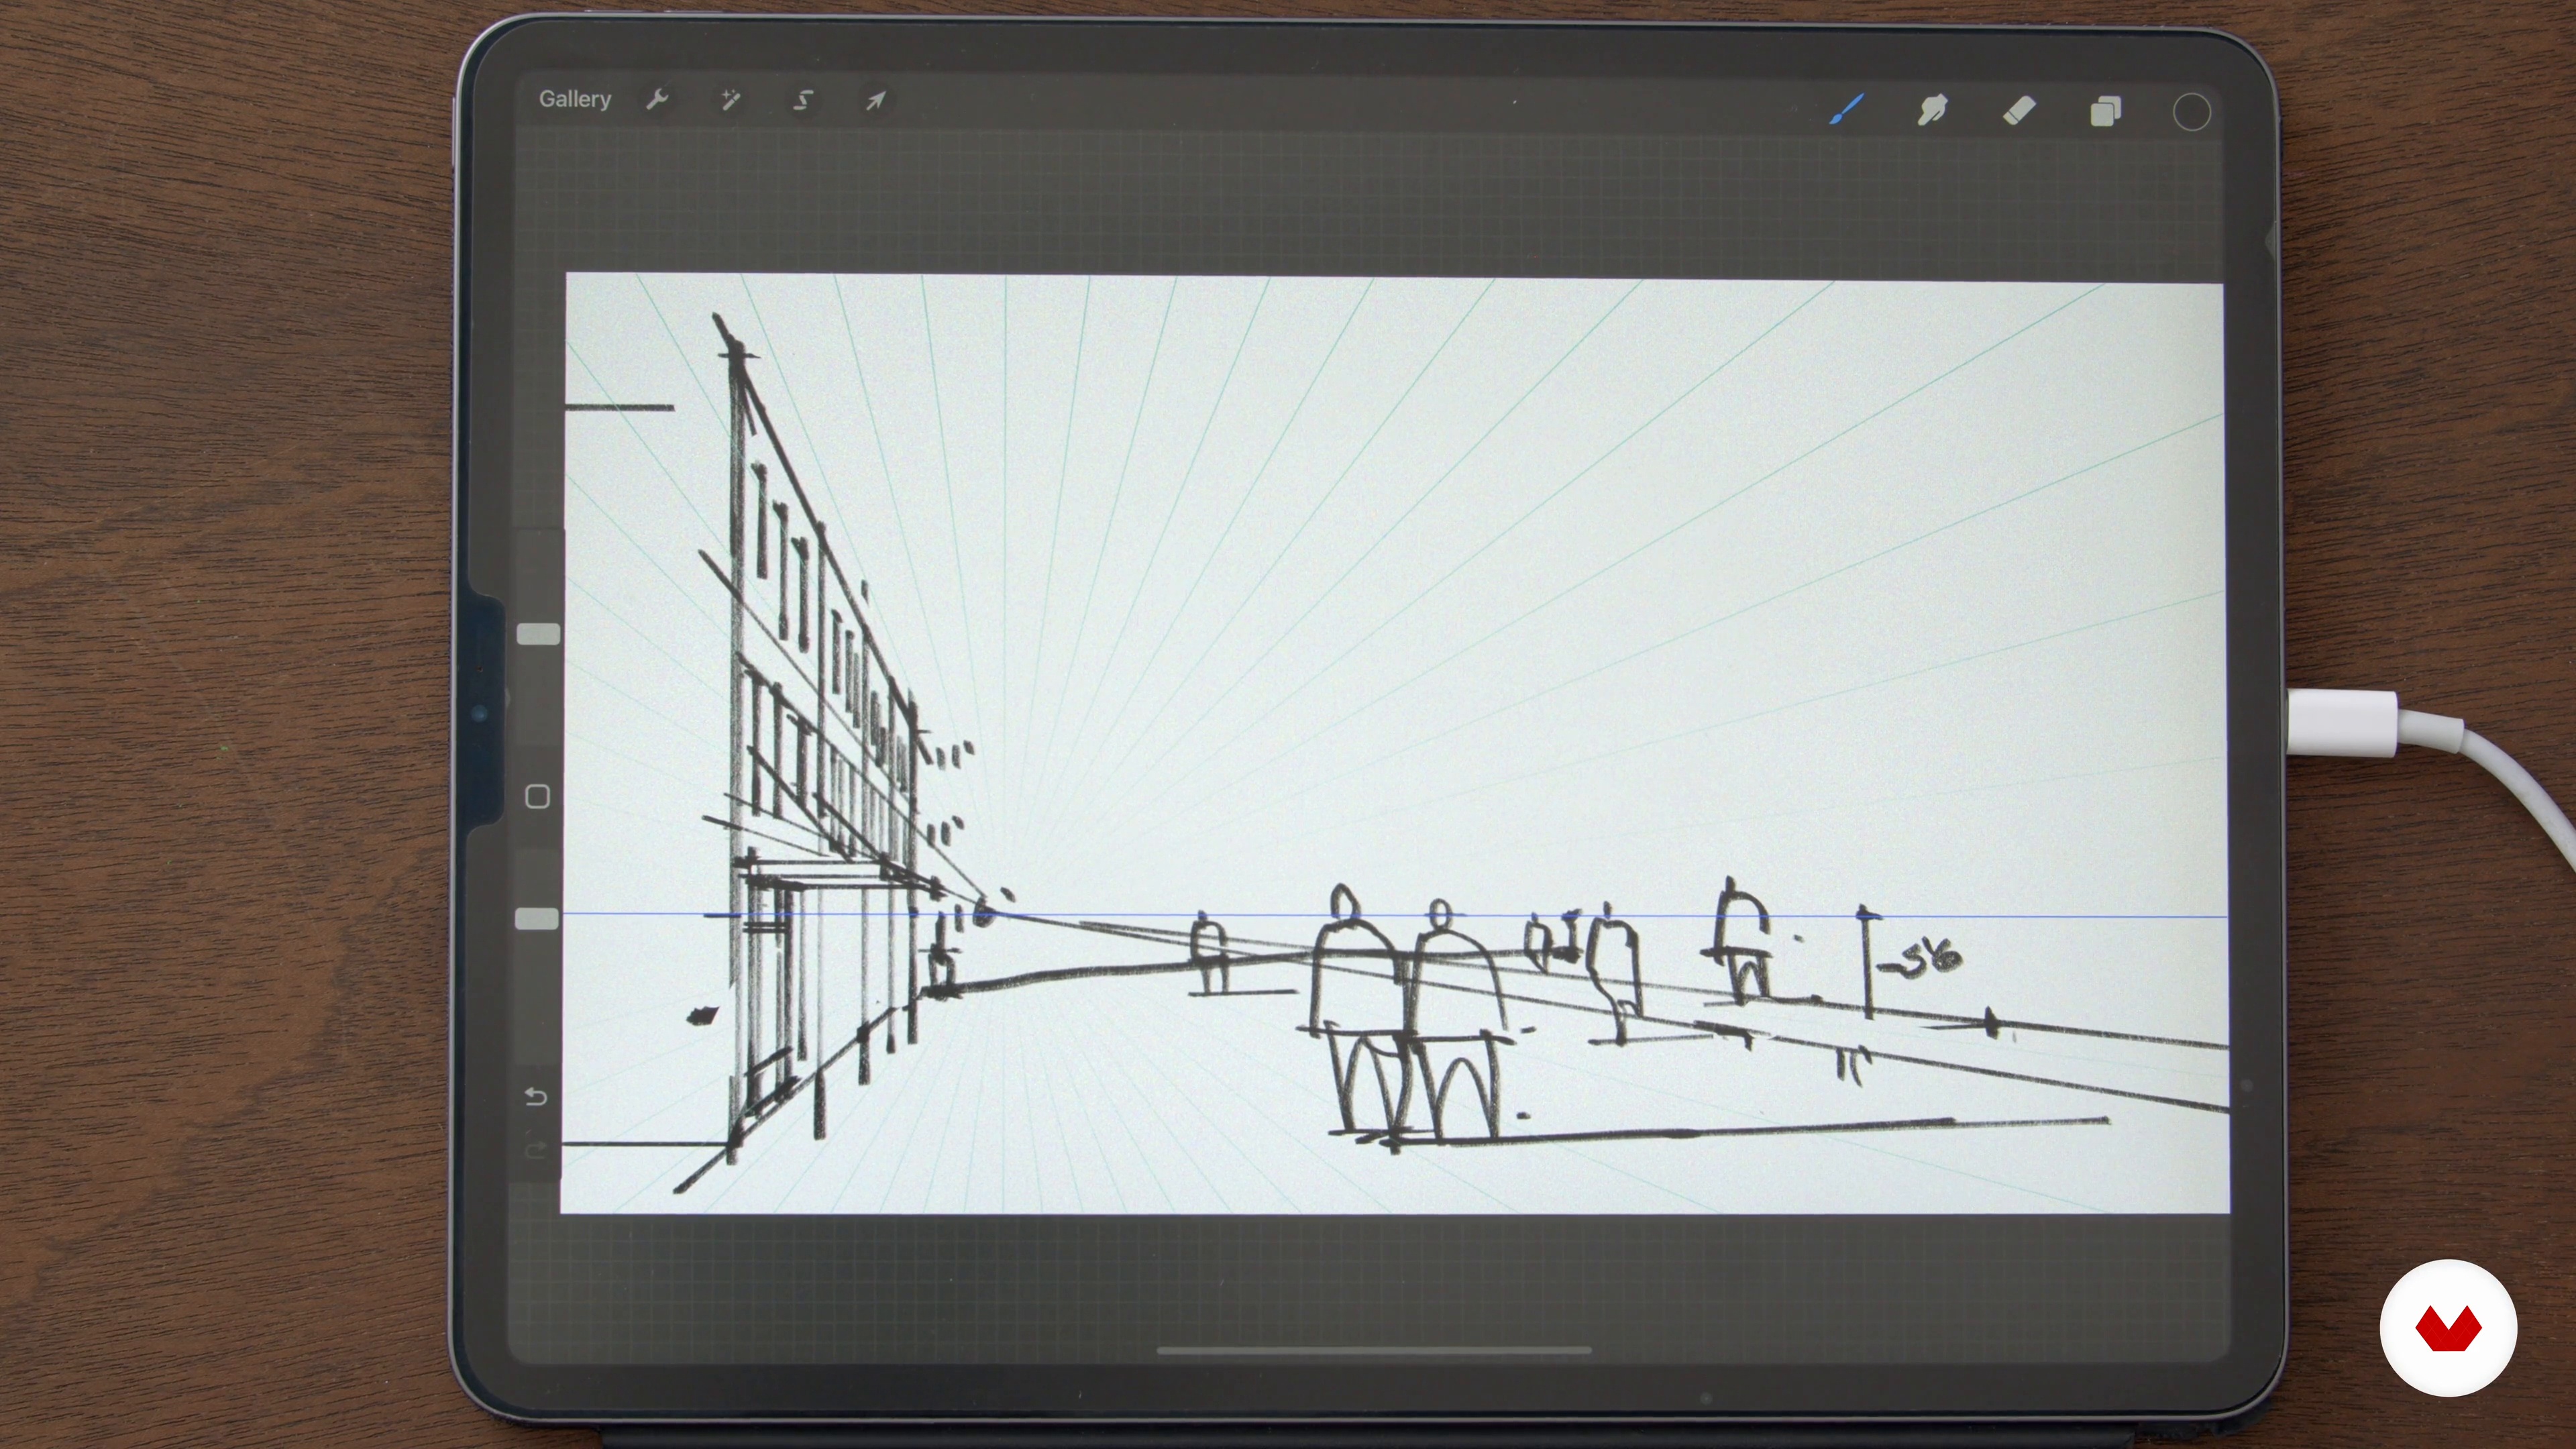
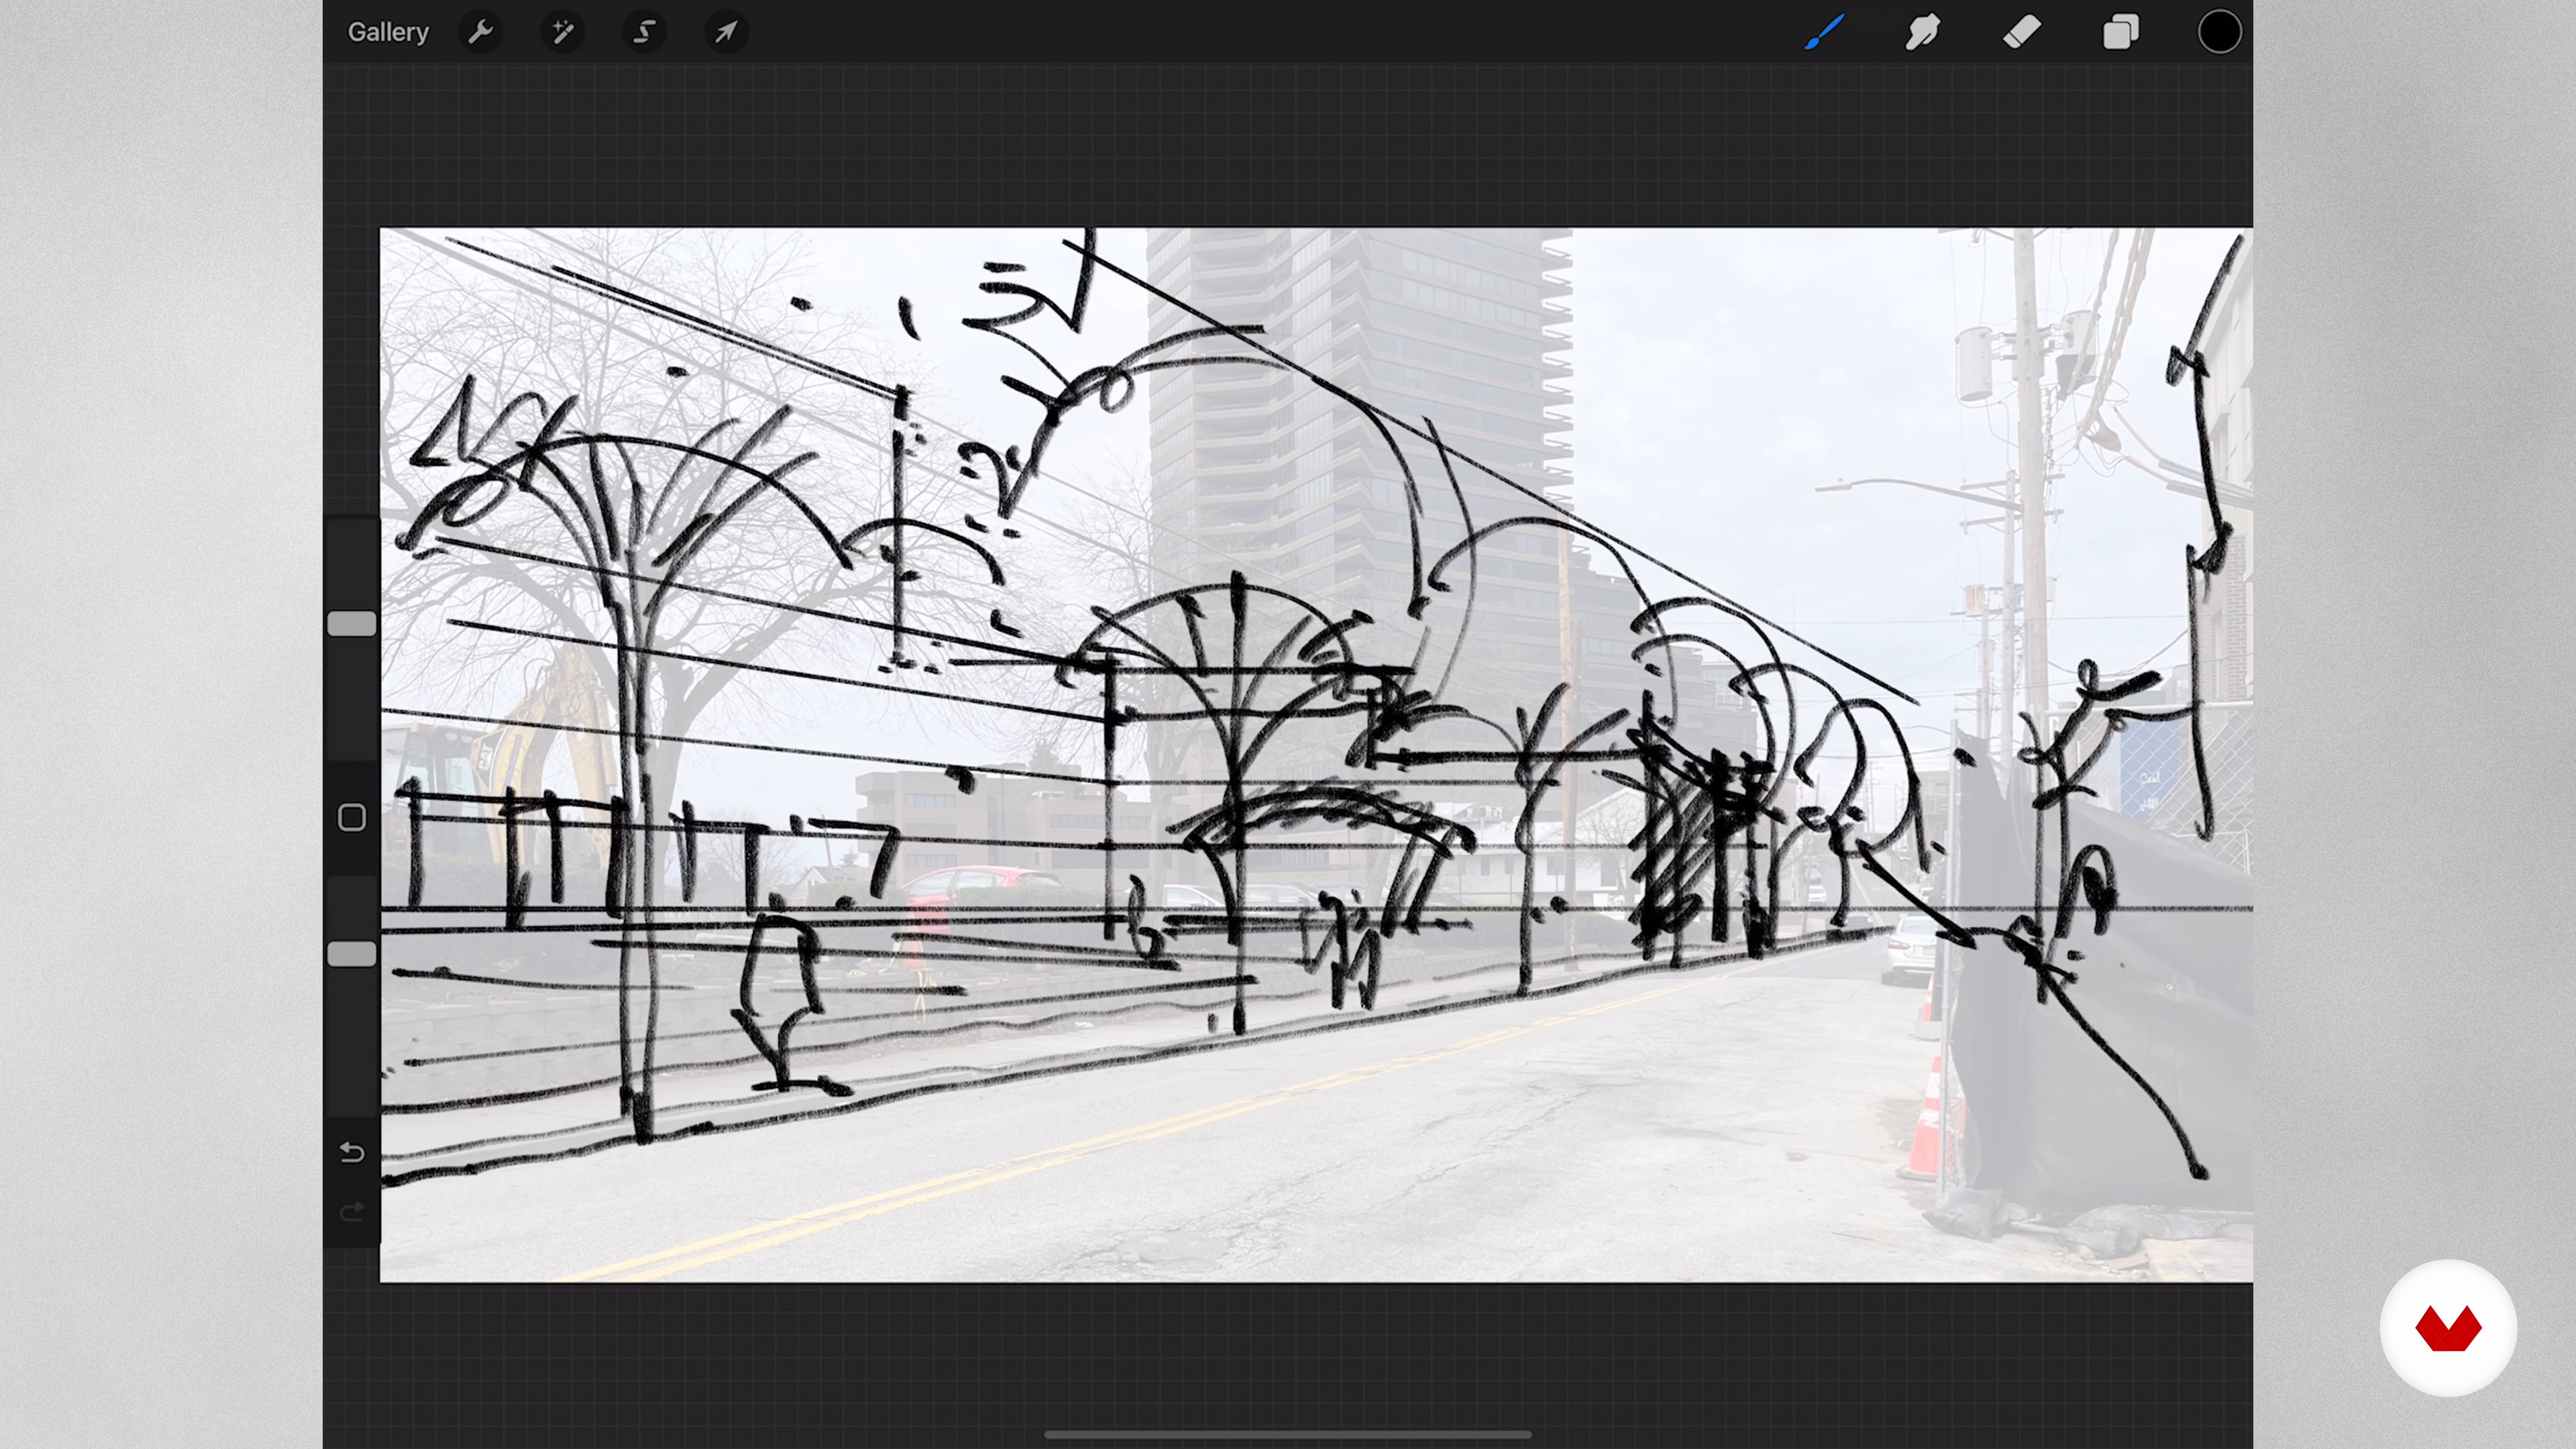
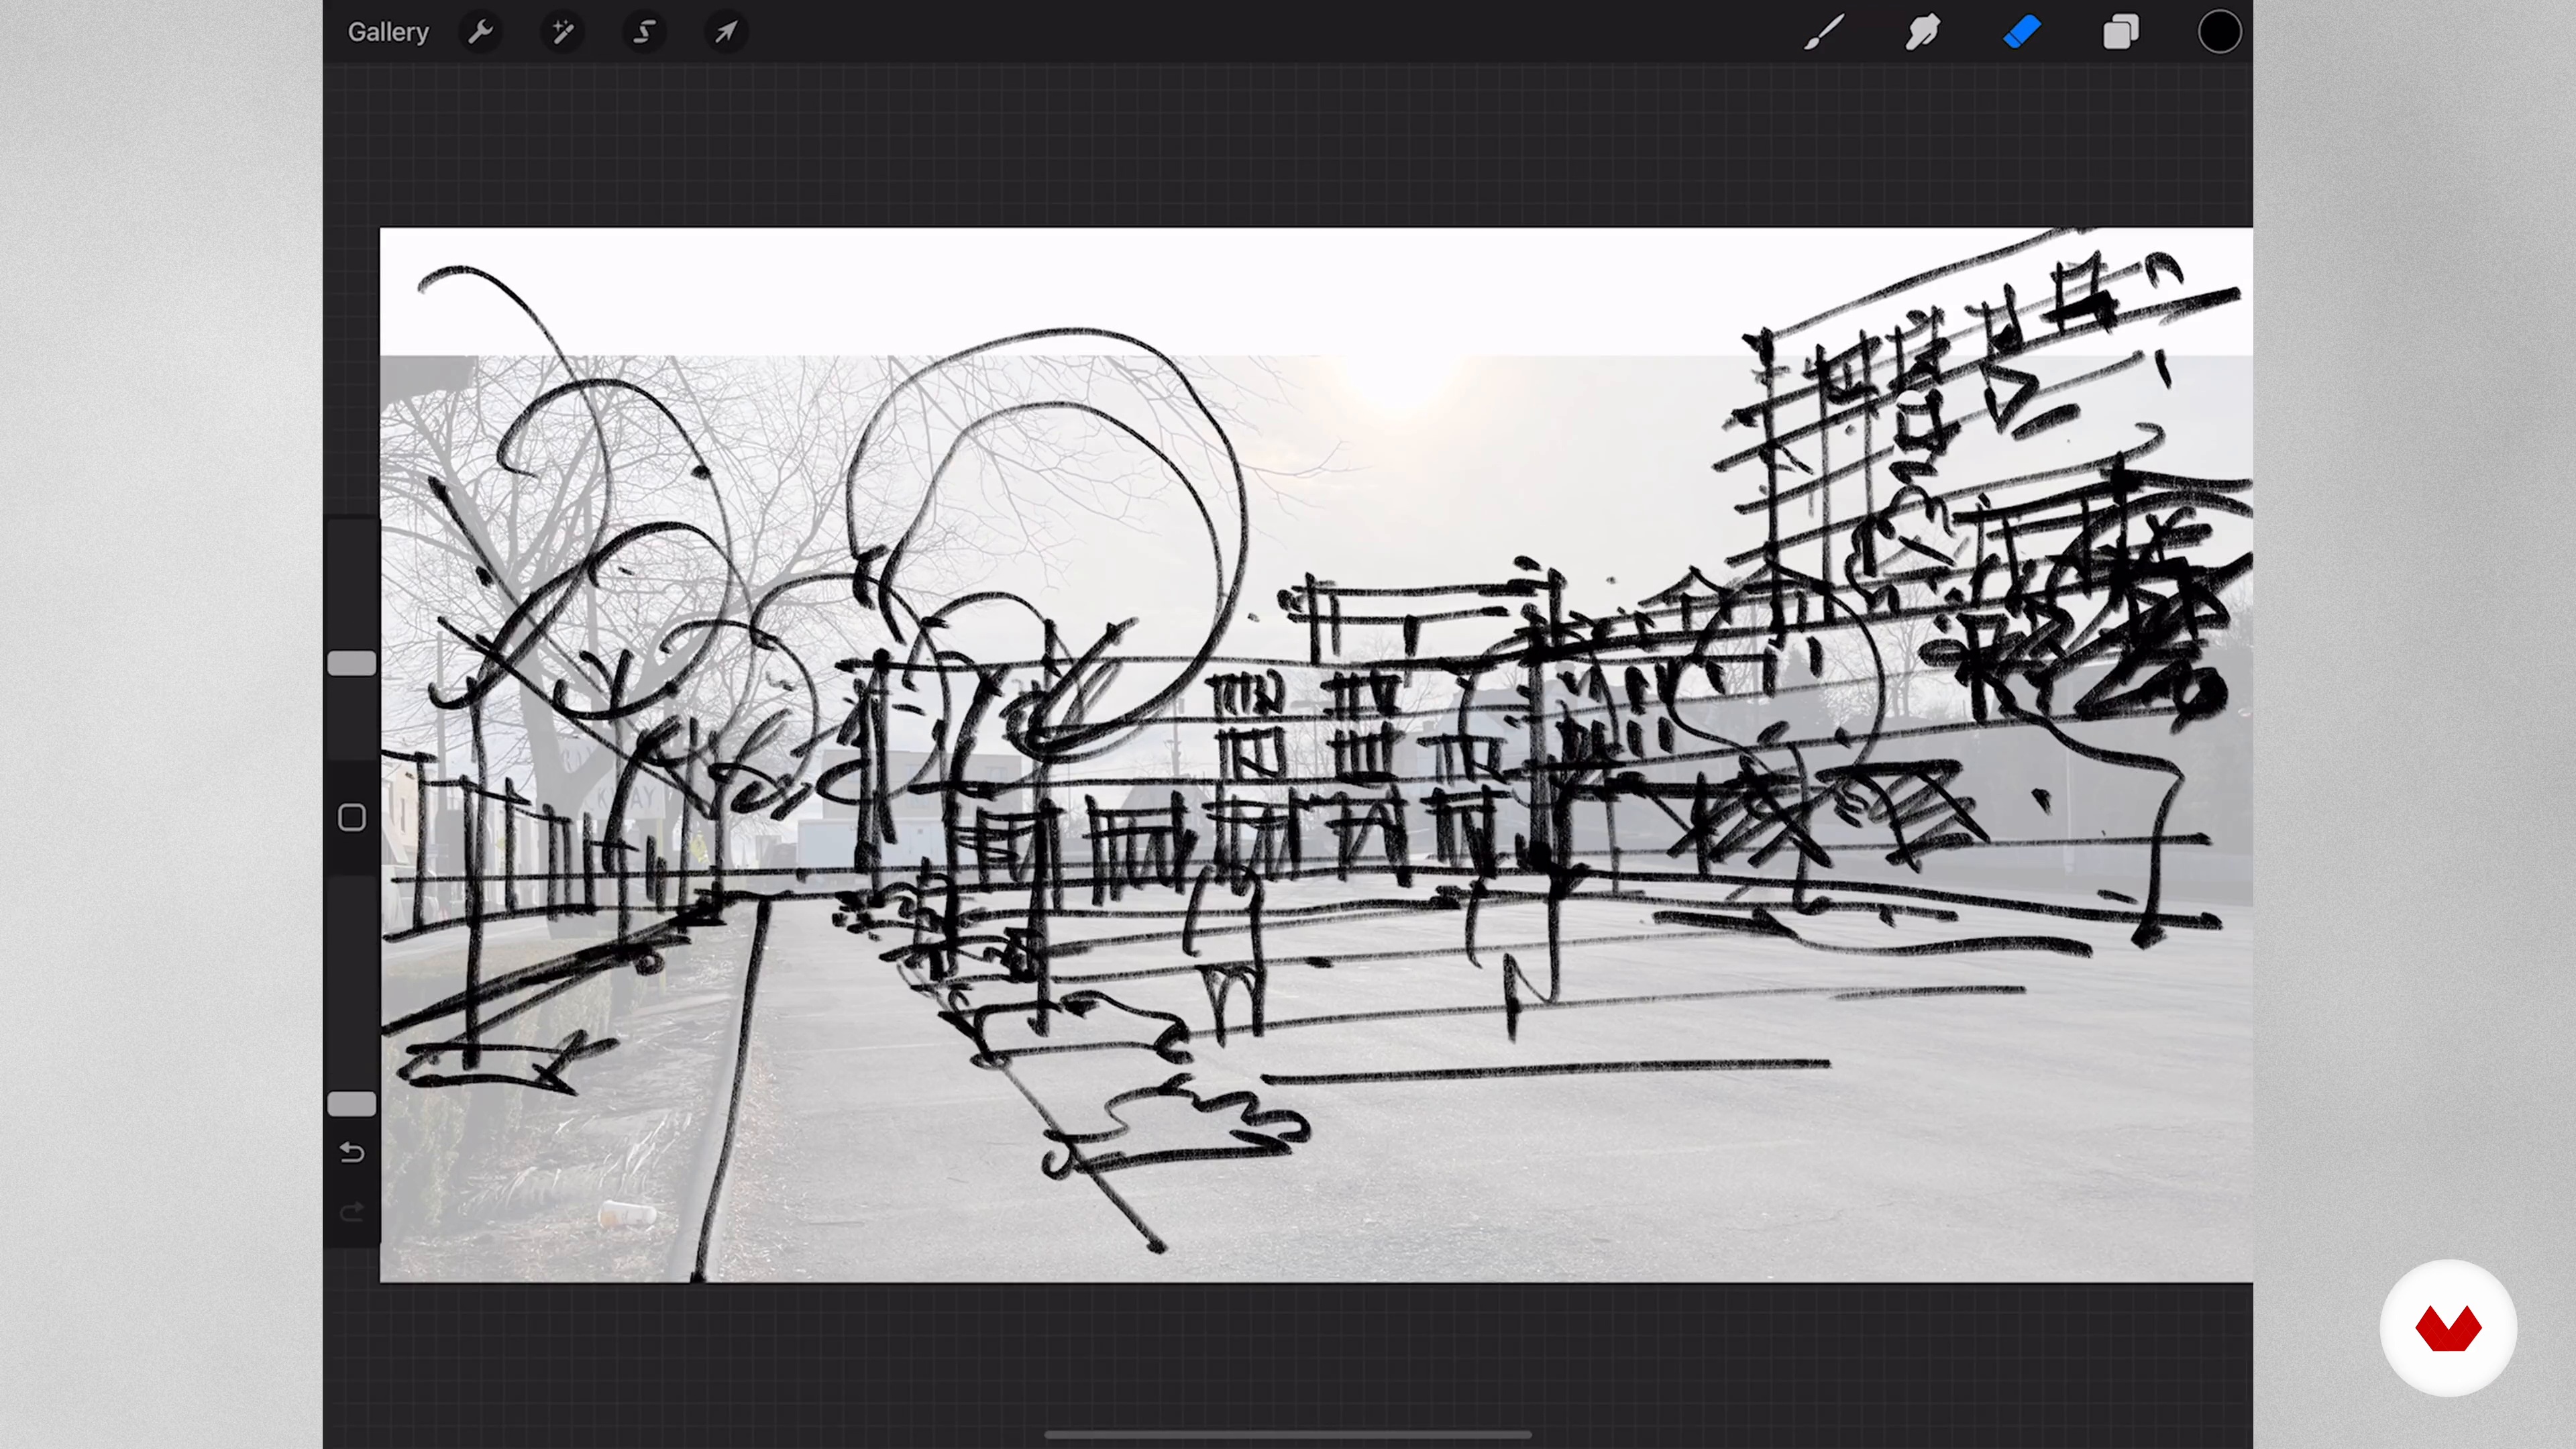
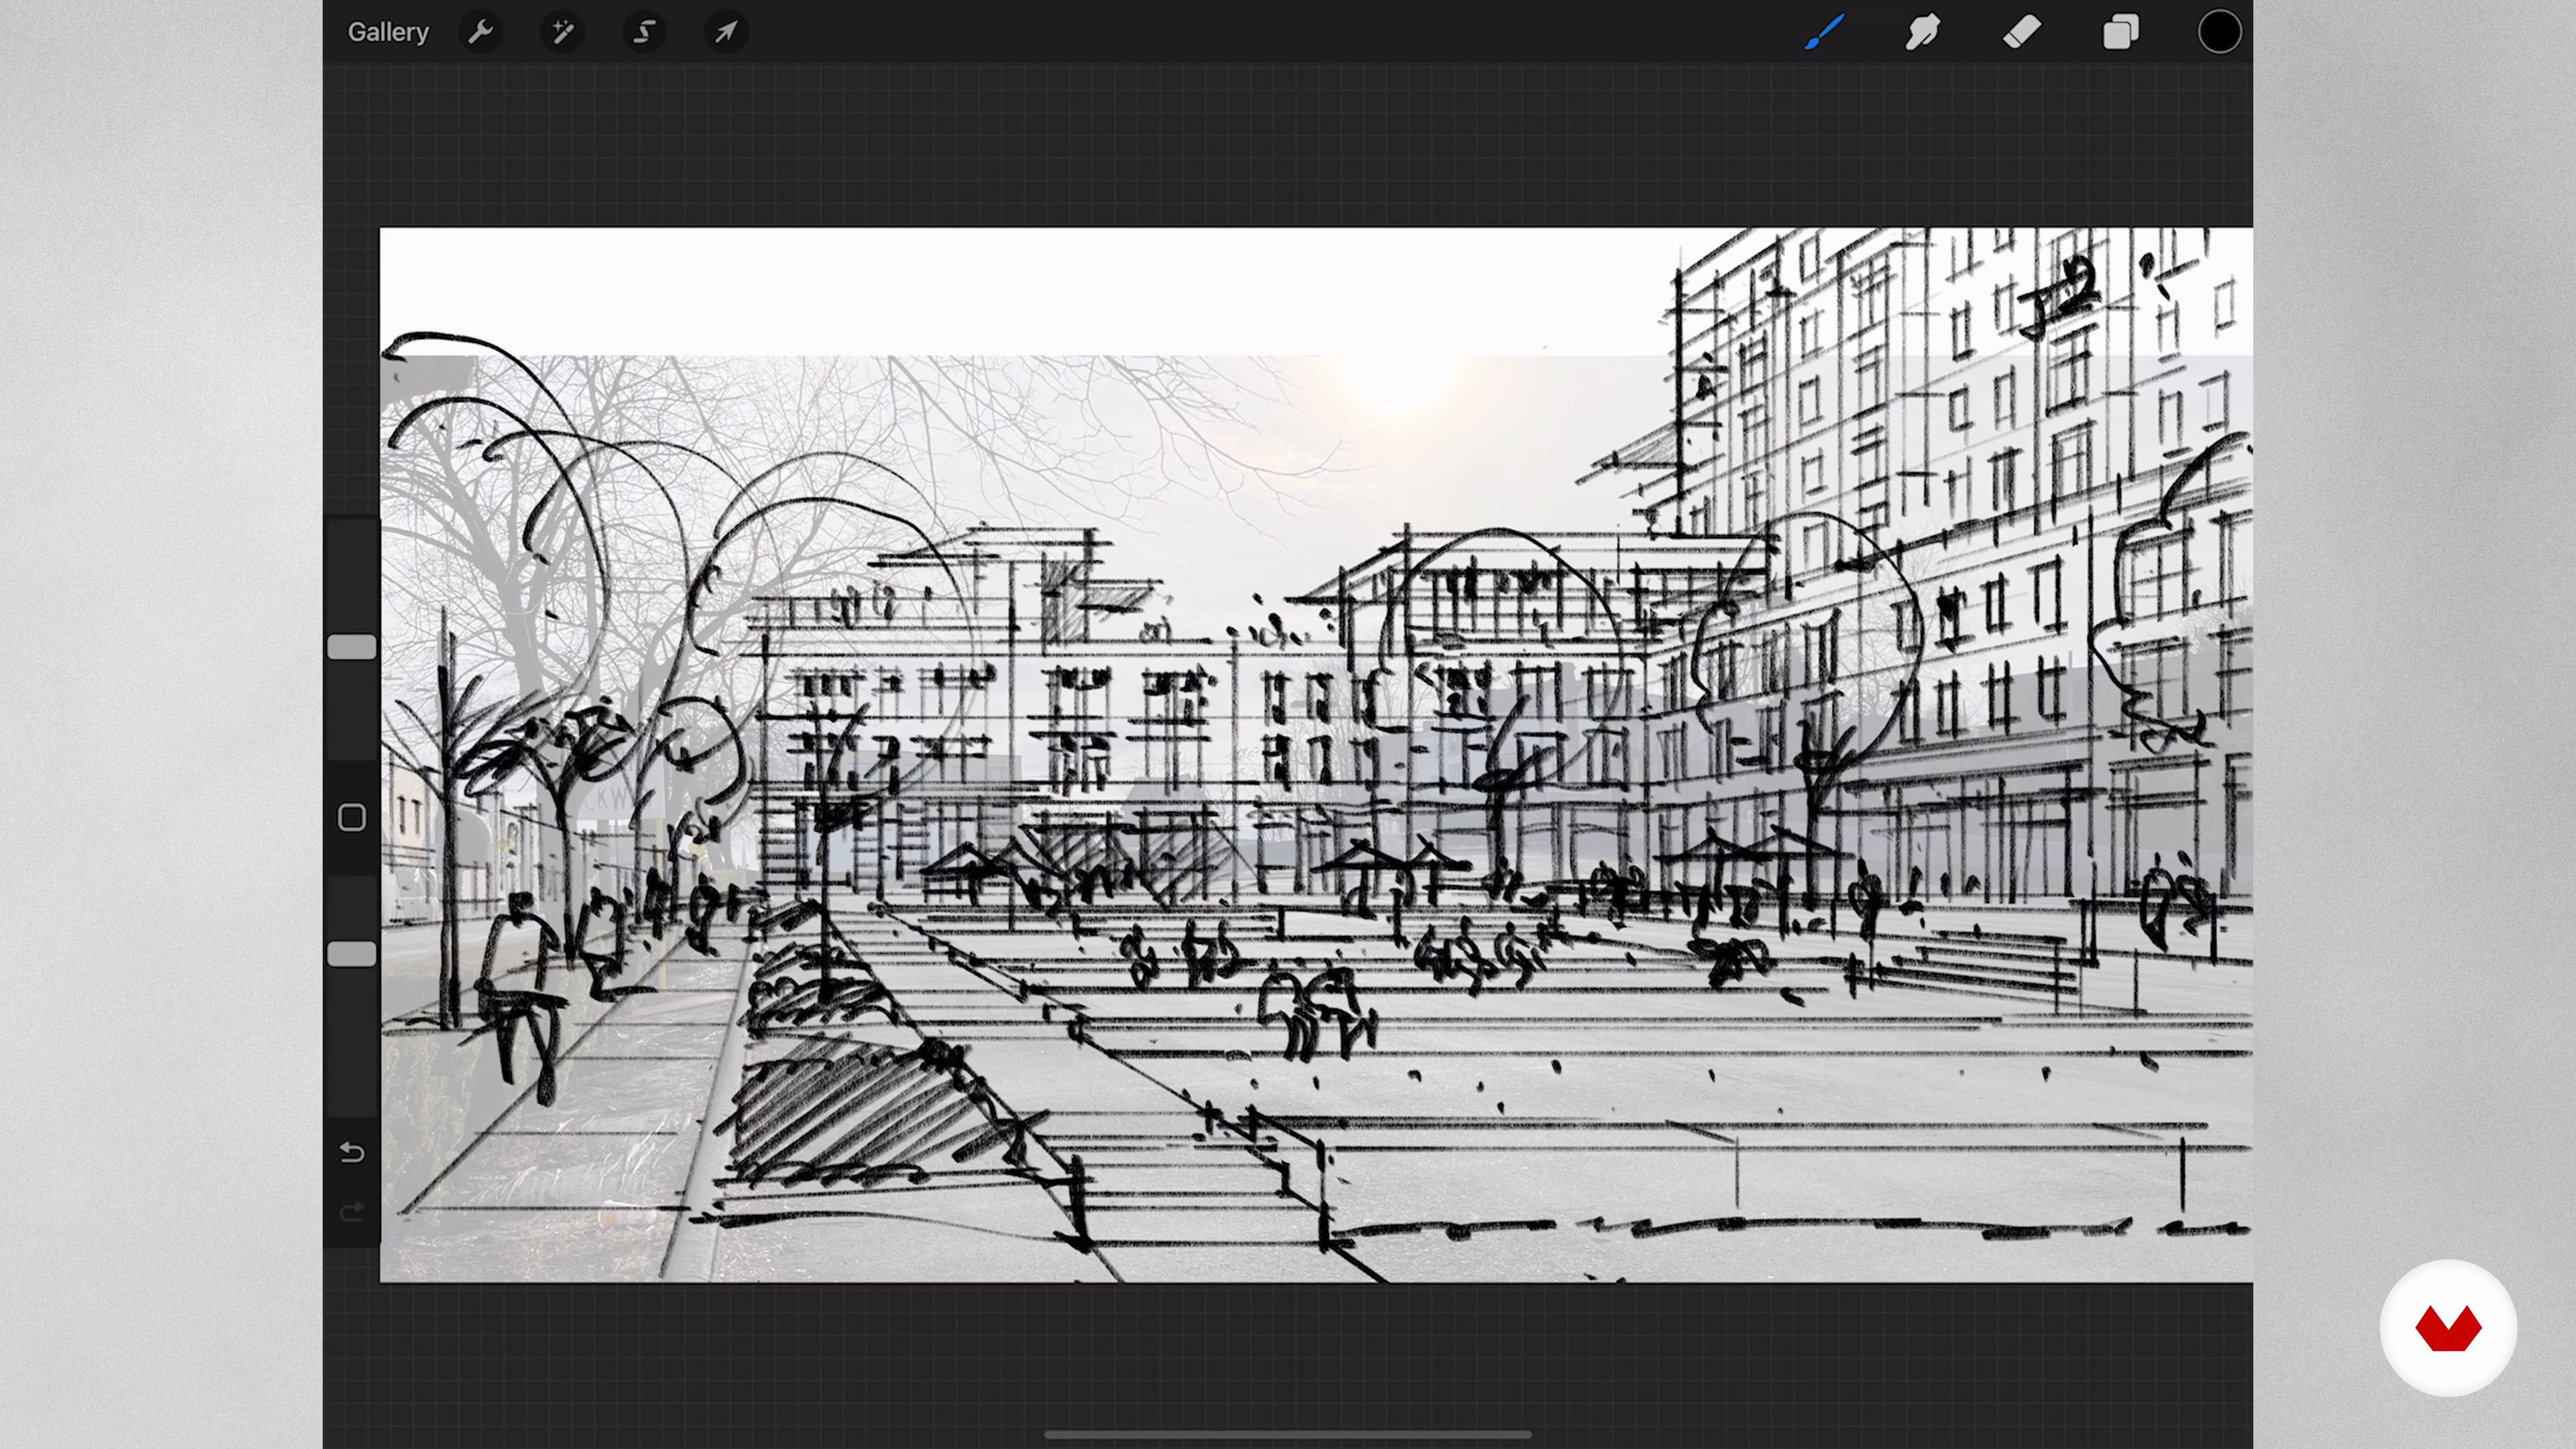
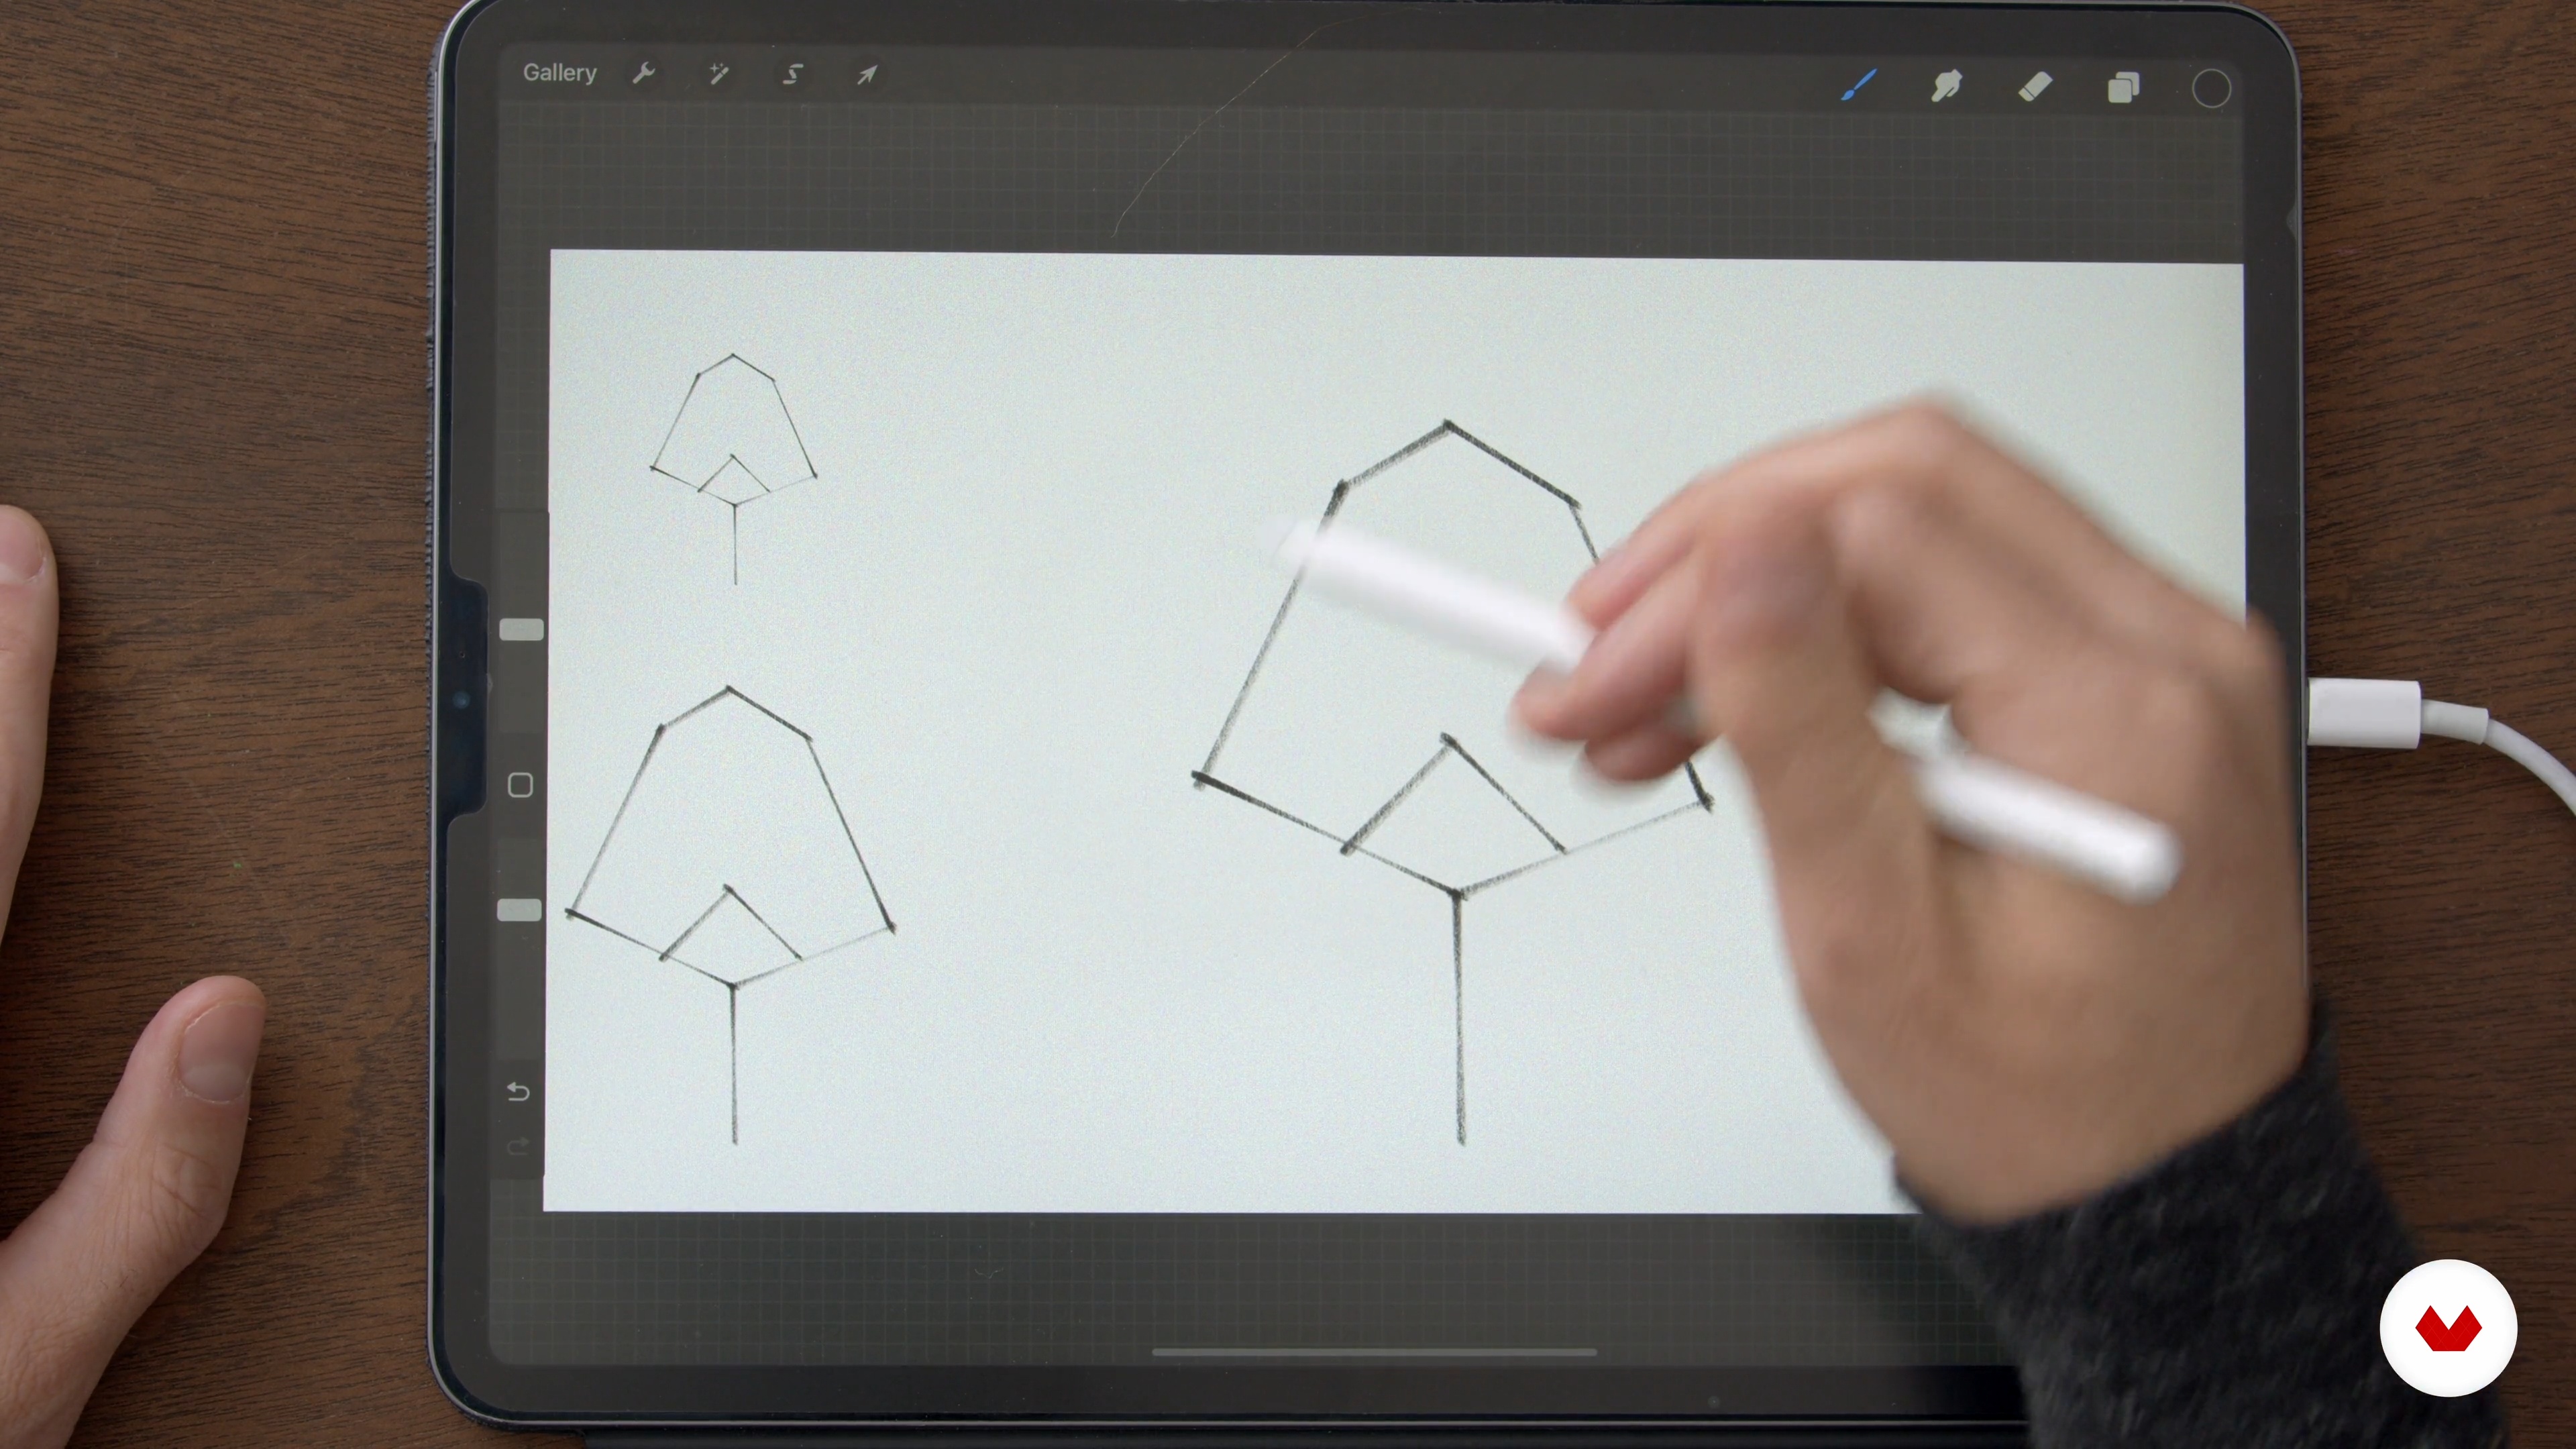
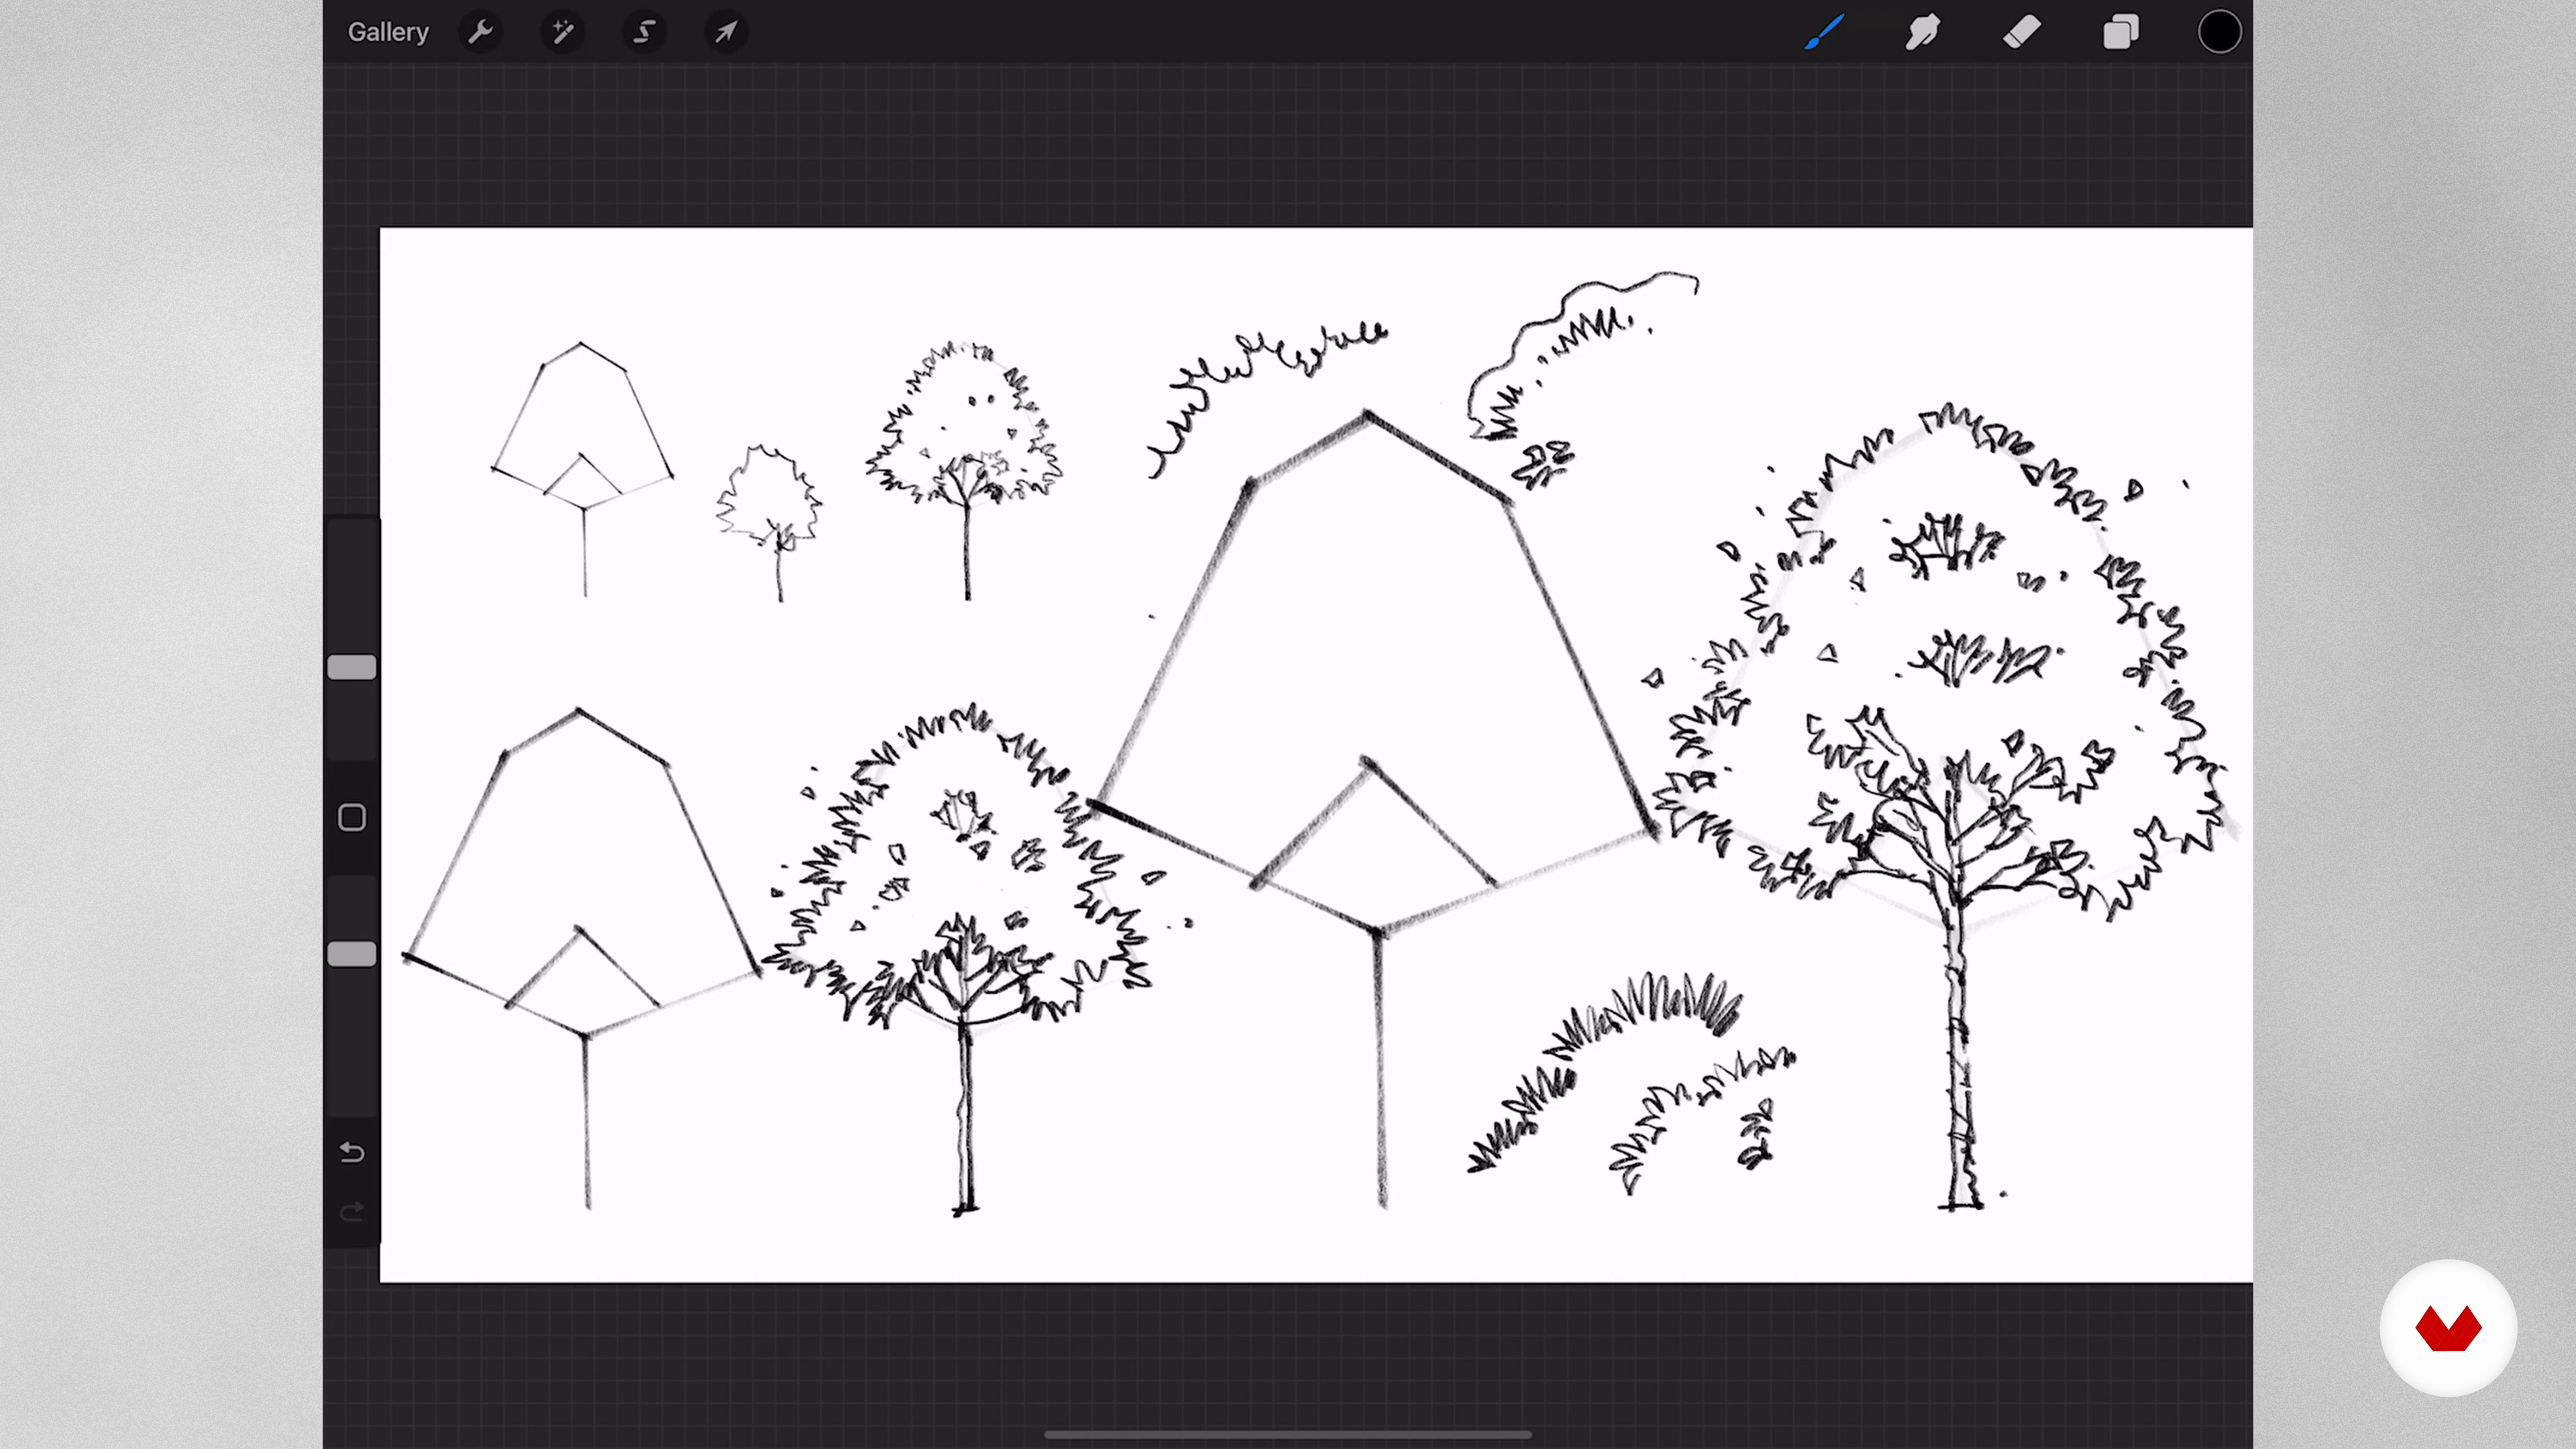
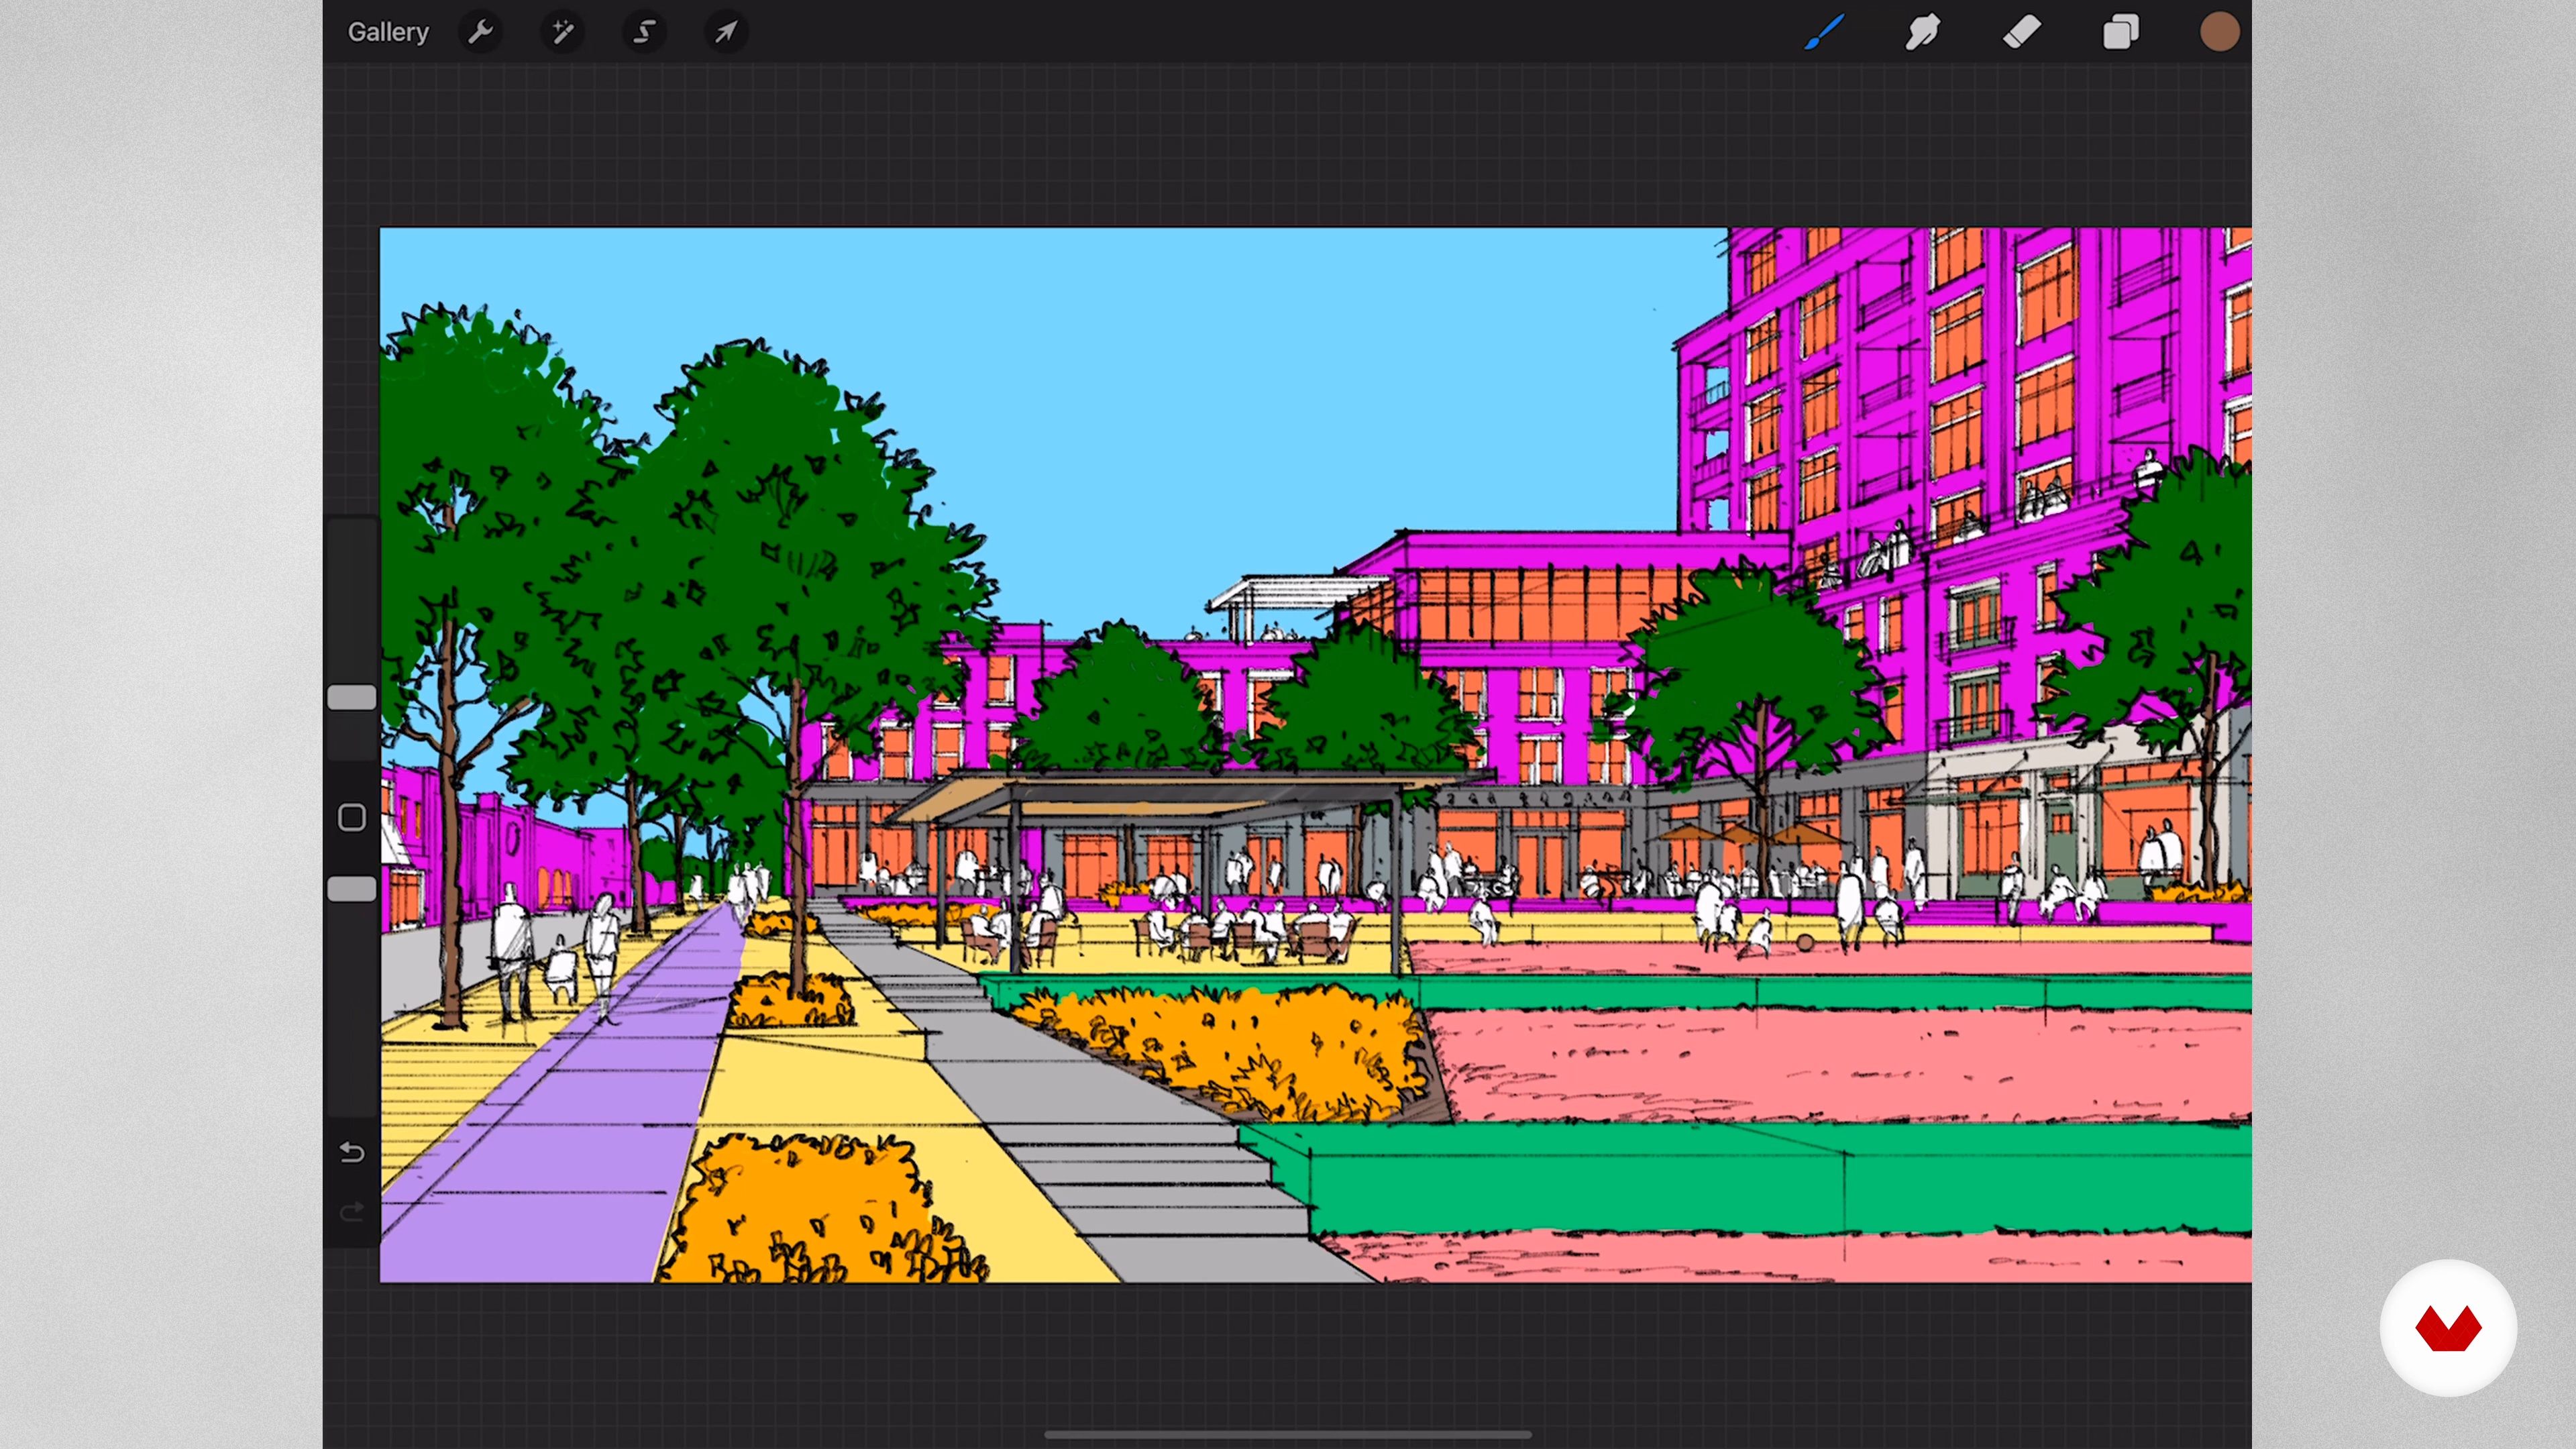
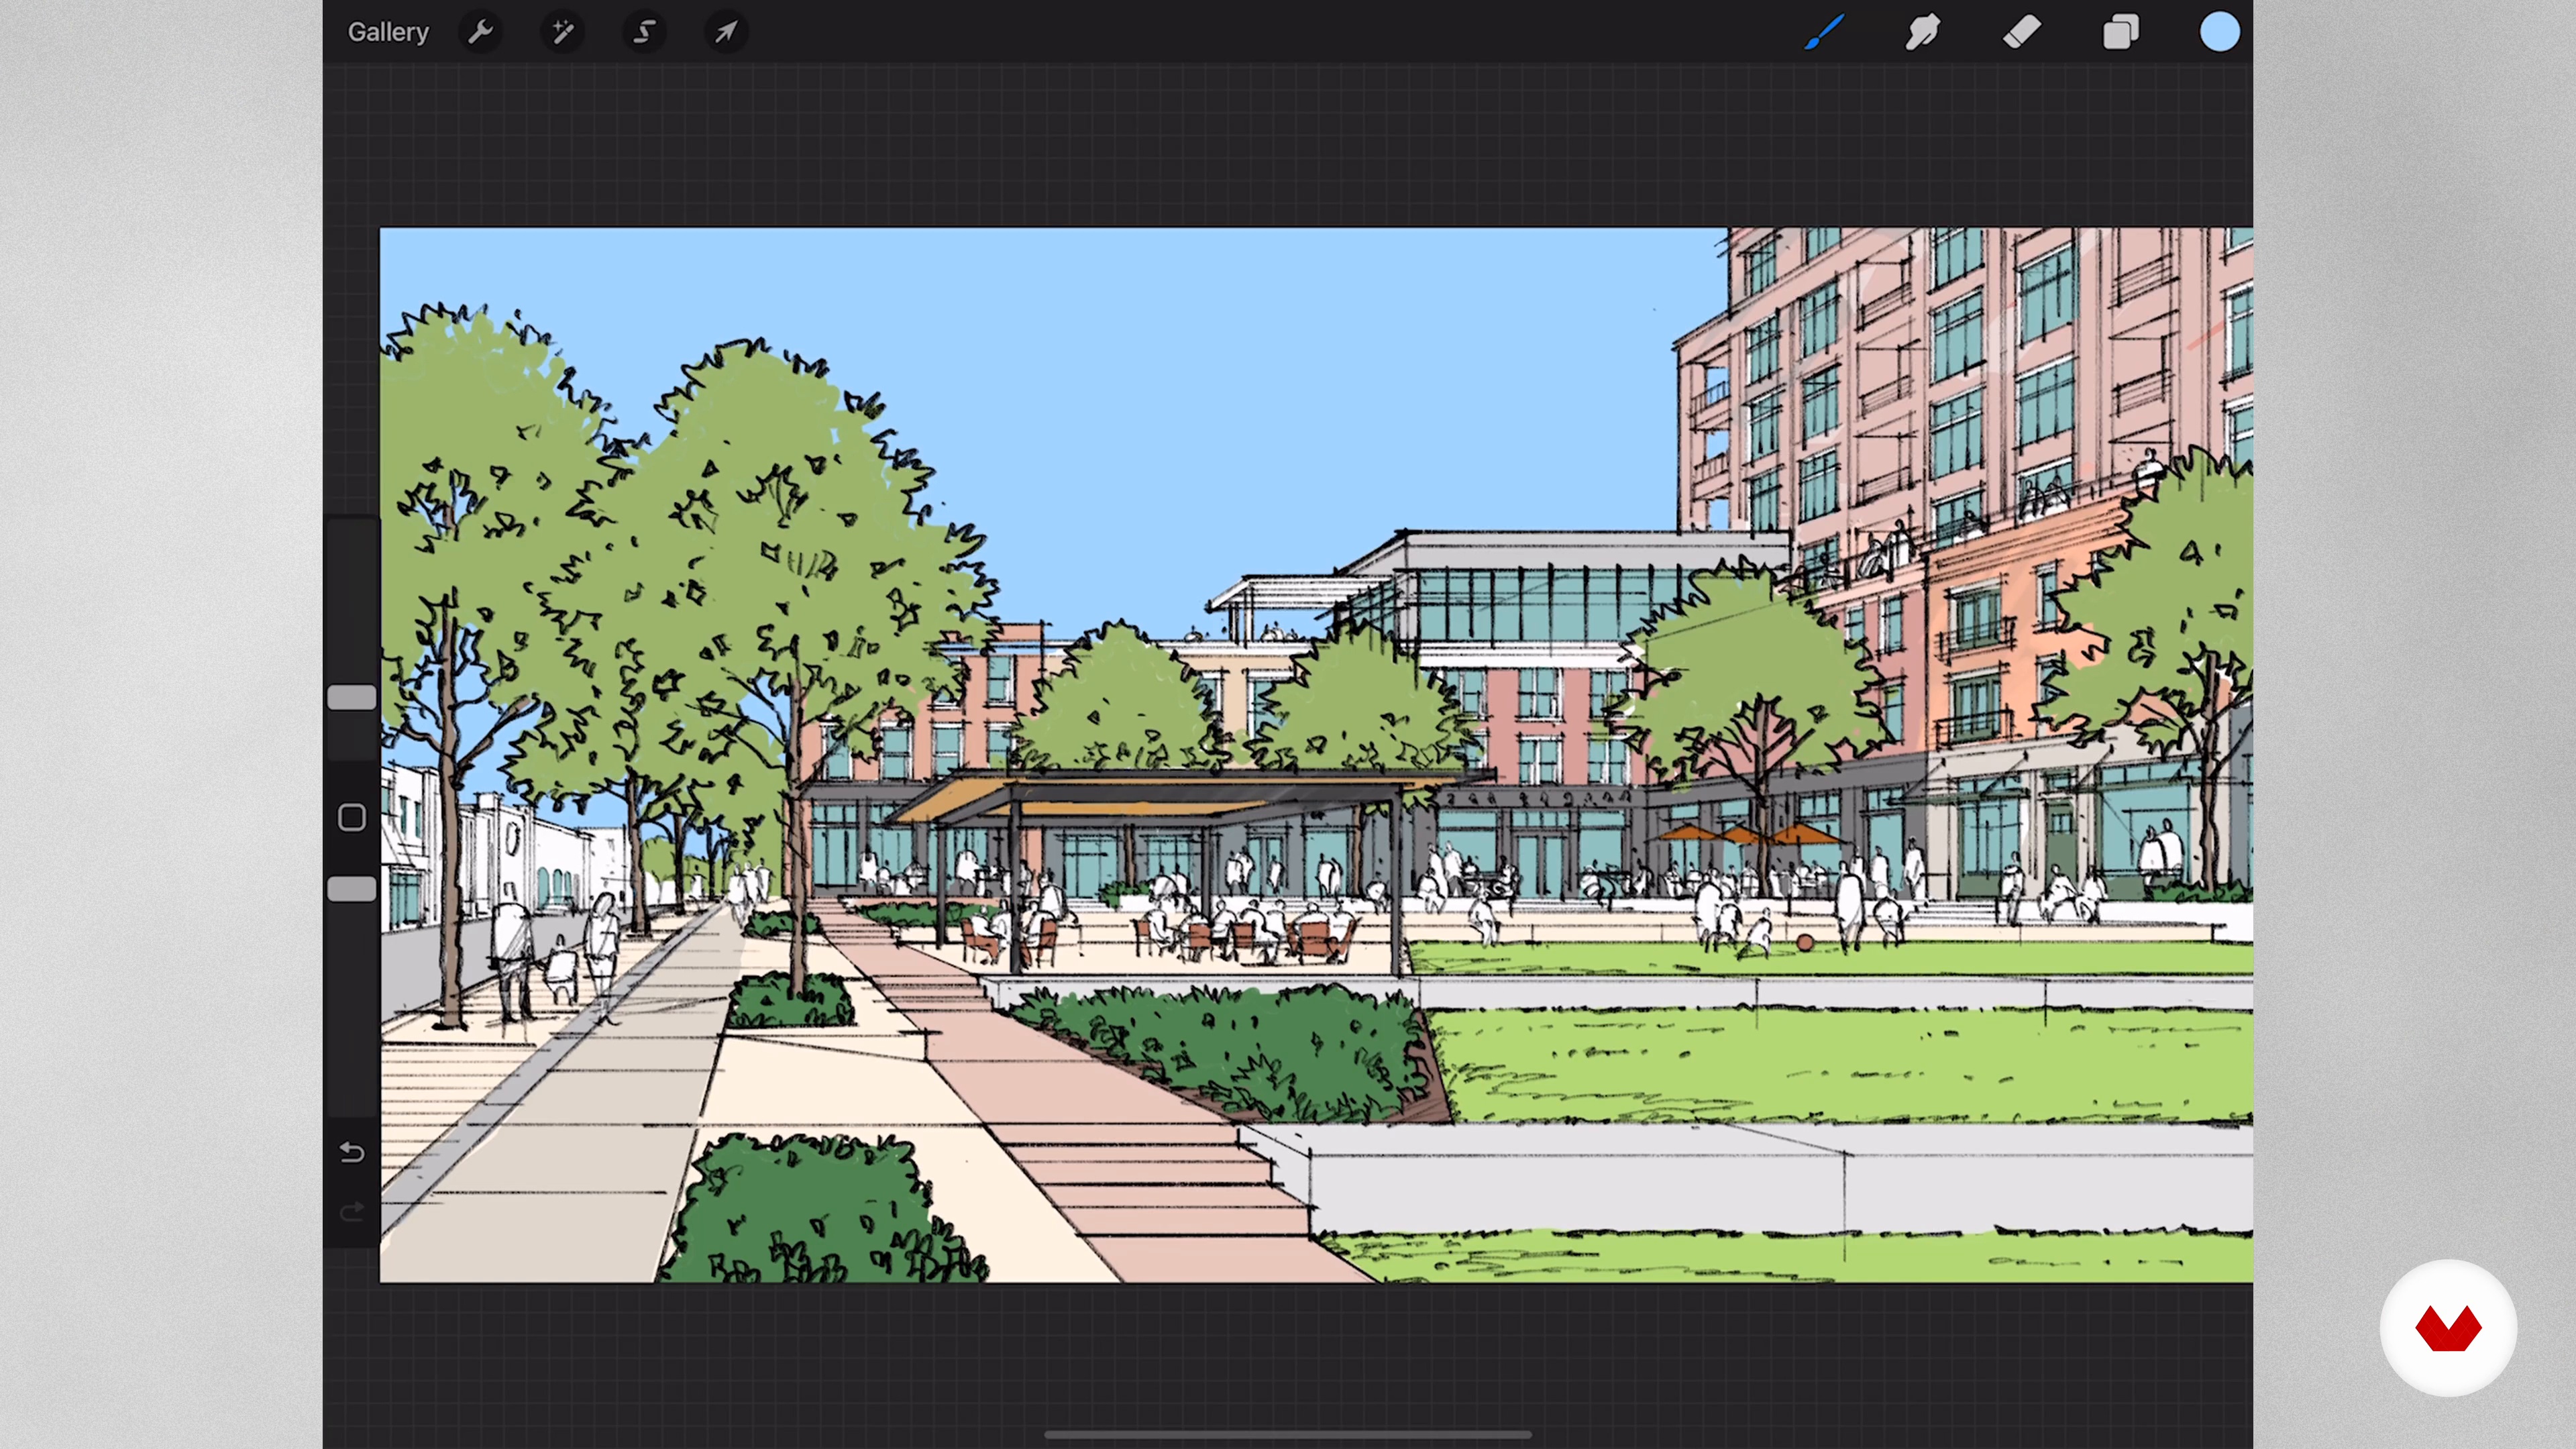
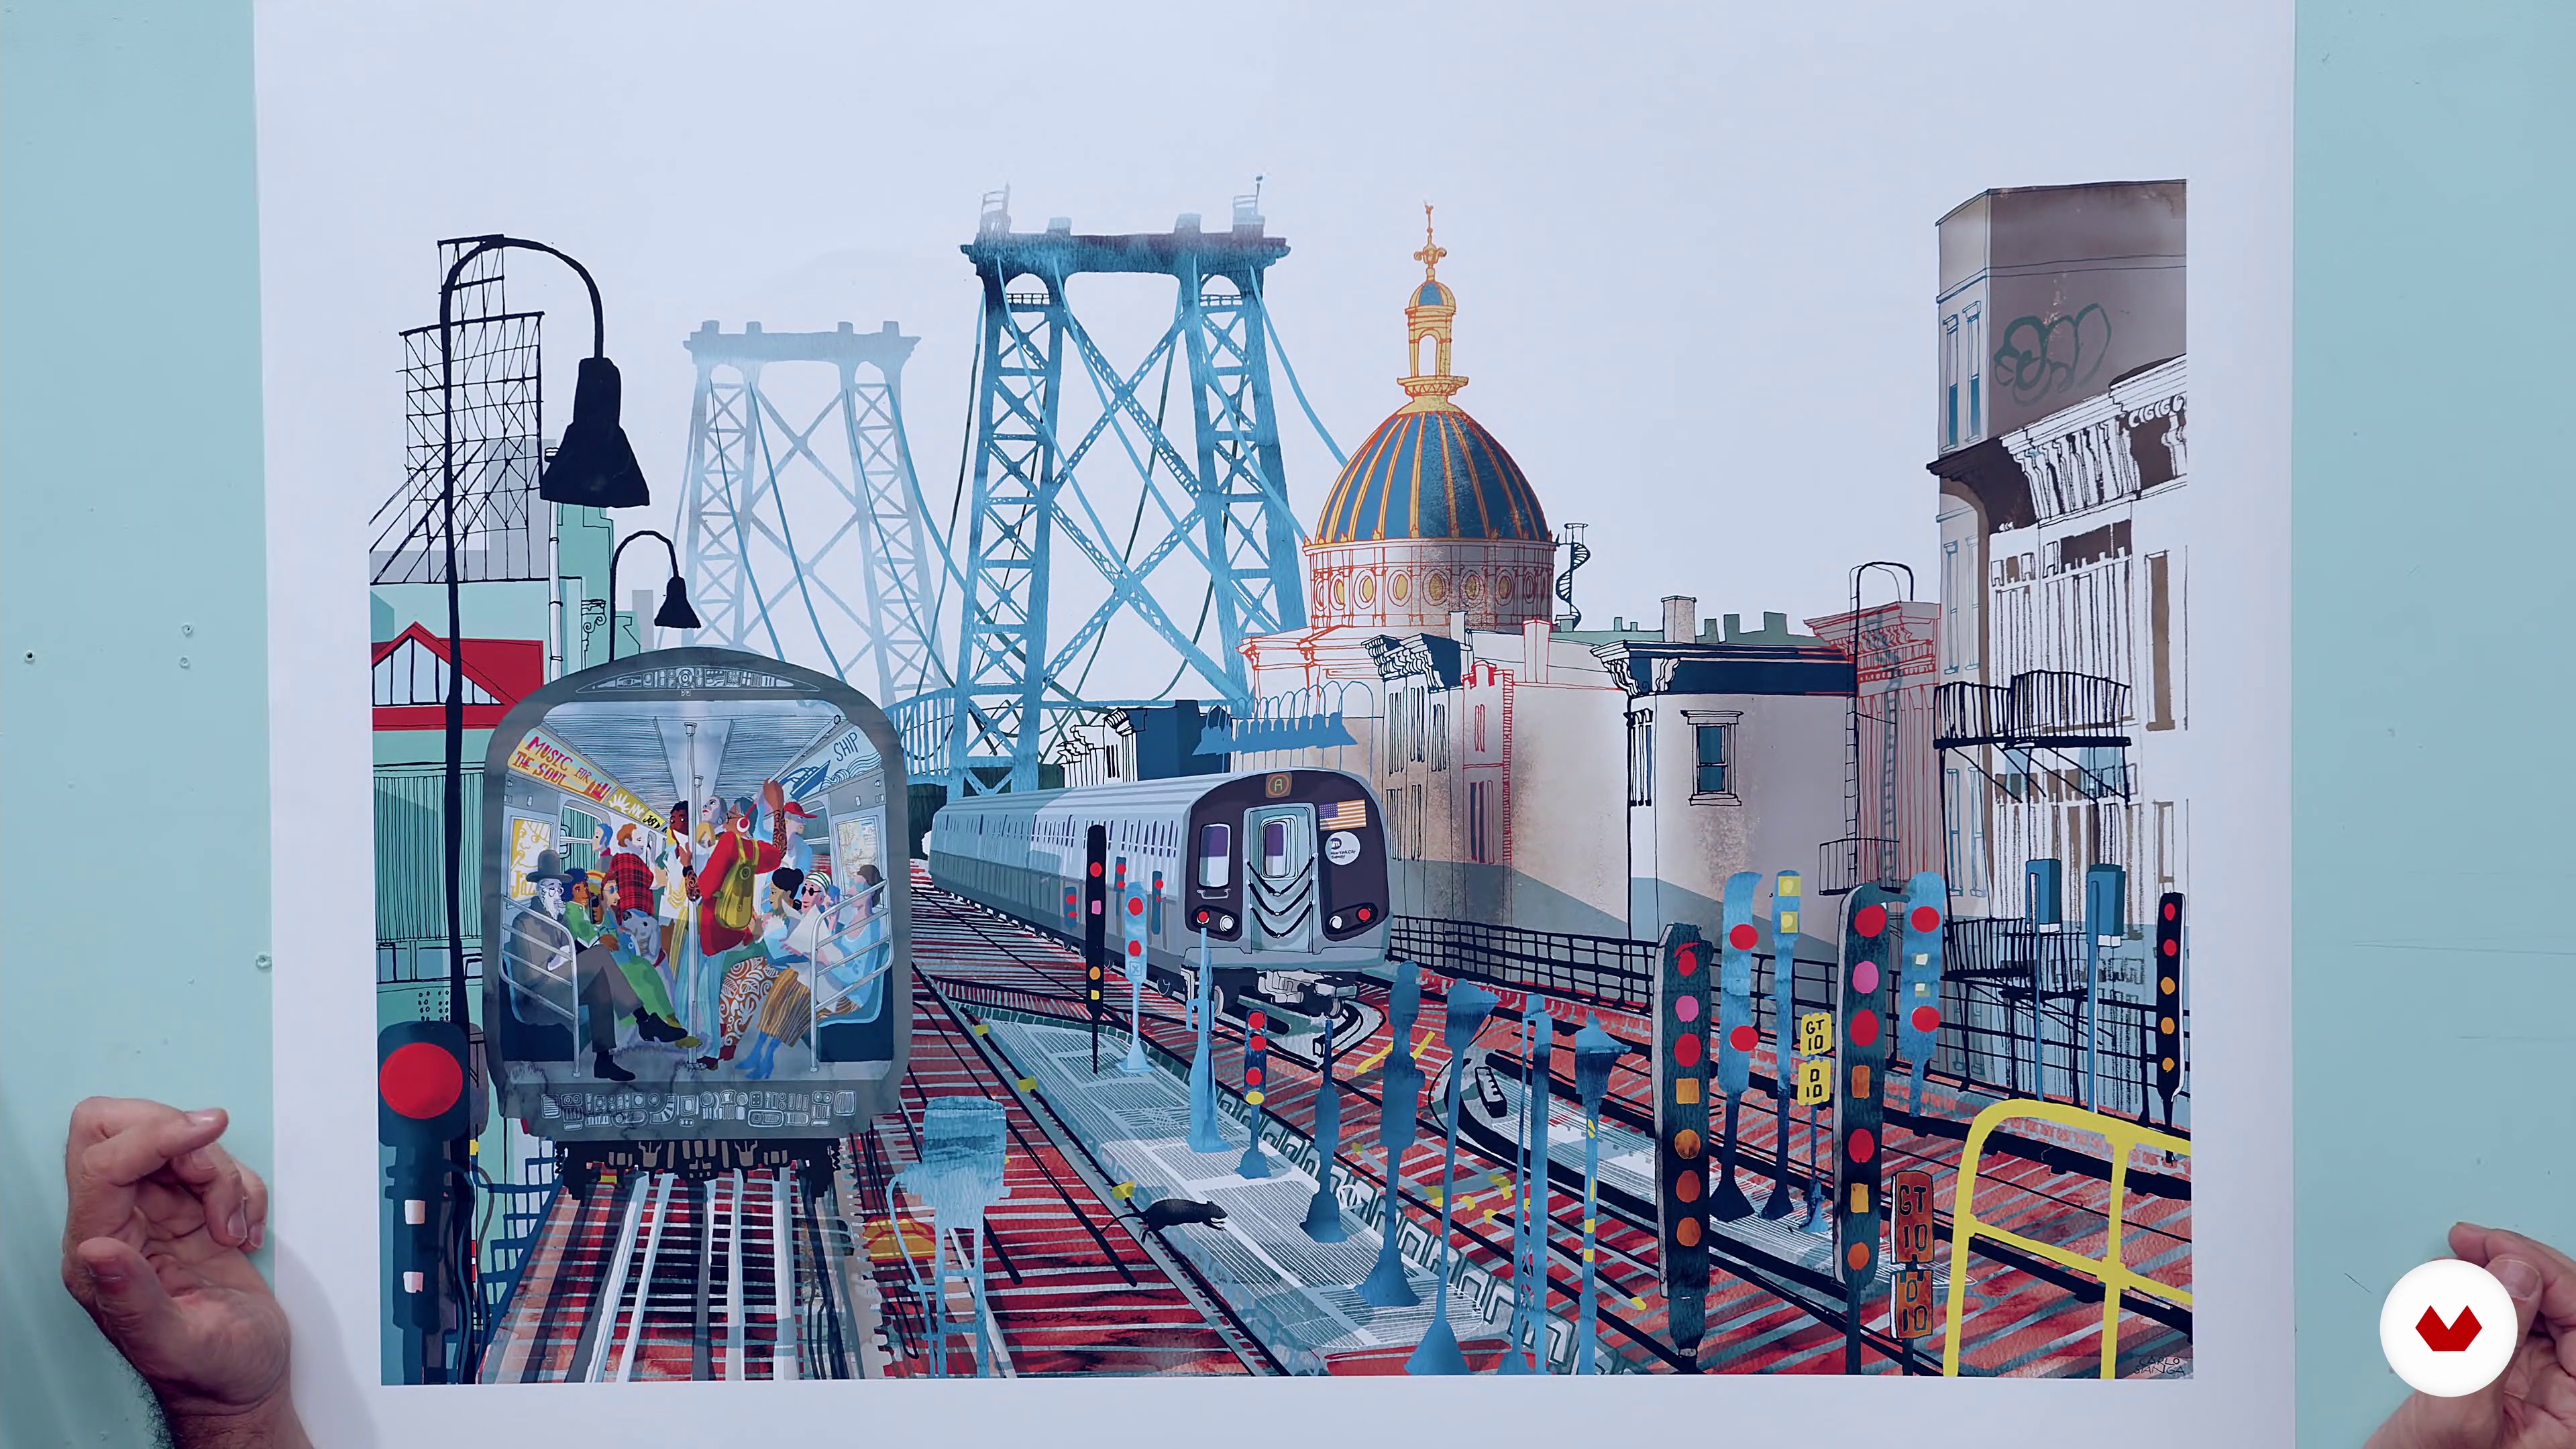
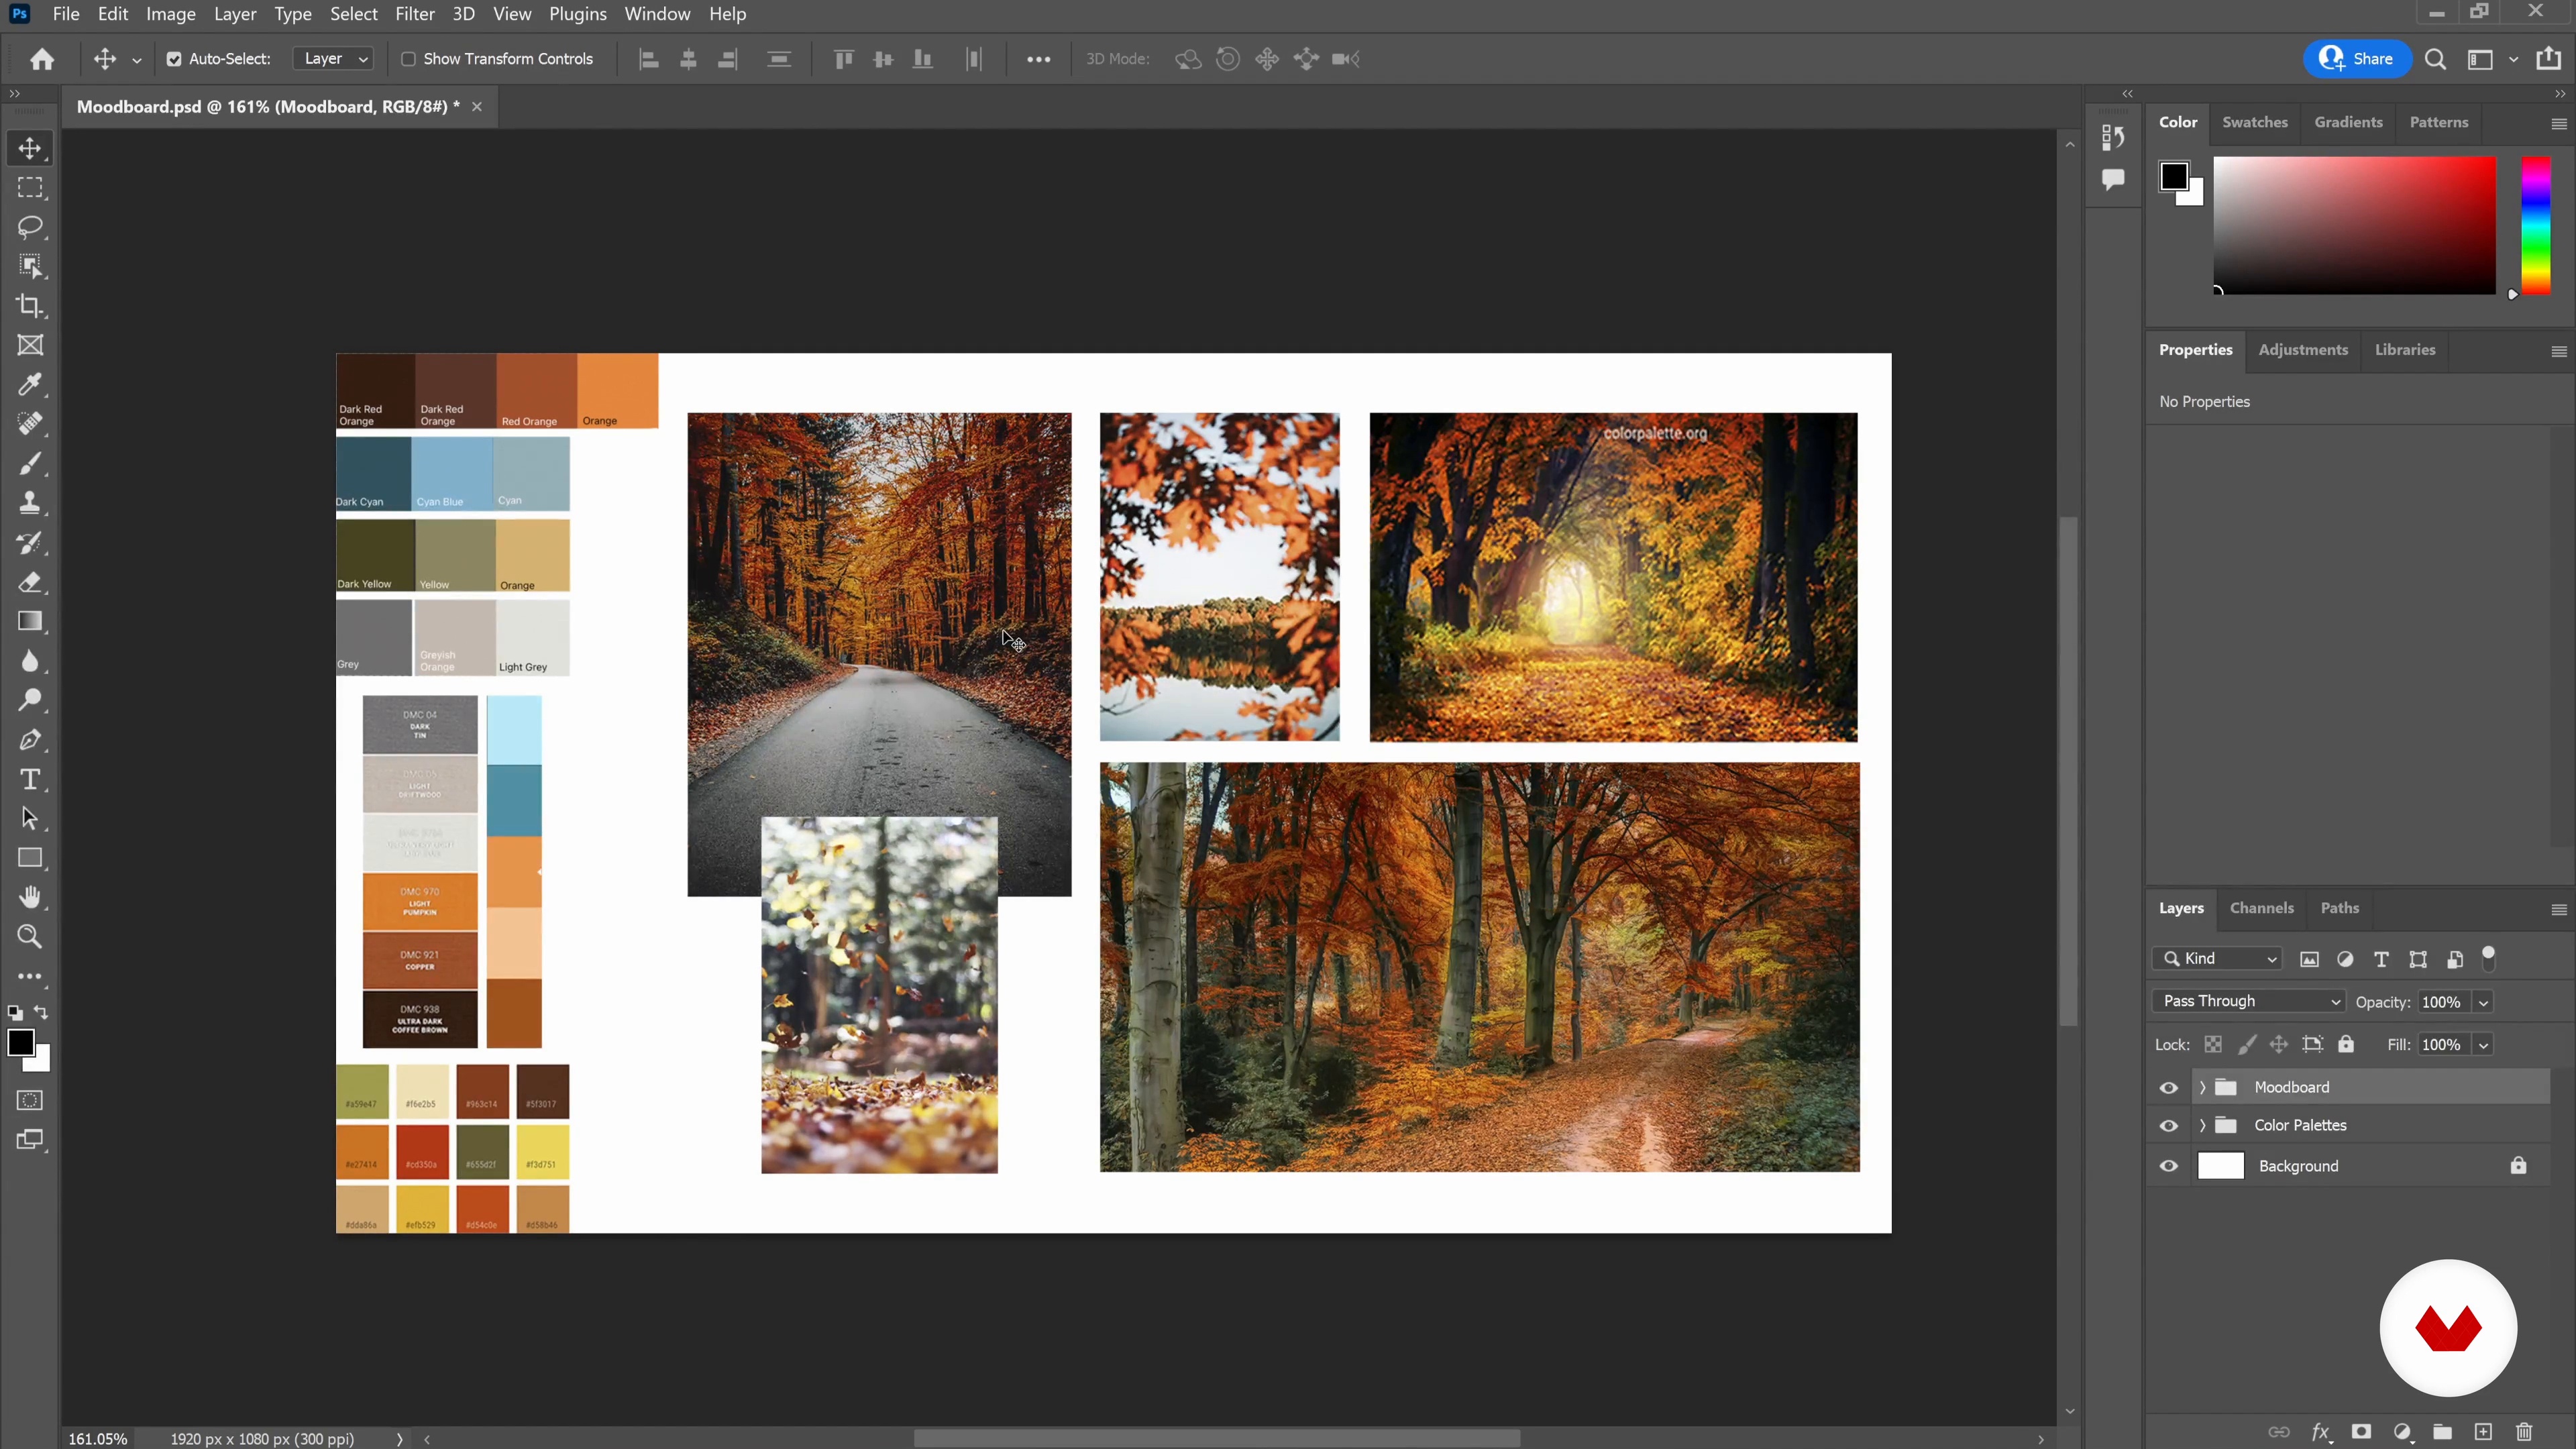
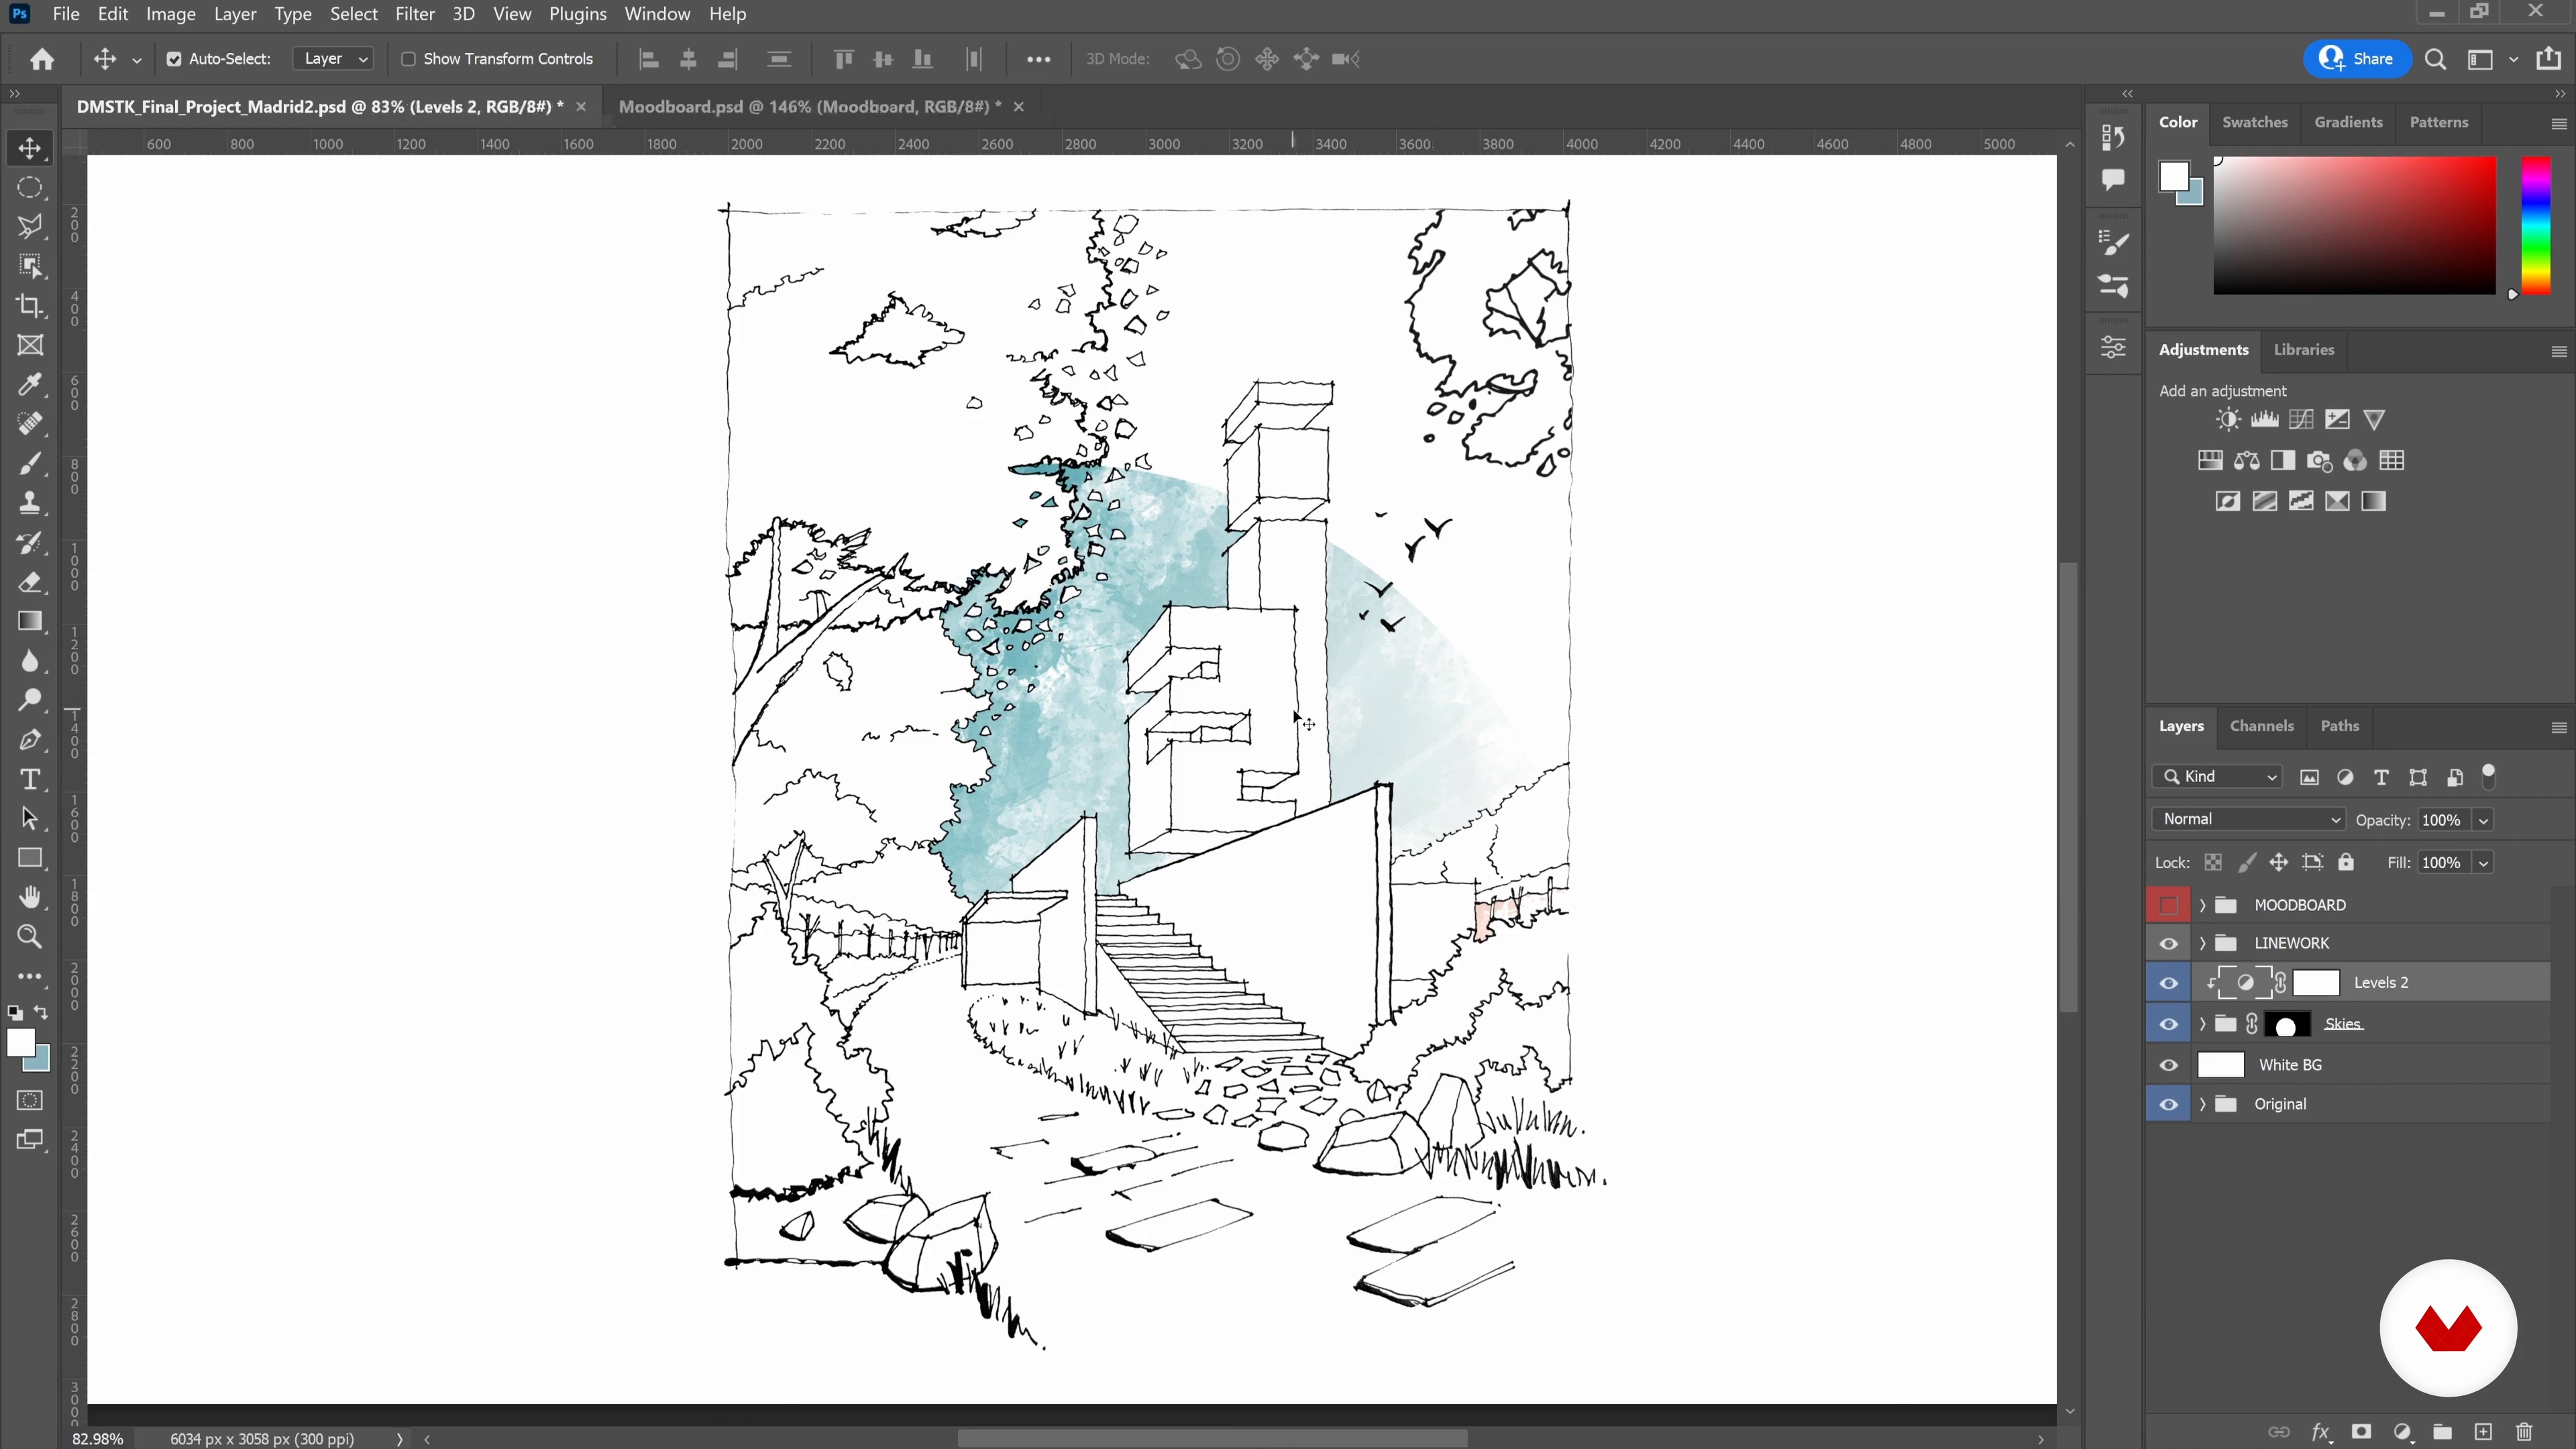
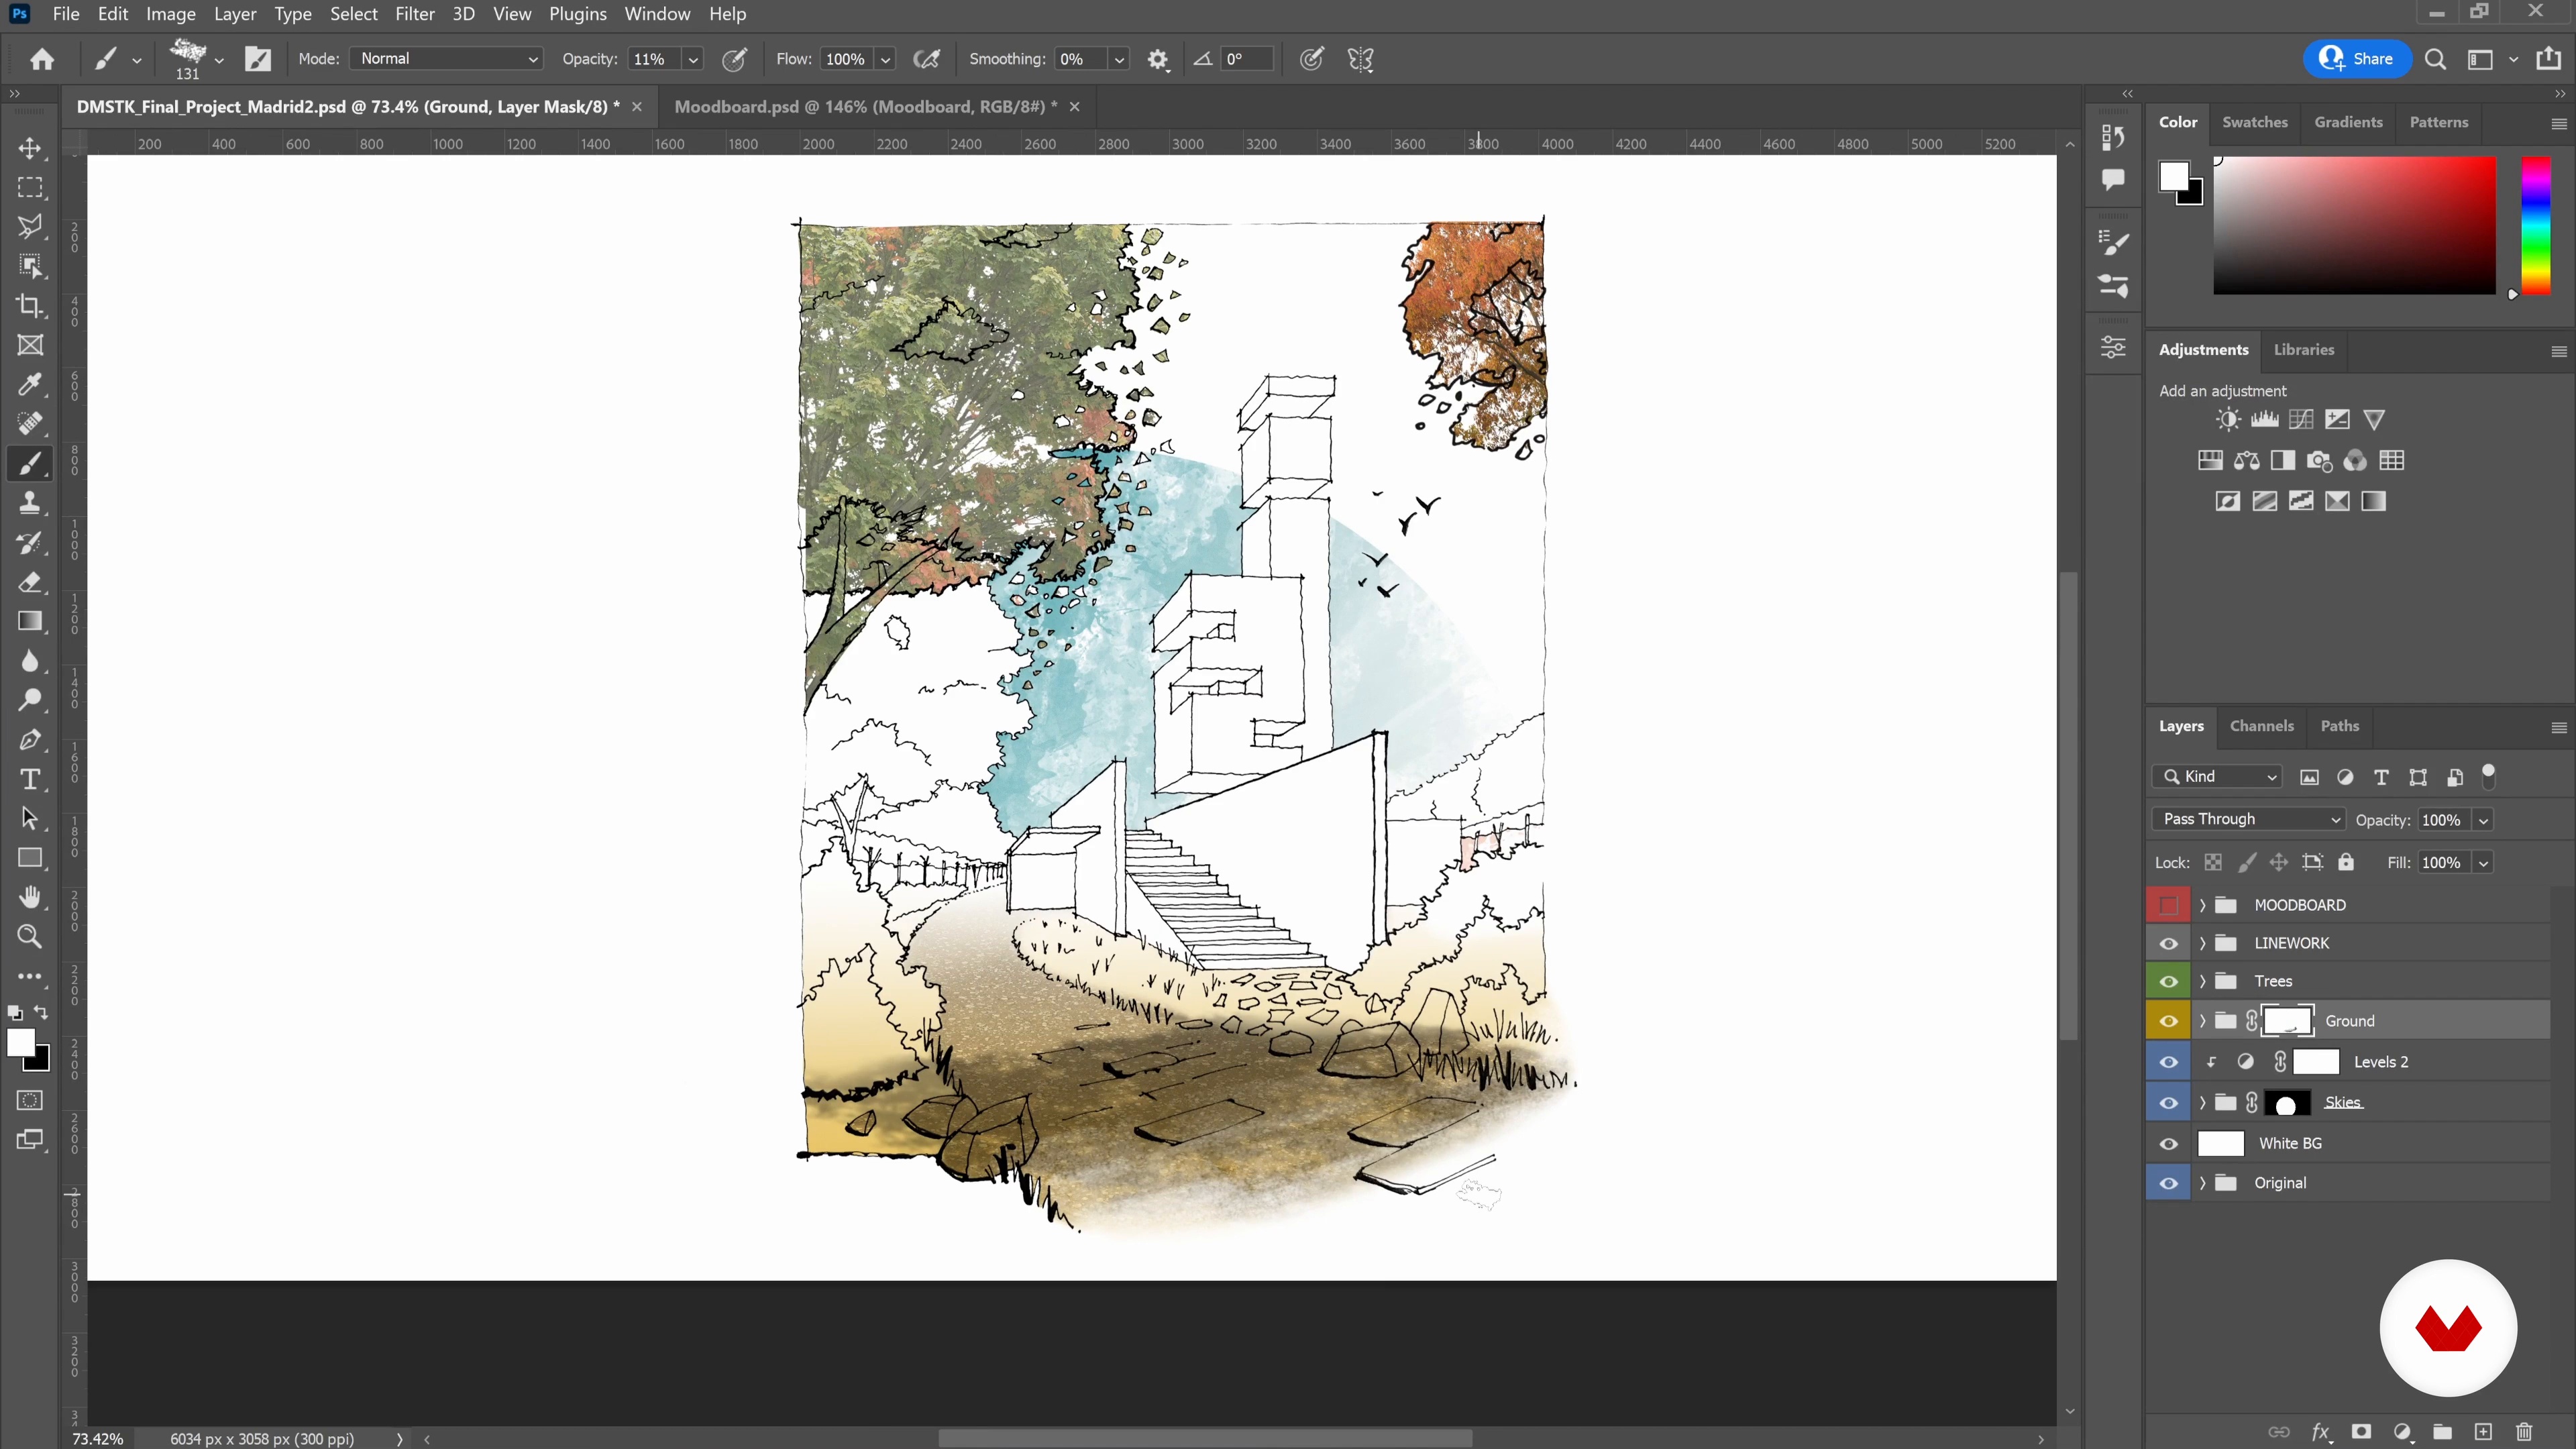
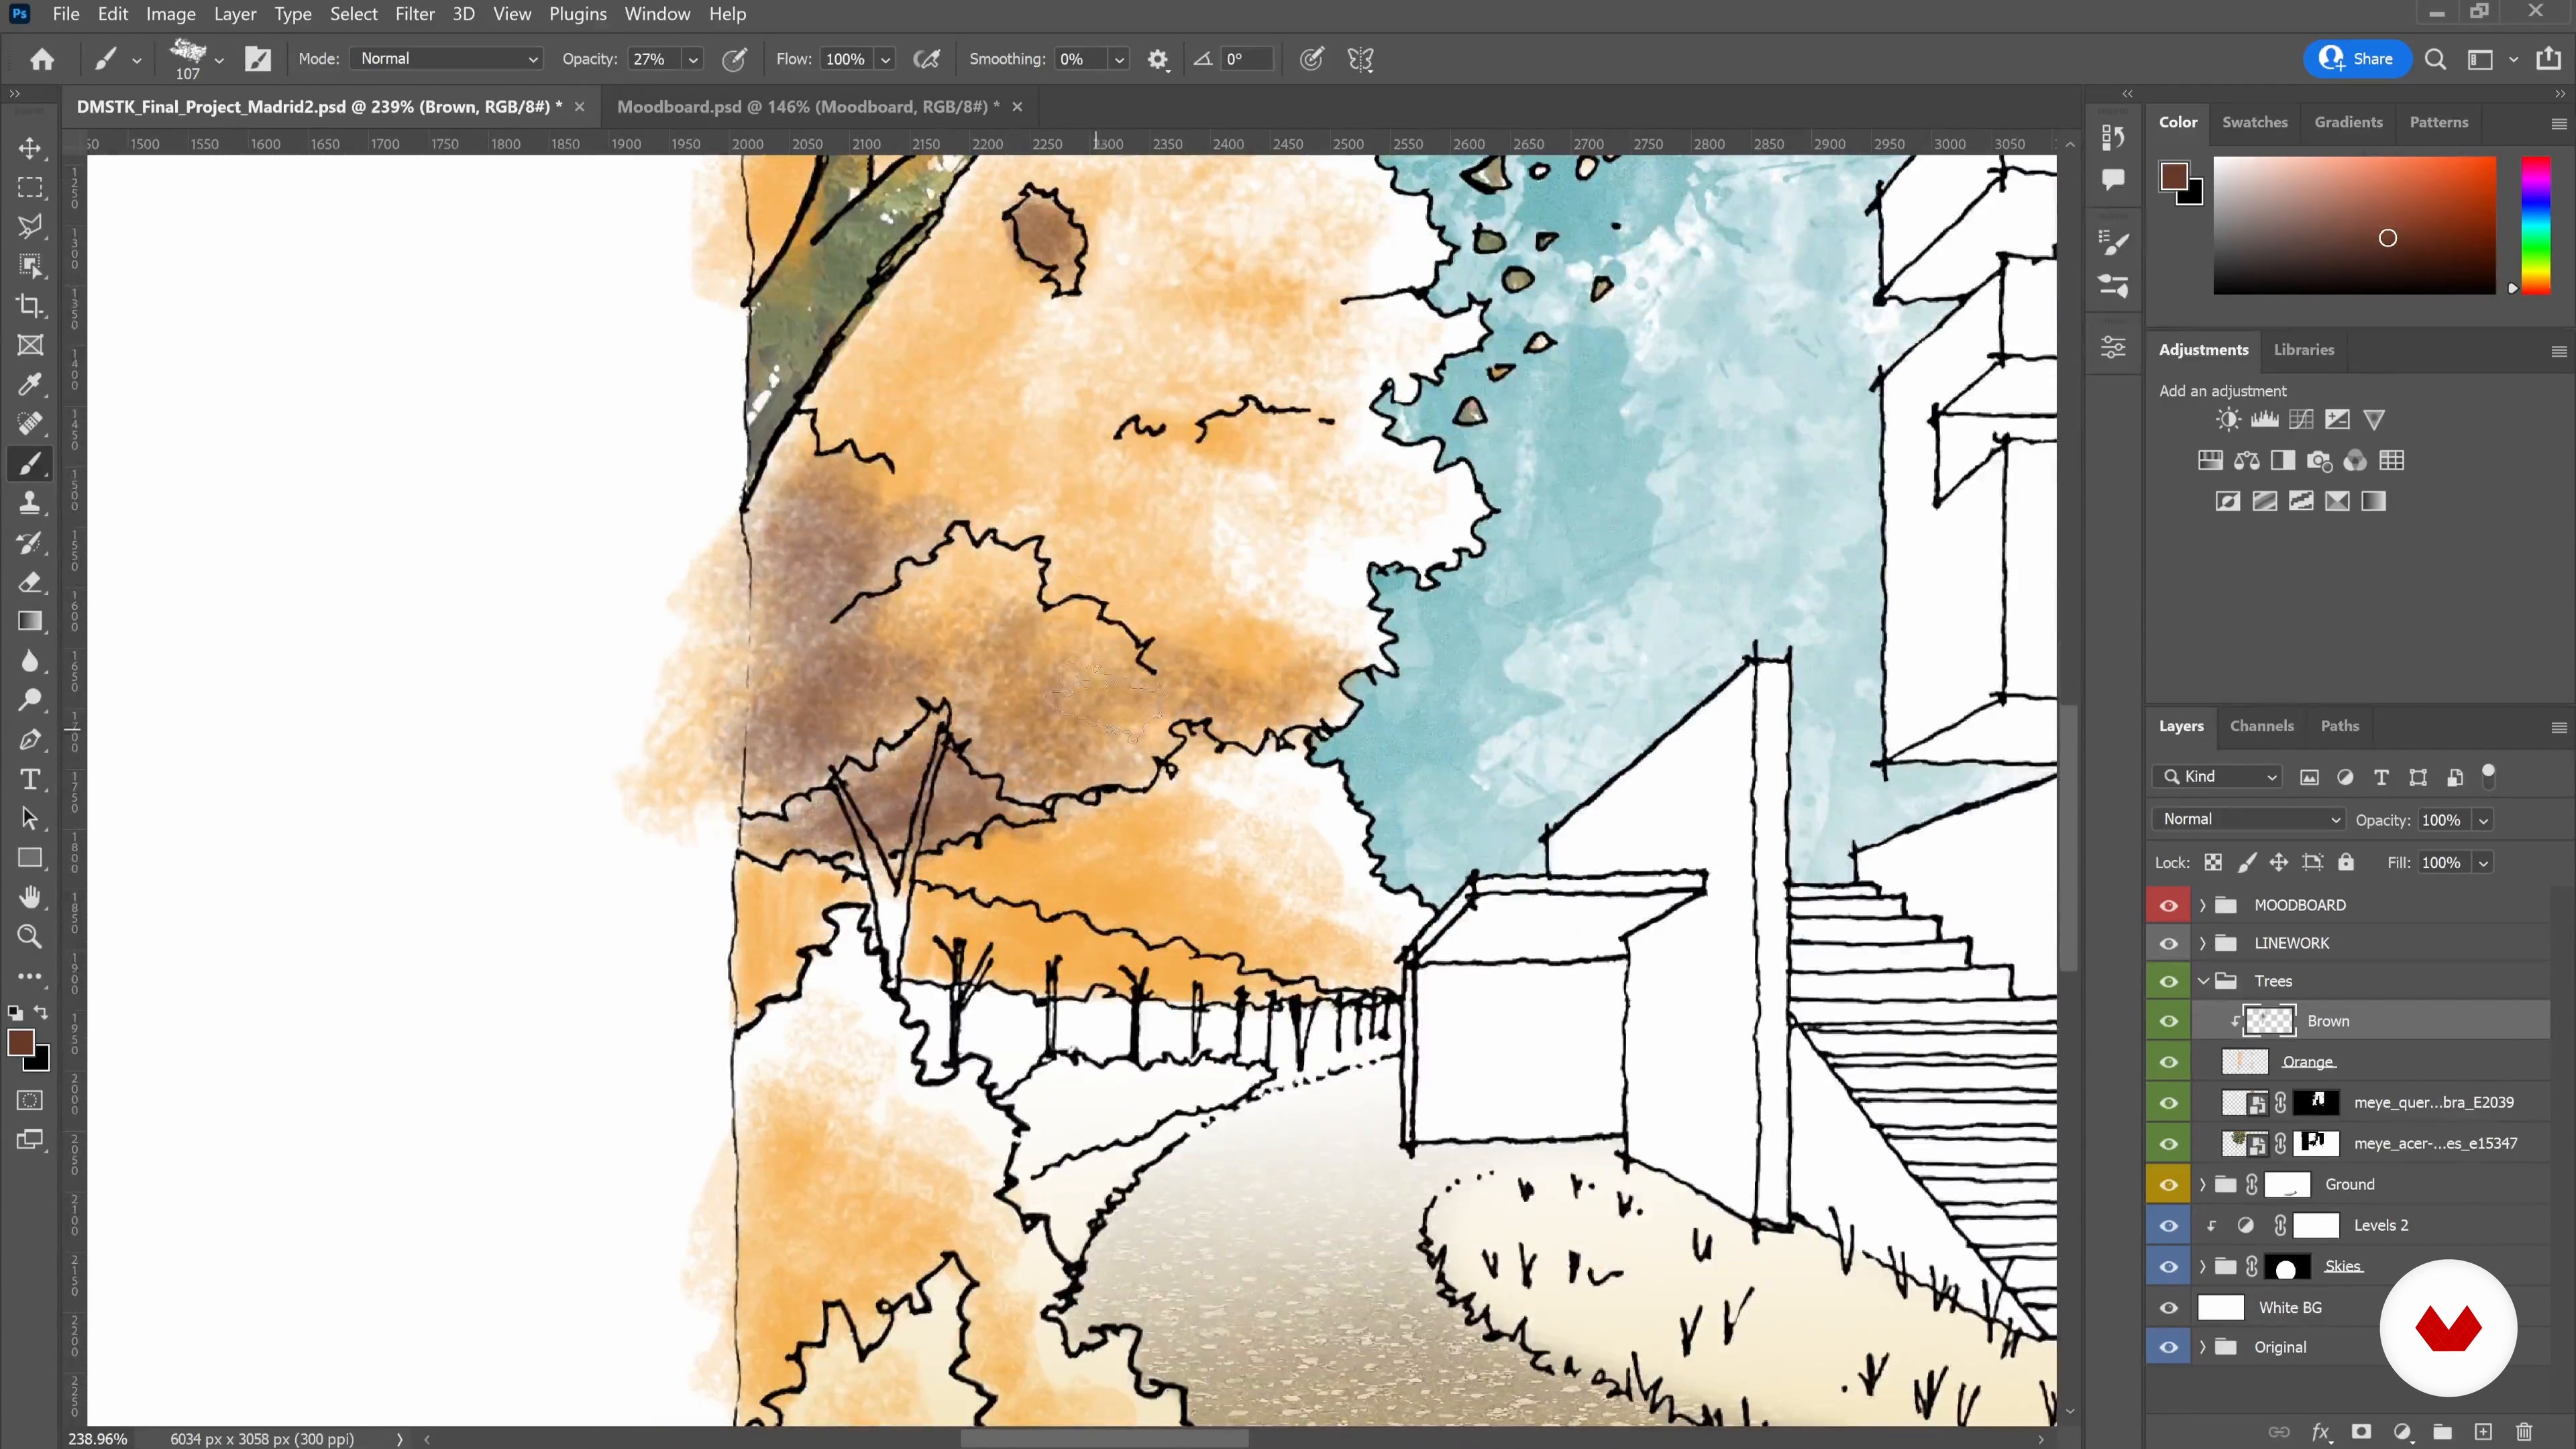
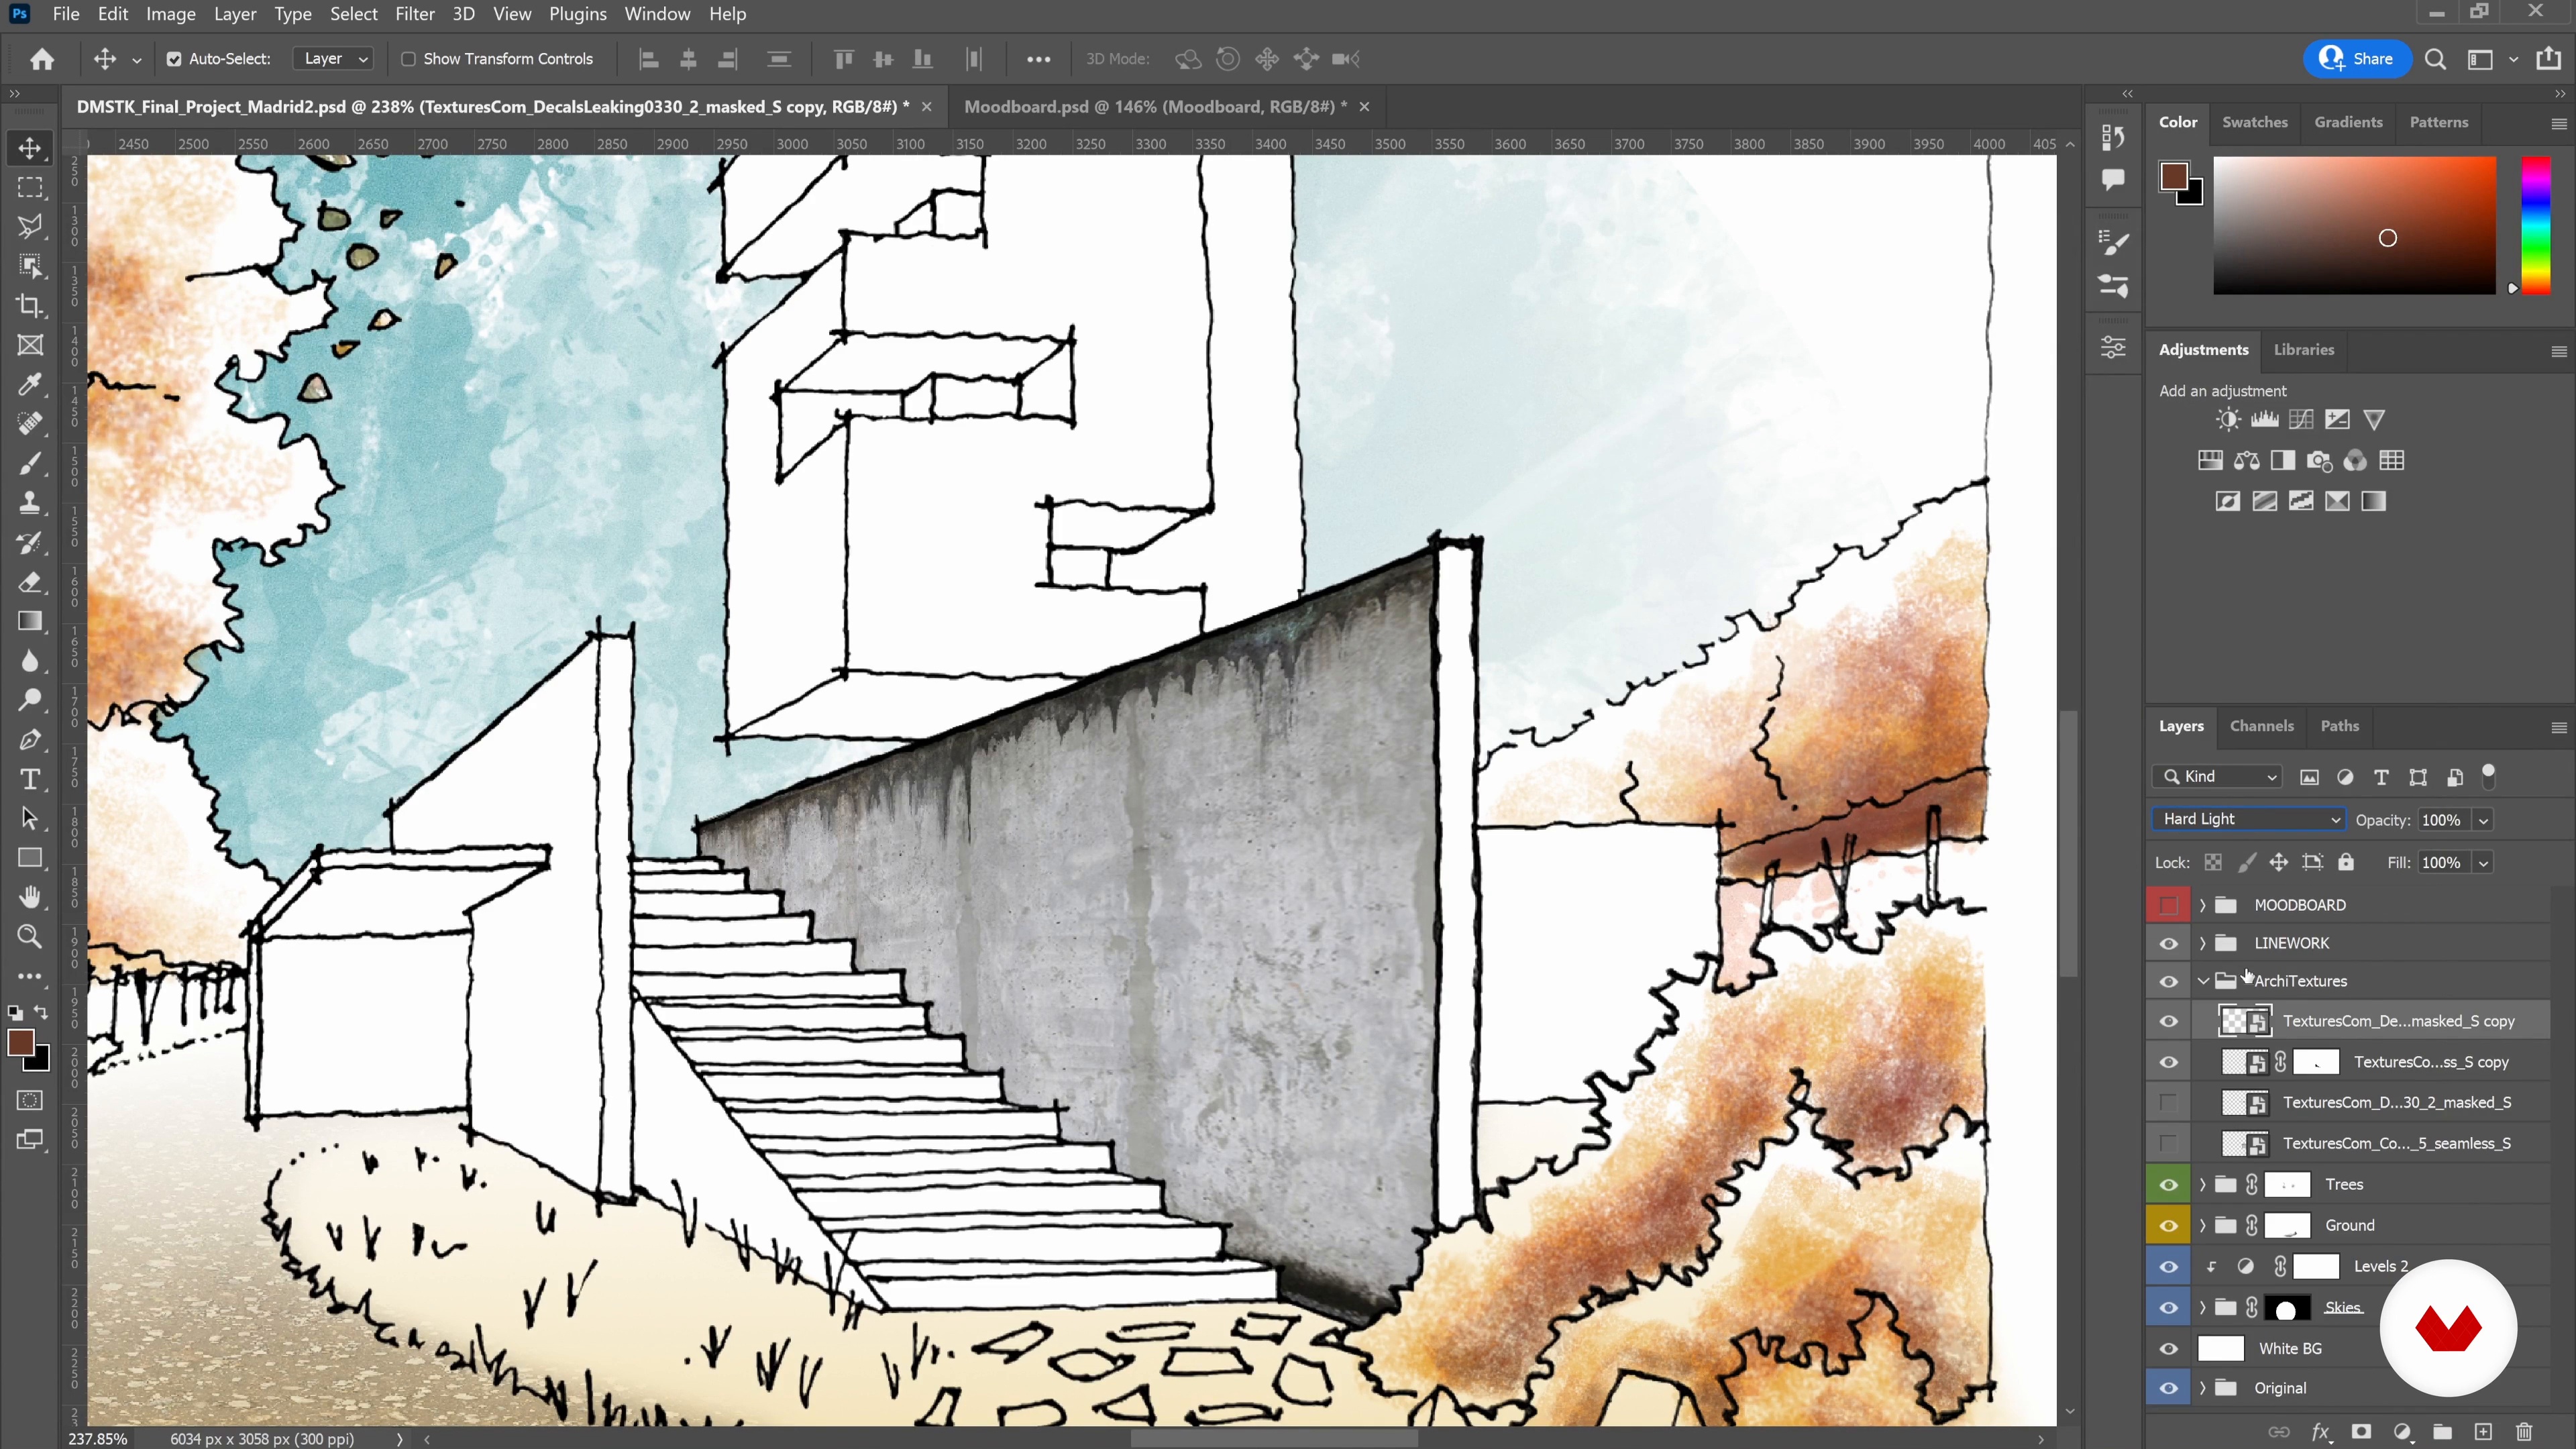
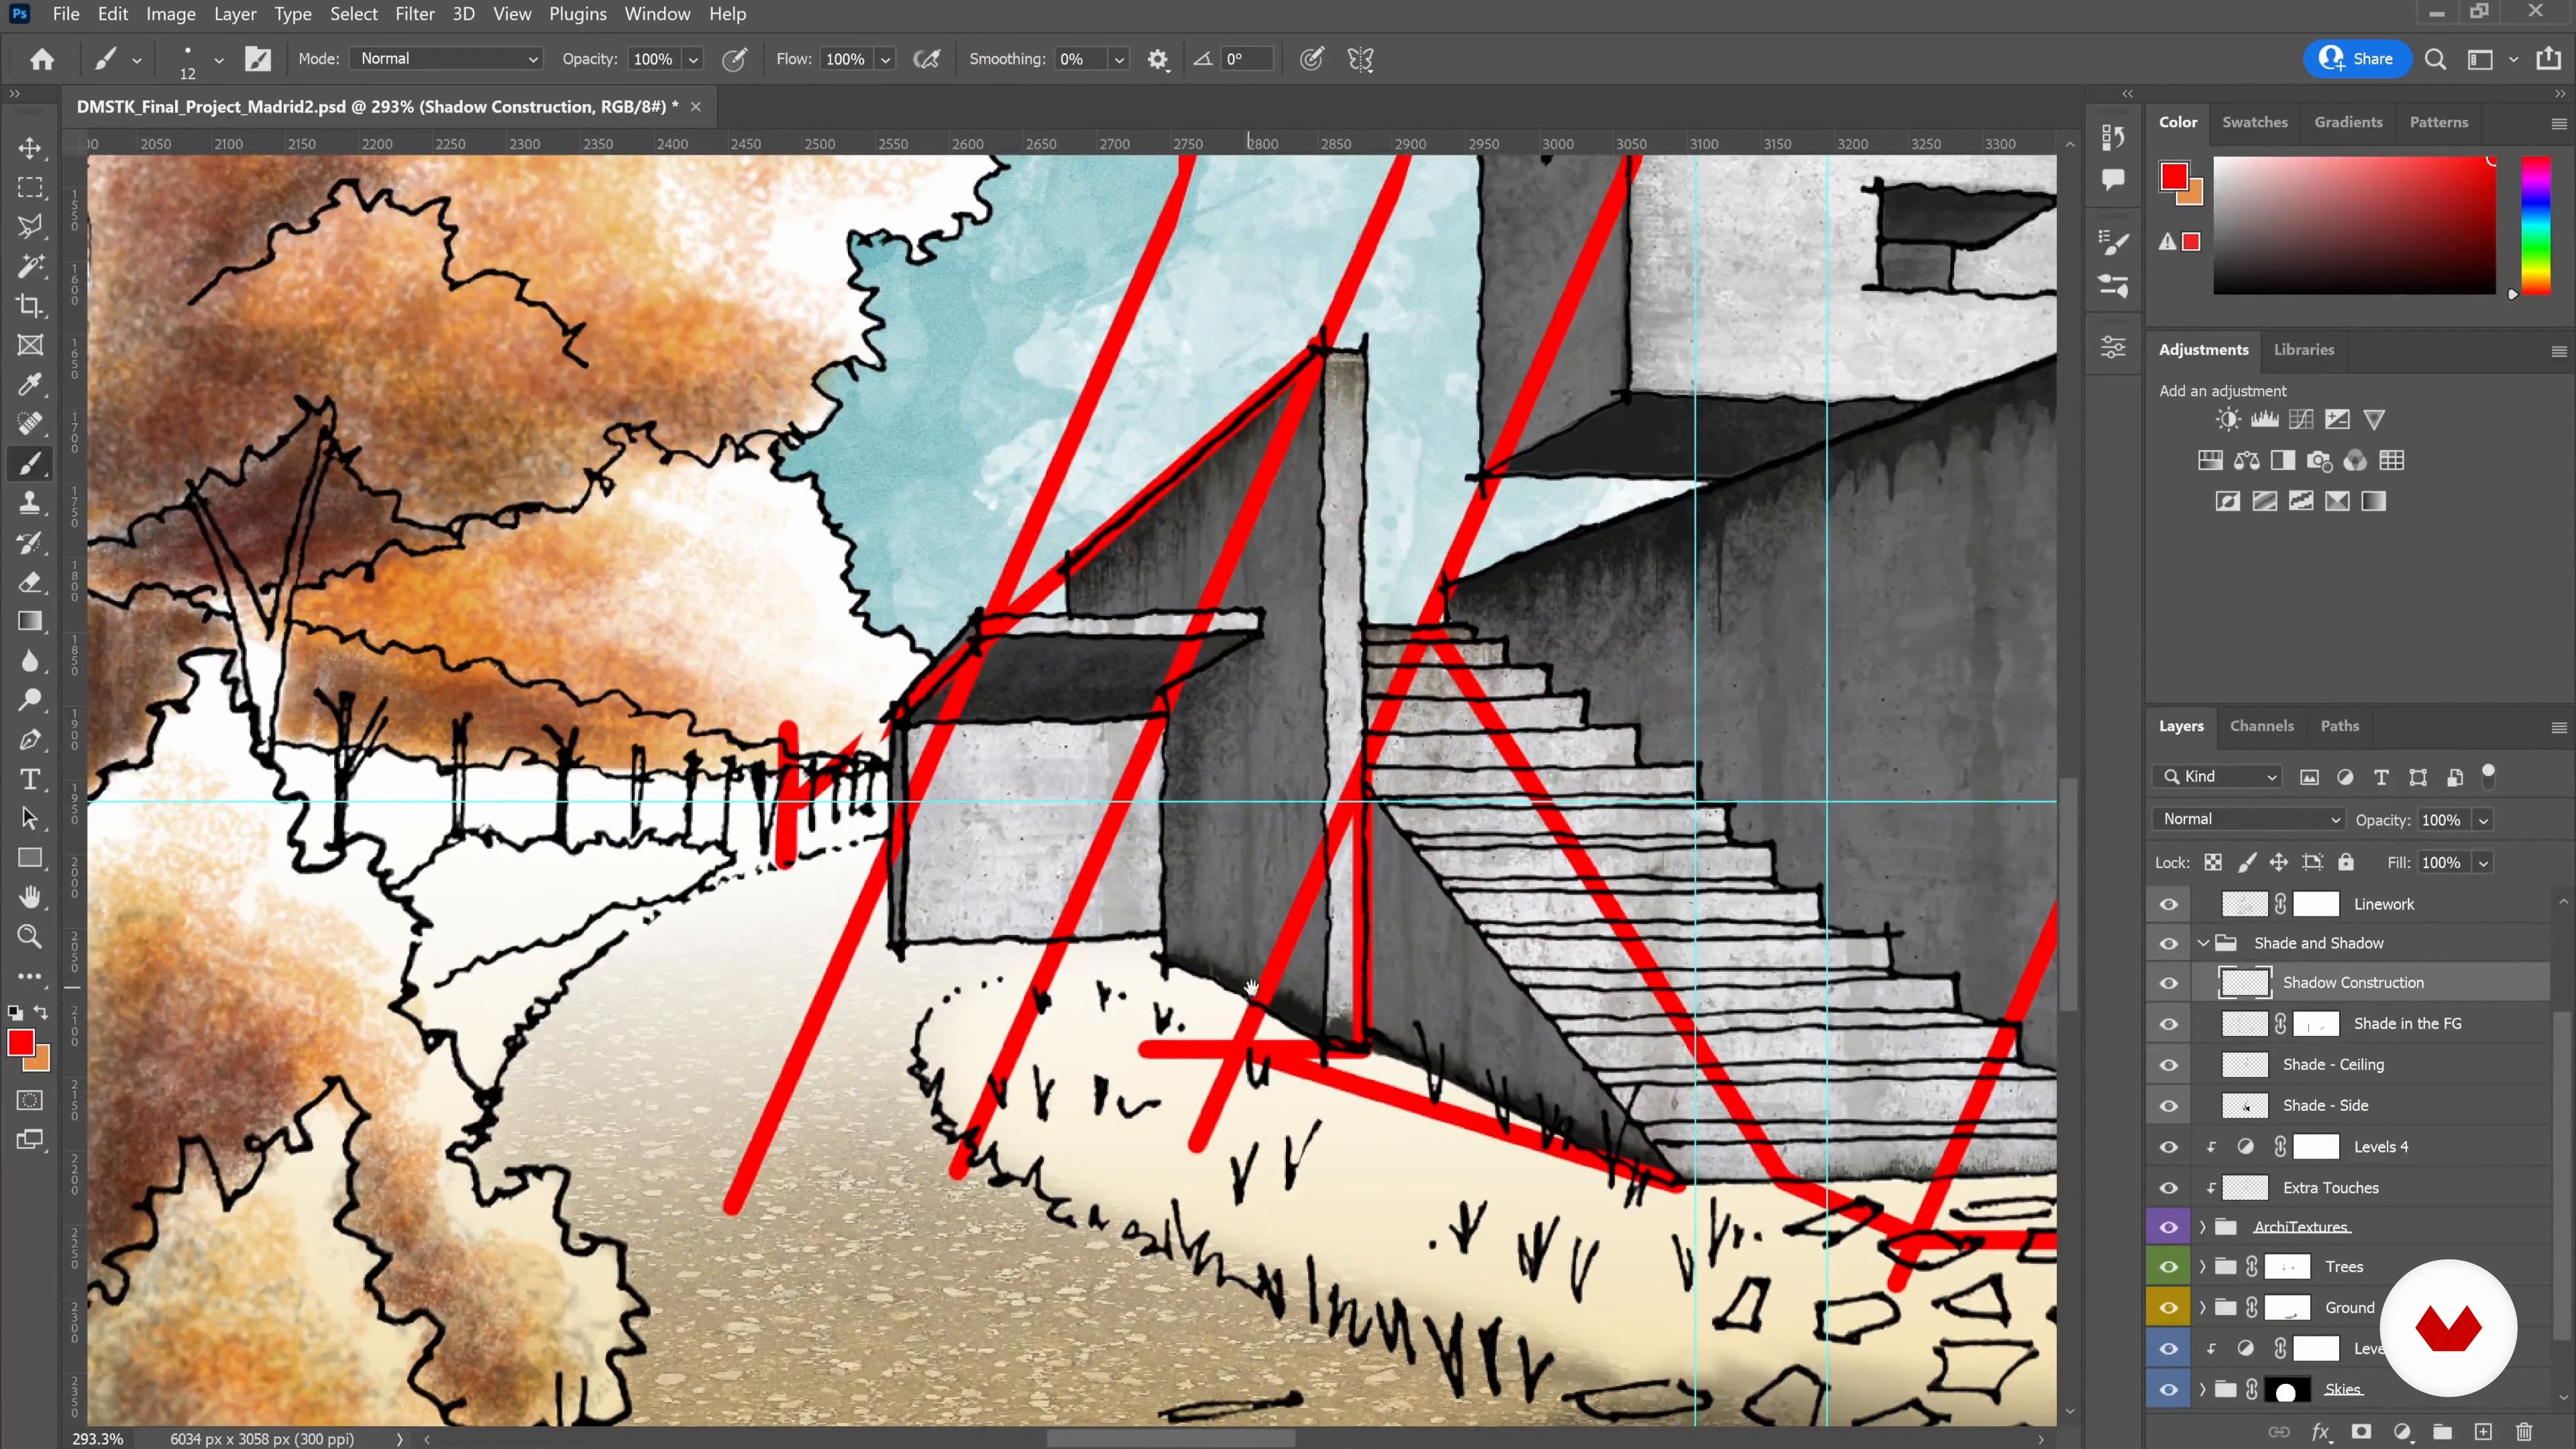
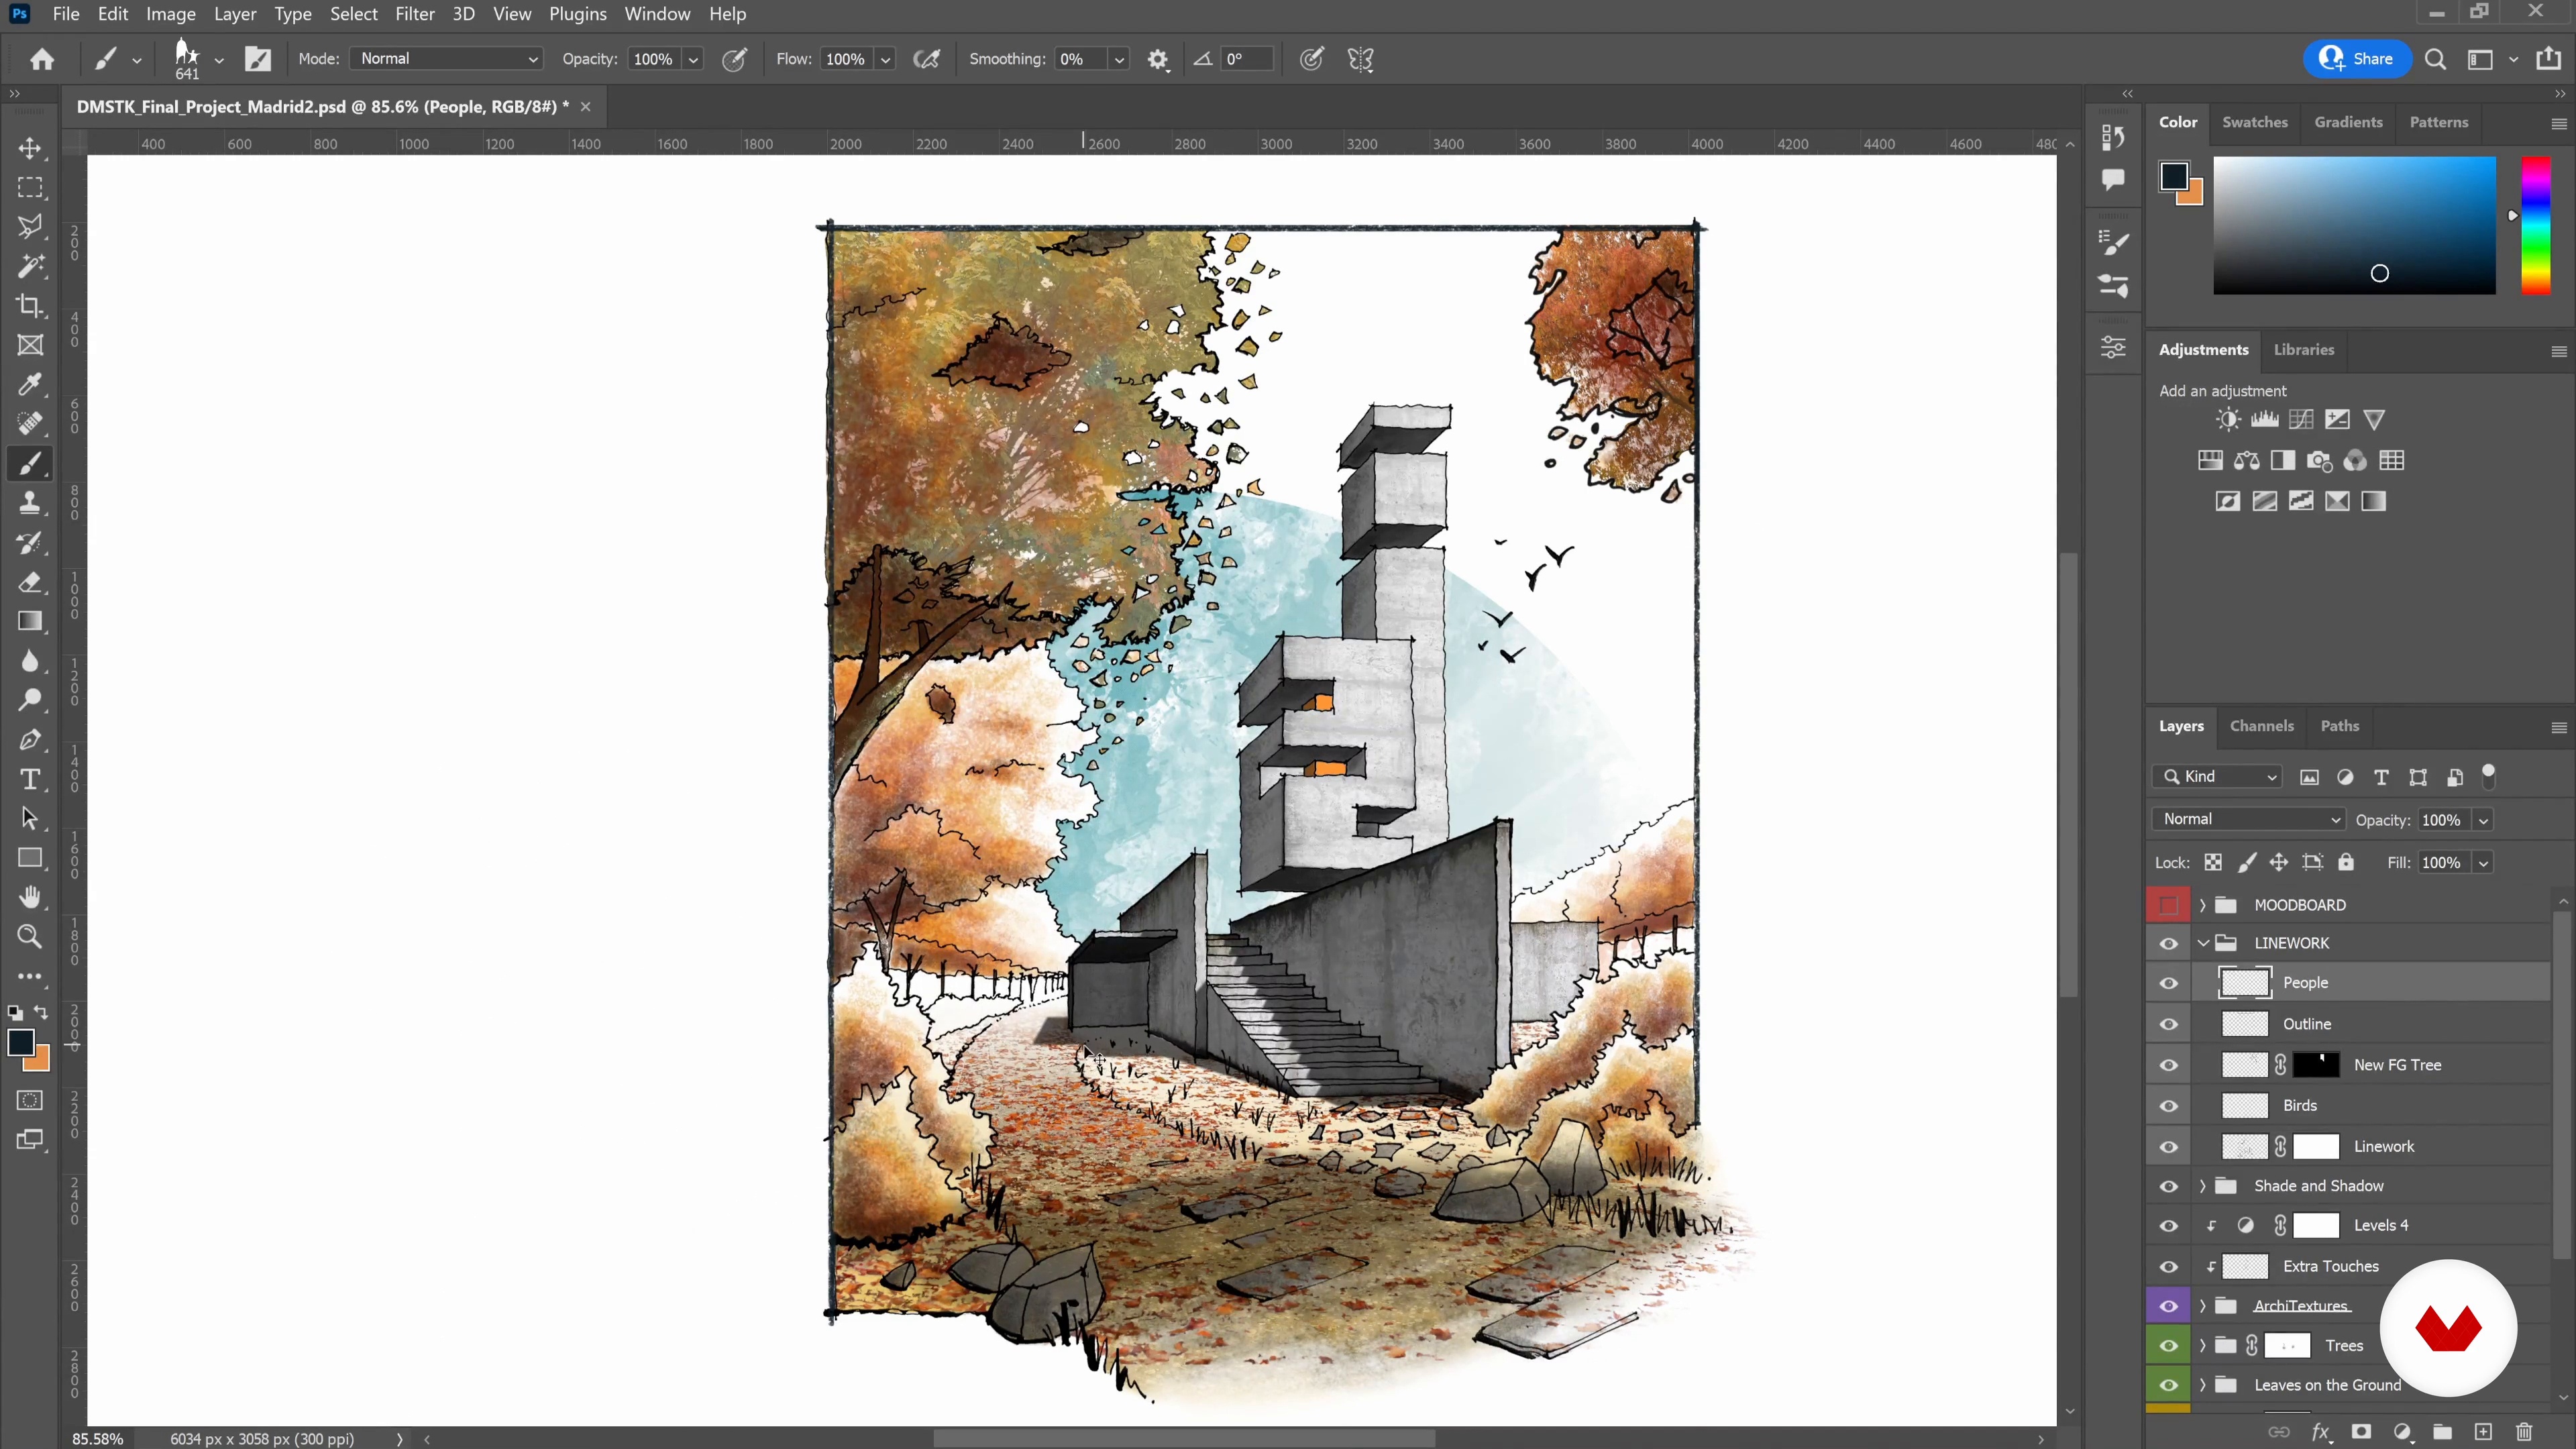
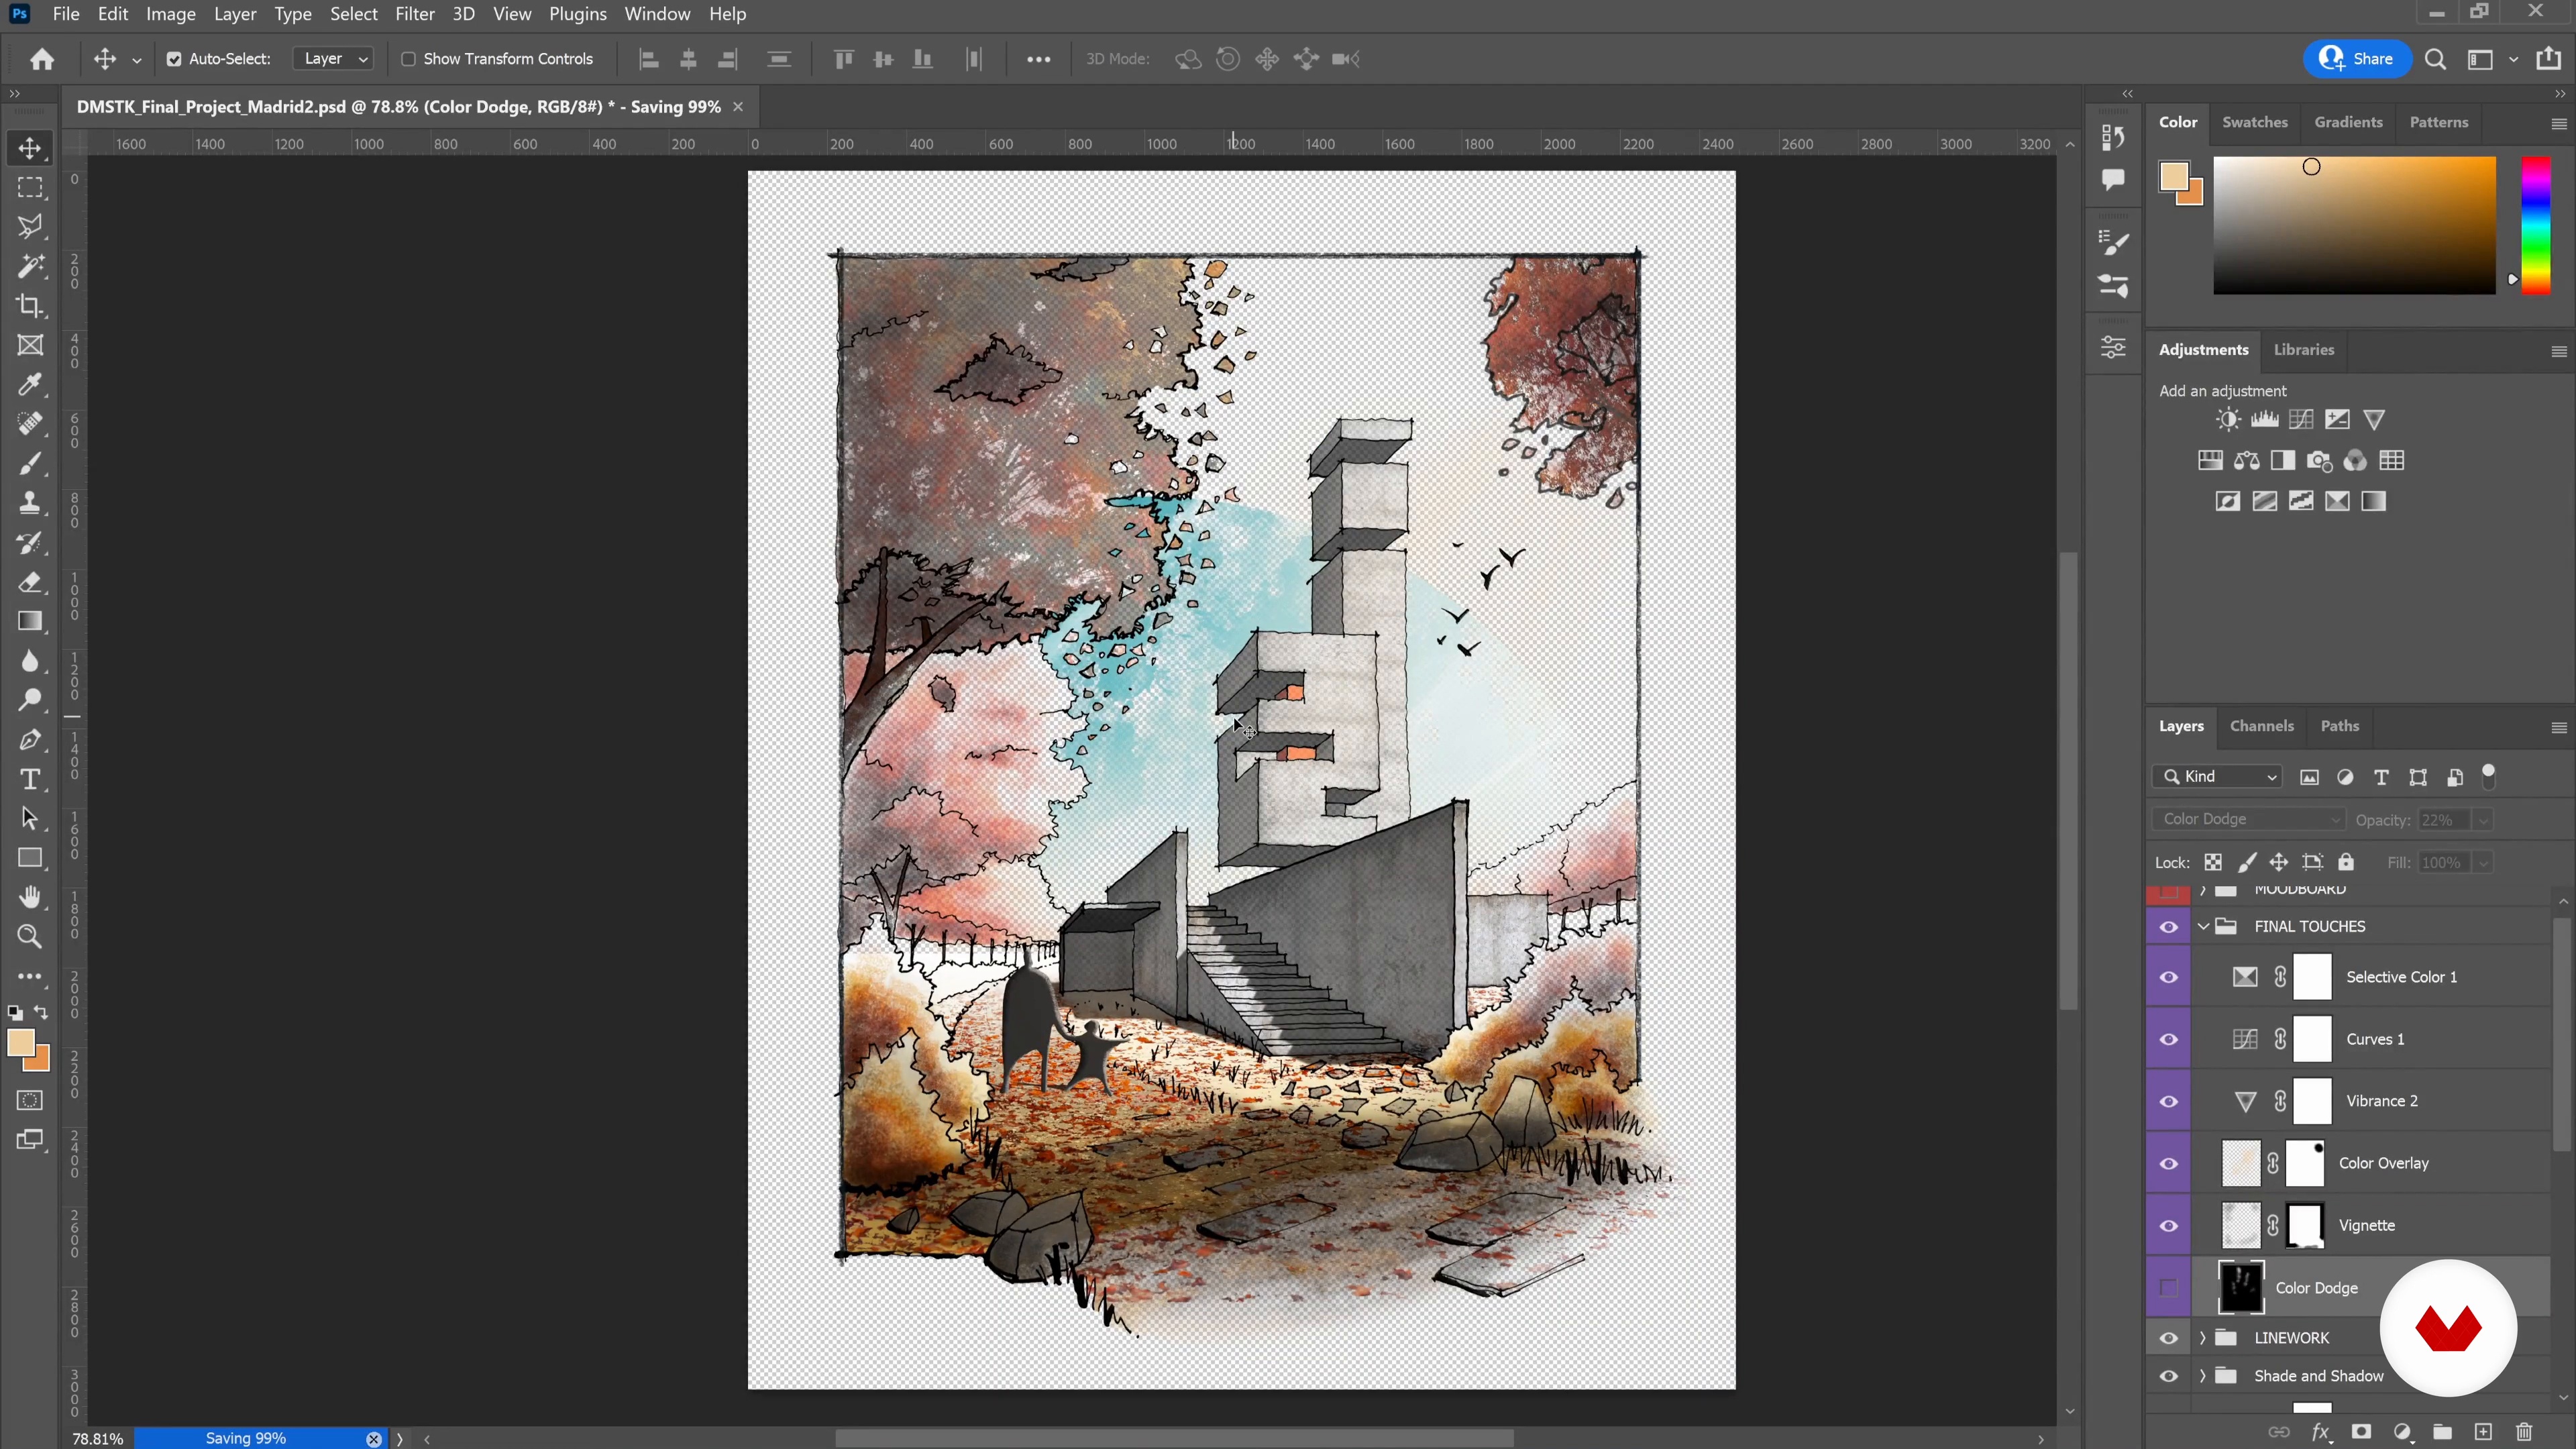
Venture into the realm of digital sketching using Procreate, exploring tools like brushes, layers, and perspective techniques to create expressive architectural renderings. As you progress, transform your designs into visually engaging illustrations by focusing on composition, color, shading, and rendering techniques. Finally, bridge traditional hand-drawing with digital post-production in Photoshop, enhancing sketches with textures, color, and lighting for a polished presentation. Throughout the specialization, you'll benefit from the expertise of talented instructors Pavel Fomenko, Bradley Van Der Straeten, Ehab Alhariri, JJ Zanetta, Carlo Stanga, and David Drazil, ensuring a rich and diverse learning experience.
What will you learn in this specialization?


- 100% positive reviews (1)
- 245 students
- 98 lessons (19h 26m)
- 121 additional resources (46 files)
- Online and at your own pace
- Audio: English, Spanish
- English · Spanish · Portuguese · German · French · Italian · Polish · Dutch
- Level: Beginner
- Unlimited access forever
What is this course's project?
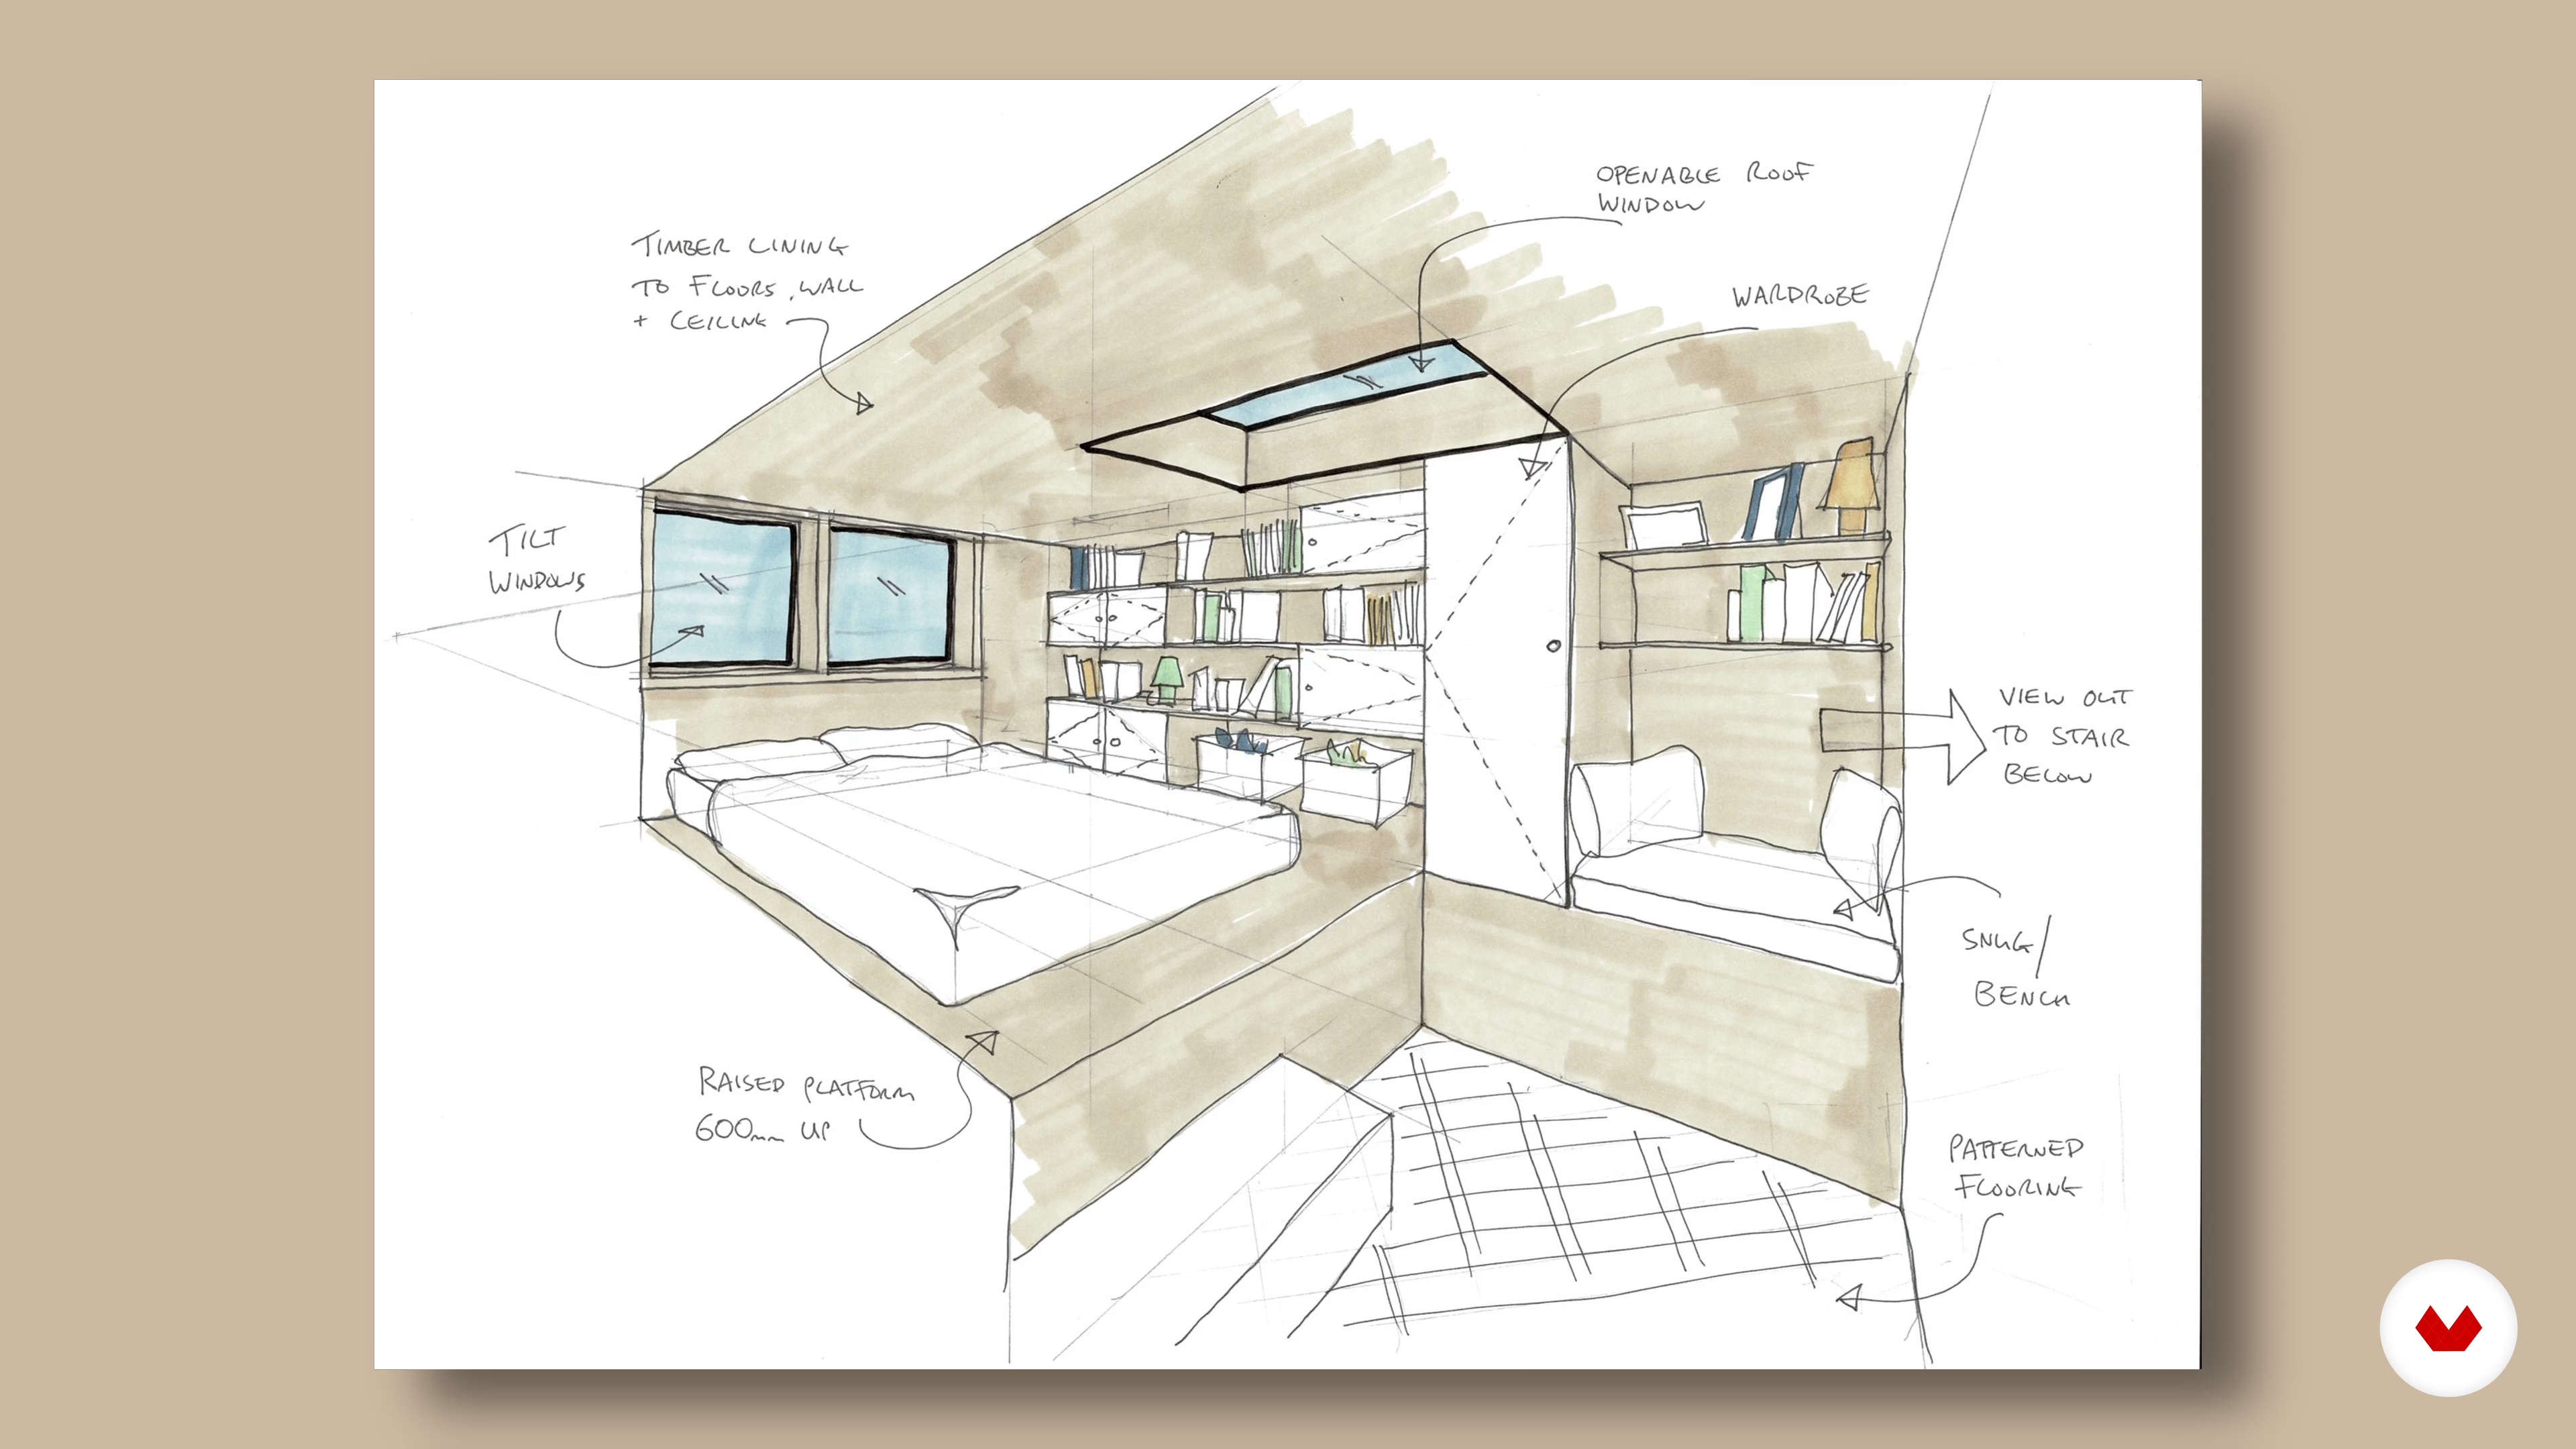
Create a series of conceptual sketches, translating abstract architectural ideas into structured visual representations, or produce a detailed architectural sketch using single-point perspective to show accurate proportions, or design digital sketches in Procreate with textures and lighting for realistic renderings.
Who is this specialization for?
Aspiring architects, design students, and creative professionals eager to enhance their architectural drawing skills will find this course valuable. It caters to those interested in mastering techniques from foundational sketches to advanced digital rendering, enriching their visual communication abilities.
Requirements and materials
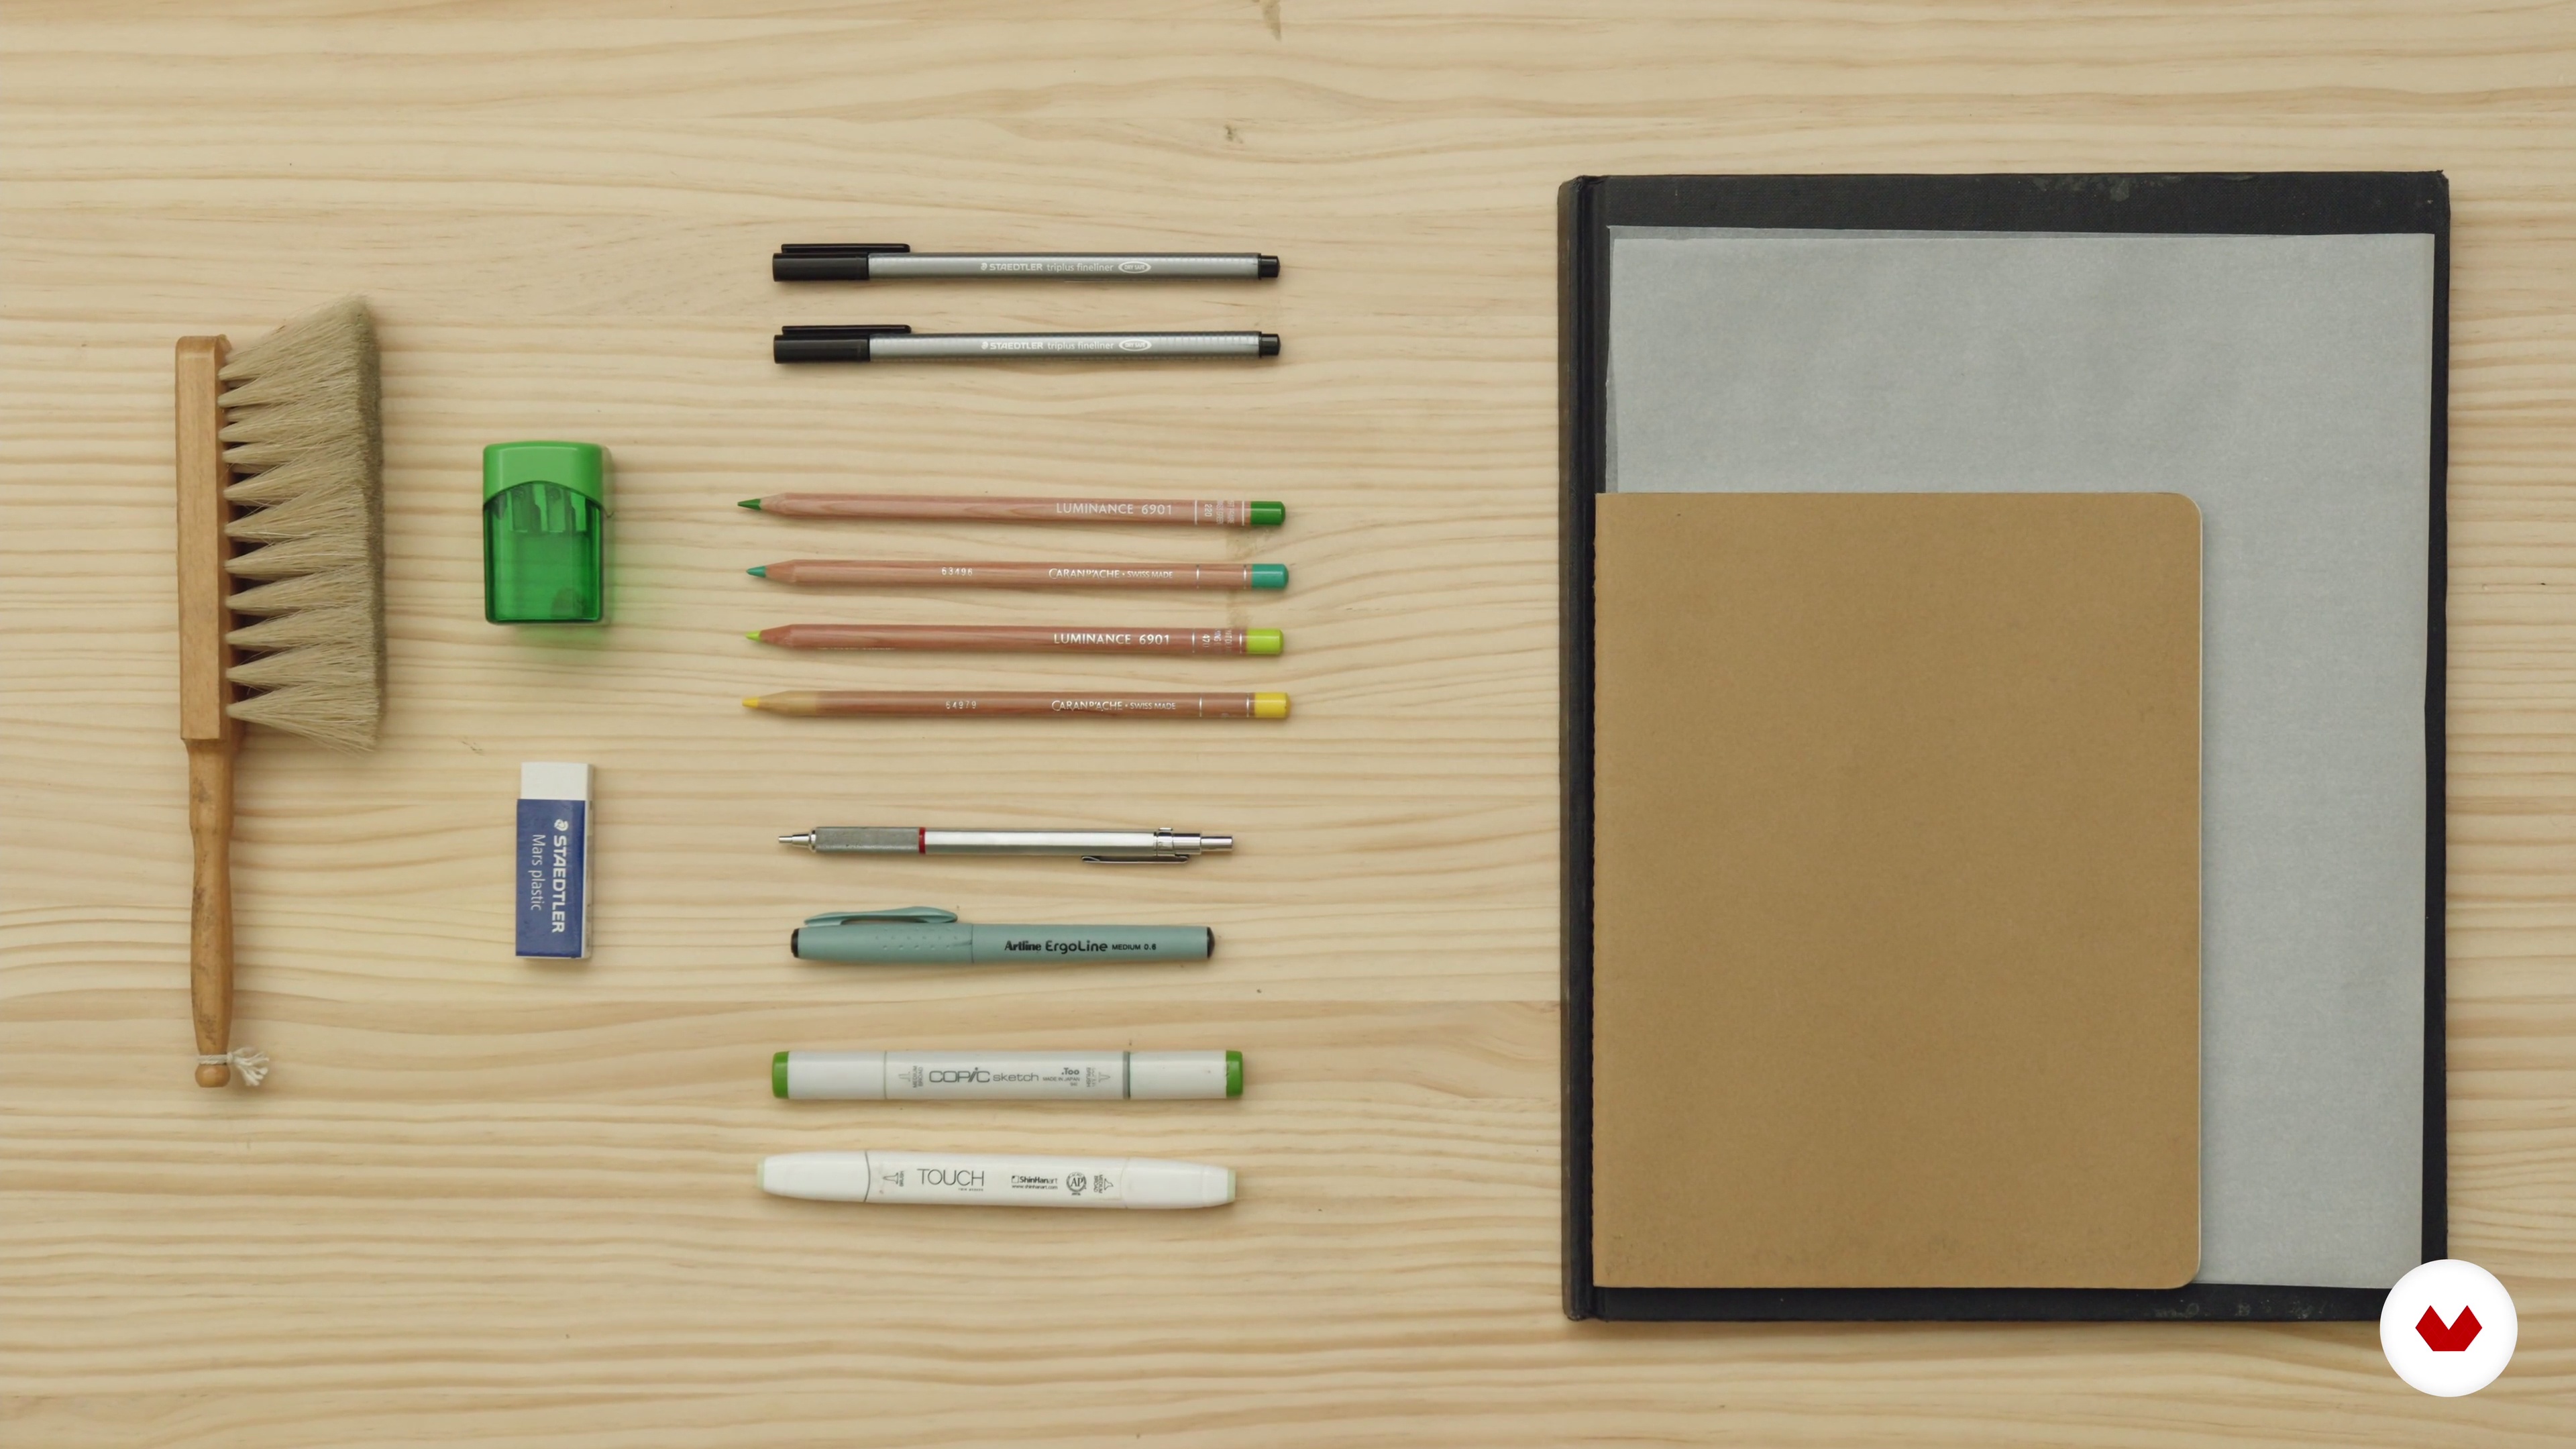
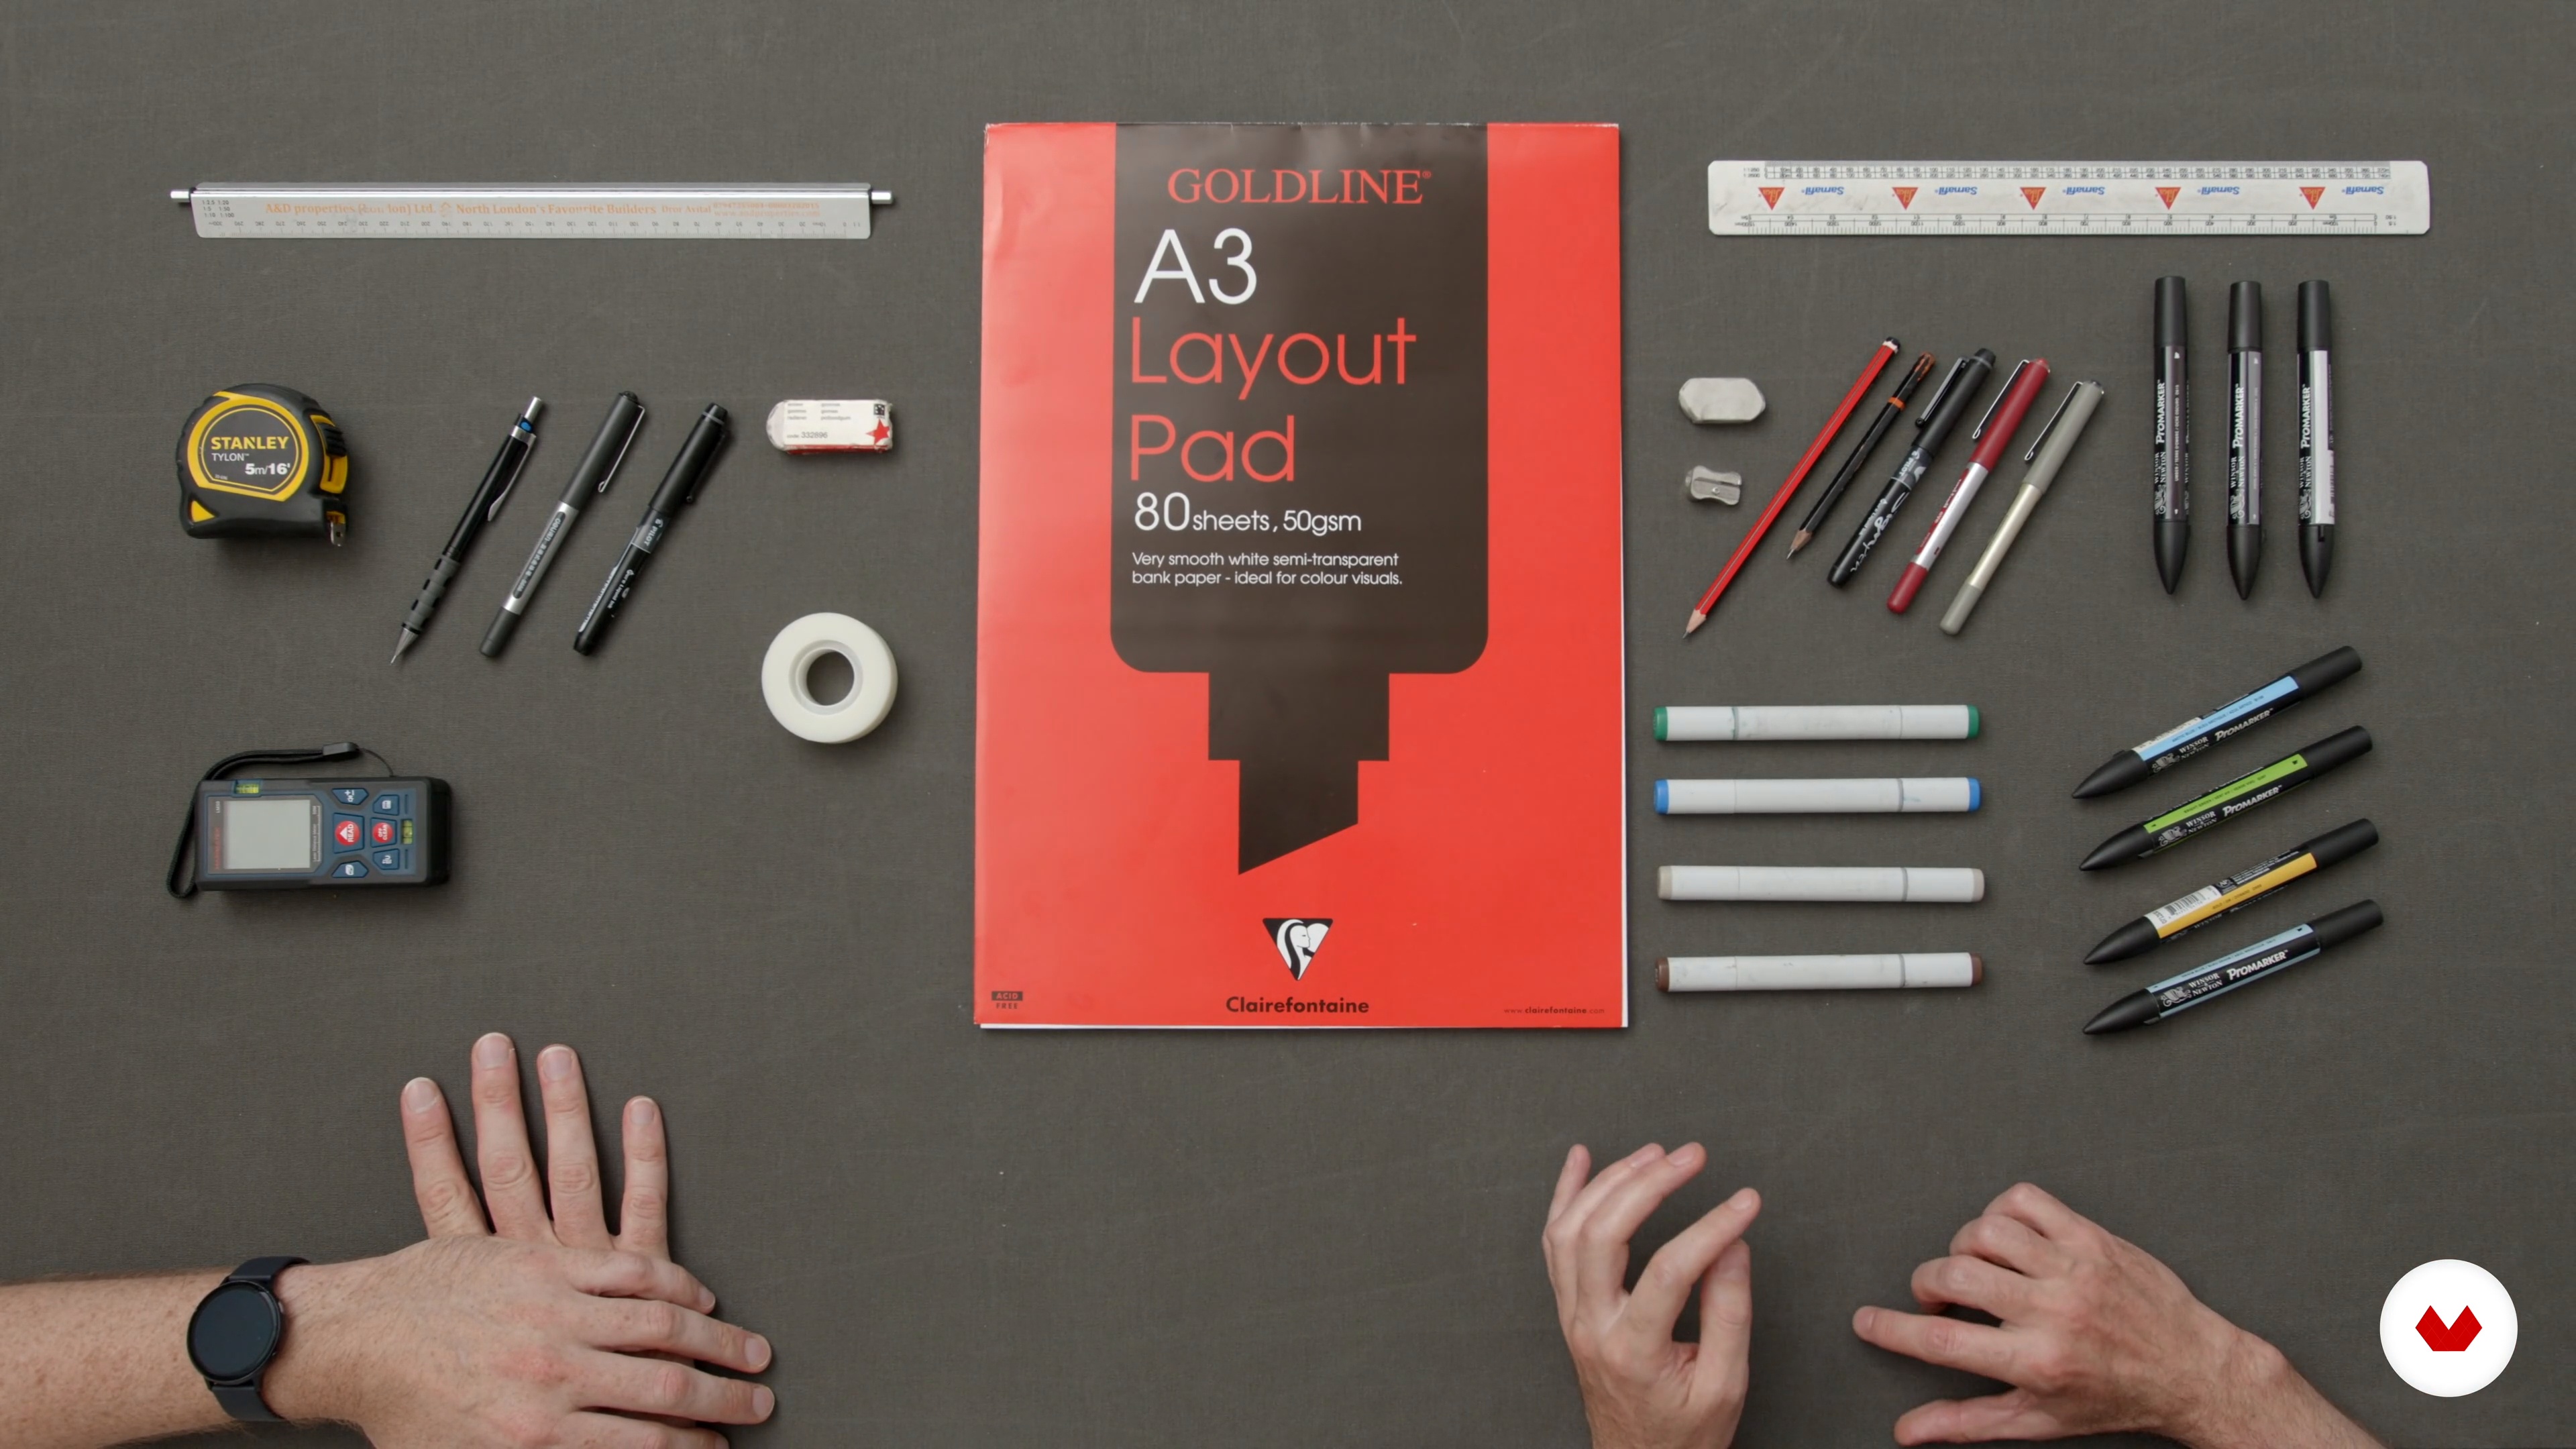
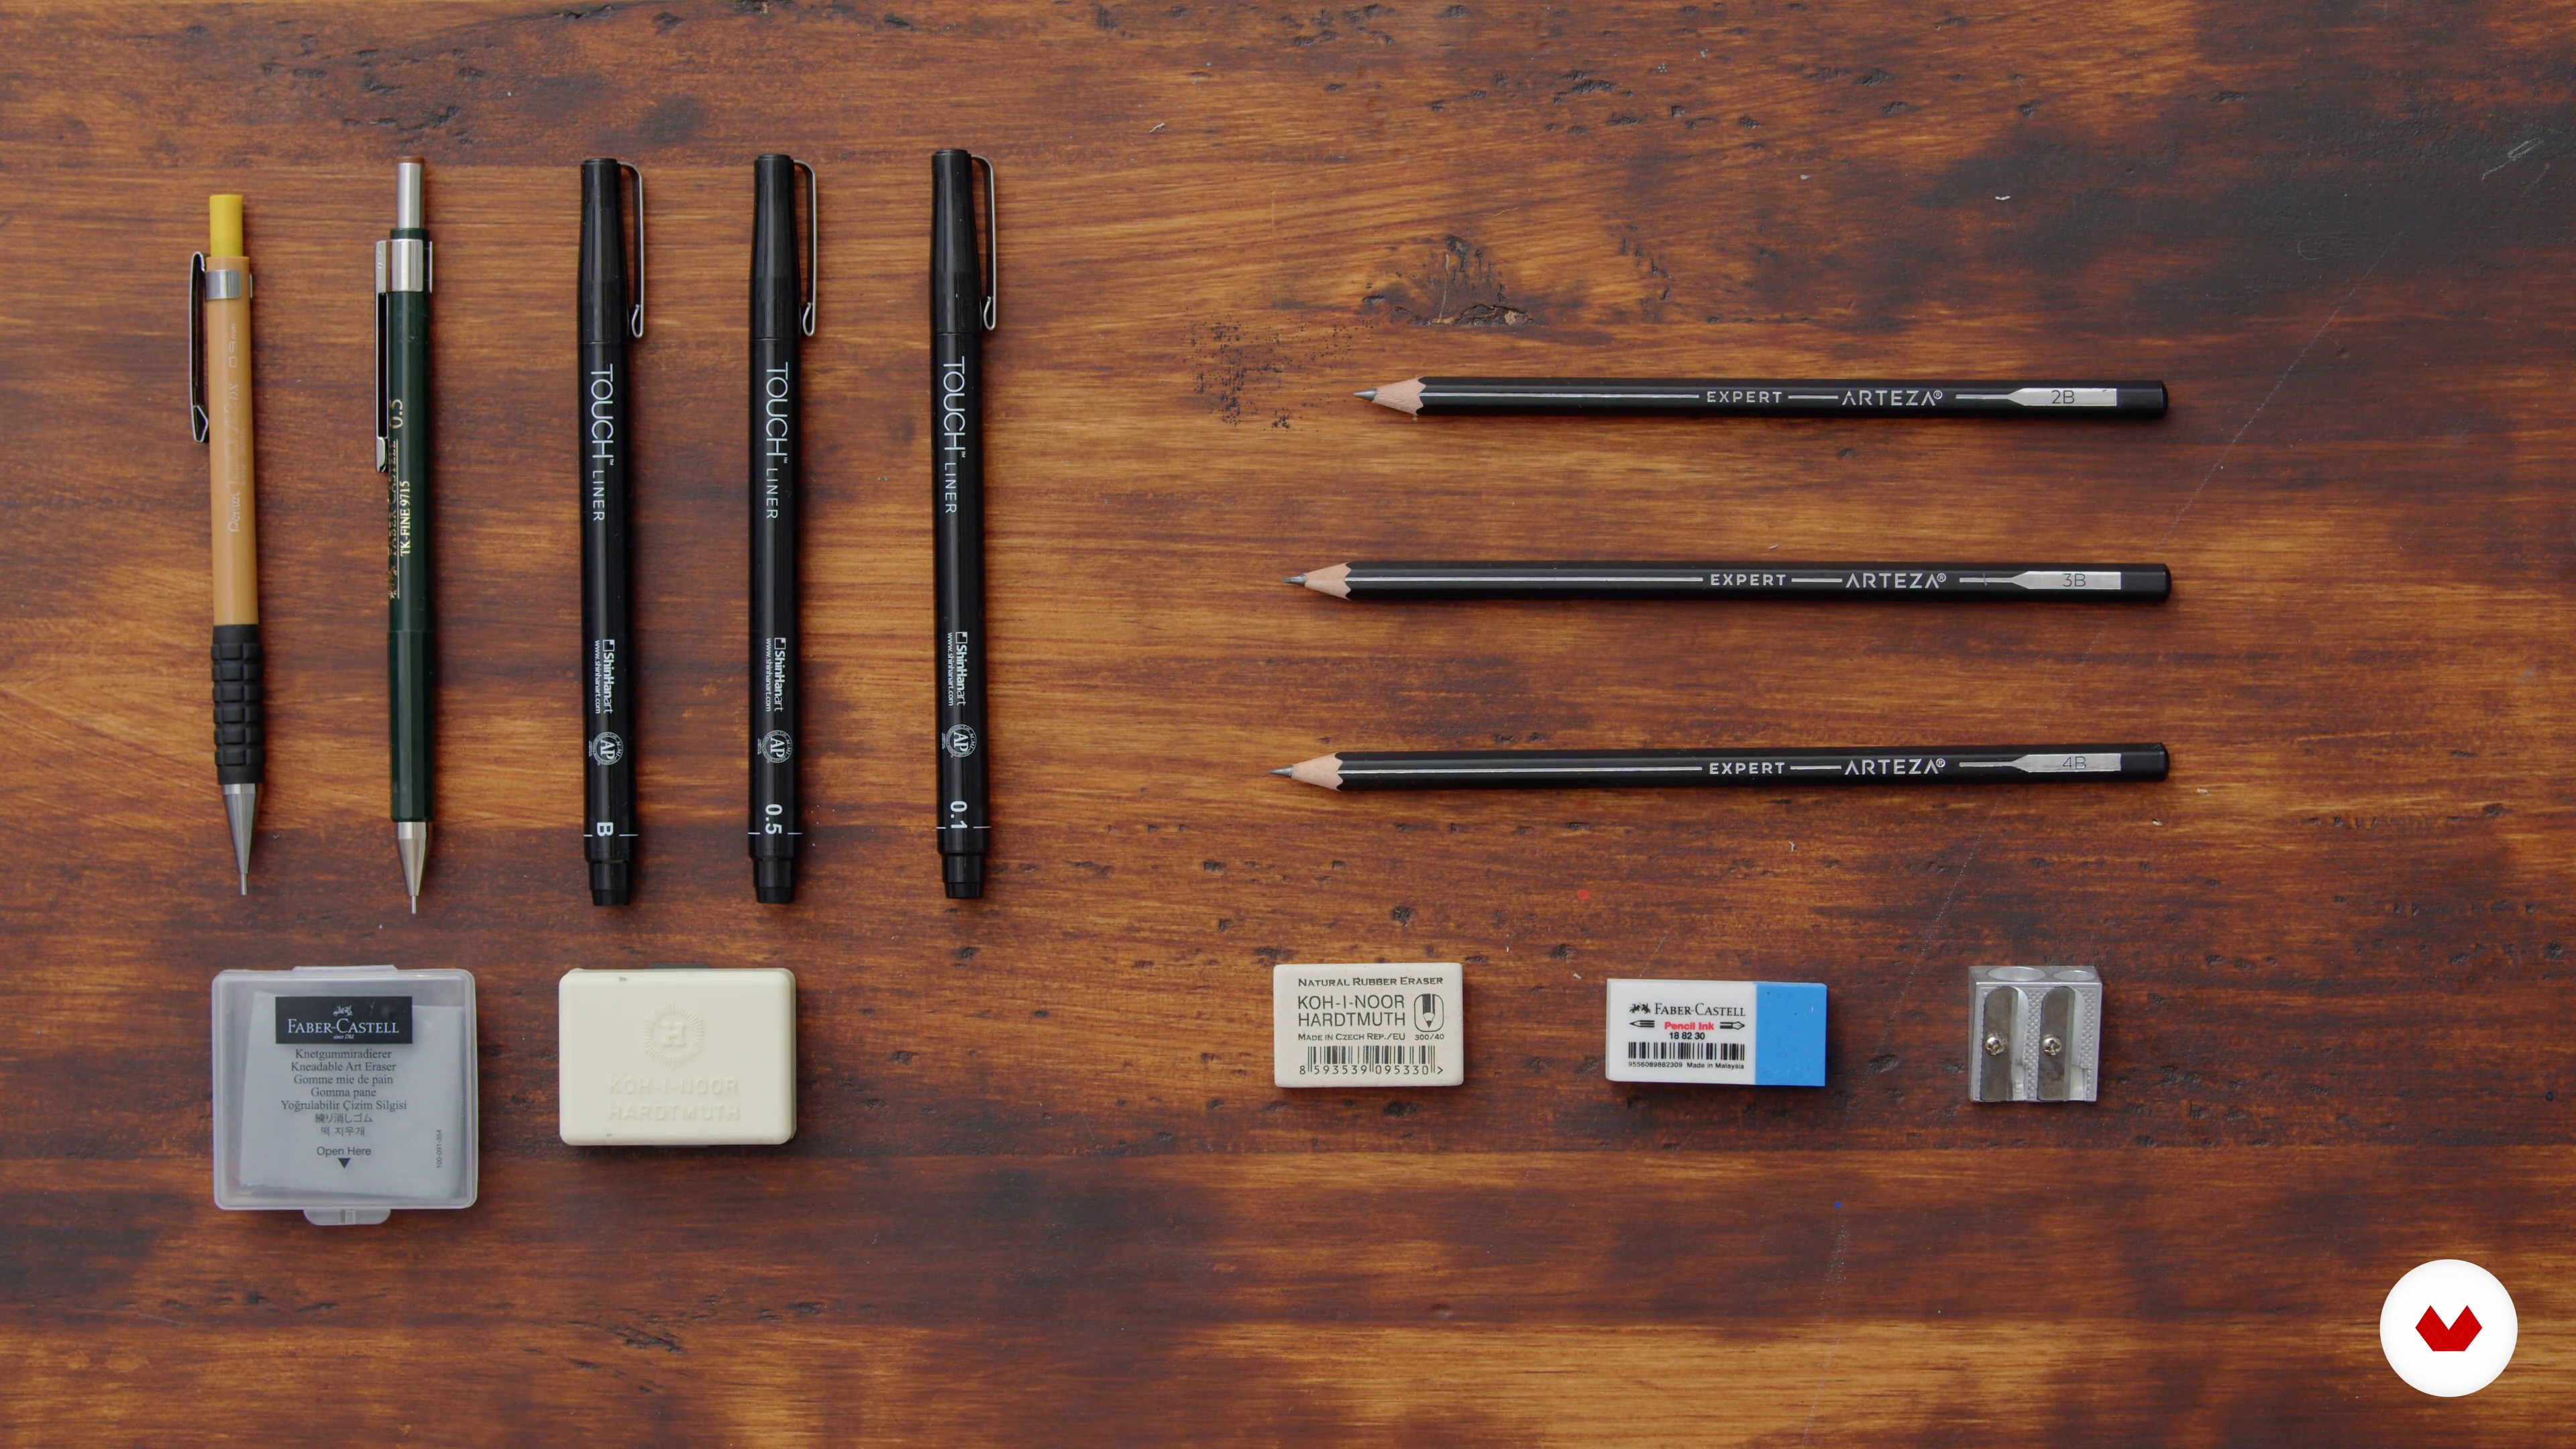
No extensive prior knowledge is needed, just a passion for architecture and creativity. Basic materials include paper, pencil, and access to digital tools like Procreate and Photoshop. A willingness to explore and experiment with different perspectives will be beneficial.


Reviews
What to expect from this specialization course
-
Learn at your own pace
Enjoy learning from home without a set schedule and with an easy-to-follow method. You set your own pace.
-
Learn from the best professionals
Learn valuable methods and techniques explained by top experts in the creative sector.
-
Meet expert teachers
Each expert teaches what they do best, with clear guidelines, true passion, and professional insight in every lesson.
-
Certificates
PlusIf you're a Plus member, get a custom certificate for every specialization course. Share it on your portfolio, social media, or wherever you like.
-
Get front-row seats
Videos of the highest quality, so you don't miss a single detail. With unlimited access, you can watch them as many times as you need to perfect your technique.
-
Share knowledge and ideas
Ask questions, request feedback, or offer solutions. Share your learning experience with other students in the community who are as passionate about creativity as you are.
-
Connect with a global creative community
The community is home to millions of people from around the world who are curious and passionate about exploring and expressing their creativity.
-
Watch professionally produced courses
Domestika curates its teacher roster and produces every course in-house to ensure a high-quality online learning experience.
FAQs
Domestika's specialization courses are online classes that provide you with the tools and skills you need to complete a specific project. Every step of the project combines video lessons with complementary instructional material, so you can learn by doing. Domestika's specializations also allow you to share your own projects with other students, creating a dynamic course community.
All specialization courses are 100% online, so once they're published, specialization courses start and finish whenever you want. You set the pace of the class. You can go back to review what interests you most and skip what you already know, ask questions, answer questions, share your projects, and more.
The specialization courses are divided into different modules. Each one includes lessons, informational text, tasks, and practice exercises to help you carry out your project step by step, with additional complementary resources and downloads. You'll also have access to an exclusive forum where you can interact with other students, as well as share your work and your final project, creating a community around the specialization course.
You can redeem the specialization course you received by accessing the redeeming page and entering your gift code.


tamaraseah2007
This course is perfect for people with varying skills or experience the architecture field. It is a good introduction for those who are just stepping into the archi scene and for me personally, it is such a wonderful source of inspiration and I genuinely learnt so much. Will definitely apply these skills into my upcoming projects. Thank you!