Specialization

Specialization in Design and Creation of Crochet Amigurumis

70 students

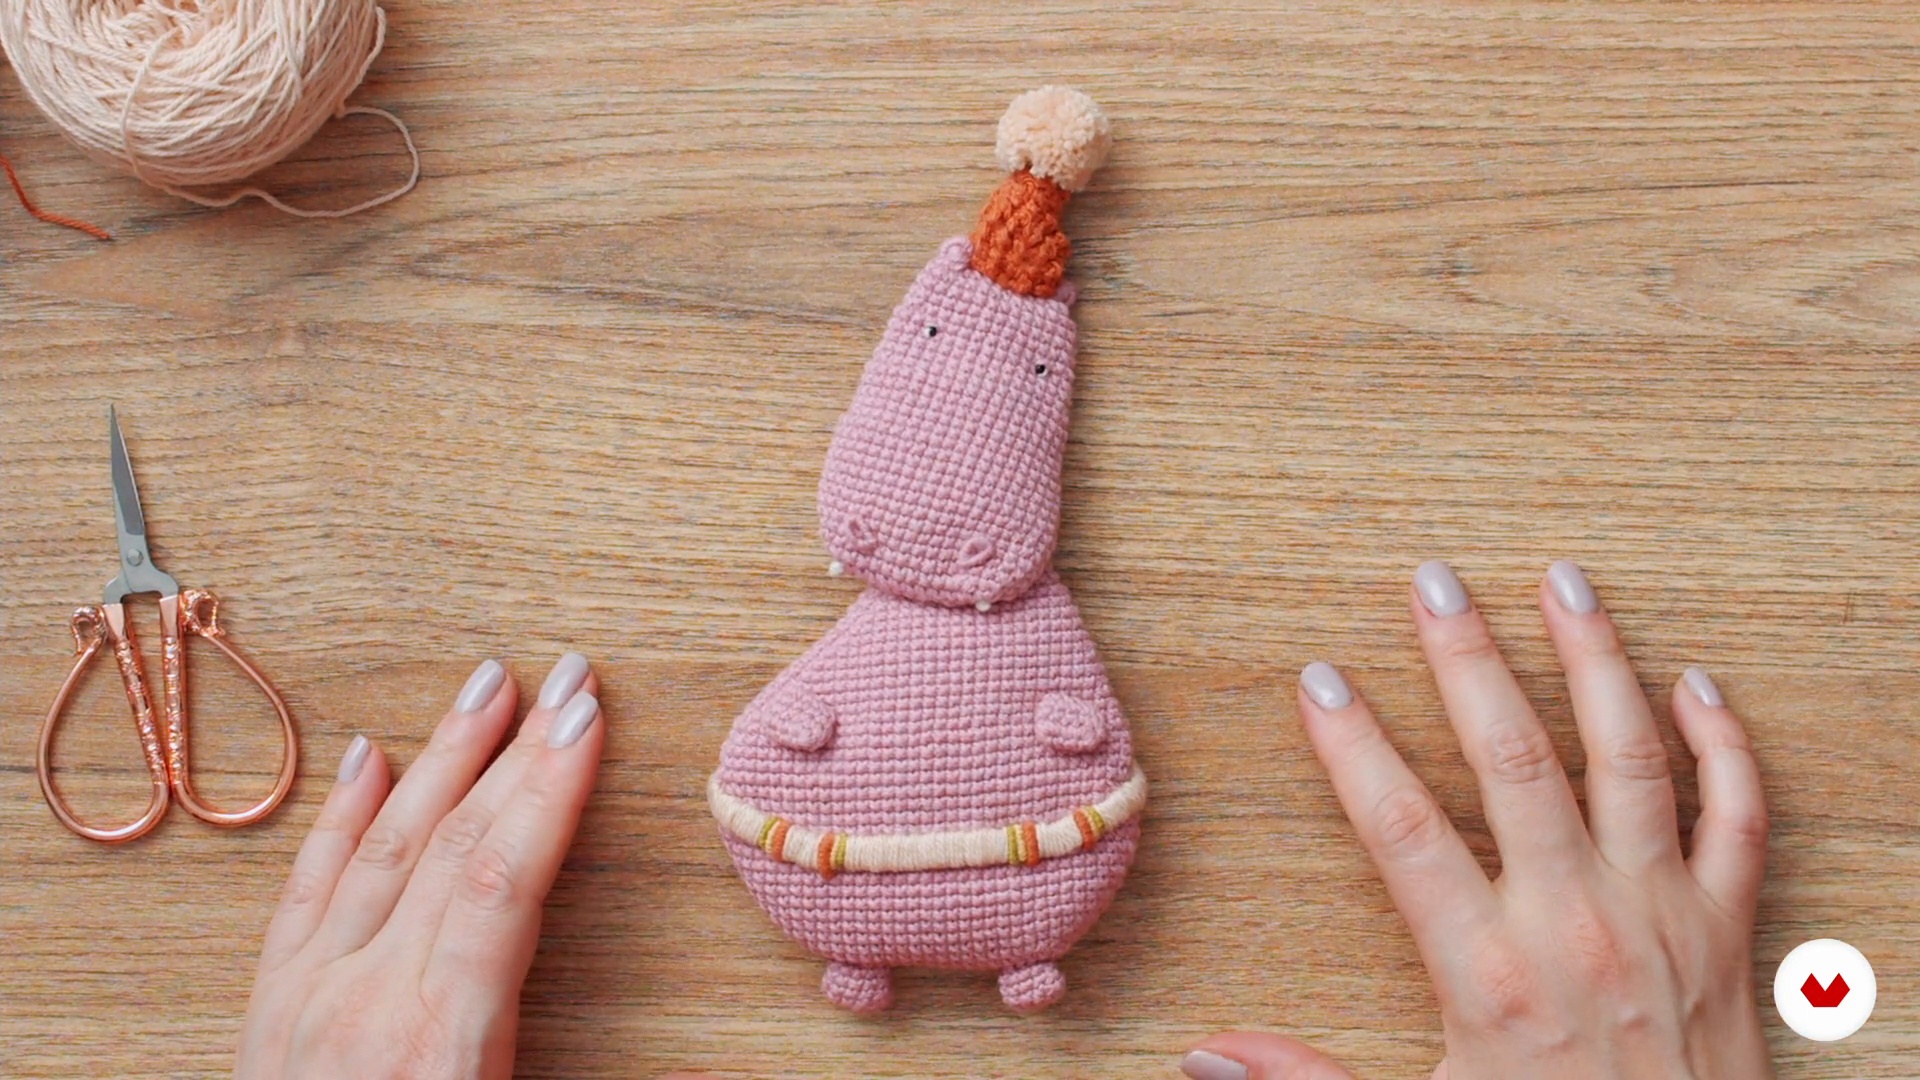
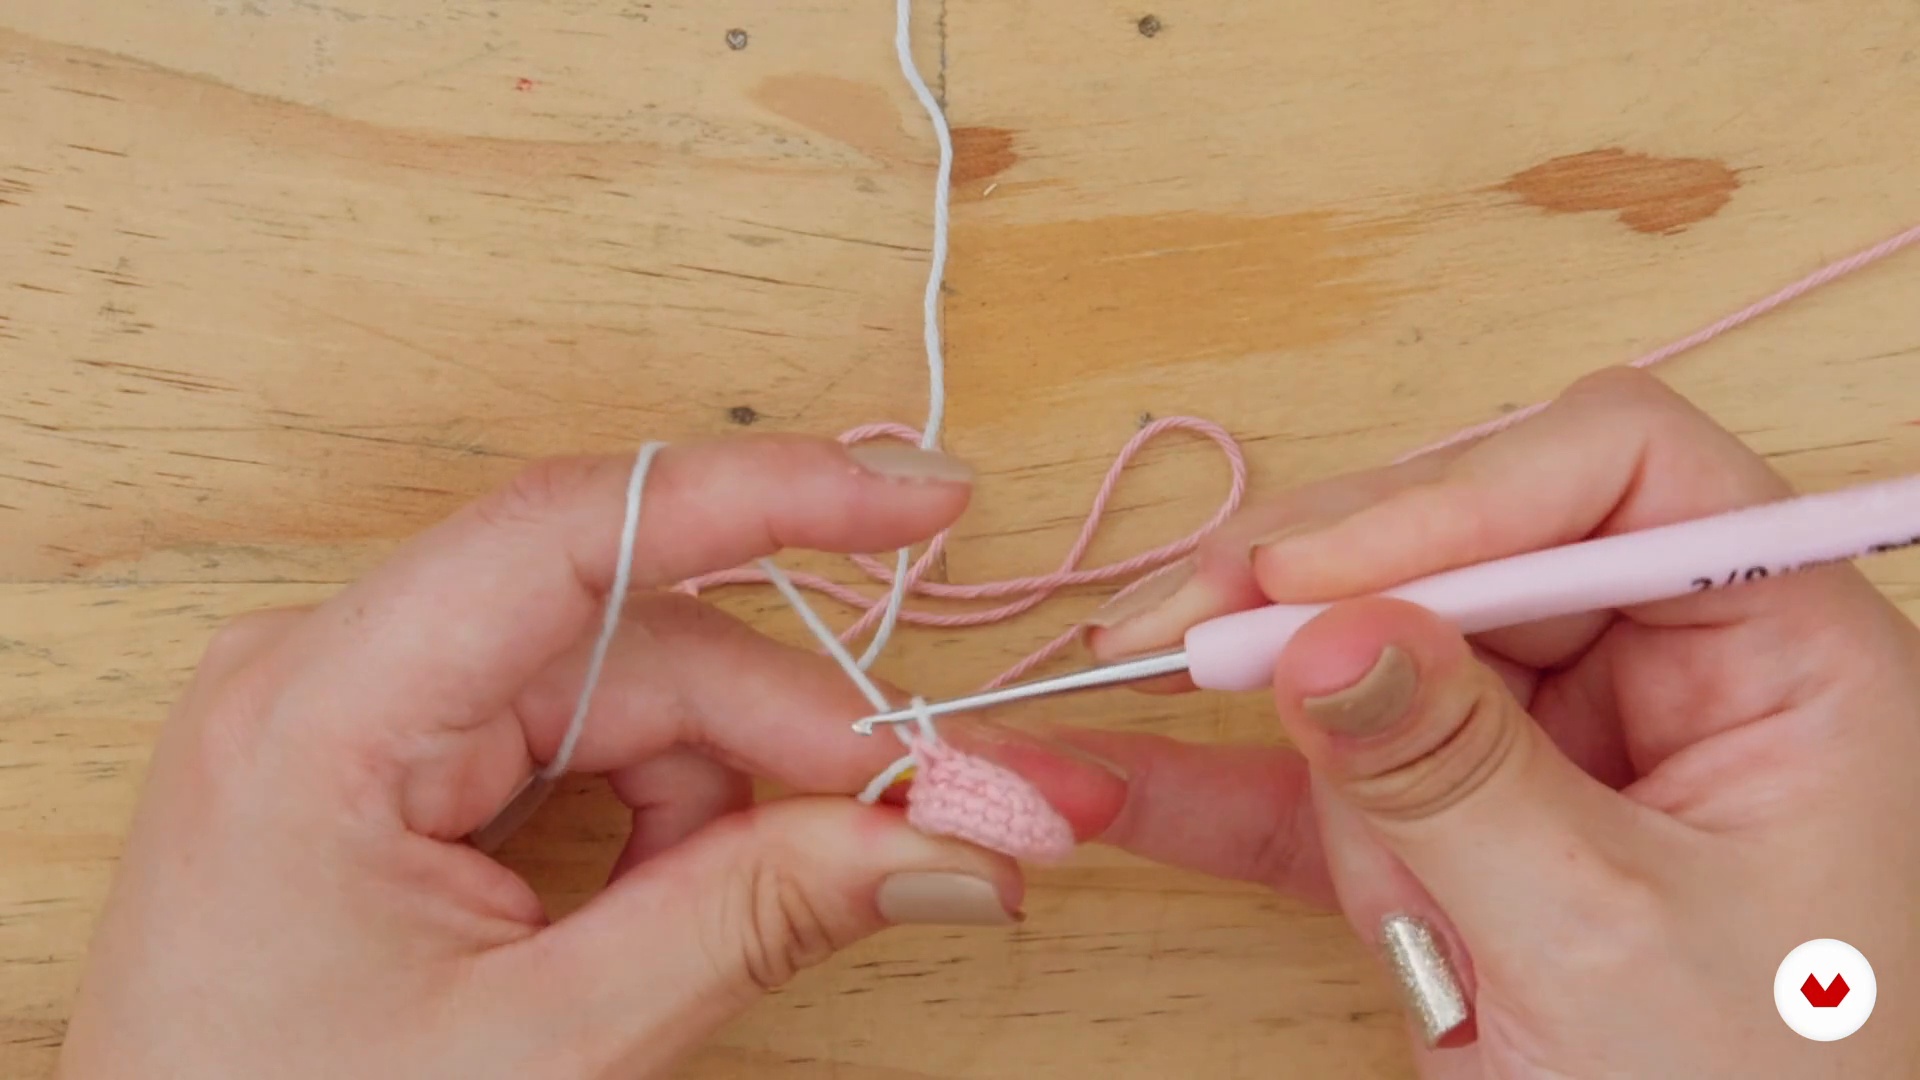
Learn to design and make amigurumis from scratch, dominating crochet techniques to create unique and original characters

Learn to design and make amigurumis from scratch, dominating crochet techniques to create unique and original characters

Specialization · 7 modules

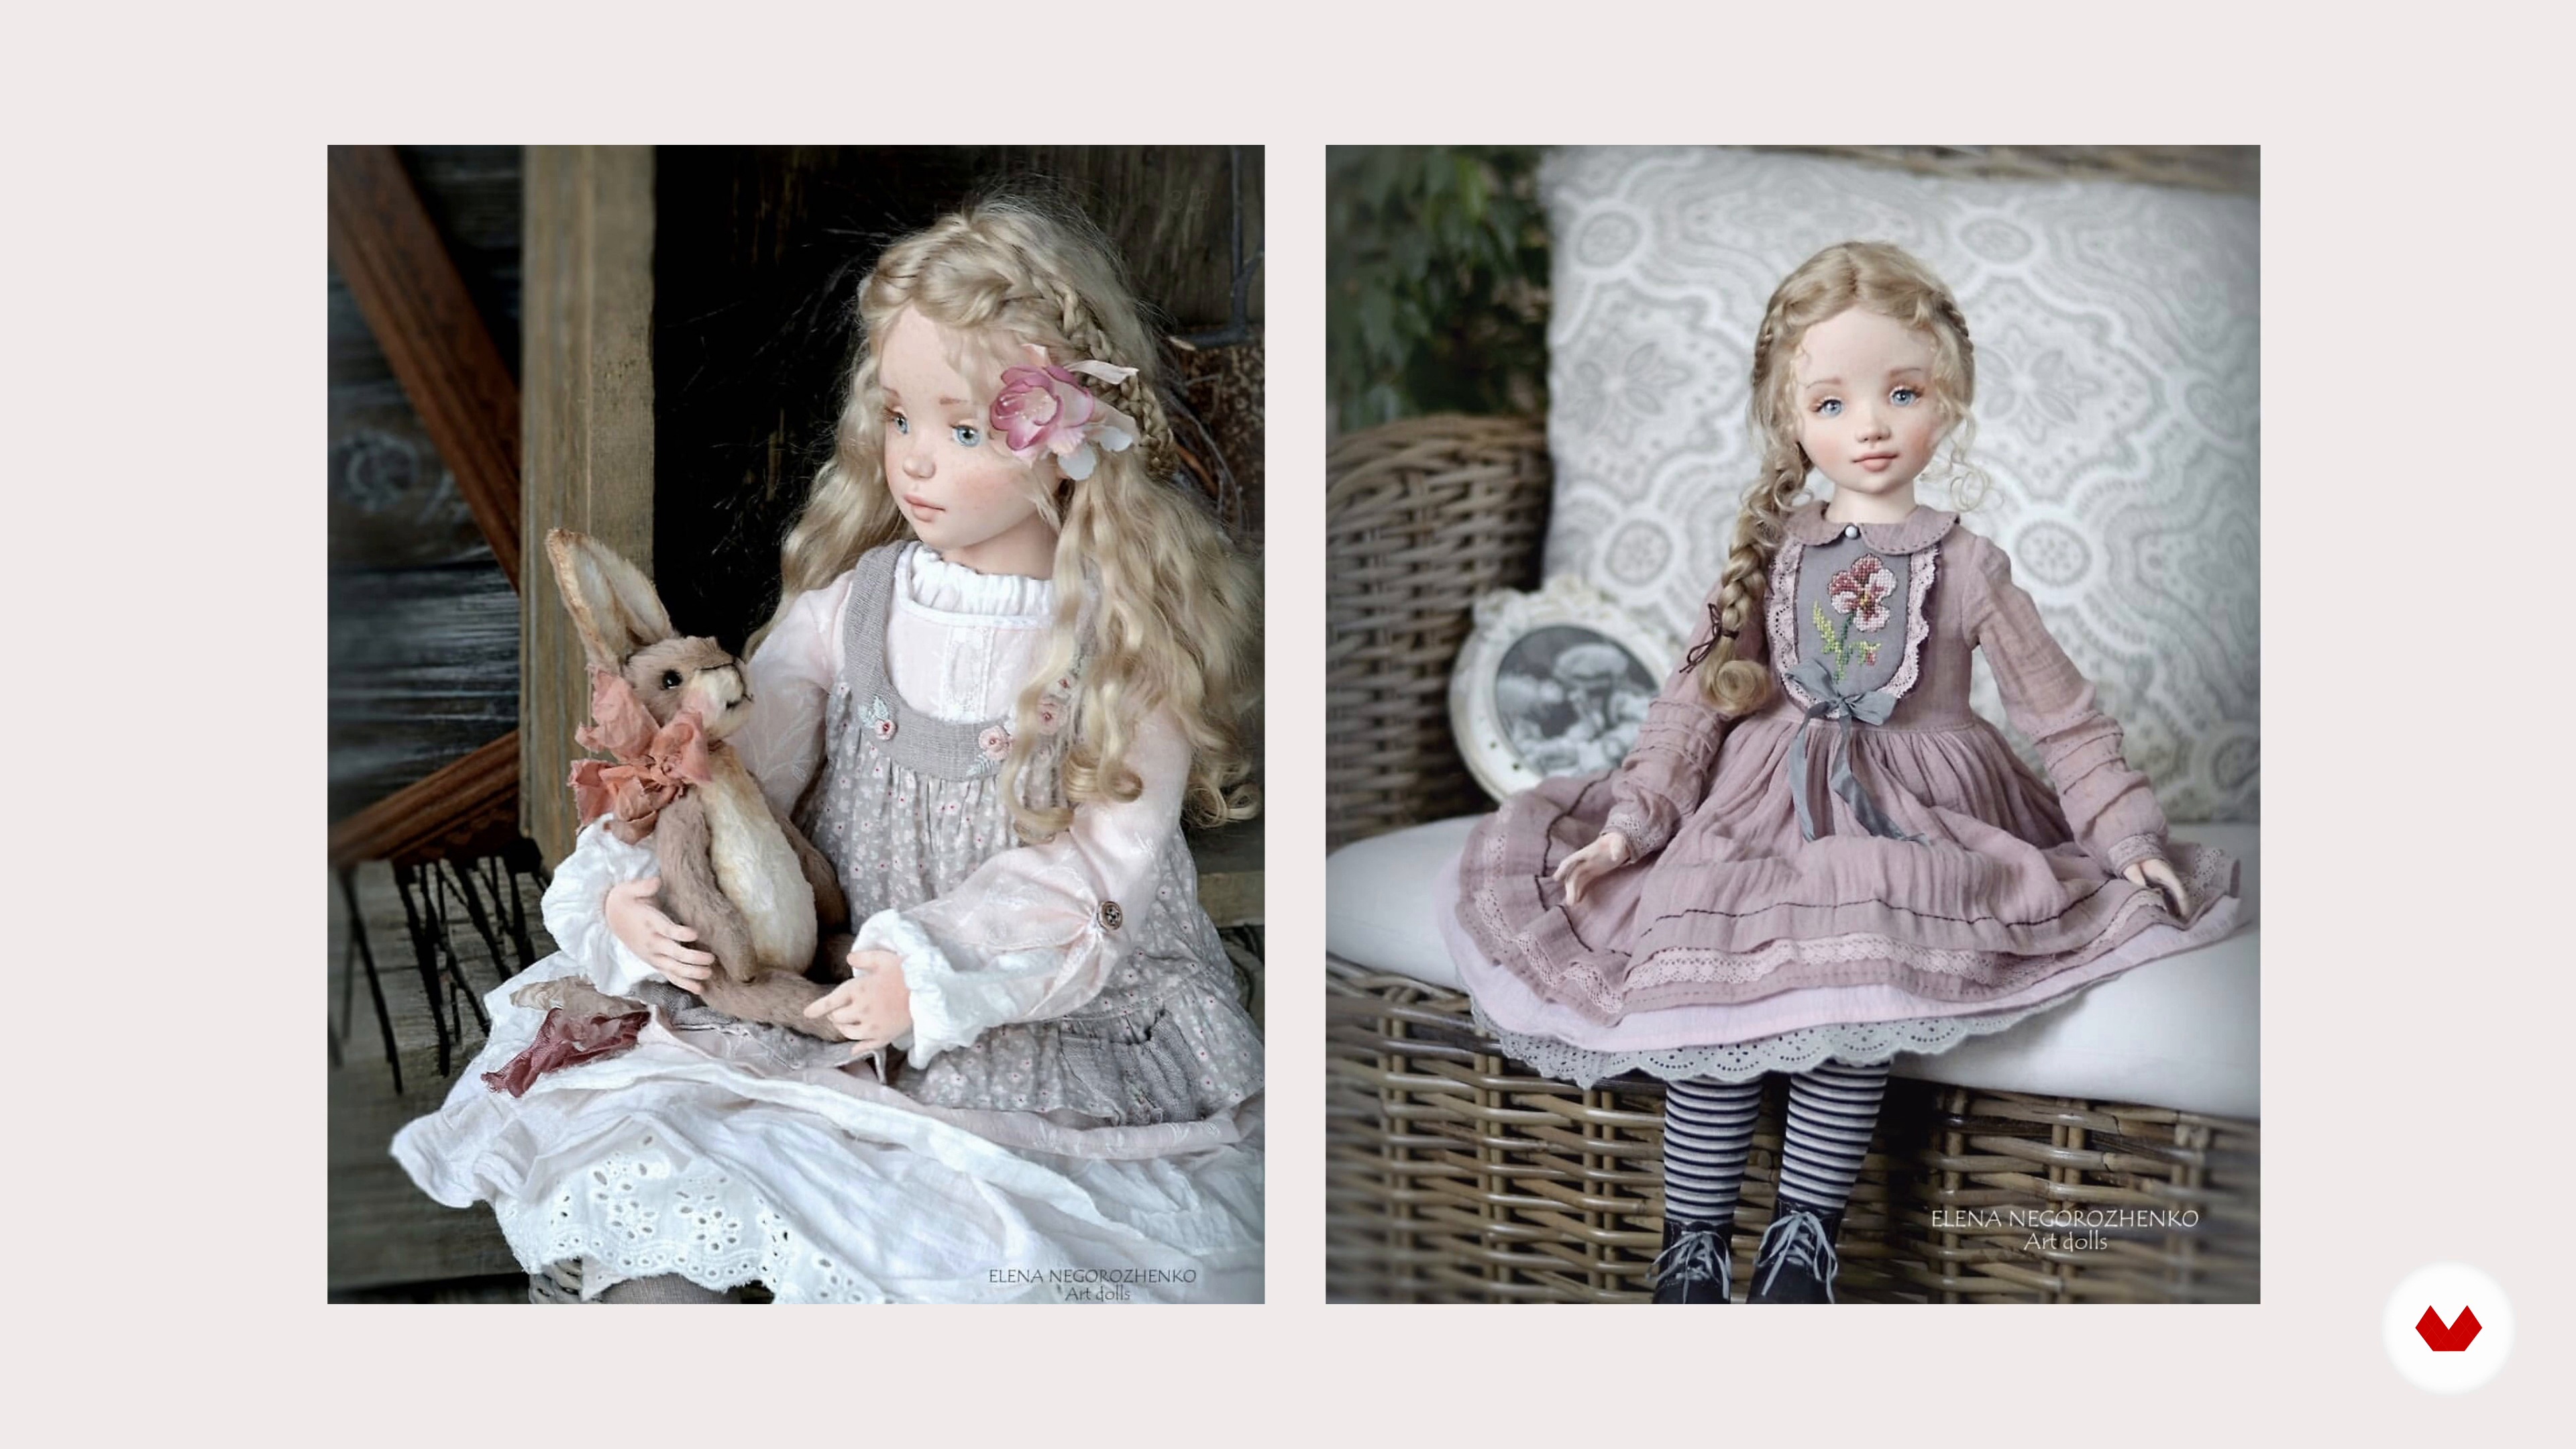
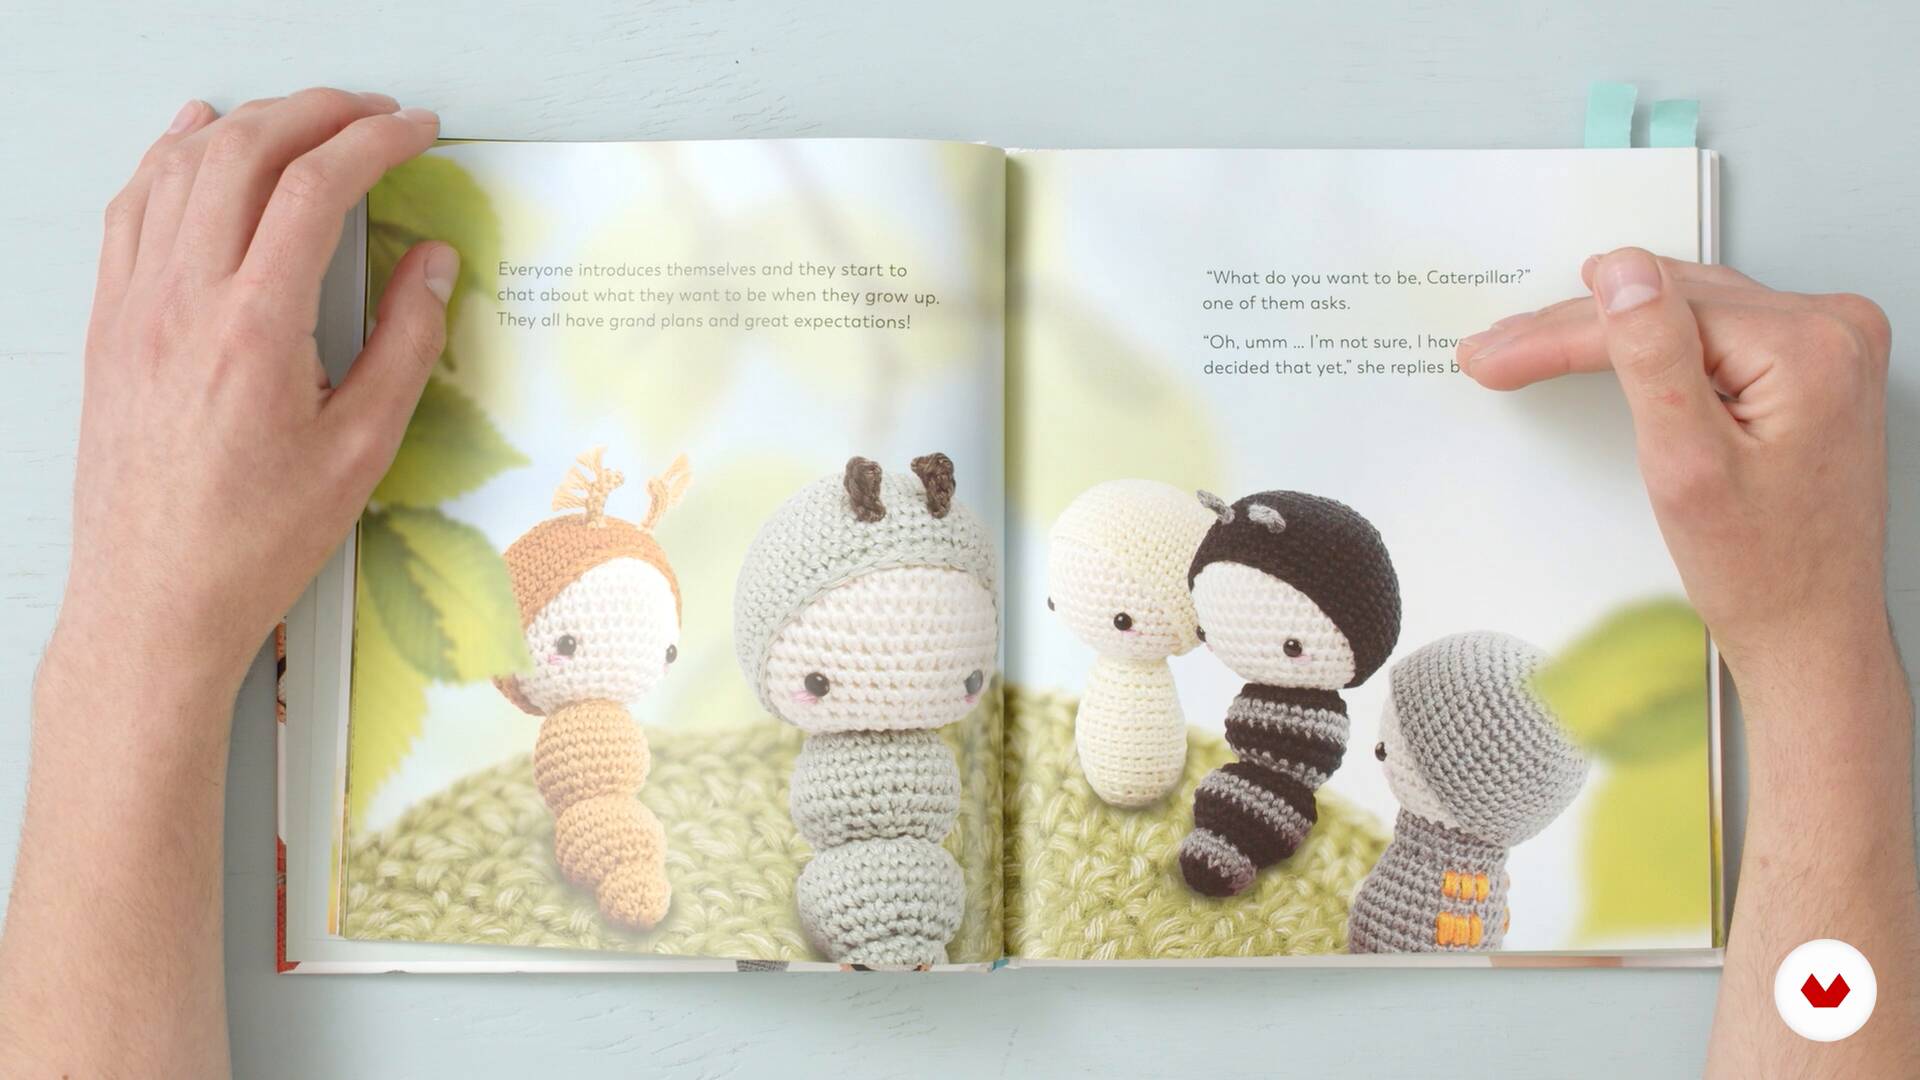
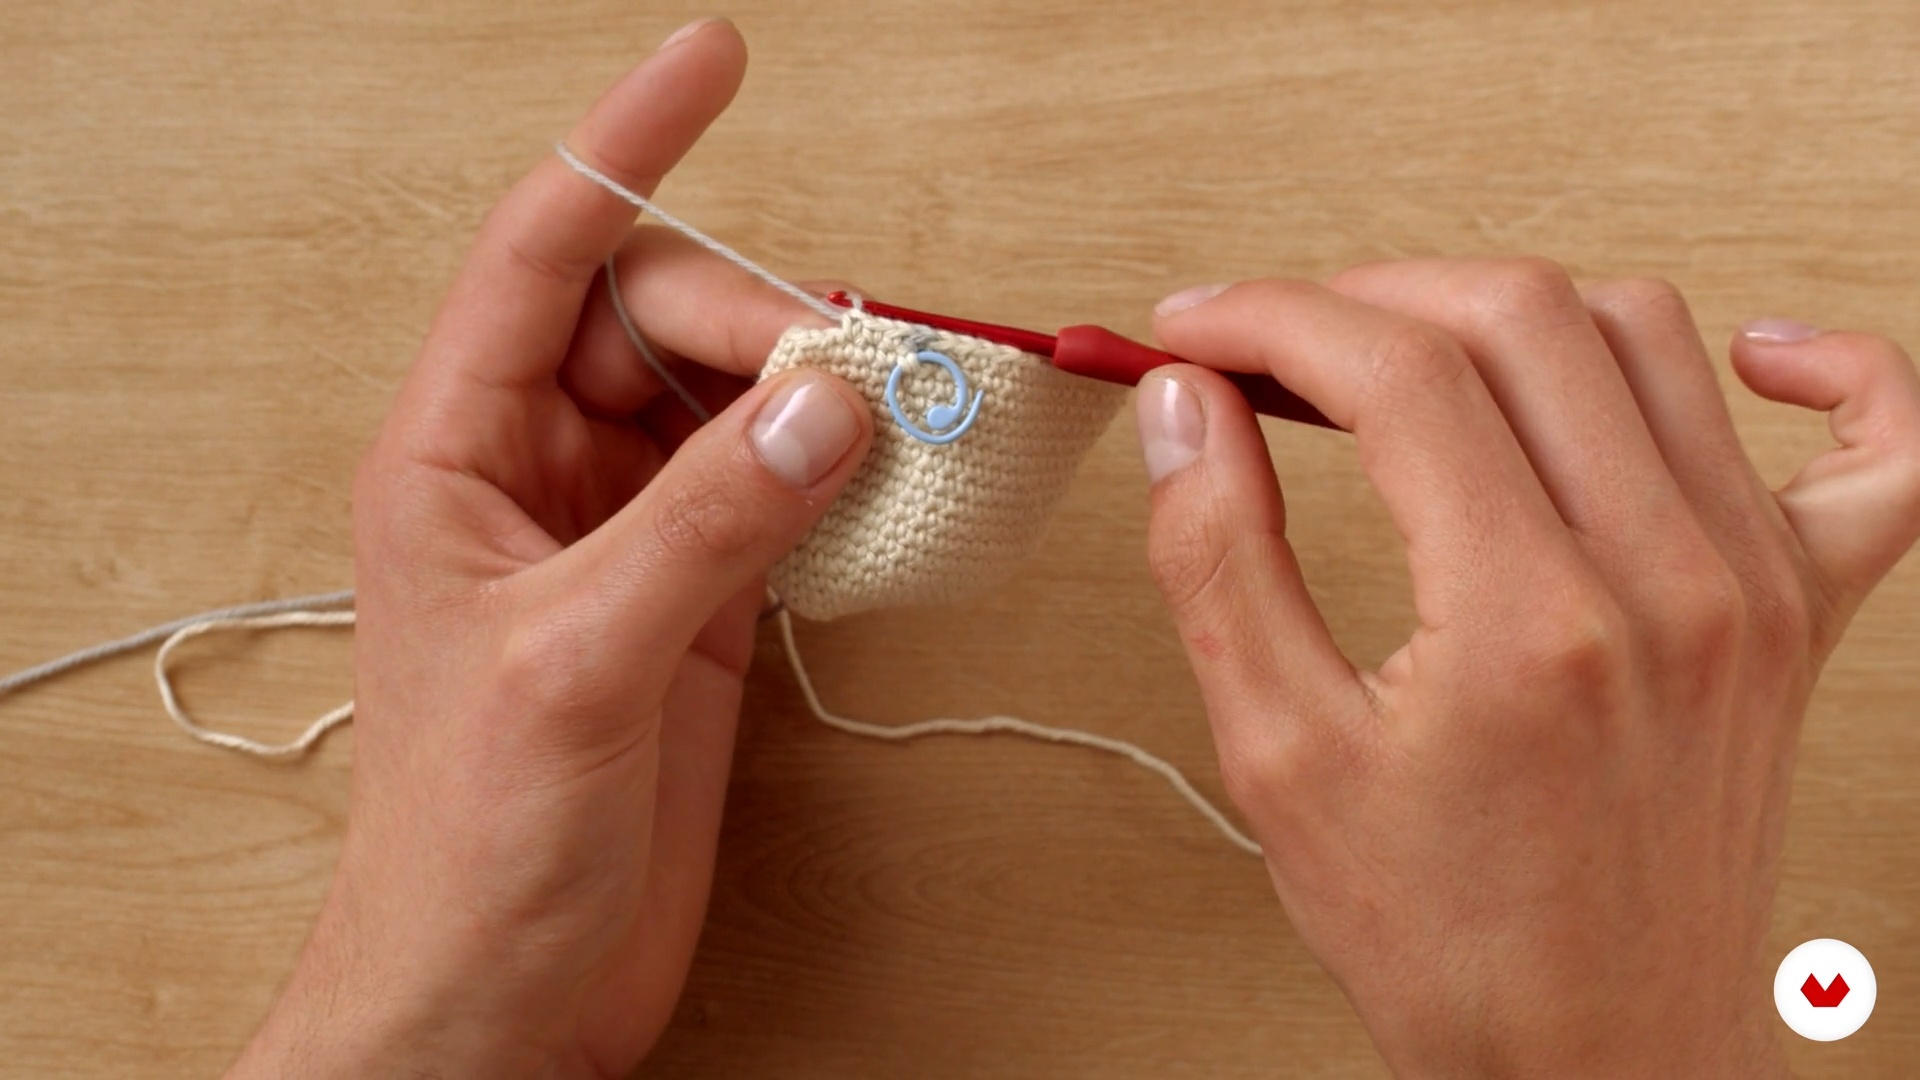
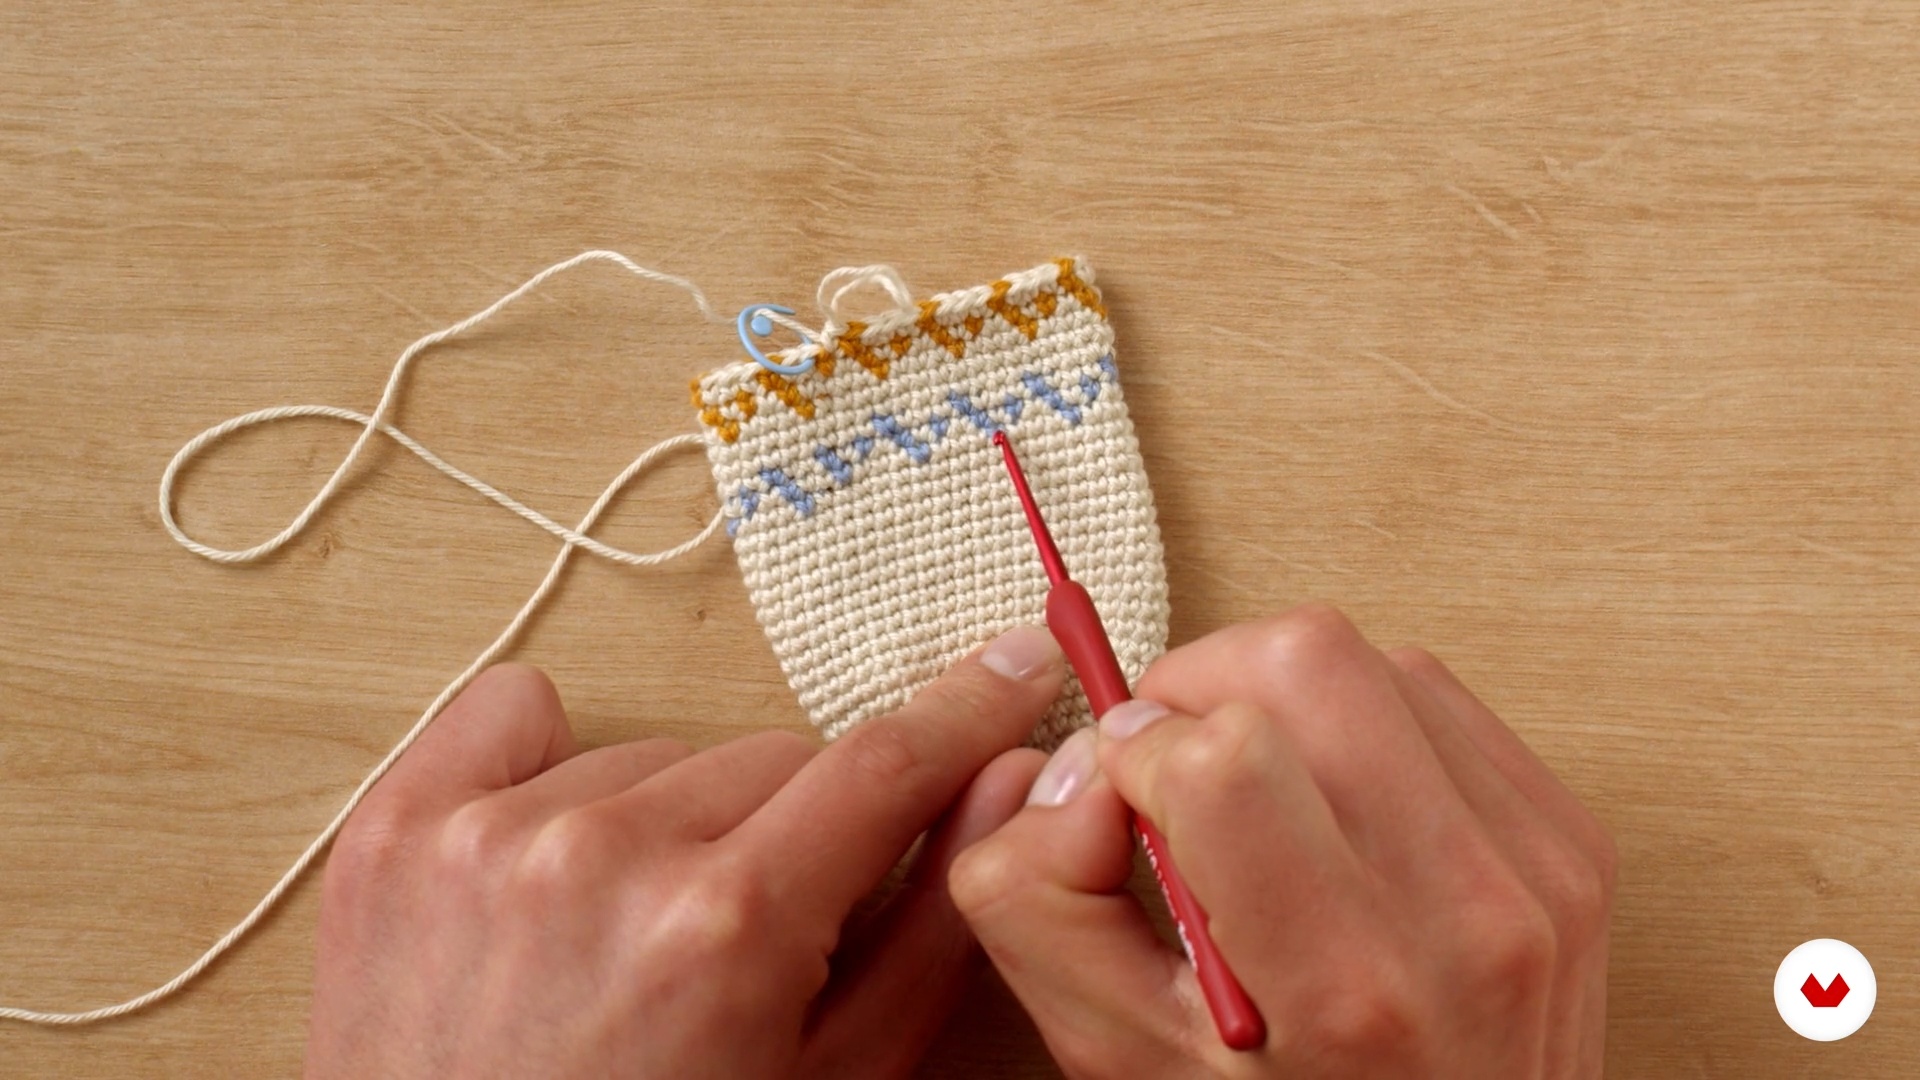
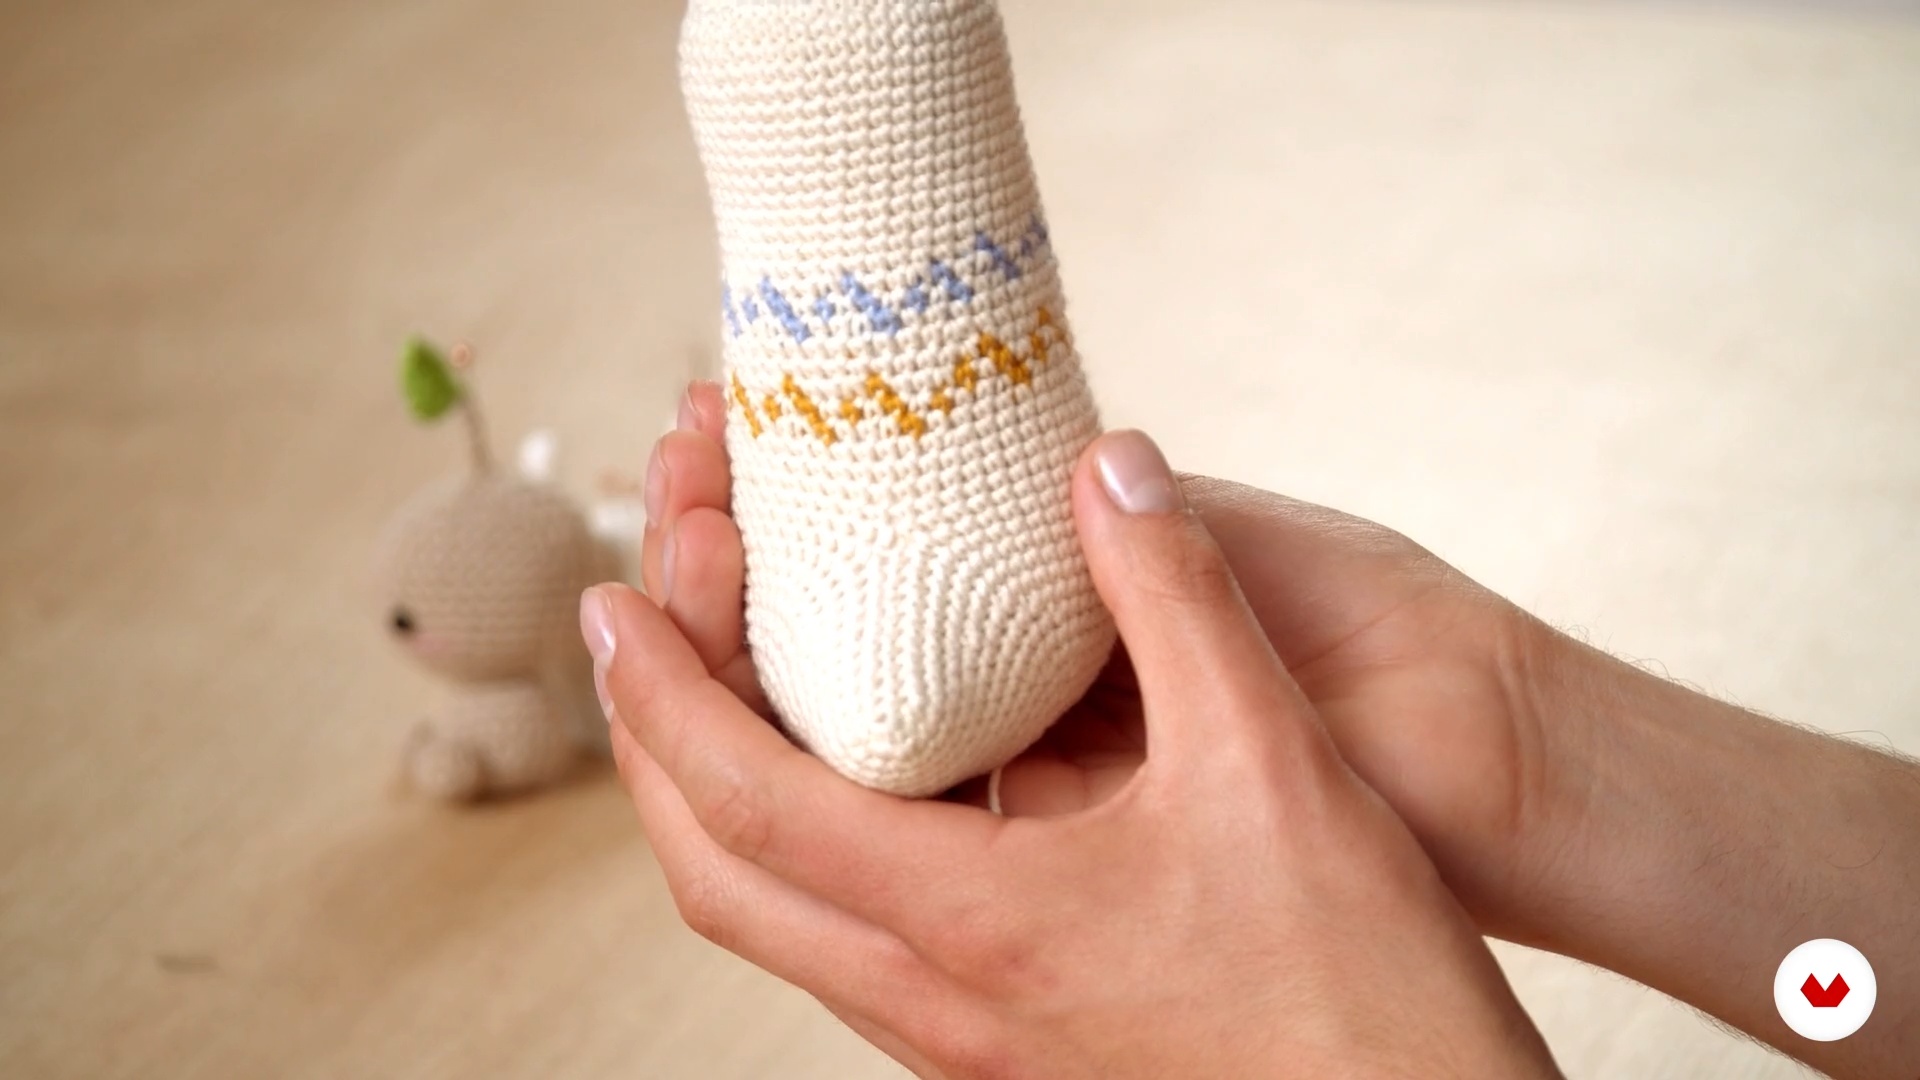
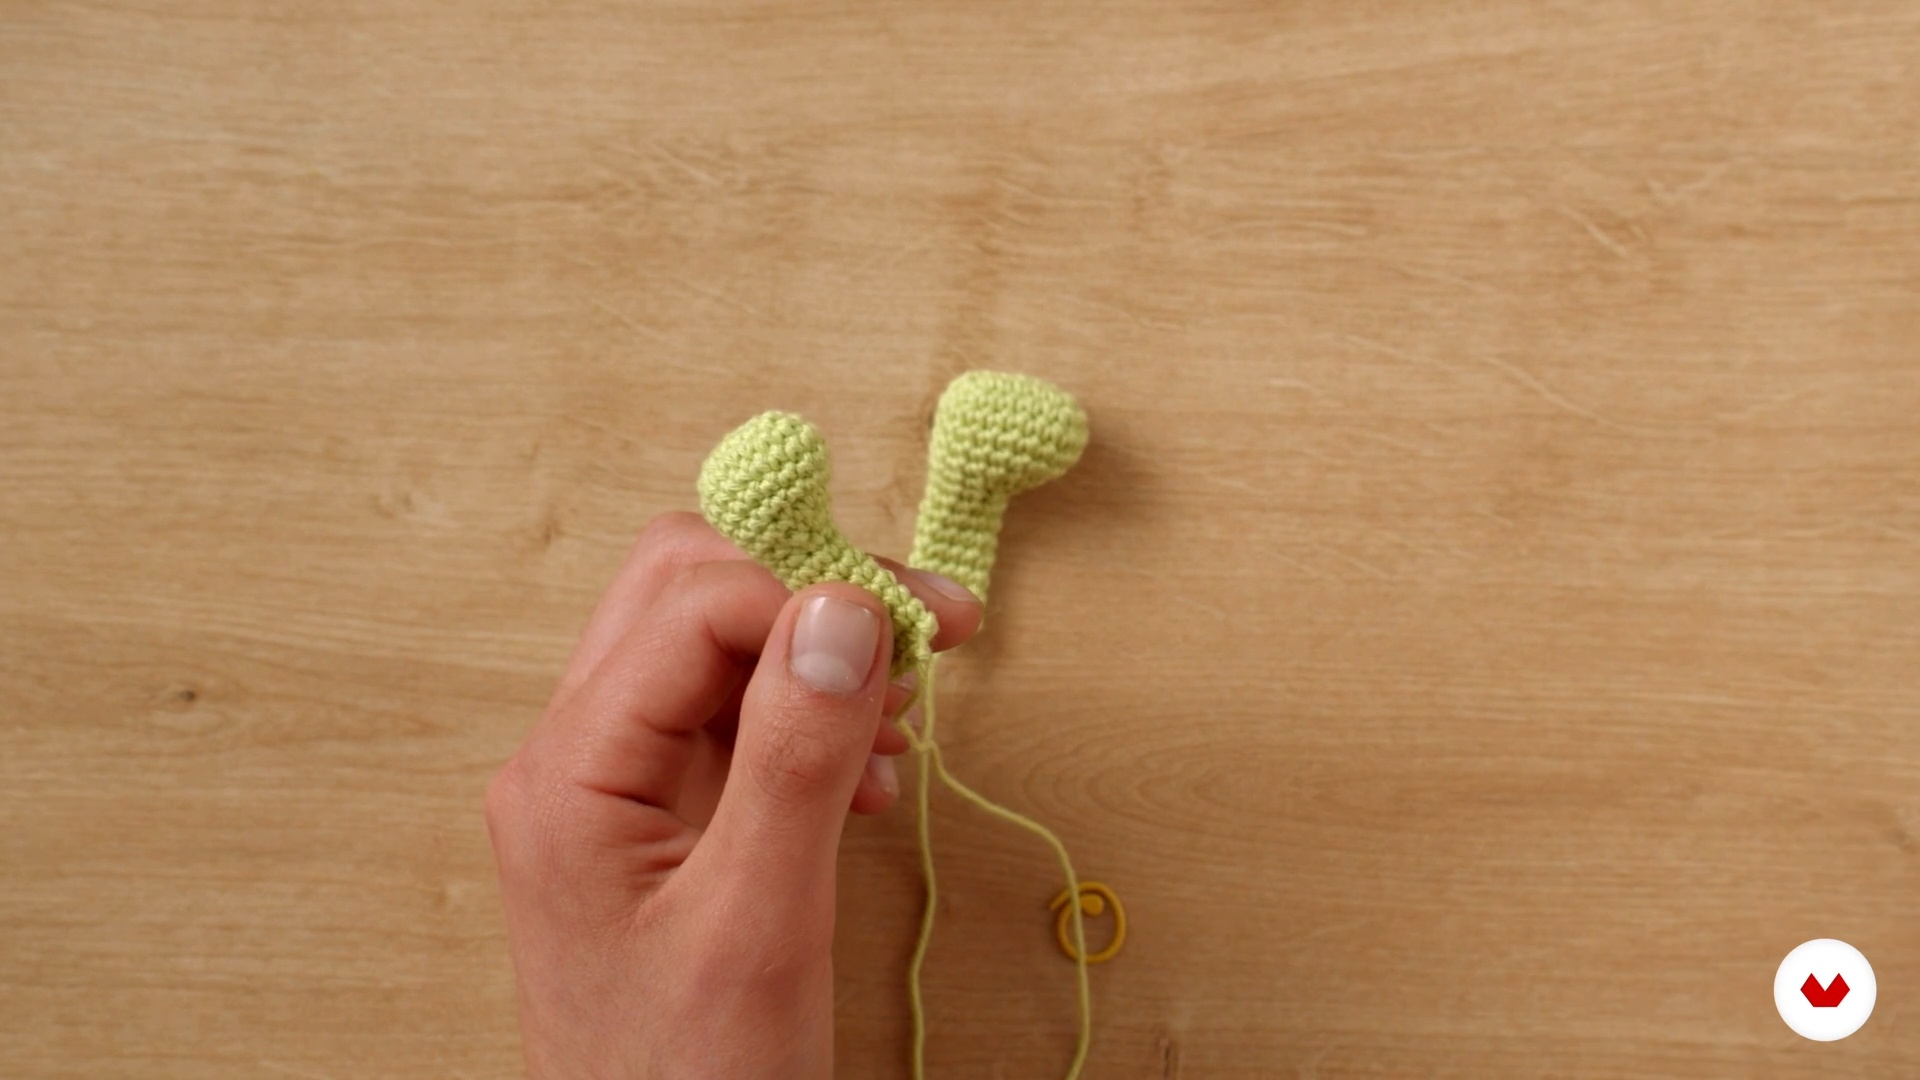
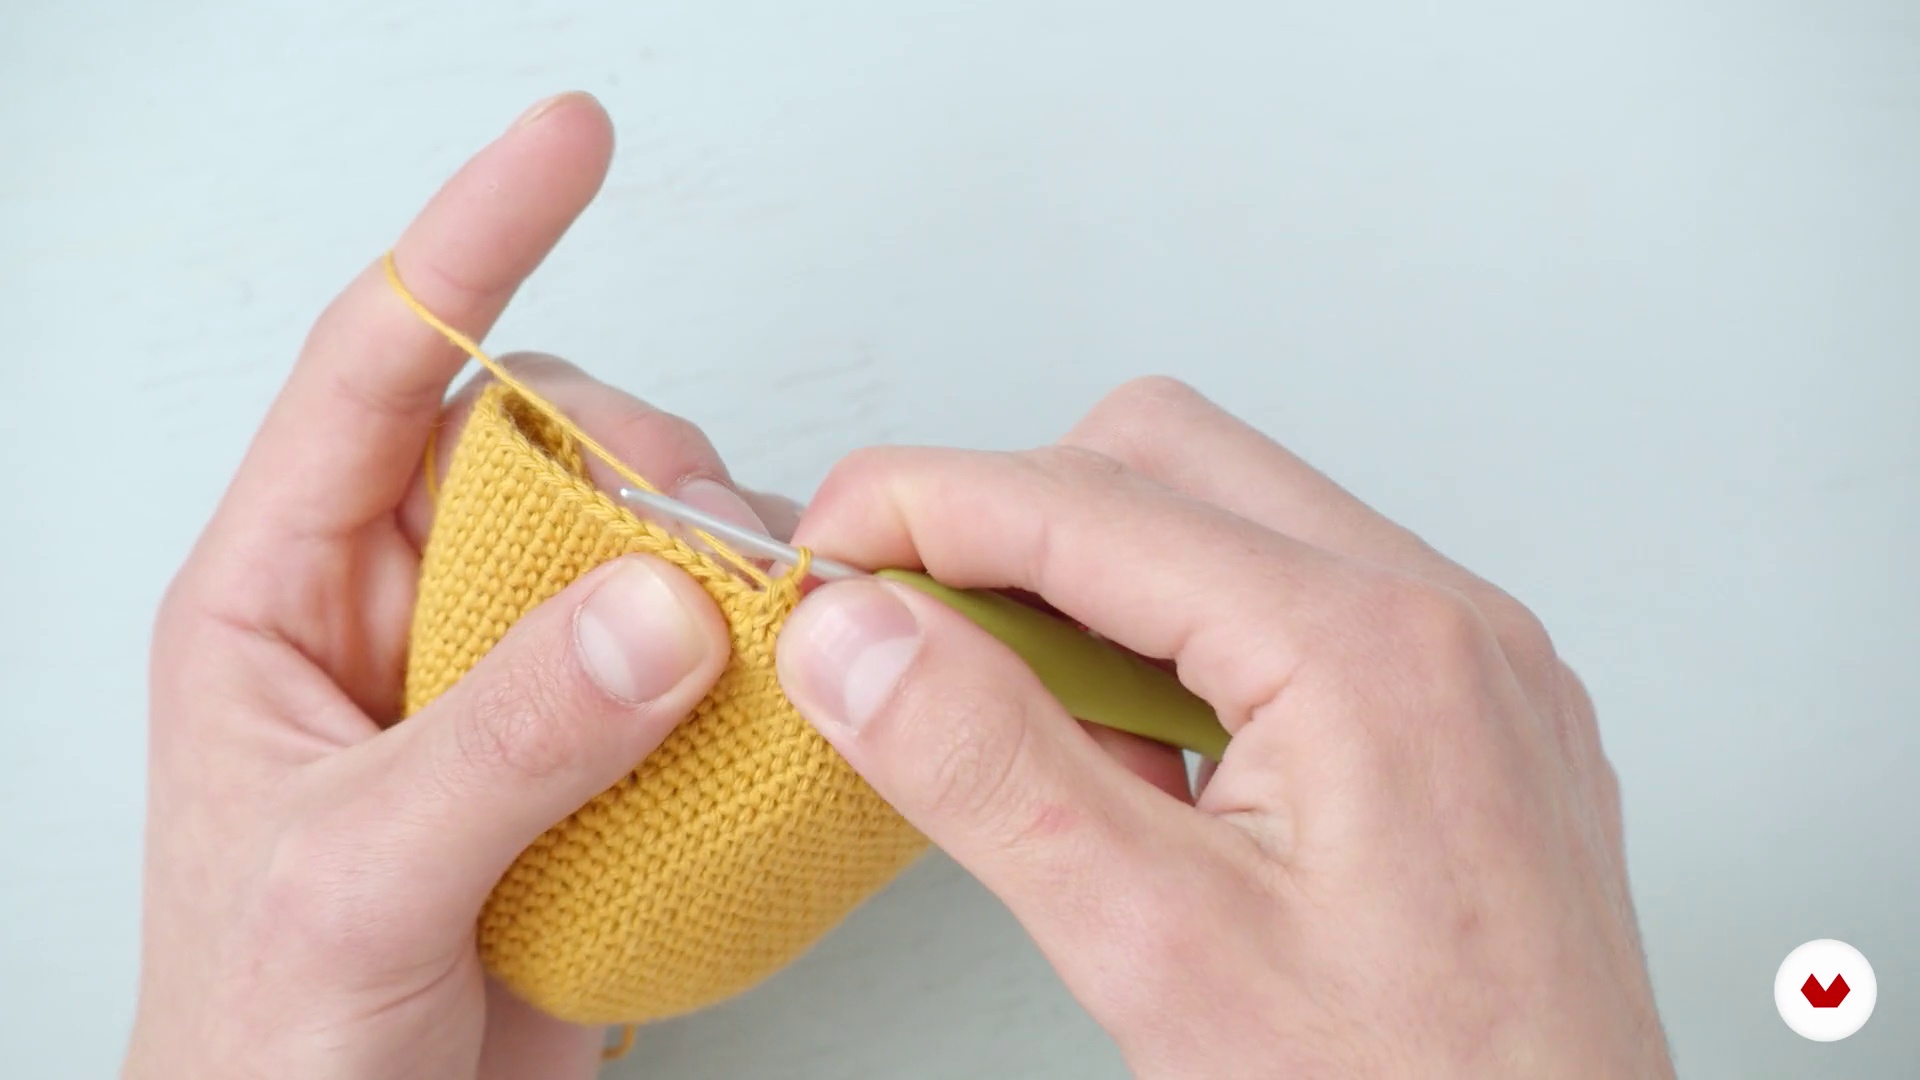
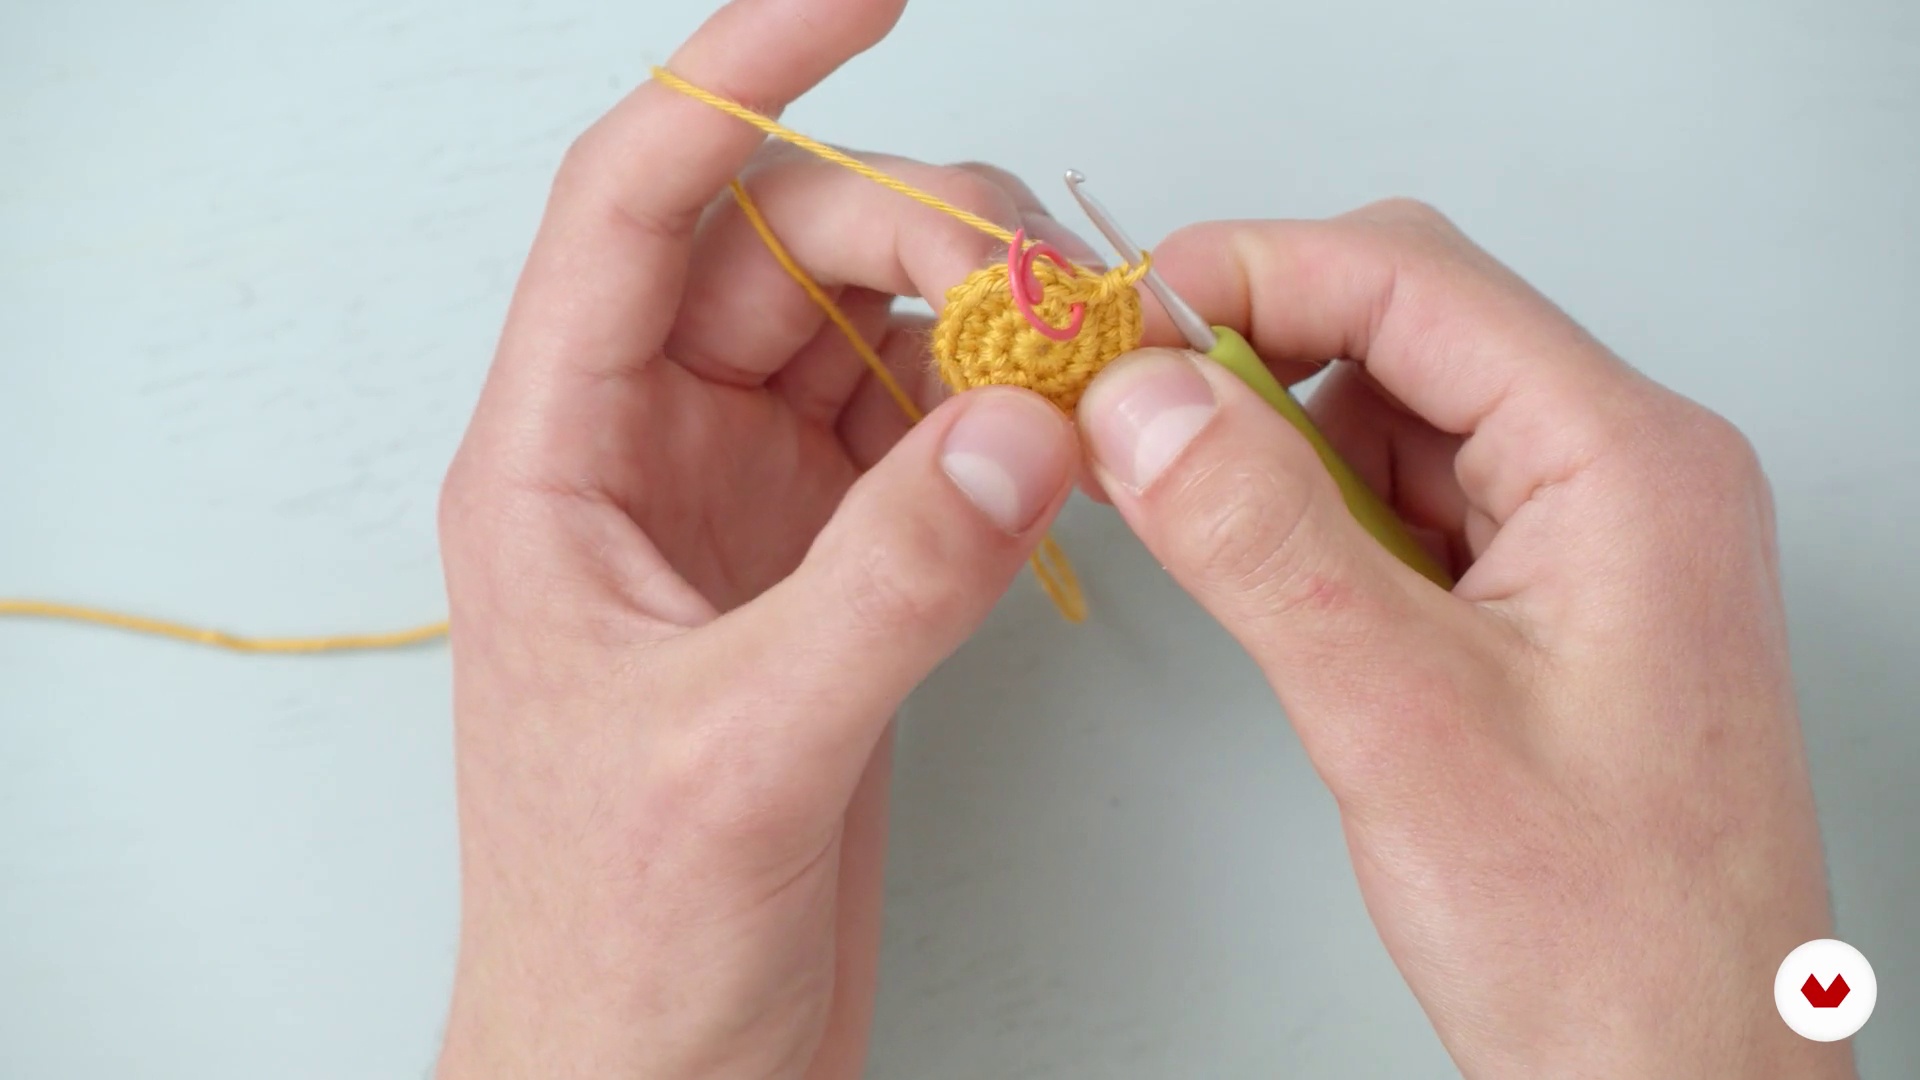
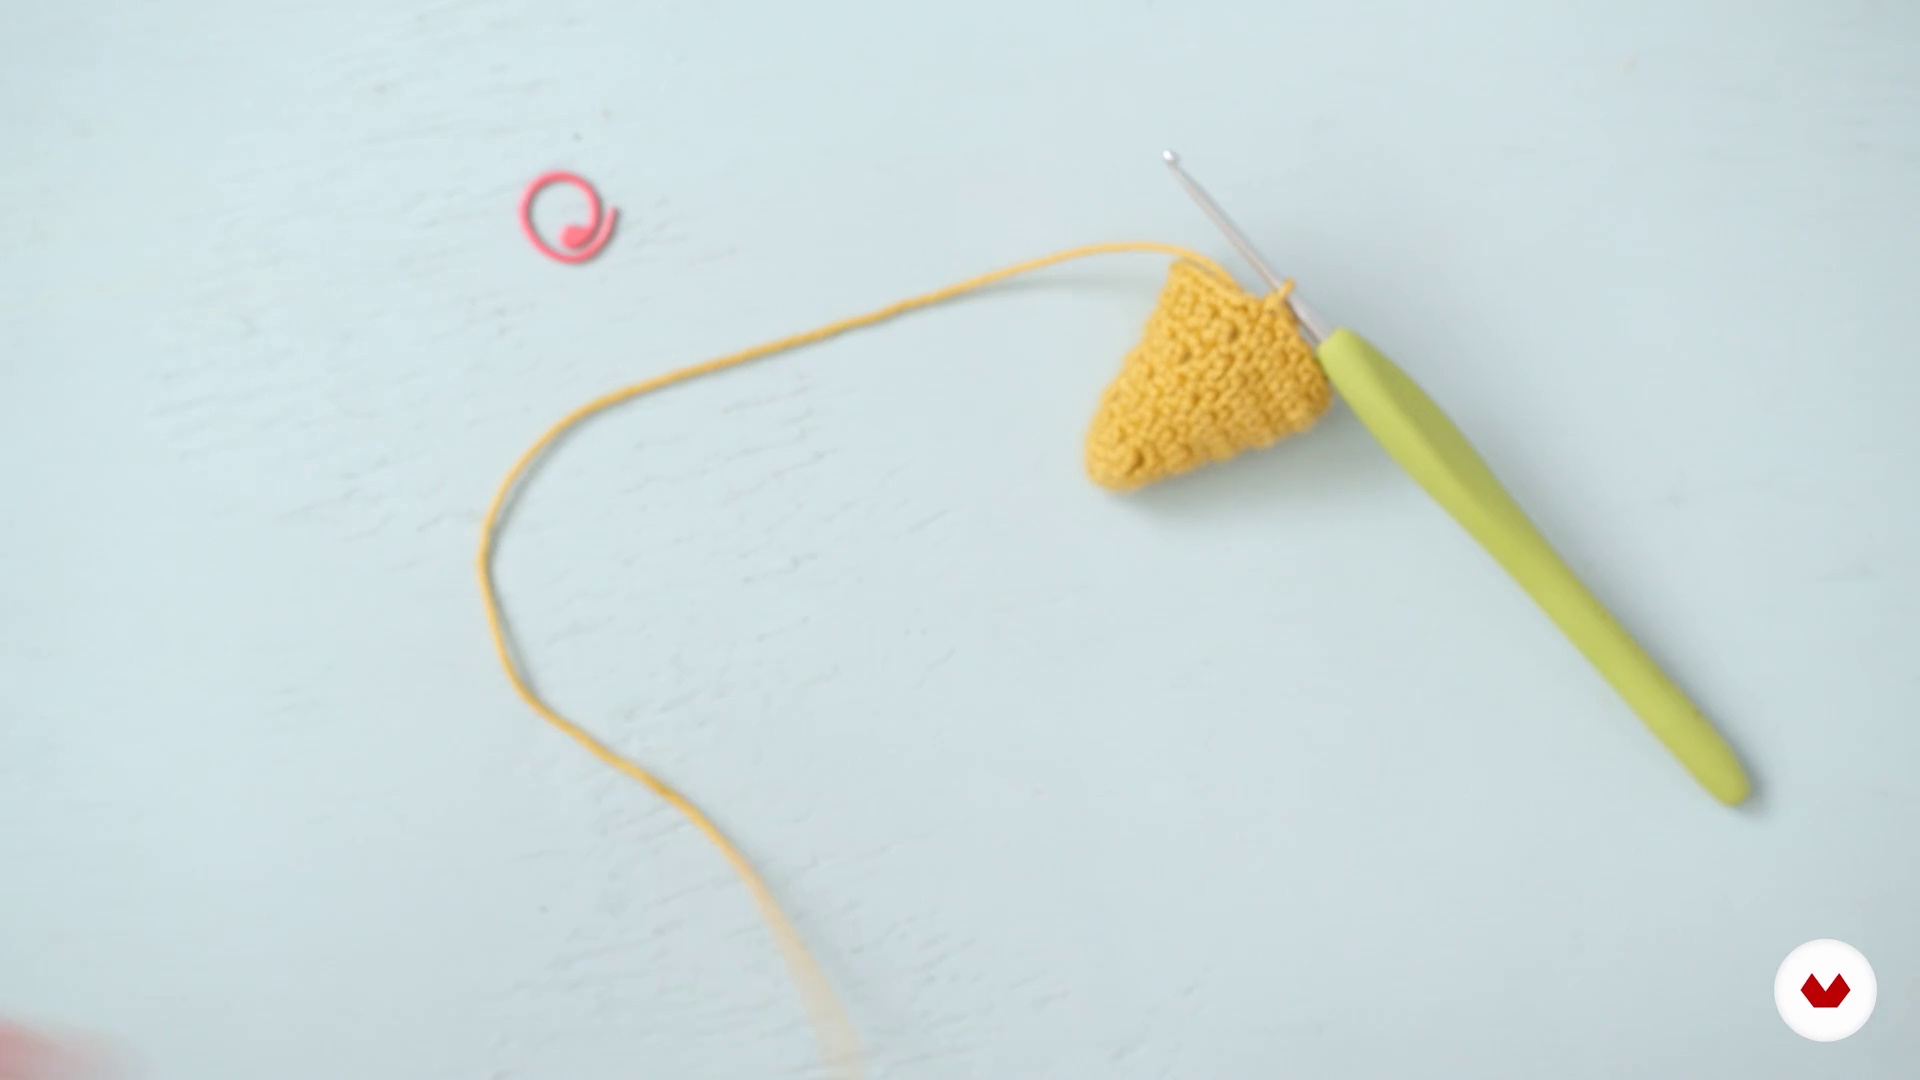
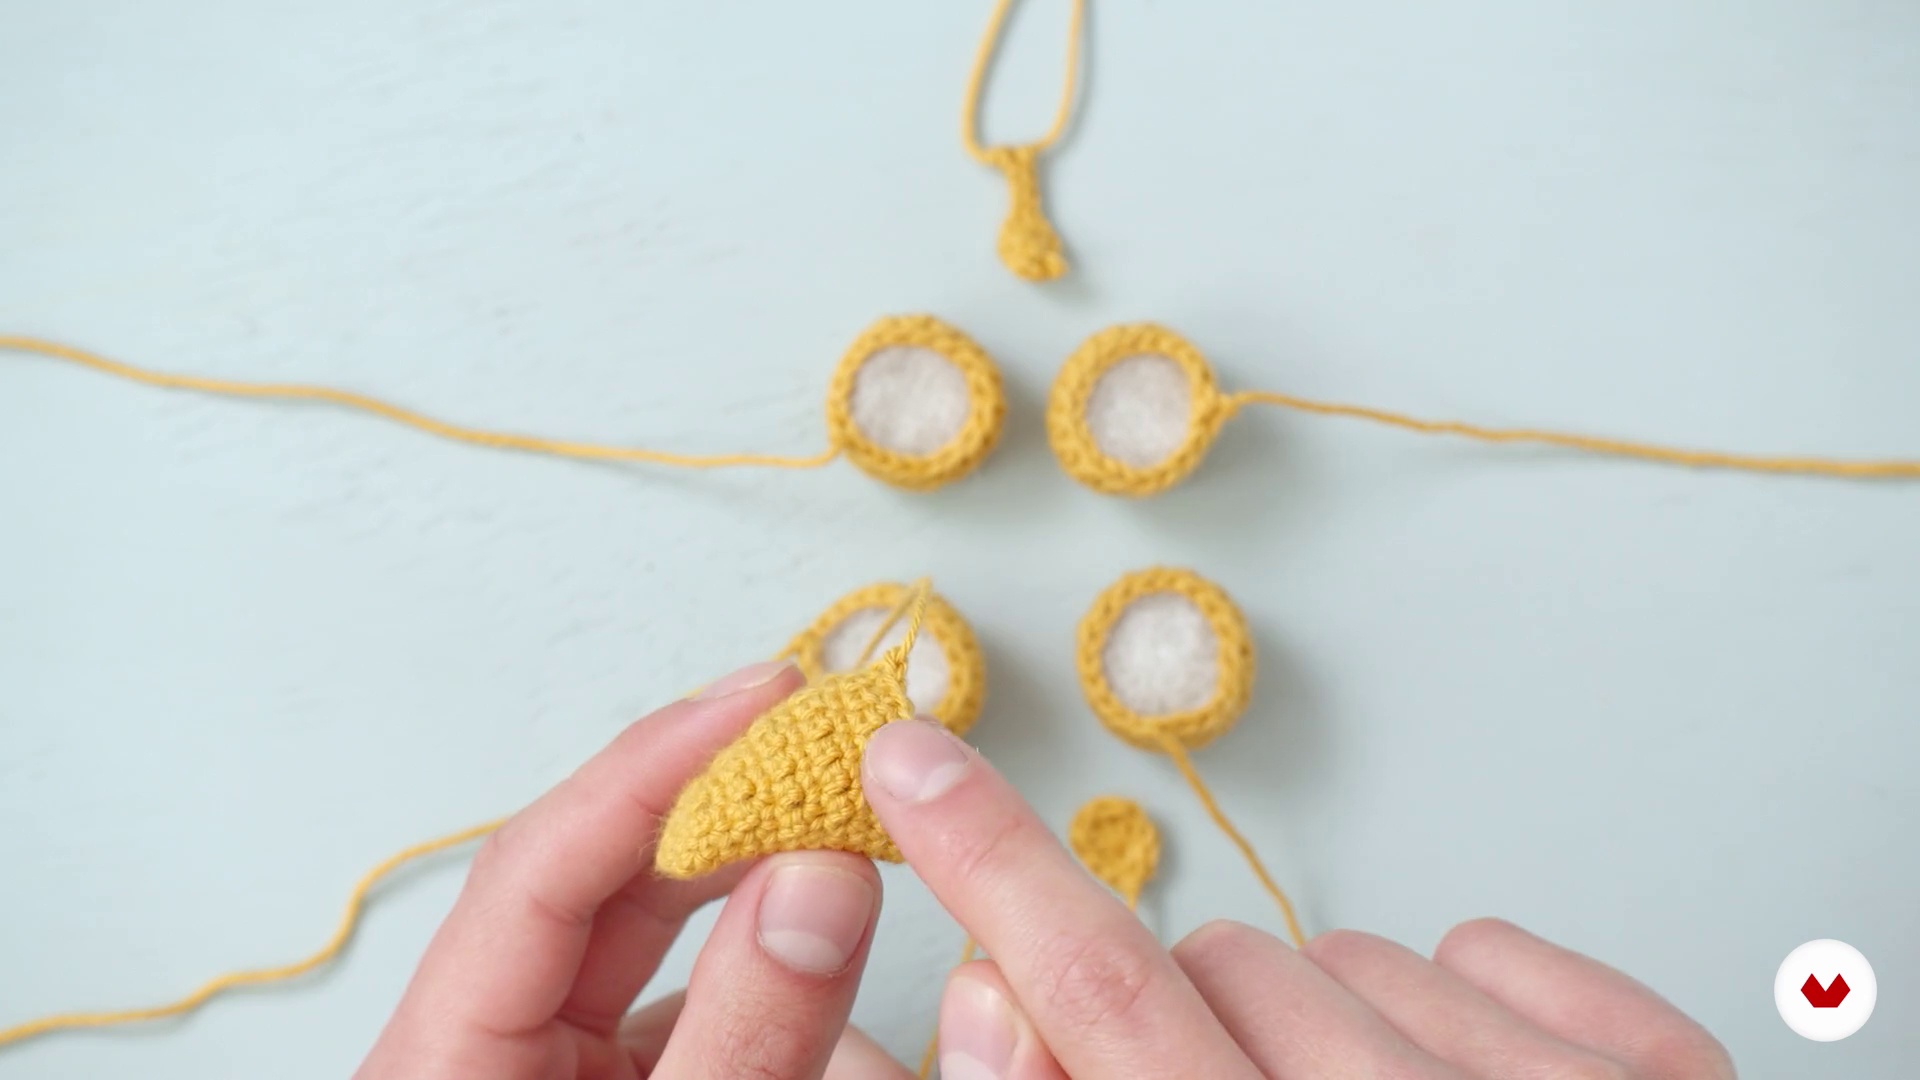
Discover the fascinating world of amigurumi with a specialization that will take you from the basics to advanced design and customization techniques. Learn to knit from scratch and create unique and original characters with the guidance of experts like Marcelo Javier Cortés, Leire Villar, Nati Dorado, and Tutitas. Explore the creation of simple and complex shapes and master crochet techniques to achieve impeccable and creative finishes.

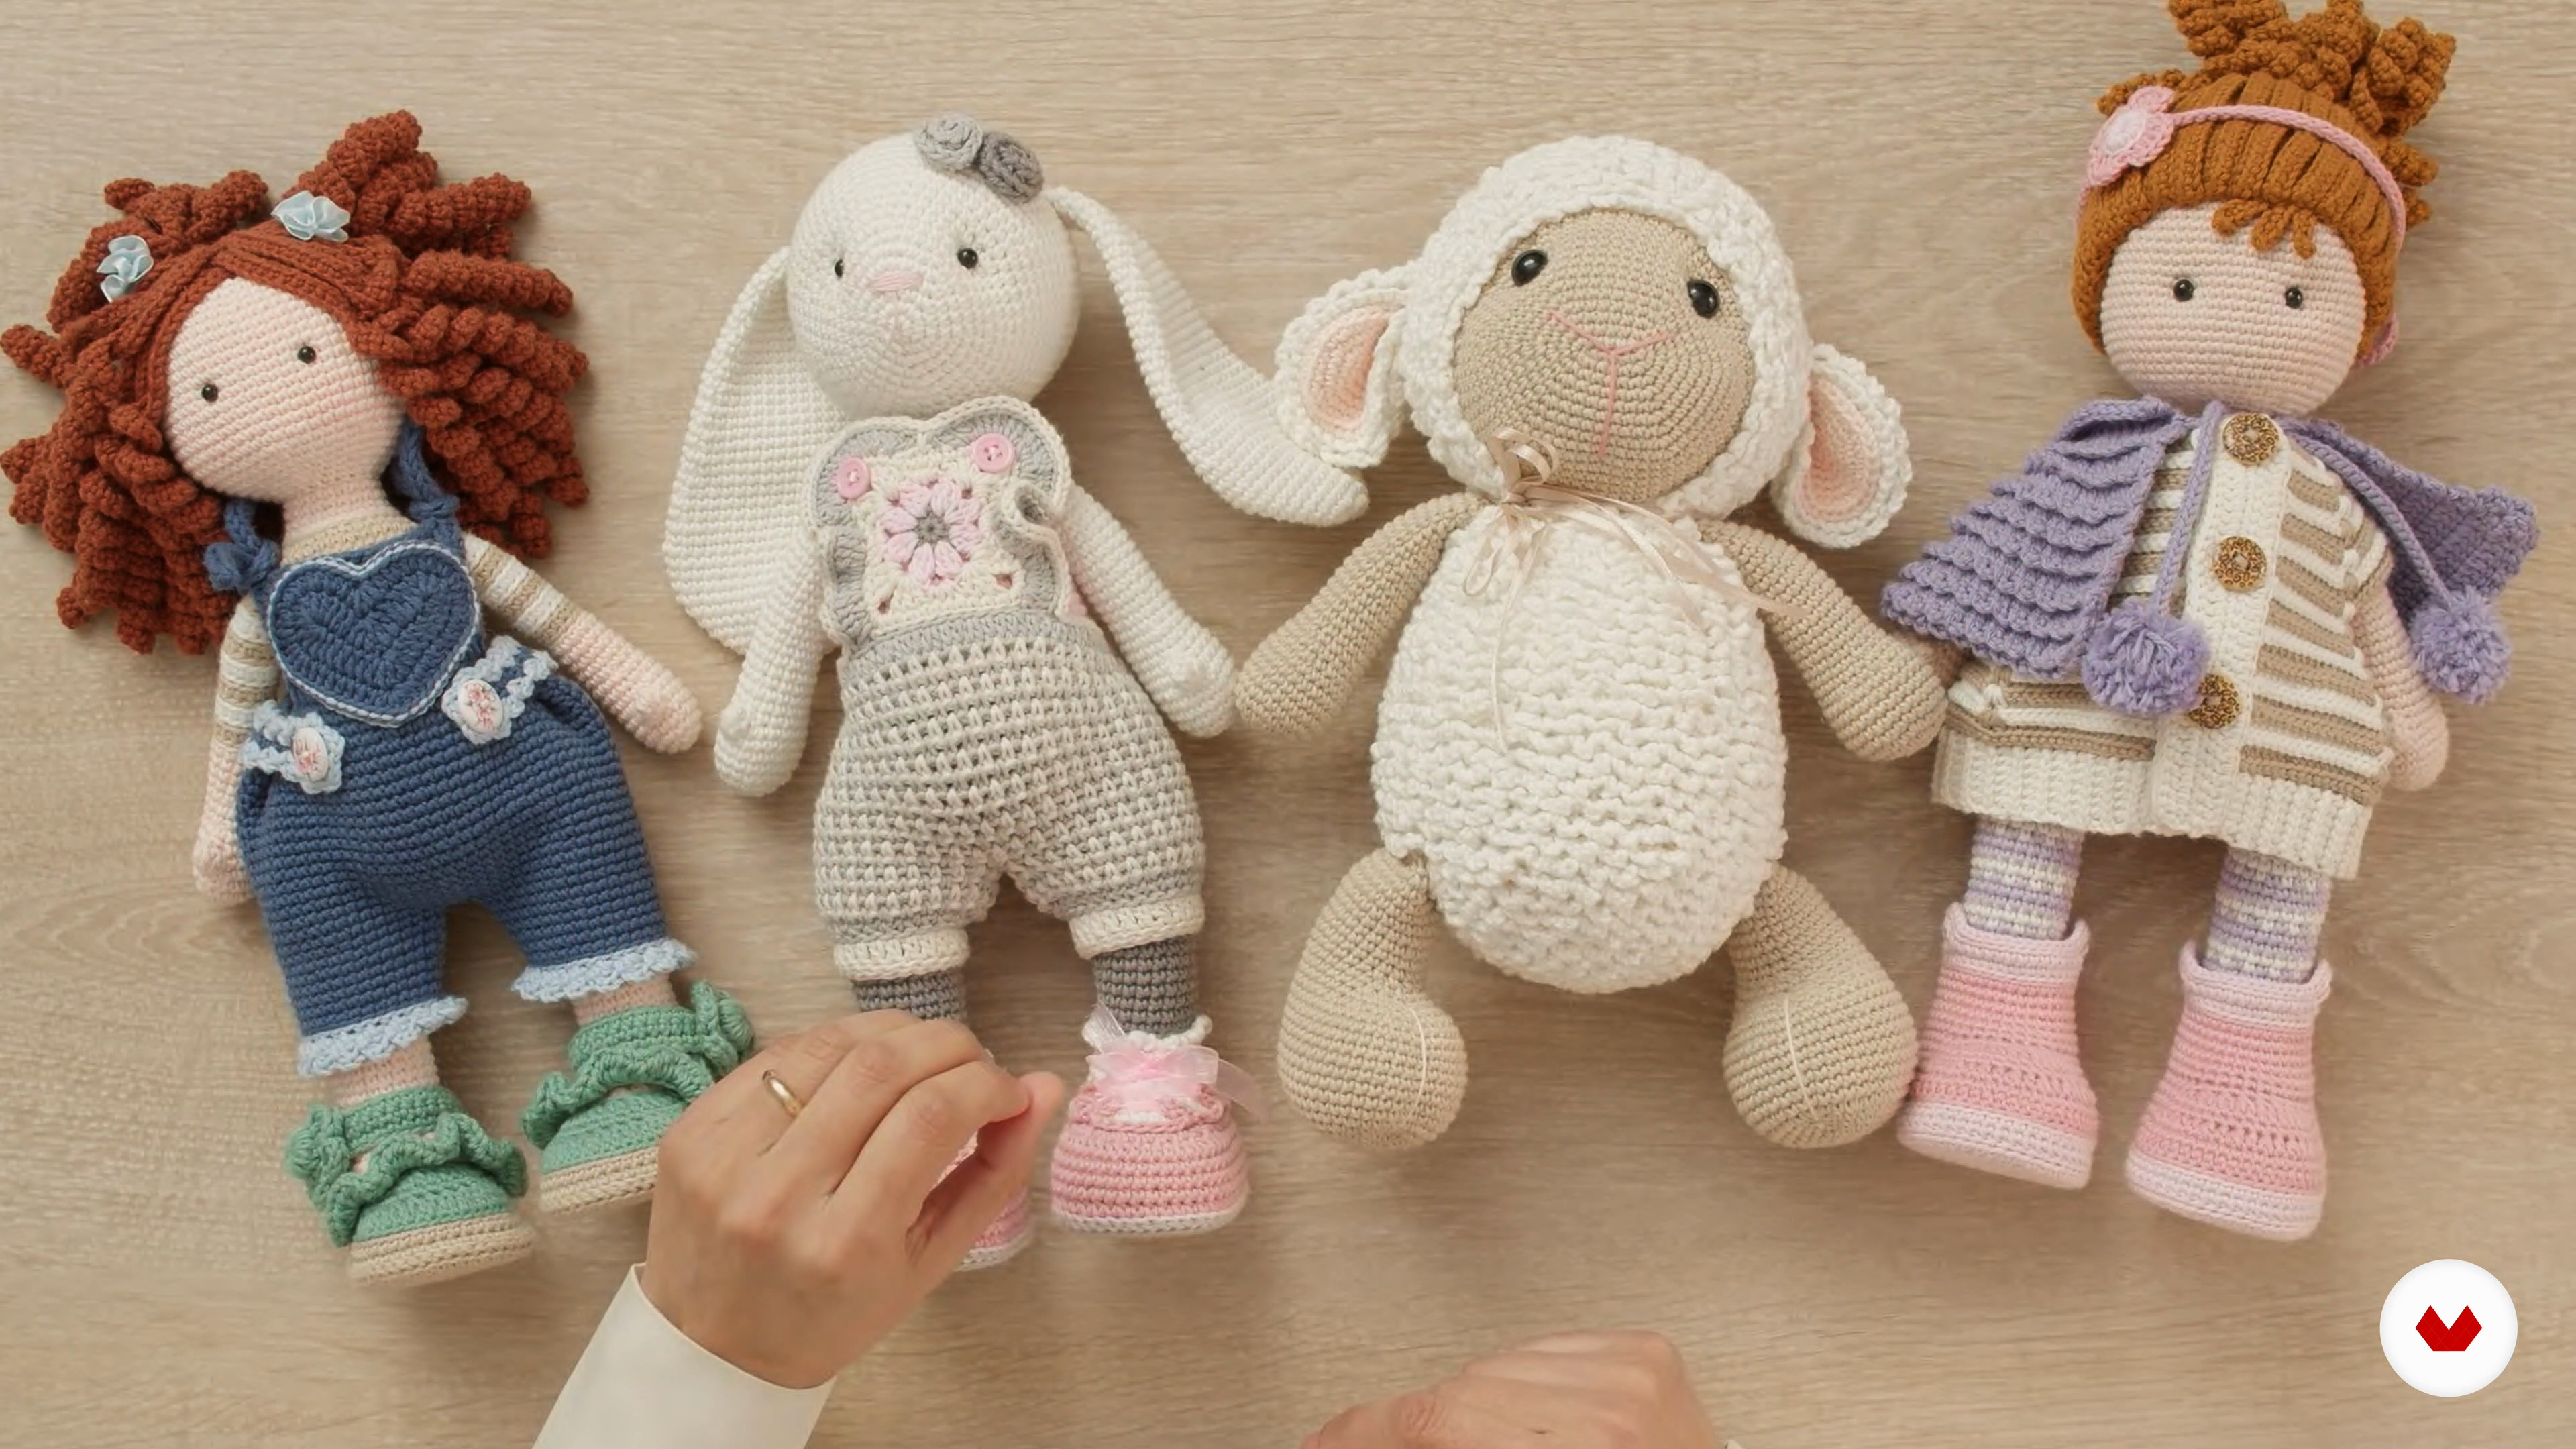
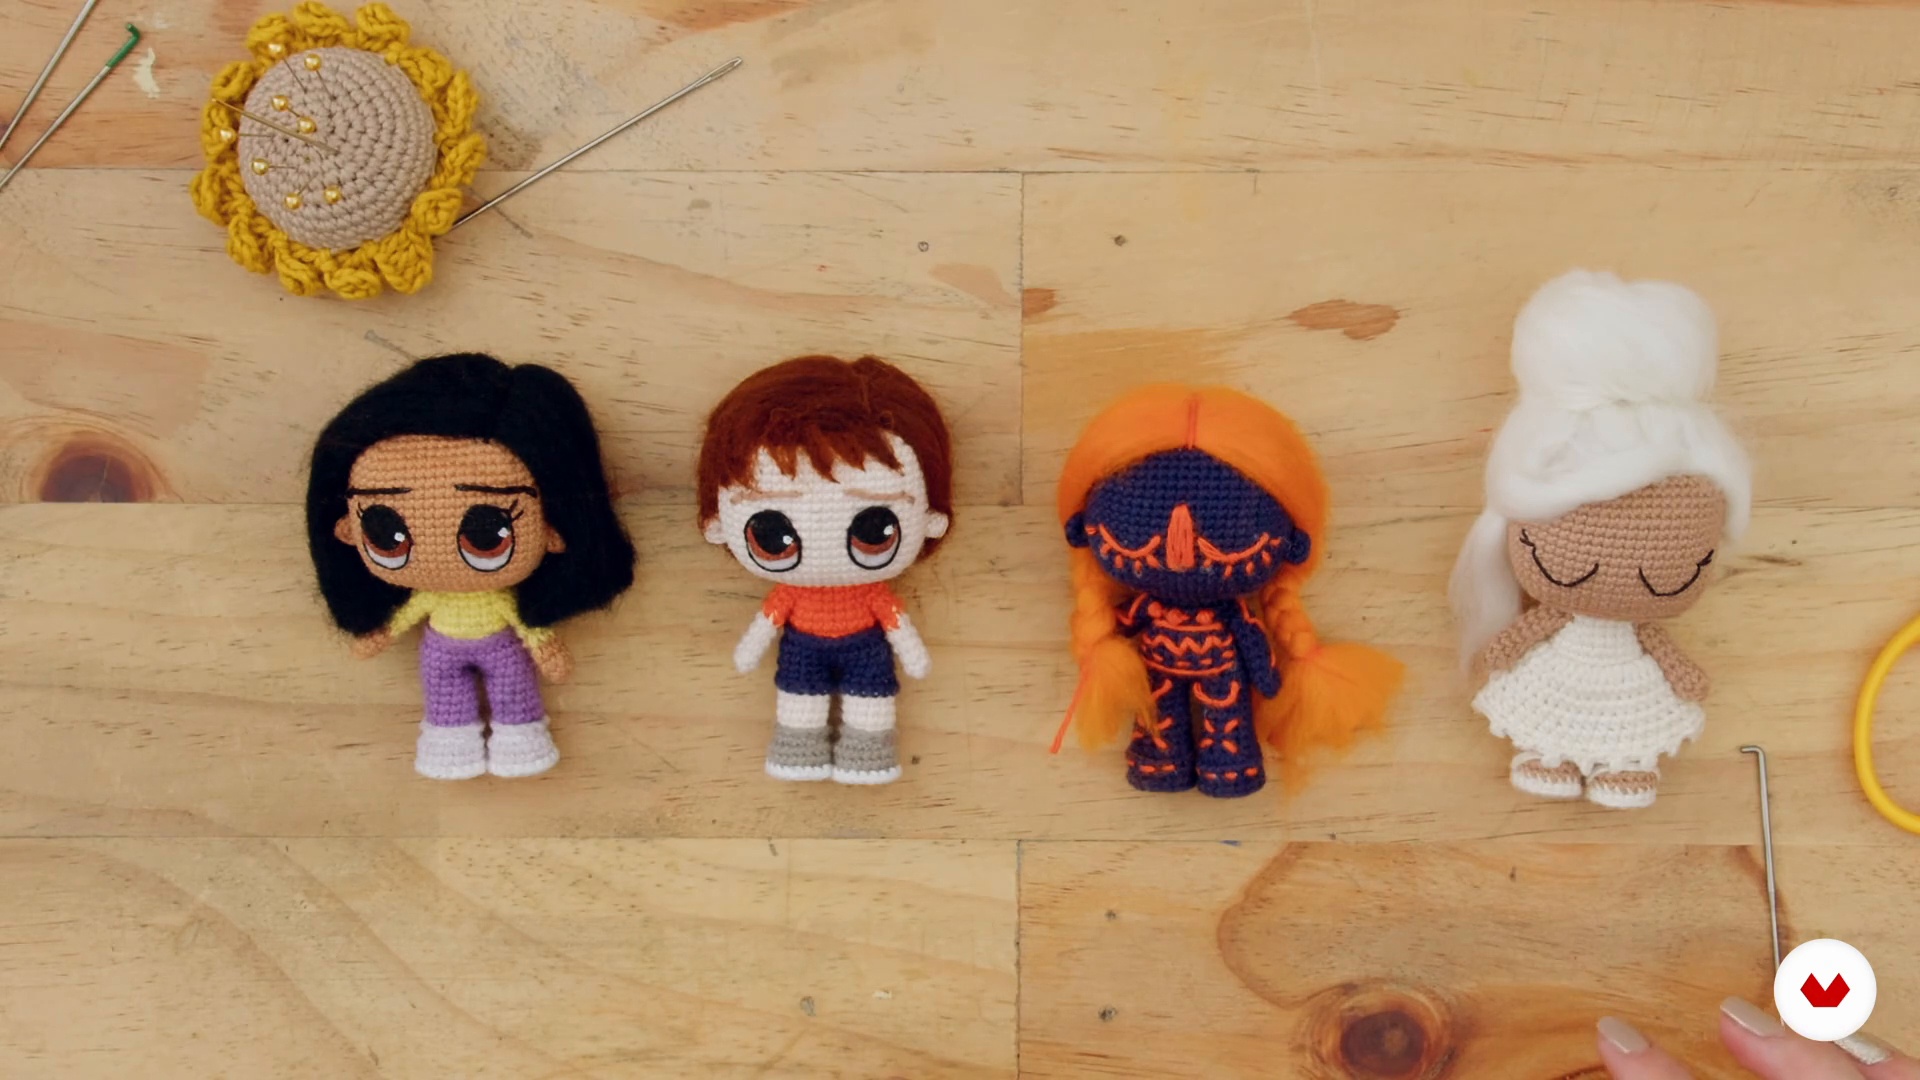
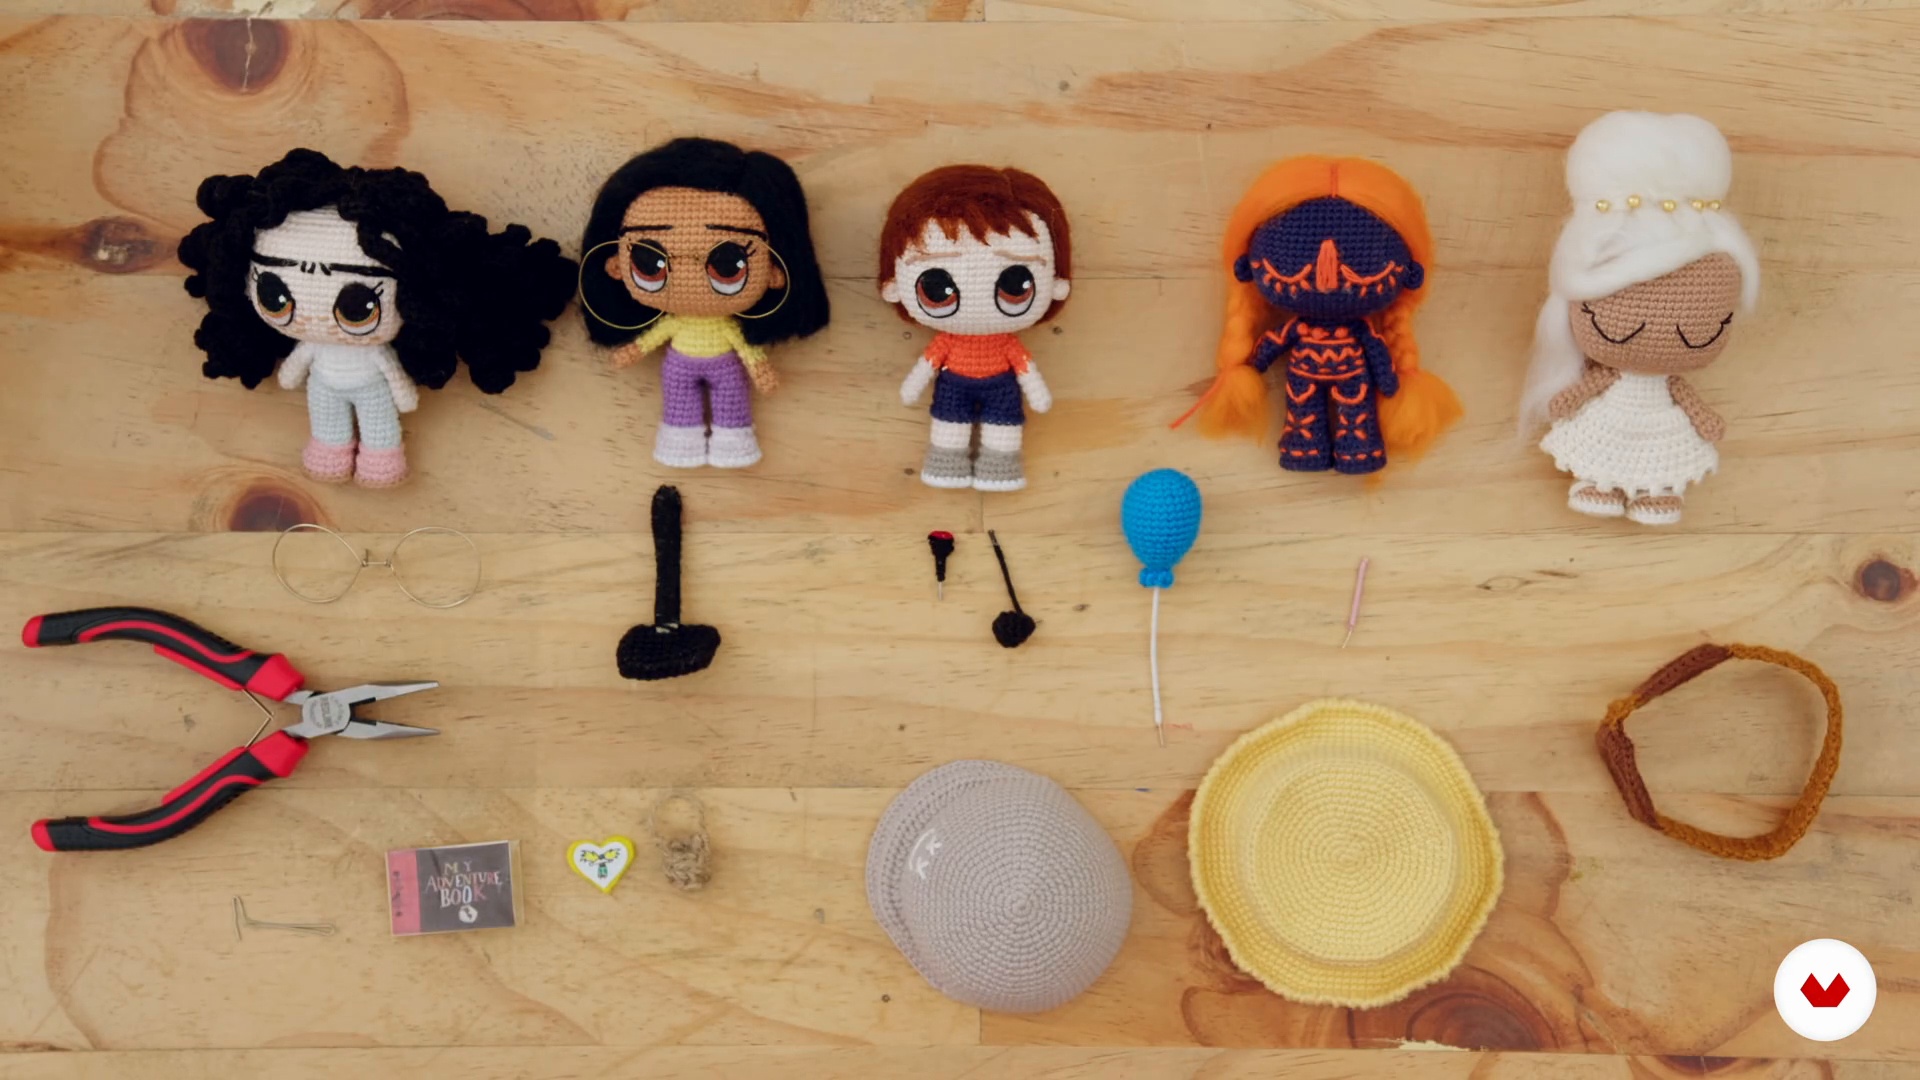
Personalize your creations with clothing, hair, and accessories that give your amigurumis their personality. Through hands-on projects, develop skills in designing 2D characters, crocheting human figures, and applying a captivating romantic style. Turn crochet into a form of artistic expression while immersing yourself in a creative experience alongside these talented masters.

Read more ↓

What will you learn in this specialization?

A total of 7 modules and 111 lessons
A total of 21h 37m of vídeo lessons
Taught by 5 selected expert teachers
image
1
Introduction
Let's talk about the art of amigurumi, a technique that transforms crochet into creations full of magic and personality. You'll learn to capture your creativity in every piece, creating not only dolls but unique companions. You'll explore the evolution of amigurumi and how it has captured hearts worldwide. As you practice, you'll perfect your technique and delve into a world full of possibilities to express your art and personality.
1m
image
2
Influences / Marcelo Javier Cortés - Príncipe del Crochet
Without inspiration and influences, we really couldn't do much, which is why in this lesson I'll show you my main references when it comes to creating.
4m
image
3
Influences / Leire Villar - Ameskeria
When I was preparing this course, I started thinking about what truly inspires me when creating characters and giving them a style. History, popular culture, stories, cutouts, illustrated books, and games from my childhood are a great source of inspiration for me. I also find inspiration in fashion brands whose imagery and use of color resonate deeply with my style.
4m
image
4
Influences / Nati Dorado - Virreinata
Next, I'm going to tell you about my main influences before coming up with the 2D amigurumi concept, as well as those that continue to influence me today.
5m
image
5
Influences / Tutitas
The root of every creative process lies in inspiration, as it's where the magic begins and the spark that drives us to dream. We can find inspiration in memories, books, other artists, nature, even a feeling! Here we tell you what our inspiration is when we create a new doll.
4m
image
6
Influences / Marcelo Javier Cortés - Príncipe del Crochet
It's very important to seek out sources of inspiration when developing creative work. In this lesson, I'll show you my main inspirations when it comes to knitting.
9m
image
7
Influences / Lhylaraña
We all have our sources of inspiration, which significantly influence our creative process. Now I'll show you my main weaving references and some of the works that inspire me.
5m
image
1
Materials
Do you just go to the store and buy the first yarn you see? No more! In this lesson, I'll talk about materials, their compositions, thicknesses, and the importance of achieving different results.
14m
image
2
Ways to start an amigurumi 1
If you've crocheted amigurumis before, you'll know what a magic ring is, but chain work probably sounds a bit out of place. In this lesson, you'll learn other ways to start an amigurumi, other than the classic ring.
8m
image
3
Ways to start an amigurumi 2
I will continue showing you different ways to start amigurumi.
12m
image
4
Increases, decreases, planes and diagonals 1
Increases and decreases are everything in amigurumi, so mastering them is almost 70% of designing shapes independently. In this lesson, I'll explain flat and diagonal increases and decreases.
11m
image
5
Increases, decreases, planes and diagonals 2
During this second part of the lesson you will continue learning different ways to increase and decrease.
9m
image
6
It's All About Size: Craft Yarn Council
Have you ever wanted to modify the size of an amigurumi? I'm sure you have. That's why, in this lesson, I'll talk about the Craft Yarn Council's weight chart and my adaptation of this chart for amigurumi.
15m
image
7
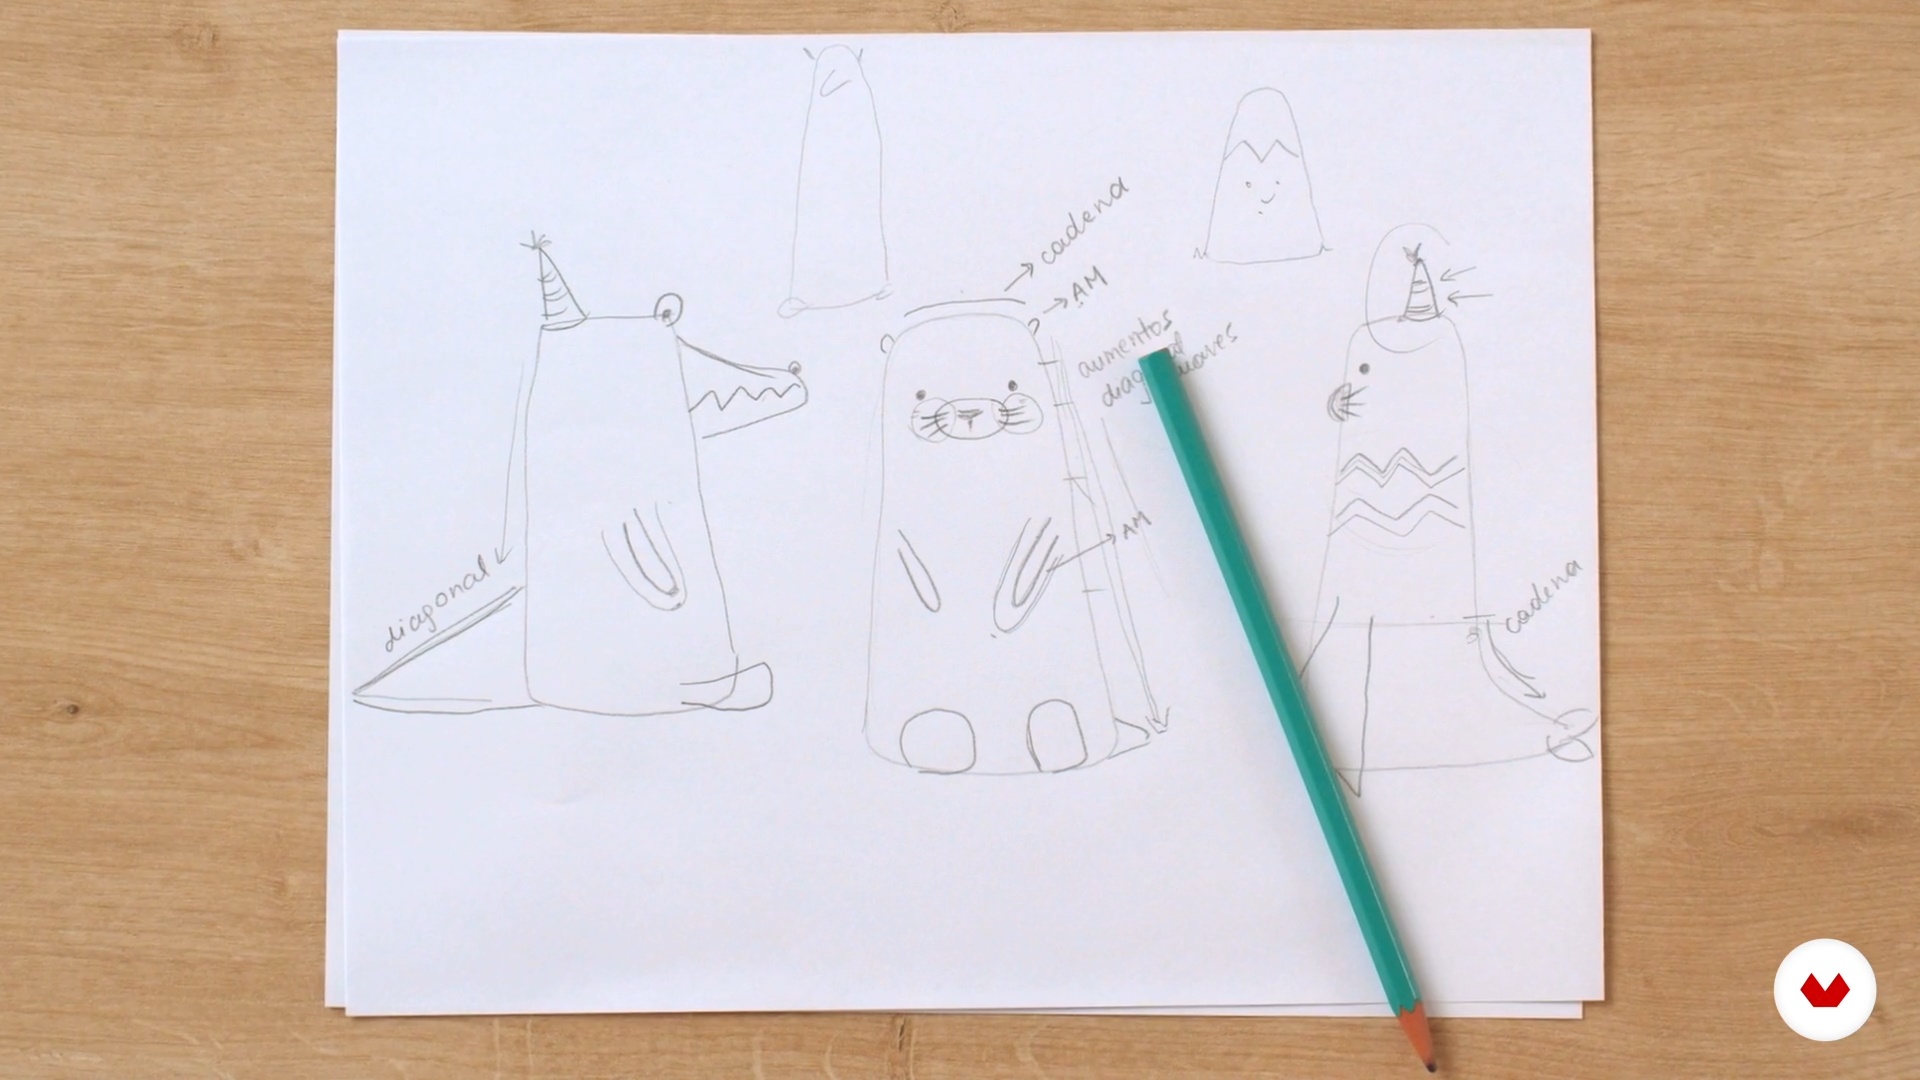
Deconstruct the design
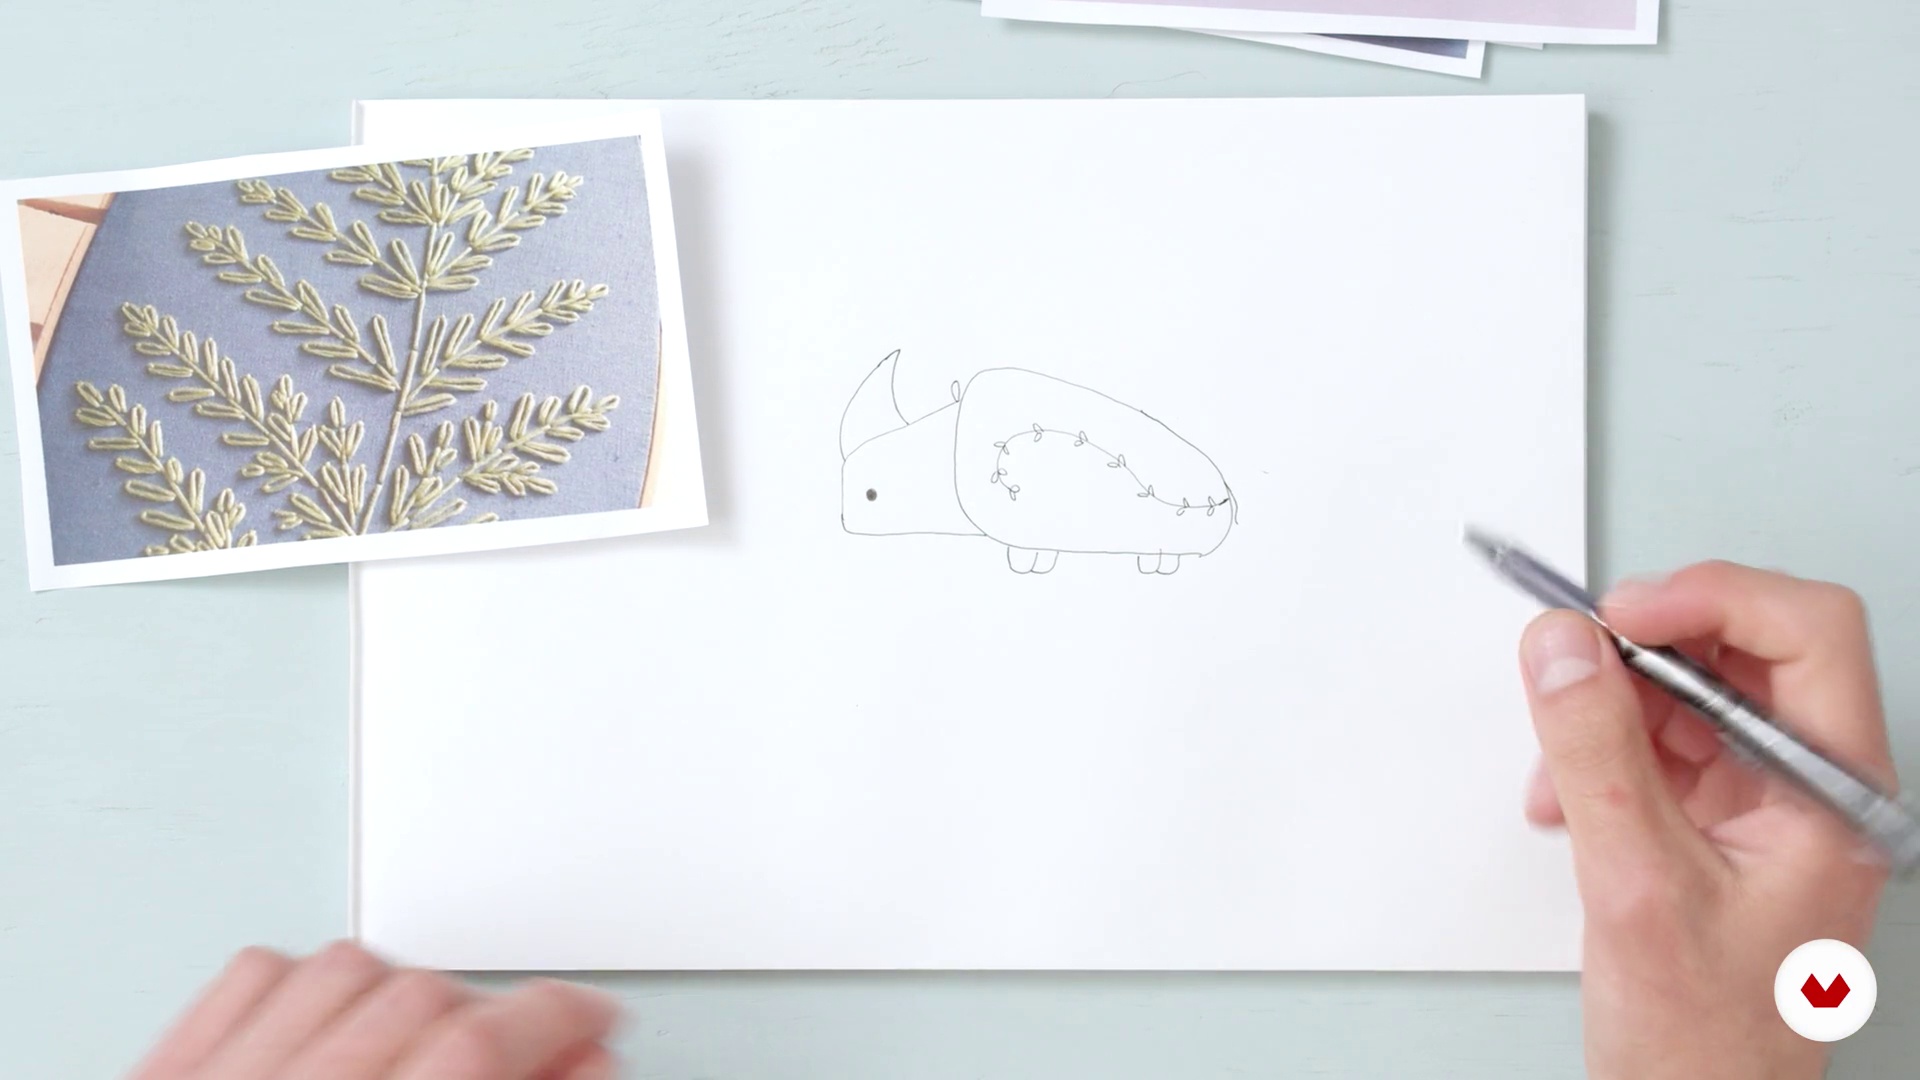
It's always important to draw the pattern before knitting it. In this lesson, I'll show you how I do it; and especially, how you can identify the techniques you'll be using.
11m
image
8
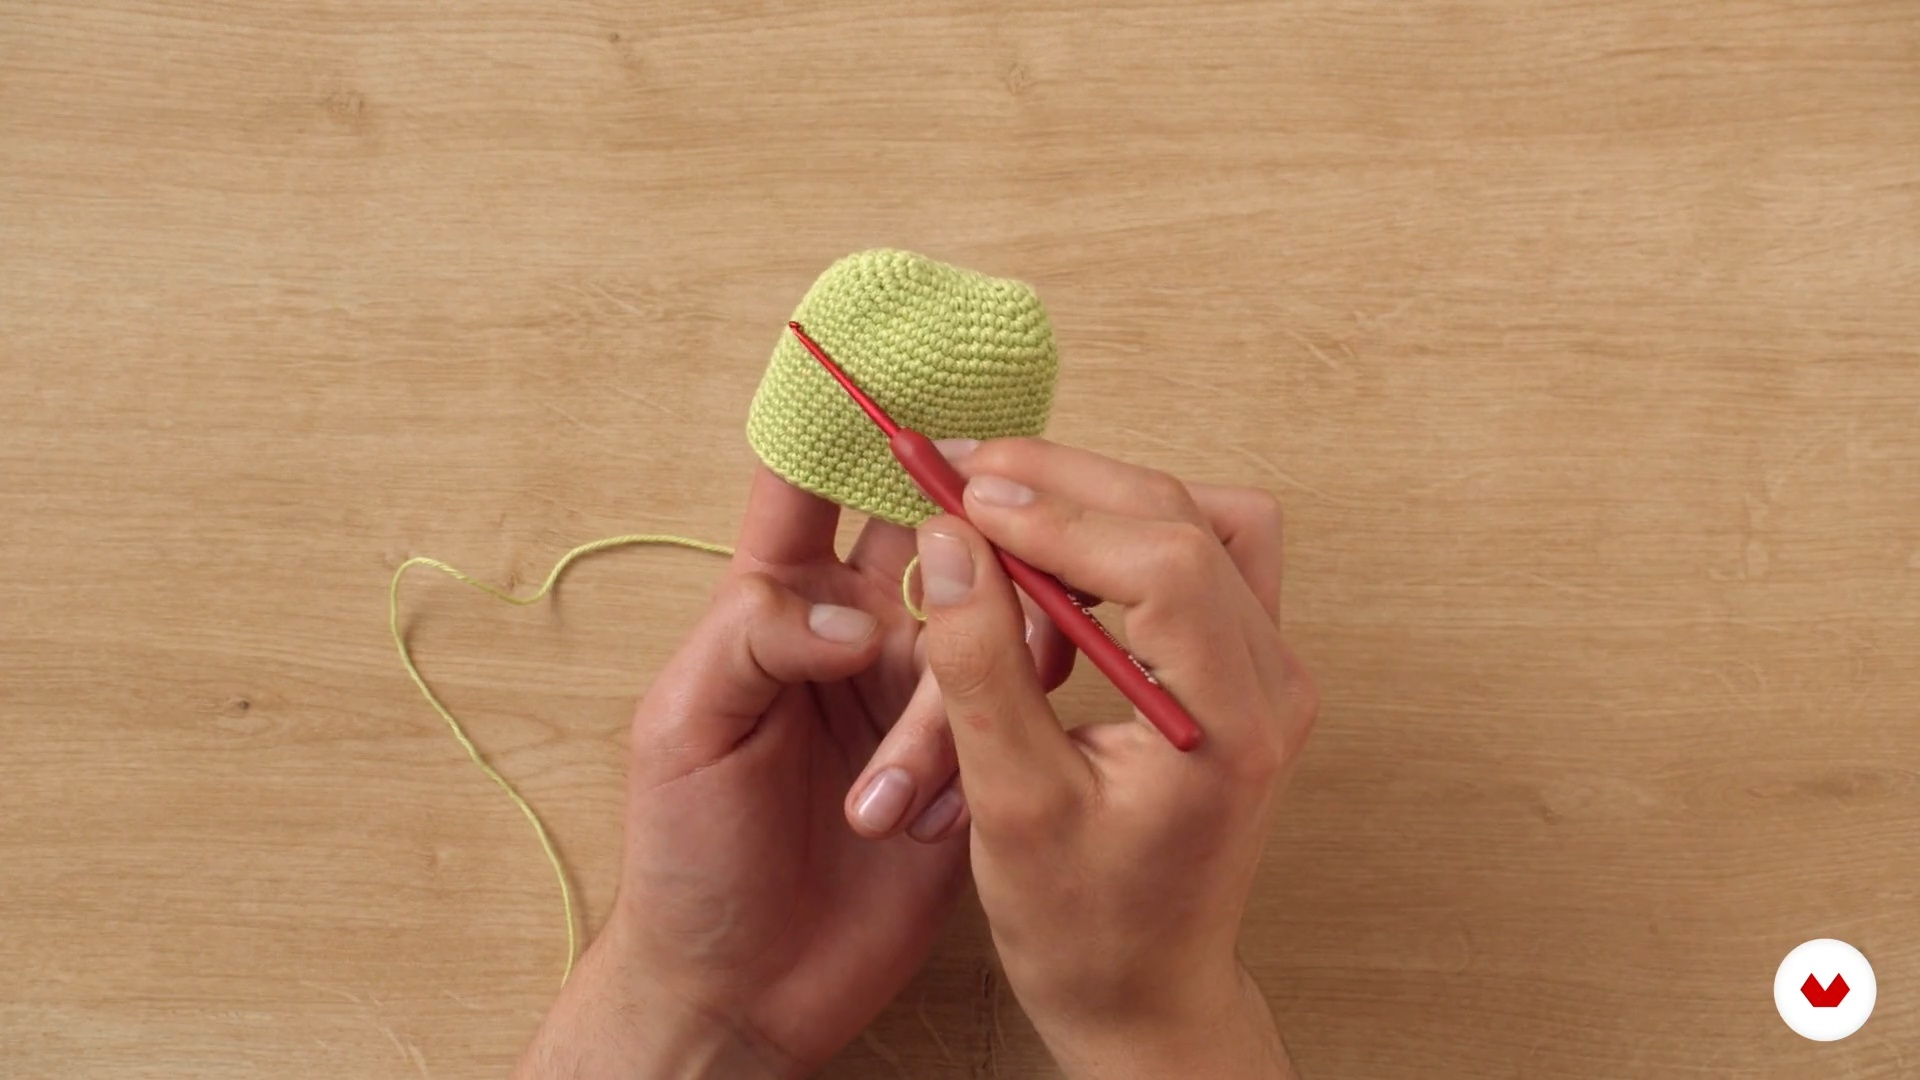
Base figure 1
Now I'll show you how to start the head, following the previously written pattern. You'll also see how I'll progress through the character's body, working in strategic increases to achieve slight growth.
16m
image
9
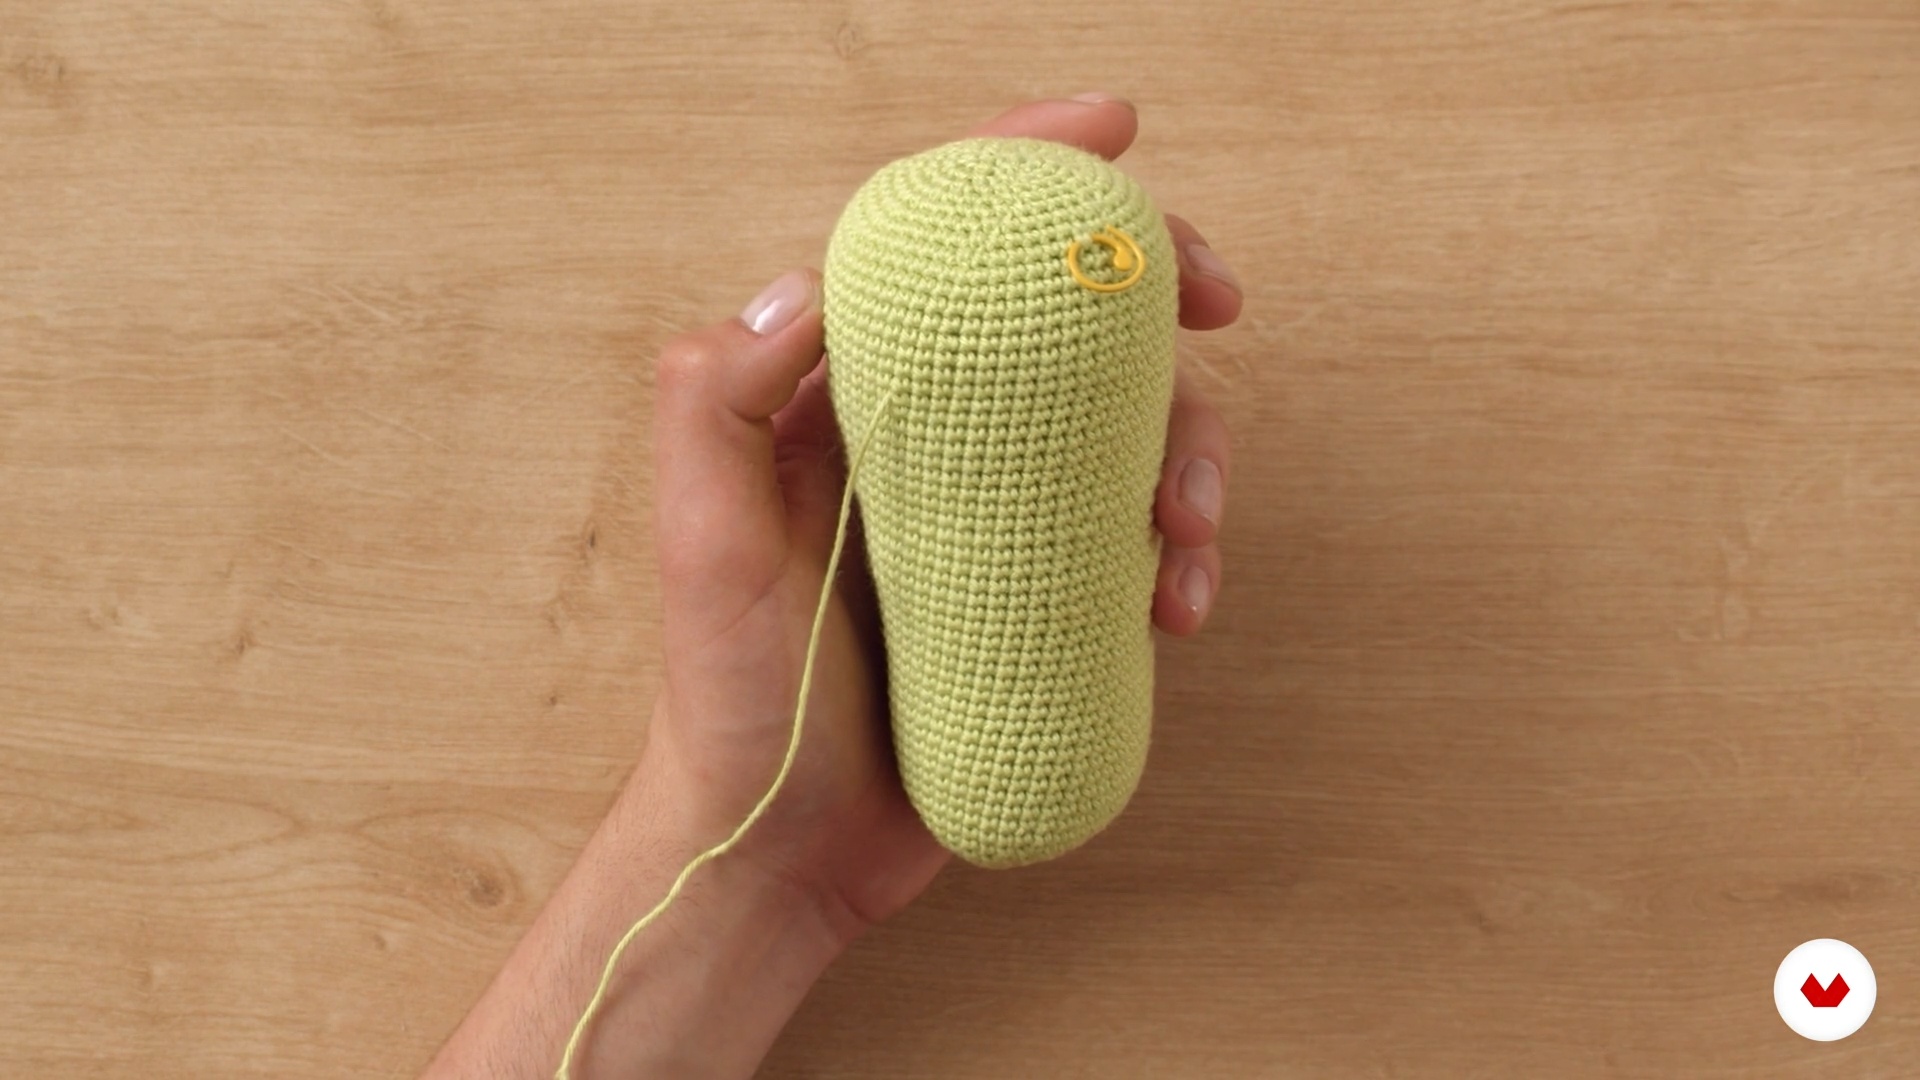
Base figure 2
Here you will see how to finish the basic amigurumi figure.
16m
image
10
Color work 1
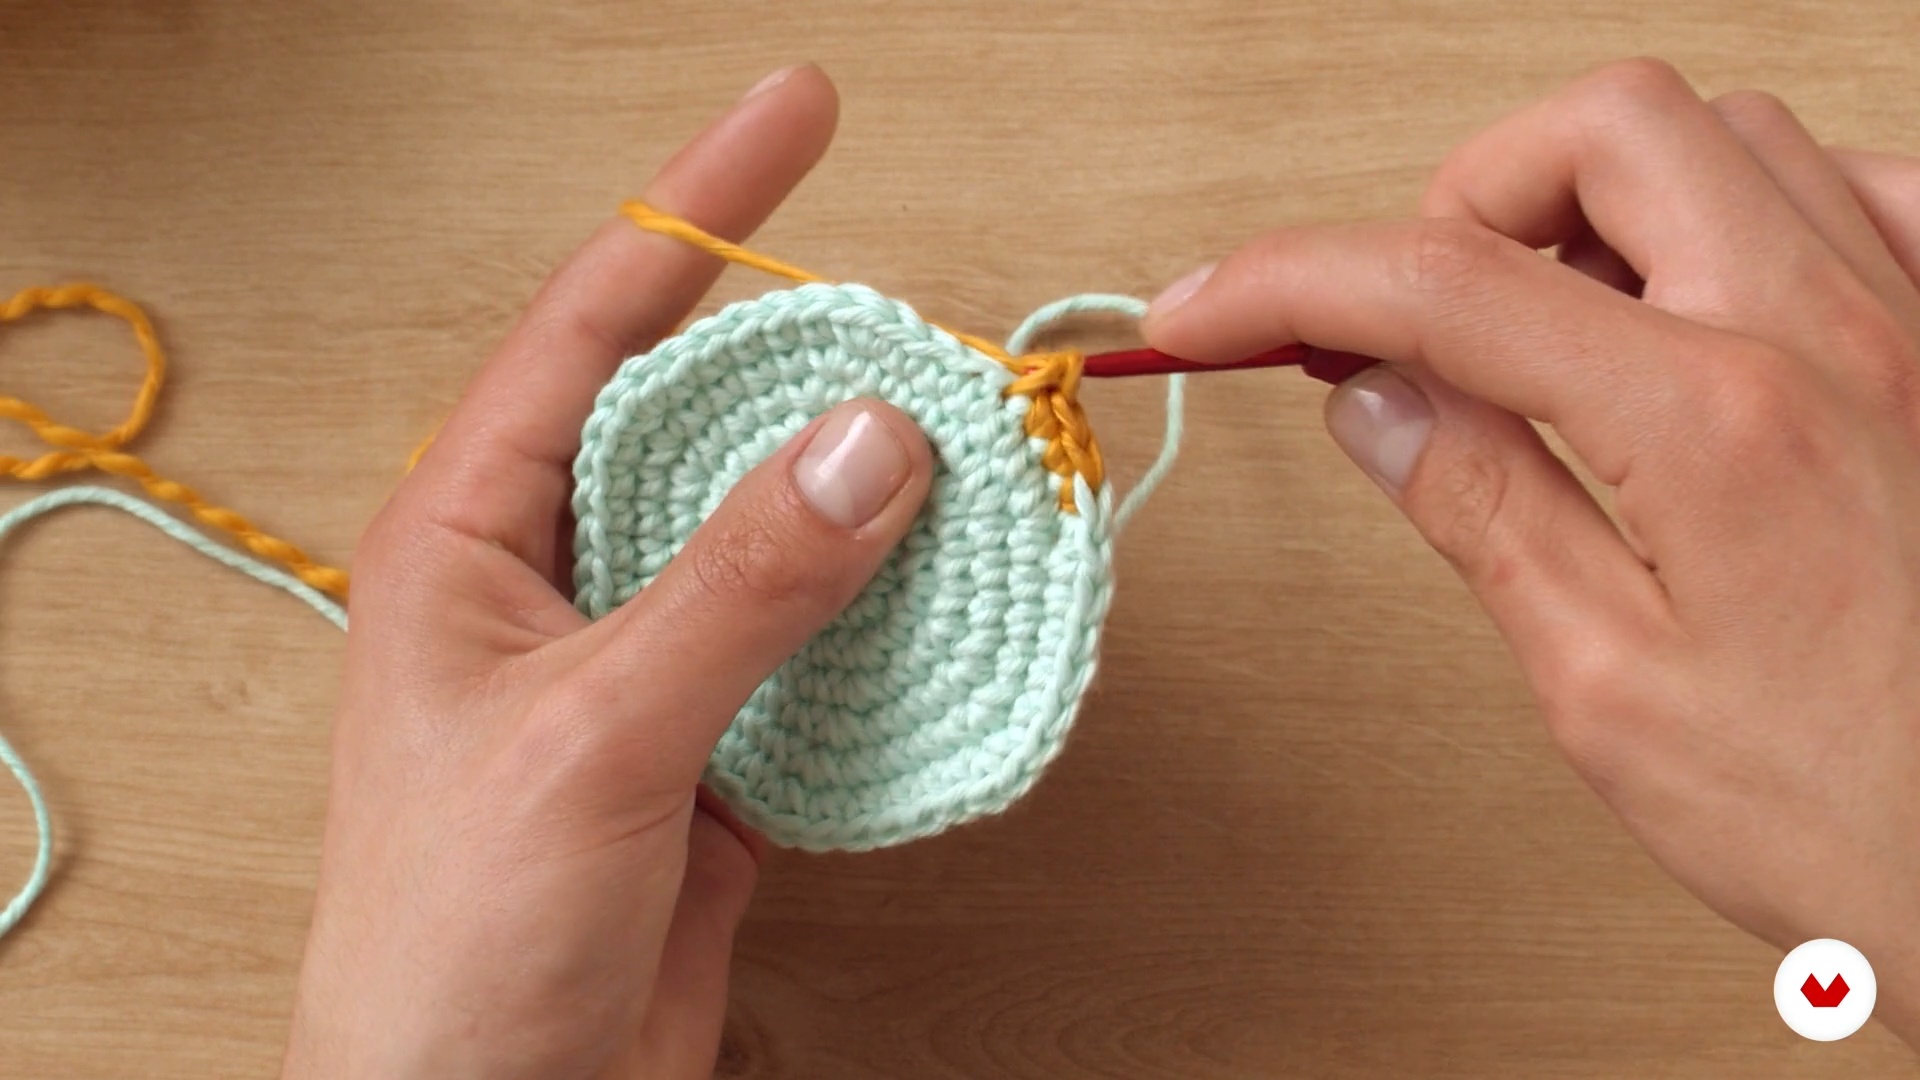
In this lesson, I'll show you how to colorwork an amigurumi to create a variety of colors in the process.
9m
image
11
Colorwork 2
I will explain in detail how to work with colorwork to achieve unique details.
11m
image
12
The tail of the seal
It's unusual to see such a prominent deviation in the knitting. Here I'll explain how to knit a deviation to form the seal's tail.
13m
image
13
Paws, hands and eyes 1
A body isn't a character without the details. Therefore, I'll teach you how to crochet all the parts that will give your amigurumi its personality. During this first part, you'll learn how to make the legs and hands.
15m
image
14
Paws, hands and eyes 2
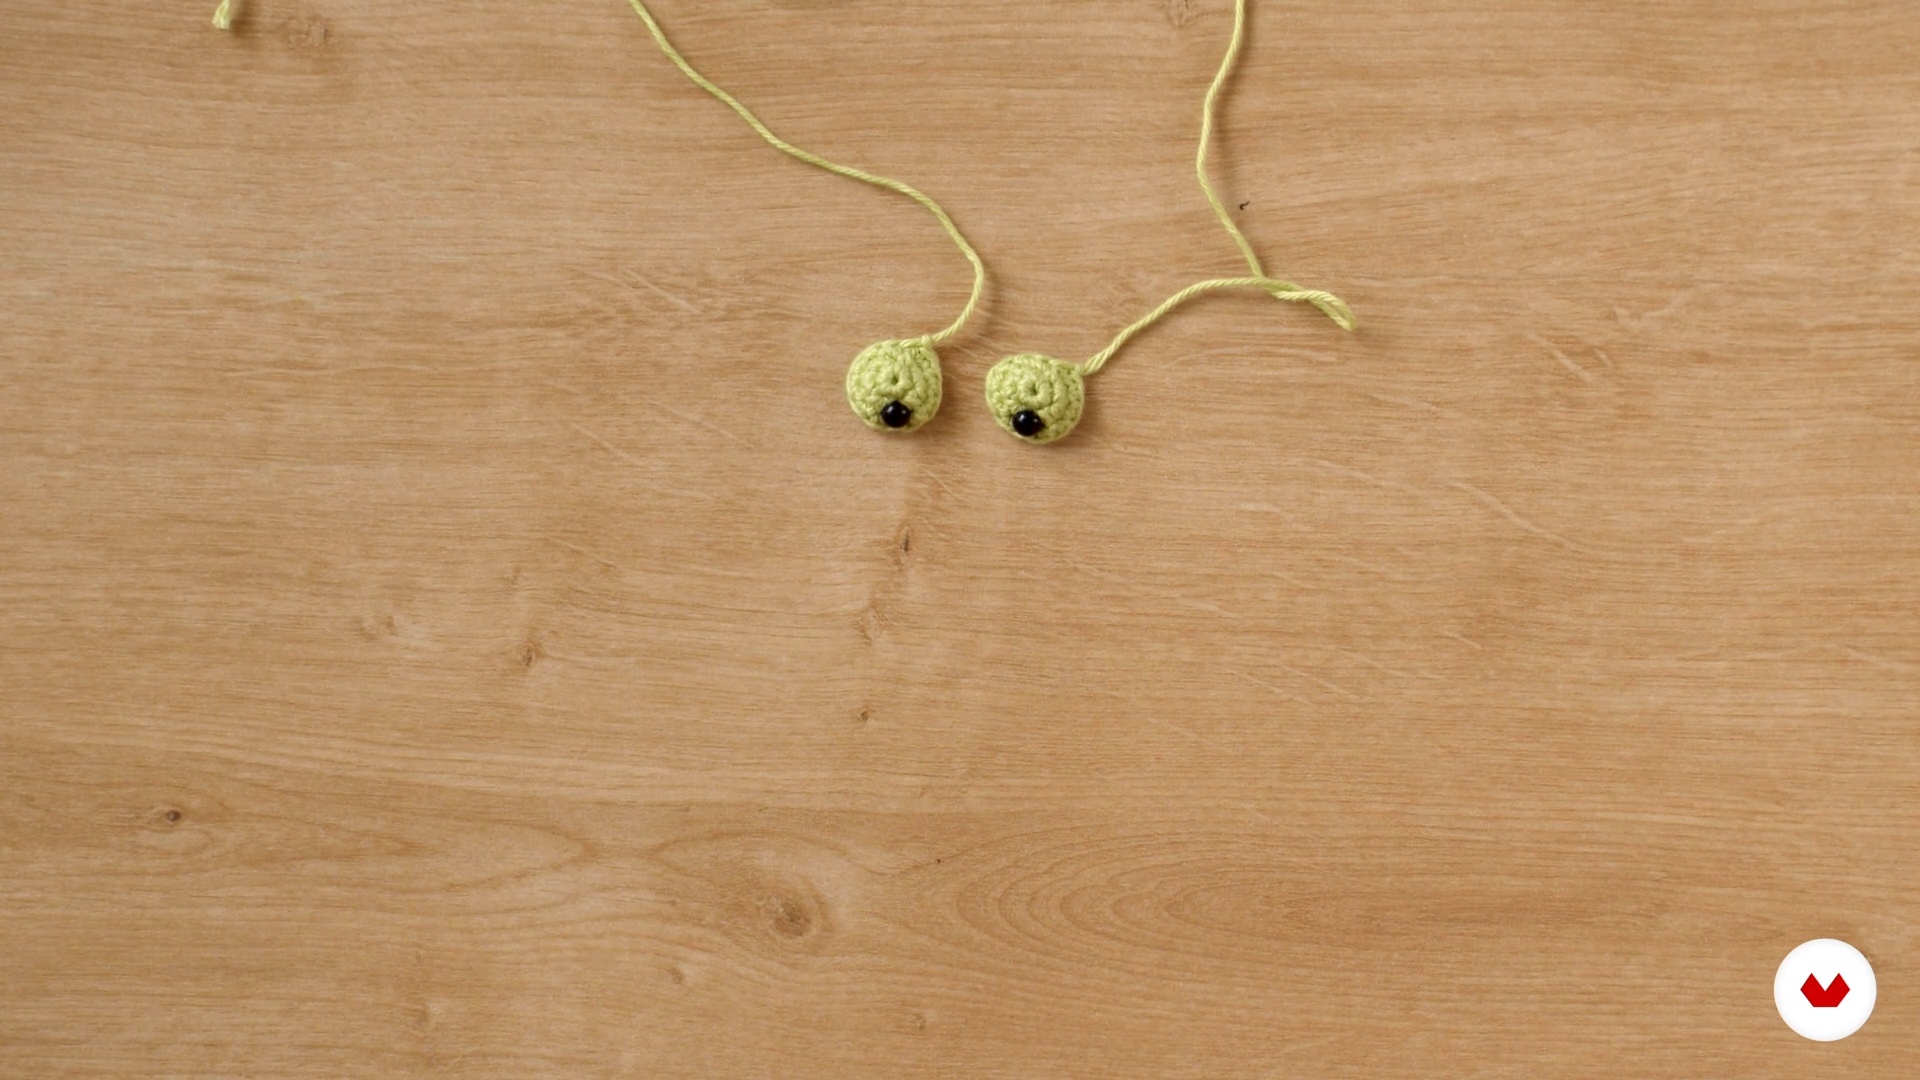
In this lesson, I will show you how to make amigurumi eyes.
12m
image
15
Snouts, tails and fins
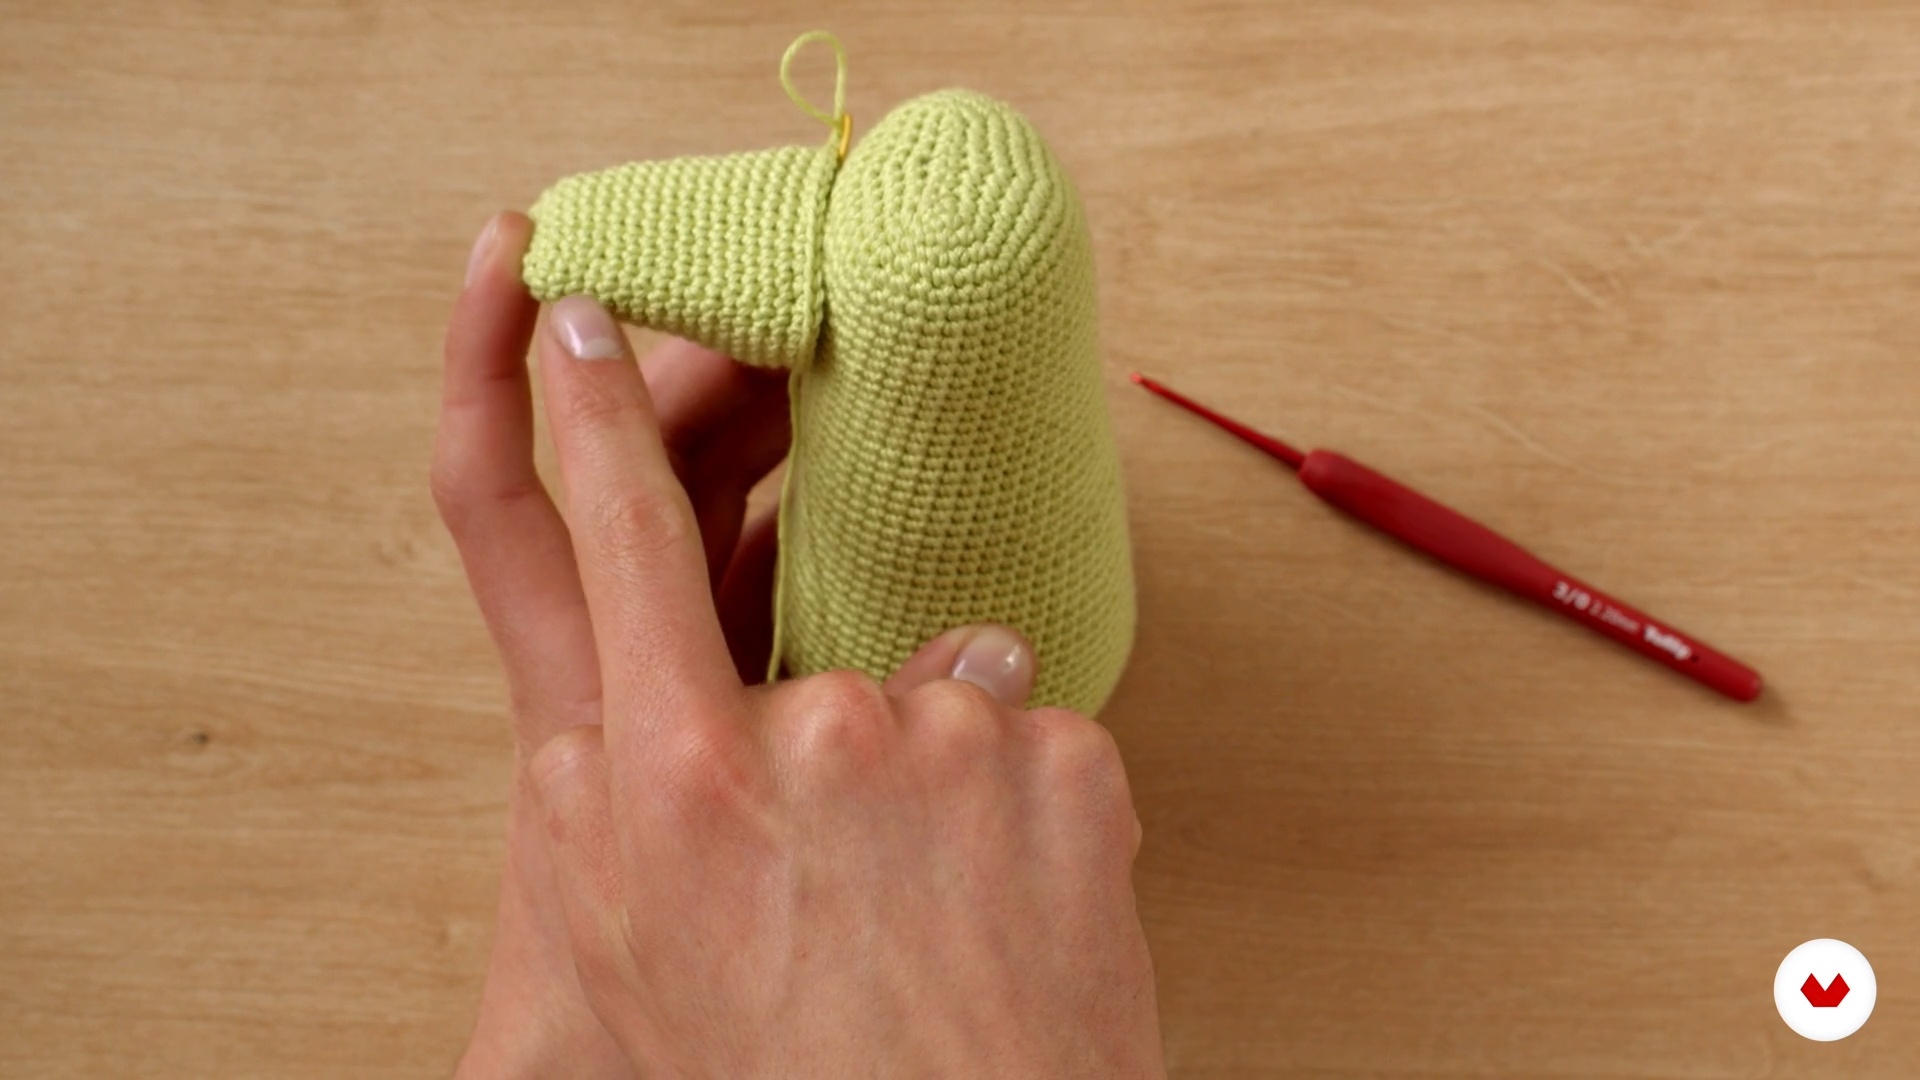
In the previous lesson, you saw some of the elements of the amigurumi body, and in this lesson, I'll show you how to crochet what's missing to give them a clear personality.
18m
image
16
The Assemblage 1
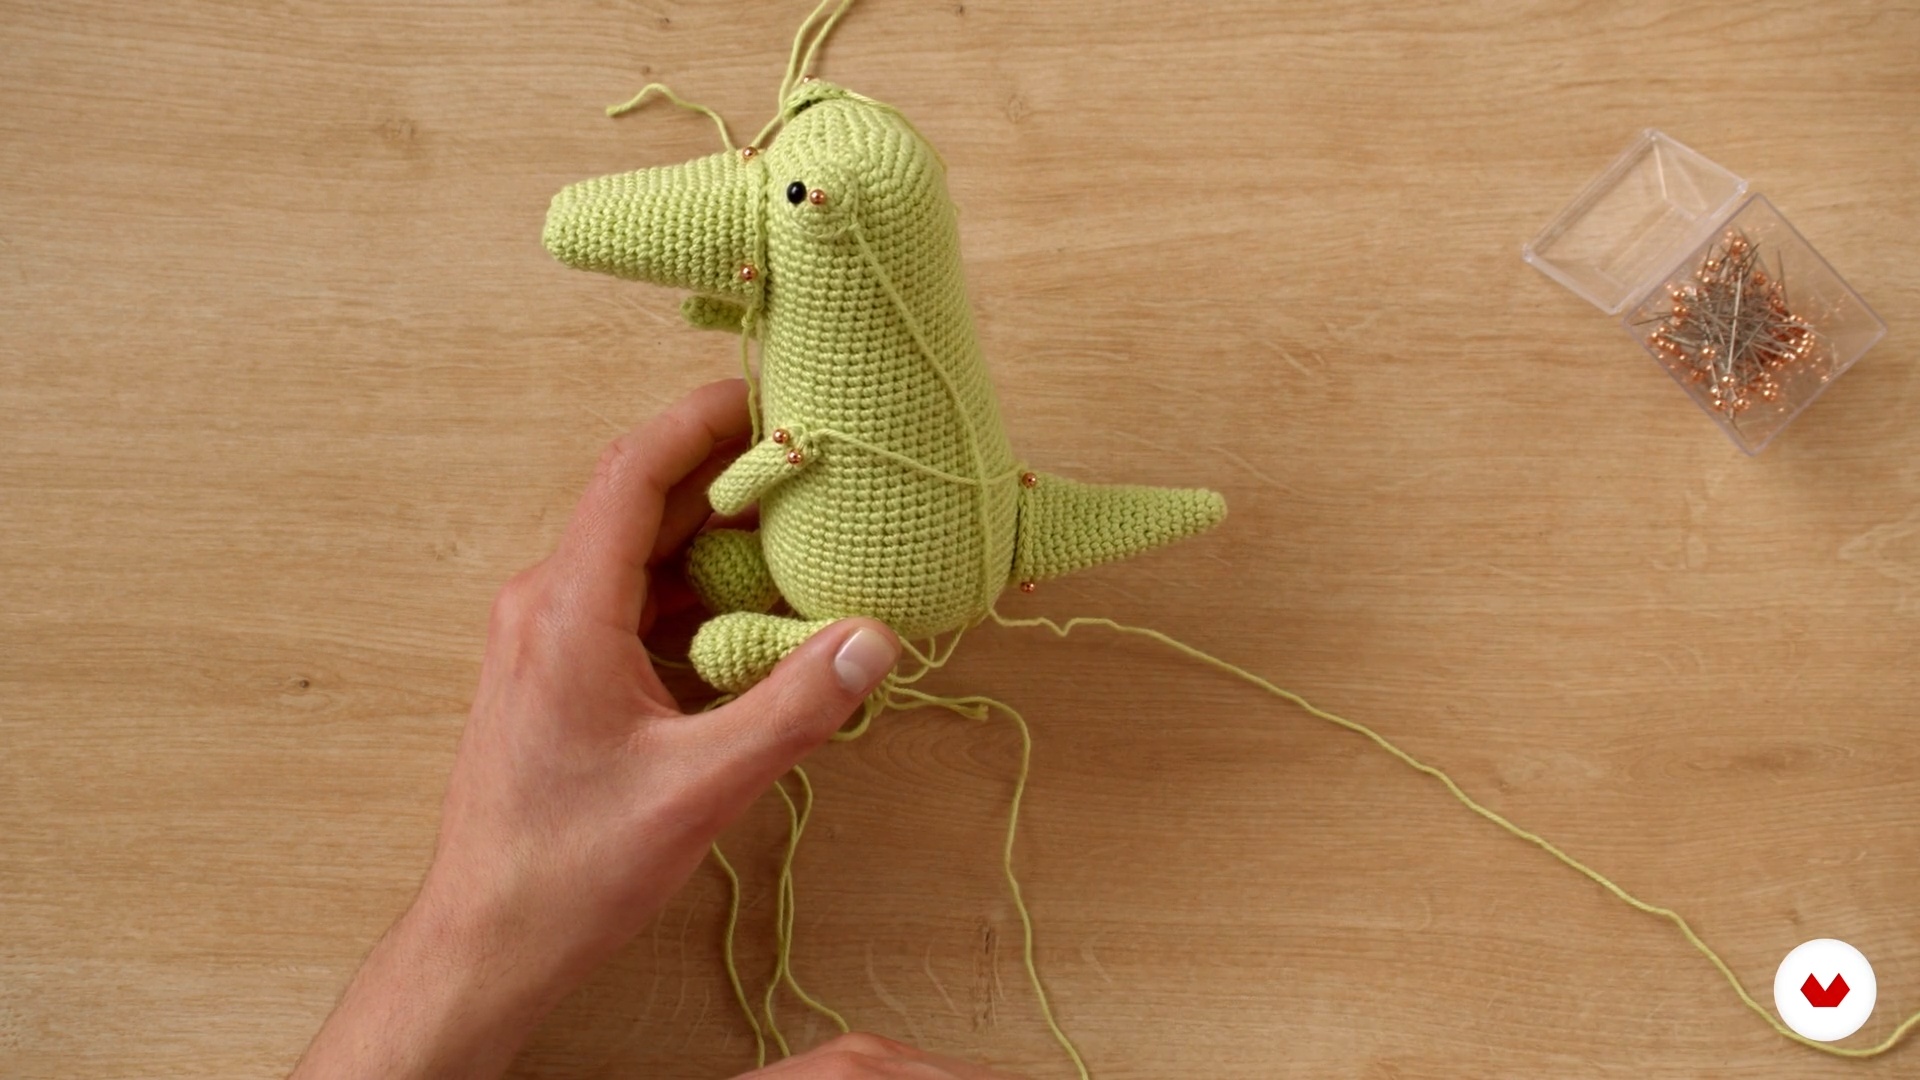
To start, you'll learn how to assemble a piece. I'll show you how placing the pieces in the correct places will give your characters a completely different look.
11m
image
17
The Assemblage 2
You will see how to assemble the rest of the amigurumis.
16m
image
18
Customization 1
The time to experiment has come. In this lesson, I'll show you how pieces can completely transform the amigurumi.
10m
image
19
Customization 2
Finally, you will see what the finished amigurumis look like.
15m
image
1
Color Palette Search
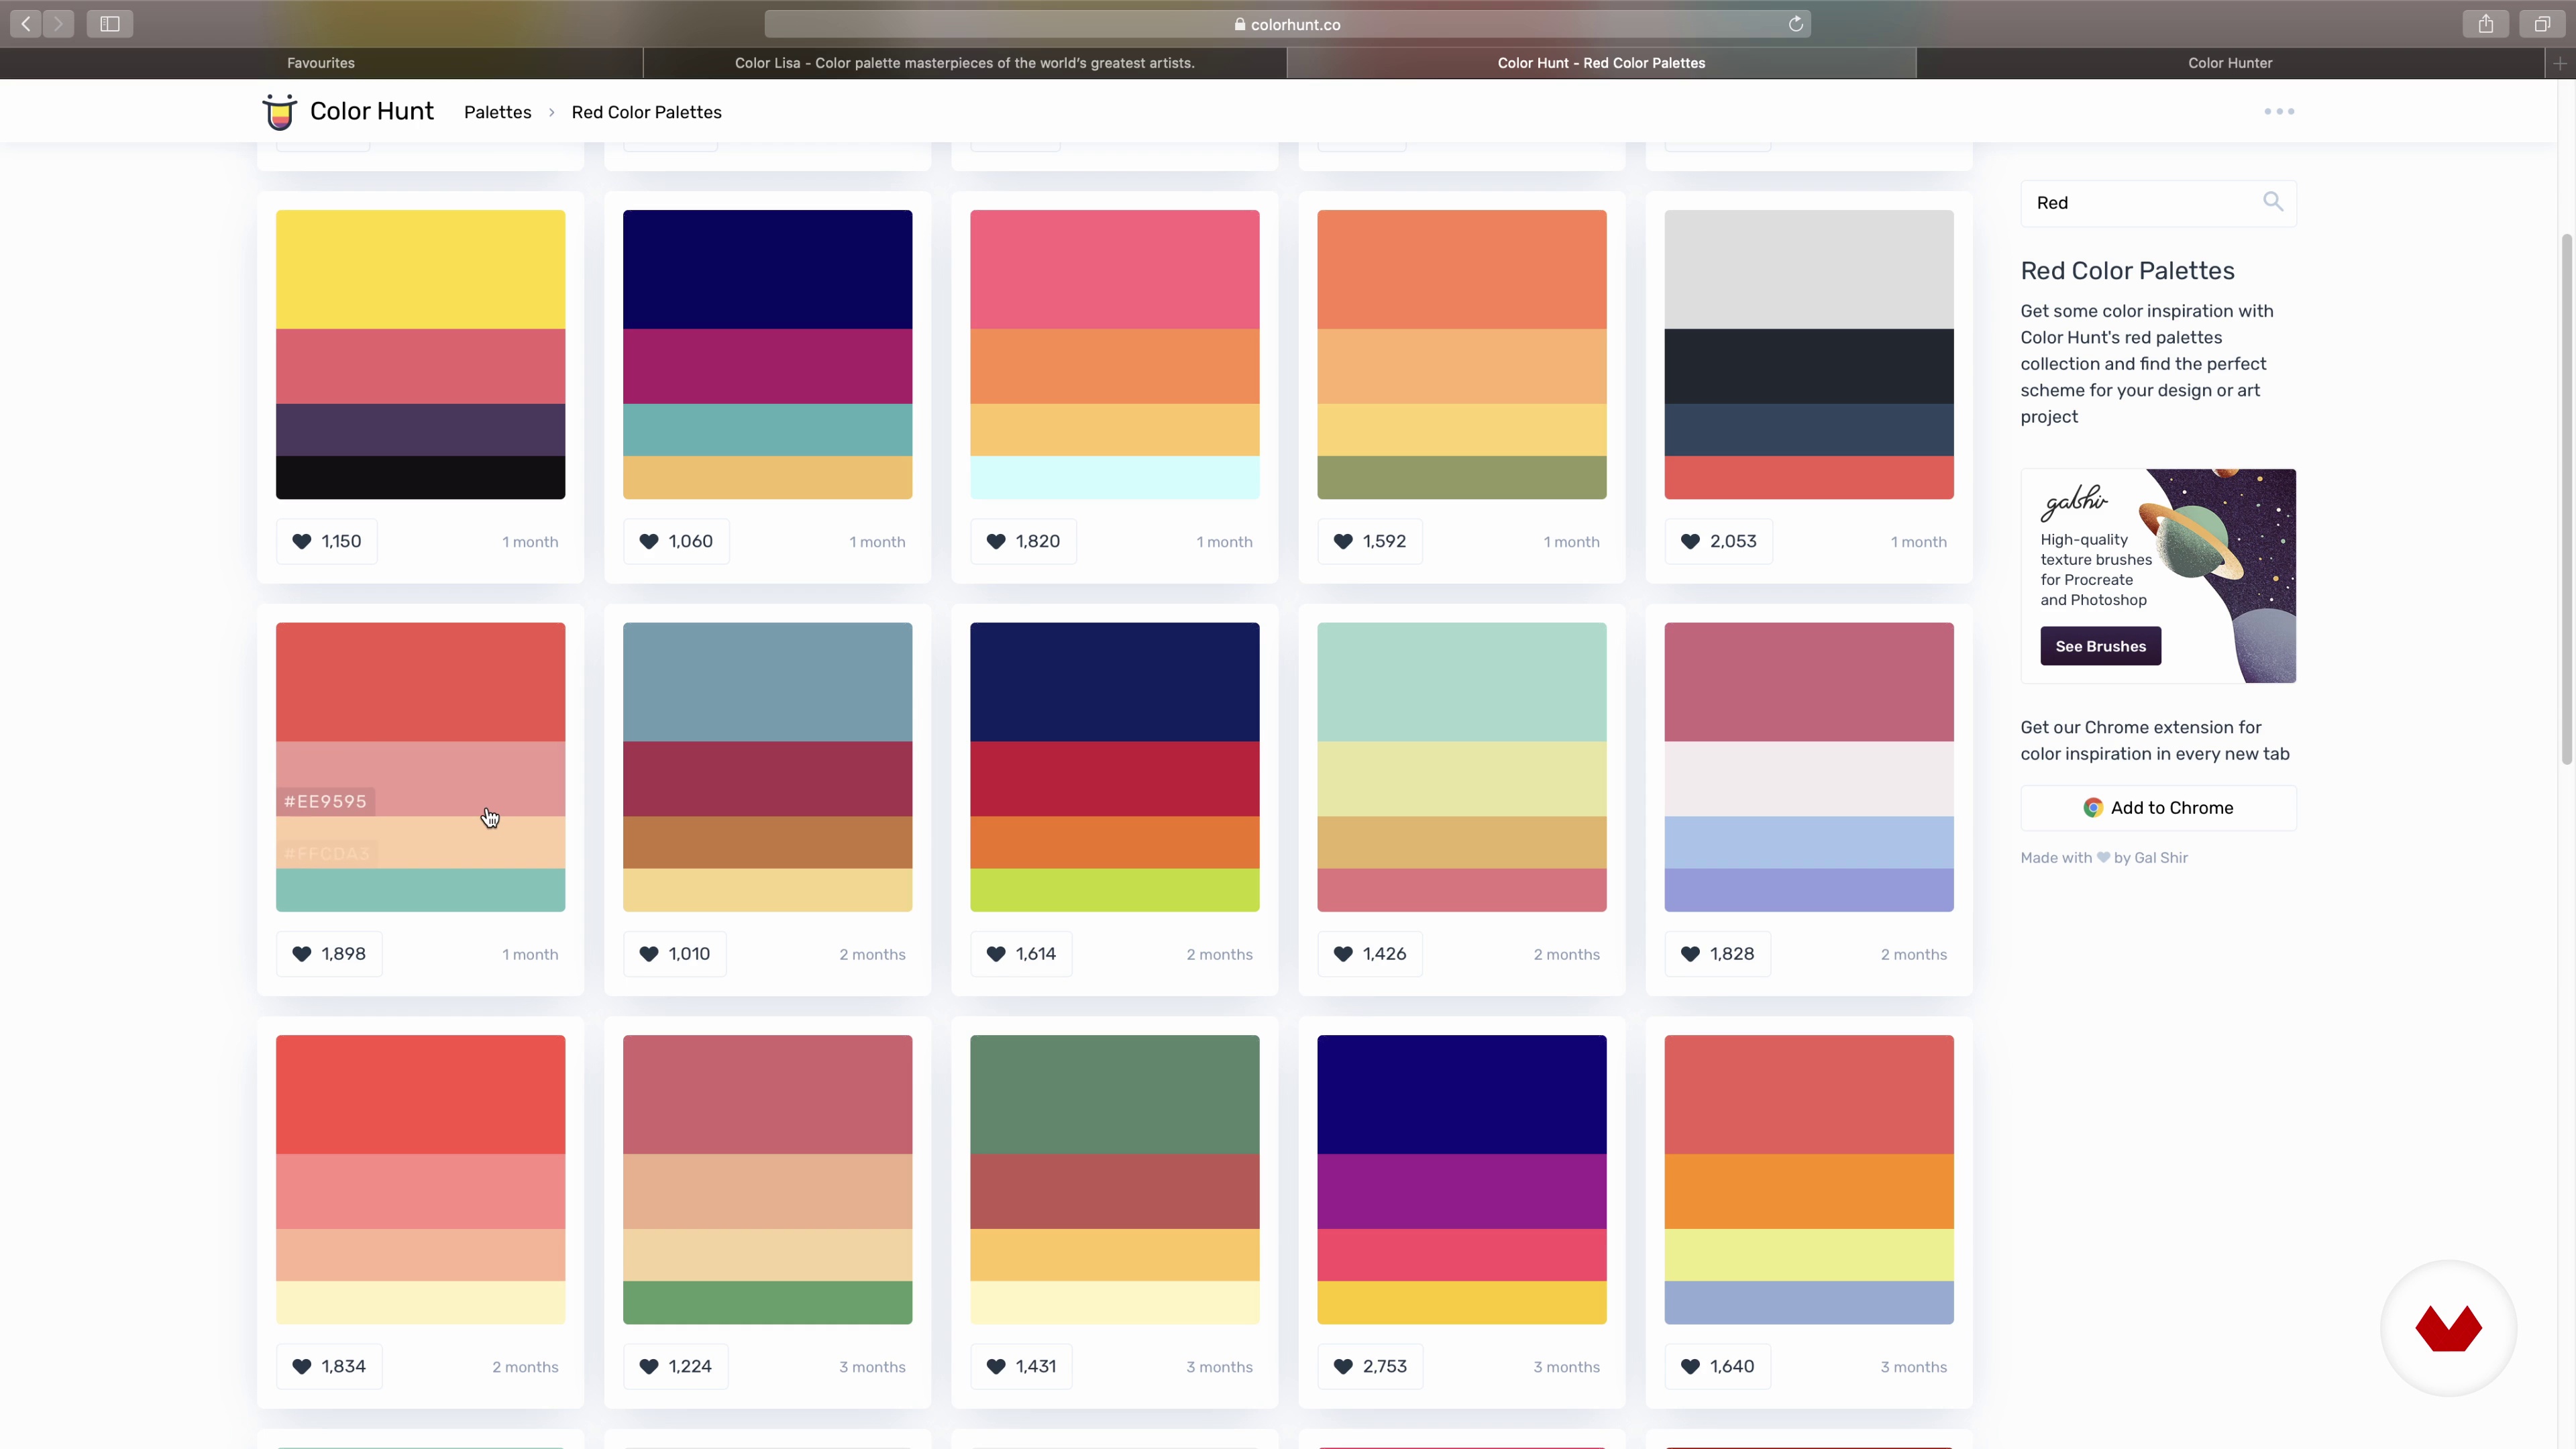
Now that we've talked about all the inspirational things we can look to for ideas to build our characters around, let's find a color palette to work with. We'll look at the book Design Your Color Palettes for Embroidery by Karen Barbé as a resource for learning about color theory. We'll also discover some online tools that can help us choose colors.
8m
image
2
Sketch
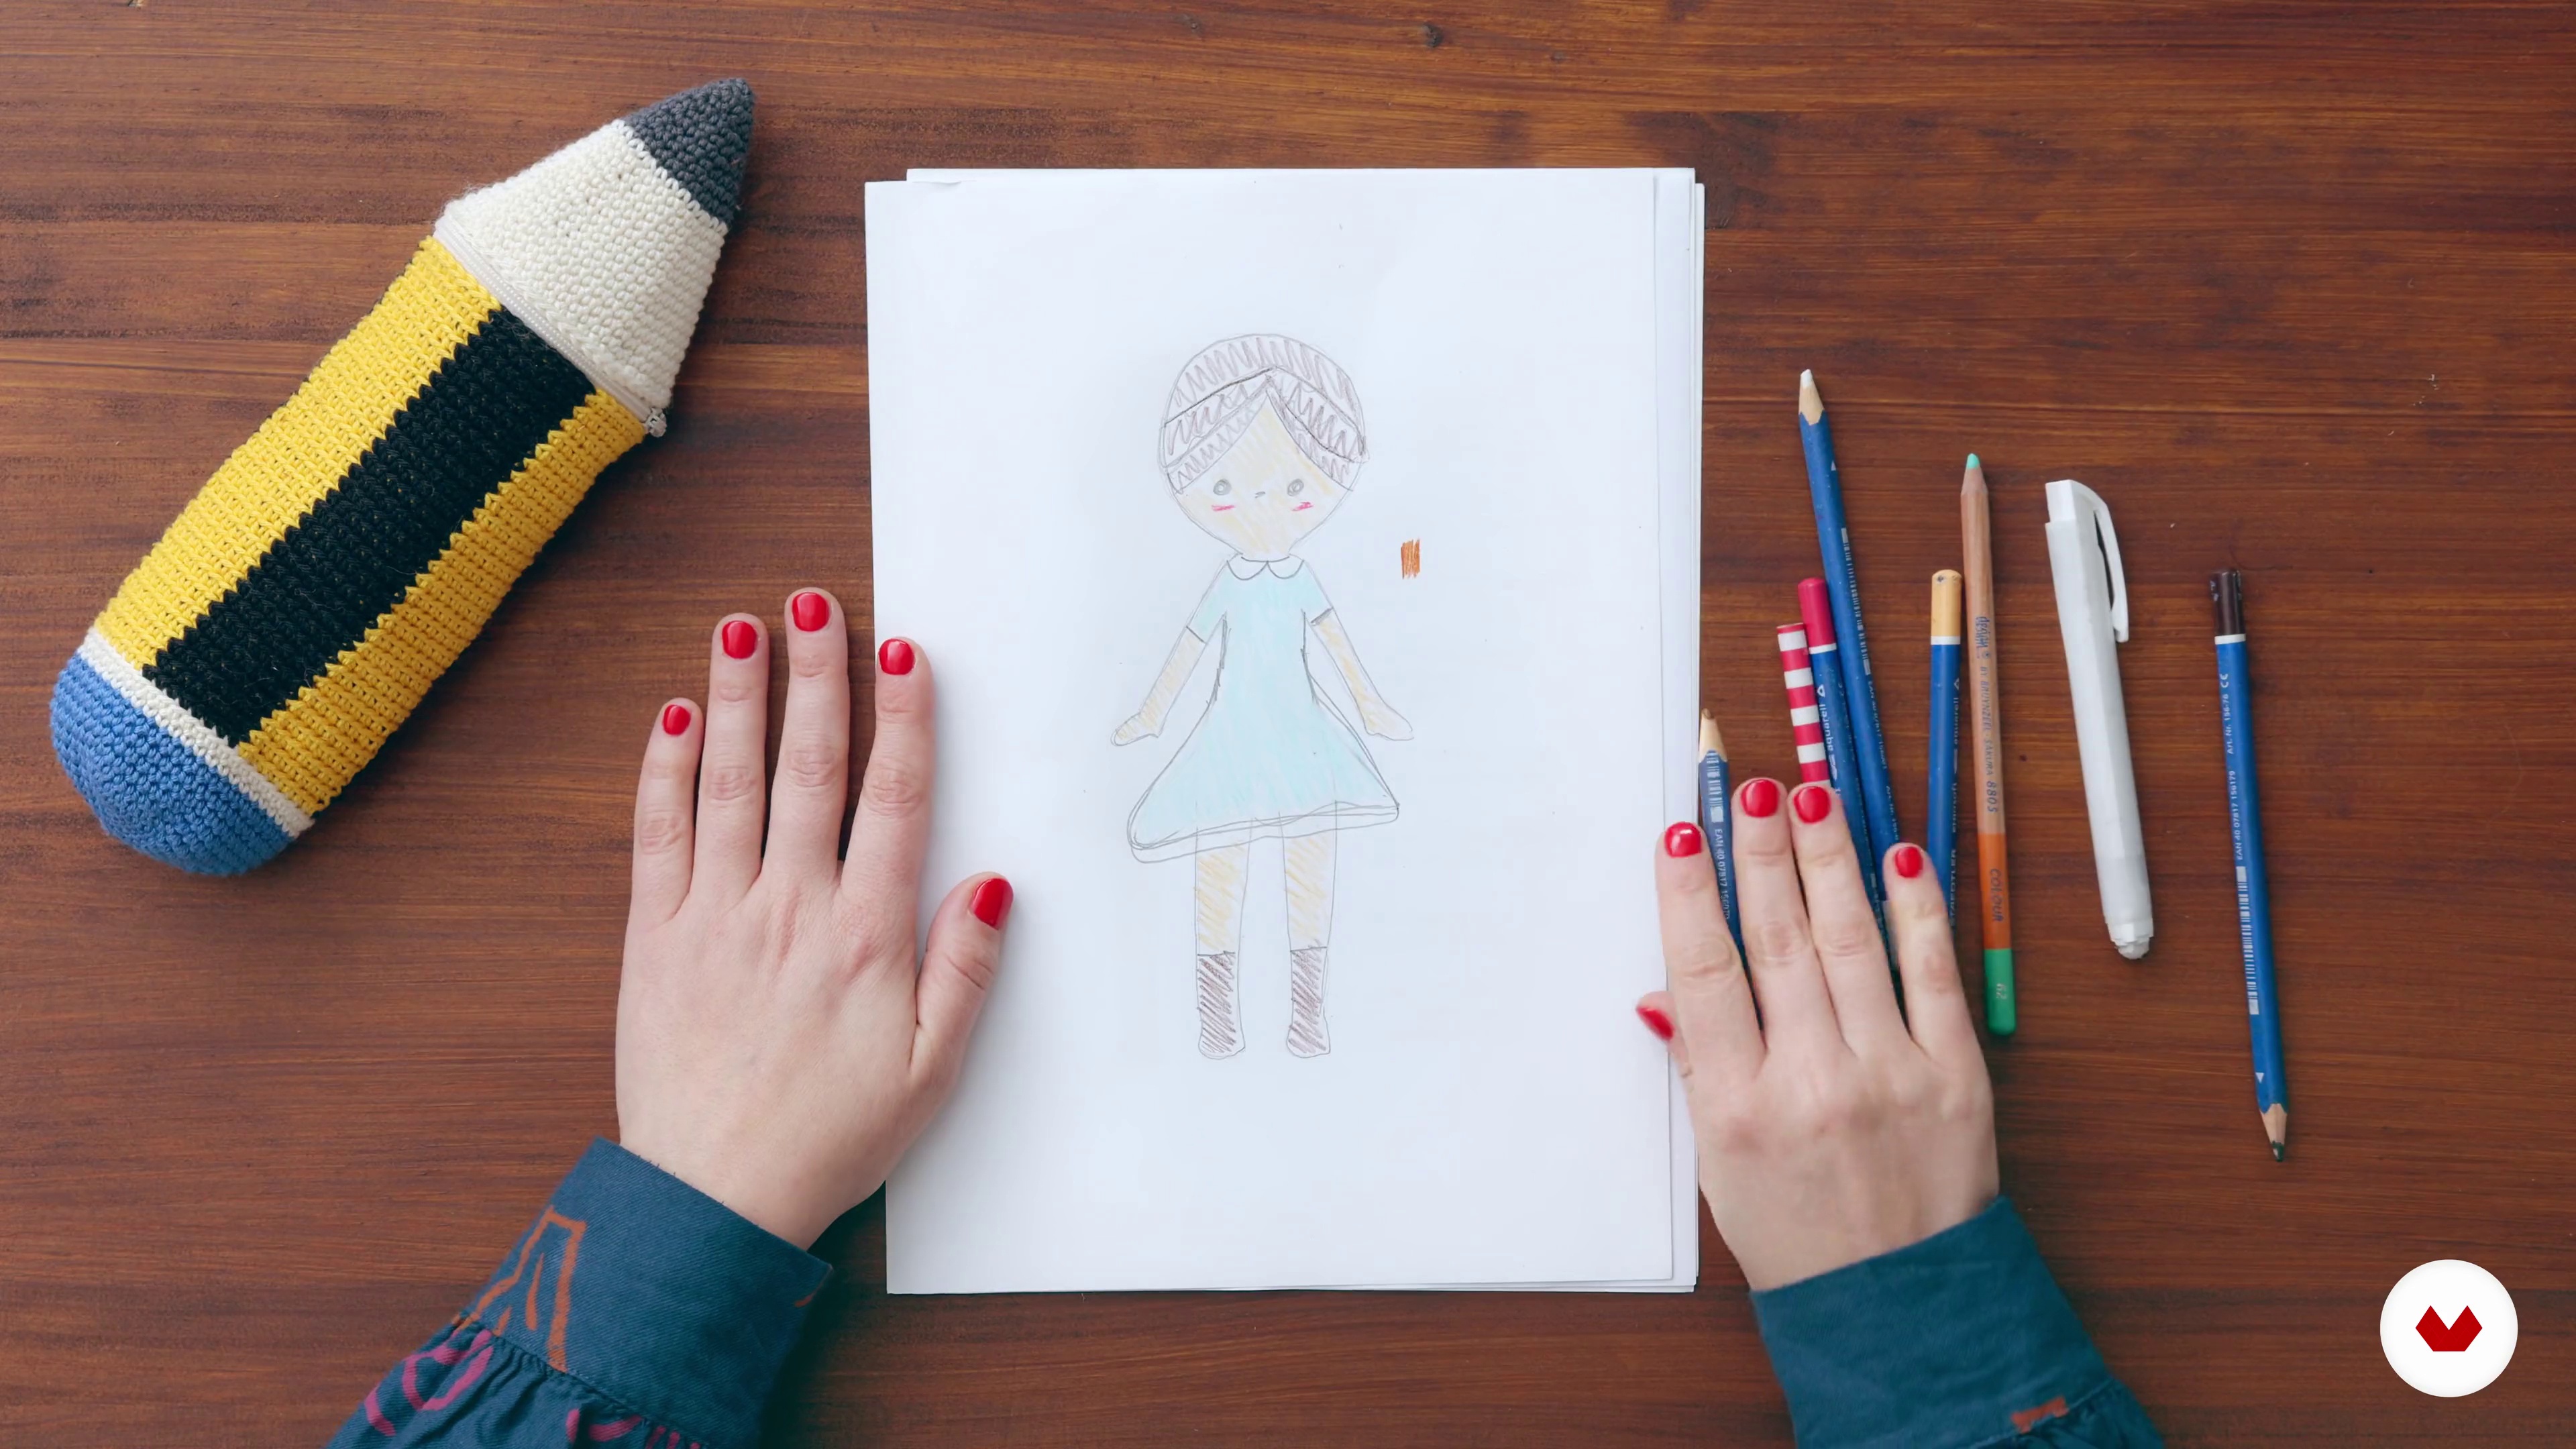
Making a quick sketch of what we want to achieve is important for saving time knitting. When we have a diagram of our doll, we avoid having to redo the work searching for the perfect color combination, and it serves as a guide when creating the precise shapes we want. In this lesson, I'll show you how I do it. I'll draw my basic doll shape and the clothes and accessories I'll knit, using the chosen color scheme.
5m
image
3
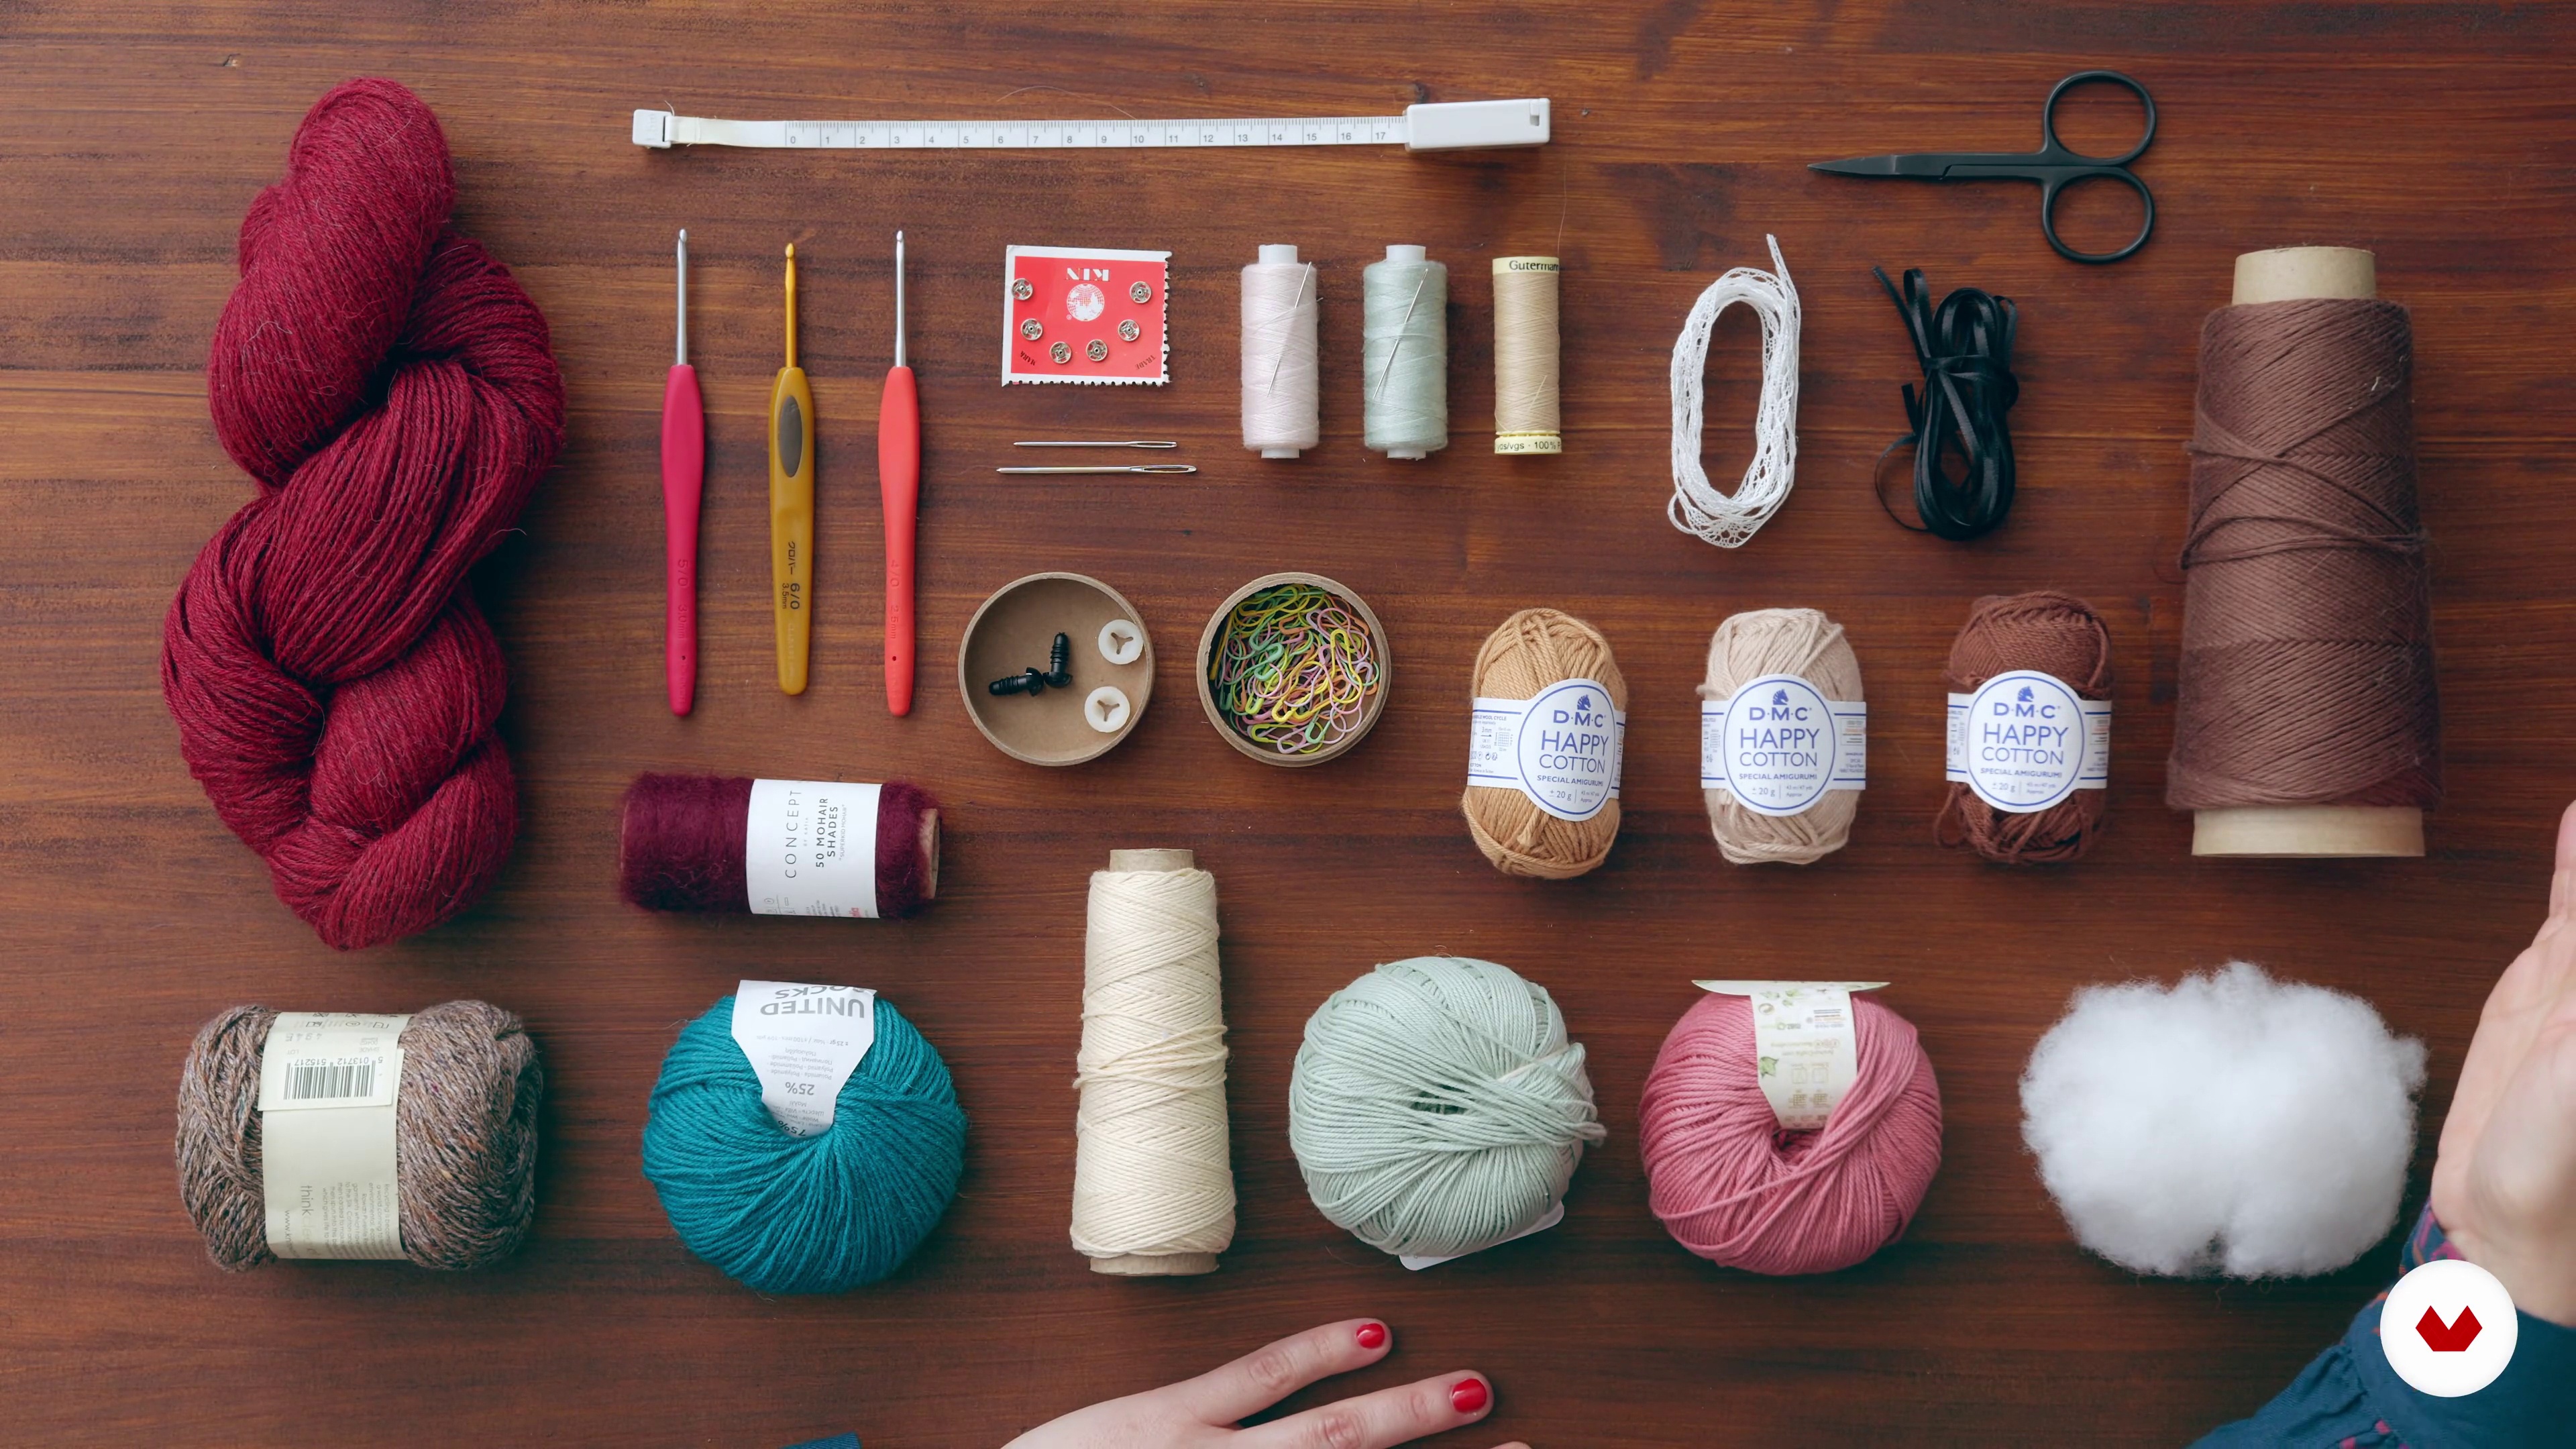
Materials
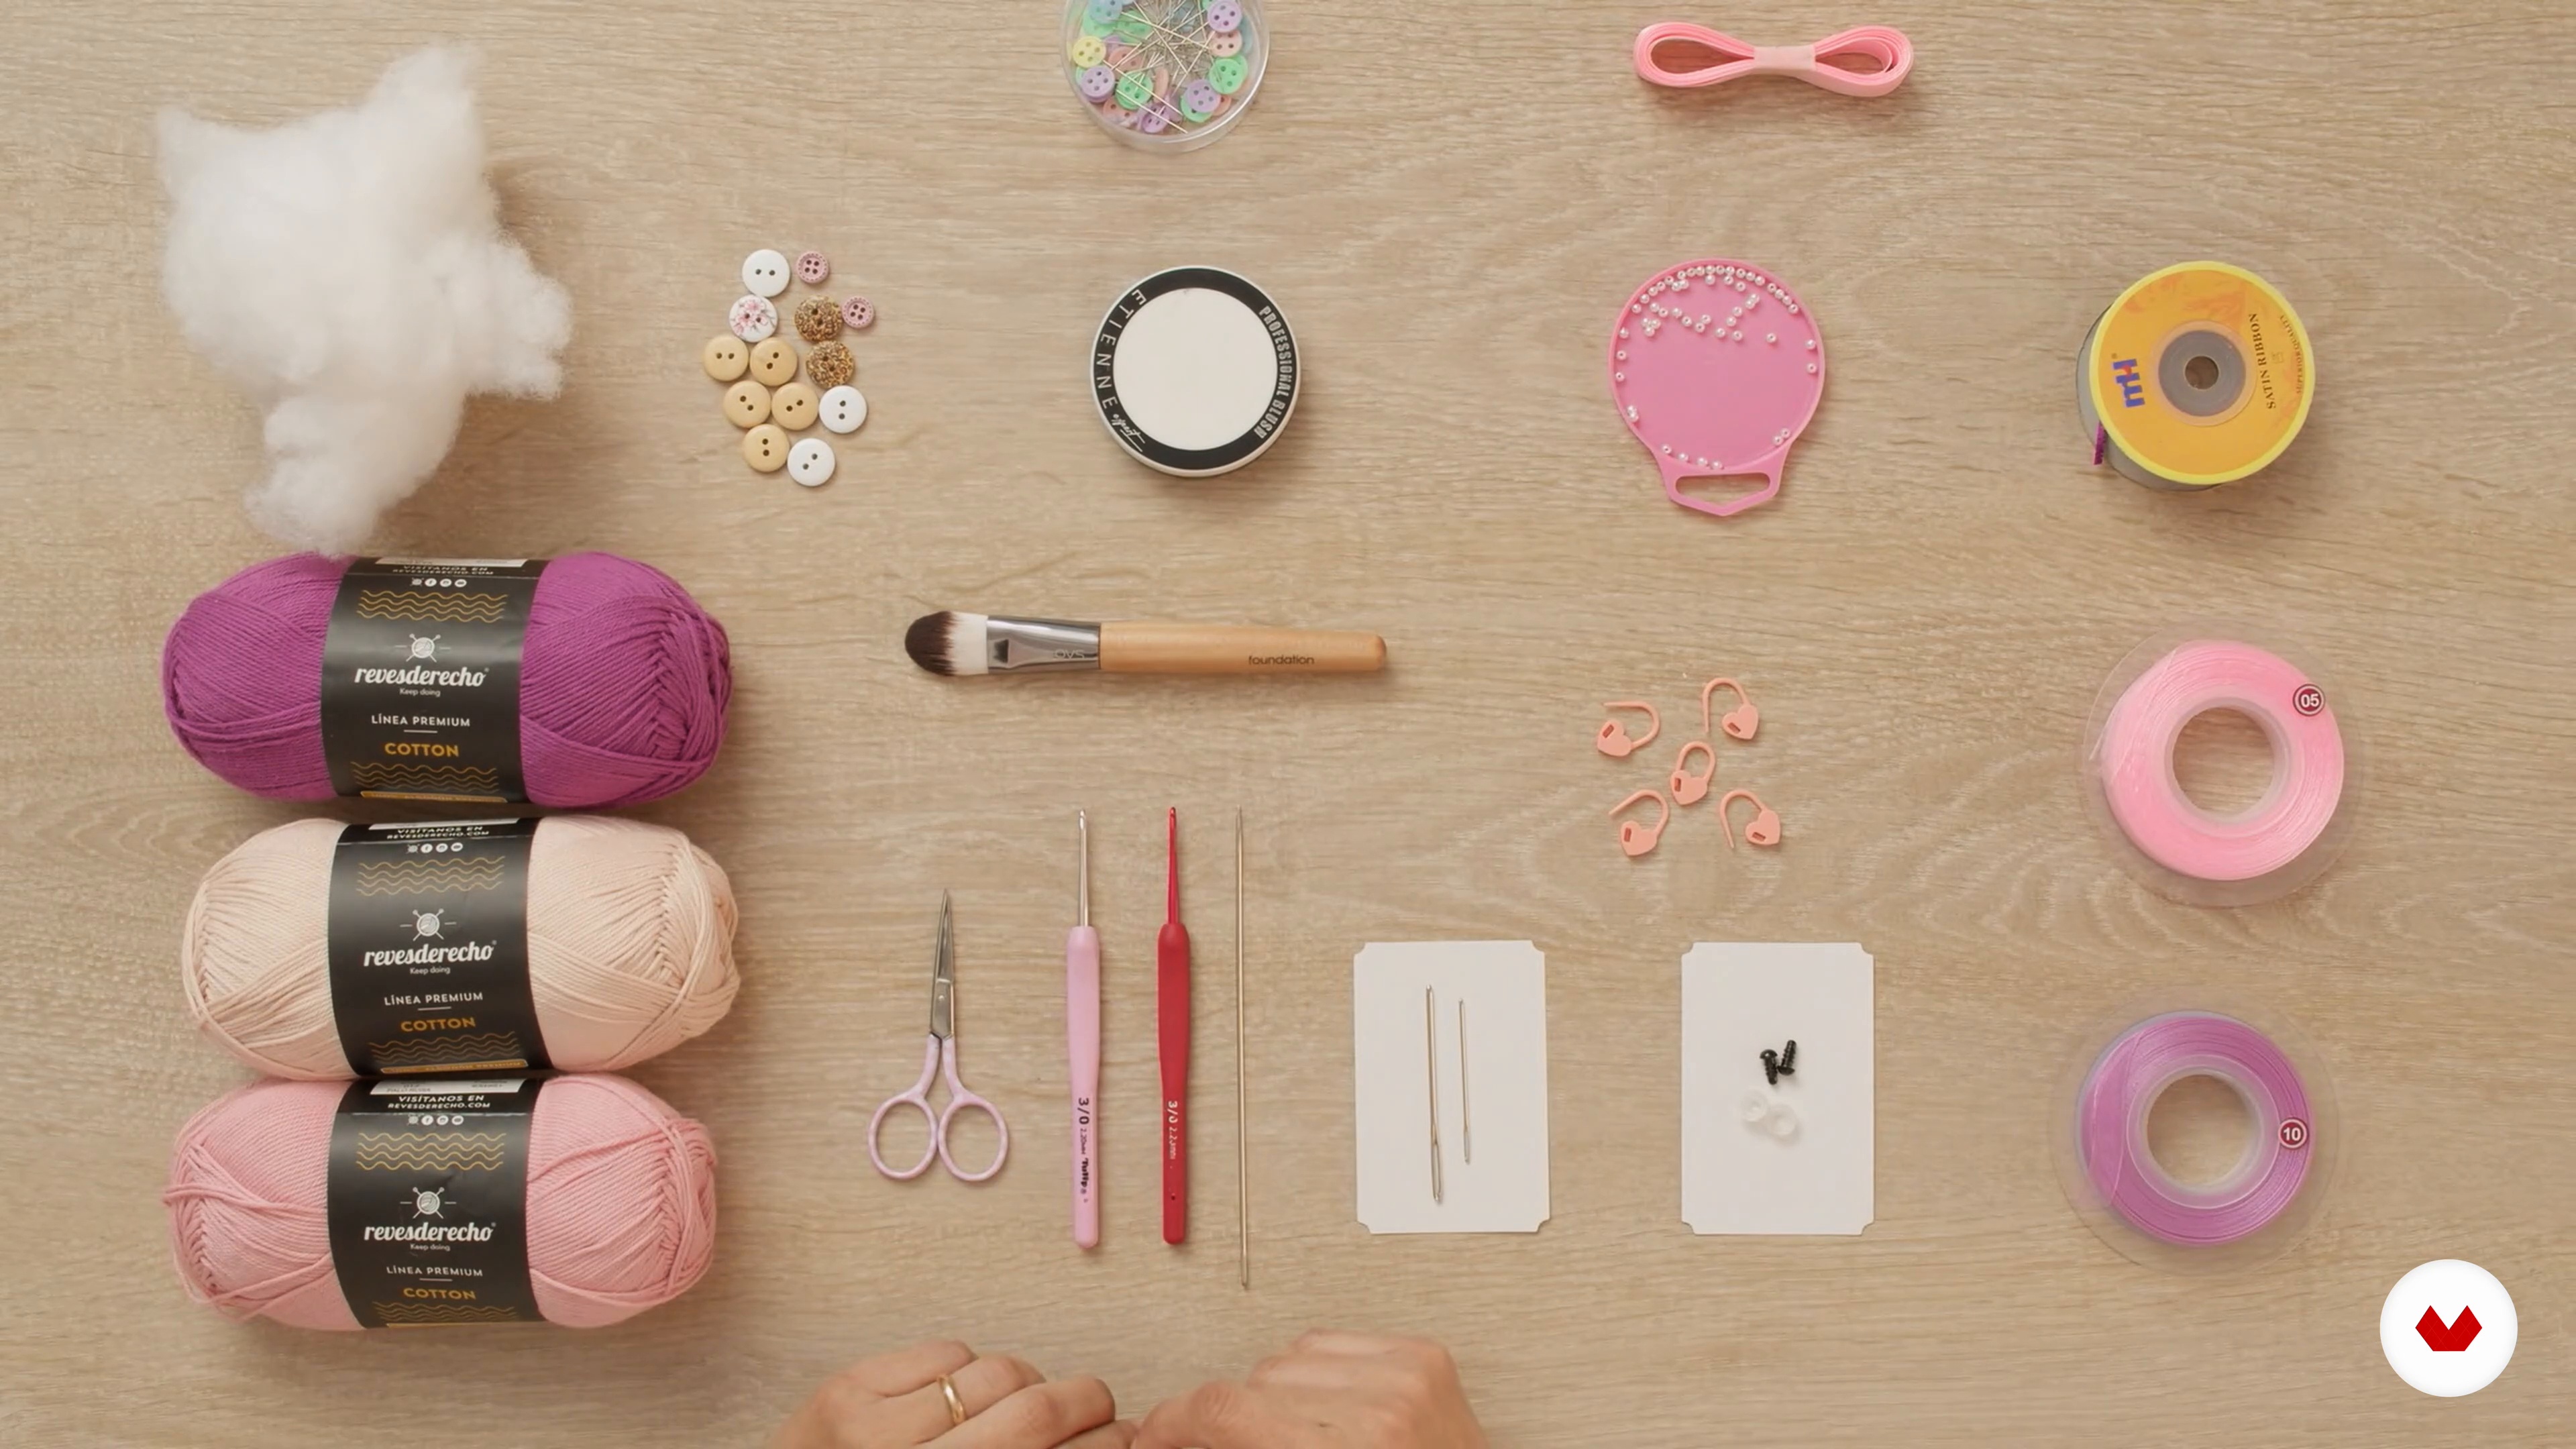
Below, I'll tell you about all the materials I'll be using during the course and give you different brands and quality options so you can find resources no matter where you live.
3m
image
4
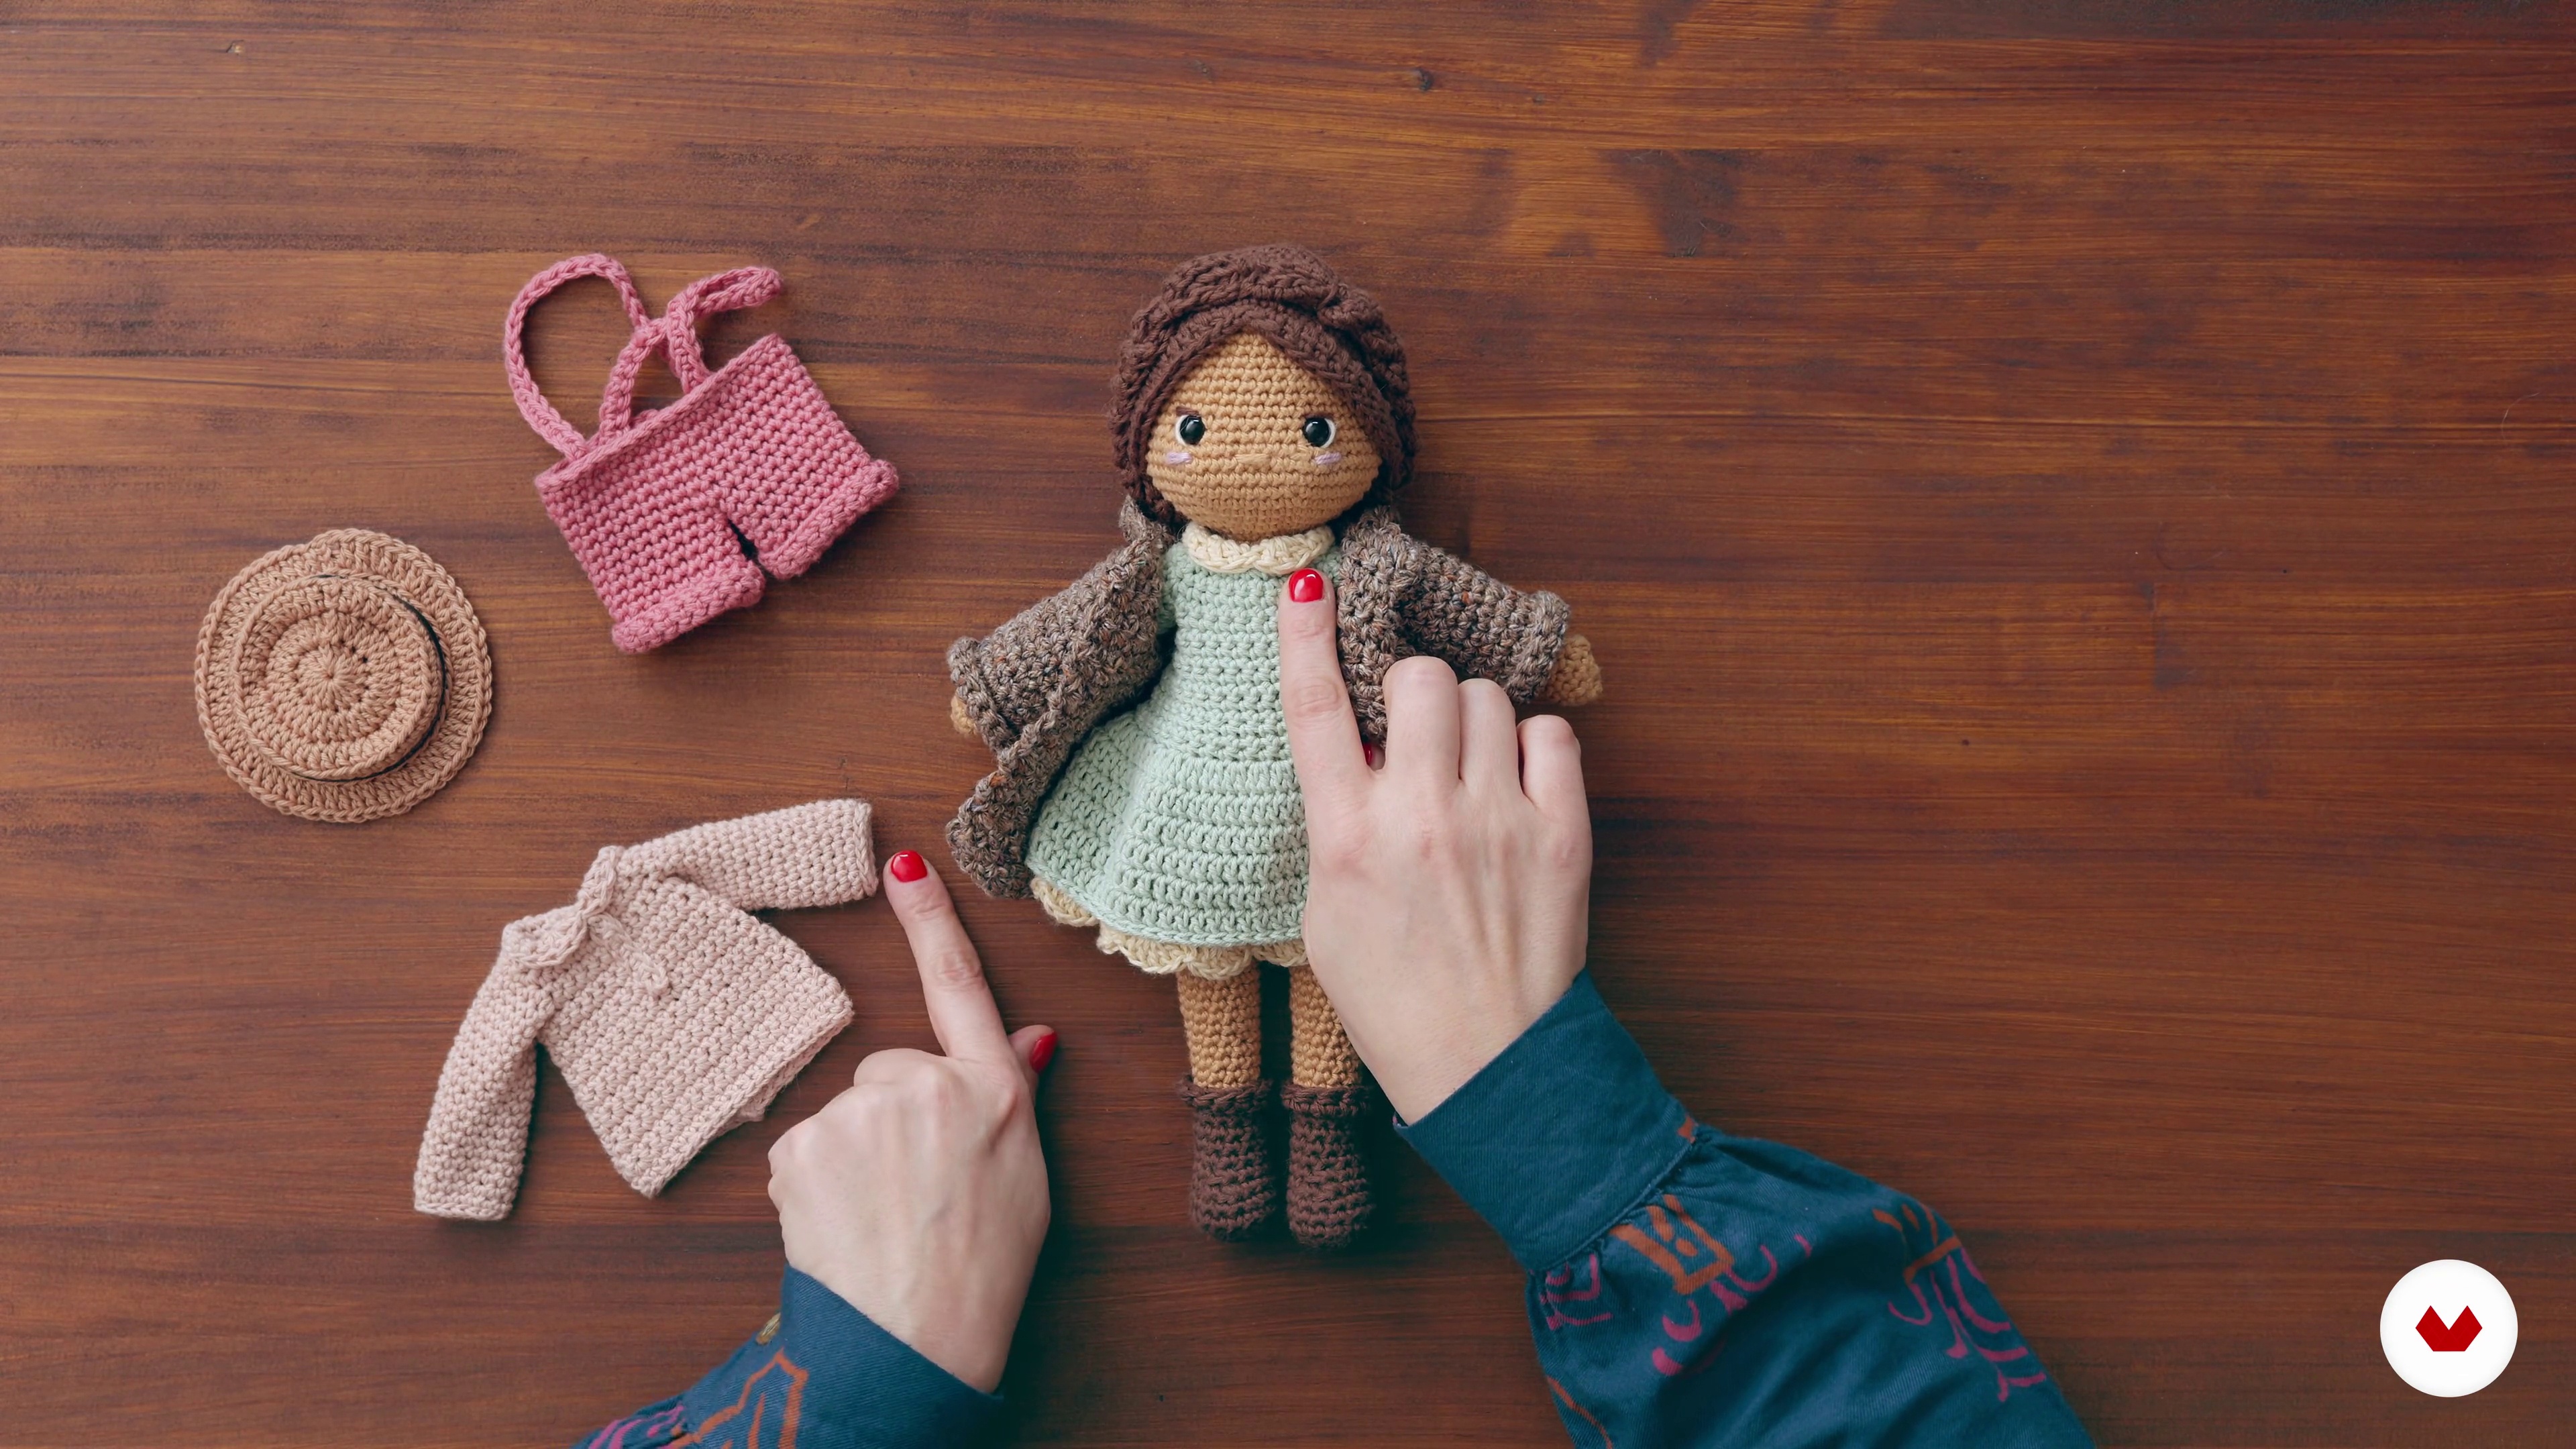
Tips to Dress Our Amigurumi
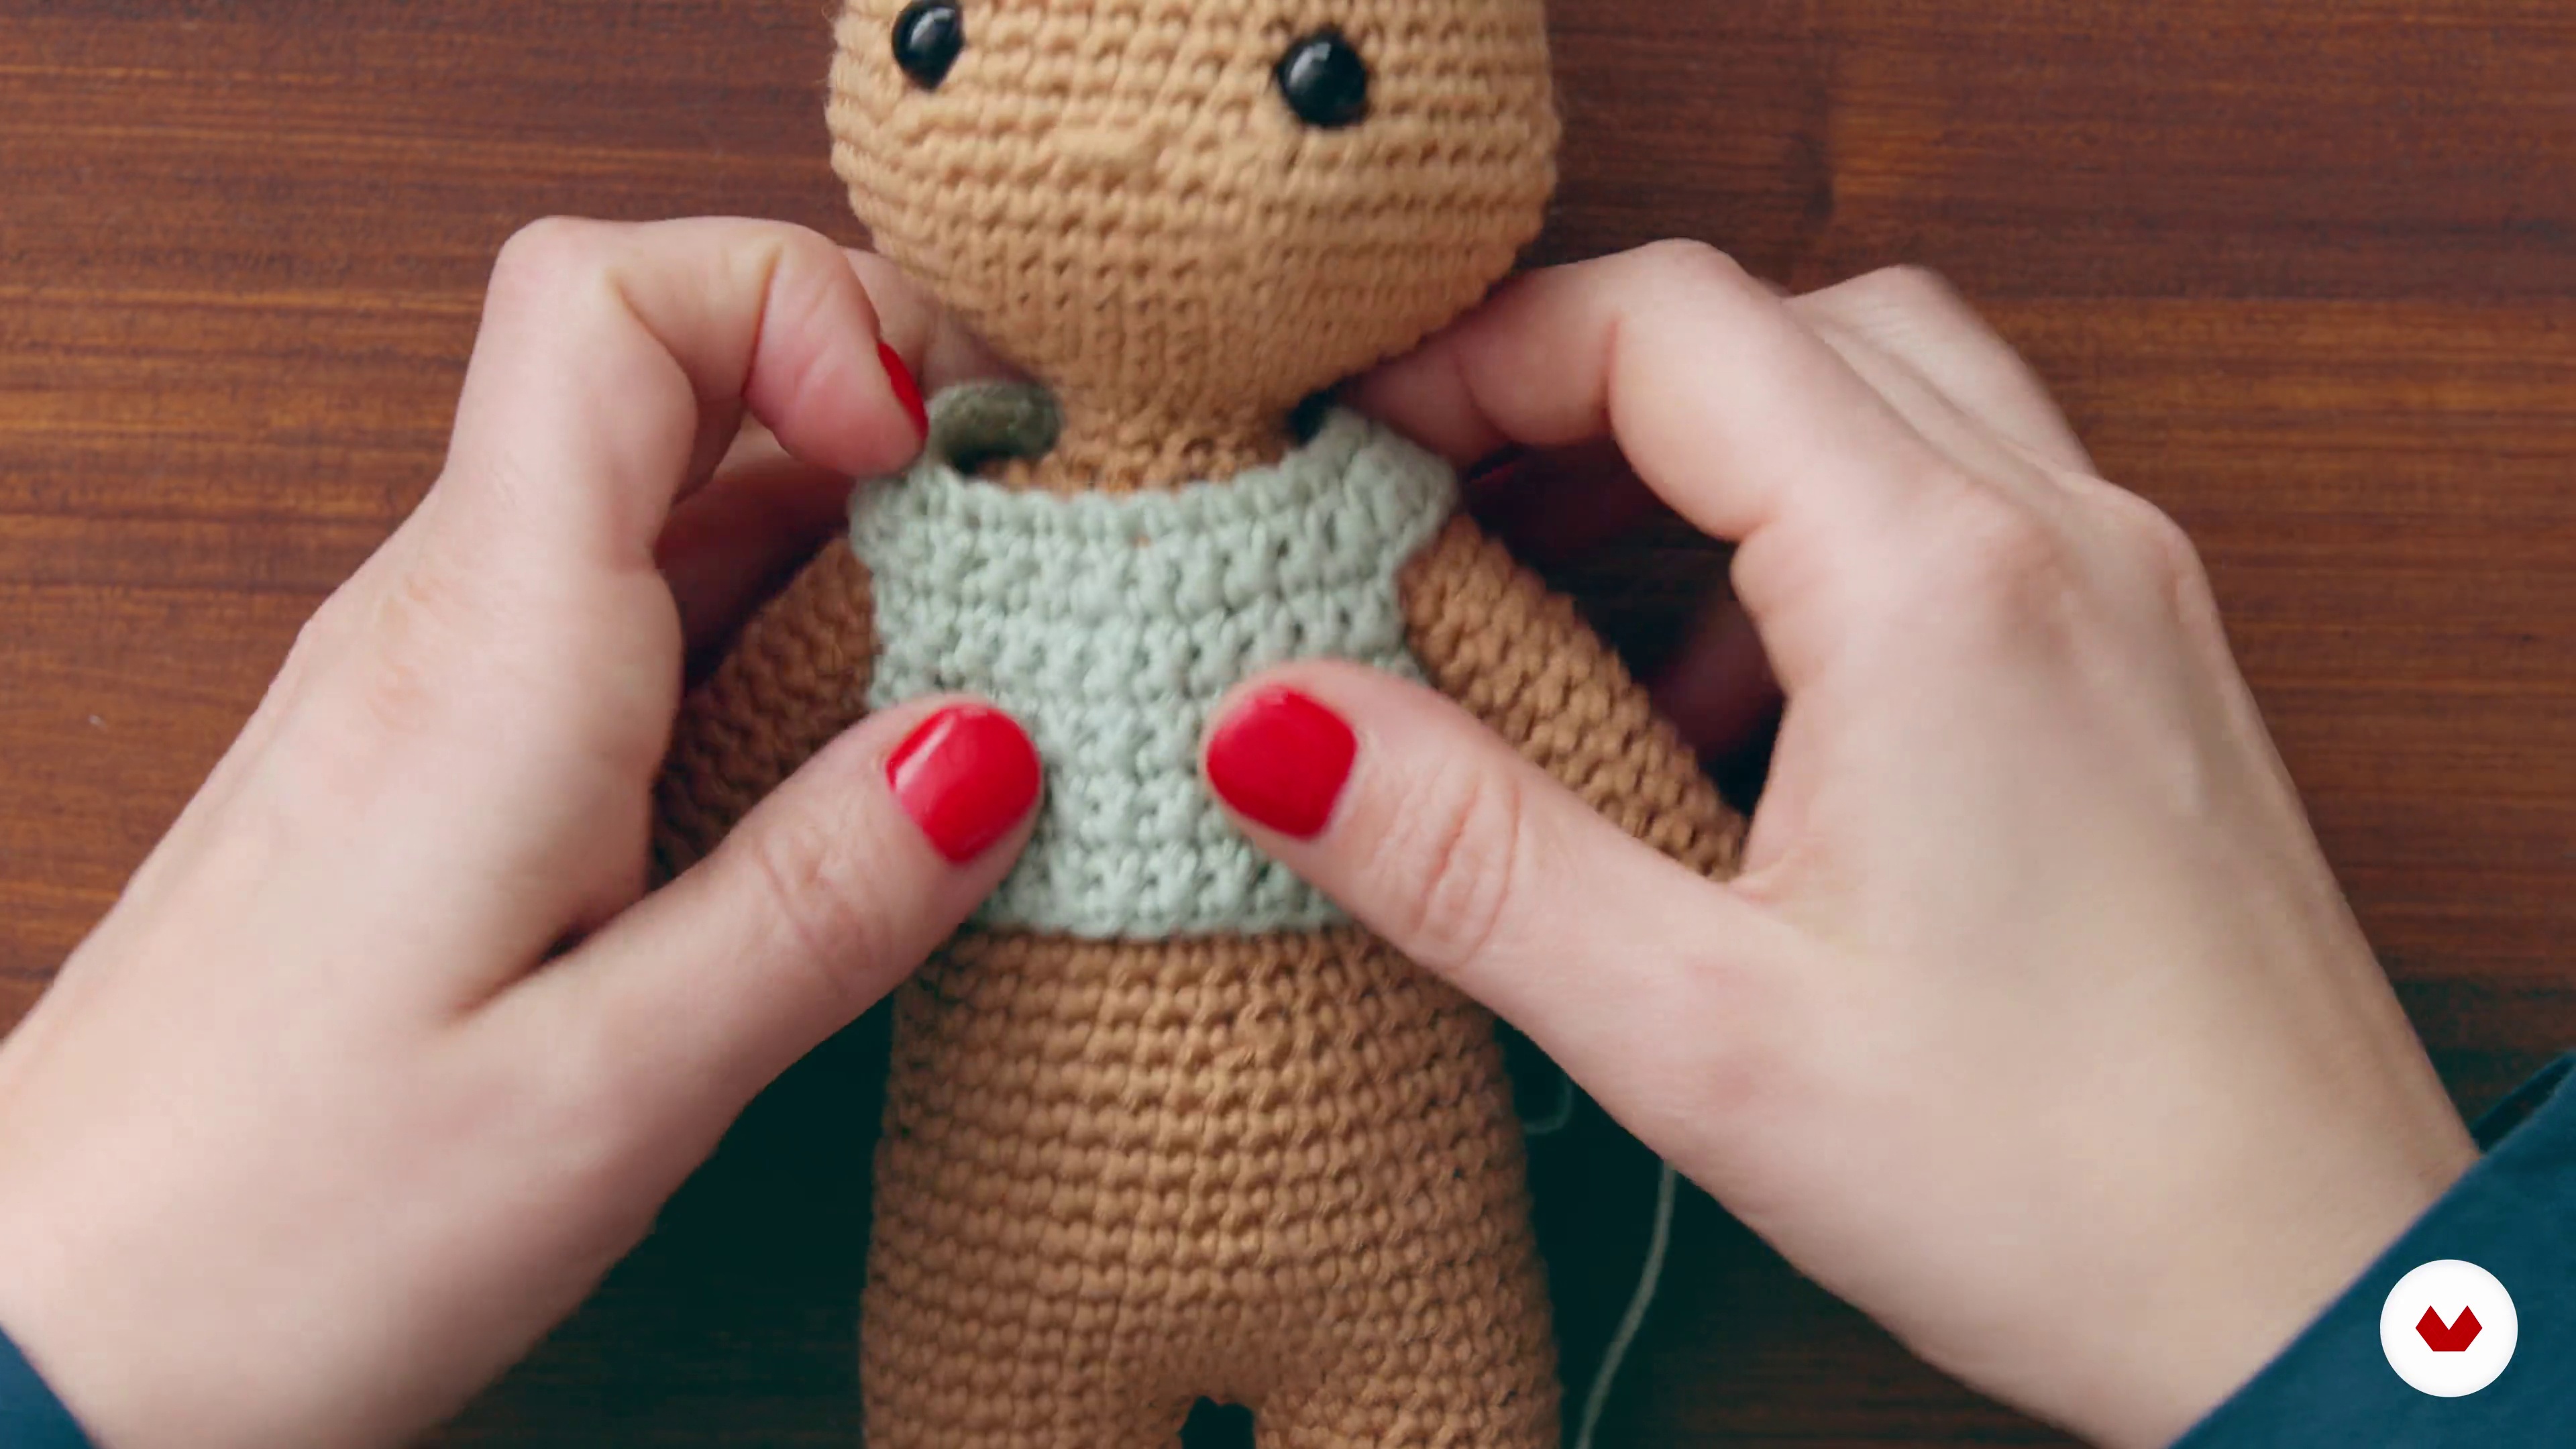
Now I'm going to show you examples to explain that we don't always have to knit all the garments independently, but that we can often integrate the garment design from the moment we knit the doll's body. I'll also show you the trick of stuffing the dolls' bodies with pipe cleaners, so they can move freely or to make their heads stand upright.
3m
image
5
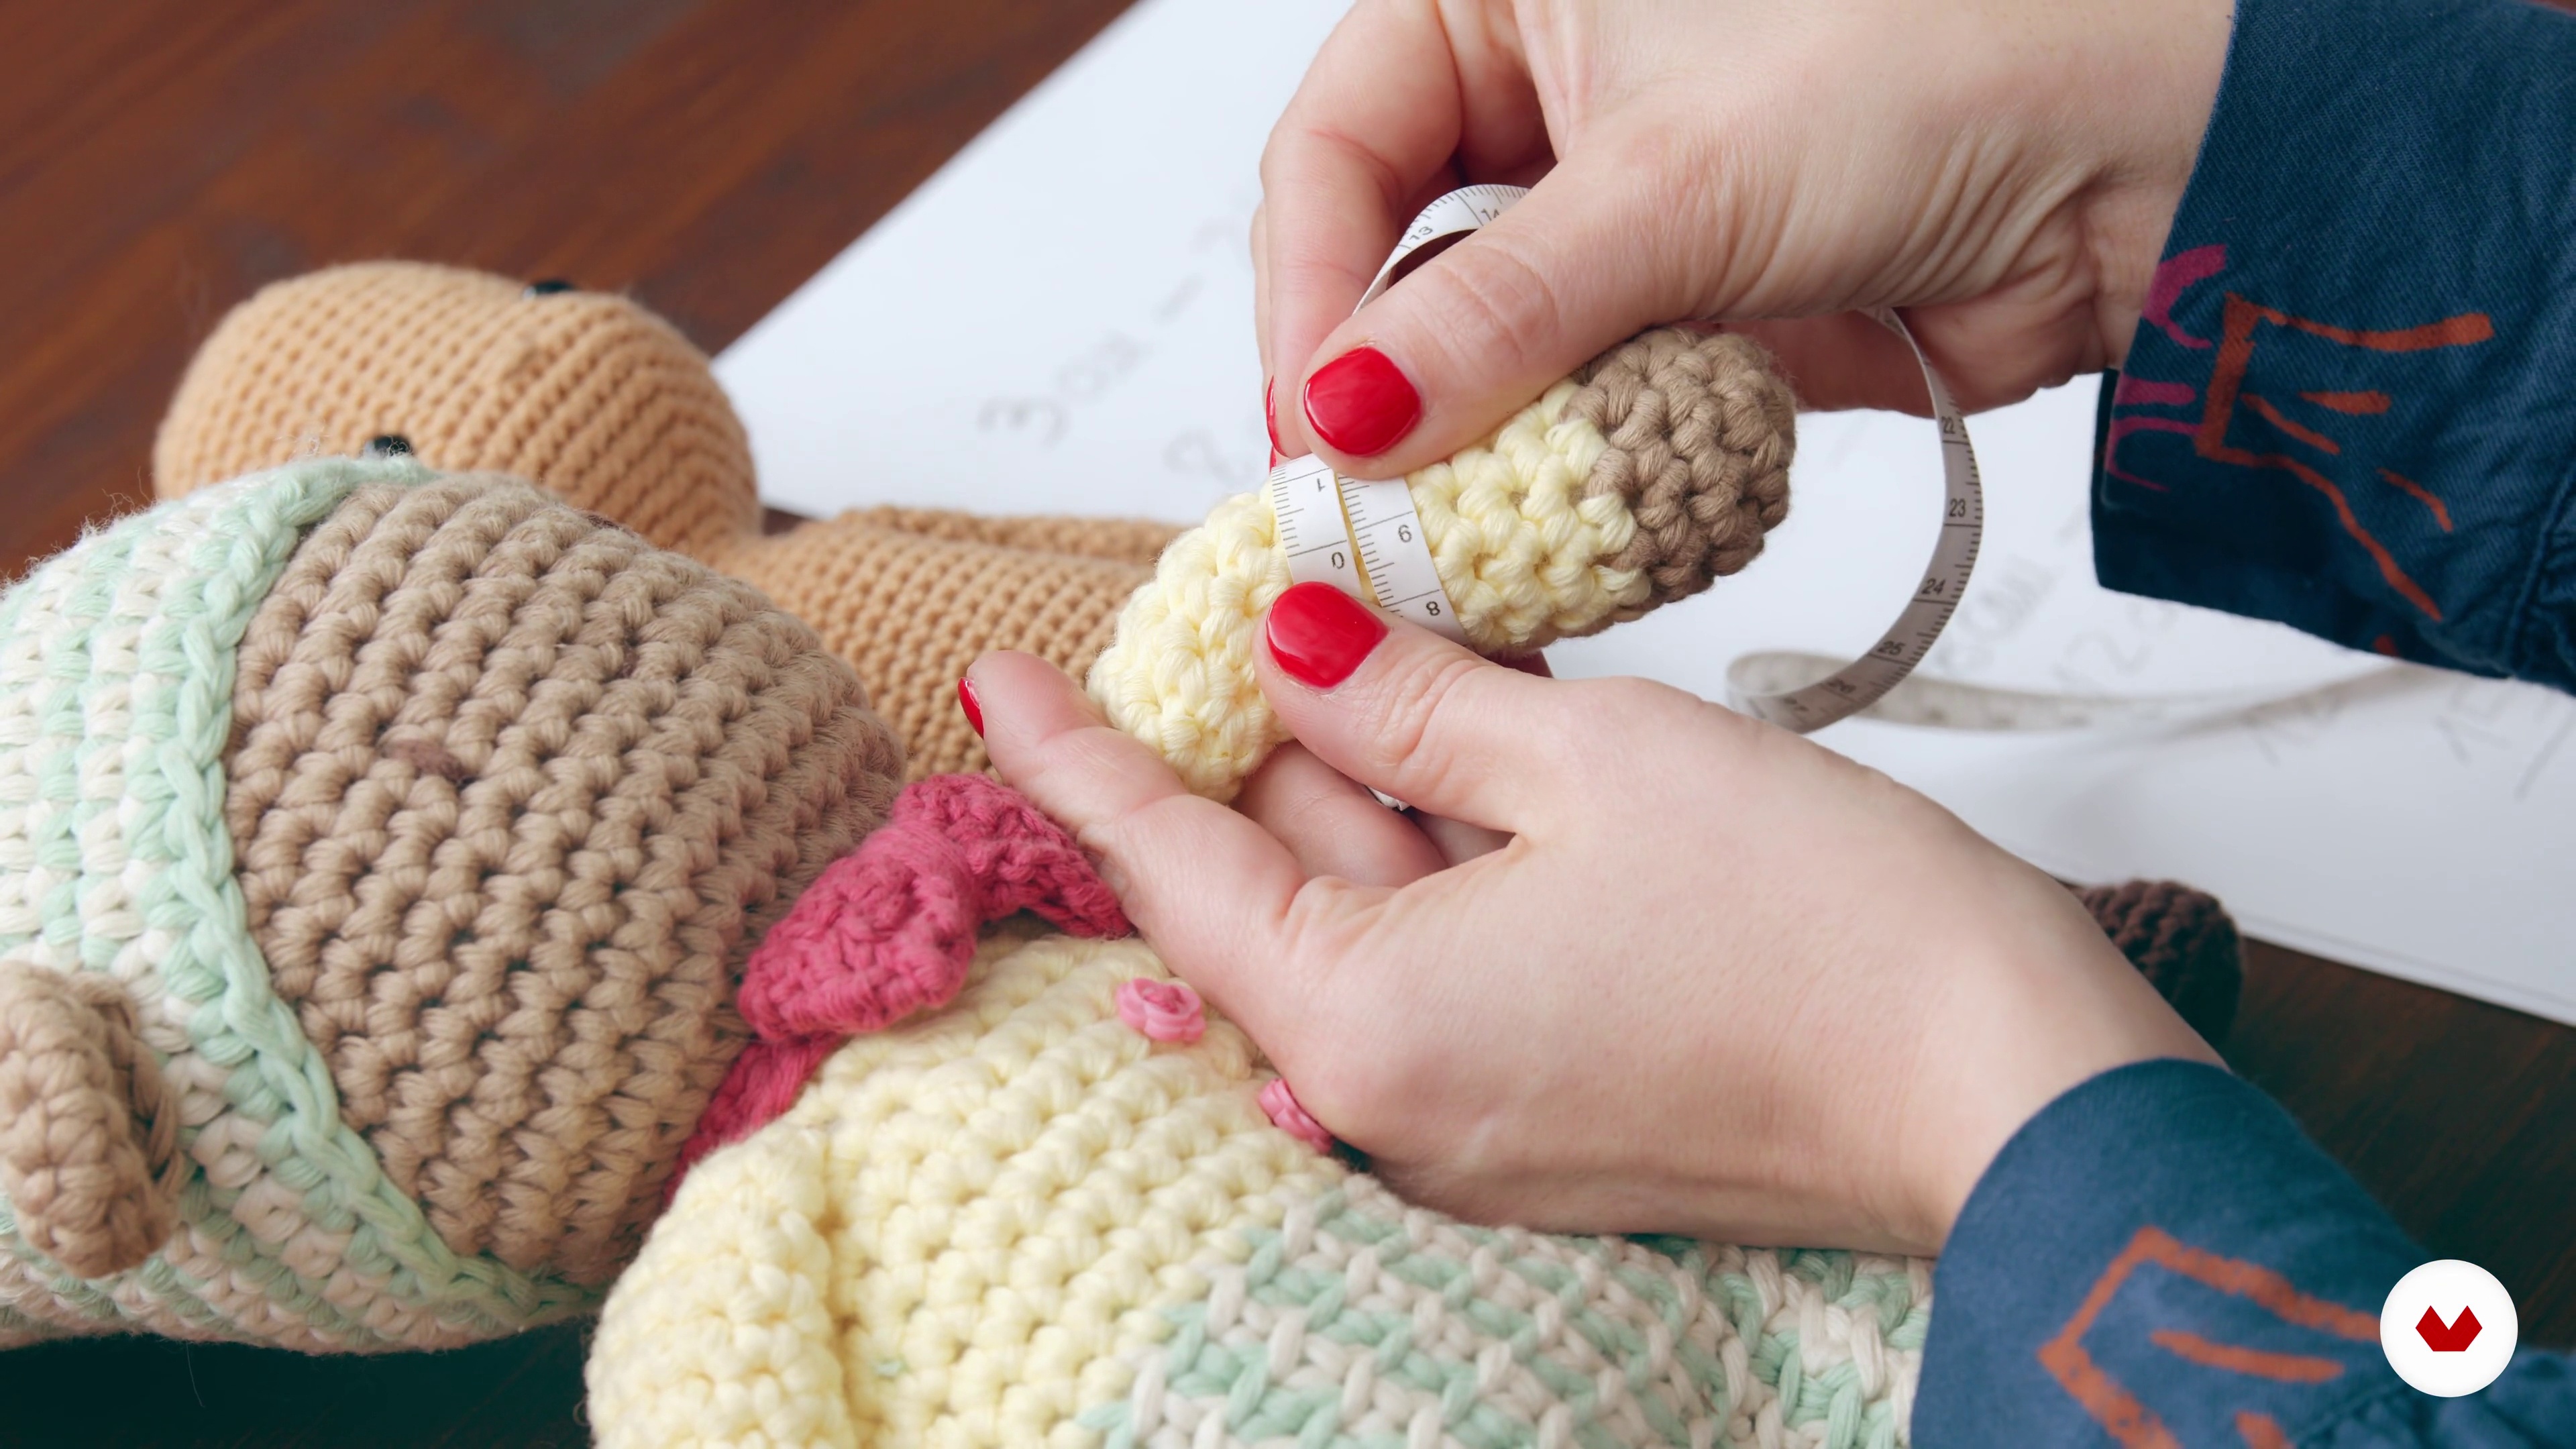
How to Take Measurements
In this lesson, I'll show you how to apply the designs we'll make to any doll size and material. To do this, we'll make fabric samples and learn how to scale the patterns, using a little math.
3m
image
6
Base for Top Pieces 1
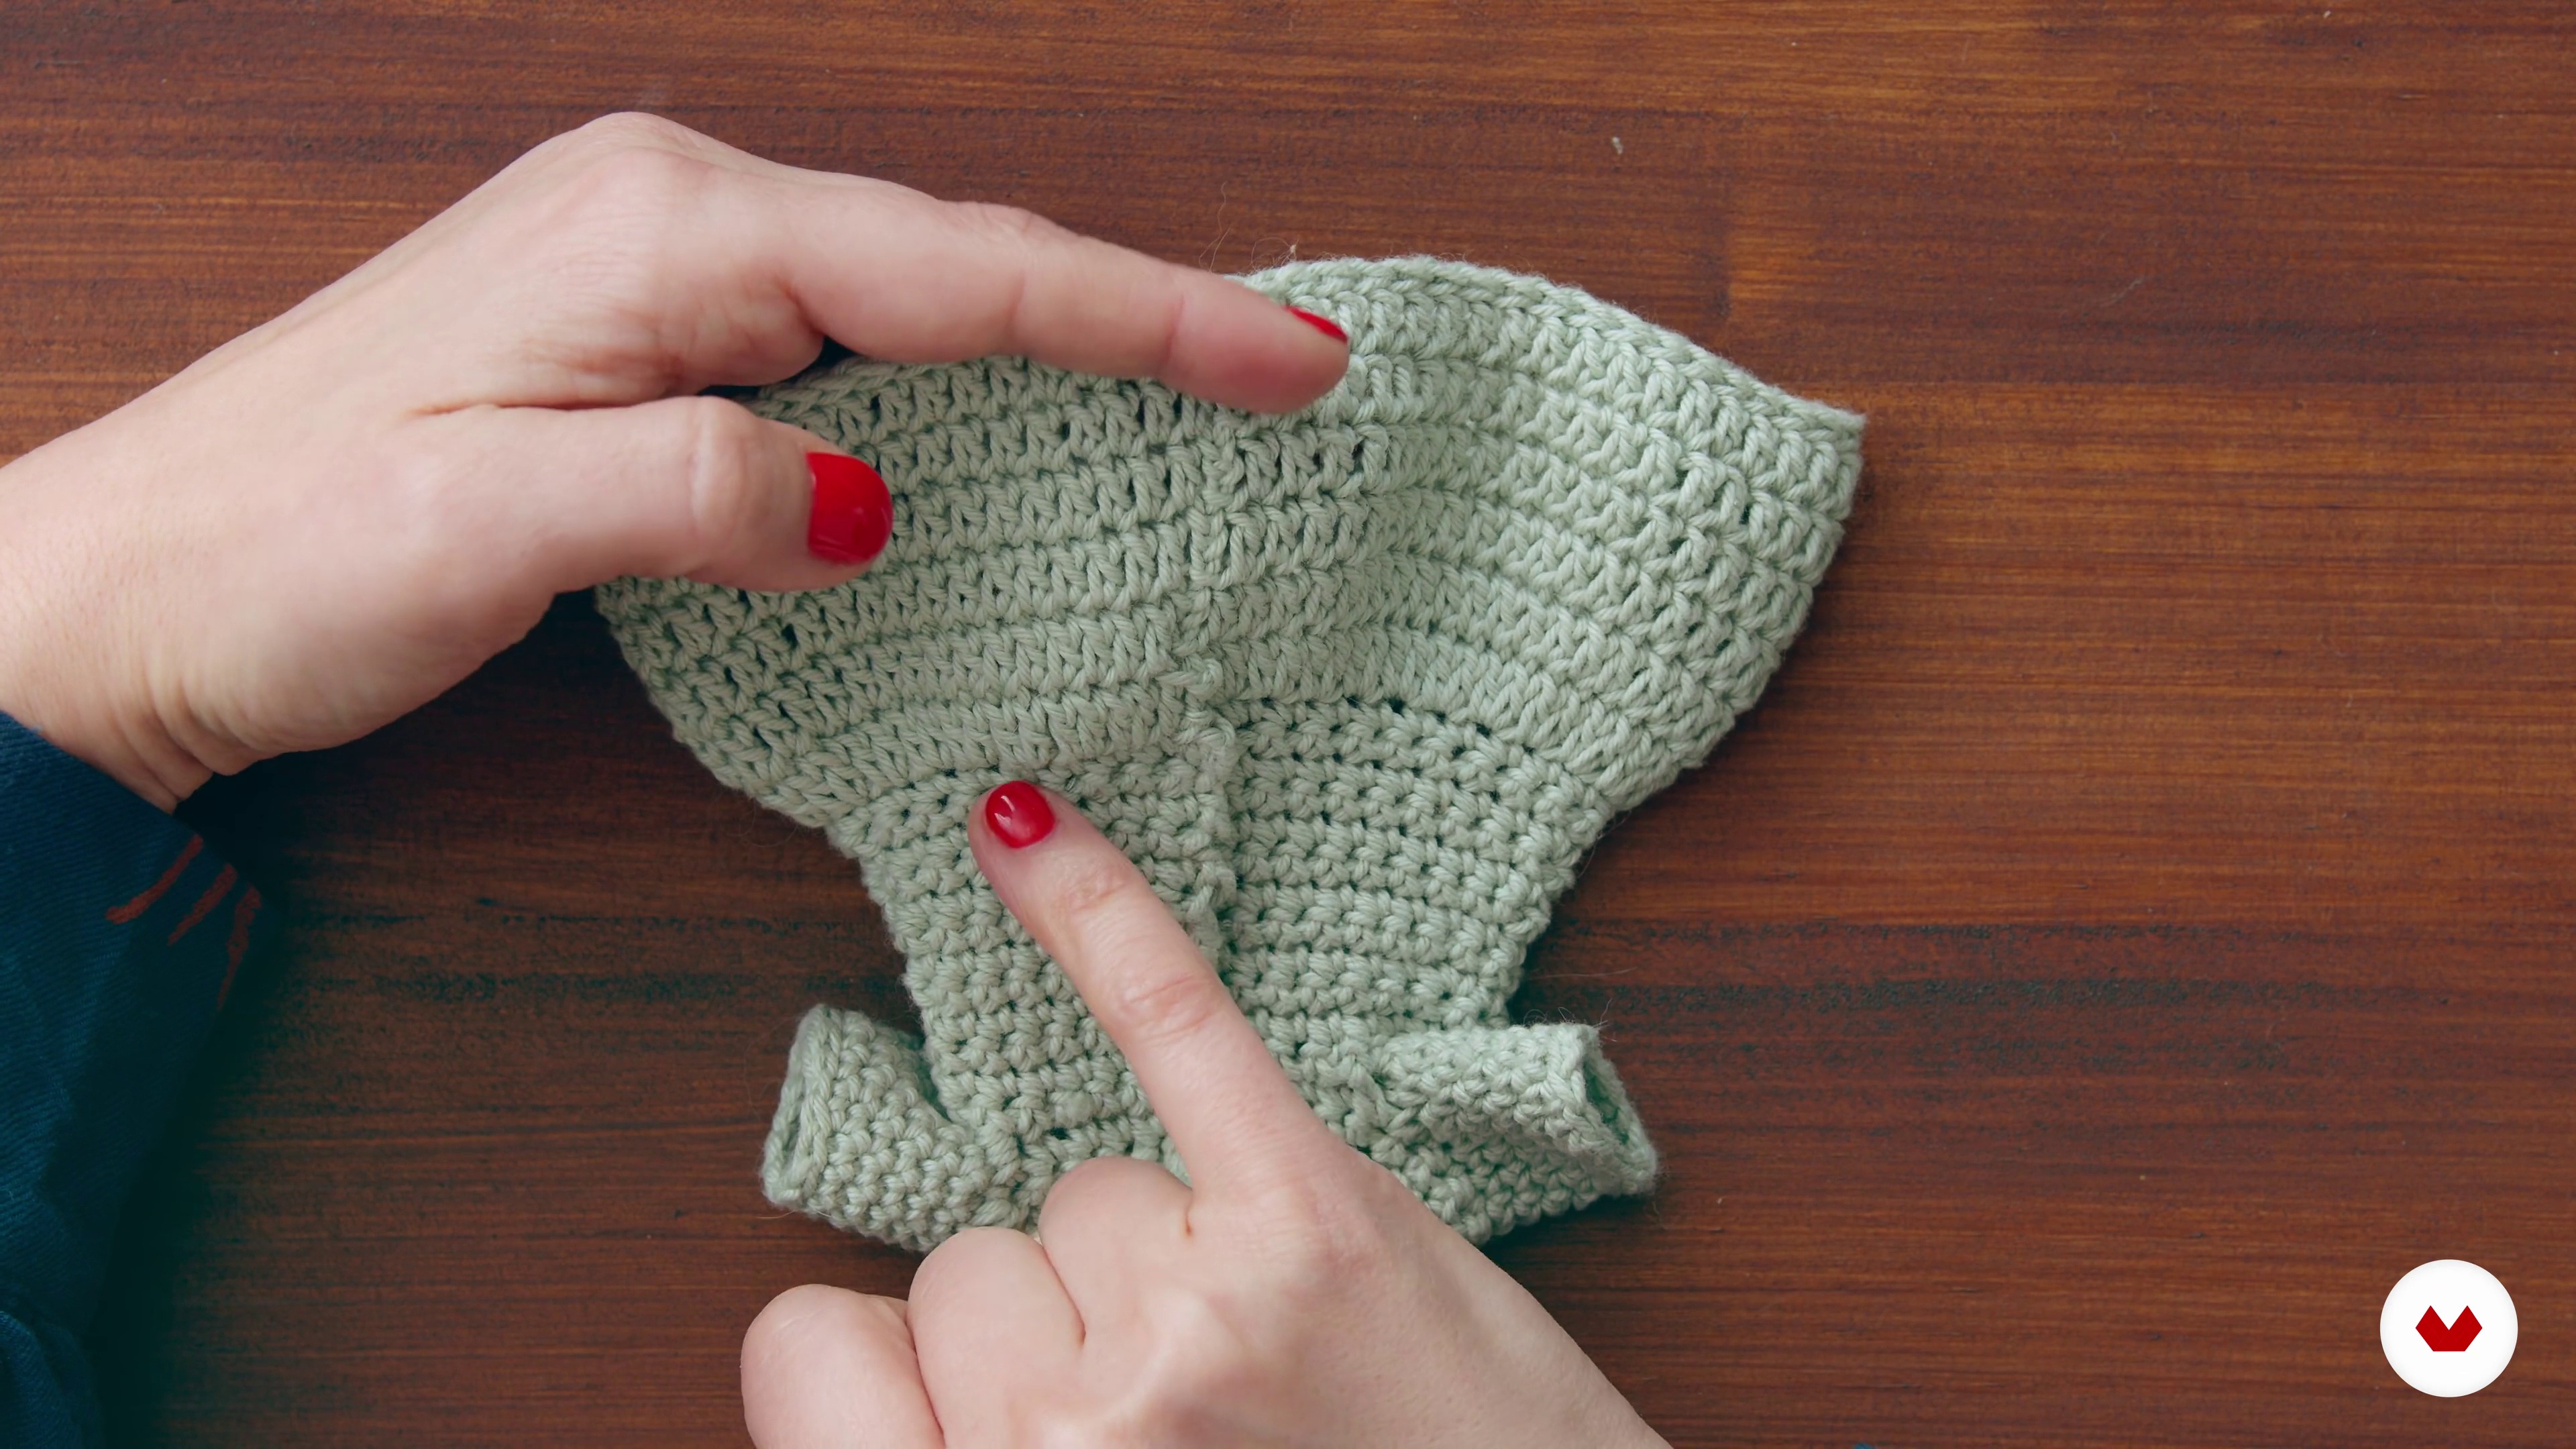
Next, I'll show you how we build the foundation for any piece of clothing that begins knitting from the neckline to the waist. It's important to see the entire process at this point, as there are constant variations. This is a lesson that should be very clear, as we'll be basing many garments on these concepts. I'll show you examples of garments knitted using this base and explain the logic behind it, so you can adapt it to other sizes.
14m
image
7
Base for Top Pieces 2
We continue learning the process to follow to crochet the base for the upper pieces.
12m
image
8
Shirt
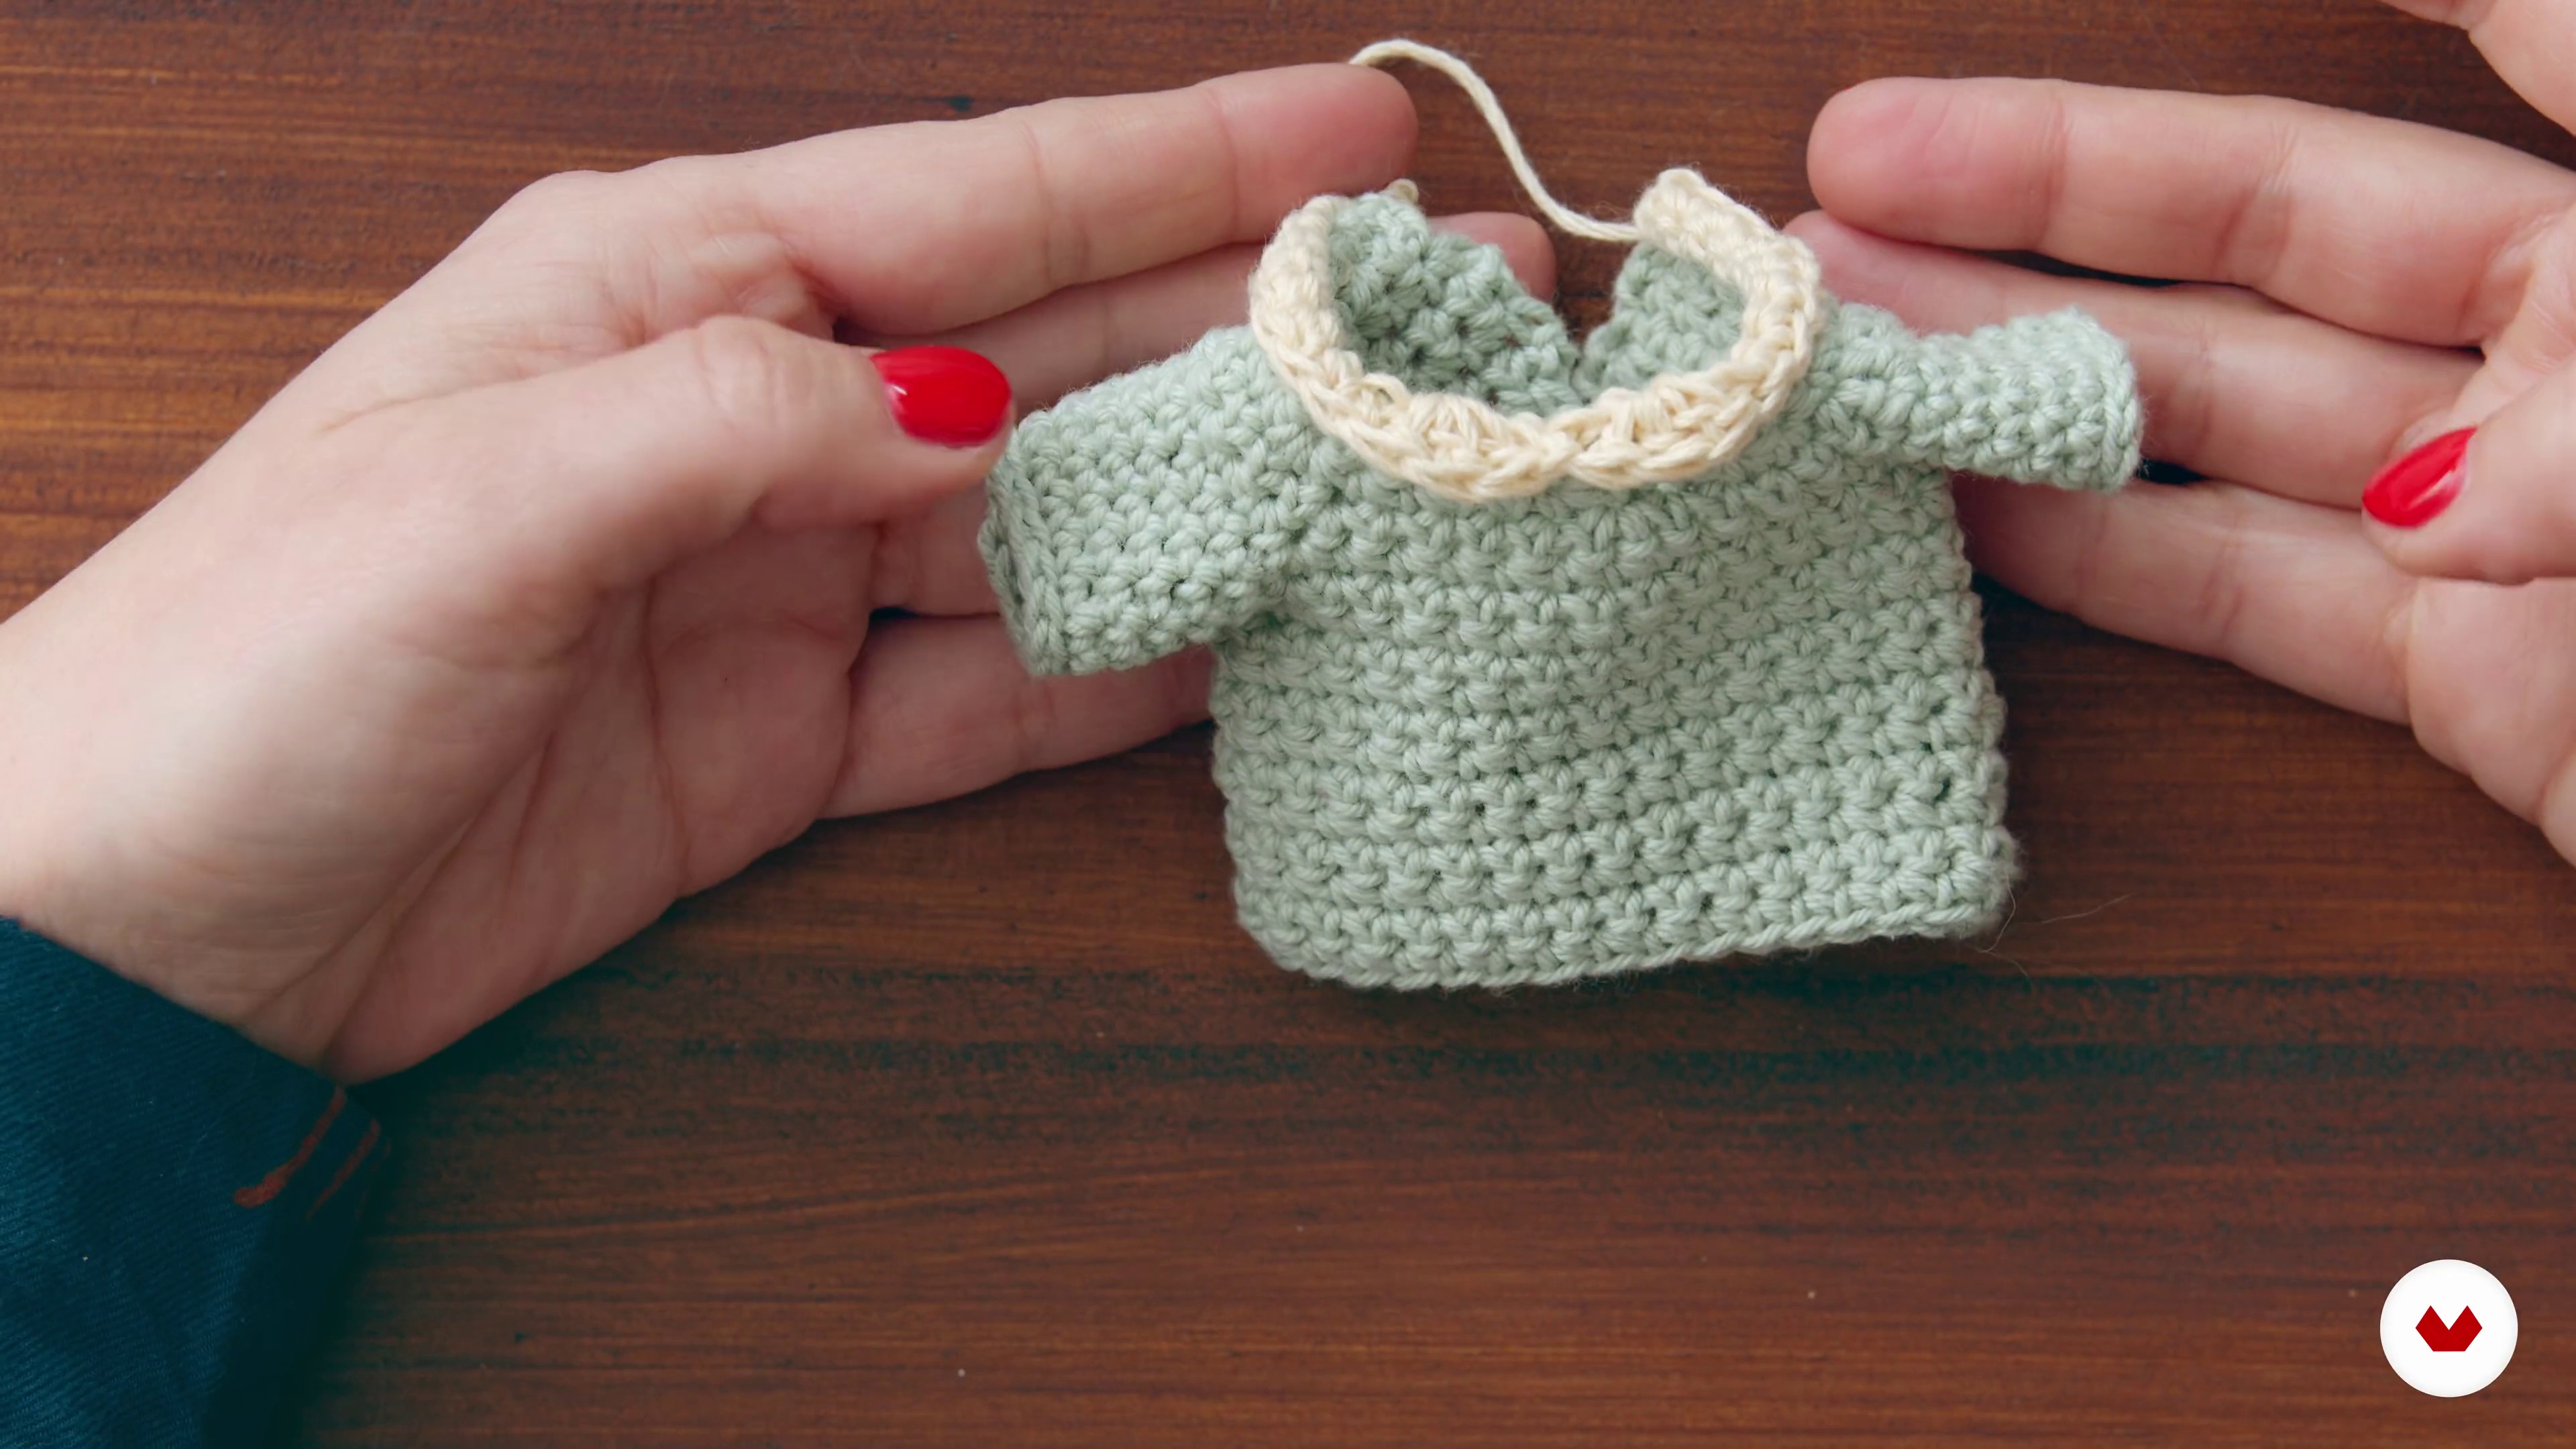
From the foundation built in the previous lesson, I'll show you how to continue making the sleeves and collar for the shirt. I'll show you how to introduce new yarn into the project and what variations we can make to achieve different results for tops, t-shirts, and shirts.
17m
image
9
Dress
Now I'll show you how to continue making a dress. I'll show you how to create the volume needed to build a full dress and how we can add more drape just by varying the stitch.
6m
image
10
Skirt and Lace
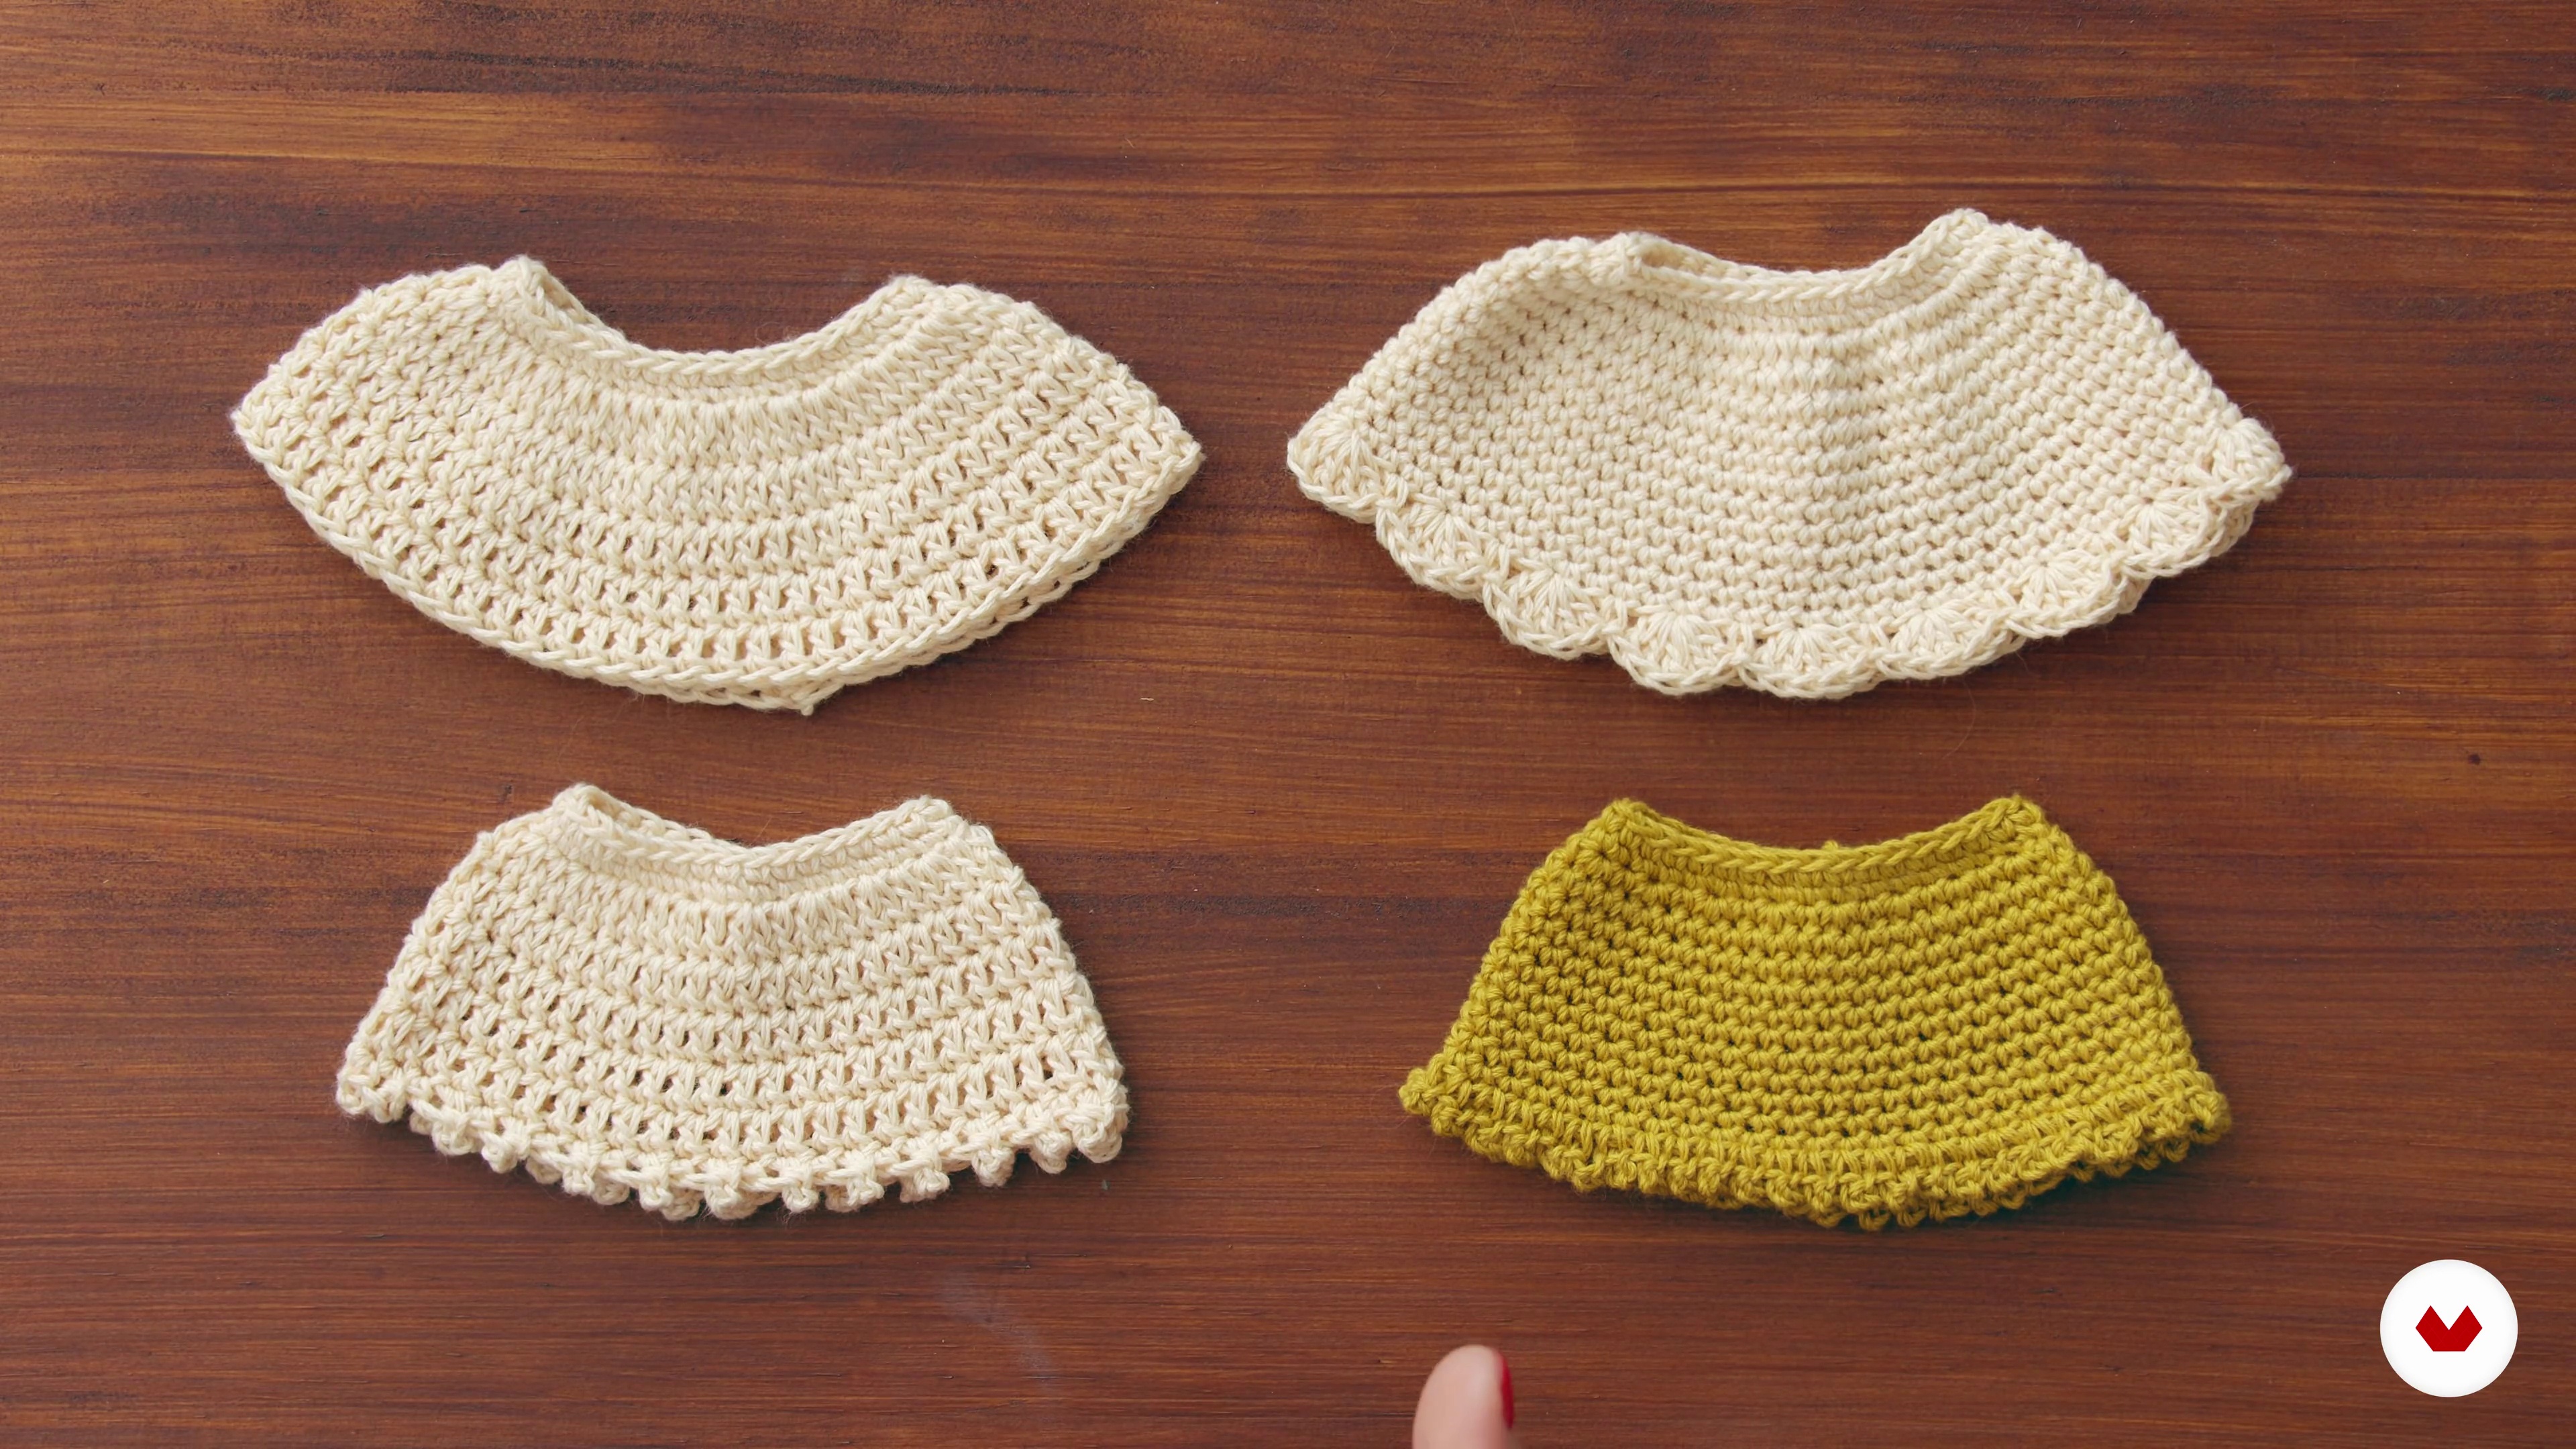
In this lesson, I'll teach you how to make a skirt from scratch and how to knit two different lace edgings to embellish the hems of any garment. I'll knit the most important steps to help you learn how to do it, and then I'll show you finished garments so you can see the different types of flare and effects we can achieve.
16m
image
11
Jeans
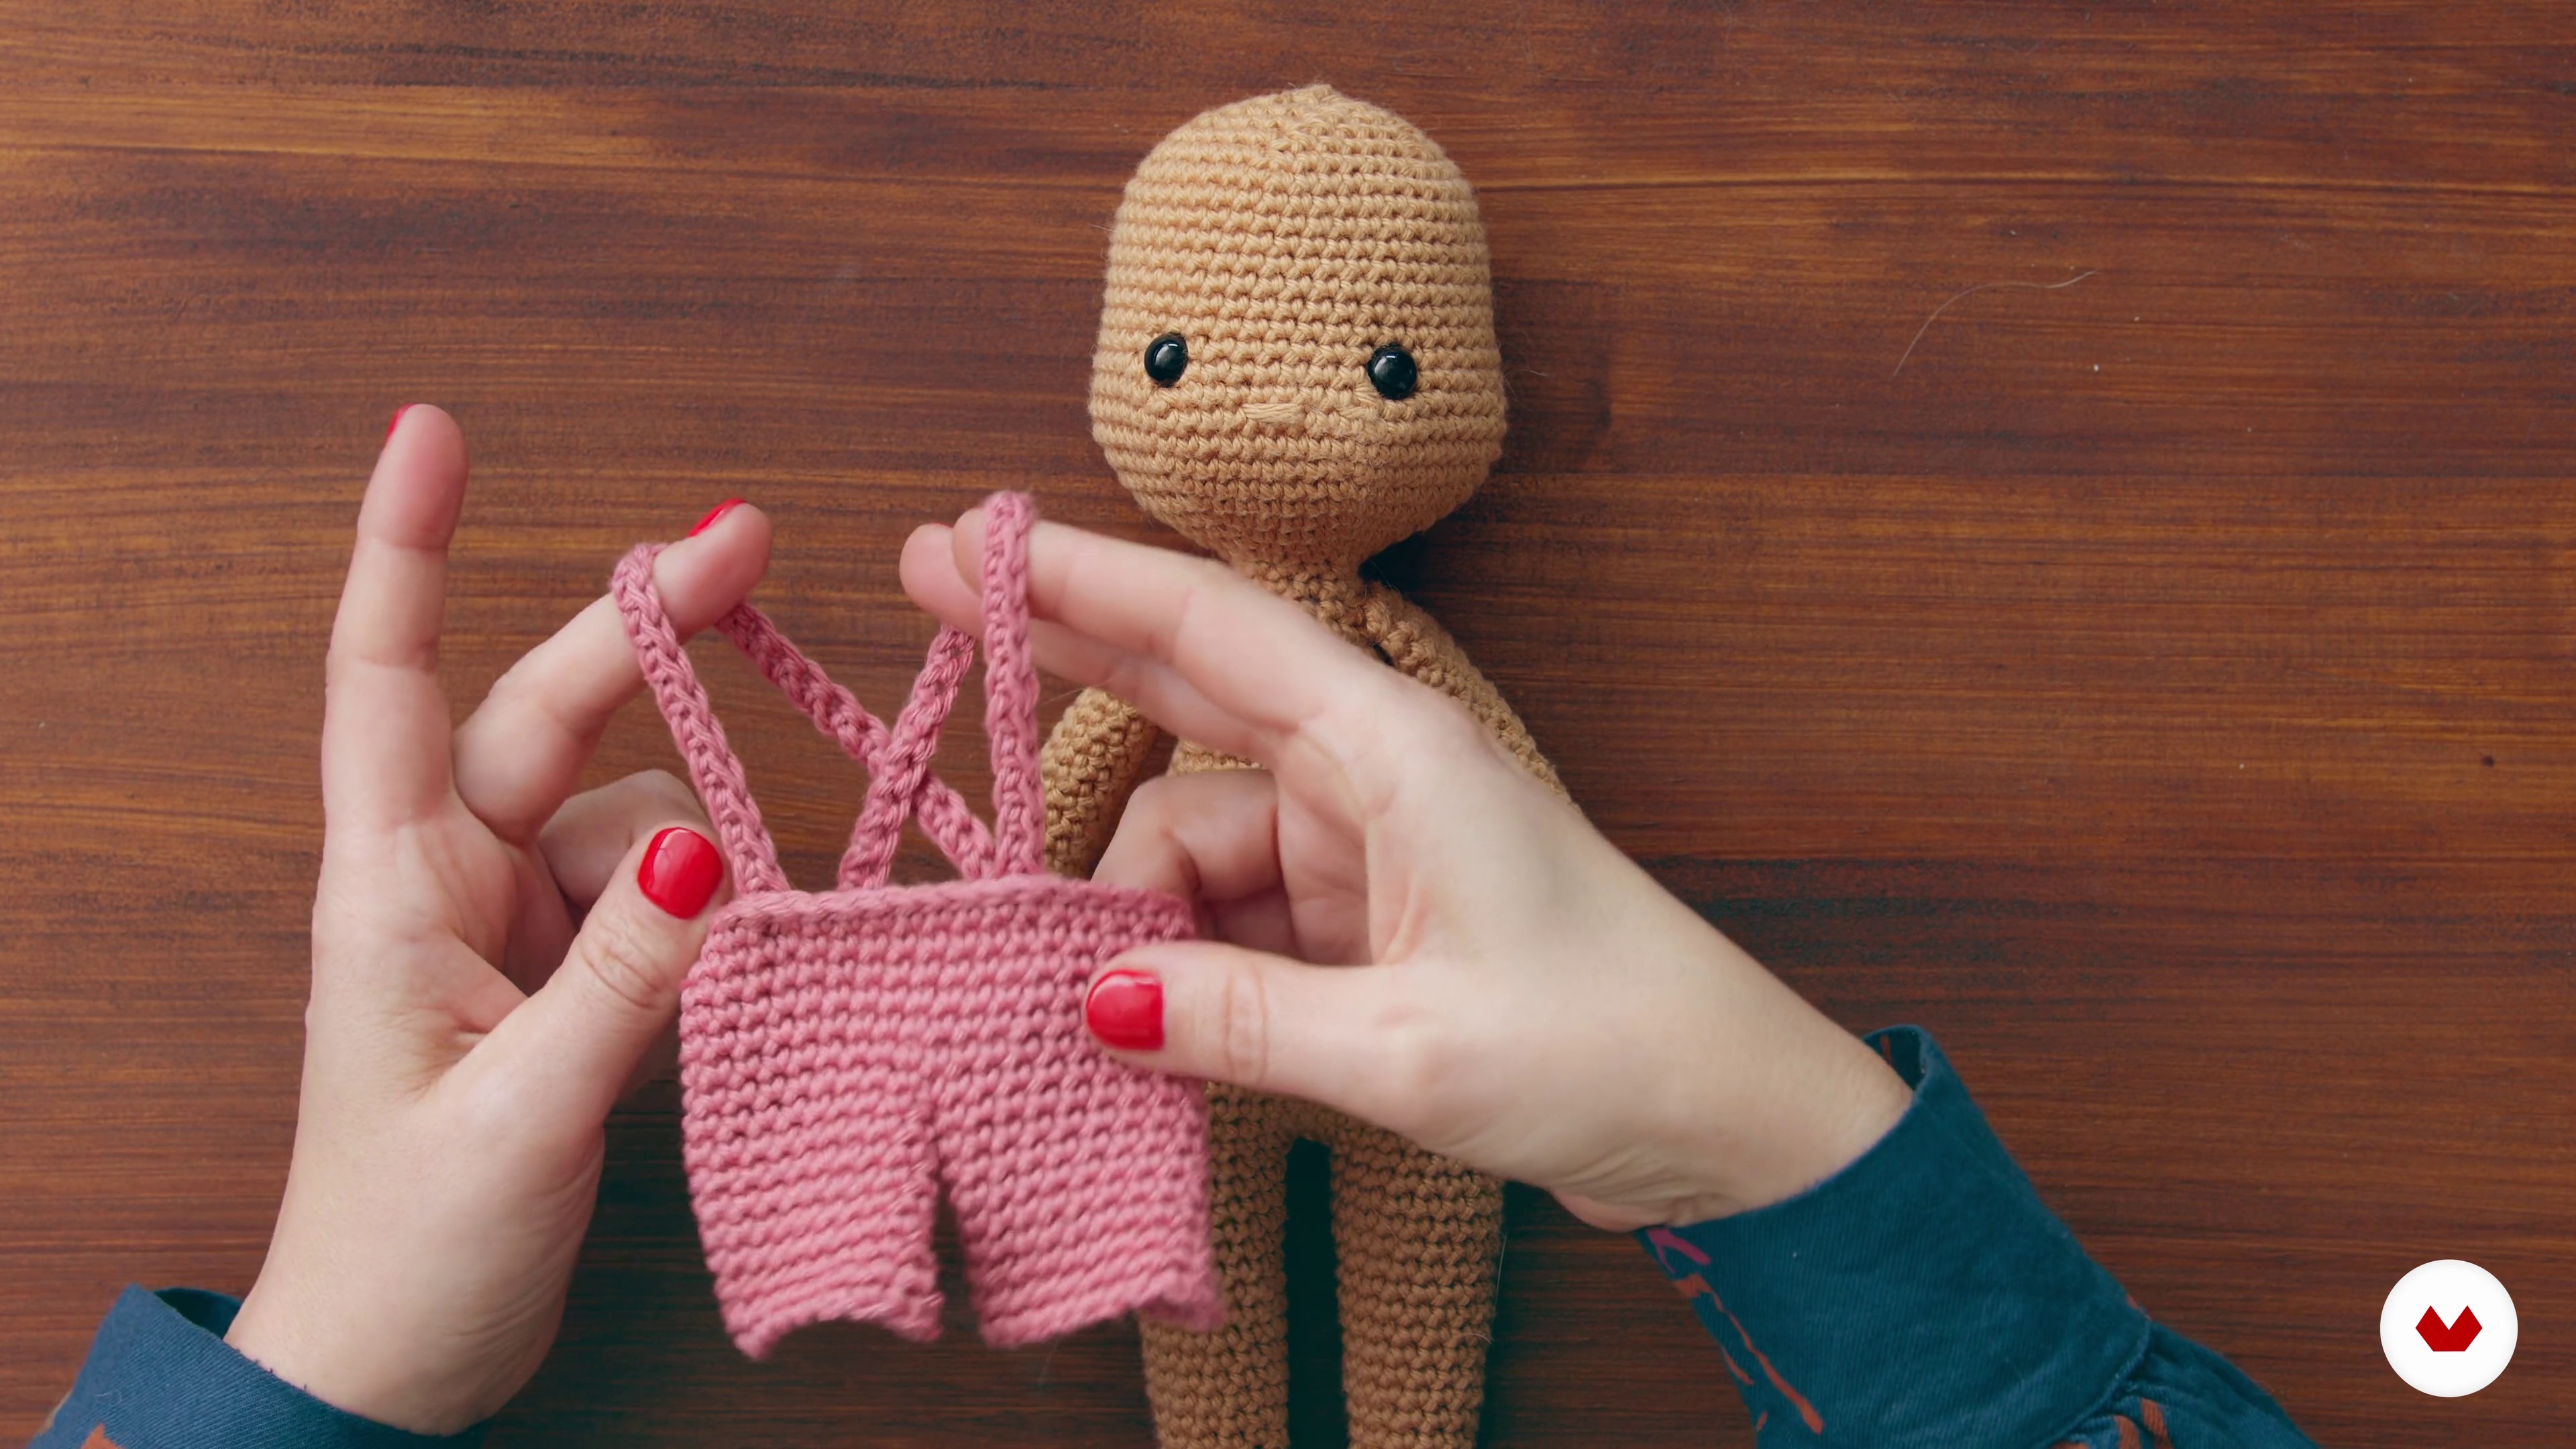
Next, we'll see how to make shorts with suspenders. I'll show you how to gather the legs and give you the instructions you need to follow to make them long. I'll also explain how to make a pinafore.
16m
image
12
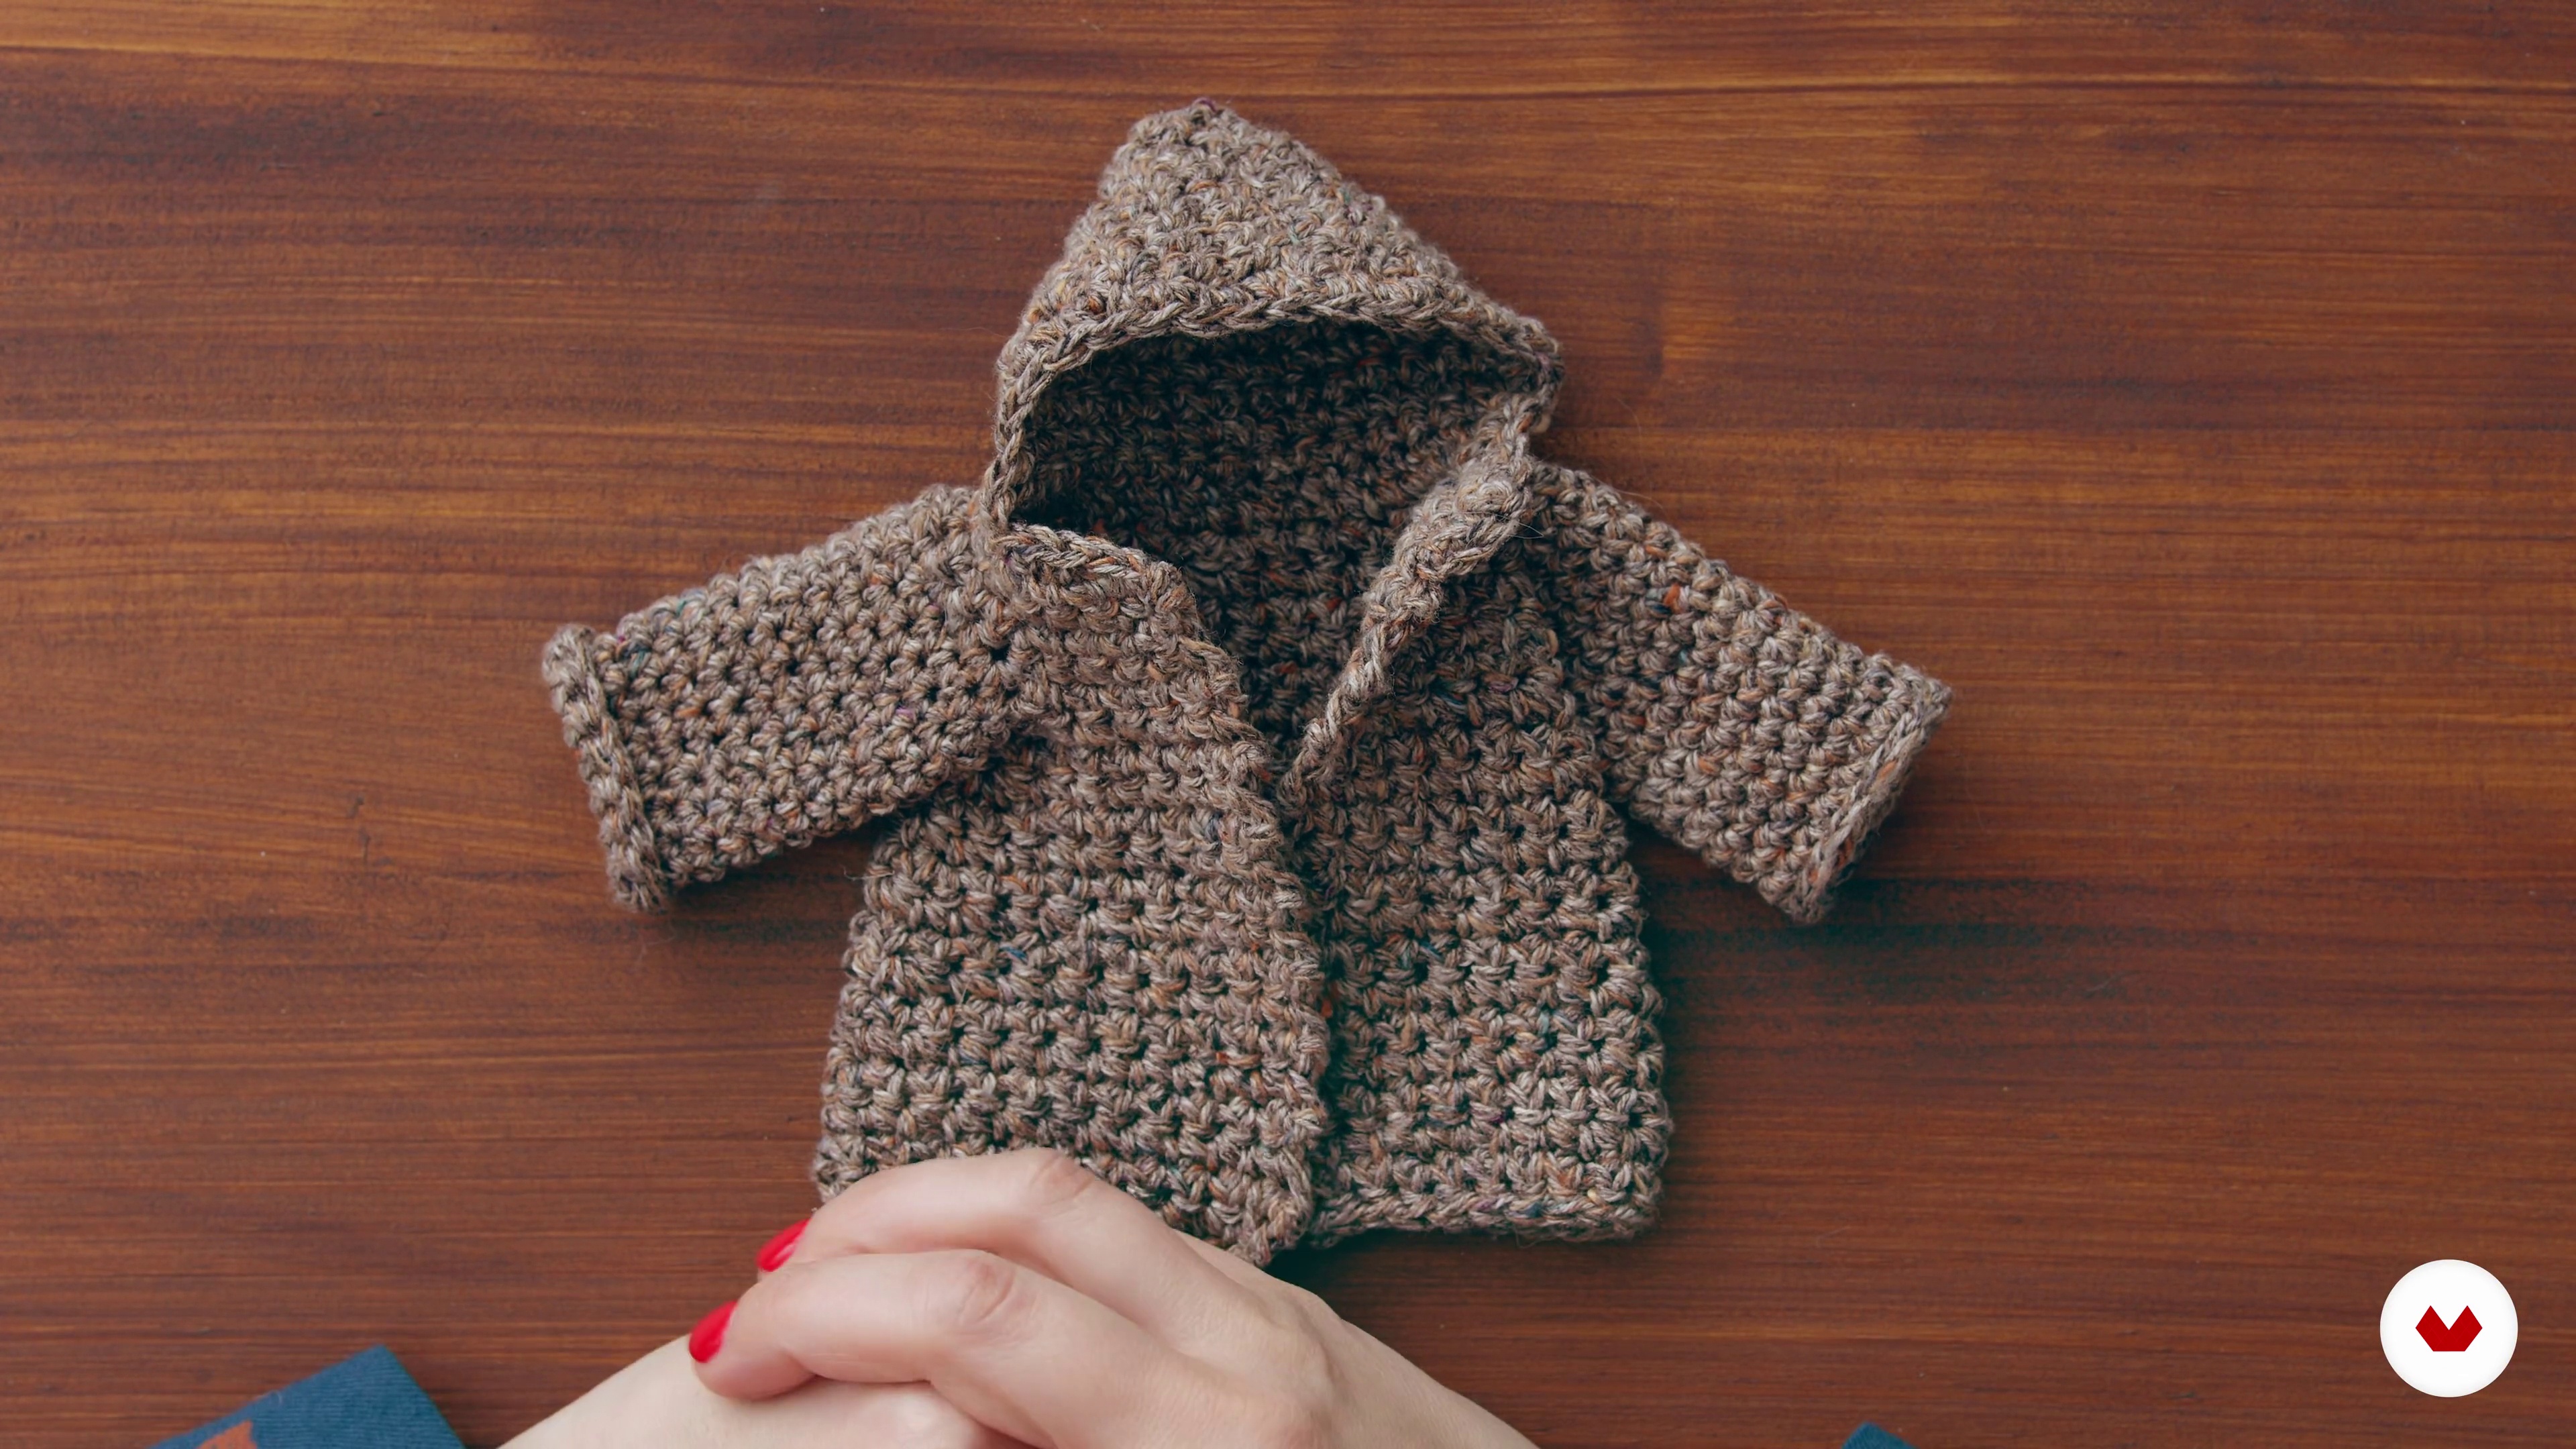
Coat
Now we'll go back to what we learned with outerwear to build a coat. We'll strengthen the top-down construction and learn how to make a hood. The important thing is that you understand the mathematical rules we're applying so you can make garments with the width and length you want.
12m
image
13
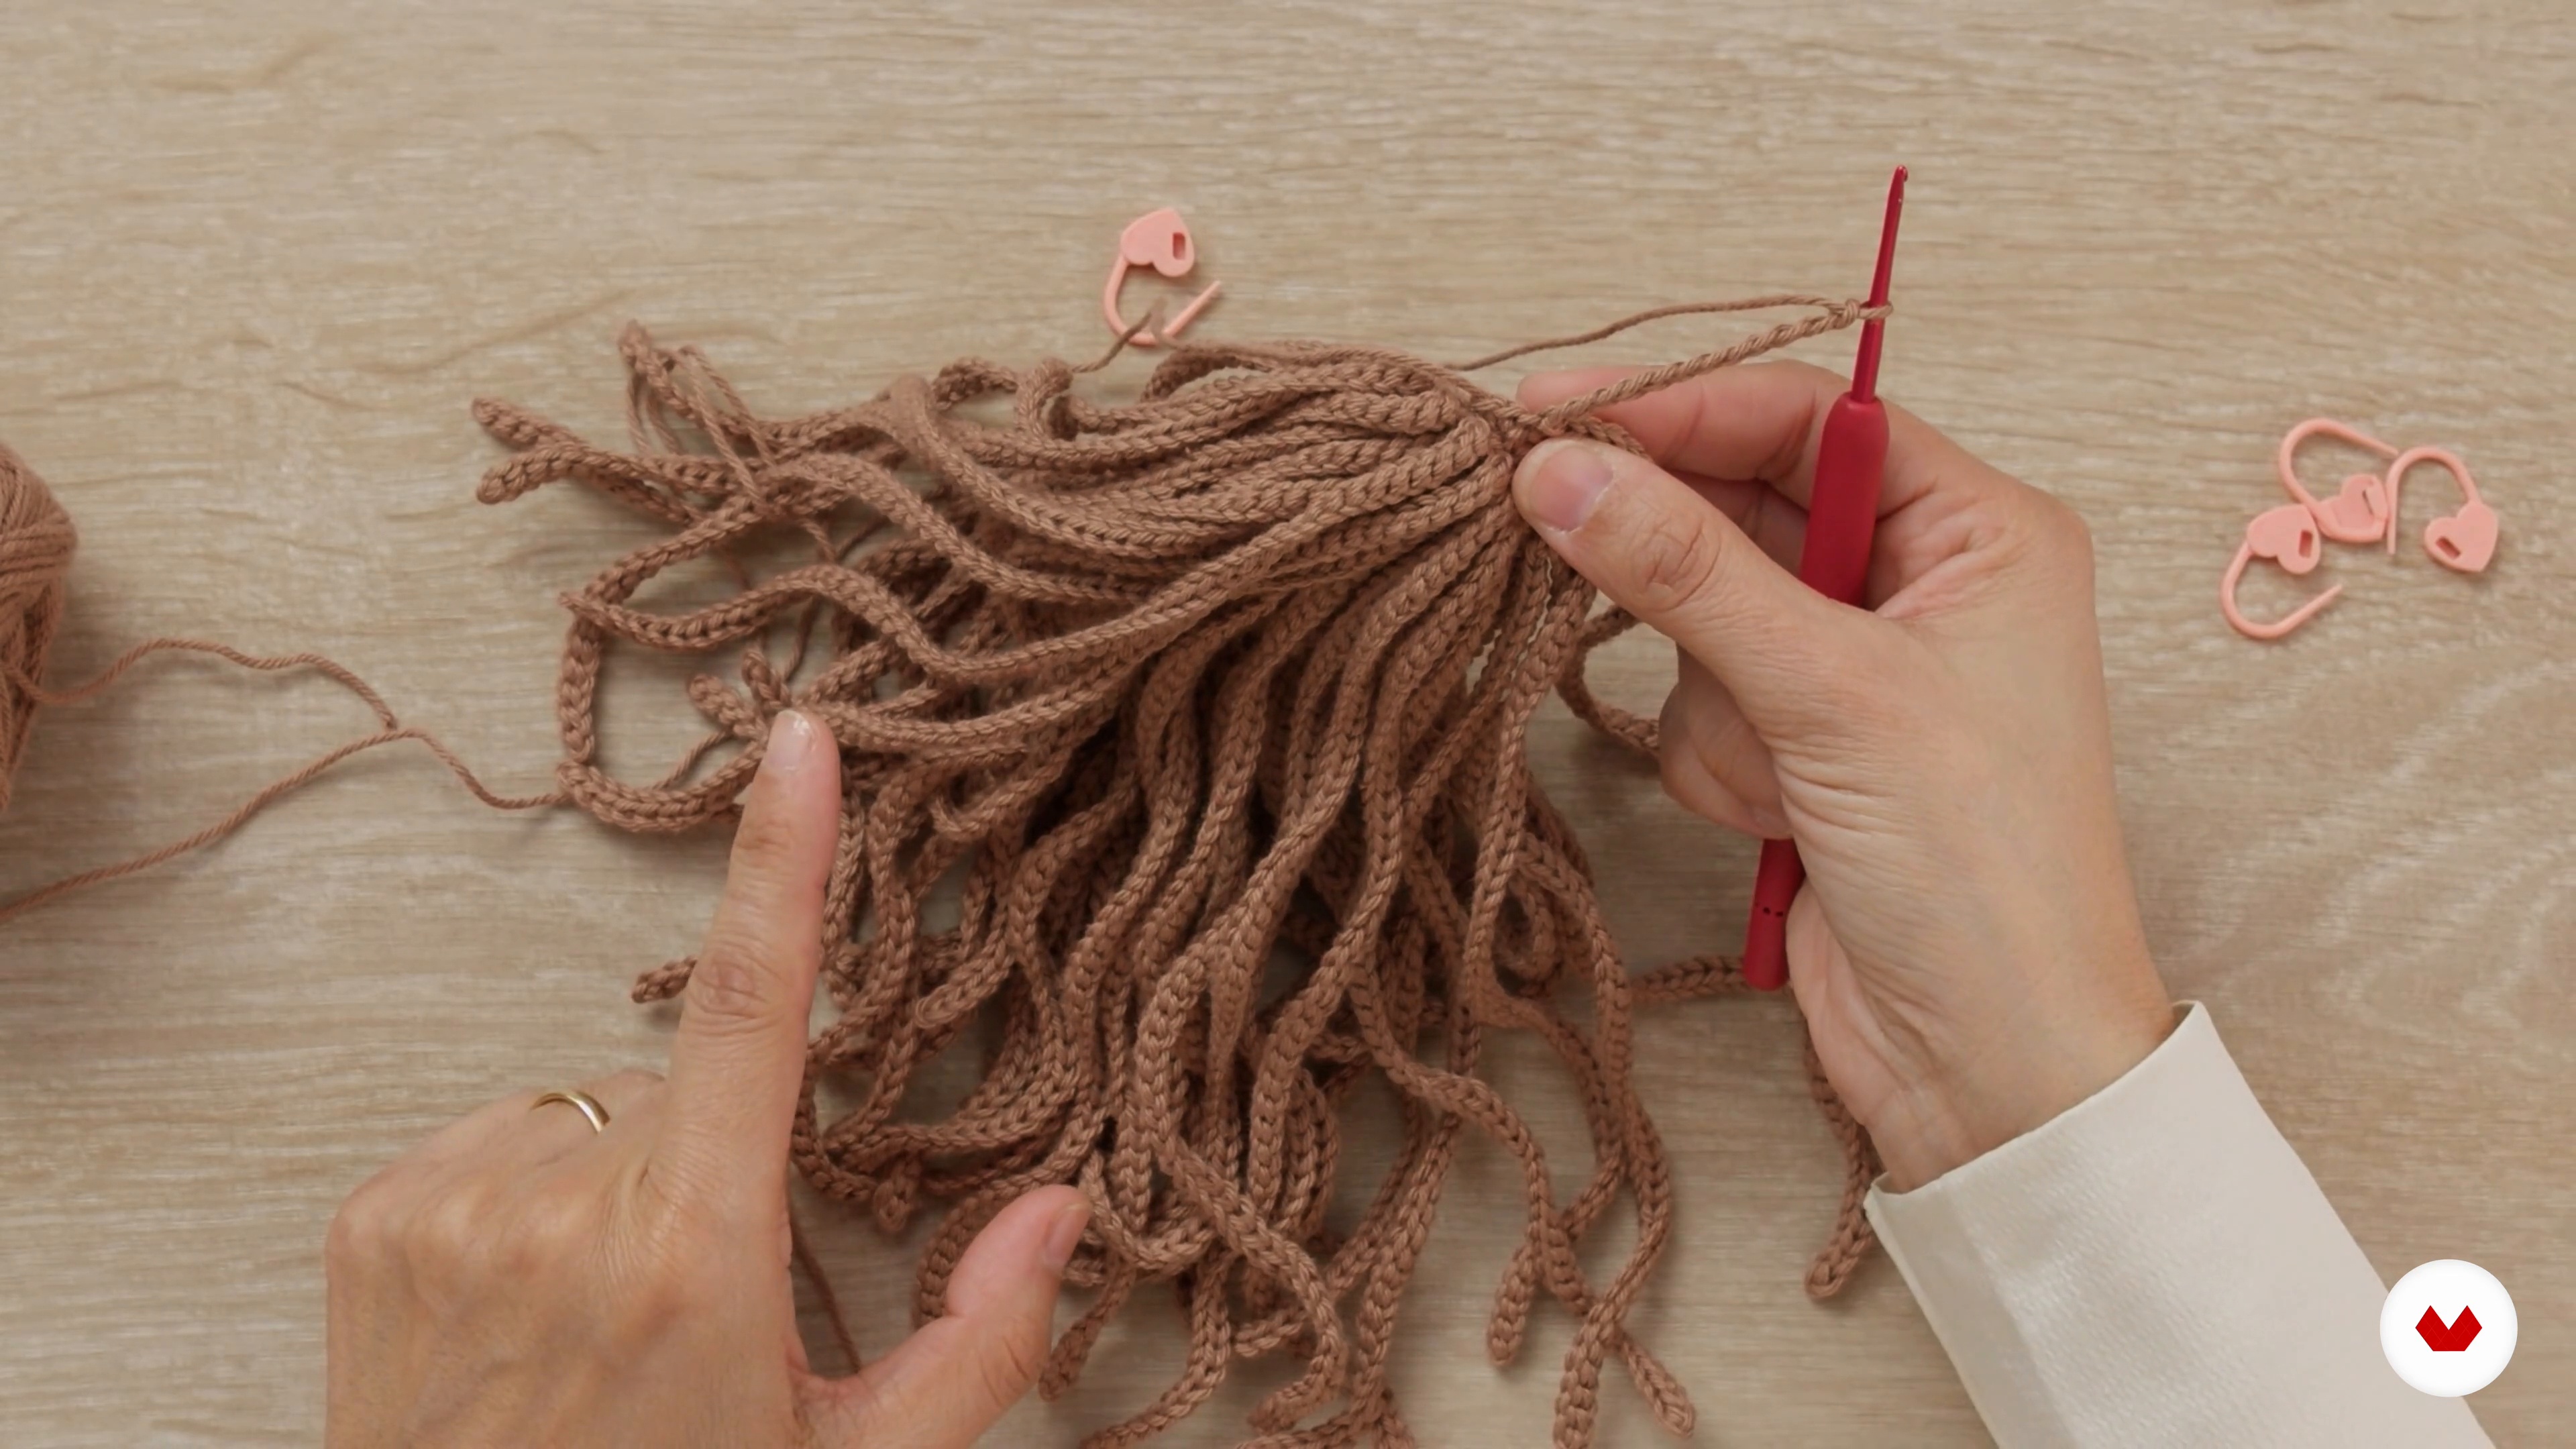
Hair Base
I want to start this unit by showing you how to make a hair base that you can apply to any doll, both female and male.
18m
image
14
Hairstyles
Using the hair base I've created, I'll show you how to create a hairstyle with two braids. I'll also explain how to create long, short, or bun hair, showing you several woven examples.
12m
image
15
Footwear
Let's knit some shoes for our doll. I'll start with the base of the foot and build the shoe line by line. Then, I'll explain how to recreate boots directly on the doll's body and show you other examples of knitted footwear.
19m
image
16
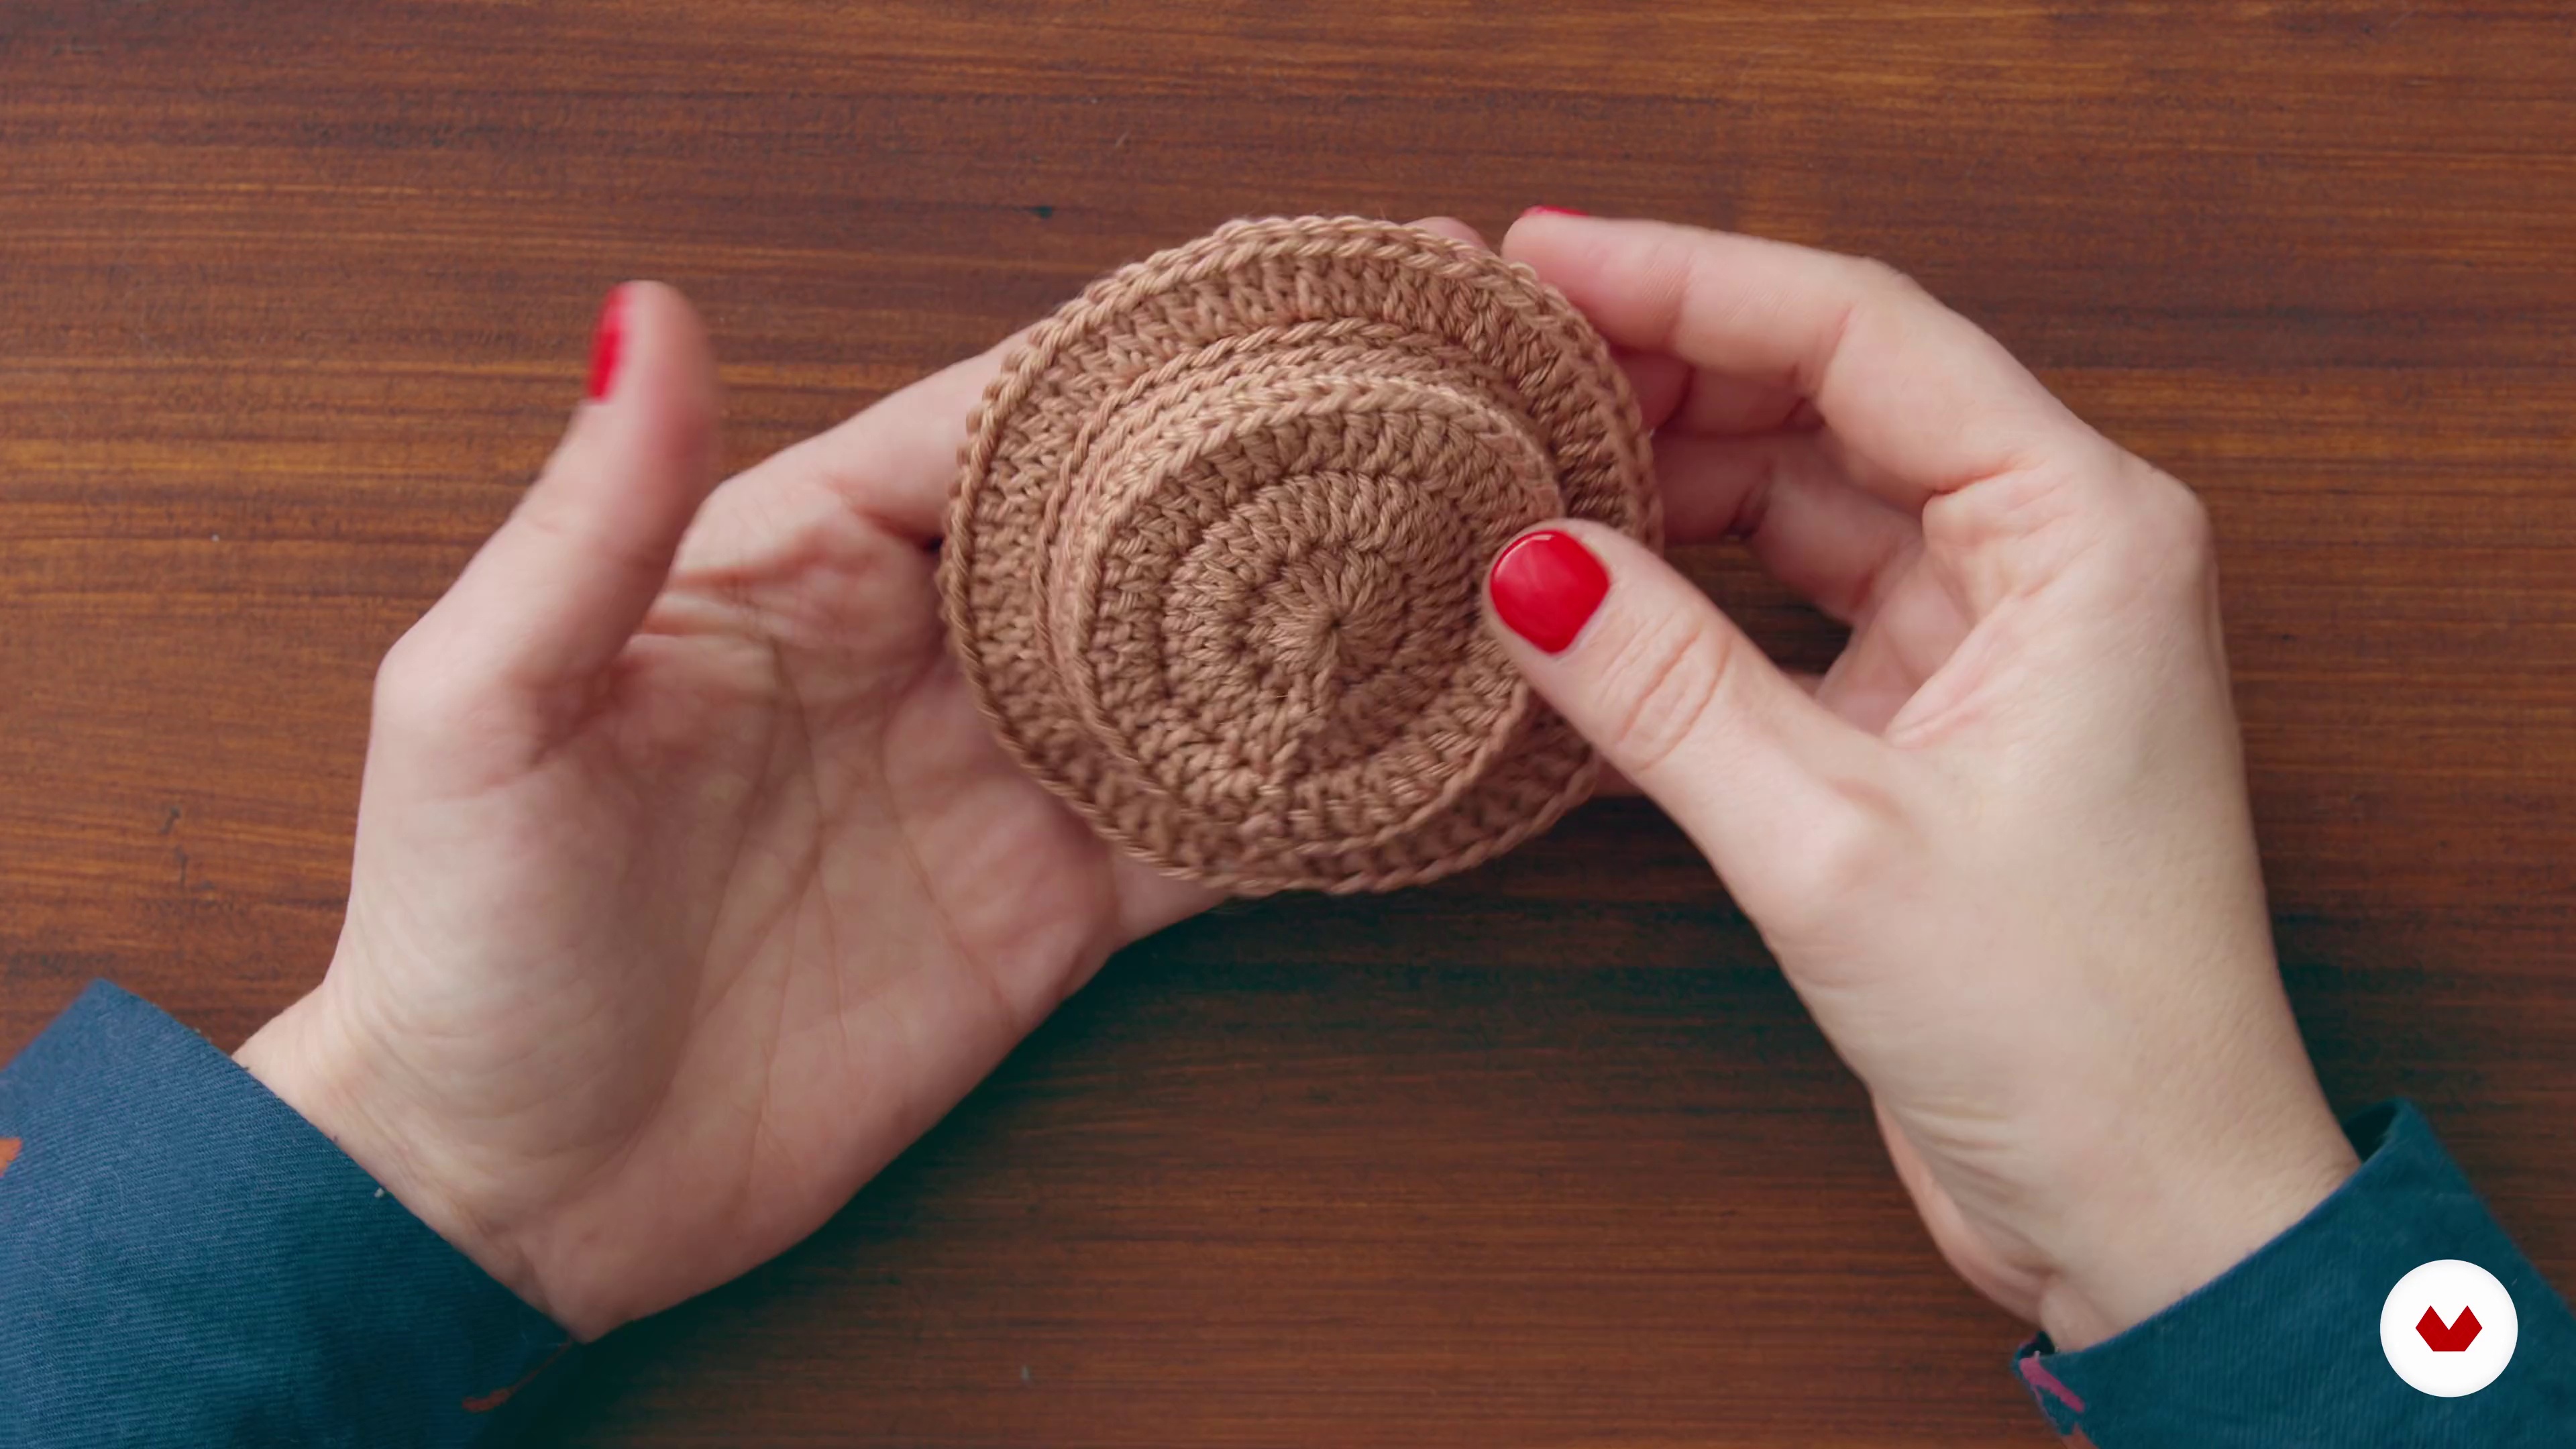
Hat
Let's knit a boater hat for the doll. We'll construct it from the inside out and apply stitch variations. Finally, we'll sew a decorative bow to give the piece more realism.
7m
image
17
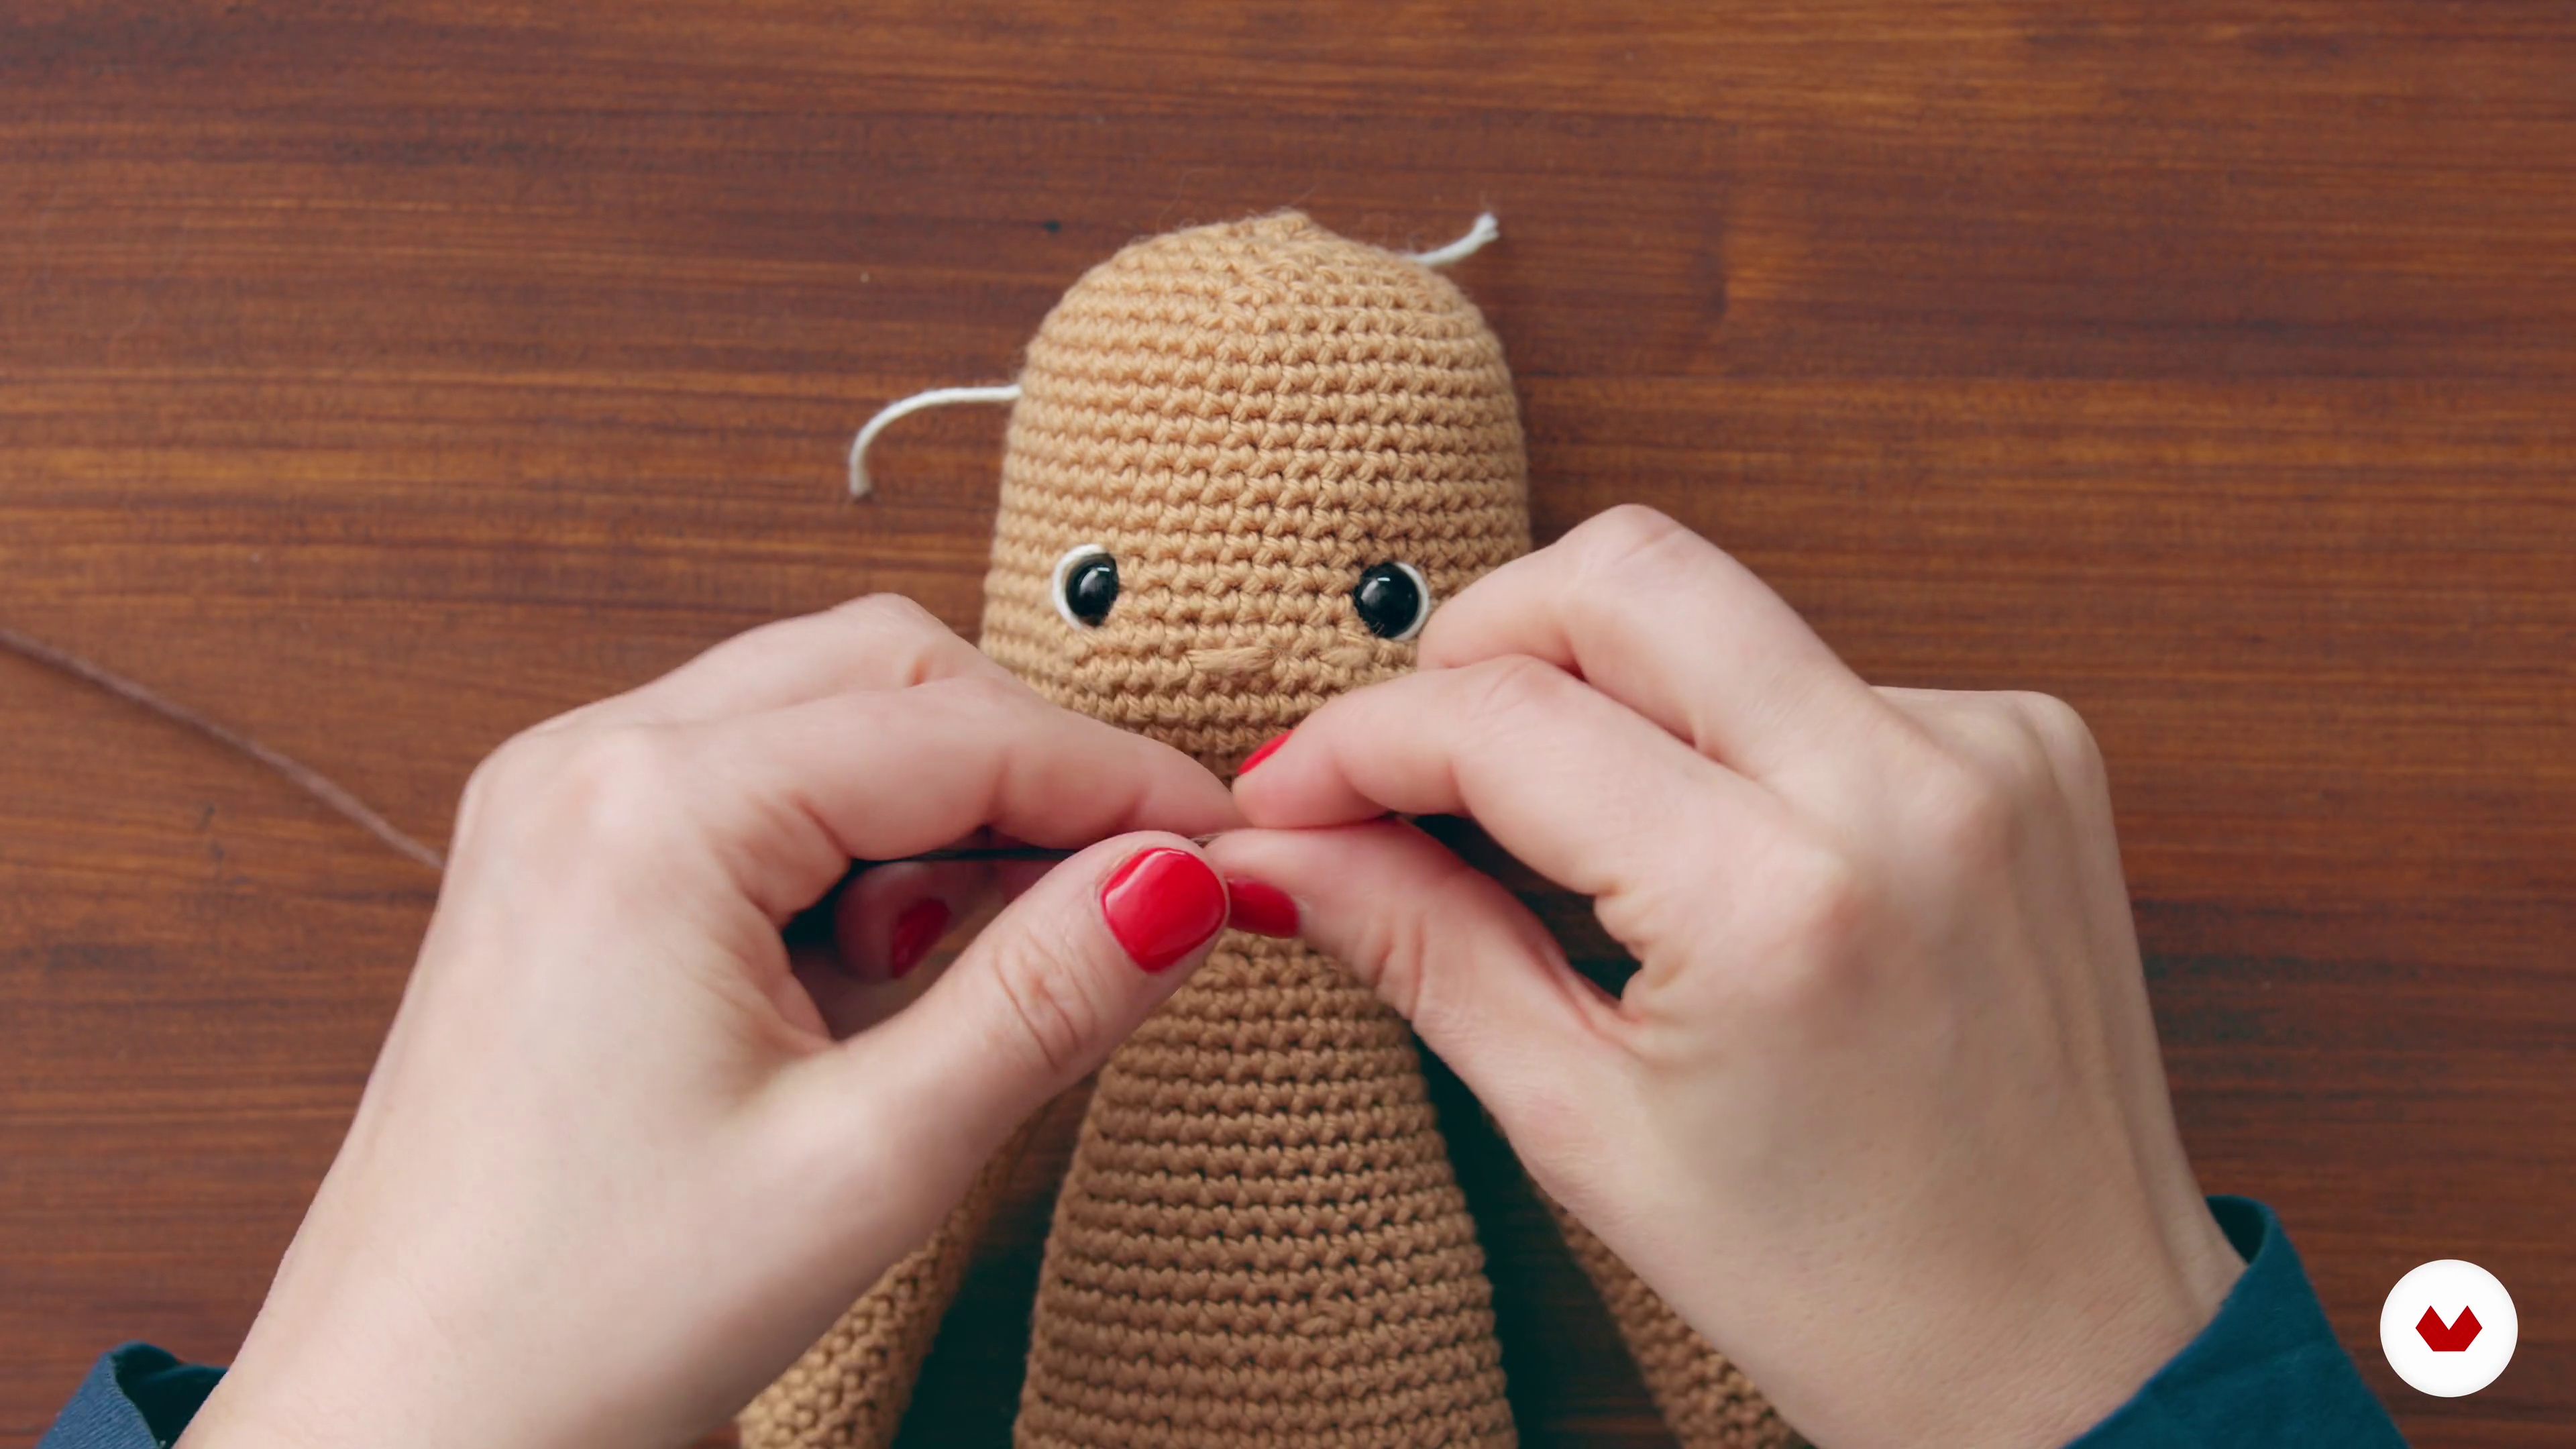
Embroidery as a Decorative Resource
I'm going to show you how to give a doll more expression by embroidering its facial features. I'll also tell you about the possibilities of embroidery as a decorative resource for amigurumi and the various courses you can find on Domestika to learn about it.
11m
image
18
The Final Assembly of the Amigurumi
Now that we've knitted all the elements, we'll finish assembling, dressing, and decorating our doll. We'll see how to sew buttons onto the clothes so they stay on perfectly. We'll also attach and sew the hair; we'll give it a pretty hairstyle. We'll choose a dress, shoes, and accessories, and get our doll ready to go out into the world to dazzle with its complete outfit.
19m
image
1
What is 2D amigurumi?
In this lesson, I want to show you what 2D amigurumi is all about, comparing it to the traditional amigurumi technique. But first, I want to tell you how I came up with this idea.
8m
image
2
Materials
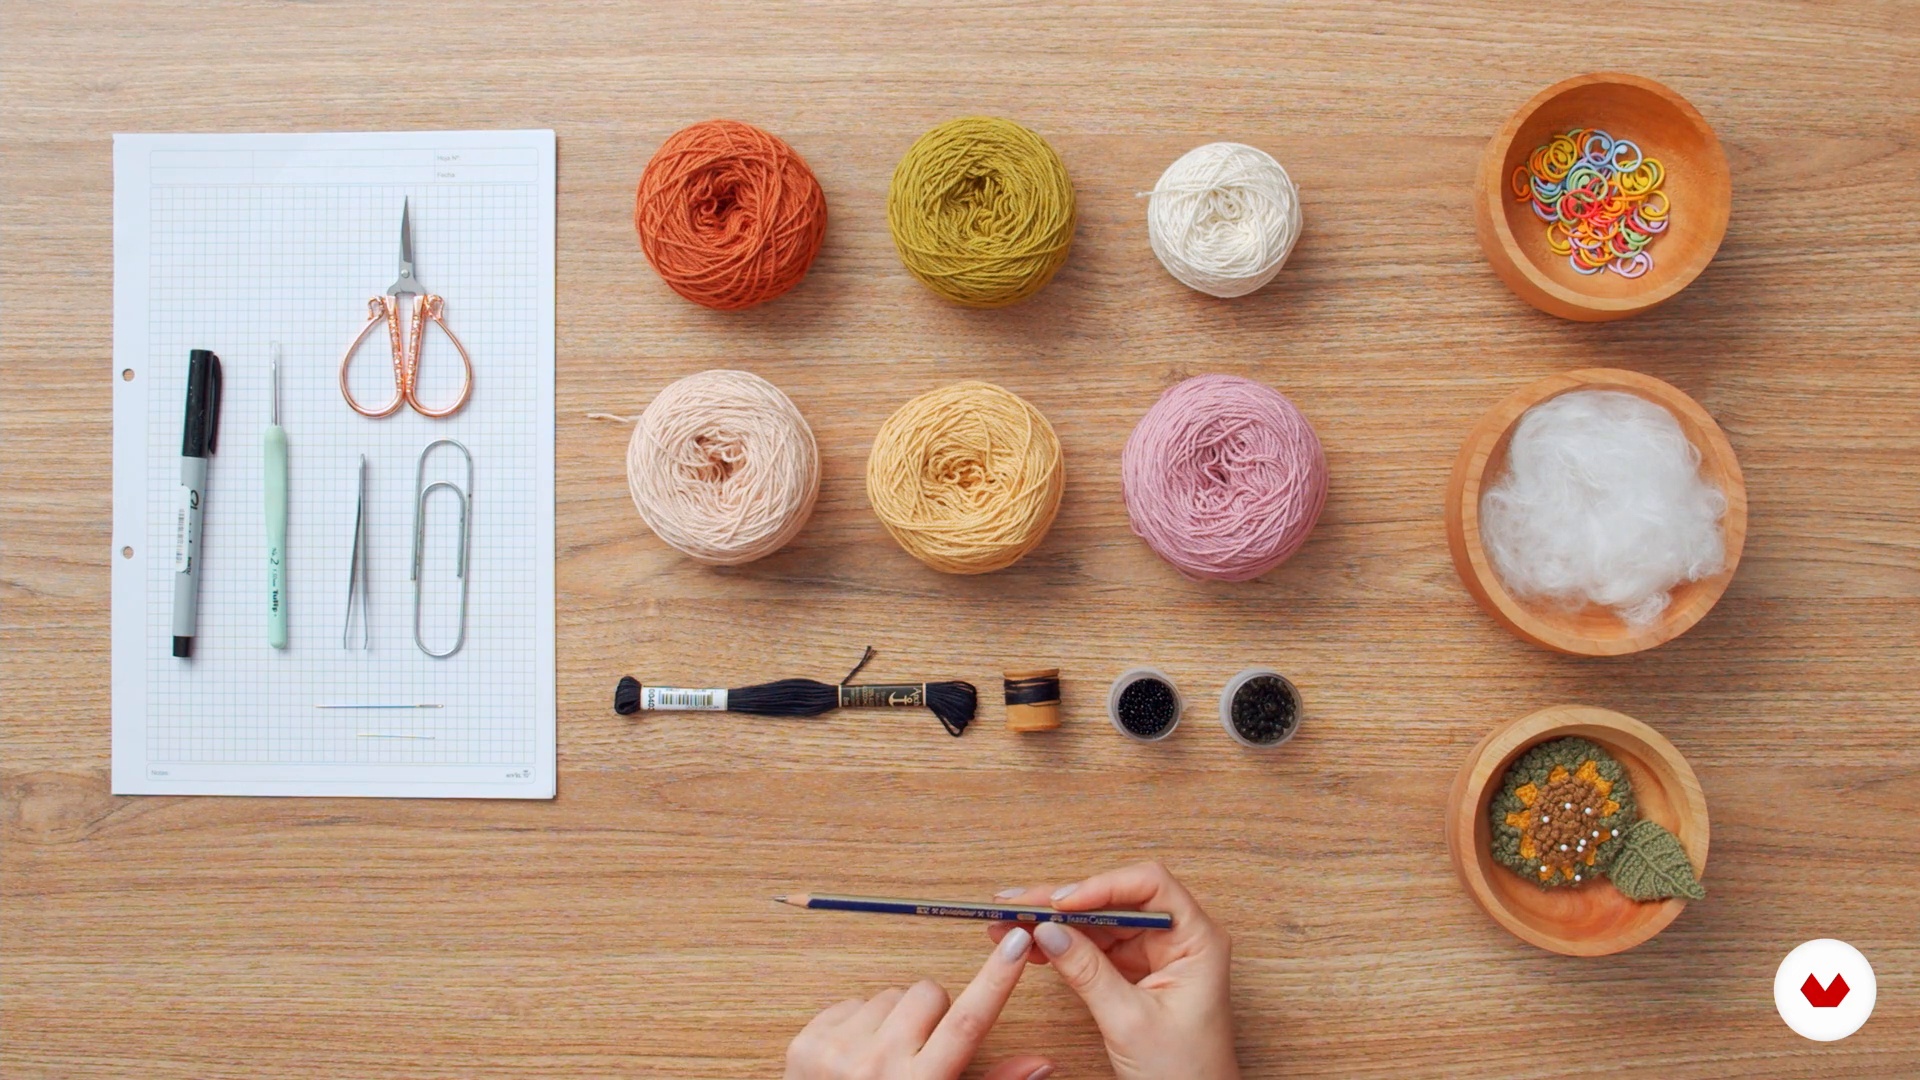
Next, I'm going to tell you the list of materials needed to successfully complete the project we're going to do during the course.
11m
image
3
Creative process and design
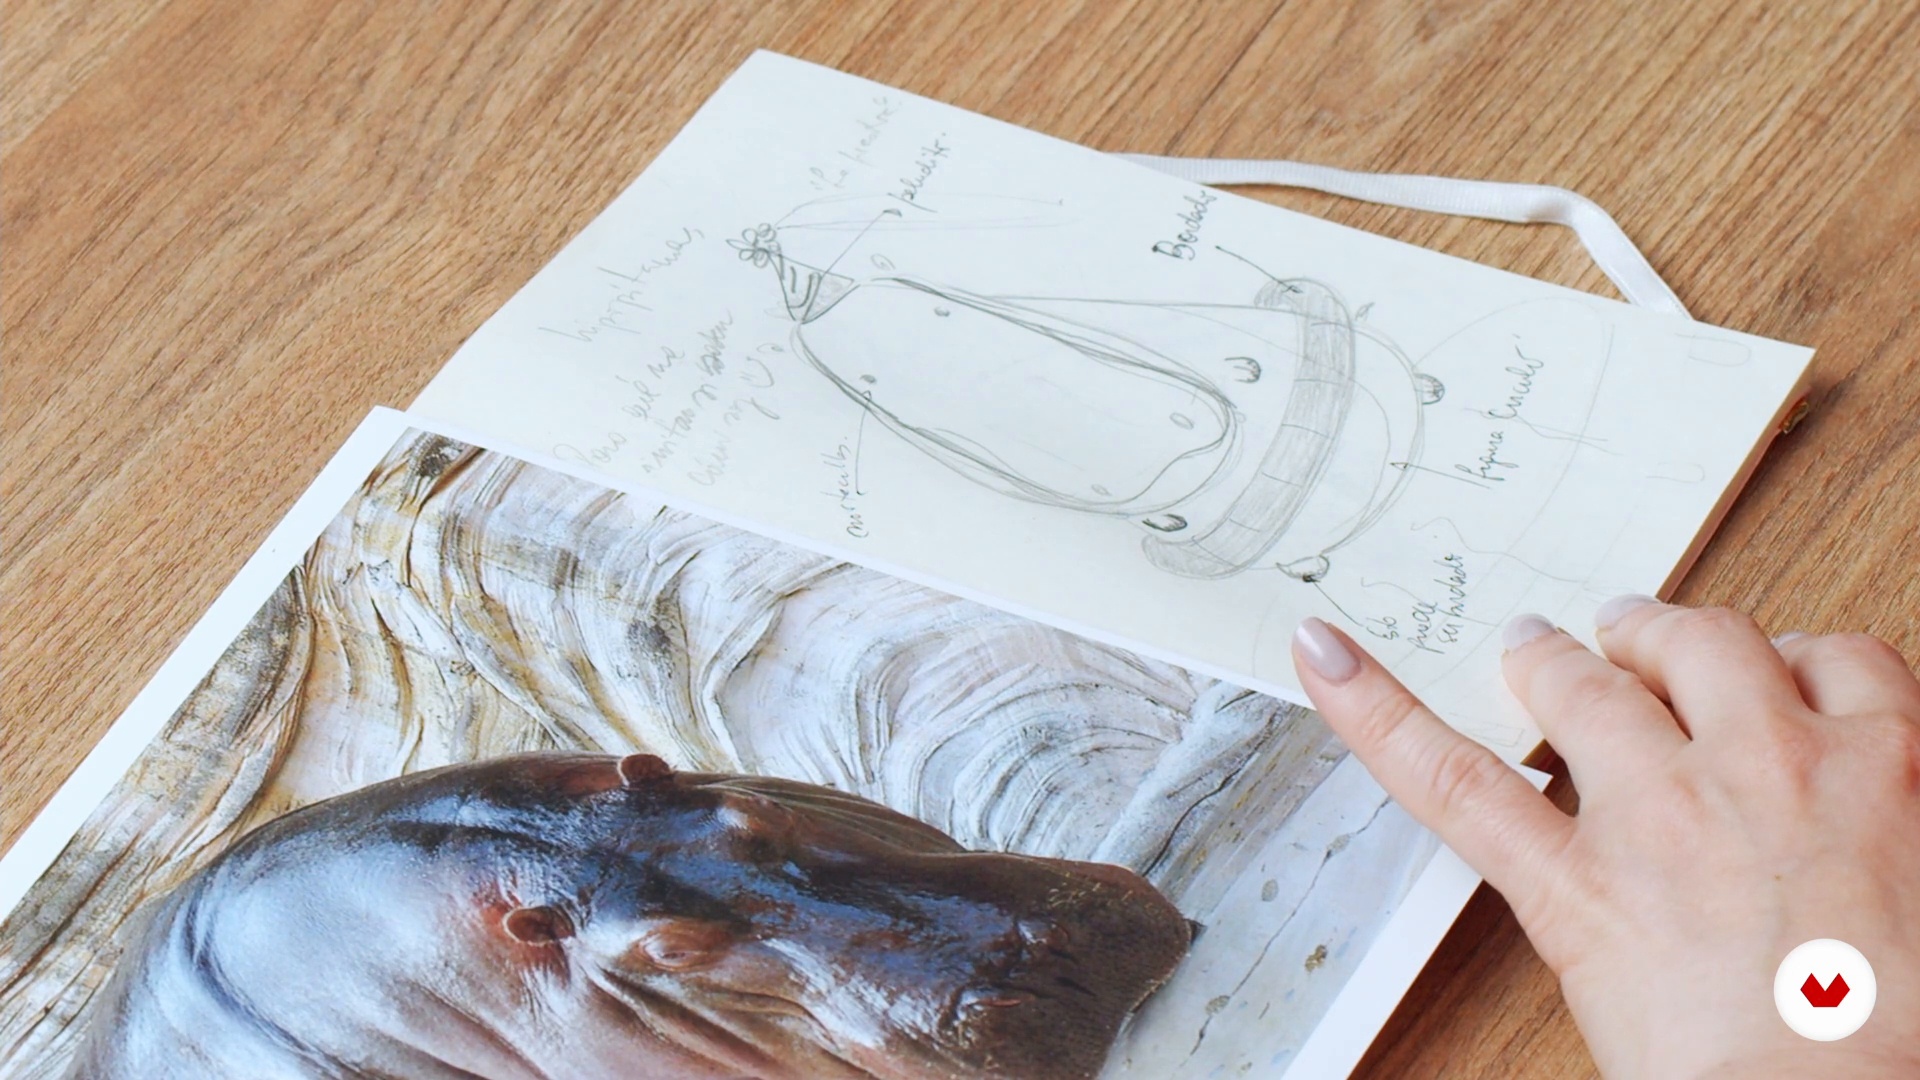
In this lesson, I want to tell you about my creative process when creating a 2D amigurumi and how I came to make my first sketch.
8m
image
4
From design to graphic amigurumi 2D 1
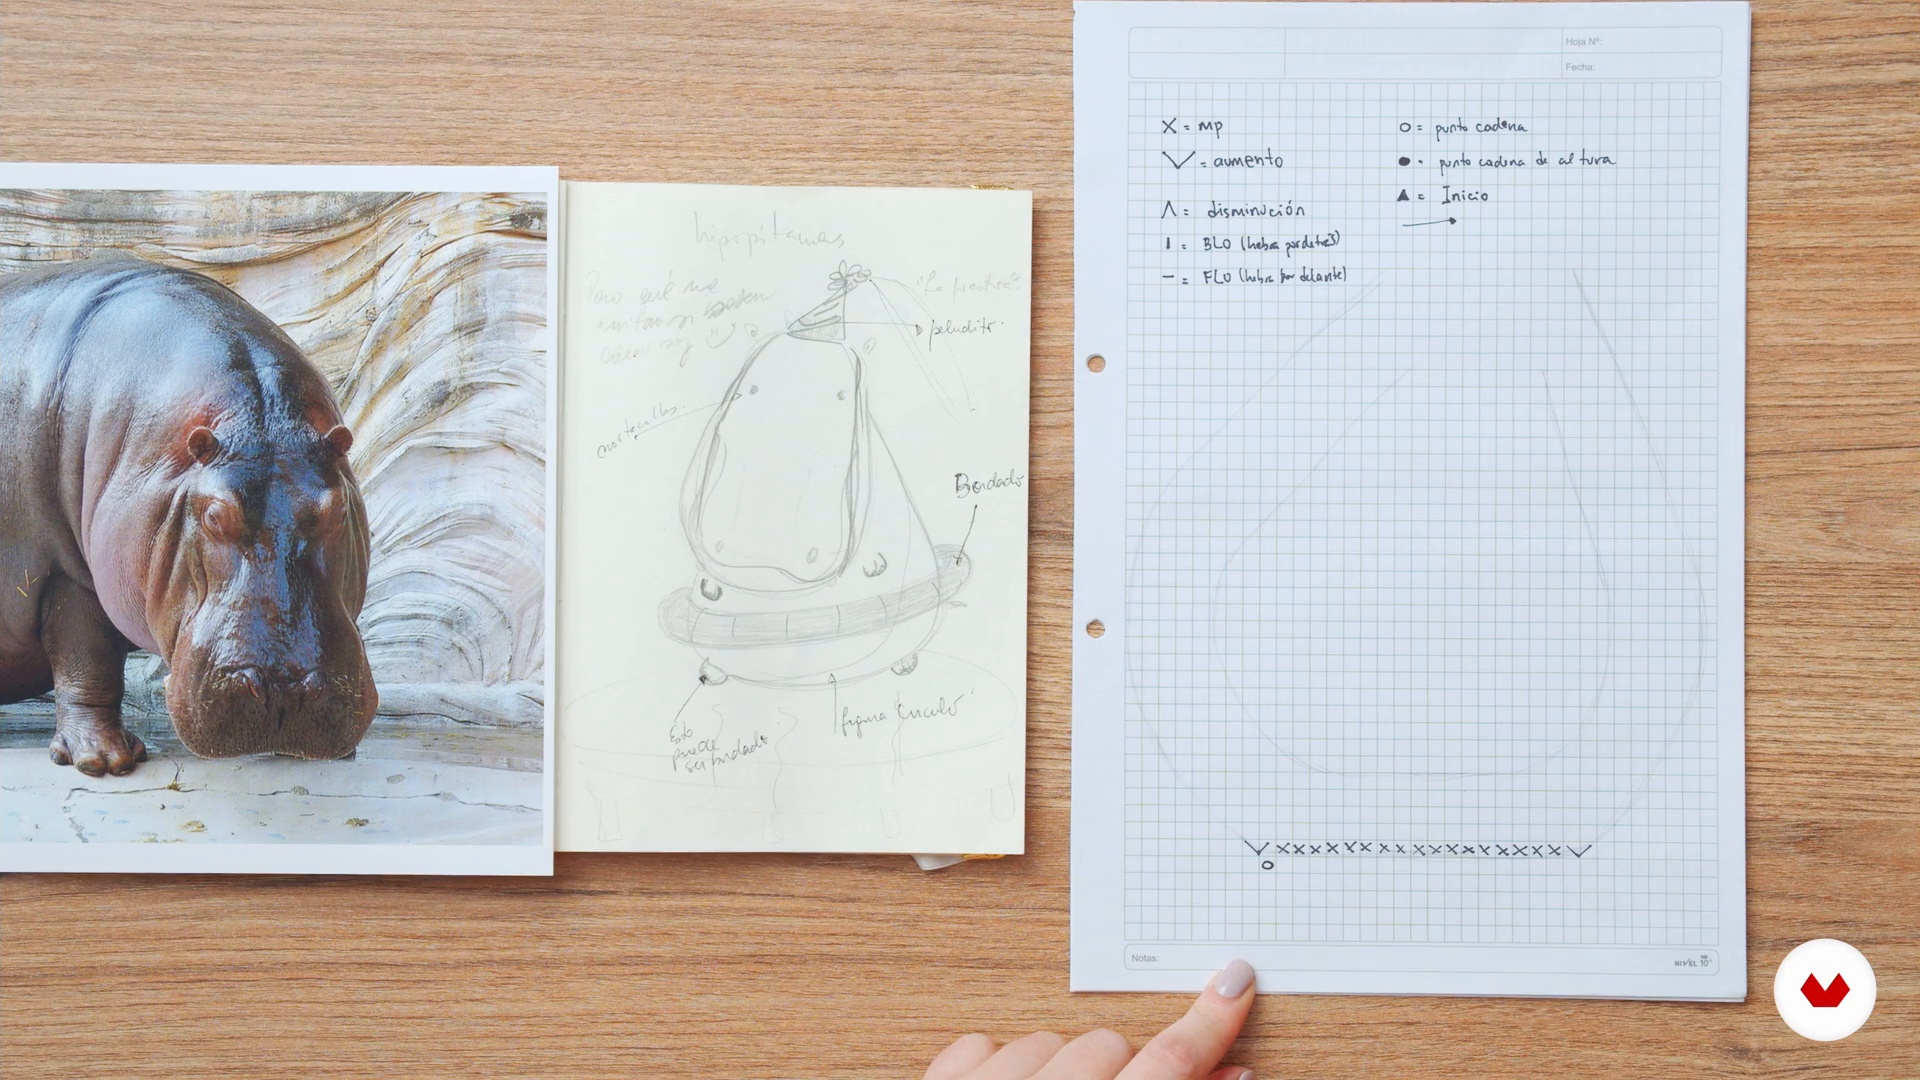
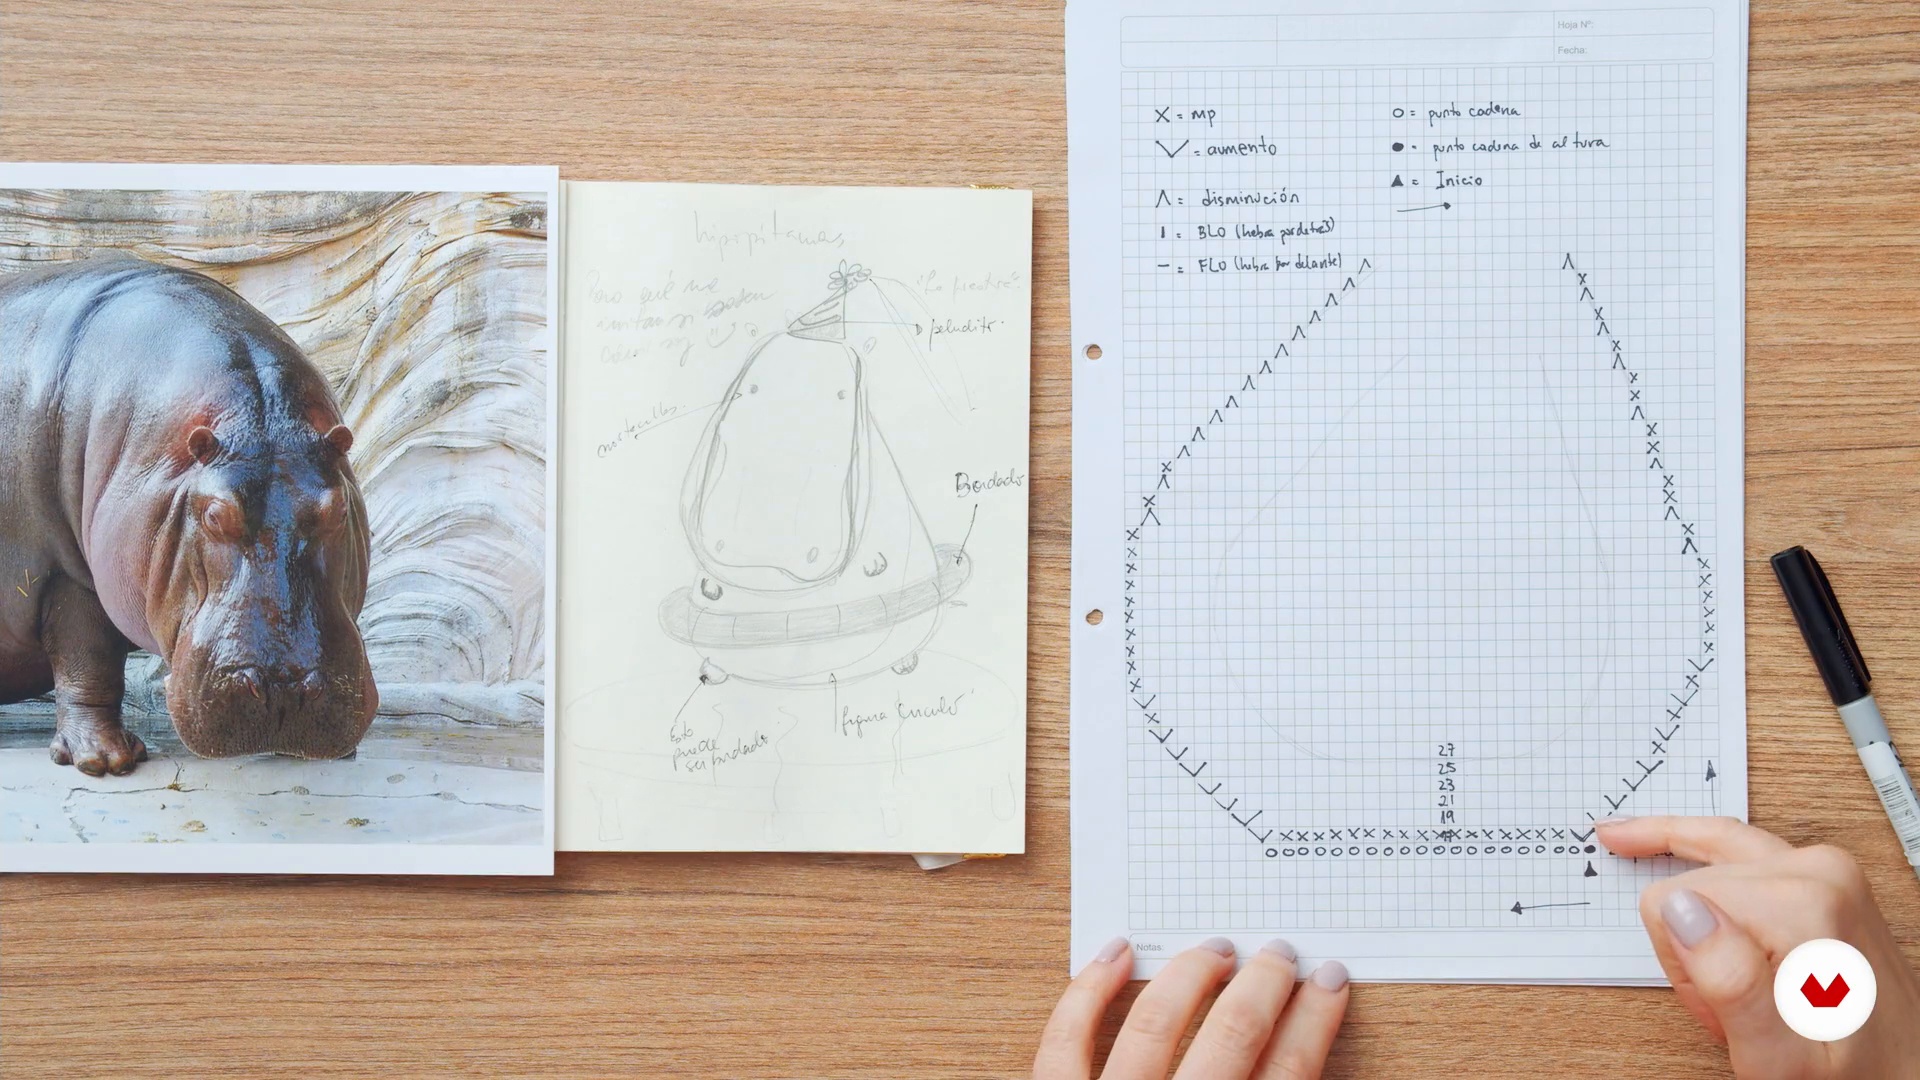
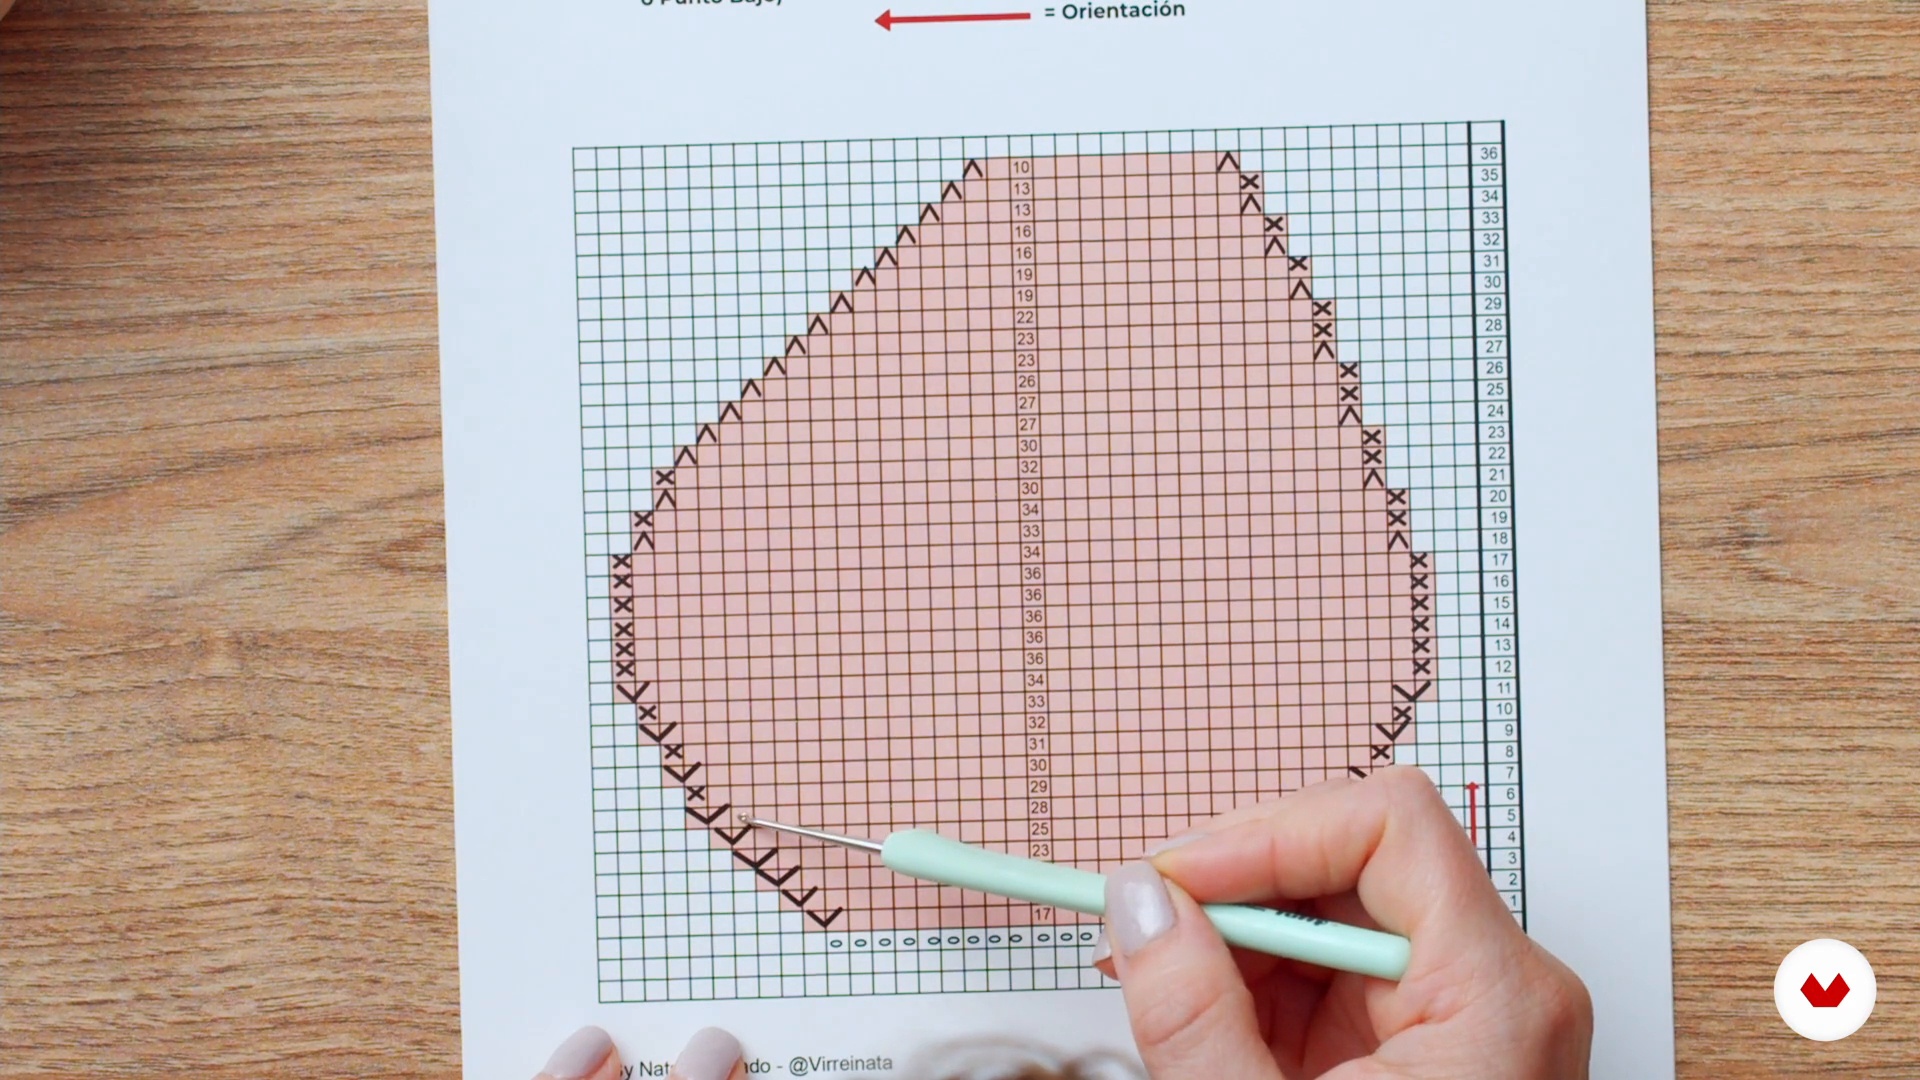
Finally, I'm going to tell you about one of my favorite parts: transforming the initial design into a 2D amigurumi chart. Then, from there, we can create the knitting guide.
10m
image
5
From design to graphic amigurumi 2D 2
We continue to see how to transfer the amigurumi design to the chart so you have everything ready before you start knitting.
15m
image
6
Basic stitches: head 1
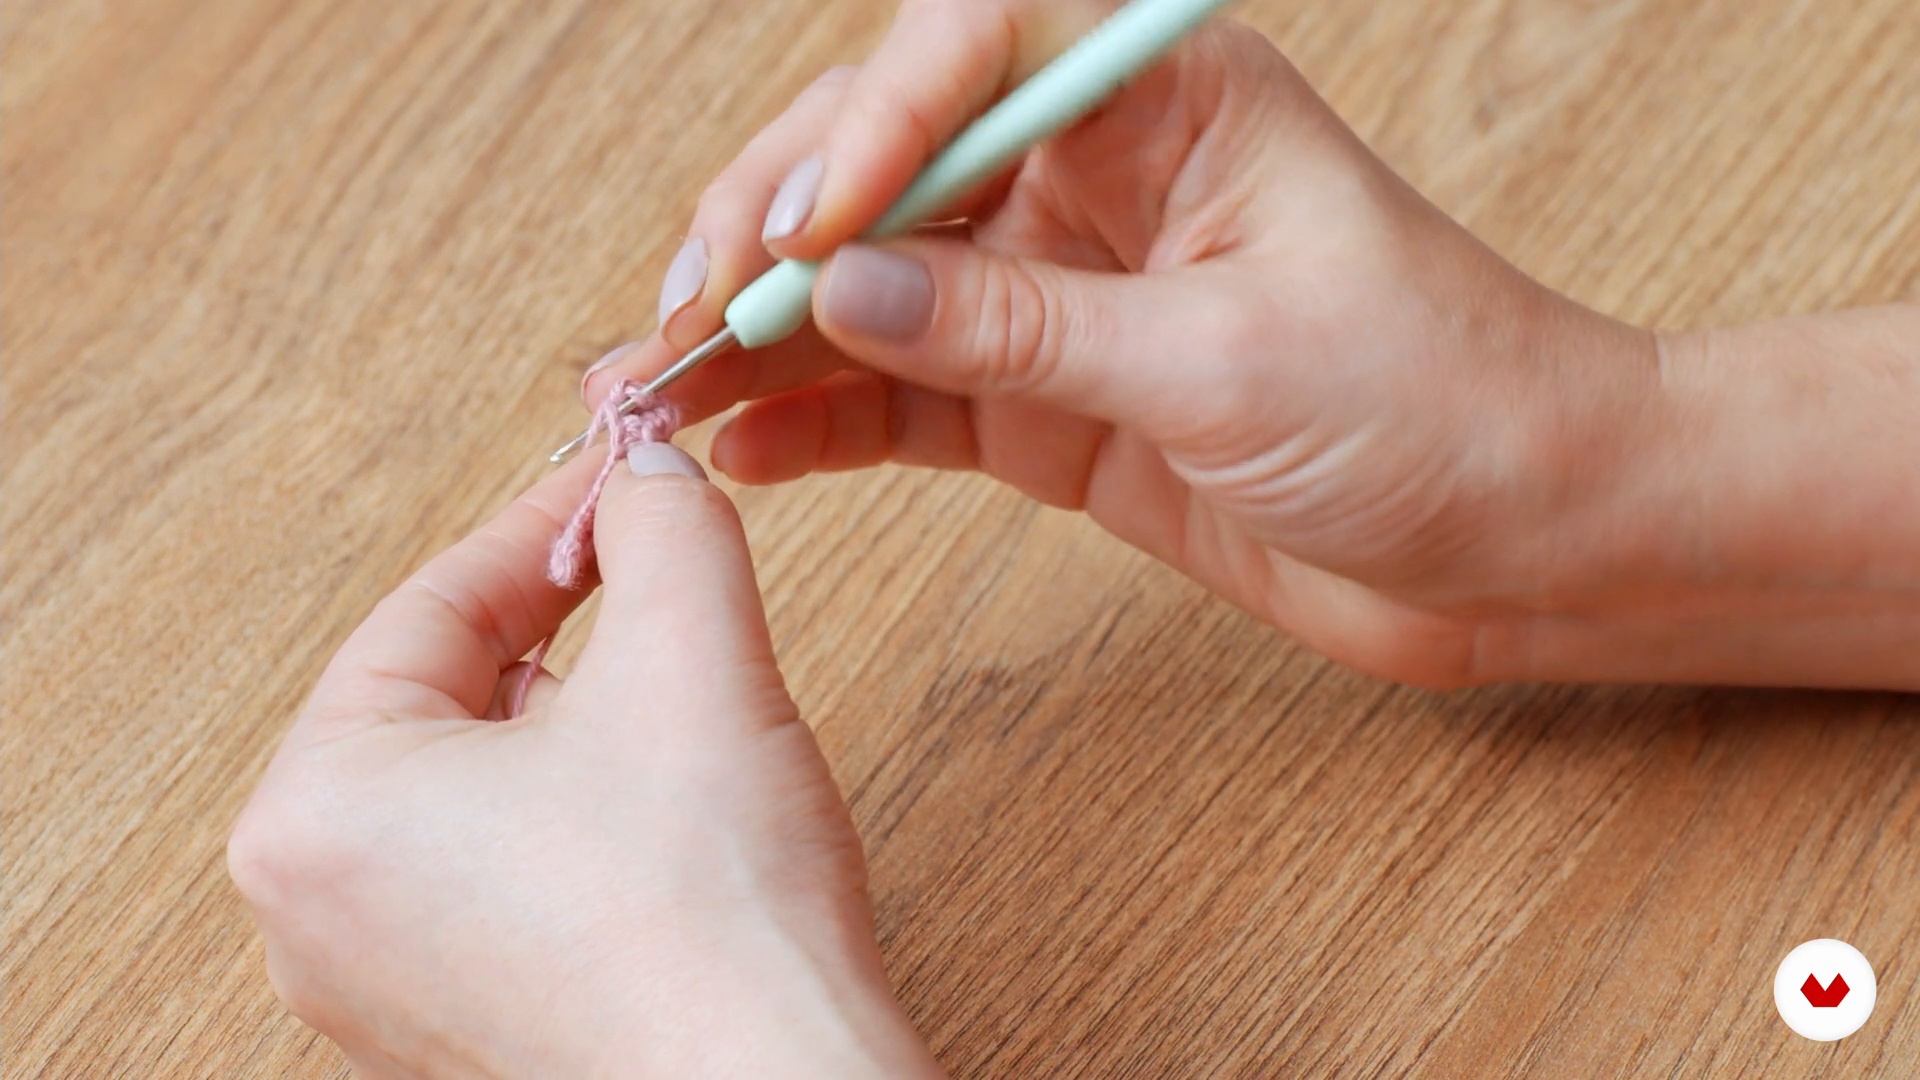
In this lesson, we'll begin knitting our project. I'll teach you how to make your first foundation chain and everything you need to know for a perfect start.
14m
image
7
Basic stitches: the head 2
Following the chart, now it's time to knit the amigurumi head step by step.
20m
image
8
Basic stitches: the body and the legs
We continue reviewing the basic stitches learned in the first lesson and continue reading the charts together to help you assimilate this new way of creating and knitting amigurumis.
9m
image
9
Stuffing and stitching 1
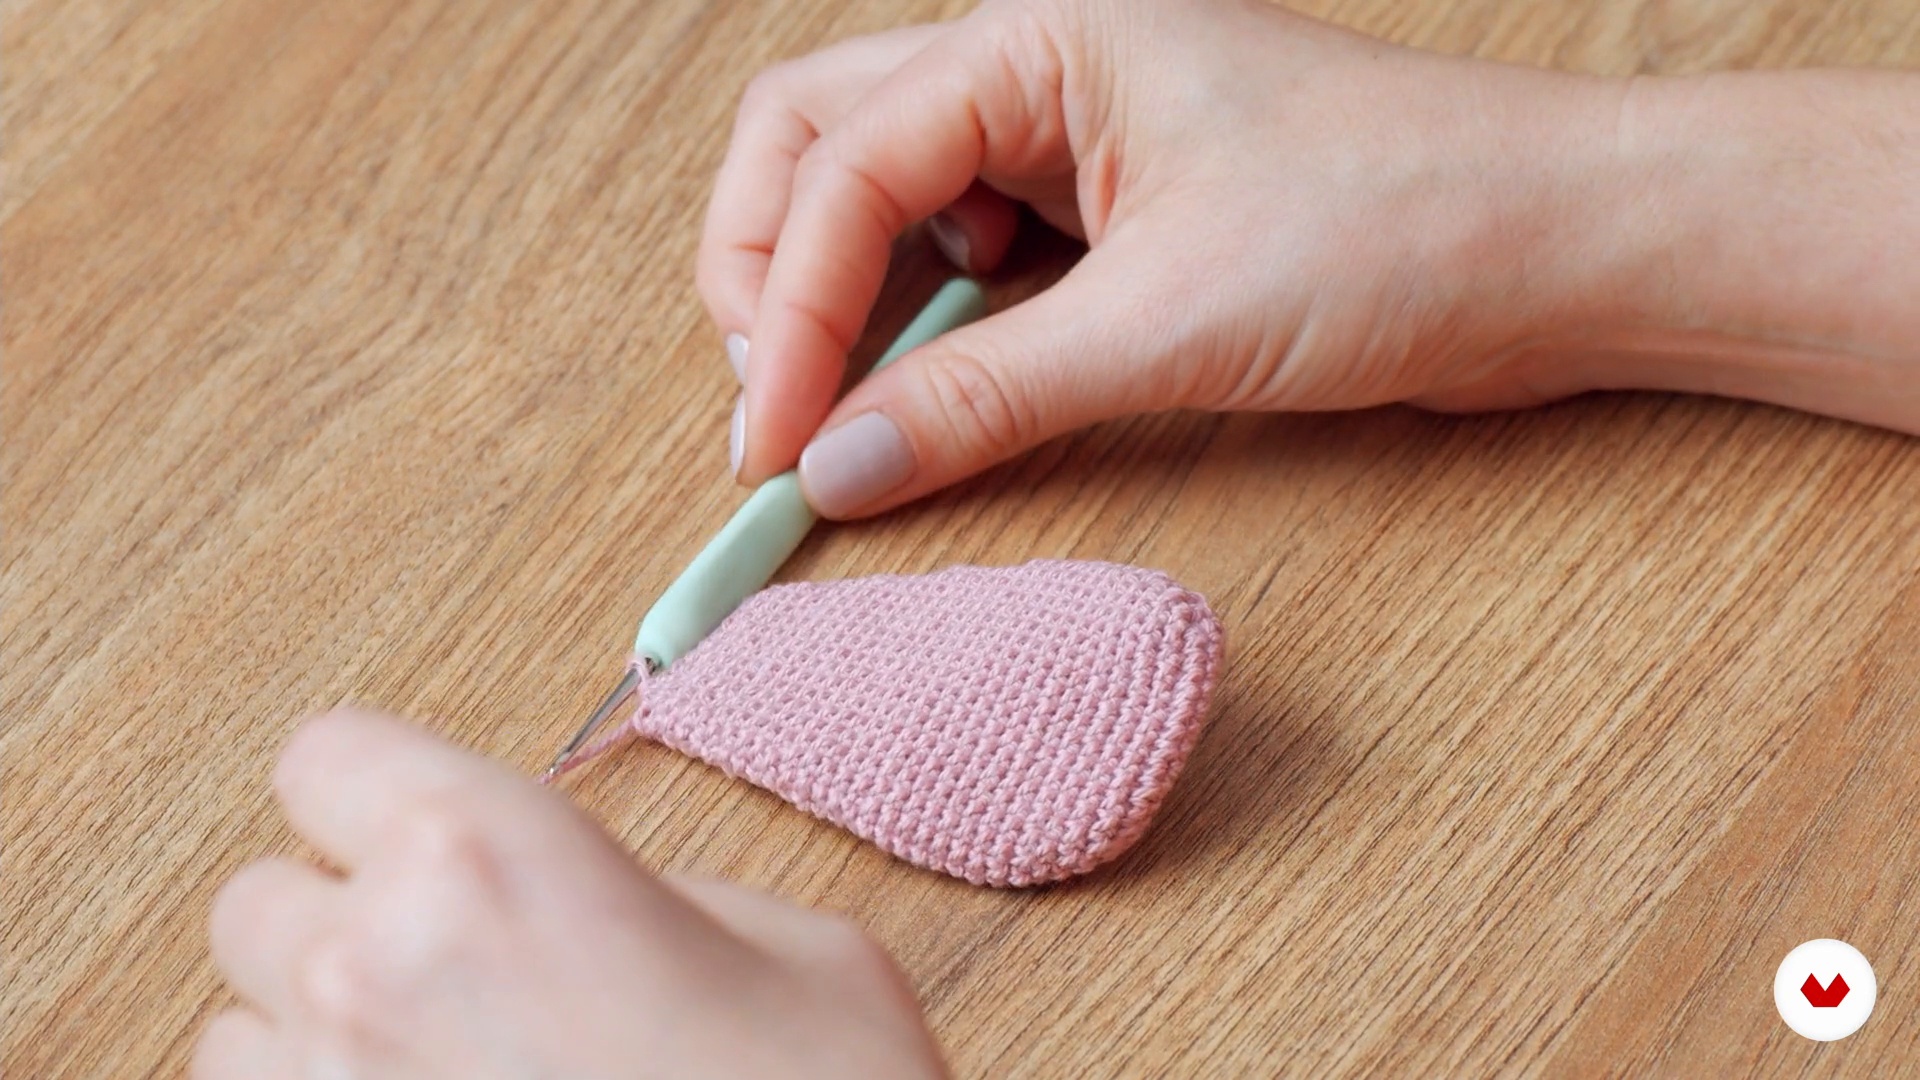
In this lesson, I'll show you several types of stitches I use for each piece, and which needle I recommend using. I'll also give you my tips for assembling and stuffing 2D amigurumi.
15m
image
10
Stuffing and stitching 2
I continue assembling the body and head pieces. I'll also sew the legs together, keeping my design in mind.
14m
image
11
Beaded eyes
Finally, I'll show you how to make beaded eyes. I'll show you the threads I recommend and the step-by-step instructions for adding expression.
17m
image
12
Embroidered details: nose, teeth and ears
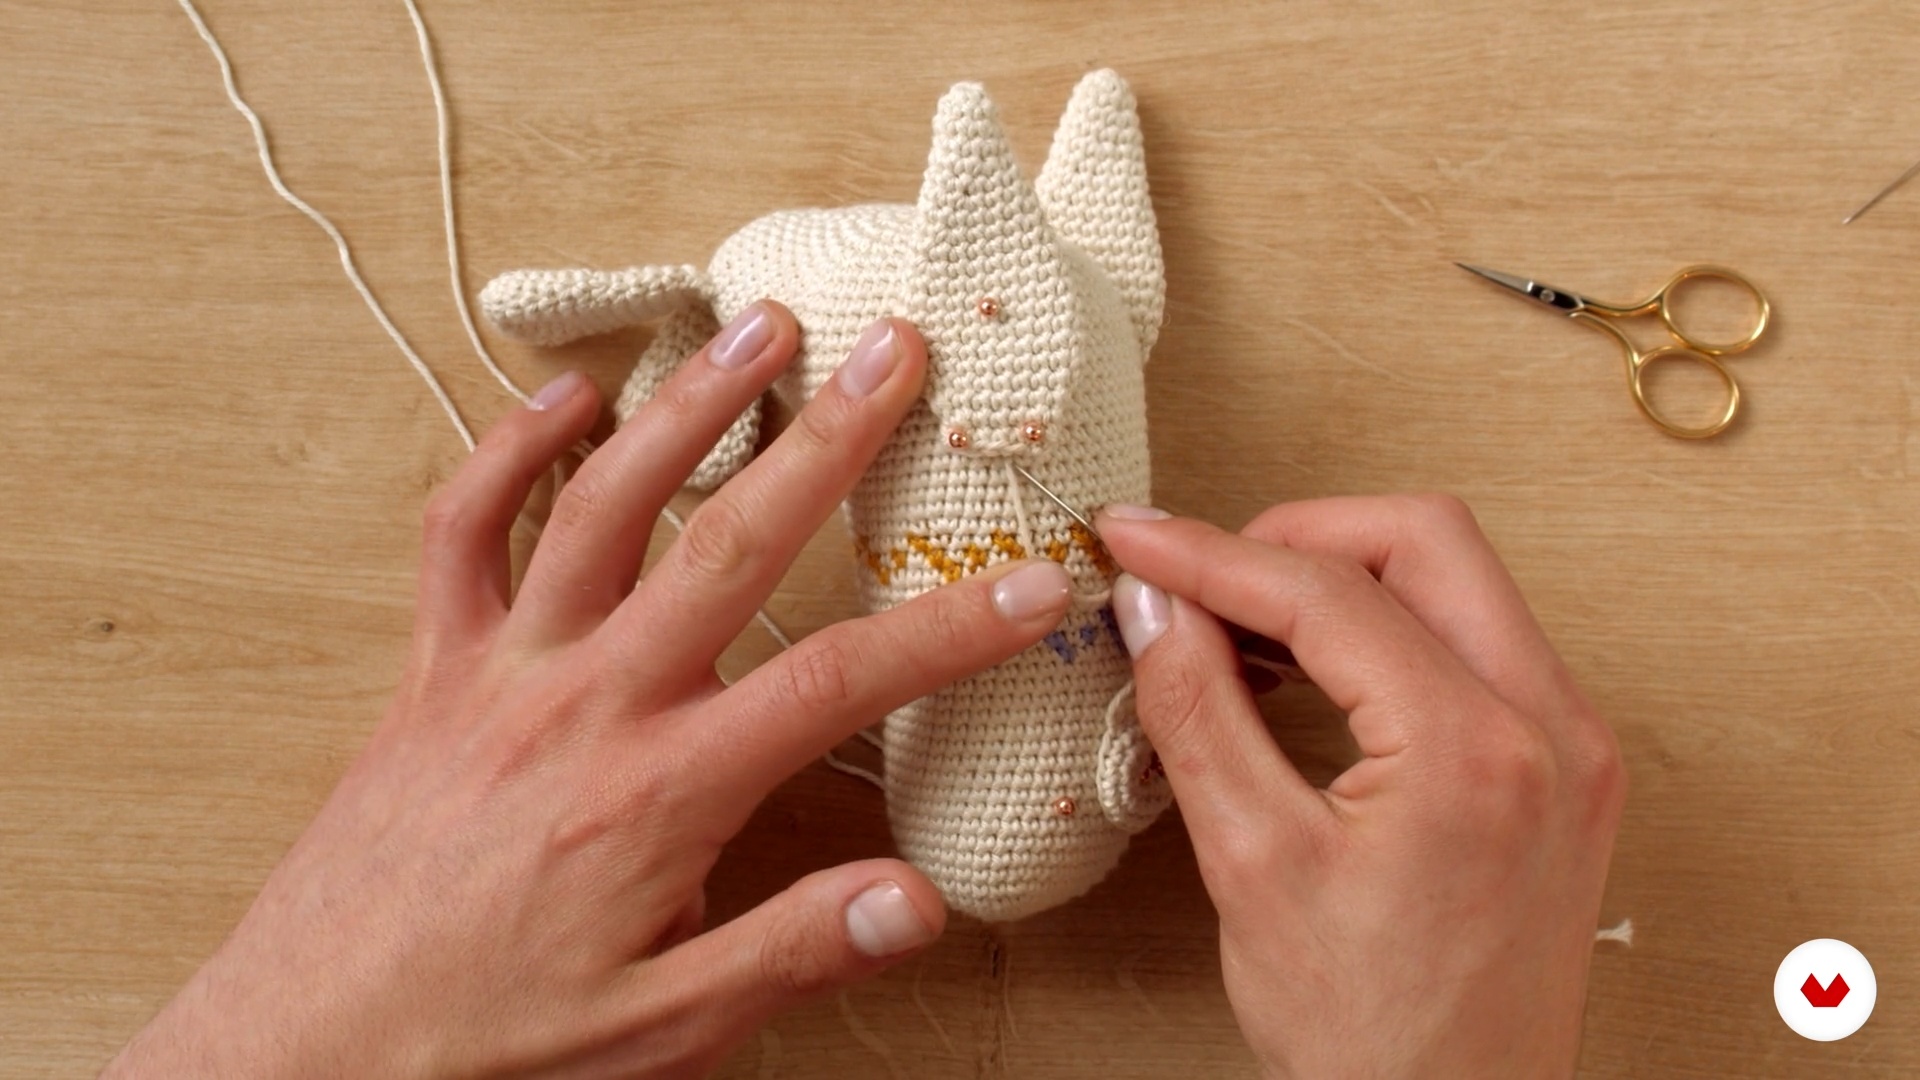
In this lesson, I'll give you a first introduction to my amigurumi embroidery method and tell you everything you need to know to use it in your 2D amigurumi designs.
18m
image
13
Embroidered details: the float
Next, I will continue implementing my embroidery method, but this time with two varieties: thicker embroidery, with an effect on the sides, and with three colors.
16m
image
14
The “doormat effect” hat and knit 1
Here I'm going to show you how to make the "doormat effect" stitch with a crochet hook and yarn on the hat we've already knitted.
15m
image
15
The hat and knit "doormat effect" 2
We've finished embroidering the amigurumi hat. Next, it's time to sew it onto the head.
16m
image
16
Different uses and their care
To inspire you, in this lesson I'll tell you about the basic care instructions for 2D amigurumi knitting and all the uses and purposes you can give to your projects.
4m
image
3
Introduction to the Amigurumi Technique
Let's start with the basics! In this lesson, we invite you to learn about this entertaining world. We'll also show you some of the work we've done throughout our career, and you'll learn about the project you'll next knit.
6m
image
4
Materials and Characteristics
Now you'll learn what materials you'll need, and we'll also show you our favorites. We'll talk about sizes, types, and qualities—something very important when knitting a special project.
9m
image
5
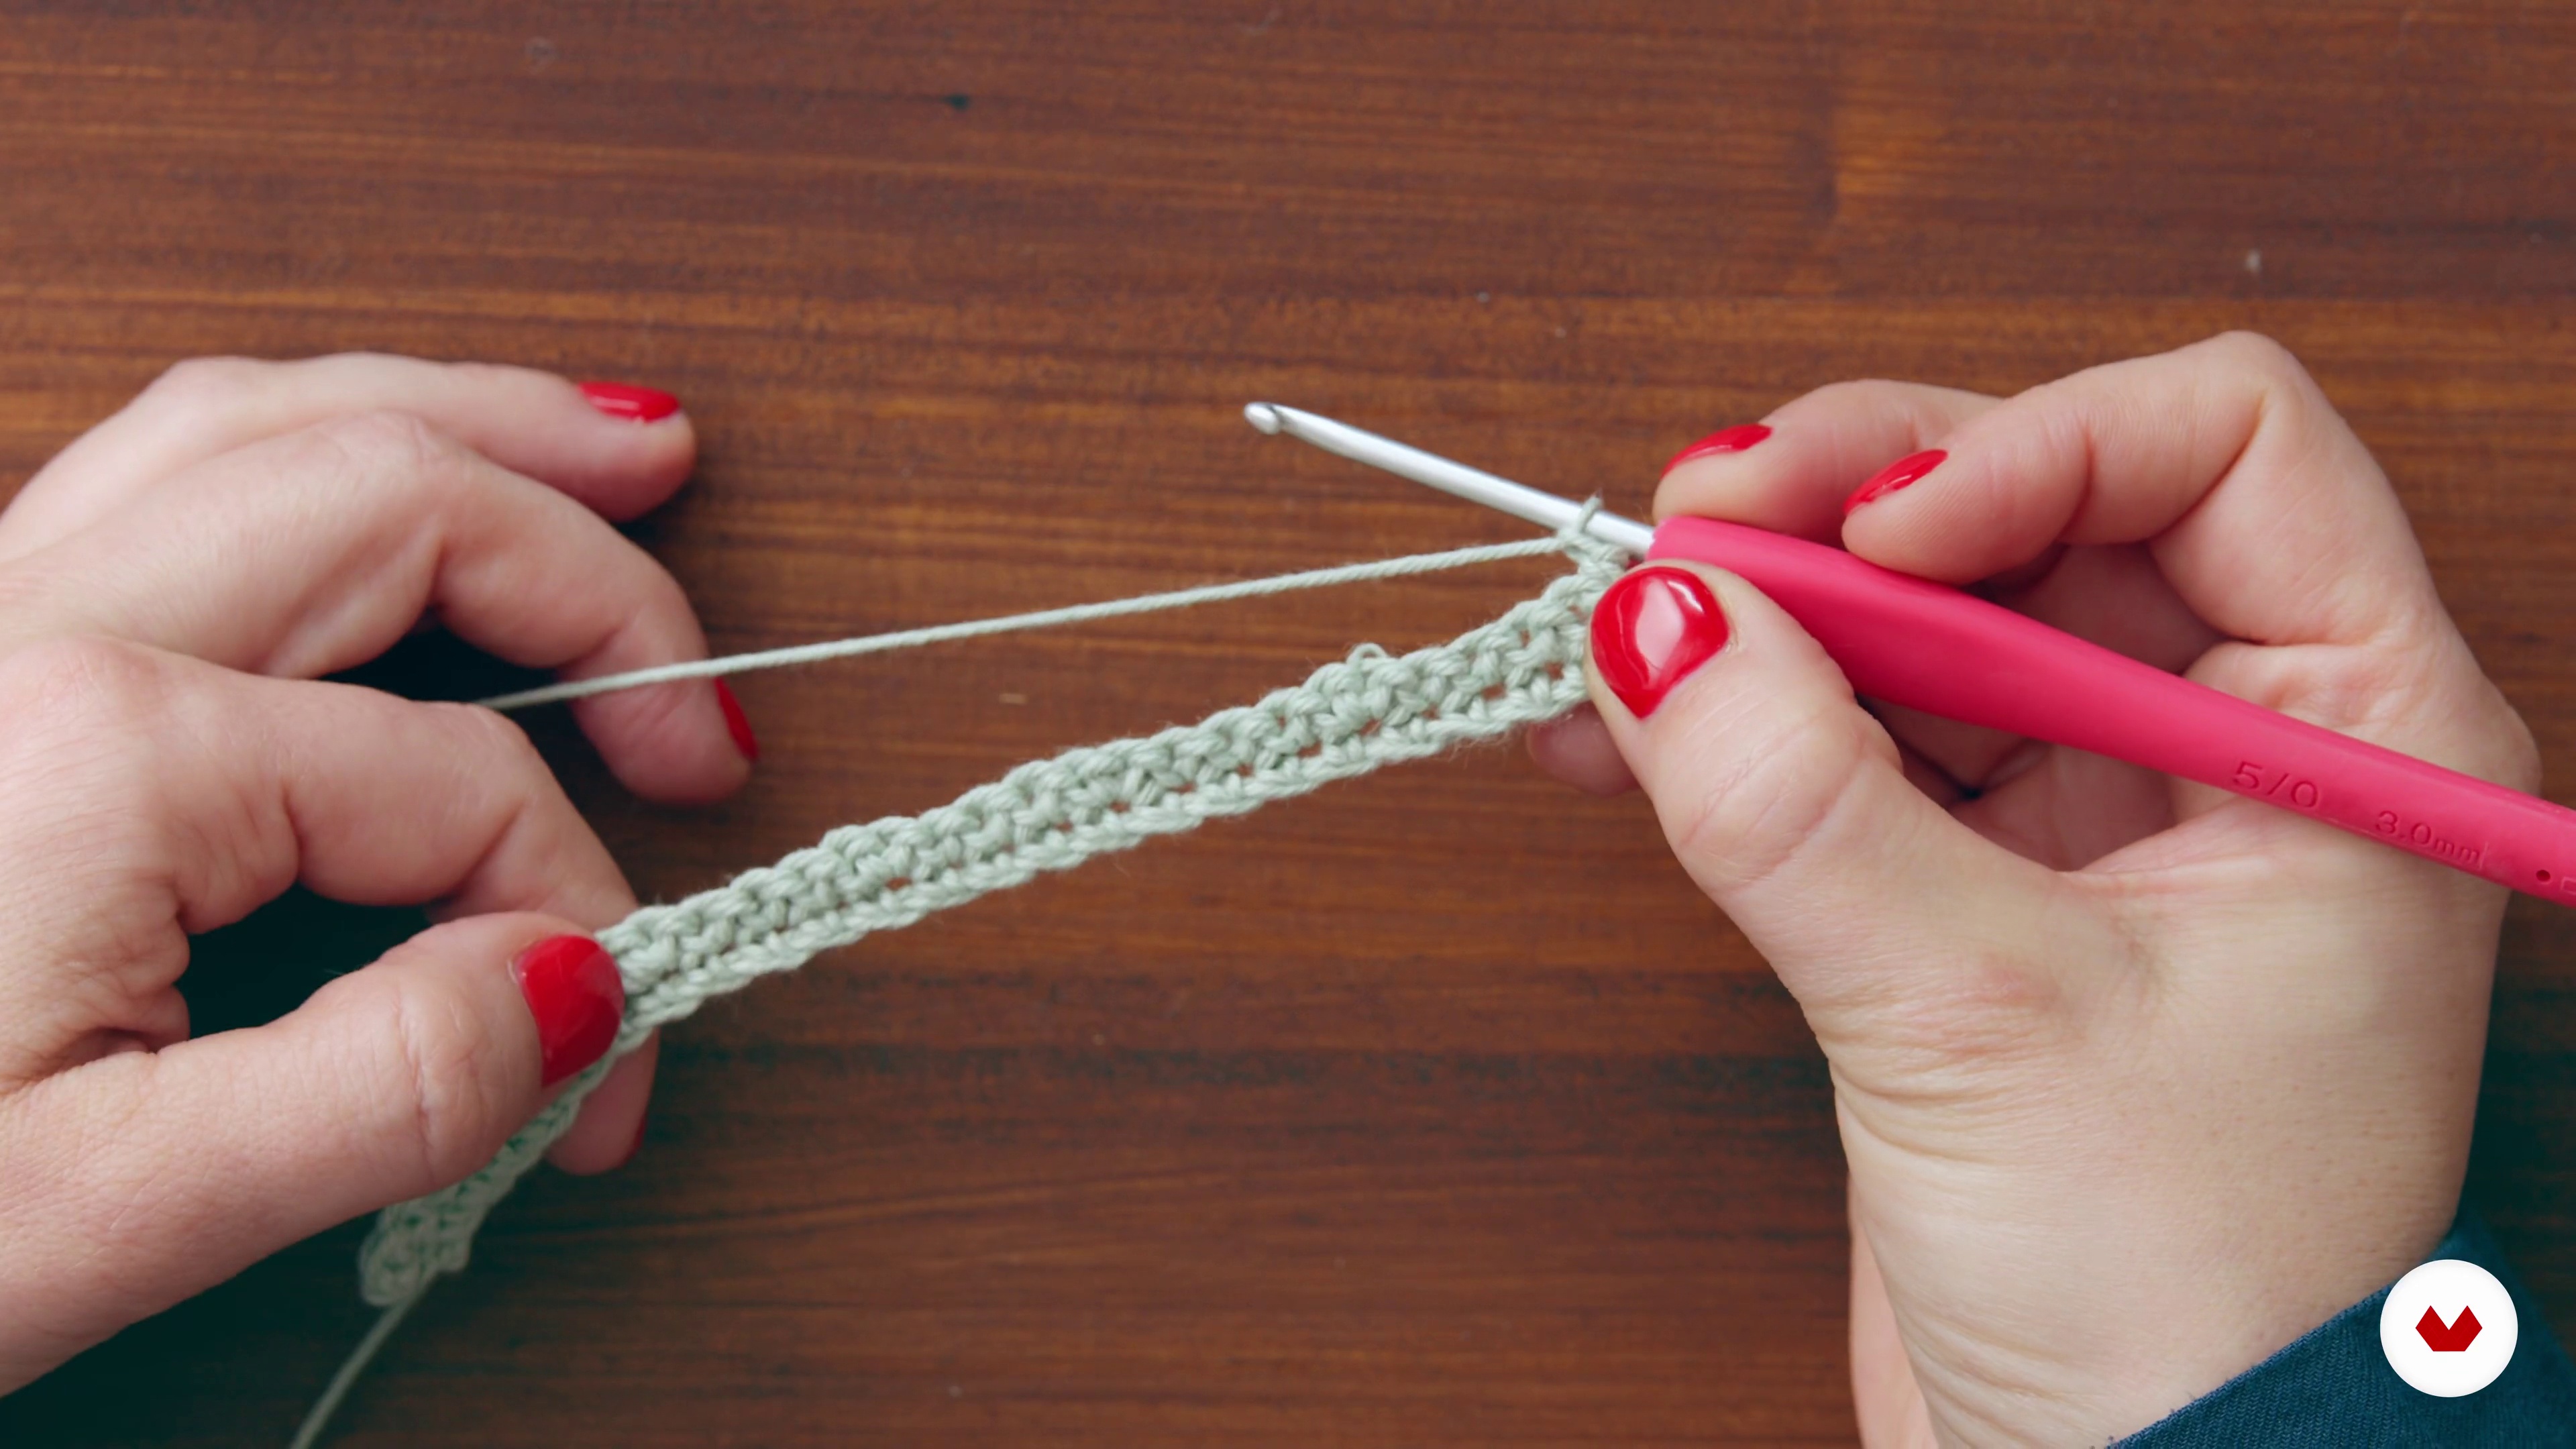
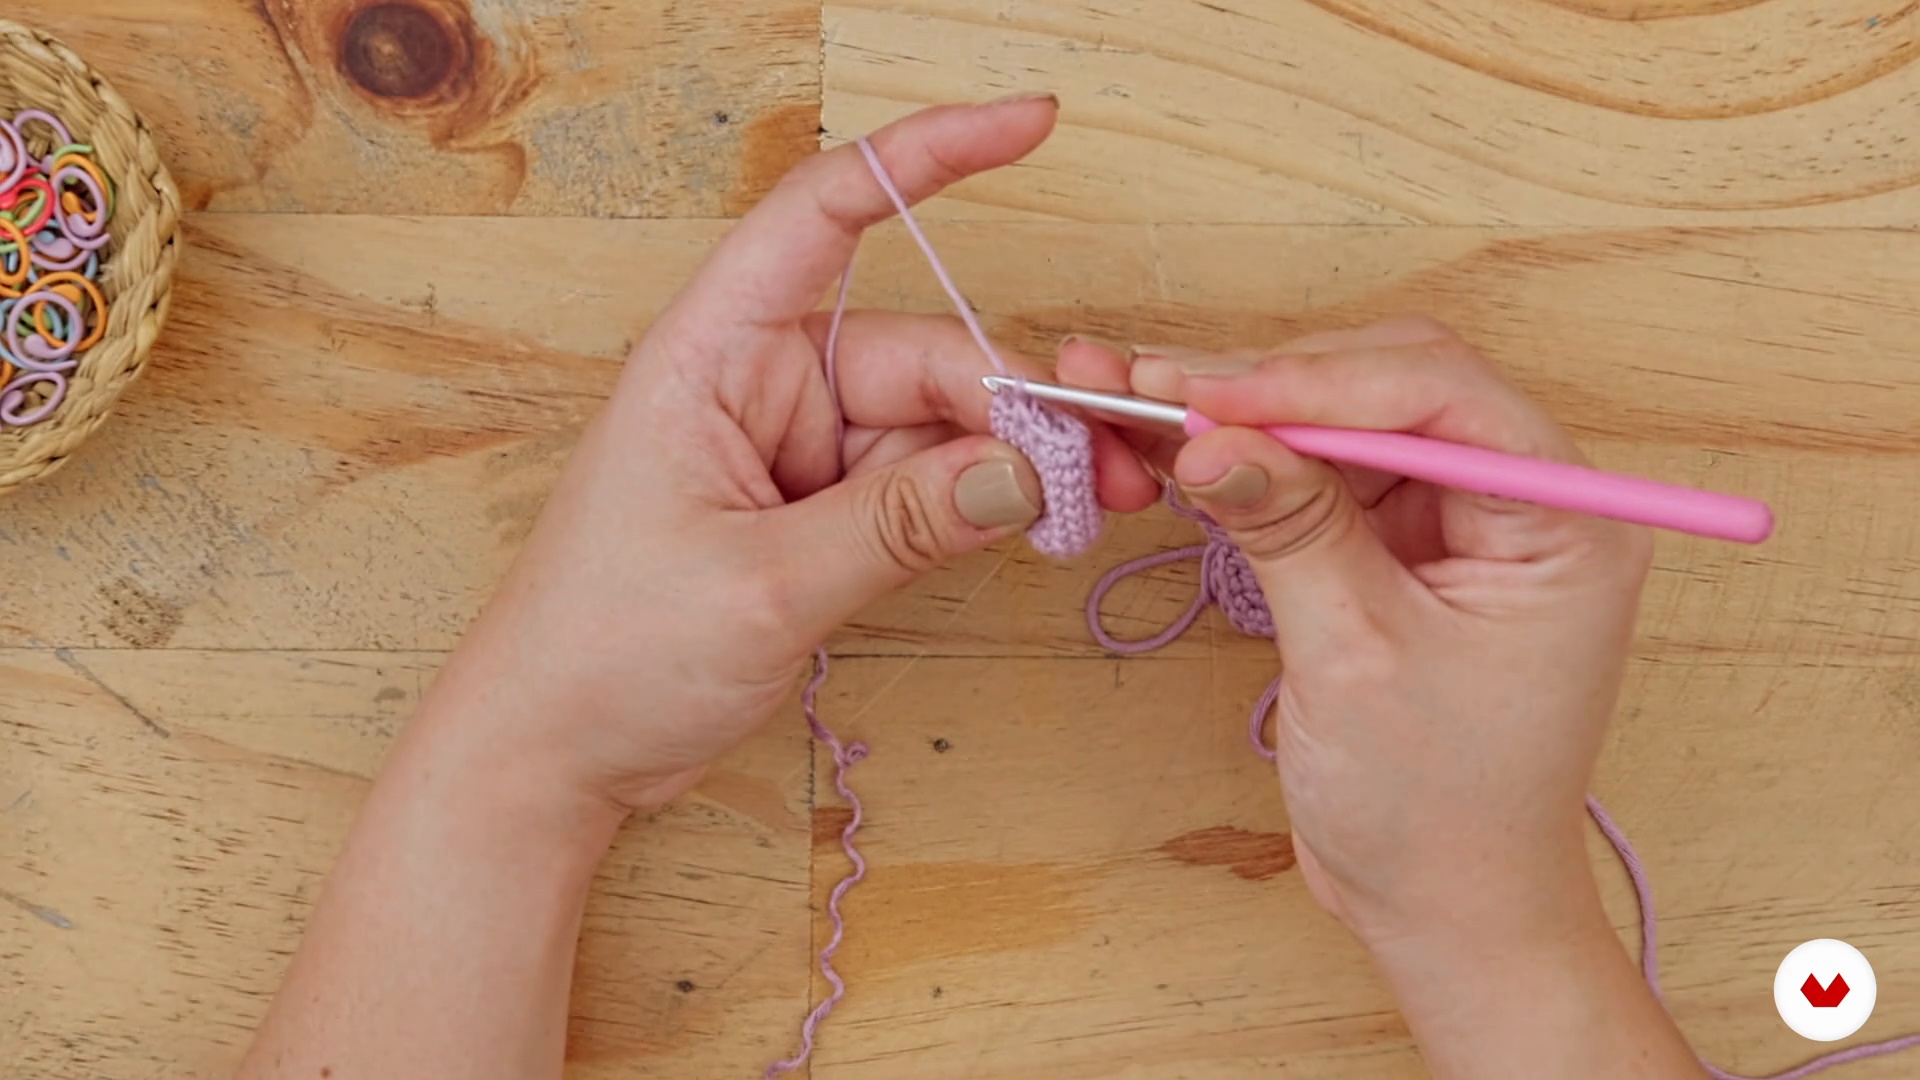
Basic Points and Hand Posture 1
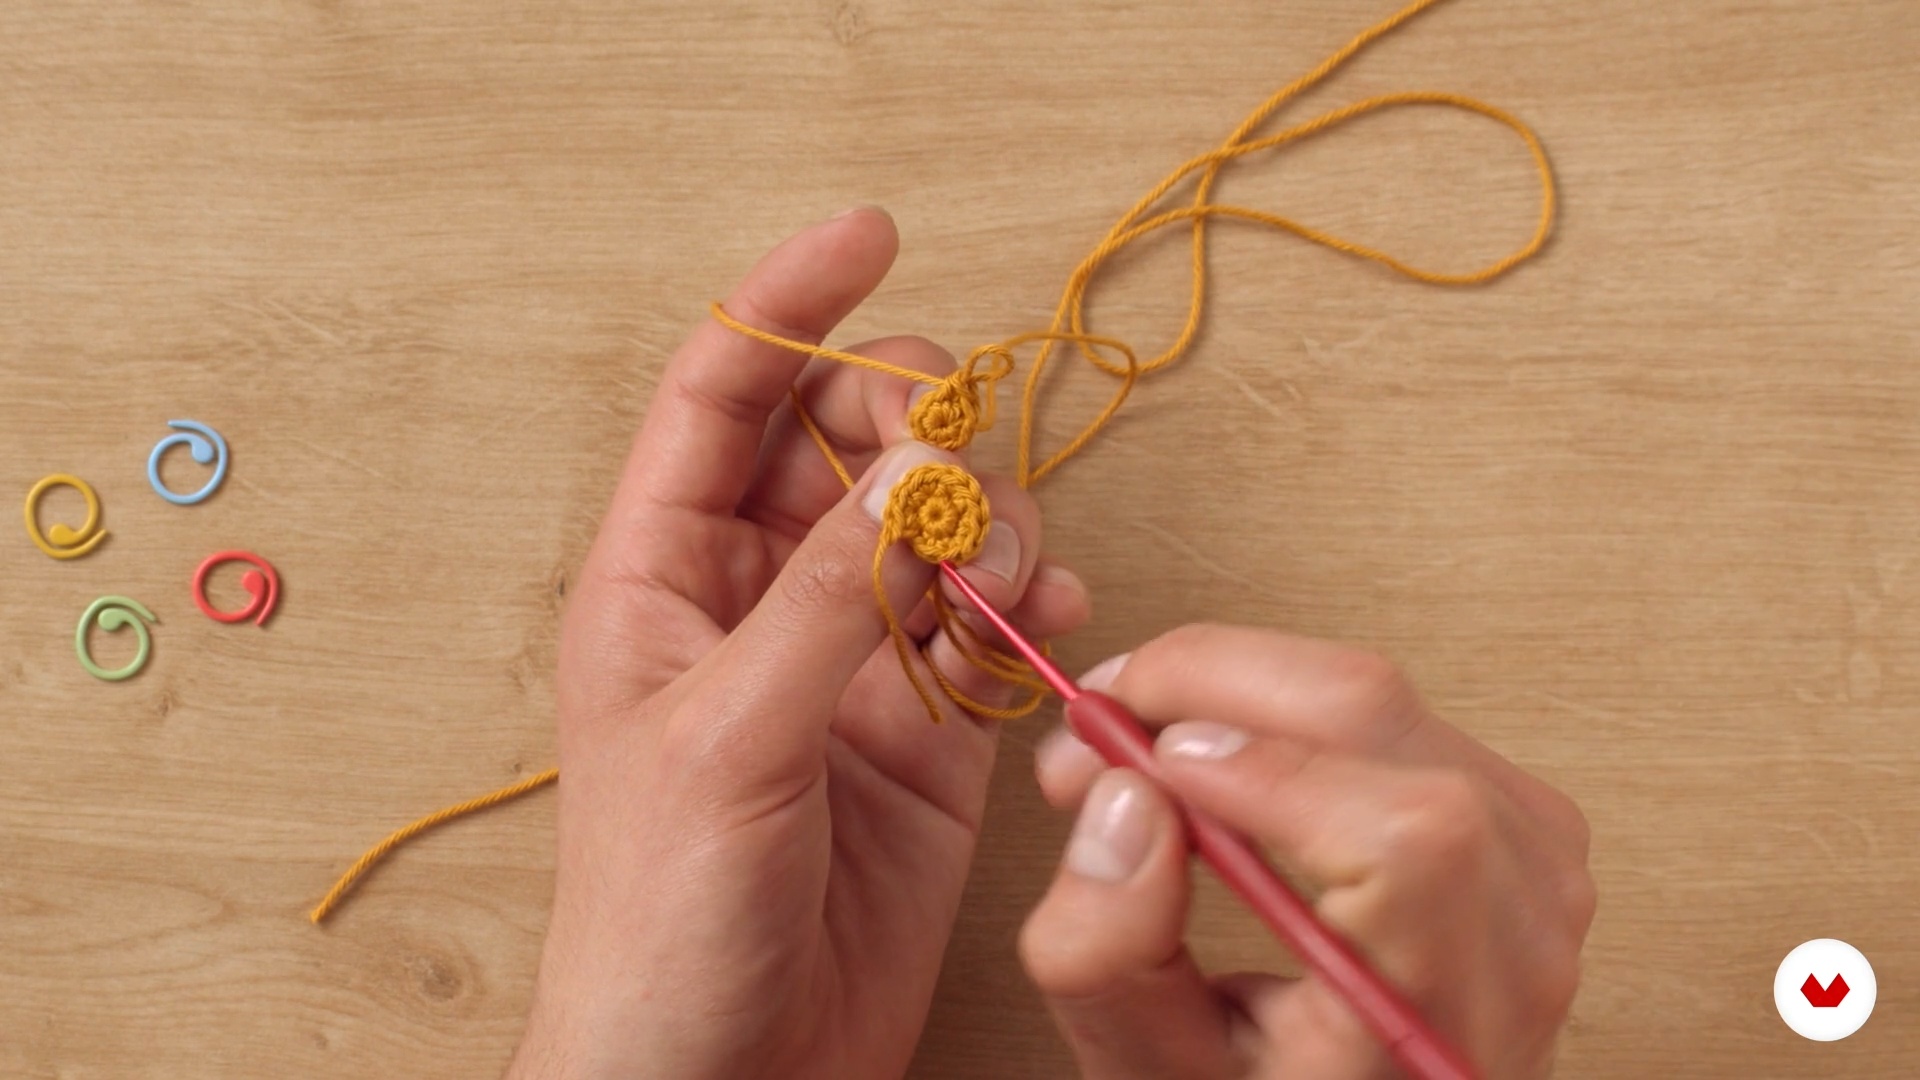
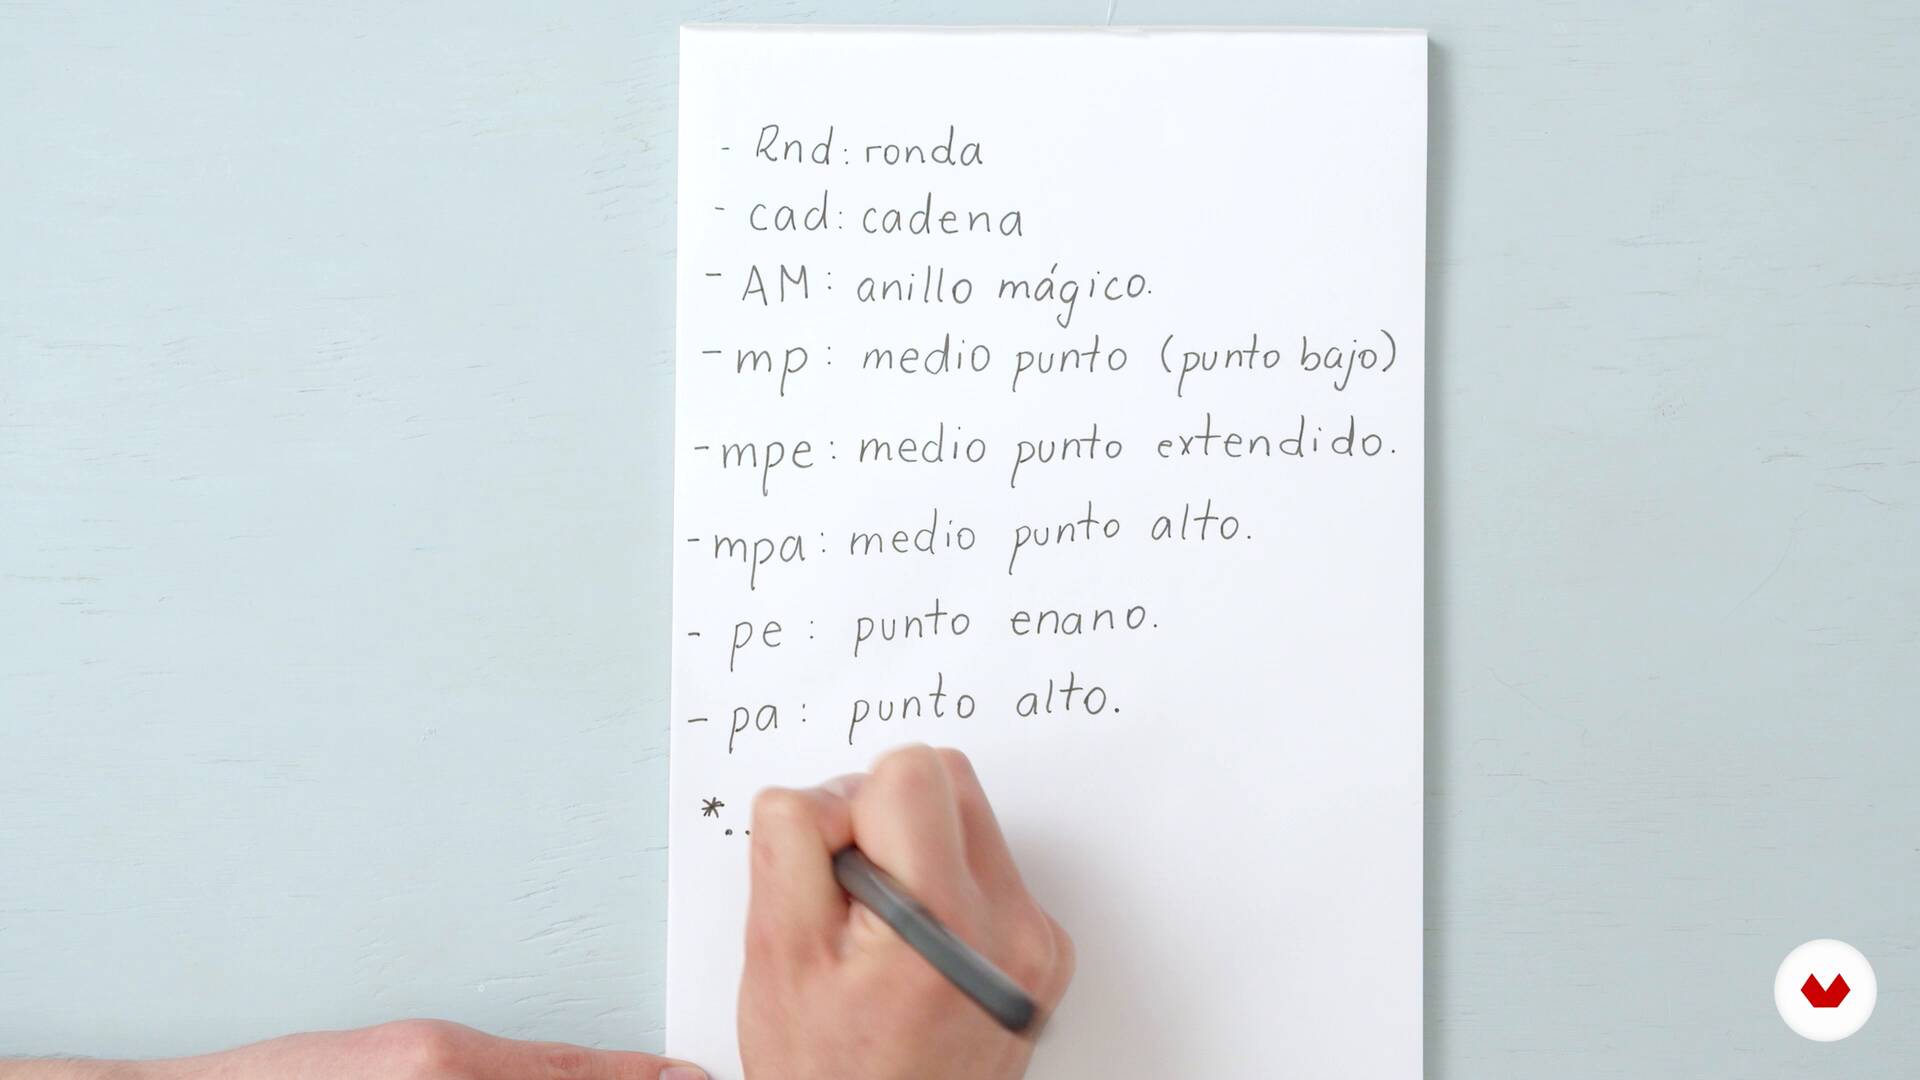
Now we'll cover the main crochet stitches used in the amigurumi technique, starting with how to hold the hook. You'll also learn the most commonly used abbreviations in the technique to make reading patterns easier. If you've ever picked up a pattern and found it unreadable, you'll see it differently after this lesson.
13m
image
6
Basic Points and Hand Posture 2
We've finished round one. Now let's move on to the next round! Now I'll start using stitch markers and explain why it's important to use them, especially when you're just starting out with this technique. Then, I'll show you linear knitting and other crochet stitches we'll be working with.
15m
image
7
From the Abstract to the Concrete
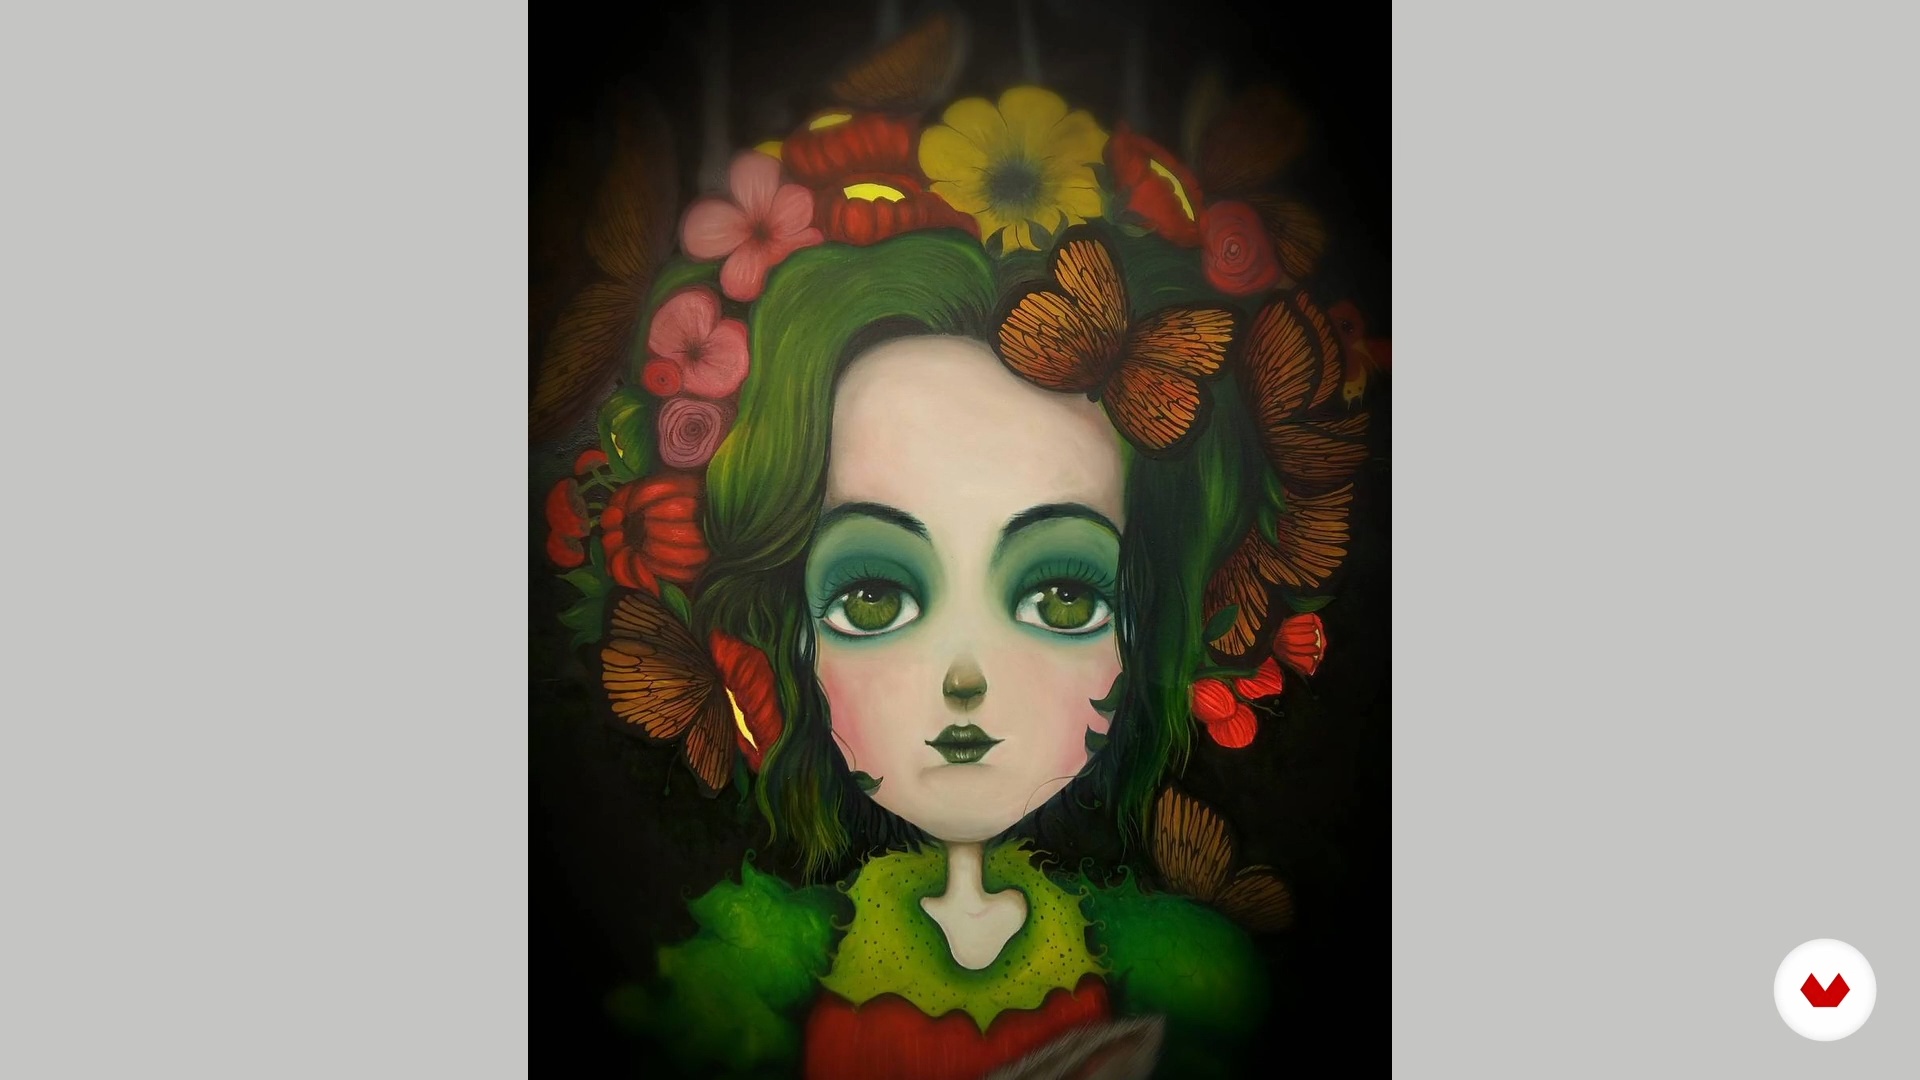
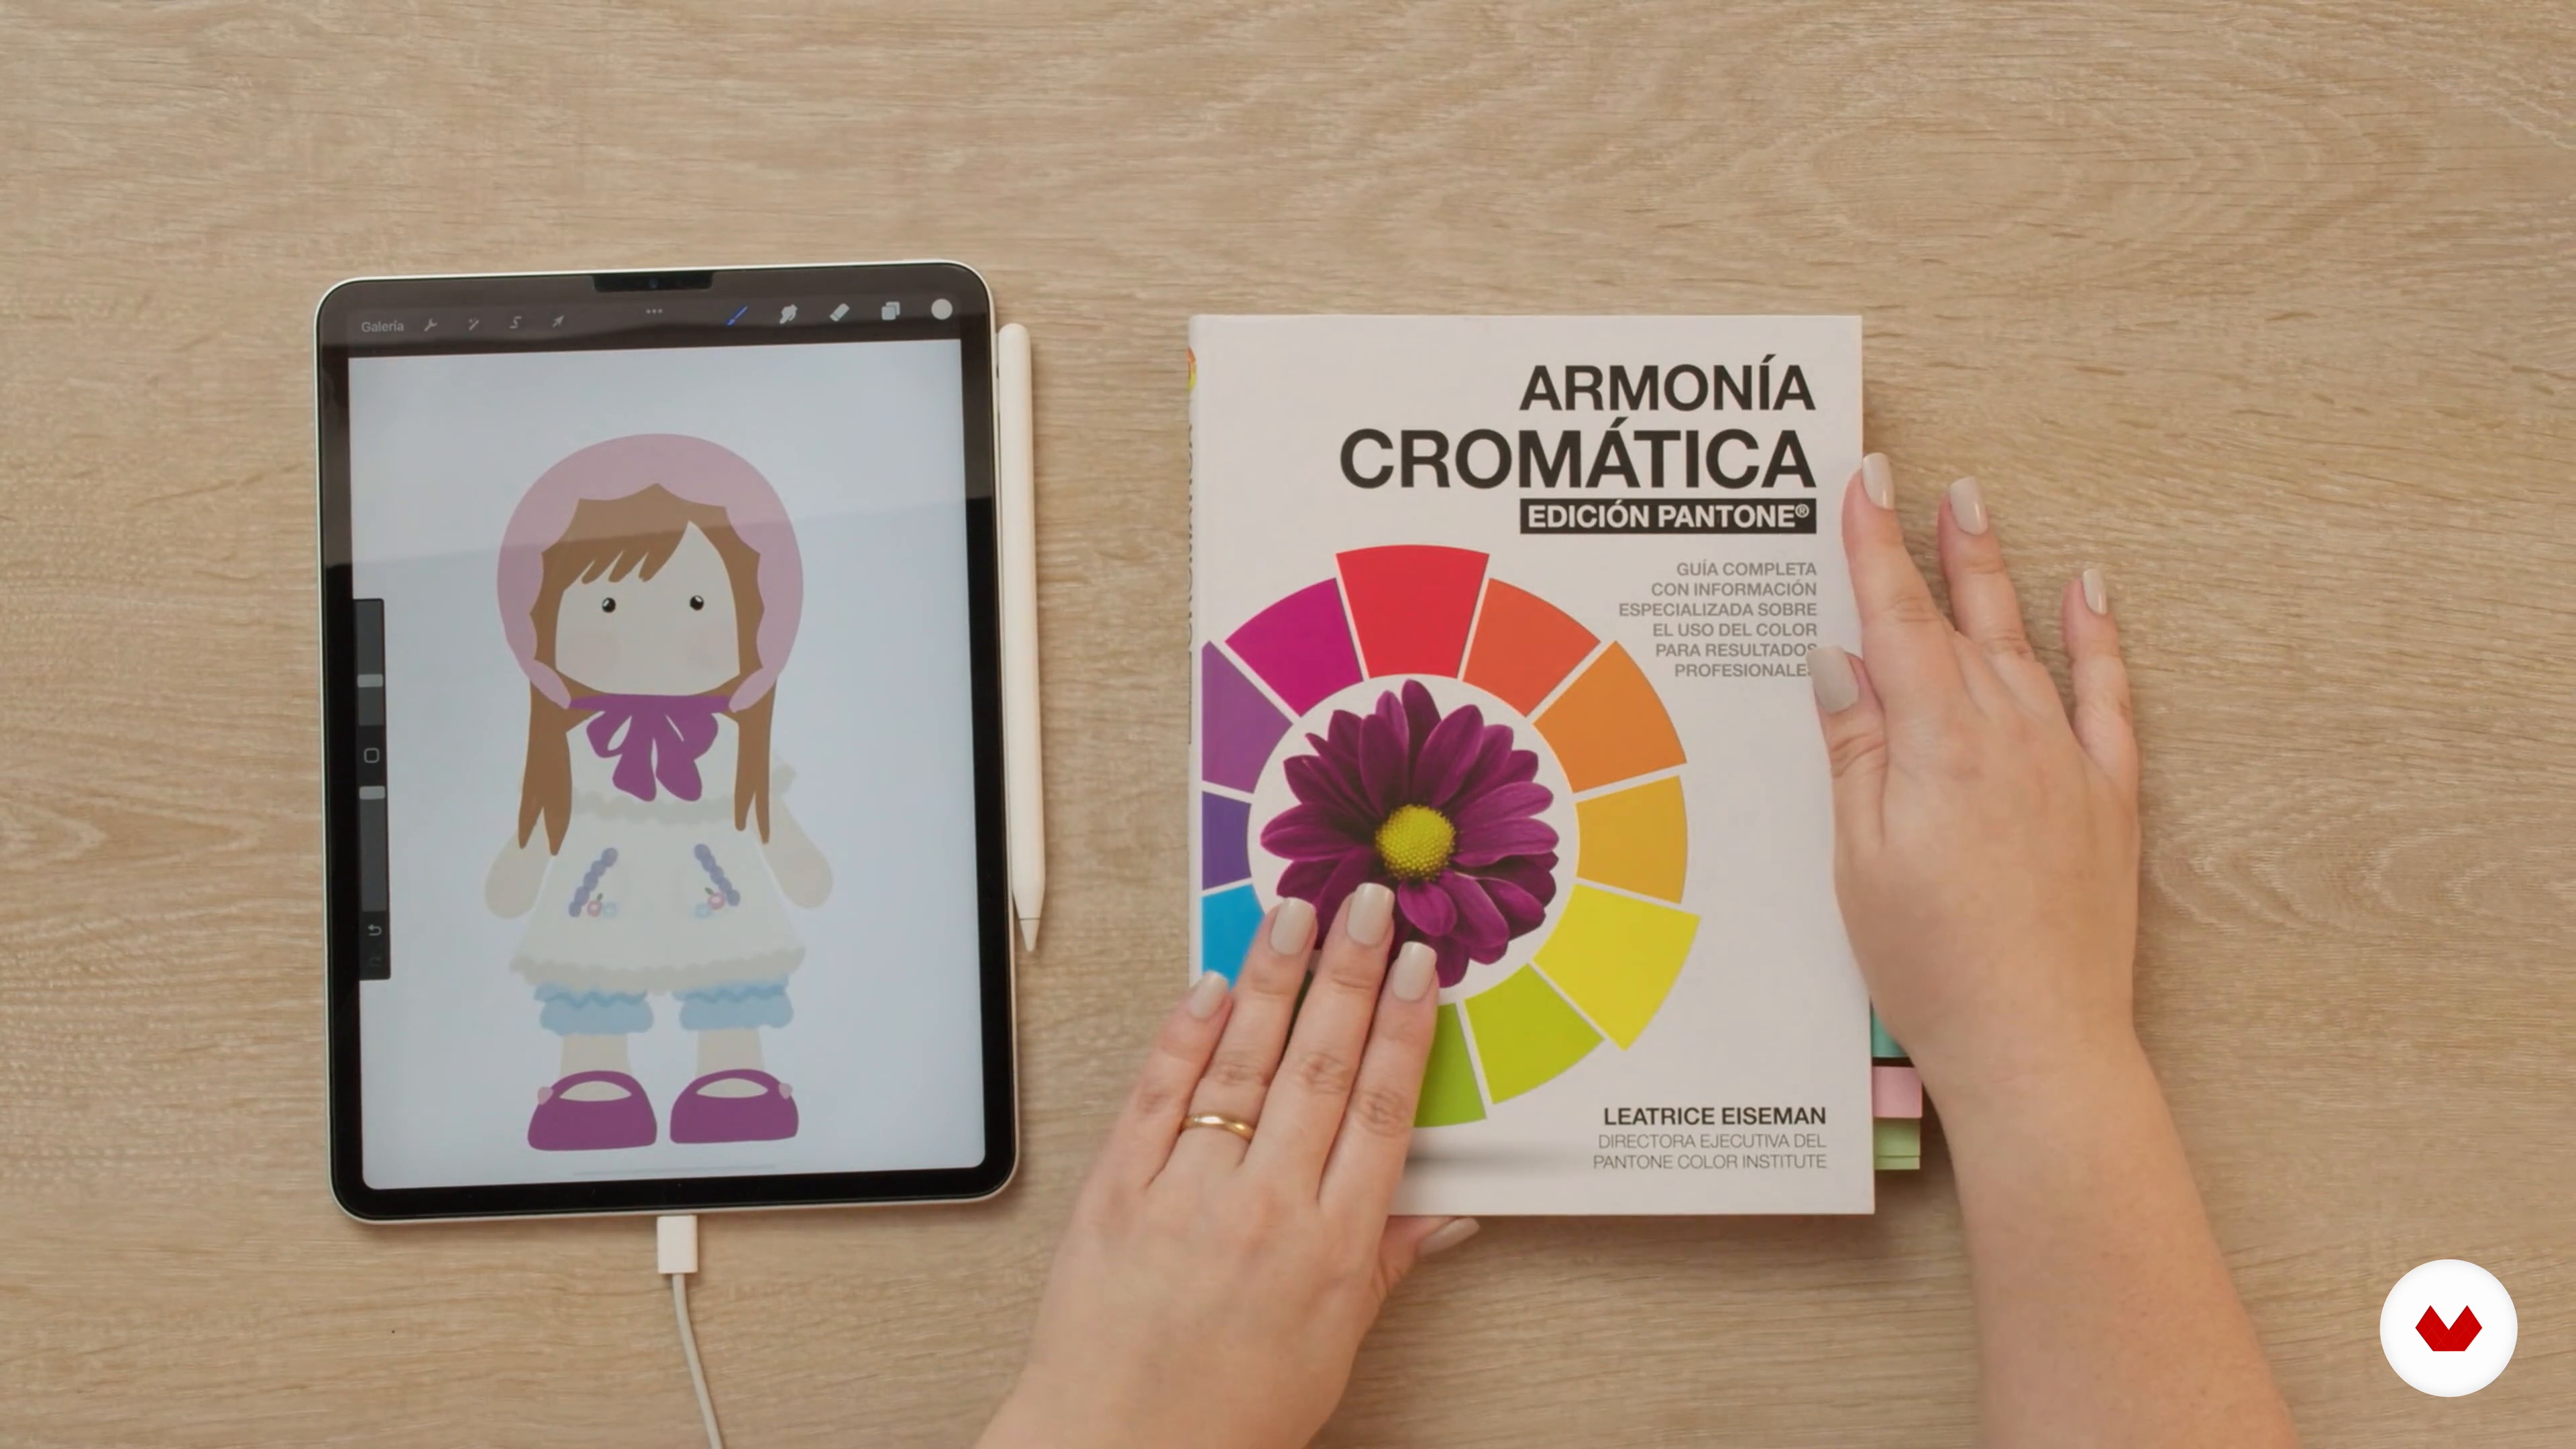
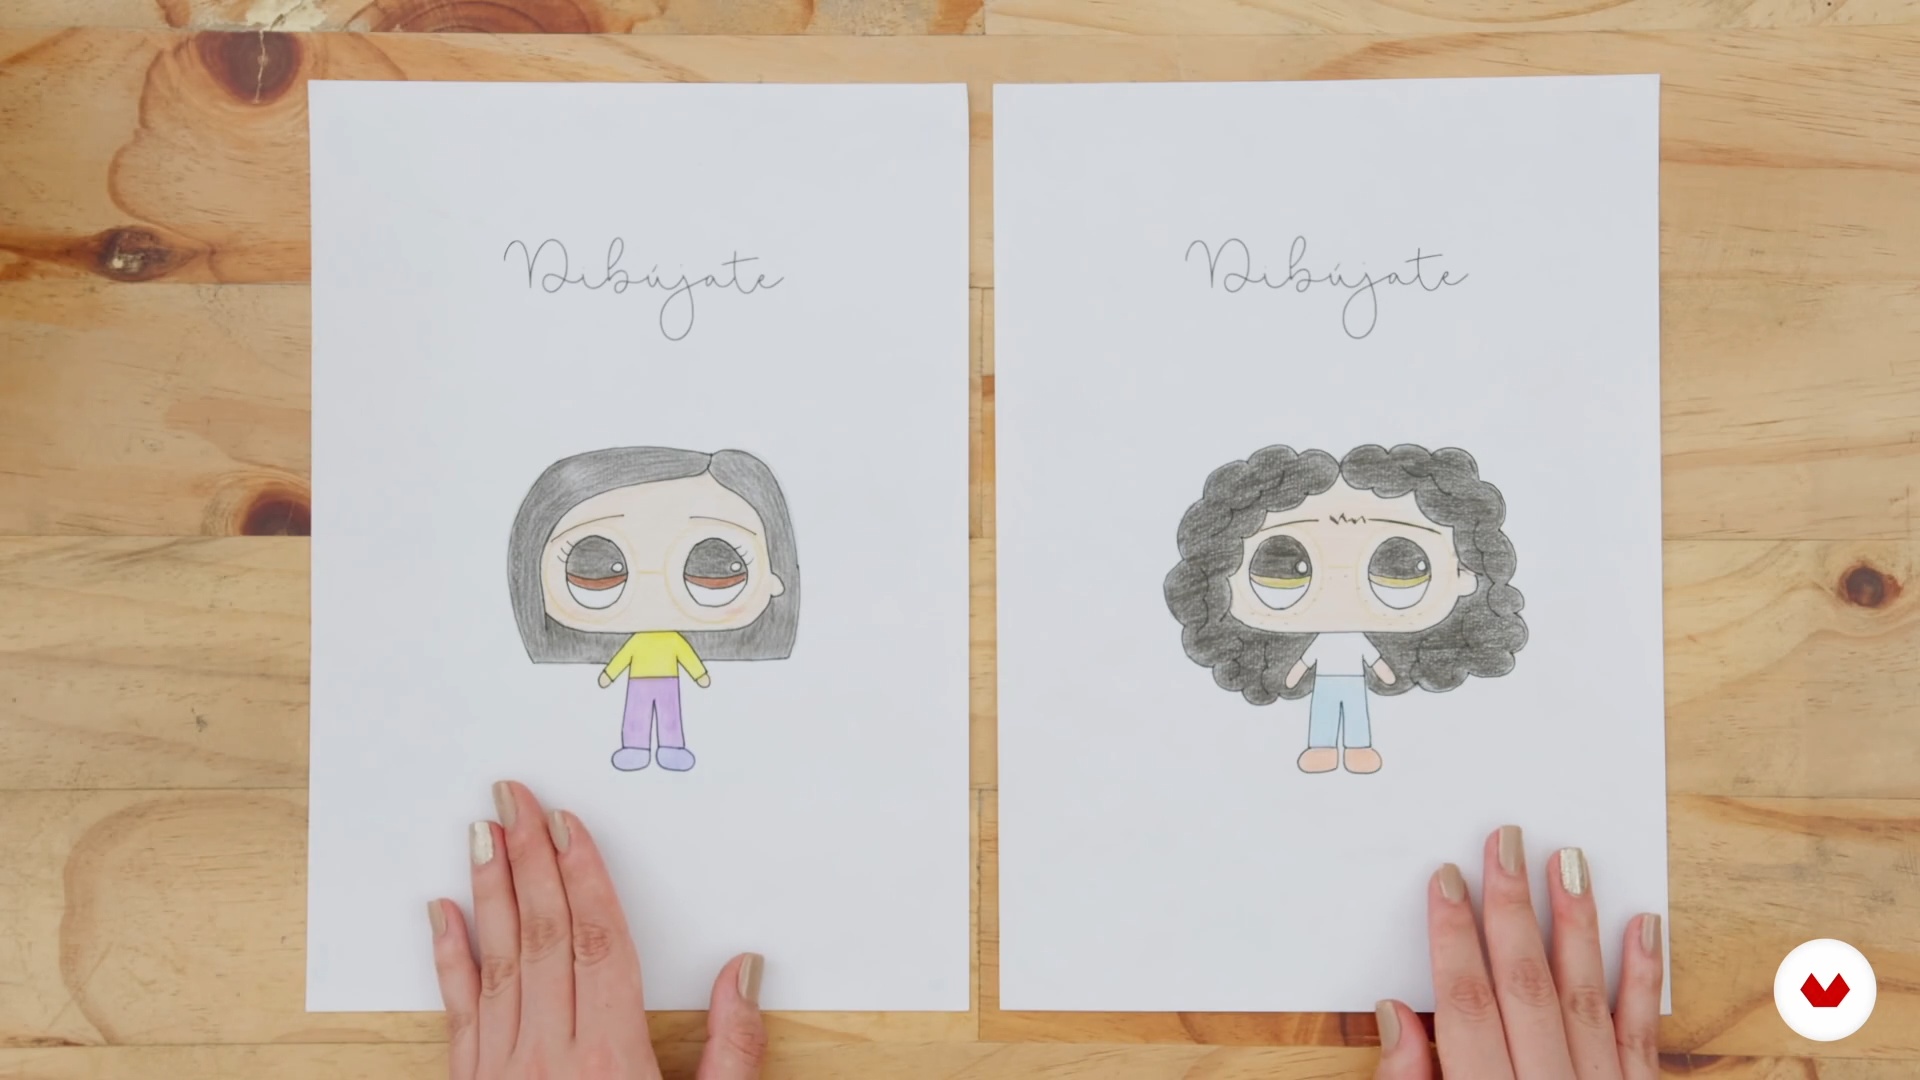
It's time to bring our doll from that imaginary magical world to reality! To do this, we need to draw her. We'll show you our color choices as we work on illustrating her and show you other romantic palettes in one of our favorite books so you can choose the one you like best.
6m
image
8
Head and Hair 1
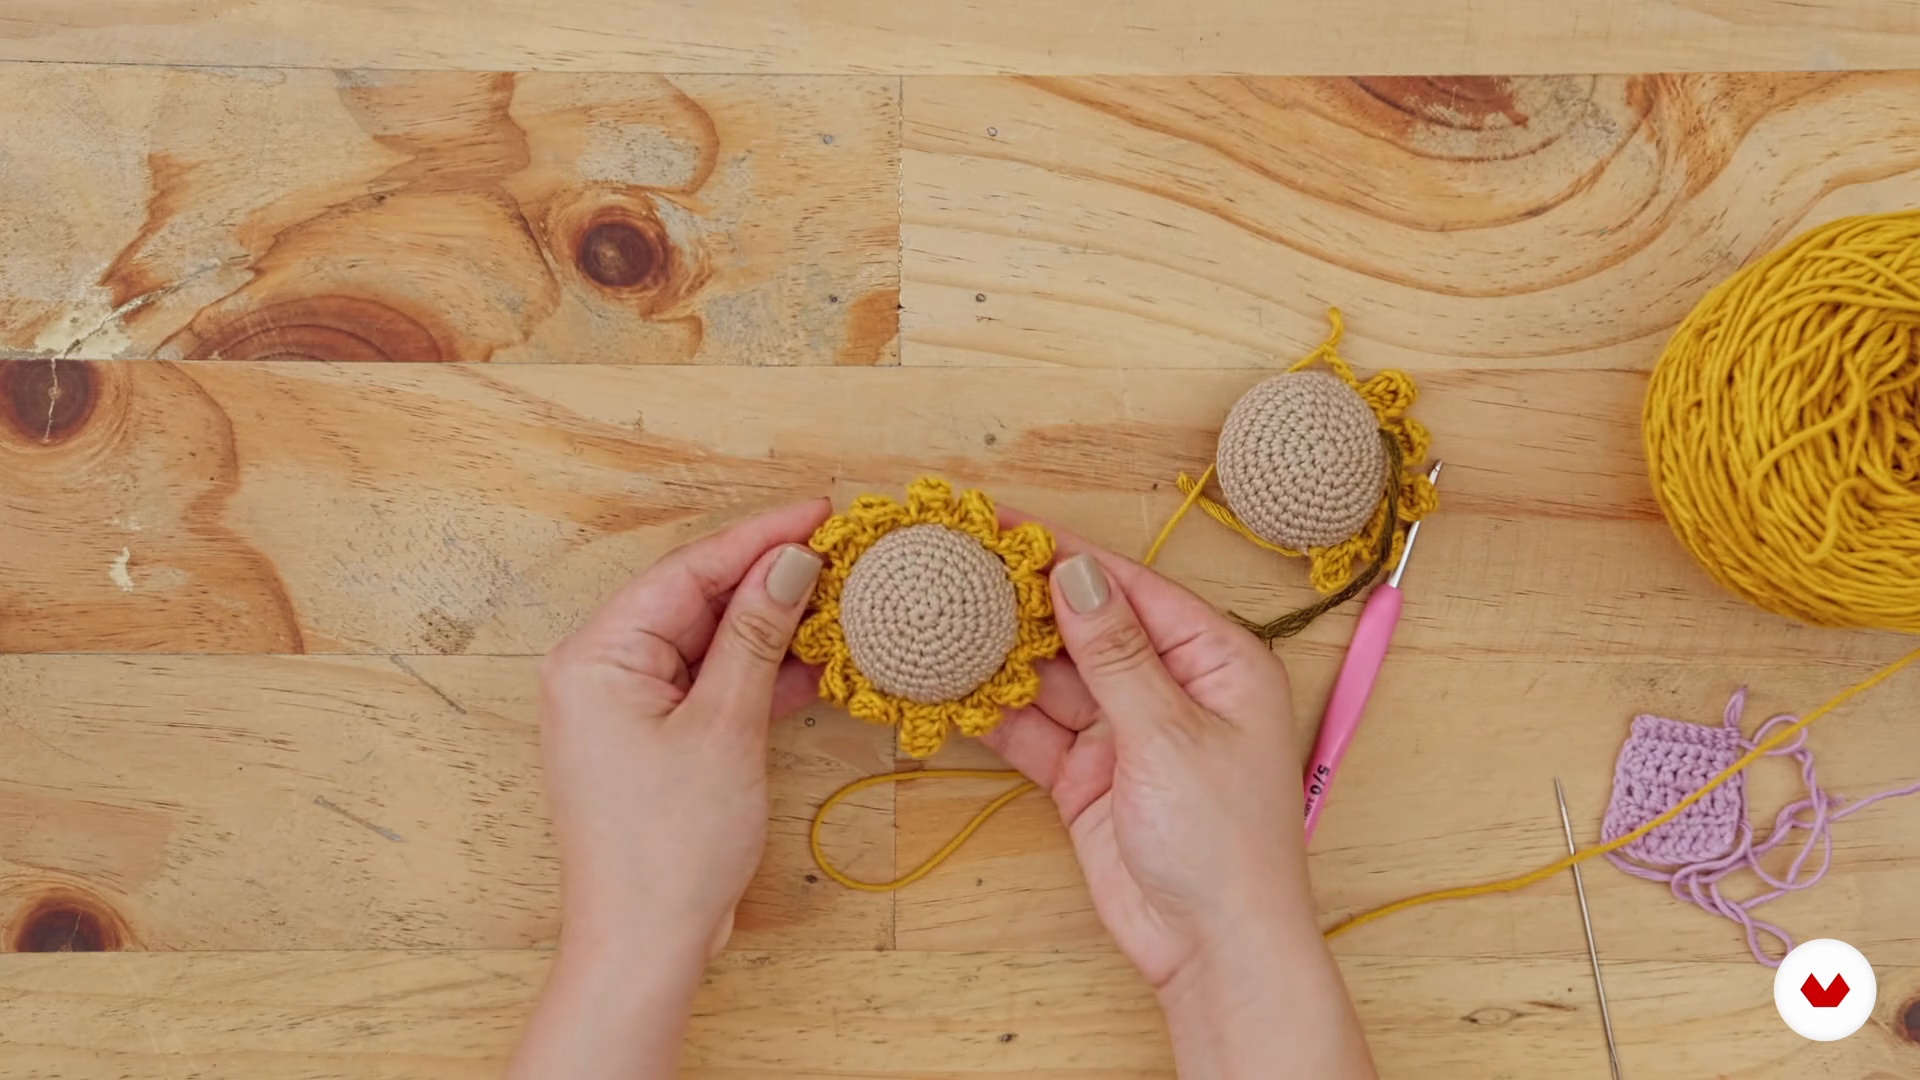
In this lesson, we'll begin crocheting the doll with its head, a spherical amigurumi body that includes proportional increases and decreases. This piece is very important because it ultimately creates the connection with the viewer.
18m
image
9
Head and Hair 2
Once the head is finished, it's time to create the hair. You'll take out the drawing you made so you can put your choice into practice. We'll explain how to create hair with spiral highlights and how to create different hair lengths and how to omit the bangs if you prefer.
14m
image
10
Body and Arms 1
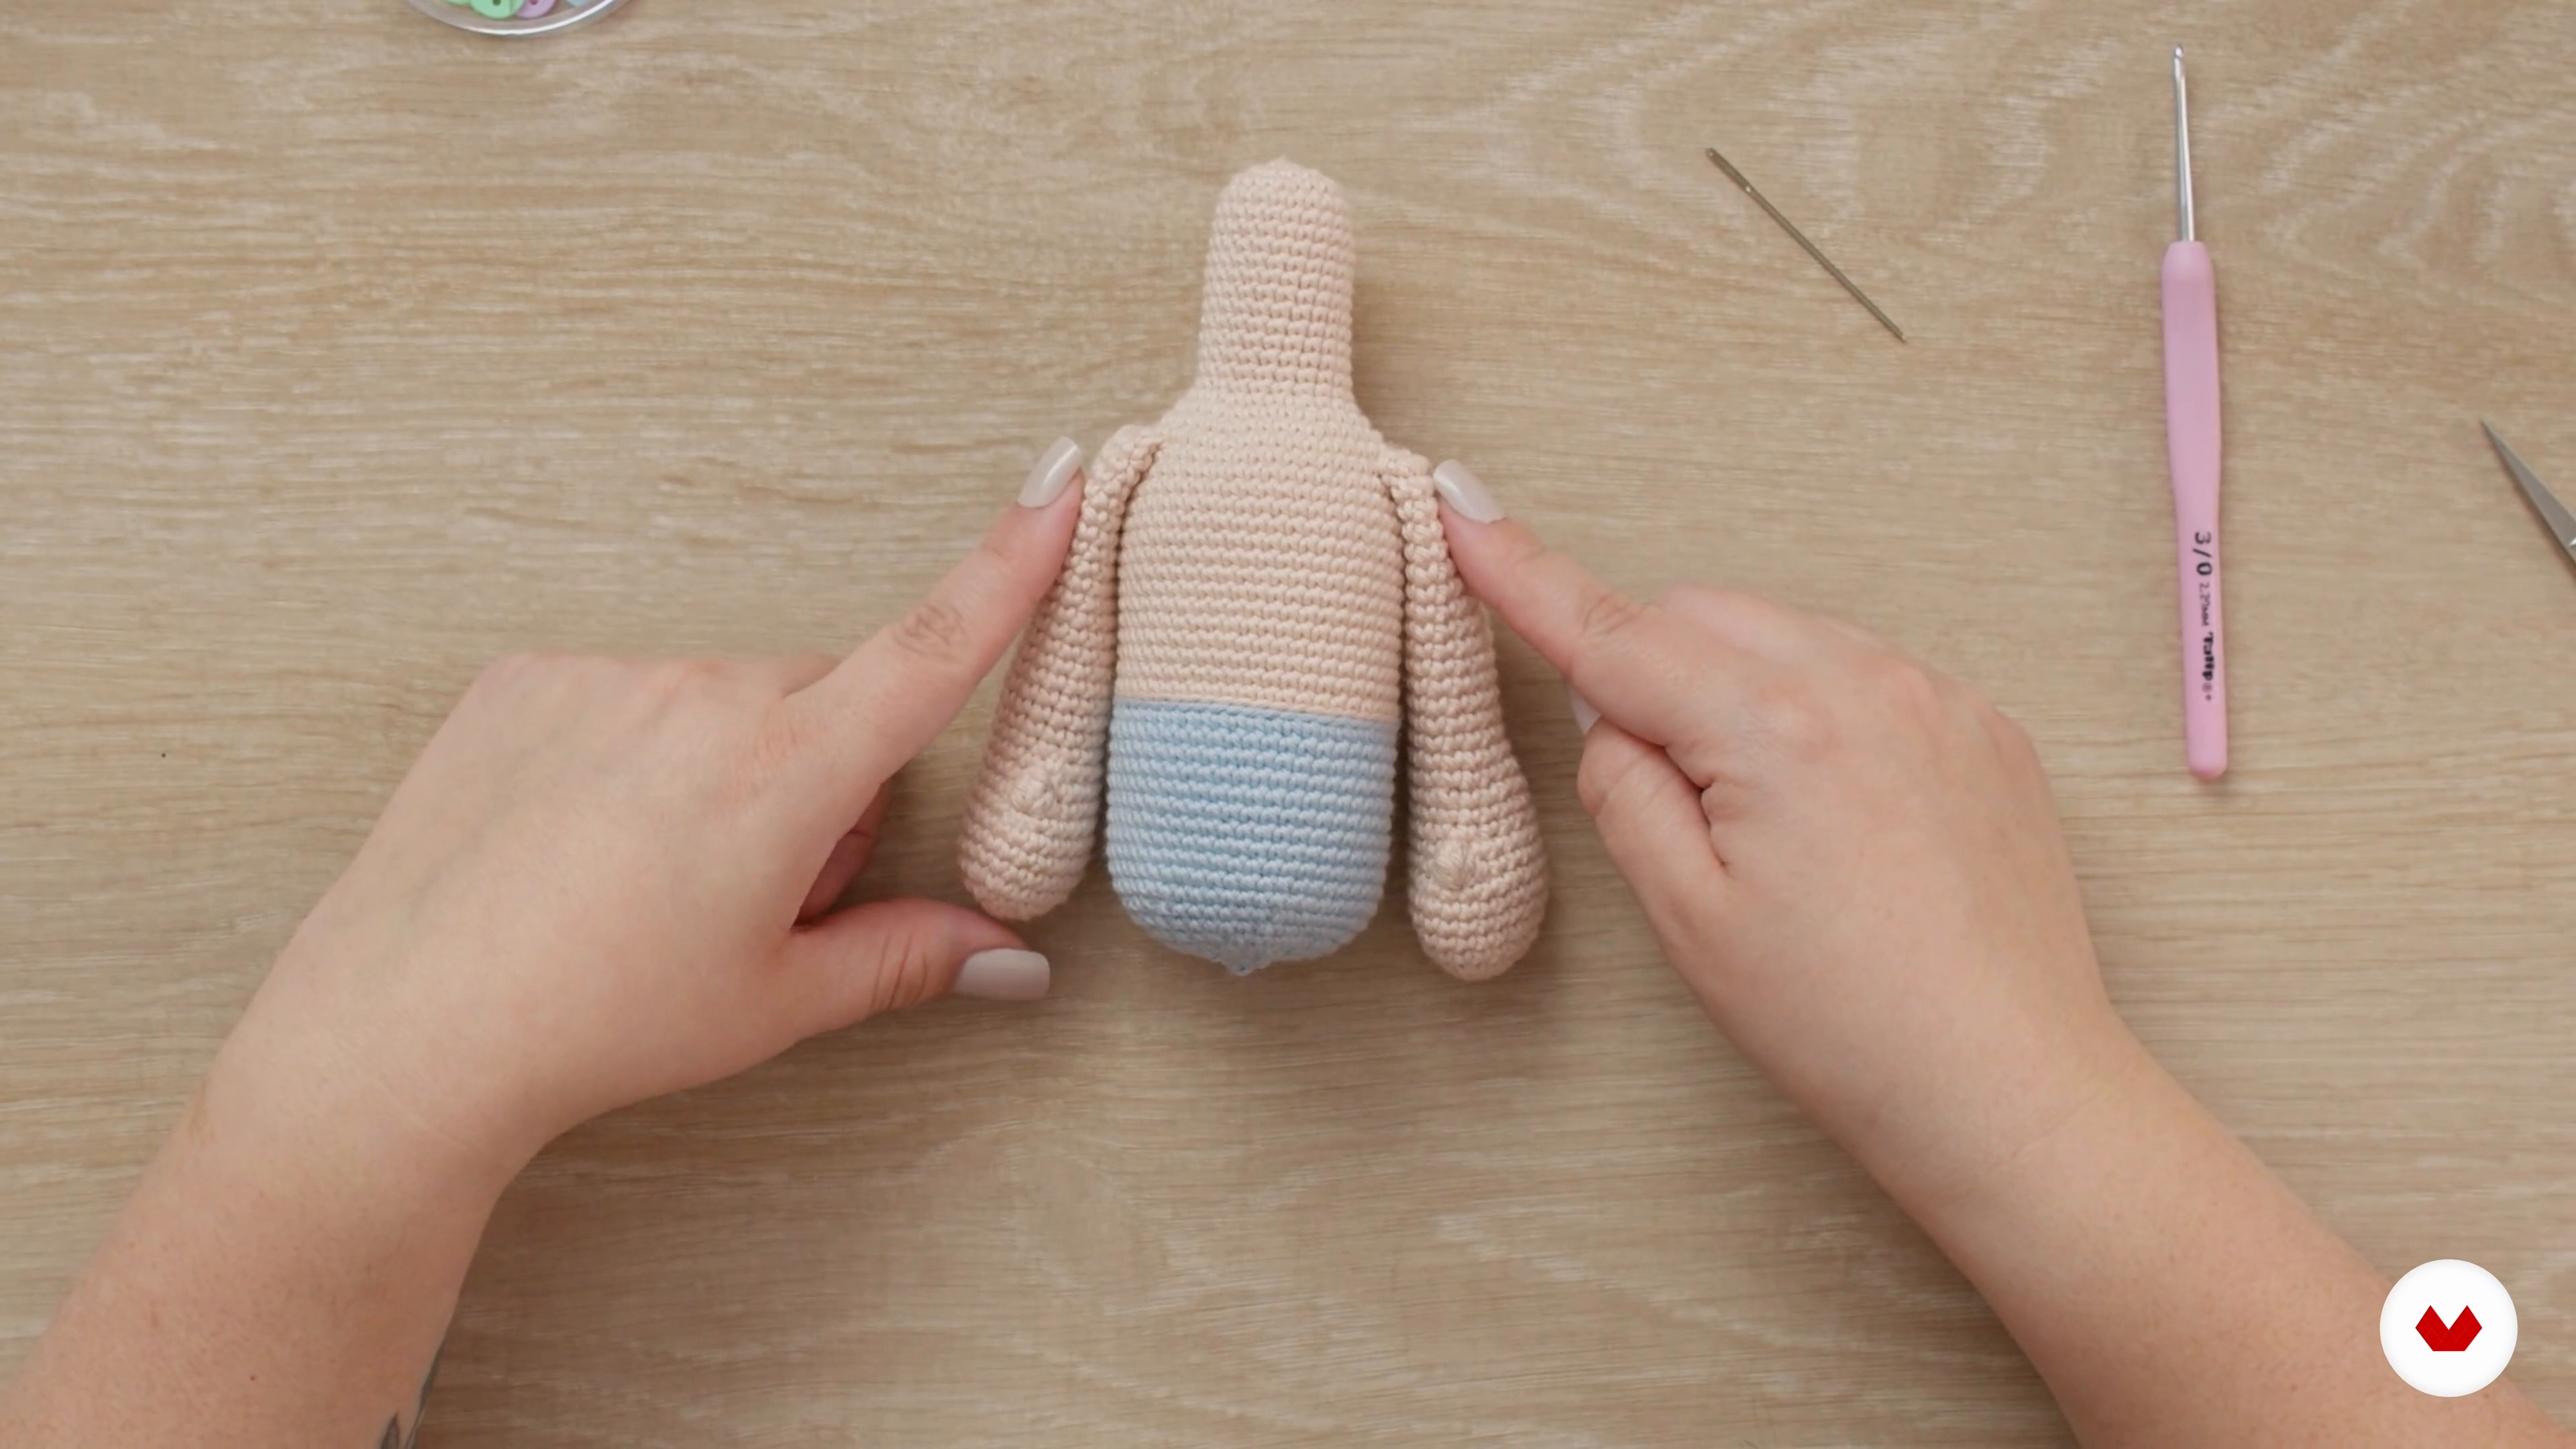
What would our doll be without a firm body to support it? In this lesson, we'll knit this important piece. We'll show you how to give it its distinctive mannequin shape, characterized by its shoulders and the amount of stuffing.
13m
image
11
Body and Arms 2
Now we'll continue working on our doll's body. We'll show you how to redistribute the body stuffing and fasten it with a needle. Then, we'll knit the arms and teach you how to make a fancy stitch for the thumb.
17m
image
12
Legs and Shoes 1
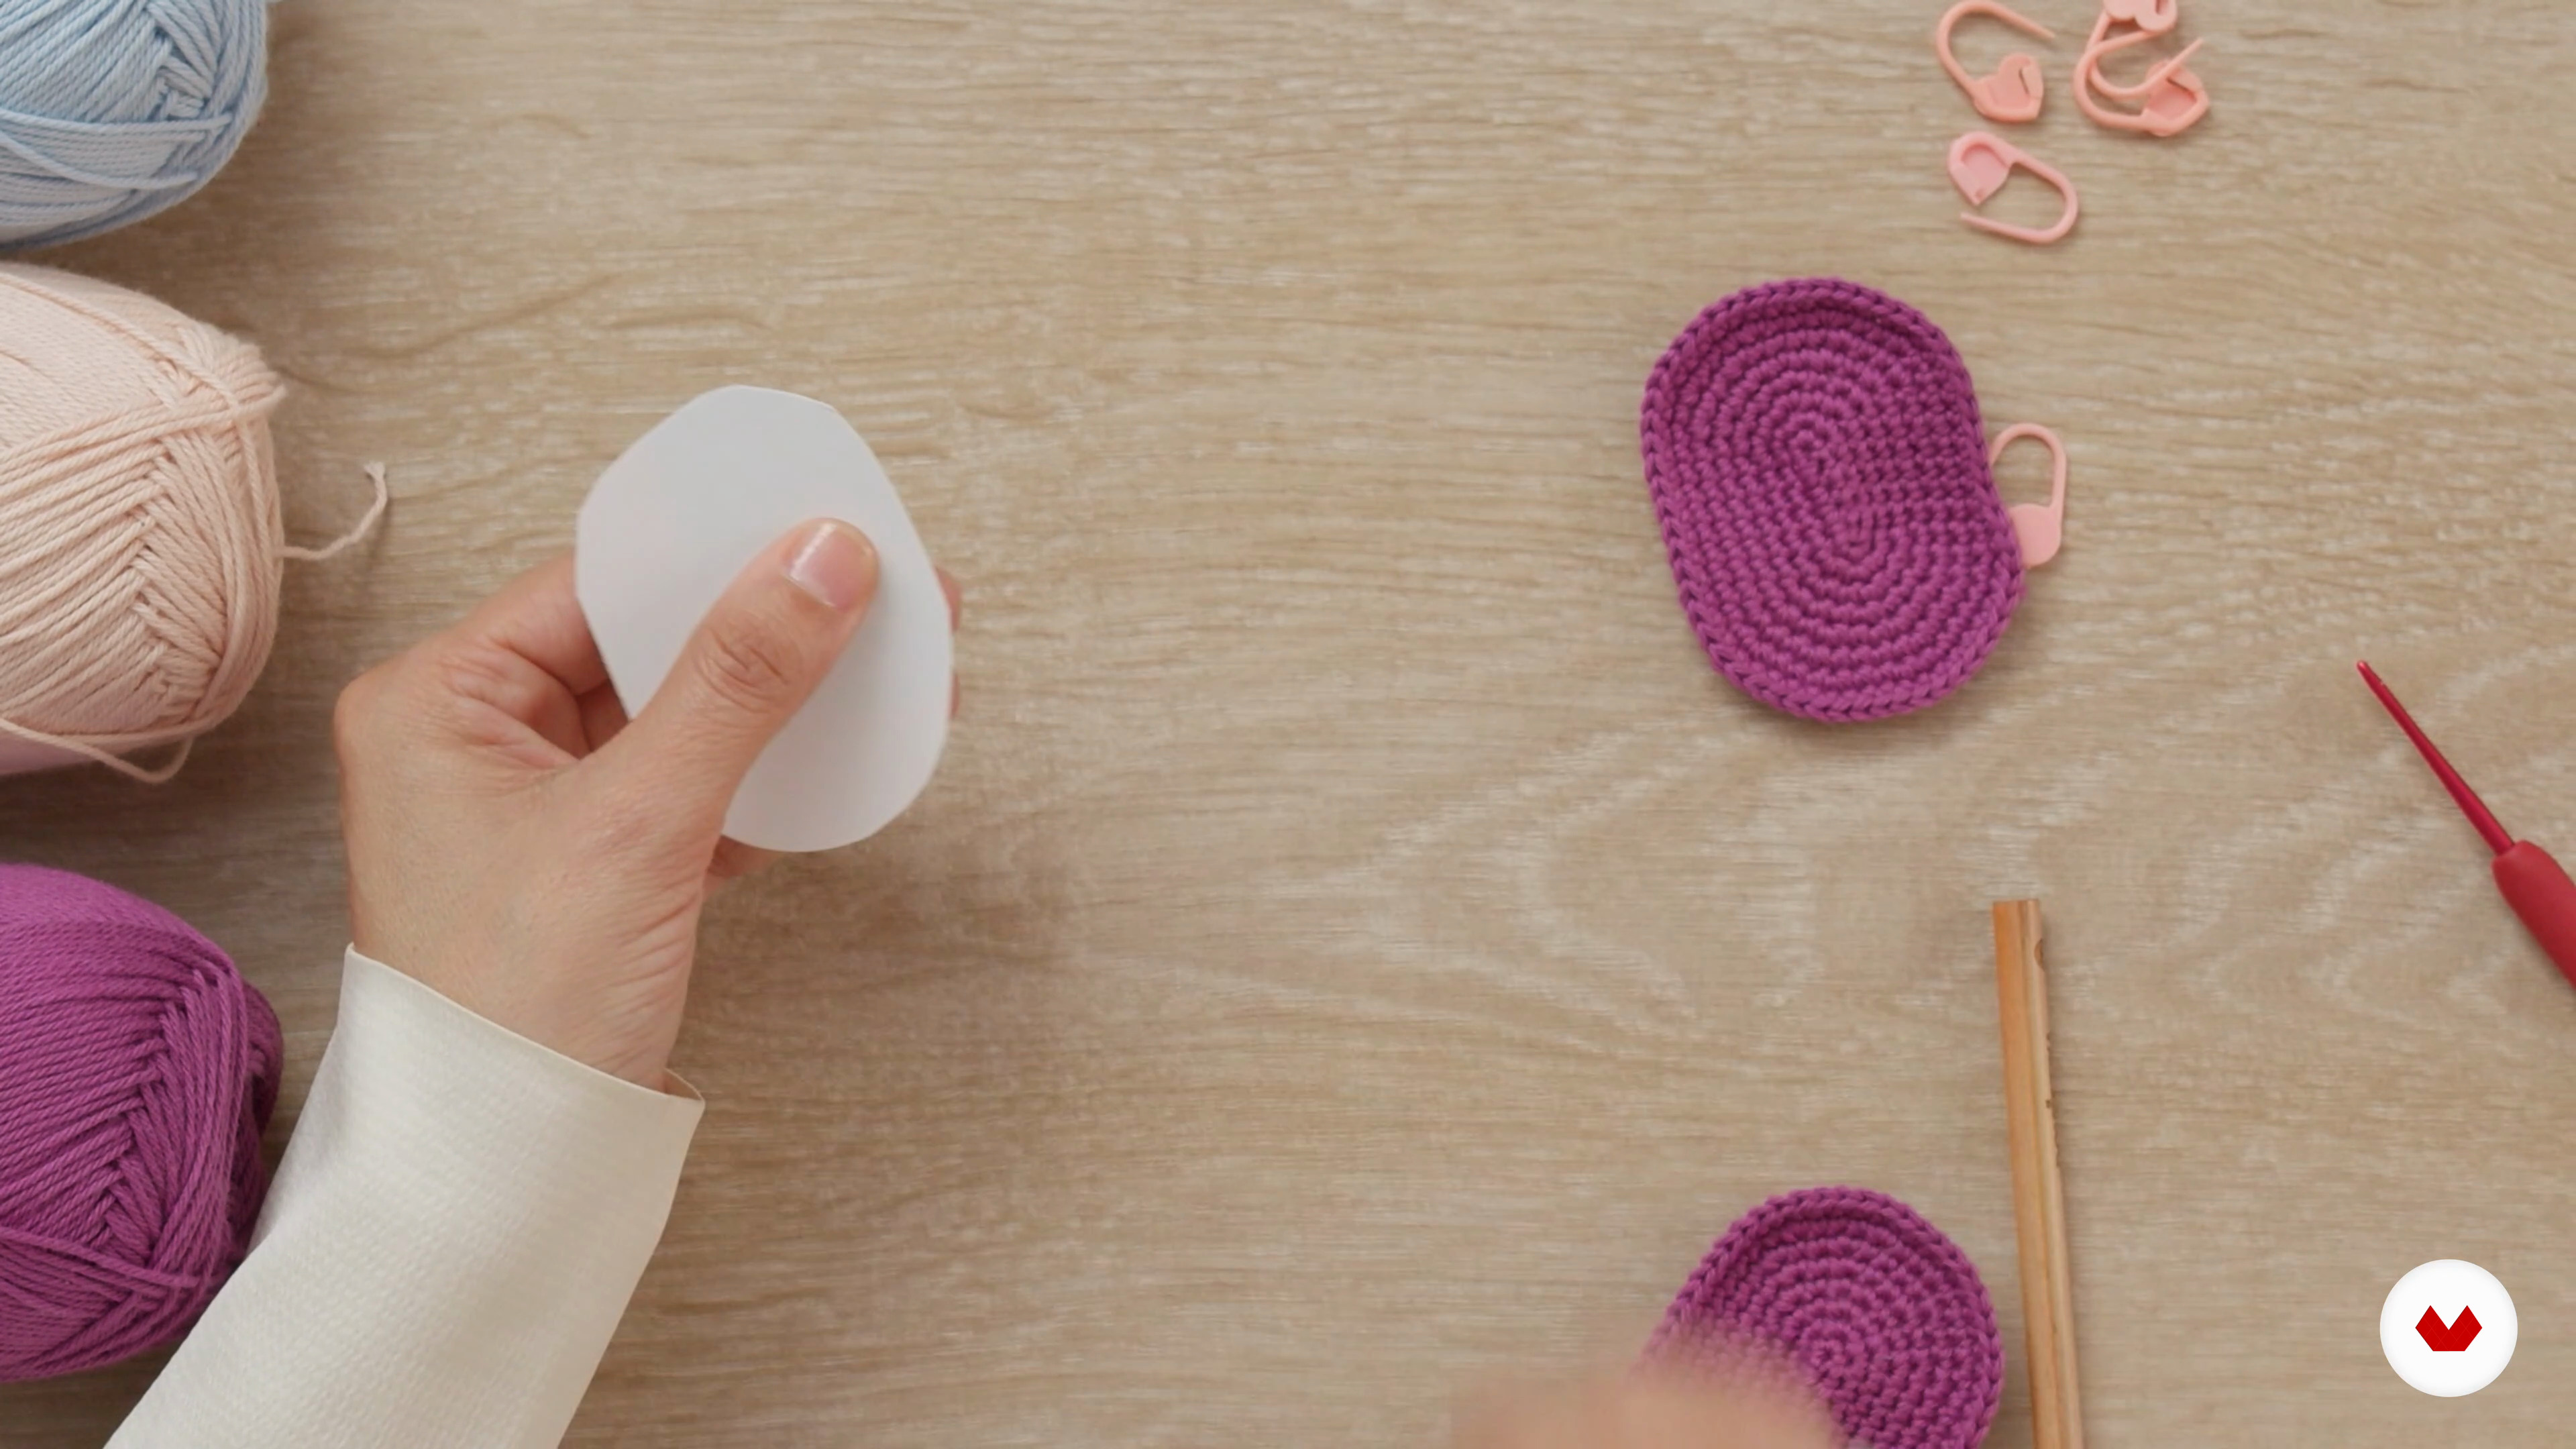
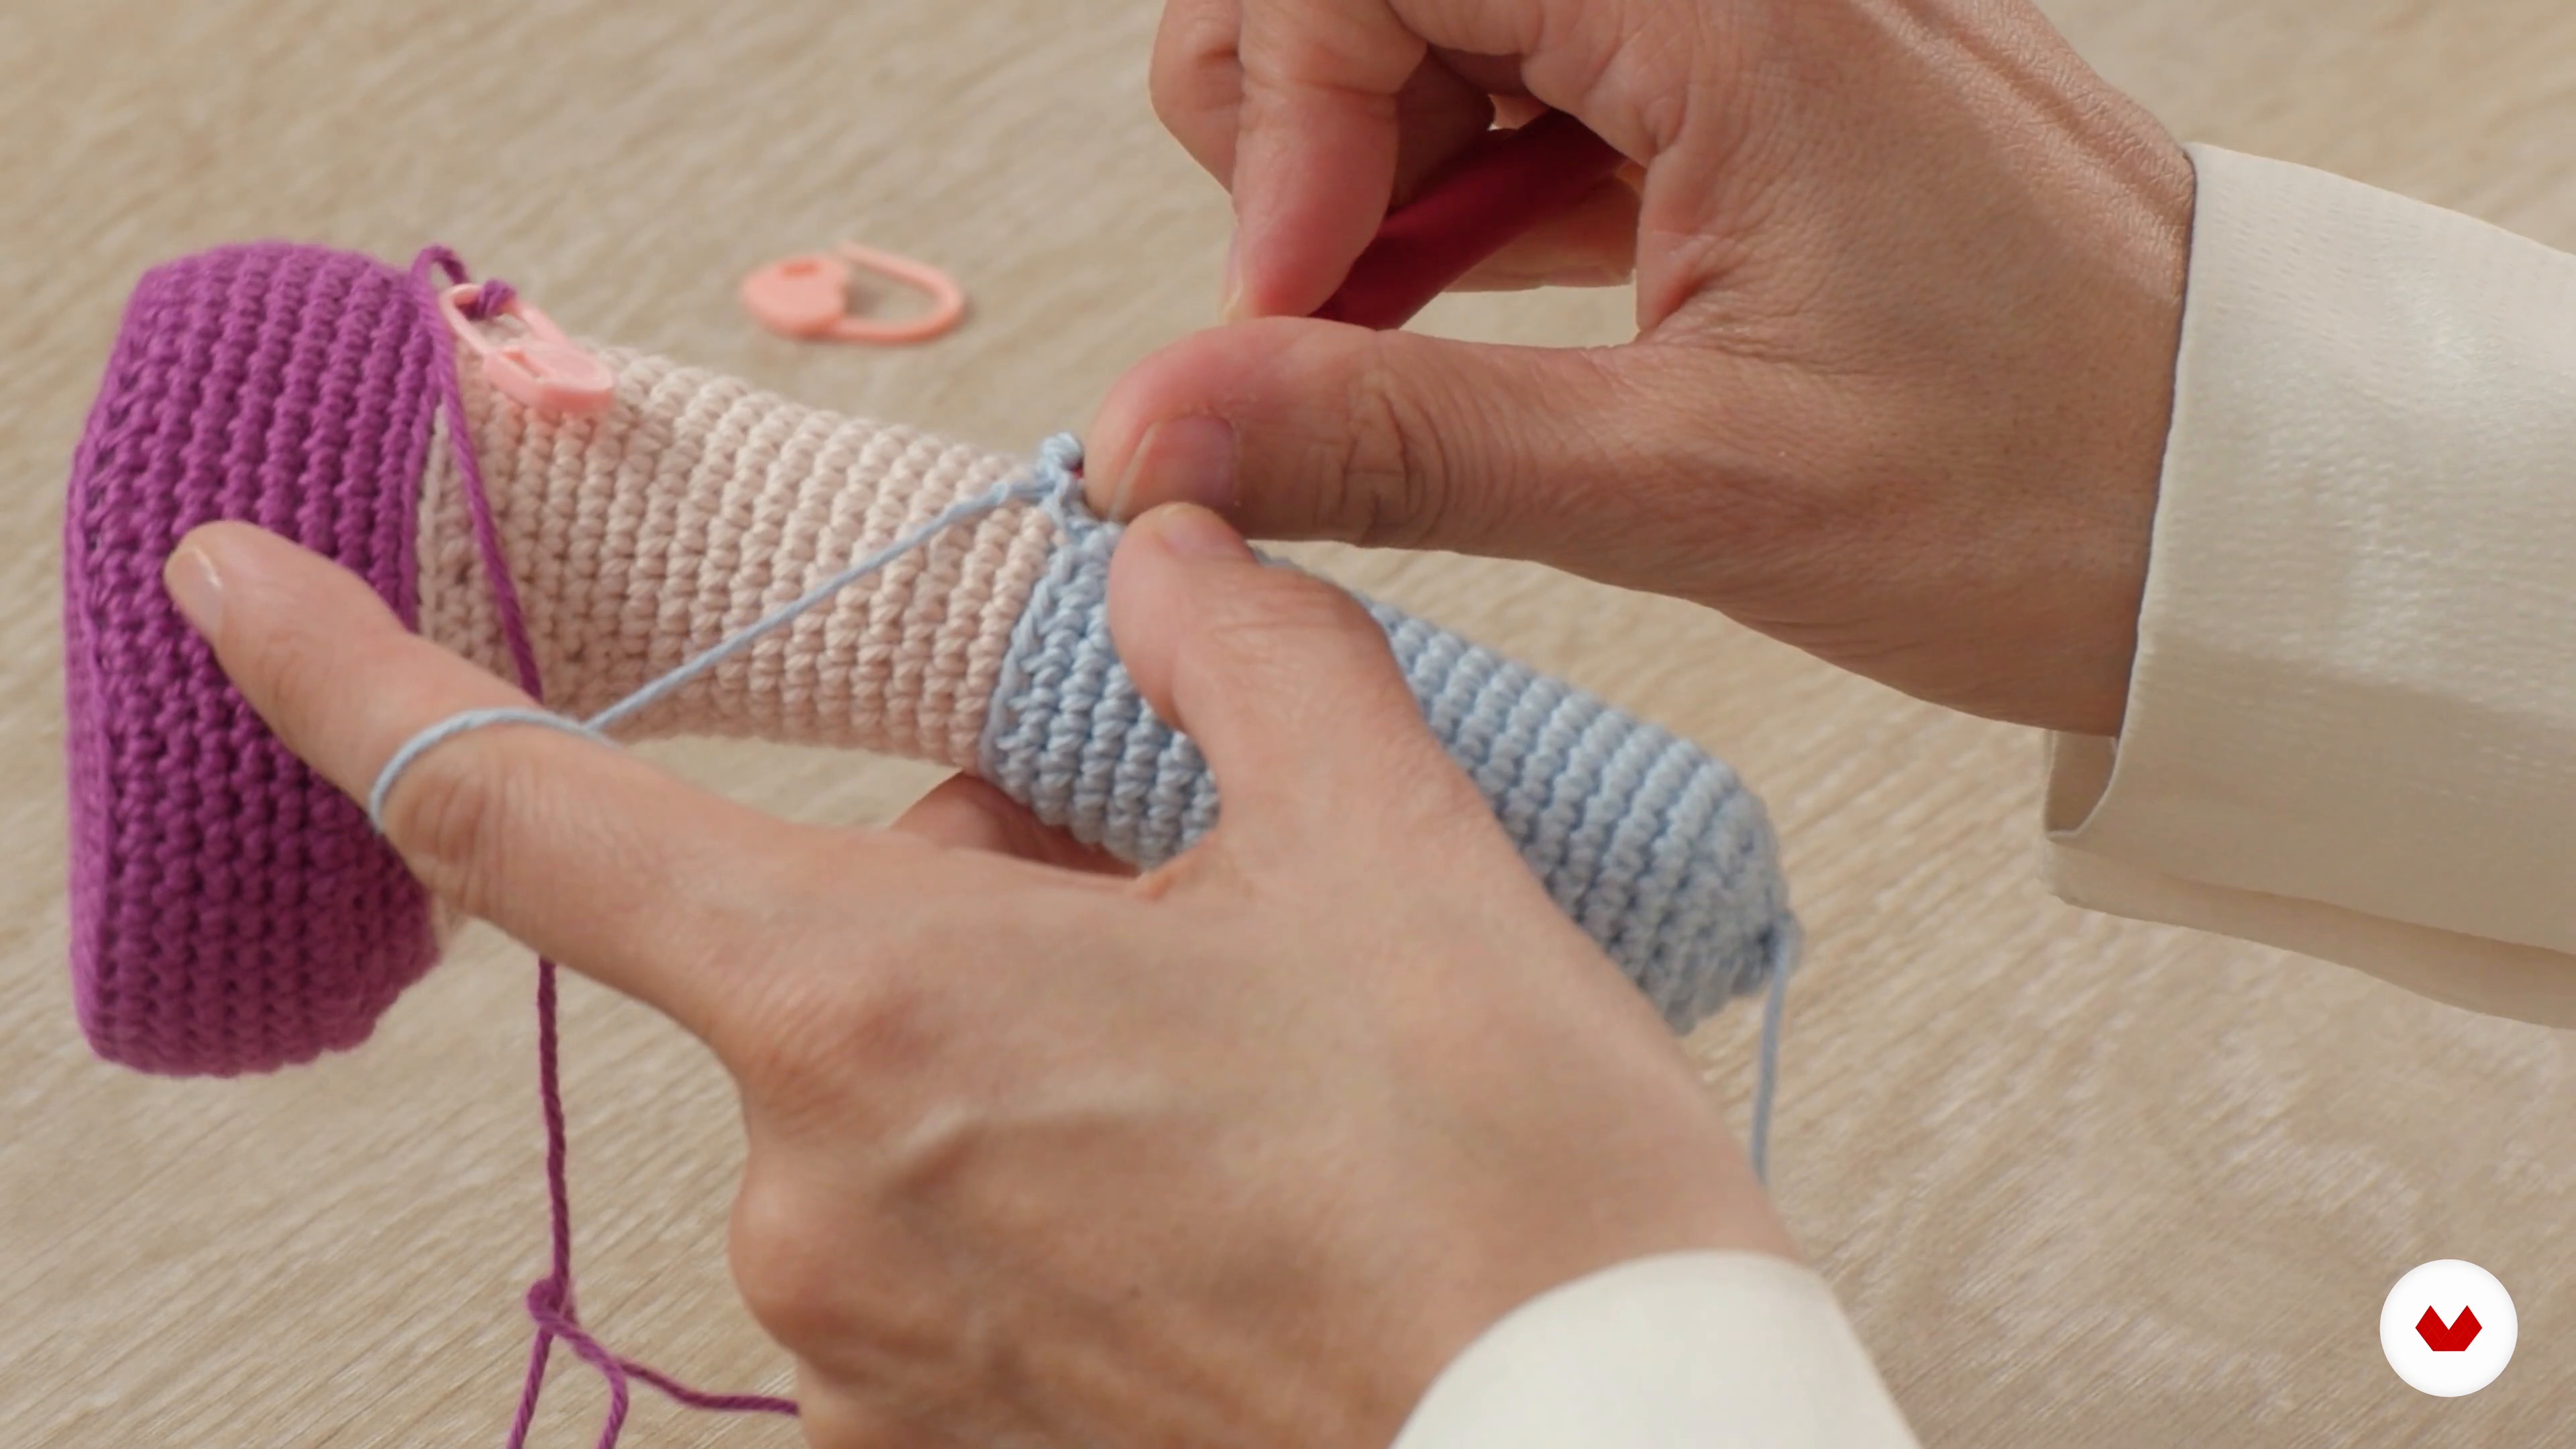
In this lesson, we'll finish creating the basic shape of the doll's main support: the shoes and legs. You'll learn elliptical knitting and interesting things like knitting a shoe that appears to be mounted on a foot, an optical illusion created with a perfect combination of stitches.
13m
image
13
Legs and Shoes 2
Here you'll see the assembled fabric from which the leg will be crafted from the inside of the shoe, making it look like a separate piece. You'll also see the appropriate padding for the doll's final stability.
14m
image
14
Dress and Hood 1
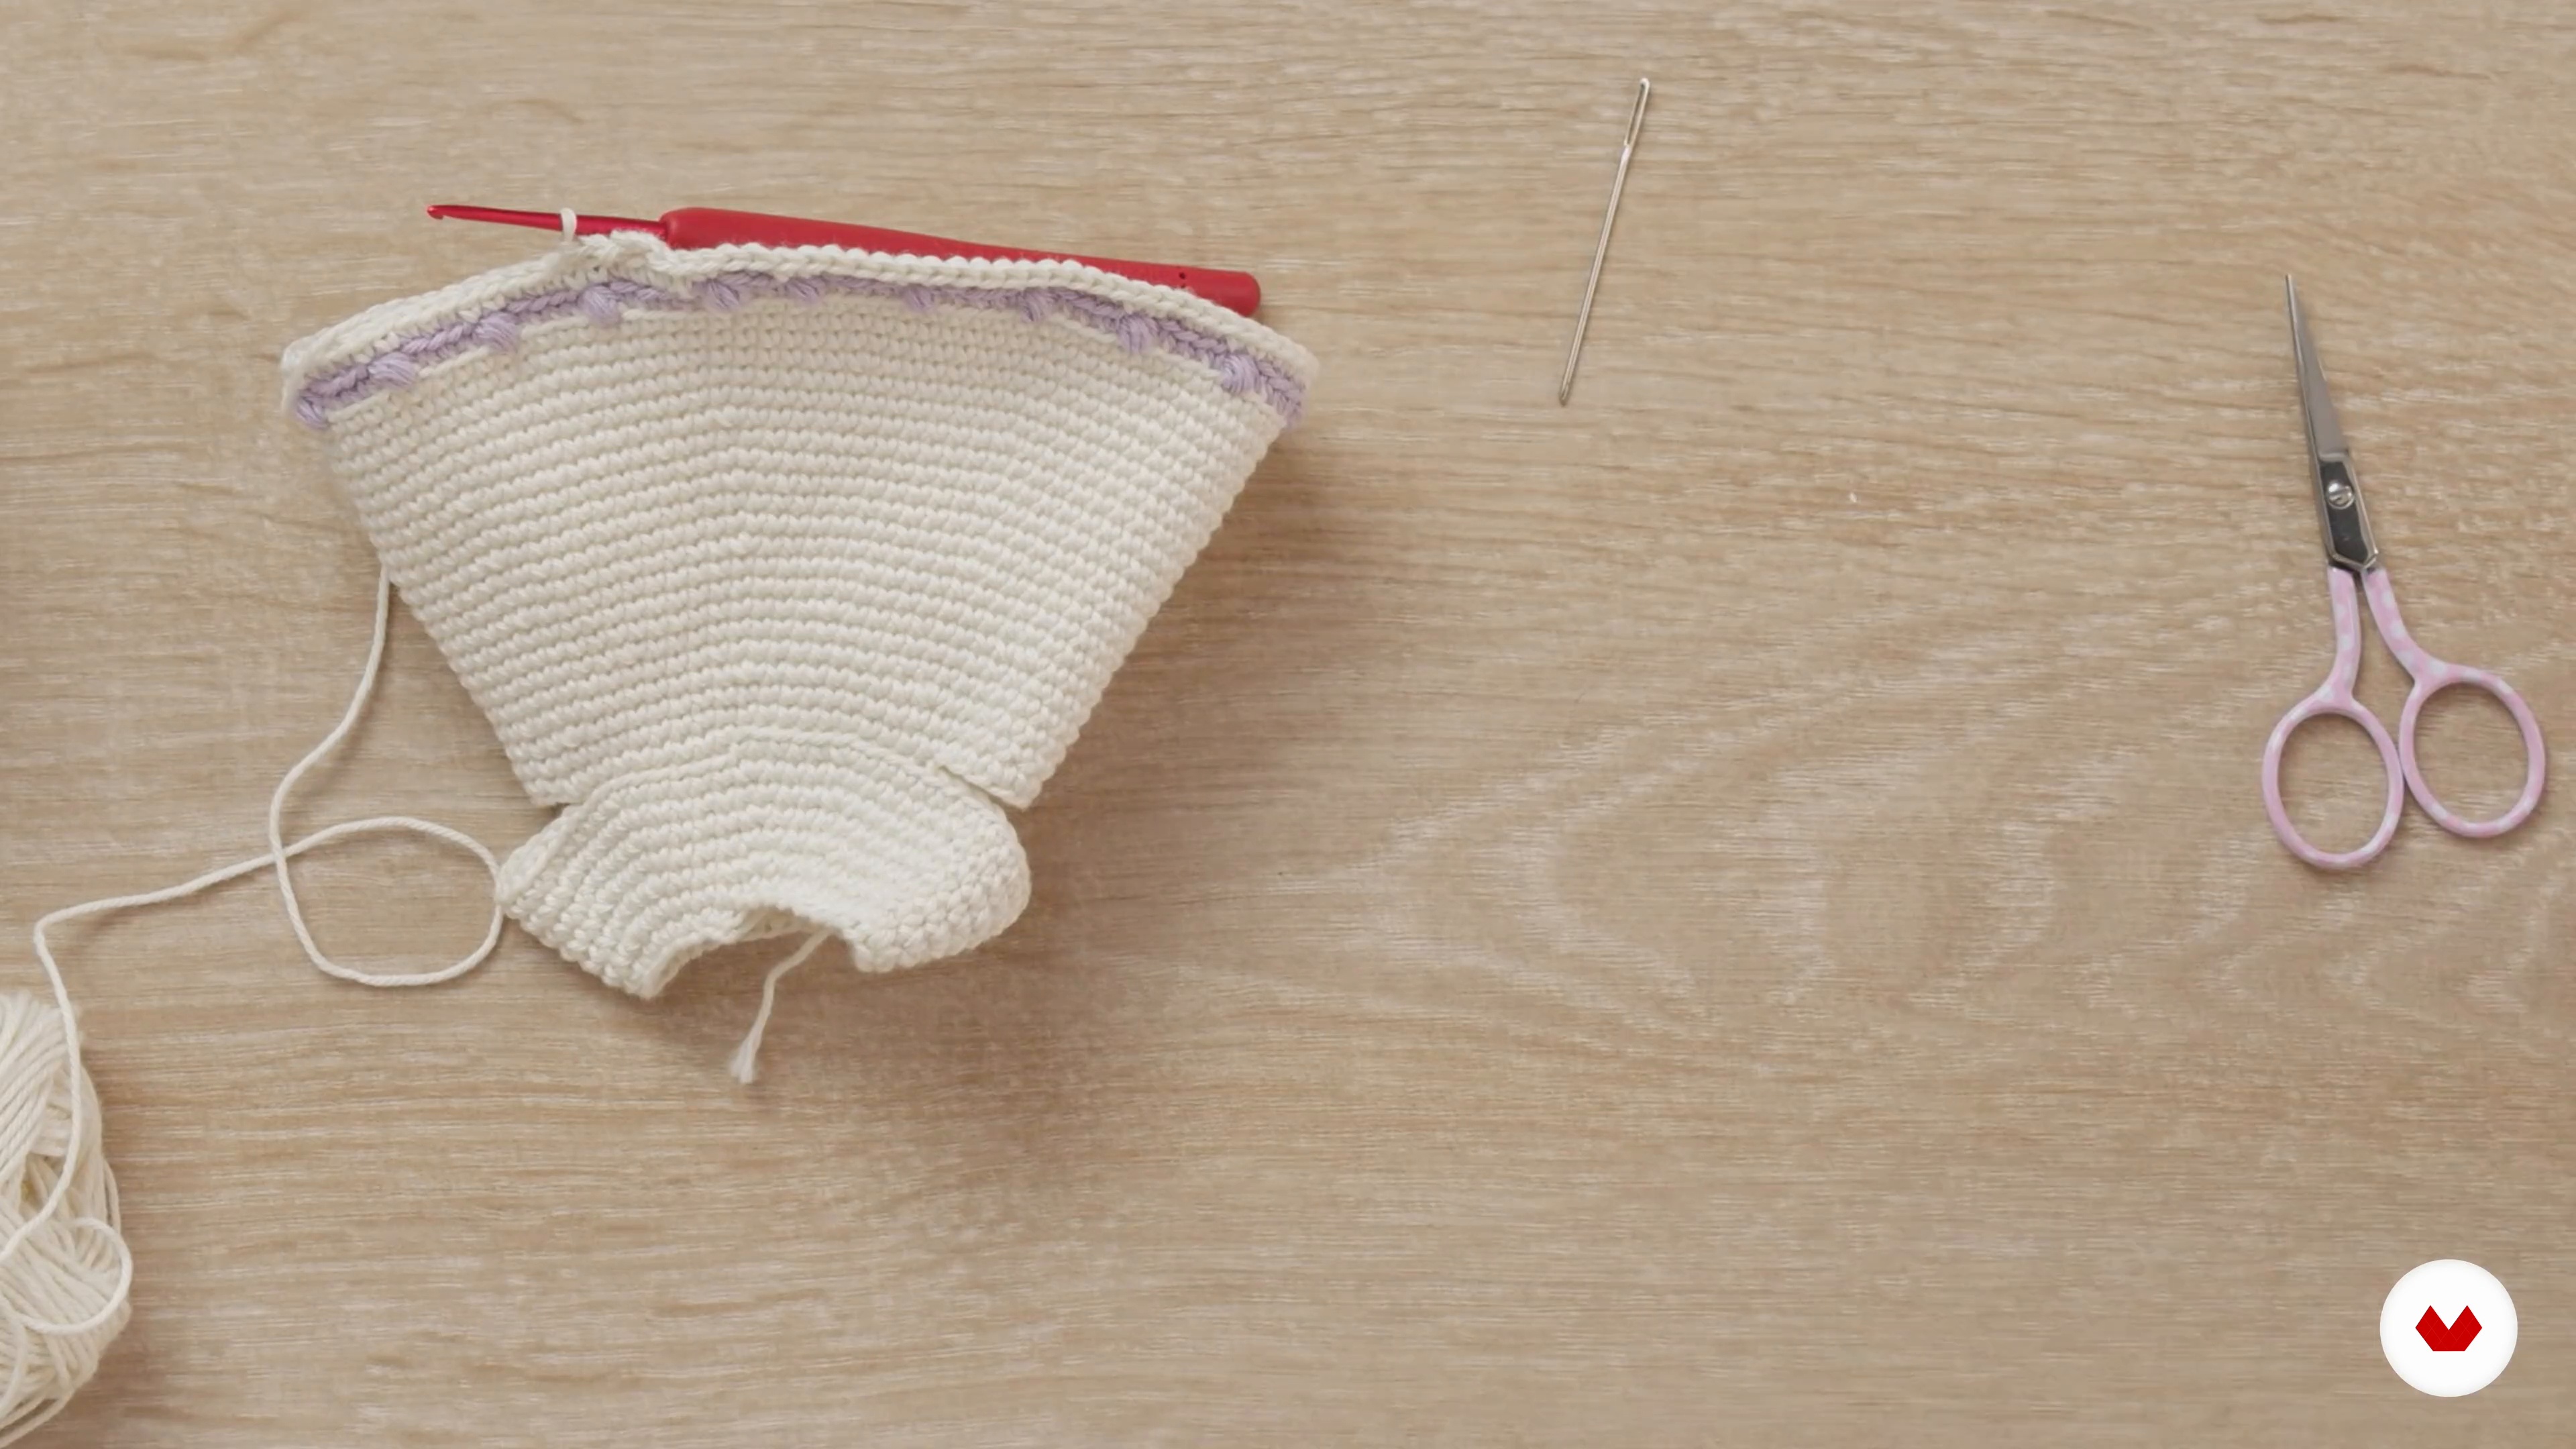
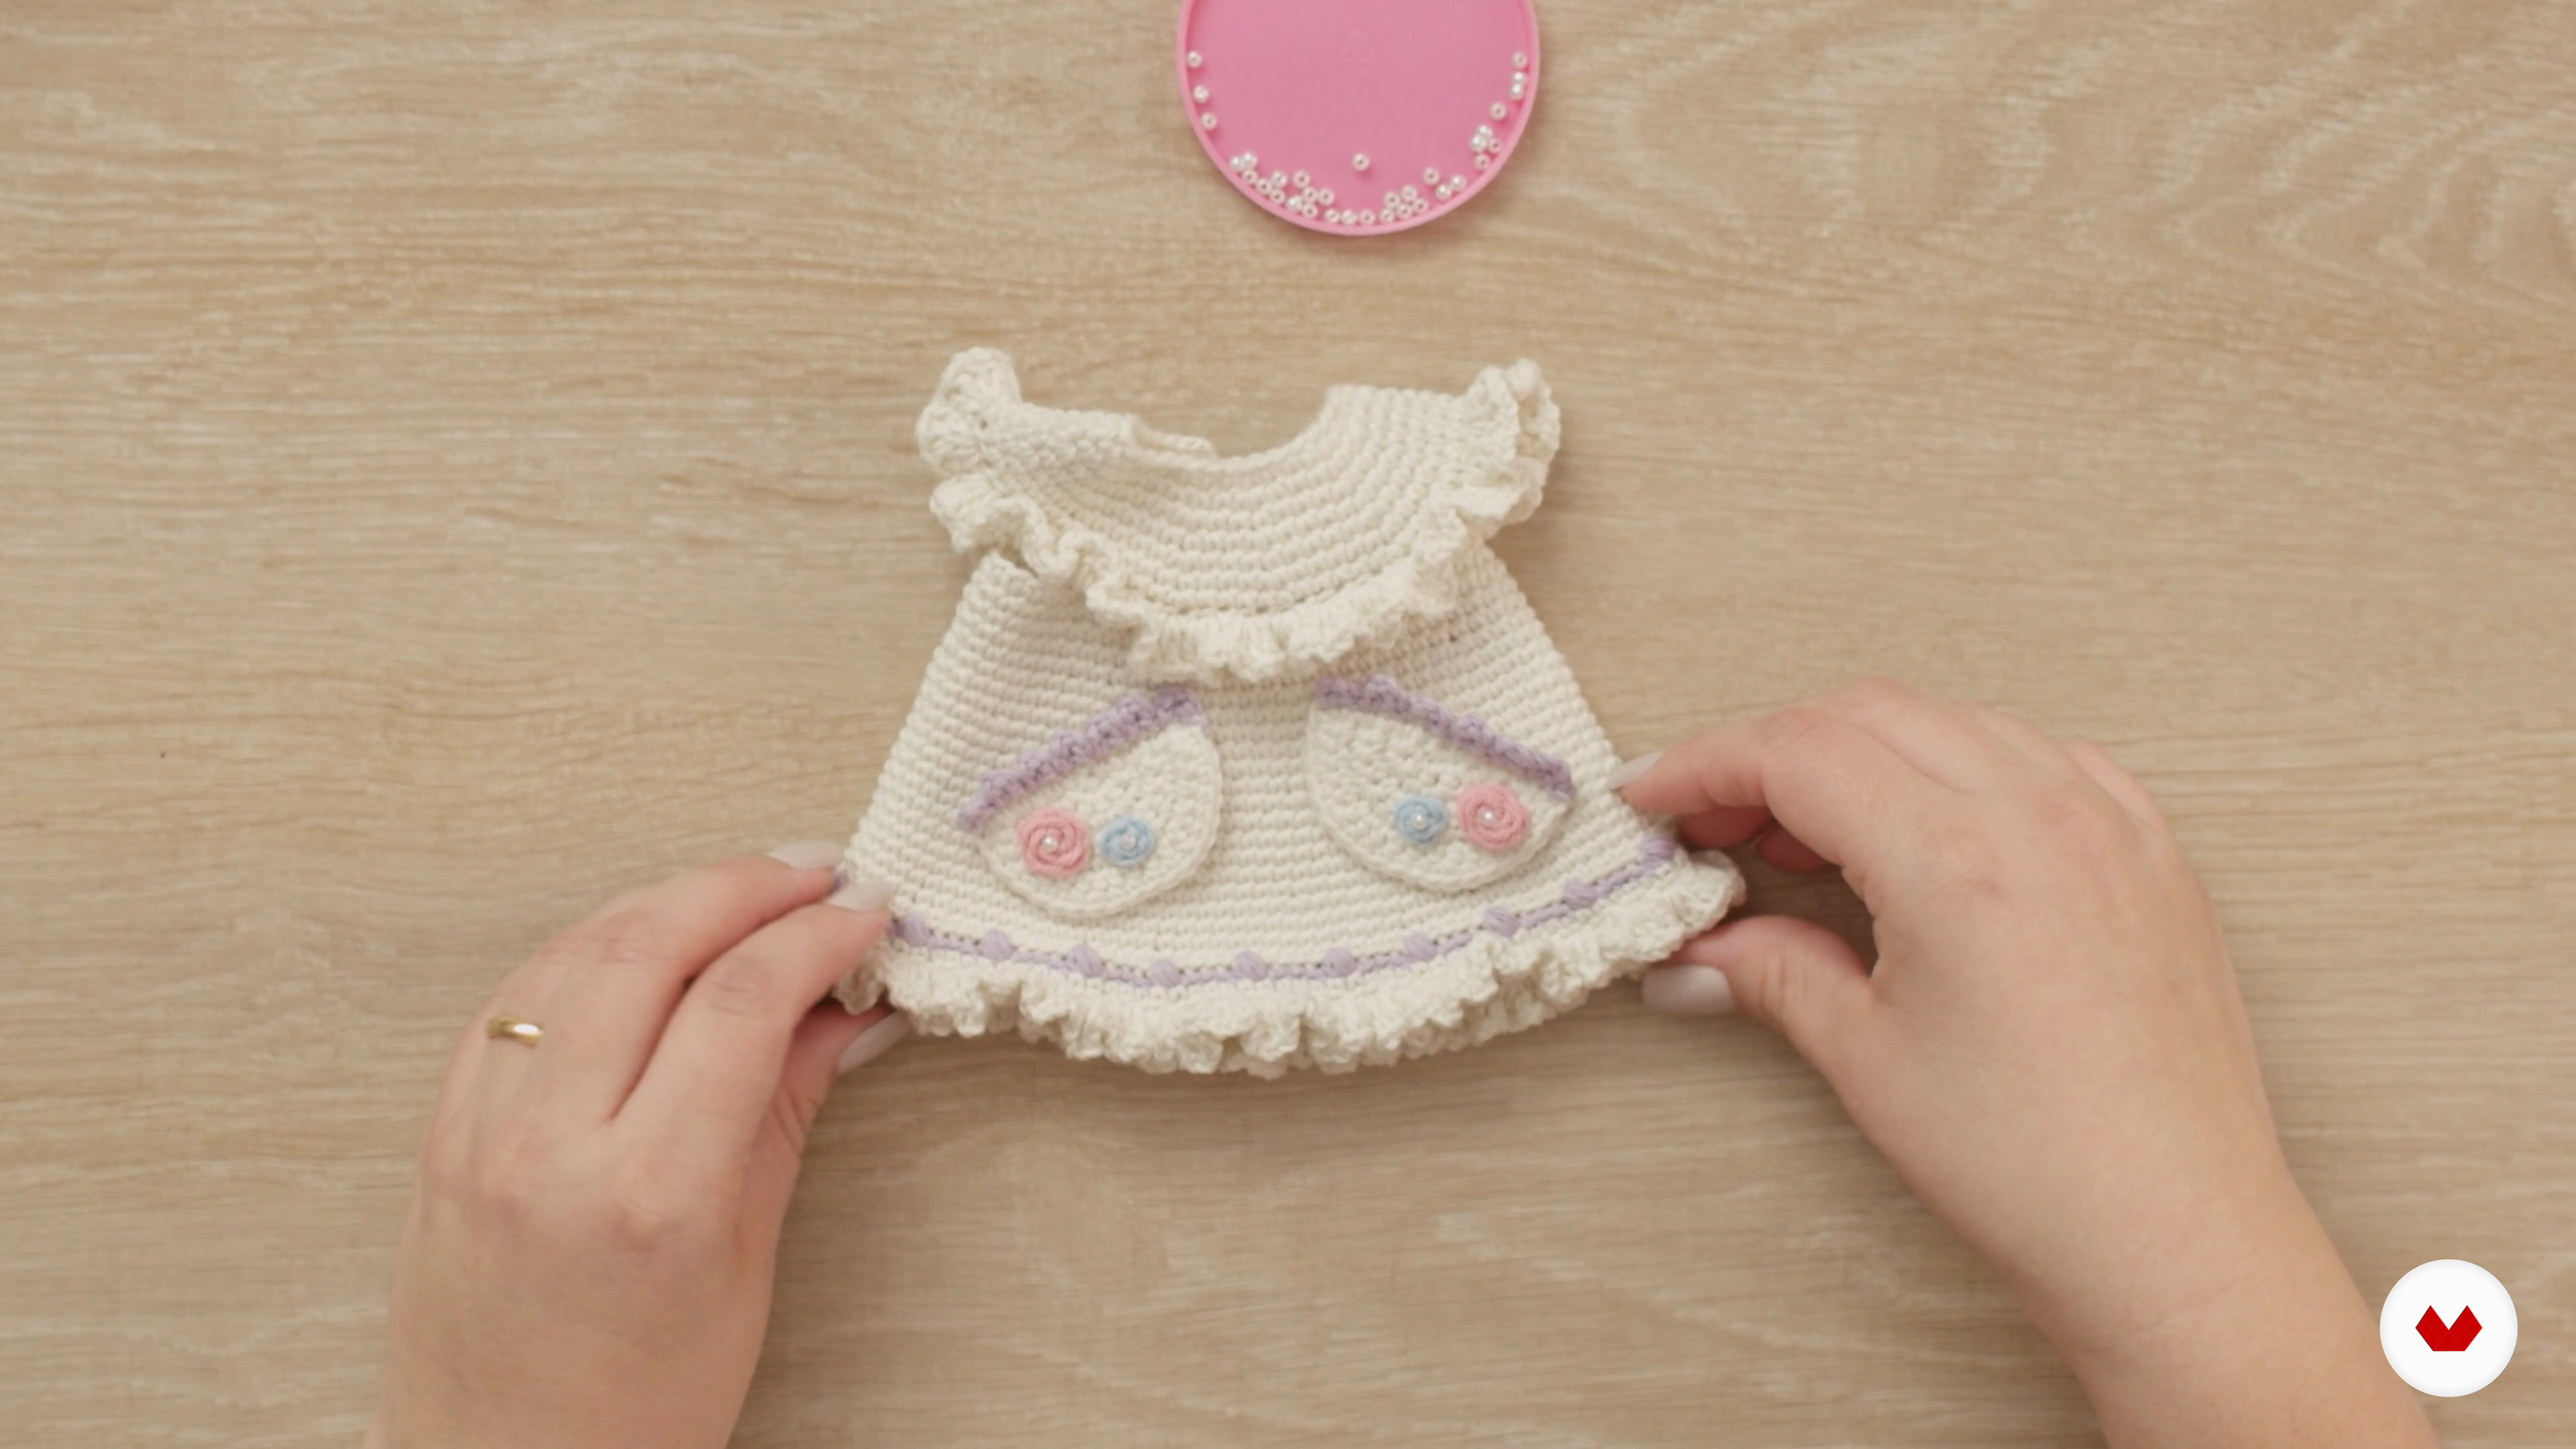
Let's immerse ourselves in romance and dress our doll! To do so, we'll show you a simple way to start a dress with its bodice. Then, we'll give the piece a tapered shape and finish it with playful ruffles that add a lot of movement.
16m
image
15
Dress and Hood 2
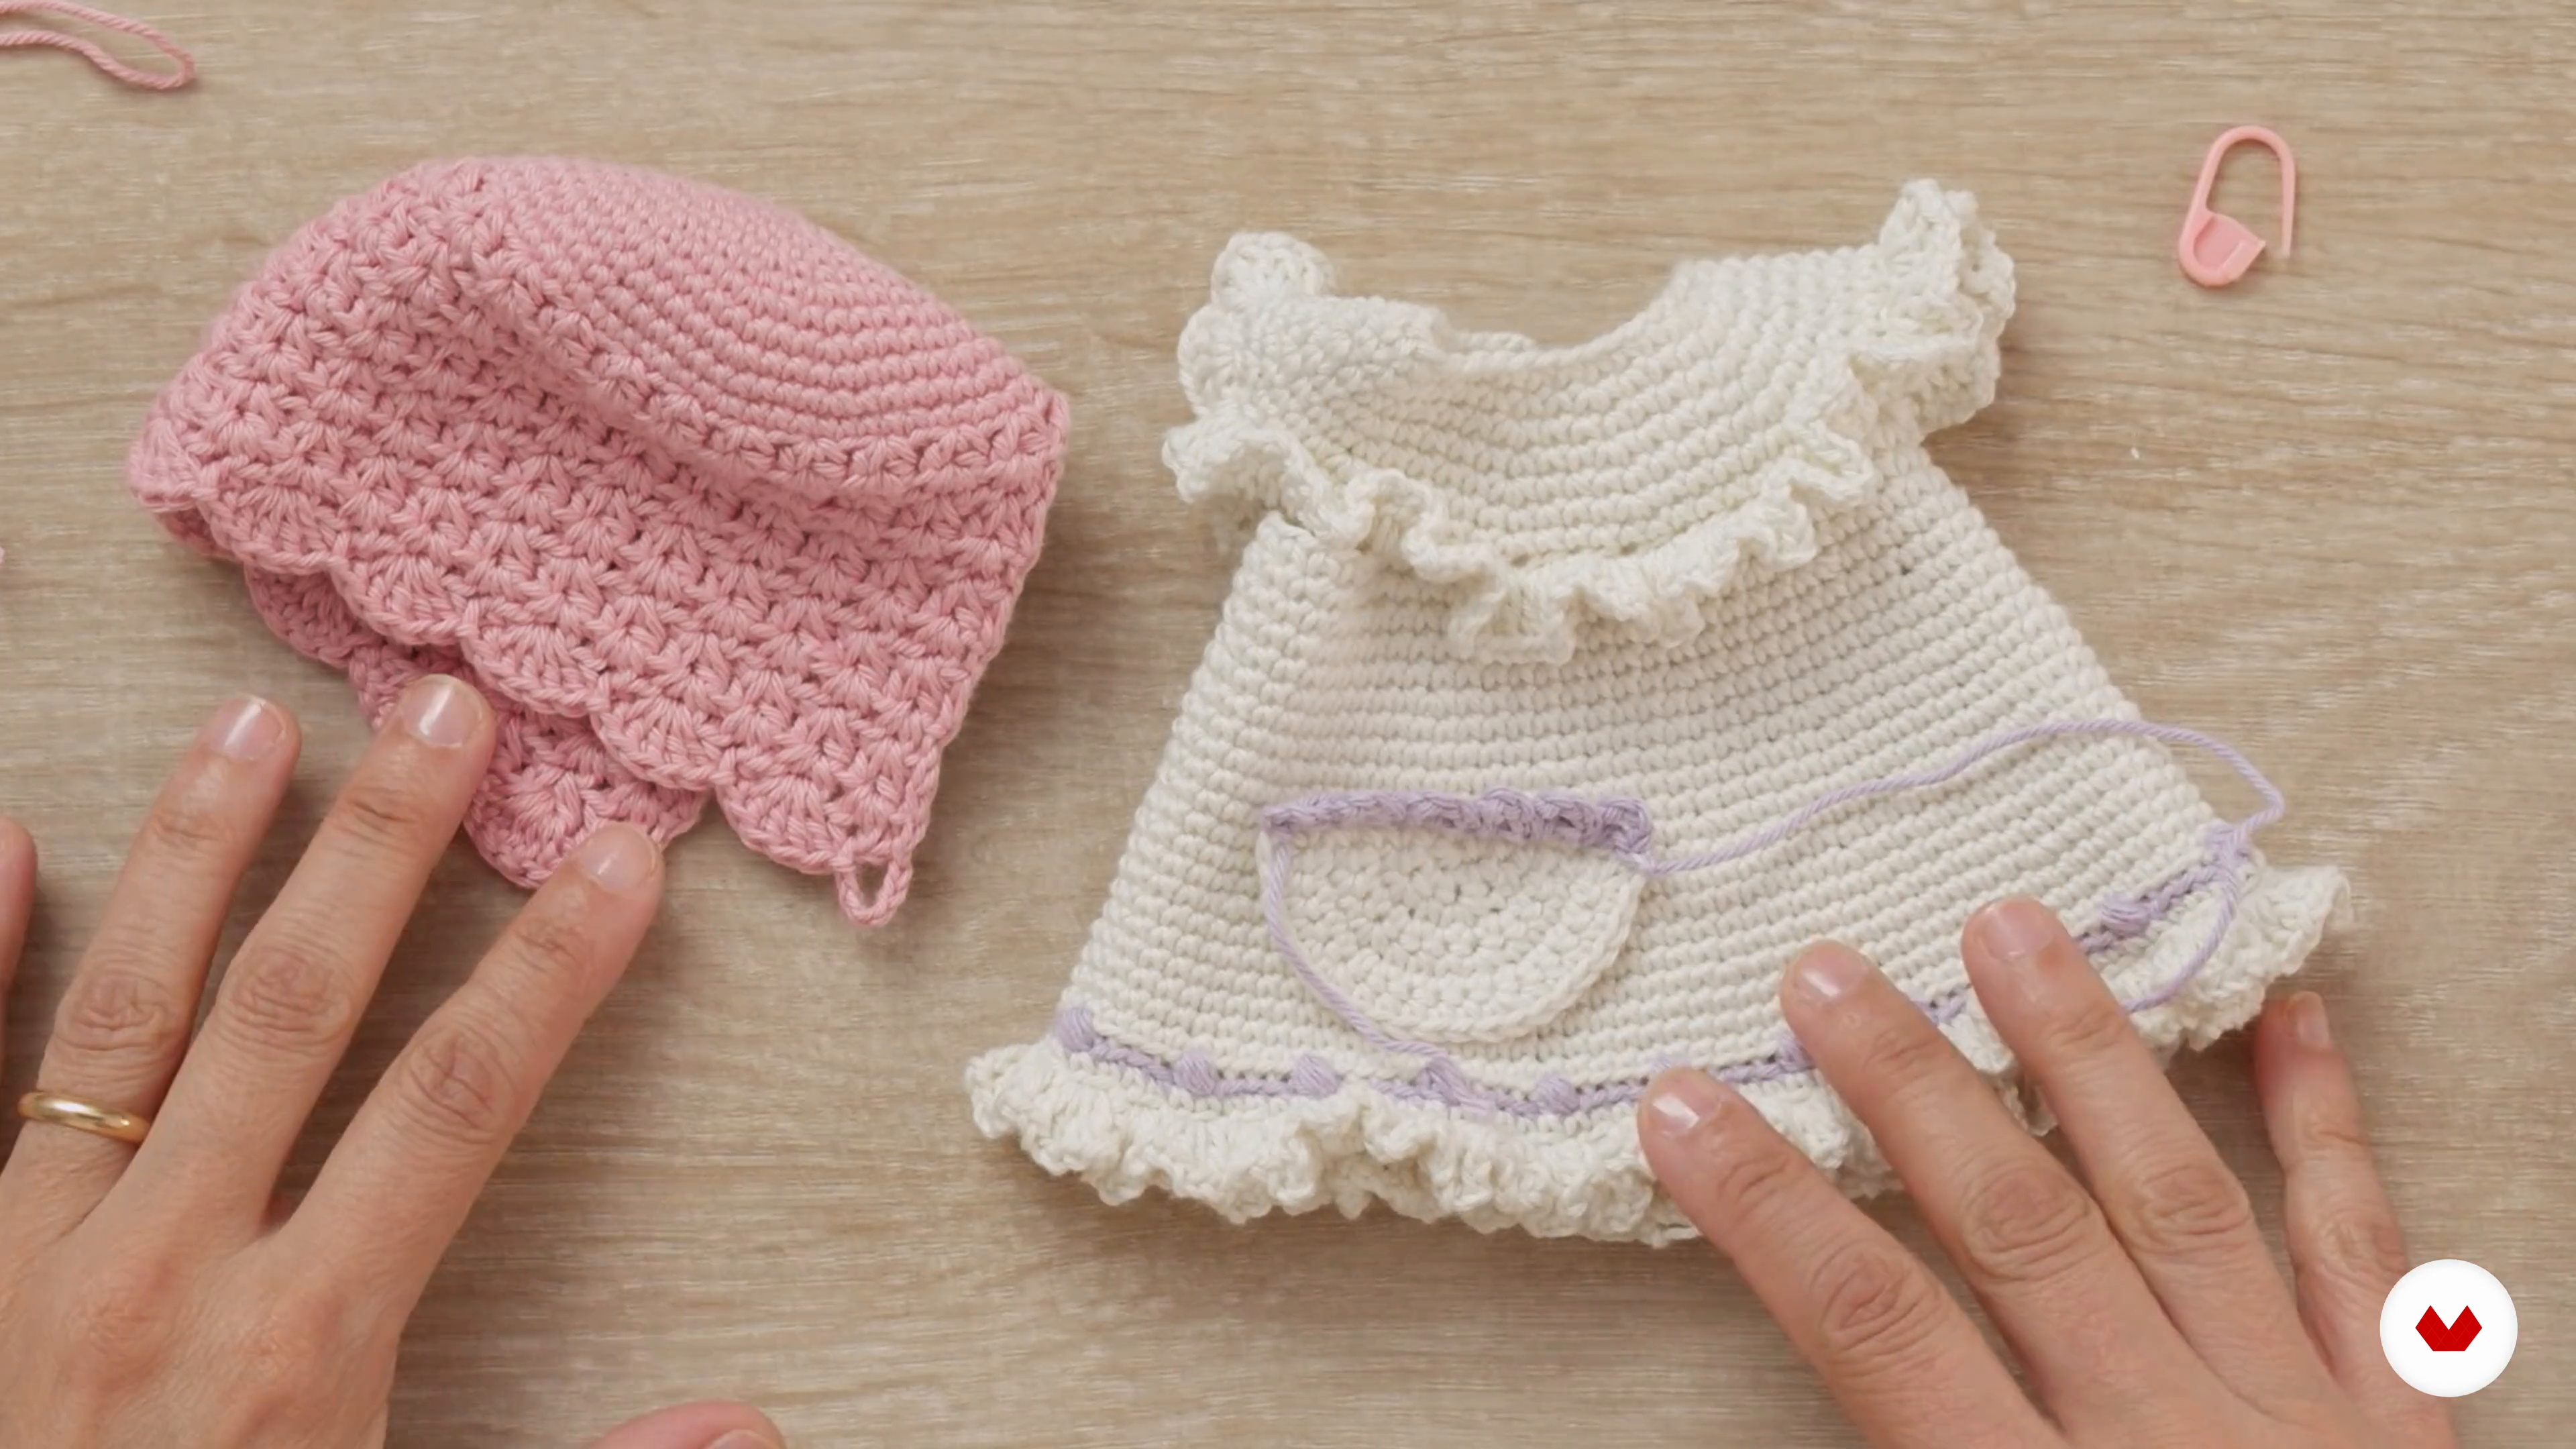
Finally, we'll add some pockets to give the dress more realism. To complement her outfit, we'll make a beautiful bonnet, a very retro detail that adds a lot of cuteness. In it, we'll show you how fancy stitches add interesting textures to amigurumis.
19m
image
16
Accessories and Final Assembly 1
If you like the accessories you find at button shops, this lesson is an invitation to visit your favorite stores and choose the accessories that will give your doll the finishing touch. We'll teach you a type of flower embroidery we love, and we'll use them to decorate the pockets. Then, we'll move on to joining the arms.
14m
image
17
Accessories and Final Assembly 2
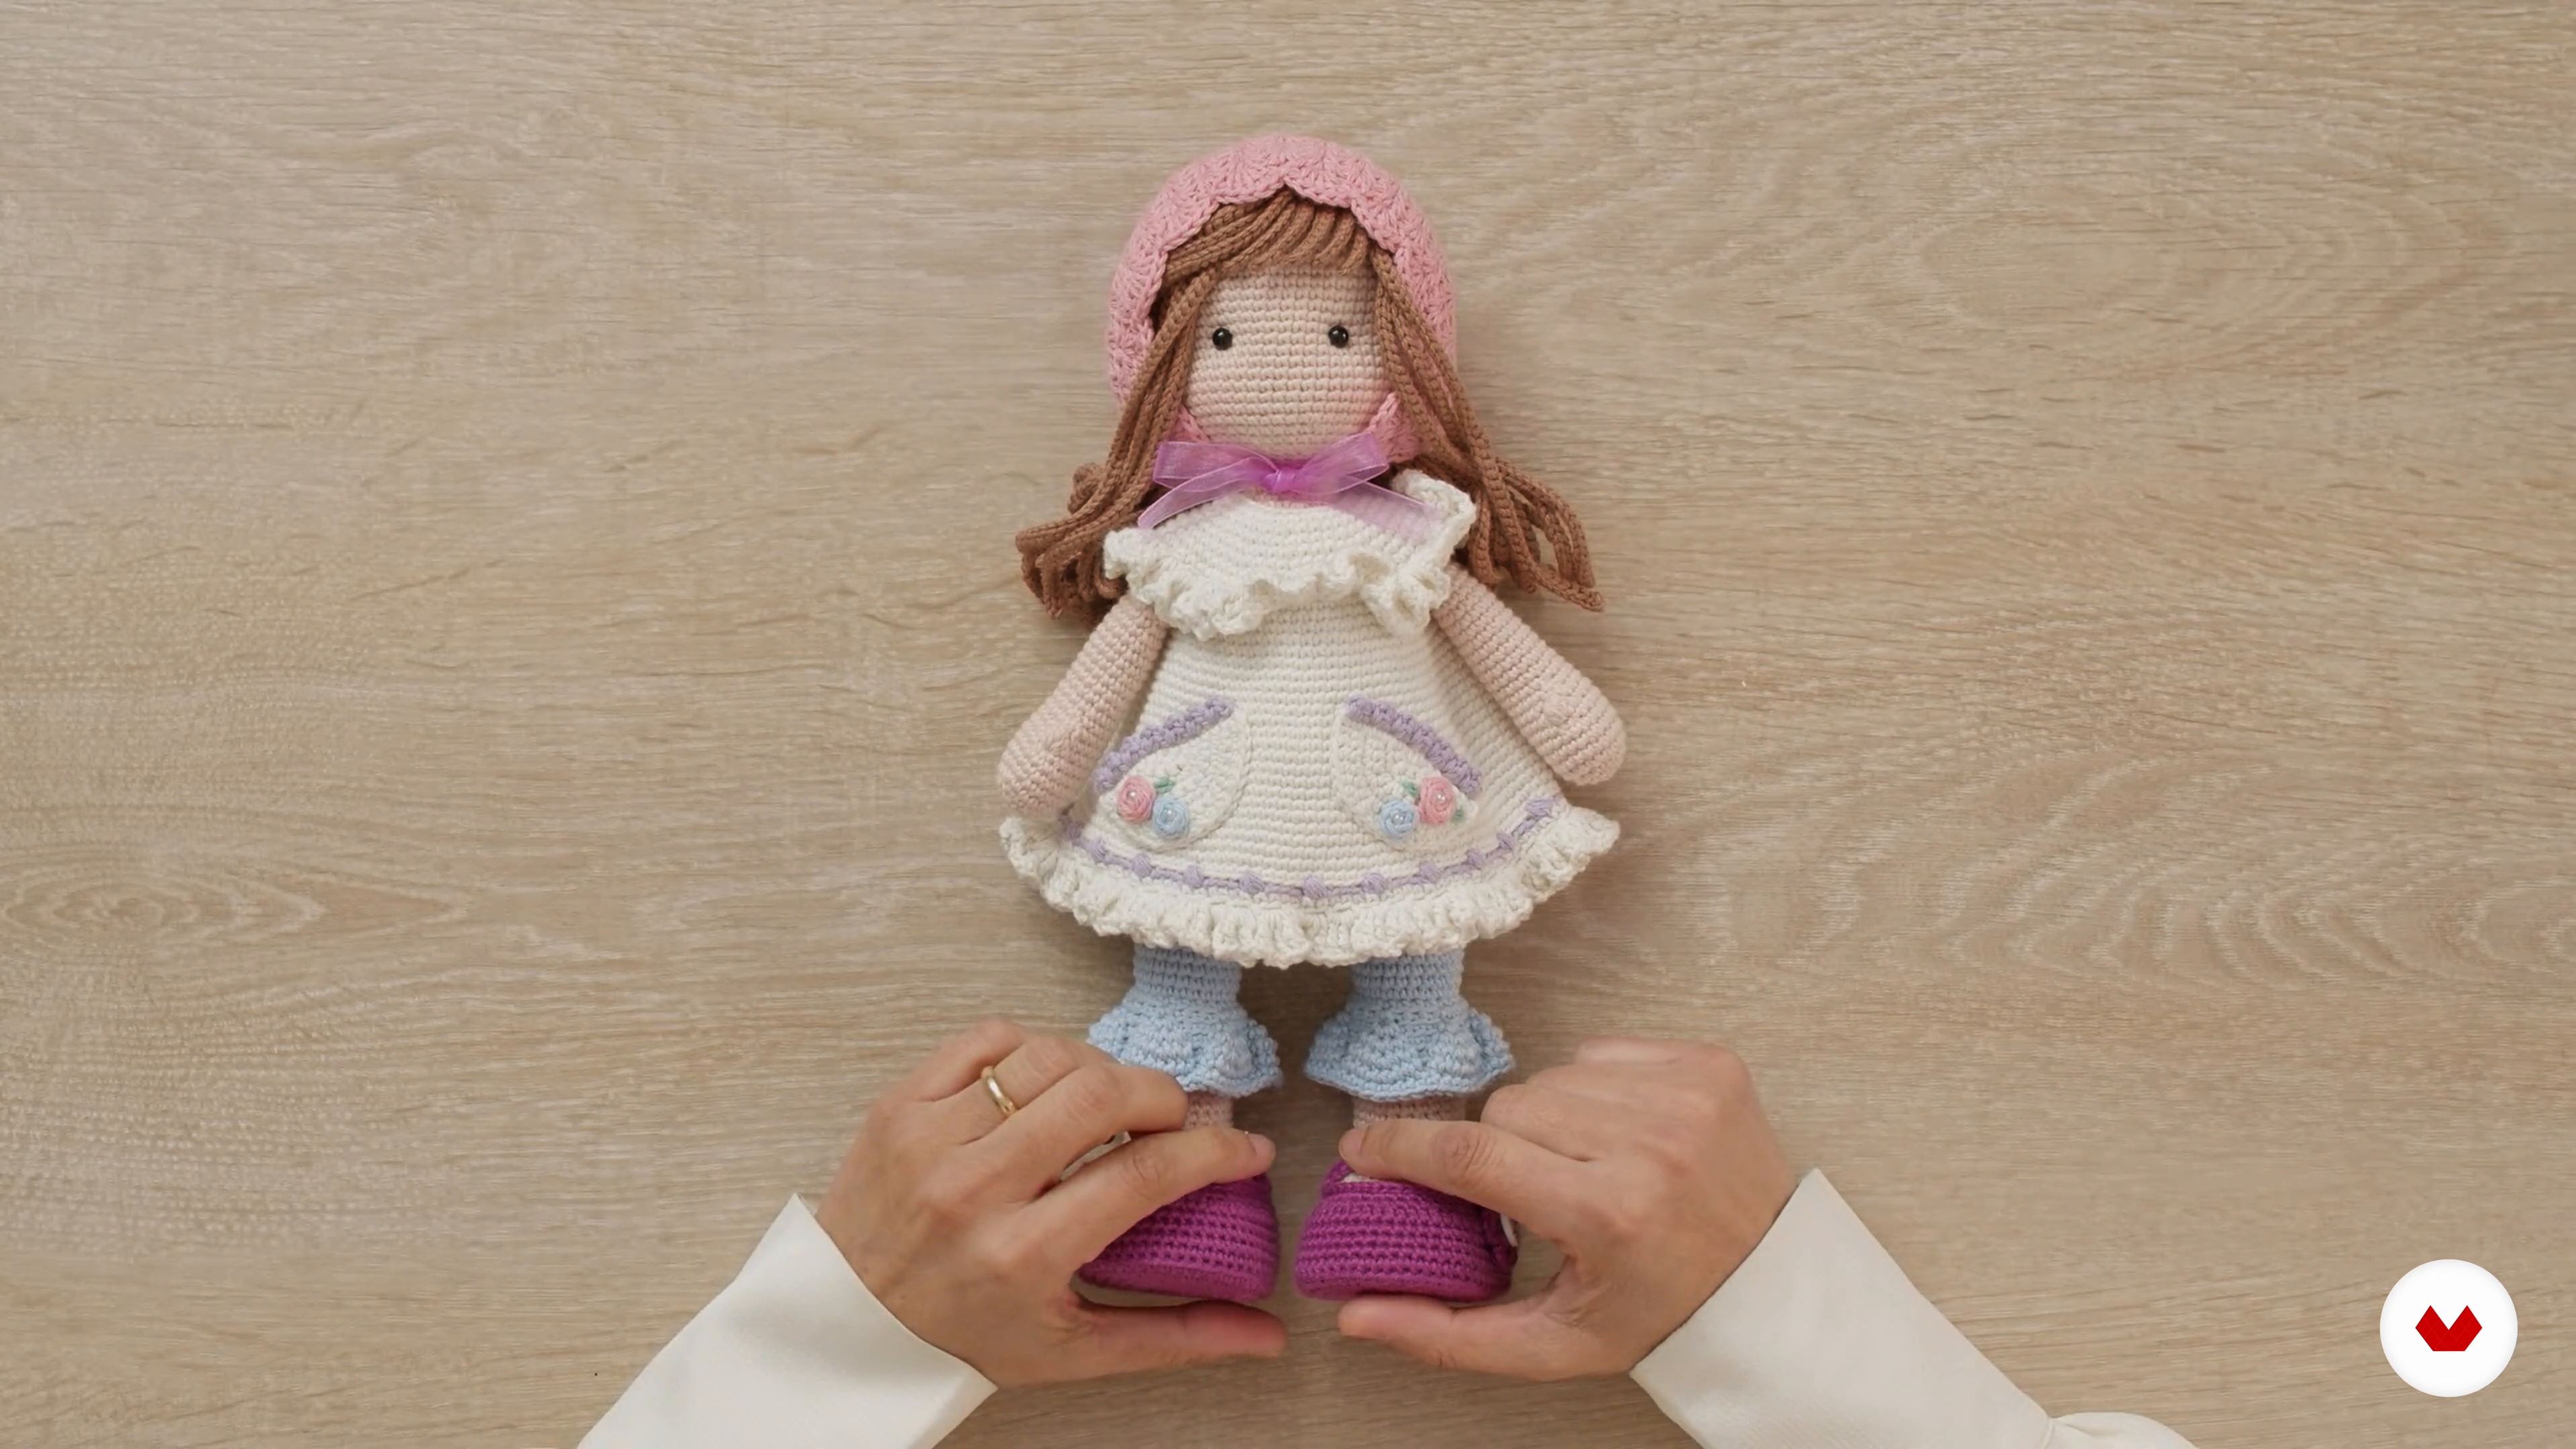
It's time to continue bringing the doll to life by joining each of the pieces together, following an order and using a technique that will help create a harmonious and perfect project. We'll also sew on beautiful buttons that we carefully chose for the design, and we'll see how we highlight each part with small, crucial details. Once these beautiful details are complete, we'll join each part of the doll together, and you'll see how it begins to come to life. We'll go step by step, showing in great detail the types of joints, the heights at which you should make them, and paying special attention to those small details that will make the difference.
14m
image
18
Accessories and Final Assembly 3
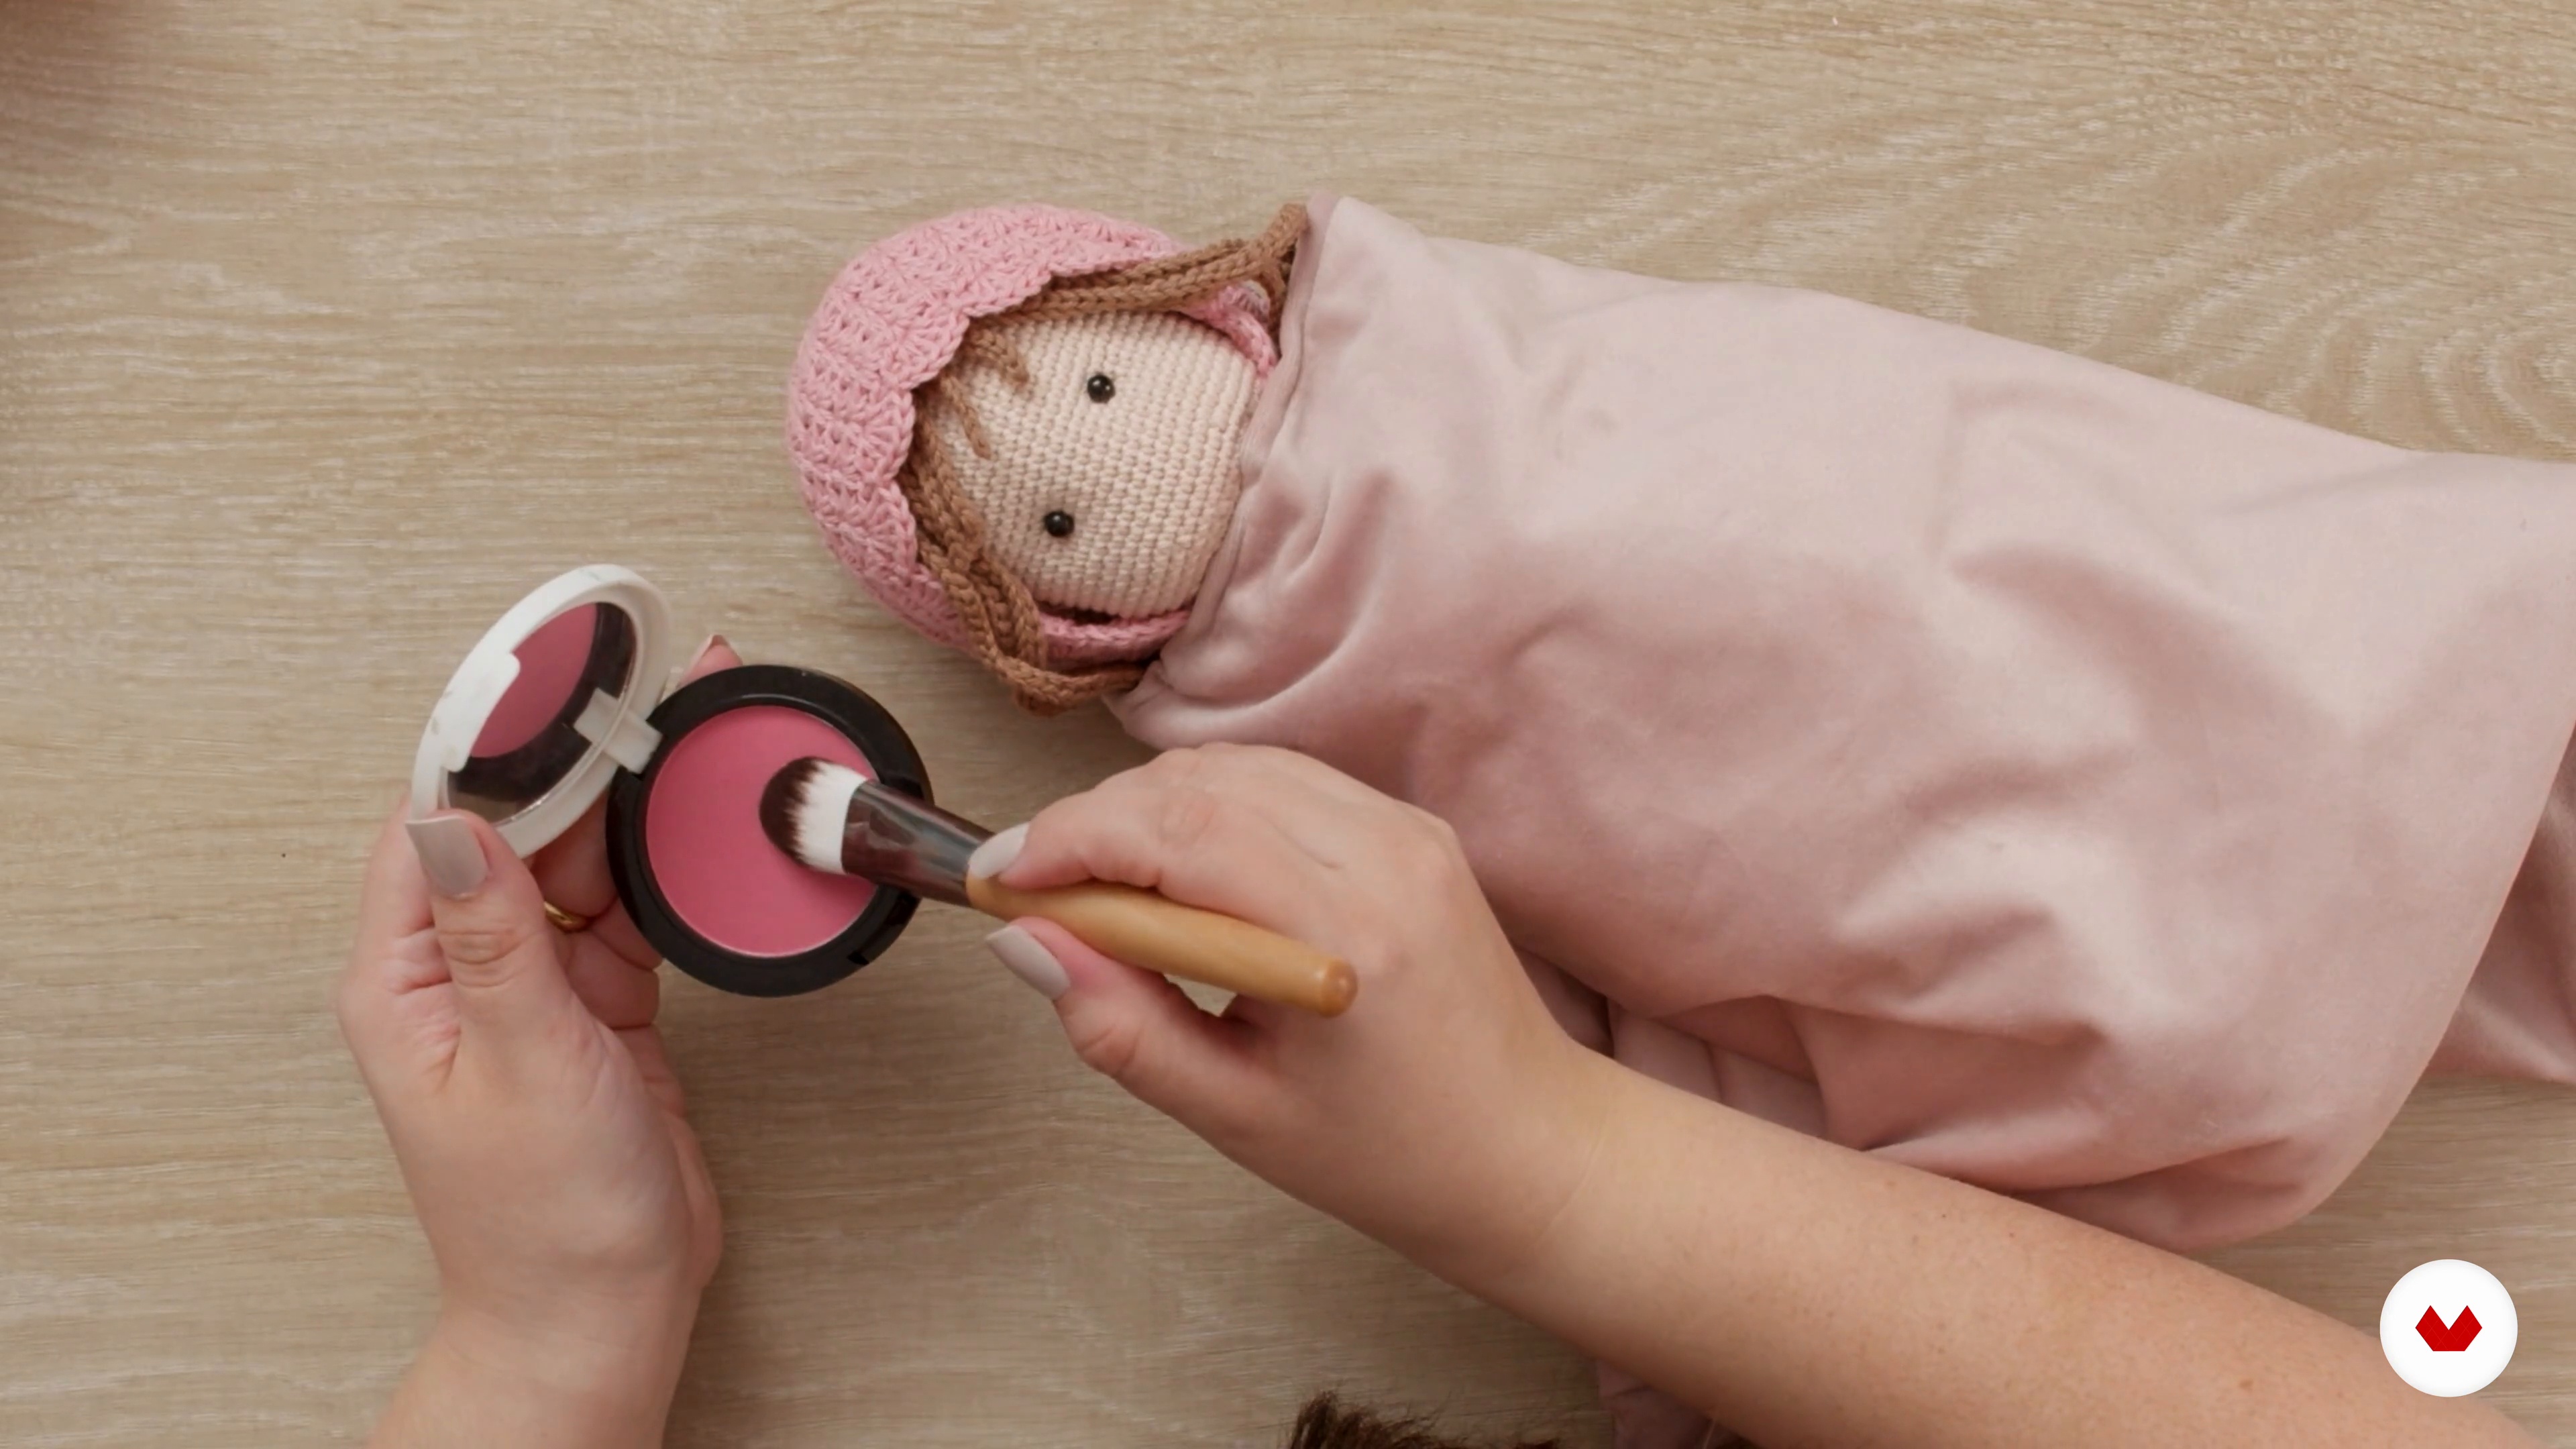
We've finished attaching the head to the rest of the body. Now we'll add expression to the doll's face by slightly hollowing out her eyes, which is a very important detail that adds cuteness. Next, we'll move on to sewing on the hair. Next, we'll add the hat. Finally, I'll add blush.
10m
image
19
How to Care For and Clean Your Doll
You've finished Lily Ann, and after all the hard work, you'll need to know how to care for her so she lasts as long as she was newly knitted. Here, we'll teach you about care, washing, and how we preserve our dolls.
4m
image
1
Materials
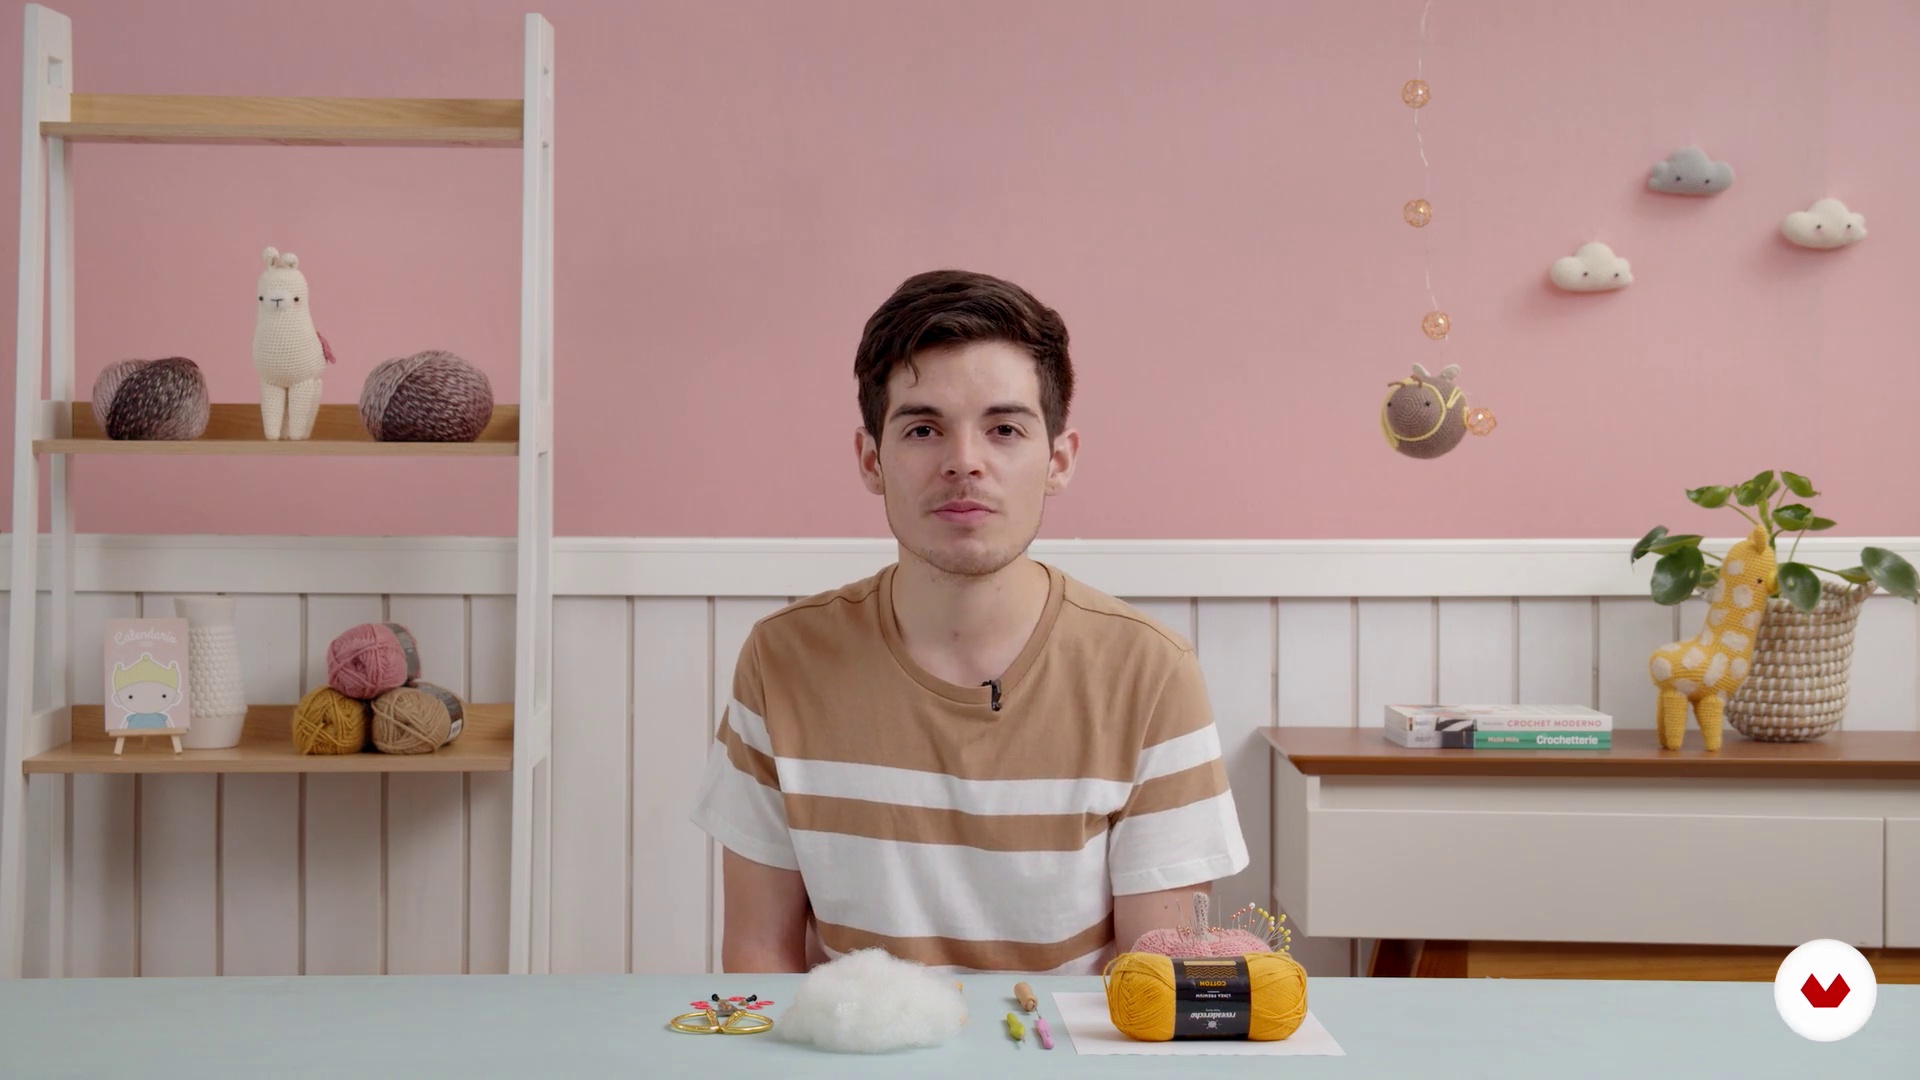
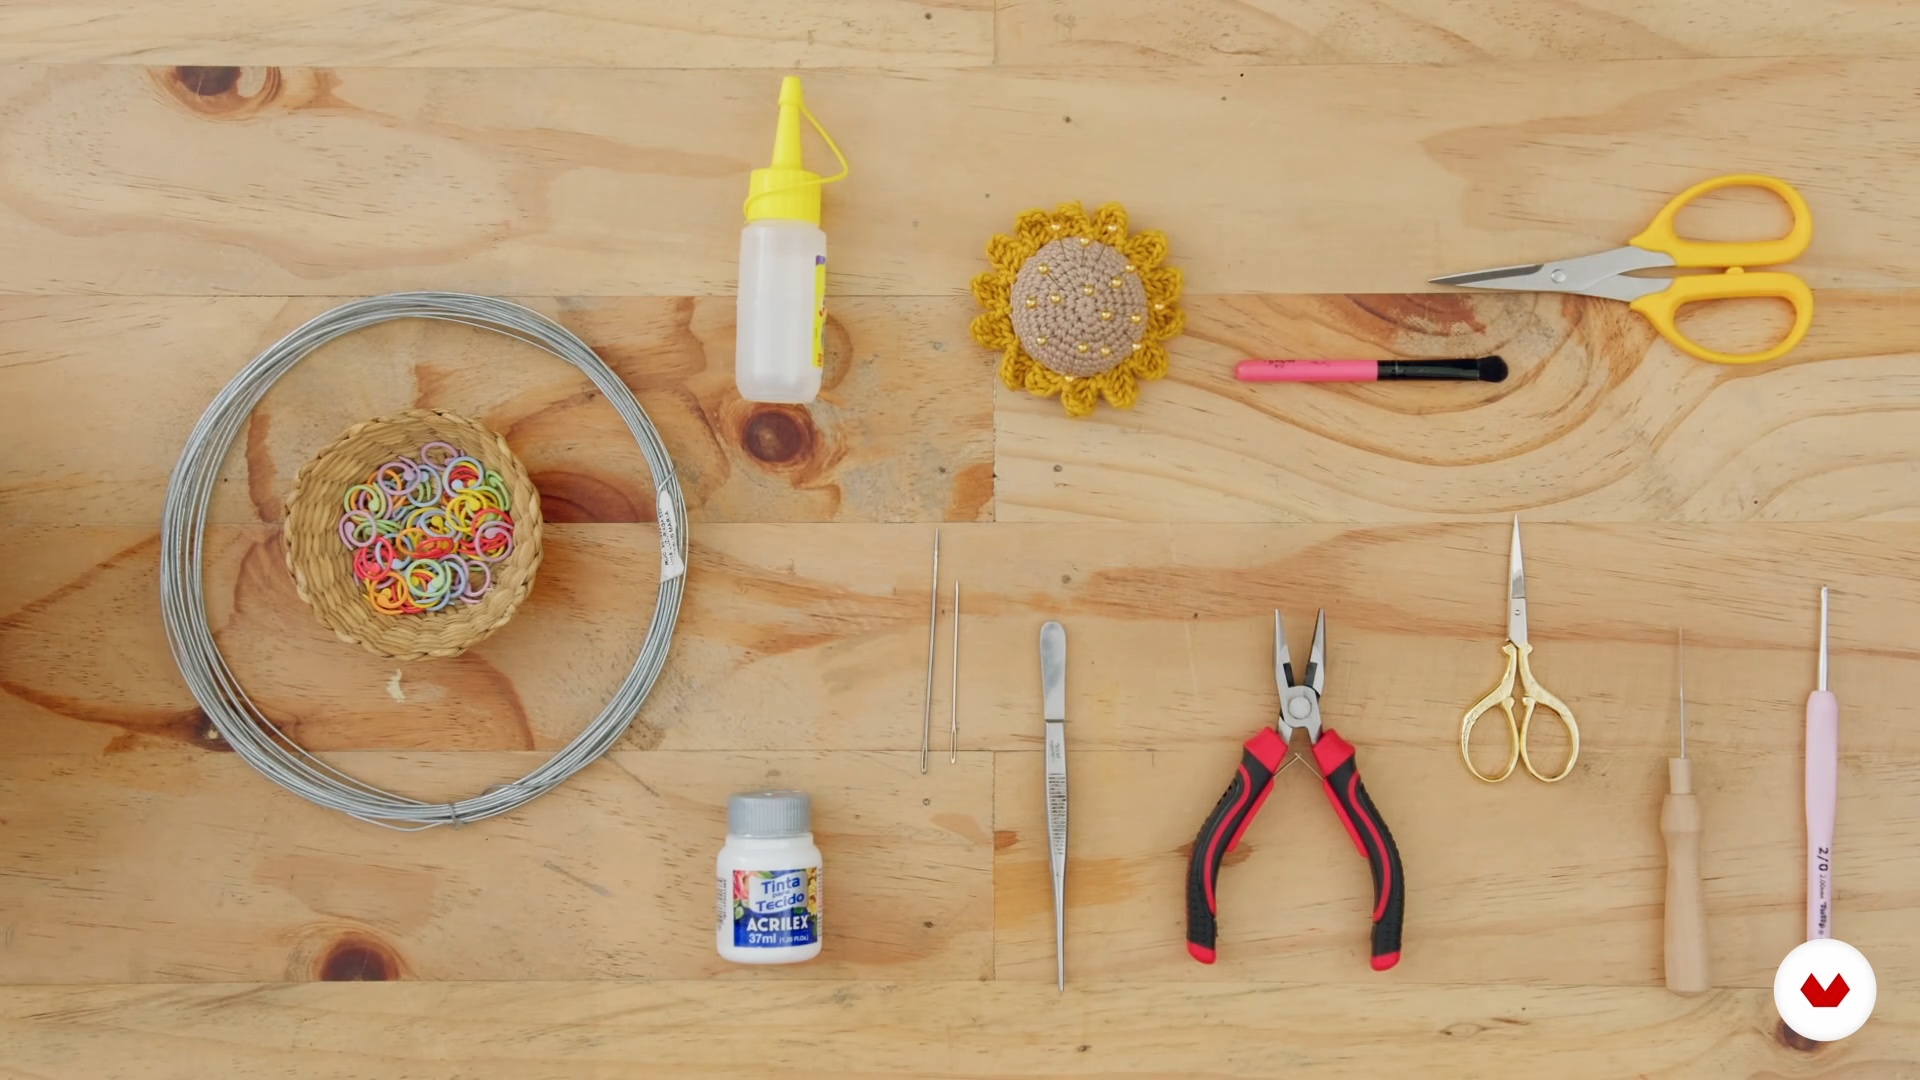
In this lesson, you'll learn about the materials we'll be using. I'll explain what each one is used for and what materials I work with.
8m
image
2
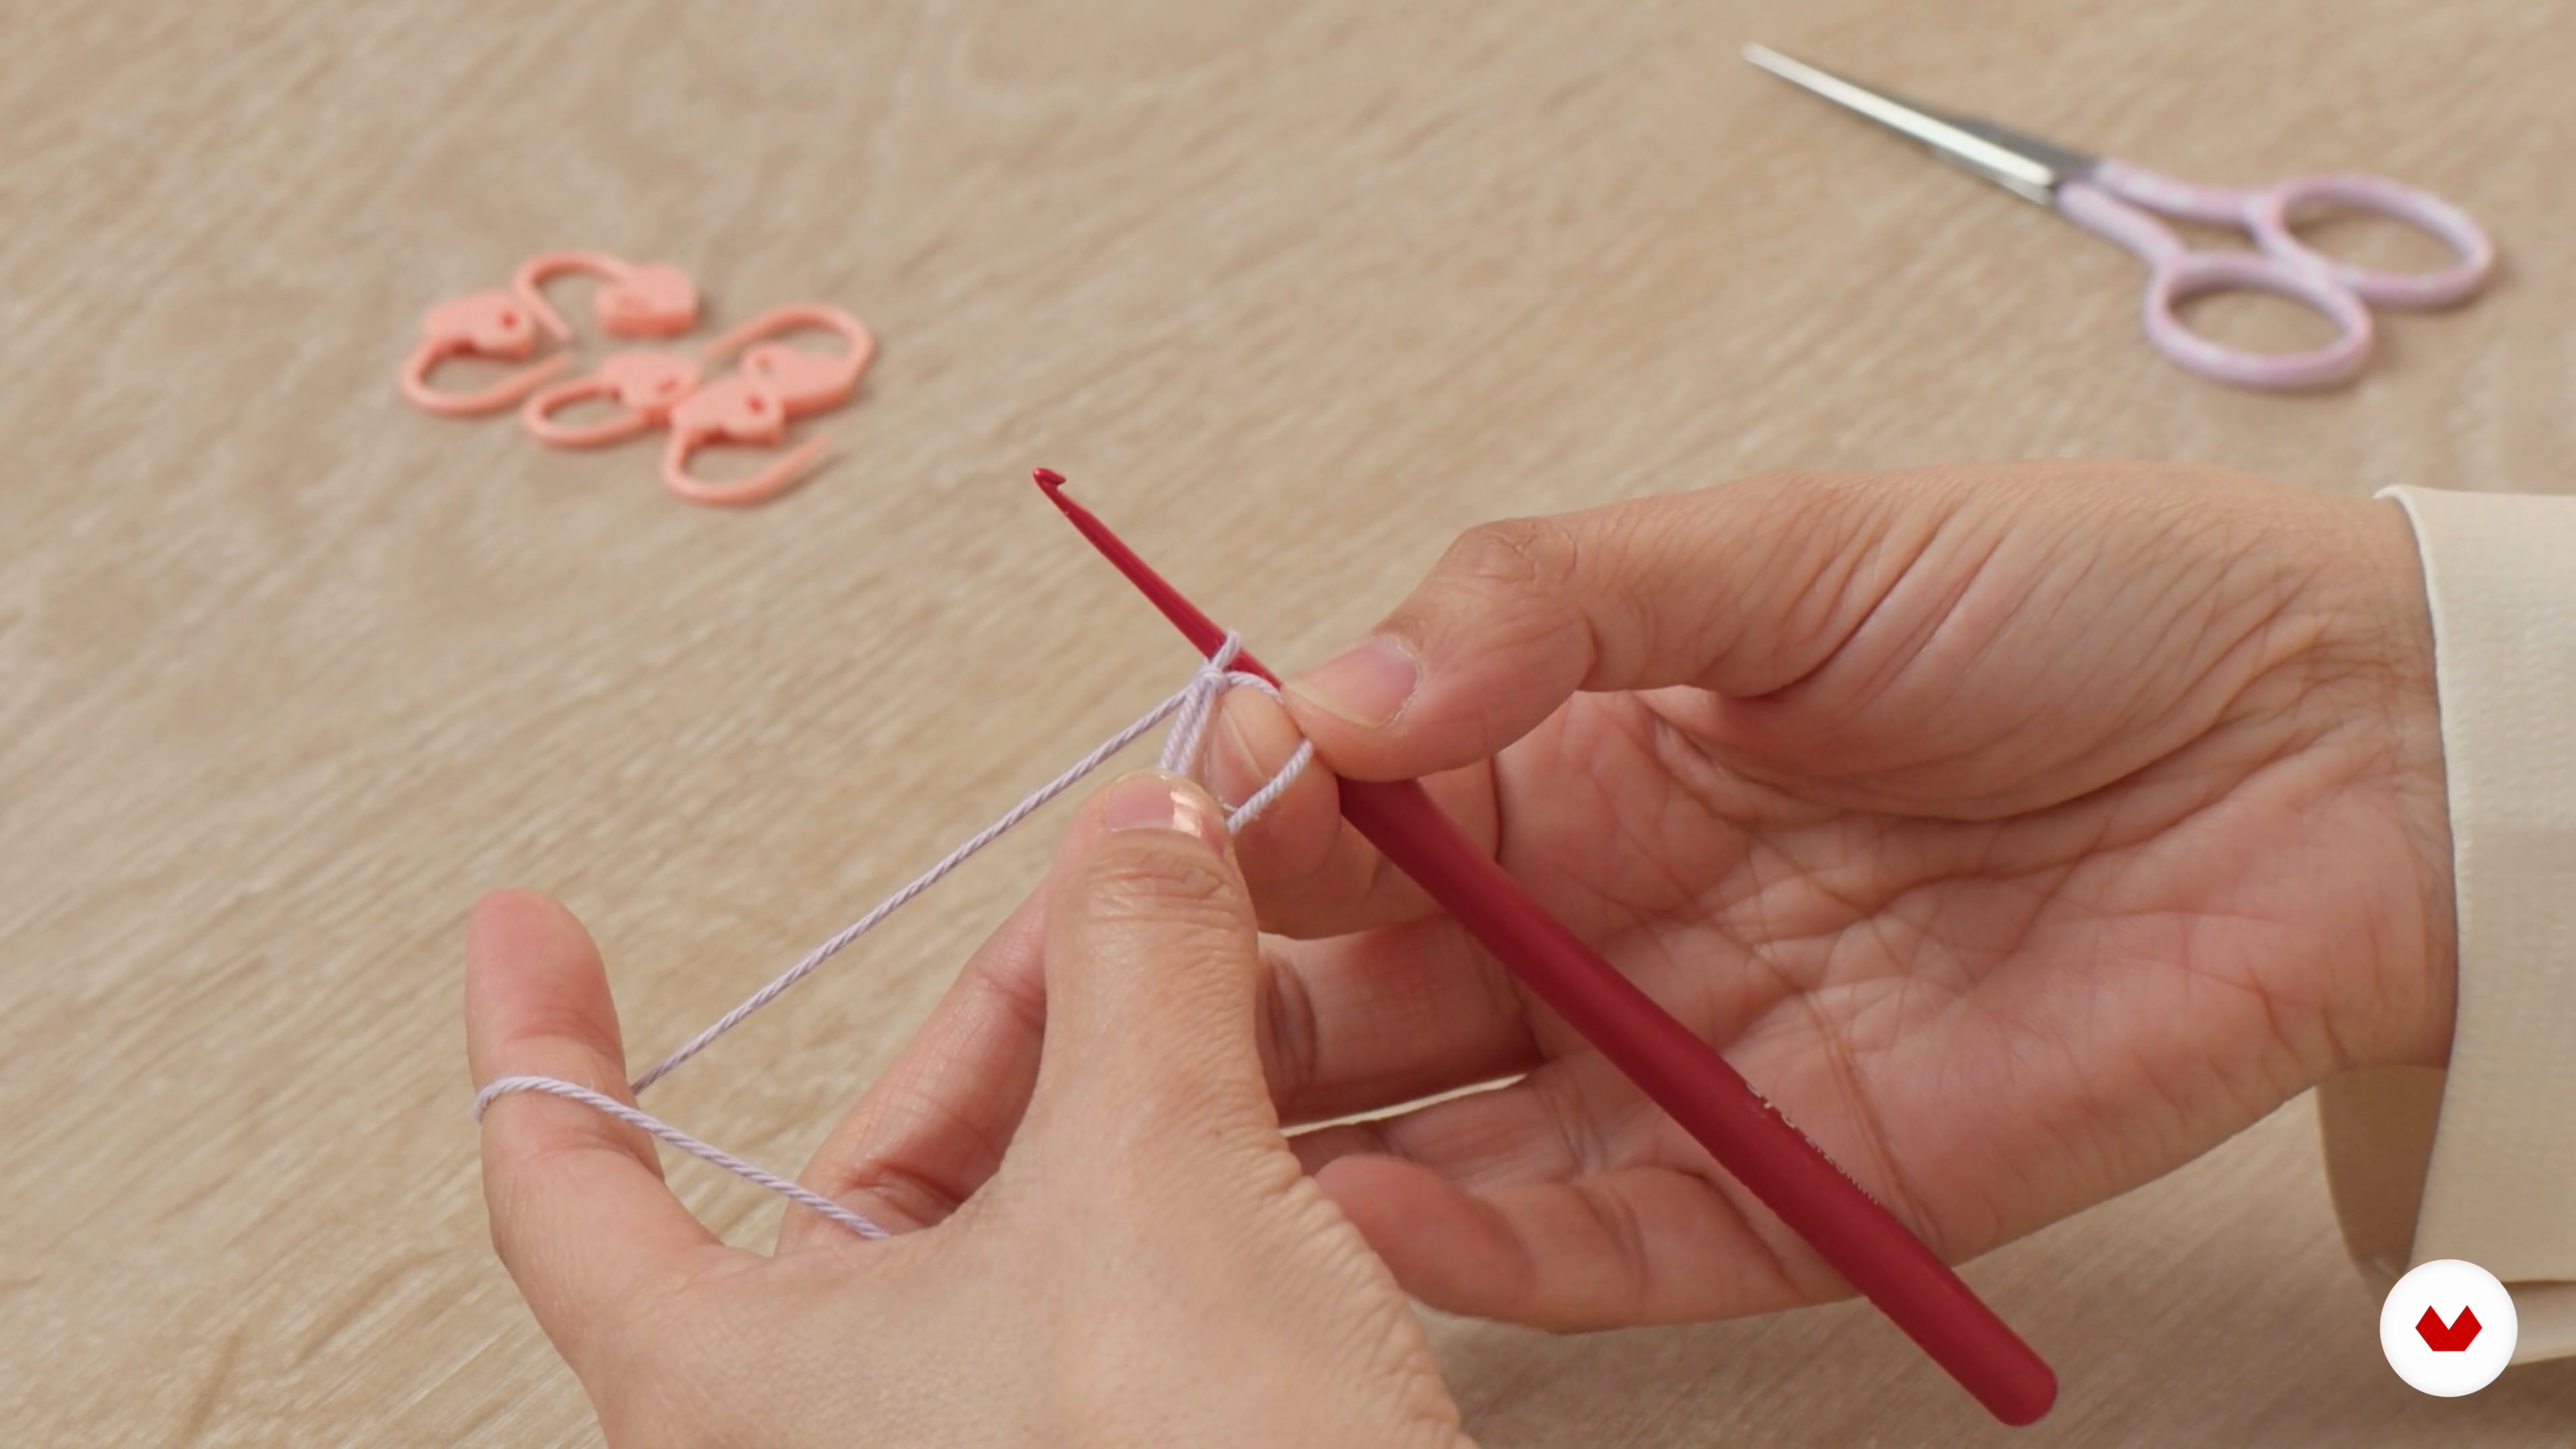
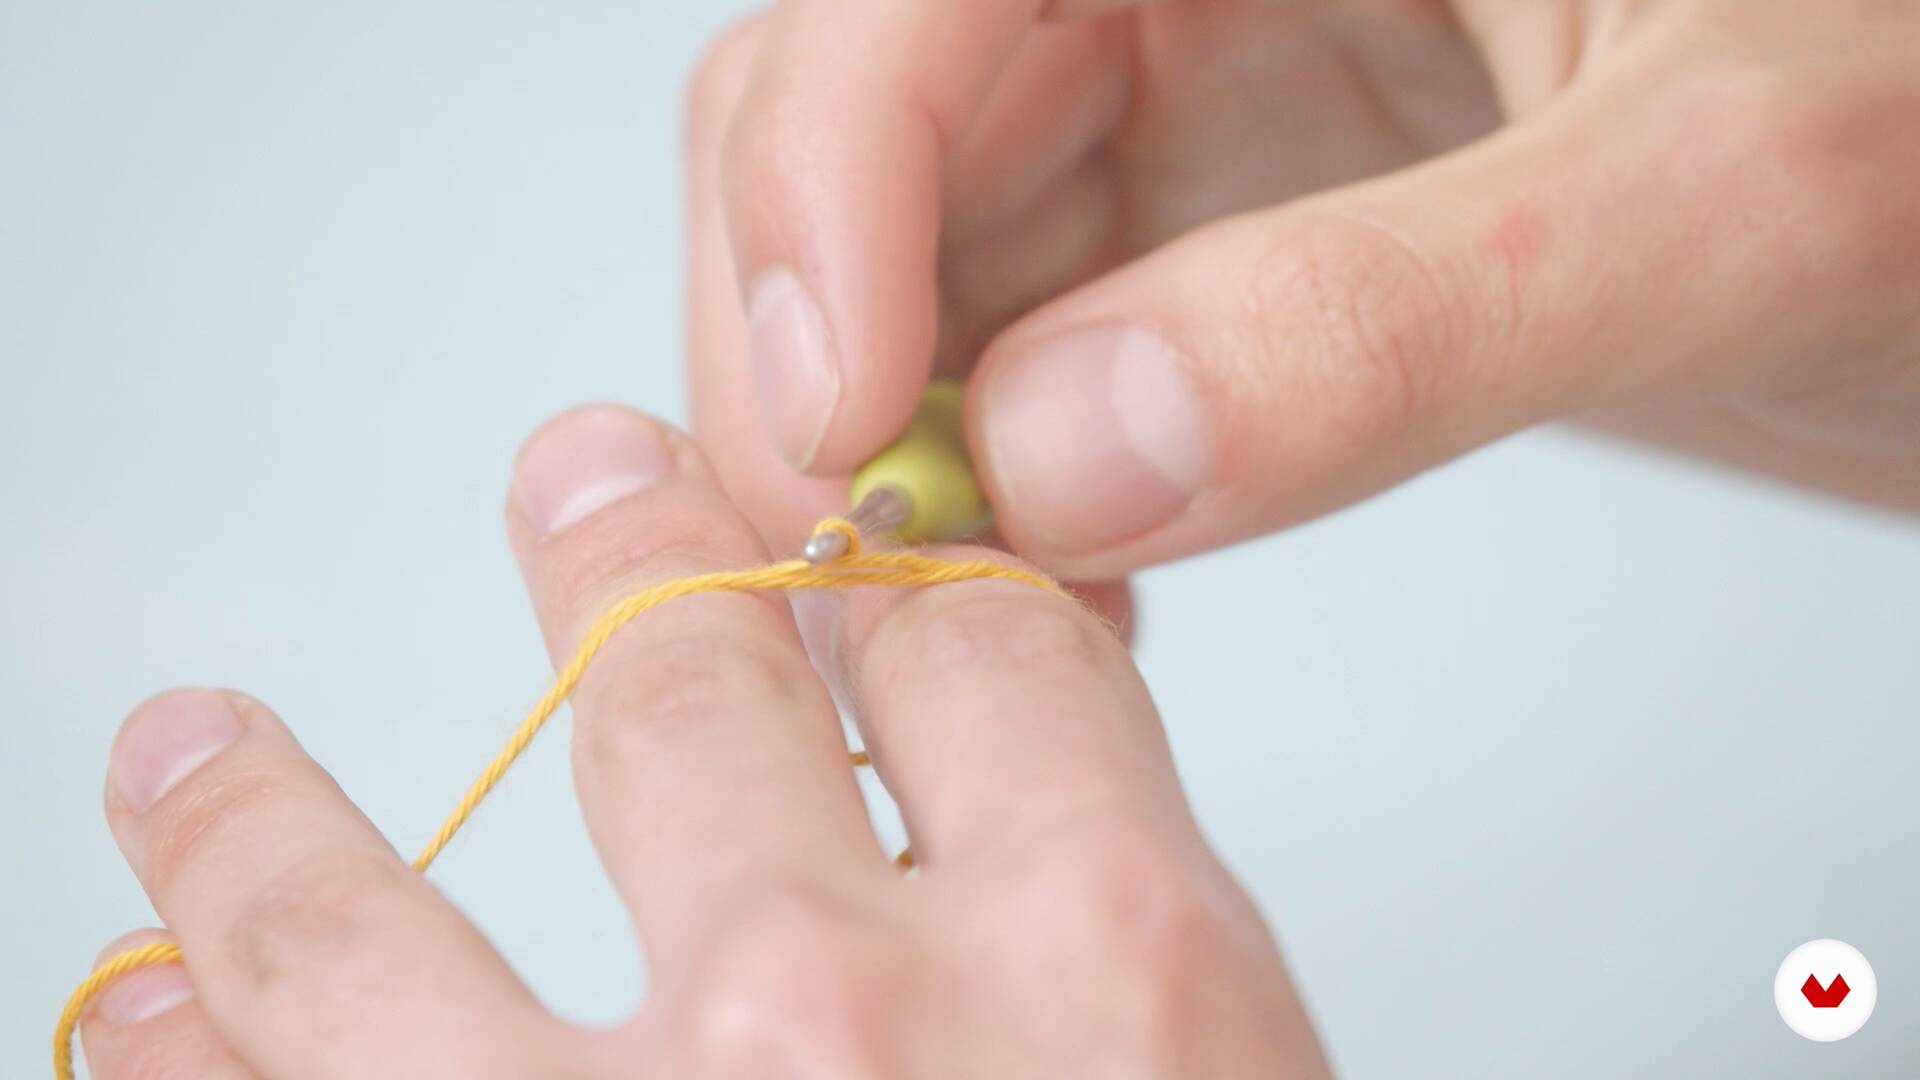
The crochet hook and the magic ring
In this lesson, I'll teach you something basic yet fundamental: how to take the crochet hook and make the magic ring, which will be a step that, as you'll see later, we'll do in almost all of the amigurumi pieces.
6m
image
3
Weaving the basic stitches
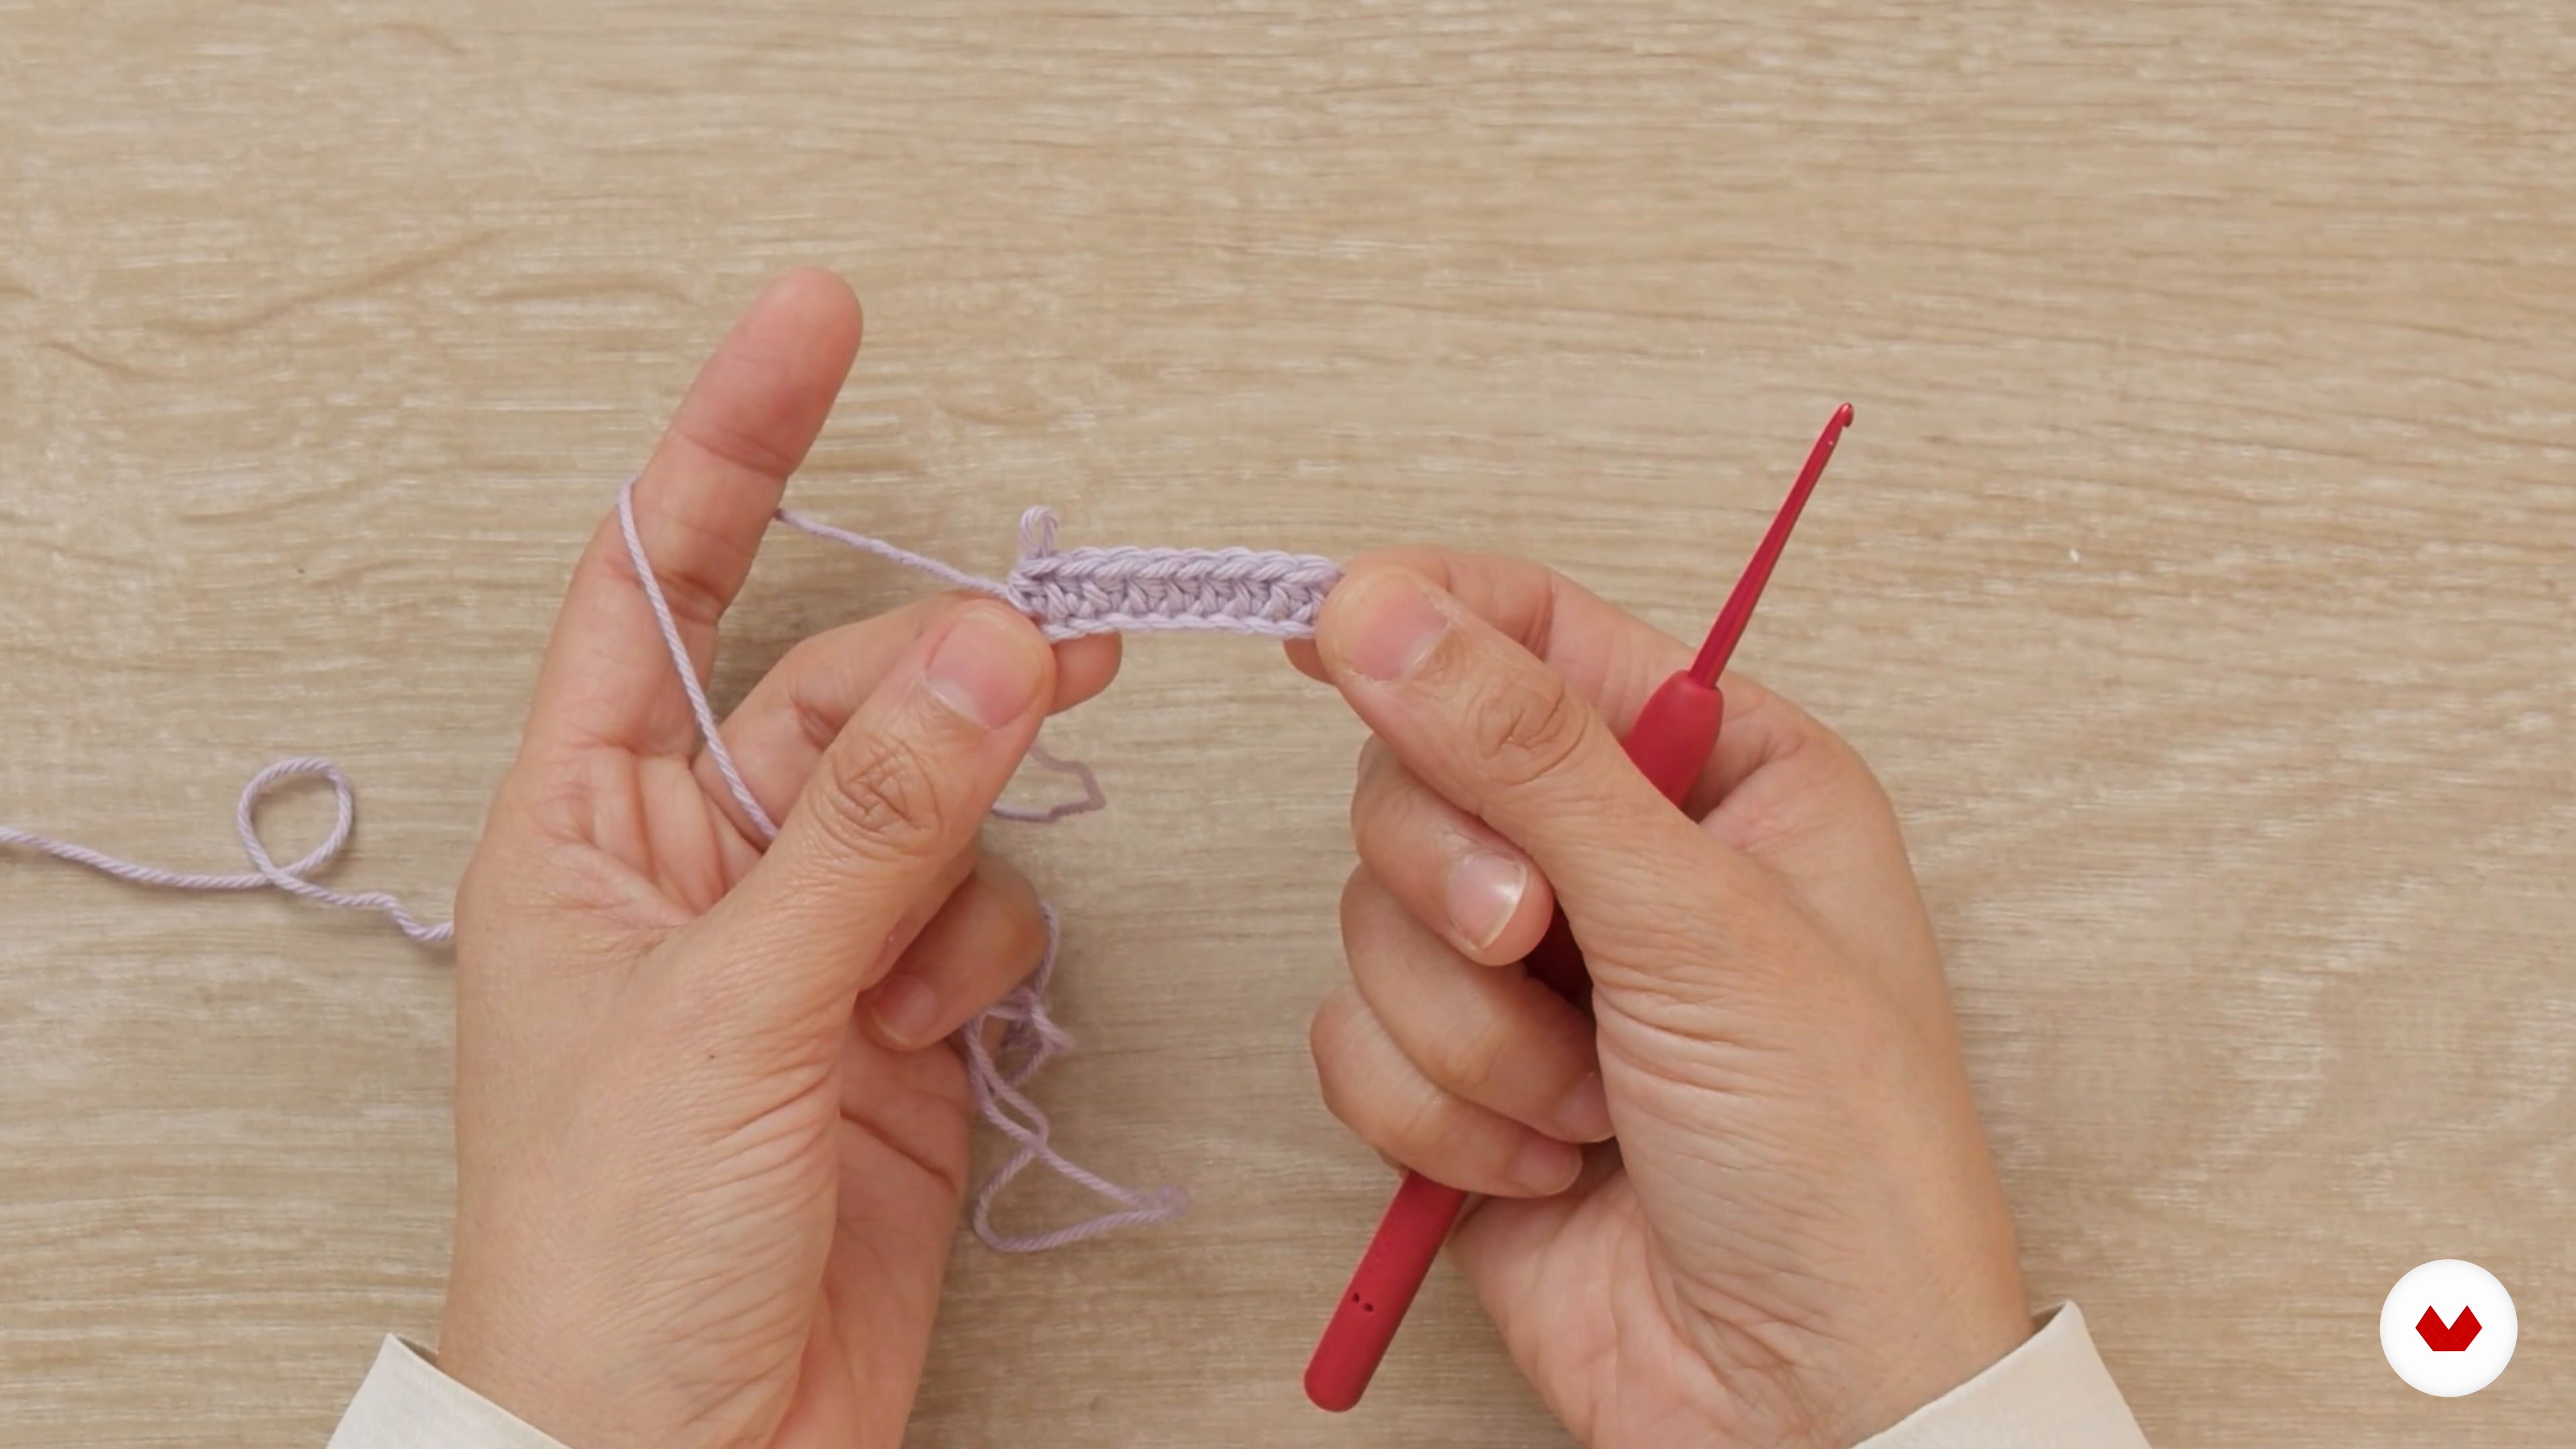
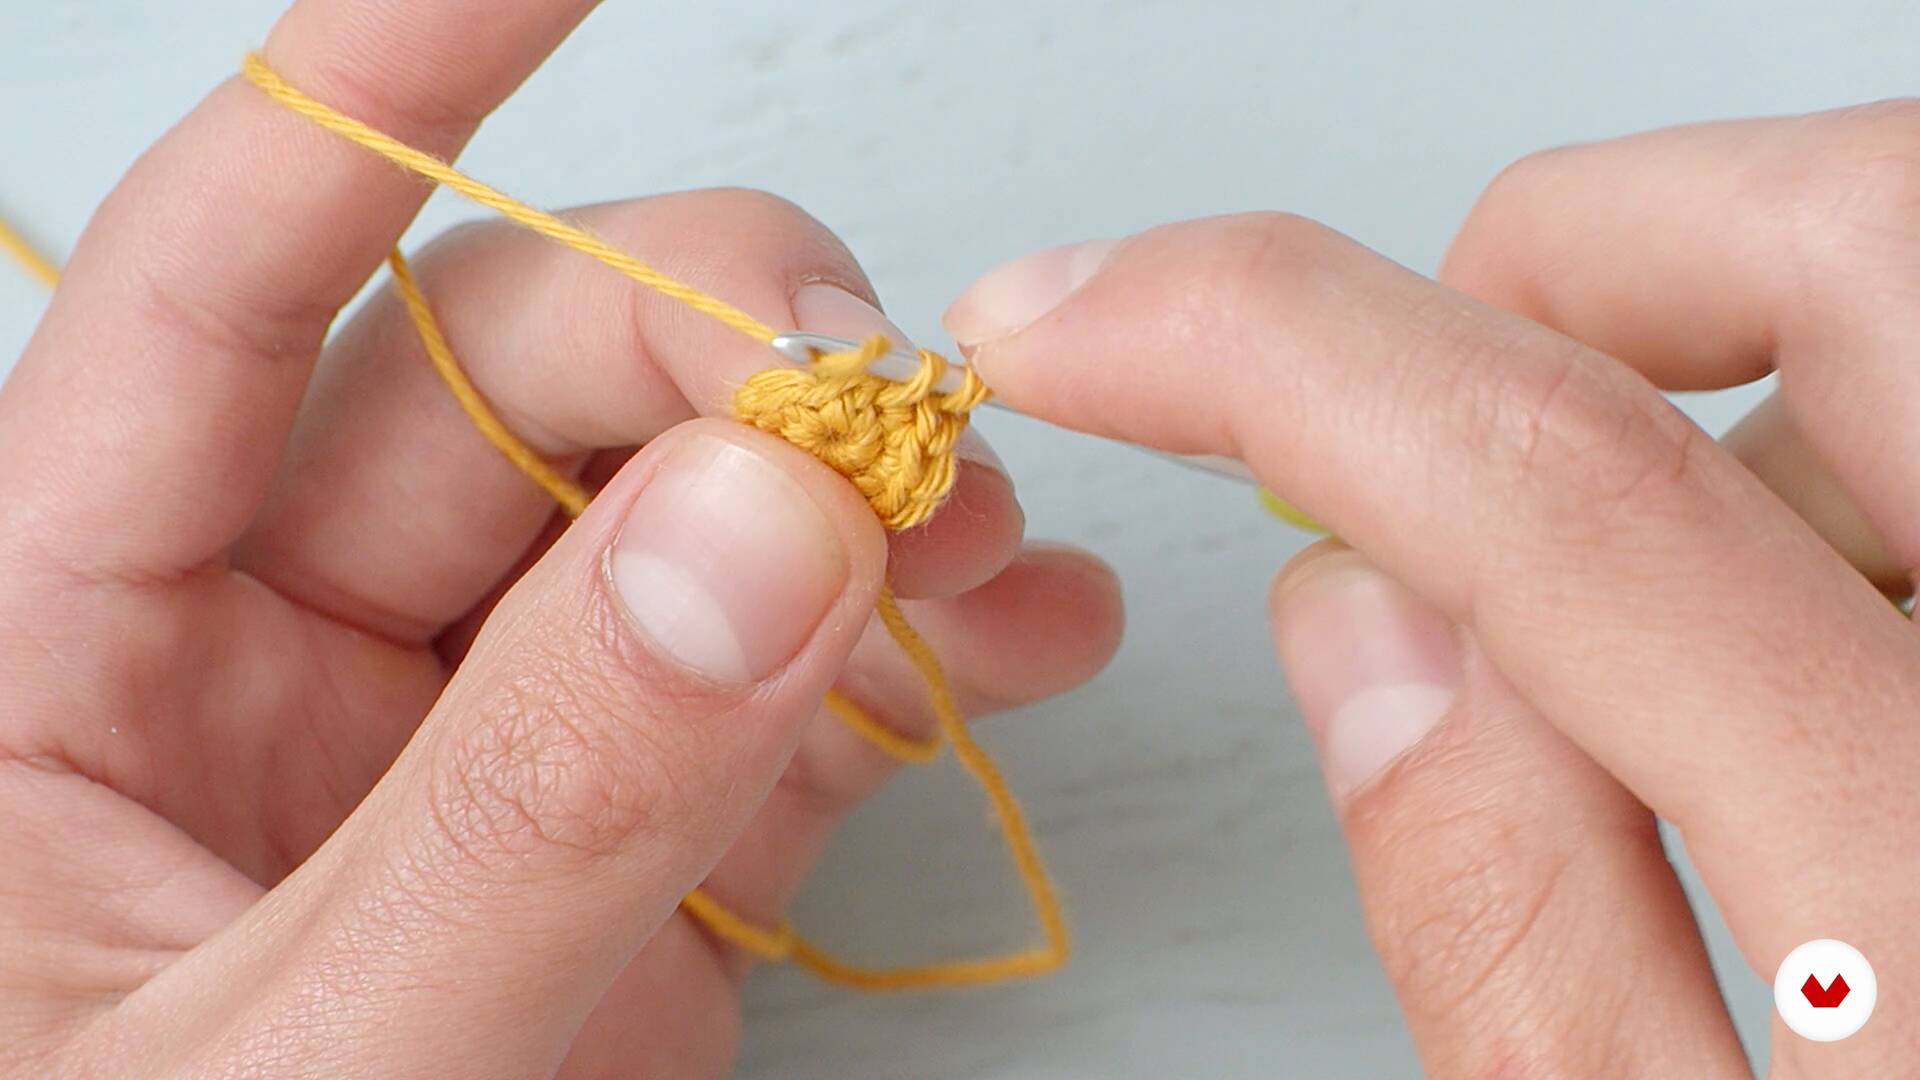
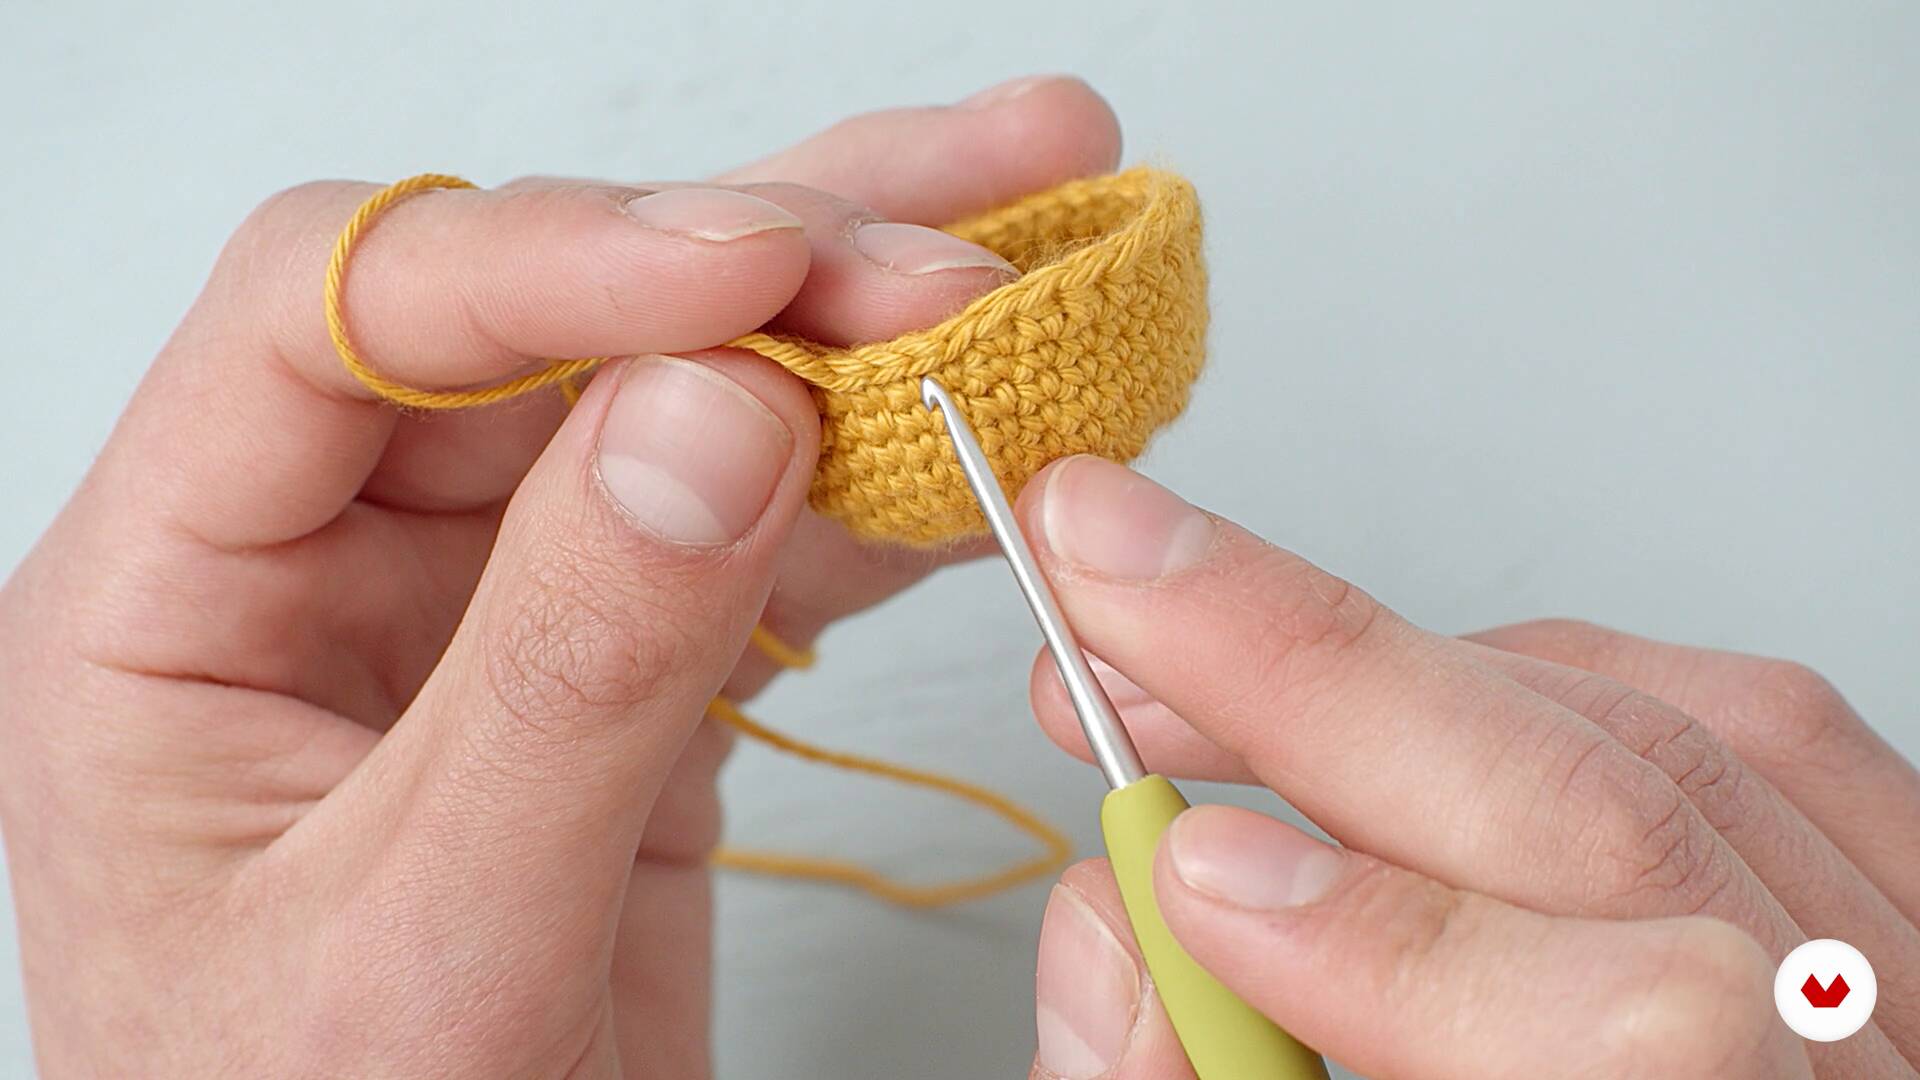
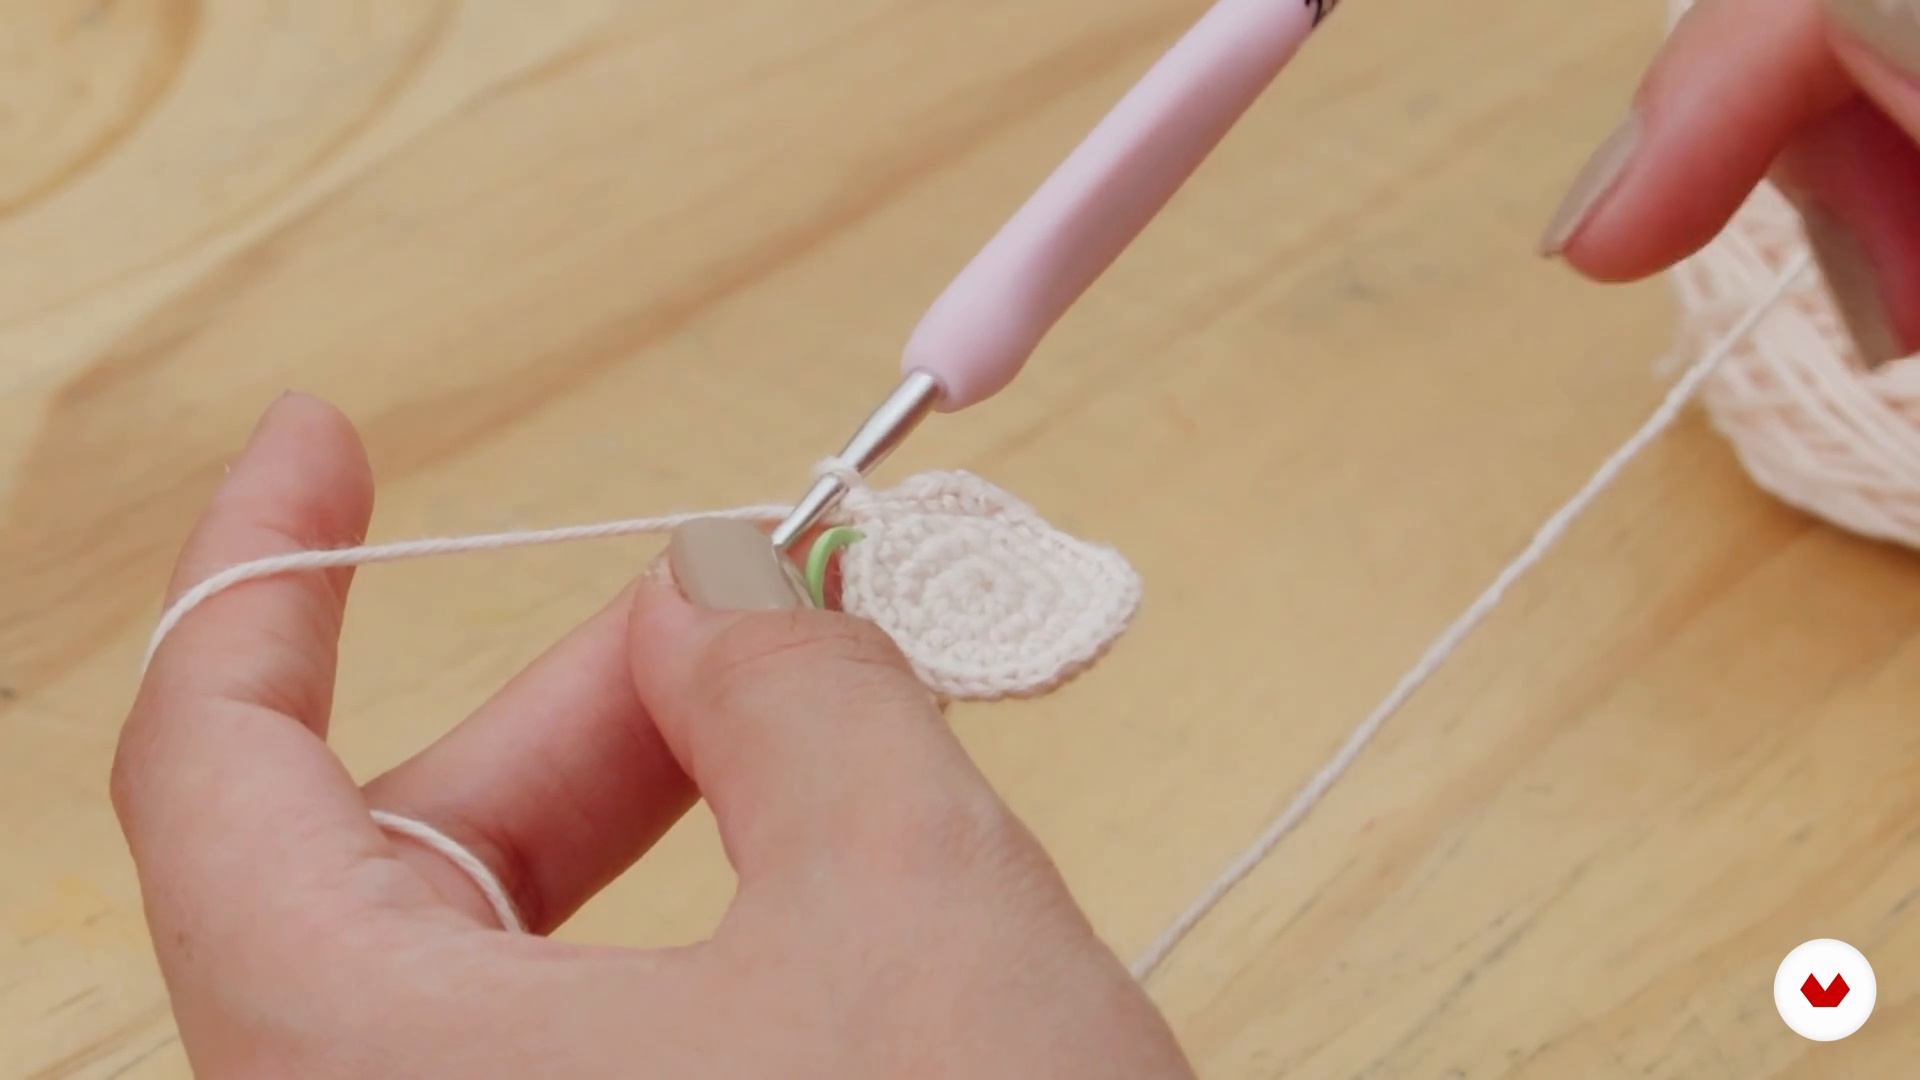
Now I'll show you some stitches you should know to get started in the world of amigurumi knitting. You'll learn about half double crochets, increases, and decreases. I'll also explain what a round is.
14m
image
4
Weaving the not so basic stitches
You already know how to do the basic stitches, now I'll teach you some slightly more complex and equally important ones. We'll start by learning the extended half double crochet, then the half double crochet, and the slip stitch. I'll also teach you the cast-off stitch.
17m
image
5
Search for inspiration
What do I weave? Where do I get my design ideas from? These are questions that will inevitably come to mind throughout your creative process. In this lesson, I'll share with you my process for researching references when working on a project.
6m
image
6
Transforming the idea into an amigurumi
We often have great ideas, but they're not always feasible. The world of knitting is no exception; so in this lesson, I'll share with you the key considerations I think you should keep in mind when creating an amigurumi design.
7m
image
7
Reading the pattern
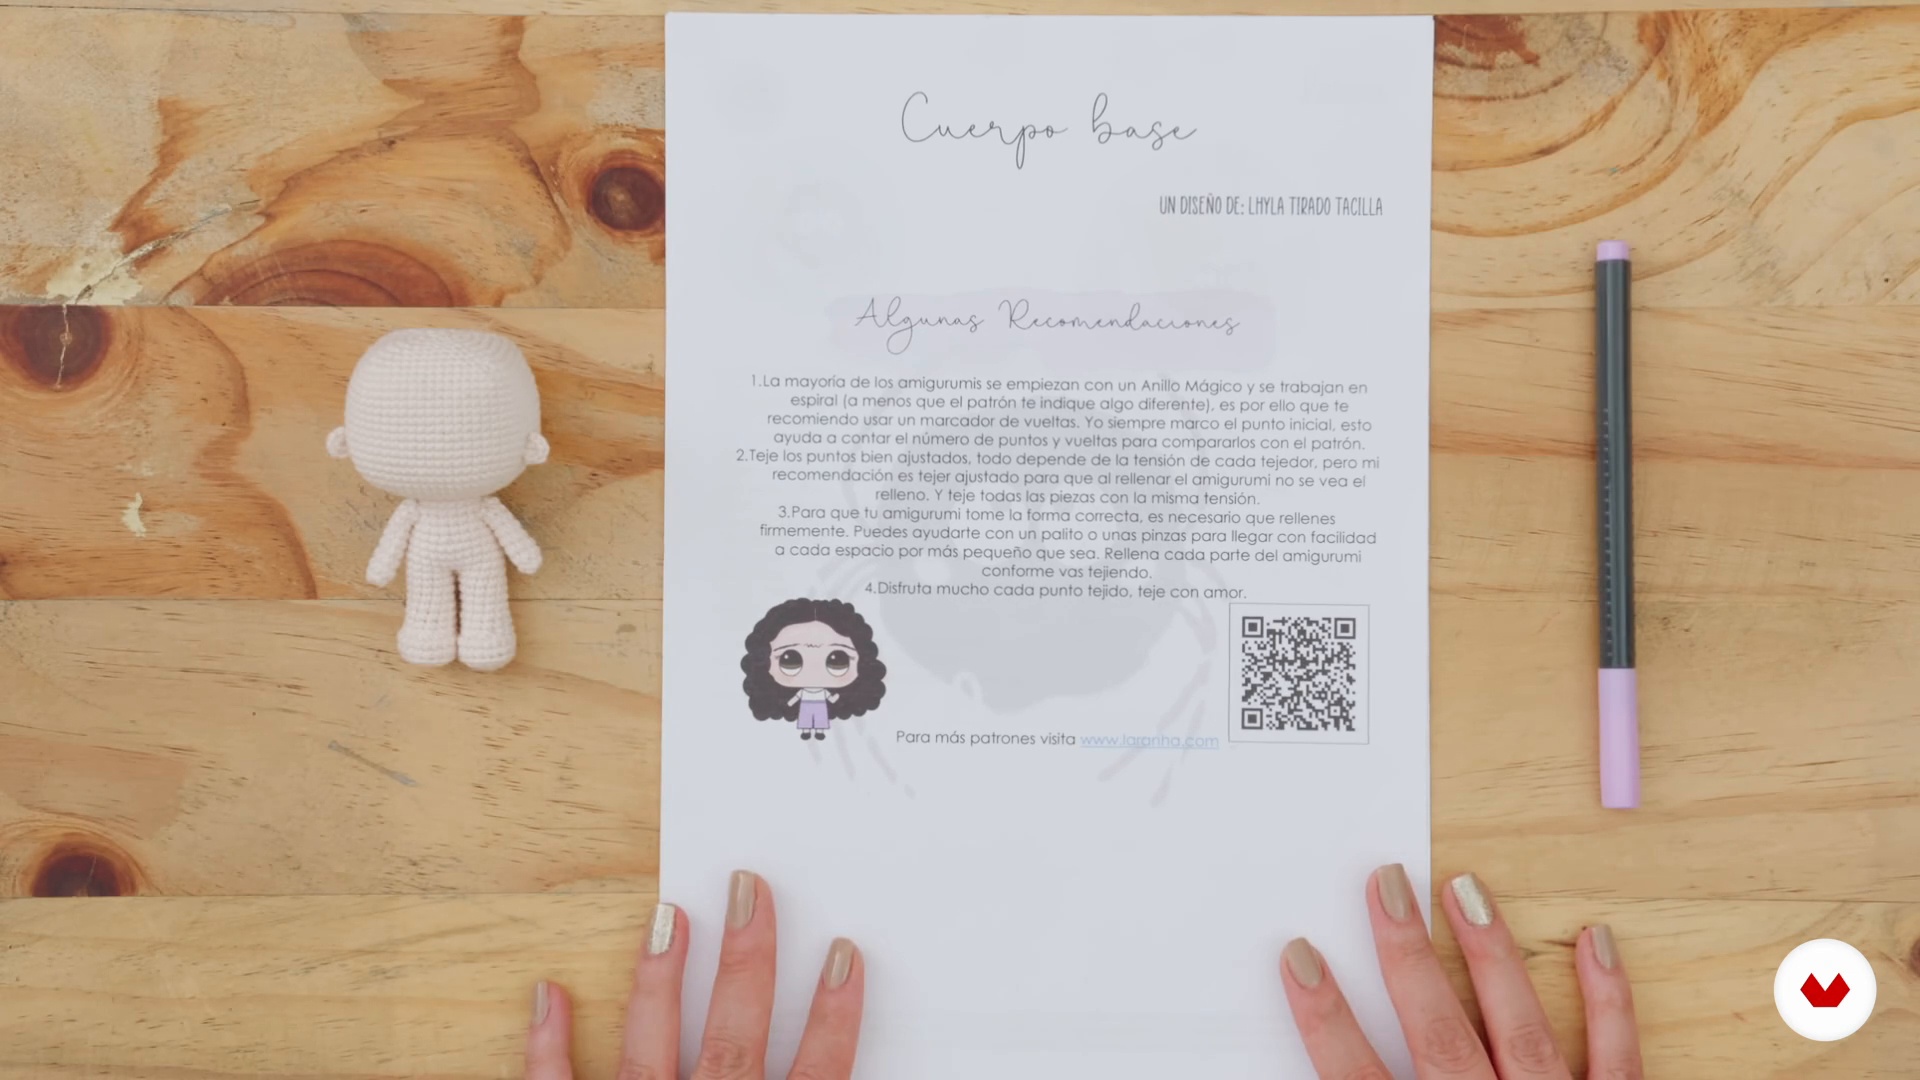
Working from an amigurumi pattern can be a challenge for novice knitters. All of us have had to struggle to overcome our fear of this document, which is actually a fundamental tool for making any knitting project. Here, I'll teach you the basic structure of a pattern, its importance, and the parts it consists of. You'll also learn how to read the abbreviations it contains.
8m
image
8
Spherical triangle and body of winged rhinoceros 1
In this lesson, I'll teach you how to crochet a spherical triangle, which will be the basis for creating the body of the winged rhinoceros.
17m
image
9
Spherical triangle and body of winged rhinoceros 2
In this second part of the lesson, I'll show you how to finish the rhino's body. I'll also show you how to stuff your amigurumi.
17m
image
10
Spherical square and head of the winged rhino
Now I'll show you how to transform the beginning of the weave into a square shape to weave the head of the winged rhinoceros.
18m
image
11
The curvature and the horn
Don't panic! Knitting a curve may seem incredibly complex... and no, it isn't. I'll show you how knitting specific stitches in exact locations can help you get your piece to curve the way you want it.
10m
image
12
The legs, ears and tail
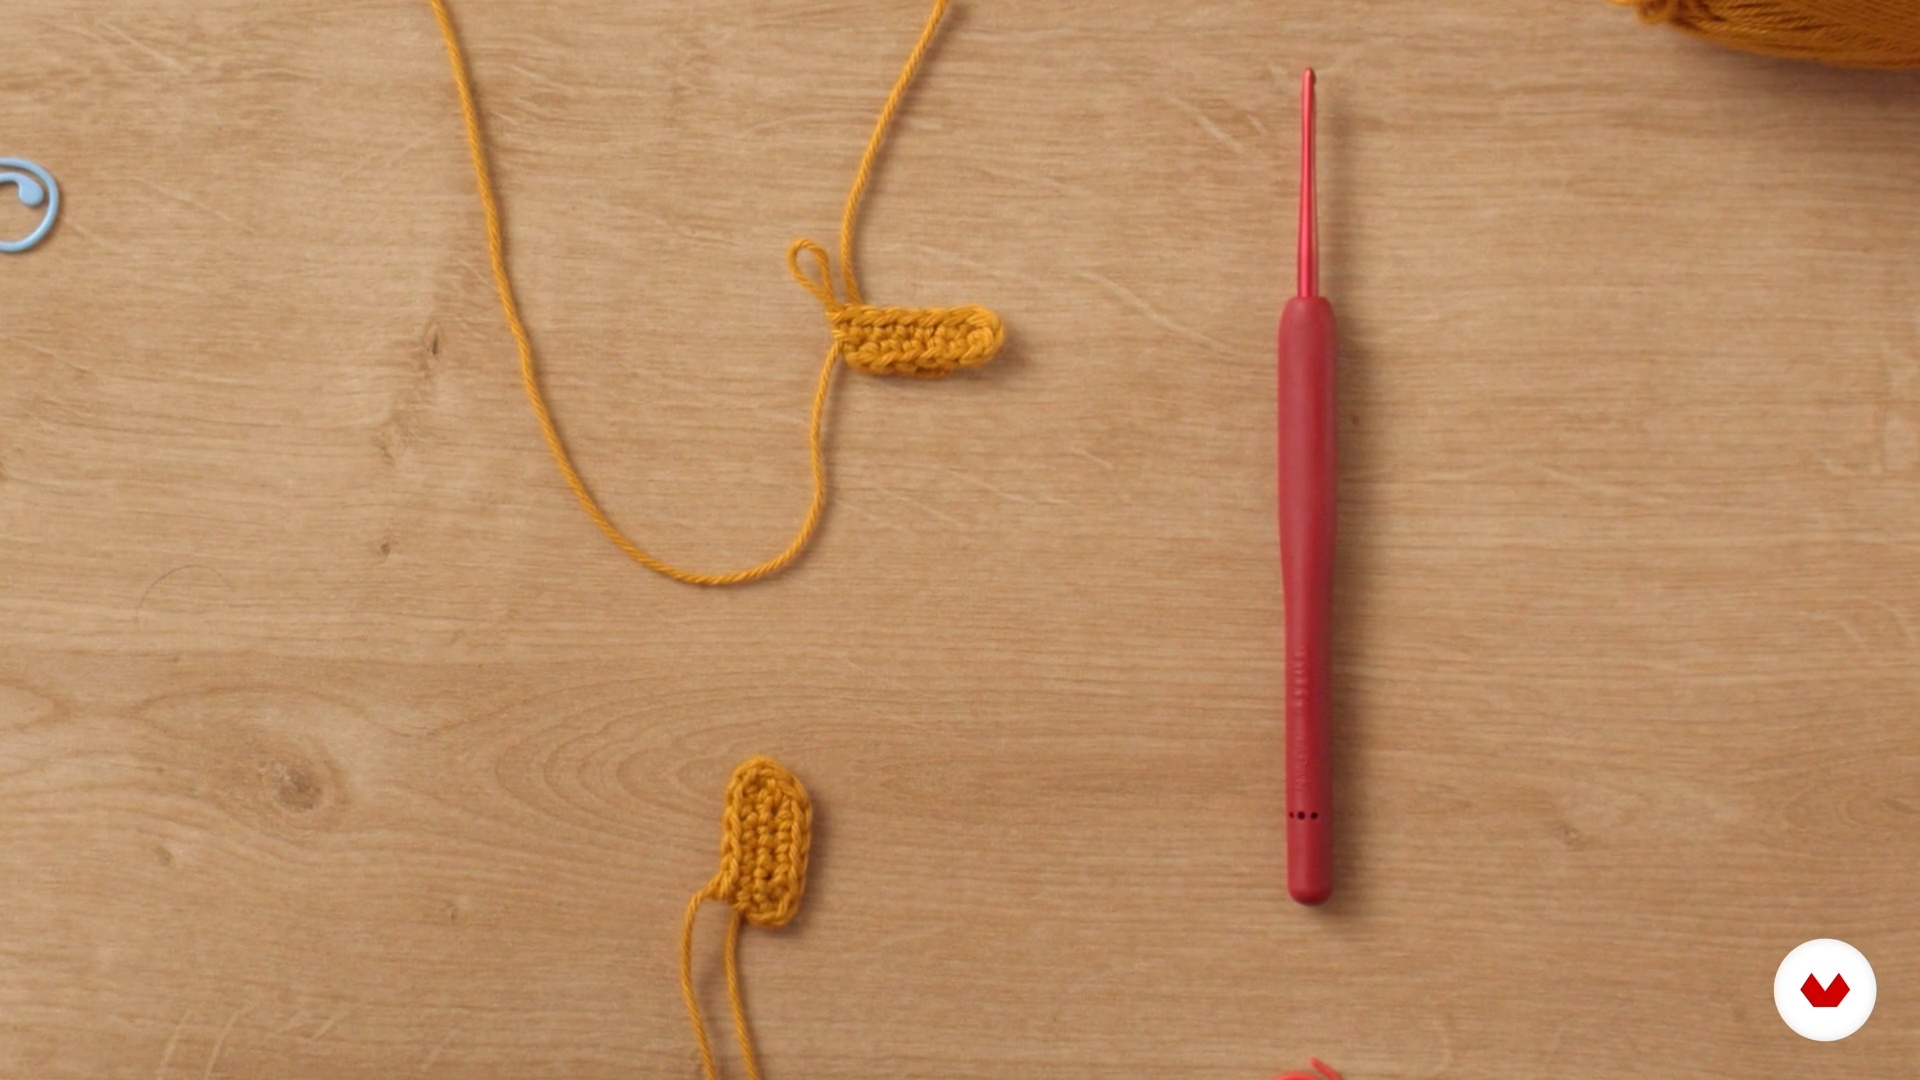
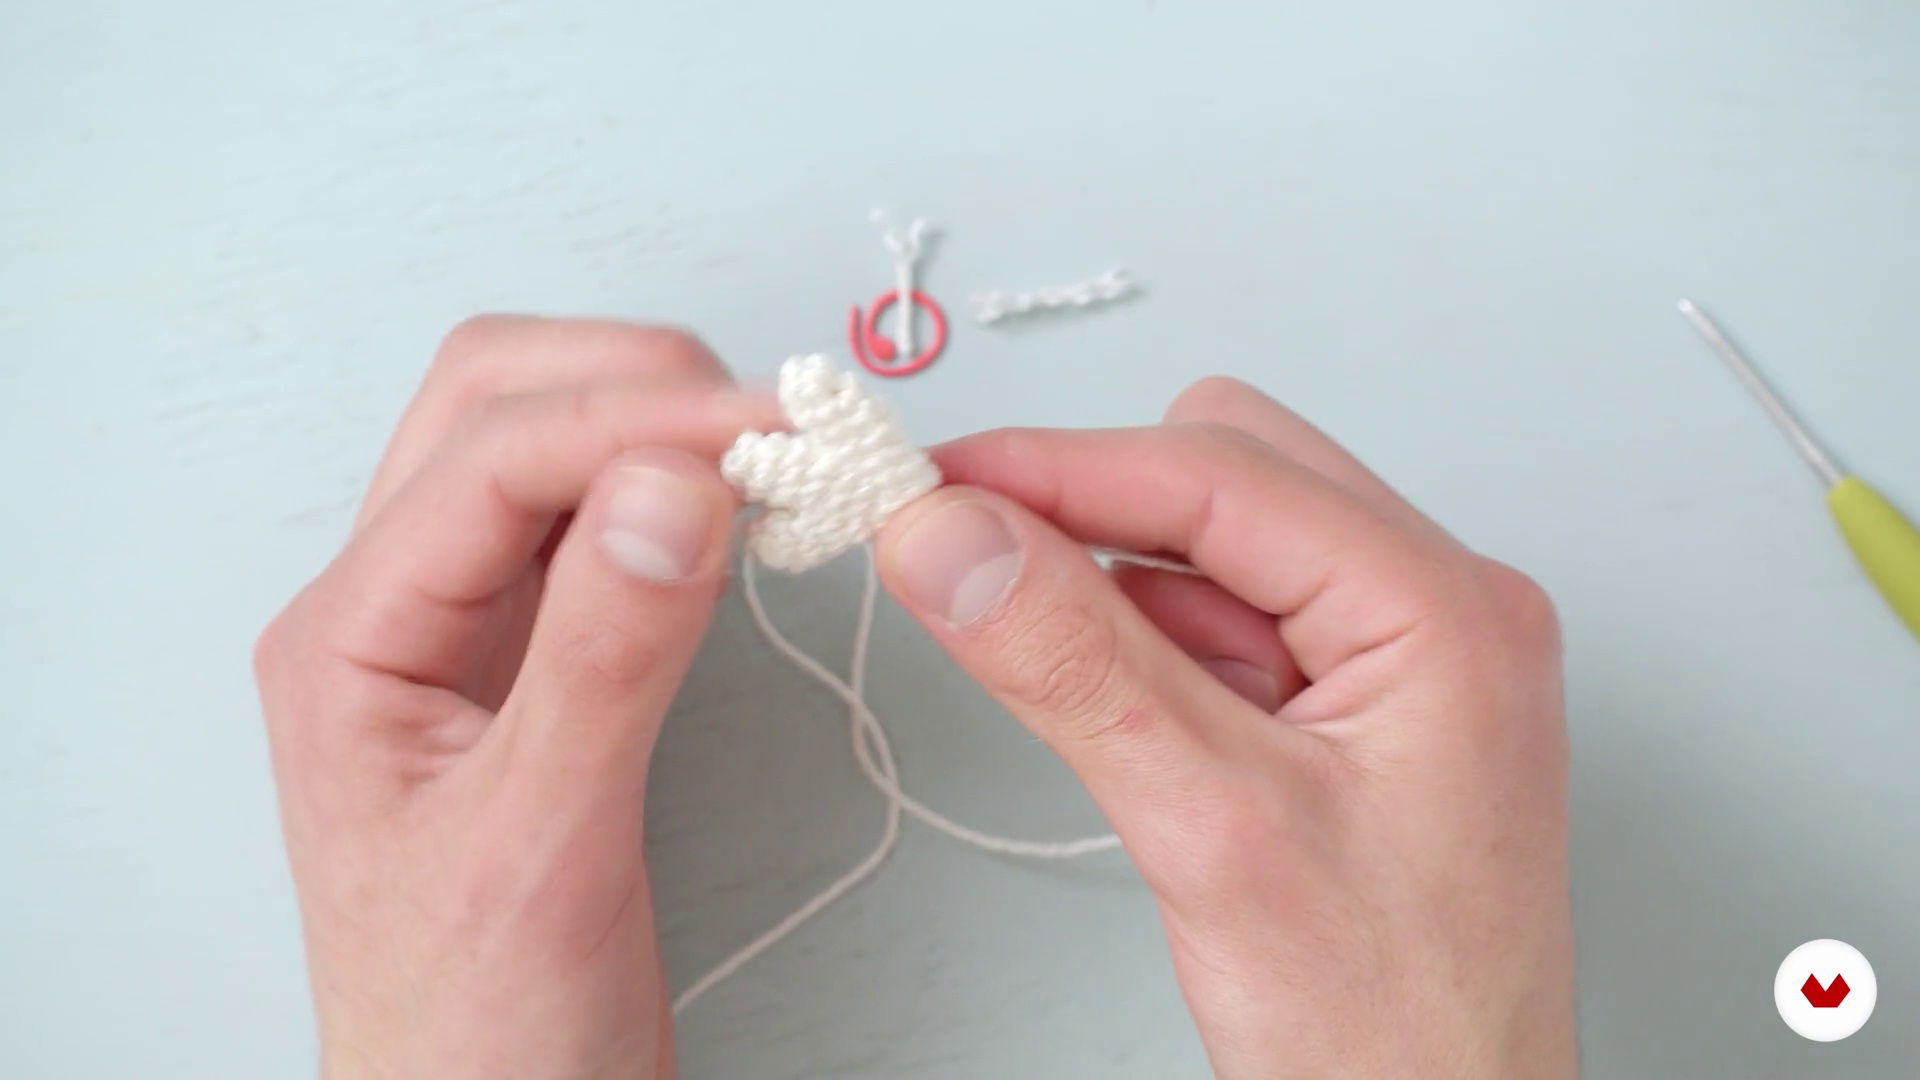
The legs of a four-legged amigurumi are essential, so now we're going to see how to knit them and, at the same time, I'll teach you how to make some super simple ears and a cute tail.
18m
image
13
The wings
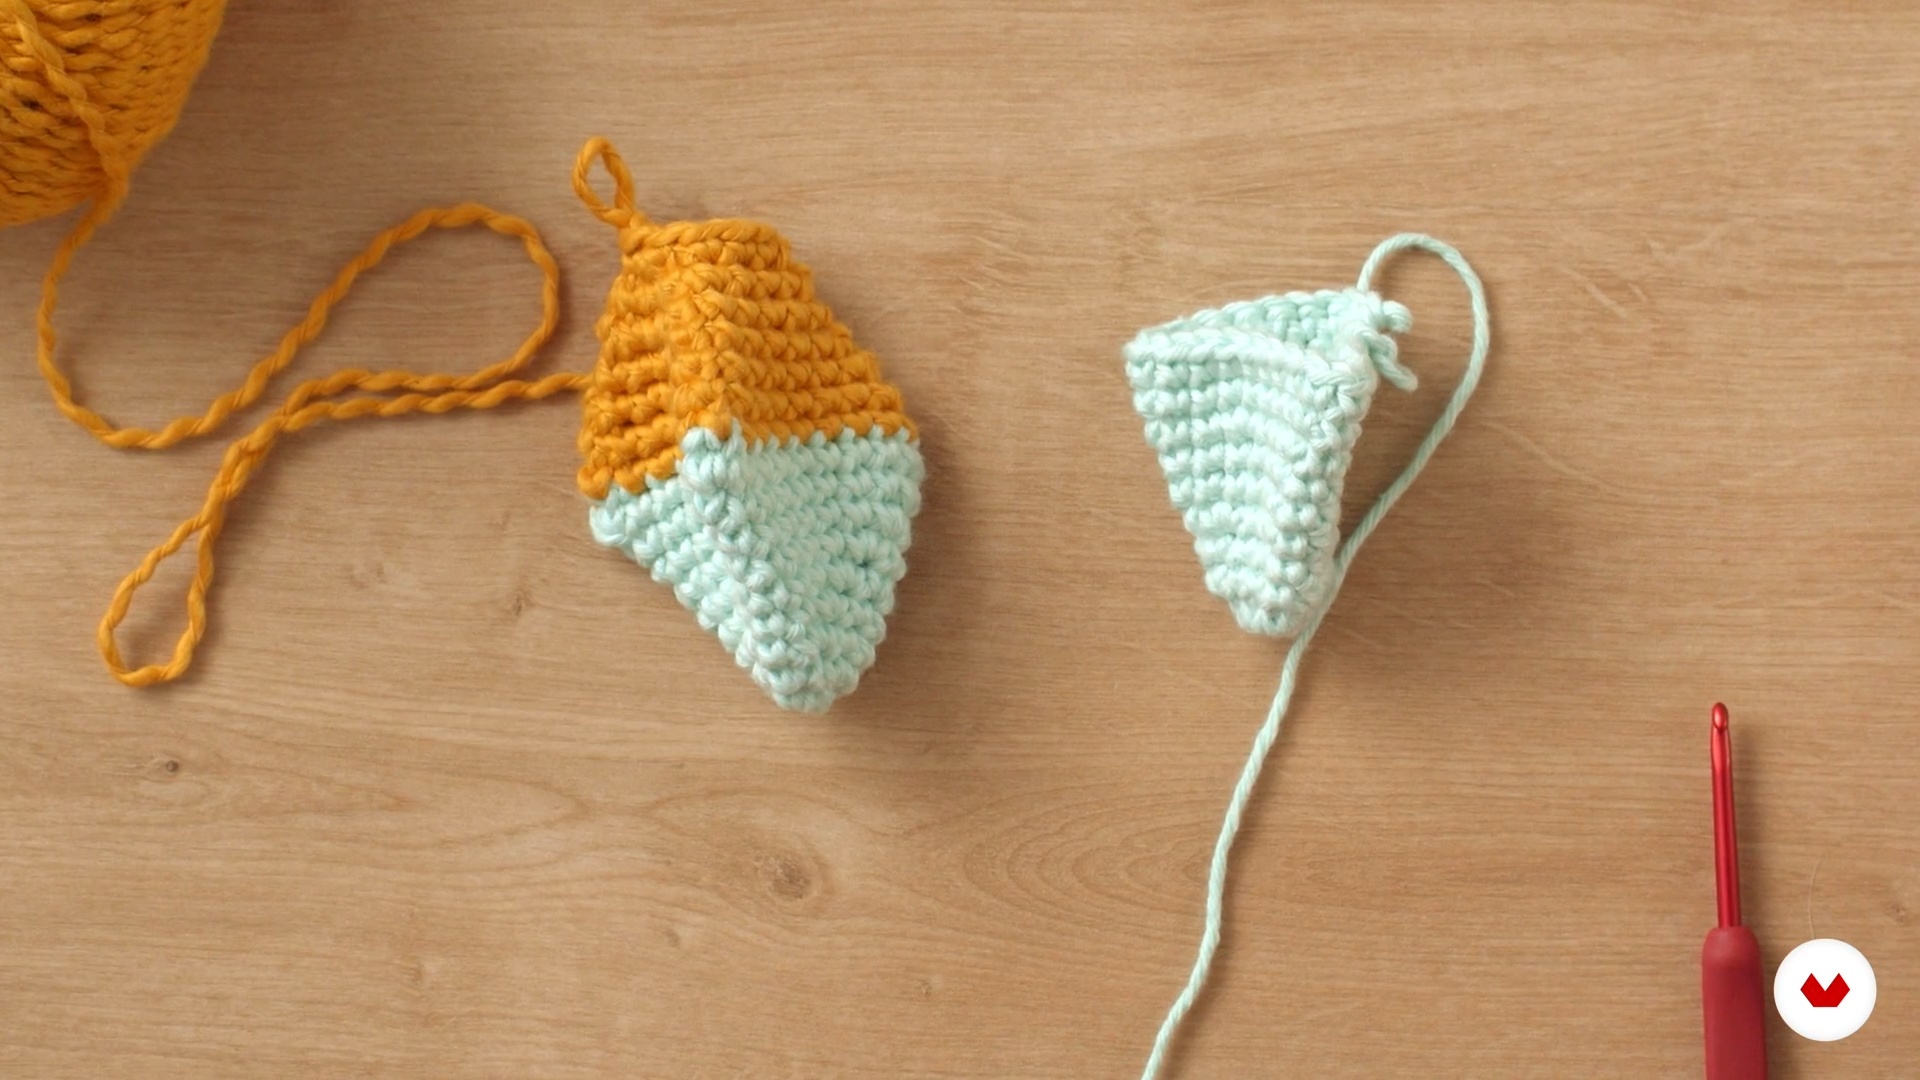
In this lesson, using a new pattern as a base, I'll show you how to construct the rhino's wings—a simple but important detail that adds personality to your amigurumi.
14m
image
14
Assembly
We have all the pieces, so the moment of truth has arrived. With all the amigurumi parts finished, I'll give you tips on how to put them together and give the winged rhino a unified look.
14m
image
15
The final touches
We're almost ready, and it's time to decorate. In this lesson, I'll show you some ways to decorate an amigurumi so you can give your creation its own personality.
13m
image
1
The Materials: Classic and New
Here you'll see what materials you'll need to knit this project. I'll also explain how and how we'll use less common materials.
3m
image
2
The Basics
It's important to know the stitches you can use in almost all amigurumis. Therefore, I'll teach you the Magic Ring, the half-stitch X, increases, and decreases. You'll also see how to take the stitch in the back loop and make a traditional color change.
19m
image
3
Other Useful Stitches
With the basic stitches, you can already make any amigurumi, but in this lesson, I'll teach you slightly more complex stitches that you can also use for your creations. You'll learn the half double crochet, the double crochet, and the slip stitch. You'll also learn how to cast off and how to hook a new strand.
15m
image
4
Analyzing the Character
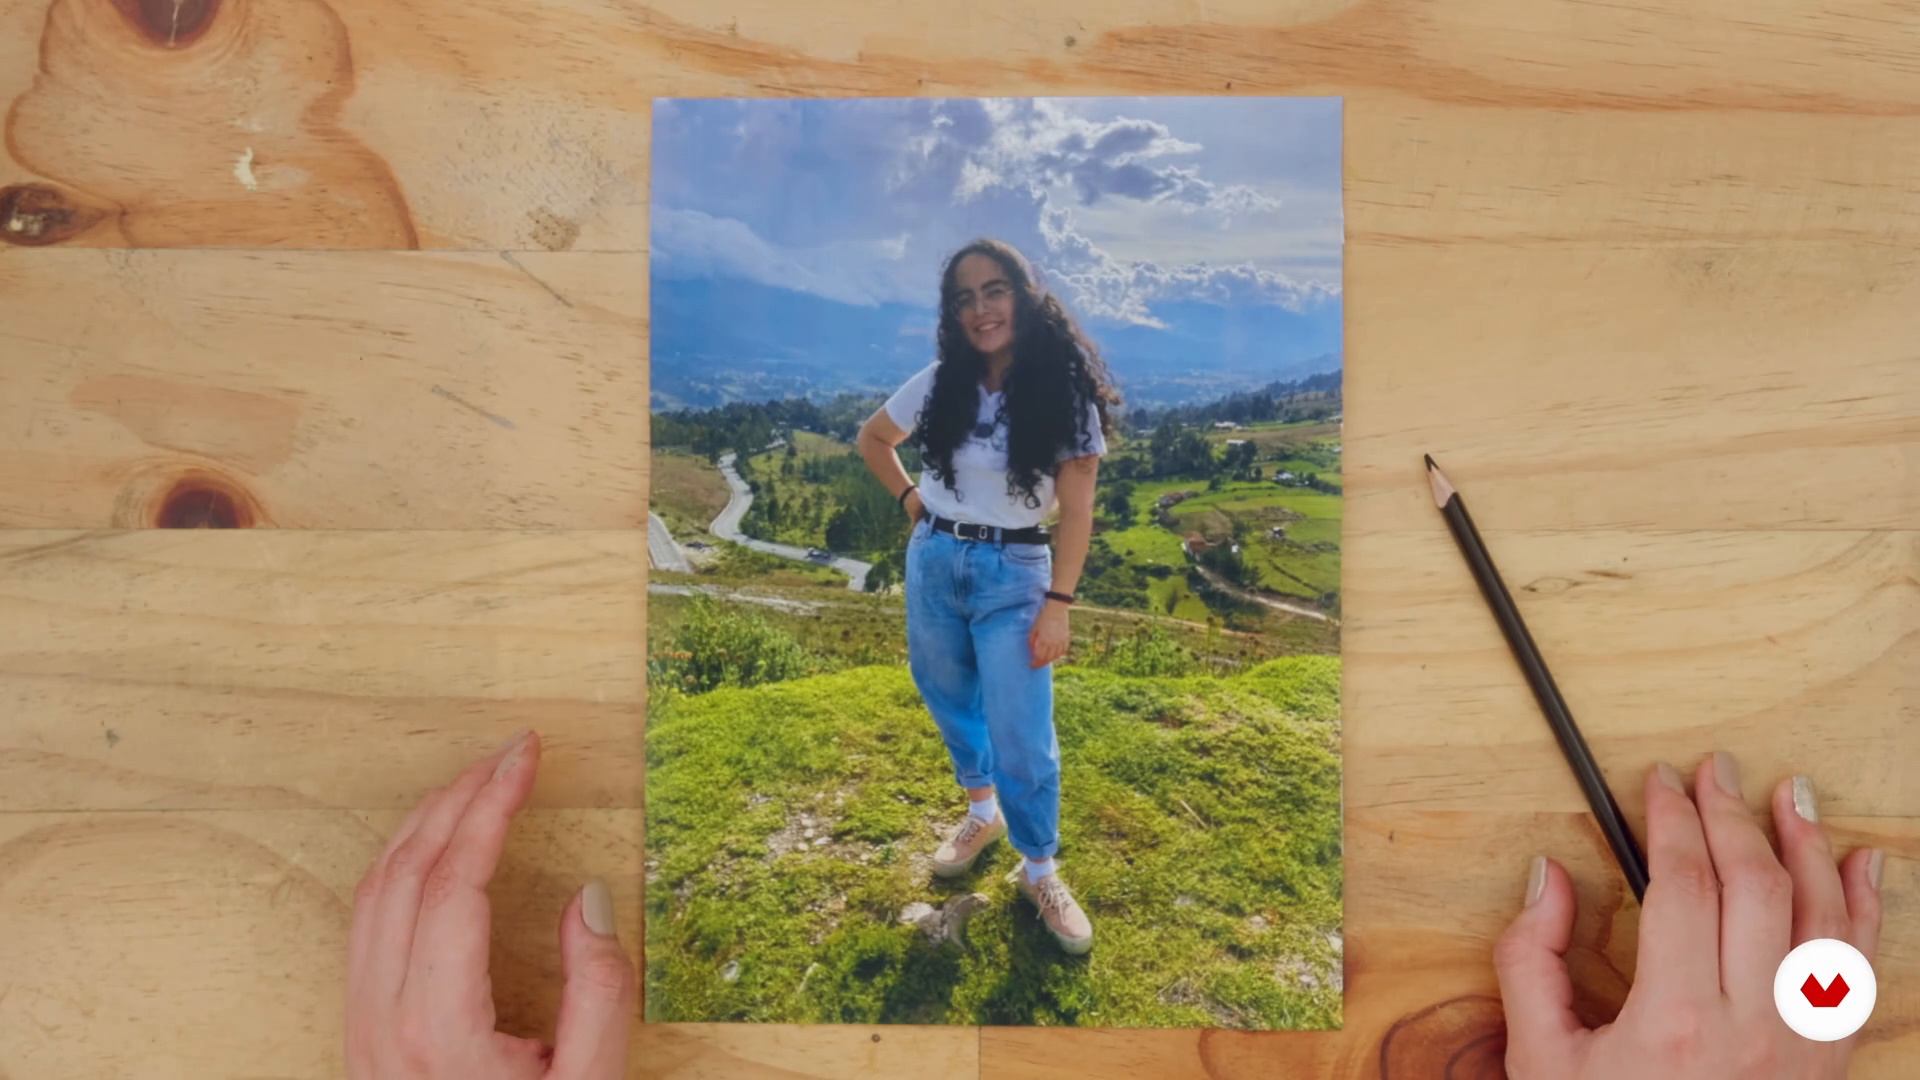
First of all, I'll teach you how to analyze your character's characteristics, whether you want to knit yourself or someone else.
1m
image
5
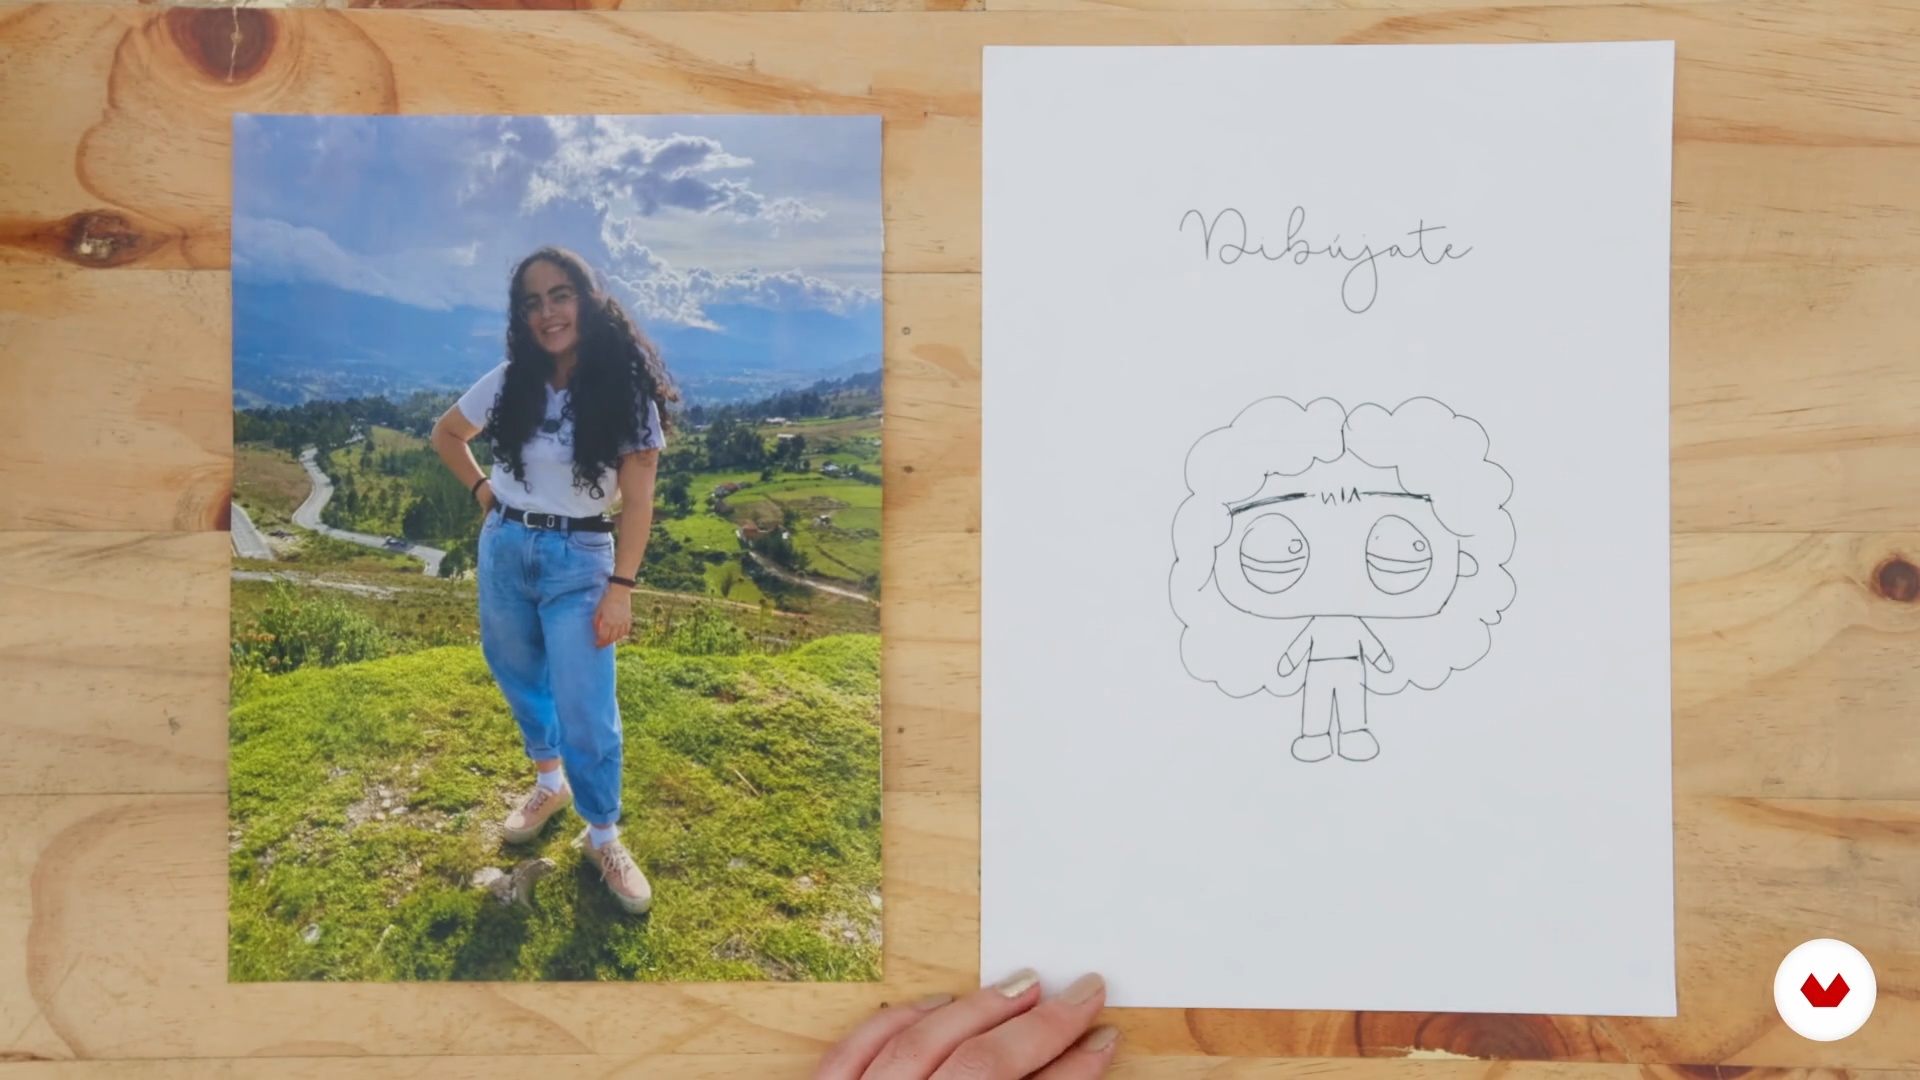
Drawing Yourself
This lesson is so much fun! Let's draw ourselves! It doesn't have to be perfect; it should just give us an idea of how we'll look knitted.
3m
image
6
Choosing the Colors
Color is a very important characteristic of amigurumi, as it provides a lot of information about the person we're knitting. Here, I'll give you tips on choosing the colors for your project.
1m
image
7
The Base Body Pattern
The knitting pattern is a fundamental tool. It's the document that contains step-by-step instructions for making our projects. Next, I'll teach you how to read the pattern for the basic body of the project. We'll study it, and I'll give you some examples of variations you can make.
2m
image
8
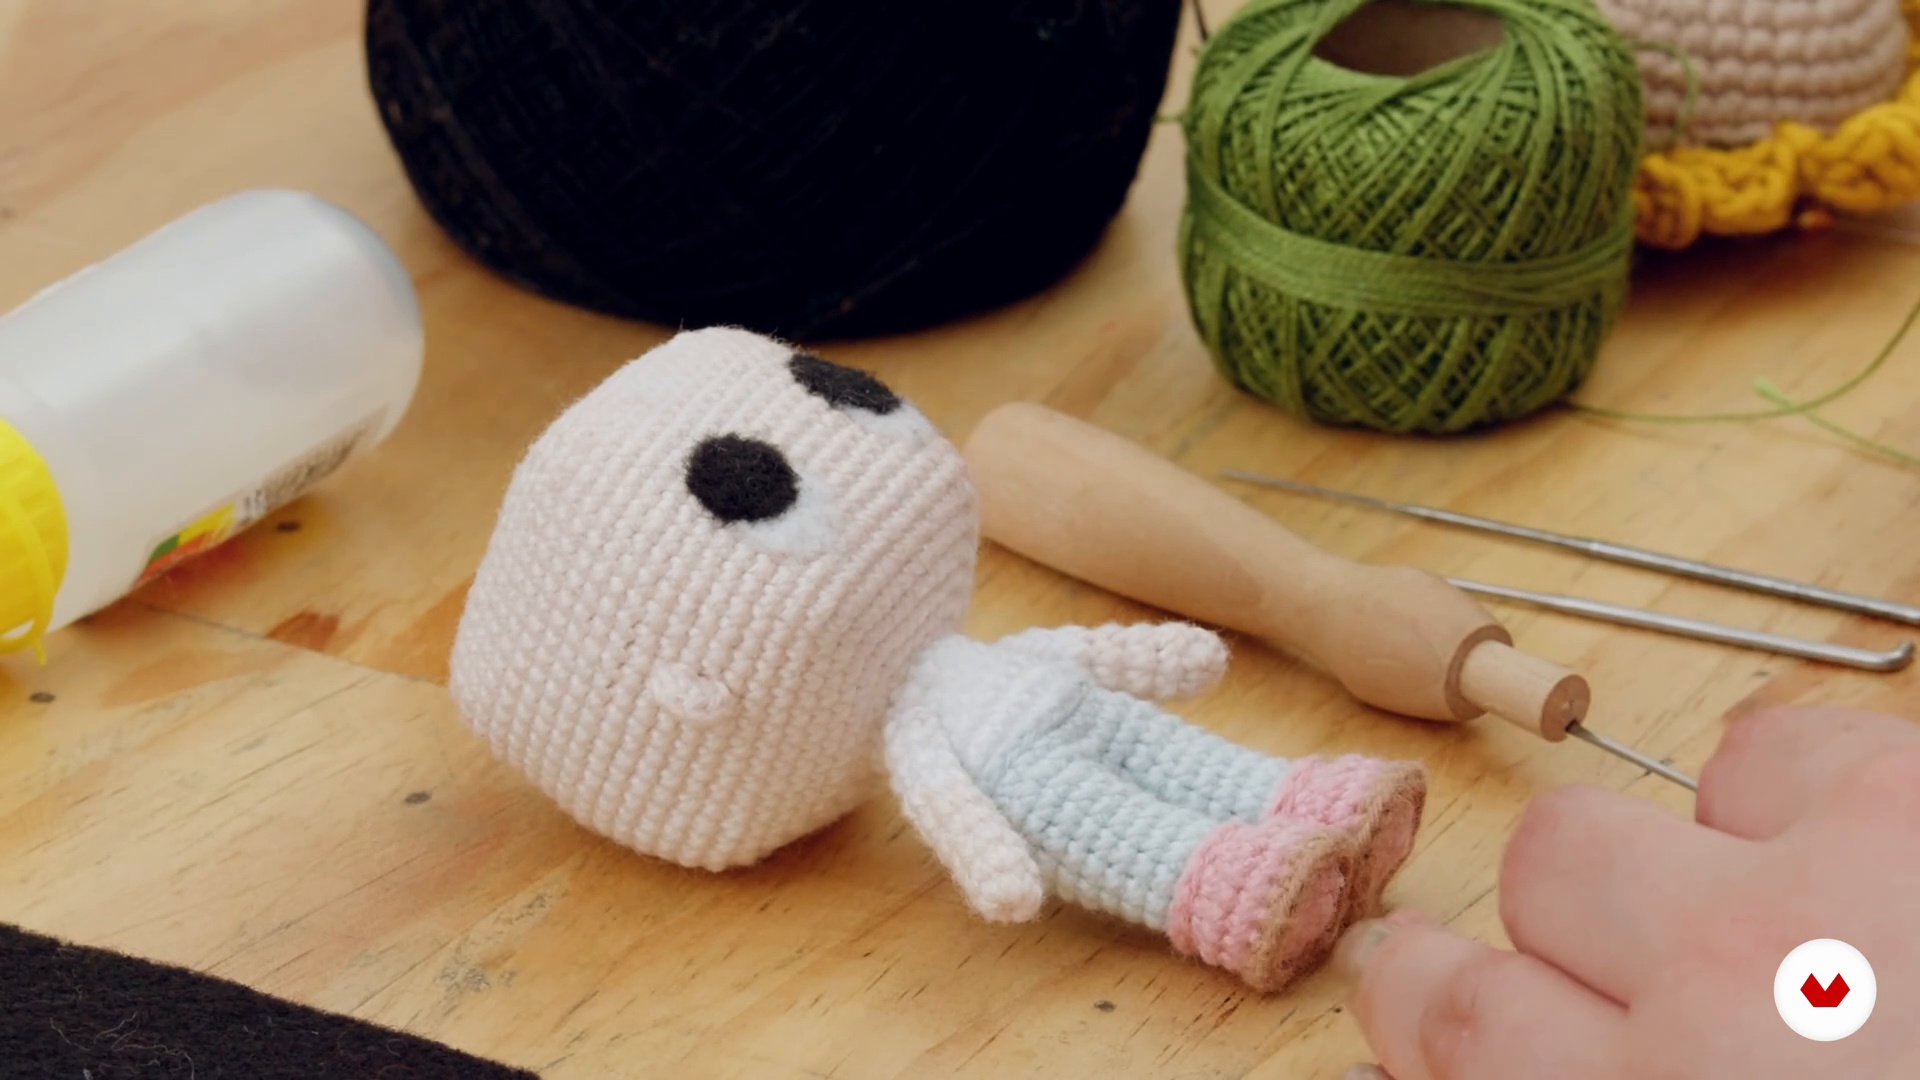
The Cube Head 1
You've seen several examples of my work. You'll know there's a very special style to my creations, one I love: bucket head amigurumi! In this lesson, I'll show you how to crochet a bucket head and give you all the tips to make it perfect. The secret is revealed!
13m
image
9
The Cube Head 2
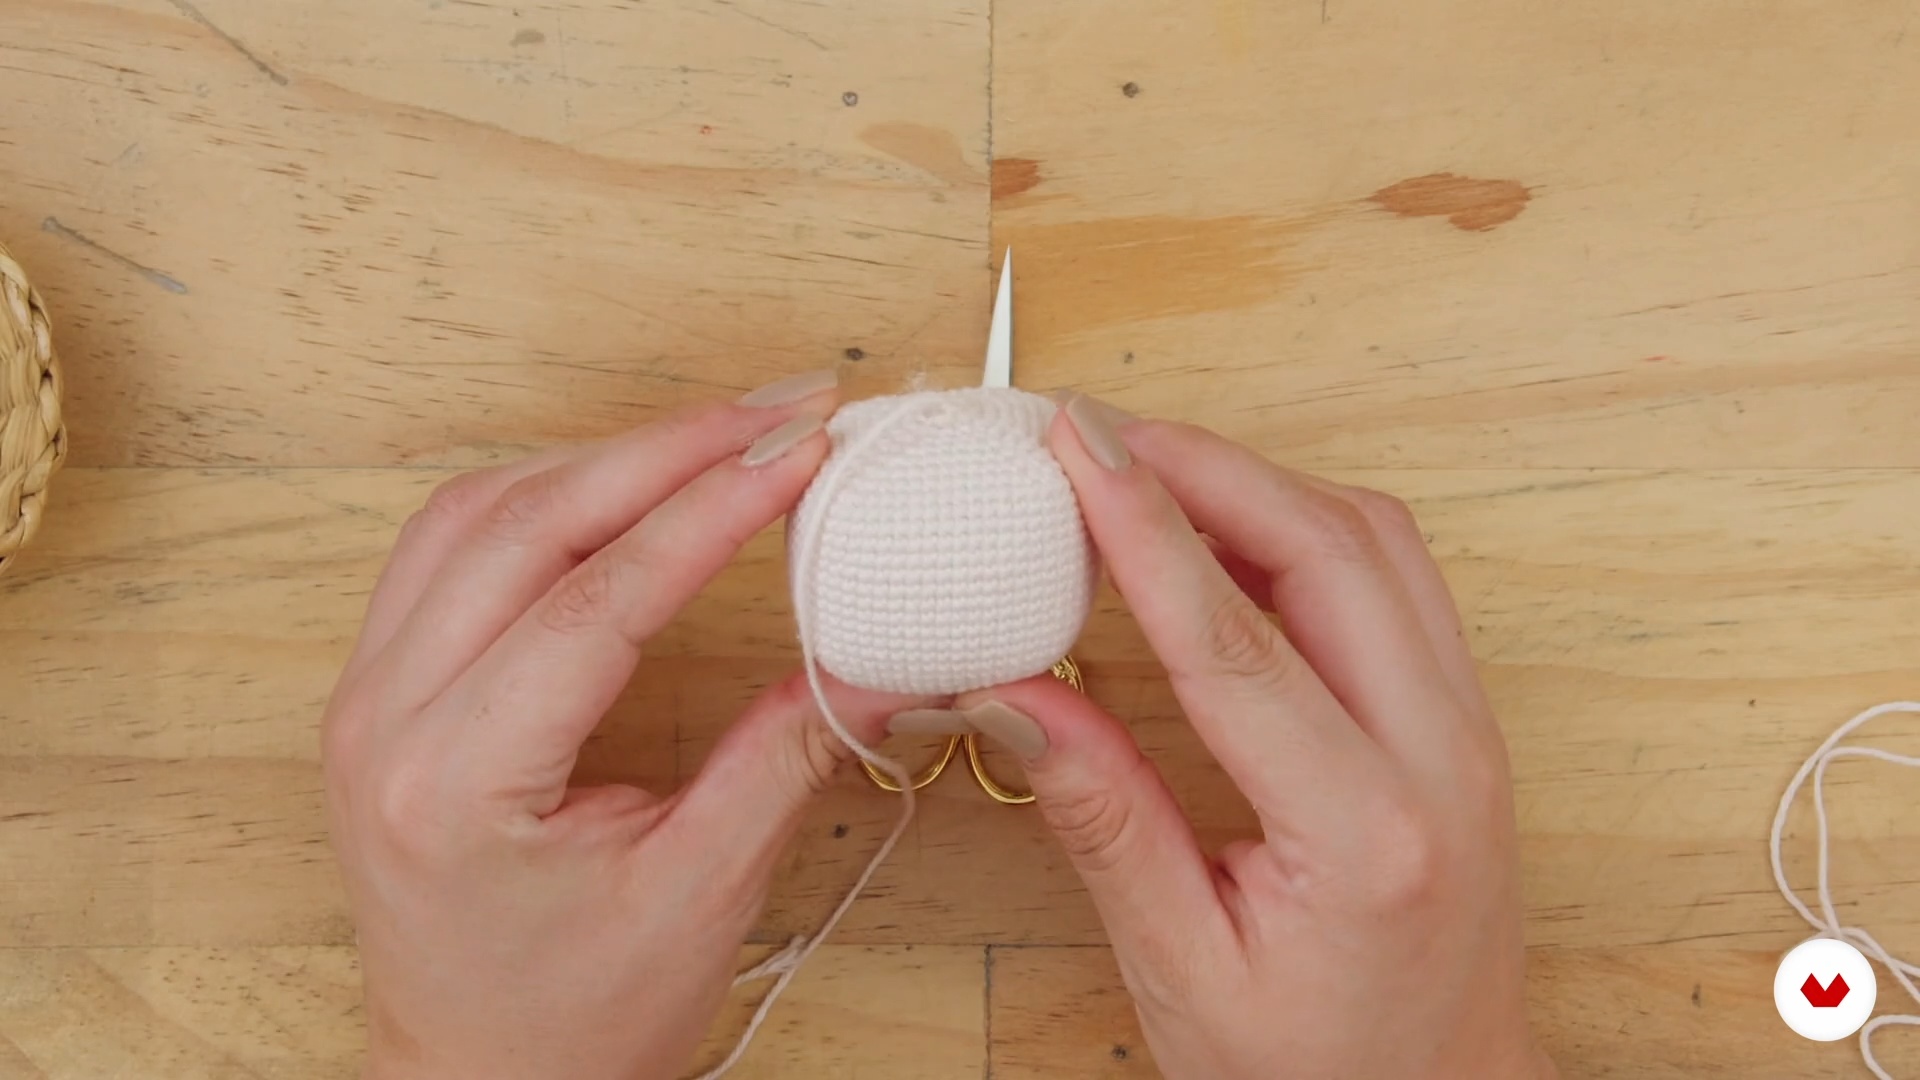
We've reached the desired size. Now I'll show you how to expand the base upward to give it depth. Then, you'll see how to fill the cube head and close it.
13m
image
10
The Body 1
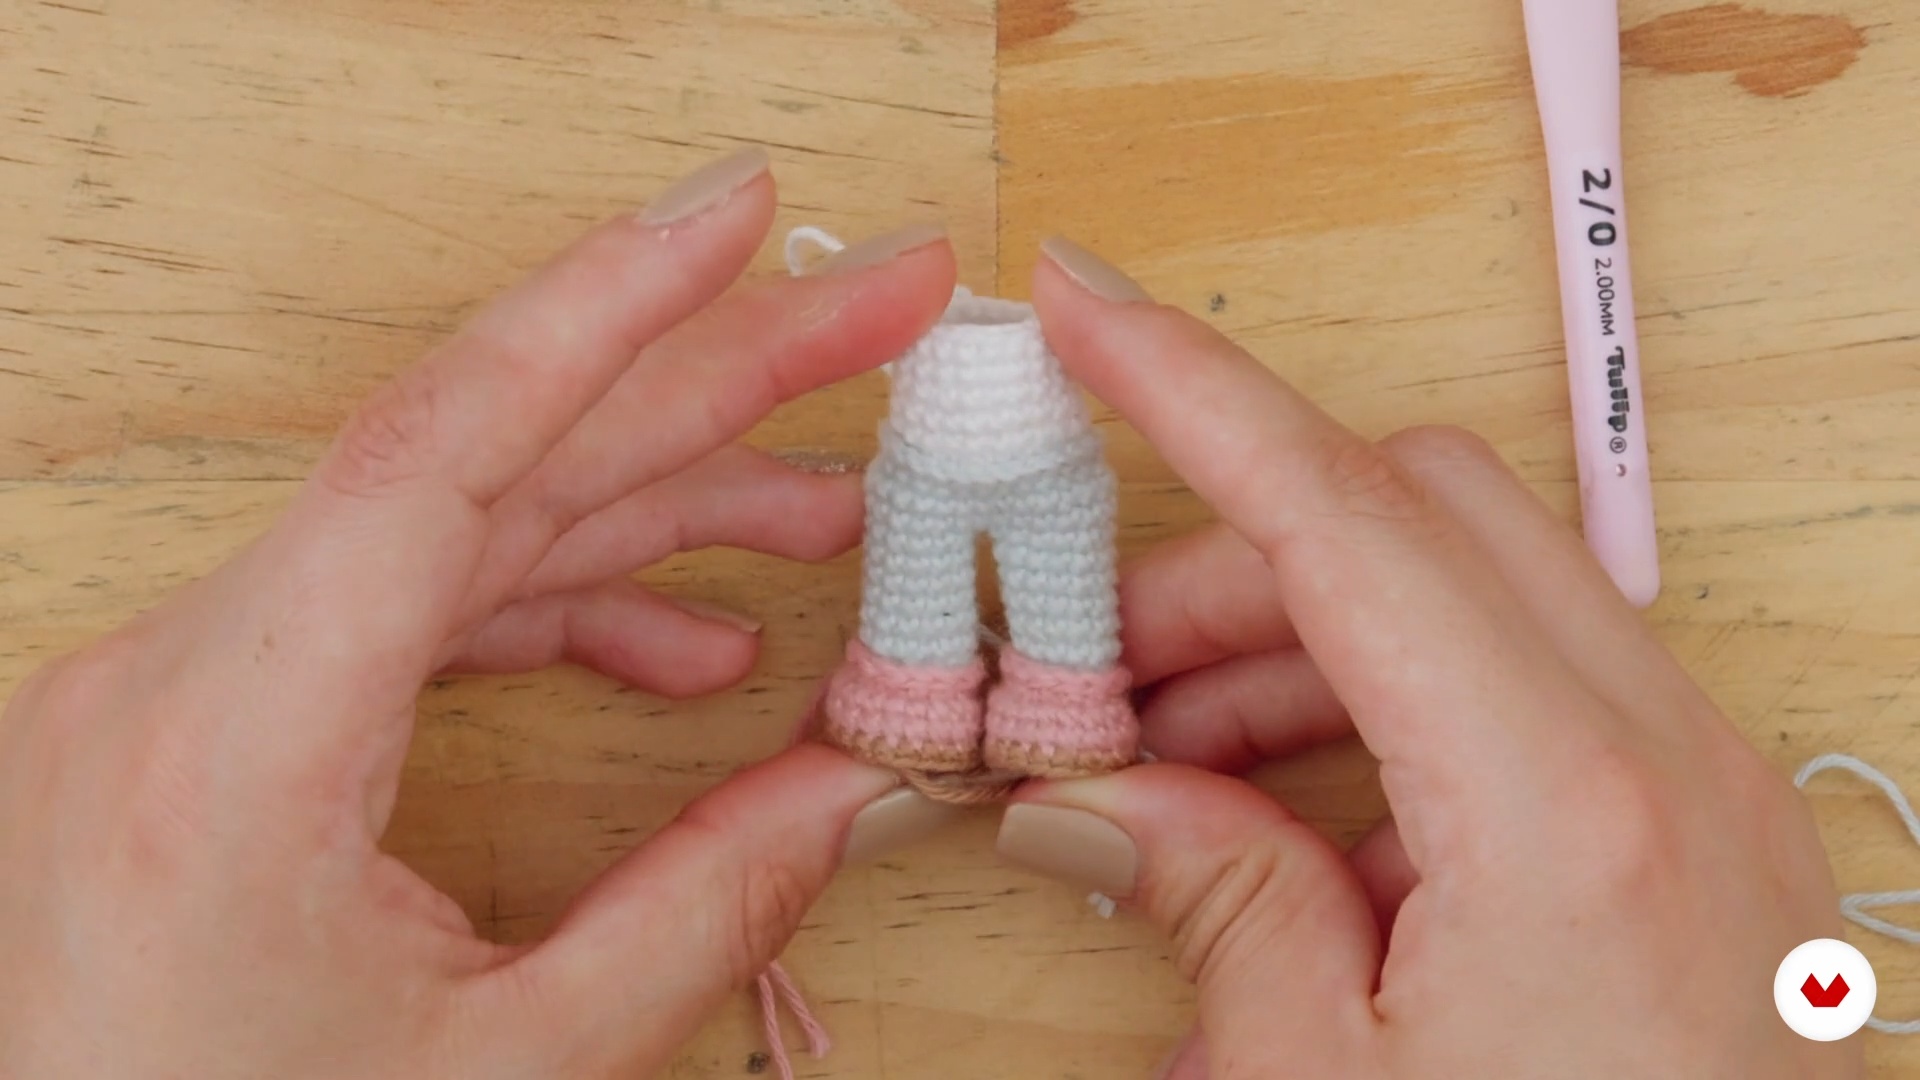
This lesson is very important. If you understand it, you'll be able to create many characters from a single body. You'll decide on variations based on the type of garment in the sketch. You'll see how I begin knitting the body at the feet. At the shoe, I'll apply the first variation and color change.
13m
image
11
The Body 2
Once both legs are crocheted, I'll show you how to join them. You'll also see how to add more detail to the garment with slip stitches. This will separate the garments and give the amigurumi a more professional look.
11m
image
12
The Articulation of the Body
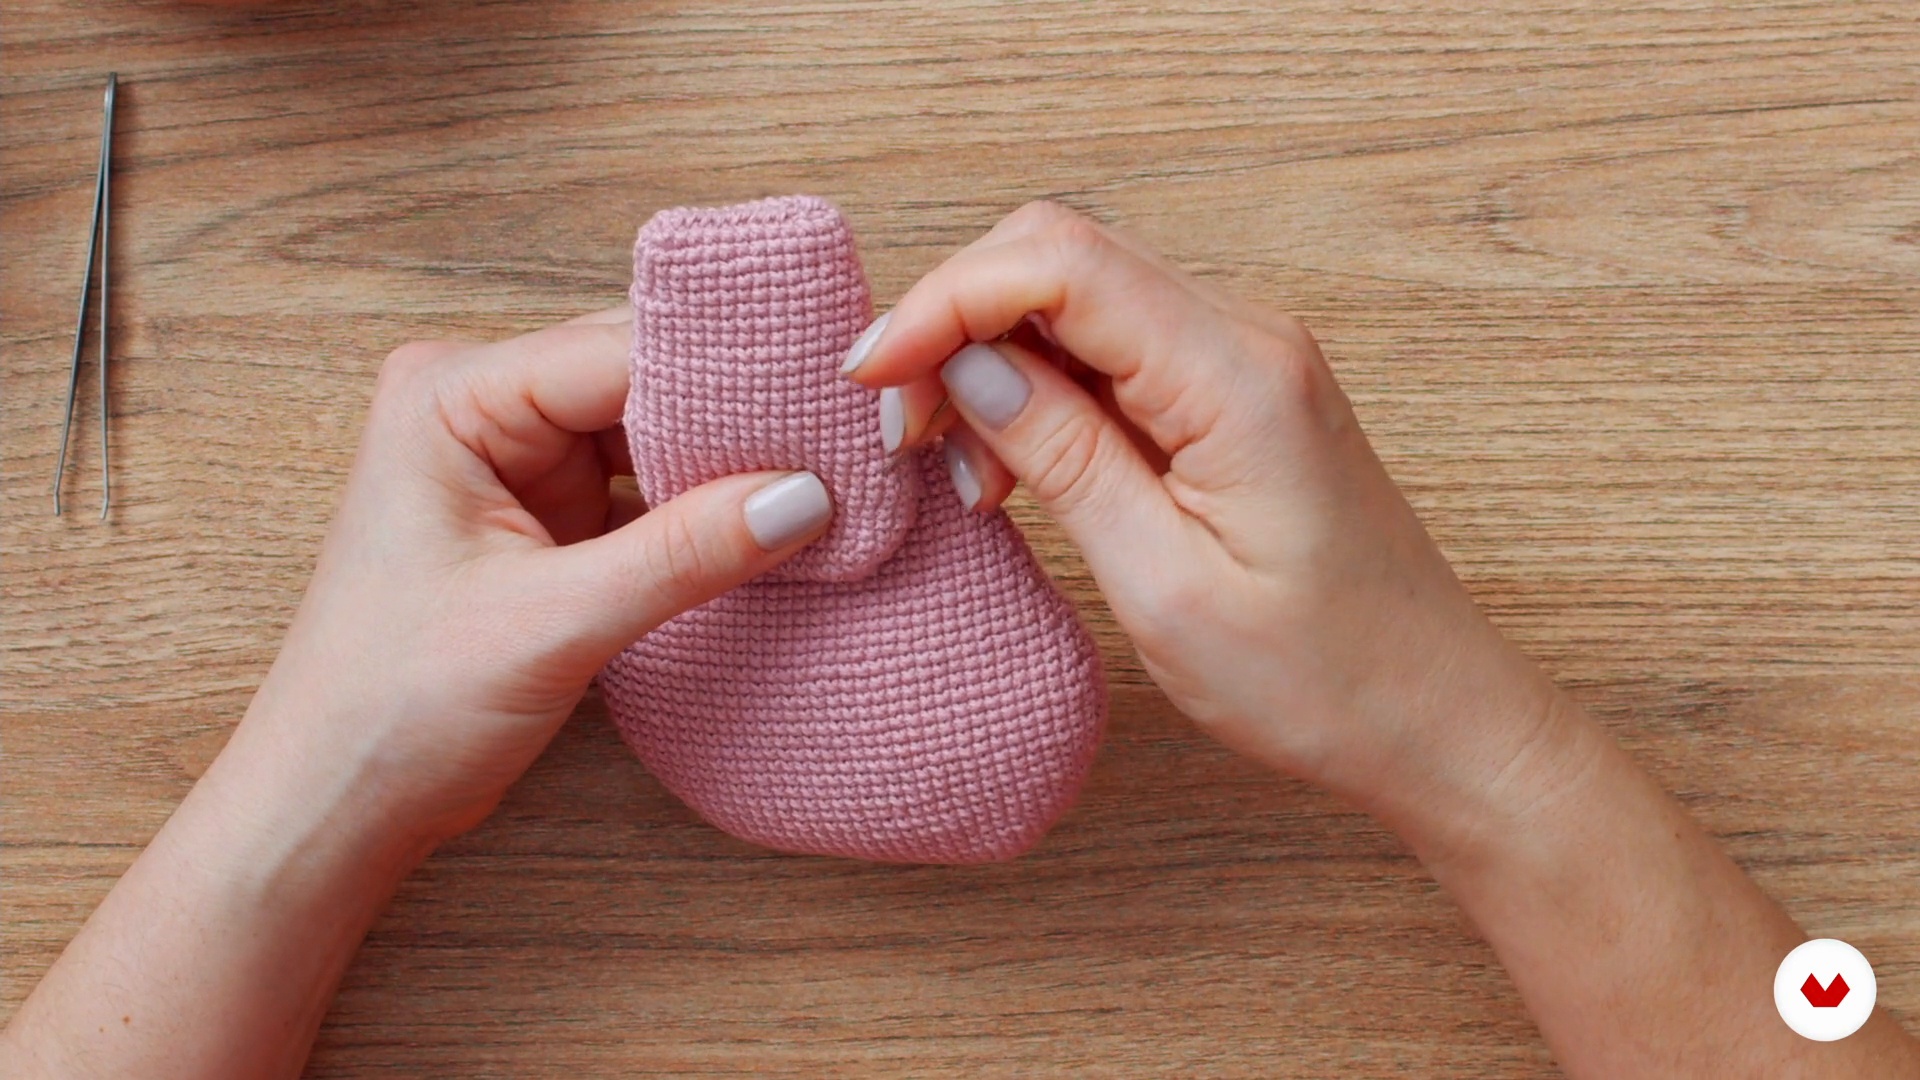
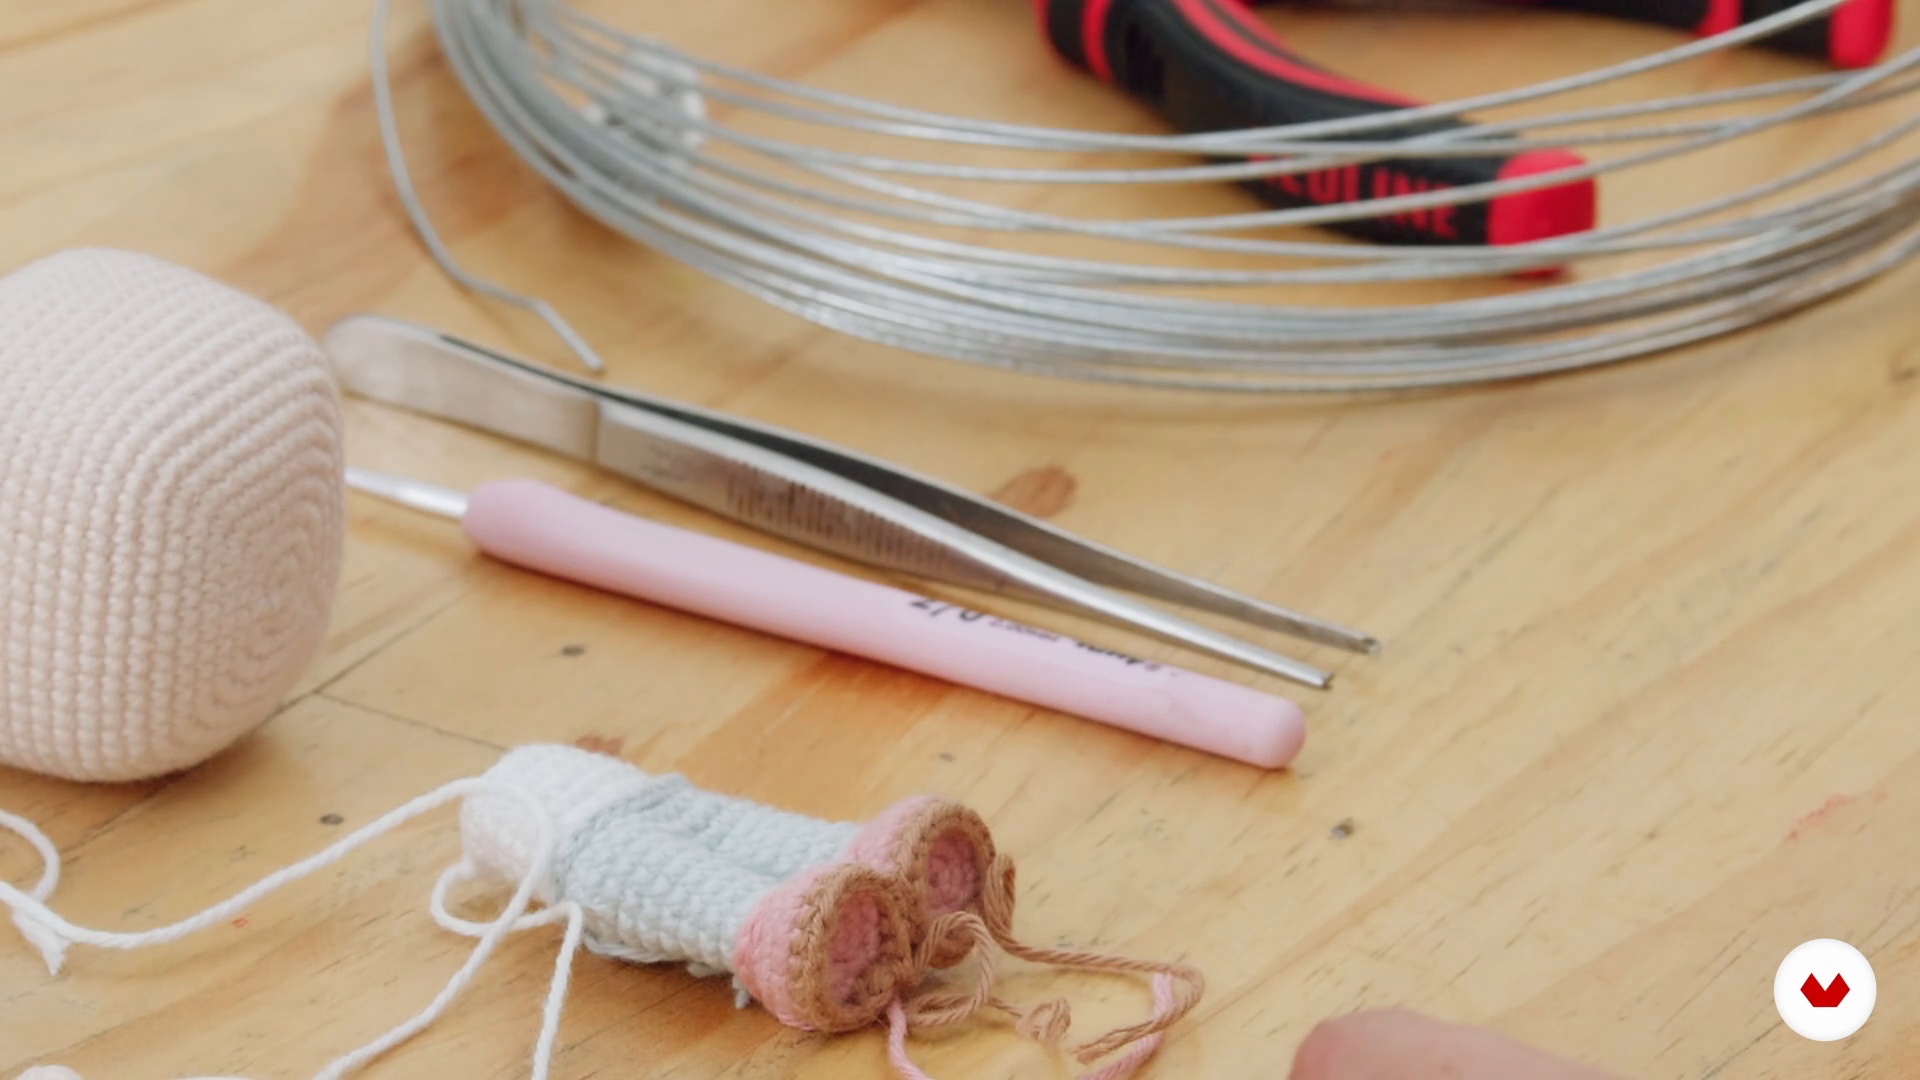
If you want to give your project more expression and personality, you can articulate it. Here I'll show you how and how to stuff the body with the help of tweezers.
3m
image
13
Assembling
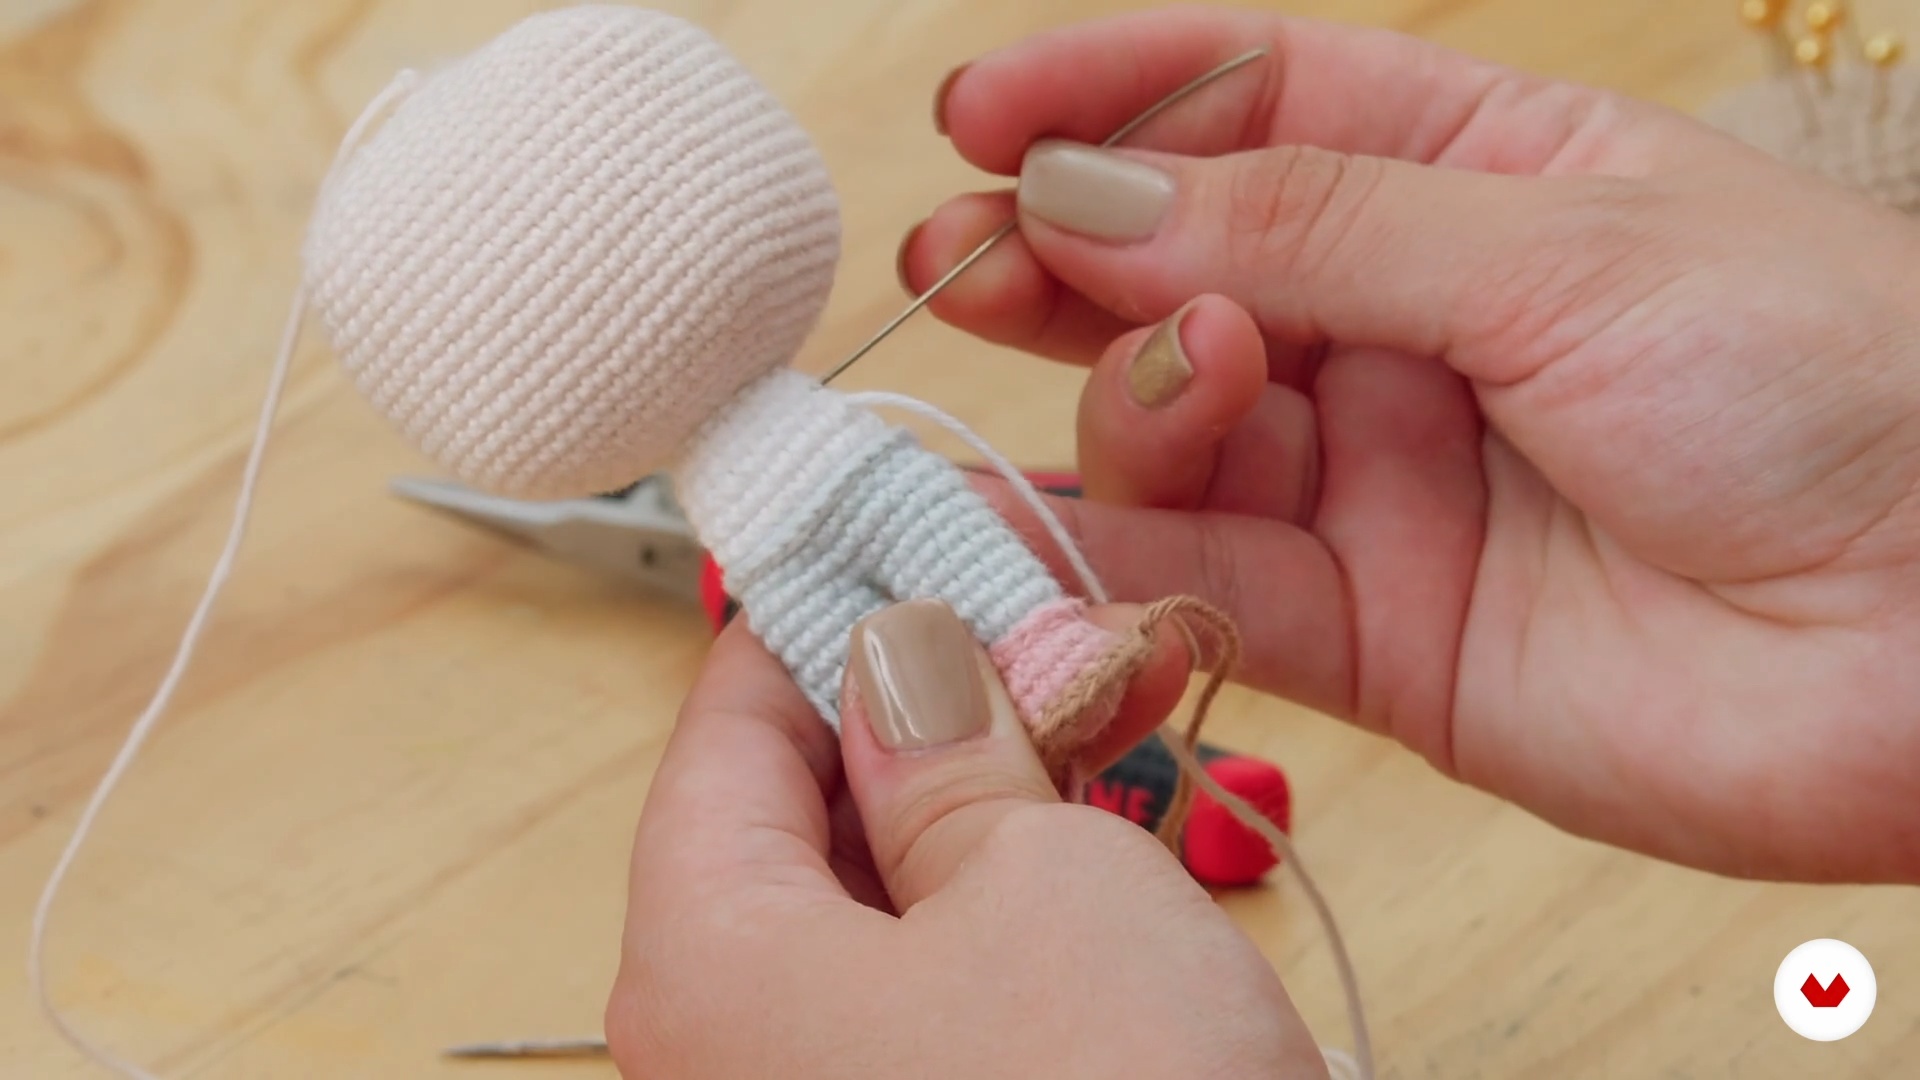
Sewing is my favorite part of making an amigurumi. It's when we bring it to life, although it requires a lot of patience. Thanks to this step, you'll almost see the finished project. But first, I'll give you some tips for neater sewing.
18m
image
14
The Felted Eyes
Next, I'm going to show you a cute and simple technique for making felted eyes. You can apply this technique to any of your next creations.
8m
image
15
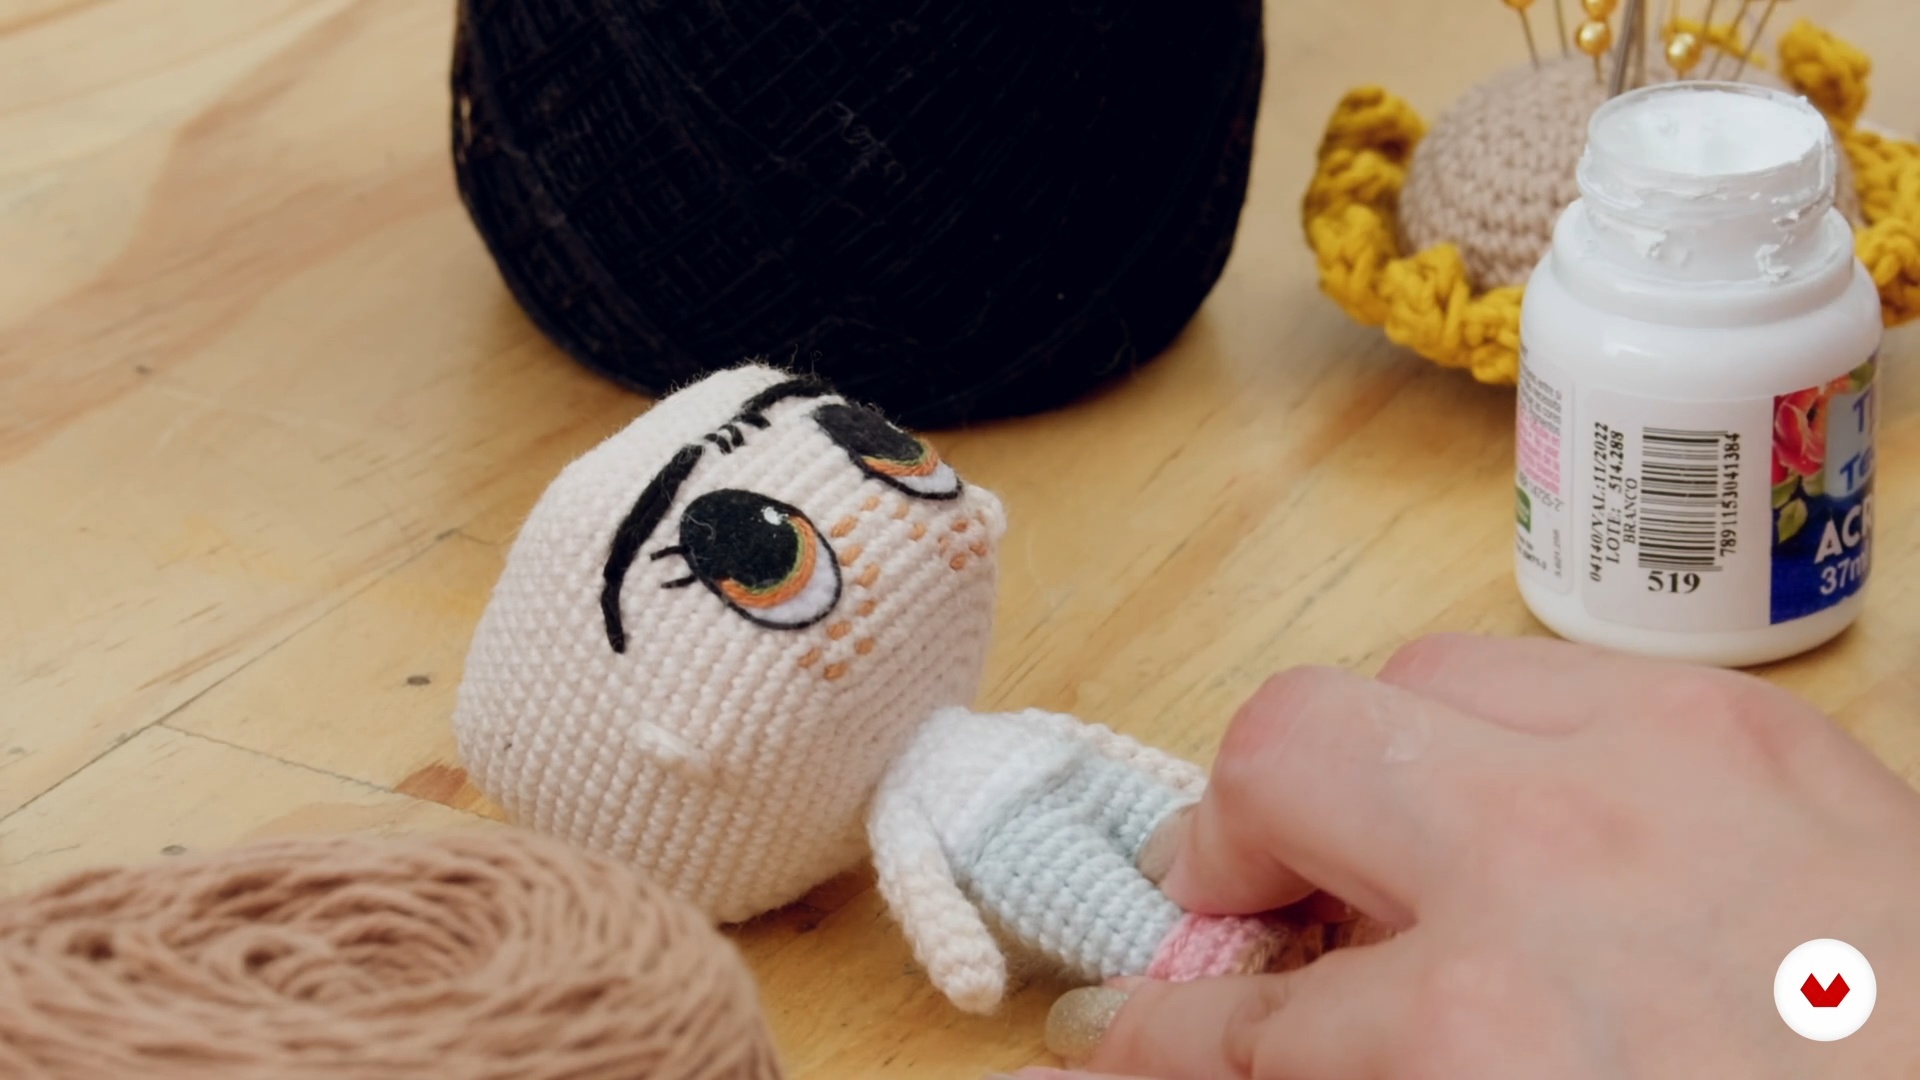
Embroidering on Amigurumis
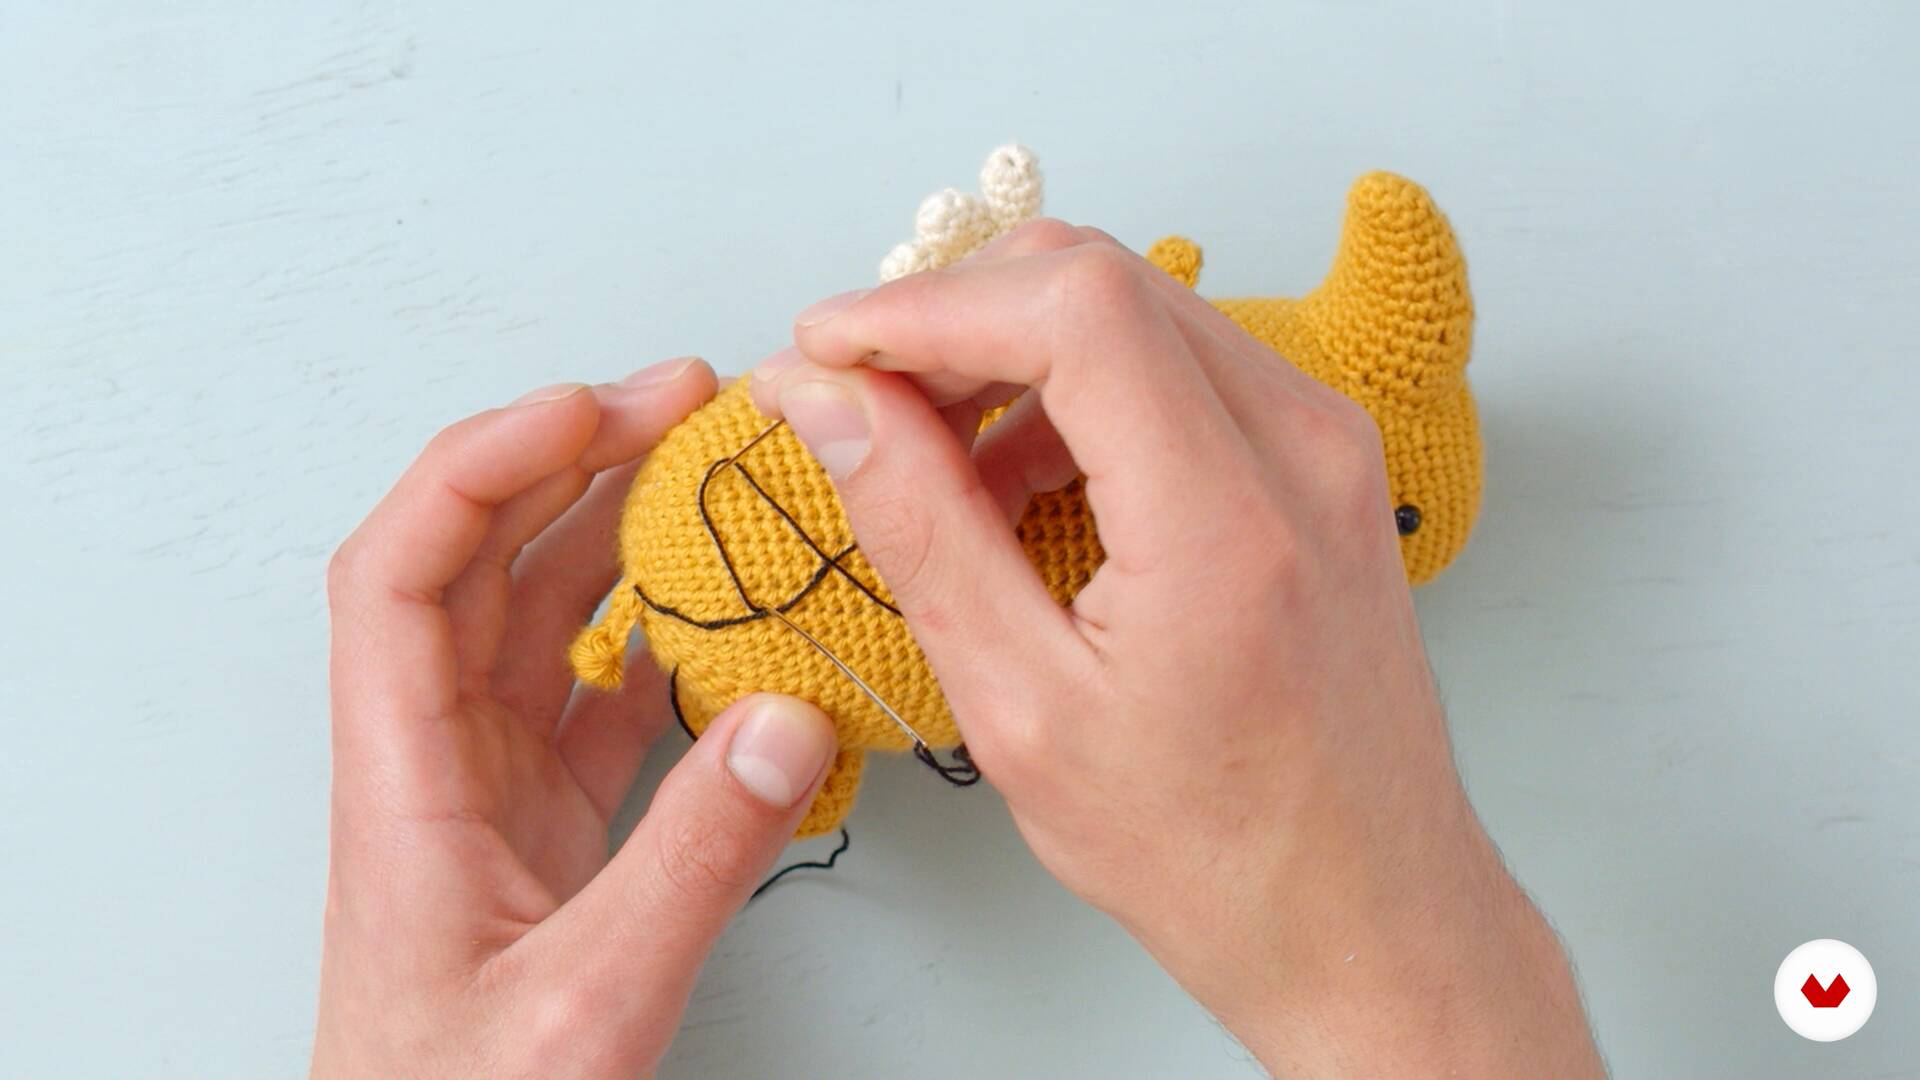
In this final step of the crochet process, you'll learn how to add details to your amigurumi with embroidery. In my case, I'll add eyebrows, eyelashes, and freckles. I'll share all my tips for a more polished amigurumi embroidery.
8m
image
16
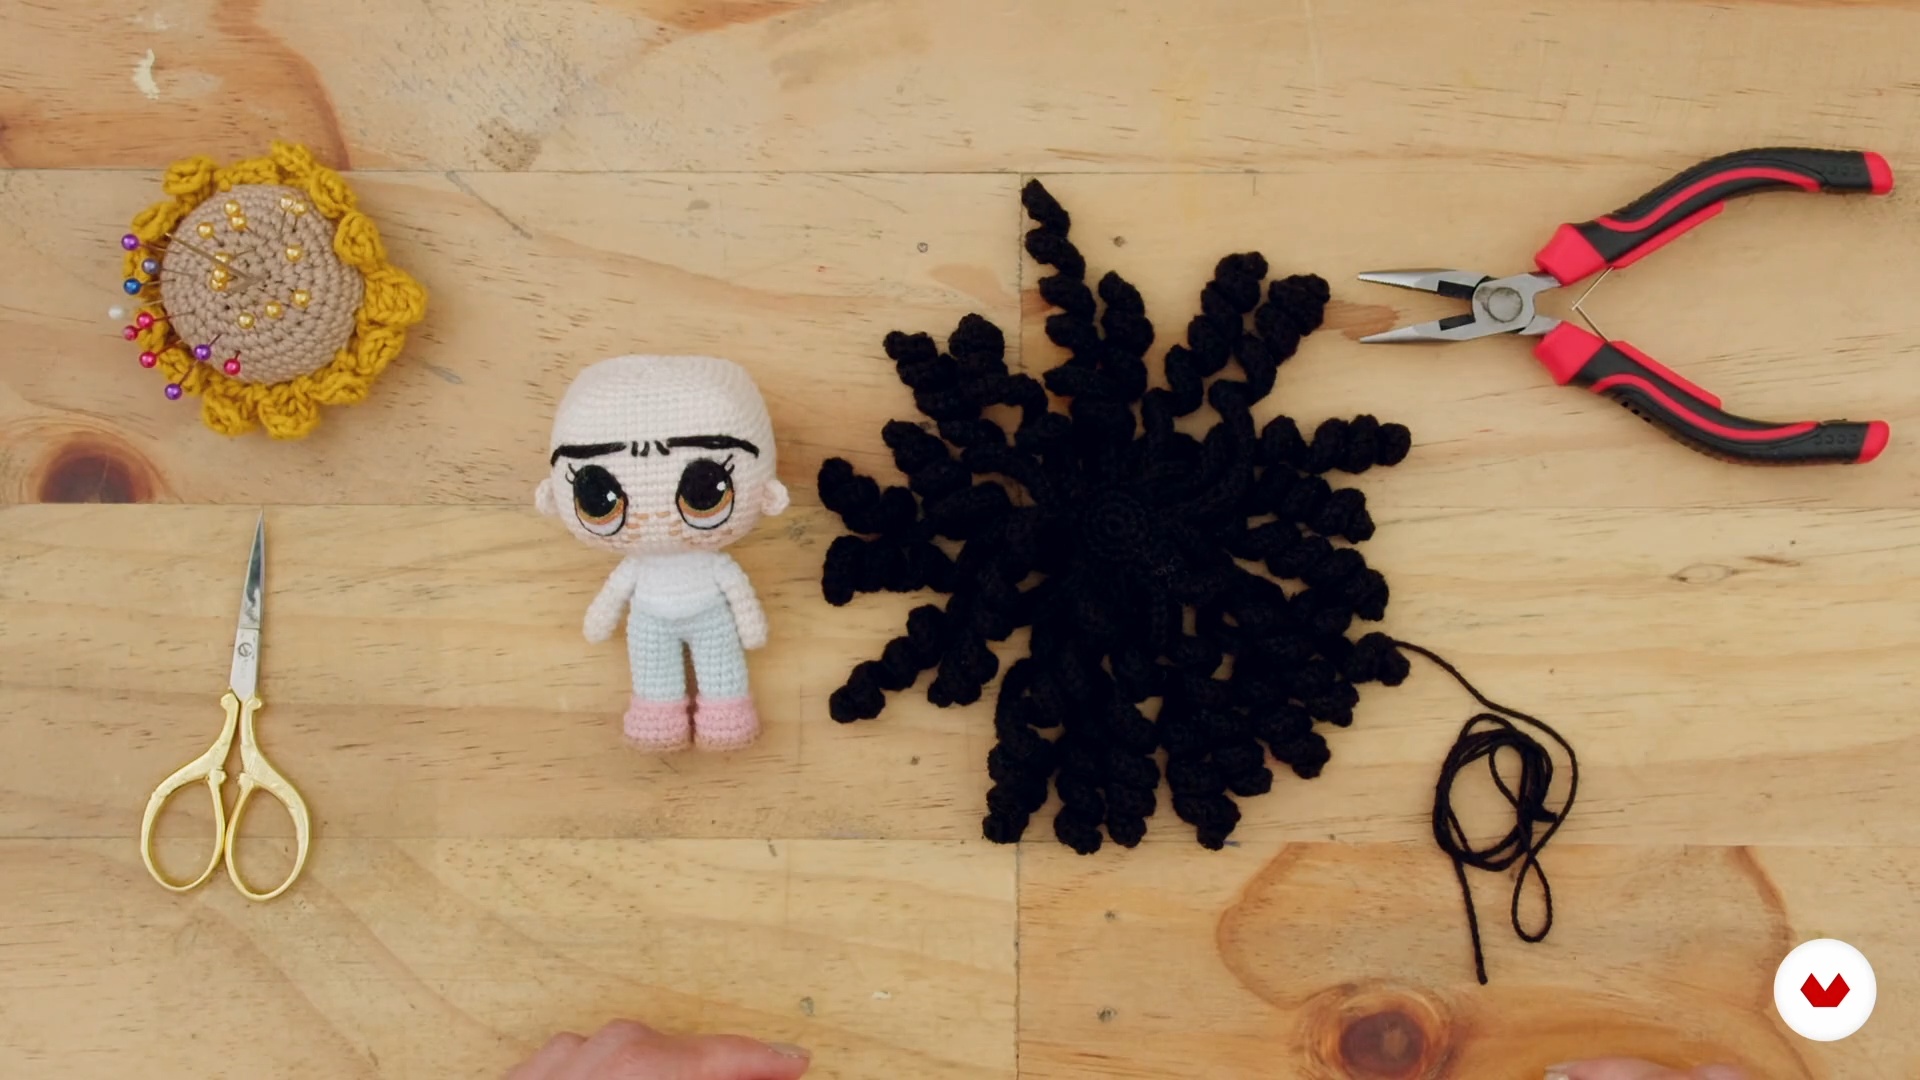
Crocheting the Hair
First of all, I'll review how to knit hair for amigurumi. We won't go into this topic in depth, as we'll focus on learning how to attach hair to fleece.
5m
image
17
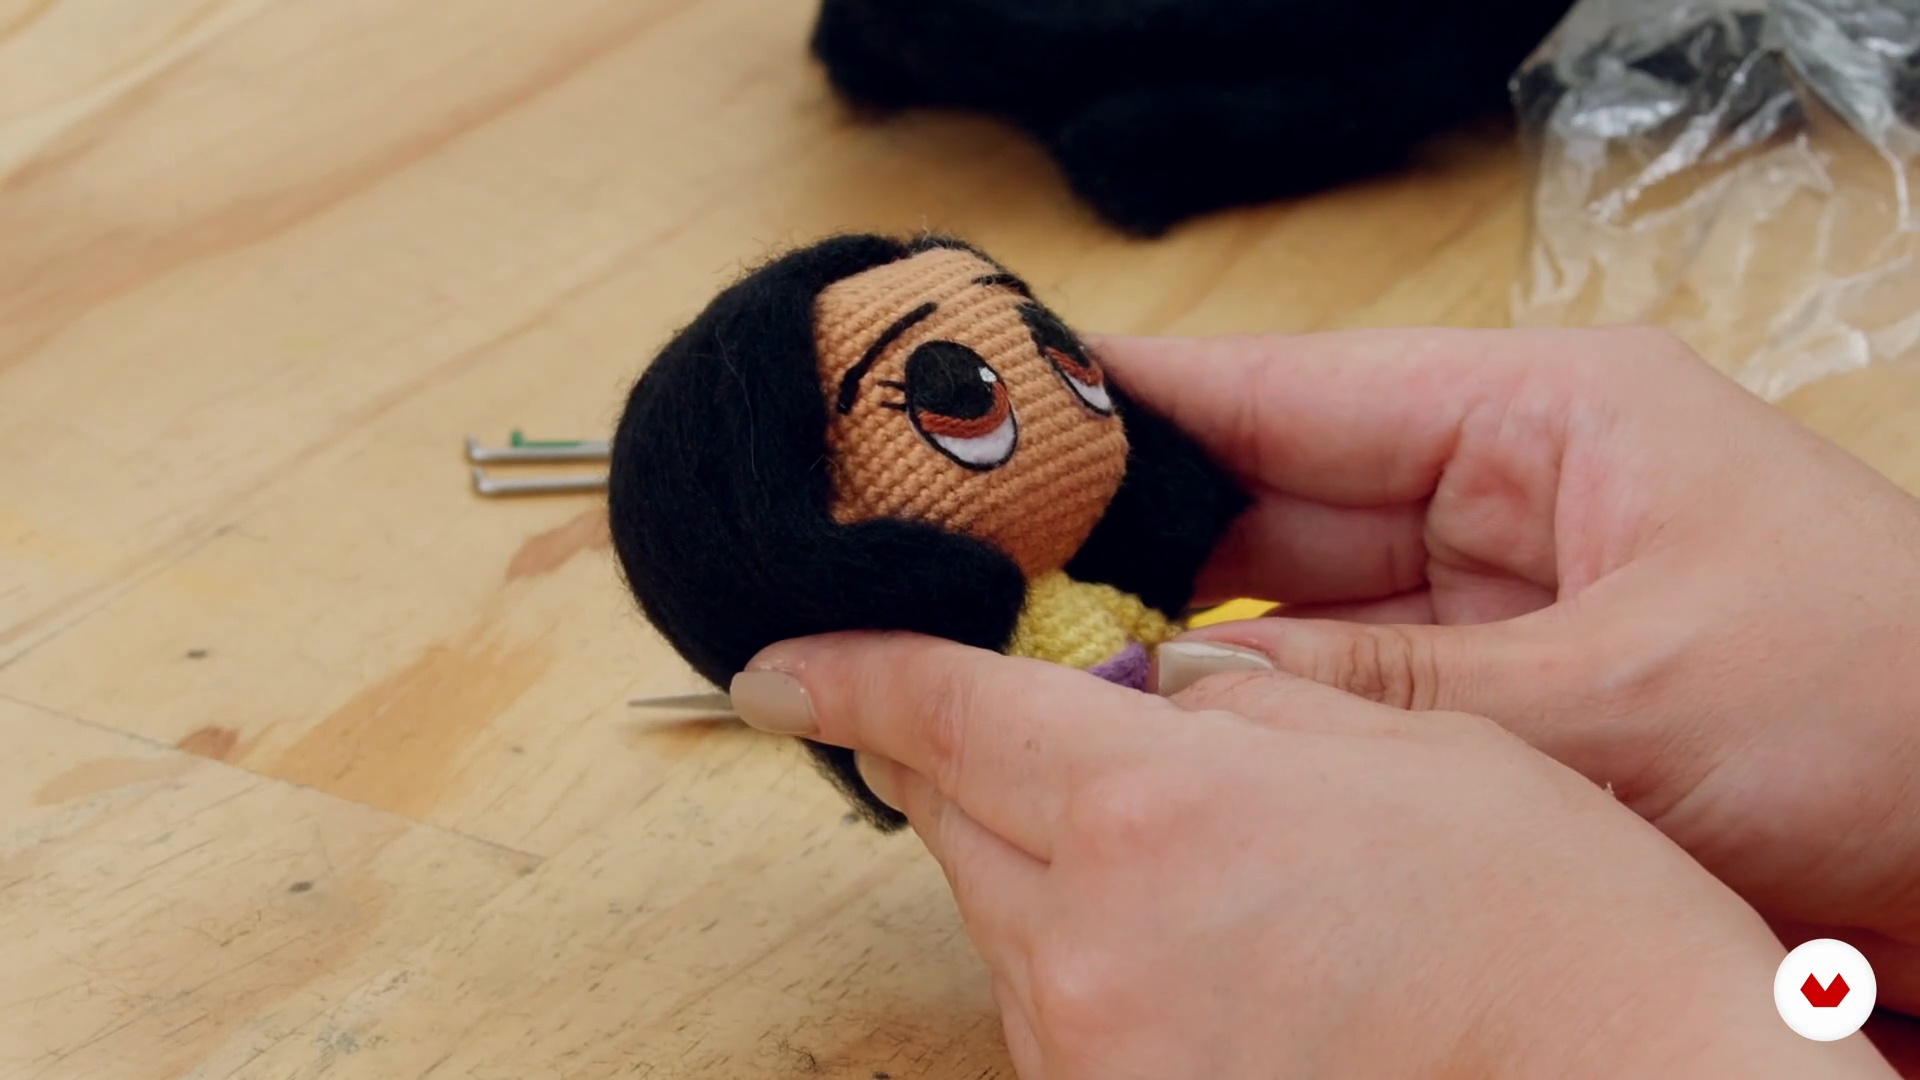
Applying the Fleece as Hair
Now you'll learn the easiest way to apply fleece as hair to your project. I'll also give you some examples of other fleece and woven hair styles, the patterns for which are available in the additional resources.
7m
image
18
Other Hairstyles in Fleece
Now that you know how to apply fleece easily, I'll show you some other fleece hairstyles. You'll realize how versatile this material is and how easy it is to use.
15m
image
19
Accessories
You can complement your project with accessories. I'll show you my favorite accessories here. Some are woven, while others come with wire.
4m
  • 70 students
  • 111 lessons (21h 37m)
  • 124 additional resources (51 files)
  • Online and at your own pace
  • Audio: Spanish, English
  • Spanish · English · Portuguese · German · French · Italian · Polish · Dutch
  • Level: Beginner
  • Unlimited access forever

What is this course's project?

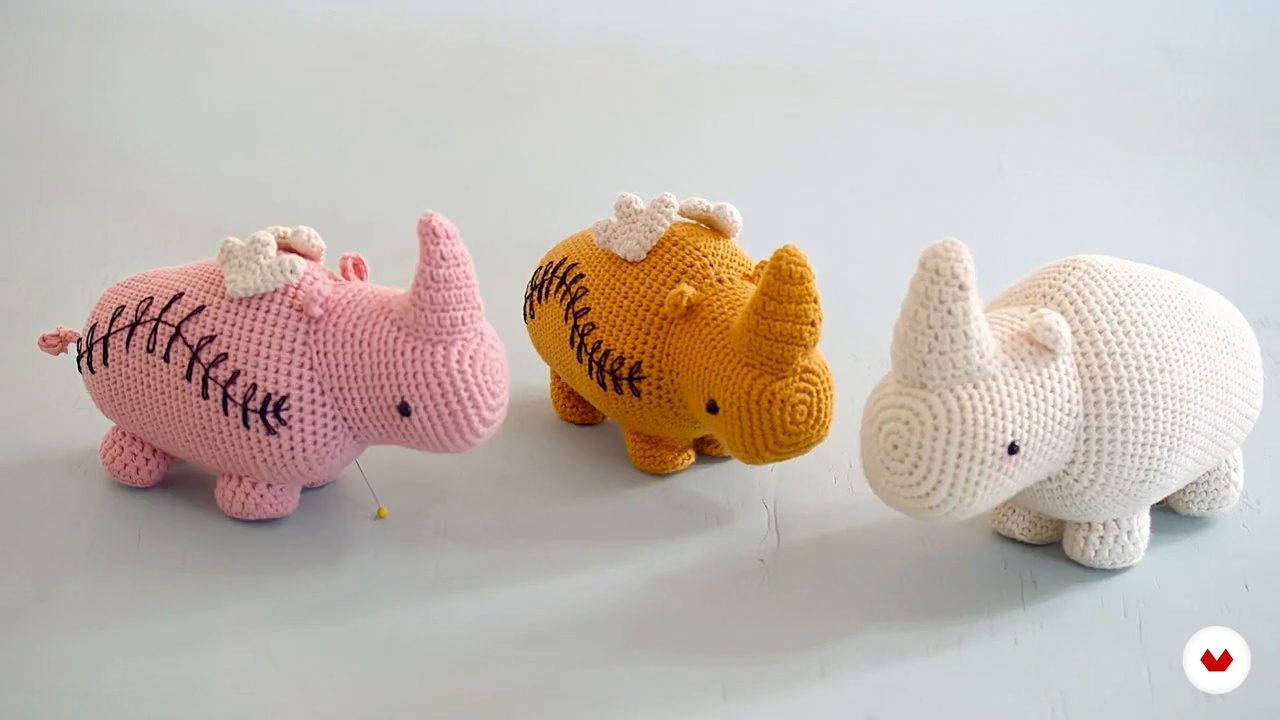
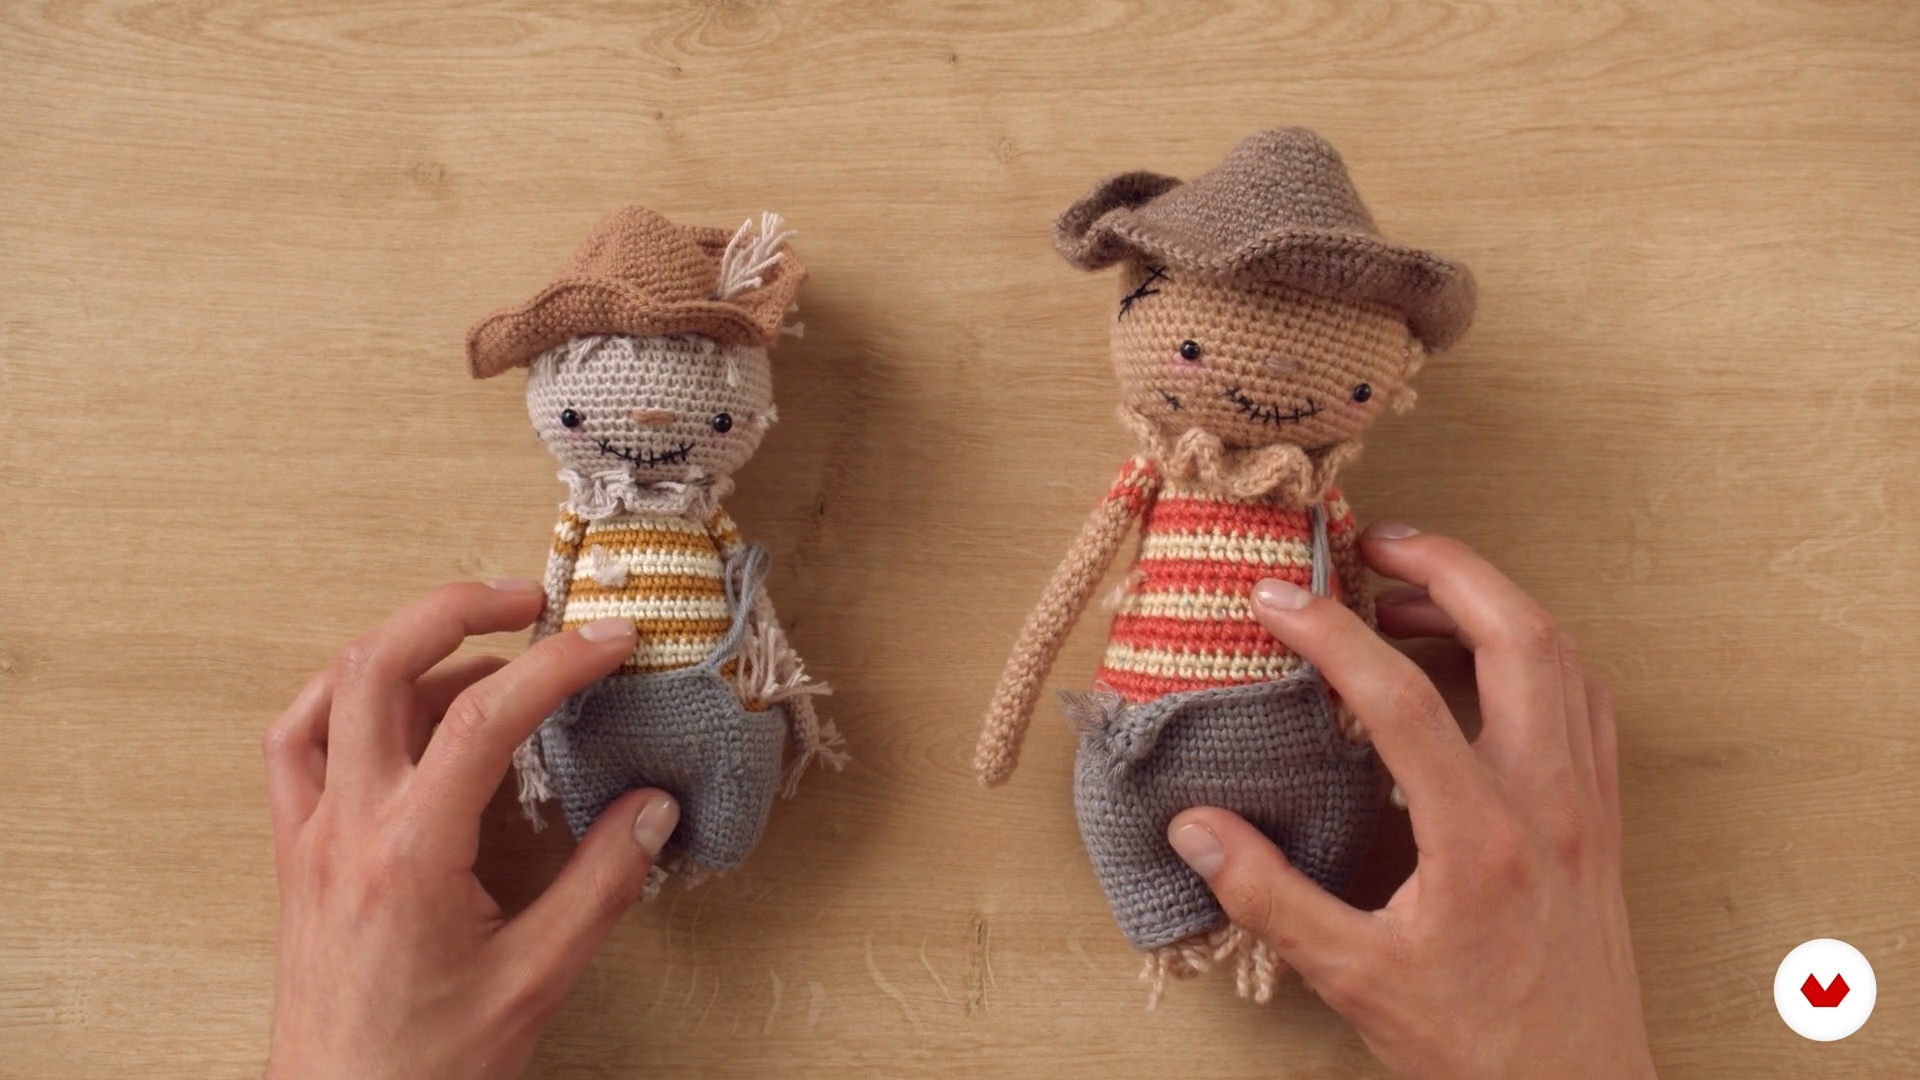
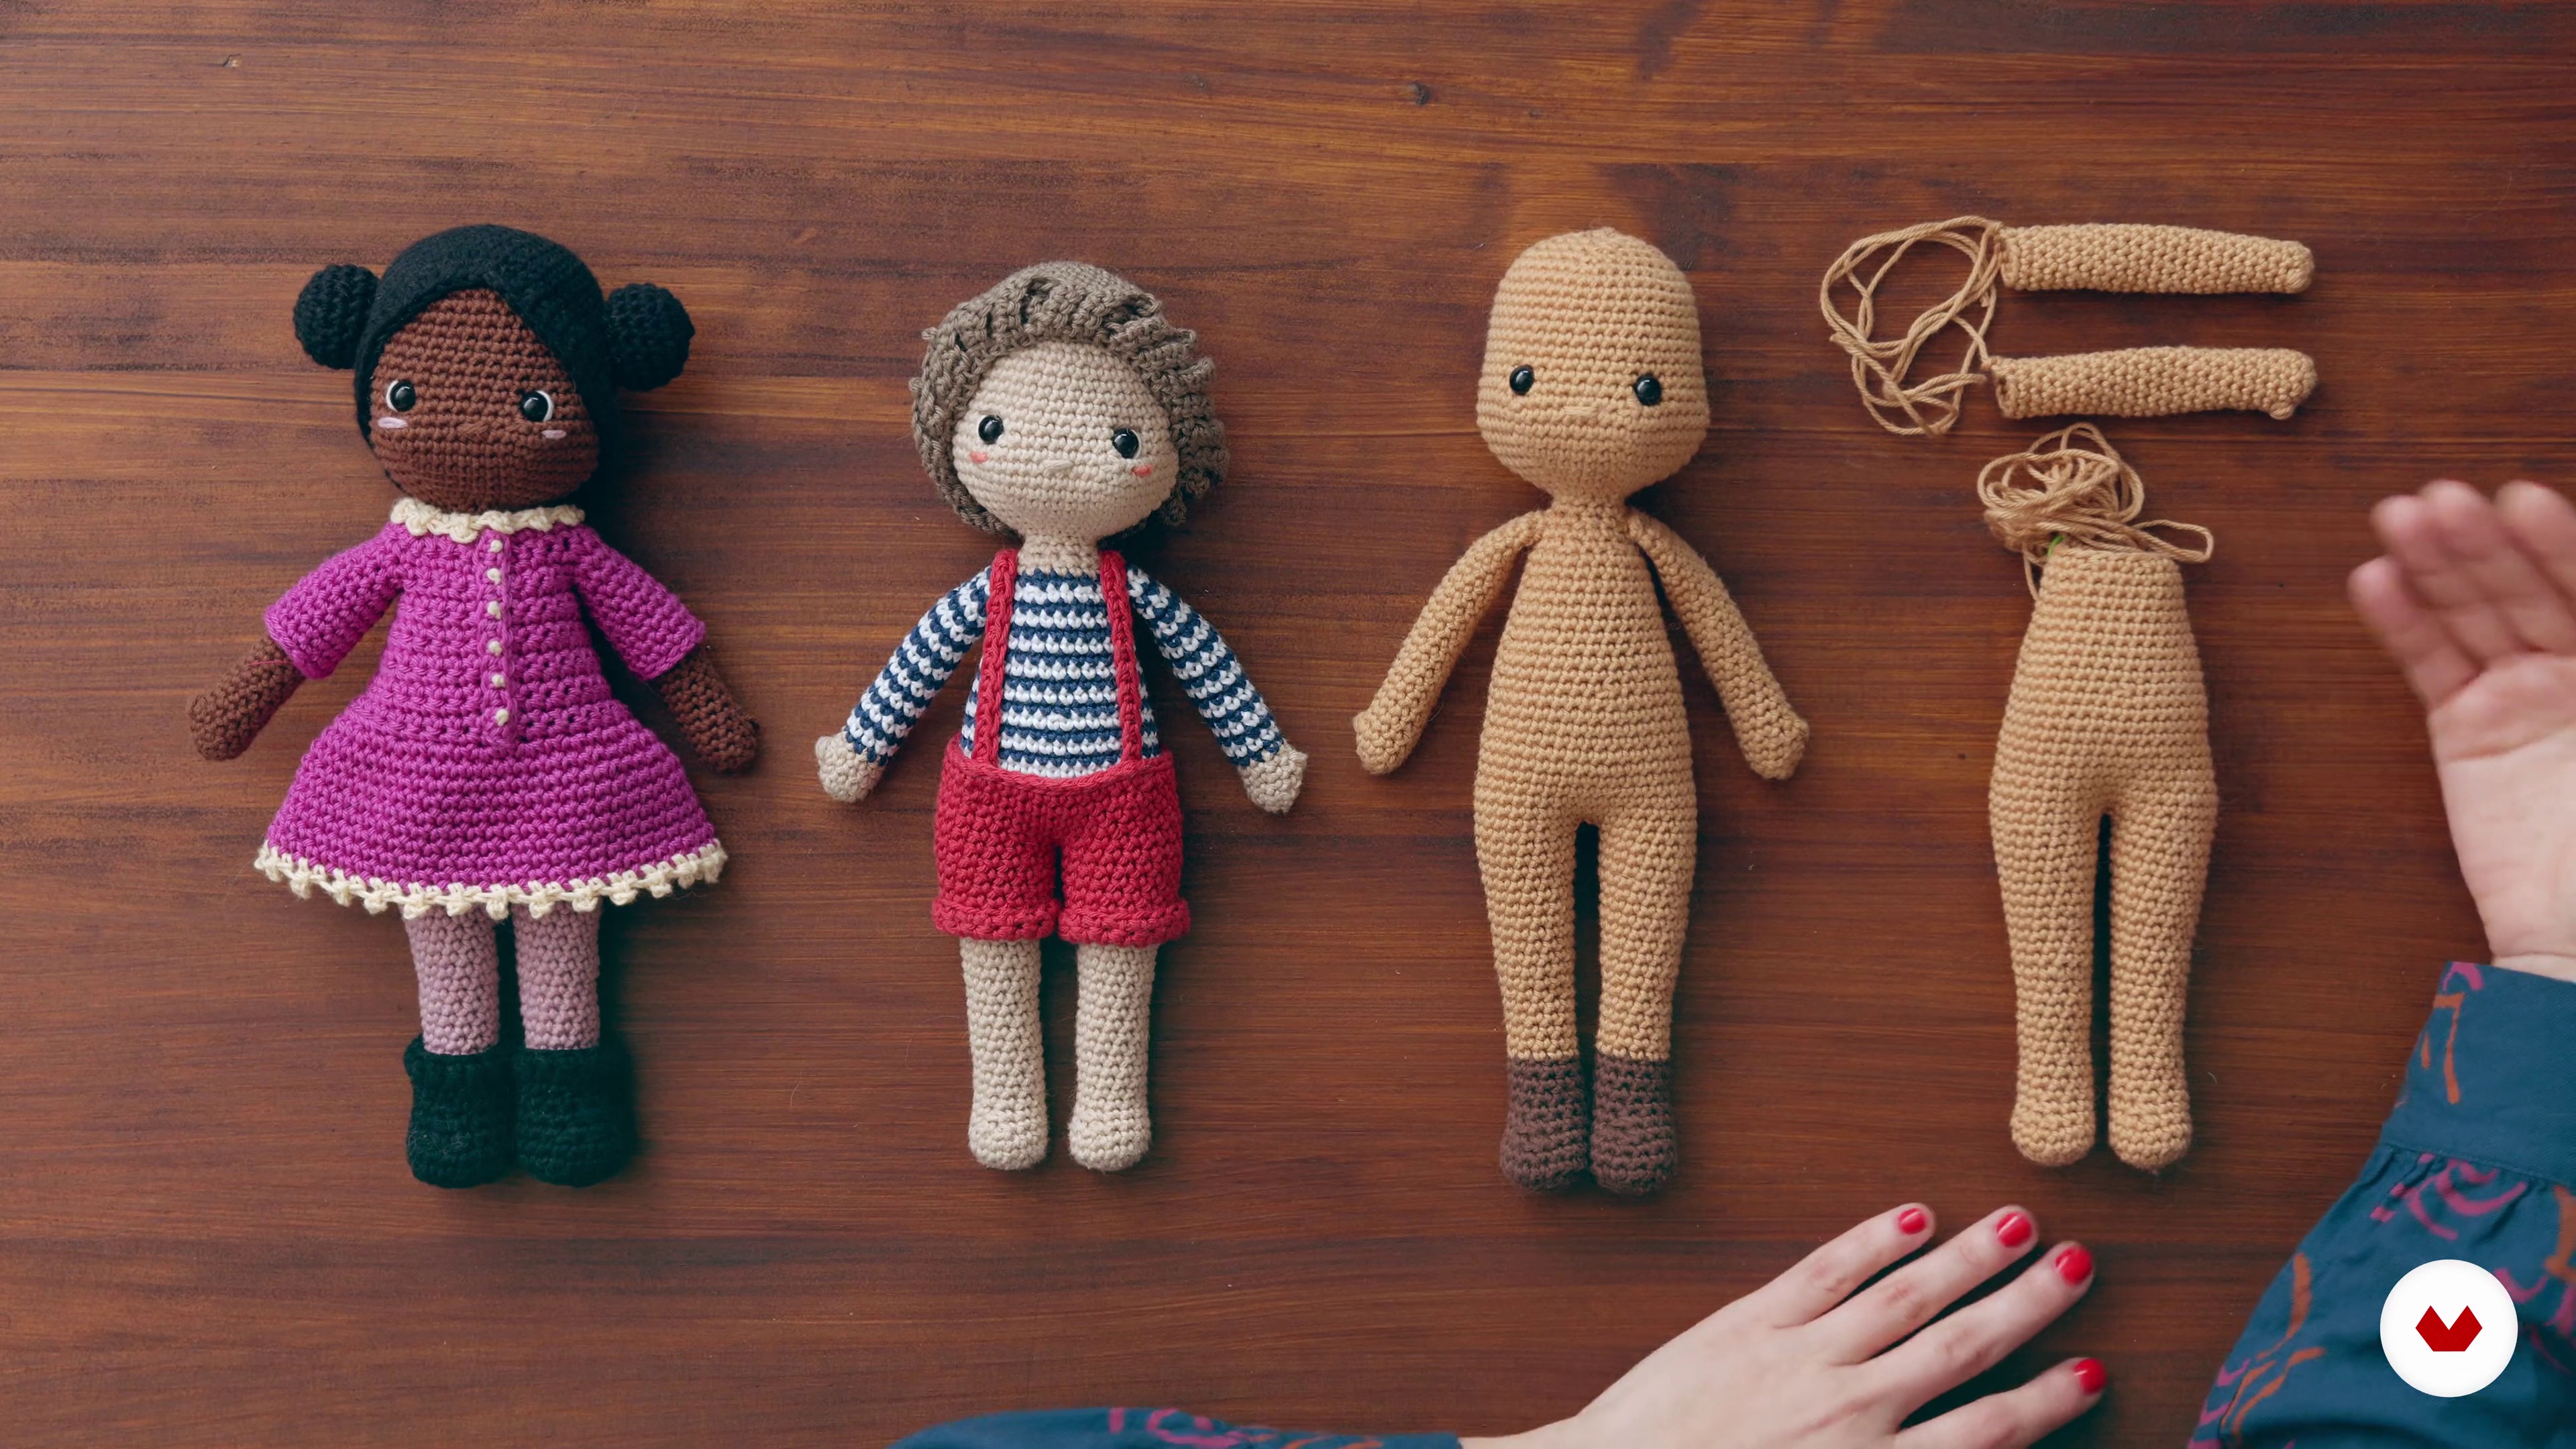
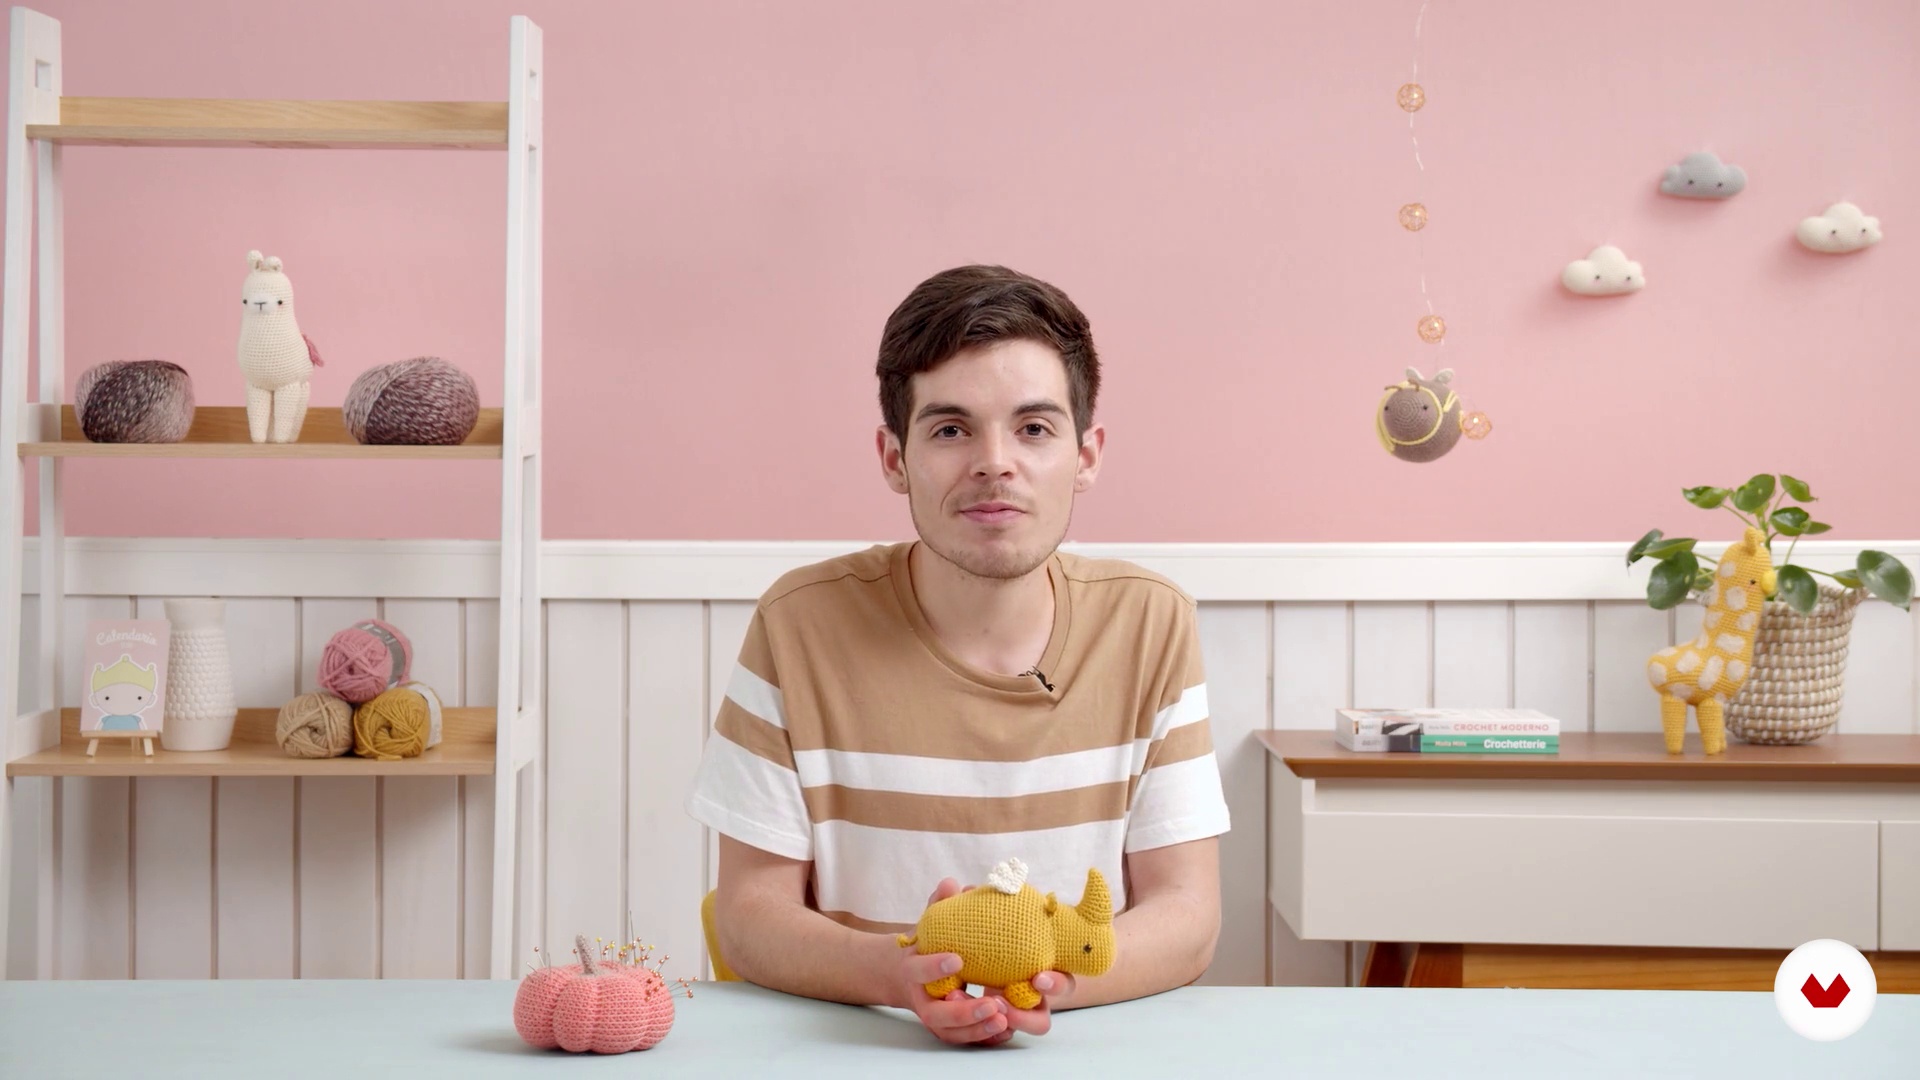
You will create an amigurumi of a winged rhinoceros, combining knitted shapes to bring a unique character to life. You will learn to knit and customize your own amigurumi, applying crochet techniques to design a unique and creative character. You will design a complete set of clothing, hair, and accessories for an amigurumi, enriching its personality. You will crochet a human amigurumi that represents a specific person, capturing unique details. You will create a 2D character using a flat knitting technique, exploring new creative possibilities. You will develop a romantic amigurumi, incorporating delicate details that reflect this theme.

Who is this specialization for?

This course is designed for crochet enthusiasts, creatives who want to explore amigurumi, and those looking to personalize their creations. Ideal for beginners and hobbyists who want to expand their skills in design, customization, and advanced knitting techniques.

Requirements and materials

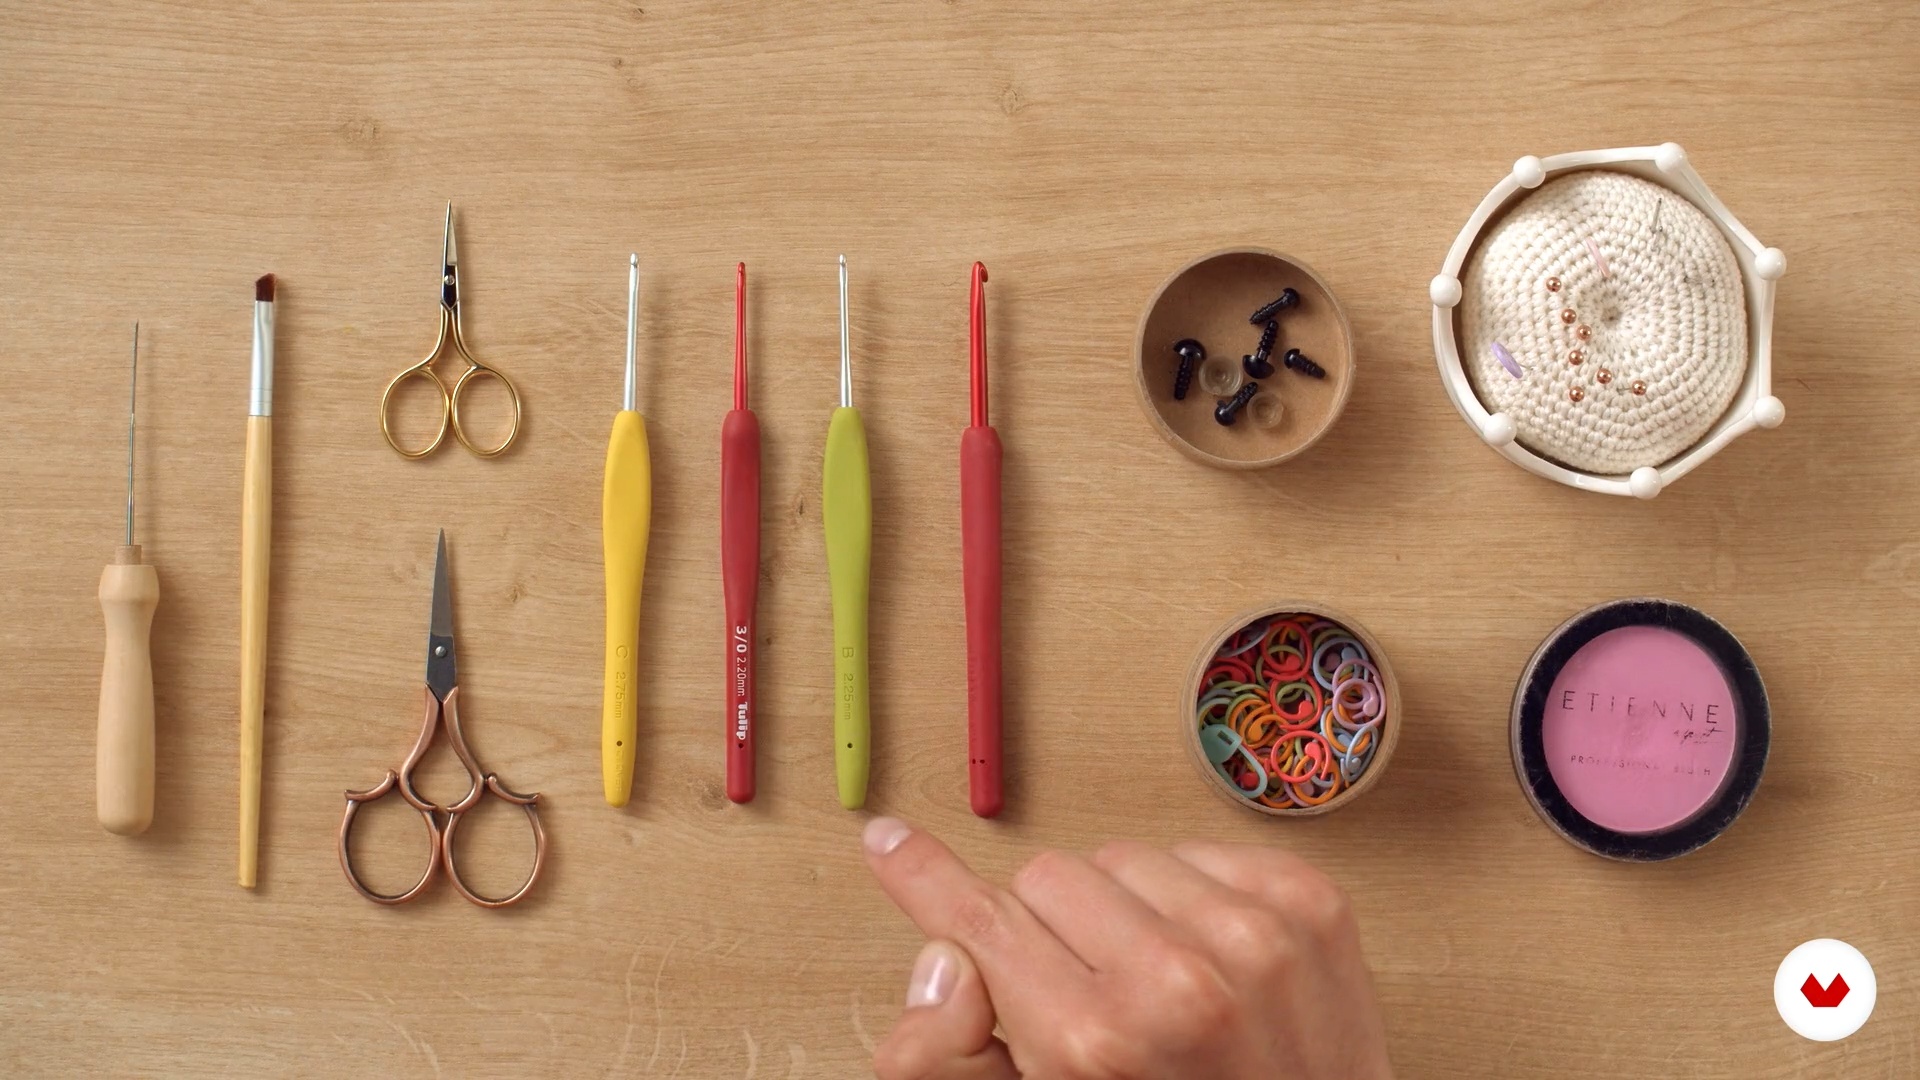
No extensive prior knowledge is required, but you should know how to chain and make basic crochet stitches. You'll need yarn in different colors, a crochet hook, scissors, and a wool needle. Optionally, stuffing to shape the amigurumis.

Select to get to know your teachers in this specialization course
Read more ↓

What to expect from this specialization course

  • Learn at your own pace

    Enjoy learning from home without a set schedule and with an easy-to-follow method. You set your own pace.

  • Learn from the best professionals

    Learn valuable methods and techniques explained by top experts in the creative sector.

  • Meet expert teachers

    Each expert teaches what they do best, with clear guidelines, true passion, and professional insight in every lesson.

  • Certificates
    Plus

    If you're a Plus member, get a custom certificate for every specialization course. Share it on your portfolio, social media, or wherever you like.

  • Get front-row seats

    Videos of the highest quality, so you don't miss a single detail. With unlimited access, you can watch them as many times as you need to perfect your technique.

  • Share knowledge and ideas

    Ask questions, request feedback, or offer solutions. Share your learning experience with other students in the community who are as passionate about creativity as you are.

  • Connect with a global creative community

    The community is home to millions of people from around the world who are curious and passionate about exploring and expressing their creativity.

  • Watch professionally produced courses

    Domestika curates its teacher roster and produces every course in-house to ensure a high-quality online learning experience.


FAQs

Domestika's specialization courses are online classes that provide you with the tools and skills you need to complete a specific project. Every step of the project combines video lessons with complementary instructional material, so you can learn by doing. Domestika's specializations also allow you to share your own projects with other students, creating a dynamic course community.

All specialization courses are 100% online, so once they're published, specialization courses start and finish whenever you want. You set the pace of the class. You can go back to review what interests you most and skip what you already know, ask questions, answer questions, share your projects, and more.

The specialization courses are divided into different modules. Each one includes lessons, informational text, tasks, and practice exercises to help you carry out your project step by step, with additional complementary resources and downloads. You'll also have access to an exclusive forum where you can interact with other students, as well as share your work and your final project, creating a community around the specialization course.

You can redeem the specialization course you received by accessing the redeeming page and entering your gift code.

If you're a Plus member, when you complete a course you've purchased, you'll instantly get your personalized certificate. You can see all your certificates in the Certificates section of your profile. You can download your certificates as PDFs and share the link online. Learn more about certificates.
Specialization in Design and Creation of Crochet Amigurumis. Craft course by Domestika

Specialization in Design and Creation of Crochet Amigurumis

A specialization by multiple teachers
Specialization Course. Berkeley, United States.
Joined April 2002
  • 70 students