Photorealistic Product Rendering with KeyShot
A course by Nicolás RobertsonIndustrial Designer
A course by Nicolás Robertson, Industrial Designer

Learn to create realistic visuals of objects from scratch before they are manufactured
The design and shape of an object not only have they power to communicate–they also have the ability to solve everyday problems. Industrial designer Nicolás Robertson is a firm believer that 3D design is the key to improving the creation process by allowing clients to visualize products before manufacture.
Learn how to create photorealistic renders of any 3D object using KeyShot. By the end of this course, you'll know how to design objects from your imagination and give them a realistic look by applying light, other materials and retouching techniques.
What will you learn in this online course?
20 lessons & 17 downloads
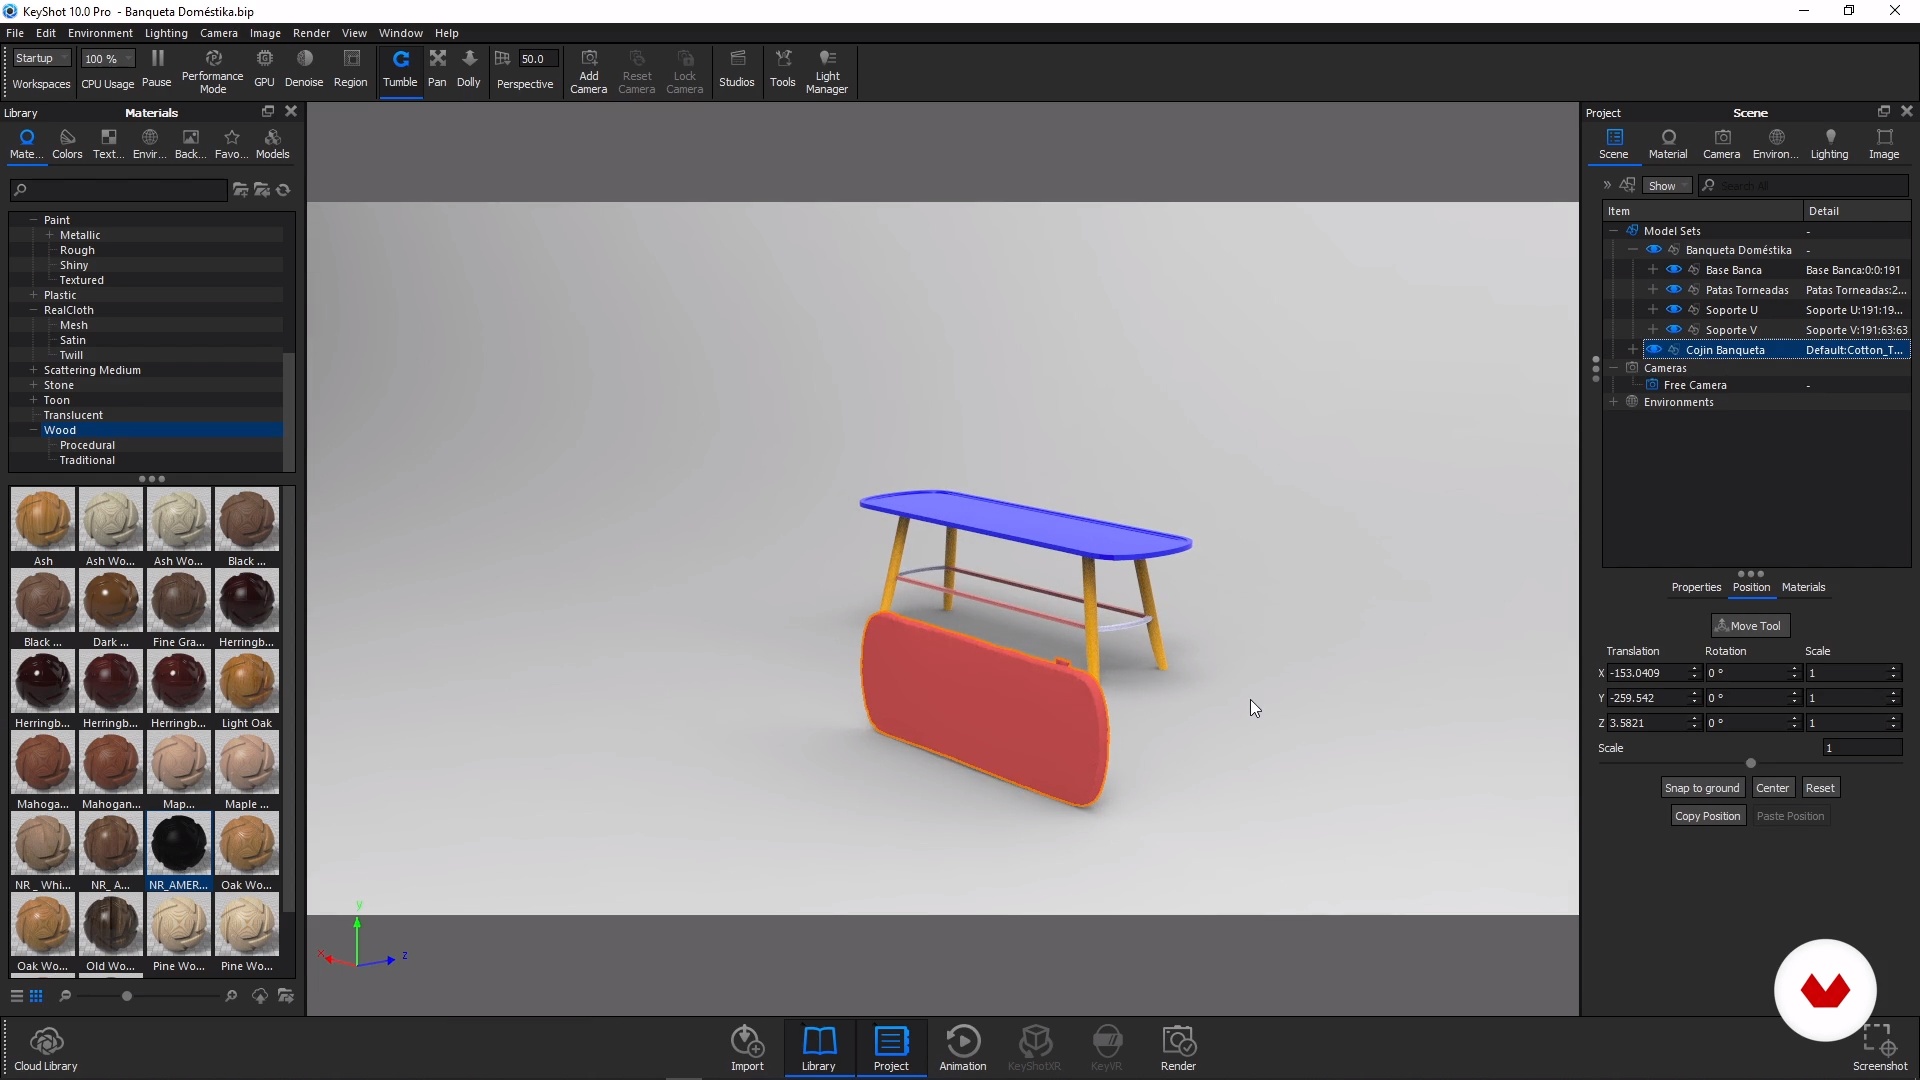
What Will We Do in The Course?
2 minutes, 8 seconds

Principles of Photorealism
16 minutes, 35 seconds
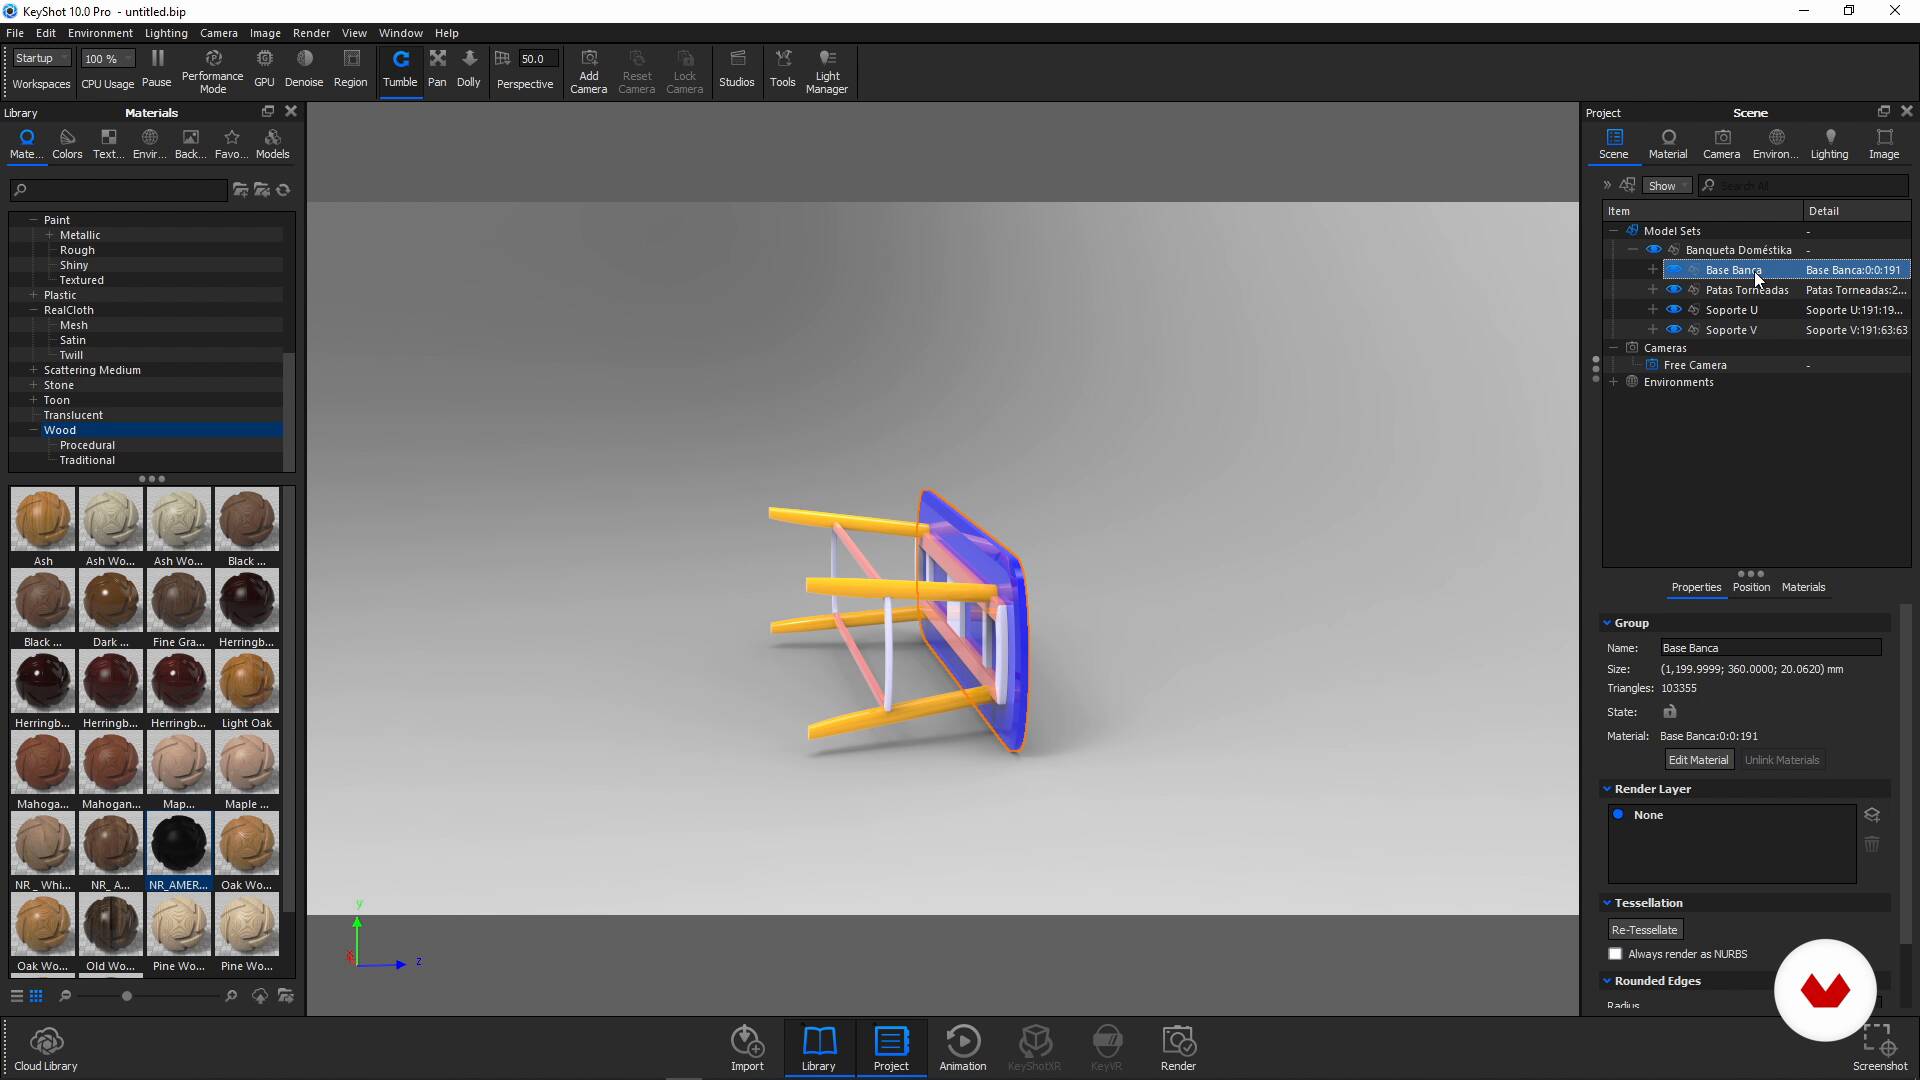
Finally in KeyShot!
19 minutes, 25 seconds
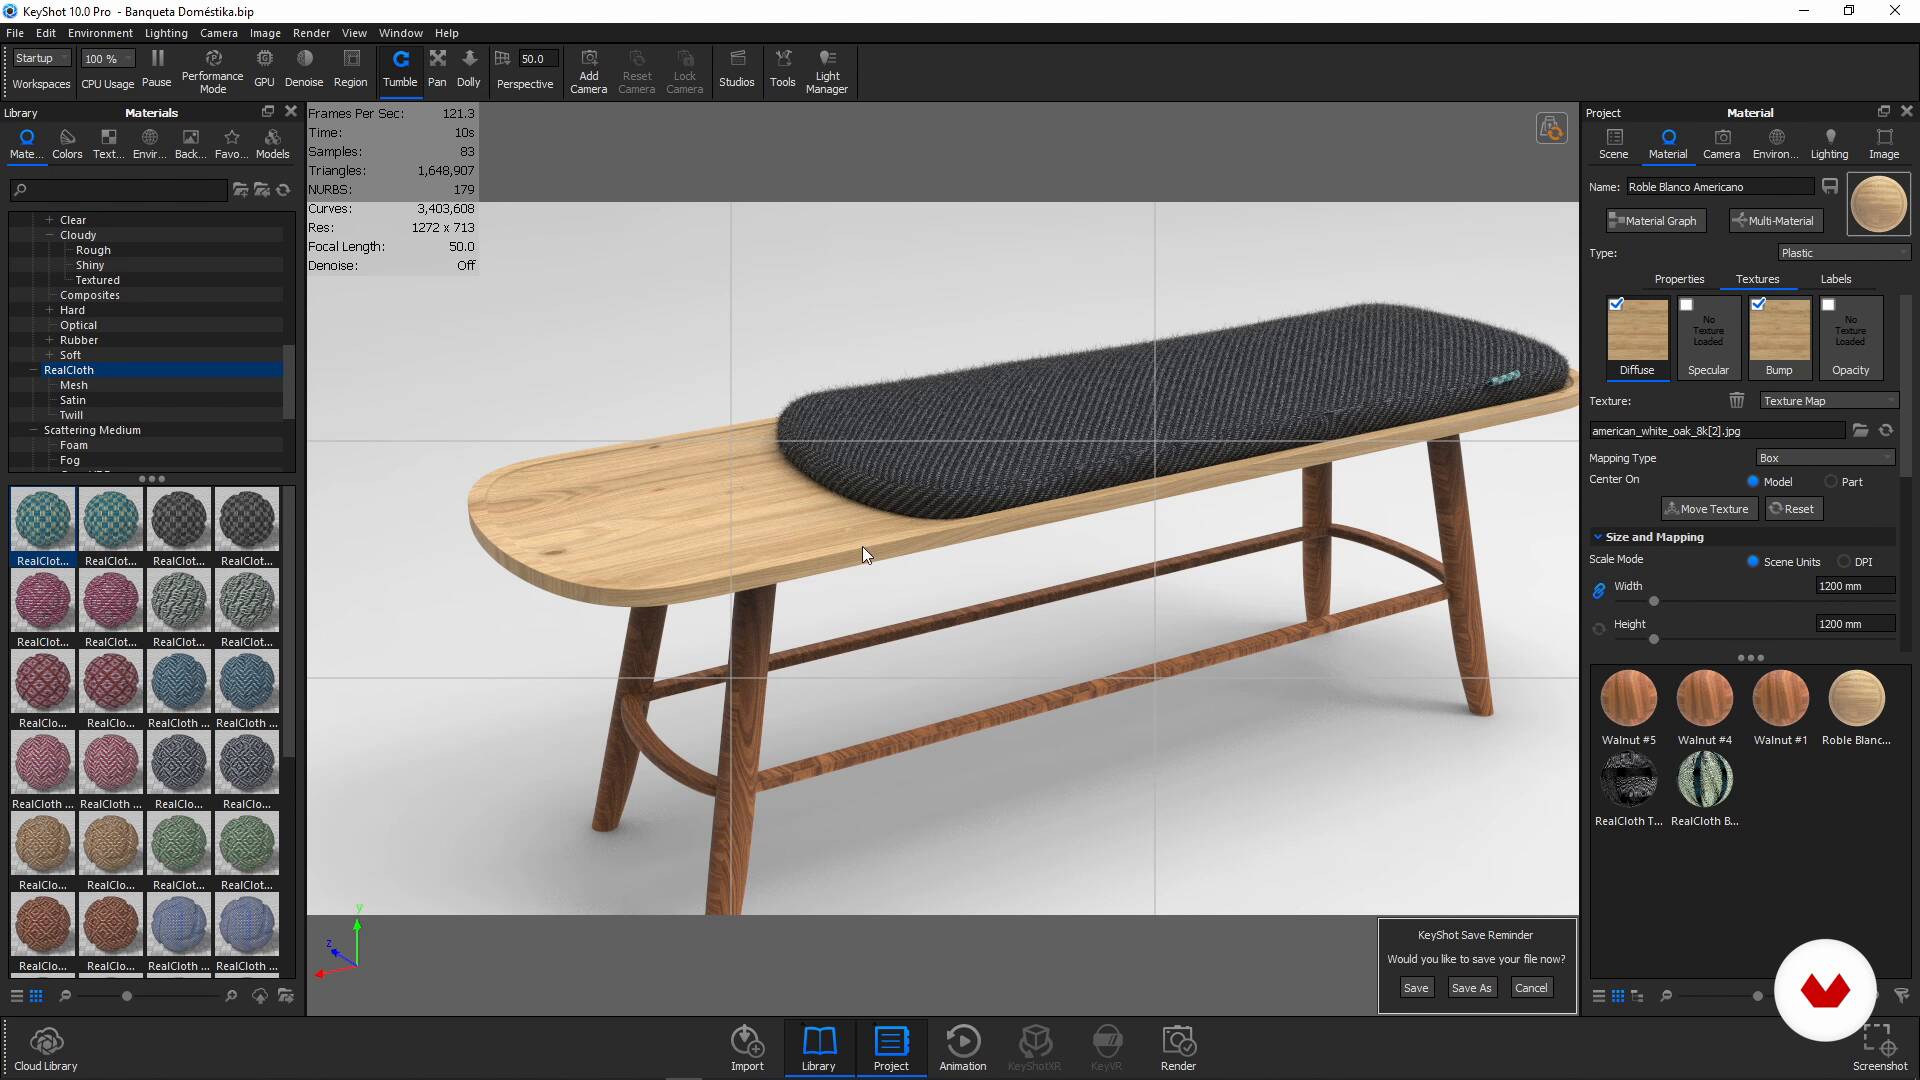
Material Assignment 1
14 minutes, 17 seconds

Basic Lighting
16 minutes, 2 seconds
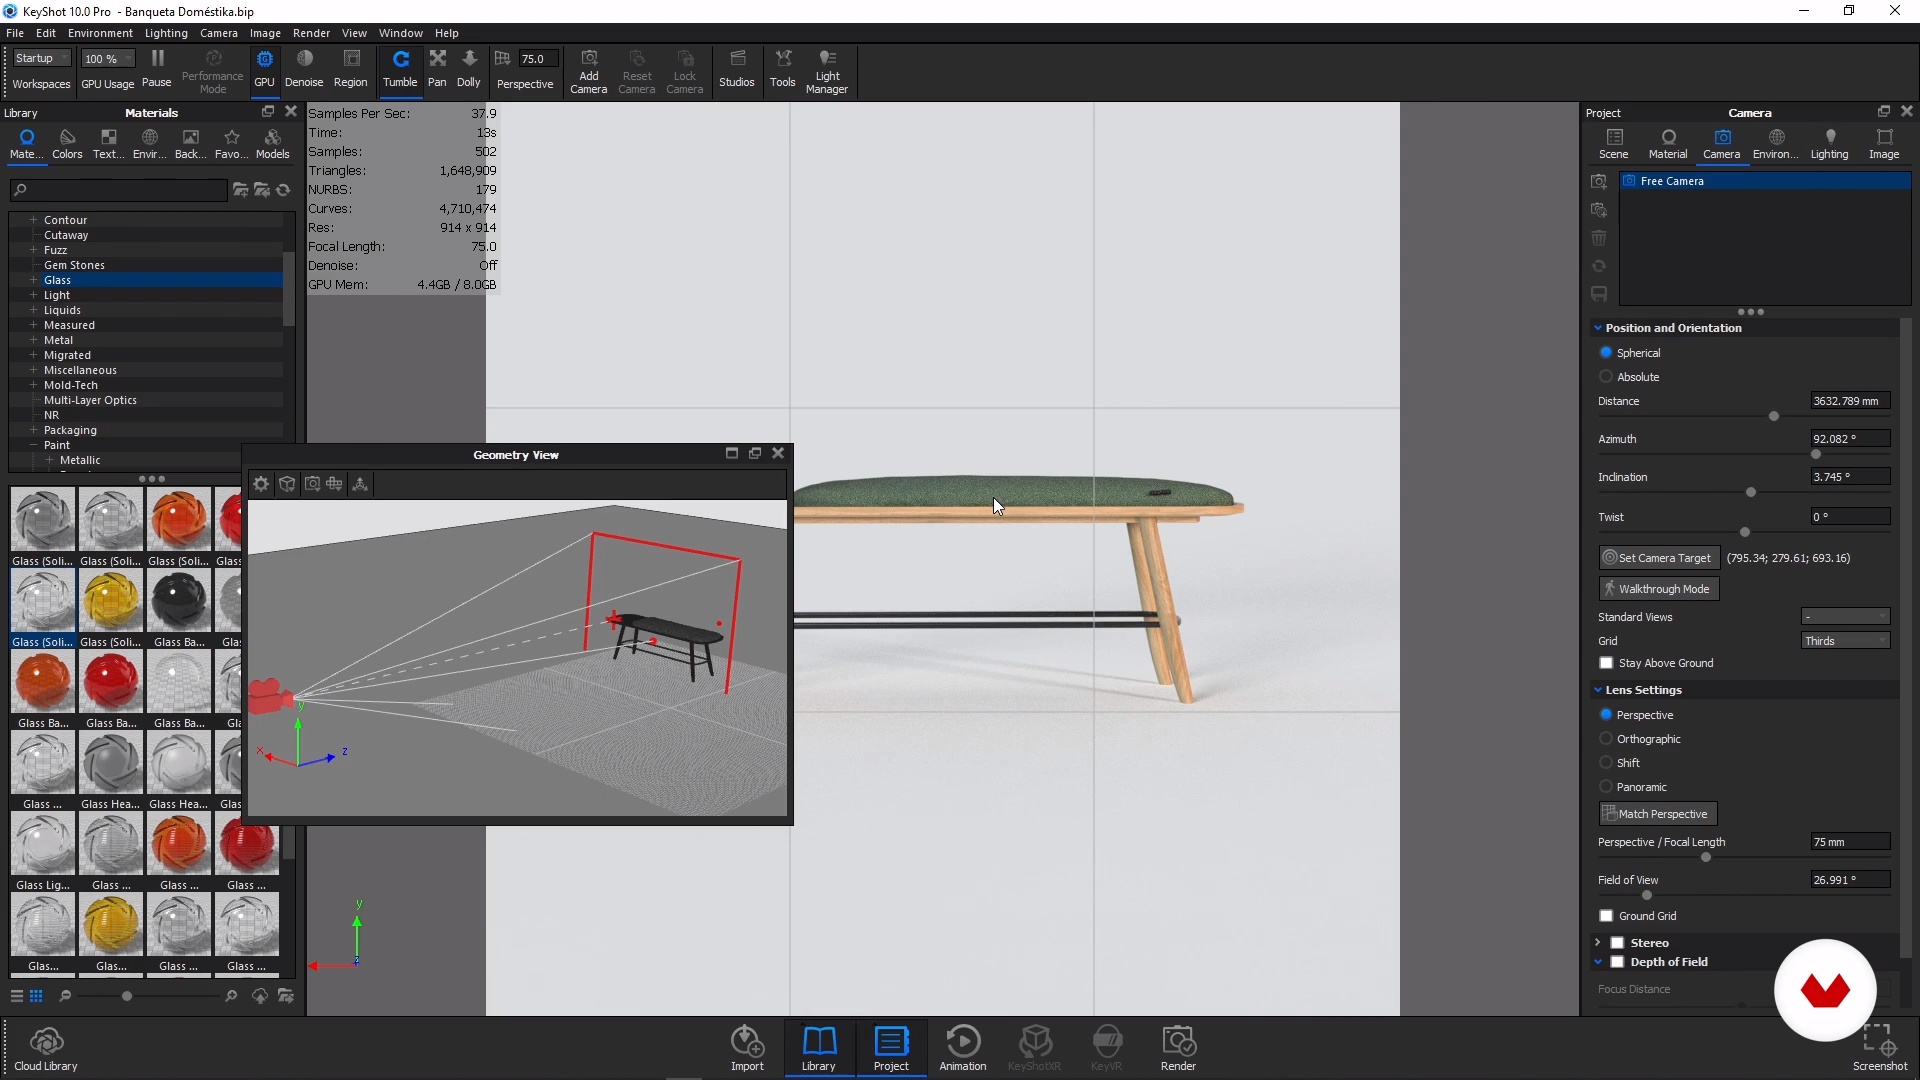
Cameras
11 minutes, 35 seconds
What's included in this course?
Begin the course by getting to know your teacher, Nicolás Robertson. He tells you a bit about himself, what he does, and why he believes that 3D visualization is essential for design and architecture. He also shares some of his biggest influences and gives you an overview of the final project.
Review the key concepts of photorealism and see a few examples of simple studio lighting systems. Go over the basic principles of different types of materials and compile reference images for your furniture mood board.
Now it's time to get to work in KeyShot. Start by importing your model and then get familiar with the program by exploring the interface and its main features. Learn how to assign materials to objects, add lighting to your scene, and create a set of cameras. Nicolás explains how each of these elements affects the look and composition of your image. Finally, adjust the settings of your file and prepare it for rending.
Now that you've covered the basics, explore different ways to make your scene more realistic, from adding new elements, like walls or objects, to advanced lighting and material techniques. Then, learn how to optimize the rendering process
Wrap up the course by adding the final touches on your project. Much like how professional photographers edit their photos to give them a signature style, 3D artists can enhance their work in post-production. Nicolás shows you a series of tricks in both KeyShot and Photoshop to polish your work and give it a professional look.
Recommended software & tools for this course
What is this course's project?
Create a render of a piece of furniture from scratch and give it a photorealistic look by applying light, other materials, and retouching techniques.
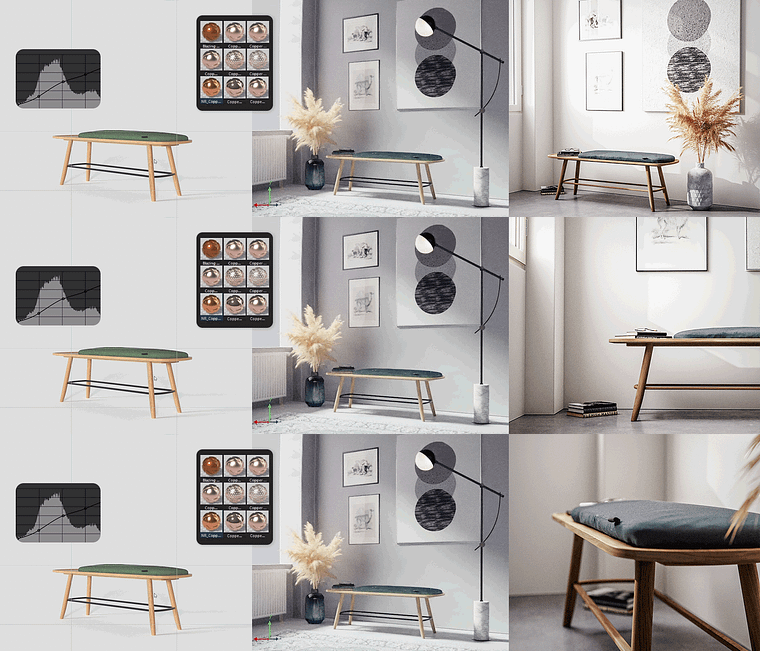
Projects by course students

Who is this online course for?
Designers, architects, engineers, and anyone interested in bringing their ideas to life and creating realistic visualizations of products, furniture, and other related objects.
Requirements and materials
This course is designed for beginners, but some basic knowledge of 3D is helpful.
The only materials needed for this course are a mid-range to high-end computer with KeyShot and Photoshop.
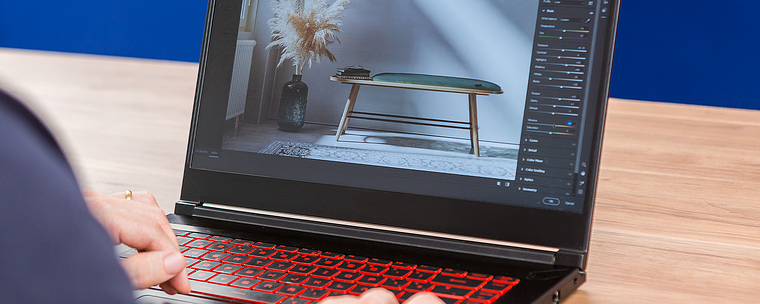
Reviews
- 5 months ago
Perfect para aprender Keyshot
- 5 months ago
Genial!
- 6 months ago
I would like to express my sincere appreciation for this course. It was extremely well-structured, engaging, and informative. The content was clear and comprehensive, and the topics were presented in a logical and easy-to-follow way.
- 7 months ago
muy claro :)
- 1 year ago
excelente!!!!

Thanks to many years of experience in the industry, Nicolás has earned international recognition and has worked with major companies and organizations including The World Bank, Rotary Systems, Lendlease Australia, and Belkin.
Content
- U1
Introduction
- Presentation
- Influences
- What Will We Do in The Course?
- U2
Preparations and Technical Terms
- Principles of Photorealism
- Pbr Materials and Hdri Lighting
- Search for Inspiration and Mood Board
- U3
Let's Do It!
- Finally in KeyShot!
- Material Assignment 1
- Material Assignment 2
- Basic Lighting
- Cameras
- Rendering
- U4
Dressing the Scene
- Adding Context 1
- Adding Context 2
- Advanced Lighting
- Physical Lighting
- Advanced Material Creation
- Render Process Optimization
- U5
The Final Details
- Postproduction in KeyShot
- Postproduction in Photoshop
- FP
Final project
- Photorealistic Product Rendering with KeyShot
What to expect from a Domestika course
Learn at your own pace
Enjoy learning from home without a set schedule and with an easy-to-follow method. You set your own pace.
Learn from the best professionals
Learn valuable methods and techniques explained by top experts in the creative sector.
Meet expert teachers
Each expert teaches what they do best, with clear guidelines, true passion, and professional insight in every lesson.
Certificates
PLUSIf you're a Plus member, get a custom certificate signed by your teacher for every course. Share it on your portfolio, social media, or wherever you like.
Get front-row seats
Videos of the highest quality, so you don't miss a single detail. With unlimited access, you can watch them as many times as you need to perfect your technique.
Share knowledge and ideas
Ask questions, request feedback, or offer solutions. Share your learning experience with other students in the community who are as passionate about creativity as you are.
Connect with a global creative community
The community is home to millions of people from around the world who are curious and passionate about exploring and expressing their creativity.
Watch professionally produced courses
Domestika curates its teacher roster and produces every course in-house to ensure a high-quality online learning experience.
FAQs
You’ll learn to design products and furniture using sketching, 3D modeling, selecting sustainable materials, visual composition, and photorealistic rendering, plus how to create mood boards and work with KeyShot and Photoshop.
This course is aimed at people with basic design or 3D modeling knowledge—perfect for intermediate learners looking to refine visualization, materials, and photorealistic rendering skills.
It’s recommended to have basic industrial design knowledge and familiarity with 3D modeling software. Prior experience with KeyShot or Photoshop isn’t required but will help you get more out of the course.
You’ll need access to 3D modeling software (like SketchUp or similar), KeyShot for rendering, and Photoshop for post-production. Having an internet connection is useful for downloading resources like HDRI maps and textures.
Yes, the course covers selecting sustainable materials, designing eco-friendly packaging, and strategies to reduce plastic use in product packaging.
You’ll learn to create 3D models with clean lines, soft colors, and smooth curves, following Scandinavian minimalism principles for elegant, functional designs.
The course covers HDRI lighting, studio lighting, photographic composition, virtual cameras, depth of field, and setups like three-point lighting to achieve ultra-realistic renders.