Lettering with Volume
A course by LobuloIllustrator / designer set in papercraft
A course by Lobulo, Illustrator / designer set in papercraft

Create 3D signs with paper letters
Get ready to see how your letterings stand out. In this course, the papercraft designer Lobulo will teach you to think of paper as a serious ally in your work. With it you will learn to create an impressive volume lettering without needing to be a papercraft expert, showing you all the materials and tricks you need to know. The result? Incredible typography in three dimensions that you can use in posters, shop windows and interior design, or that you can photograph to illustrate any professional project. No client can resist a good tangible lettering, word.
What will you learn in this online course?
15 lessons & 9 downloads
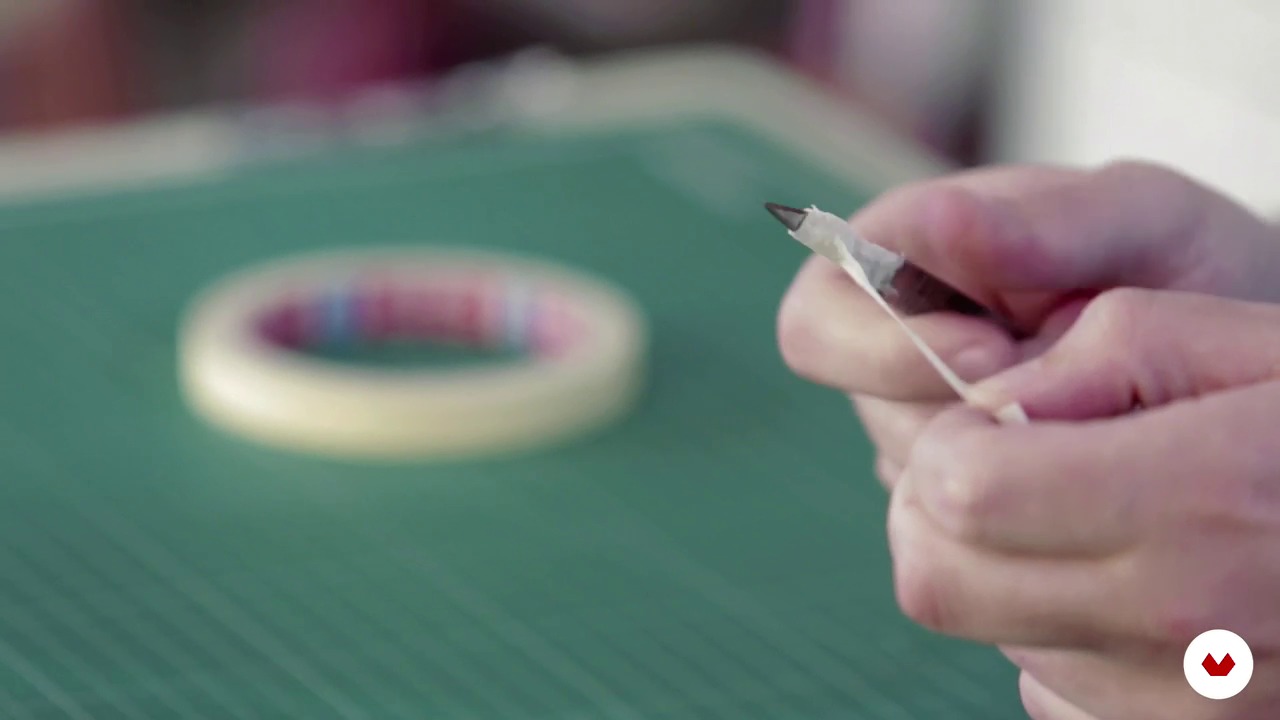
Materials and tools
10 minutes, 47 seconds
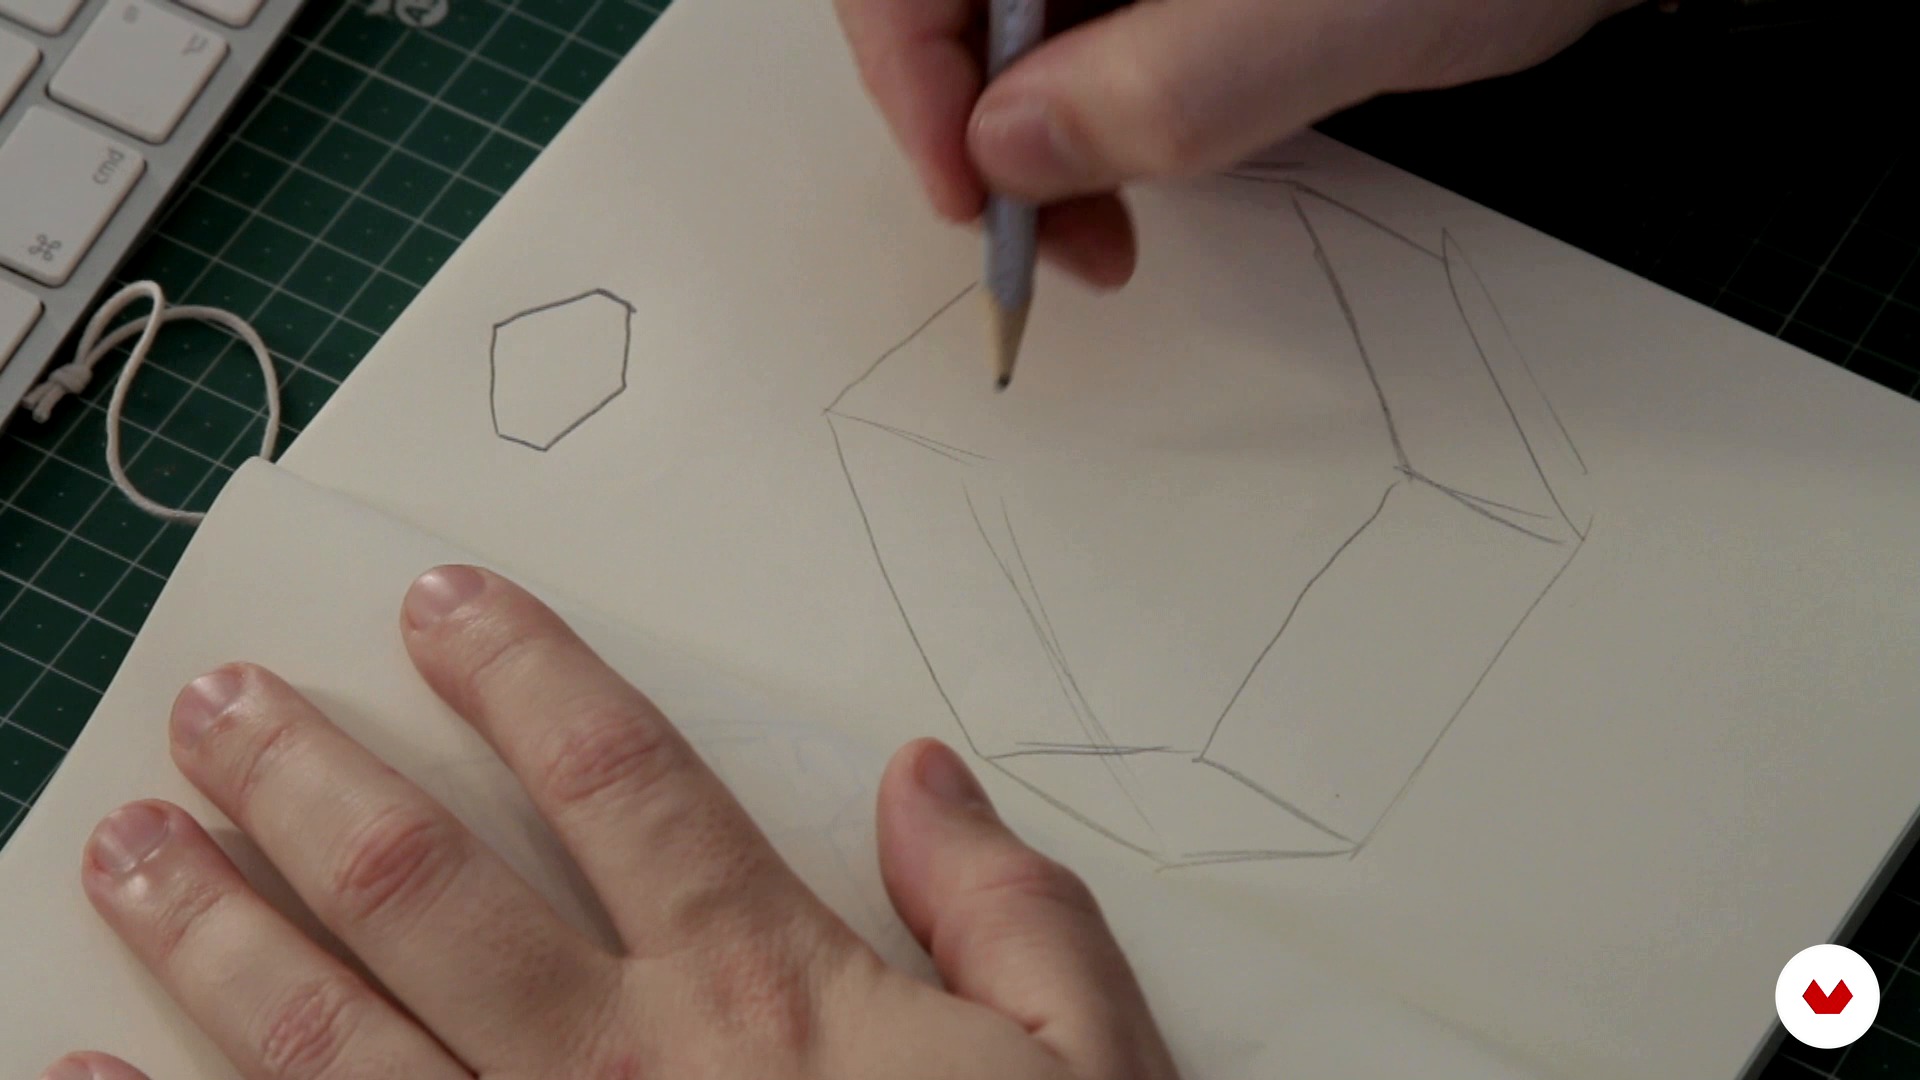
Throwing ideas
14 minutes, 37 seconds
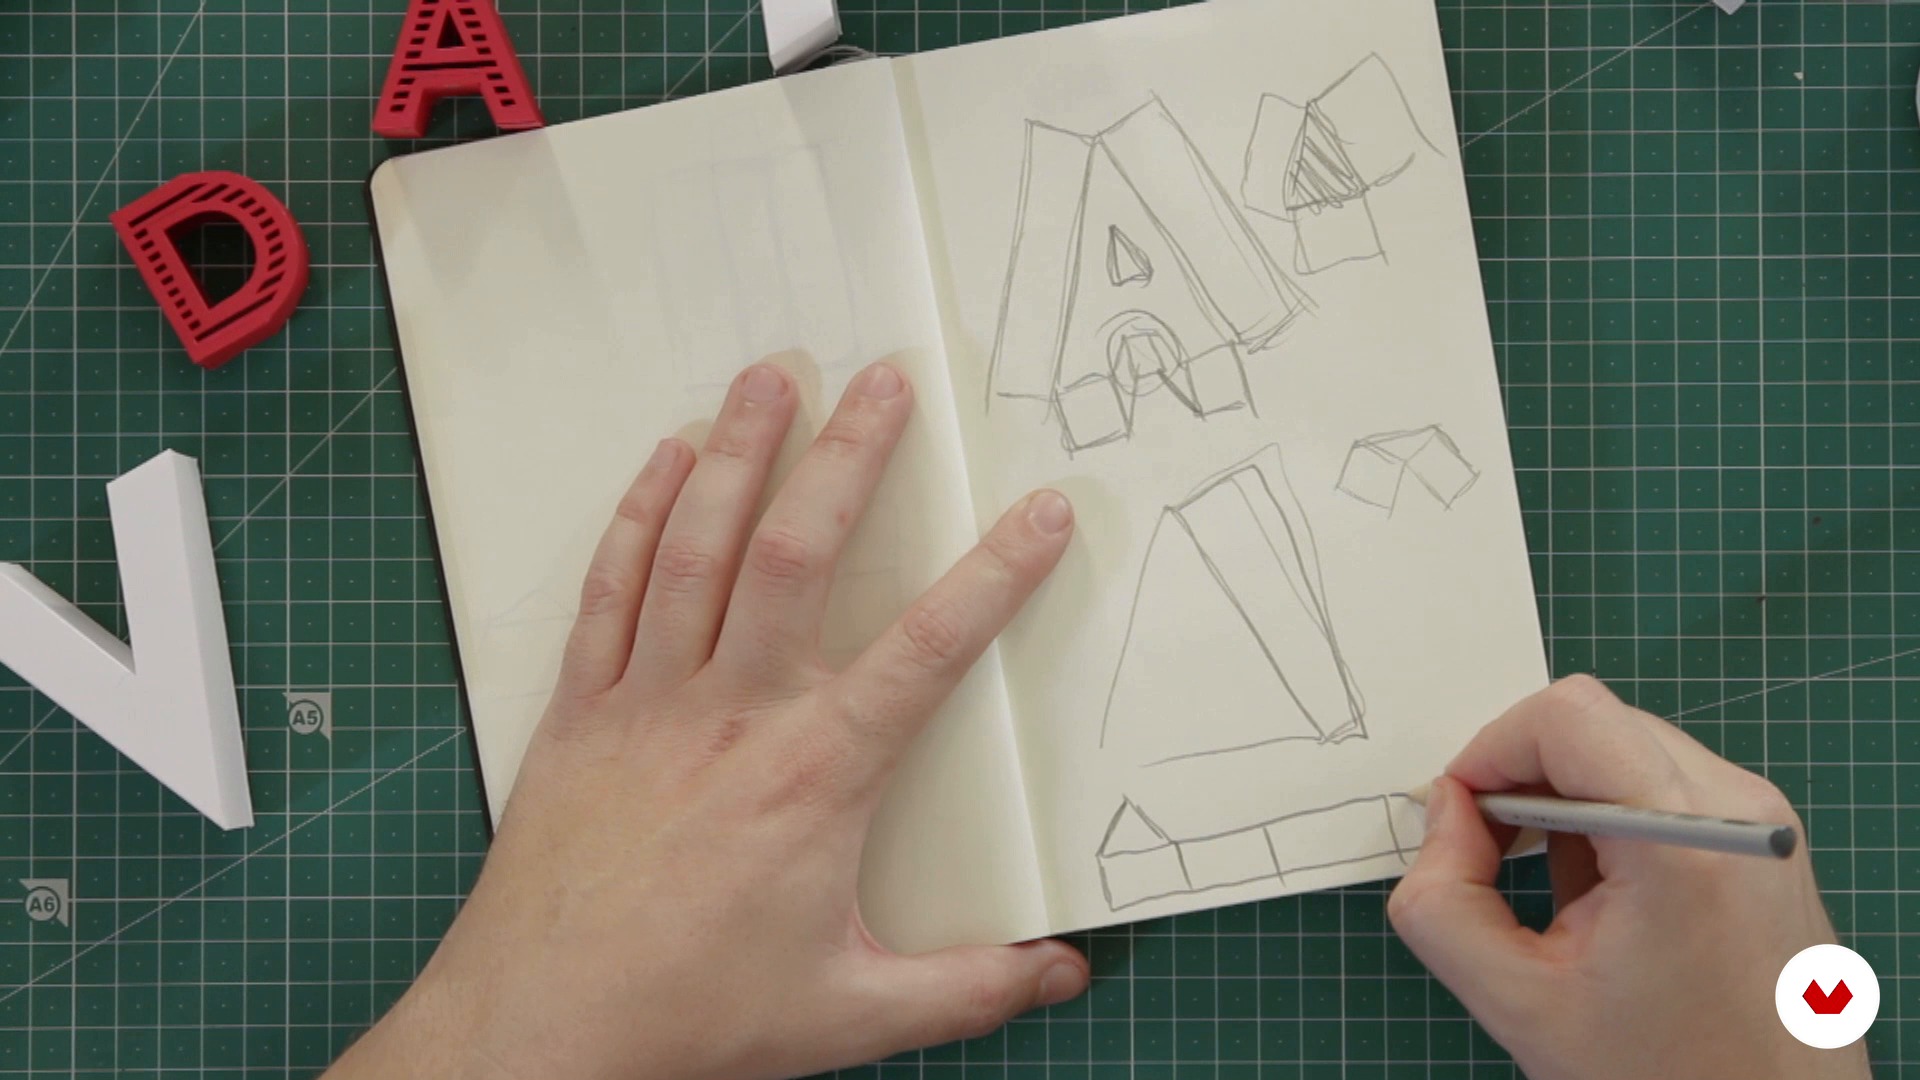
Final sketch on paper
9 minutes, 15 seconds
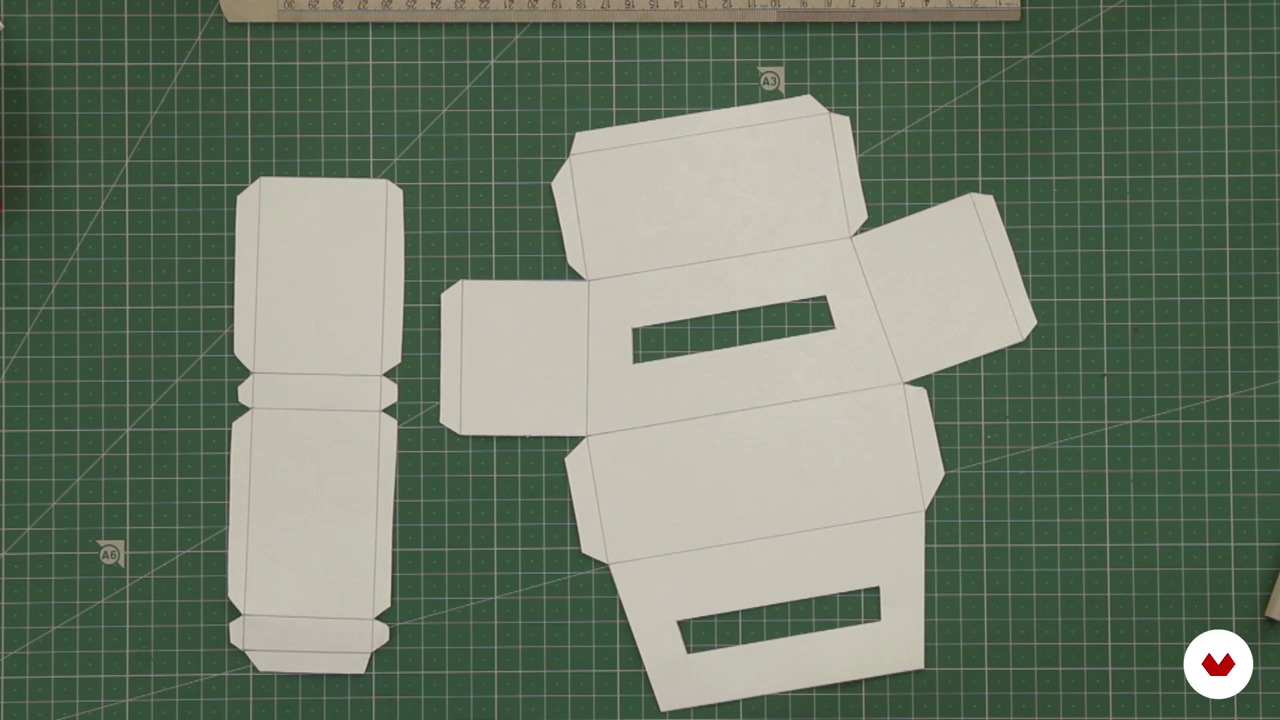
First mockups on paper
11 minutes, 39 seconds
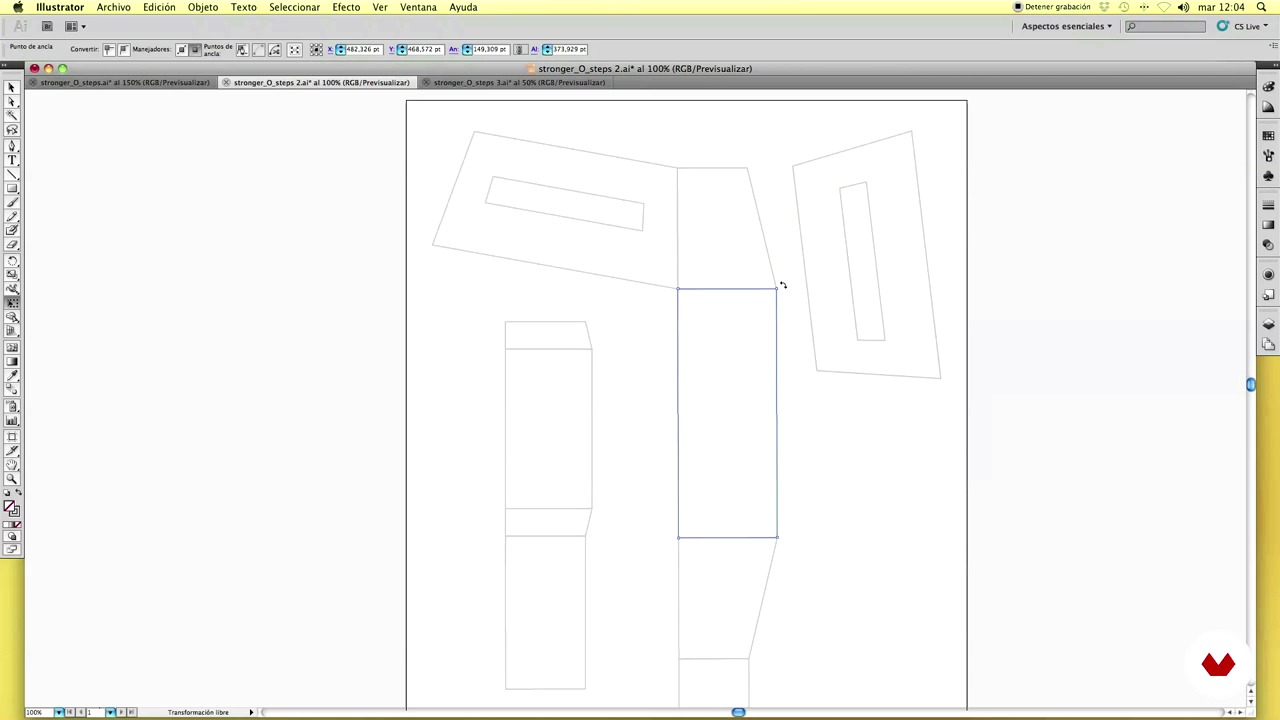
Correct and retouch
8 minutes, 37 seconds
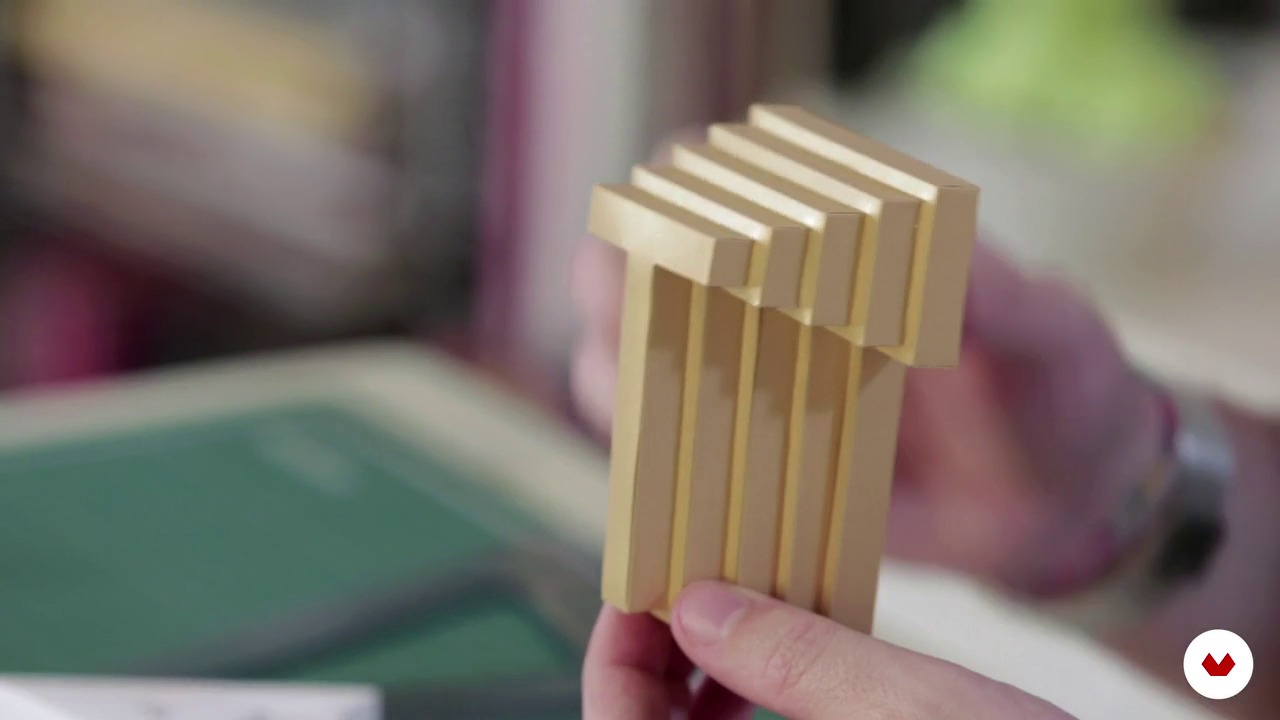
Letter options
7 minutes, 33 seconds
What's included in this course?
In this Lobulo course you will learn the basic techniques to transform a flat typography into something tangible and real that you can model to your liking.
After inspiring you with several references of papercraft, Lobulo will show you how to create mockups on paper, your first sketch of a three-dimensional letter. Next, you will scan the sample and learn how to touch it on the computer to obtain the pattern of a digital letter that can be printed as many times as you want. Once all the samples have been prepared, you will start assembling the set. Here you will learn techniques for folding and assembling molds without wrinkles or damage. And finally, the final photo, with some last tricks to maximize your work of lettering. Ready to impress!
WHAT IS THE FINAL PROJECT OF THE COURSE? The main idea of the course is to create a signage lettering as before but with methods and tools that we all have within reach, trying to spend more time outside the computer and learning to enjoy working with hands. Your plastic teacher would be proud of you.
Who is this online course for?
This course is aimed at all designers and illustrators wanting to put aside the computer and differentiate creating typographic structures with their hands. It is also focused on interior designers or window dressers who want to incorporate this type of letterings in their compositions.
Requirements and materials
You just need to want to change the chip in the way you present your work. It is not necessary that you are an expert in geometry or a great handyman, with desire to experiment and a bases of Photoshop you have more than enough.
Materials: You will need a scalpel, papers, rules, patience and leave the computer a little aside.
Reviews
- 9 months ago
me gusta mucho el curso
- 1 year ago
Bem fraco o curso! Pensei que fosse ensinar a montar as letras, mas é bem curta a parte que ensina a montar letras
- mariakmazaPLUS3 years ago
Muy guay, me encantado, el profesor muy buena gente, un crack. Pero me ha faltado la explicación como hacer el biselado en las letras ya que en la clase de recortar y pegar se utilizaba ese tipo de la letra. Pero ya lo descubriré practicando. Muy recomendable, impresionante todo el trabajo de Lóbulo 👏🏼
- 3 years ago
genial y muy bien explicado, es interesate y se ve que le pone corazon.
- 3 years ago
Bien explicado, pero me hubiera gustado algo más.

Content
- U1
Who am I and what do I do here
- Hello, my name is Lobulo
- My background
- Materials and tools
- U2
The foundations
- Throwing ideas
- Final sketch on paper
- First mockups on paper
- Correct and retouch
- U3
To the mess
- Letter options
- Crop 1
- Crop 2
- Paste 1
- Paste 2
- Rest of the letters
- U4
Capture
- Prepare the set
- The final result
- FP
Final project
- Lettering at full volume
What to expect from a Domestika course
Learn at your own pace
Enjoy learning from home without a set schedule and with an easy-to-follow method. You set your own pace.
Learn from the best professionals
Learn valuable methods and techniques explained by top experts in the creative sector.
Meet expert teachers
Each expert teaches what they do best, with clear guidelines, true passion, and professional insight in every lesson.
Certificates
PLUSIf you're a Plus member, get a custom certificate signed by your teacher for every course. Share it on your portfolio, social media, or wherever you like.
Get front-row seats
Videos of the highest quality, so you don't miss a single detail. With unlimited access, you can watch them as many times as you need to perfect your technique.
Share knowledge and ideas
Ask questions, request feedback, or offer solutions. Share your learning experience with other students in the community who are as passionate about creativity as you are.
Connect with a global creative community
The community is home to millions of people from around the world who are curious and passionate about exploring and expressing their creativity.
Watch professionally produced courses
Domestika curates its teacher roster and produces every course in-house to ensure a high-quality online learning experience.
FAQs
You’ll learn how to create three-dimensional paper typography, design papercraft logos, apply volume, bevel, and lighting techniques, and set up scenes for professional photography. You’ll also explore cultural references and experiment with 80s styles and special effects.
This is an intermediate-level course. Basic graphic design knowledge and familiarity with manual and digital tools is recommended, but fundamental concepts are explained step-by-step.
You’ll need paper, cardstock, a scalpel, craft knife, compass, metal ruler, glue, painter’s tape, pencils, Illustrator, a camera or smartphone for photography, and basic cleaning supplies.
Yes, the course guides you from sketching to building and assembling 3D paper letters, including cutting, folding, and professional assembly techniques.
Yes, you’ll learn how to set up photo shoots, lighting techniques, exposure control, and basic retouching to capture high-quality images of your models.
You’ll mainly use Adobe Illustrator to digitize sketches, create templates, build mockups, and fine-tune details before printing and assembling your letters.
Yes, the course covers both manual and digital techniques to achieve gradients, metallic effects, volume, and embossing in paper lettering, combining paint and textures.