Sketchbook Design and Binding
A course by Maru GodasIllustrator
A course by Maru Godas, Illustrator

Learn how to make and customize your own art sketchbooks with all types of paper, colors, and formats
According to painter and illustrator Maru Godàs, a sketchbook should be an extension of the self. Join her as she shows you how to create, bind, and customize your own sketchbook. In her previous courses, she brought us the Pictorial Sketchbook with Gouache, and Acrylic Painting Step by Step: Create Incredible Landscapes.
In this online course, learn step by step how to design and make your dream sketchbook by hand, with different formats, colors, fabrics, and types of paper. Maru shows you her tricks to personalize your sketchbook and turn it into a work of art.
What will you learn in this online course?
17 lessons & 26 downloads
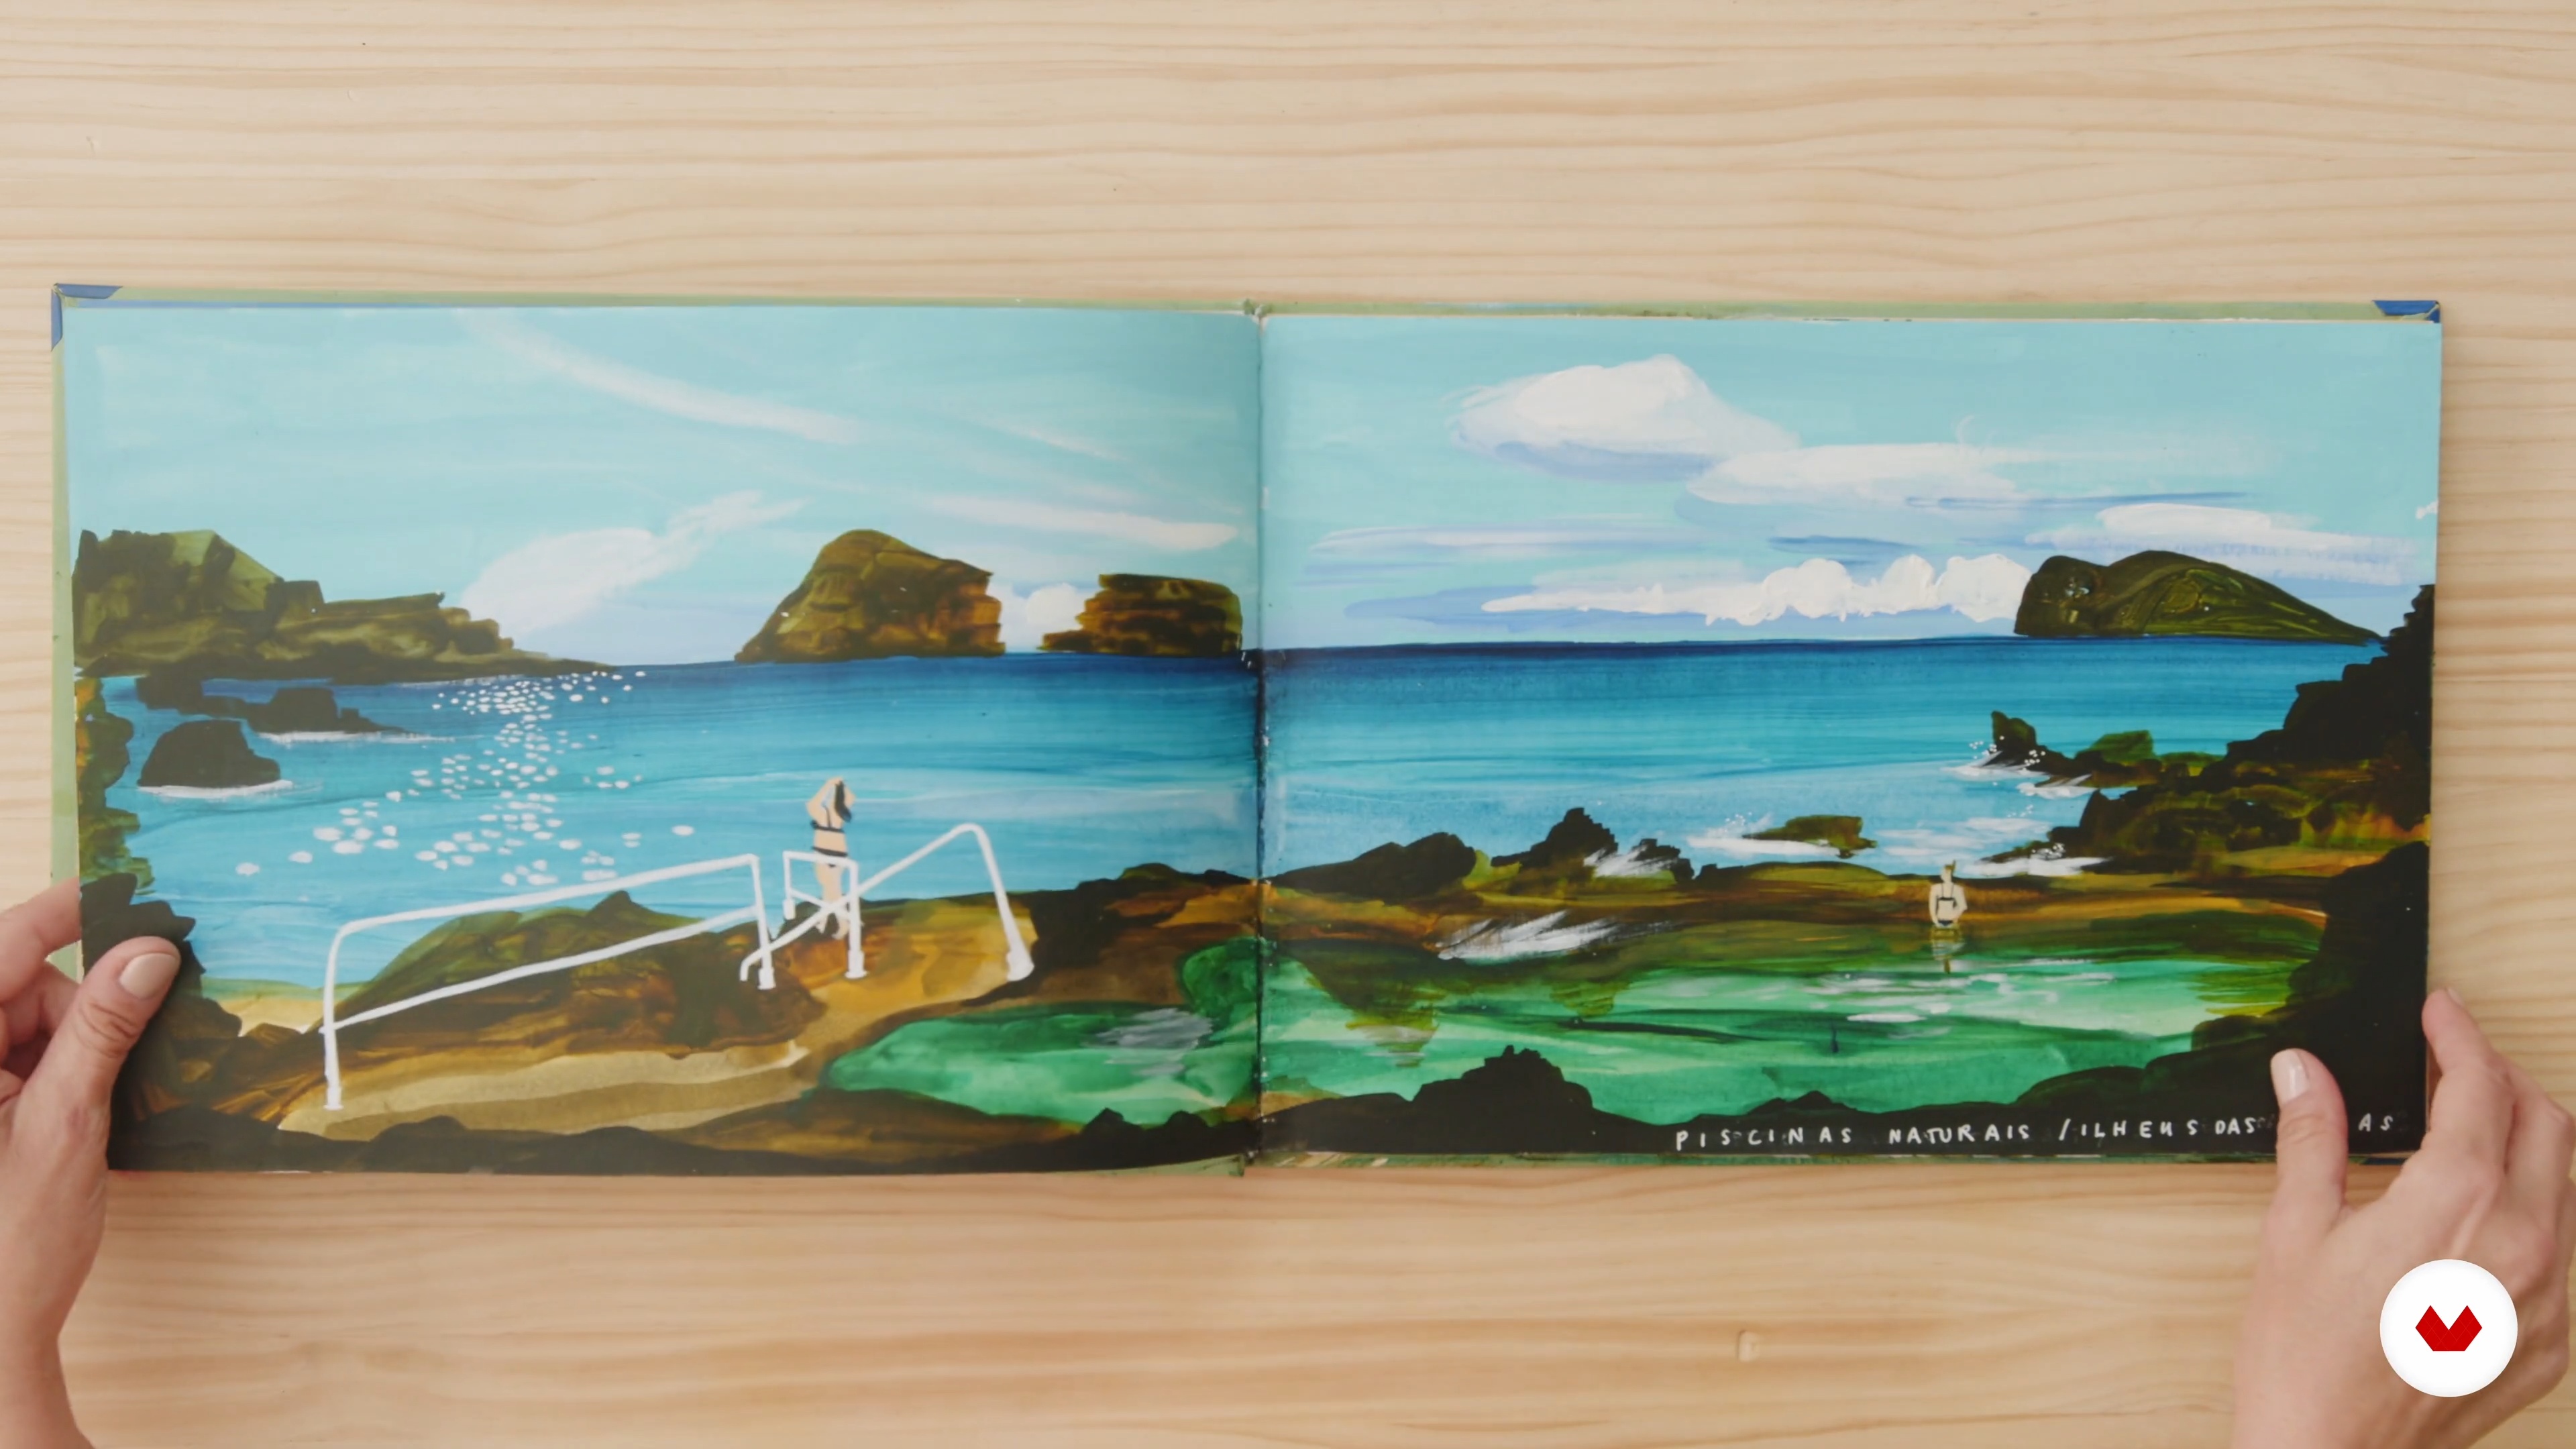
Your Art Is Unique and So Is Your Sketchbook
9 minutes, 47 seconds
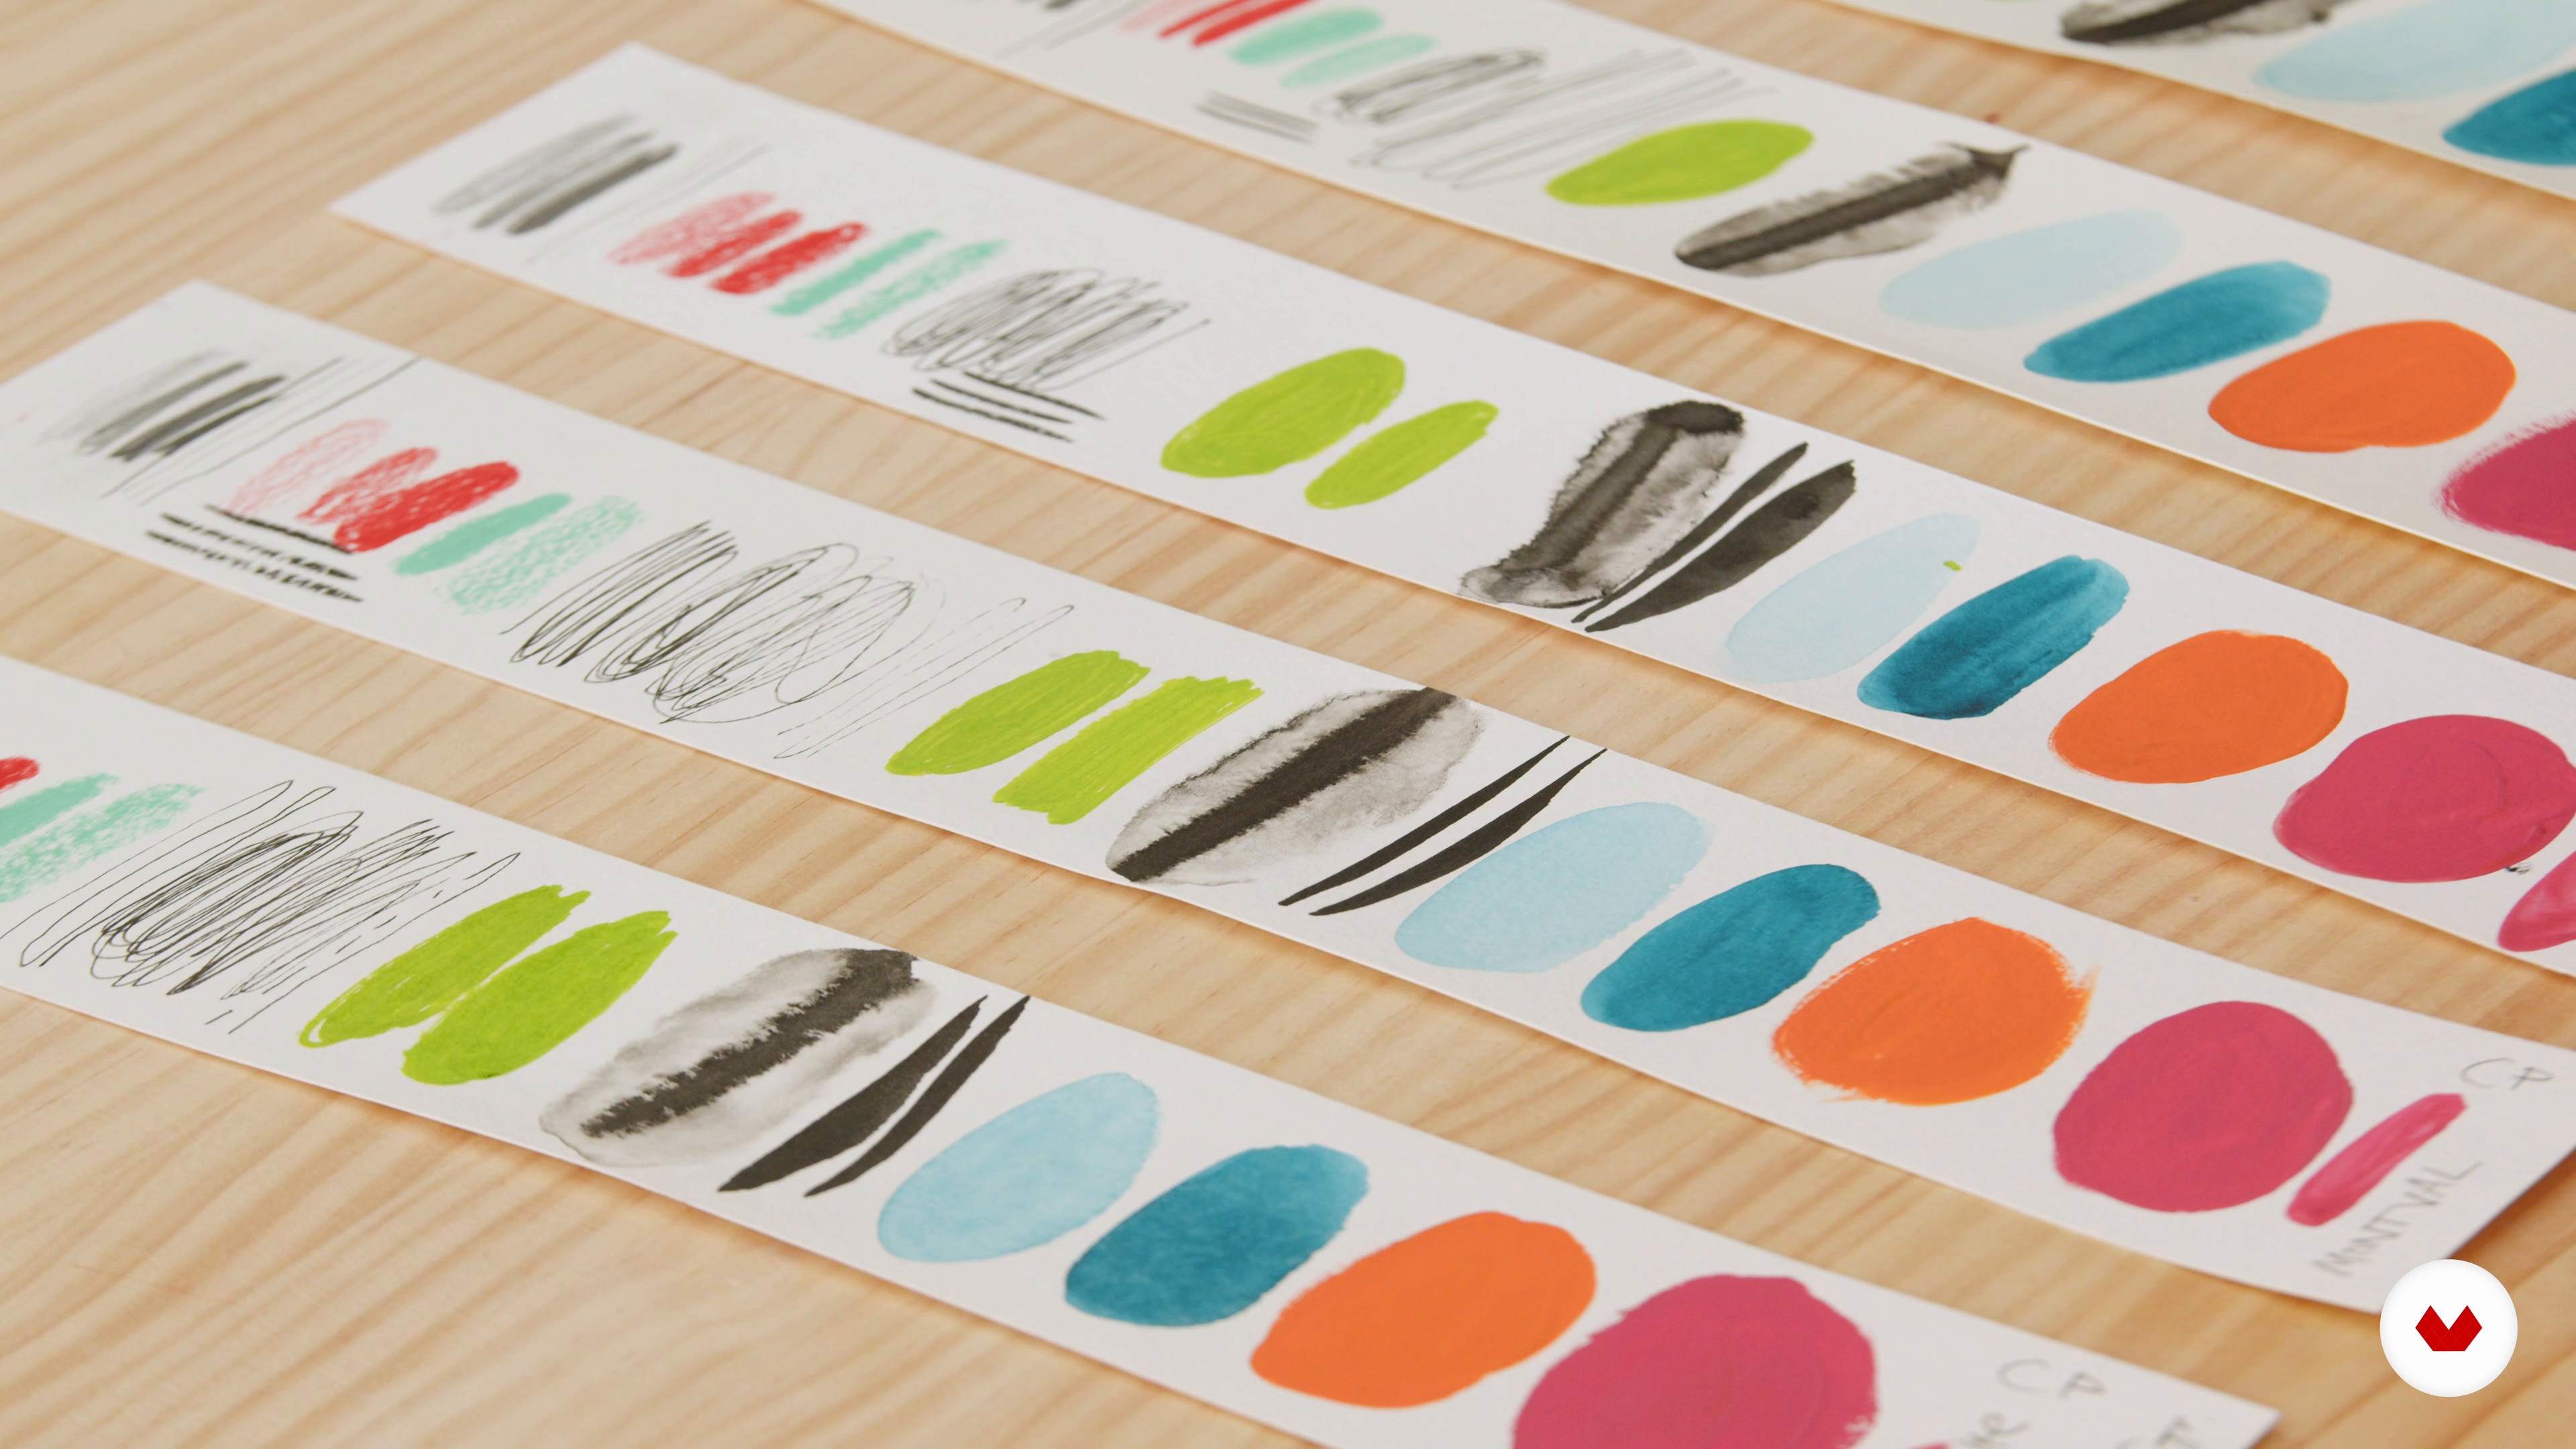
The Choice of Paper According to Types and Techniques
16 minutes, 20 seconds
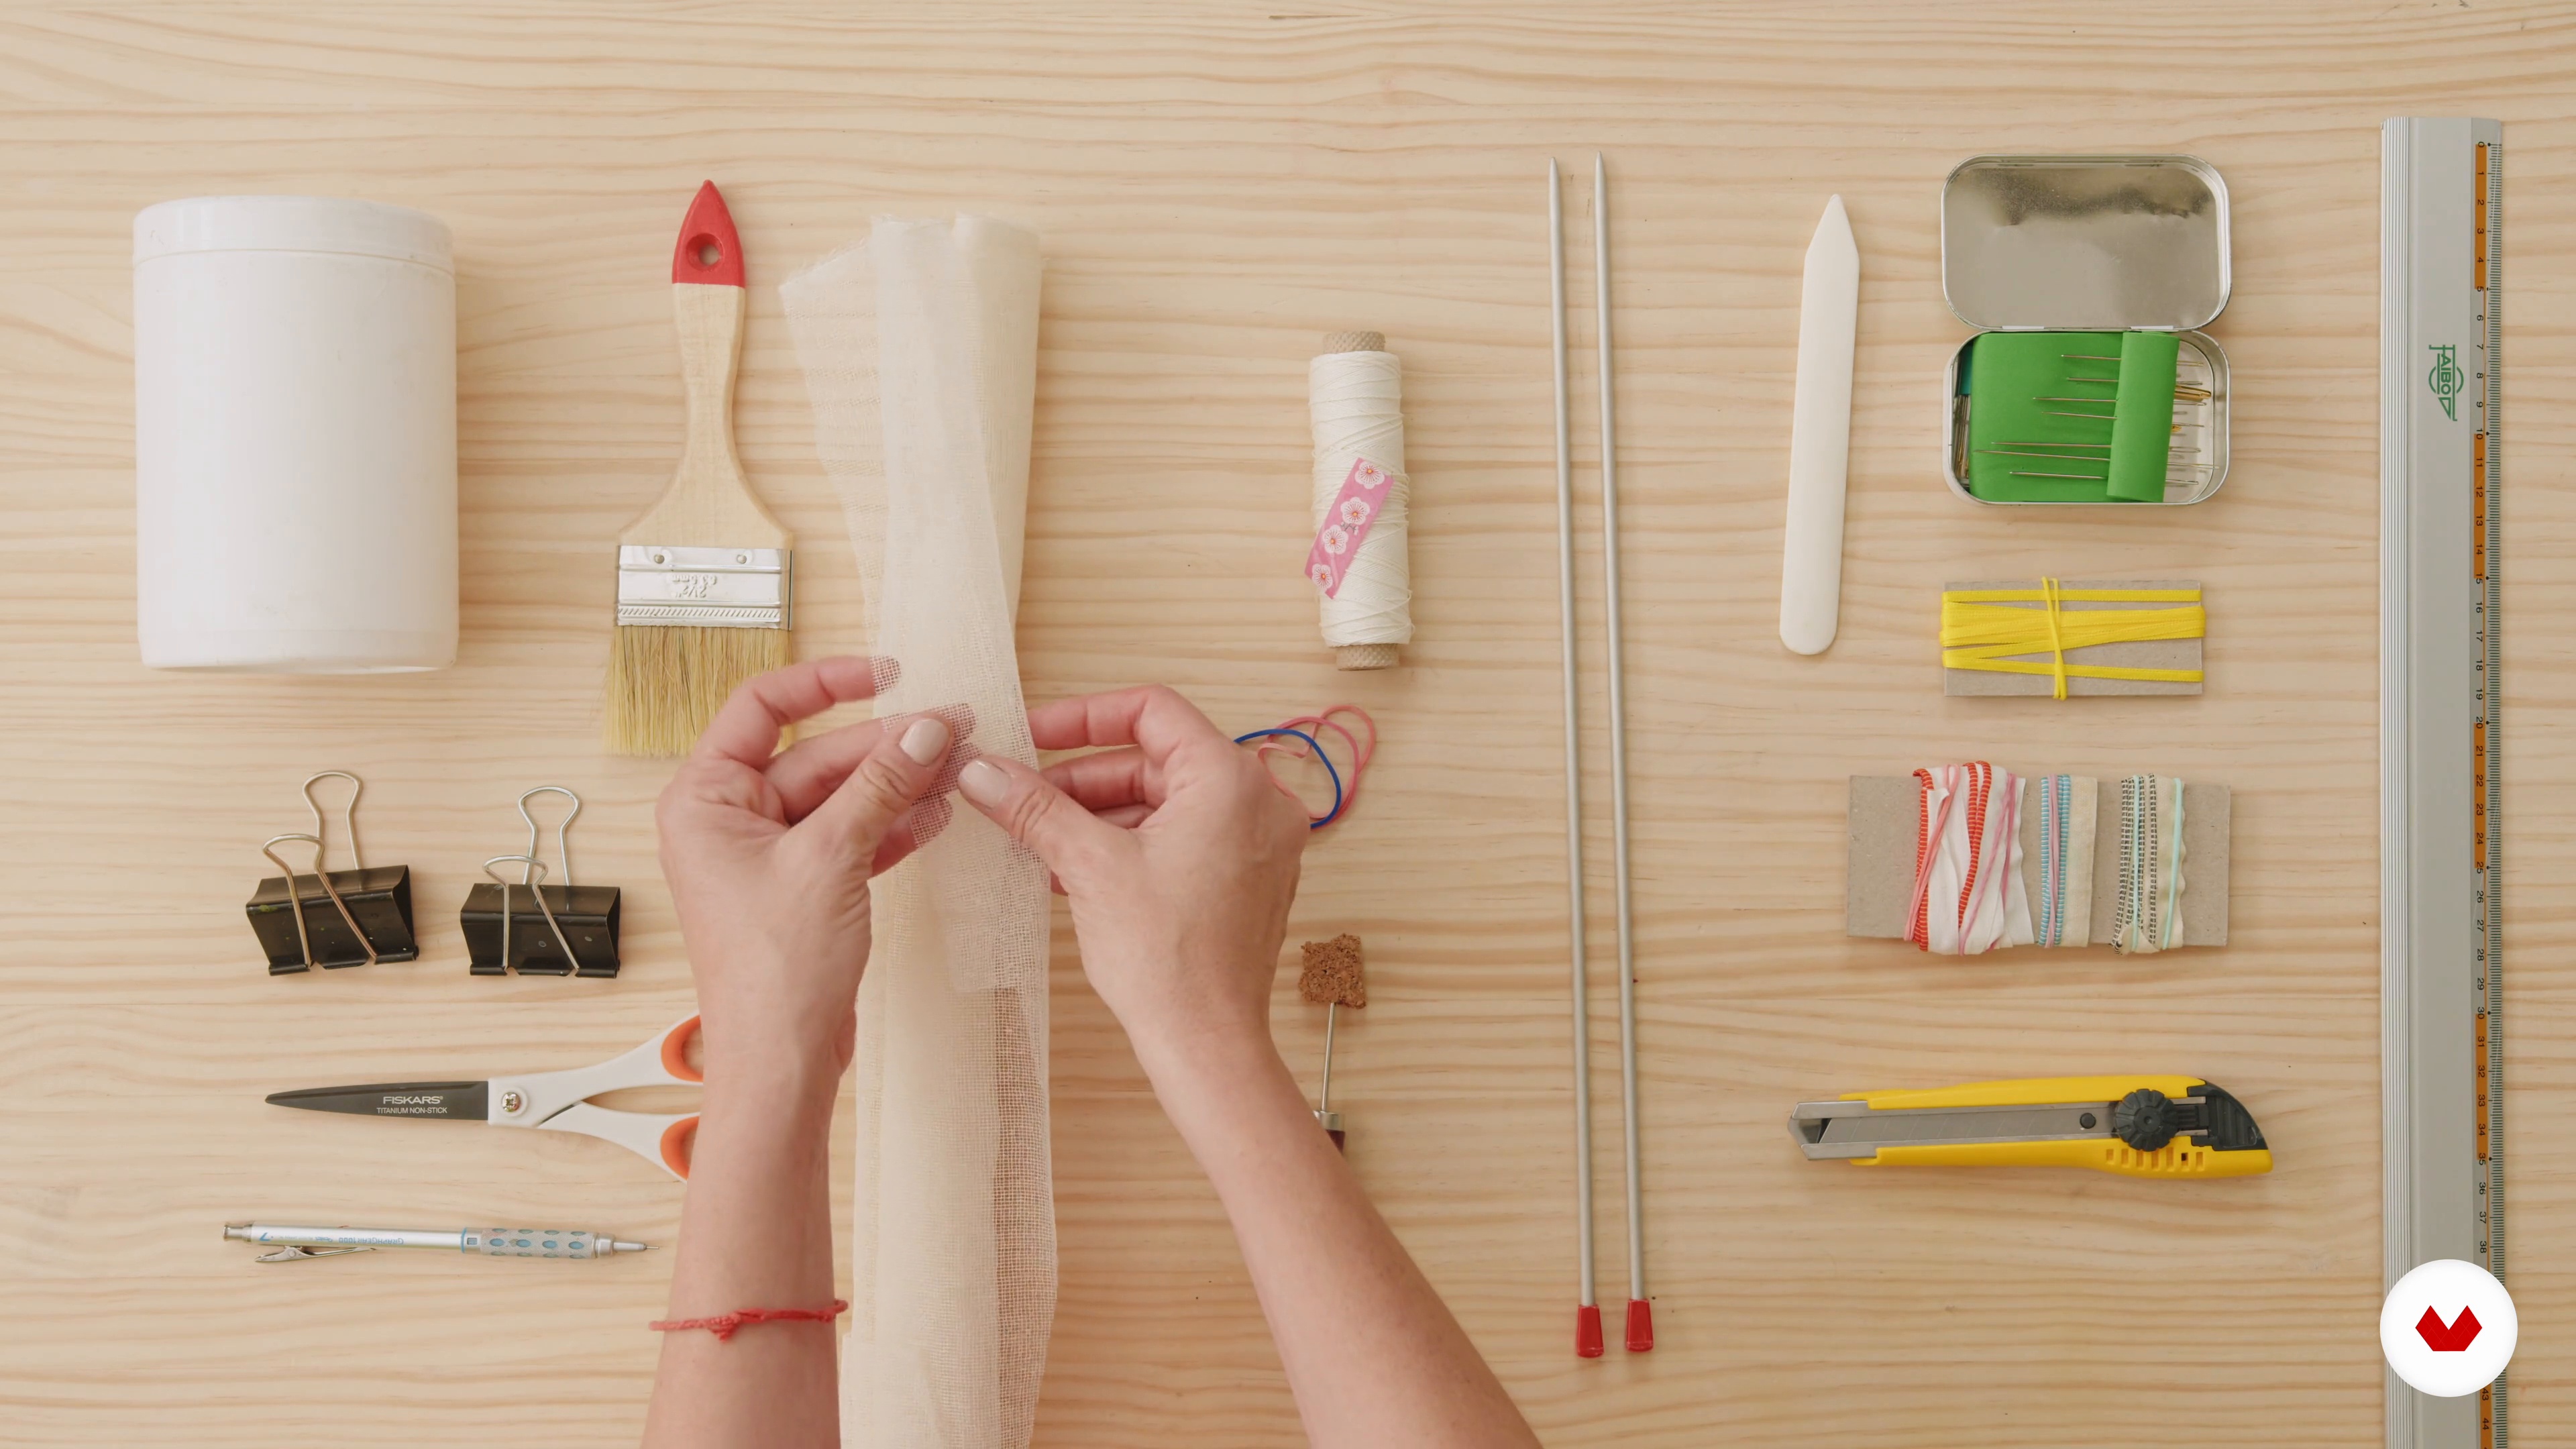
I Present the Materials
4 minutes, 59 seconds
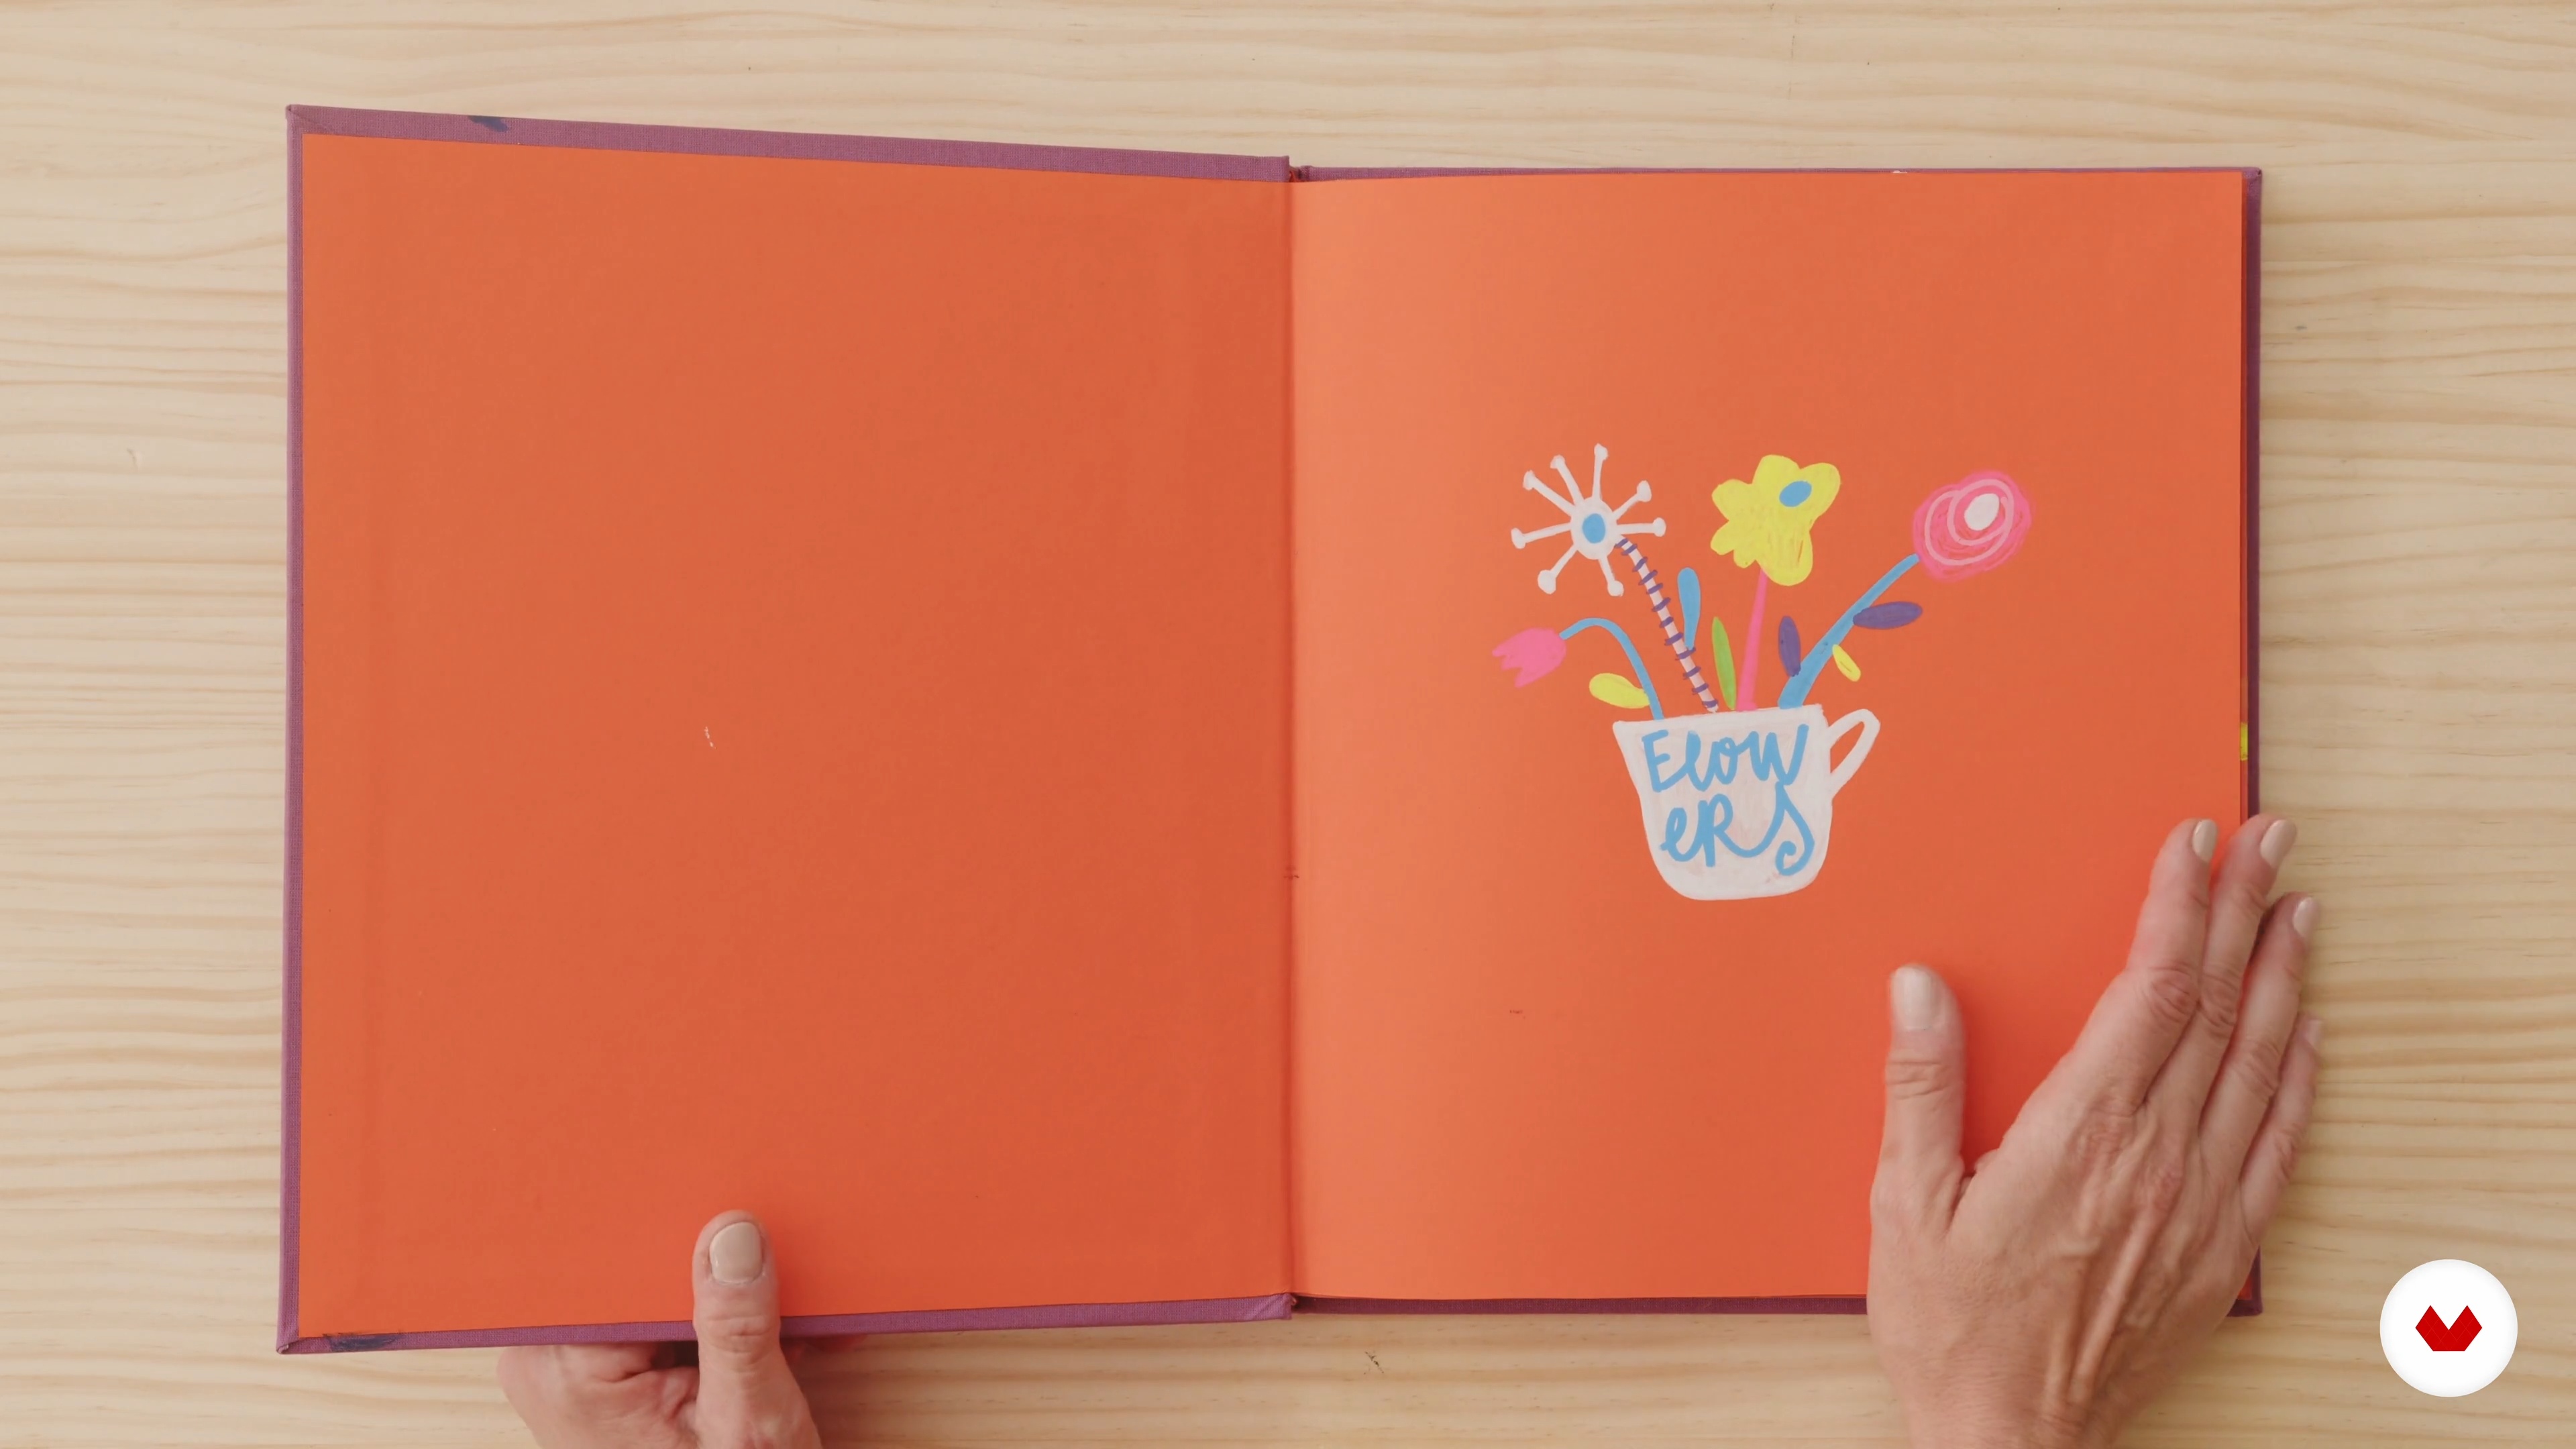
Designing Your Ideal Sketchbook
5 minutes, 50 seconds
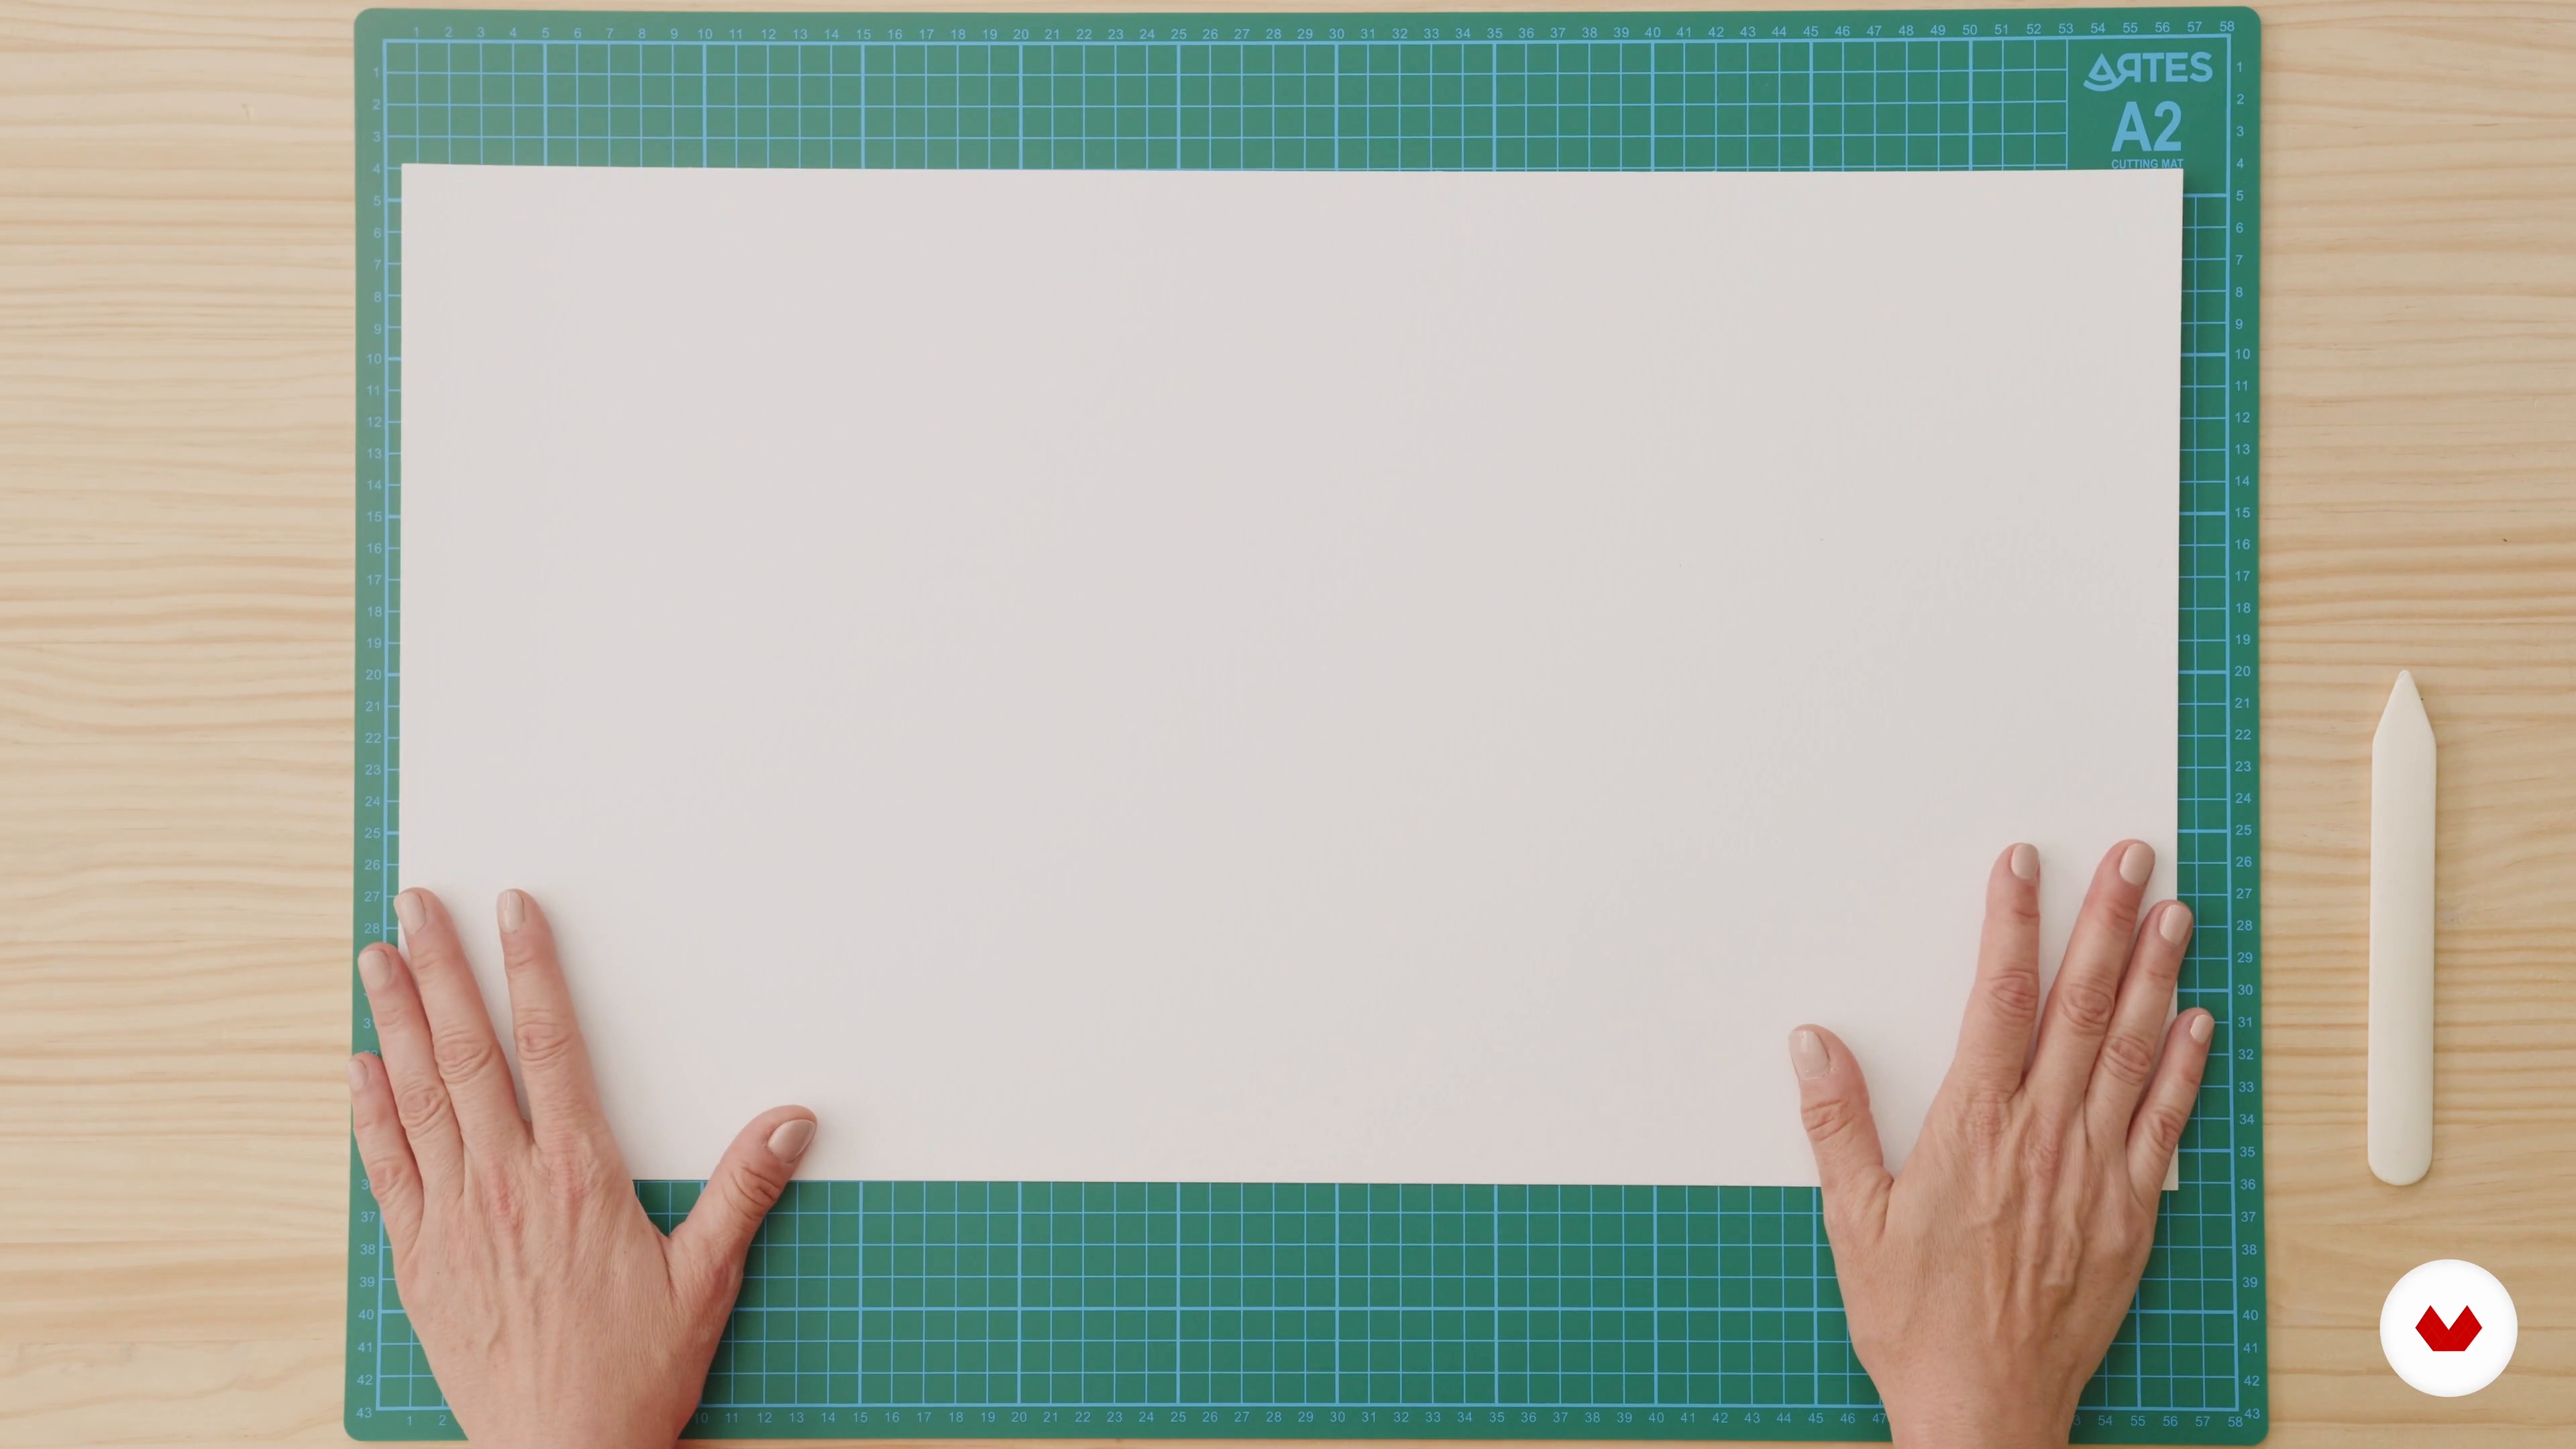
The Adventure Begins
10 minutes, 35 seconds
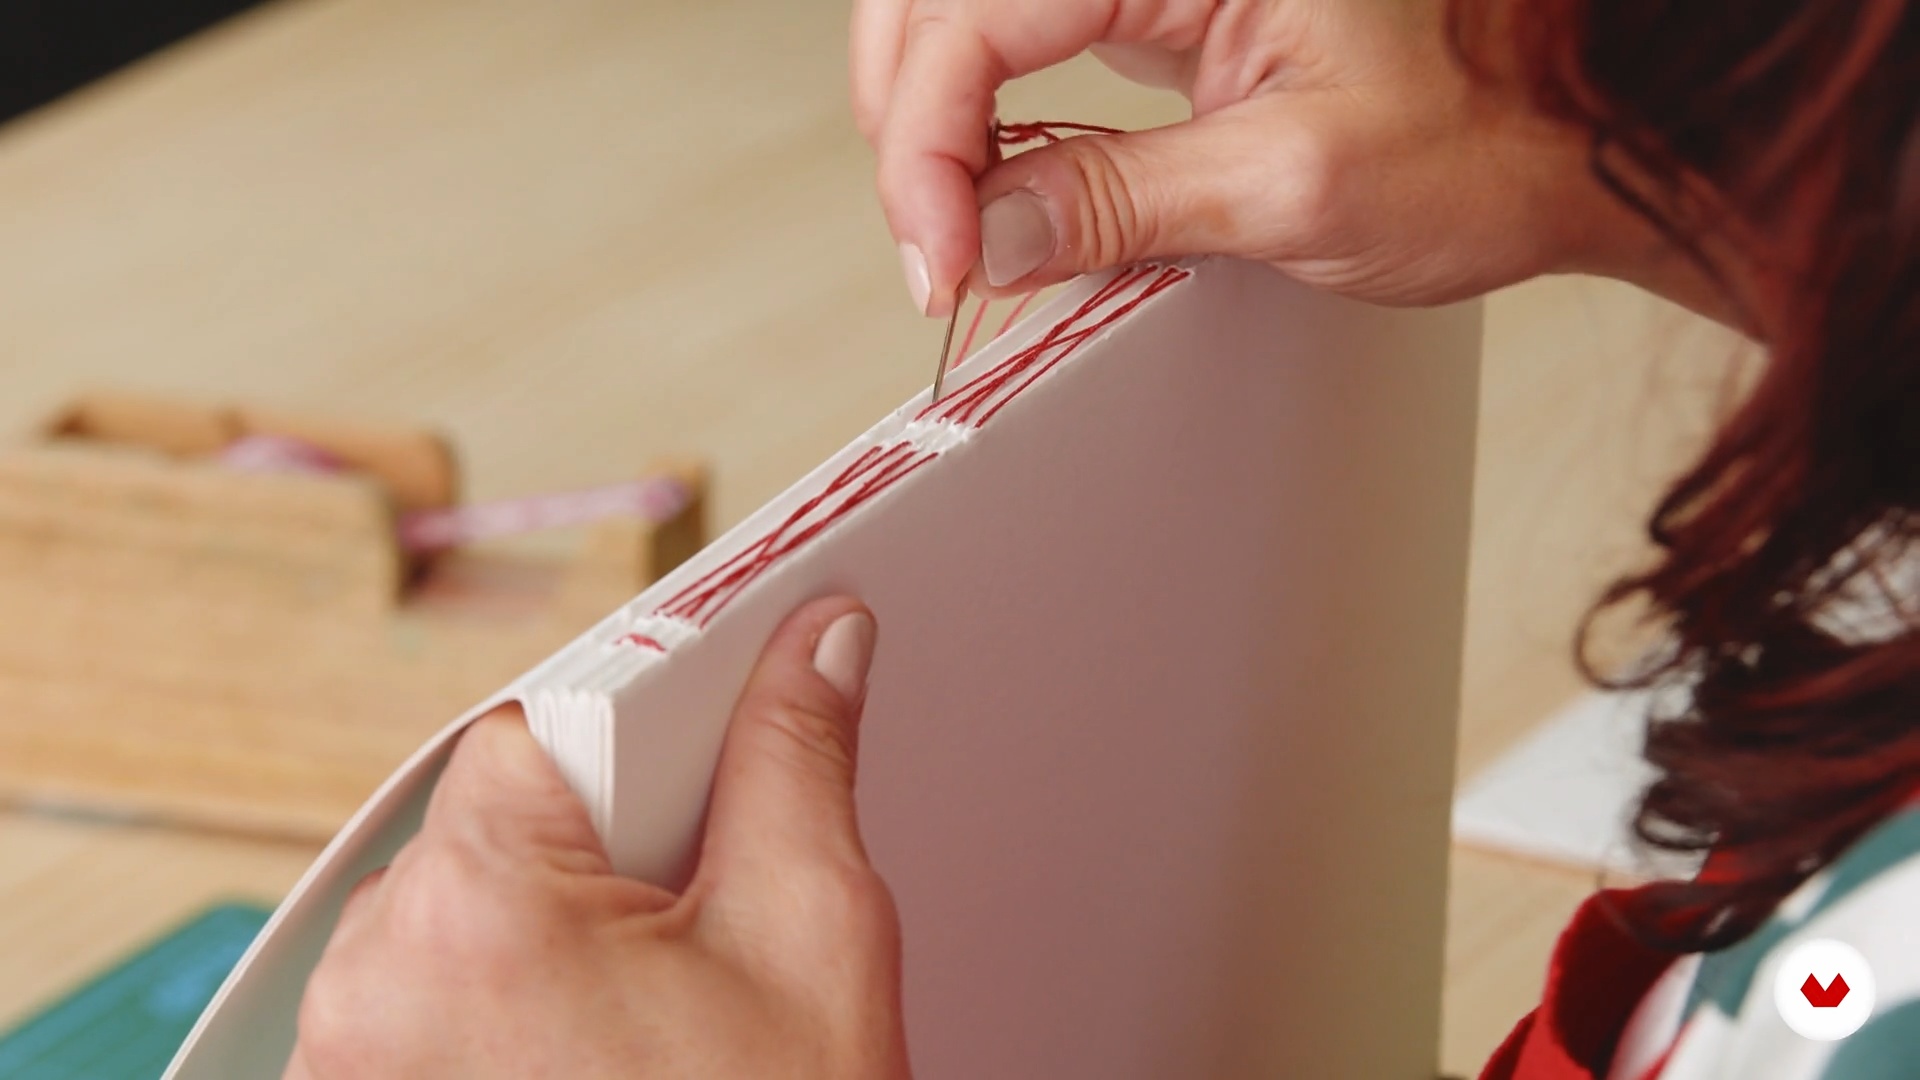
Sewing the Textblock
19 minutes, 59 seconds
What's included in this course?
Maru starts the course by telling you more about herself and what she is passionate about. She talks about her background and how she discovered the endless possibilities of working in sketchbooks.
See some examples of handmade sketchbooks and explore different drawing papers with dry, wet, grease, acrylic, mixed-media and collage techniques, among others. Next, plan how you want your sketchbook to look, from the size to the techniques and materials.
Time to get to work! Start by creating the central part of your book. Cut and fold the sheets, calculate and mark the stitches, and sew the paper. Then, glue the spine before placing the flyleaves and the extra sheets. Maru teaches you how to refine the edges and add reinforcing finishes.
Explore what fabrics and papers to use on the cover and flyleaves. Take measurements for the assembly, add the flyleaves, and glue the covers to the main body. Once finished, find out how to personalize your sketchbook to turn it into a work of art.
What is this course's project?
Design and bind a personalized art sketchbook with your own hands, ideal for carrying around in your day-to-day life or for working in your studio.
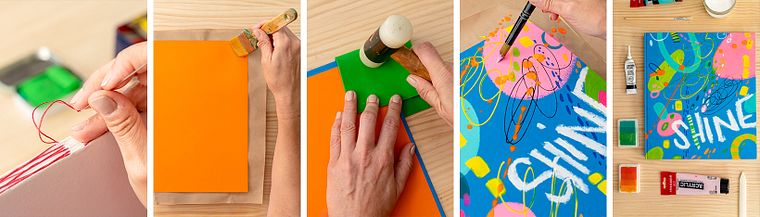
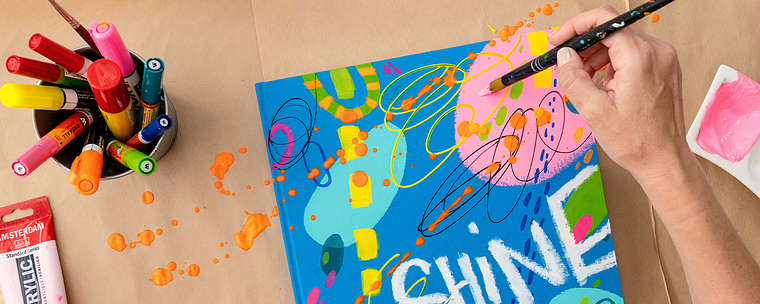
Projects by course students

Who is this online course for?
Artists, professional illustrators, and anyone who likes to draw and paint in a sketchbook.
Requirements and materials
You don't need any previous knowledge to take this course, just come ready to create and have fun. As for the materials, prepare:
⦁ Paper (200-300 gr), kraft paper, and cardboard. ⦁ Fabric ⦁ A binding needle and thread ⦁ A punch, folding tool, and box cutter ⦁ Acrylic paint and glue ⦁ Clips
Reviews
- 10 days ago
Love it, already made several sketchbooks! It even improved my sketching practice and for the first time in my life, I have finished a complete sketchbook ;)
- 23 days ago
I loved this course! My kids even watched some of it with me and we felt so inspired to get creating. The course was well laid out and easy to follow along. And it teaches made everything look achievable and even fun!
- 1 month ago
Bueno
- 1 month ago
J’ai beaucoup aimé ce cours. Les explications sont claires et vivantes et j’ai hâte de créer mon livre !
- 3 months ago
Great, great, great! I wish I can follow a acrylic class with her!

Since then, she has published several books with her work and illustrations in magazines for various big names such as La Caixa, La Vanguardia, and RACC. She currently combines her commissions with teaching, leading workshops and courses on urban sketching and illustration around the world. She enjoys sharing her discoveries with her students and, above all, encouraging them to try new things.
Content
- U1
Welcome Sketchbooklover!
- Hello Again!
- Influences
- U2
The World Is a Notebook
- Your Art Is Unique and So Is Your Sketchbook
- The Choice of Paper According to Types and Techniques
- I Present the Materials
- Designing Your Ideal Sketchbook
- U3
From the inside Out: The Body of the Creation
- The Adventure Begins
- Sewing the Textblock
- Gluing and Pressing the Spine
- Endpapers and Flyleaves
- Tips for Trimming Your Sketchbook
- Reinforcing the Spine of Your Notebook
- U4
Outside: The Covers to Protect Your Art
- Taking Measurements
- Fabrics and Cardboard: Covering the Covers
- Final Step: Joining the Cover and Textblock
- U5
Custom Finishes
- The Details That Make the Difference
- Painting the Front Cover of Your Art Sketchbook
- FP
Final project
- Sketchbook Design and Binding
What to expect from a Domestika course
Learn at your own pace
Enjoy learning from home without a set schedule and with an easy-to-follow method. You set your own pace.
Learn from the best professionals
Learn valuable methods and techniques explained by top experts in the creative sector.
Meet expert teachers
Each expert teaches what they do best, with clear guidelines, true passion, and professional insight in every lesson.
Certificates
PLUSIf you're a Plus member, get a custom certificate signed by your teacher for every course. Share it on your portfolio, social media, or wherever you like.
Get front-row seats
Videos of the highest quality, so you don't miss a single detail. With unlimited access, you can watch them as many times as you need to perfect your technique.
Share knowledge and ideas
Ask questions, request feedback, or offer solutions. Share your learning experience with other students in the community who are as passionate about creativity as you are.
Connect with a global creative community
The community is home to millions of people from around the world who are curious and passionate about exploring and expressing their creativity.
Watch professionally produced courses
Domestika curates its teacher roster and produces every course in-house to ensure a high-quality online learning experience.
FAQs
You’ll learn how to select and prepare papers, craft custom notebooks using techniques like Coptic and French binding, choose the right materials, and apply painting methods such as gouache and acrylic in sketchbooks designed for urban drawing and illustration.
This course is aimed at intermediate learners, ideally with some basic knowledge of art techniques or bookbinding, but it also explains all steps and materials from scratch for those new to making personalized notebooks.
You’ll need a variety of papers (watercolor, mixed media, kraft), chipboard, fabric for covers, PVA glue, bone folder, awl, needle, thread, craft knife, metal ruler, brushes, paints (gouache, acrylic), plus reinforcement materials like cheesecloth, clips, and sanding sponge.
You’ll learn Coptic and French binding, hand-sewing methods, plus gluing techniques, spine pressing, structural reinforcements, and how to assemble covers, endpapers, and functional pockets for artistic notebooks.
The course teaches you how to compare paper weight, texture, pressing, and fiber direction to pick the best paper for your painting technique, ensuring optimal results and longer-lasting notebooks.
Yes, the course guides you step-by-step to choose the size, paper type, cover materials, and customize both the exterior and interior design of your notebook to fit your artistic style and needs.
Yes, you’ll learn mixed techniques like painting, marker work, stamping, and lettering on fabric or cardboard covers, blending visuals and textures for a professional, personalized finish.