
Learn brass jewelry design and creation from sketches to polished pieces using foundational techniques and tools
Embark on a creative journey through the art of jewelry design and photography with the guidance of expert instructors Freya Alder, Mayumi Fukuda, Julia Sherbak, Susan McLeary, Alicia Goodwin, and Gabriela Silveira. Explore diverse techniques from crafting brass pins and accessories to creating water-resistant paper jewelry using traditional Japanese origami. Delve into the world of miniature needlework, merging intricate embroidery with contemporary design to craft wearable art. Discover the beauty of nature with floral jewelry, learning to fashion unique pieces from fresh flowers.
Develop skills in wax modeling to carve original accessories ready for metal casting, and enhance your ability to capture stunning images of your creations with professional photography techniques. Each module offers a unique approach, encouraging creativity and providing practical skills to design, make, and showcase beautiful jewelry. Whether you're drawing inspiration from traditional methods or modern innovations, this specialization equips you with the knowledge to create and photograph eye-catching pieces, bringing your jewelry design visions to life.
What will you learn in this specialization?
 1
1Introduction
This lesson invites you to explore jewelry as a powerful artistic language. You’ll learn to sketch, sculpt, and experiment with materials—from wax to origami techniques—transforming raw ideas into expressive adornments that reflect identity, emotion, and contemporary creativity.
2m
 2
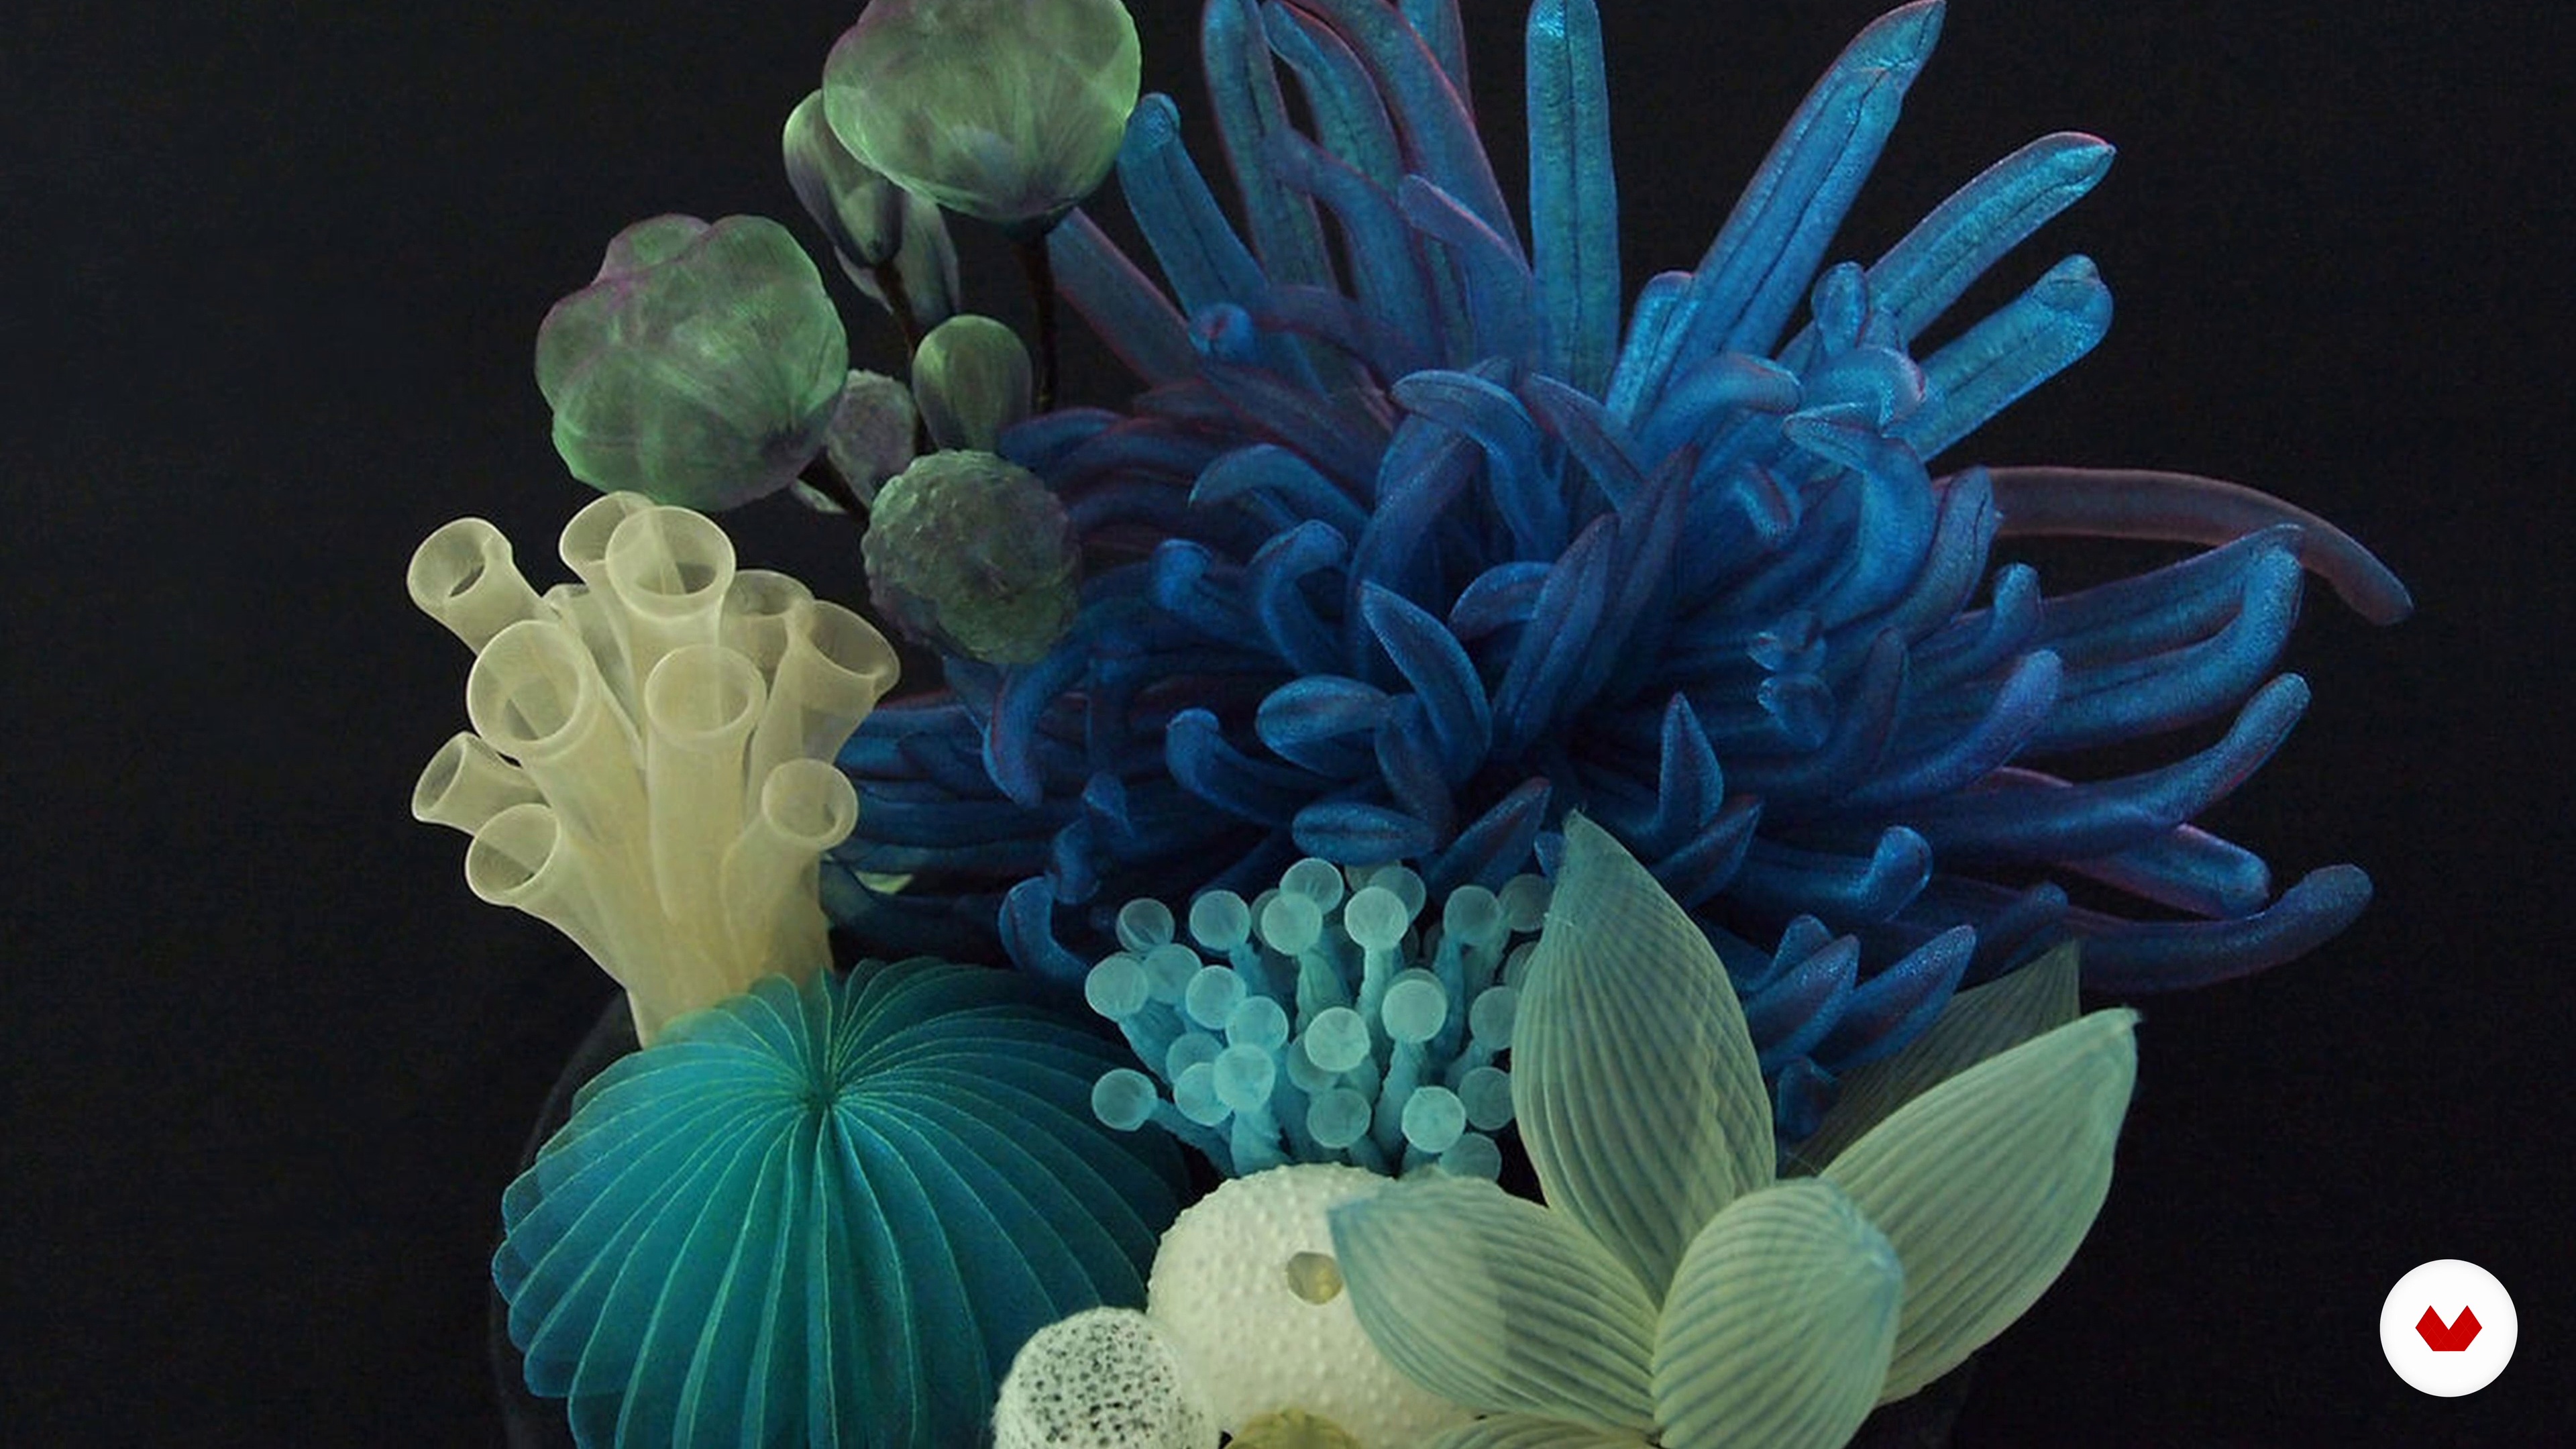
2Influences | Freya Alder
I want to share with you some of my influences, how they’ve inspired me, and my work.
7m
 3
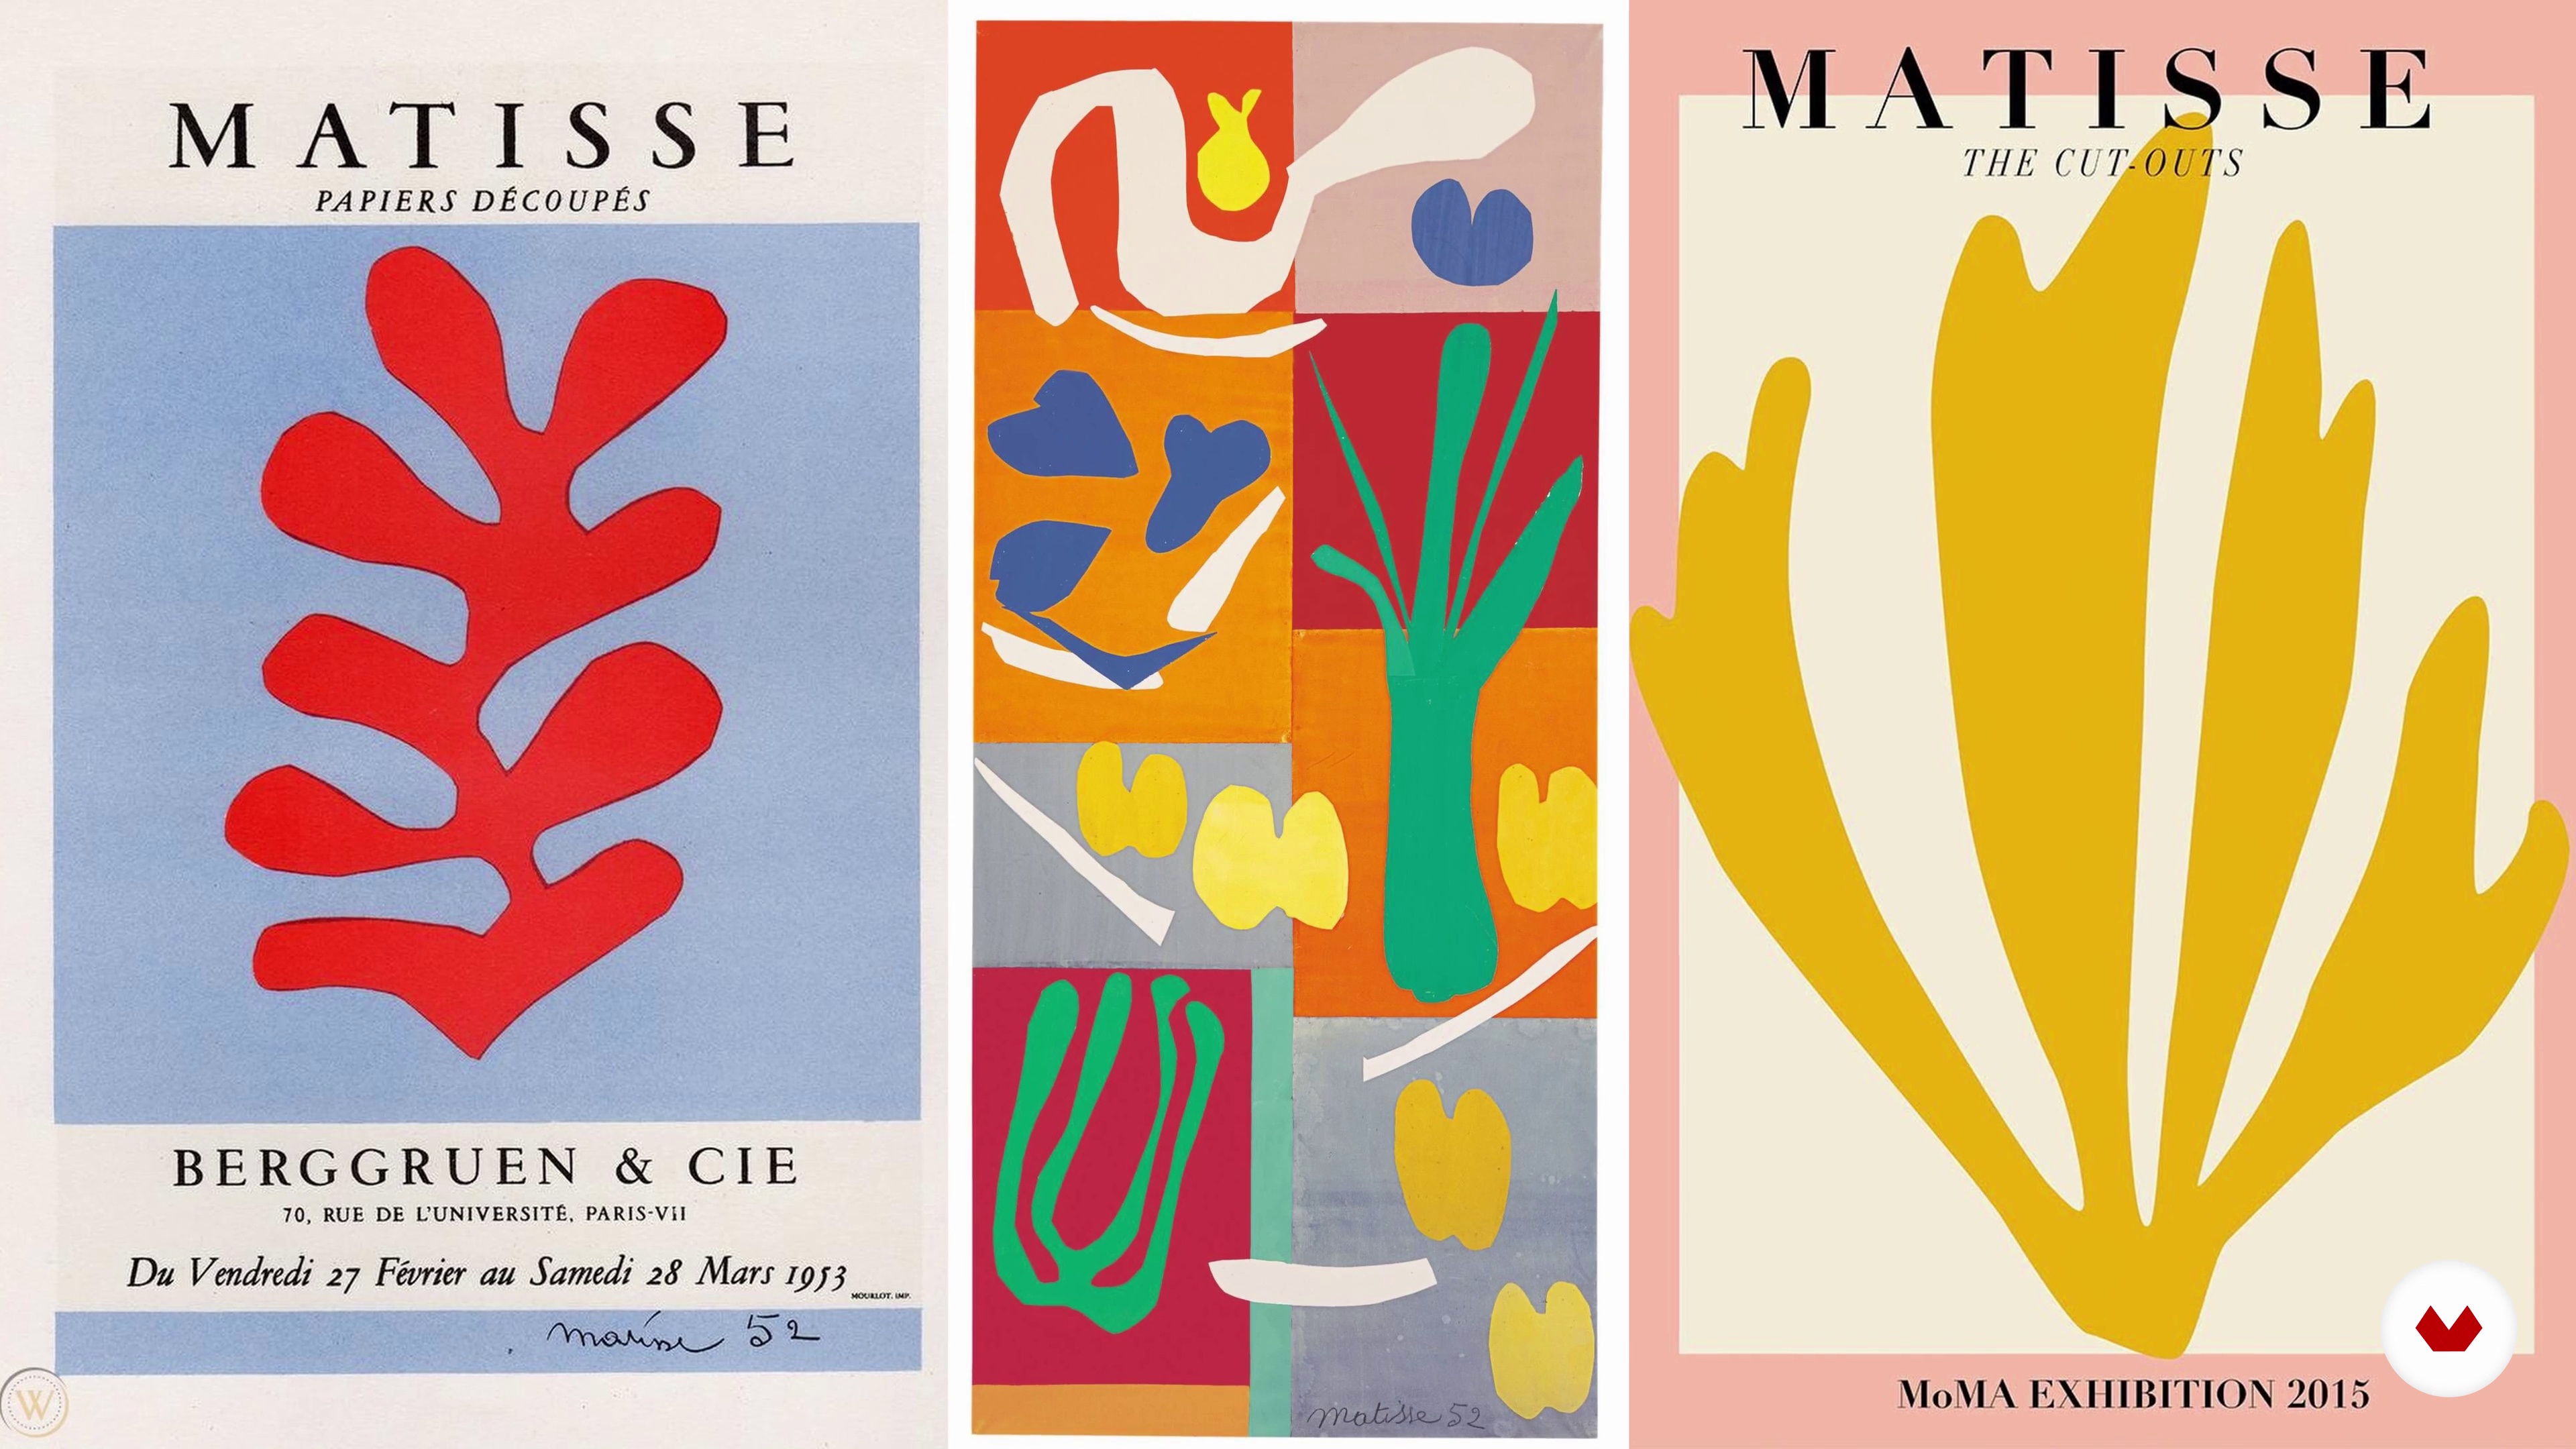
3Influences | Mayumi Fukuda
What inspires me the most? Pretty much everything can be inspiring. In this lesson, I will share what influences me when I’m creating my jewelry. I would love to hear yours as well!
2m
 4
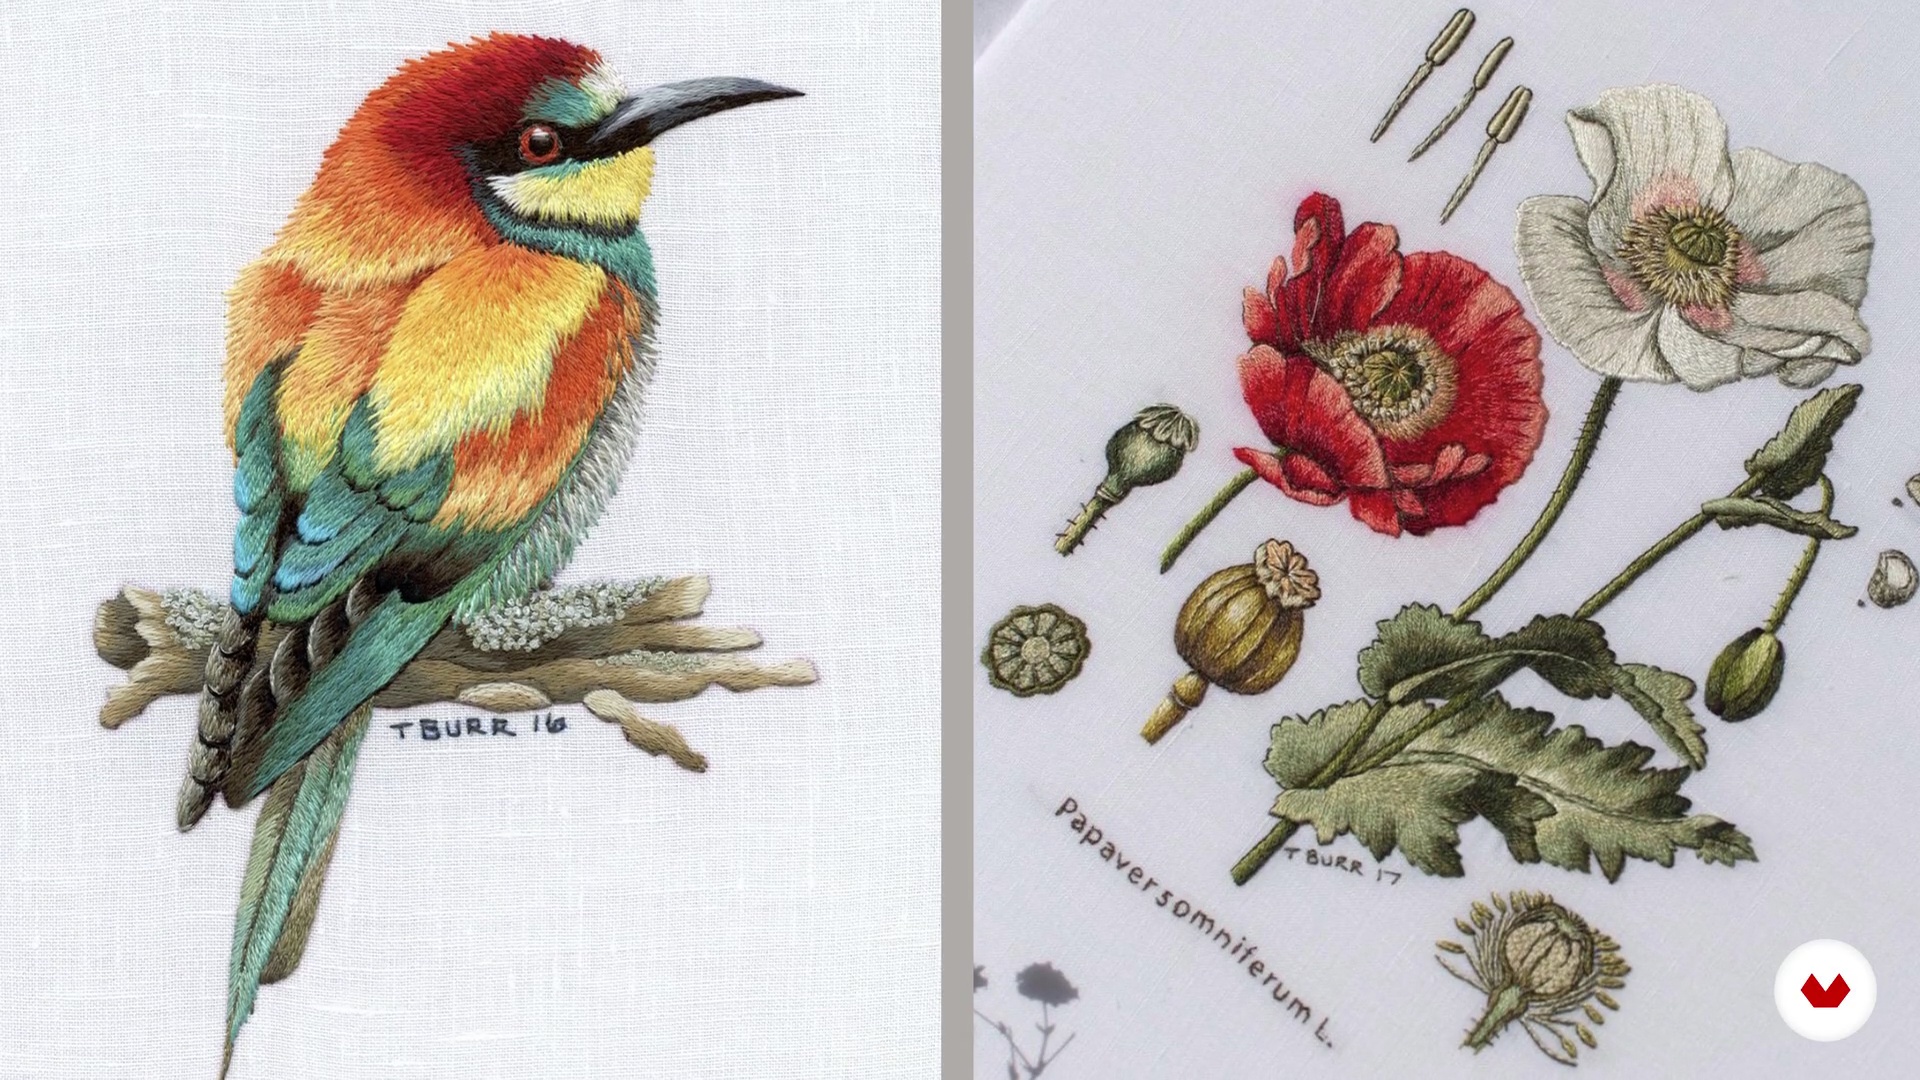
4Influences | Julia Sherbak
Here I will share with you what inspires me and some of my favorite artists whose work has influenced me on my creative journey and still do to this day.
5m
 5
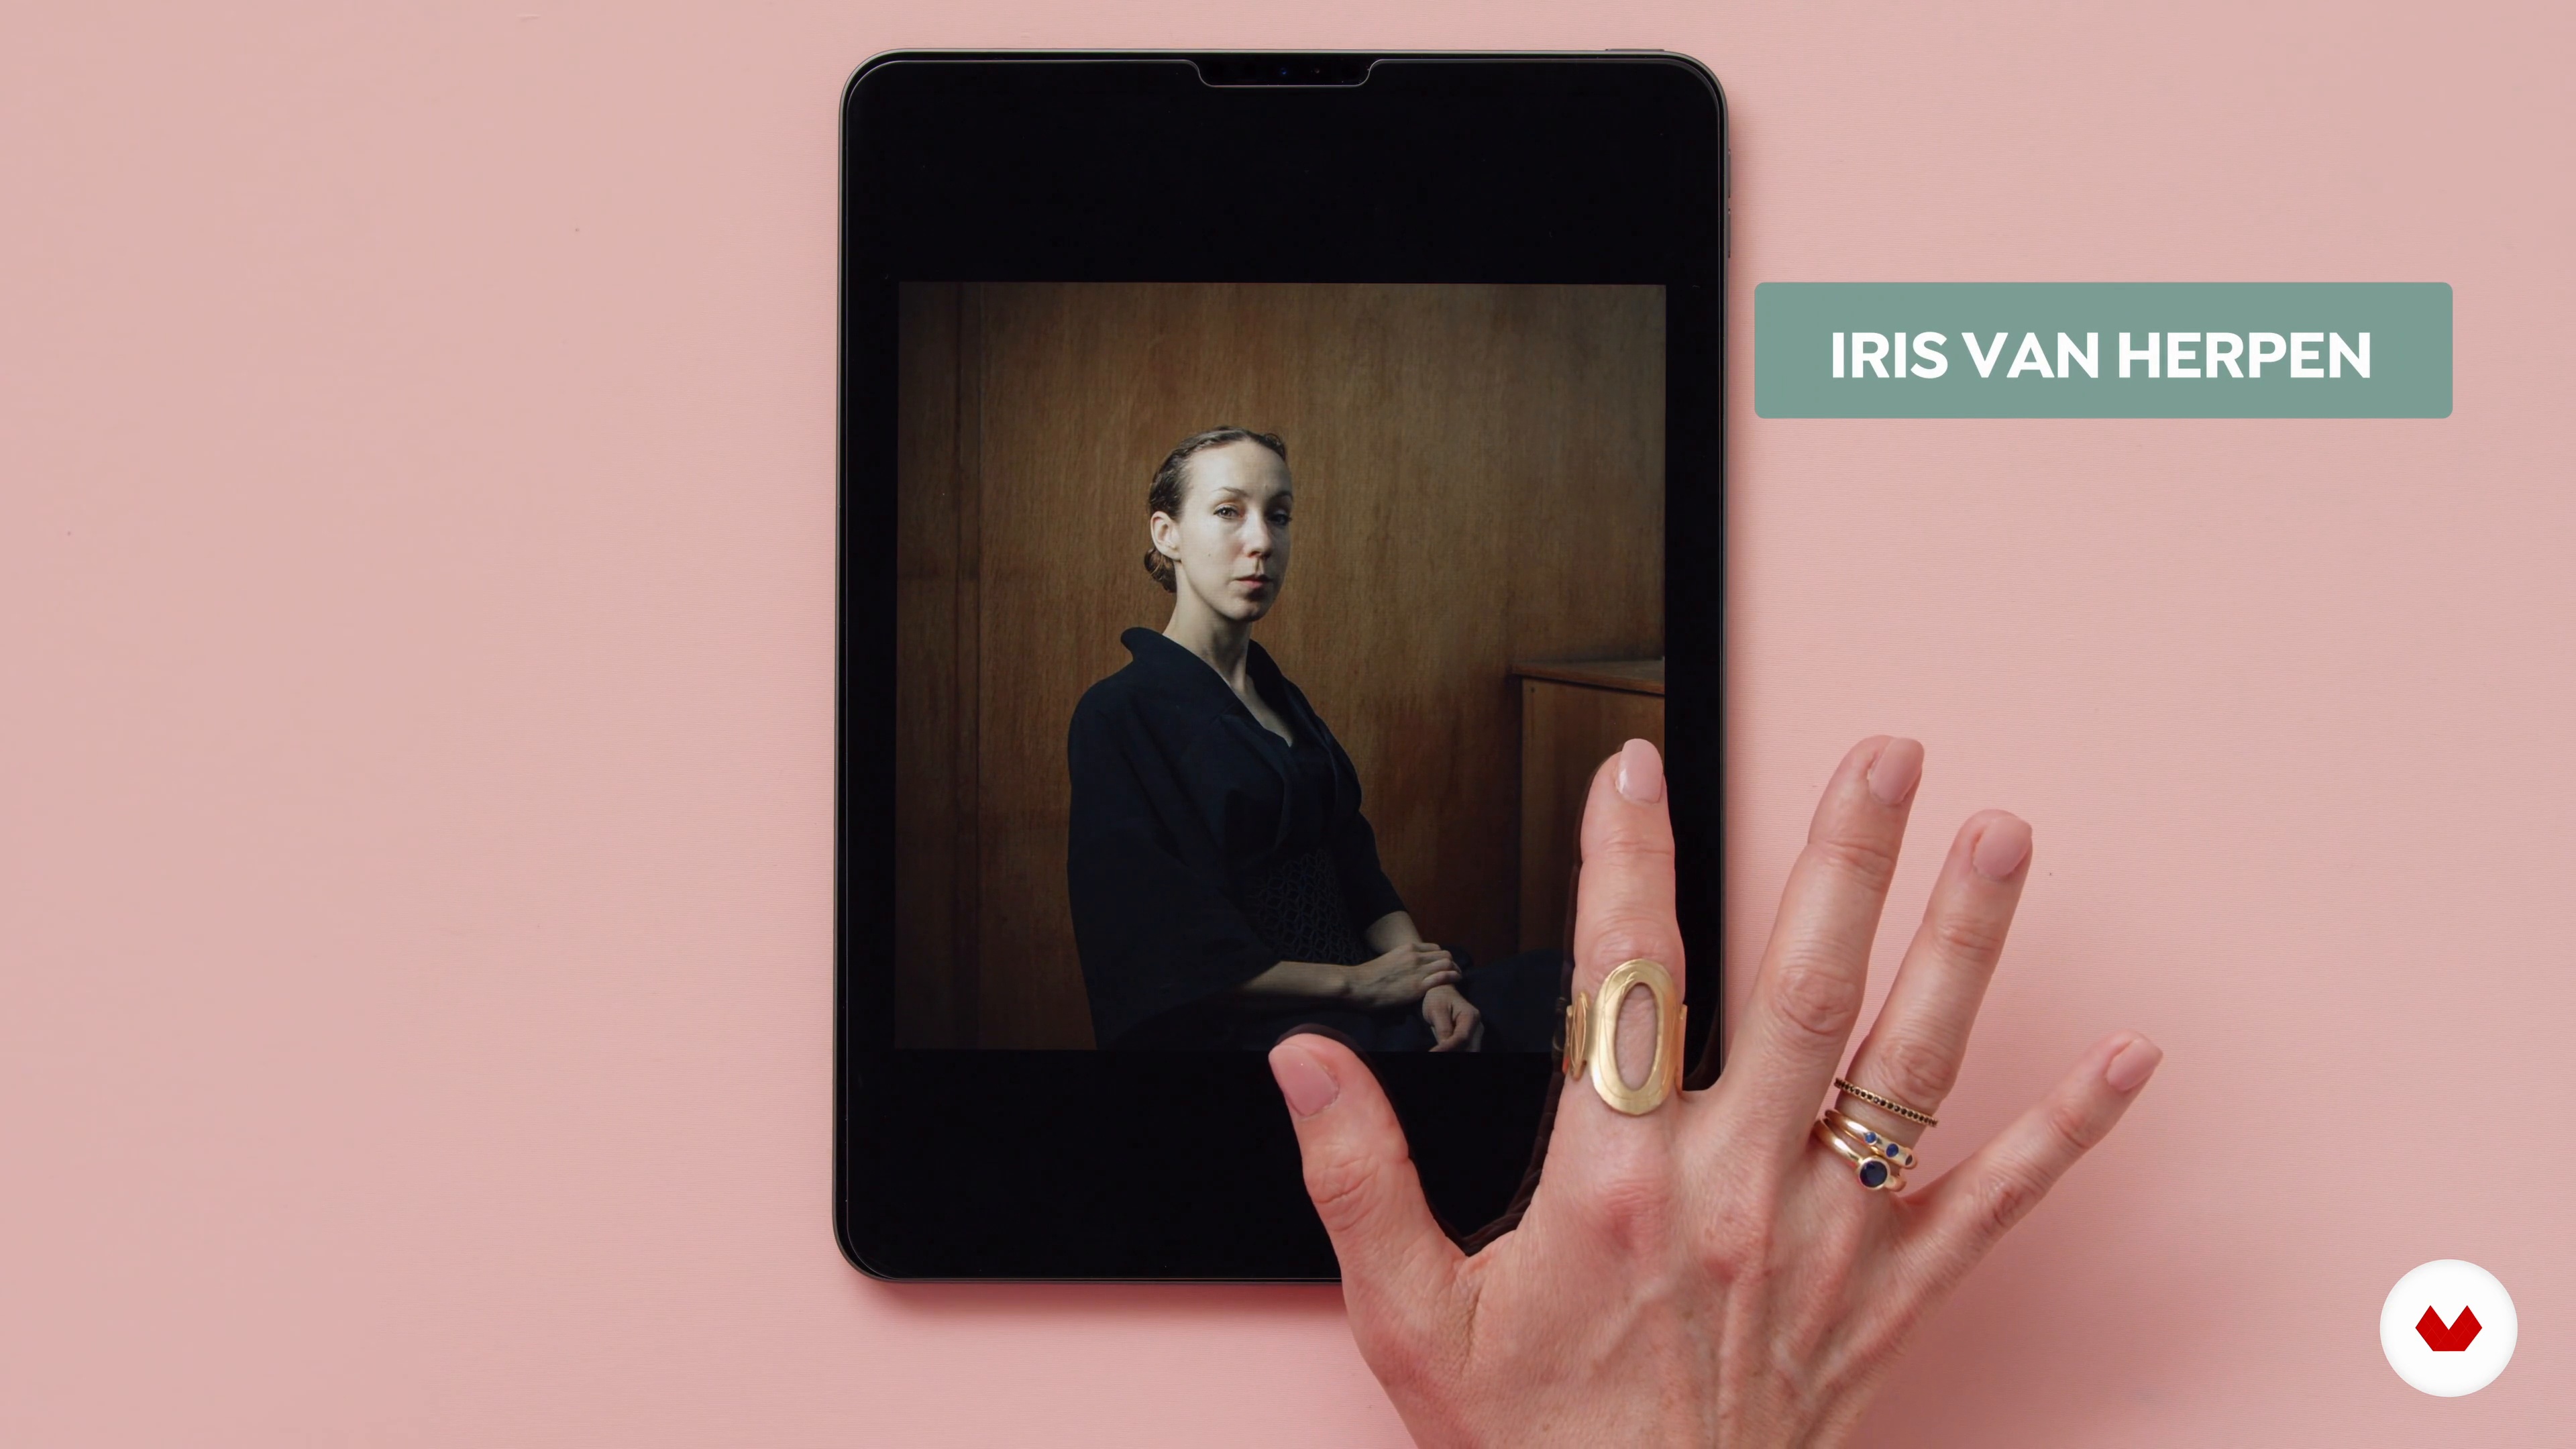
5Influences | Susan McLeary
In this lesson, I'll share the artists and designers who inspire me and influence my work with you. I often look to these examples, especially when my creative energy is low.
2m
 6
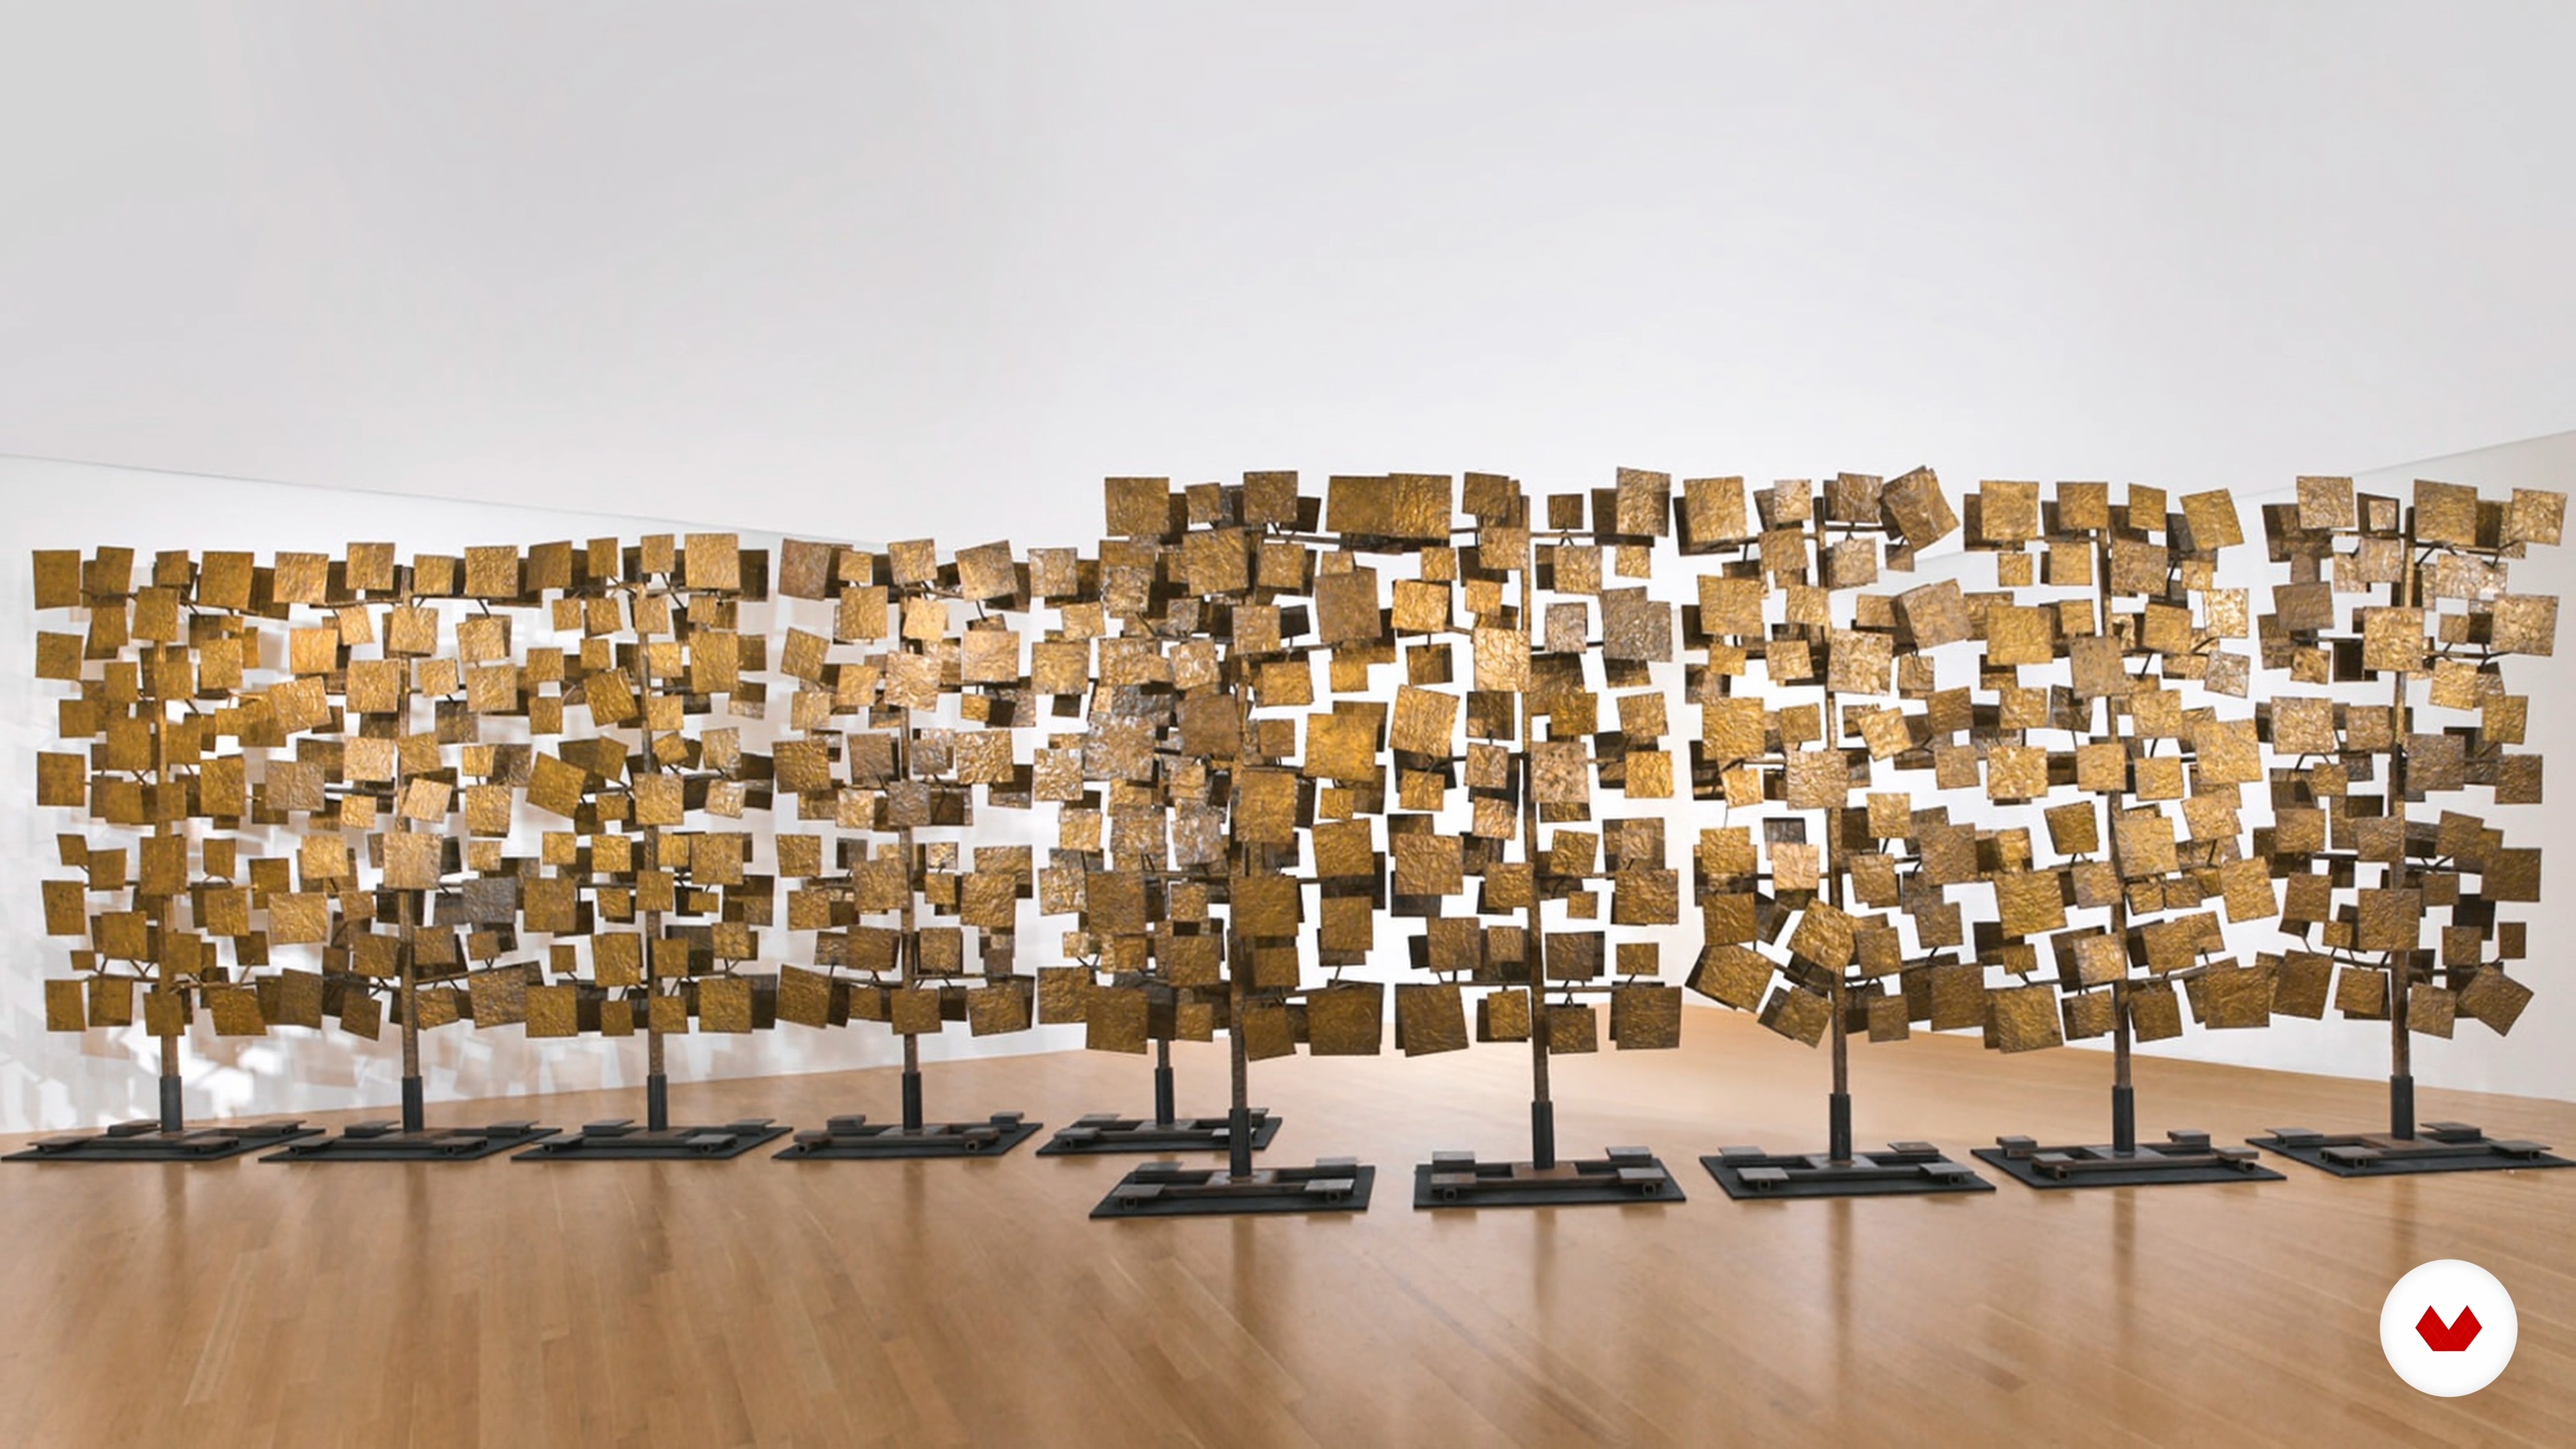
6Influences | Alicia Goodwin
Now, I want to show you what really drives my work. I will talk about the people and objects that inspire my design and my wearable sculptural practice.
10m
 7
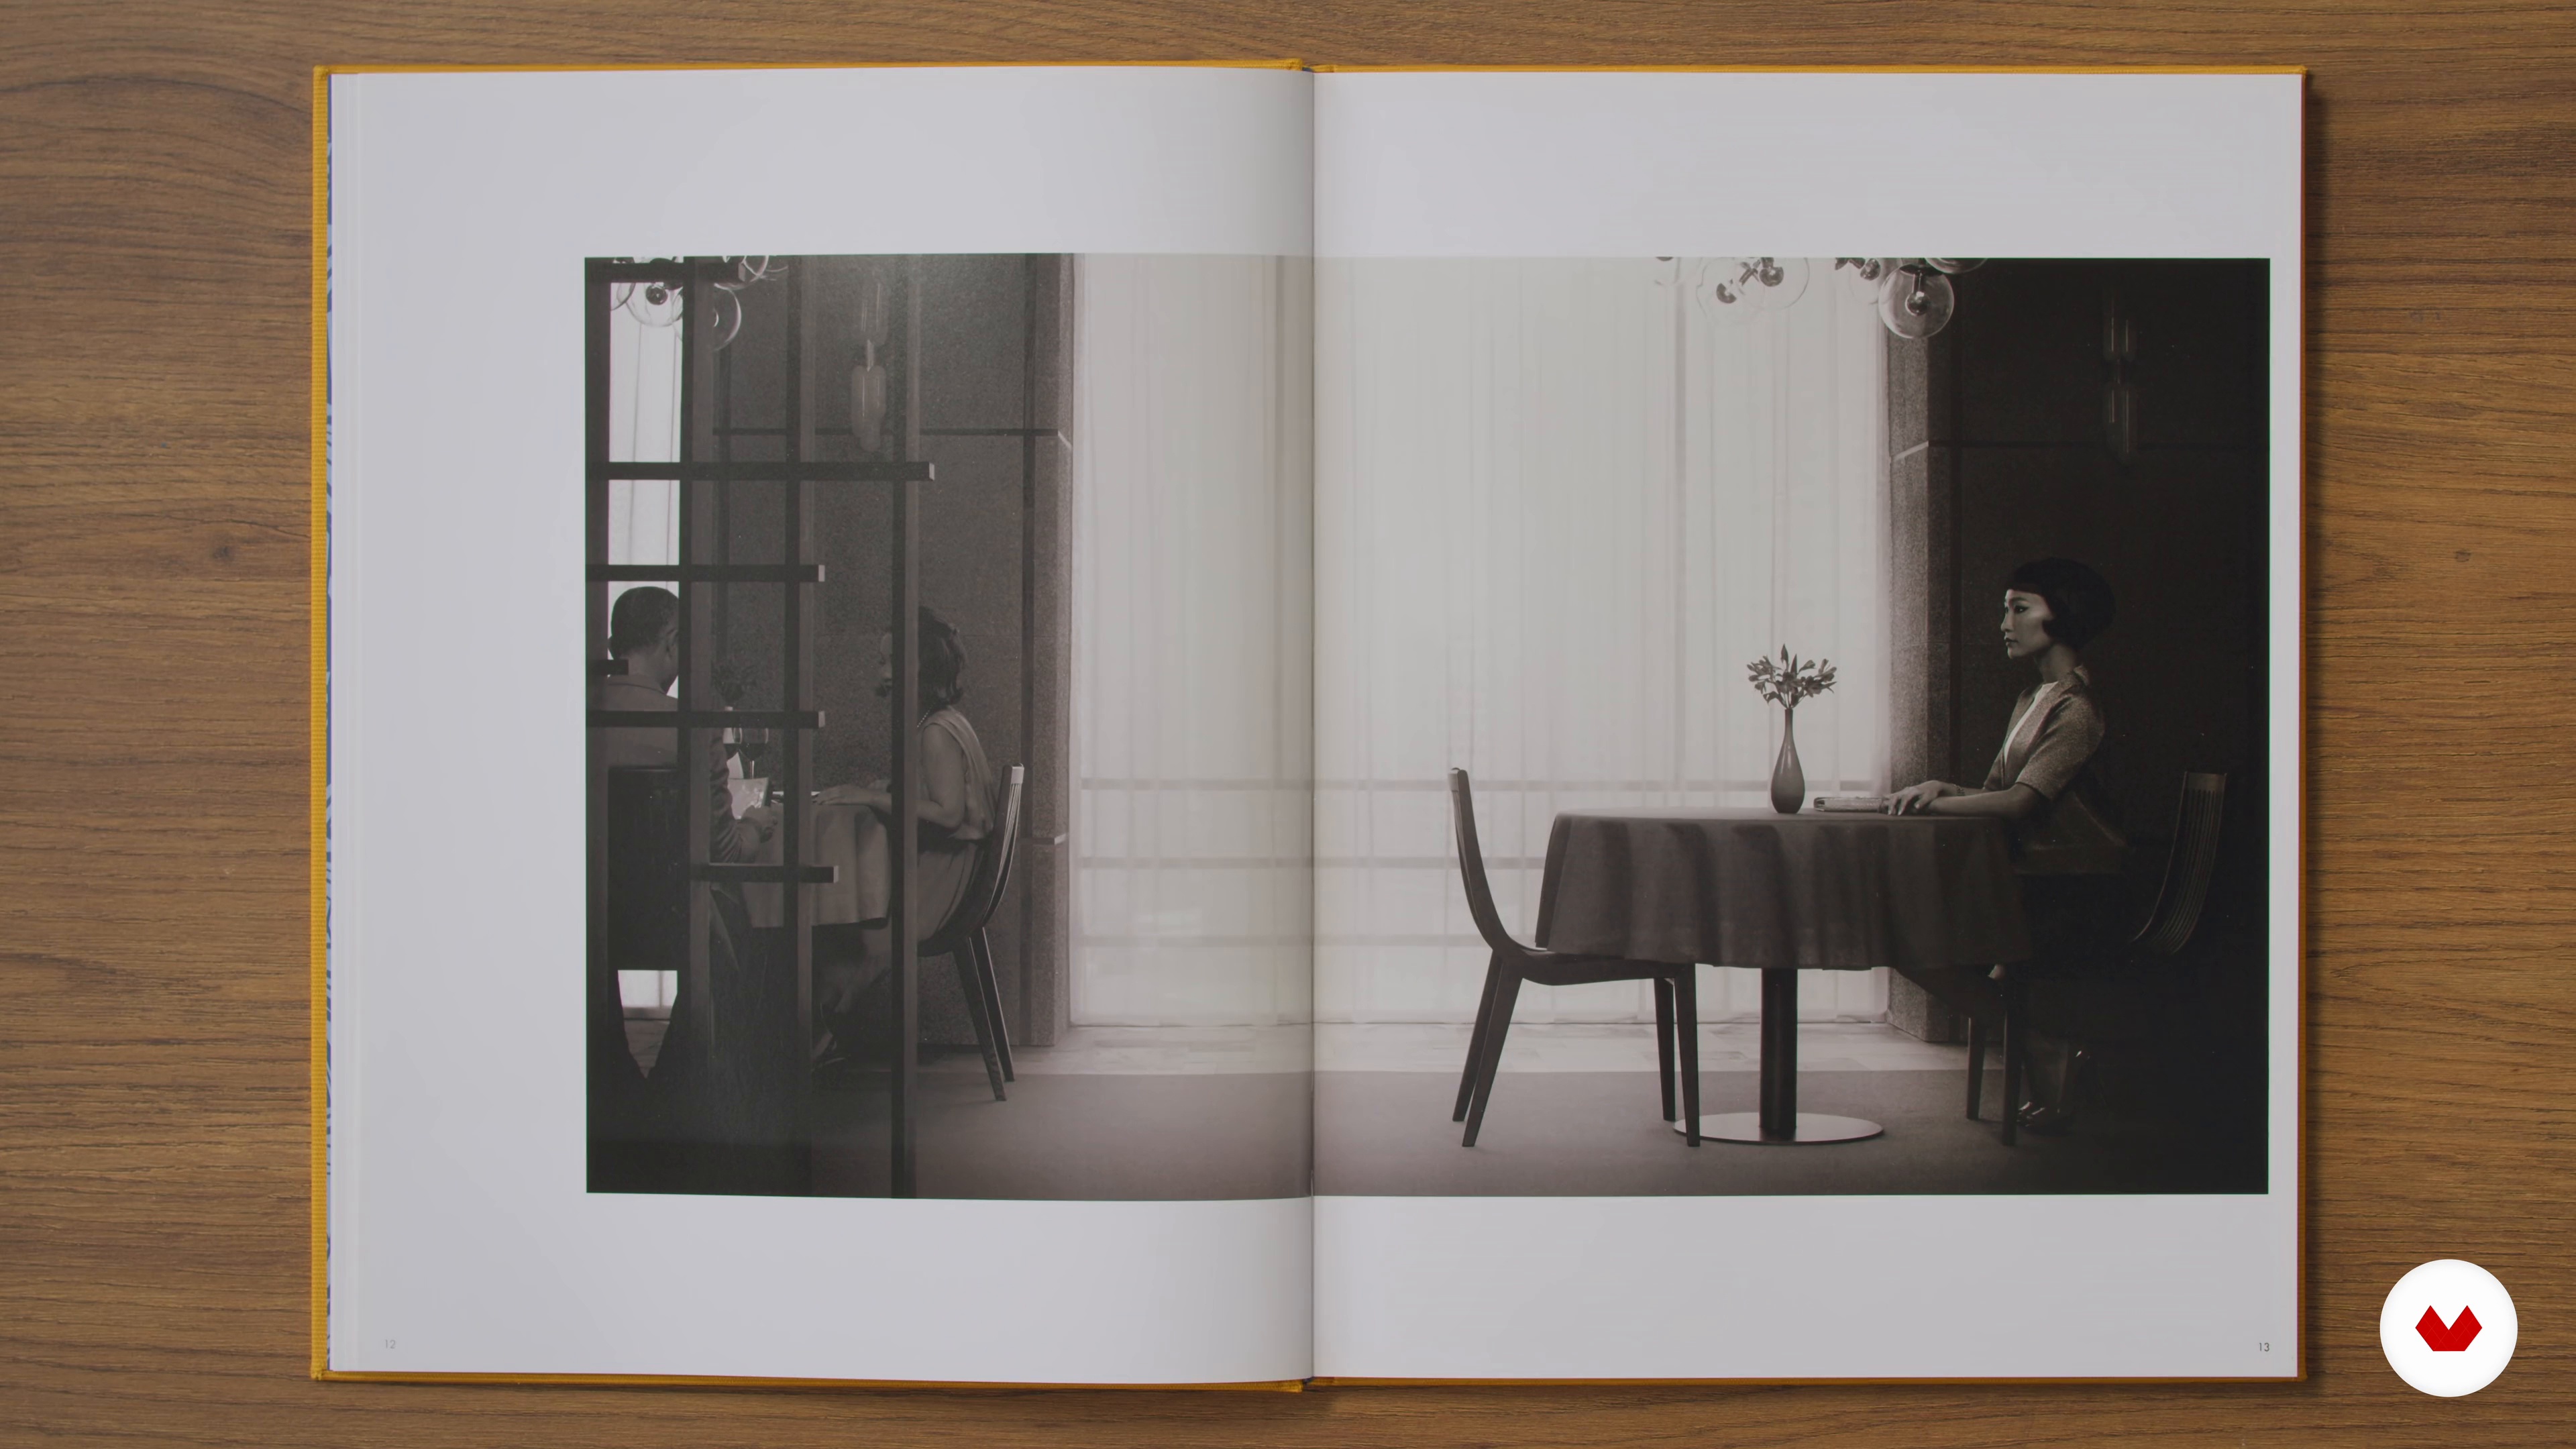
7Influences | Gabriela Silveira
In this lesson, I will talk about a few artists that have influenced and shaped my work.
8m
 3
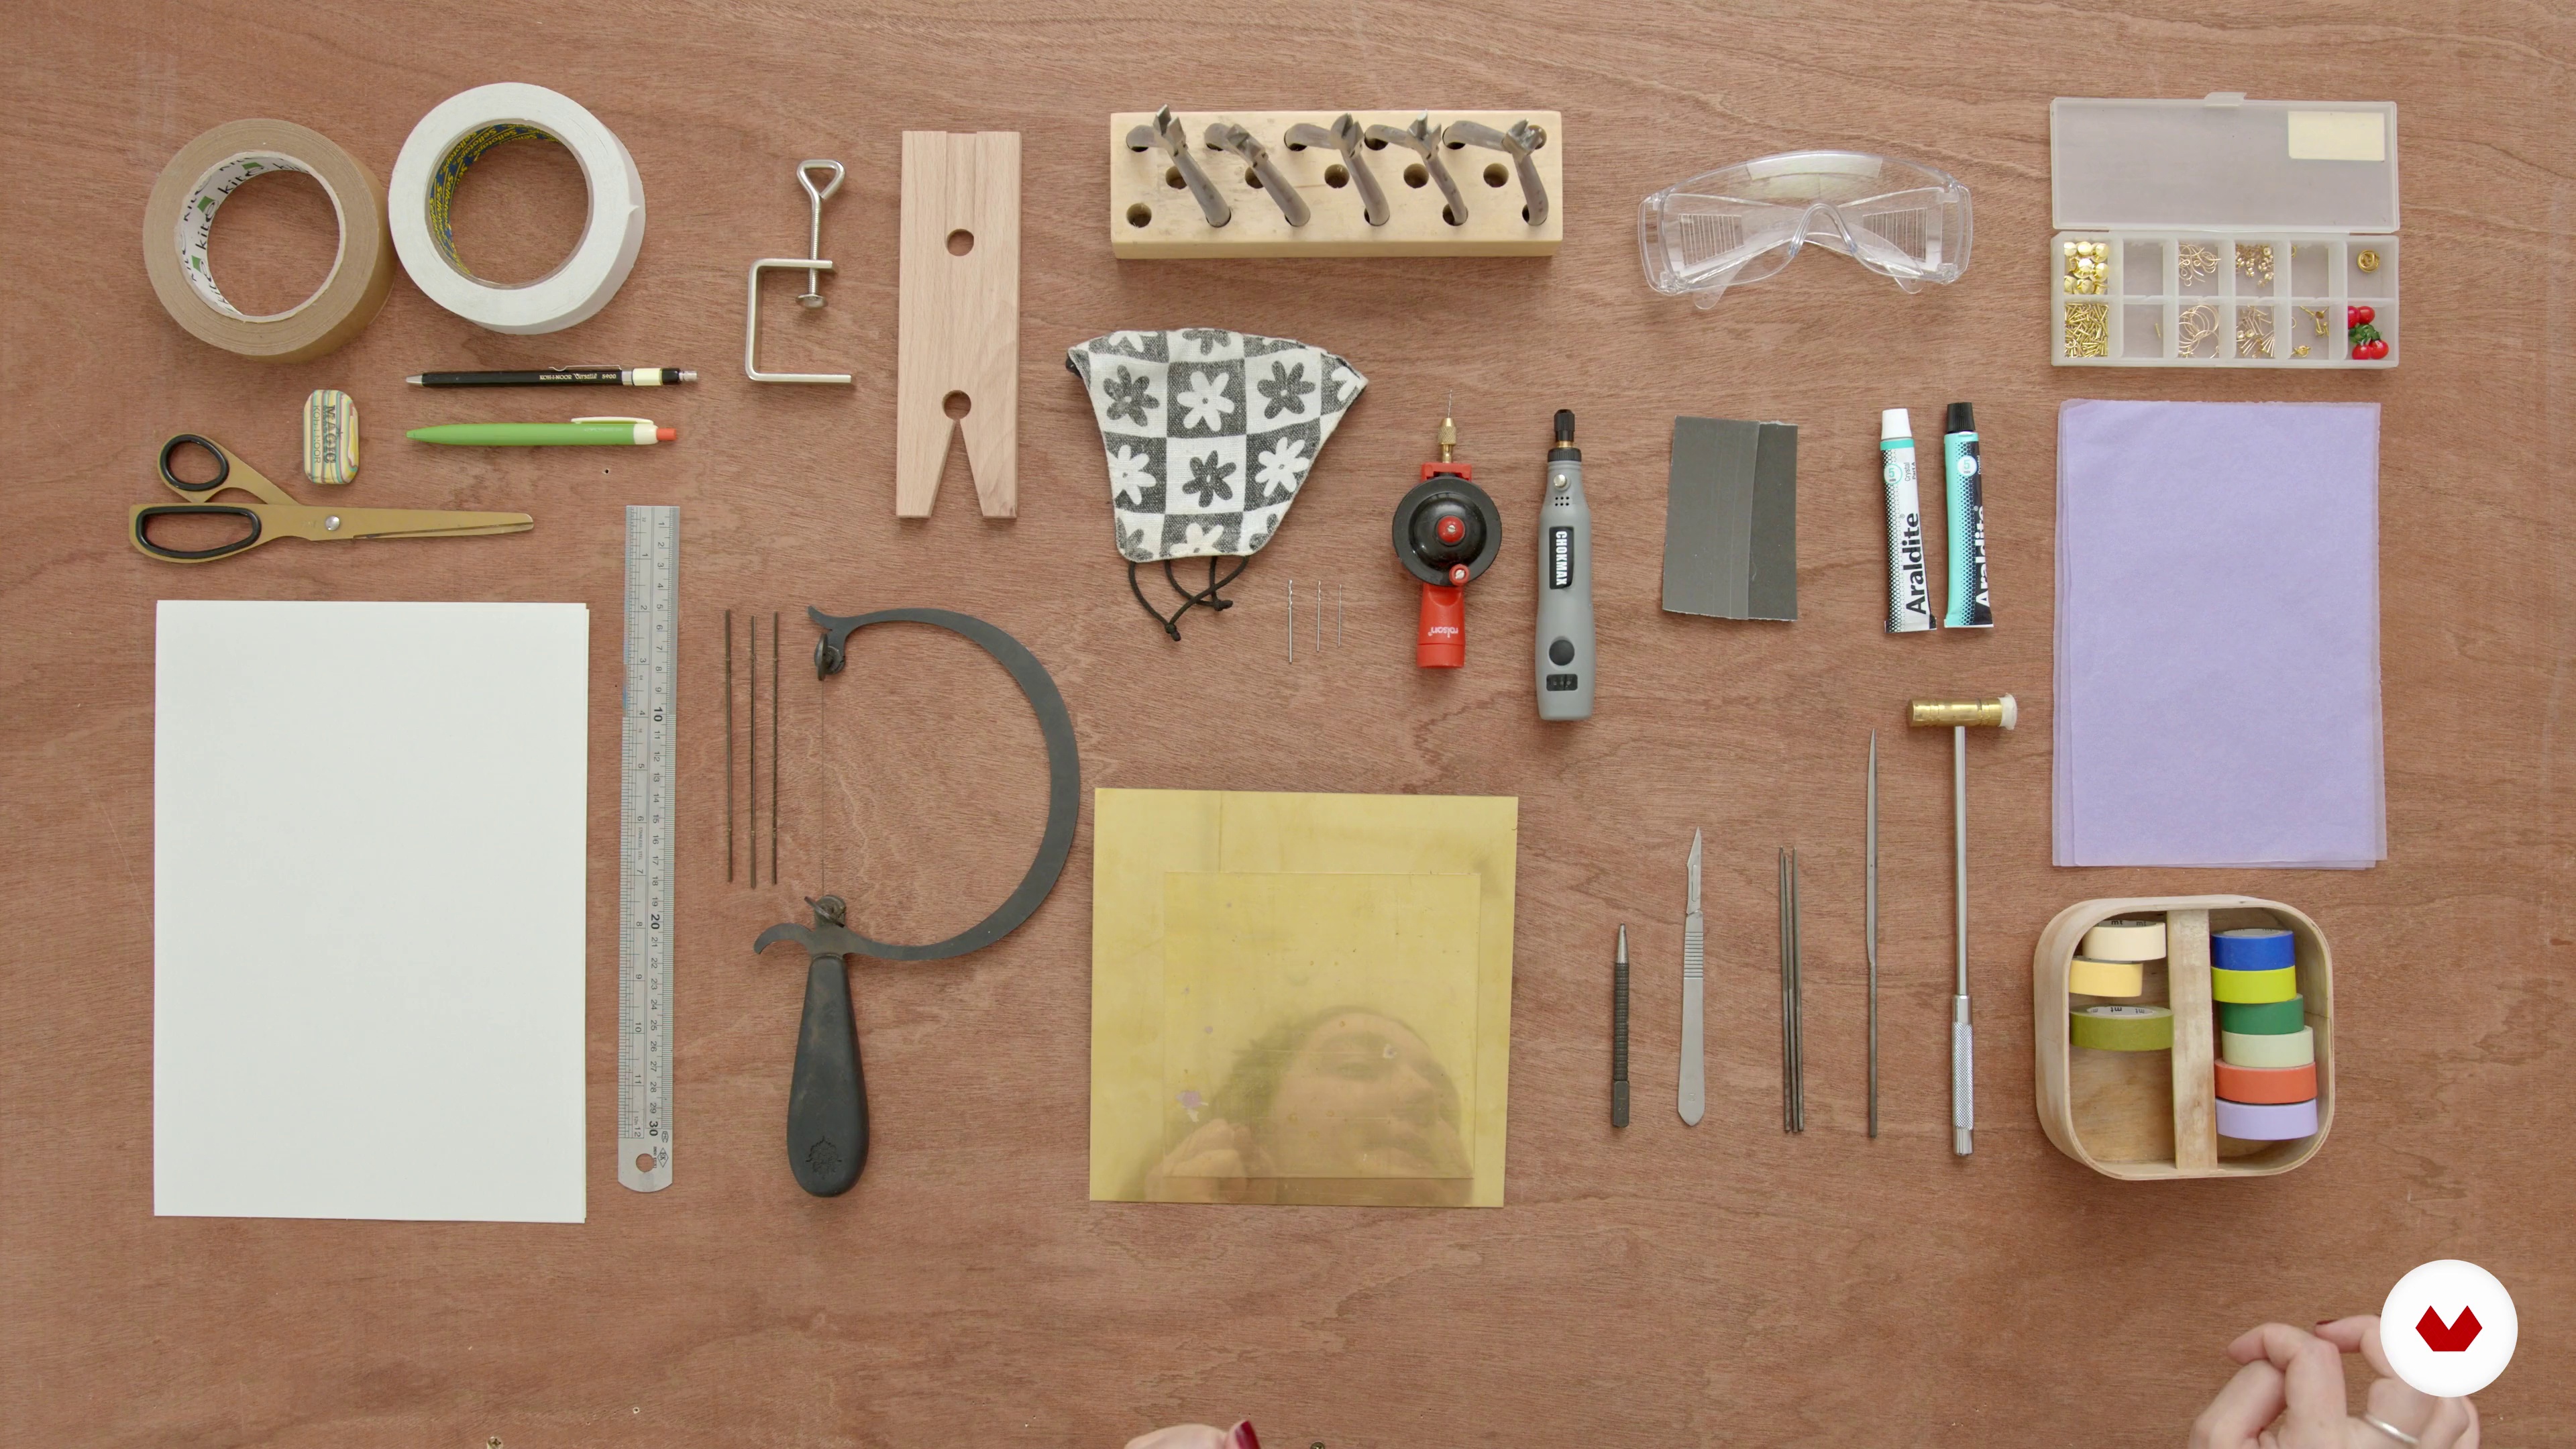
3Tools and Materials
First, I will introduce the different materials and tools you will need when creating your brass jewellery.
12m
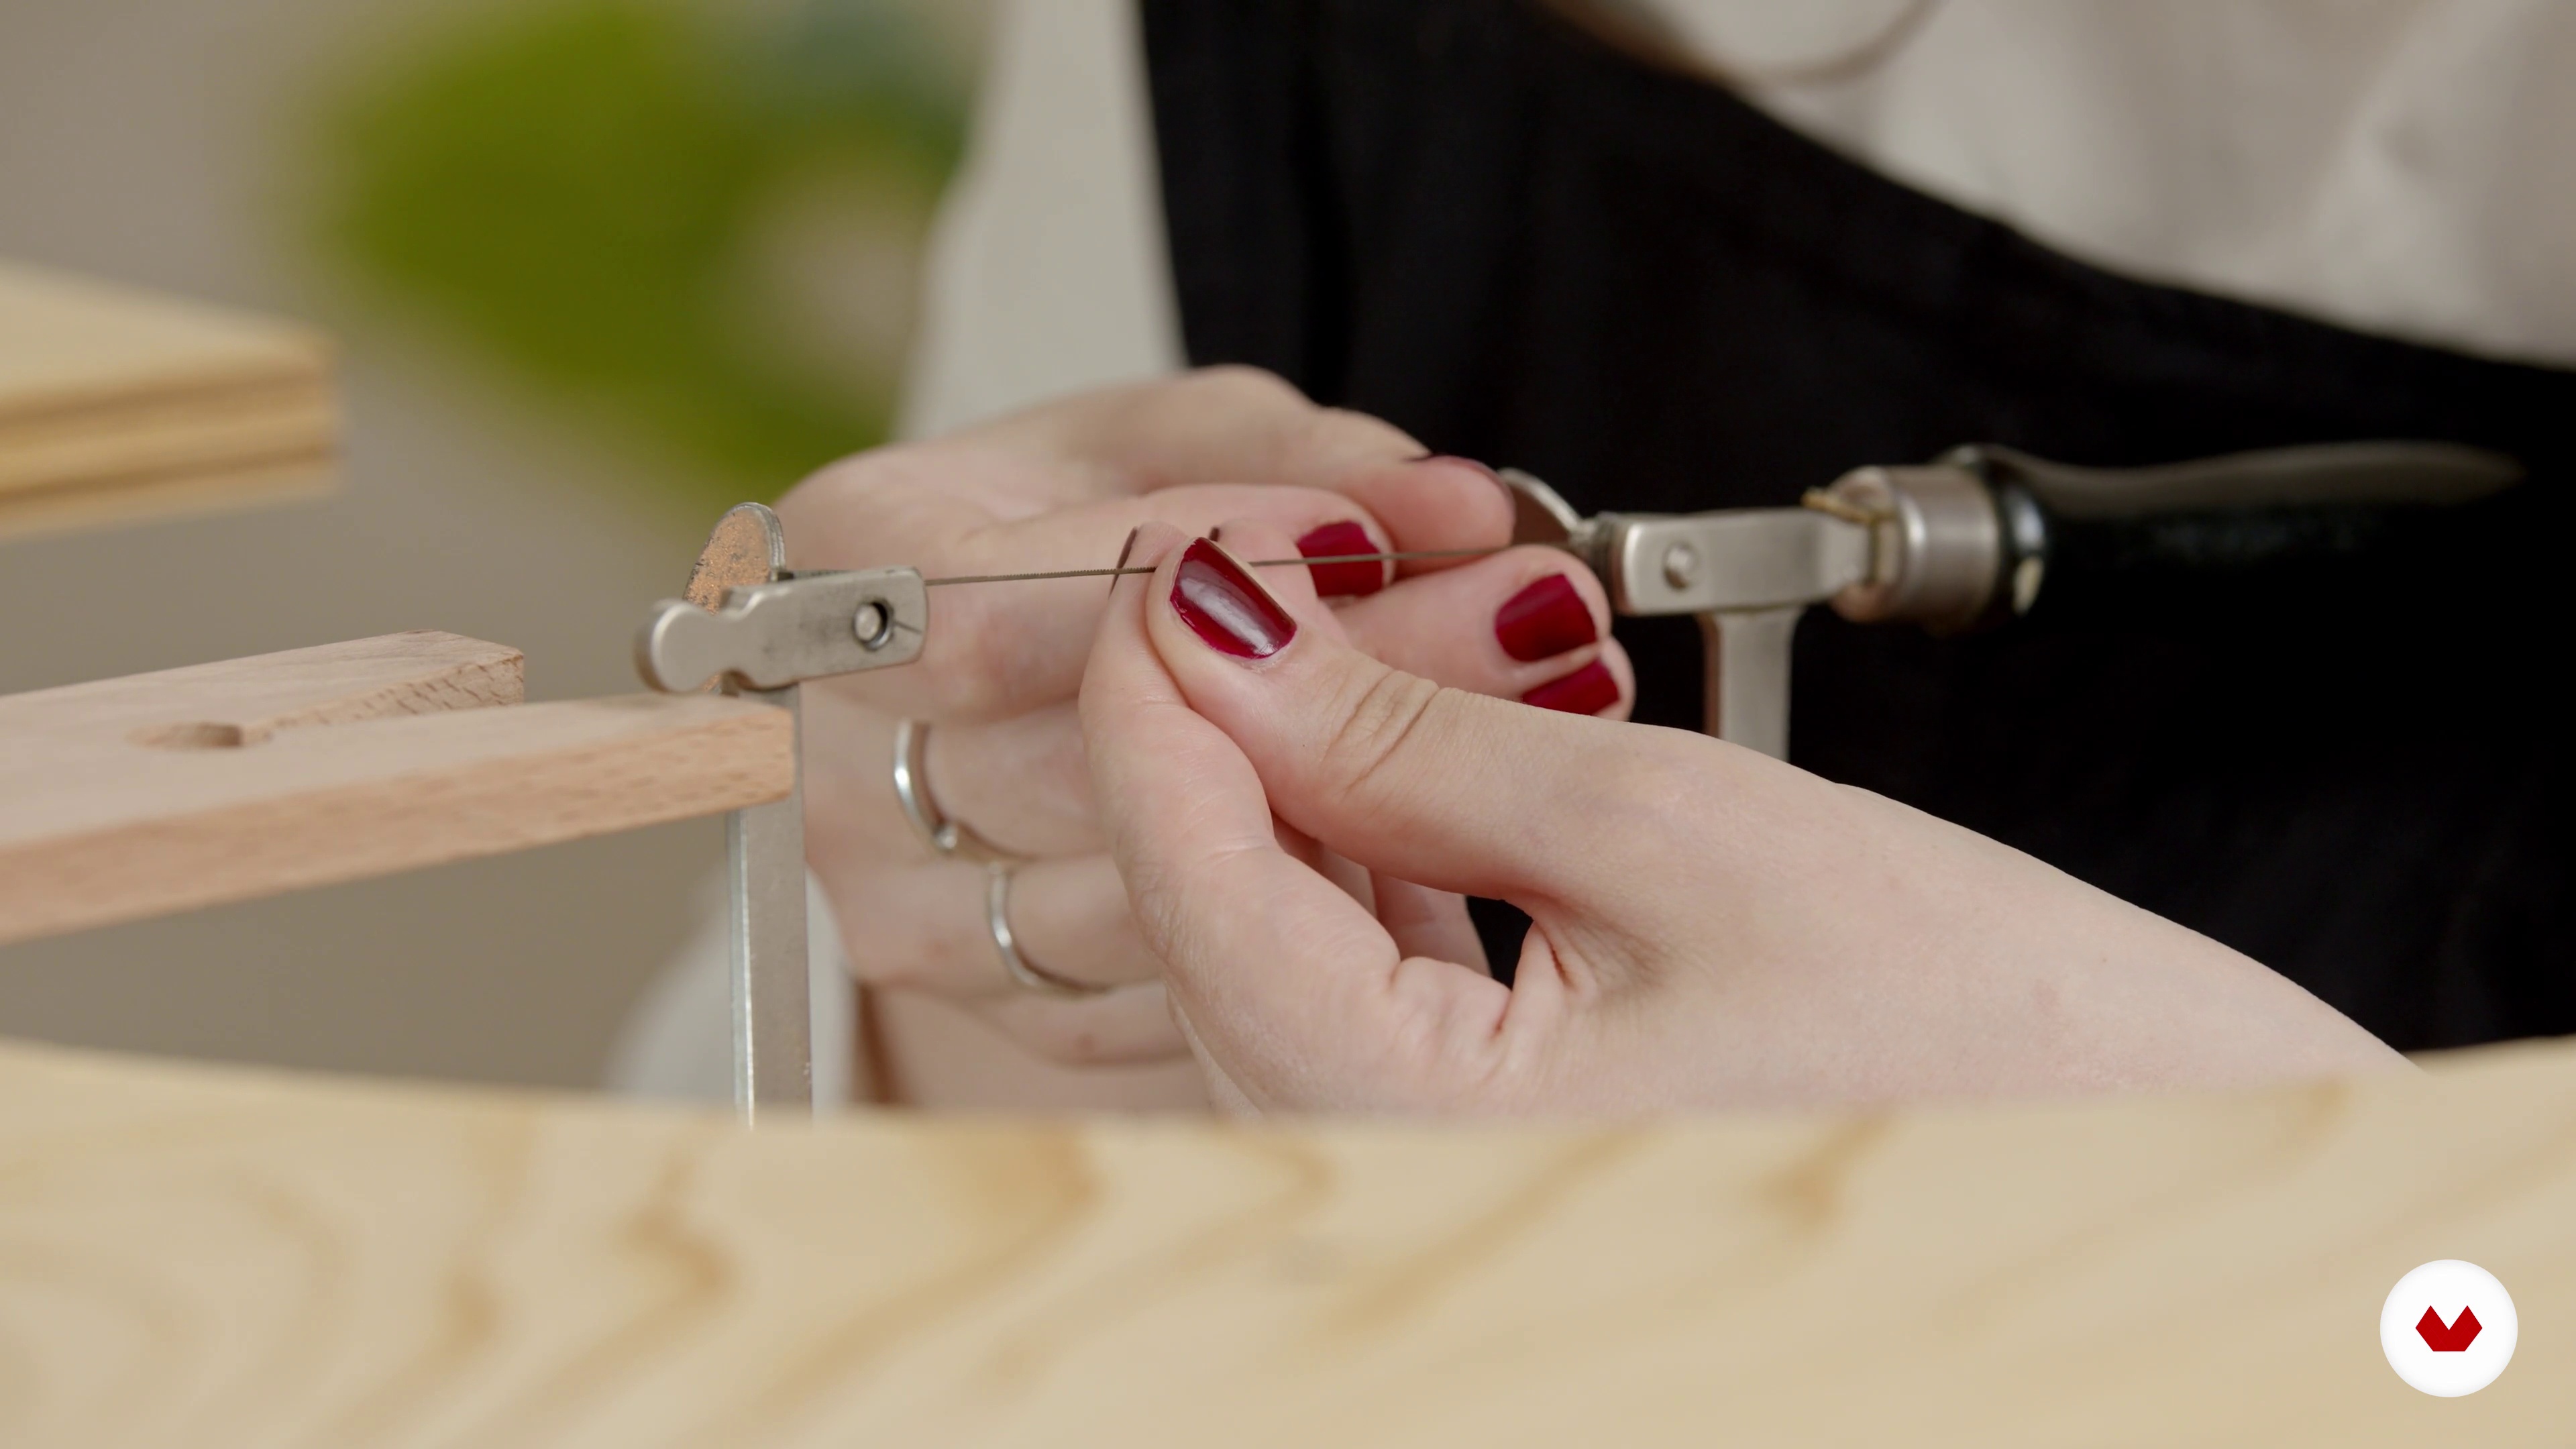 4
4Setting Up Your Workstation
Now, I will show you how best to set up your workstation. I’ll also share with you some health and safety practices when you start to create your jewellery.
7m
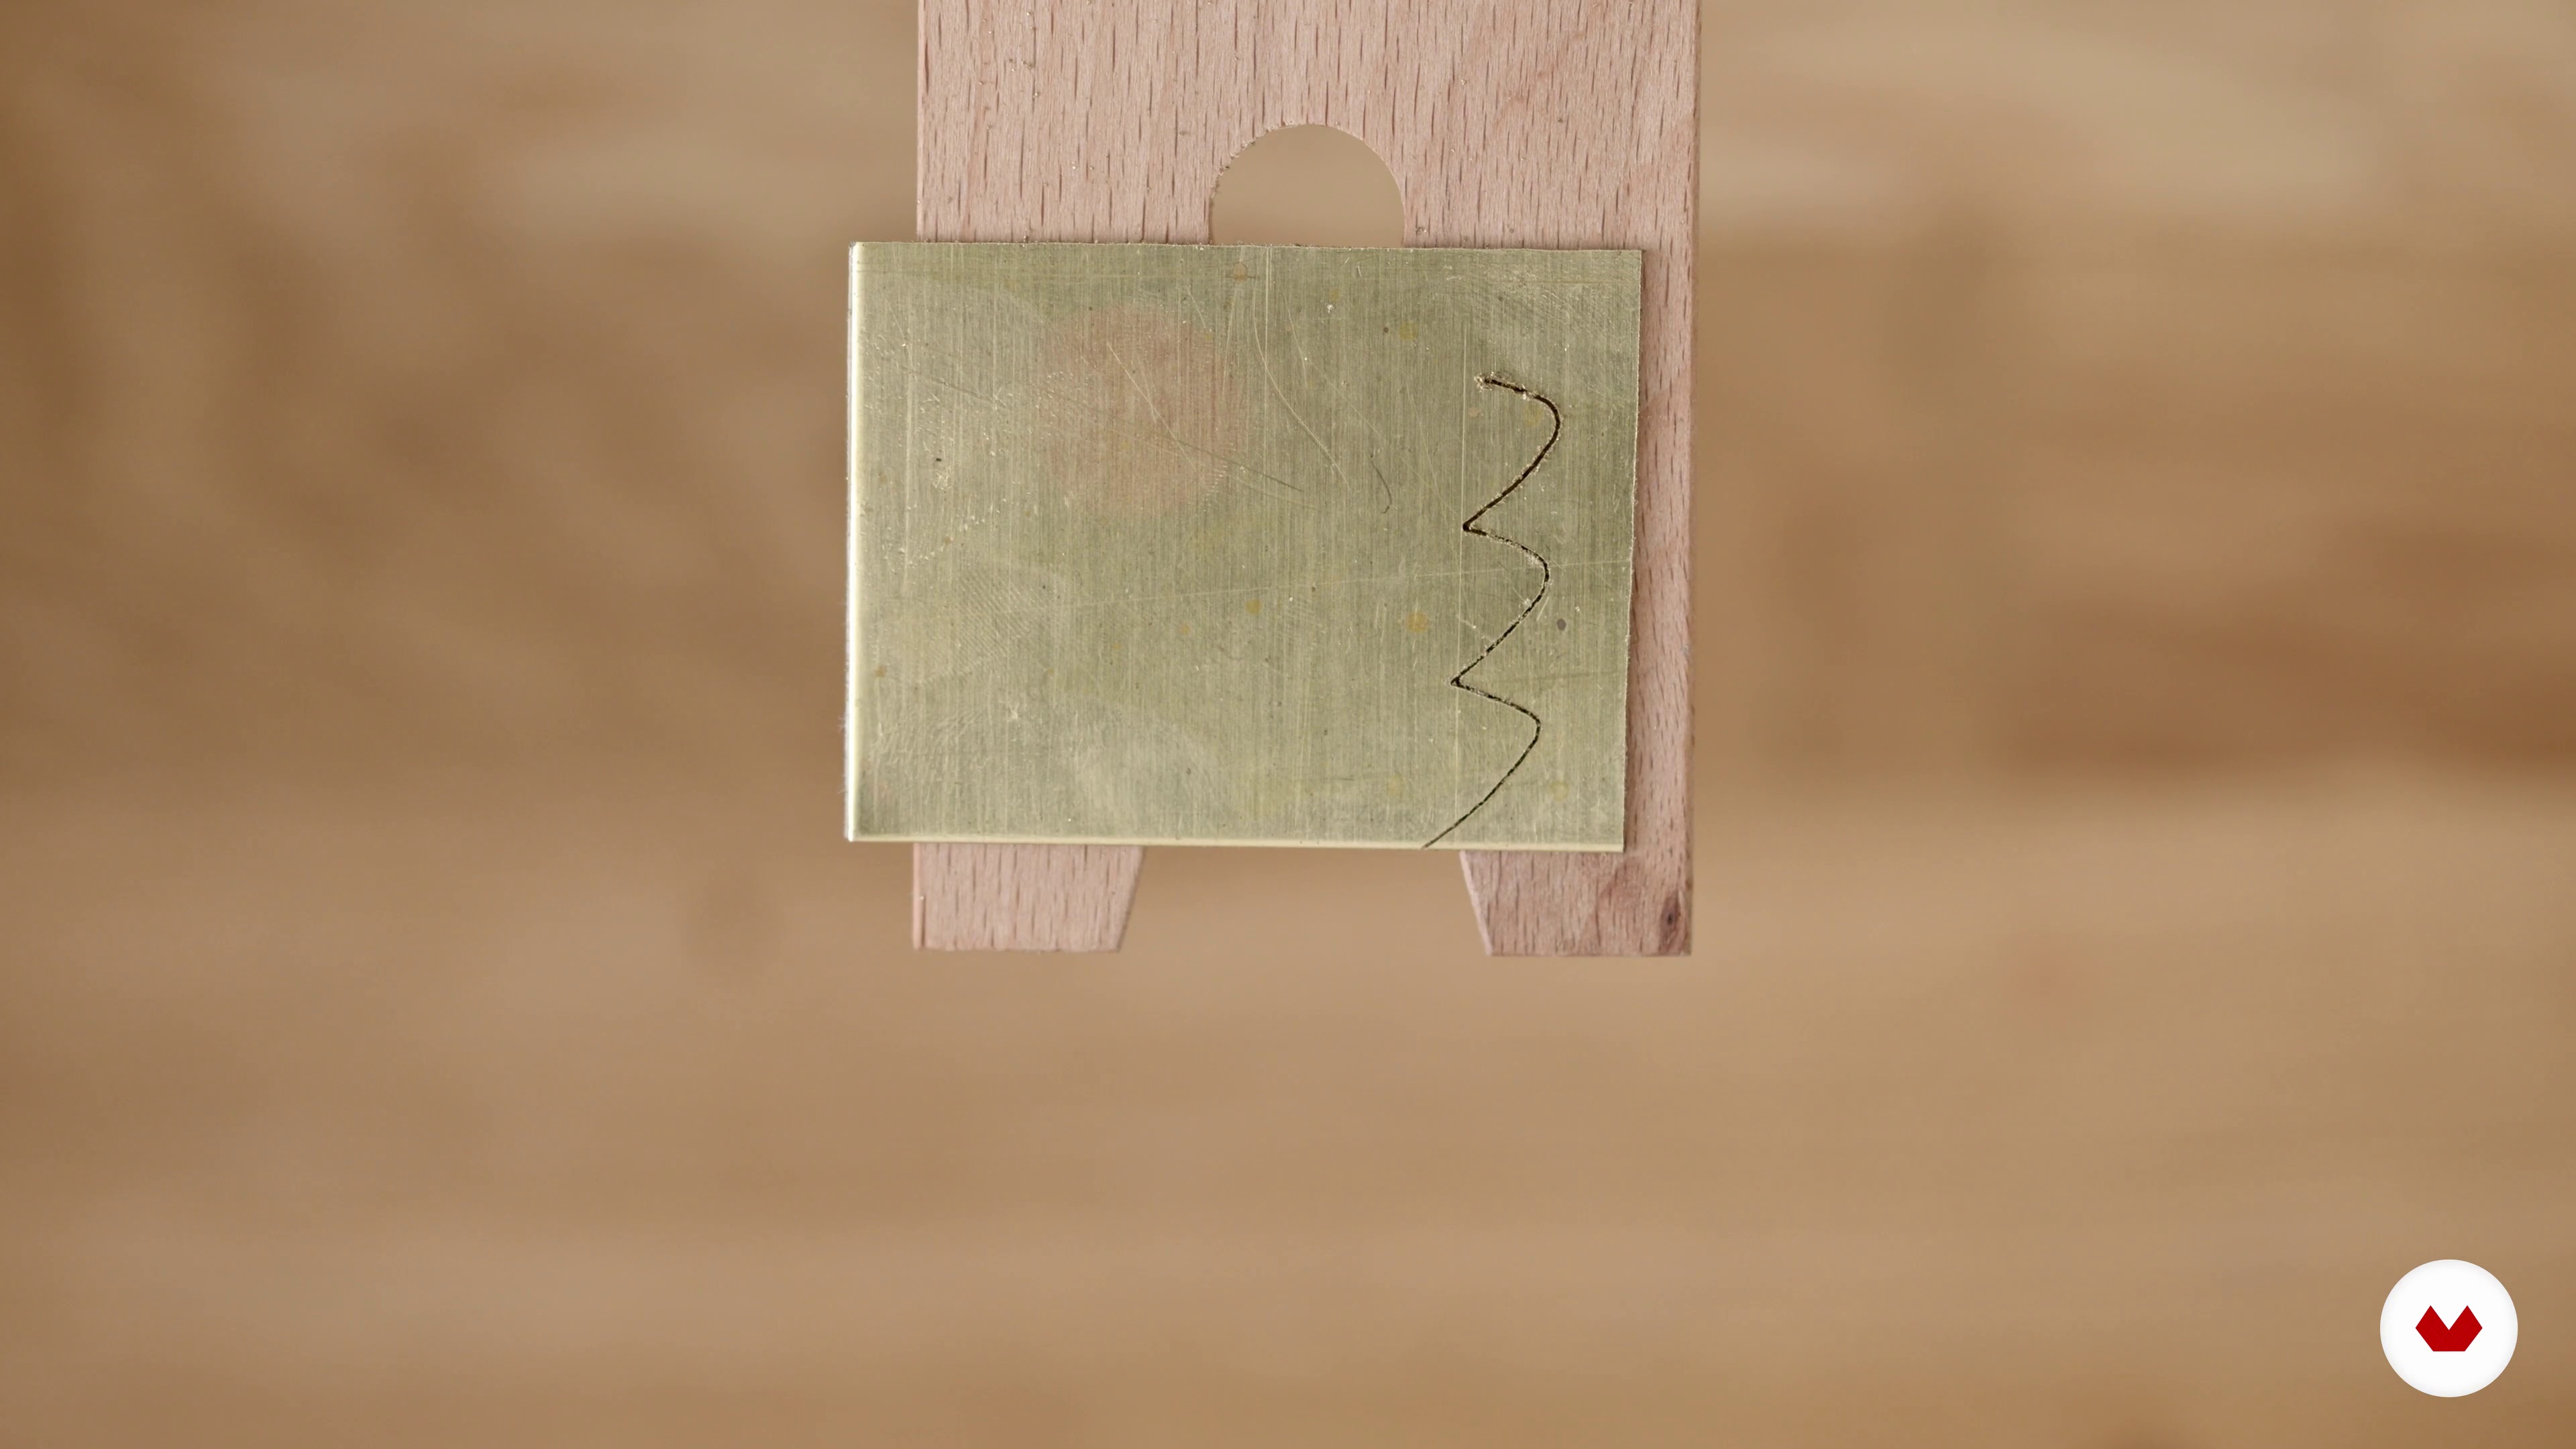 5
5An Introduction to Working with Brass 1
Here we are going to get acquainted with brass as a material and the techniques we will need to employ in the final project.
17m
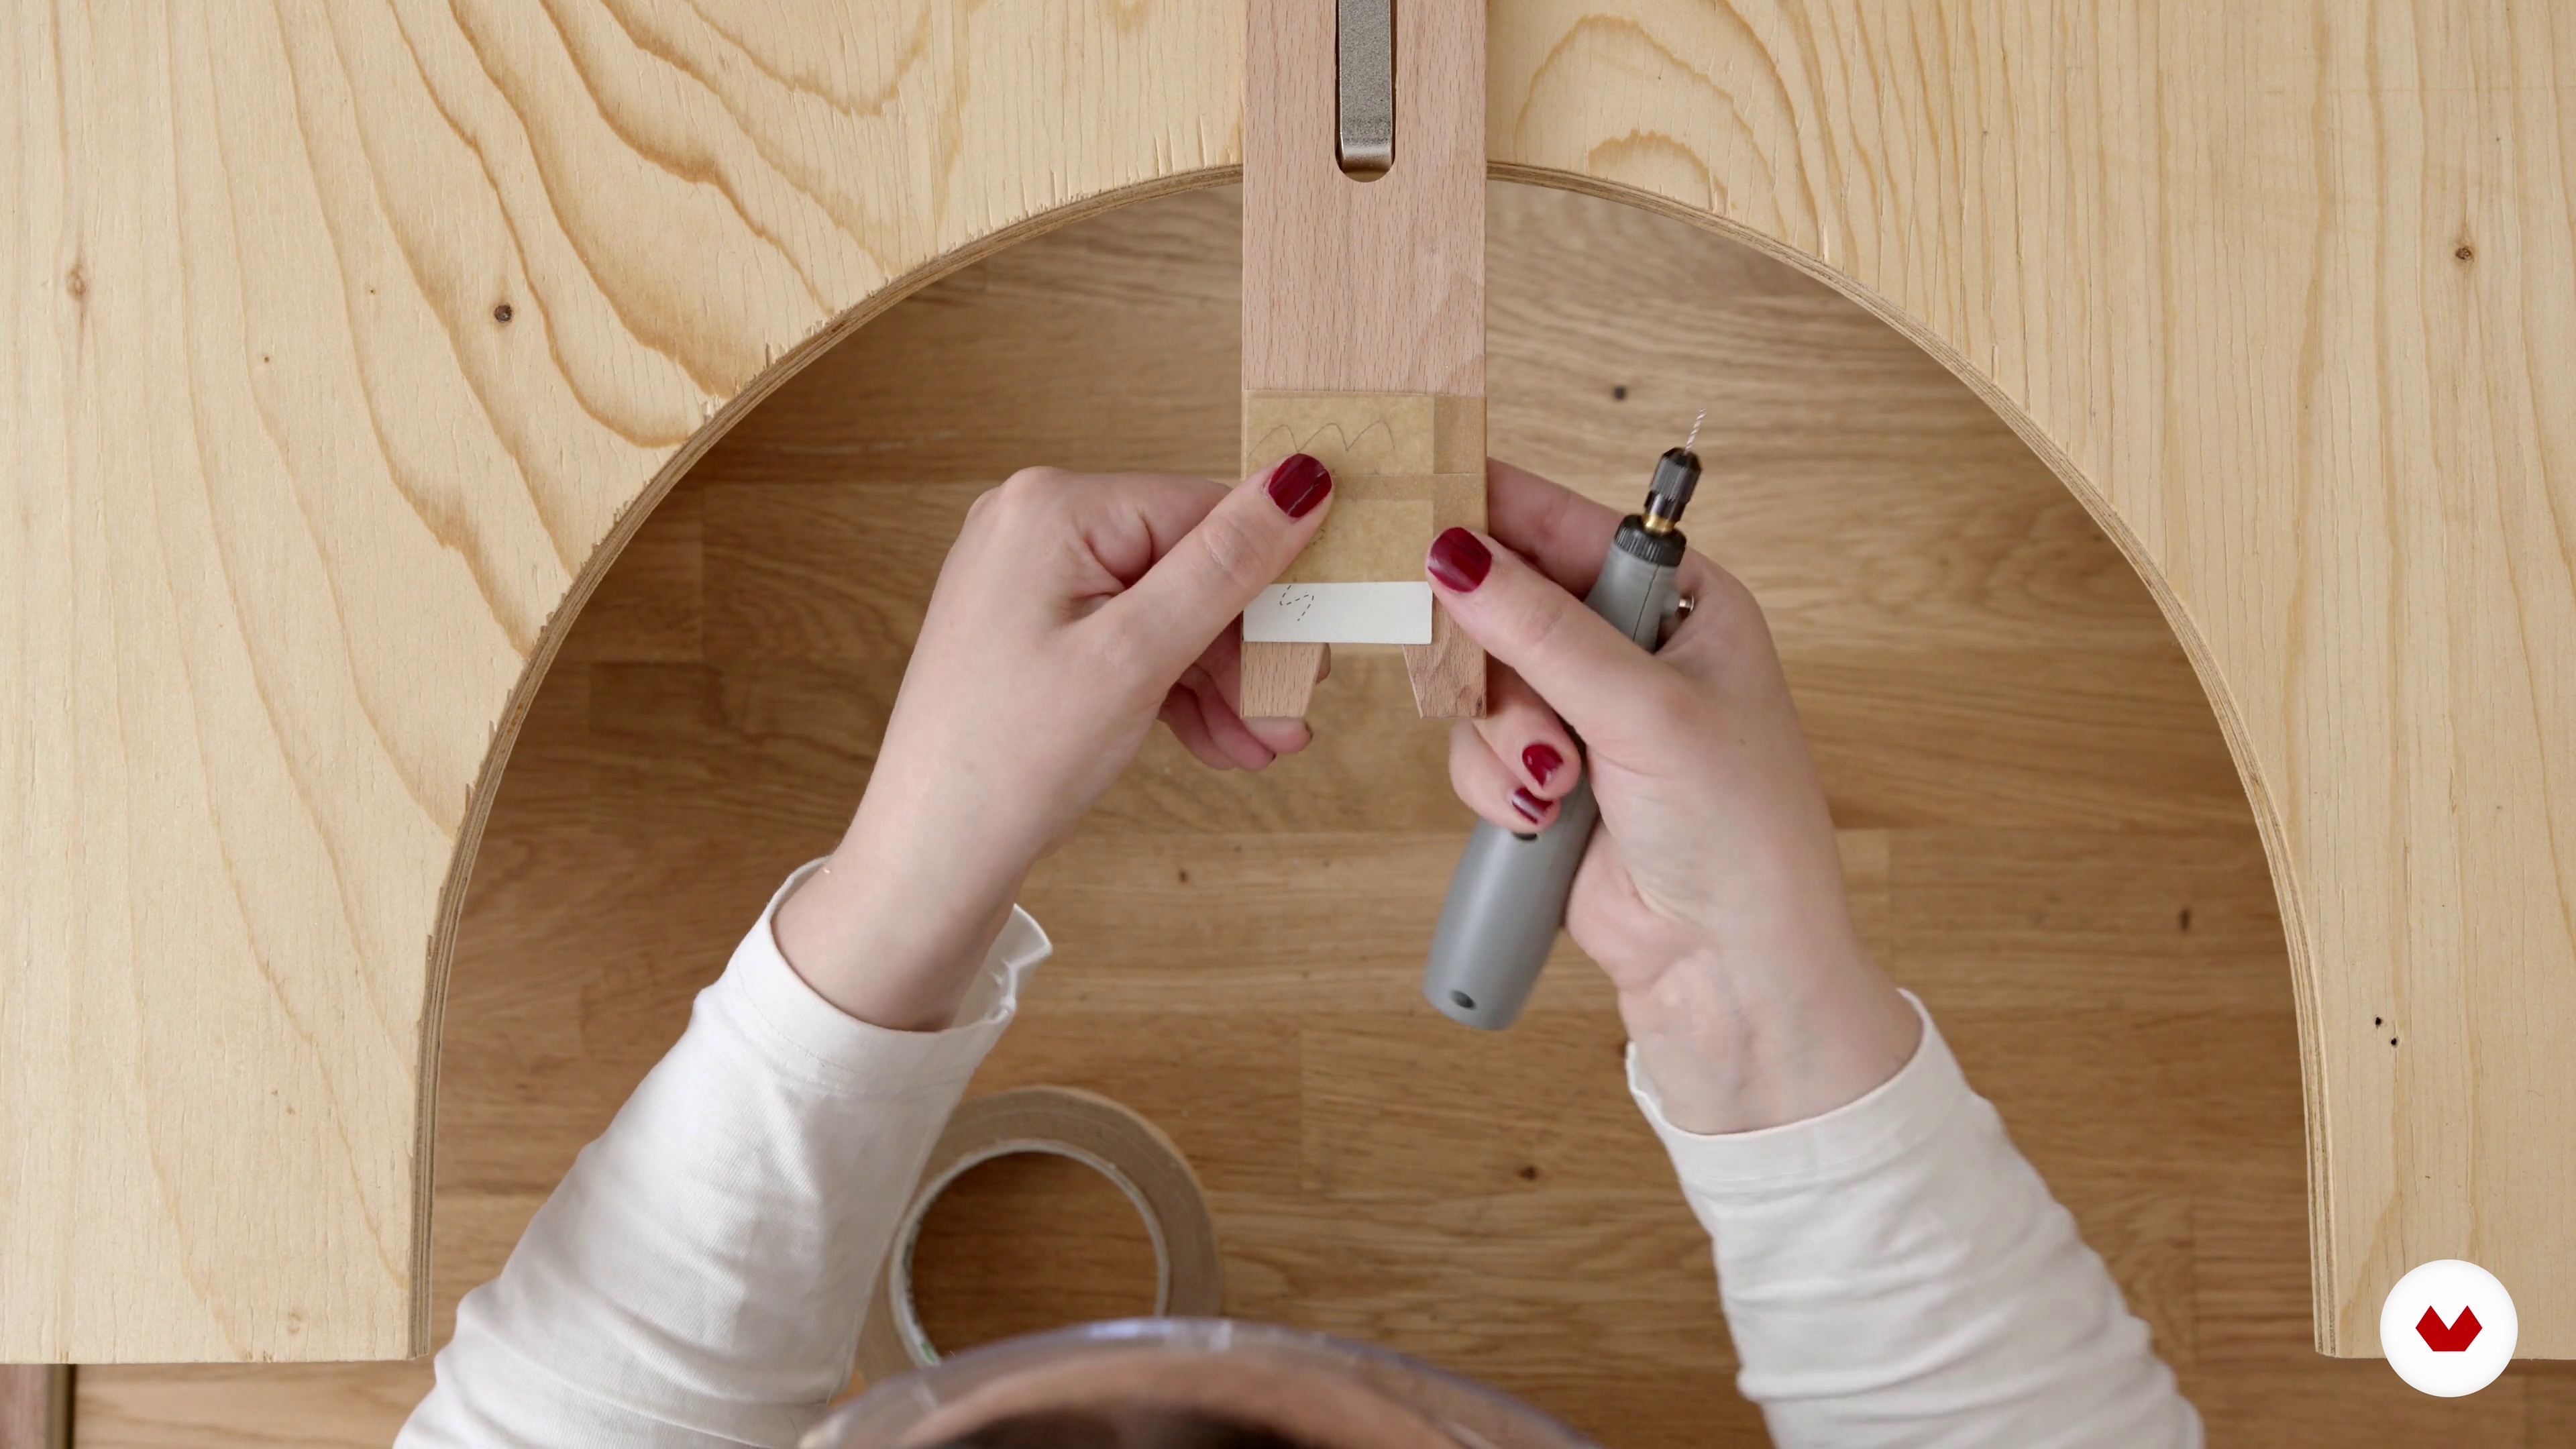 6
6An Introduction to Working with Brass 2
I will continue working with the piercing saw and I'm going to teach you how to drill holes with a drill.
15m
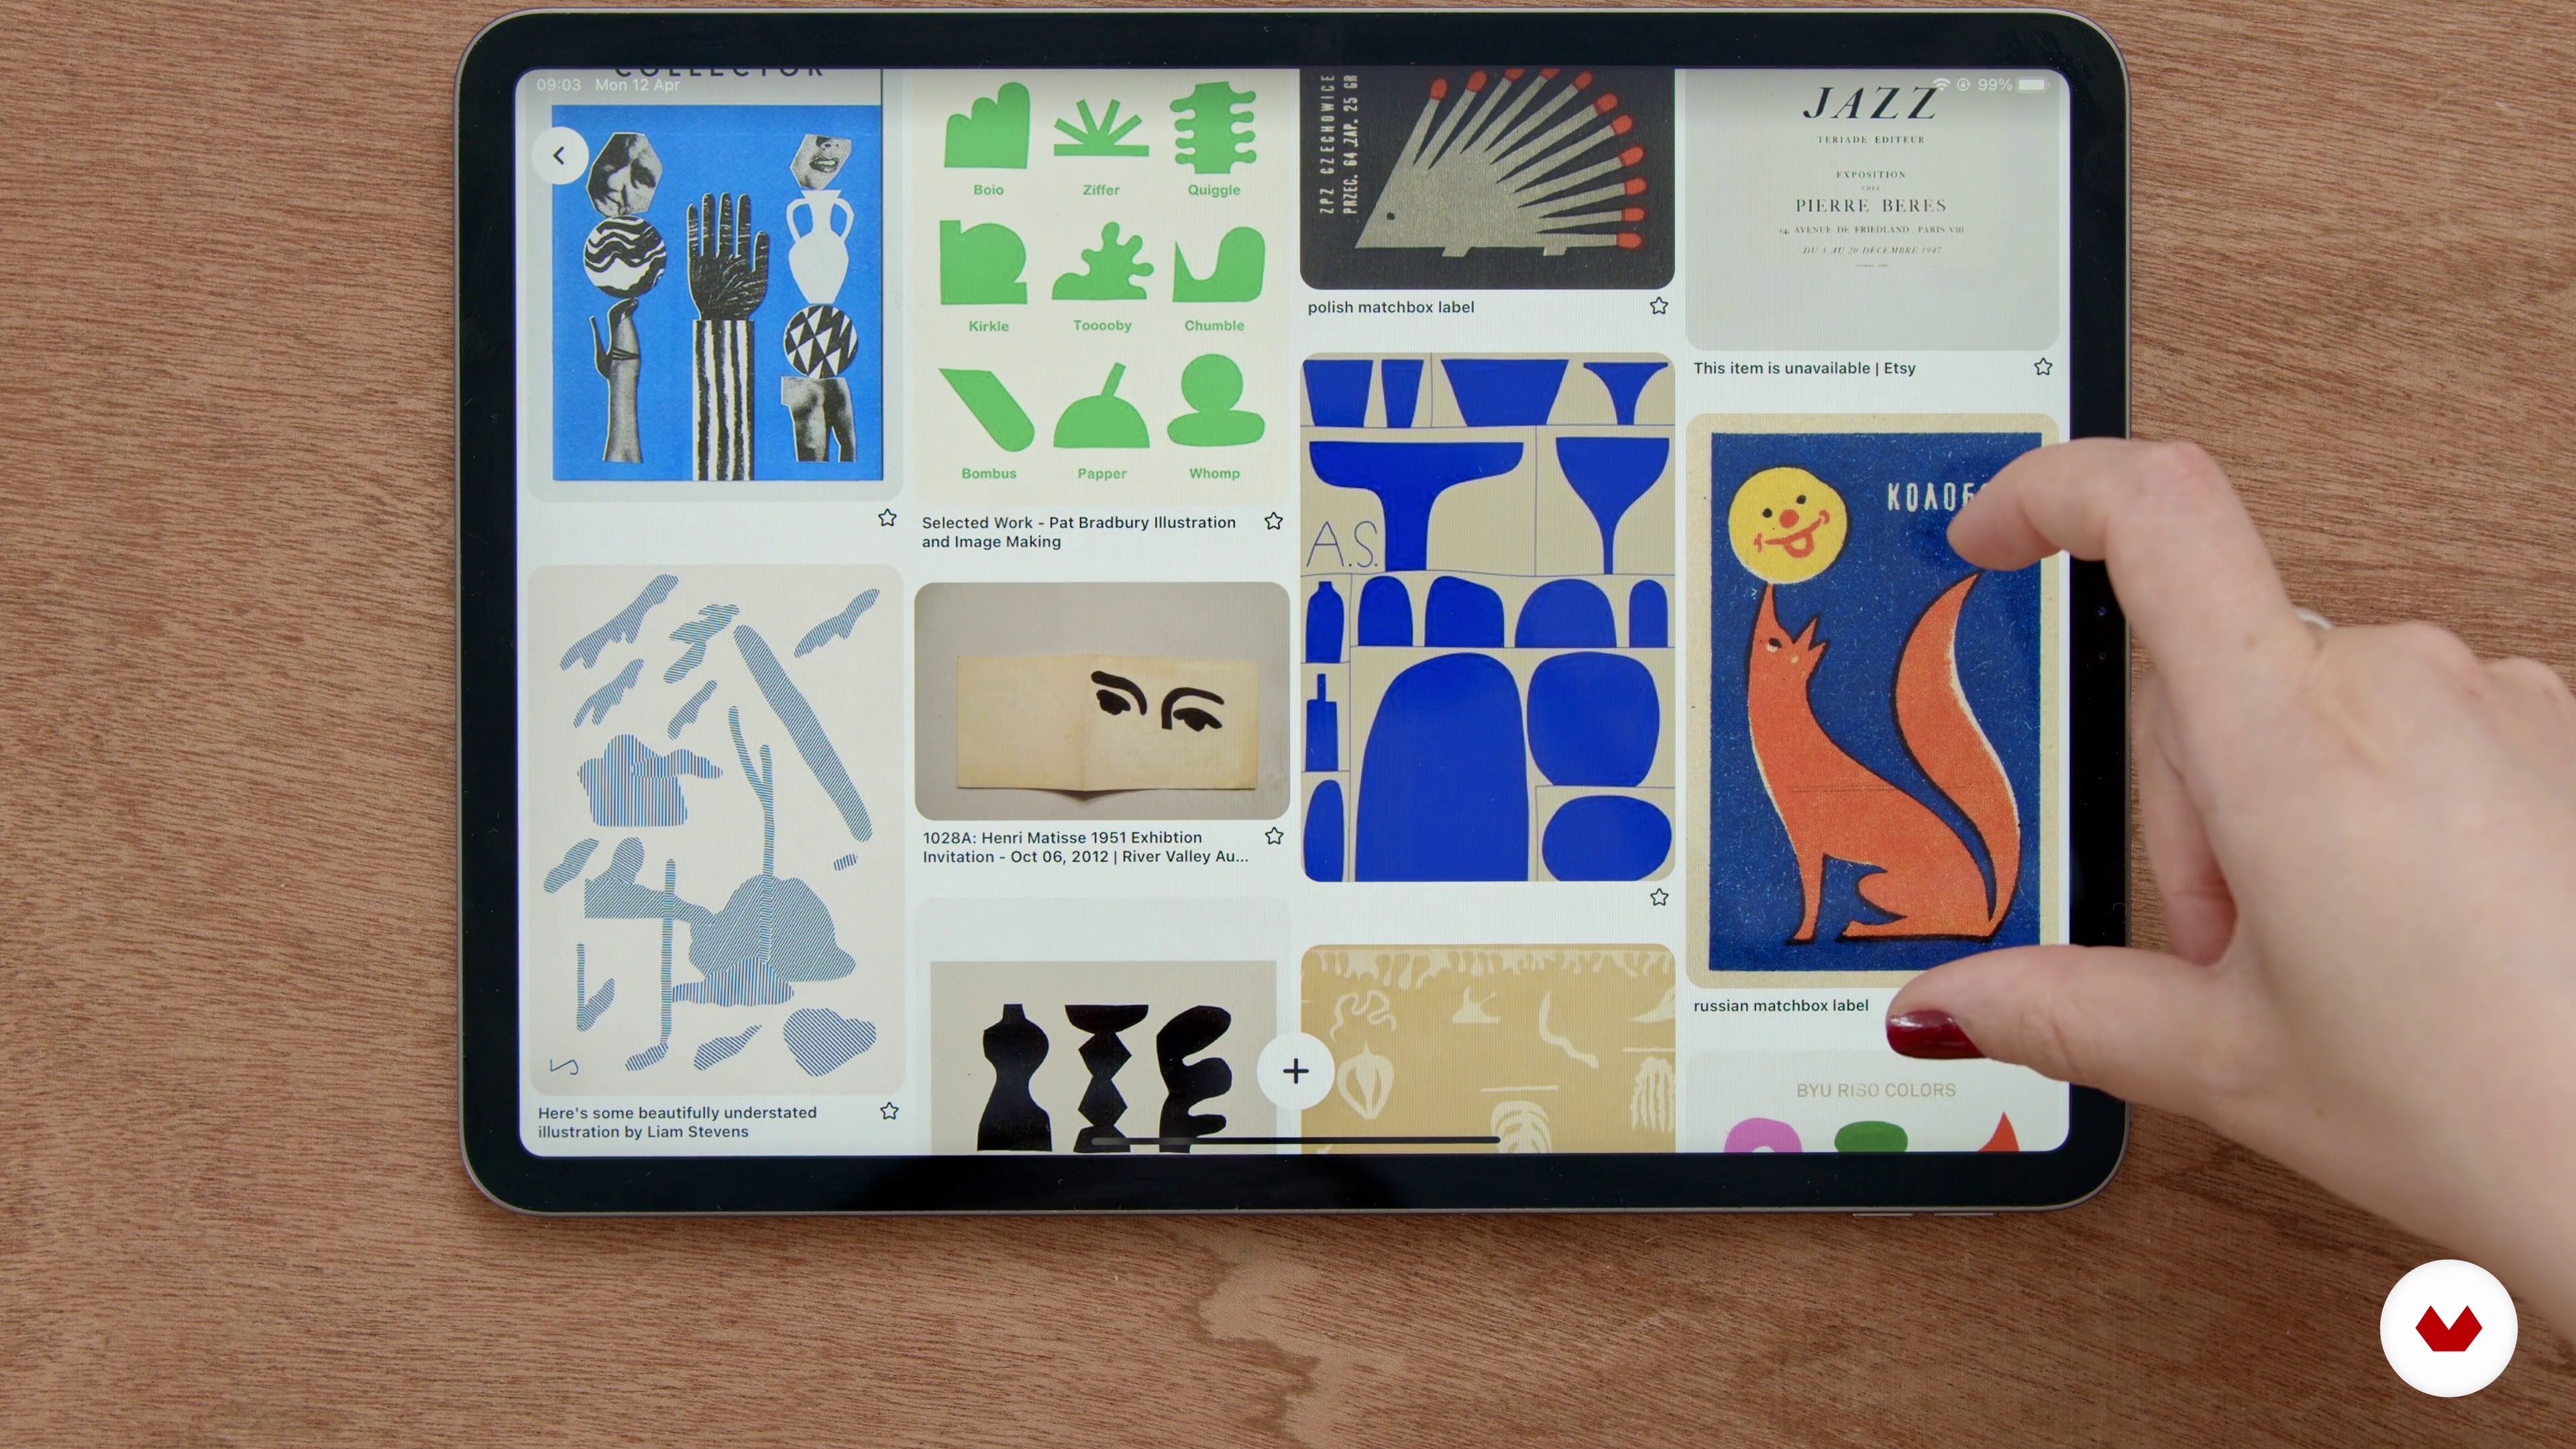 7
7Get Inspired
In this lesson, I will show you how to create a mood board on Pinterest to plan your brass jewellery pieces. This will serve as a useful tool to start thinking about possible forms for your design.
4m
 8
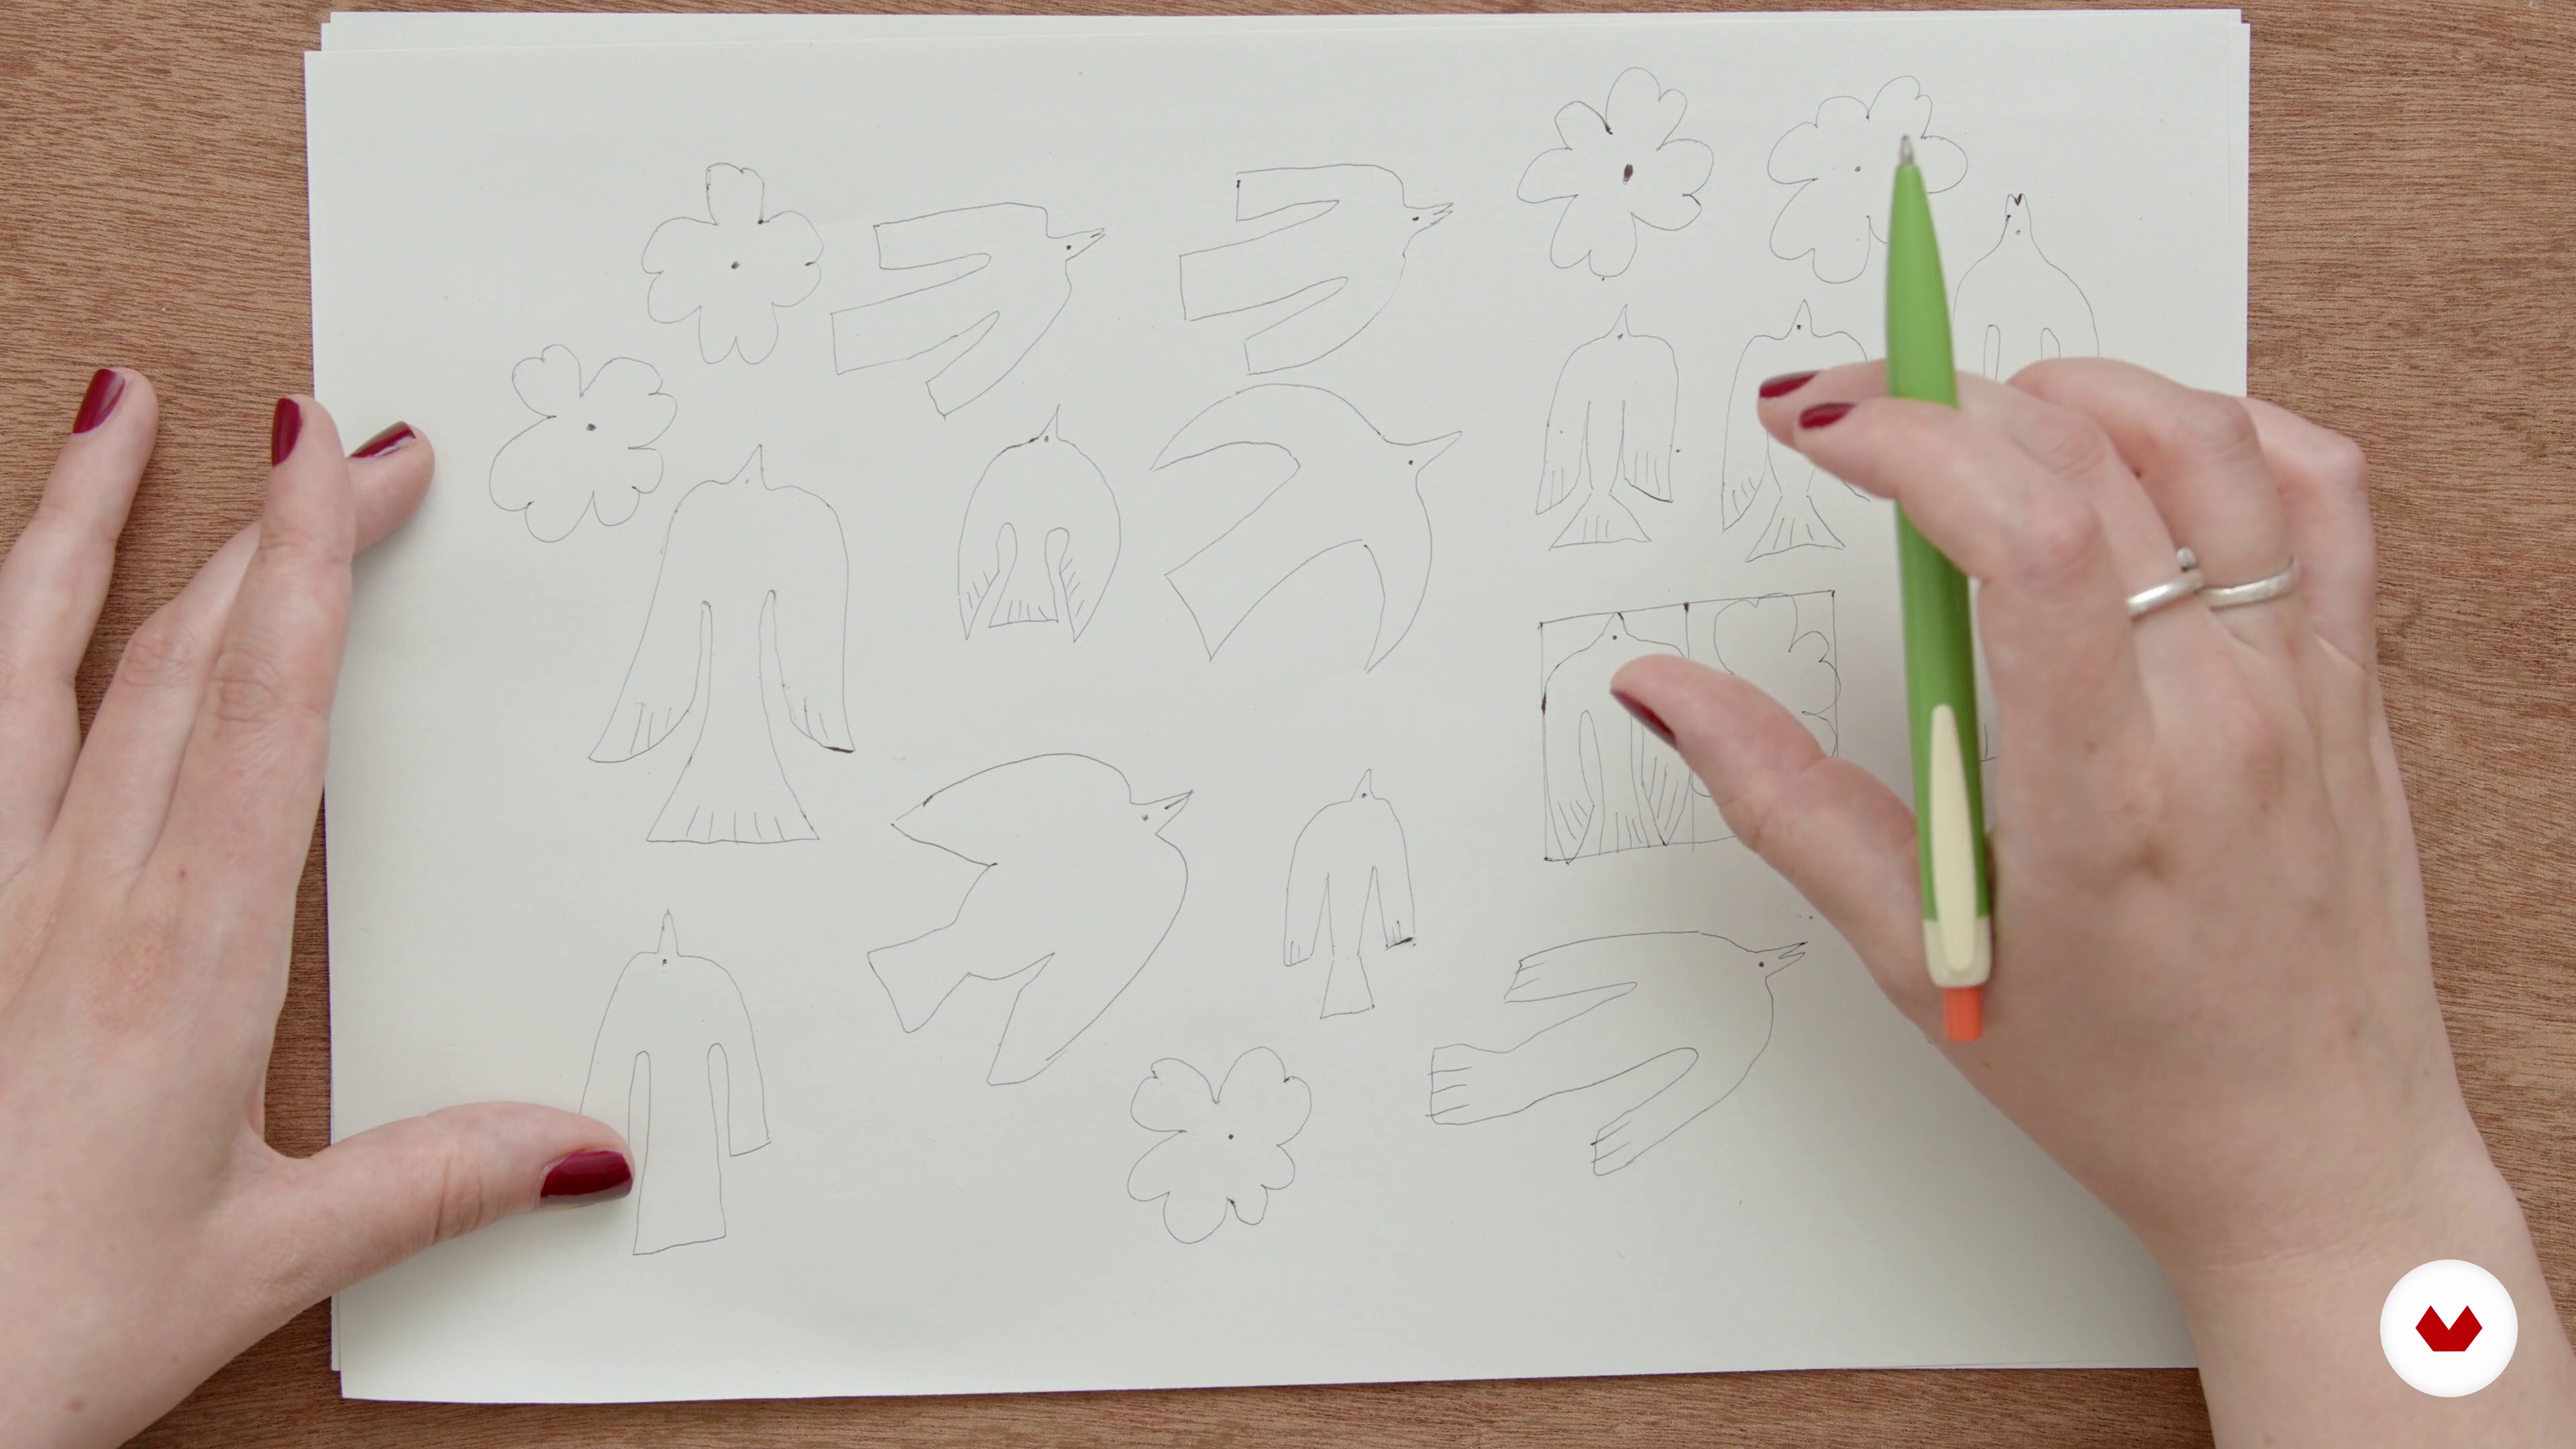
8Sketching Your Design
First, I will help you use your mood board to work on your sketches. These sketches will soon be translated into brass sheets and to make up your jewellery piece.
16m
 9
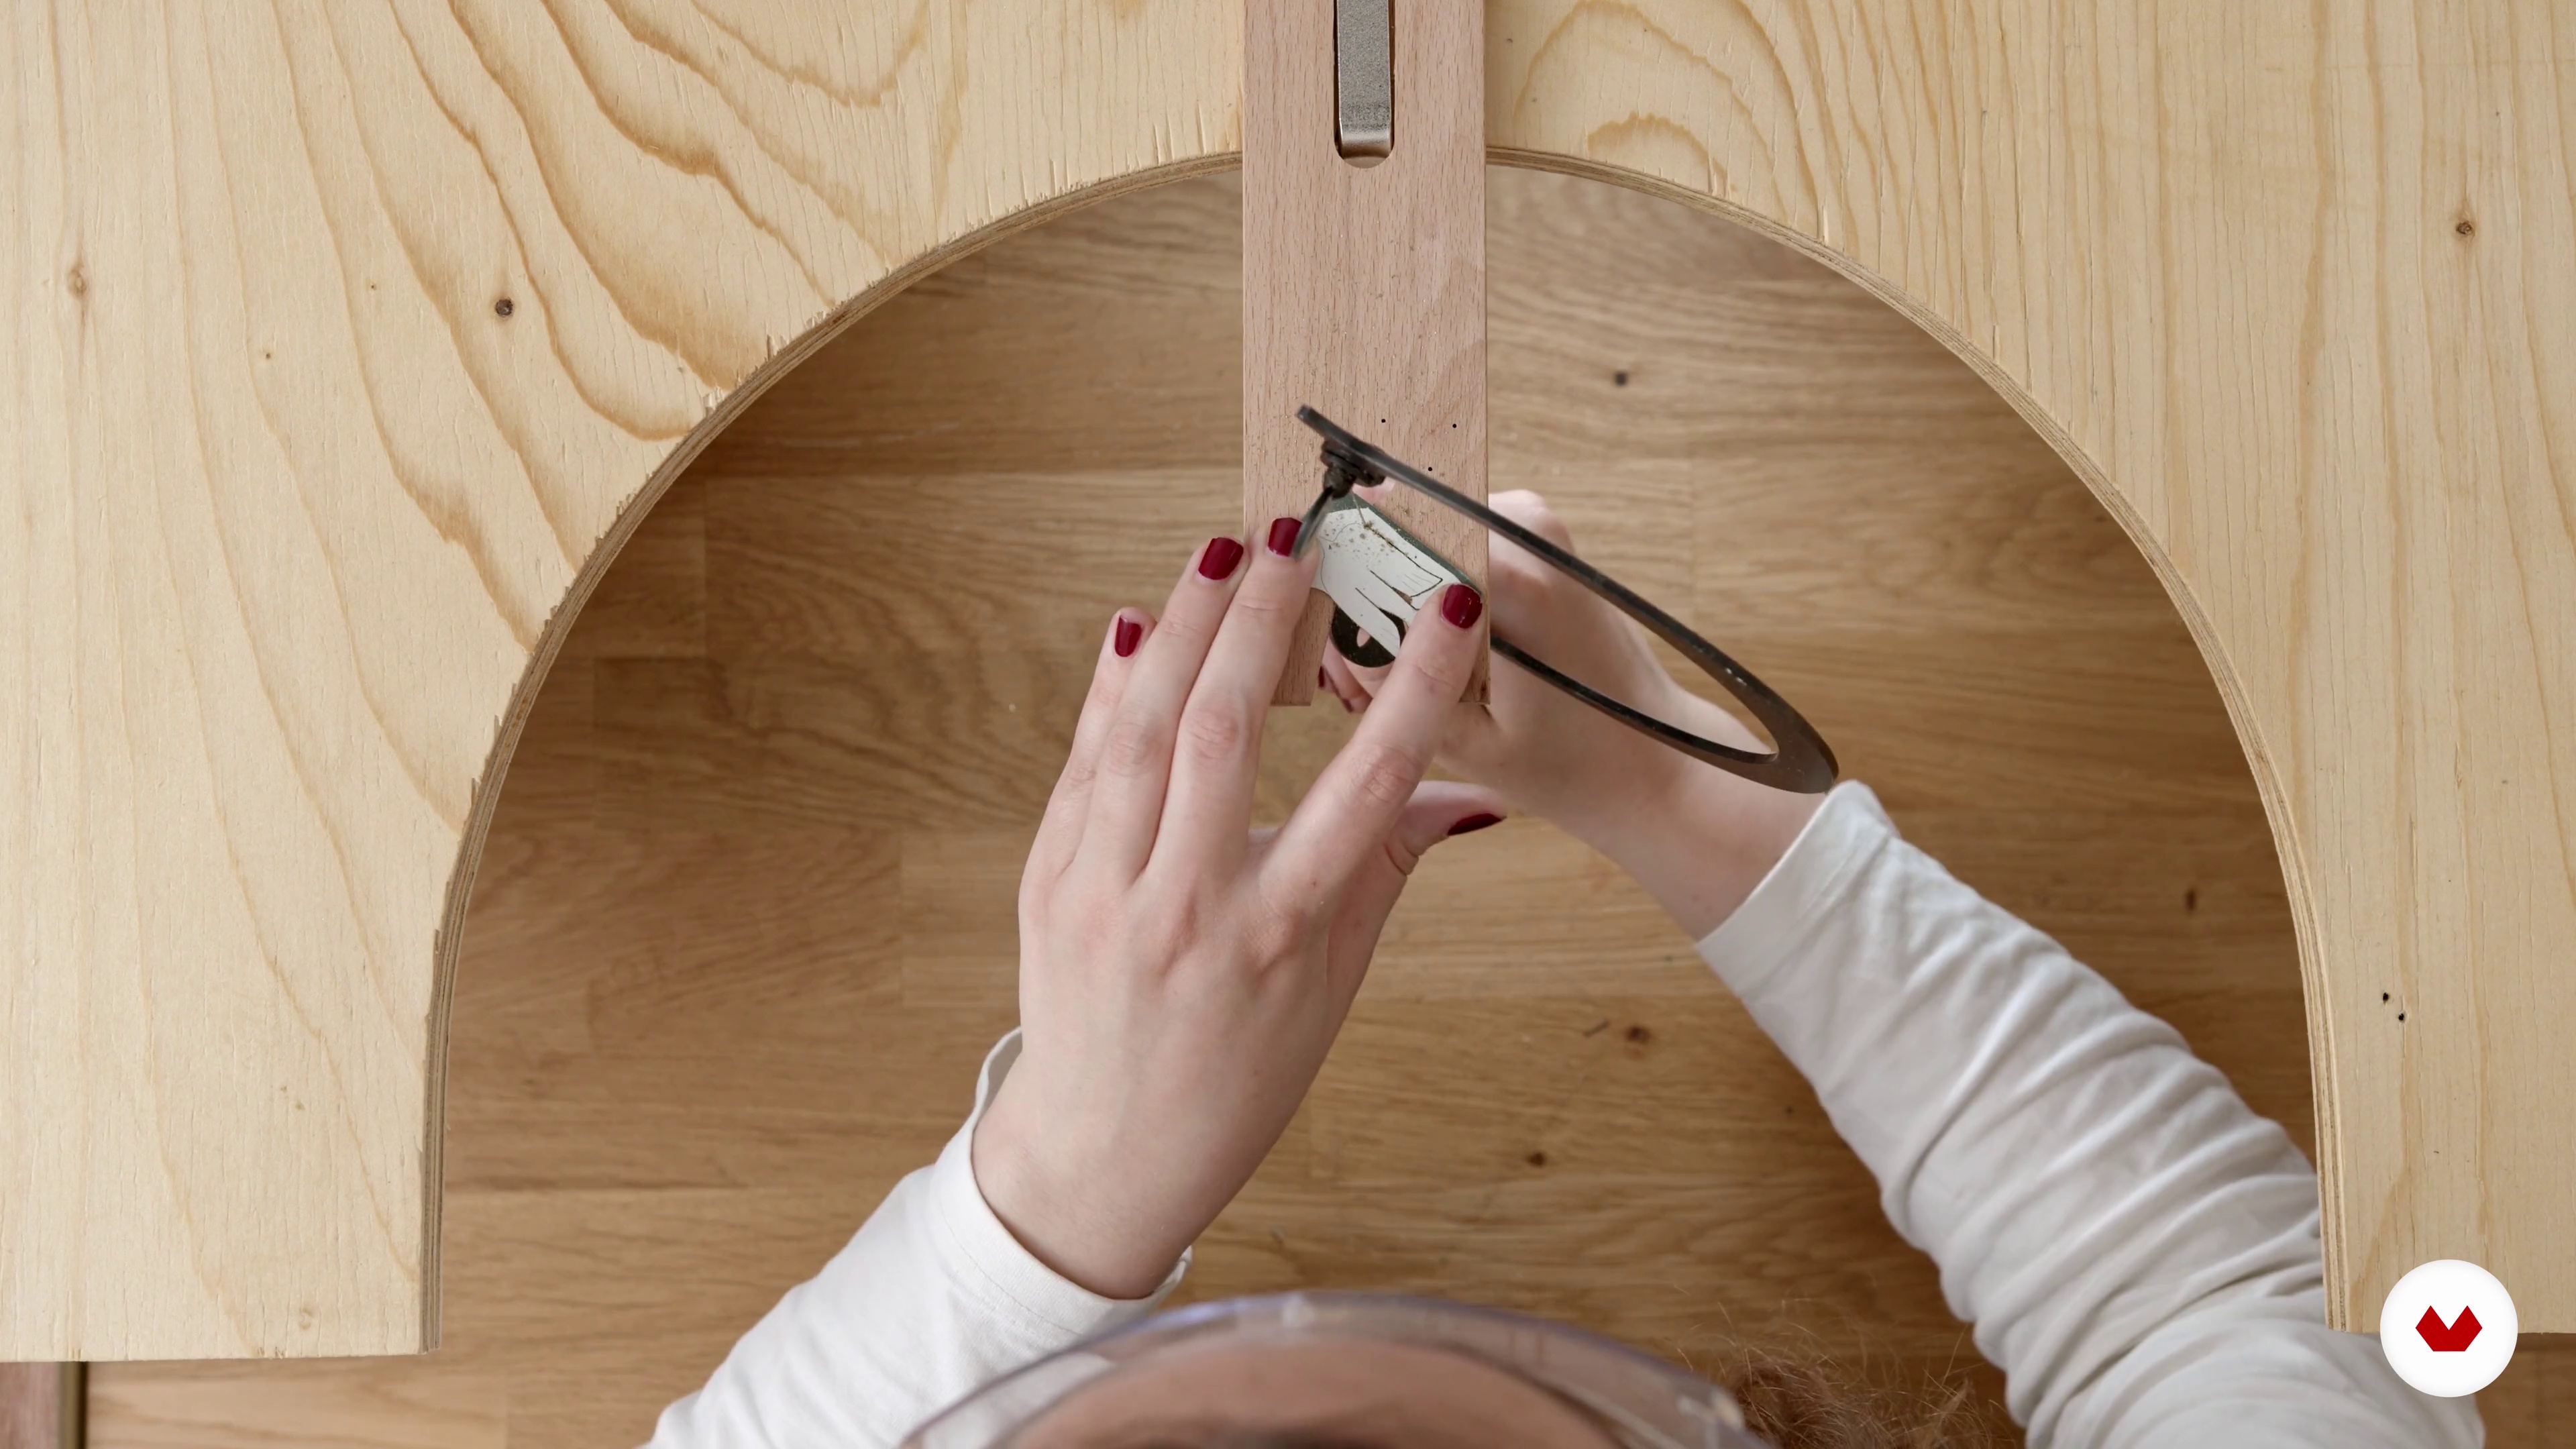
9Translating Your Drawing into a Brass Piece 1
In this lesson, you will start piercing out your final piece using the skills learned earlier in the course.
16m
 10
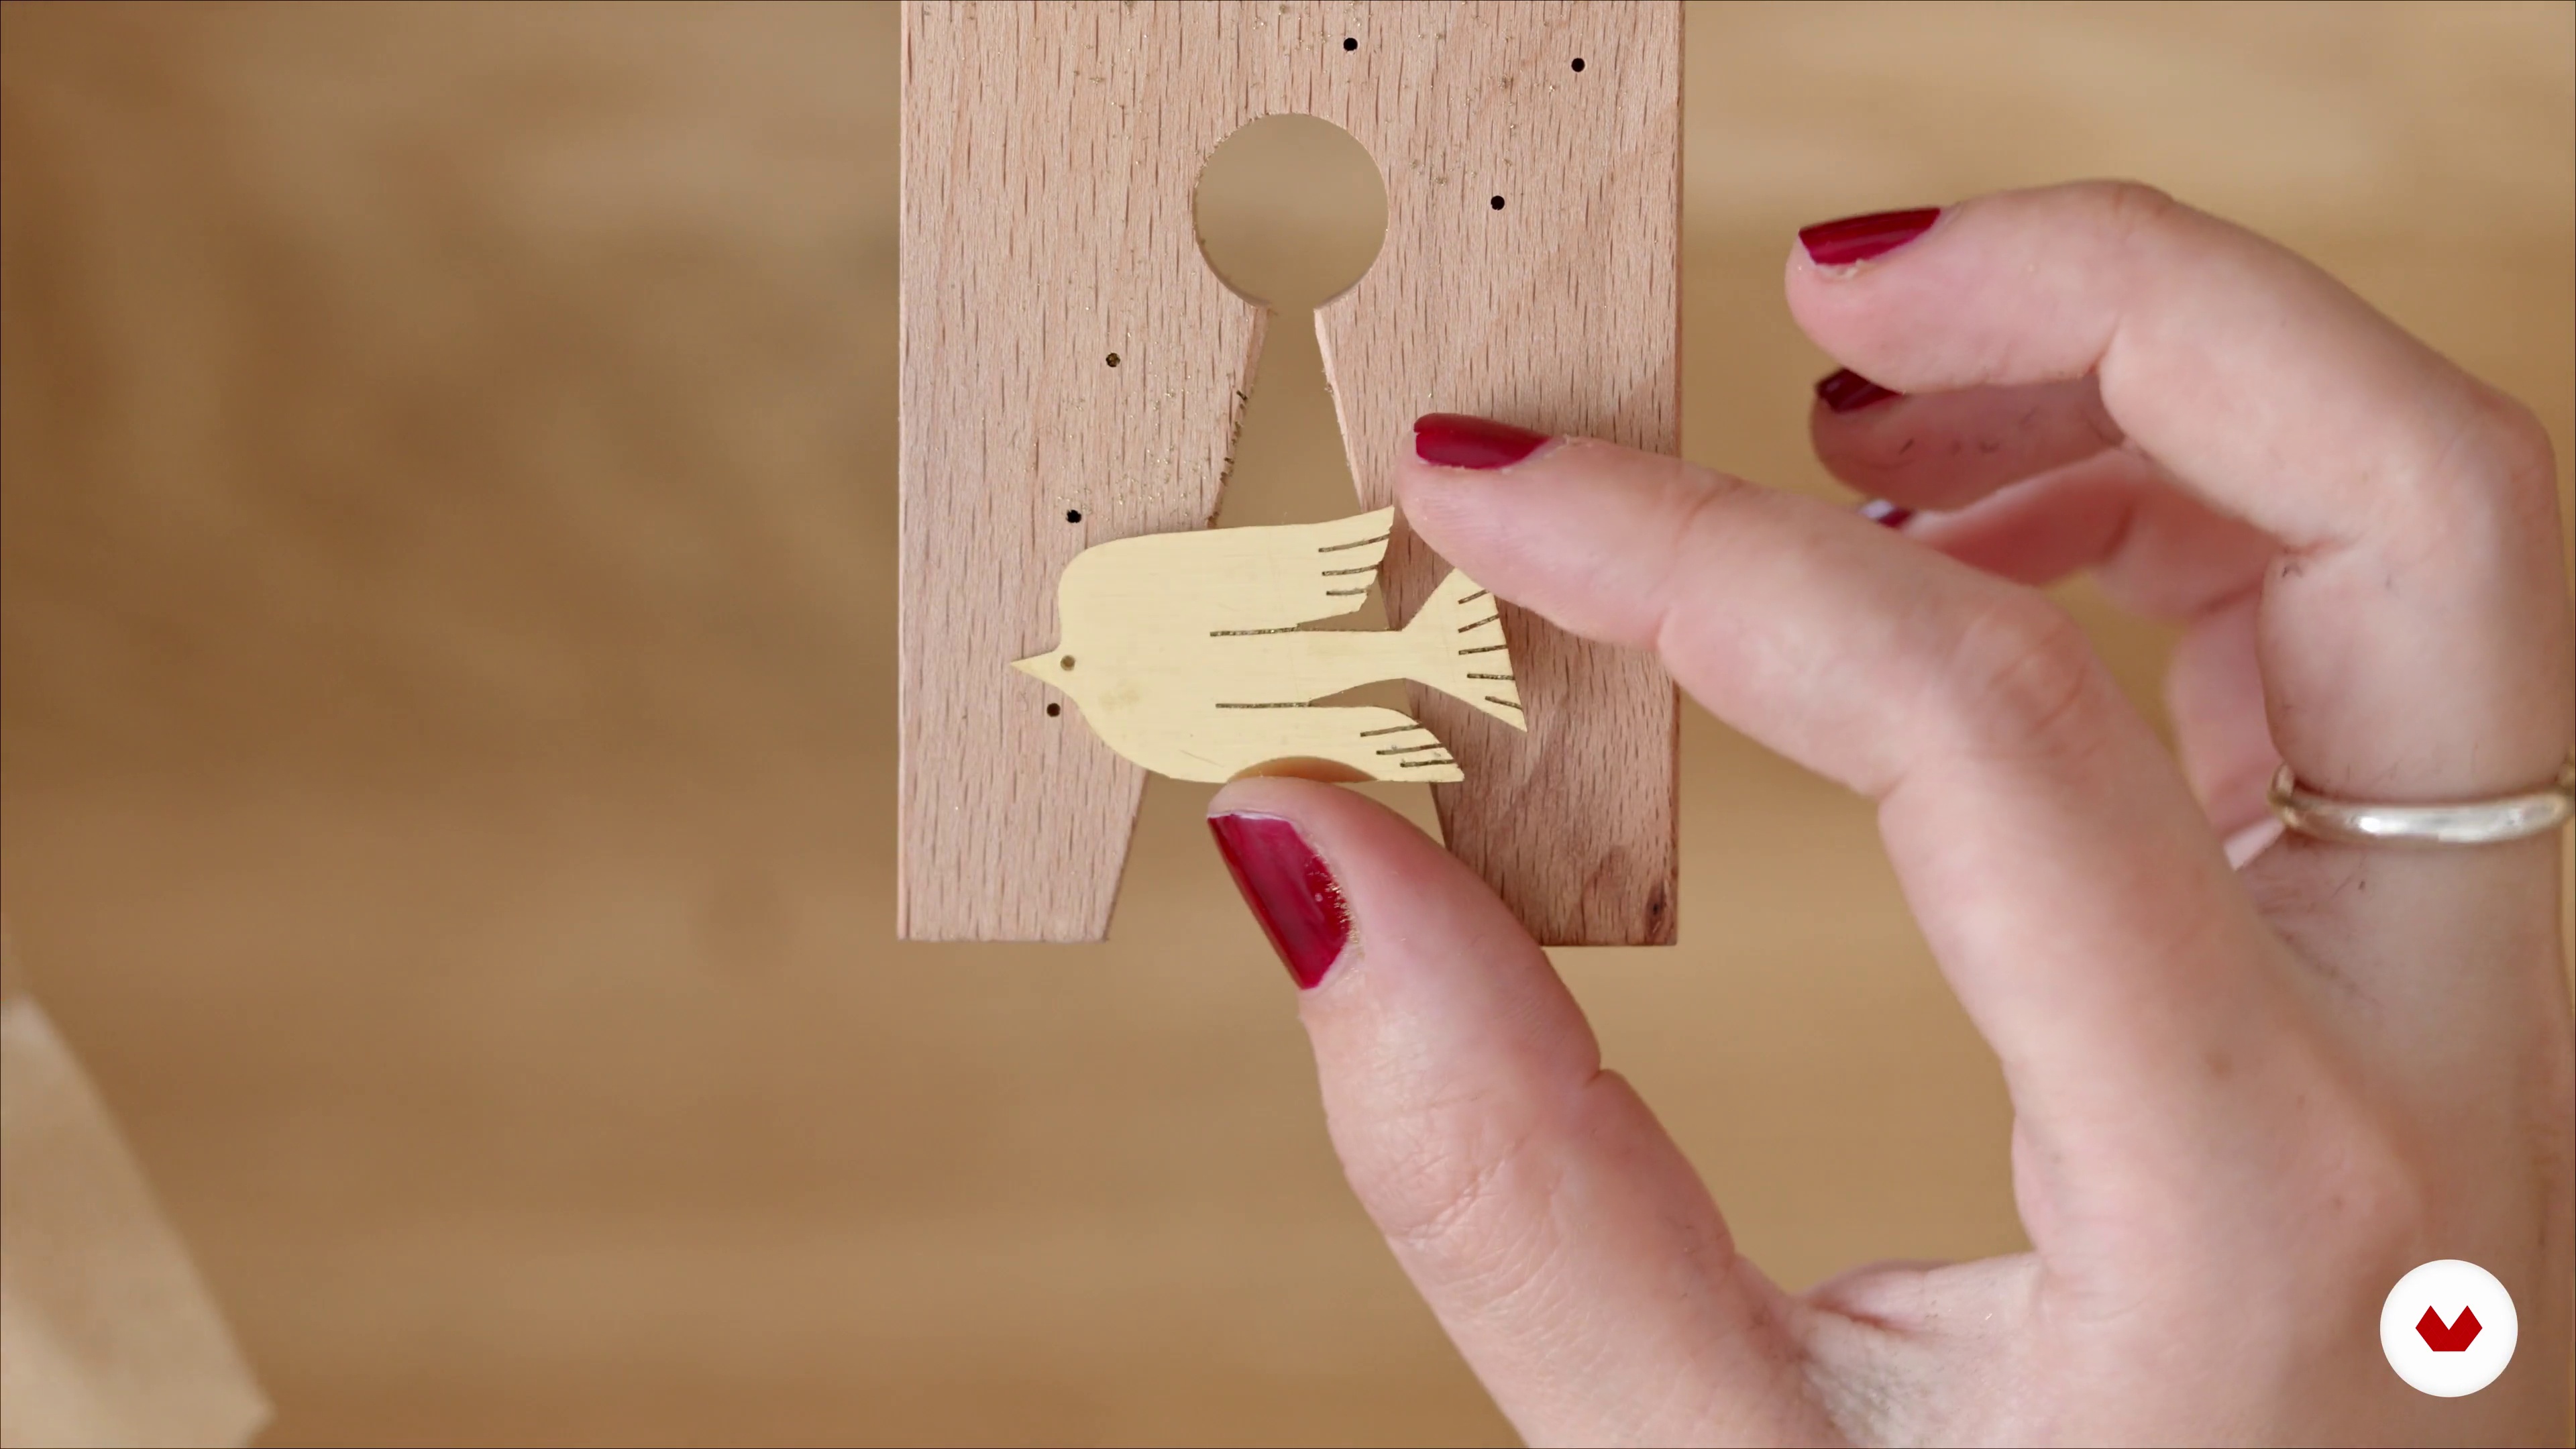
10Translating Your Drawing into a Brass Piece 2
Here, I will be working on some of the fine details of my piece.
8m
 11
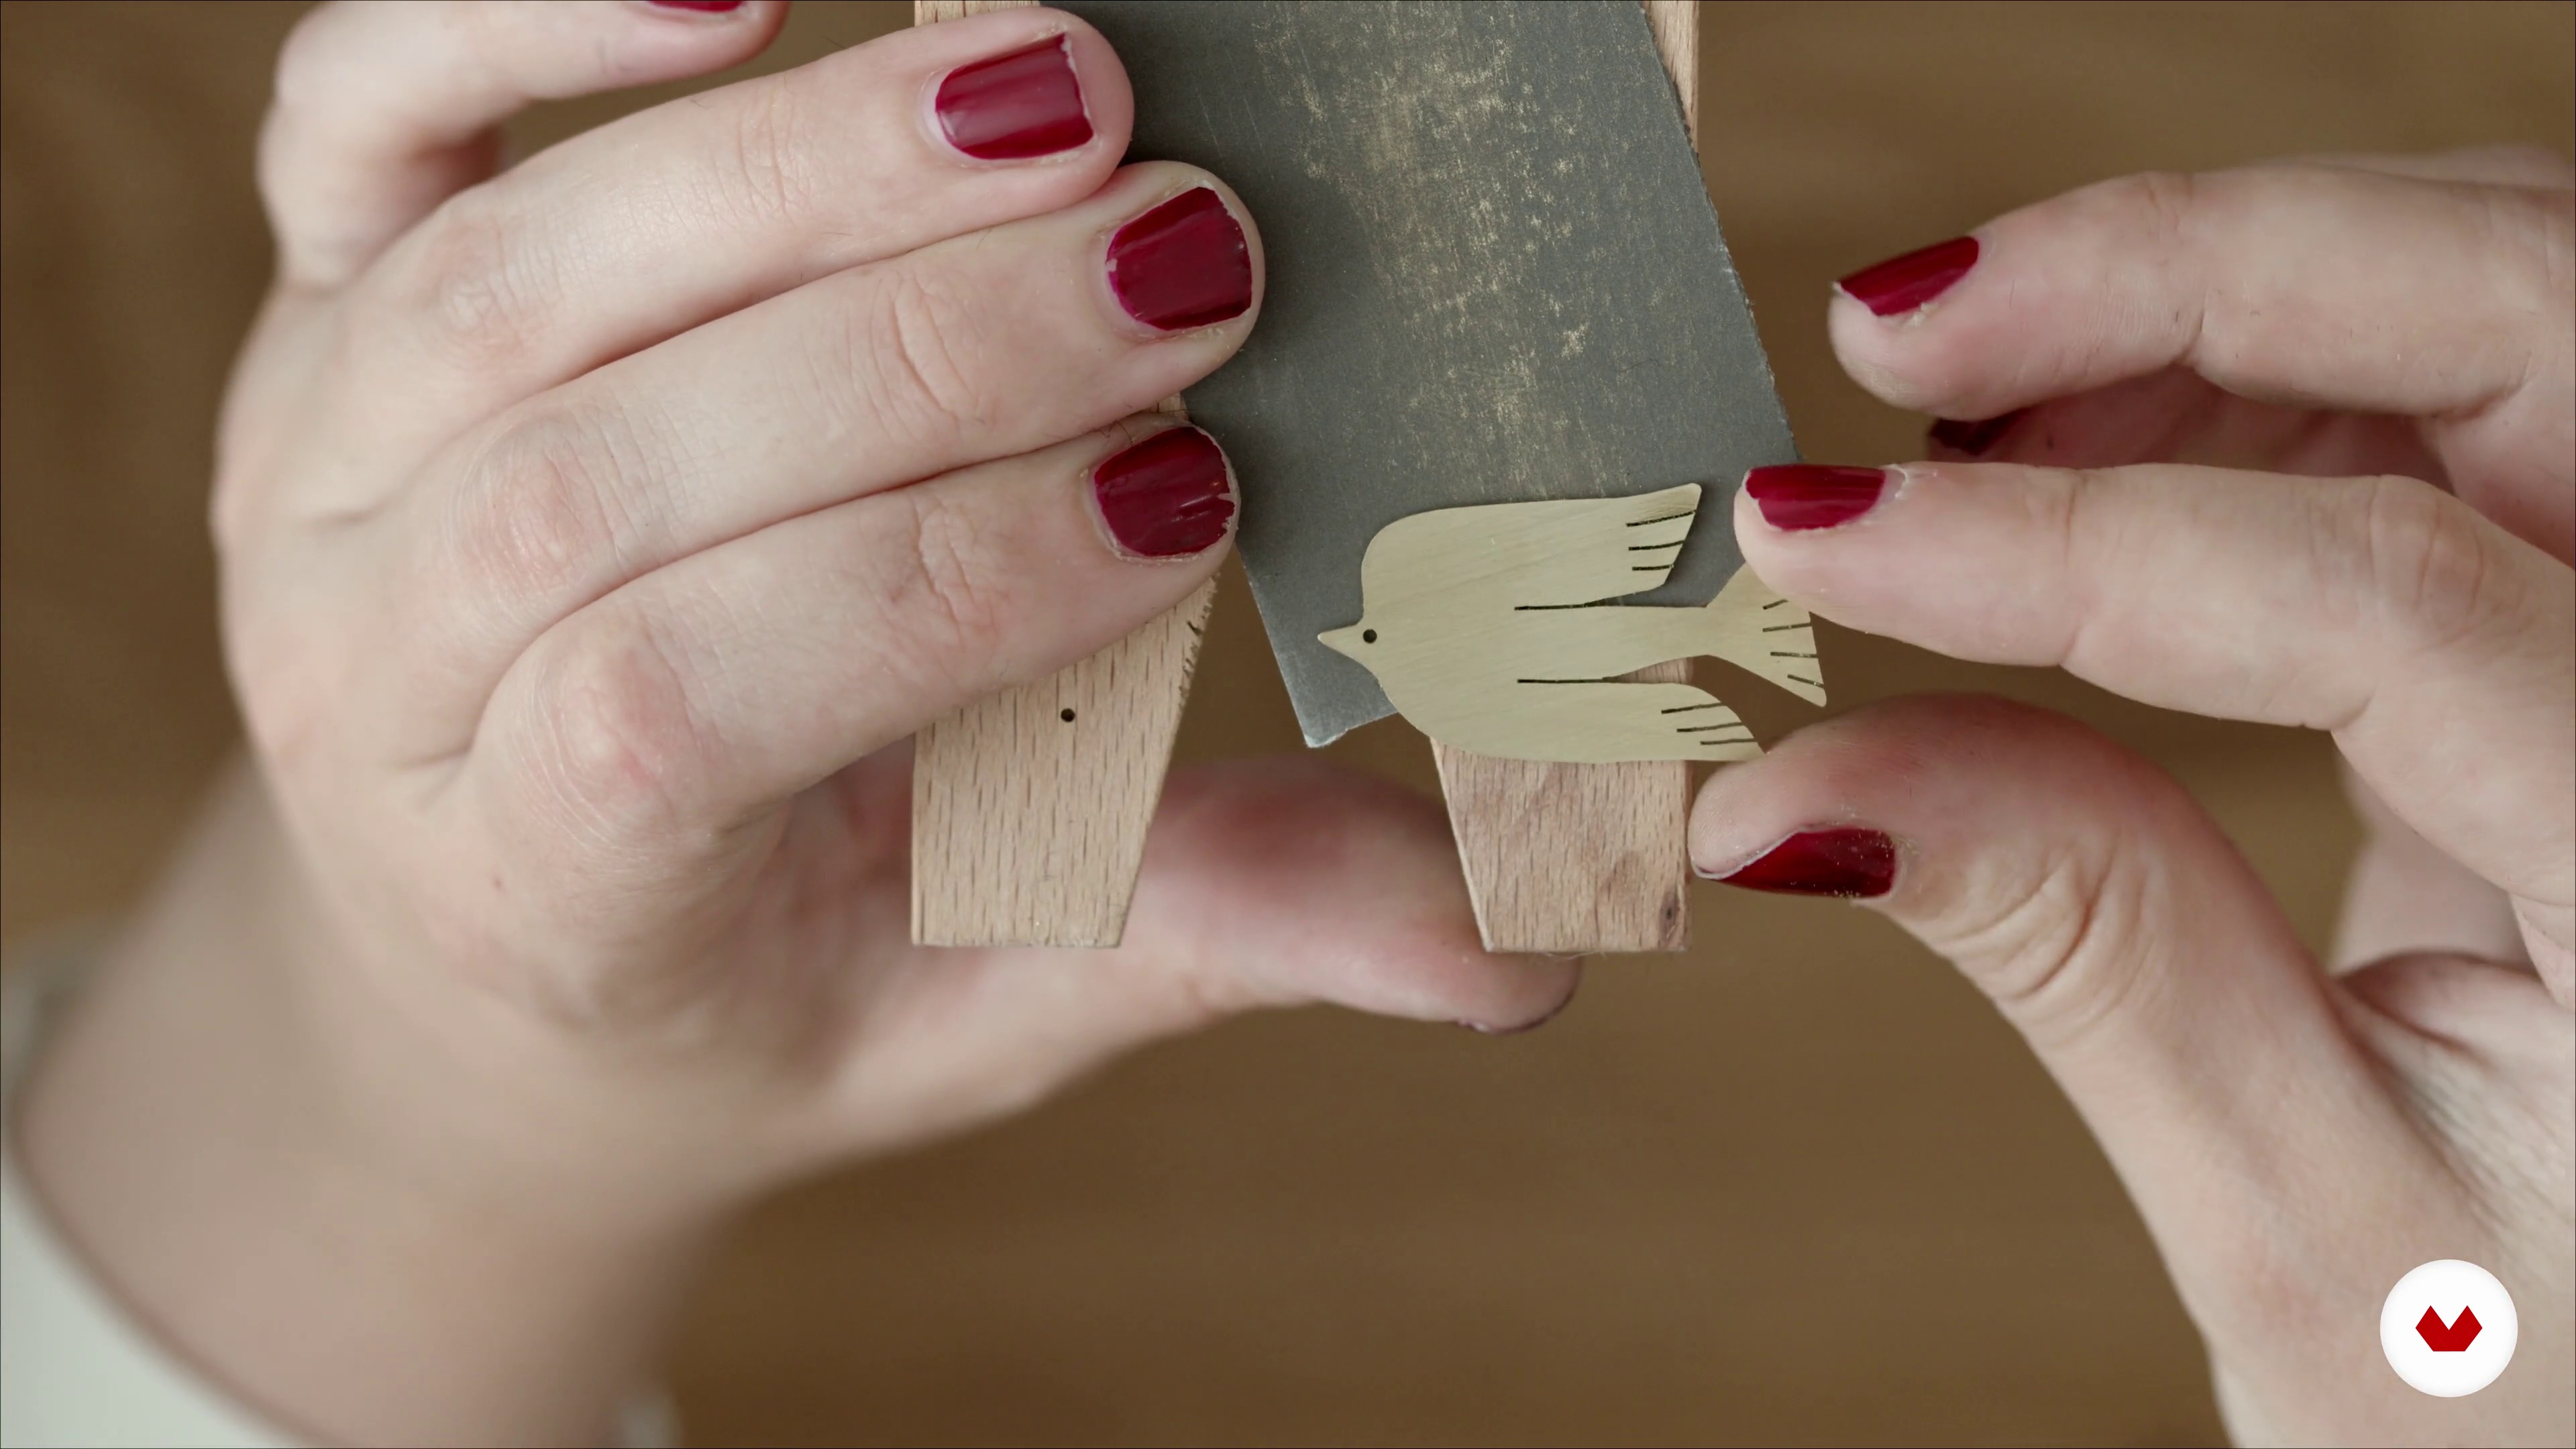
11Tidying up Your Brass Piece
Now you will learn how to use needle files and emery paper to achieve a smoother more professional finish to your cut out pieces.
15m
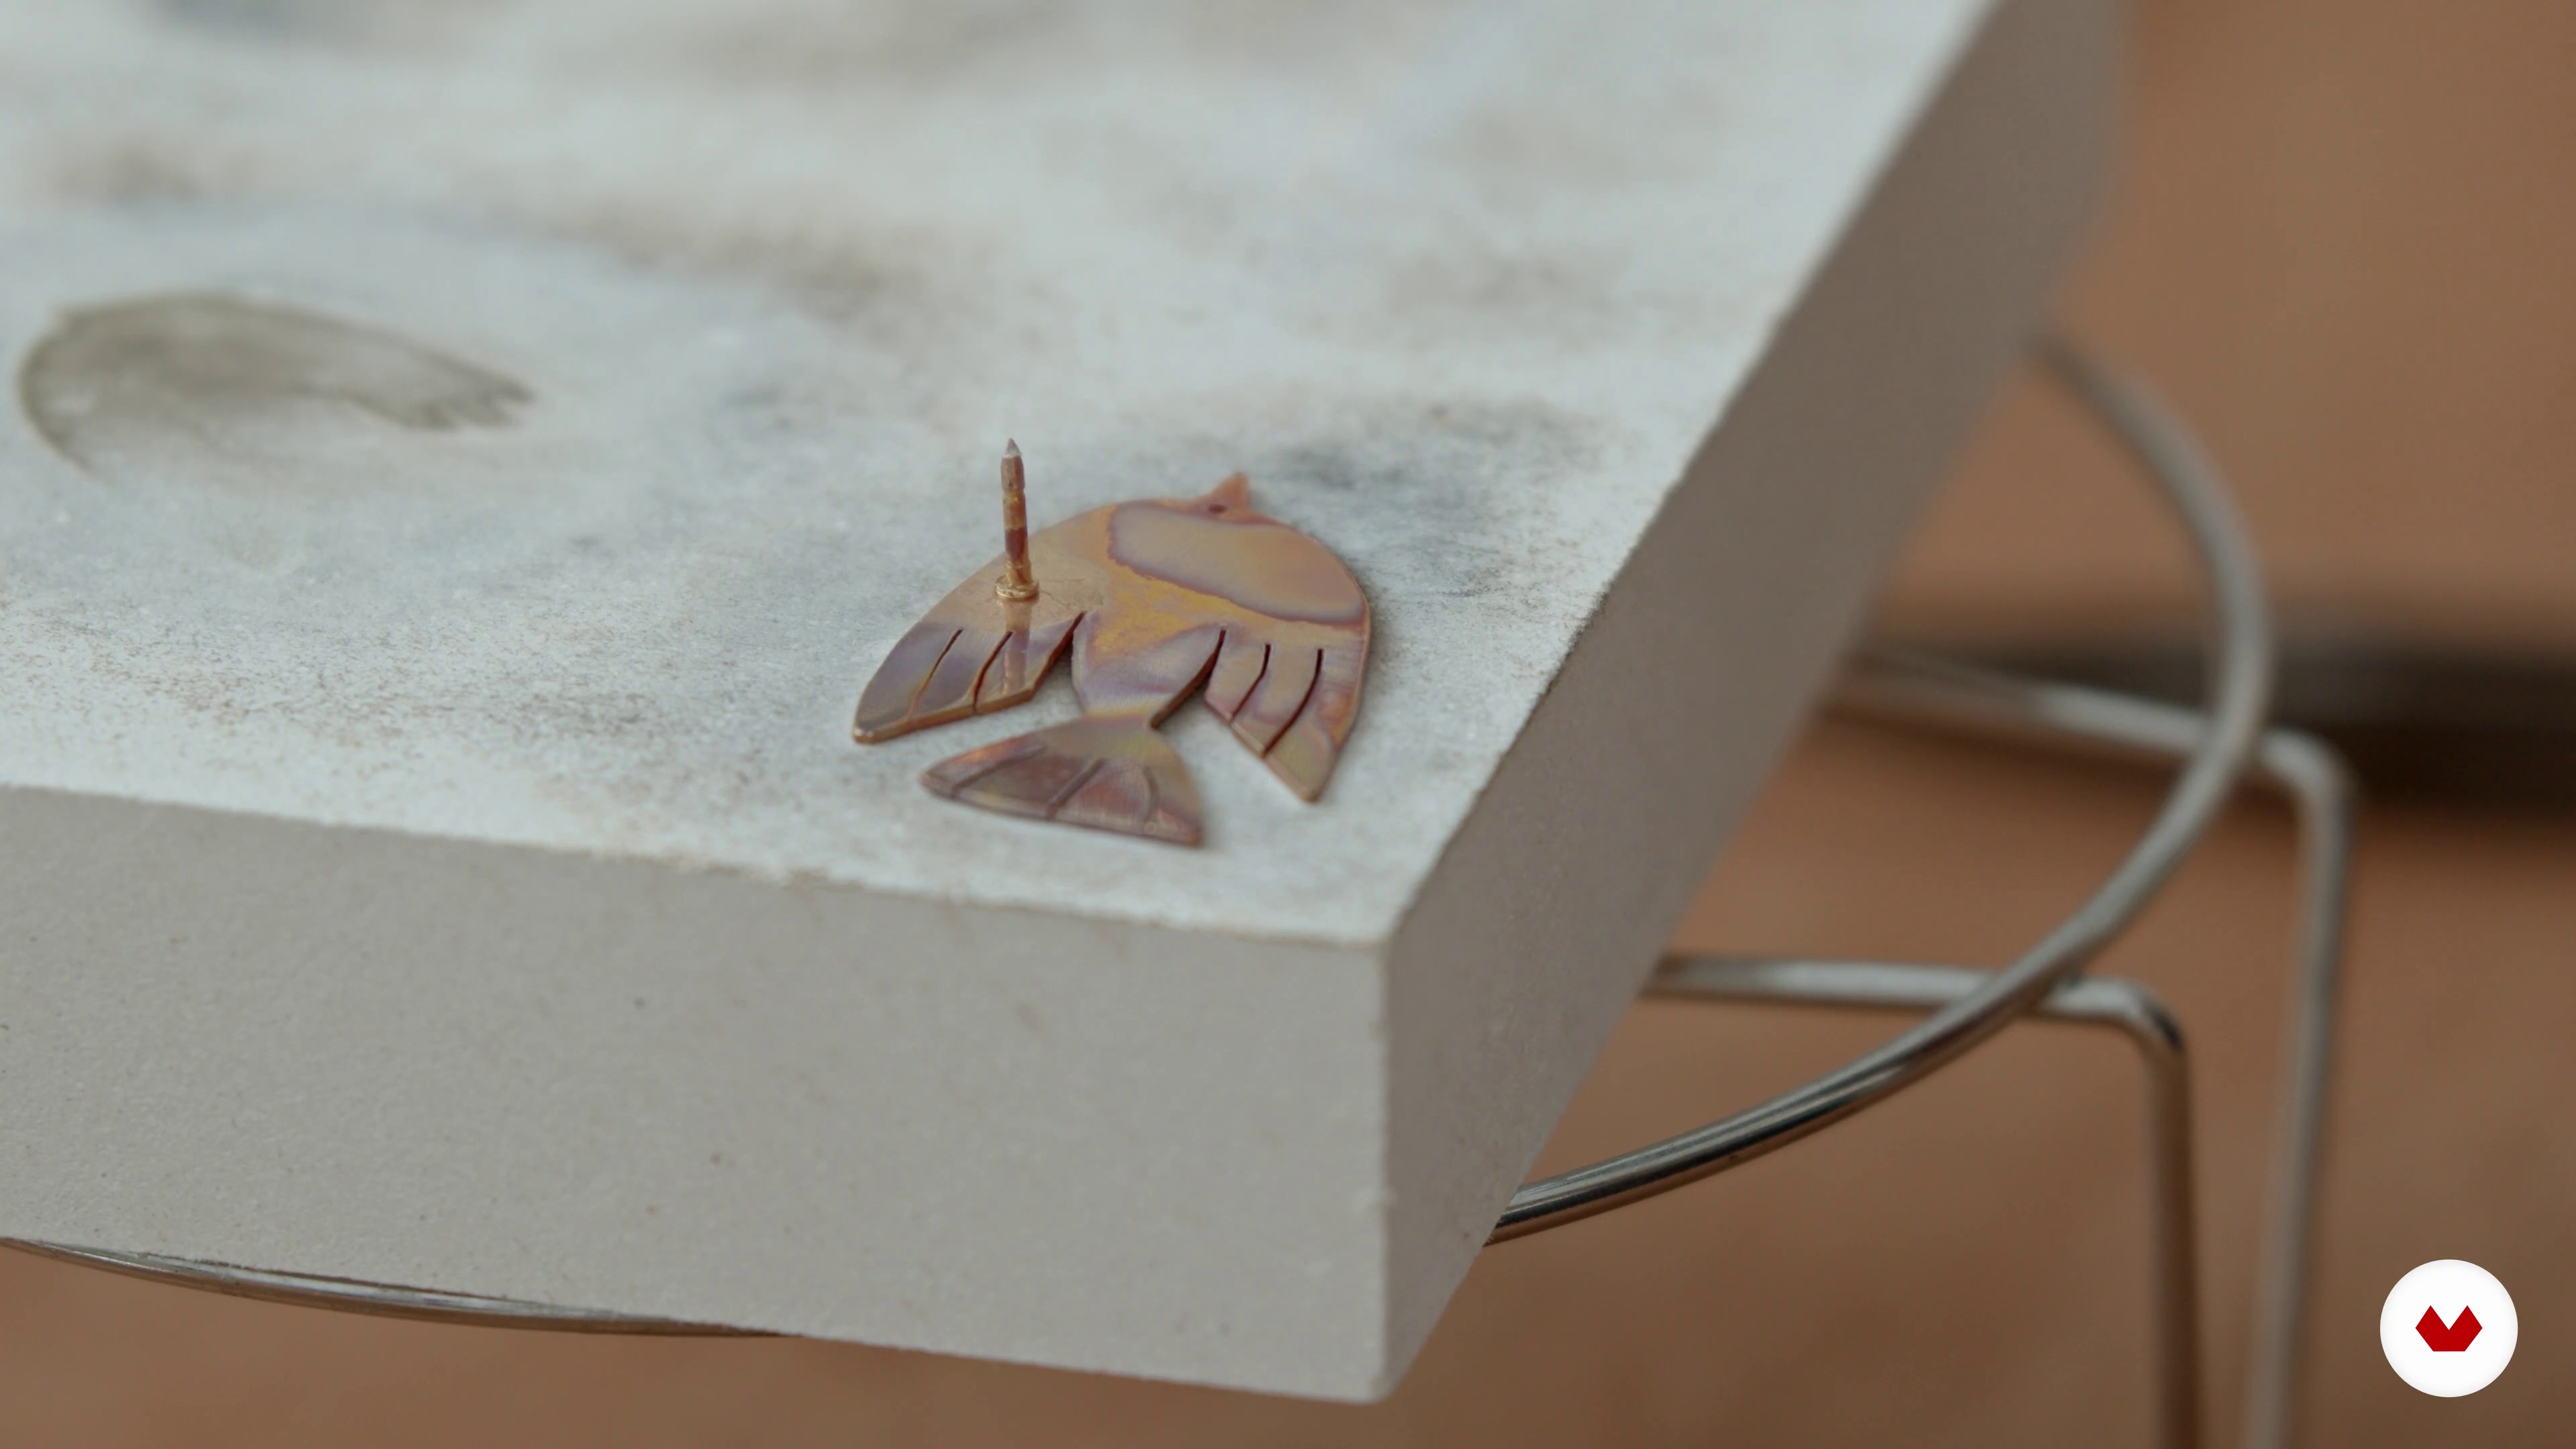 12
12Attaching Findings 1
Here I’m going to help you think about how you’d like to make your pieces into wearable jewellery when you attach your findings.
16m
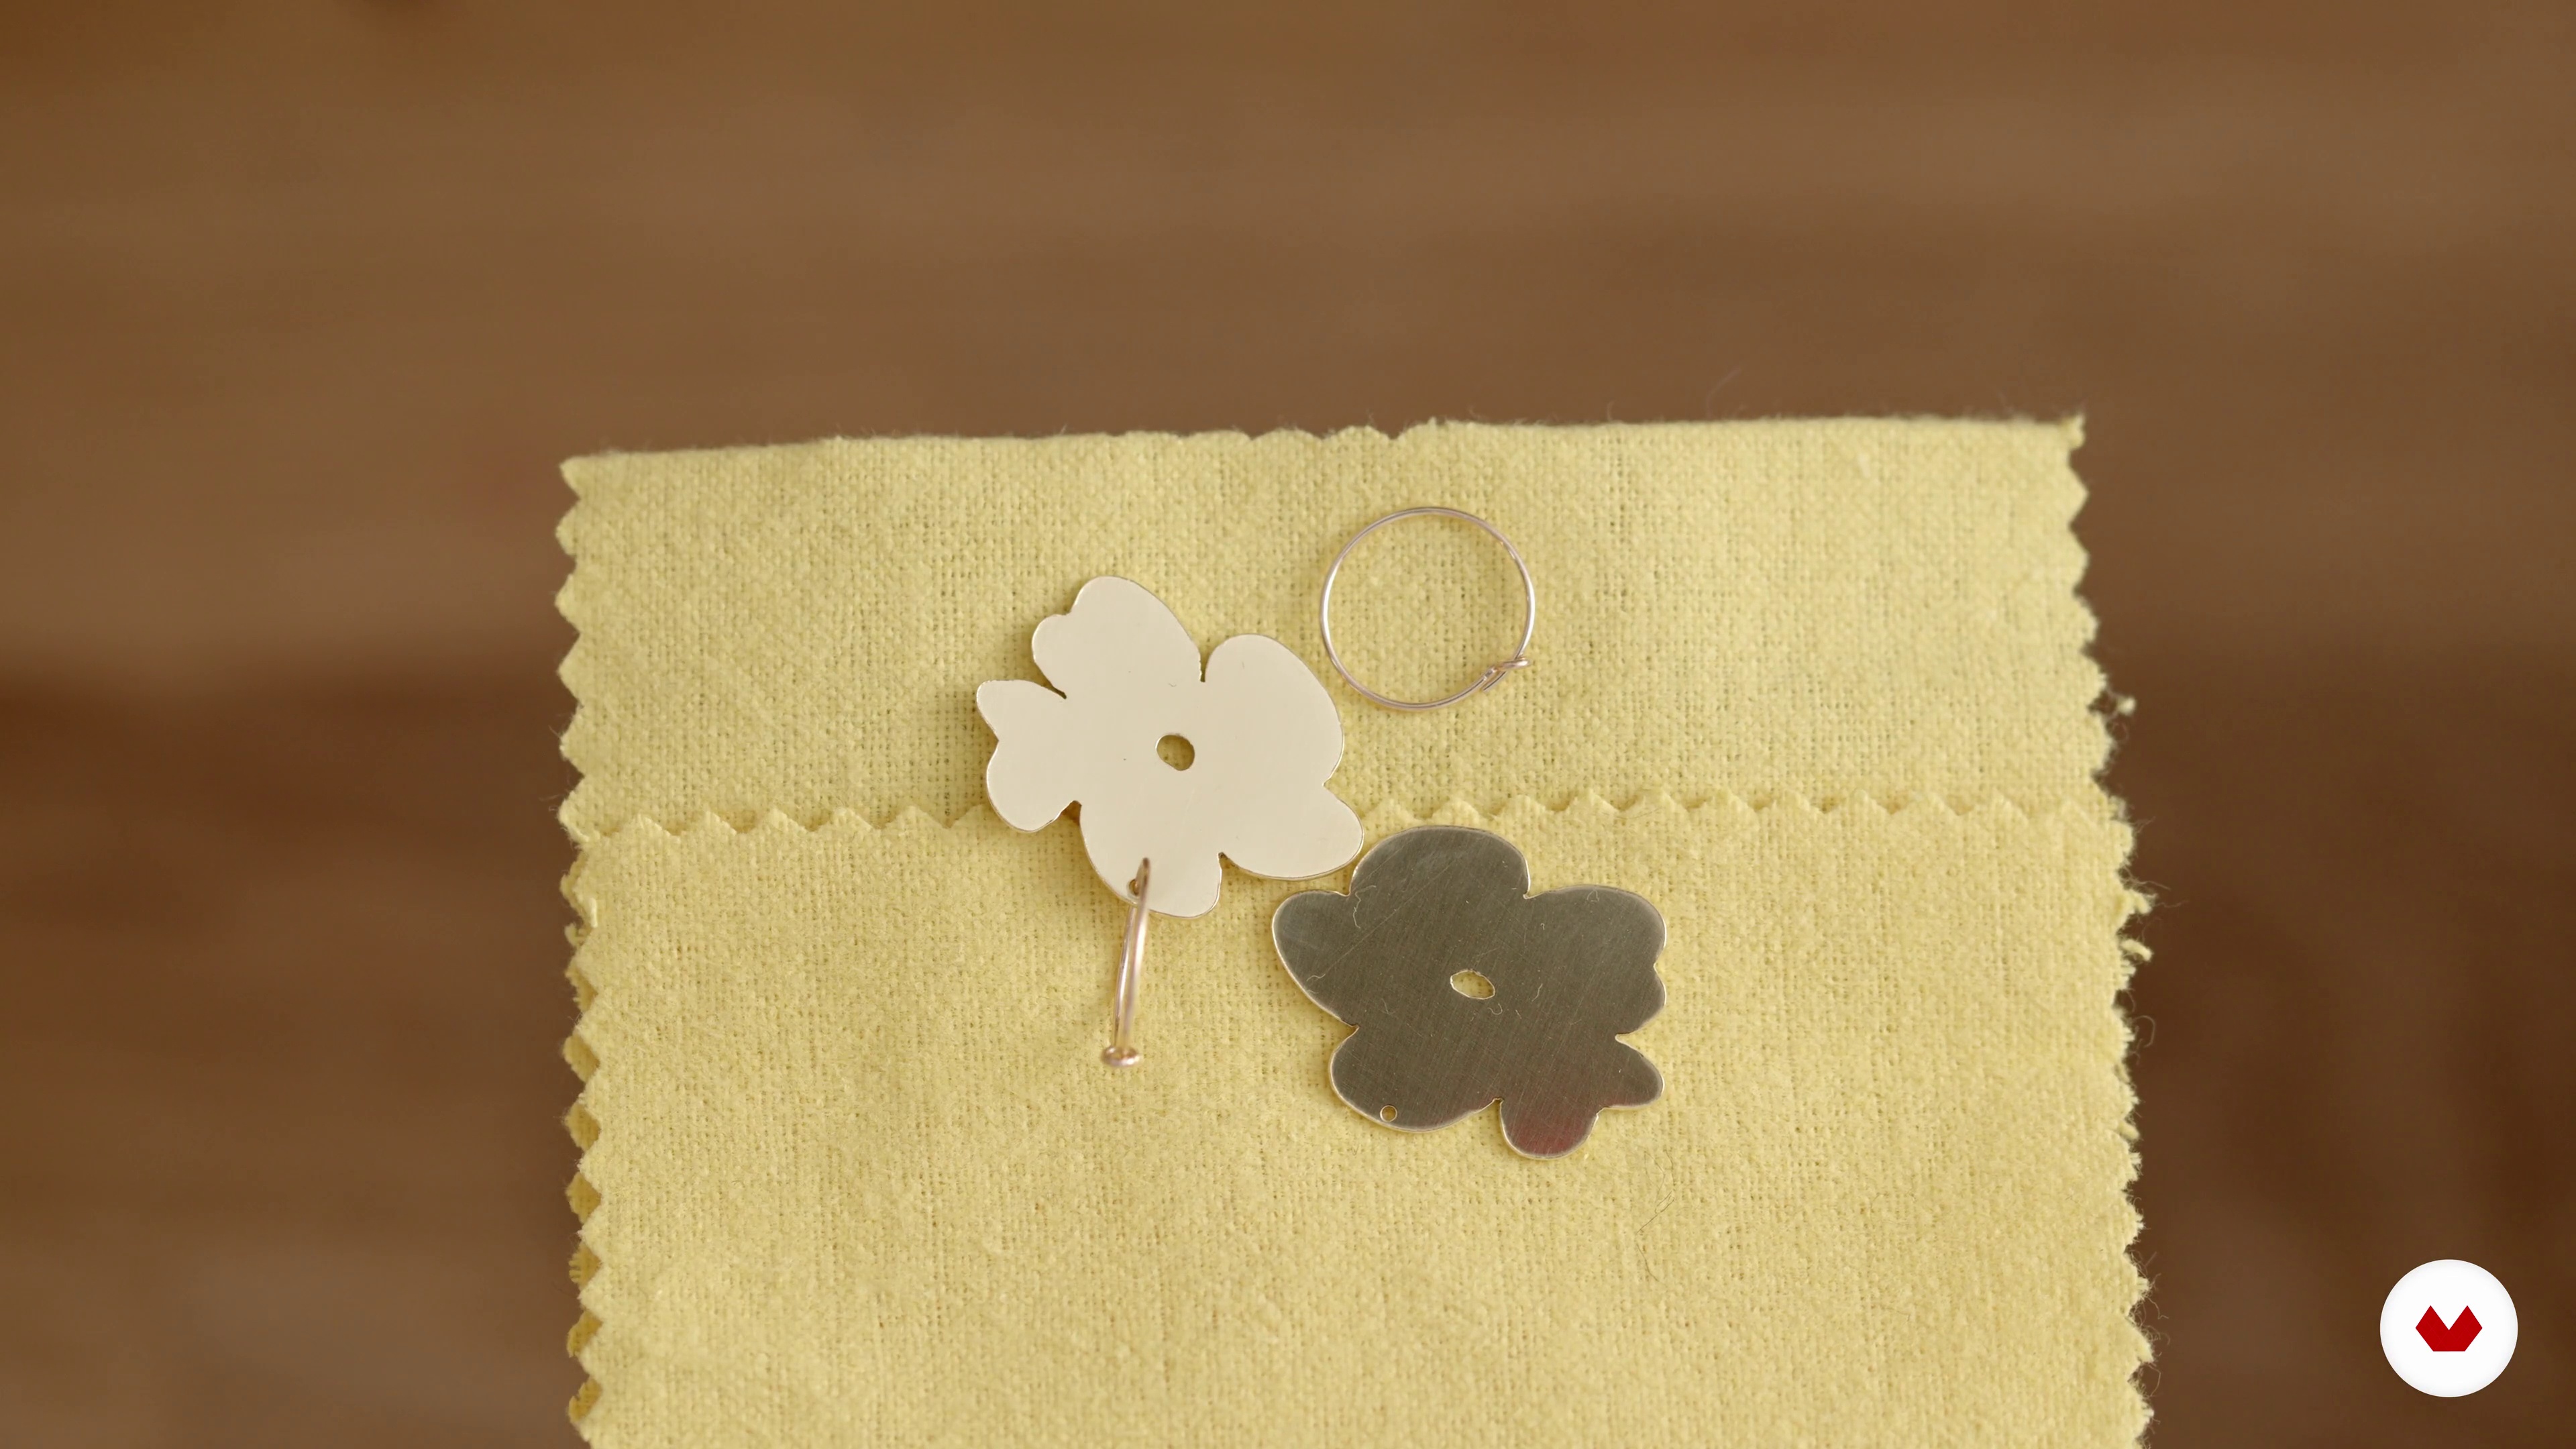 13
13Attaching Findings 2
I'm going to finish solder the piece. Then, I will teach you how to attach findings by drilling a hole into your piece. I'll show you how to do it with an extra design.
5m
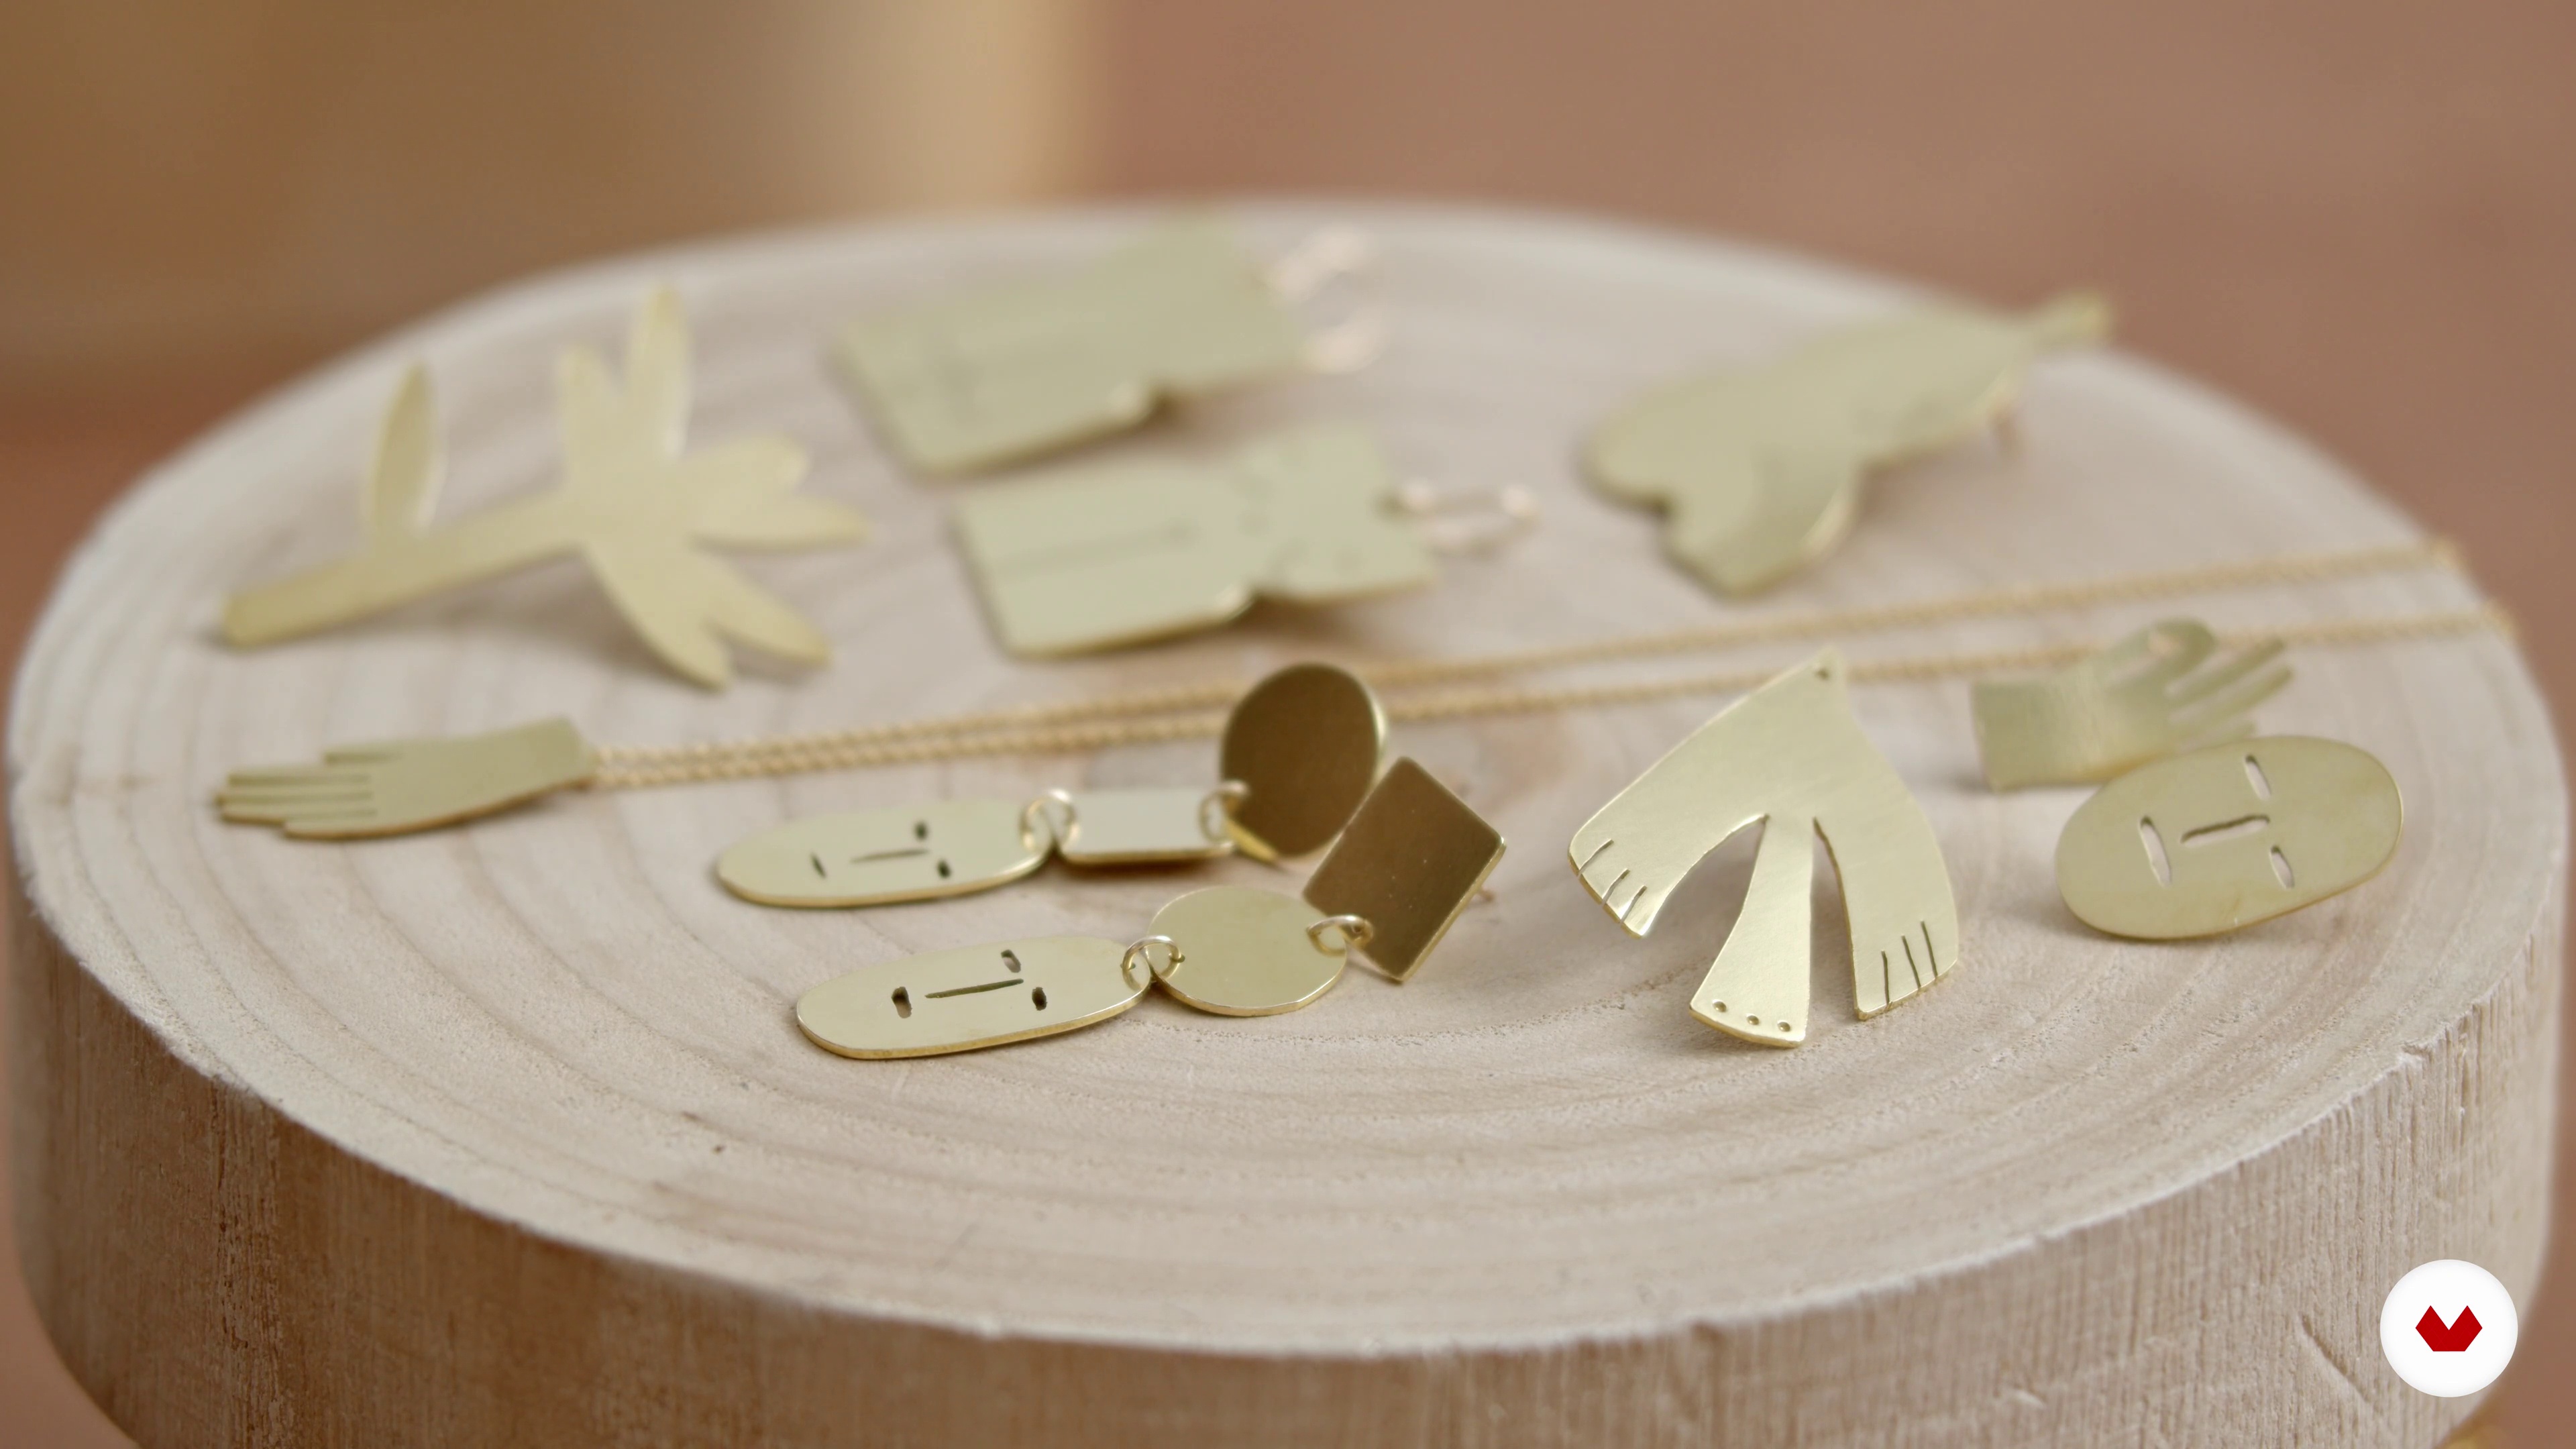 14
14Finishing Your Piece
Now that your pieces are almost finished we're going to talk about ways to polish them with limited equipment.
9m
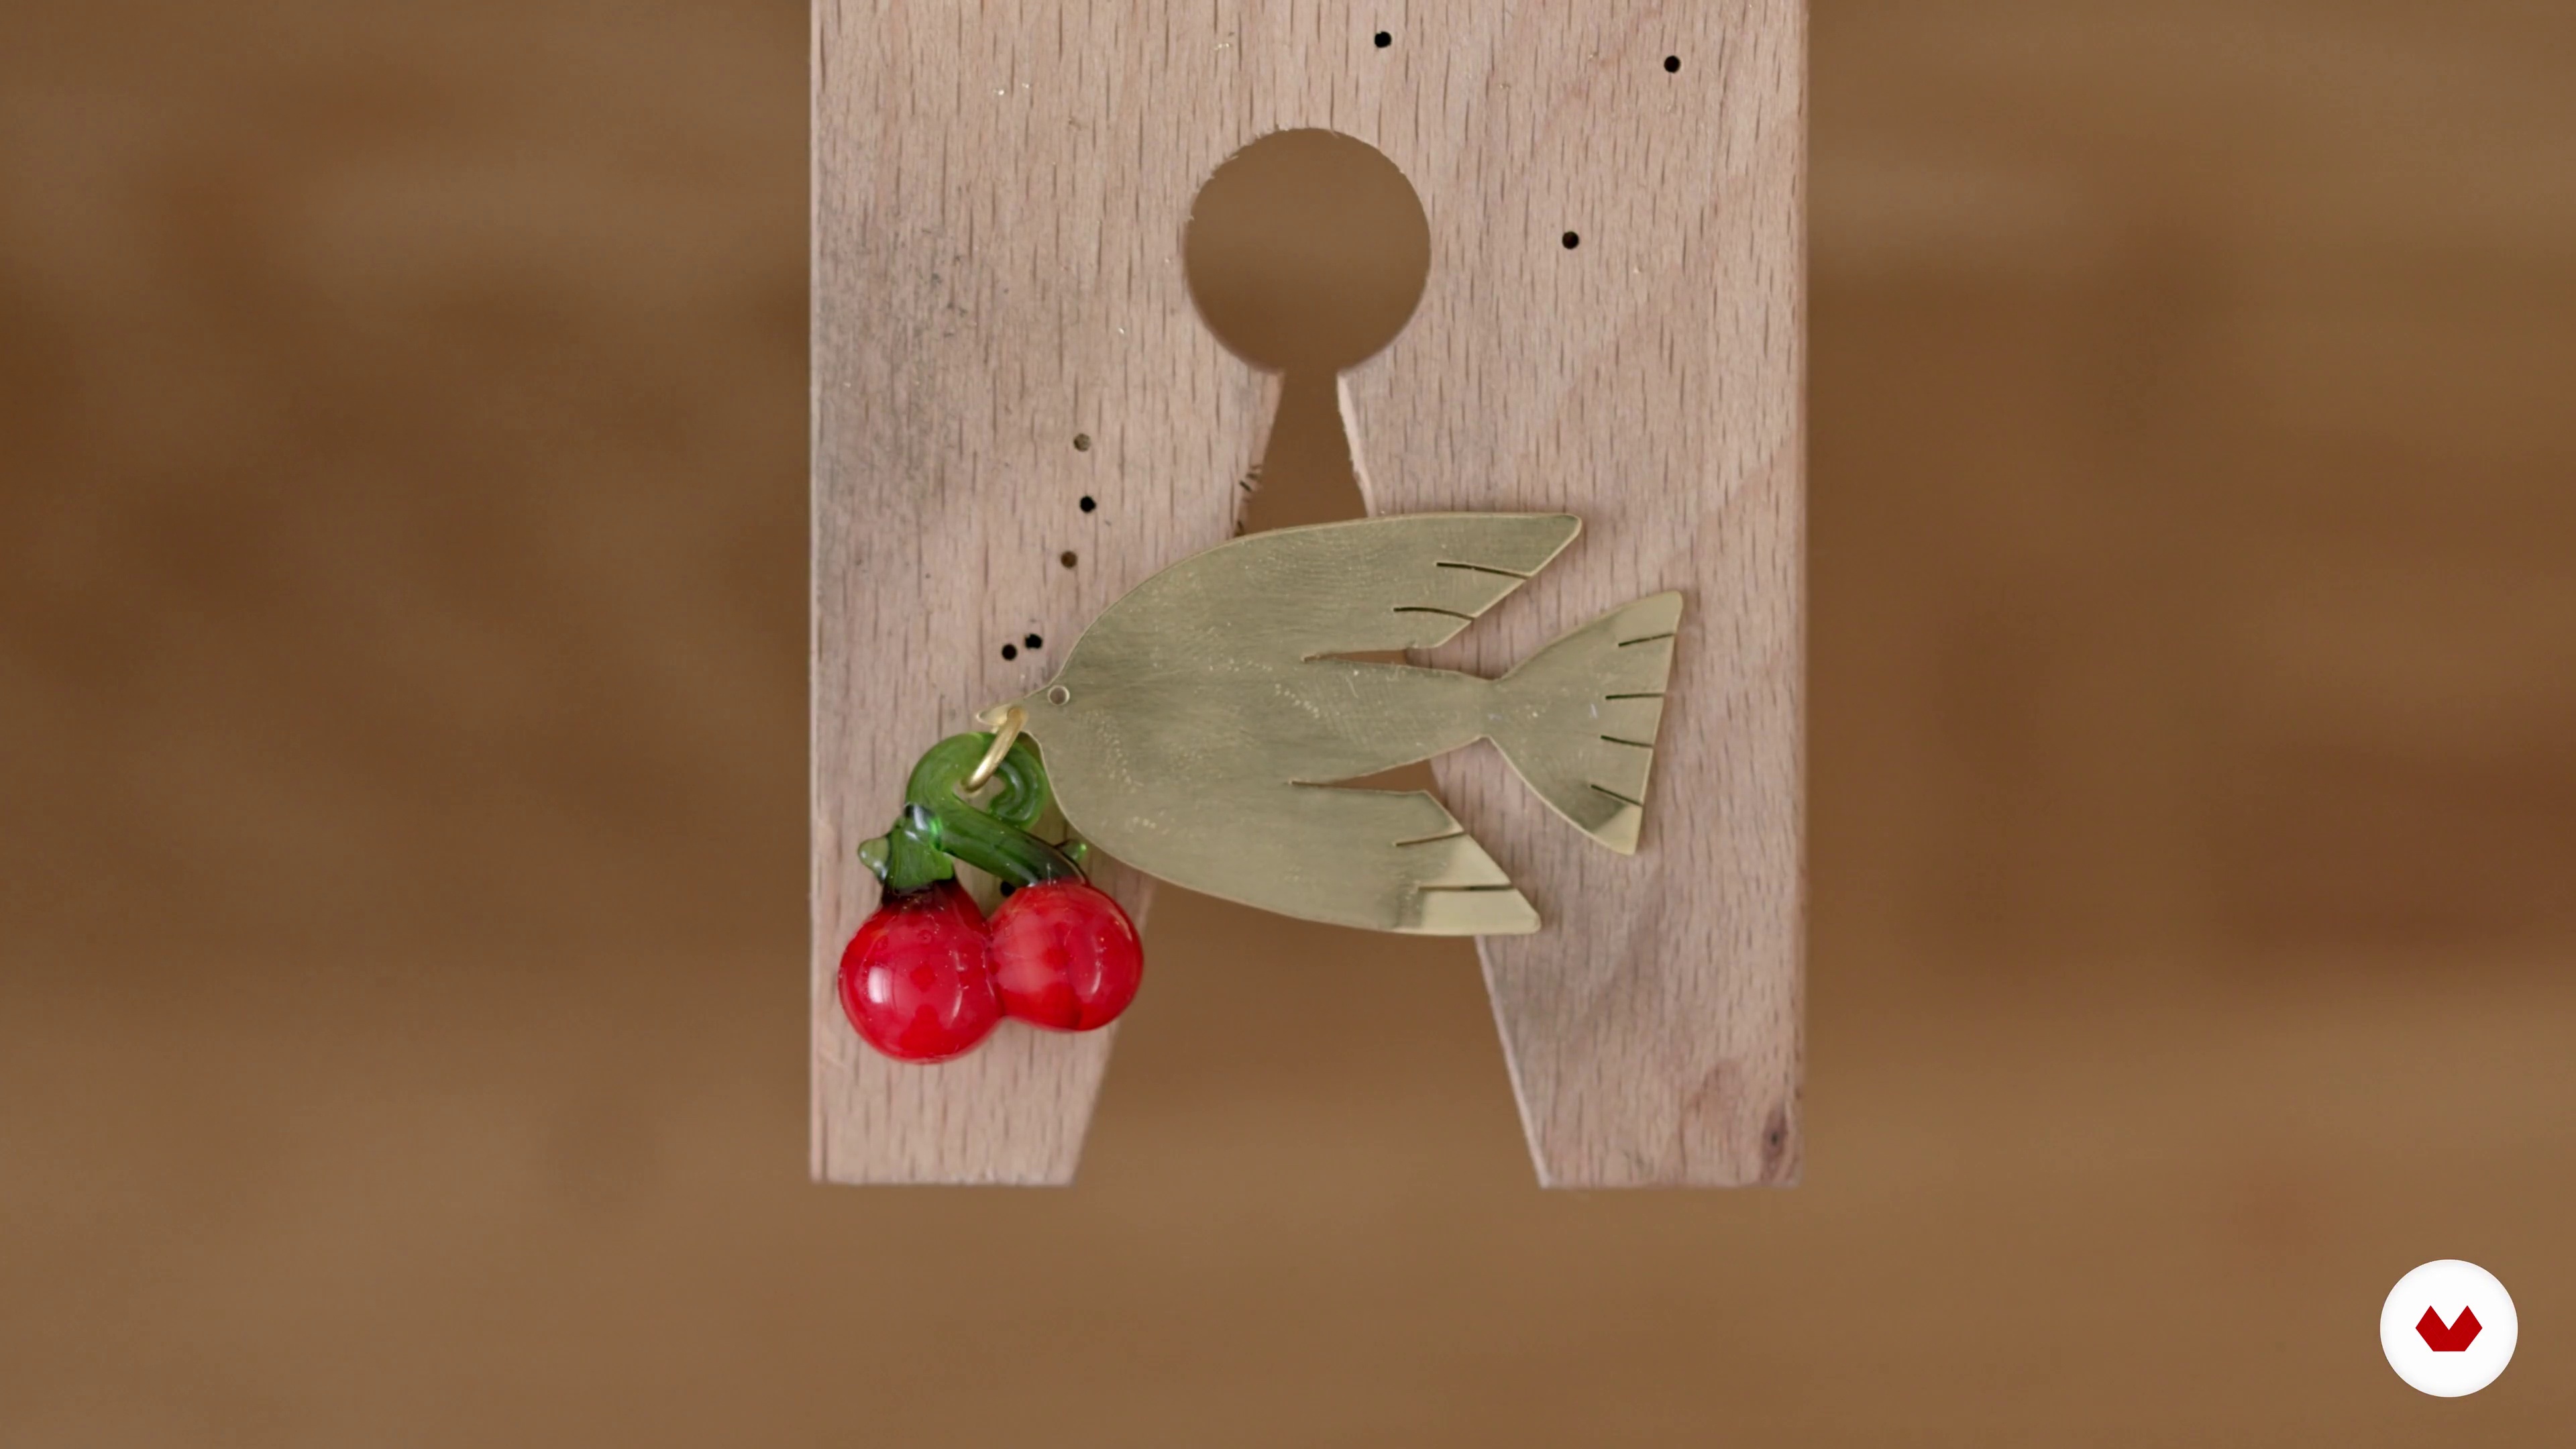 15
15Adding Additional Elements
In this lesson you will look at additional options you can use to add your own personal spin to your pieces using beads, brass wire and jump rings.
6m
 16
16Packaging and Care
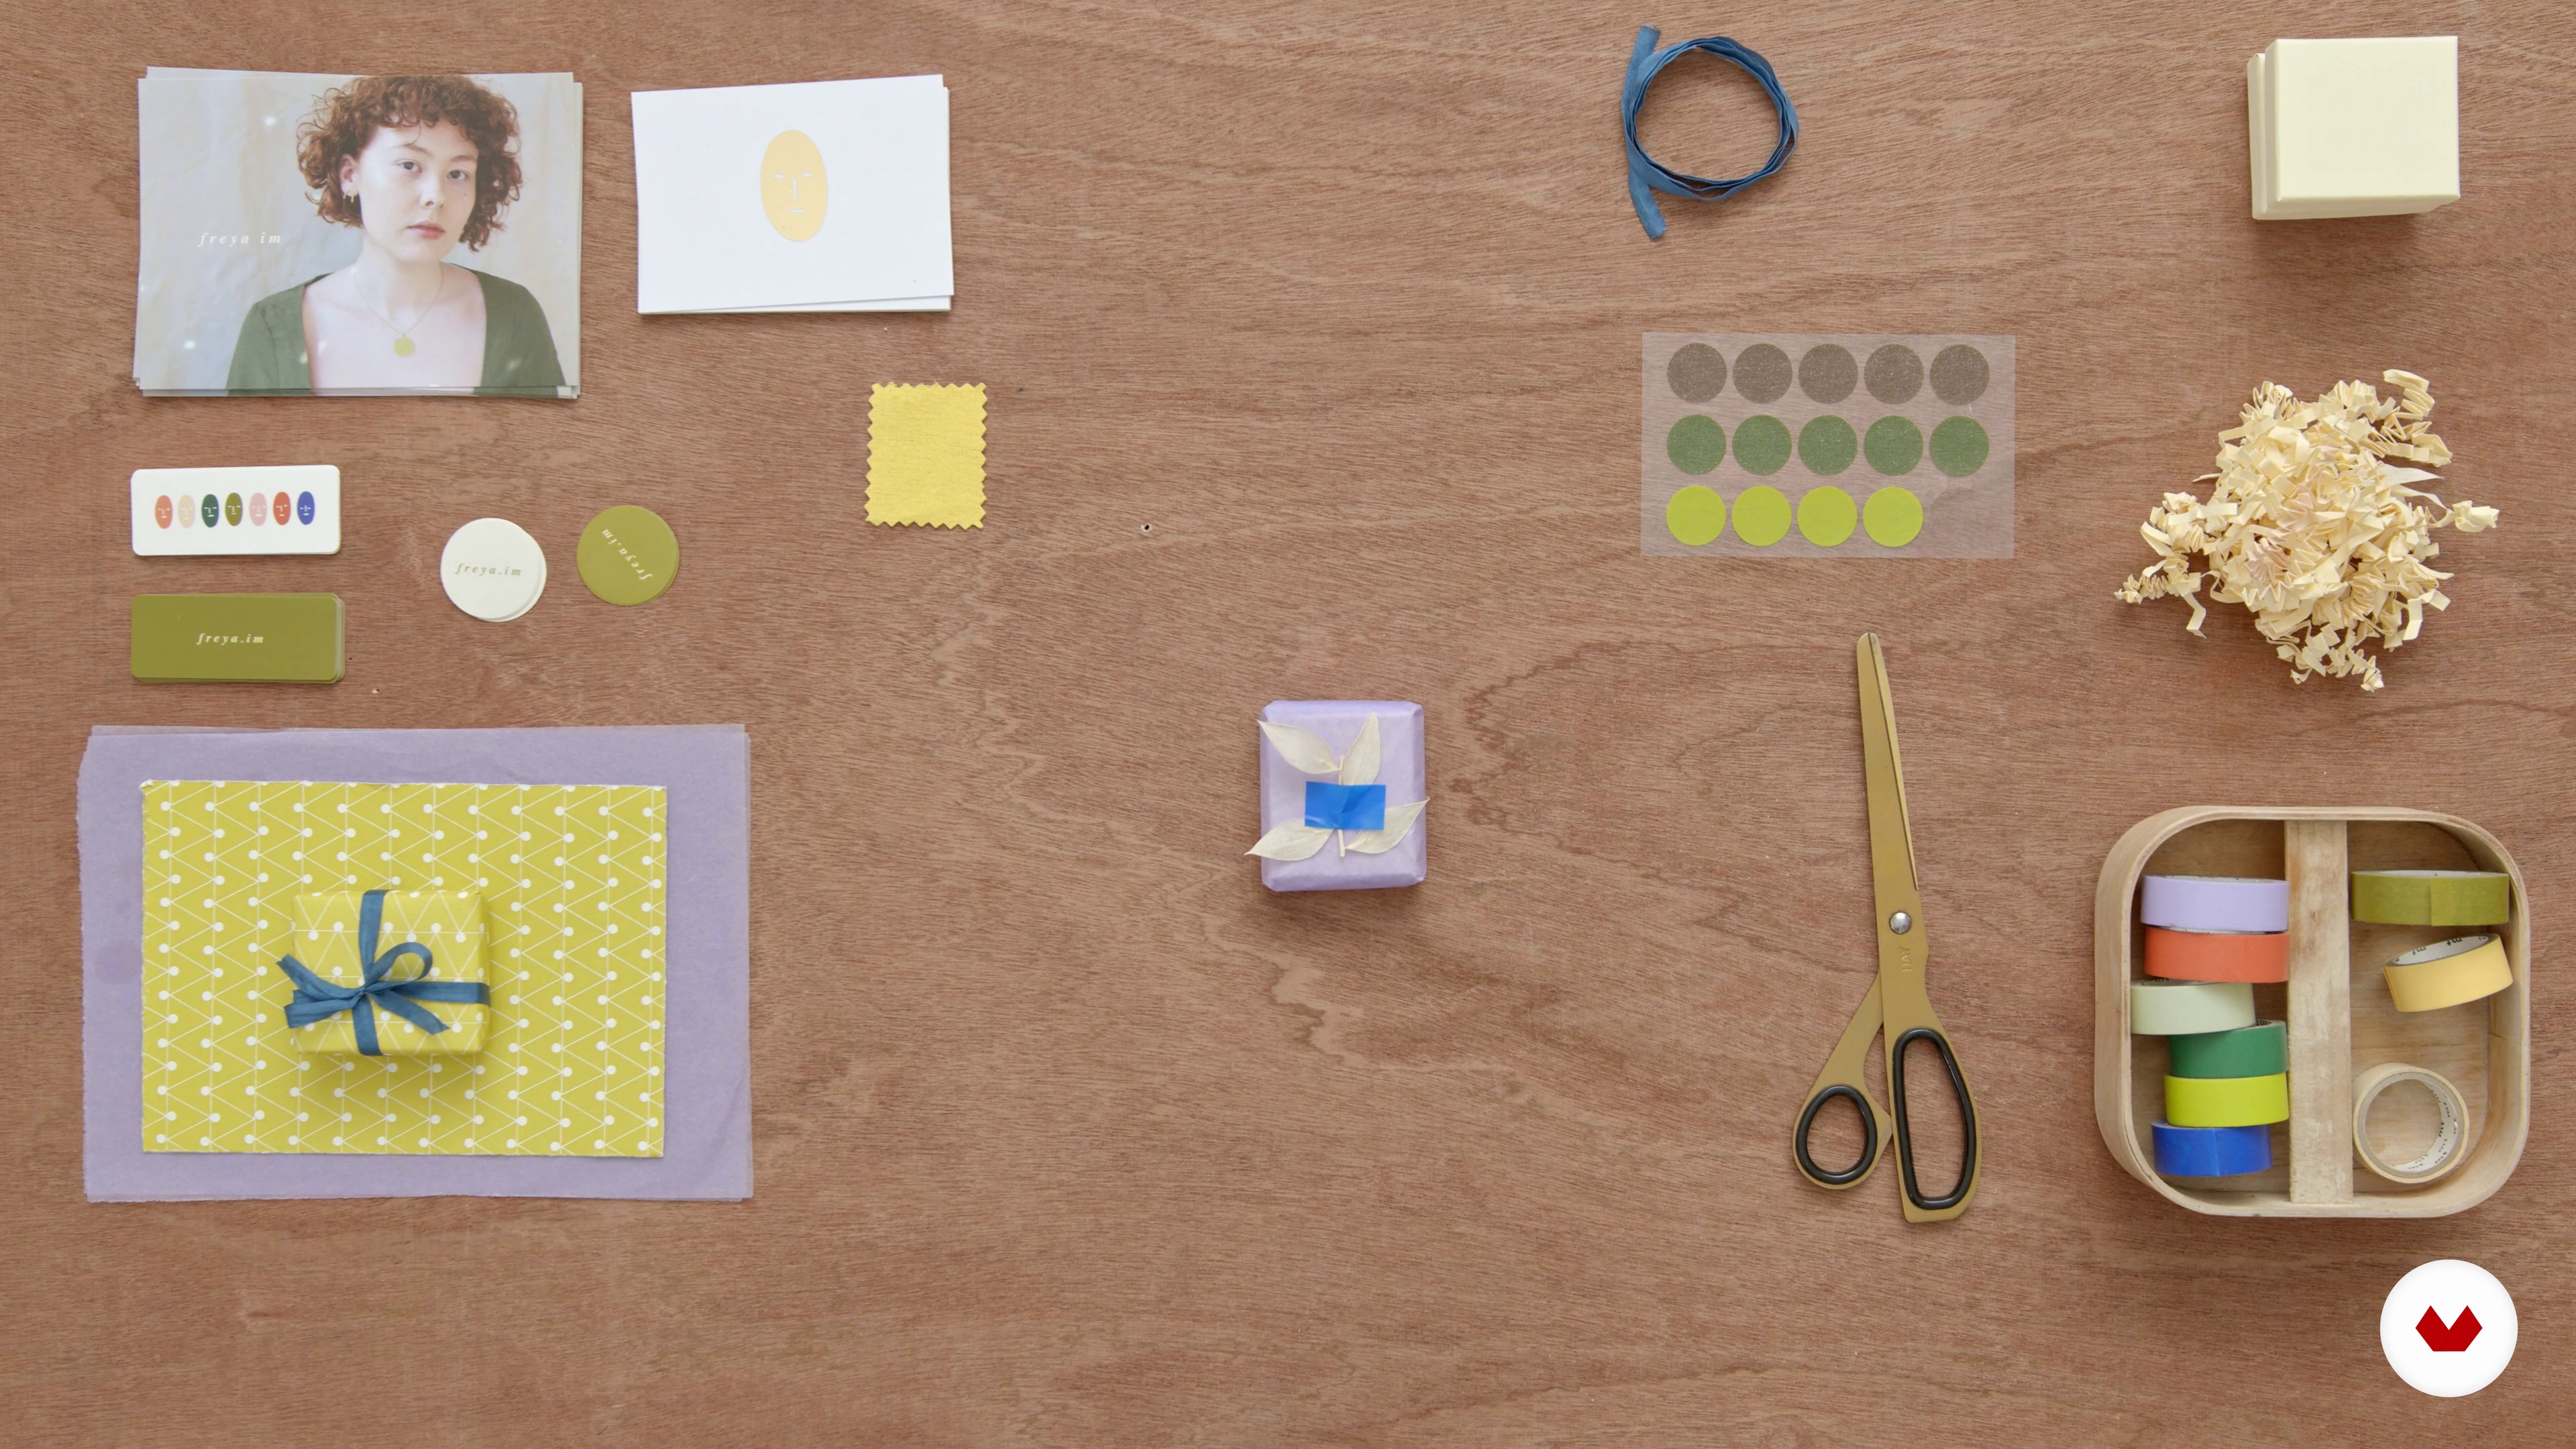
I'm going to talk about packaging your jewellery for commercial use and helping your customers take care of the brass after it’s left the studio.
6m
 17
17Sharing Your Work
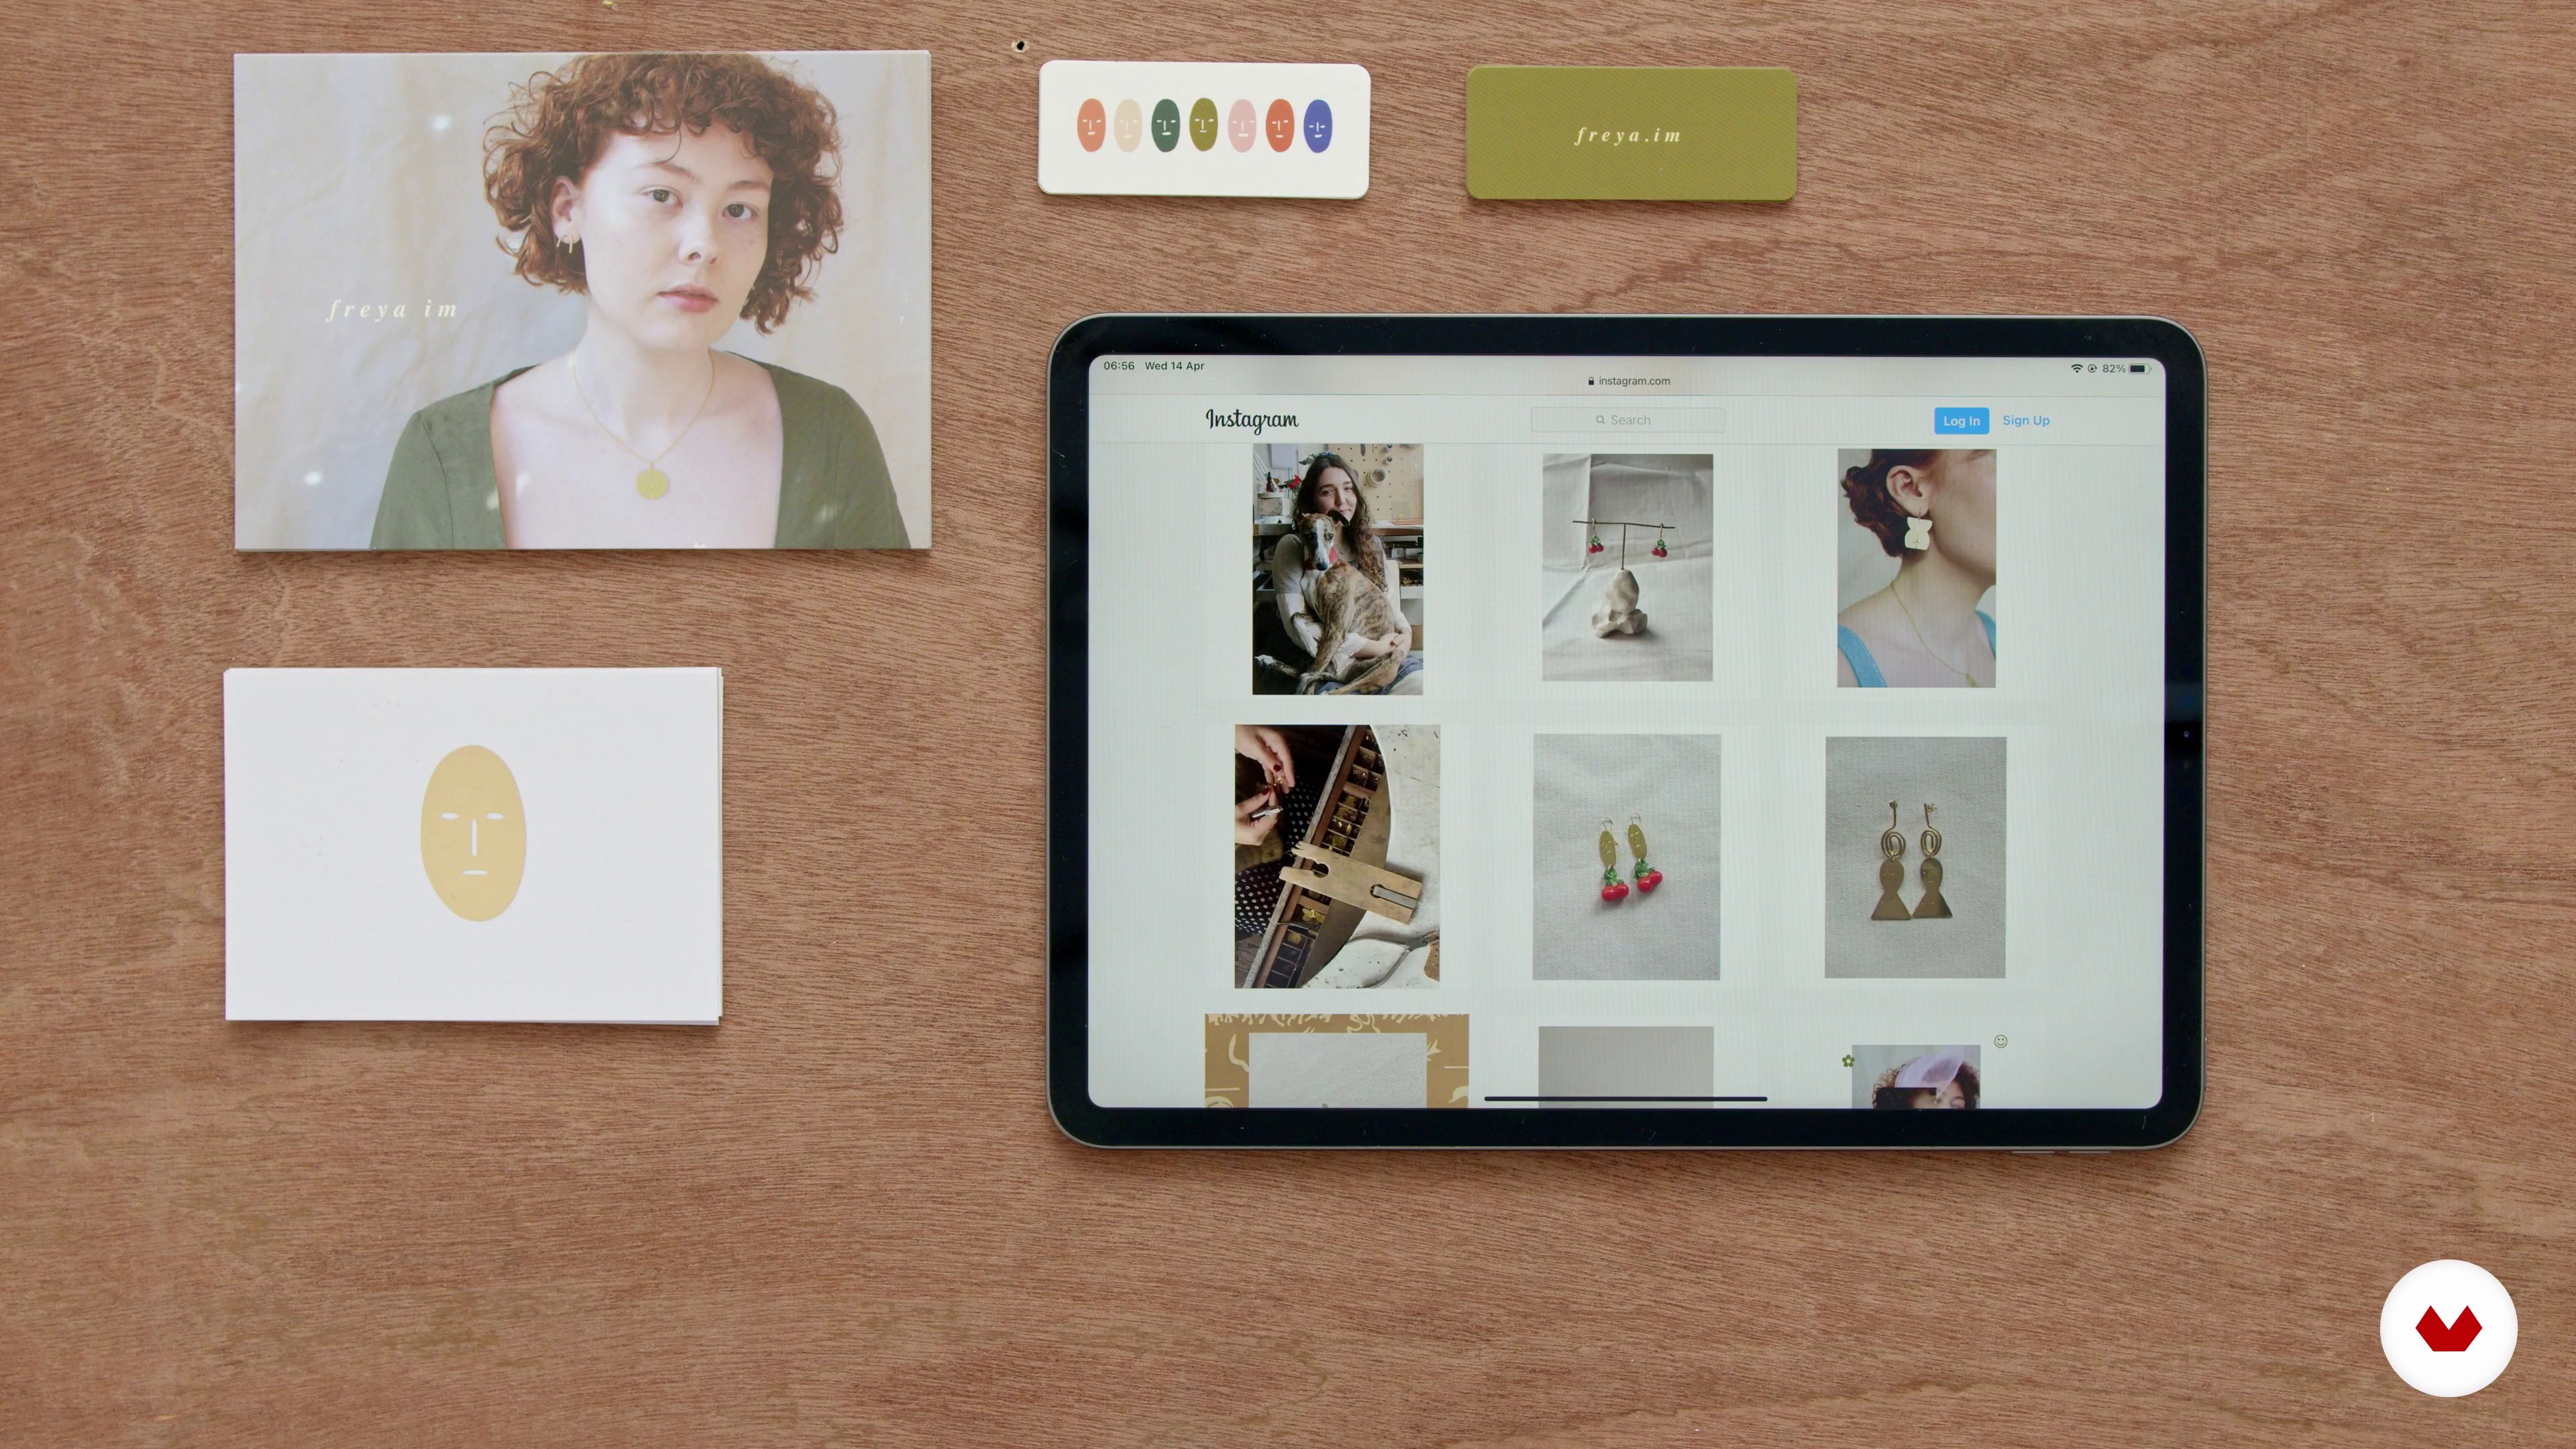
Finally, I will talk about selling your work commercially and building a following on social media.
4m
 3
3Materials
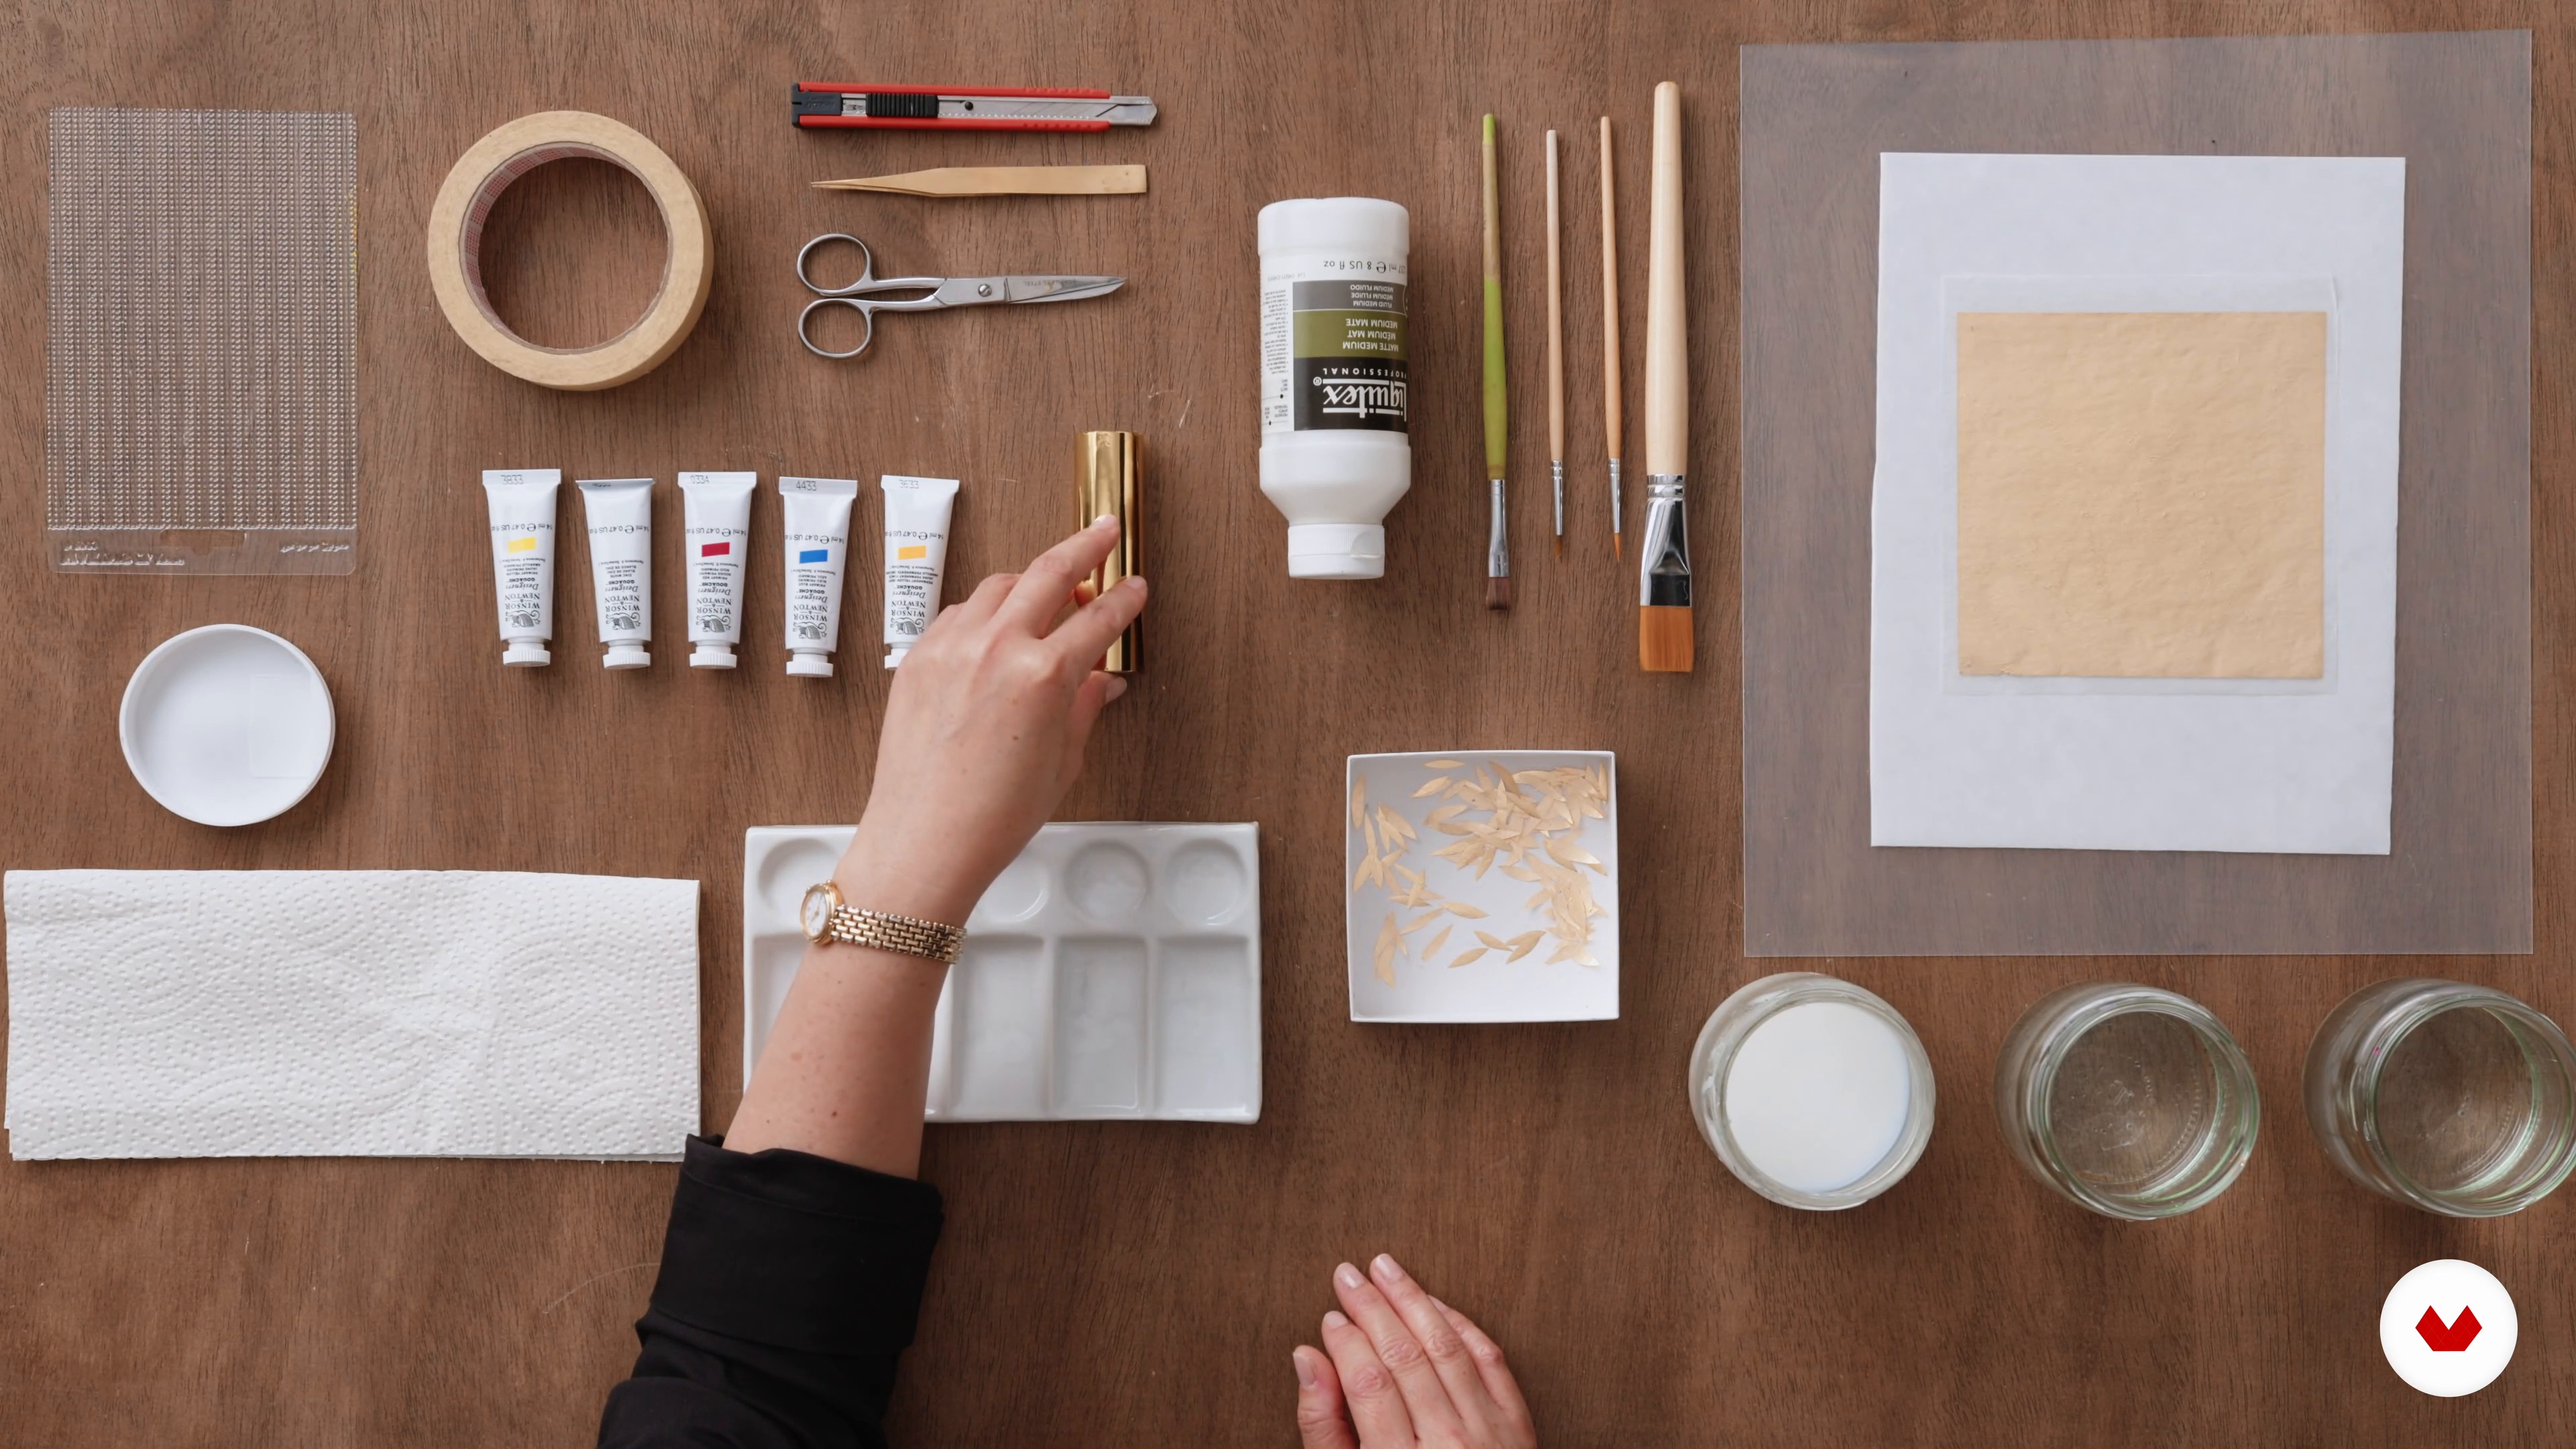
In this lesson, I will show you the essential tools and materials you will use to create your project.
6m
 4
4Introduction to Origami
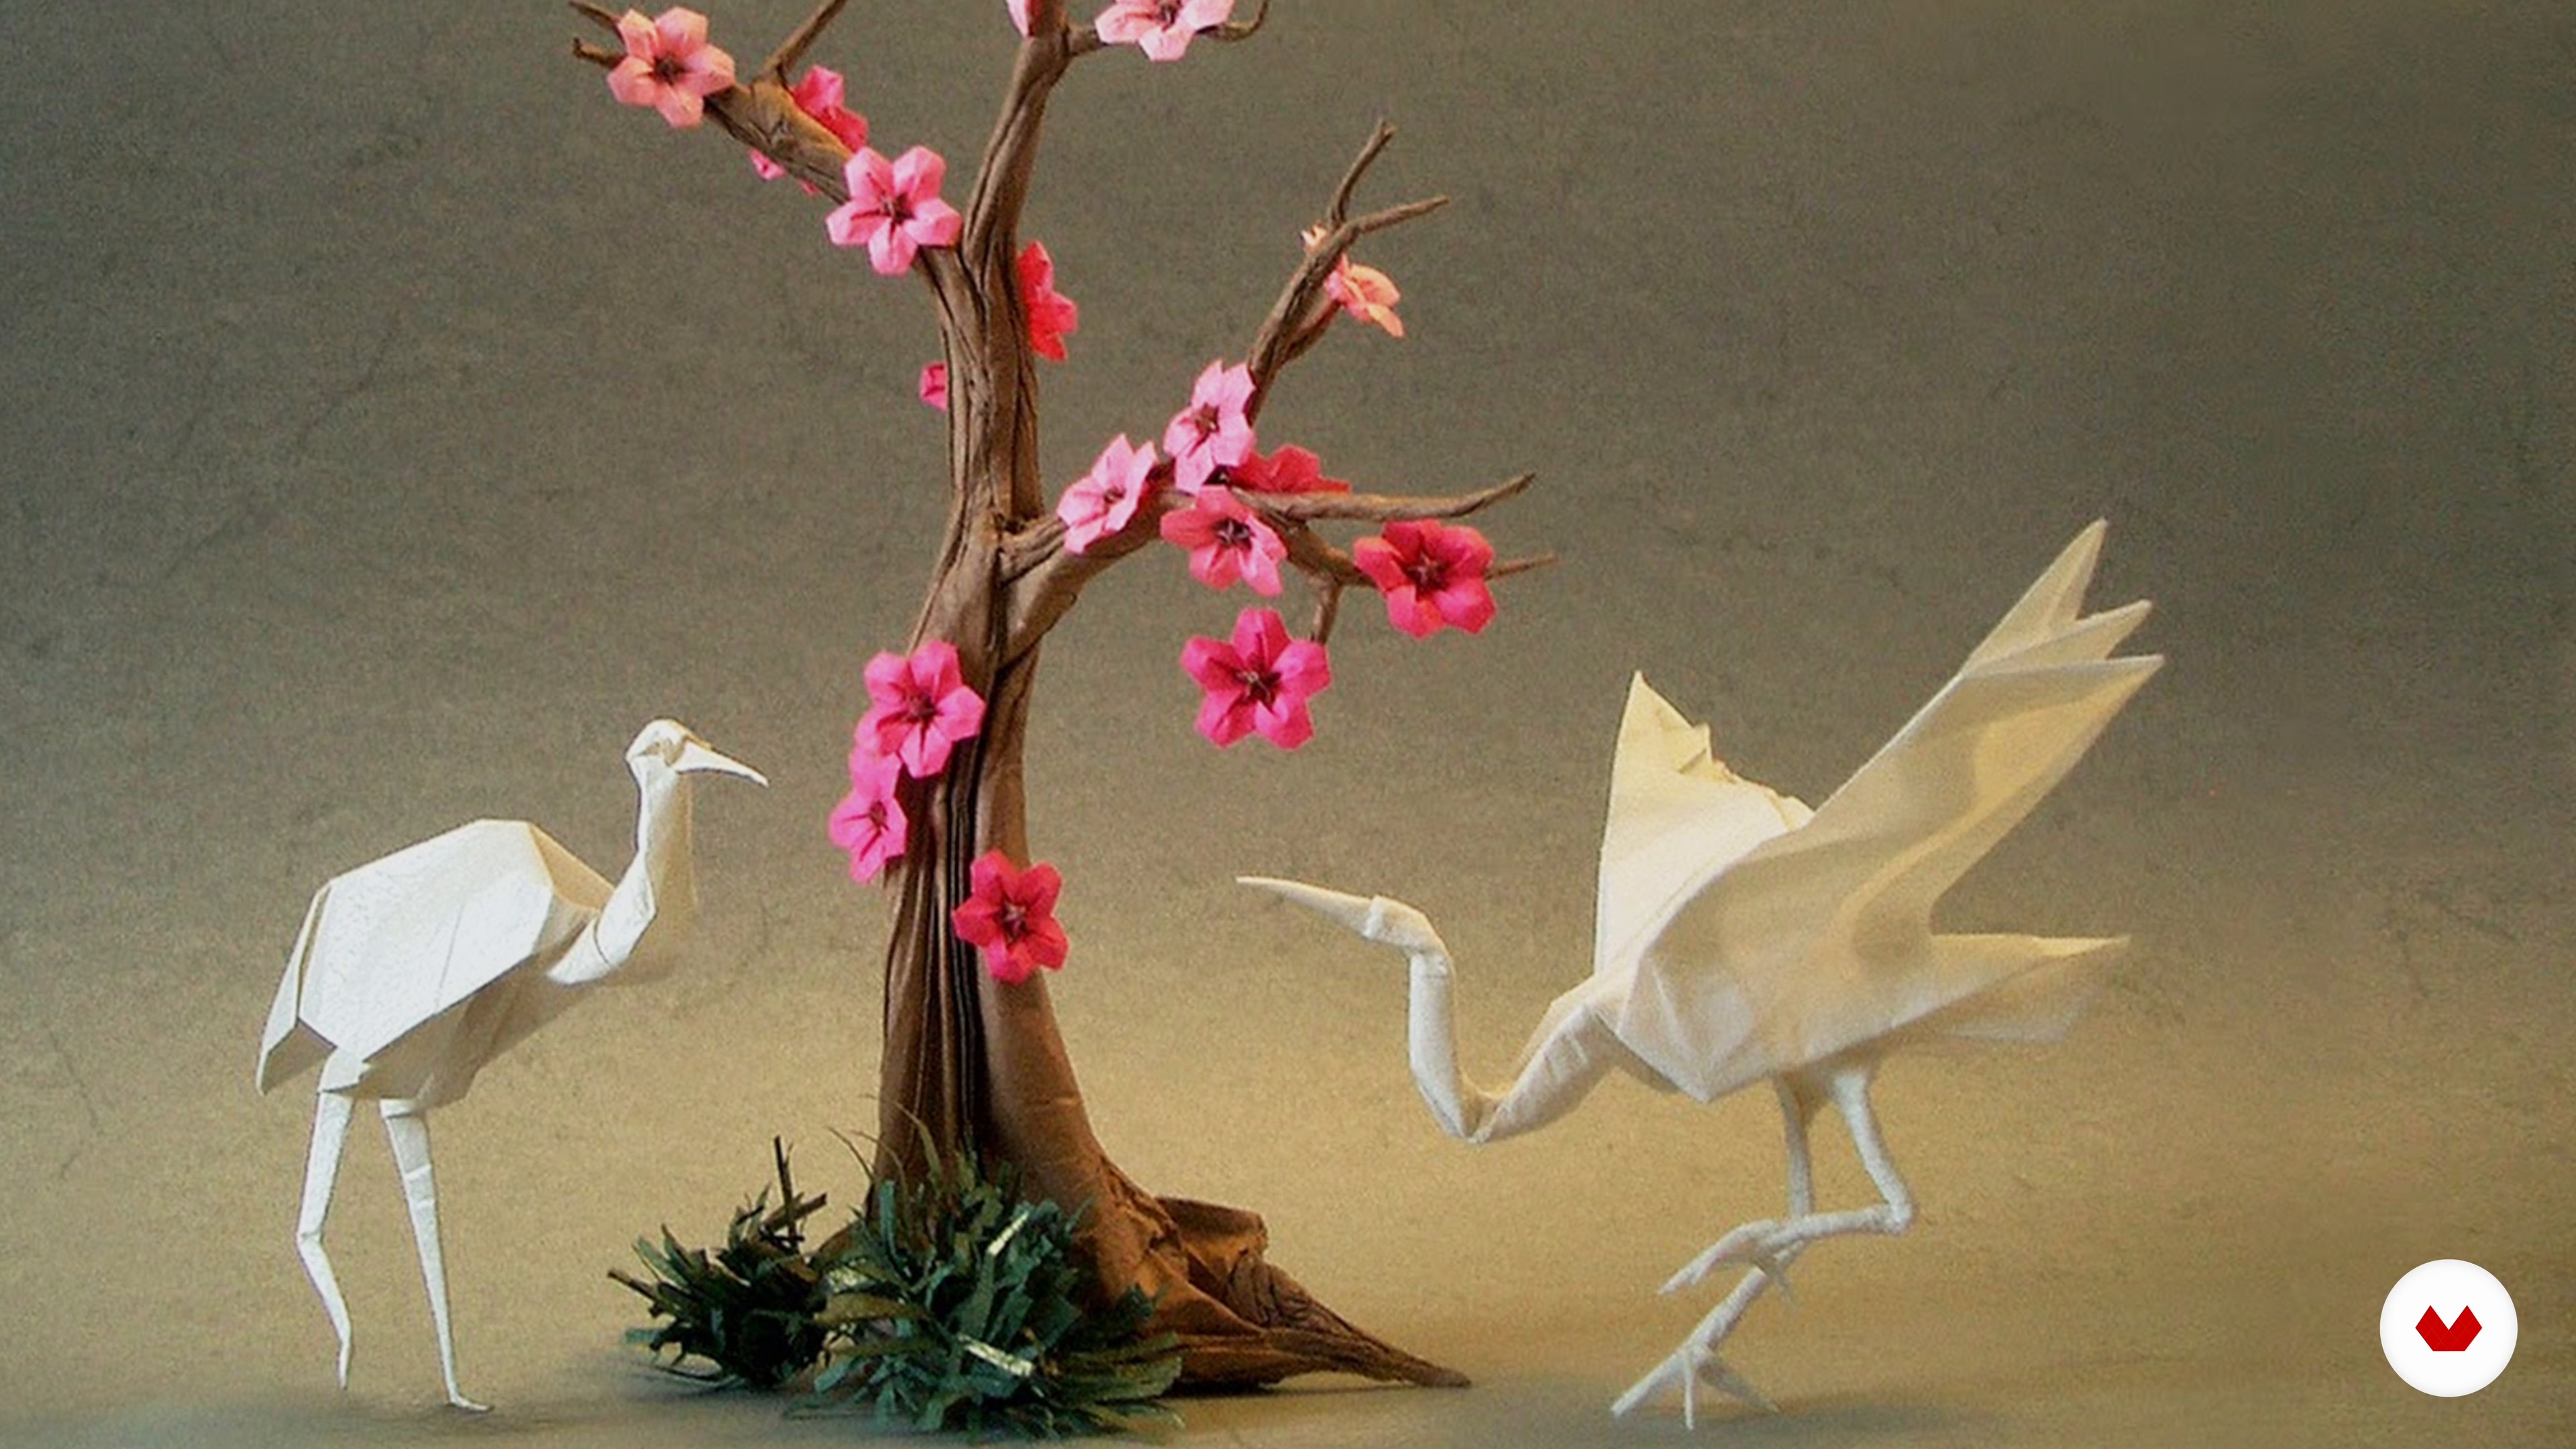
Today, origami is a widespread source of inspiration for art, fashion, design, gastronomy, architecture, and engineering. Here I will show you how versatile origami can be, highlighting the infinite possibilities of materials and applications. And for the course project, I will also explain some of the main features of modular origami.
4m
 5
5Introduction to Paper
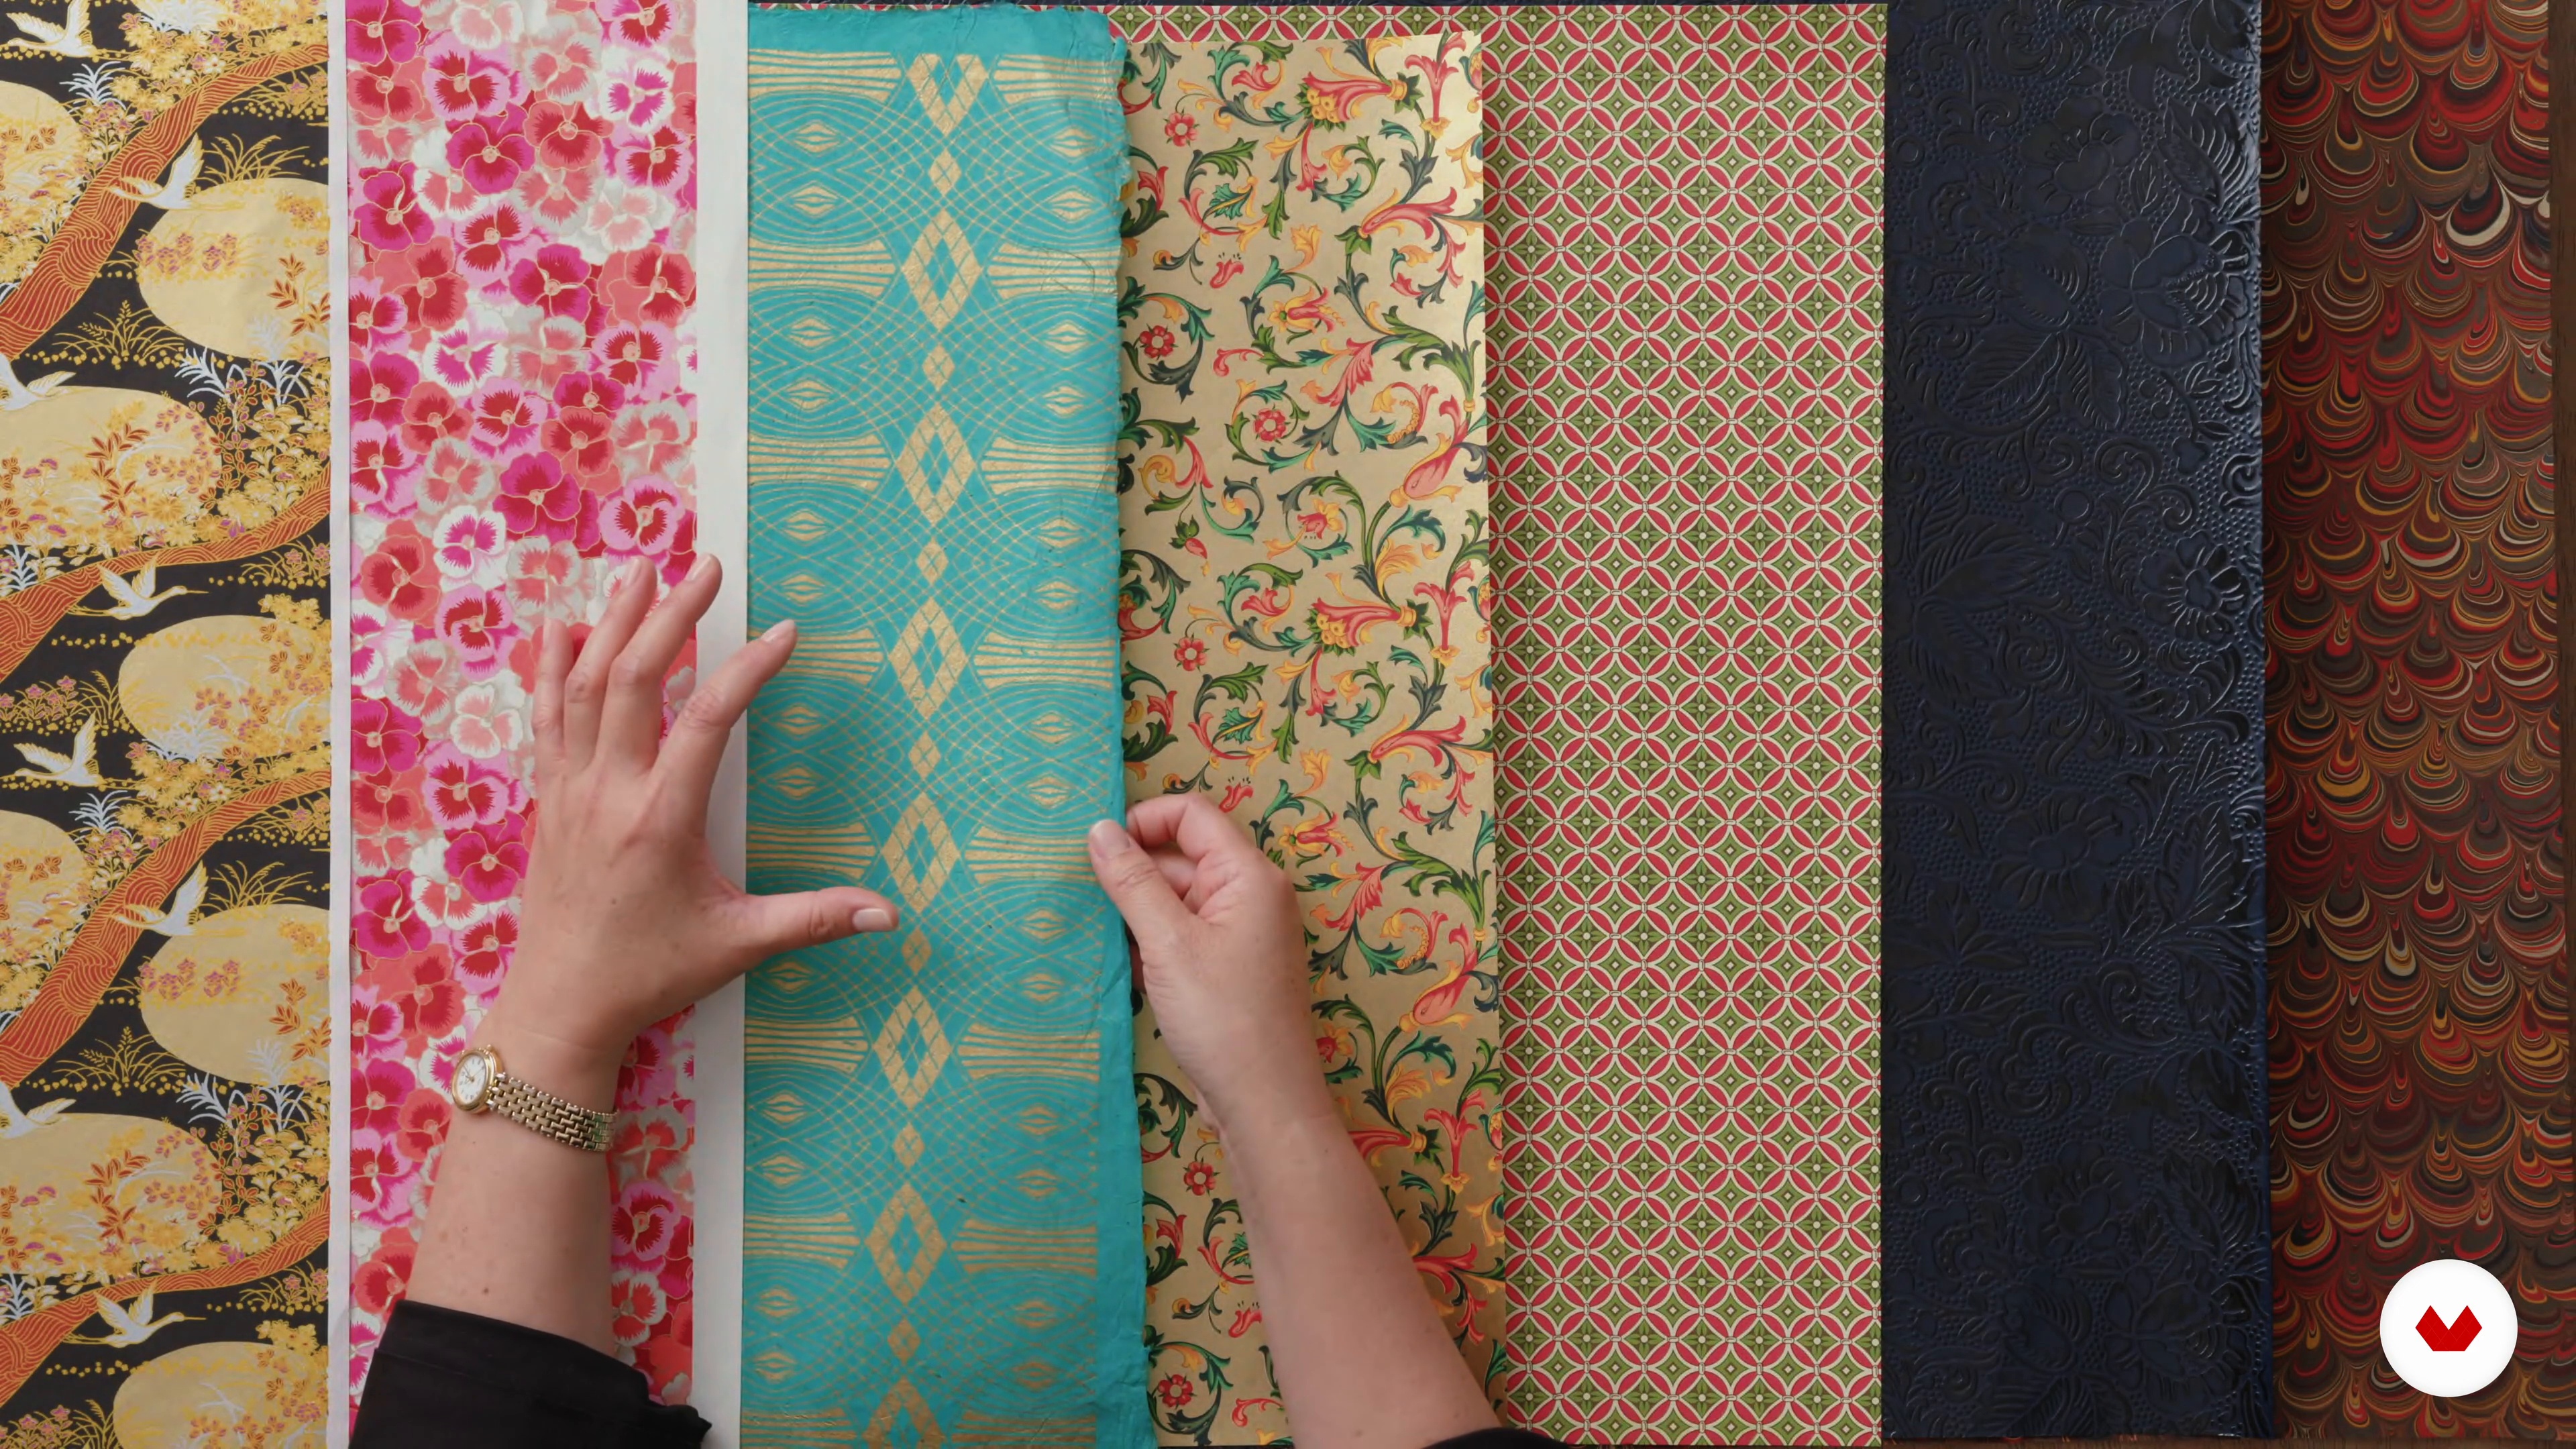
The next step is to familiarize yourself with paper! In this lesson, I will share the exciting possibilities of decorative papers and how to choose the right one for your project.
4m
 6
6Making a Mood Board
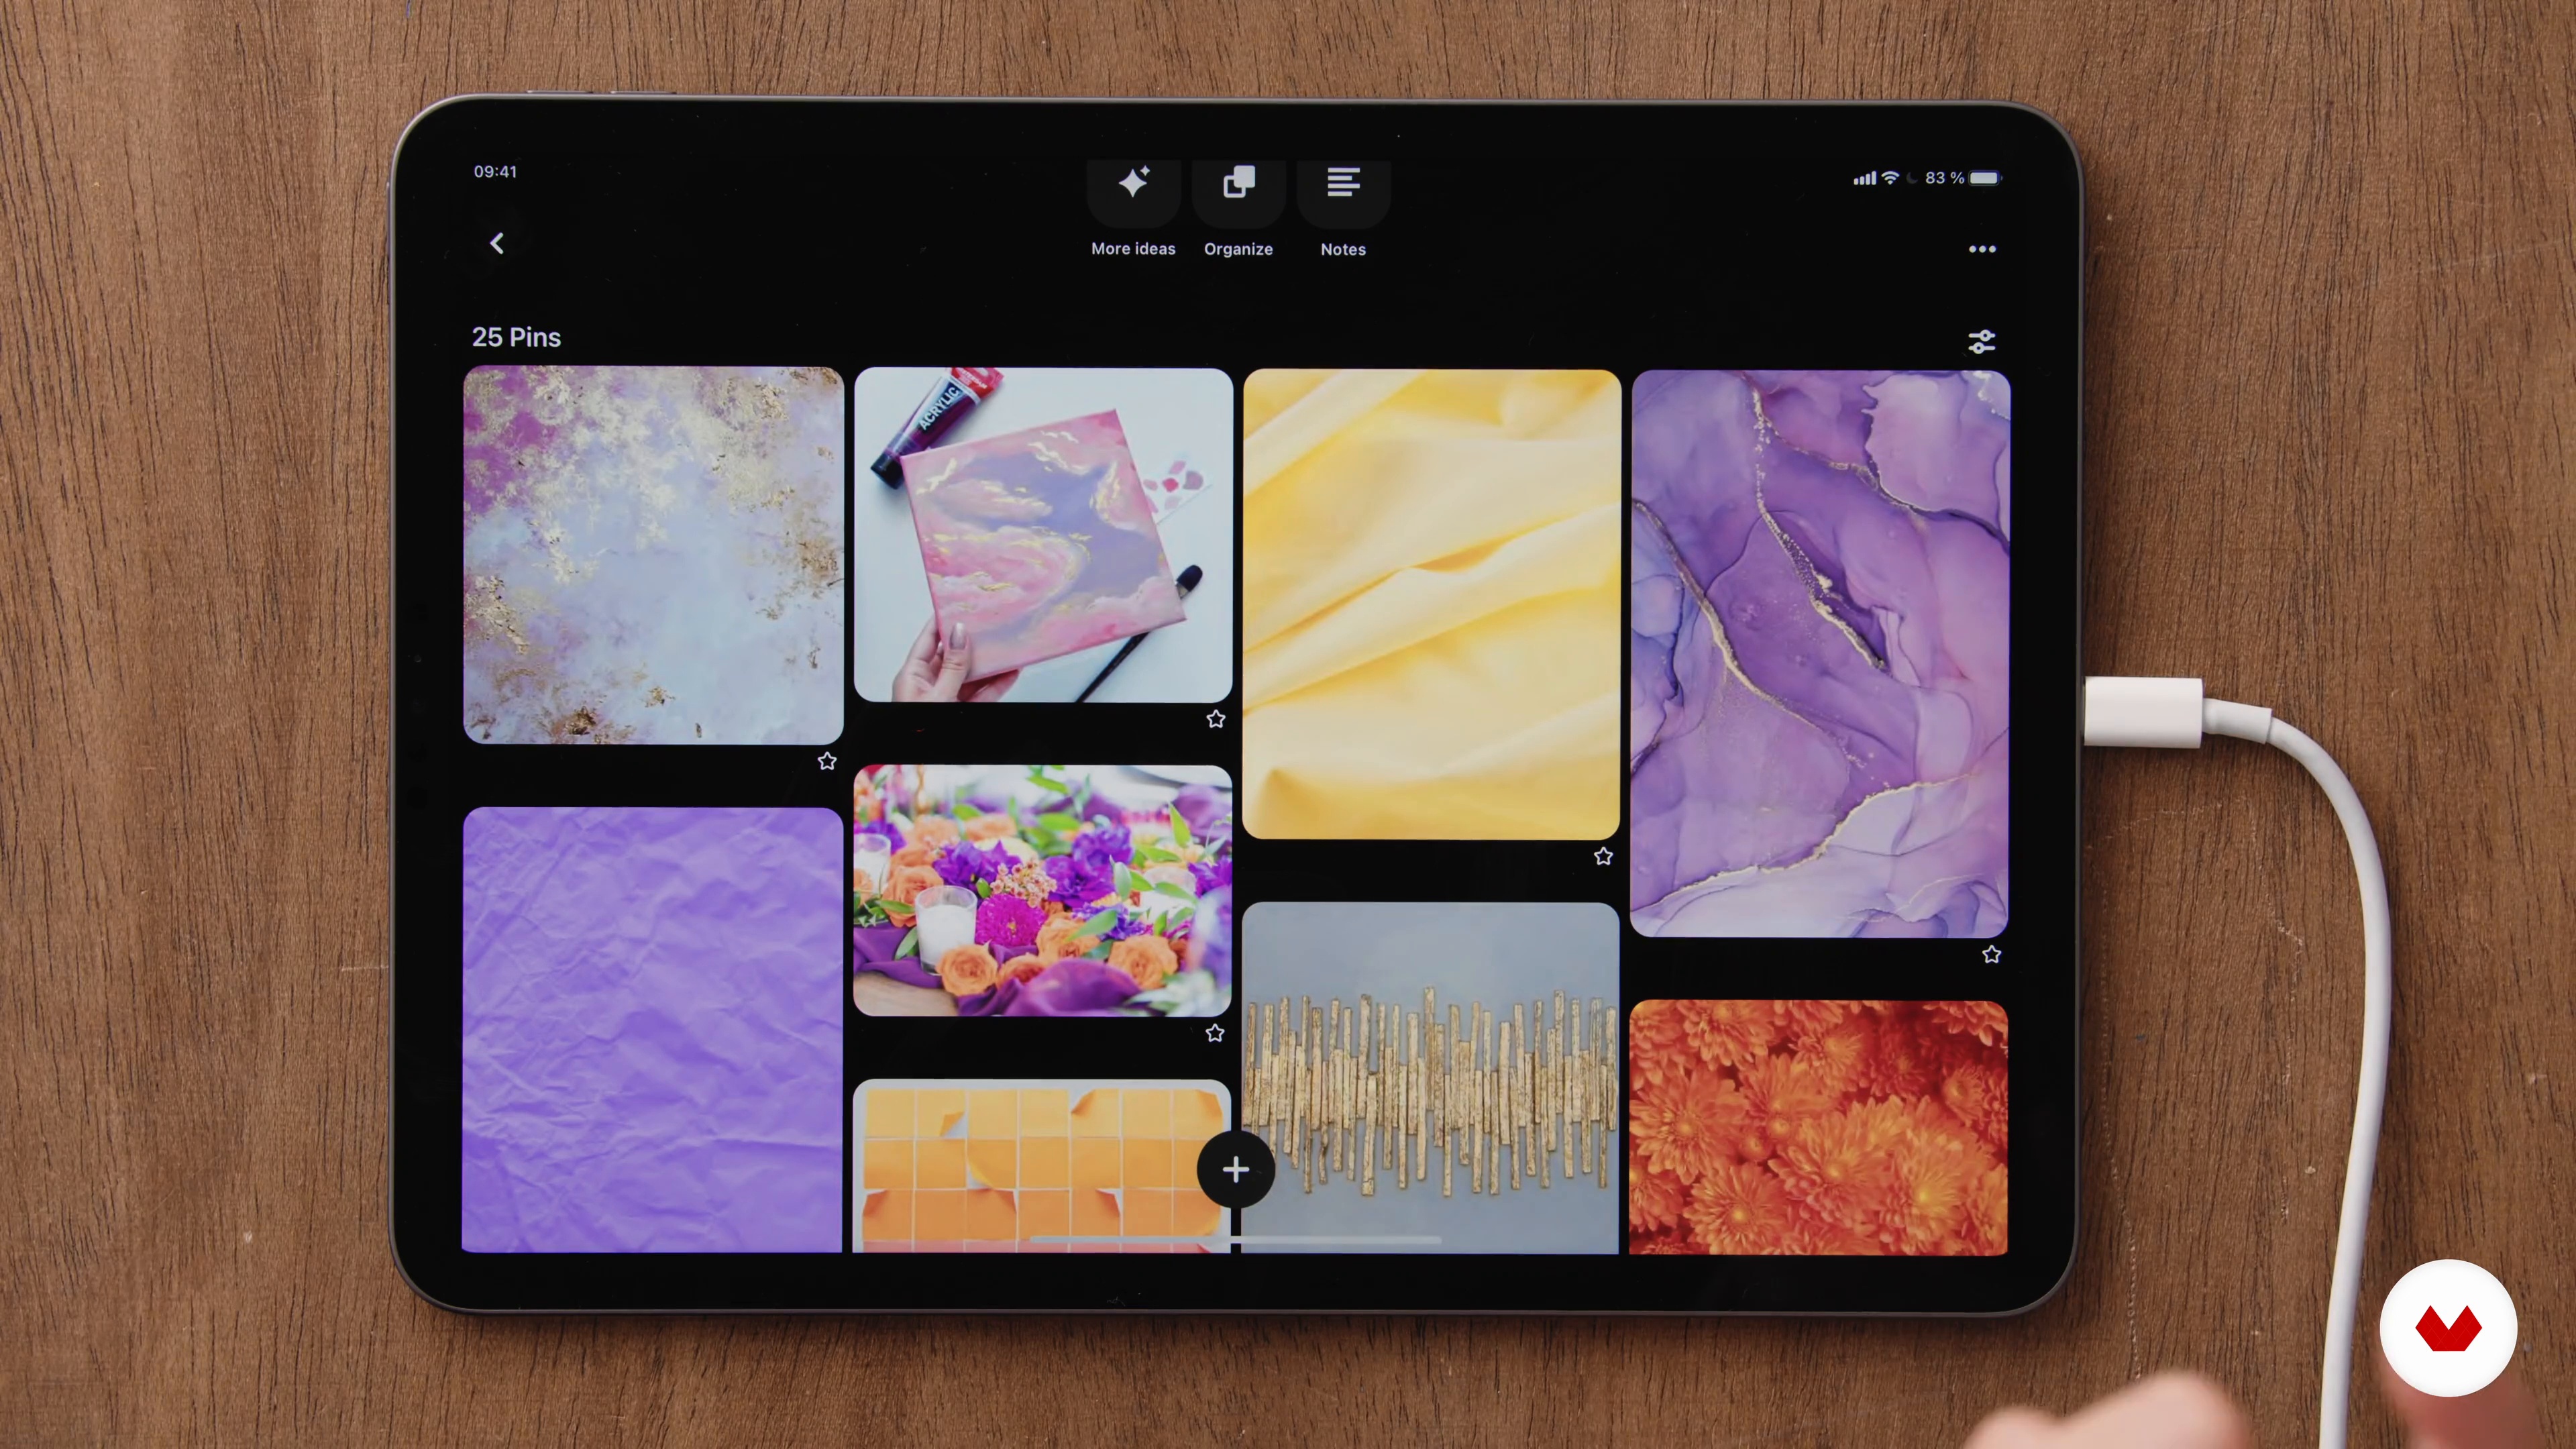
In this lesson, I will demonstrate how to create a mood board, using kimono patterns as a guideline. I will show you the advantages of planning ahead for the overall look of your jewelry design.
6m
 7
7Creating the Pattern 1
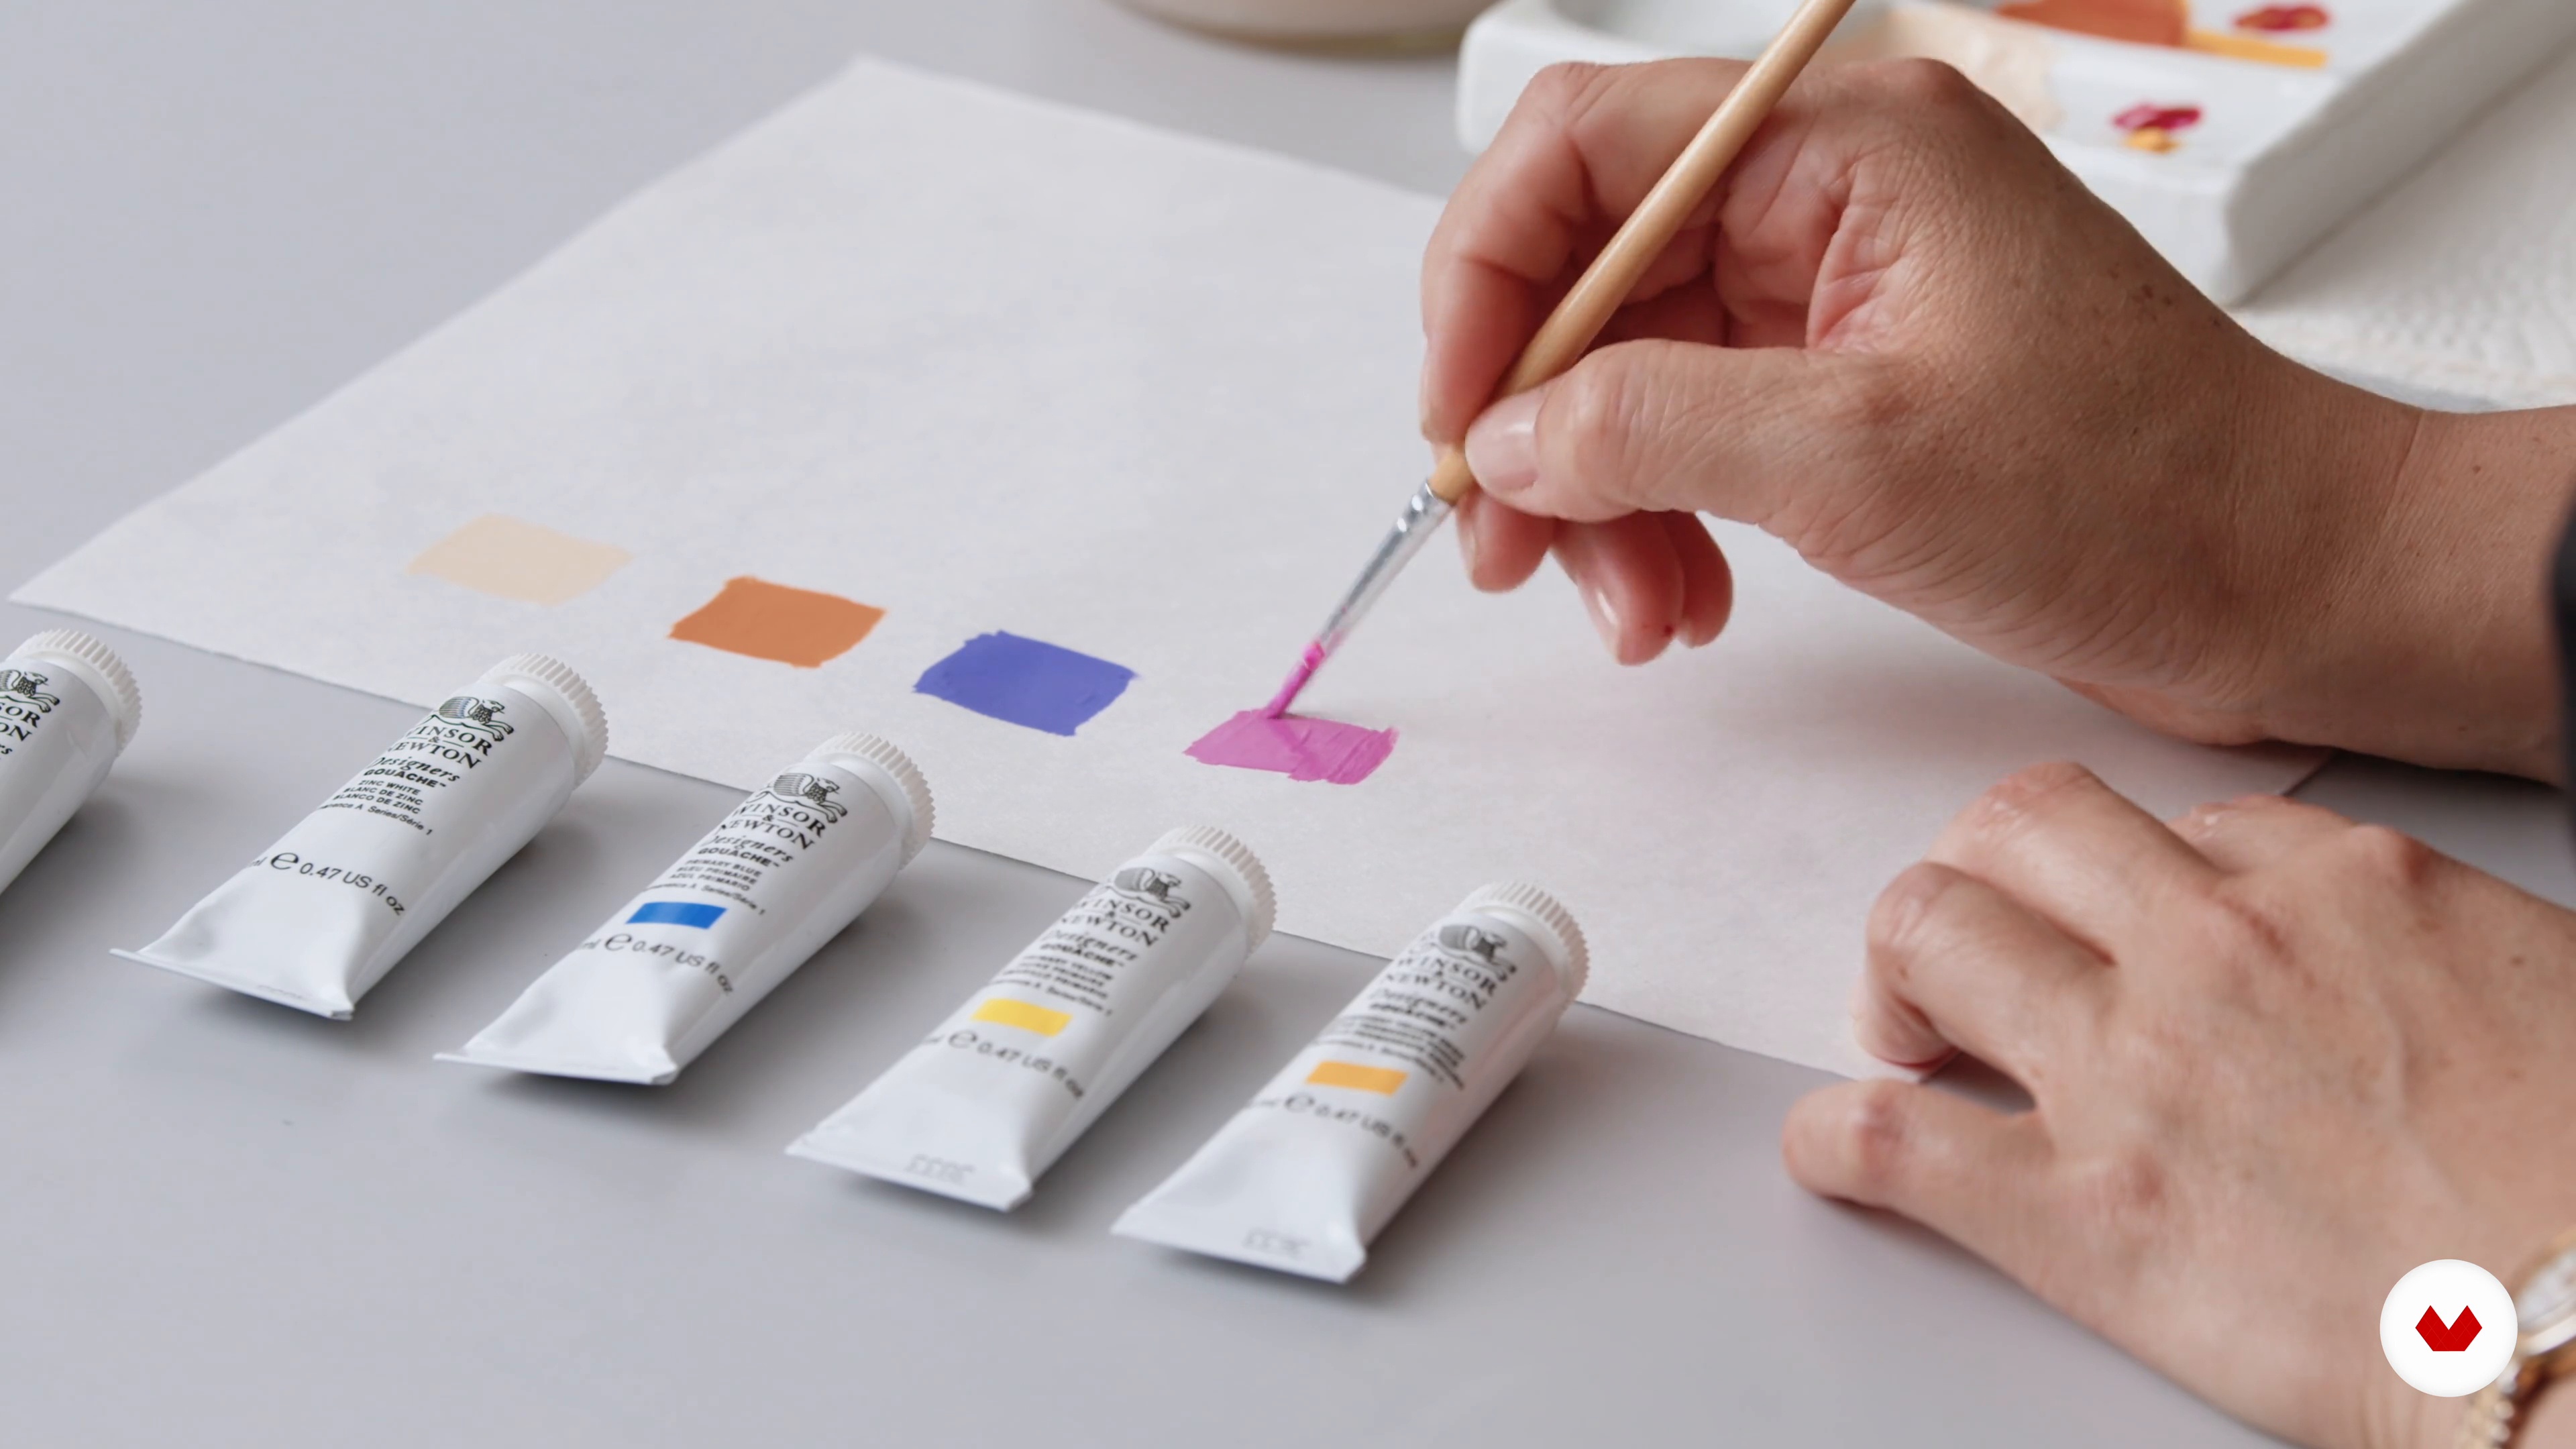
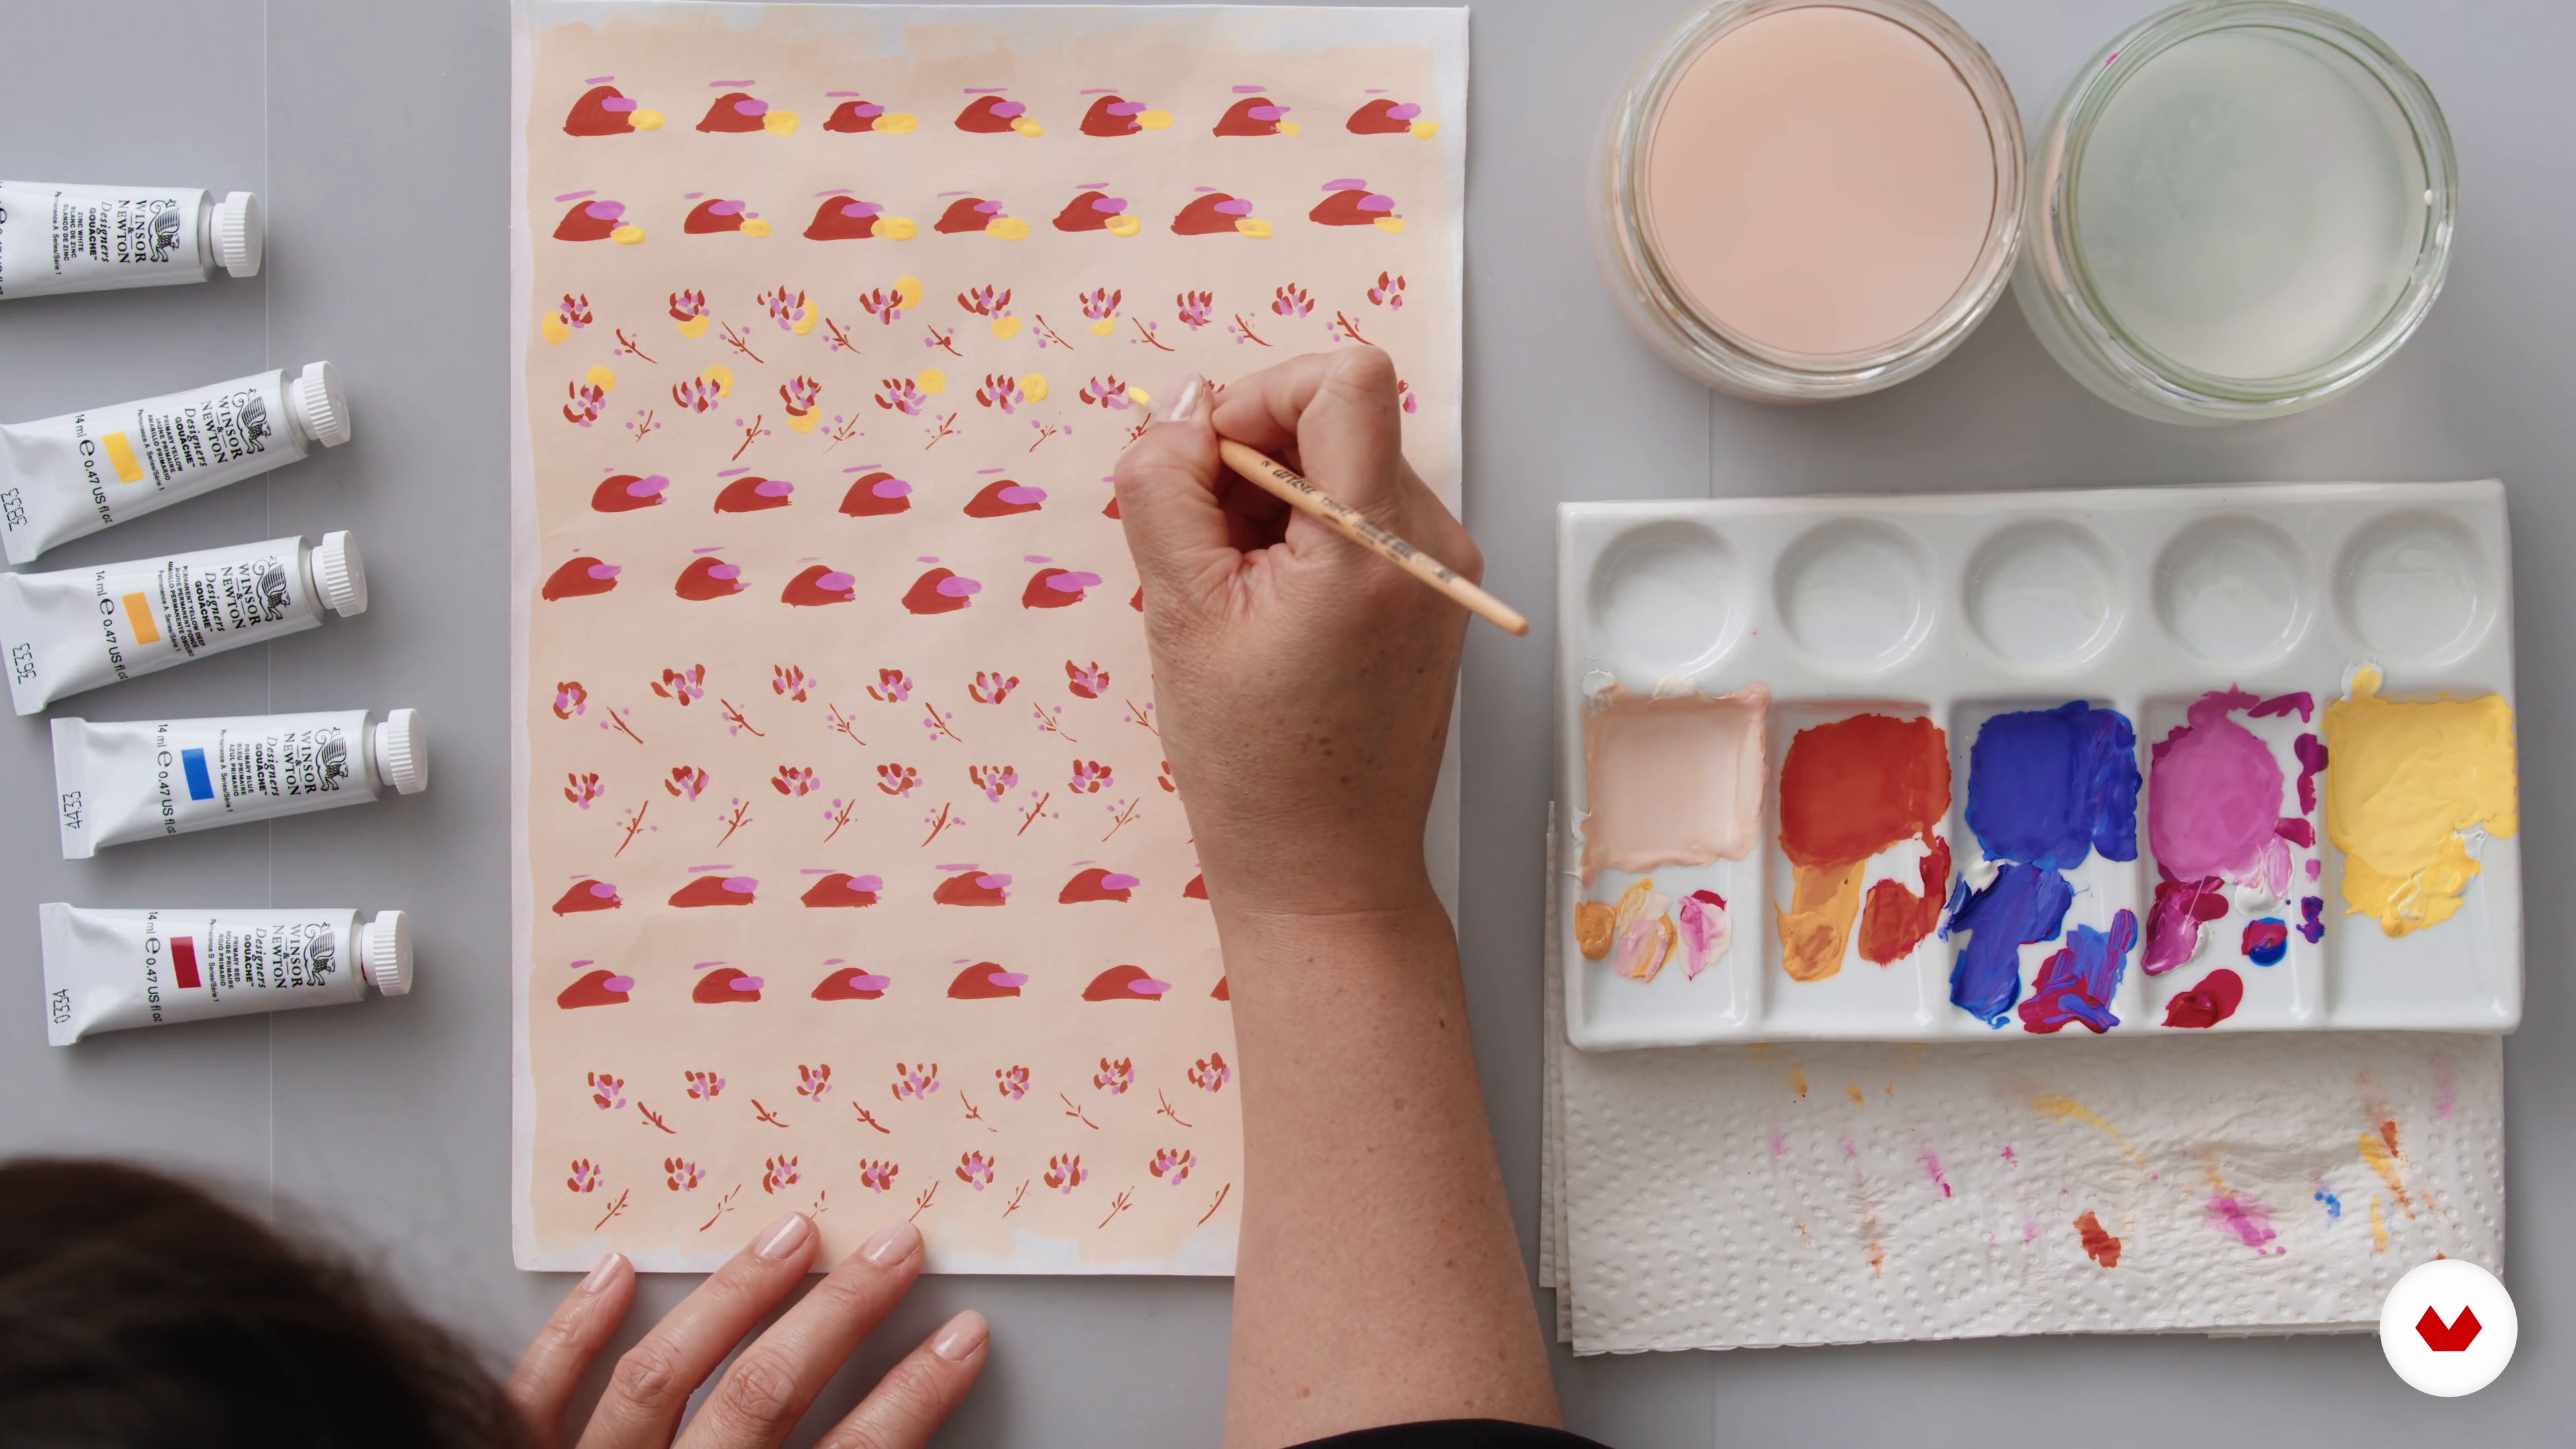
In this lesson, I will show you how to create a distinctive painted pattern. To do so, we will start by working with gouache and making a color chart. The idea is to experiment with the materials and enjoy the process!
14m
 8
8Creating the Pattern 2
In the second part of this lesson, you will learn how to create a pattern in layers, enhancing it with the application of metallic contrast on gouache.
17m
 9
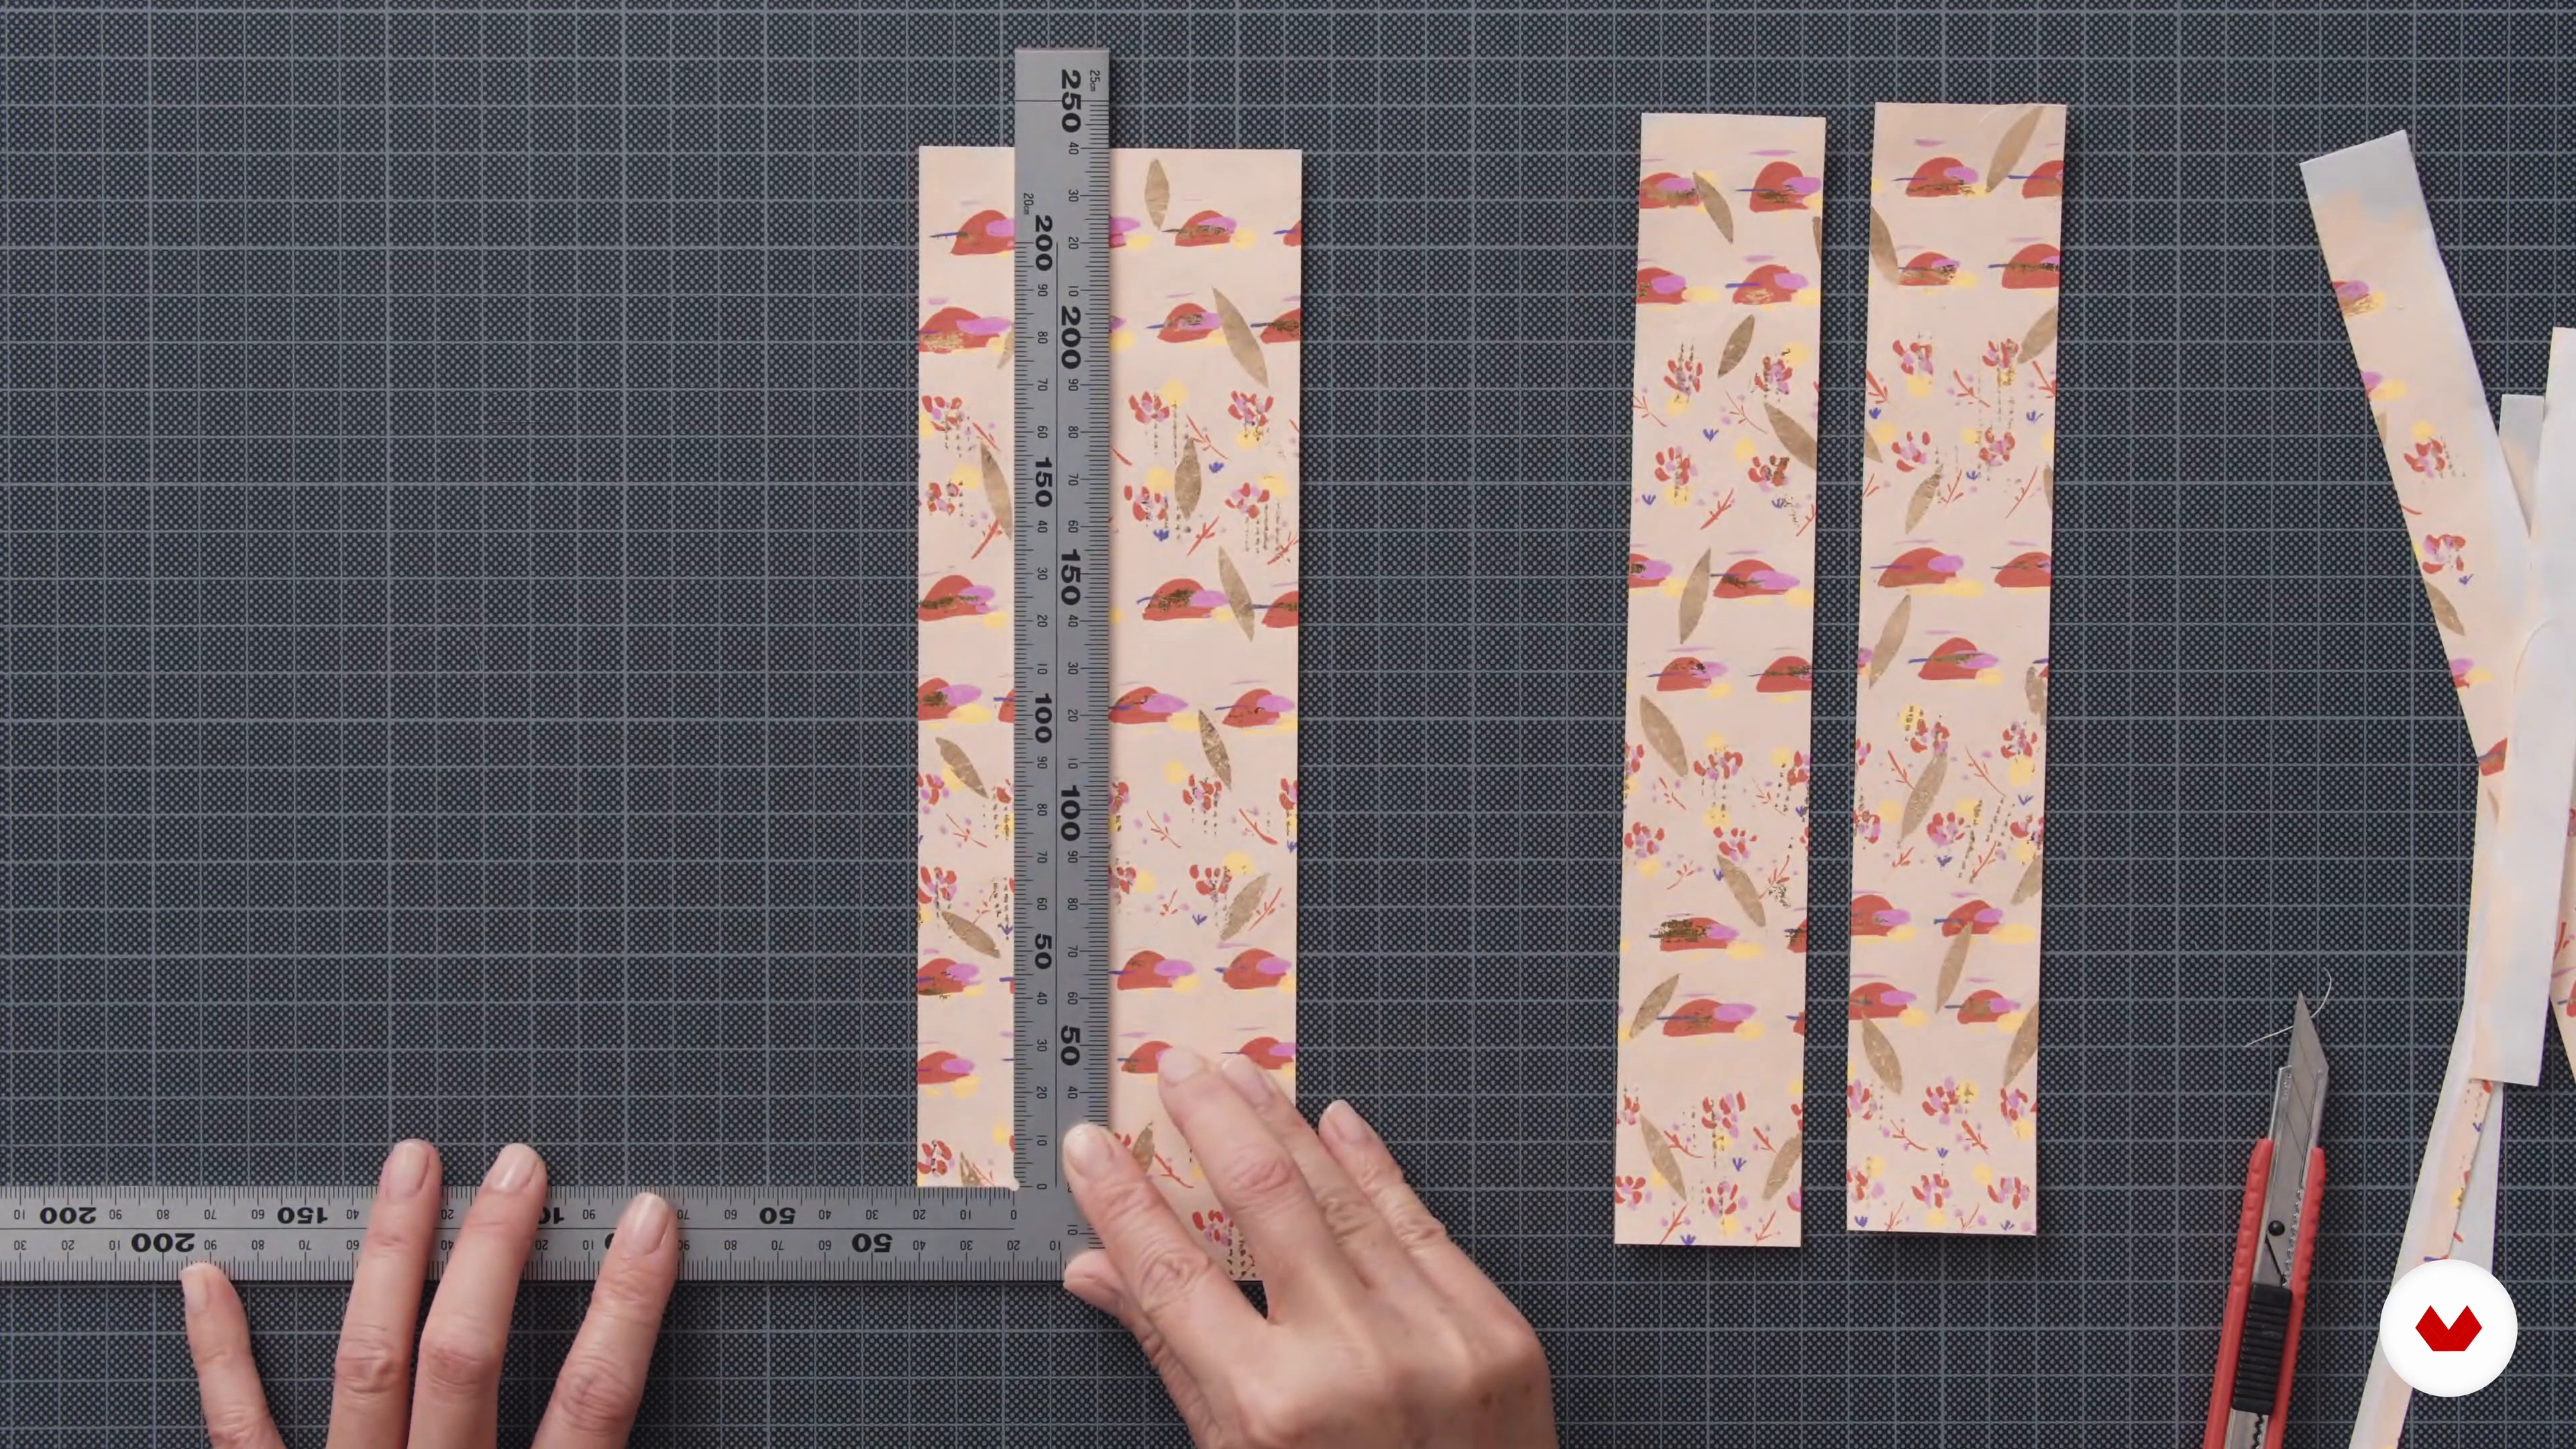
9Cutting the Paper
Next, I will show how to cut the paper into perfect squares and how to make a pattern guideline for the folding process.
11m
 10
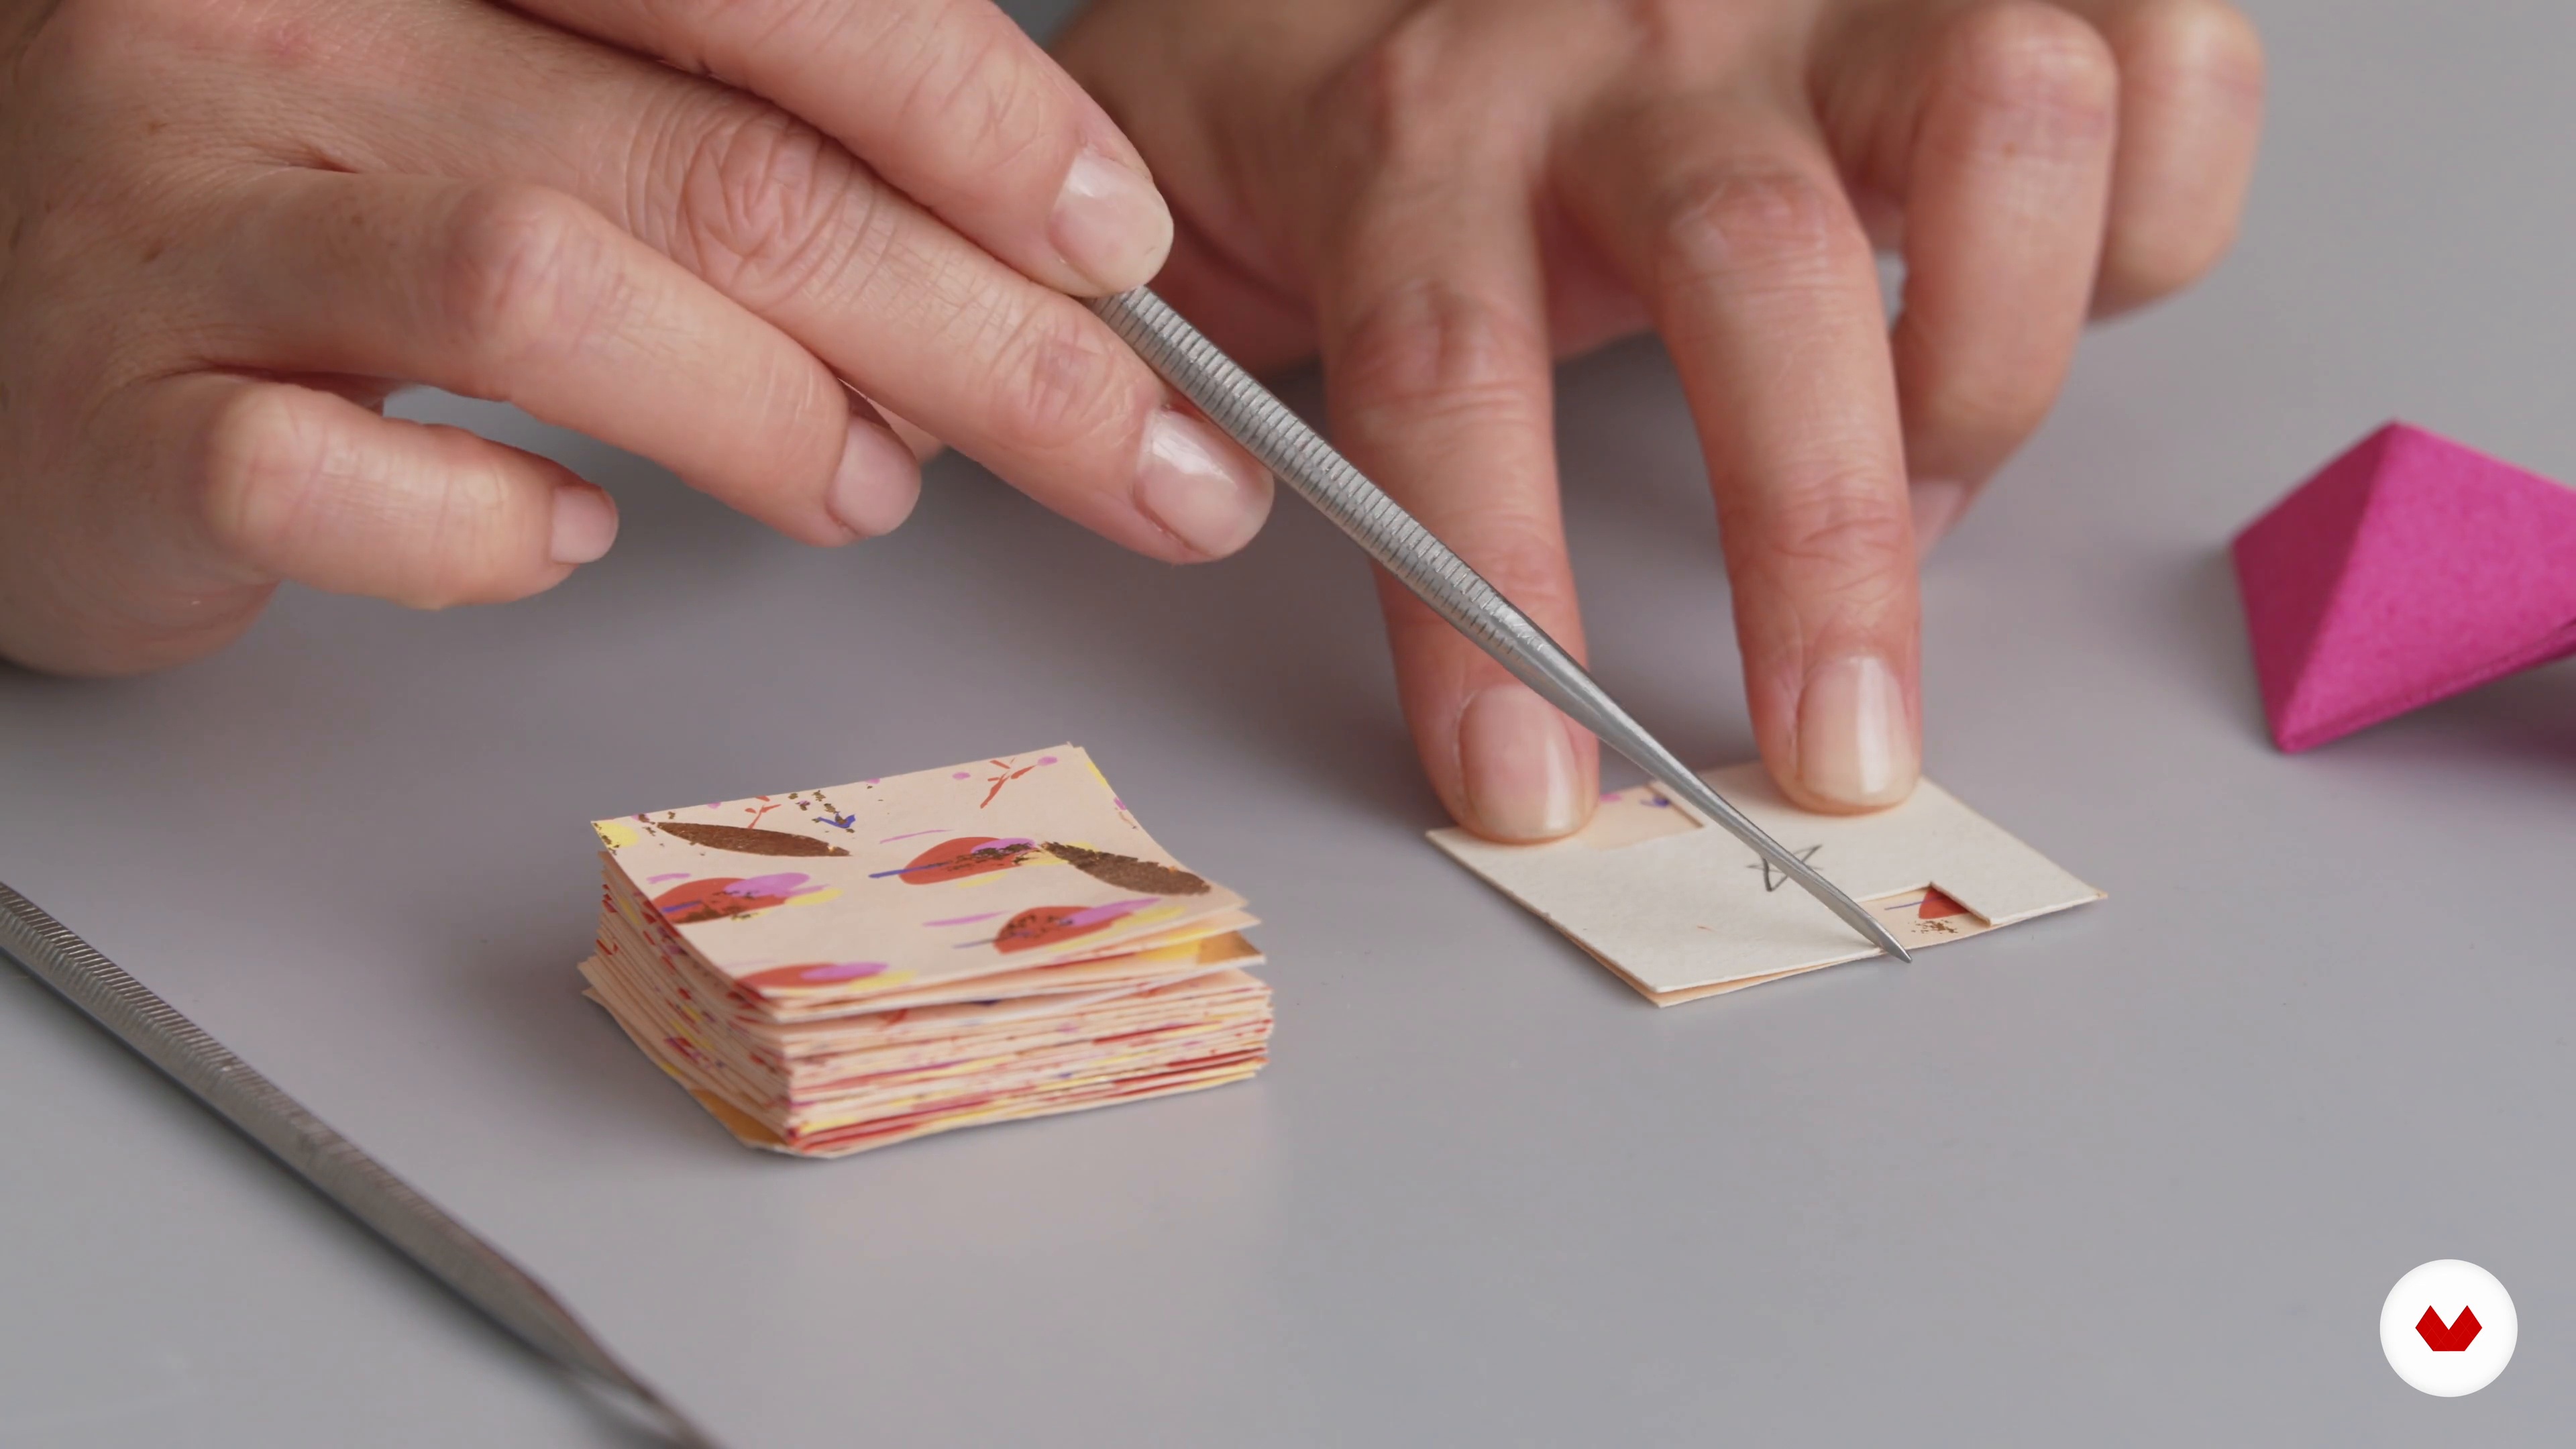
10Folding Modular Origami 1
Now it's finally time for you to practice origami. You will learn how to read origami diagrams and create multiple sonobe unit models, using the paper you have previously designed.
11m
 11
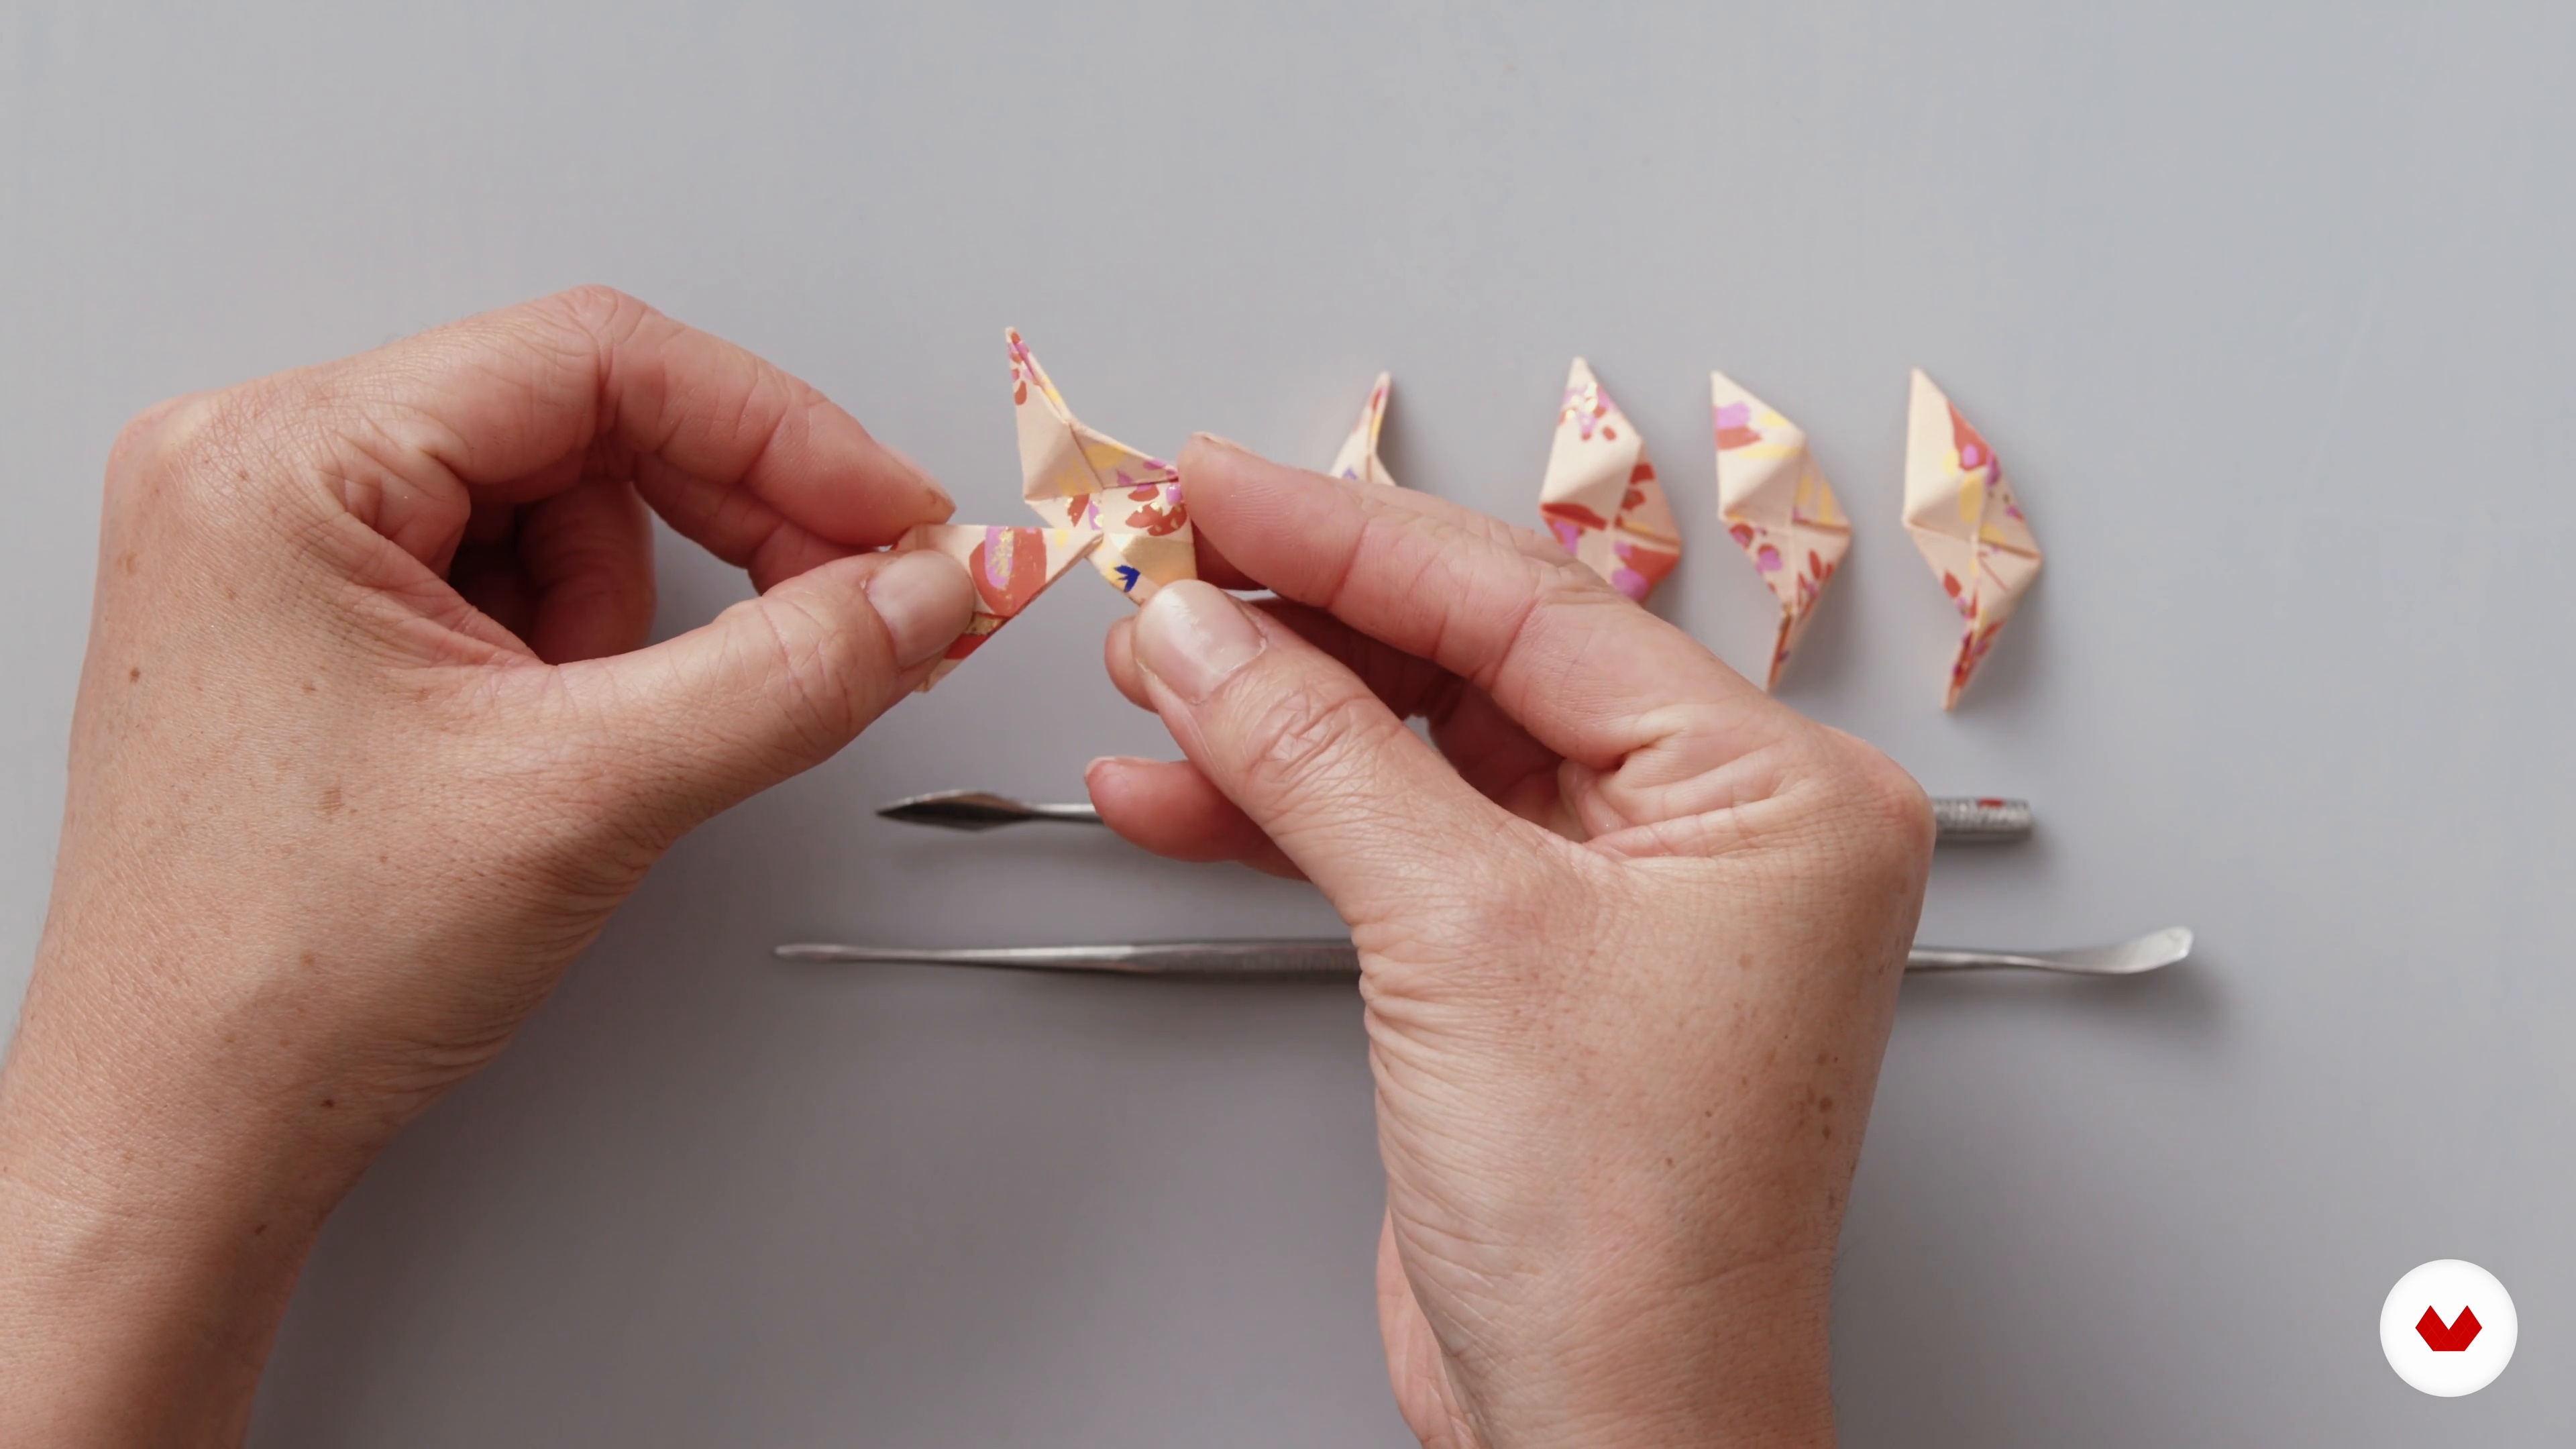
11Folding Modular Origami 2
The next step will be assembling the unit models, which feels pretty much like playing with a puzzle.
14m
 12
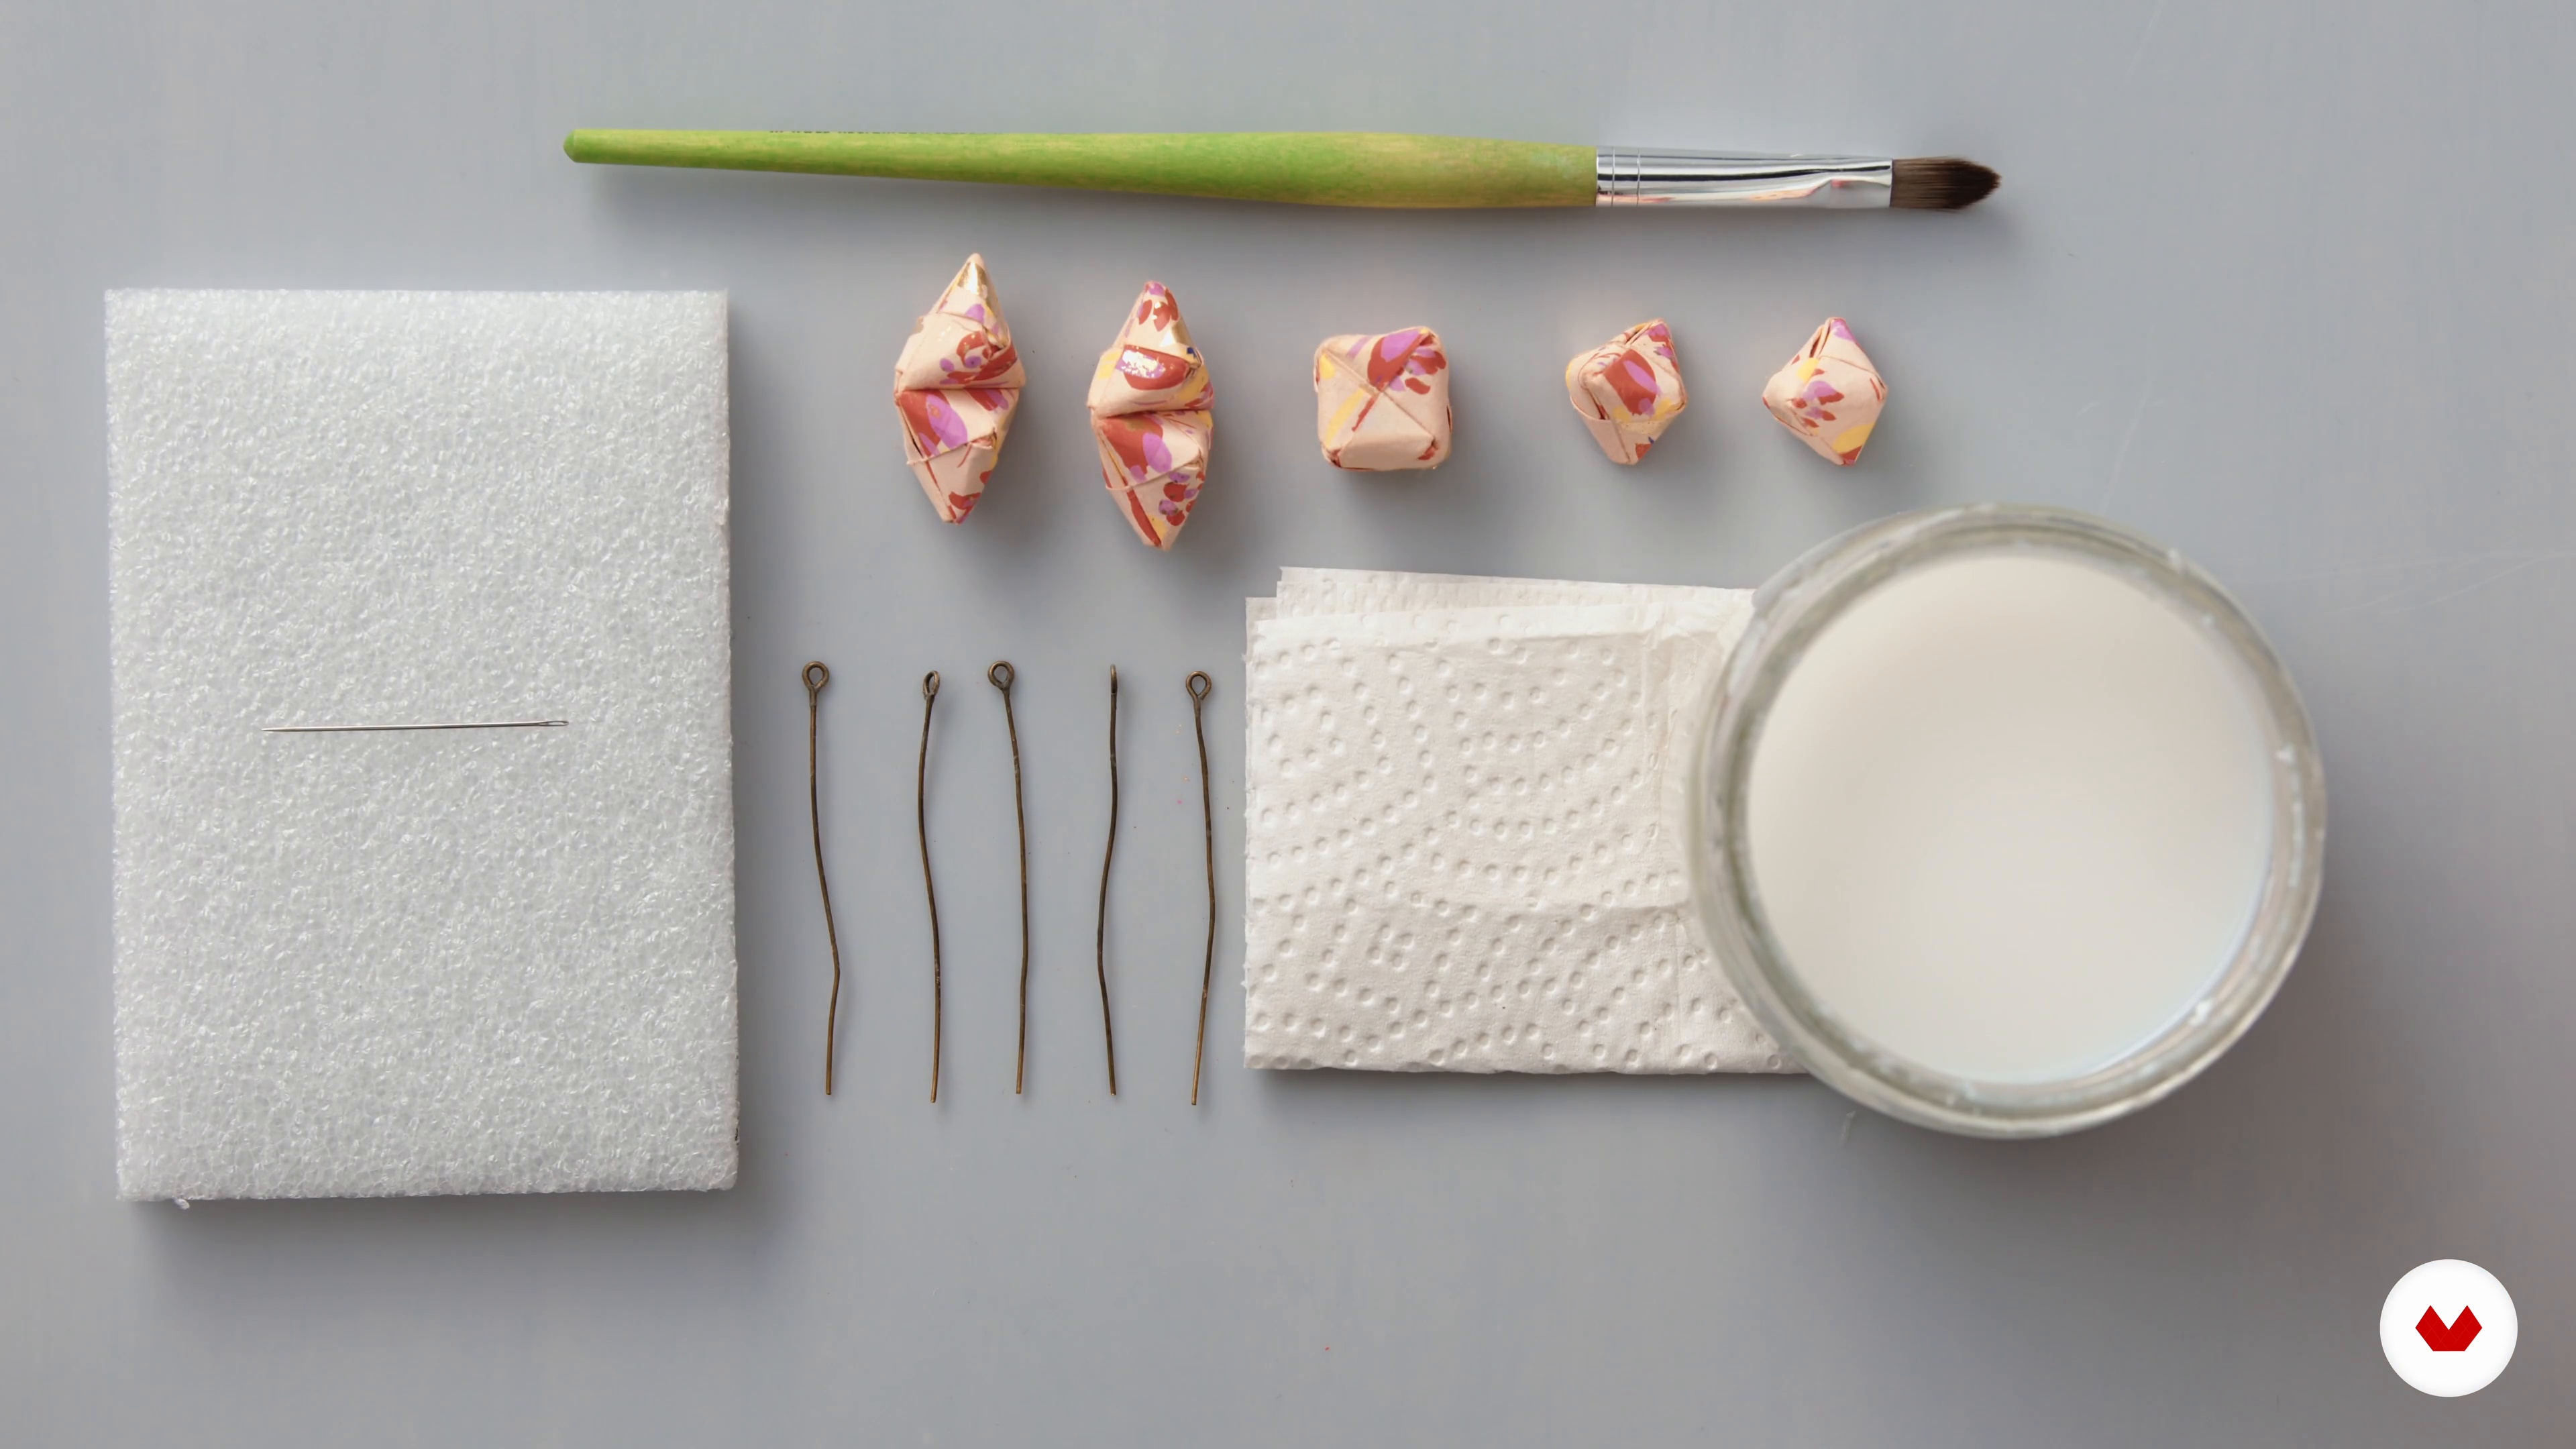
12Paper Treatment
A high-quality paper treatment is undeniably important to make well-finished, durable jewelry. Here I will talk about the different ways to apply it.
6m
 13
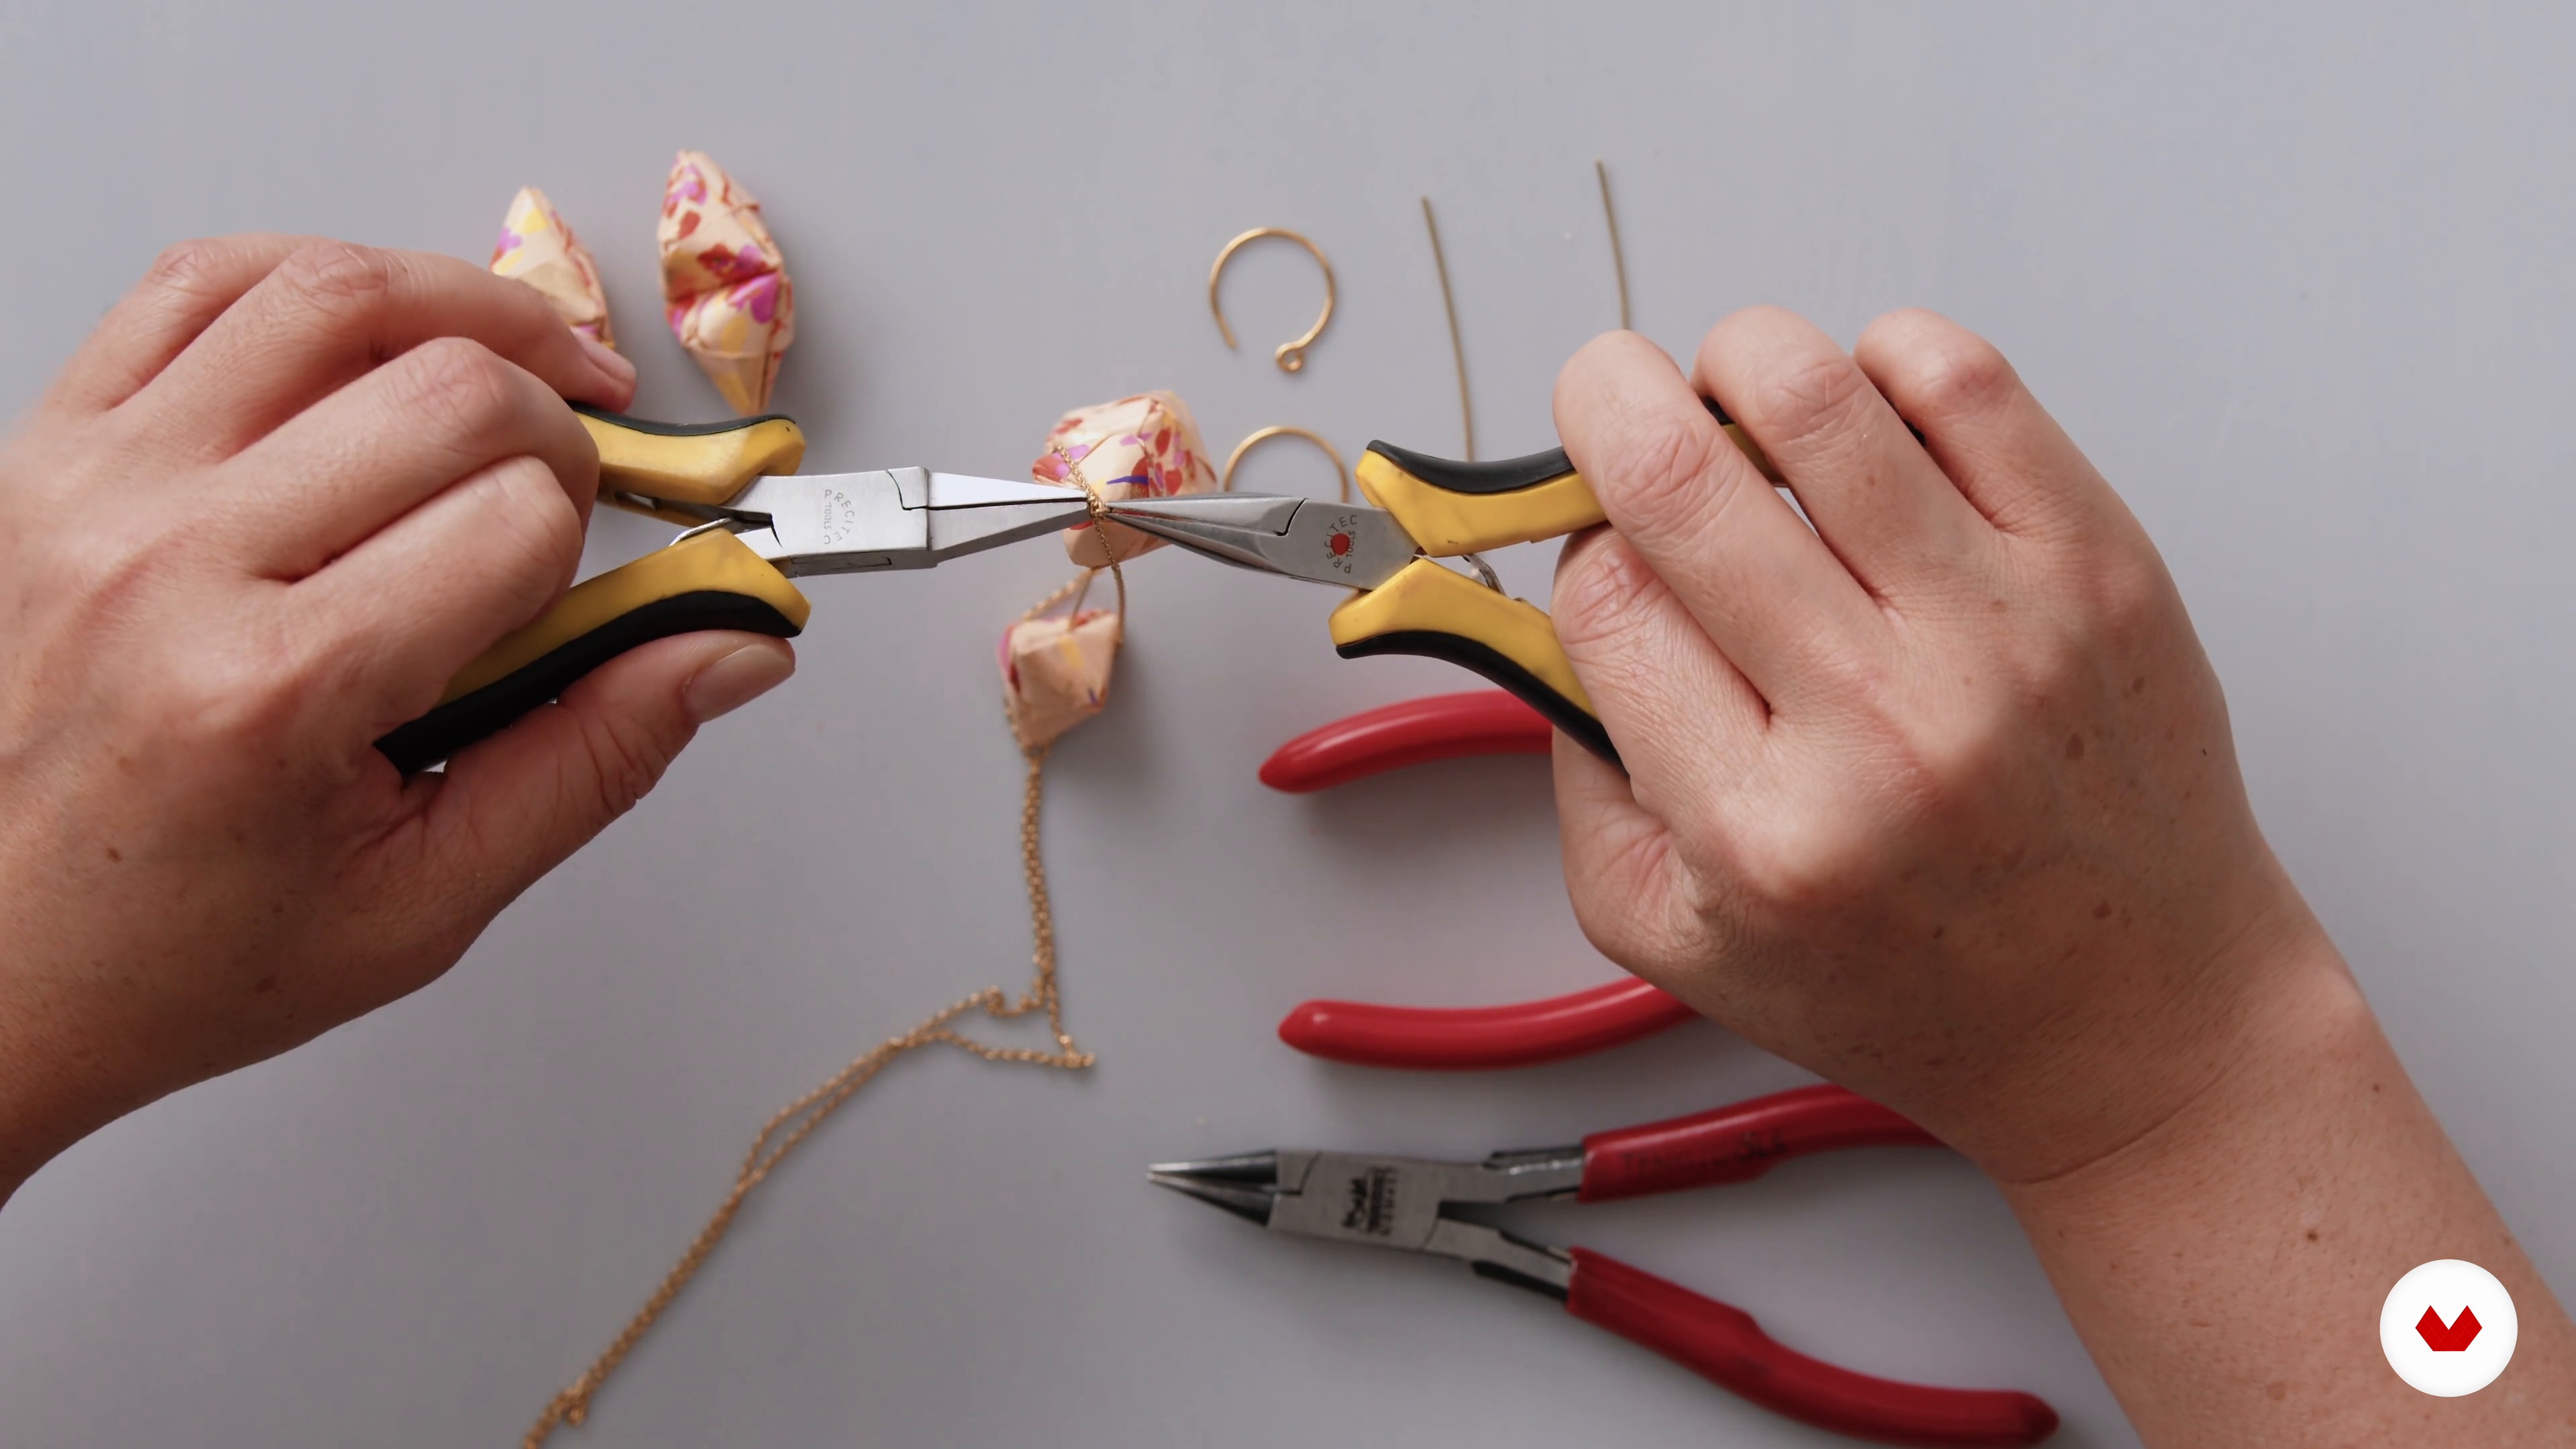
13Assembling and Finishing the Design
We're reaching the final step! In this lesson, I will teach how to create stable structures for your origami jewelry.
13m
 14
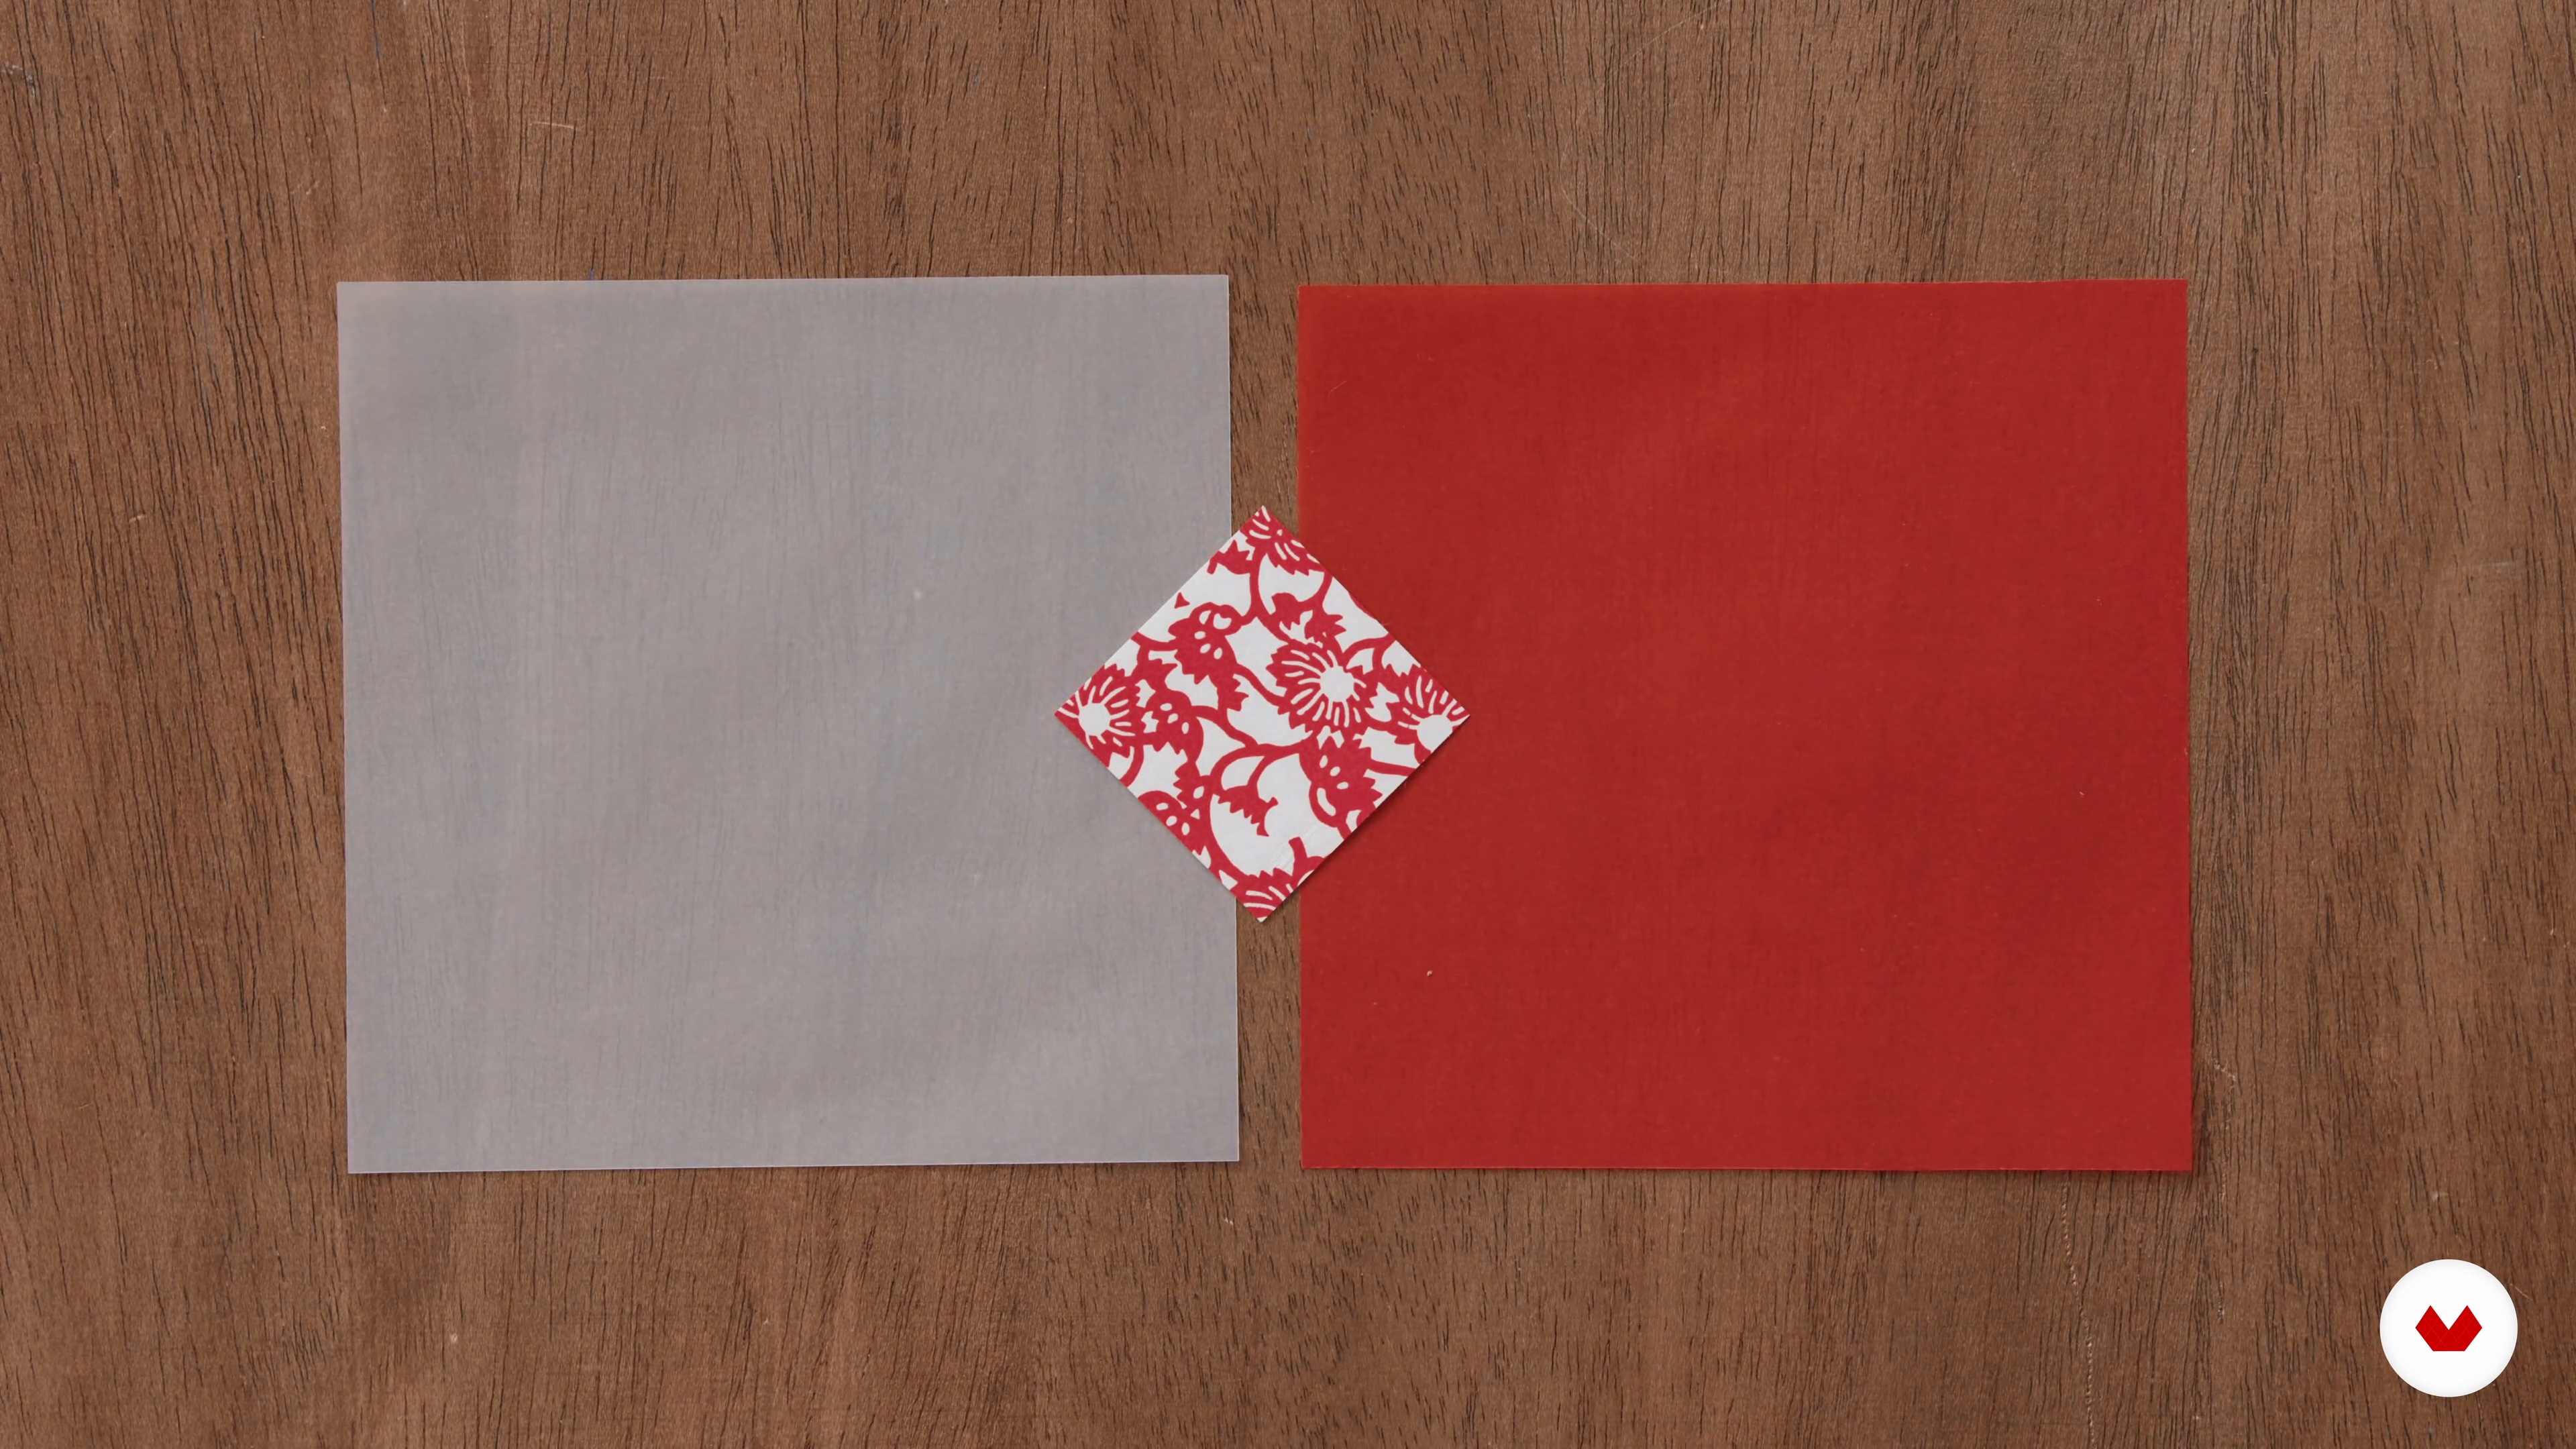
14Origami Box
An origami paper box can be extremely effective to present your jewelry. Here you will learn how to make simple, yet functional packaging for your artwork.
12m
 15
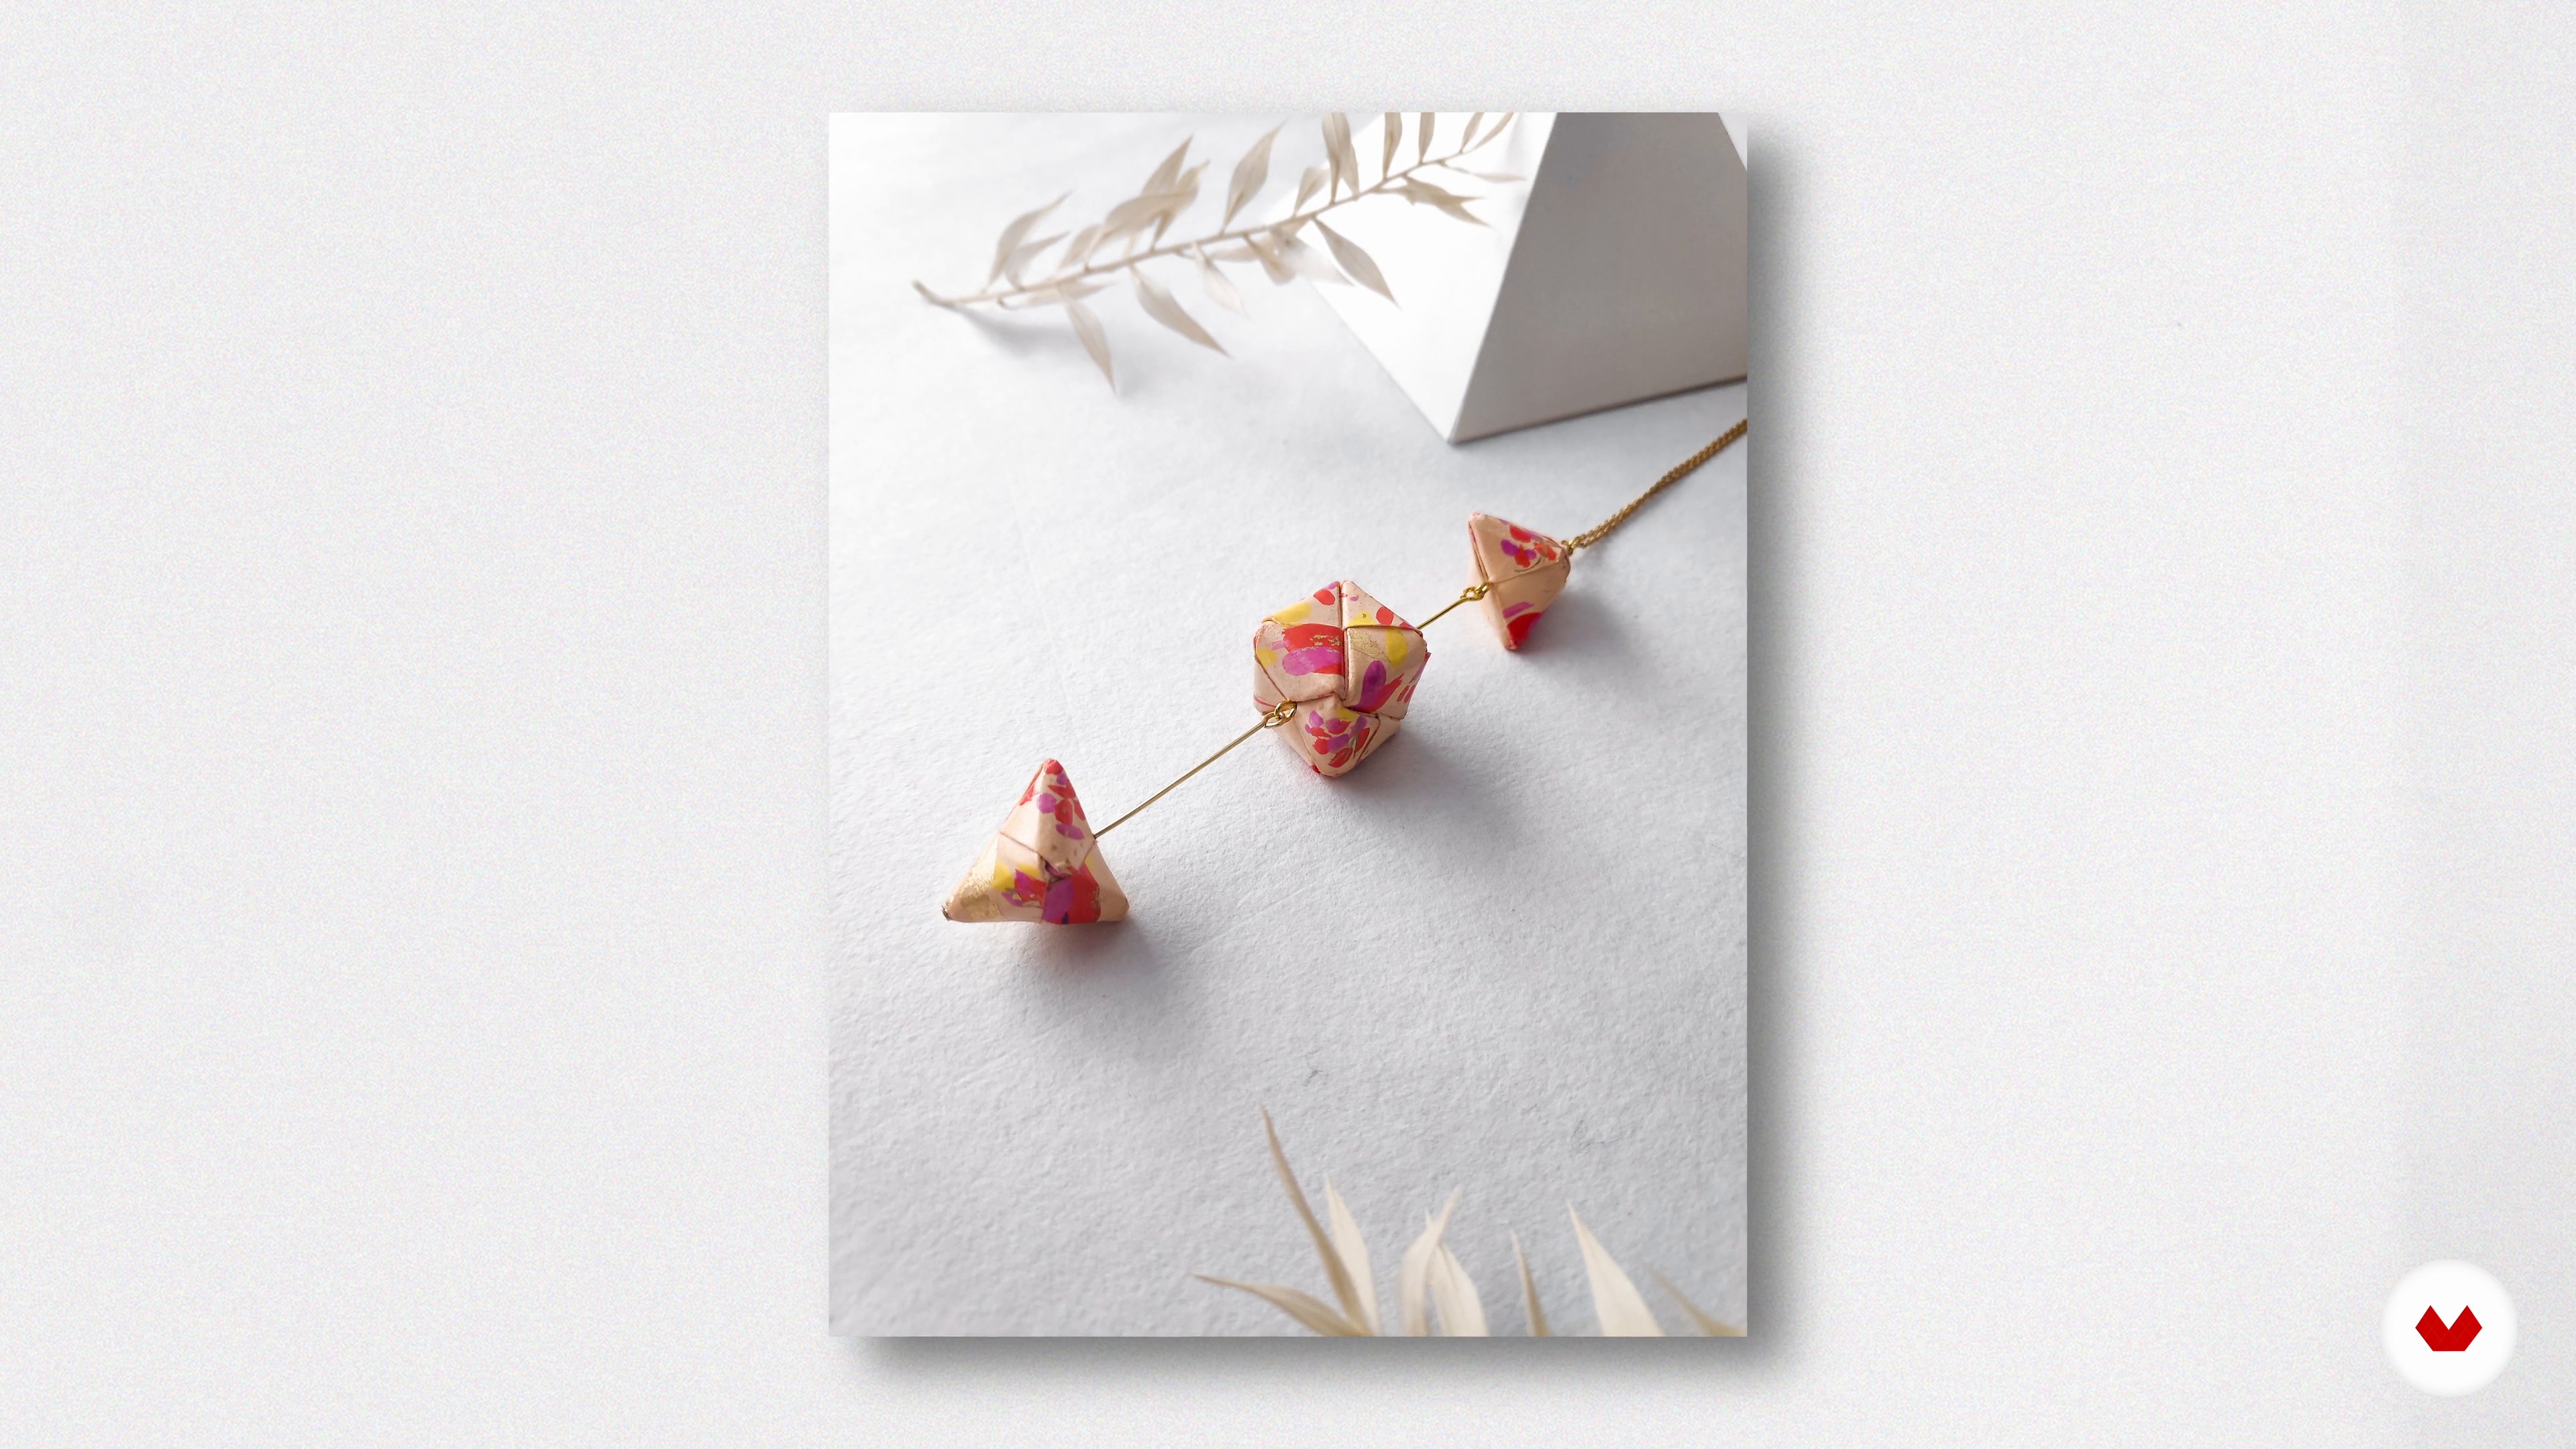
15Presenting Origami Jewelry
Whether origami is a hobby or a career choice for you, sharing your work on social media is the only way to go. In this lesson, I will teach you how to use a mobile camera to take stylish photos of your jewelry.
11m
 3
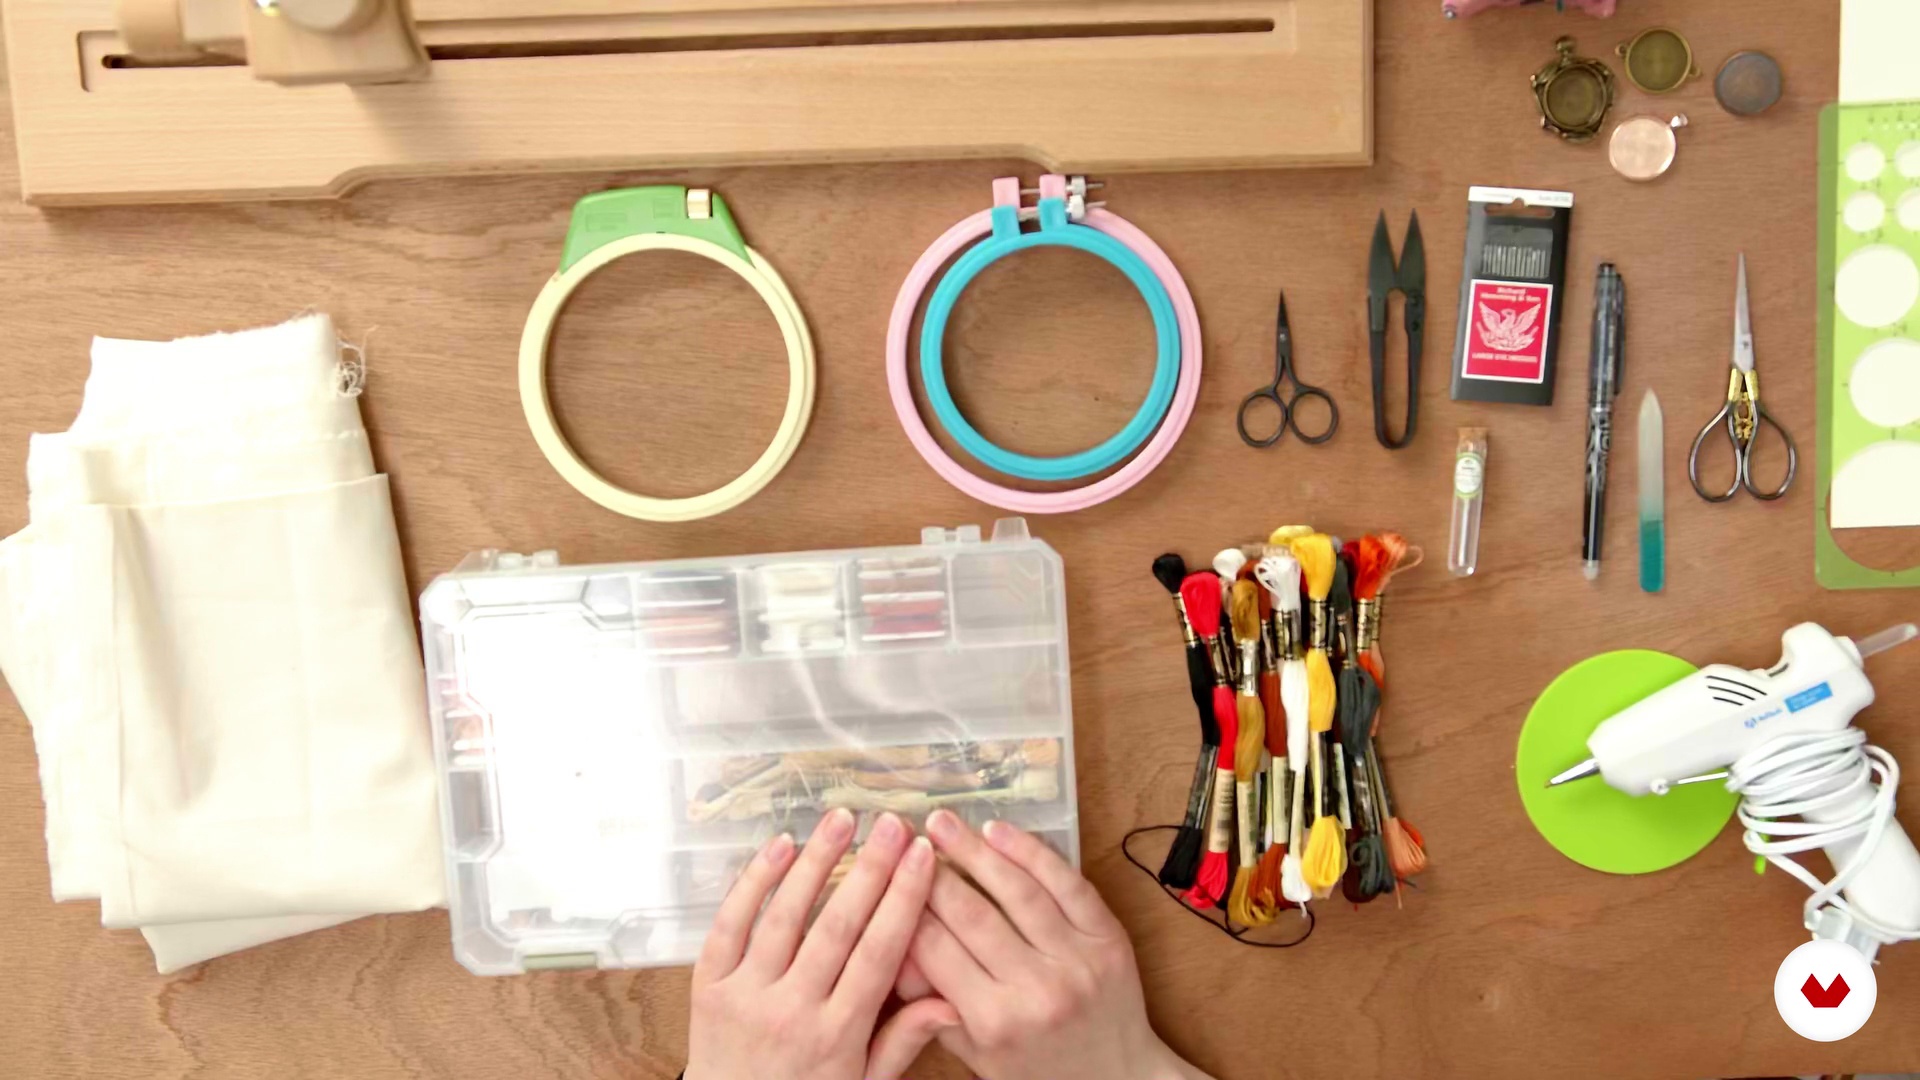
3Materials
In this lesson, I will review the materials you will need to get started. Also, I'll be showing you some of my favorite products.
9m
 4
4Basic Embroidery Stitch Technique
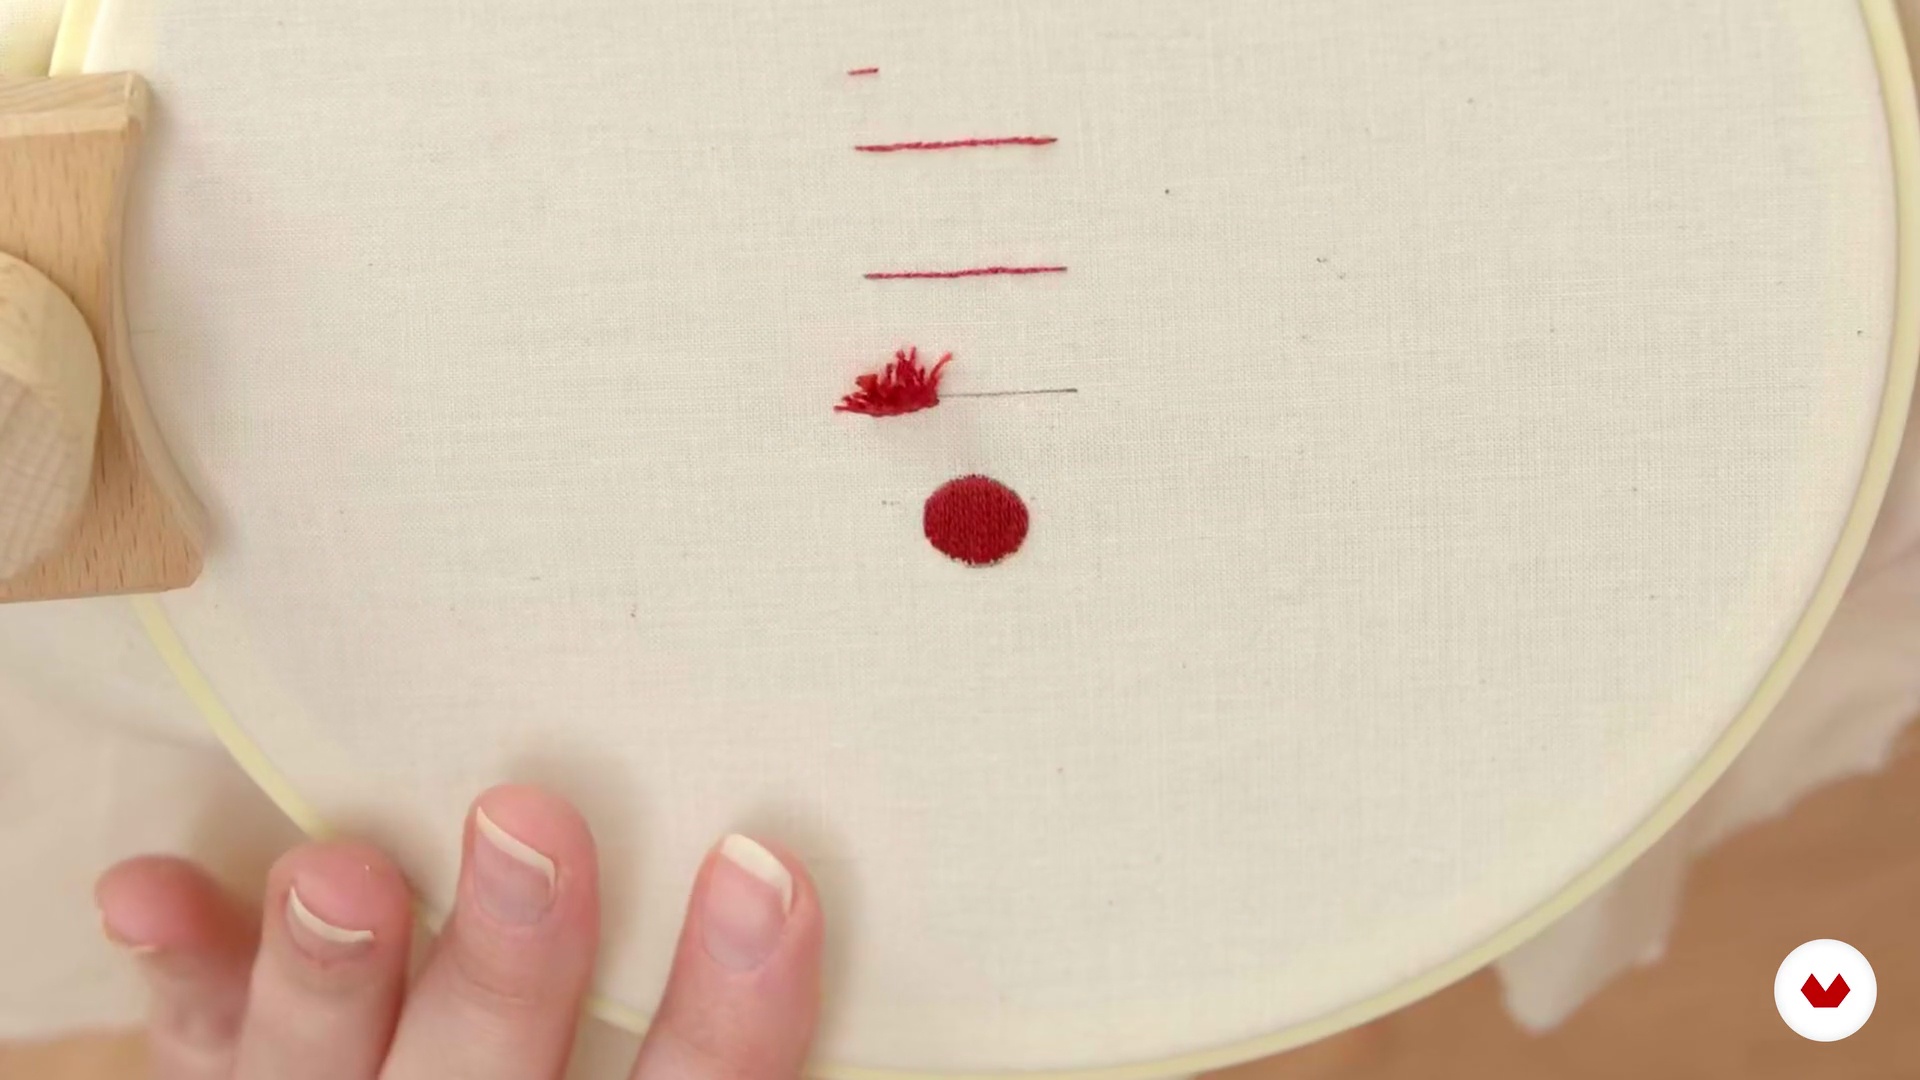
Let's get started! I will teach you a variety of embroidery stitches, including straight stitch, split stitch, satin stitch, and turkey work.
14m
 5
5Long and Short Stitch Technique
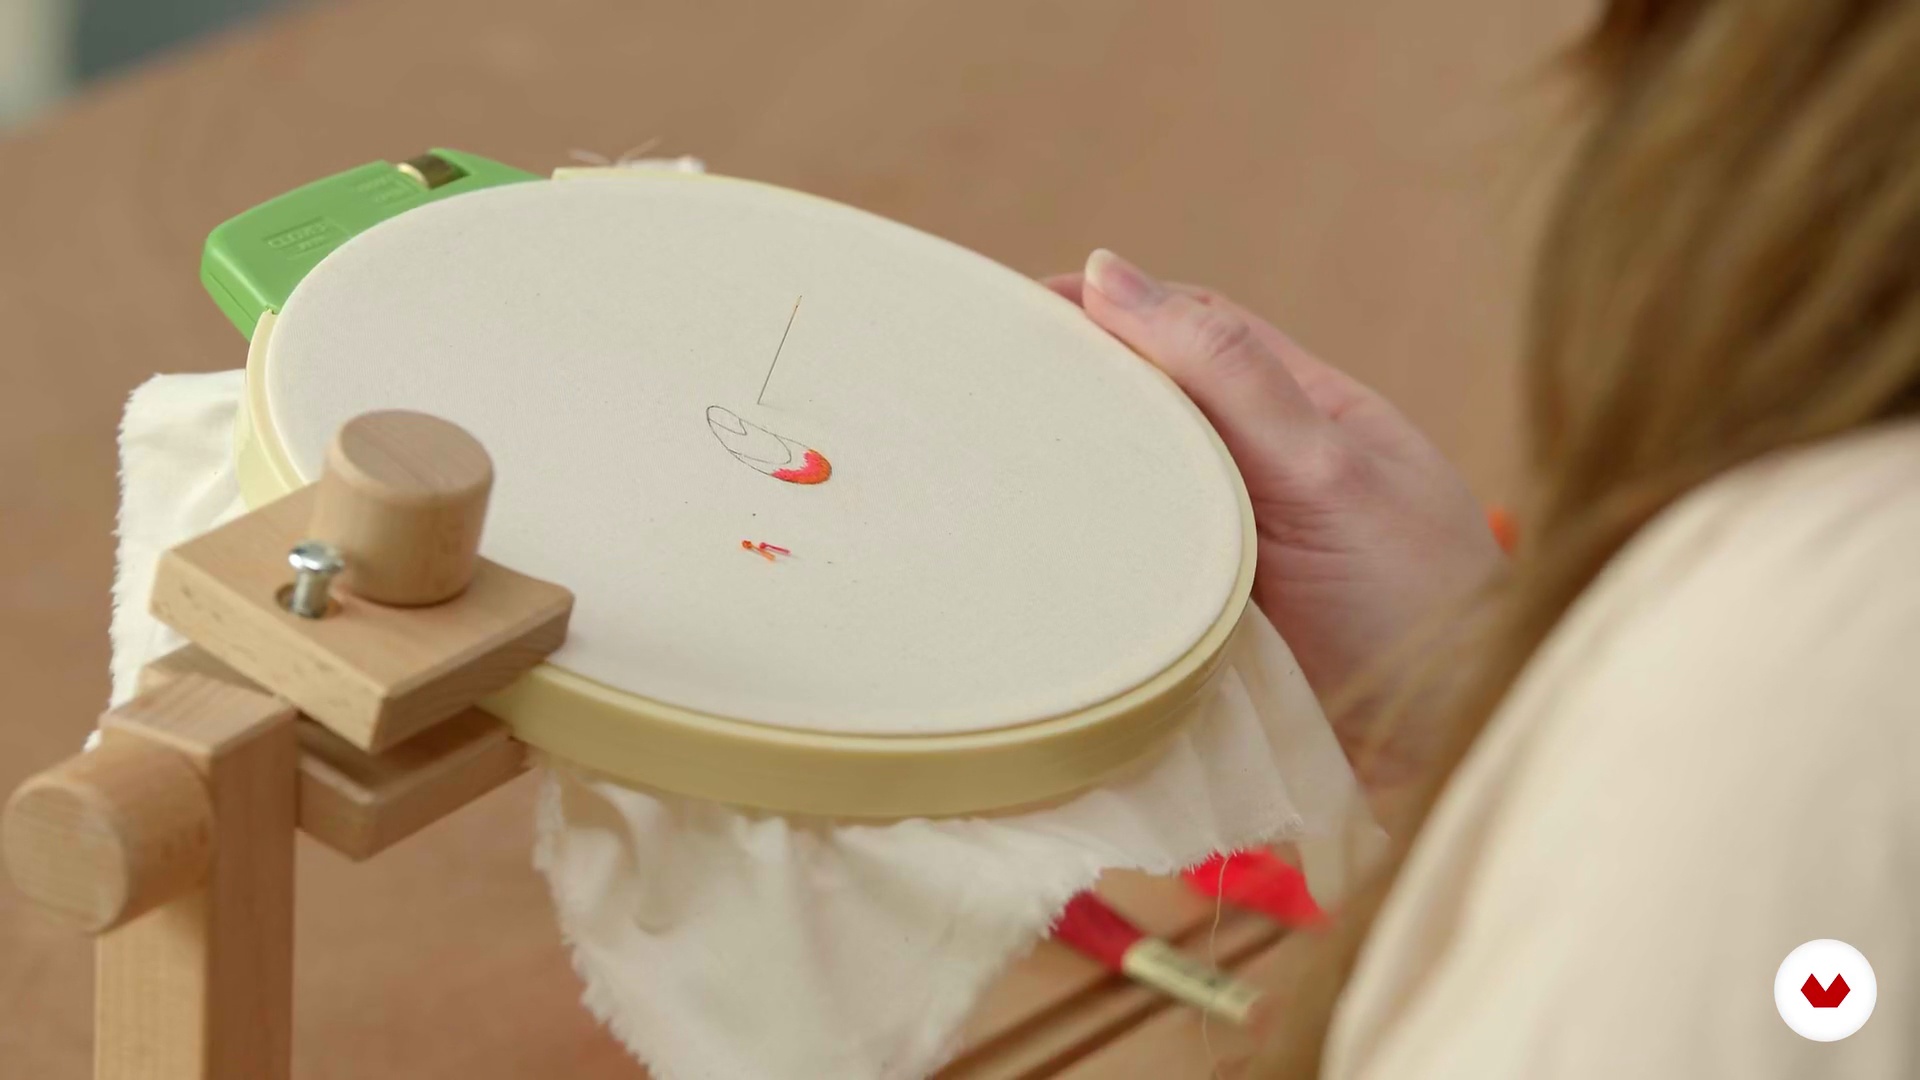
Now, I will show you the long and short stitch. This is the stitch that’s used in thread painting. A long and short stitch is an essential stitch in realistic embroidery.
9m
 6
6Conceptualization of the Idea
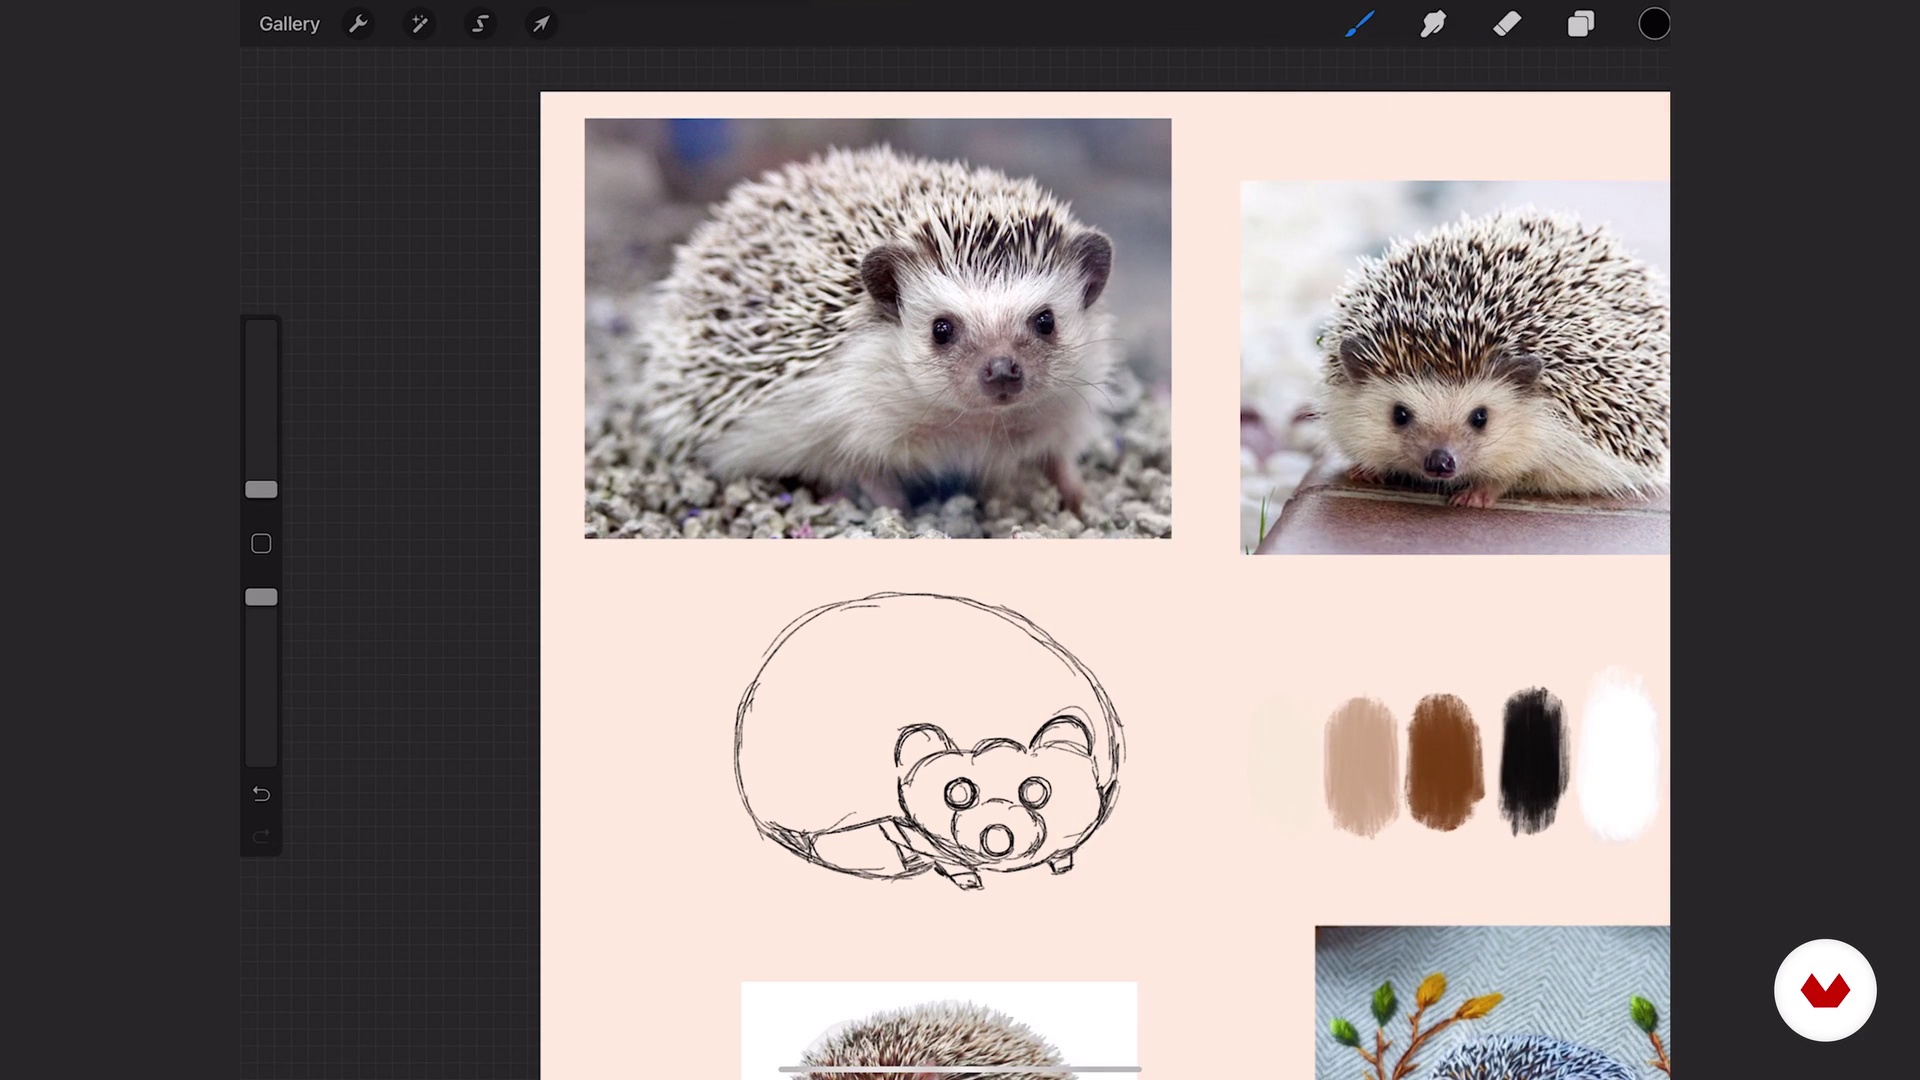
With the basic stitches cleared, I want to share with you the beginning of my creative process. First, I'll create a mood board for each of the designs that we will work on in this course. Then, I will show you how I create the sketches.
8m
 7
7Transferring the Final Sketch to the Fabric
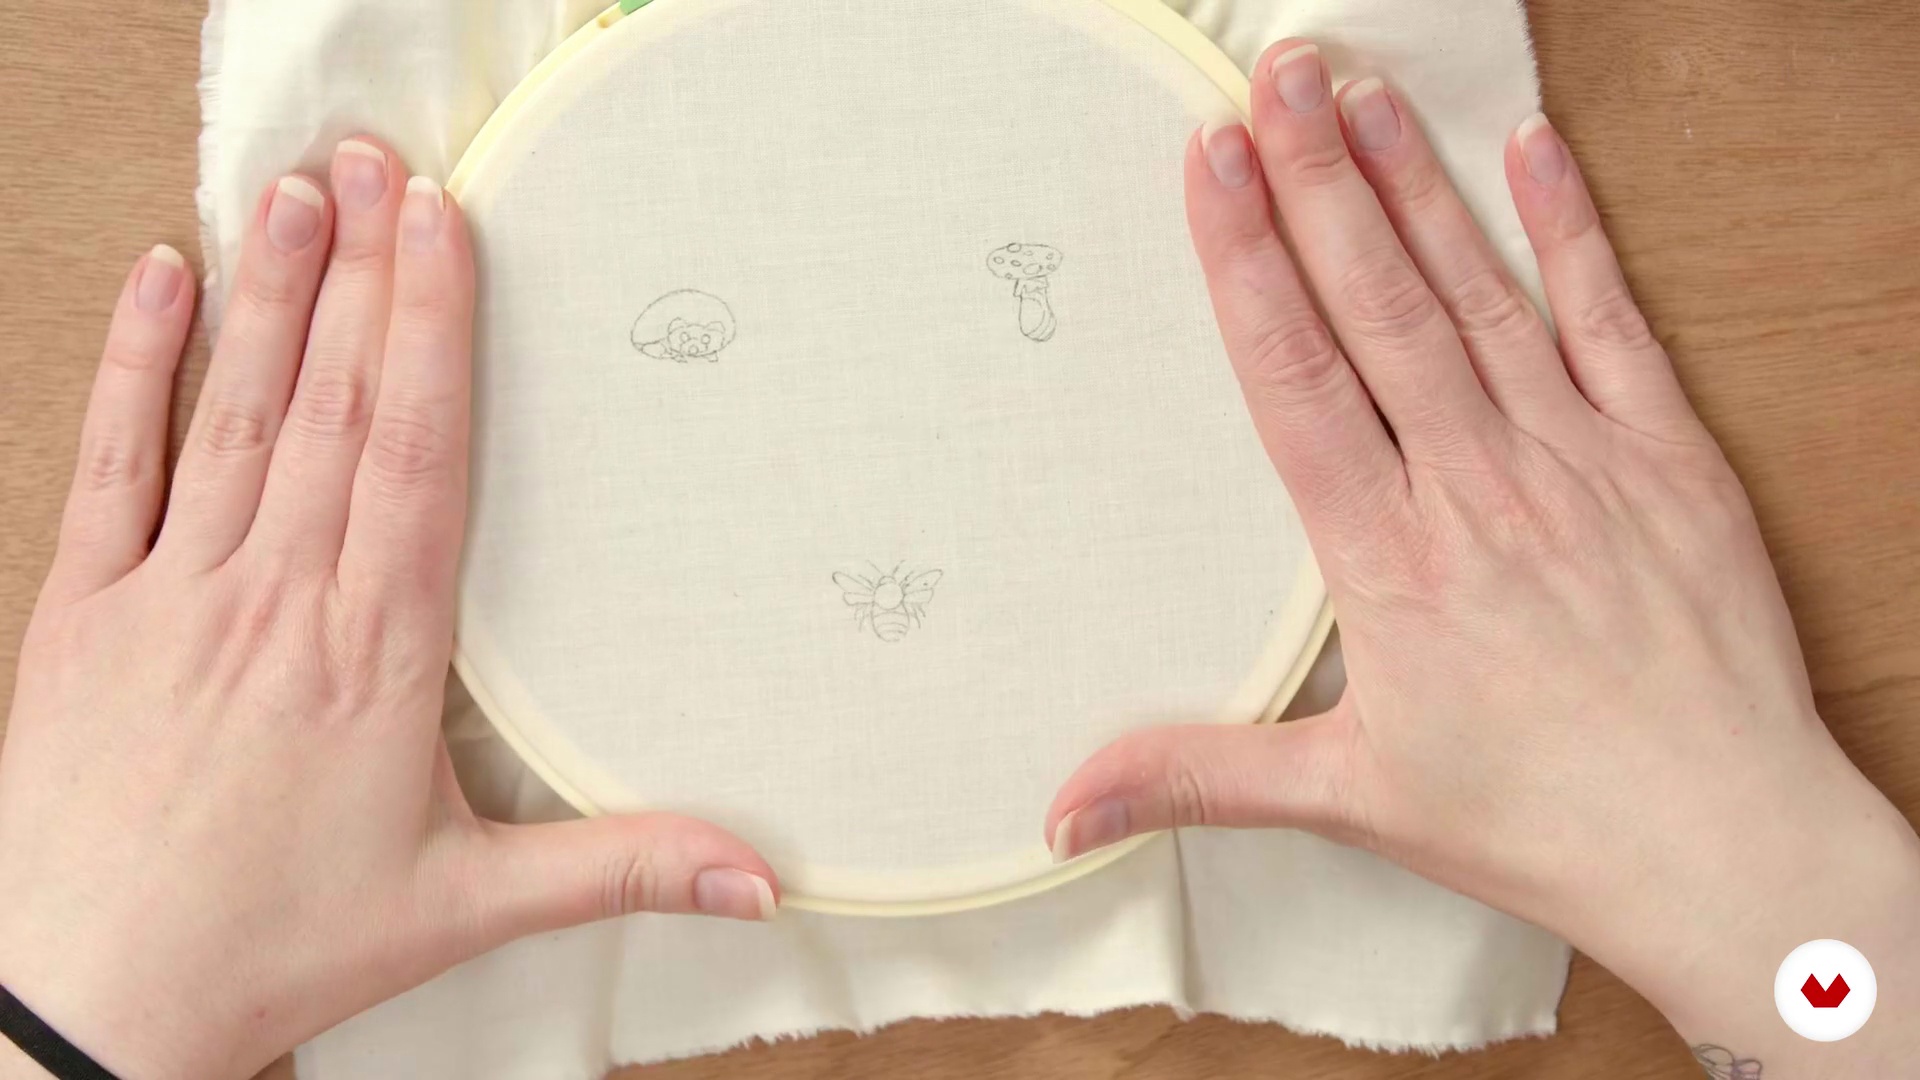
First, I will show you how to place the fabric into the embroidery hoop. The fabric needs to be so taught you could even describe it as drum-tight. Then, I will show you how to transfer the pattern to your fabric, using a heat erasable pen and a light source.
5m
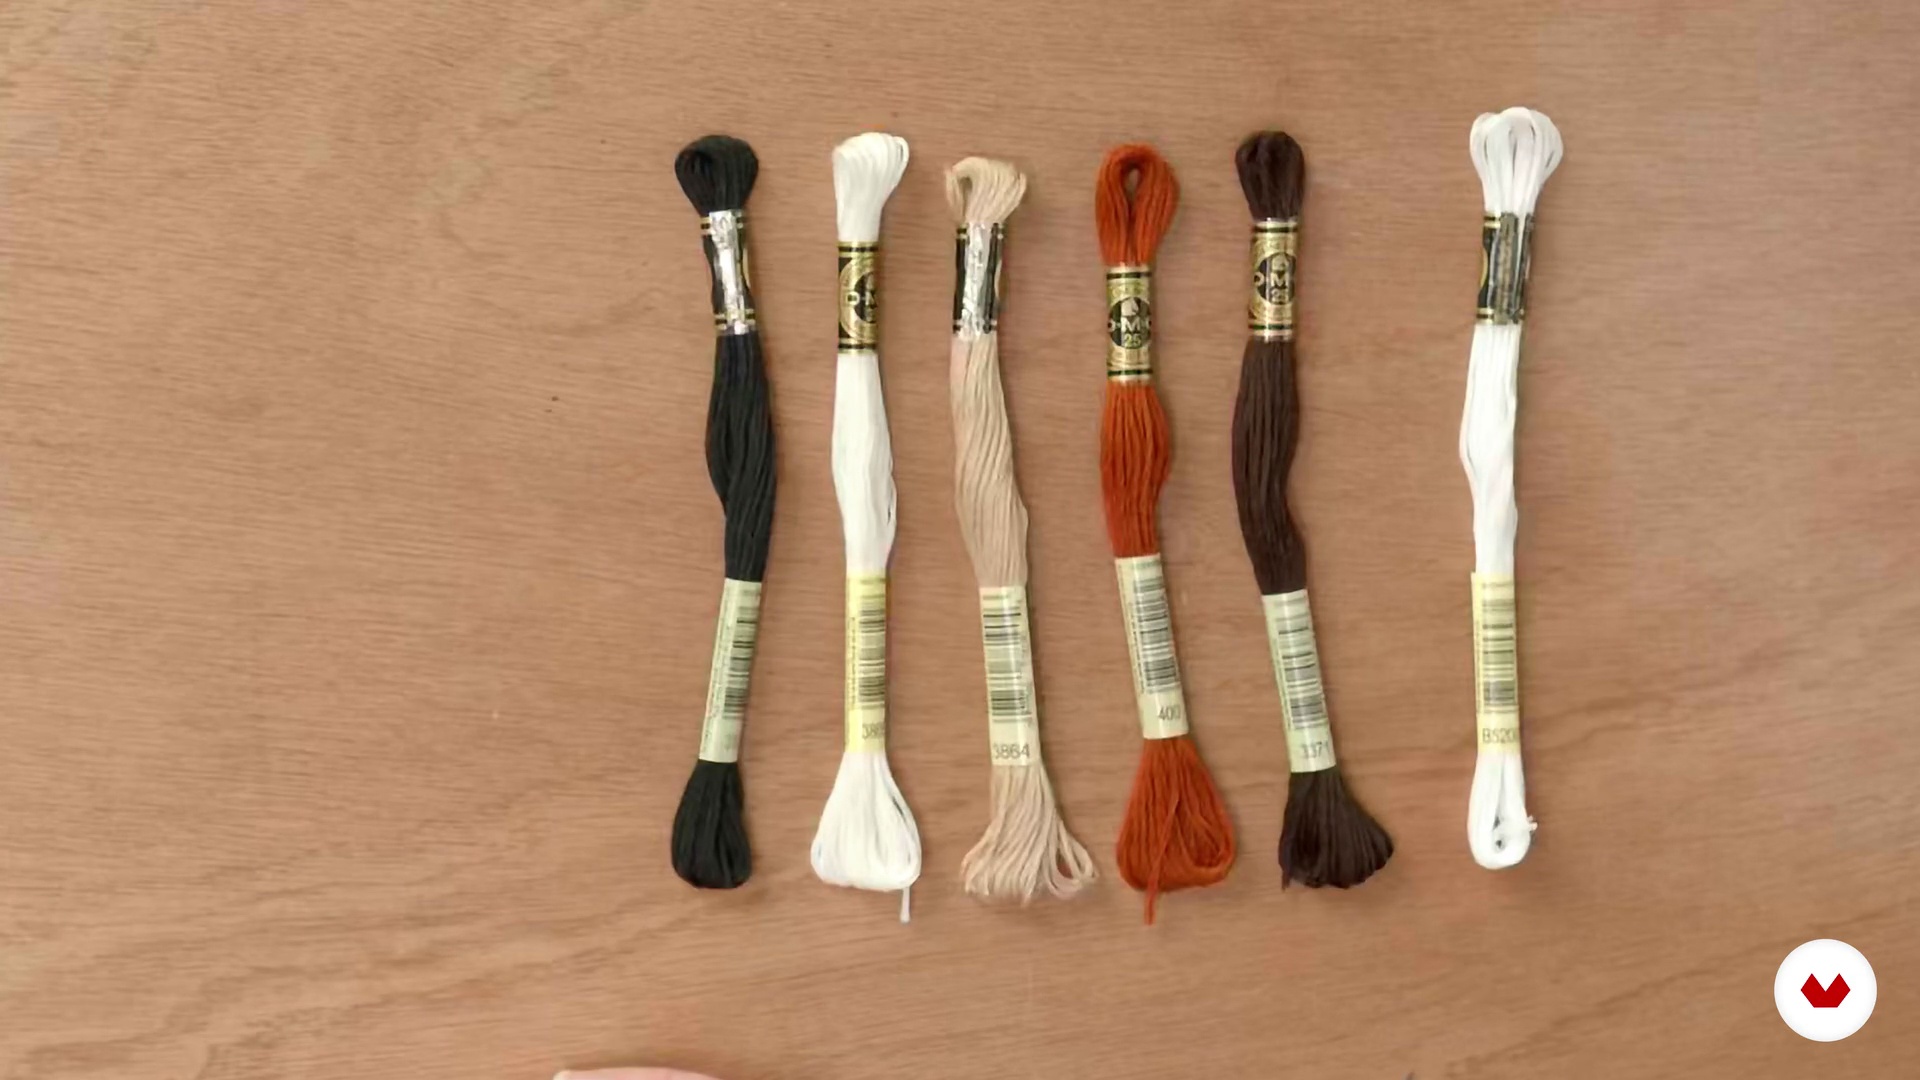 8
8Basic Color Theory and Choosing a Color Palette
In this lesson, I will talk about how I approach choosing a color palette for my embroidery.
6m
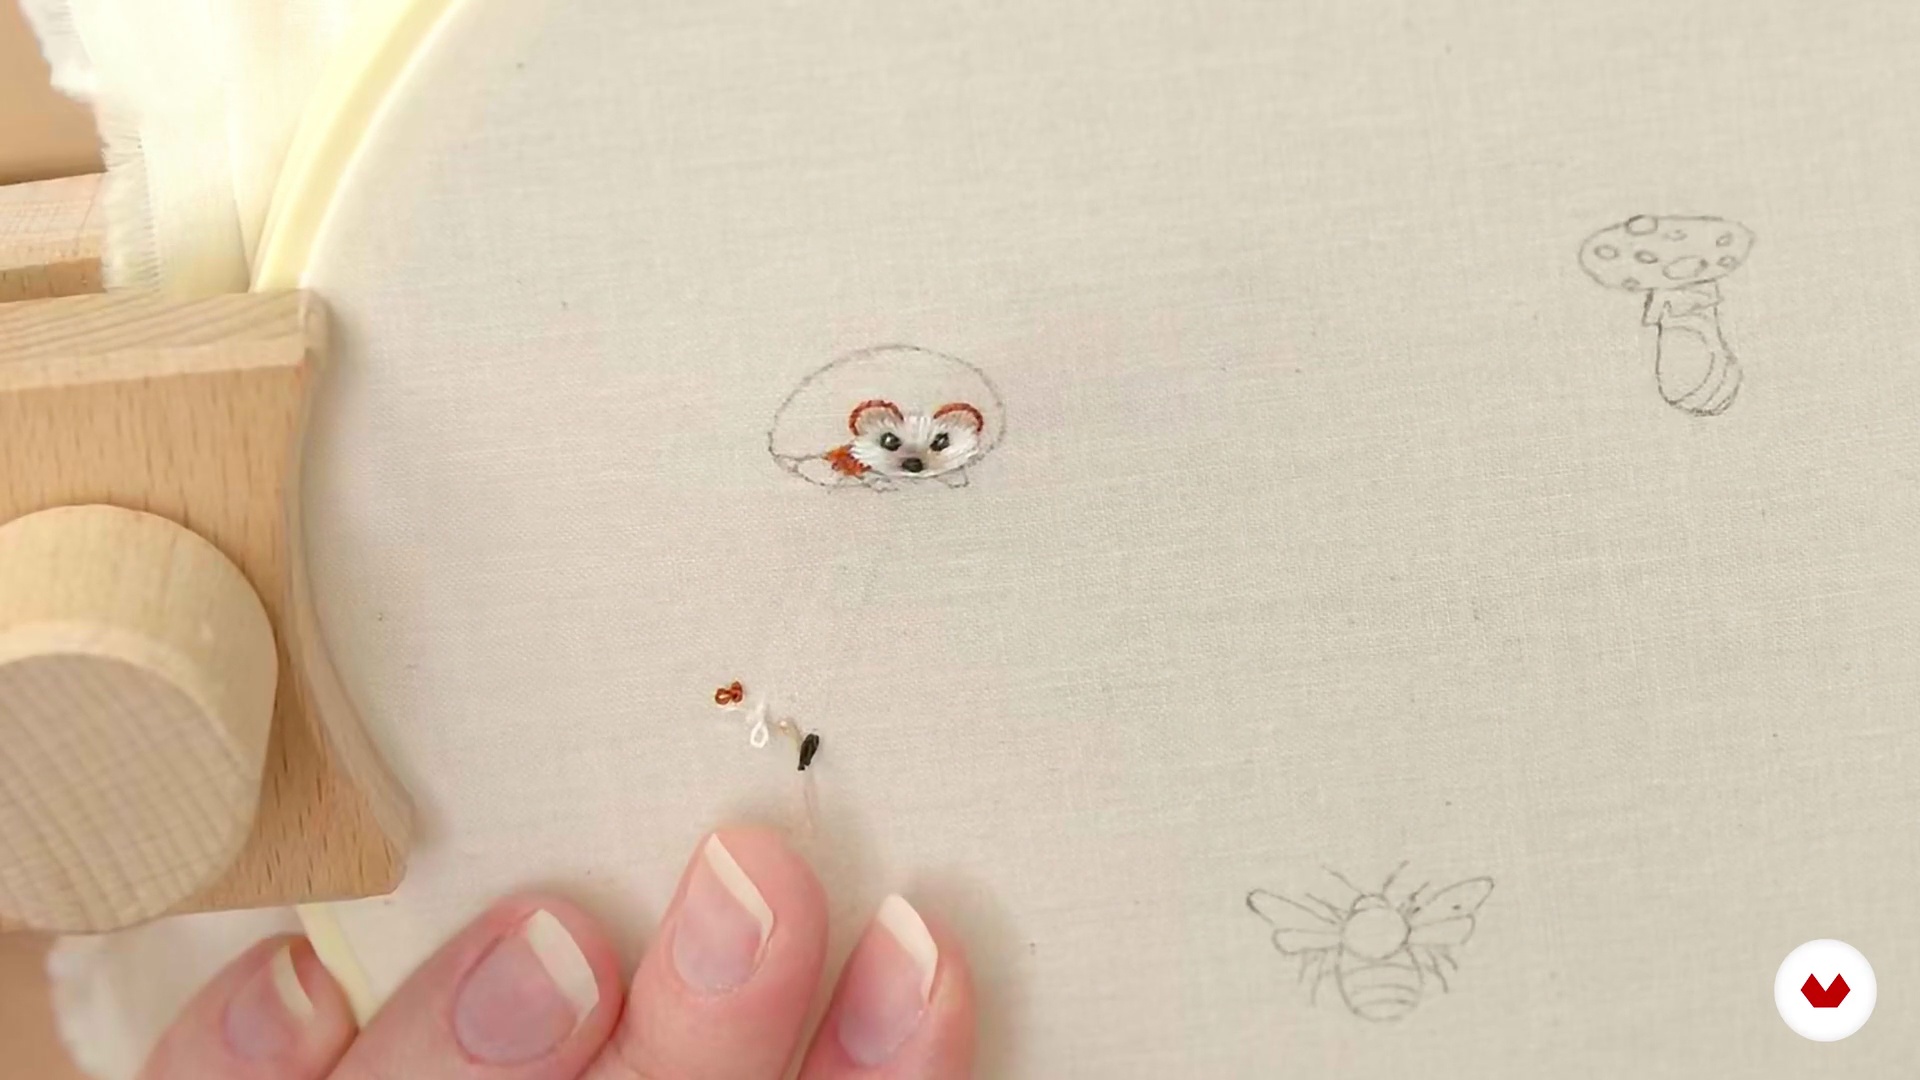 9
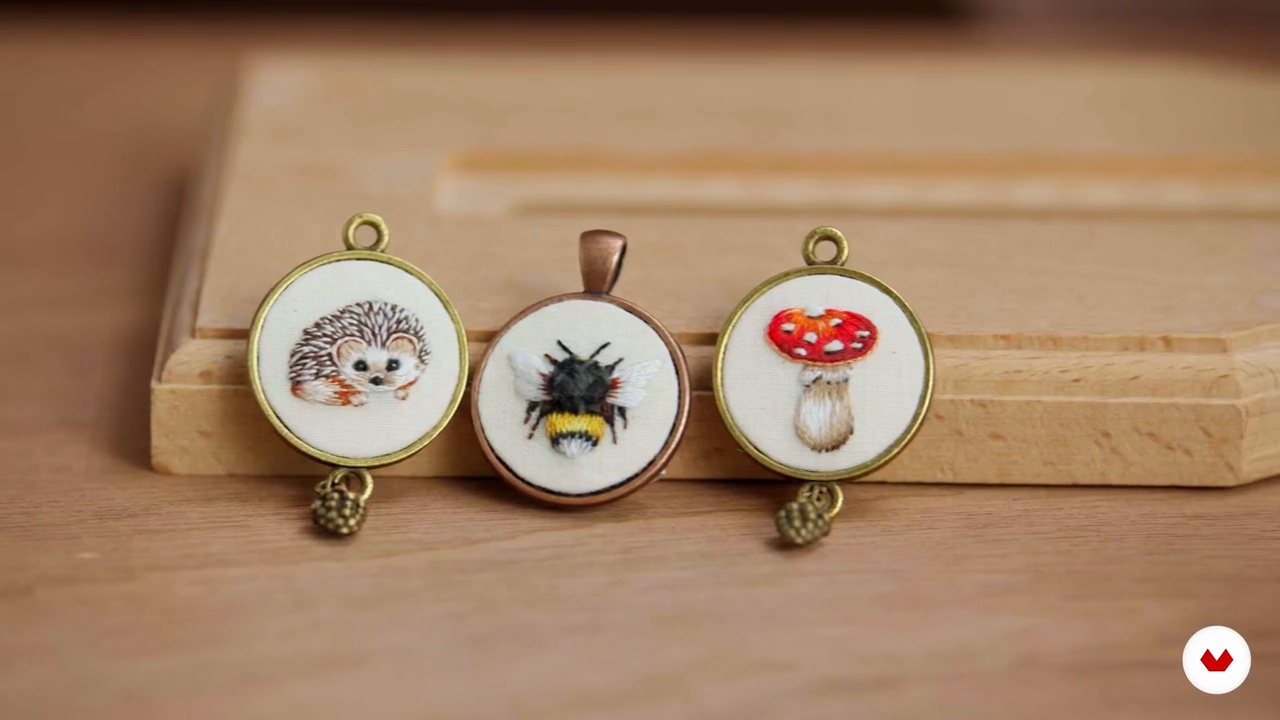
9Stitching Needle Painting 1 part 1
I will be stitching the hedgehog. I will begin with some embroidery basics: separating the floss, threading the needle, and starting a stitch.
12m
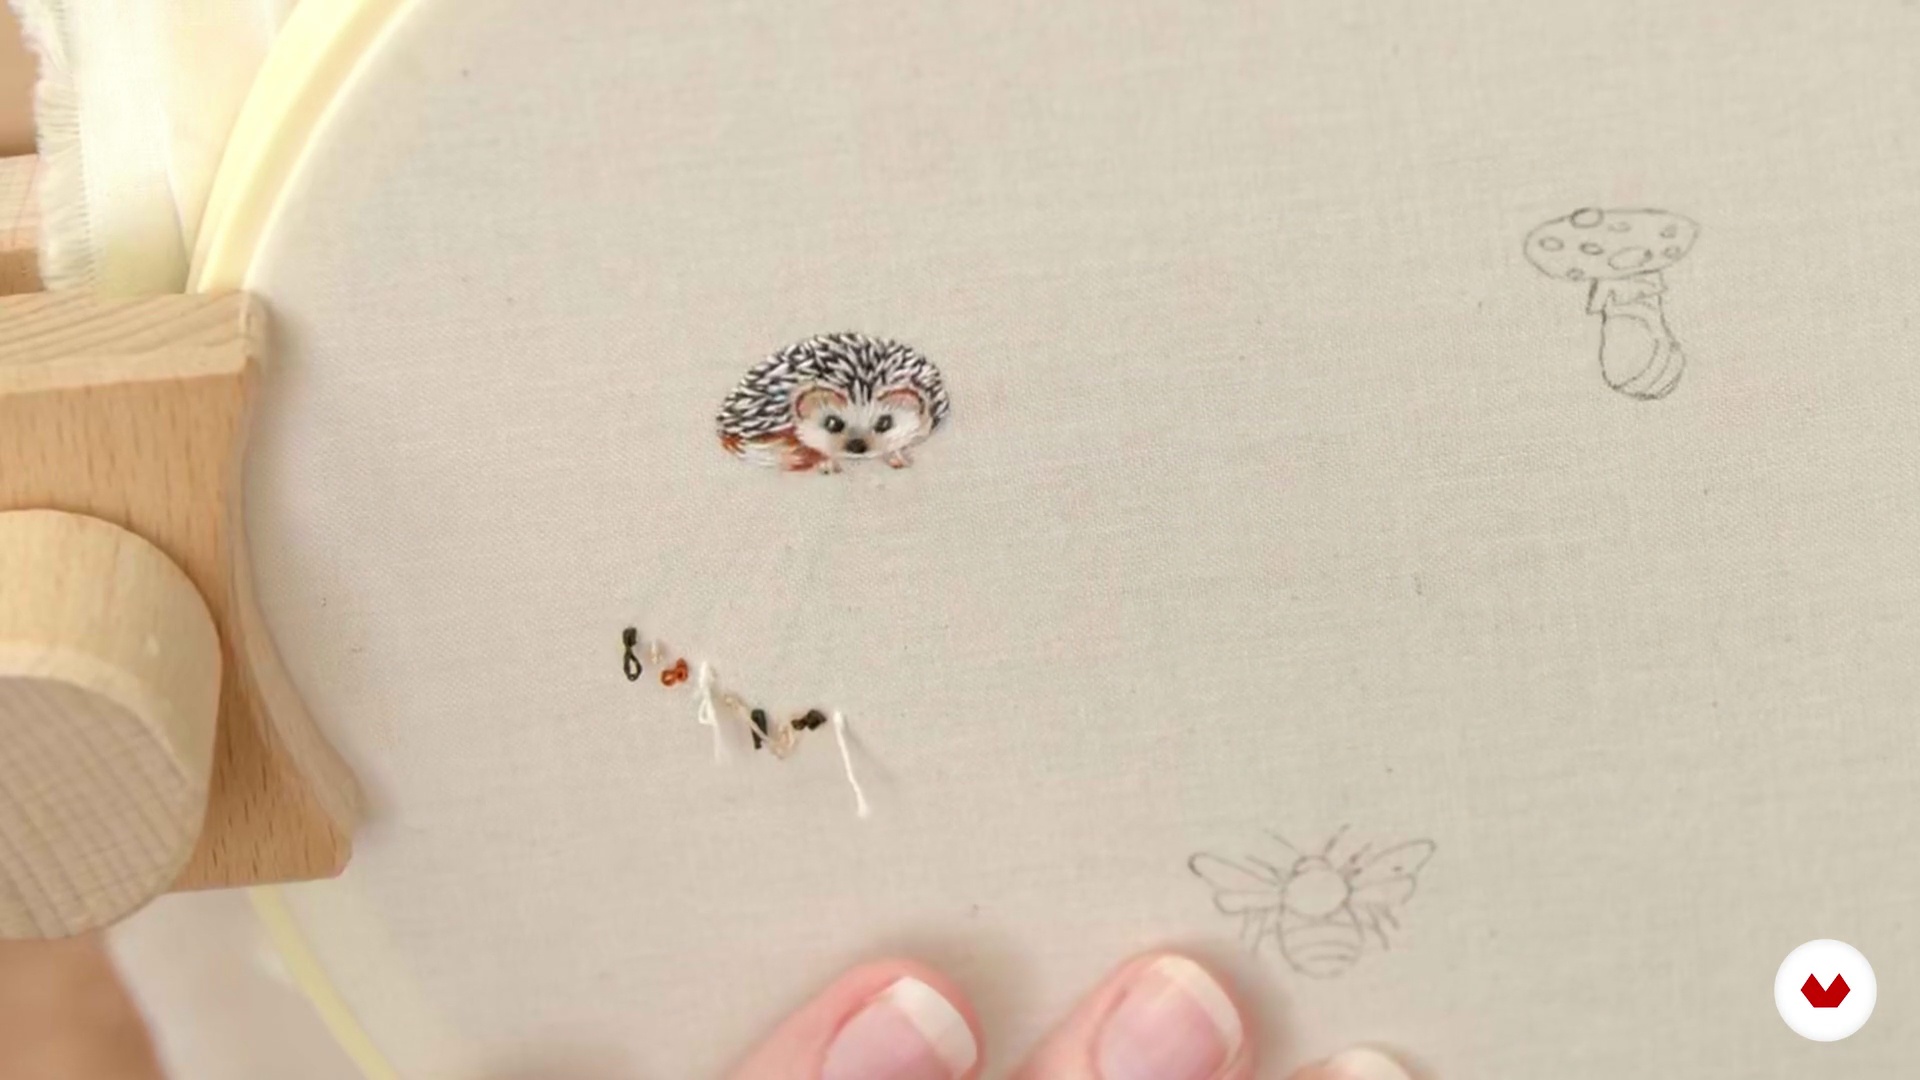 10
10Stitching Needle Painting 1 part 2
Now, I will continue diving into needle painting the hedgehog.
10m
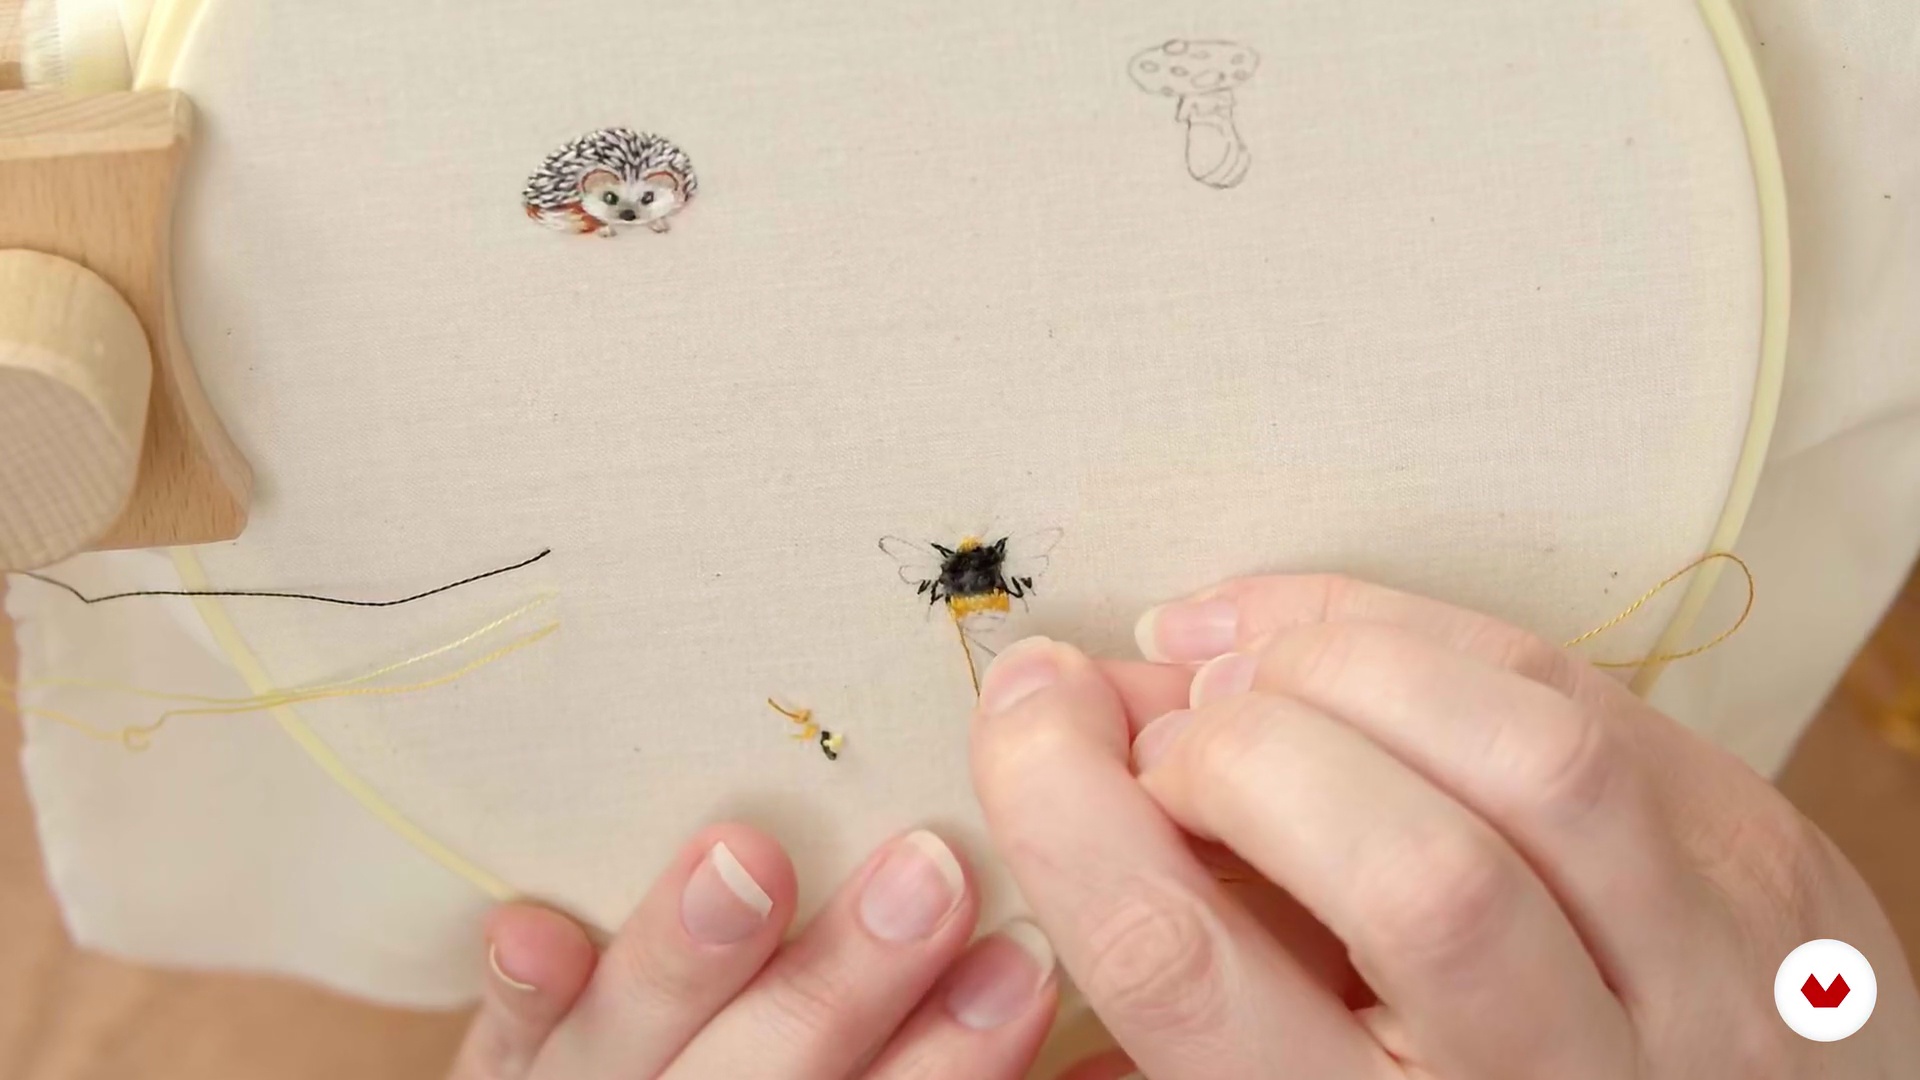 11
11Stitching Needle Painting 2 part 1
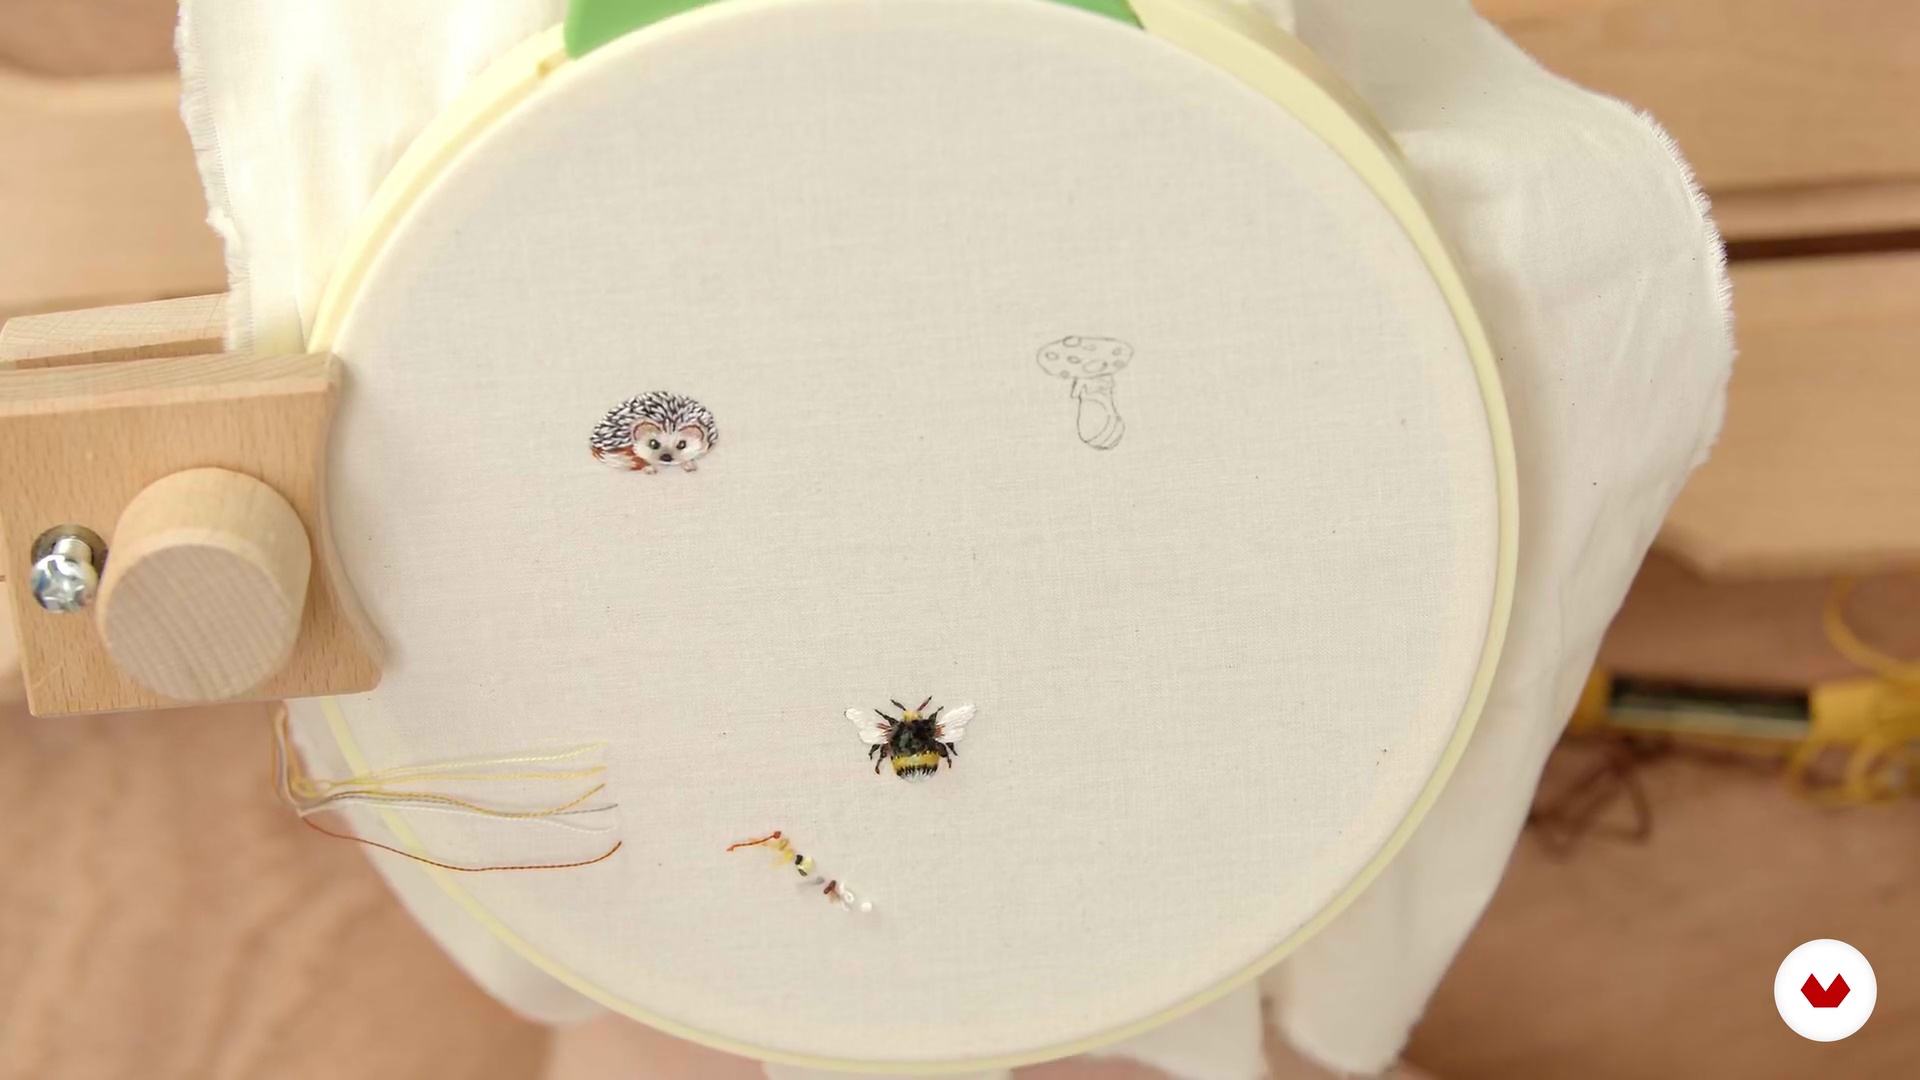
In this lesson, I'll be stitching a fuzzy white-tailed bumblebee. The defining feature of this piece is a three-dimensional fuzzy thorax of the bee, which we will achieve using Turkey's work stitch.
13m
 12
12Stitching Needle Painting 2 part 2
For the bumblebee to come to life I will give the final touches by working on its wings.
9m
 13
13Stitching Needle Painting 3 part 1
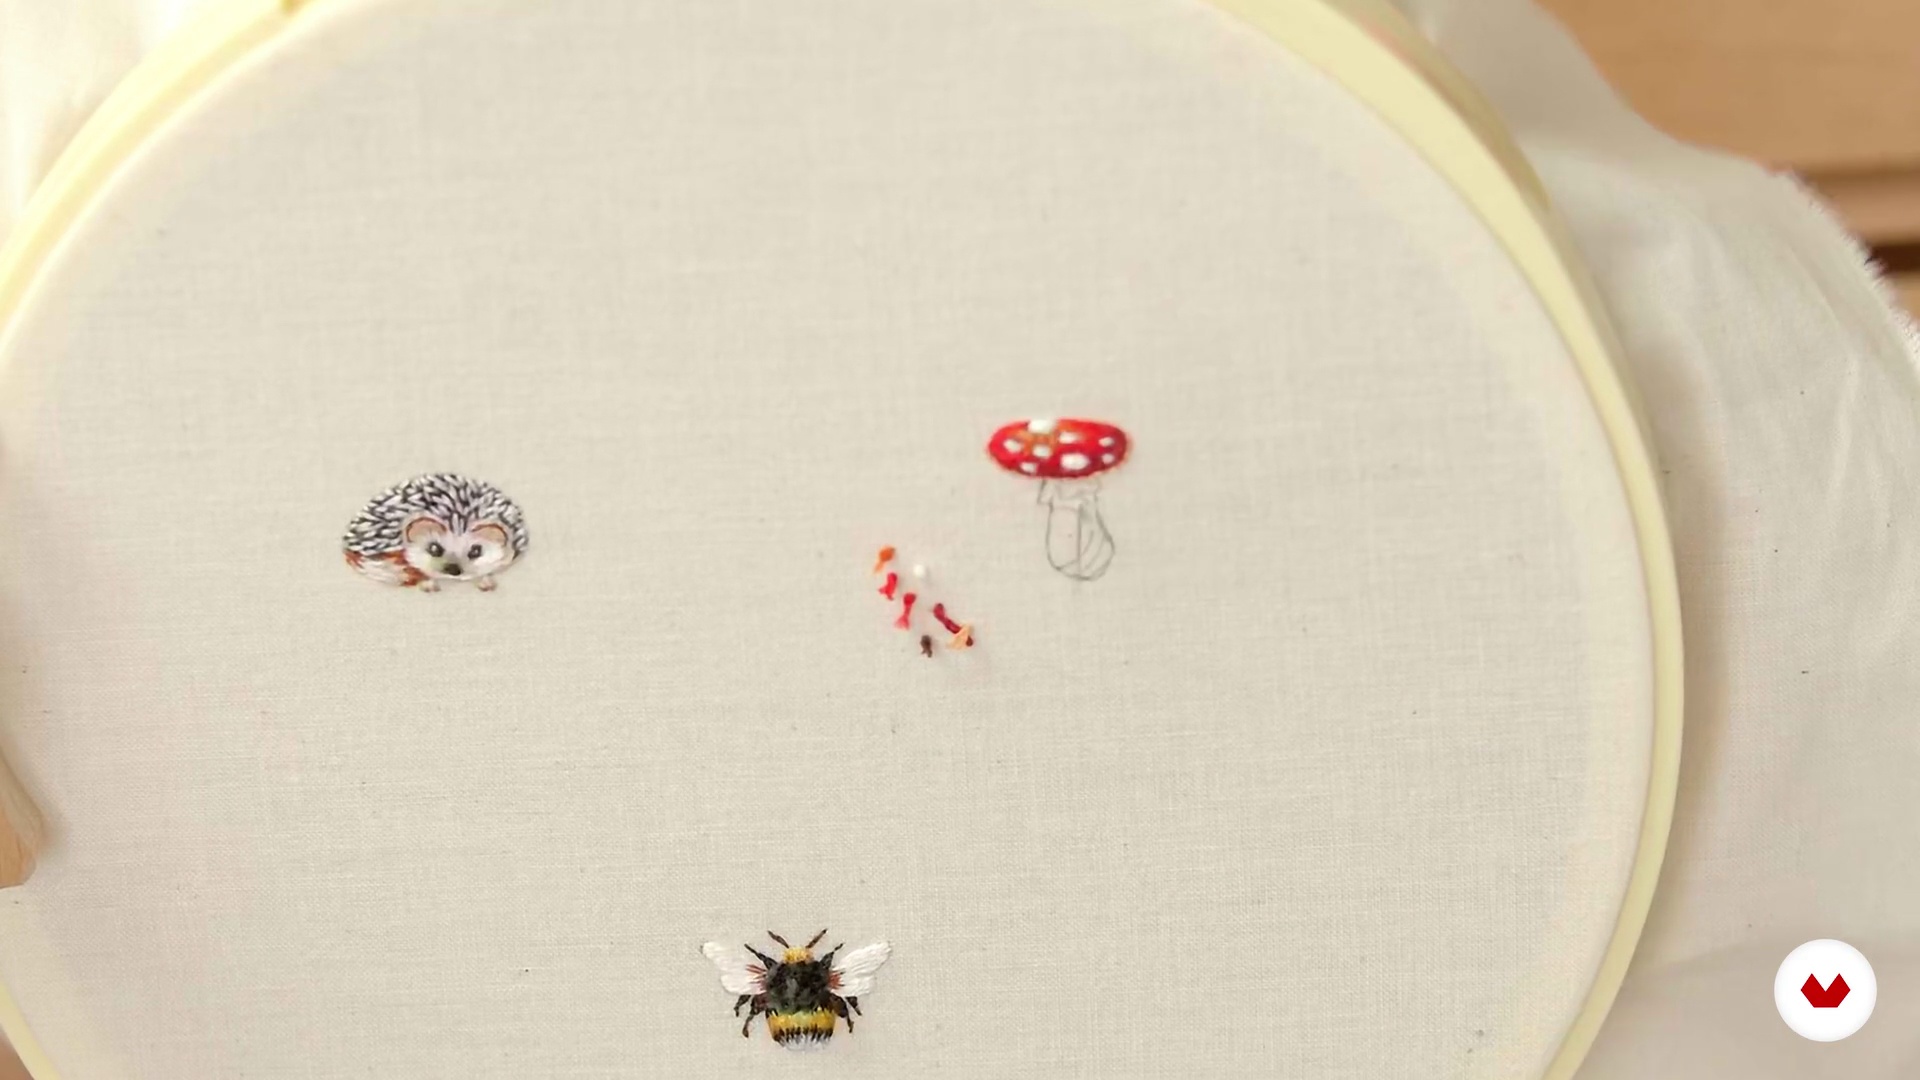
For the final embroidery of this project, I will be stitching the little mushroom.
14m
 14
14Stitching Needle Painting 3 part 2
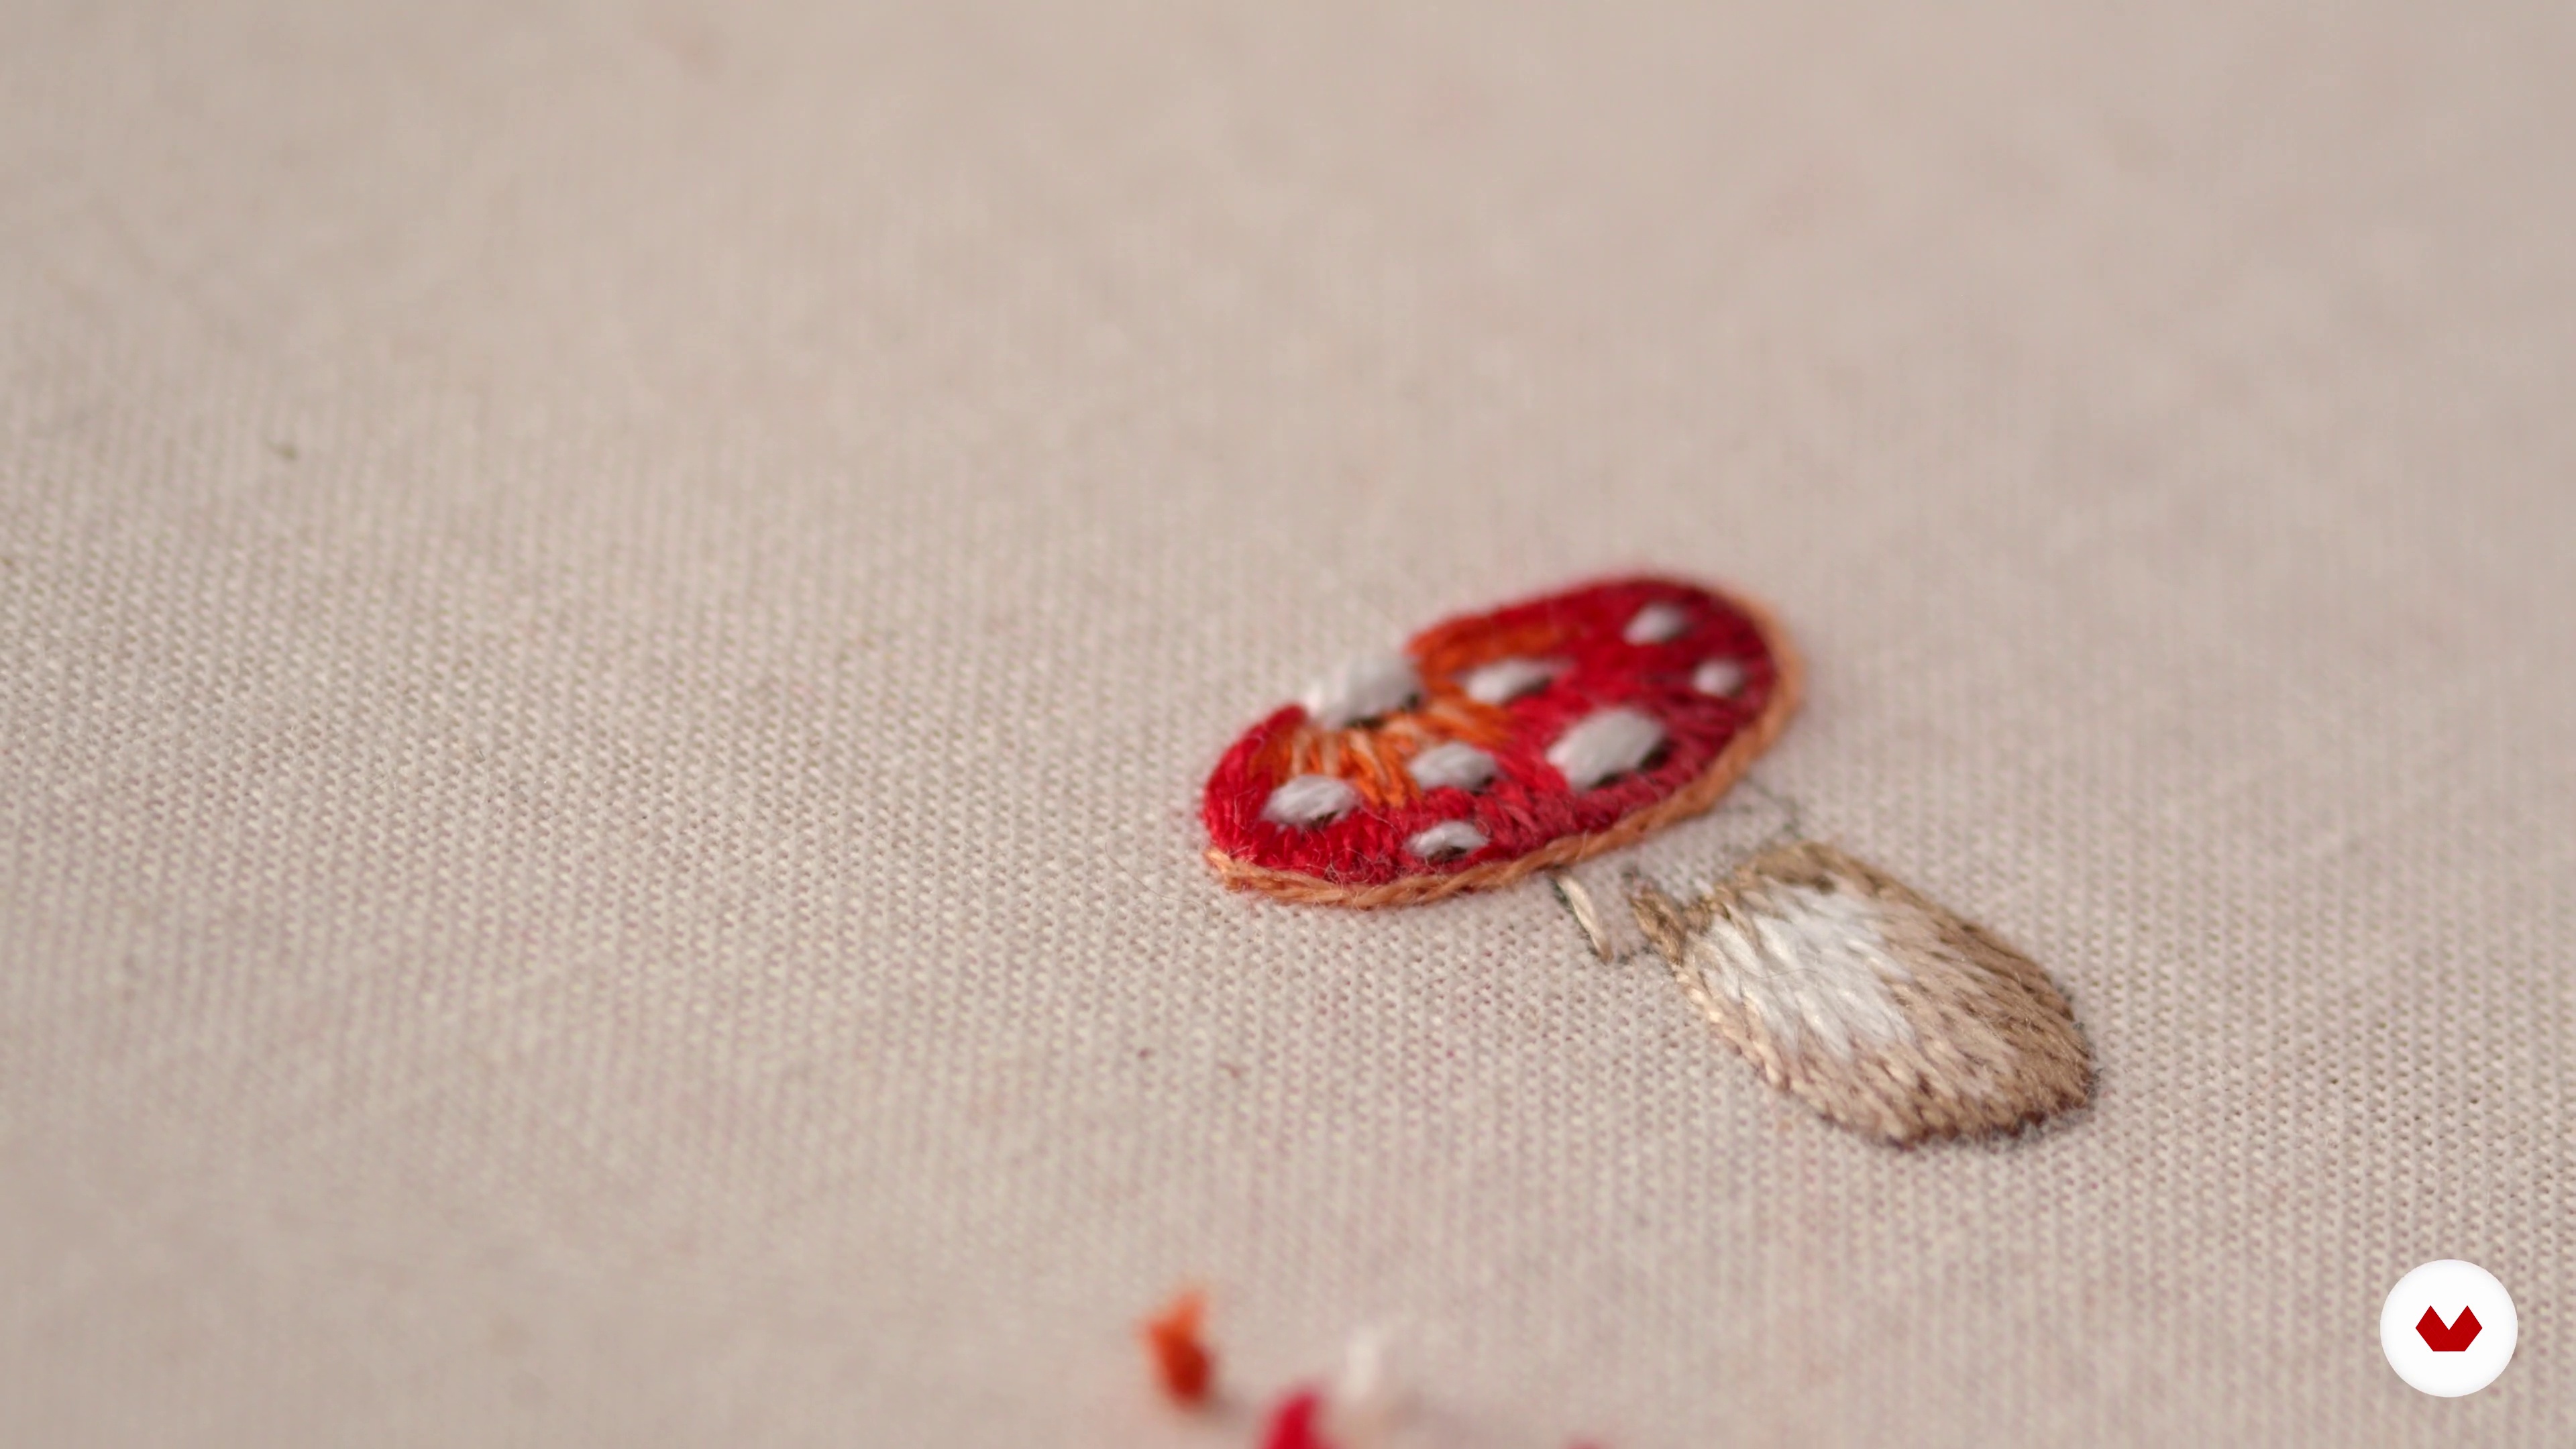
Now that the cap of the mushroom is done, I'll finish with the stem.
14m
 15
15Finish the Piece by Placing Them into a Necklace or Pin
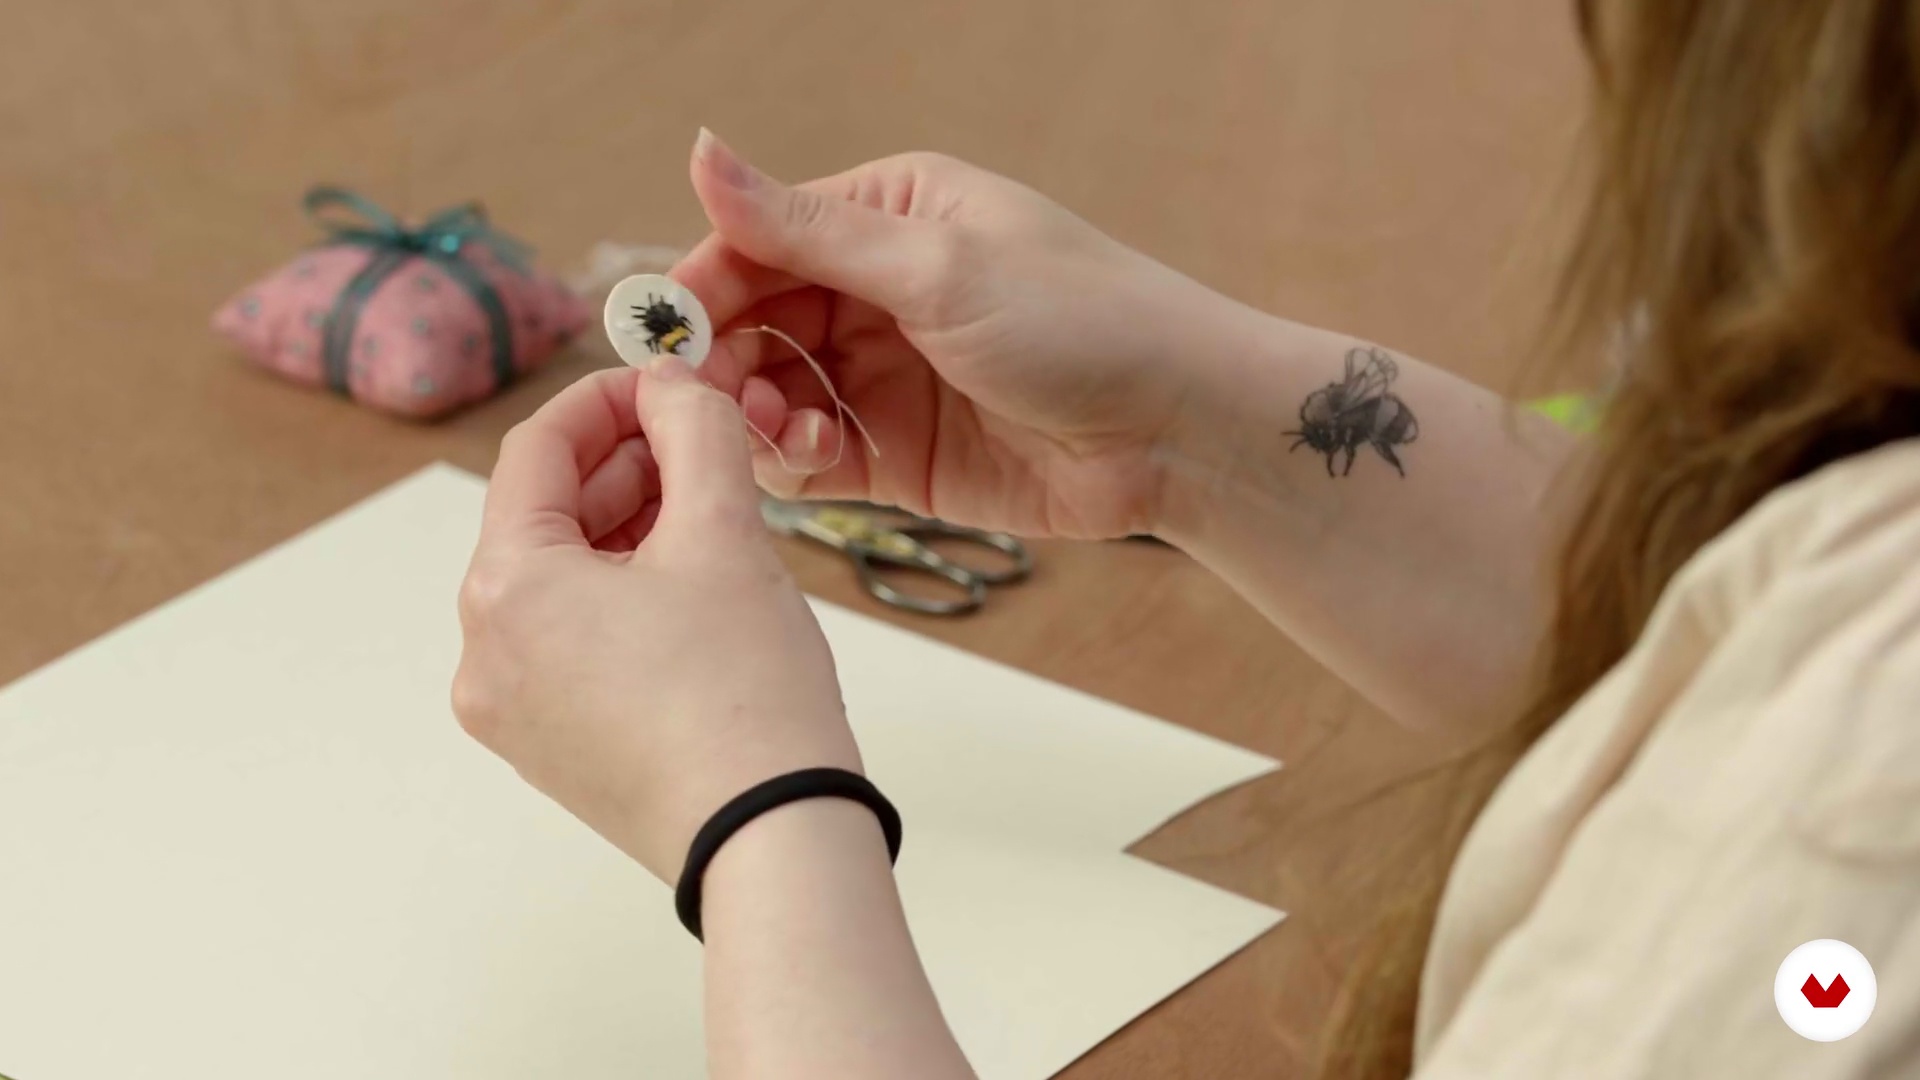
In this lesson, I will be showing how to place the embroidery into necklace or pin settings.
9m
 16
16Other Applications
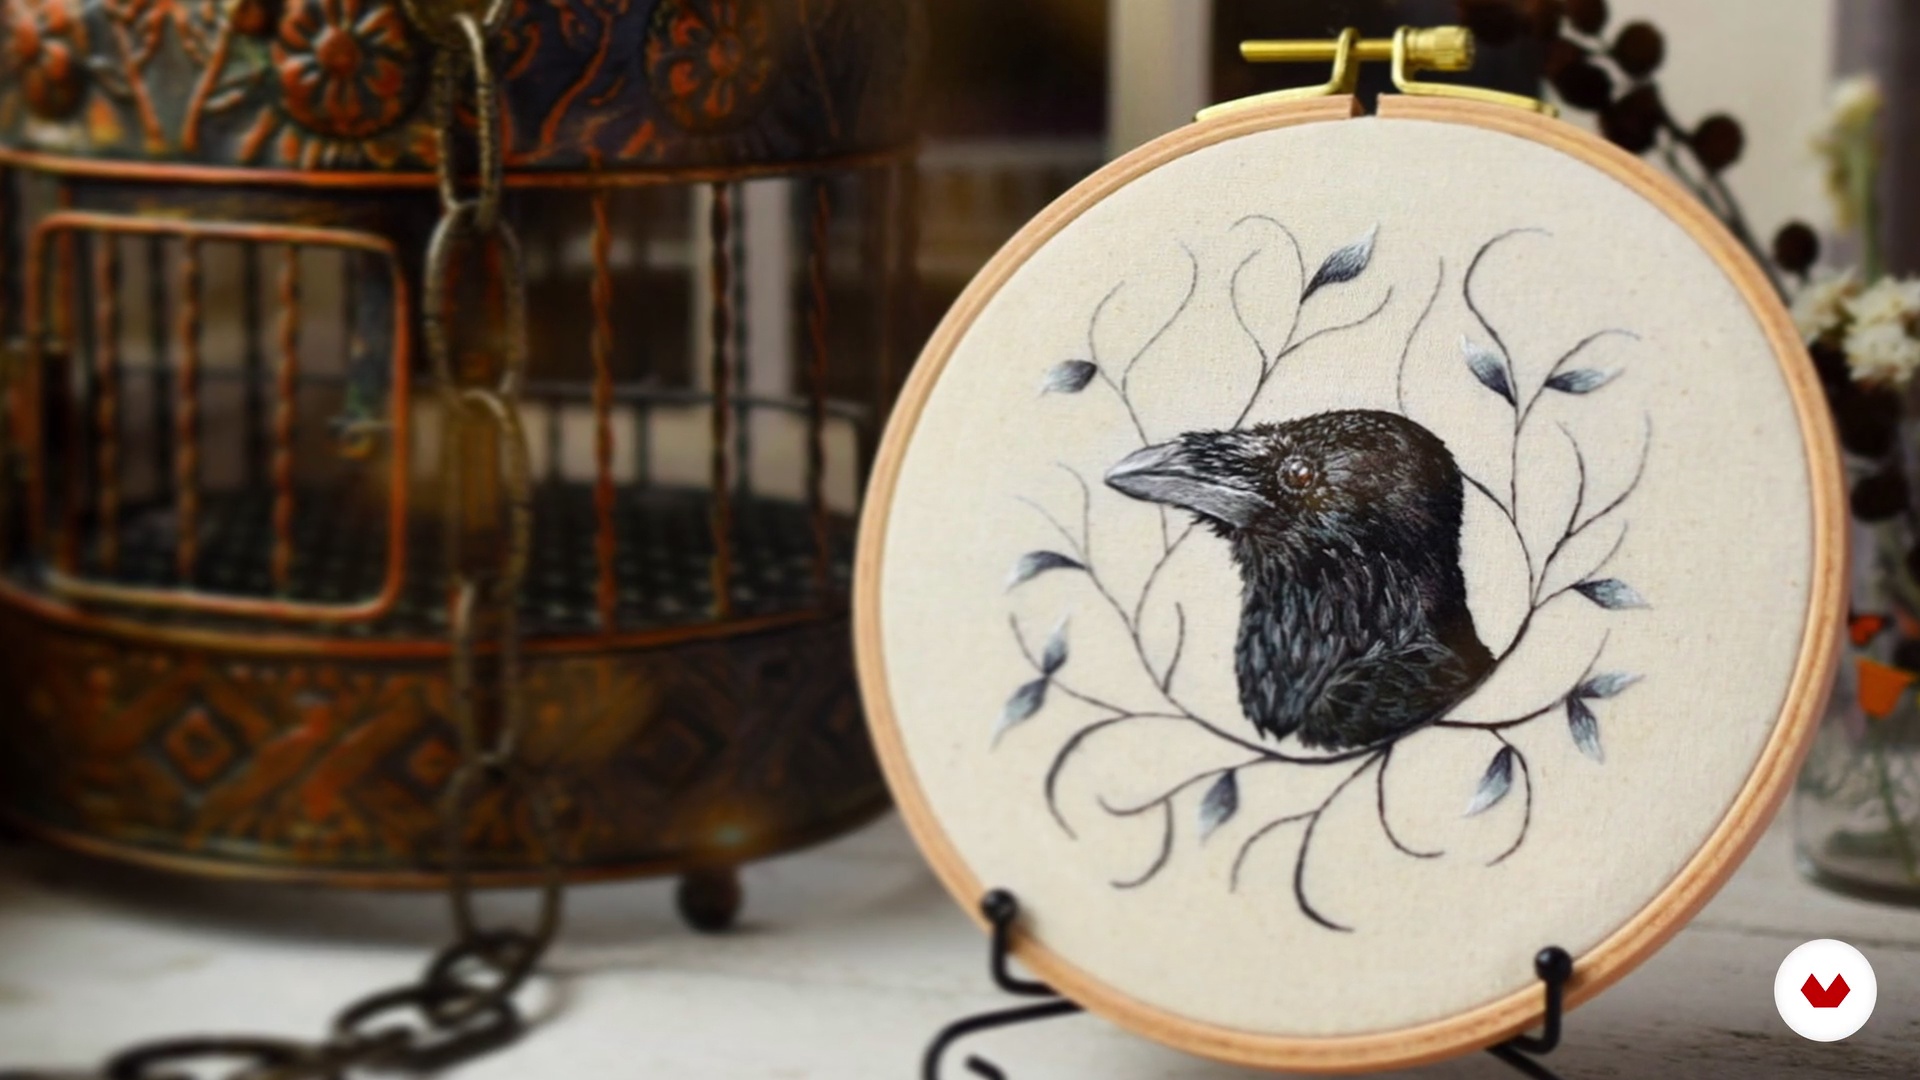
I will show you some other ways you can display your work if you choose not to turn it into jewelry.
1m
 17
17Sharing Your Work Online
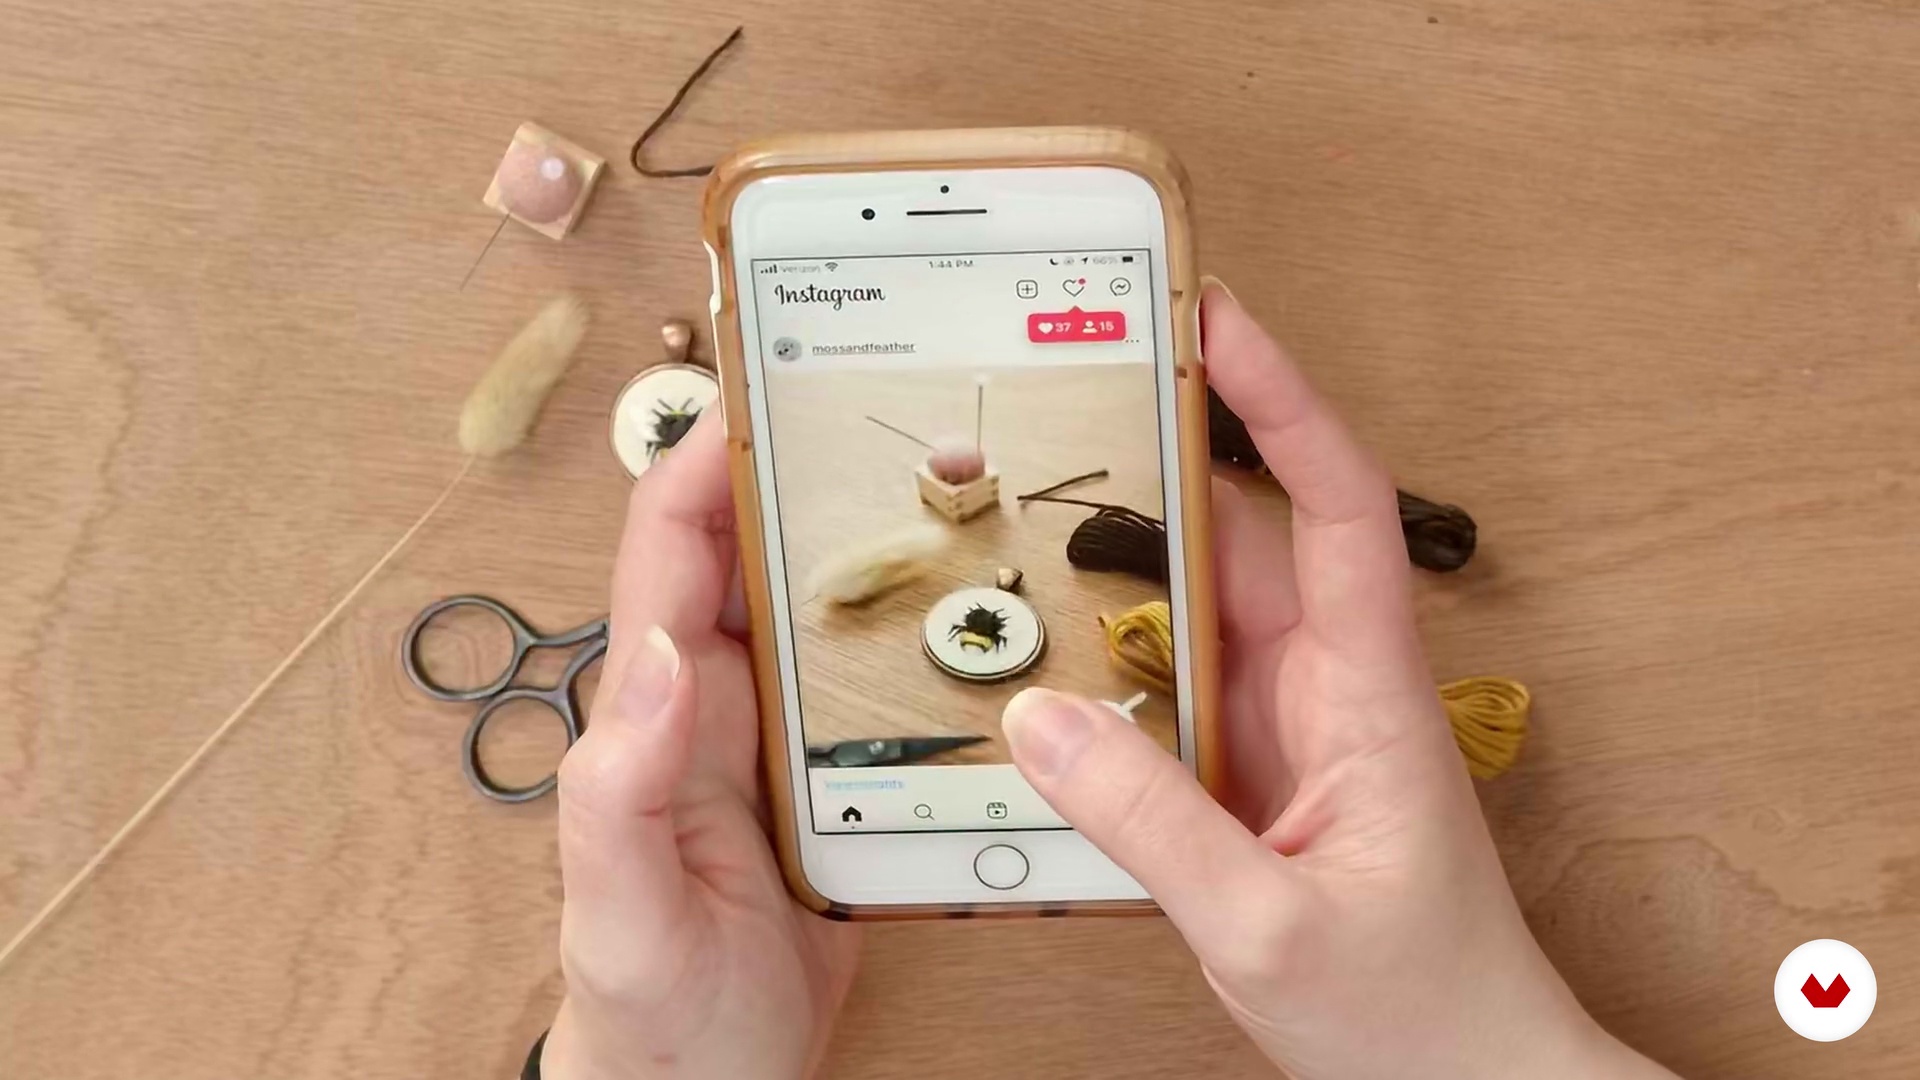
Finally, I would like to share with you some tips for taking photos of your finished work, editing them and, sharing them on Instagram.
7m
 3
3Floral Jewelry
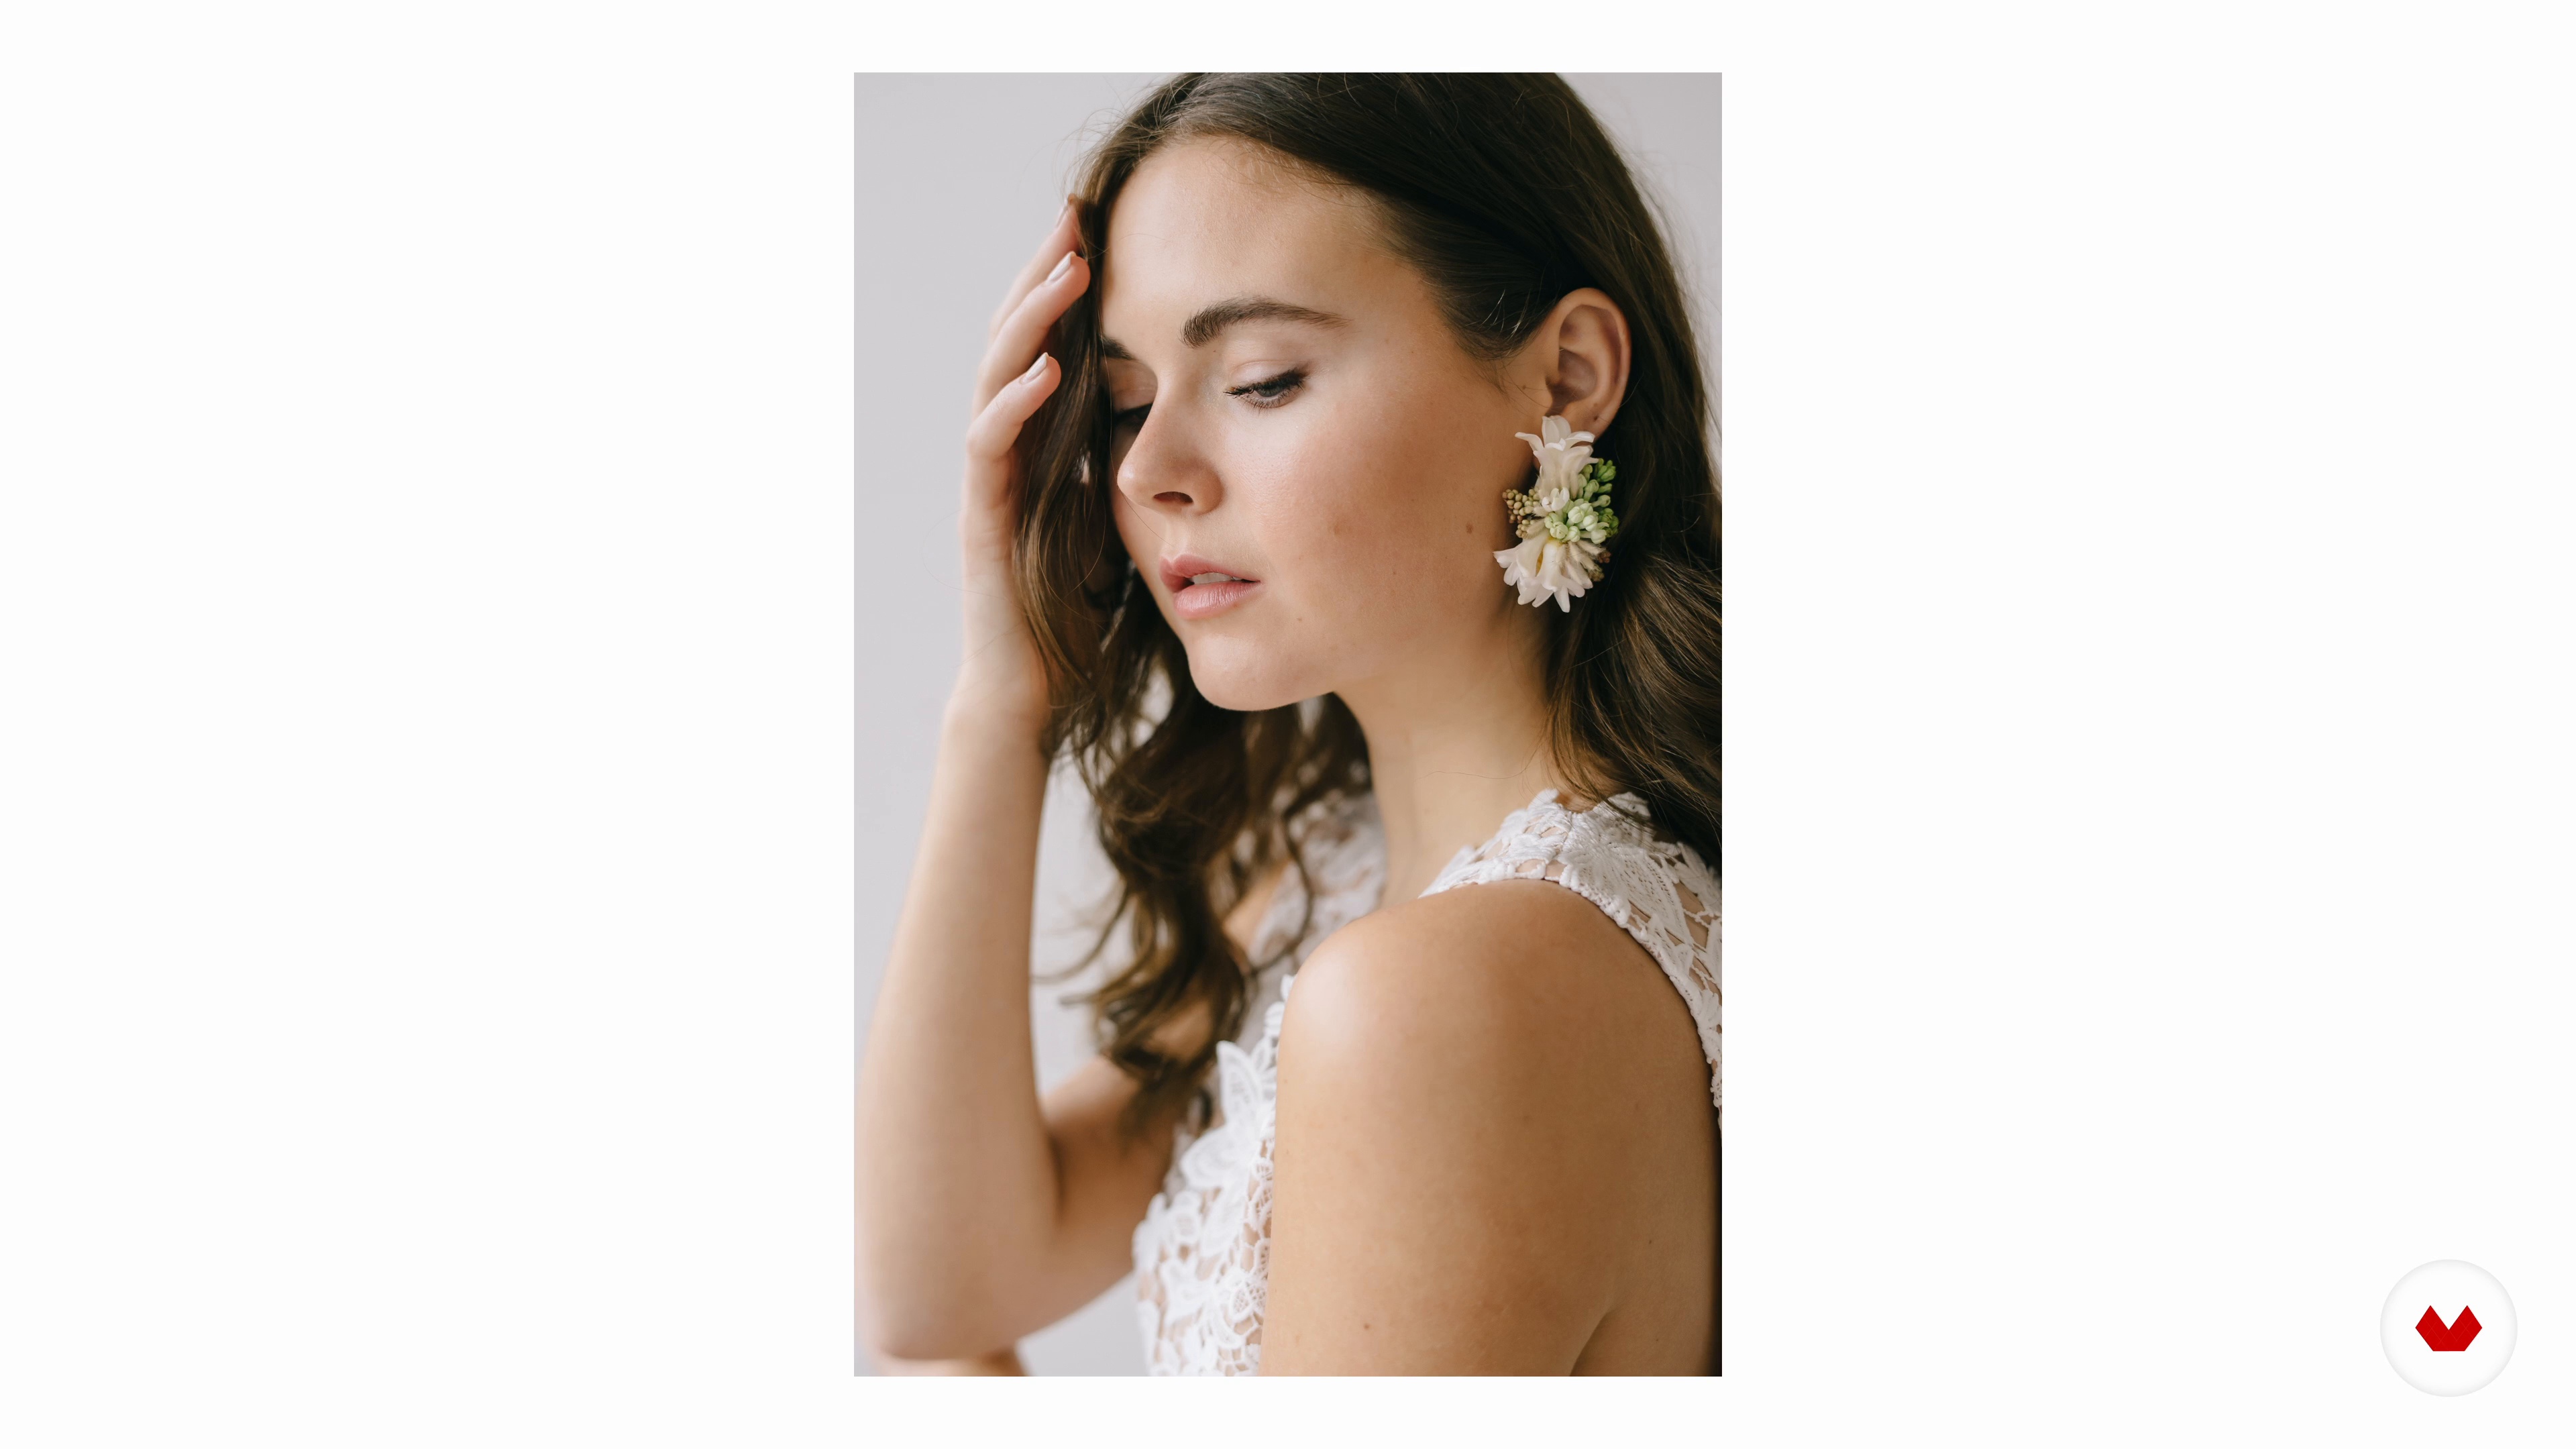
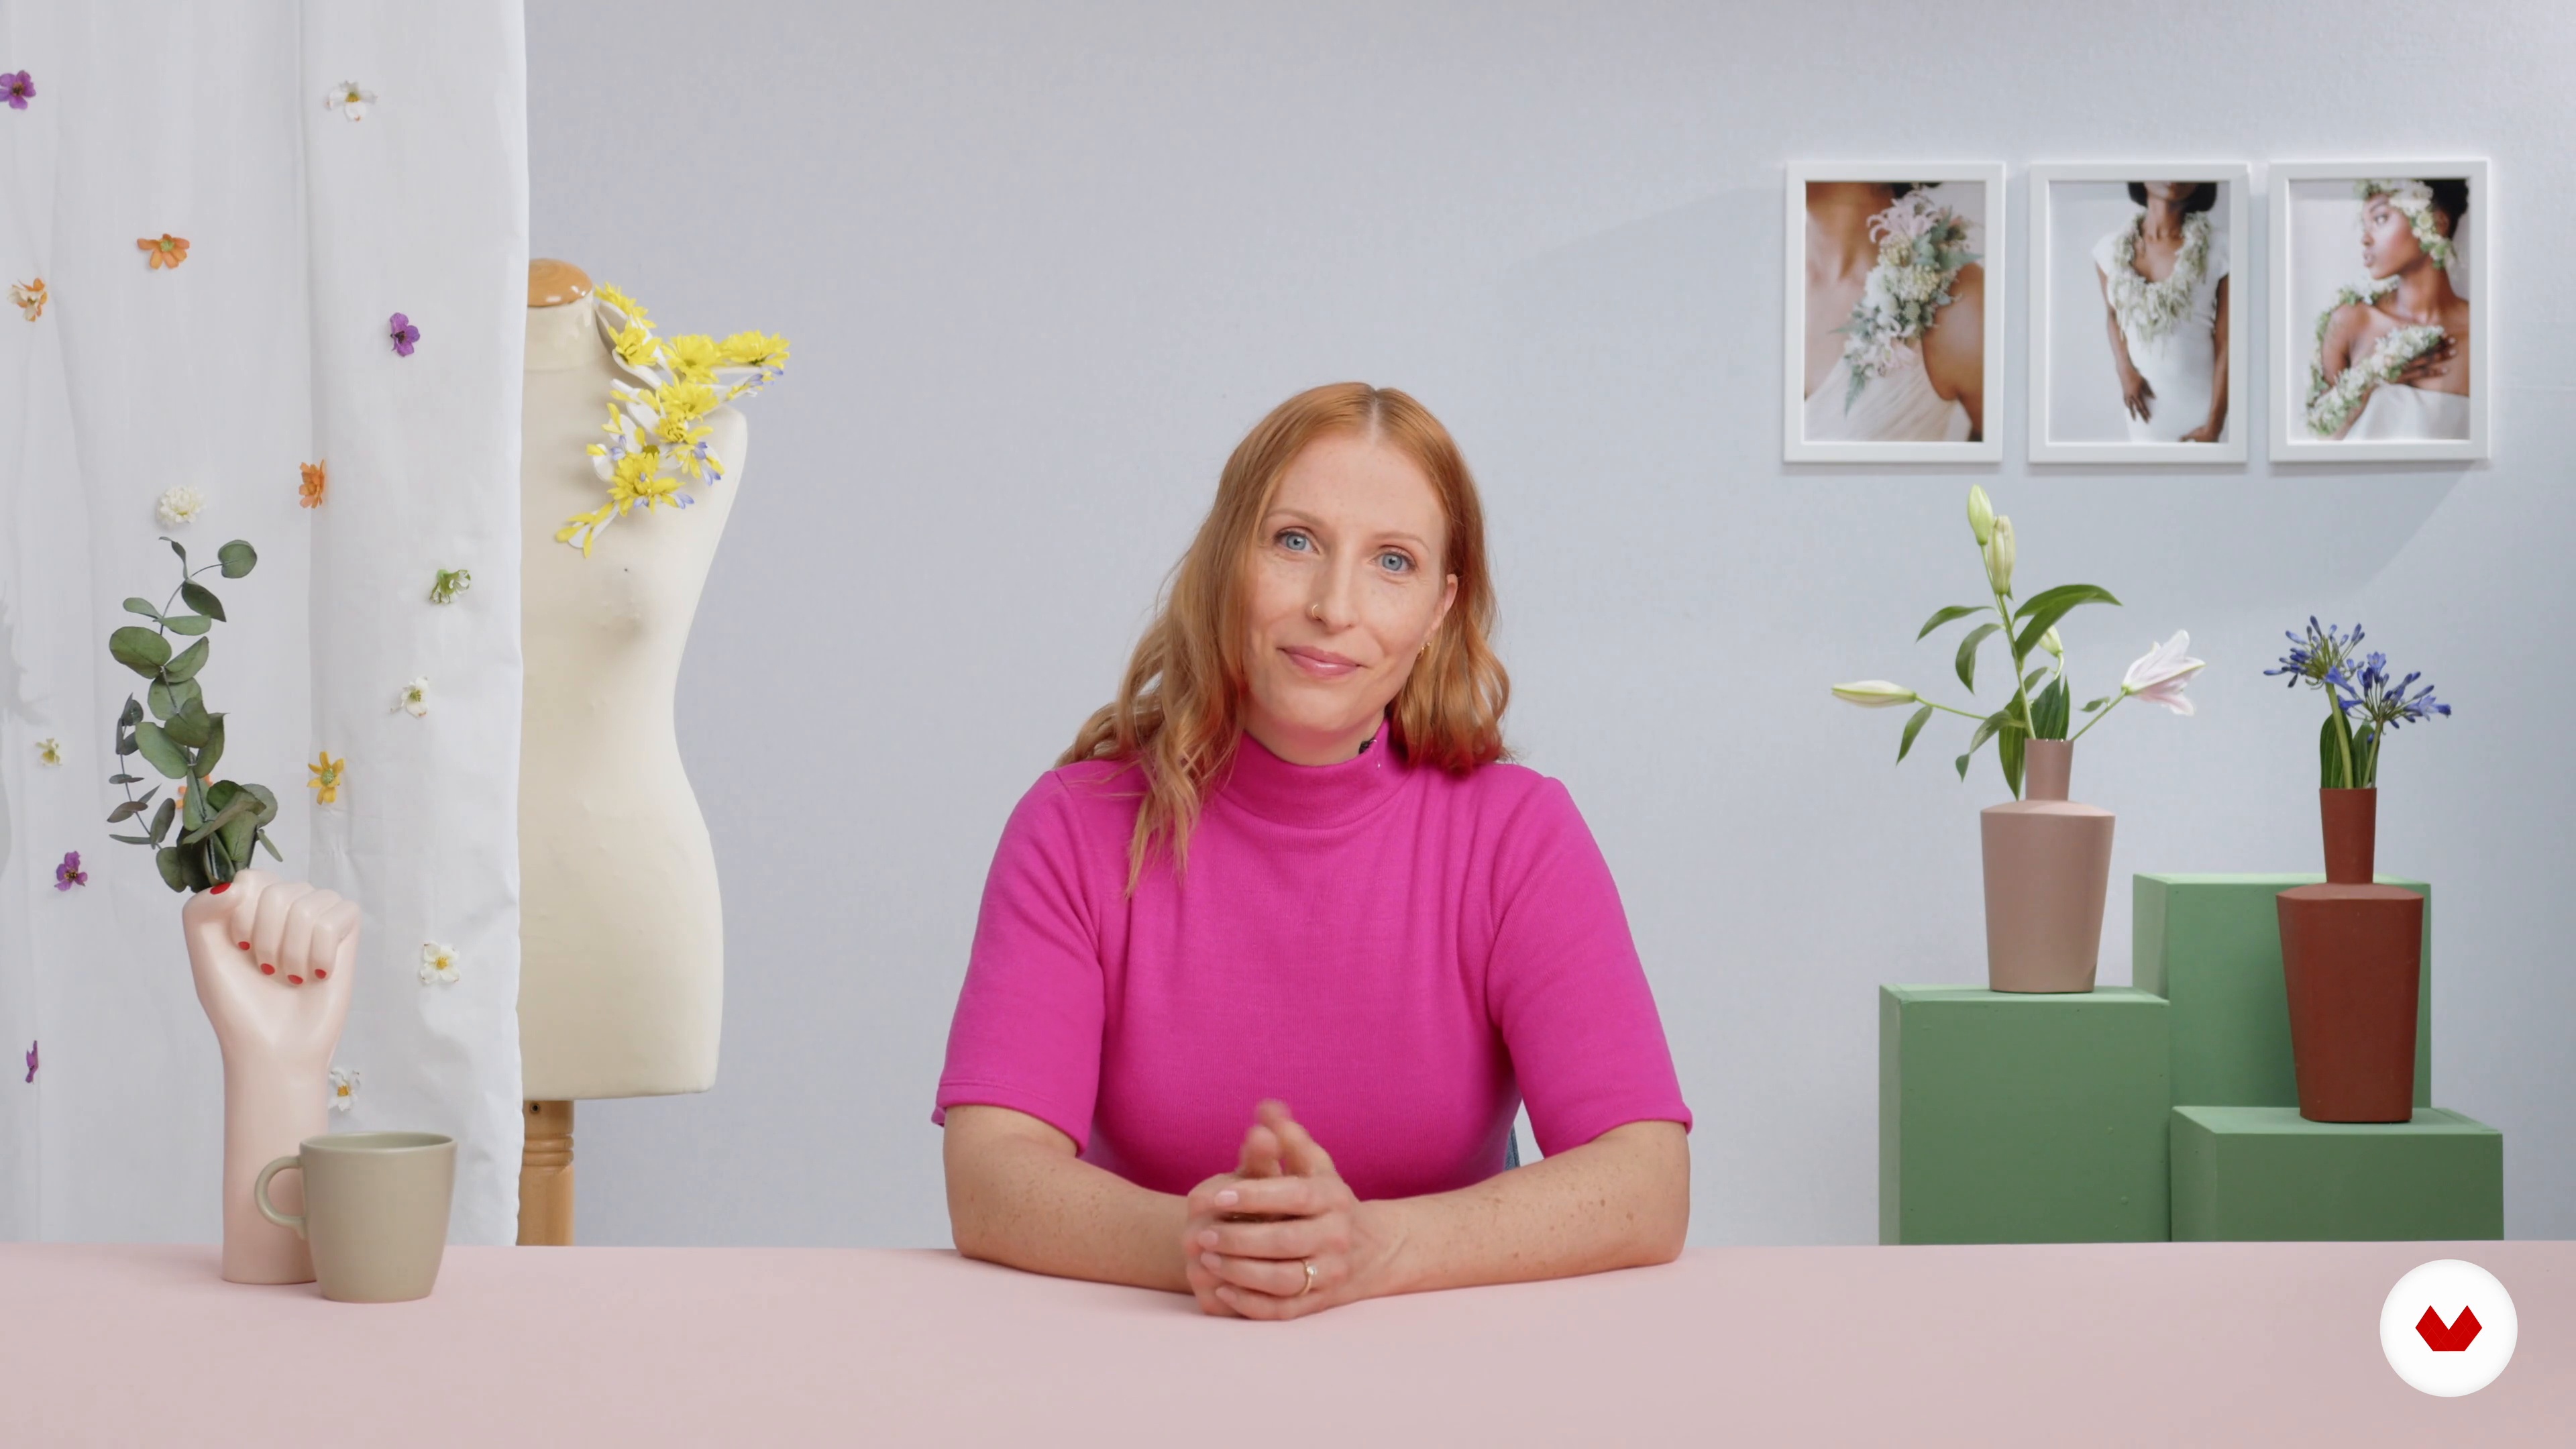
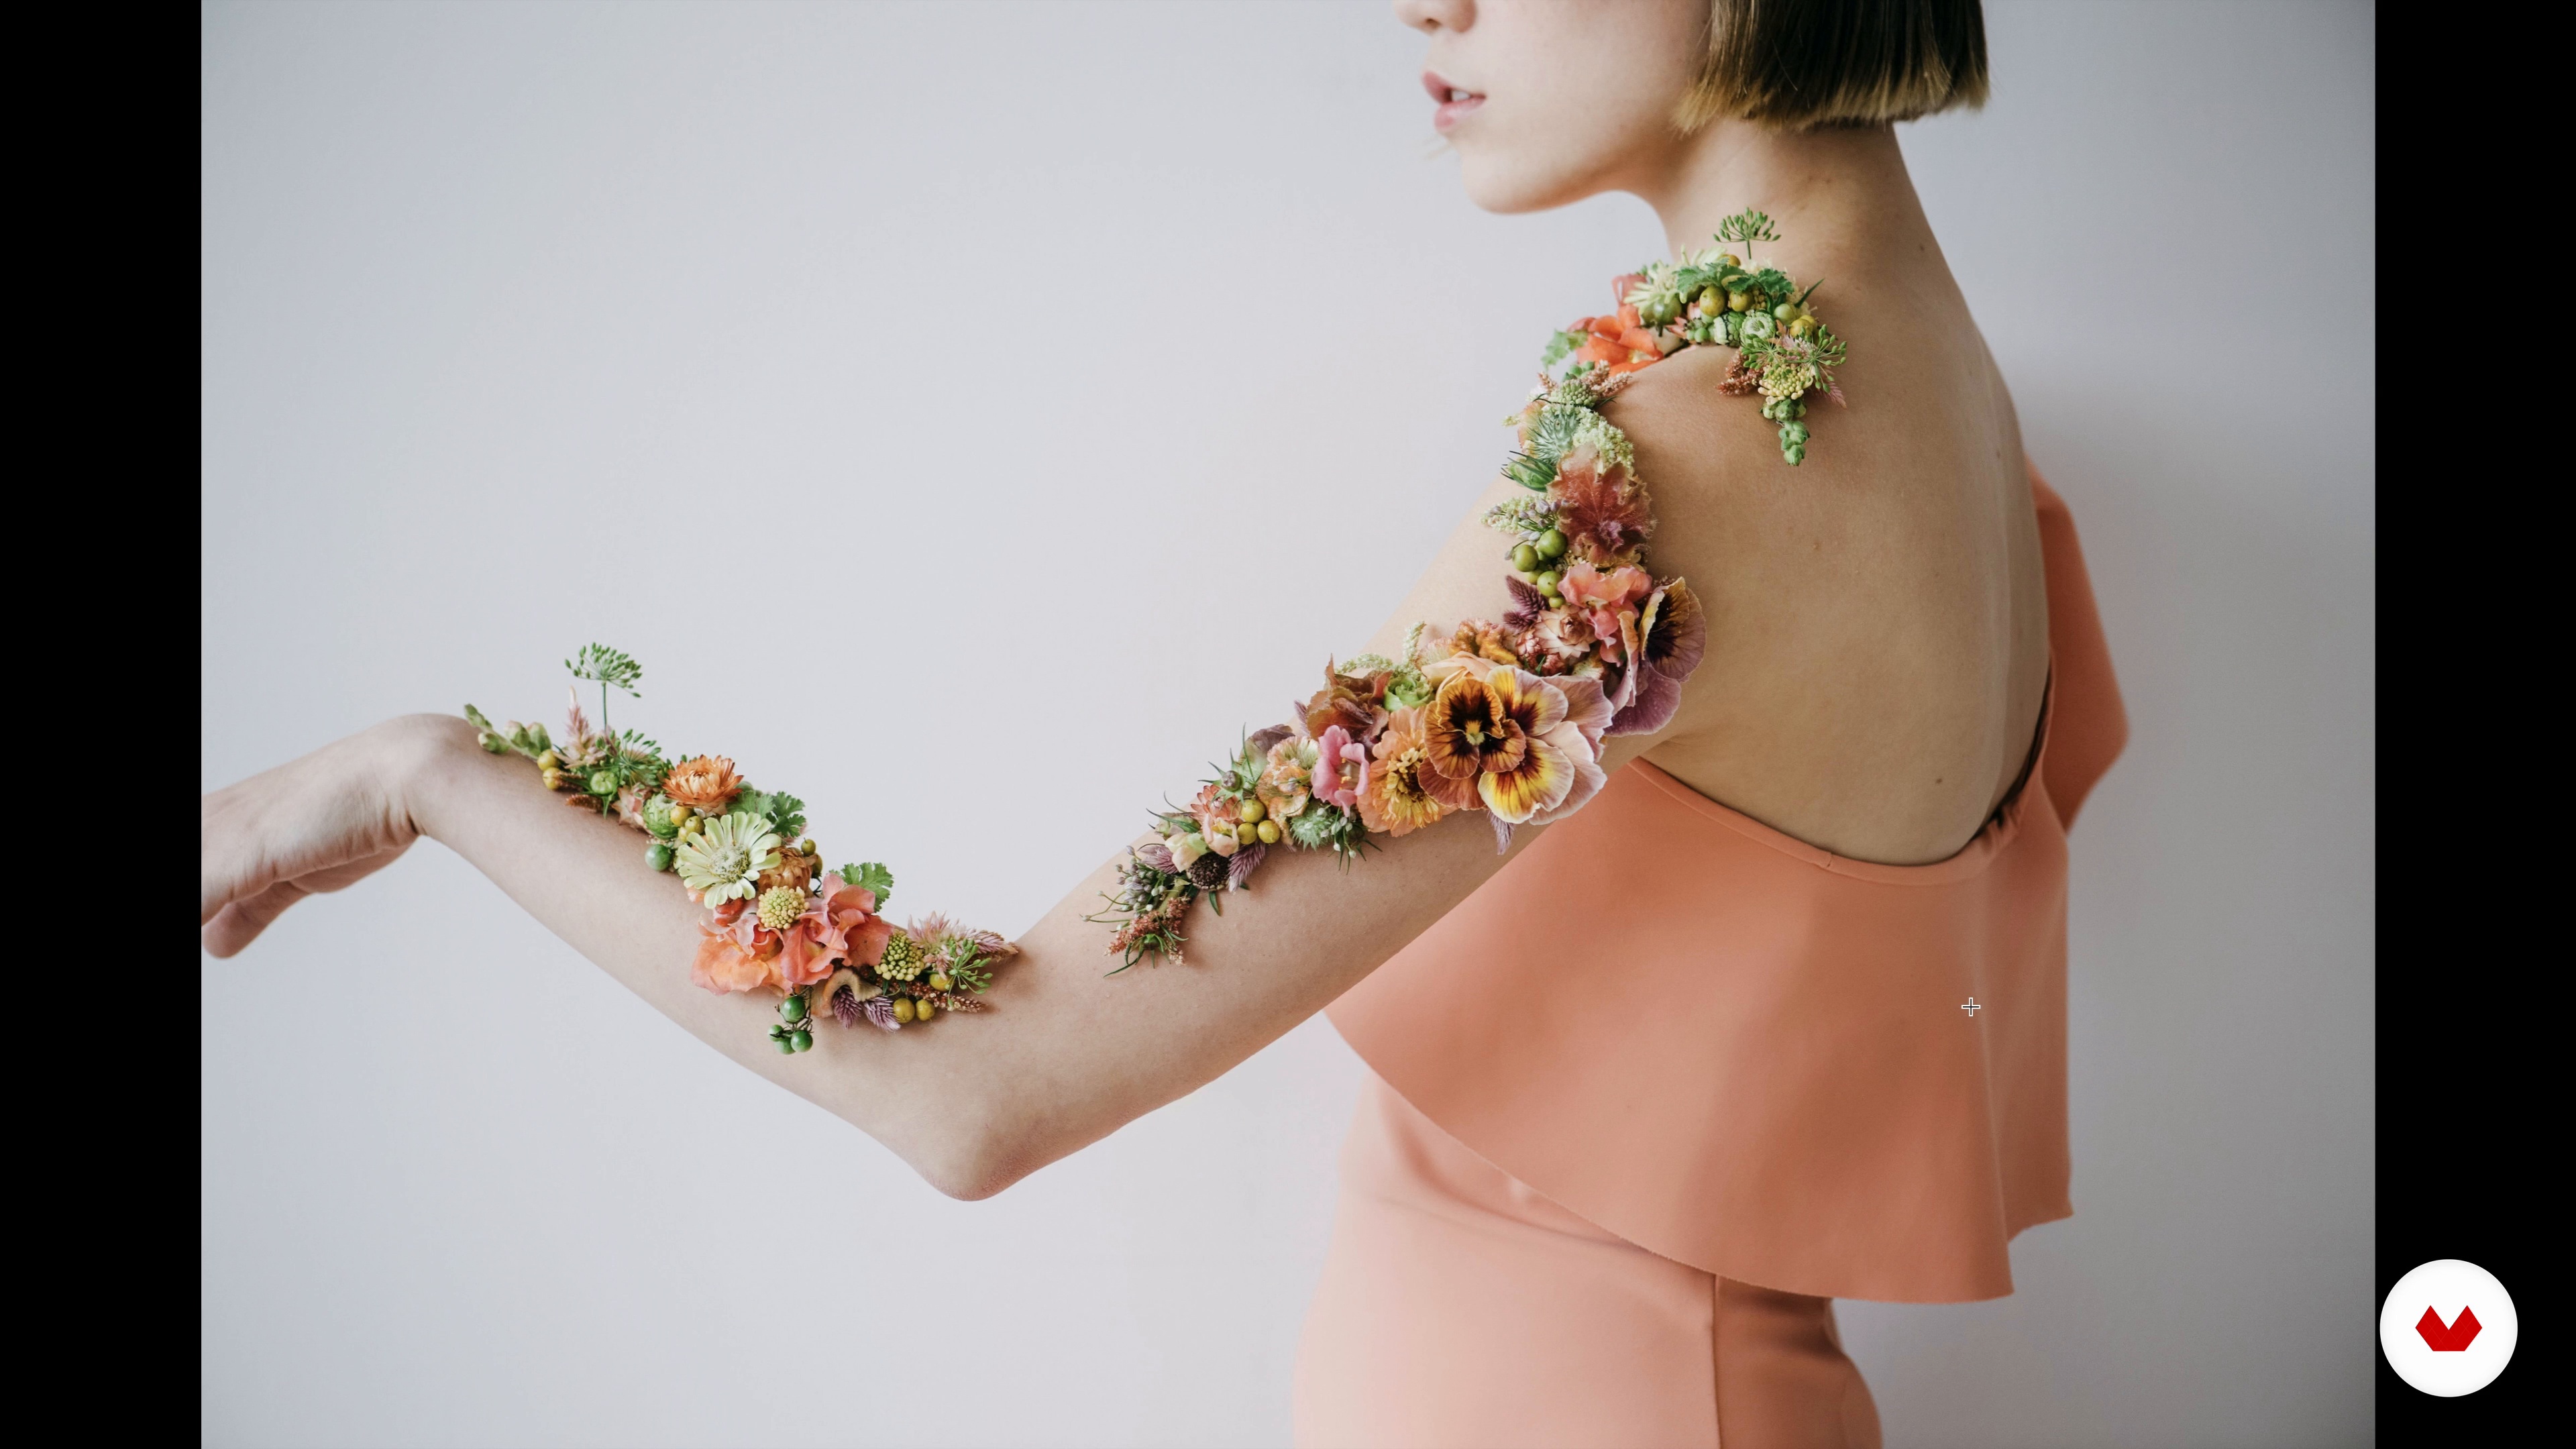
People have adorned themselves with flowers since time began. Conventional florists participate in this tradition, but many limits themselves to corsages, crowns, and boutonnieres. I'll introduce a fresh way of considering these work-fusing traditional floral designs with jewelry and fashion design. The result is inspiring and ephemeral wearable art!
4m
 4
4How to Choose and Treat Flowers
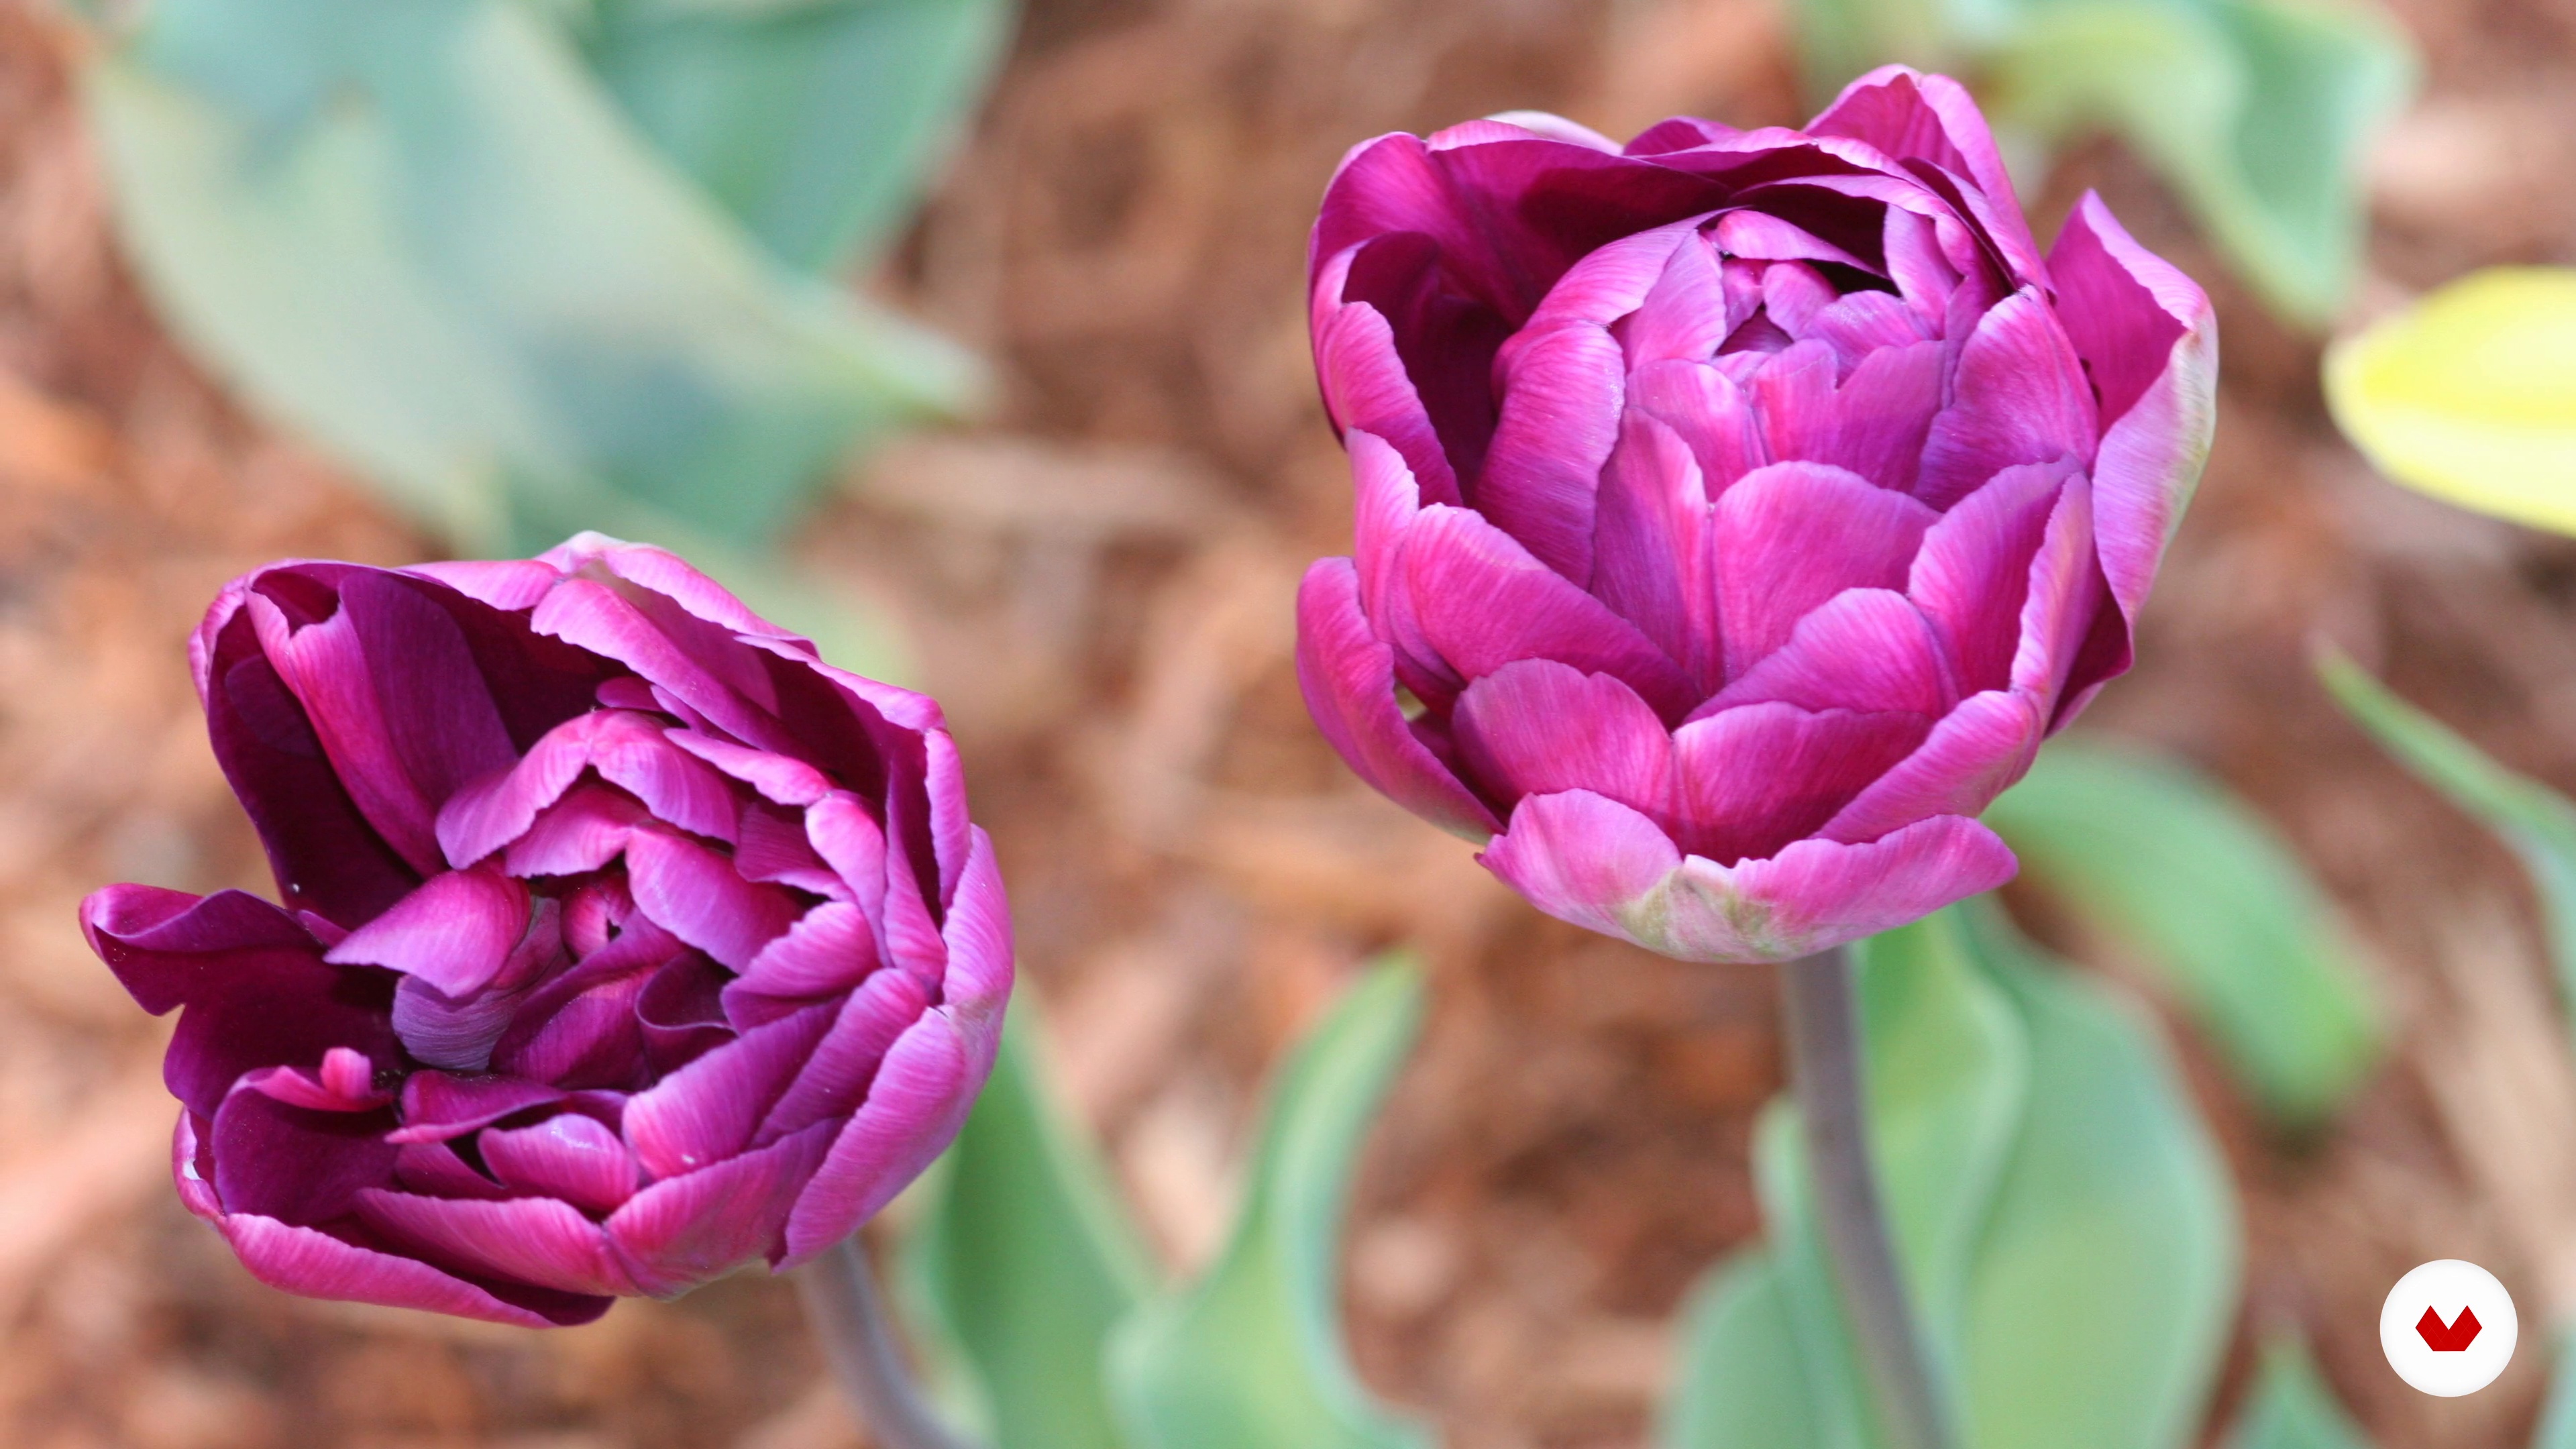
Floral accessories are fleeting, but they still need to be made to last the length of the event they are meant to celebrate. To ensure this, you must learn what materials will lend themselves well to this work. In this lesson, I'll talk about durable, reliable ingredients and the context they need to perform.
6m
 5
5Context: The Client and the Occasion
In this lesson, I'll discuss the considerations that guide my process. Before you gather the materials and begin designing your creations, you need to know who they’ll be for and why.
3m
 6
6Inspiration
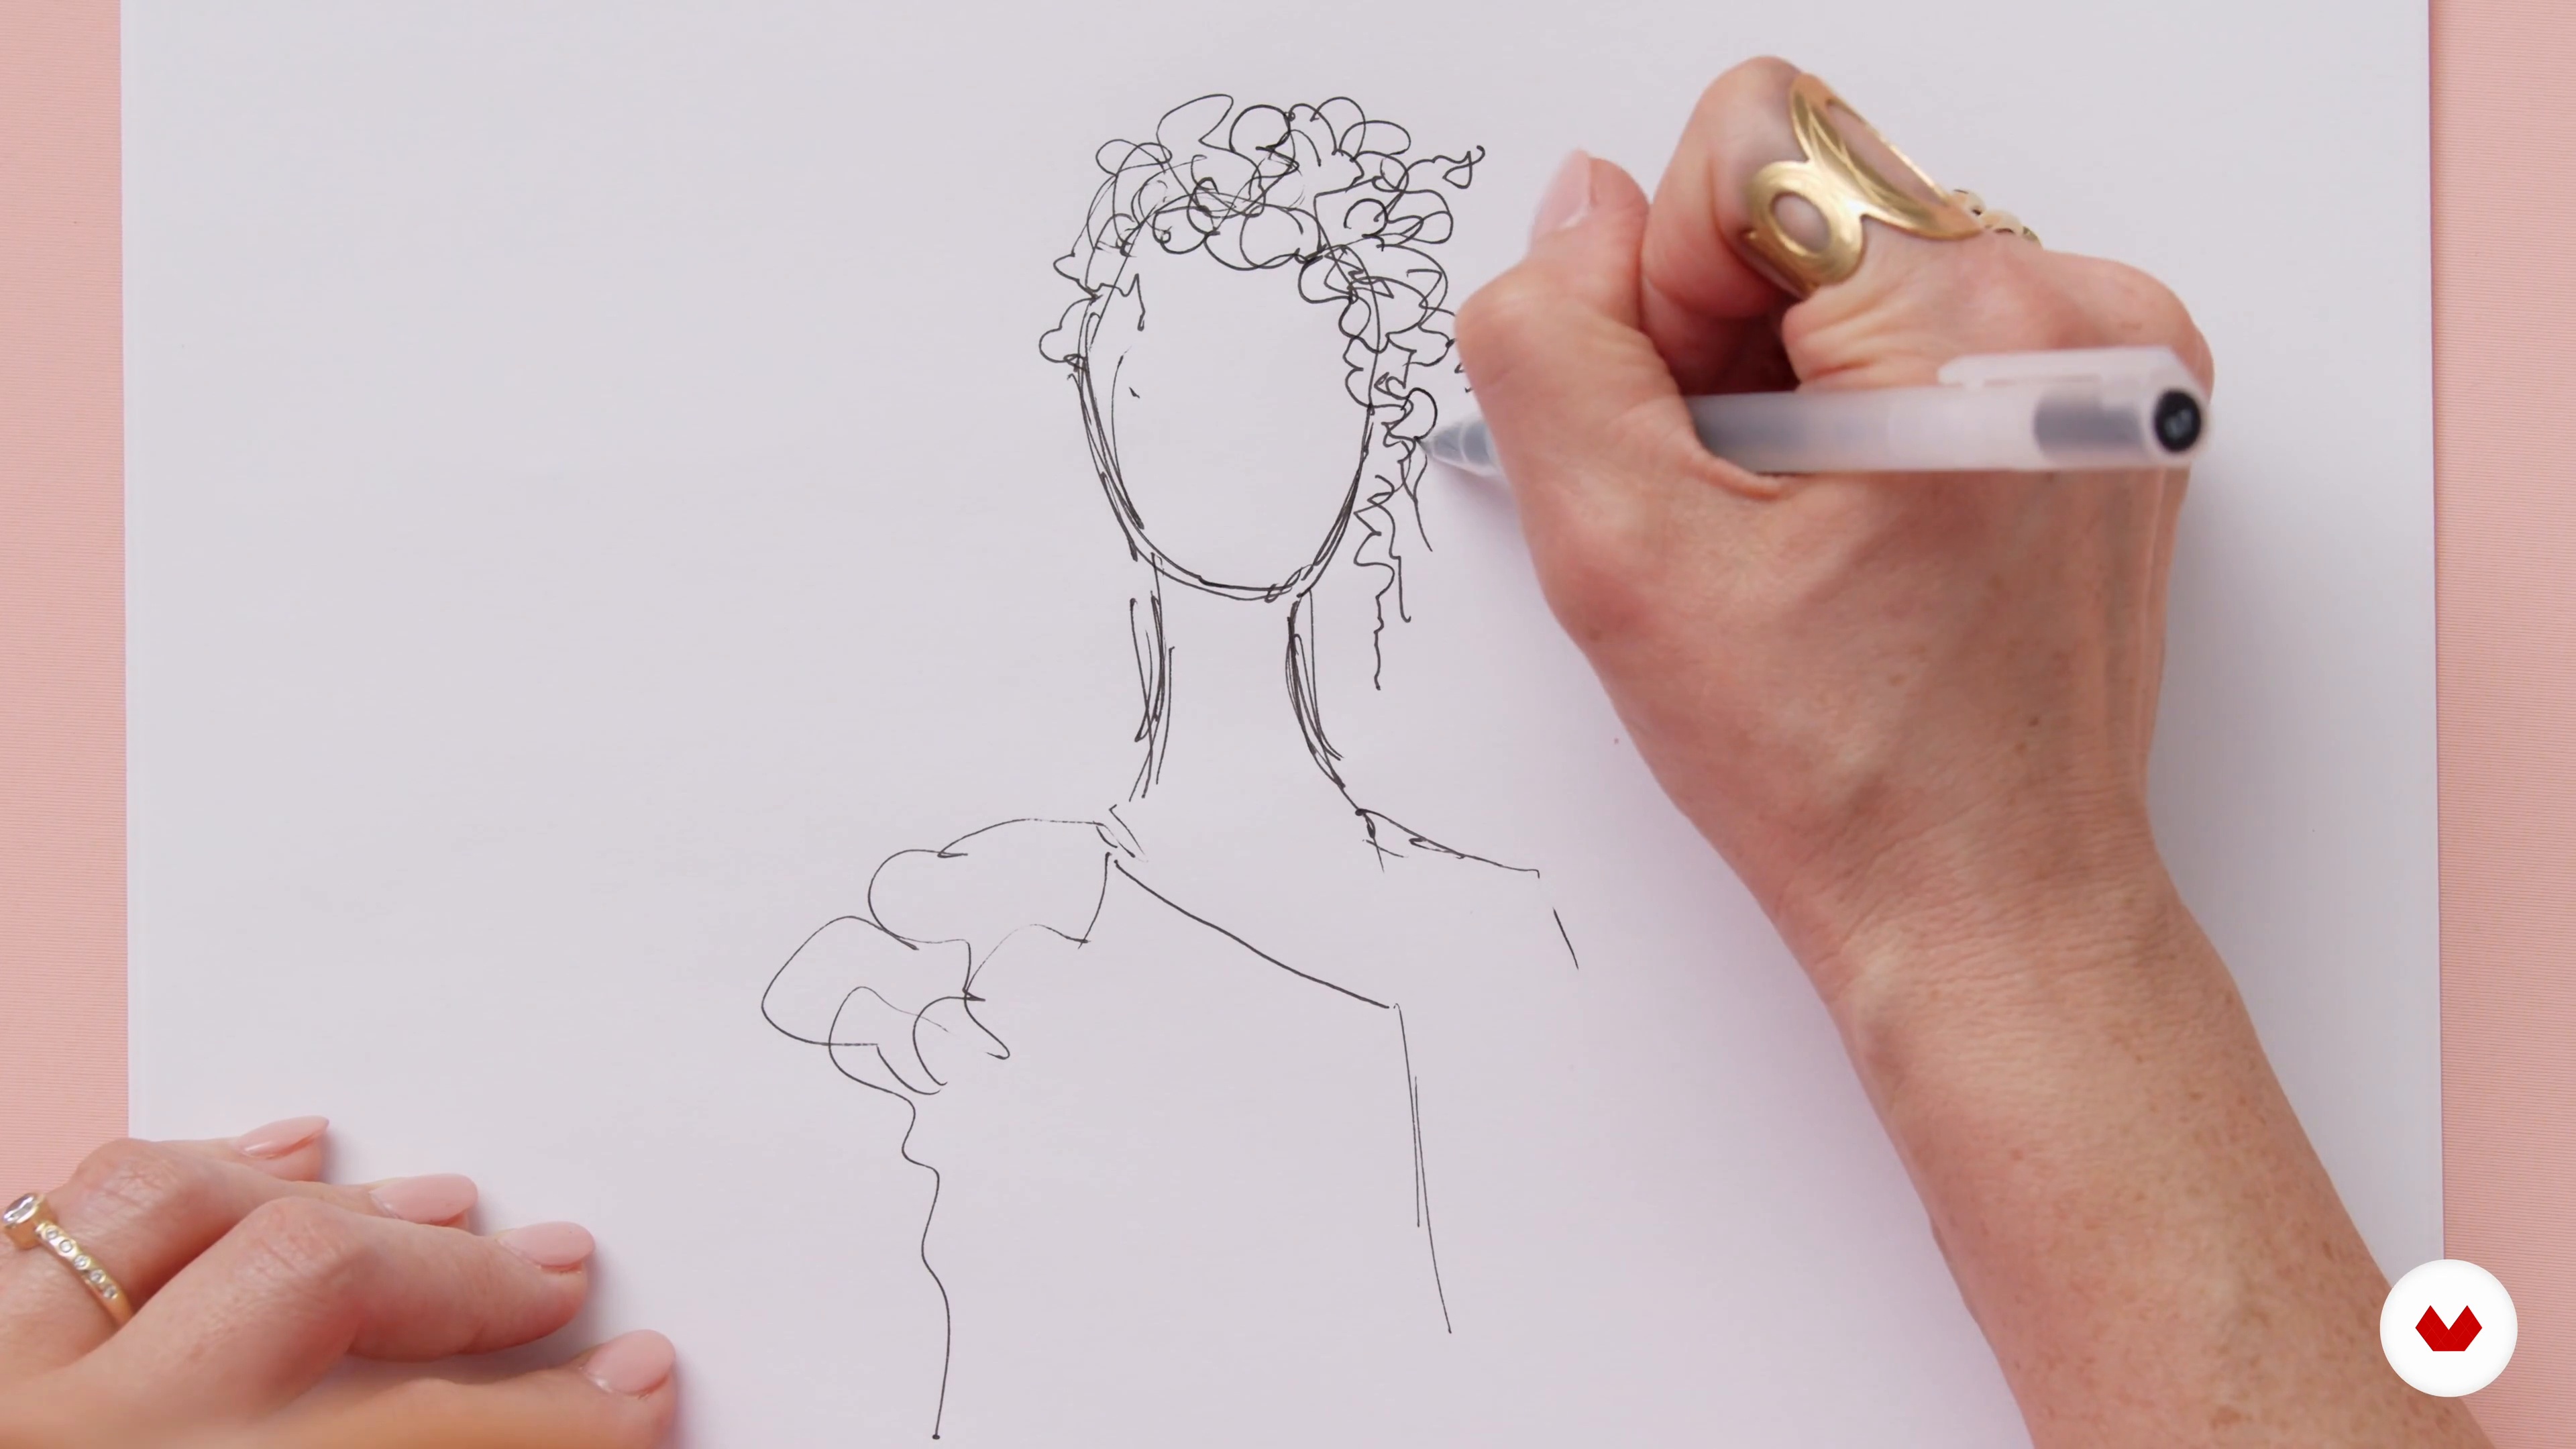
In this lesson, I will share the thought process I use that guides my creative process. I call it “issues and inspiration.” These words guide my choices and balance my needs for self-expression and staying true to my artistic motivations with my client's needs for beautiful, artful, and reliable floral designs.
17m
 7
7Sketching and Color Selection
Now, I'll talk about my thoughts on working with color. I'll outline the color selections I made for the three projects of this course and share thoughts on colorful past projects.
9m
 8
8Design Mechanics and Structural Selections
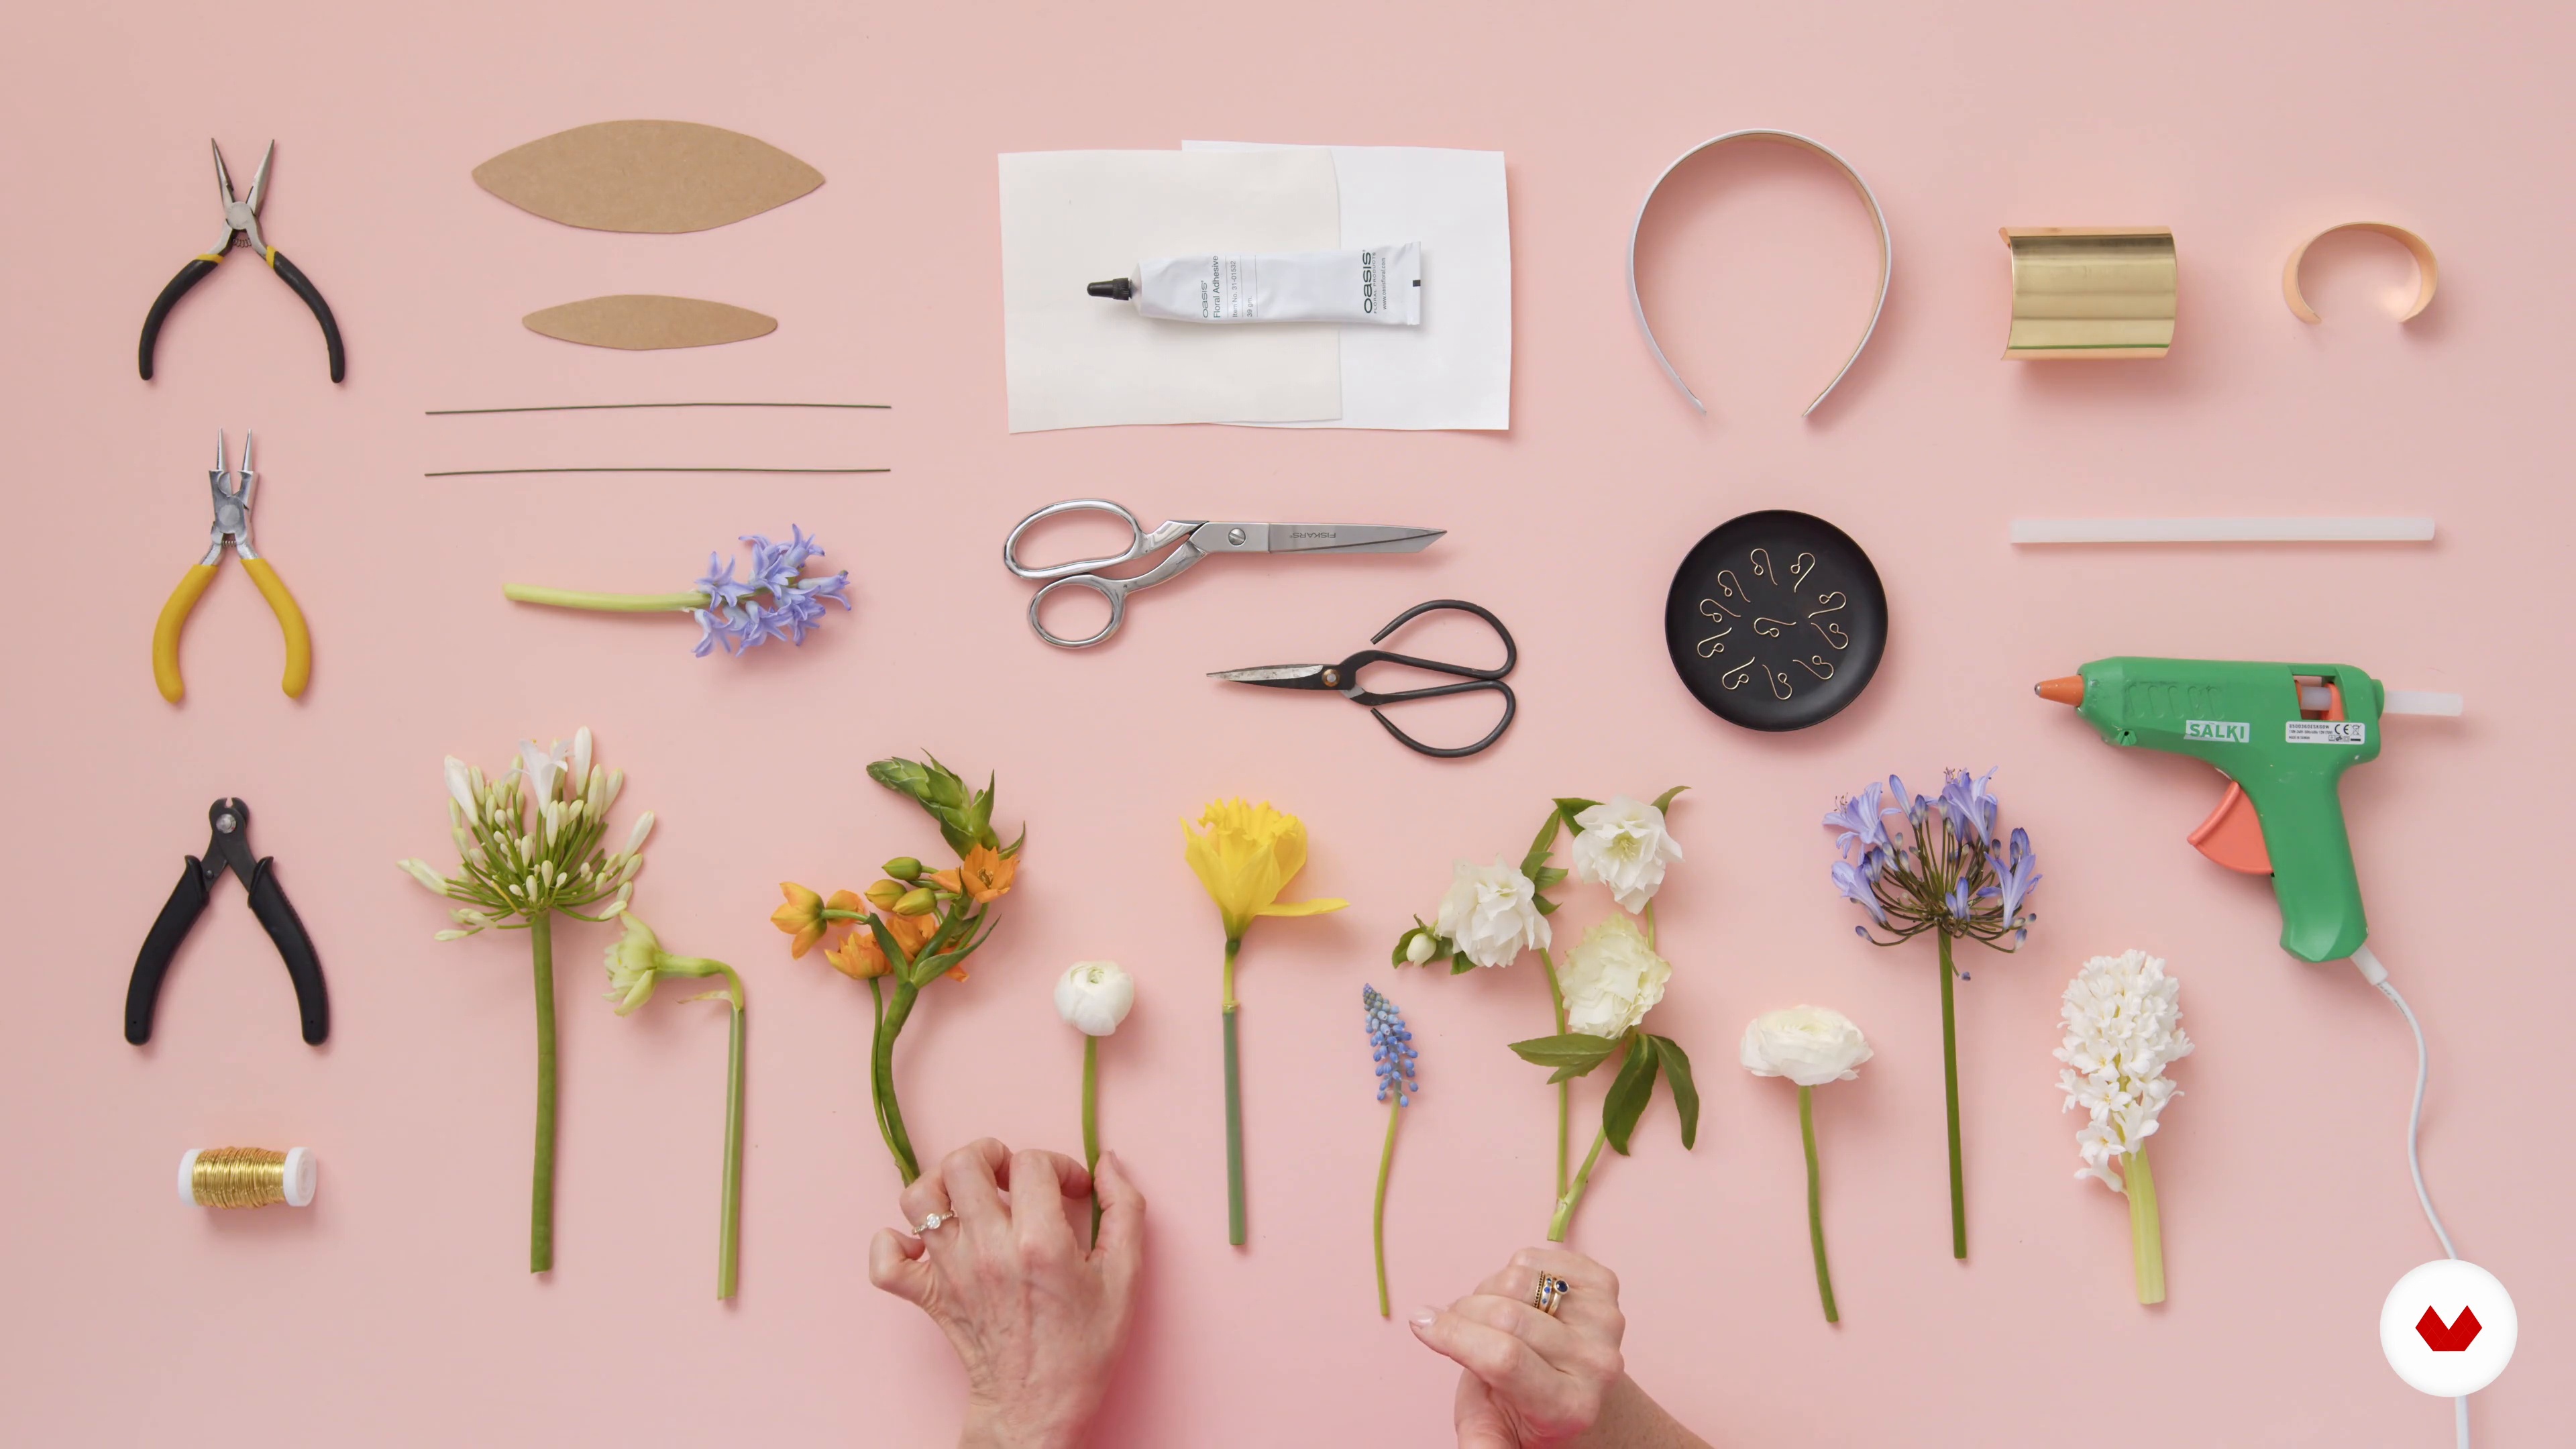
Here, you'll learn about the tools and supplies needed to execute the projects. These are my go-to mechanics-simple elements can be combined in many ways, allowing the ability to bring your ideas to life.
5m
 9
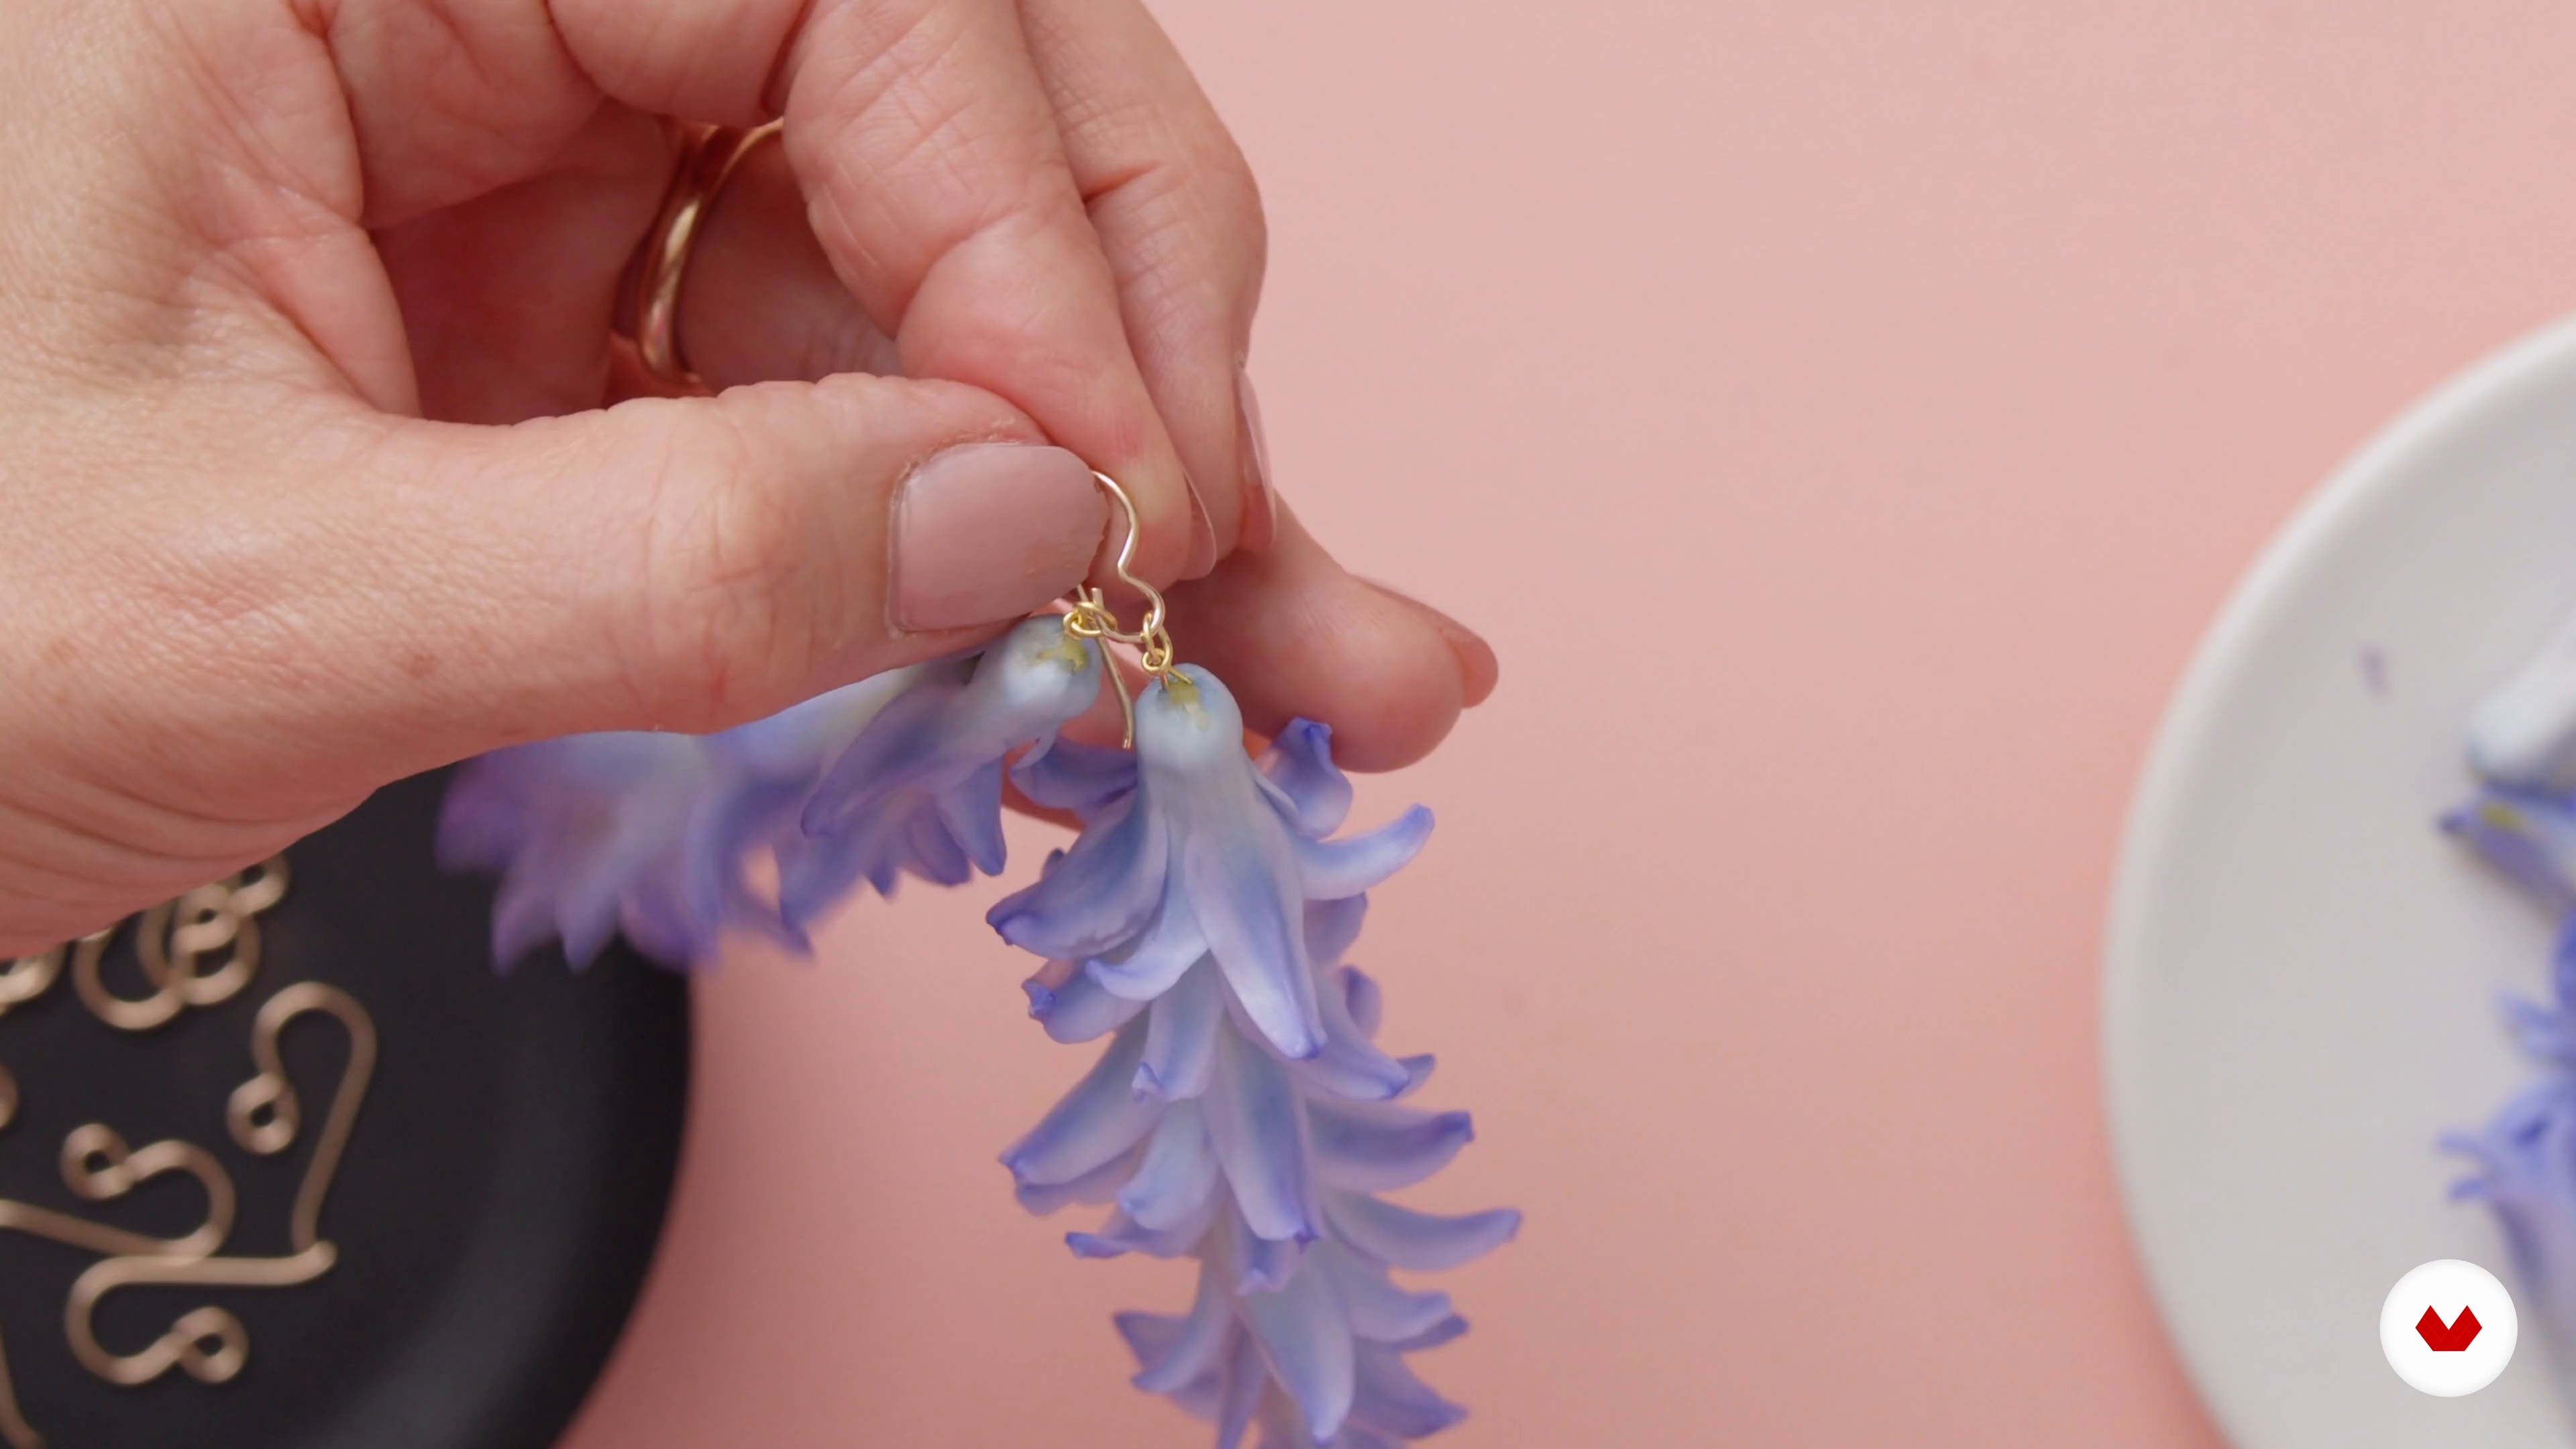
9Floral Earrings with Wire
To begin with, I'll make a pair of expressive, fresh floral earrings. You'll learn to employ simple, approachable jewelry techniques to transform a handful of hyacinth florets into dynamic, threaded tassel earrings.
13m
 10
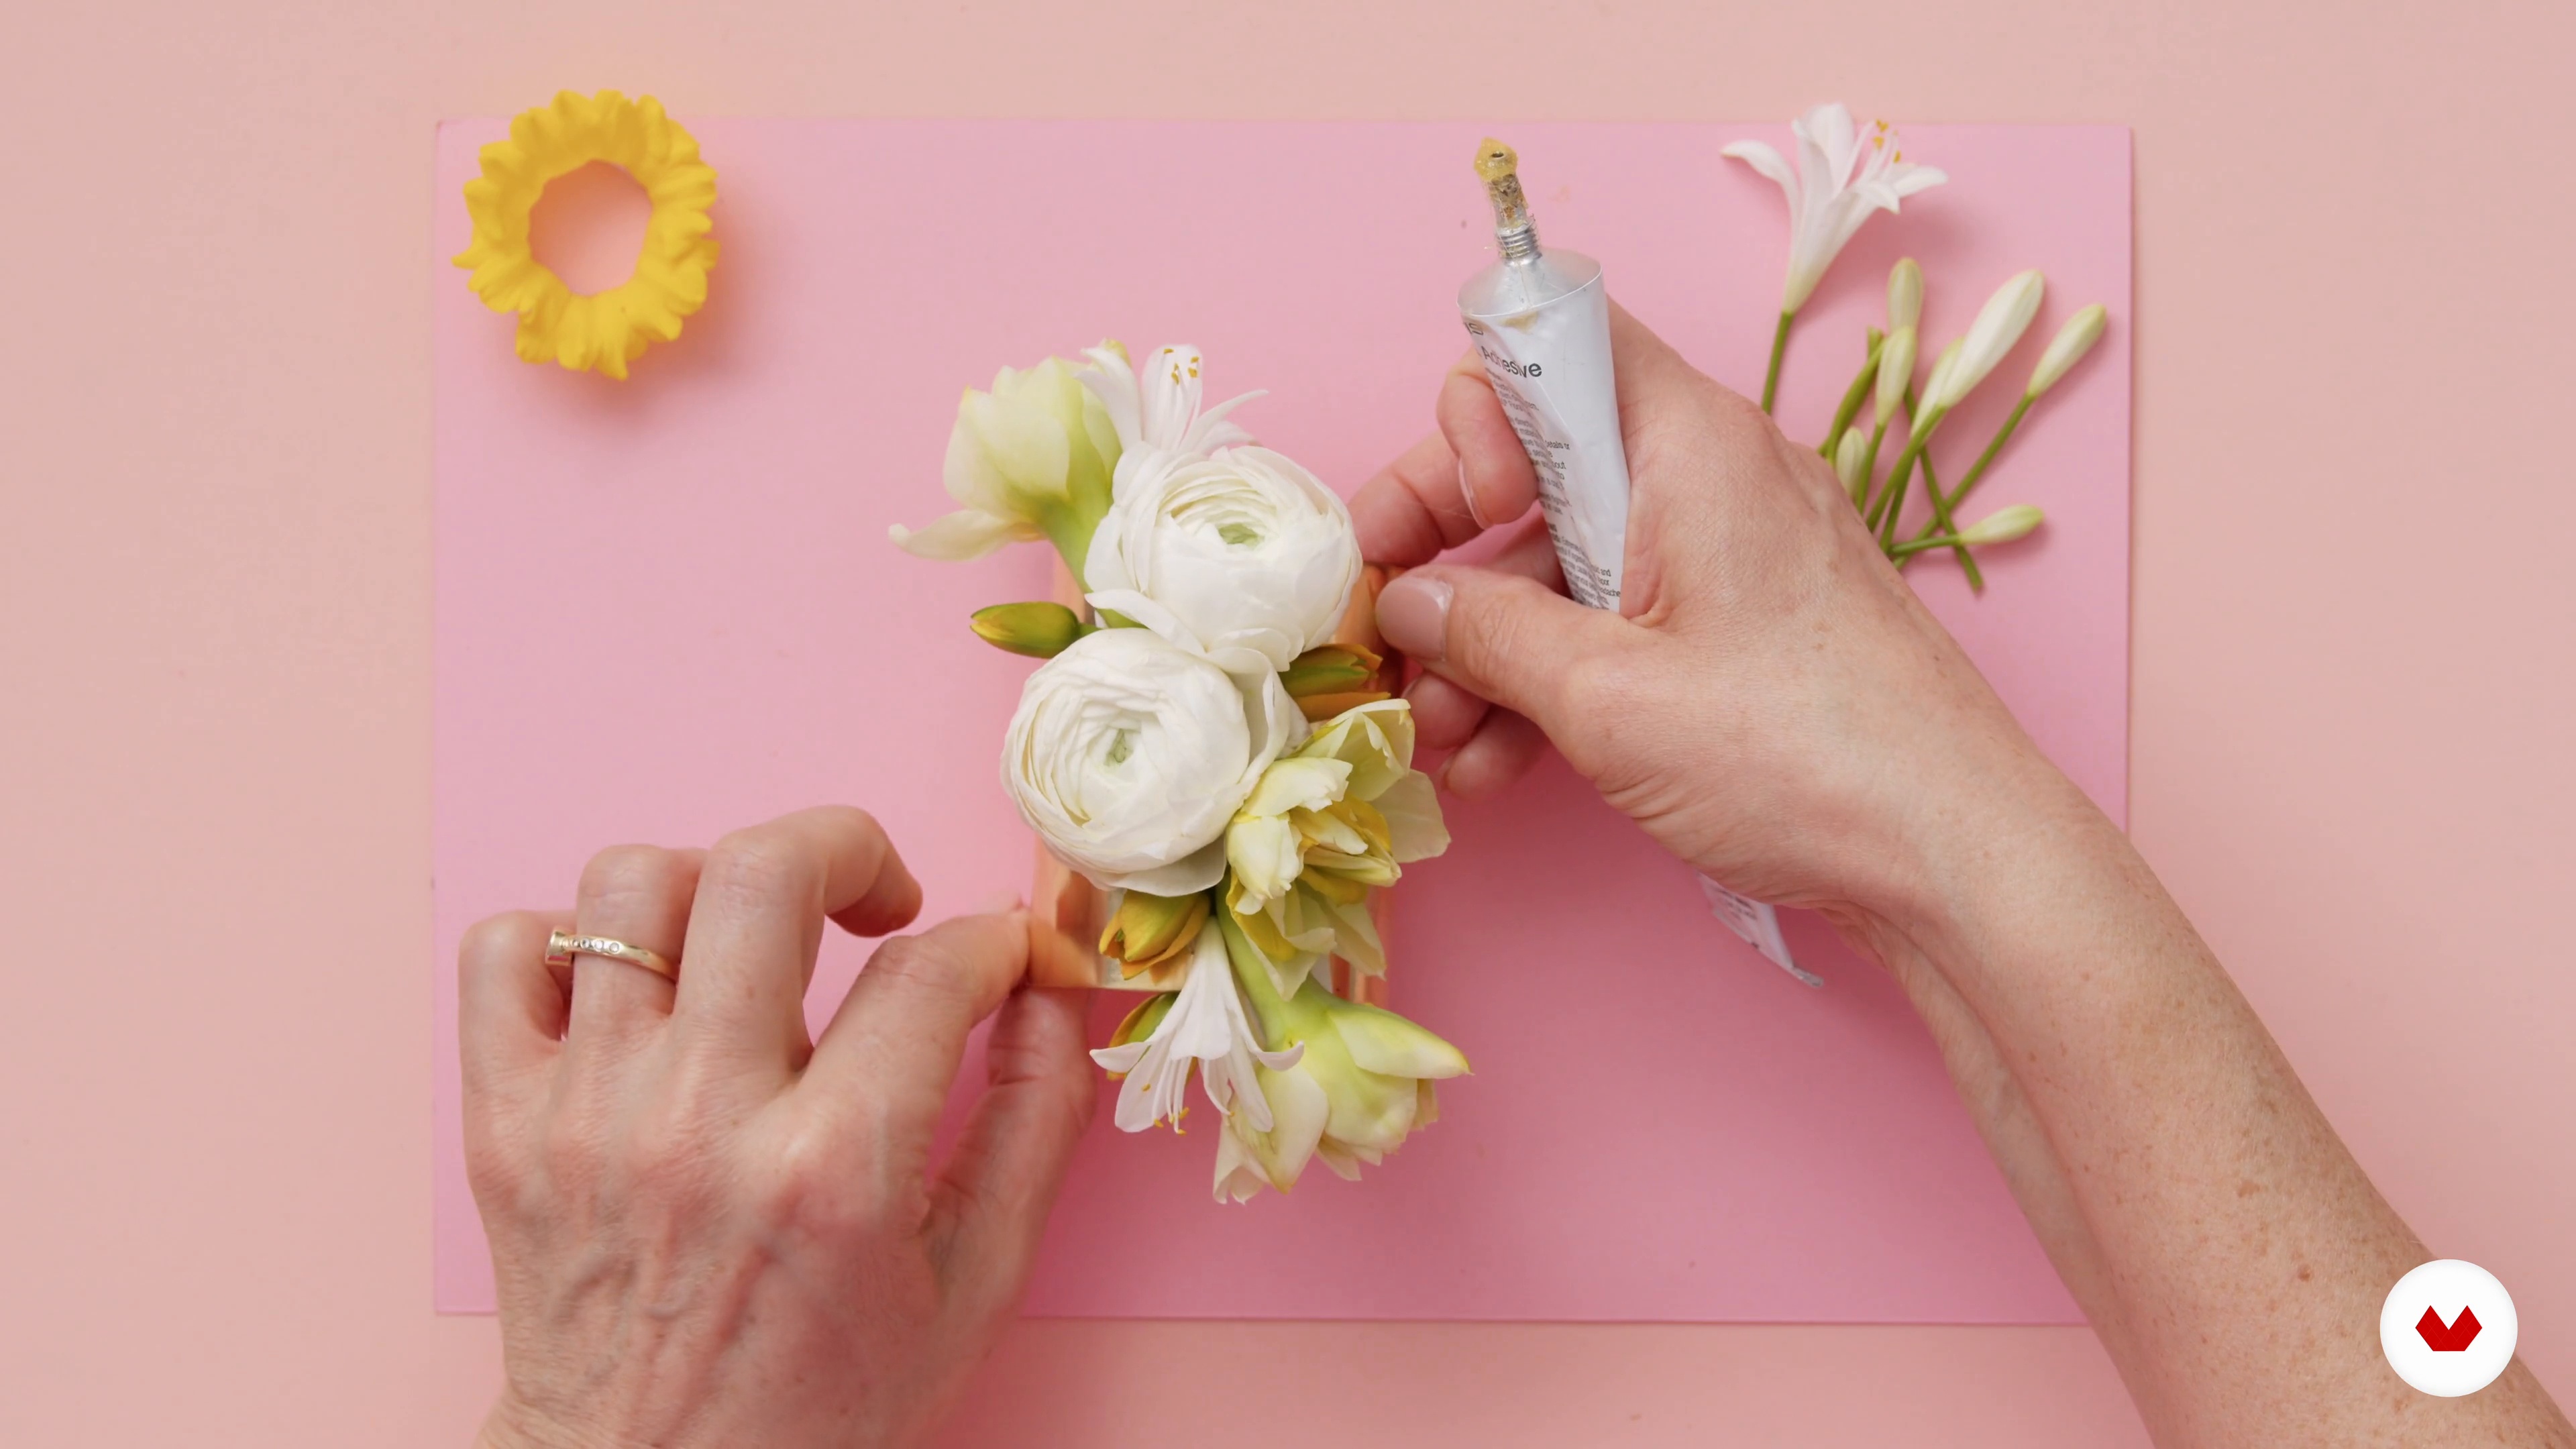
10Floral Bracelet with Glue
Now you'll learn to make a floral bracelet, my take on the traditional wrist corsage. Unlike a traditional corsage, the brass cuff can be worn long after the flower has passed.
20m
 11
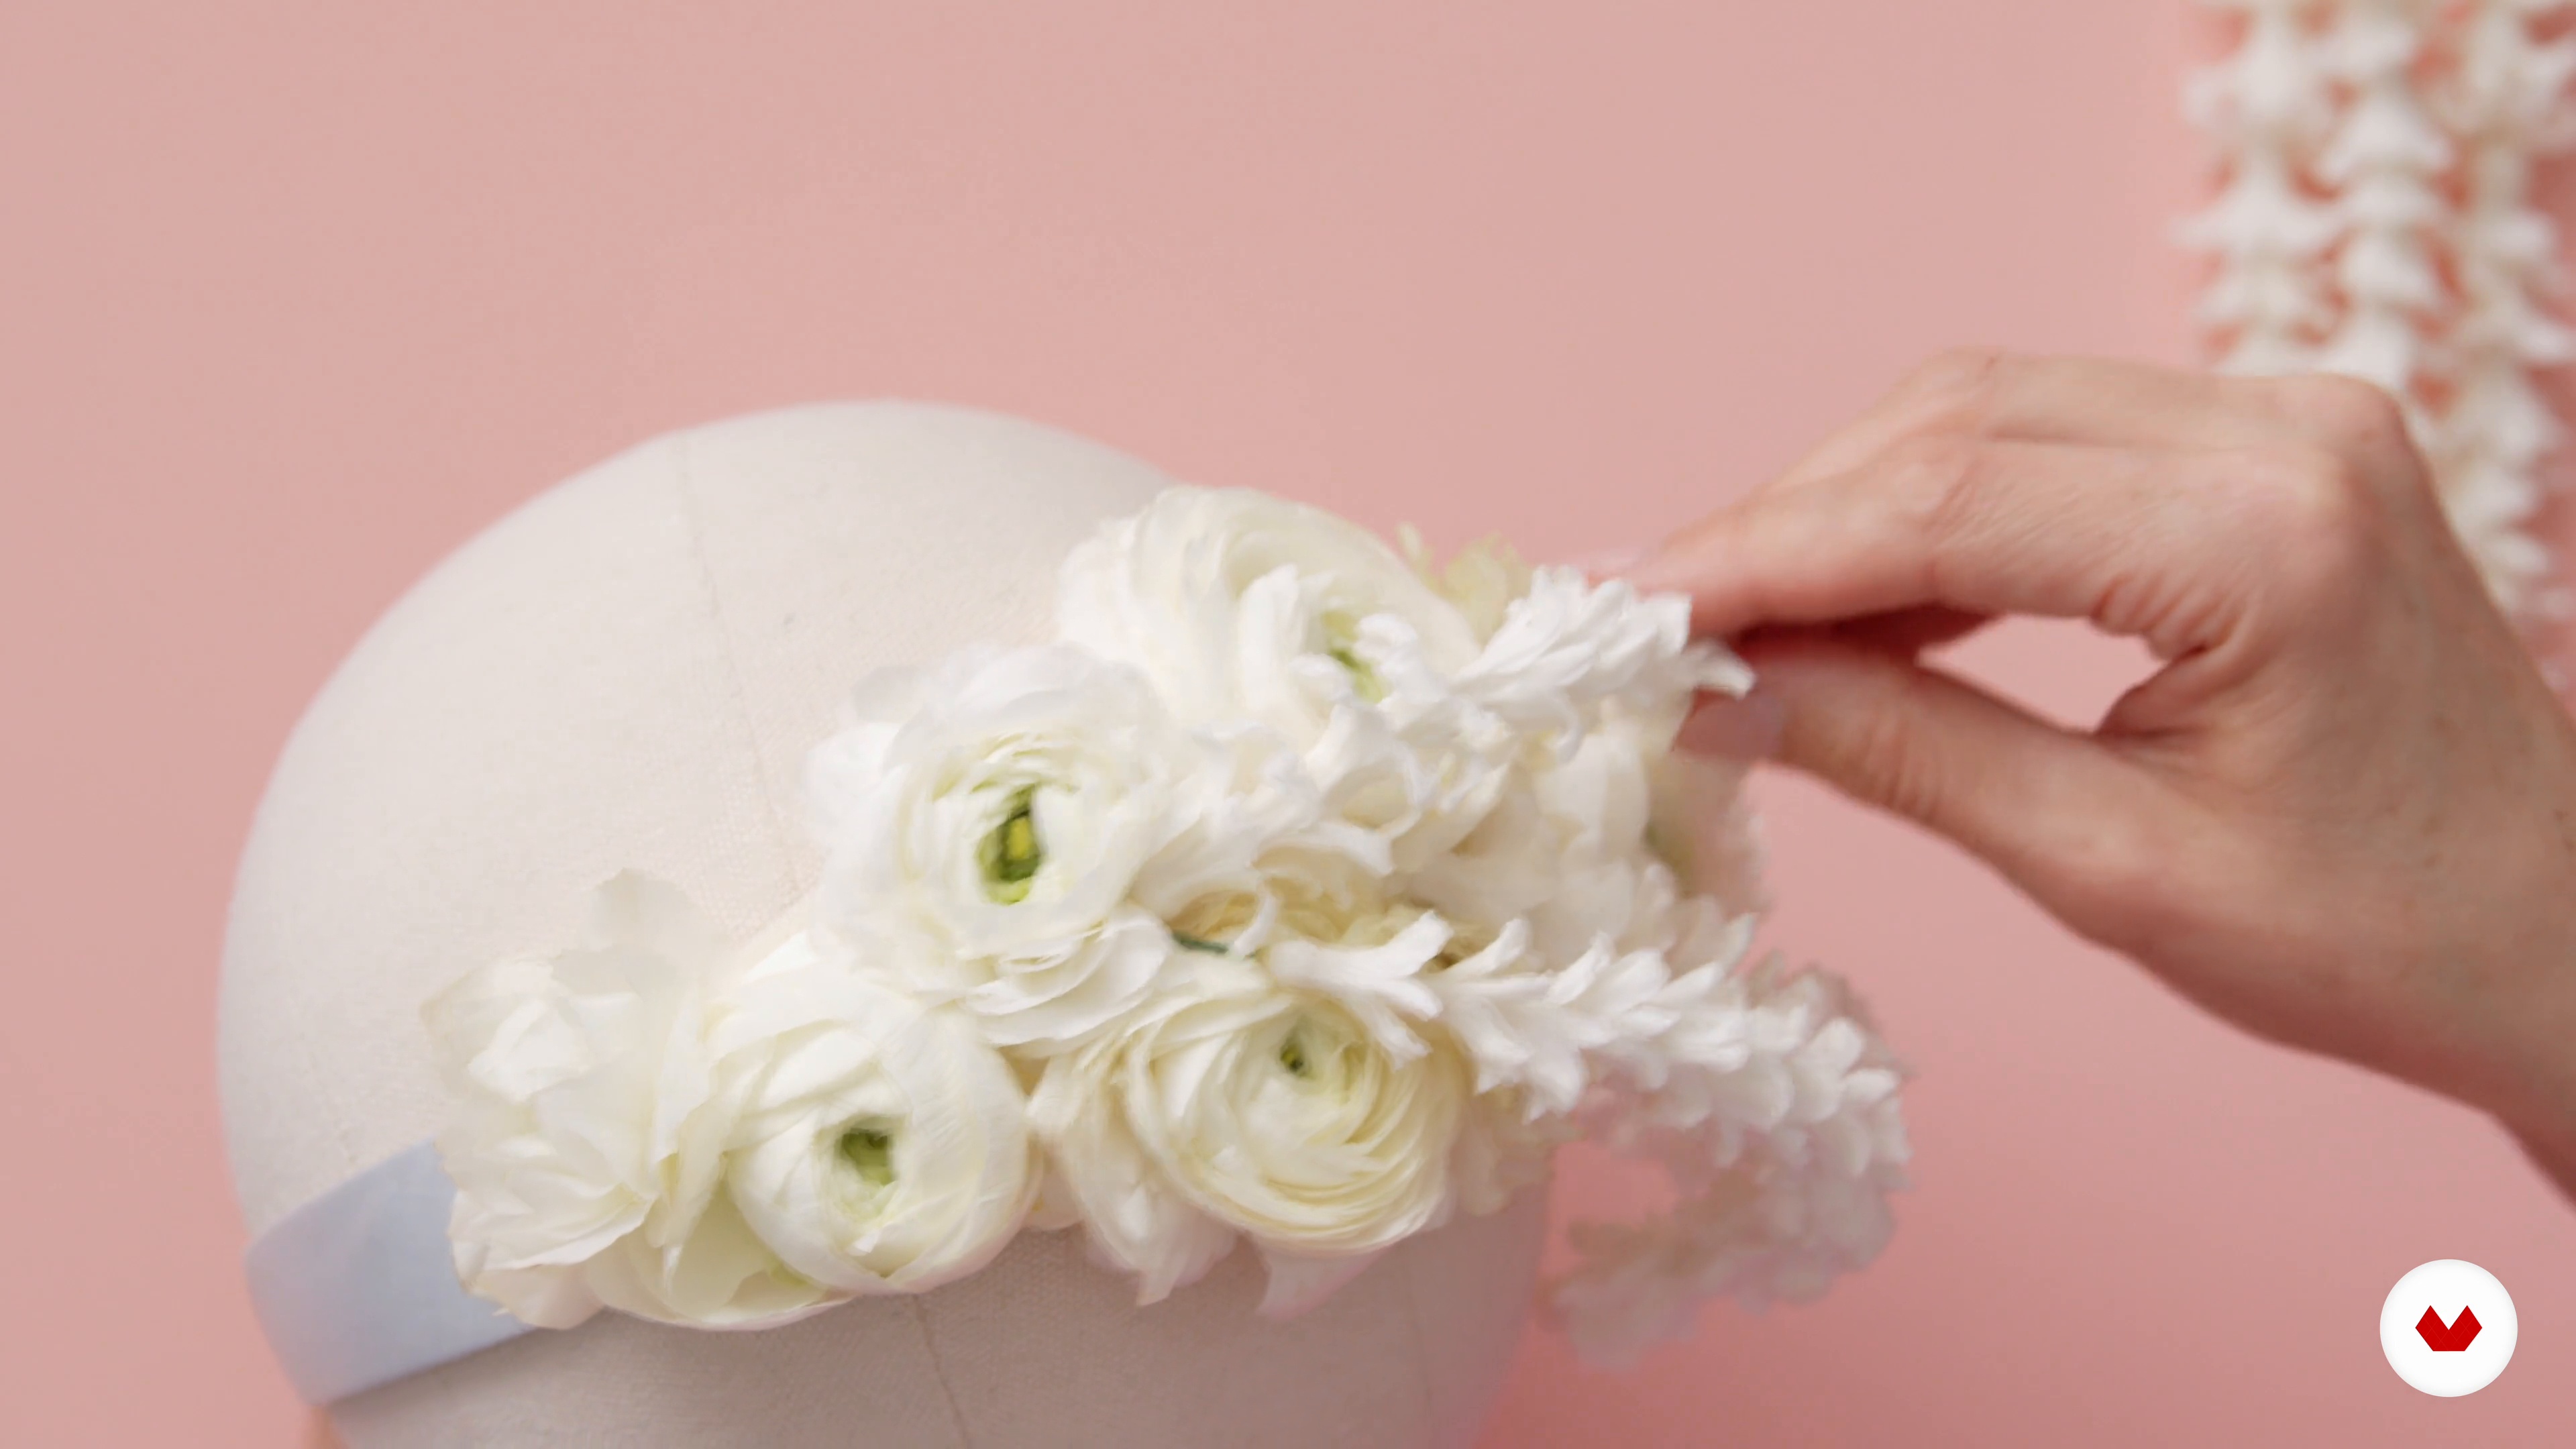
11Floral Headpiece with Wire and Glue 1
During this lesson, you'll learn to combine all of your new skills to create an artful, over-the-top floral headpiece. These can be worn as exquisite accessories for a wedding, a gala, a festival, or a photo session. They are as fun to wear as they are to make!
13m
 12
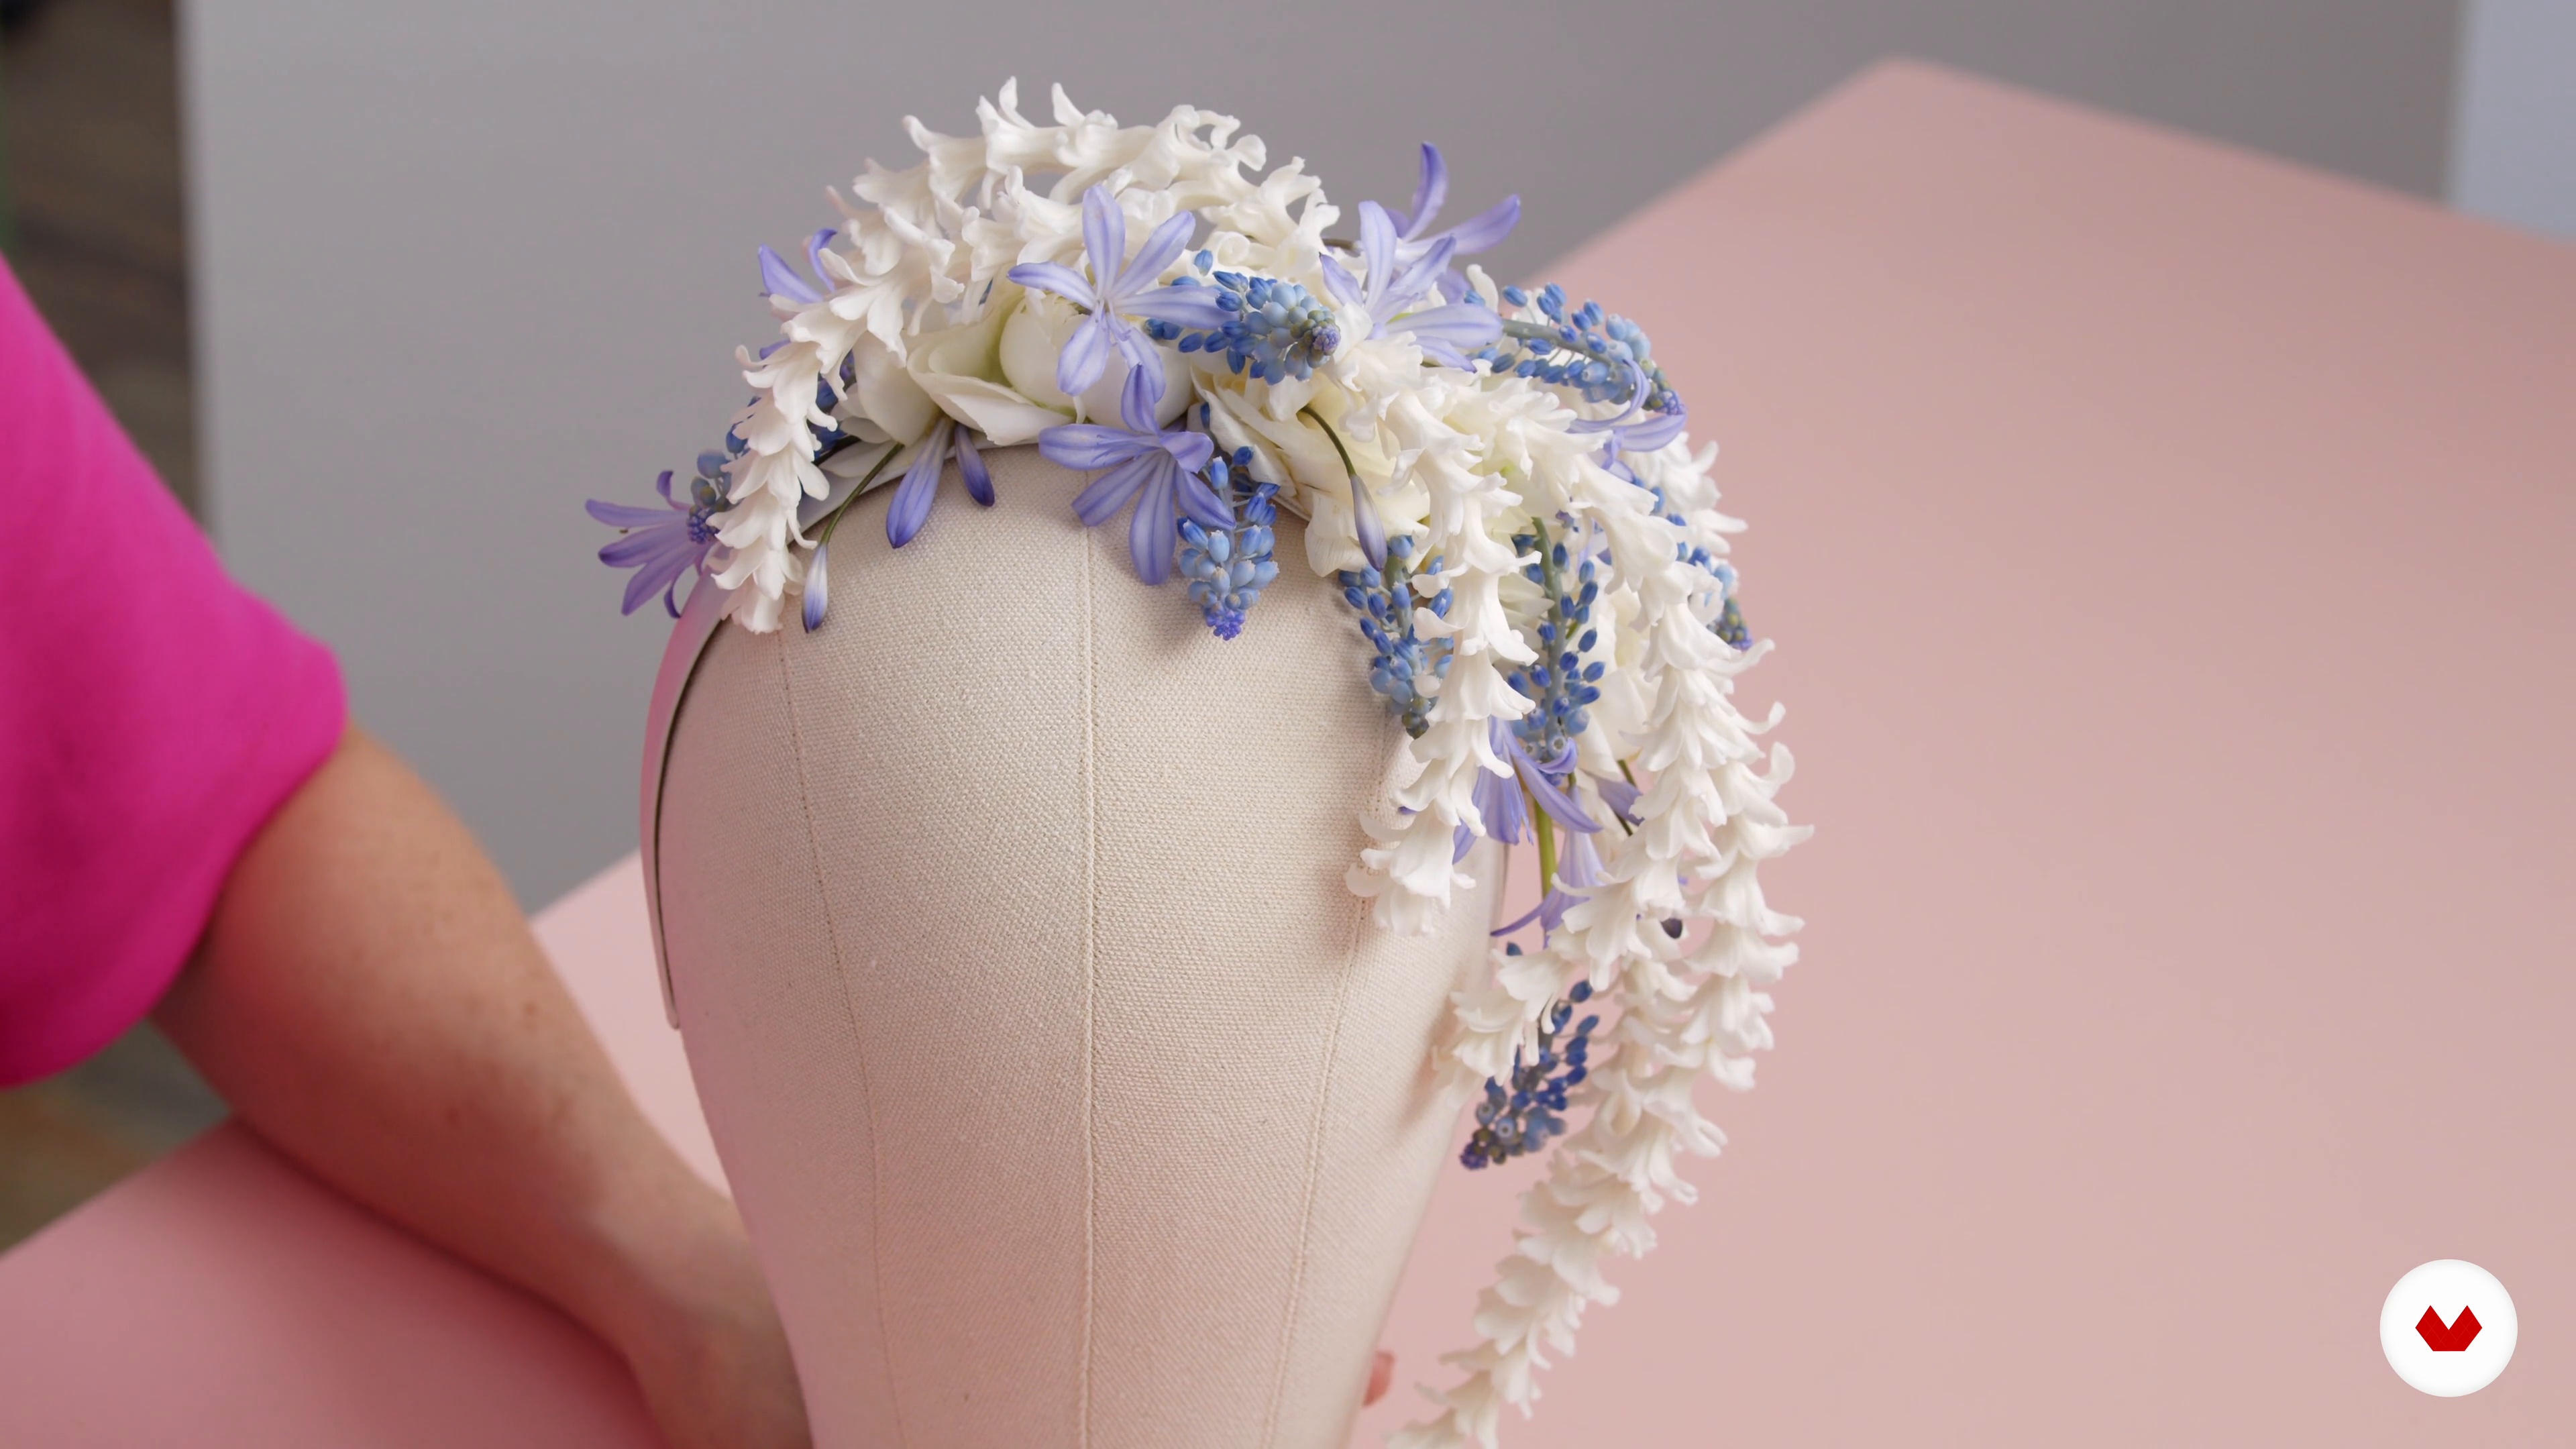
12Floral Headpiece with Wire and Glue 2
In this lesson, I'll continue showing you how to create the floral headpiece.
11m
 13
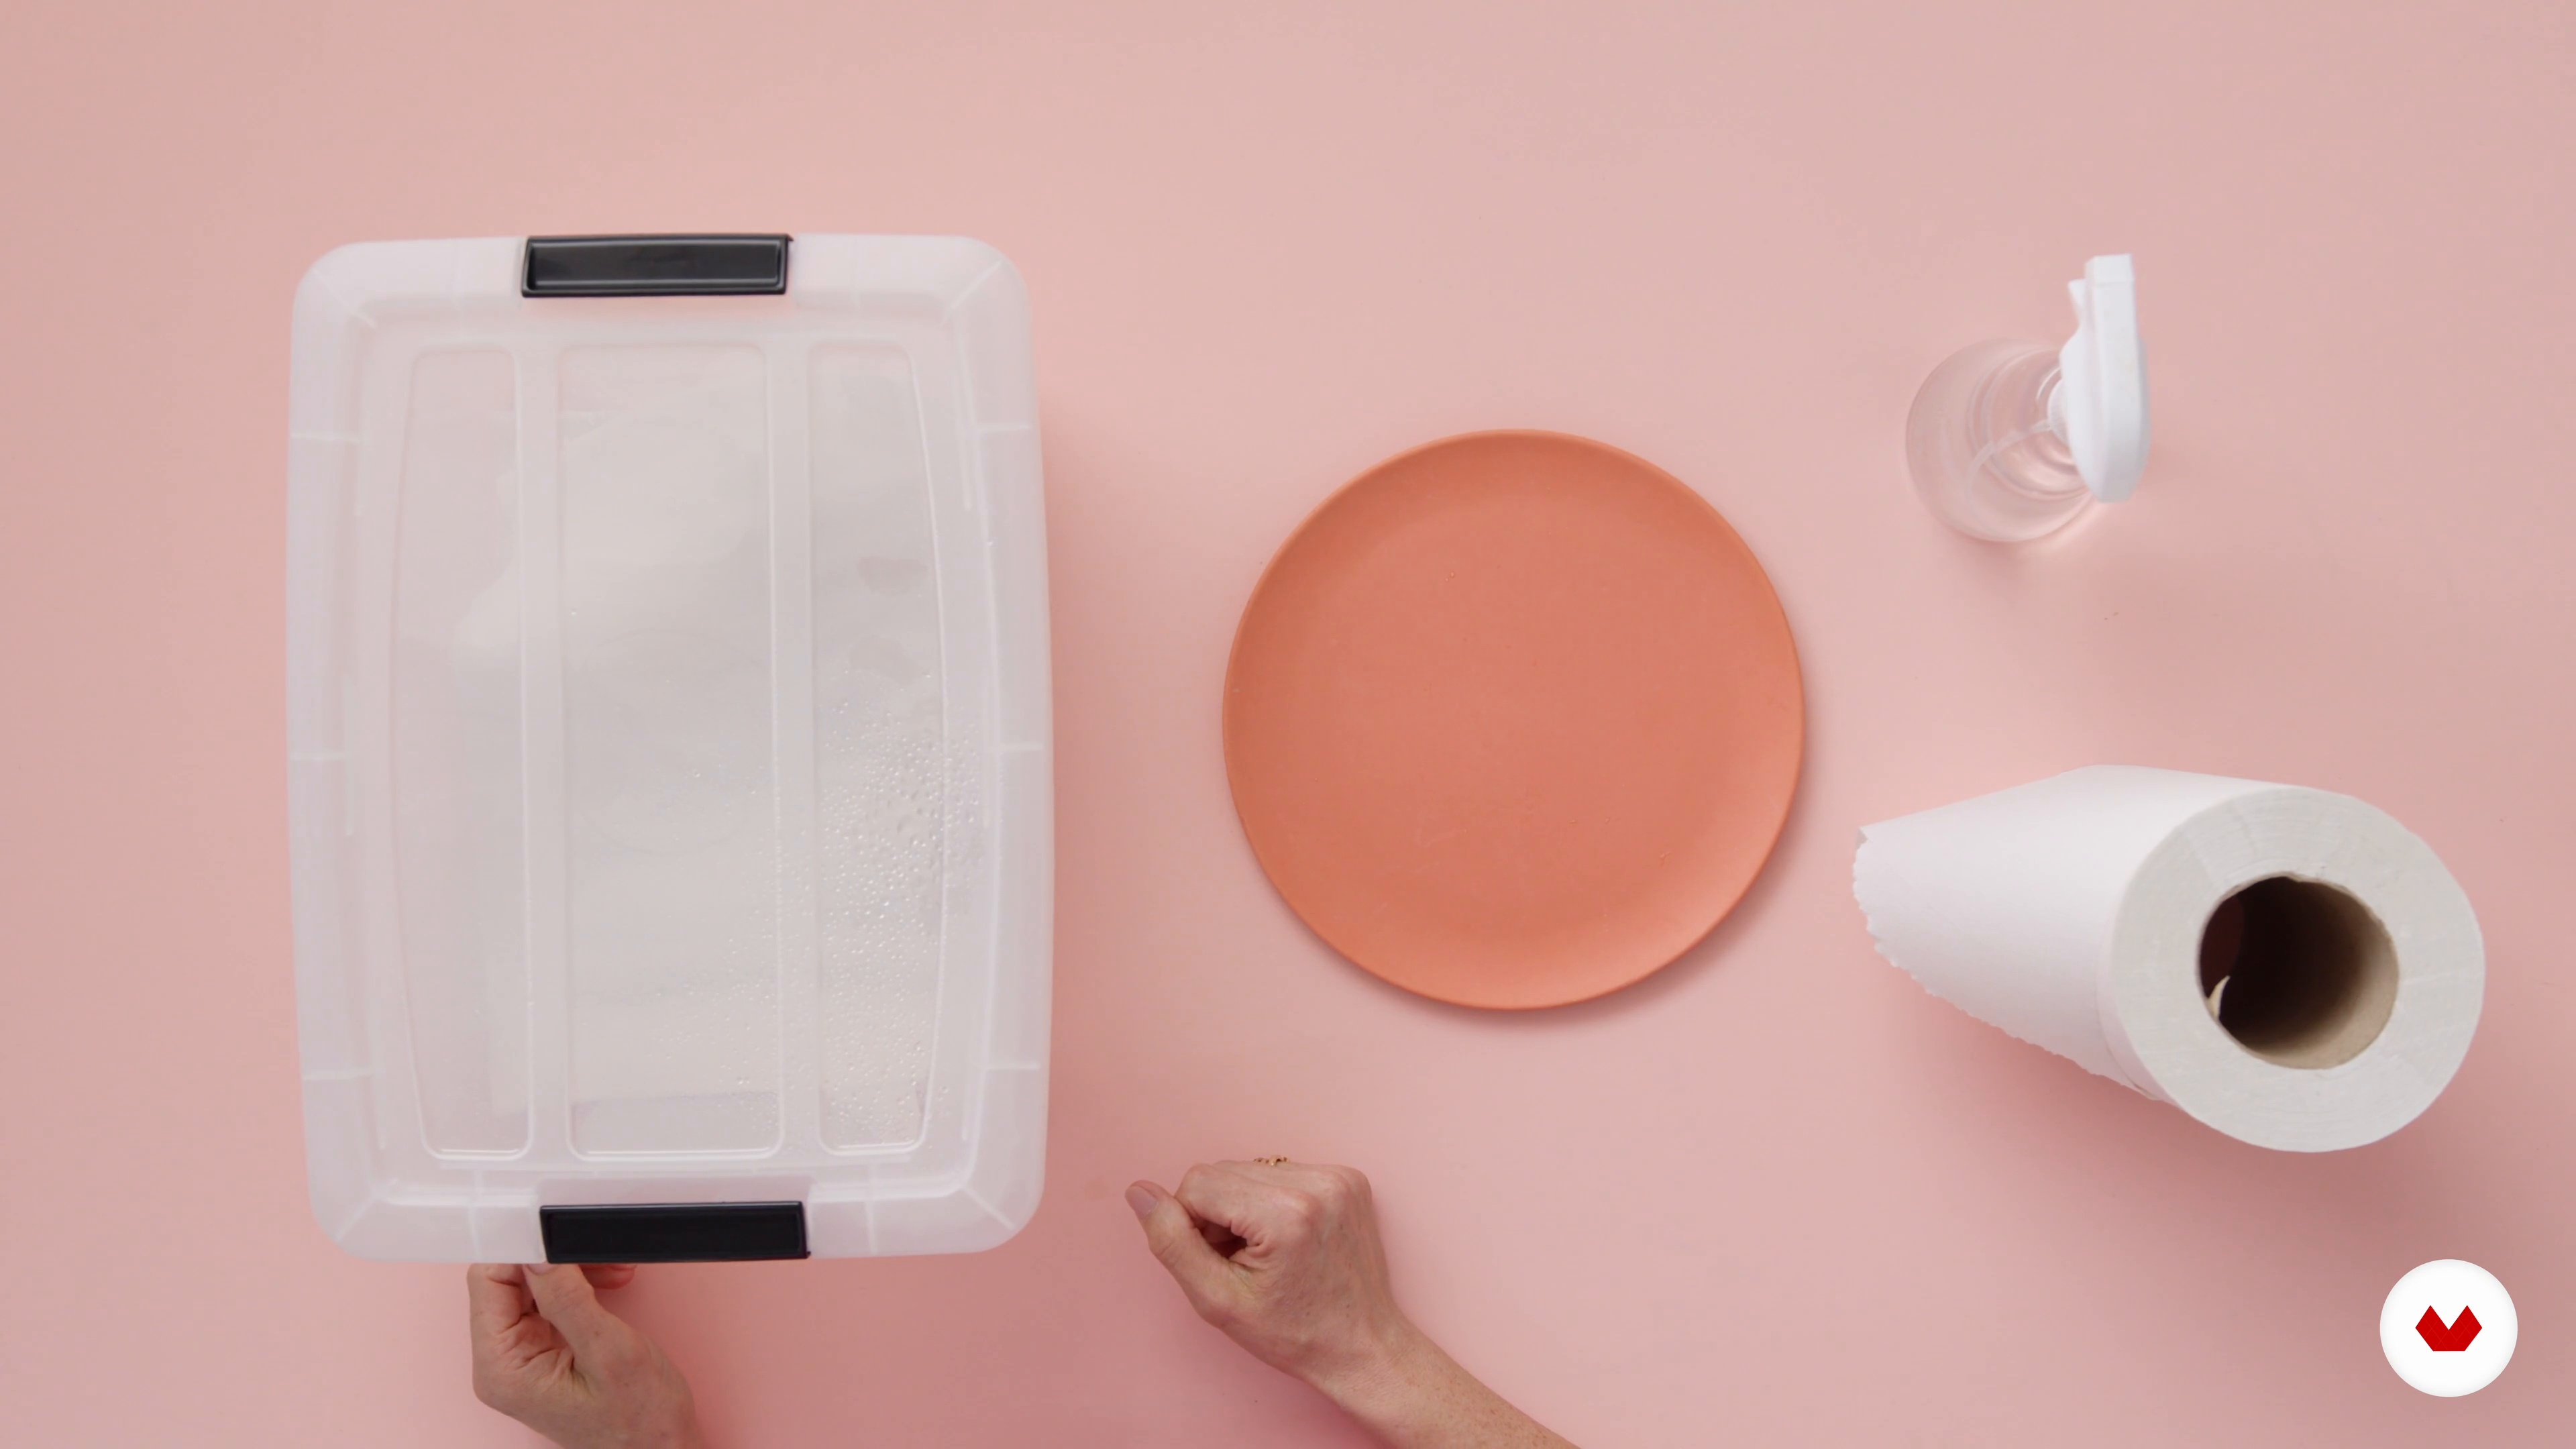
13The Hydration Chamber
Let's talk about the simple, natural conditioning process I call the “hydration chamber.” During this process, flowers and foliages take in moisture through the microscopic pores in their petals, leaves, and stems, plumping them up and promoting longevity.
3m
 14
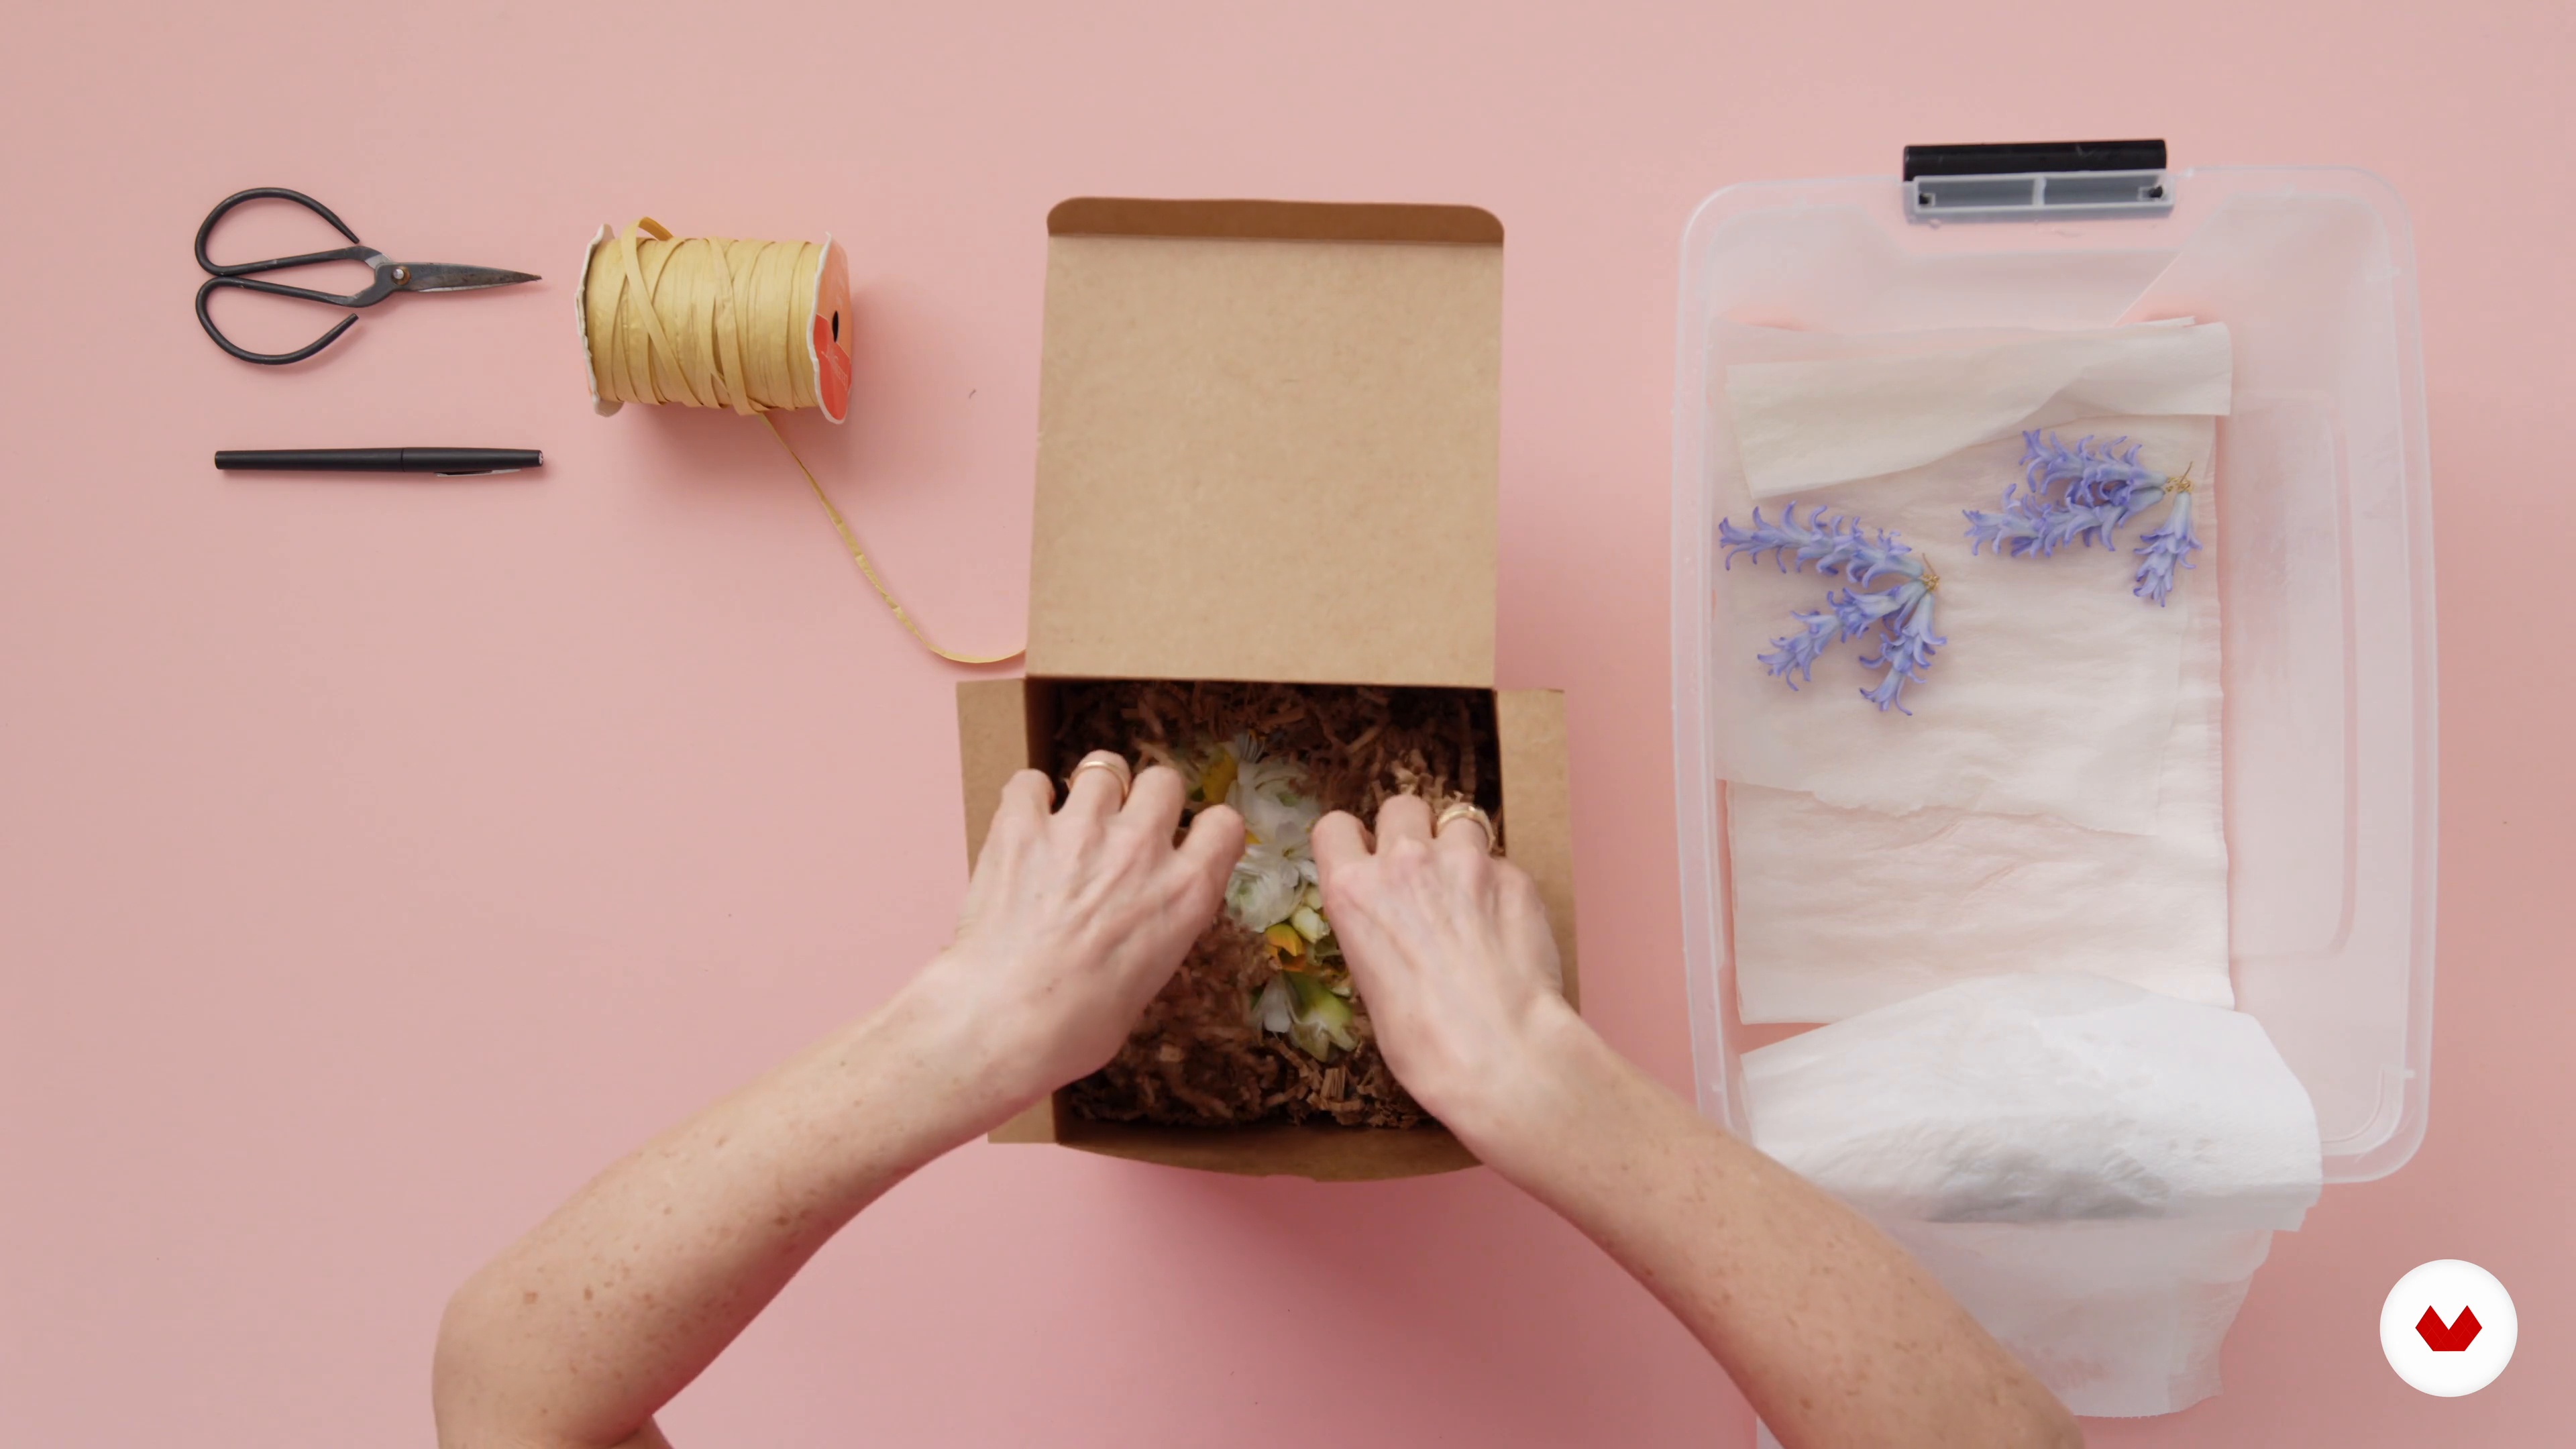
14Packing and Storing
So much care is taken to create your work: in this lesson, I will share how to care for and present the finished products.
3m
 15
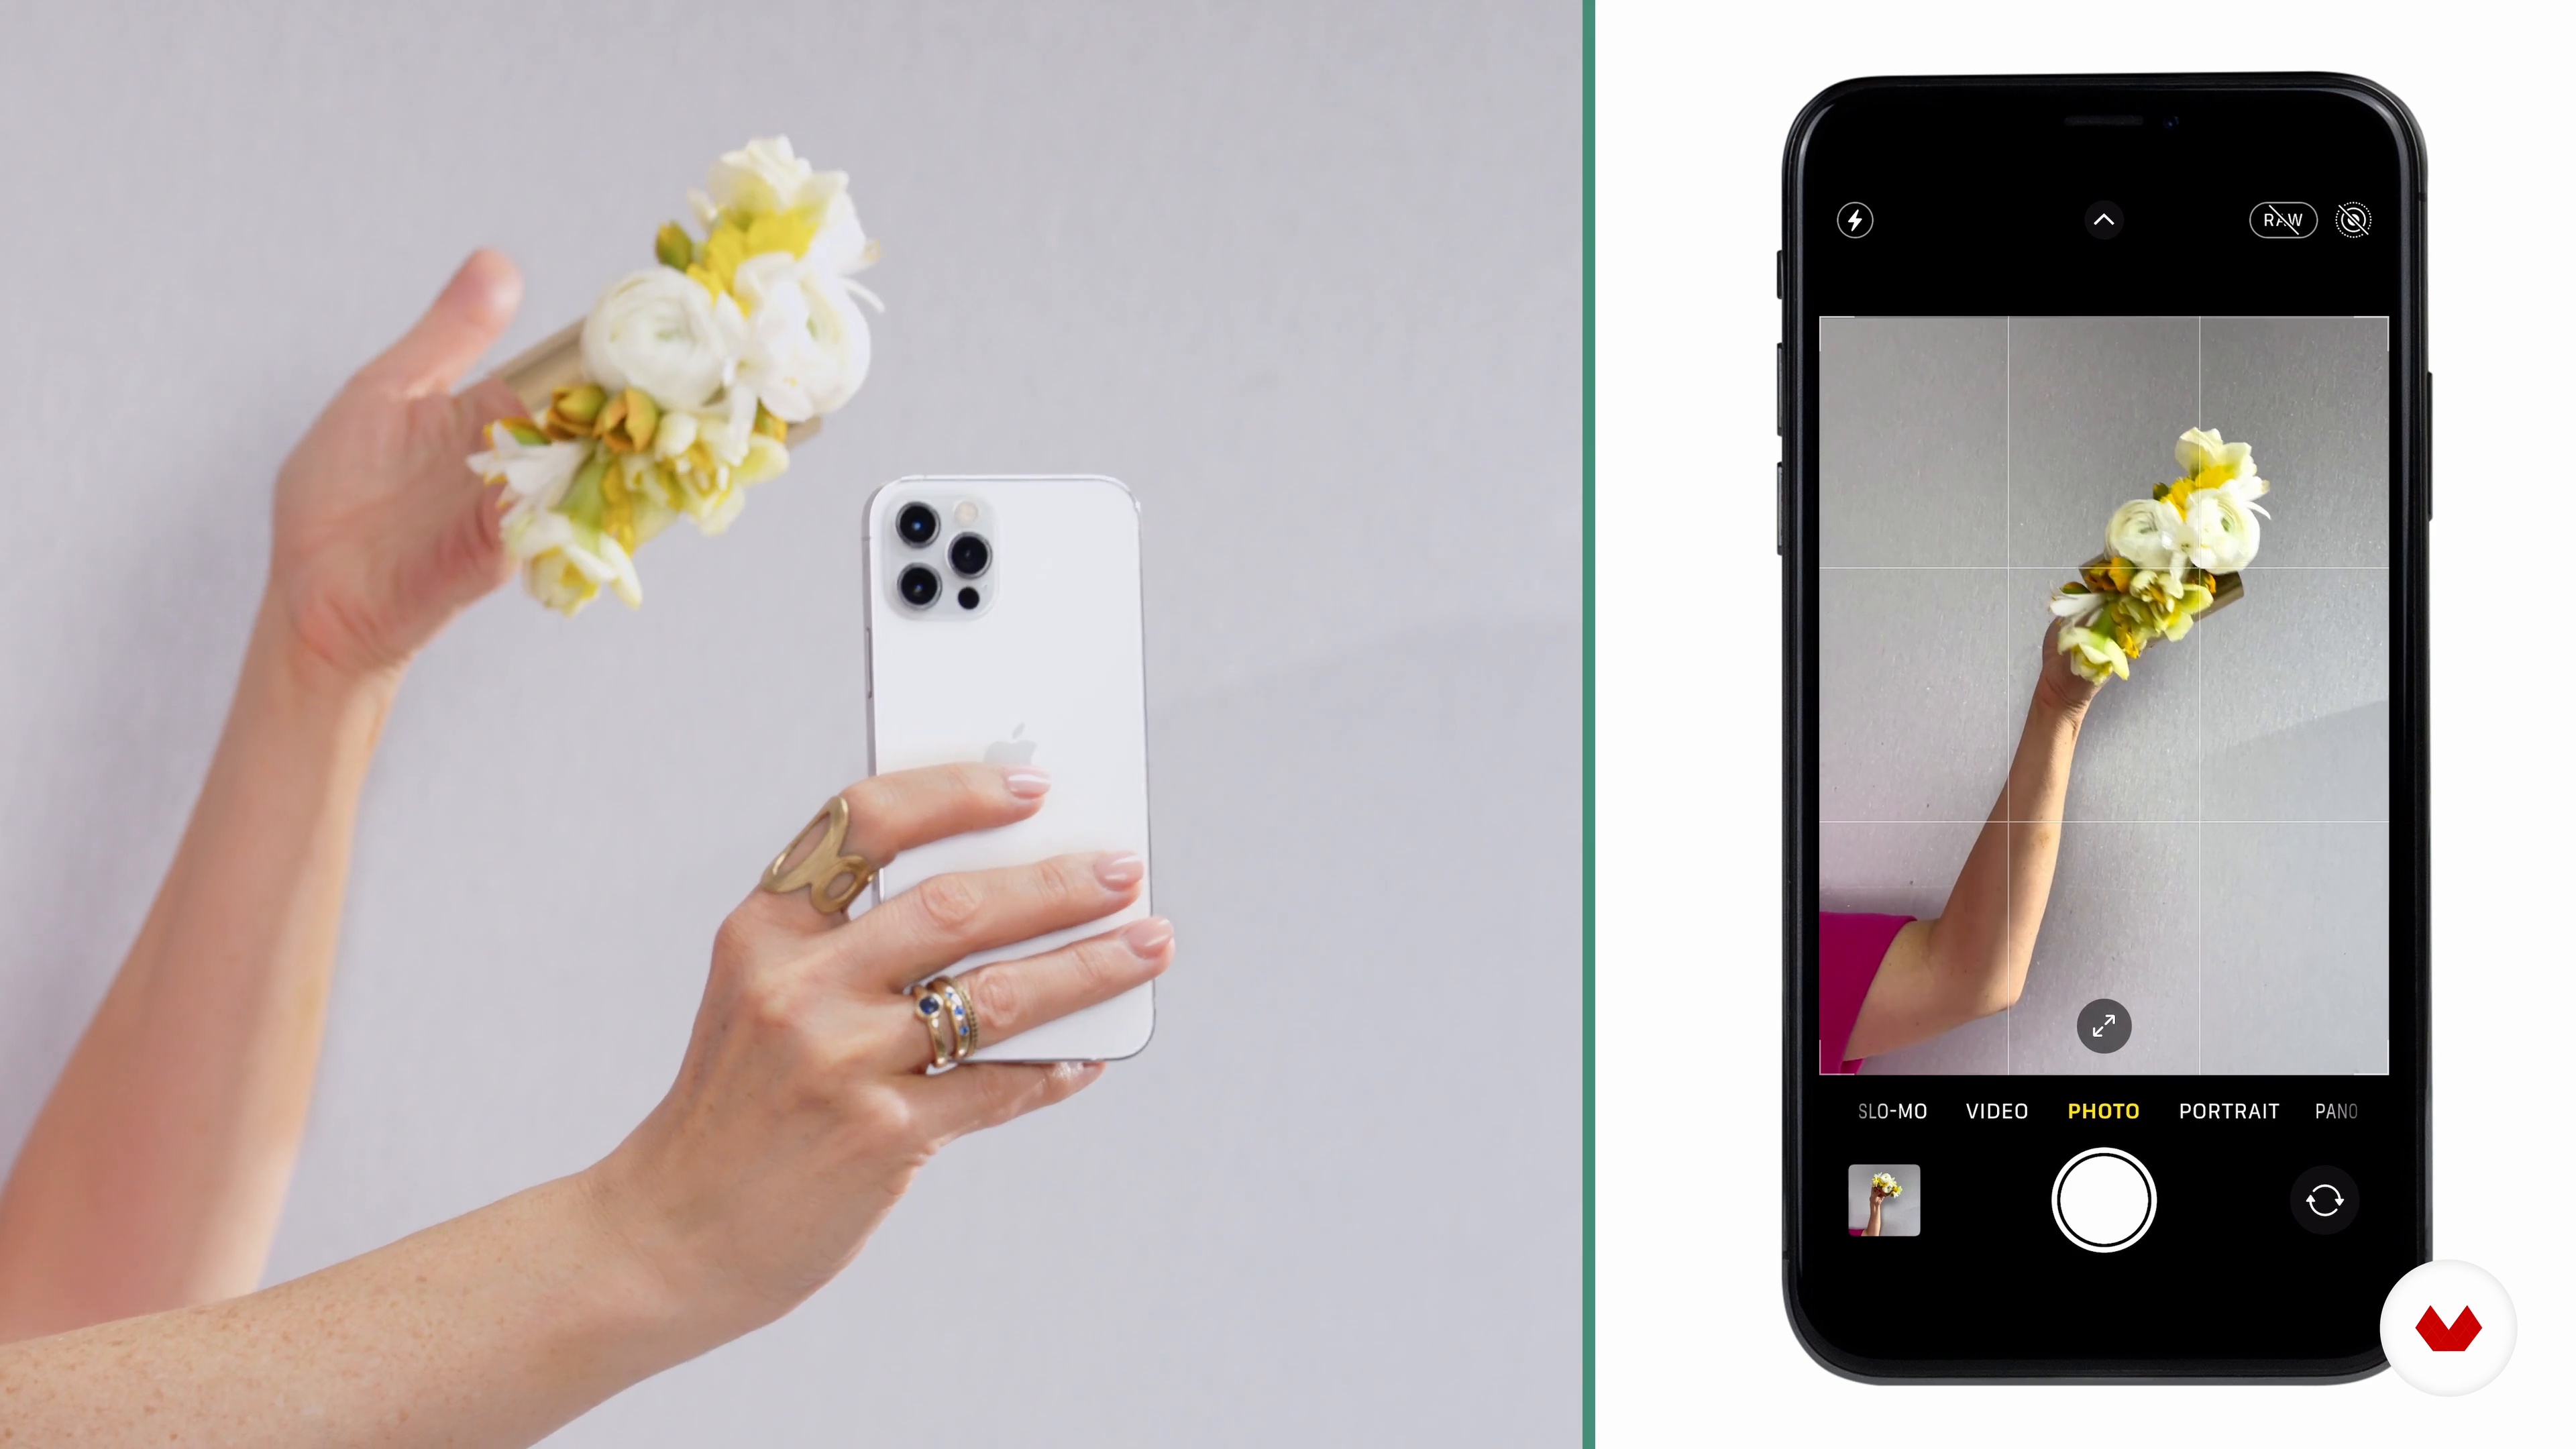
15Sharing Your Work
In this lesson, I will share my tips for taking quality phone photos and sharing them with the world. Sharing my work on Instagram resulted in a publisher finding me and asking me to write a book! If you share, you open yourself up to new experiences and opportunities.
4m
 3
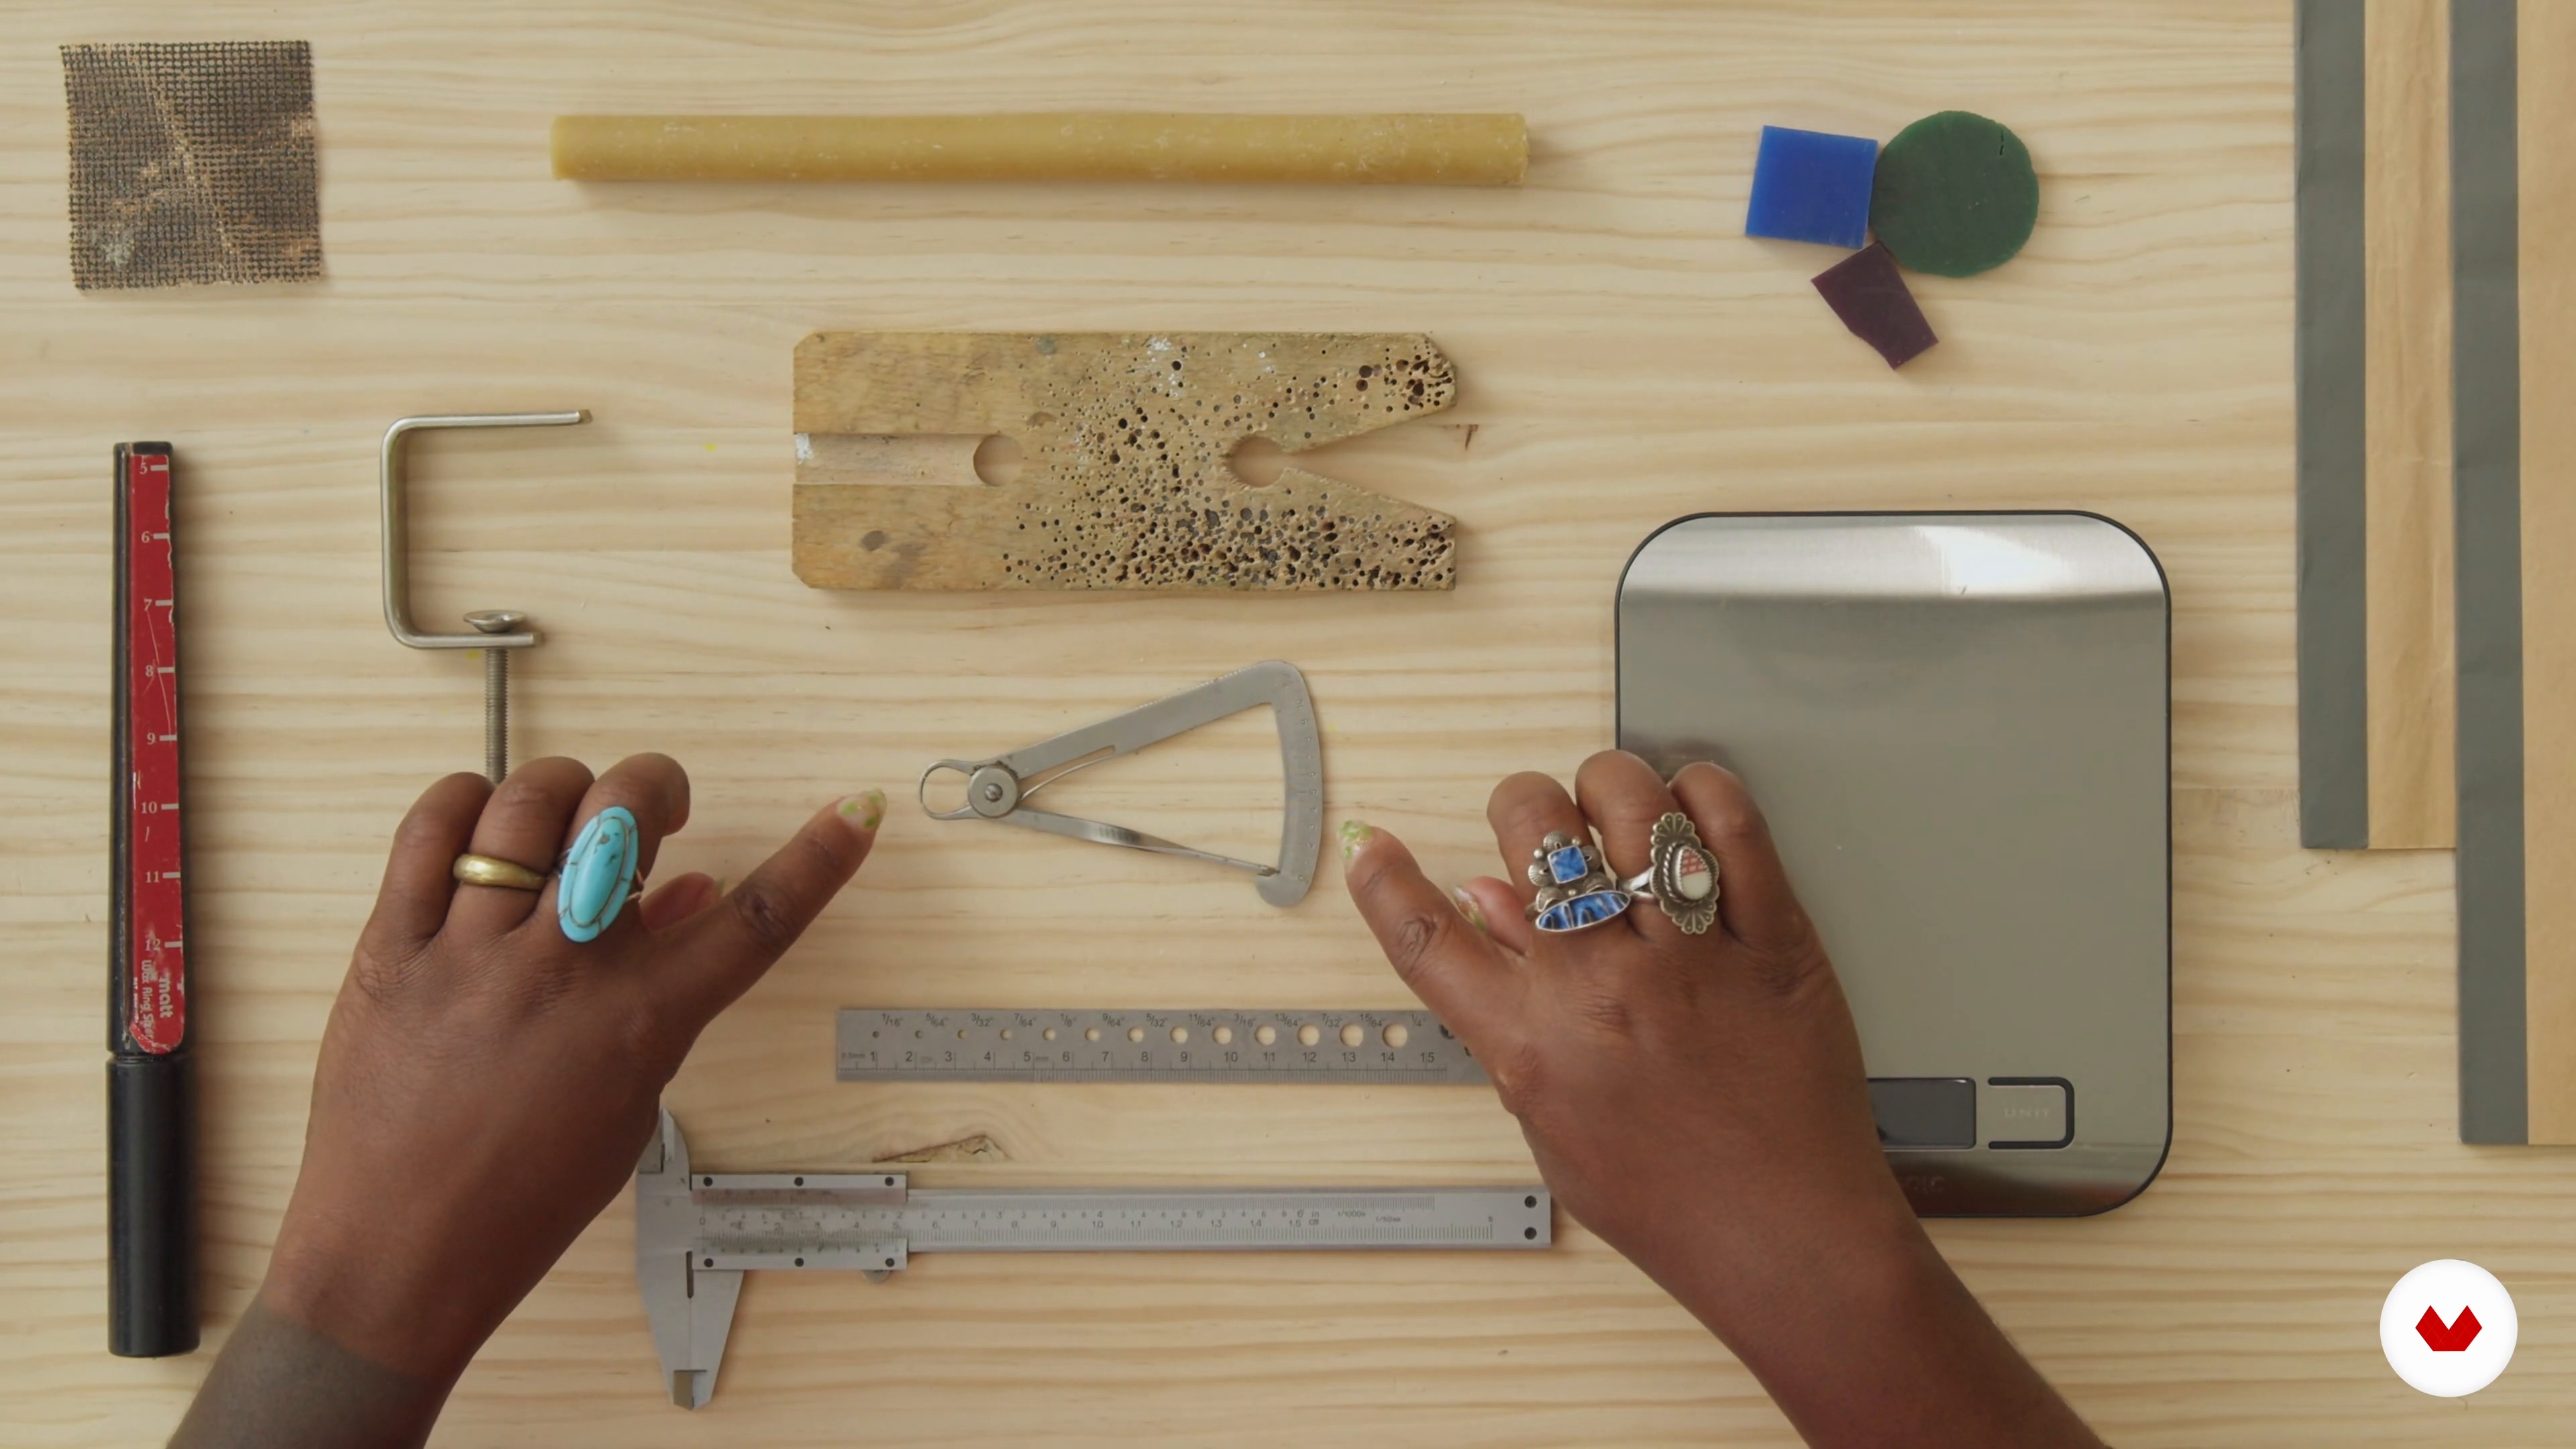
3Tools and Materials 1
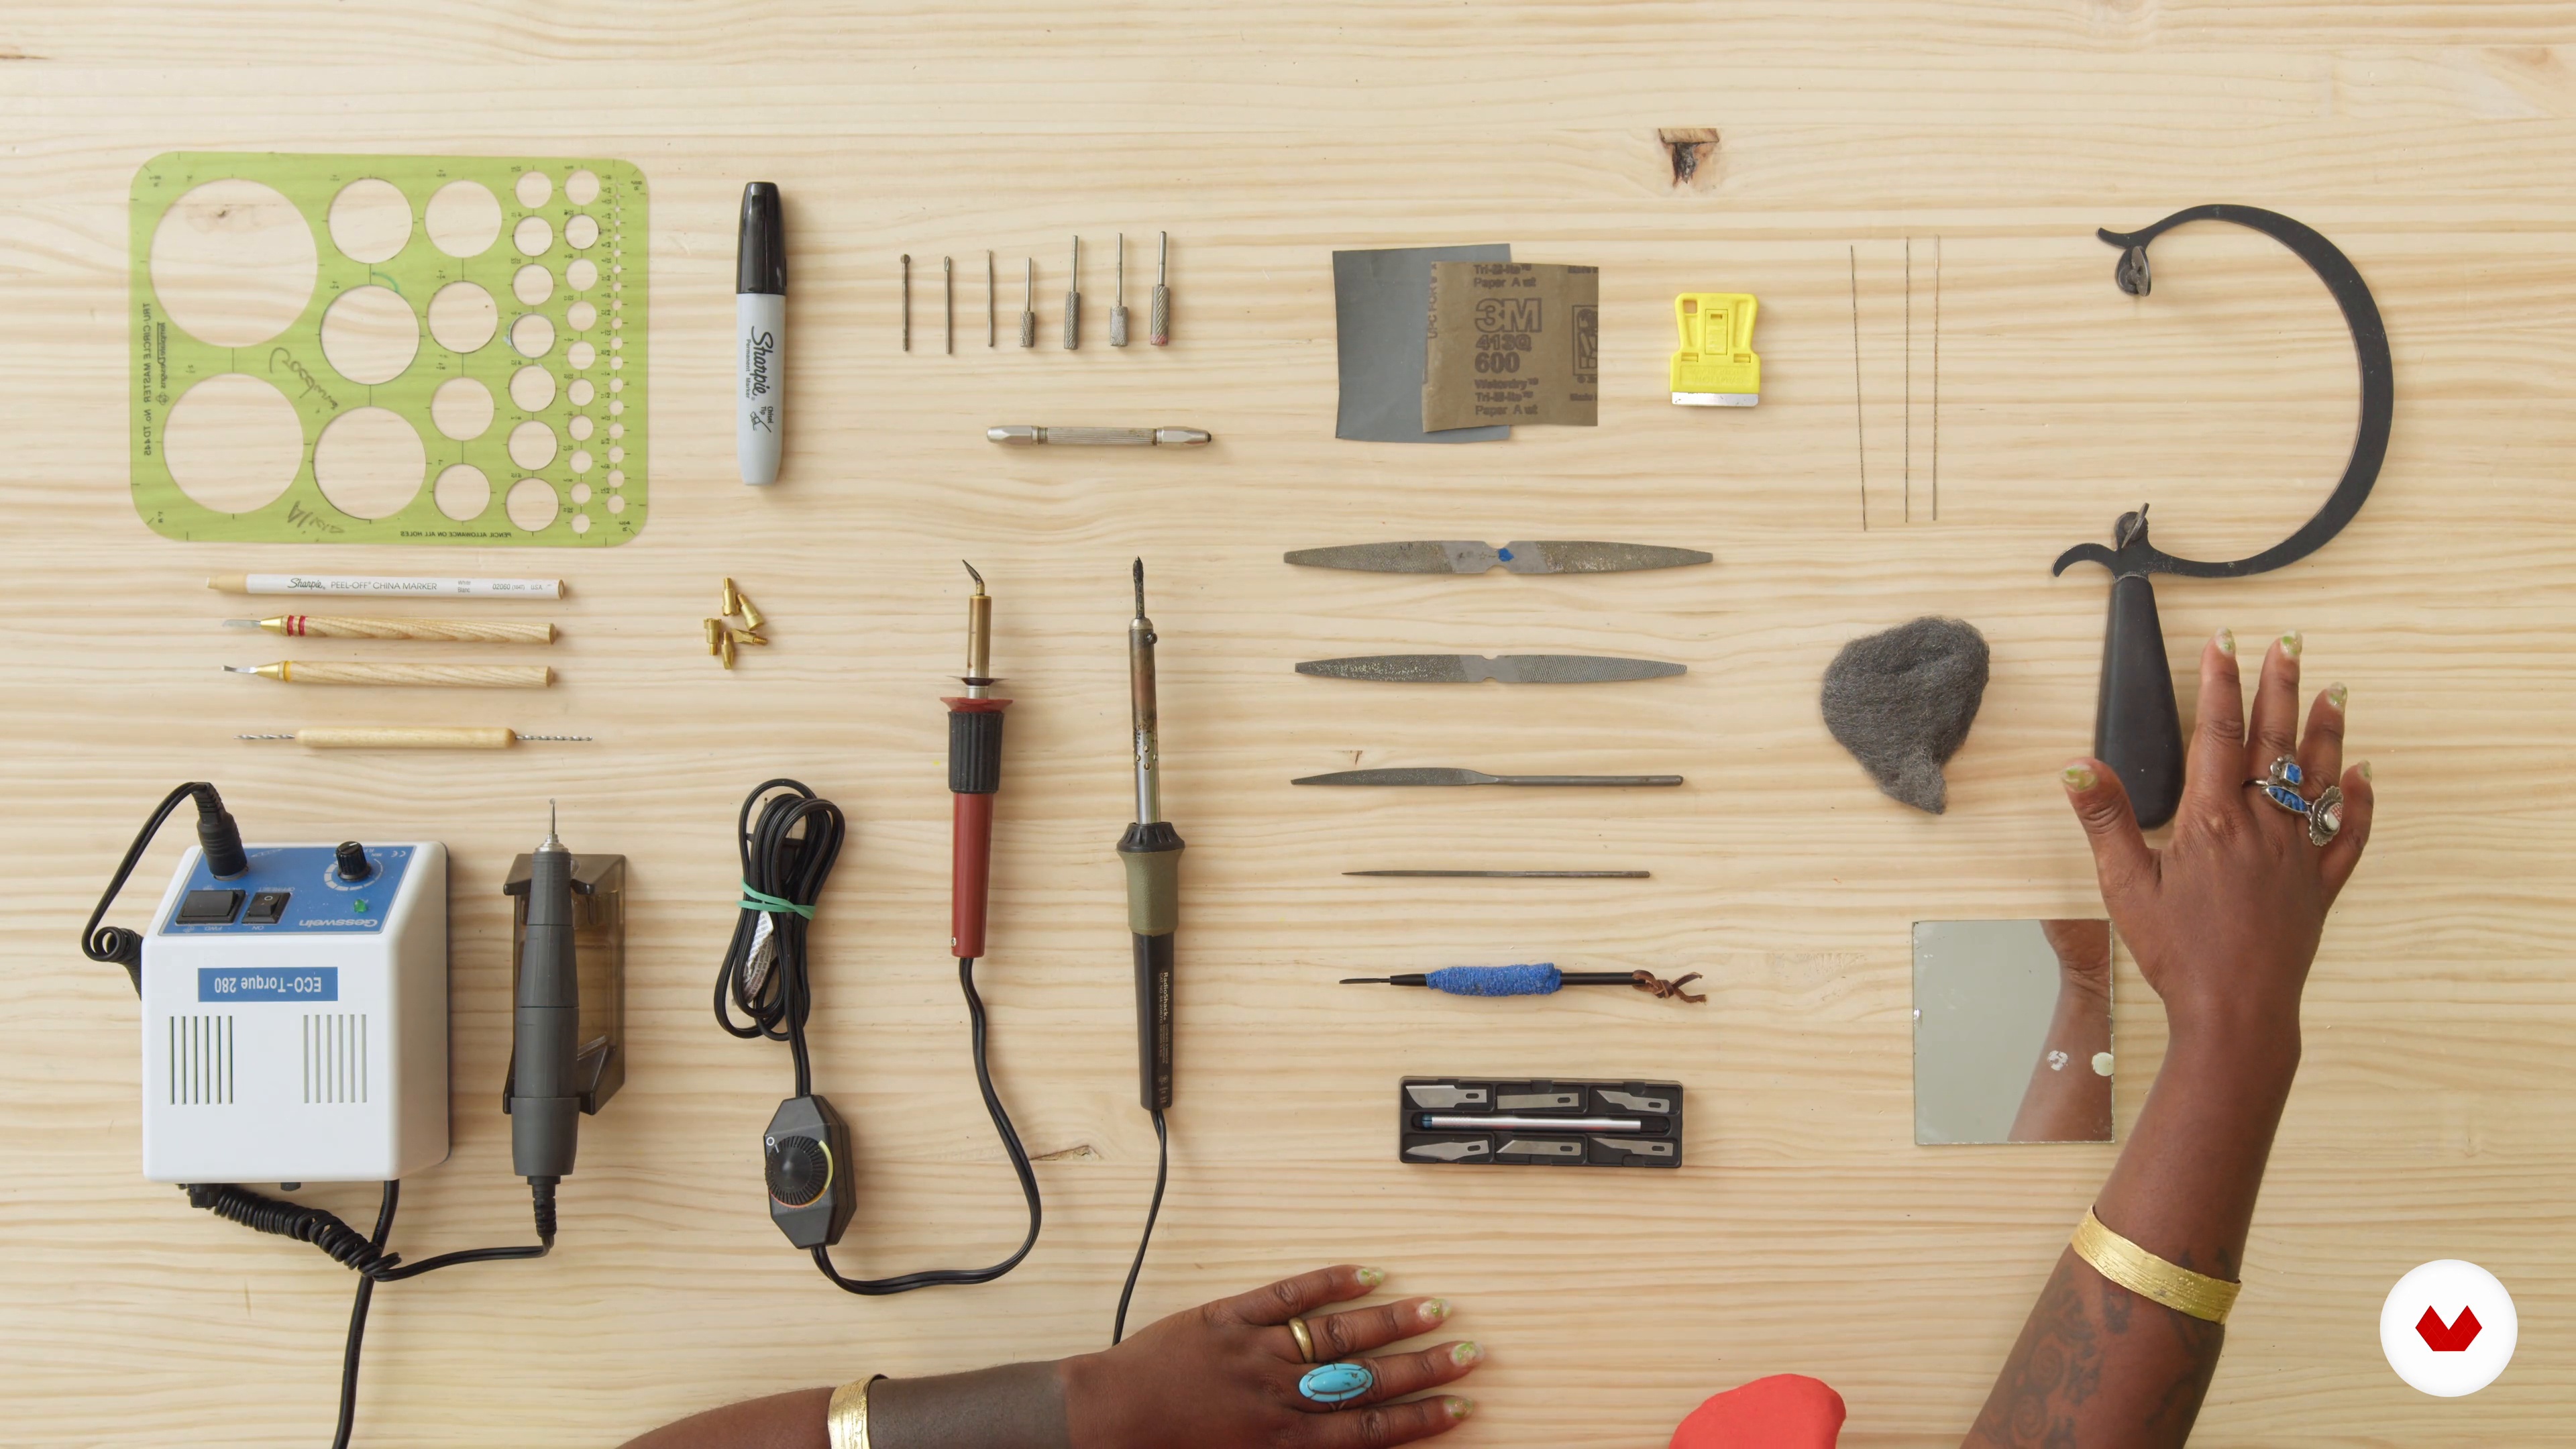
Let's go over the tools and materials you will need for the course. If you can't find a certain tool, don't worry, there is almost always a substitute for it somewhere. Try the hardware store if all else fails!
10m
 4
4Tools and Materials 2
I will go through some more tools and any other notions you will need to keep in mind when working with them.
14m
 5
5Technique Foundations 1
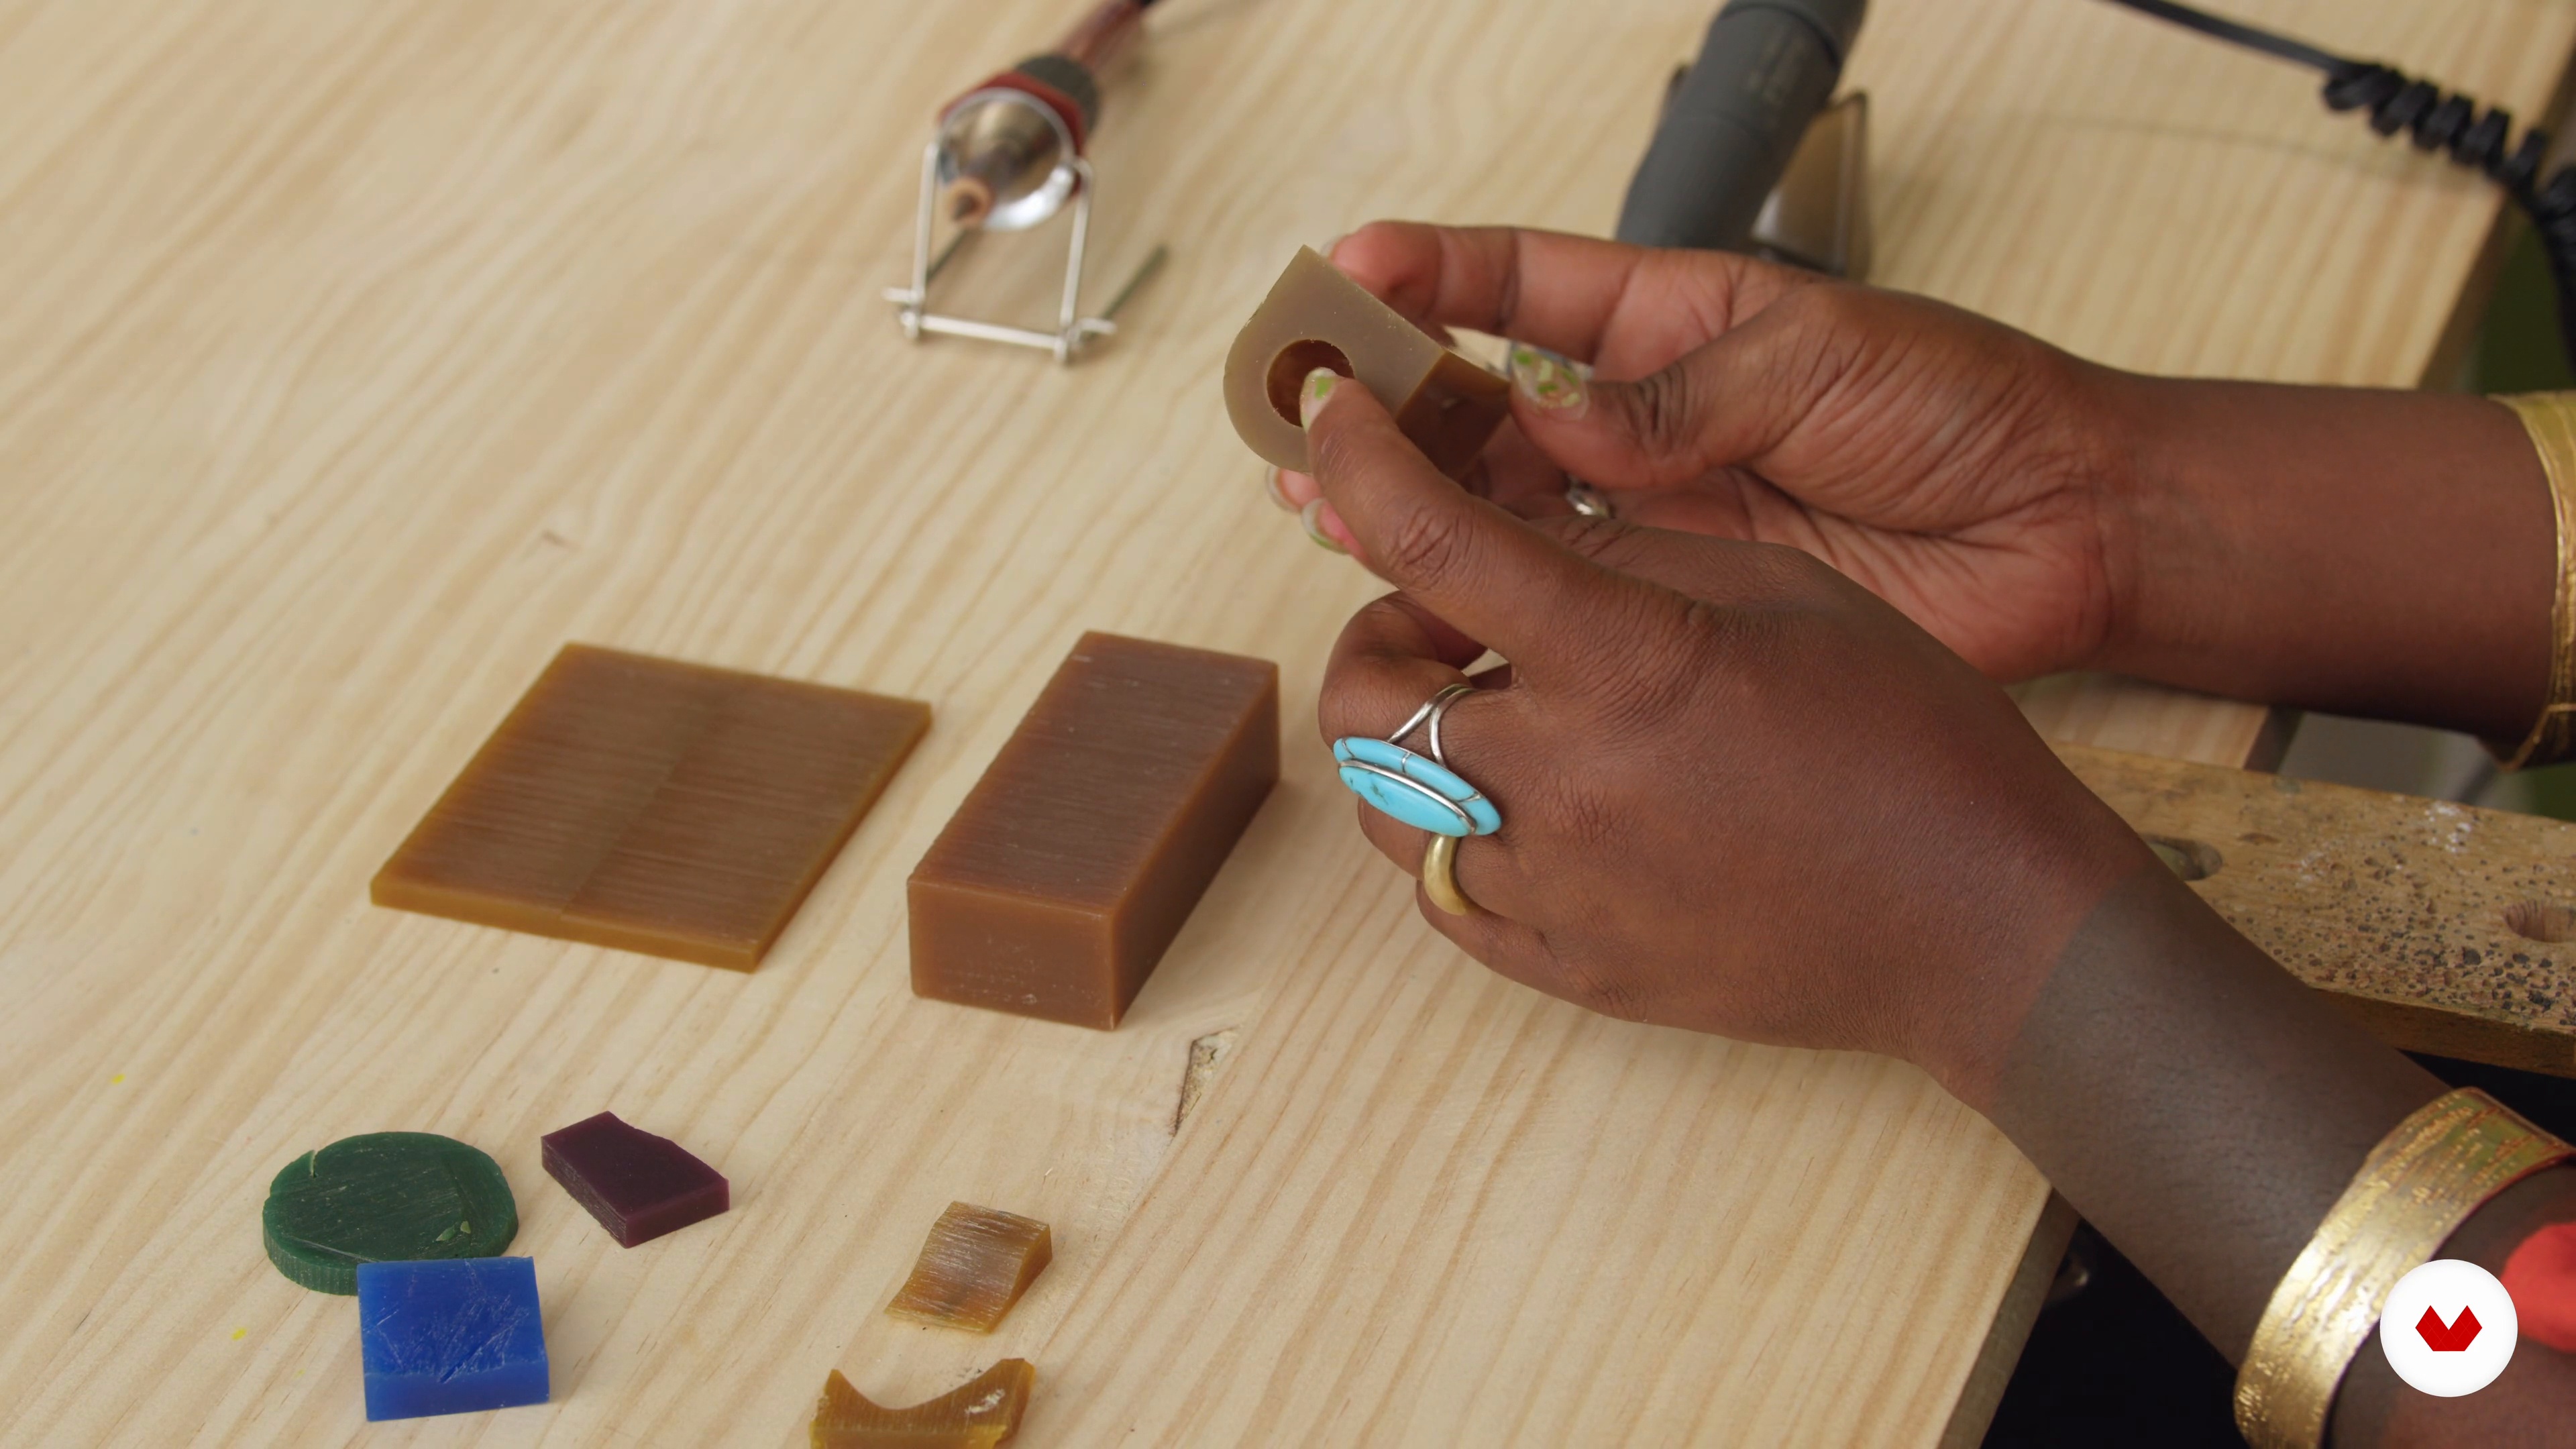
This lesson is all about wax, jeweler's wax that is! I will first talk about my favorite waxes to carve with. As you can really get lost choosing, I'm going to try to make it simple for you. We will then start exploring all the necessary techniques to work with this material. You will learn how to join pieces together, add wax, and subtract wax using different tools.
17m
 6
6Technique Foundations 2
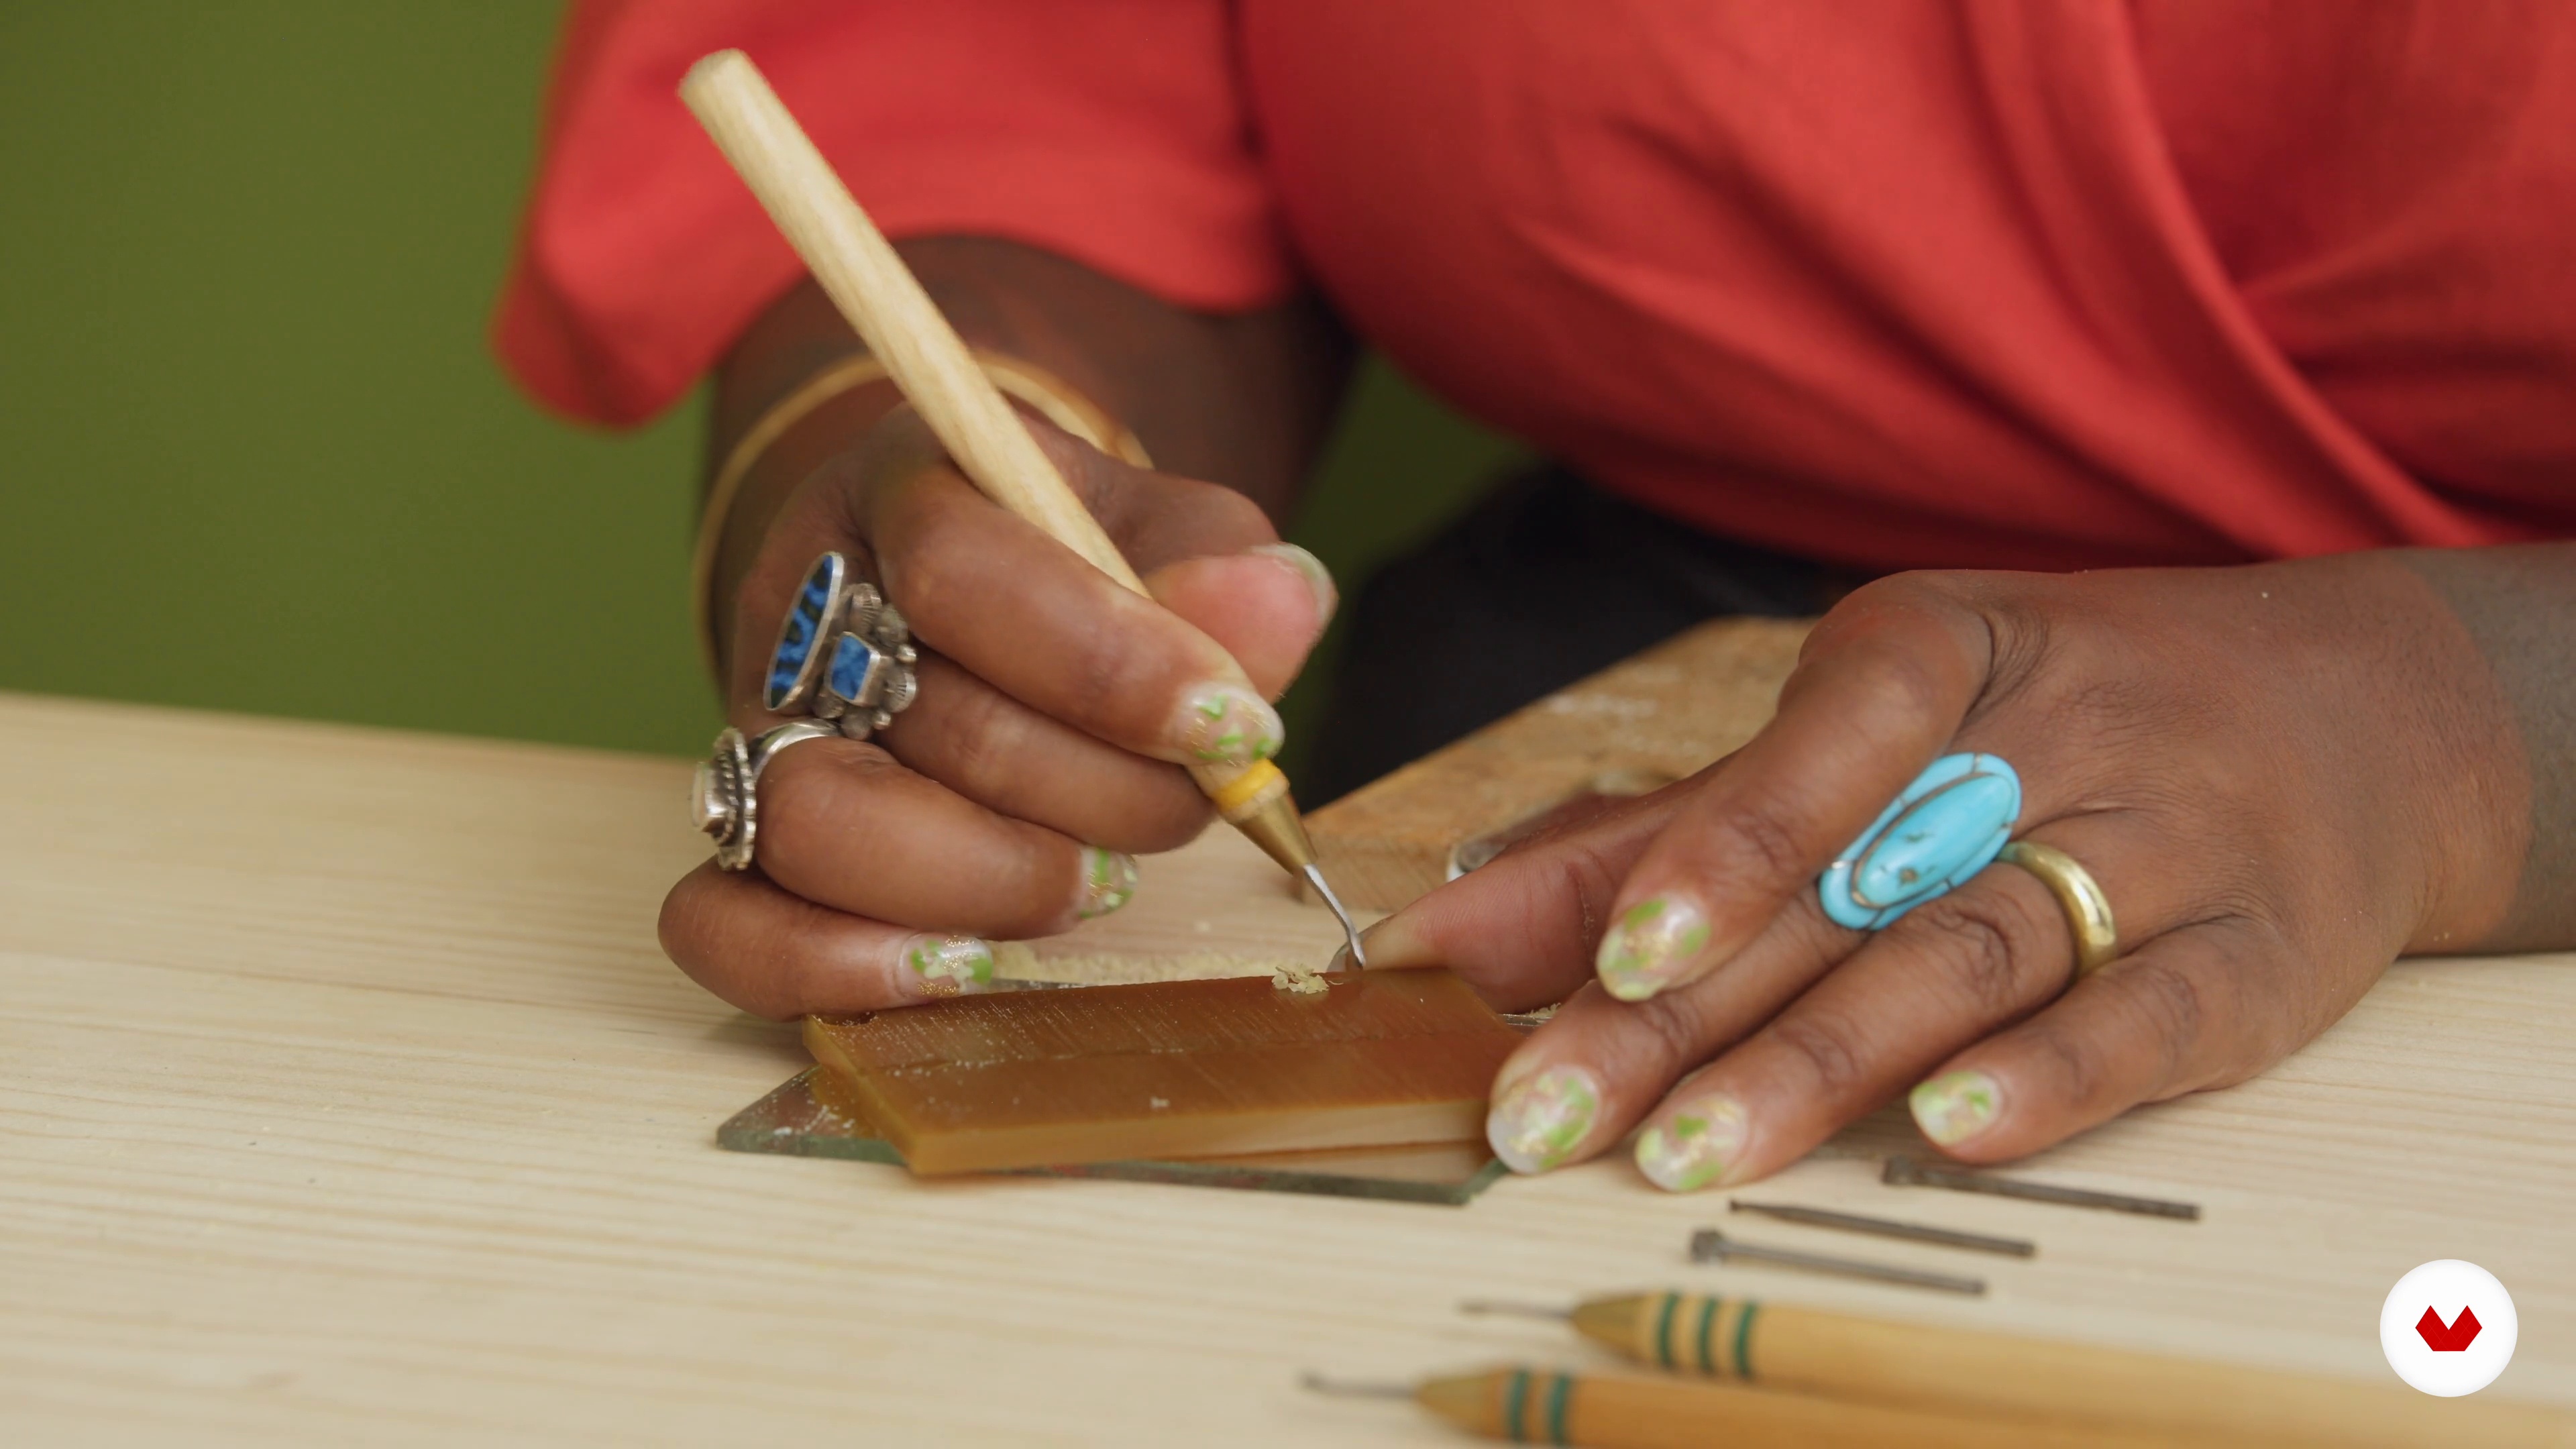
Now, let's see other tools and techniques you can use to take away wax. As a demonstration, I will then show you how to turn block wax into a wax ring and all the tools you need for that.
19m
 7
7Technique Foundations 3
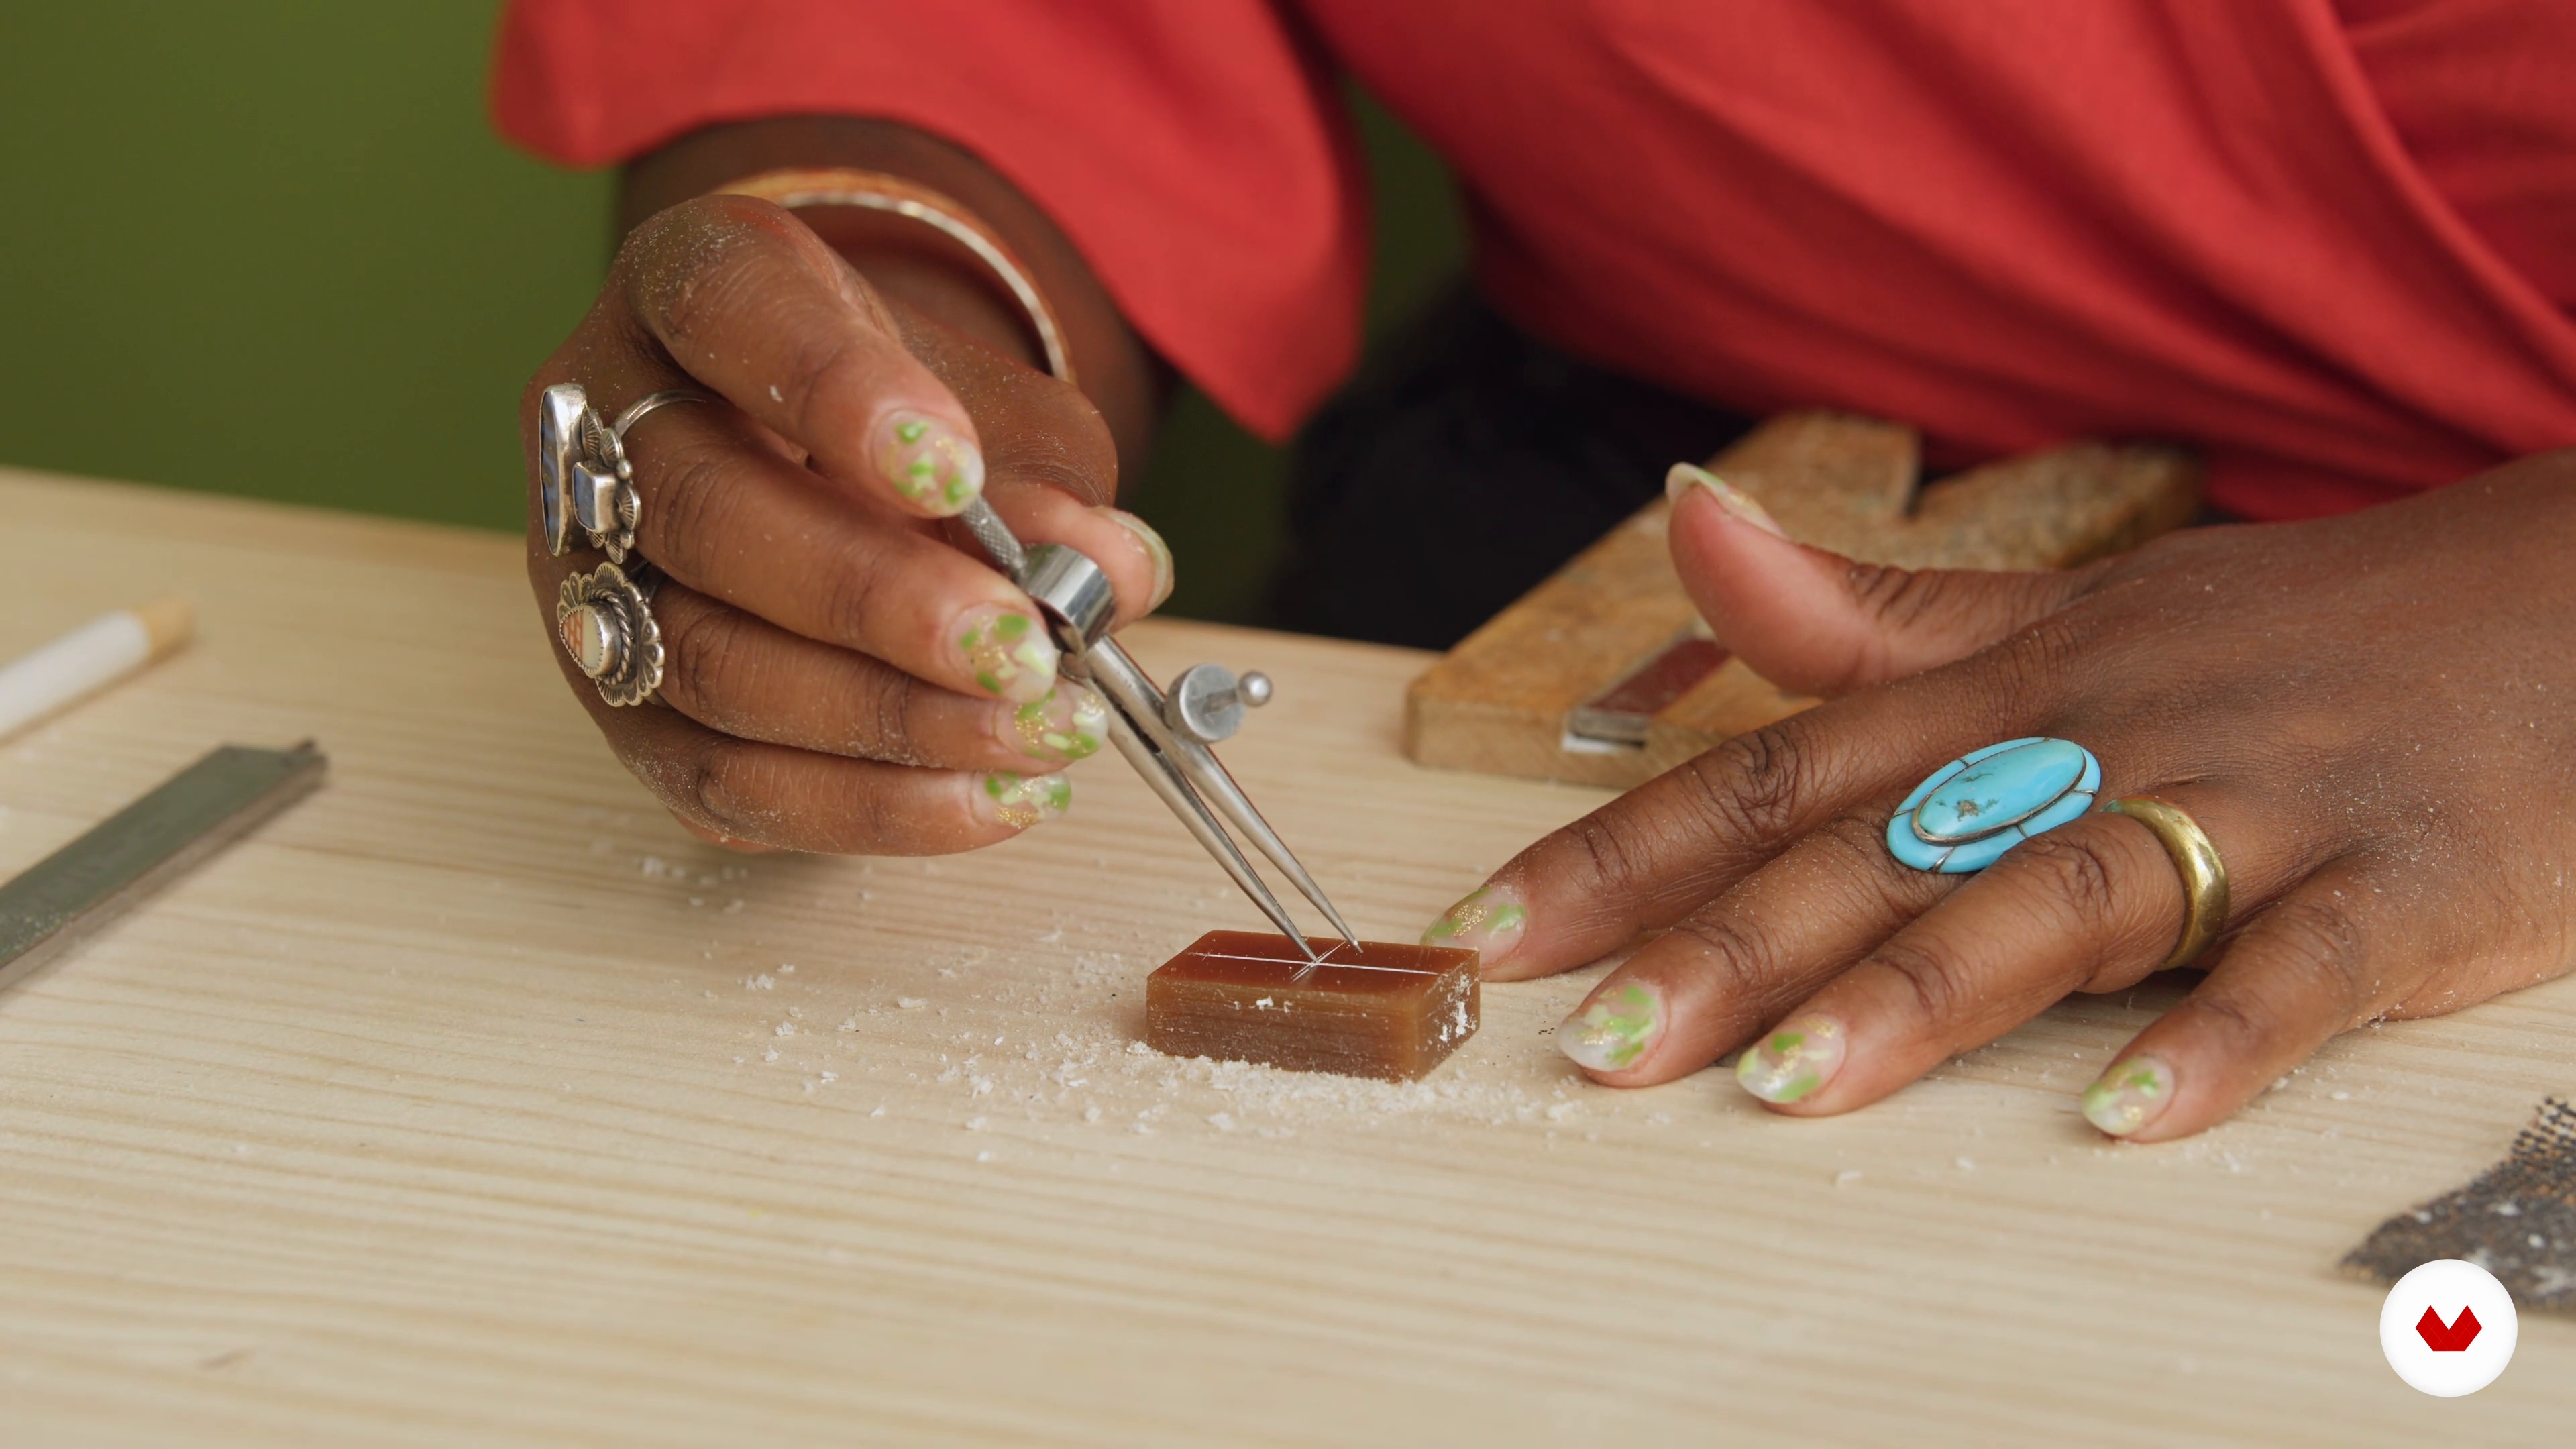
To make the round shape of the ring, we first have to draw the circumference of the inside and outside diameters on the wax. Here you will see how it's done!
13m
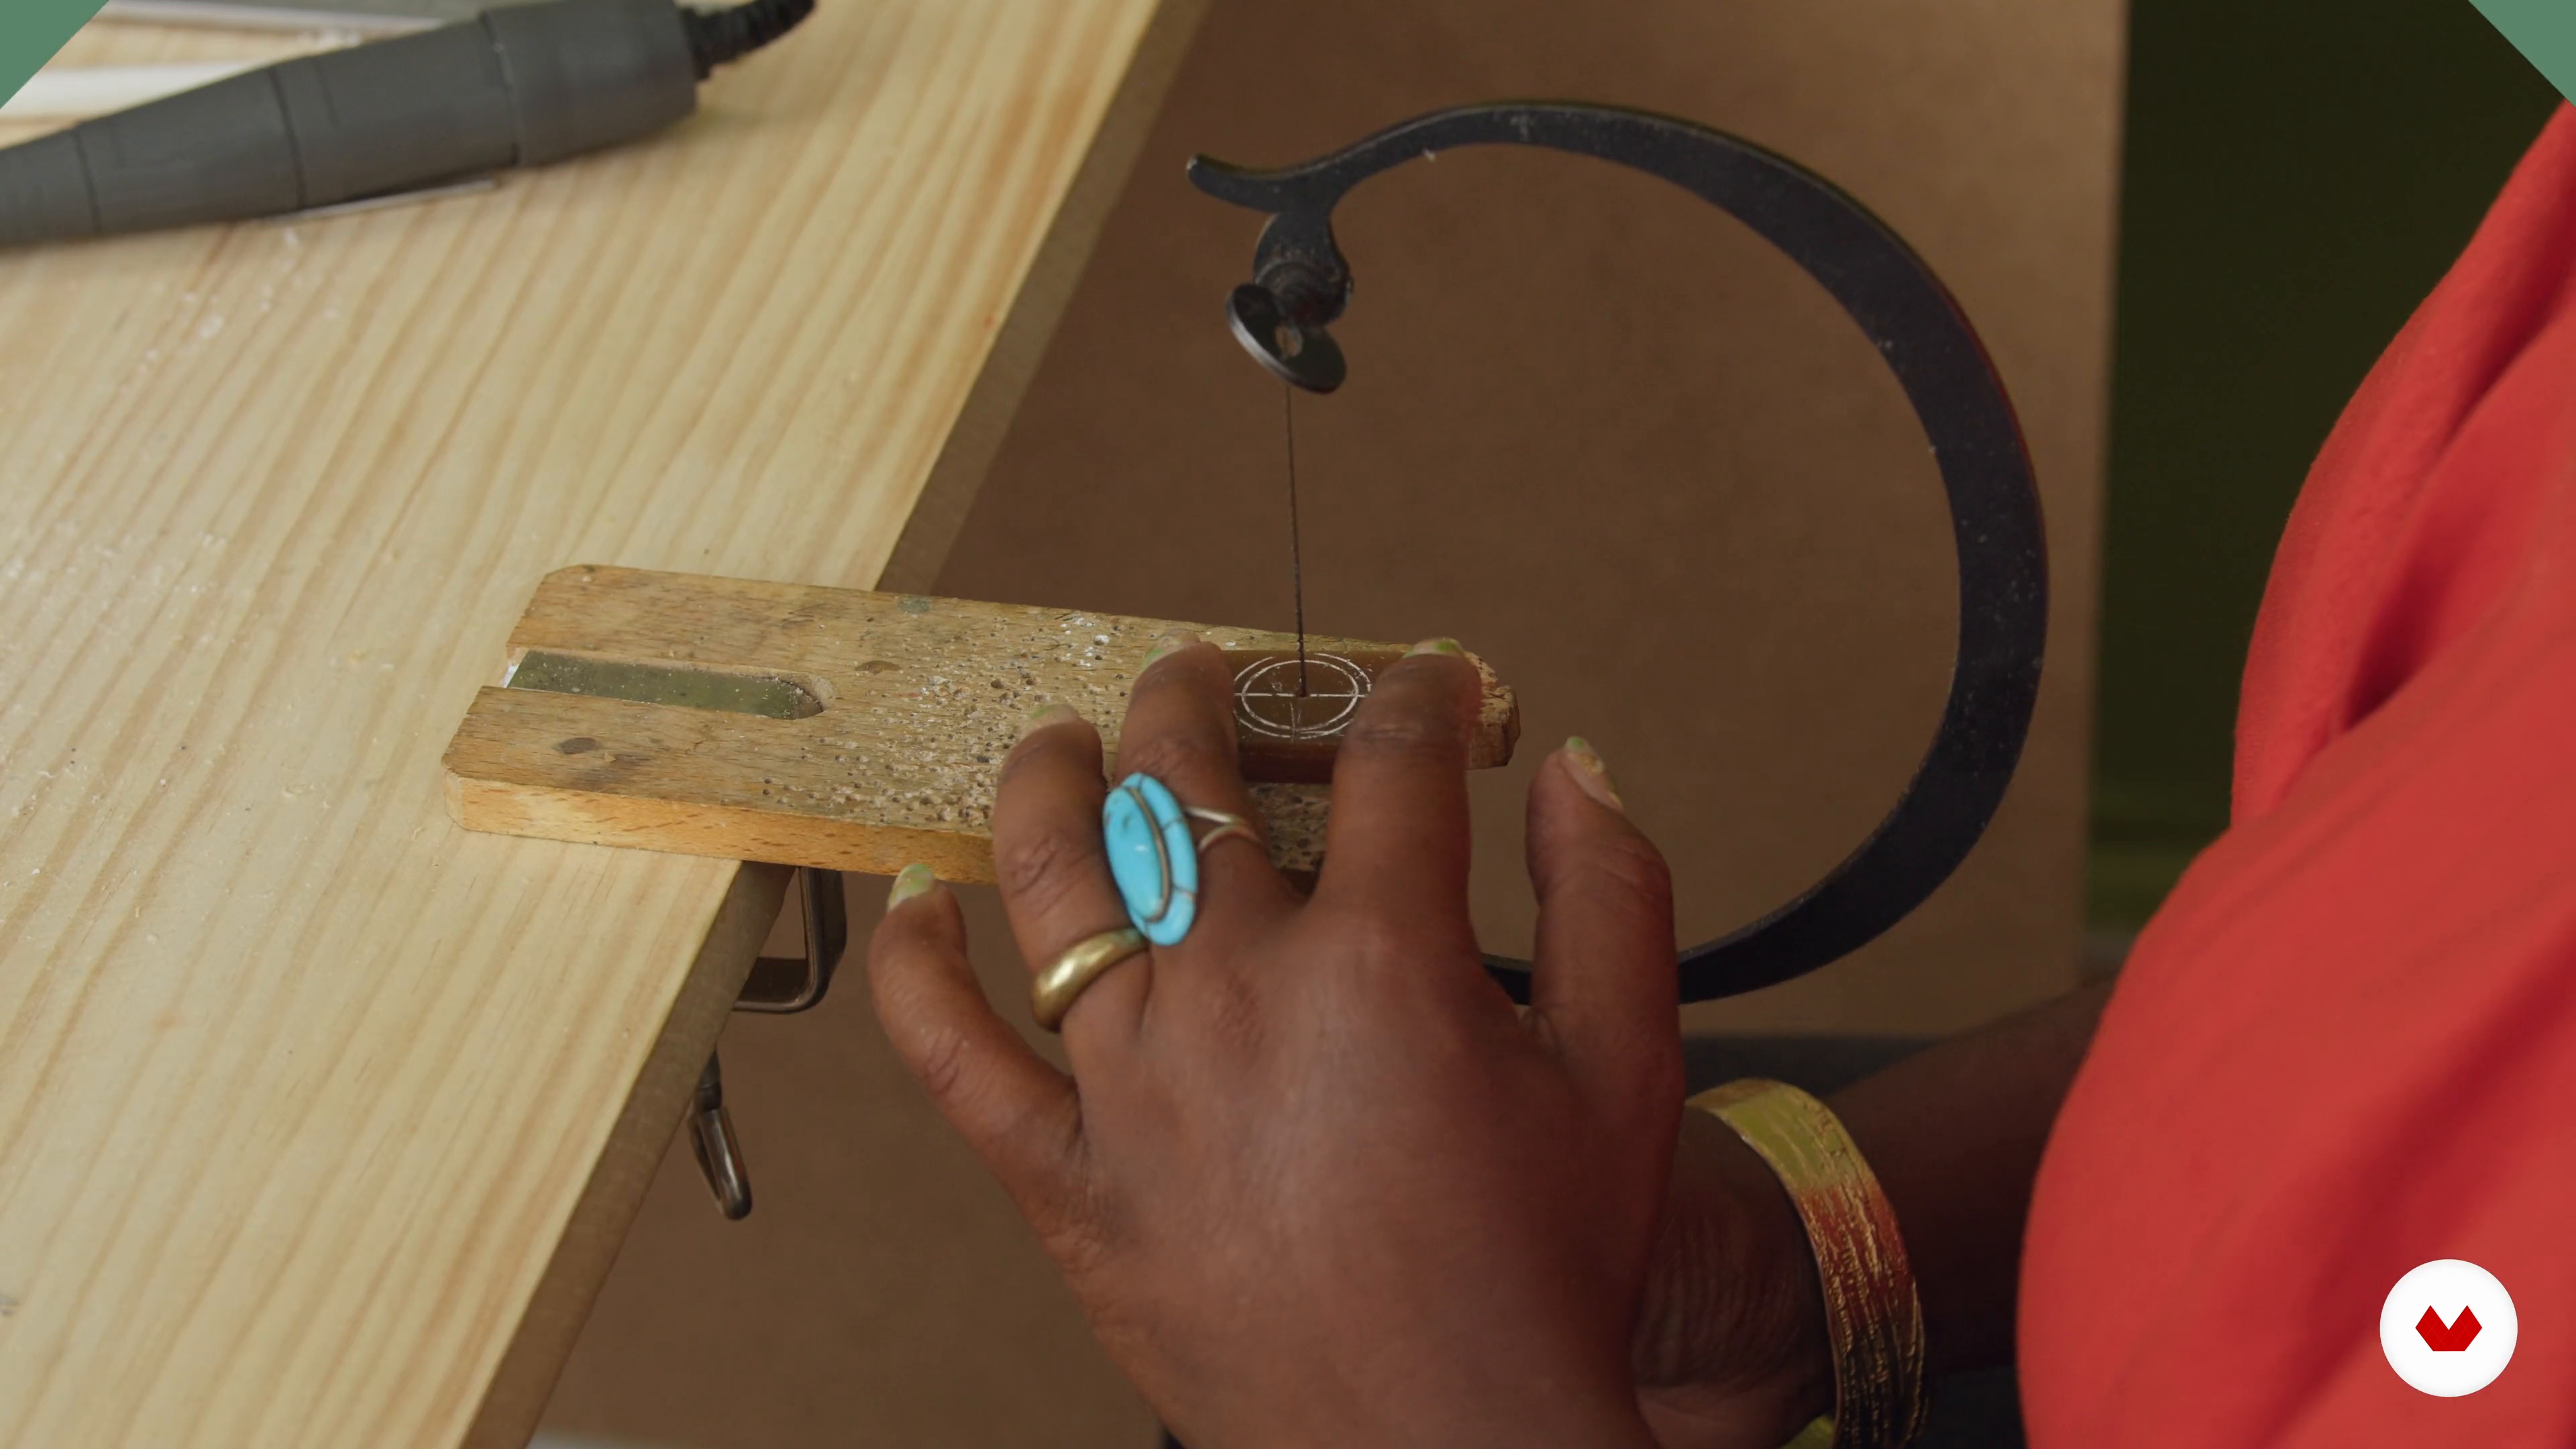 8
8Technique Foundations 4
The next step will be taking away the wax from the little block to create the round shape of the ring. For that, we first make the hole, and then we cut out the outside circumference.
10m
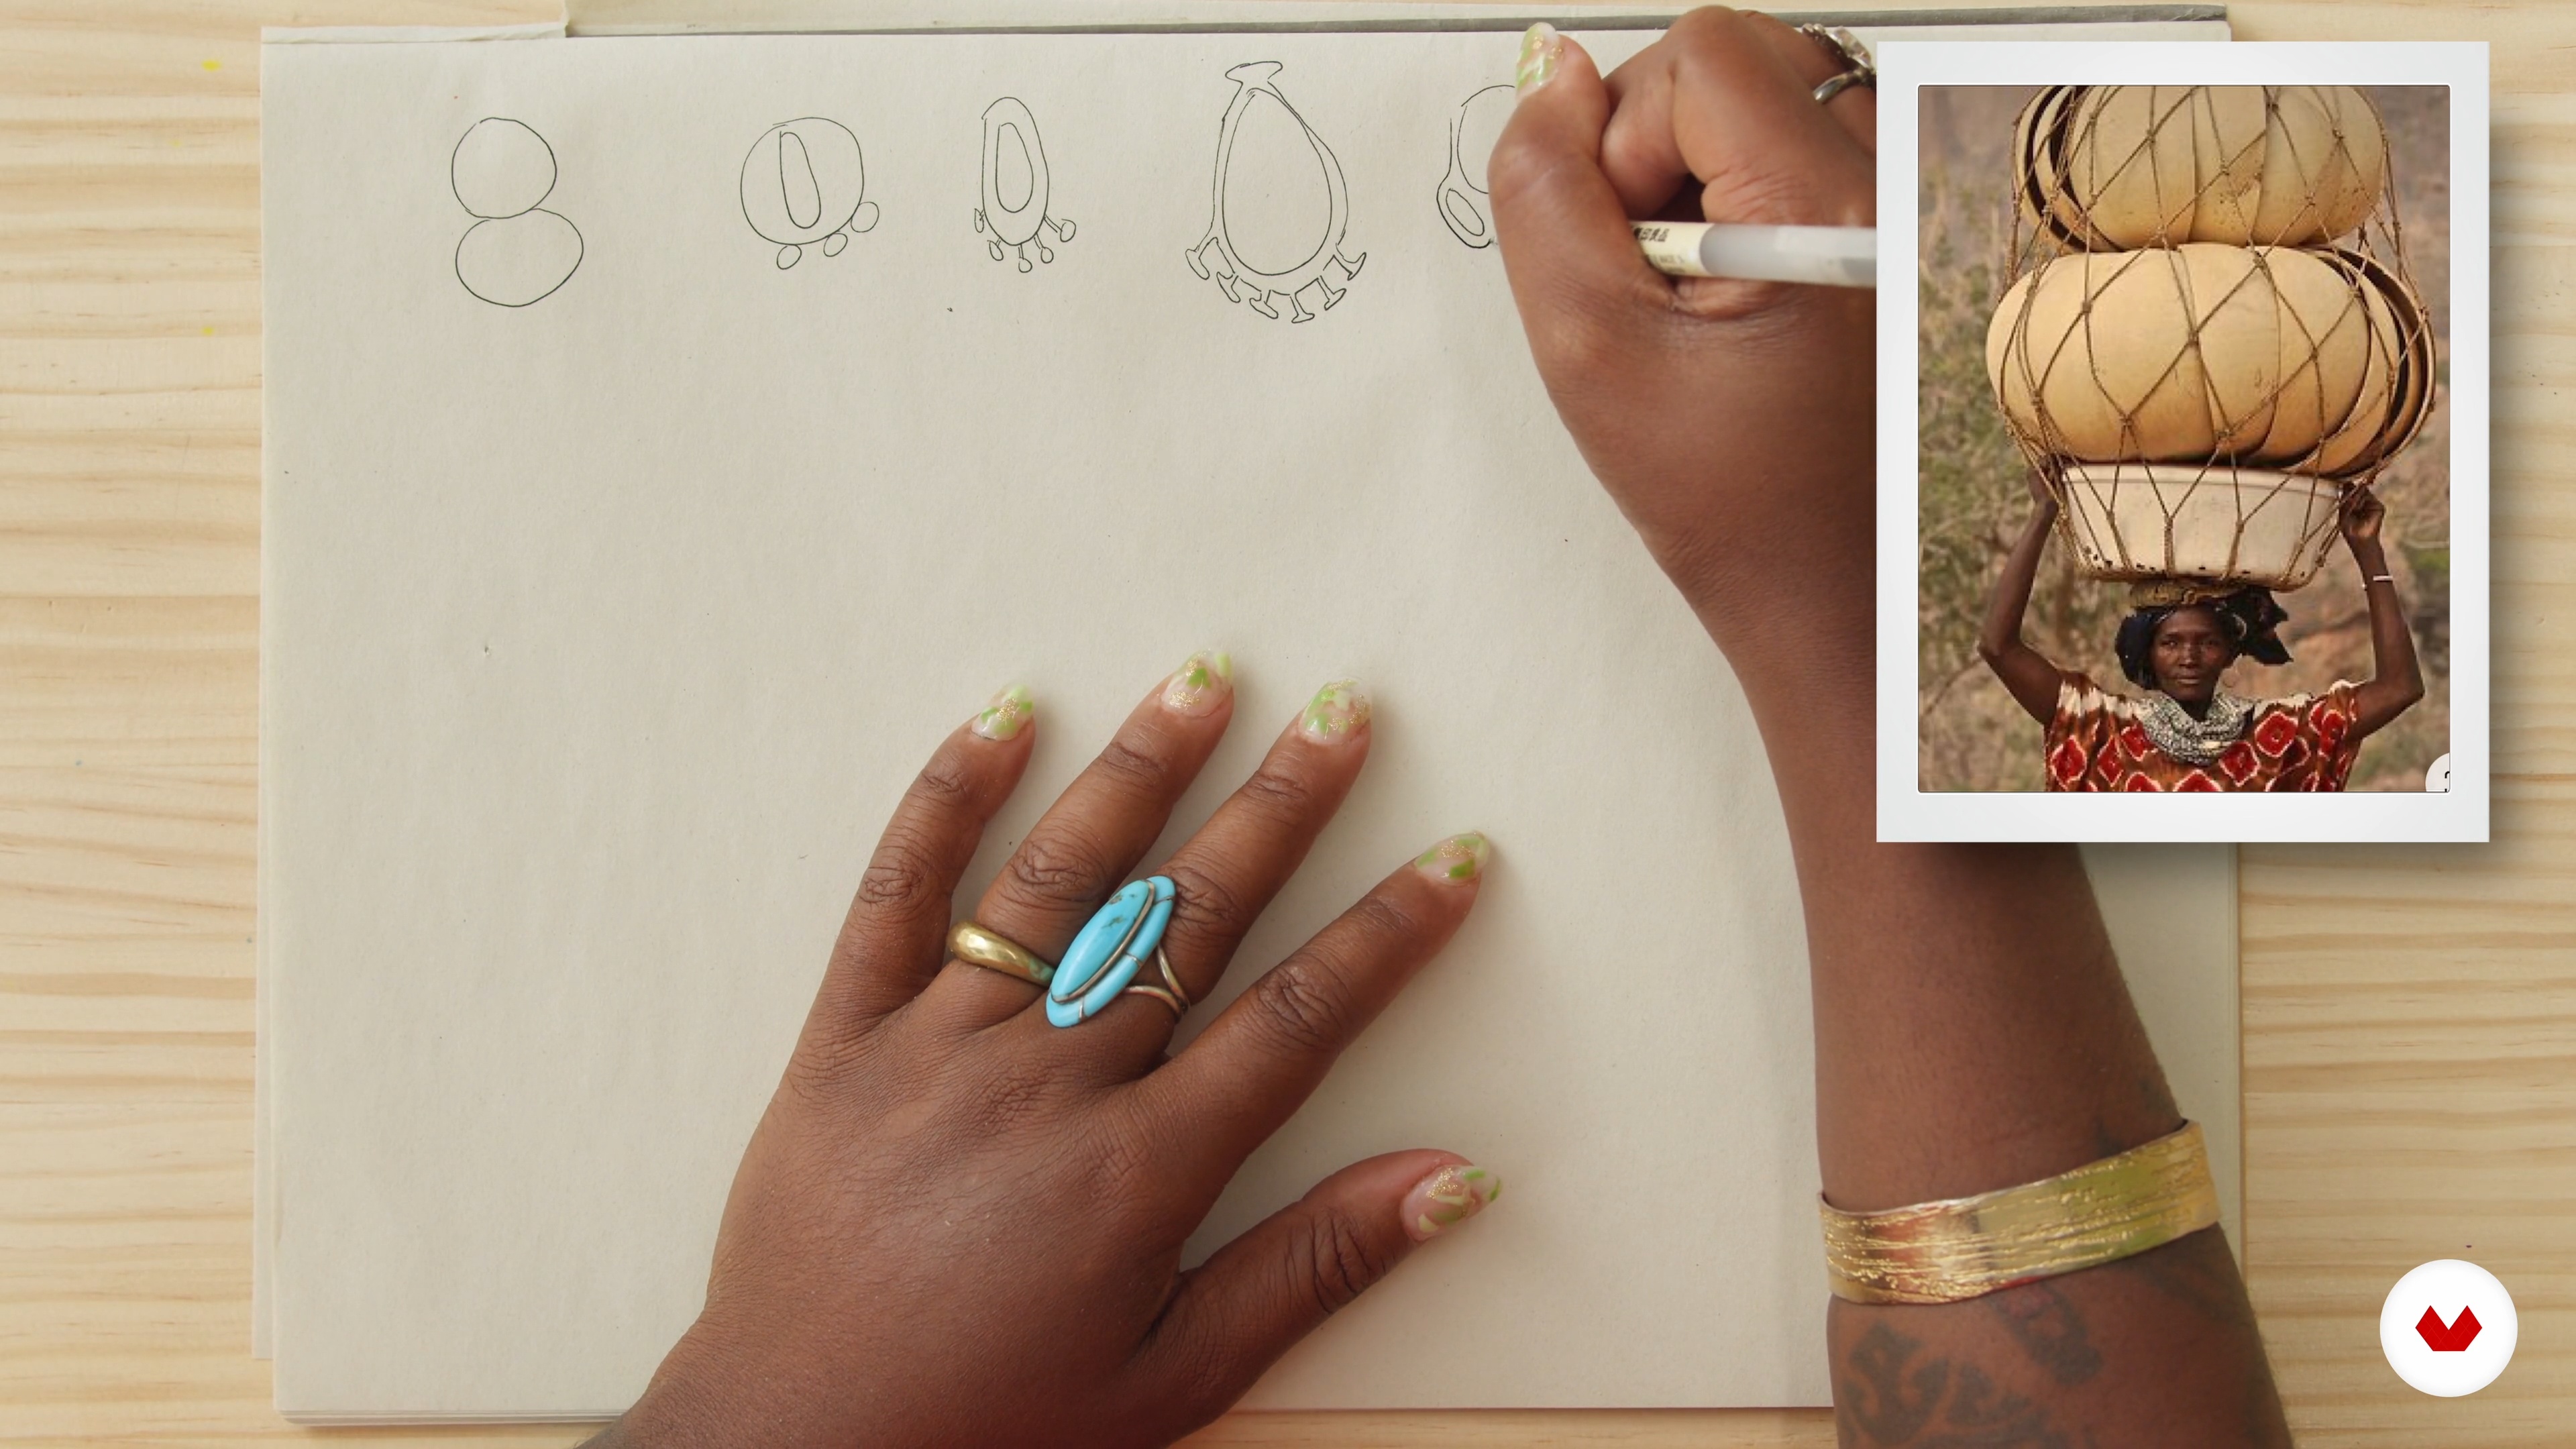 9
9Sketching and Design 1
My favorite part of designing is doing research. I love to start by feeling what I want to create. So, first, I create a mood board. Sometimes it's really random, with things I truly love. Other times I have a really focused vision of what I want to create, so I add a variety of themes that fit into what I might be envisioning. Once we have gathered reference images and inspiration, we can start sketching and developing our design. It's really helpful to start with a simple sketch and basic designs, and then build out from there. I will walk you through my process!
14m
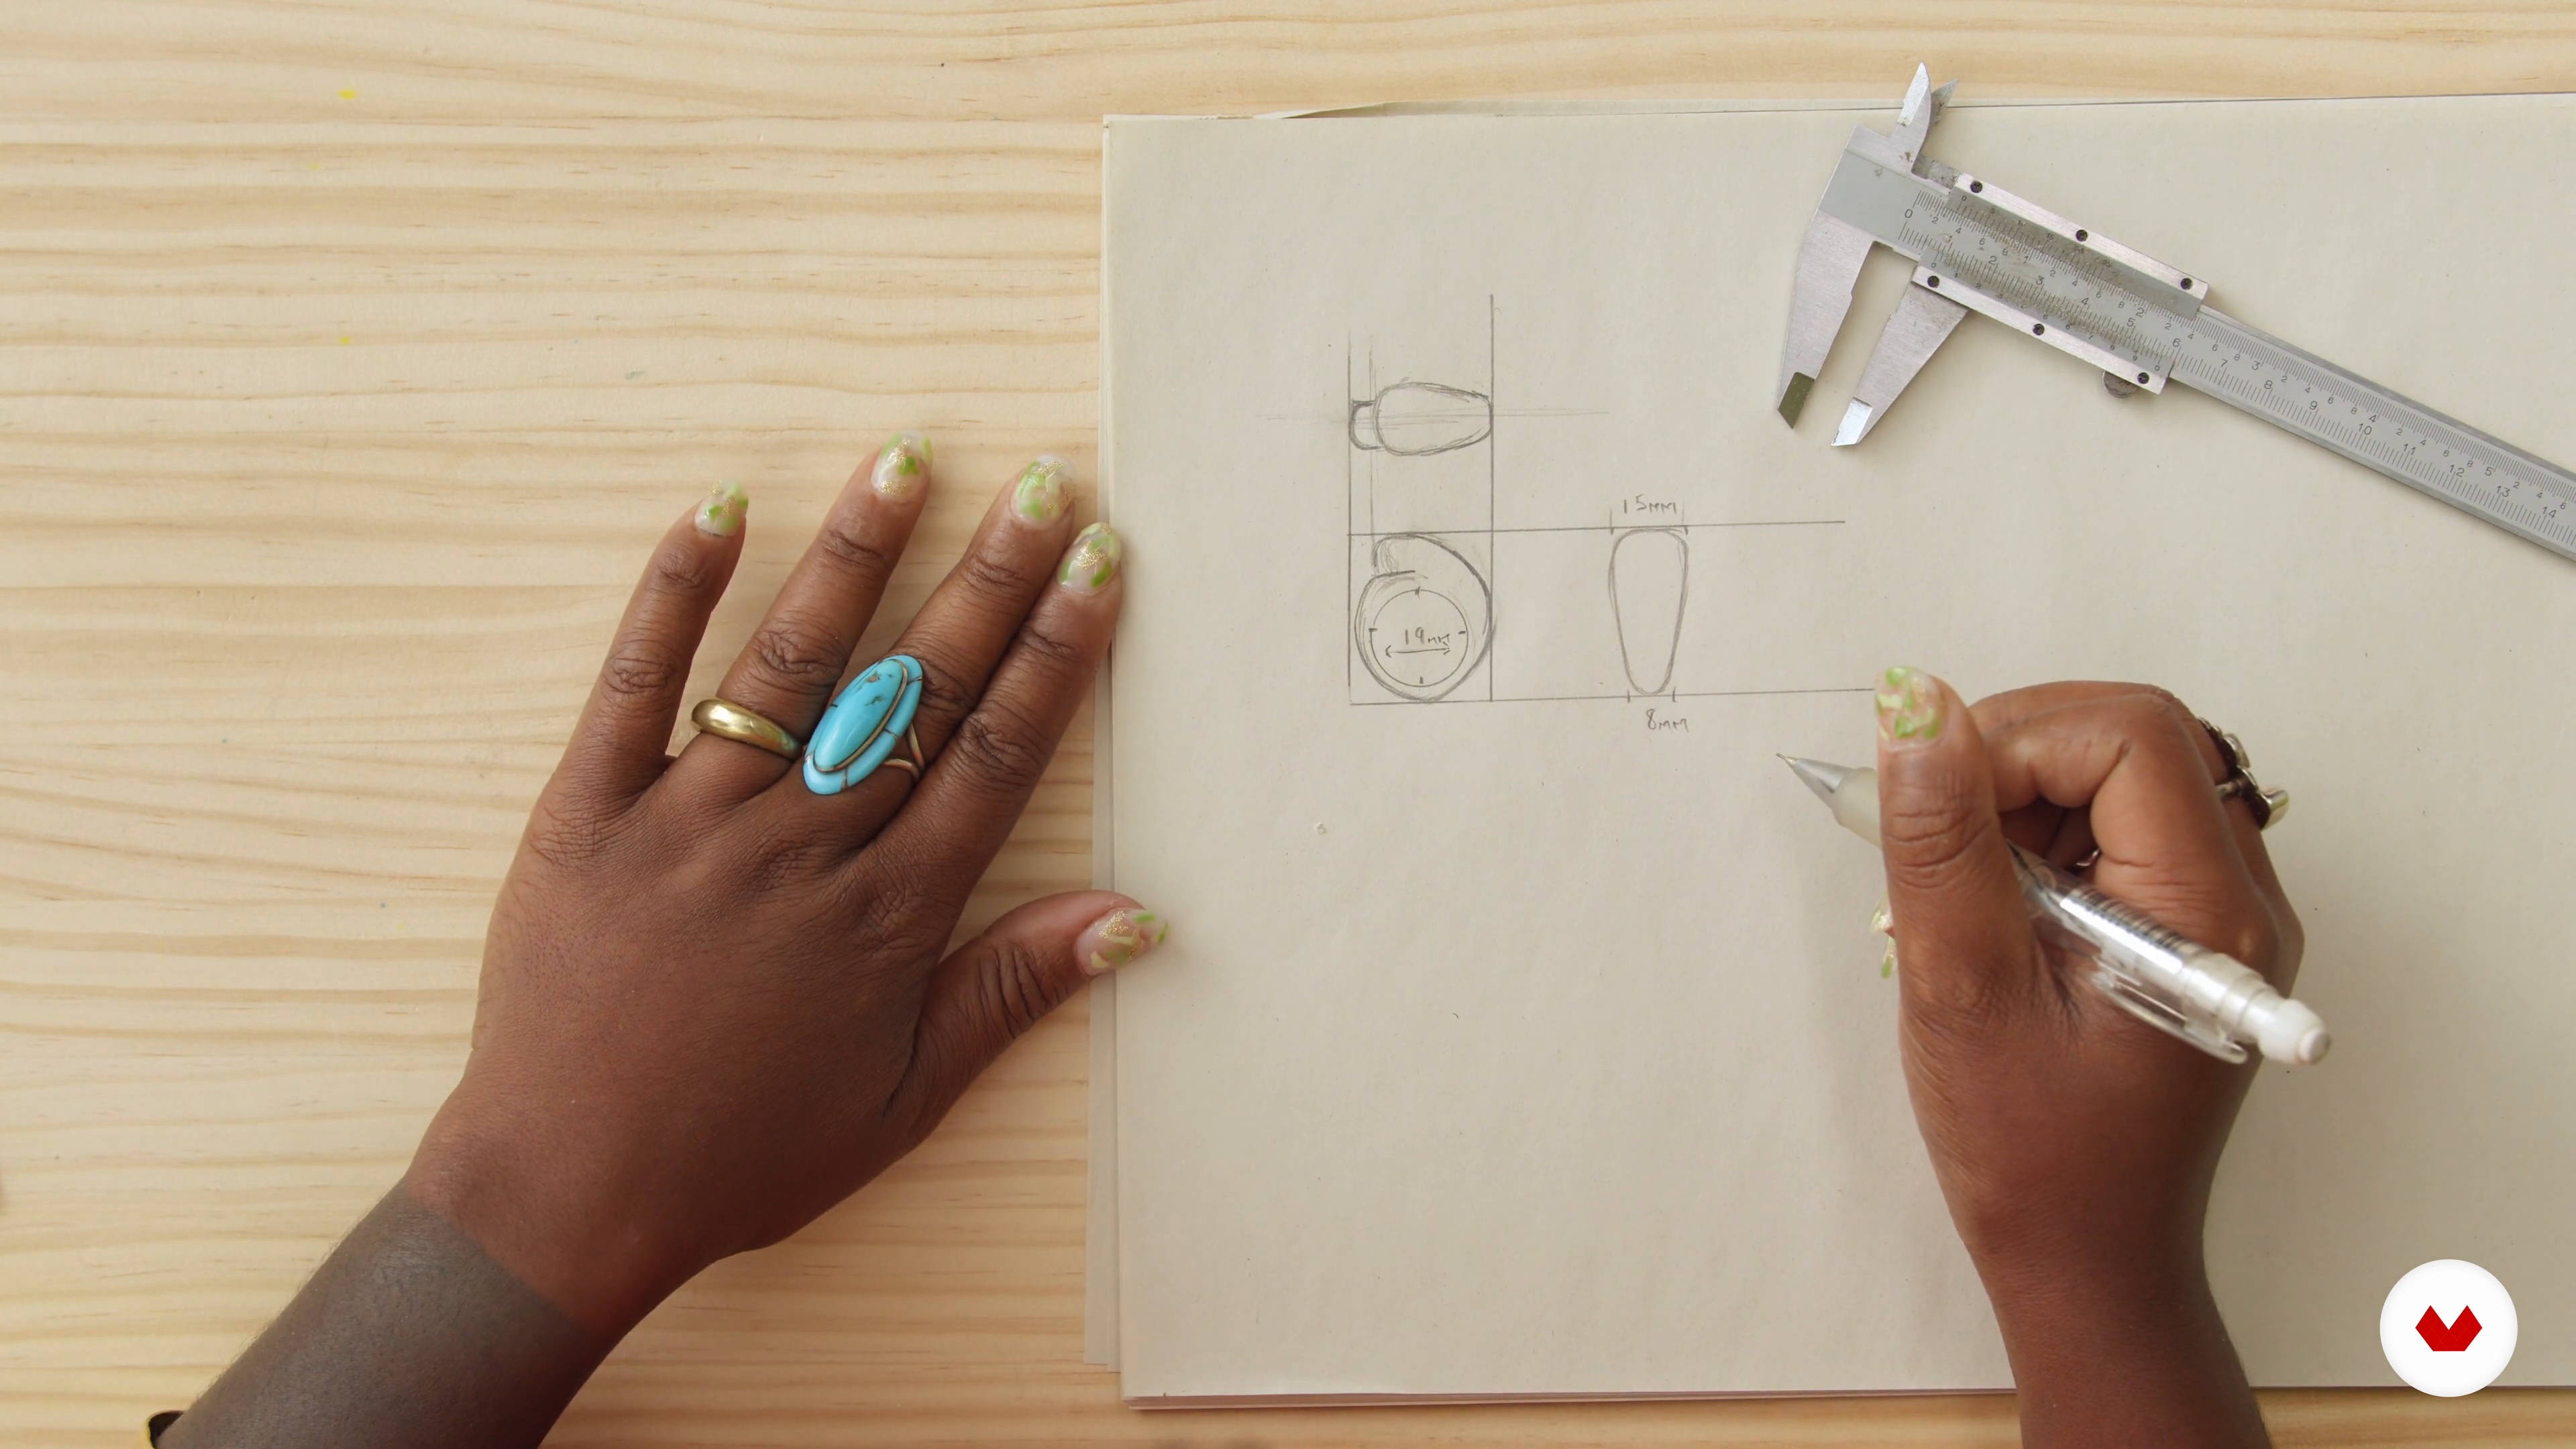 10
10Sketching and Design 2
After choosing the design, the next step is to refine the sketches and make the technical drawings. Let's see how the designs I have chosen, the pendant and the ring, turn out!
11m
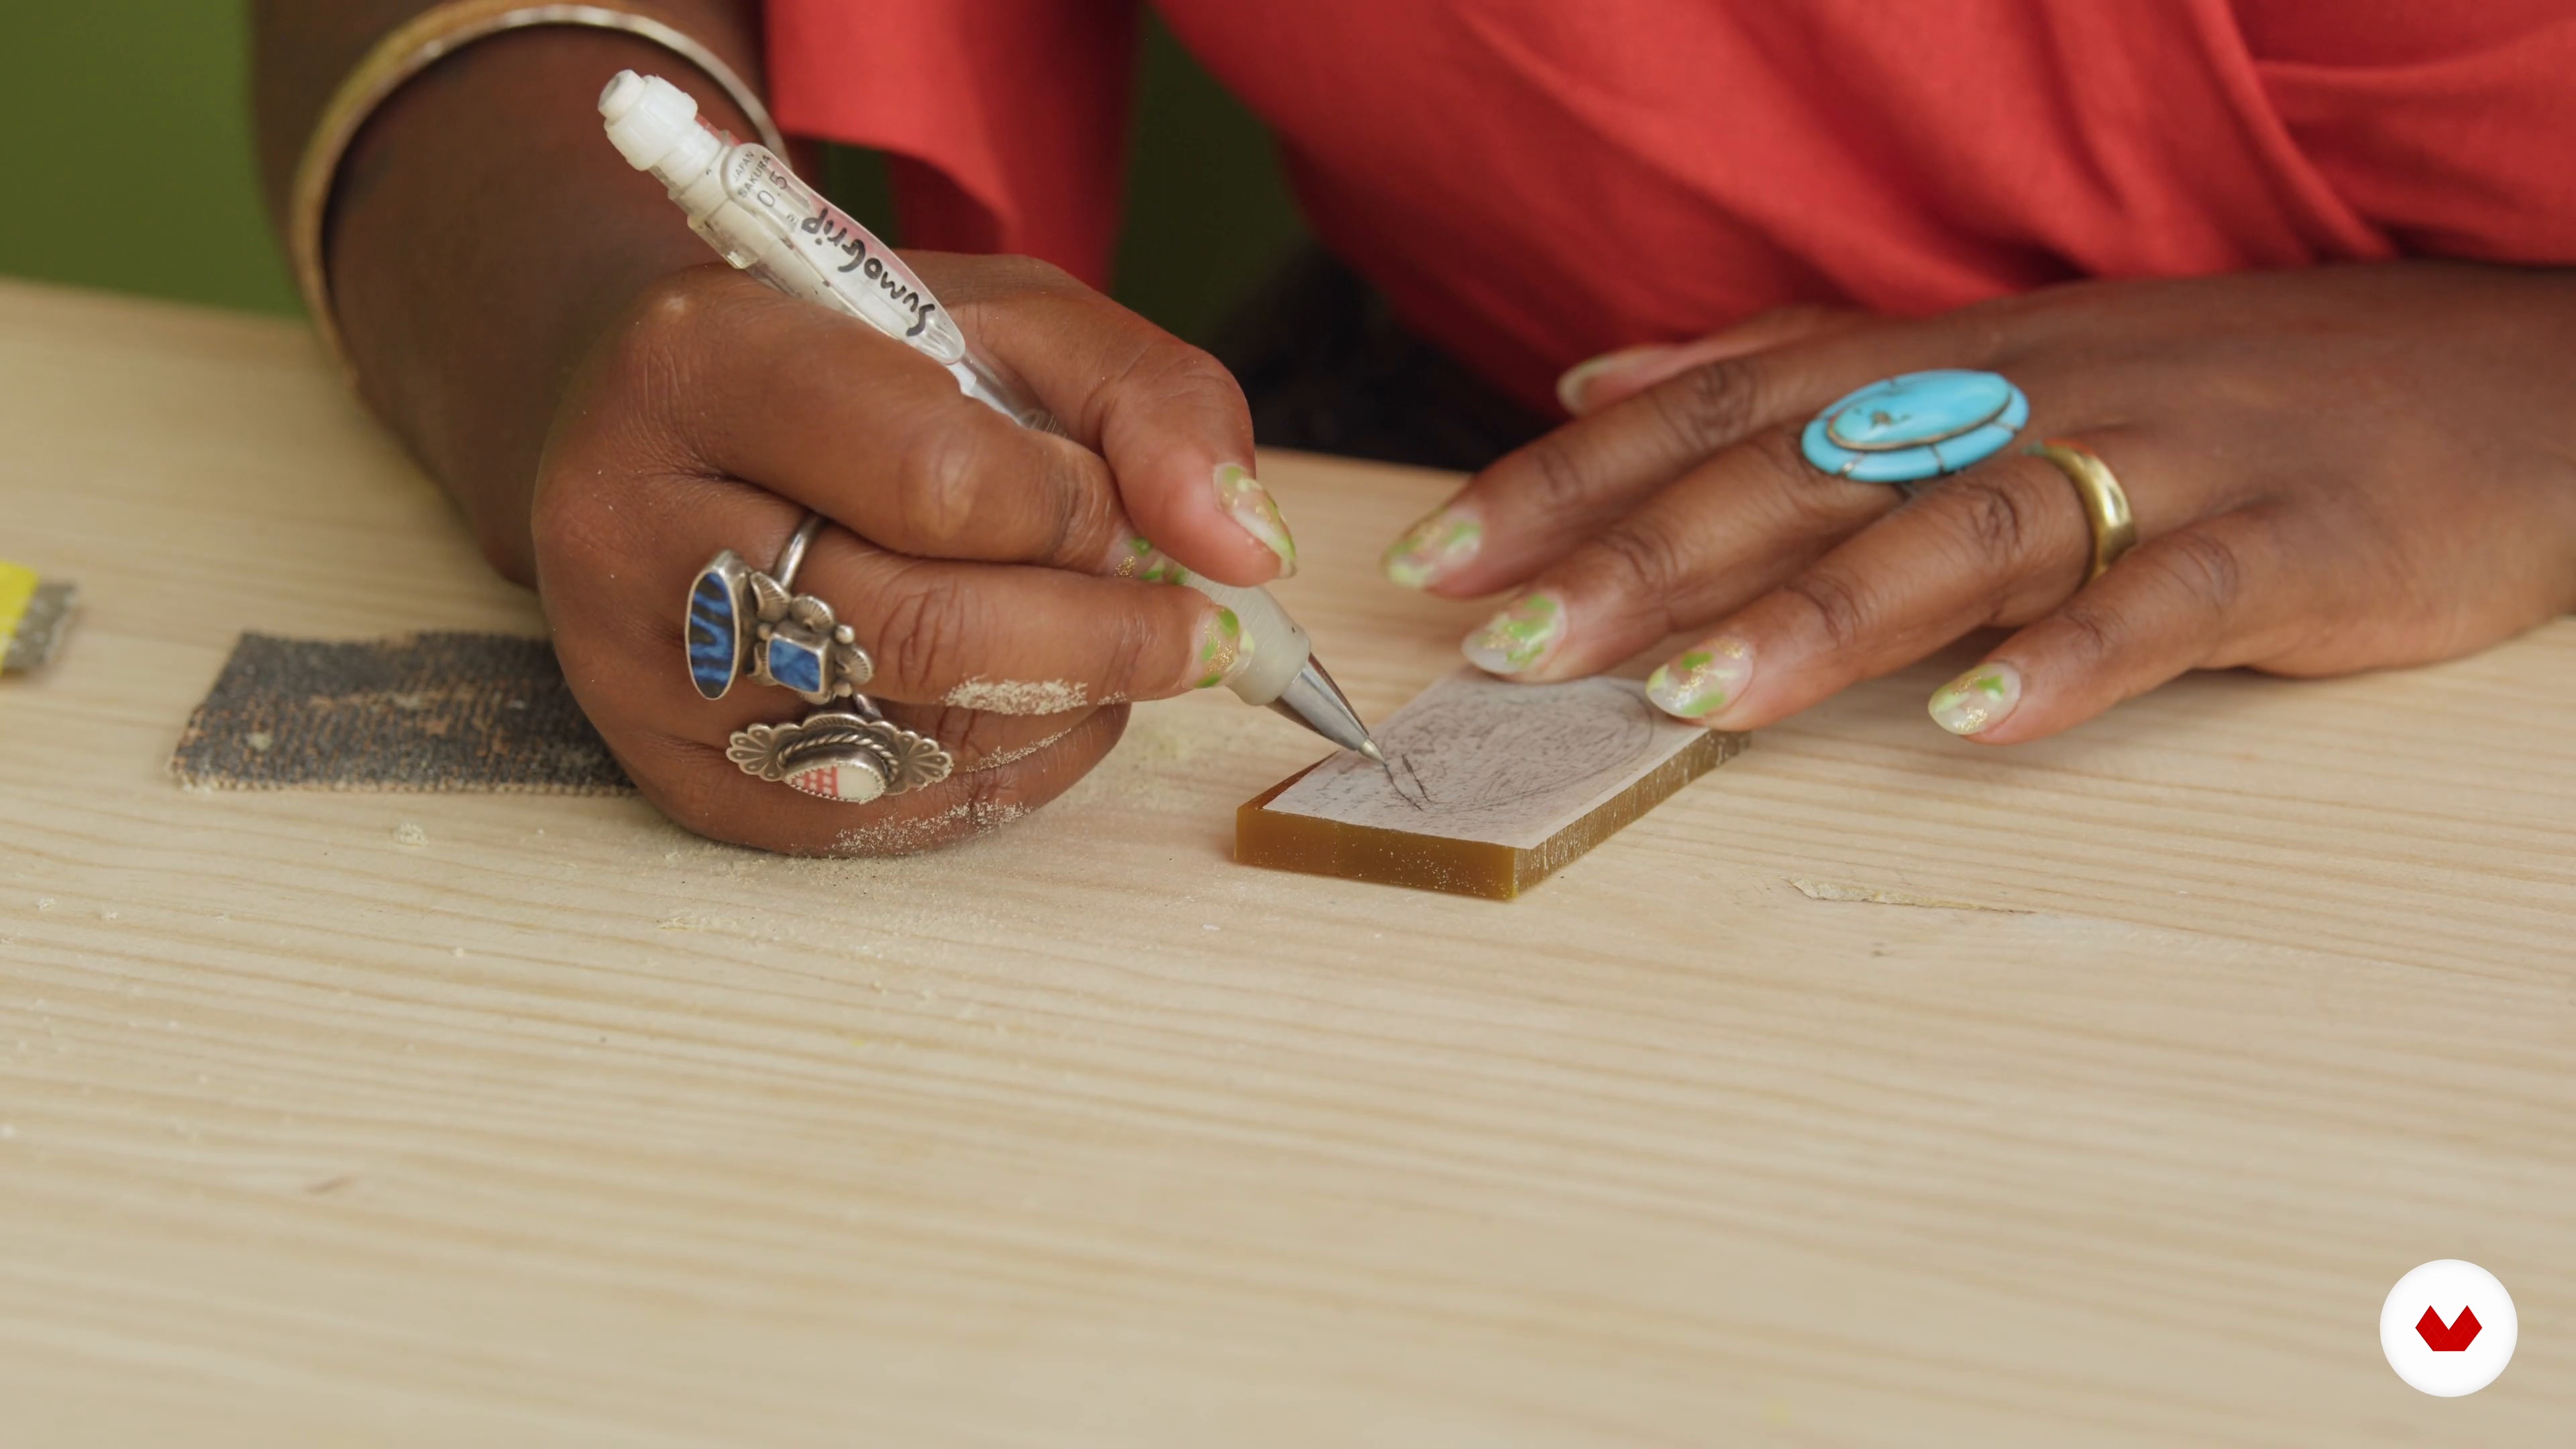 11
11Carving the Pendant 1
To get comfortable with the wax, I will first demonstrate how to make a small dimensional pendant. A second one could also be created to make a pair of earrings! With this pendant, I want to show you how to determine depth and scale, and how to transform something that is so blocky into a piece with a bit of movement.
18m
 12
12Carving the Pendant 2
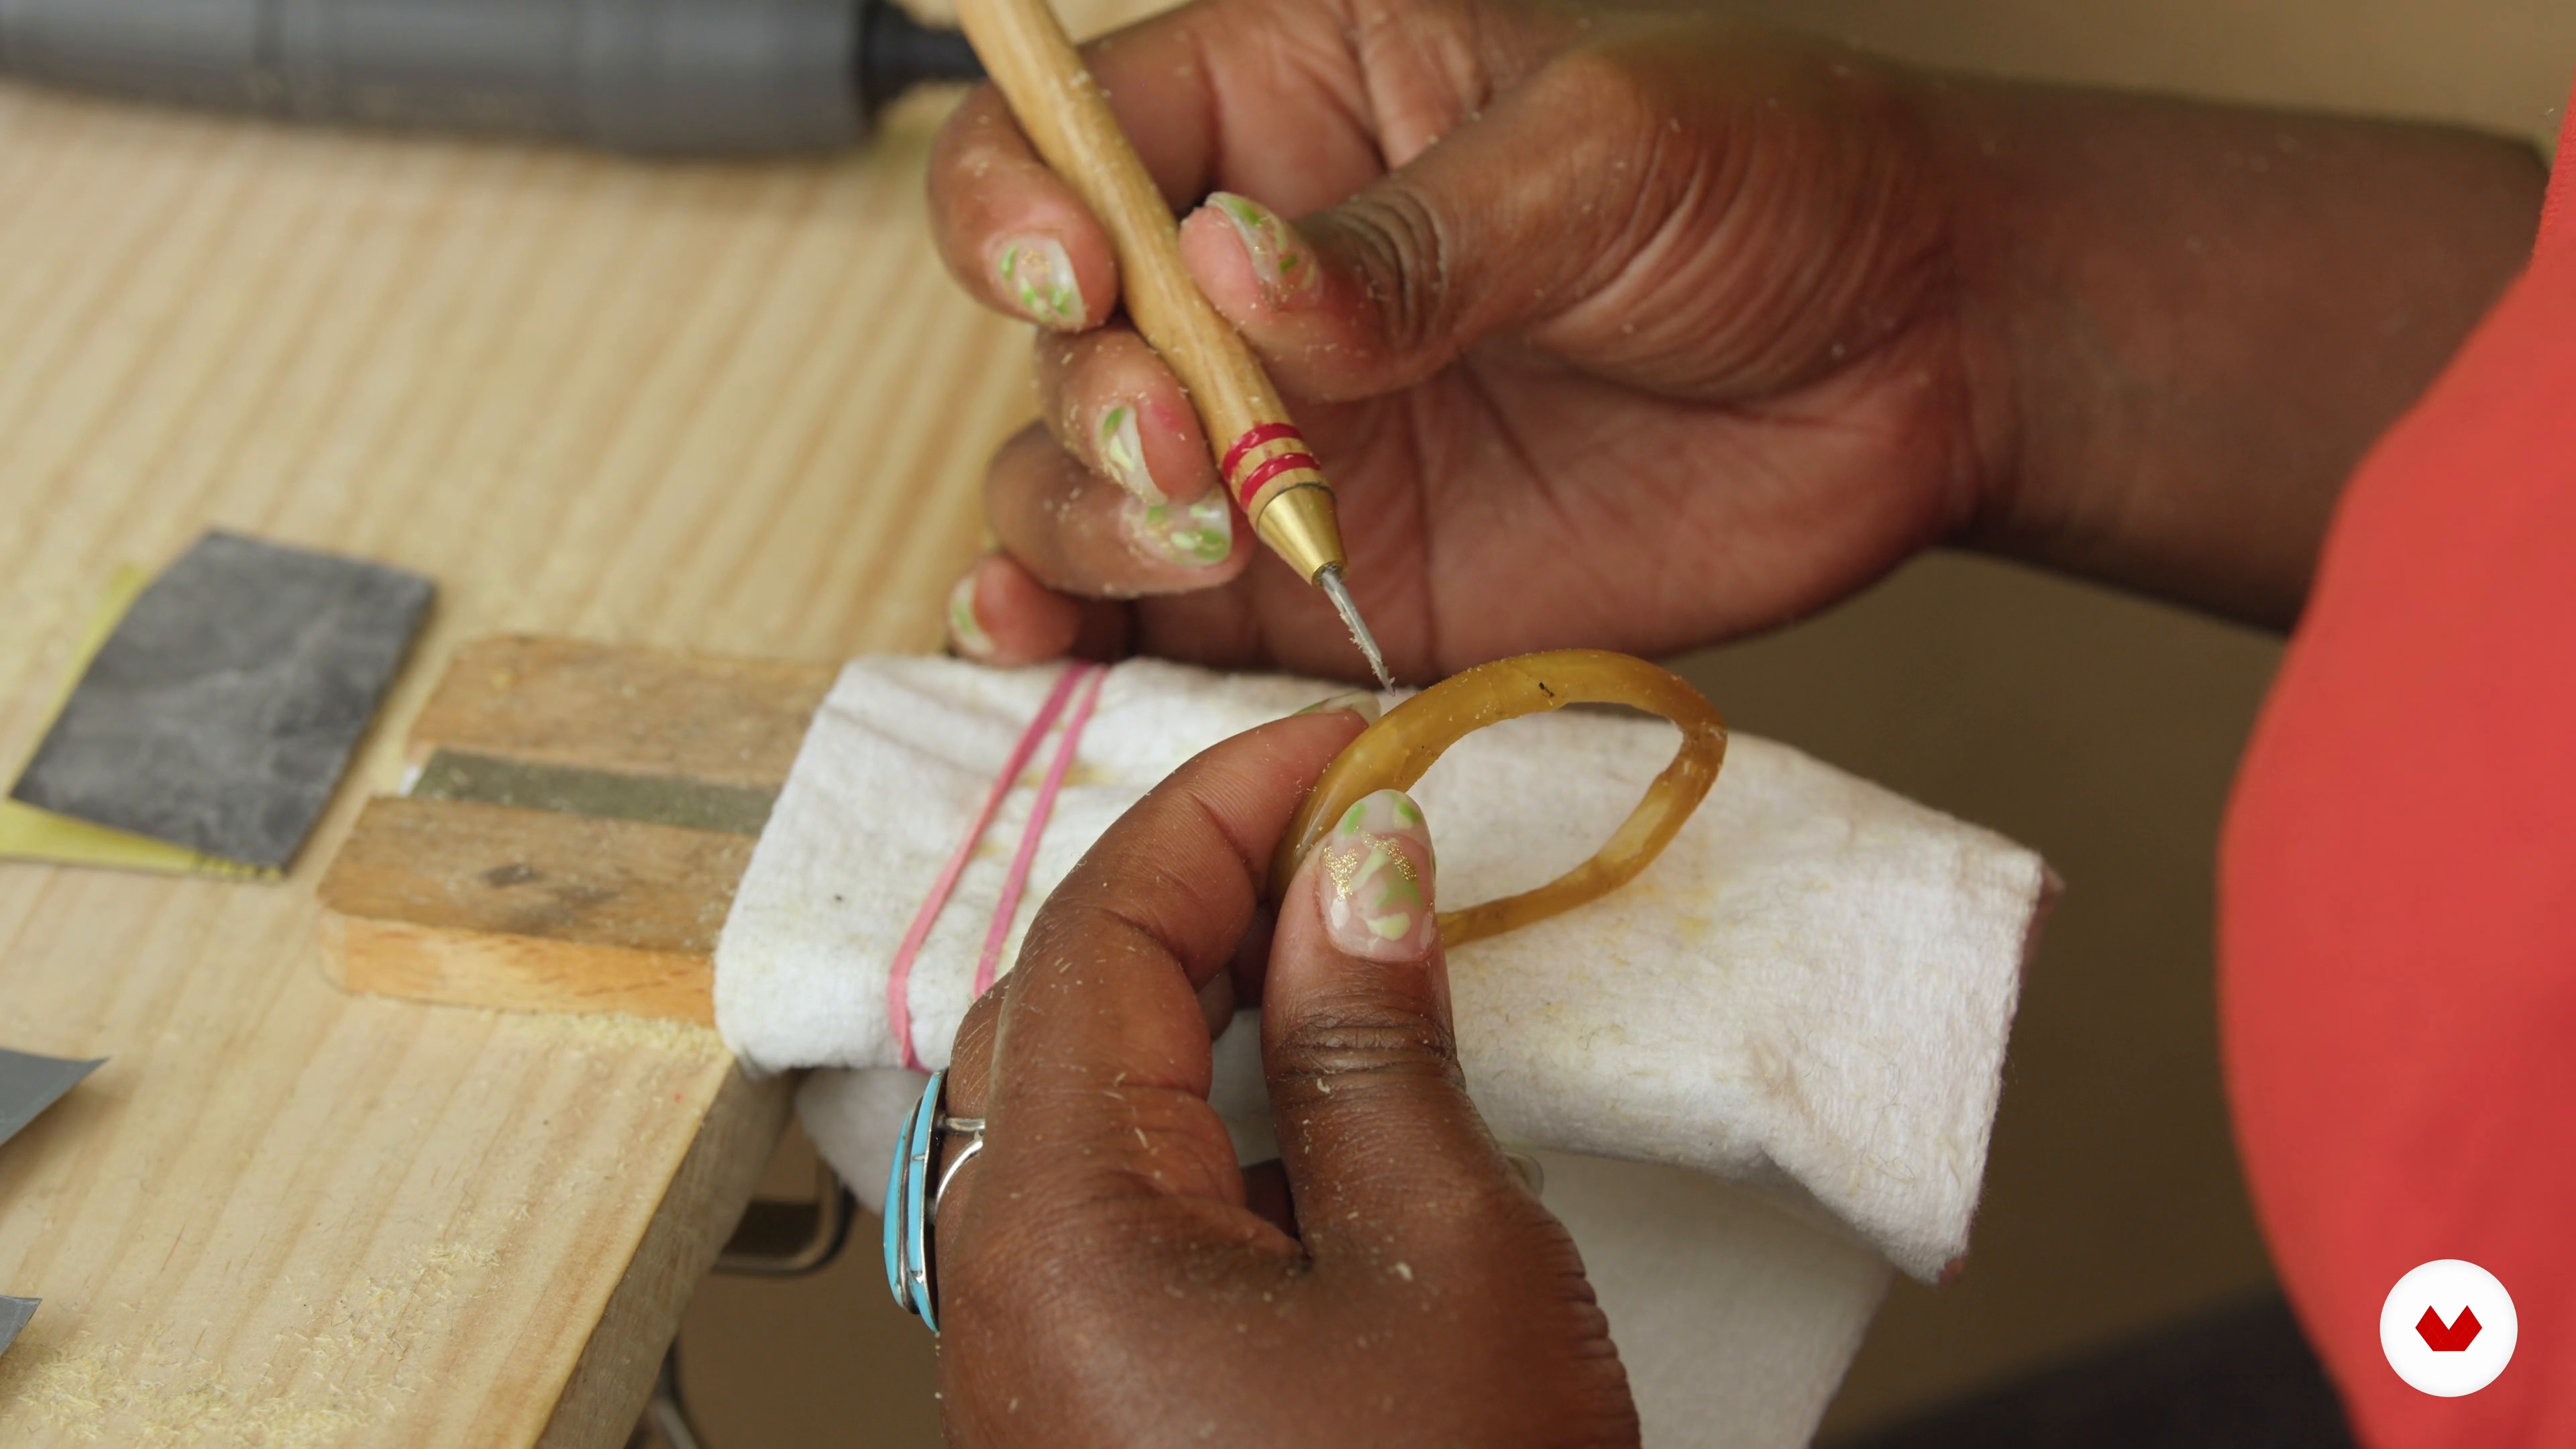
The rule of thumb is that you don't want a very thick piece, even if it's hollow. I like to keep my waxes at about 1 mm thick or a little less. I will explain how to use the milimeter gauge to make sure that the wax is the correct thickness overall. Once the pendant is complete, I will finish it using steel wool, sandpaper, and lighter fluid. You want your piece as finished as it can be!
18m
 13
13Carving a Sculptural Ring 1
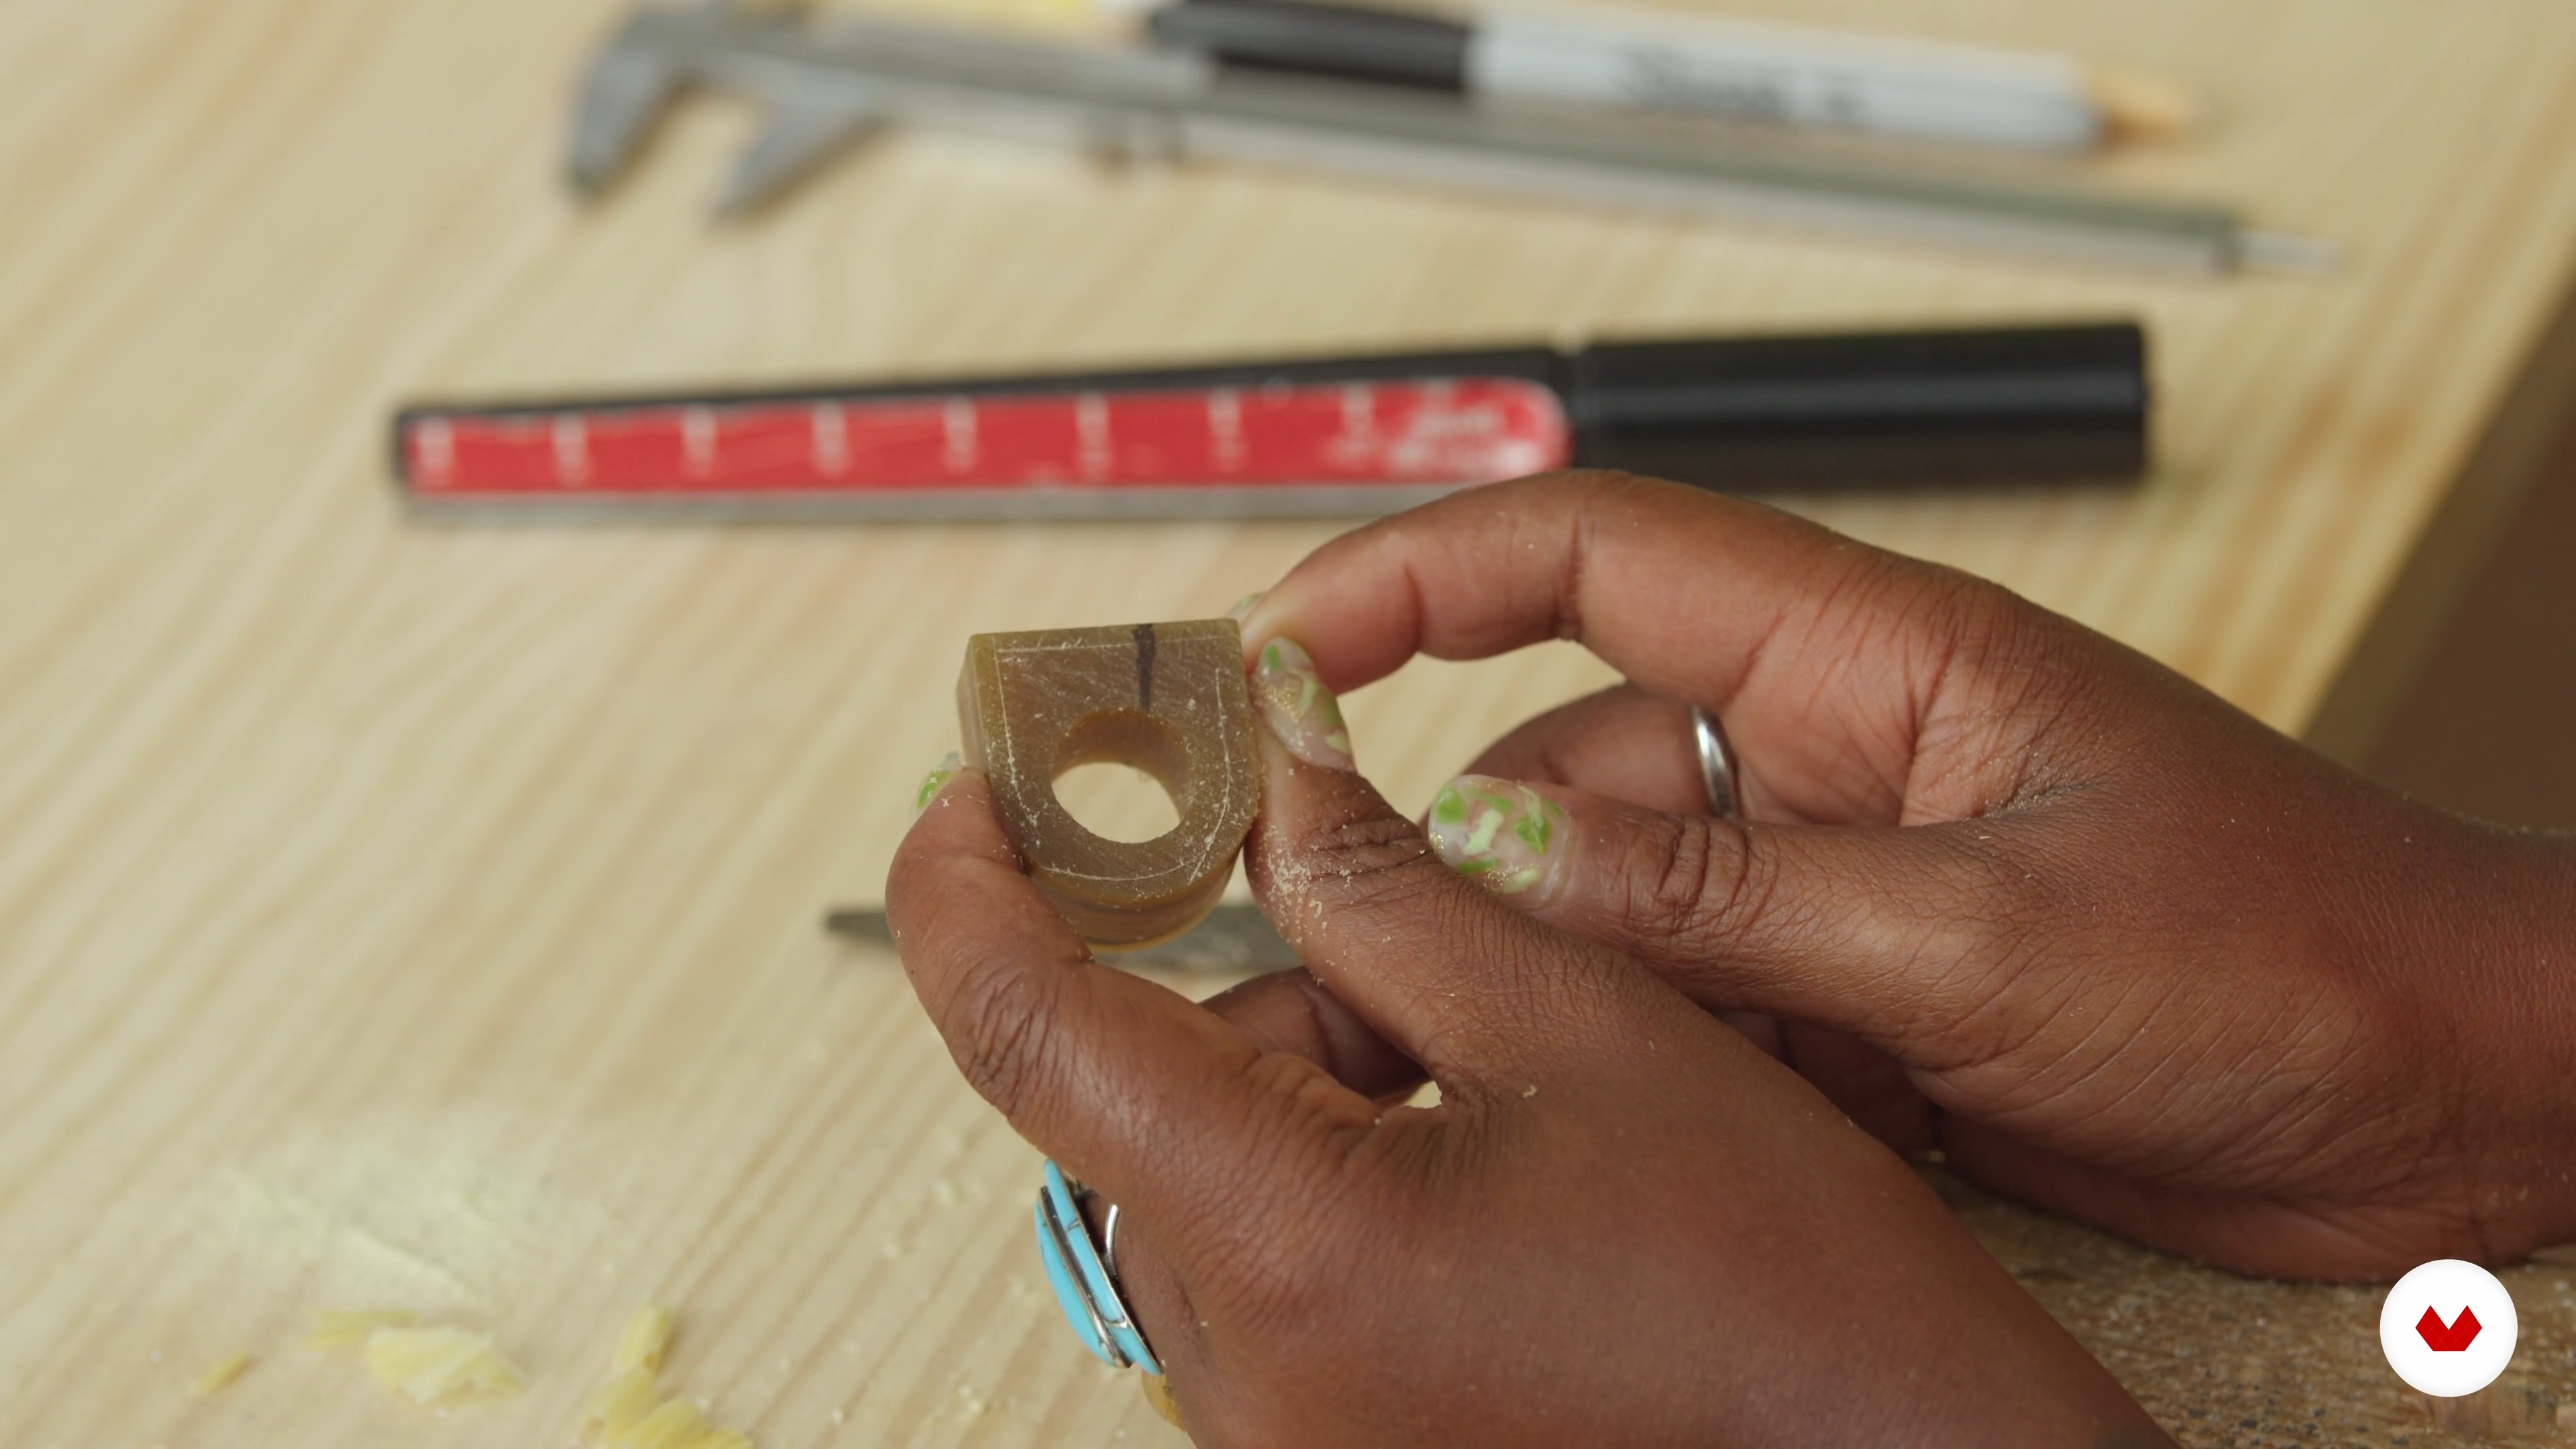
In this lesson, I will show you how to plan out and create a sculptural ring. An essential step in this process is to determine the size of the final piece. So, I will first focus on shaping the inside of the ring, and then I will start shaping the outside following the marking guides I previously made on the wax.
16m
 14
14Carving a Sculptural Ring 2
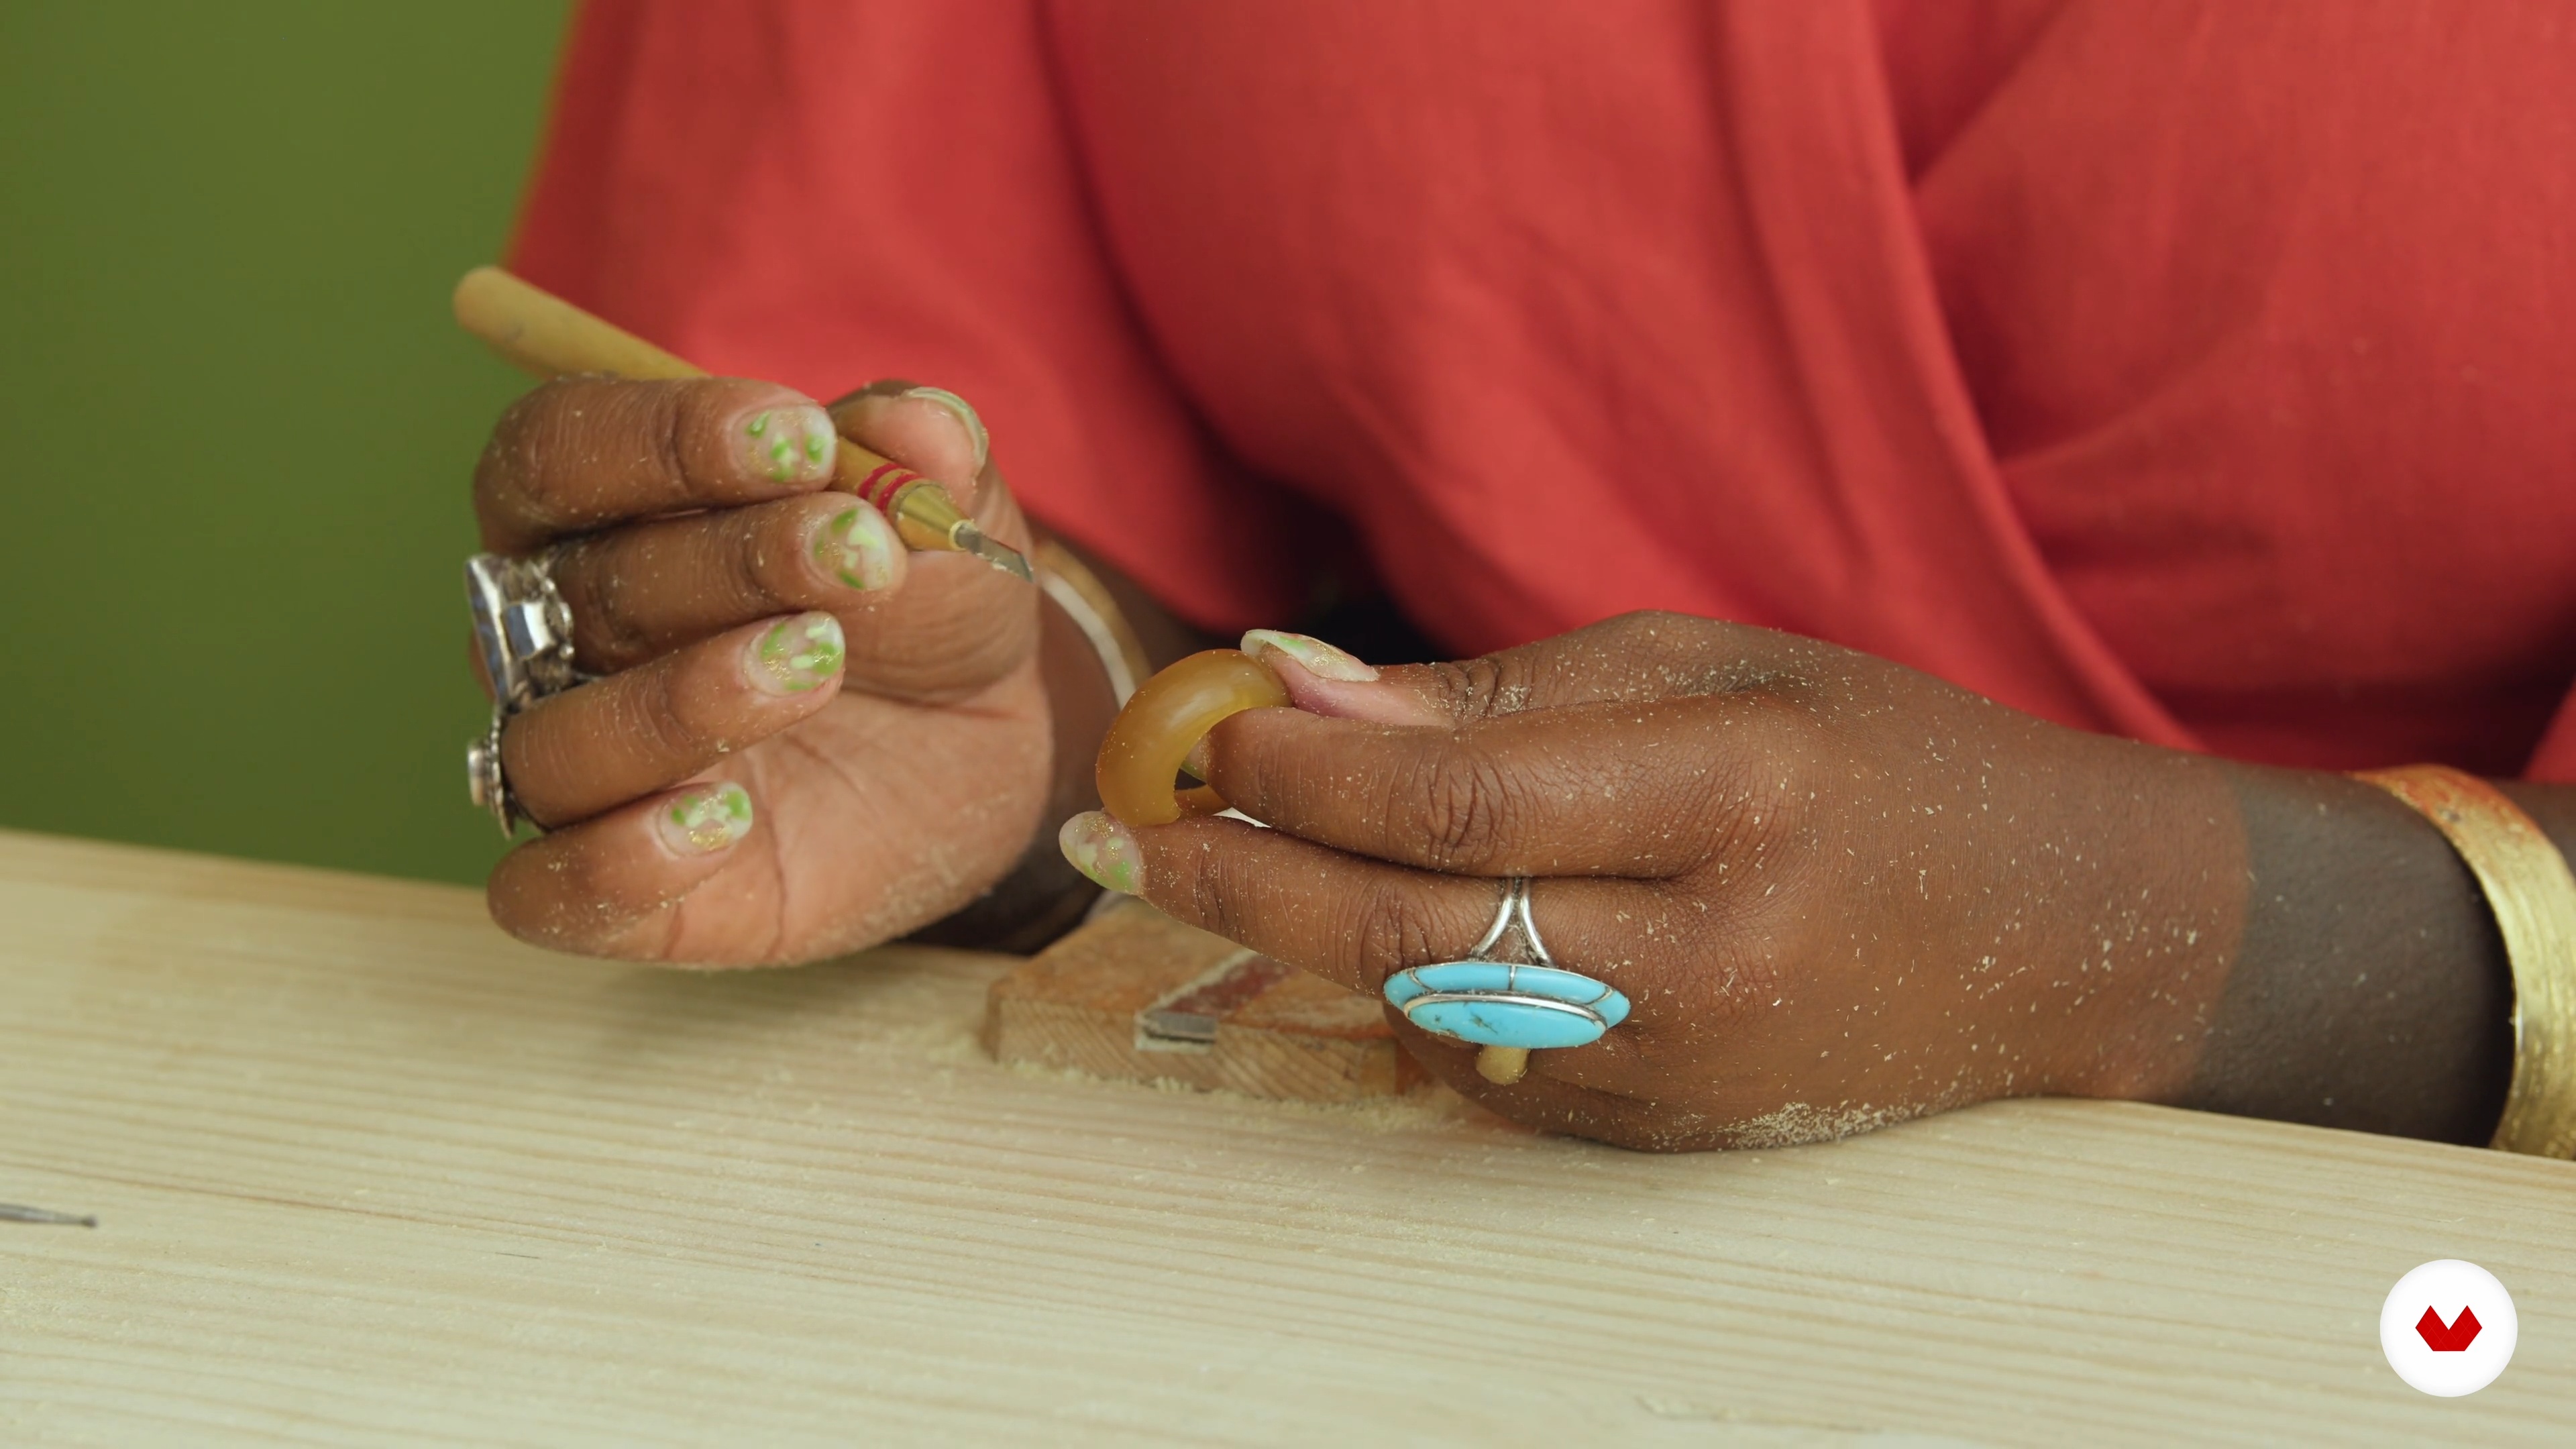
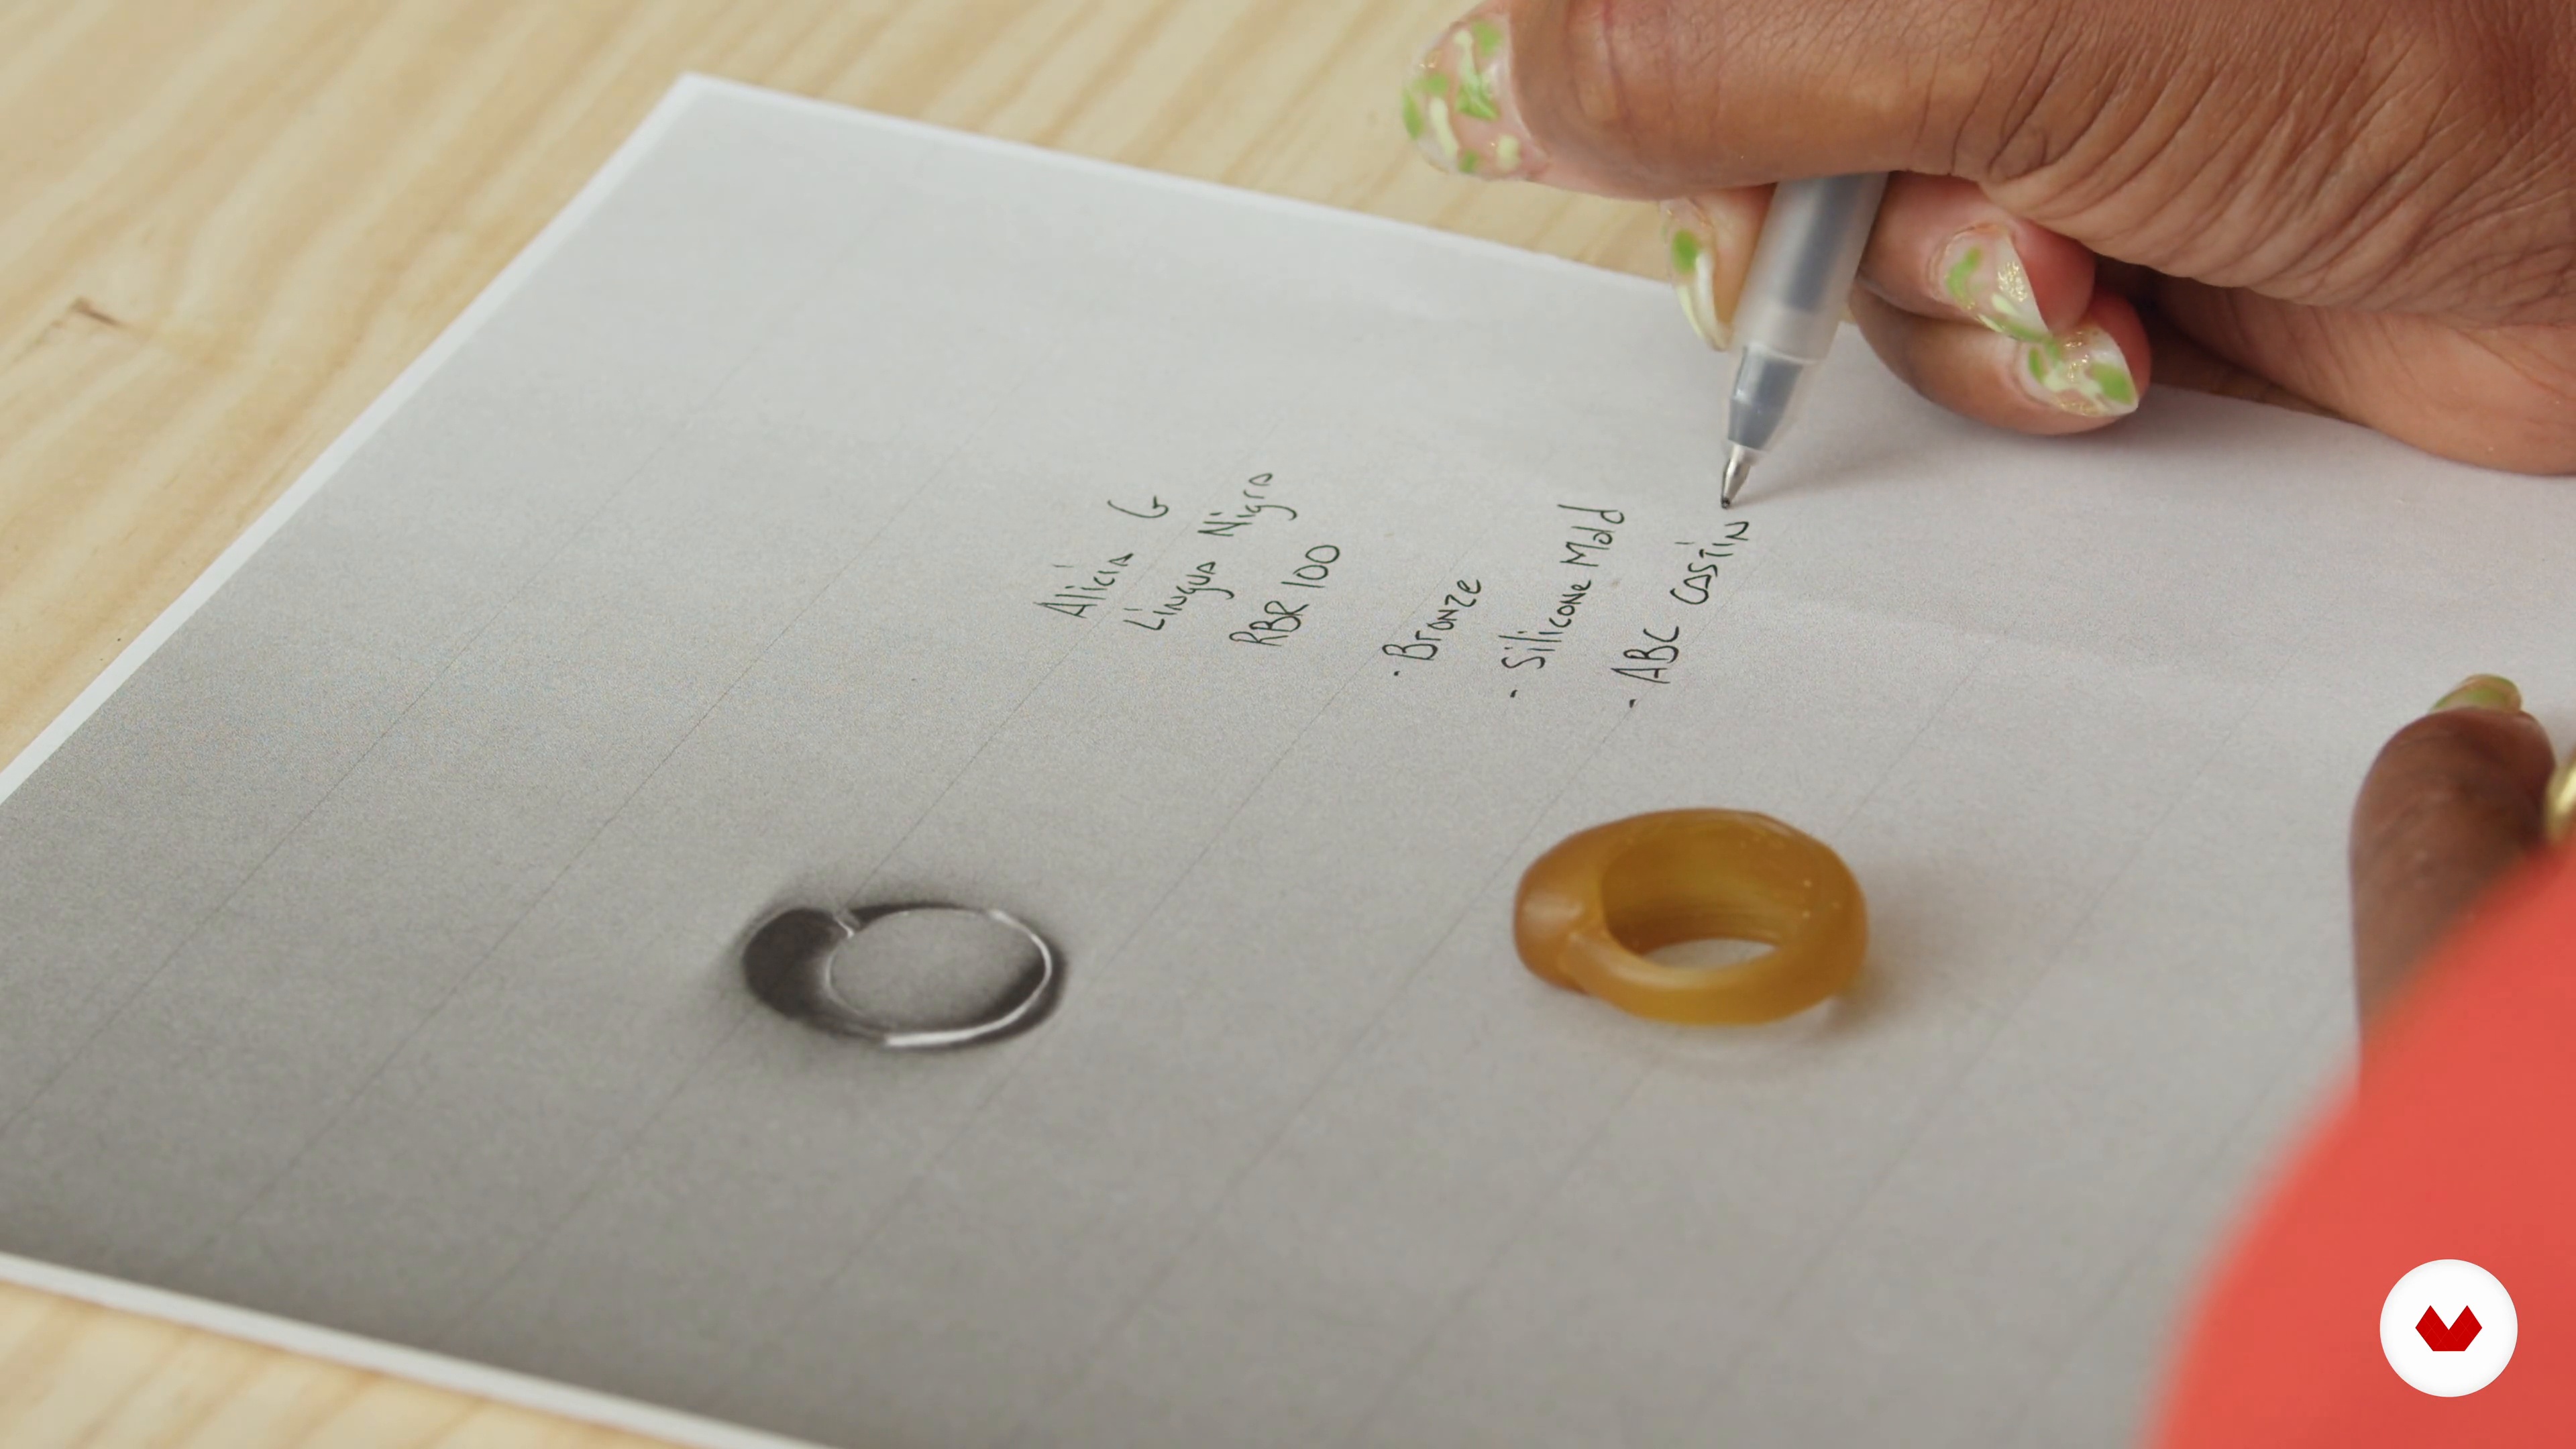
Using the micromotor and a cylinder bur, I will take away the wax from the outside and give the ring its sculptural shape. I will also explain and demonstrate how to round the surface and smooth out the surfaces with blades and sandpaper, coating it with lighter fluid.
11m
 15
15Cast and Finishing Touches 1
Where do you send the finished wax molds to make them into metal? In this lesson, you will learn what casting is, what to include in your request to the caster, and how to package your pieces to send them.
16m
 16
16Cast and Finishing Touches 2
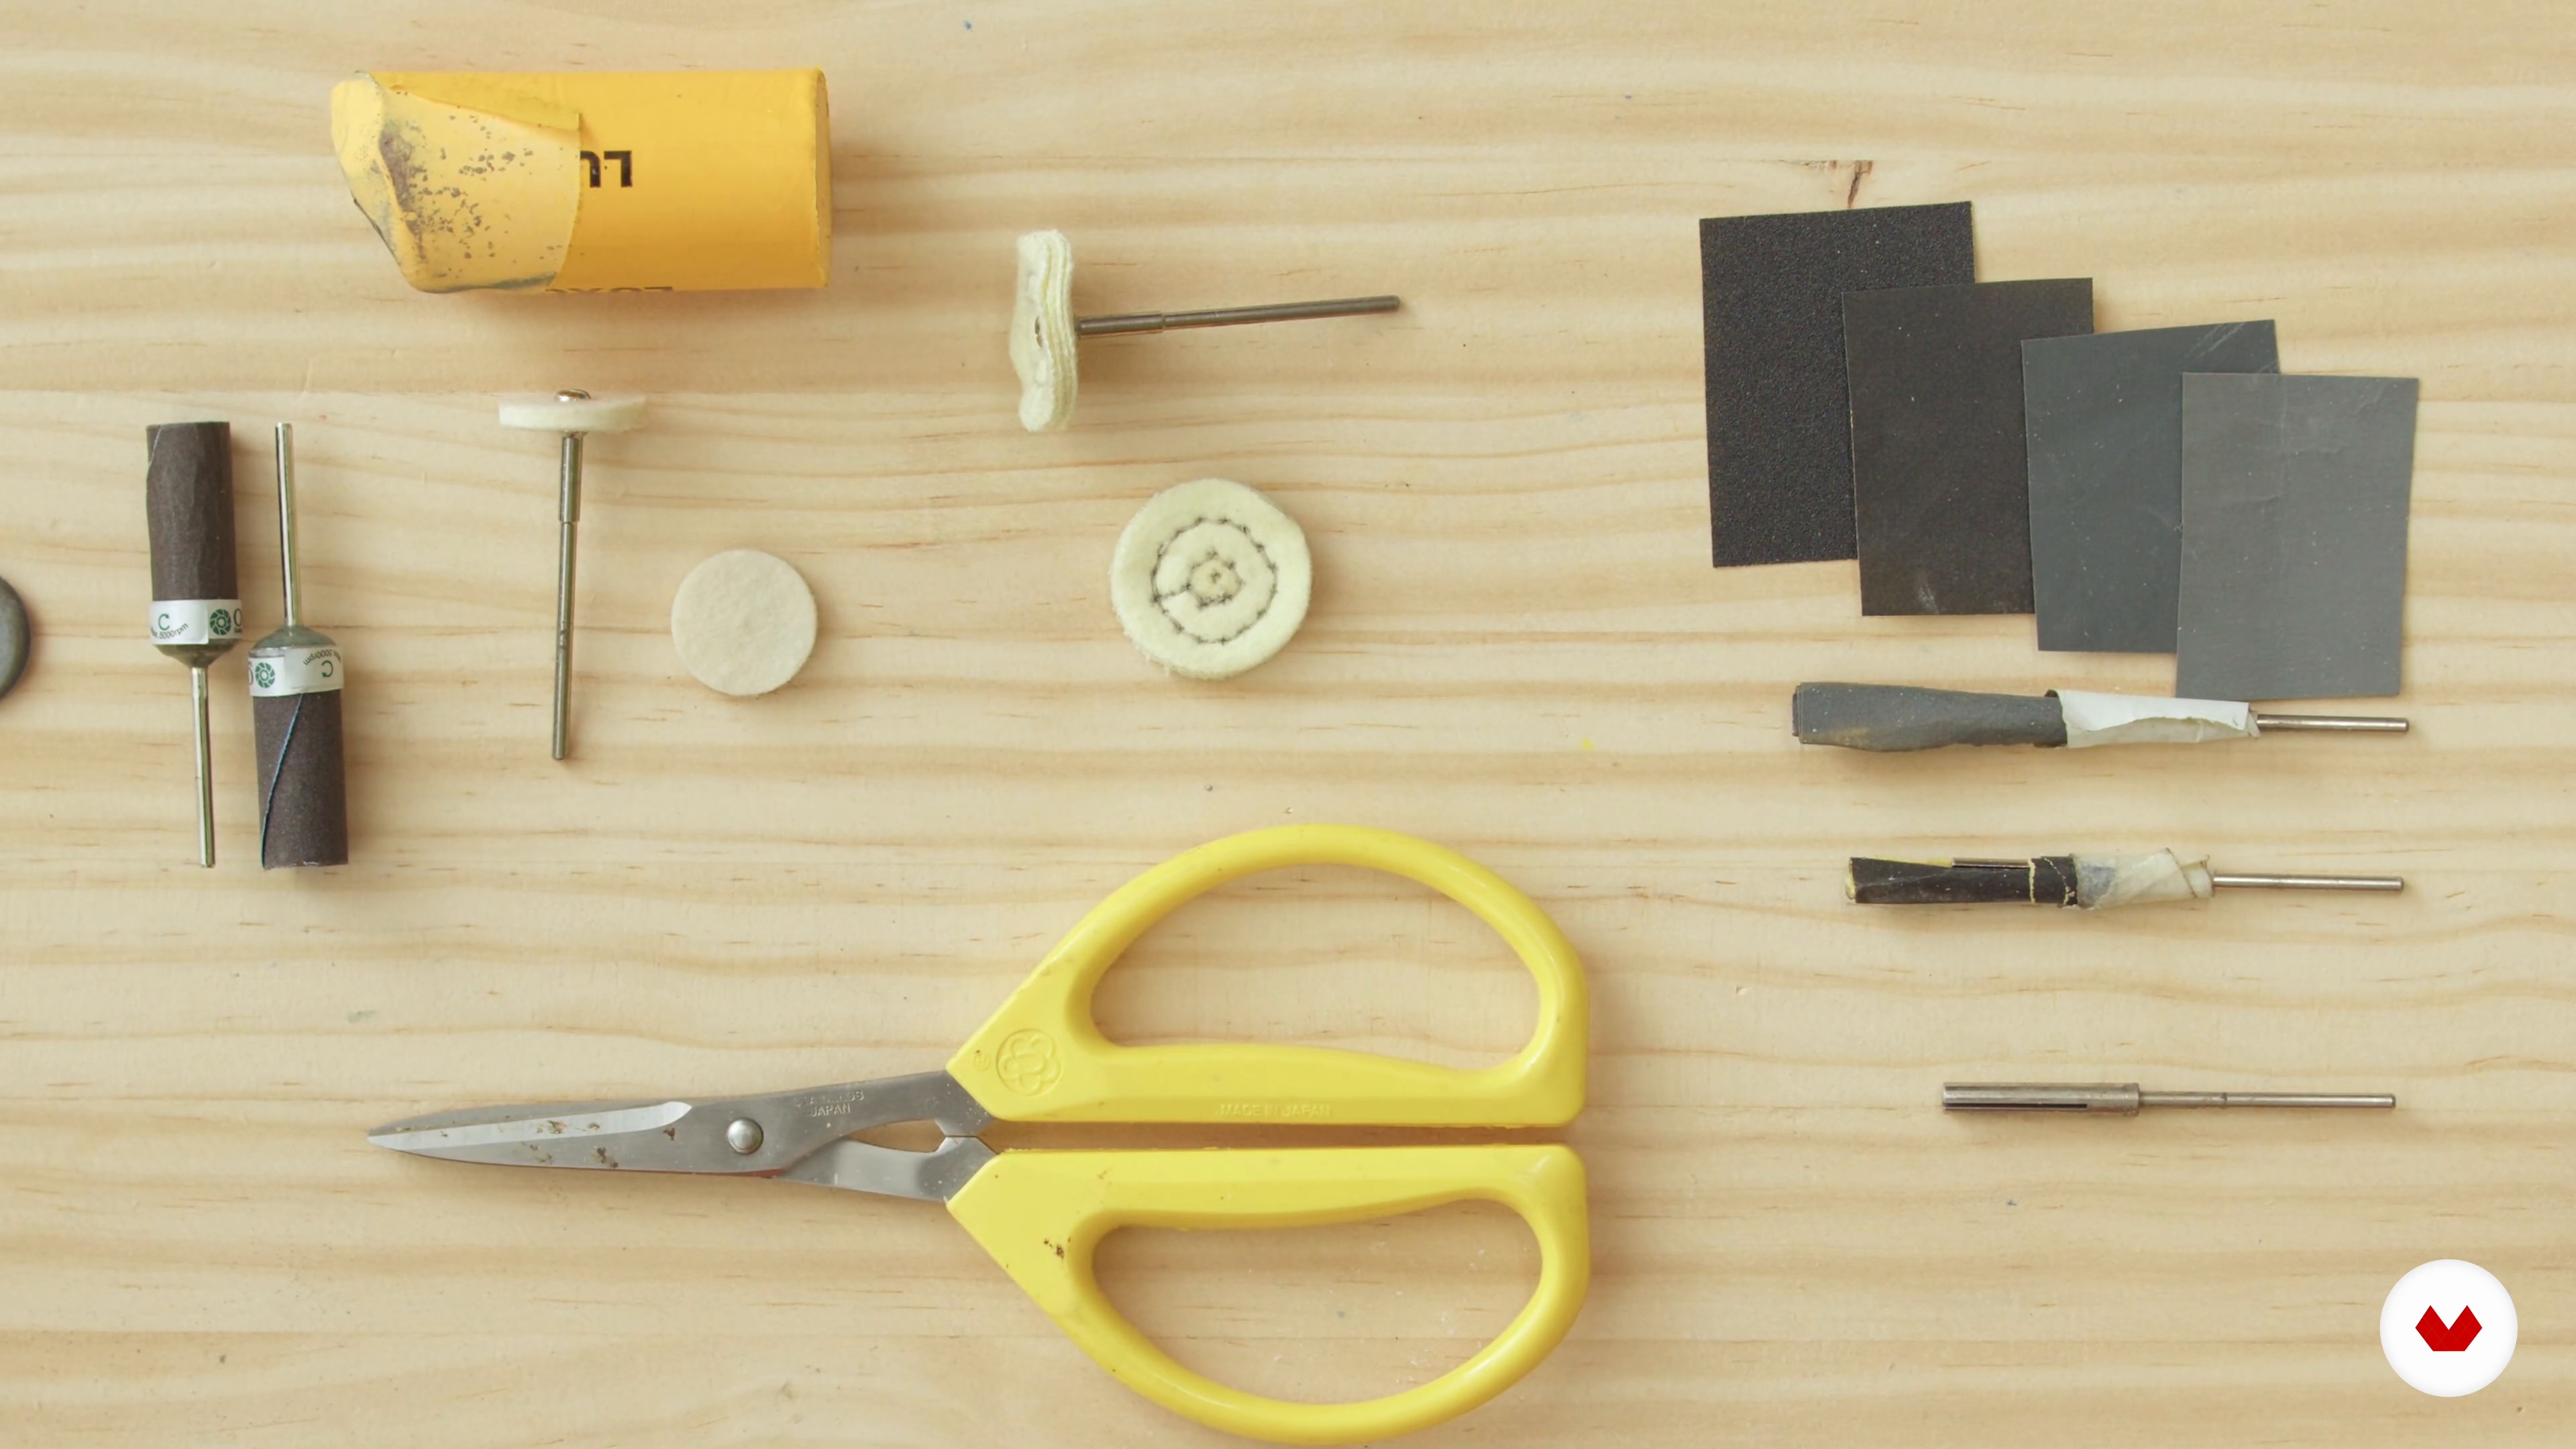
Once the metal pieces are ready, we have to finish them, which means filing over possible imperfections, smoothing out the surface, and finally sanding. I will show you all the tools and materials you can use for that.
13m
 17
17Cast and Finishing Touches 3
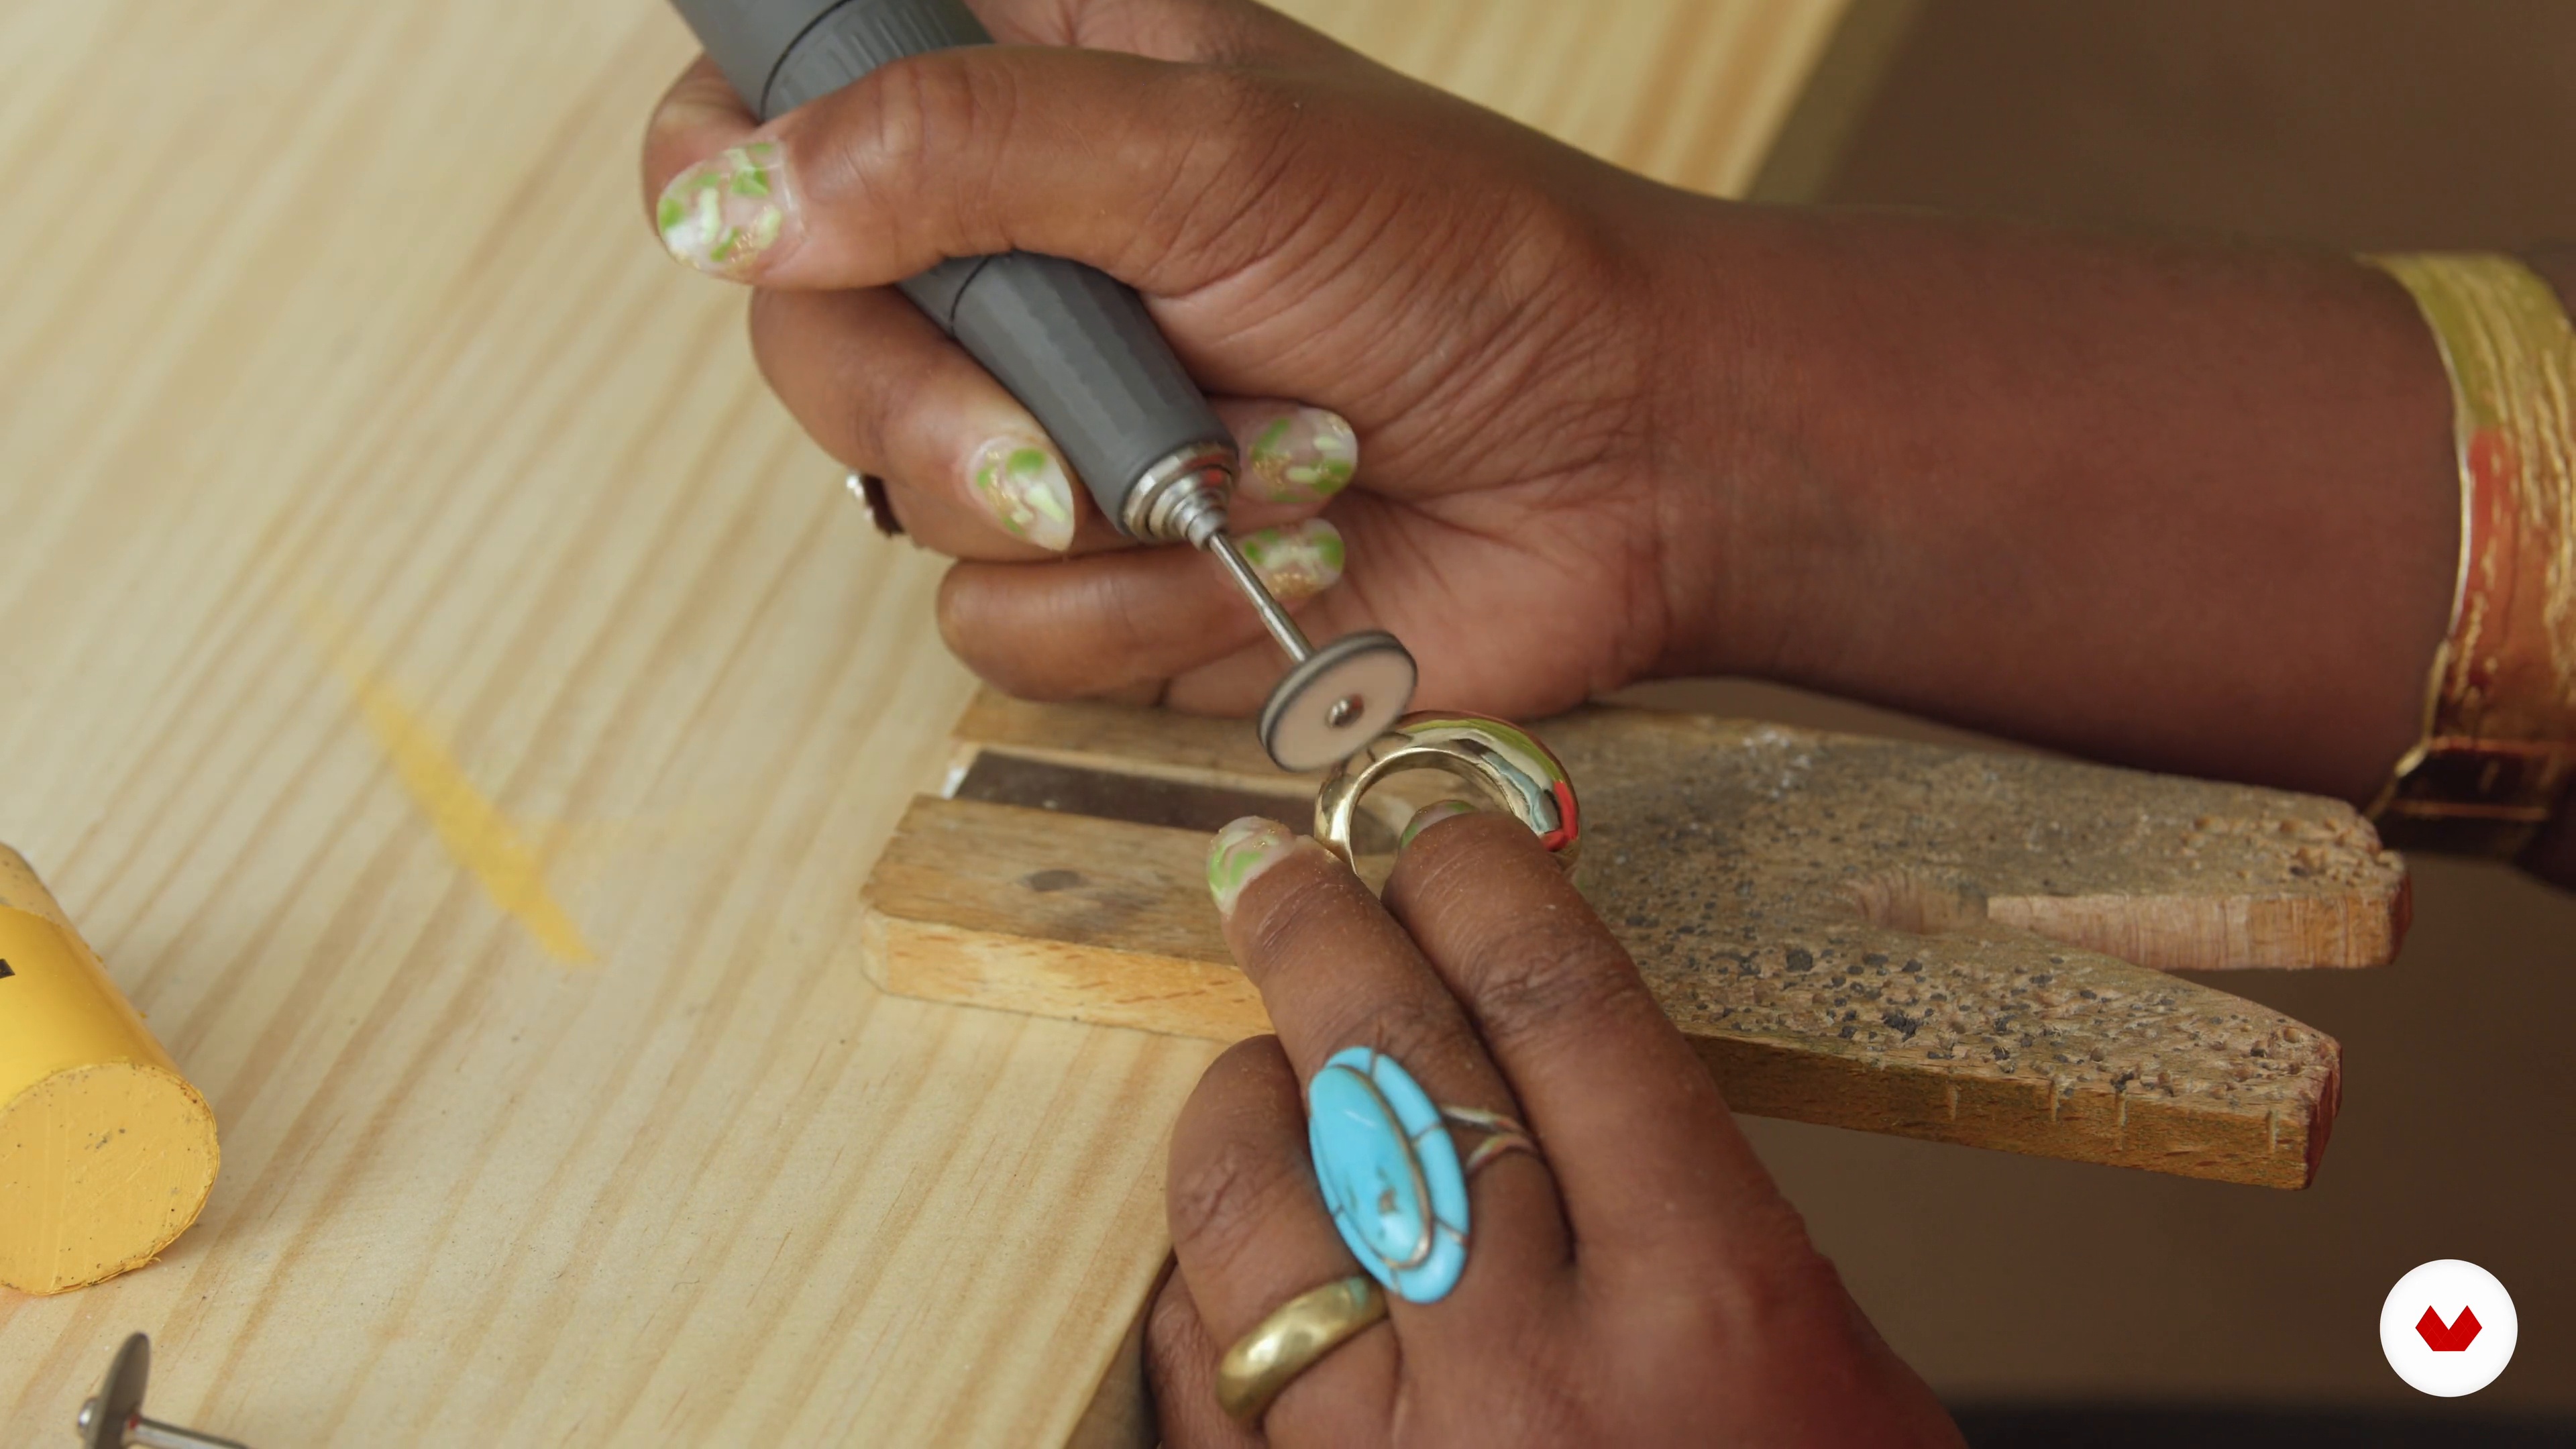
The last step is to polish the metal pieces. Again, there are different options for this purpose. I will give you some tips and teach you the polishing technique I use.
6m
 18
18How to Create Texture in Your Pieces
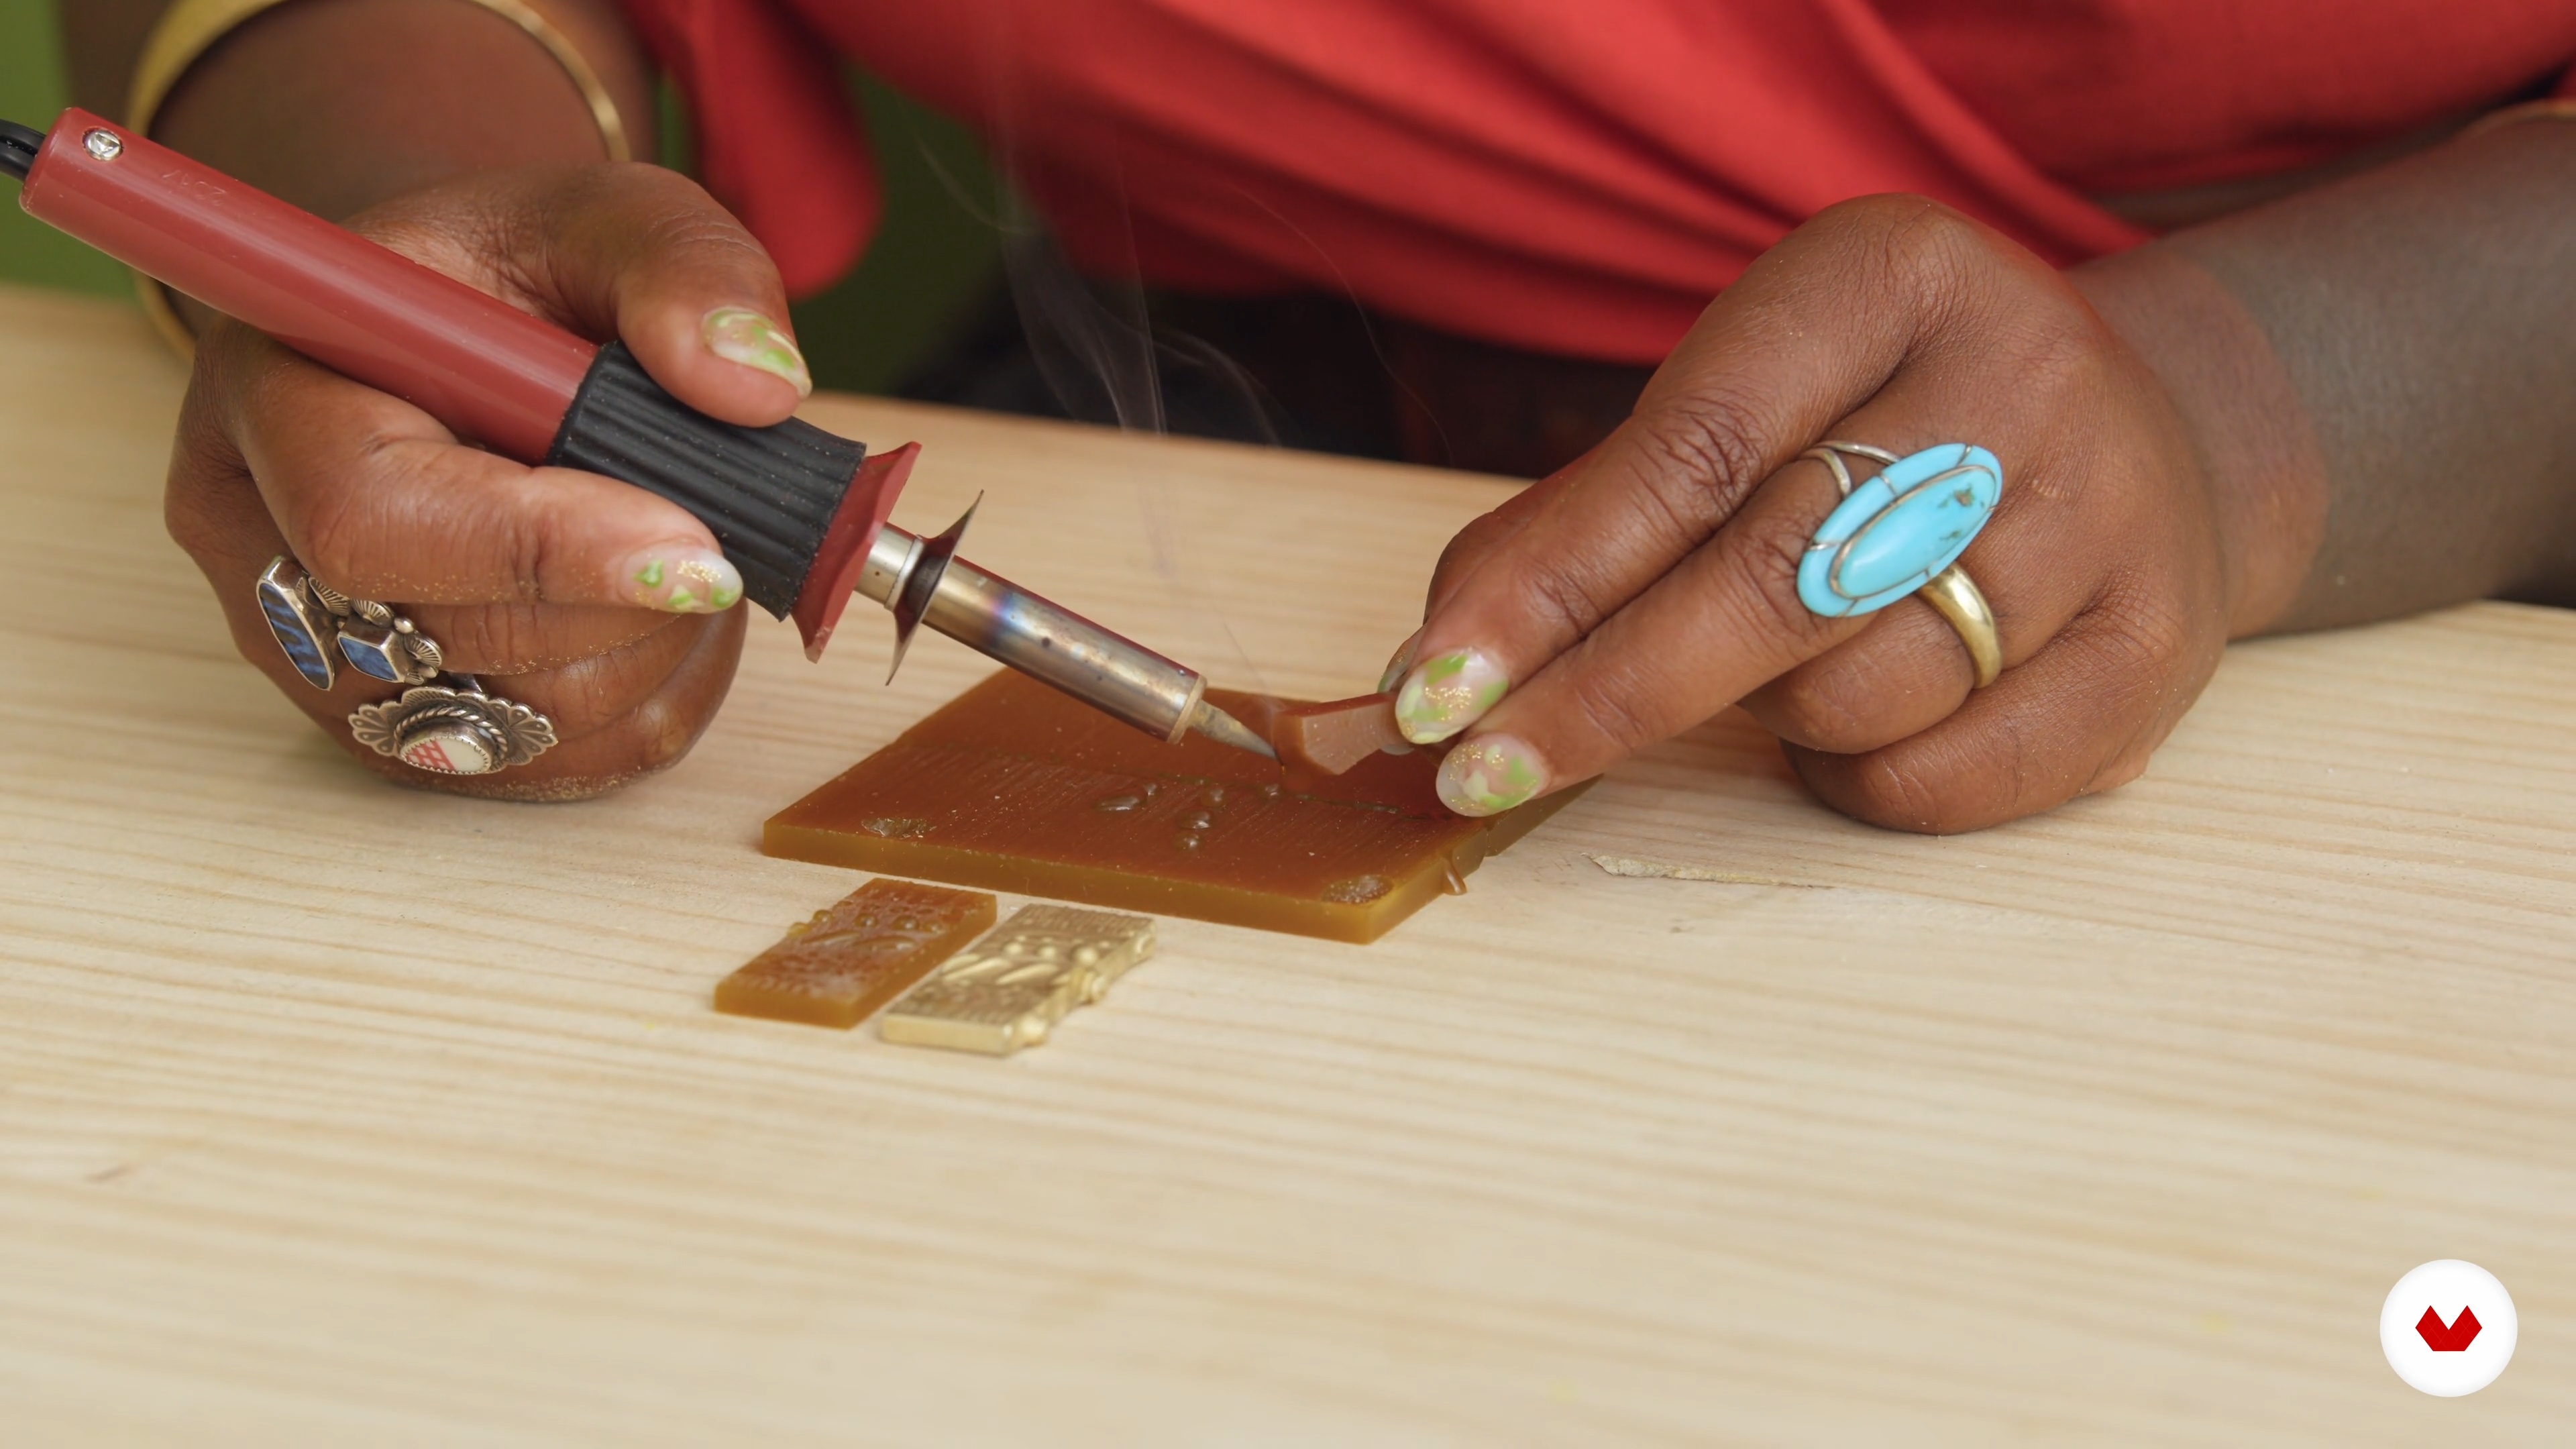
Here you will see a demonstration of how to create different kinds of textures in wax using a wax pen.
4m
 19
19How to Price Your Pieces
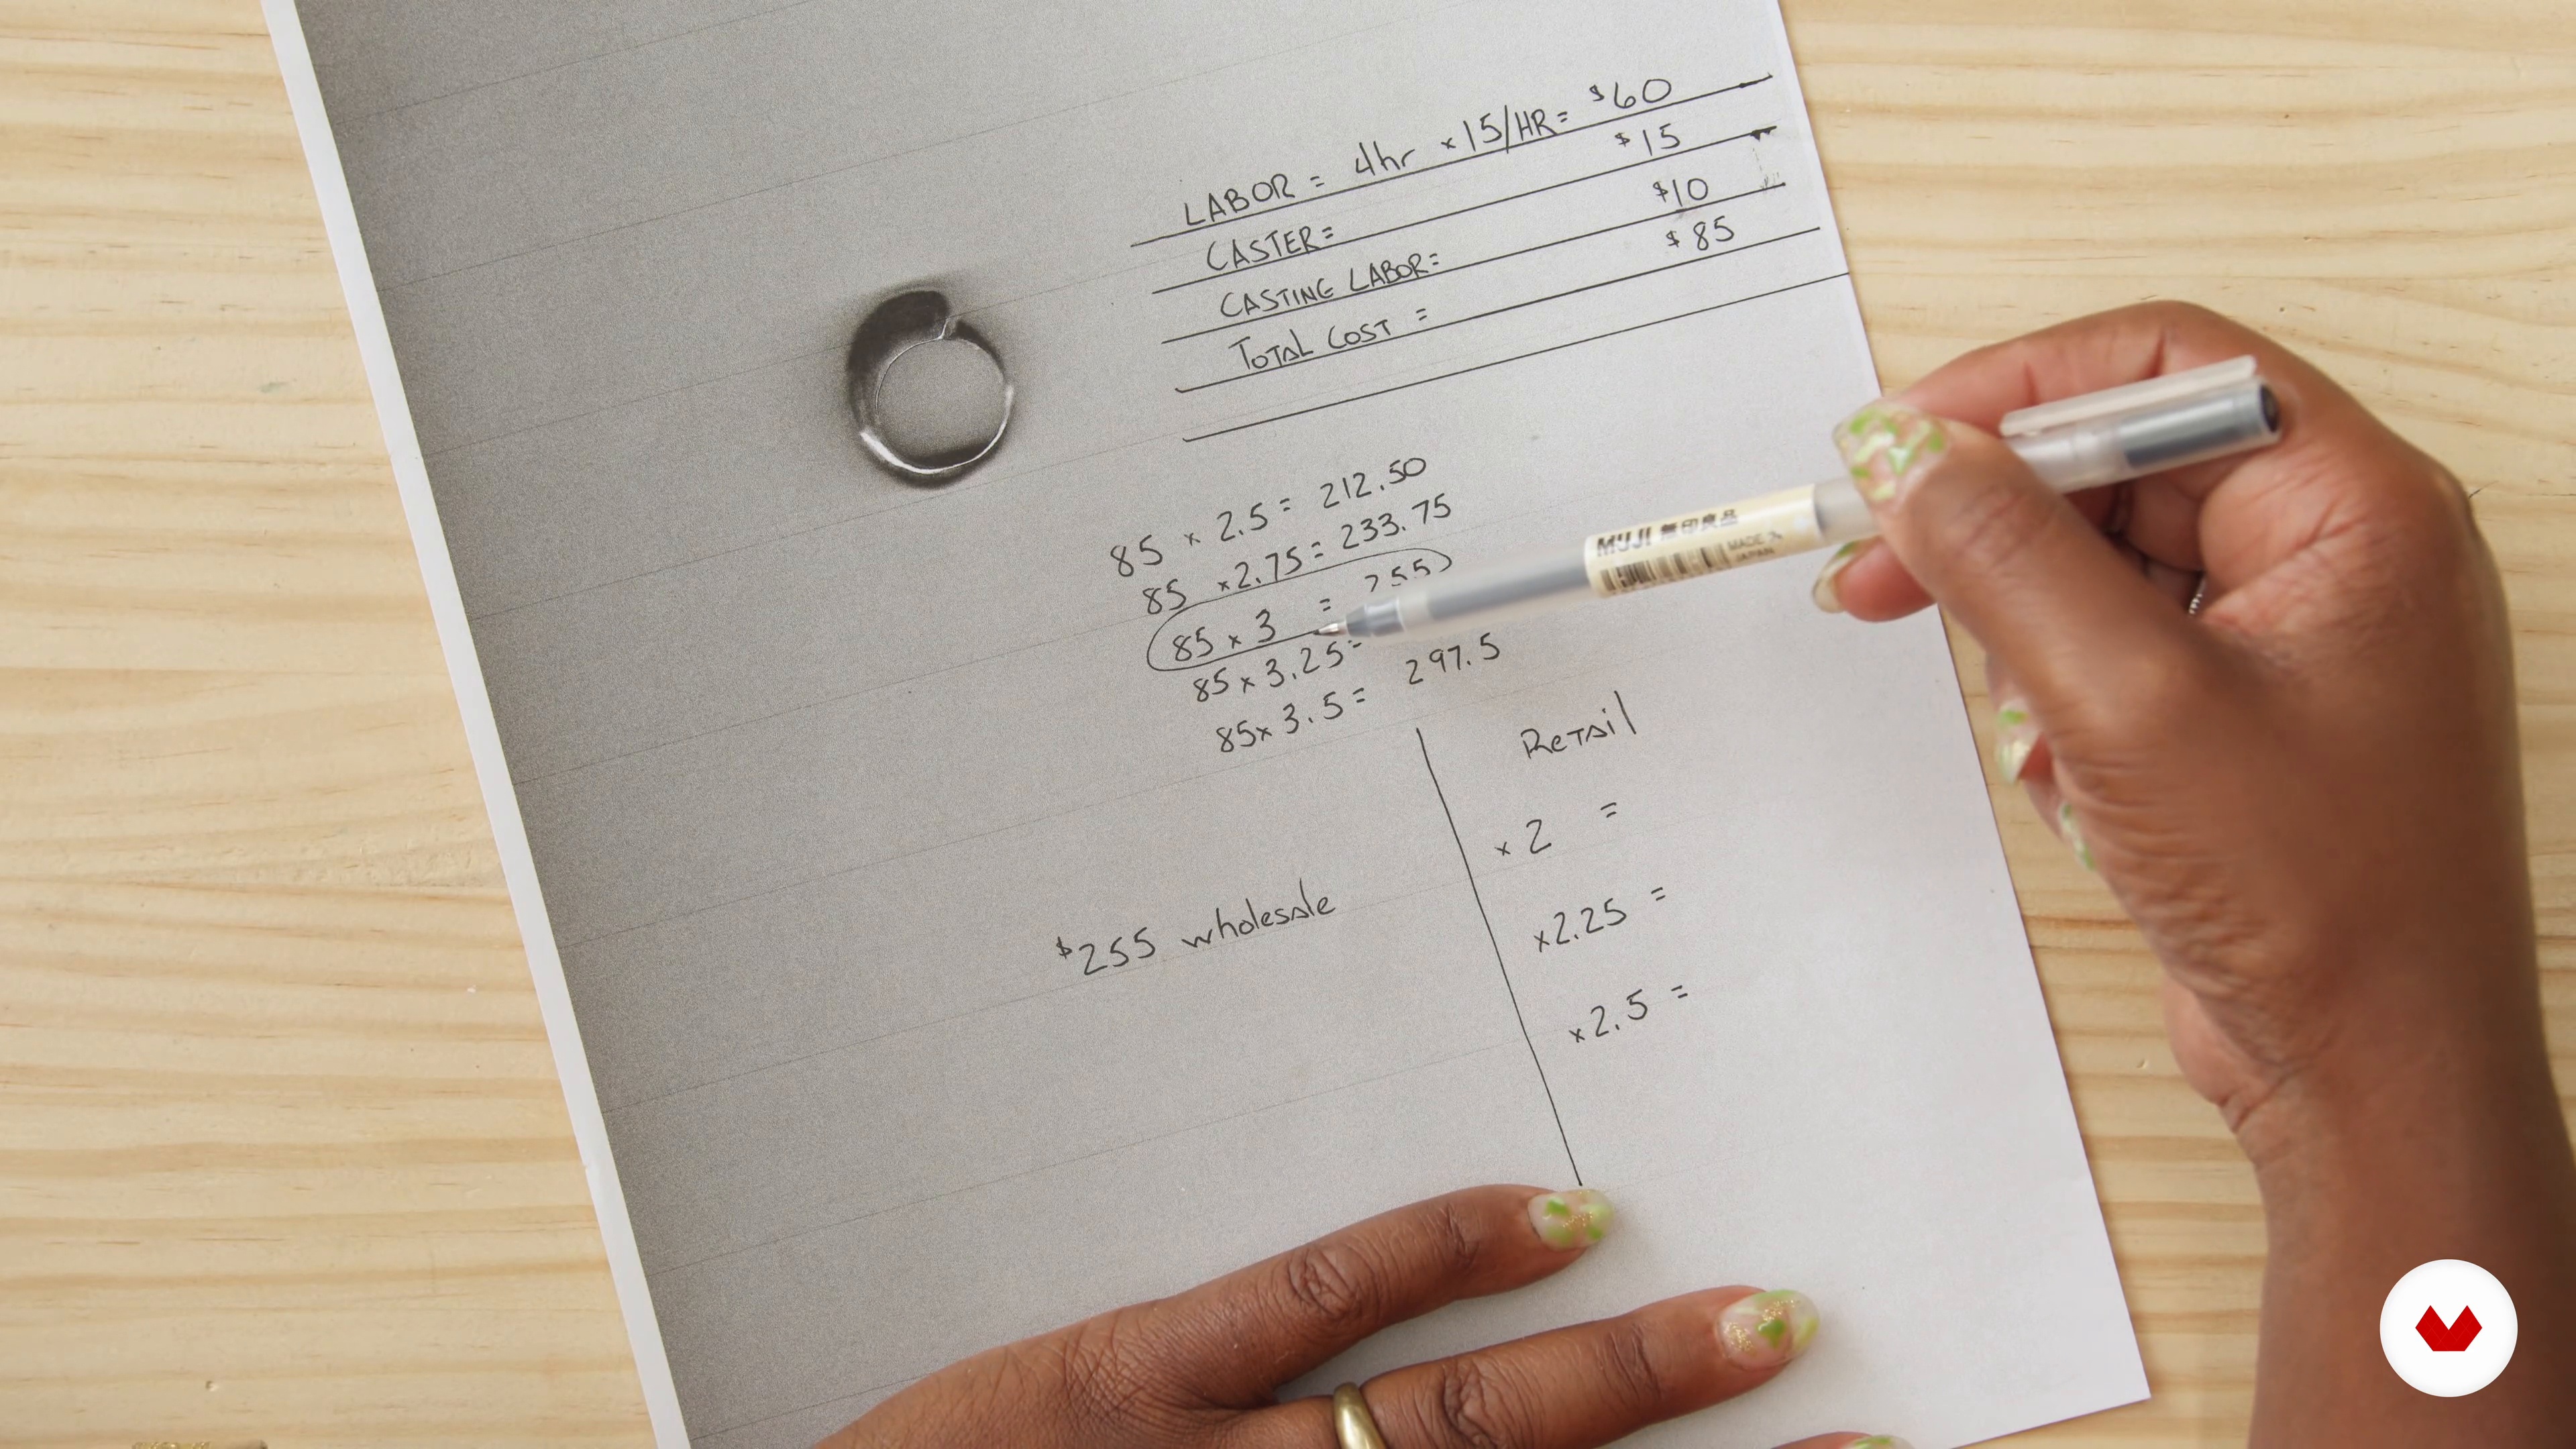
For pricing your work, you will have to consider different criteria such as labor, time invested in the craft and design, the weight of the pieces, what kind of metal you used, and also your experience. Let me share my insights on this topic!
17m
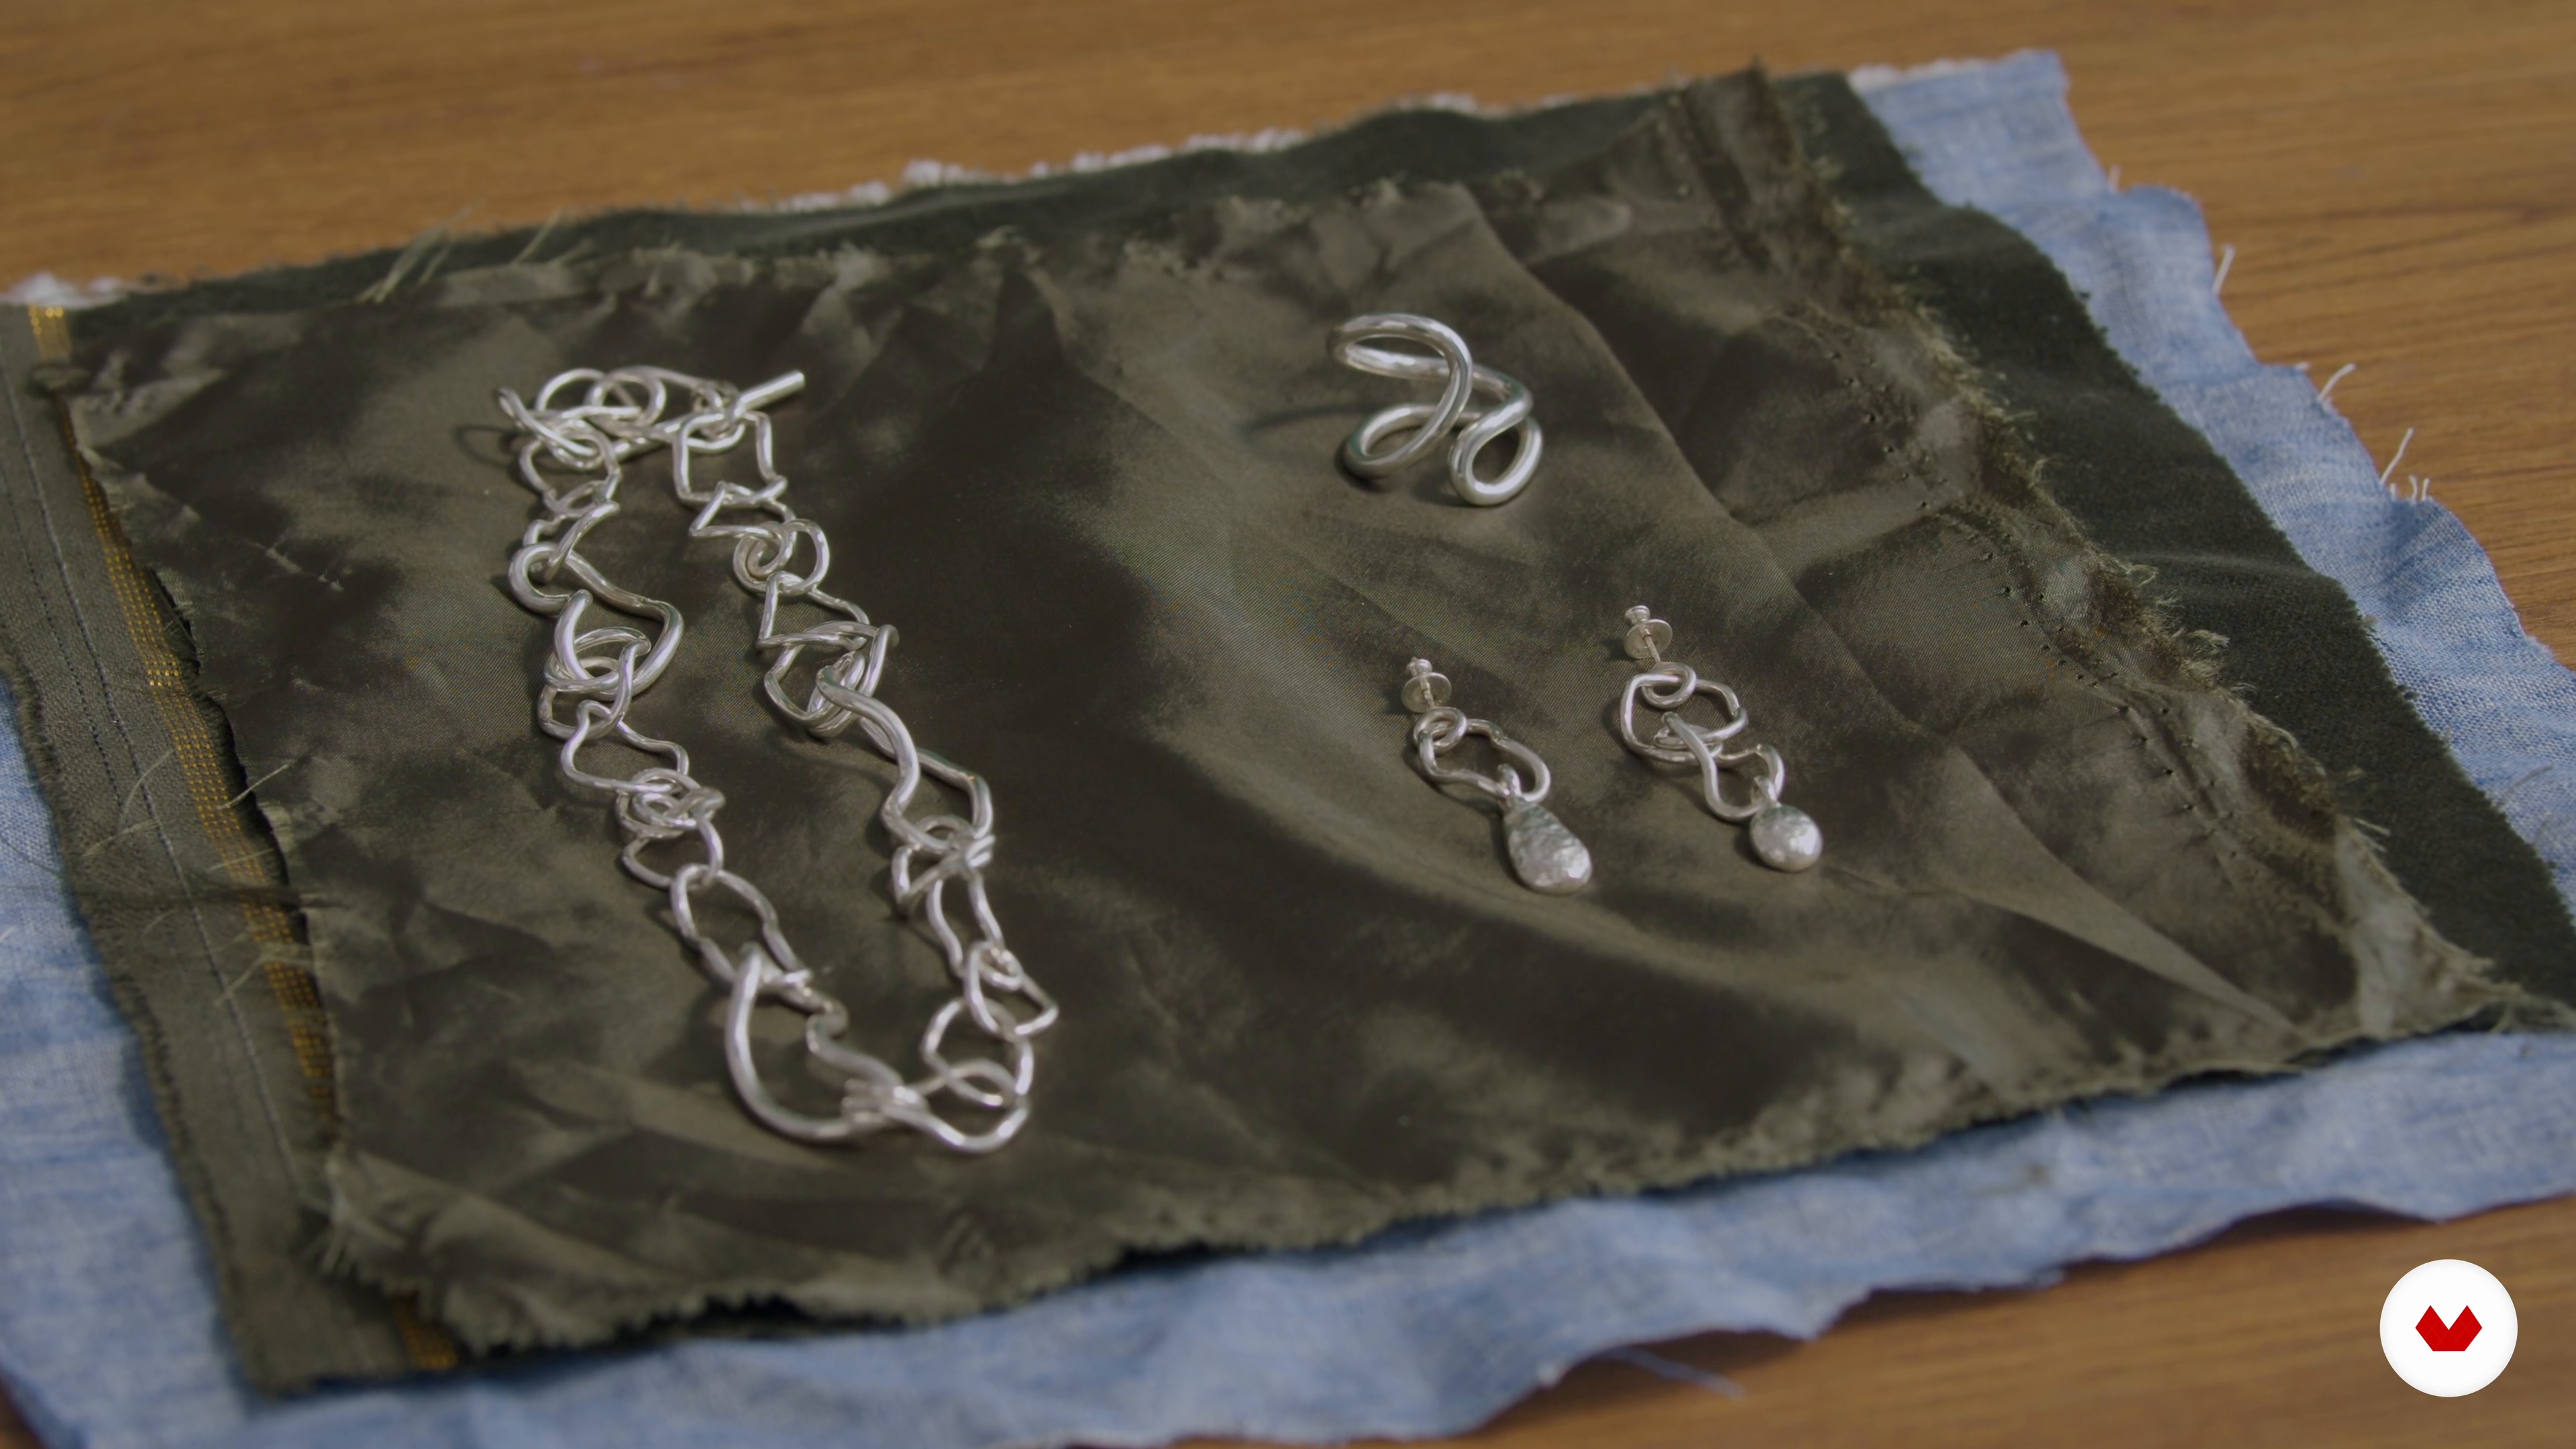 3
3Conceptualisation
Let's start by defining the concept. In this lesson, you will learn how to create a strong concept for your photoshoot, where you will capture commerce photography, styled still life, and group styled still life. This concept will serve as a basis to start from and a great foundation for the day. You will develop this using mood boards which can be used as a good reference point.
4m
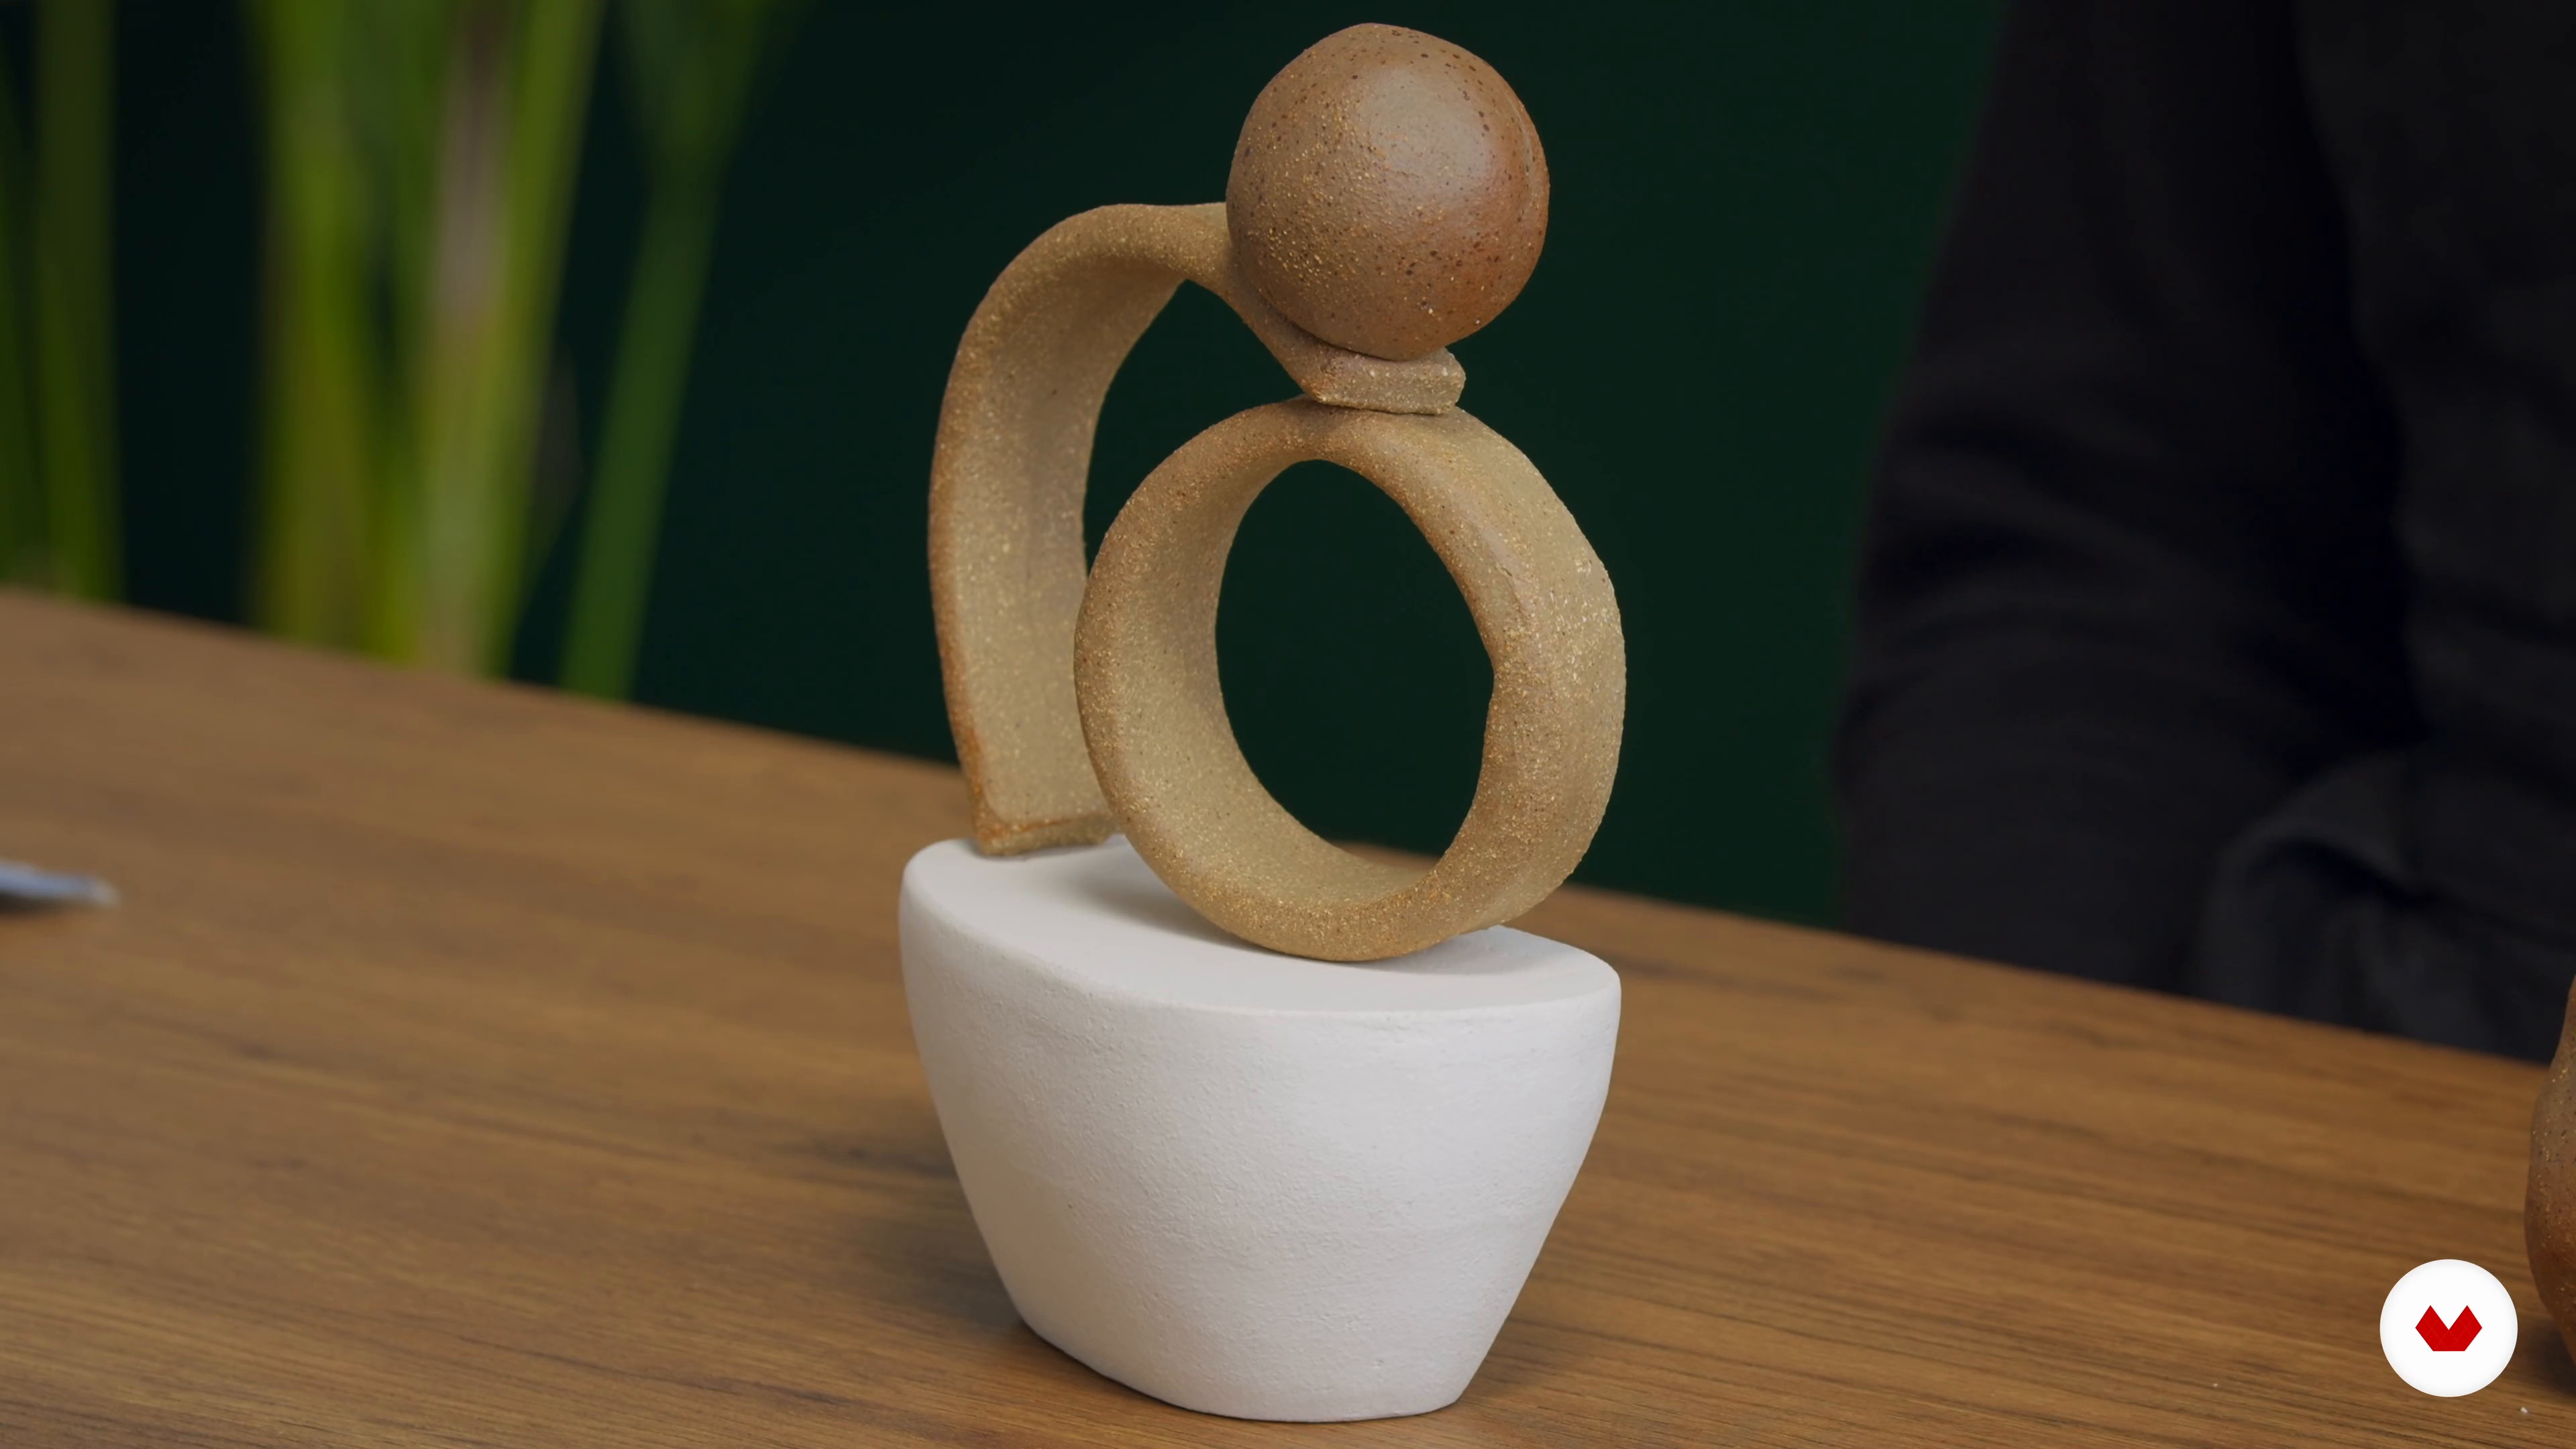 4
4Sourcing Props and Backgrounds
In this lesson, you will learn how to source props and backgrounds that will help your products stand out.
7m
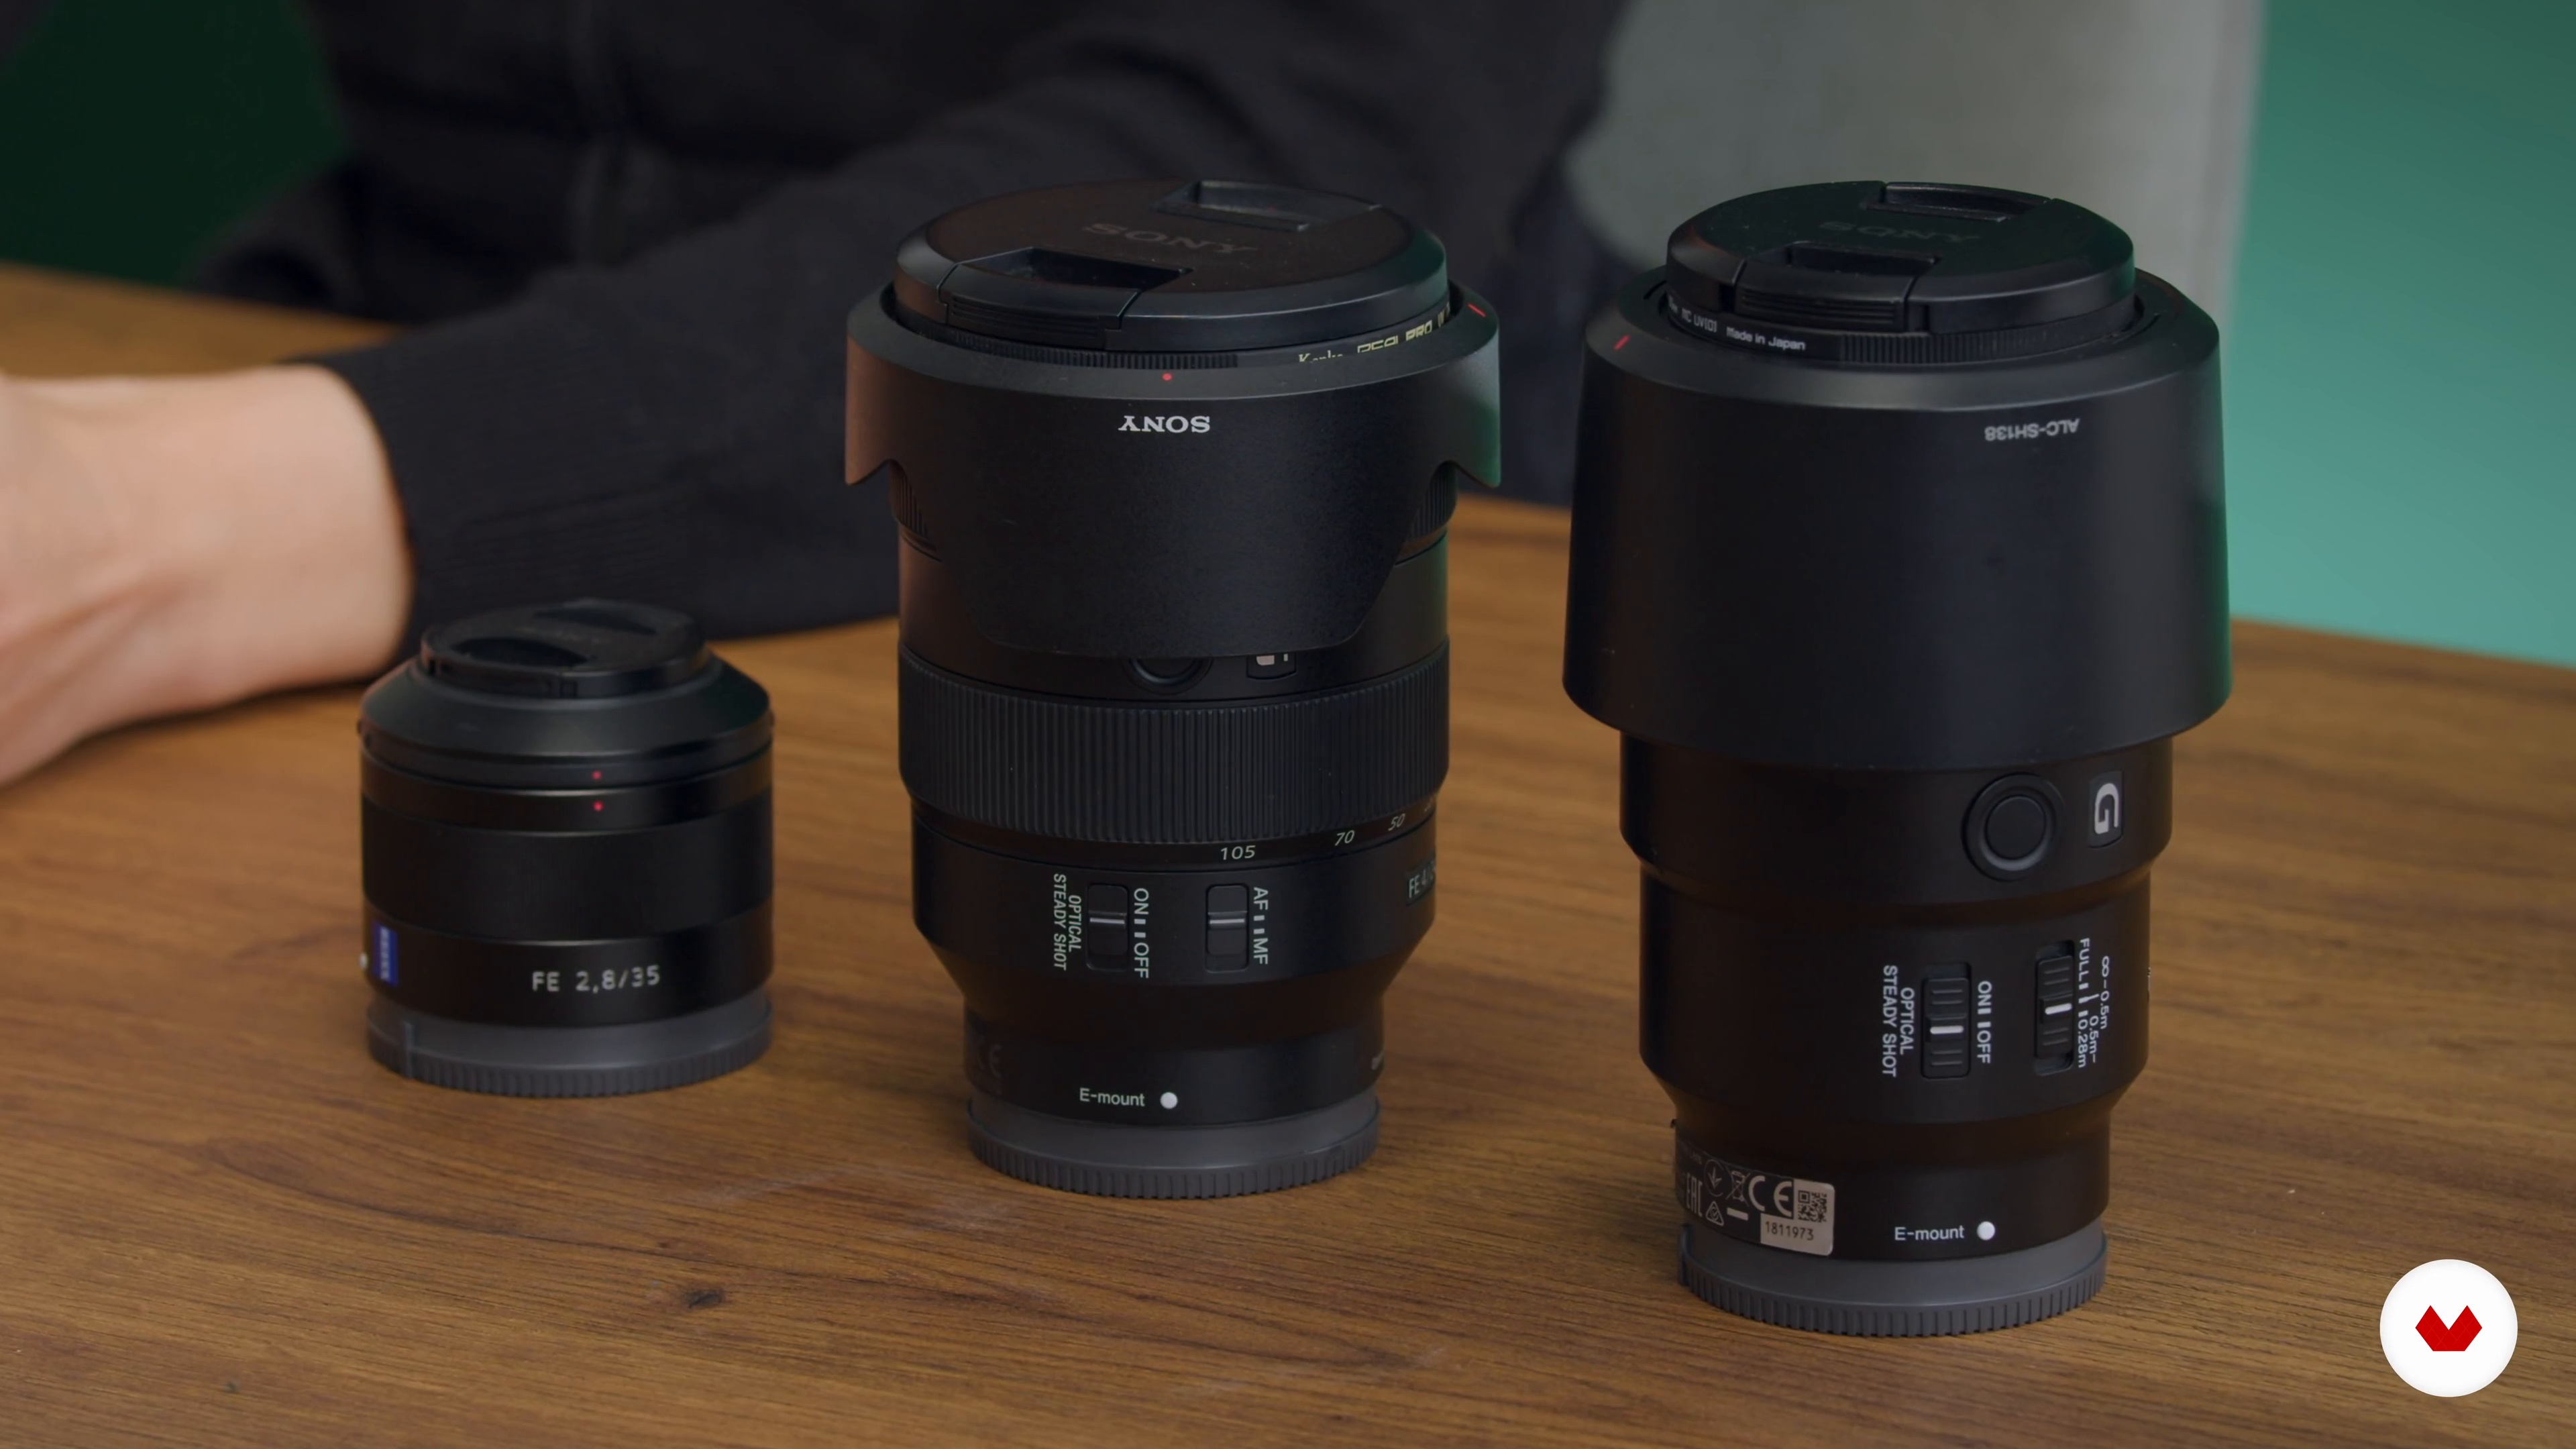 5
5Camera Skills
Next, I will show you how to get the most out of your camera using manual exposure.
7m
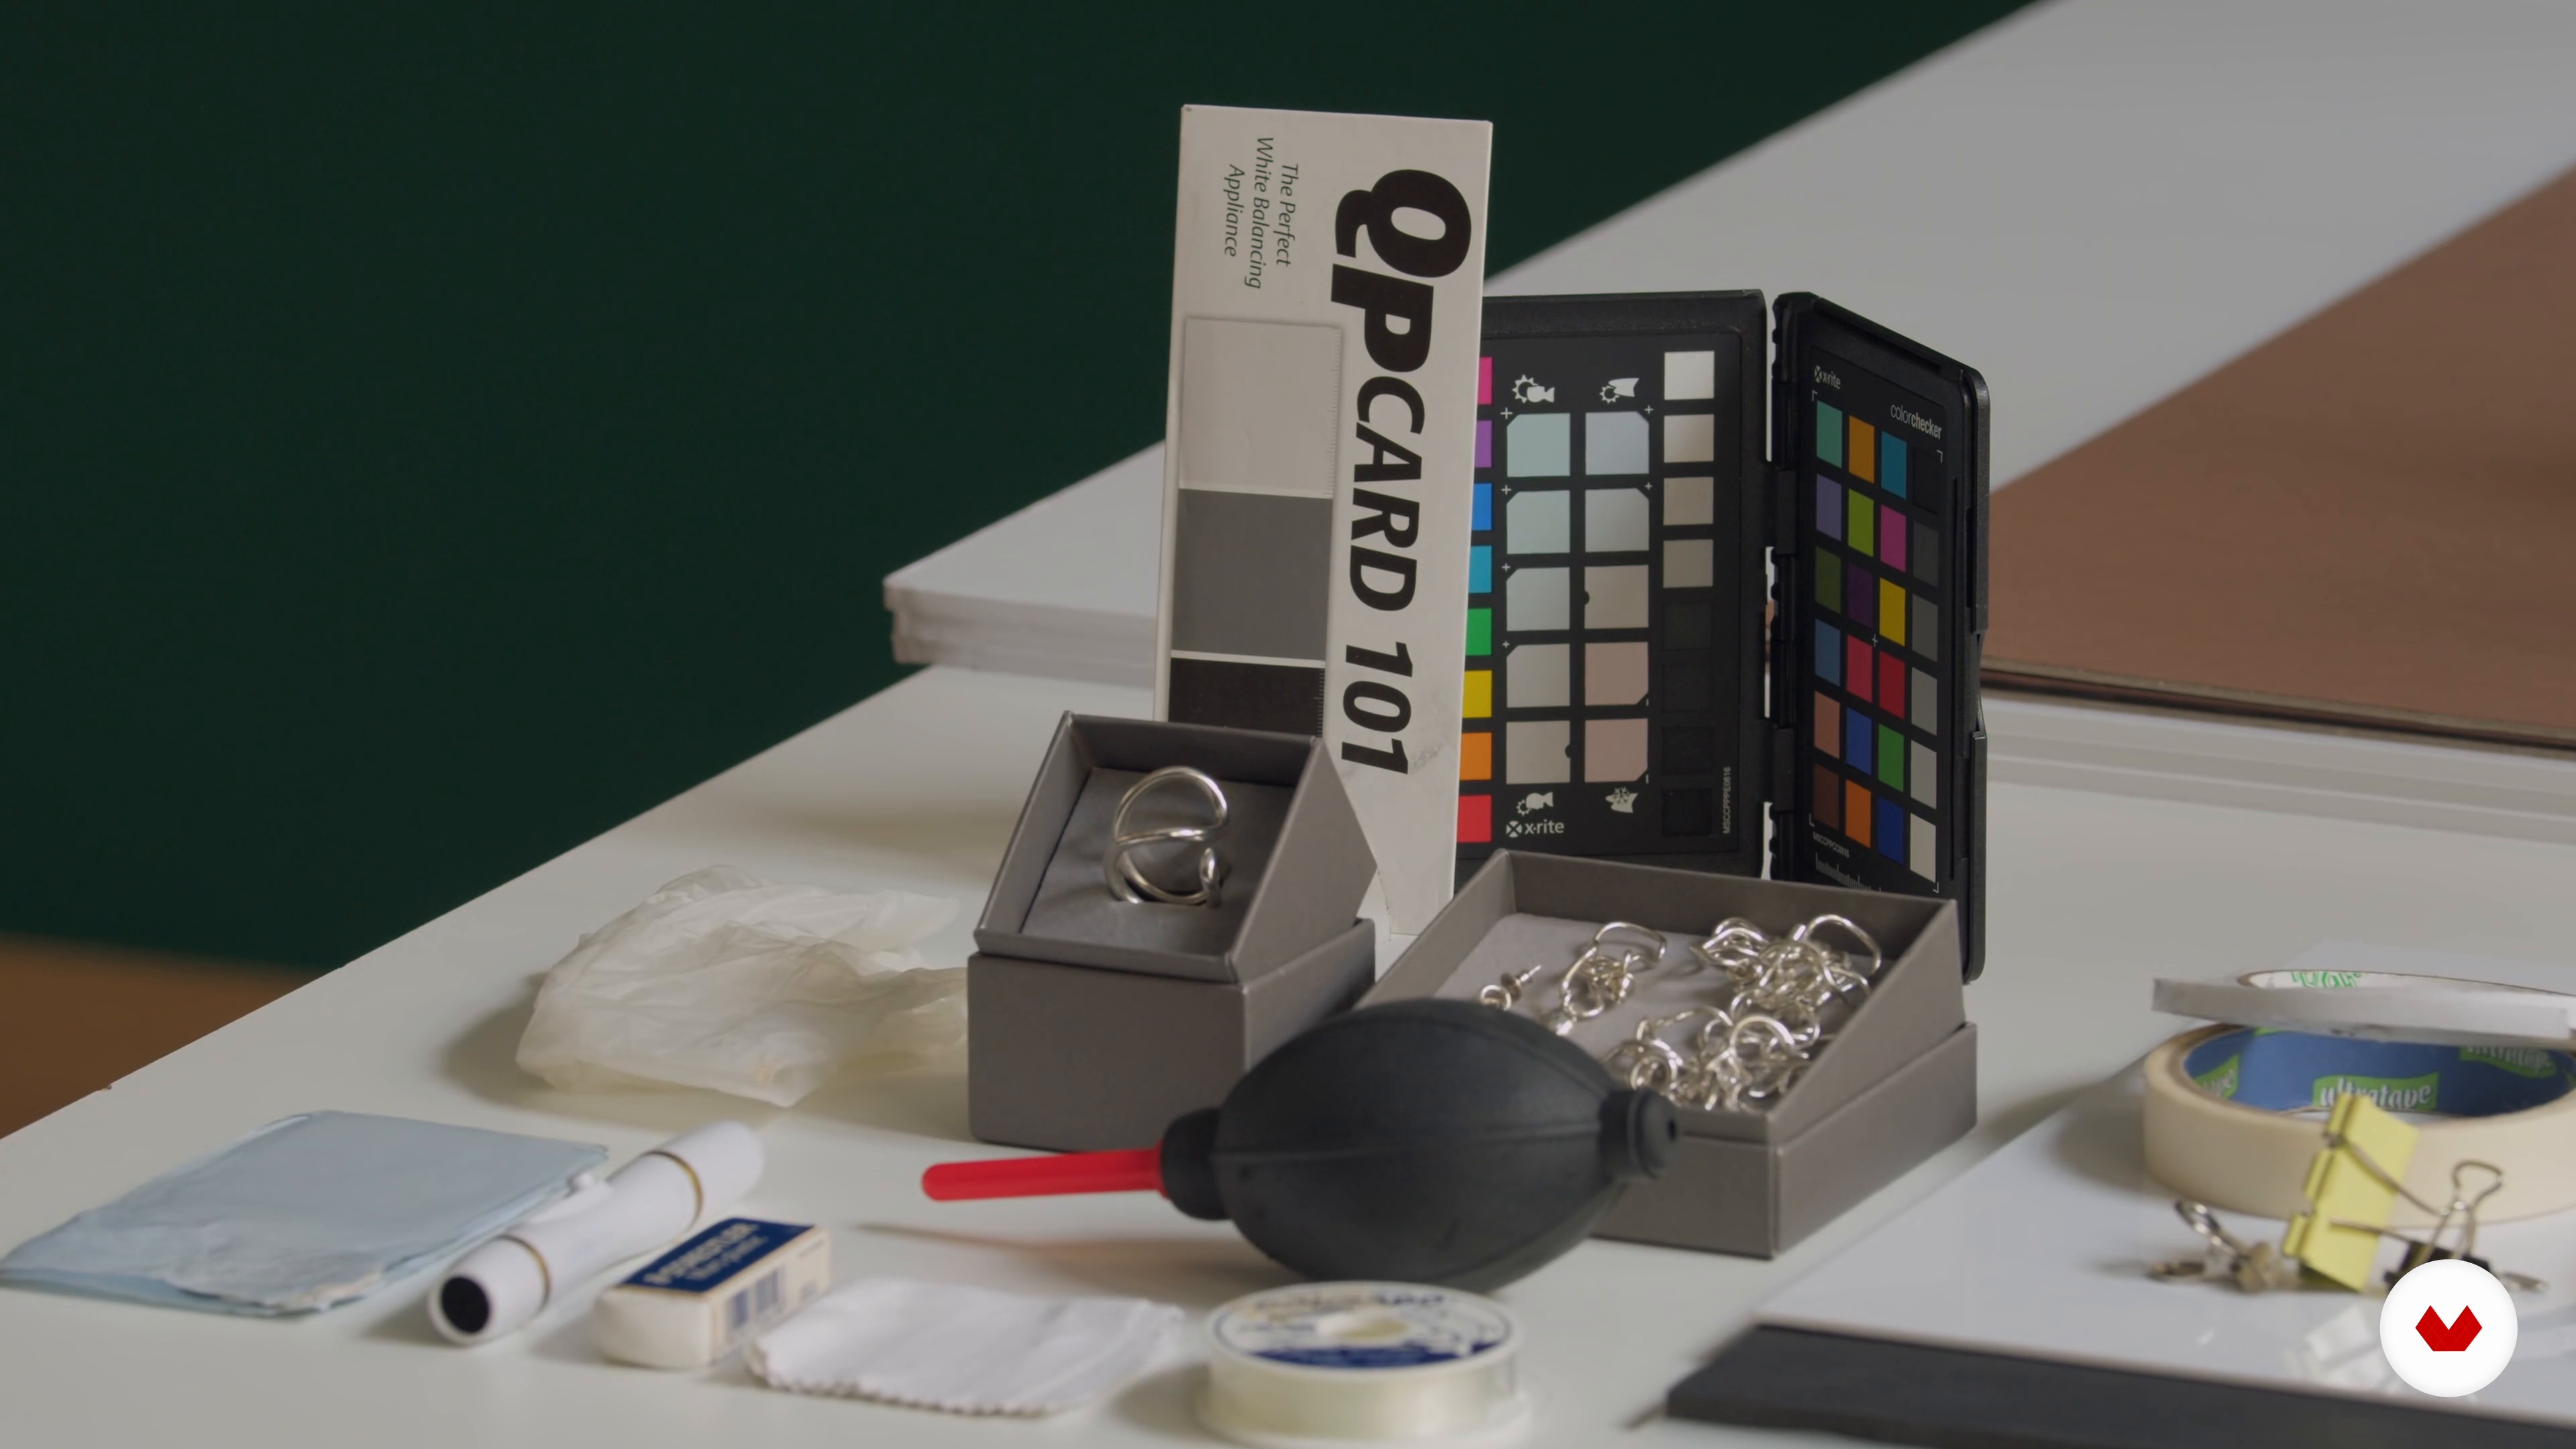 6
6Preparing the Set
To end this unit, I will talk about how to prepare your studio, what materials you might need, and the effectiveness of tethering for still life photography.
11m
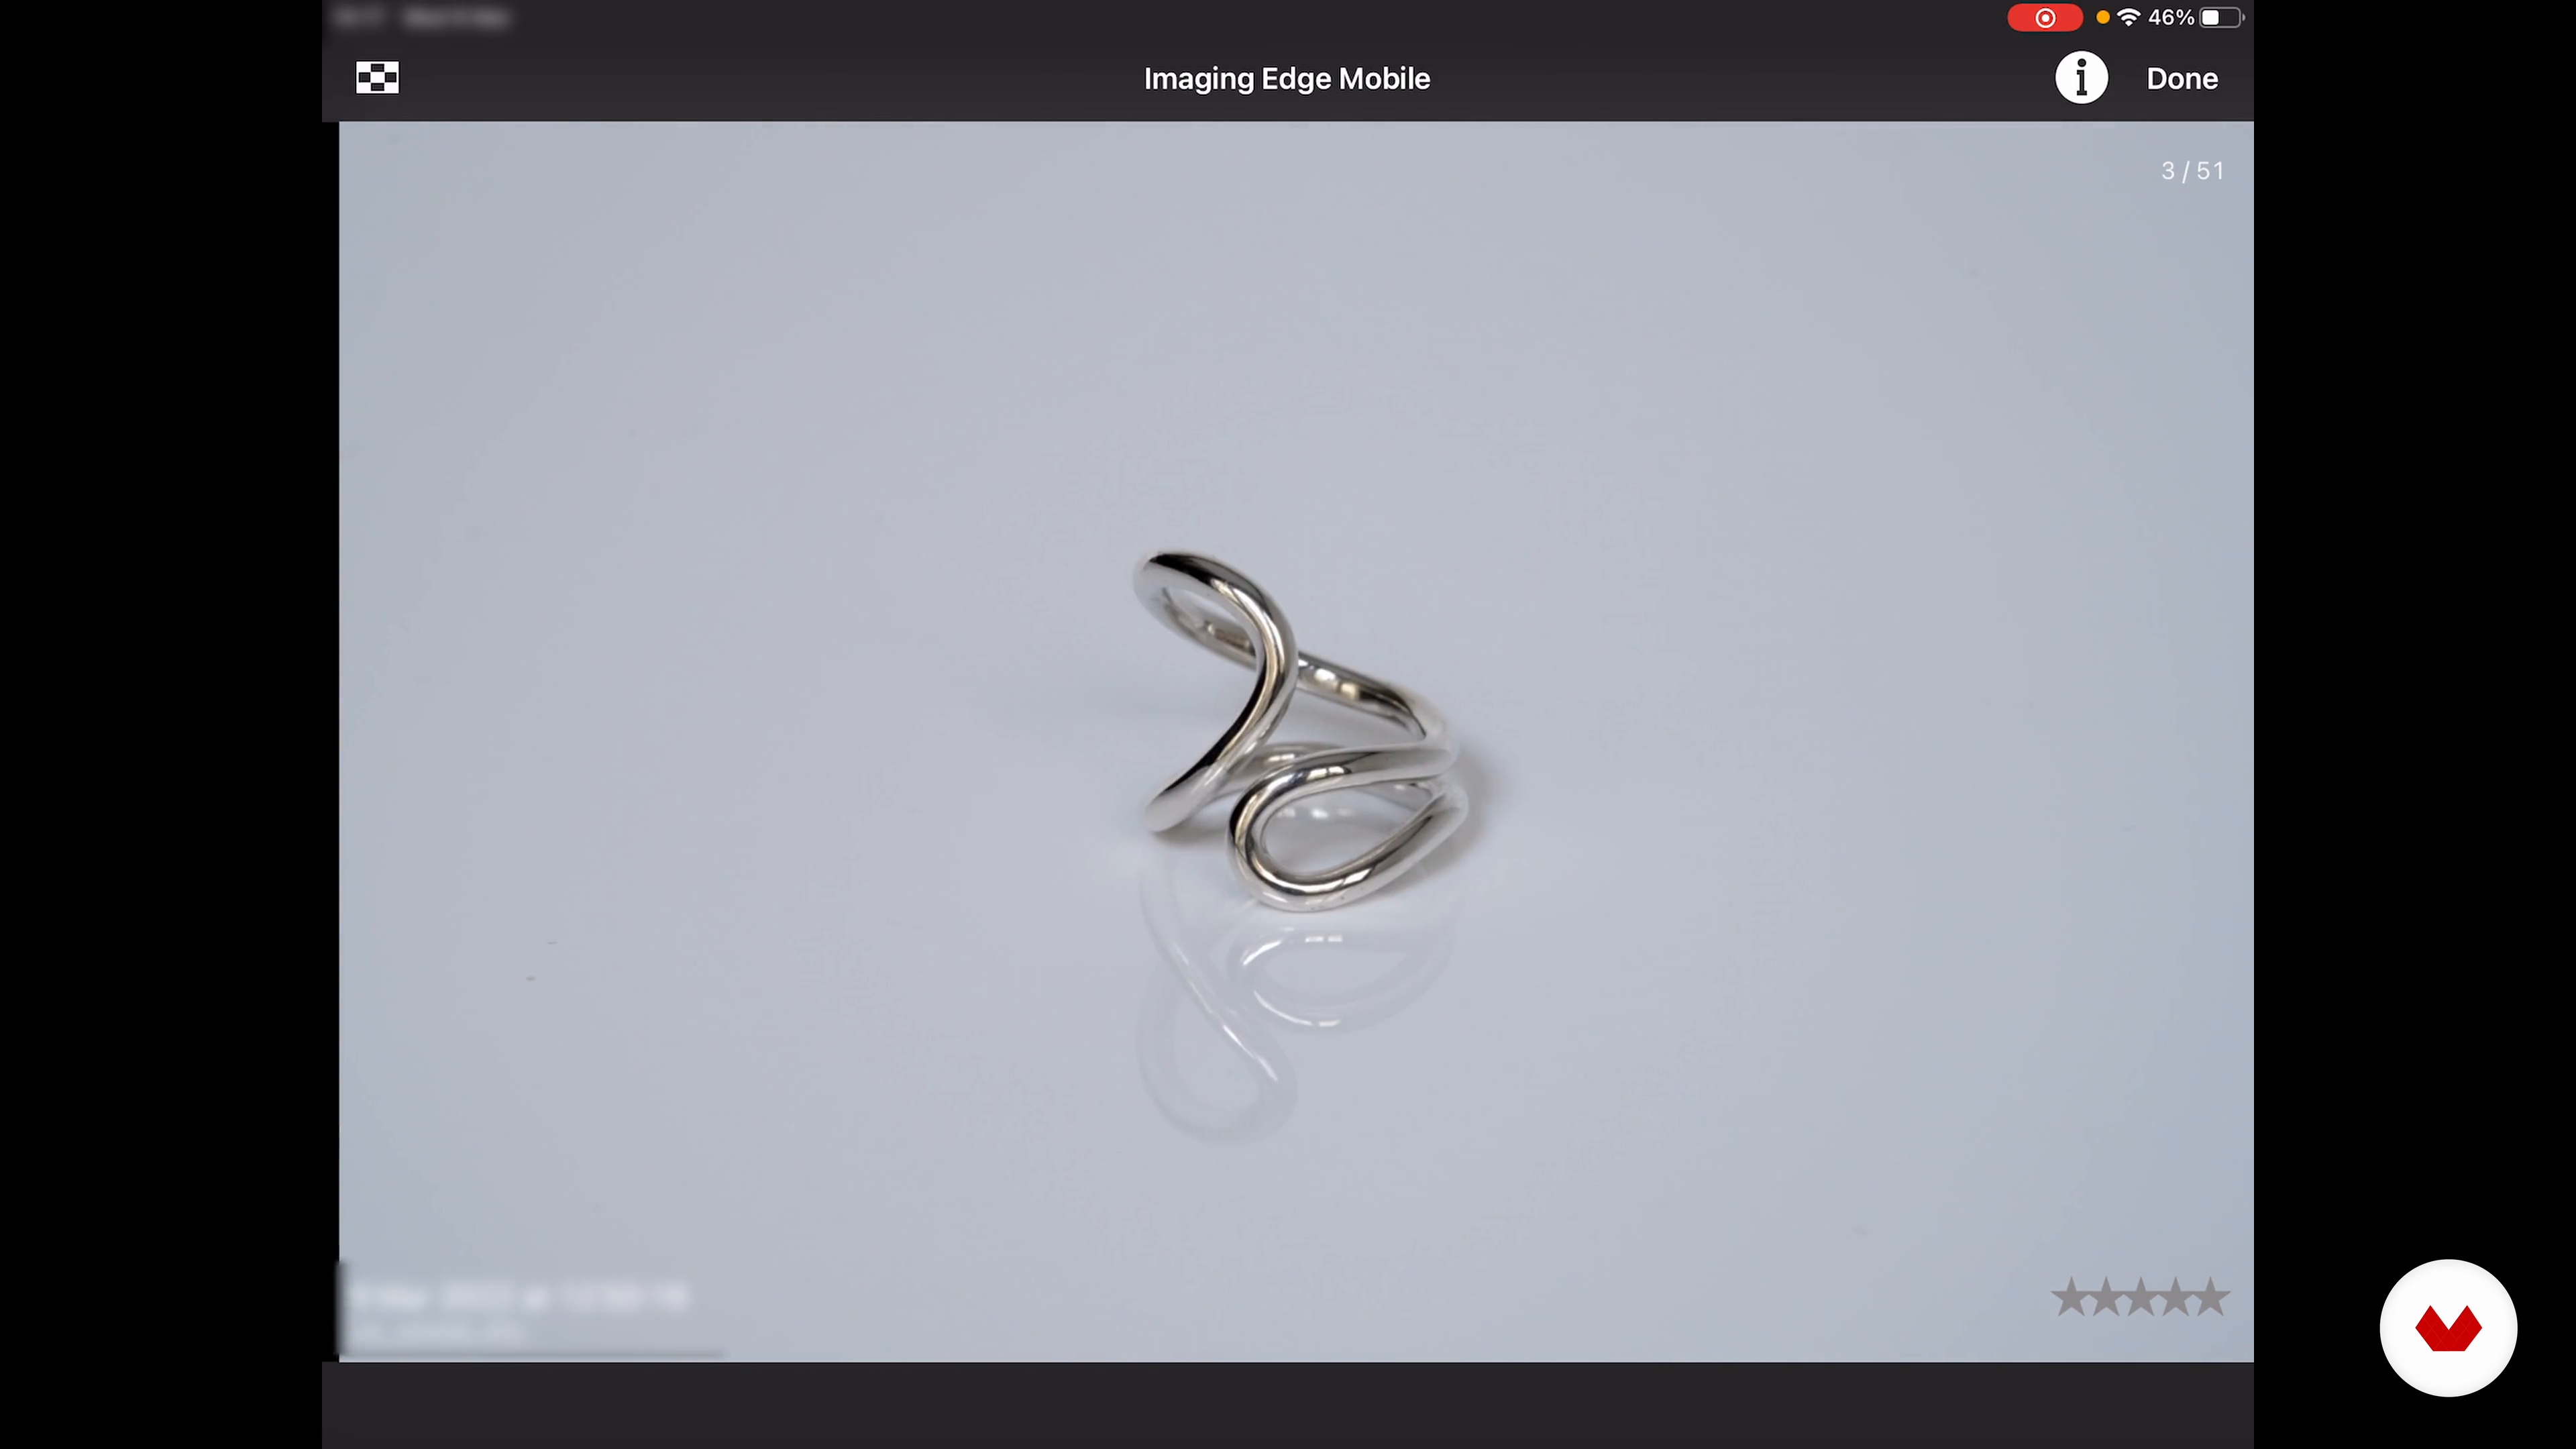 7
7Product Photography for E-commerce
In this lesson, I will demonstrate how to take photographs of small objects for e-commerce and catalogue images. You will learn tips and tricks to harness natural light and effectively capture stable and crisp images.
15m
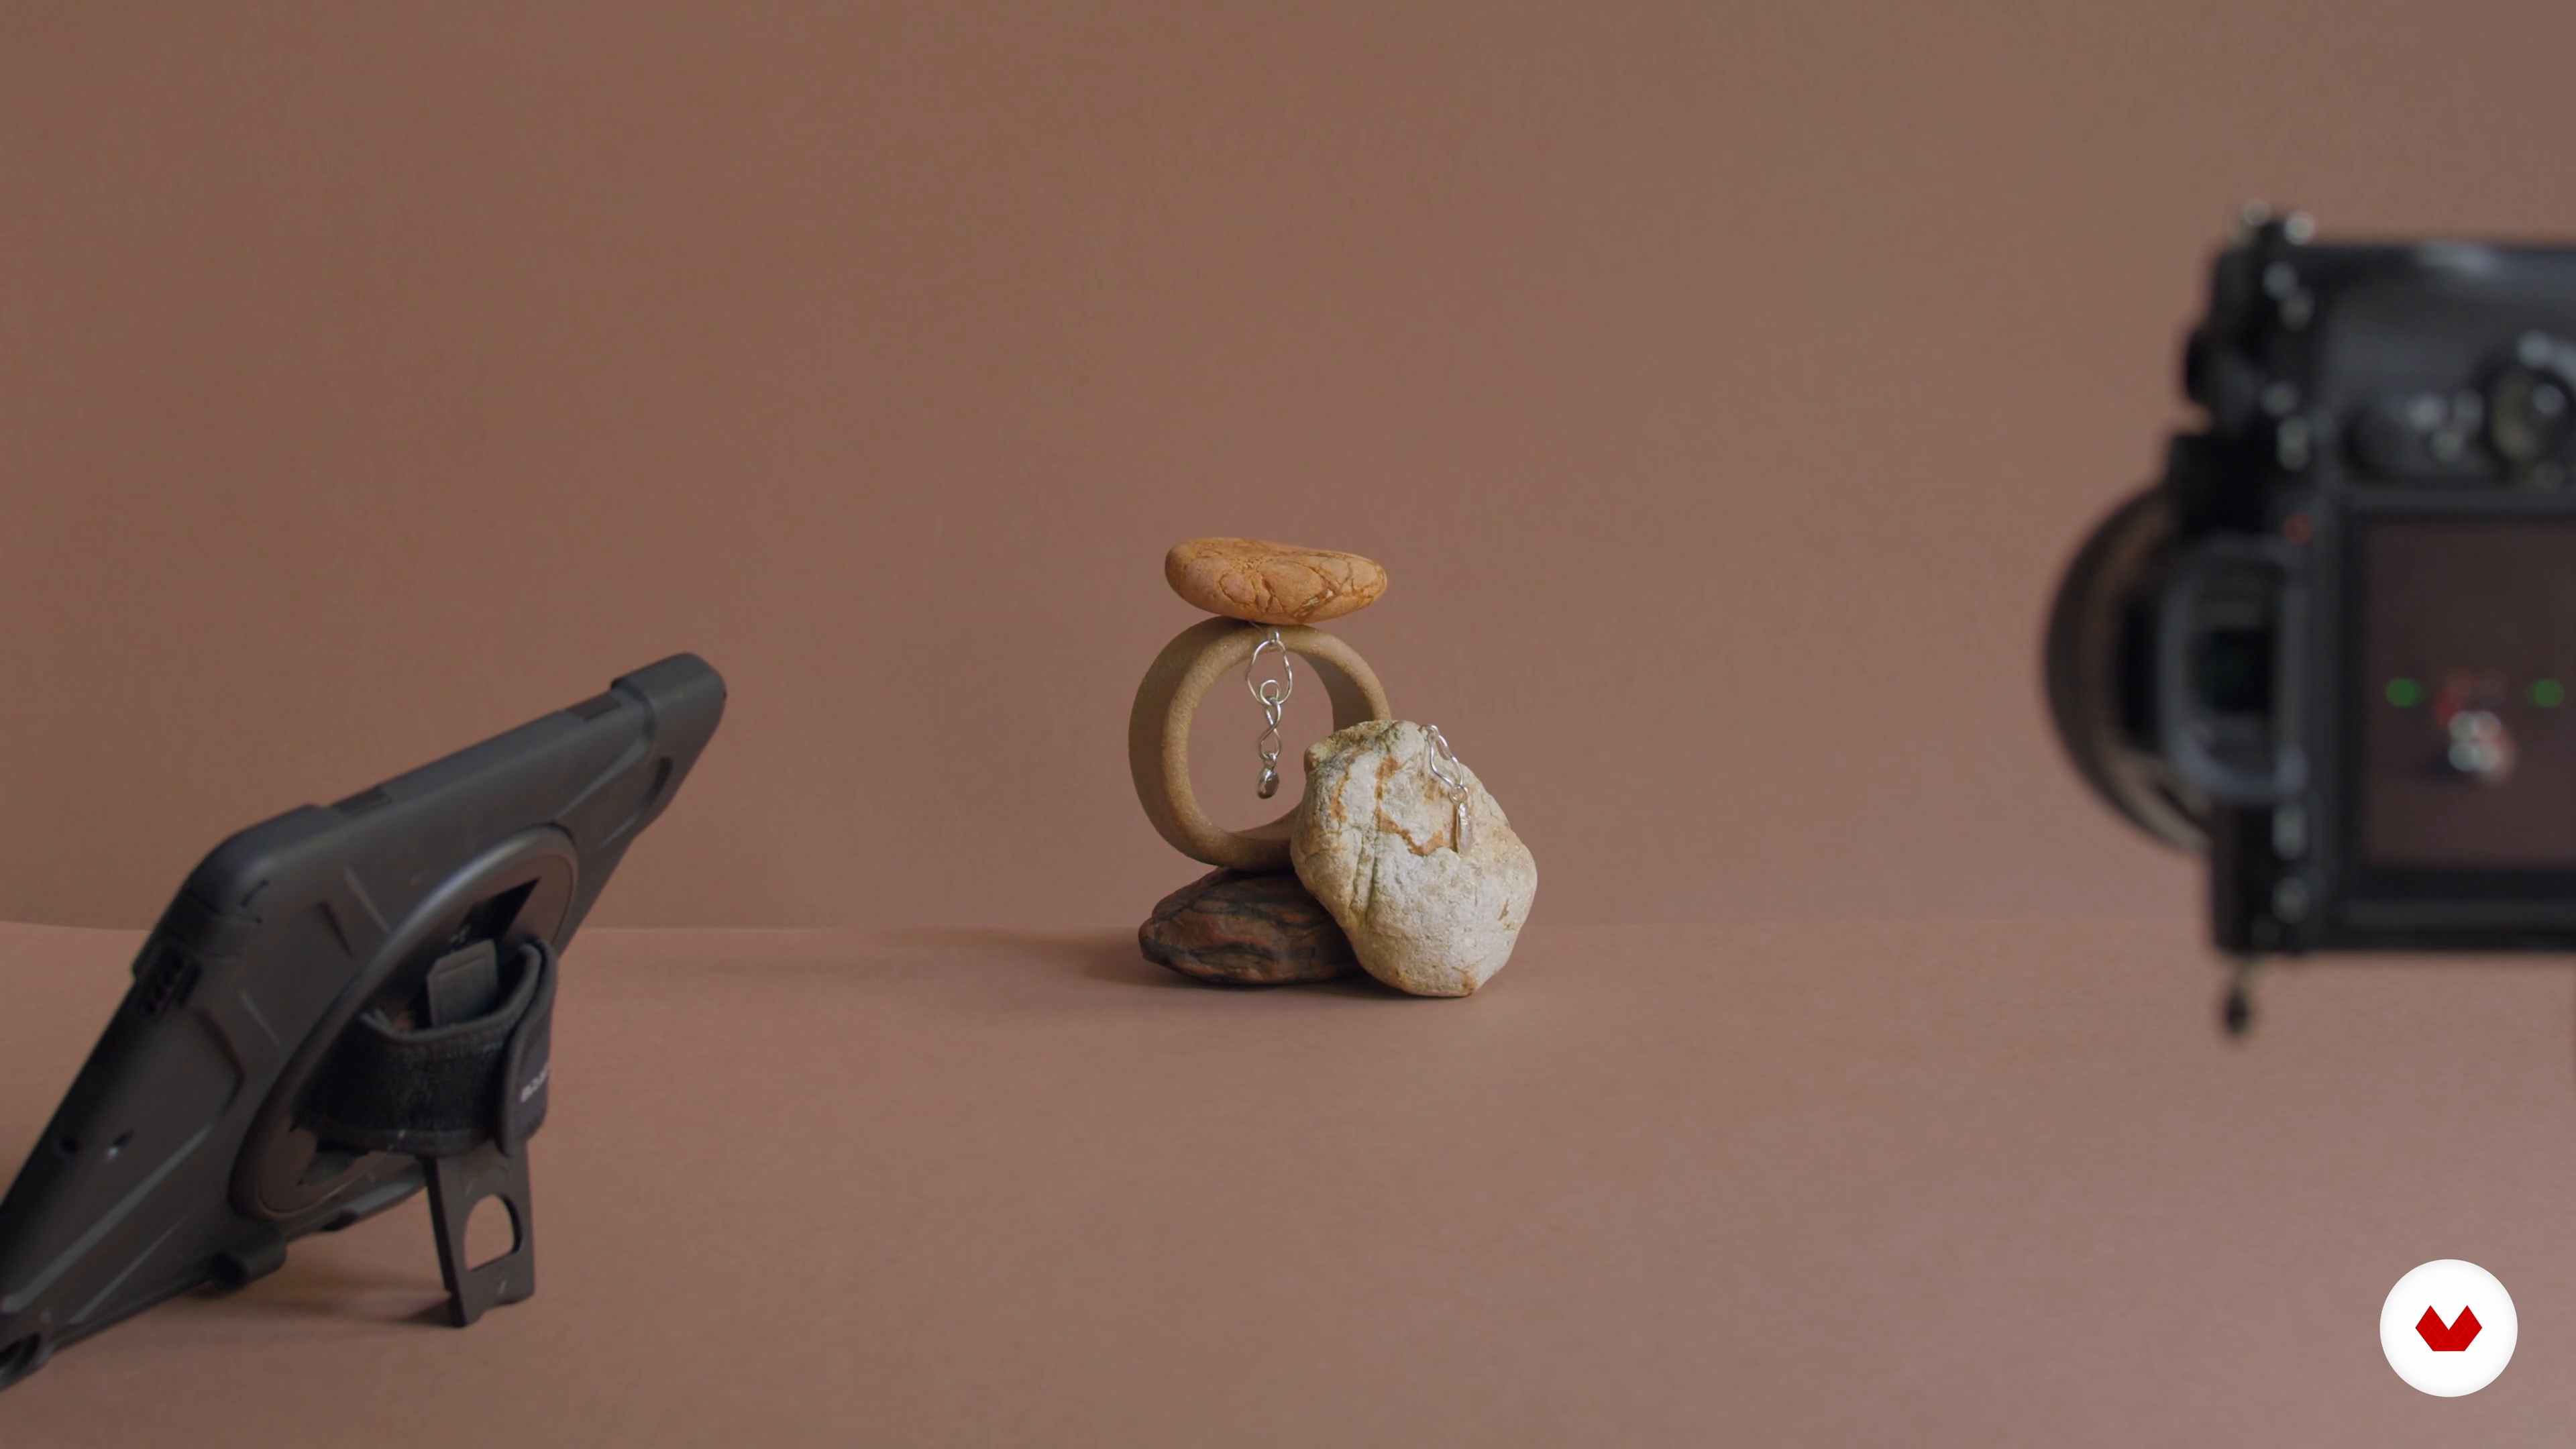 8
8Styled Still Life Photography: One Object 1
Next, I'll teach you how to create styled still life photography for one object. I will uncover my creative process from organising the set and preparing my tools, to perfecting the composition.
12m
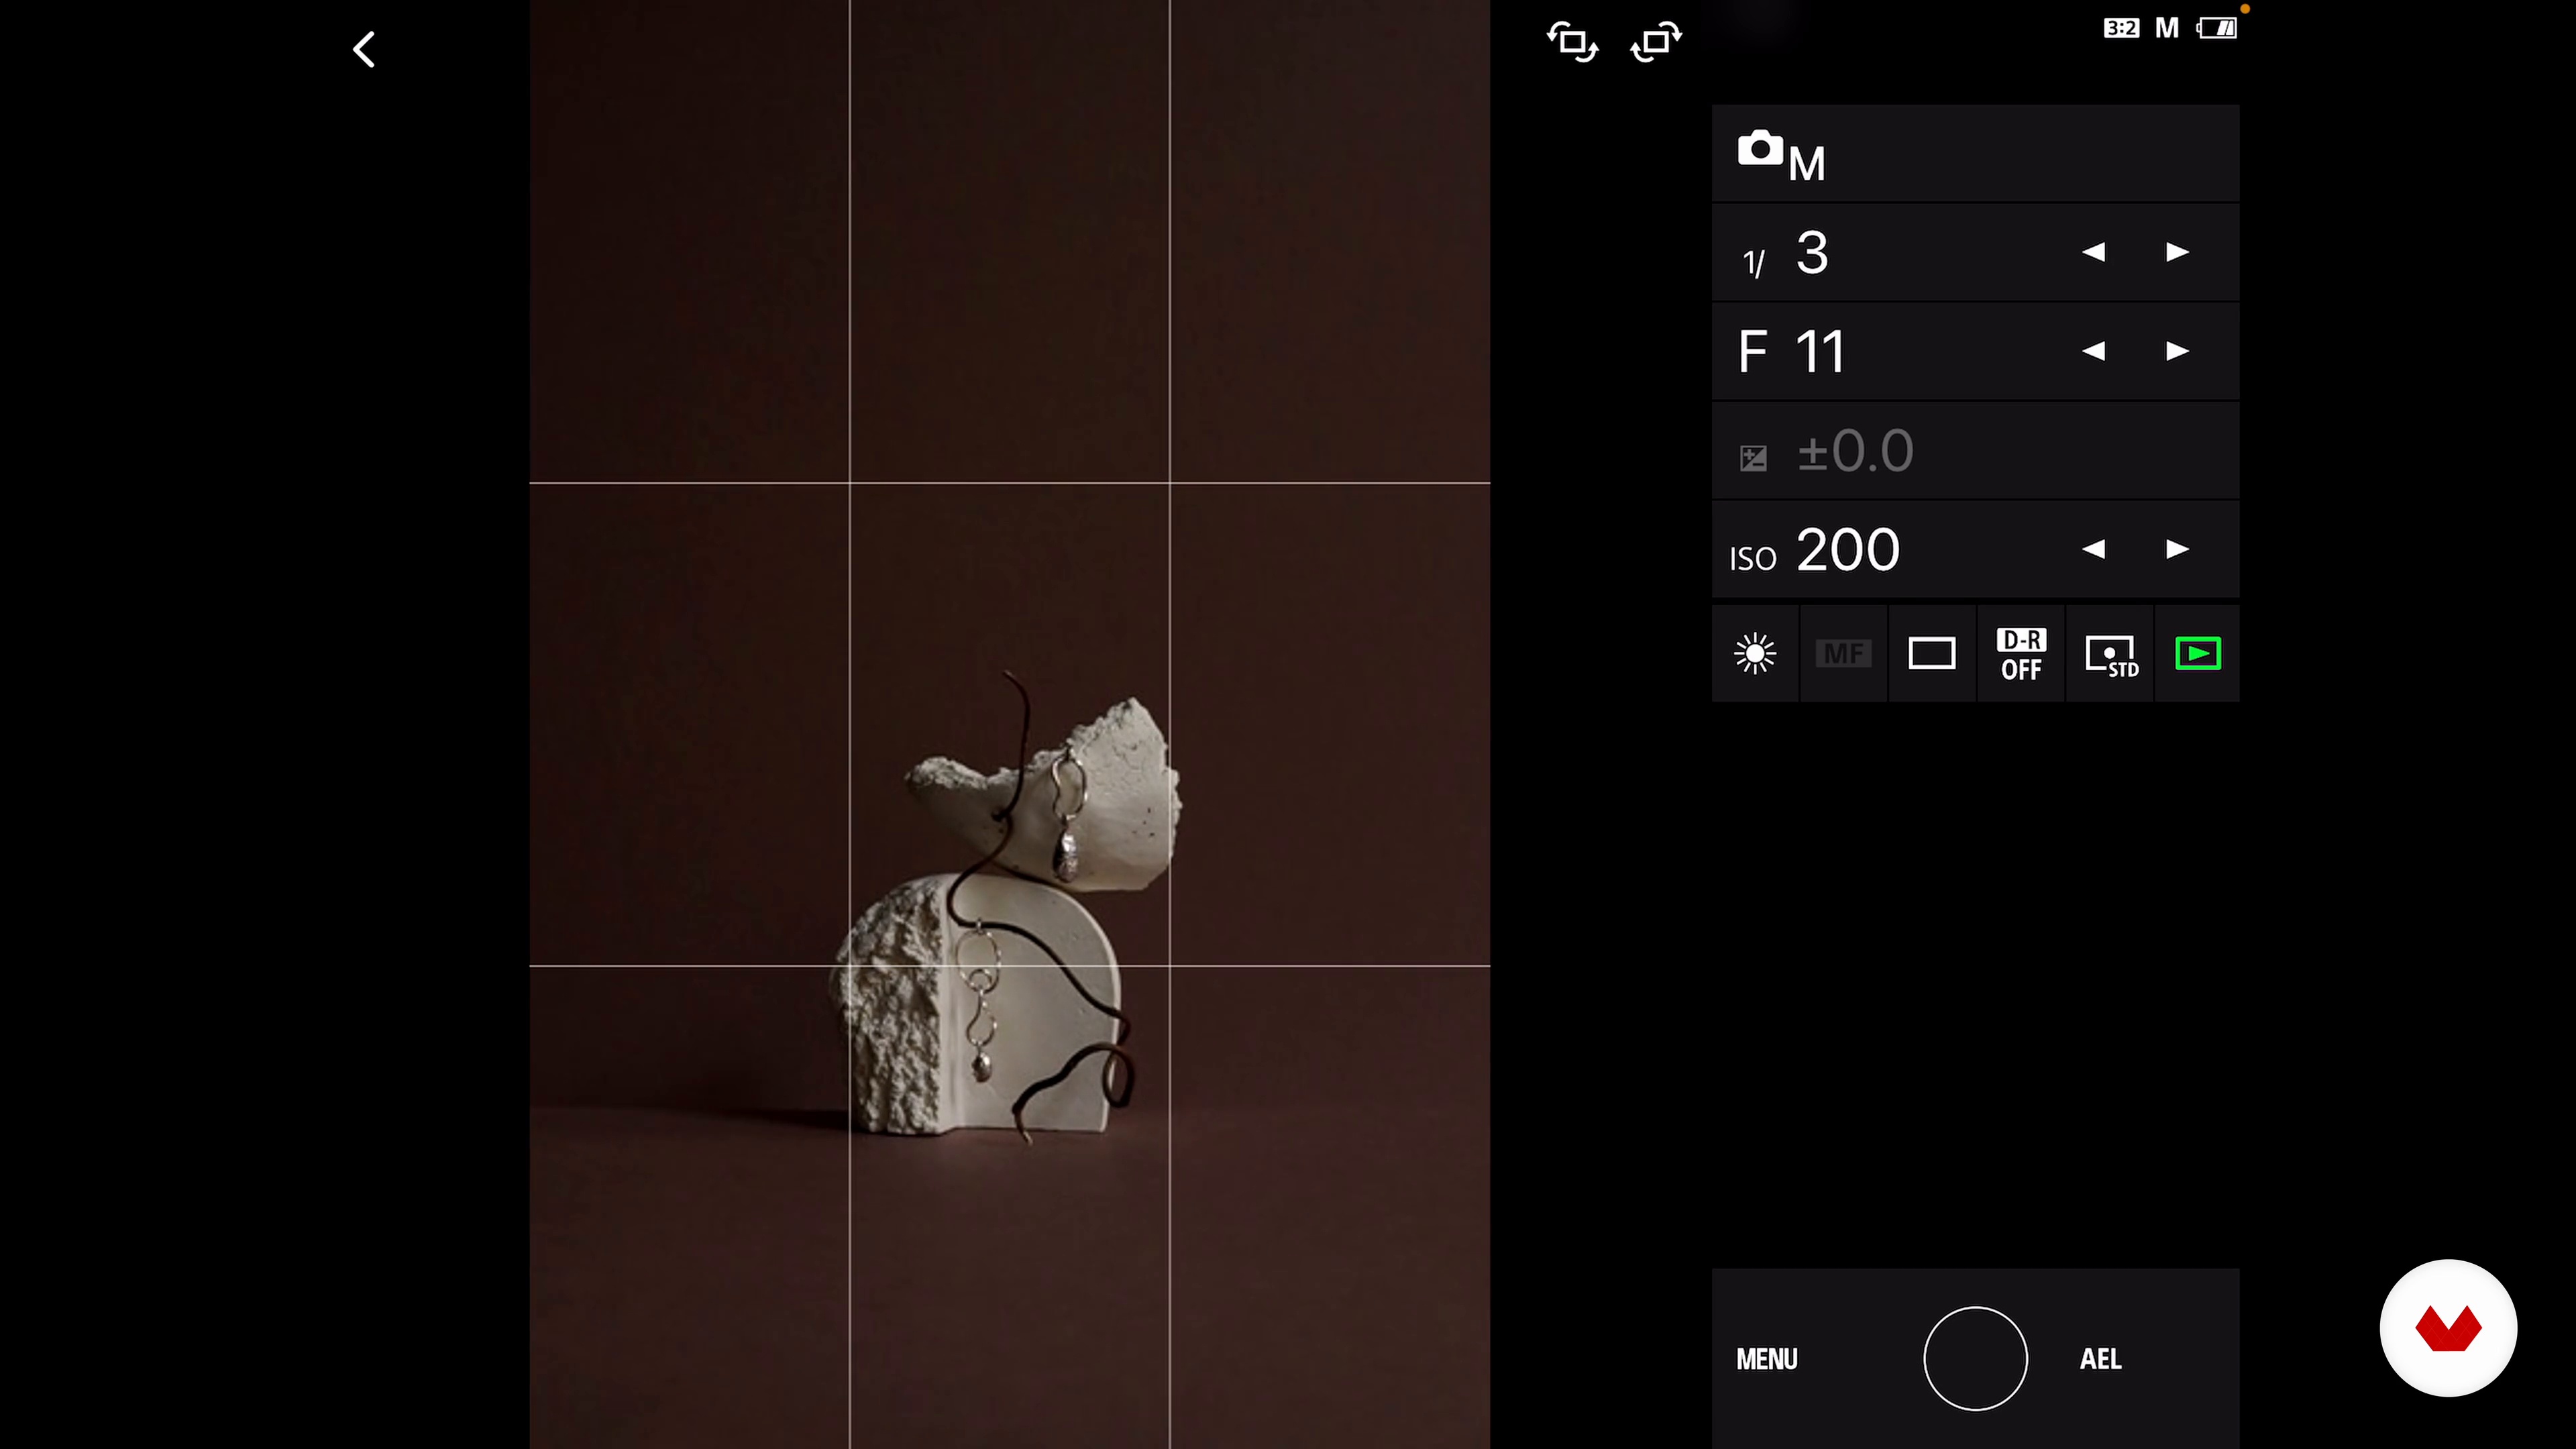 9
9Styled Still Life Photography: One Object 2
As I continue to manipulate the compositions of my shots, I will consider aspects such as height, texture, prop placement, and light to best enhance the appearance of the earrings. You will see how simple adaptations can dramatically change the effect of a photograph. After all, small changes yield powerful results. I will share more tips and tricks related to this intricate process, such as taking reference photos and managing the focal points of your camera.
12m
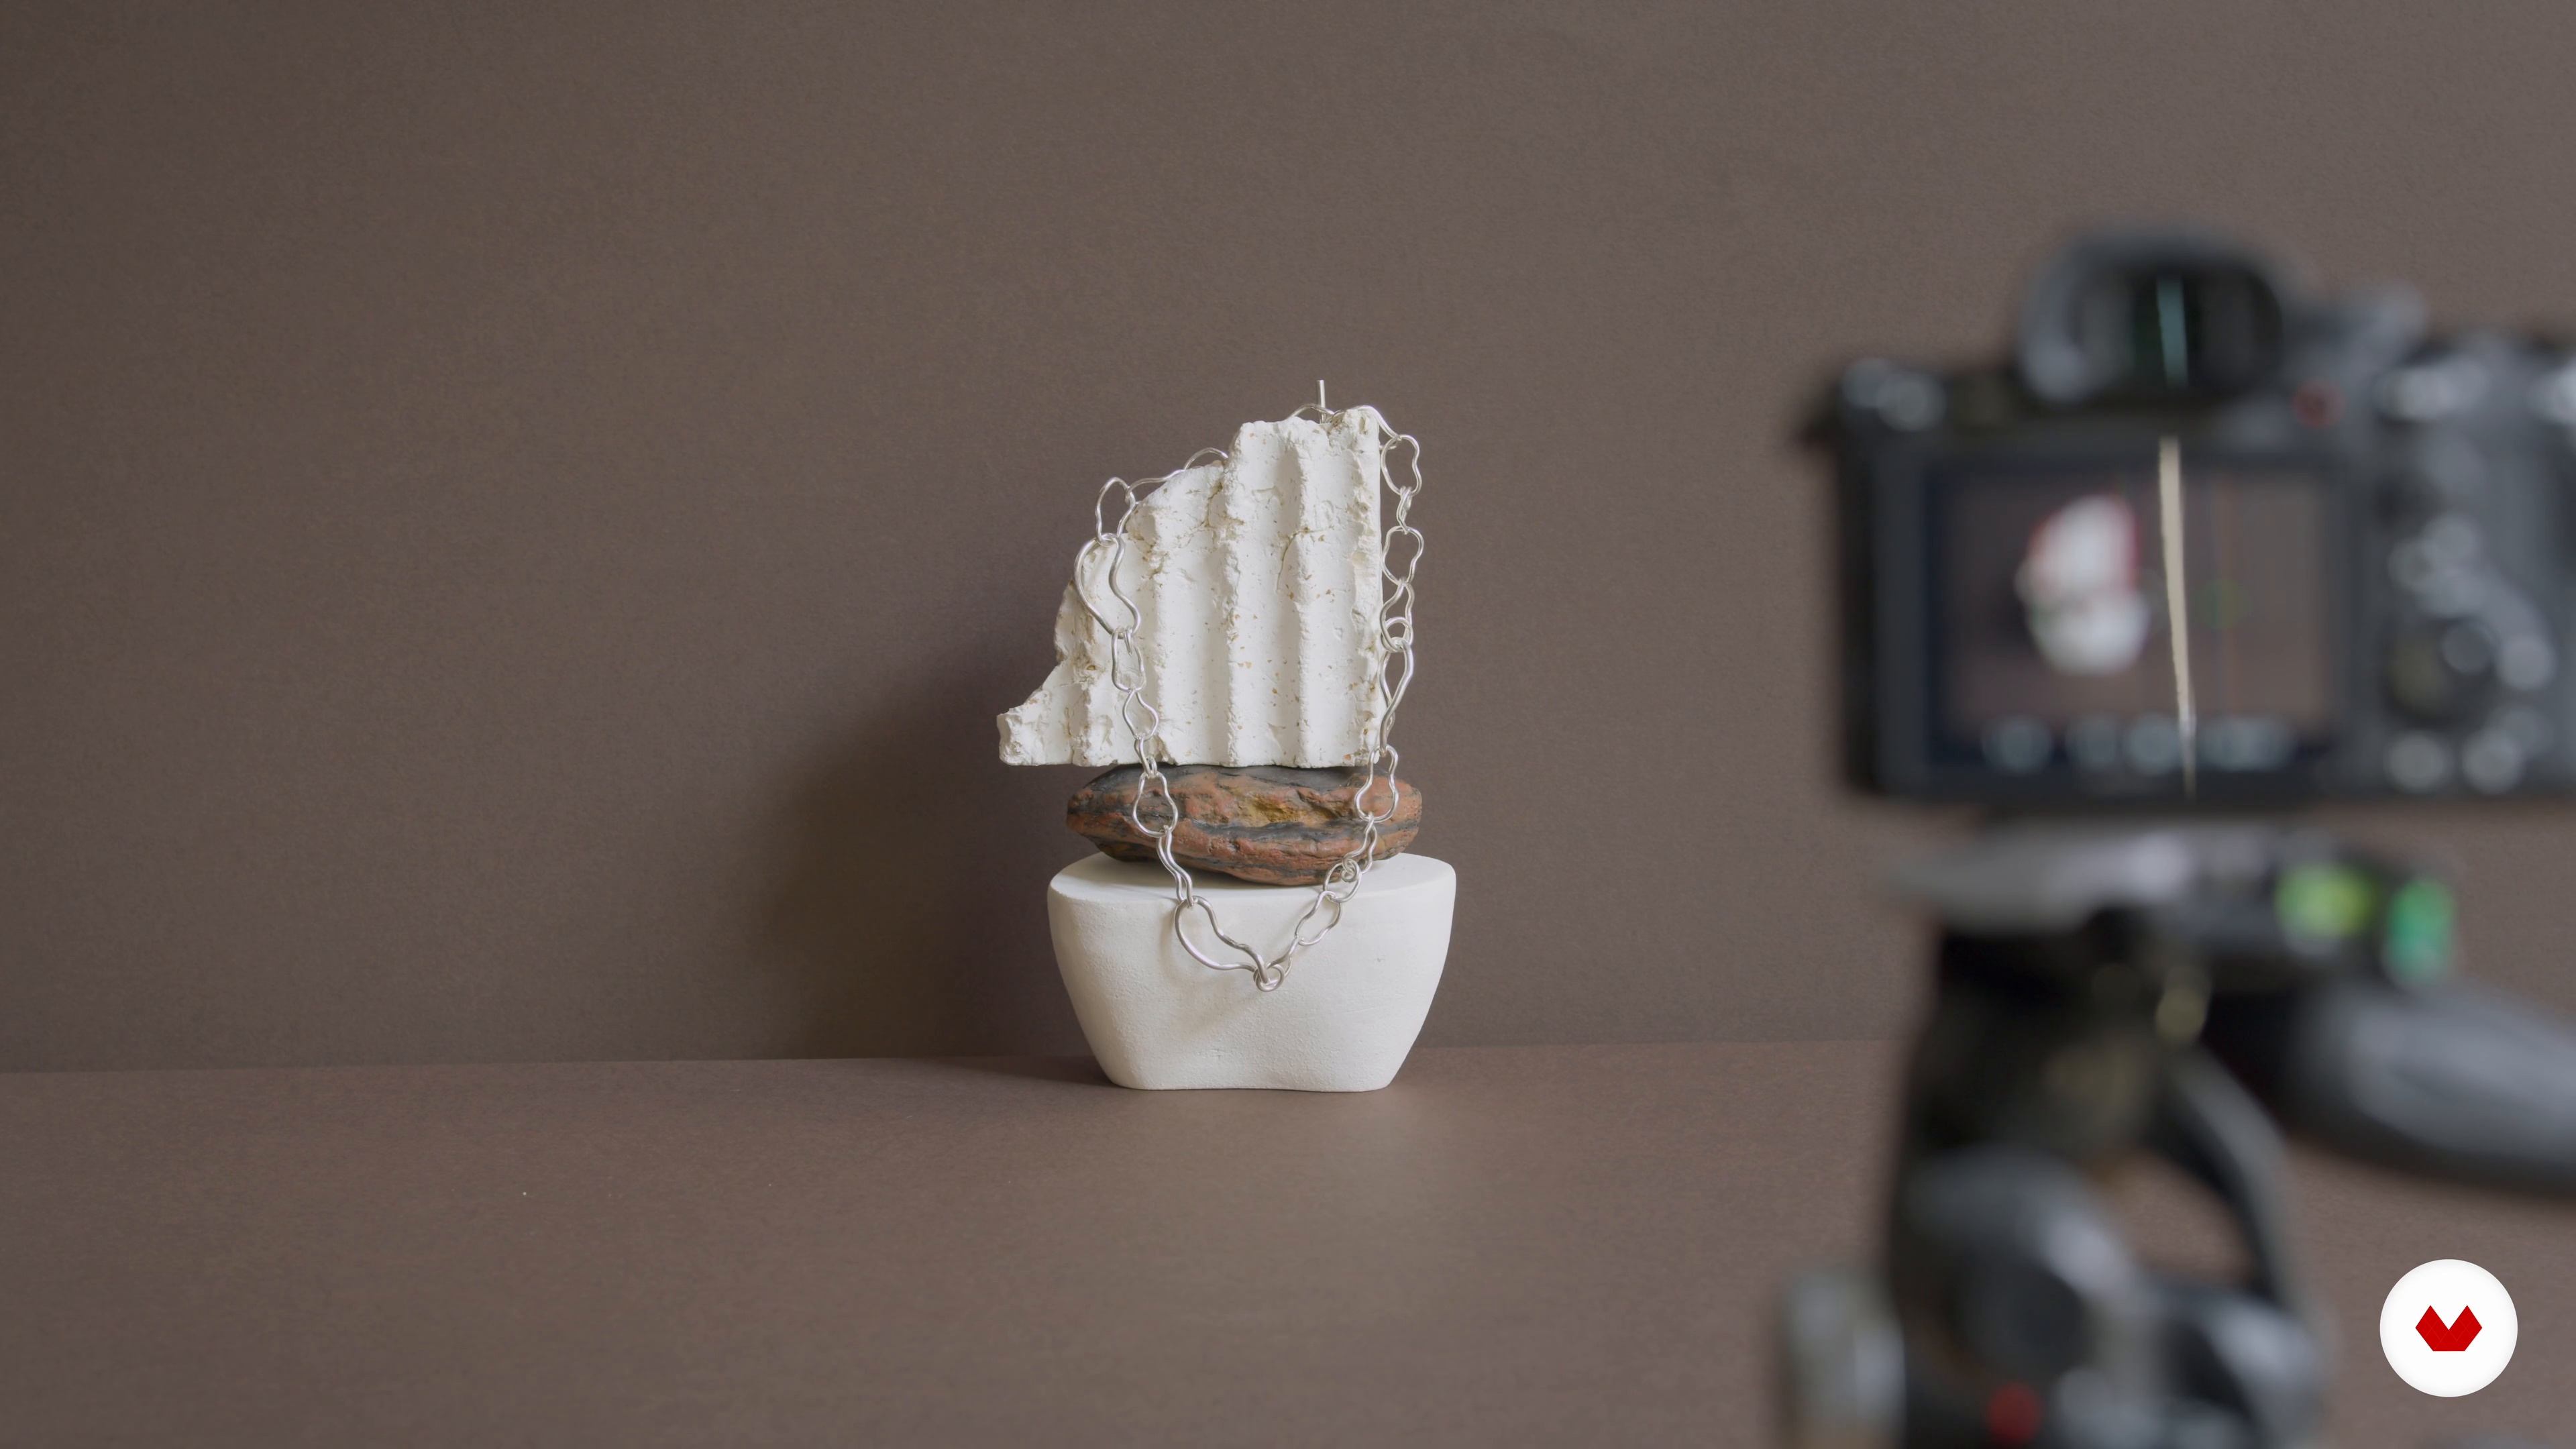 10
10Styled Still Life Photography: Grouped Objects 1
Here you’ll learn how to create a more complex styled set for groups of objects. As with the previous lesson, you will see my step-by-step process behind this delicate balancing act. I will share a few composition basics that I use a lot, such as instilling an element of drama with my composition to contrast with the minimalist set. I will also teach you the art of balancing colours and textures.
11m
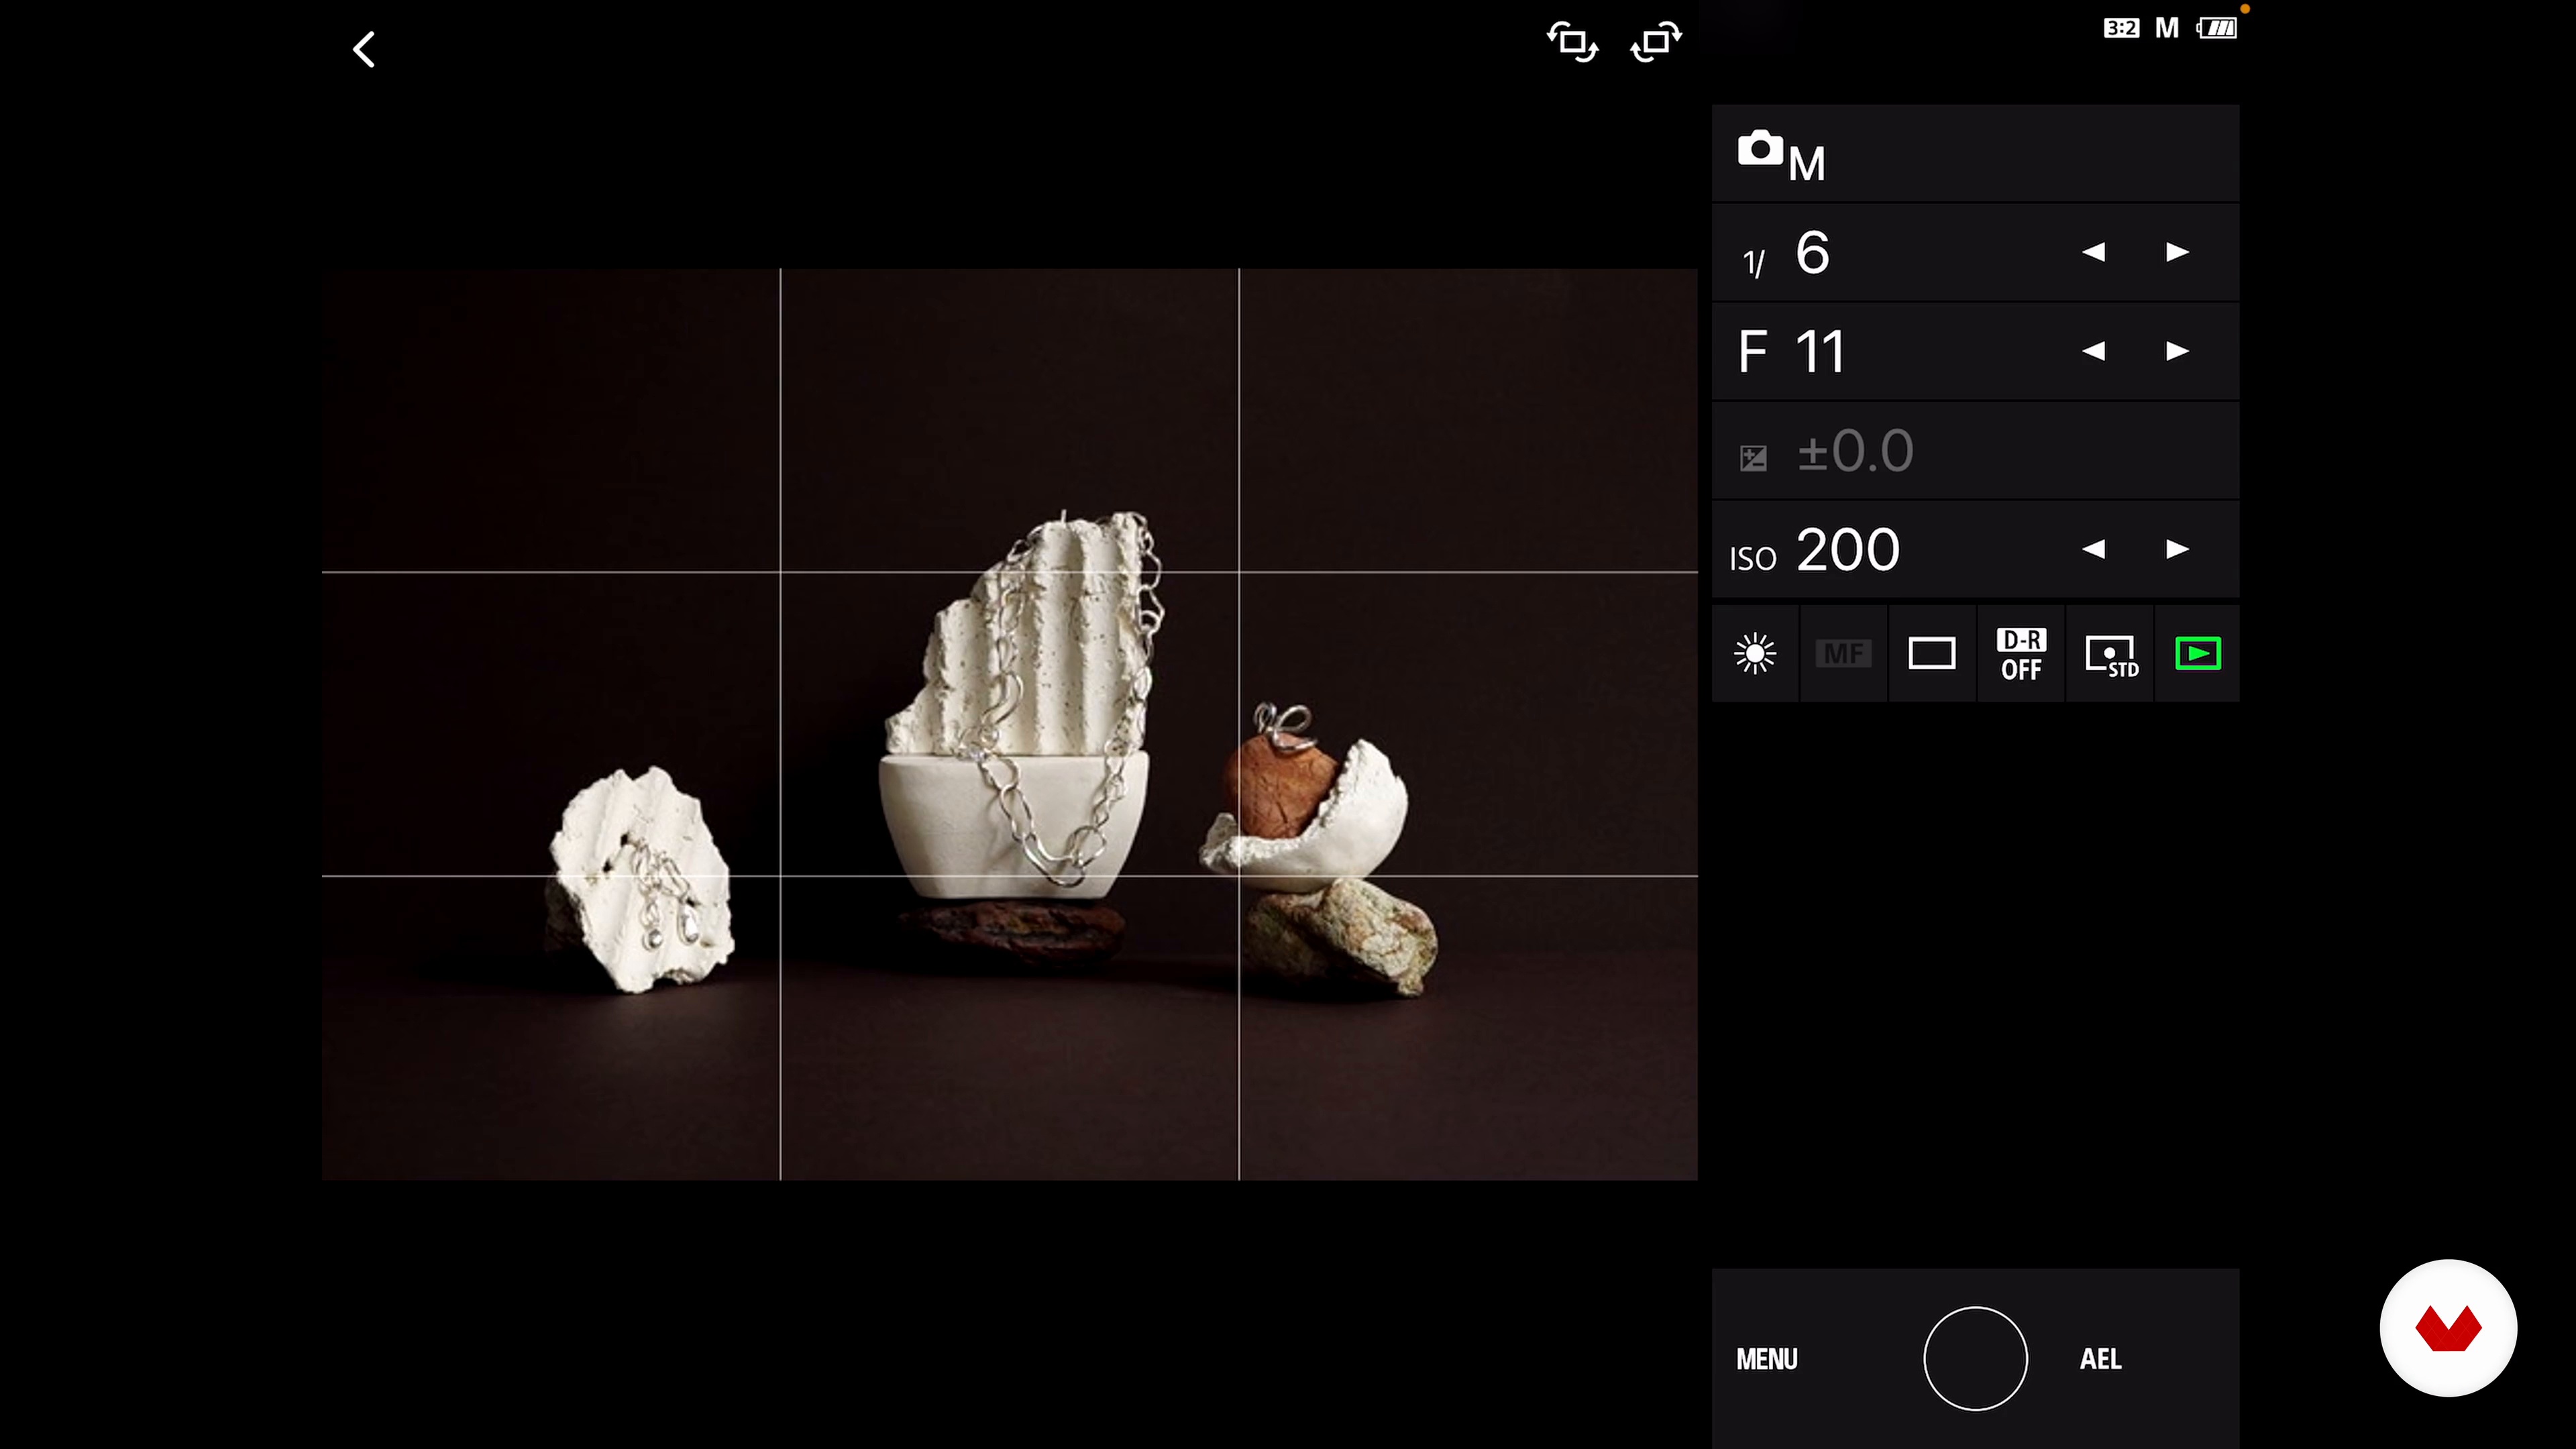 11
11Styled Still Life Photography: Grouped Objects 2
In this lesson, I will adjust the final elements of my composition to ensure that it is aligned with the brief and concept, which in my case is liquid. Once the composition is complete, I will model how to adjust the camera placement, angle, and settings, before playing around to capture different shots.
11m
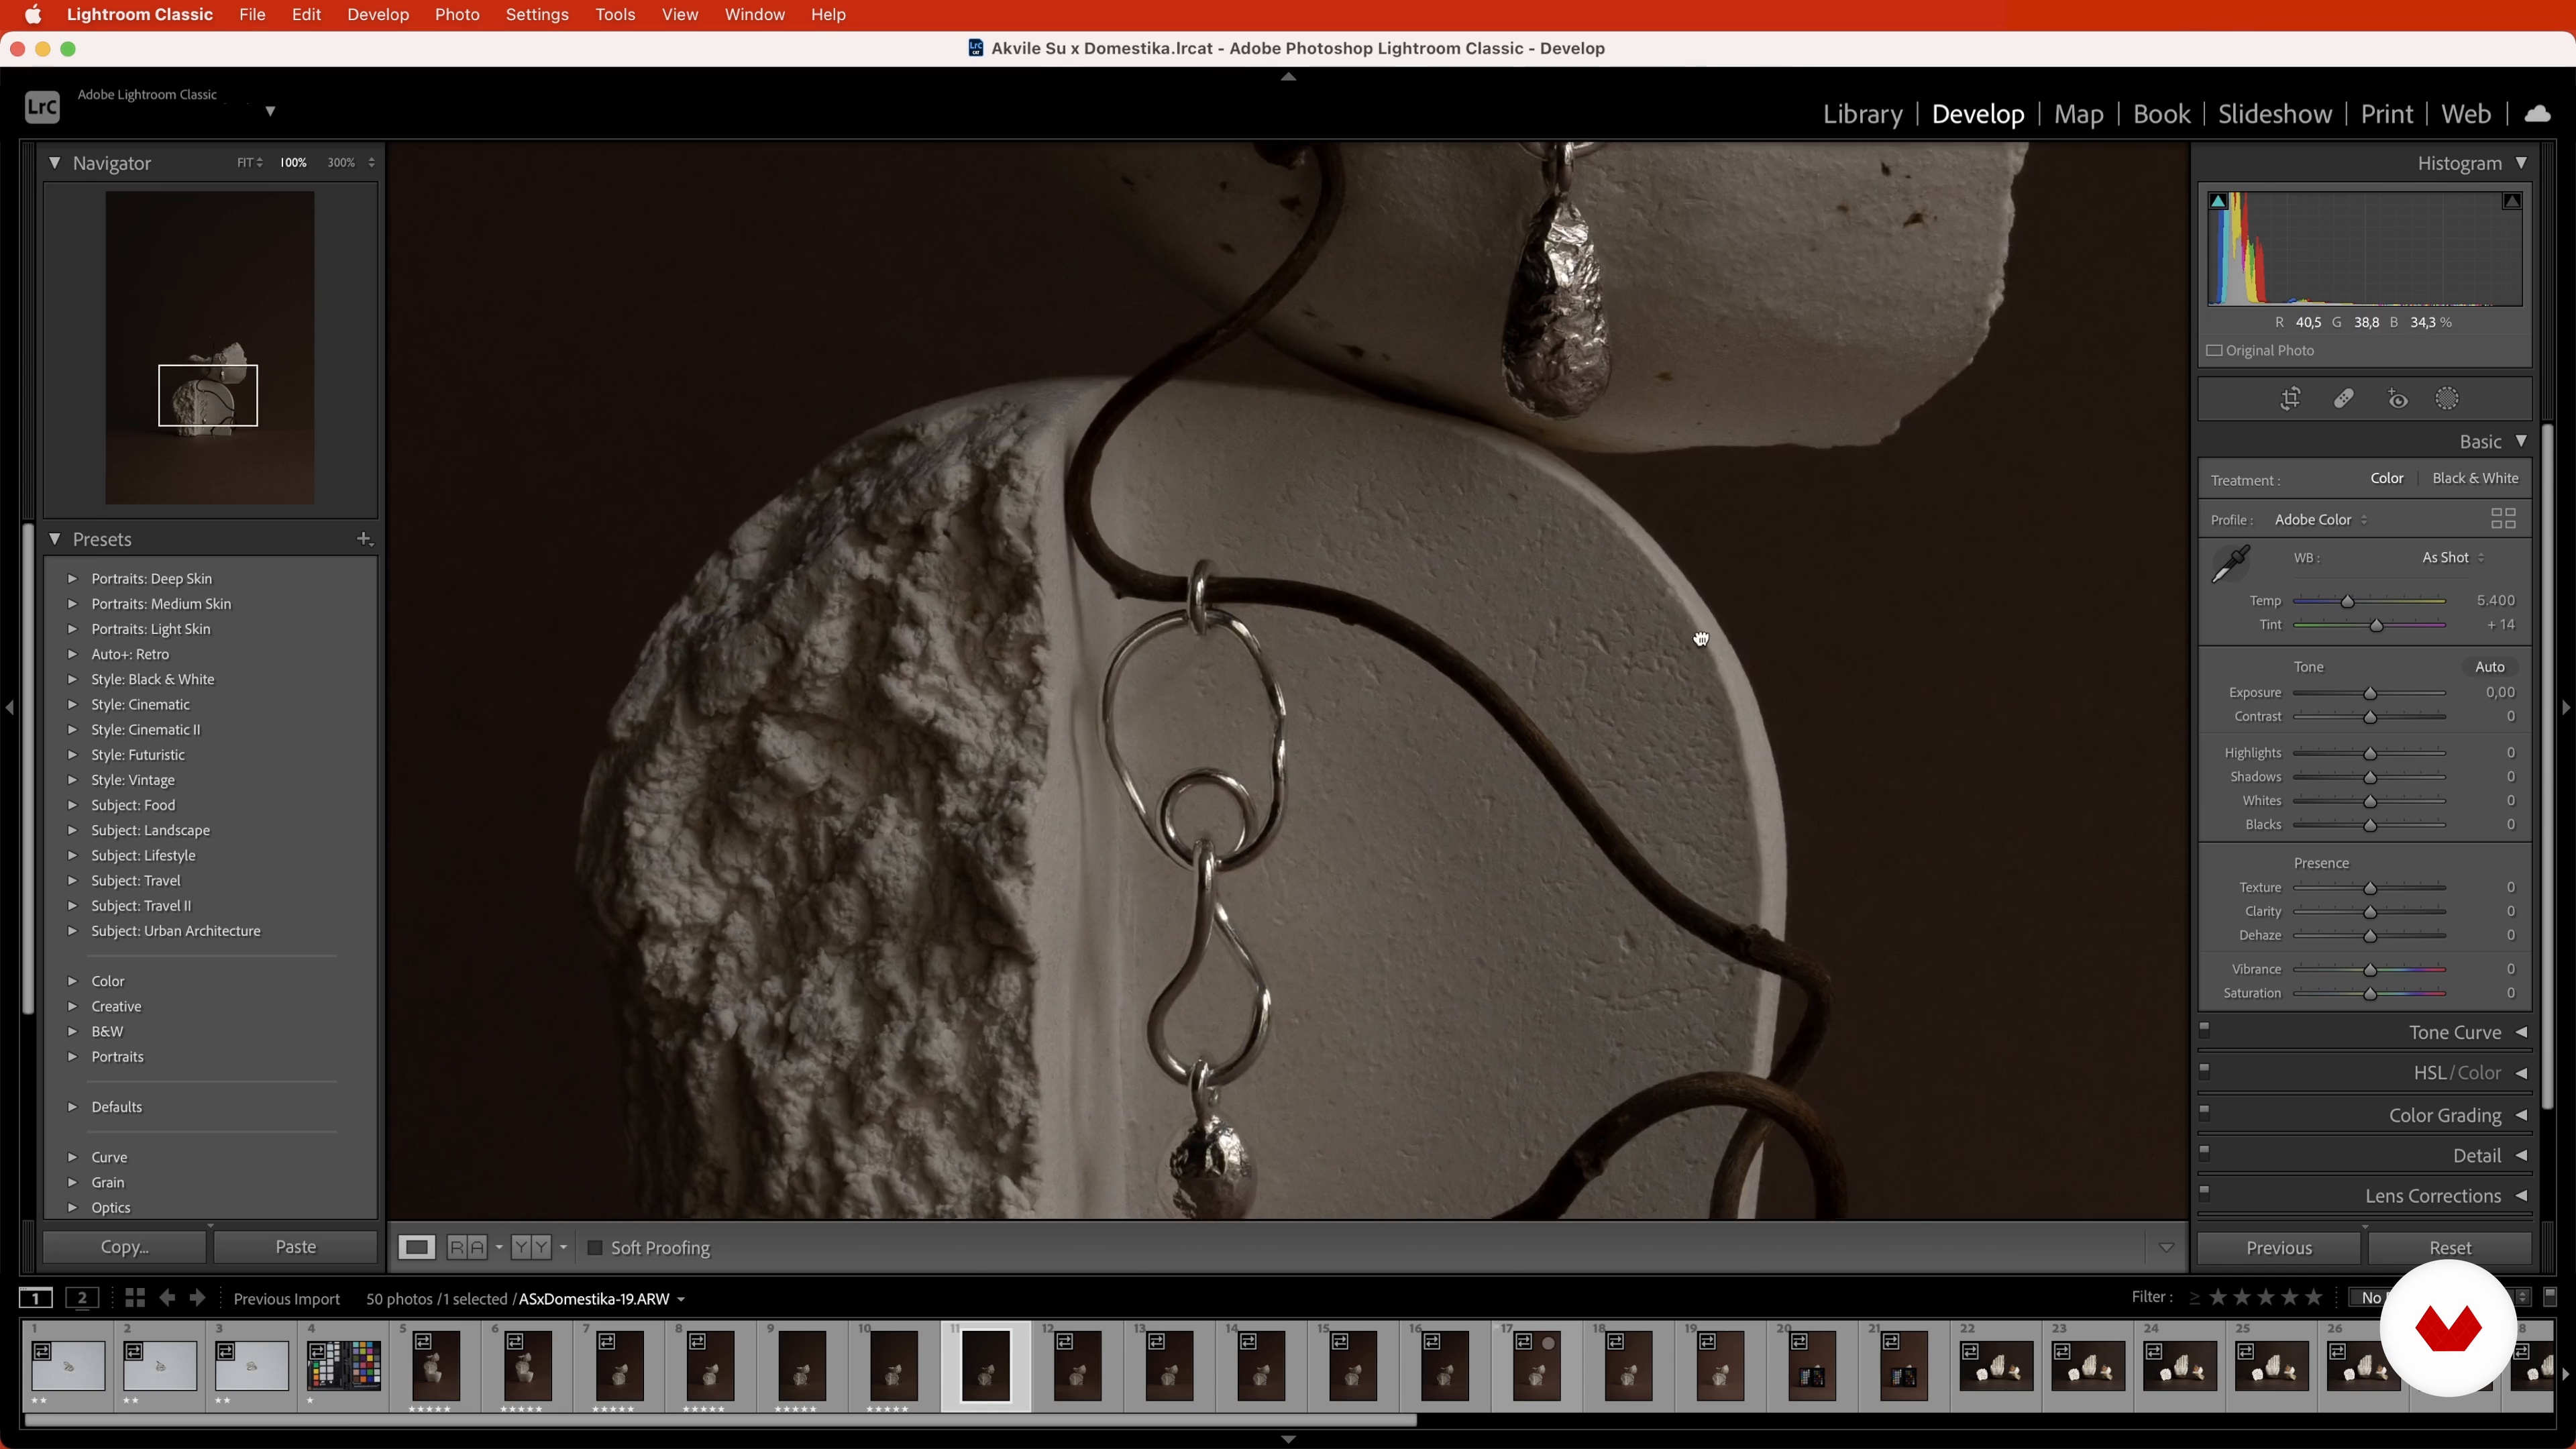 12
12Selecting the Final Images 1
Next, I’ll go through the images I’ve taken throughout this course. I will discuss themes such as file management, workflow, and how to select the best ones for editing. In this lesson, you will learn how to set up Adobe Lightroom Classic and import the photos ready for the selection process.
11m
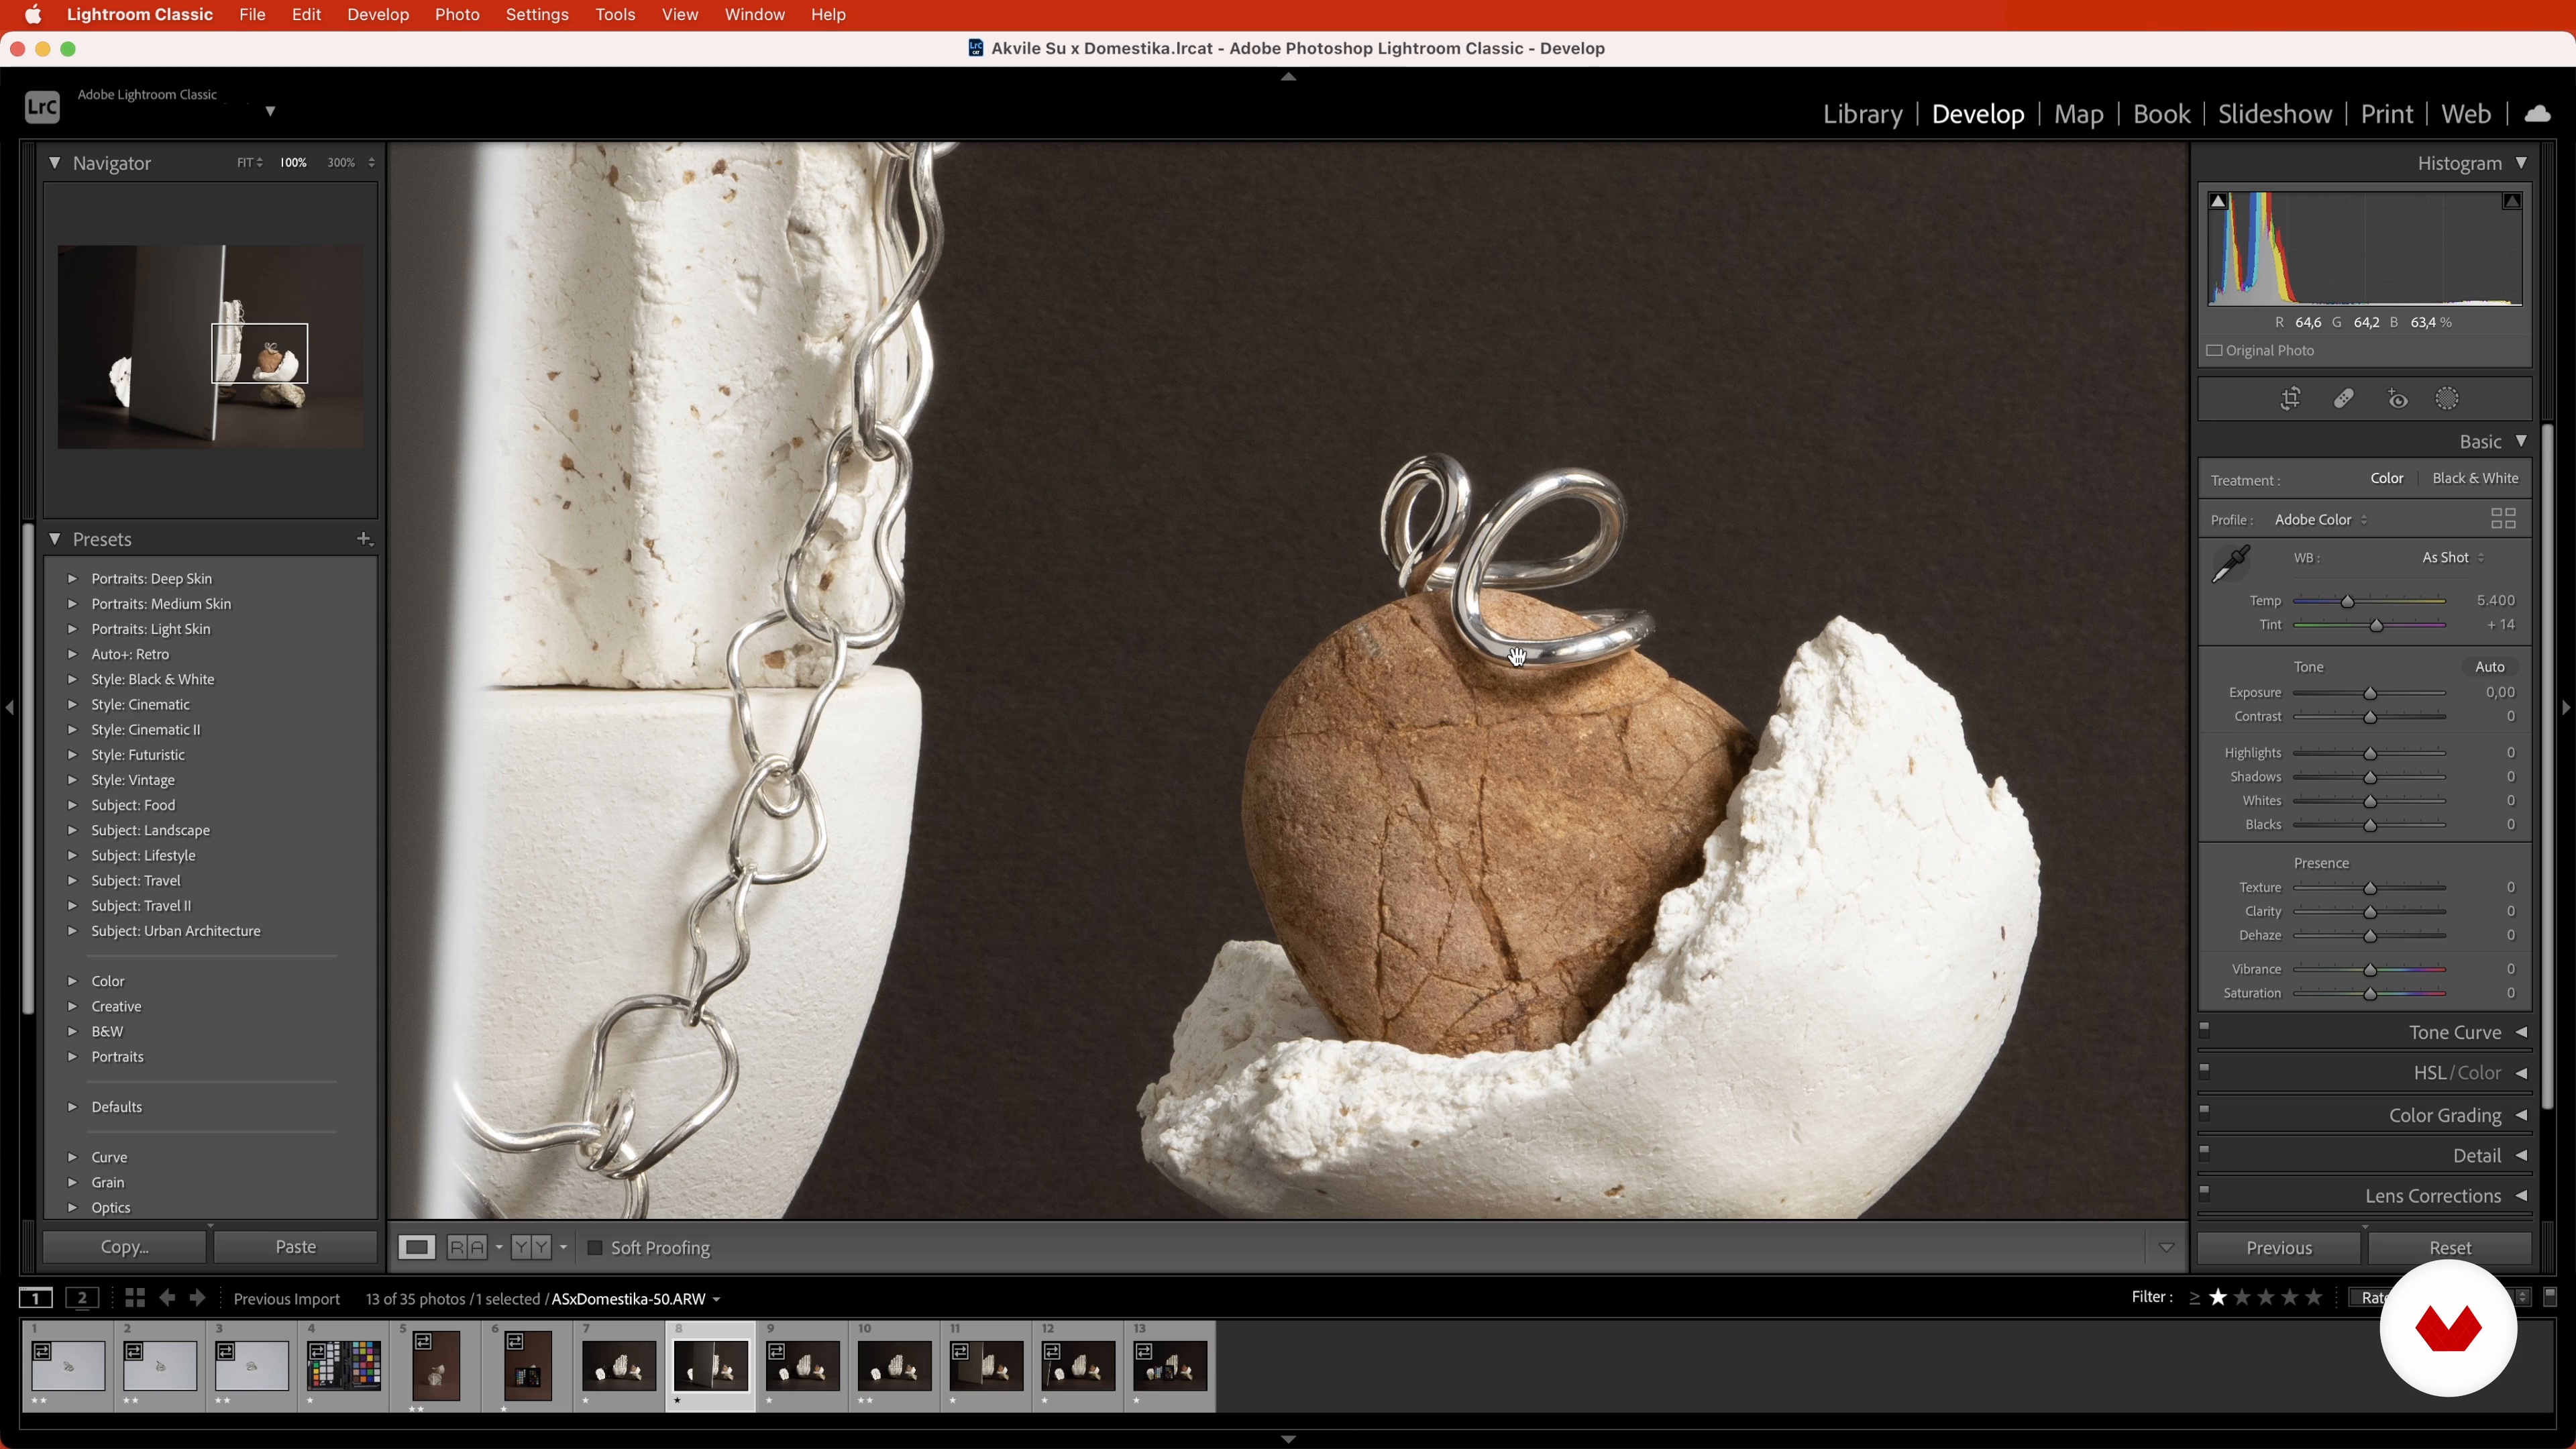 13
13Selecting the Final Images 2
Here I will continue to move through the selection process for the styled still life captures of individual and grouped objects. As I do this, notice how I keep my concept in mind: I'm looking for a crisp-edged, clean shot of the product to conform to the commercial nature of the brief. Let's get down to the nitty-gritty!
10m
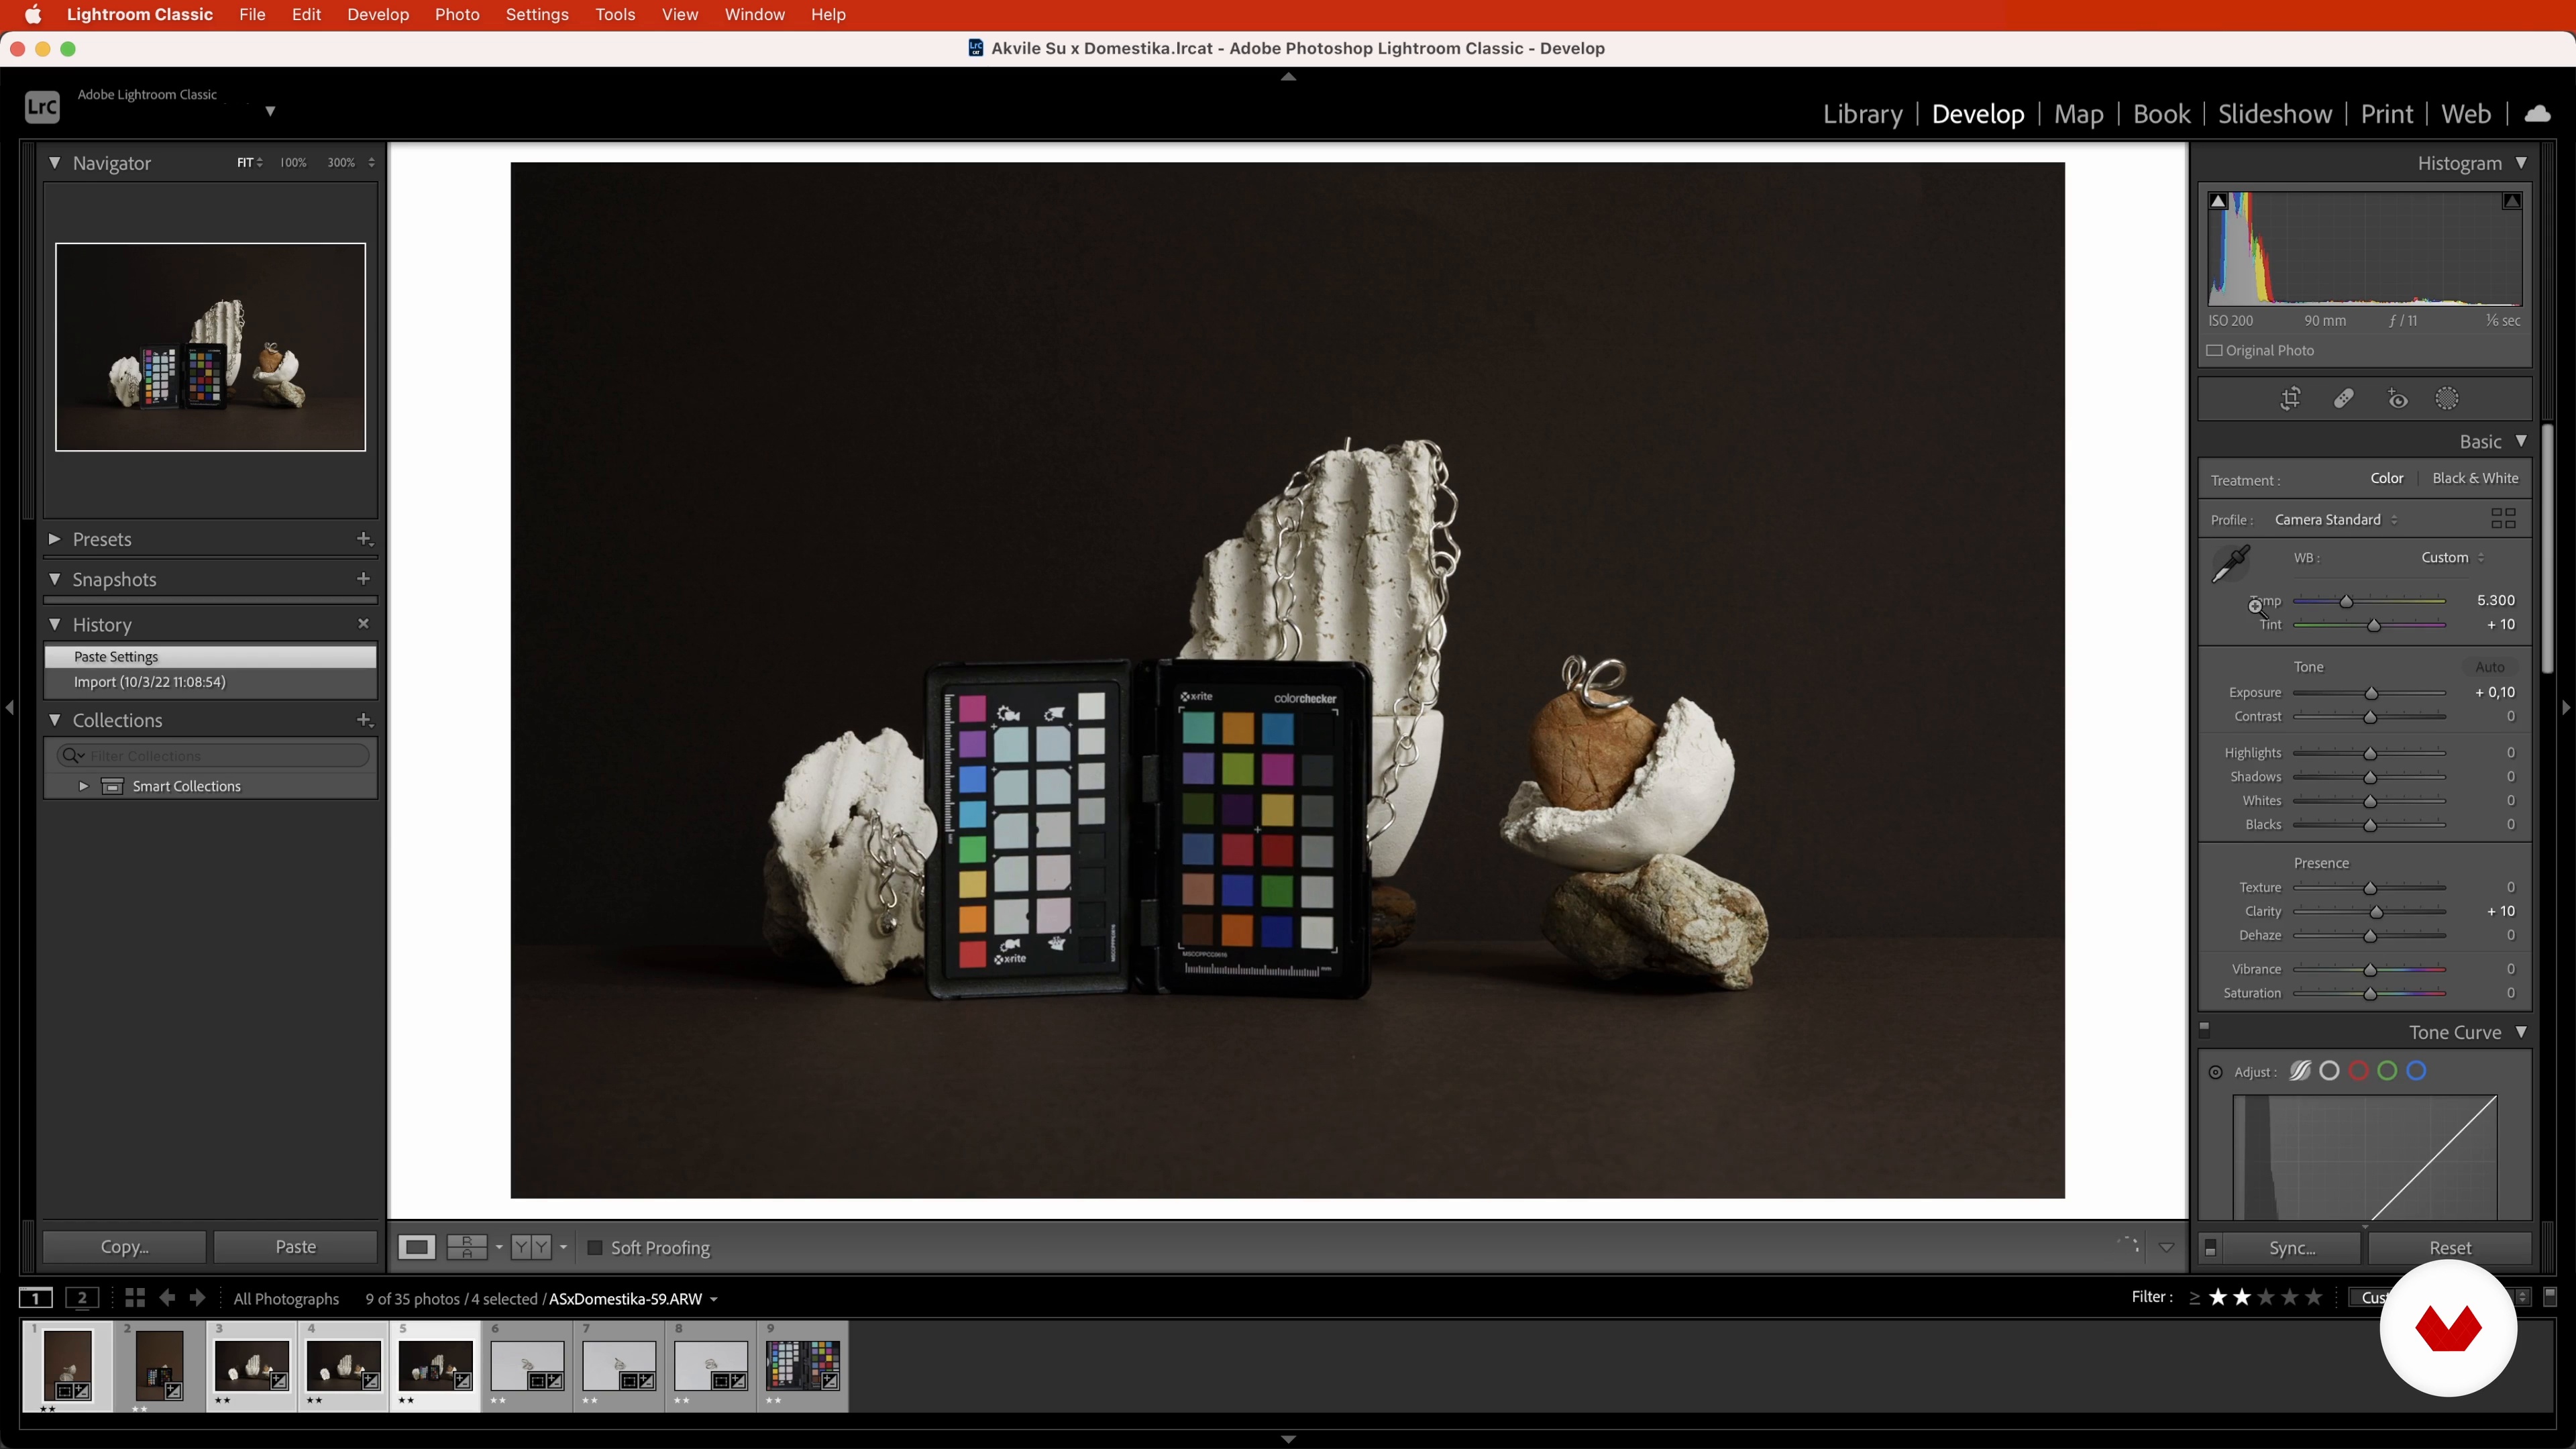 14
14Editing in Adobe Lightroom
In this lesson, you’ll learn how to colour correct your images in Adobe Lightroom Classic with an explanation of how your environment can affect your editing.
18m
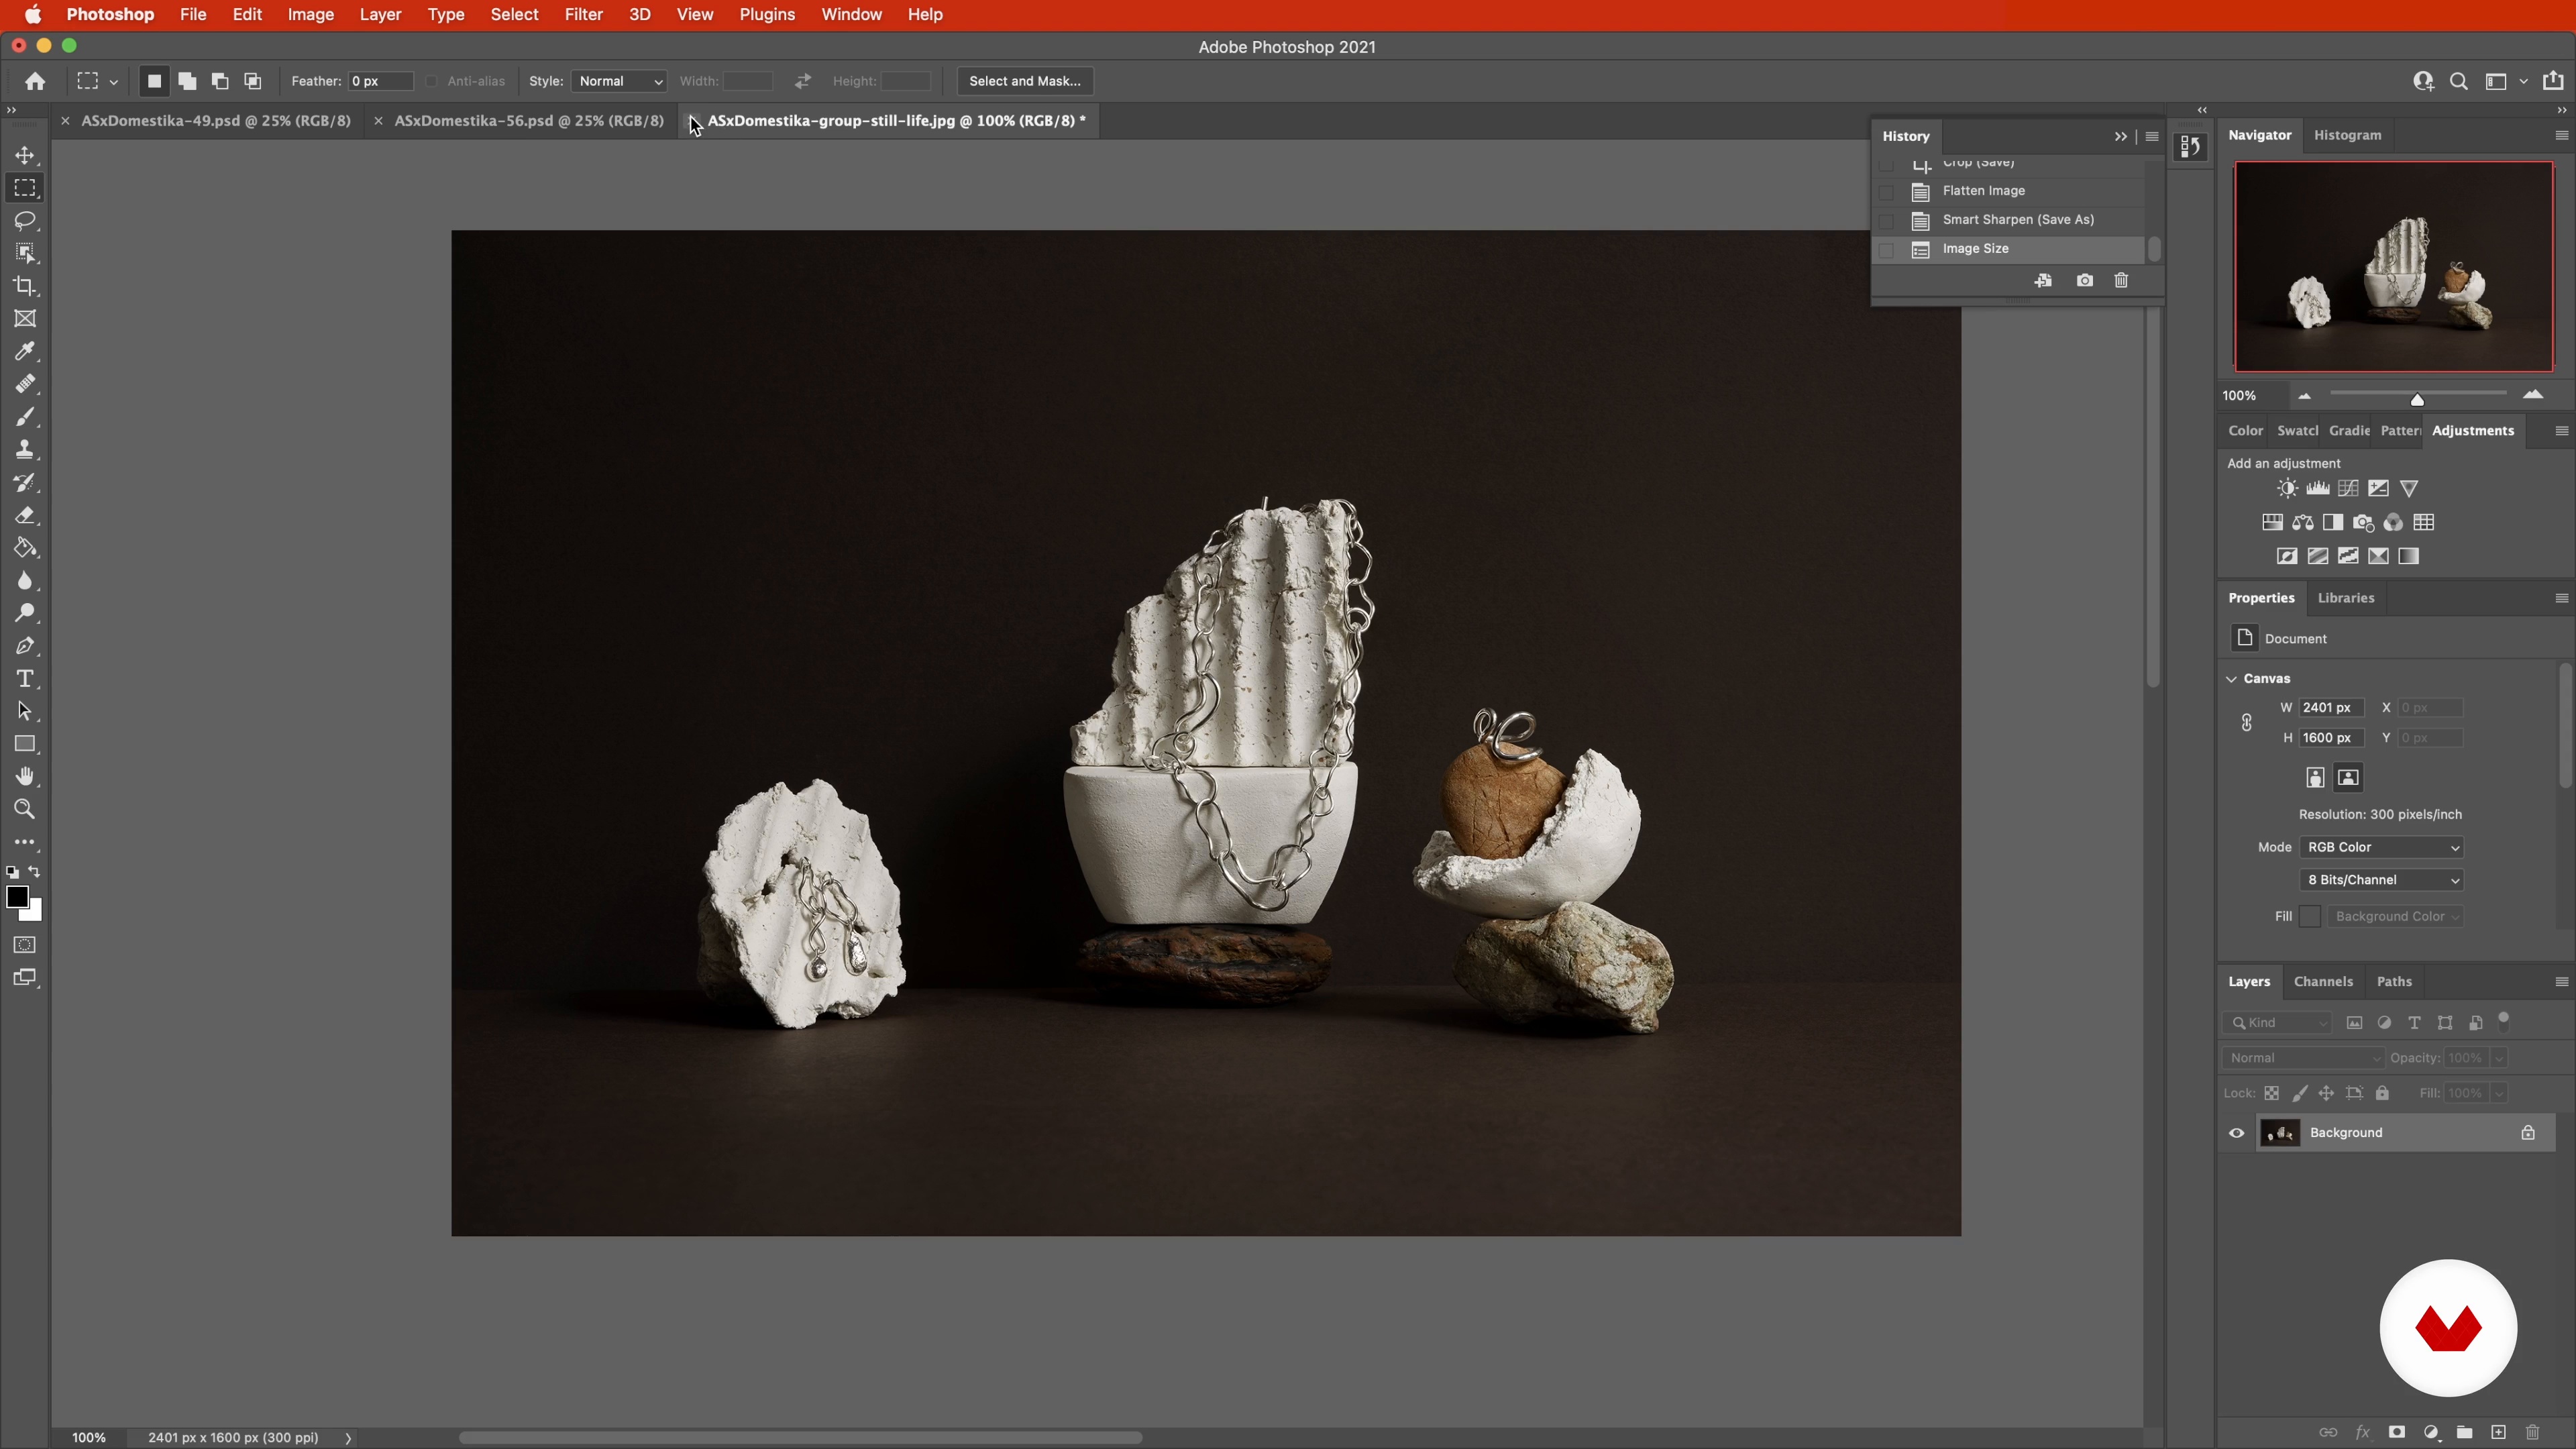 15
15Finishing Touches in Adobe Photoshop
Finally, I will teach you how to clean up your images in Adobe Photoshop and enhance them even further using adjustment layers and masks.
16m
What is this course's project?
Create a brass pin from concept to polished piece, mastering jewelry-making techniques. Craft delicate, water-resistant origami jewelry, featuring earrings, necklace, and box. Design embroidered jewelry like pendants or brooches. Produce fresh floral accessories. Carve wax models for metal casting. Capture stunning jewelry photos with styling, lighting, and editing skills.
Who is this specialization for?
Jewelry enthusiasts eager to explore diverse crafting techniques, from brass and paper to wax and floral designs, will find this course enriching. Those looking to enhance their product photography skills for capturing jewelry will also benefit.
Requirements and materials
No extensive prior knowledge is needed. Basic necessities include sketching tools, brass sheets, origami paper, embroidery materials, fresh flowers, jeweler's wax, and a camera for photographing small objects. Enthusiasm for hands-on creativity will enhance your experience.
Reviews
- 1 year ago
Este curso es oro, súper-inspirador y con unas profesoras de alto nivel. Recomendadísimo!
Select to get to know your teachers in this specialization course


What to expect from this specialization course
Learn at your own pace
Enjoy learning from home without a set schedule and with an easy-to-follow method. You set your own pace.
Learn from the best professionals
Learn valuable methods and techniques explained by top experts in the creative sector.
Meet expert teachers
Each expert teaches what they do best, with clear guidelines, true passion, and professional insight in every lesson.
Certificates
PLUSIf you're a Plus member, get a custom certificate for every specialization course. Share it on your portfolio, social media, or wherever you like.
Get front-row seats
Videos of the highest quality, so you don't miss a single detail. With unlimited access, you can watch them as many times as you need to perfect your technique.
Share knowledge and ideas
Ask questions, request feedback, or offer solutions. Share your learning experience with other students in the community who are as passionate about creativity as you are.
Connect with a global creative community
The community is home to millions of people from around the world who are curious and passionate about exploring and expressing their creativity.
Watch professionally produced courses
Domestika curates its teacher roster and produces every course in-house to ensure a high-quality online learning experience.
FAQs
Yes, this course is designed for beginners and teaches foundational embroidery techniques, including threading needles, basic stitches, and preparing materials.
You'll need embroidery floss, a plastic embroidery hoop, cotton muslin or similar fabric, embroidery needles, scissors, and a heat erasable pen. A light source for tracing and Procreate (optional) are also helpful.
You'll learn to create realistic woodland animal embroidery using long and short stitch, shading, color blending, and techniques for transferring designs and finishing miniature jewelry pieces.
Yes, the course teaches step-by-step techniques for stitching lifelike woodland animals, focusing on shape mapping, shading, and color selection.
You’ll learn how to choose the right fabric, secure it in a plastic hoop, and ensure it’s taut and distortion-free before starting your embroidery.
Long and short stitch is a foundational embroidery technique used for shading and gradients. This course provides detailed instruction on using it for realistic effects.
The course covers multiple methods, including using heat erasable pens, tracing with a light source, and taping printed designs to fabric for accurate transfer.