
Explore advanced paper sculpting techniques to create impactful, dimensional artworks inspired by nature or architecture
Dive into the world of paper art and papercraft through a comprehensive specialization that unlocks the creative and technical potential of paper as an artistic and narrative medium. Over six courses, gain expertise in sculpting, layering, cutting, and manipulating paper to craft vibrant artworks, installations, flower compositions, and immersive set designs. This program is perfect for artists, illustrators, crafters, and visual storytellers eager to master various techniques and build three-dimensional pieces, books, and decorative compositions—all using paper.
Learn from an array of talented instructors, including Jeffrey Nishinaka, Sarah Louise Matthews, Adrian & Gidi, Eileen Ng, Helen Friel, and Karishma Chugani. Each course offers a unique perspective and specialized skills, from creating stunning sculptures to designing whimsical set pieces. Ultimately, apply your newfound knowledge to create a cohesive collection of paper artworks or props that tell a story or evoke a theme. Embark on this creative journey and explore the endless possibilities of paper as an expressive medium.
What will you learn in this specialization?
 1
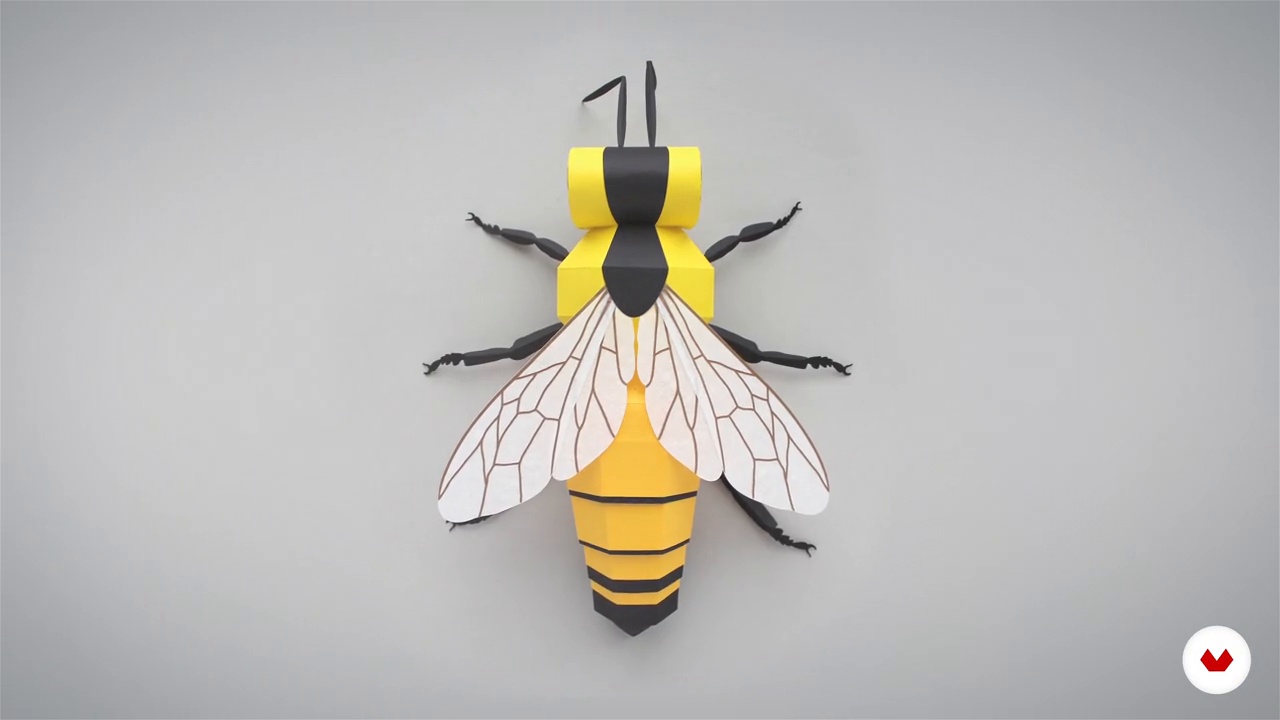
1Introduction
First of, you will explore the creative power of paper art, from its historical roots in origami and paper cutting to contemporary applications in sculpture and design. You’ll learn how observation, imagination, and craftsmanship transform simple paper into expressive, lasting works.
3m
 2
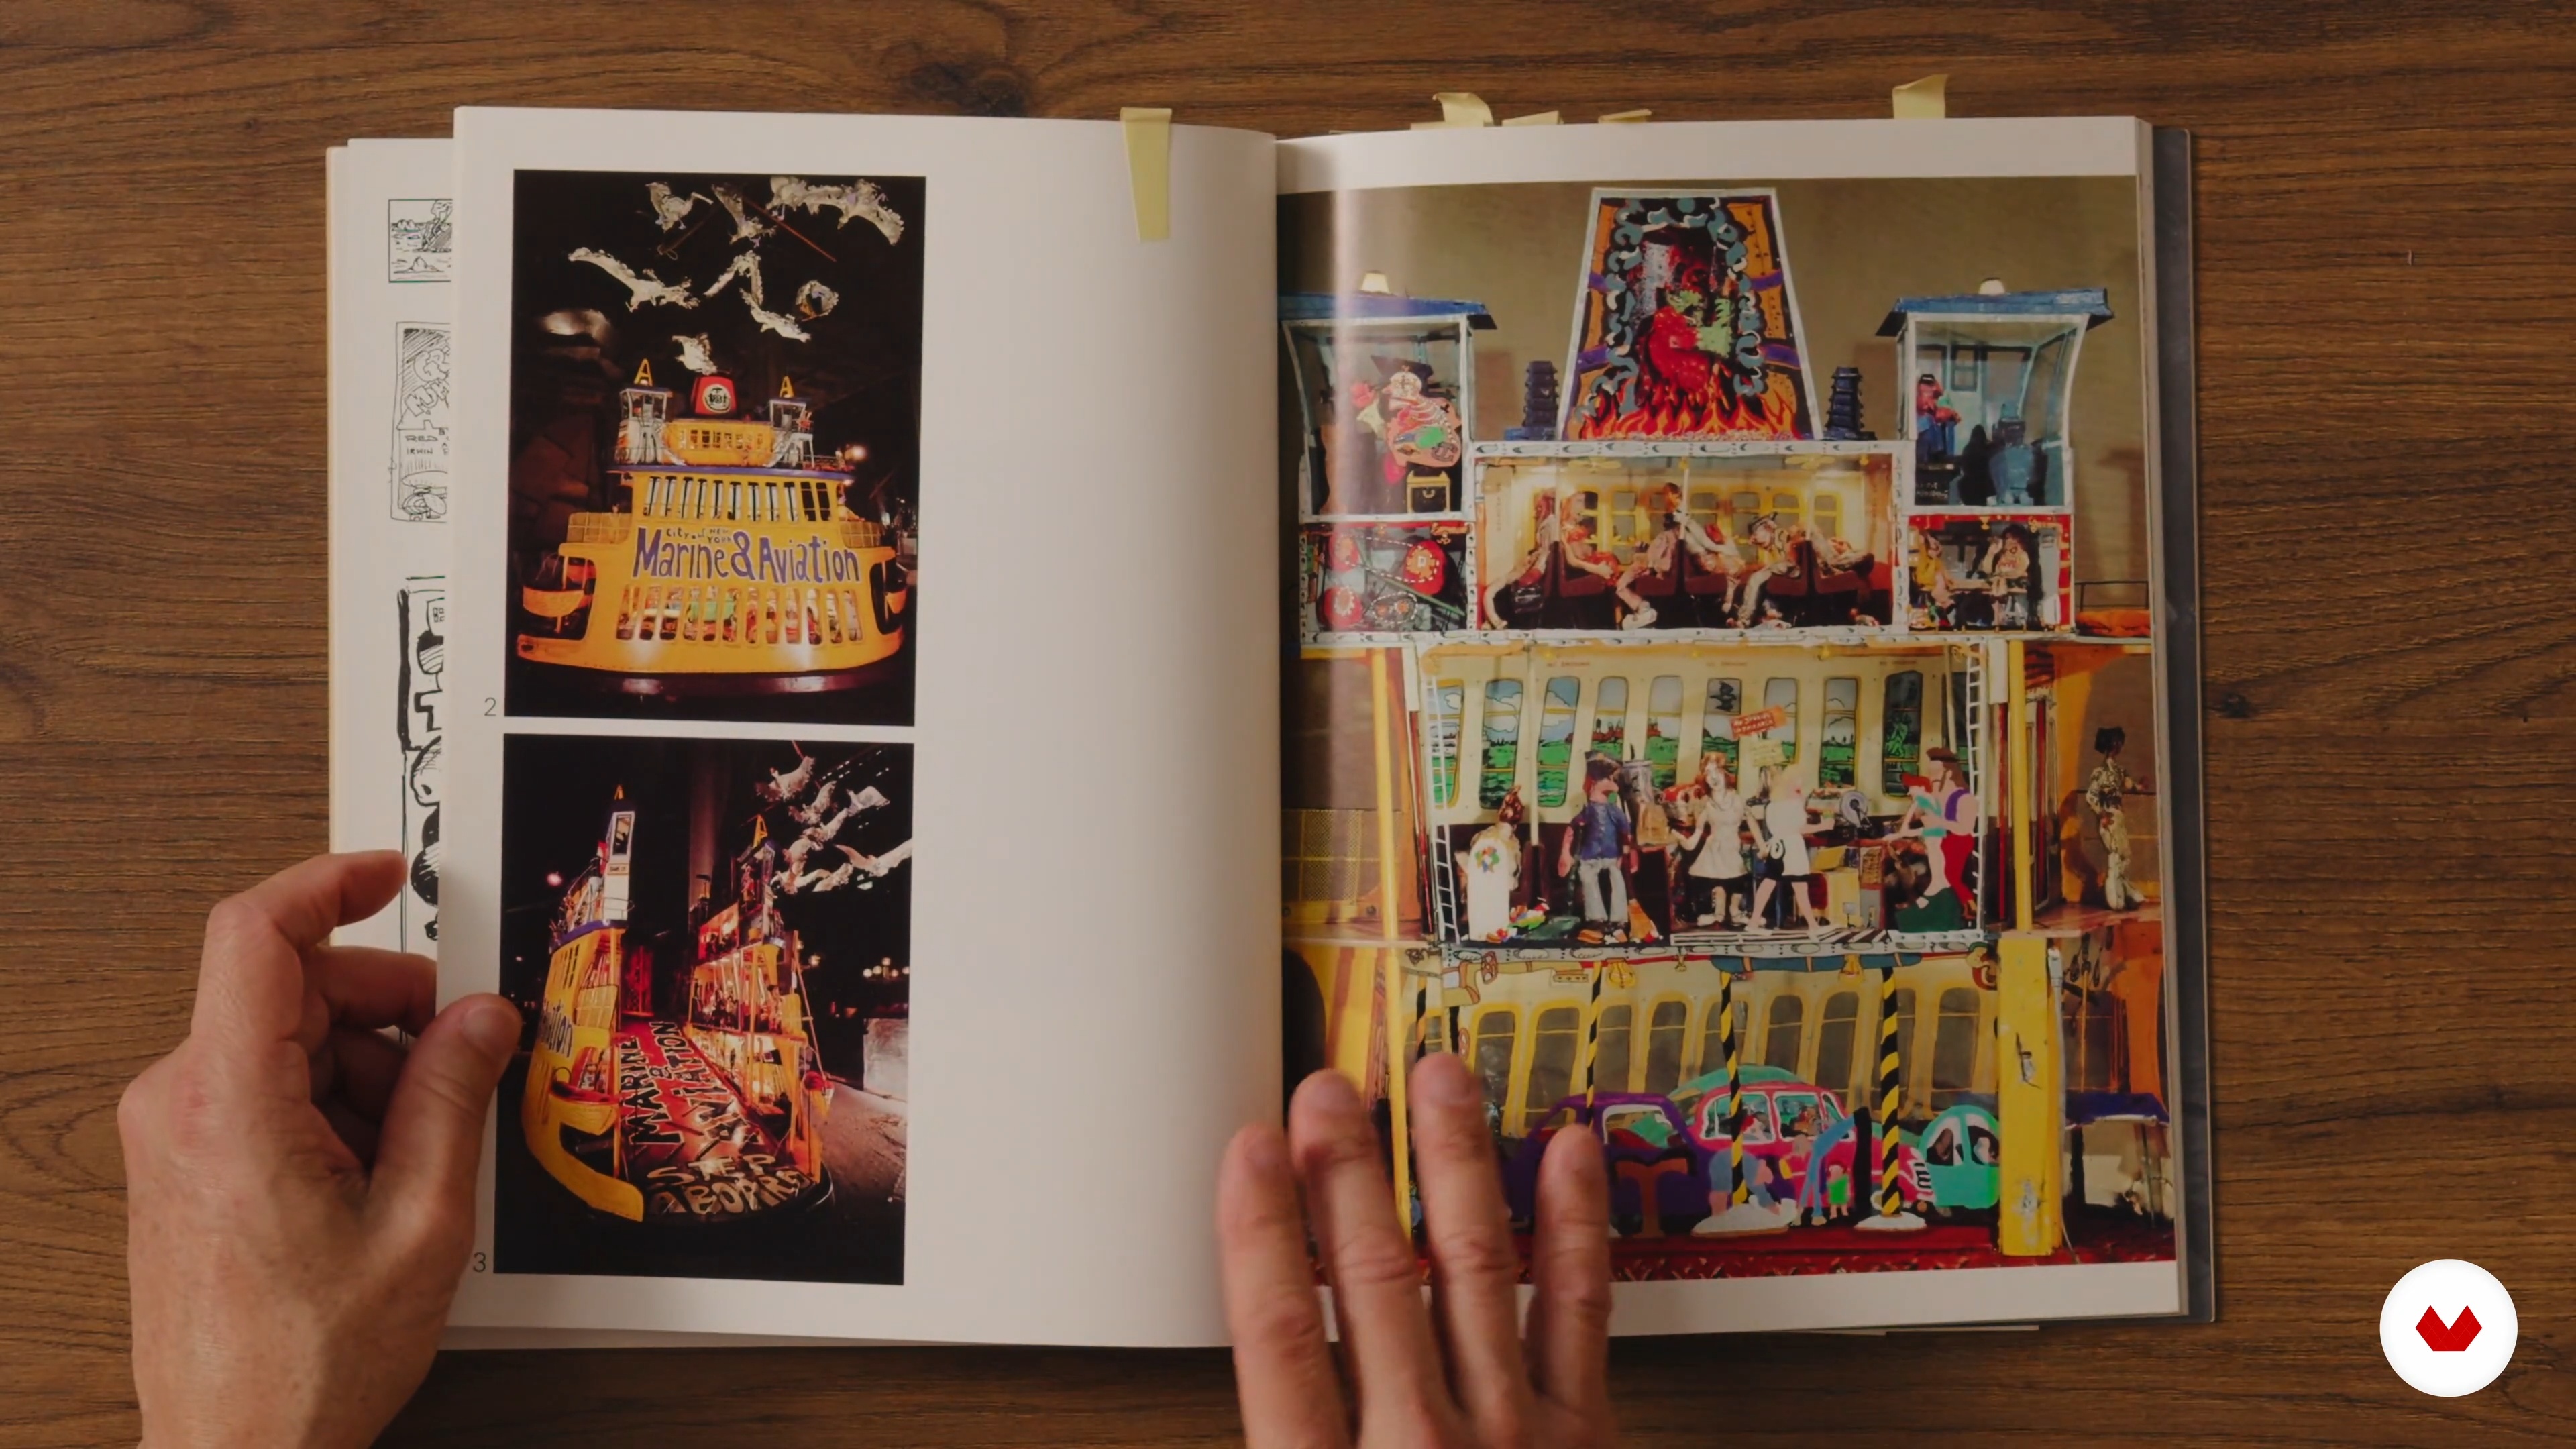
2Influences | Jeffrey Nishinaka
In this lesson, I’ll introduce the artists who influenced my work the most and why.
6m
 3
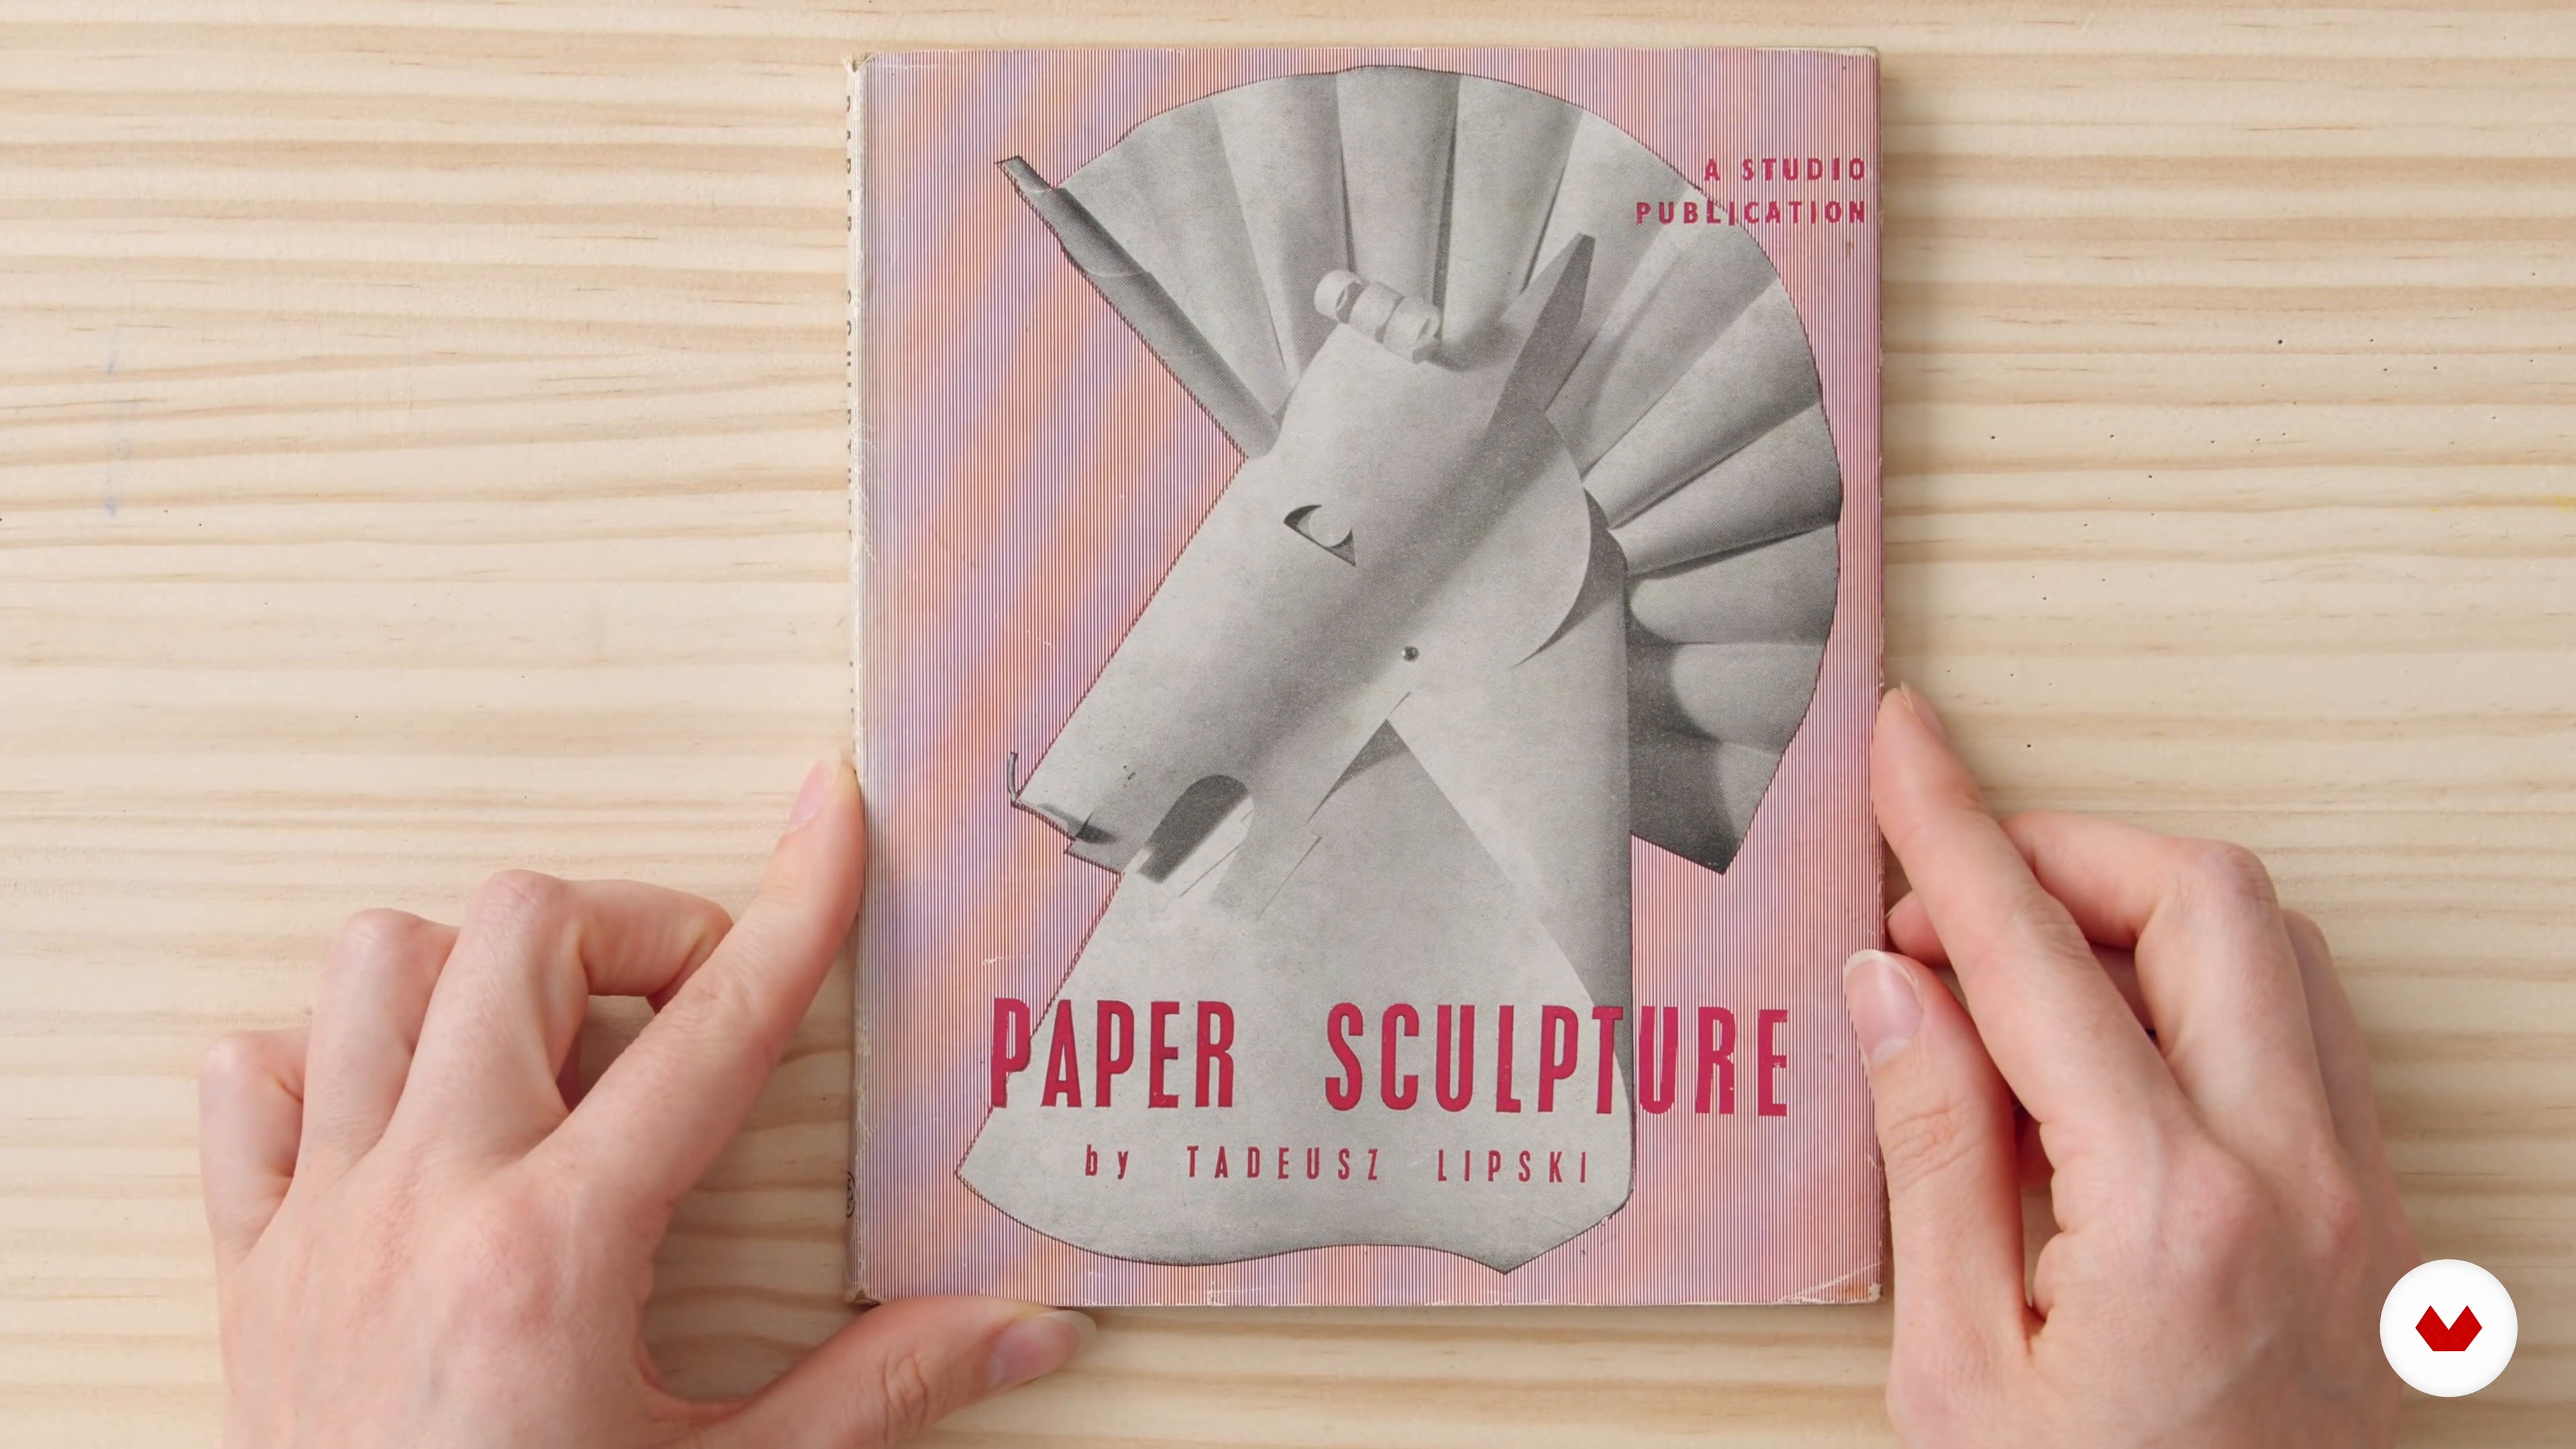
3Influences | Sarah Louise Matthews
Now, I will show you some of my favourite artists, who influenced me and inspire me every day.
4m
 4
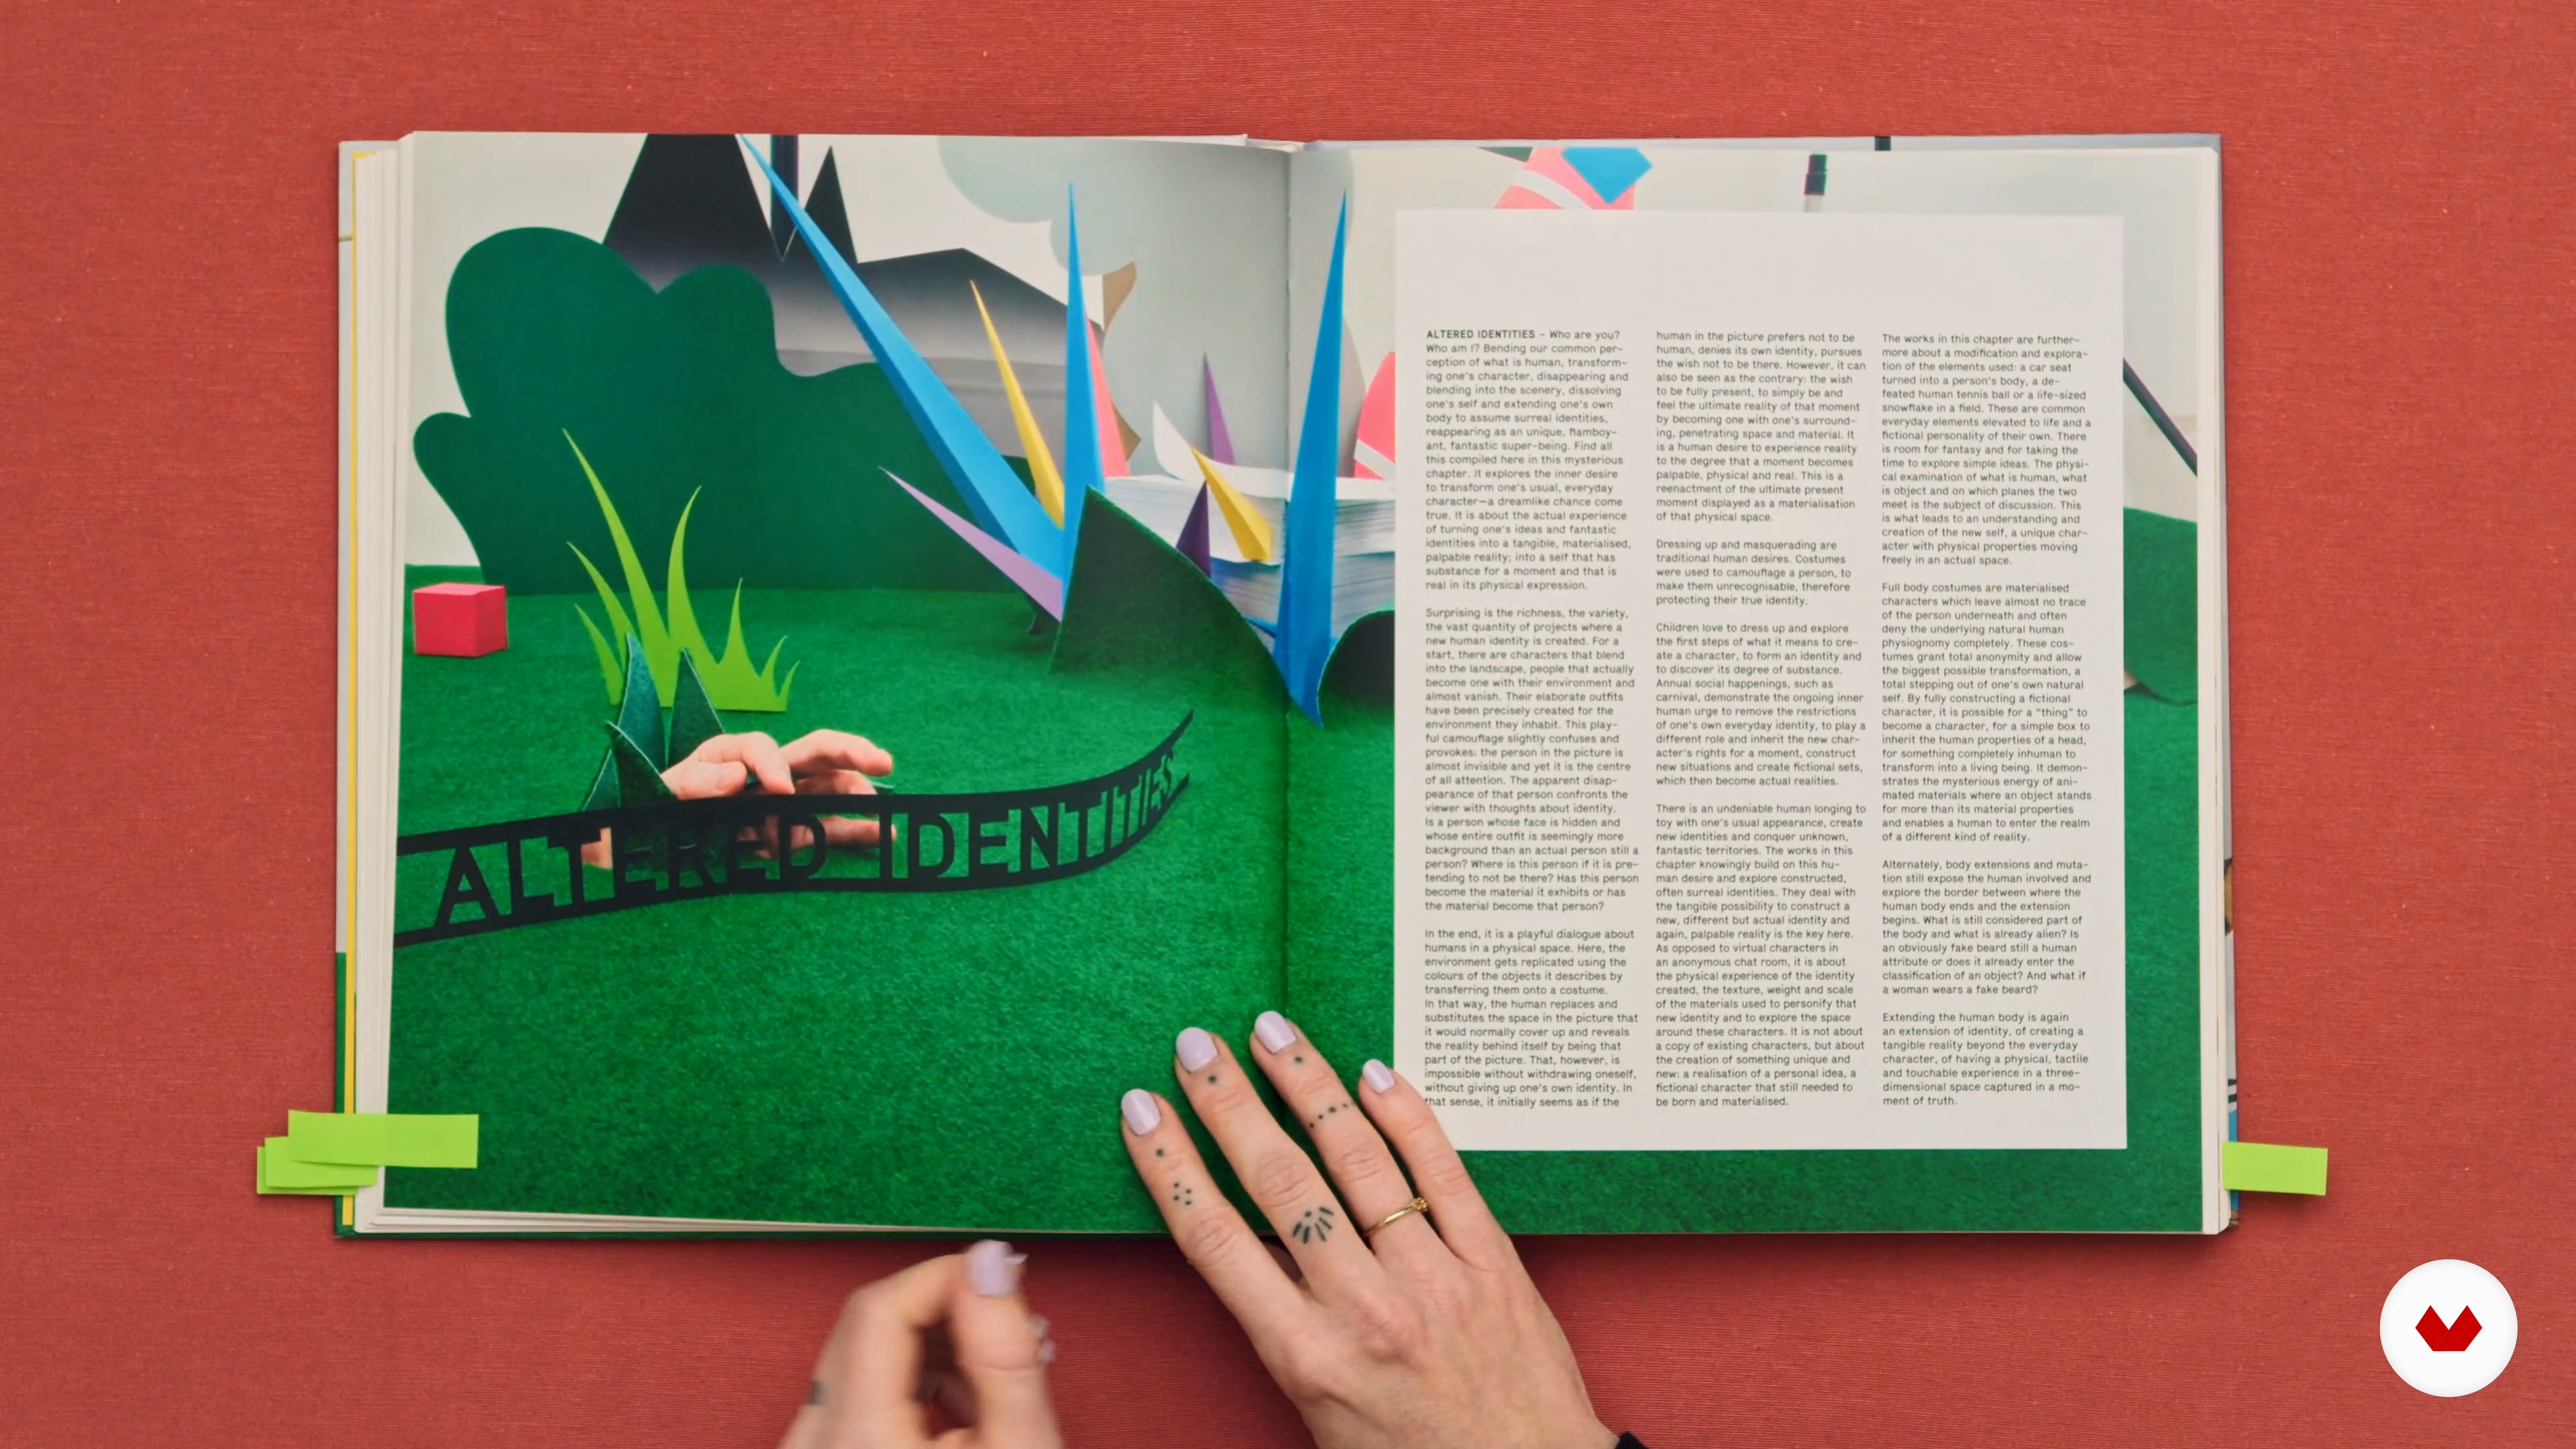
4Influences | Adrian & Gidi
What’s and who made us love paper and other inspirations.
10m
 5
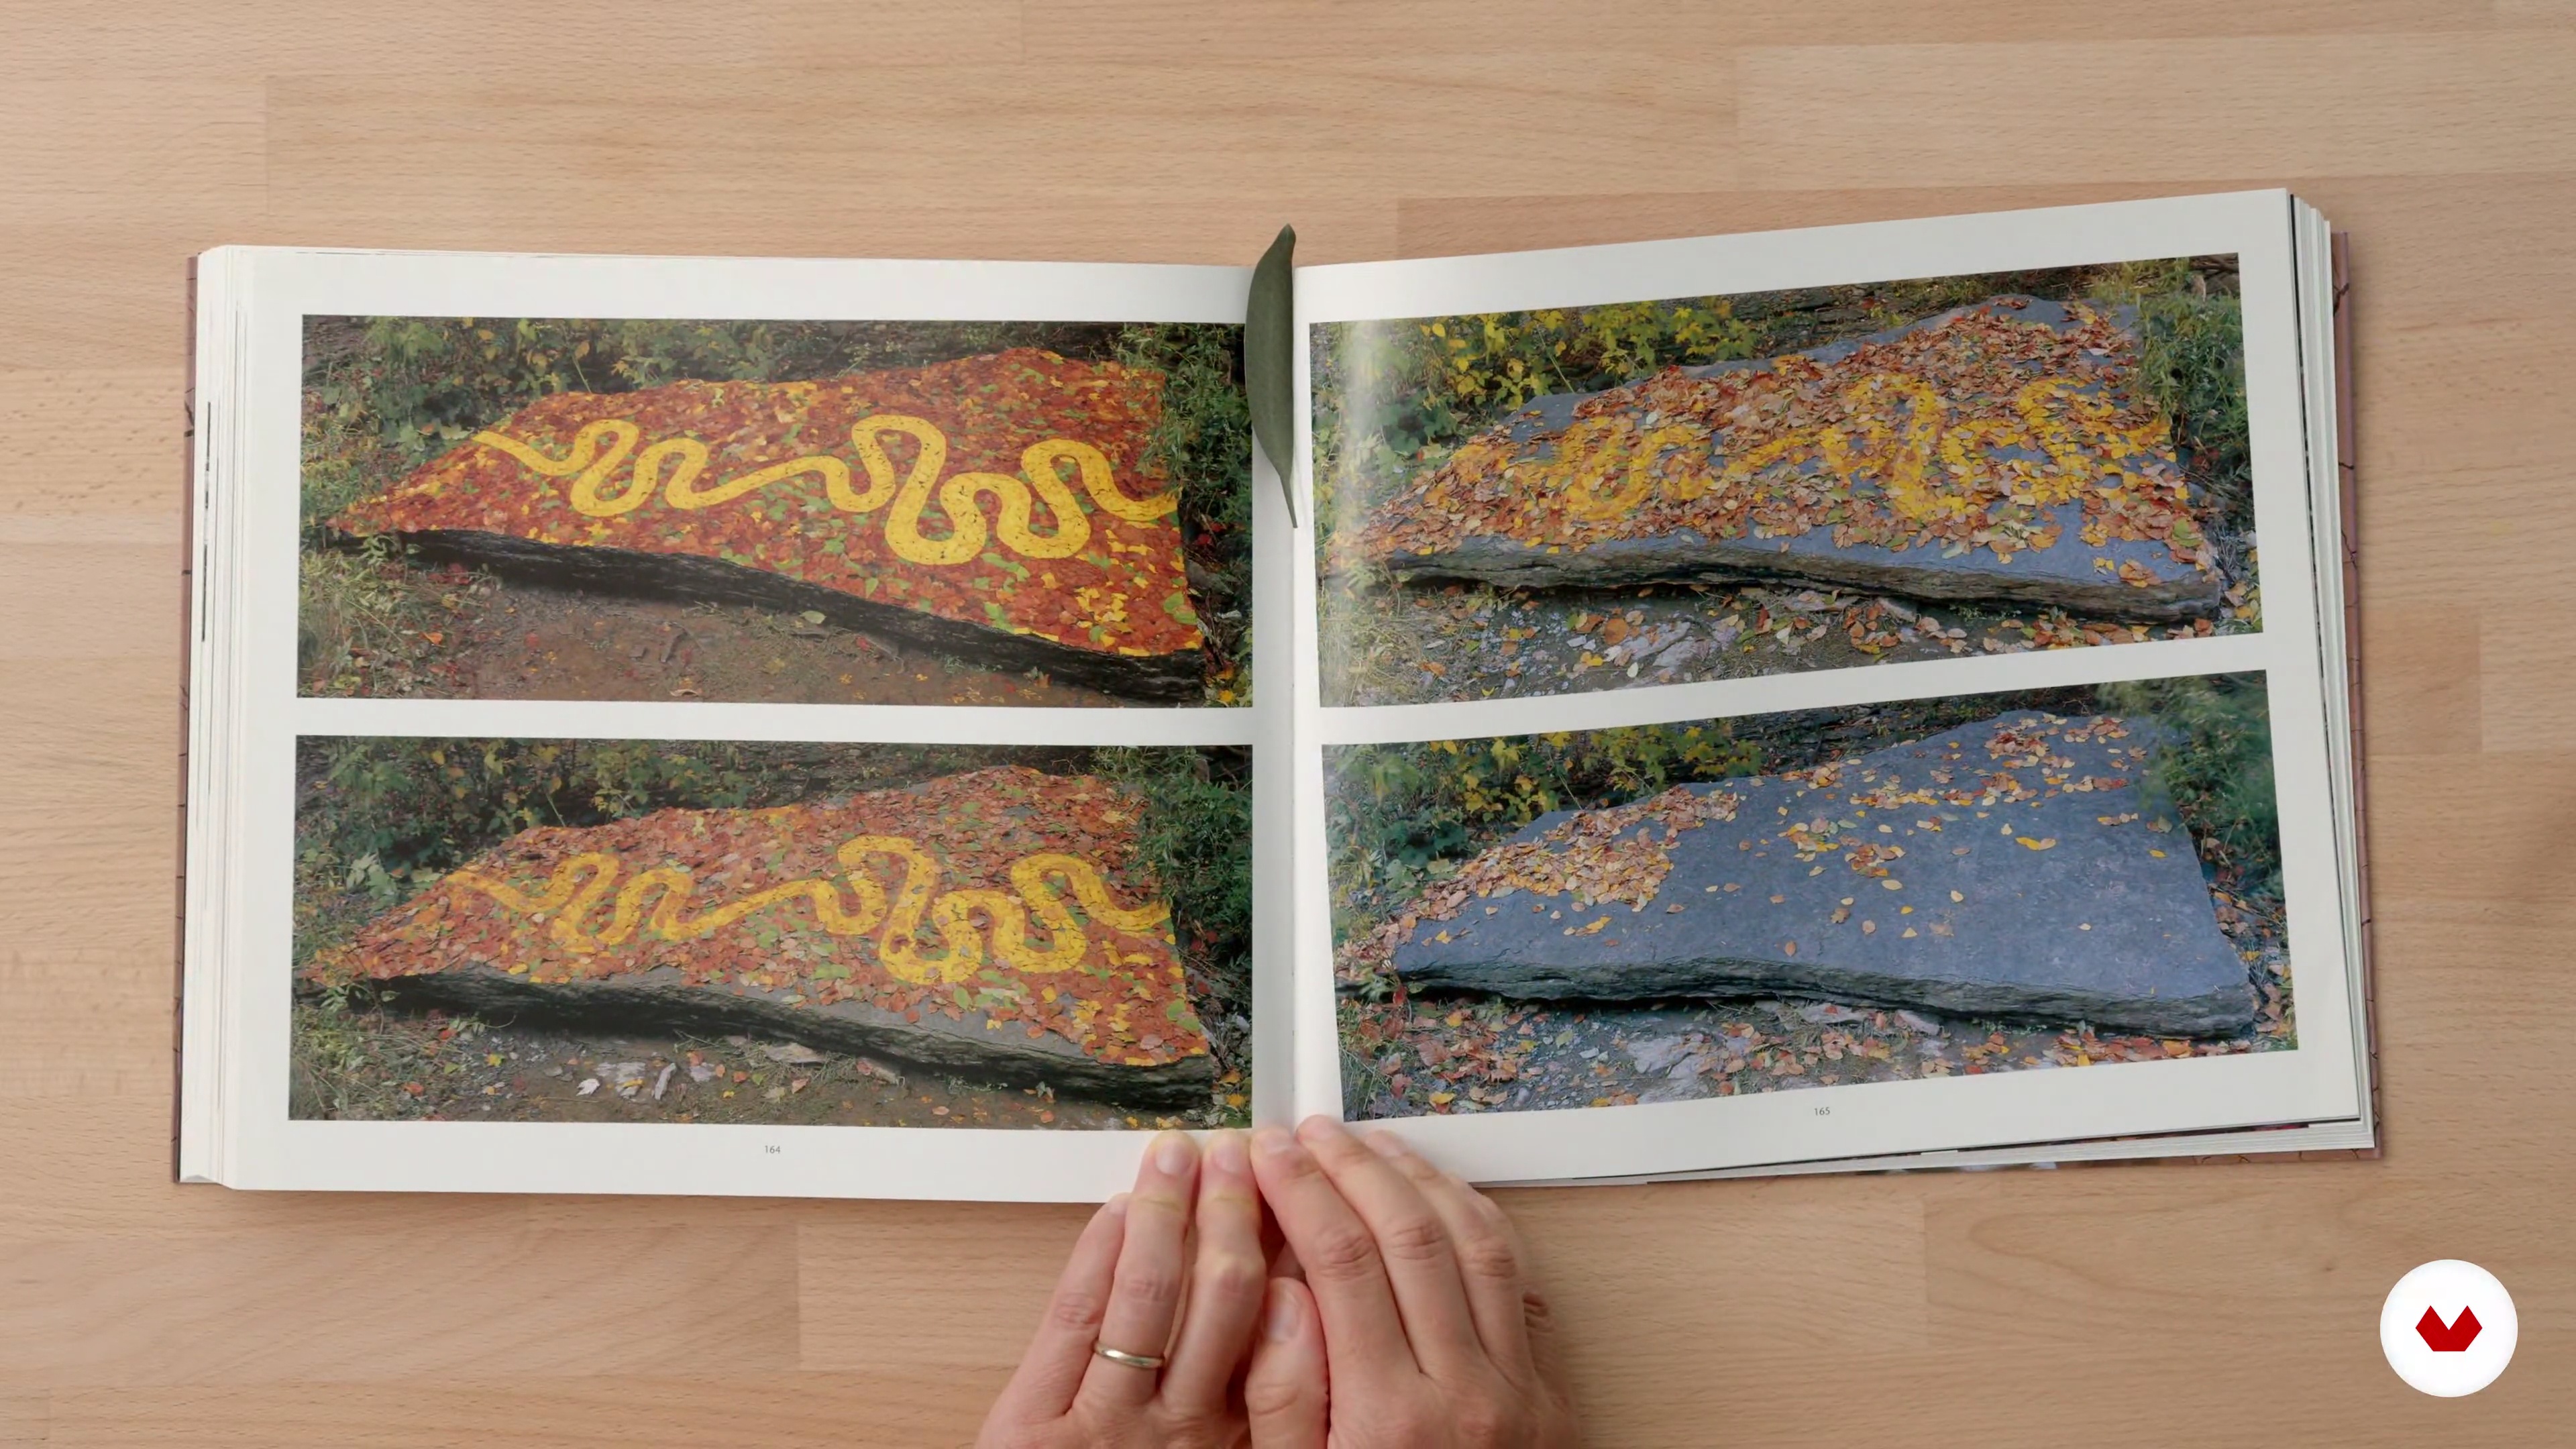
5Influences | Eileen Ng
I’m going to show you some of my favourite artists and explain why I love their work, and how their pieces have made an impact on me.
5m
 6
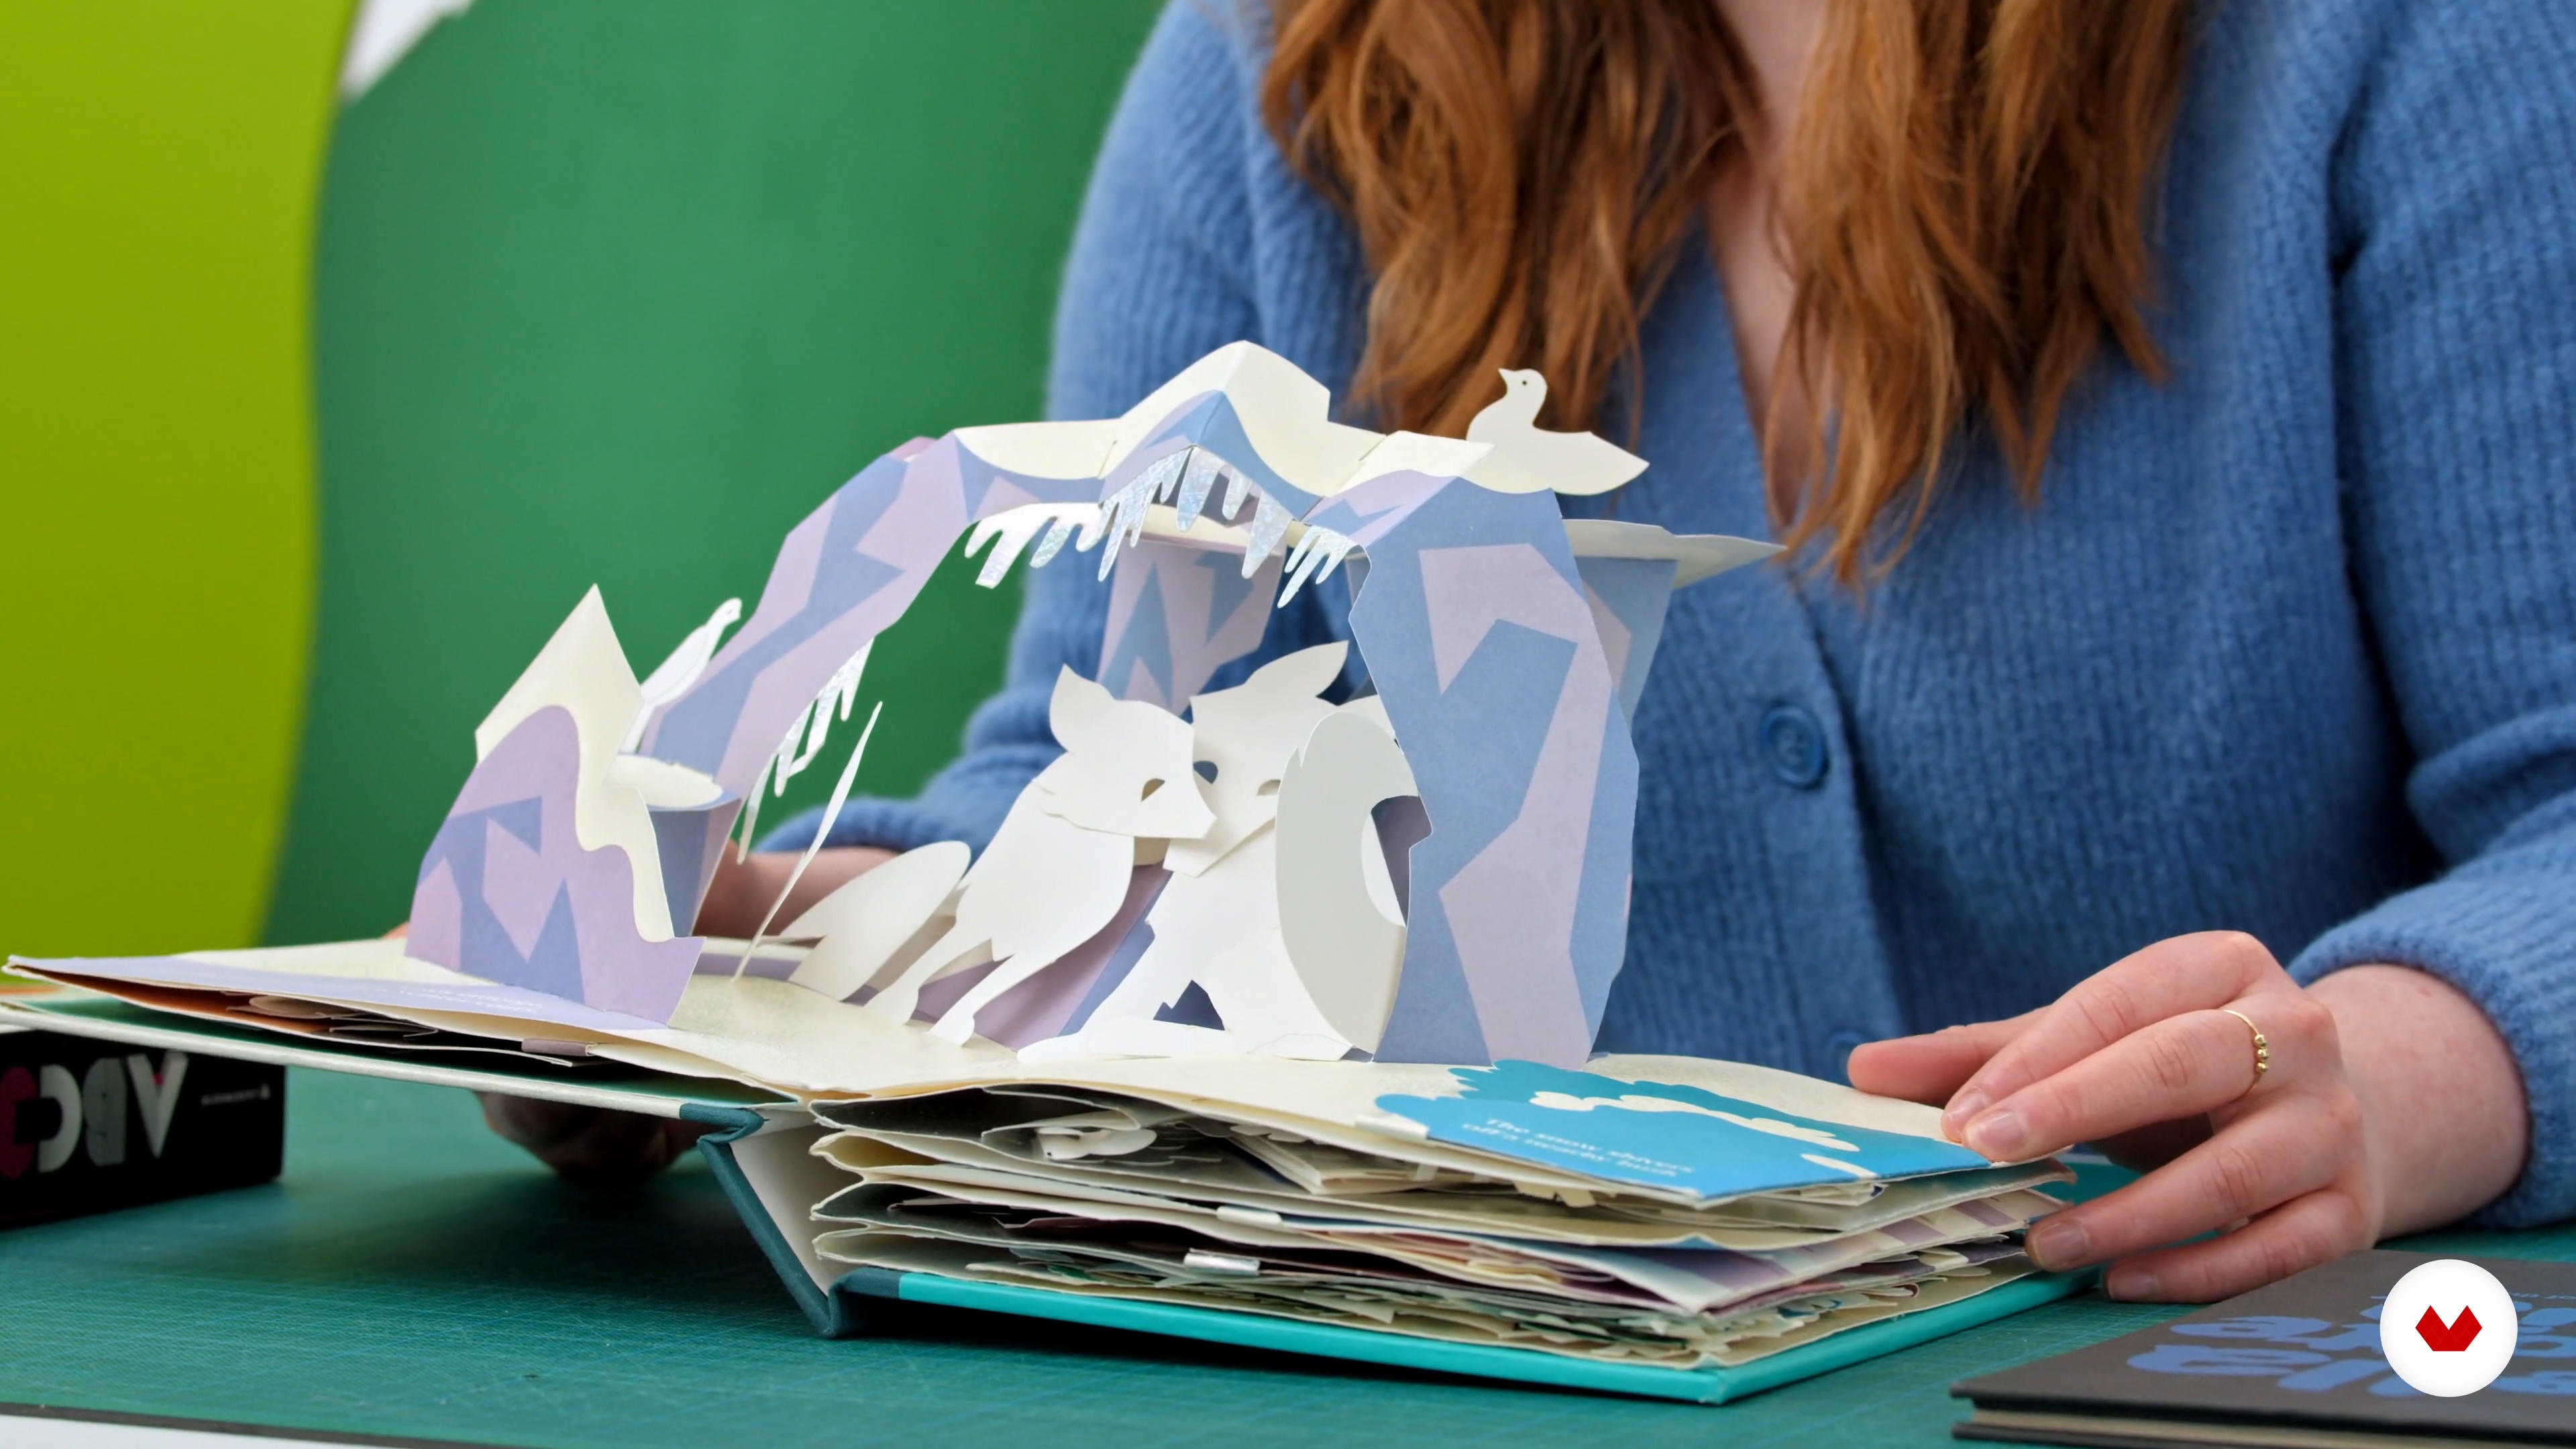
6Influences | Helen Fiel
Here I will share some of my favourite paper engineers, as well as the creative and influential figures who have had a meaningful impact on my work over the years.
5m
 7
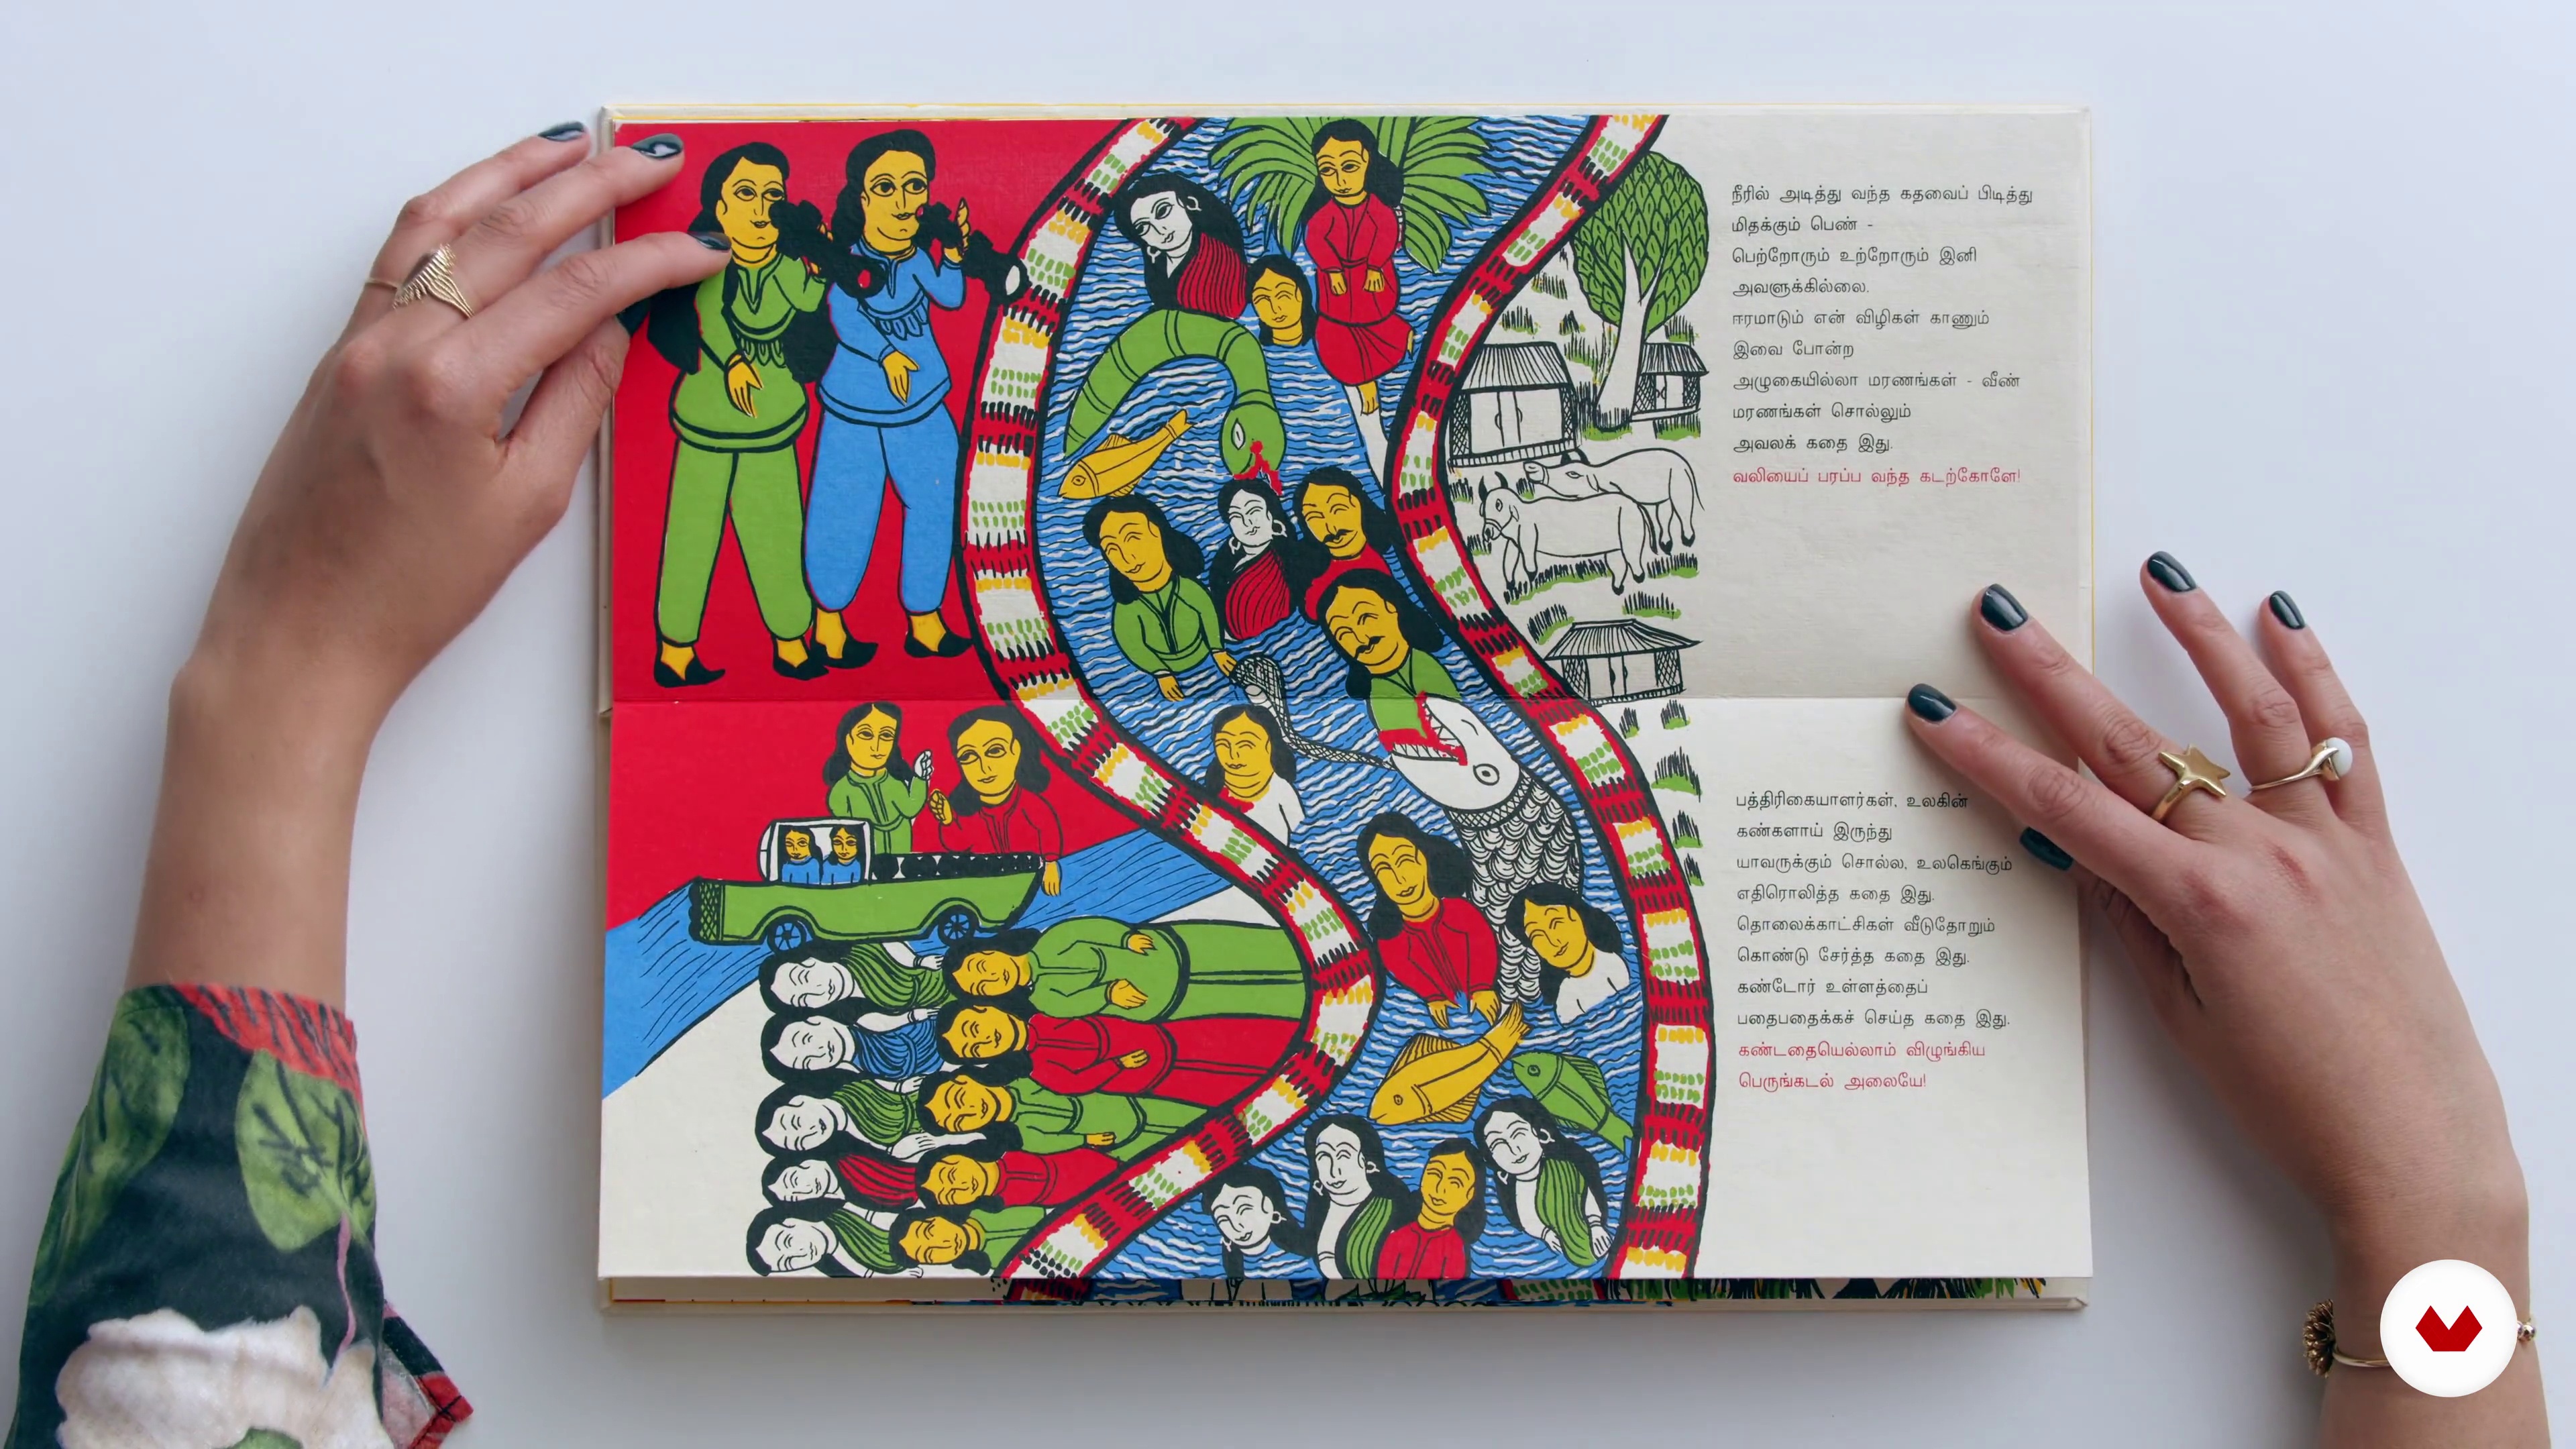
7Influences | Karishma Chugani
In this lesson, I will share with you some of the main influences for creating innovative paper formats for books and toys.
19m
 3
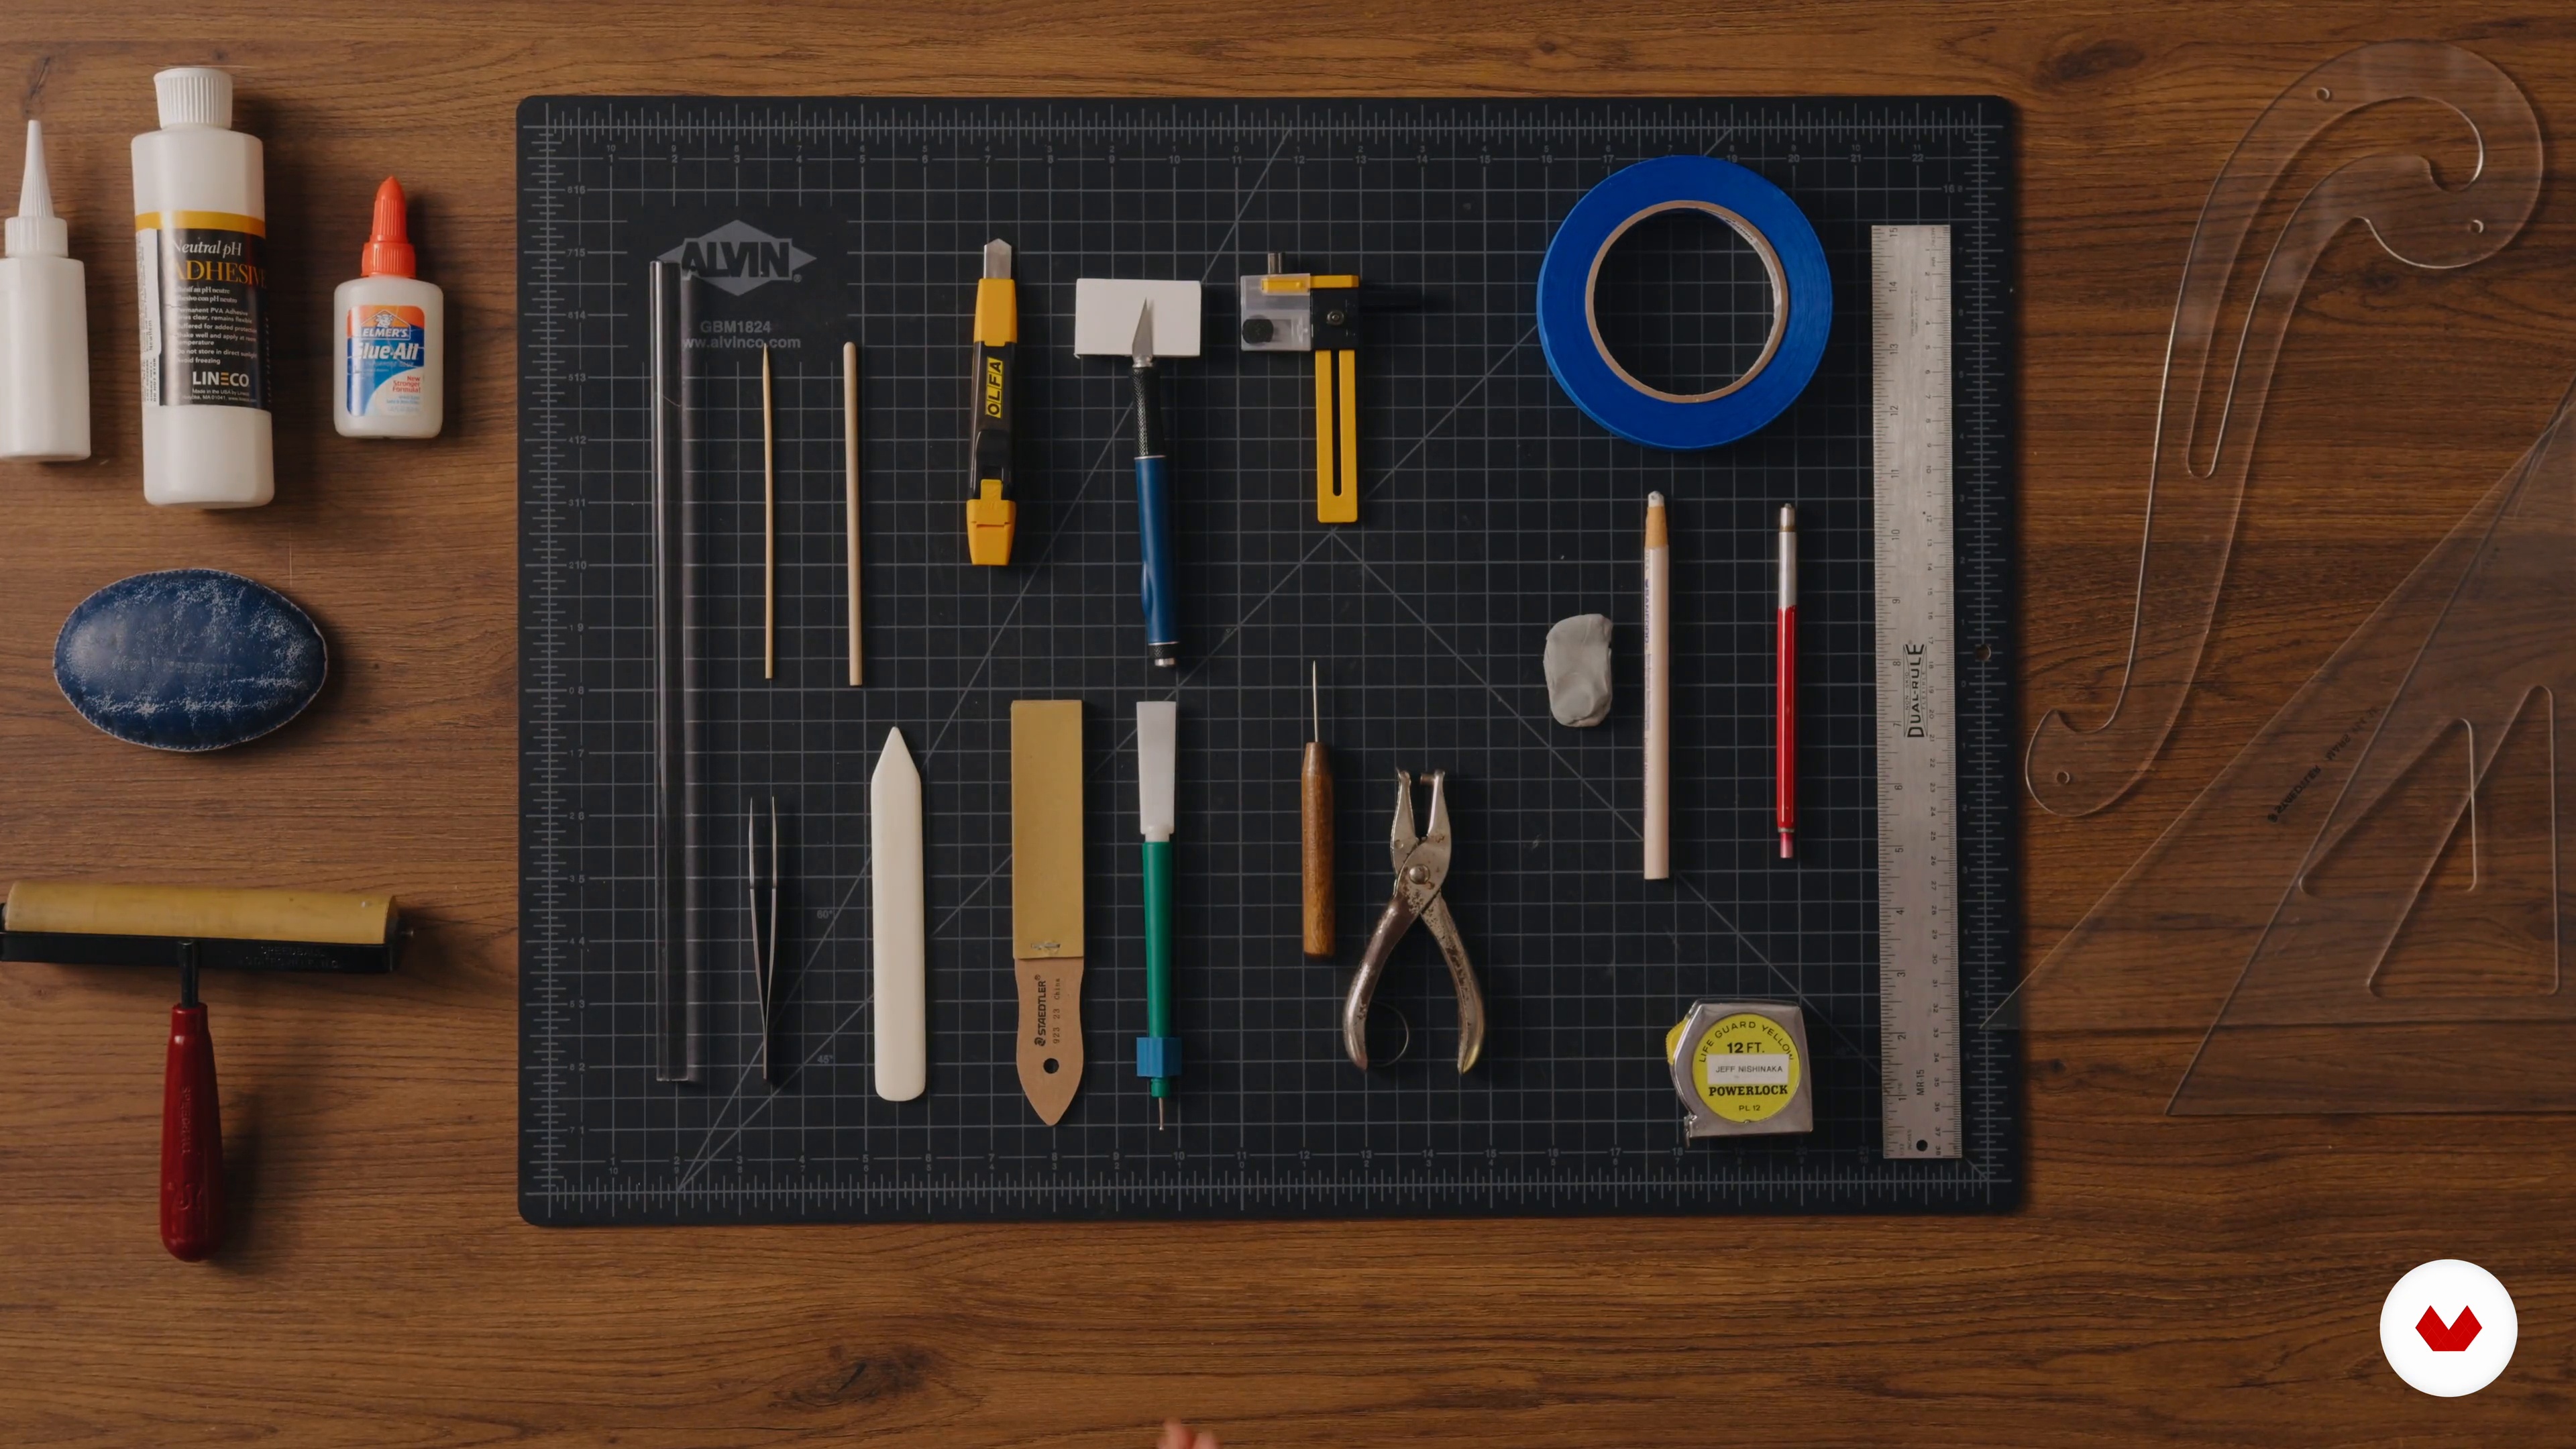
3Tools and Materials
In this lesson, I will describe the tools and materials you will need to complete your project.
13m
 4
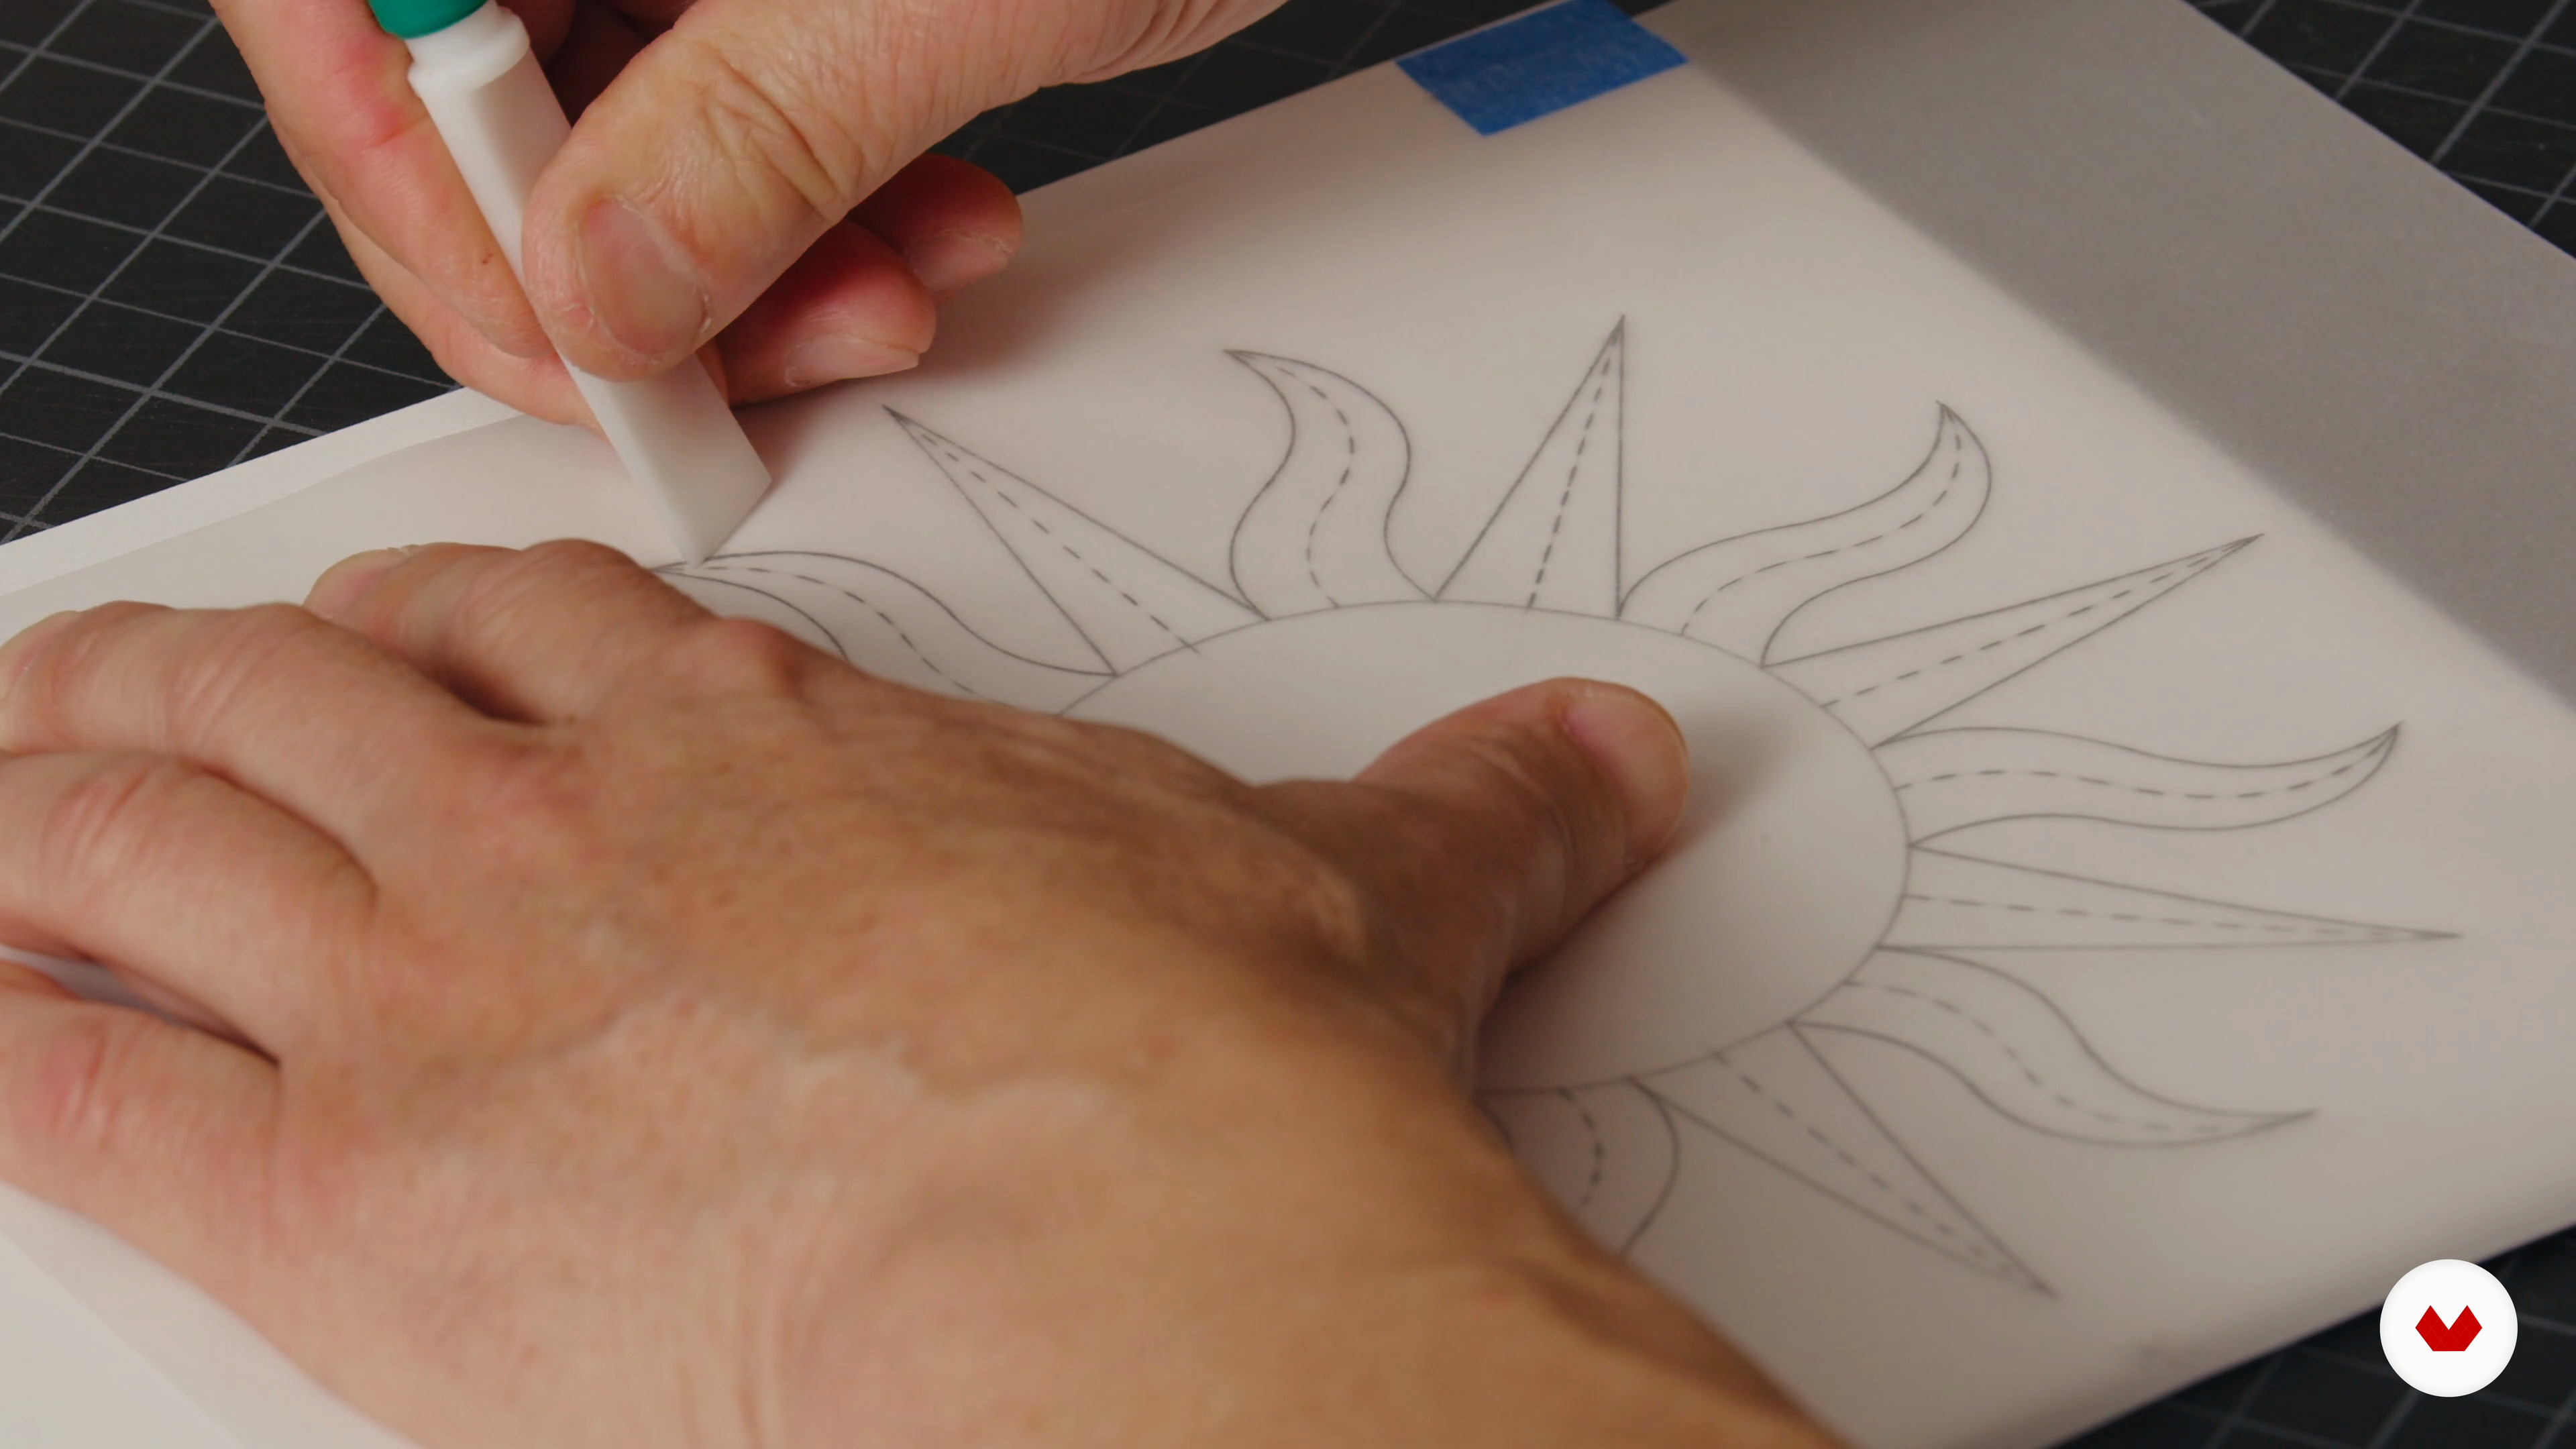
4The Blueprint Drawing
In this lesson, I will explain to you how to create a blueprint drawing.
9m
 5
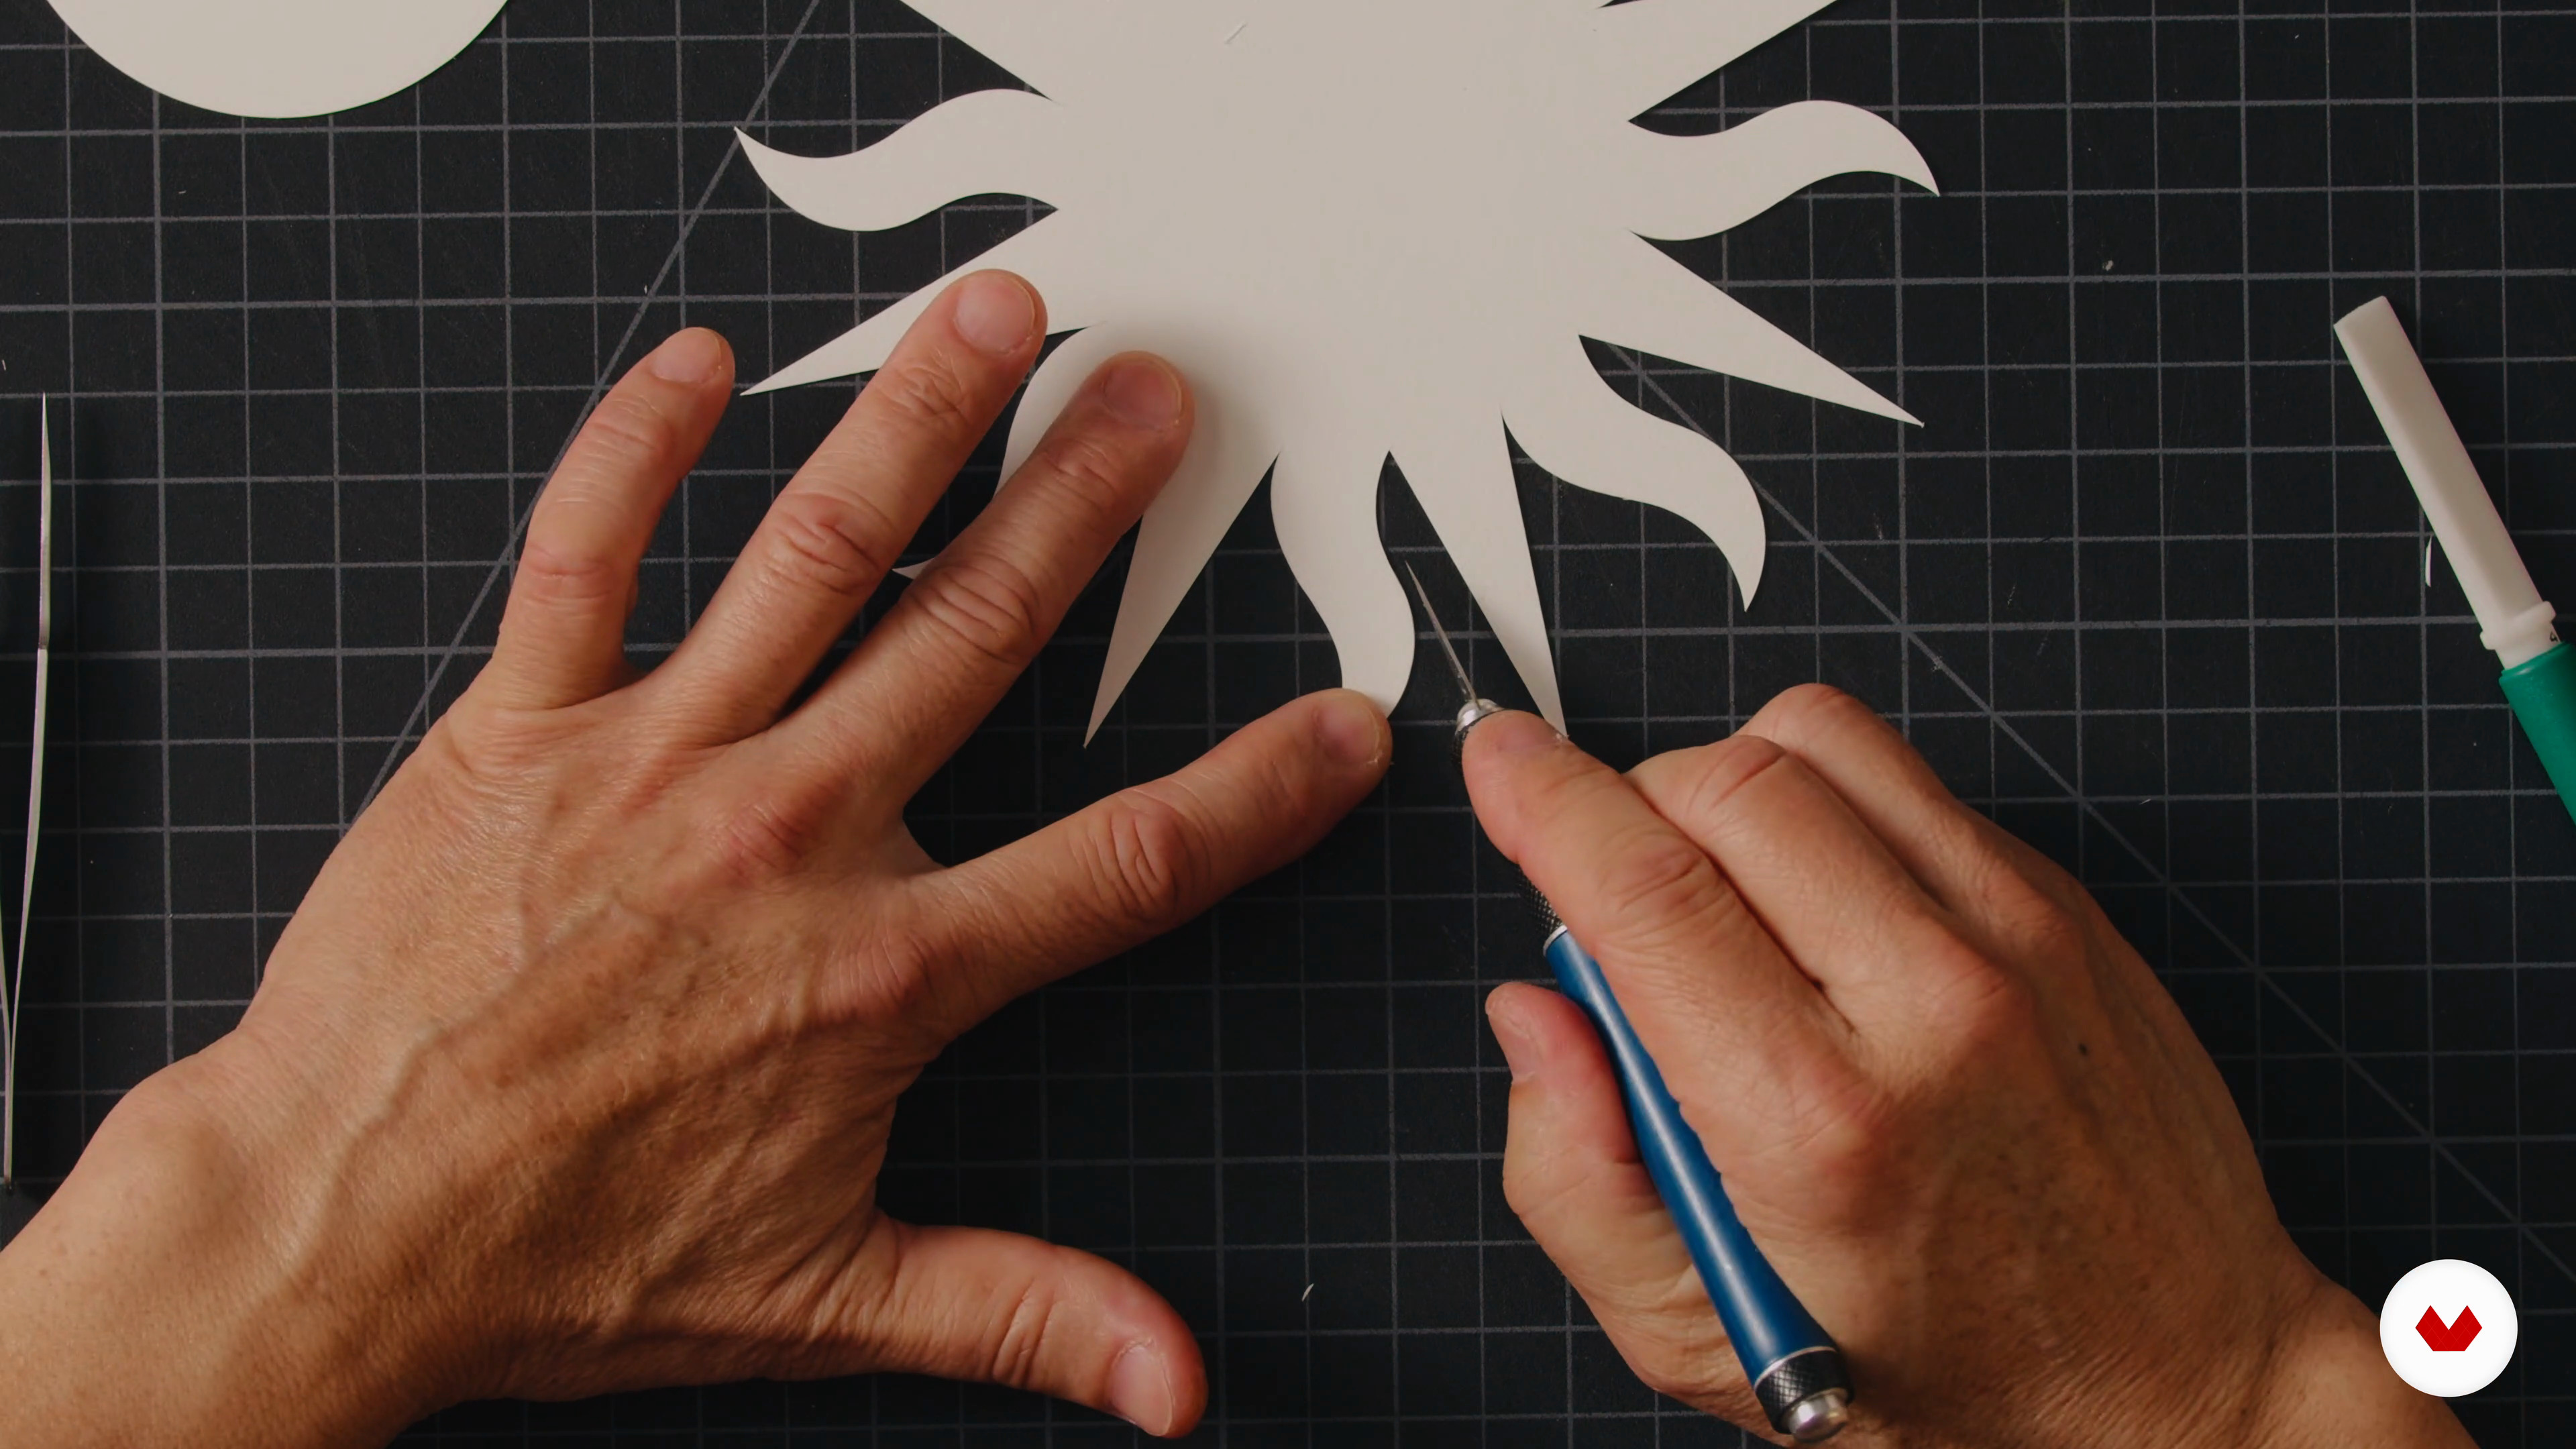
5Cut, Score and Bend the Paper
In this lesson, I will show you a way to set up your workspace with safety in mind. I will also show you a technique for cutting a smooth straight line, a curved and an S-shaped line.
10m
 6
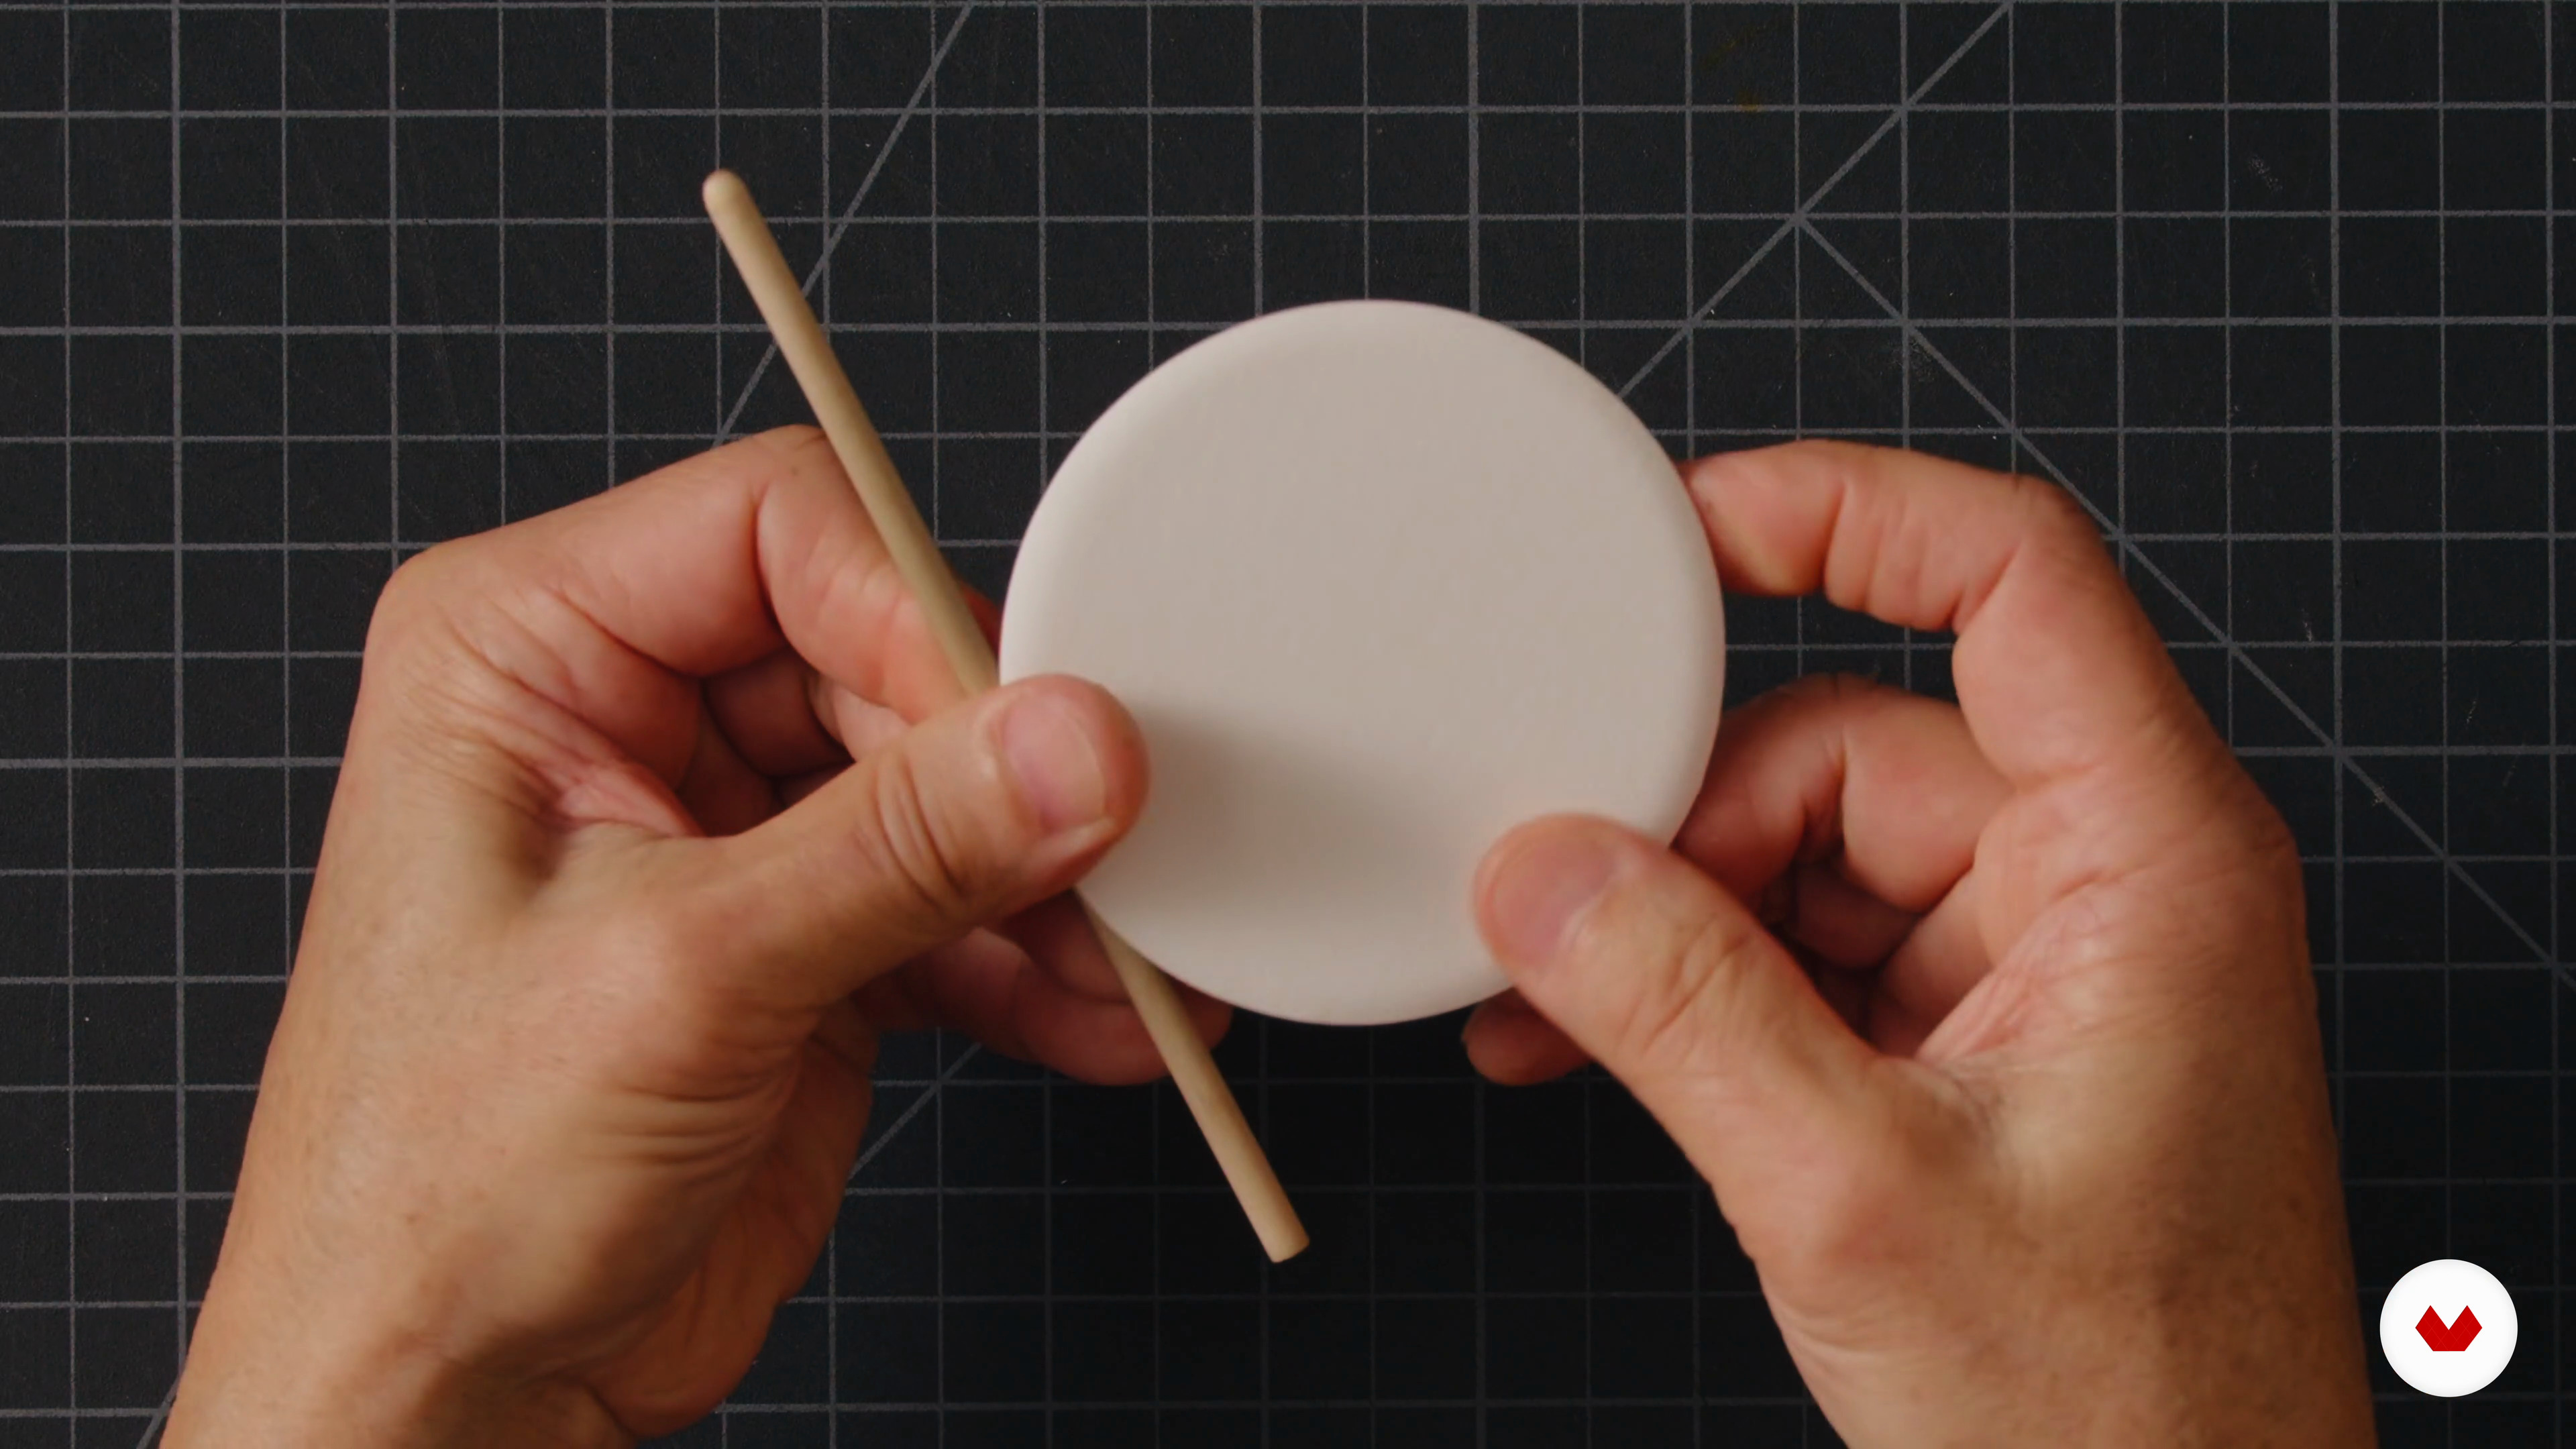
6Roll the Paper
In this lesson, I will show you how to use the small wood dowel to create a rounded edge on the paper and how to use the larger acrylic dowel to create an overall curved shape to create the illusion of depth and volume. I will also demonstrate how to use the circle cutter and cut the sunrays.
2m
 7
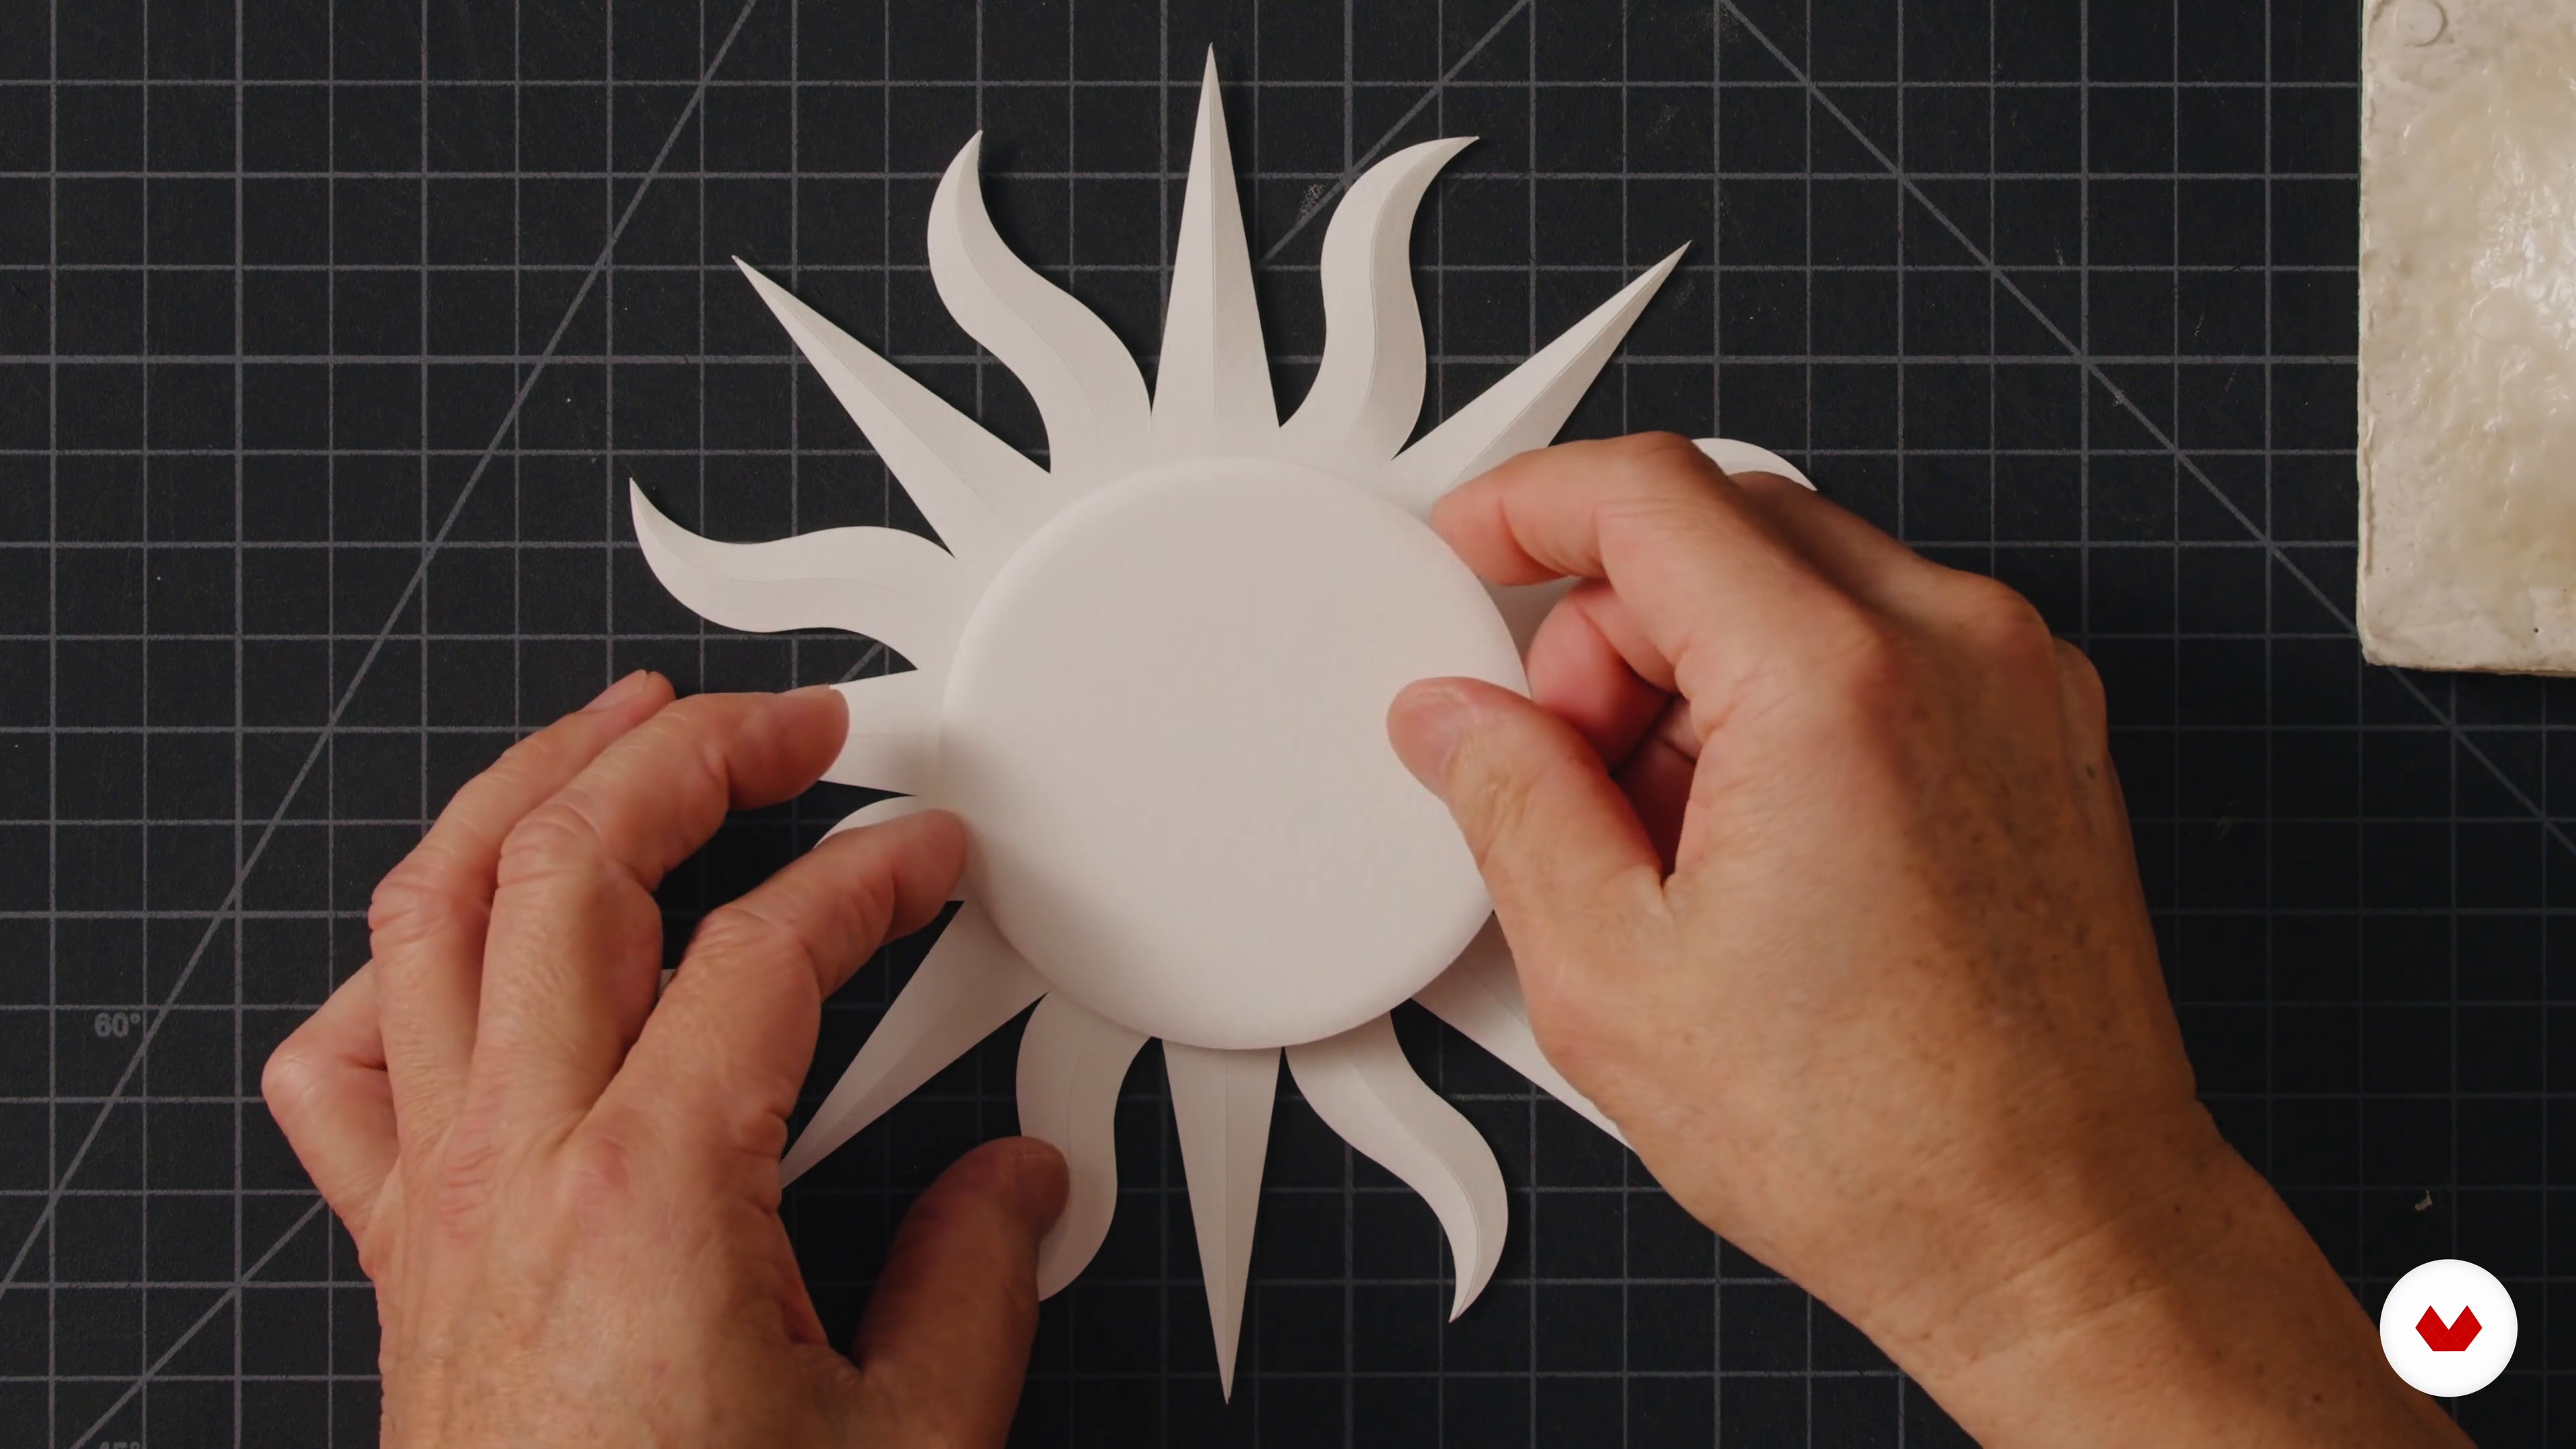
7Gluing the paper
In this lesson, I will demonstrate how to apply glue to the paper for proper and clean assembly and how to prepare the background for mounting the Final Project.
2m
 8
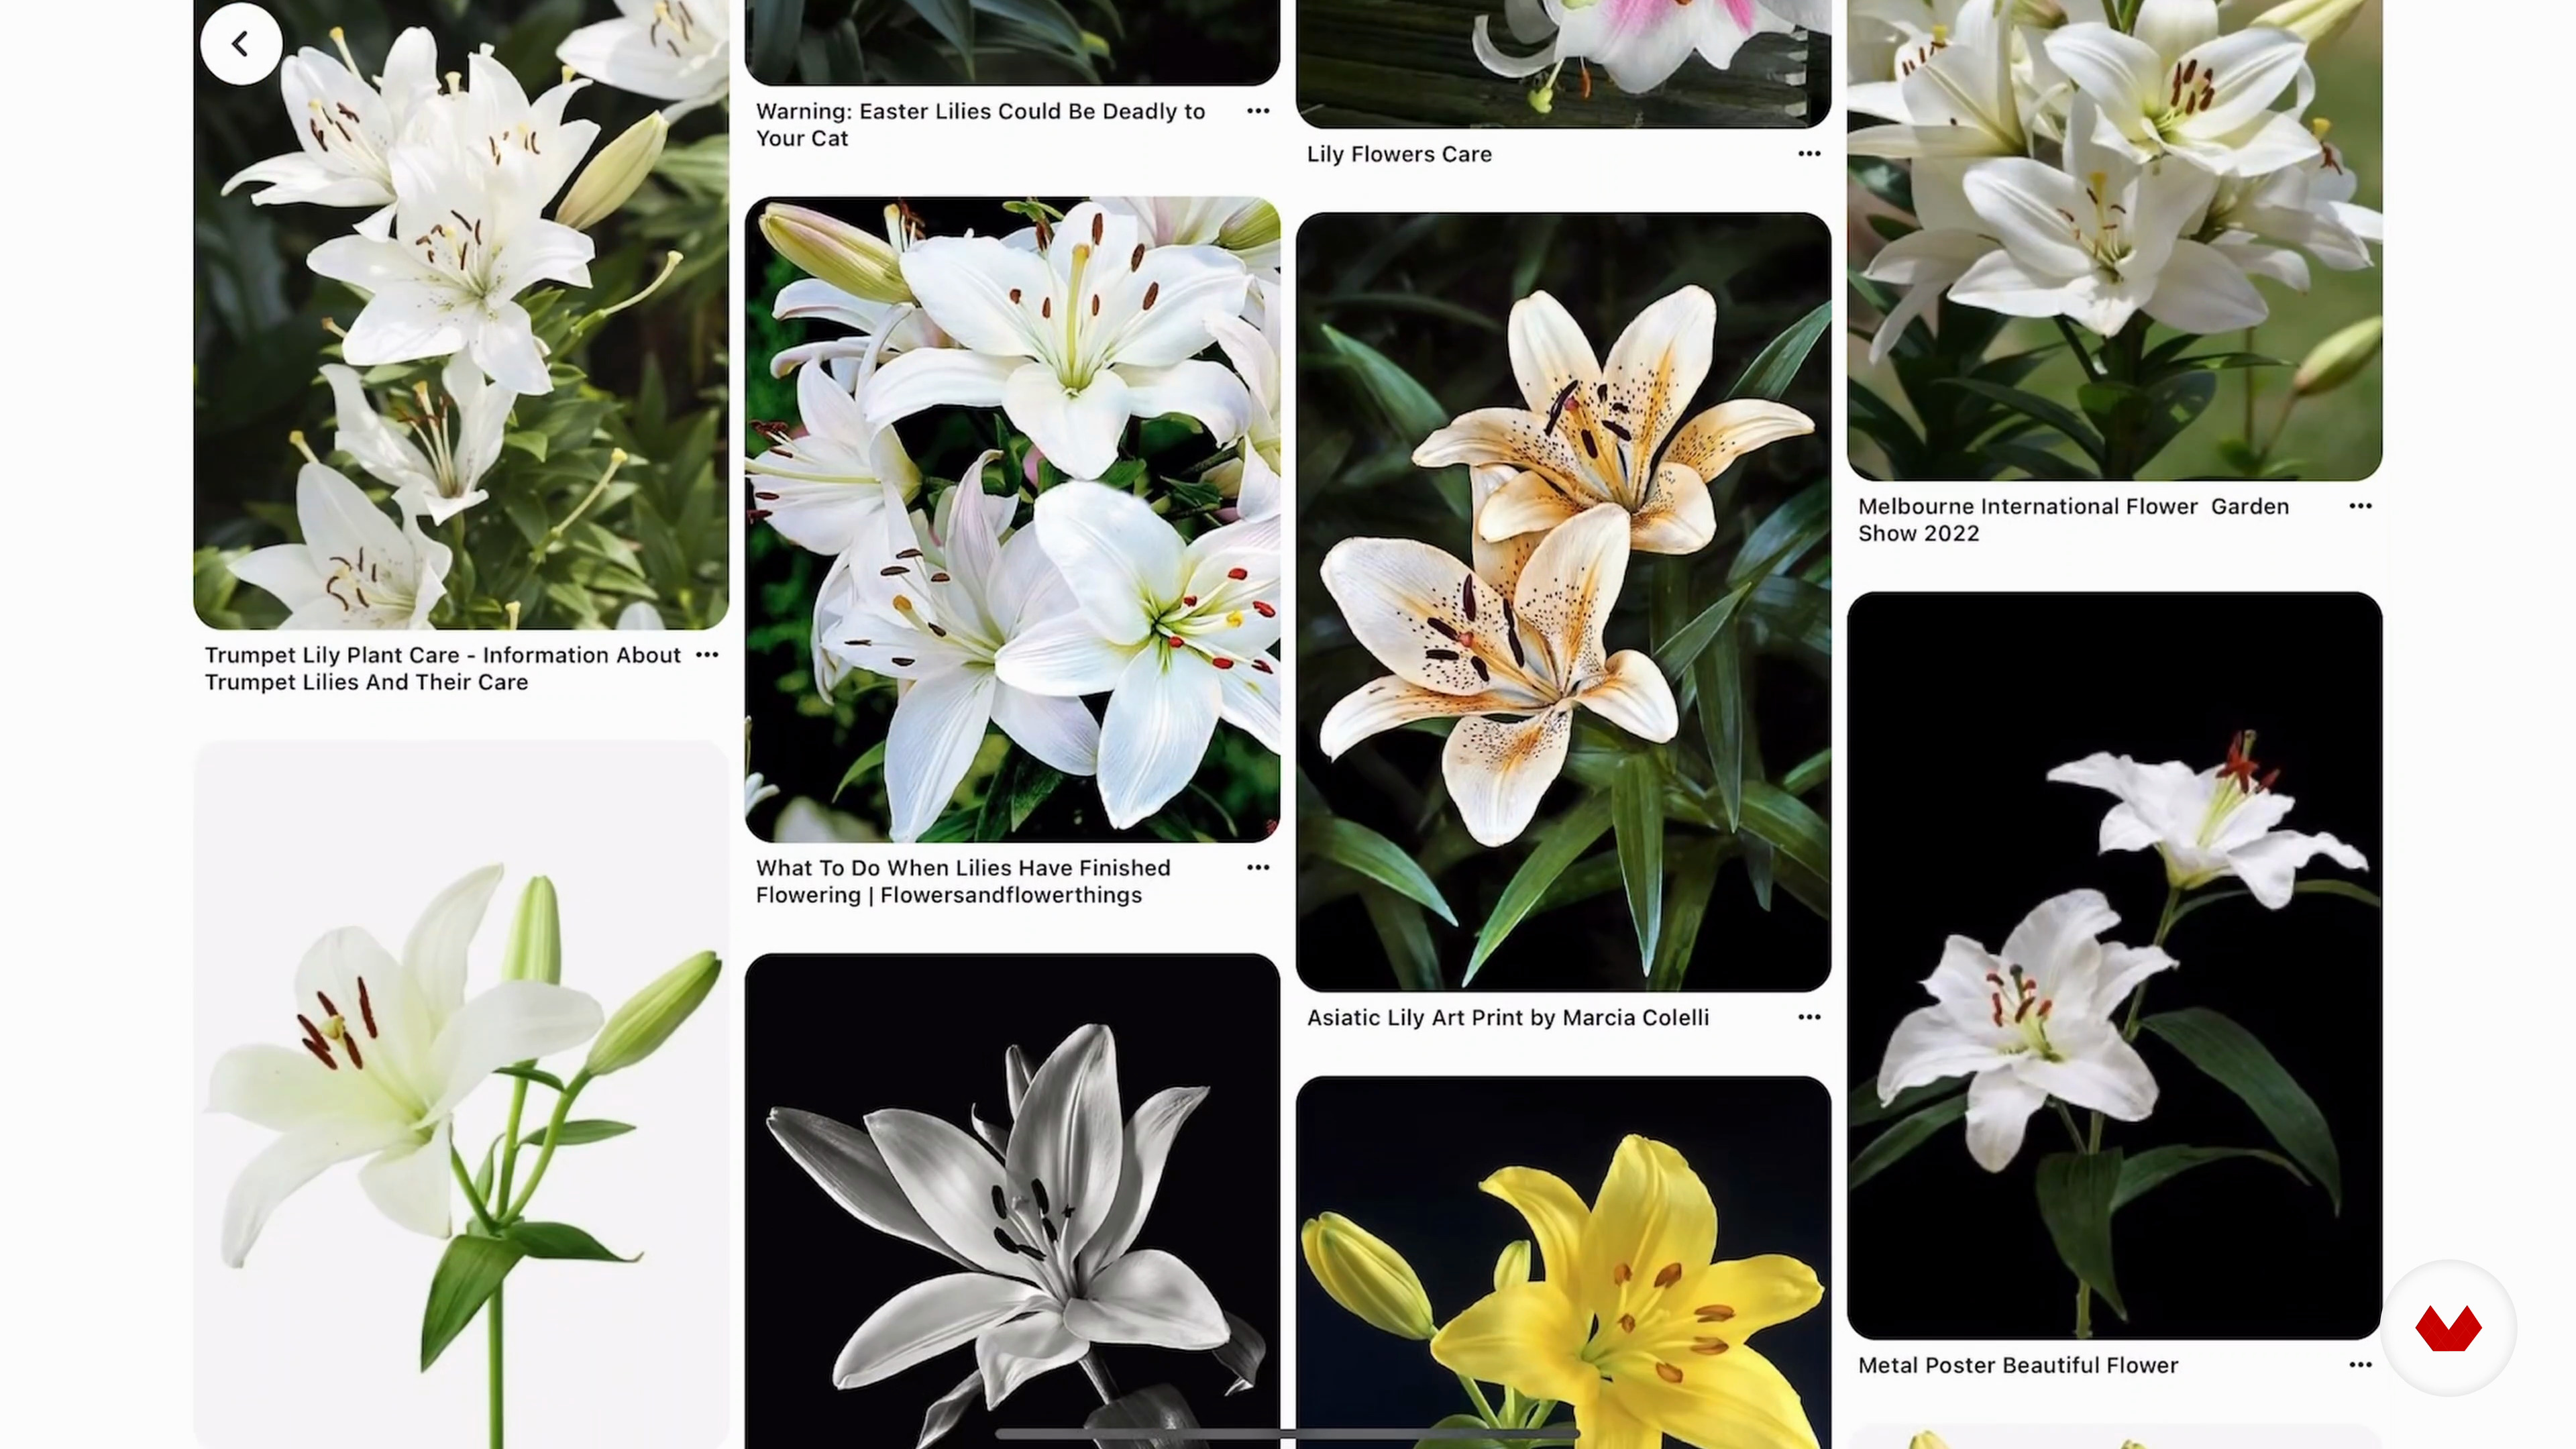
8Moodboard
In this lesson we will research photos and create a moodboard on Pinterest. We will look for photos of the elements that are included in our final project. These photos will be used as inspiration and can either be traced or redrawn according to your vision and imagination of what you would like to create.
5m
 9
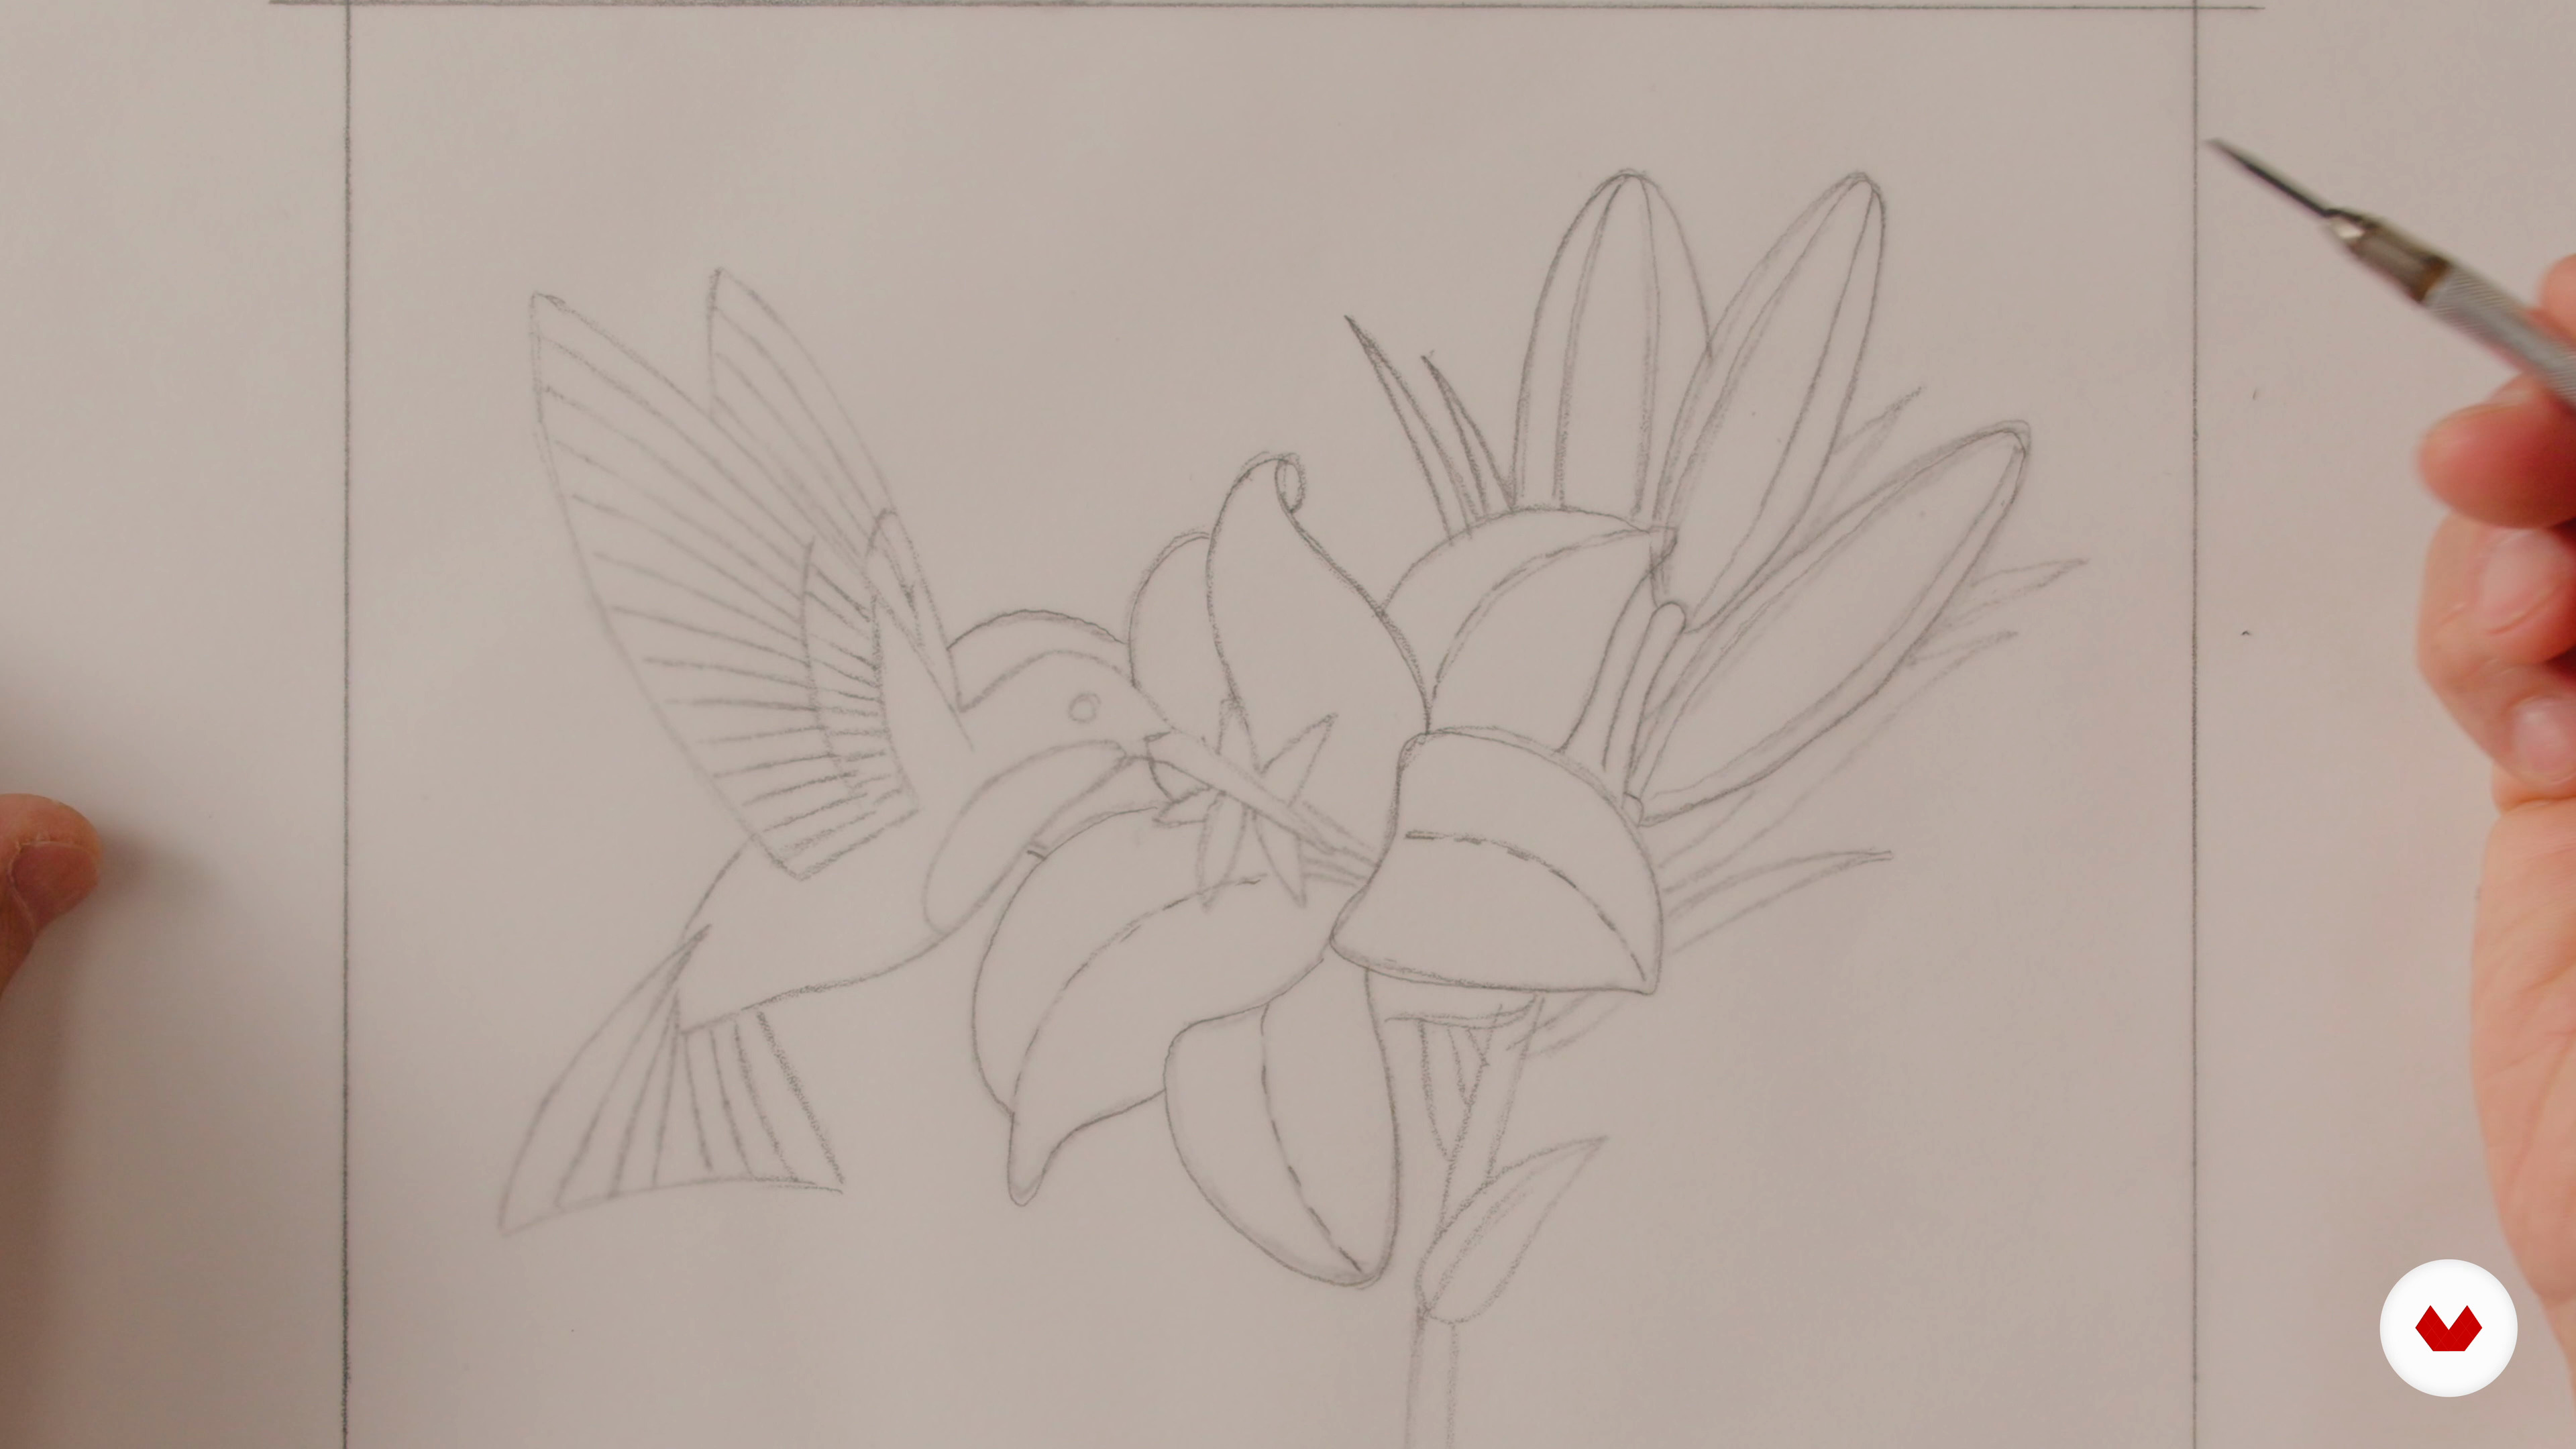
9Sketches
In this lesson we will create 2 or 3 rough sketches of your ideas. These are simple and rough so don’t worry about being accurate or adding a lot of detail. These are just ideas so set your mind free and have fun.
11m
 10
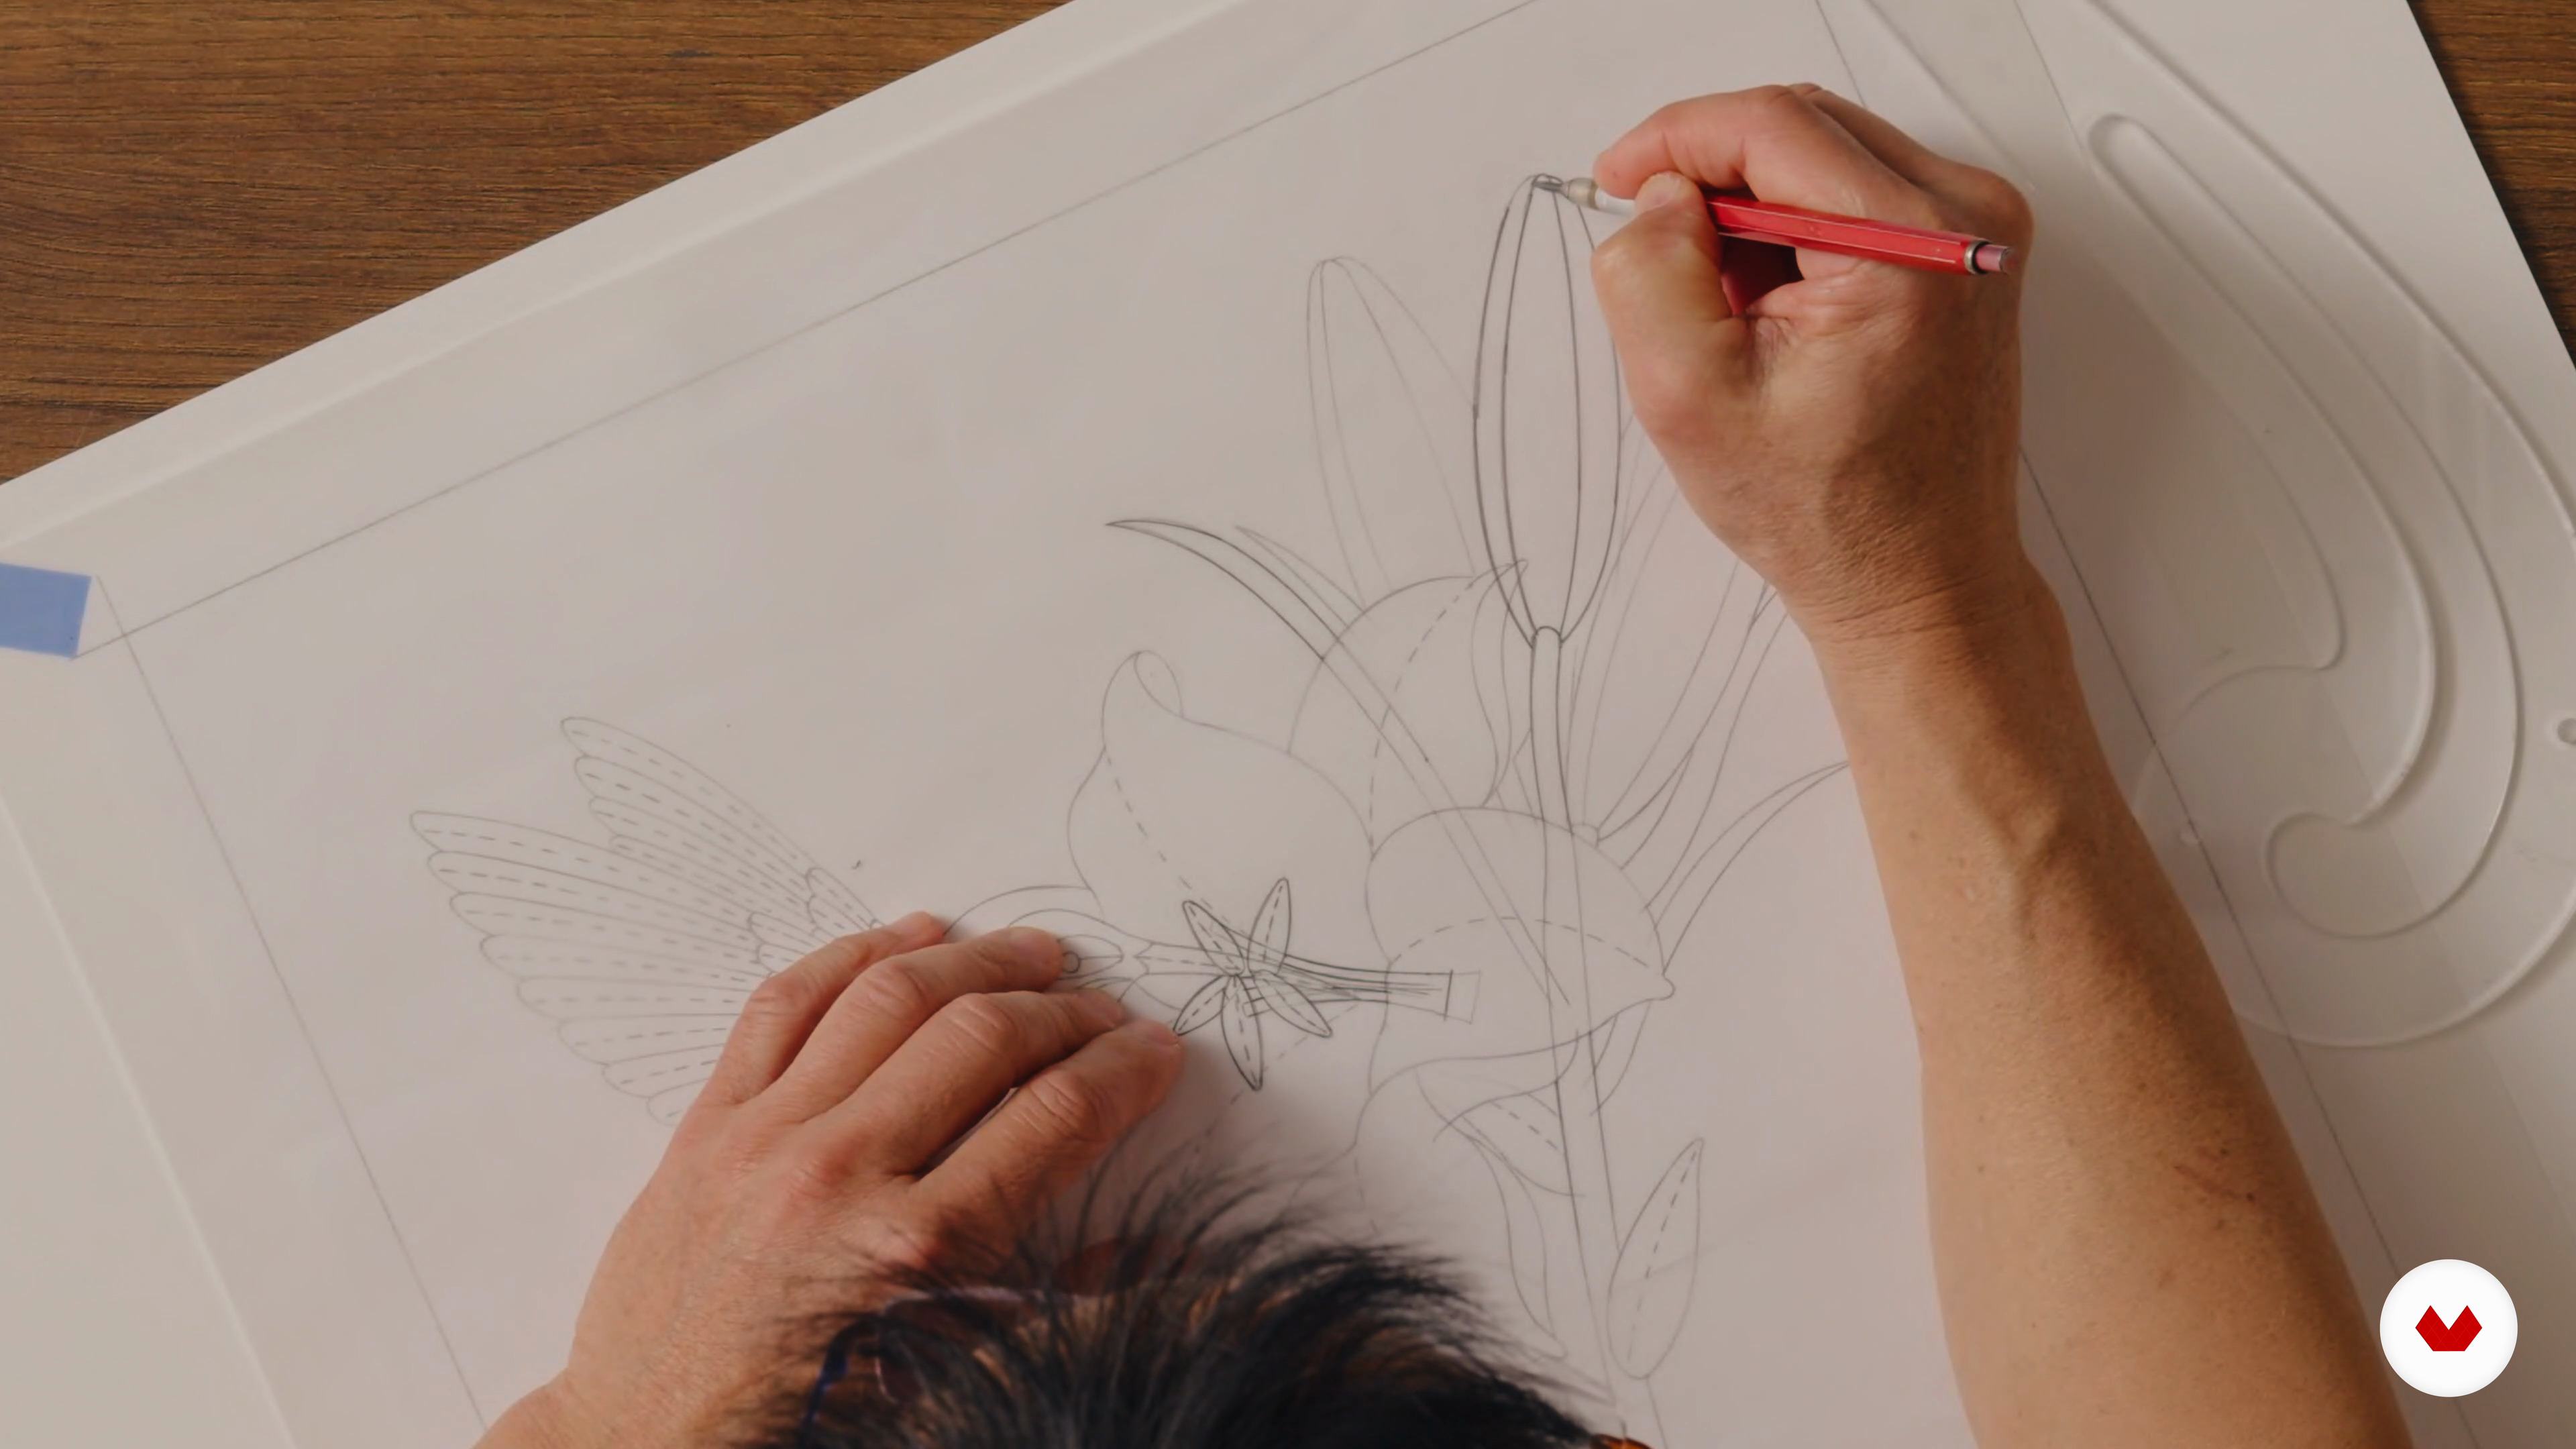
10Create and Break Down the Blueprint
In this lesson we will choose your favorite sketch and refine it into a cleaner drawing. We will make a larger copy of it on a copy machine and create a blueprint for each element on separate sheets of vellum. If there are no elements that overlap then you will only need one sheet of the vellum for the blueprint.
17m
 11
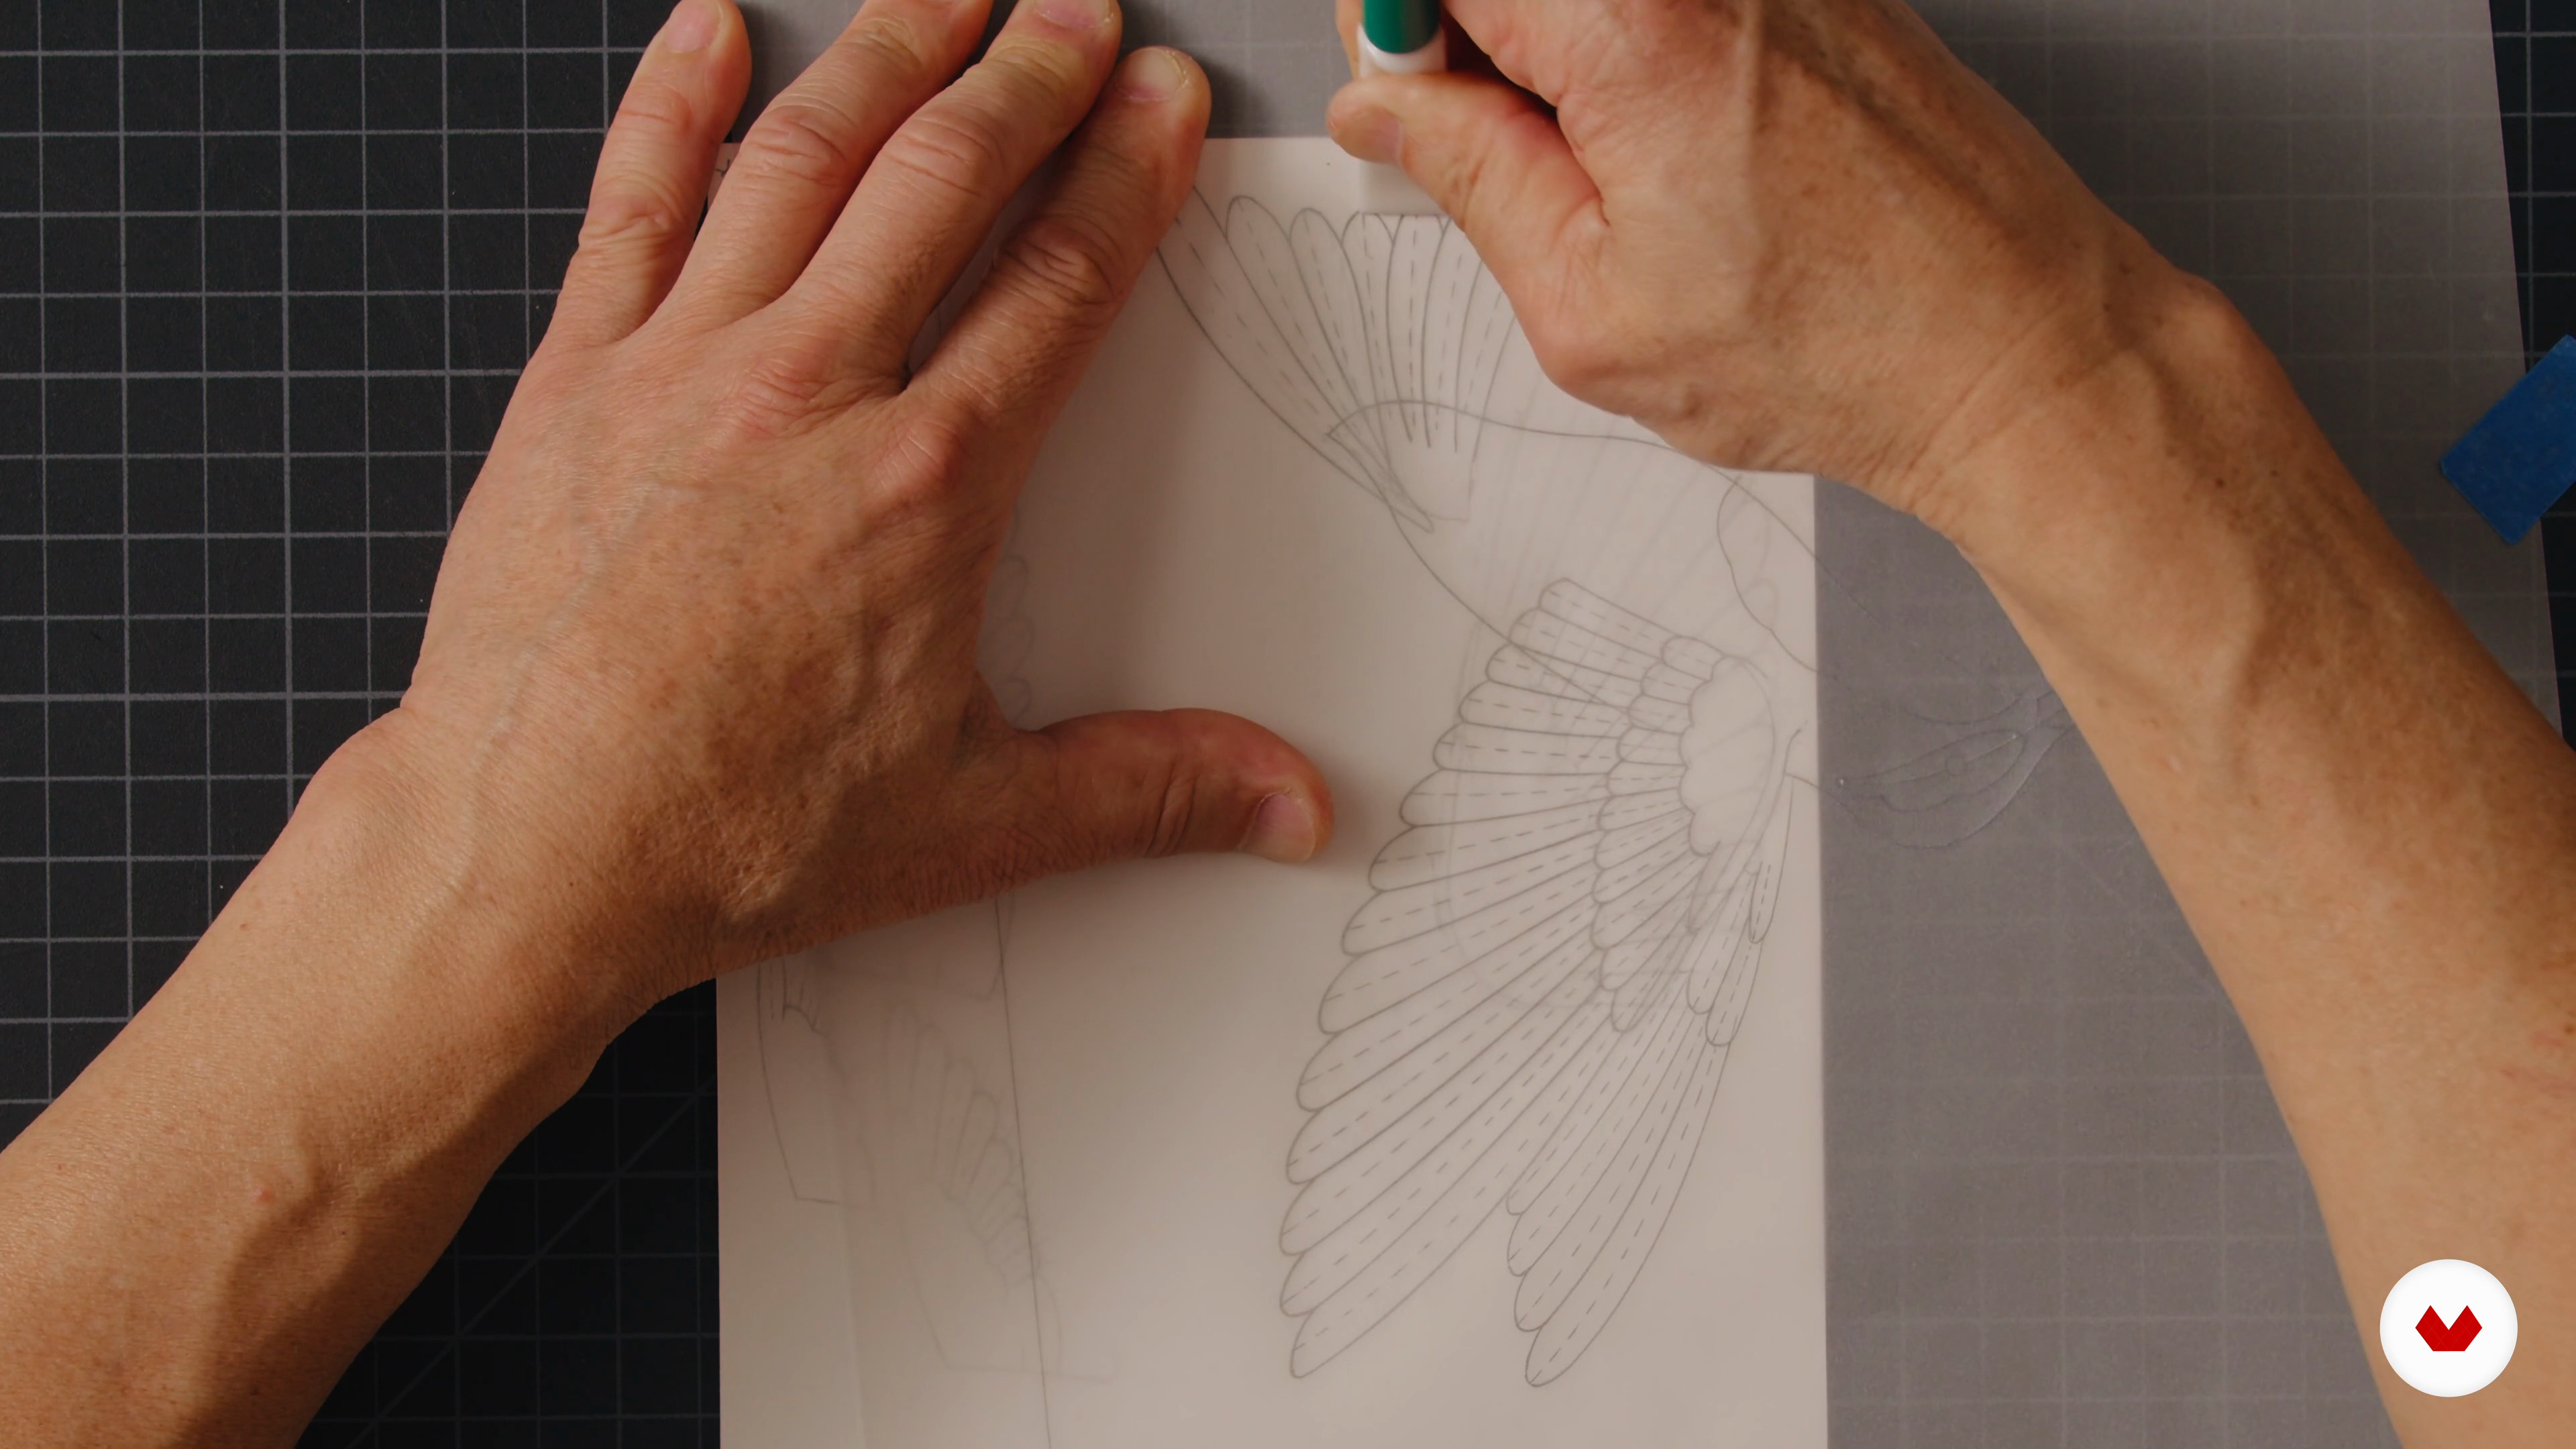
11Flower and Bird Transfer
In this lesson we will transfer the blueprint drawing onto the paper making sure to separate the individual pieces for each element. This will be easier to see and cut because each element will be on a separate sheet of vellum. Each element will have its own blueprint.
15m
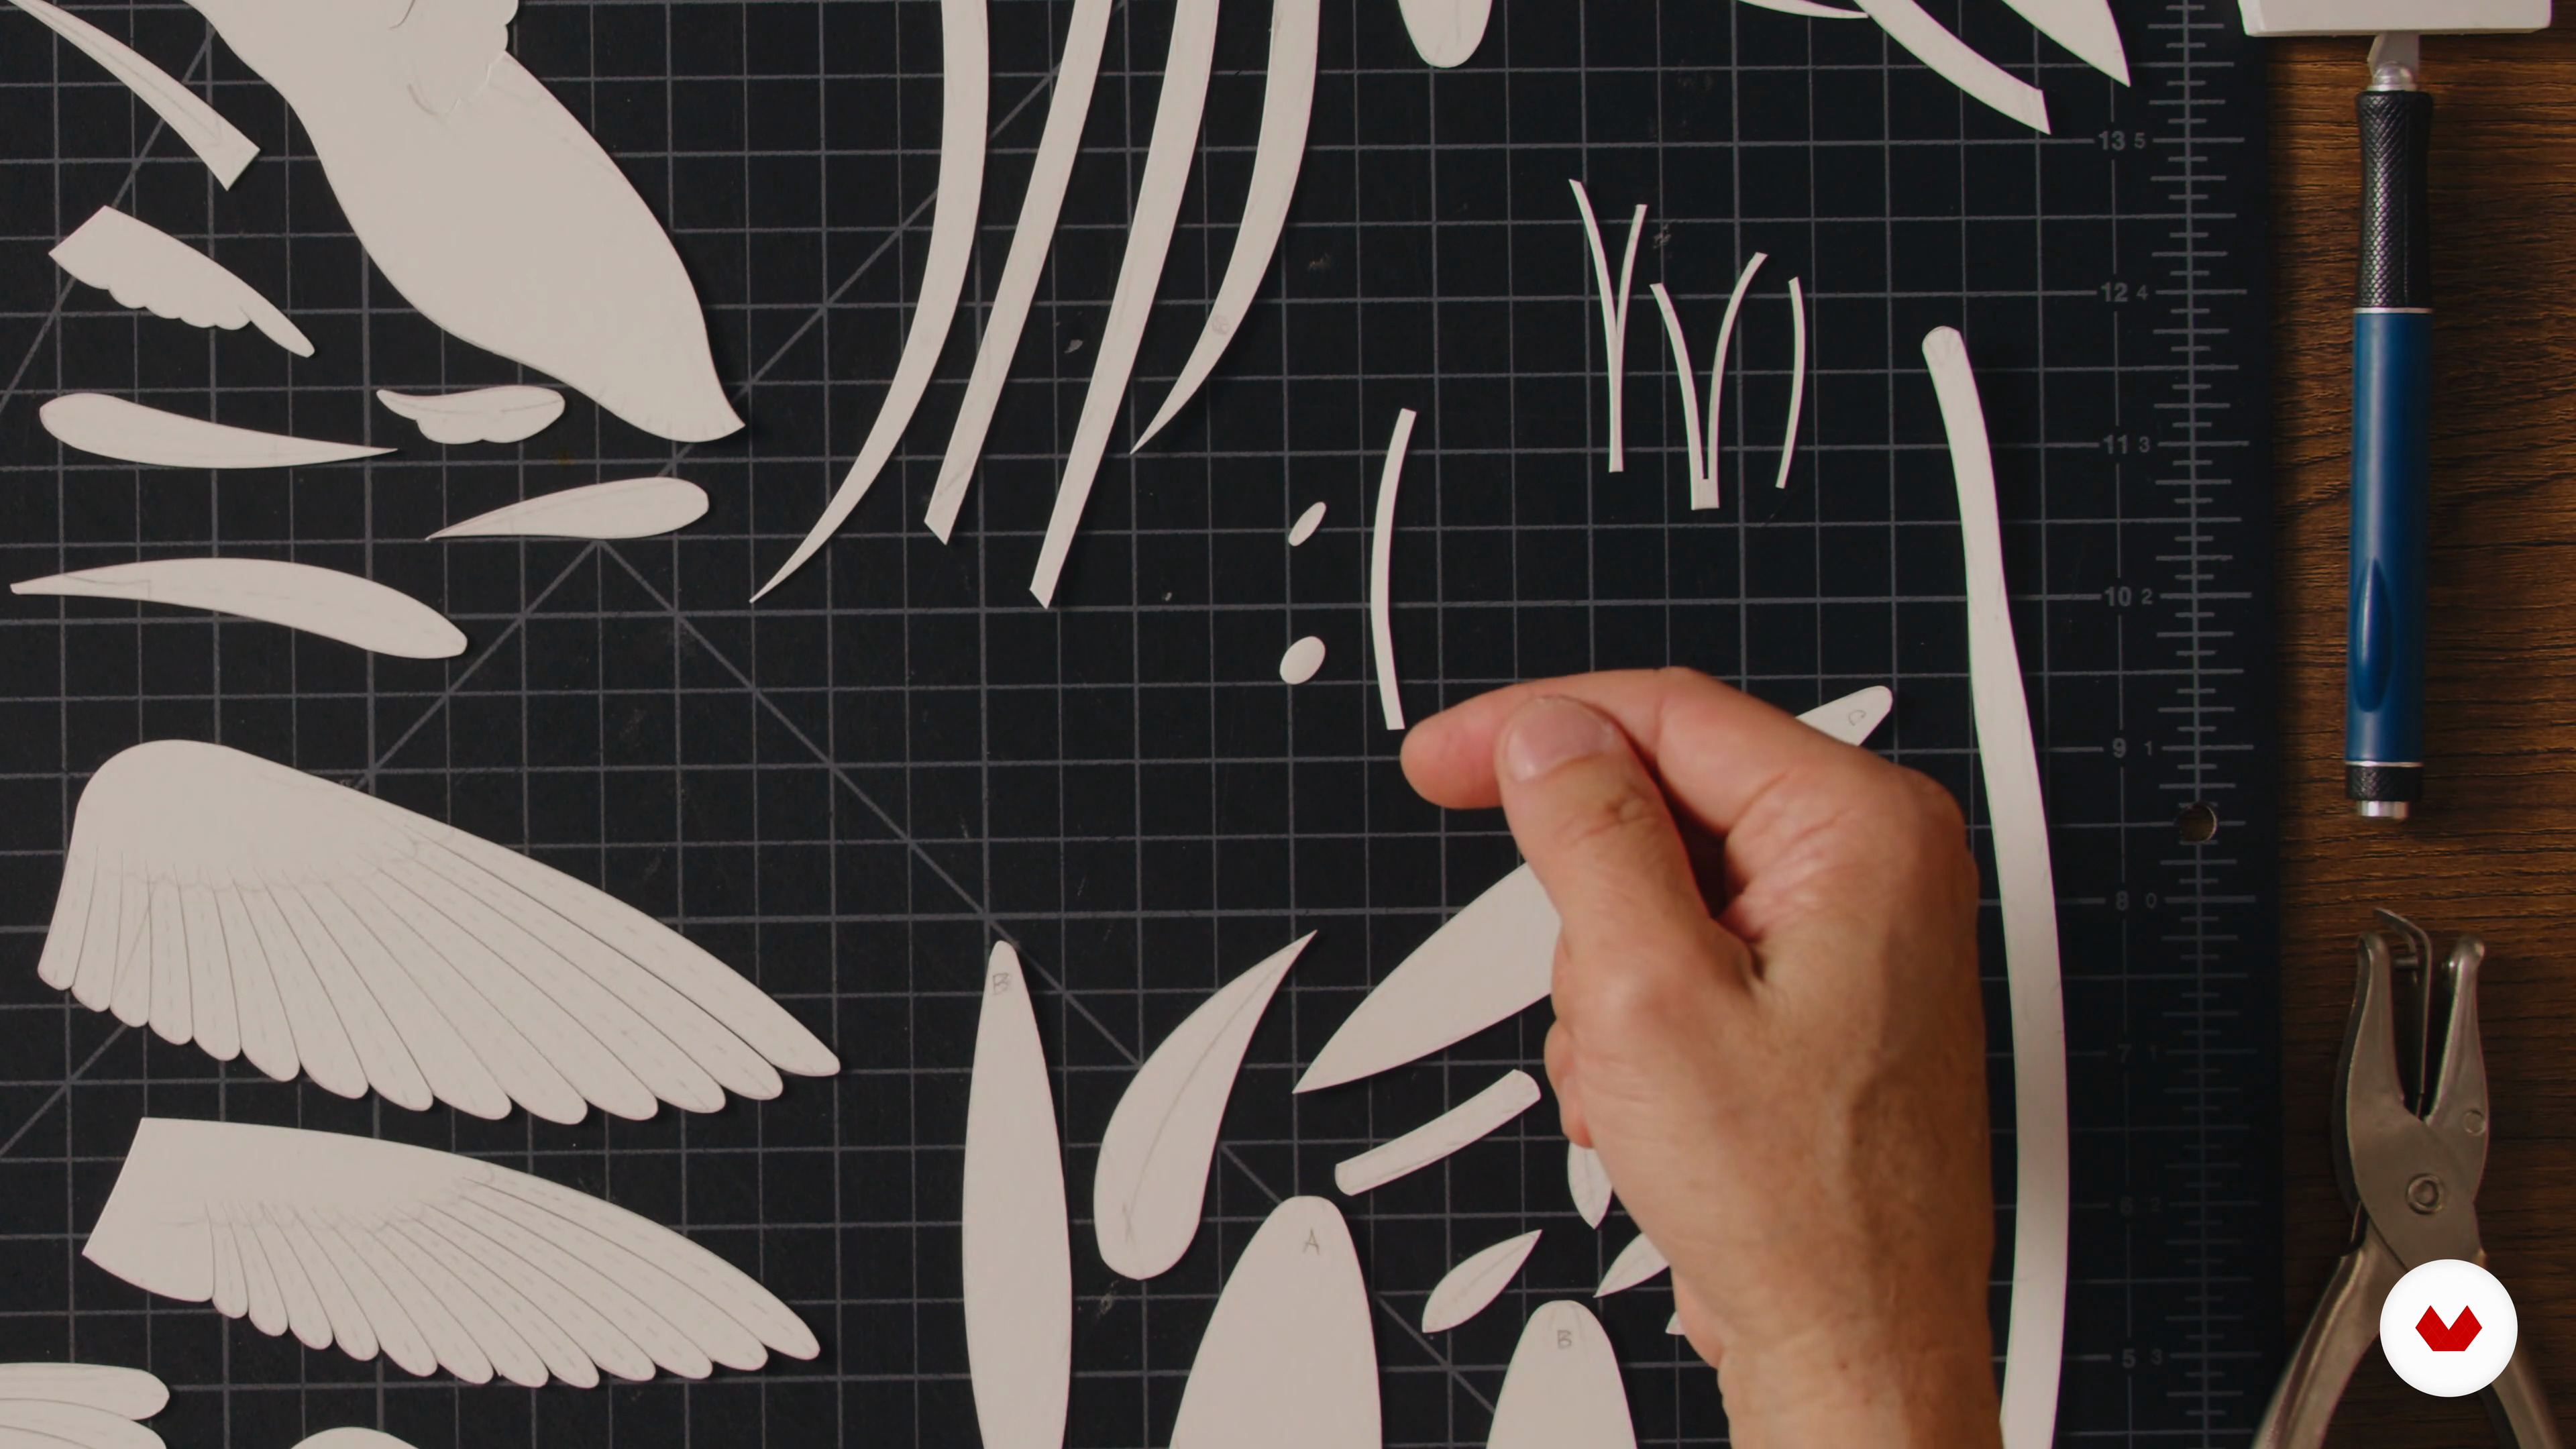 12
12Cut the Pieces of Paper
In this lesson we will cut the pieces of paper in the project.
8m
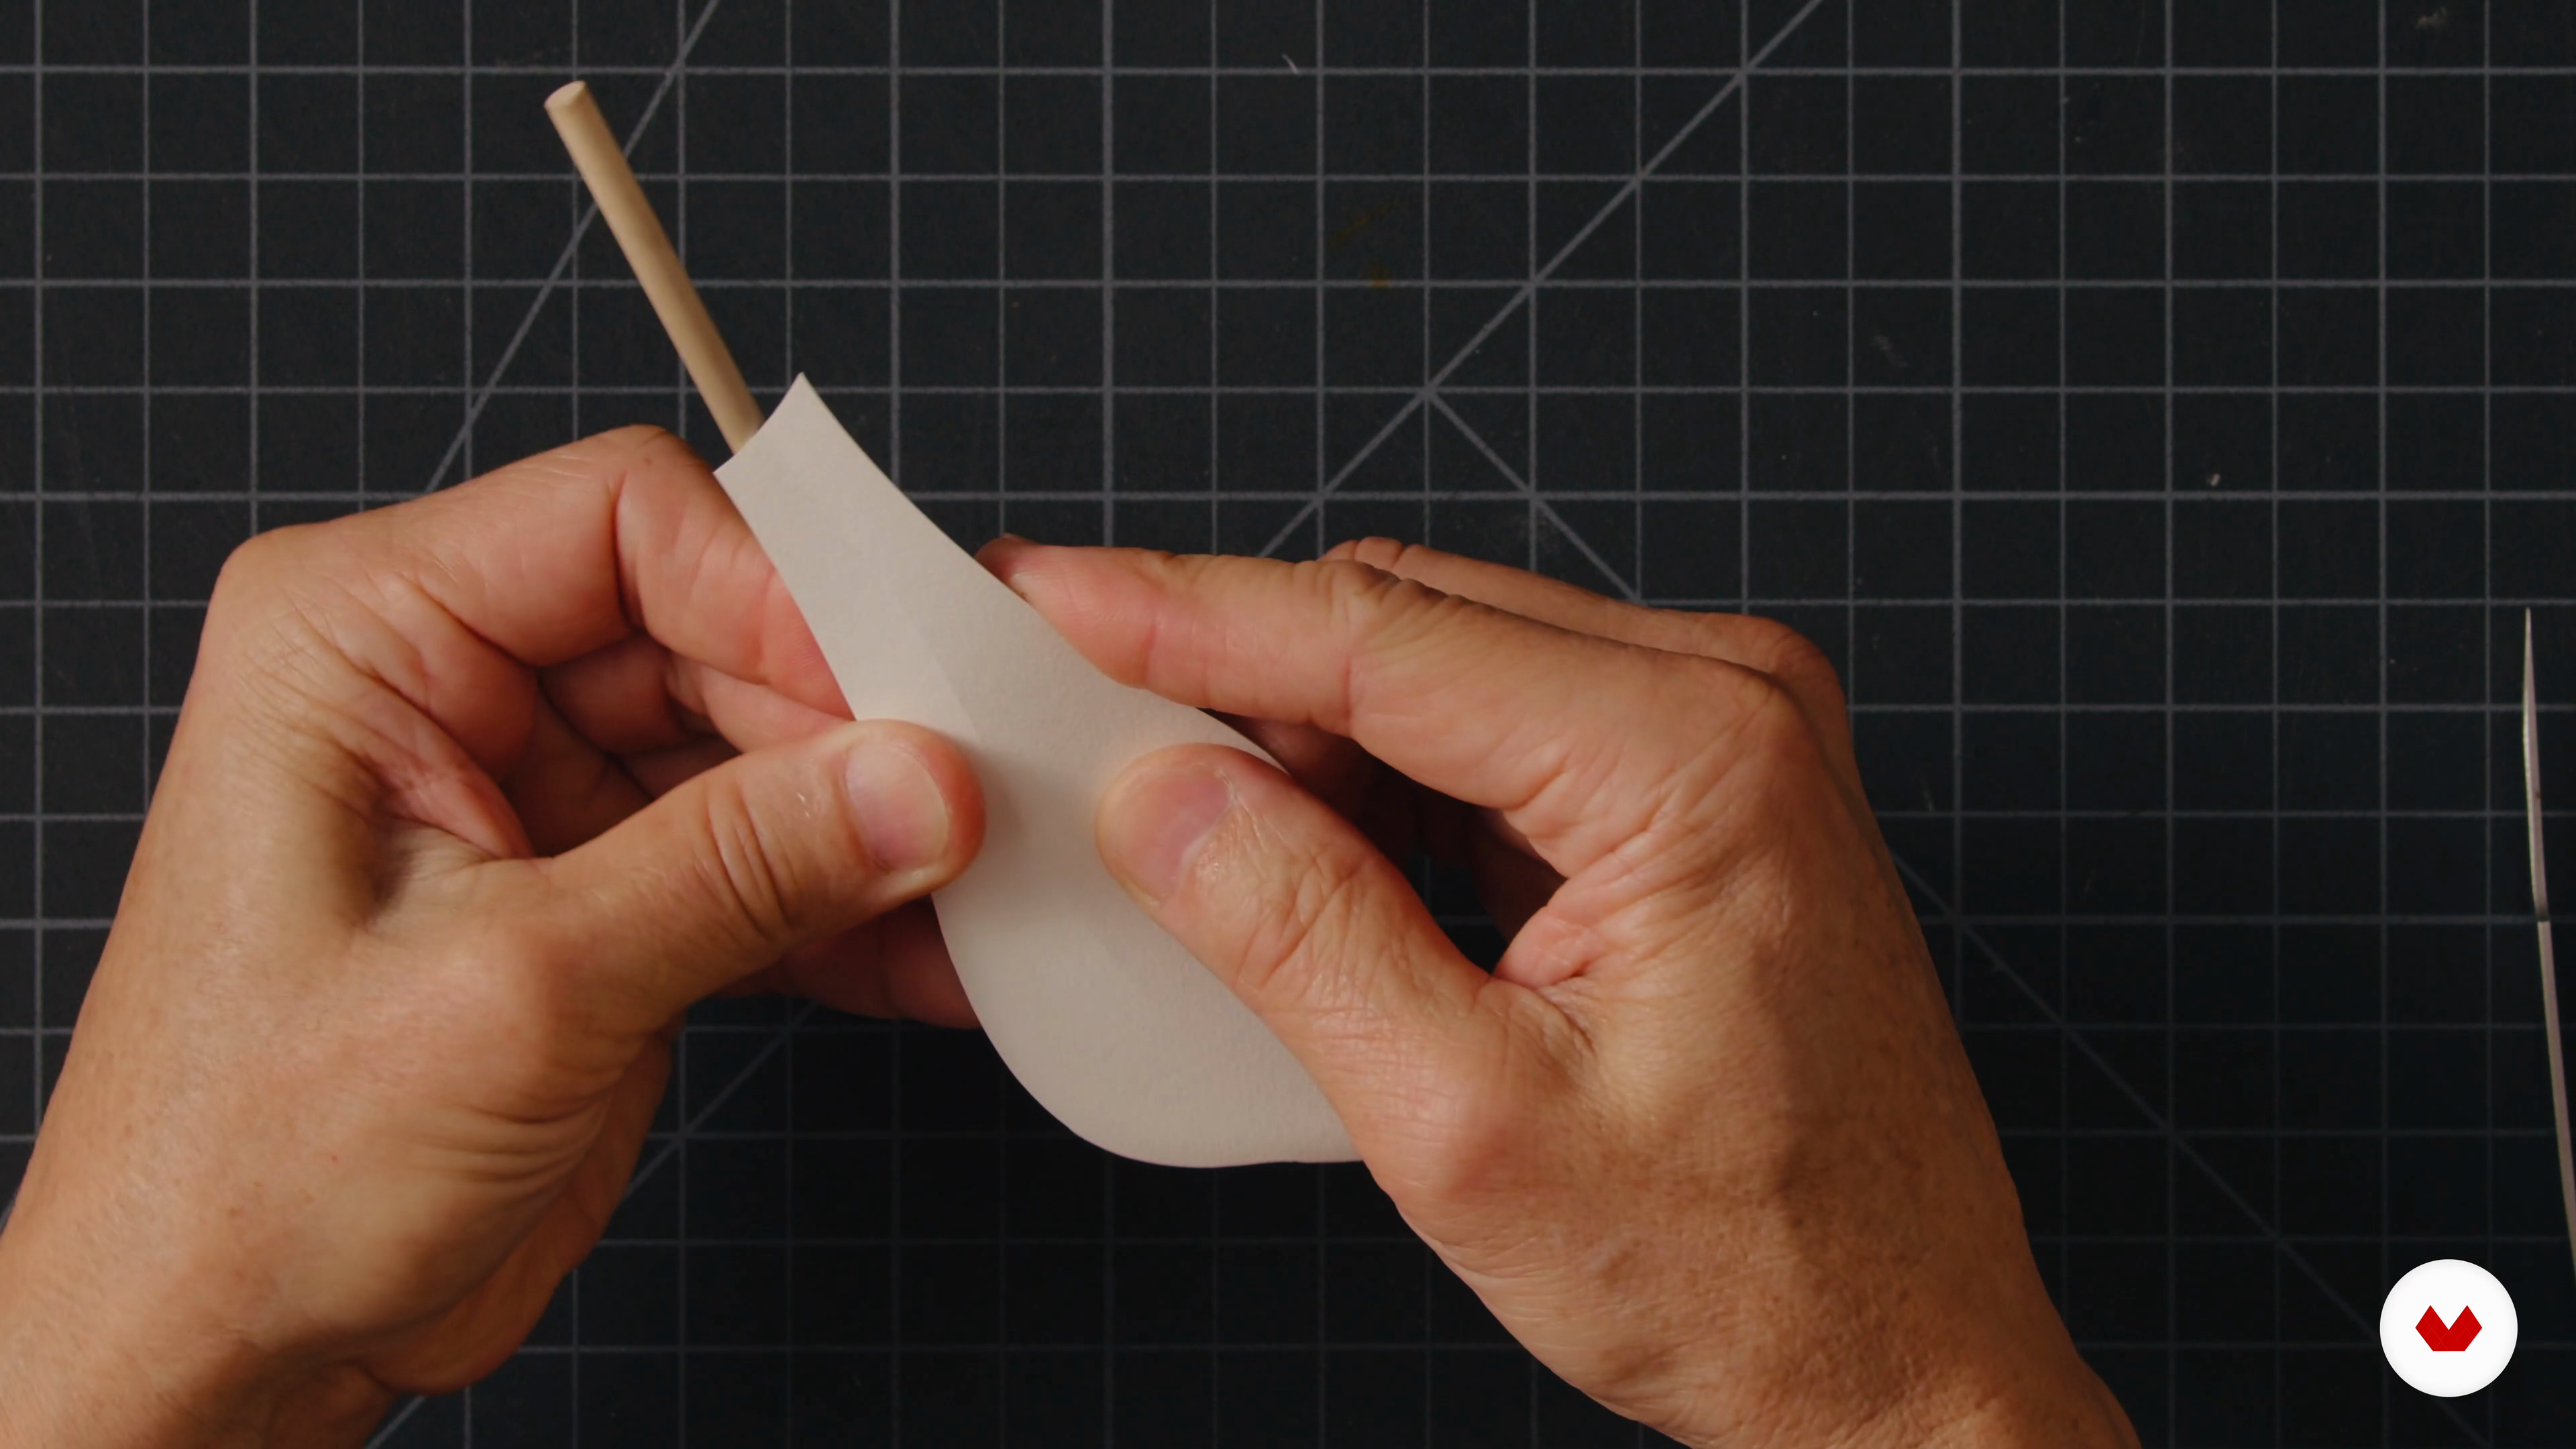 13
13Bend and shape the paper
In this lesson we will show how to score and shape all the parts of the sculpture for the final project.
21m
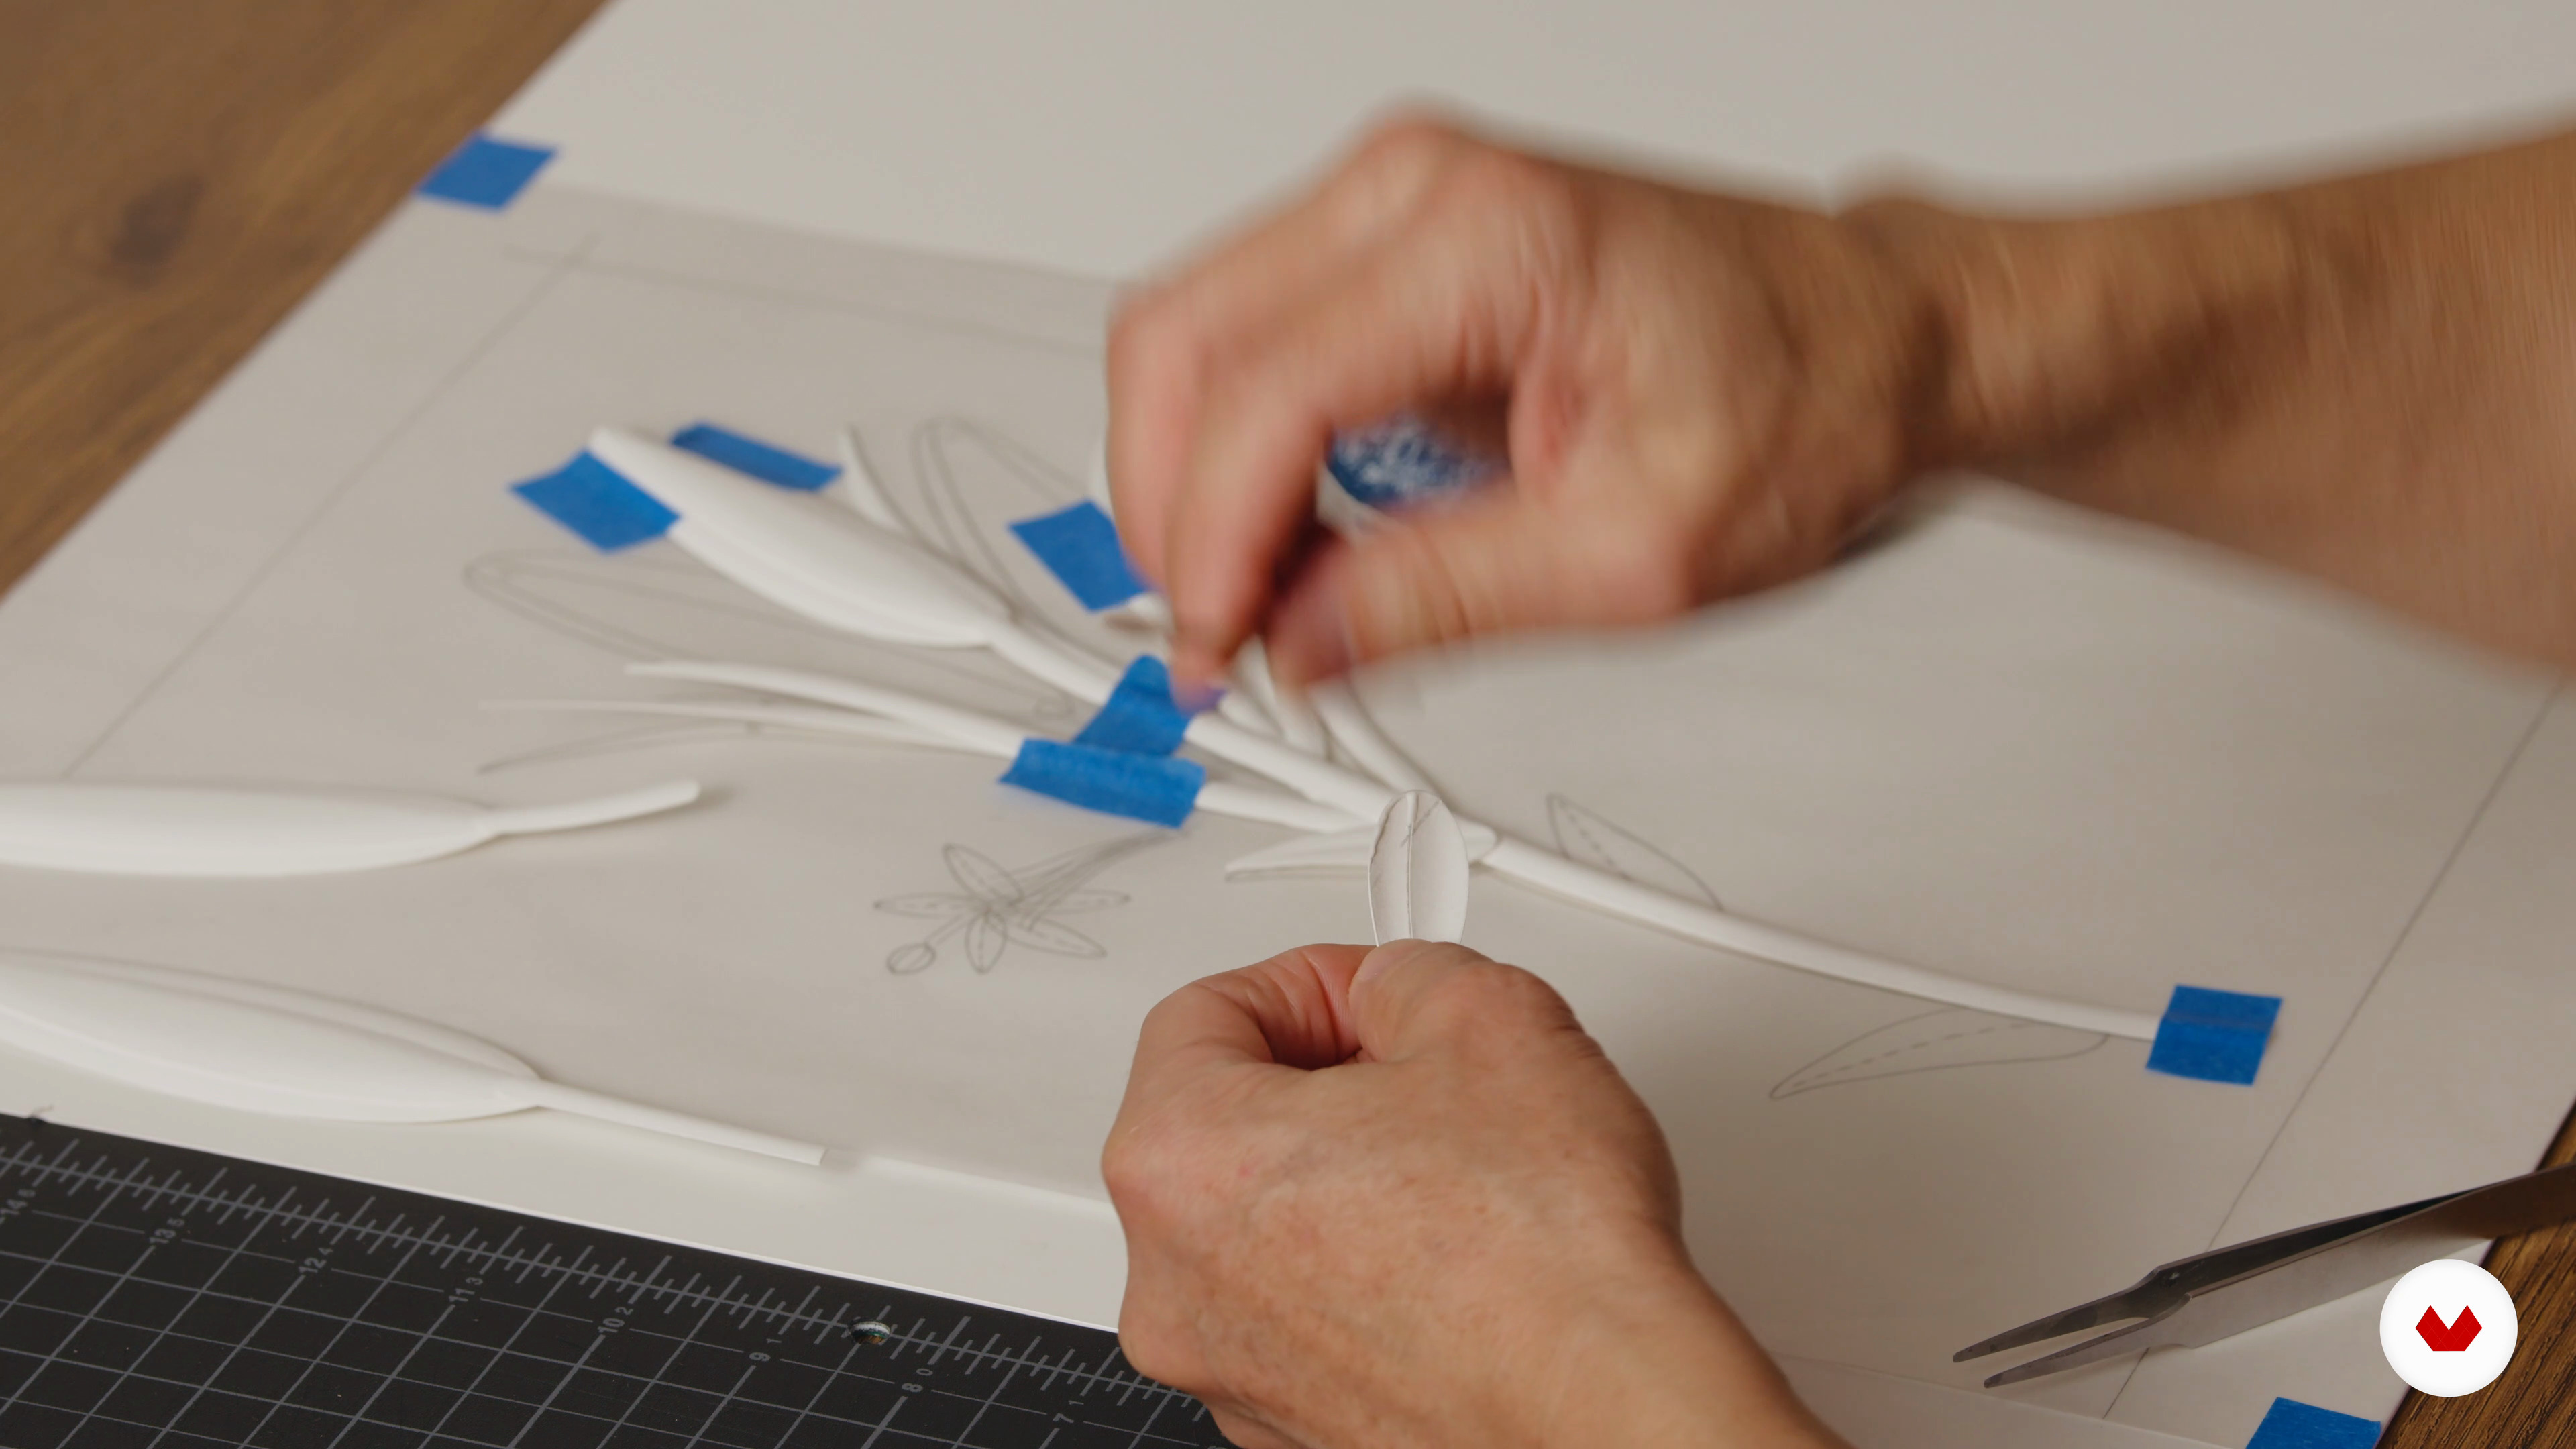 14
14Glue and Mount the Sections
In this lesson I will demonstrate how to glue the cut pieces together into separate sections. We will then assemble and glue these sections together to complete each element. Finally I will demonstrate how to mount these elements together onto a background to complete the final project.
16m
 15
15Framing and Lighting
In this lesson we will see a couple of options for displaying your paper sculpture with either a custom made frame or a shadowbox frame you can buy online. We will then see a simple lighting setup for the student to photograph their paper sculpture in their own home. This is not a professional setup but one that you can do to show your sculpture for this course and for your own collection.
5m
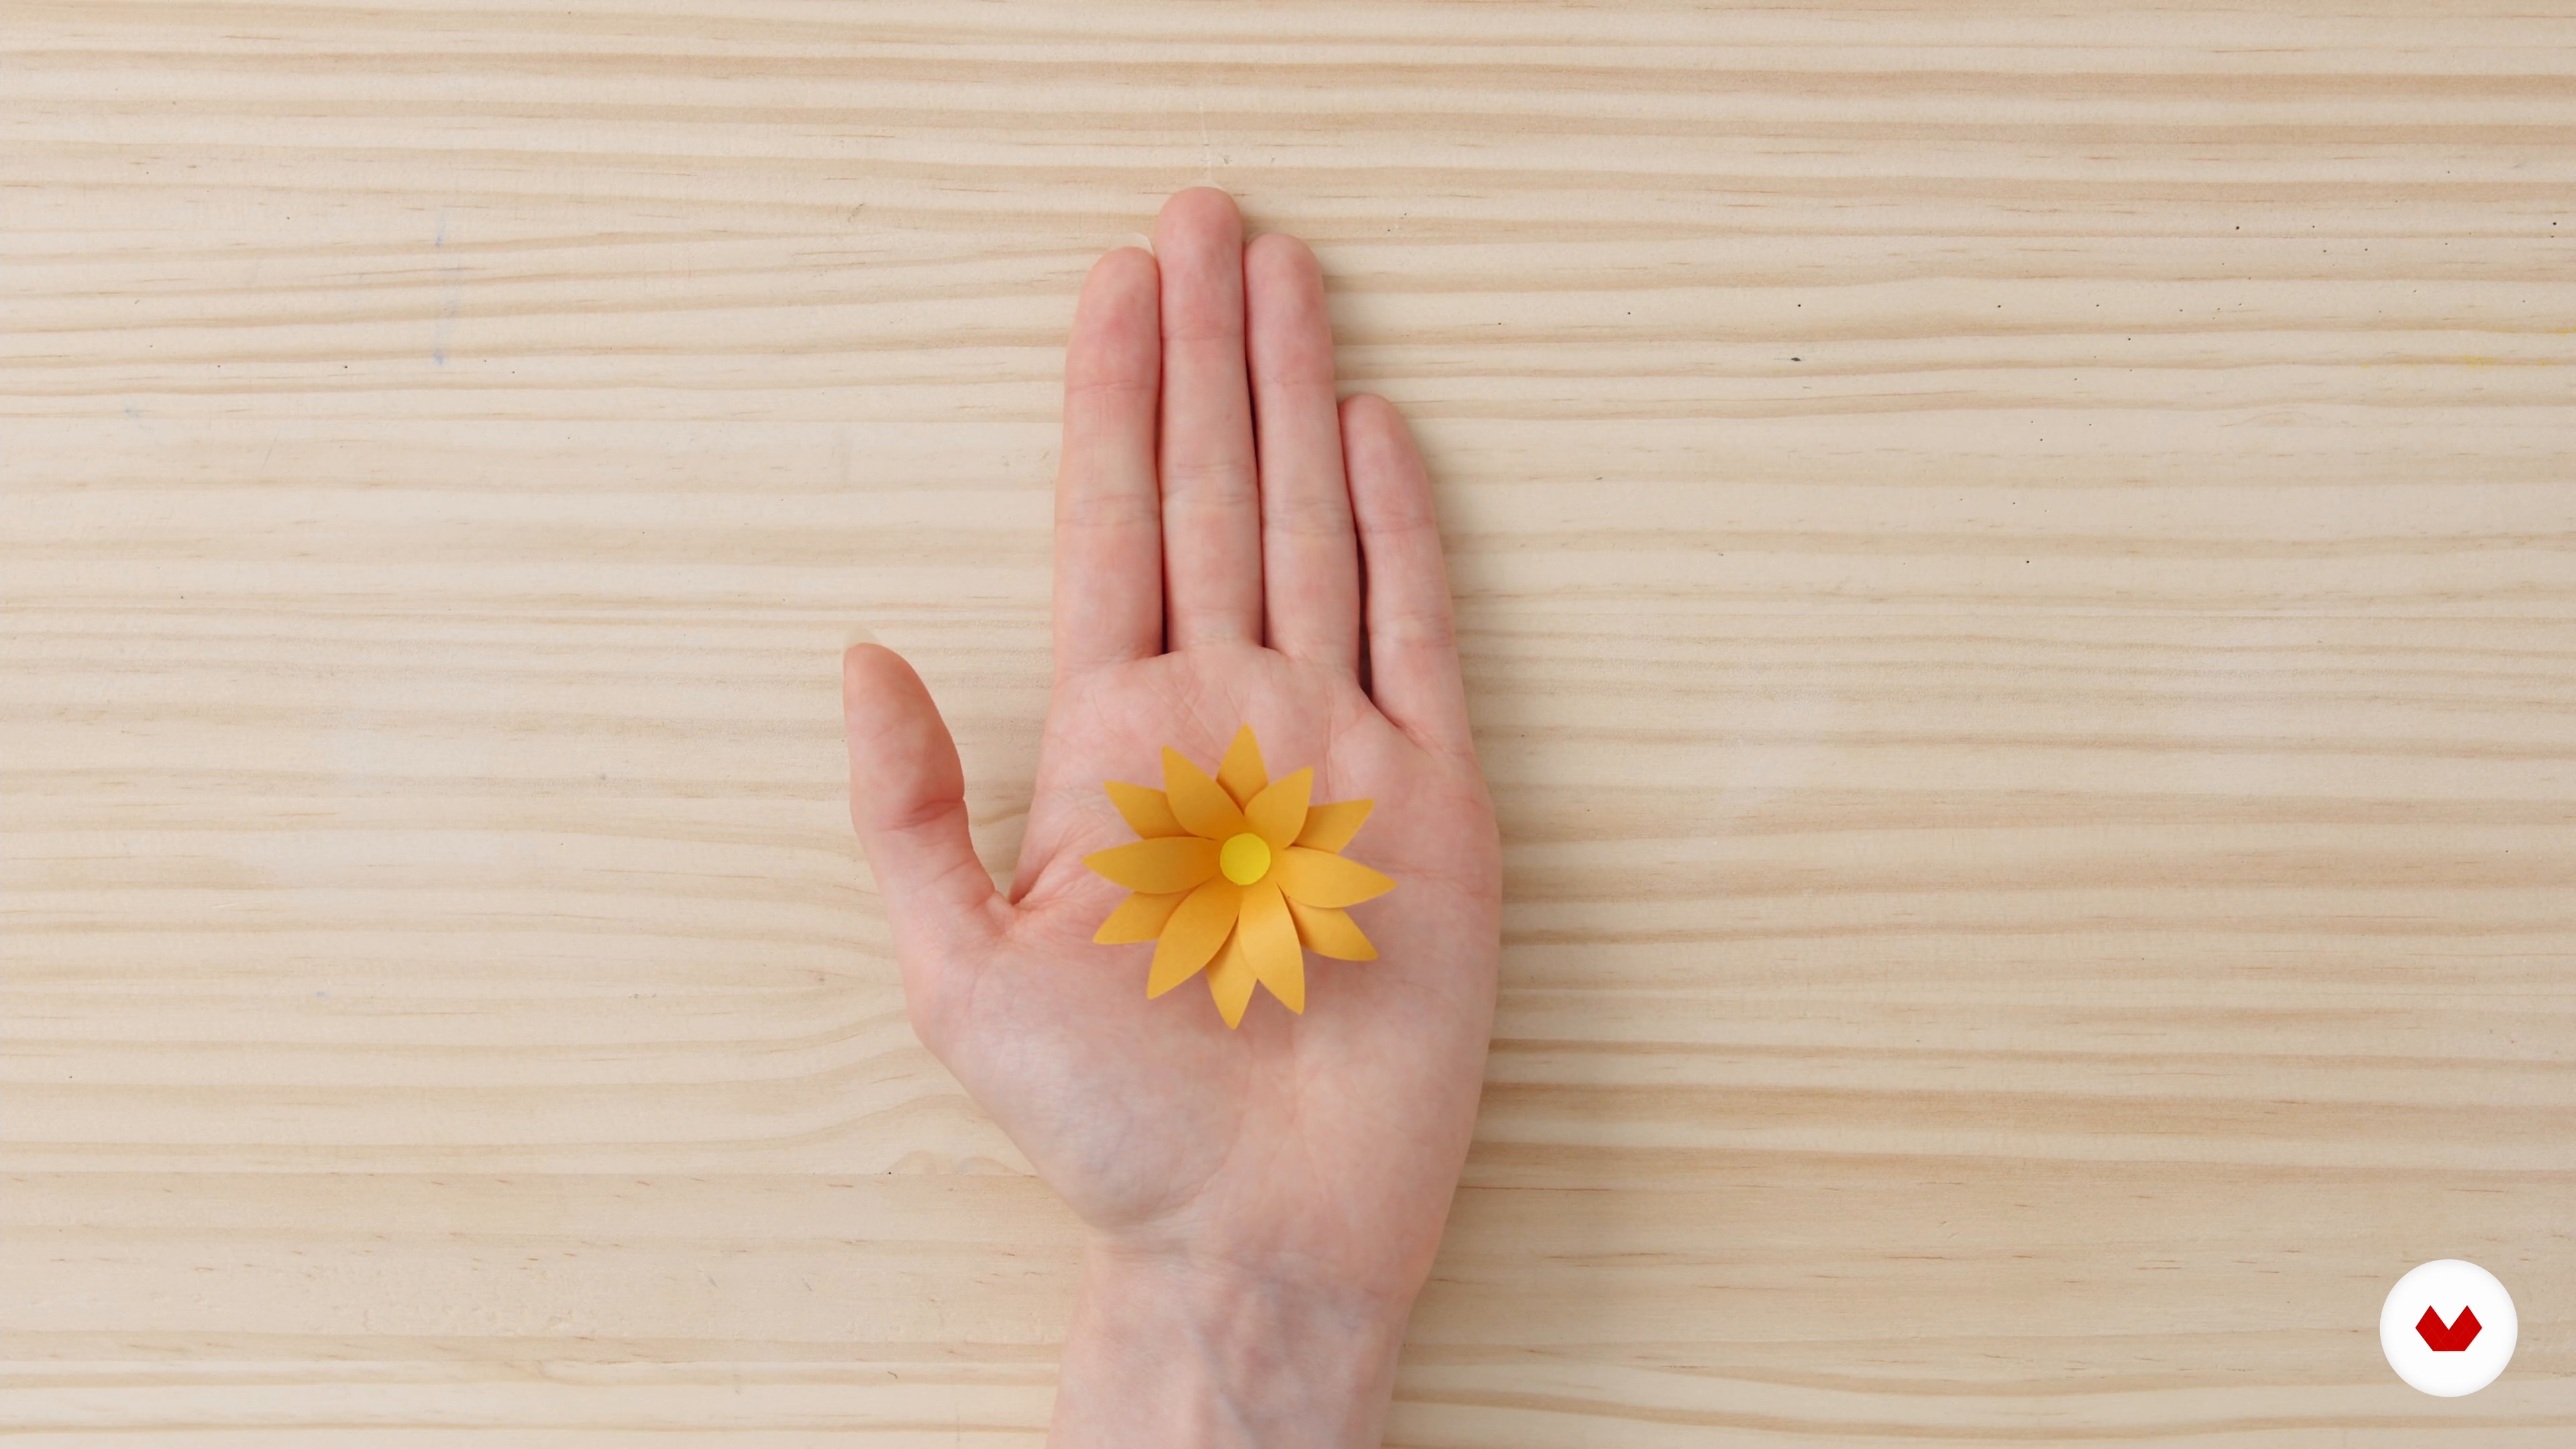 3
3Before We Begin: Exploring the Possibilities and Sharing my Top Tips
Once you have learned the paper techniques I share in this course, the possibilities will be endless! In this lesson, I will describe what I will be making for my project and give you some ideas as to what else you can create with your new skills. But before you get started on your creation, I'll be sharing some of my tips with you.
4m
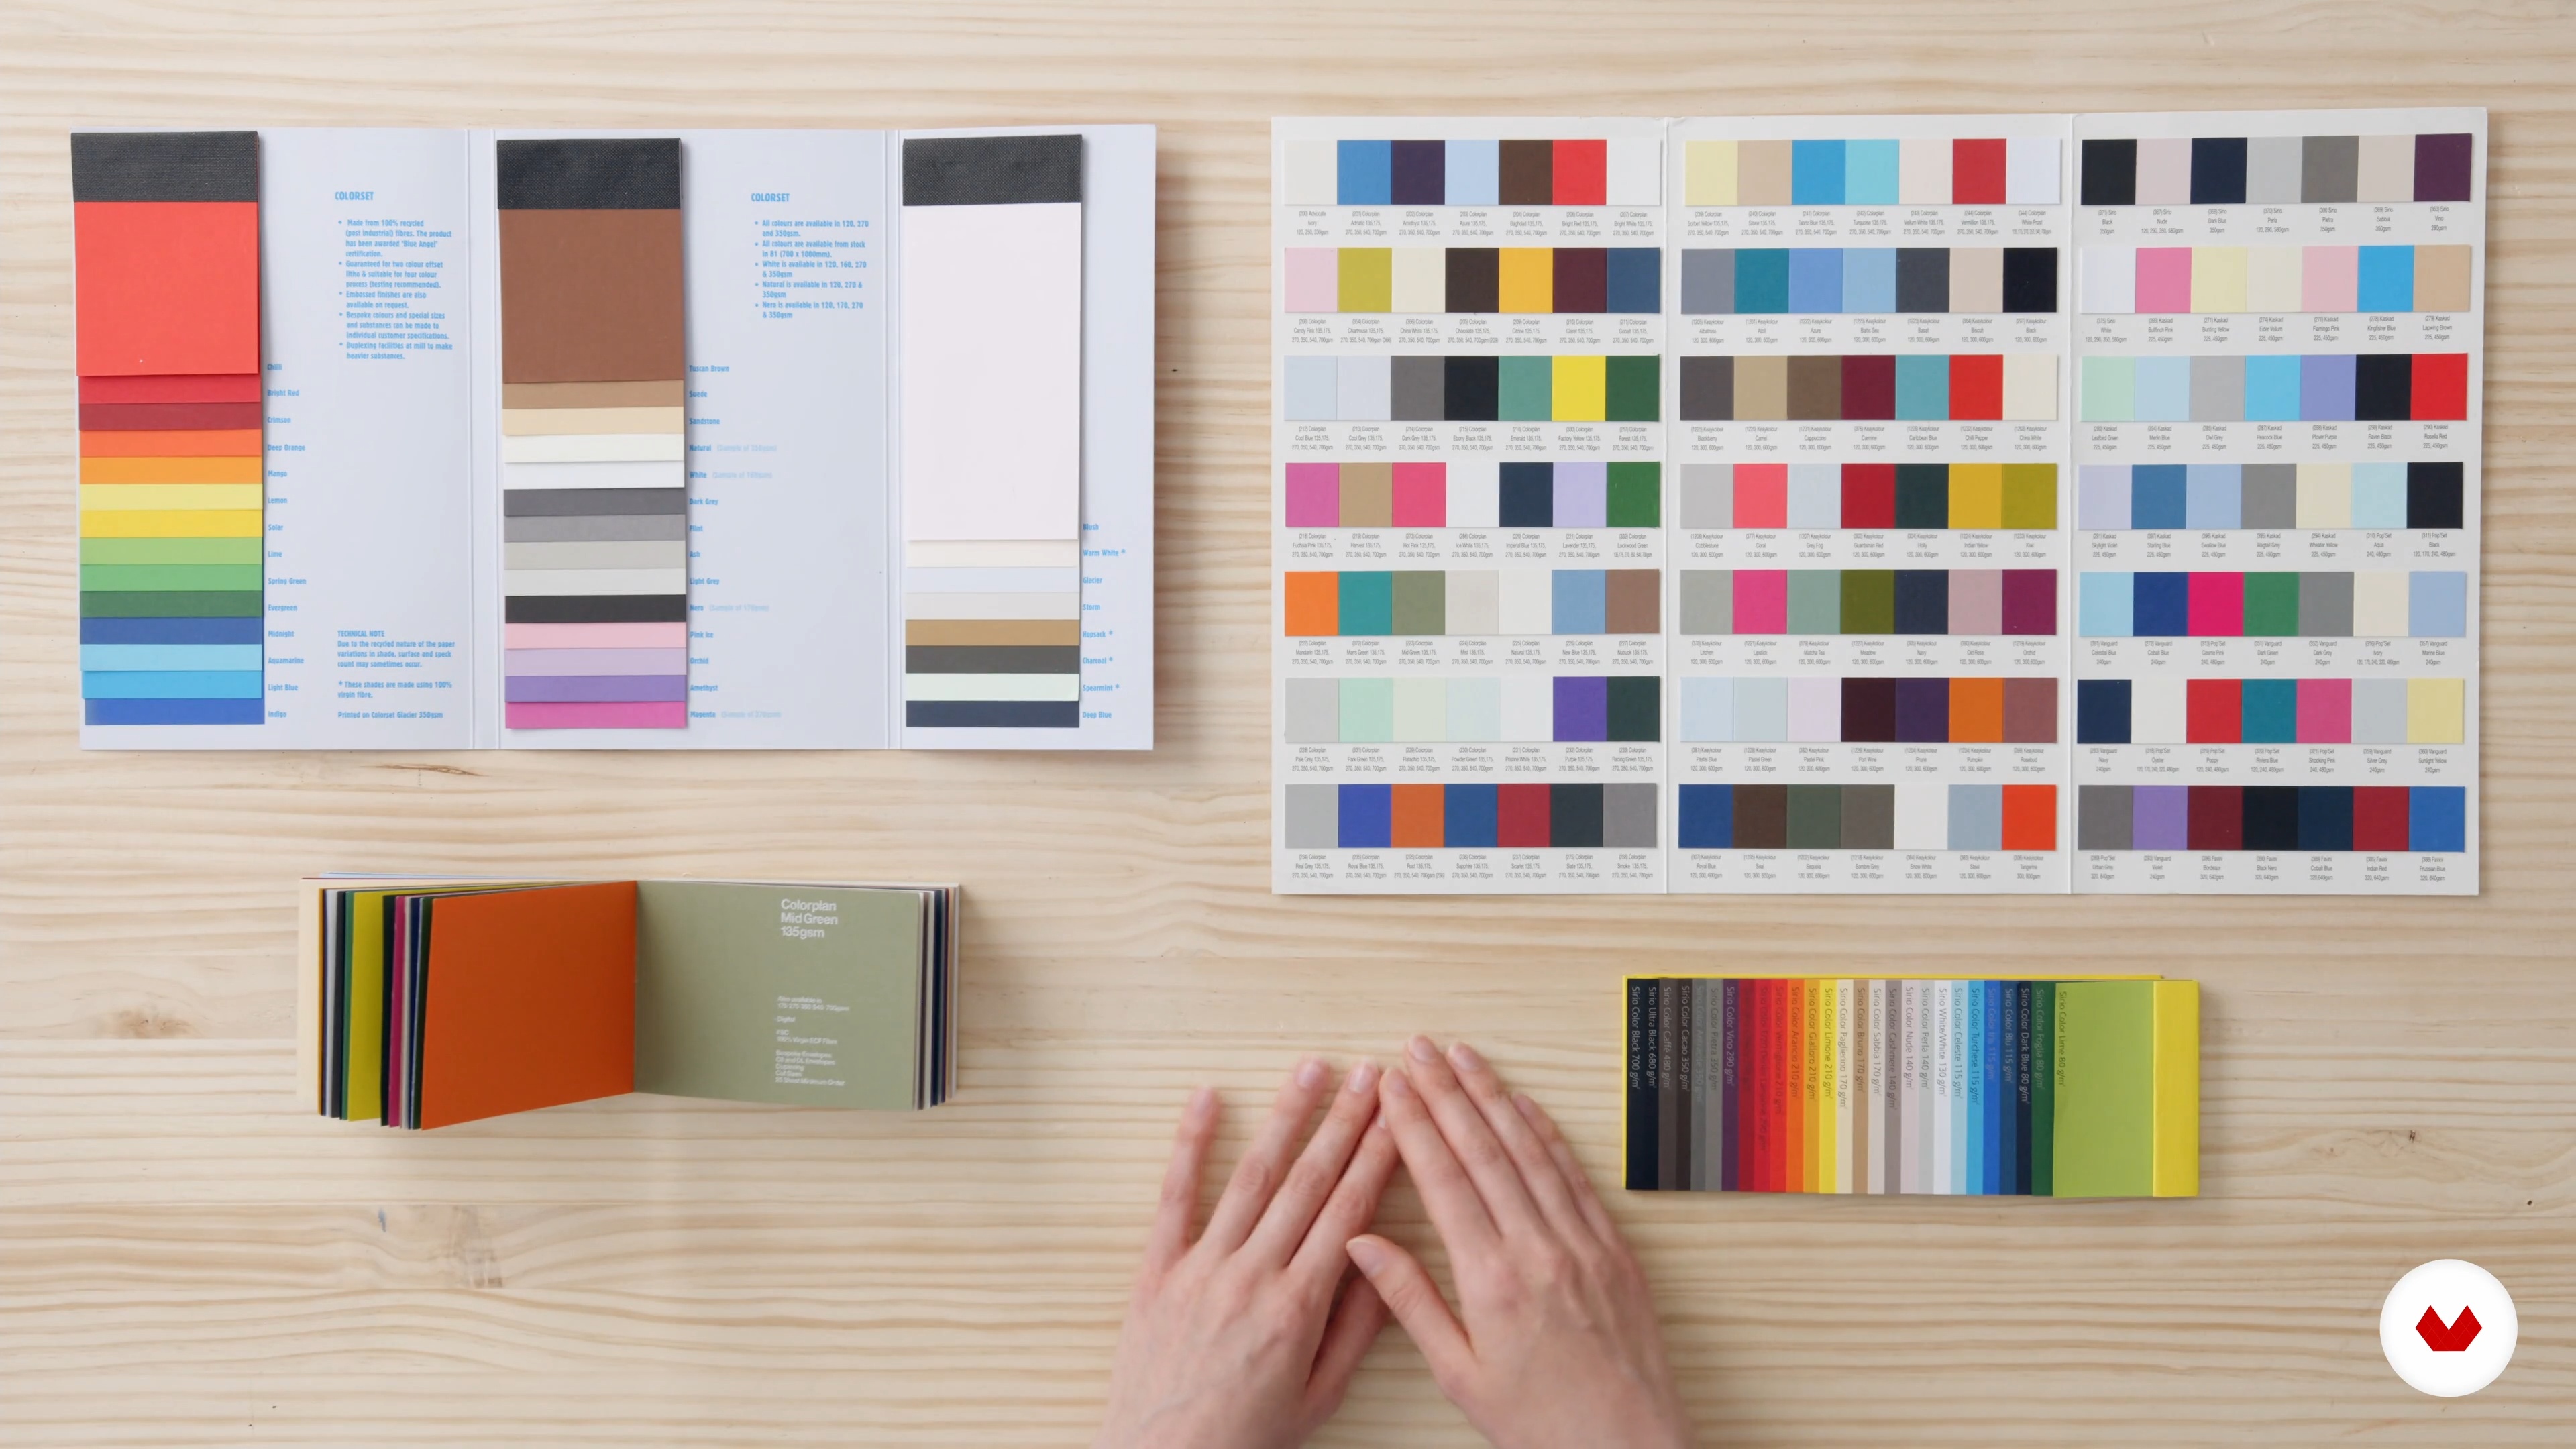 4
4Researching the Final Project
It’s time to define your project. In this lesson, I will decide what elements I will be including in my project. To that end, I will research reference images and select a colour palette.
10m
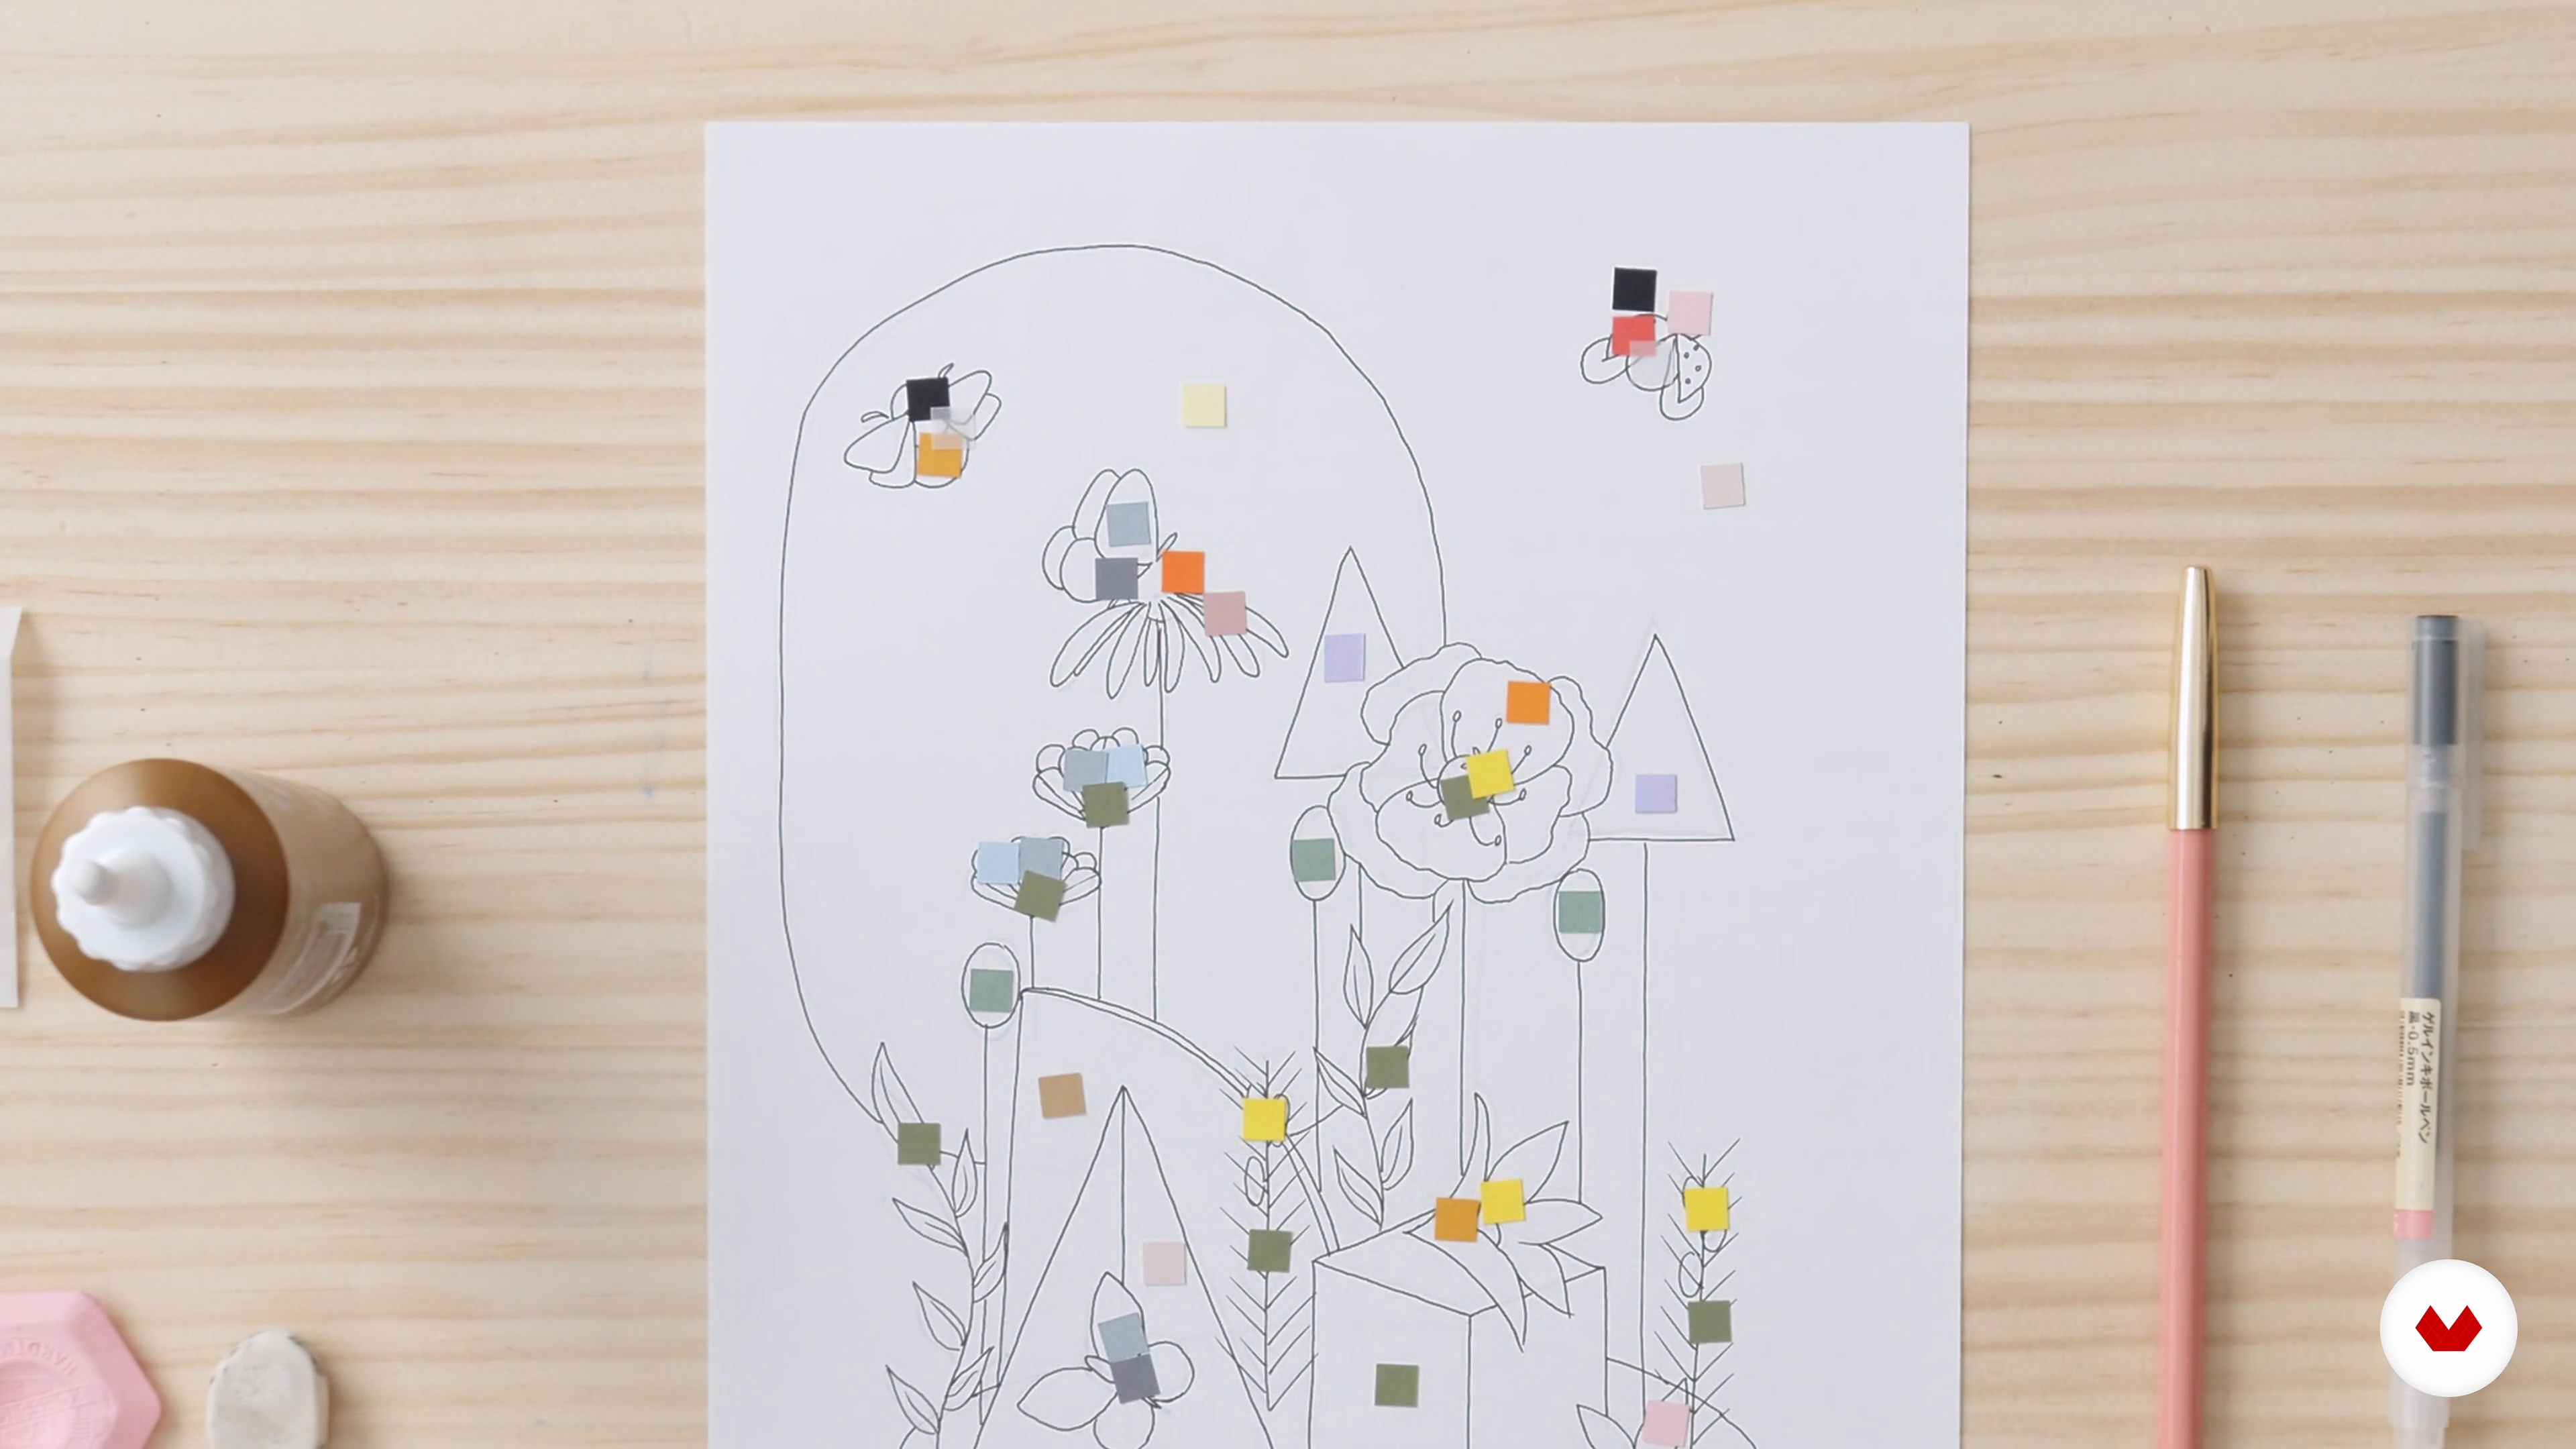 5
5Sketching the Design 1
To design your project, you'll start by sketching out a composition for your paper elements, either by hand or using Illustrator – whichever you prefer!
15m
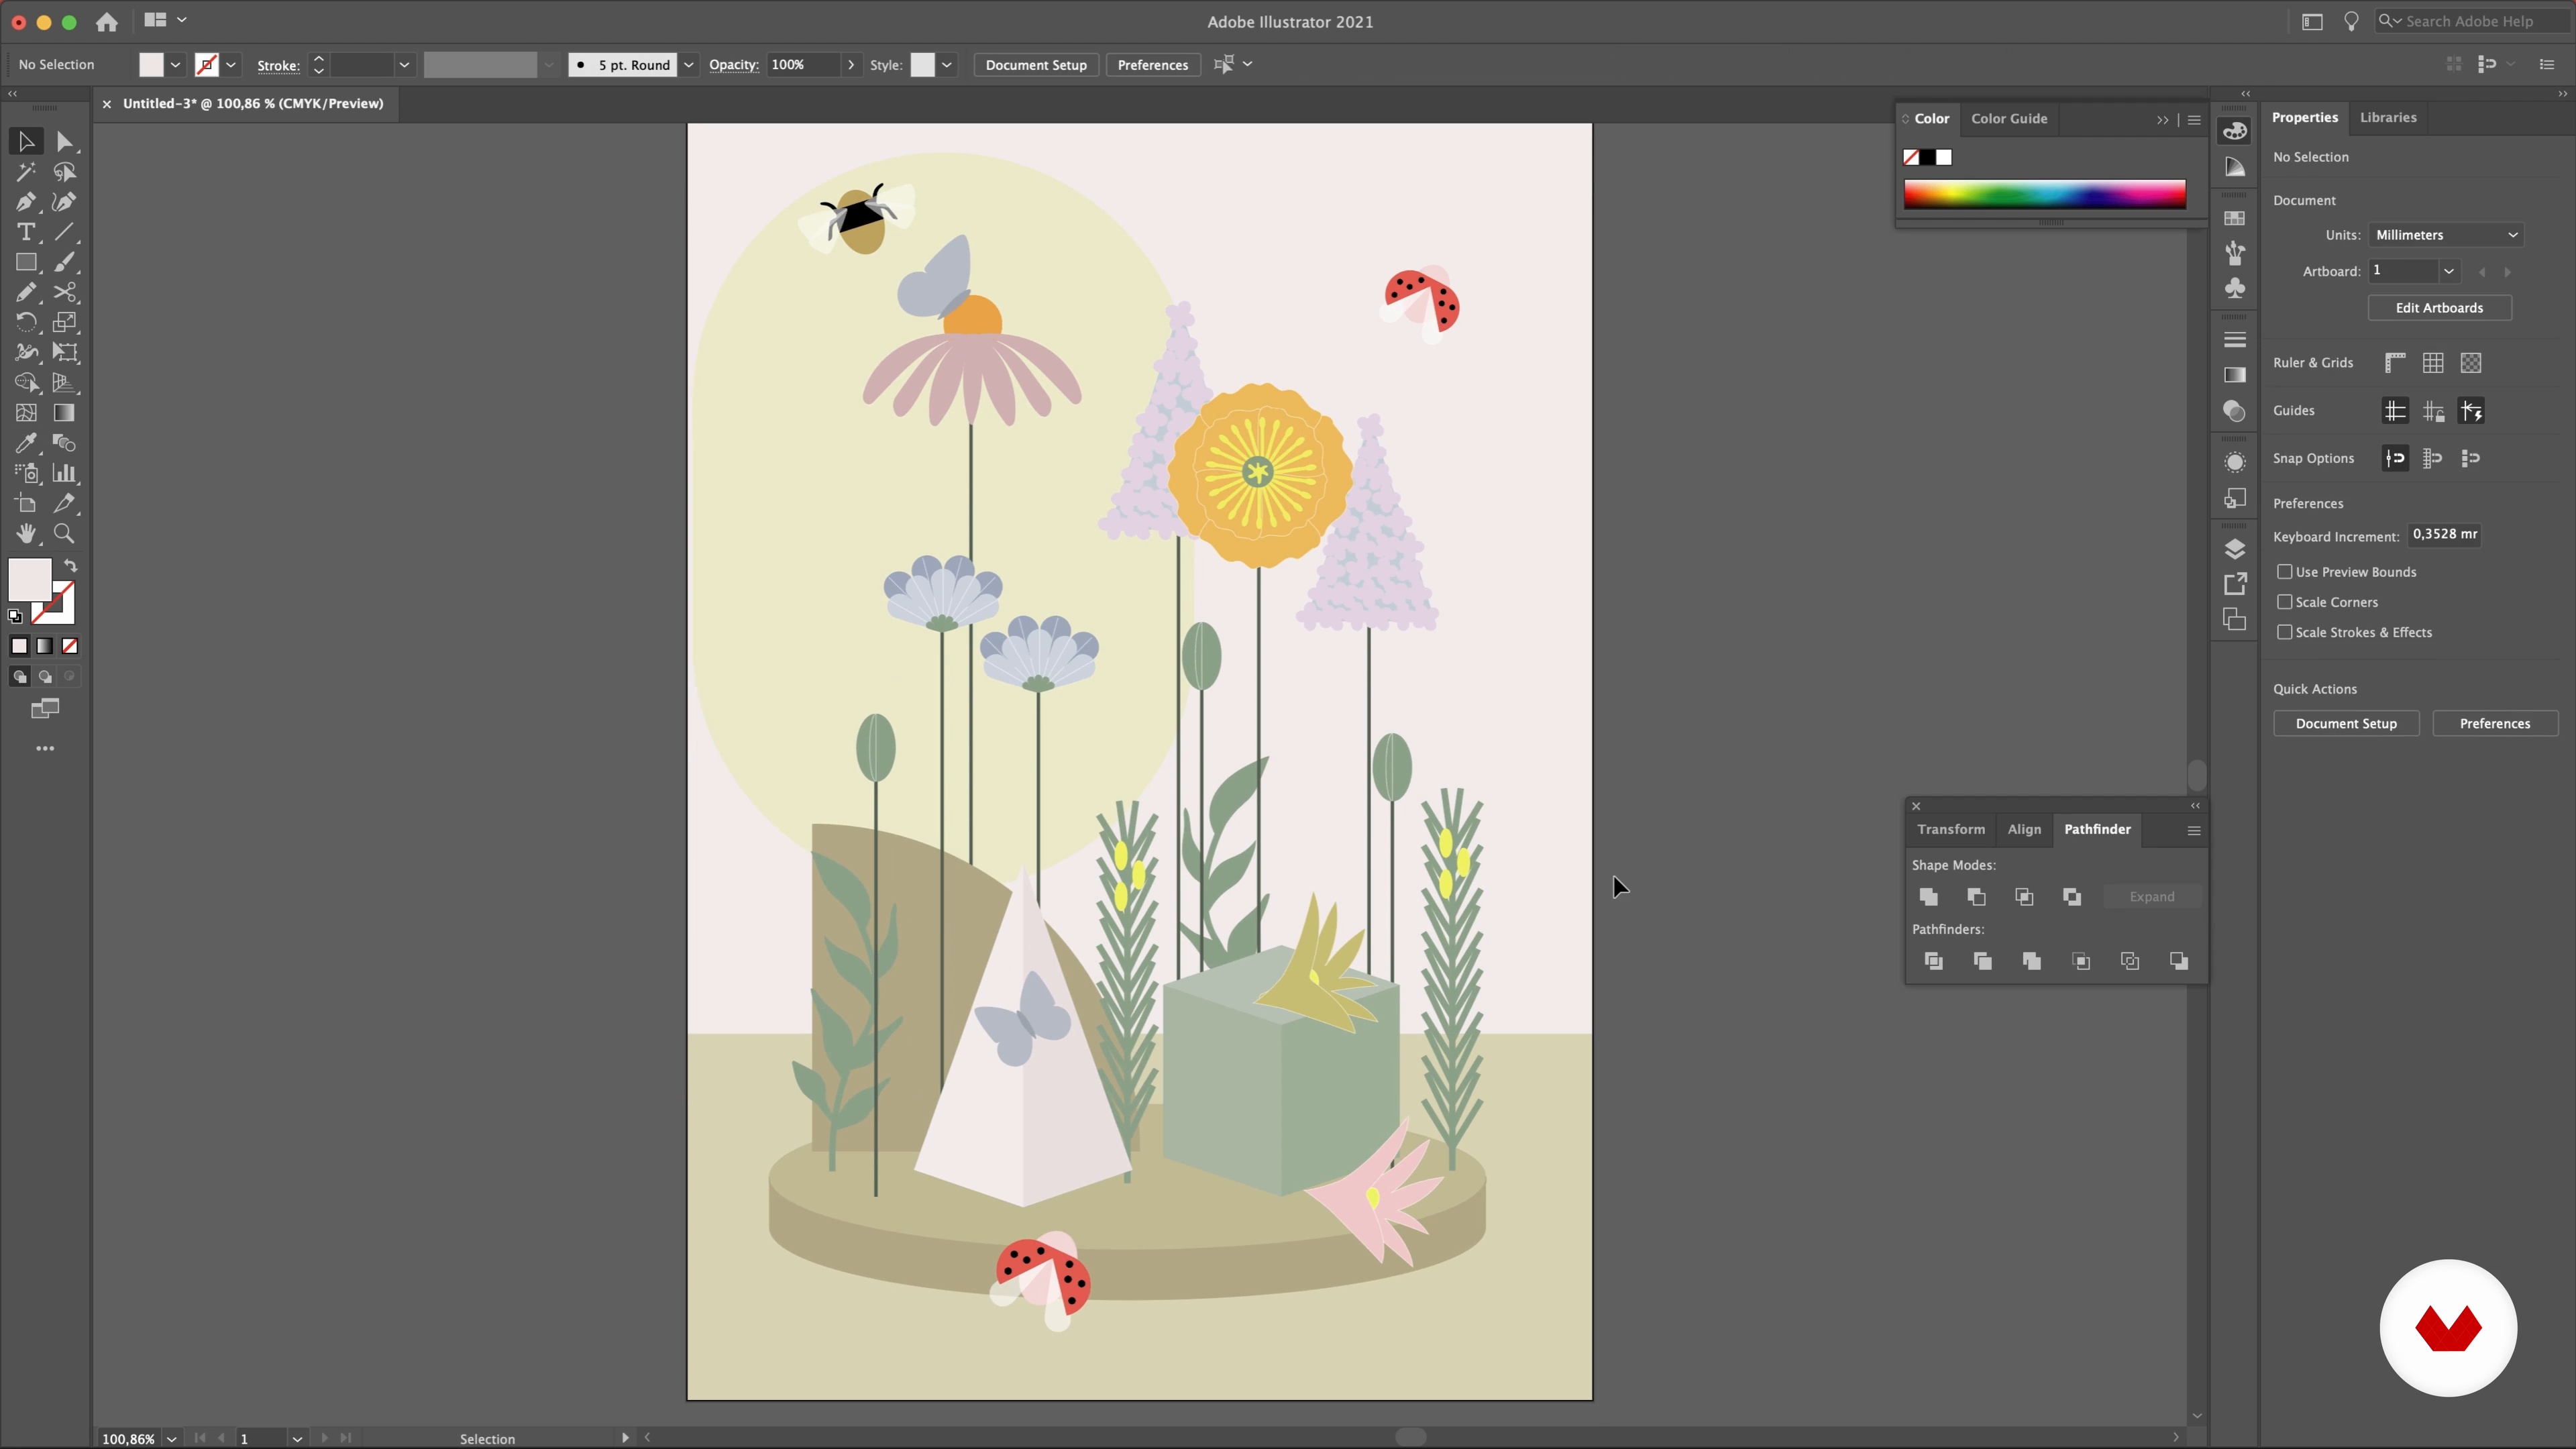 6
6Sketching the Design 2
Here, I'll continue my design on Illustrator and finish planning out my composition.
15m
 7
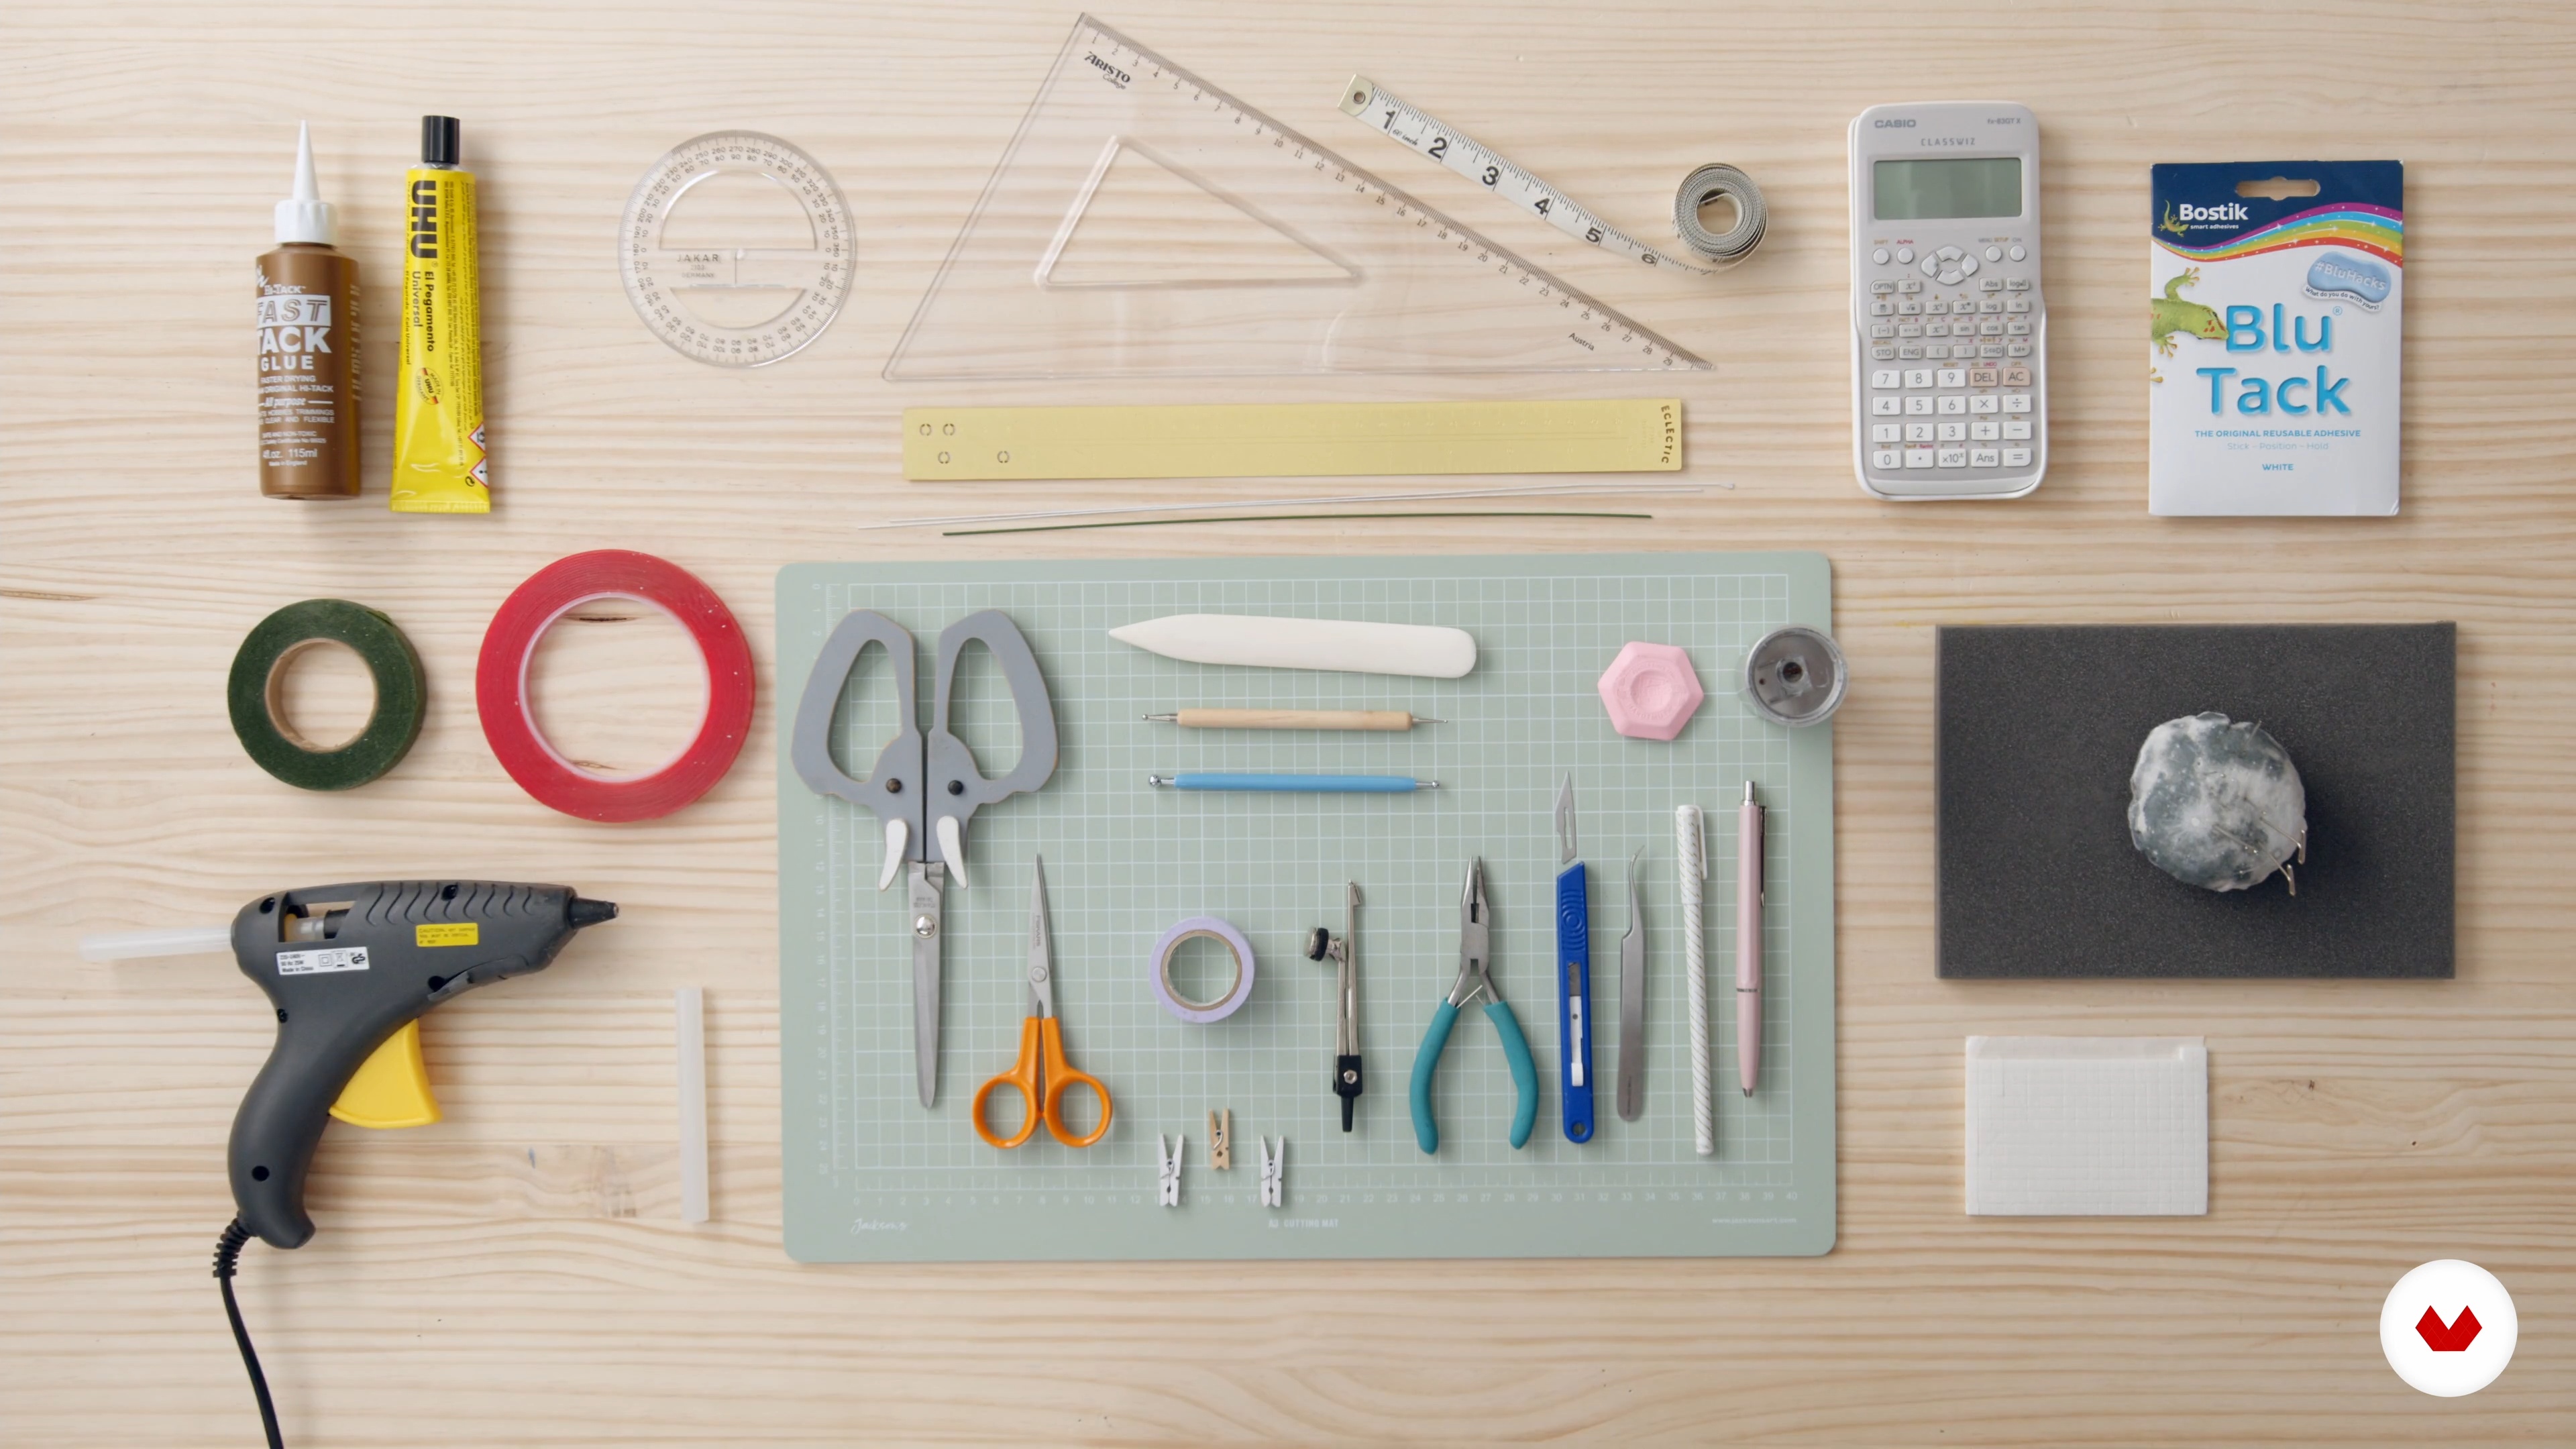
7Toolbox
In this lesson, I will explain the materials and tools you'll need for this project.
6m
 8
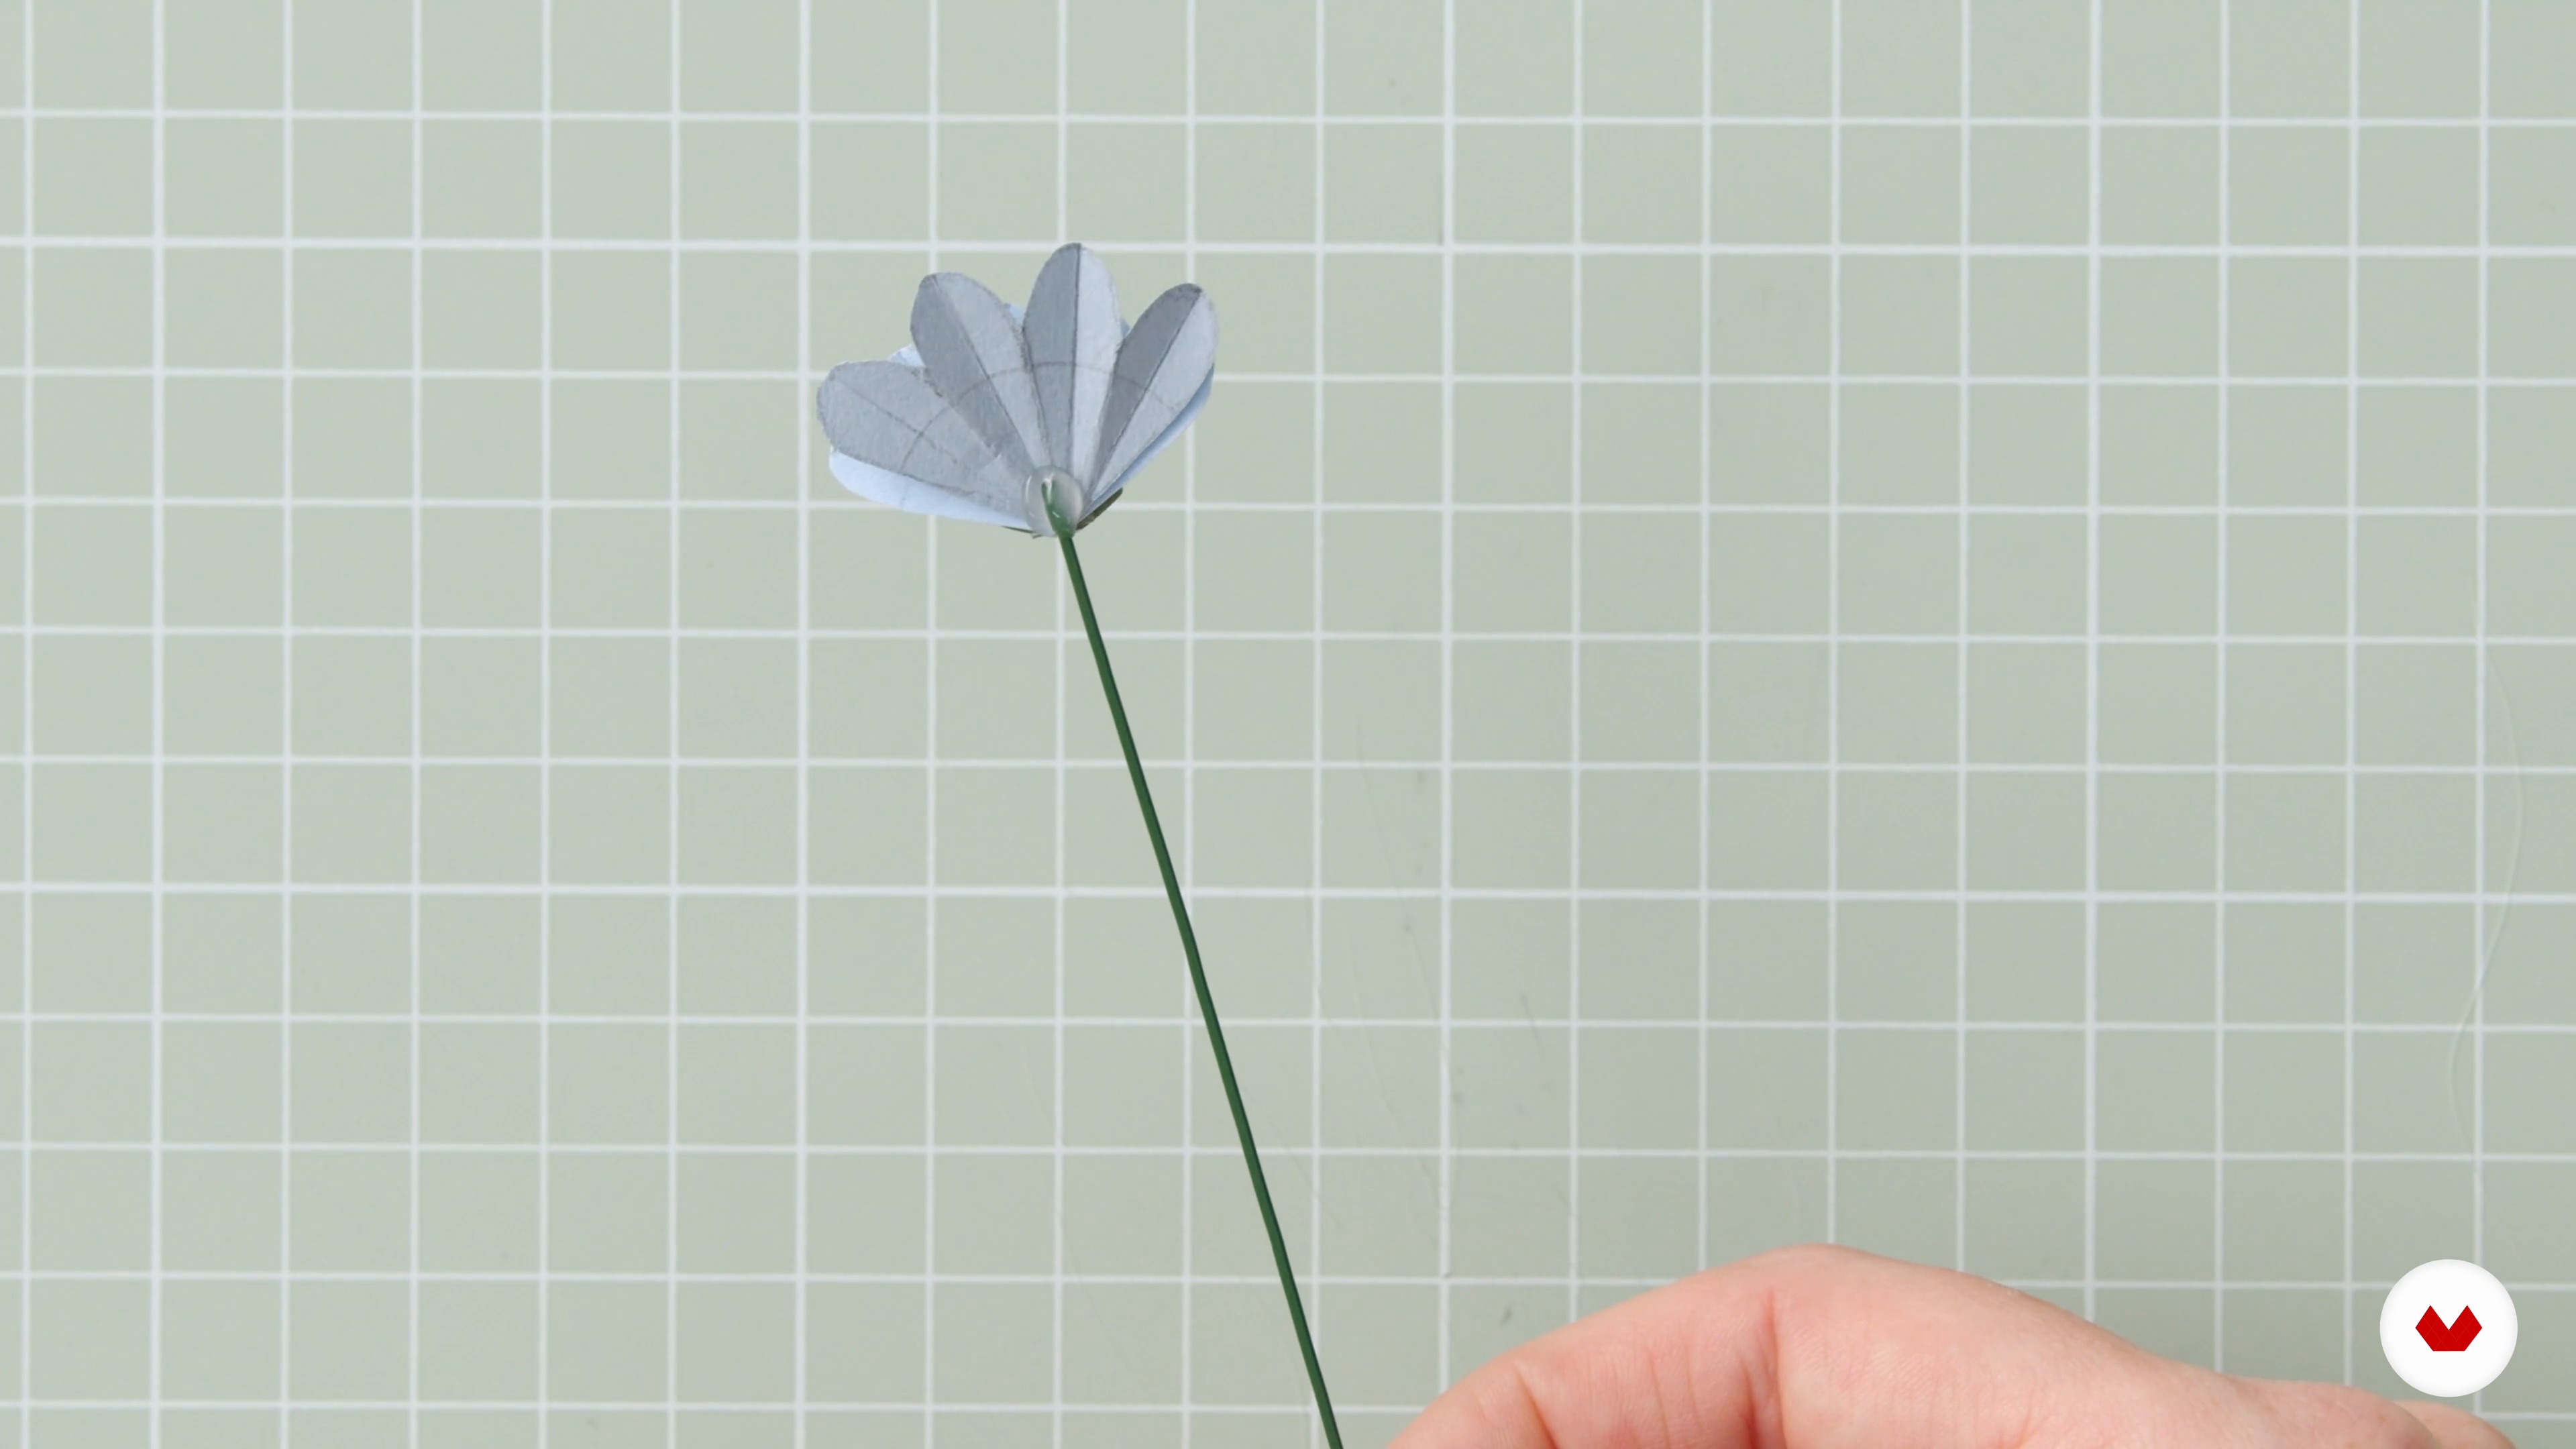
8Basic Paper Techniques
To start, I will teach you the basic paper-crafting techniques of cutting, scoring, folding, and attaching. Then, we will make a layered pleated paper flower.
20m
 9
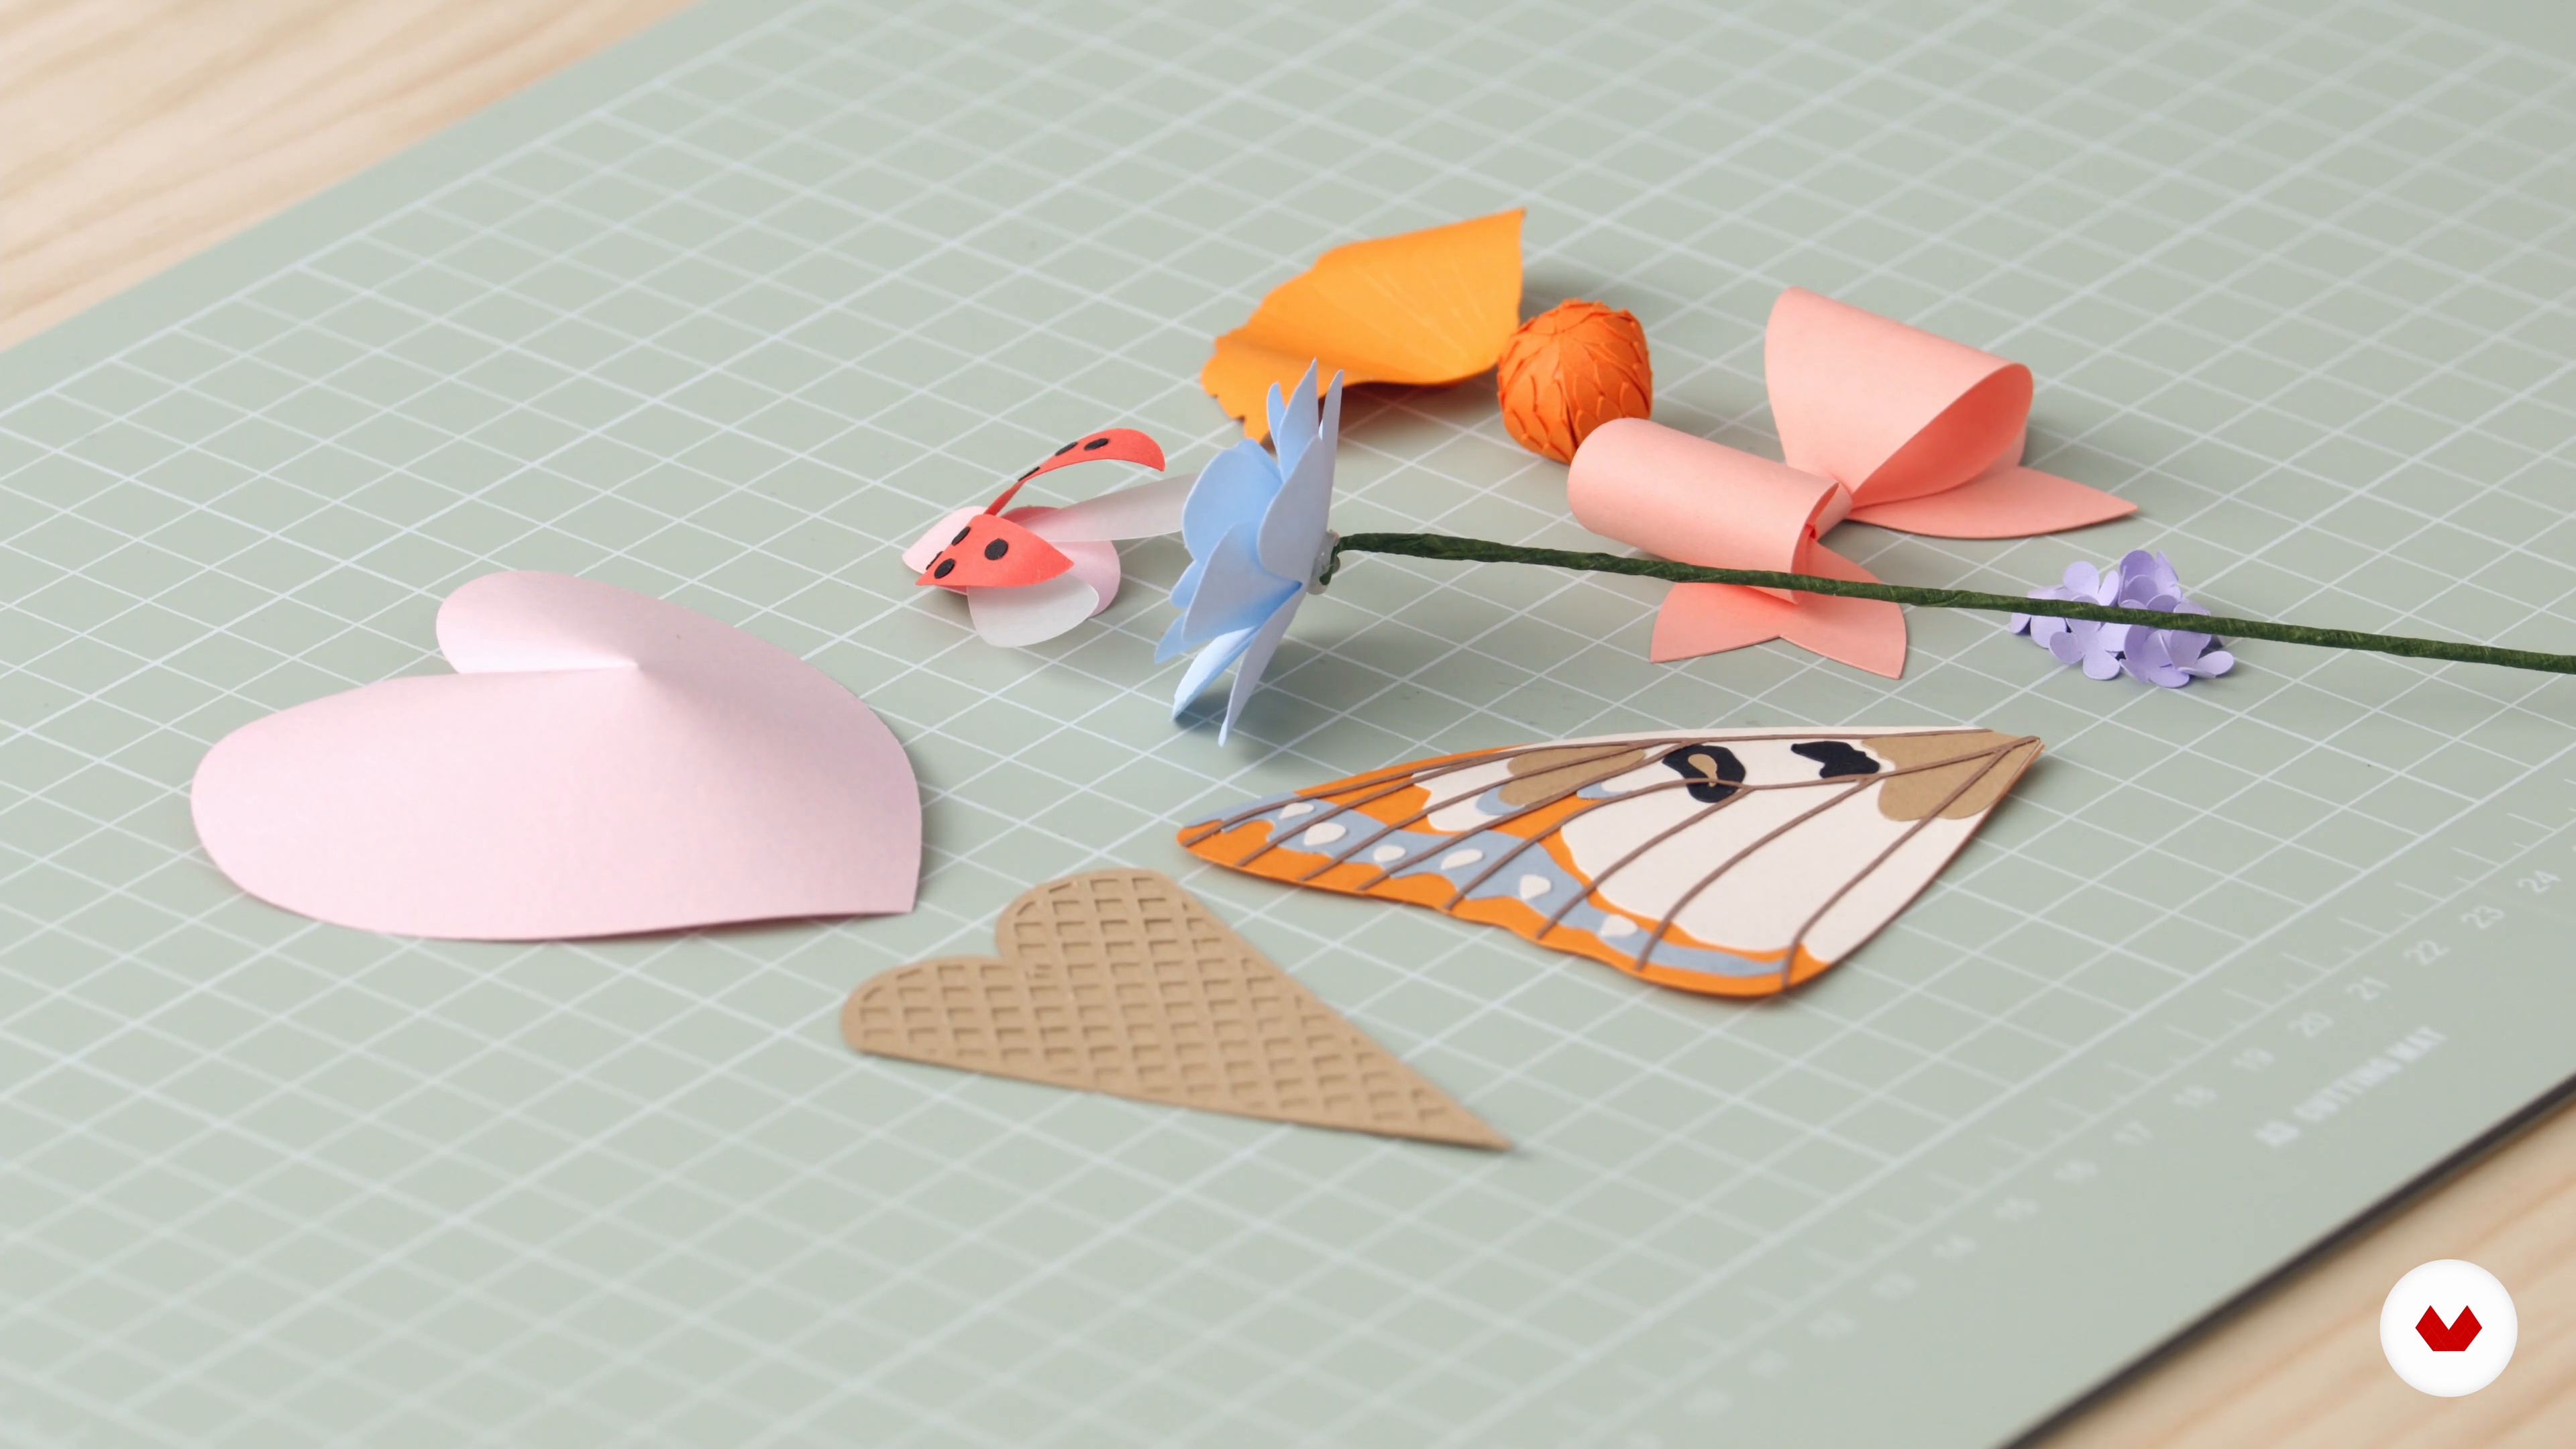
9Decorative Details
Now we will get a bit fancier, as I will teach you how to add some decorative detail to enhance your designs. For this, we will use different techniques, such as curving, embossing, shaping, and adding texture and layers.
14m
 10
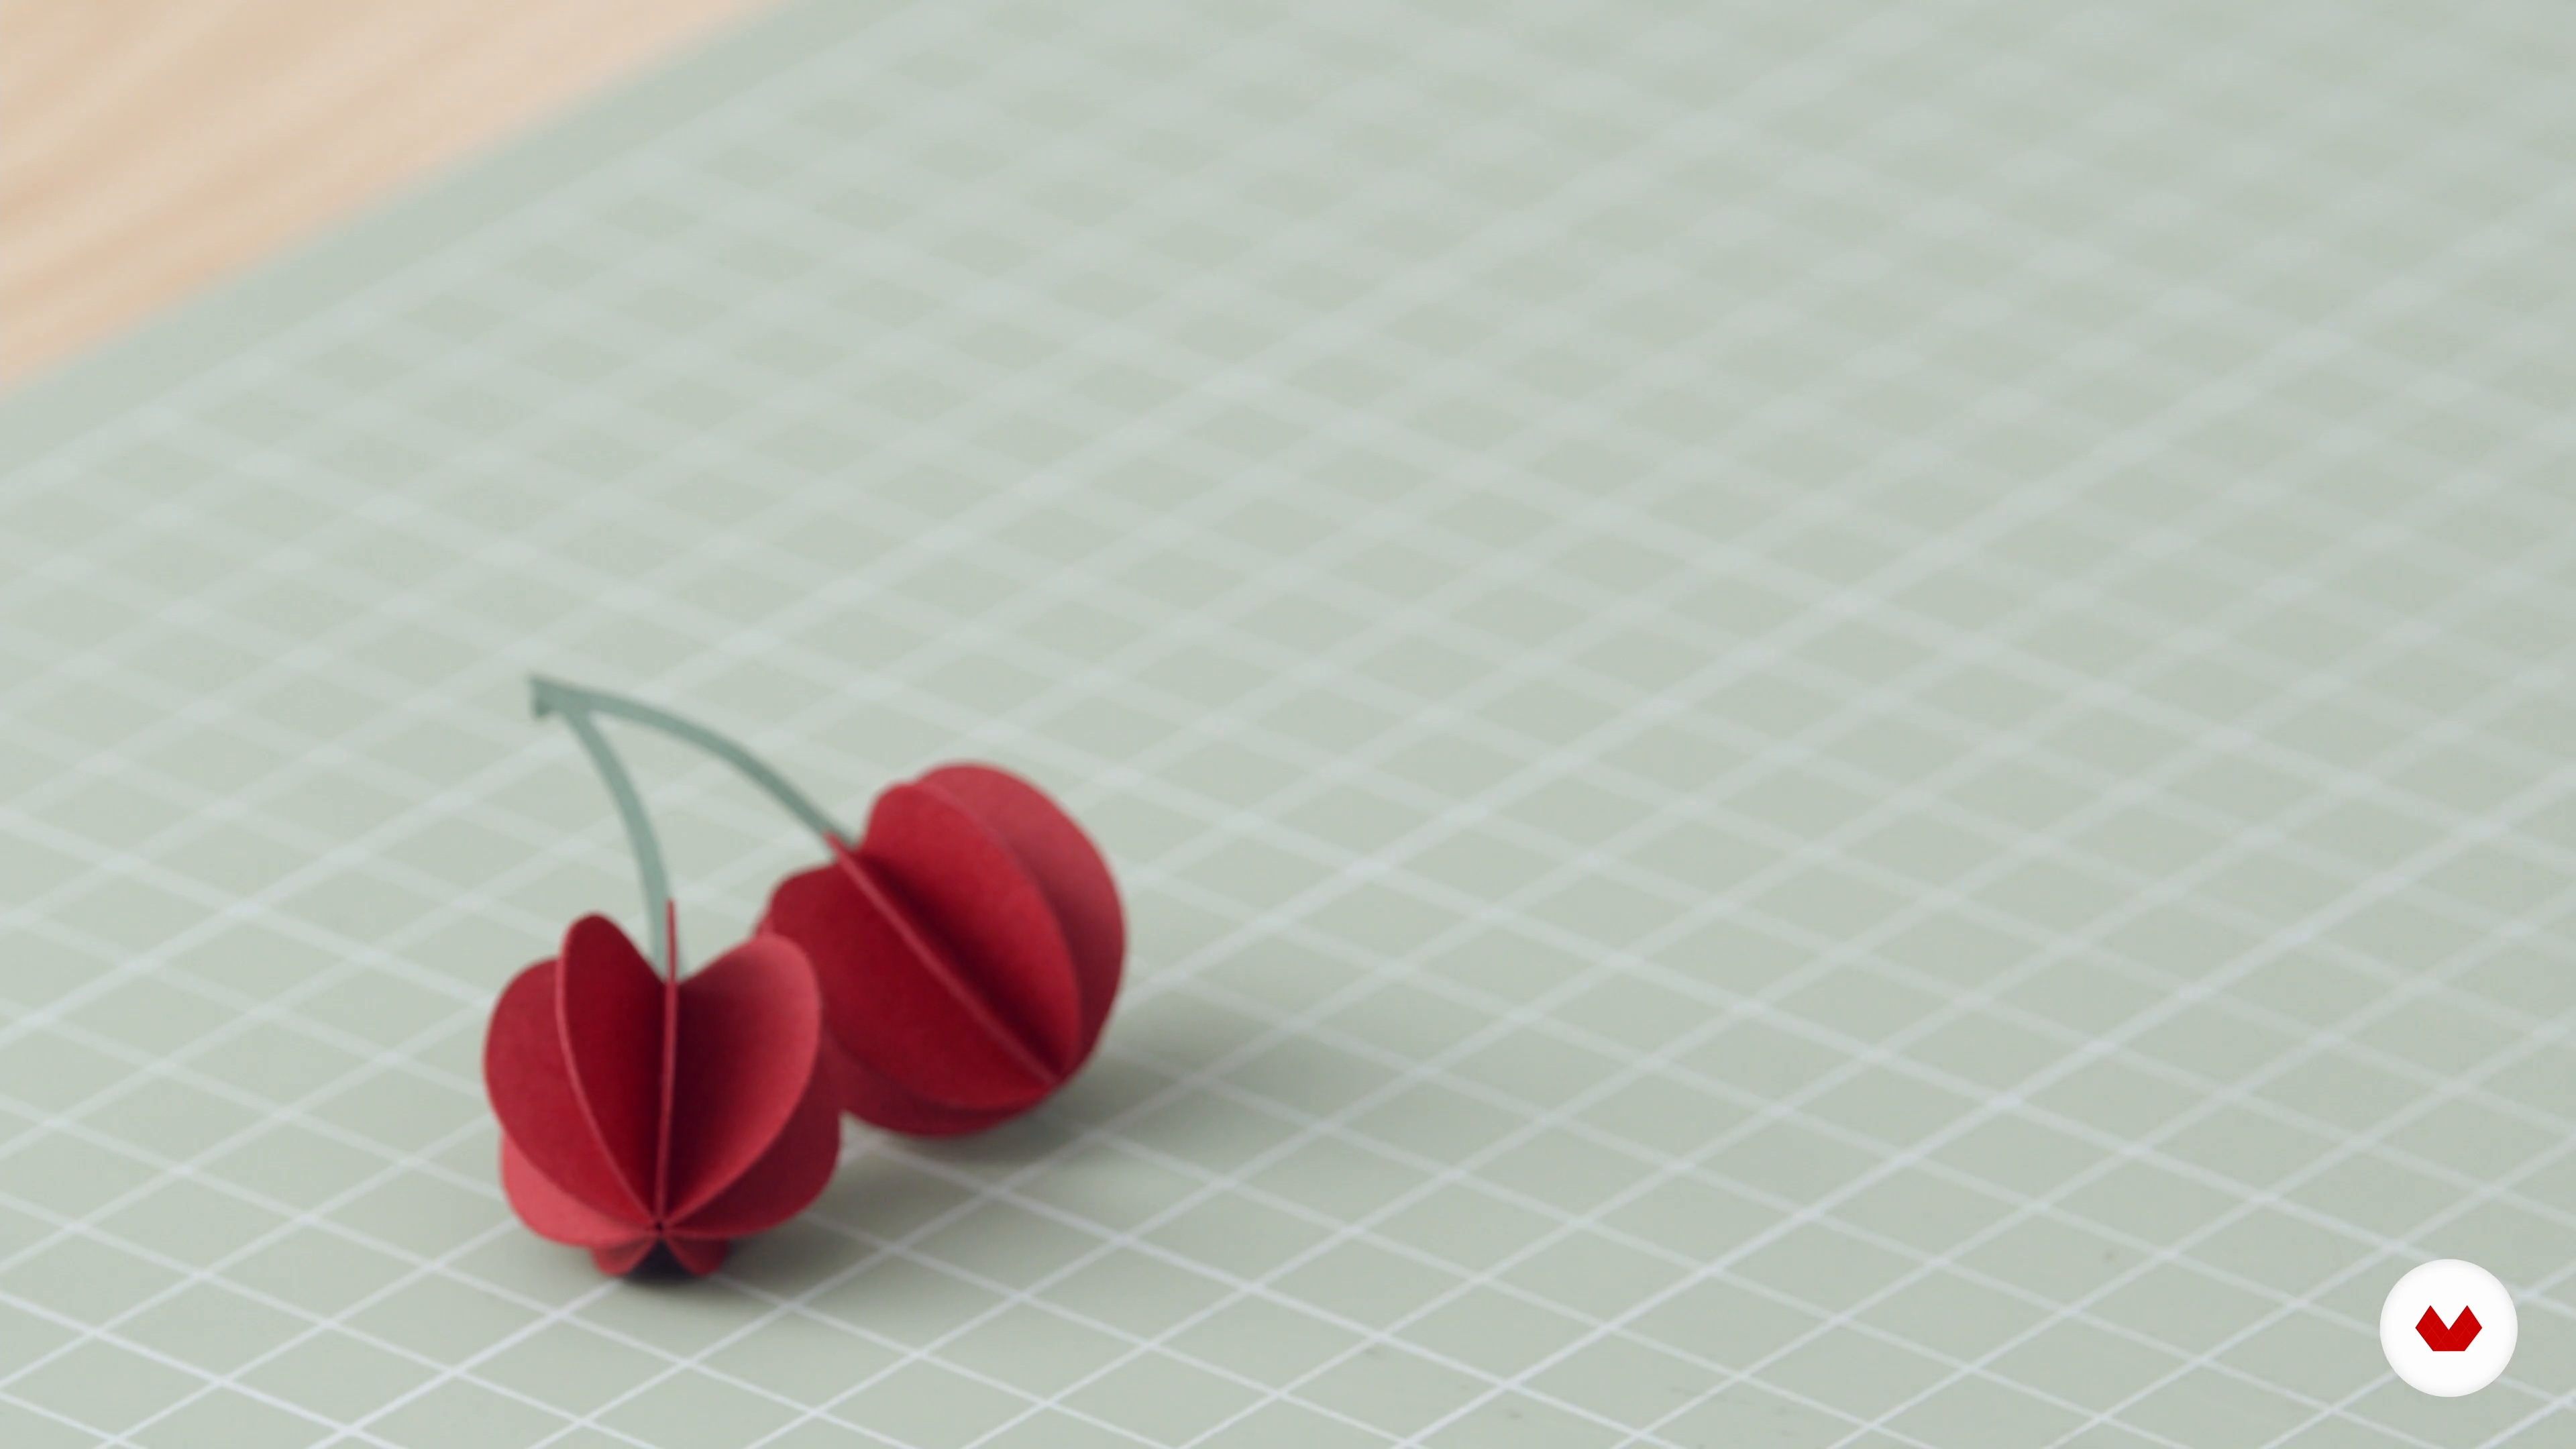
10Creating Simple 3D Shapes 1
In this lesson, I will teach you how to turn a flat sheet of paper into a range of 3D paper shapes, which you can use, adapt and combine to create innumerable different paper objects. I'll start by showing you how to make a 3D bud and cube.
12m
 11
11Creating Simple 3D Shapes 2
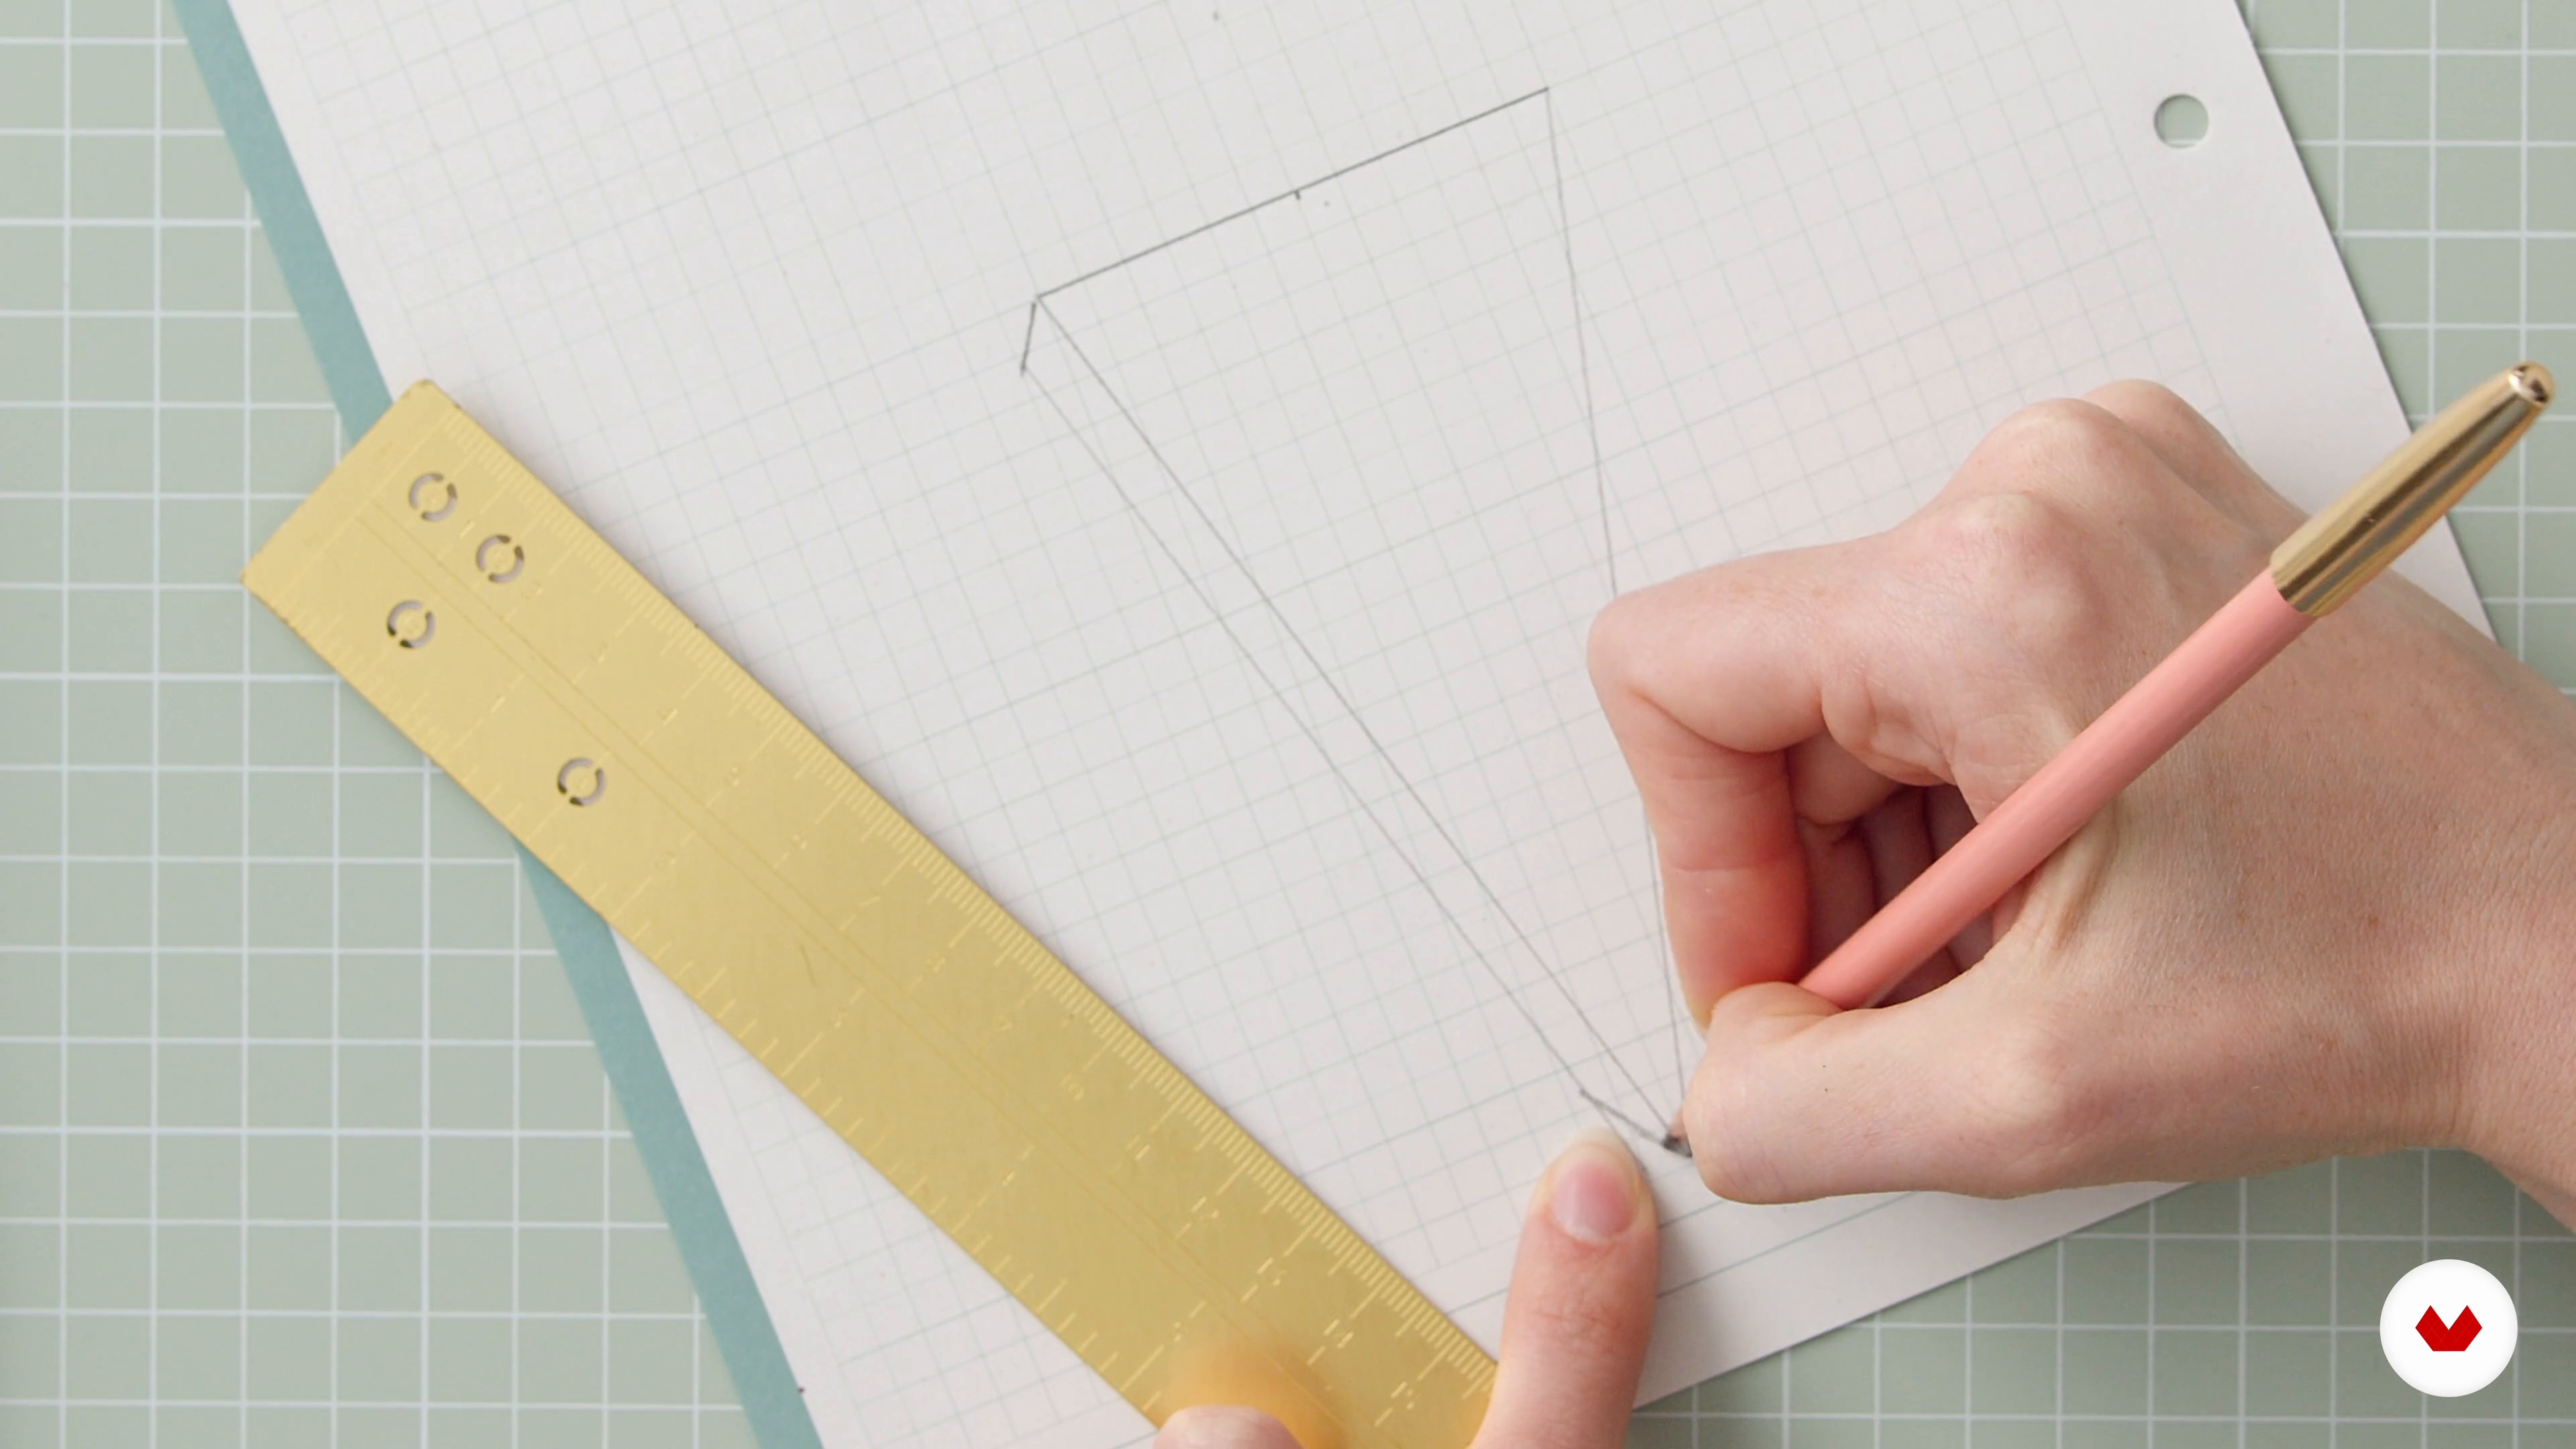
We have one more 3D shape to learn for our basics: the pyramid.
10m
 12
12Creating More Sophisticated 3D Shapes 1
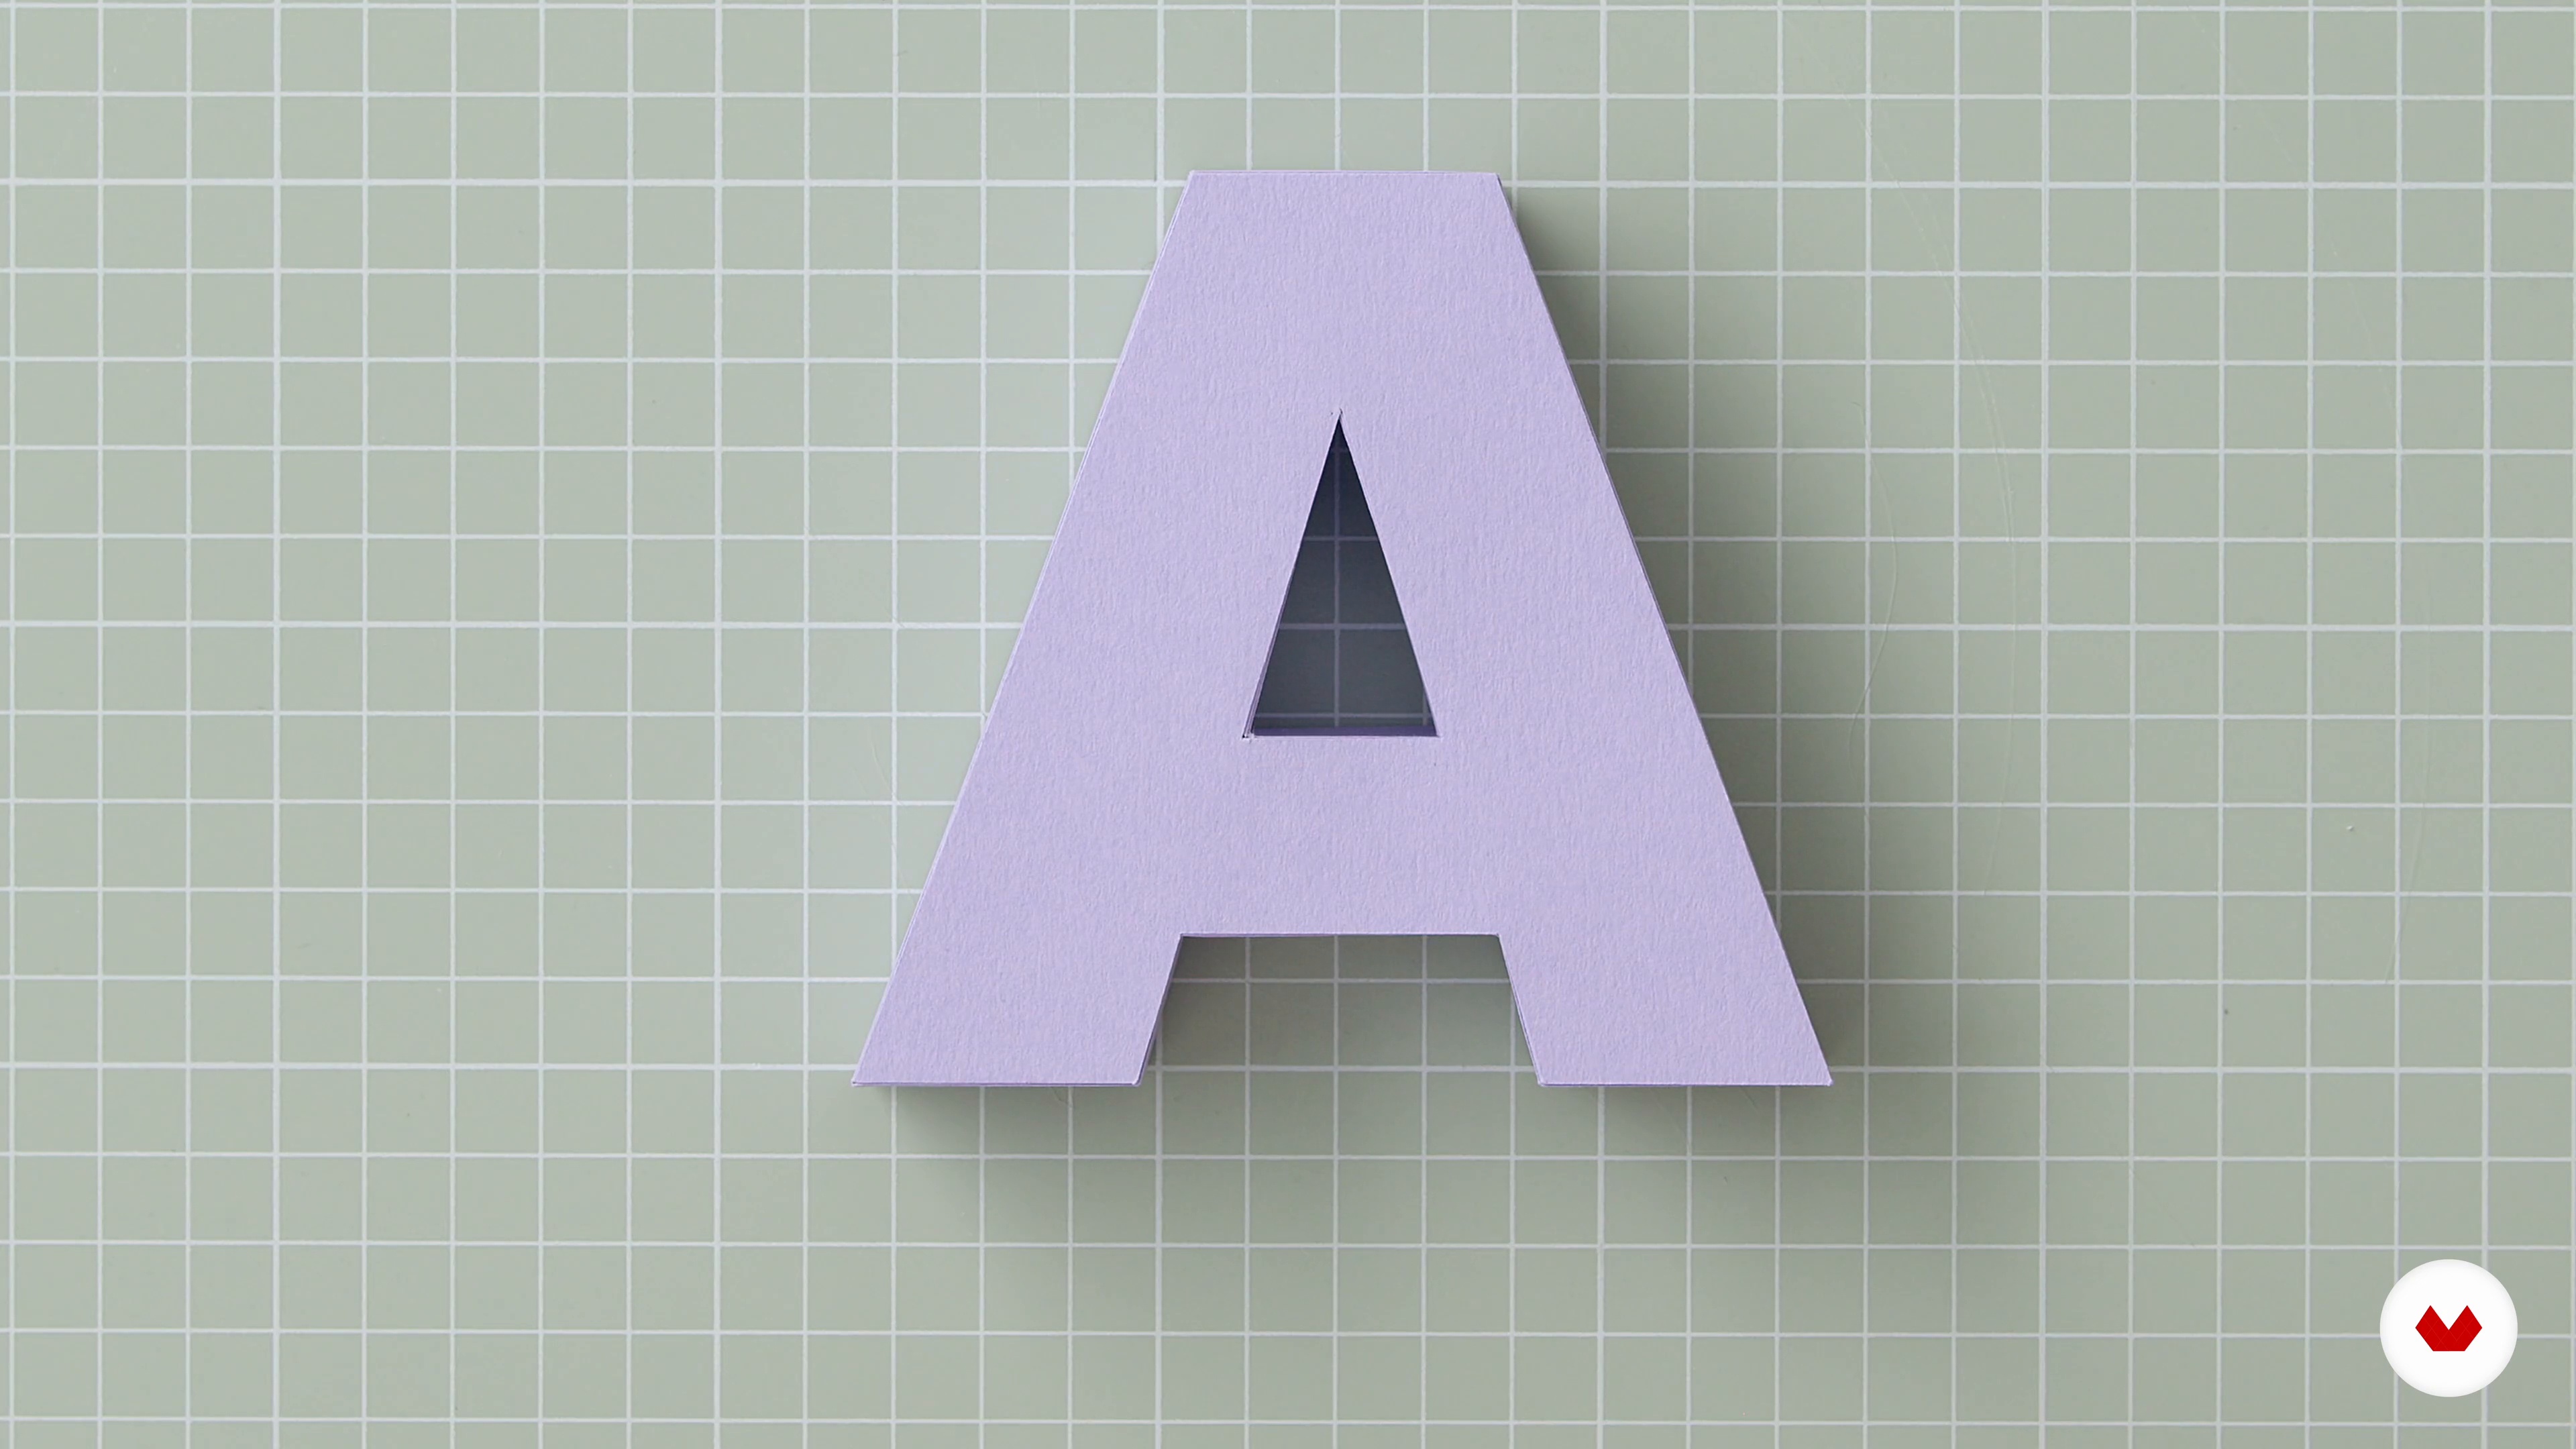
Now I will show you how to create some more complex 3D shapes. These can all be adapted and combined with other templates to create a great variety of objects! I'll begin by showing you how to make a 3D quarter circle and a round plinth, which I'll use for my project.
16m
 13
13Creating More Sophisticated 3D Shapes 2
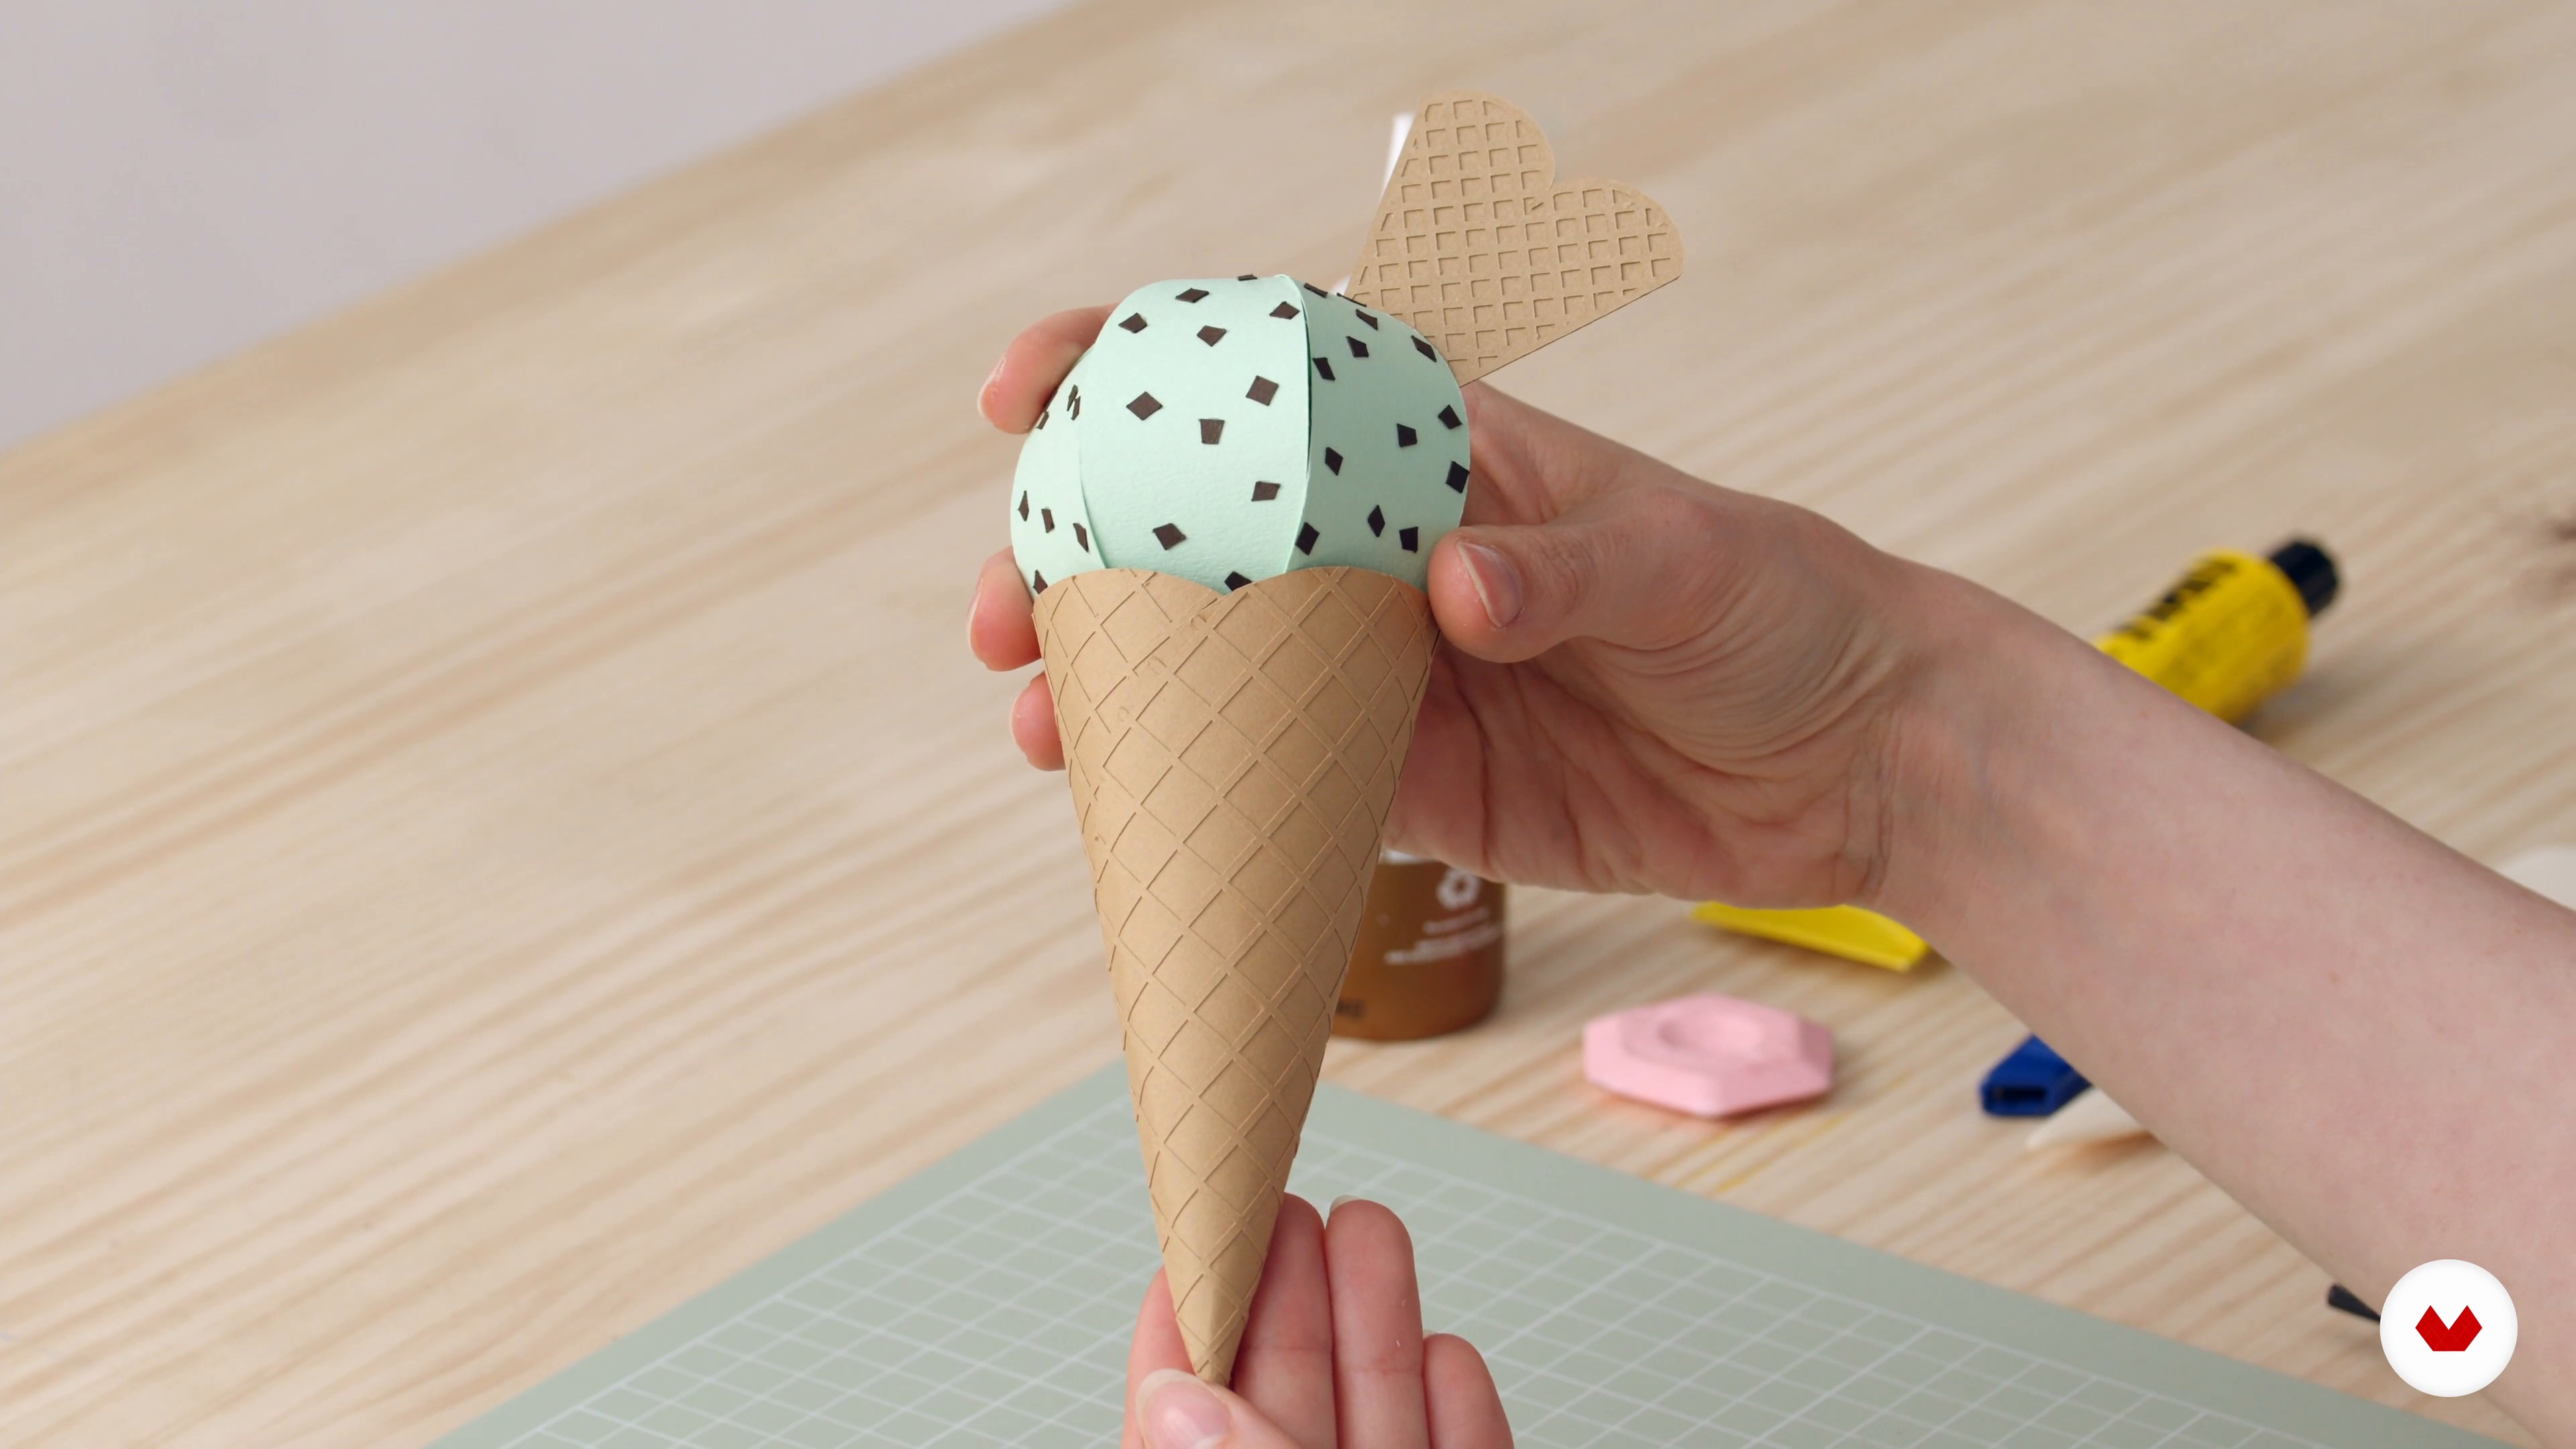
Now we'll learn how to make a cone and a sphere shape.
8m
 14
14Using Illustrator and a Plotter 1
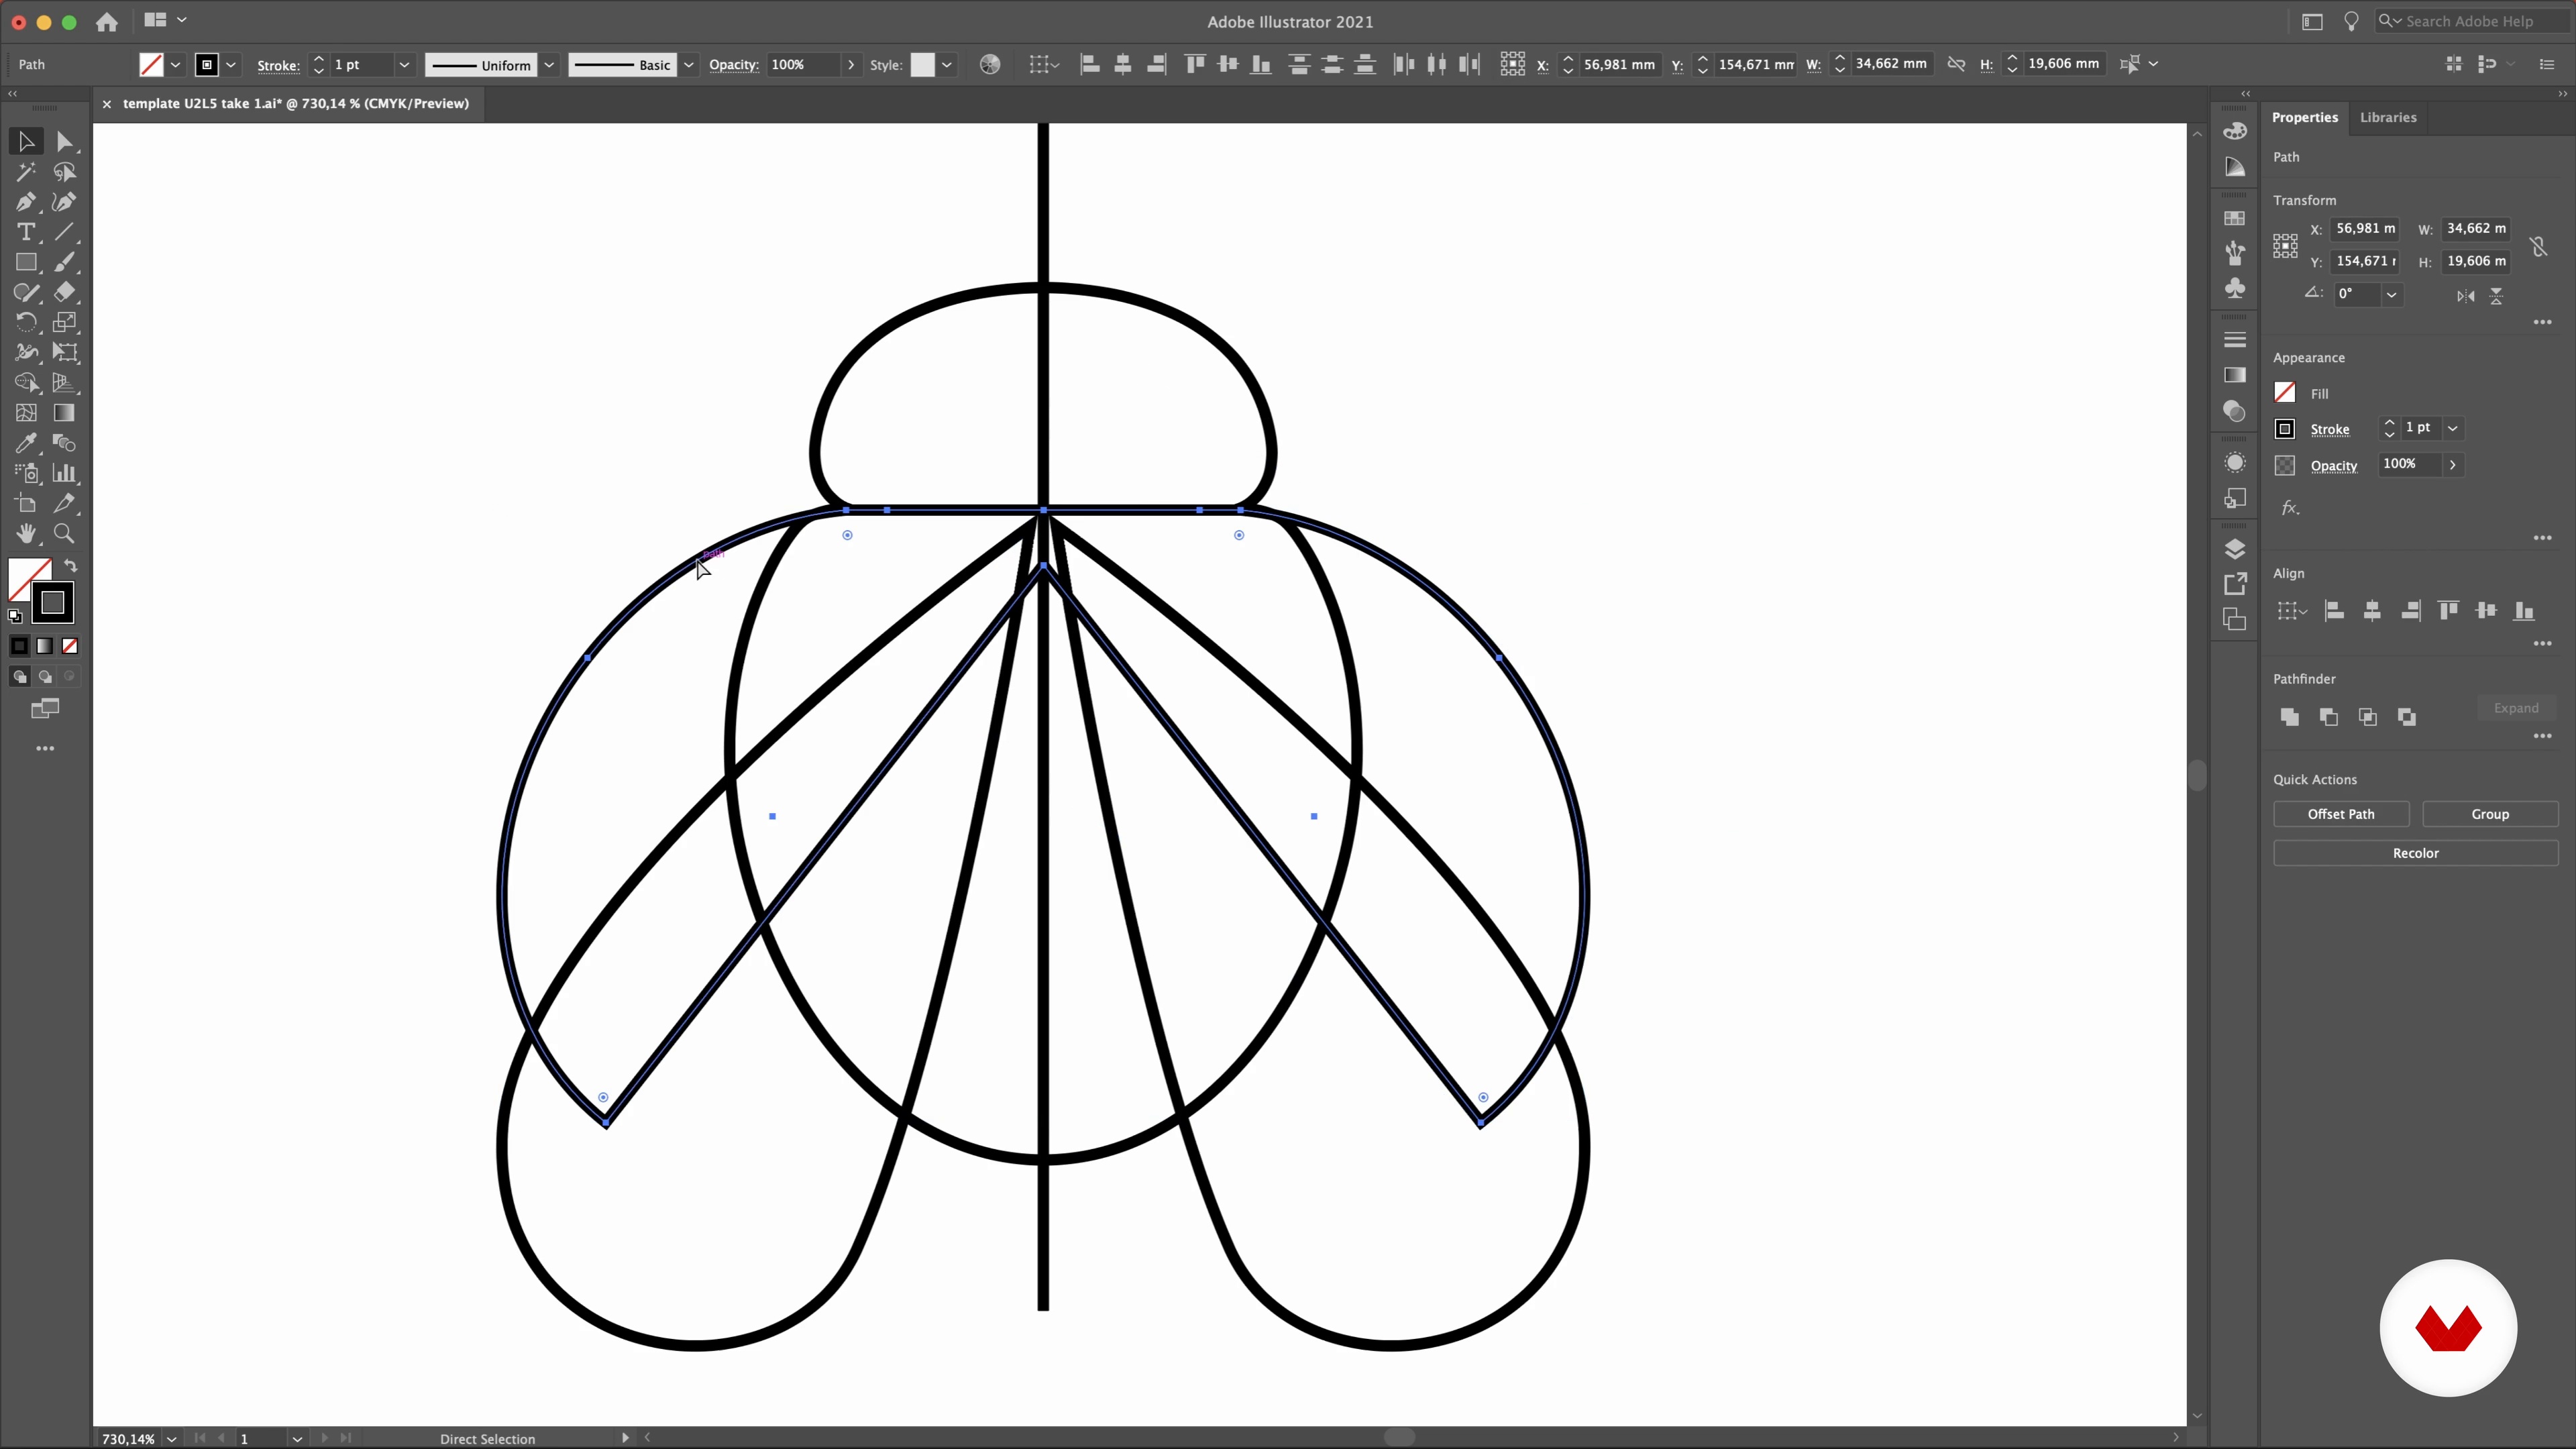
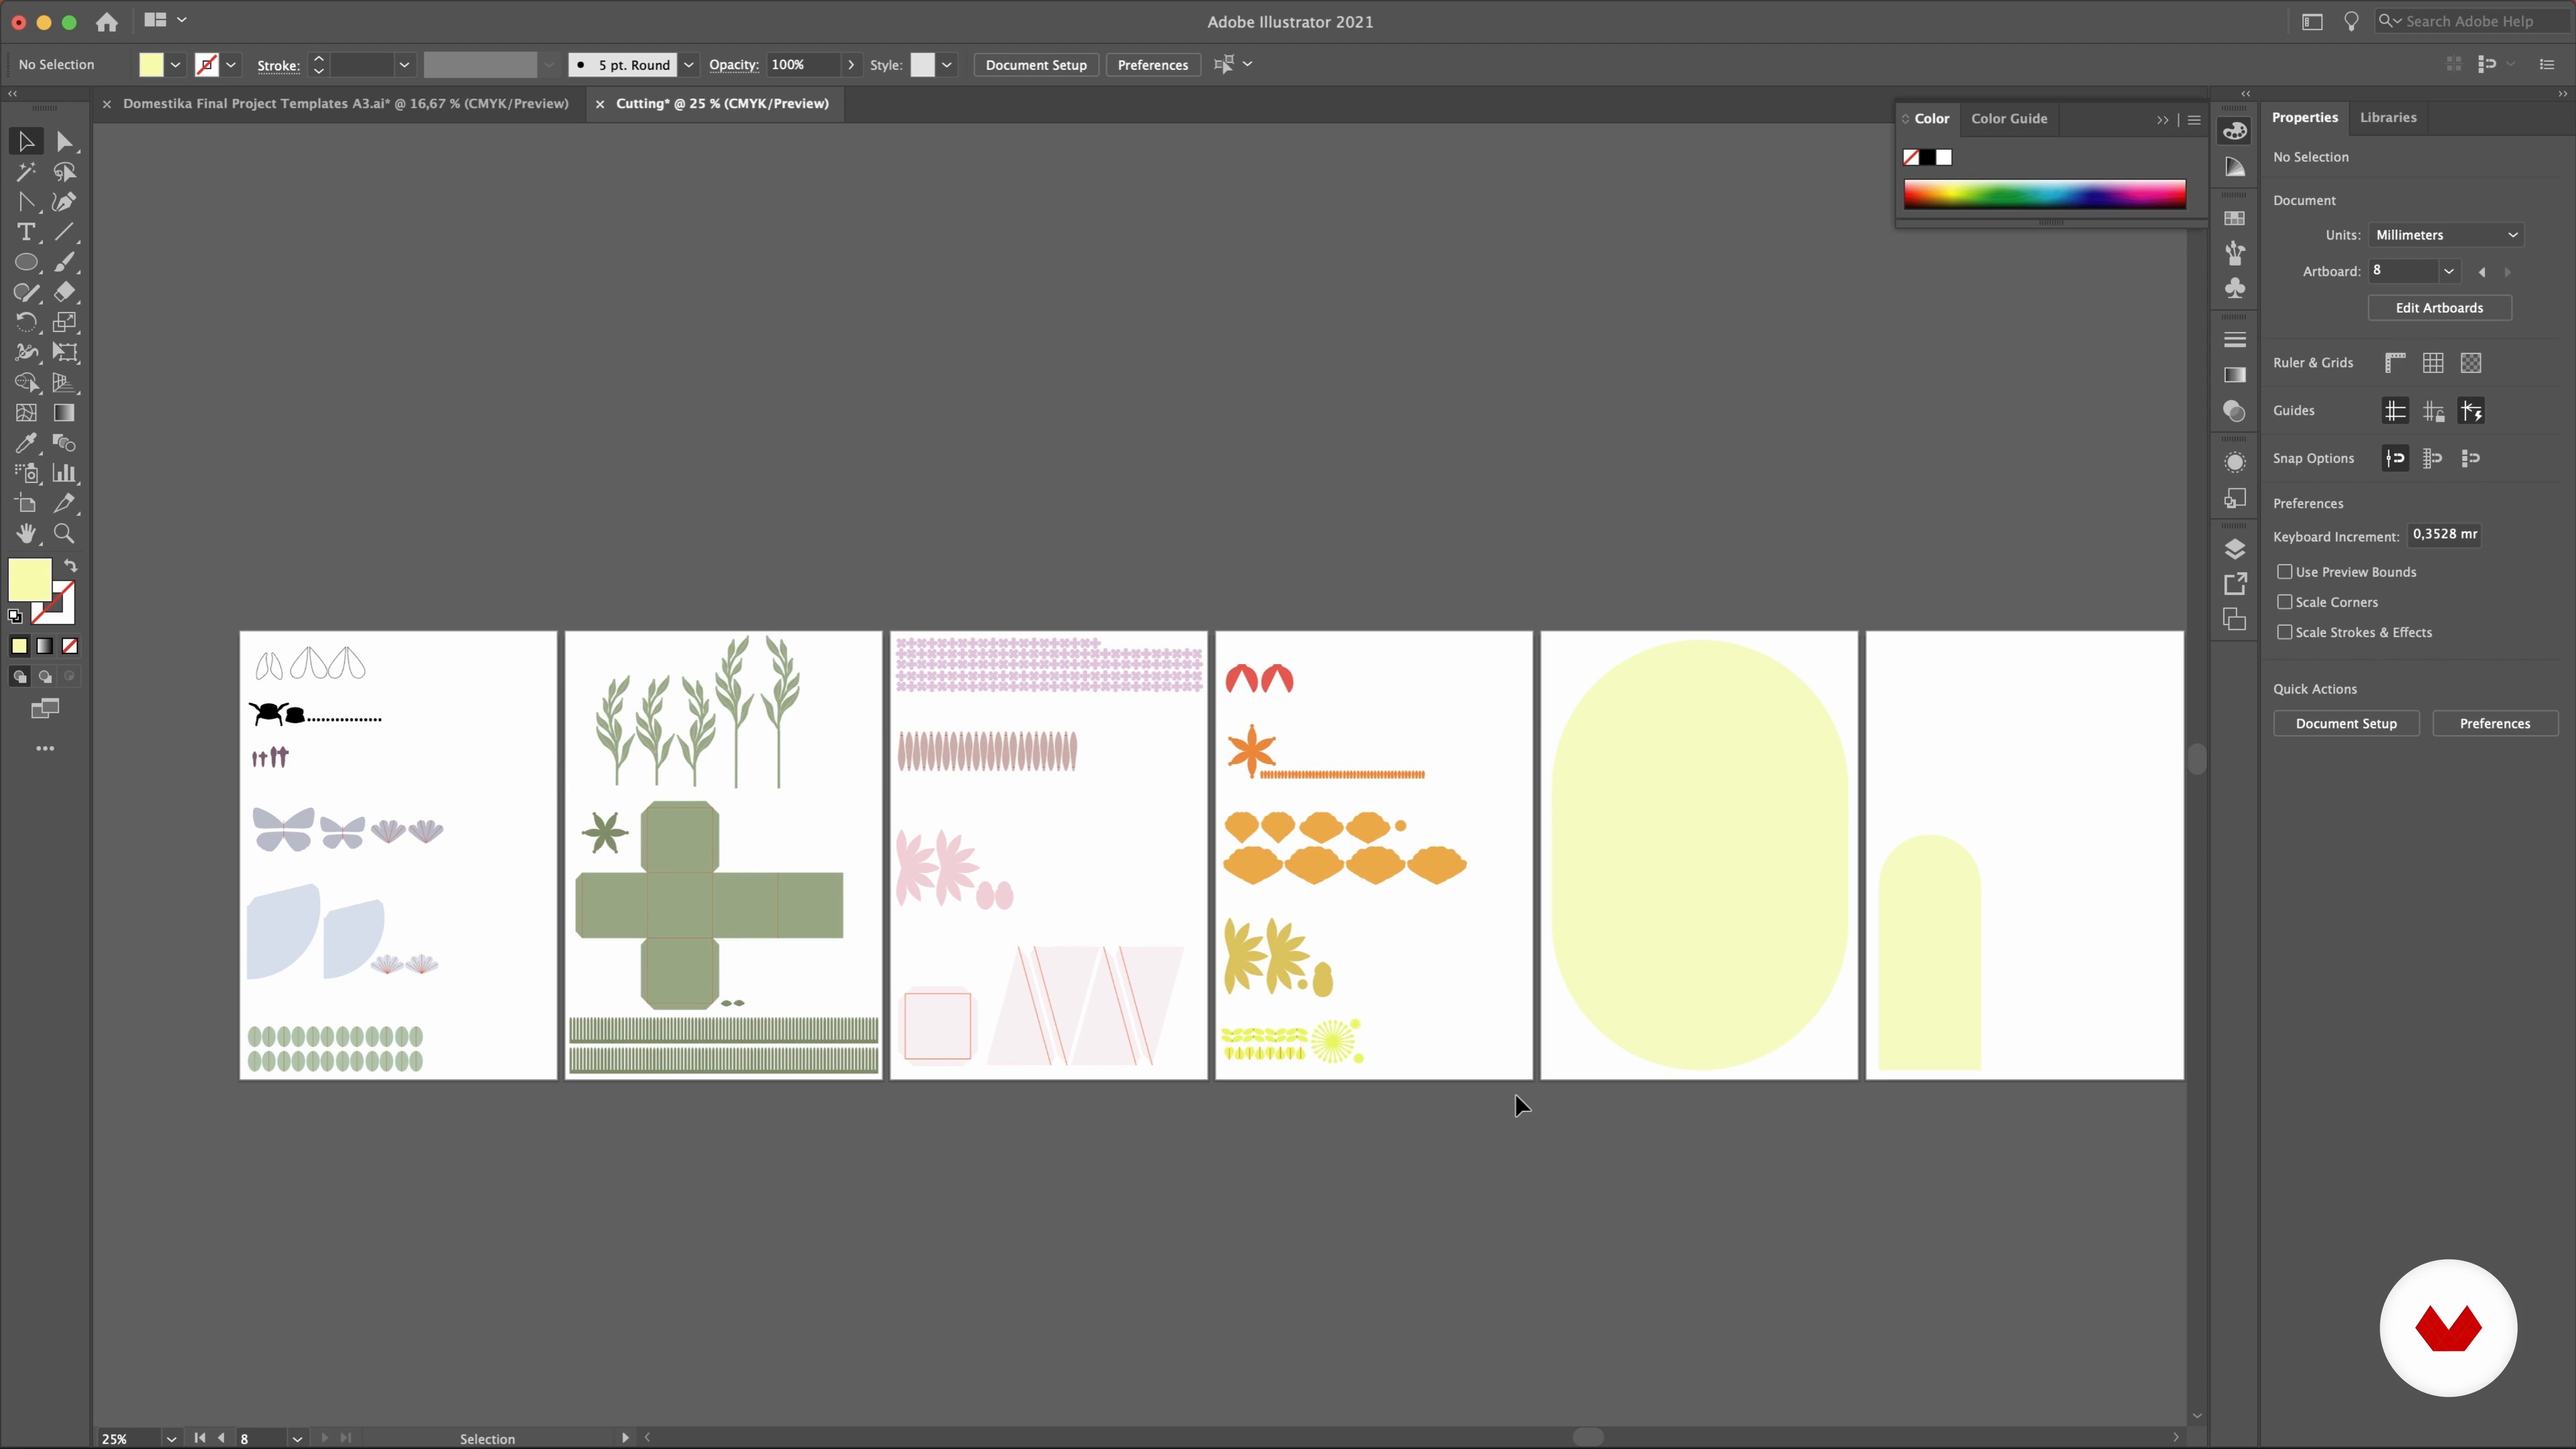
This is an optional lesson (but a valuable one!) where I will give you some tips for designing and organising your templates on Illustrator. We will start by seeing how to design flat shapes.
18m
 15
15Using Illustrator and a Plotter 2
Now we'll move on to designing the templates for 3D shapes. You'll also see how to use a plotter to cut out your vector designs.
20m
 16
16Making My Paper Foliage
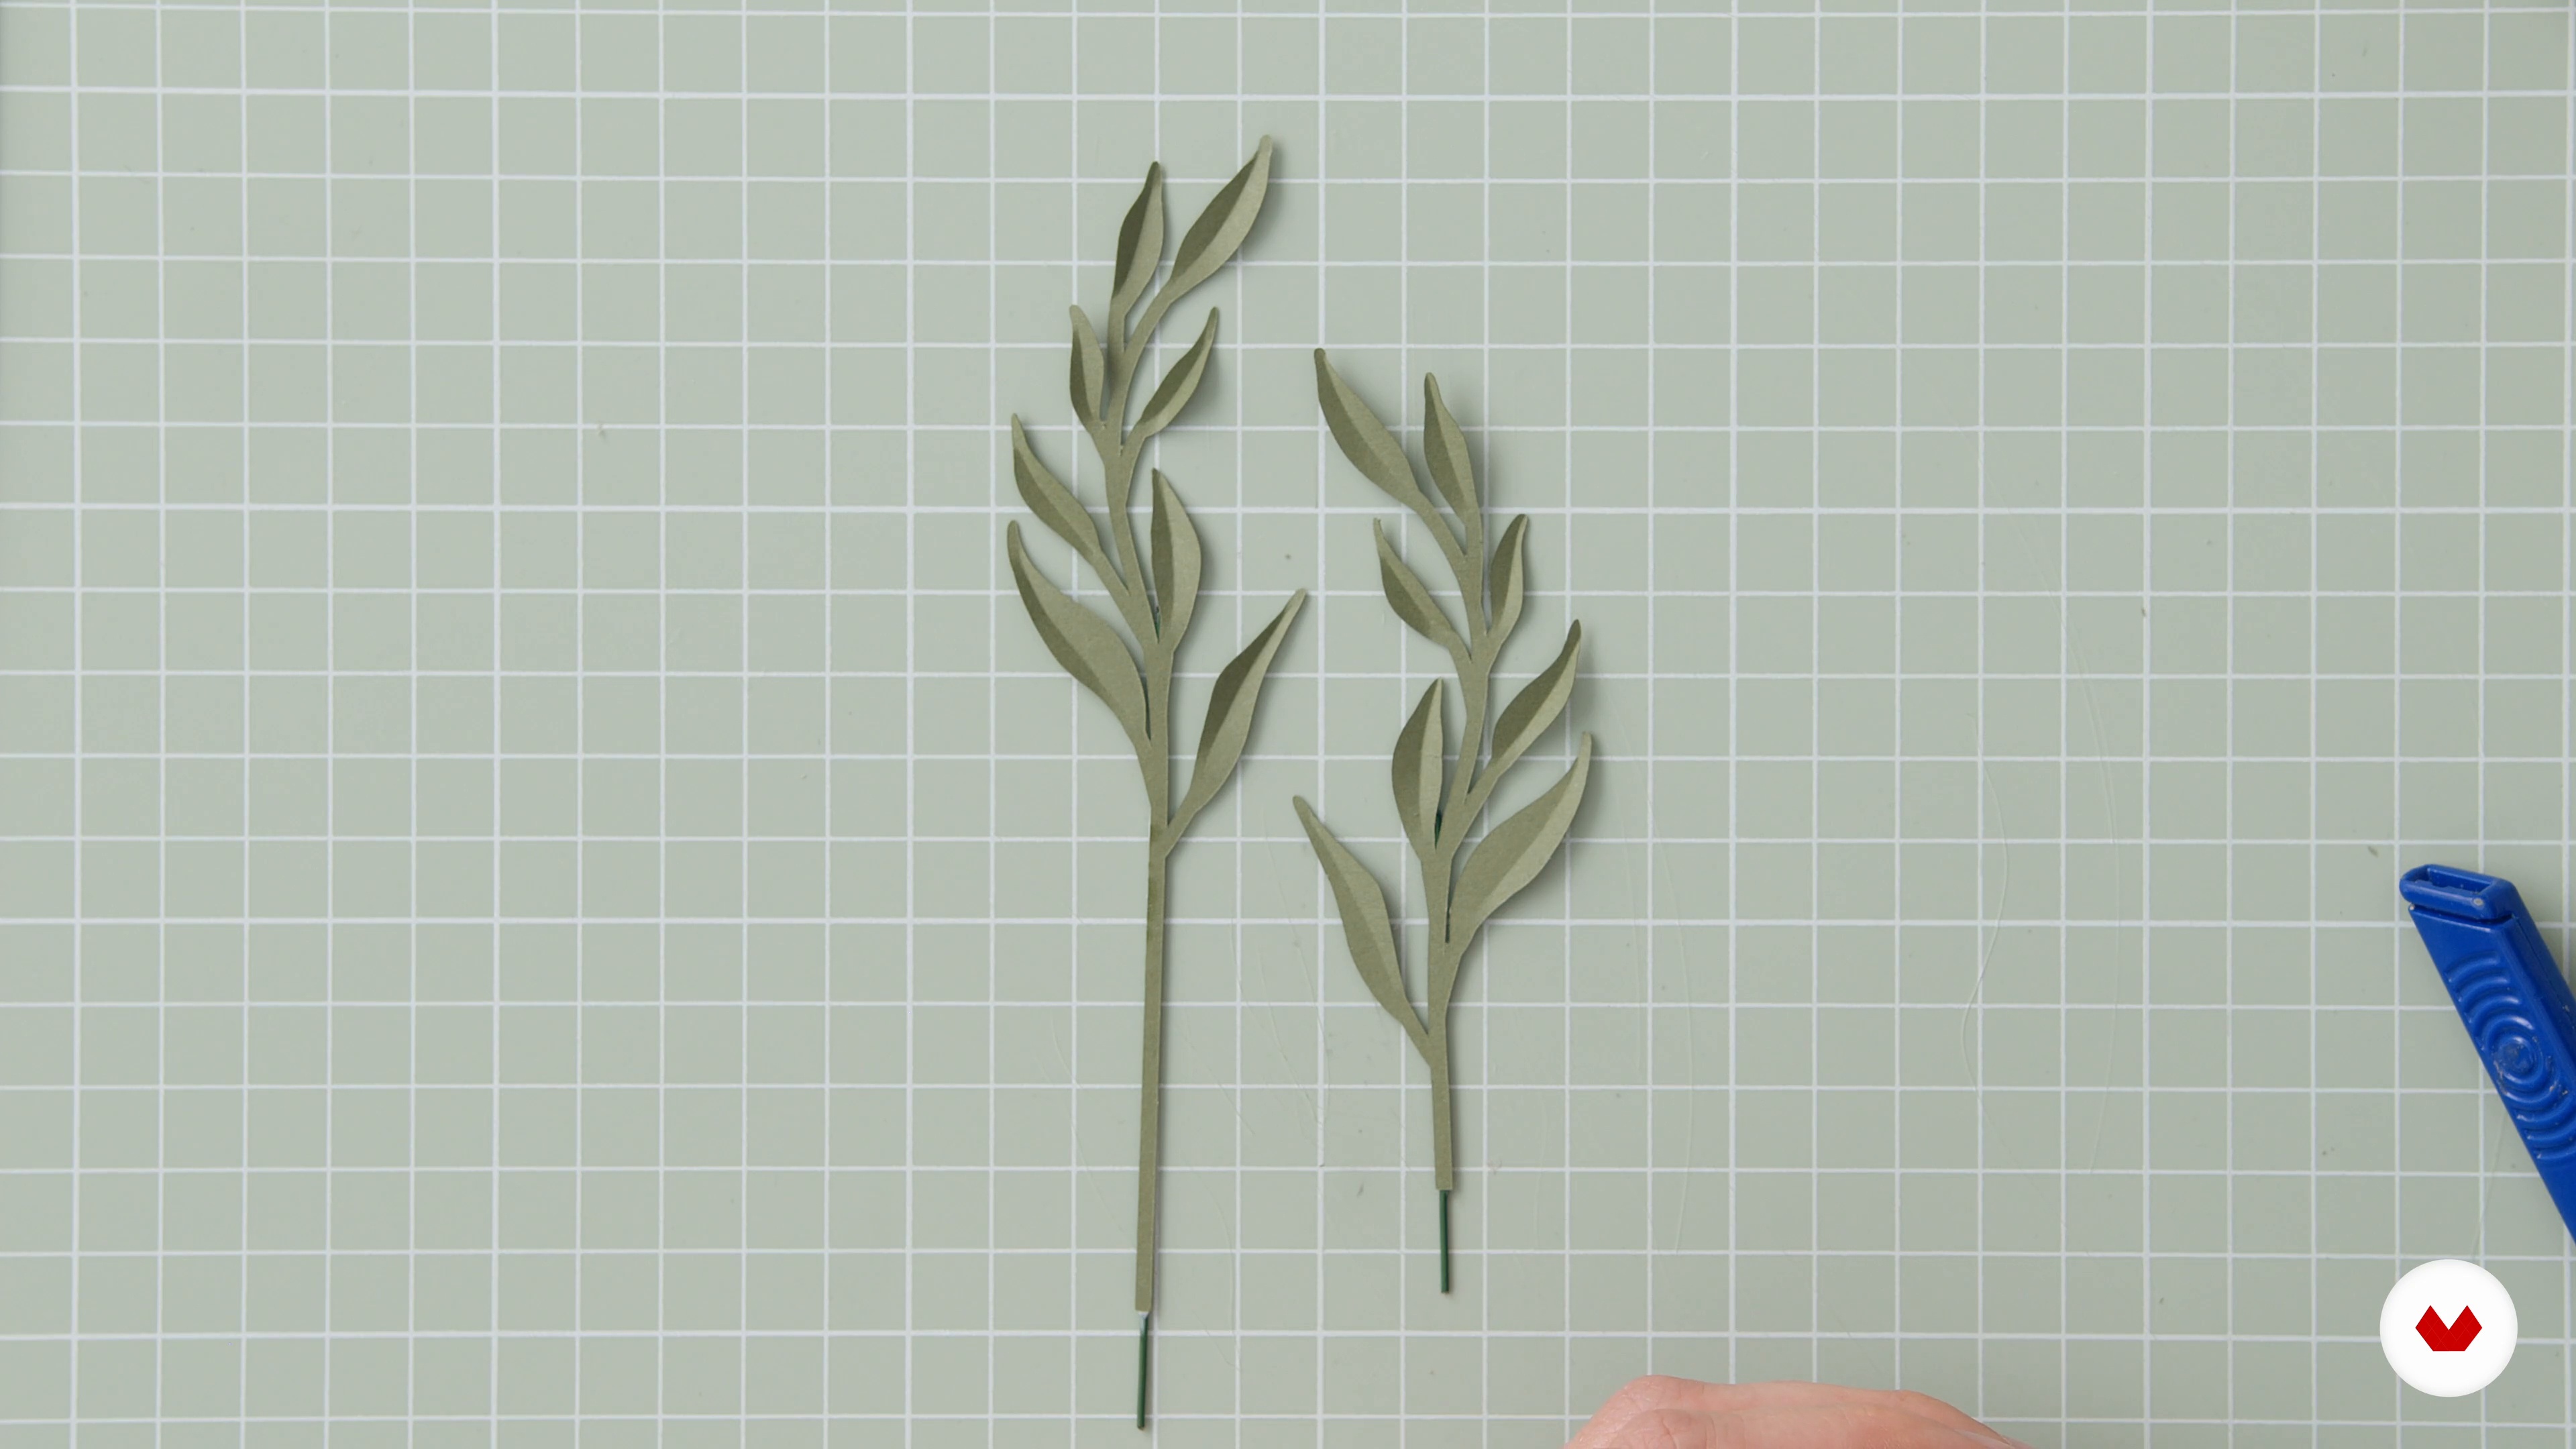
In this lesson, I’ll show you how to make some paper foliage for the greenery of the set. This will include making the paper gorse and finishing the paper leaves.
12m
 17
17Finishing the Flowers
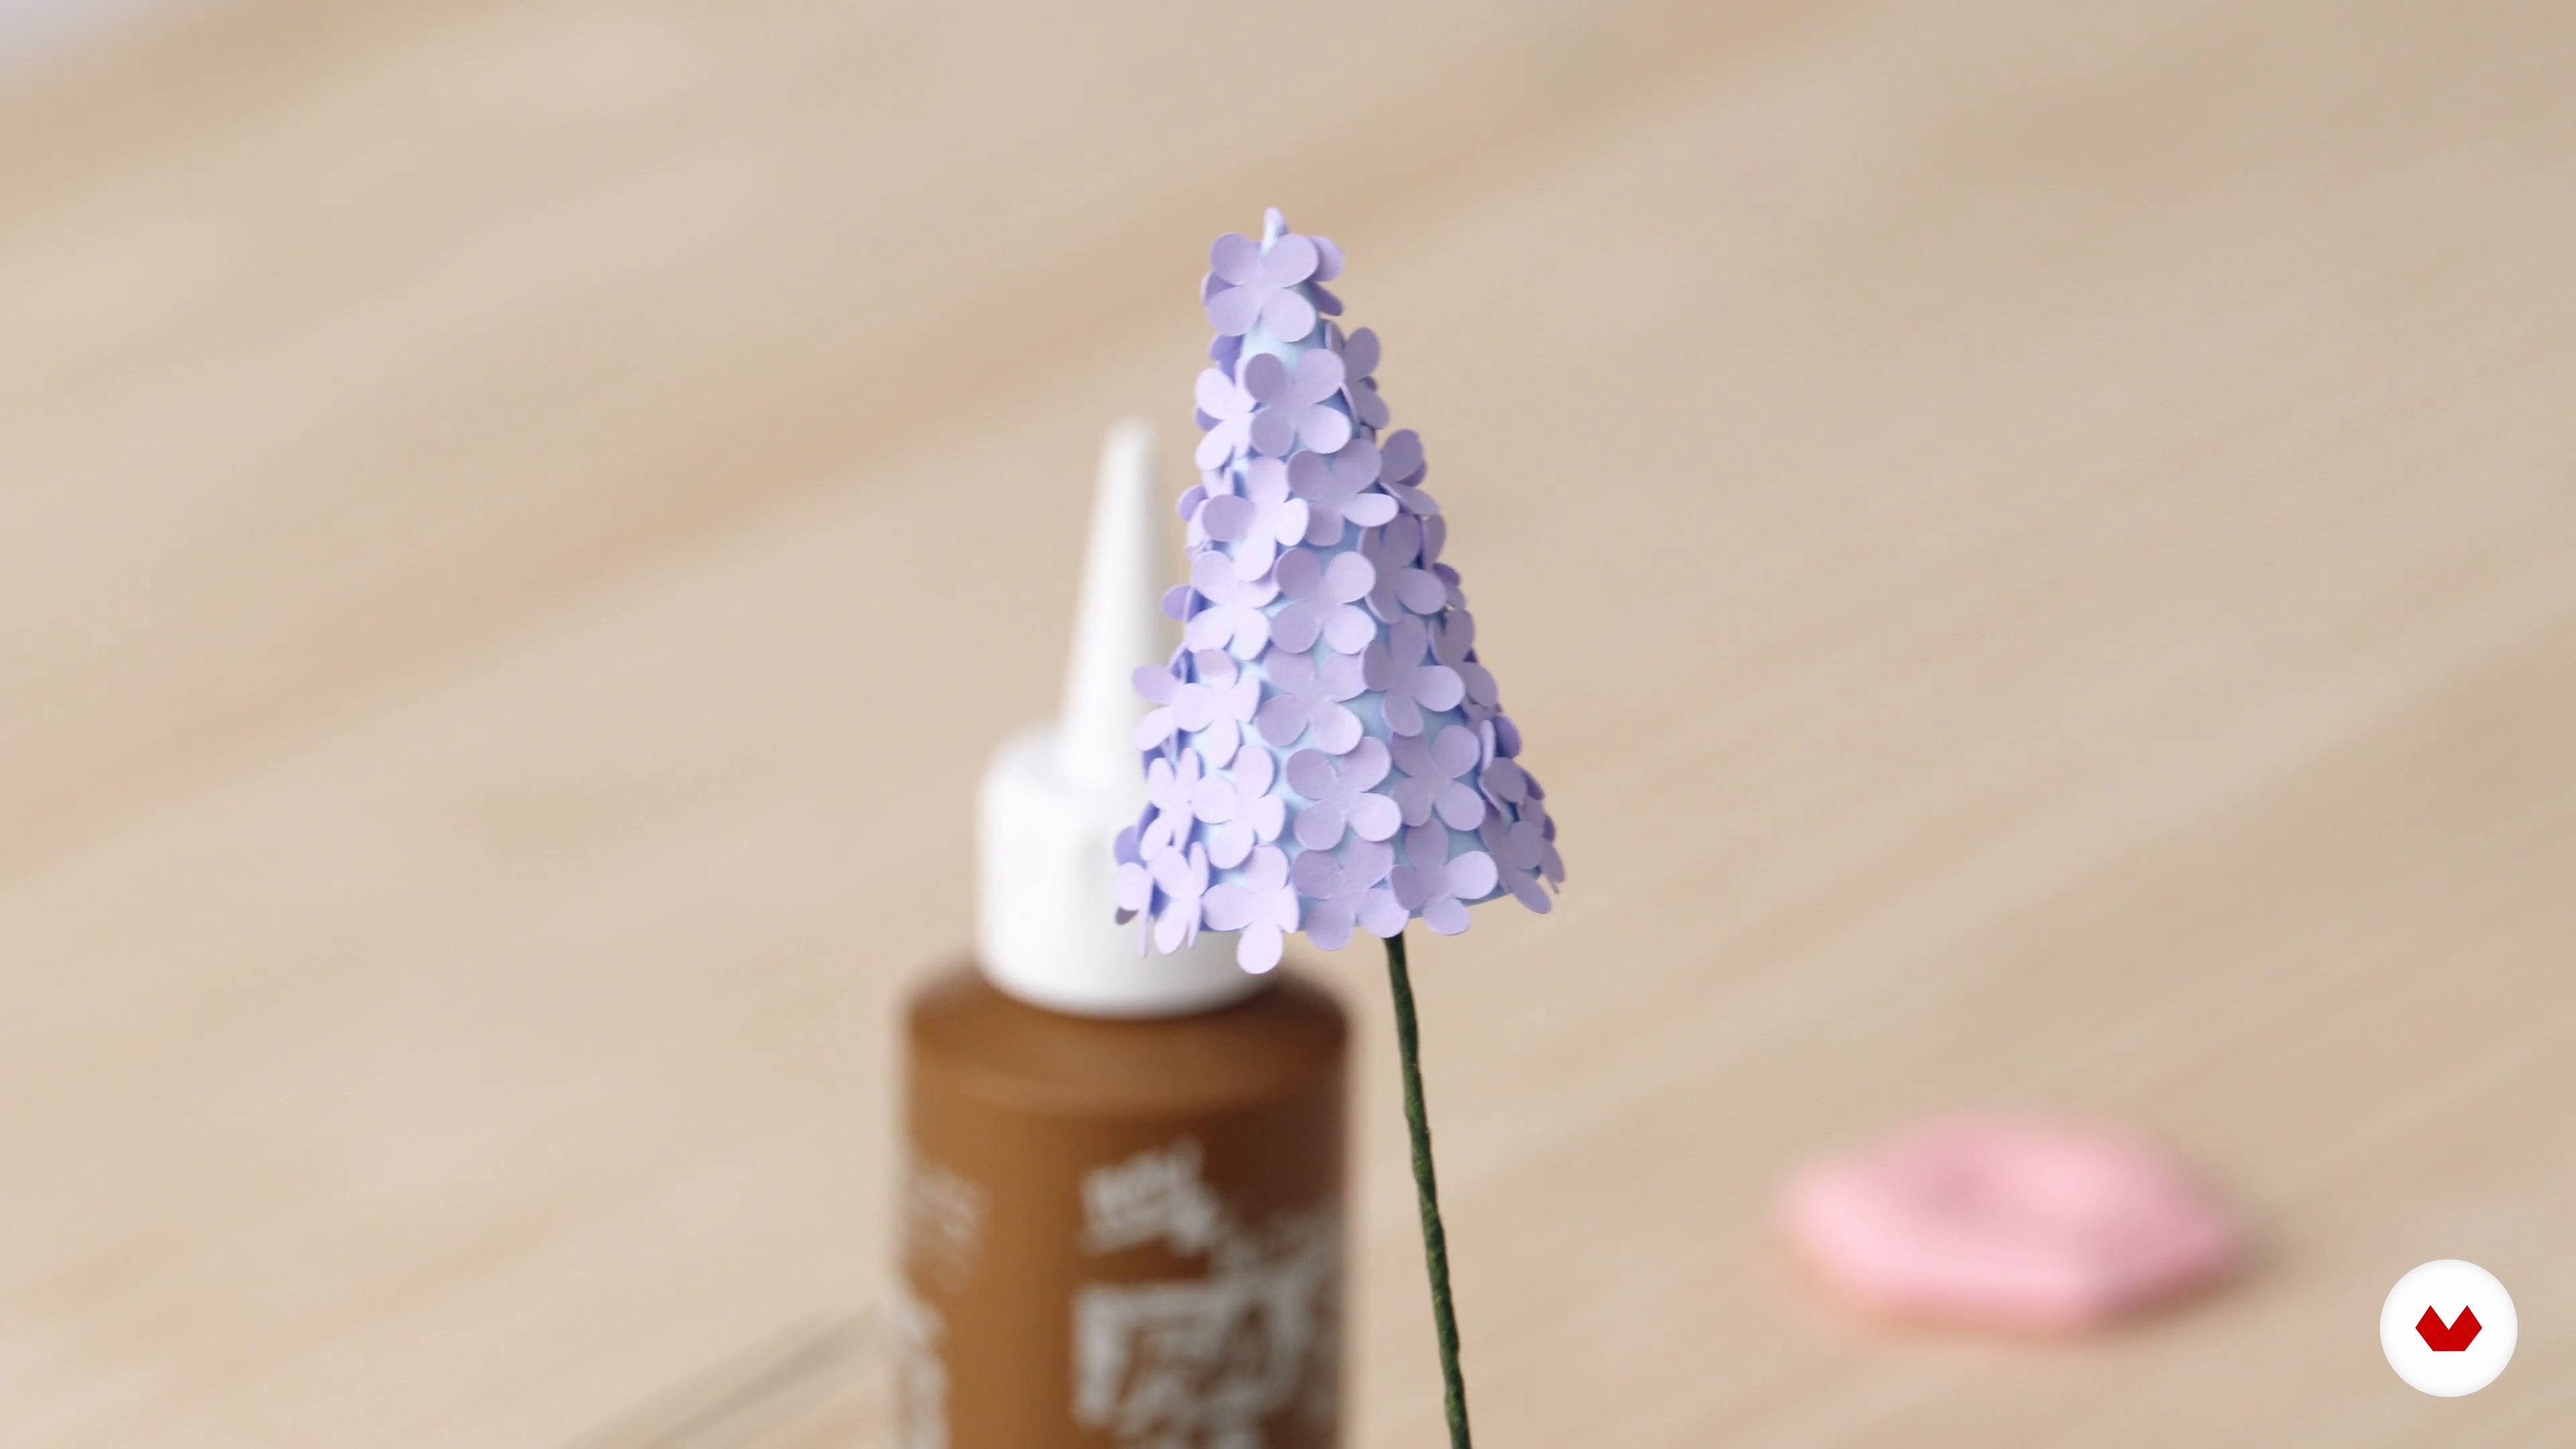
Now I’ll be putting the paper craft techniques I've taught you to use, as I finish making the paper flowers for my set.
19m
 18
18Crafting My Animals
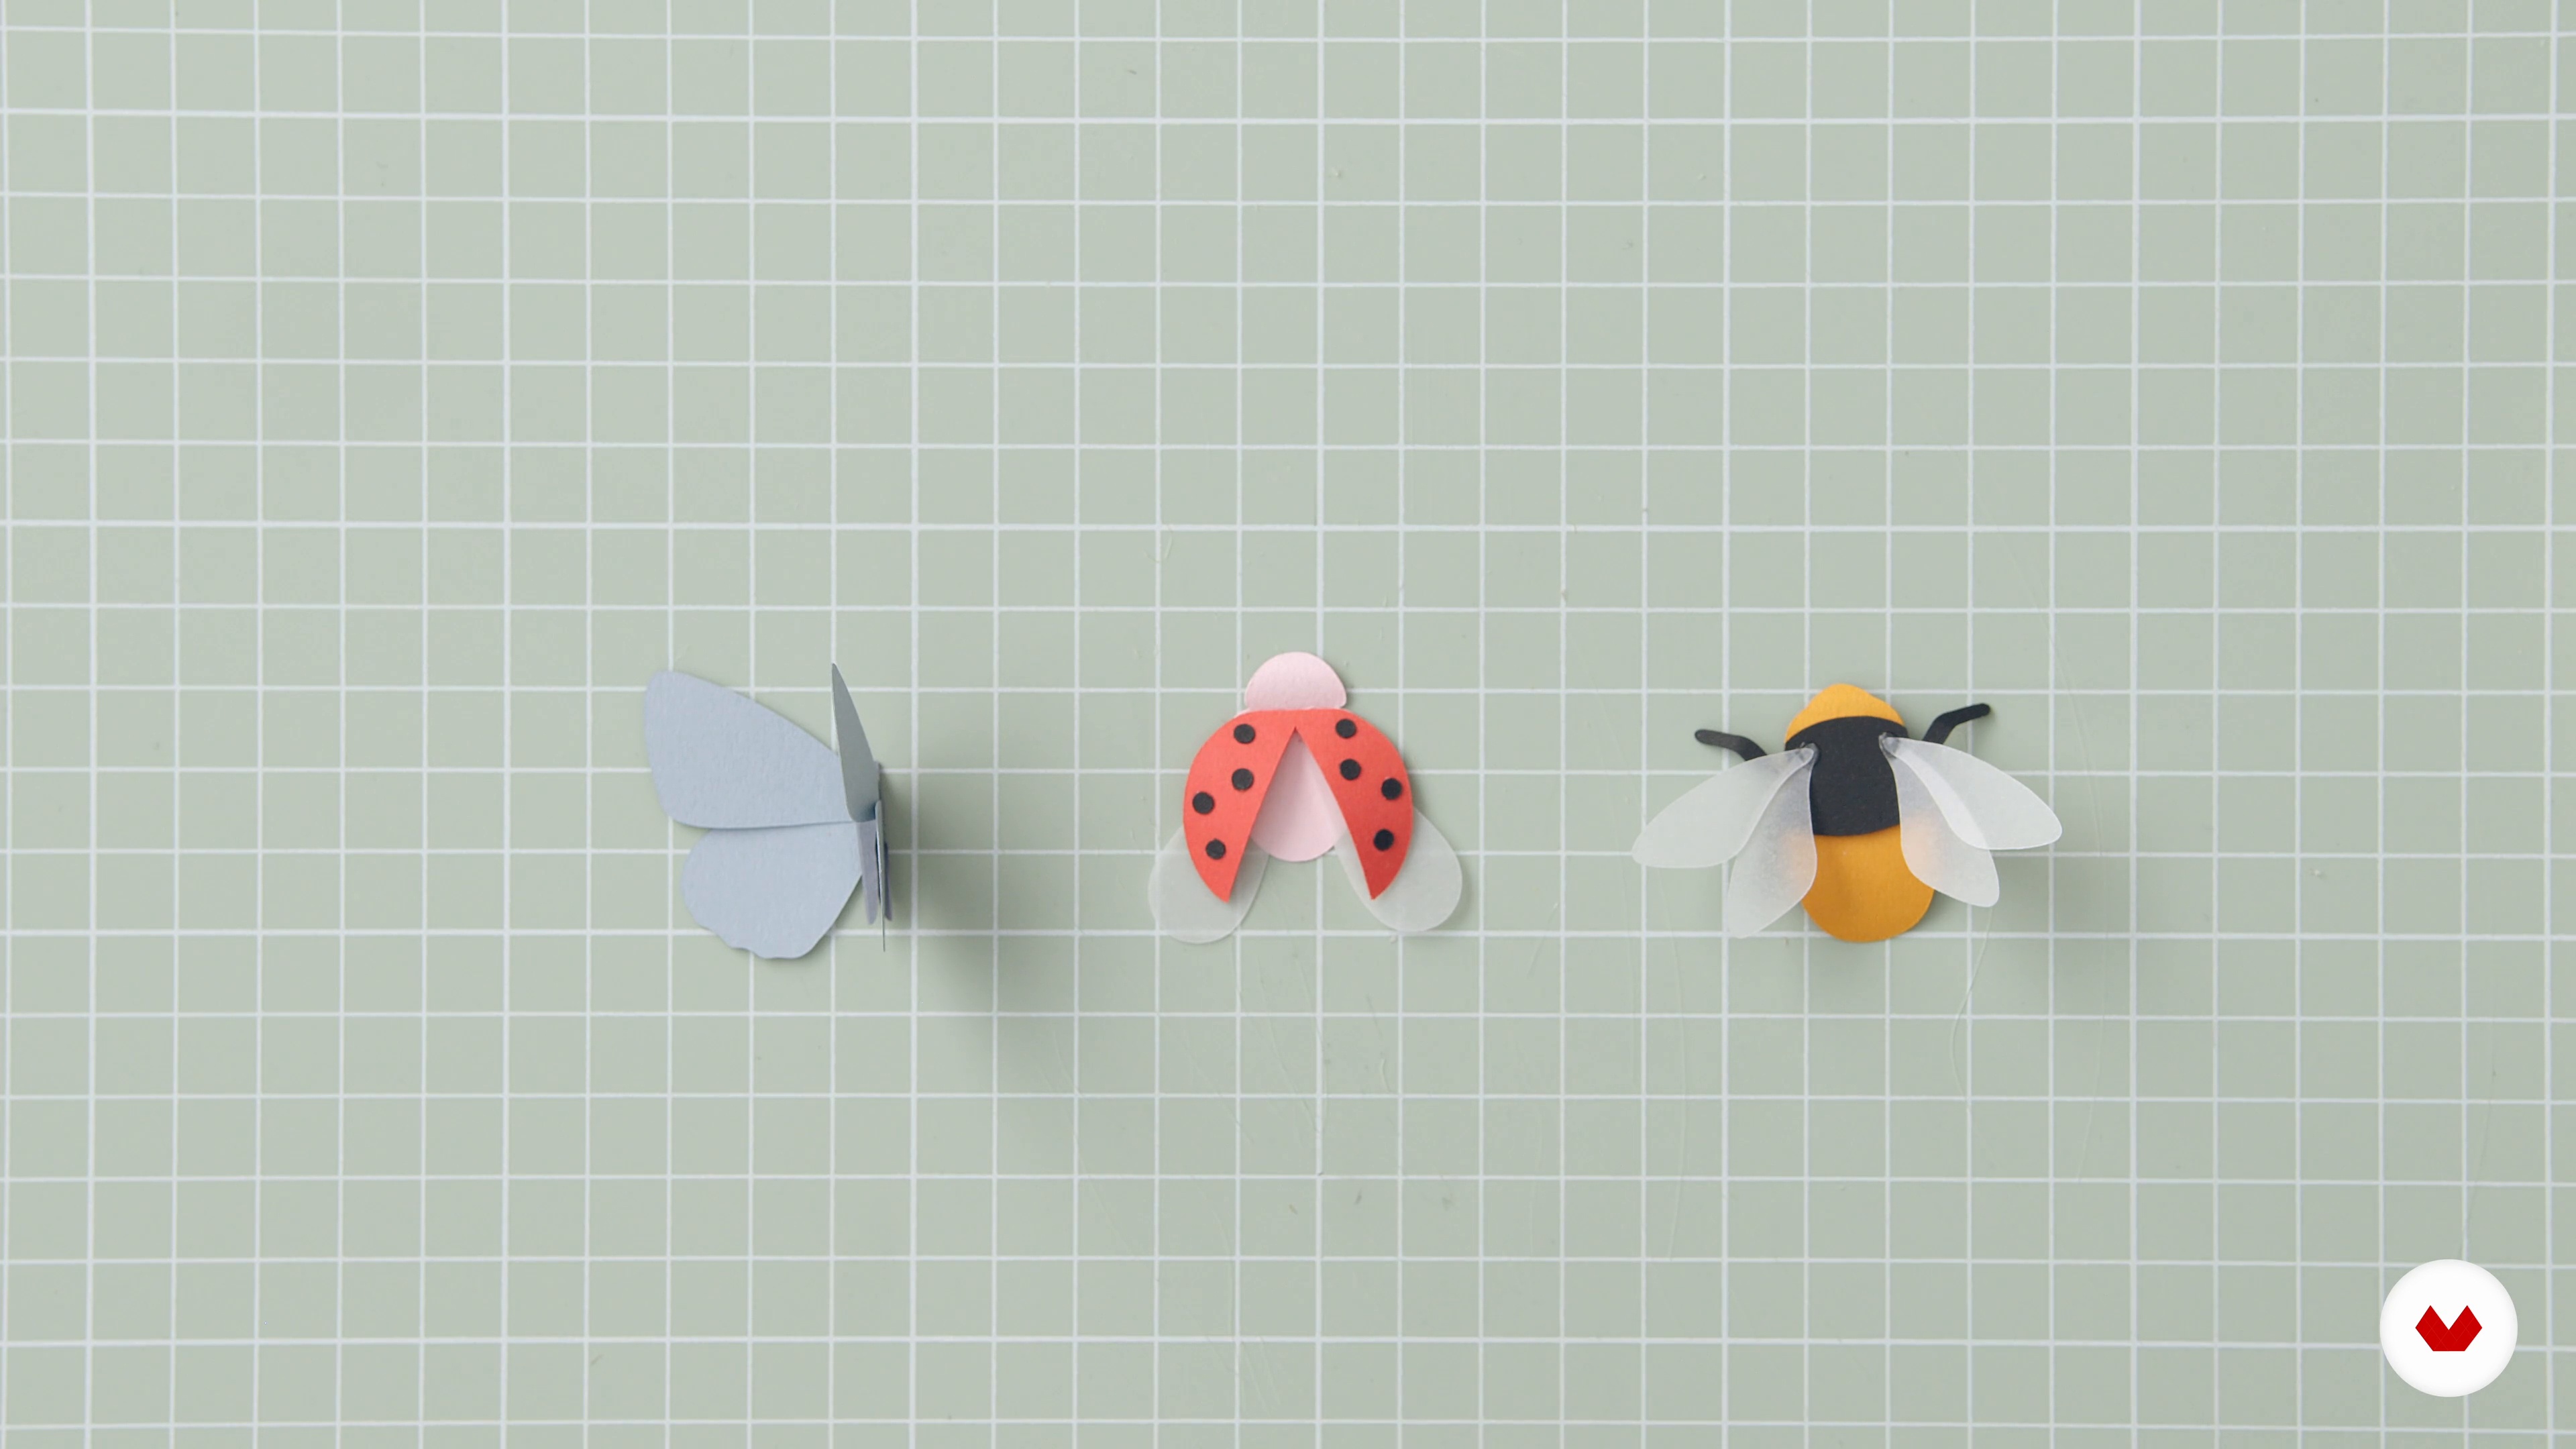
On to the final element of my paper set design: the insects. I'll be showing you how to assemble them in this video.
8m
 19
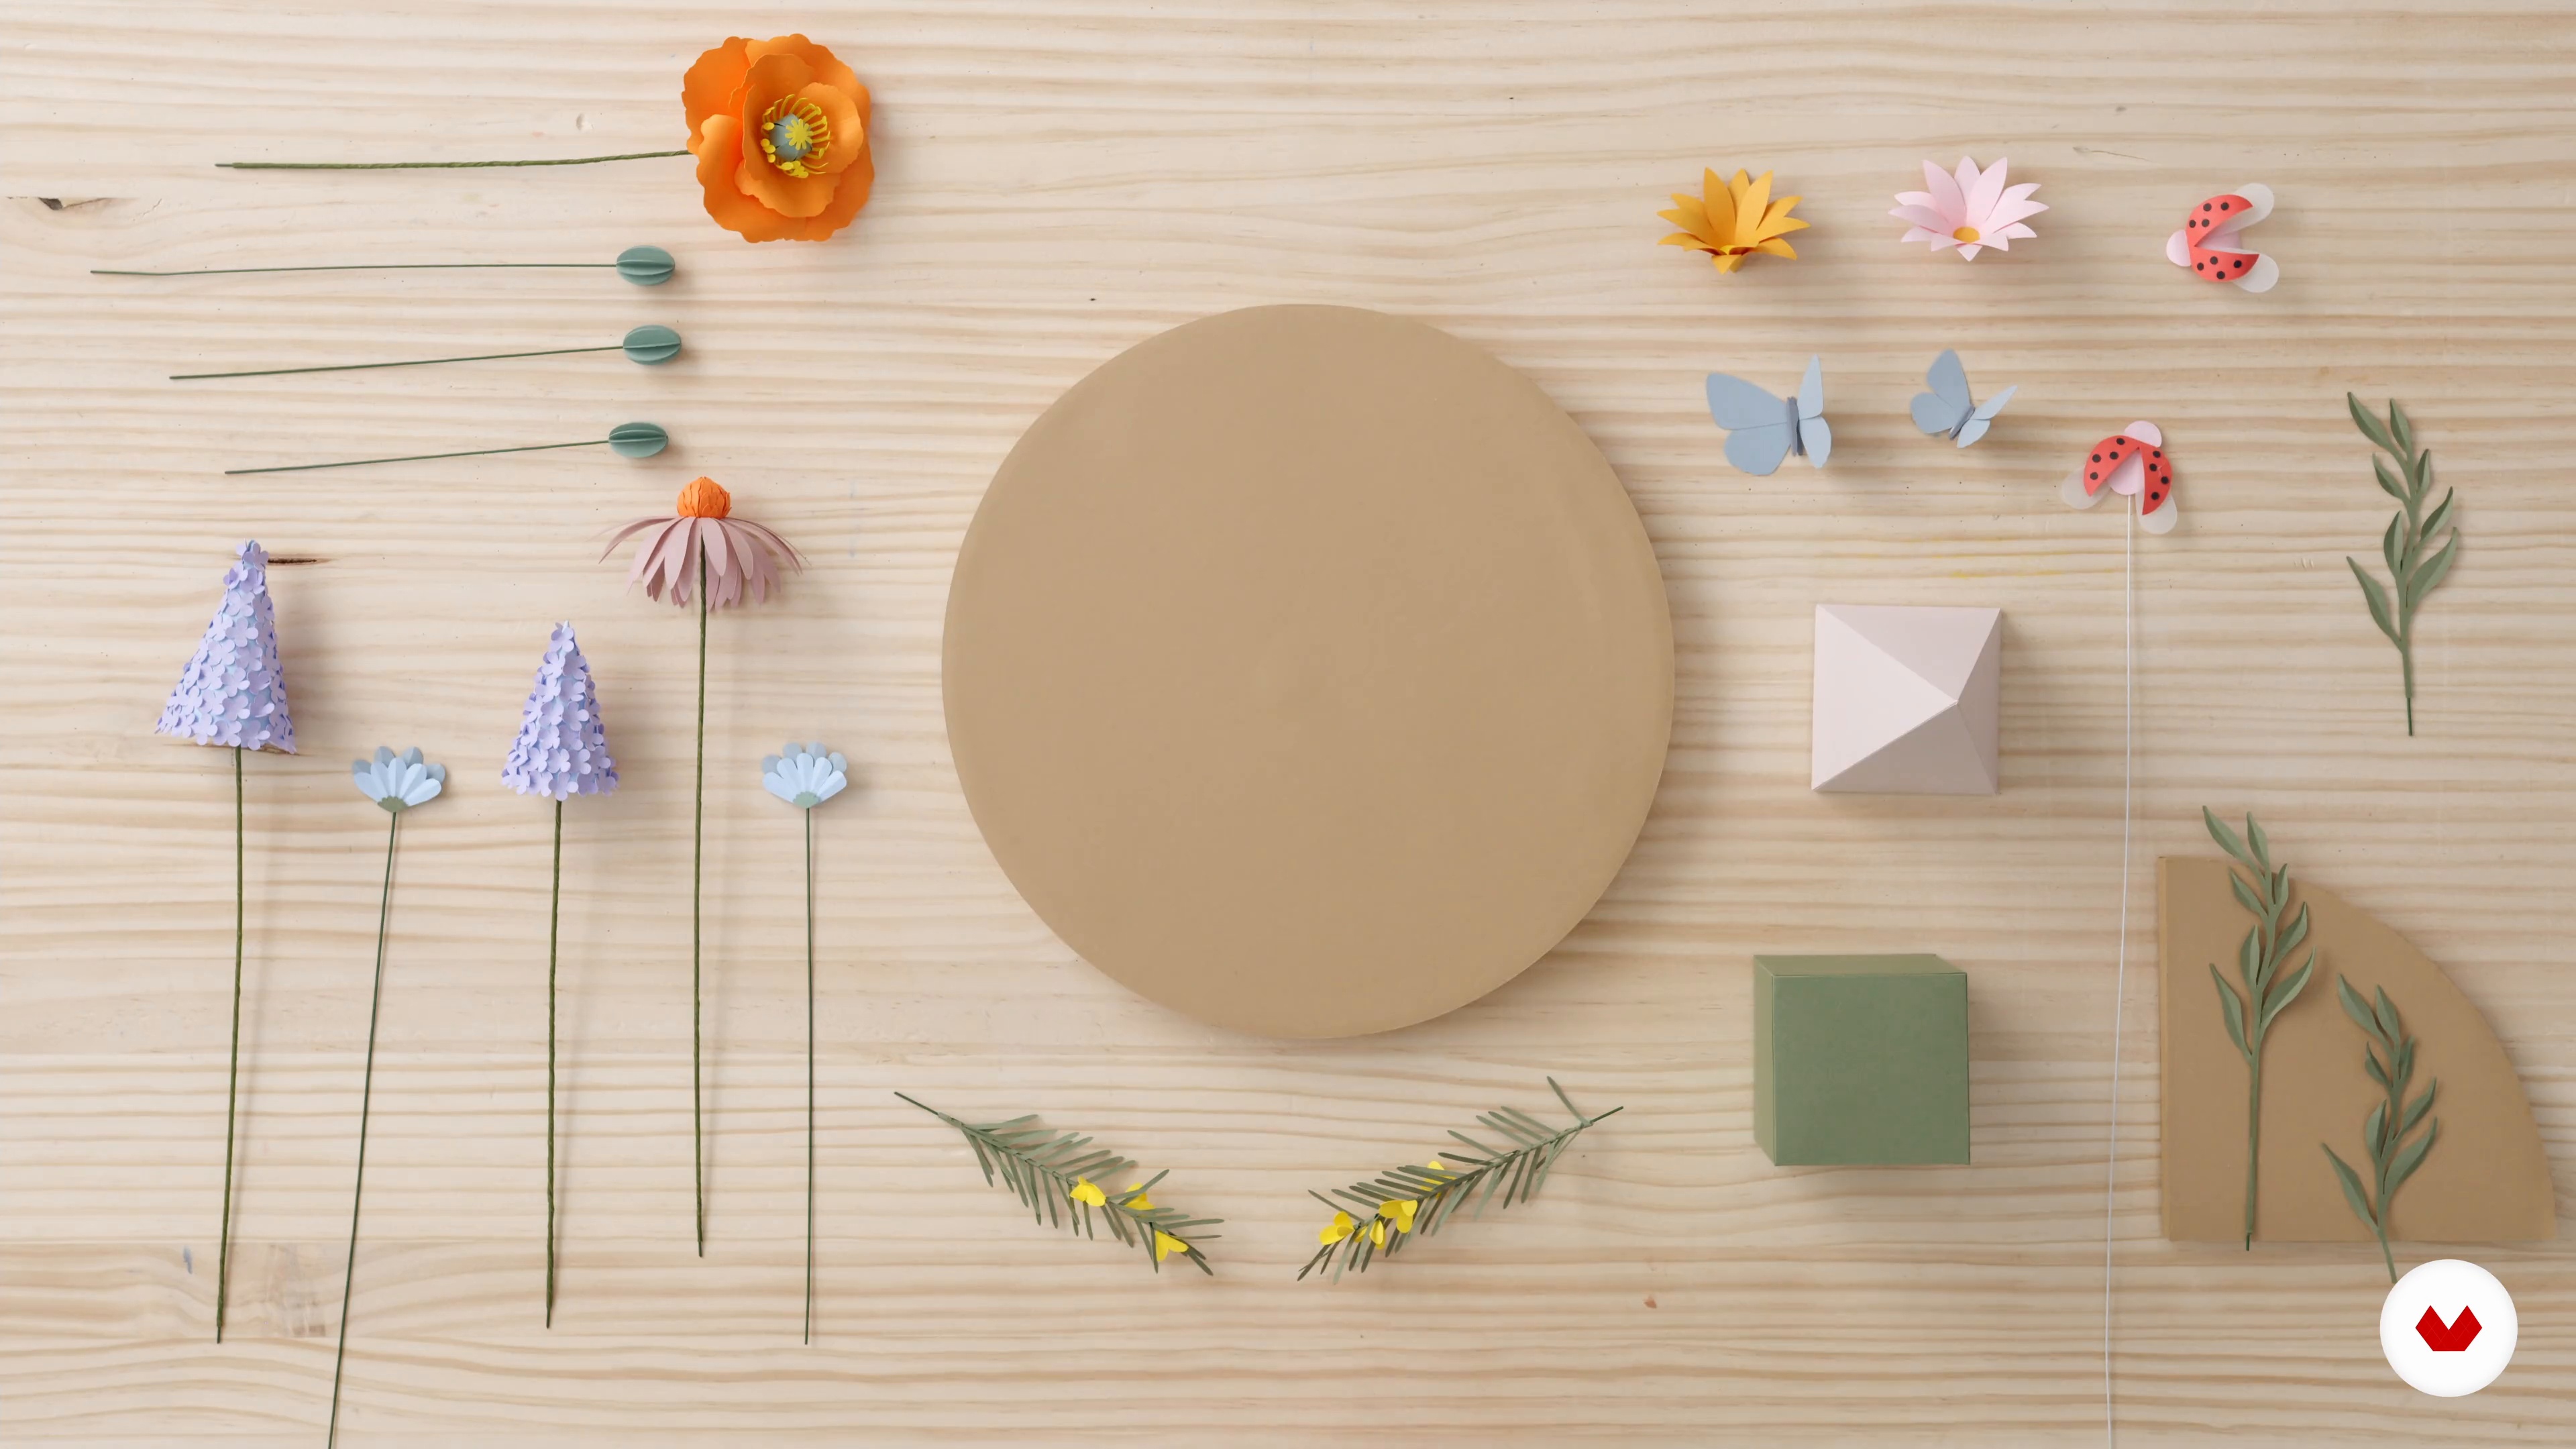
19Arranging Everything in Place
It's almost all done! To finish, I’ll be arranging my paper props to have it all ready to be photographed.
7m
 20
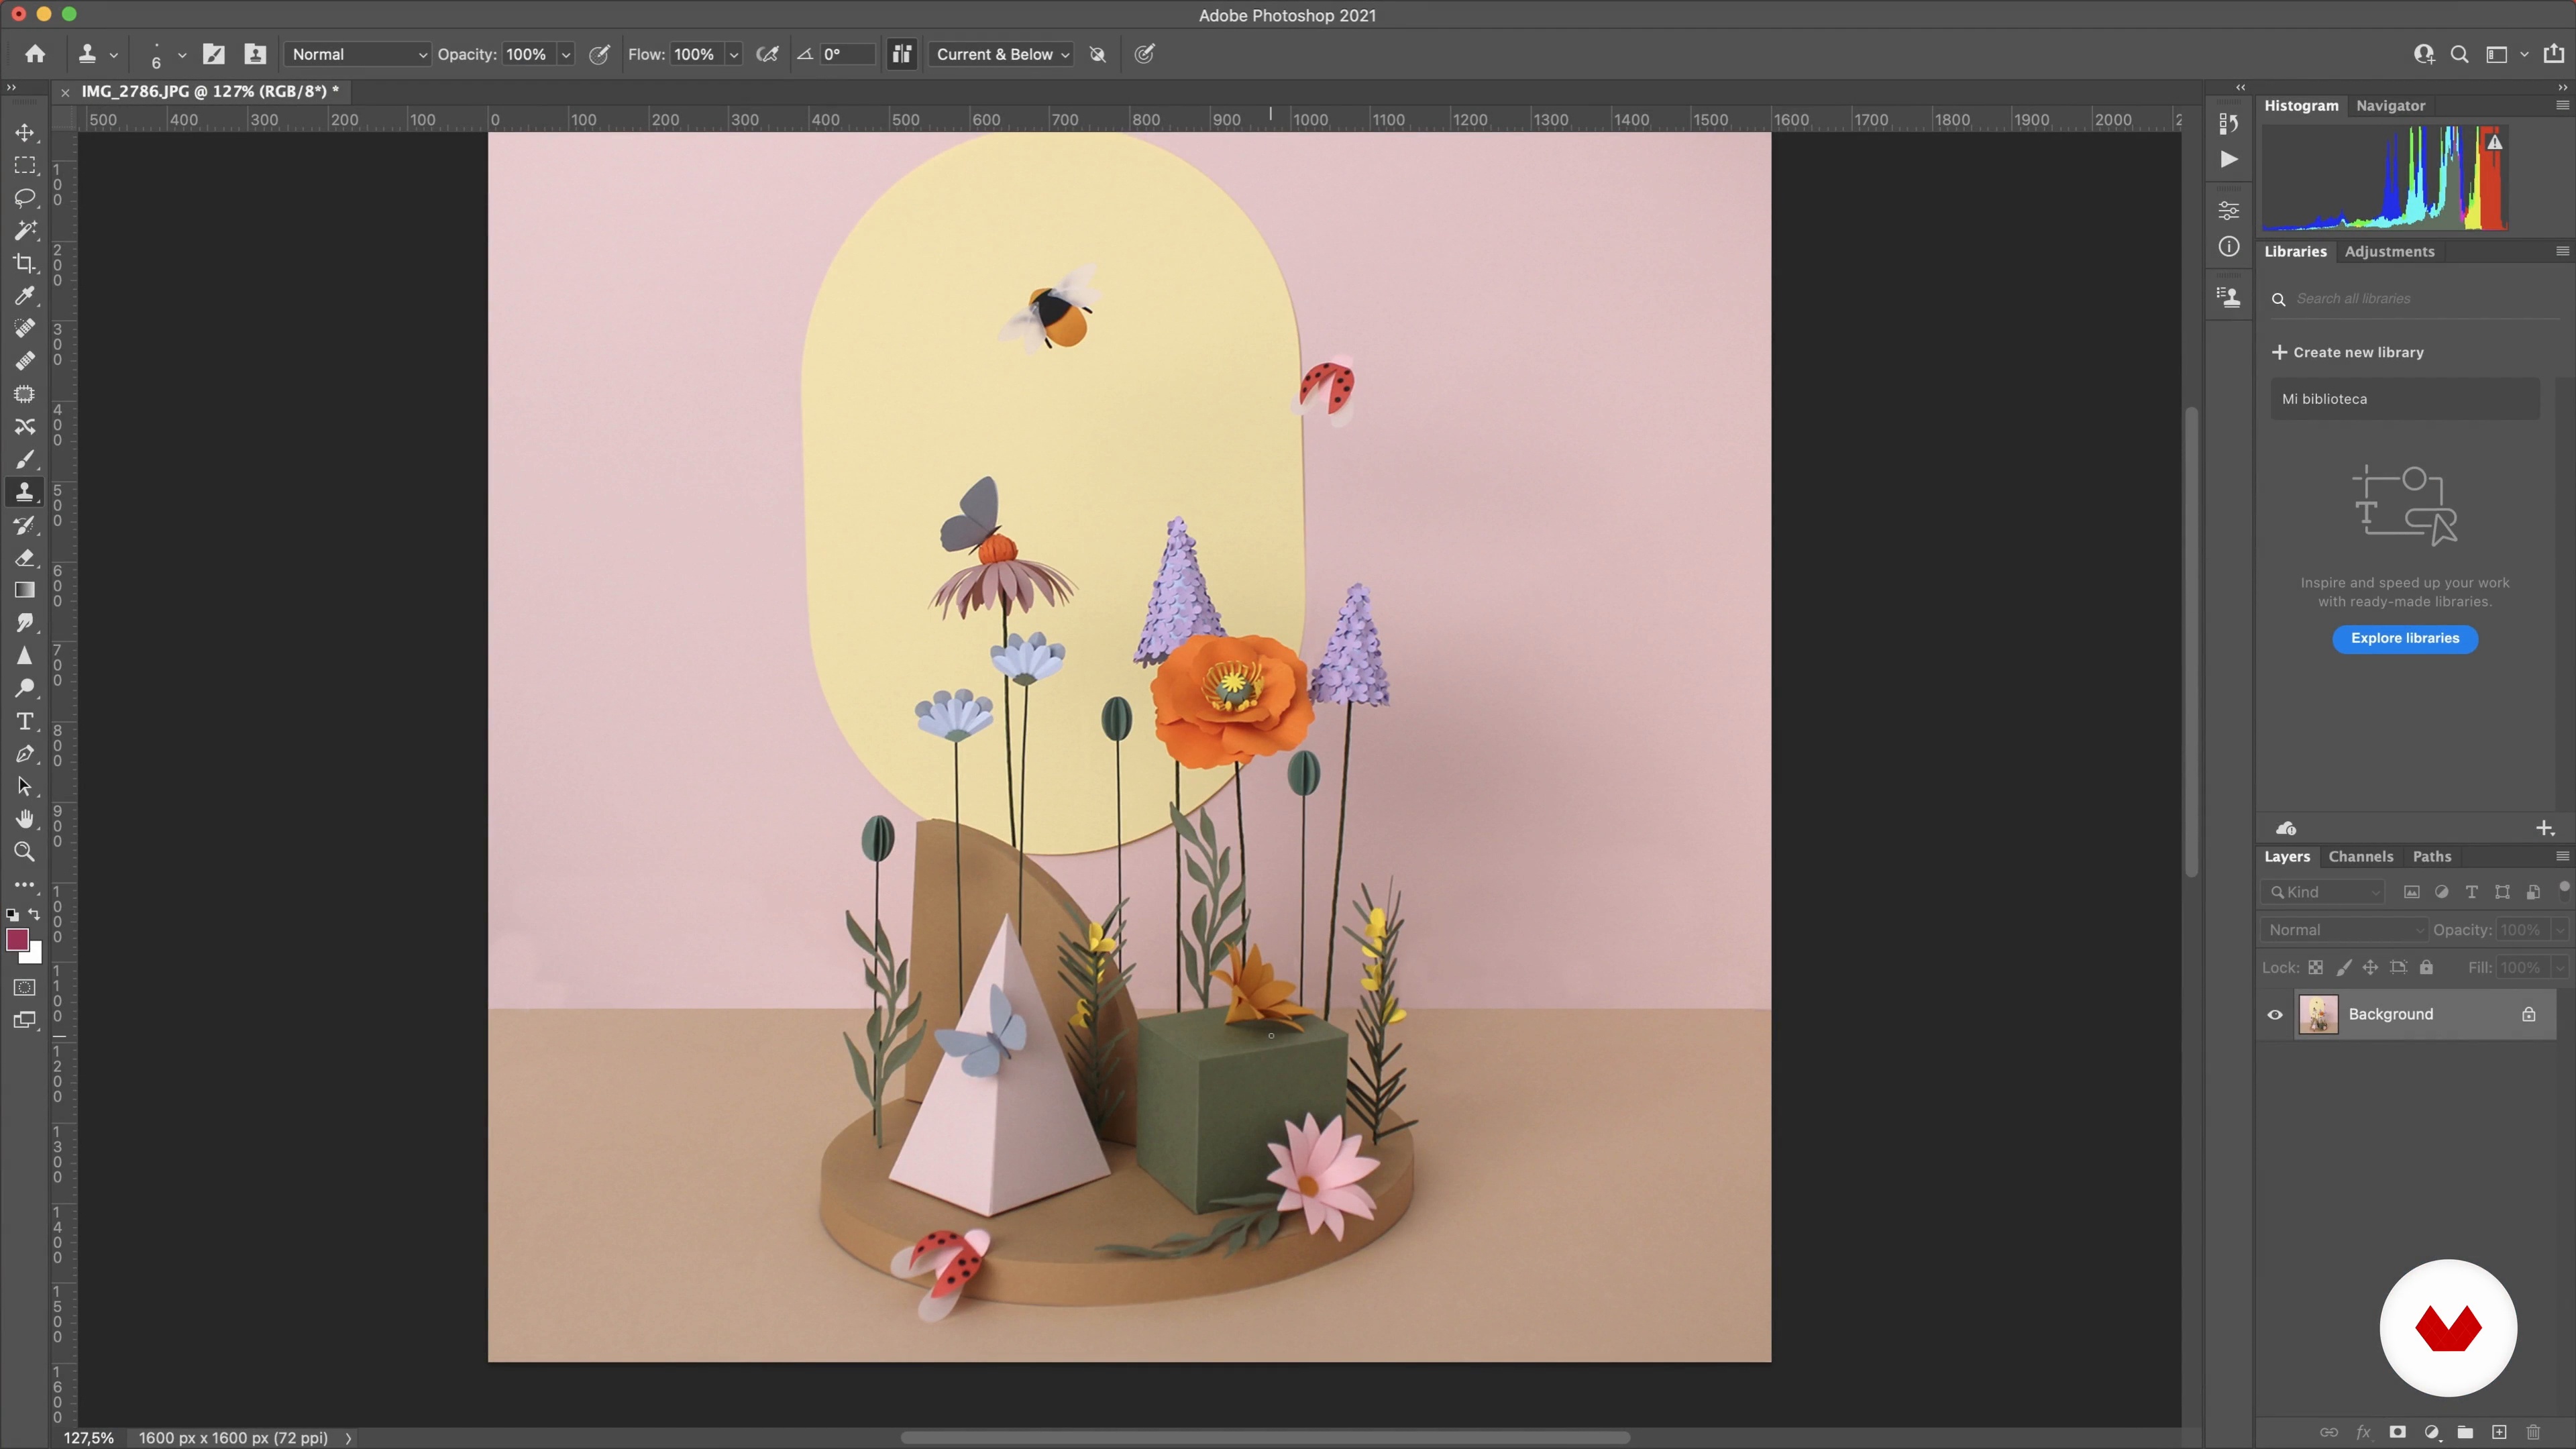
20Photographing the Pieces
In this lesson, I’ll be photographing my work, then importing the photographs over to Photoshop to edit them slightly. This will make them ready to be posted in a portfolio and on social media.
13m
 21
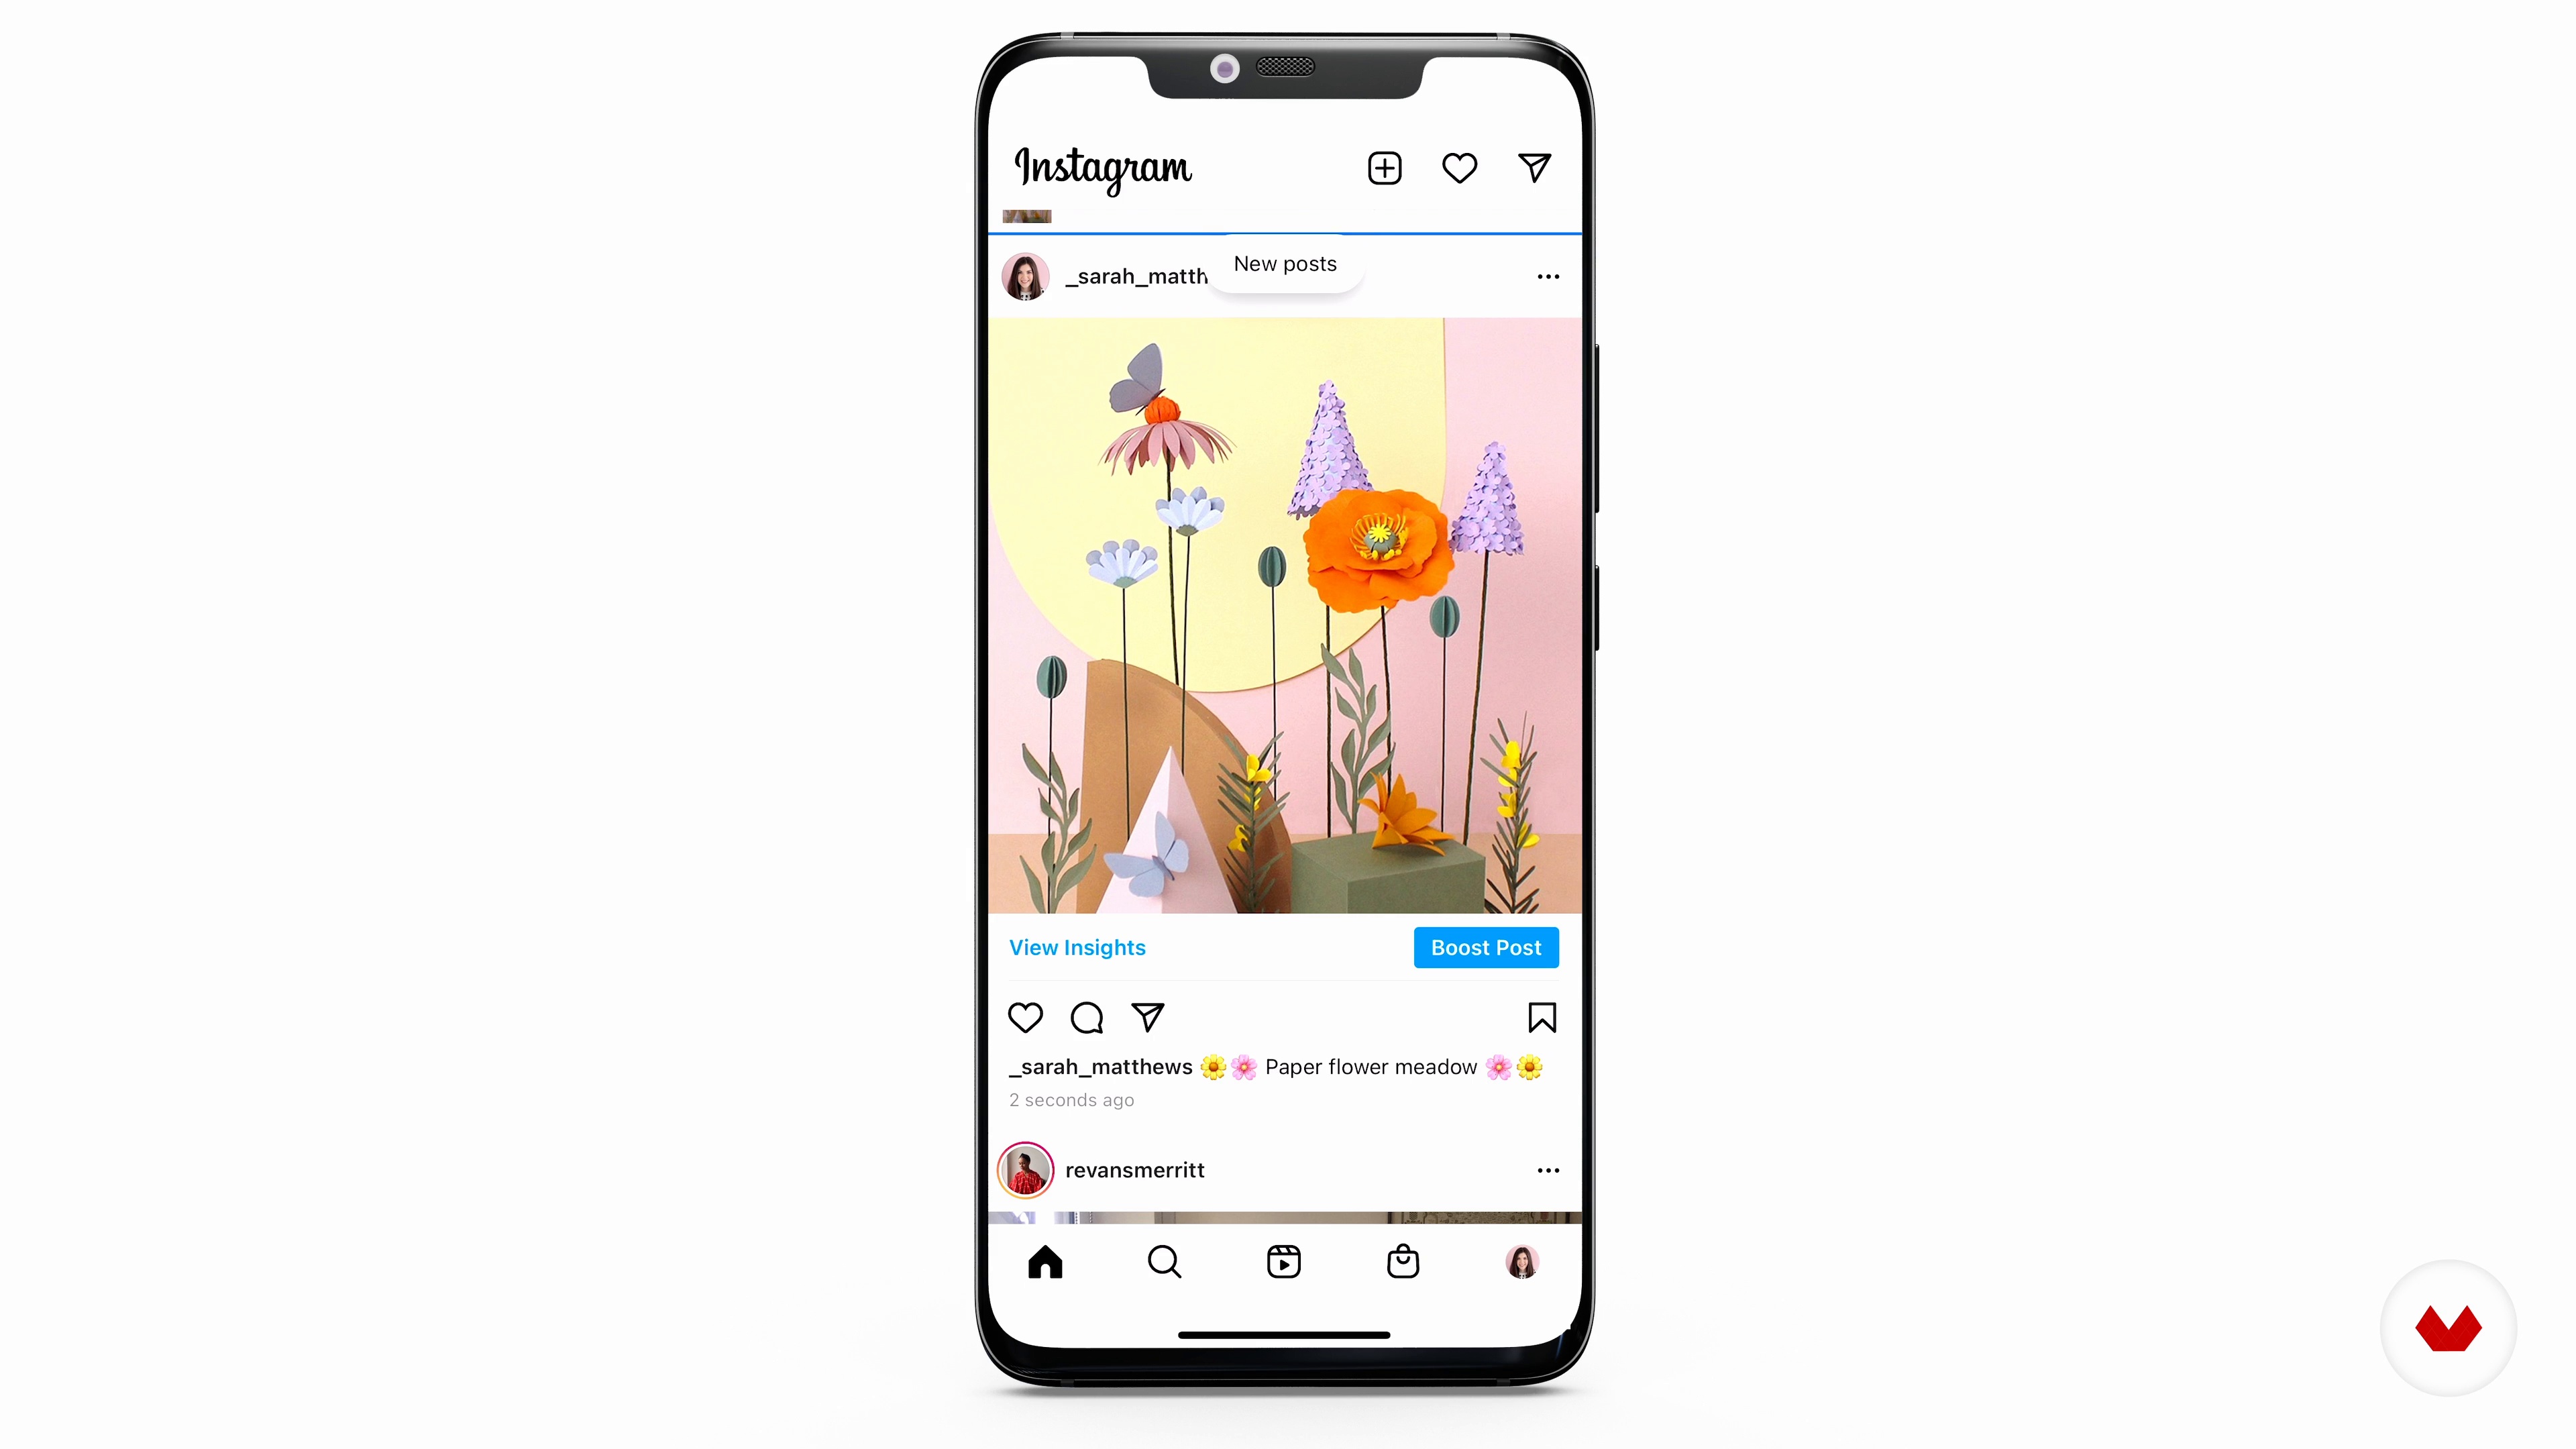
21Sharing Your Work
Now that we’ve photographed our pieces, it’s time to share the images online! In this lesson, I’ll be showing you how I usually like to share my work on my social media.
8m
 22
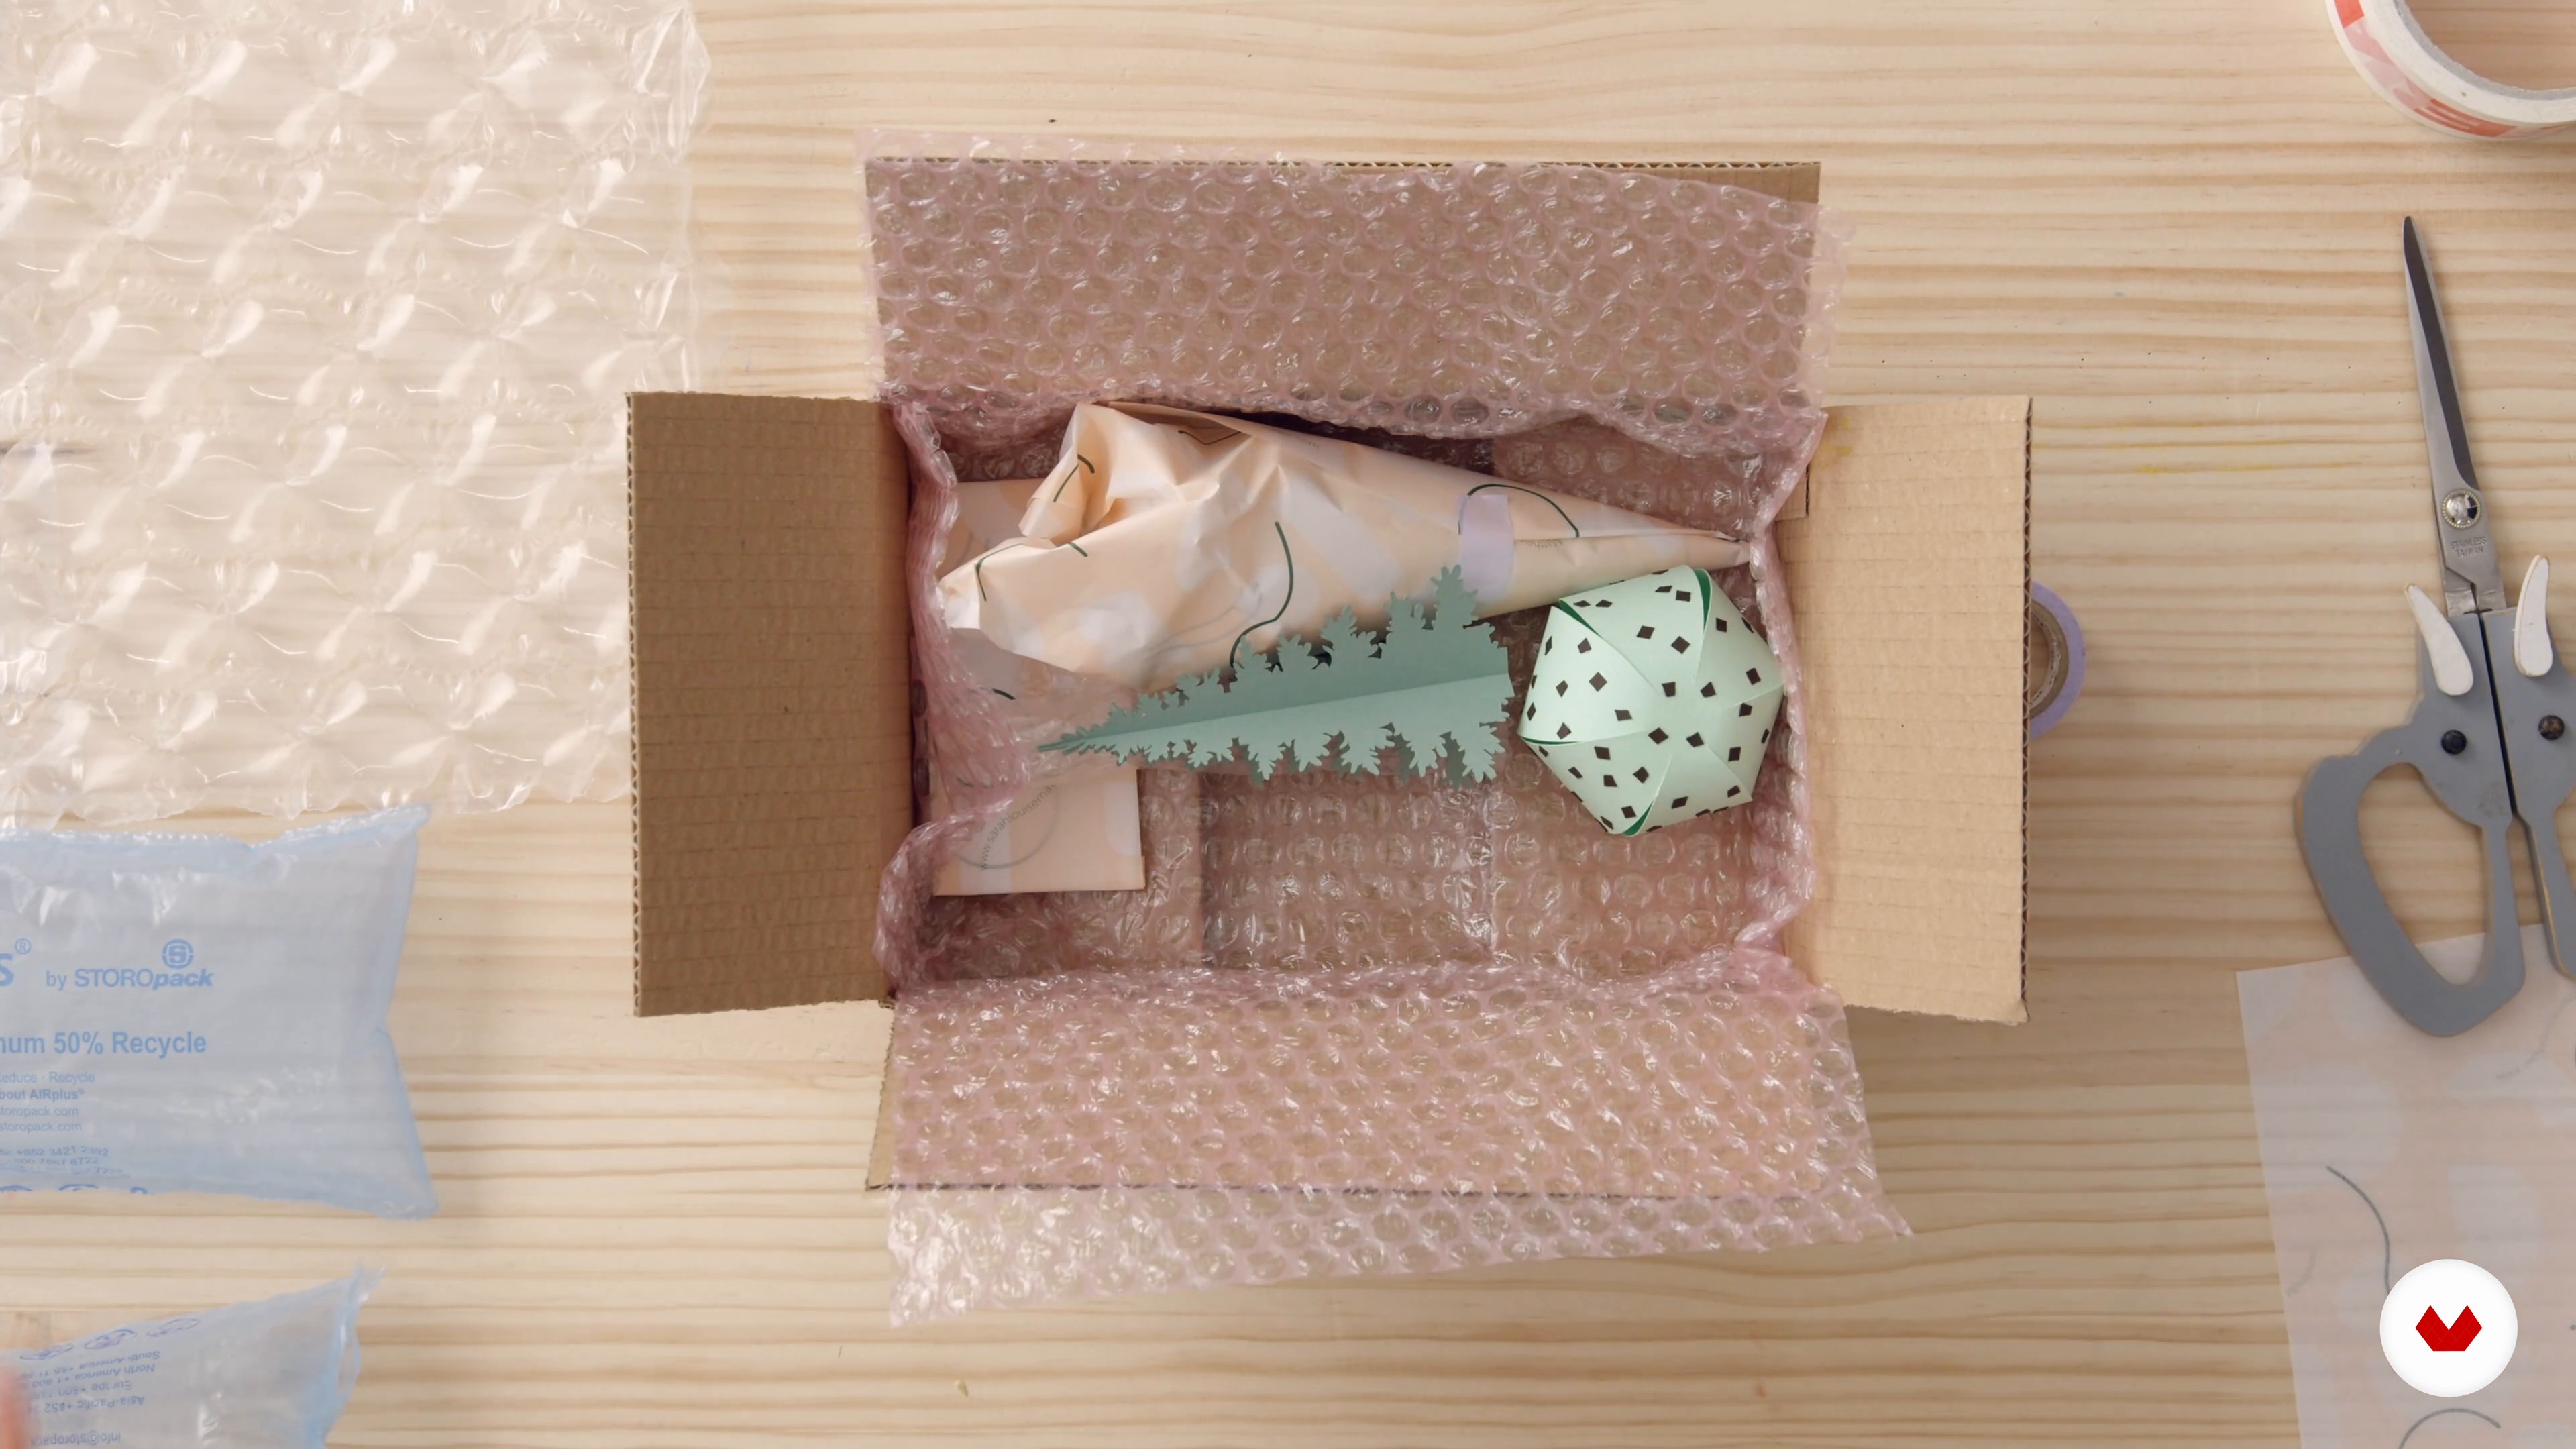
22Caring for Your Creations
For this final lesson, I’ll explain how I care for my work, whether it be to display it in my studio or to send it off to a client.
8m
 3
3Materials and Tools
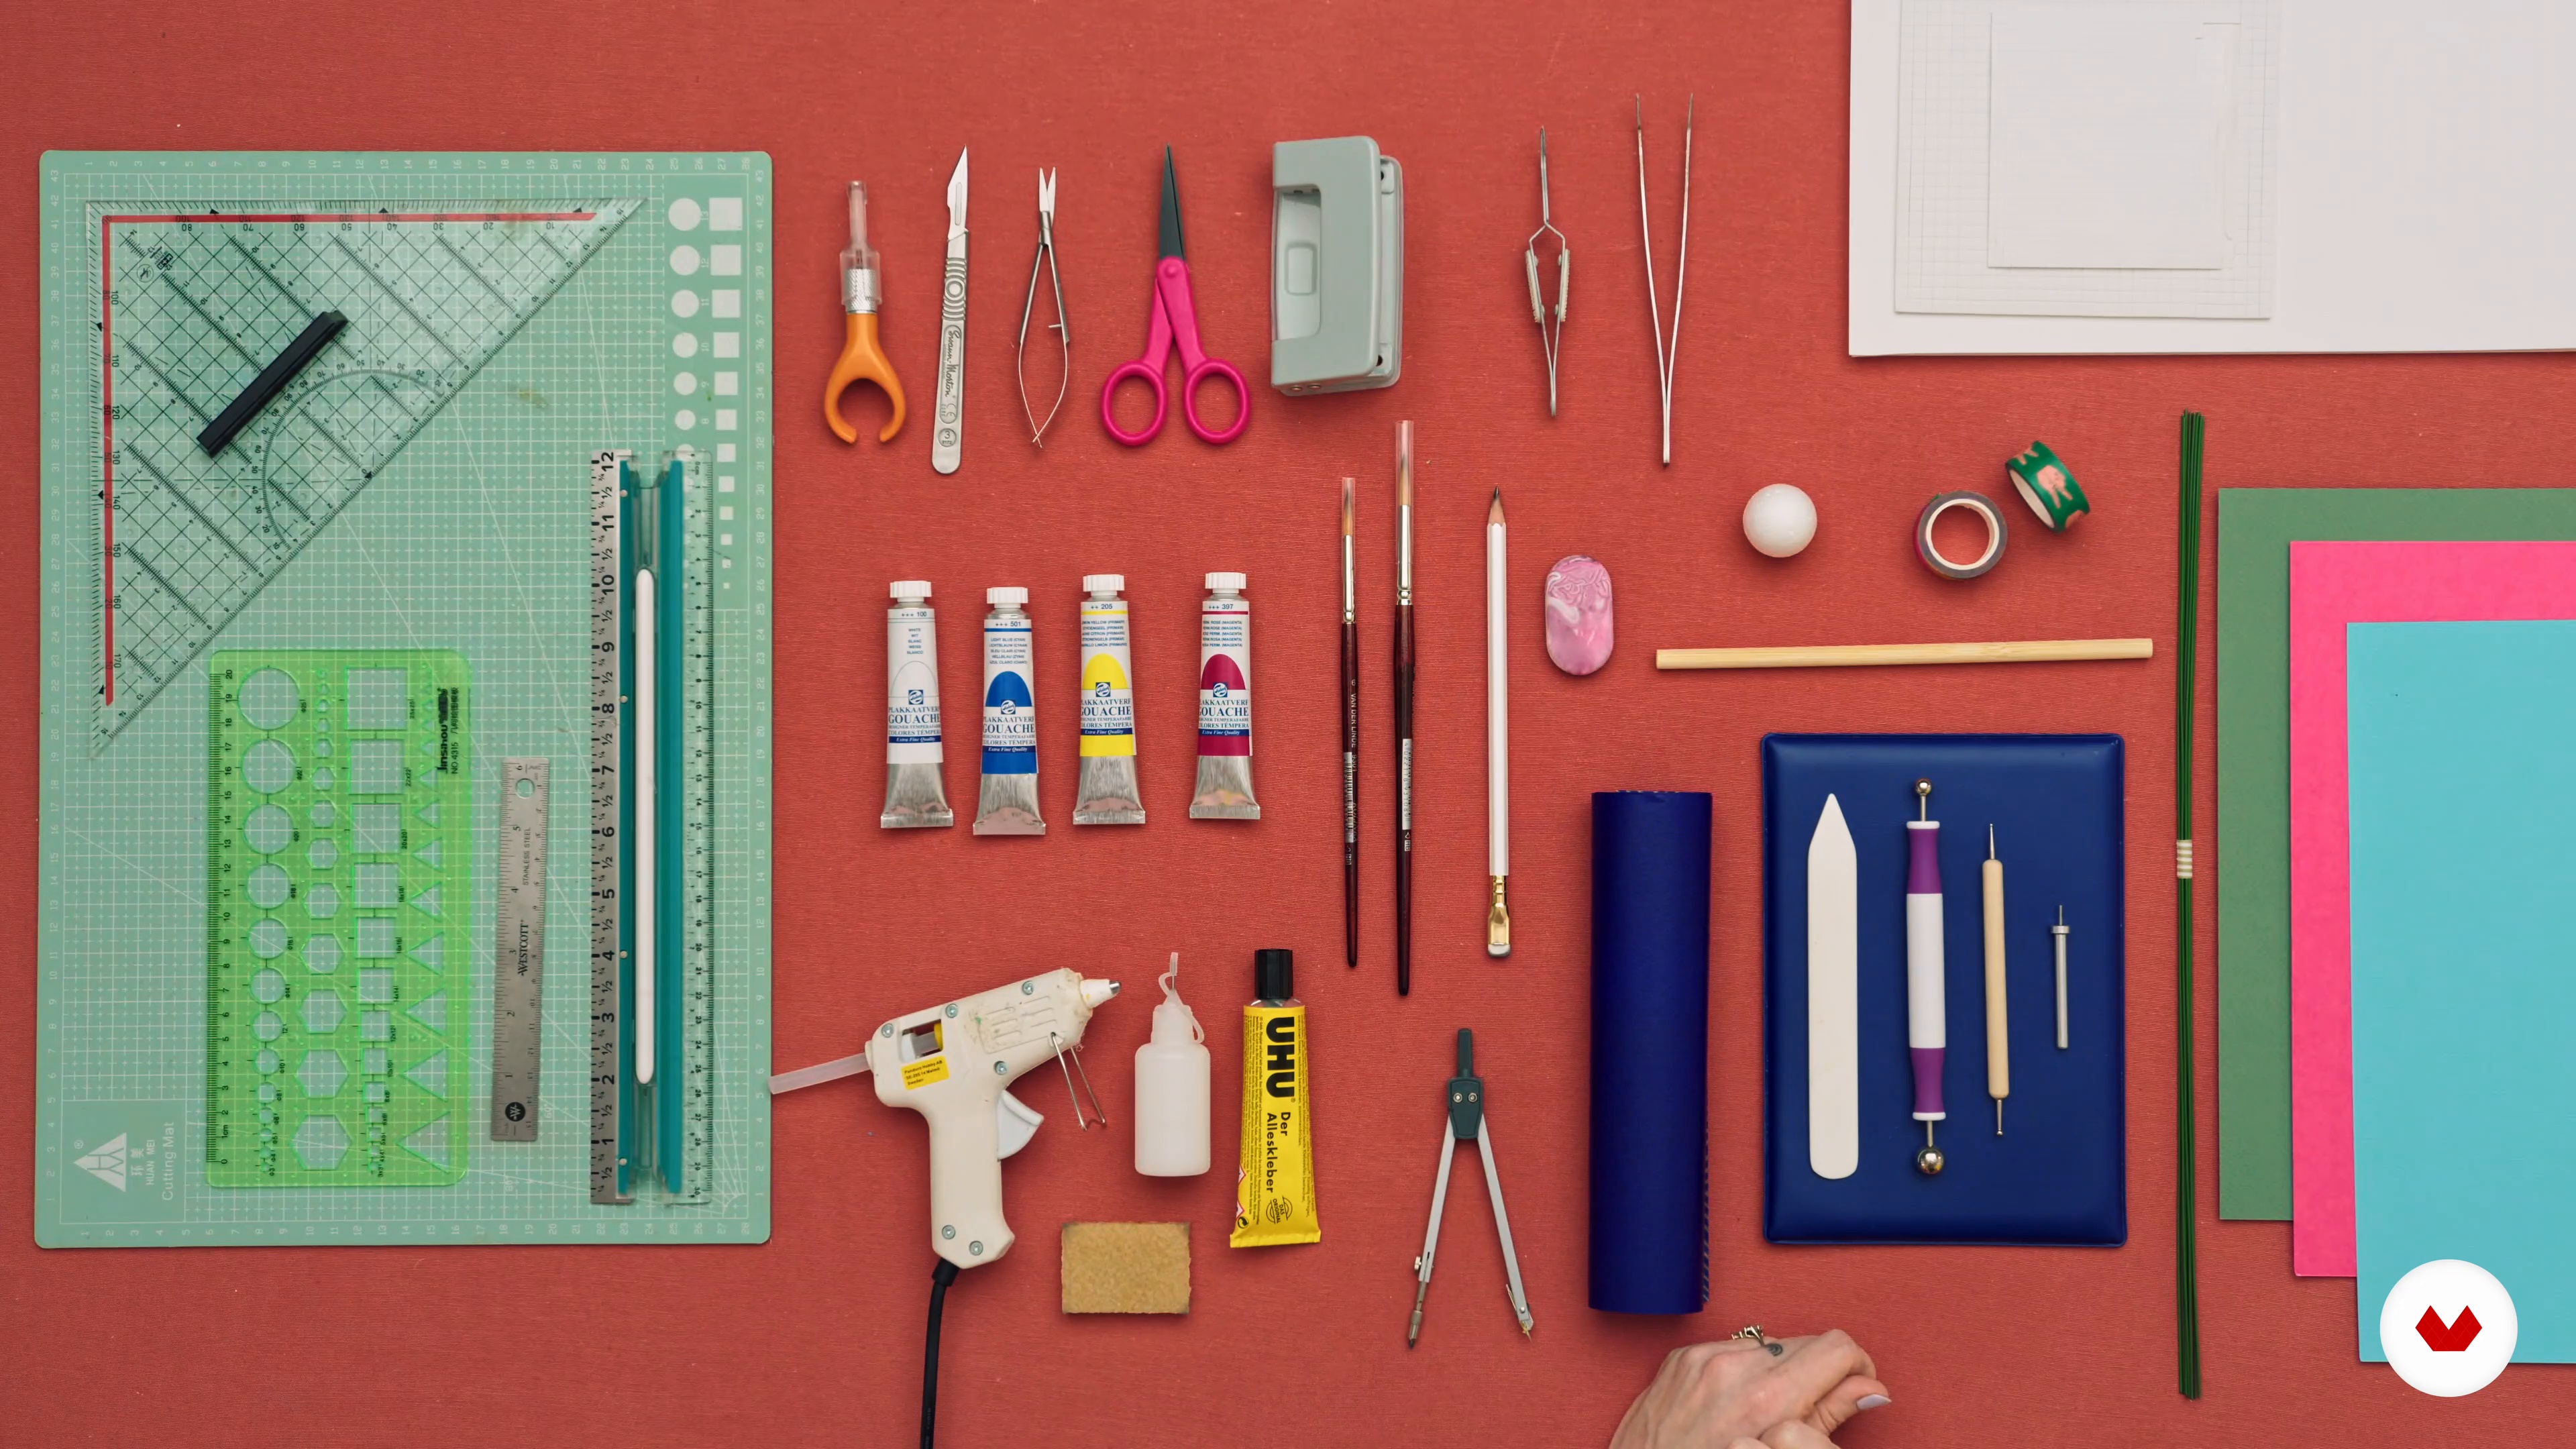
Here we’ll share our go-to materials, which are very useful.
5m
 4
4Paper Explorations: Making It Dimensional
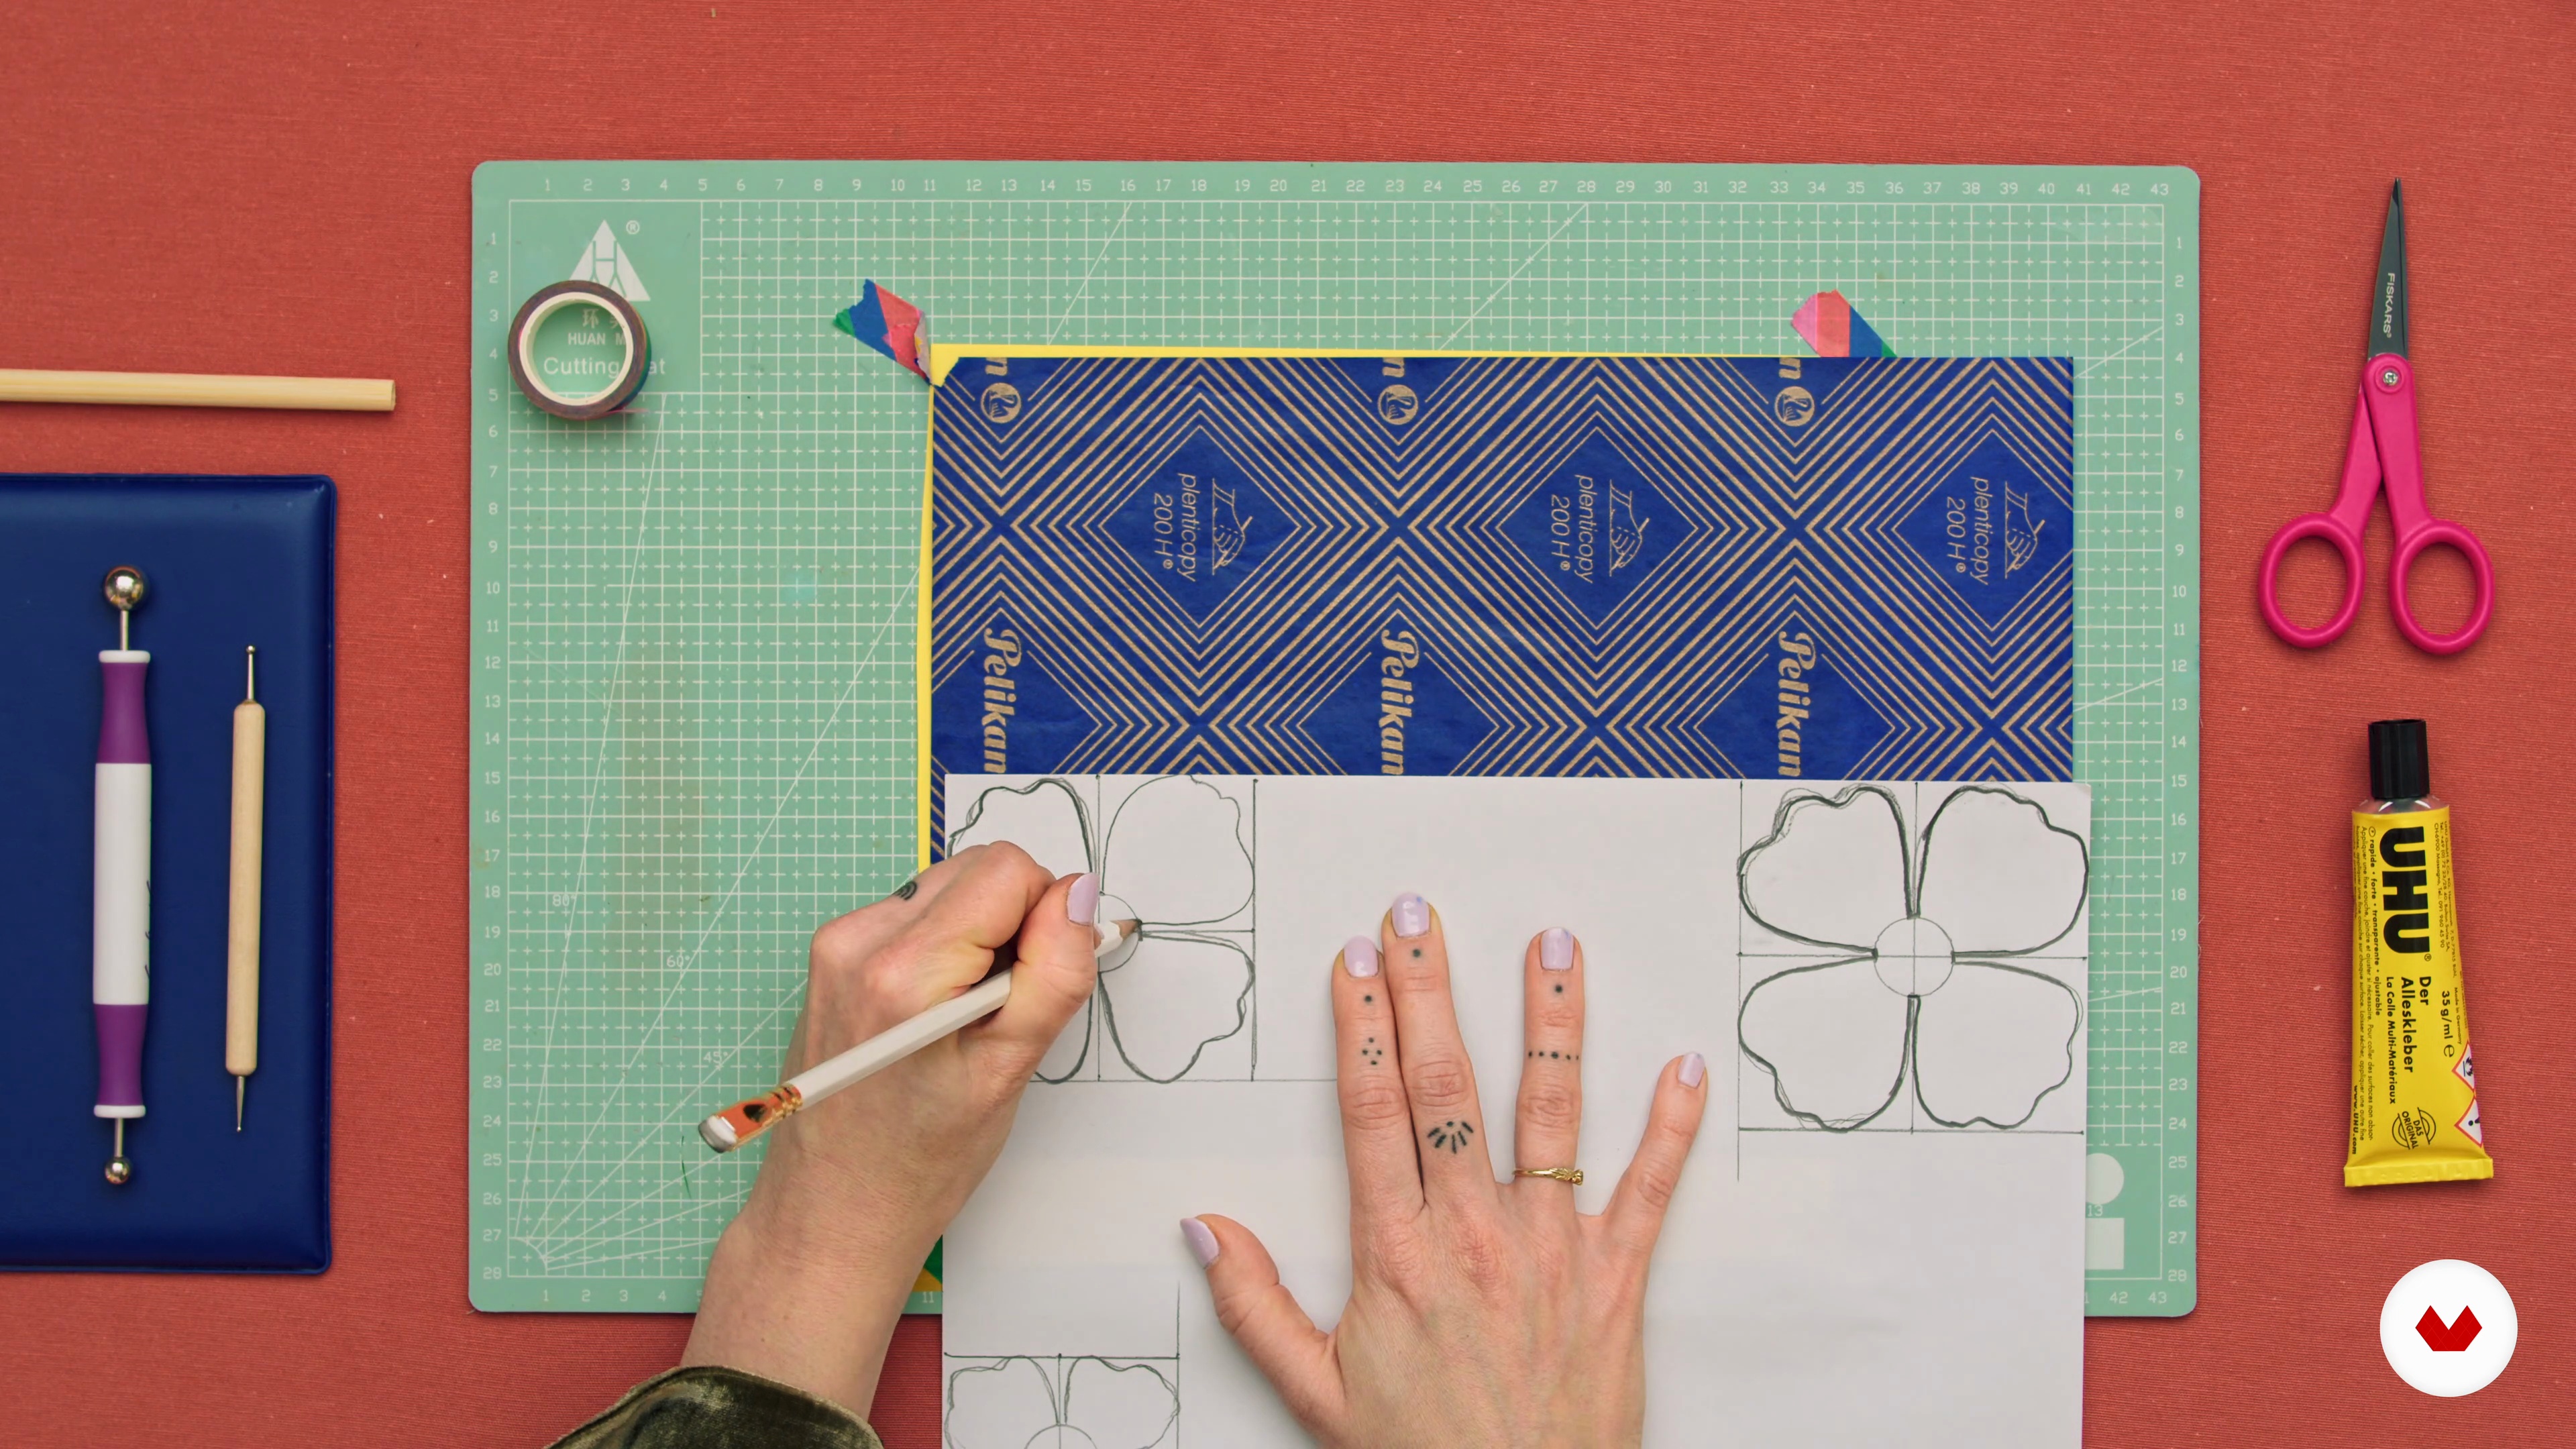
Here we’ll be covering different types of paper and techniques on how you can treat paper to make it dimensional. We’ll be sharing tips and tricks and giving you new insights.
21m
 5
5Paper Explorations: Making It Three Dimensional
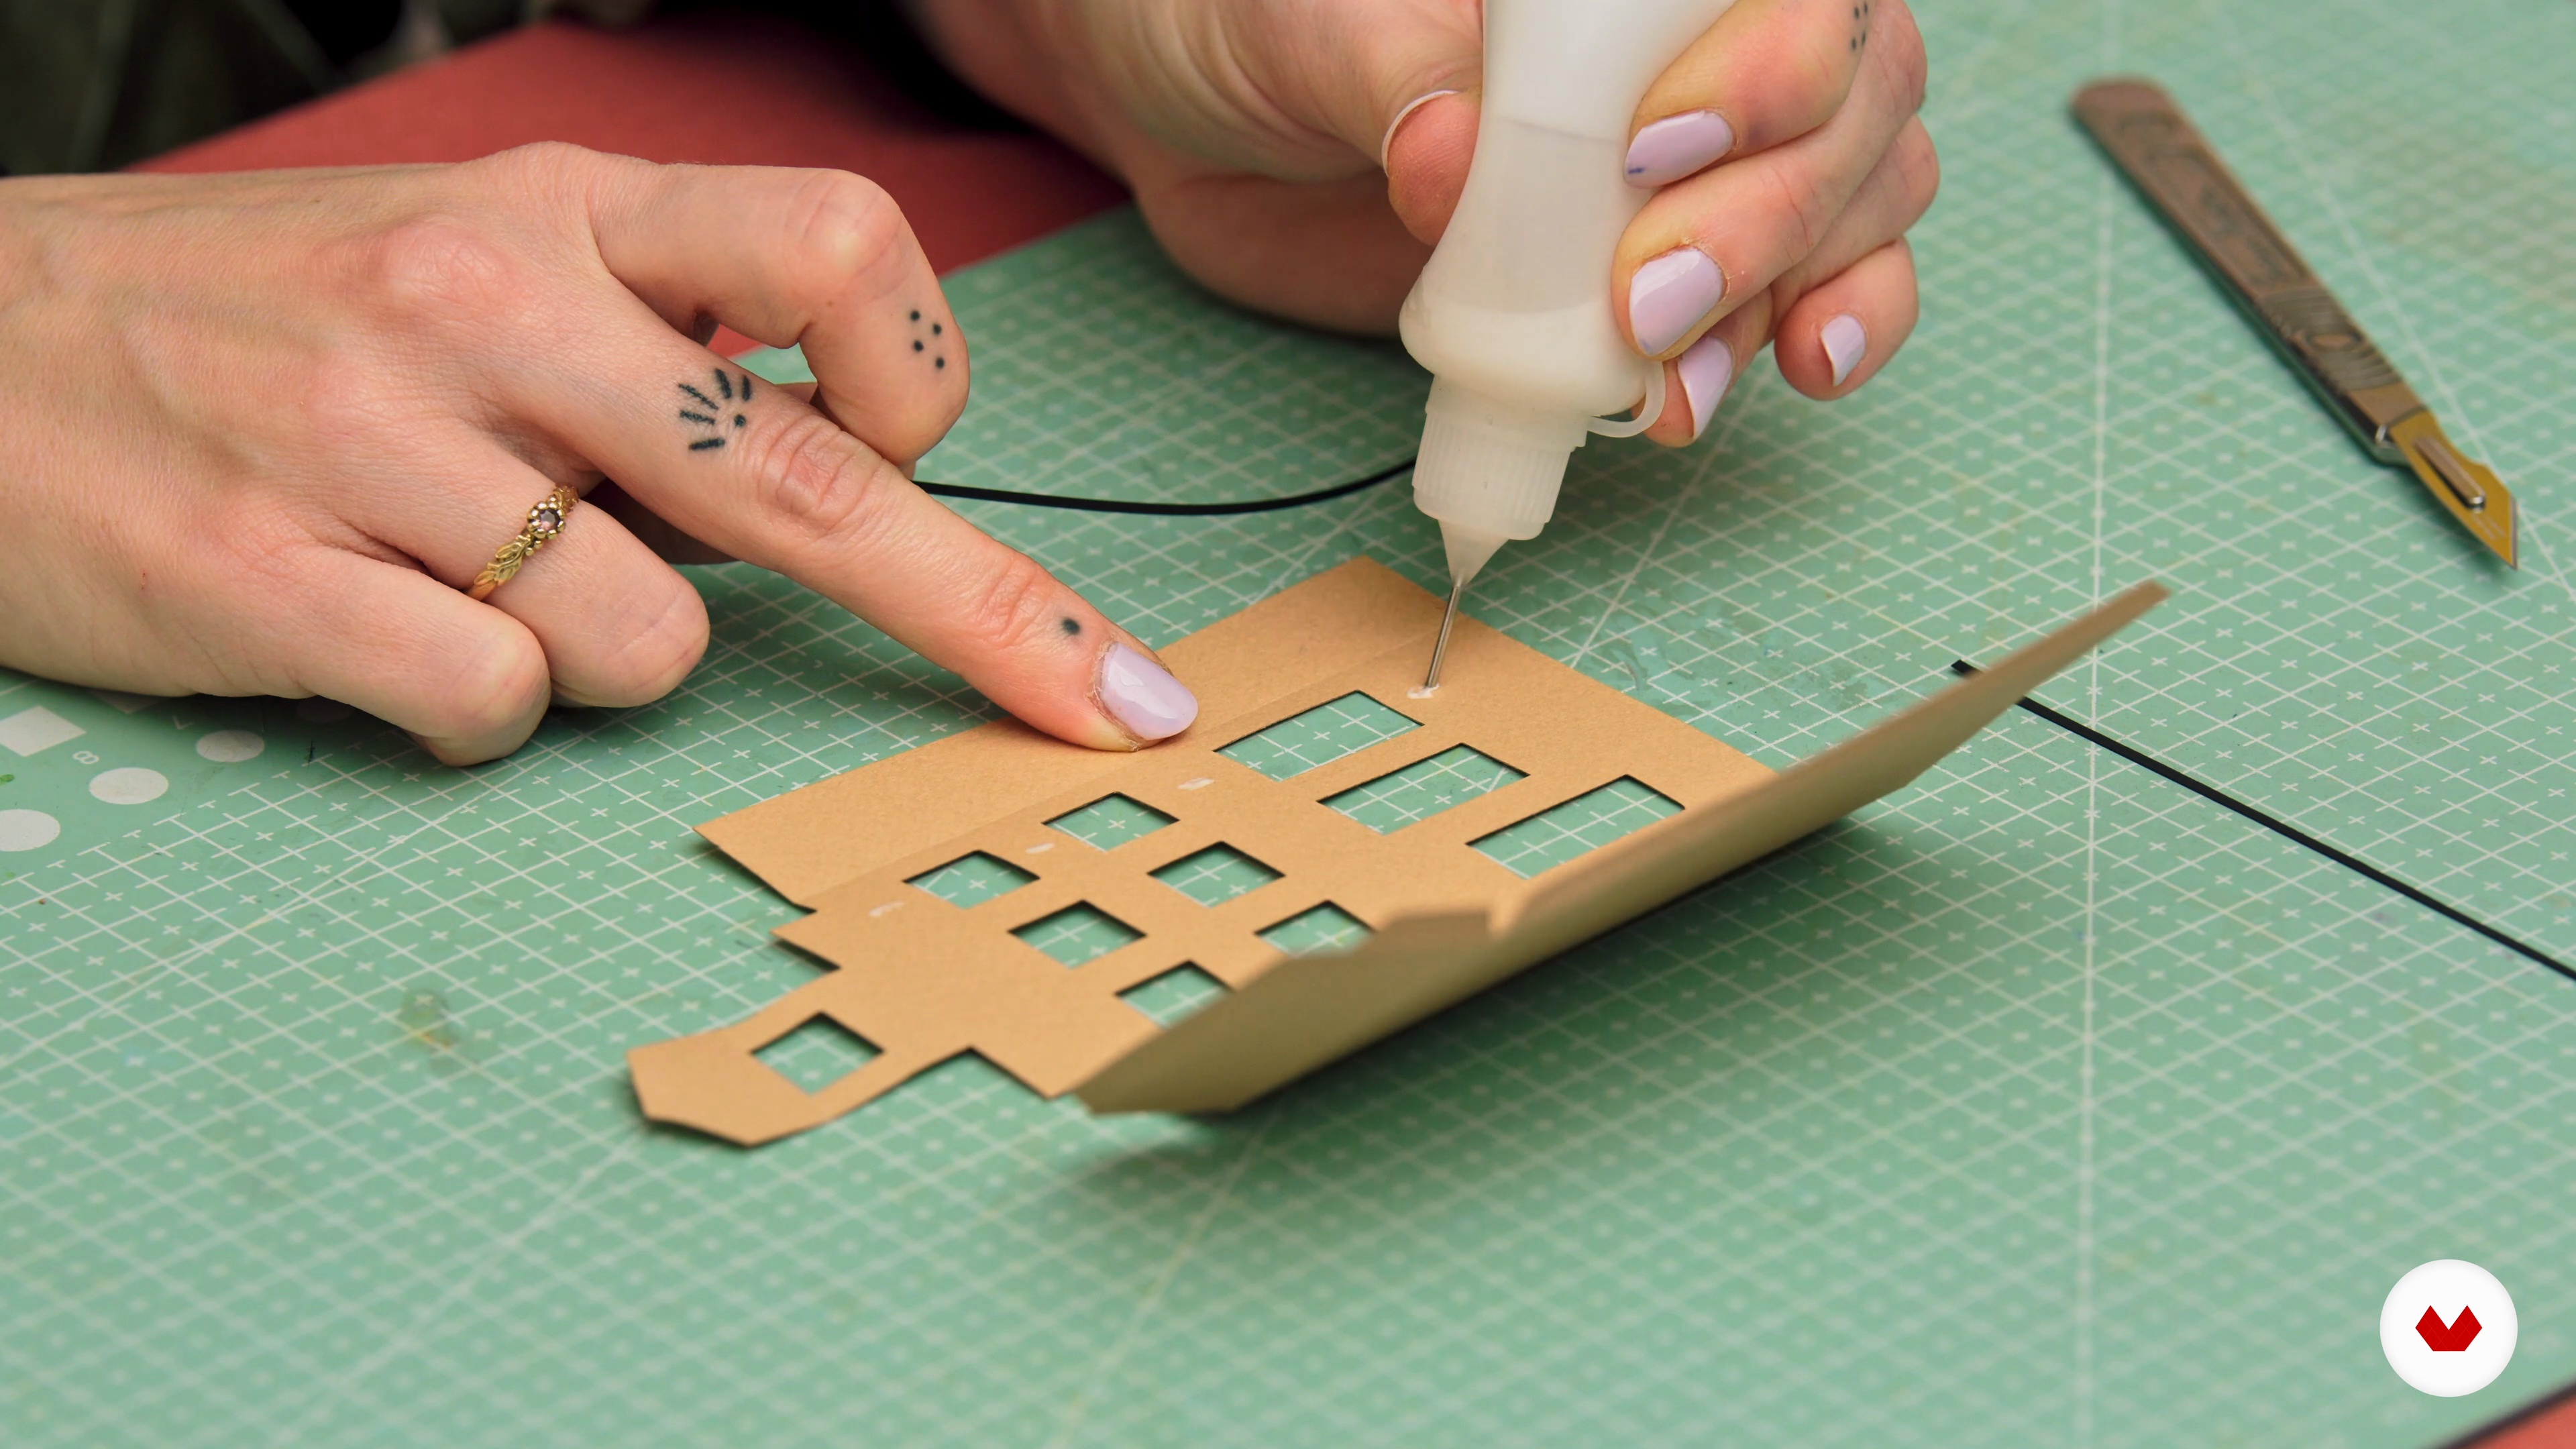
Here we’ll continue to explore paper techniques by focusing on making paper three dimensional.
15m
 6
6How to Work on Your Projects
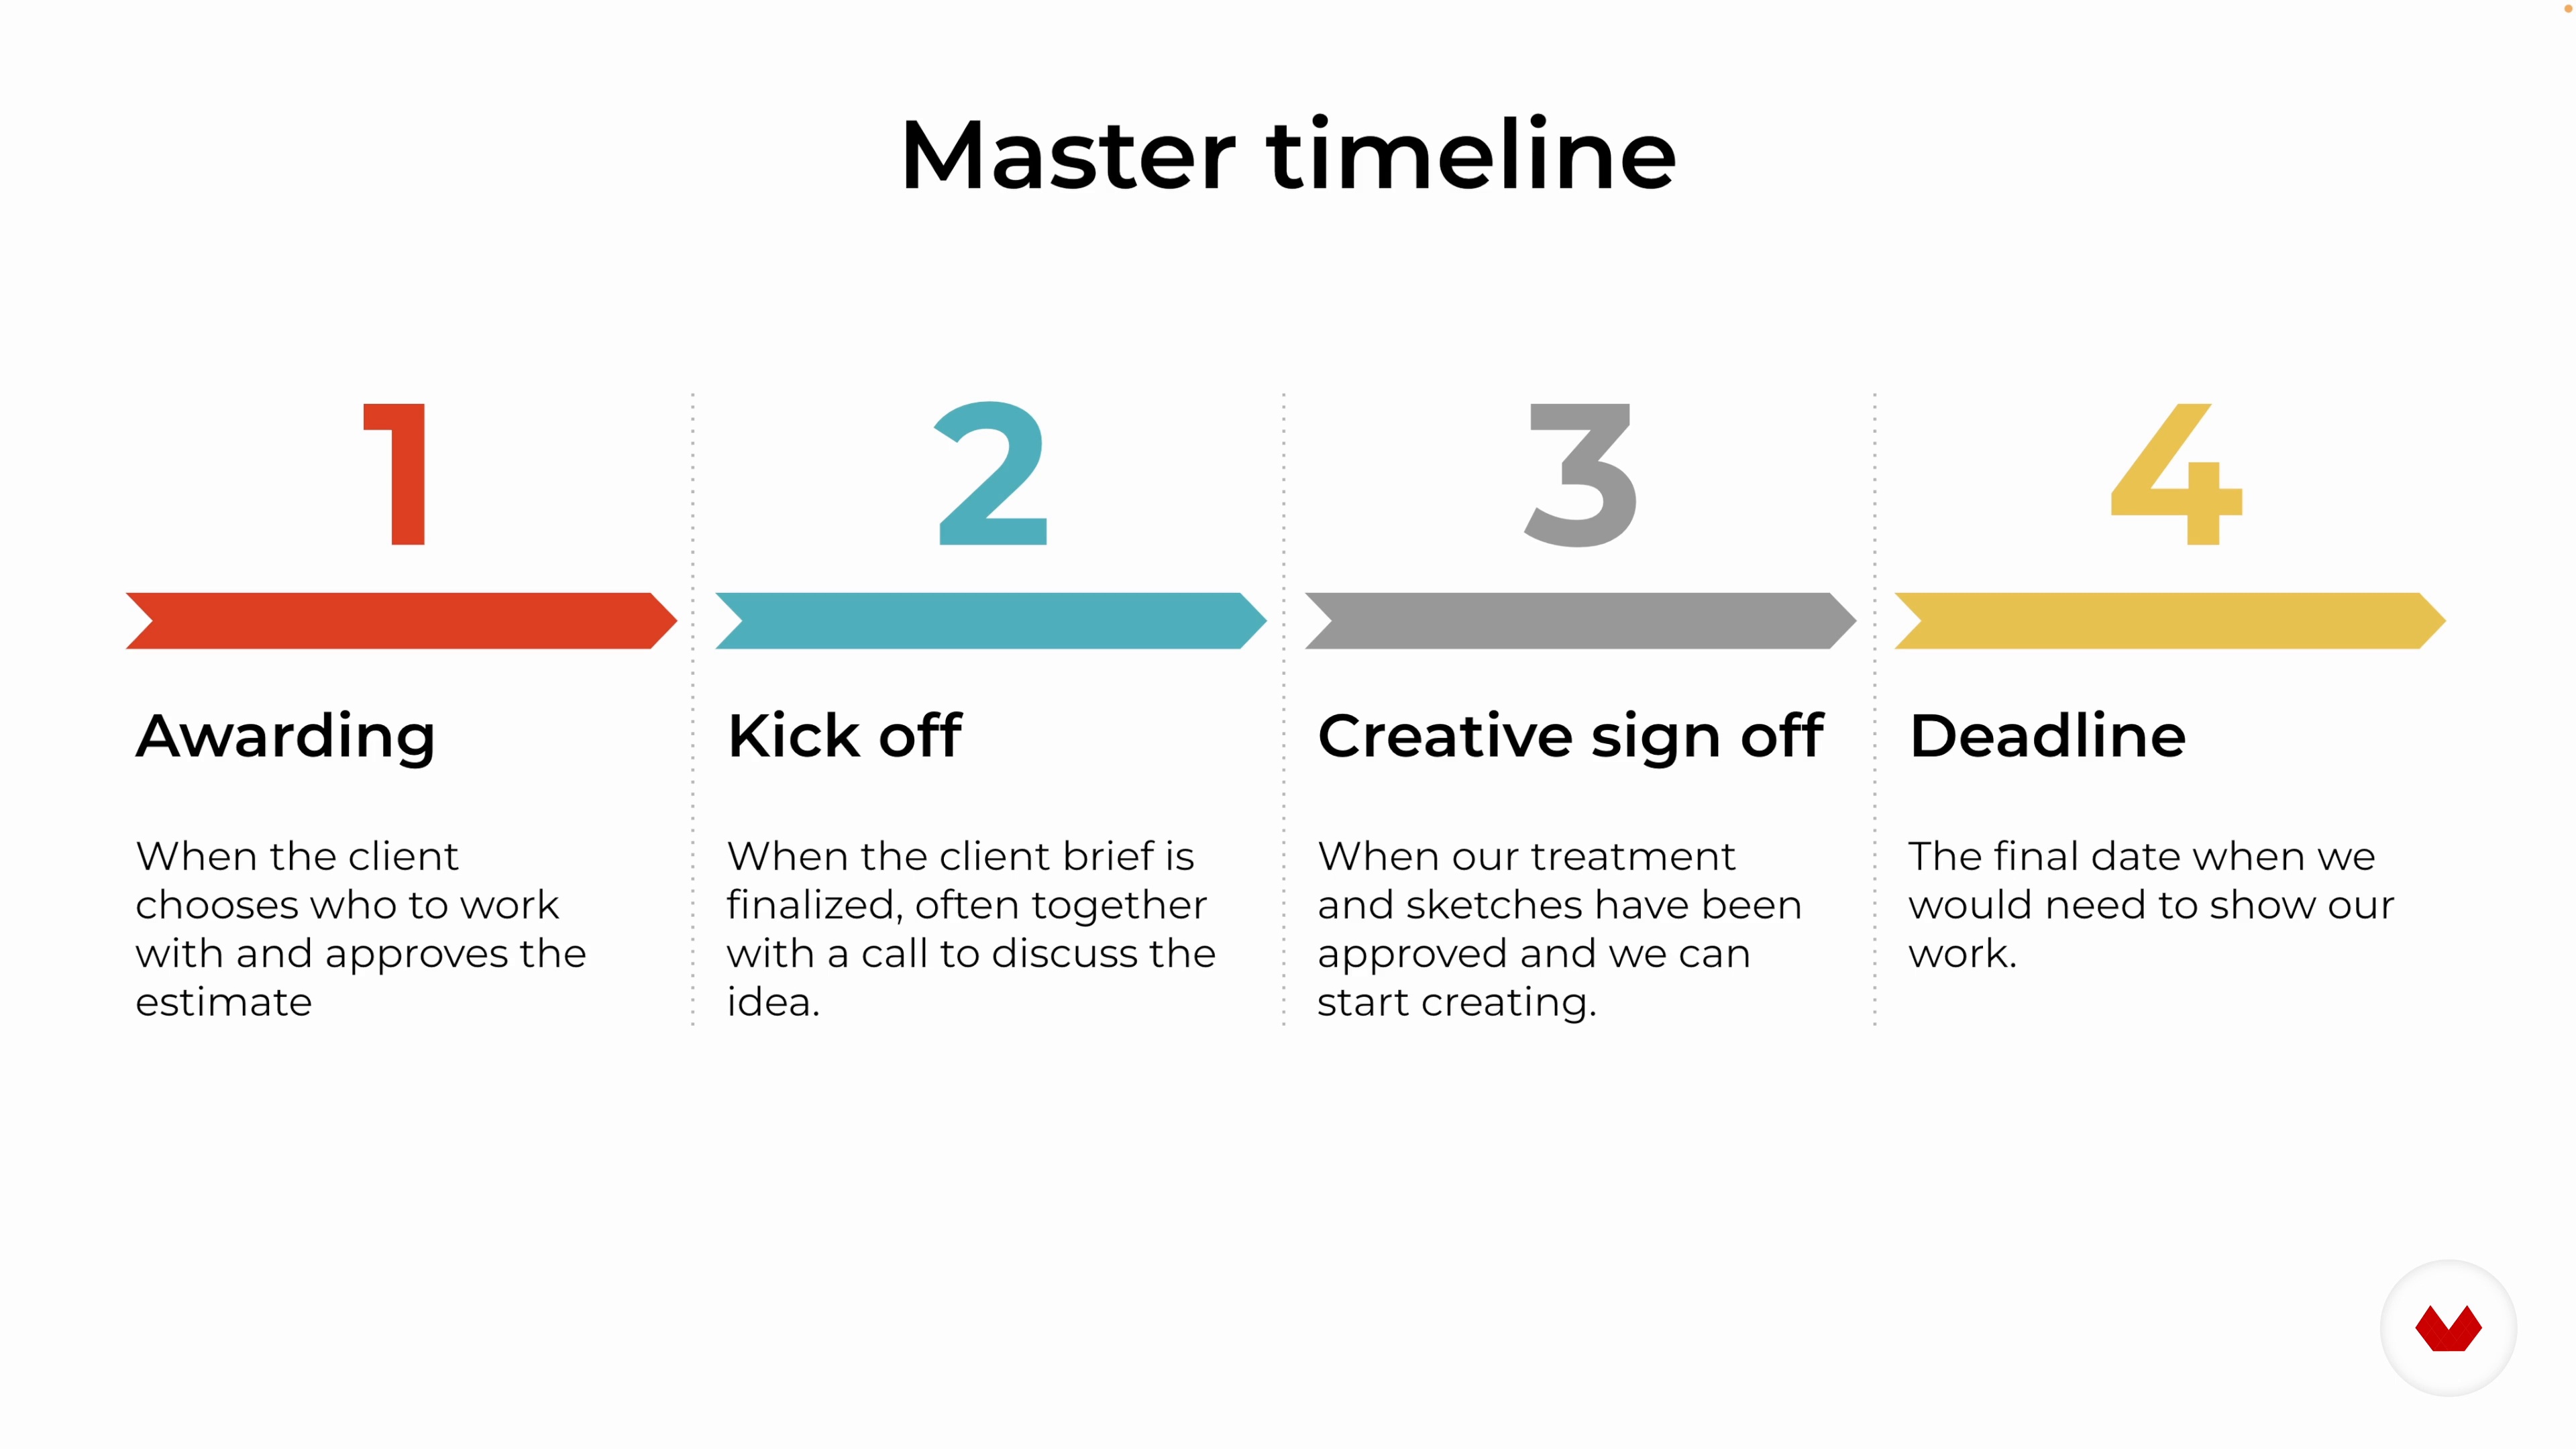
It’s very important to teach yourself a clear structure when working on commissions. In this lesson I'm going to explain to you how we approach our productions and what is involved.
9m
 7
7Planning
In order to keep a production running smoothly, it’s very important to make clear agreements with clients when certain aspects are delivered. In this lesson we will show how we approach this.
15m
 8
8Doing Research
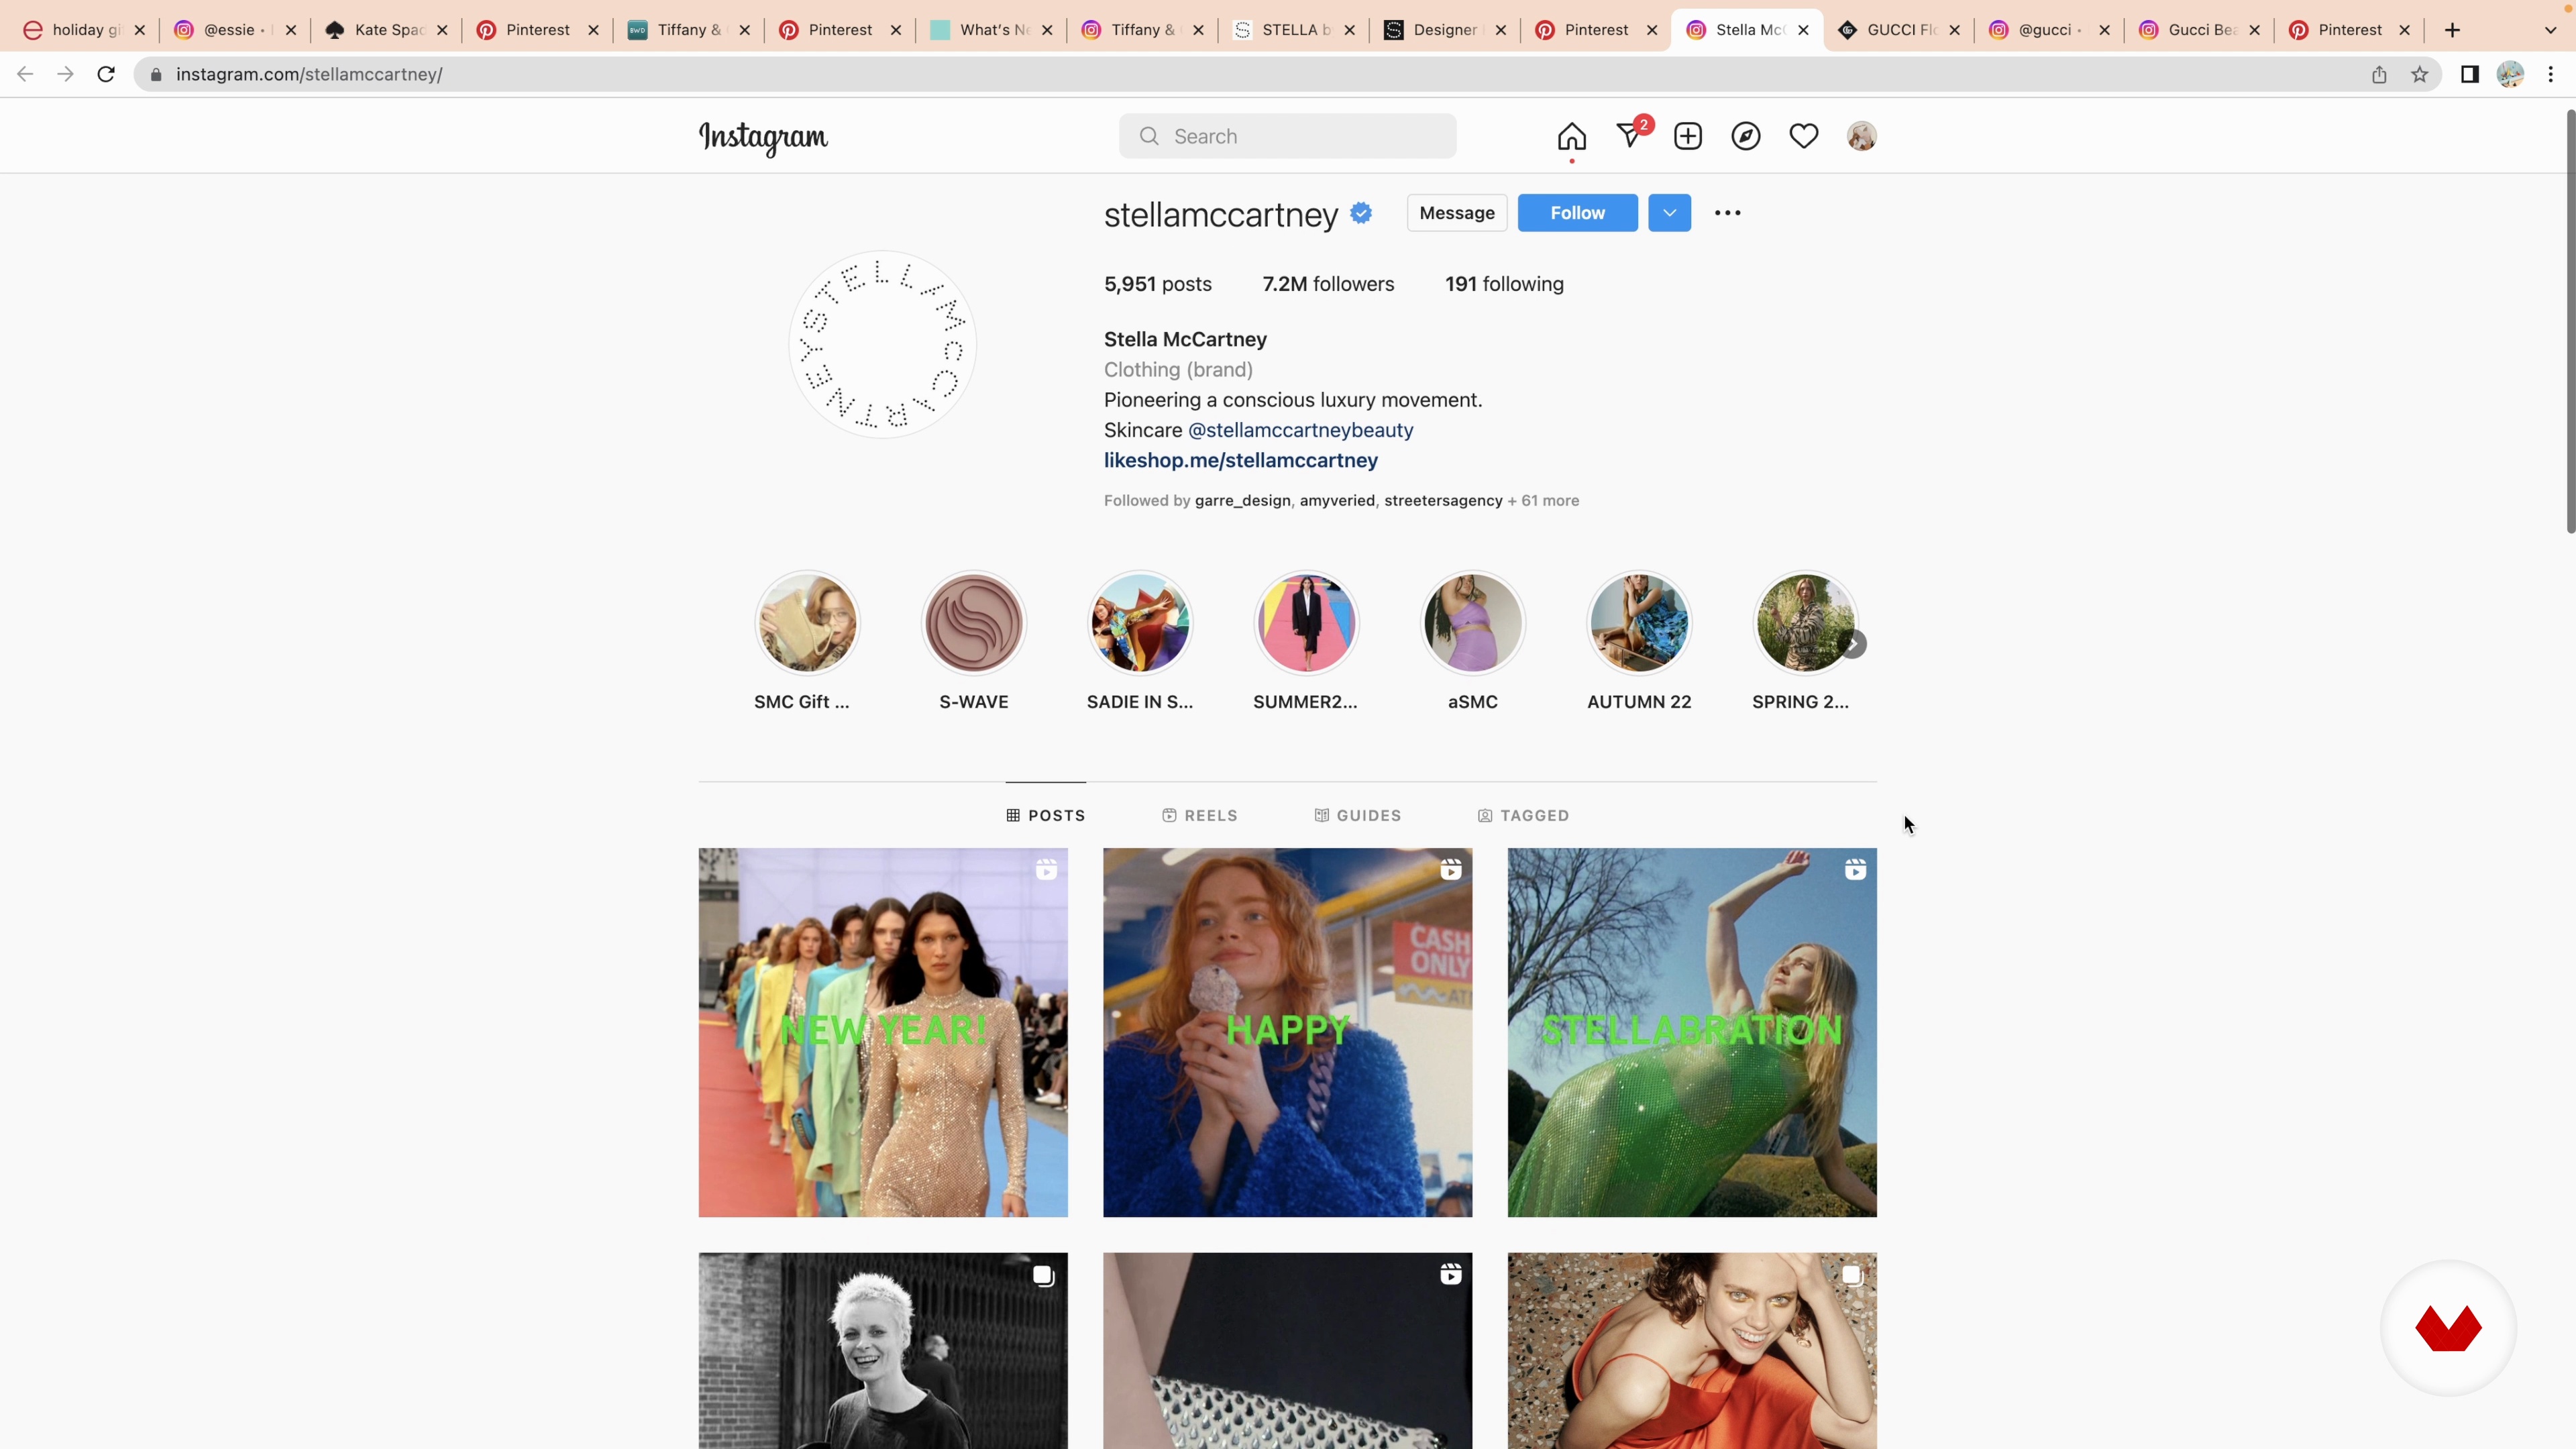
We will be covering how to pick a brand you like and we’ll be doing some brand research. We’ll also fix the basis of the concept.
10m
 9
9Making a Sketch
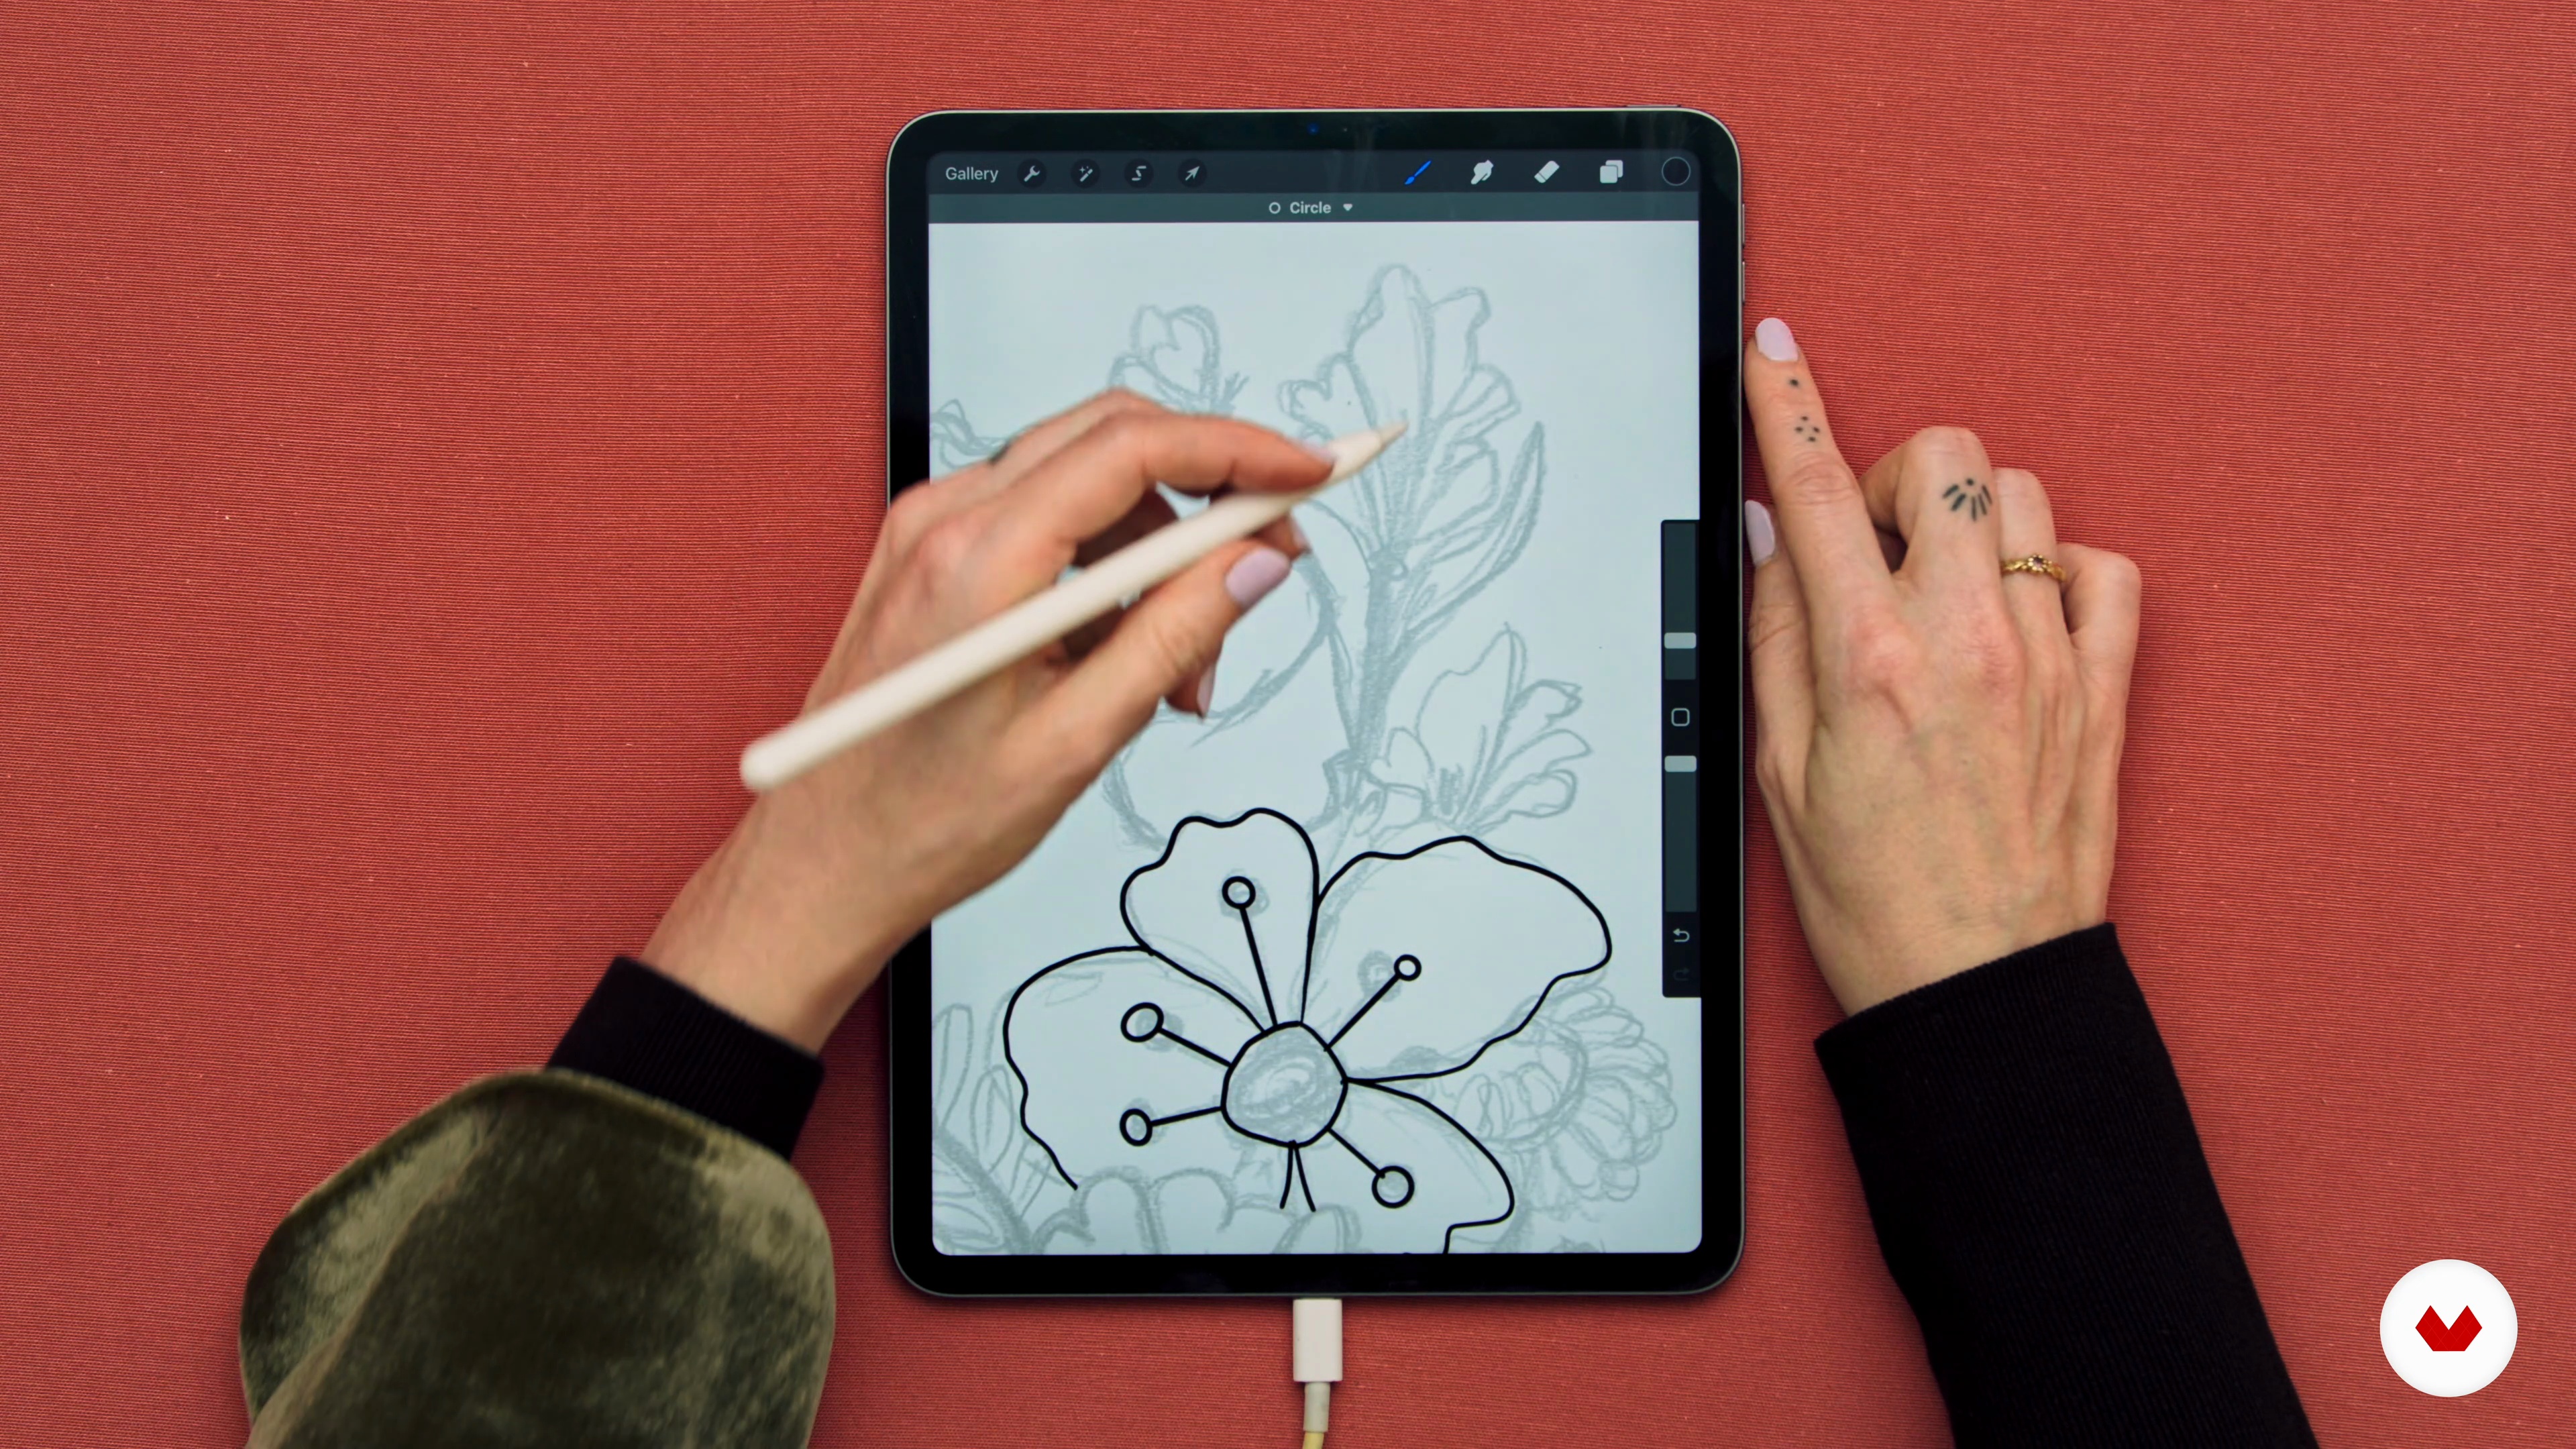
After the brand research we can move on to sketching the image we want to create. We will also handle color.
19m
 10
10Adding Colors
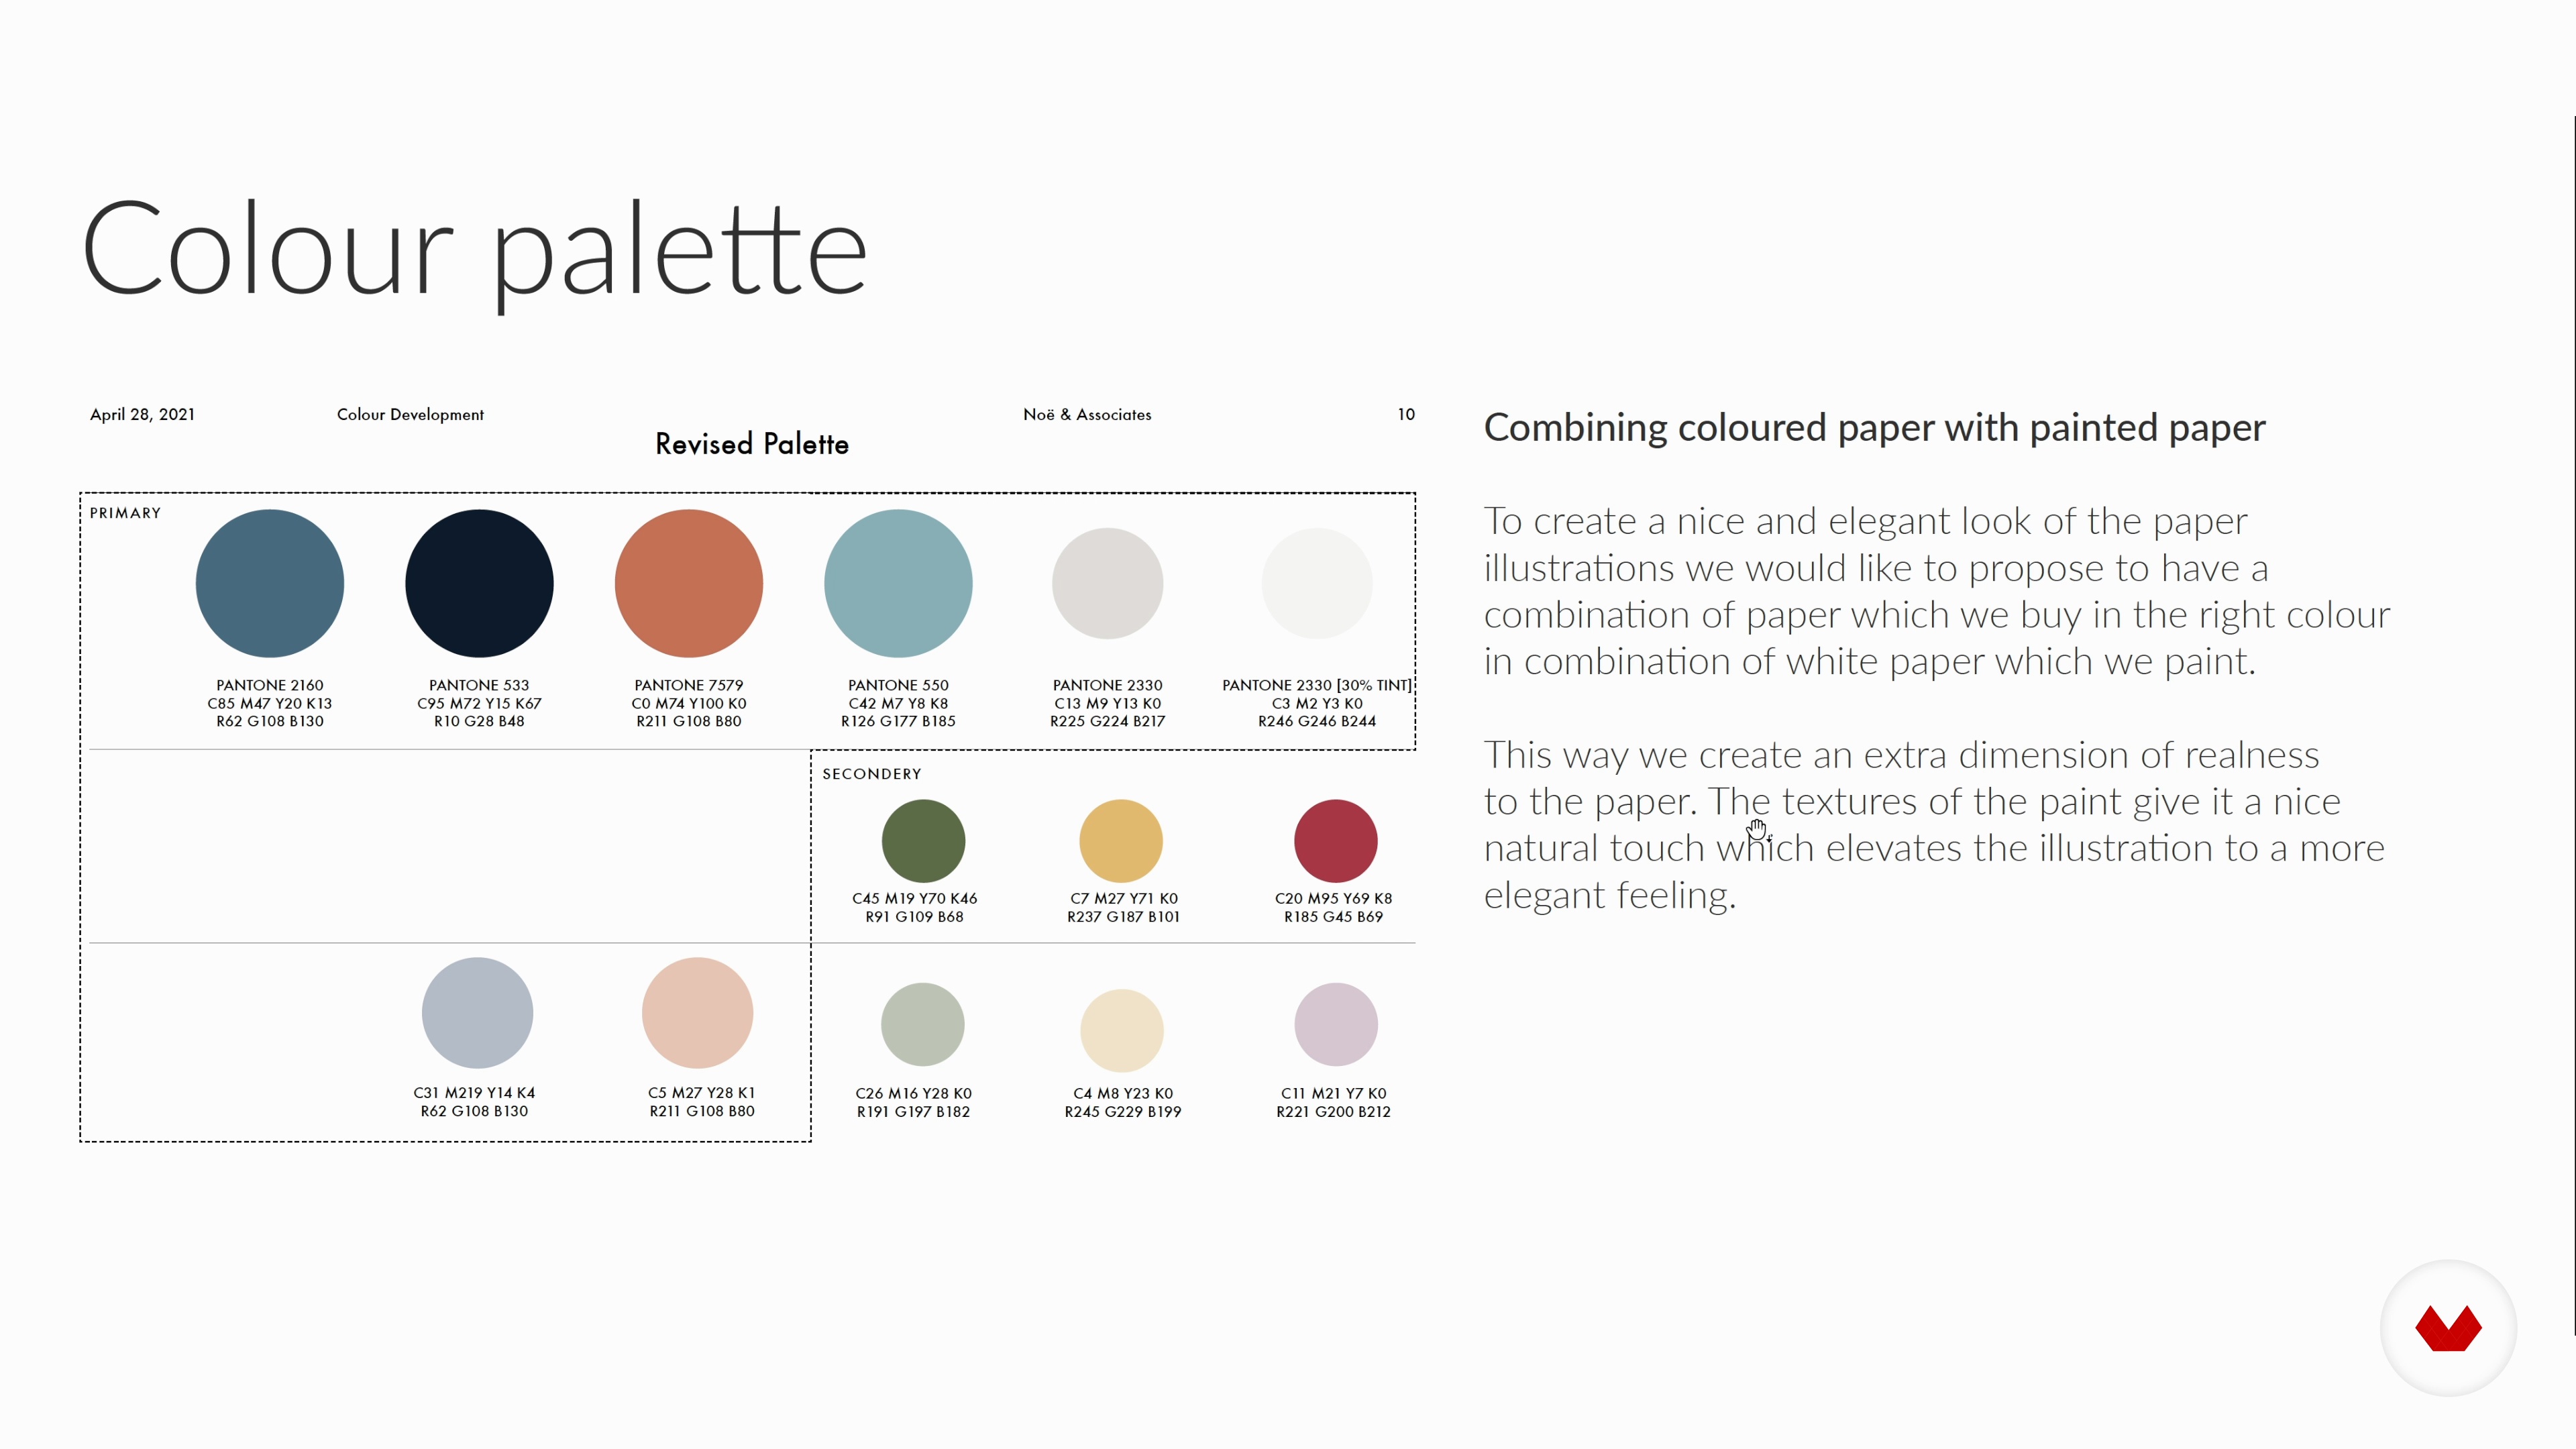
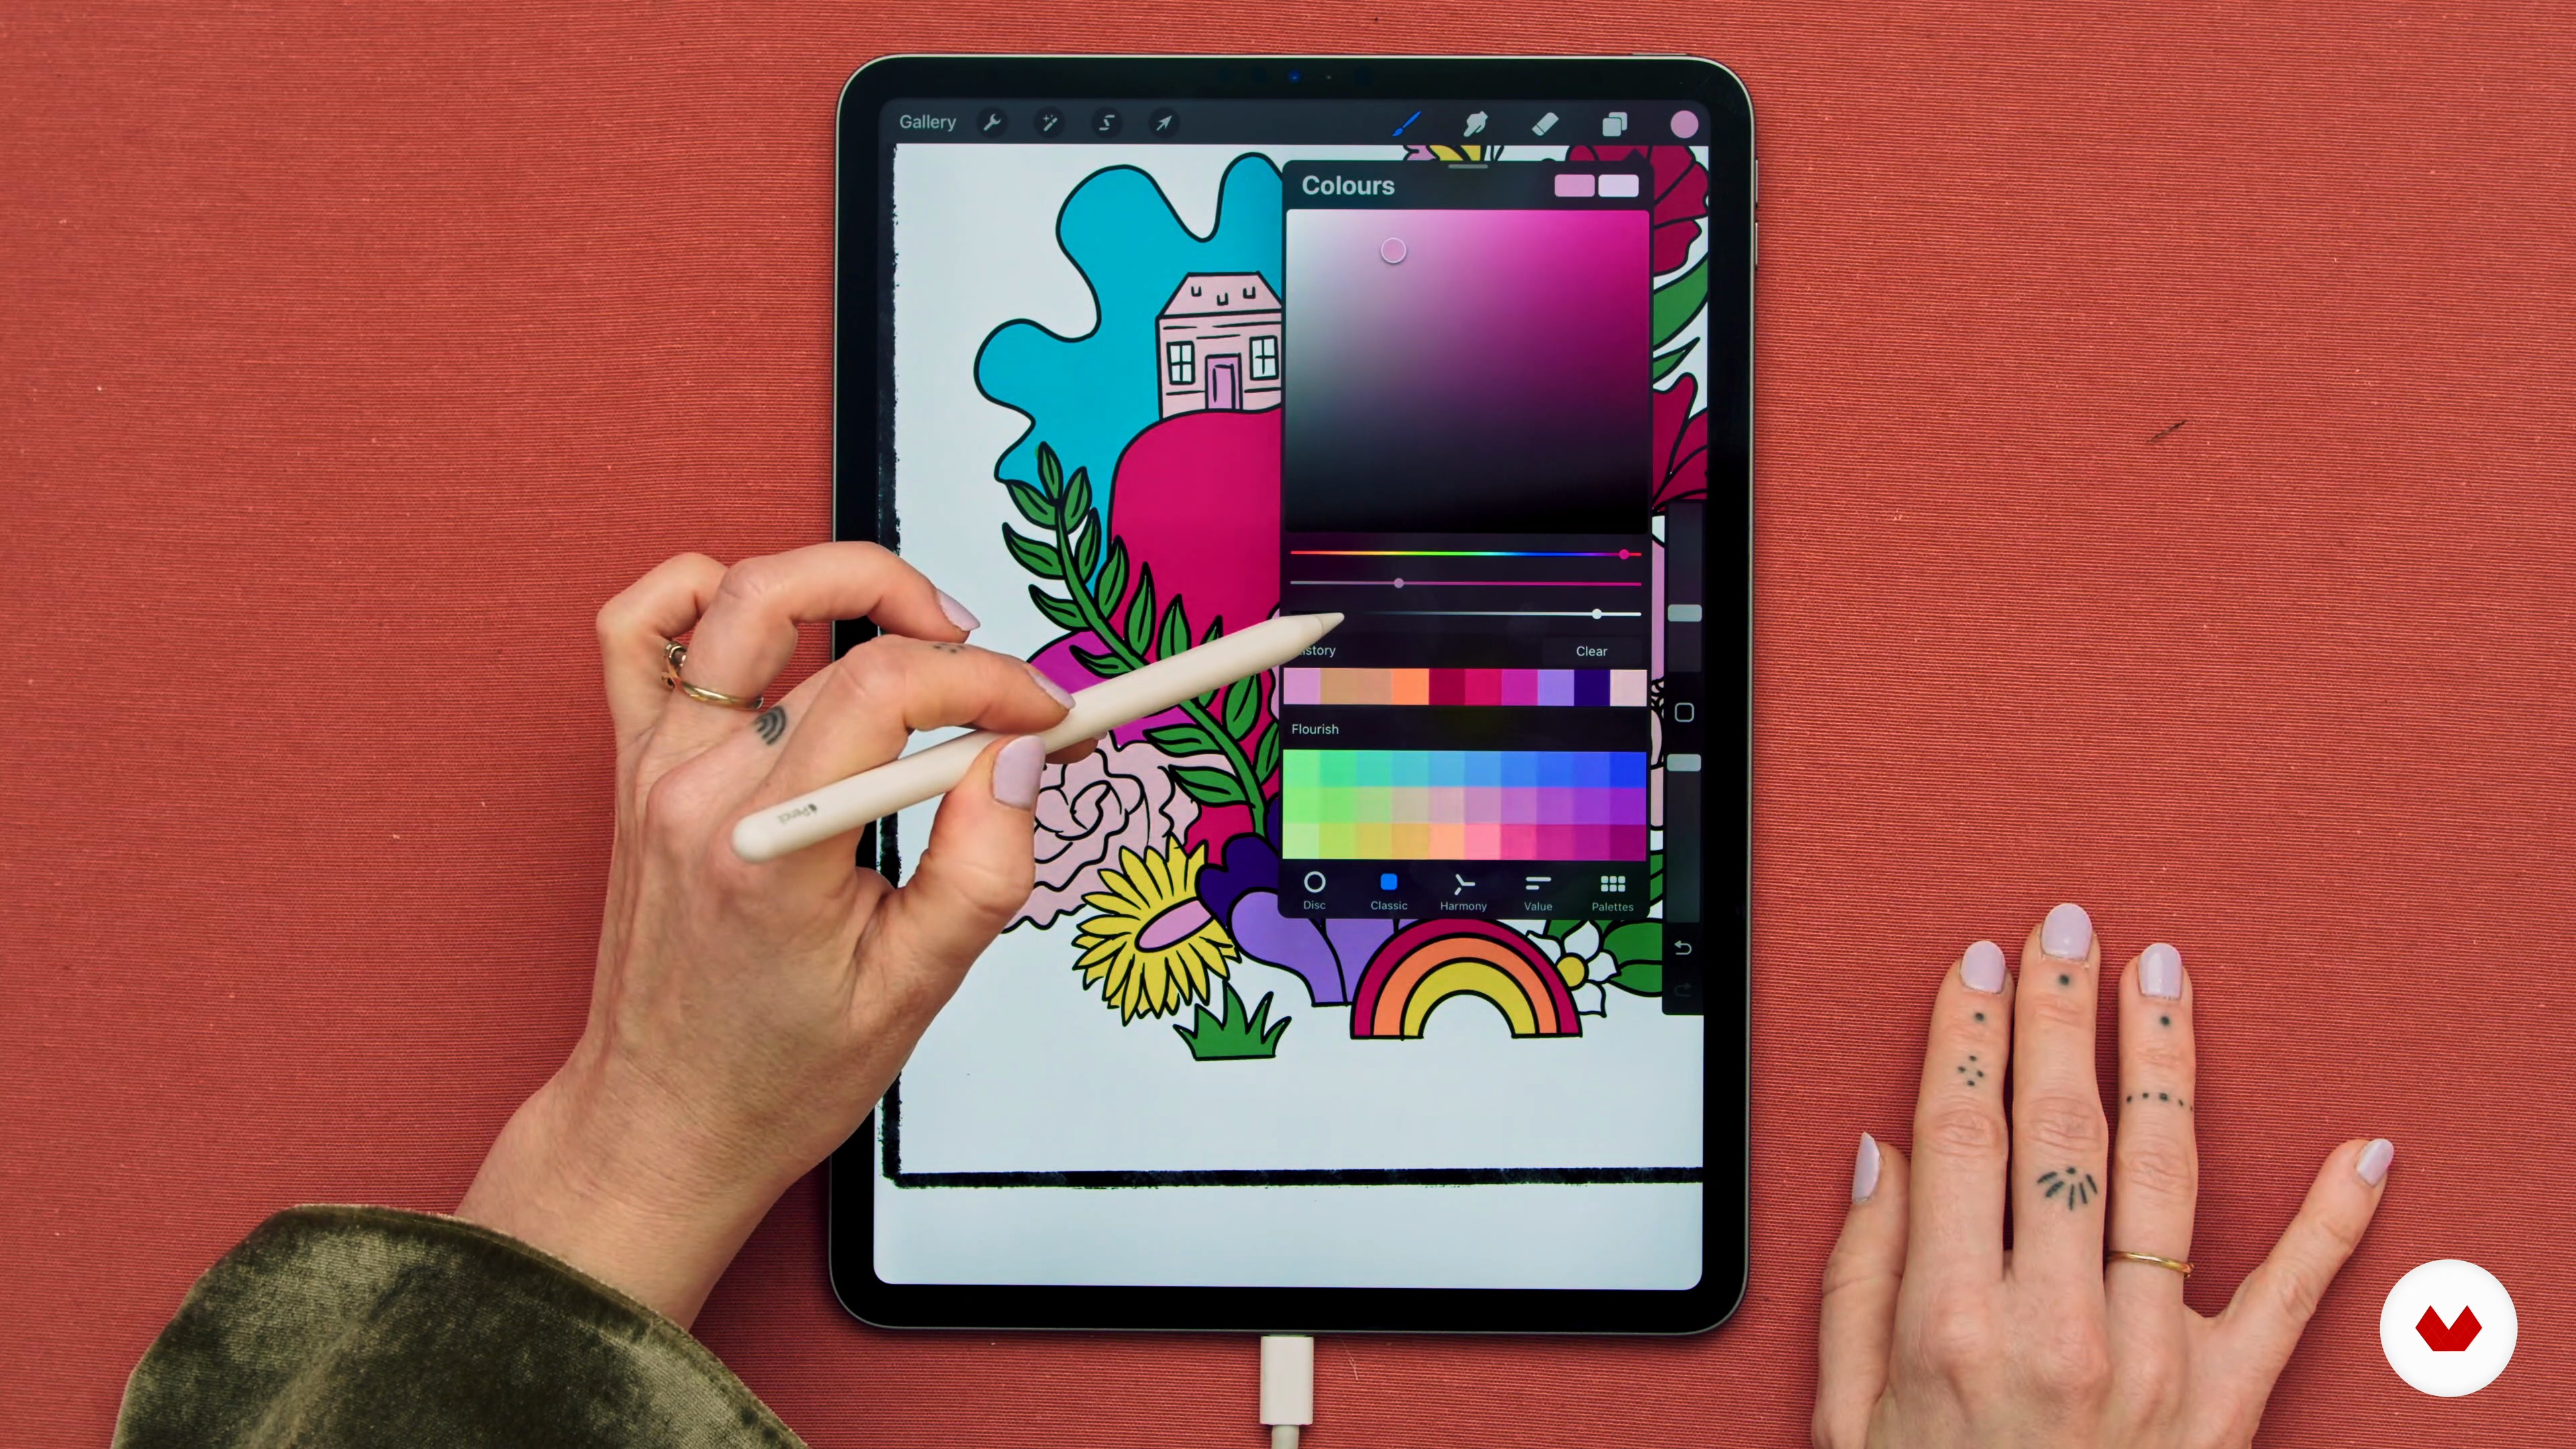
In this lesson we will select all the colors and type of papers for our Final Project.
21m
 11
11Designing the Treatment
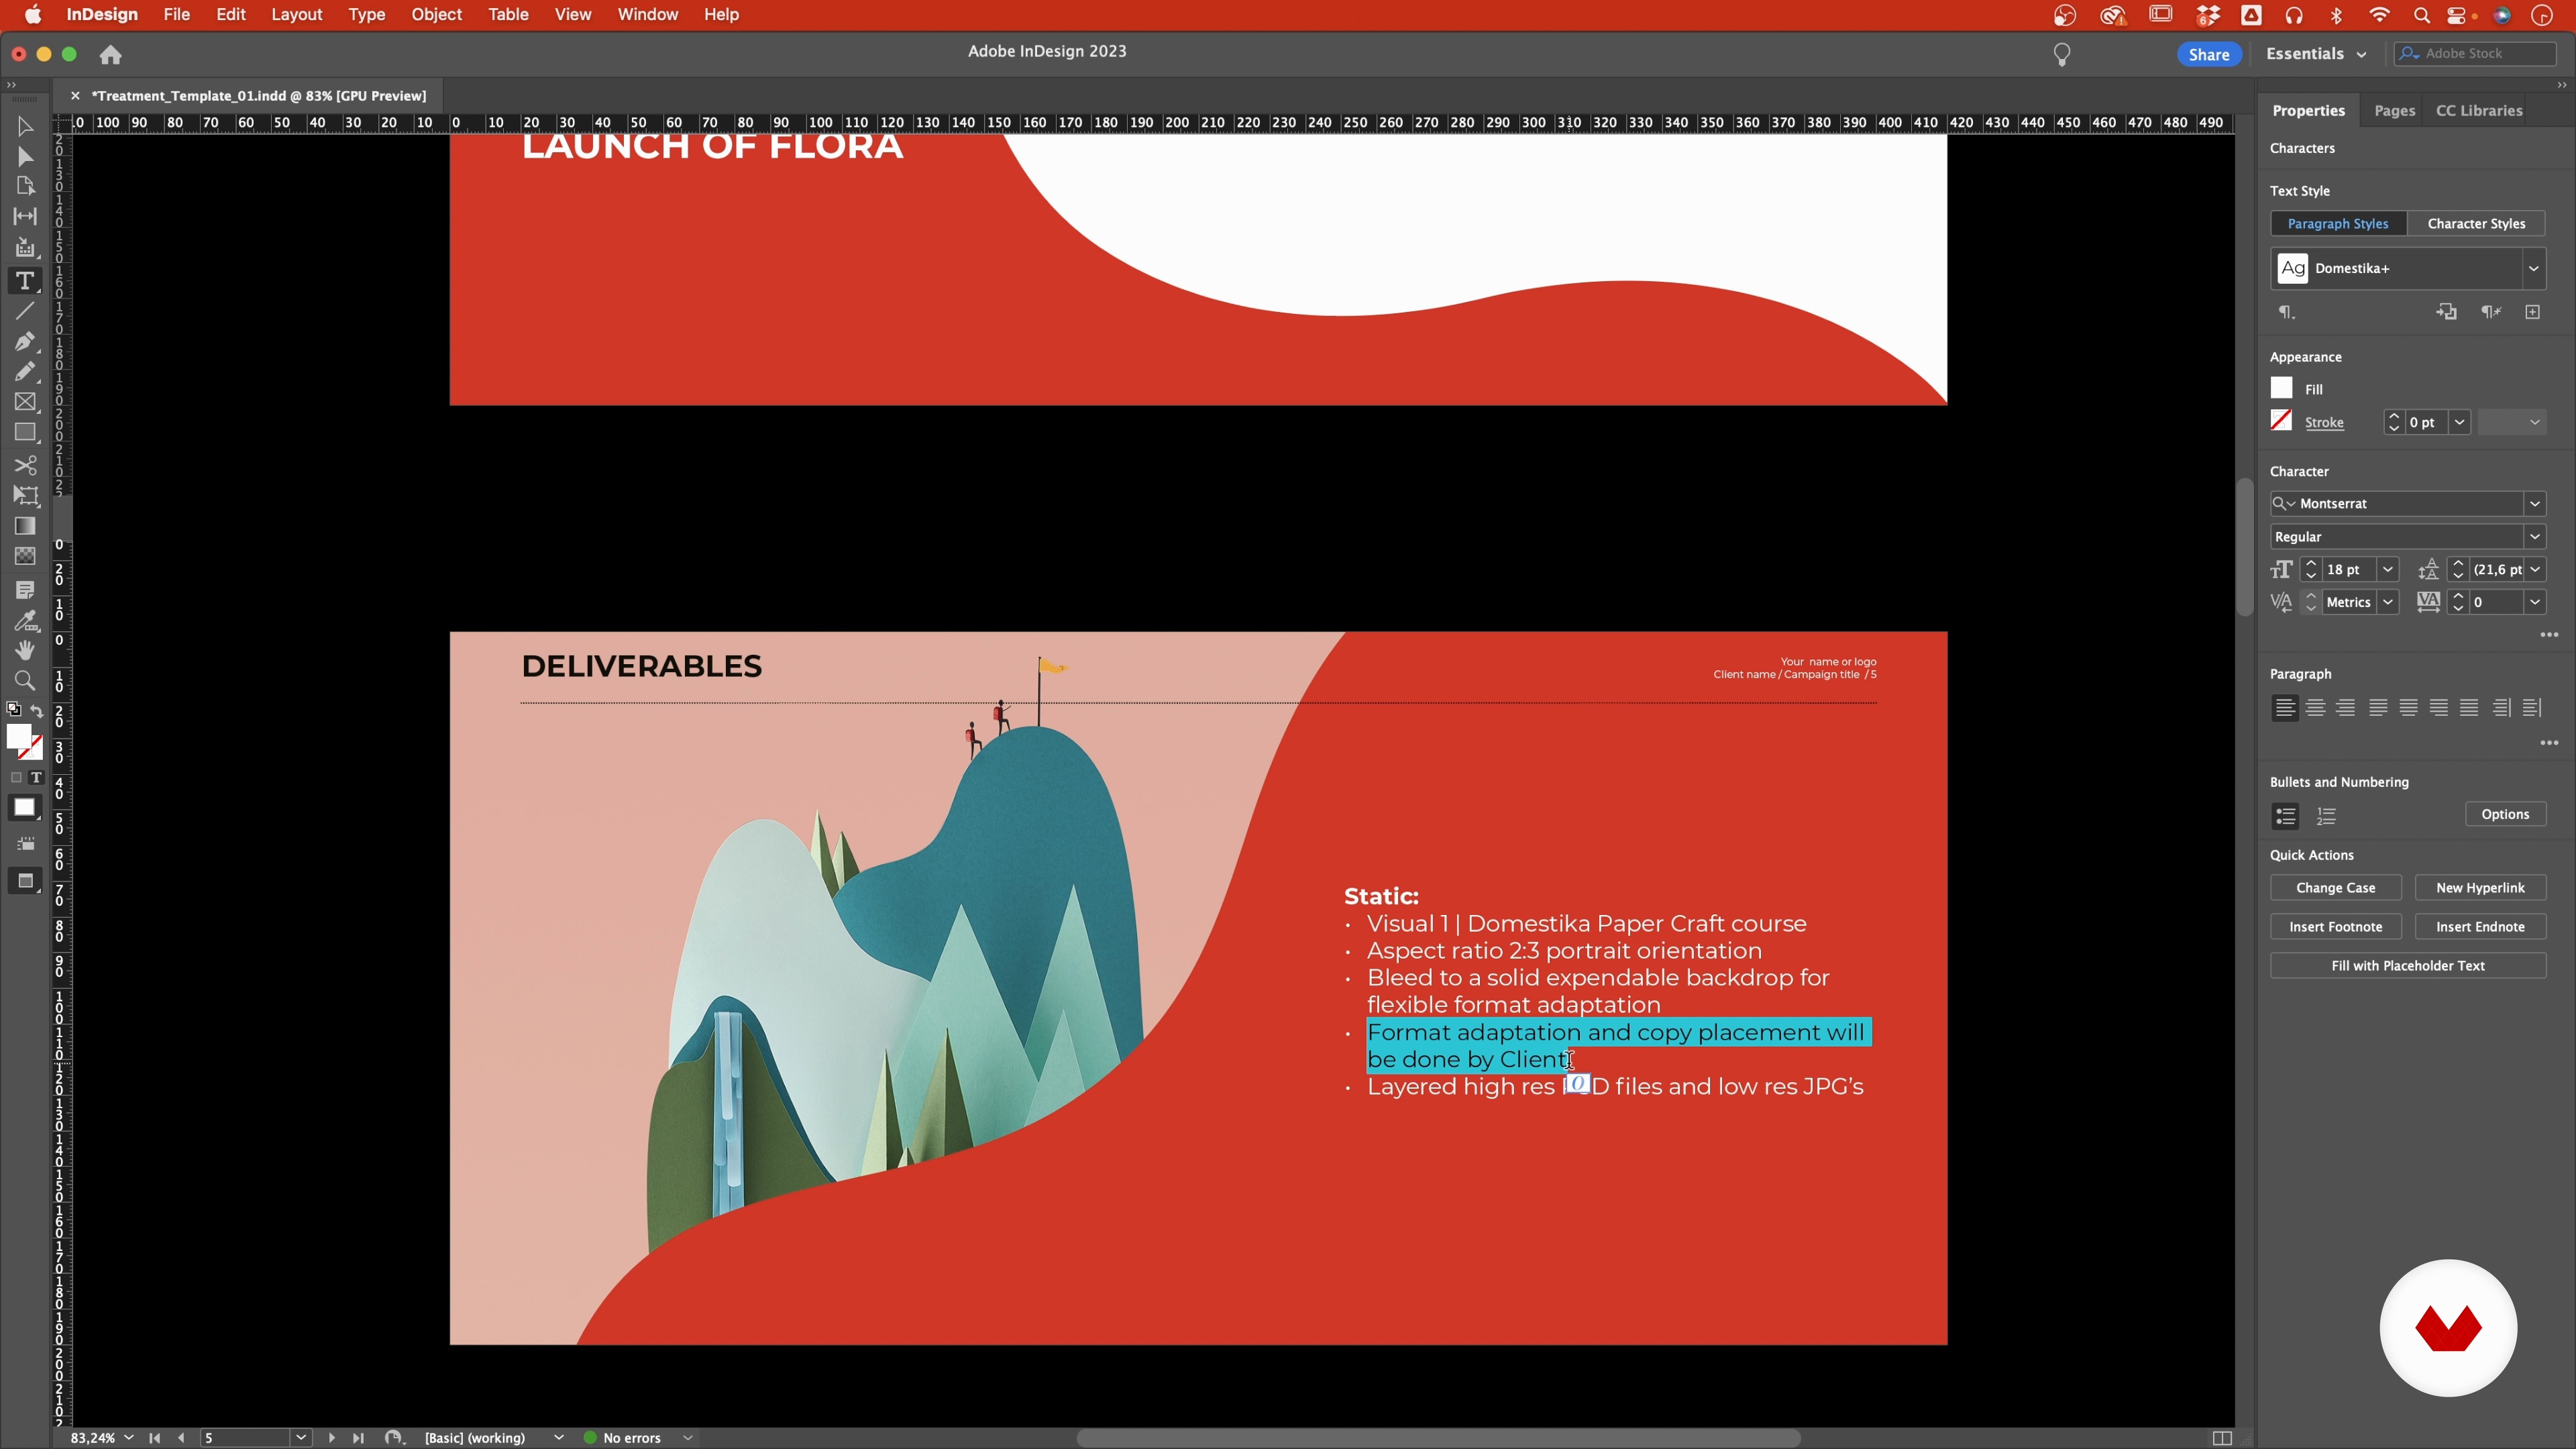
In the previous unit we already briefly discussed the importance and content of the treatment. In this lesson, we'll dive deeper into this part of the process of working on a commissioned visual. We’ll be putting the document in this lesson.
16m
 12
12Making the Designs in Illustrator: Basic Introduction
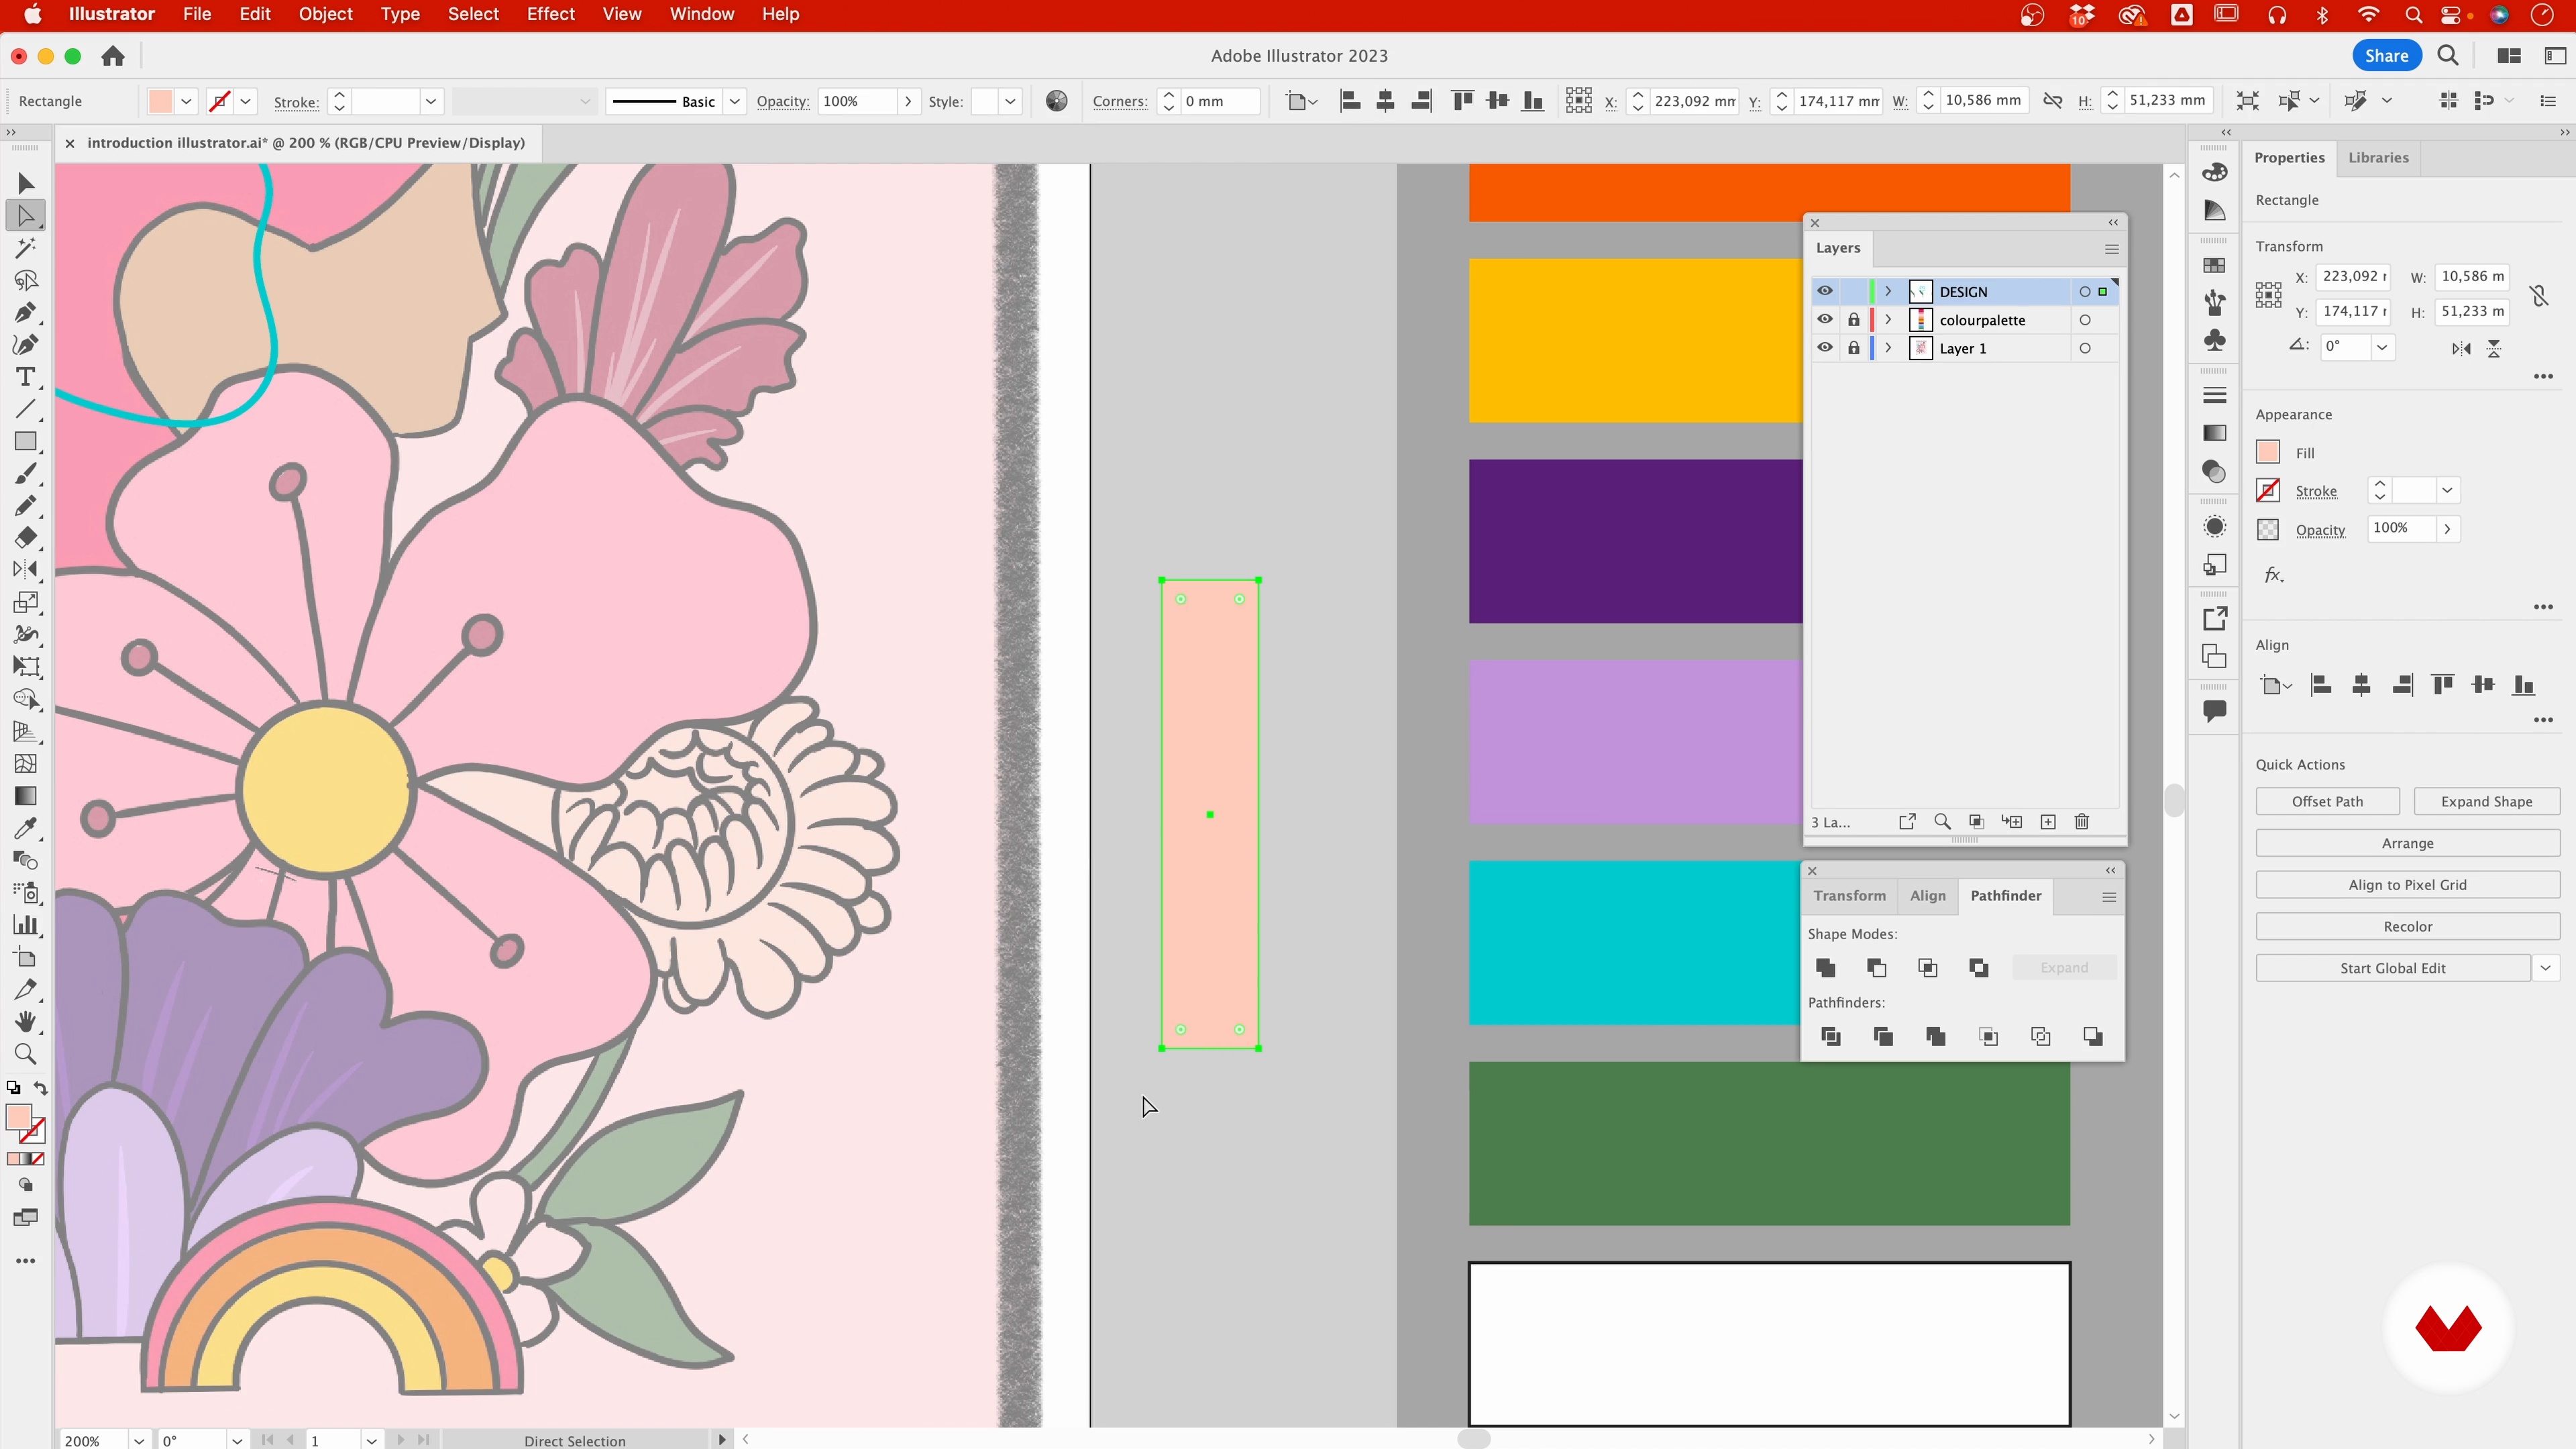
How do we design our paper set? That is what we will discuss in this lesson. We do this by using Illustrator. We'll share a basic introduction and share tips which make the workflow faster.
20m
 13
13Making the Designs in Illustrator: Translating Flat Illustrator Designs to Templates
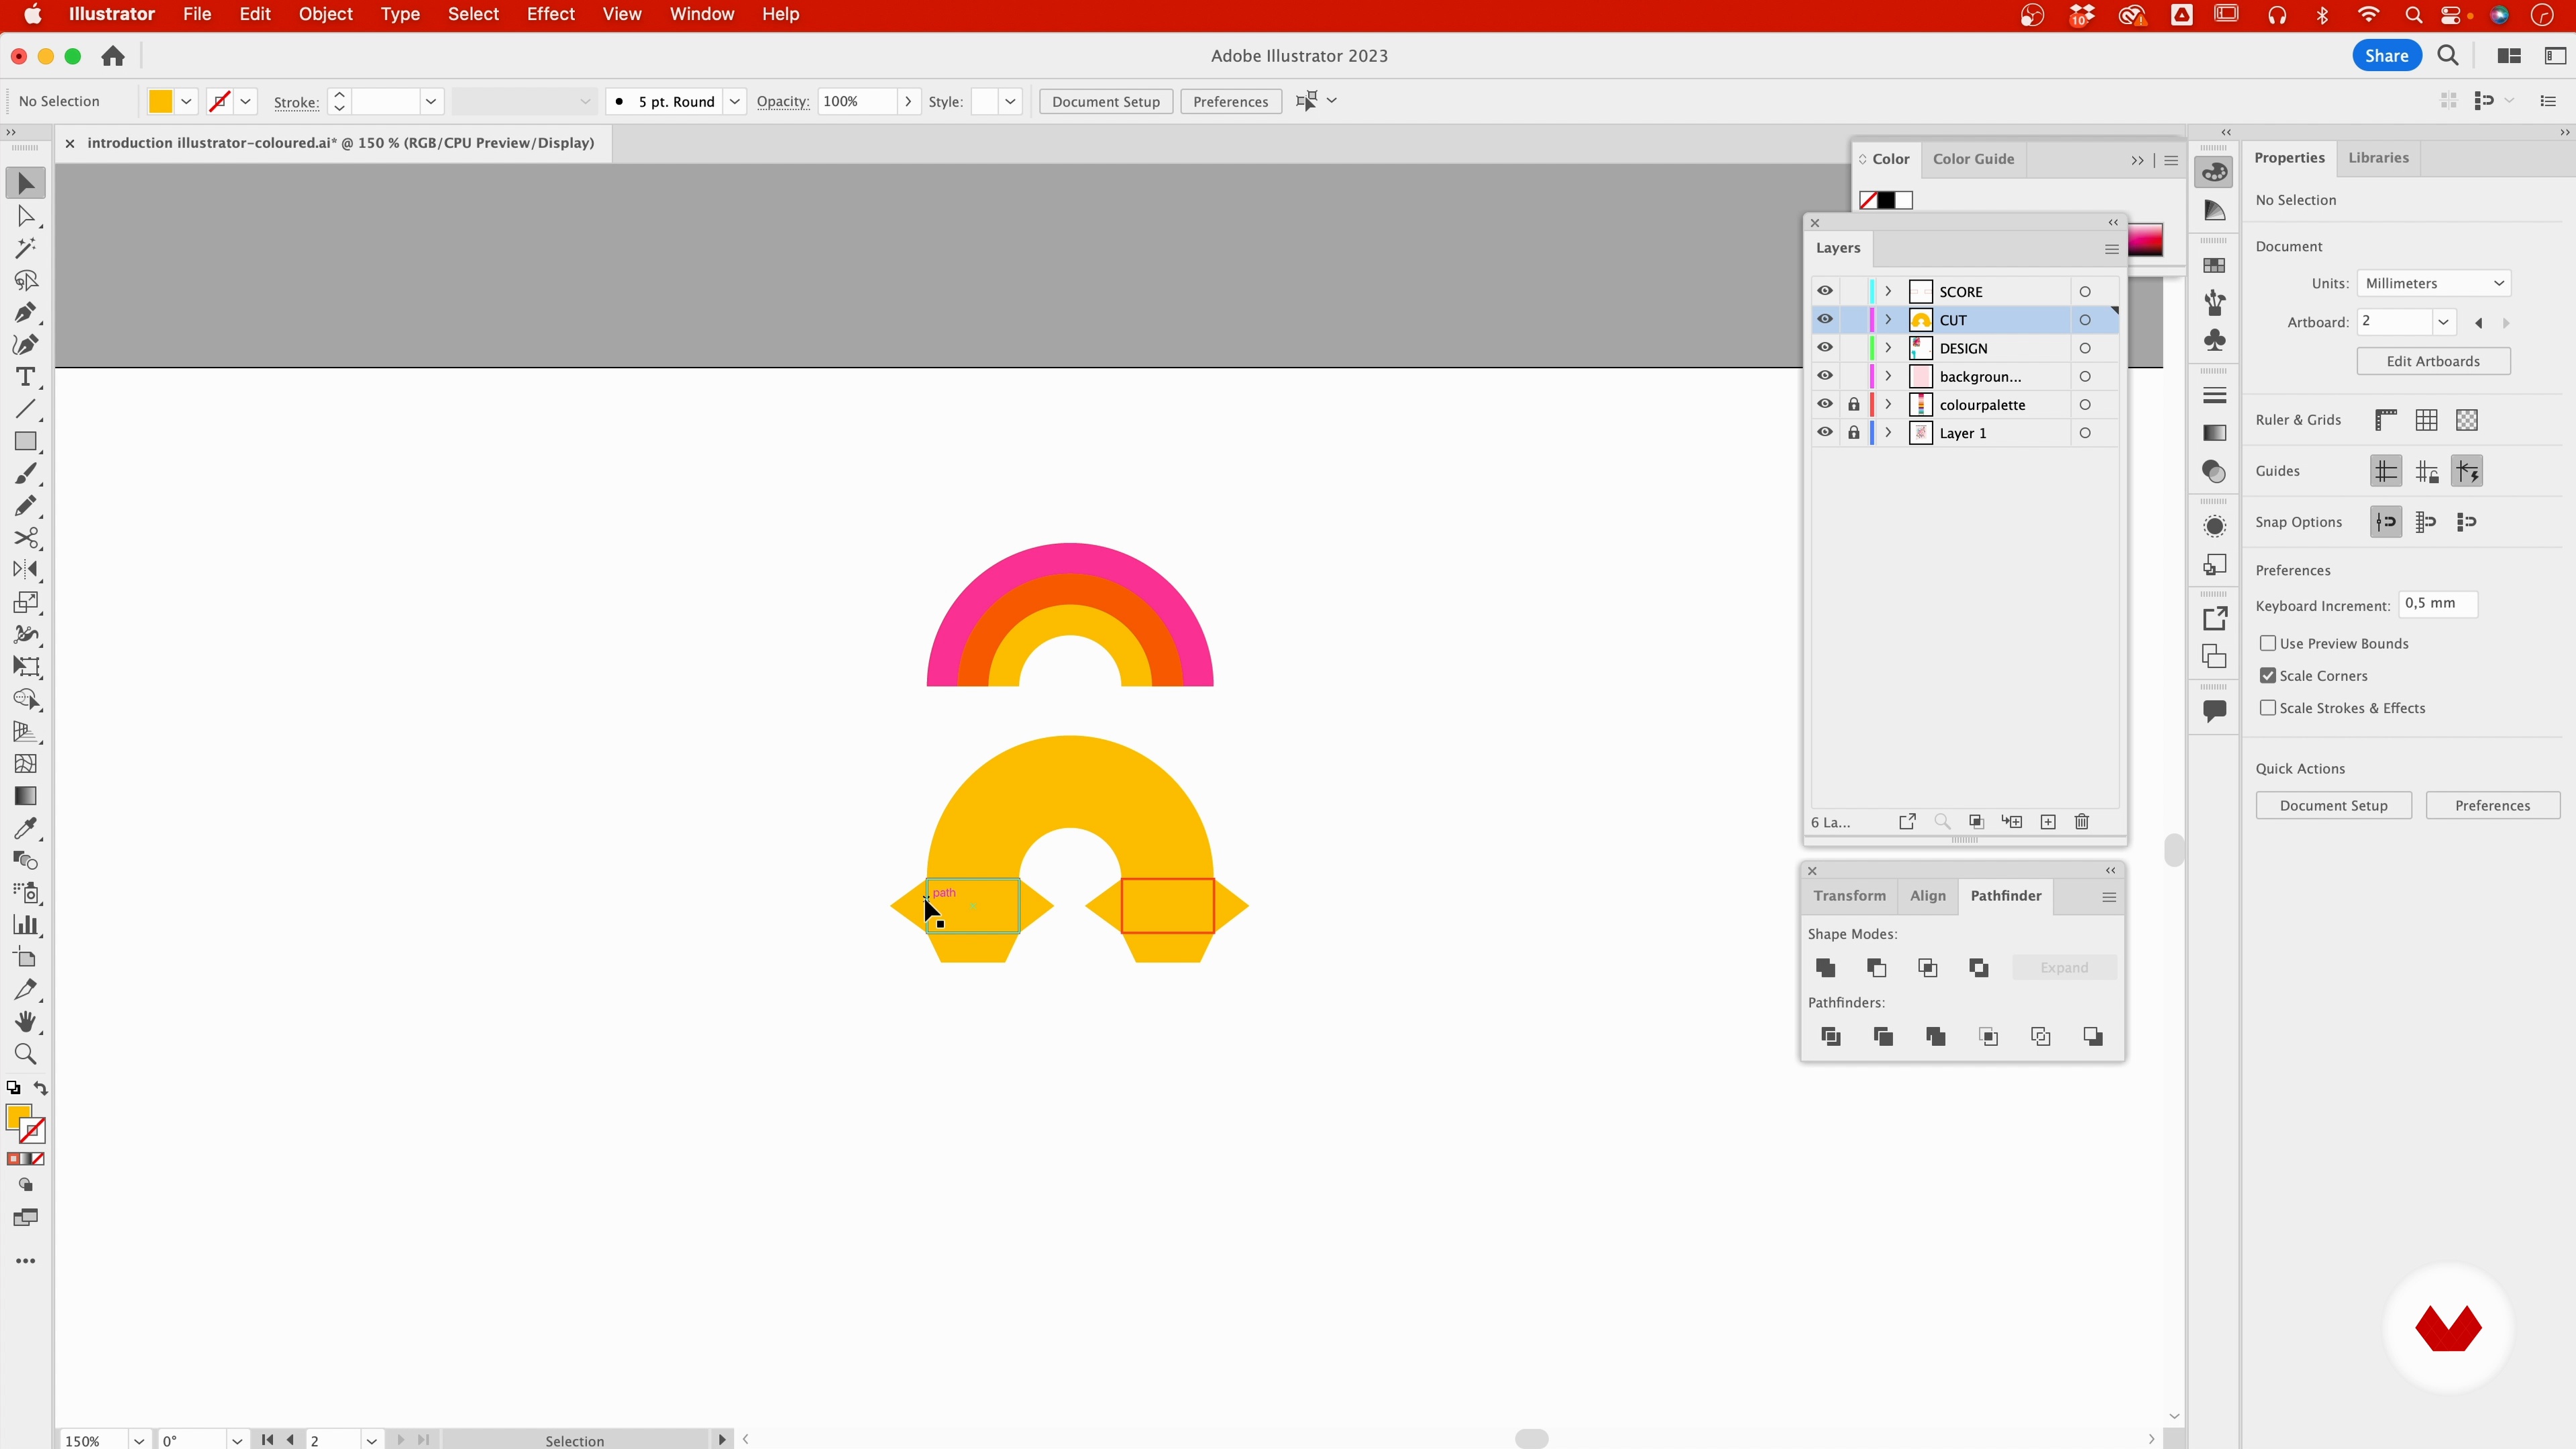
In this lesson, we'll discuss how we normally translate our designs to paper. We will show how we translate flat illustrator designs to template which are ready for cutting and printing. We will show how we make a 3D shape out of a flat shape.
20m
 14
14Preparing Your Templates
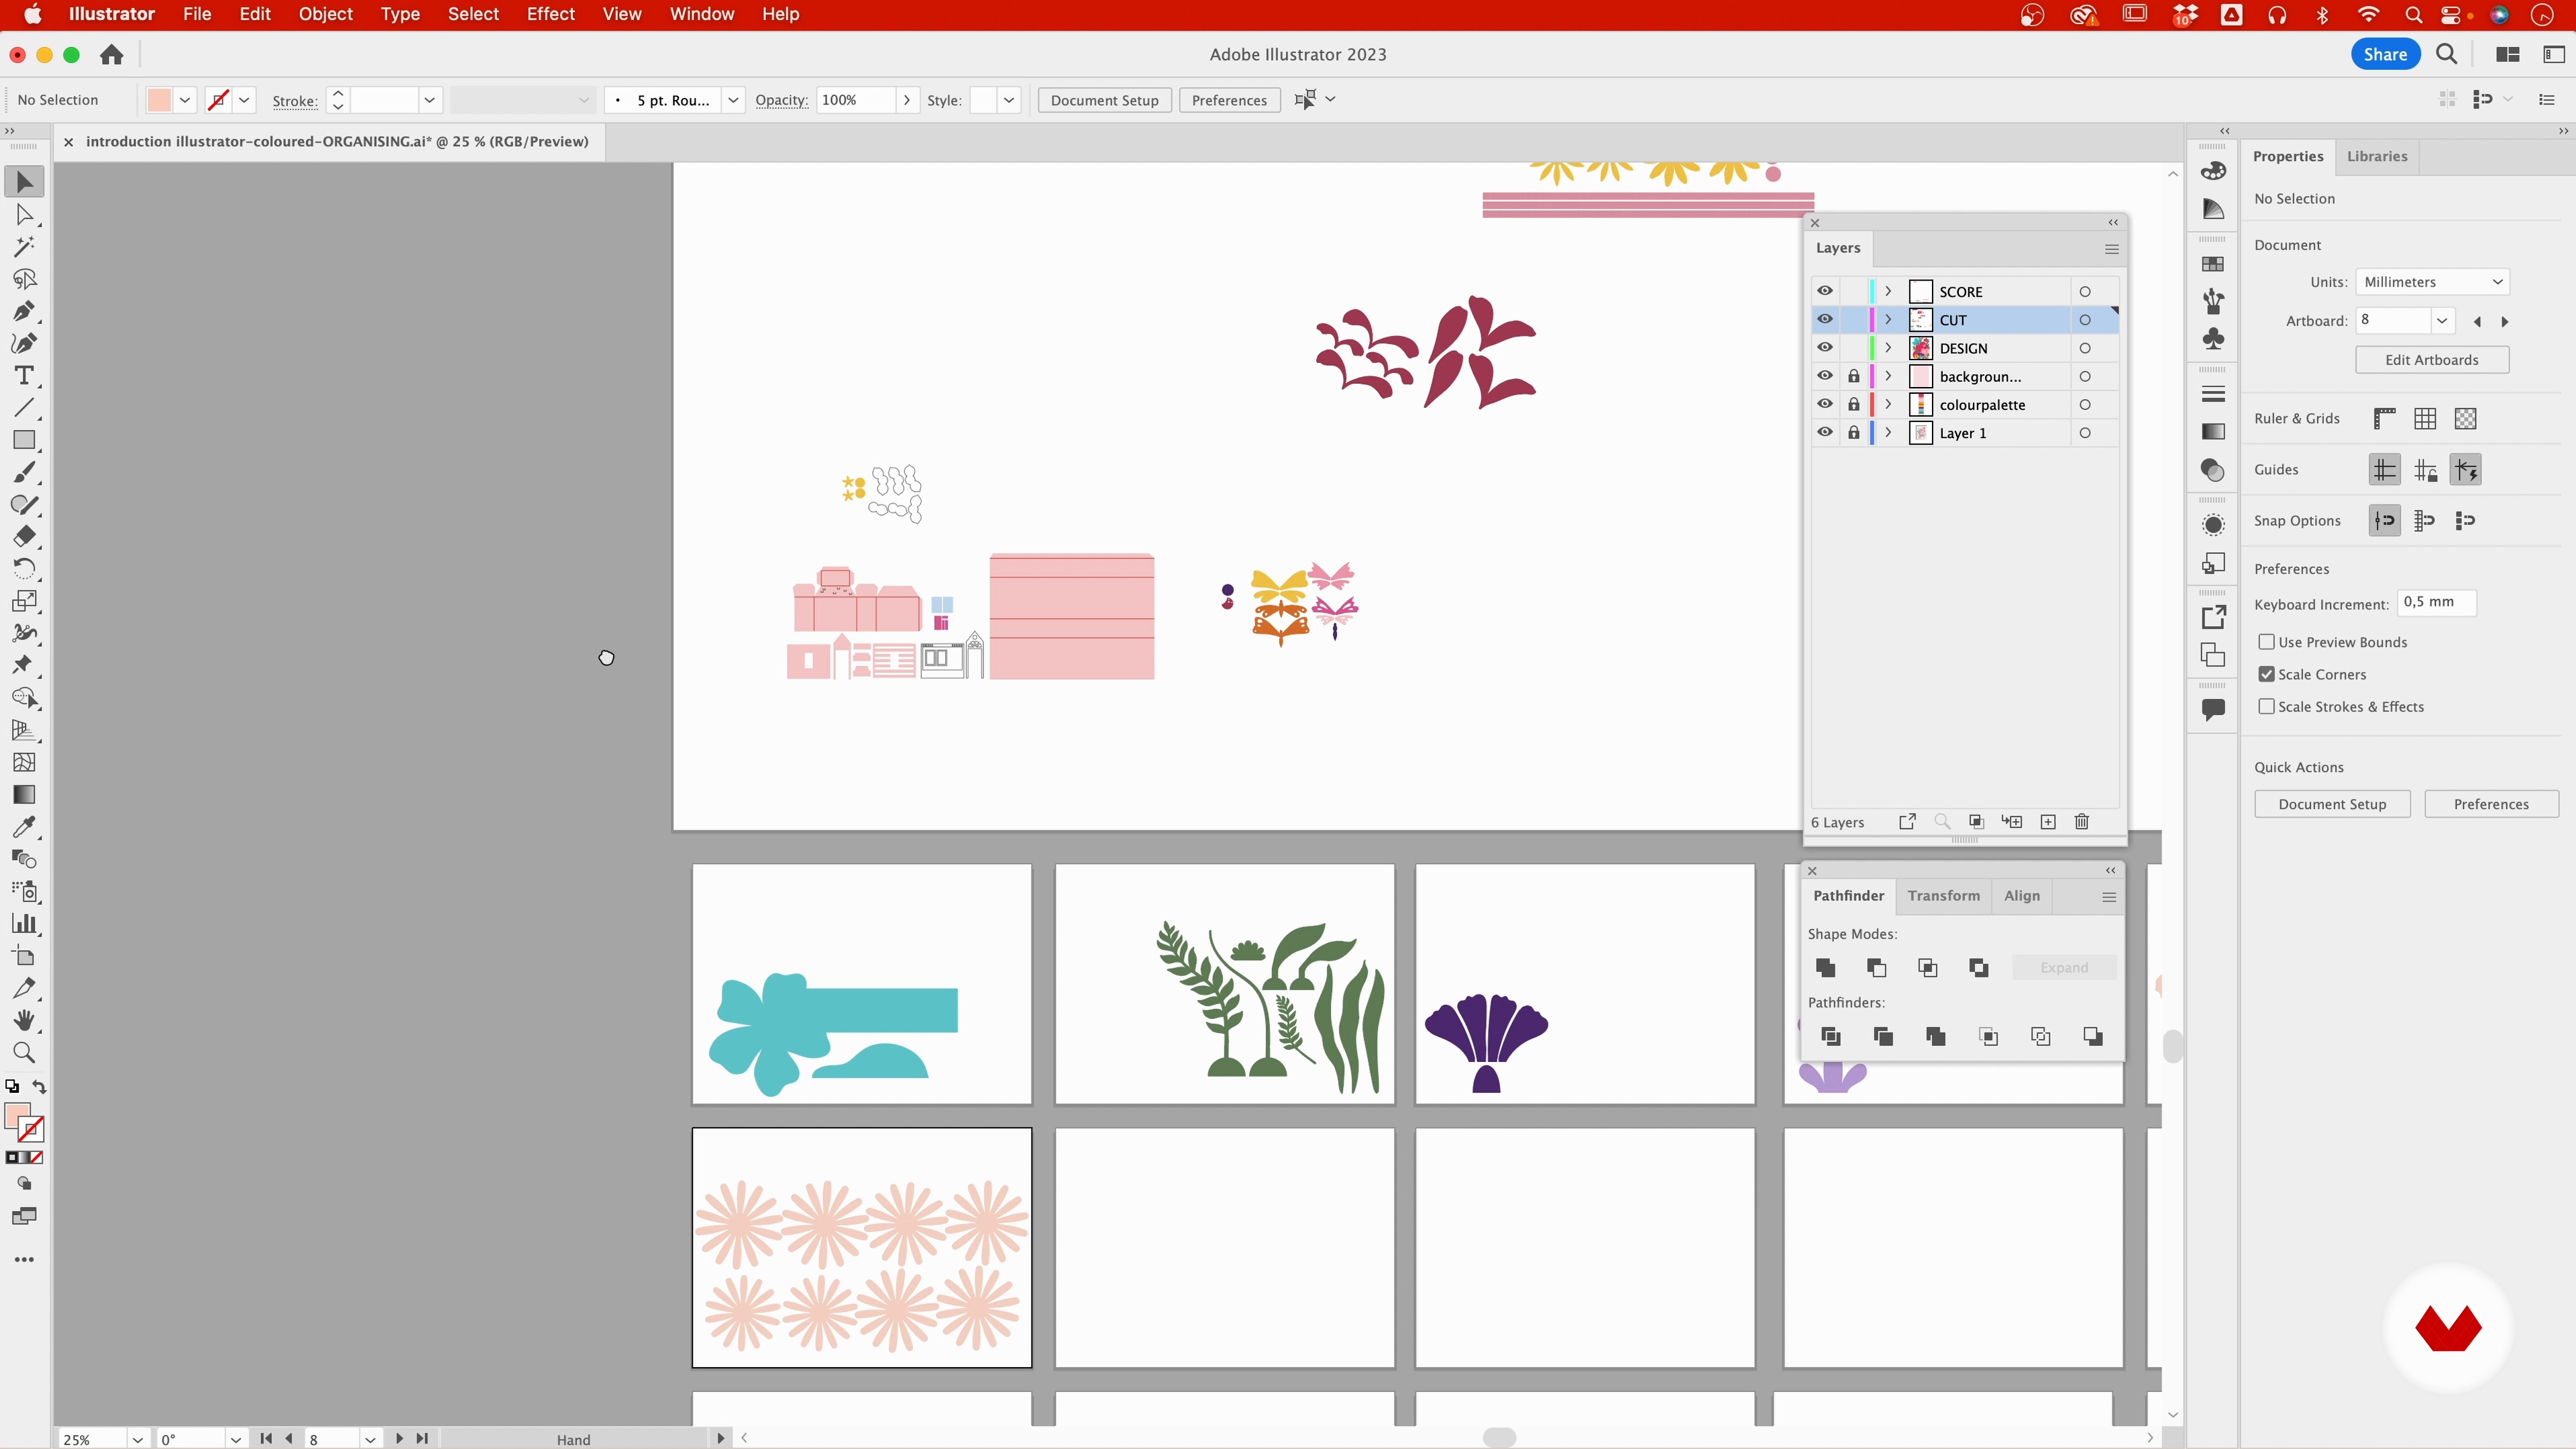
We explain how we prepare the files for cutting with a plotter and what the advantages are of using a plotter. If you're just starting to work with paper, you probably don't have a plotter yet. That's why in this lesson we'll also show you how to translate the digital designs to paper by hand.
7m
 15
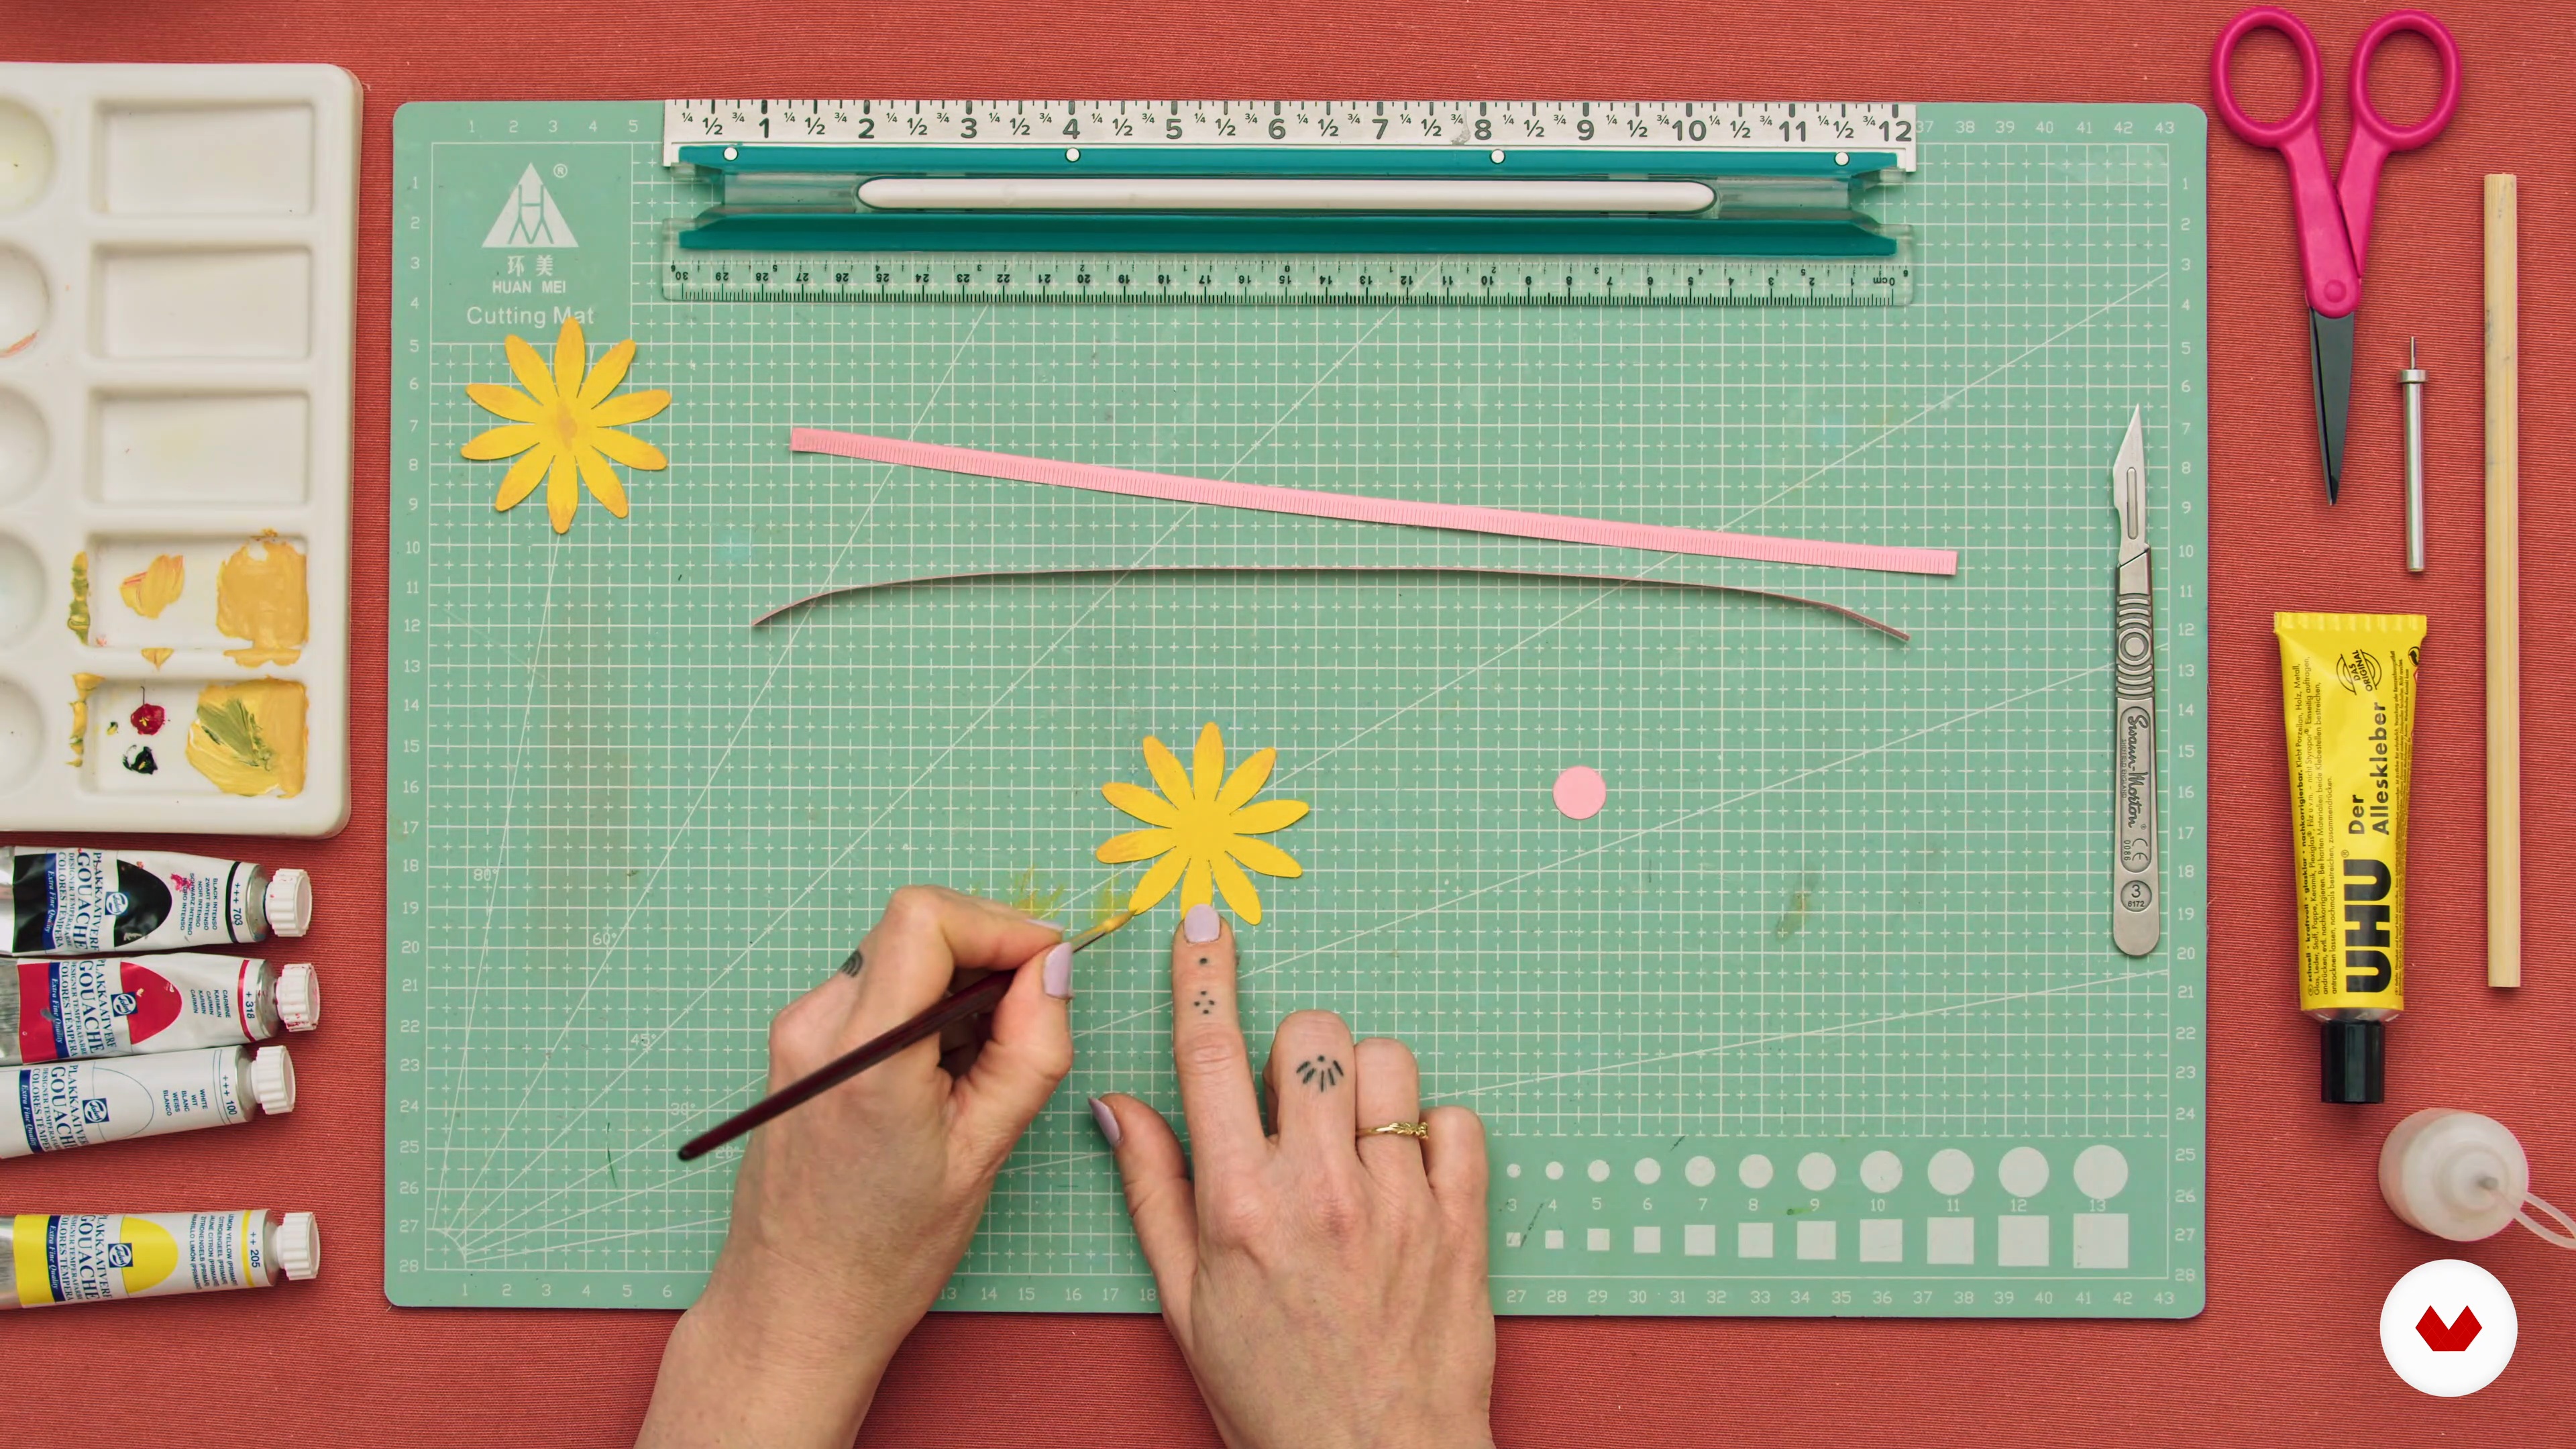
15Building the First Pieces I
Now we can finally start with the step where the whole idea comes to life. We are going to put the designs together and share some tips on how to do this even faster with a clean result.
18m
 16
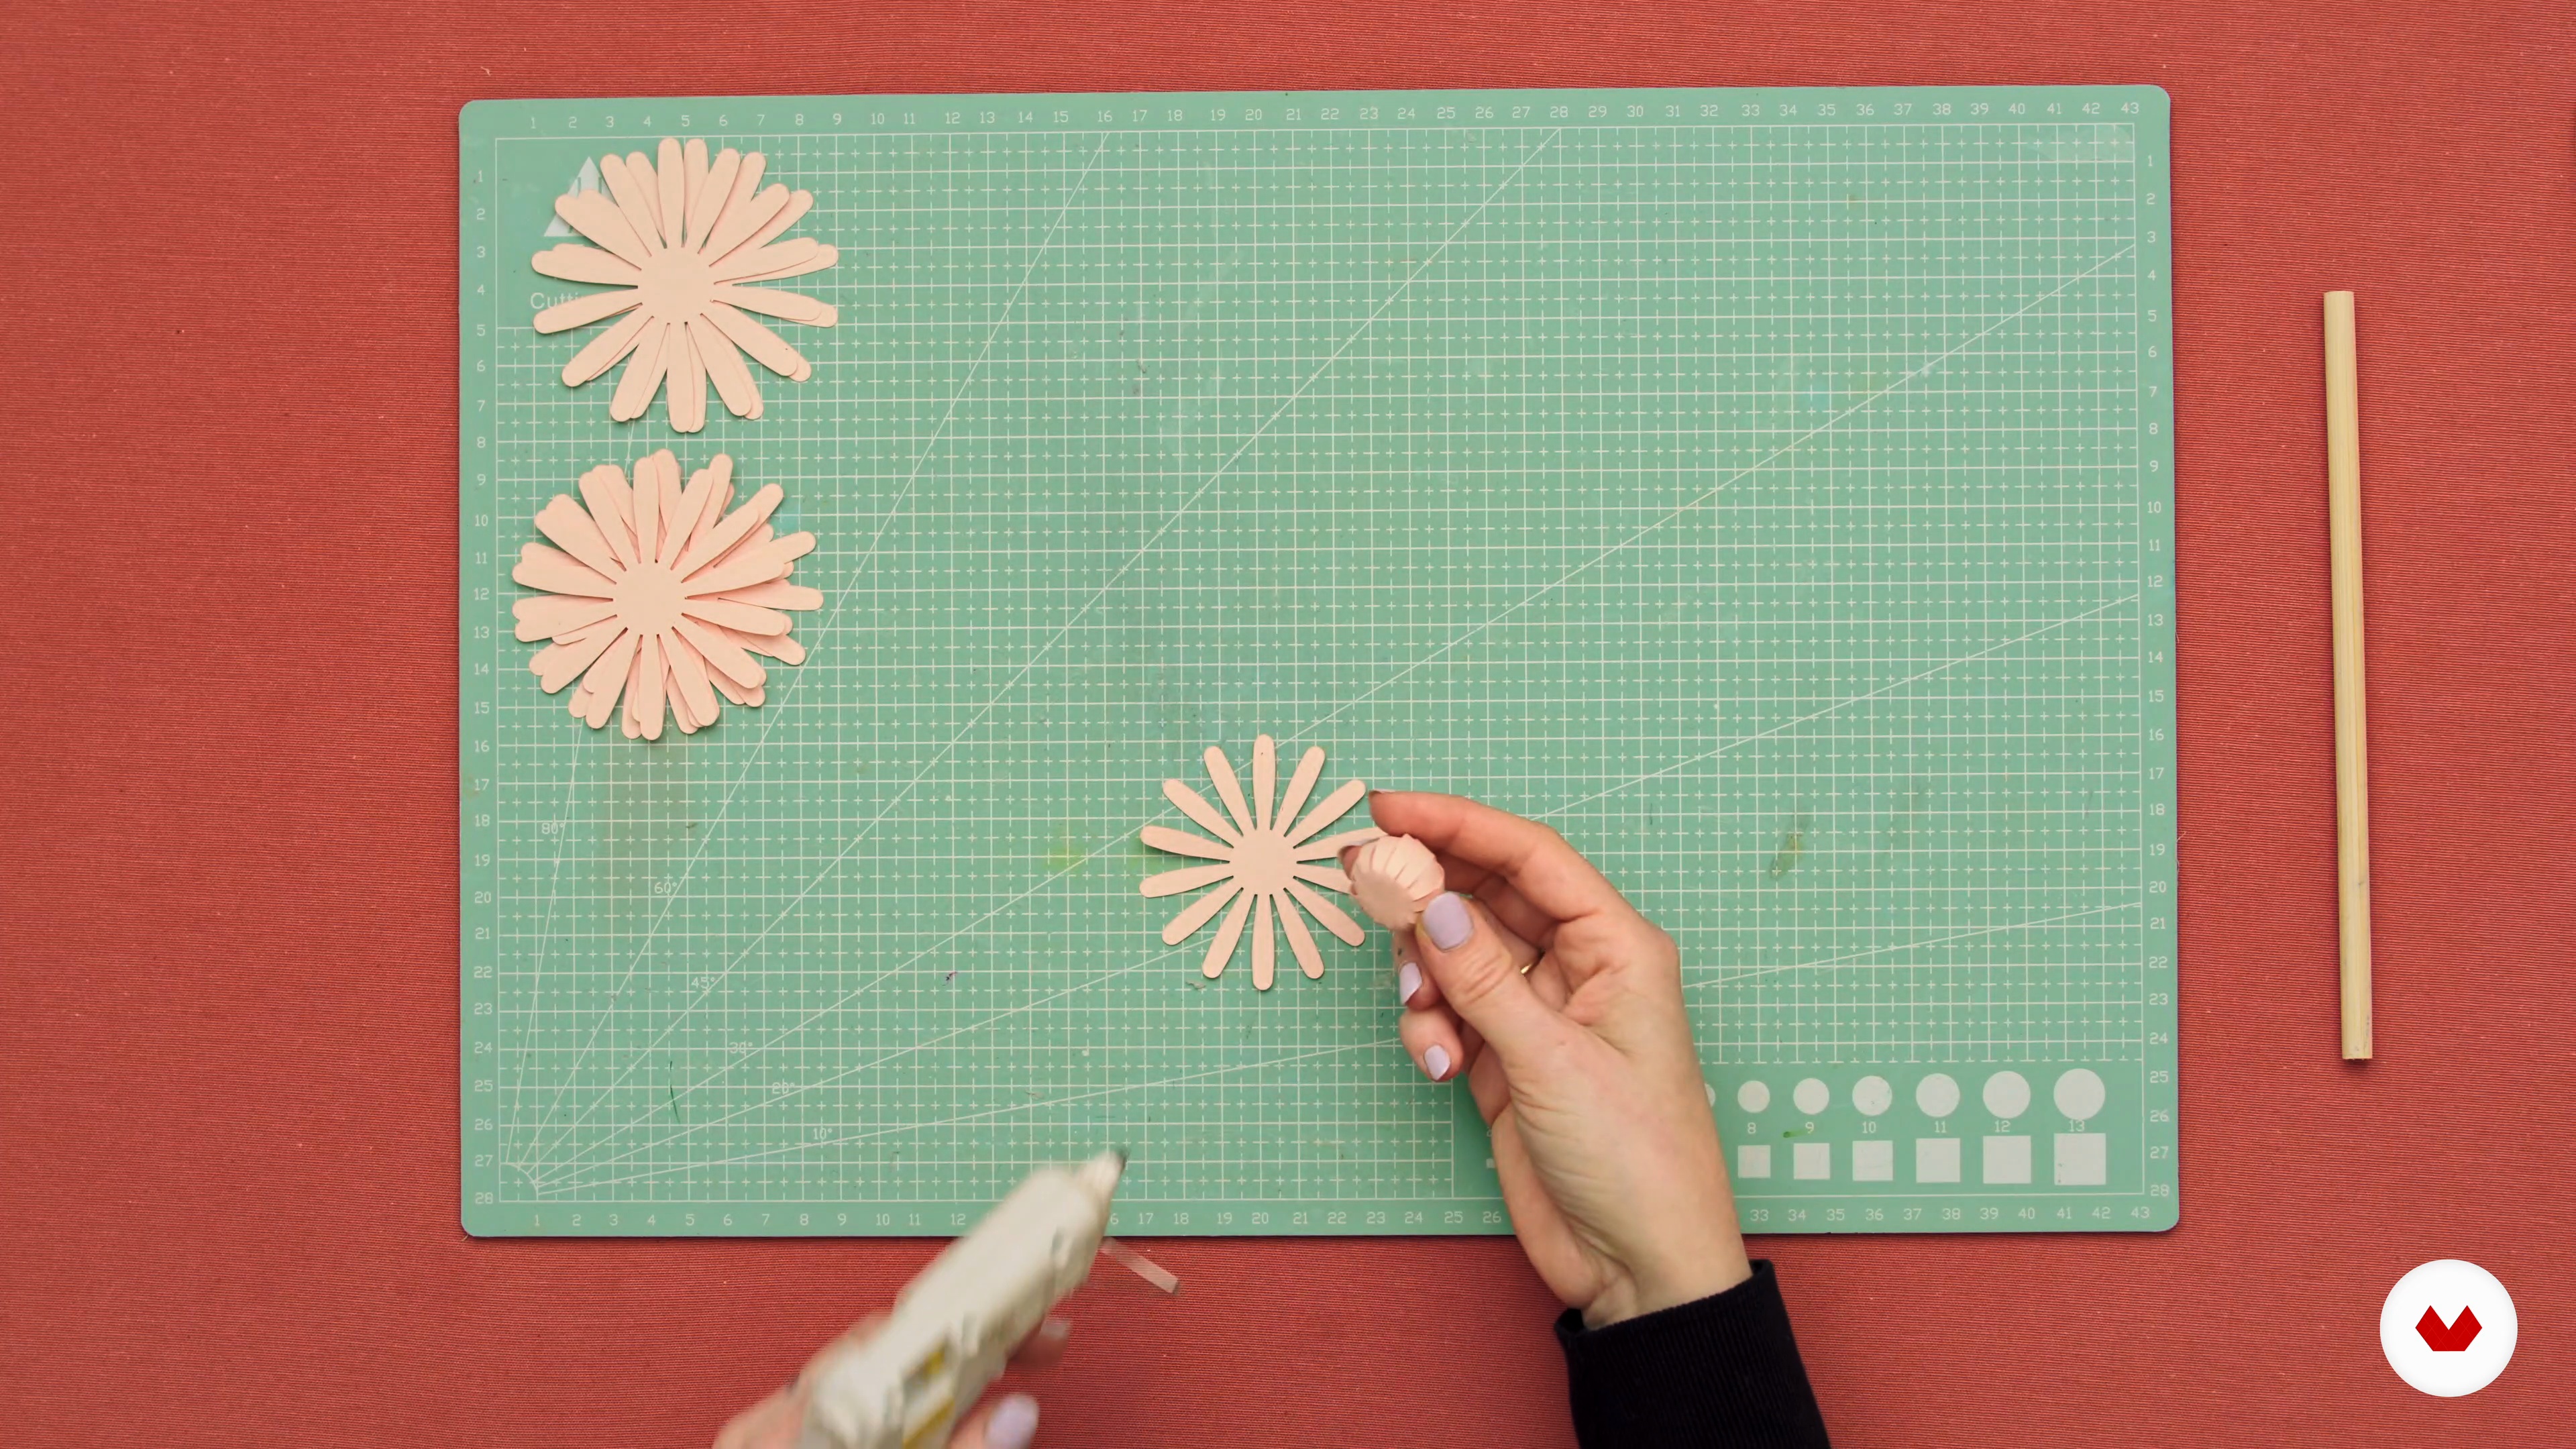
16Building the First Pieces II
We continue building our first pieces in this part of the lesson. Pay close attention!
20m
 17
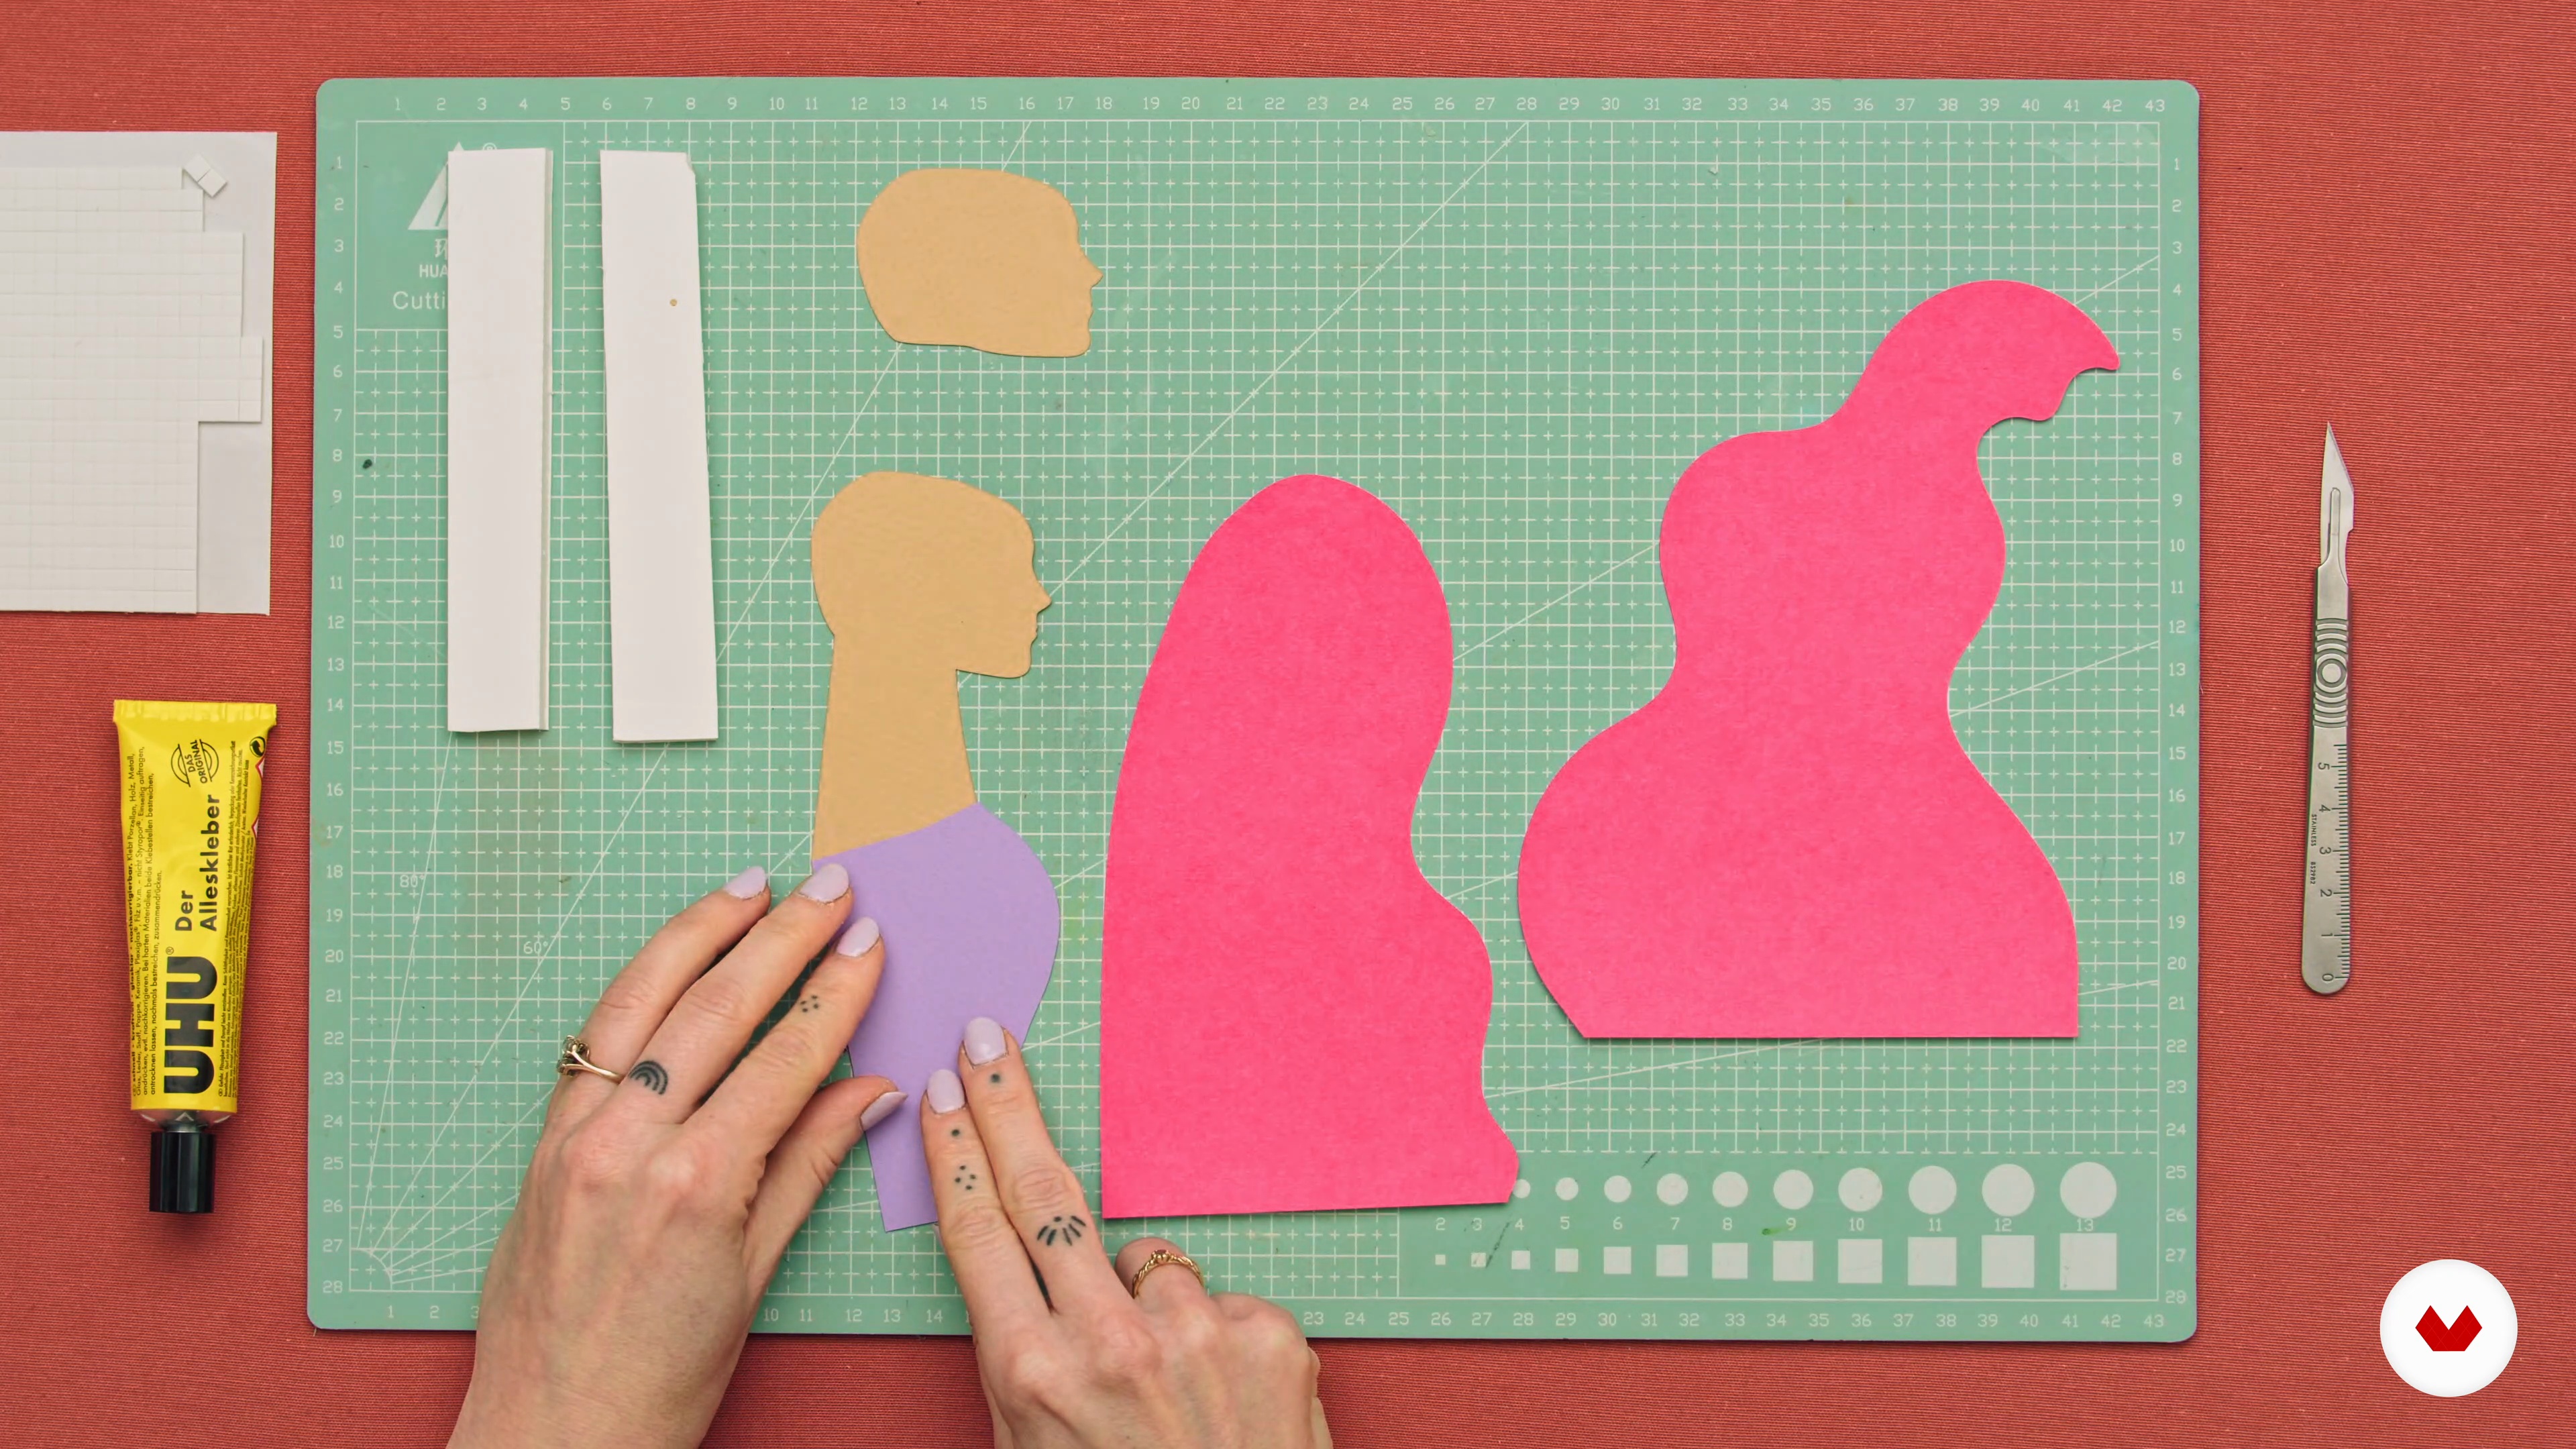
17Finishing the Pieces I
In this lesson we will focus on the more complex shapes and the shaping of the flowers to make them more dimensional. We will add little stands behind the shapes so the elements can stand on their own.
14m
 18
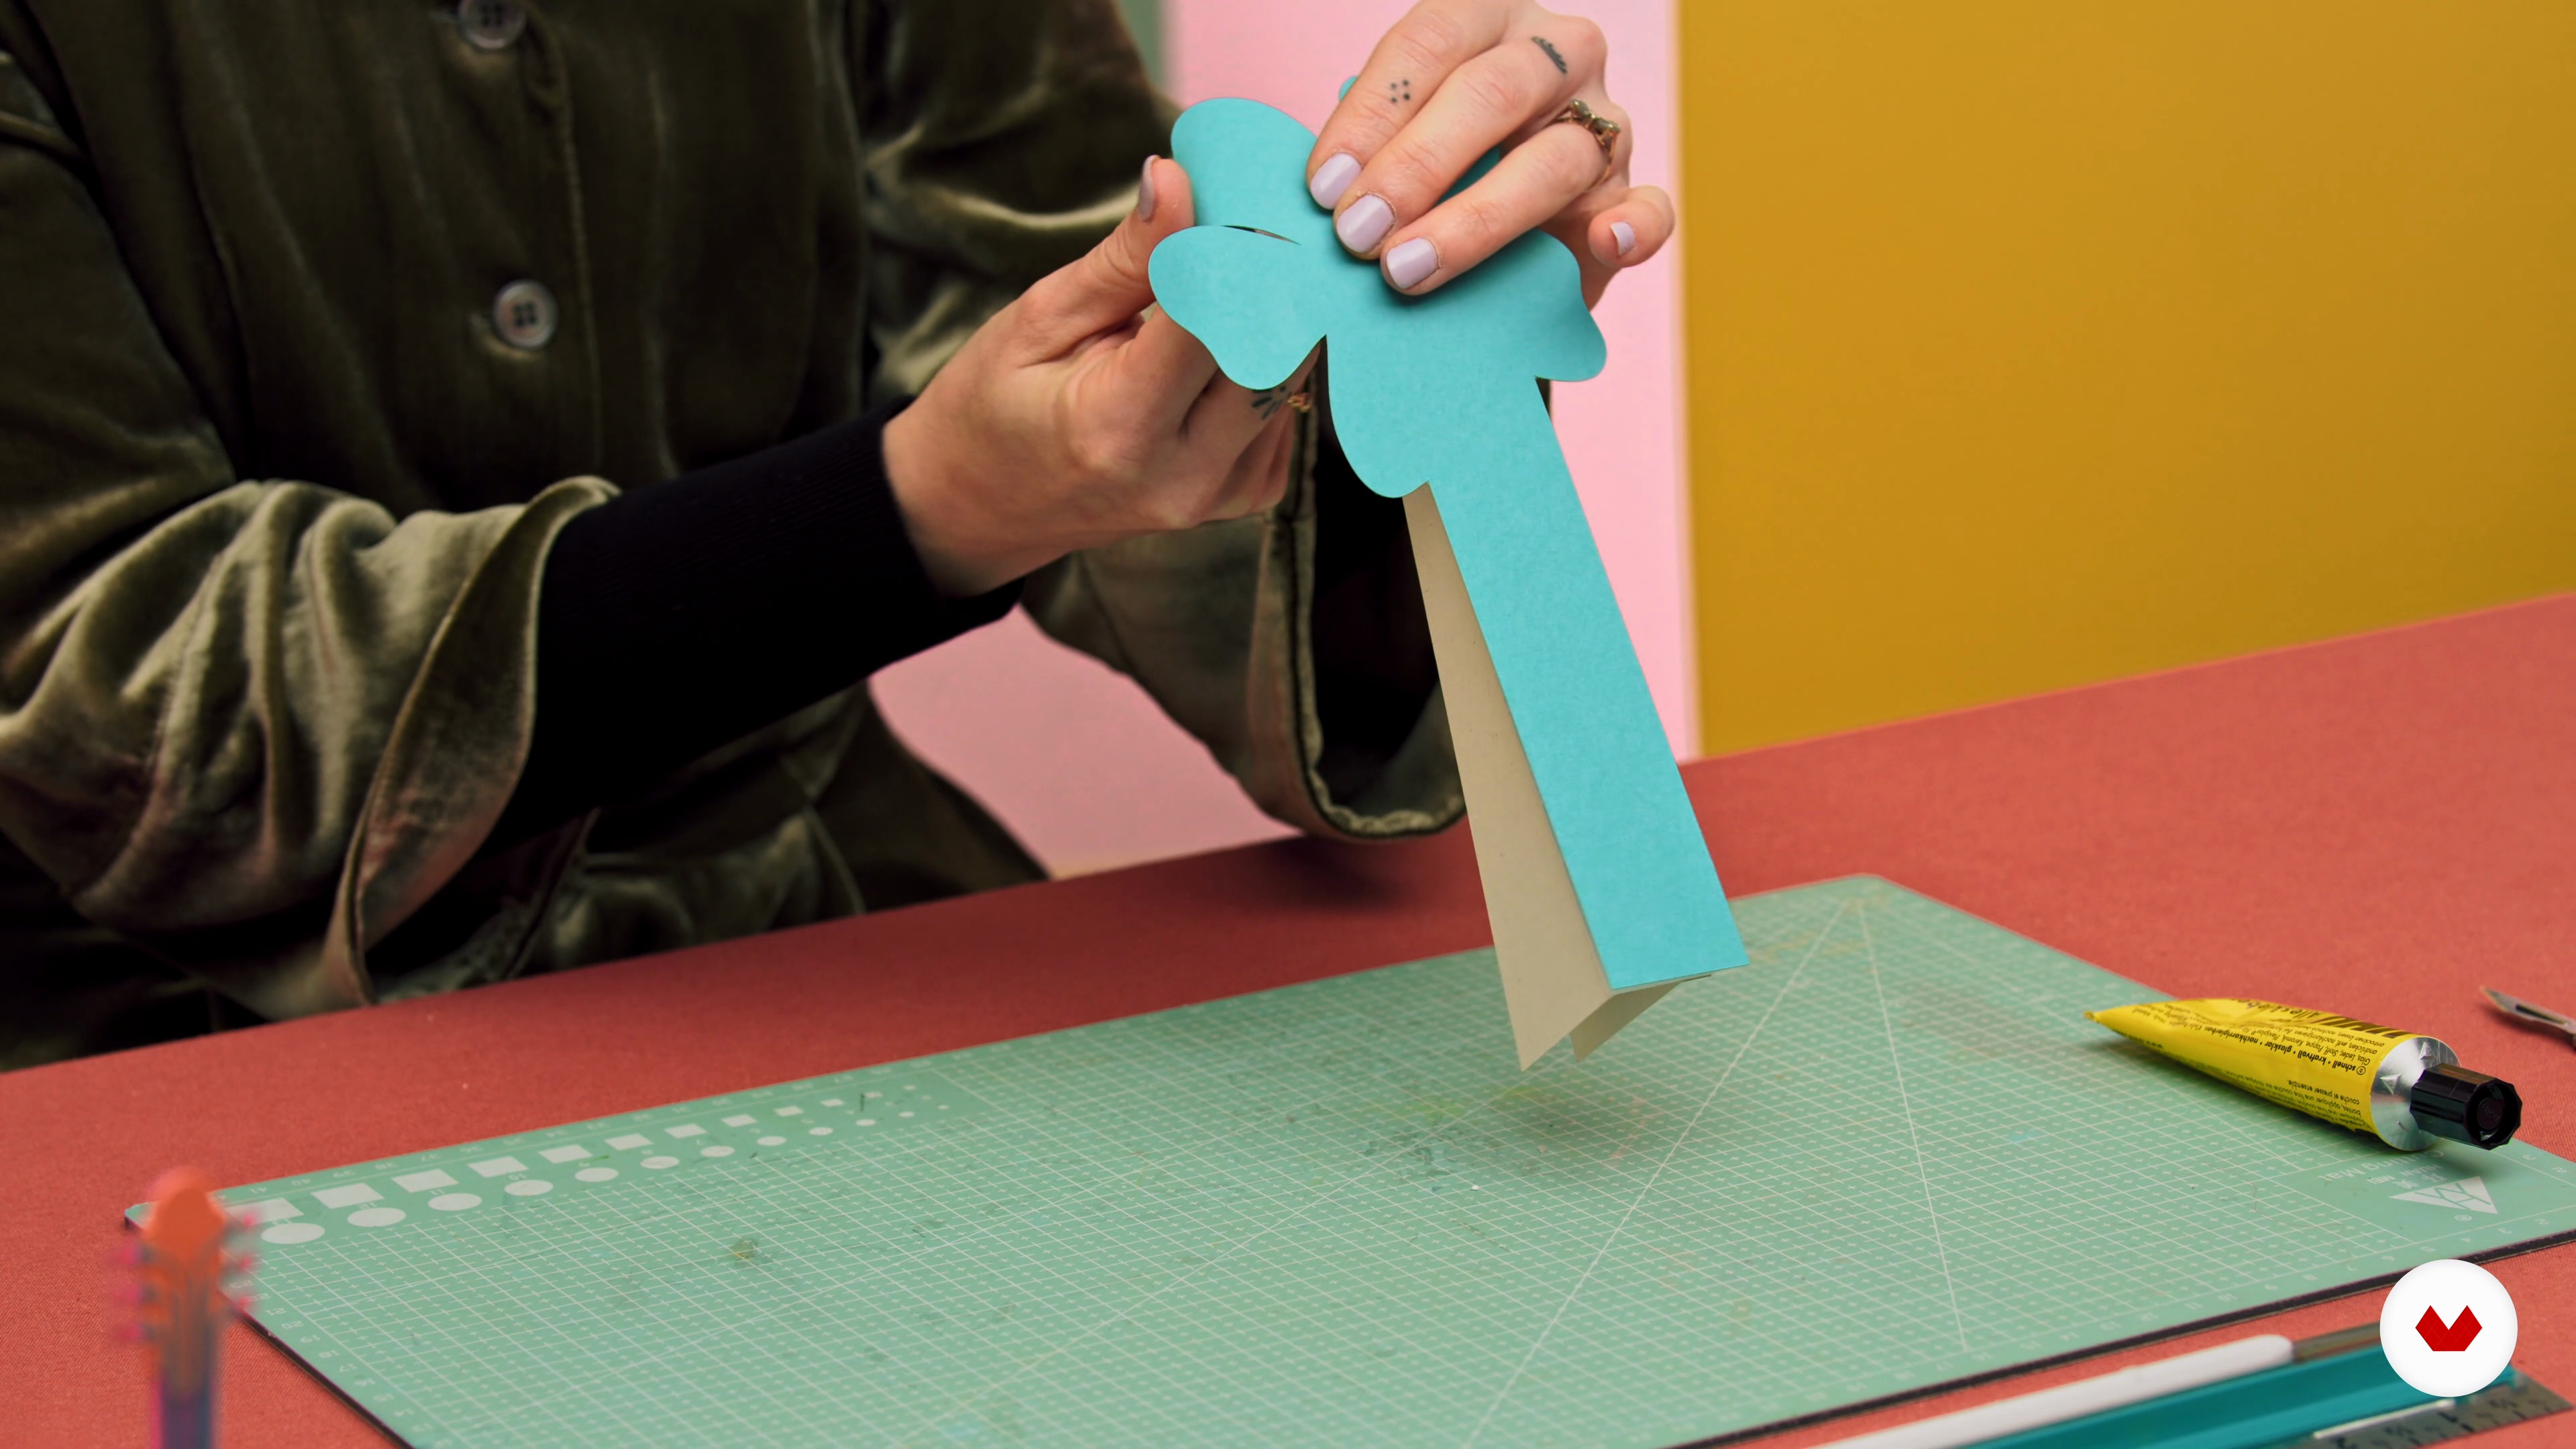
18Finishing the Pieces II
We continue finishing our pieces in this part of the lesson. Don't miss it!
9m
 19
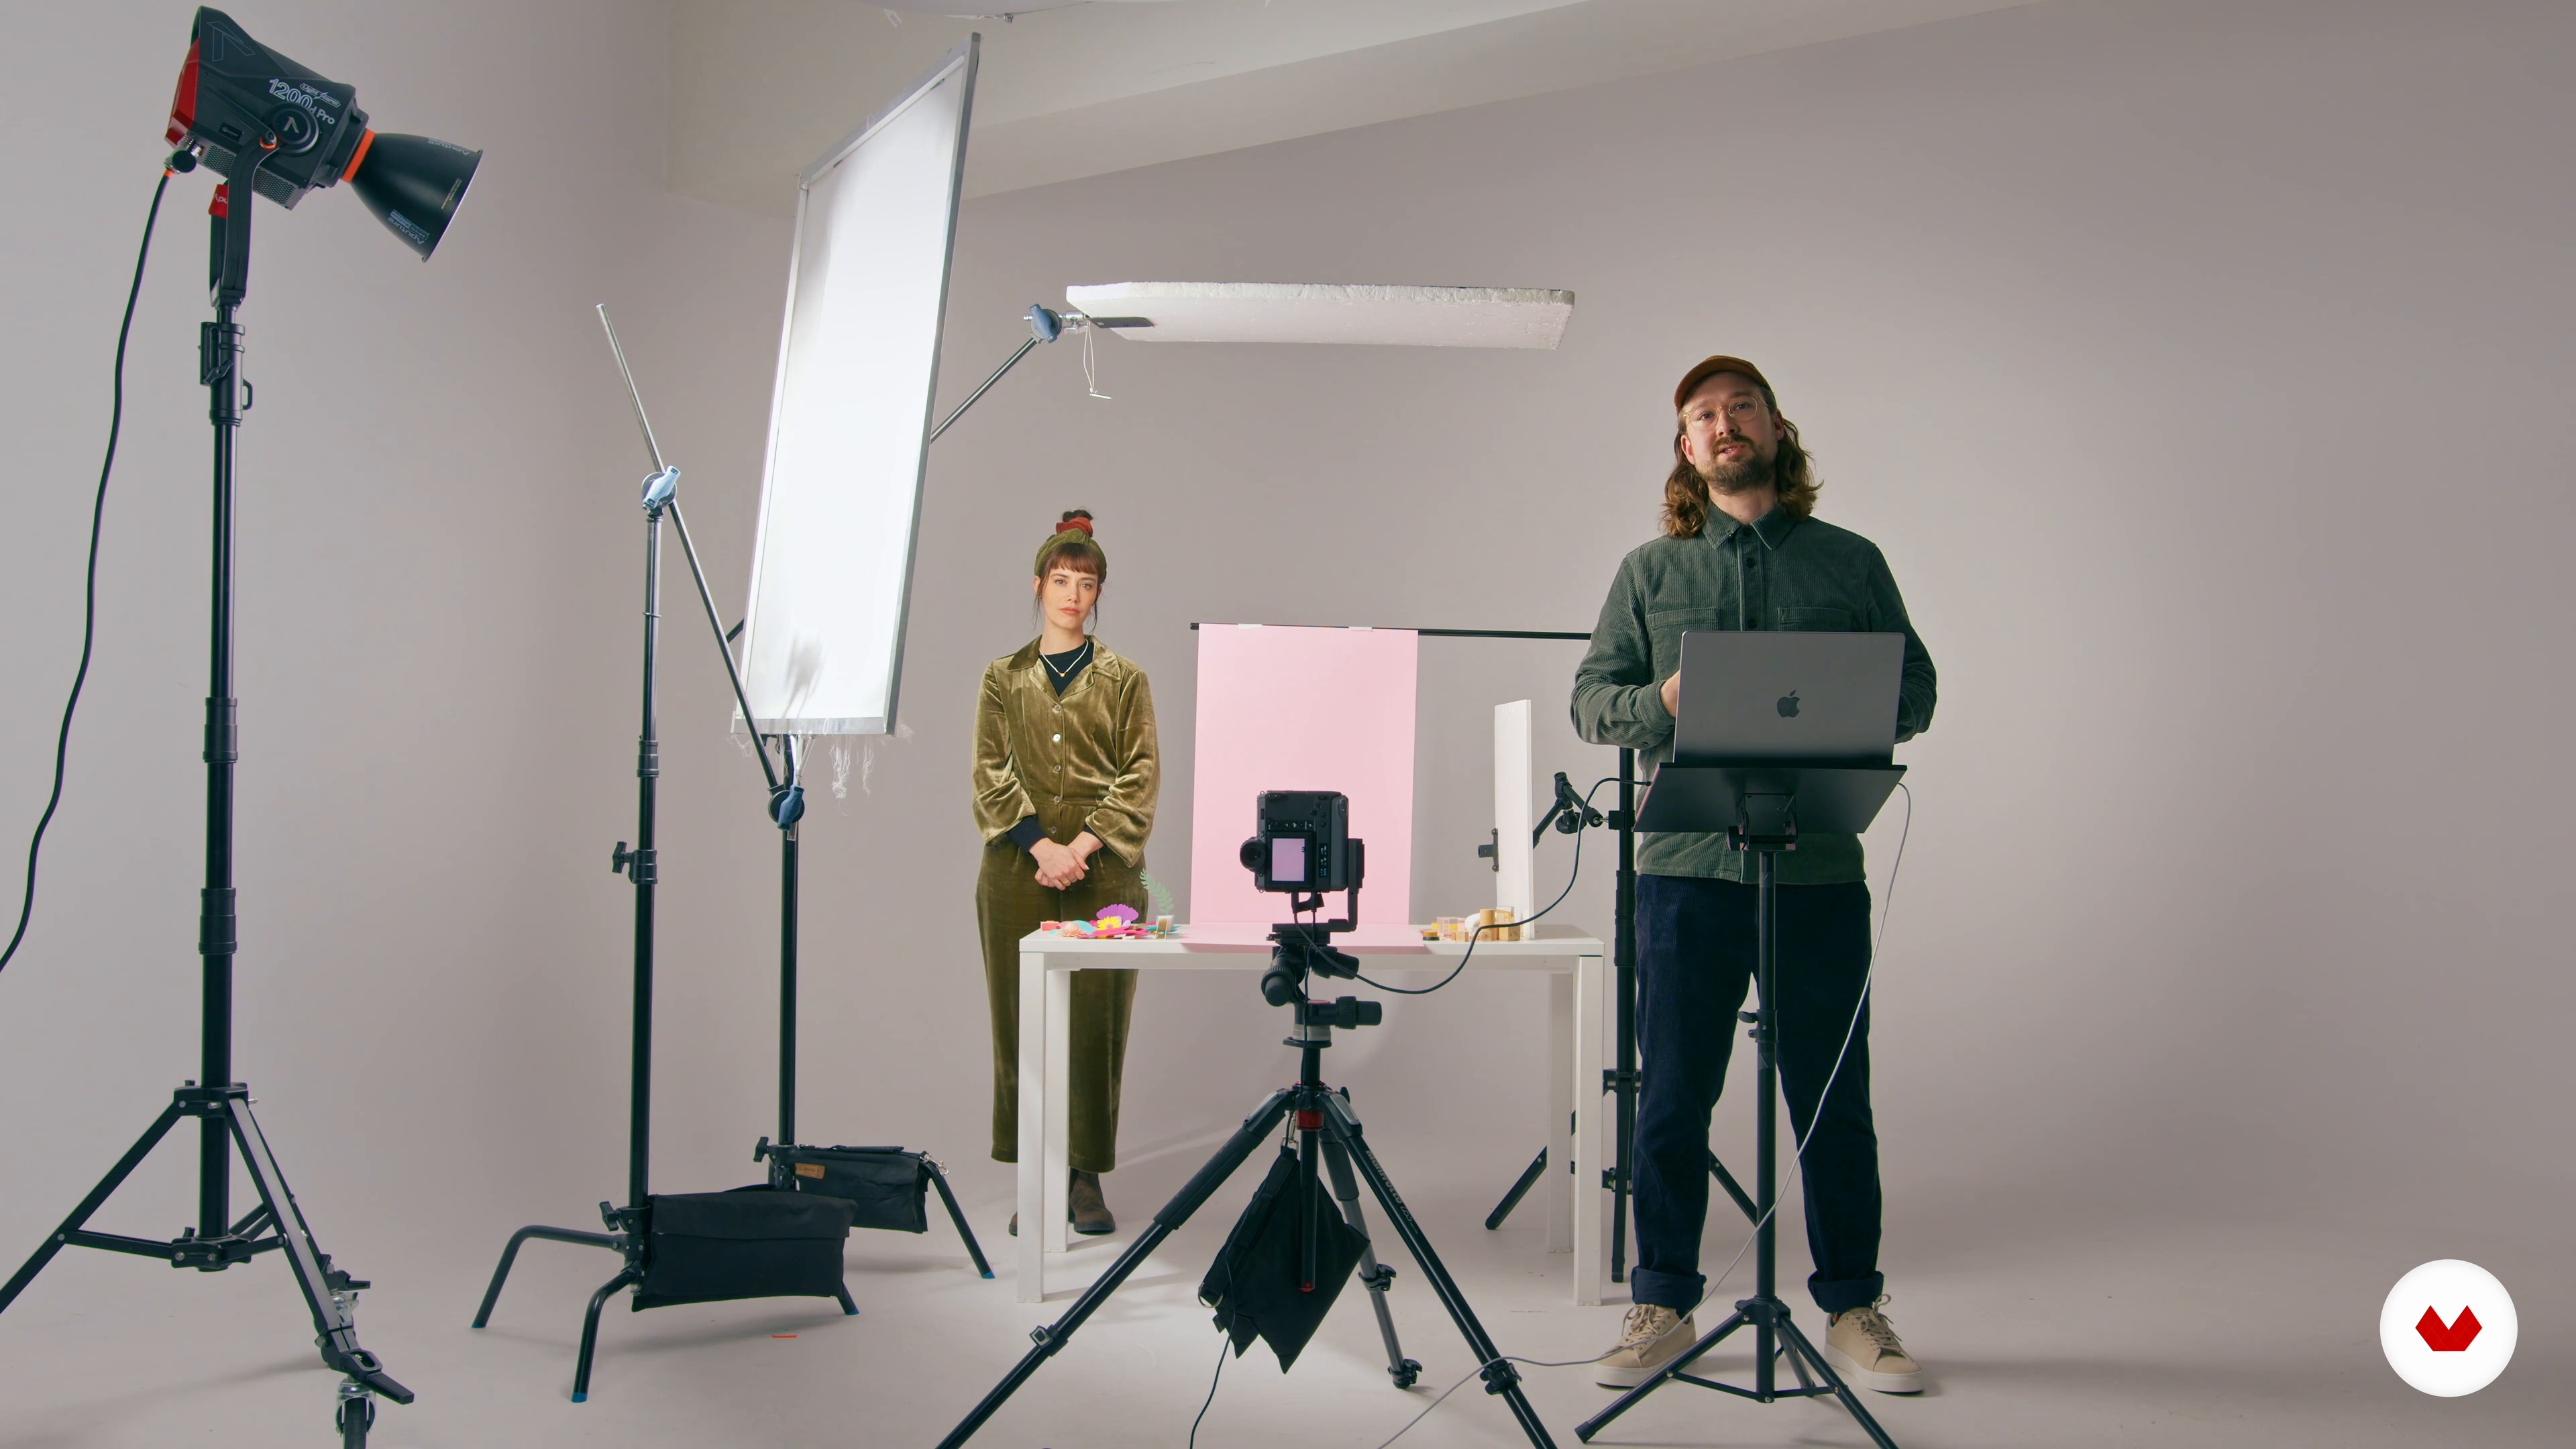
19Introduction to Photography and Set Building I
Here we will give you some tips on how to build your photography set and how to light. After this we will start building our scene and photograph it.
18m
 20
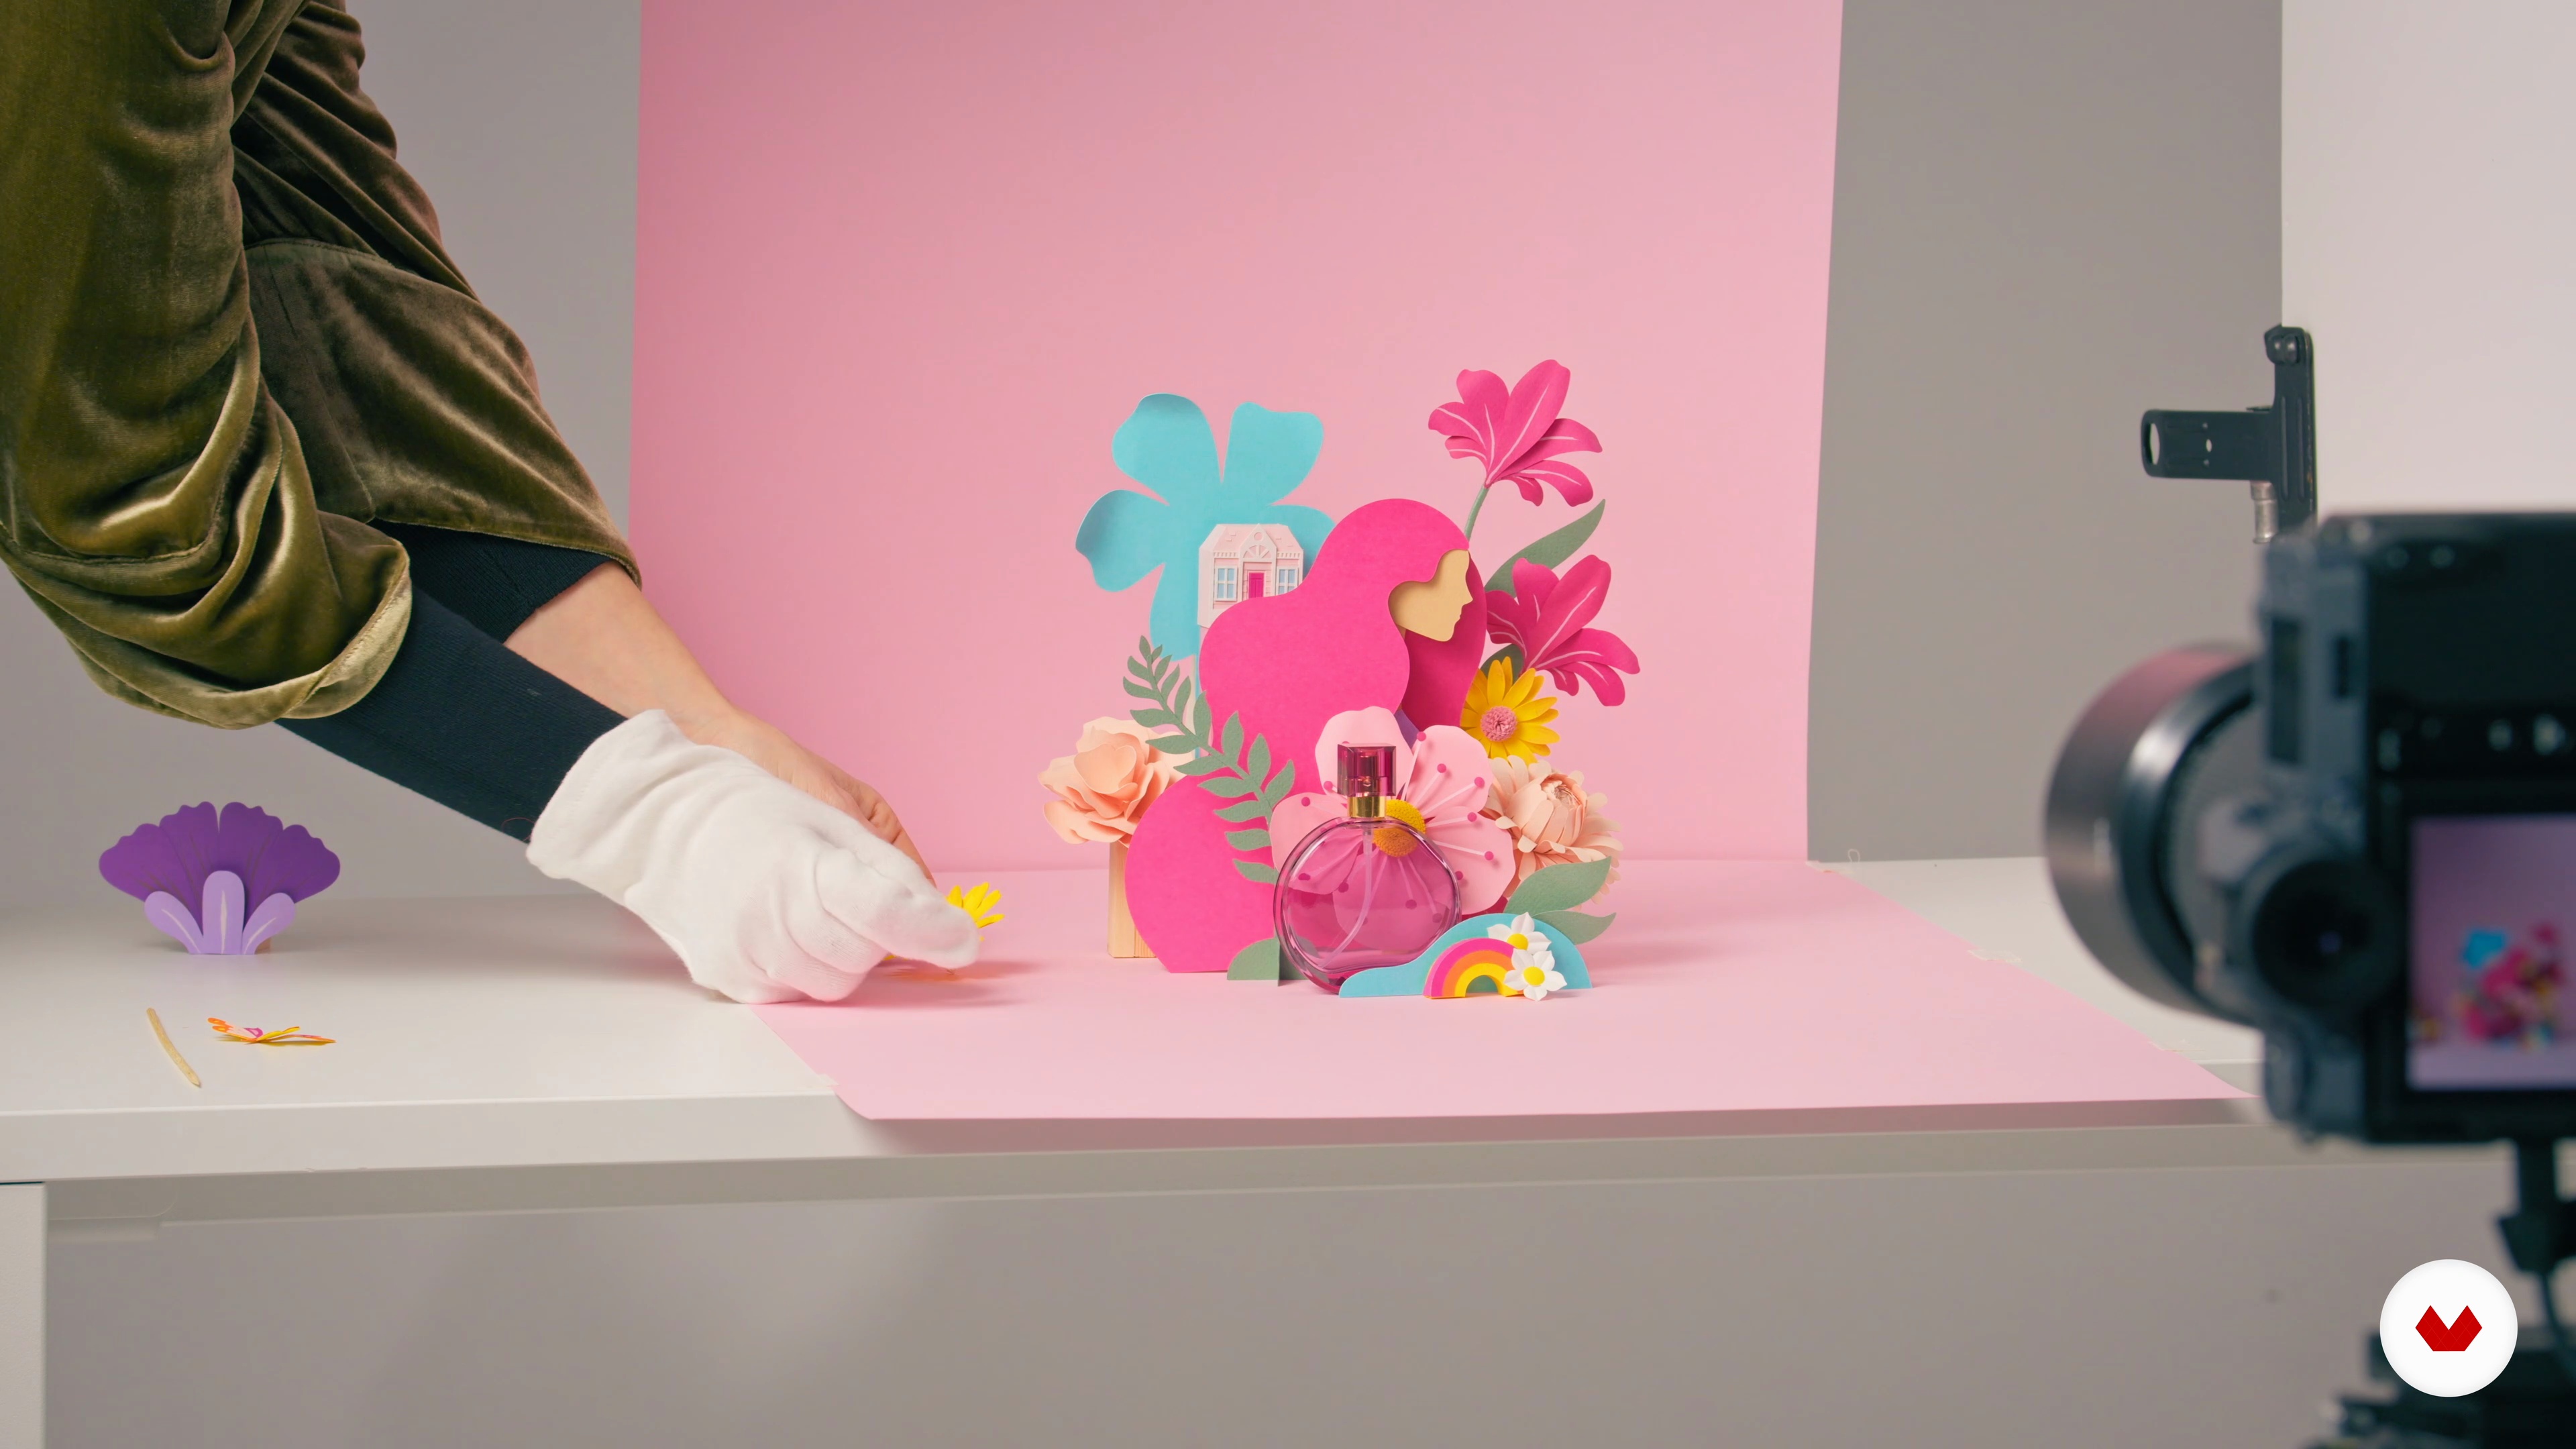
20Introduction to Photography and Set Building II
We continue to cover how to build our photography set and how to light it. You can't miss it!
5m
 21
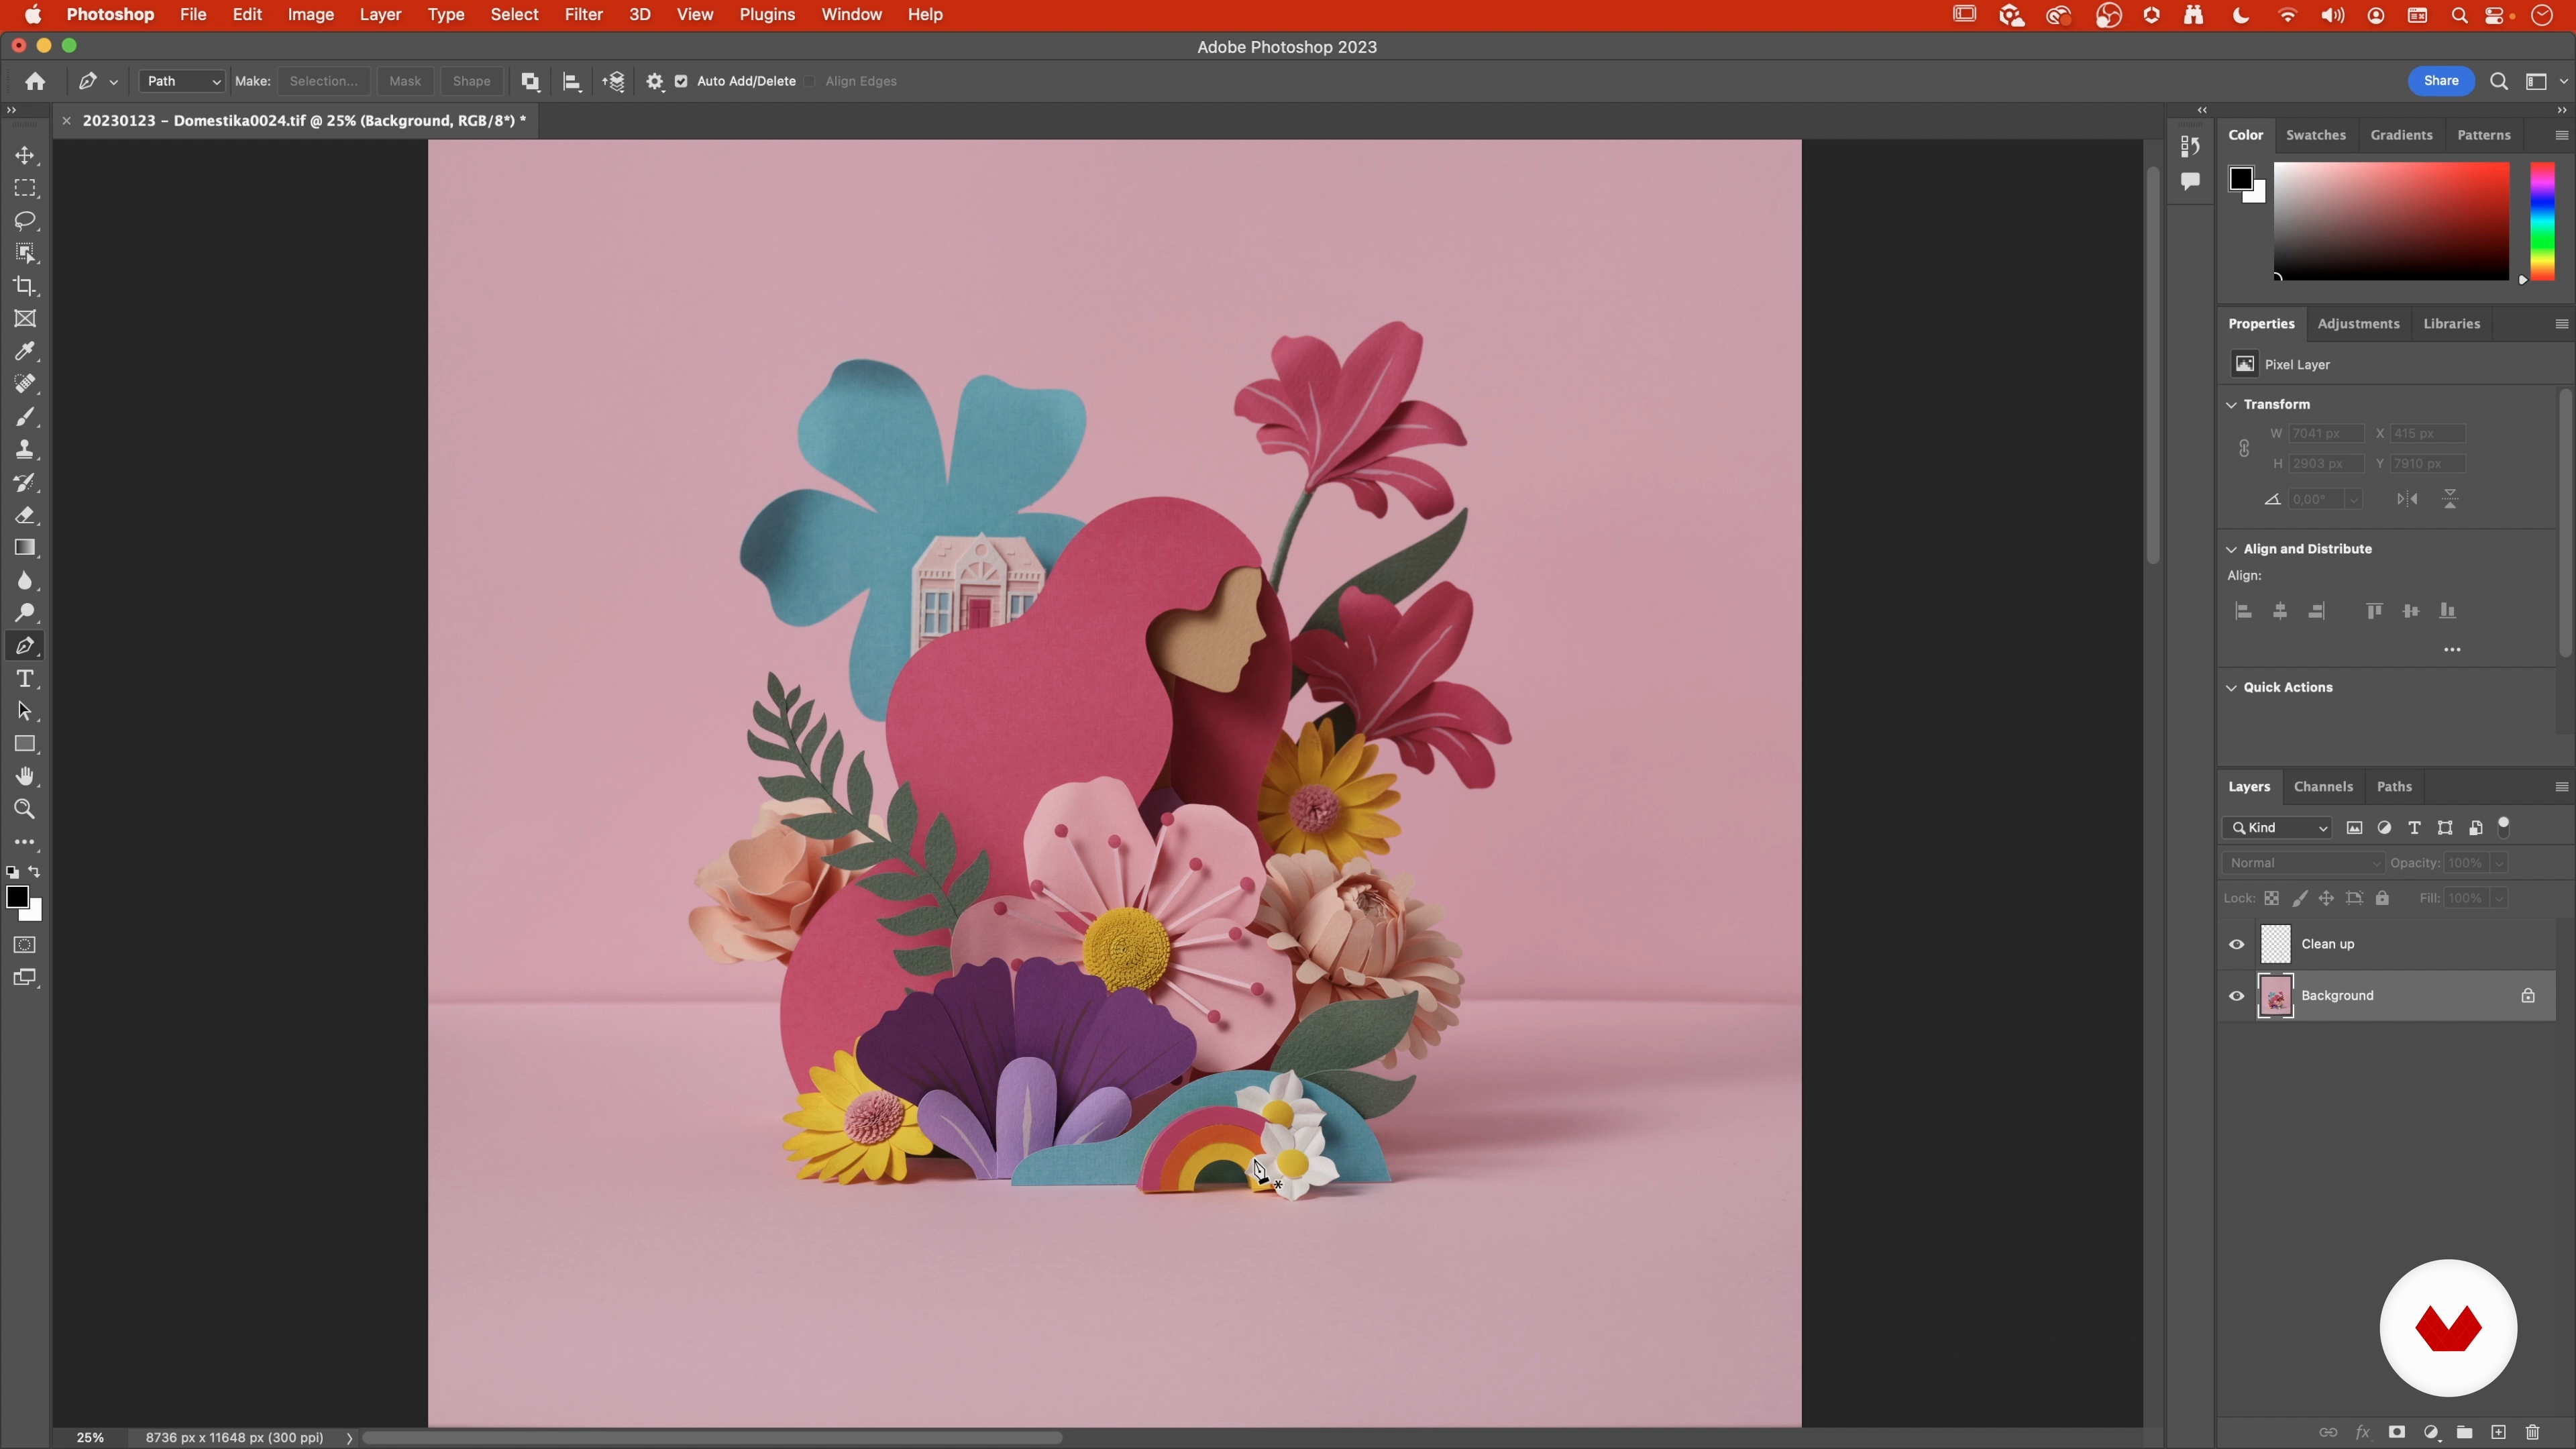
21Post-production I
Post-processing is an important part of the entire process and brings an image to the next level. We will share some tips to clean up the image and how to give more space around an image. After this your visual is done and we learn how to export the image into different formats.
17m
 22
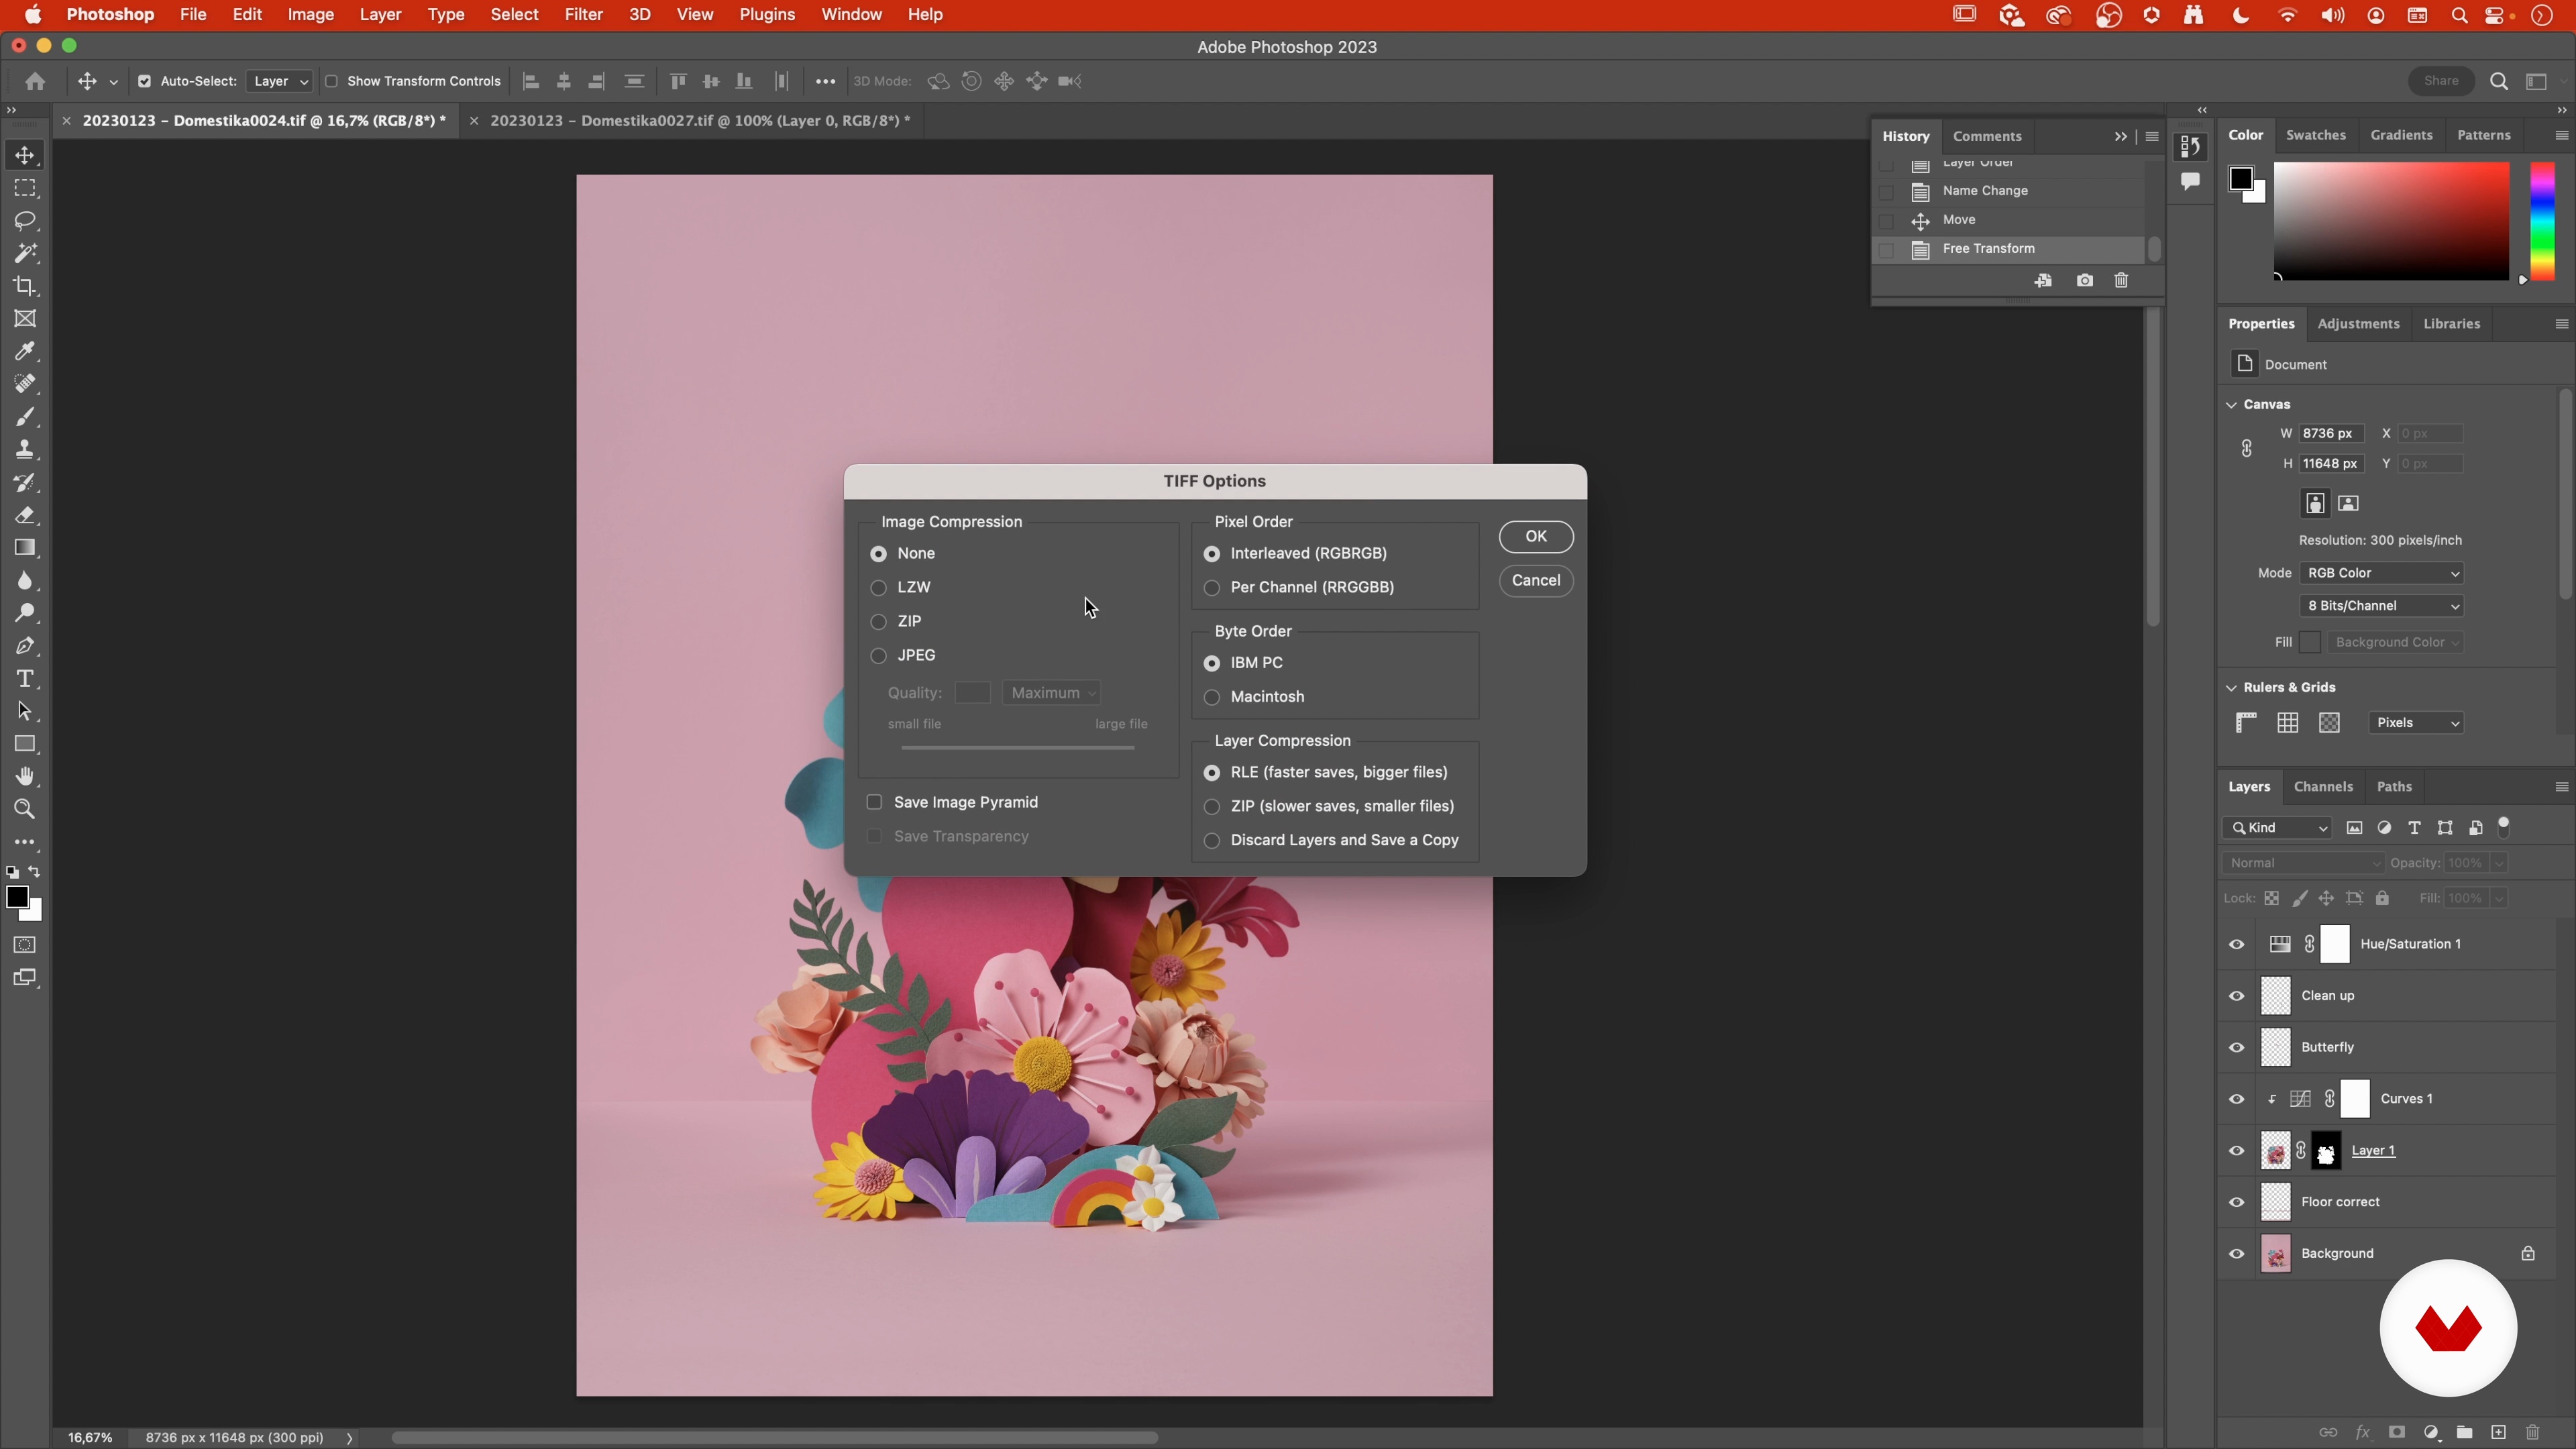
22Post-production II
We continue to delve deeper into post-production. Make sure to keep going!
7m
 3
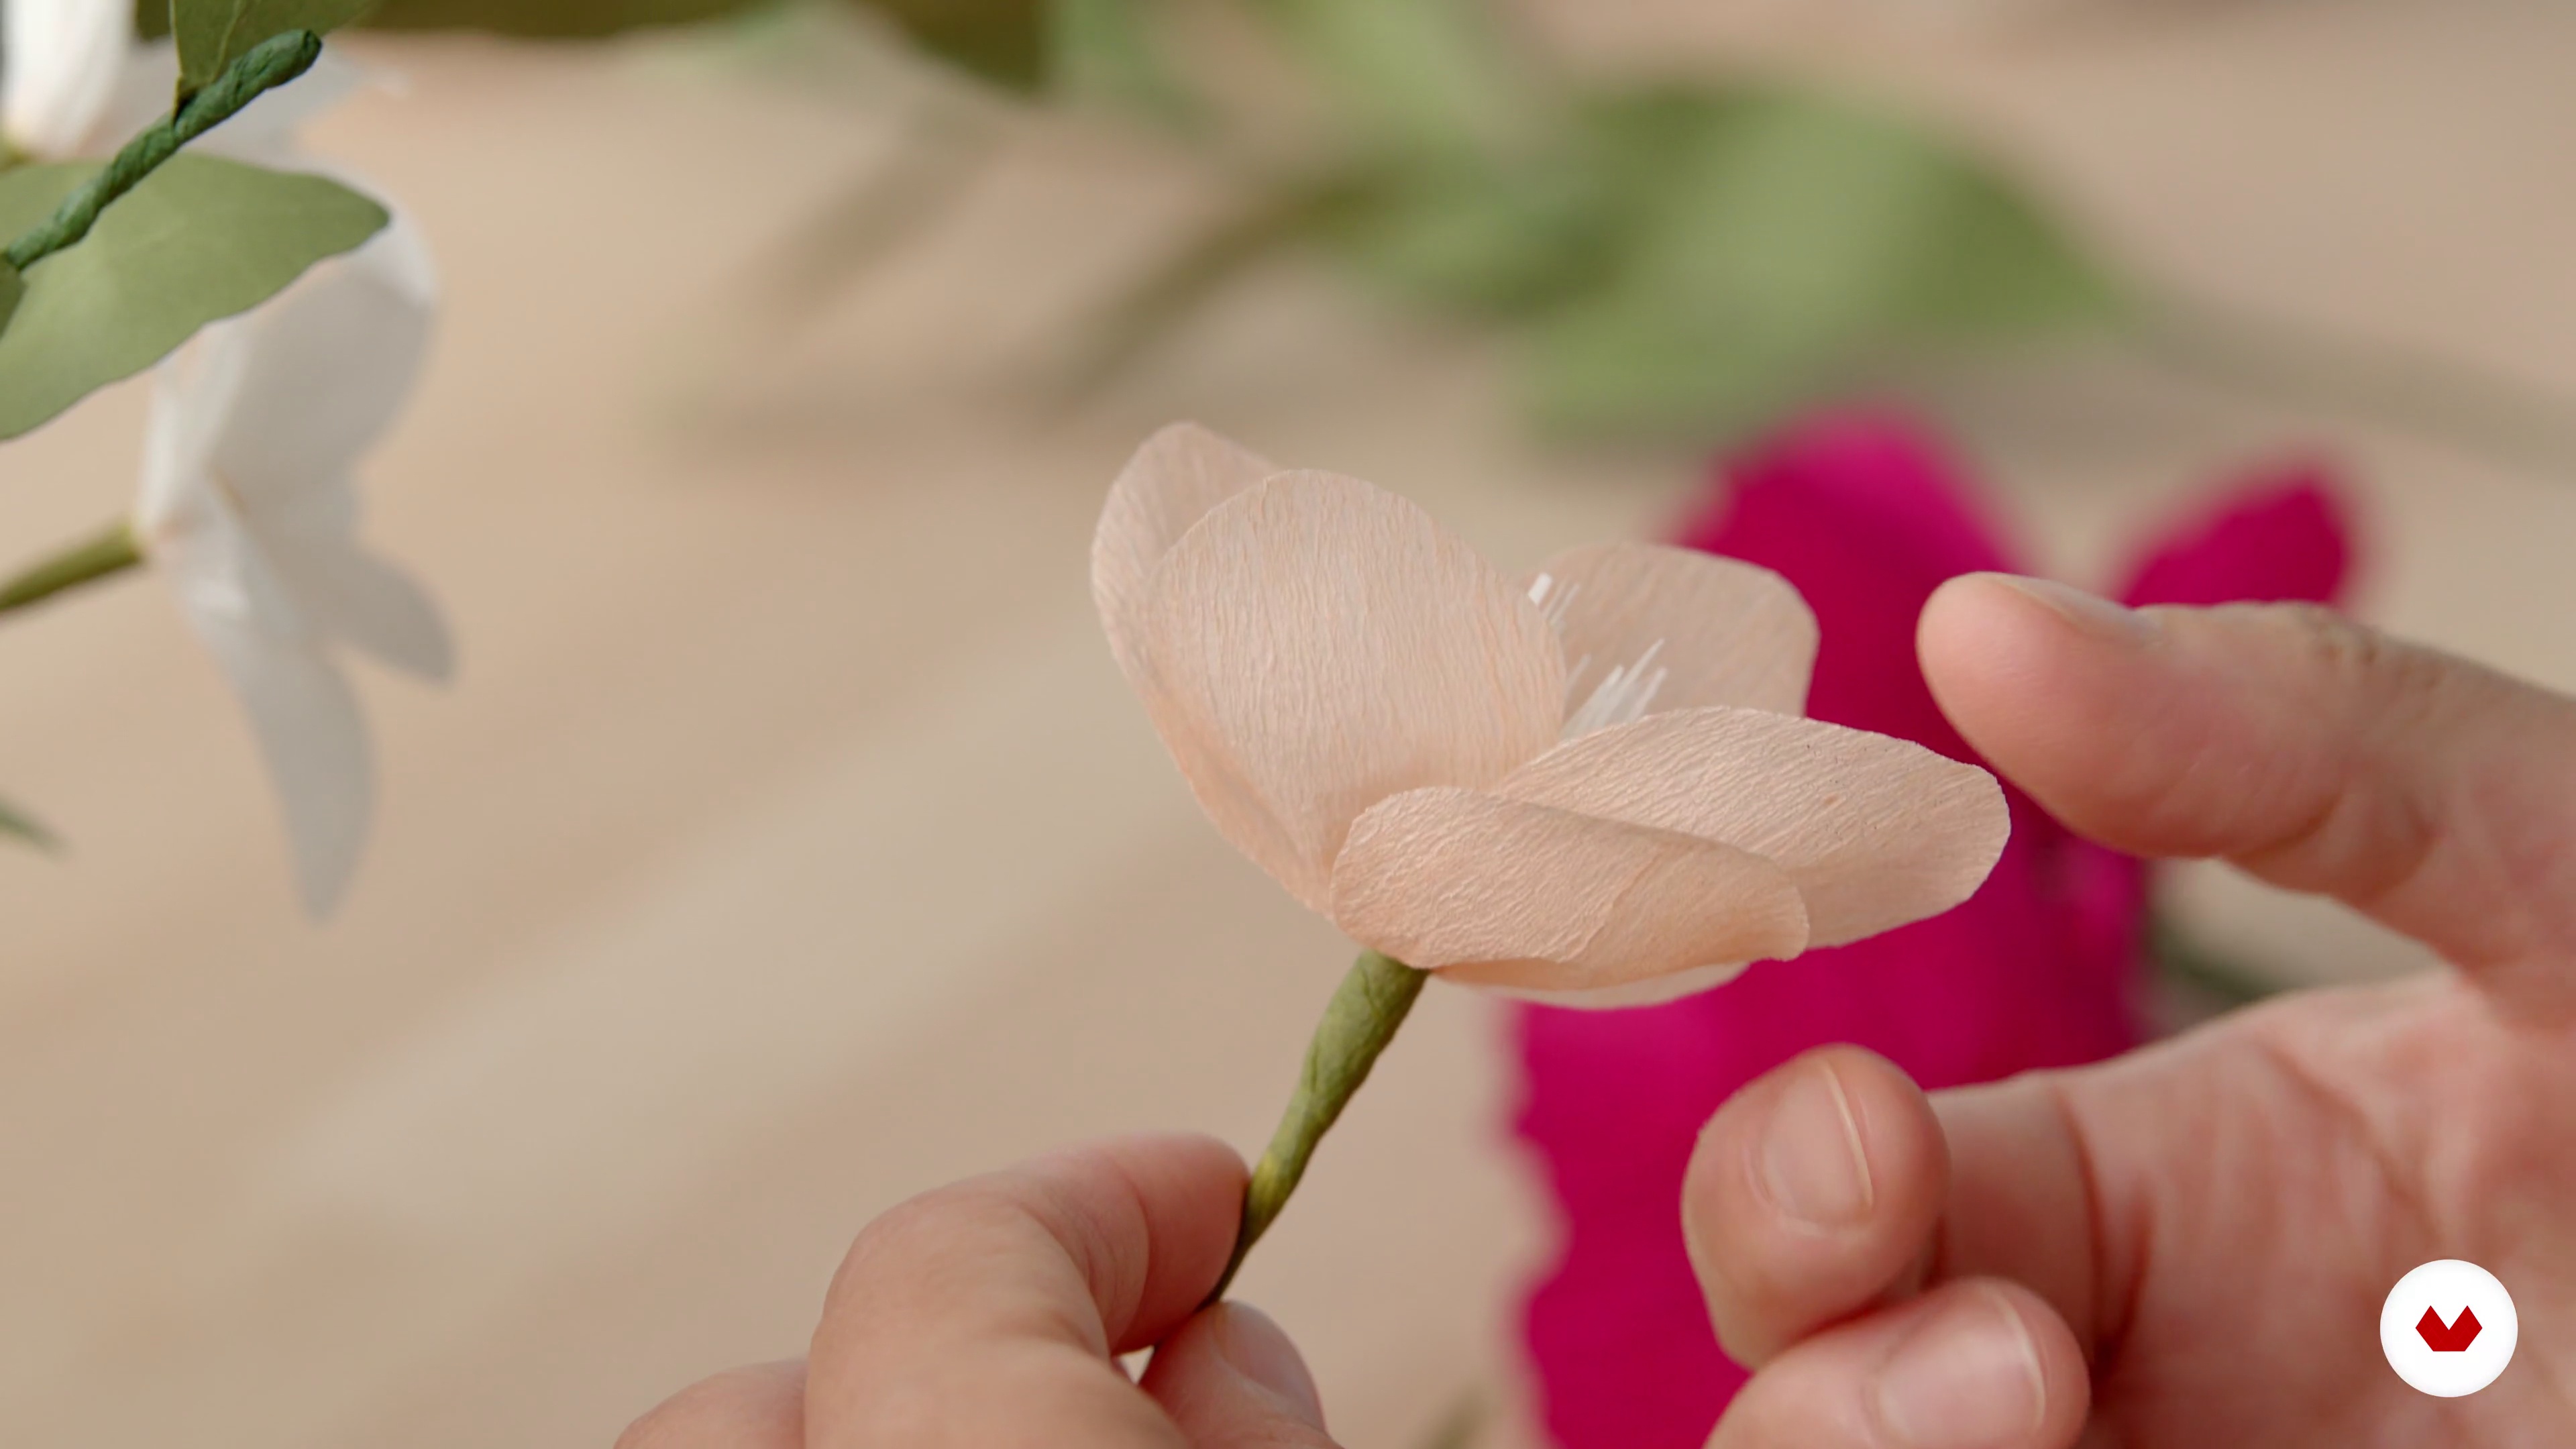
3What We Will Do in the Course?
Here, I’m going to give you a brief explanation of what we’ll be doing in this course.
1m
 4
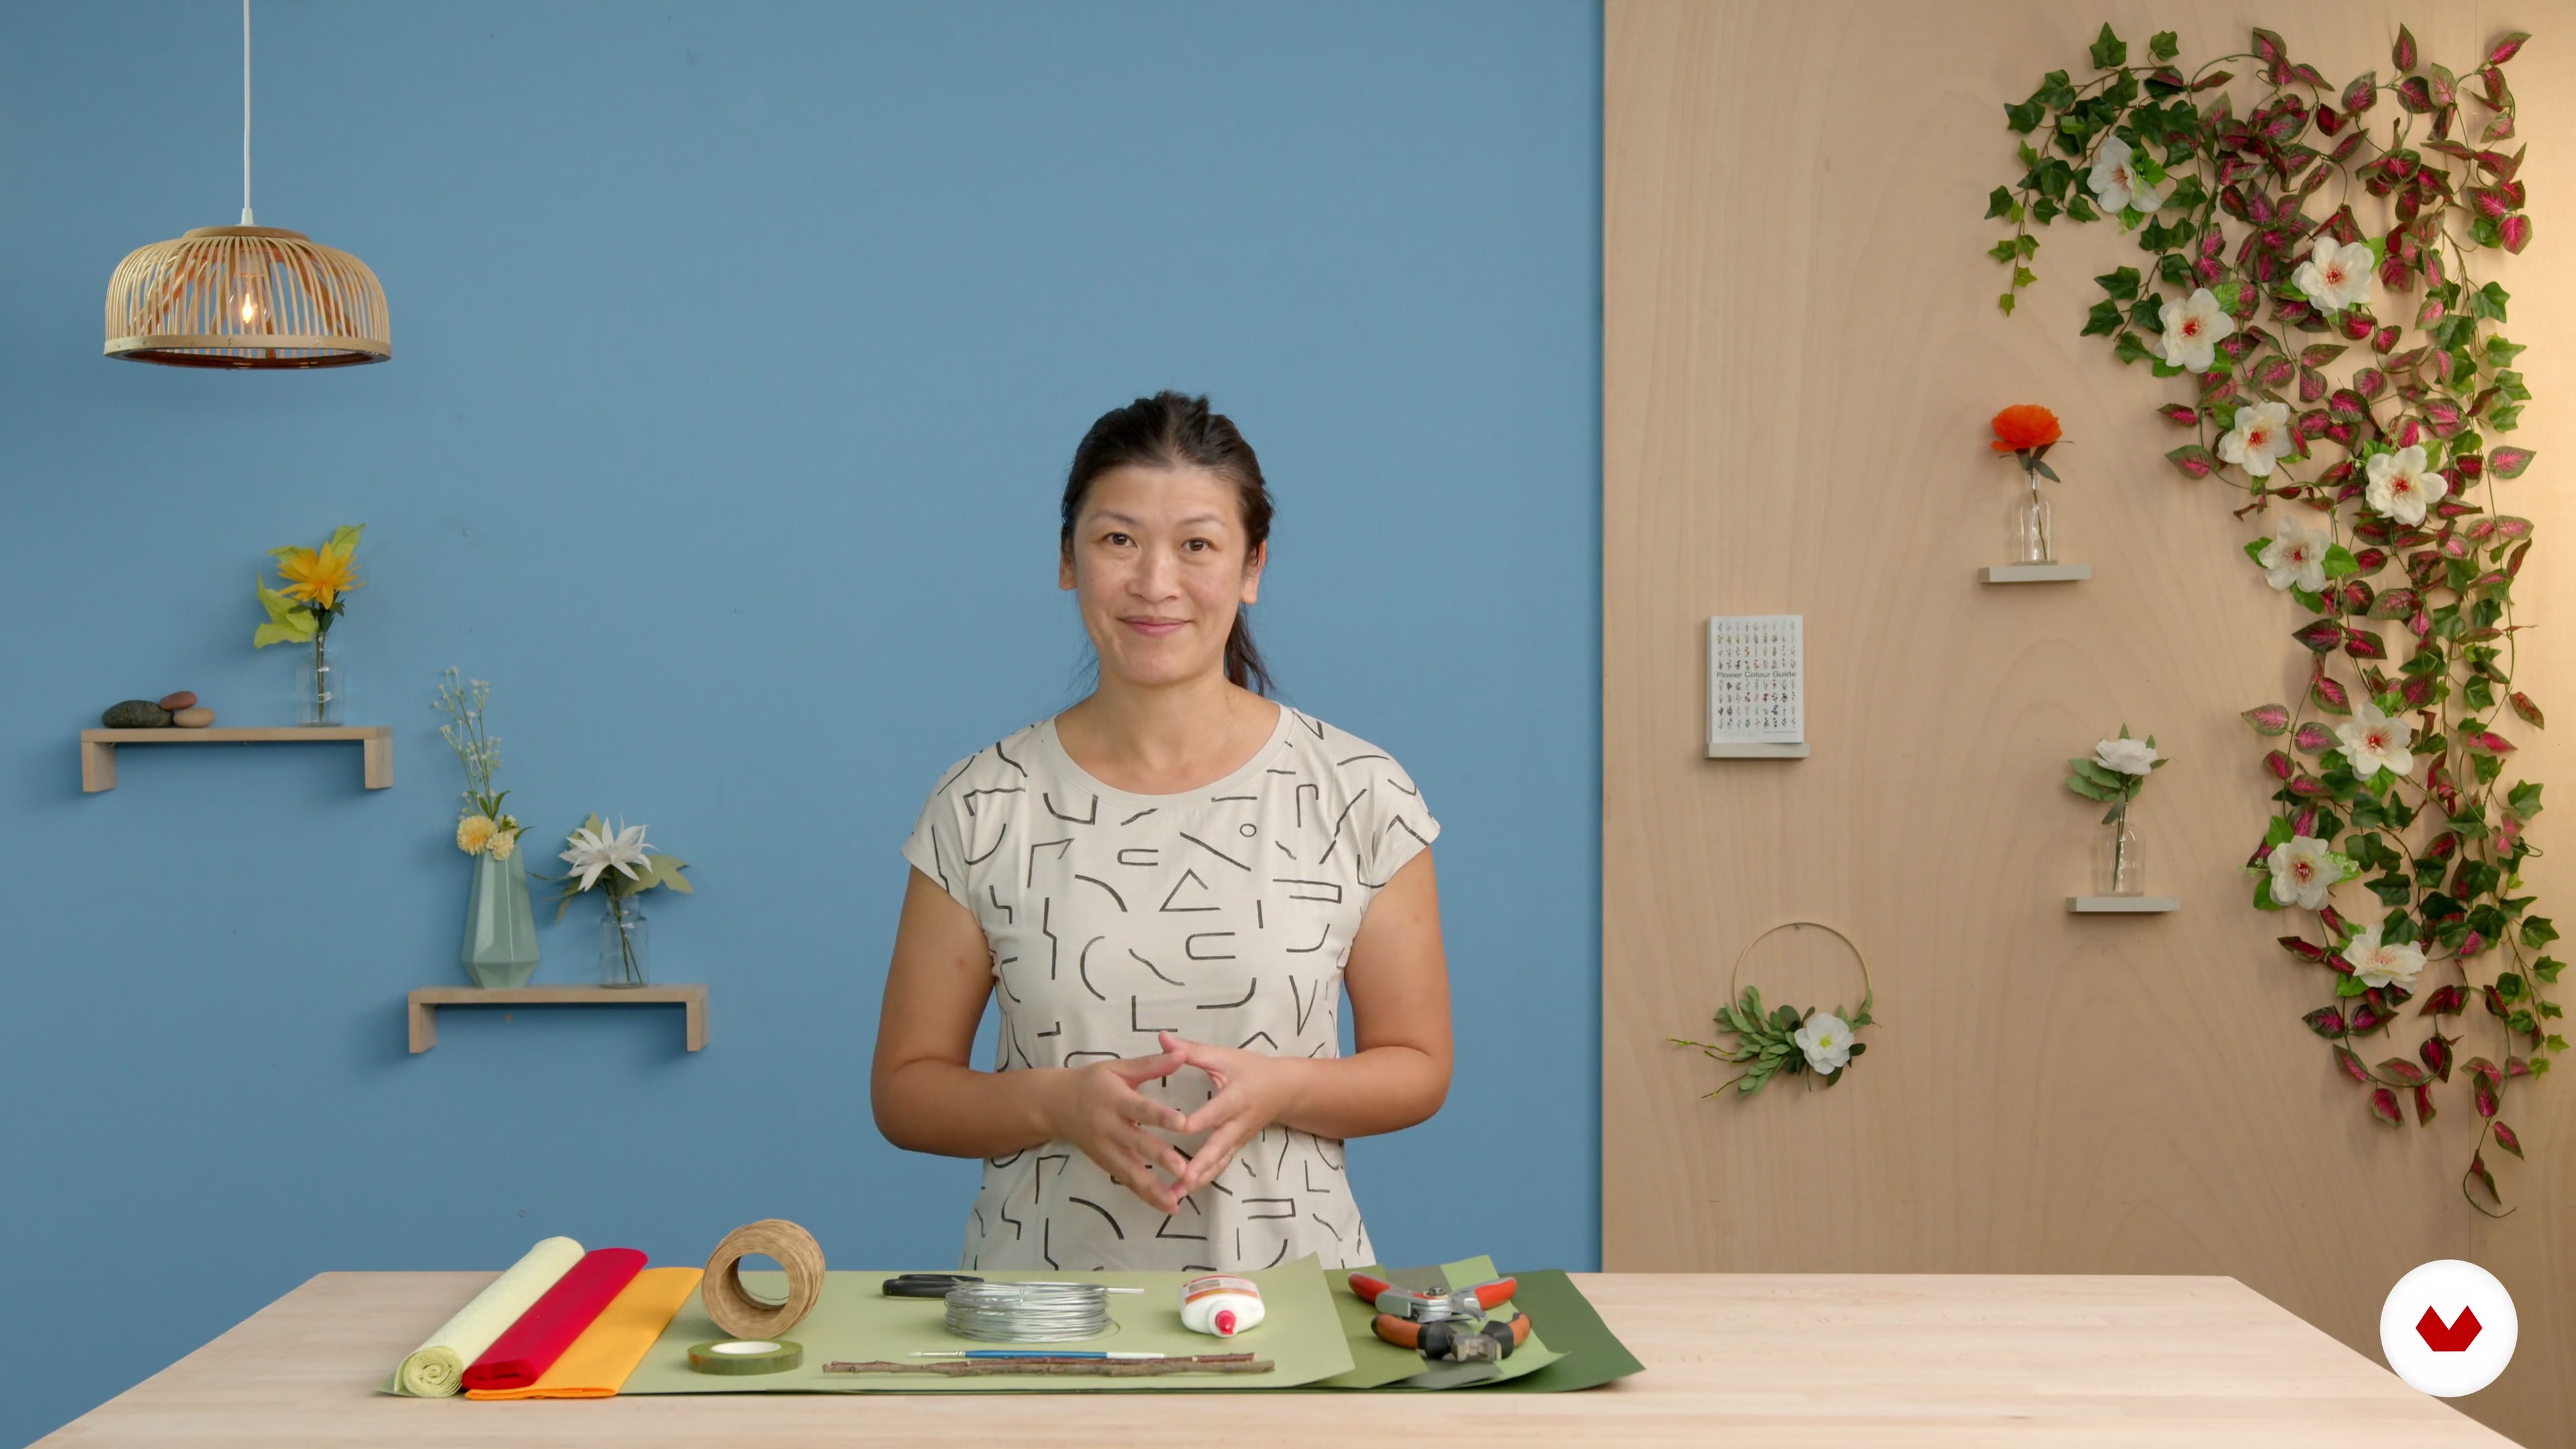
4Tools and Materials
First I’m going to talk about the tools and materials we will be using in this course.
2m
 5
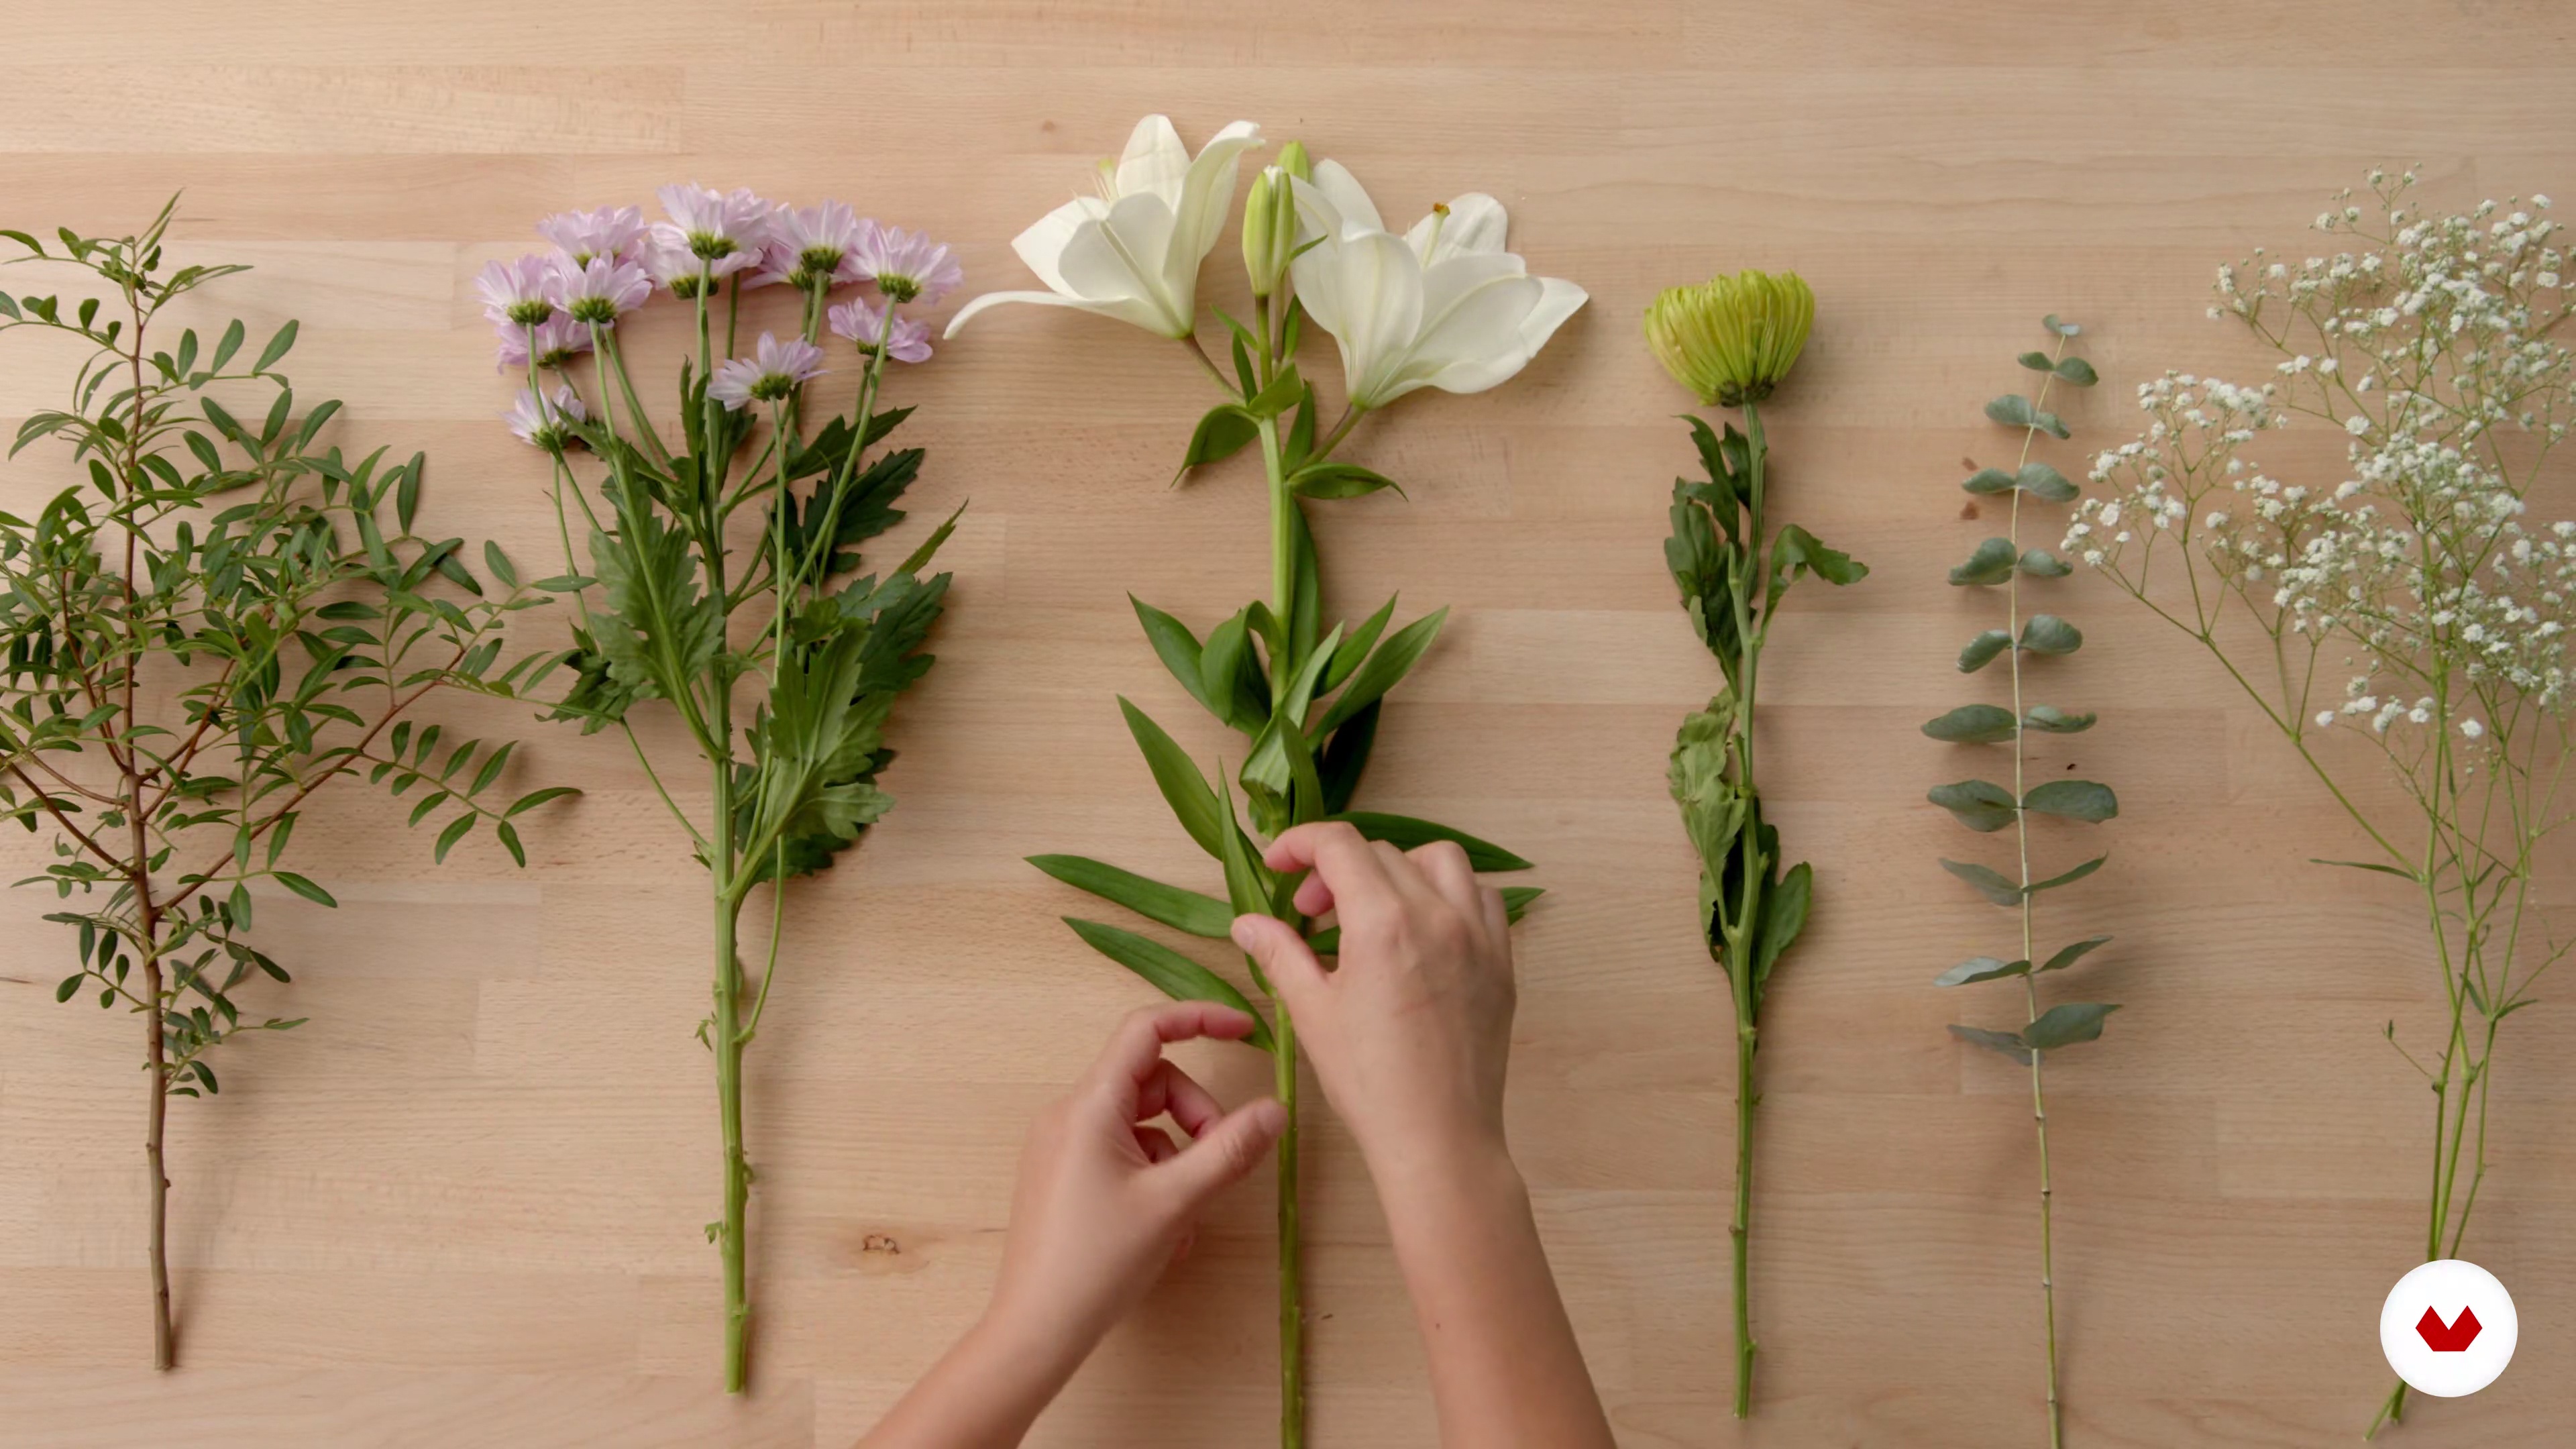
5Talking about Different Flowers, Leaves, Arrangements
In this lesson, I’m going to talk about a few types of flowers and leaves, and also about some different styles of floral arrangements in a vase.
4m
 6
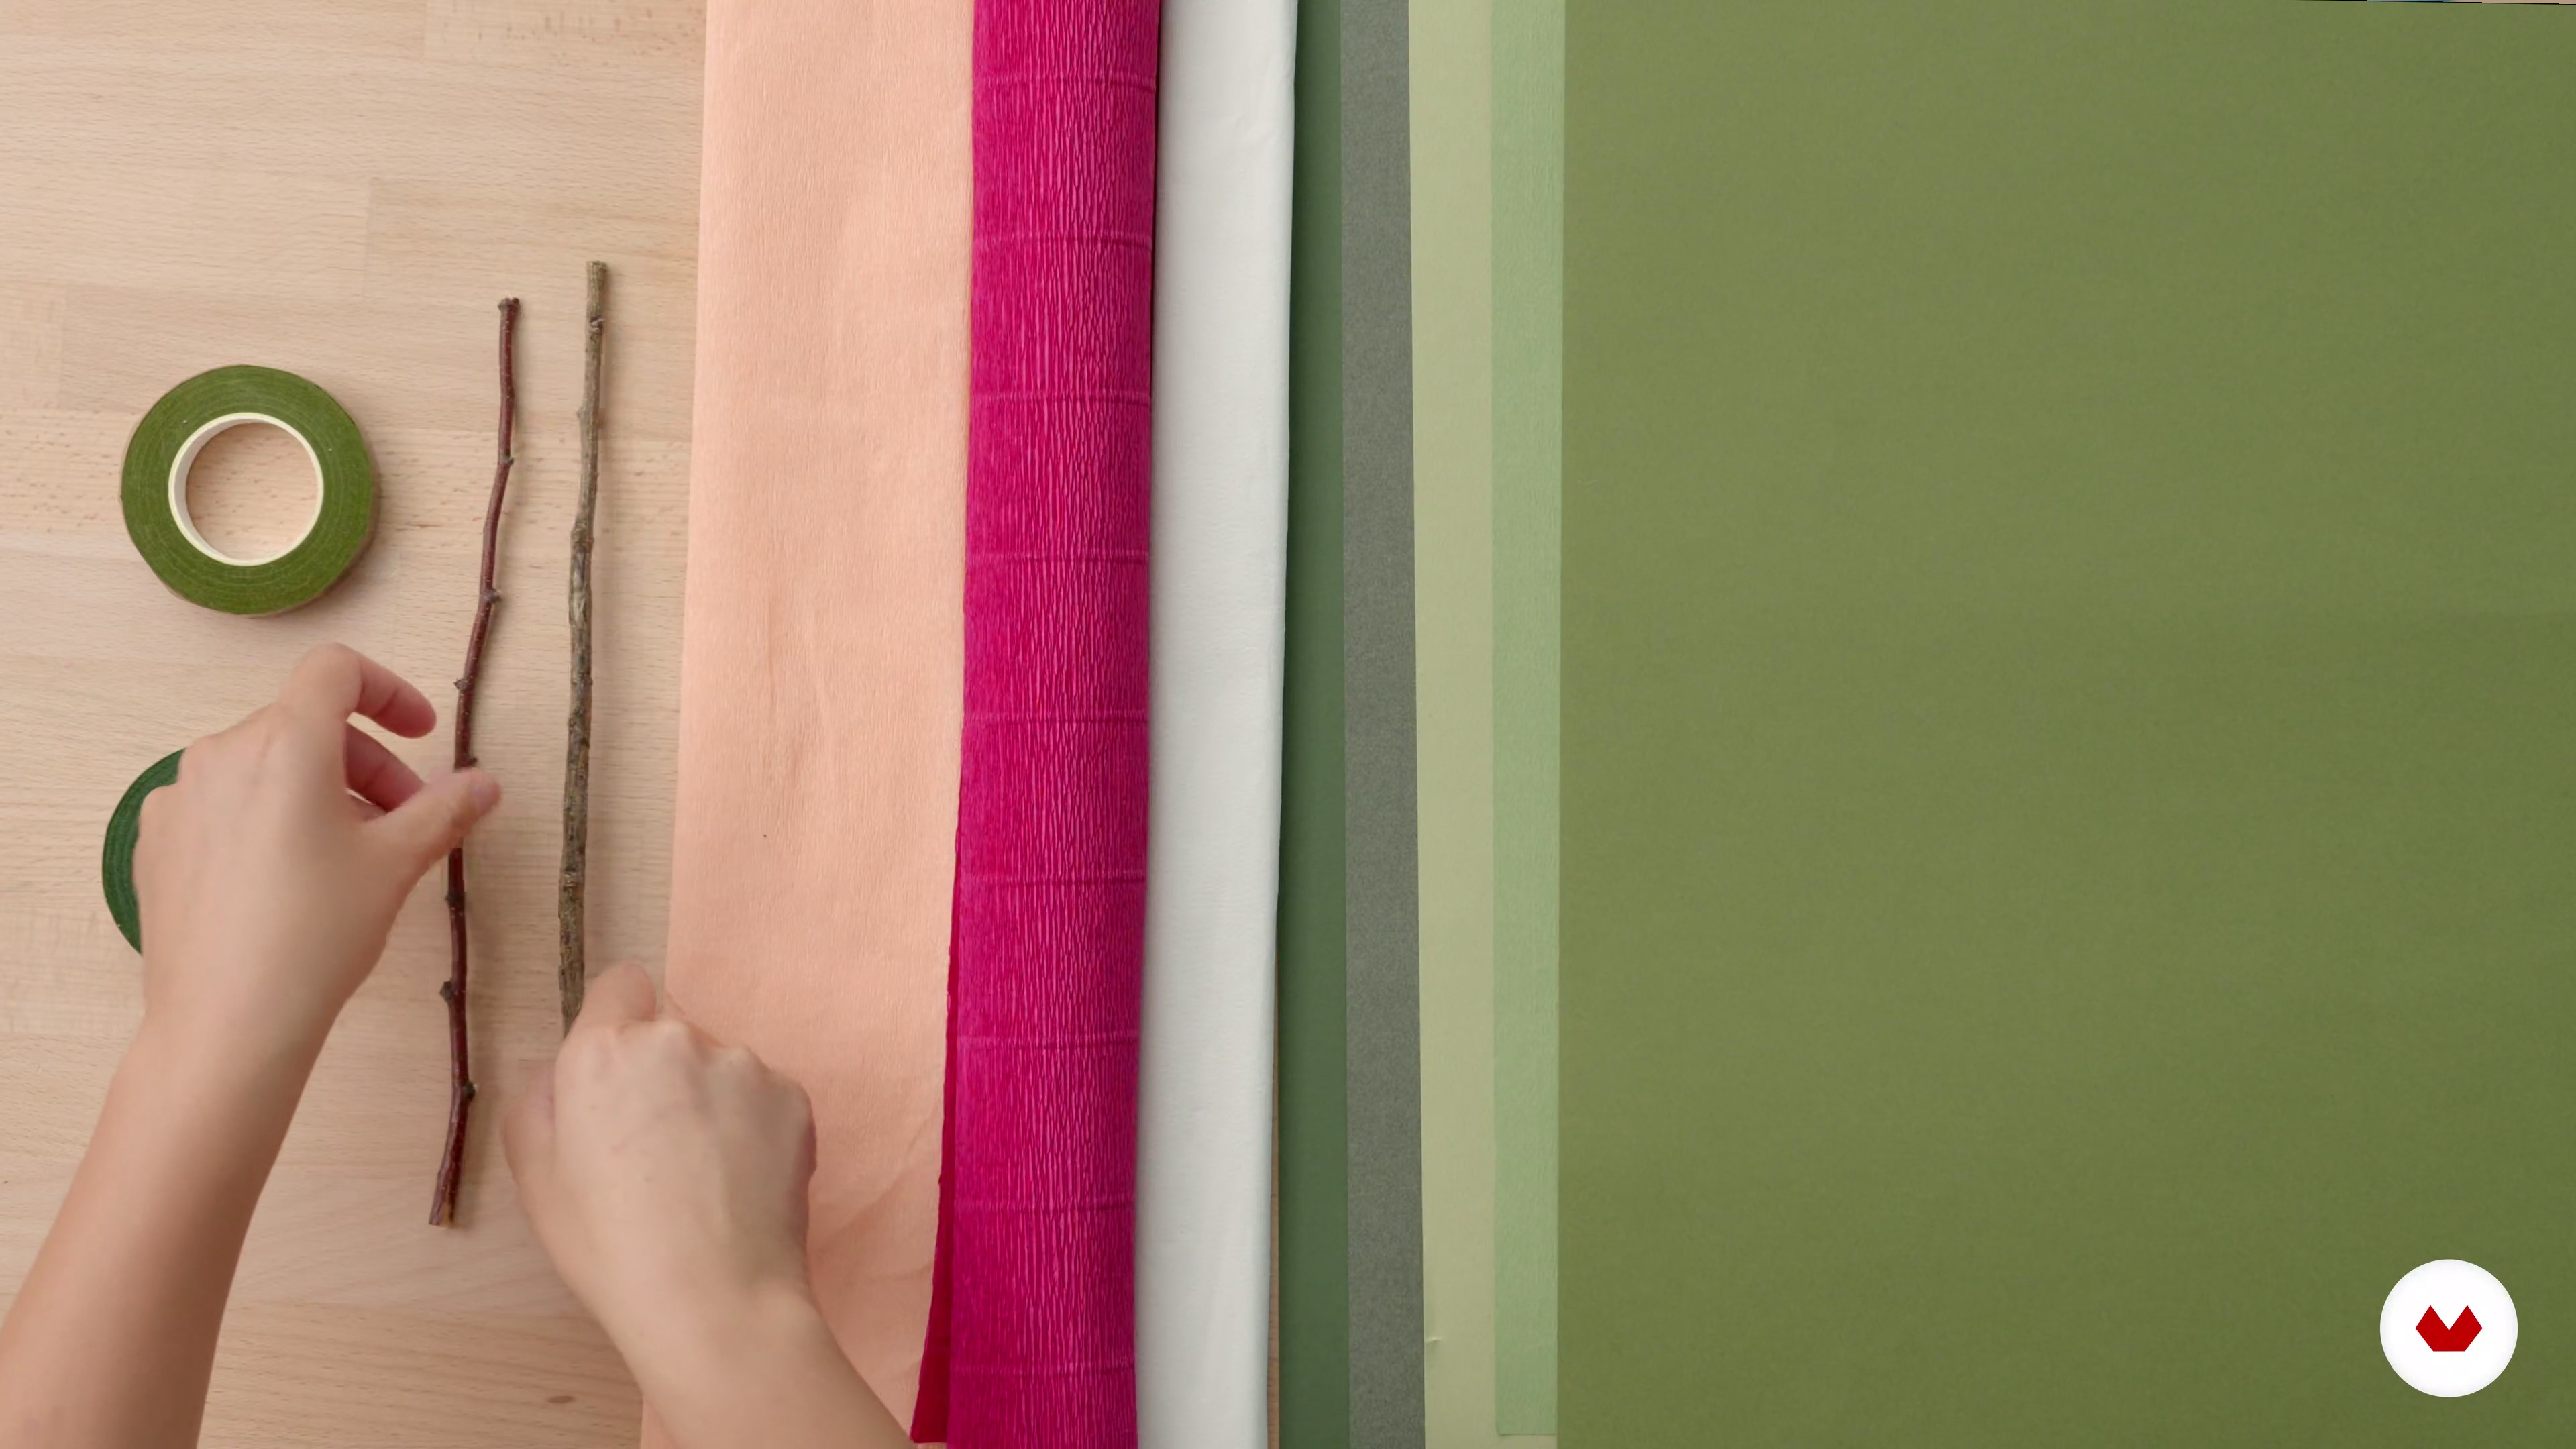
6Introduction to Paper, Card, Twigs, Wire, and Tape
In this lesson, I’m going to give you a more detailed explanation of the materials we will use in this course.
5m
 7
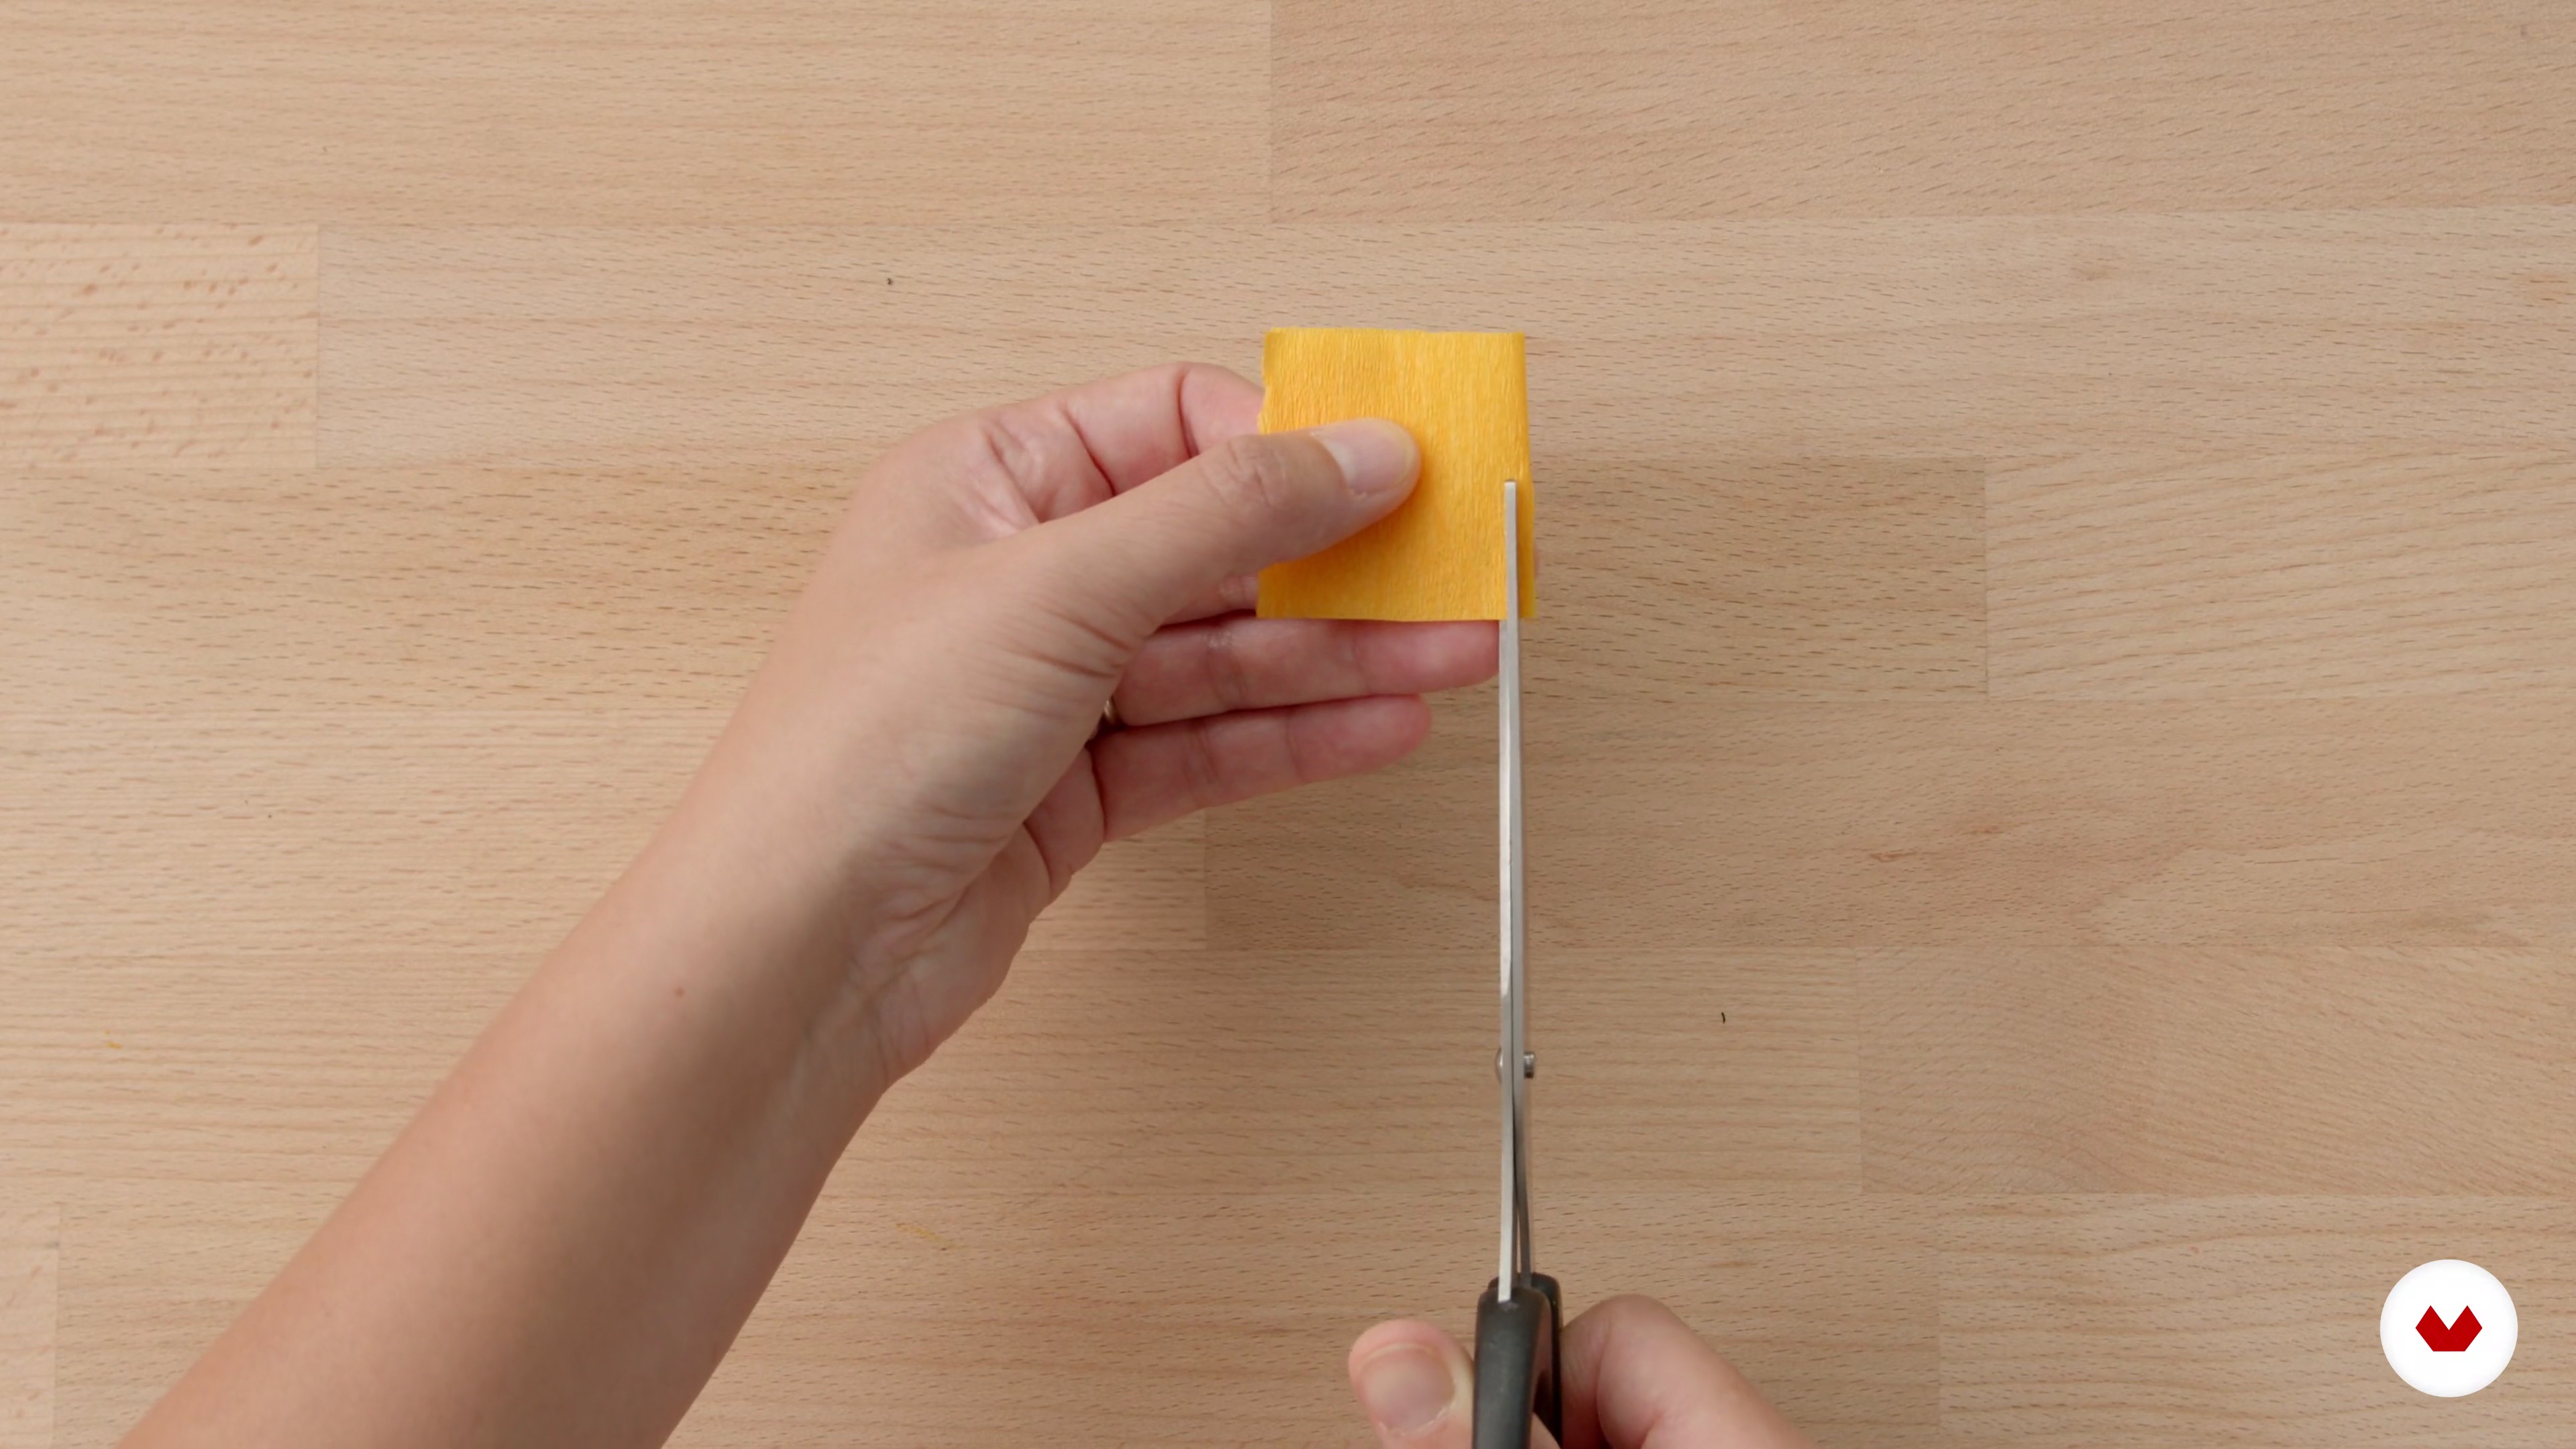
7Techniques for Creating the Centre of the Flowers and Leaves
I’m going to show you how to cut and shape three types of centre for the flowers using crepe paper, and then I’m going to show you techniques for making leaves.
12m
 8
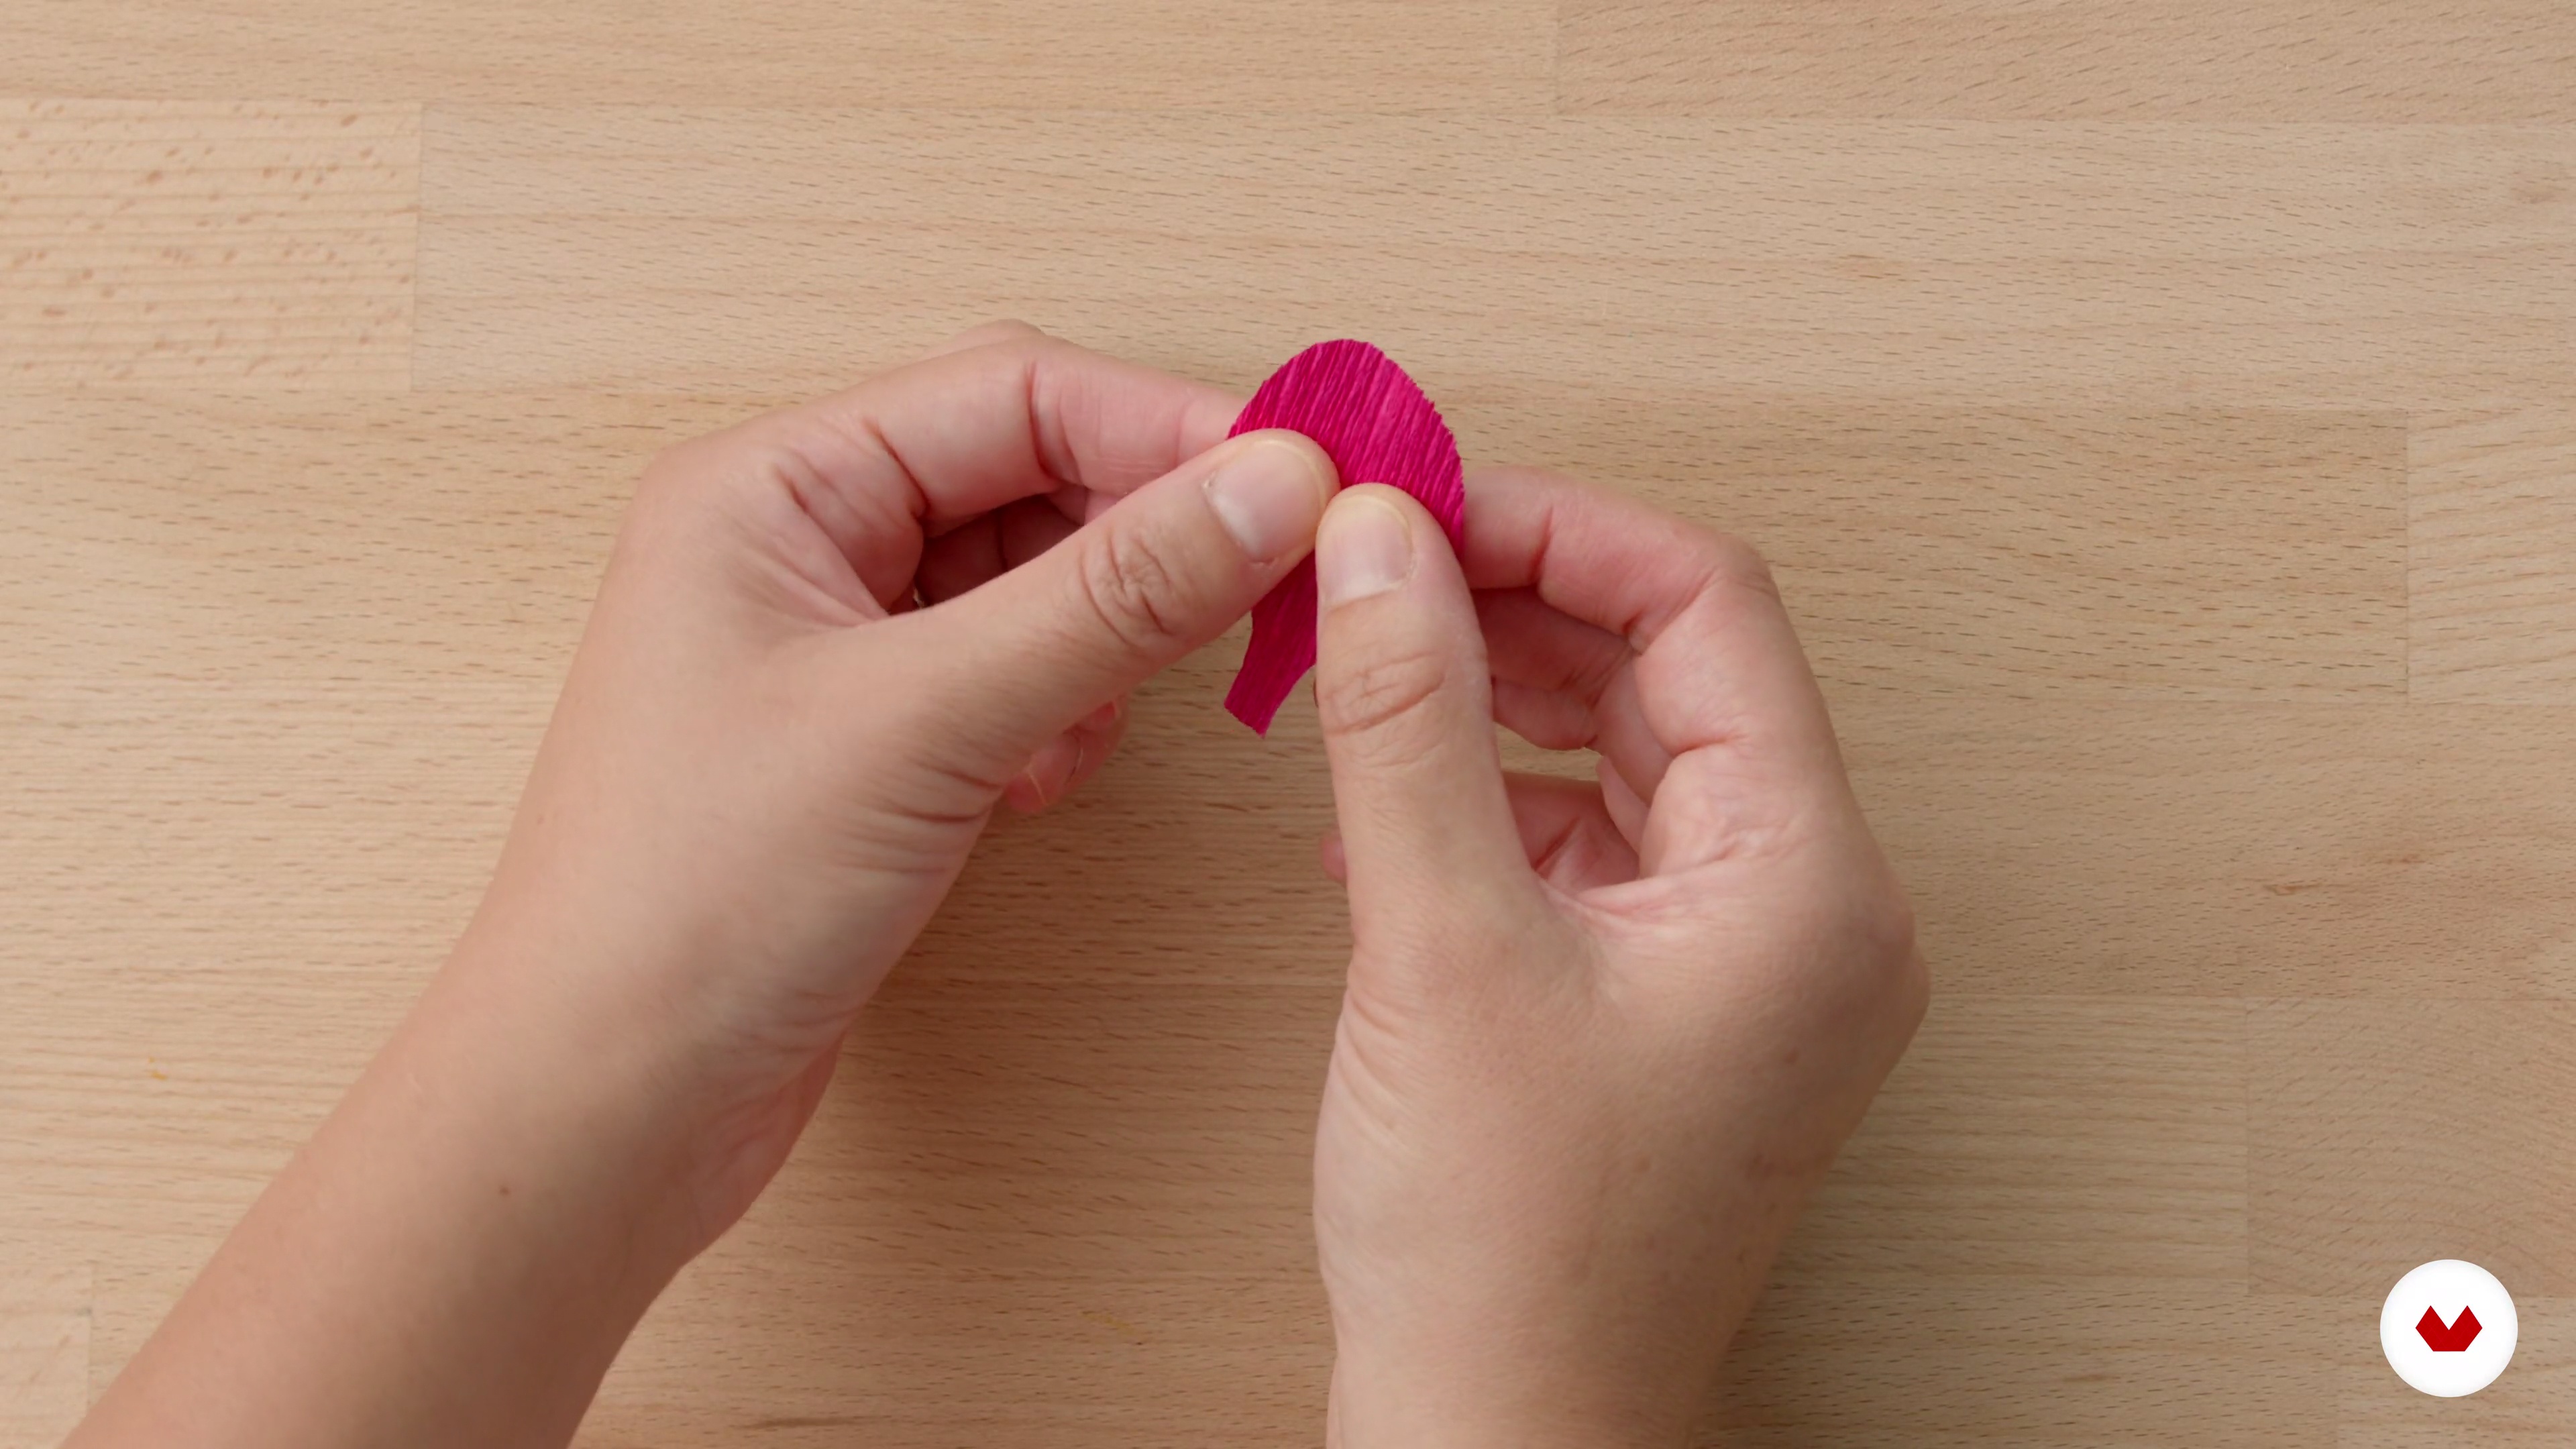
8Techniques for Creating Petals
In this lesson, you will learn how to cut and shape 3 different types of petals for the flowers.
10m
 9
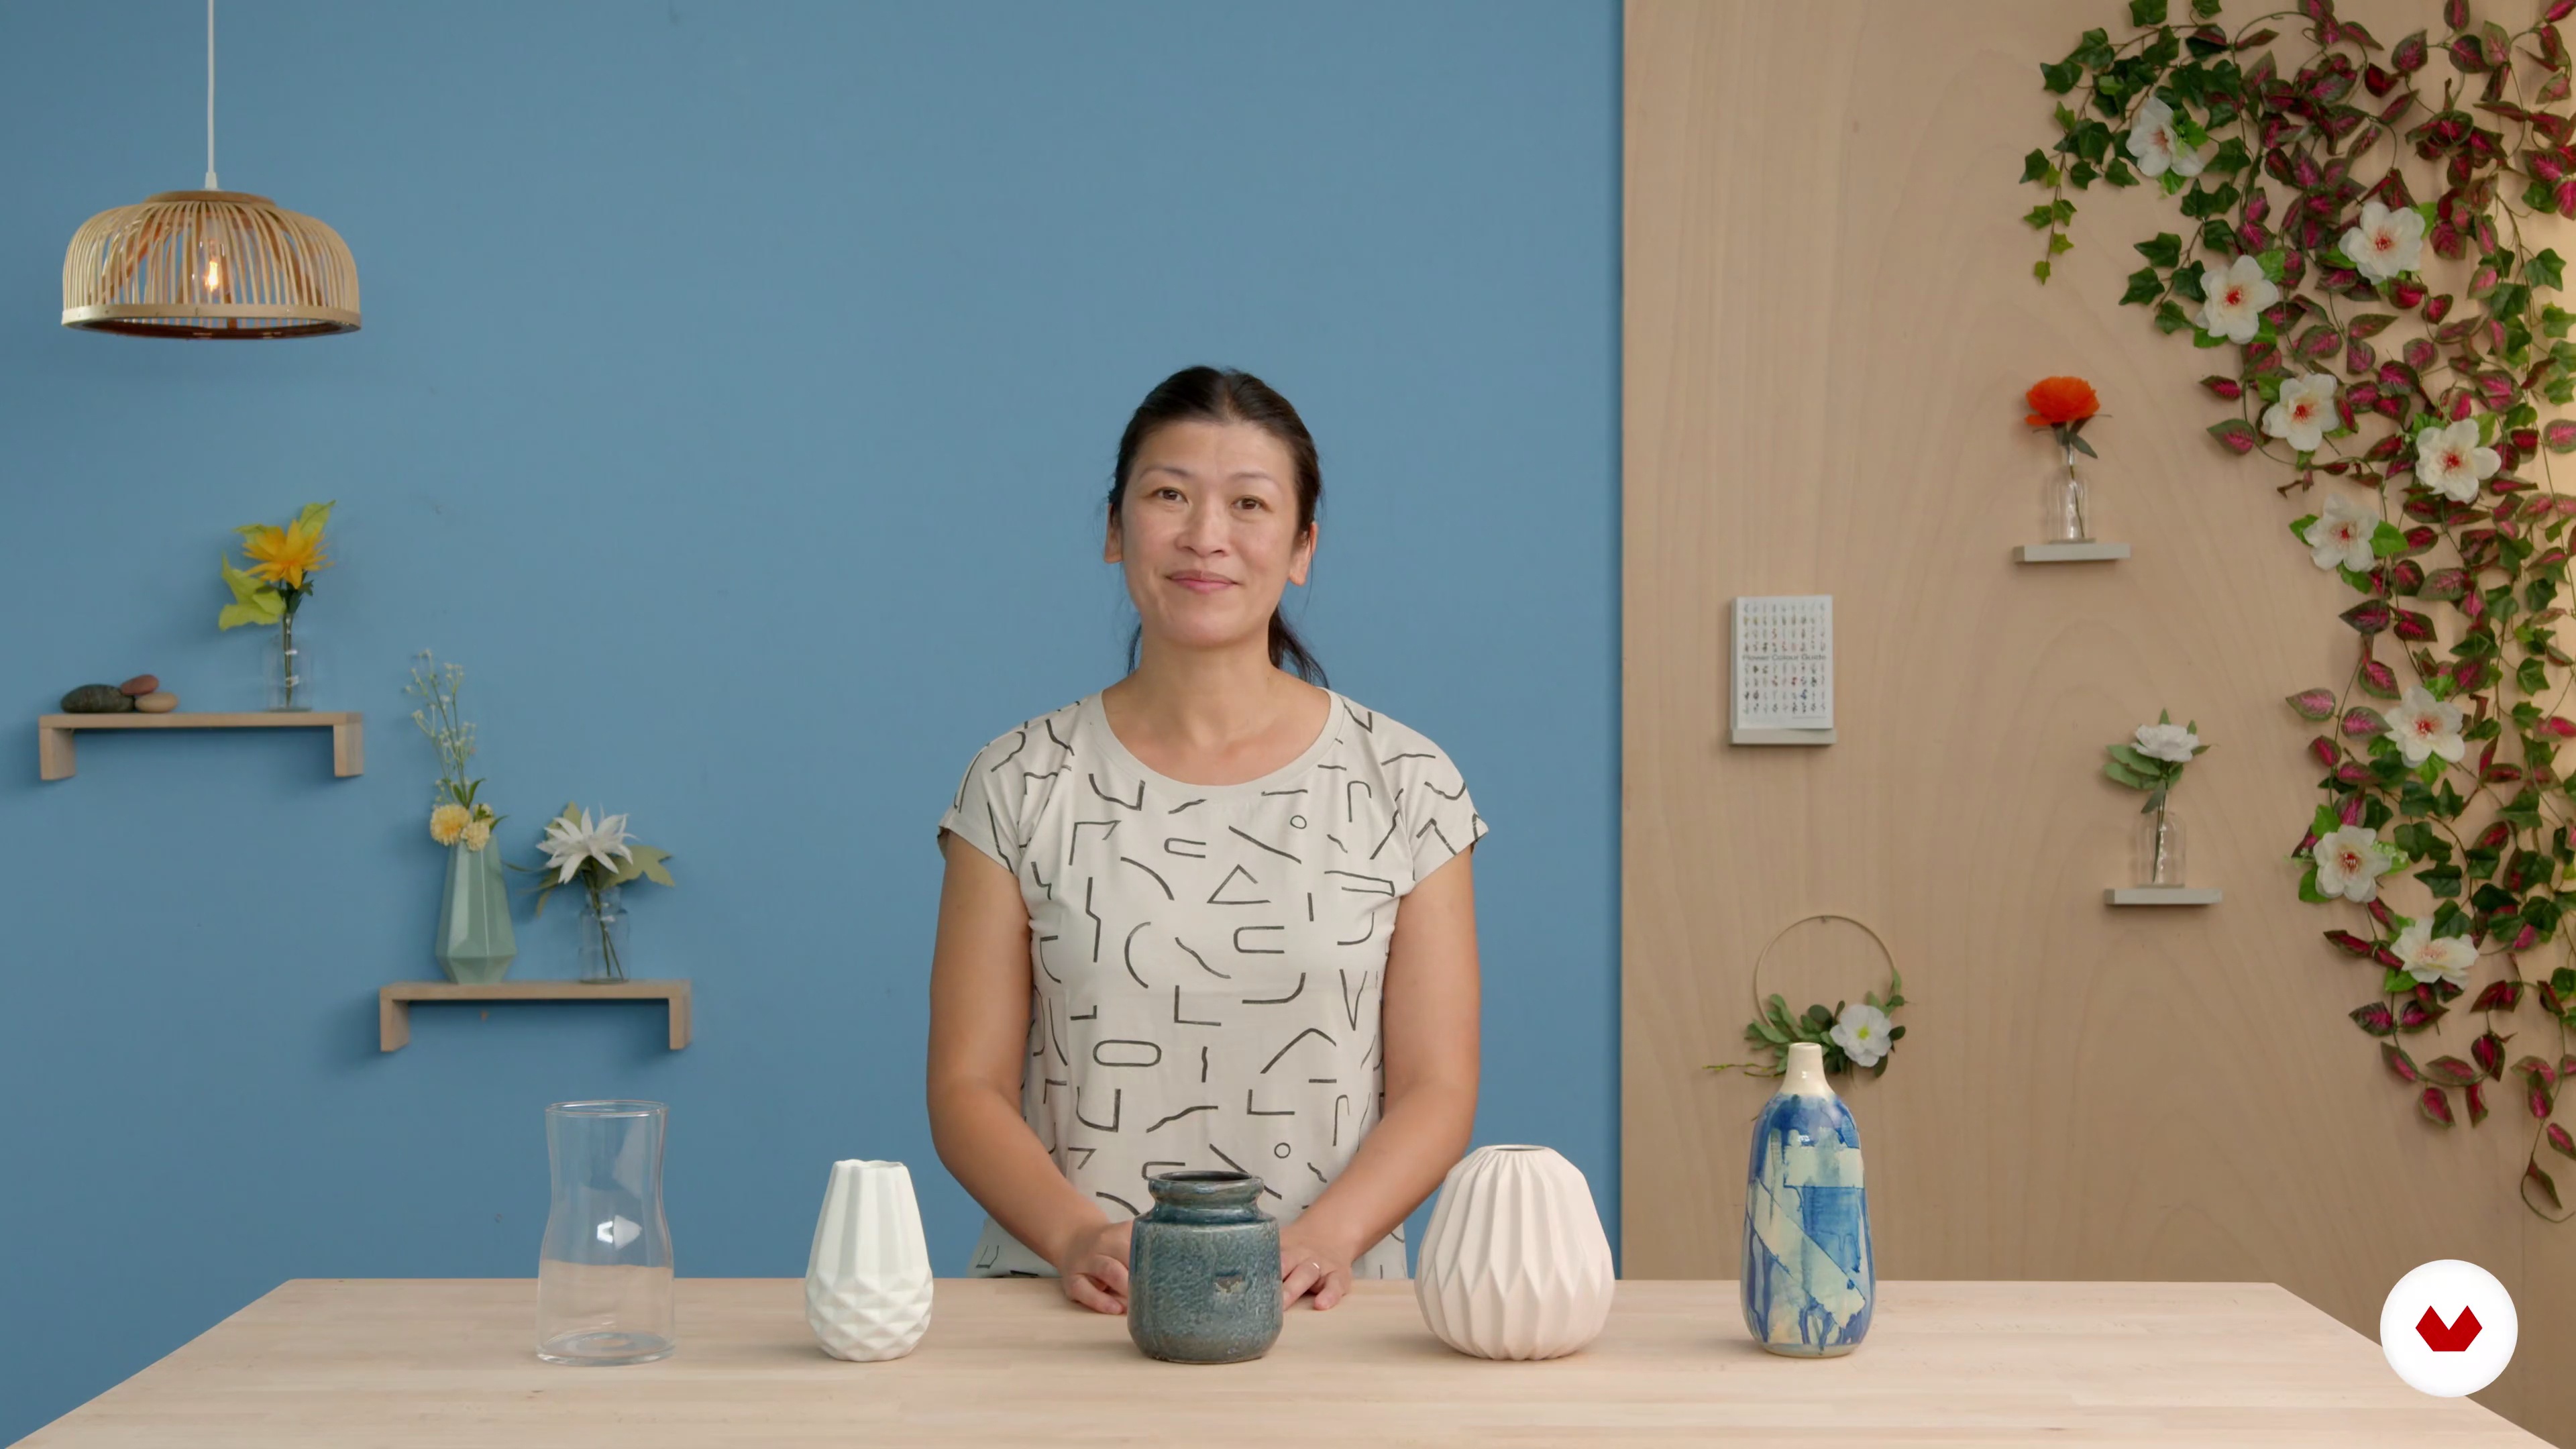
9Choosing a Vase and Where It Will Be Placed
In this lesson, I’m going to talk about different types of vases and what to consider when choosing one, and also where to place it in your home or workspace.
3m
 10
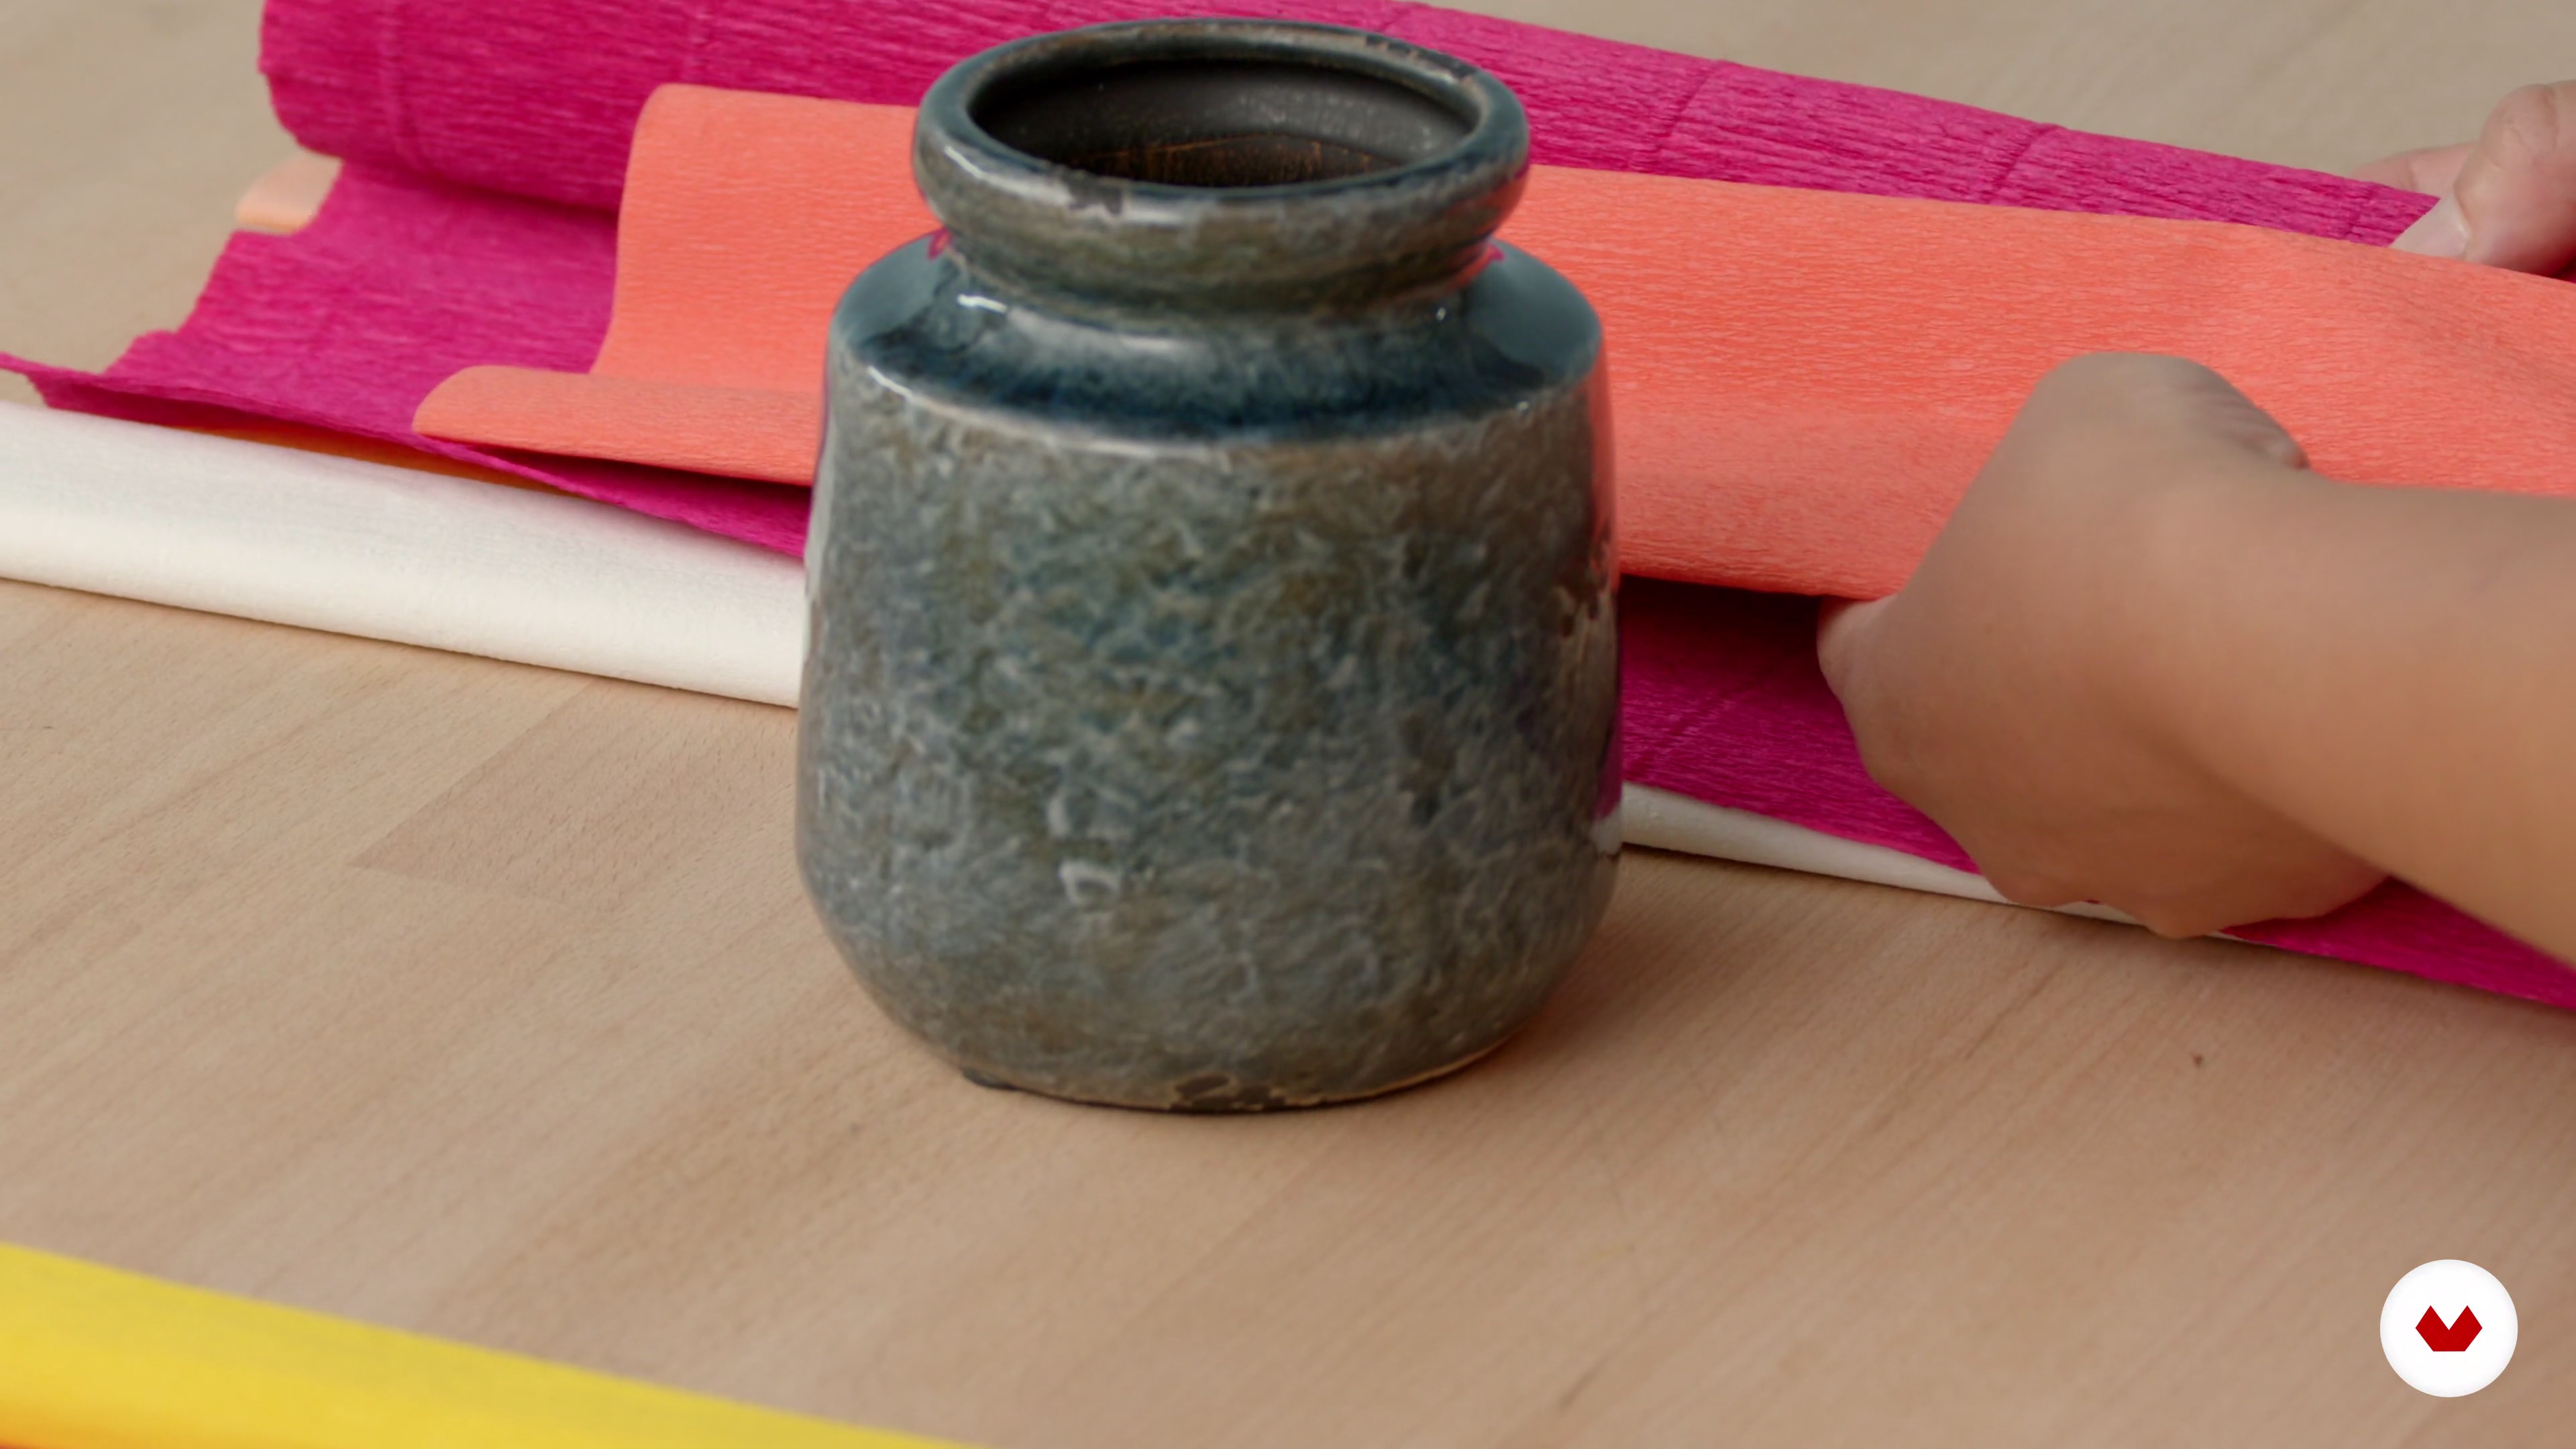
10Choosing Your Colour Palette
I’m going to give you some tips and tricks to help you choose your colour palette.
4m
 11
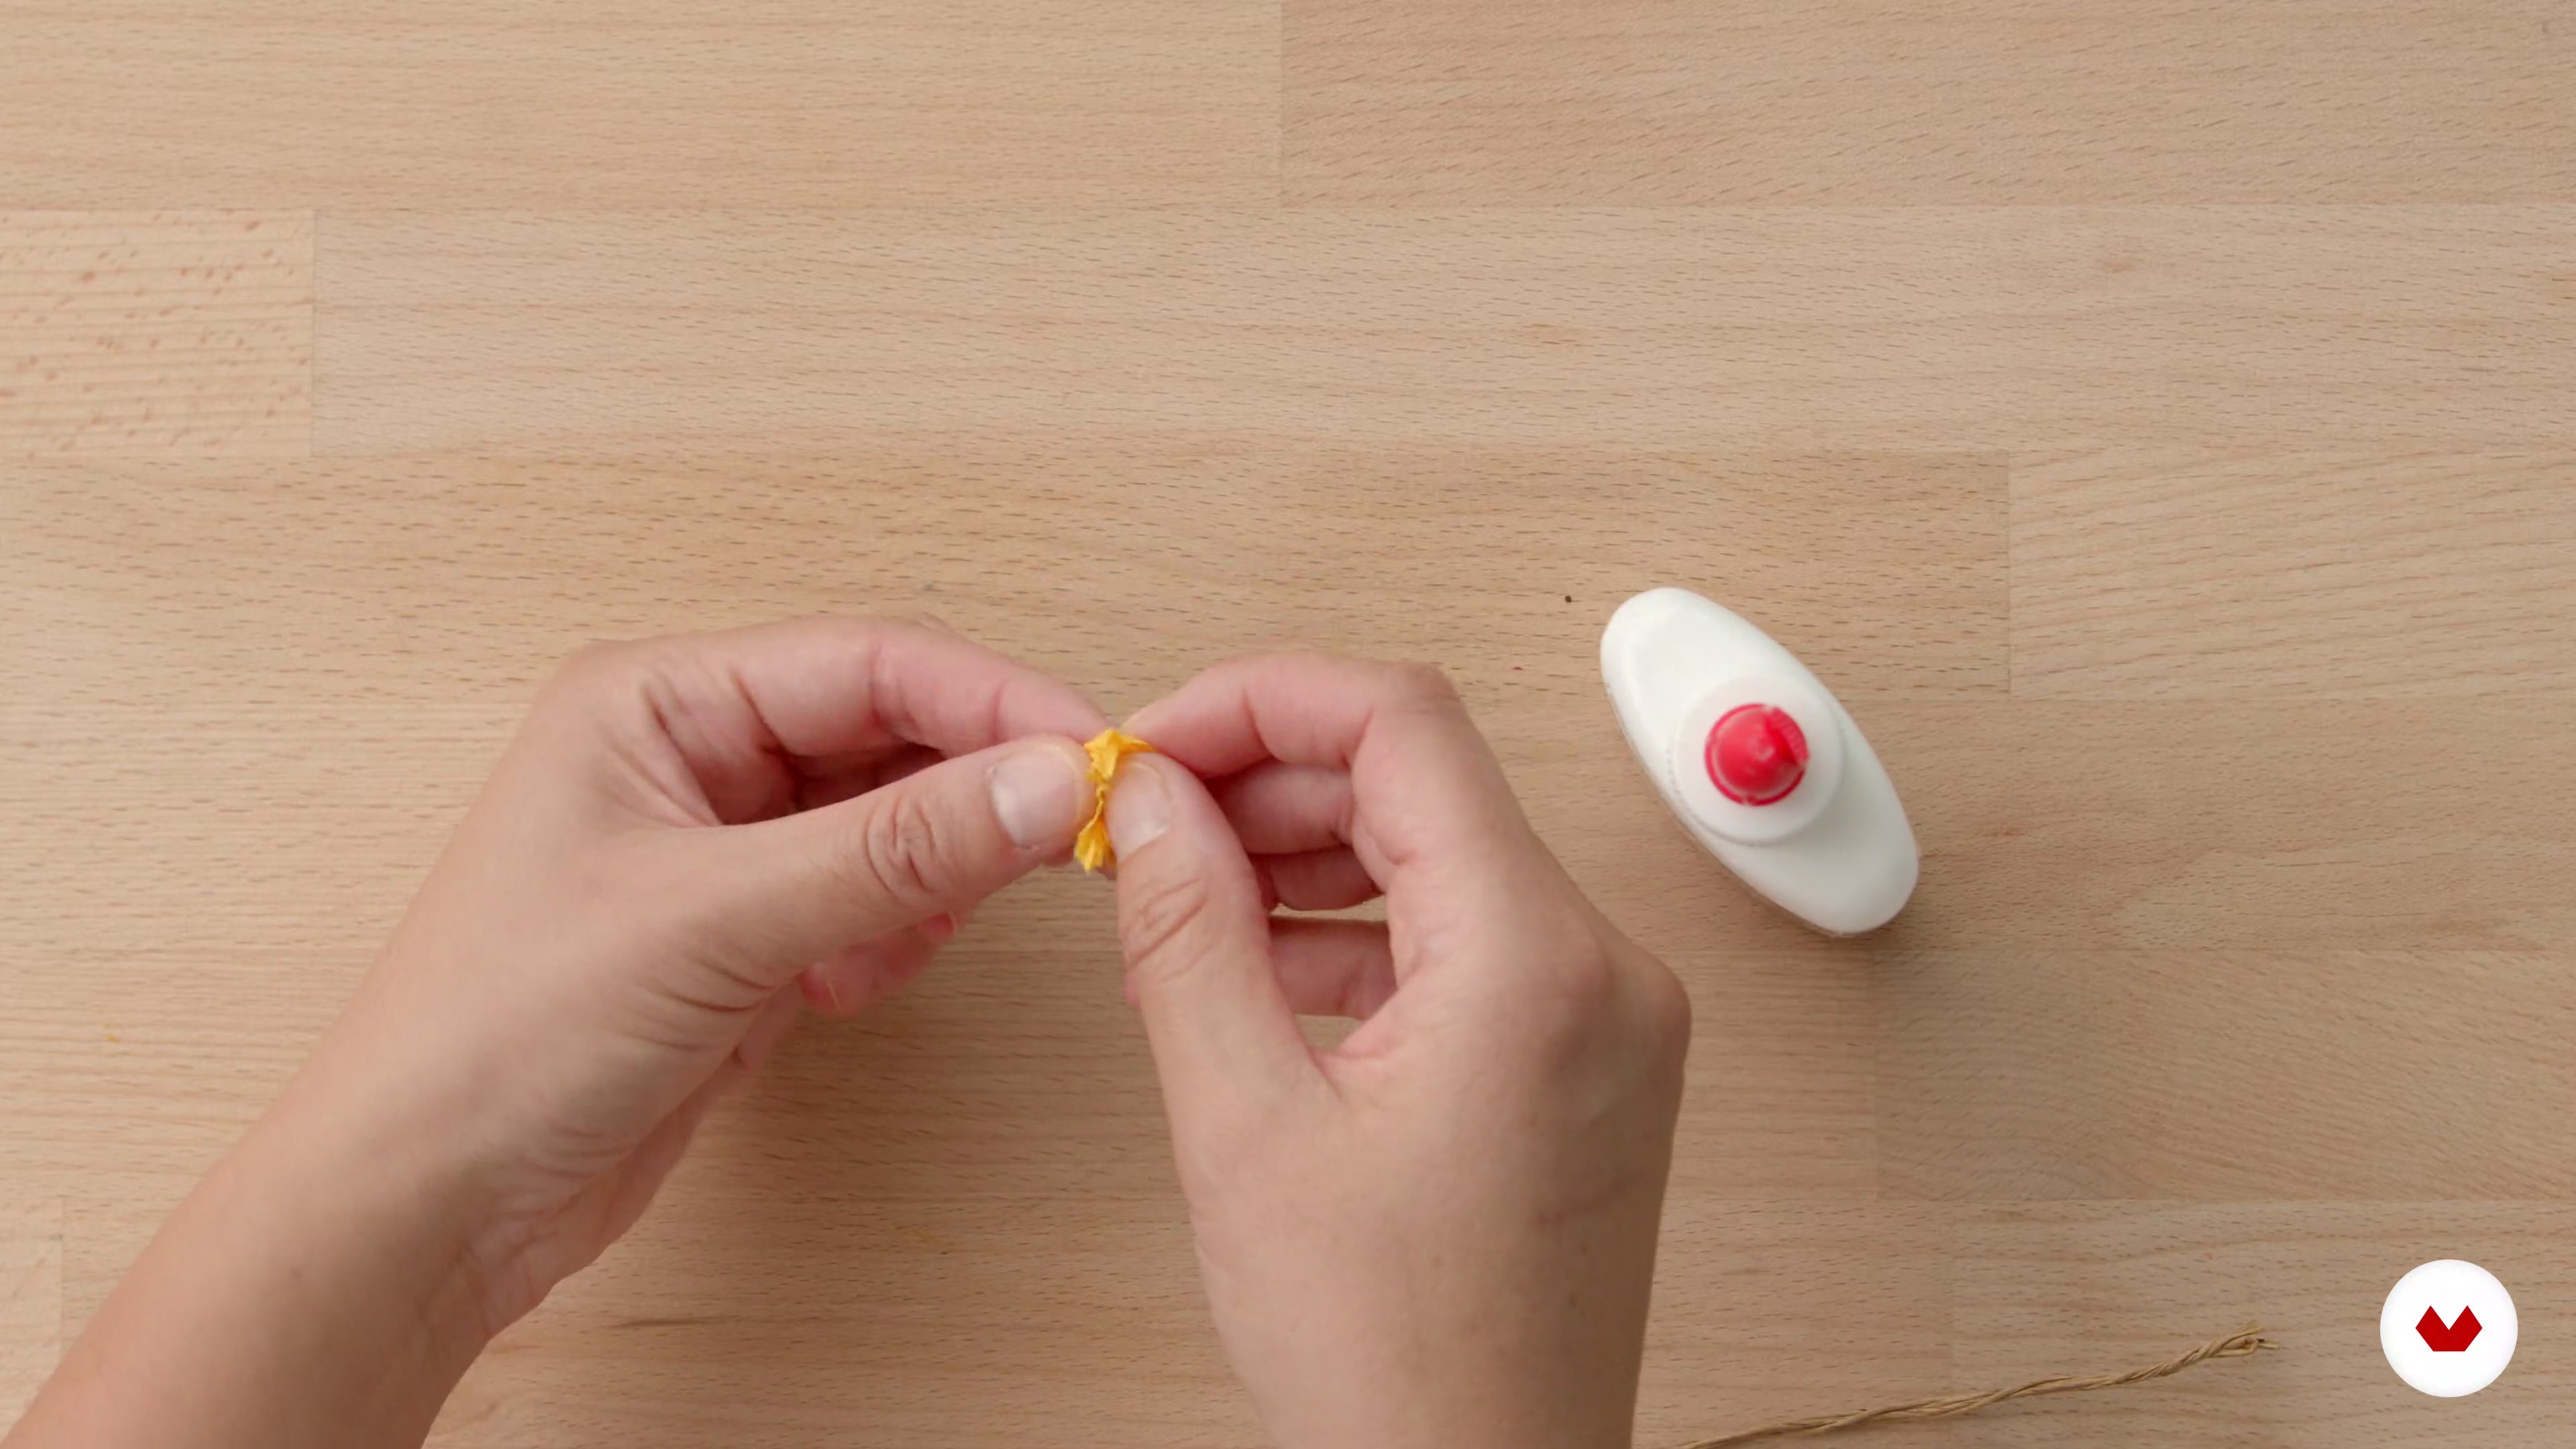
11How to Make a Stem and Branches, and Attach Centres and Petals Using Glue
In this lesson, you’re going to learn how to make a stem, and then attach the centre and petals to it.
15m
 12
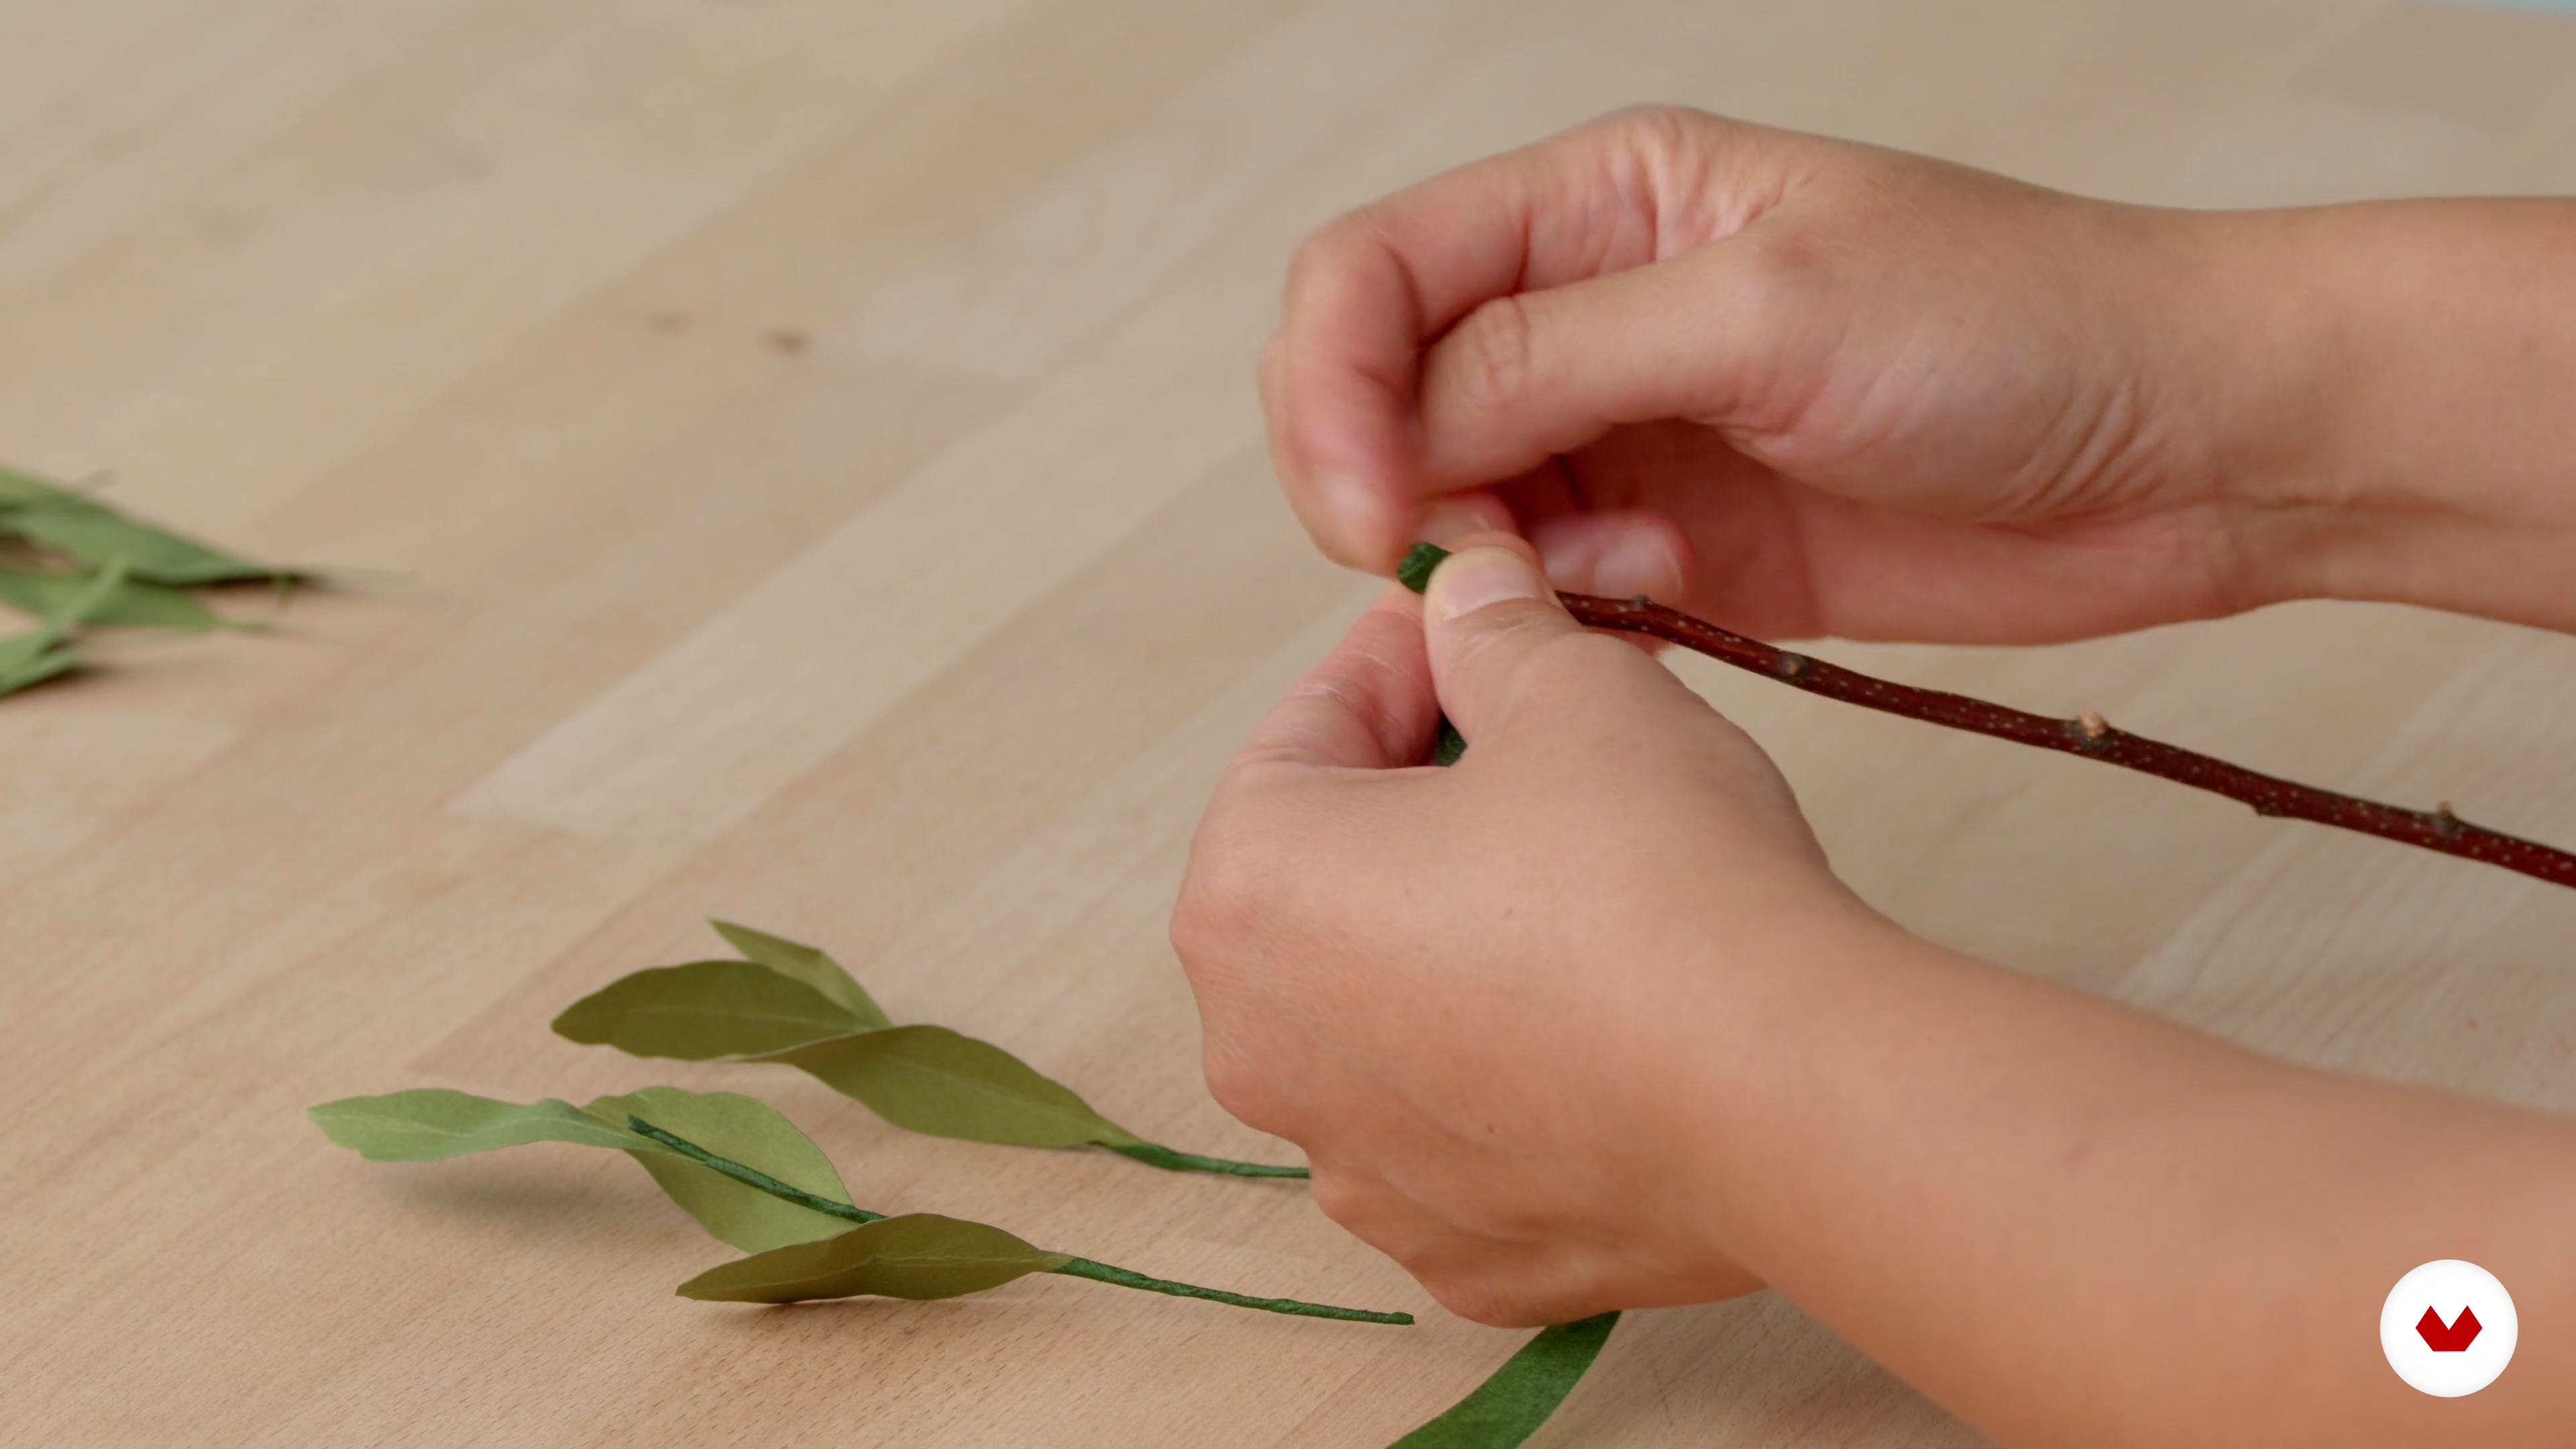
12How to Create a Complete Flower- Creating a Branch with Leaves Using Floristry Tape
Here you’re going to learn the technique of winding floristry tape around a stem to create a complete flower and a branch.
12m
 13
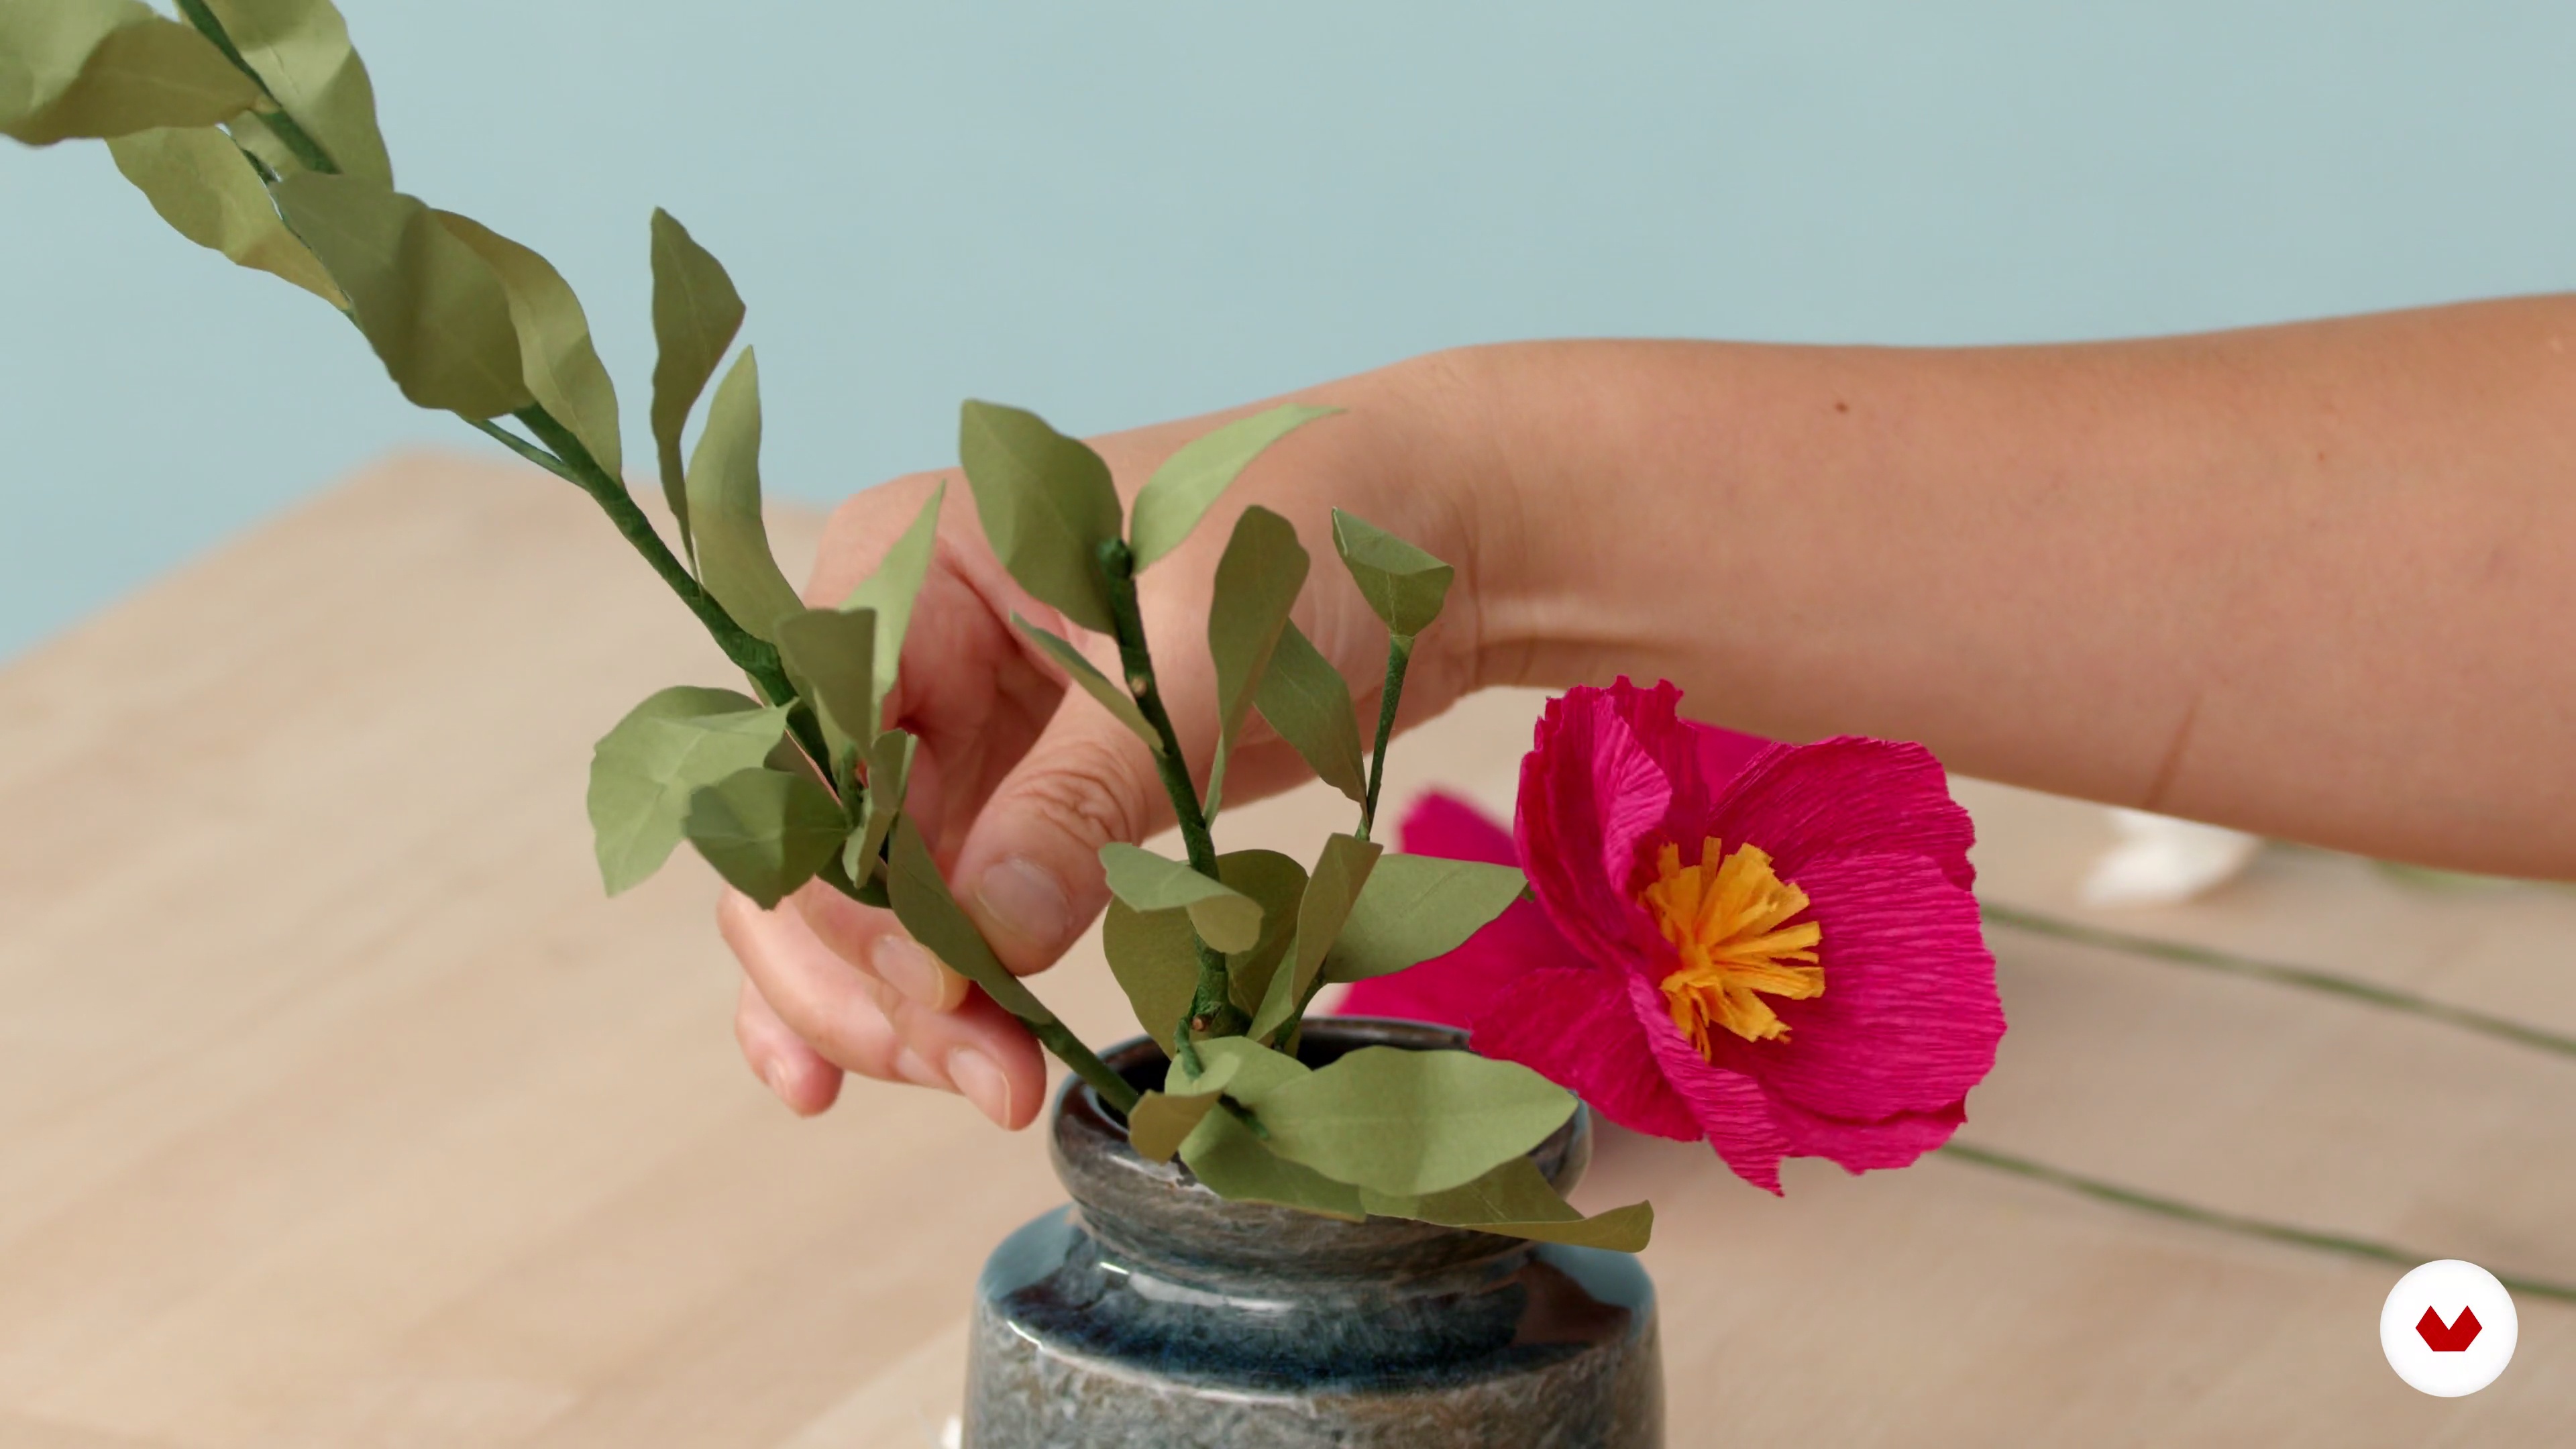
13Planning Your Floral Arrangement
In this lesson, I’m going to show you how to arrange your flowers and leaves in a vase.
11m
 14
14Where to Place Your Floral Piece
I’m going to talk about where to place and where not to place your arrangement.
1m
 15
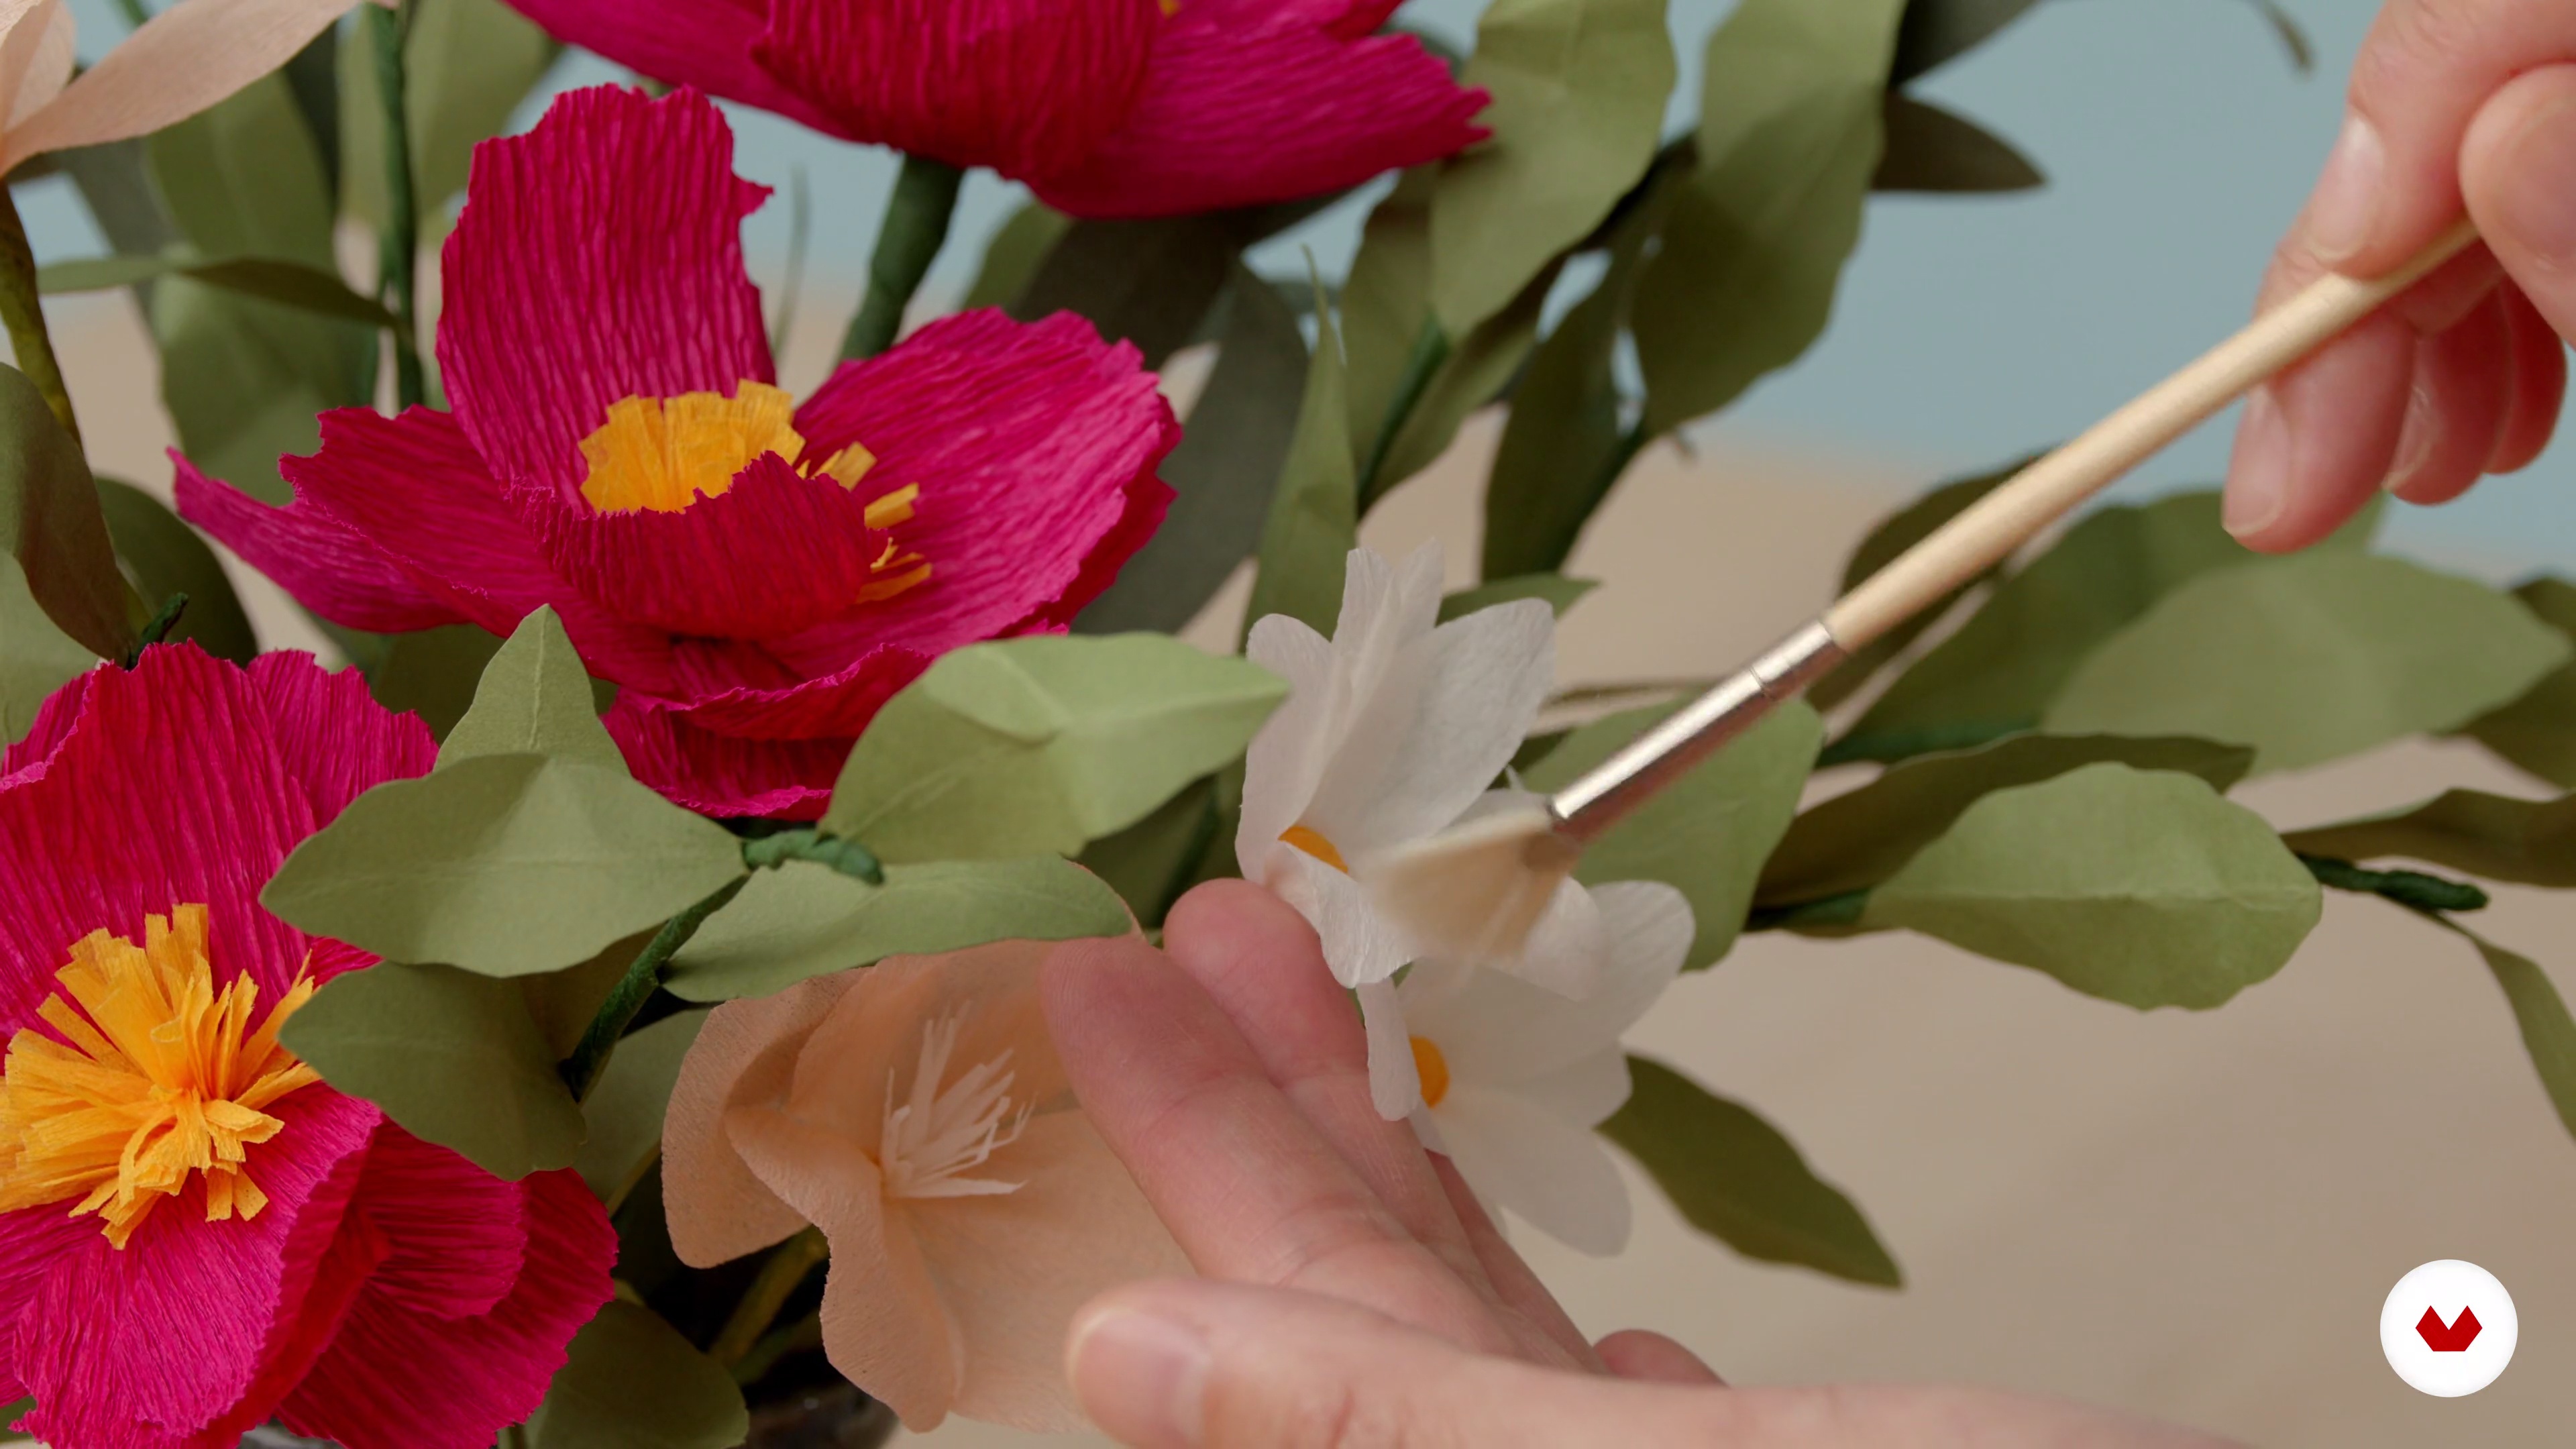
15Tips on Cleaning Your Floral Arrangement
I’m going to show you a technique to clean off dust from your flowers and leaves.
2m
 3
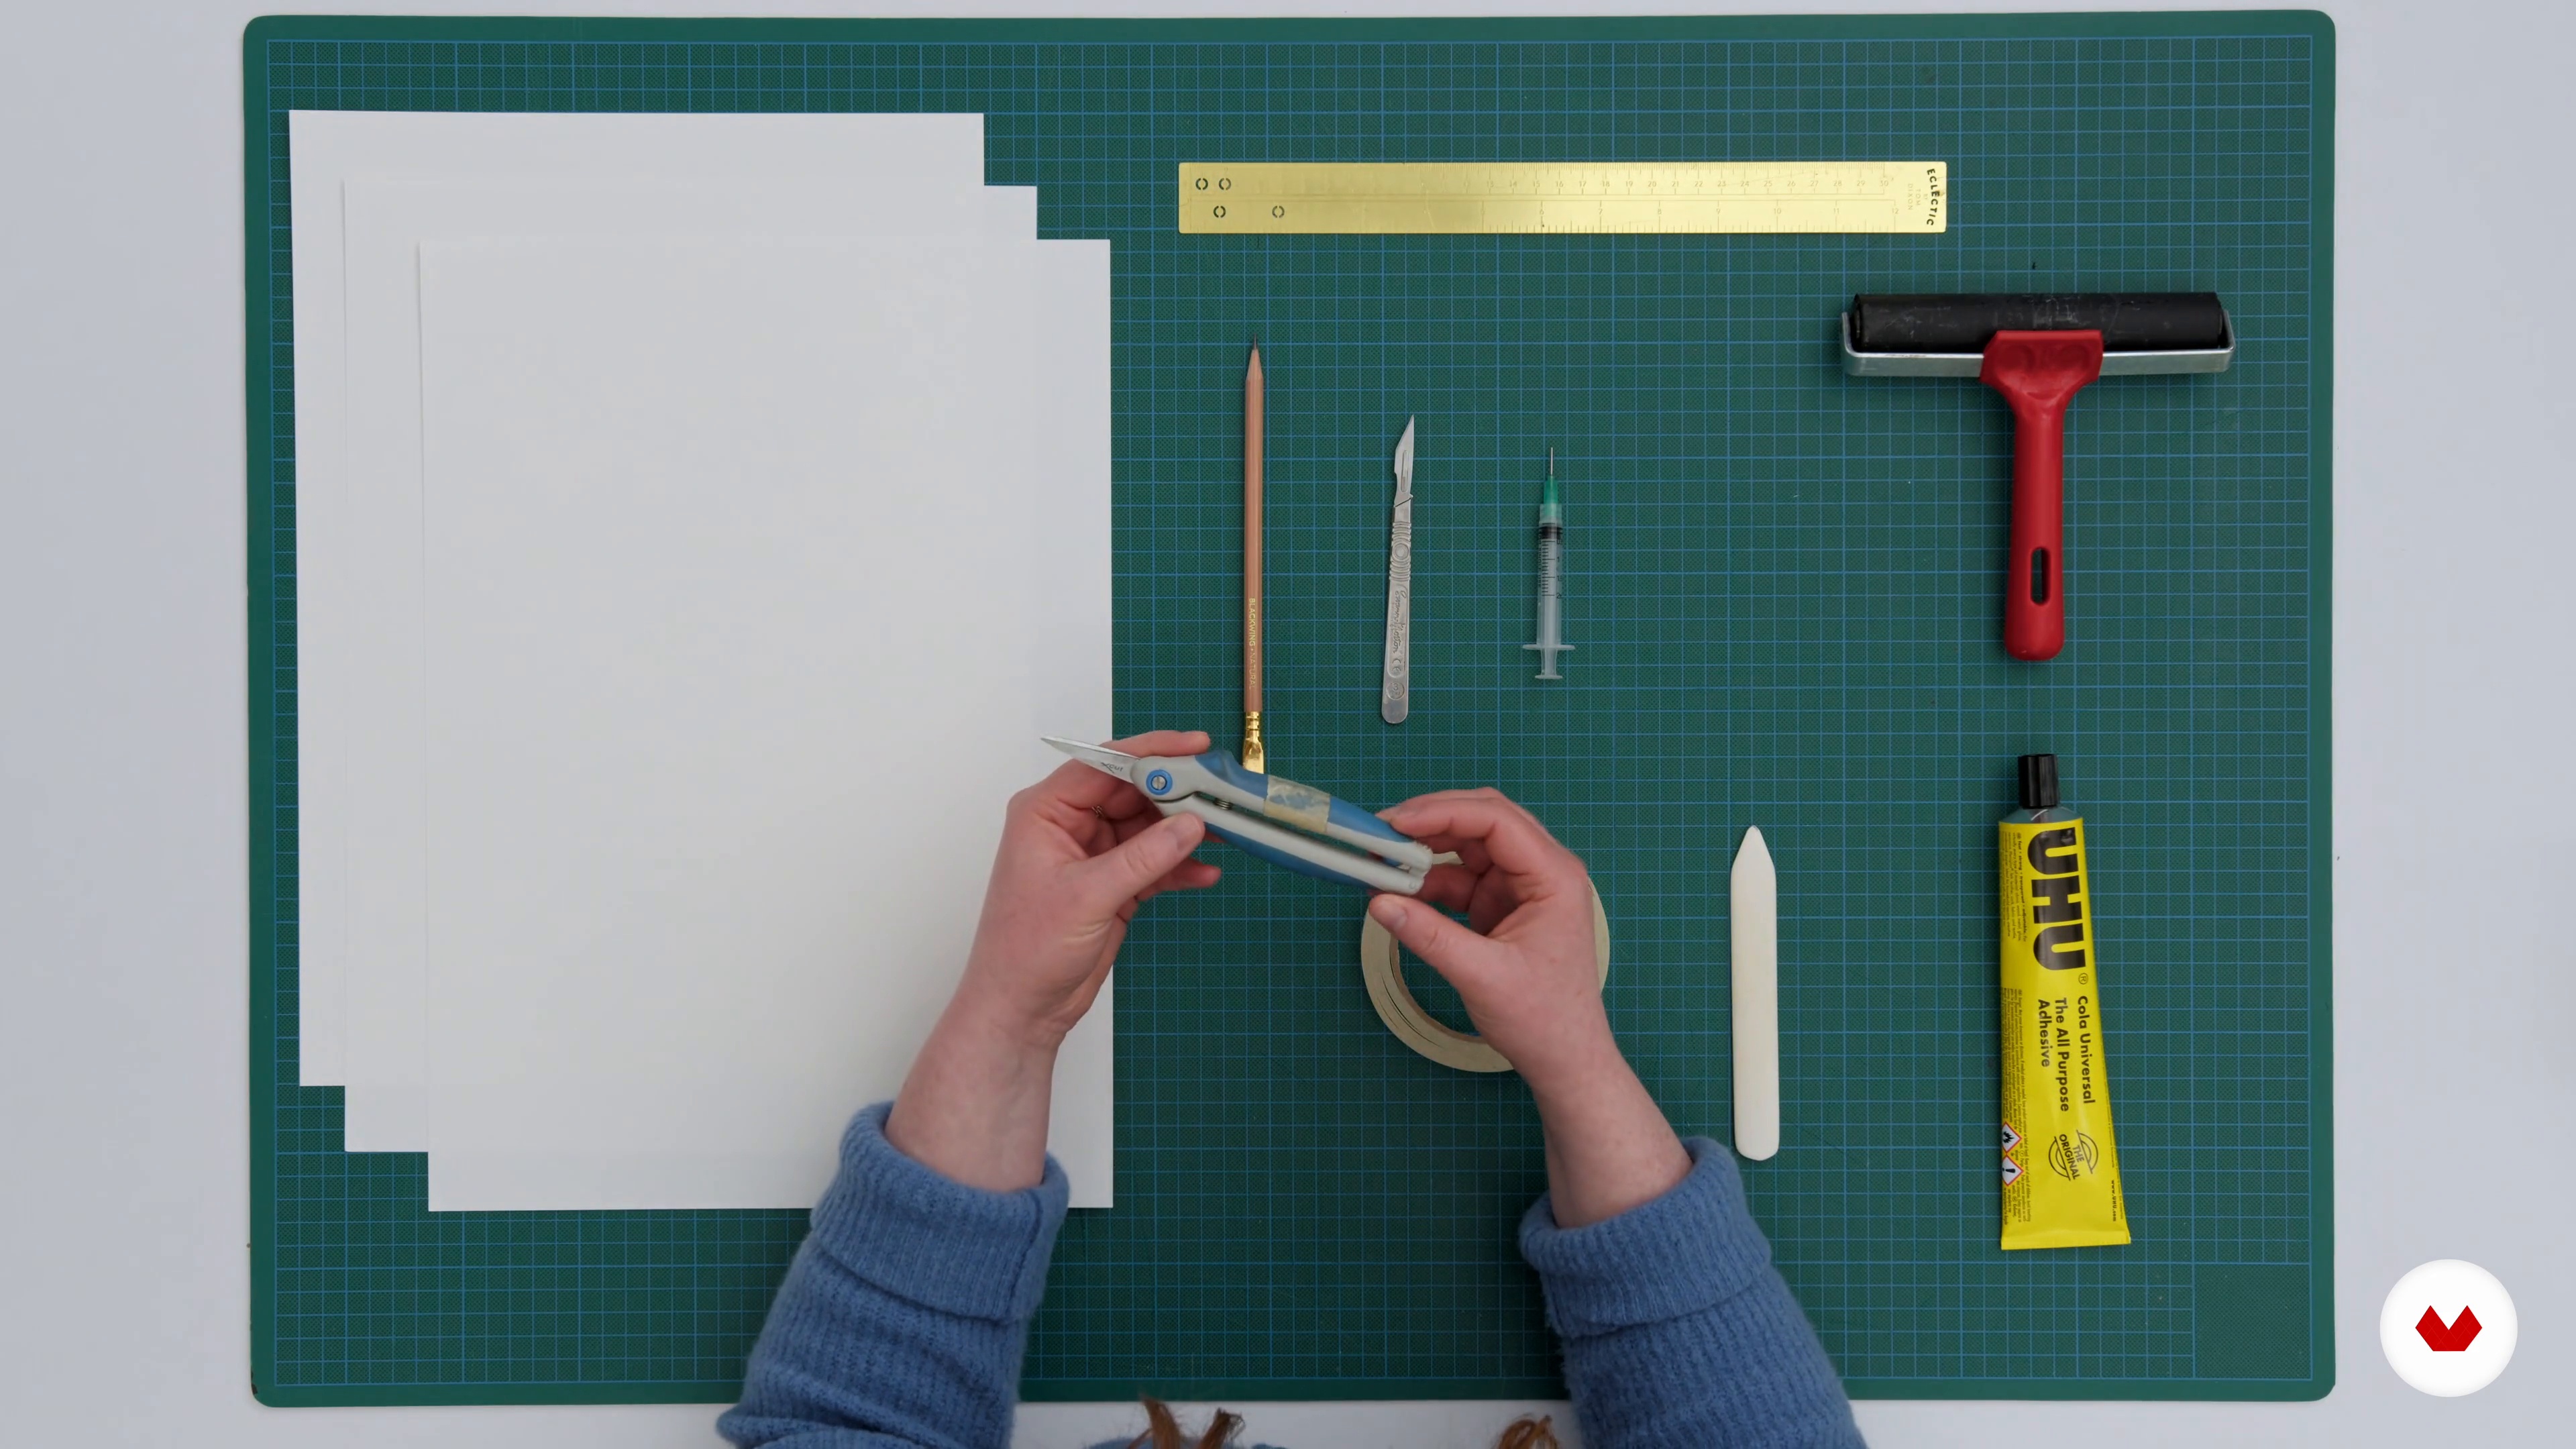
3Materials, Tools, and Workspace
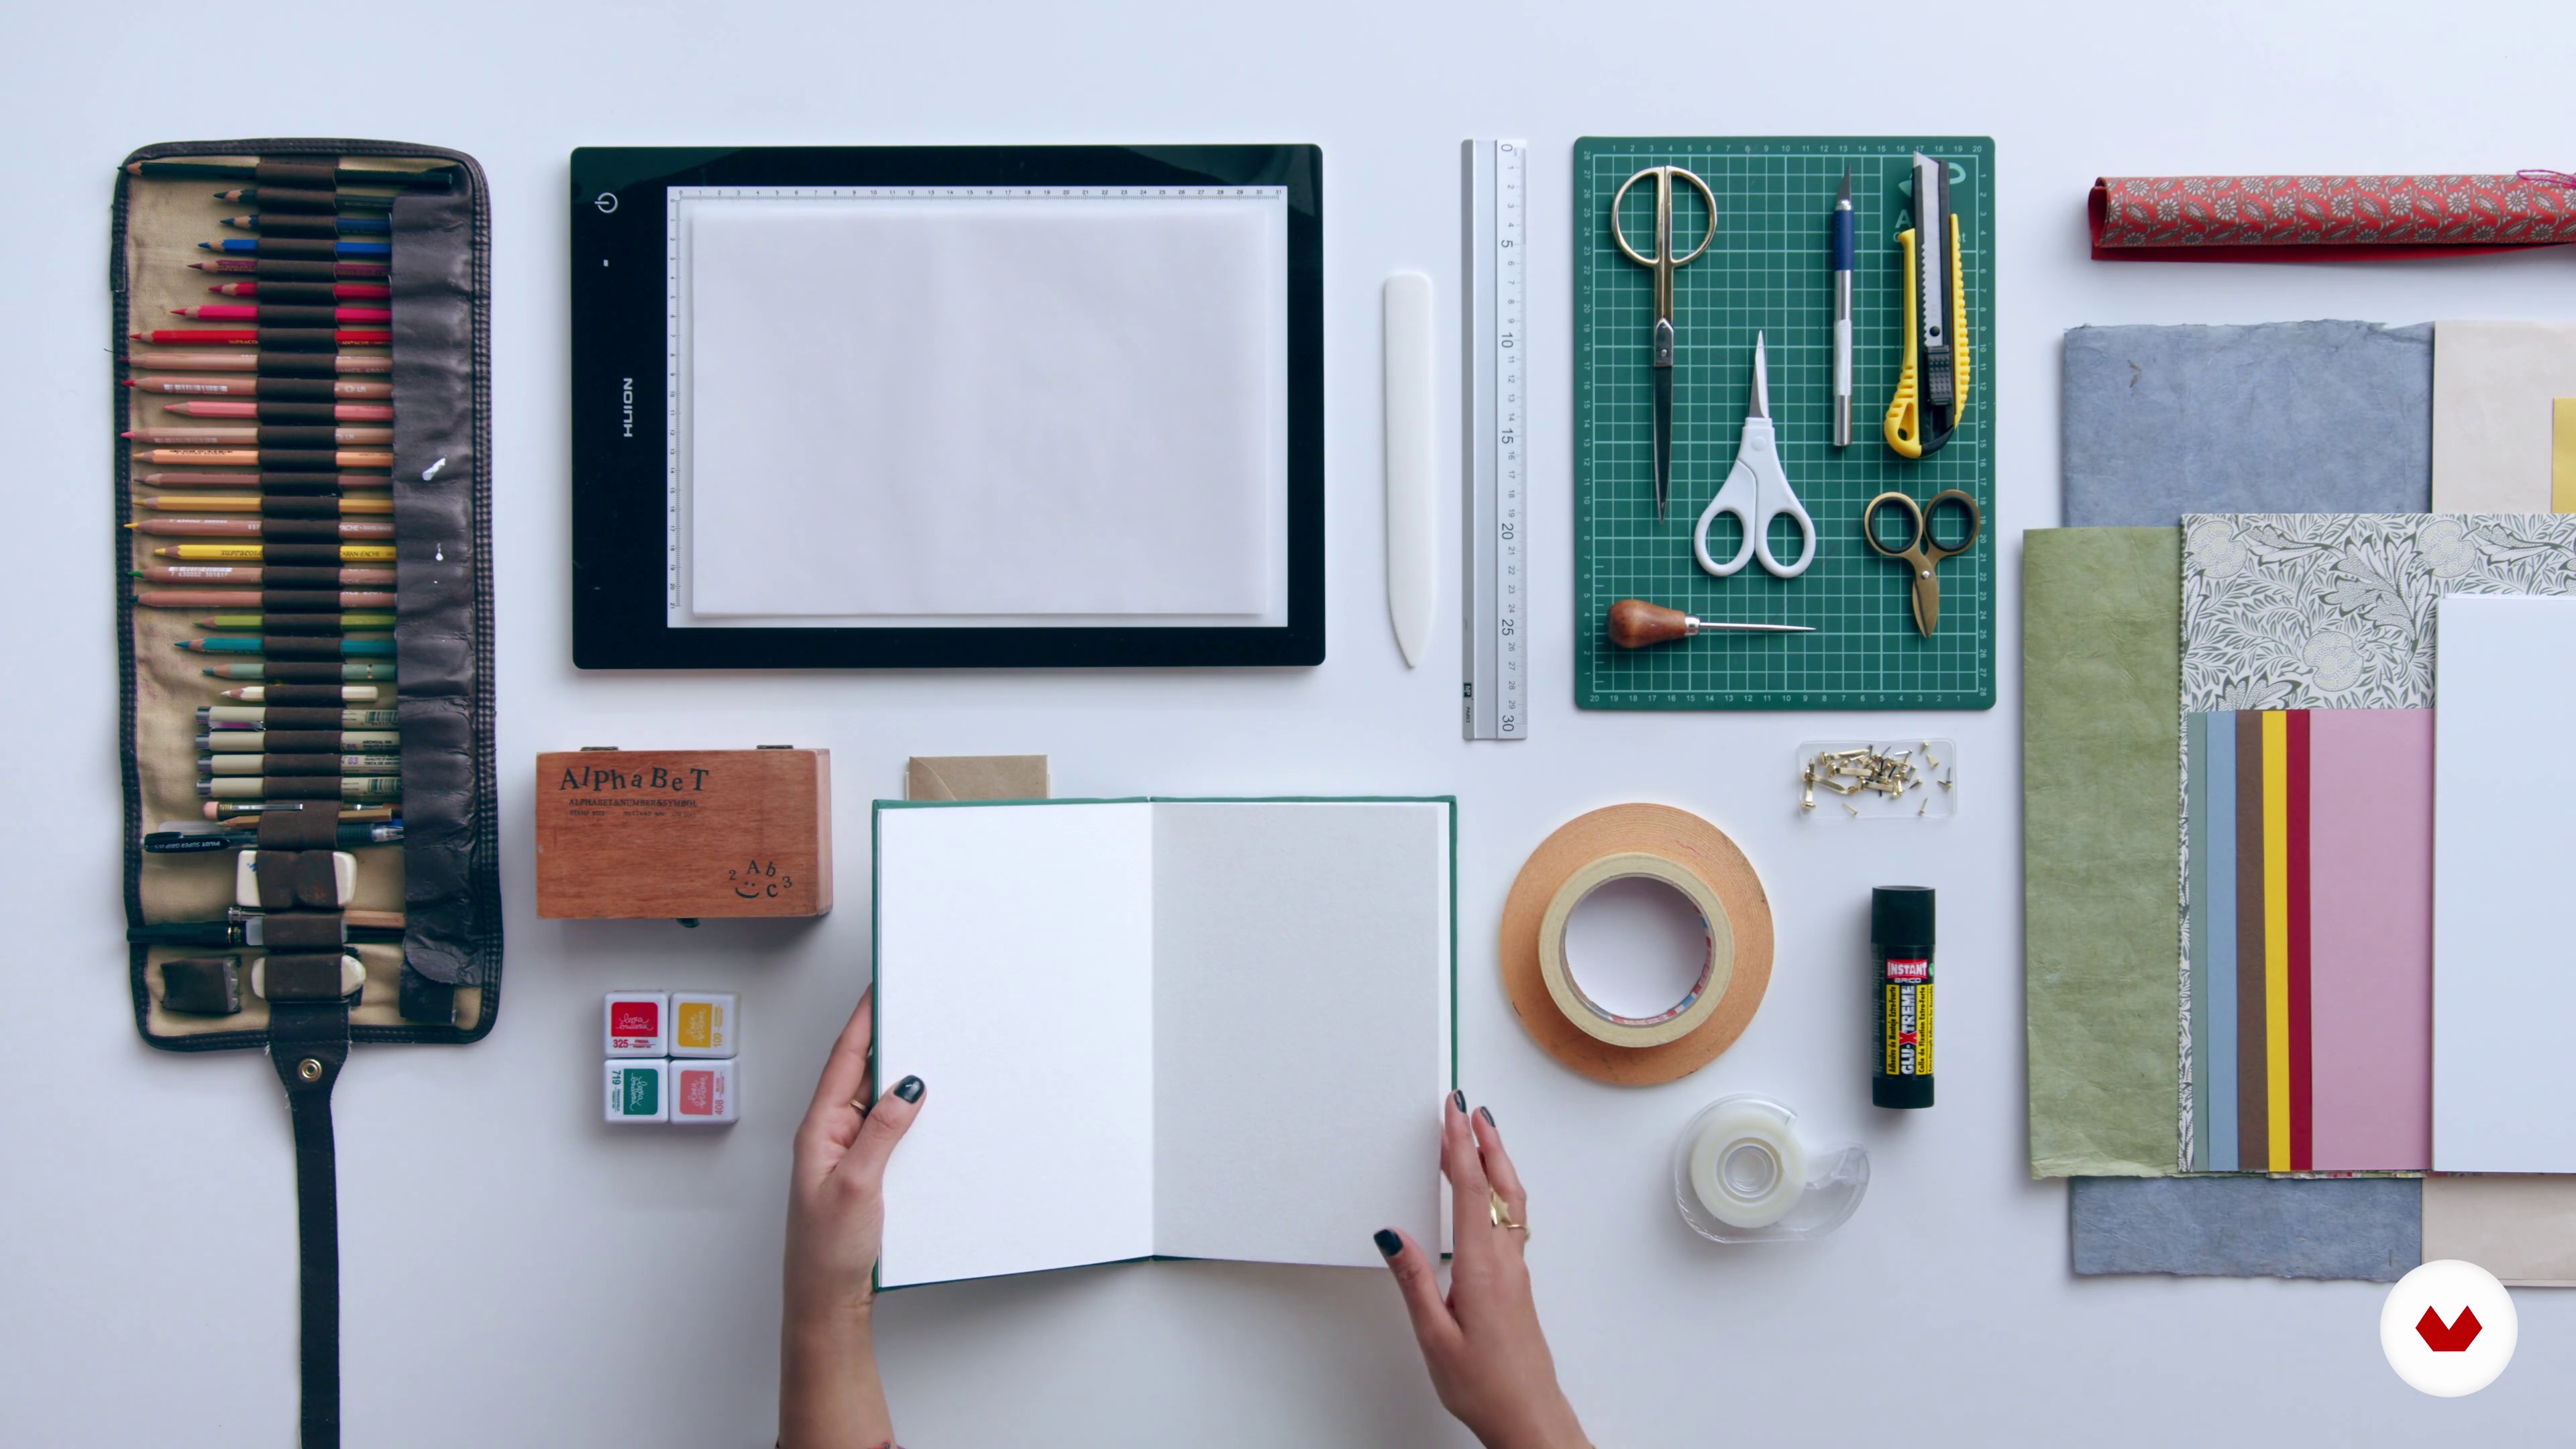
What will you need to make the project? After explaining what the project of this course will be, I will take you through the materials and tools I use in order to create your own pop-up book.
9m
 4
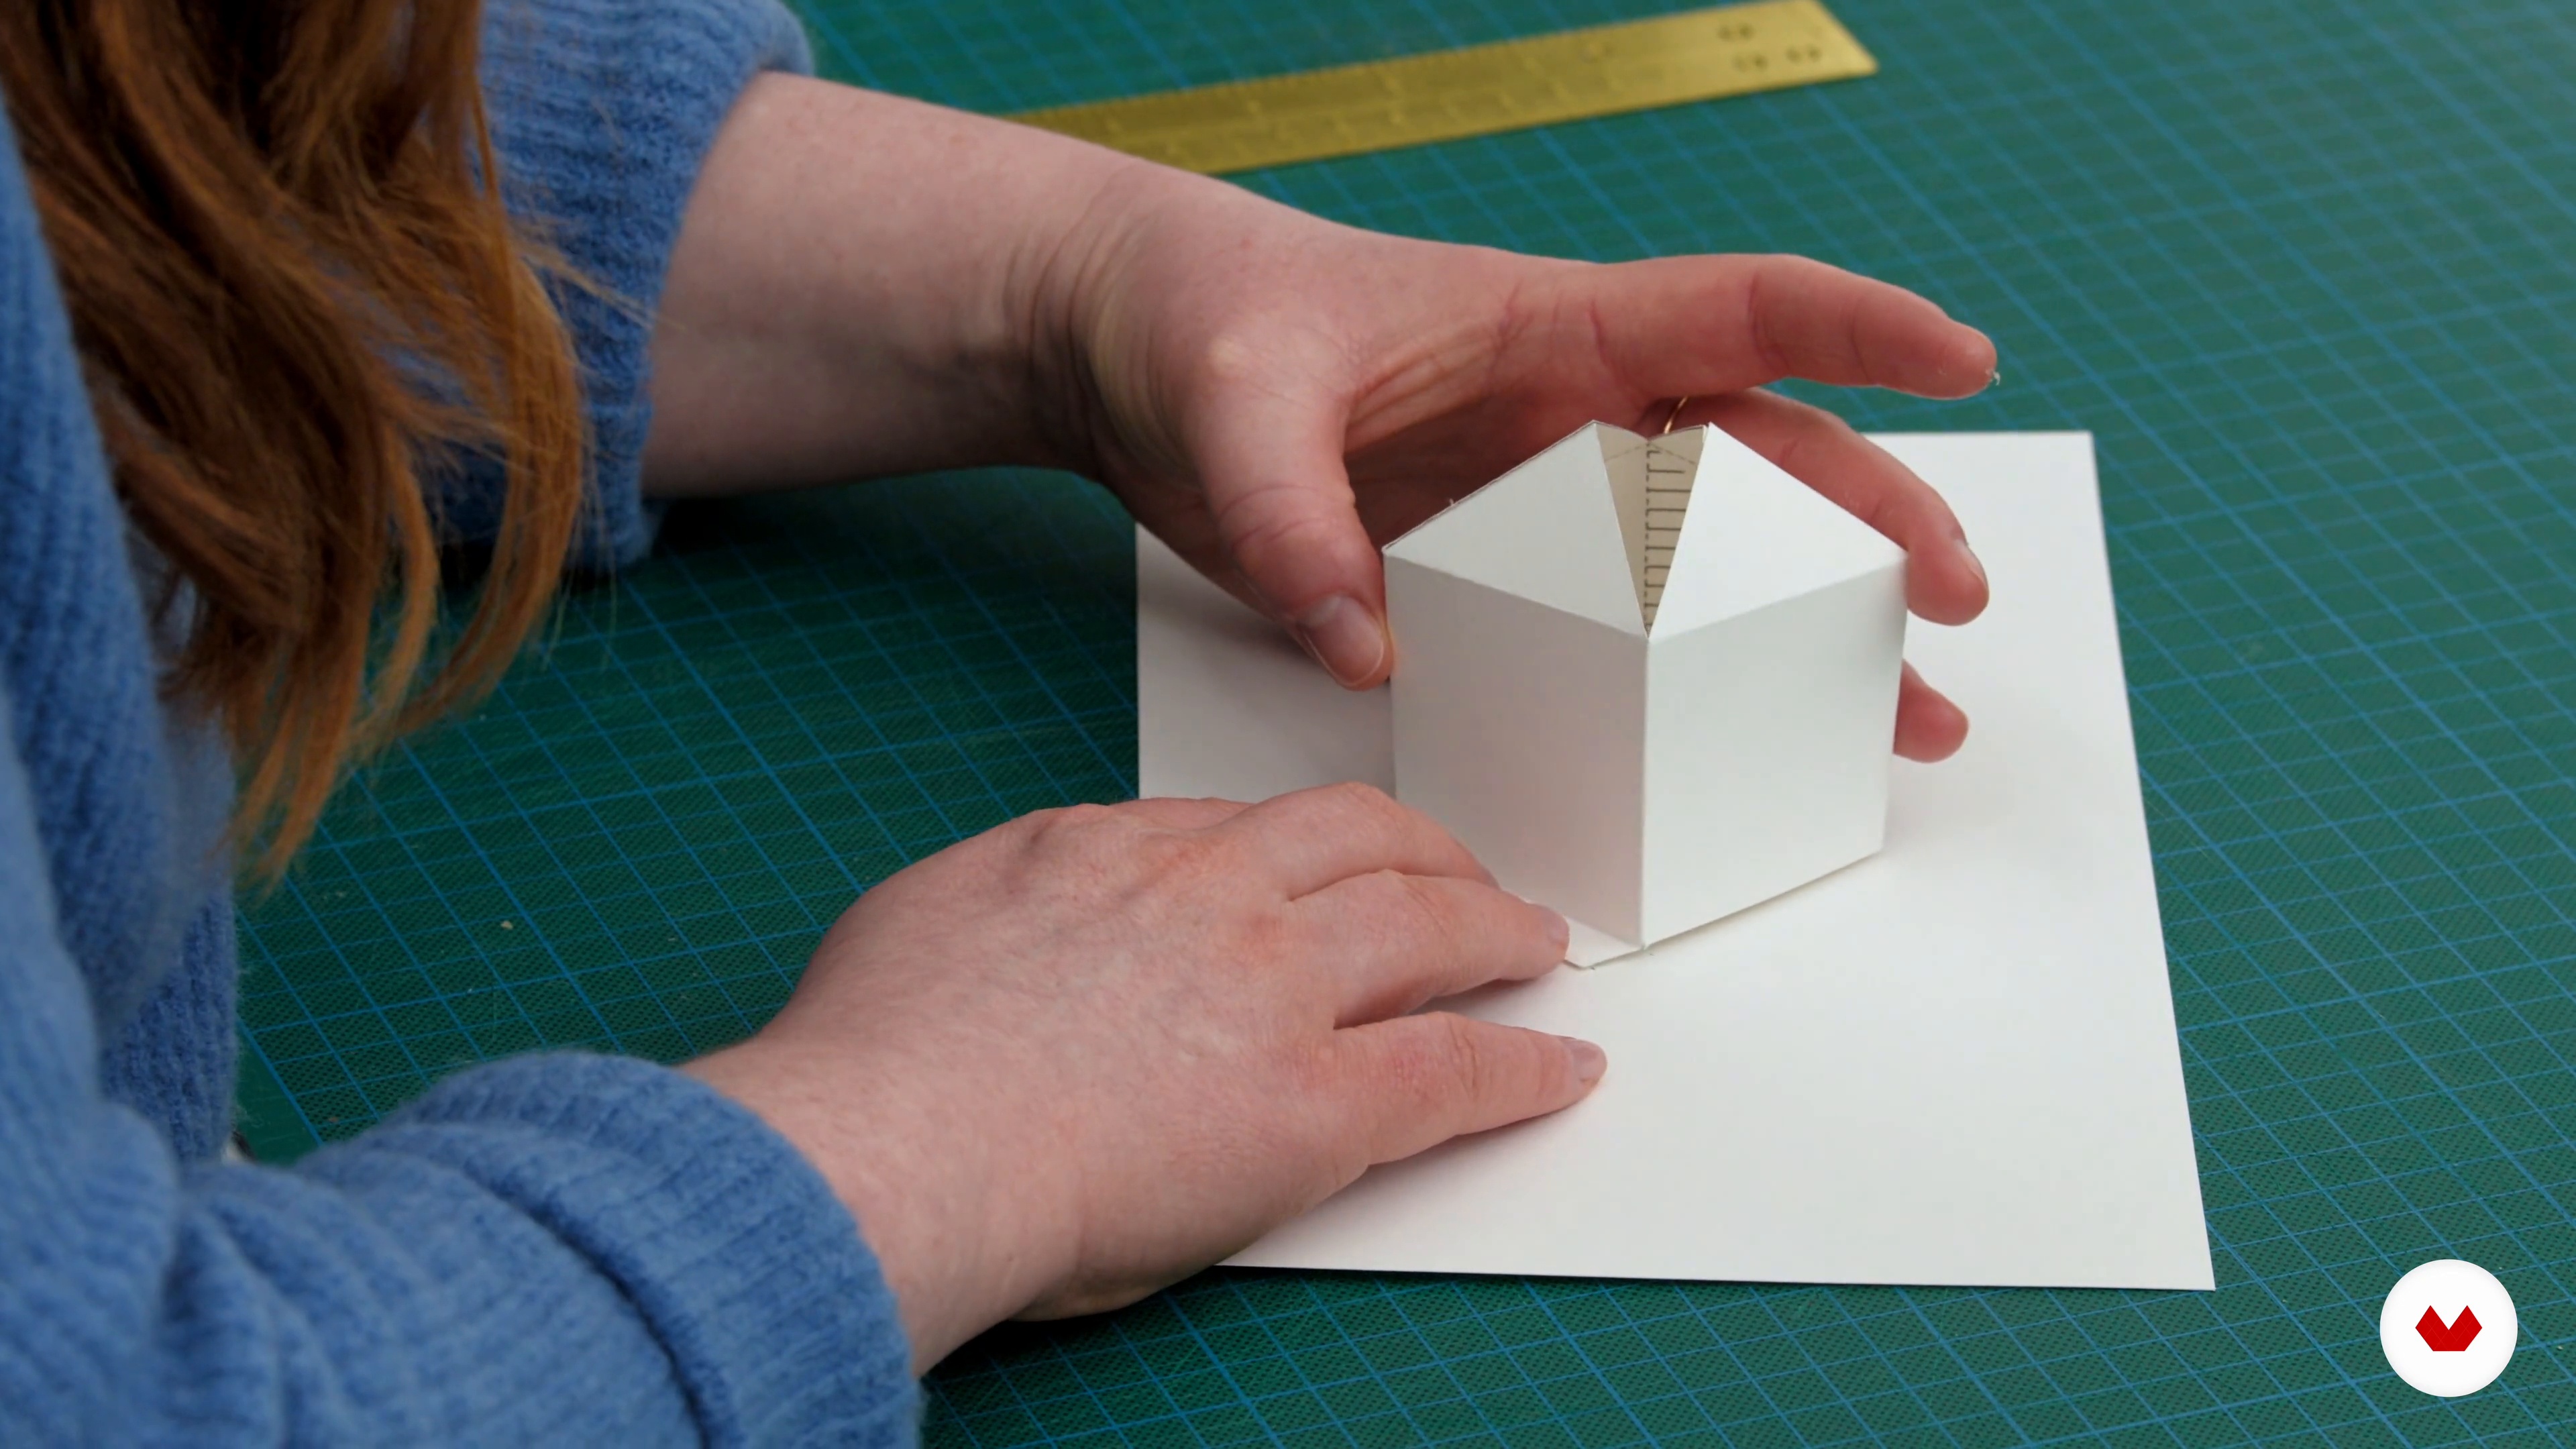
4The Box and Floating Platform 1
I will now share with you two key mechanisms that will form your eventual book: the Box and the Floating Platform. Once you know these foundational techniques and begin to master them, you'll then be able to apply and adapt them to other projects. I will start by showing you how to assemble the Box.
19m
 5
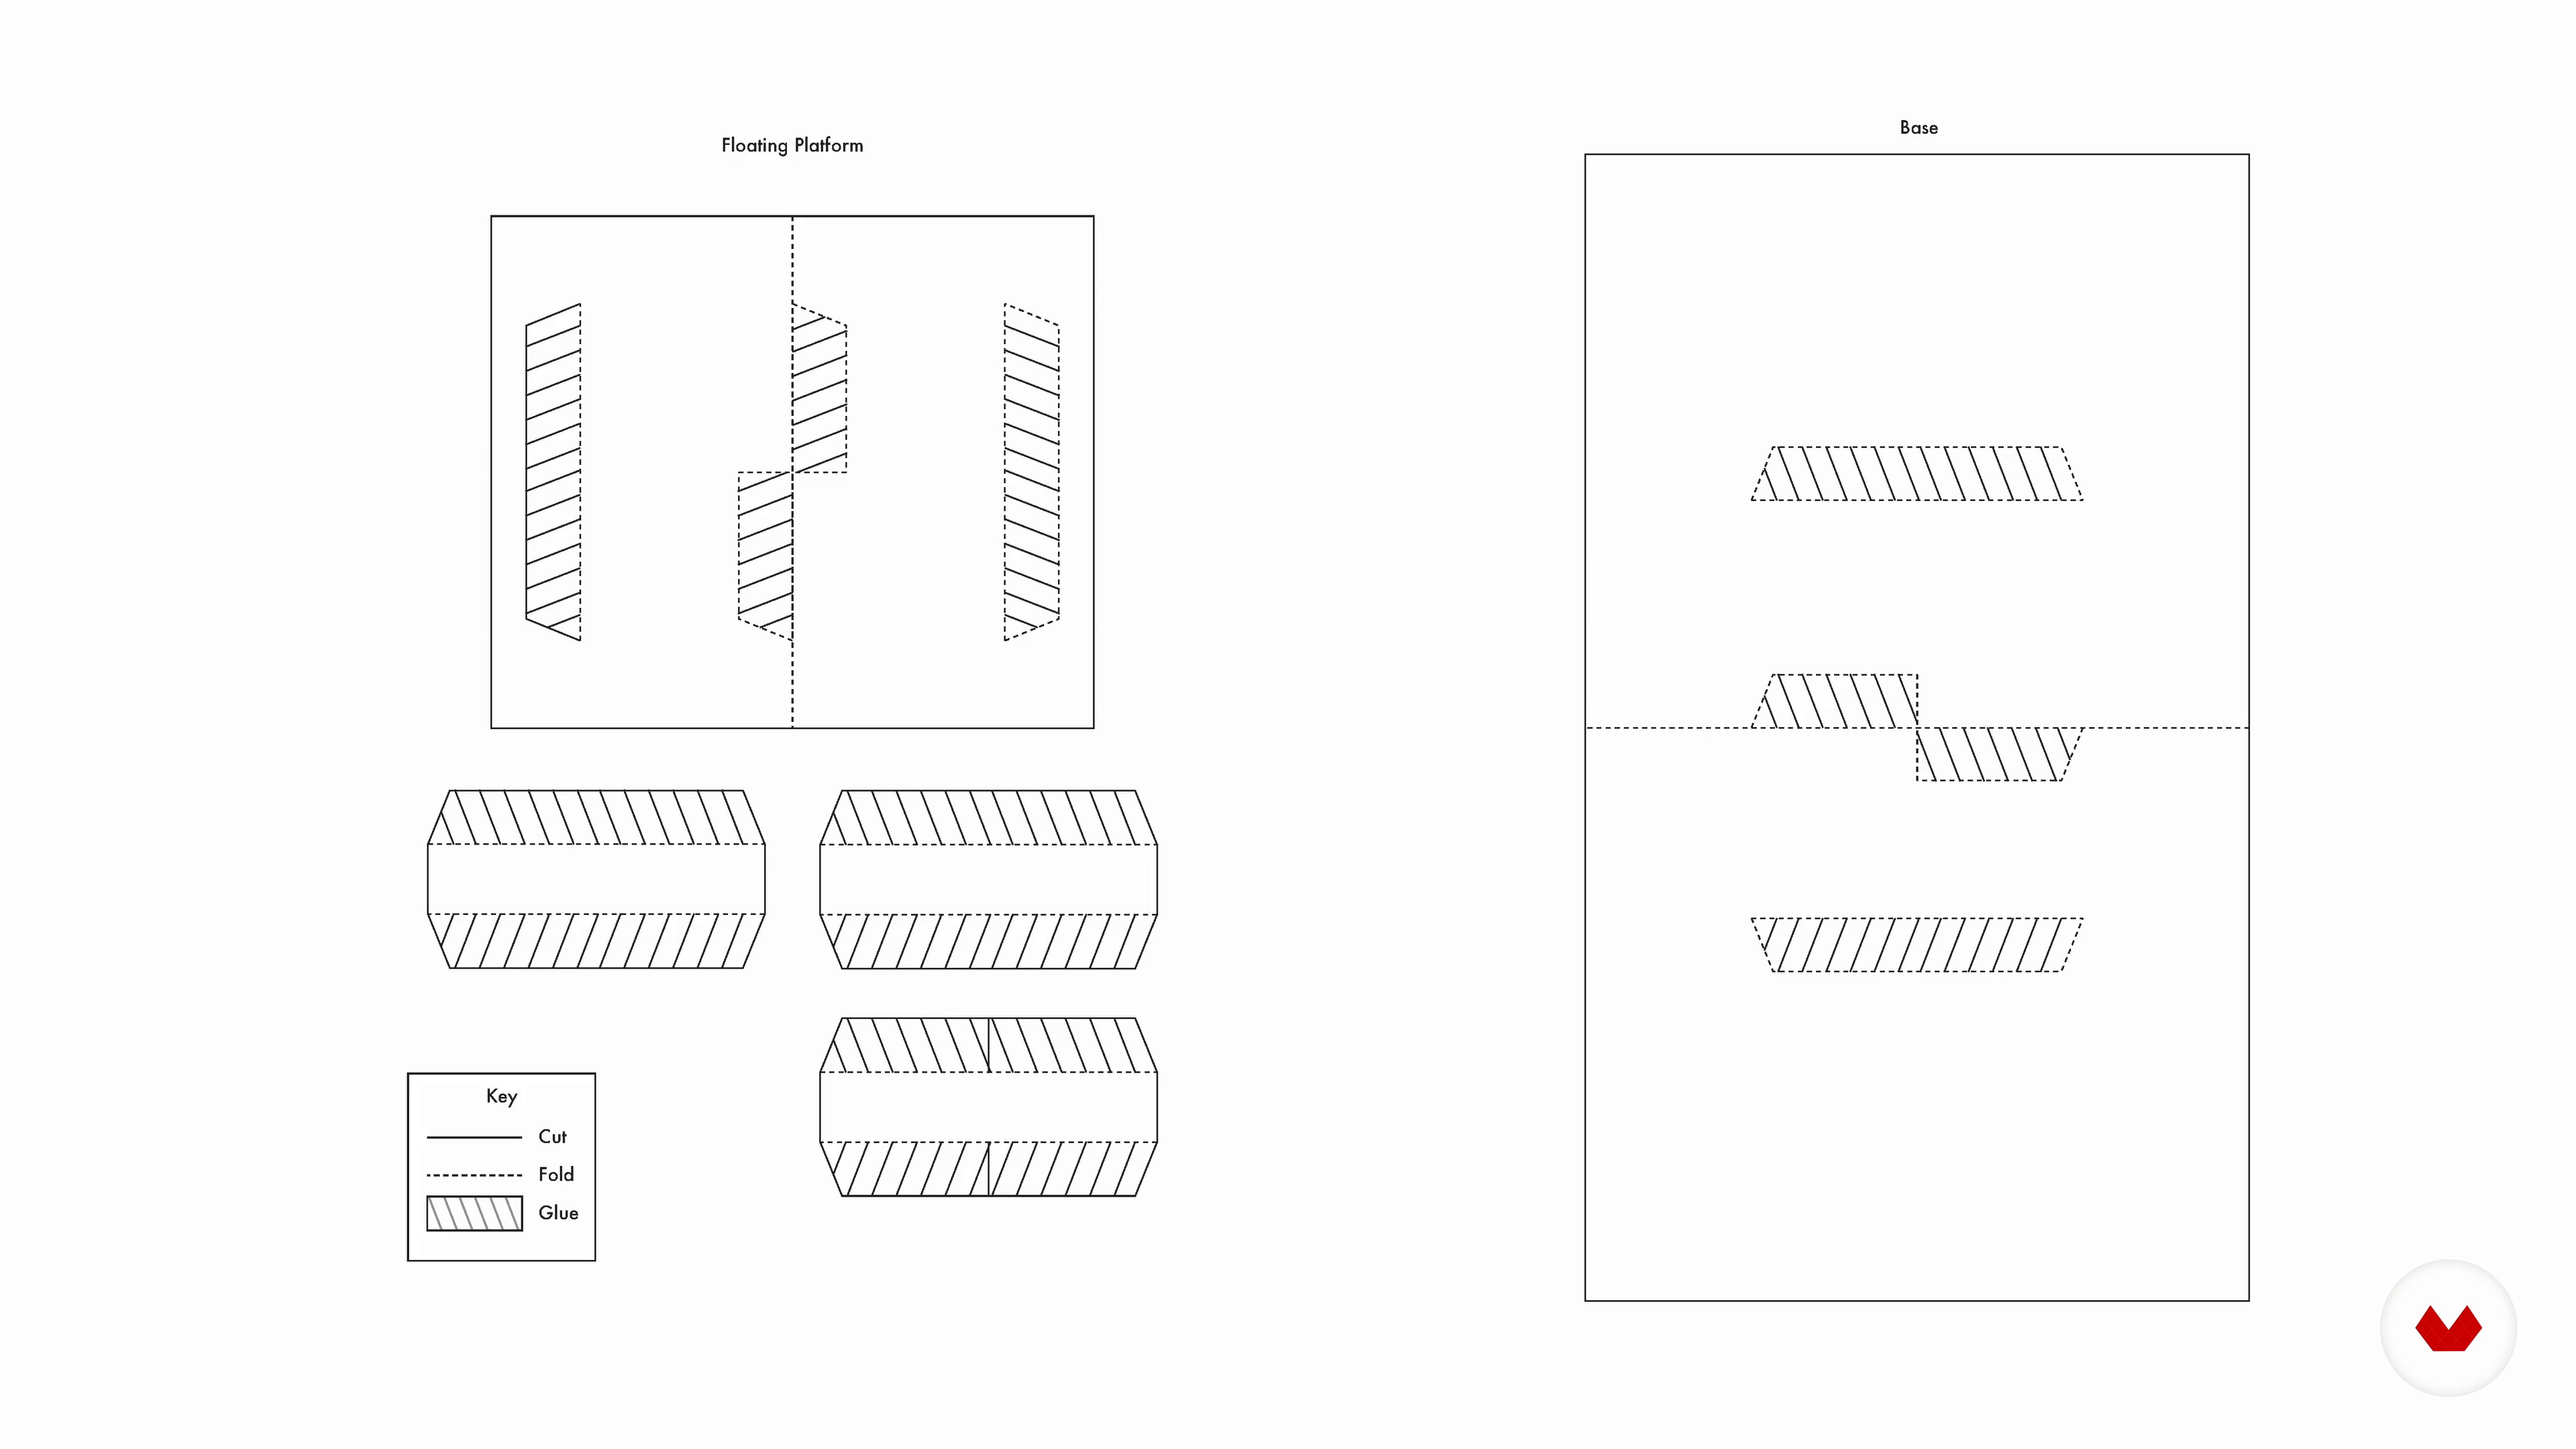
5The Box and Floating Platform 2
The second mechanism I will demonstrate is the Floating Platform. This mechanism creates a nice effect of weightlessness. You can also use it to insert a light beneath it.
7m
 6
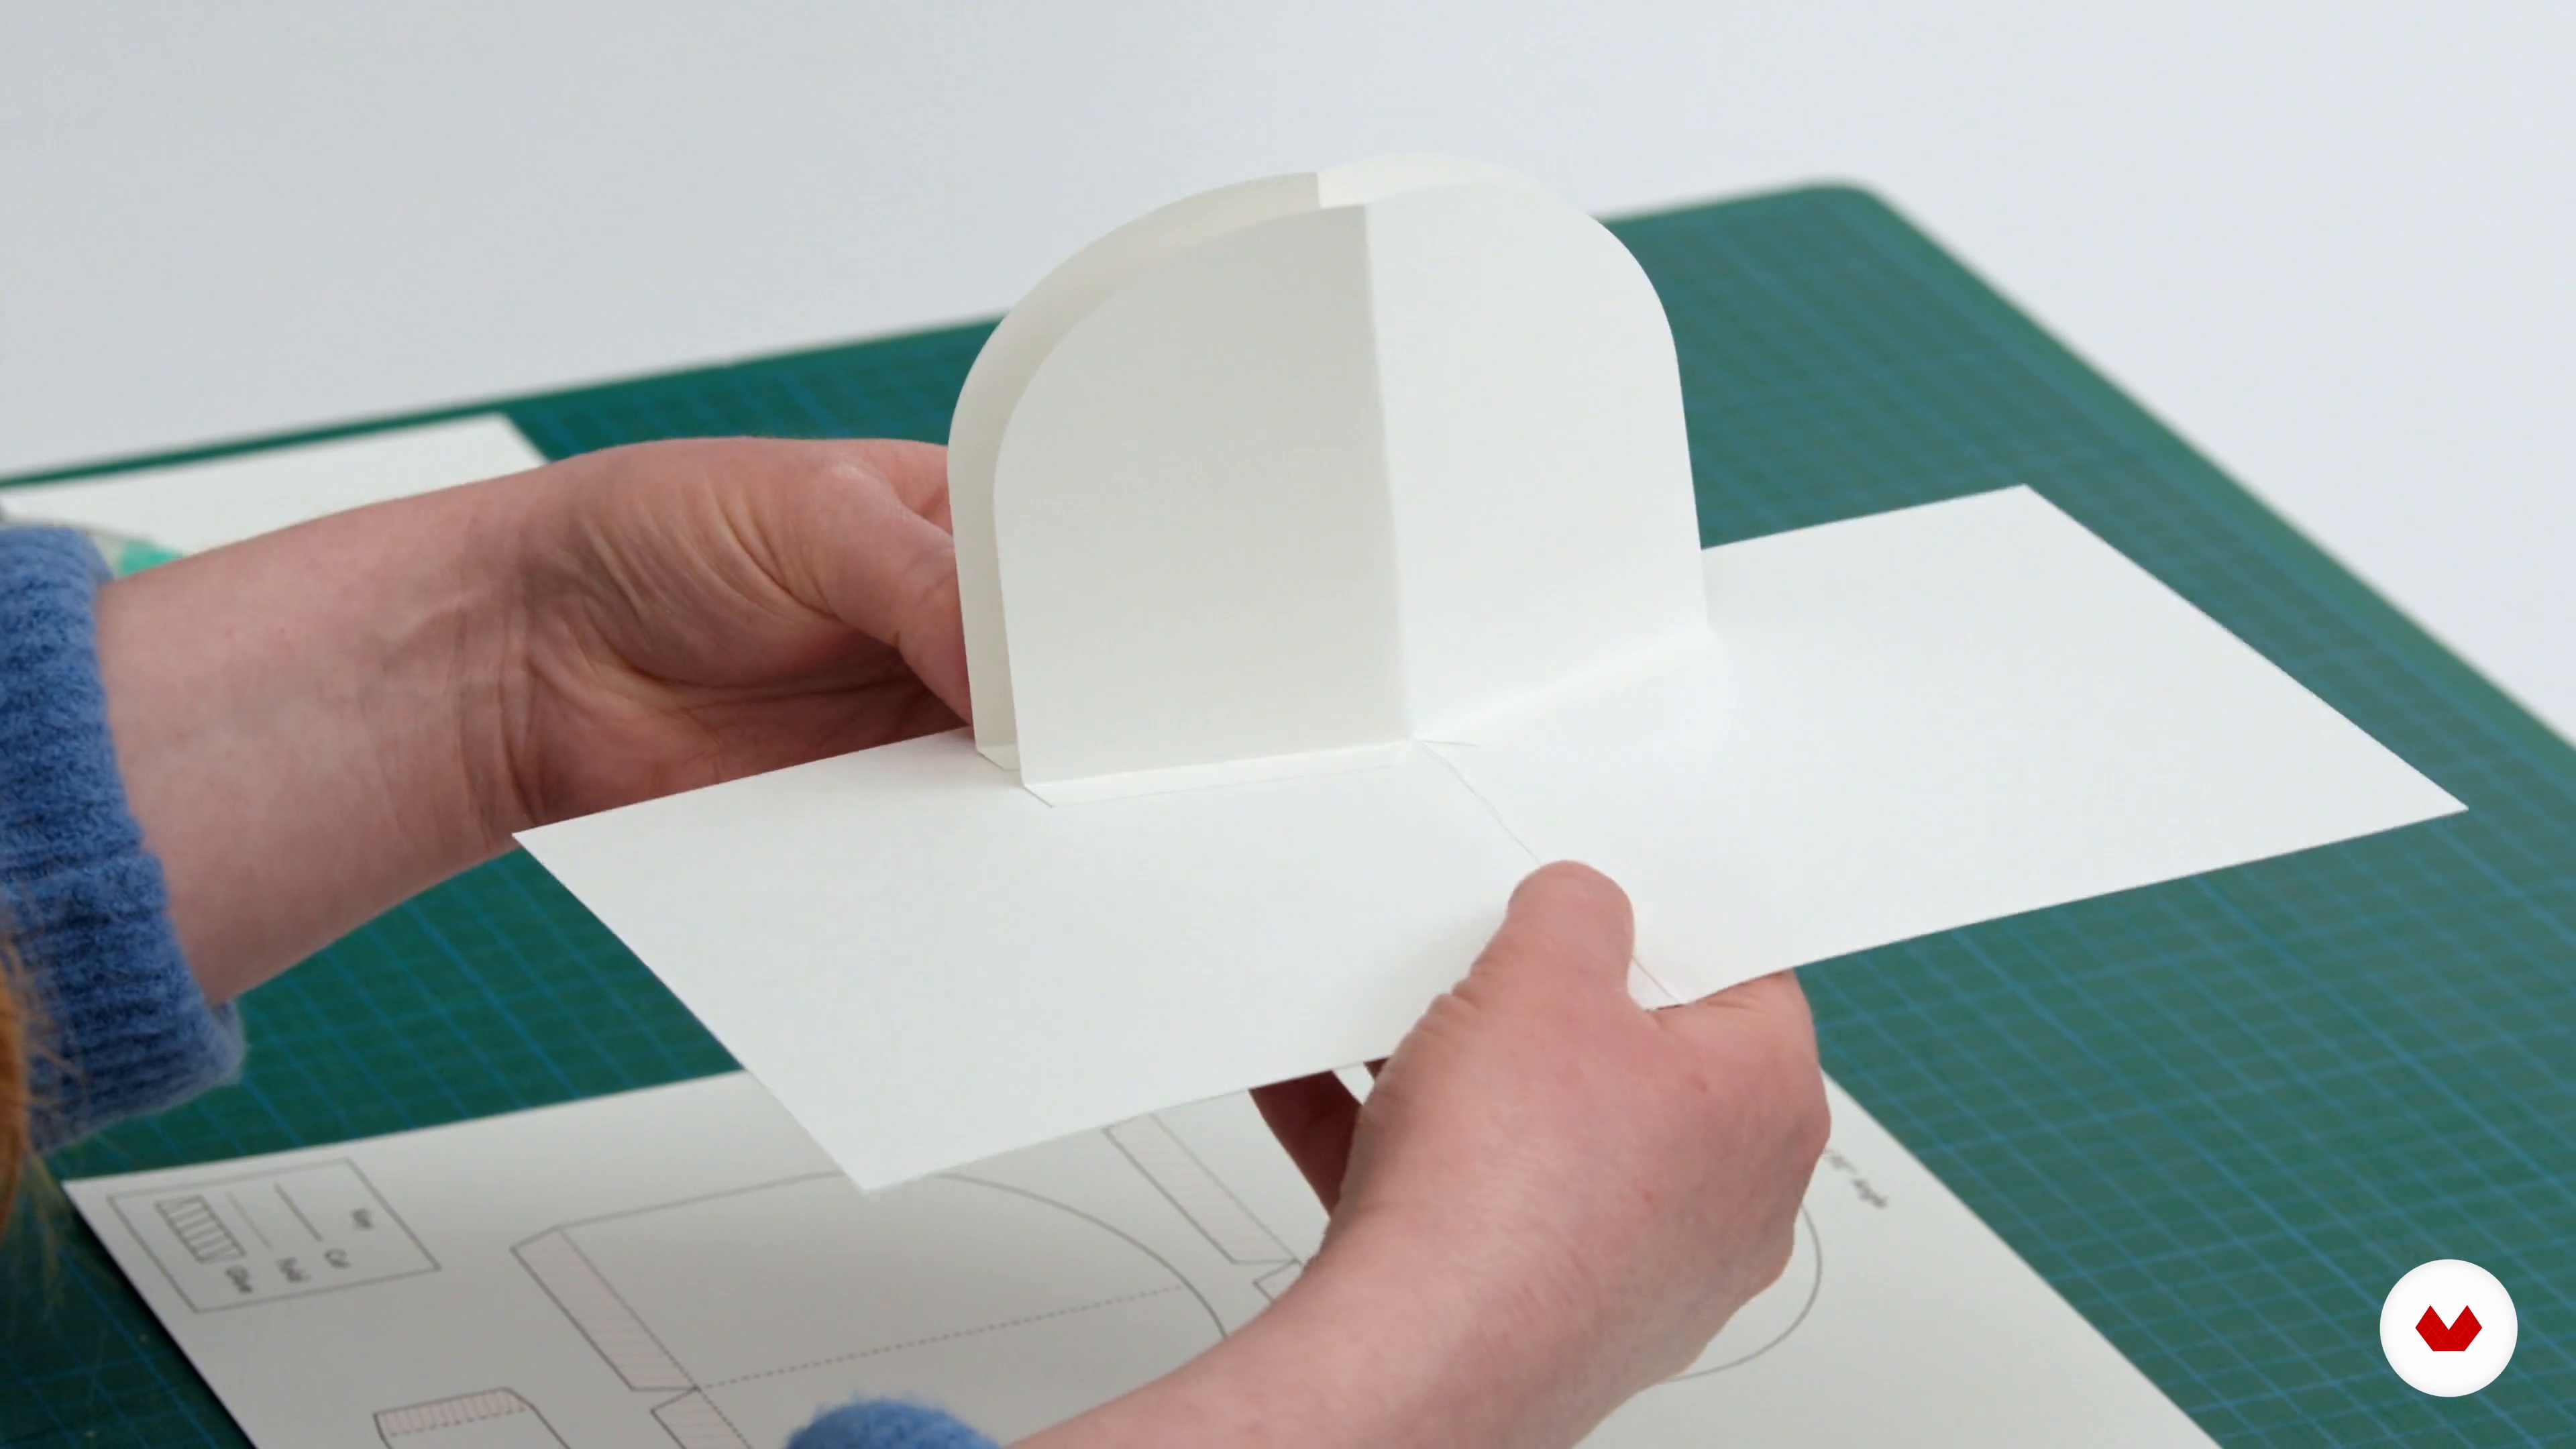
6The V-Fold and Combining Mechanisms
Our fingers are warmed up. I will share with you two other pop-up approaches that will be crucial in the creation of your book: the V-Fold and the 90-Degree Angle mechanism. These two are really useful and simple options you can learn to create pages that are kinetic with power.
9m
 7
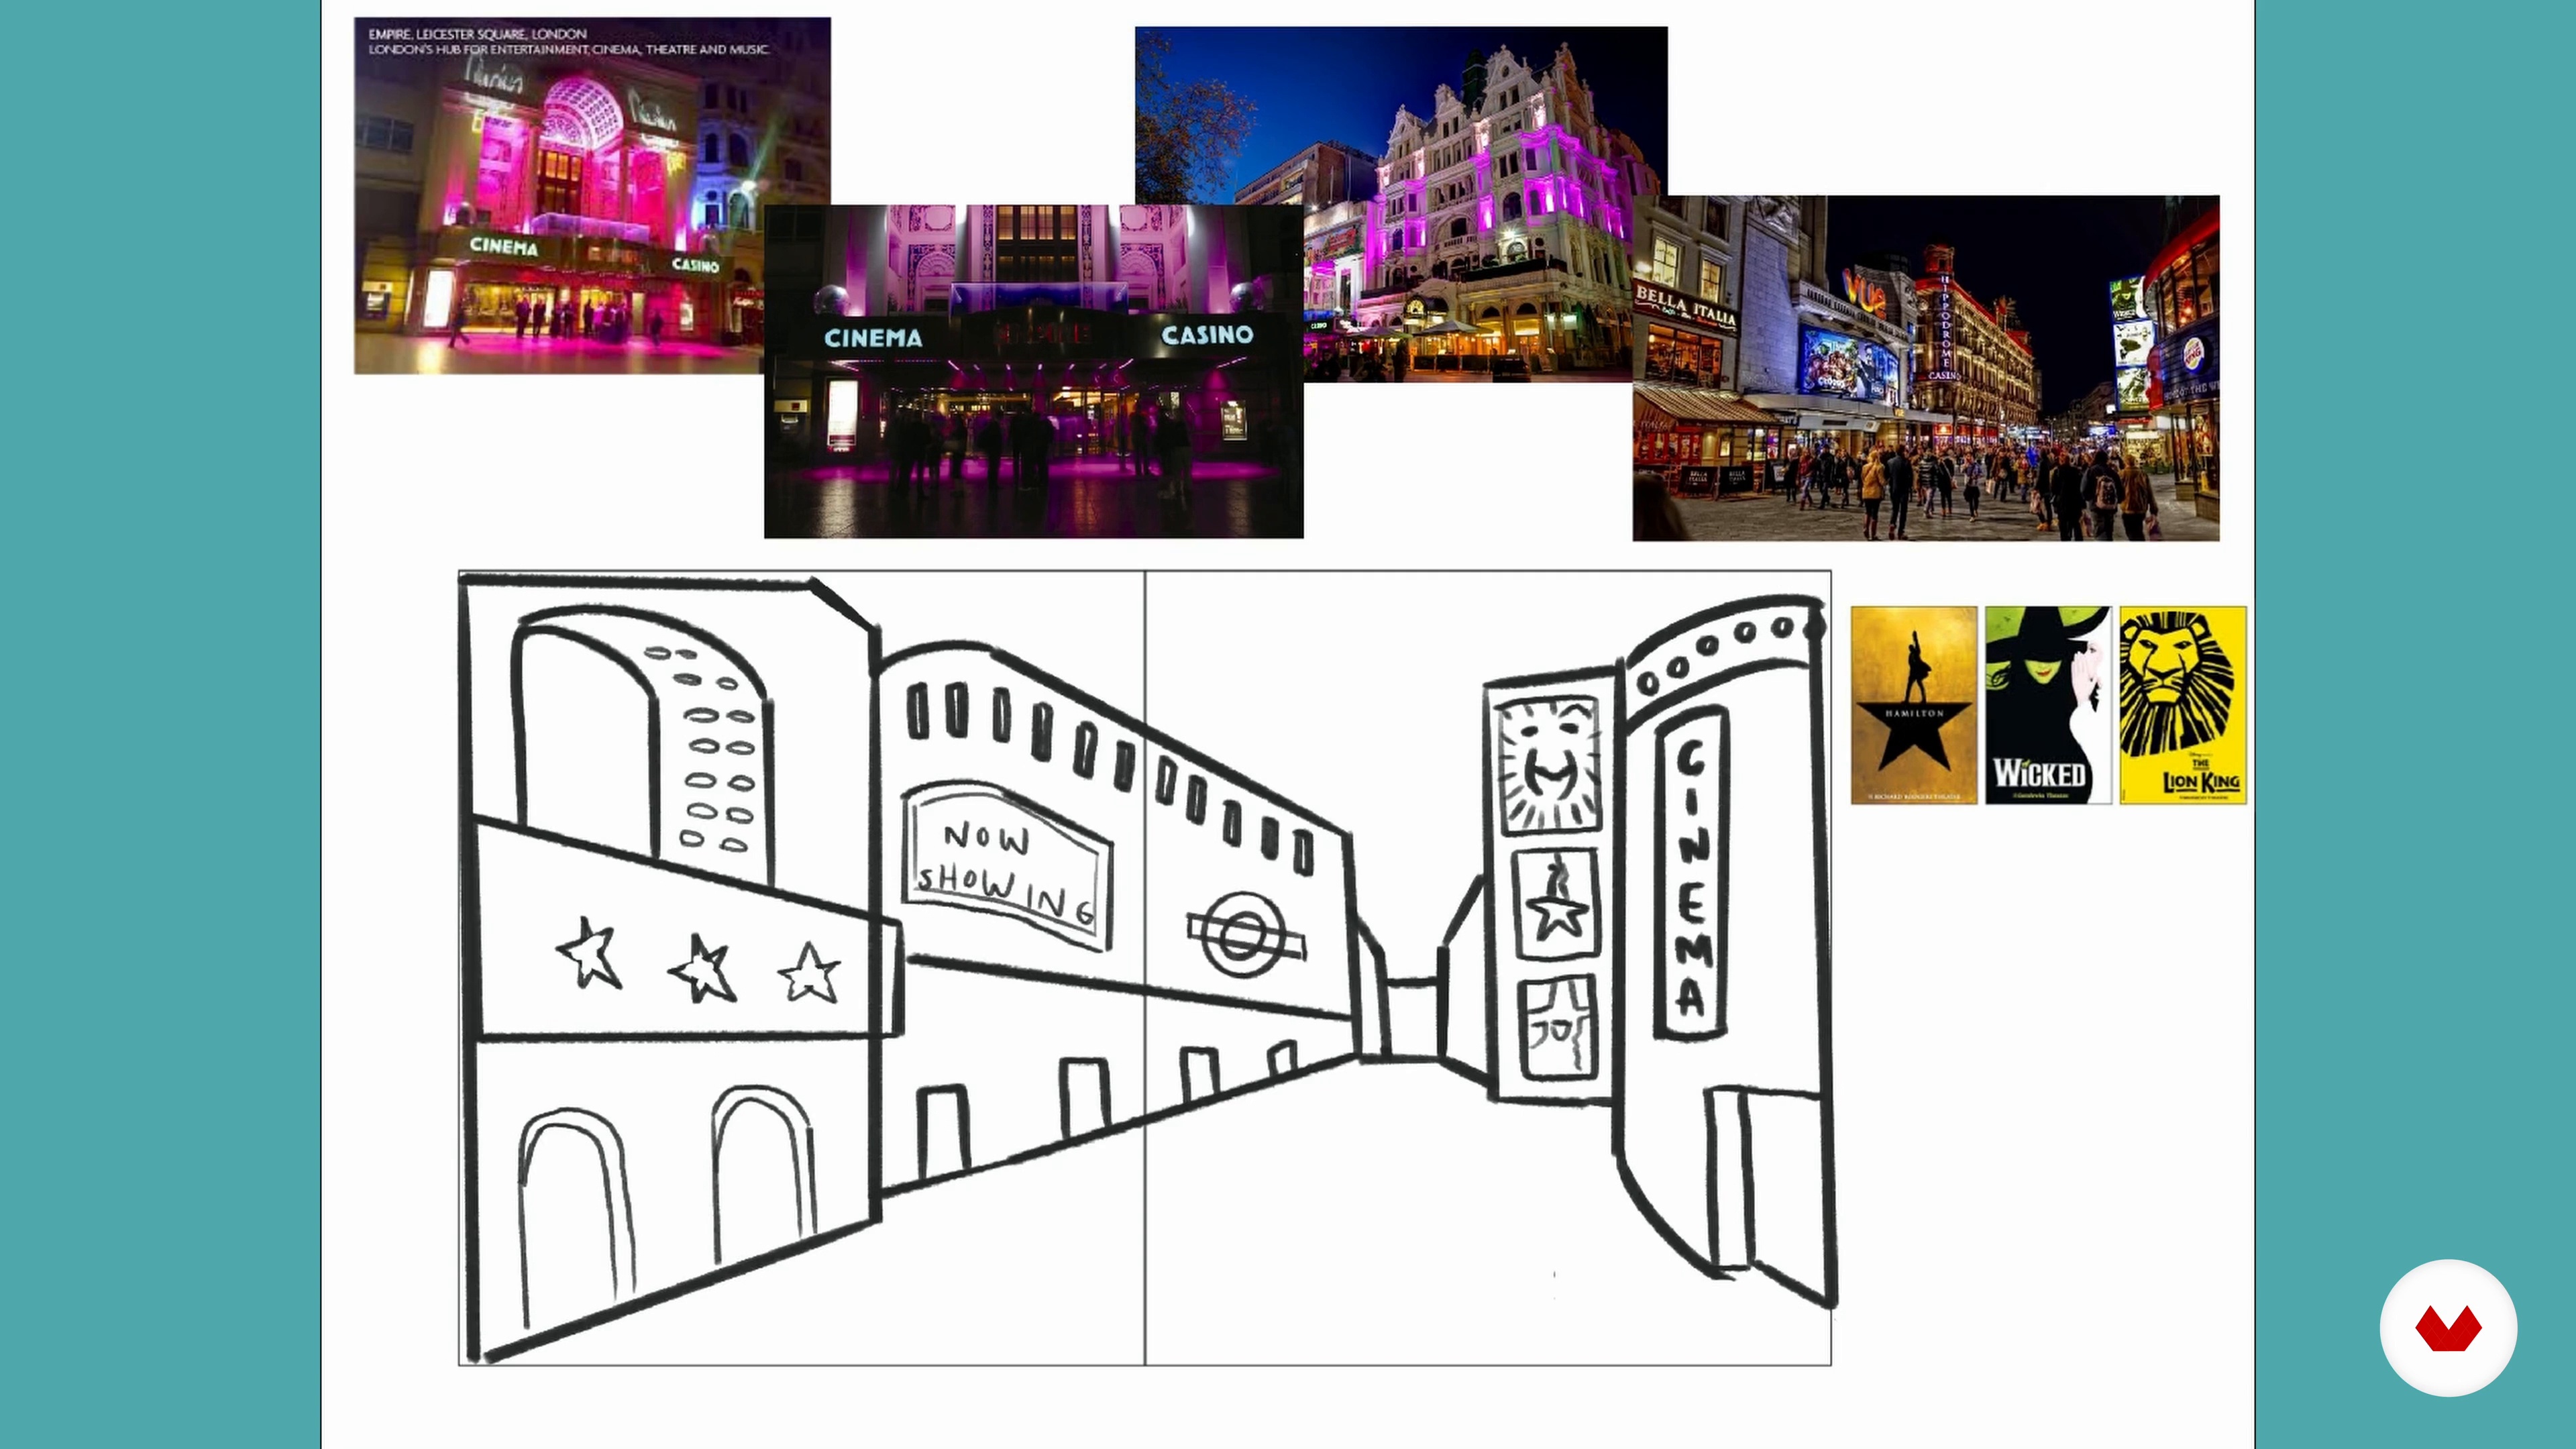
7Finding Ideas and References
In this lesson, I will explain my process for finding ideas for books, and I will show you where I gather reference material when starting out.
9m
 8
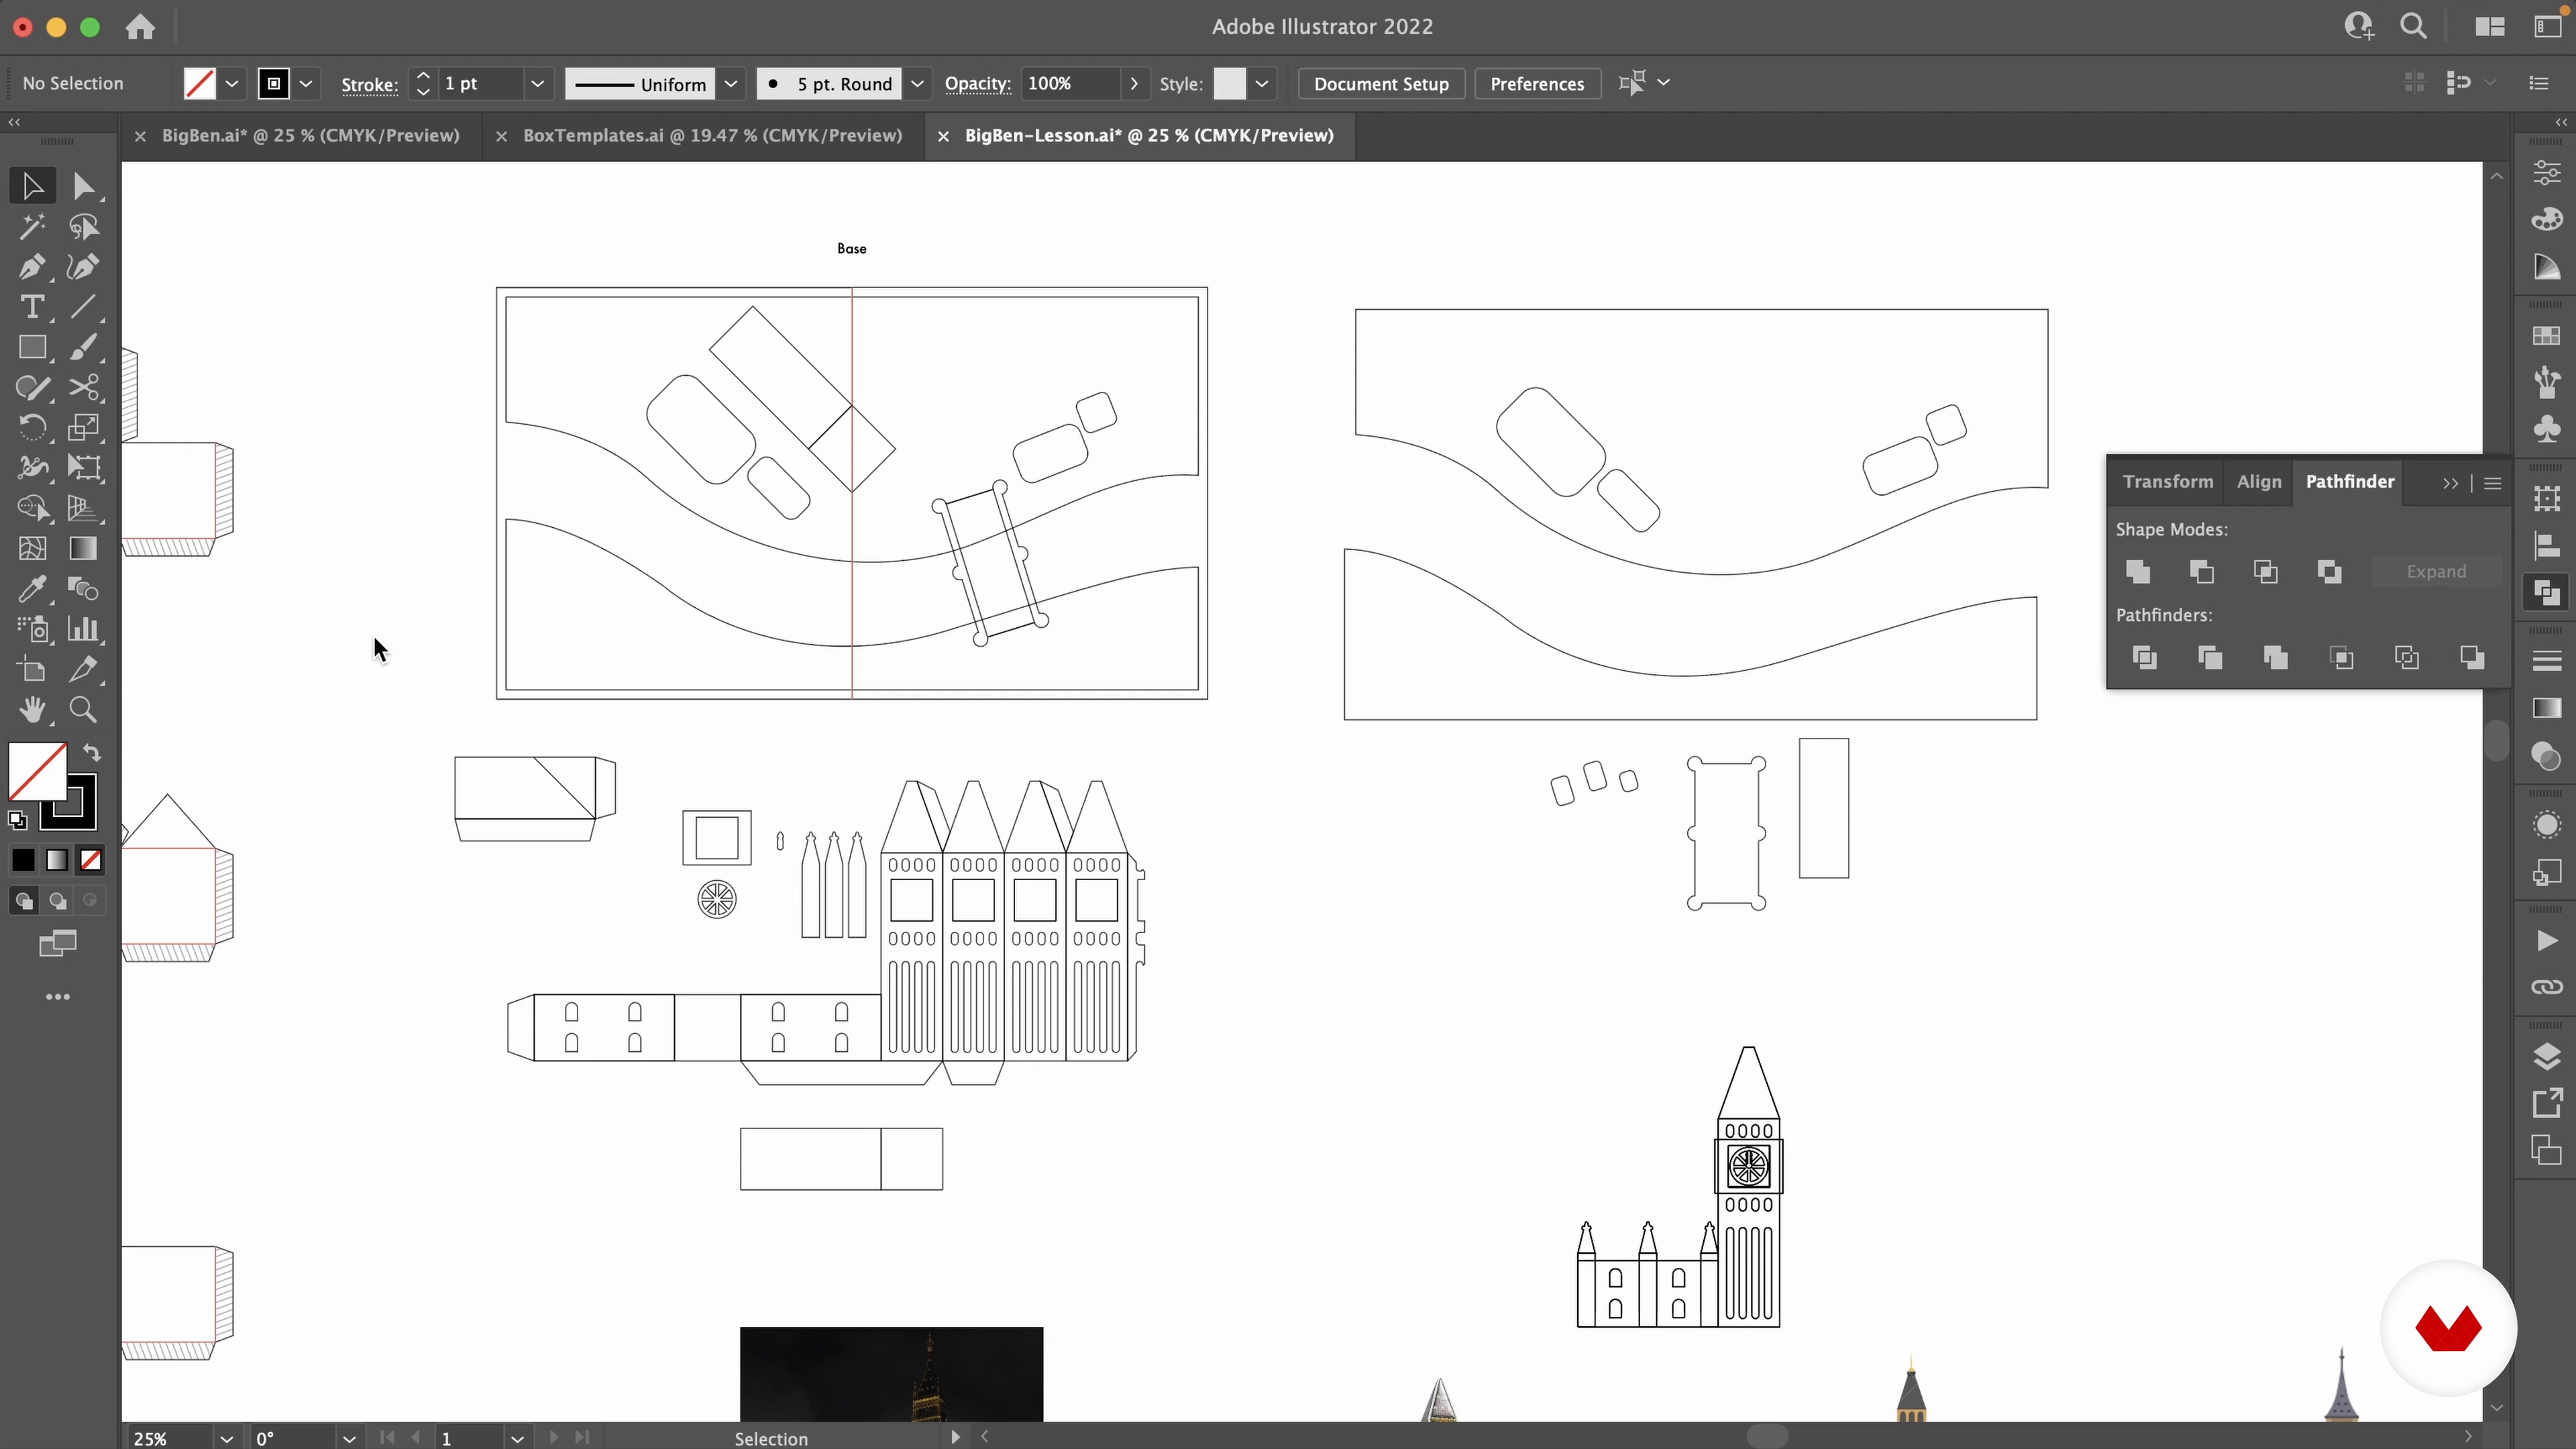
8Designing Page 1: Big Ben
For the first page of the book, I will be using a box mechanism with a pyramid lid and a flat lid to create Big Ben. Arguably the world's most famous clock, I will first establish its shape and then hone in on capturing its iconic silhouette. The key here is to think about how to translate the main design elements that make Big Ben instantly recognisable, but also distill these into simple forms so that it's suitable for a pop-up. Let's go into Illustrator!
11m
 9
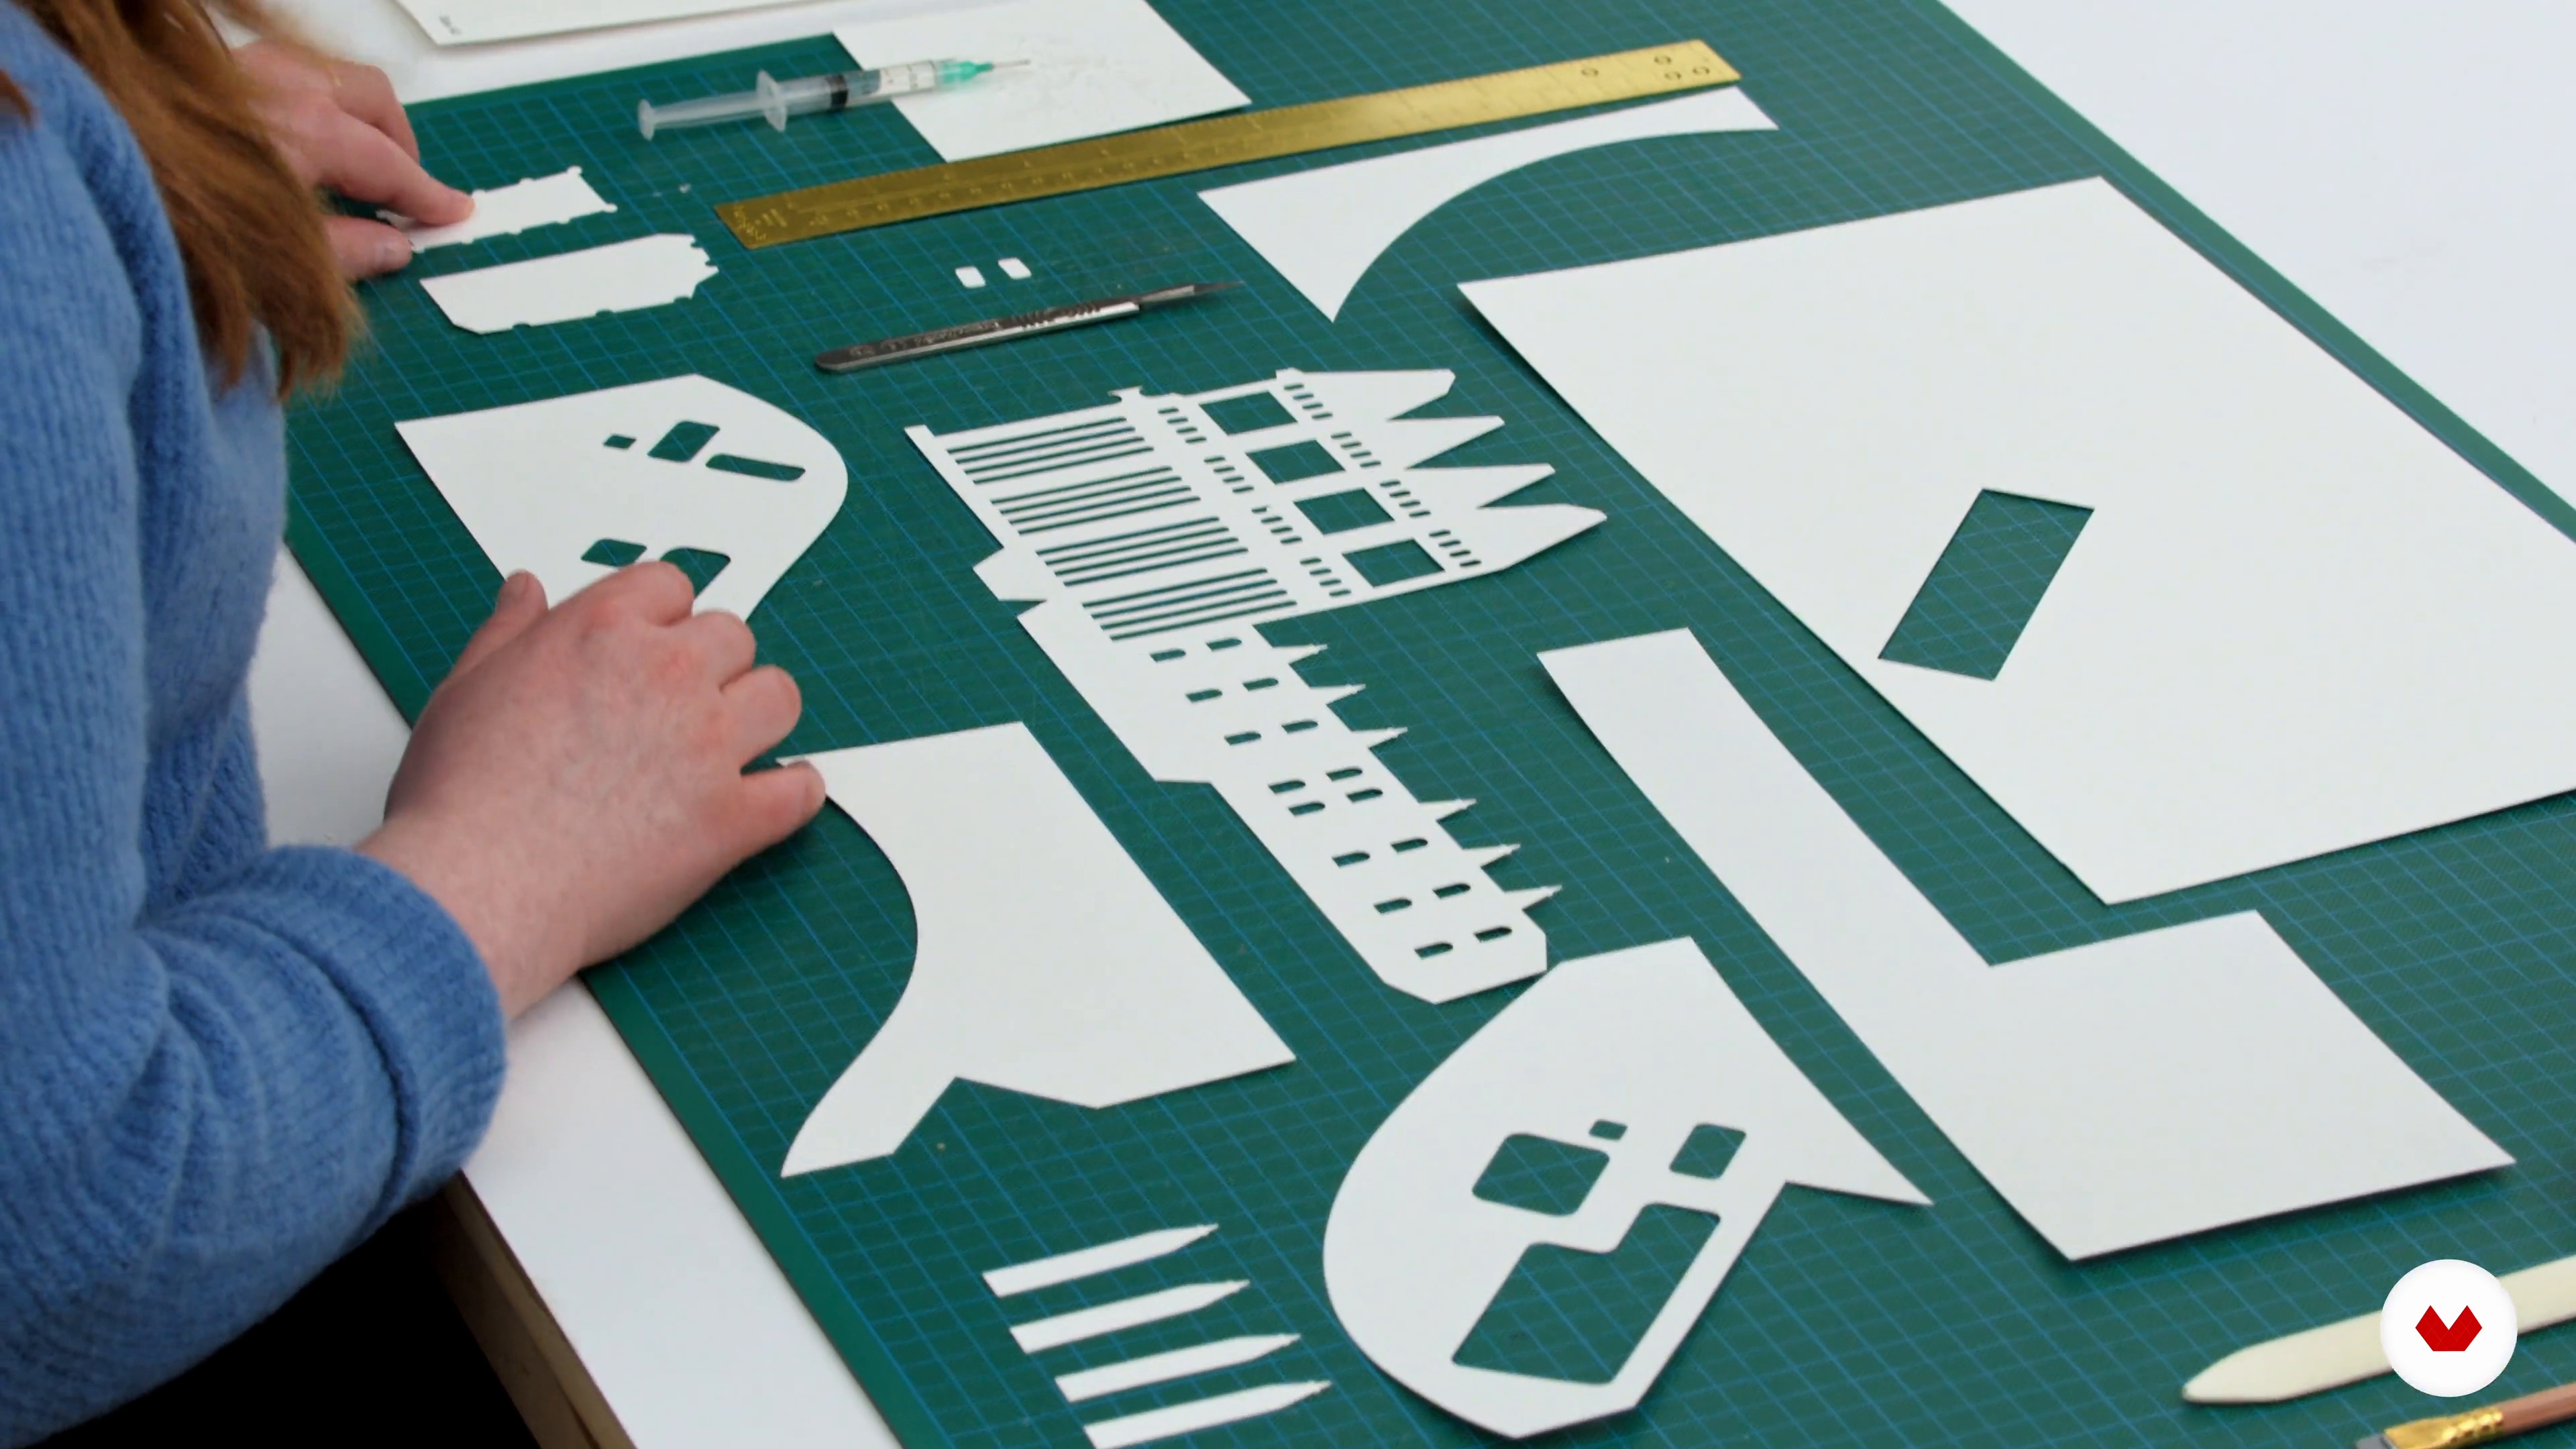
9Assembling Page 1: Big Ben 1
I can now put together the first page of the book using a box mechanism with a lid. I will do this in two stages. The first one will consist in cutting the Big Ben model.
15m
 10
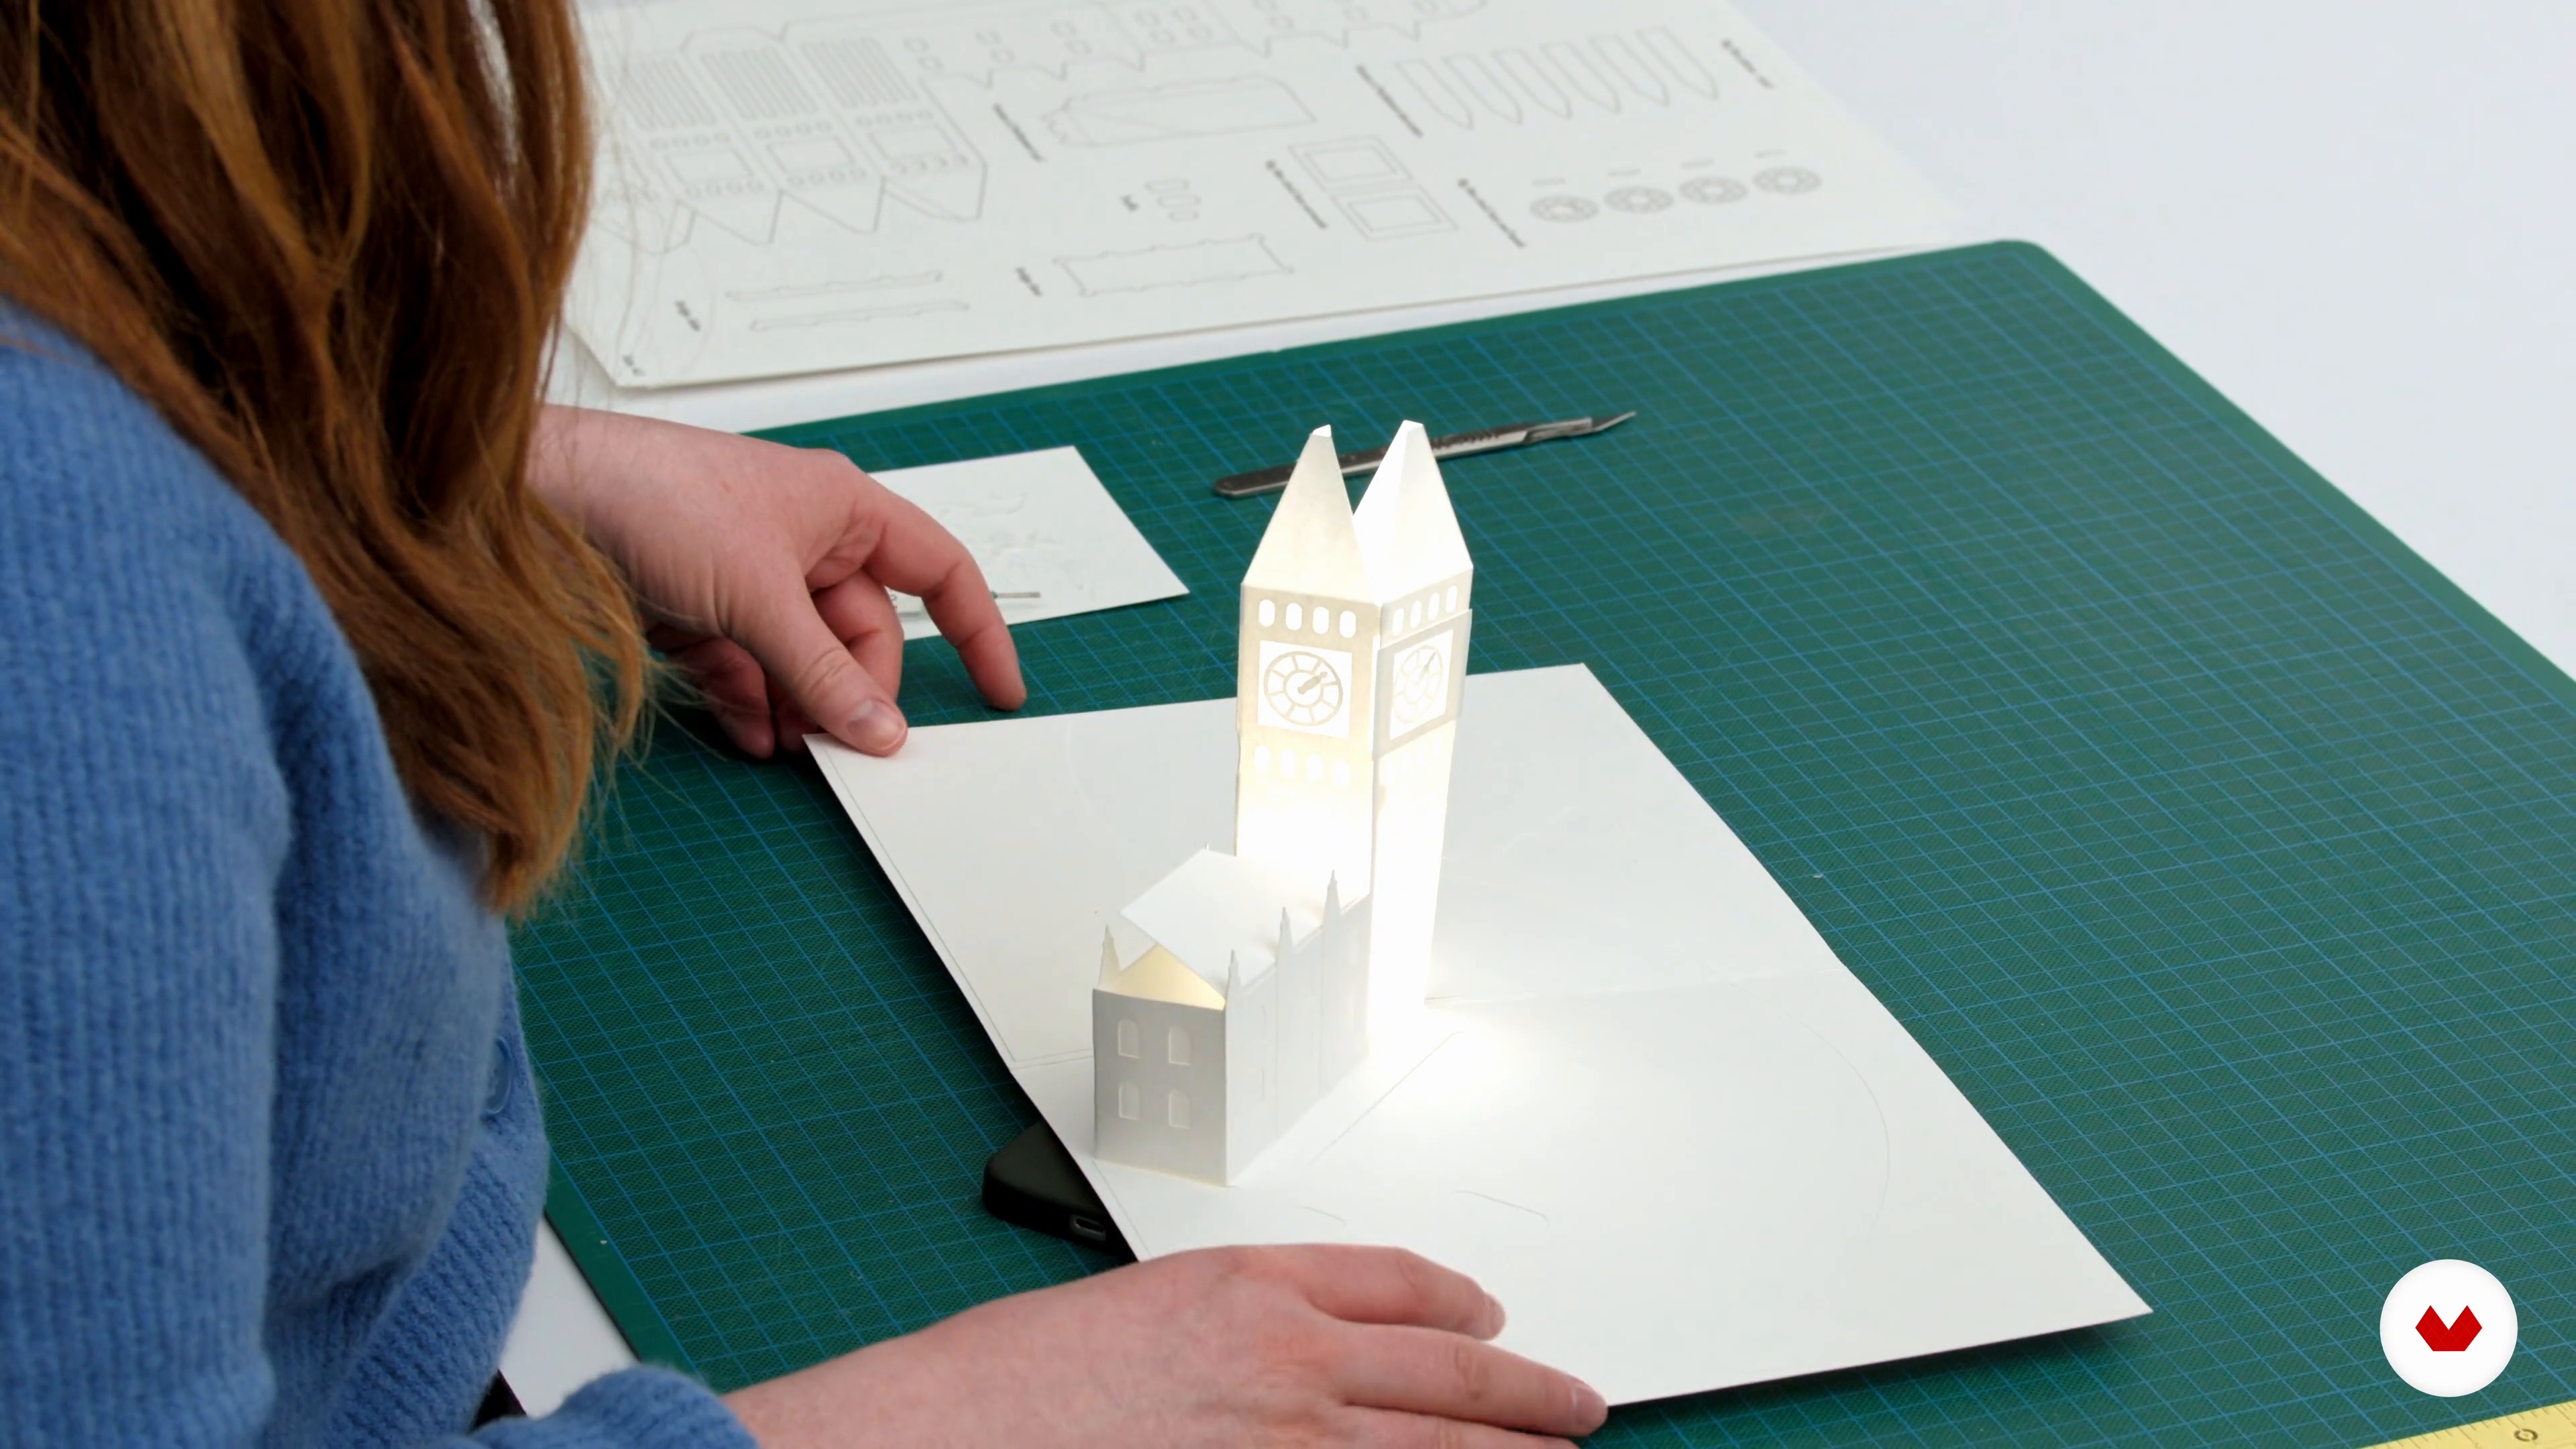
10Assembling Page 1: Big Ben 2
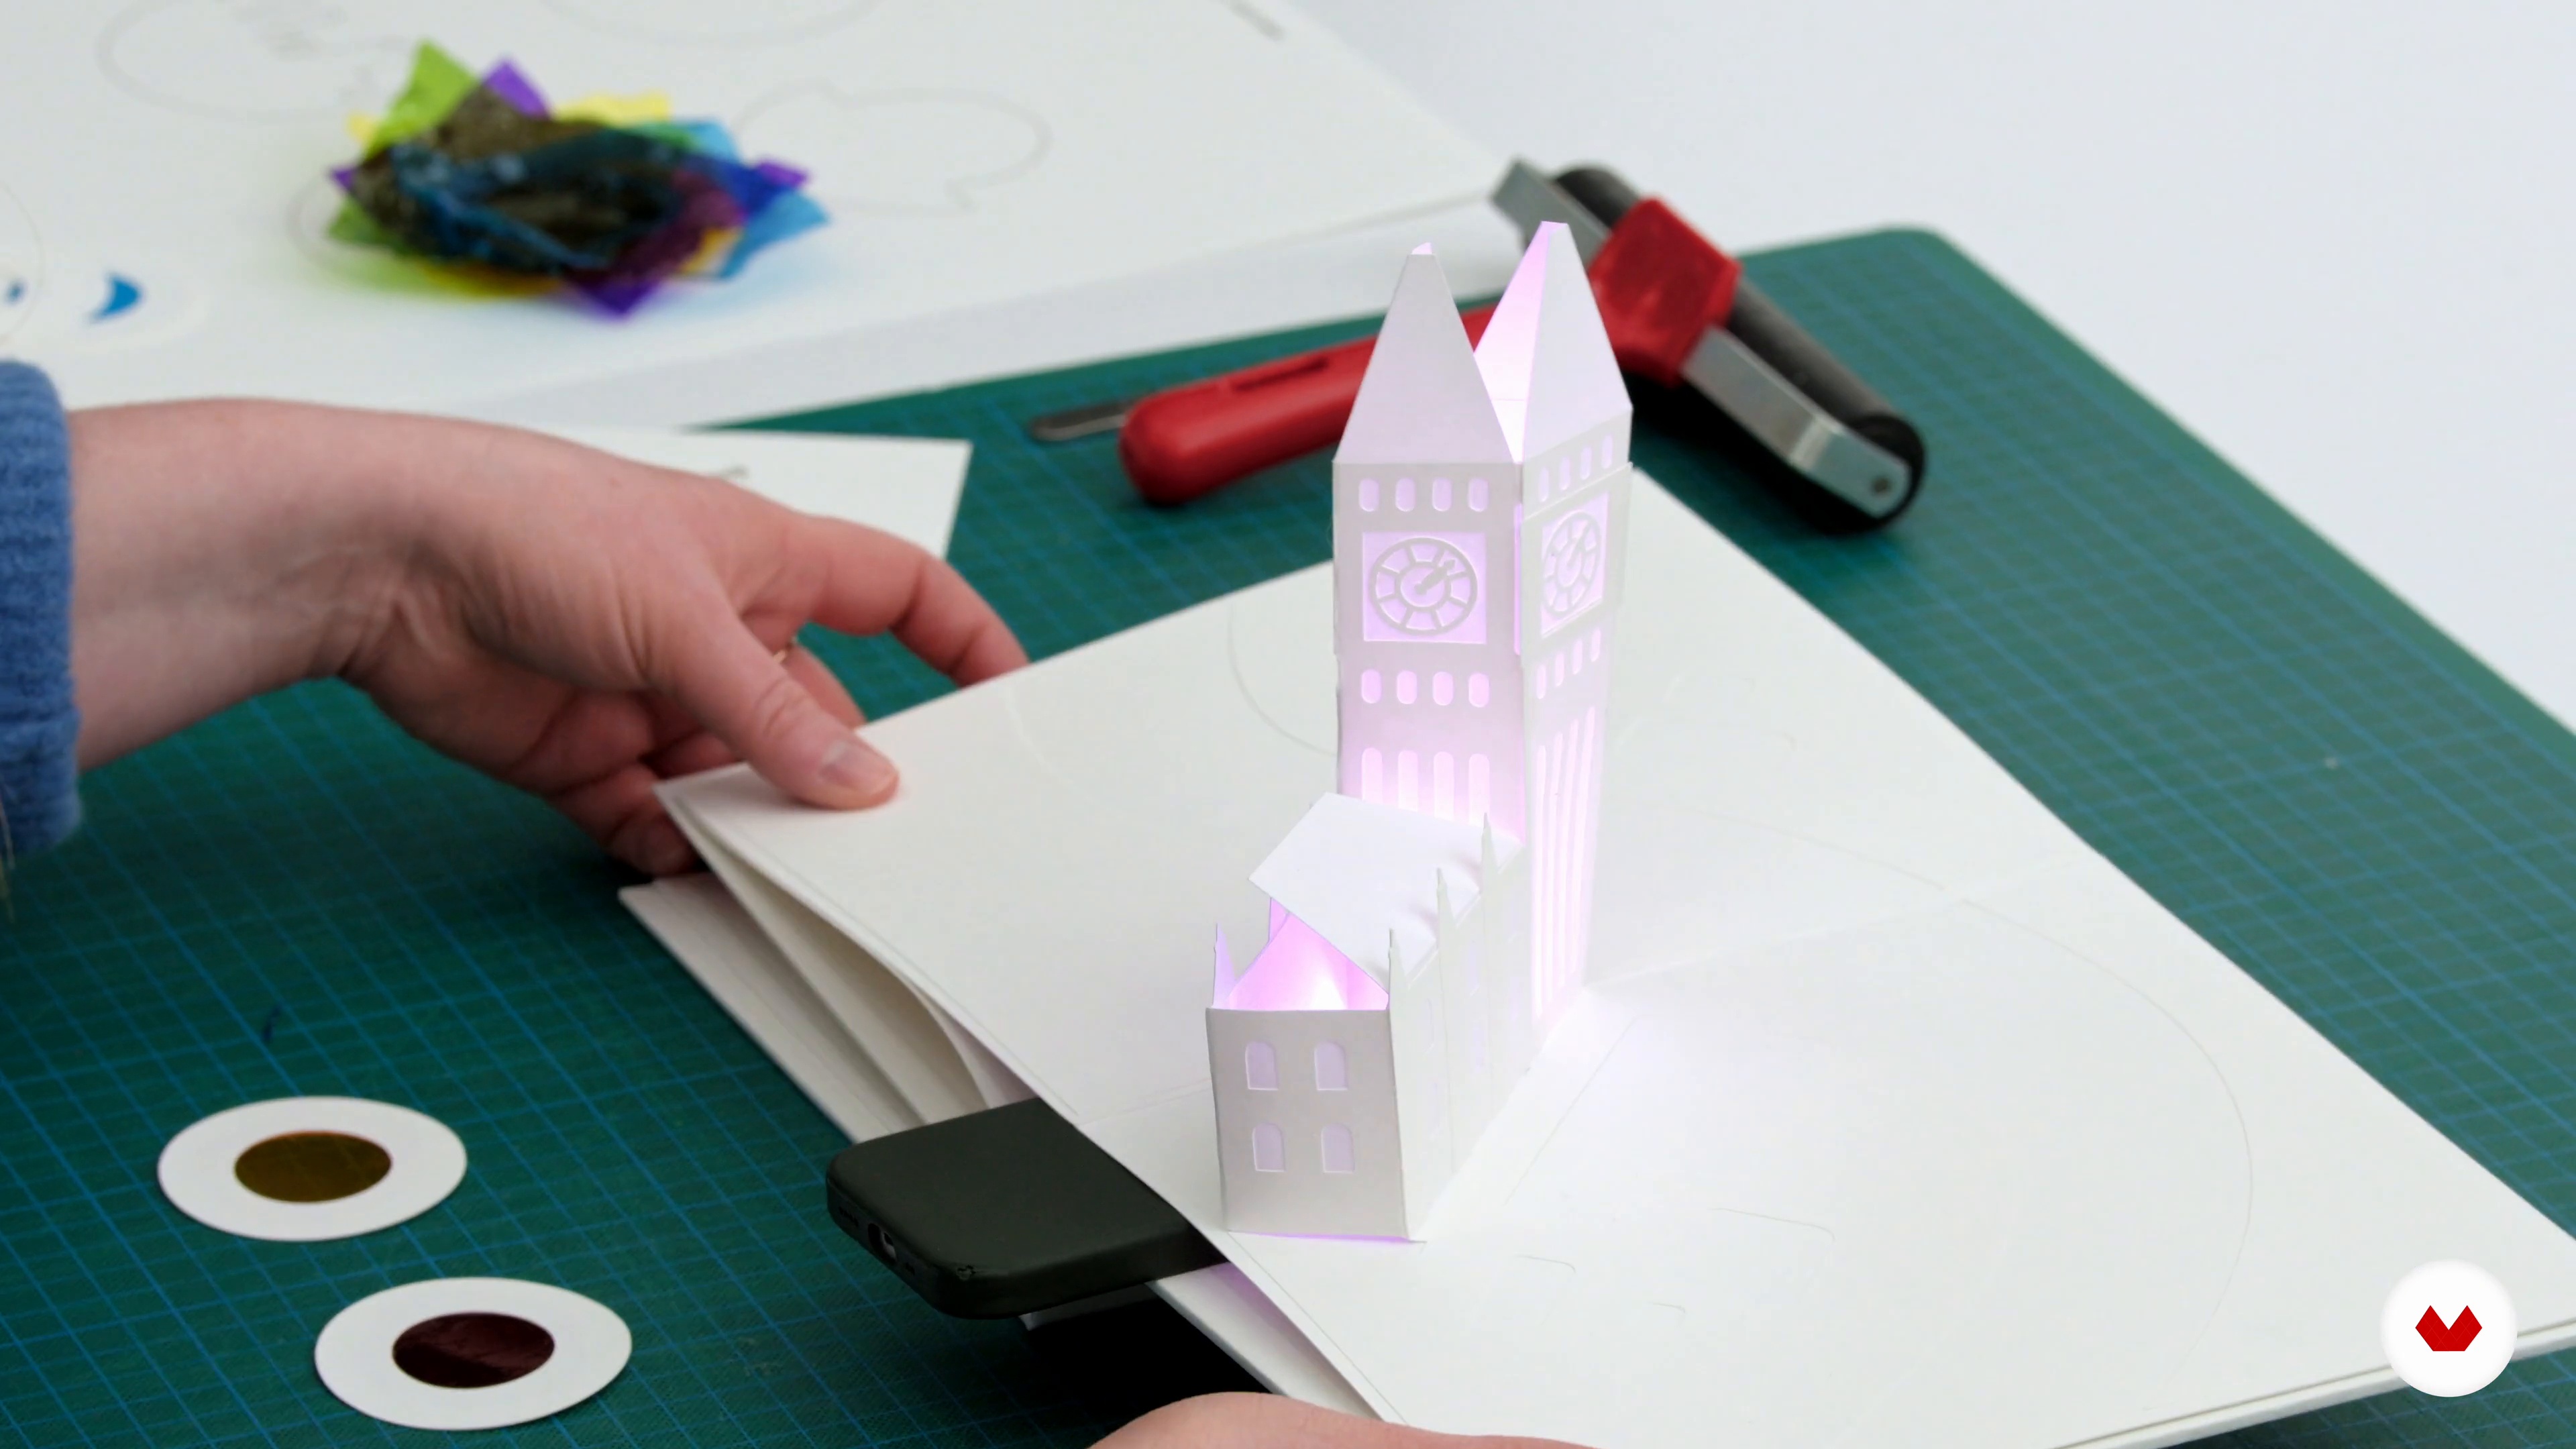
In this second stage, I will glue the different elements together and onto the page to create a 3D model. Once everything is set, I will test out the lighting.
13m
 11
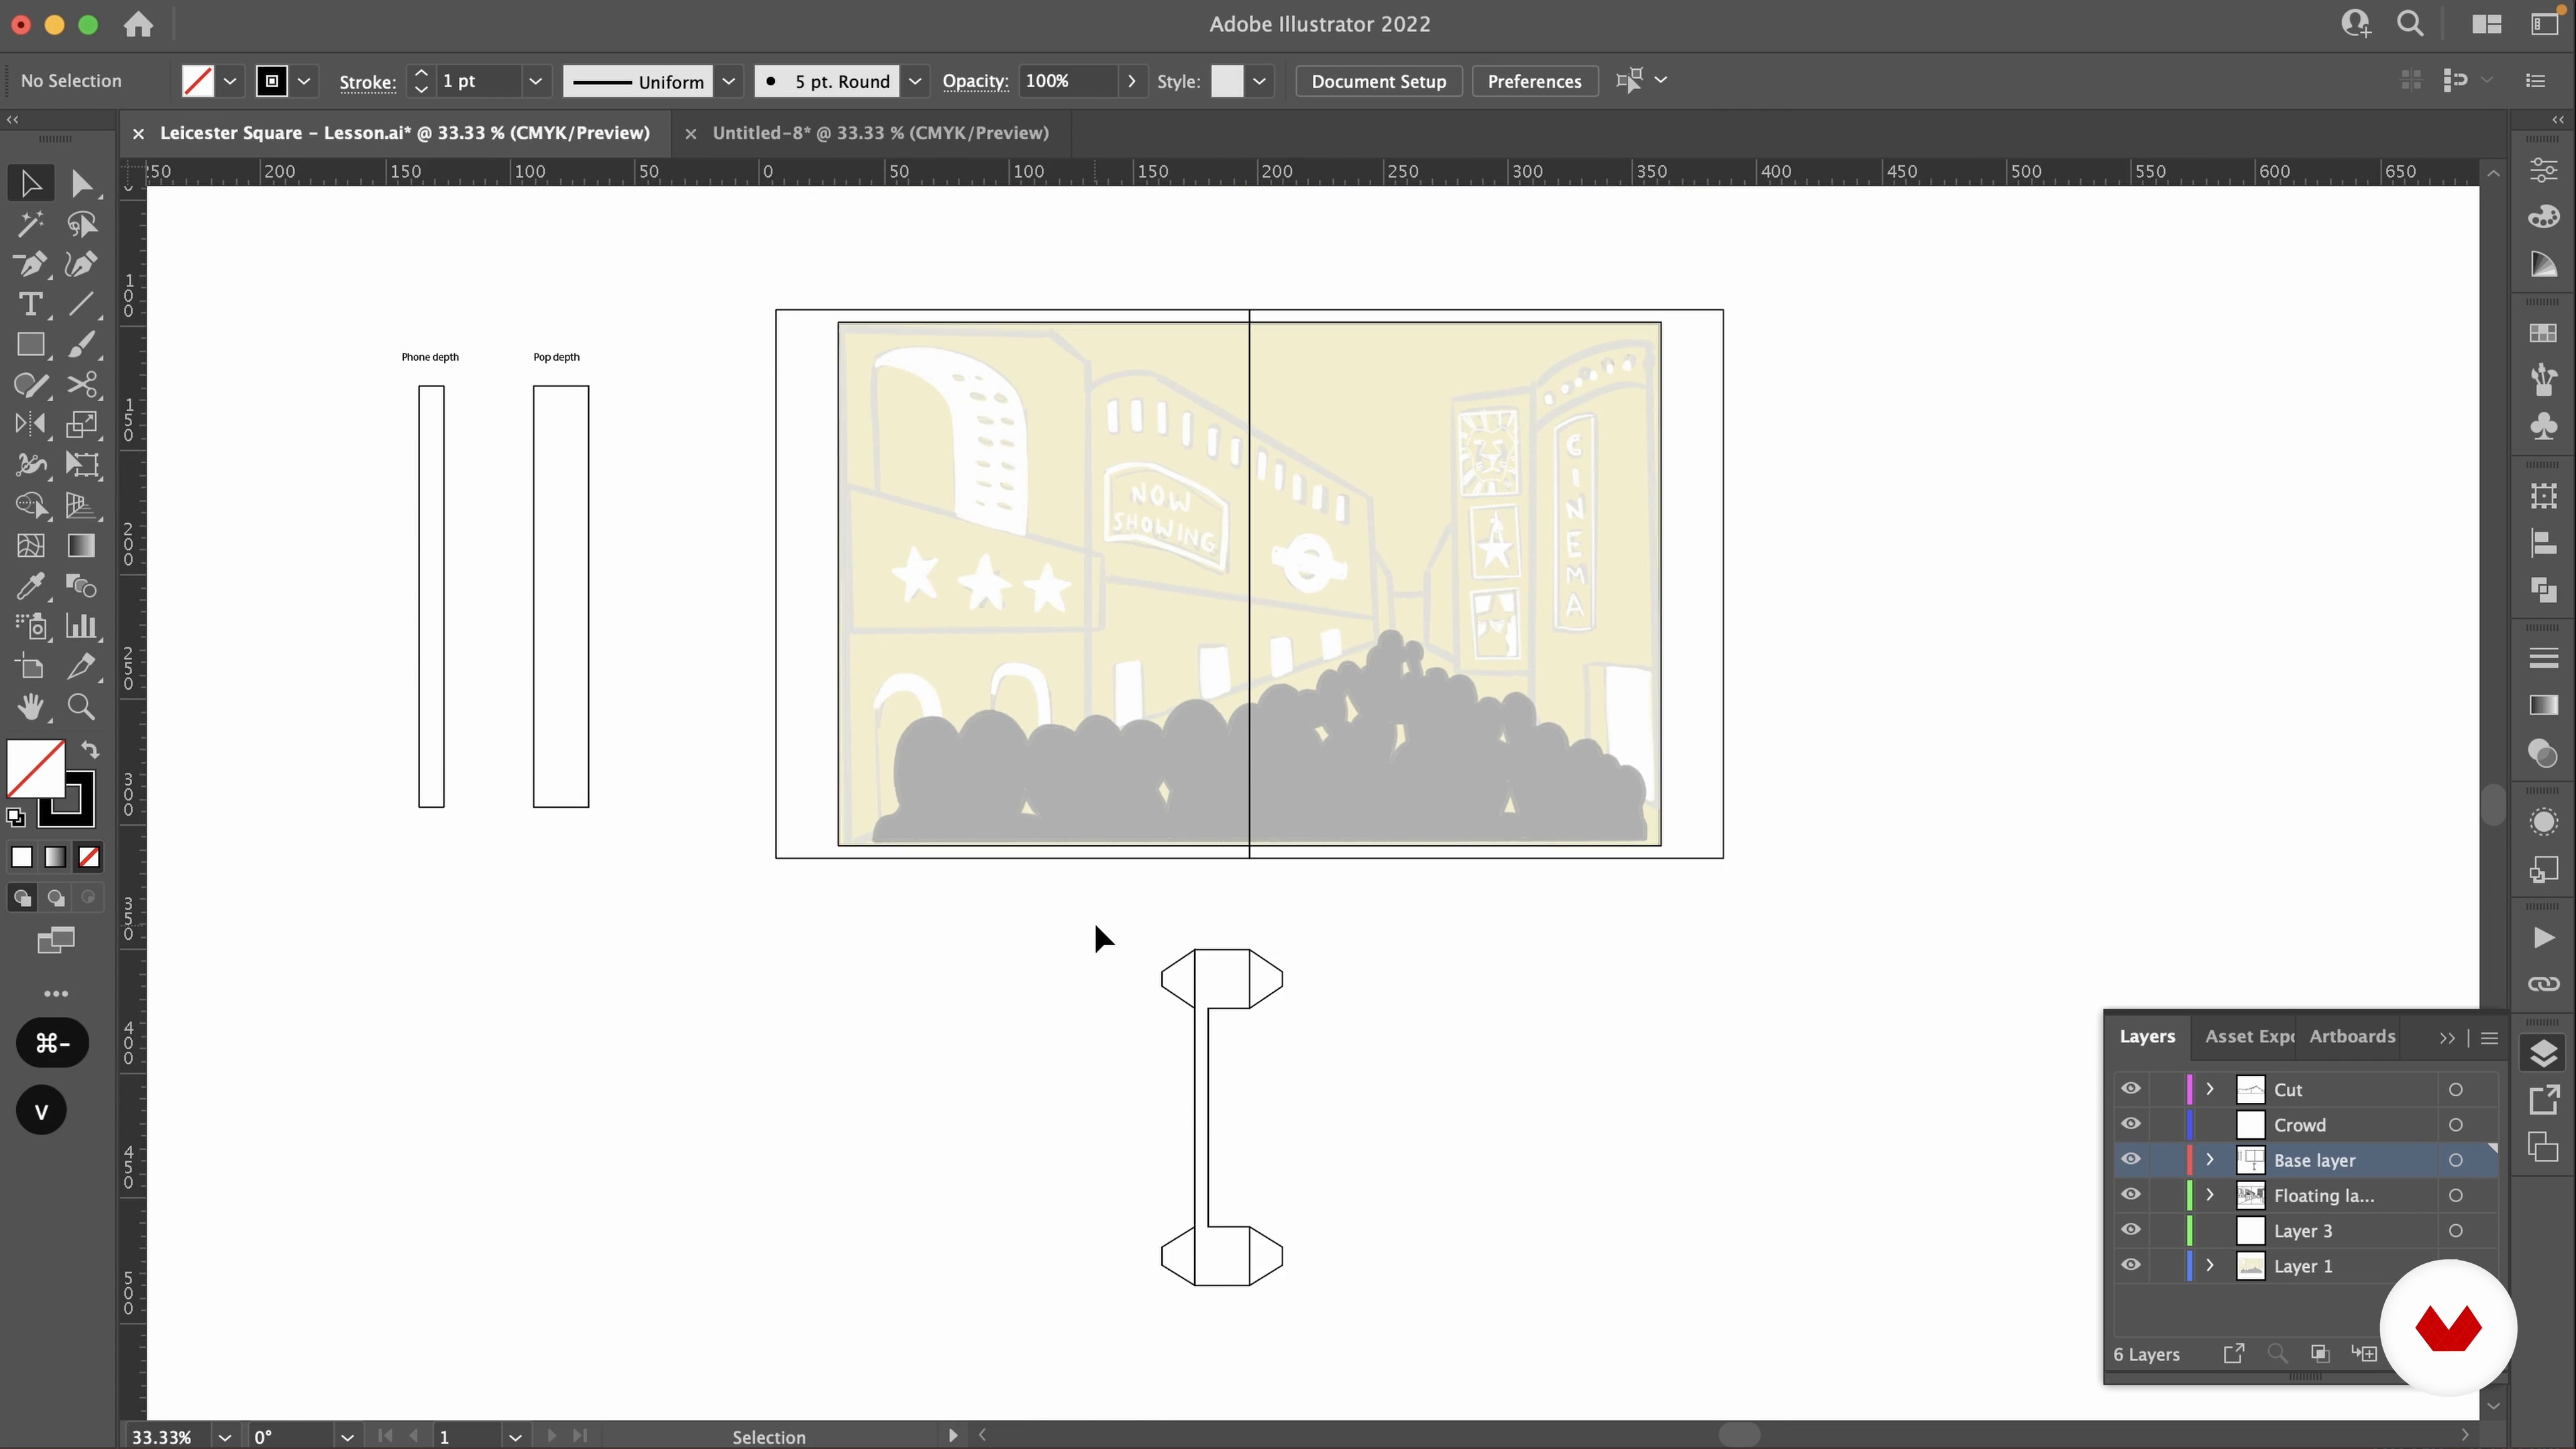
11Designing Page 2: Leicester Square 1
The second page of the book will represent Leicester Square, which lies right in the heart of London's lively and exciting West End. It's a location that is synonymous with performance and entertainment – all of which I want to capture. To design this page, I will be using the Floating Platform mechanism.
14m
 12
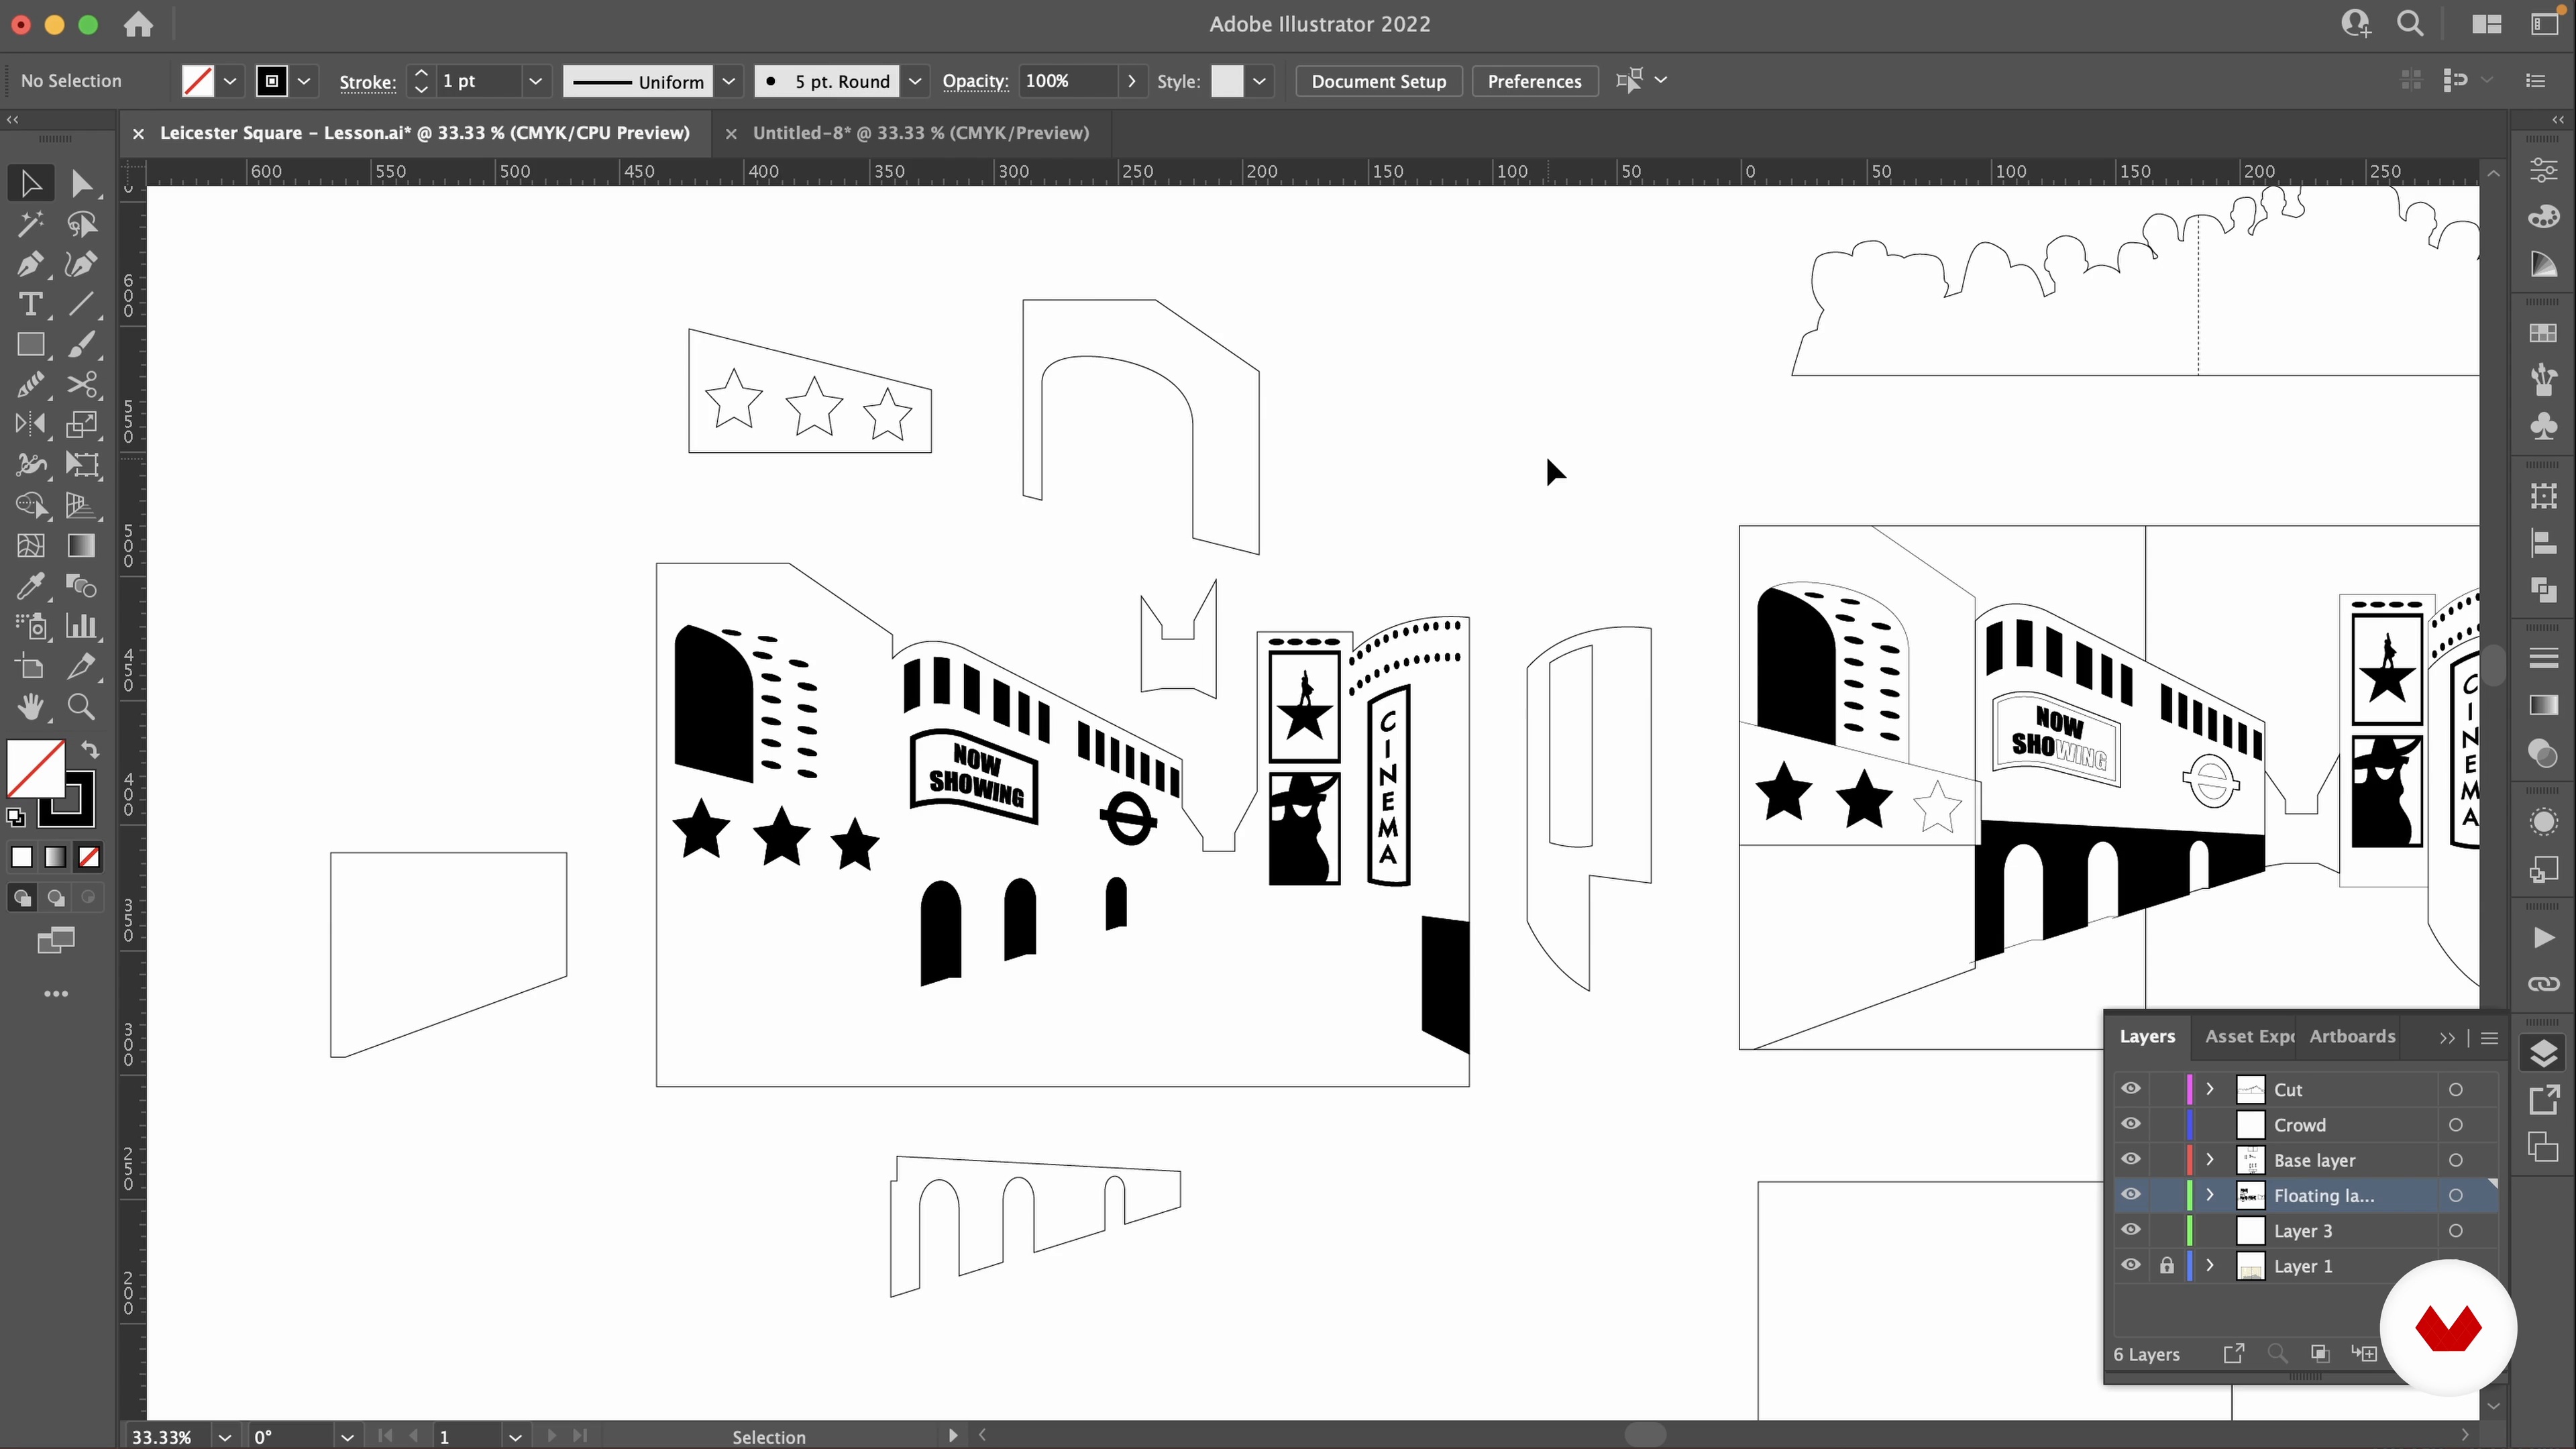
12Designing Page 2: Leicester Square 2
I have designed all the layers of Leicester Square. I will now separate the elements that will make it pop up.
18m
 13
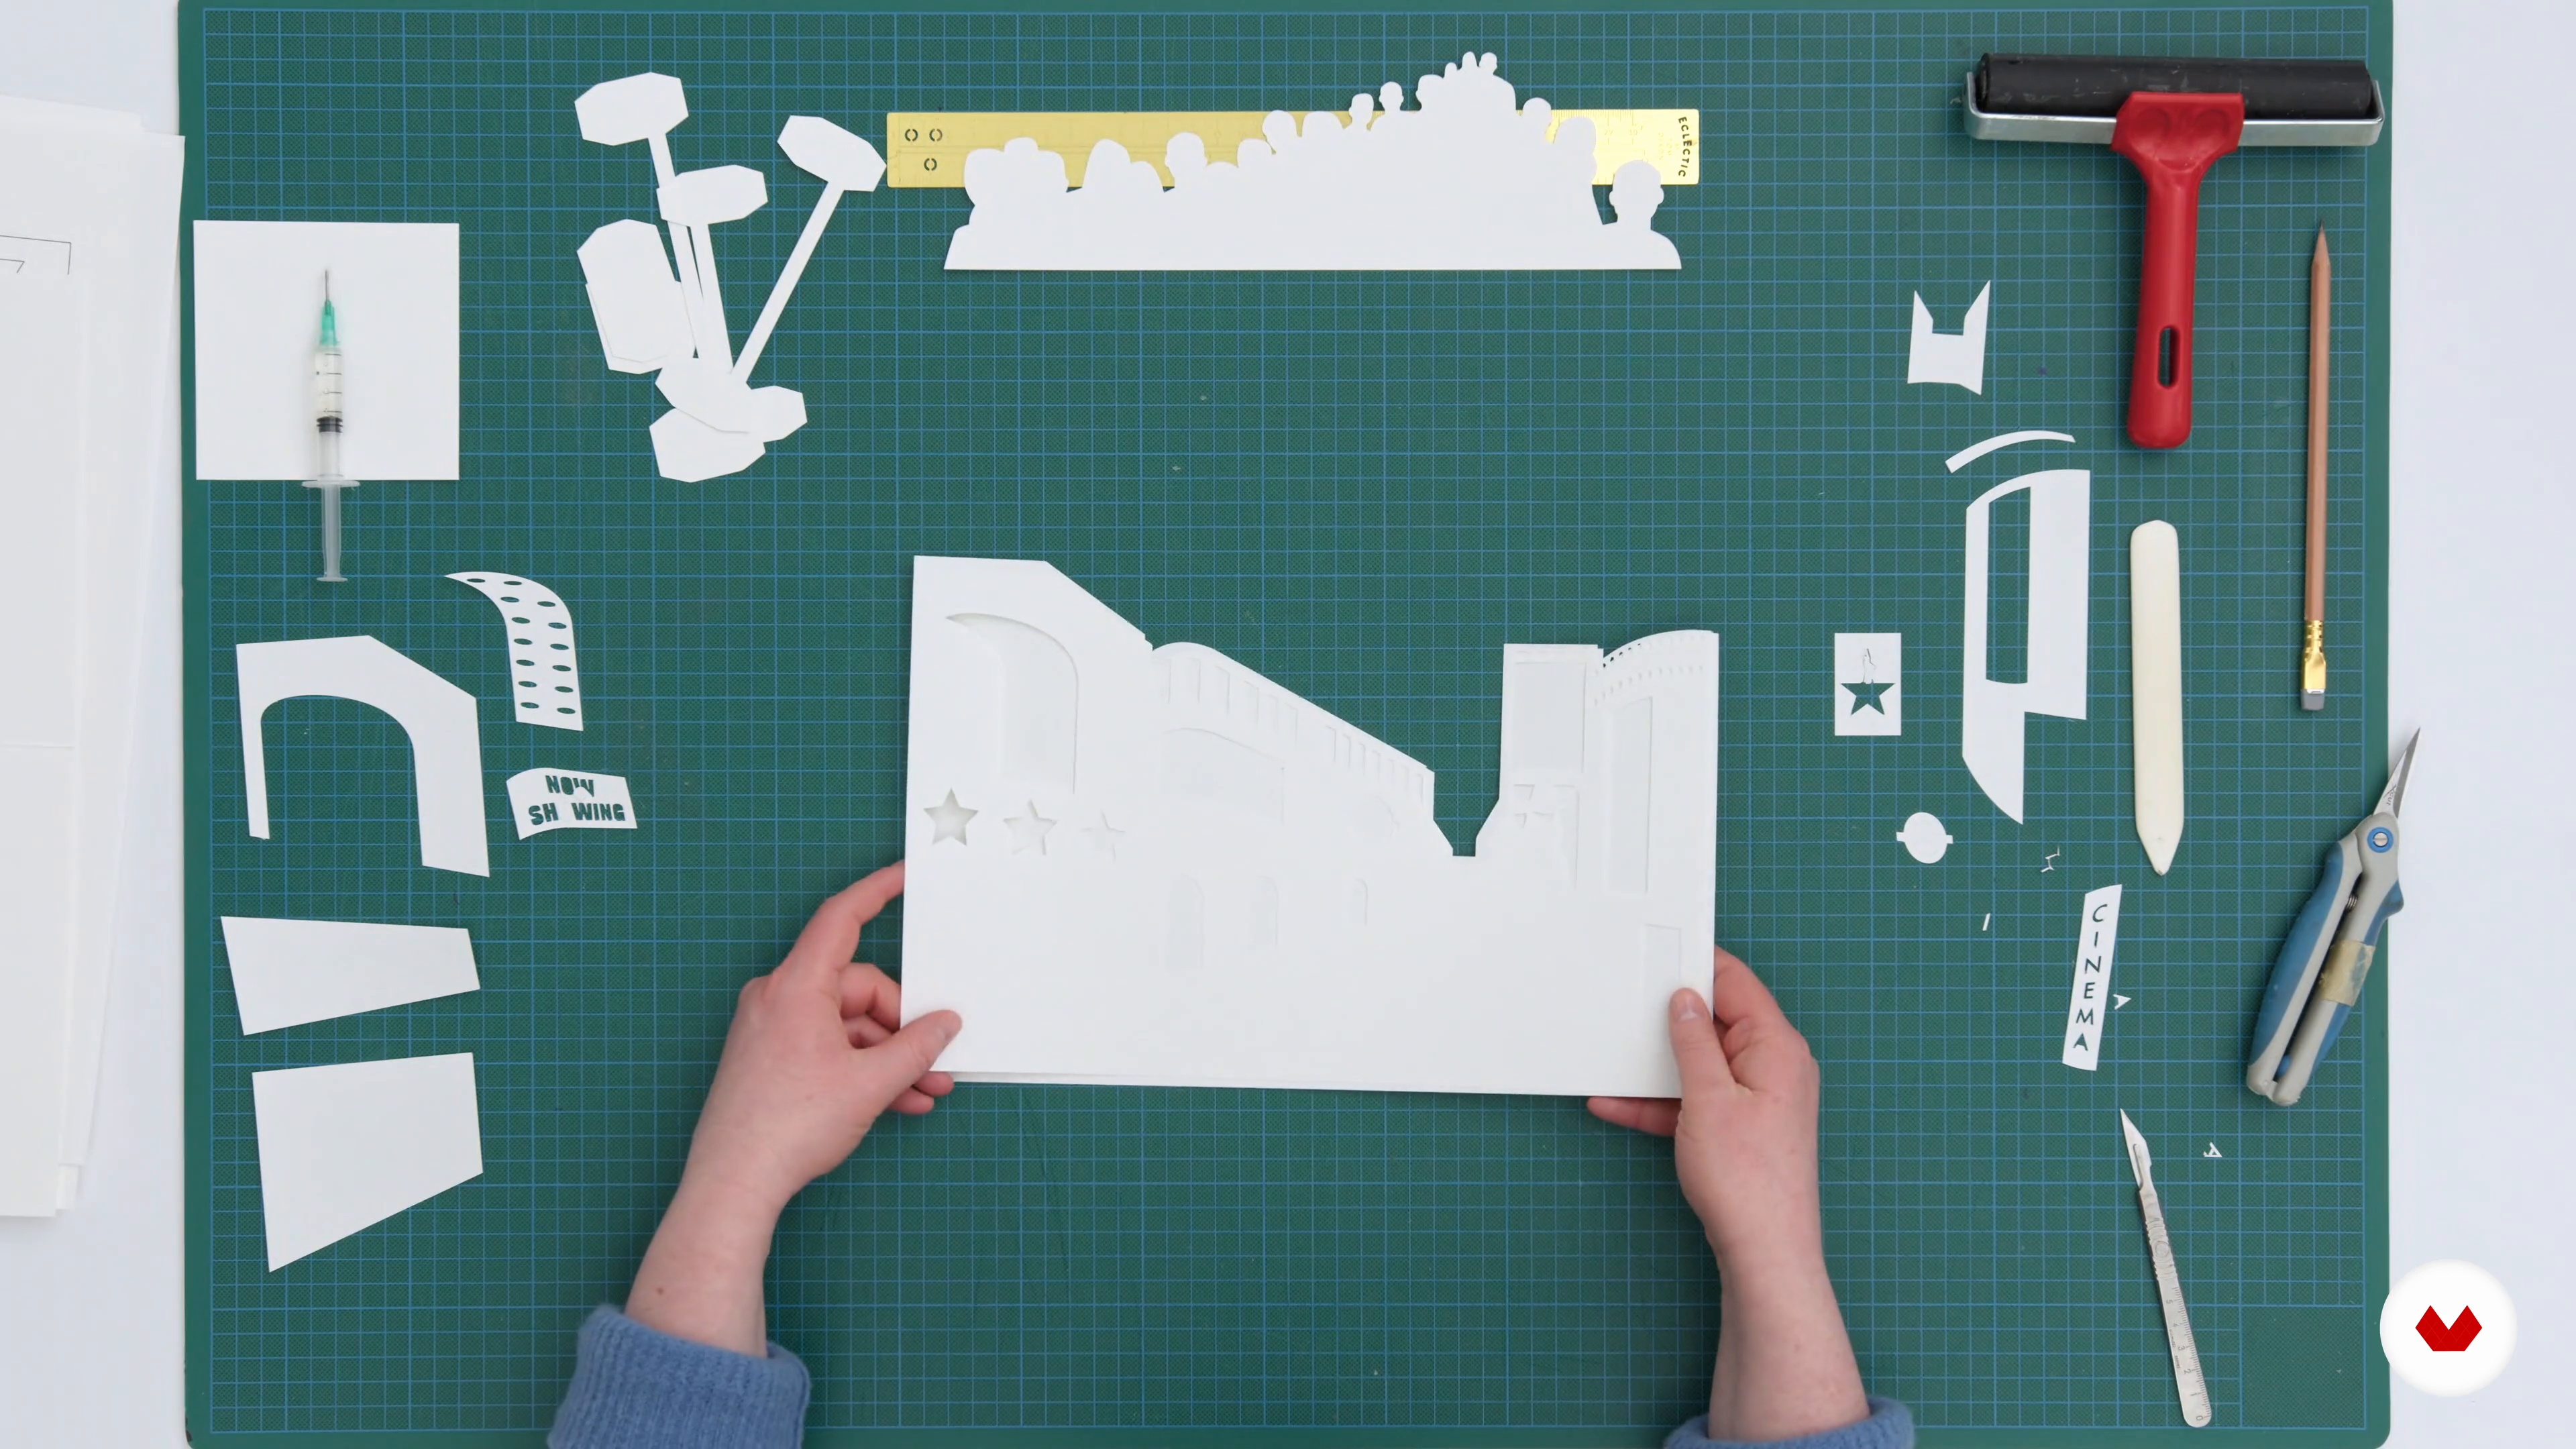
13Assembling Page 2: Leicester Square 1
Having successfully designed the Leicester Square model template, I will translate this now into a physical model. Just as I did before, I will start by cutting out the elements then I will glue together the layers.
11m
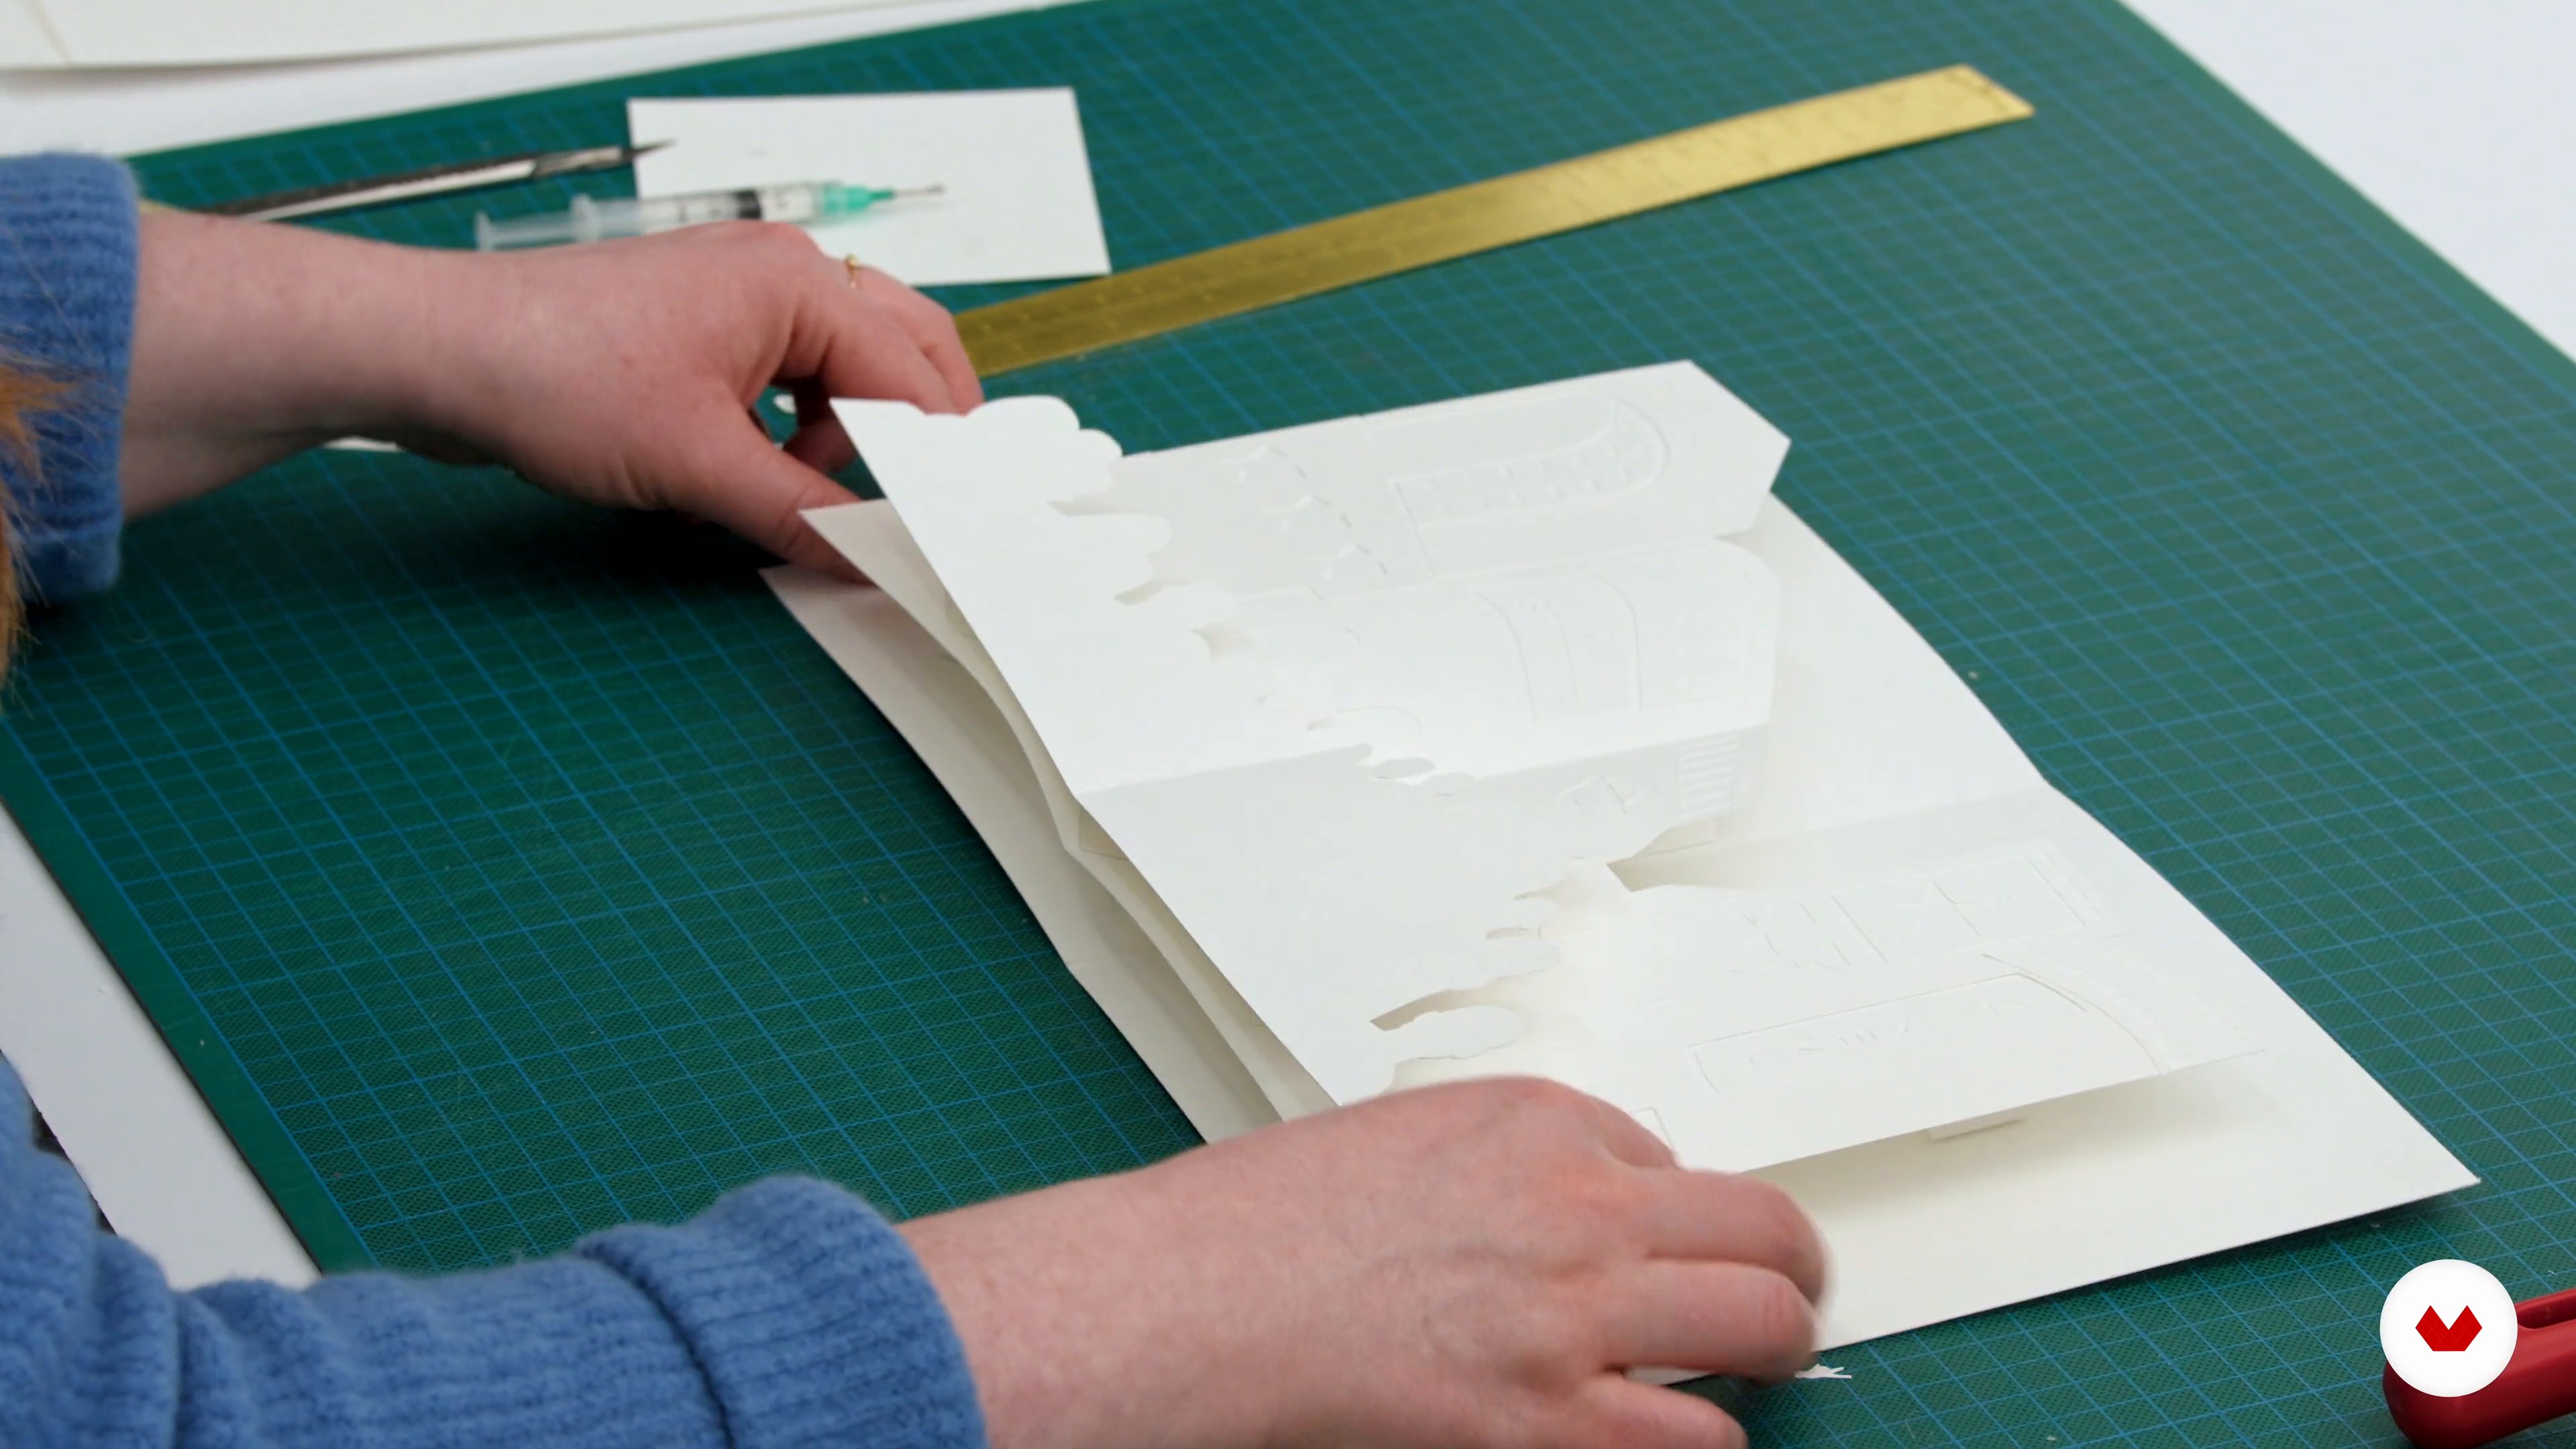 14
14Assembling Page 2: Leicester Square 2
Here I will continue adding the smaller shapes of the model. Then I will glue the crowd element and attach the base page.
13m
 15
15Designing Page 3: Hyde Park 1
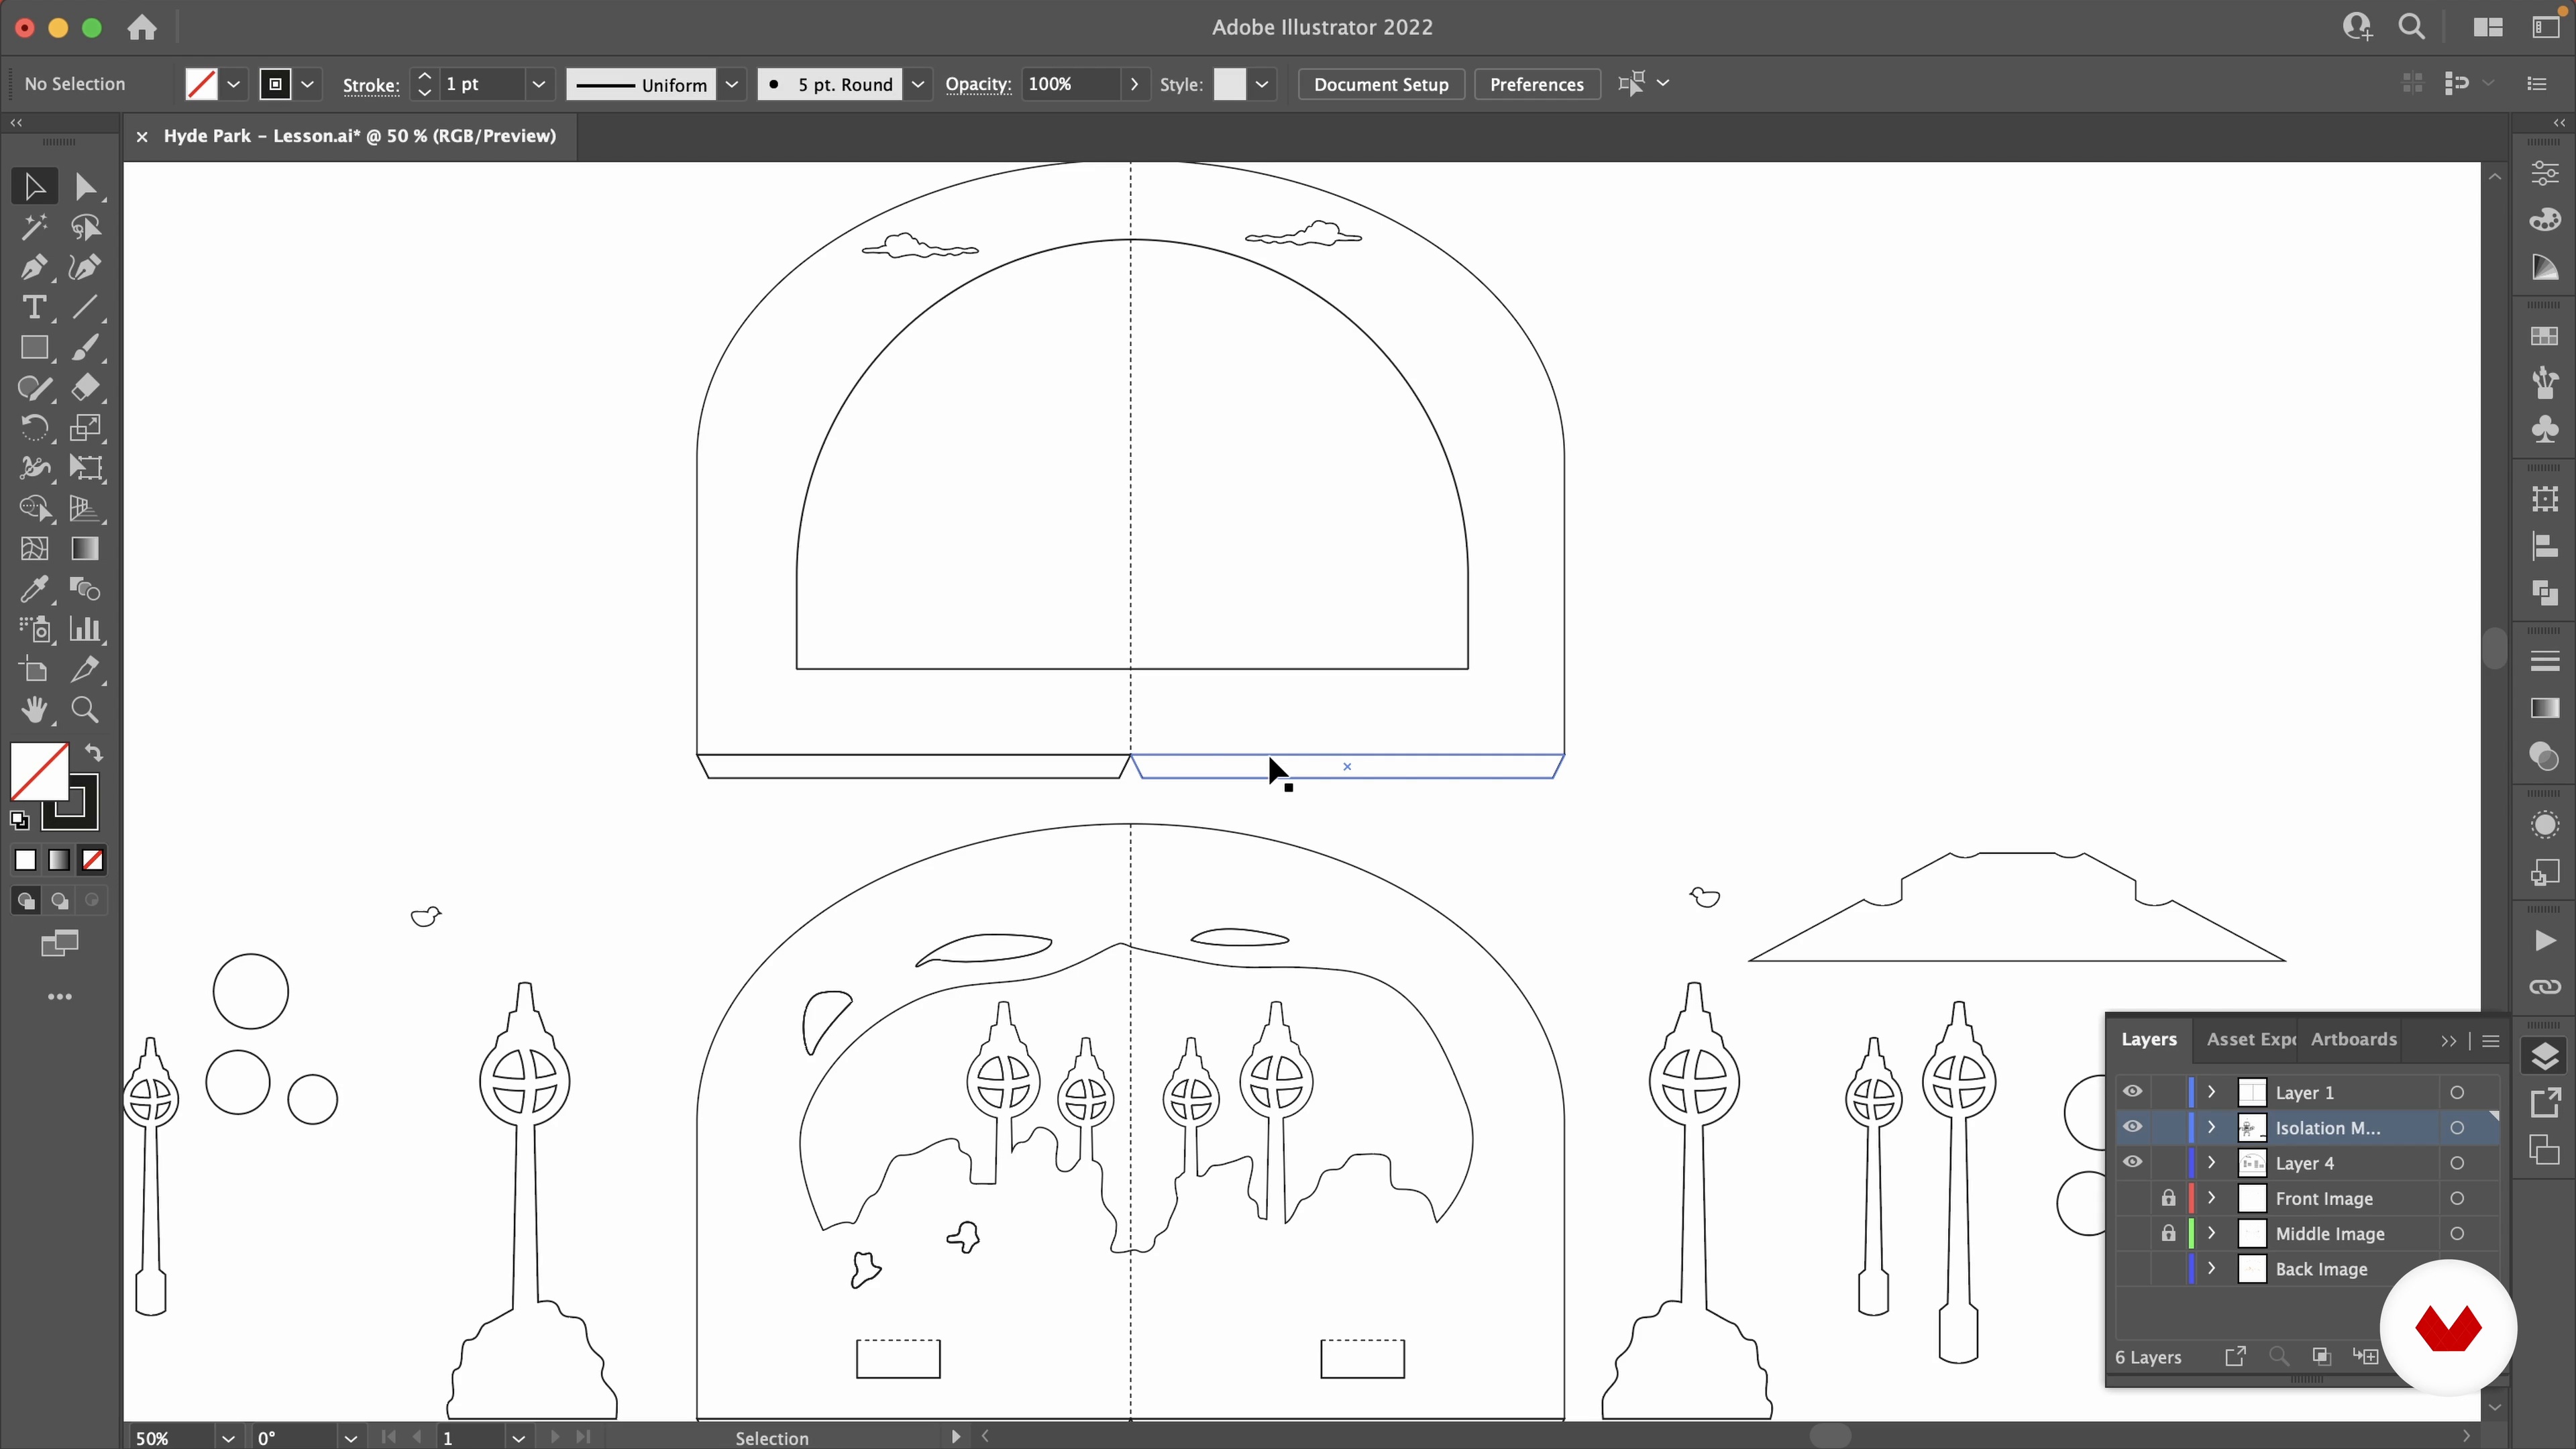
On the third page of the book, I will work on capturing Hyde Park, the largest park in central London and one of the city's most important green spaces. In this case, I will design a V-fold and 90-degree mechanism.
20m
 16
16Designing Page 3: Hyde Park 2
After finishing creating the vector file of my design, I will separate it out into the different pop-up elements.
14m
 17
17Assembling Page 3: Hyde Park
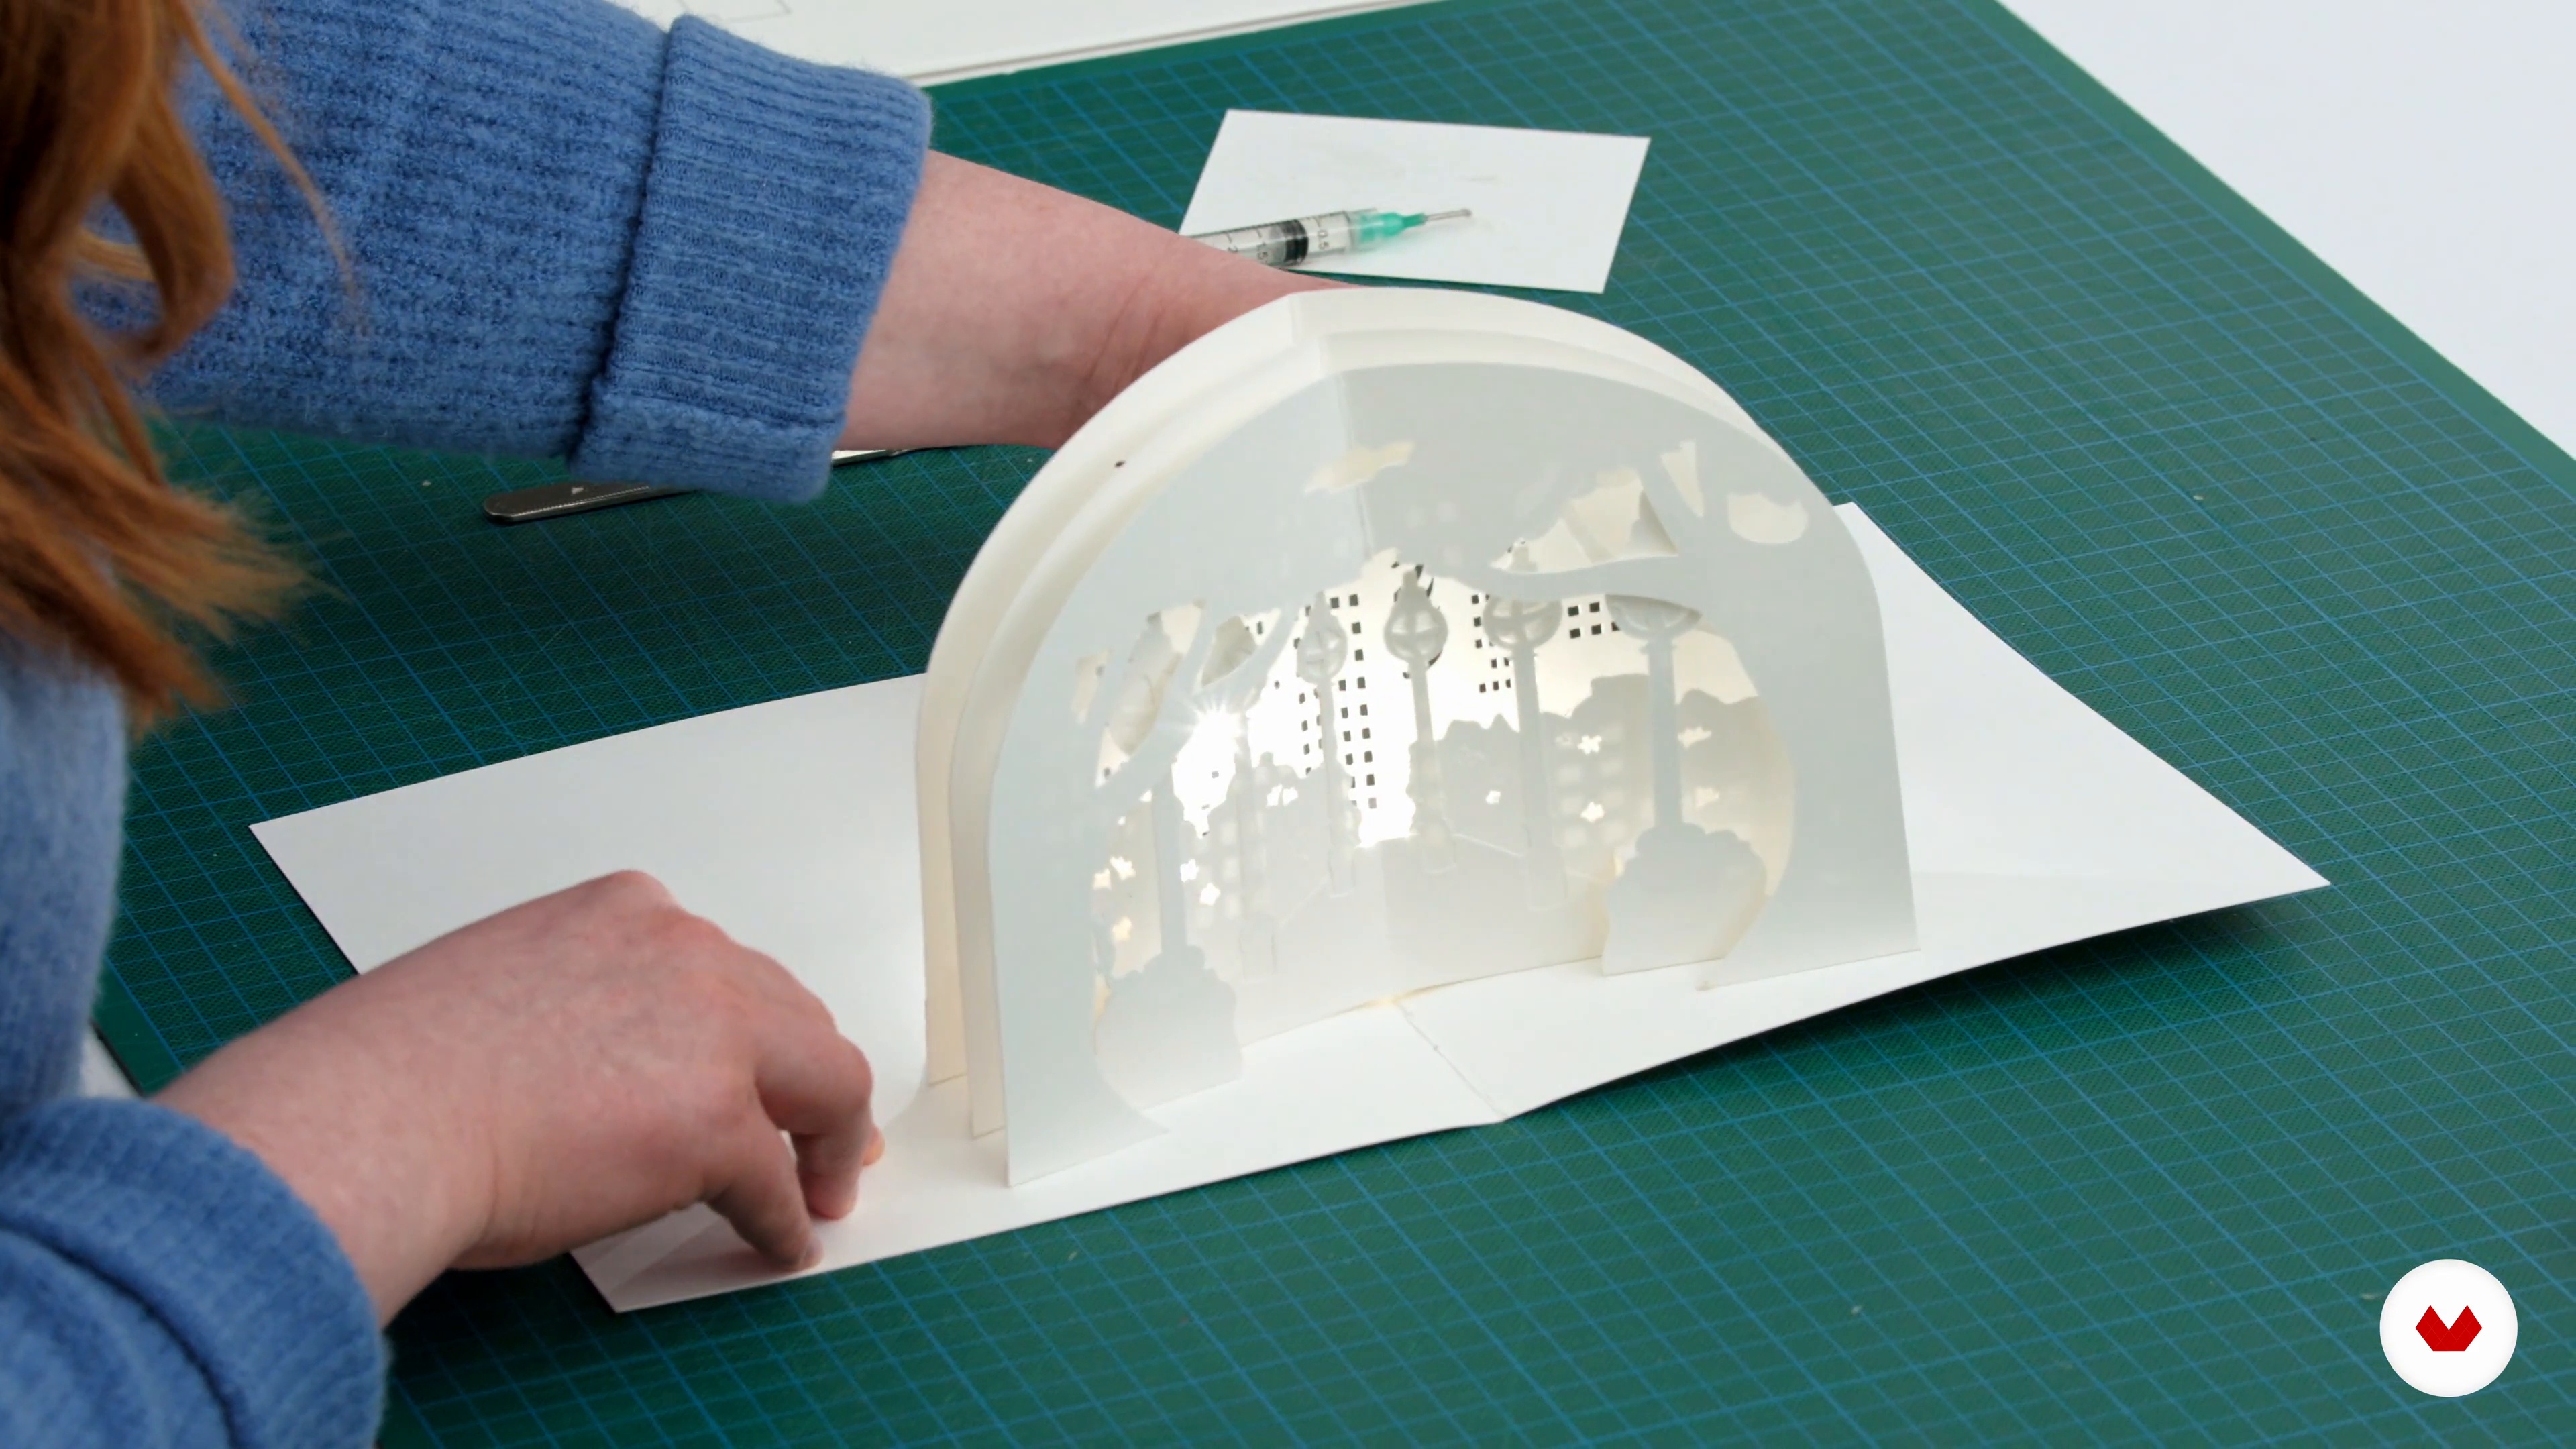
Let's assemble the final landmark! I will be putting together the third page of the book so you can see how to work with the V-Fold and the 90-degree mechanism.
19m
 18
18Putting the Book Together 1
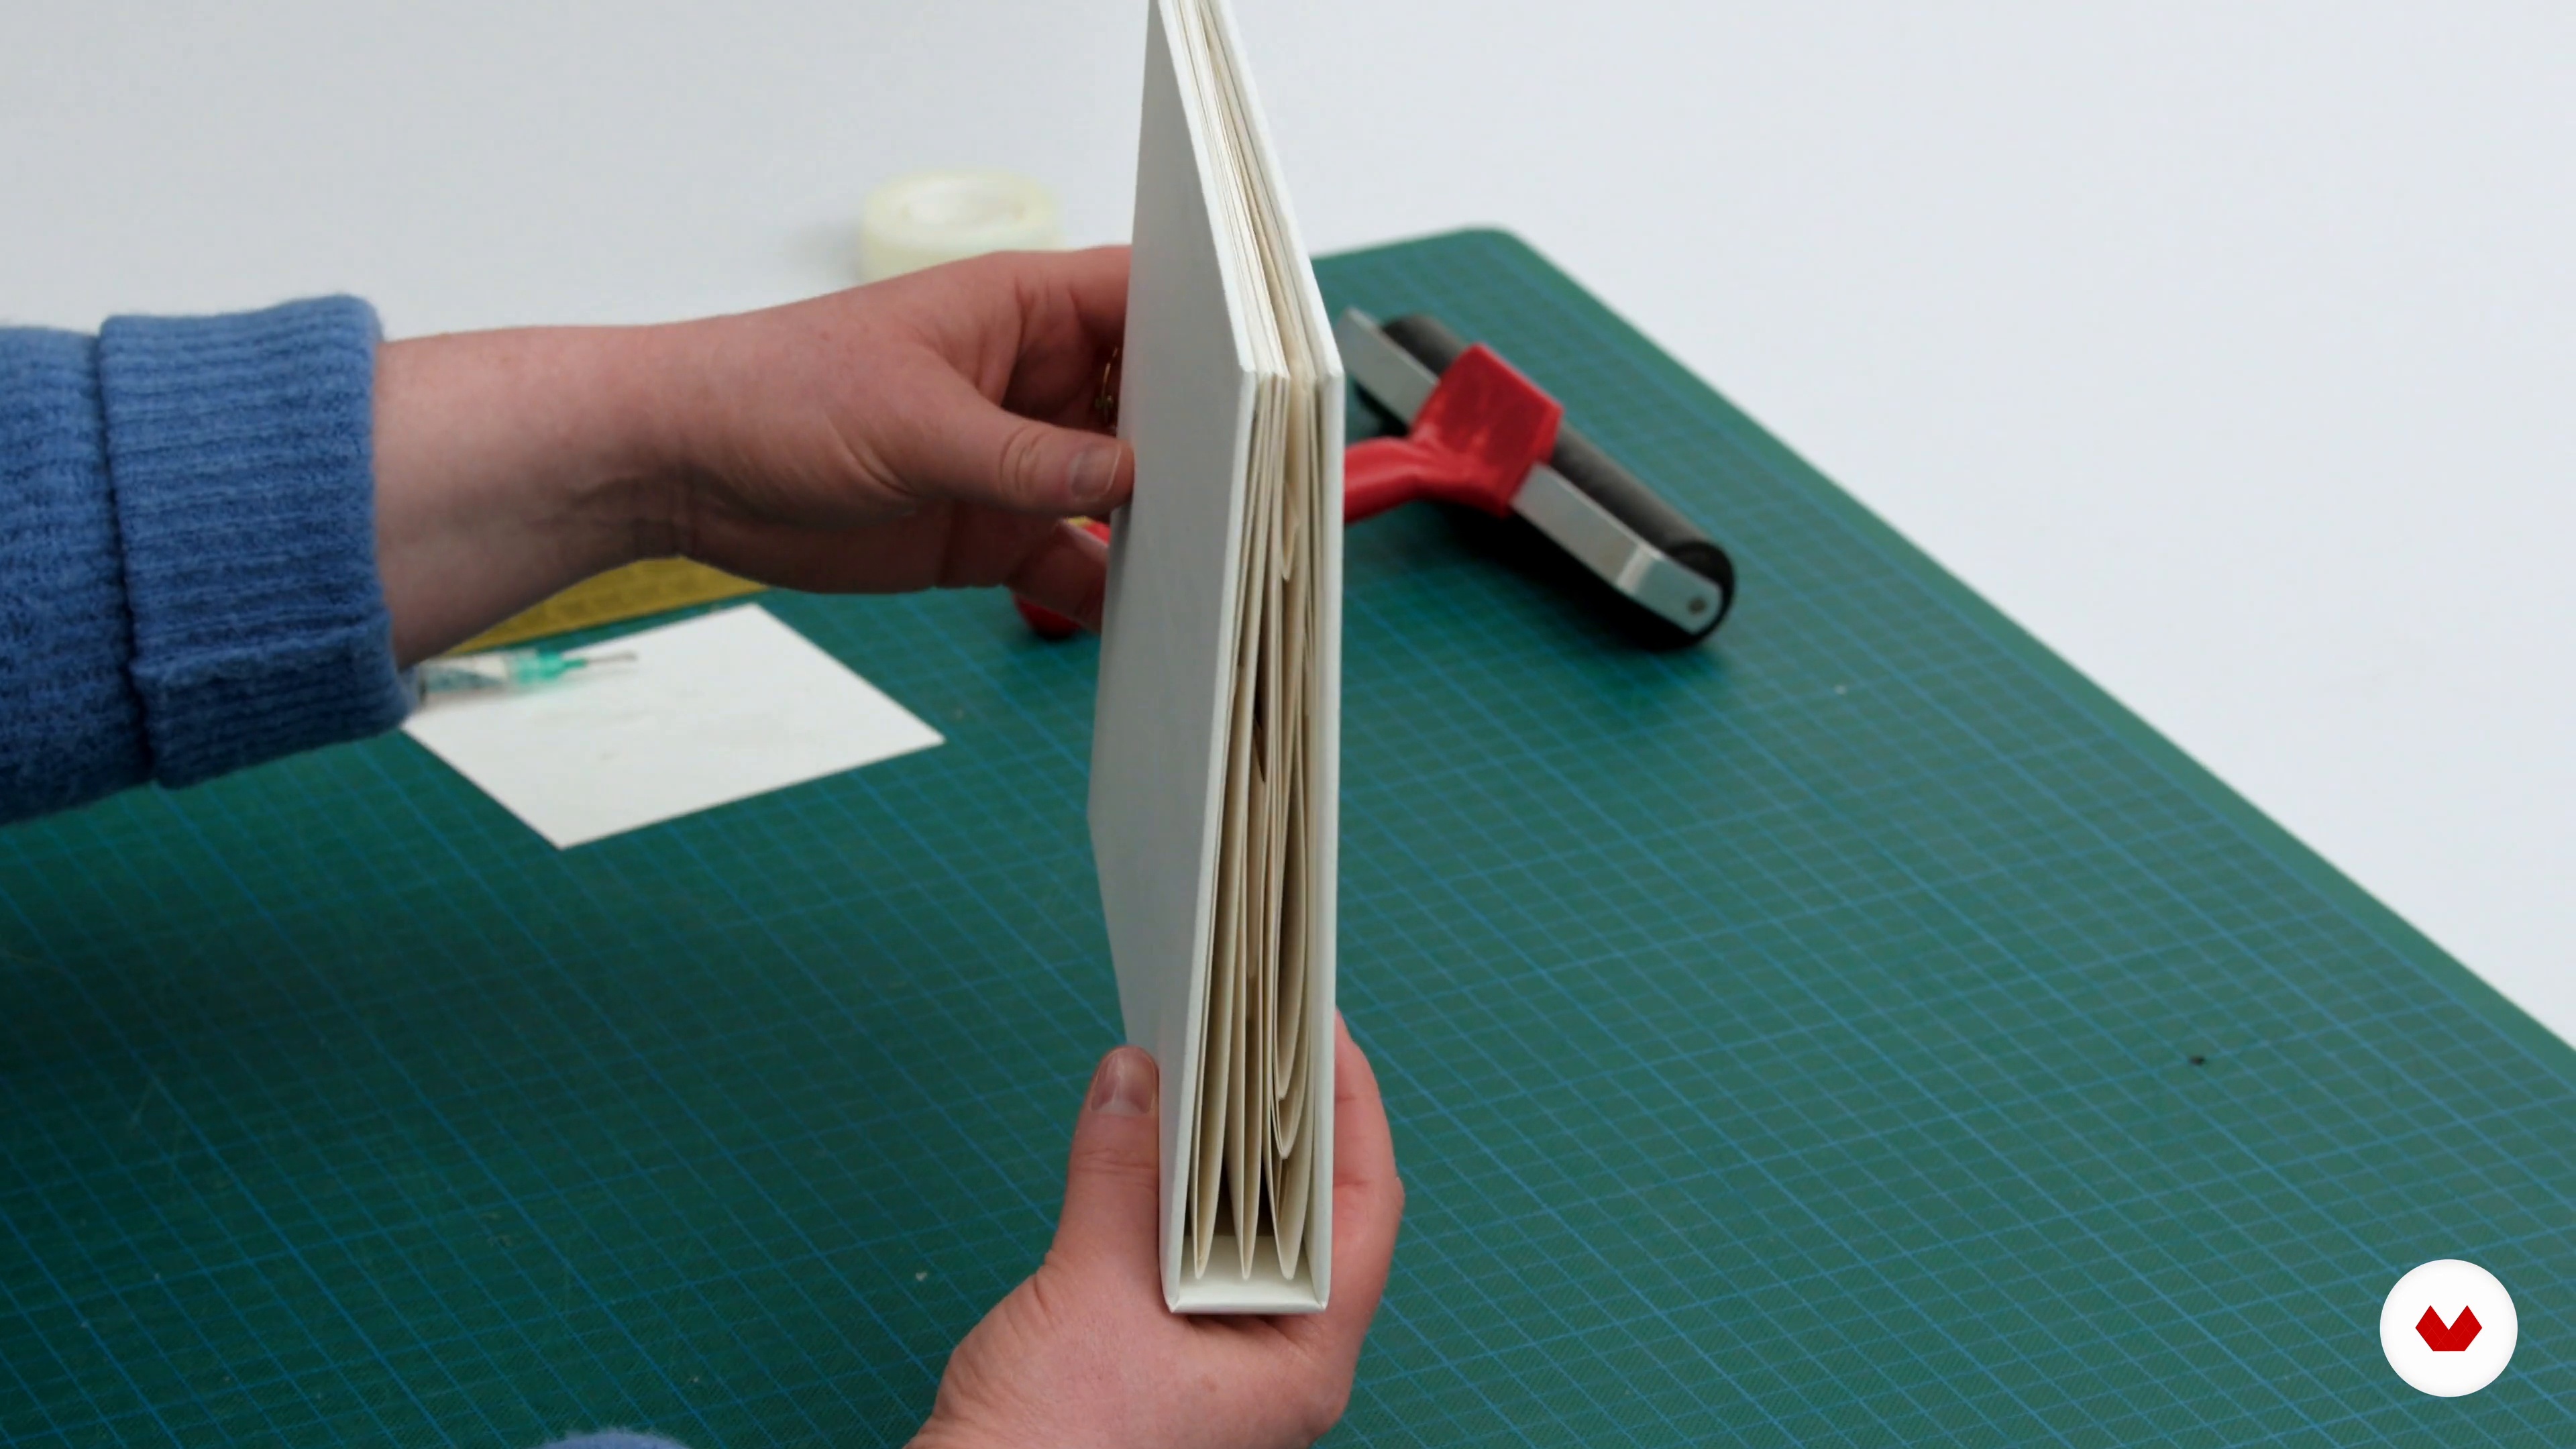
First, I will use simple bookbinding techniques to combine the pages into a book that can be kept forever. This will involve making a cover and spine to secure everything.
17m
 19
19Putting the Book Together 2
After finishing the back cover, I will assemble everything and add on the three pages I have made.
19m
 20
20Finishing Touches
The last step will be to add a decorative flourish to the cover by creating a logo. I will also explore how you can play with light to enhance the interactive experience and share other options you could undertake to personalise and tweak the minimal page designs to your taste.
9m
 3
3What’s in Your Toolbox?
In this lesson I will talk to you about the importance of creating a toolbox that is constantly growing to suit your newly acquired skills.
9m
 4
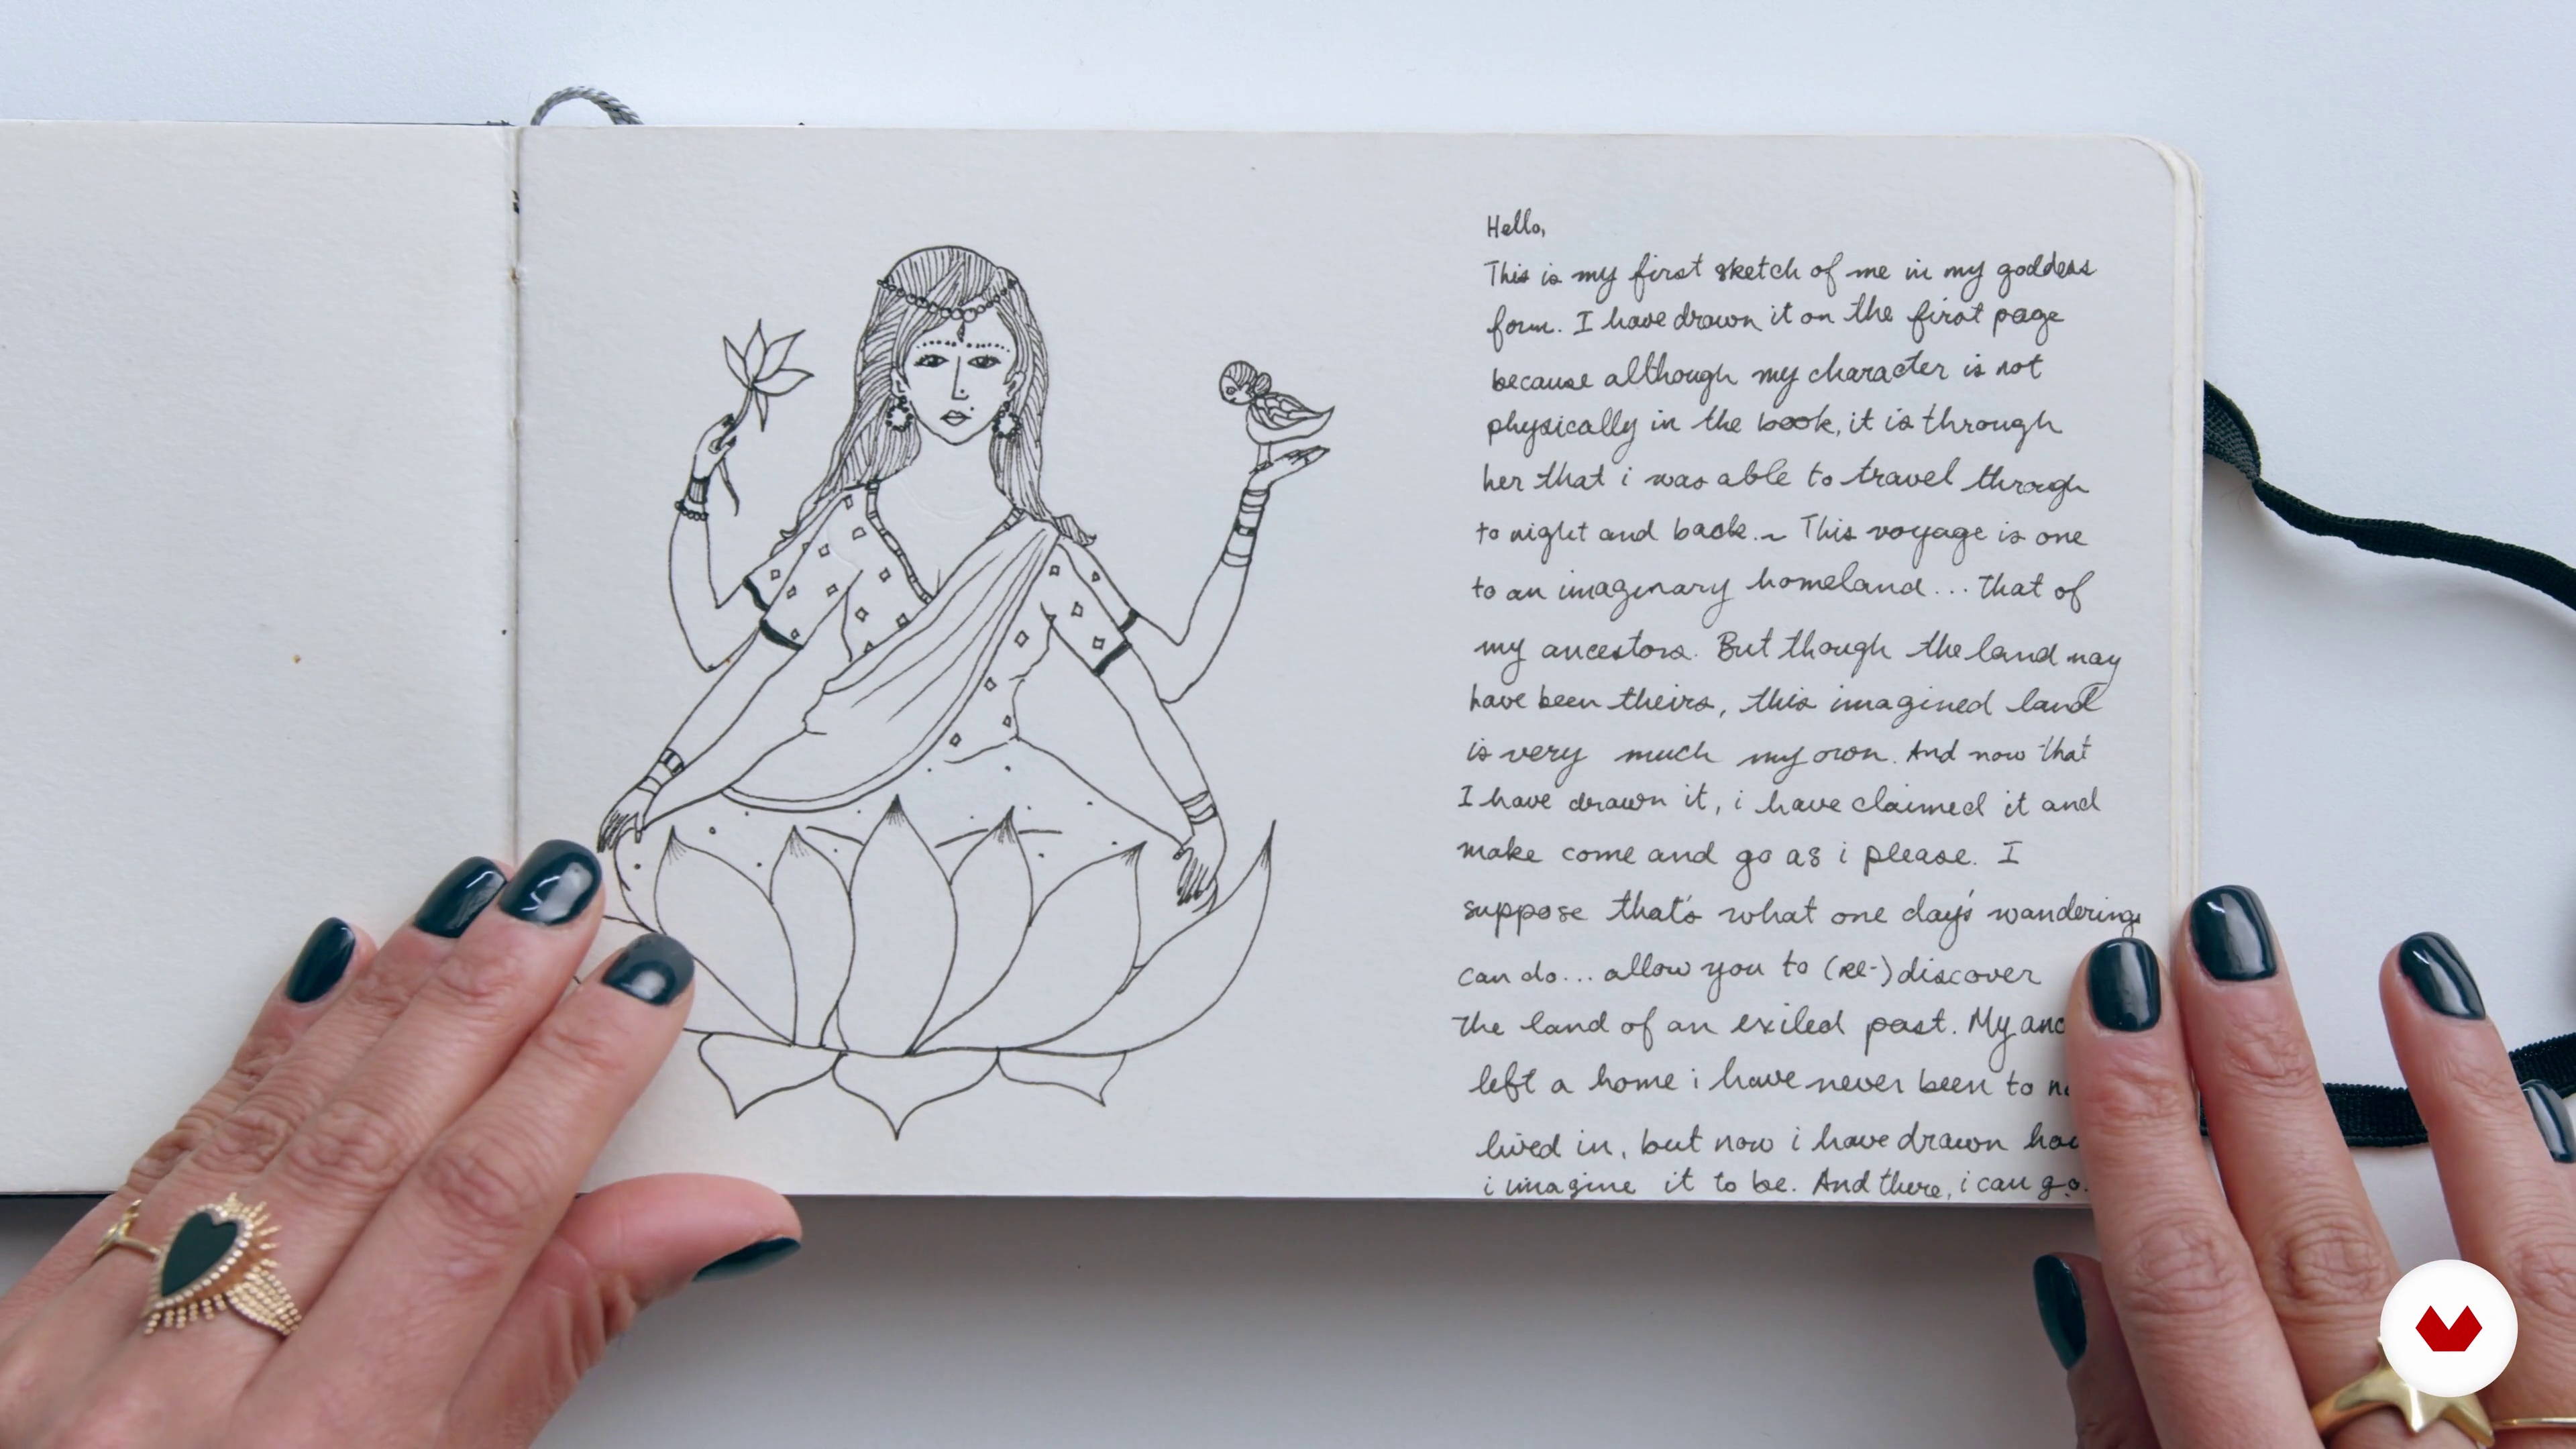
4Creating a World Inside Your Sketchbook 1
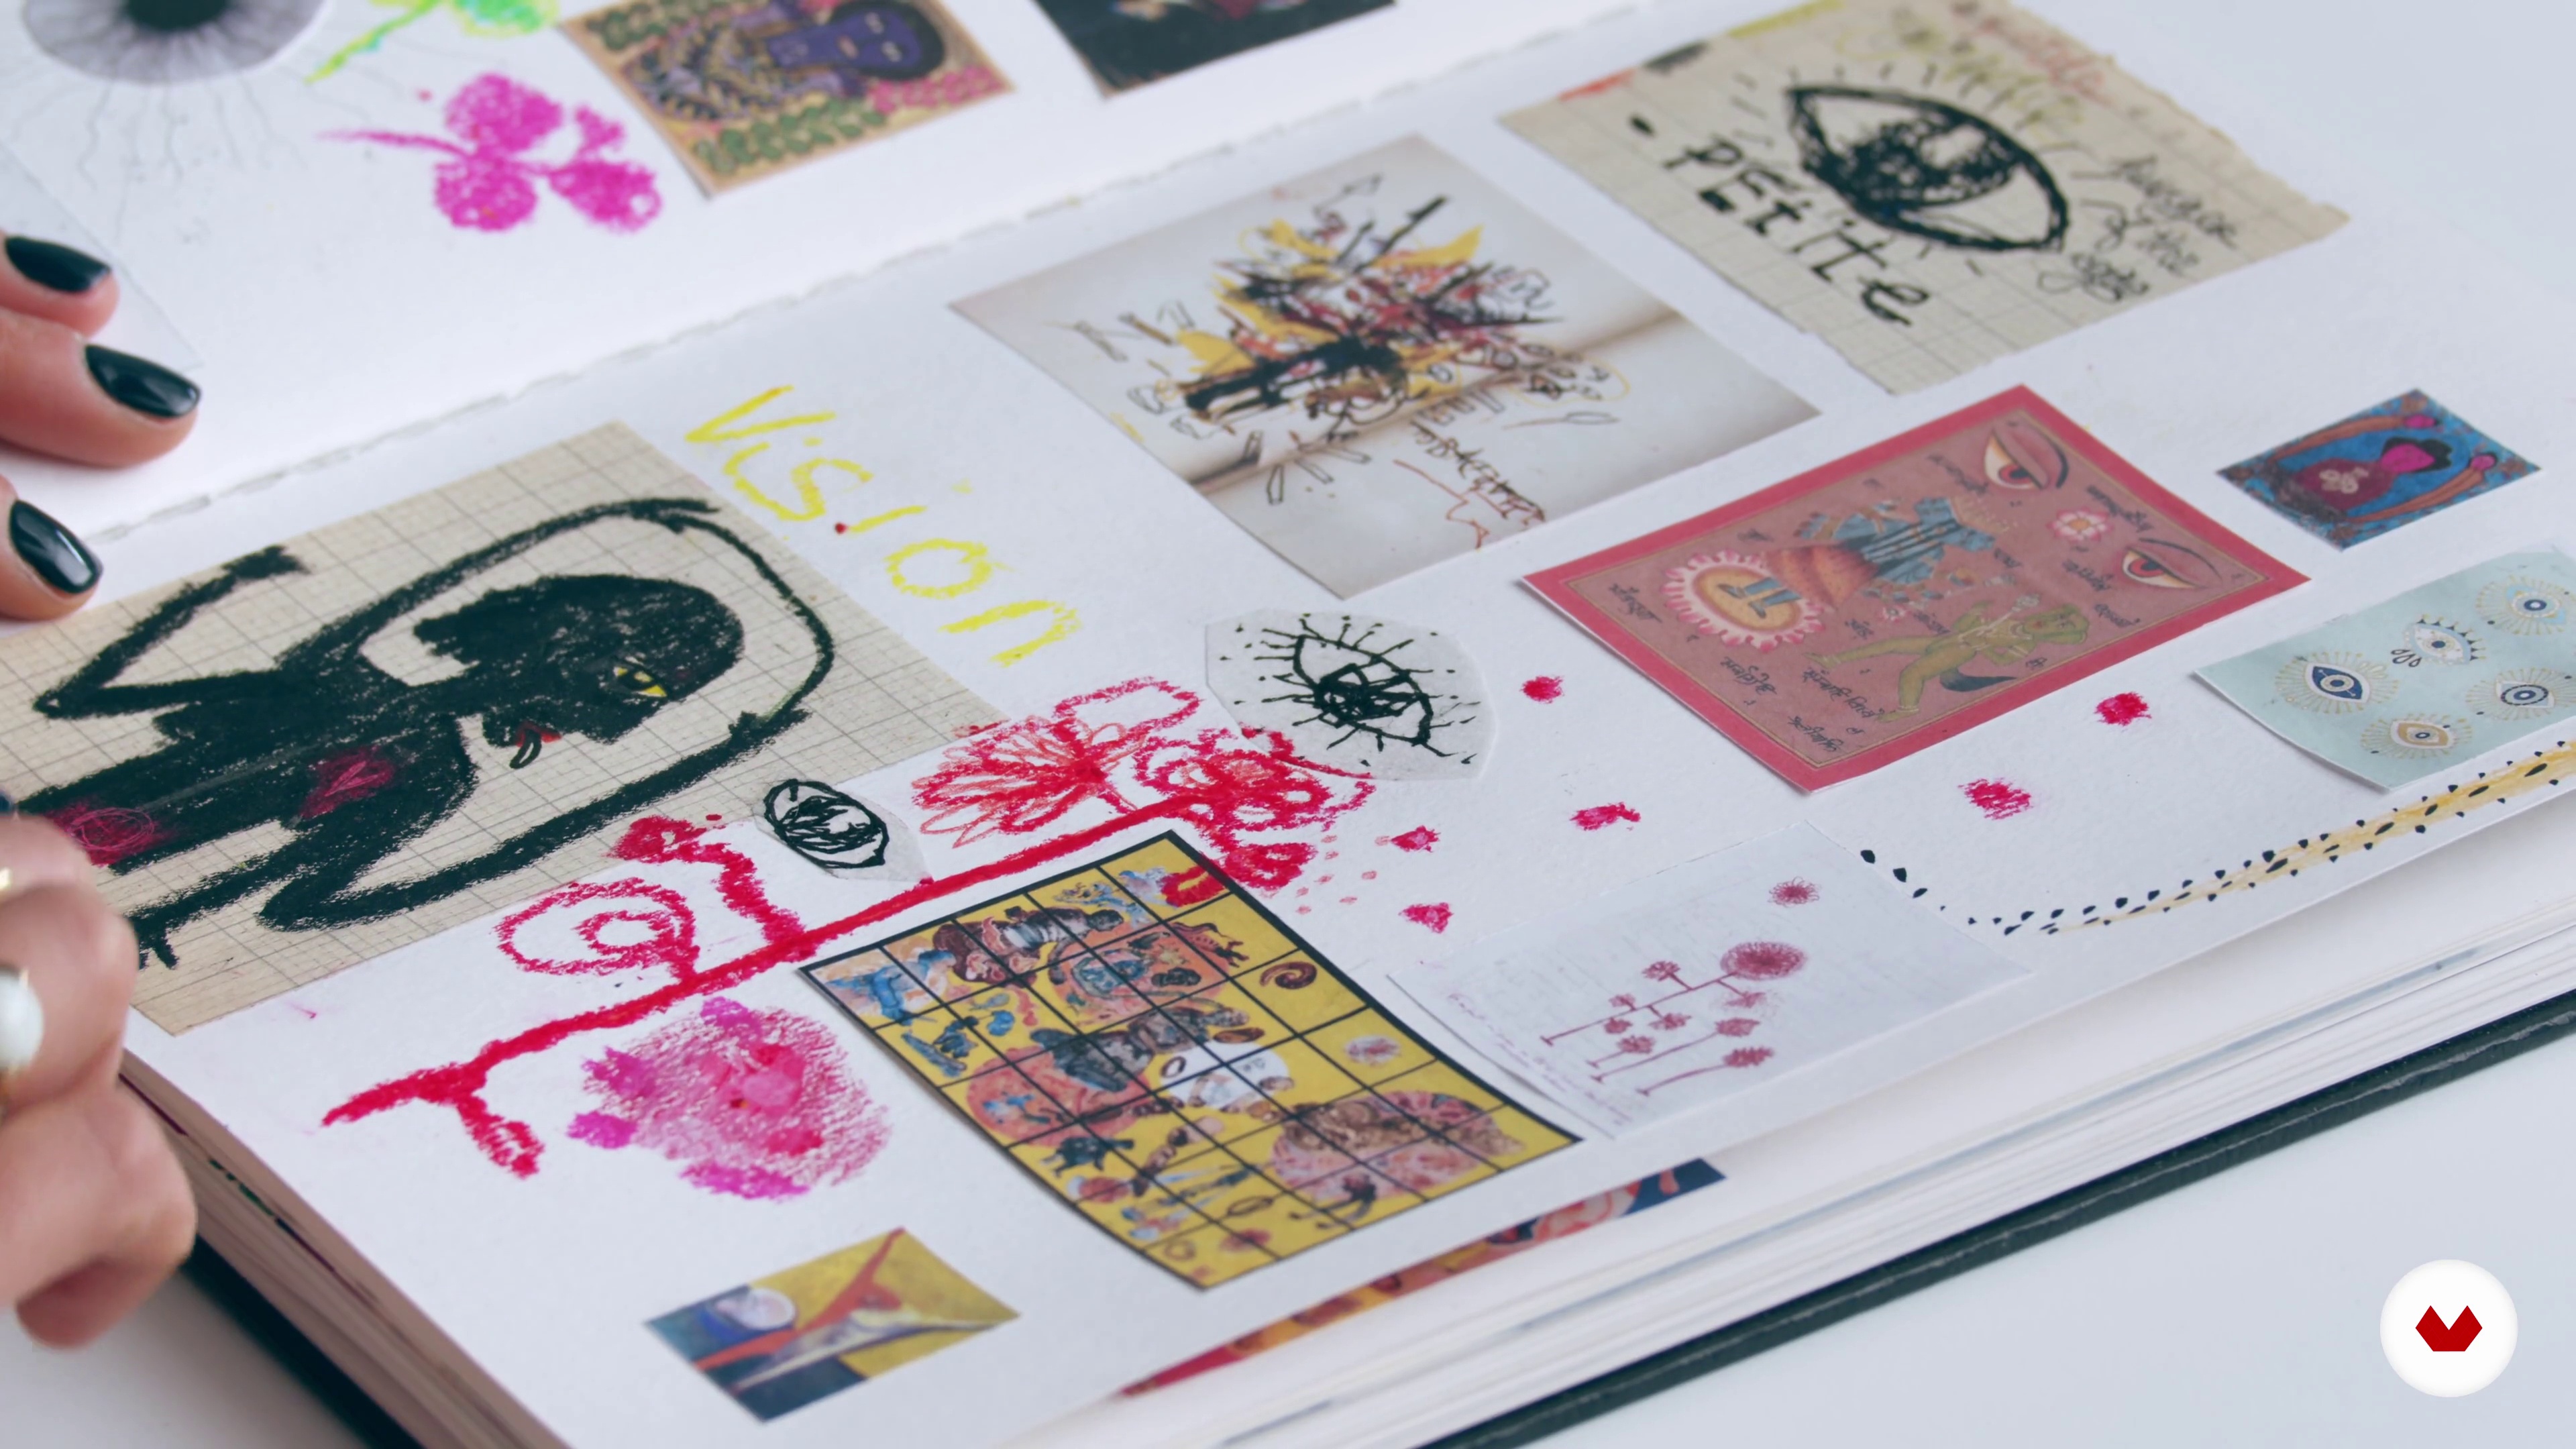
Here I will summarise the method for working an entire project inside a sketchbook that I have developed over my years as an artist. I will share my sketchbook manual for the method. I will also show you other projects that began in sketchbooks and end up as published books.
14m
 5
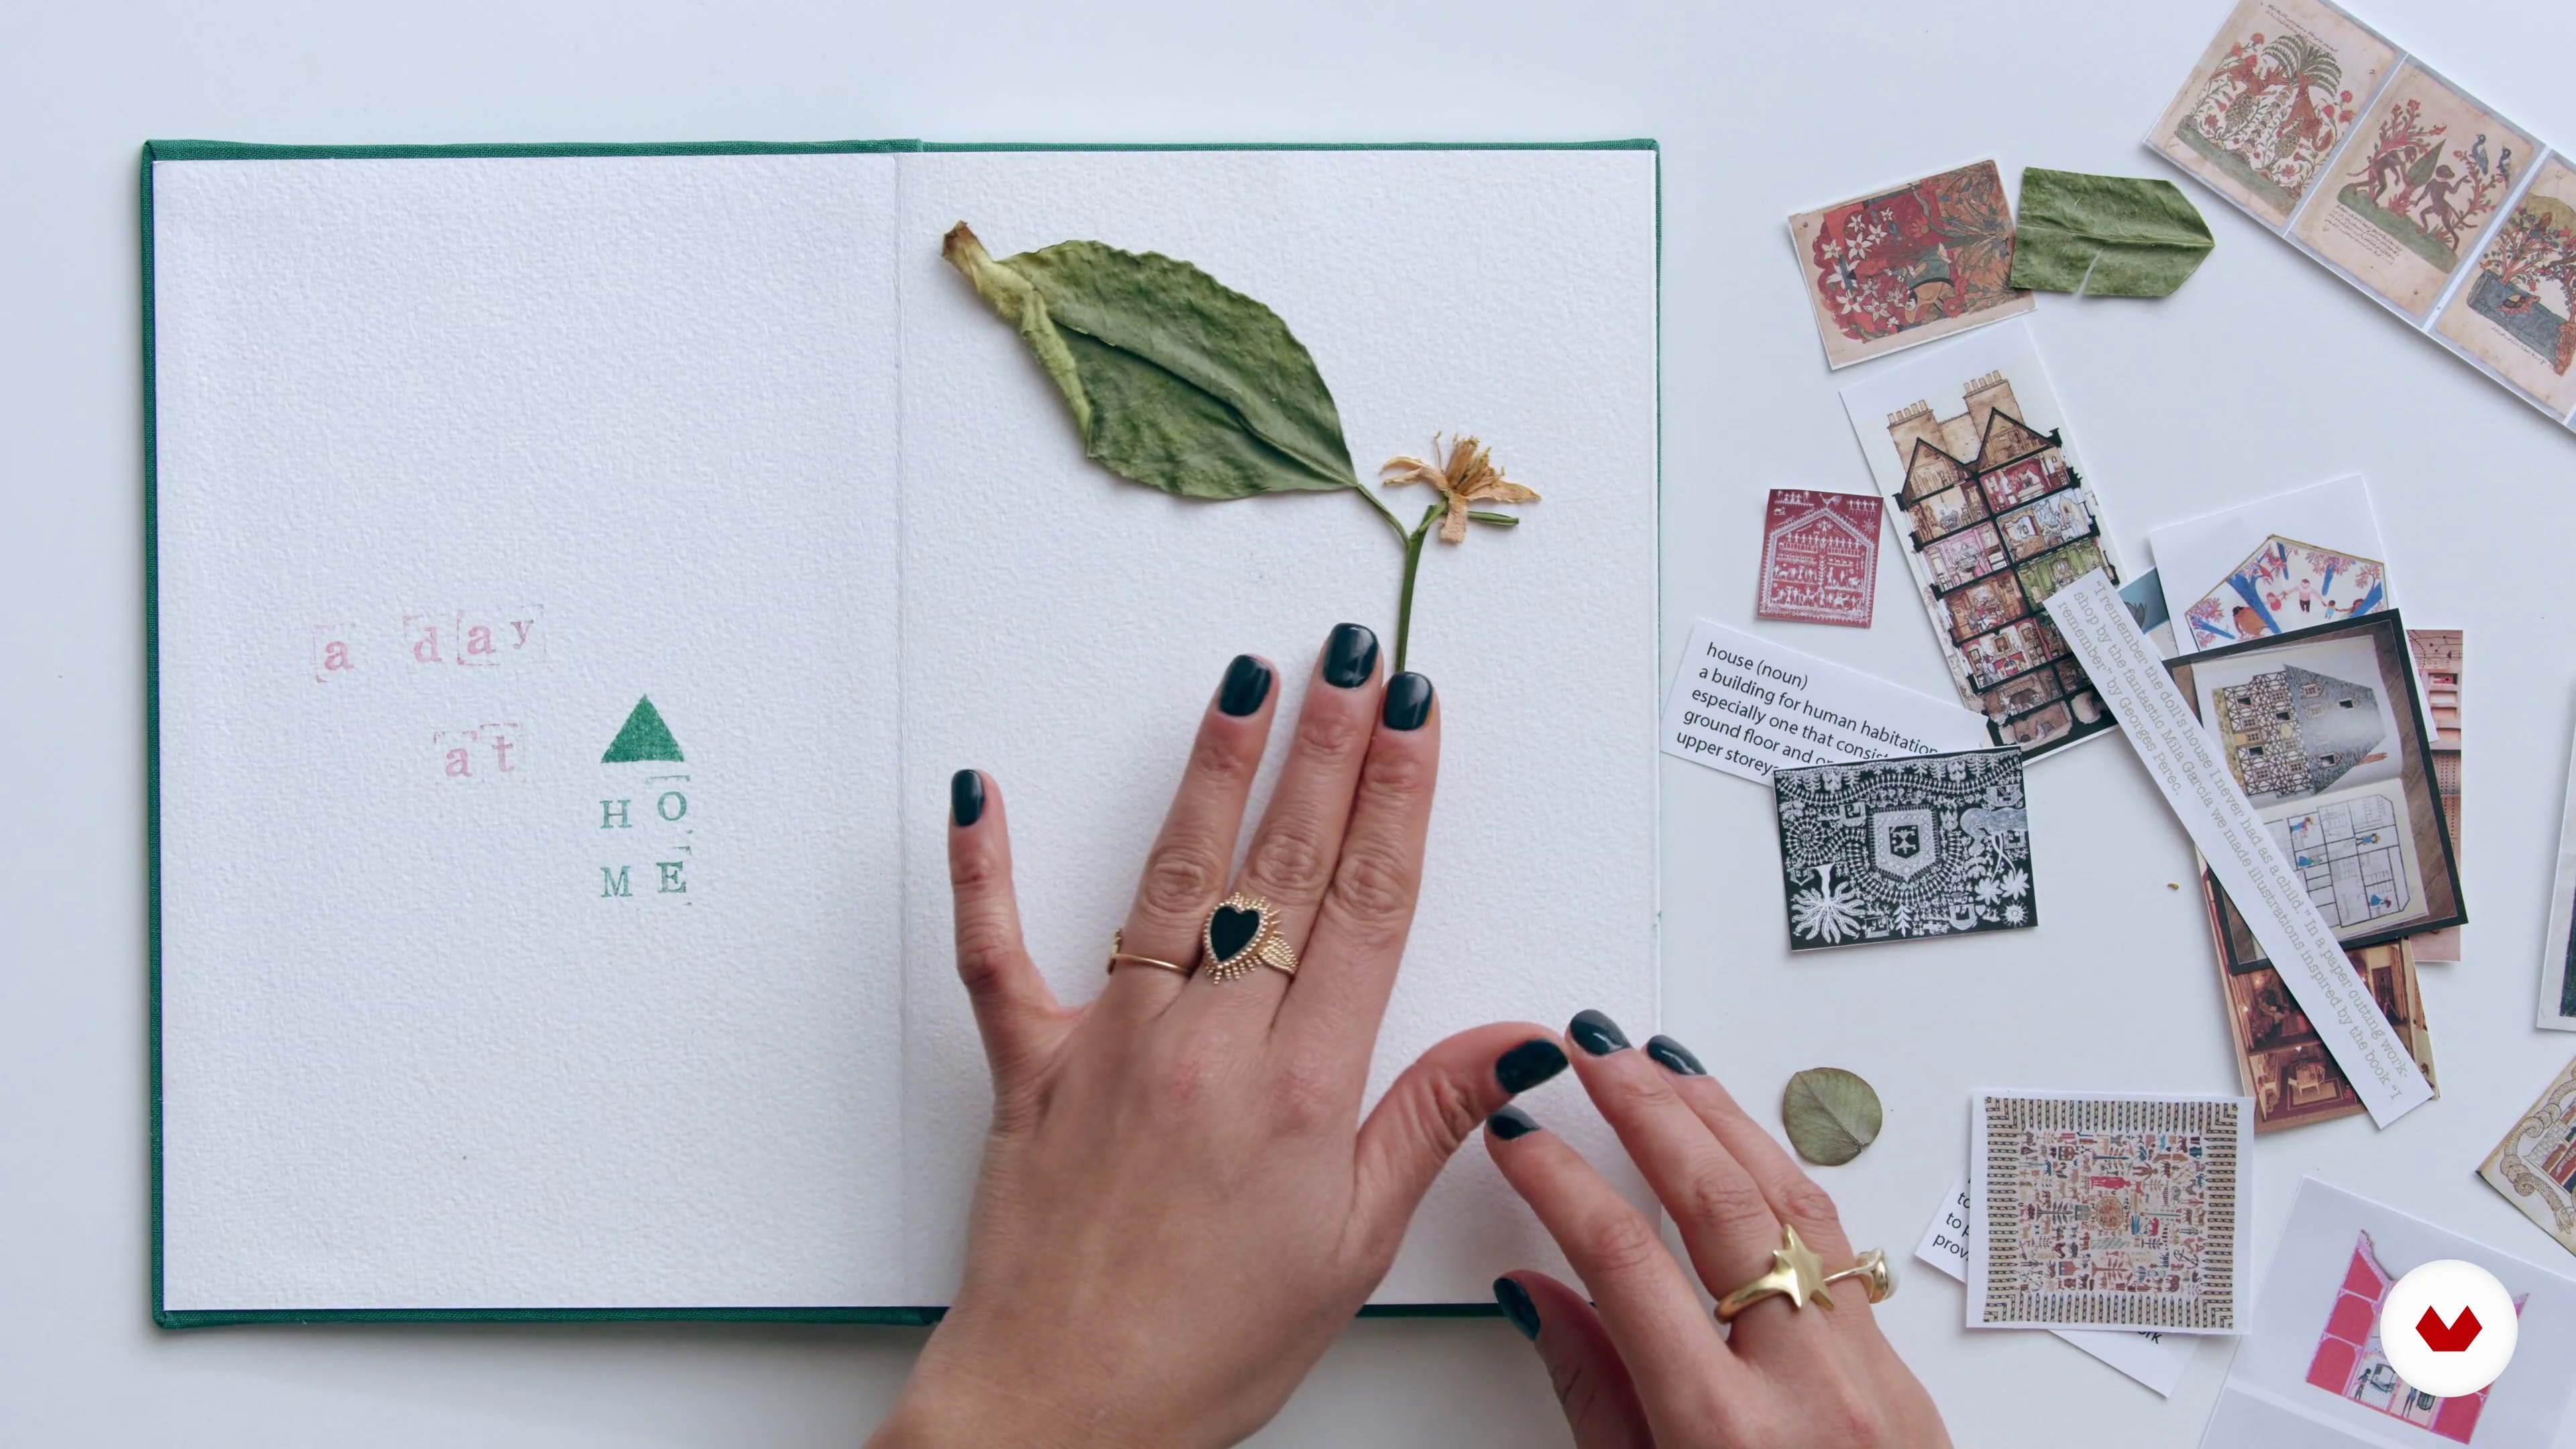
5Creating a World Inside Your Sketchbook 2
Let's continue to take a look at the process of creating sketchbooks for your projects.
18m
 6
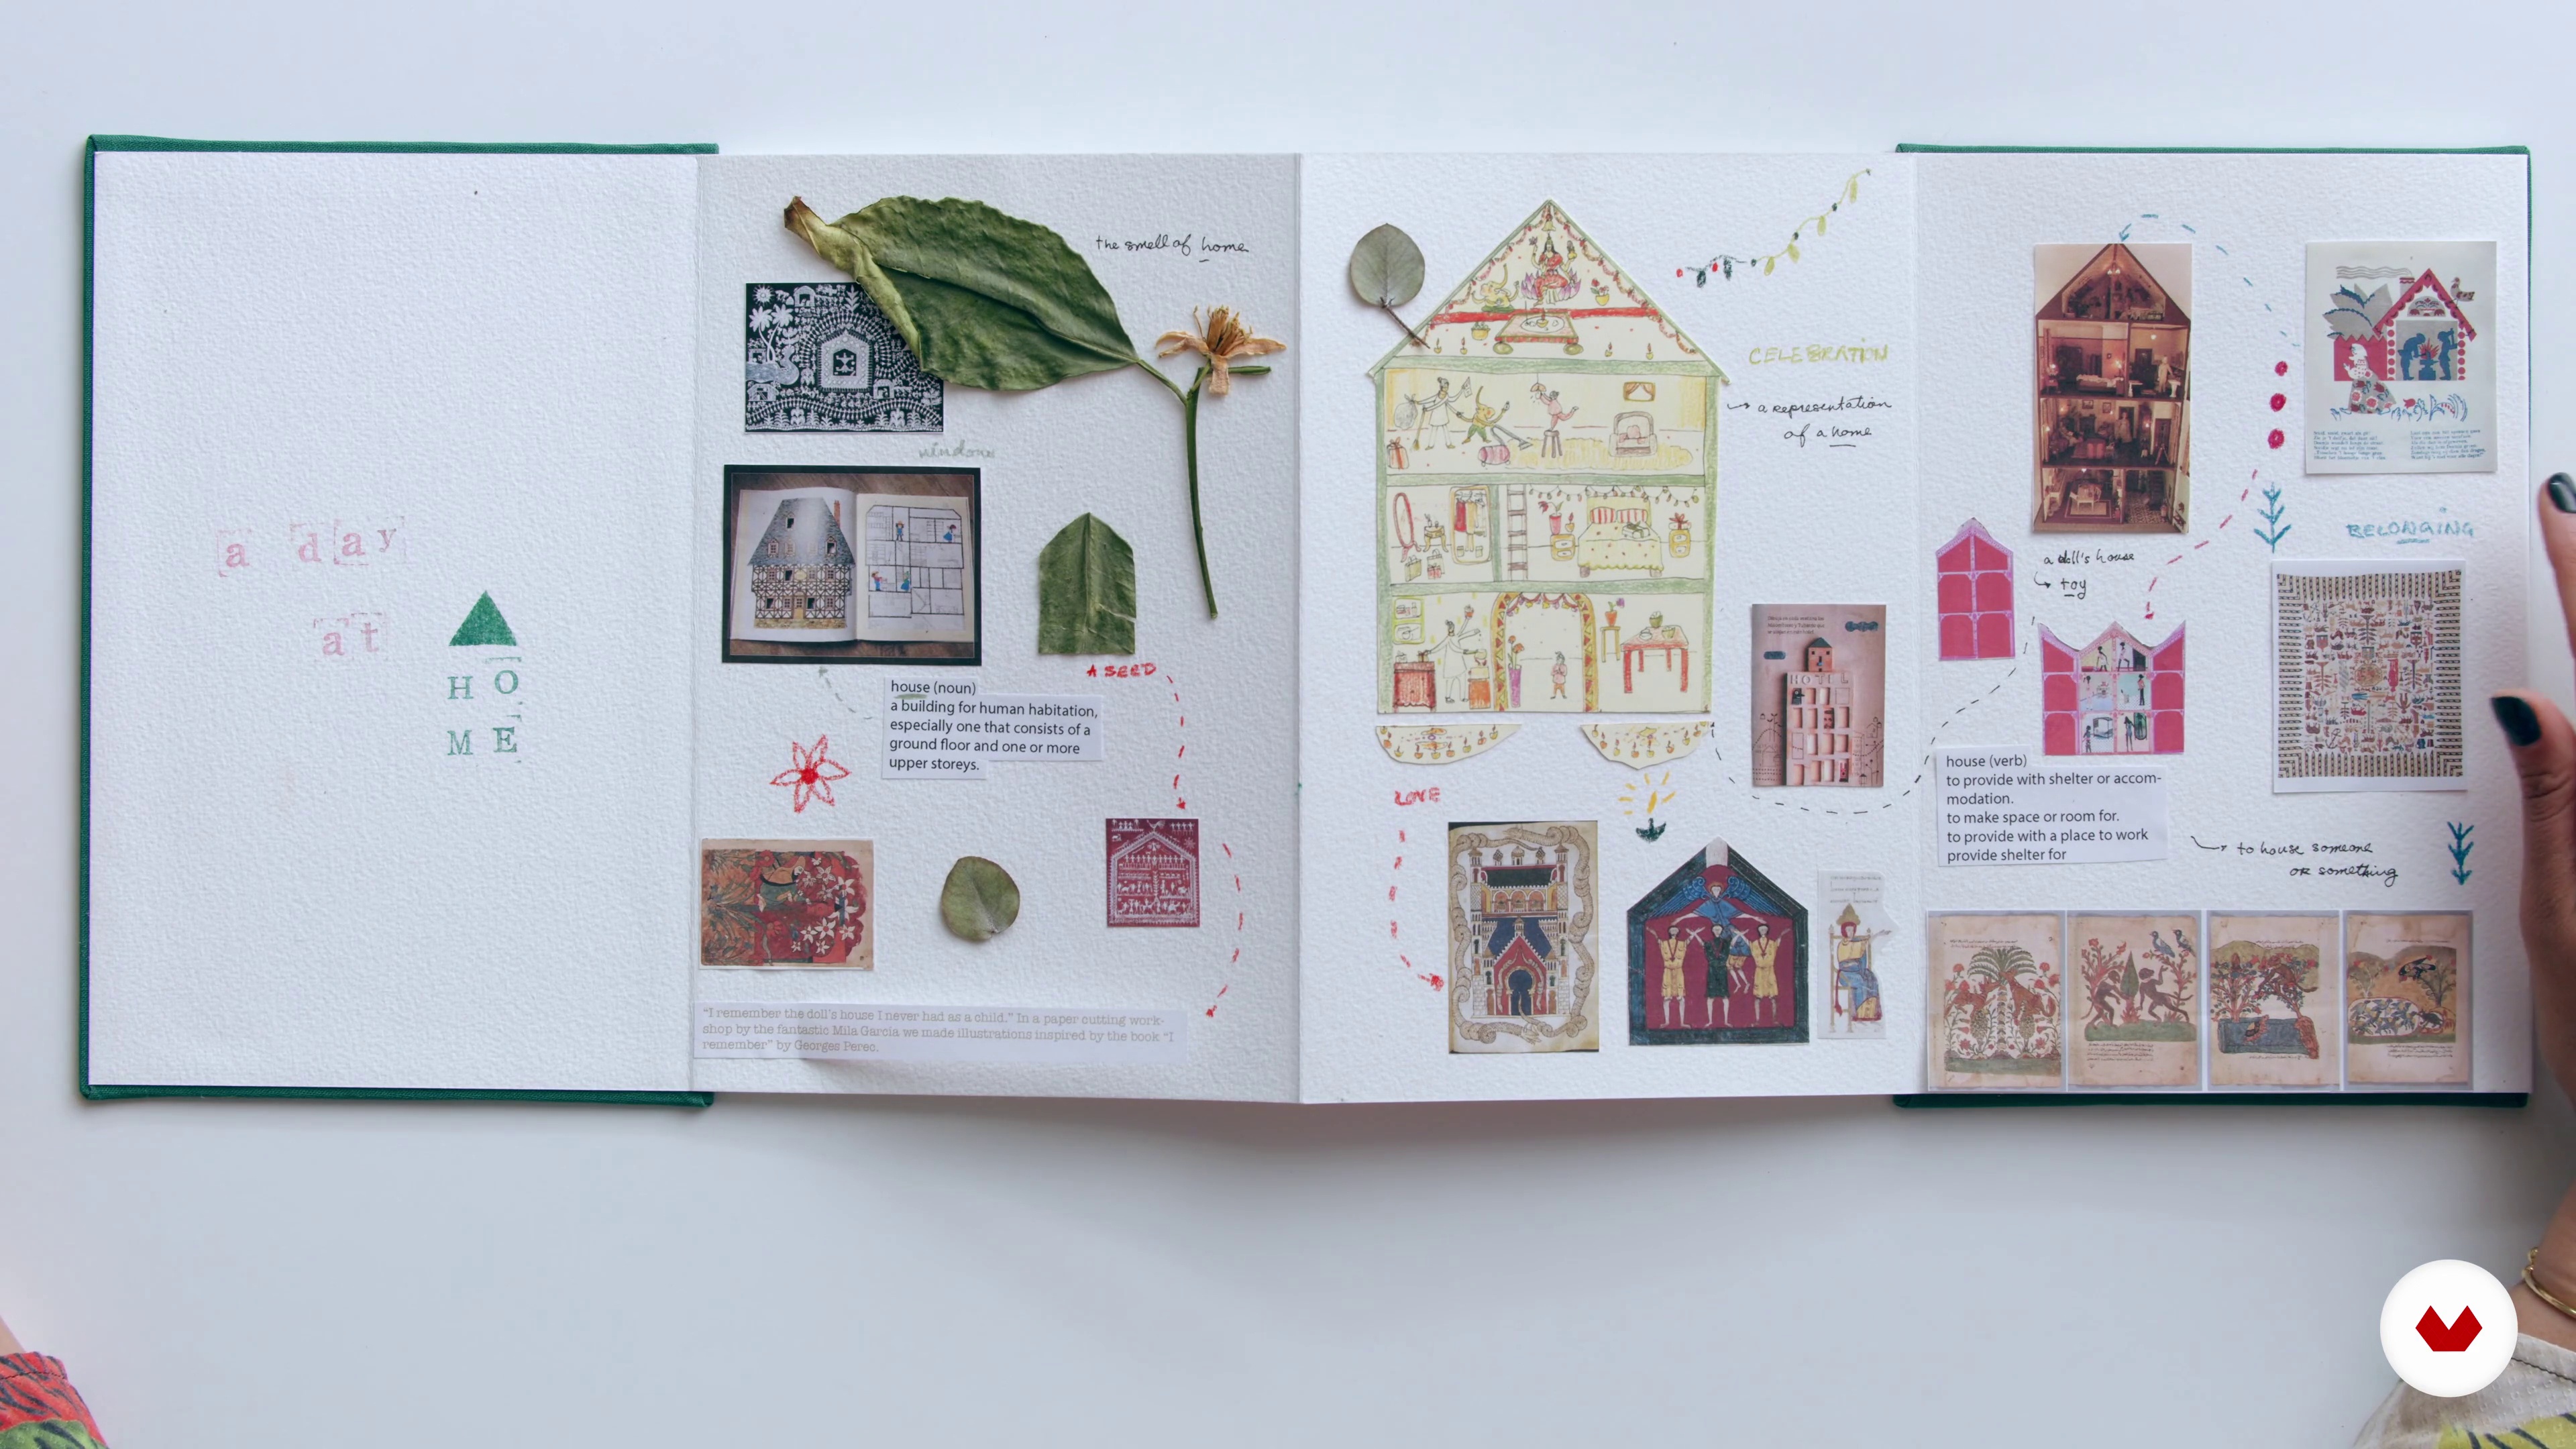
6Planting a Story Seed 1
Now, we will begin playing around with a story using three basic elements: a setting, some characters and an action or conflict. For each step, we will begin making quick paper cut formats so that we can enter the story and watch it grow.
13m
 7
7Planting a Story Seed 2
Let's continue working on the sketchbook using simple collage techniques. As you will see, I like to use diverse visual references.
14m
 8
8Entering a Paper Playground 1
Now that we have defined the principle elements of our story, in this lesson we will begin playing around with simple formats to enter a paper playground of cuts and folds.
16m
 9
9Entering a Paper Playground 2
Let's now apply the formats I've shown you into my own sketchbook.
15m
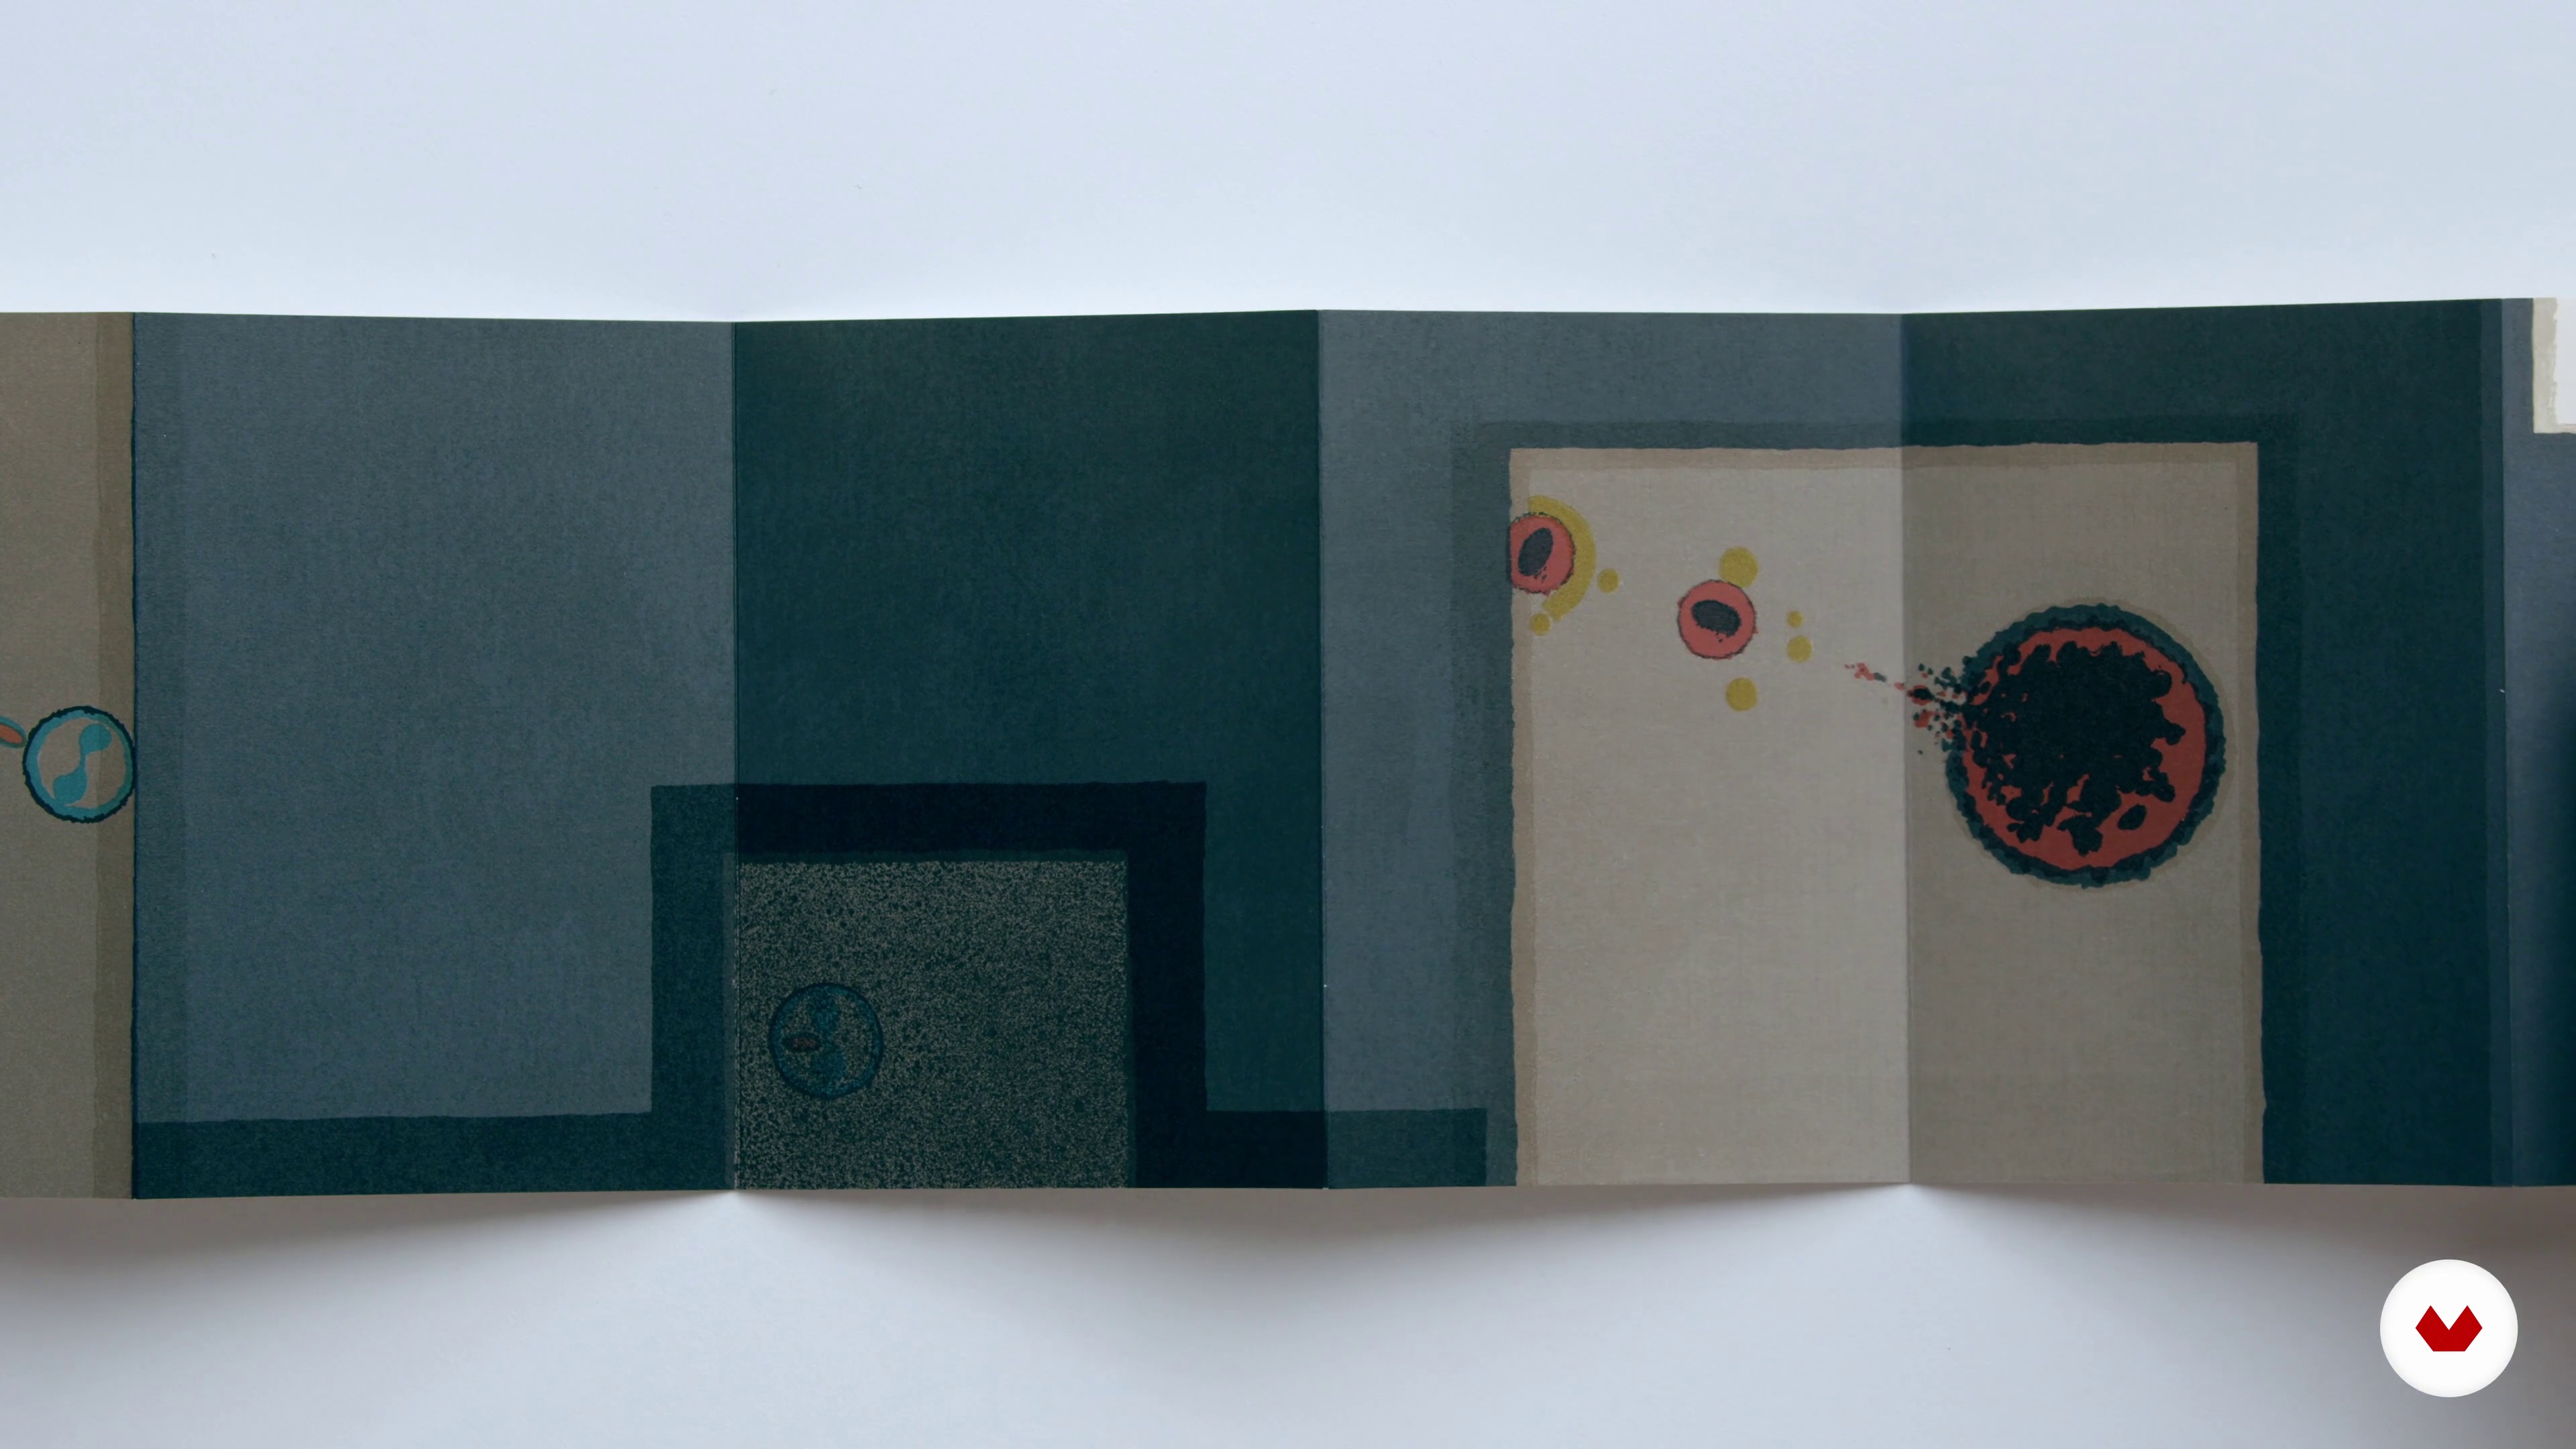 10
10What Is My Book Going to Look Like? 1
This lesson is a feast for the eyes! I will be showing you many different book formats and demonstrating how each offers its own particular narrative.
17m
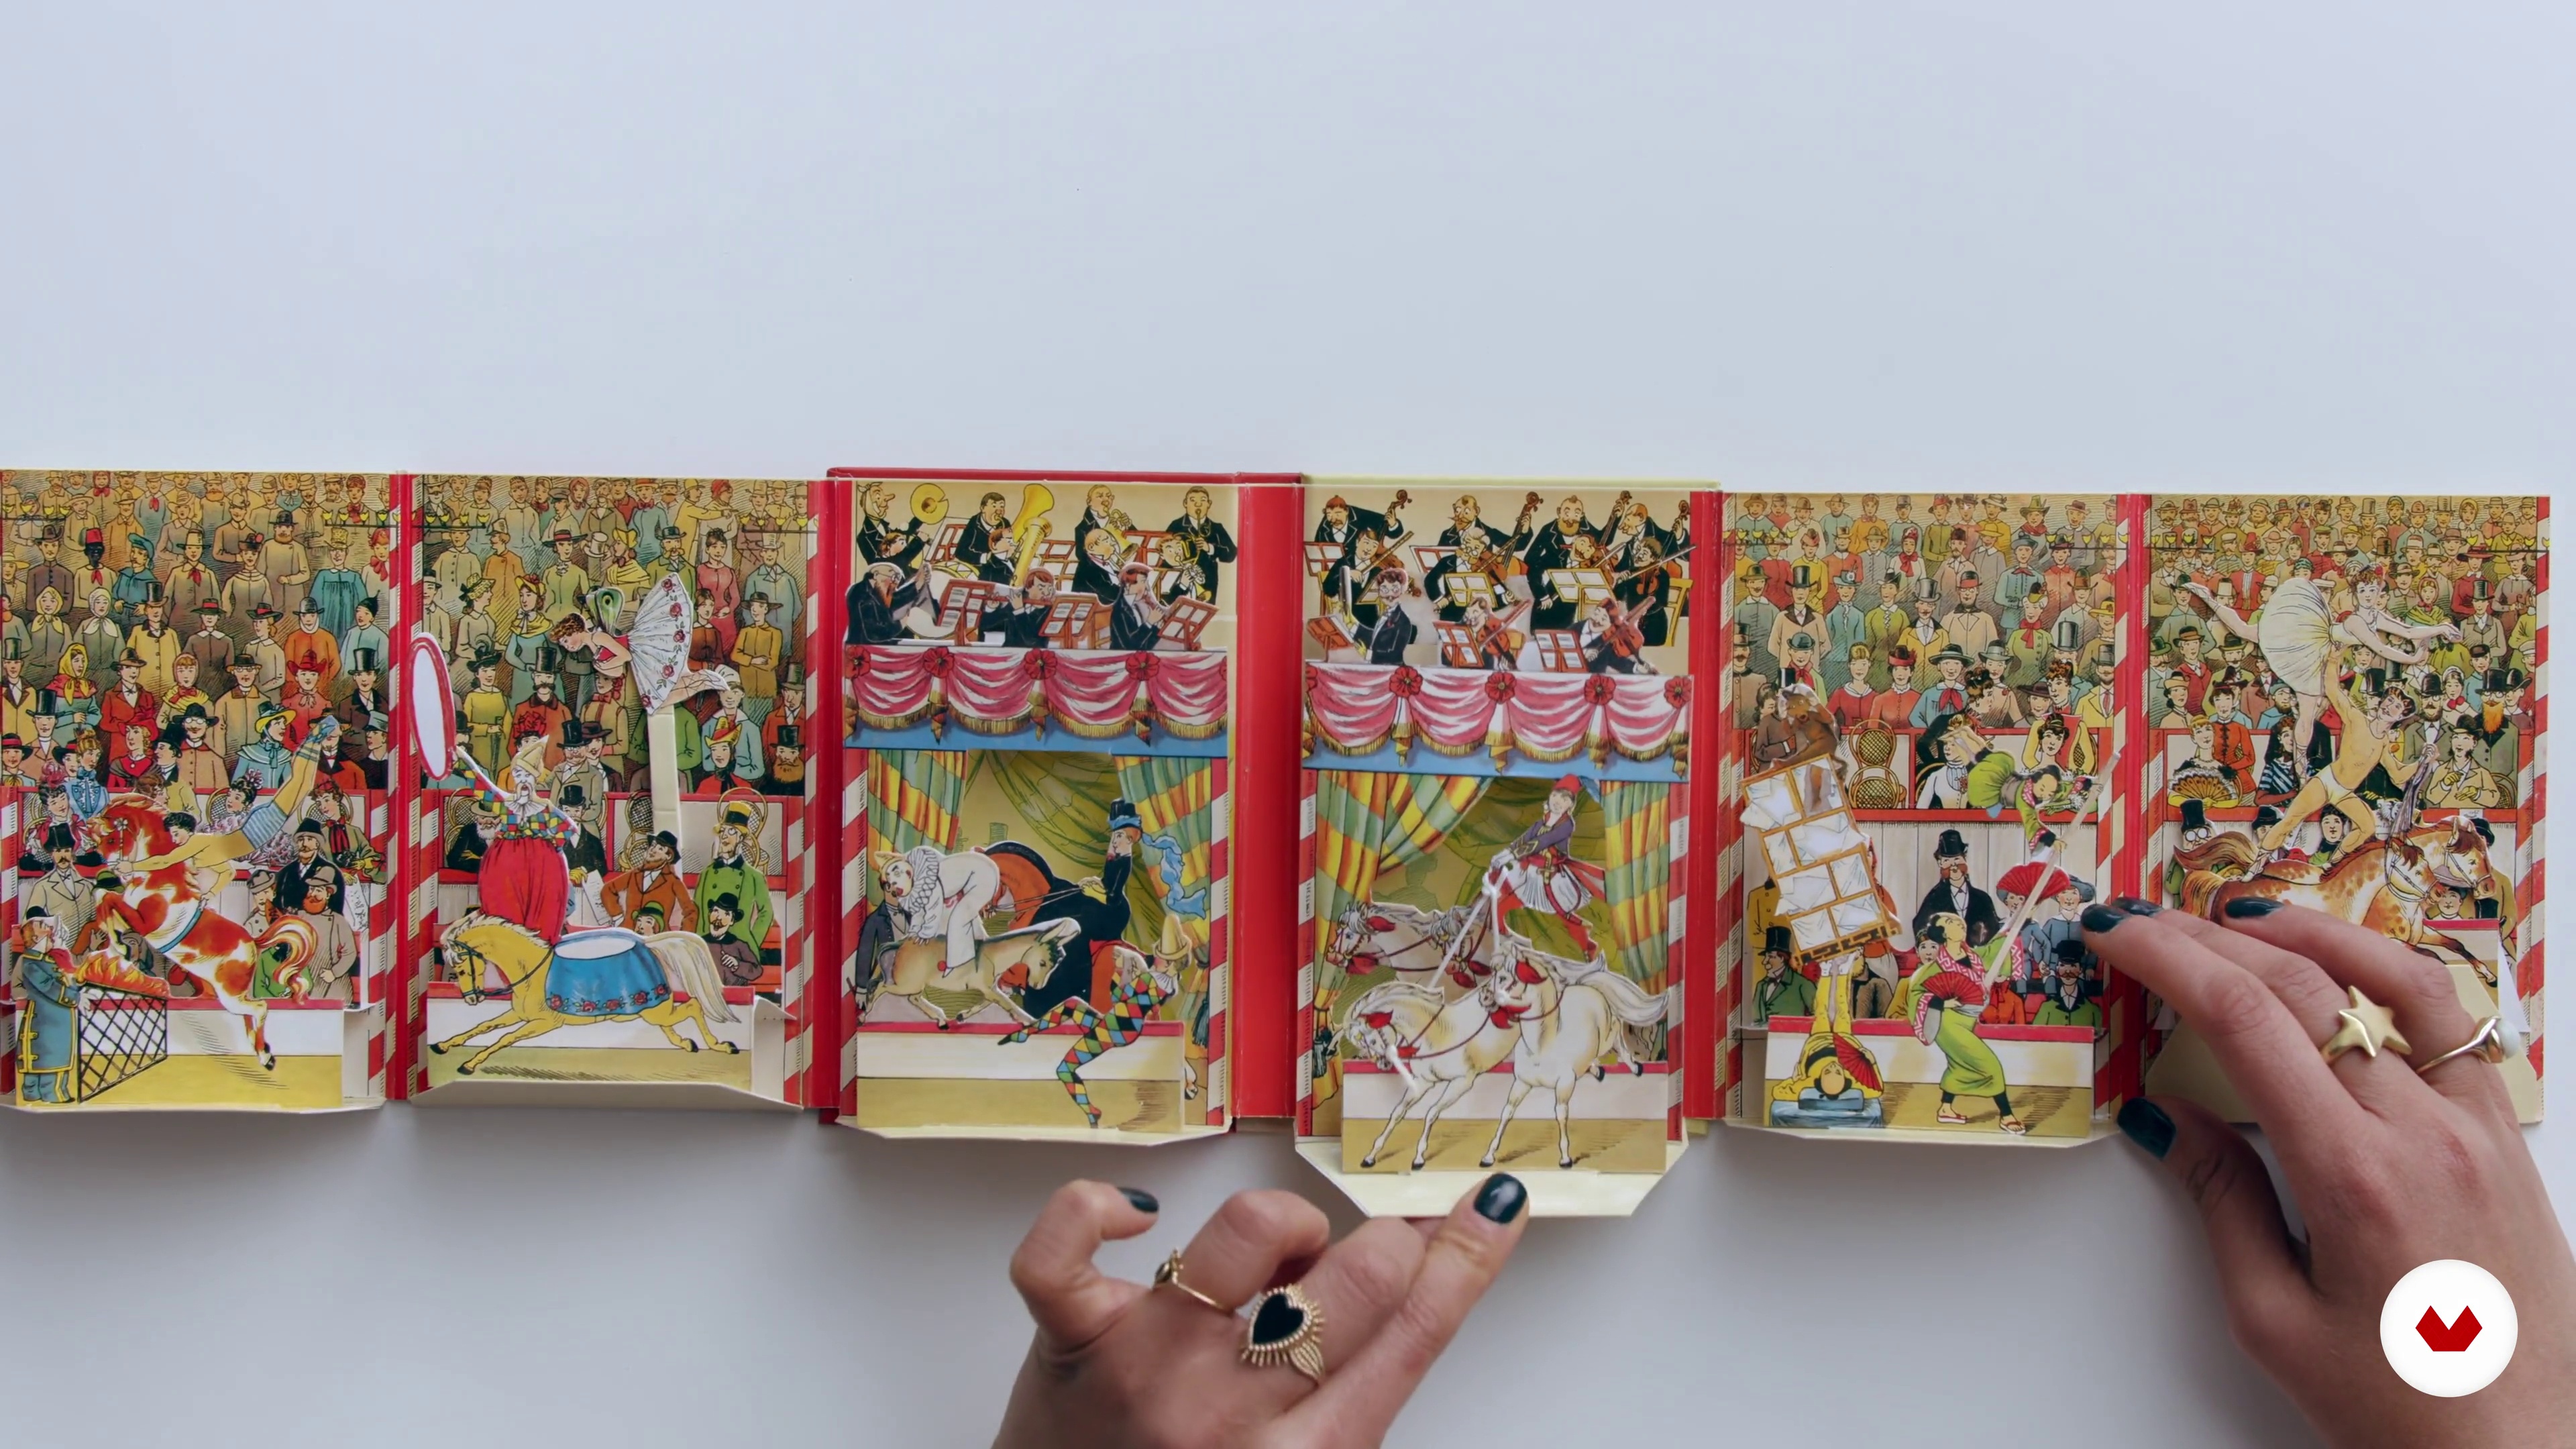 11
11What Is My Book Going to Look Like? 2
In this part of the lesson, I will show you some other books that play with flaps, perforations and folds.
18m
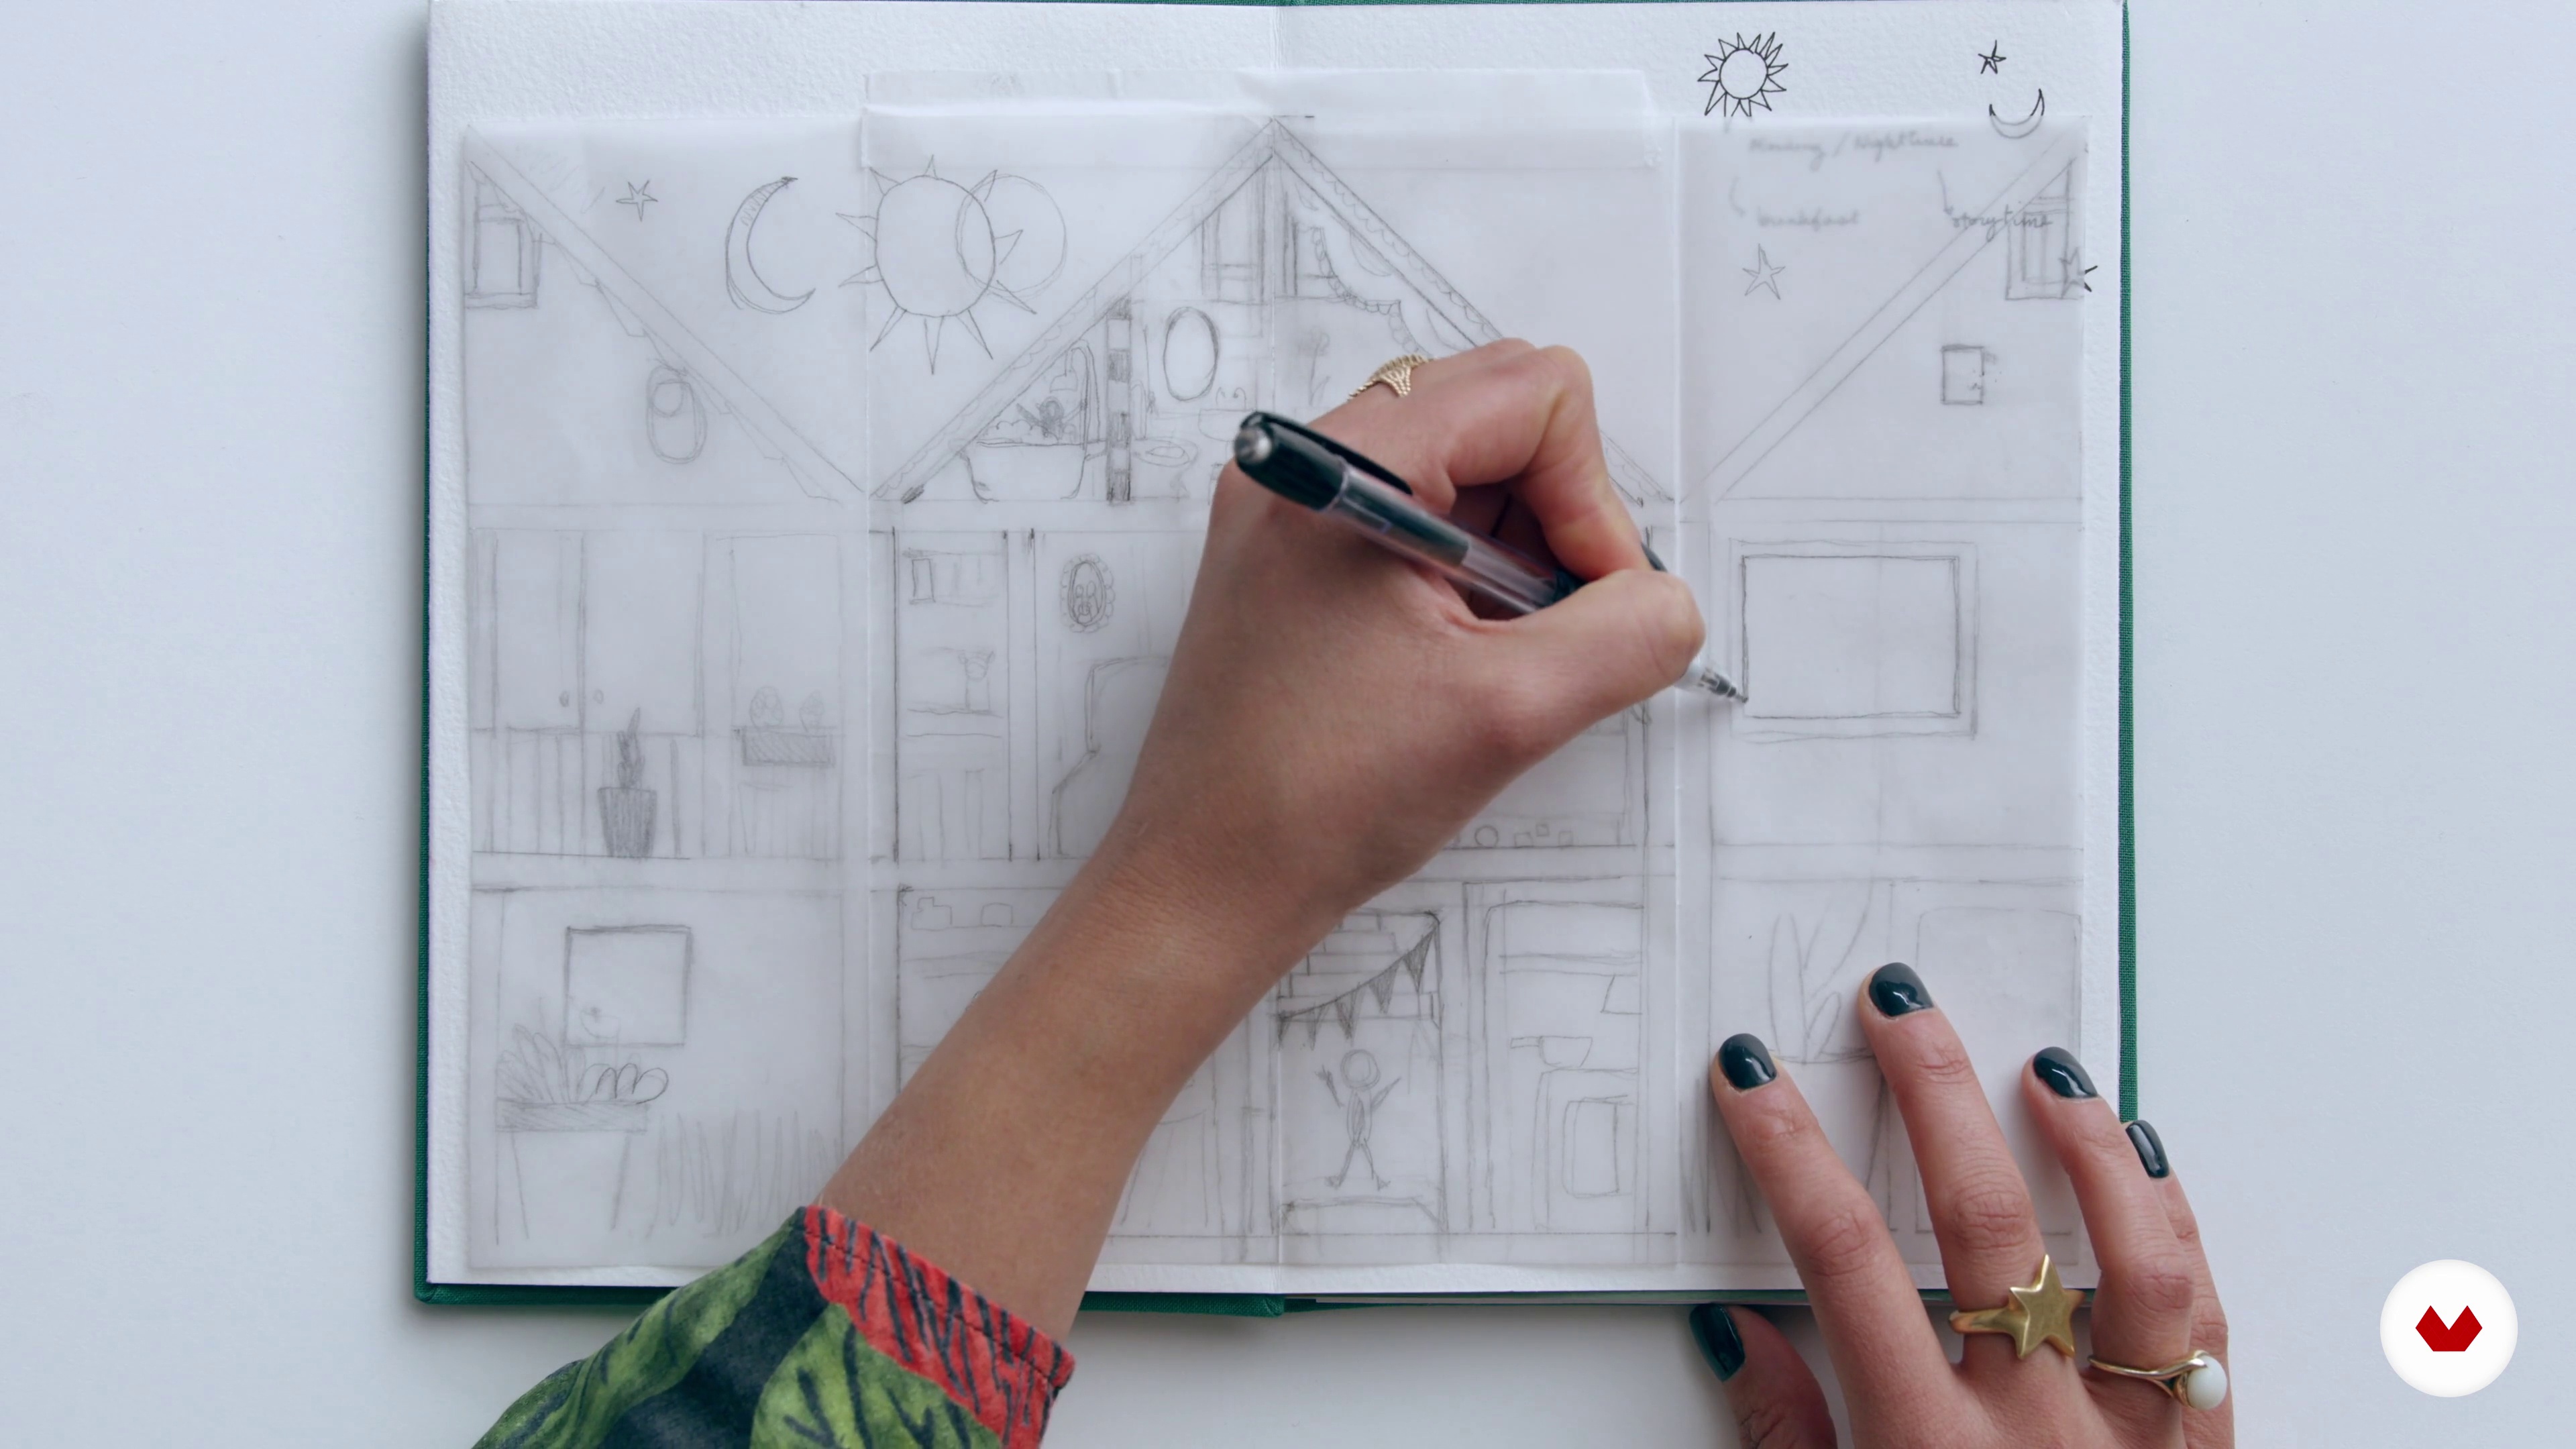 12
12Creating a Dummy: Collection of Folded Cards
In this lesson I will begin working through my story in a folded card series format. With basic cuts and folds, I will show you how the narrative evolves from daytime to nighttime.
19m
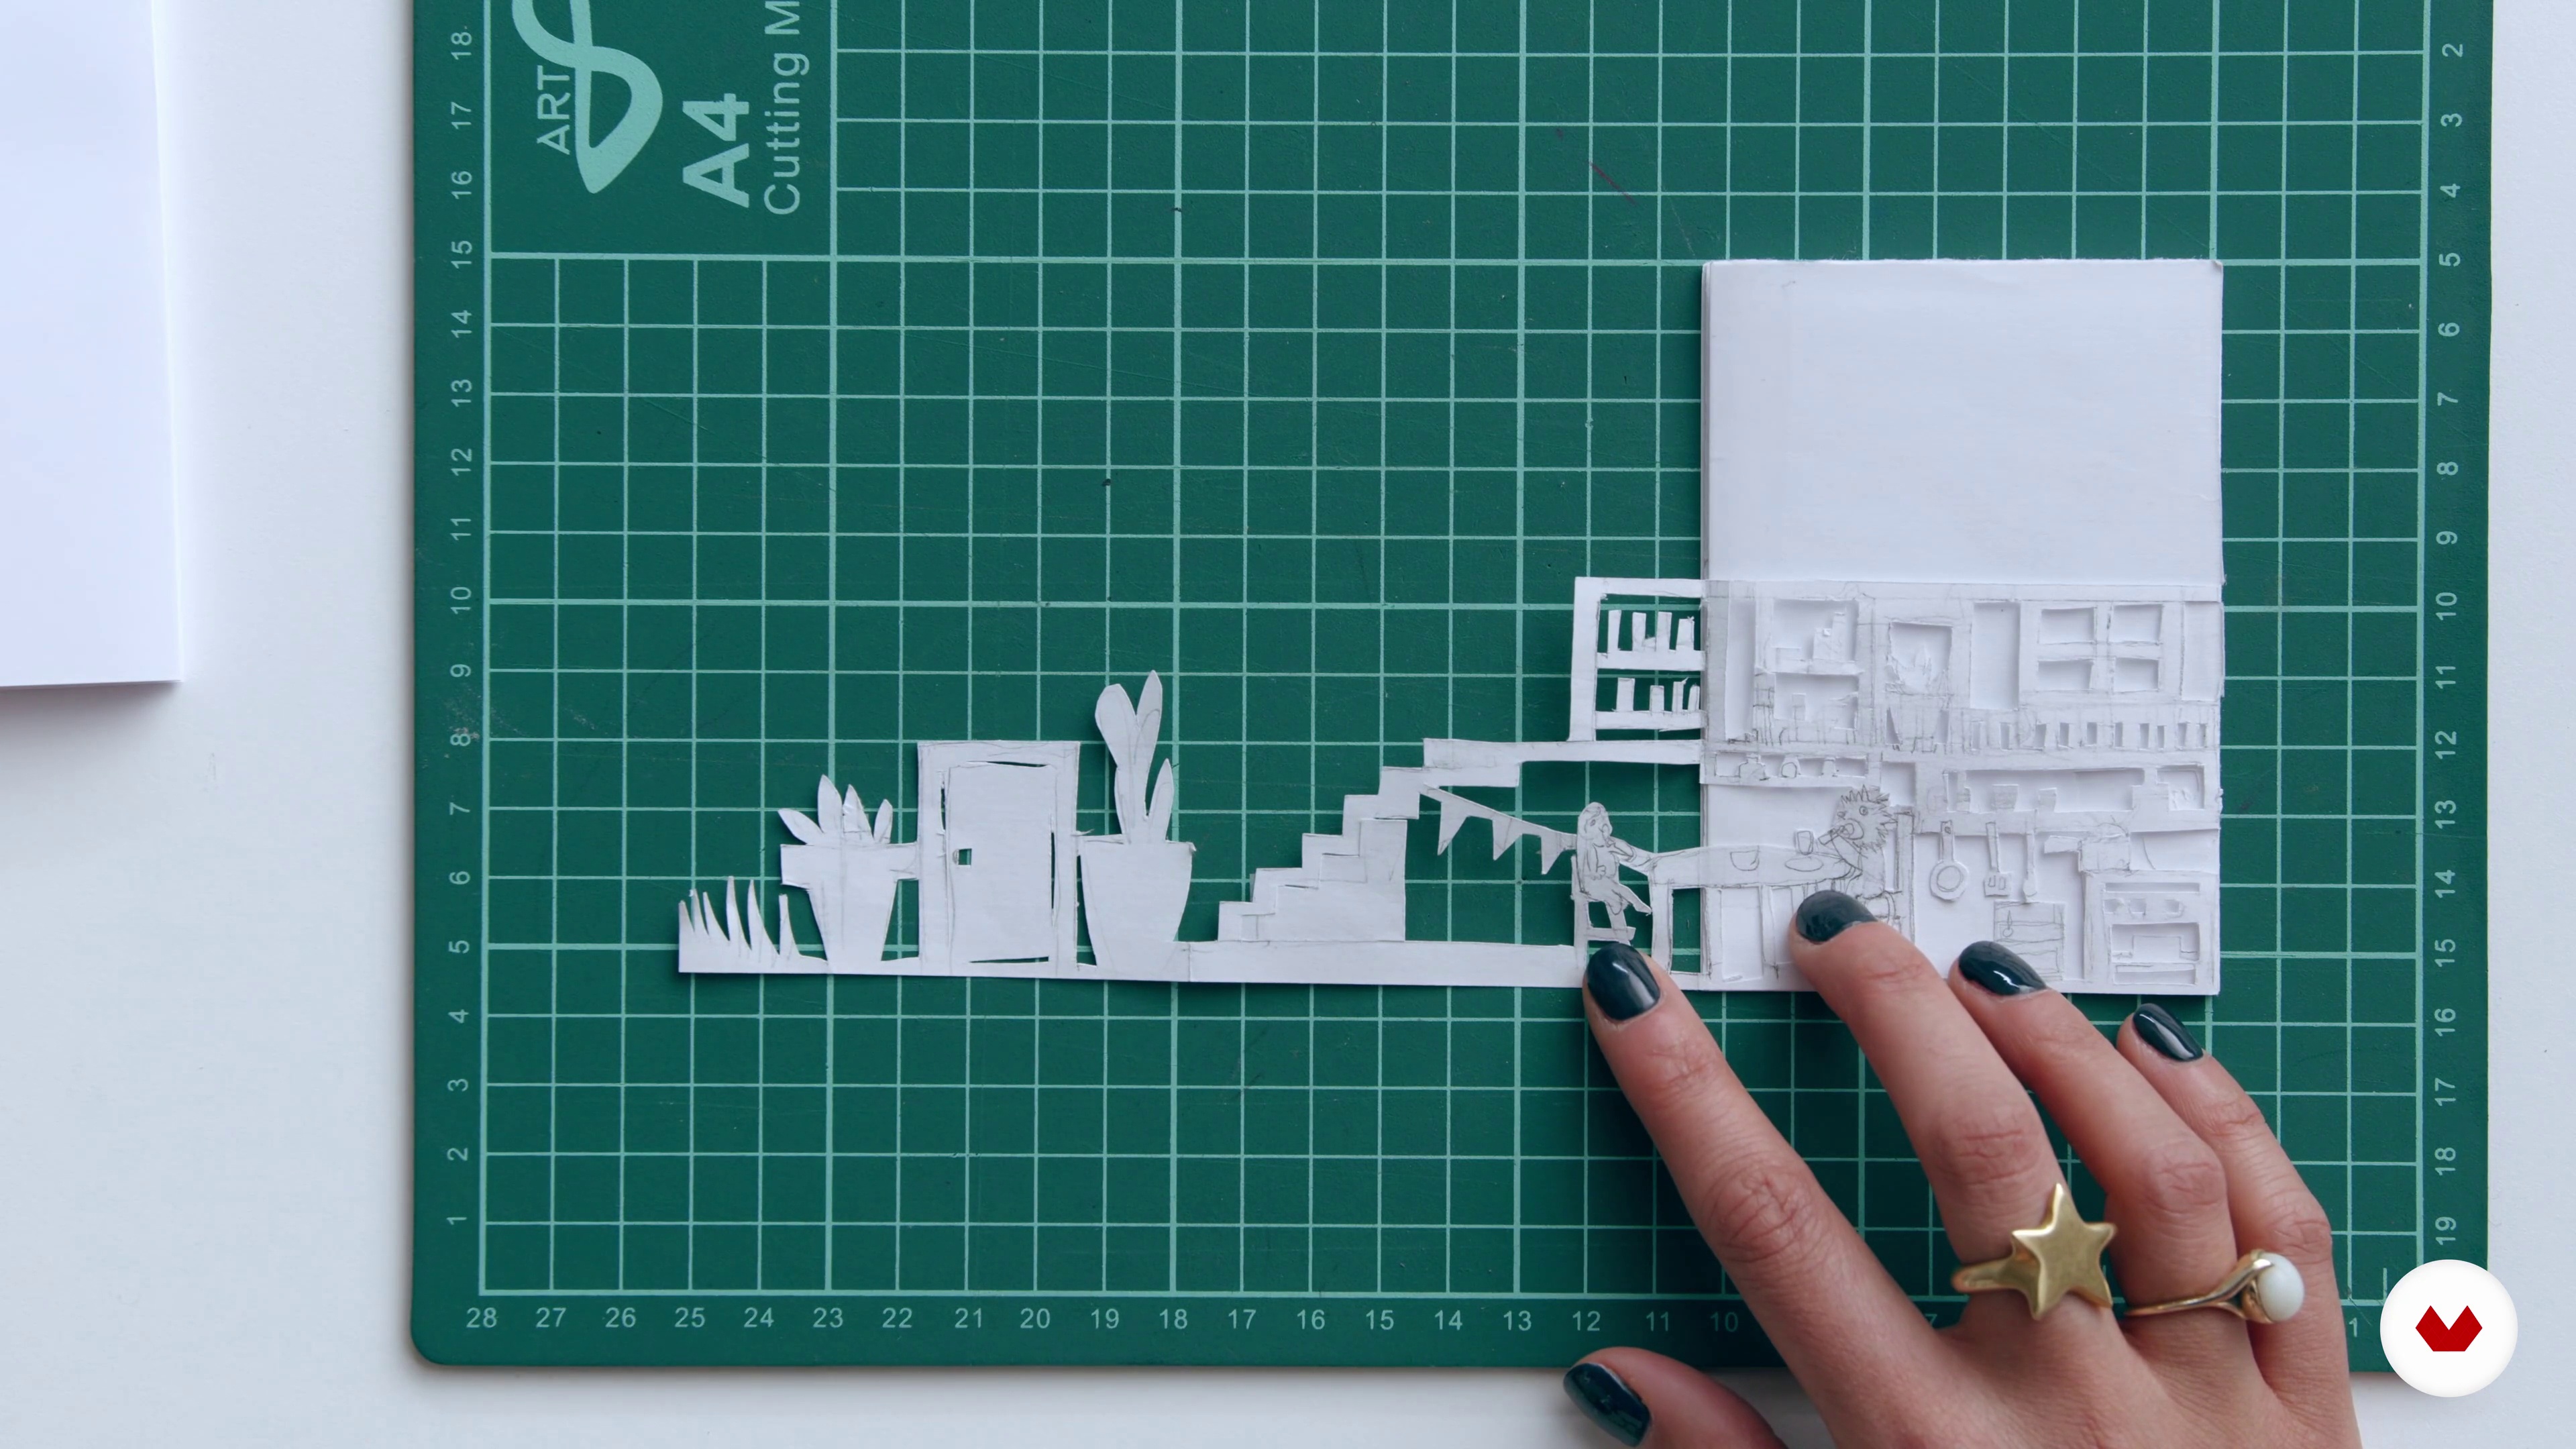 13
13Creating a Dummy: Pop-up Accordion 1
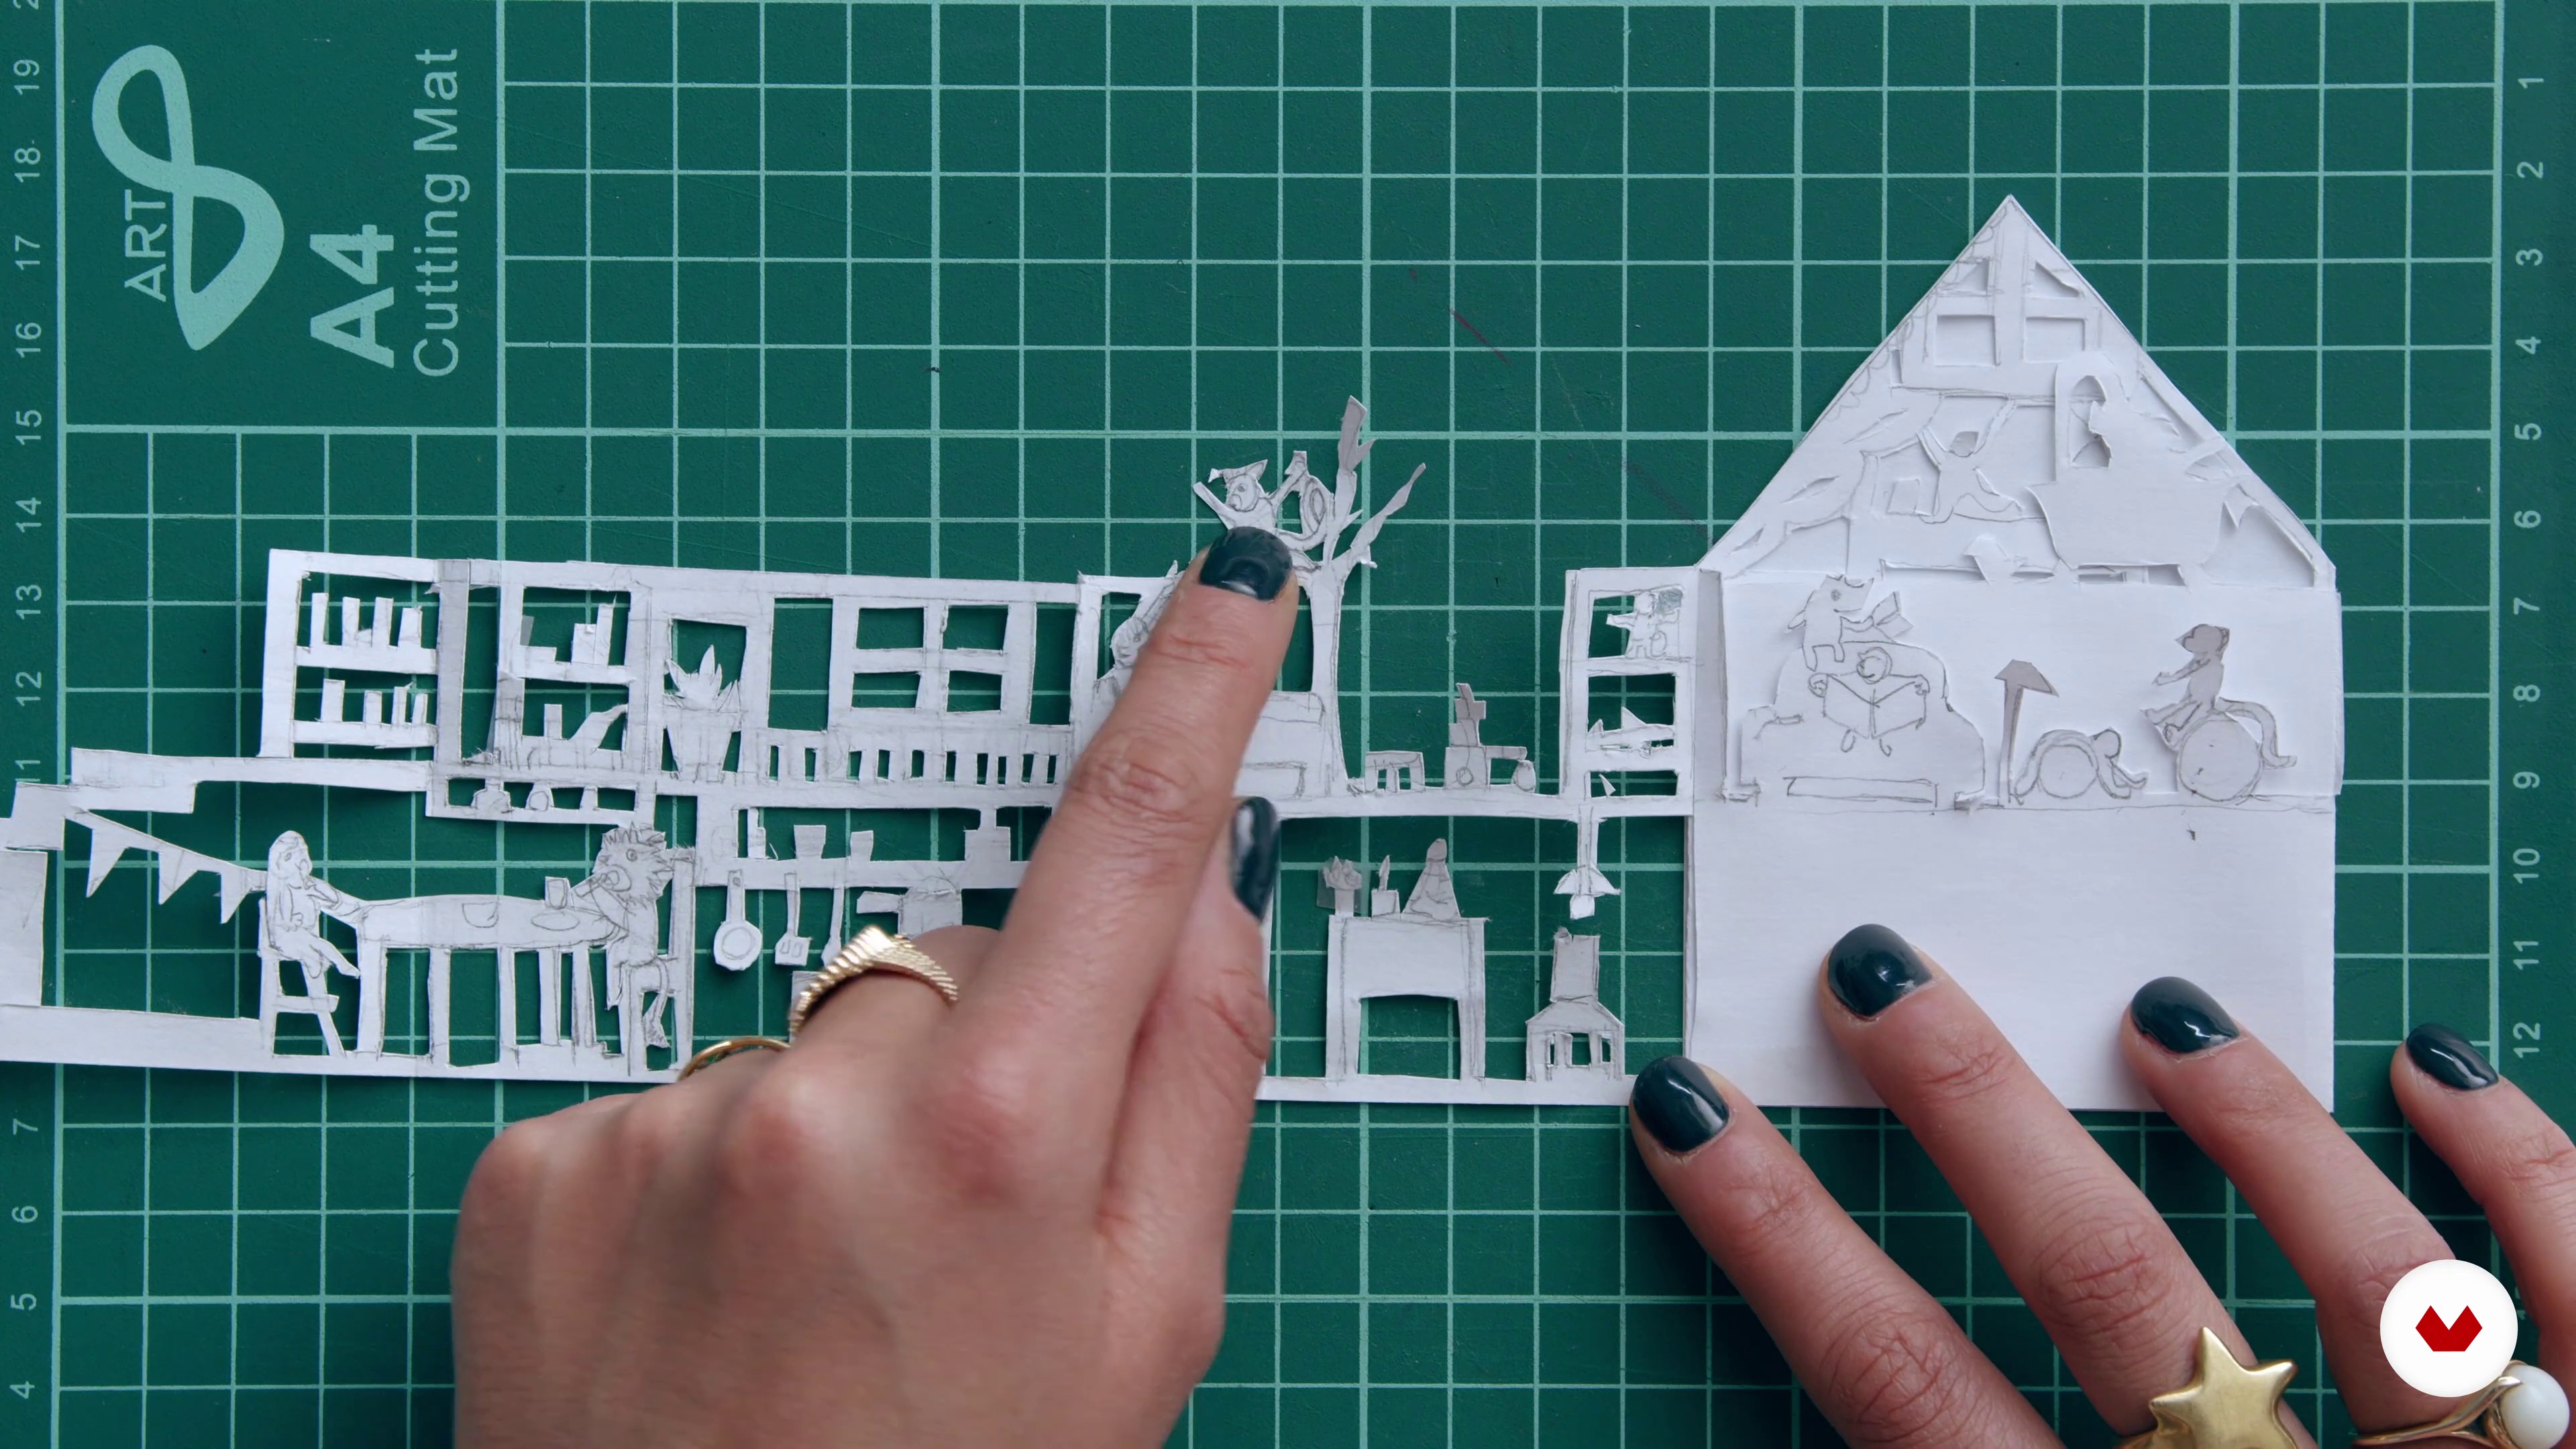
We will now move on to one of my favorite folds: the accordion! In this lesson, I will make my second dummy, a pop-up accordion miniature book.
17m
 14
14Creating a Dummy: Pop-up Accordion 2
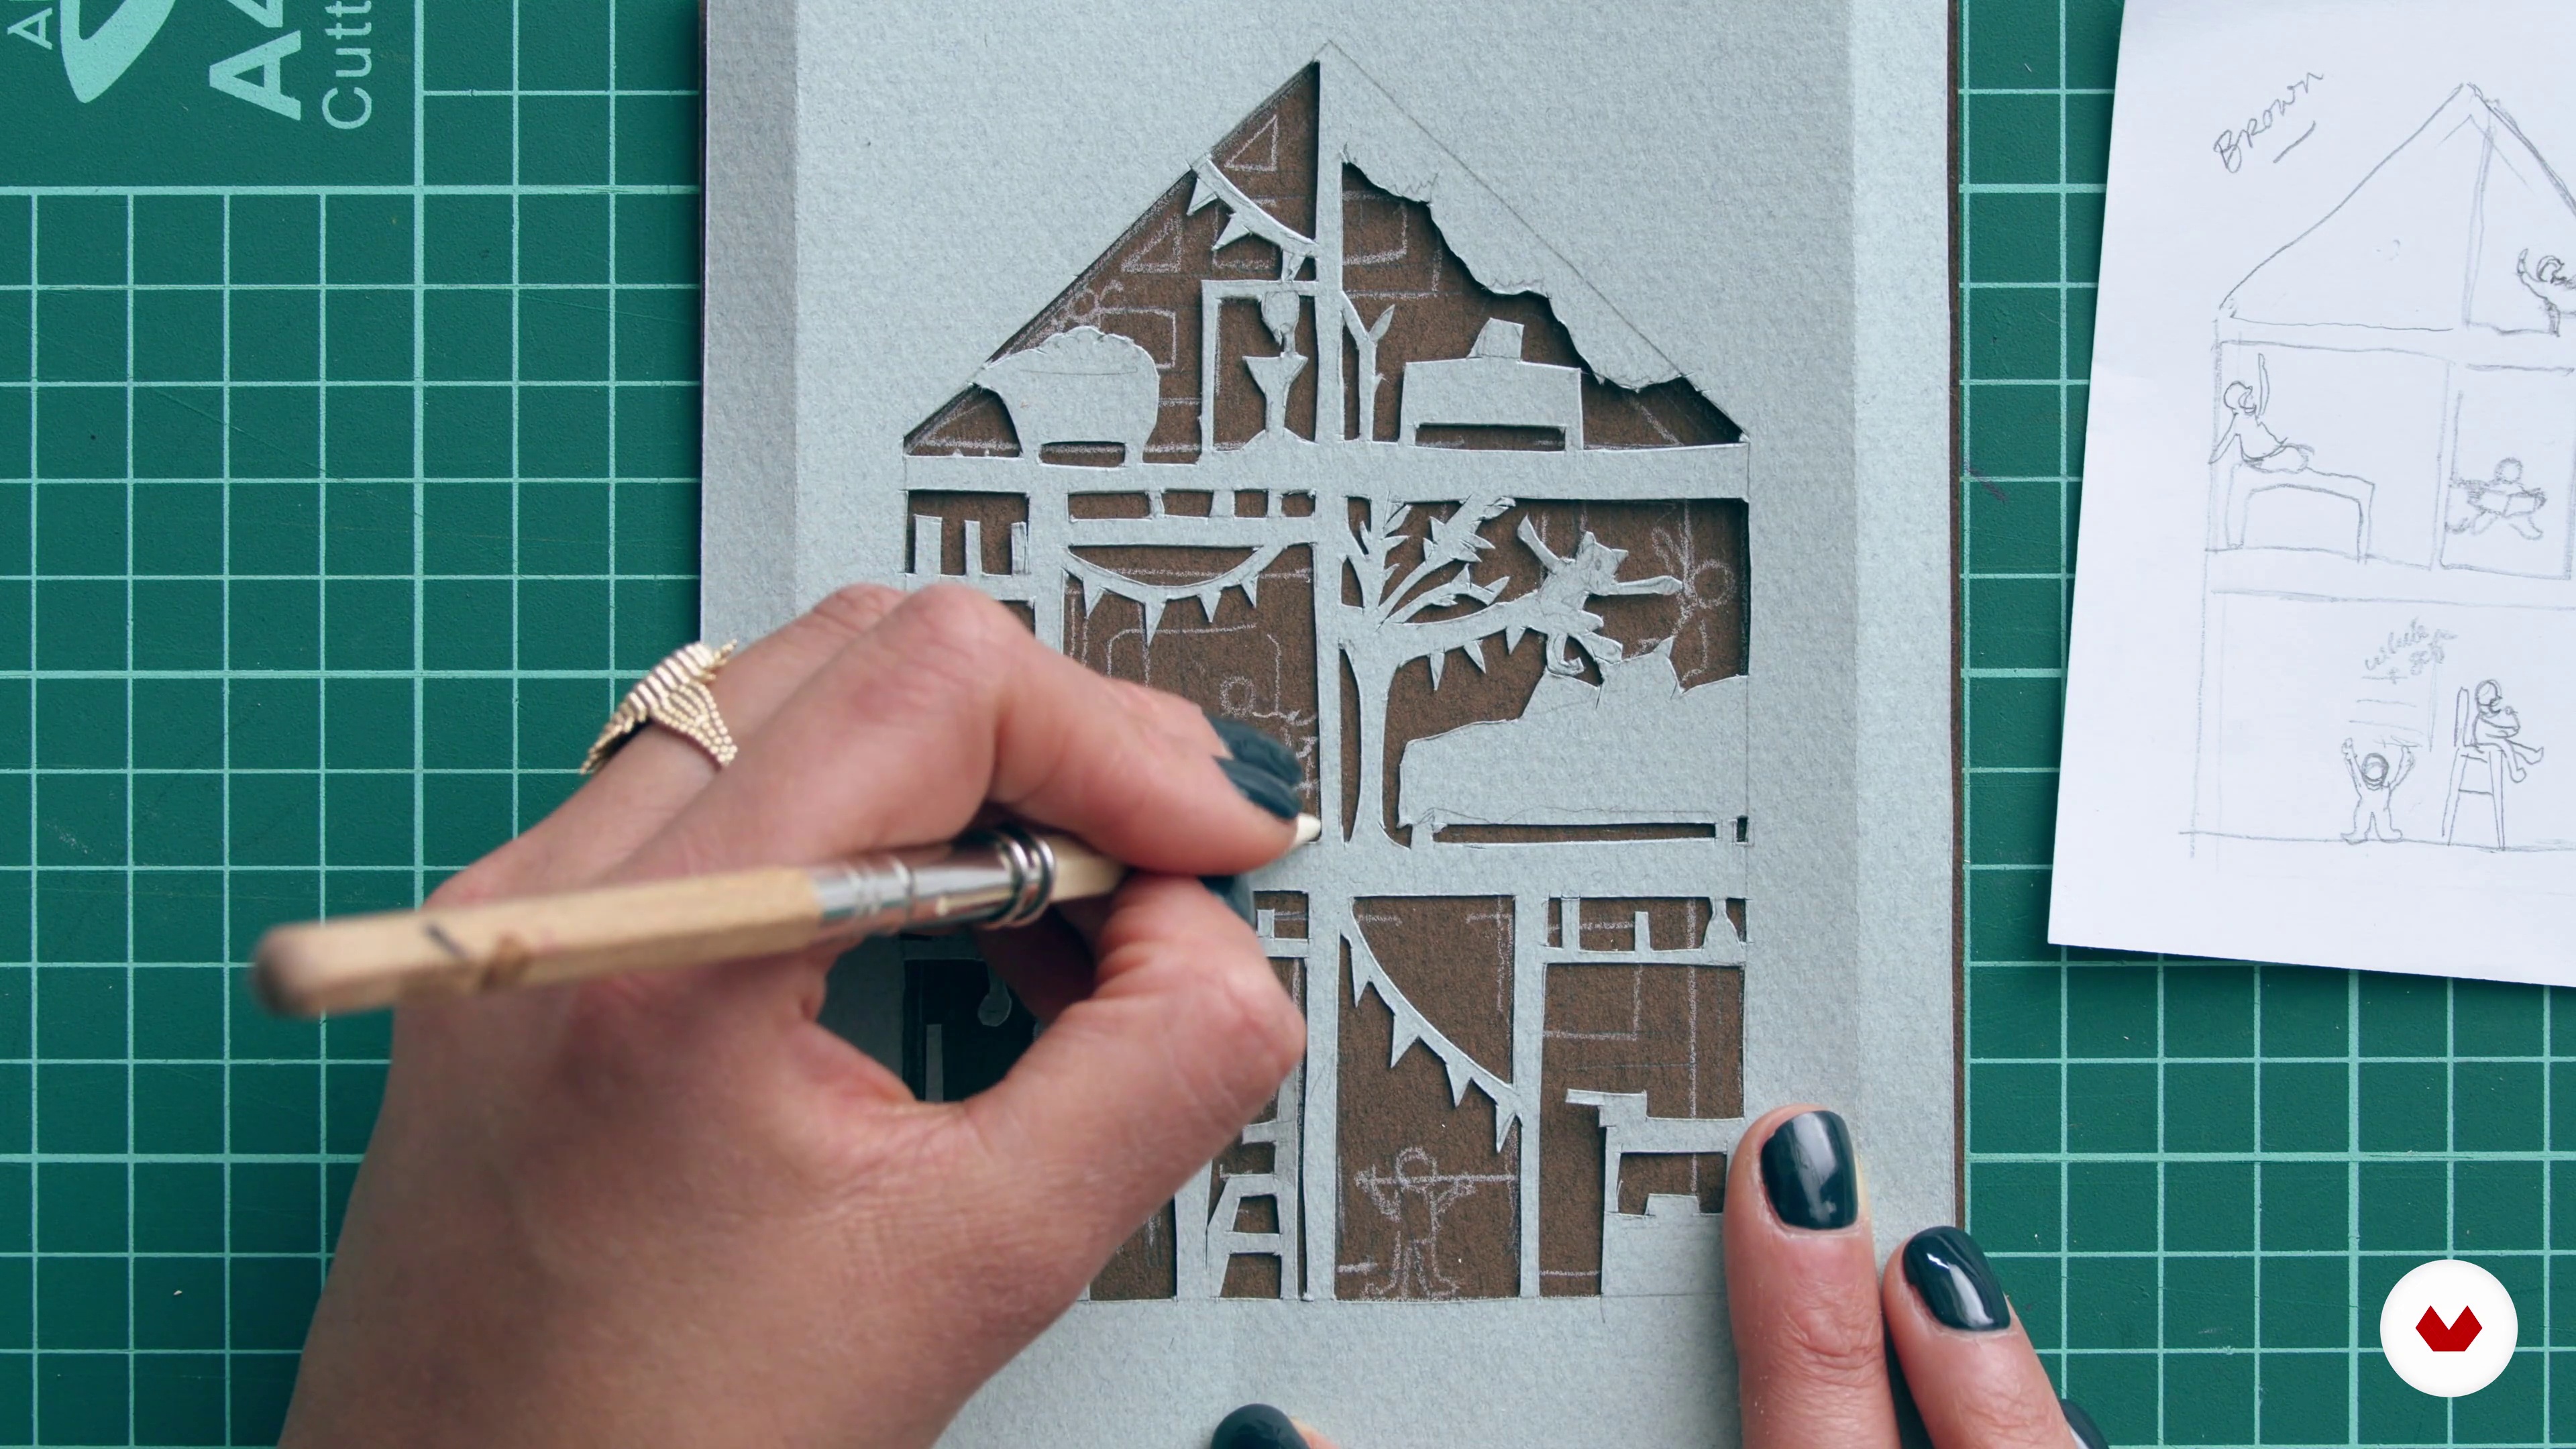
I will continue to work on the maquette, cutting out the negative spaces of my composition. Sometimes mistakes happen! Here I will also show you how to repair things.
19m
 15
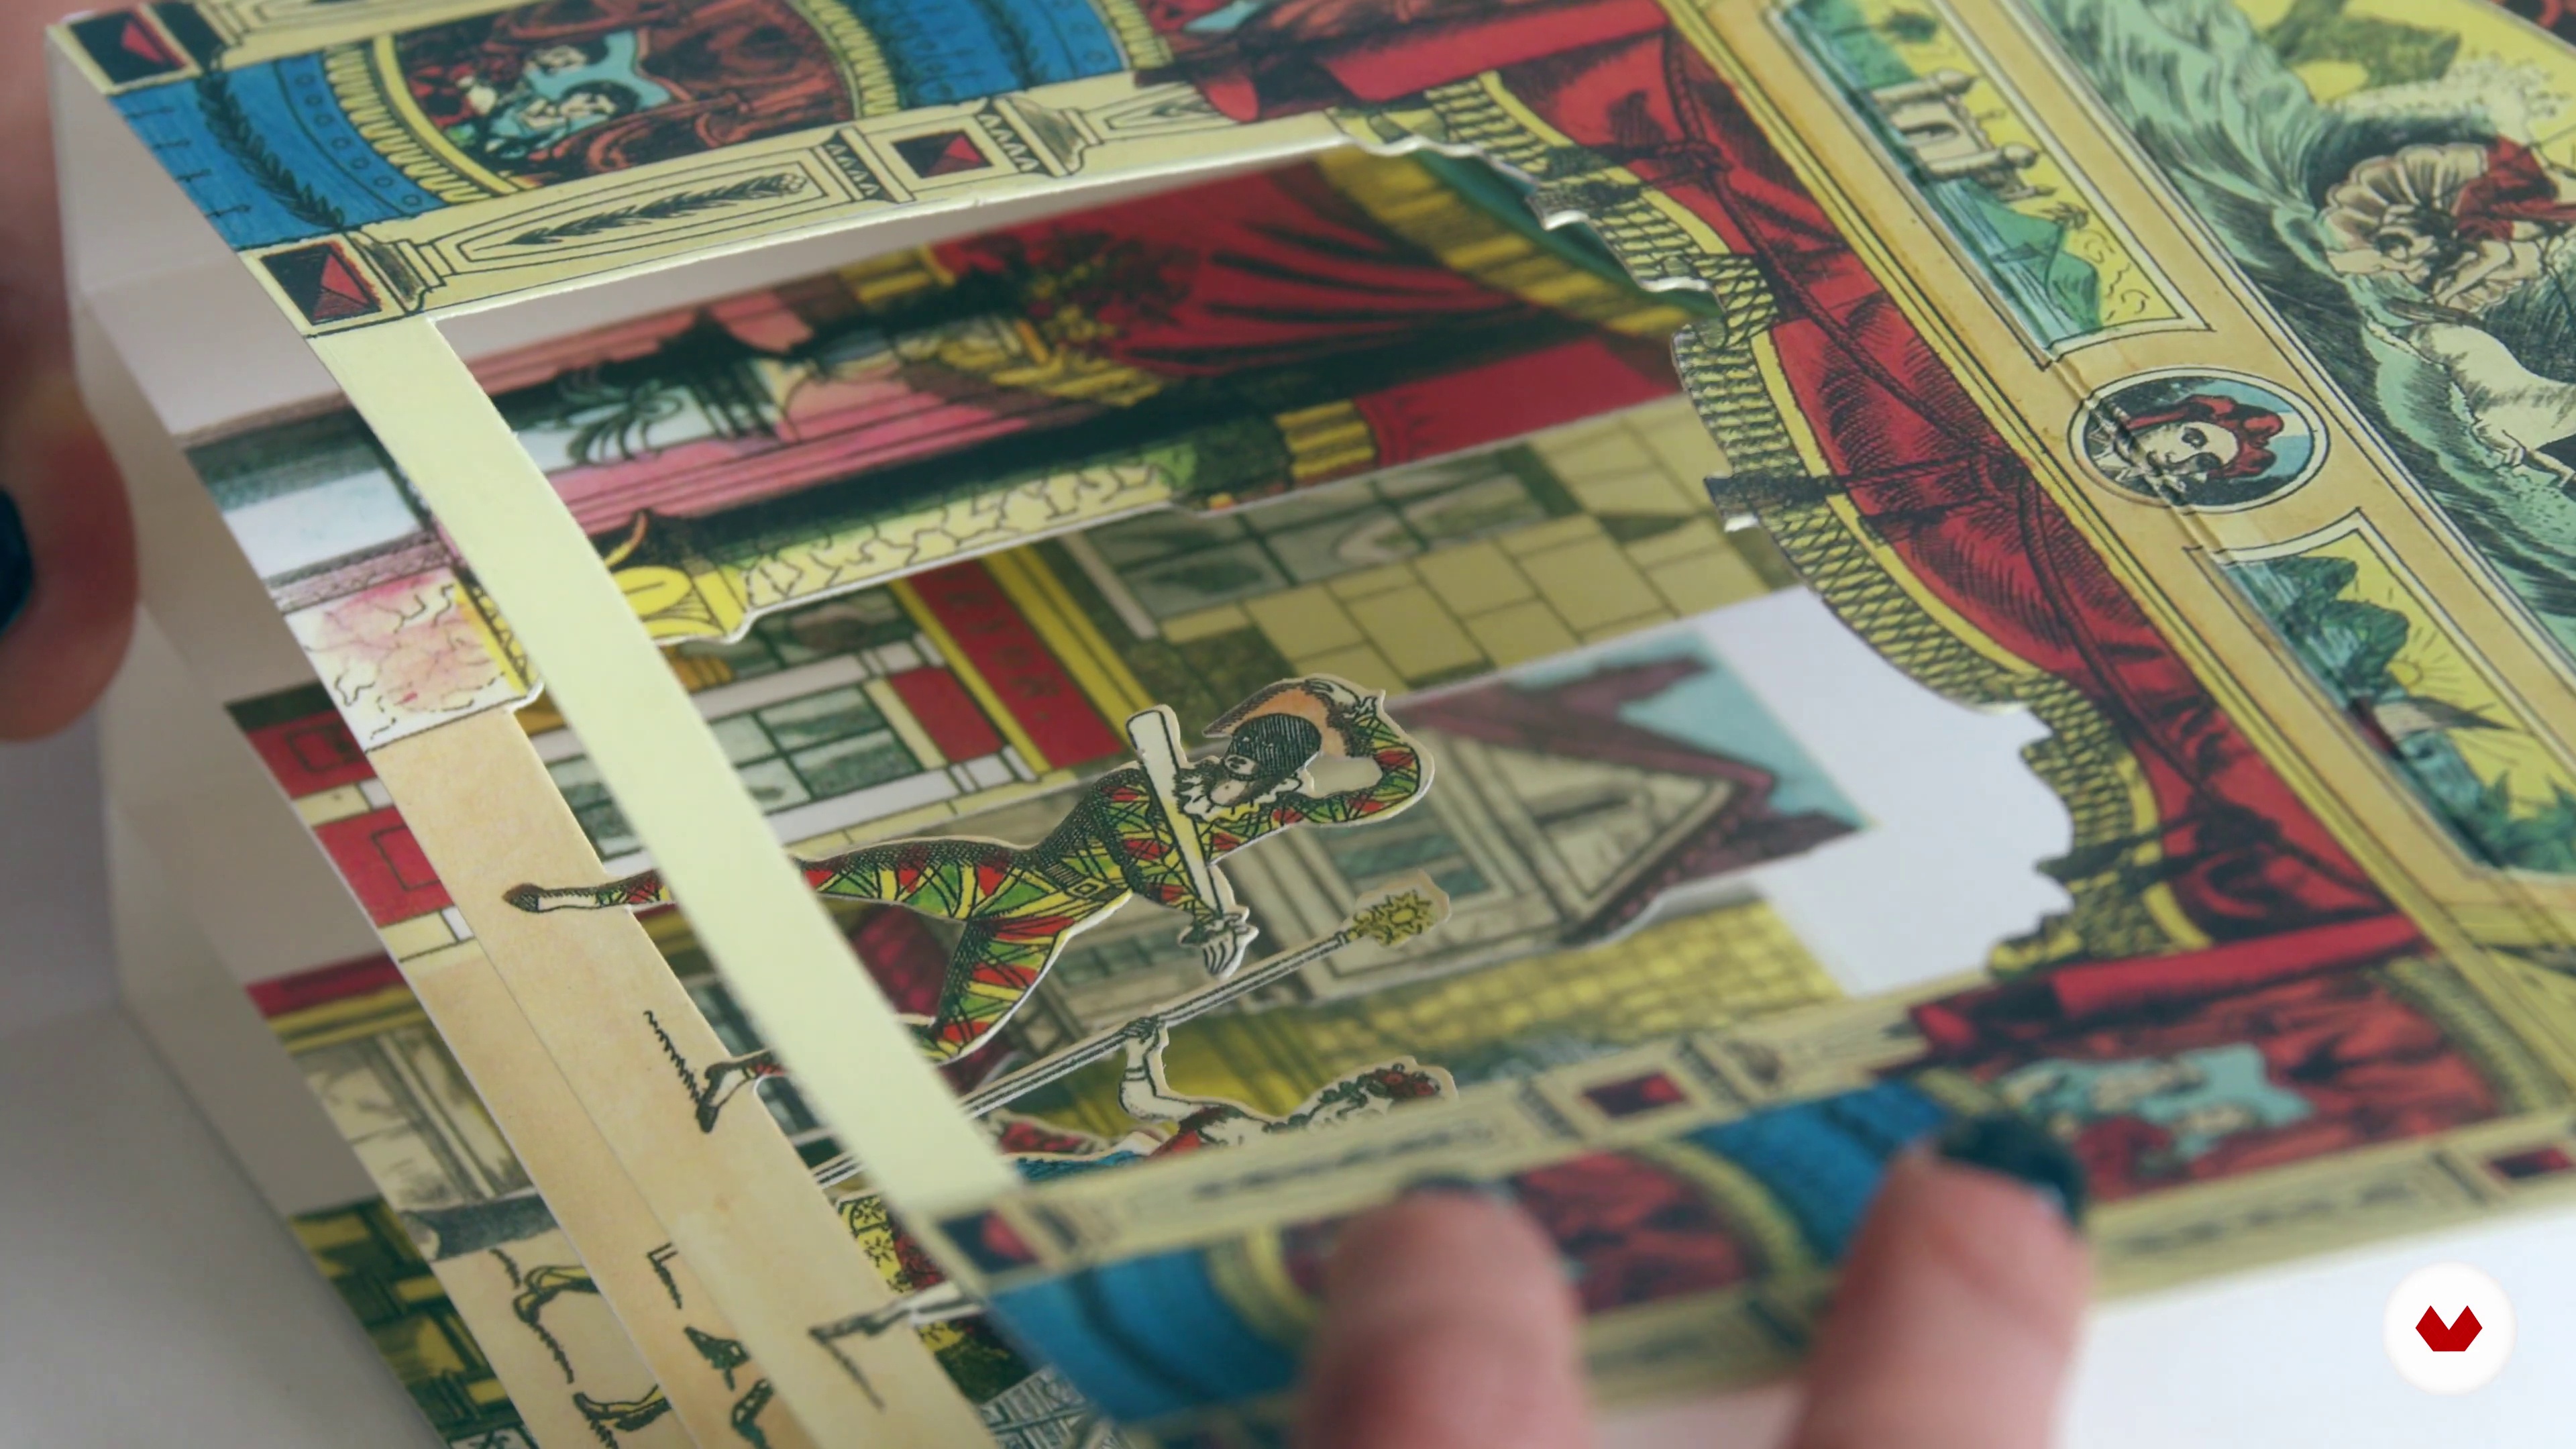
15Creating a Dummy: Tunnel Book 1
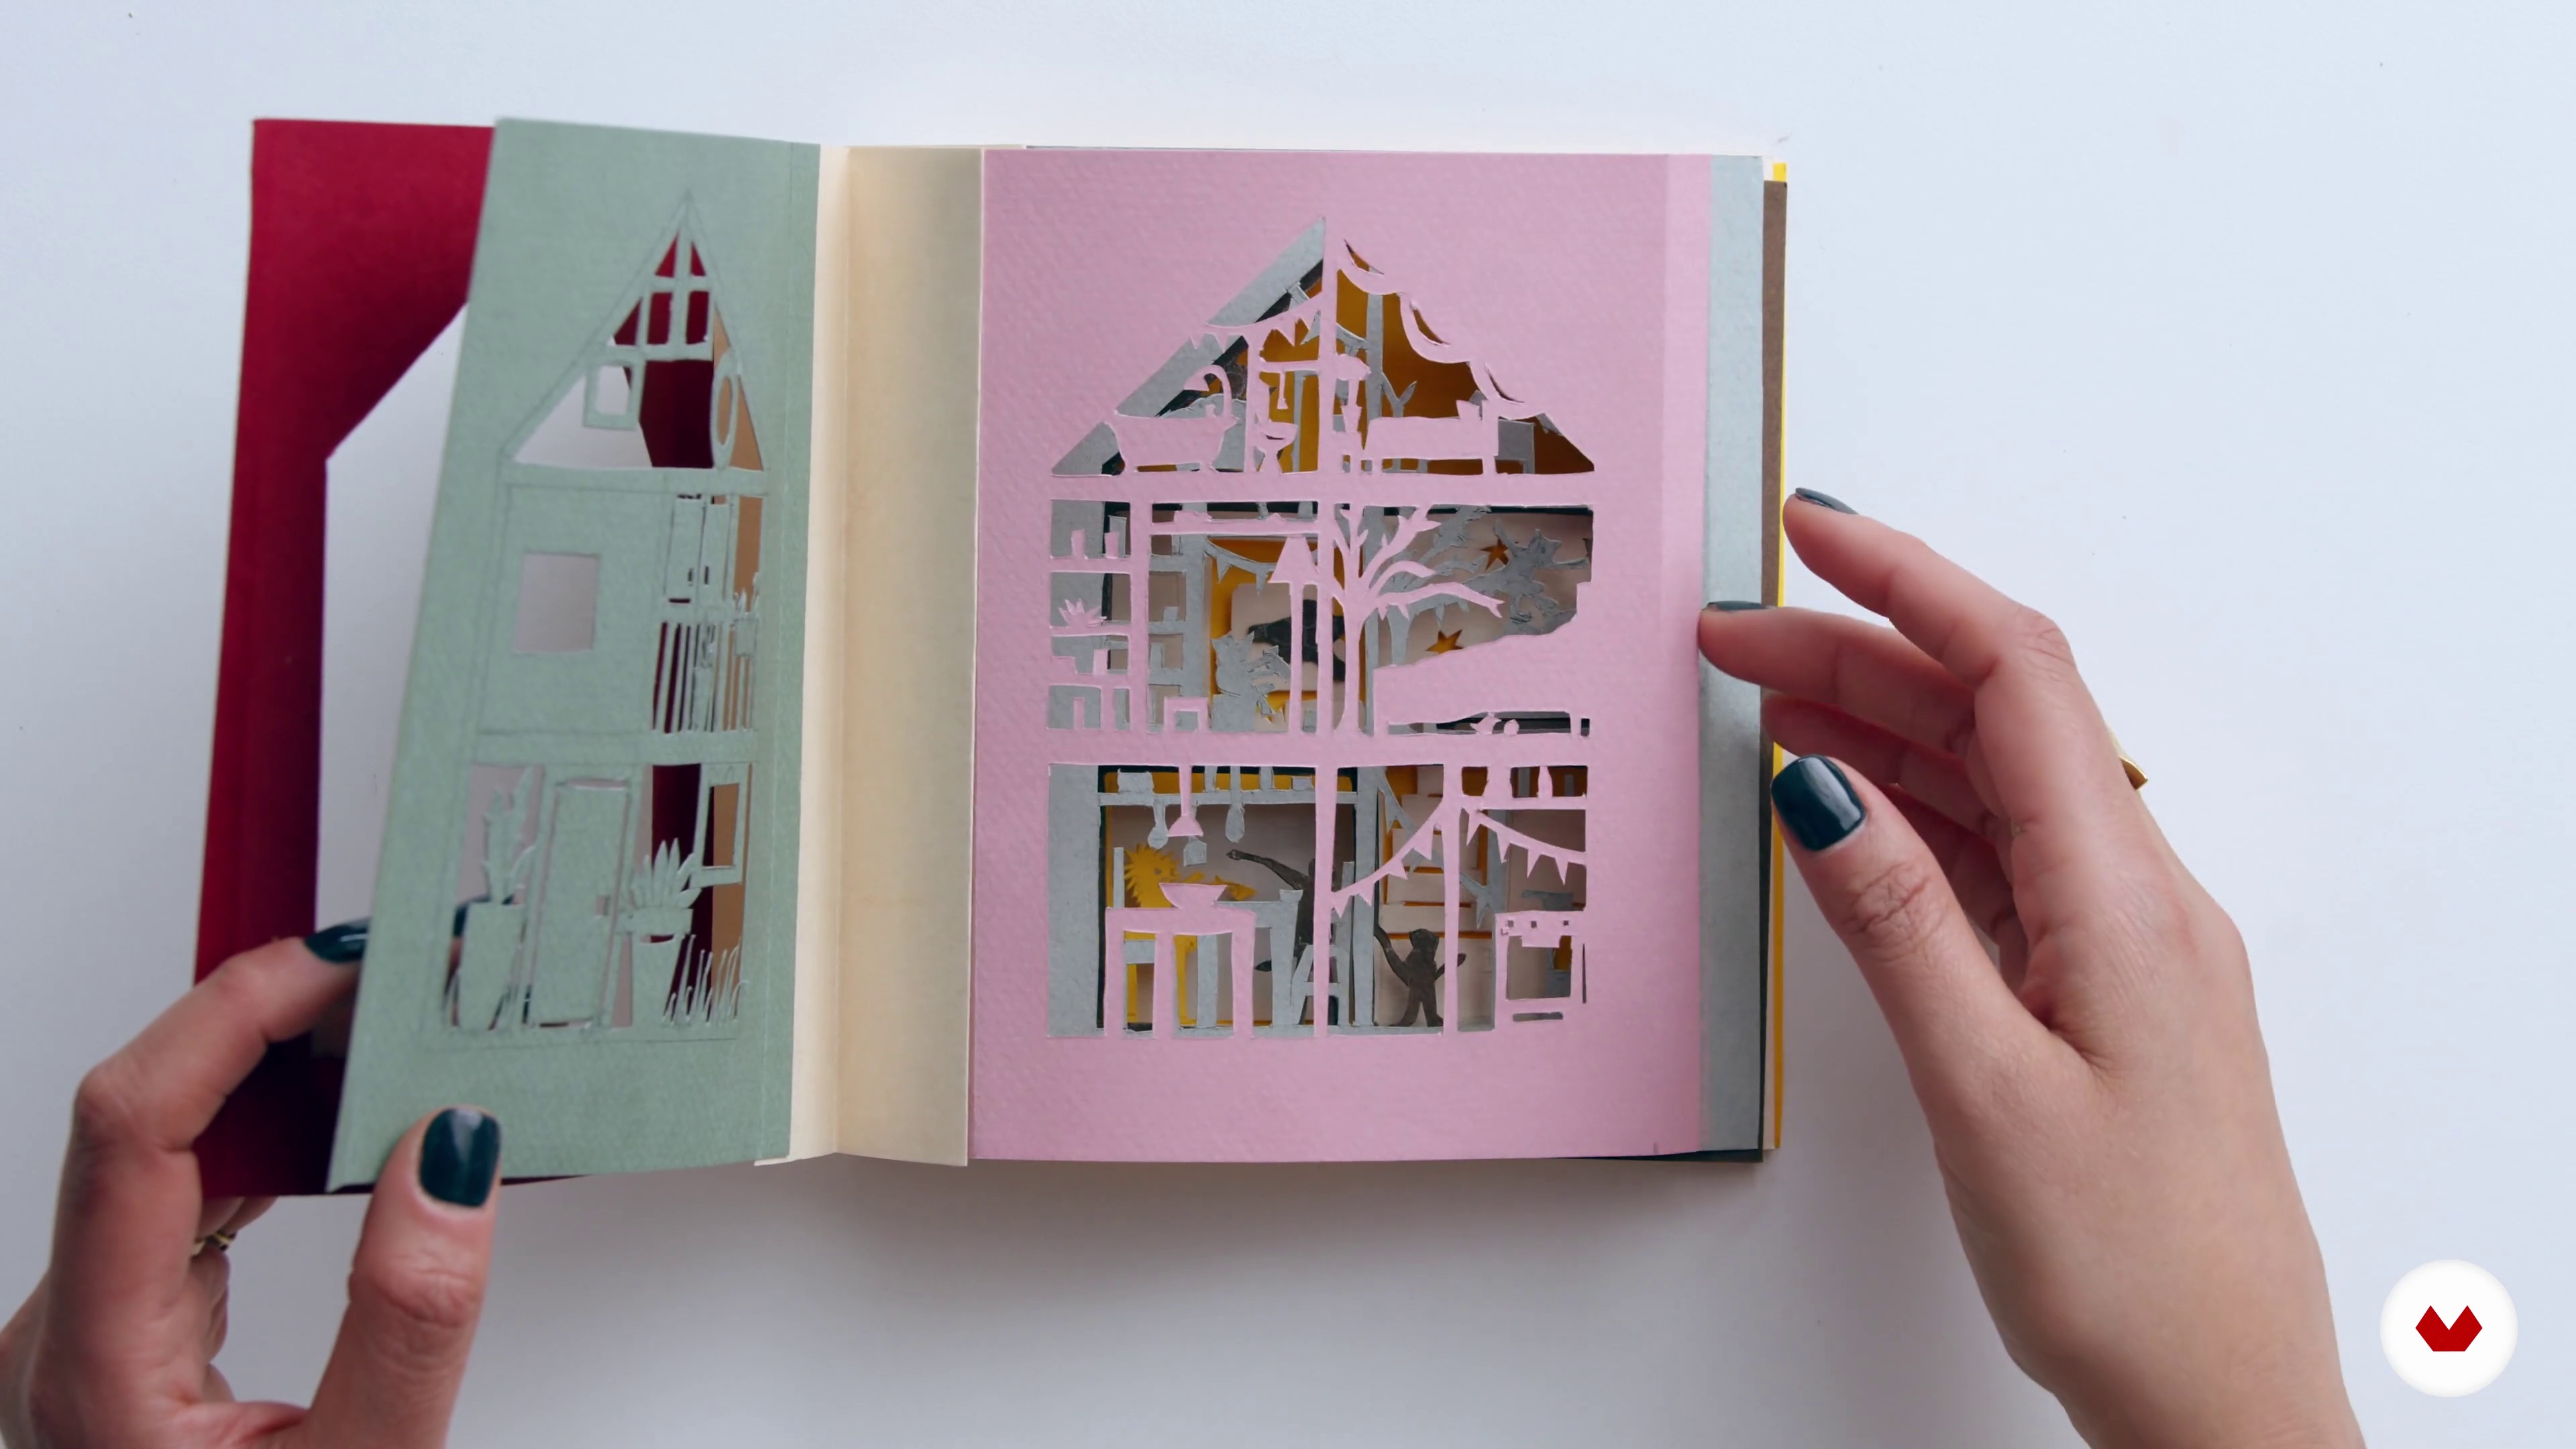
In this lesson, I will begin by creating a small maquette of a tunnel book and then work on a slightly bigger scale on coloured sheets of paper. Through the process, I will alter the format, creating a semi-tunnel book which can be read in multiple ways: flipping the pages, as a tunnel and as a round carousel!
17m
 16
16Creating a Dummy: Tunnel Book 2
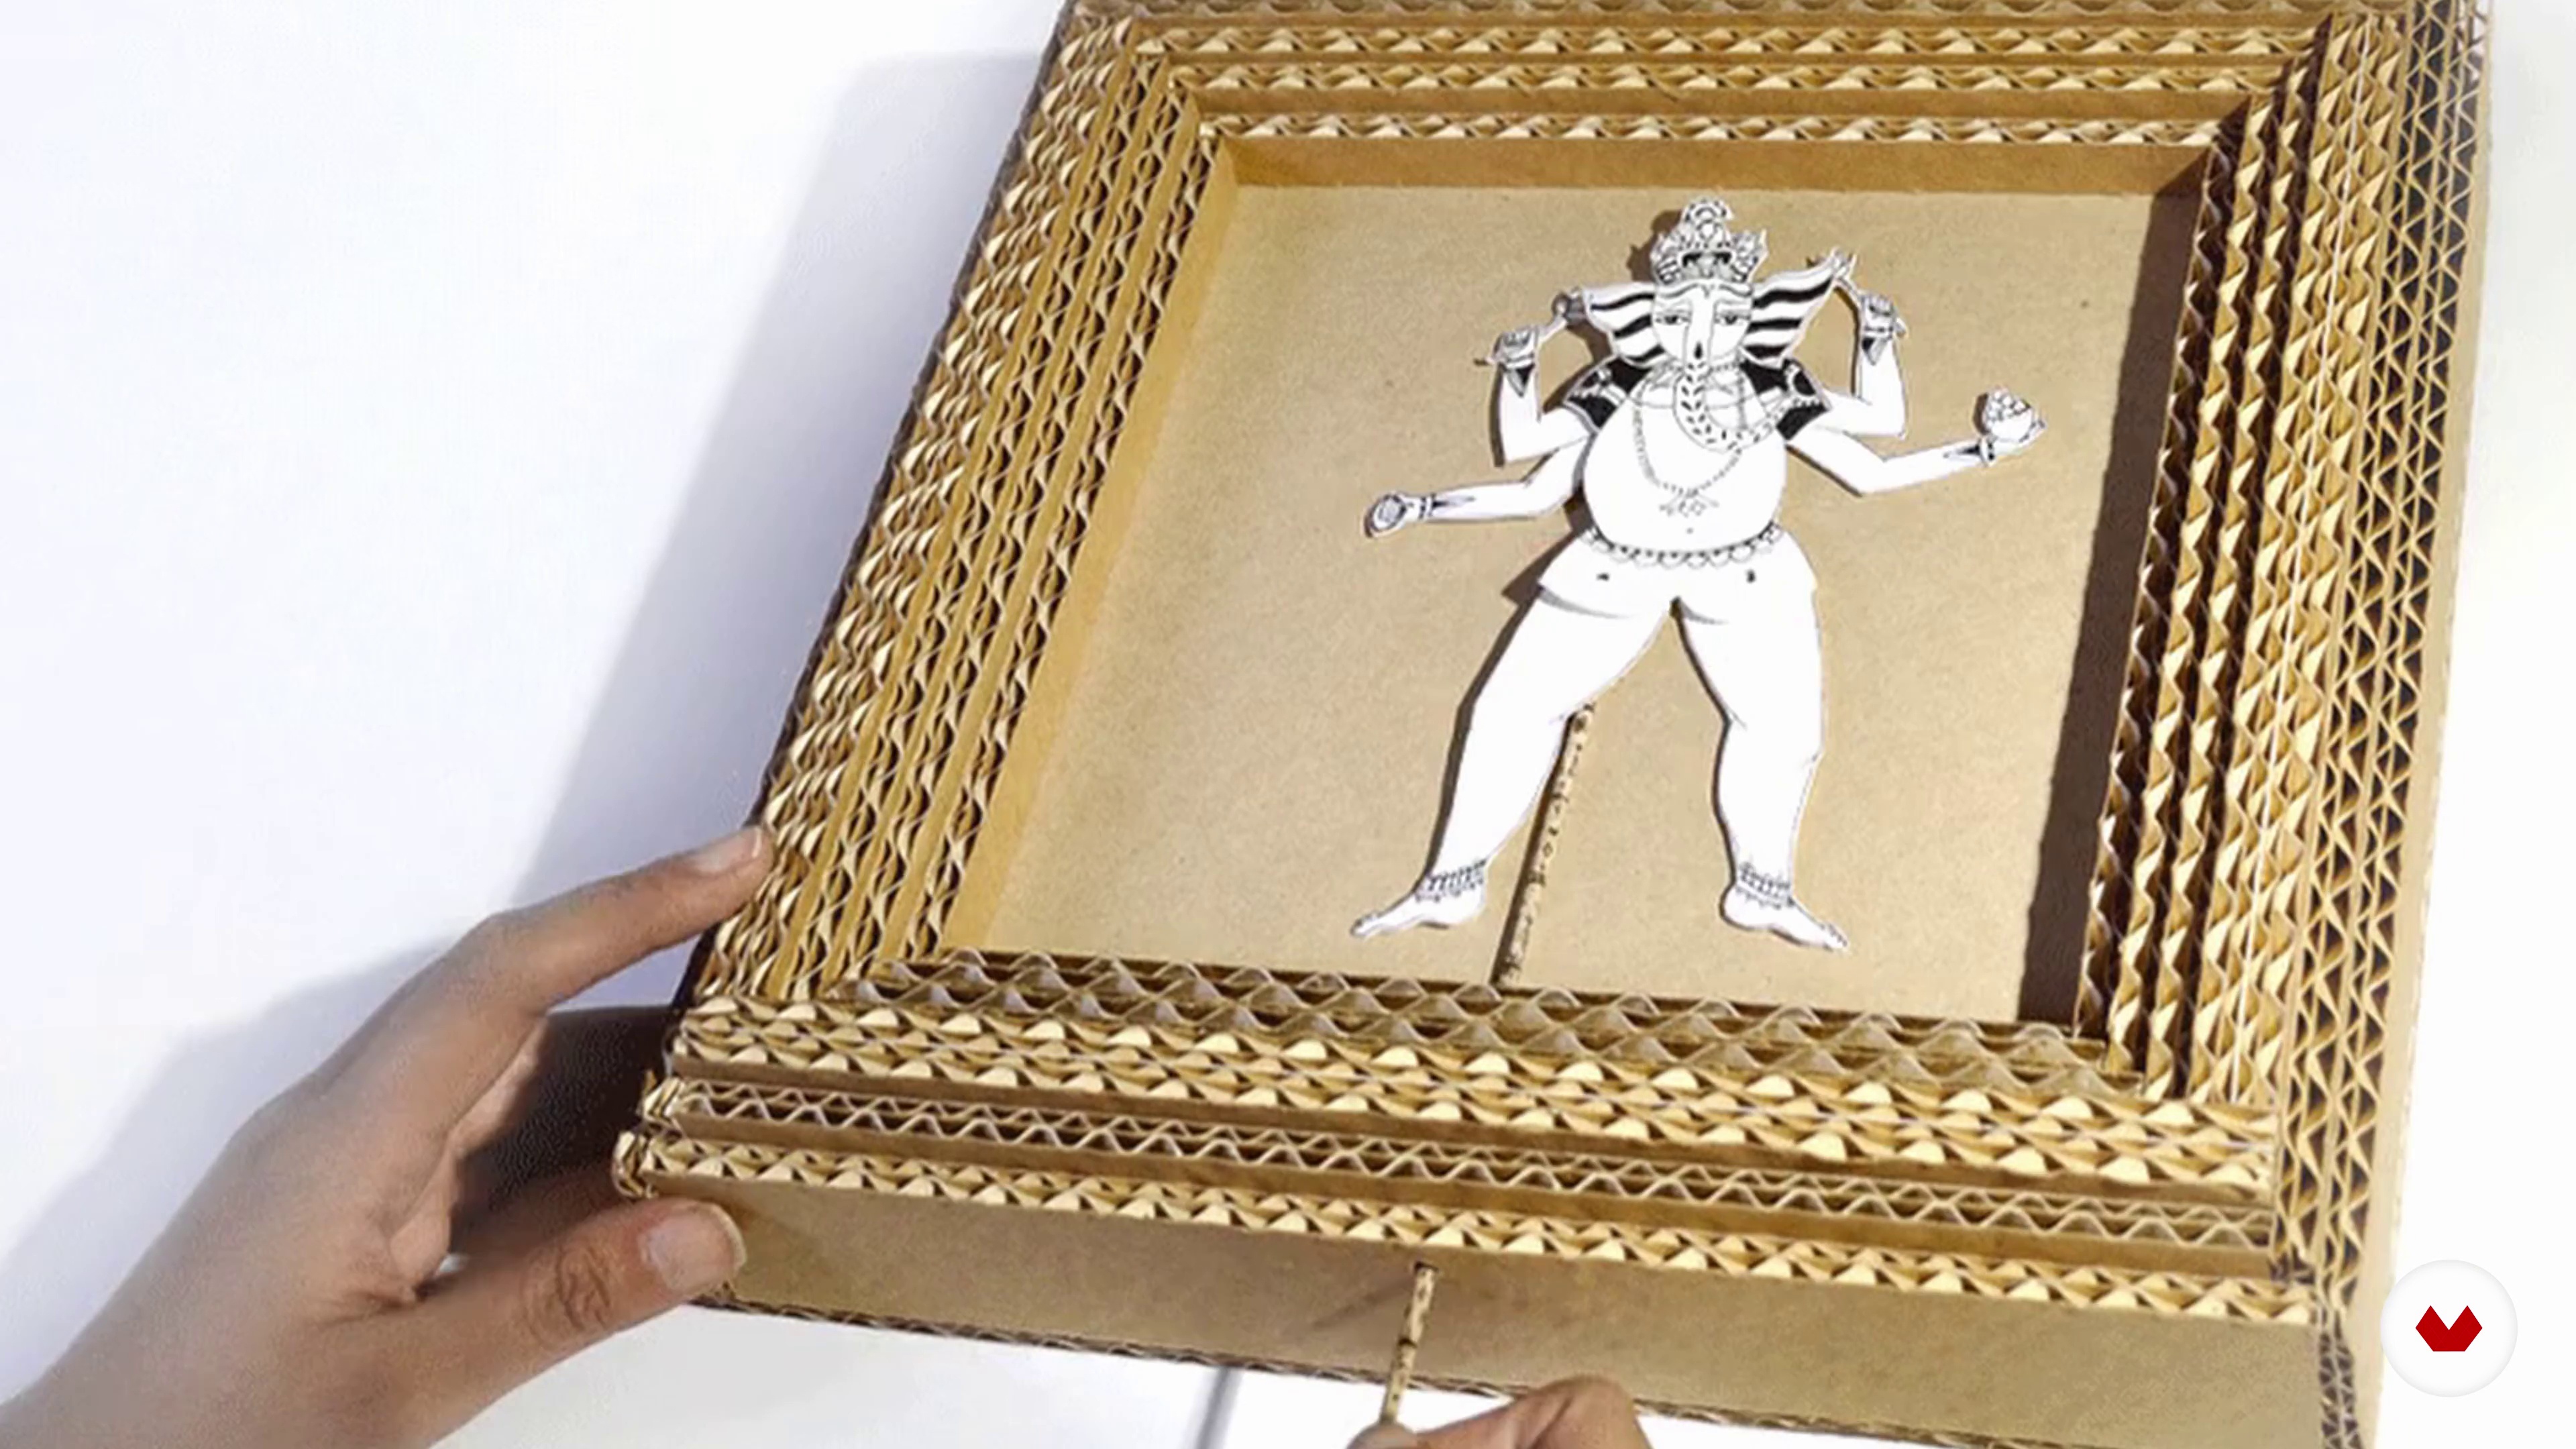
In this part of the lesson I will work on the rest of the layers of my house, including the light source, which will go behind the whole composition.
18m
 17
17Publishing Tips
In this lesson I will talk to you about the different possibilities of taking your book project out into the world: as an artist book, an exhibition piece or as a published book. I will share my personal experiences in self-publishing as well as working with publishing companies.
6m
 18
18Developing Your Paper Playground
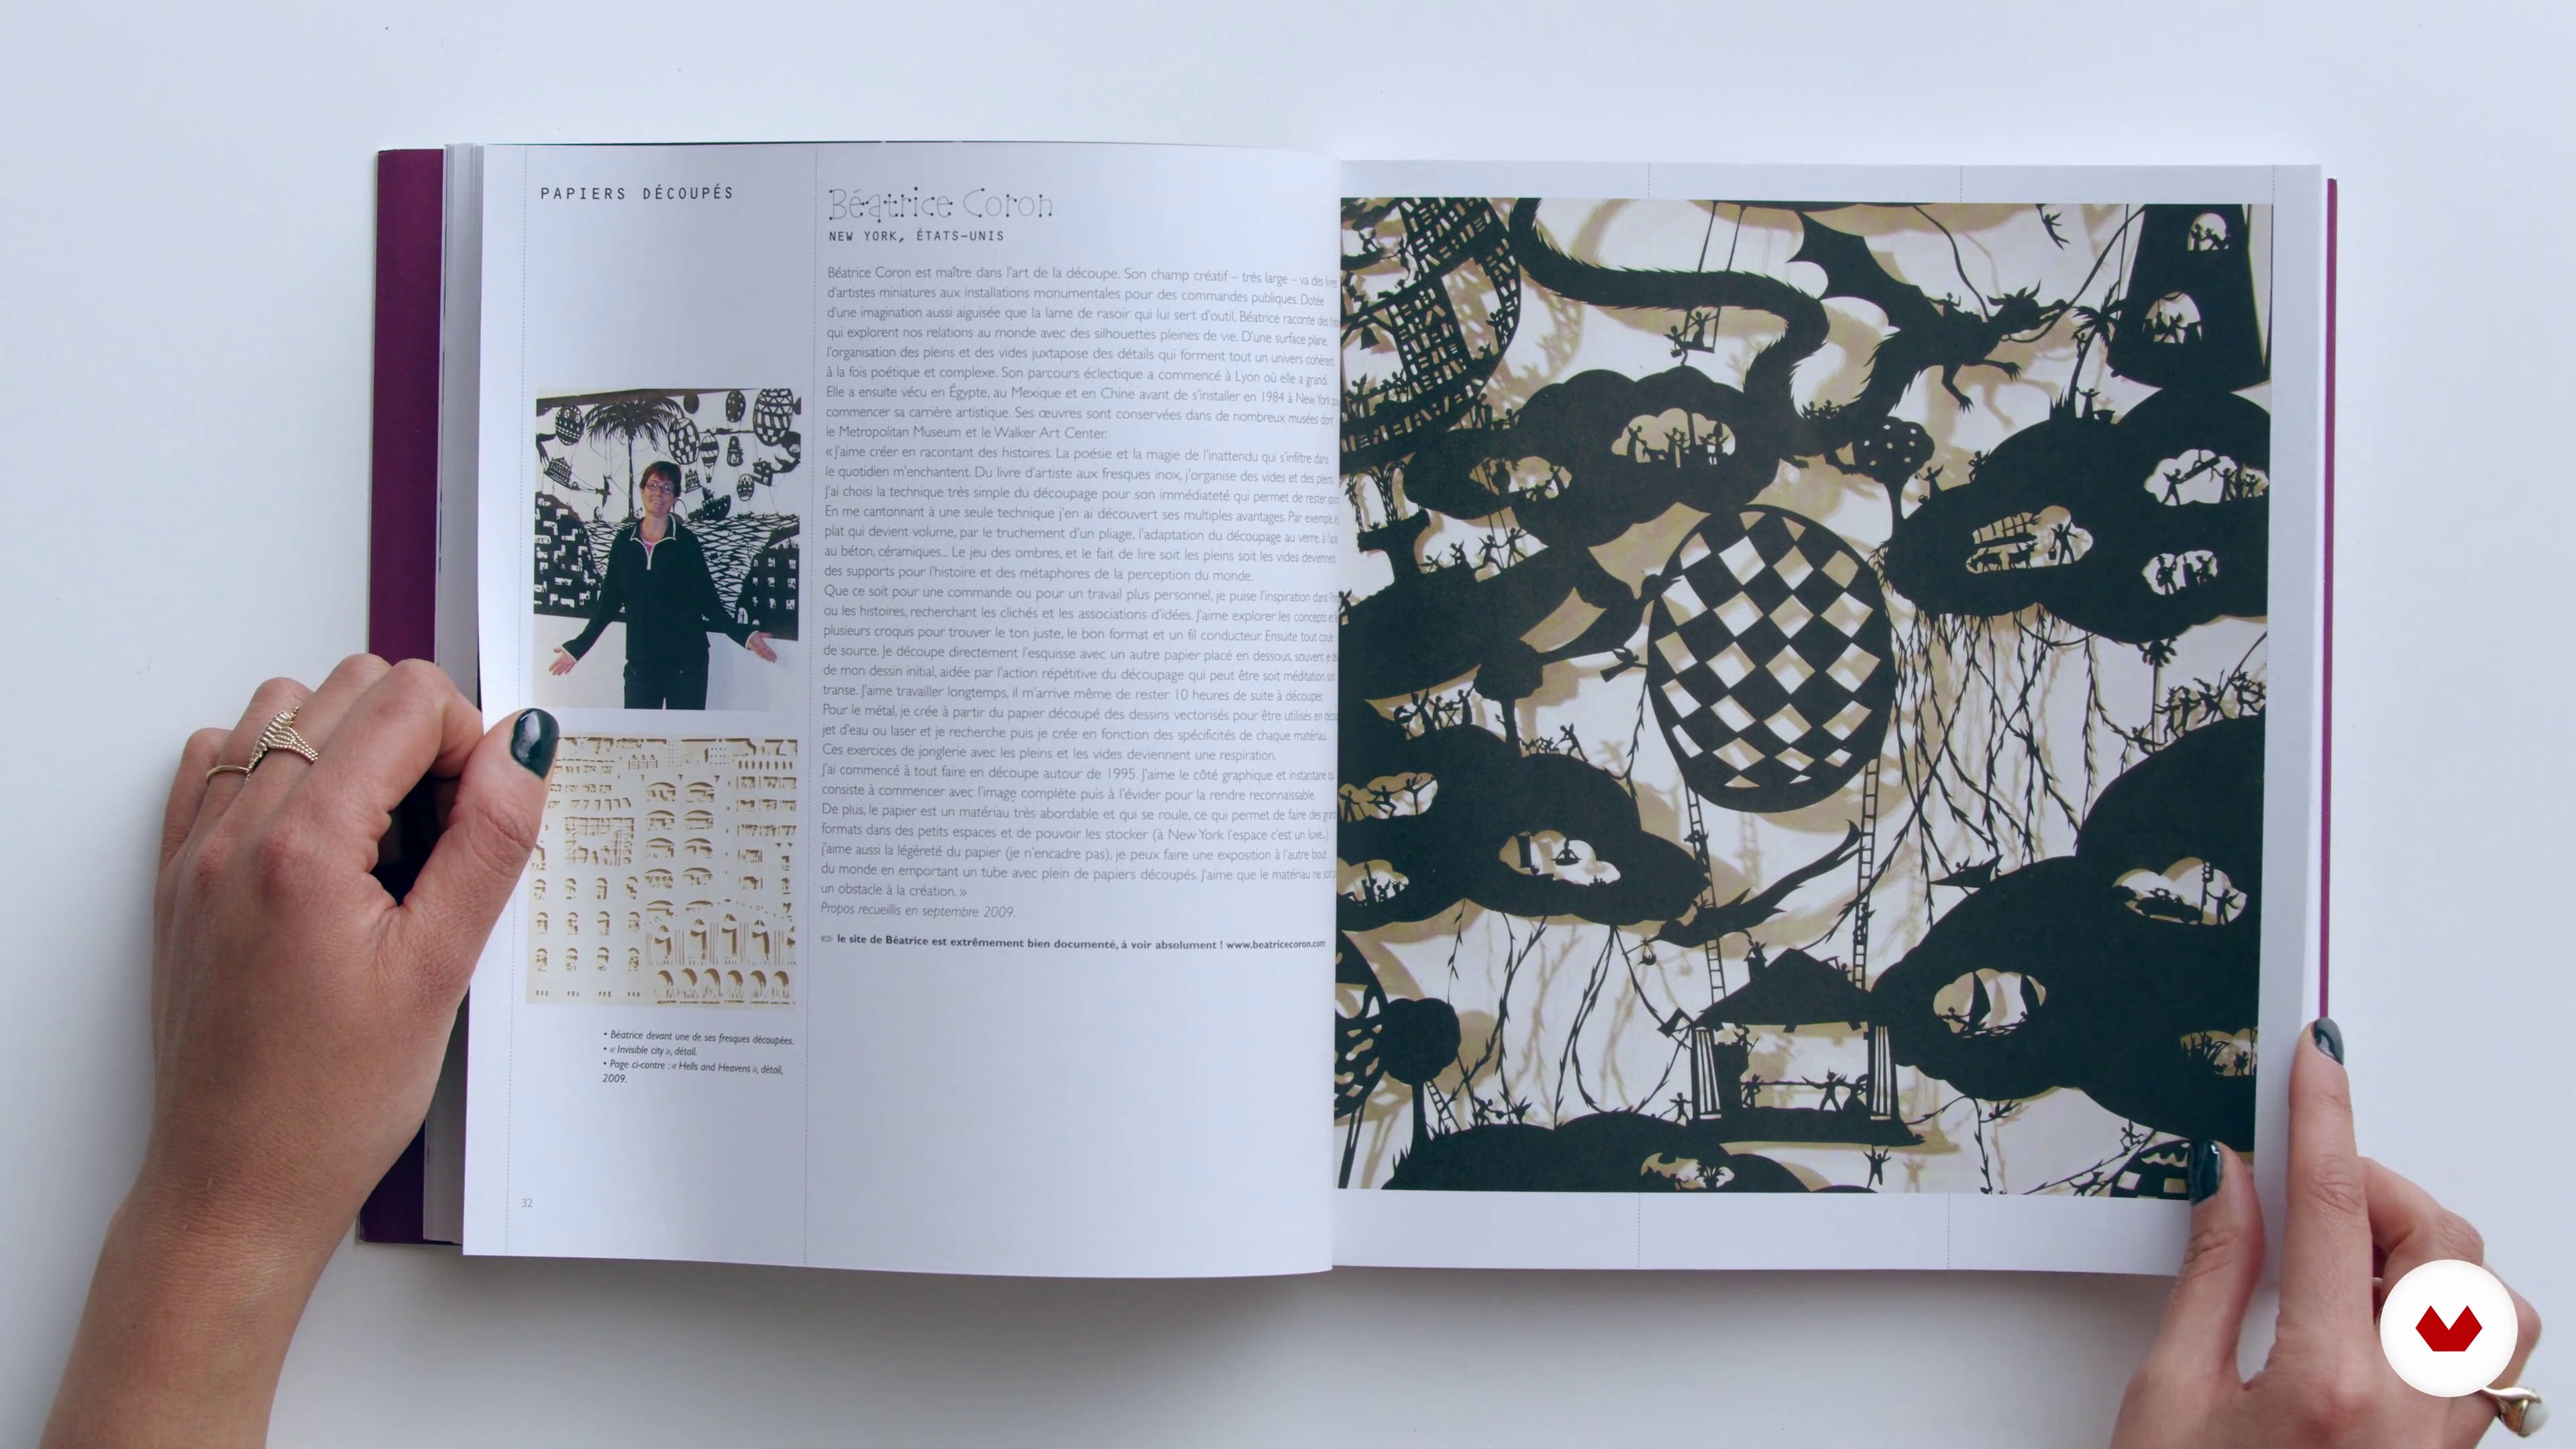
In this lesson I will share some of my favorite reference books and invite you to awaken your curiosity and keep looking, learning and making!
3m
What is this course's project?
Students will master paper sculpting techniques to create a dimensional paper sculpture inspired by nature or architecture. The final project involves designing and building a visually impactful piece, showcasing advanced skills in layering, shaping, and volumetric design.
Who is this specialization for?
Artists, illustrators, crafters, and visual storytellers seeking to explore the creative possibilities of paper will find this course ideal. Perfect for those wanting to learn techniques for constructing three-dimensional artworks, installations, and decorative compositions using paper.
Requirements and materials
No extensive prior knowledge is needed, just a passion for creativity. Basic materials include various types of paper, cutting tools, adhesives, and optional specialty papers or lighting elements. A workspace to explore paper manipulation techniques is recommended.
Reviews
- 6 days ago
La verdad que esperaba técnicas de collage, y me quedé bastante decepcionada. por lo demás está bien aunque no se indique que se trate de técnicas escultóricas. Lo elegí por hacer un cambio de curso por el título, de ahí que esperara collage o similar.
- 2 months ago
Un curso muy claro y dinamico, da buenos recursos para la tecnica ;)
- 5 months ago
Sehr umfangreiche Sammlung, sehr gut erklärt. Lohnt sich wirklich.
- 6 months ago
Una recopilación muy completa para dar formas al papel, conceptos claros y precisos, además de consejos y truquitos que ayudan a que el trabajo sea mas sencillo.
- 8 months ago
Very interesting also because it is unconventional
Select to get to know your teachers in this specialization course


What to expect from this specialization course
Learn at your own pace
Enjoy learning from home without a set schedule and with an easy-to-follow method. You set your own pace.
Learn from the best professionals
Learn valuable methods and techniques explained by top experts in the creative sector.
Meet expert teachers
Each expert teaches what they do best, with clear guidelines, true passion, and professional insight in every lesson.
Certificates
PLUSIf you're a Plus member, get a custom certificate for every specialization course. Share it on your portfolio, social media, or wherever you like.
Get front-row seats
Videos of the highest quality, so you don't miss a single detail. With unlimited access, you can watch them as many times as you need to perfect your technique.
Share knowledge and ideas
Ask questions, request feedback, or offer solutions. Share your learning experience with other students in the community who are as passionate about creativity as you are.
Connect with a global creative community
The community is home to millions of people from around the world who are curious and passionate about exploring and expressing their creativity.
Watch professionally produced courses
Domestika curates its teacher roster and produces every course in-house to ensure a high-quality online learning experience.
FAQs
This course is best for those with some basic crafting or art experience, as it covers intermediate techniques in paper flower creation, land art, and floral arrangement. Beginners can still join but may need to learn foundational skills first.
You'll need crepe paper, green card, scissors, craft knives, glue, floristry tape, floral wire or twigs, and vases. The course provides detailed lists and recommendations for selecting the right materials and tools for each project.
You'll learn techniques for creating ephemeral land art, sculpting with natural materials, crafting realistic paper flowers and leaves, and arranging both real and paper flowers in a Scandinavian-inspired style.
Yes, the course covers tips for photographing your floral arrangements, focusing on composition, lighting, and techniques to achieve dramatic, professional-looking images.
Yes, you'll master cutting, curling, and shaping techniques to create realistic petals and leaves, including textured edges and lifelike forms using crepe paper and green card.
You'll learn to cut and layer petals, use floristry tape and wire for stems, attach centers and leaves, and create sturdy, natural-looking flowers ready for arrangement.
The course teaches you how to select vases based on arrangement style, size, and color, and provides guidance on arranging flowers to achieve balance, harmony, and Scandinavian-inspired aesthetics.