
It combines photography and embroidery to create images with texture and dimension, transforming photos into unique tactile experiences.
Discover a world of creative possibilities by combining photography with experimental and mixed media techniques. Explore the art of photo embroidery with Ofelia & Antelmo, who will guide you in transforming images into tactile experiences using threads and needles. Immerse yourself in photo coloring with Carine Wallauer, mastering watercolor techniques to bring your images to life with emotion. Amazink will guide you through the four-color photographic screen printing process, enabling you to create unique art prints.
Lina Botero will inspire you to tell visual stories by fusing poetry and photography, while Mariela Sancari will help you conceptualize and create photobooks as works of art. This program invites you to experiment and explore new forms of artistic expression, combining photography with disciplines such as textile art, painting, and visual literature. Dare to cross the traditional boundaries of photography and create your own visual language.
What will you learn in this specialization?
 1
1Introduction
Photography is completely transformed when it merges with other art forms. This is an invitation to experiment freely—combining textures, colors, and techniques such as embroidery, painting, or repetition. Let instinct guide your hands and imagination, turning simple images into expressive works. There are no rules here—only endless ways to tell your story visually.
1m
 2
2Influences | Ofelia & Antelmo
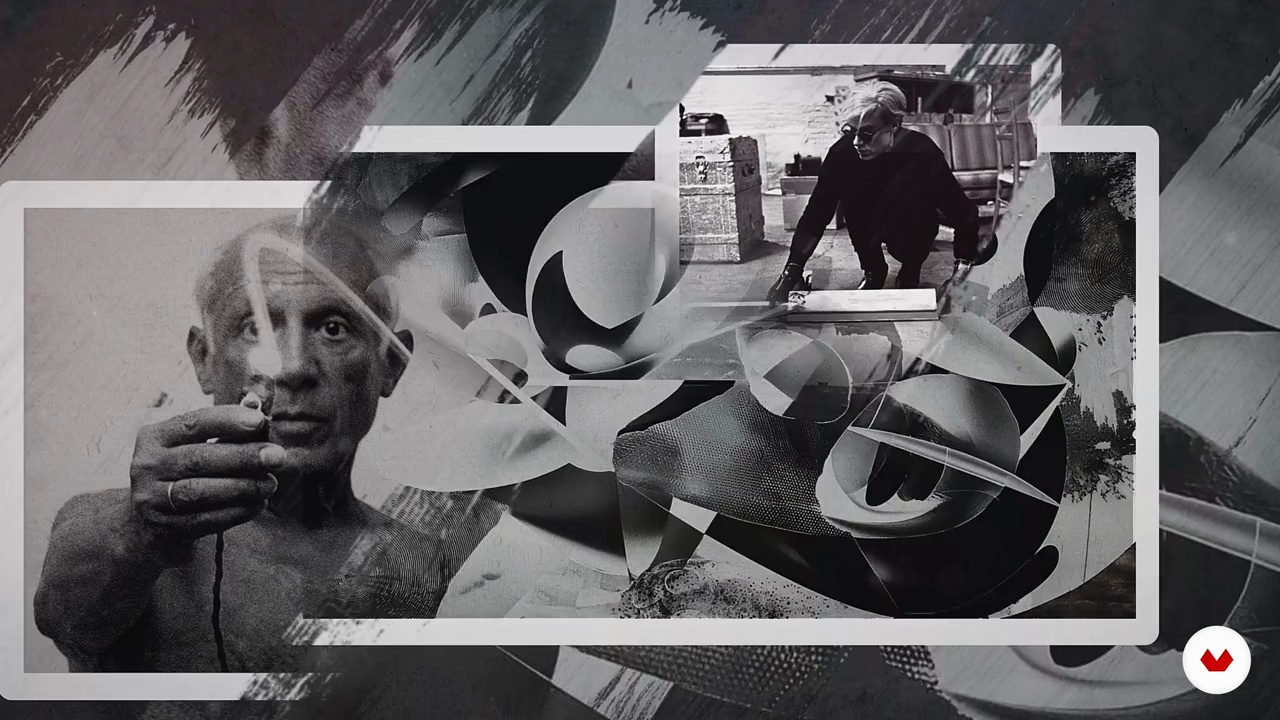
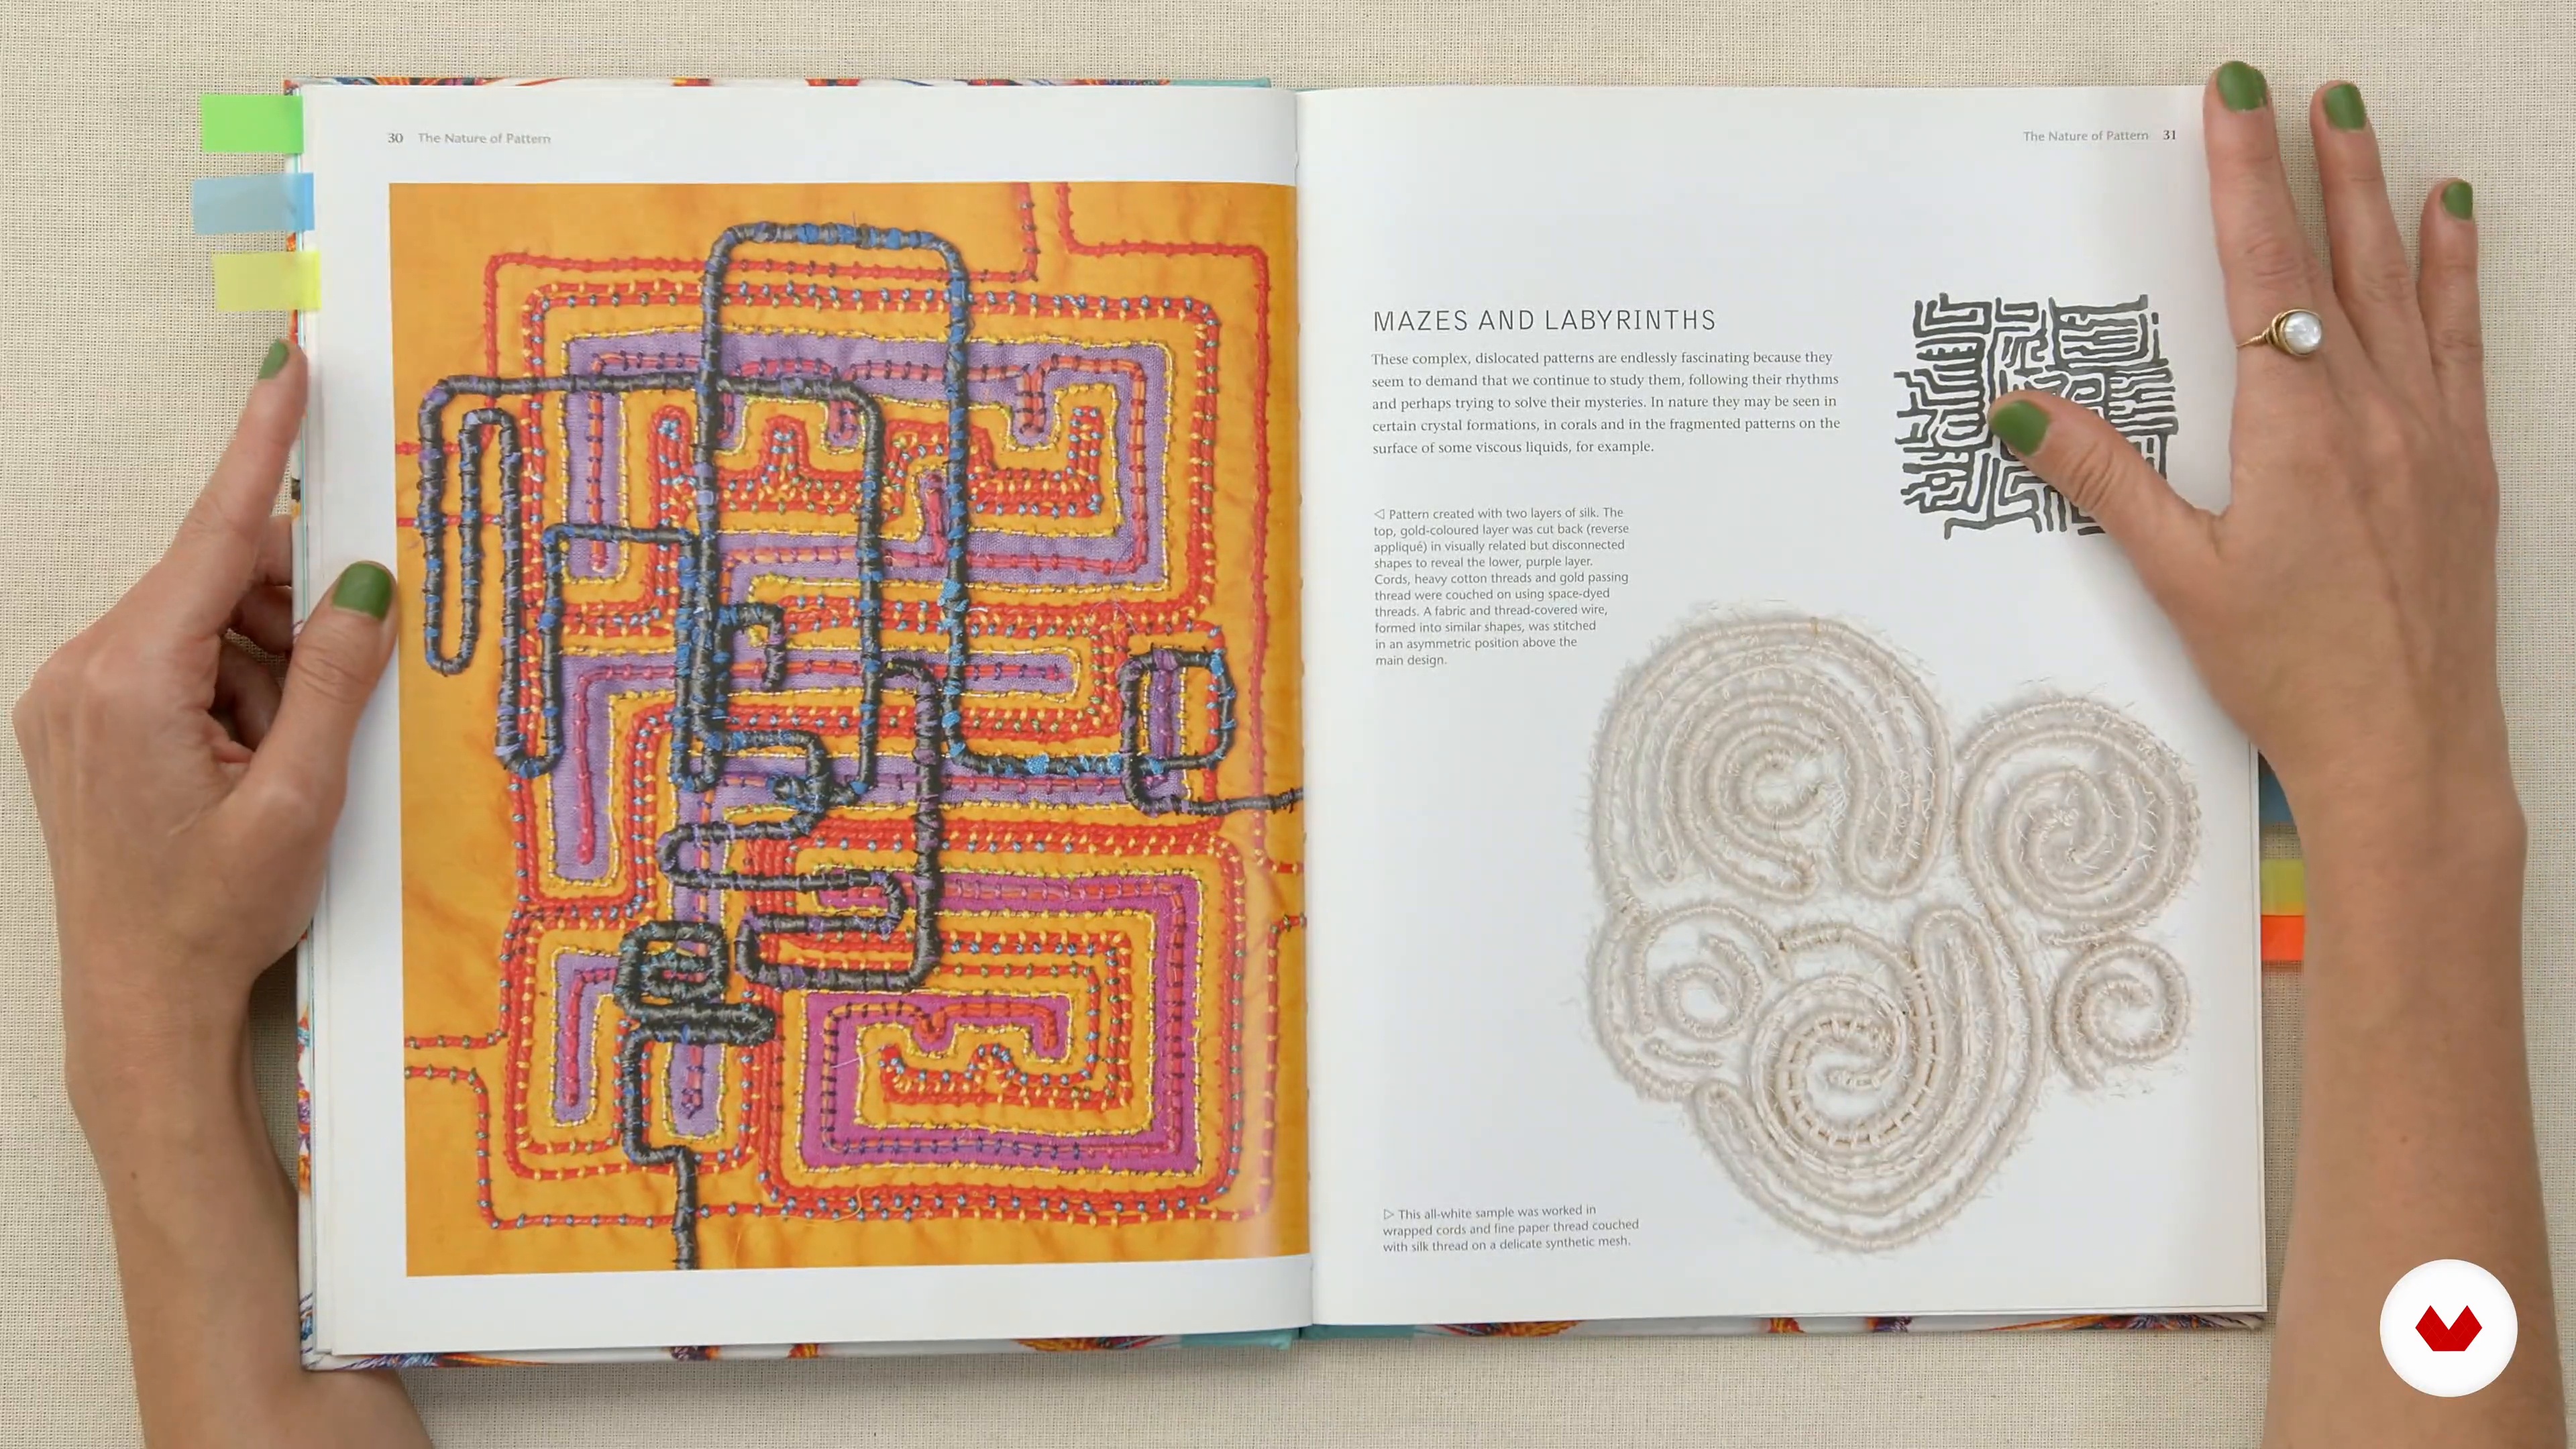
Next, we are going to see my main sources of inspiration when it comes to embroidering photographs.
14m
 2
2What Inspires Me | Carine Wallauer
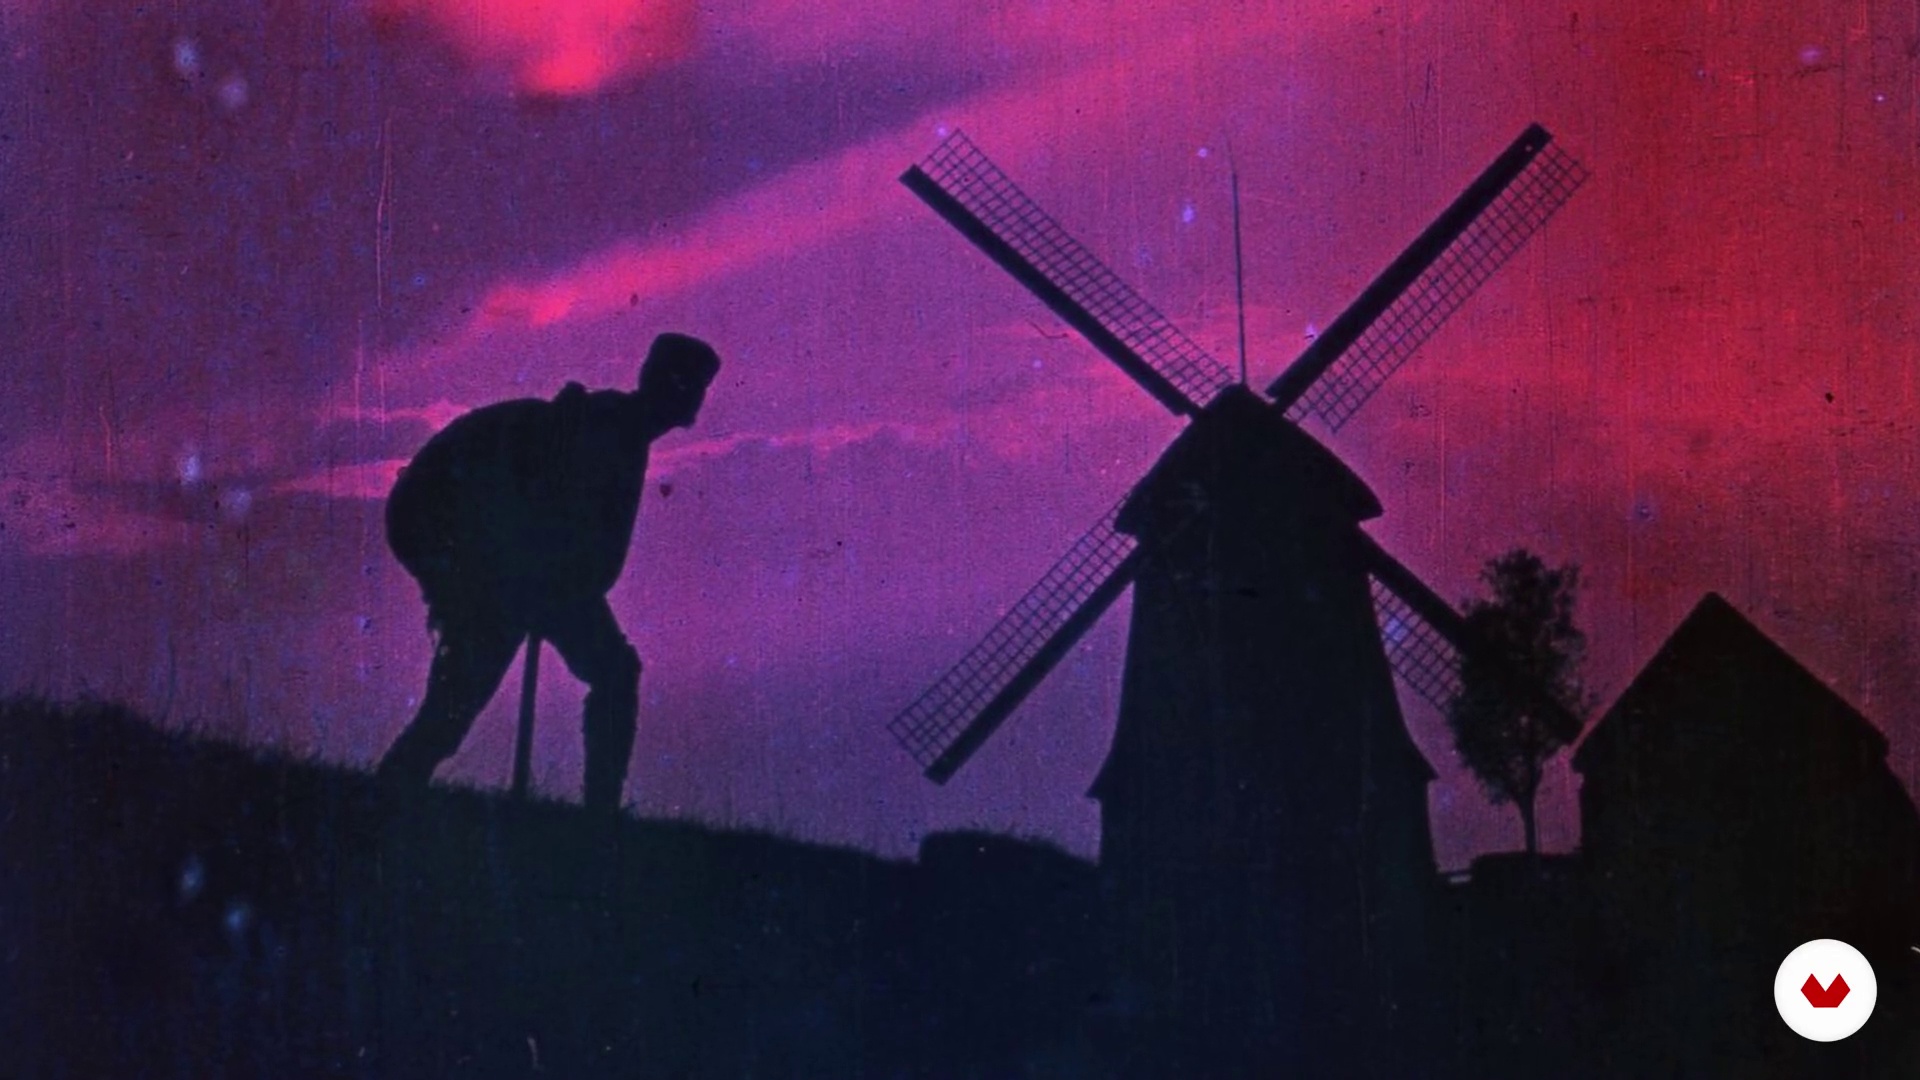
Knowing the work of other artists helps us to broaden the look and the creative horizon. In this class, I will show you some of my main influences.
4m
 2
2Influences | Amazink
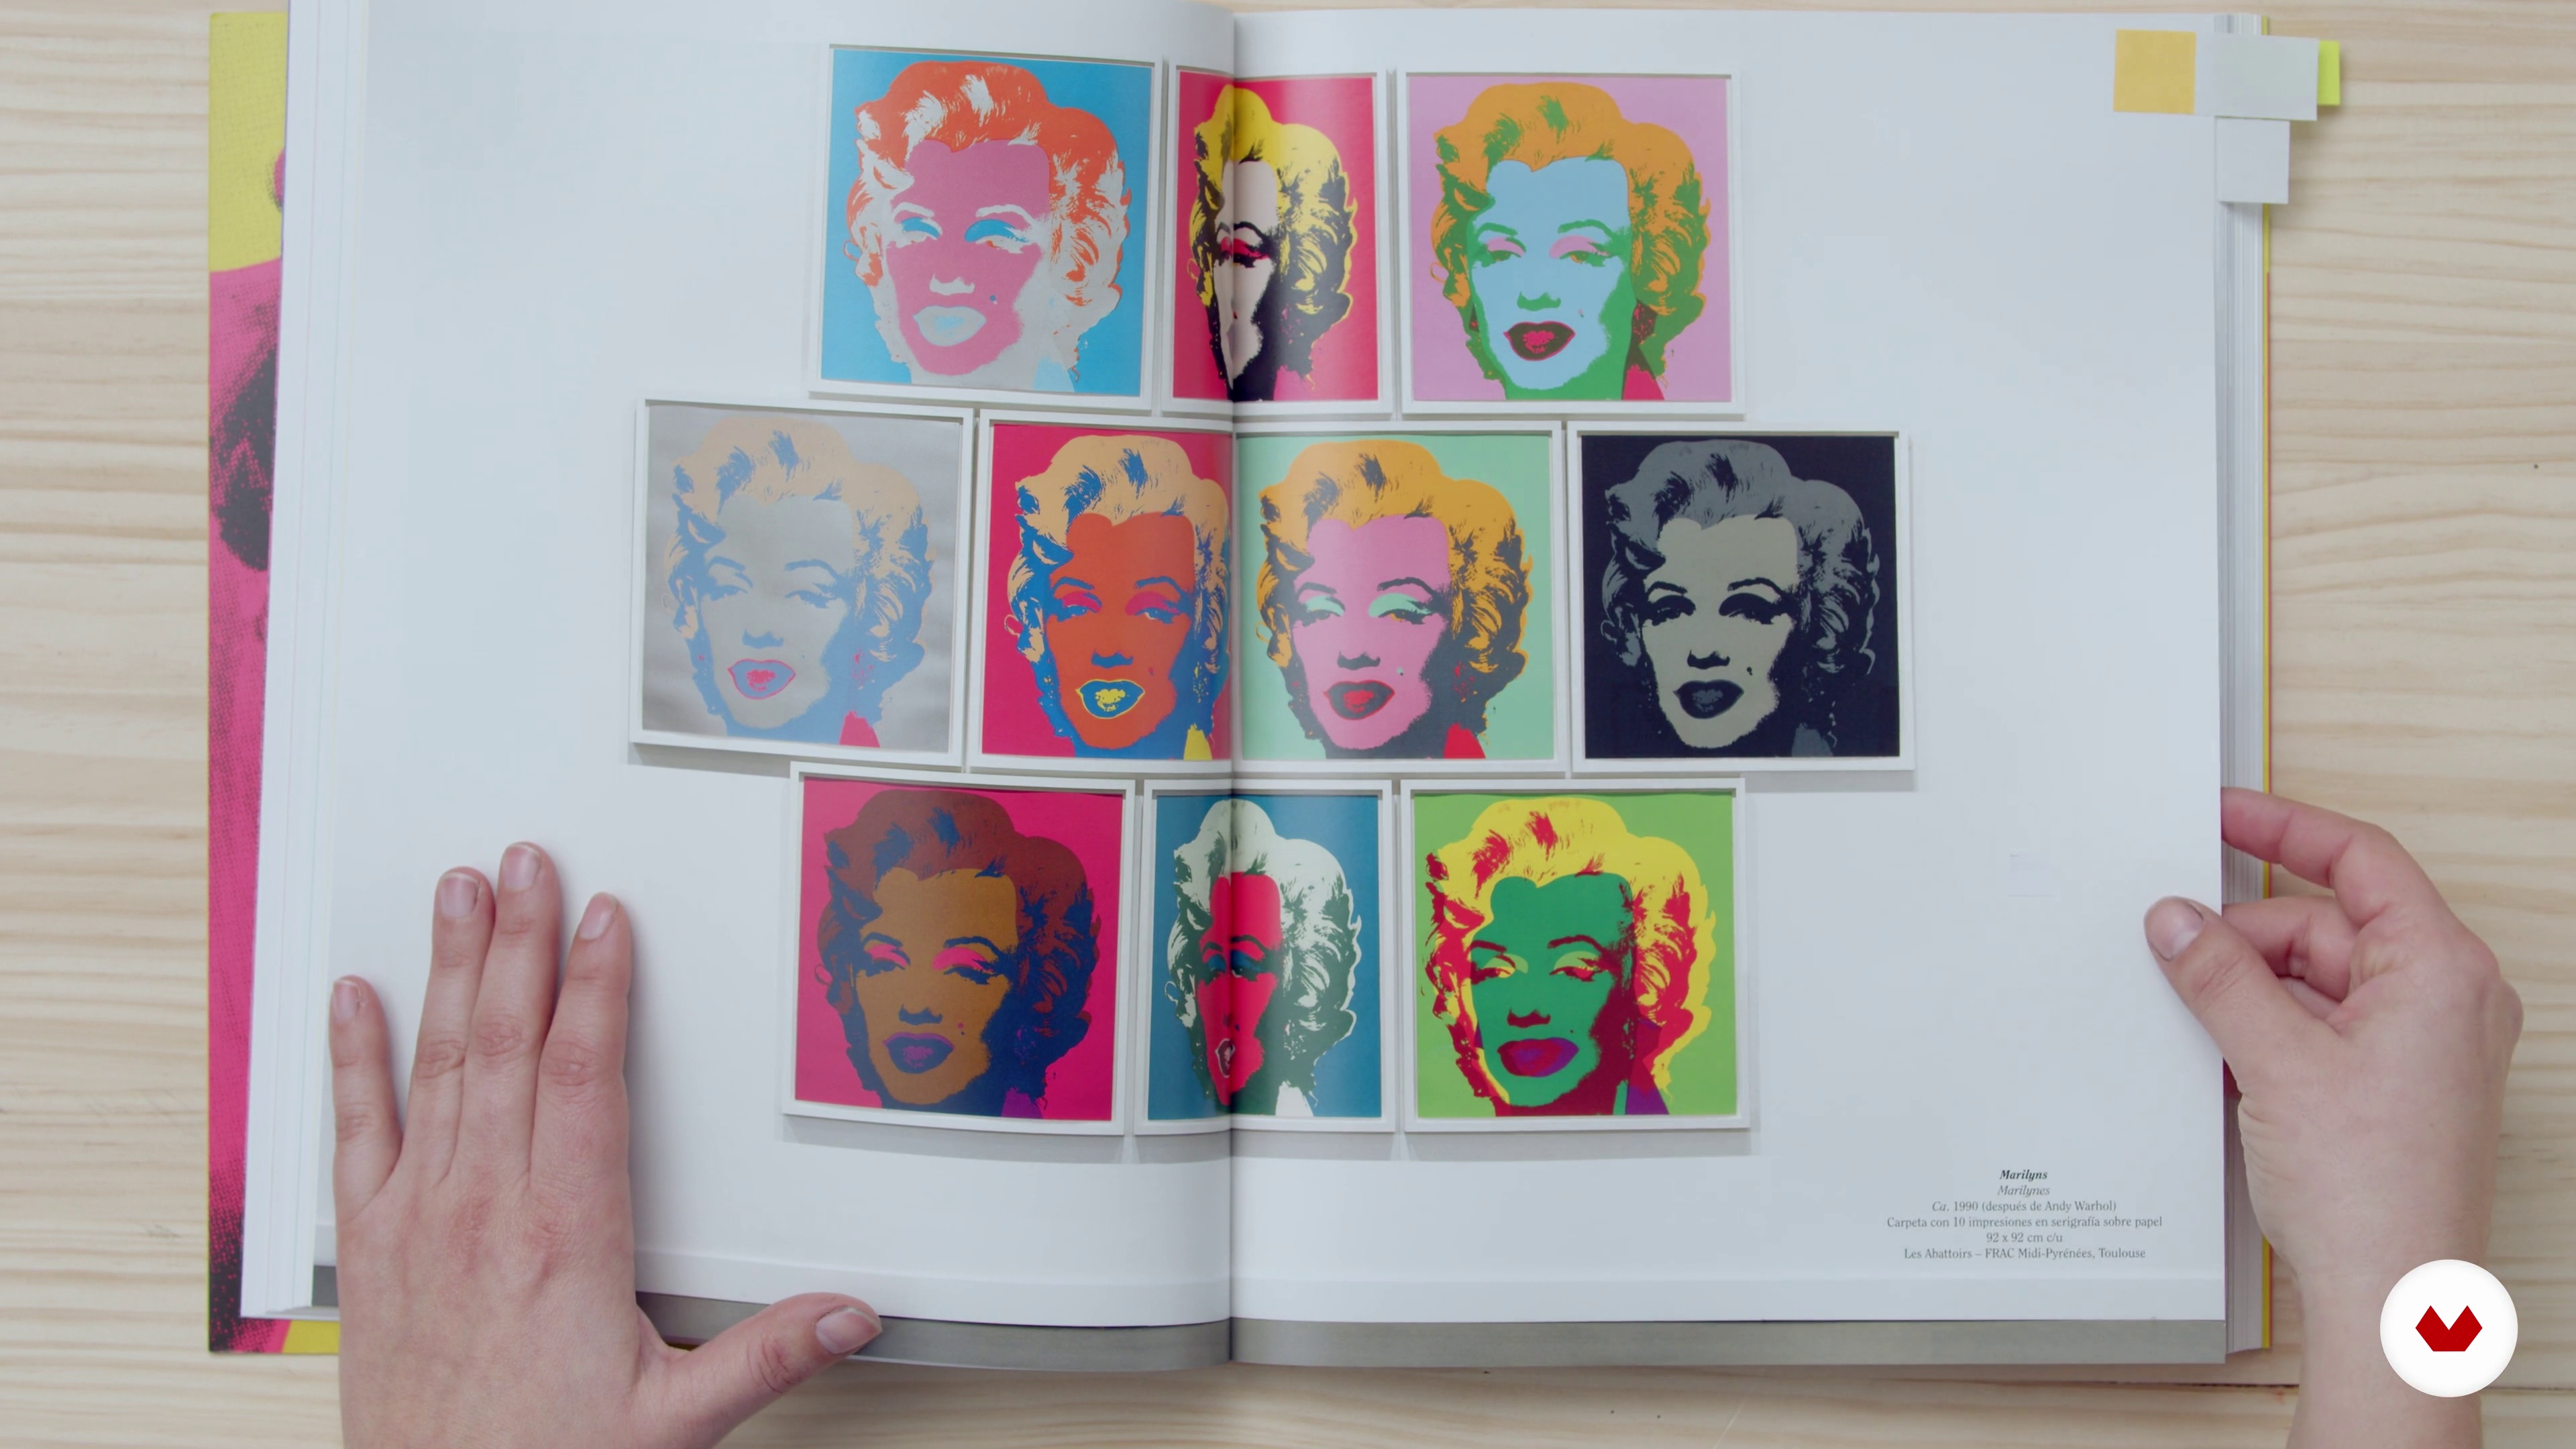
Next, I am going to tell you about some of the screen printing artists who have inspired me the most and inspire me in my creative process.
7m
 2
2Influences | Lina Botero
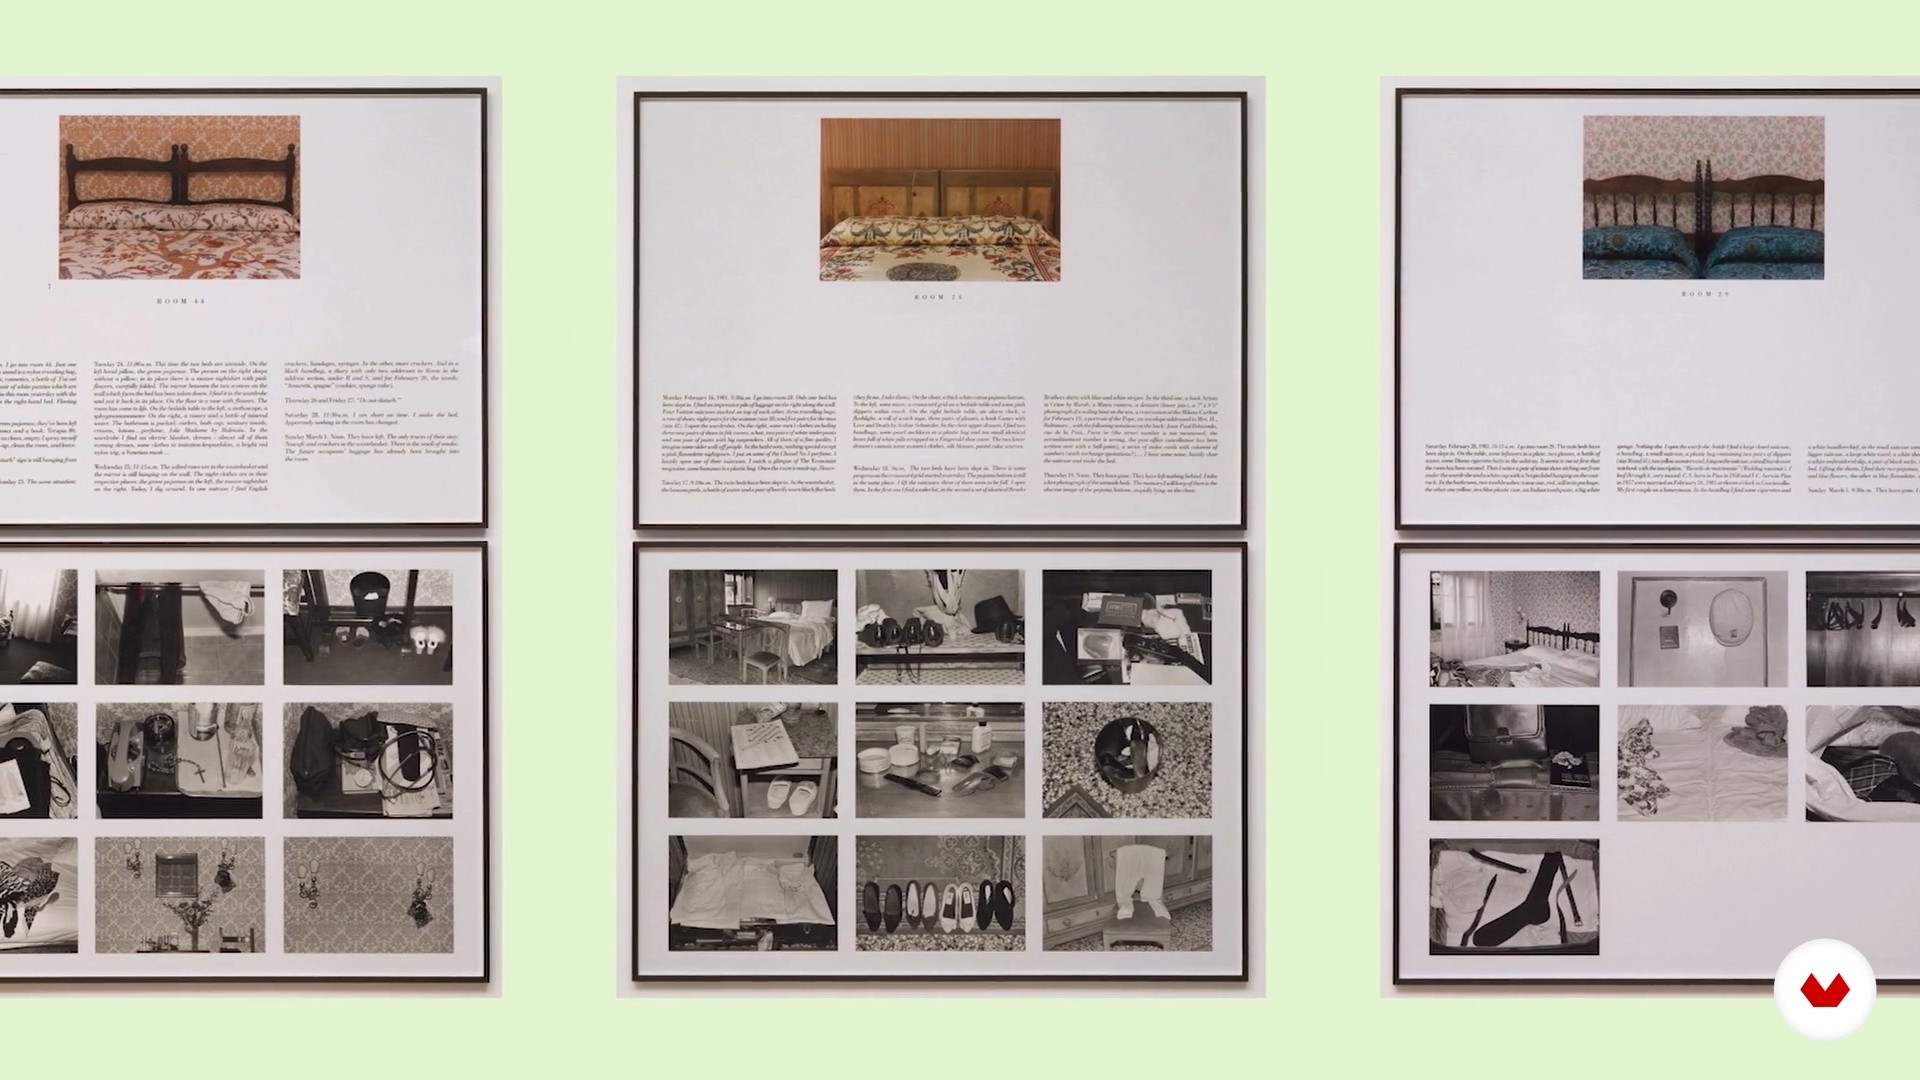
My artistic influences have always been linked to everything that can fit within the word "poetry". Here I will show you artists who have worked on the thematic and the formal in different ways, but always linking the poetic in their narrative.
9m
 2
2Influences | Mariela Sancari
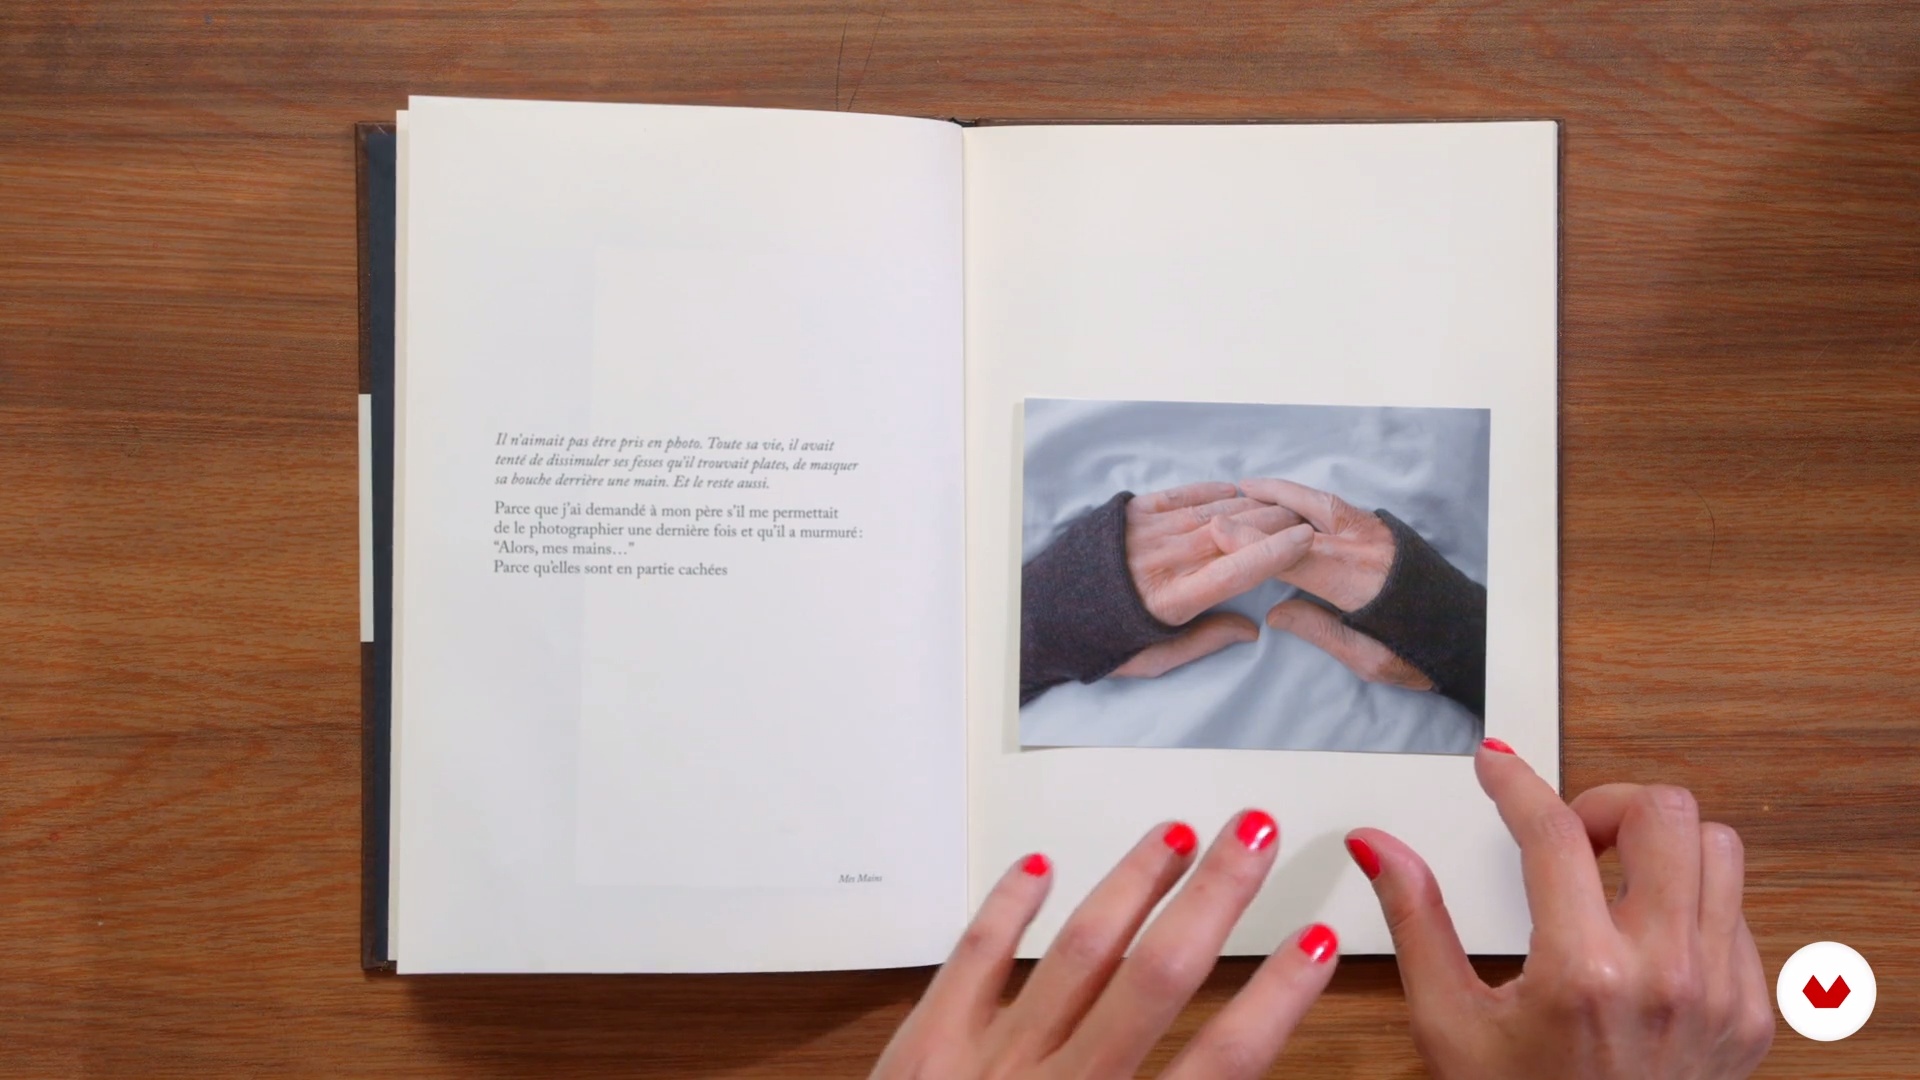
In this lesson I will share some of my influences, ranging from literature and adaptation of classics to performance and performing arts.
9m
 3
3Photography and composition
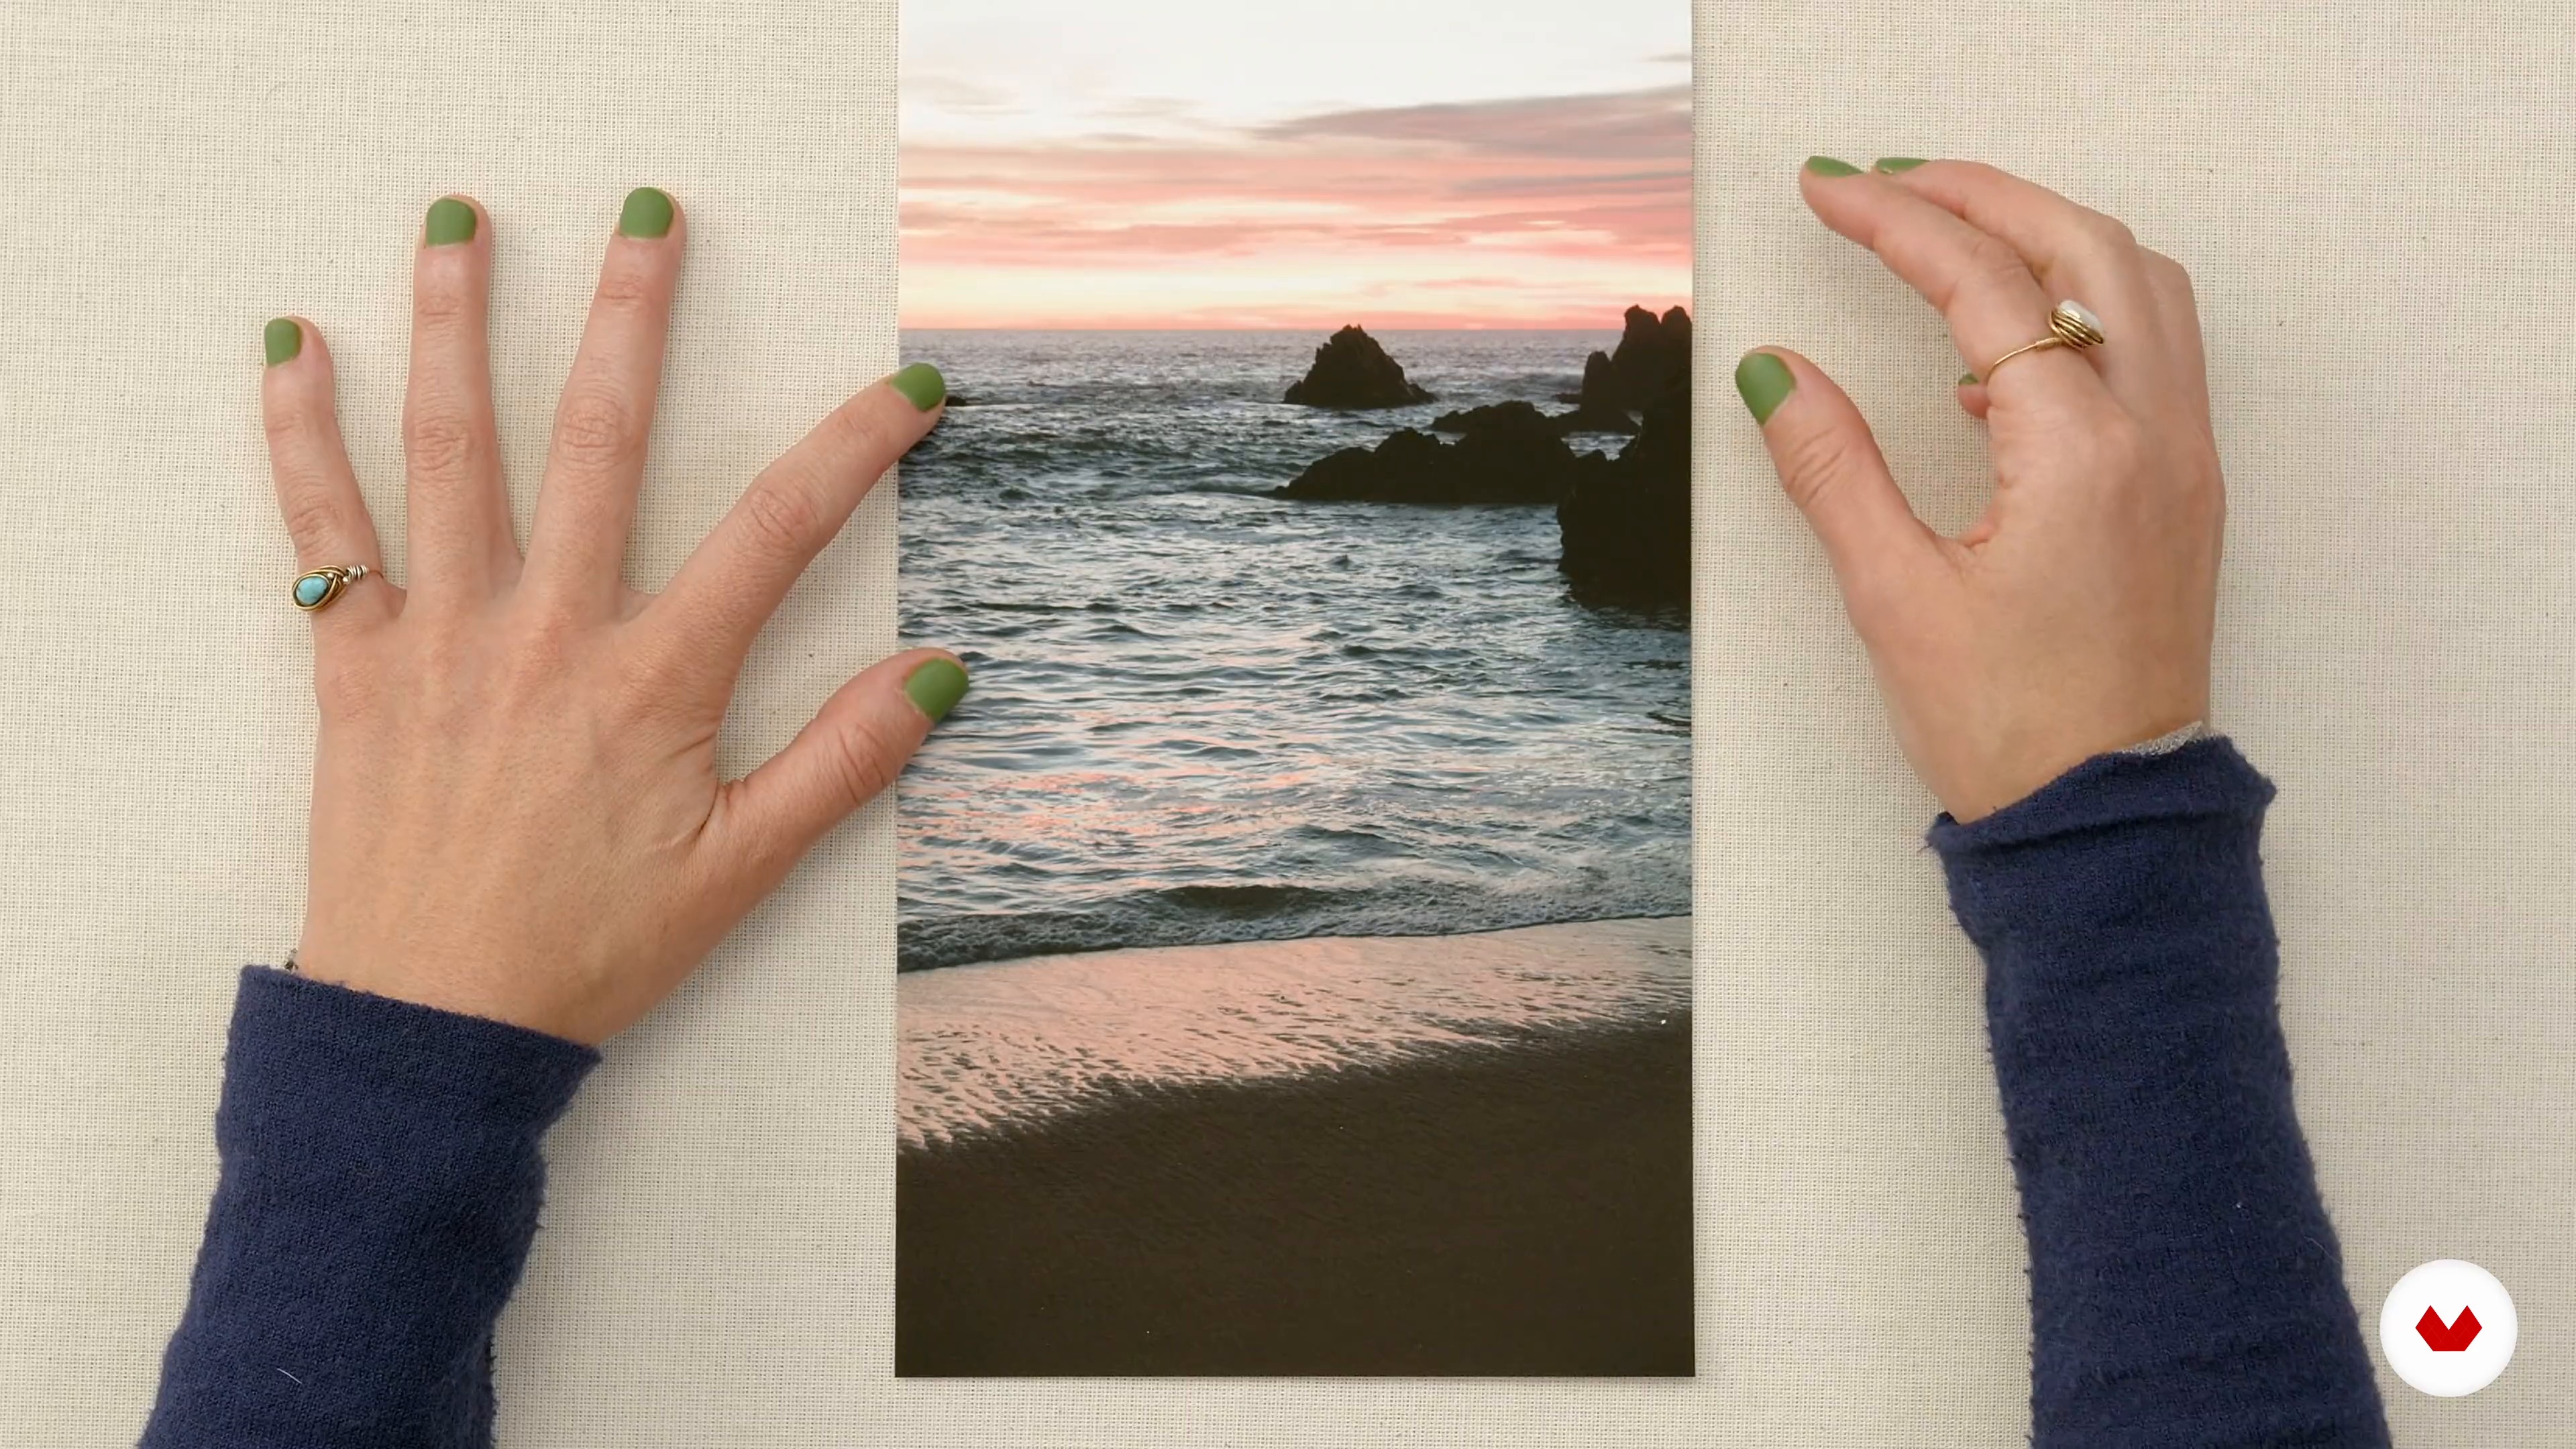
In this first lesson I will teach you to observe the image and describe it in order to generate intervention ideas. We will see composition concepts to achieve an interesting photograph and I will also give you tips on where you can find other people's images to work on them.
19m
 4
4Color
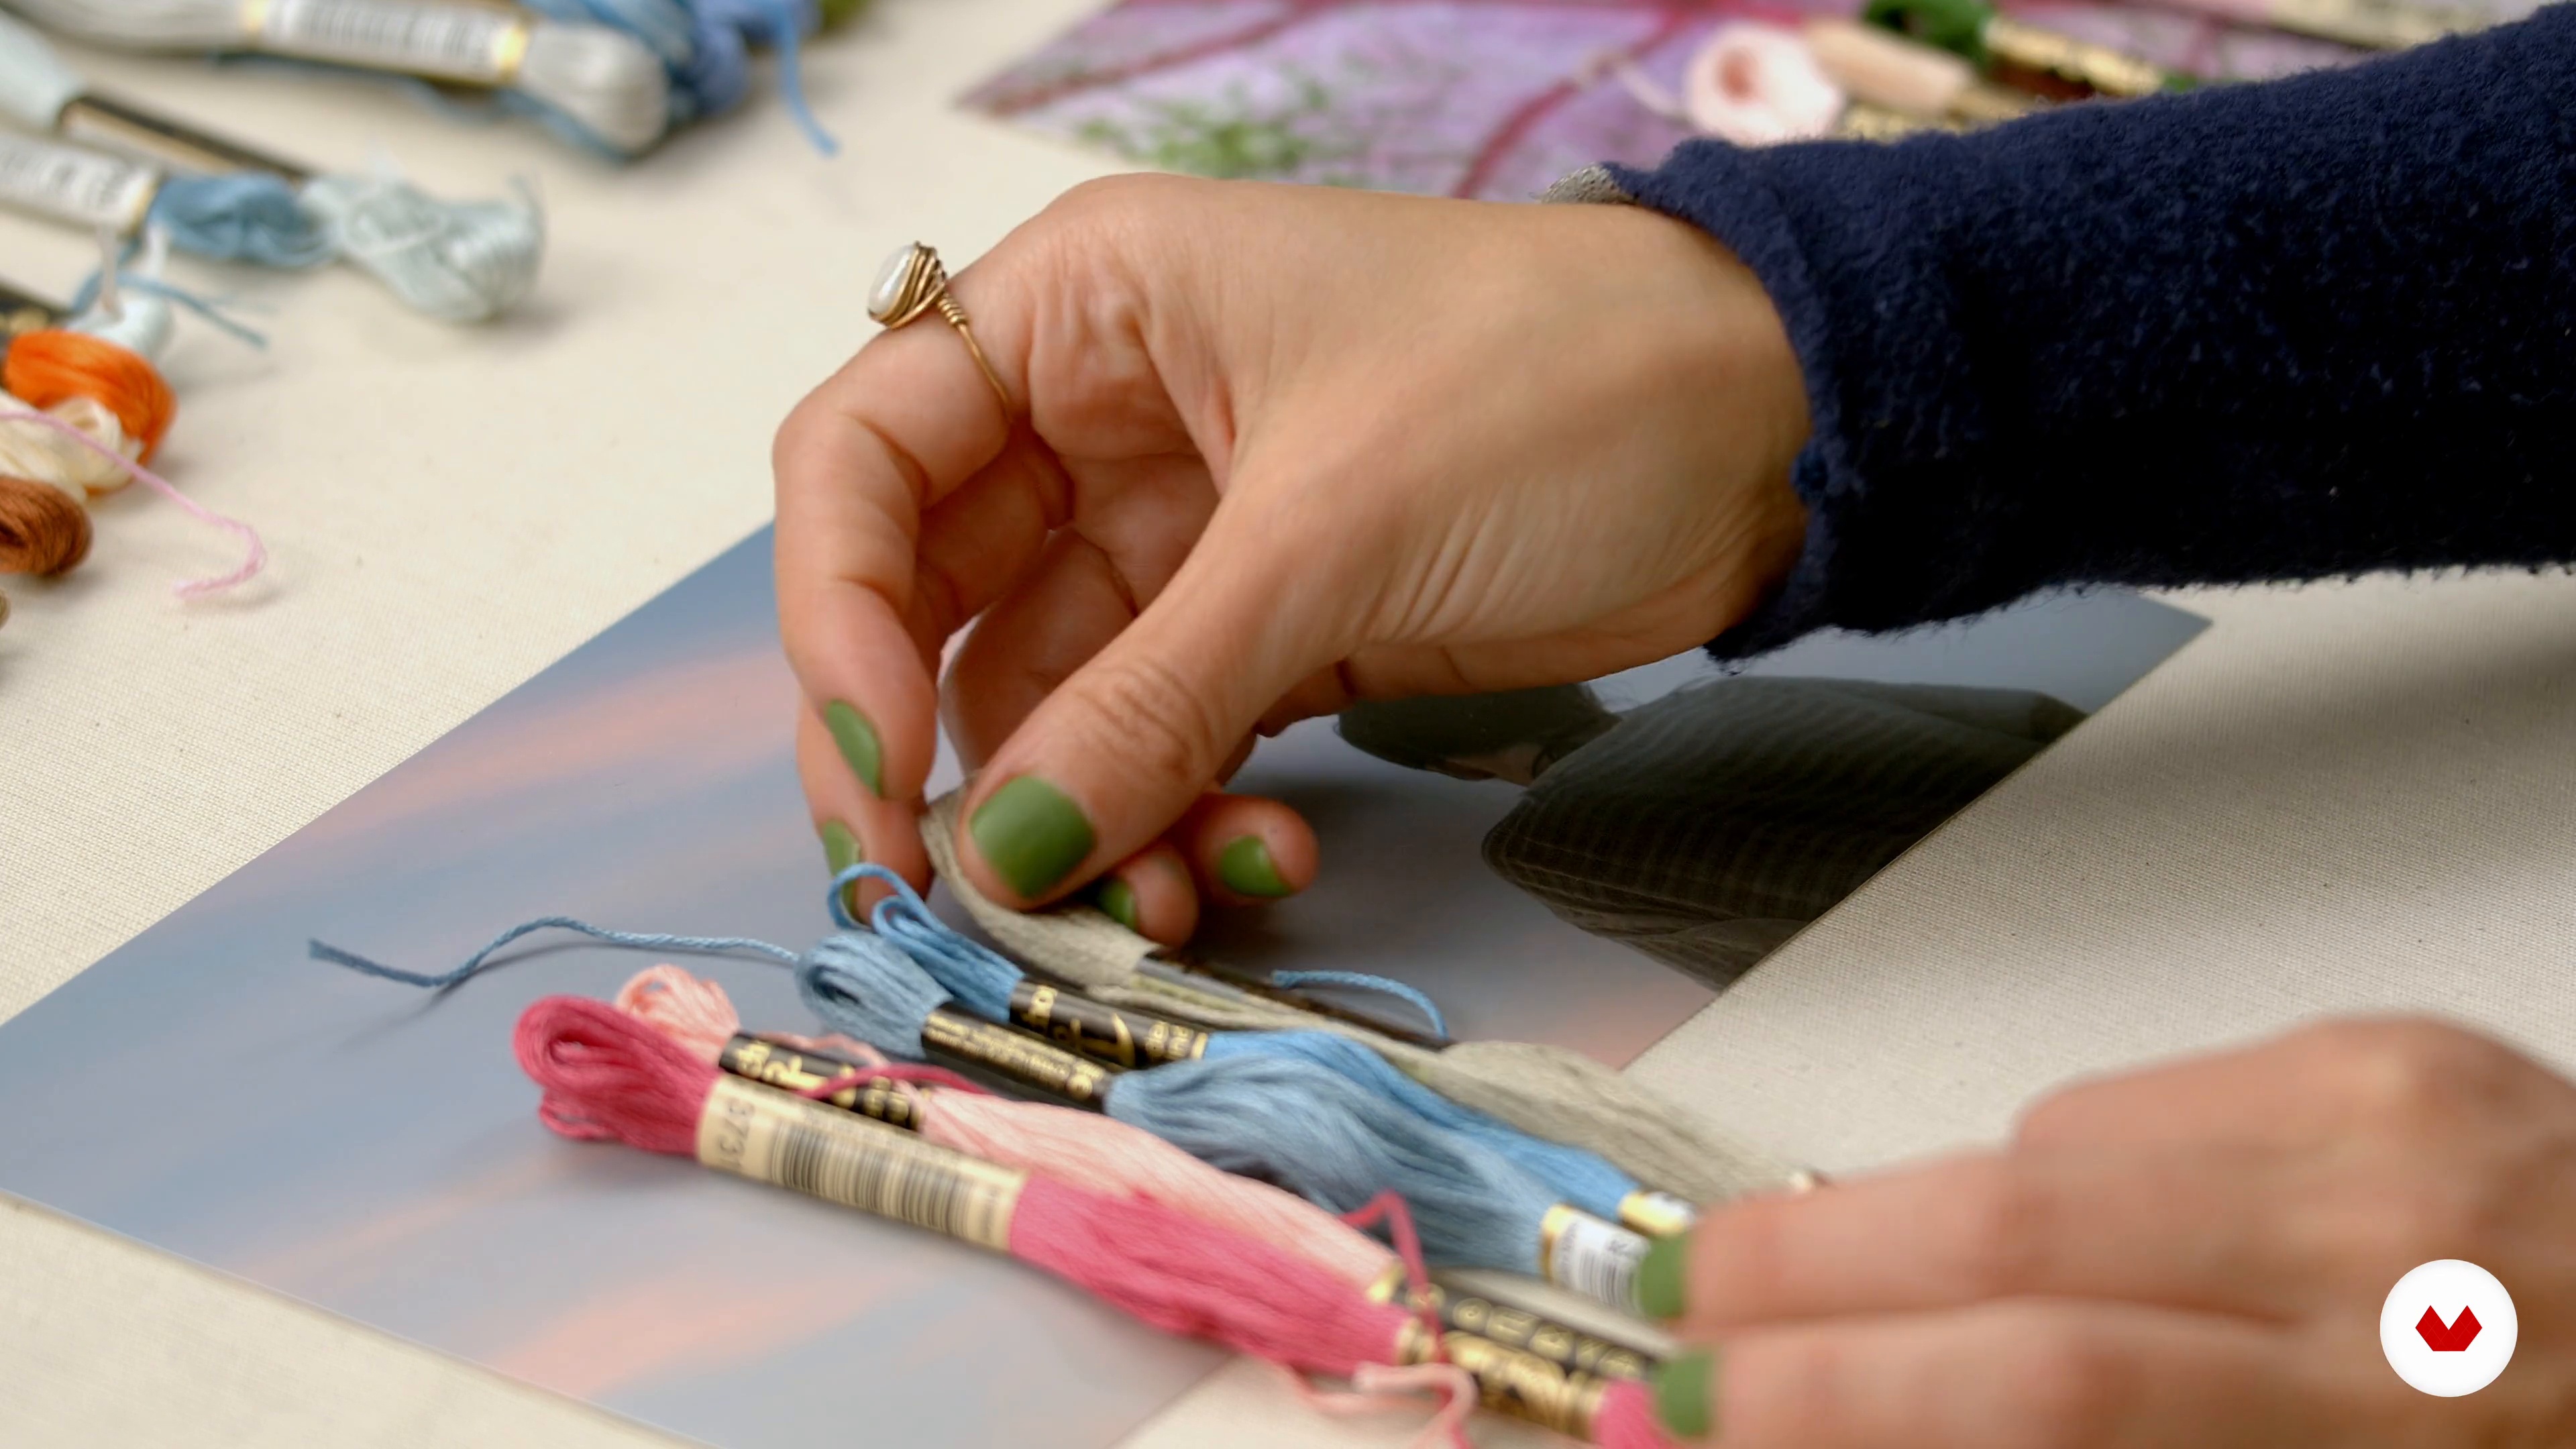
The color of an image can be the perfect guide to create harmony in your photo embroidery. In this lesson I will show you how to select the color palettes according to the image you are going to embroider.
11m
 5
5Materials
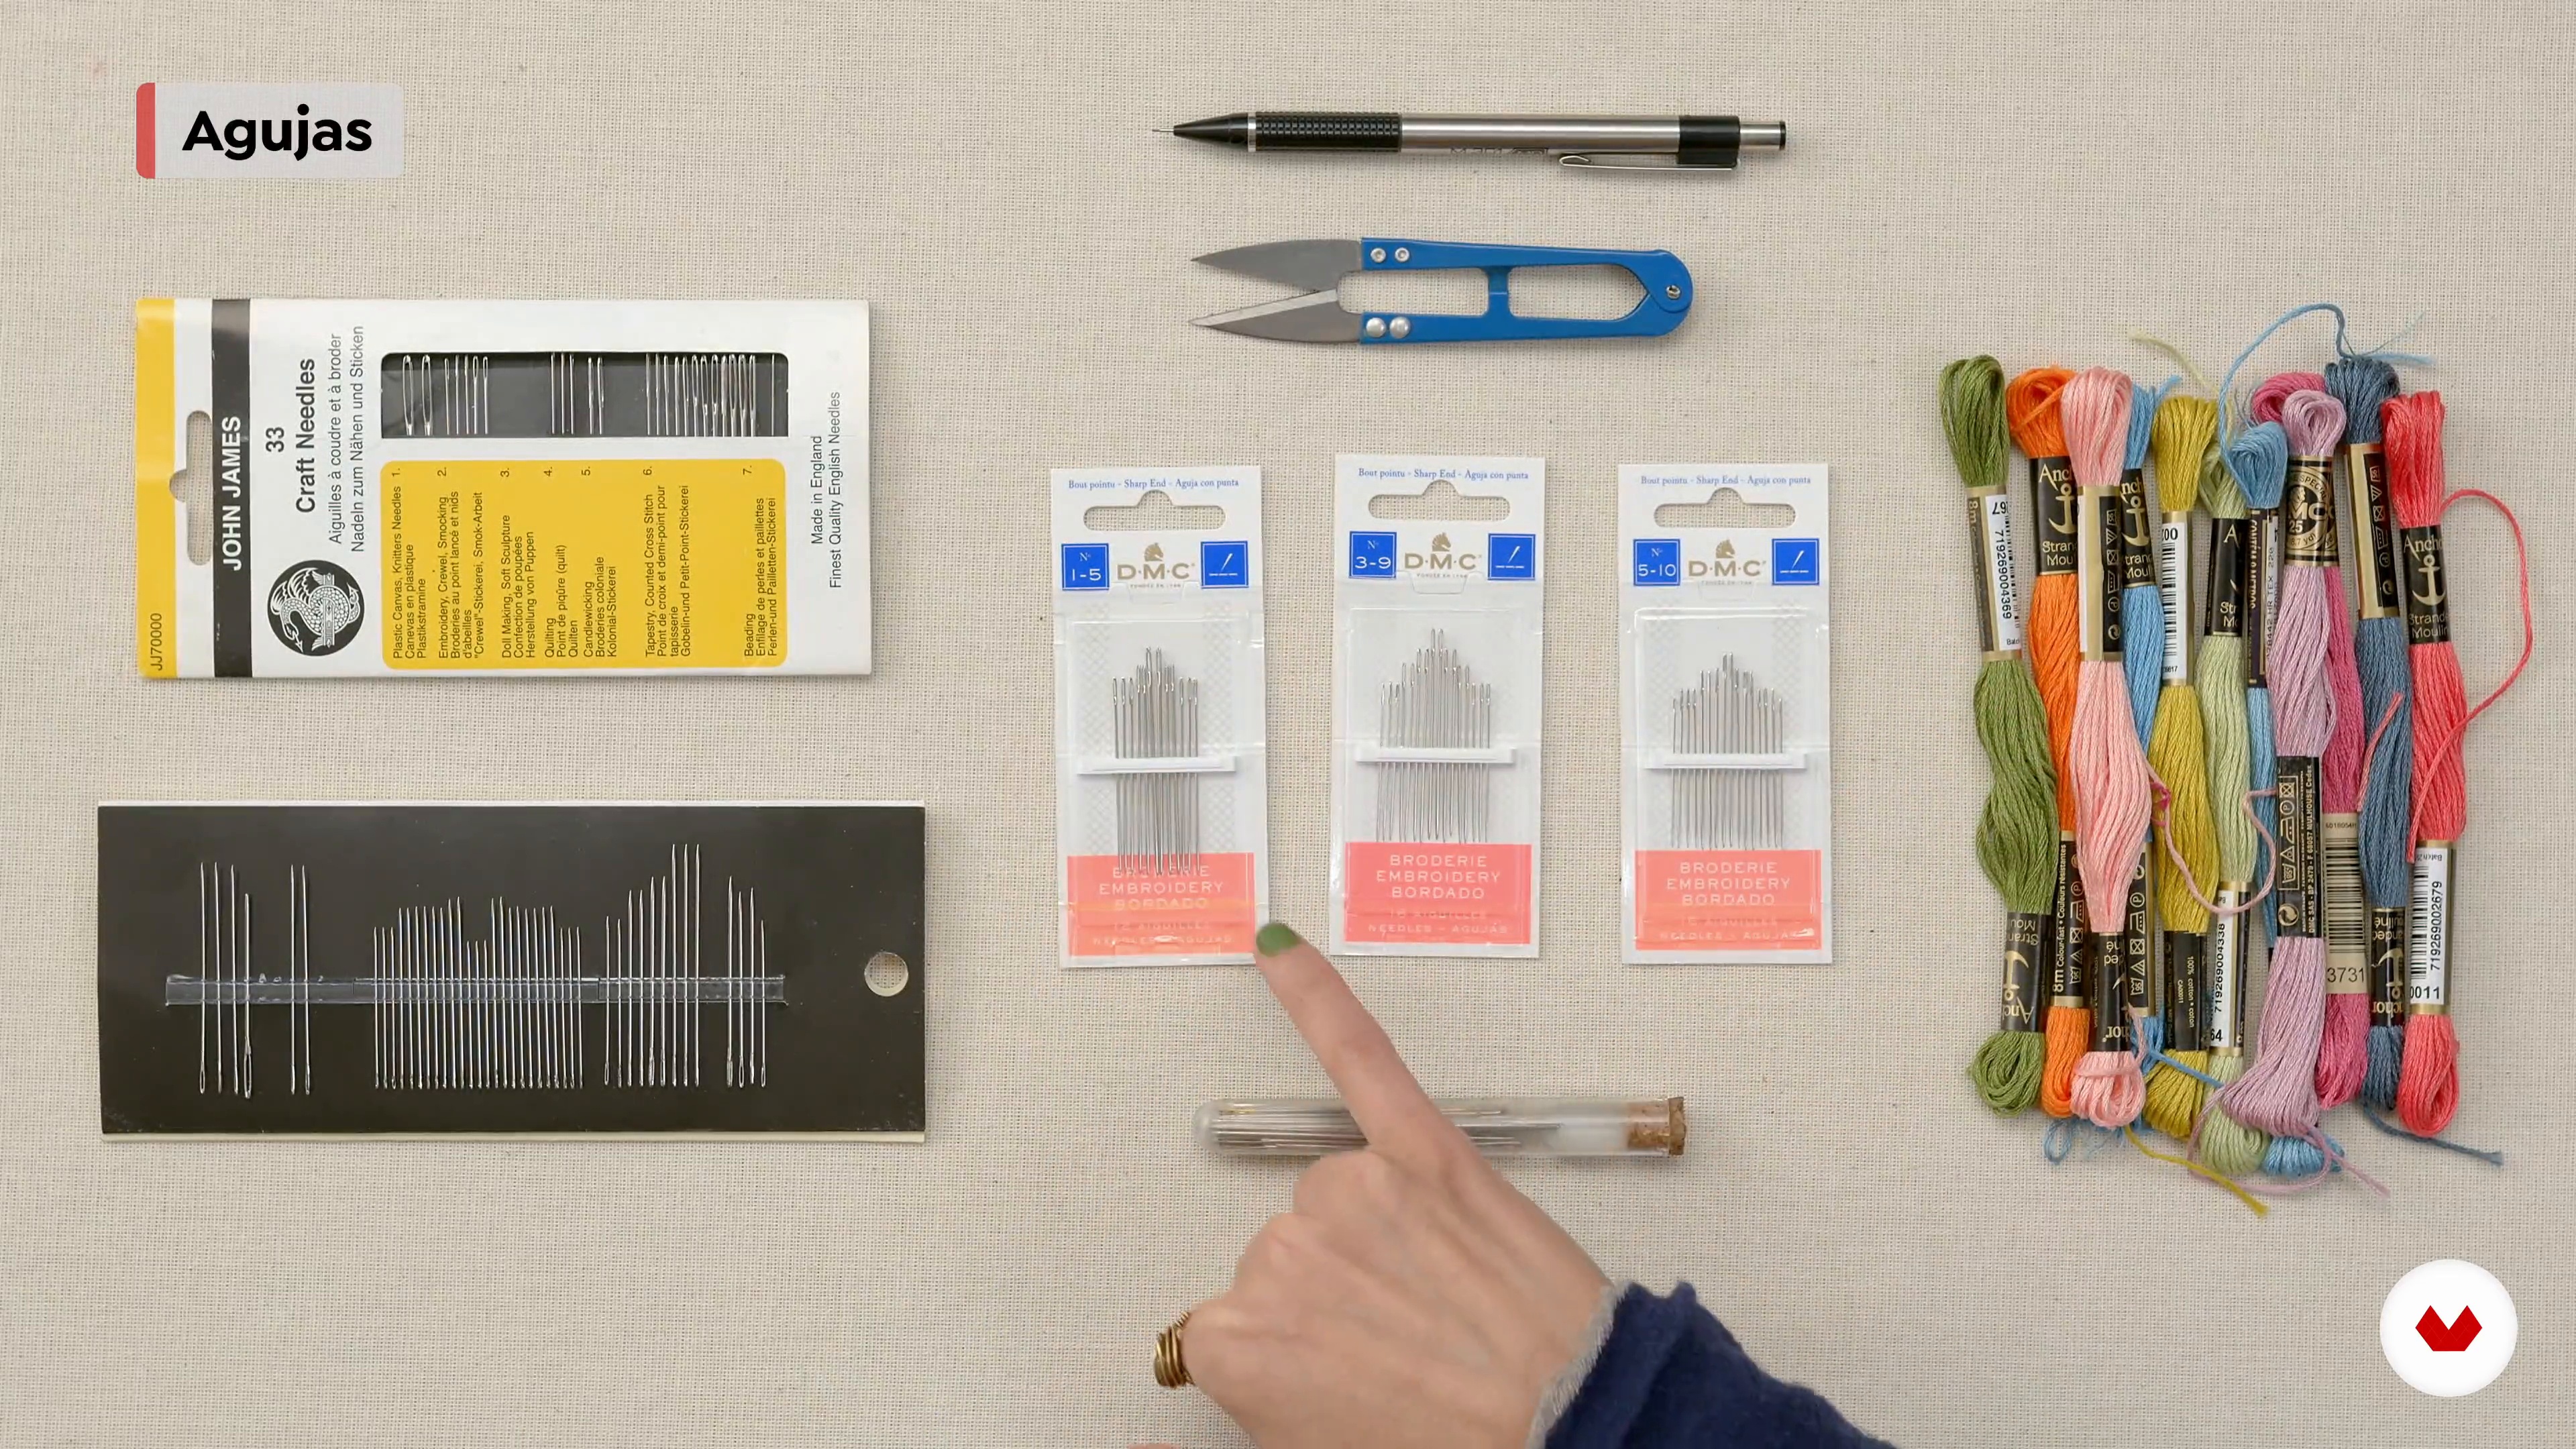
Next, I will show you different types of paper with which an image can be embroidered. We will review all the materials you need to start embroidering and some that can make your practice more friendly.
11m
 6
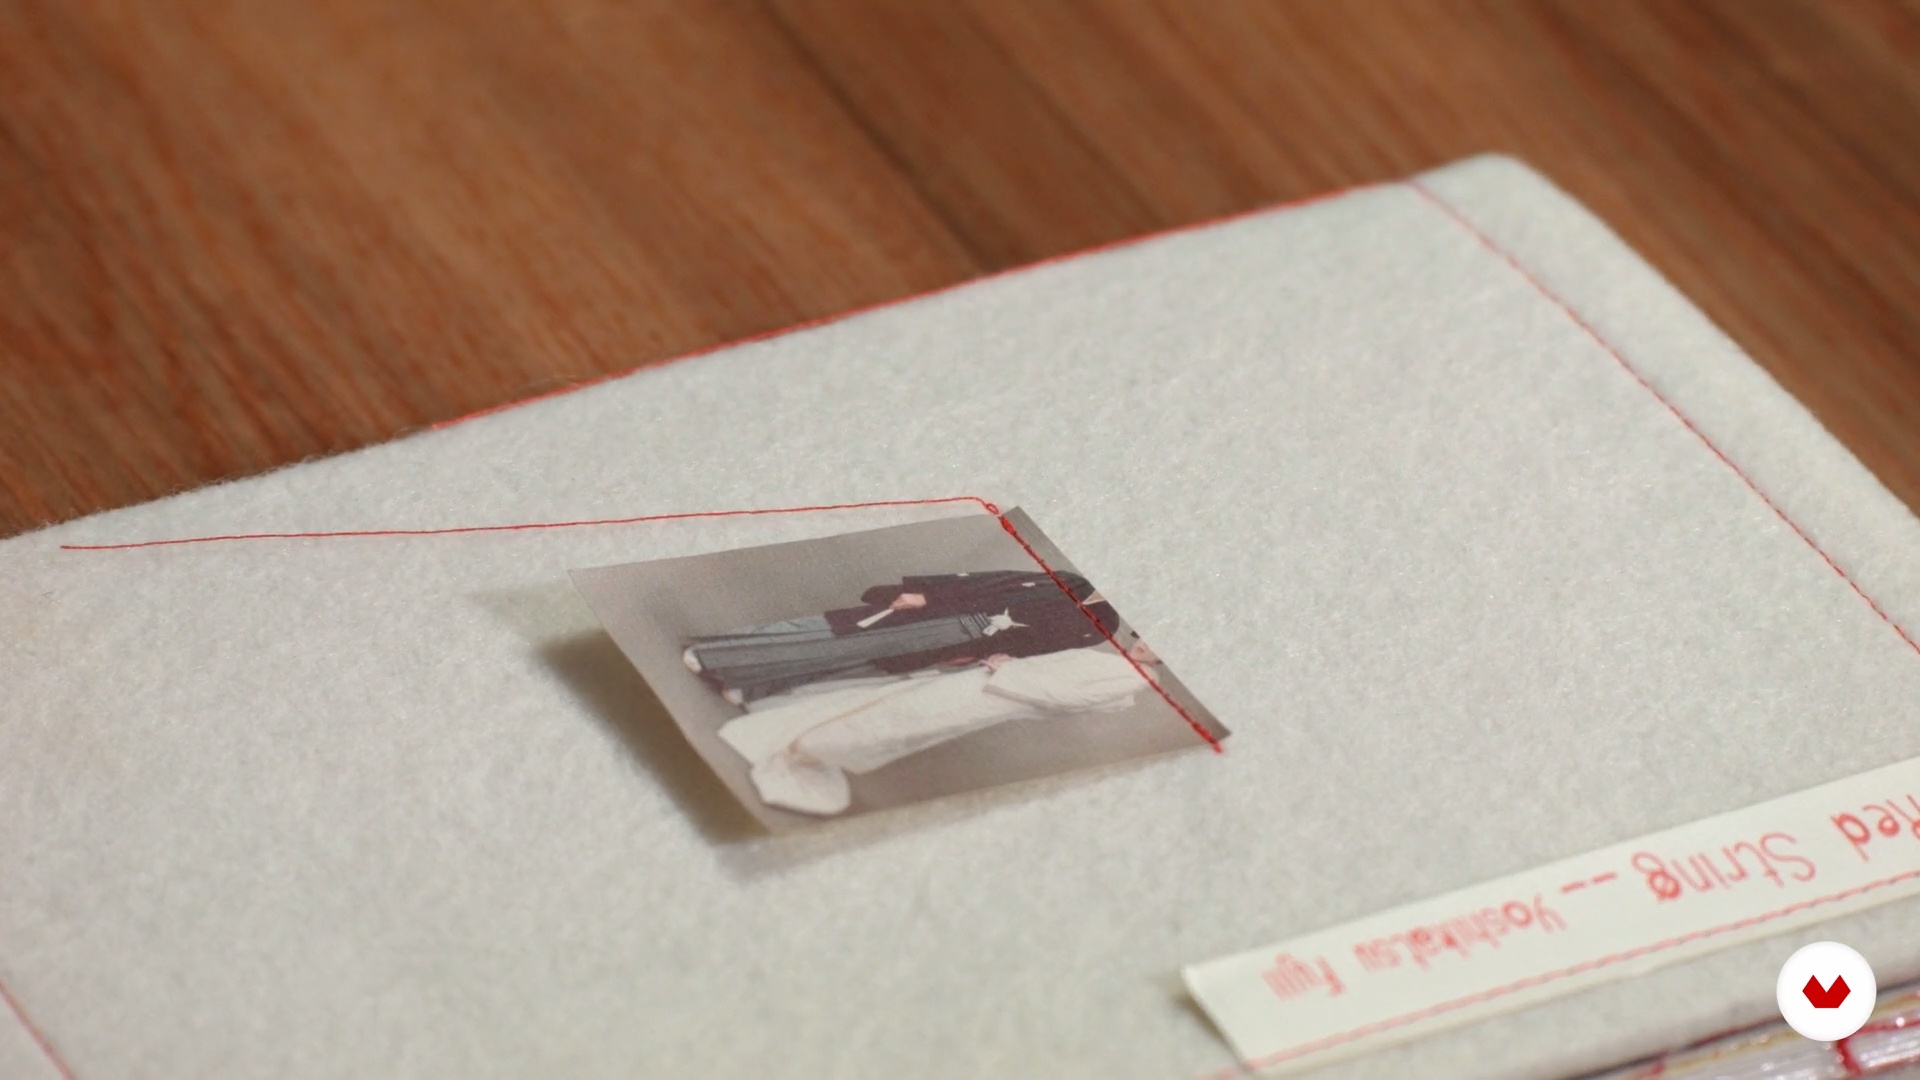
6Embroidered photography
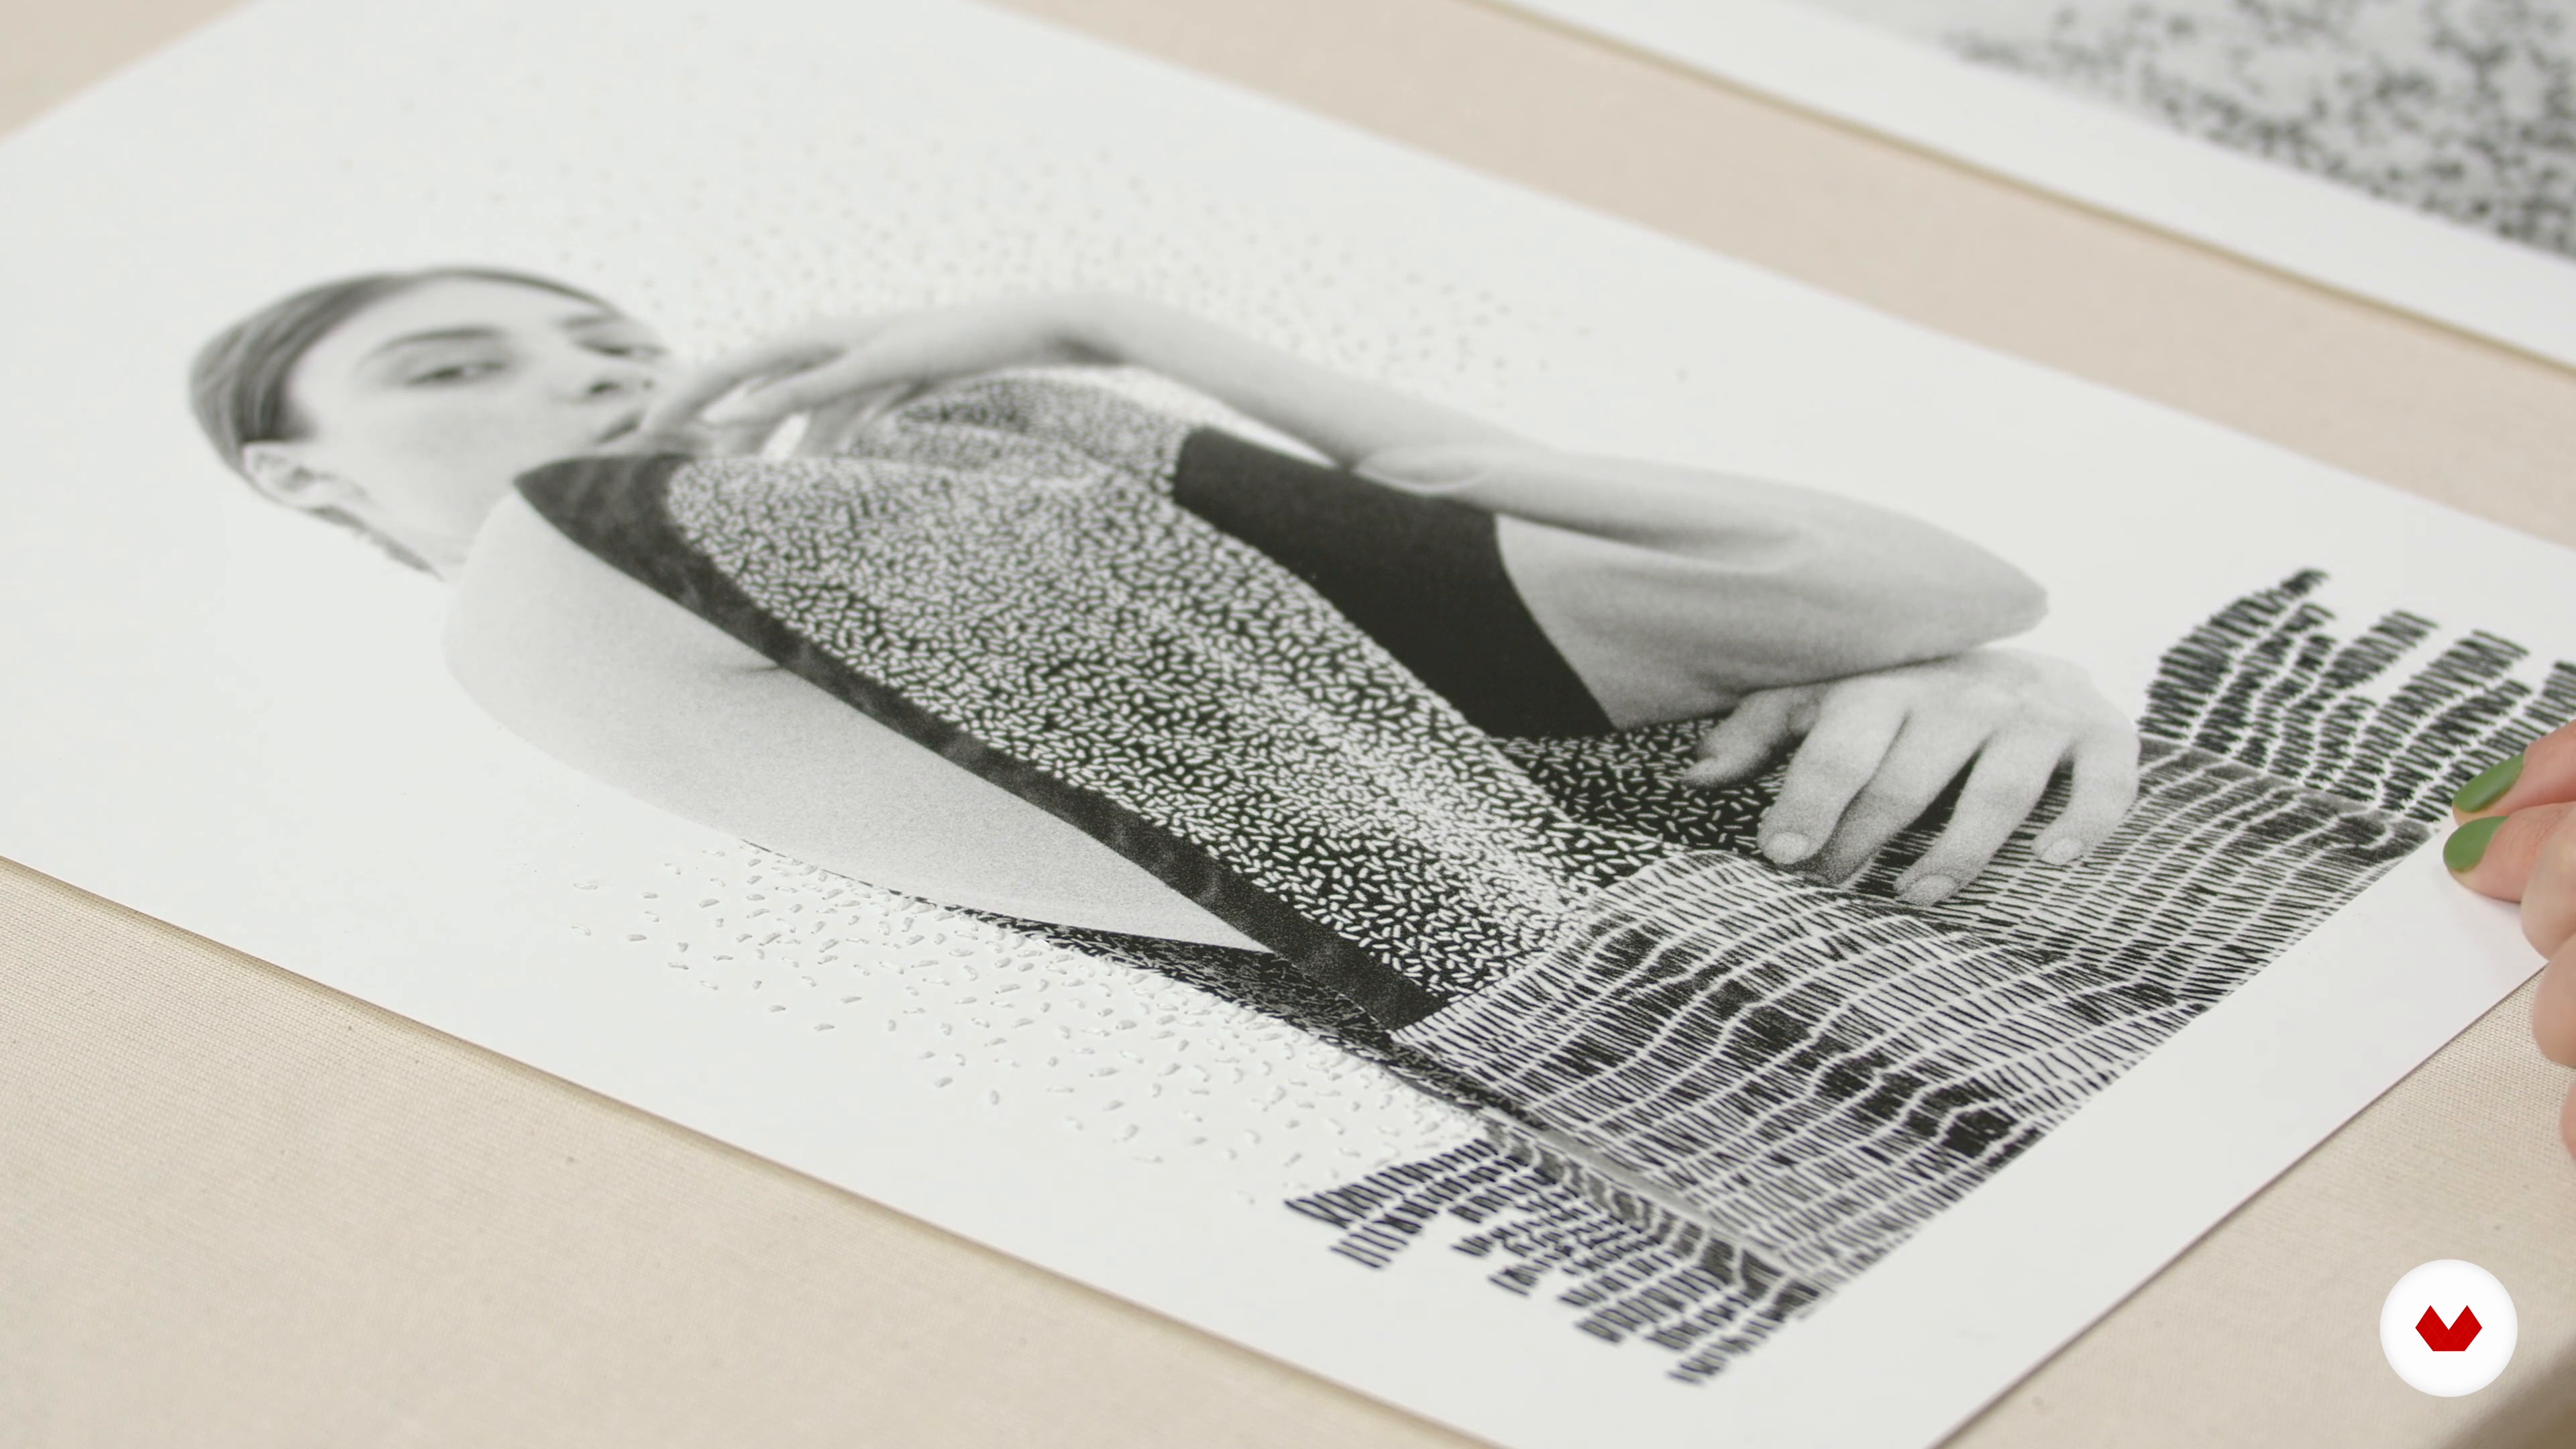
Embroidering my photographs, for me, means going back to that place and looking carefully. When the image is intervened, it comes to life and acquires a value. In this lesson I will tell you about the technique of embroidery on photography and I will show you with physical examples all the possibilities that can be achieved with the stitches that we are about to see. By the way, don't forget to start any work or exploration with clean hands!
17m
 7
7Embroider paper 1
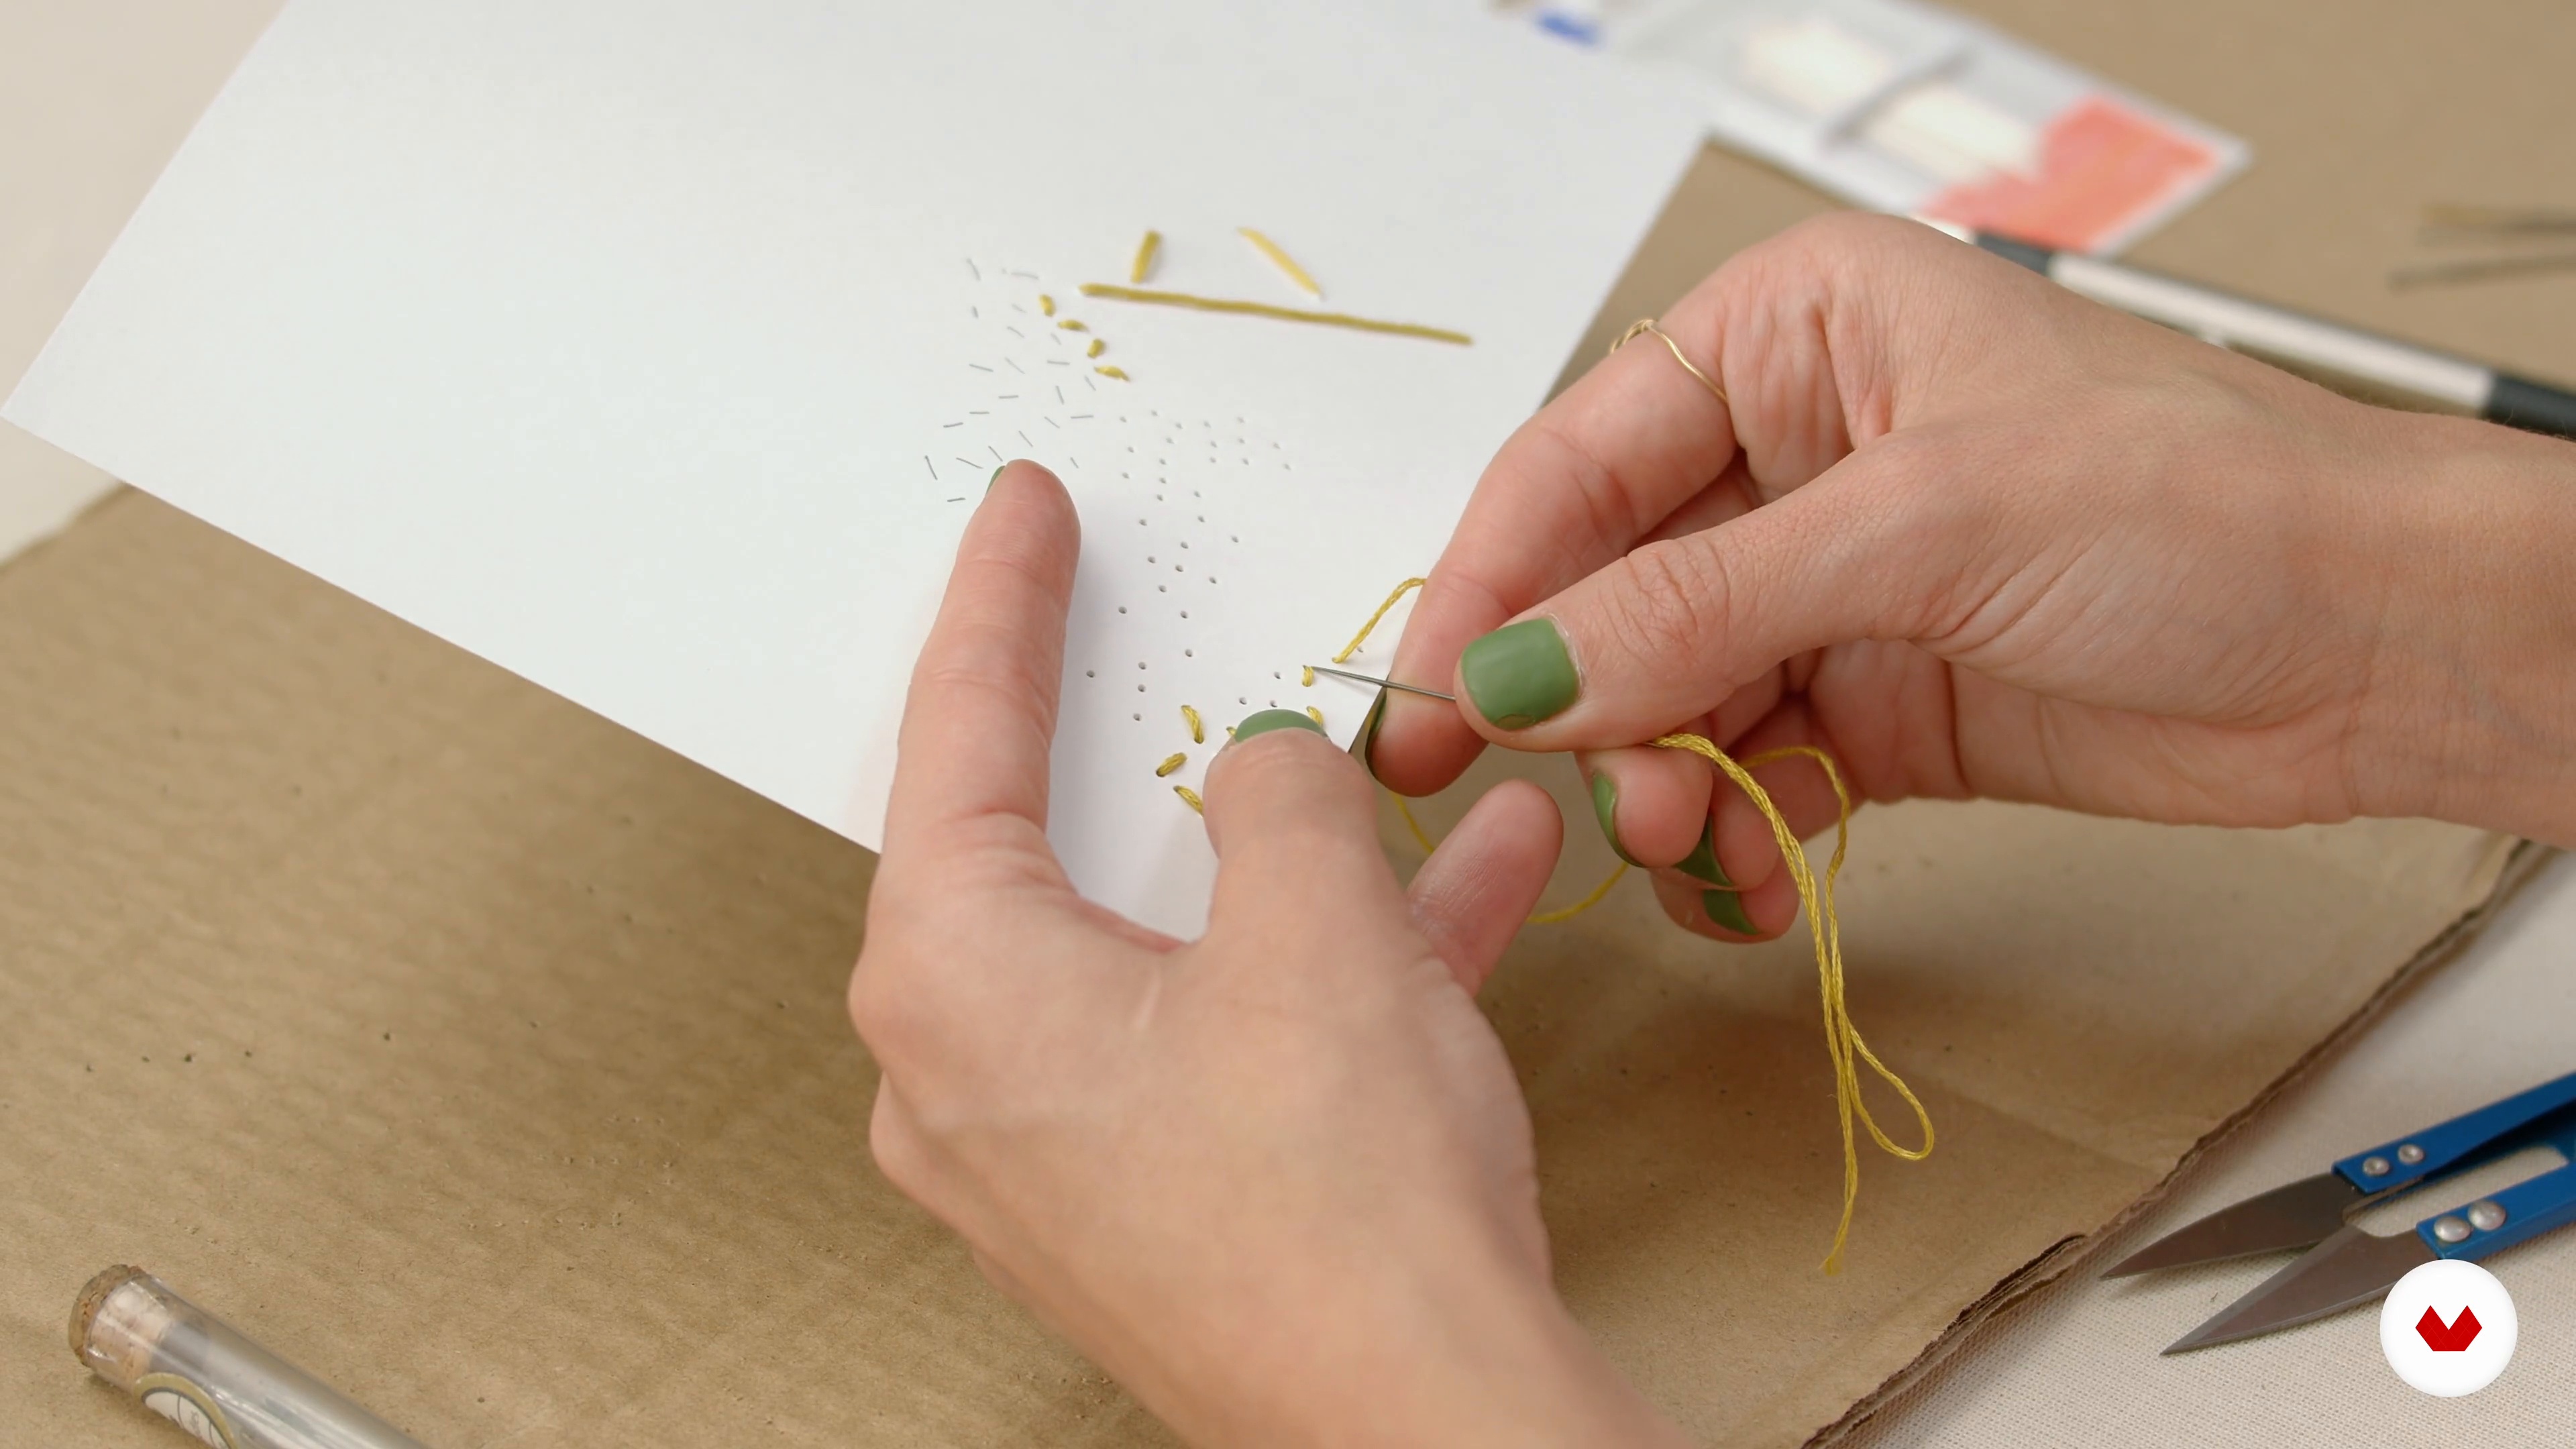
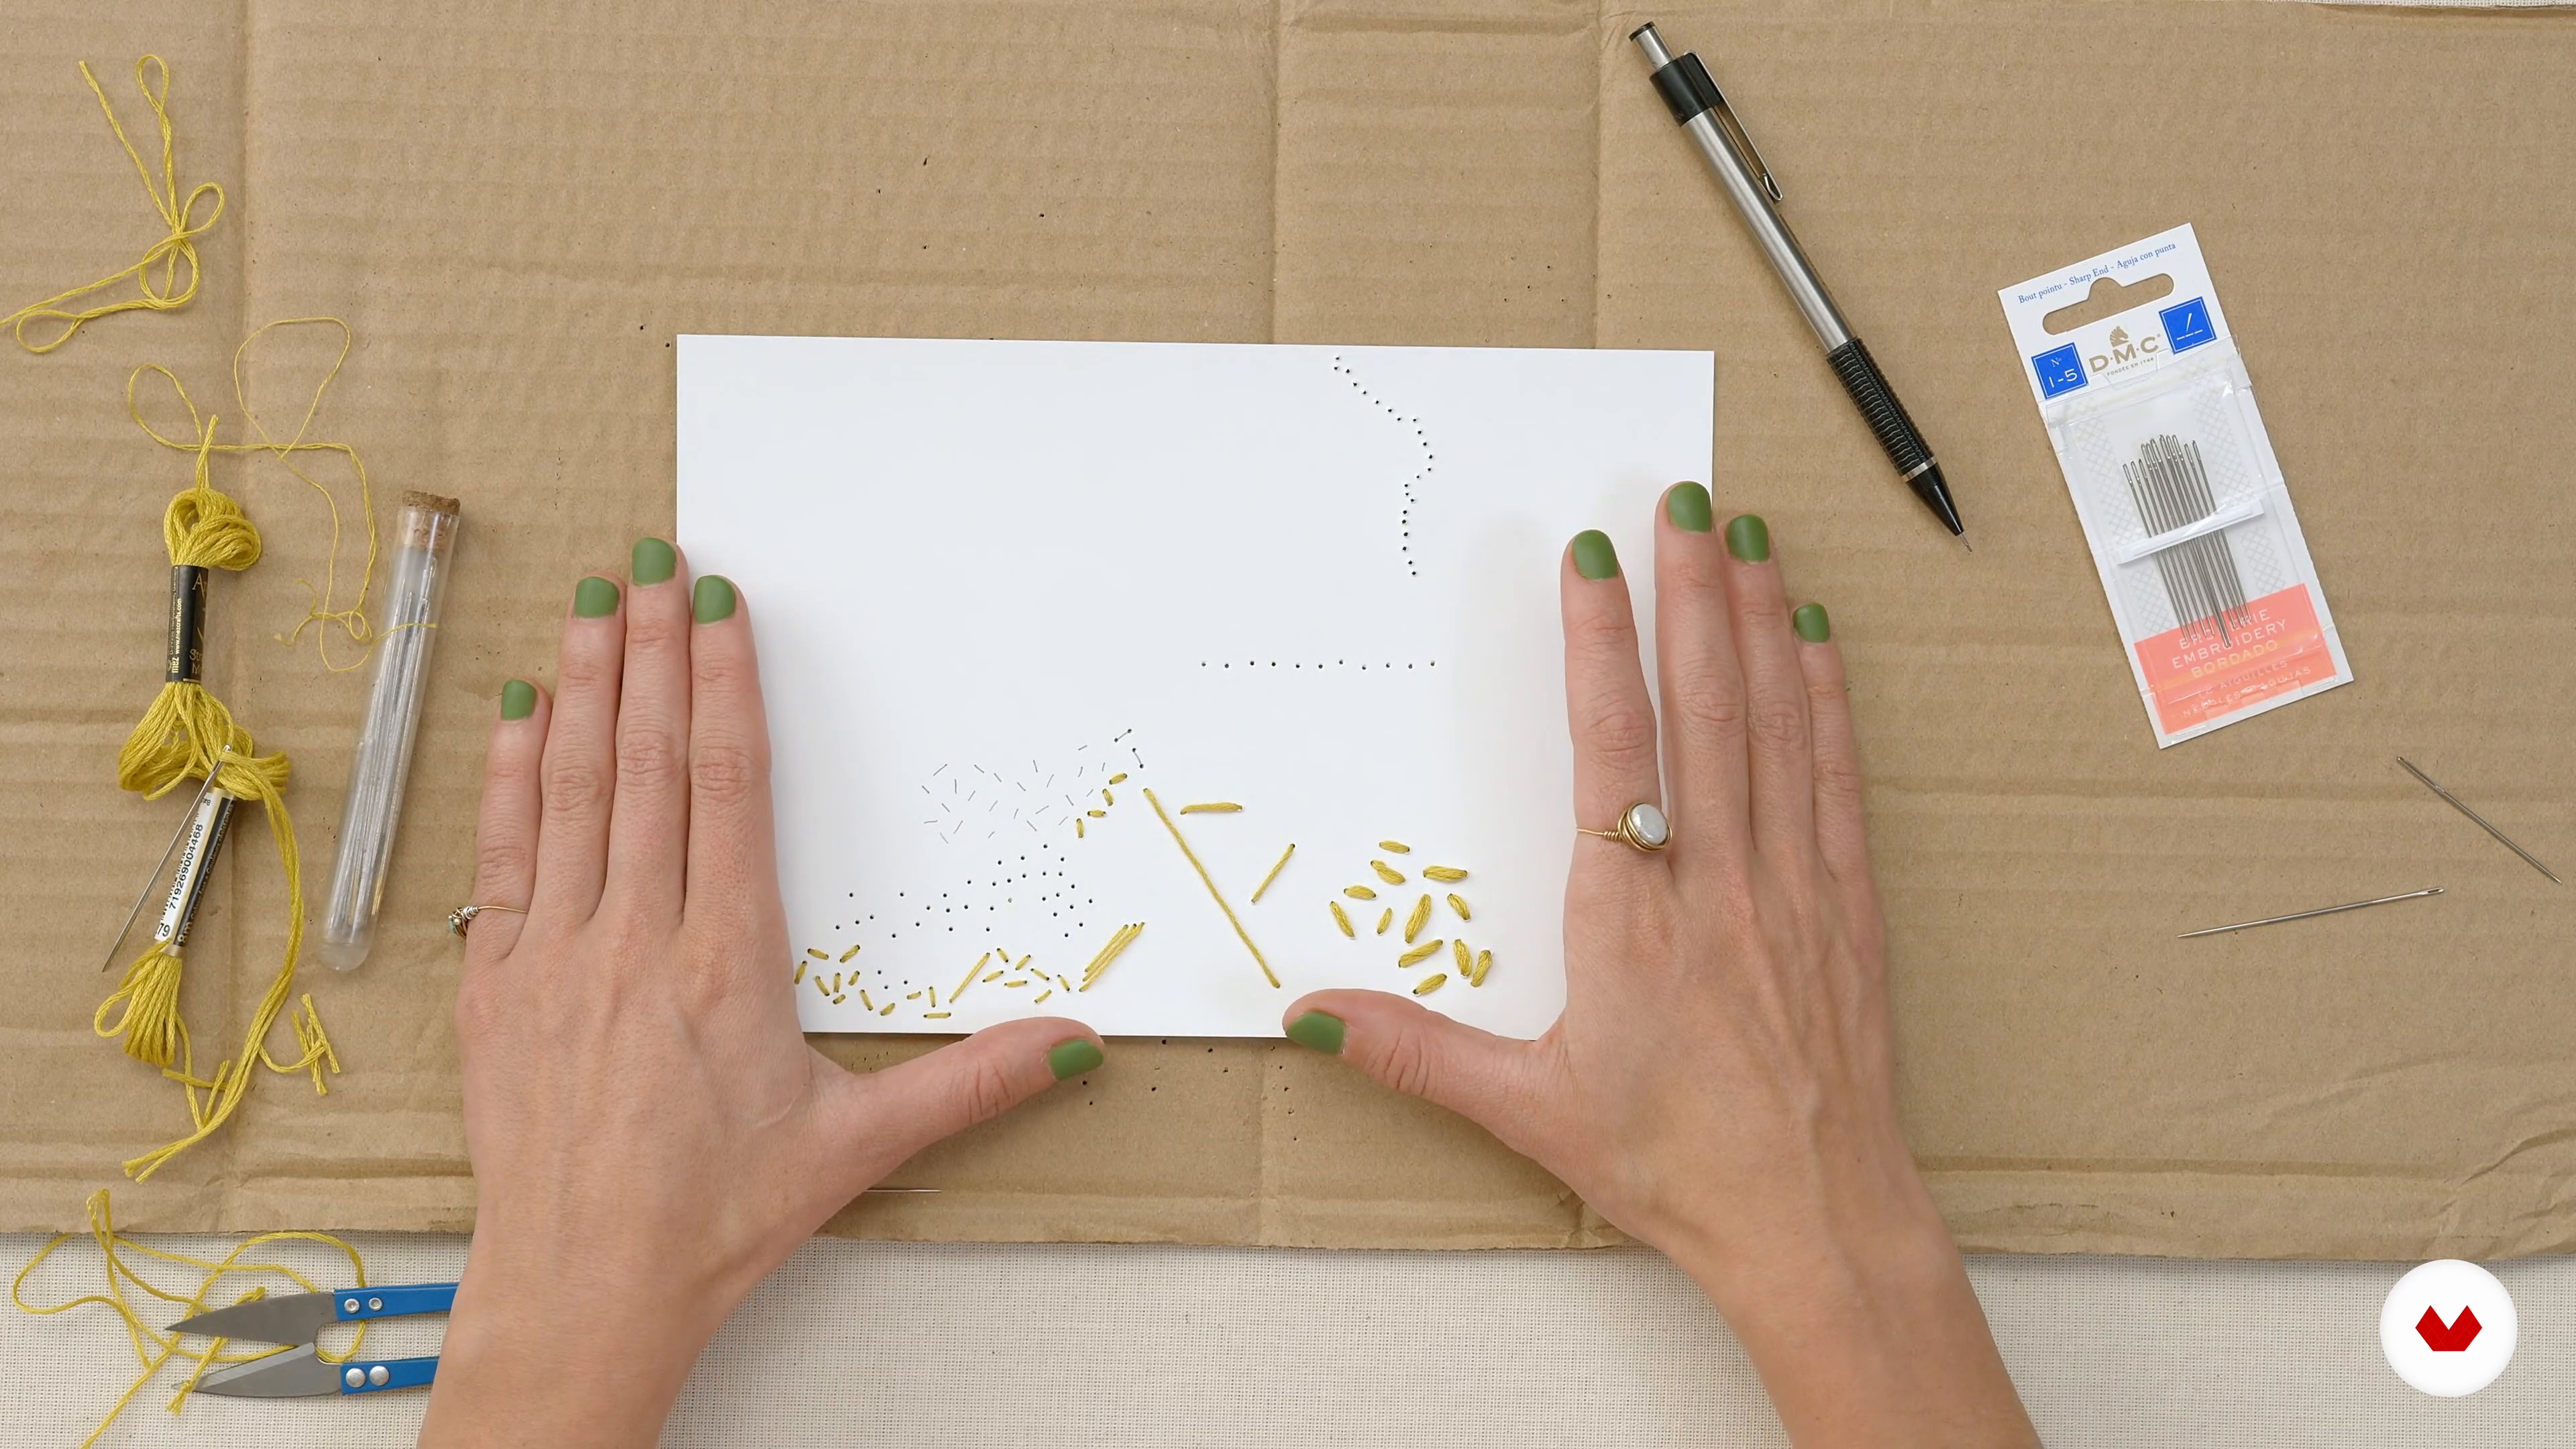
In this lesson we will go into the basics to start embroidering on a photograph and we will begin to plan our composition.
15m
 8
8Embroider paper 2
We continue to see little by little the principles and recommendations to embroider the paper.
9m
 9
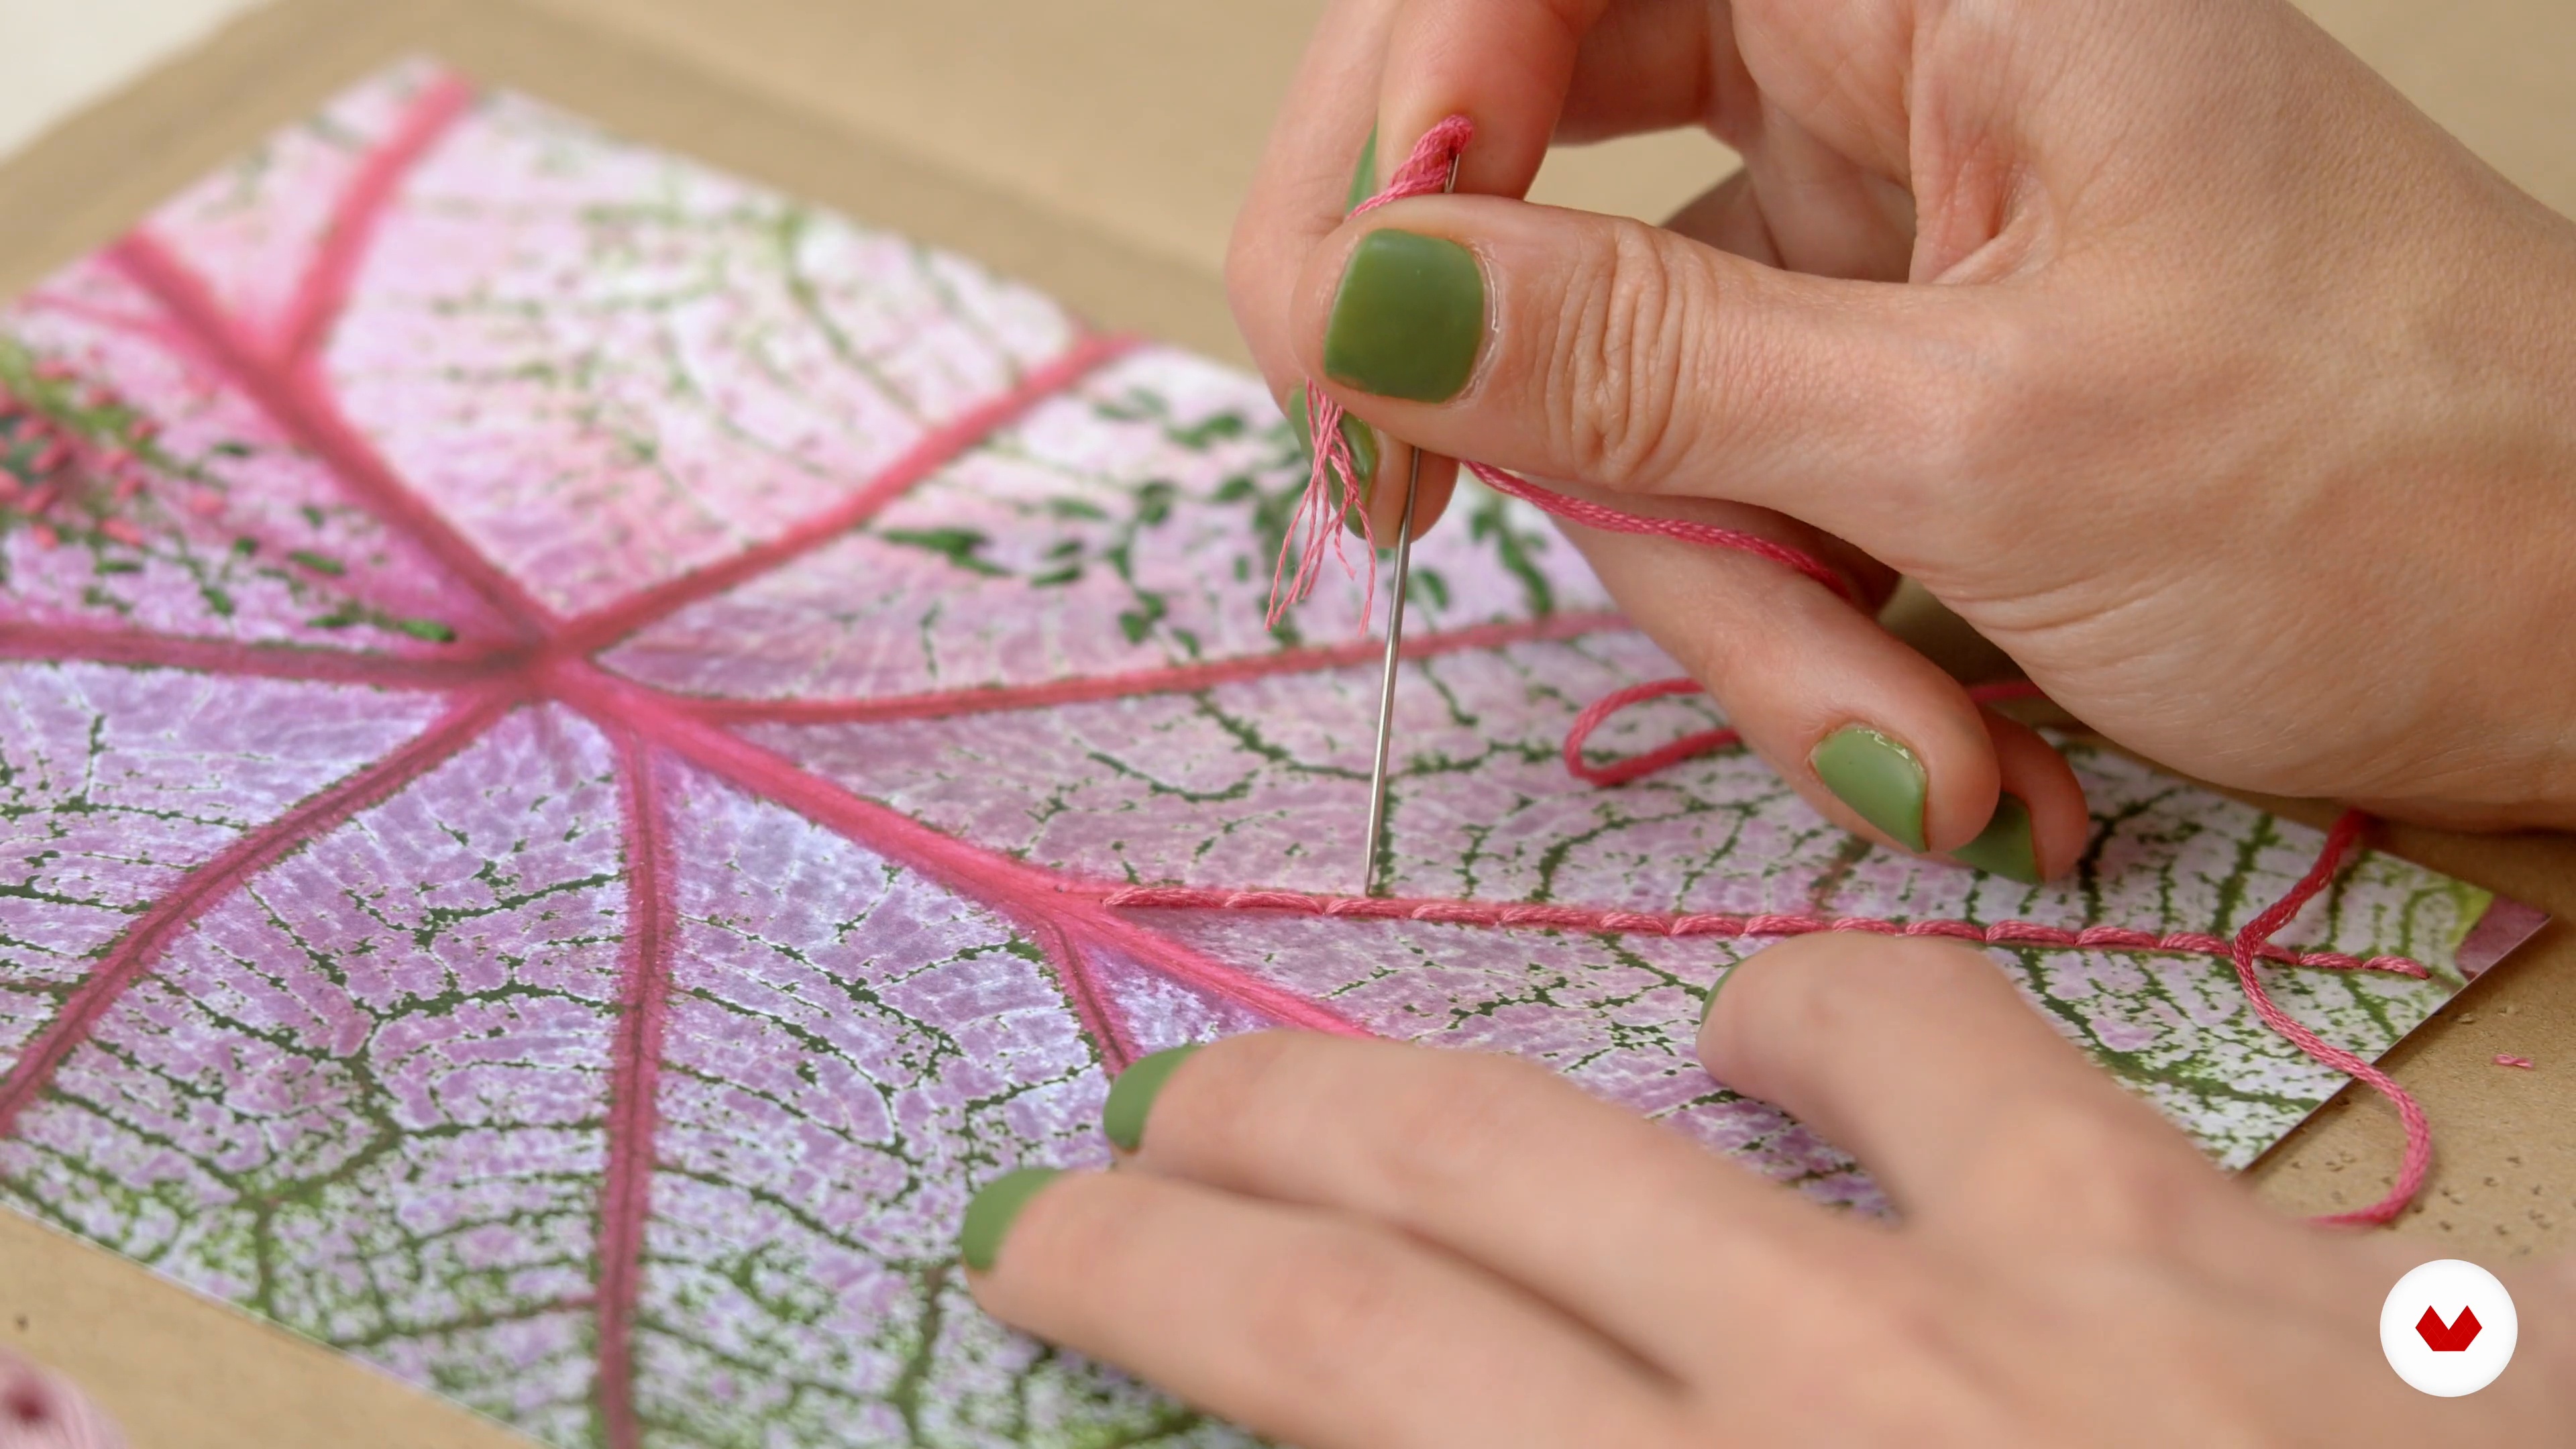
9Flat stitches 1
Next, we are going to start making a stitch sampler on a photograph. The first ones we will see are the flat stitches.
19m
 10
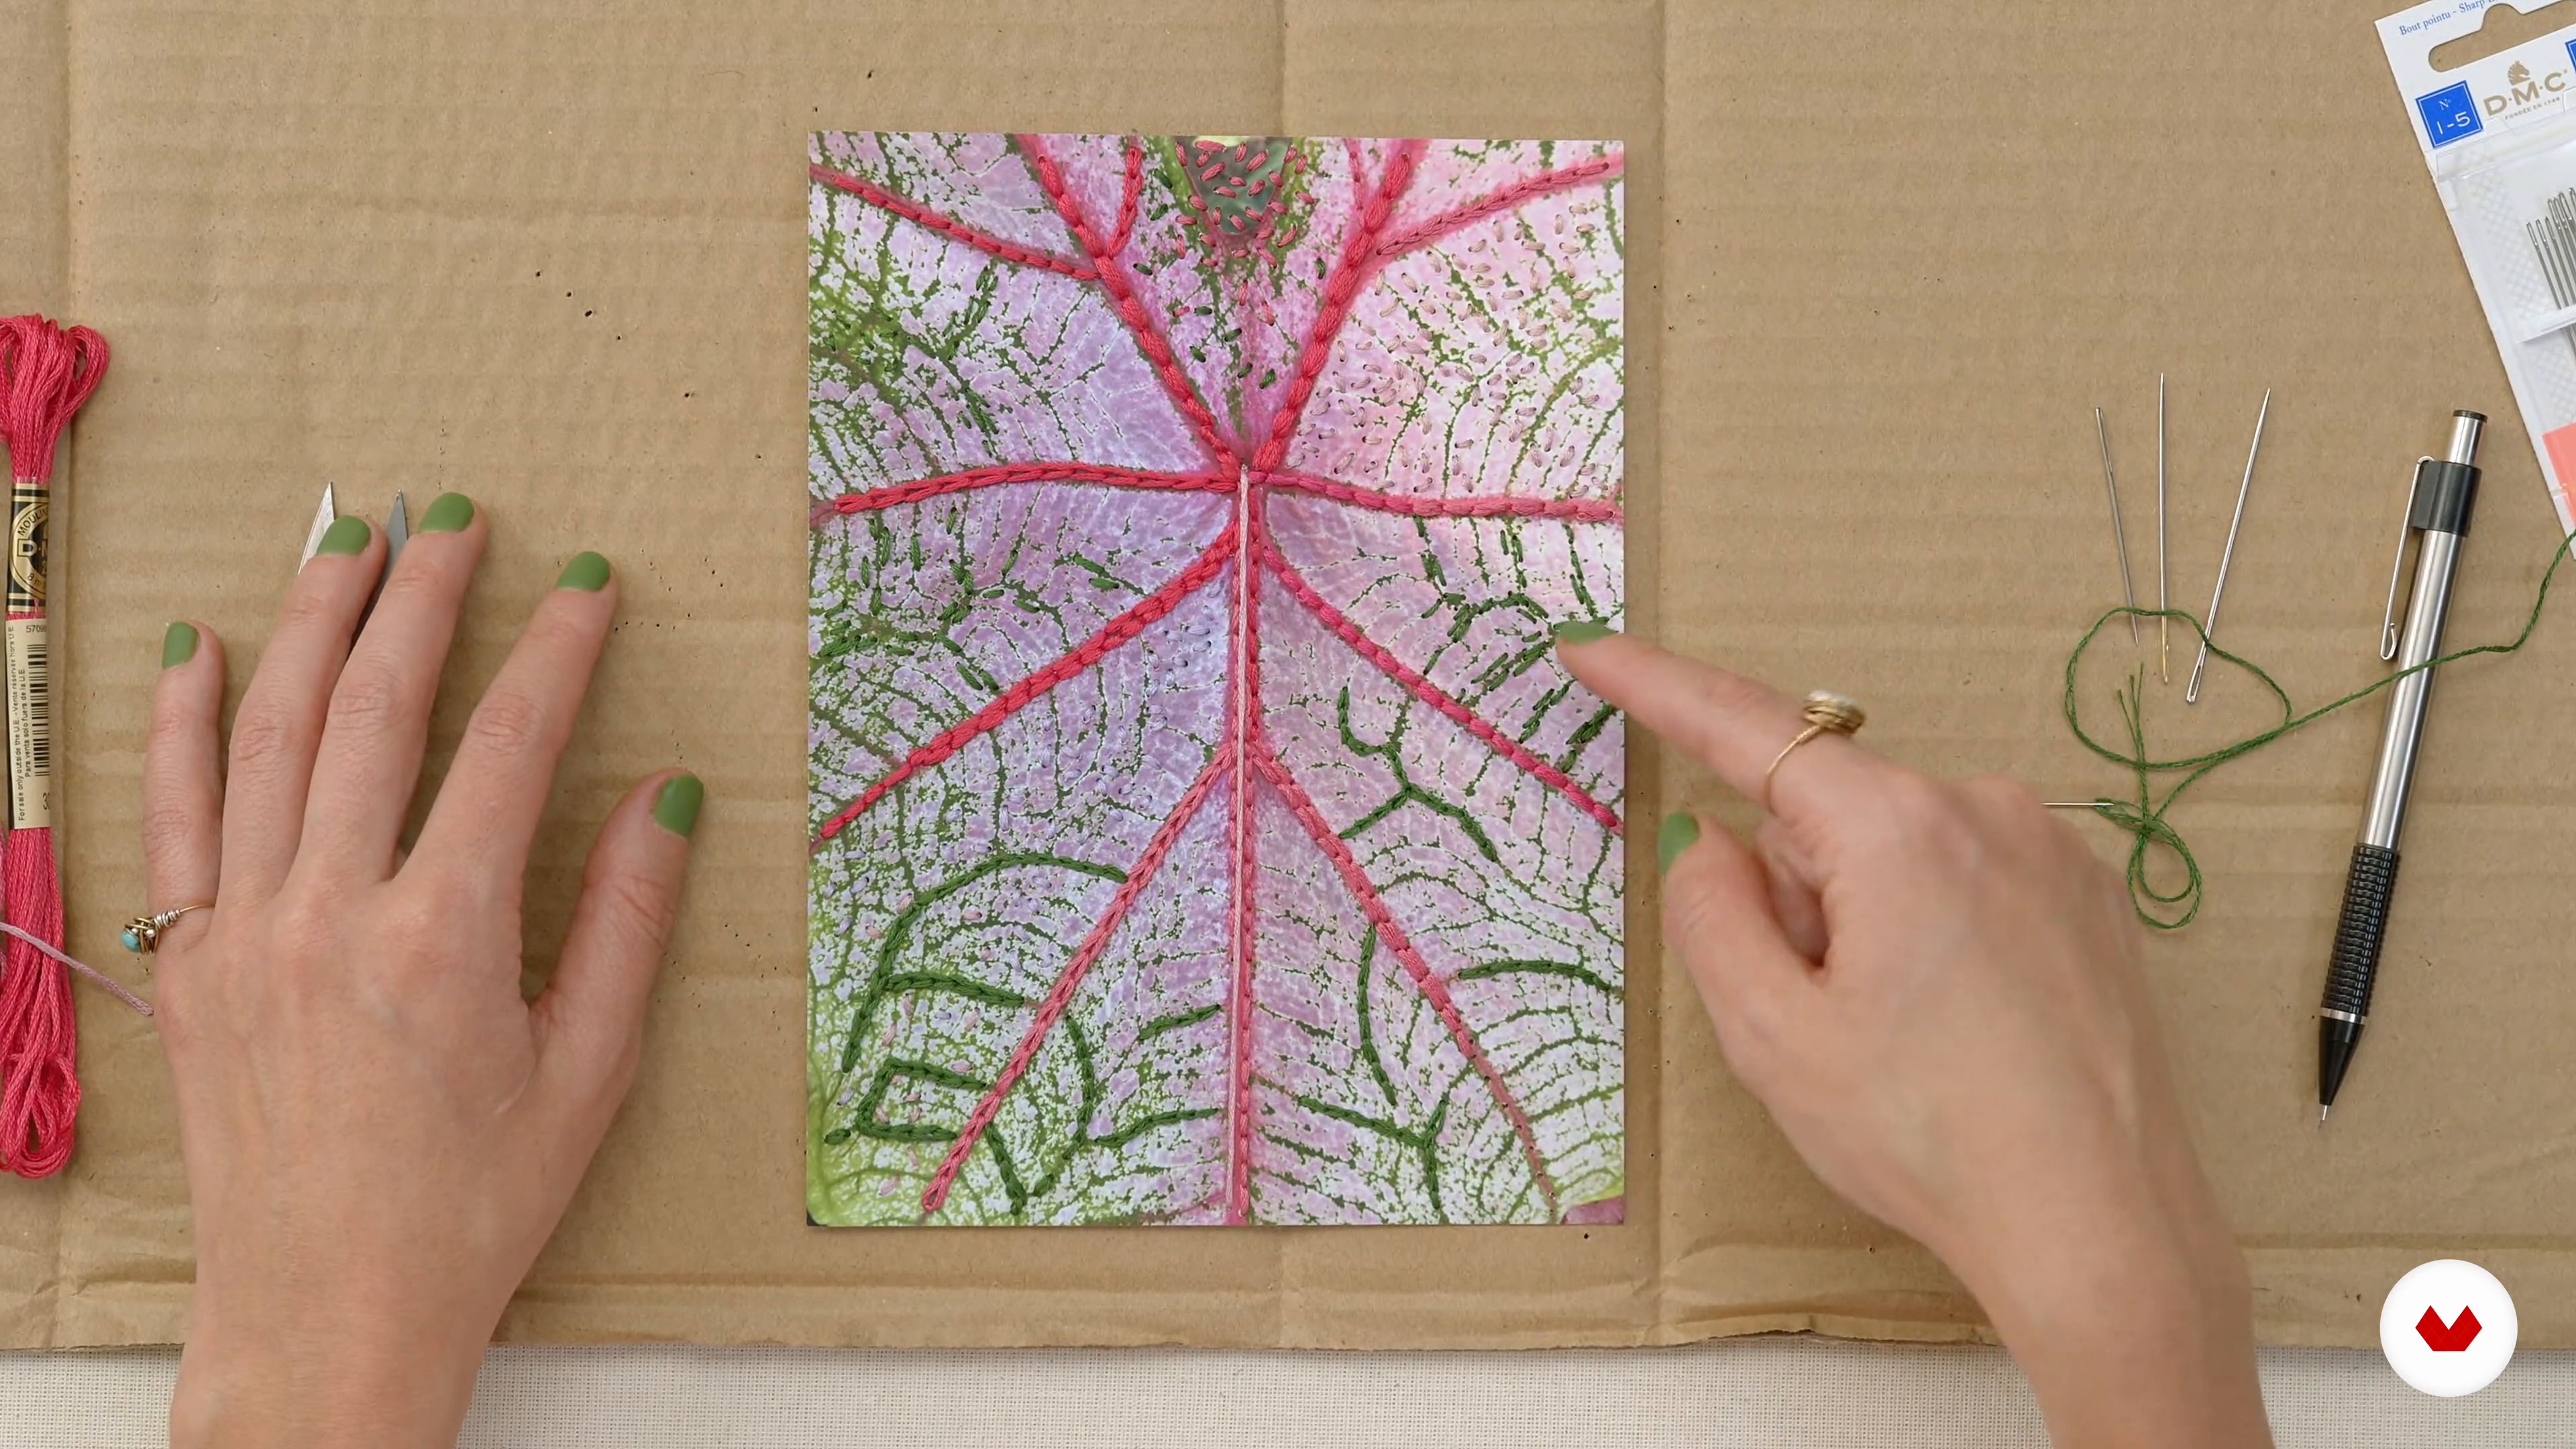
10Flat stitches 2
We continue to apply the flat stitches to the embroidery of an example photograph to perfect the technique.
18m
 11
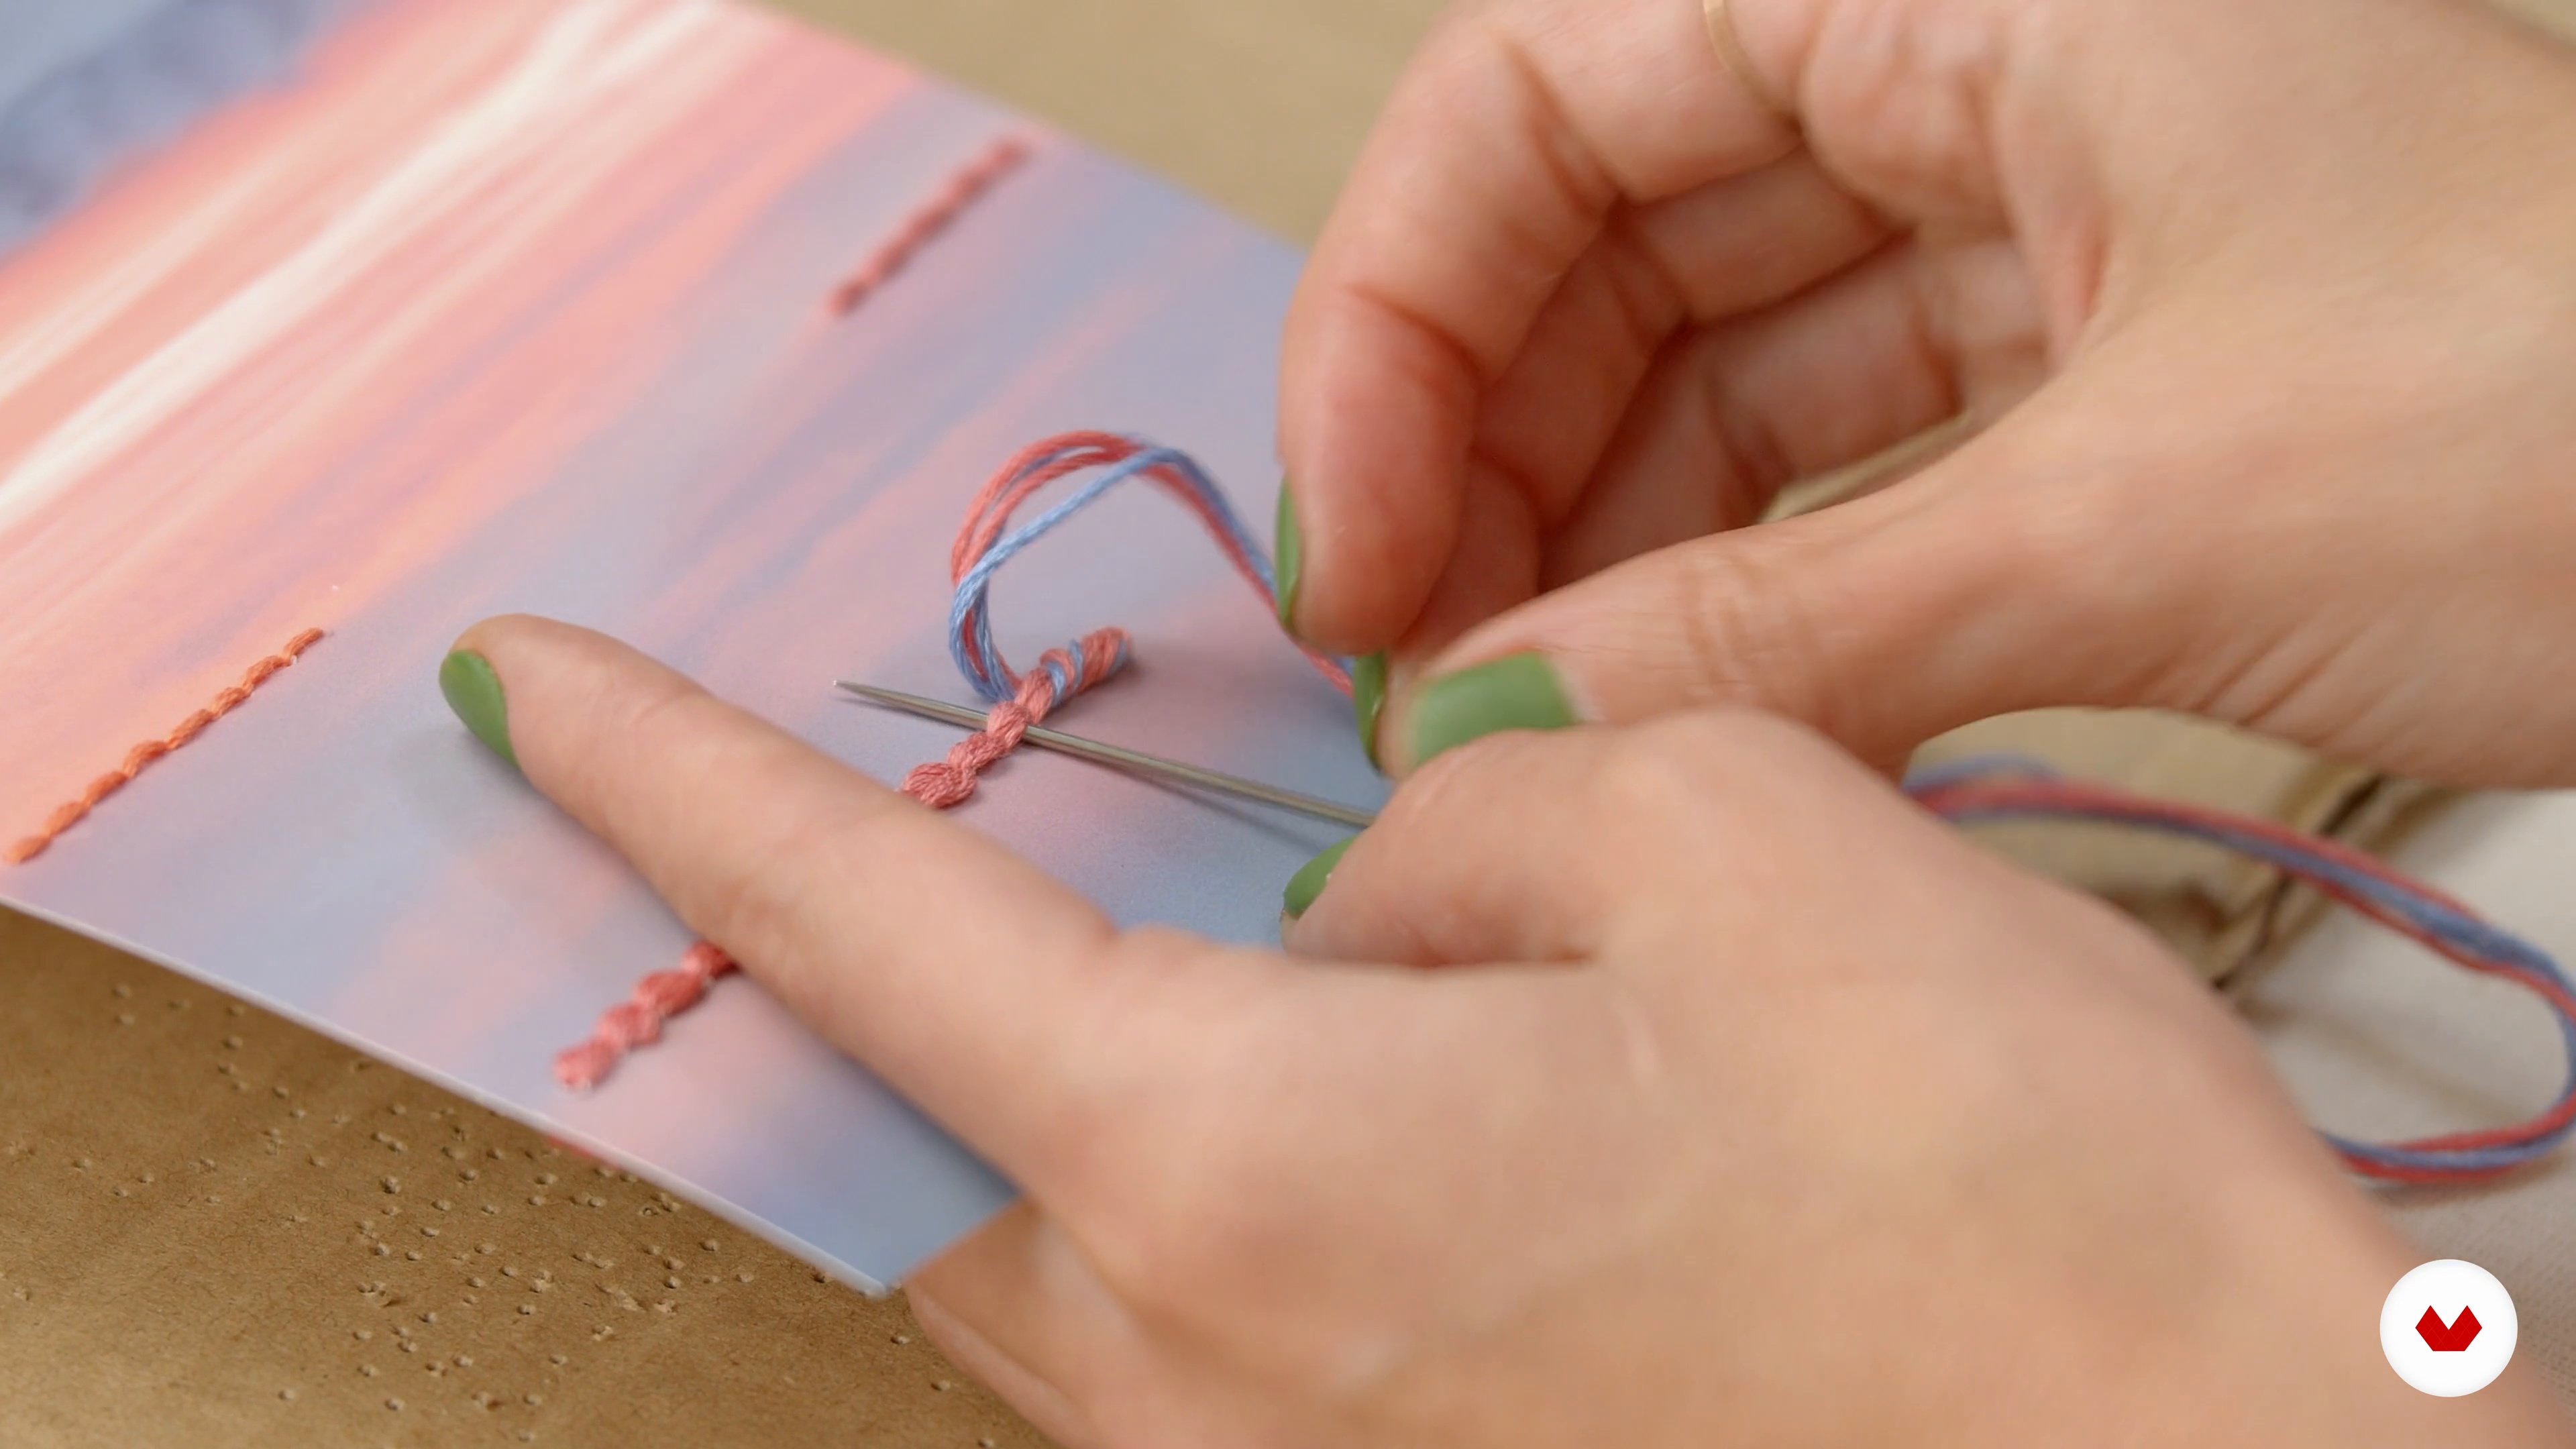
11Raised stitches 1
In this lesson, we continue to embroider our relief stitch sampler on a landscape photograph. This time, we will do it with the raised stitches.
12m
 12
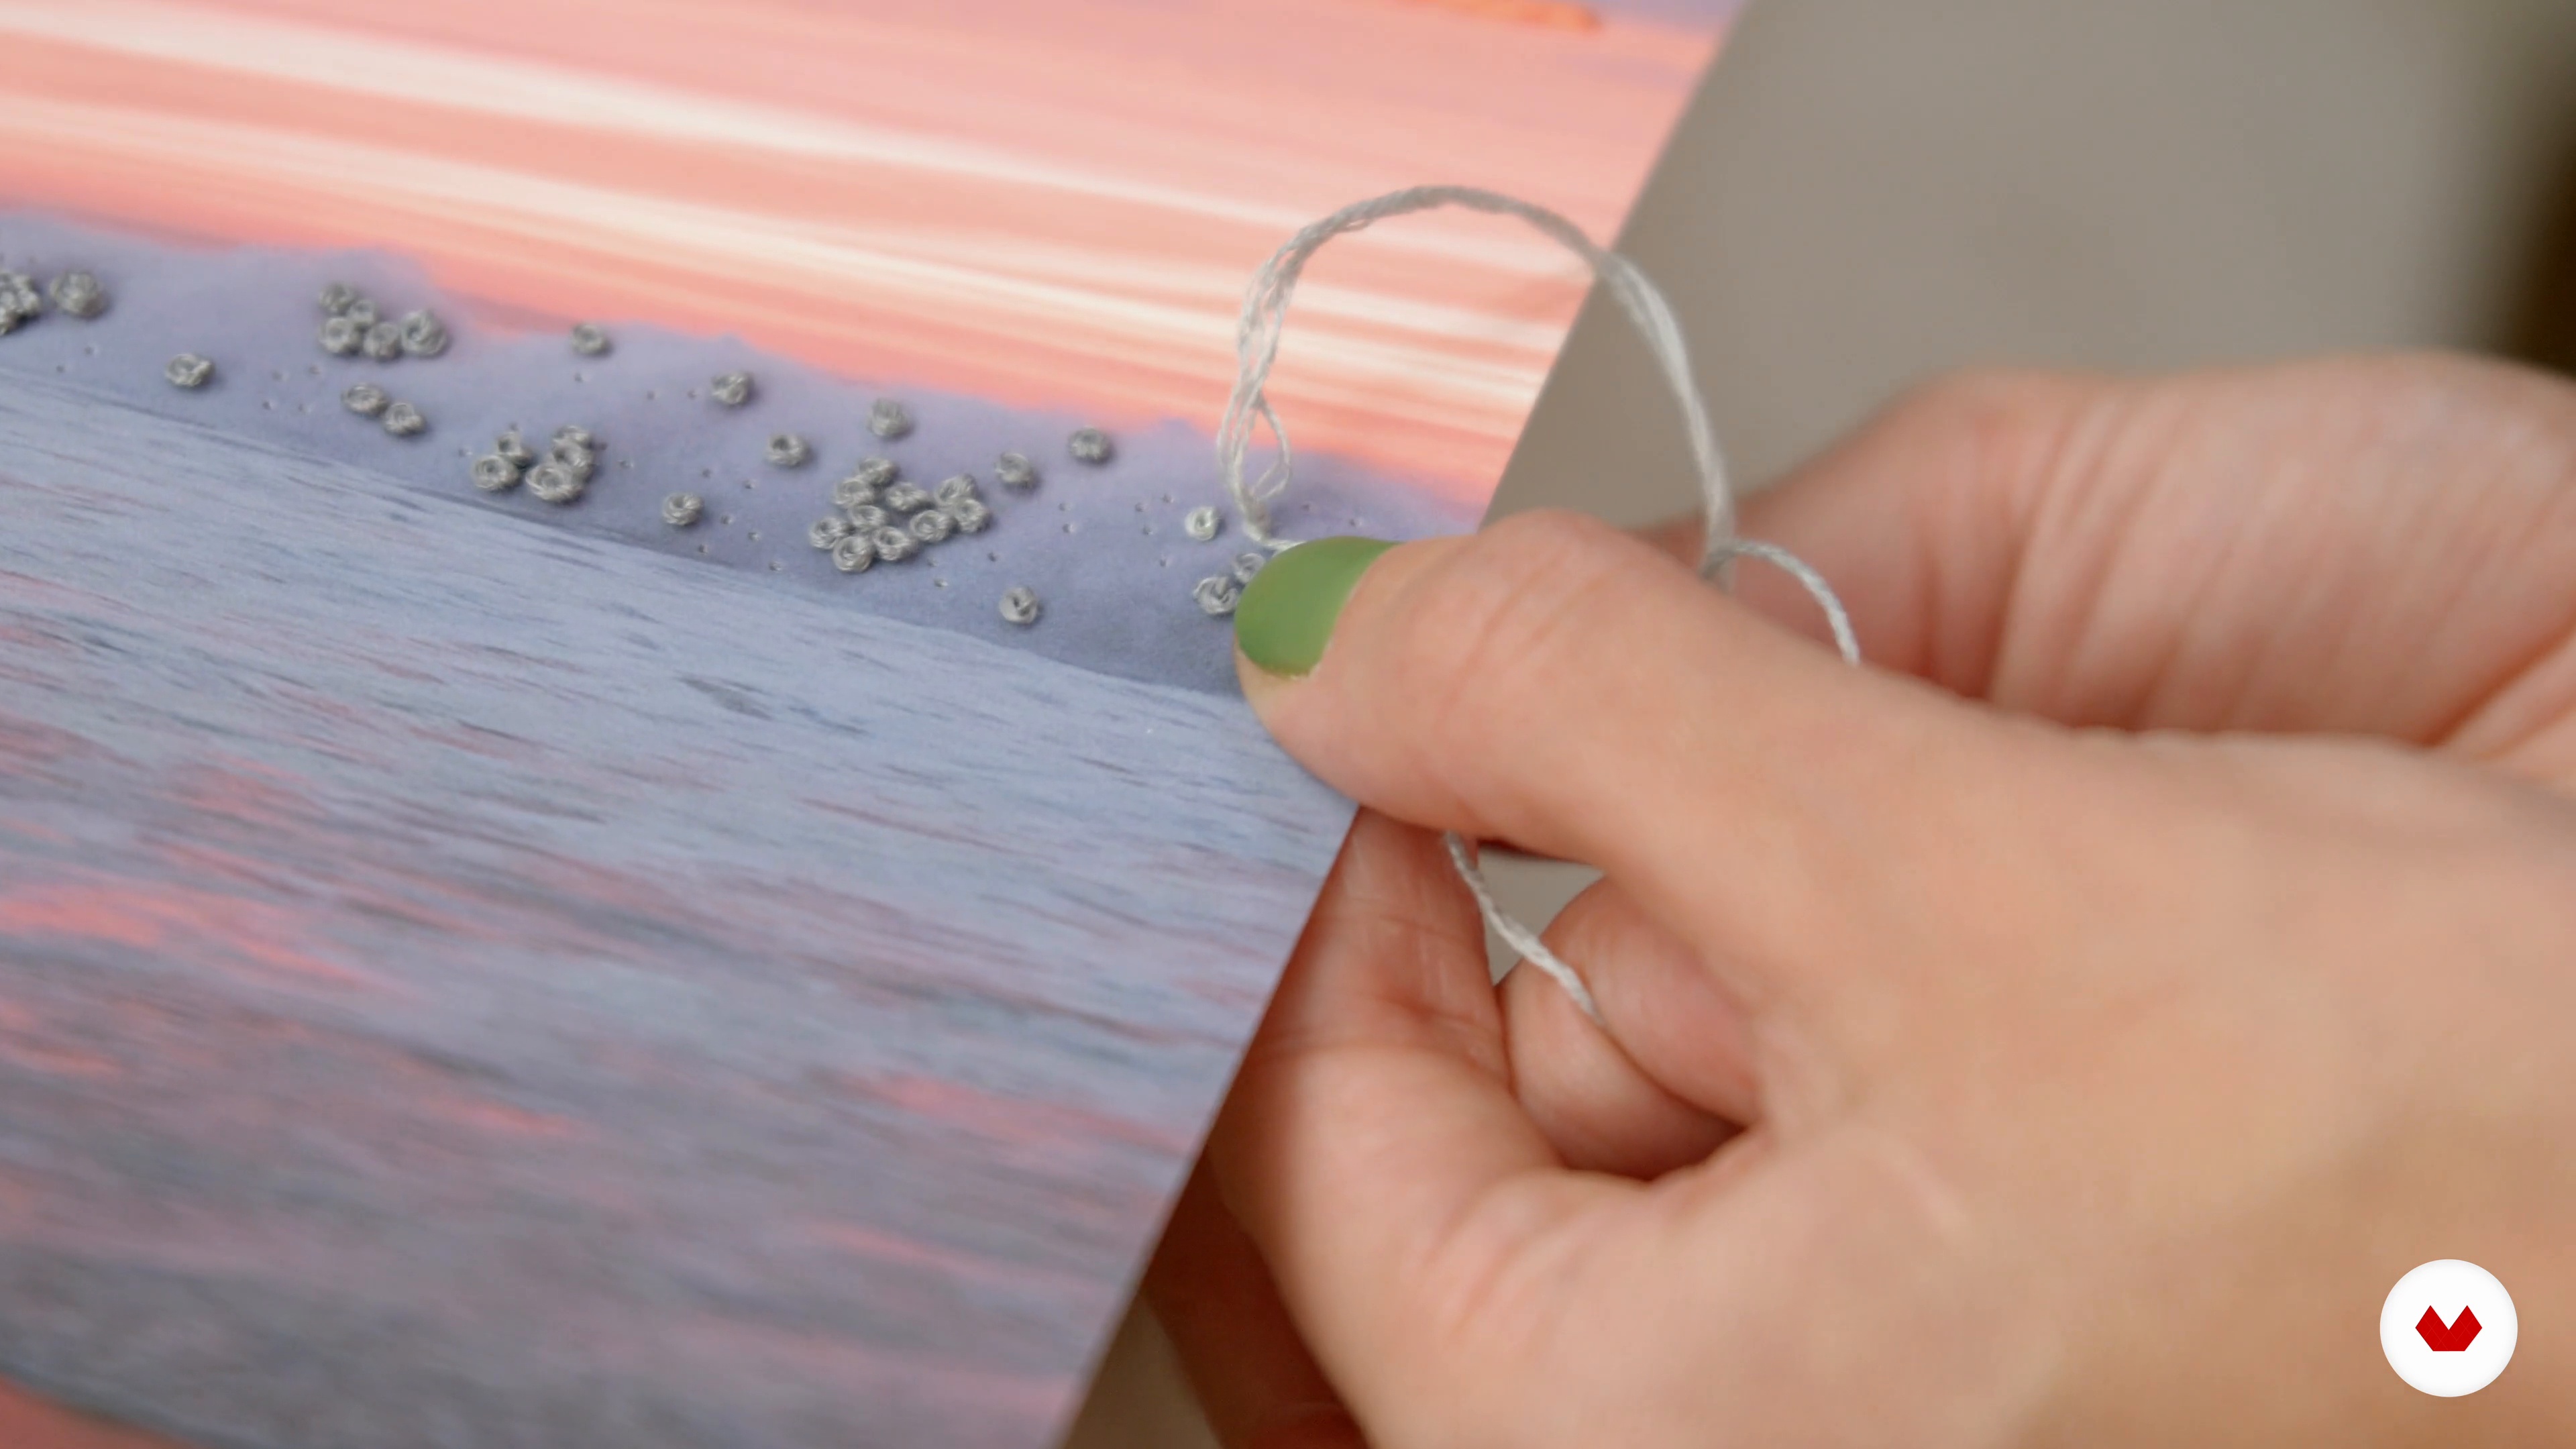
12Raised stitches 2
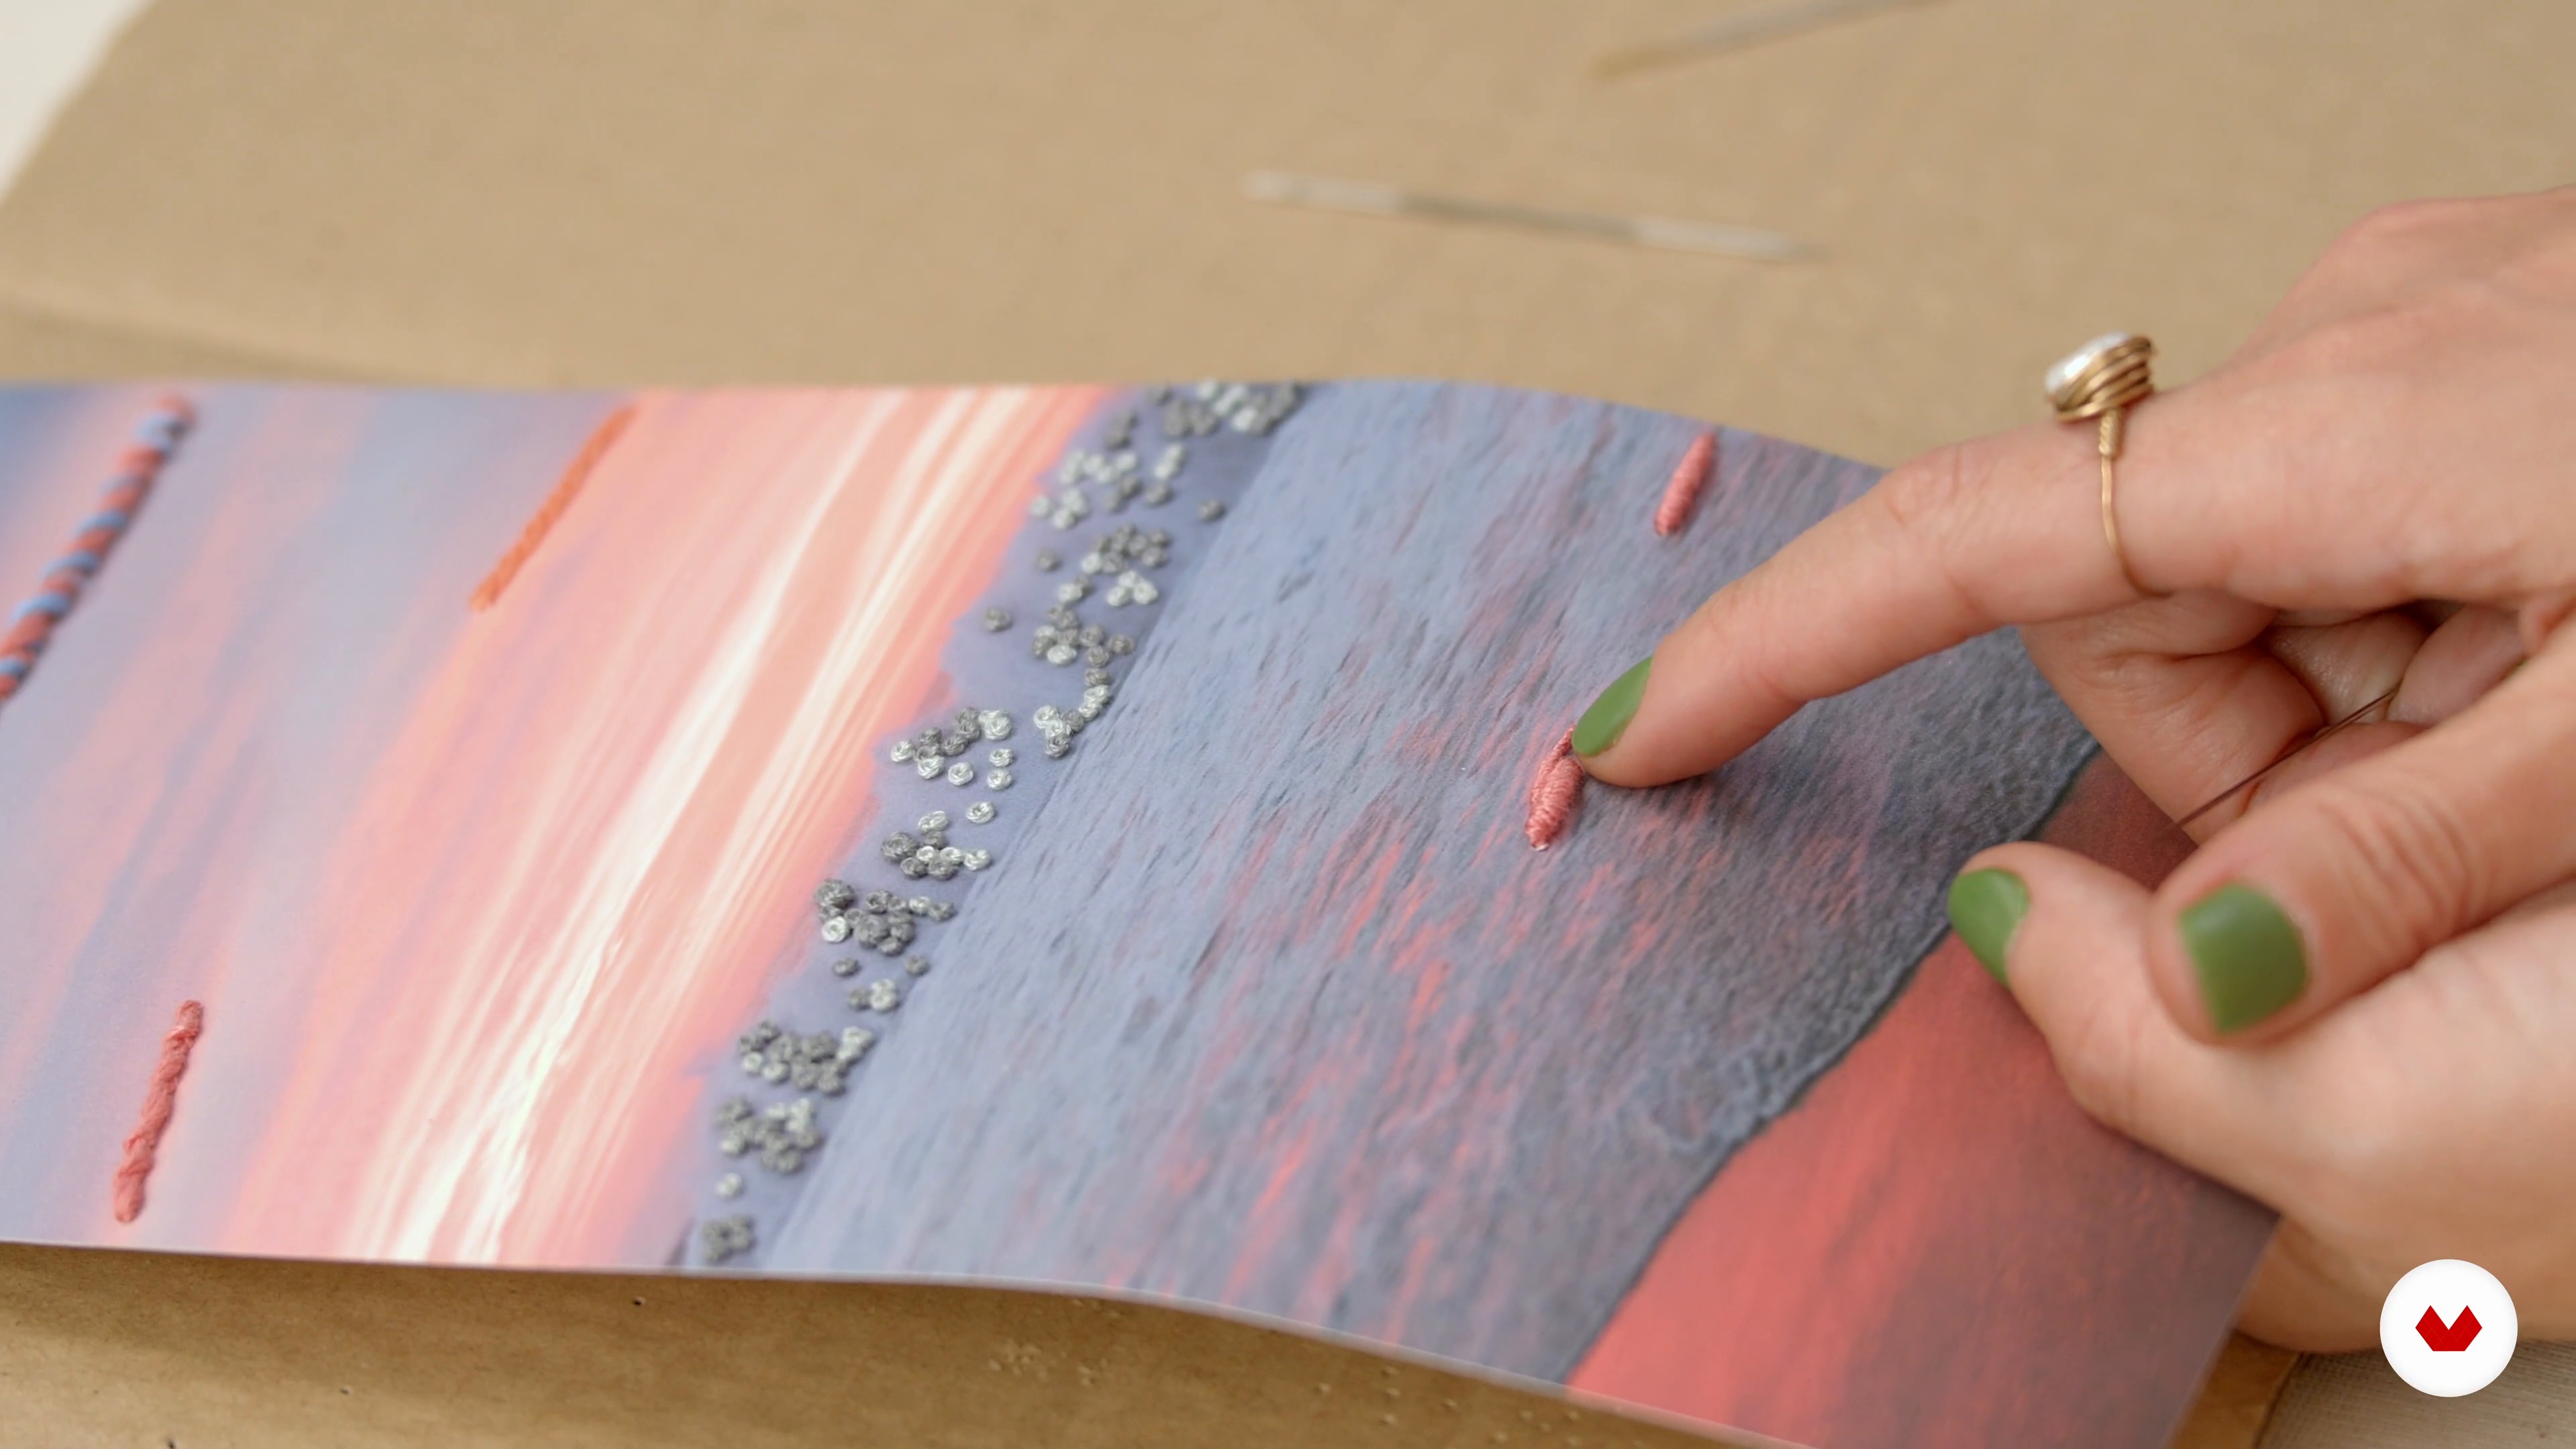
We continue discovering the relief stitches. The one I will show you in this video is called a French knot.
12m
 13
13Raised stitches 3
We finished reviewing the relief stitches by putting the rococo stitch into practice.
16m
 14
14End piece 1
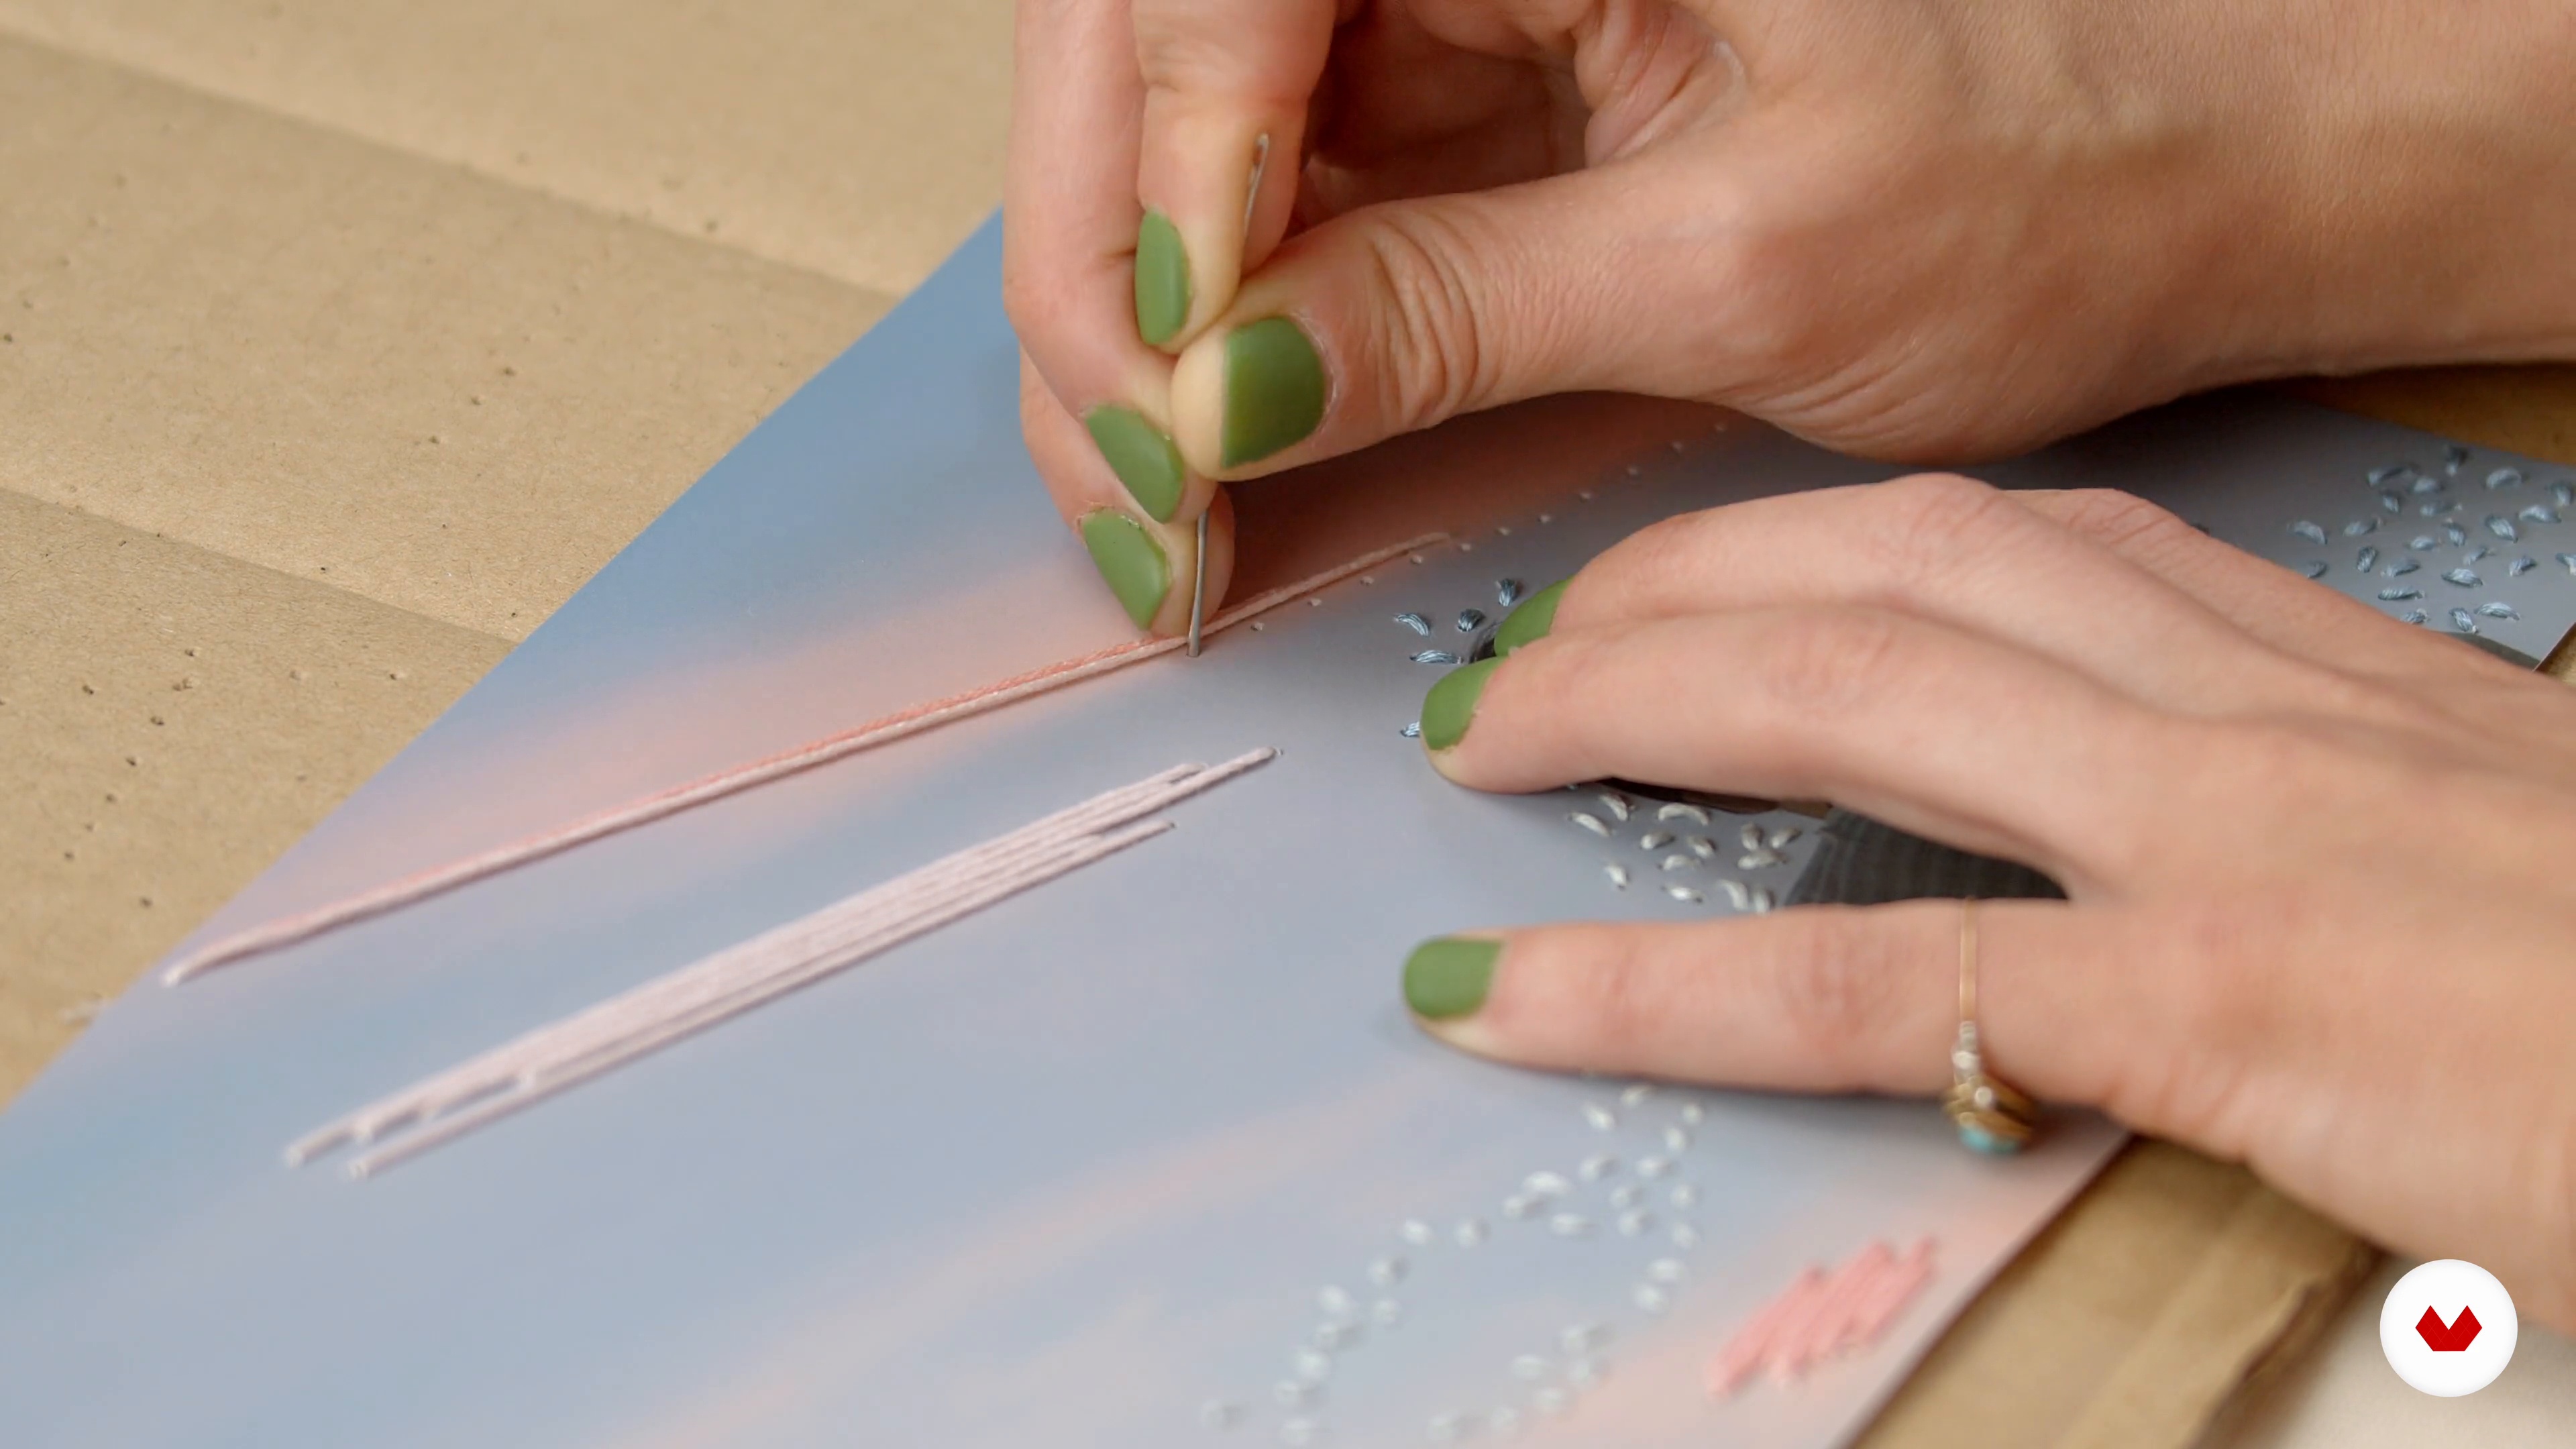
In this lesson I will take you by the hand in the design of the final photograph and we will make the final stitches together.
19m
 15
15End piece 2
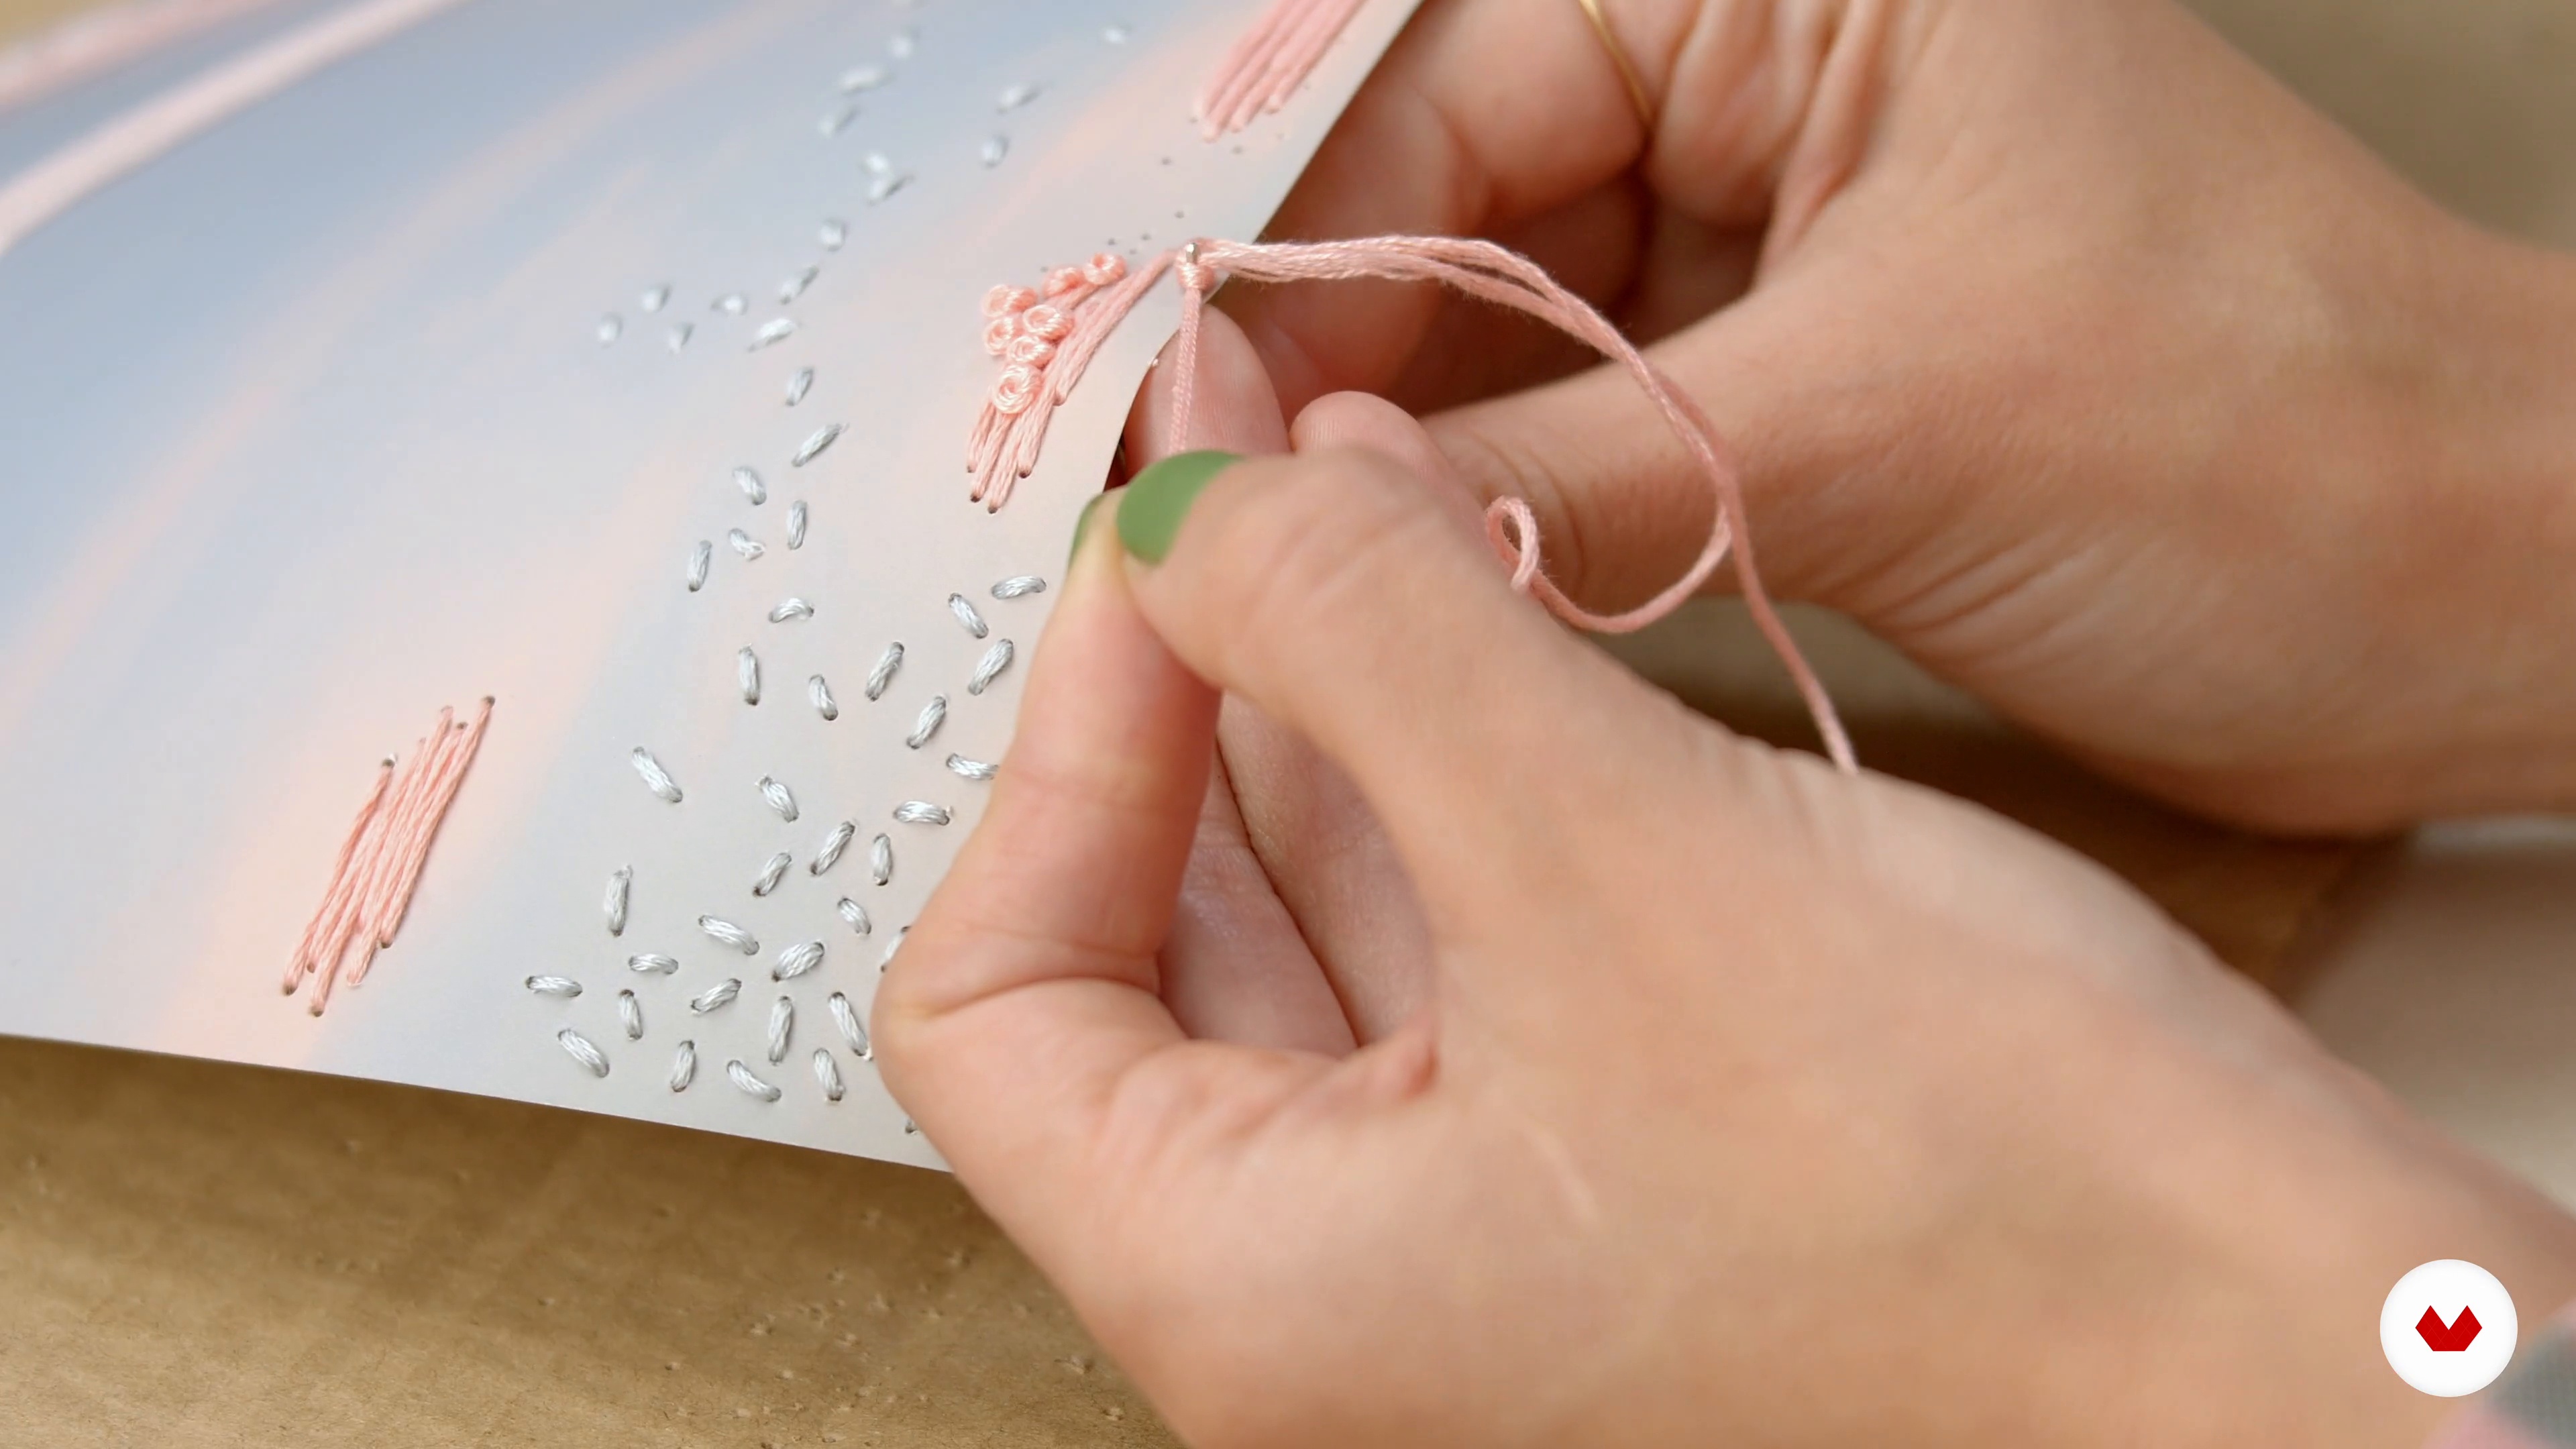
We continue embroidering the photo of the project putting into practice the different stitches that we have learned.
14m
 16
16End piece 3
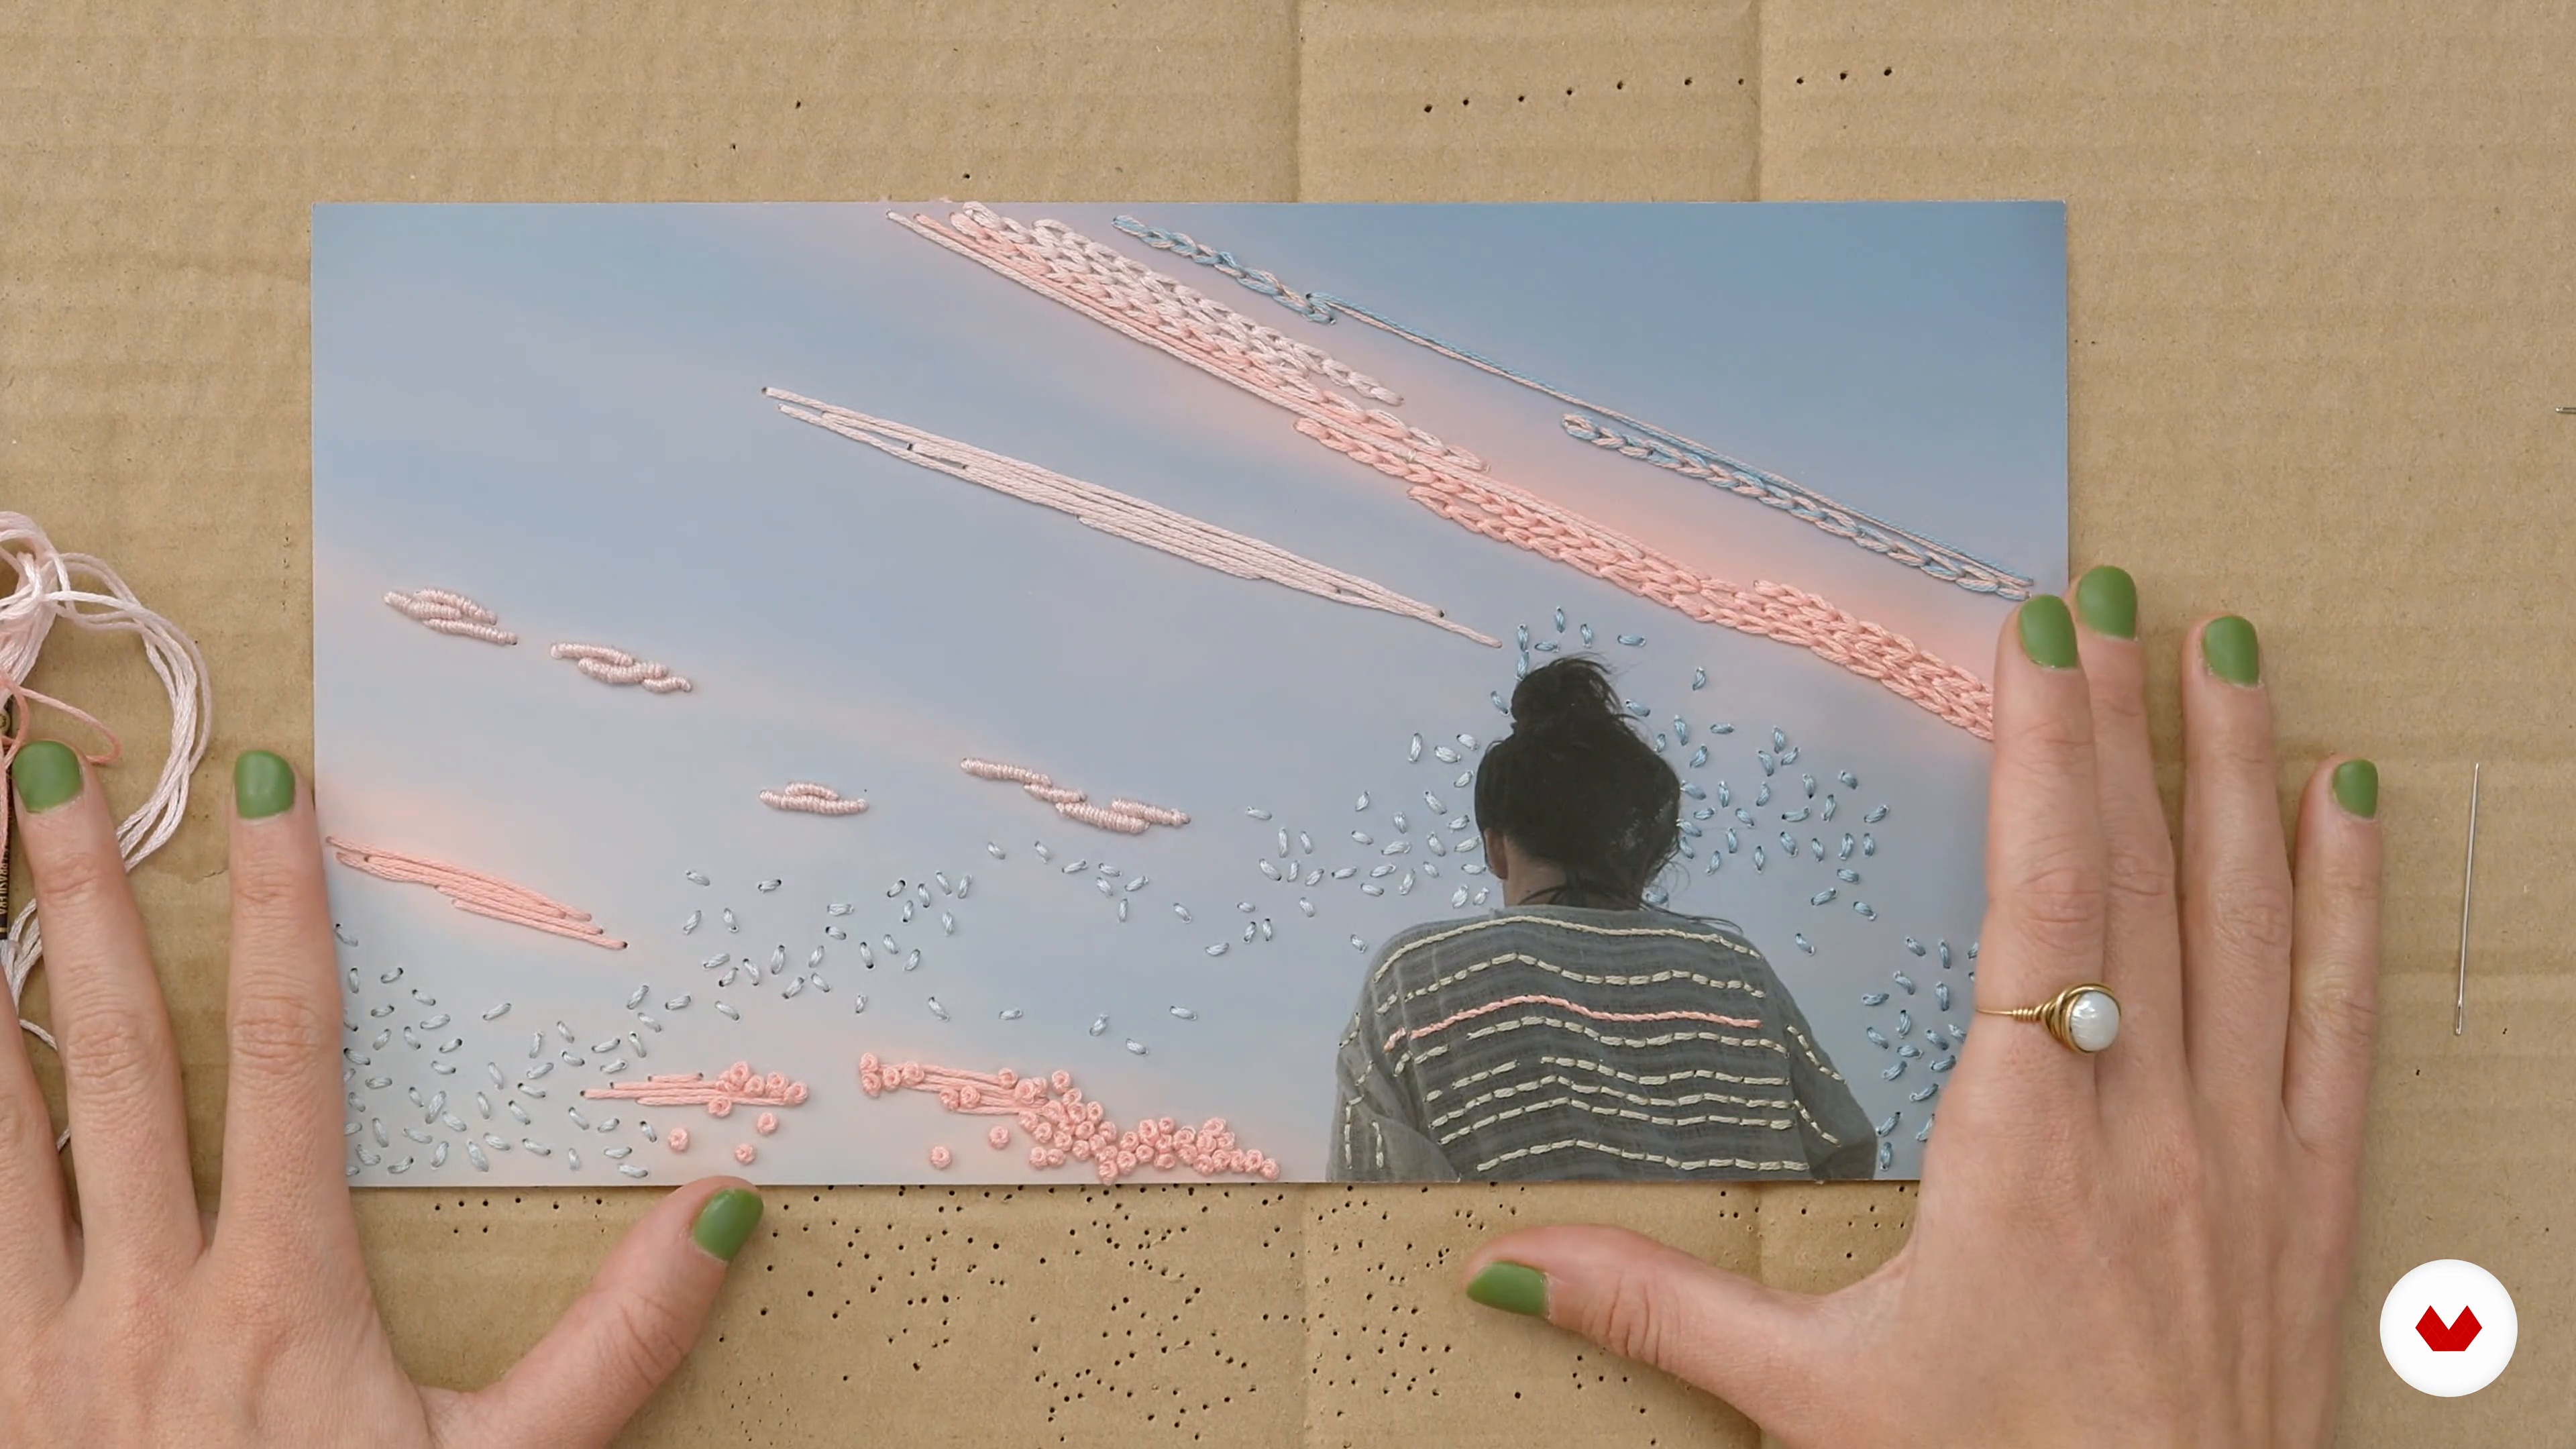
We finish the embroidery by applying a few last stitches to the photograph to achieve its final result. We have it!
7m
 17
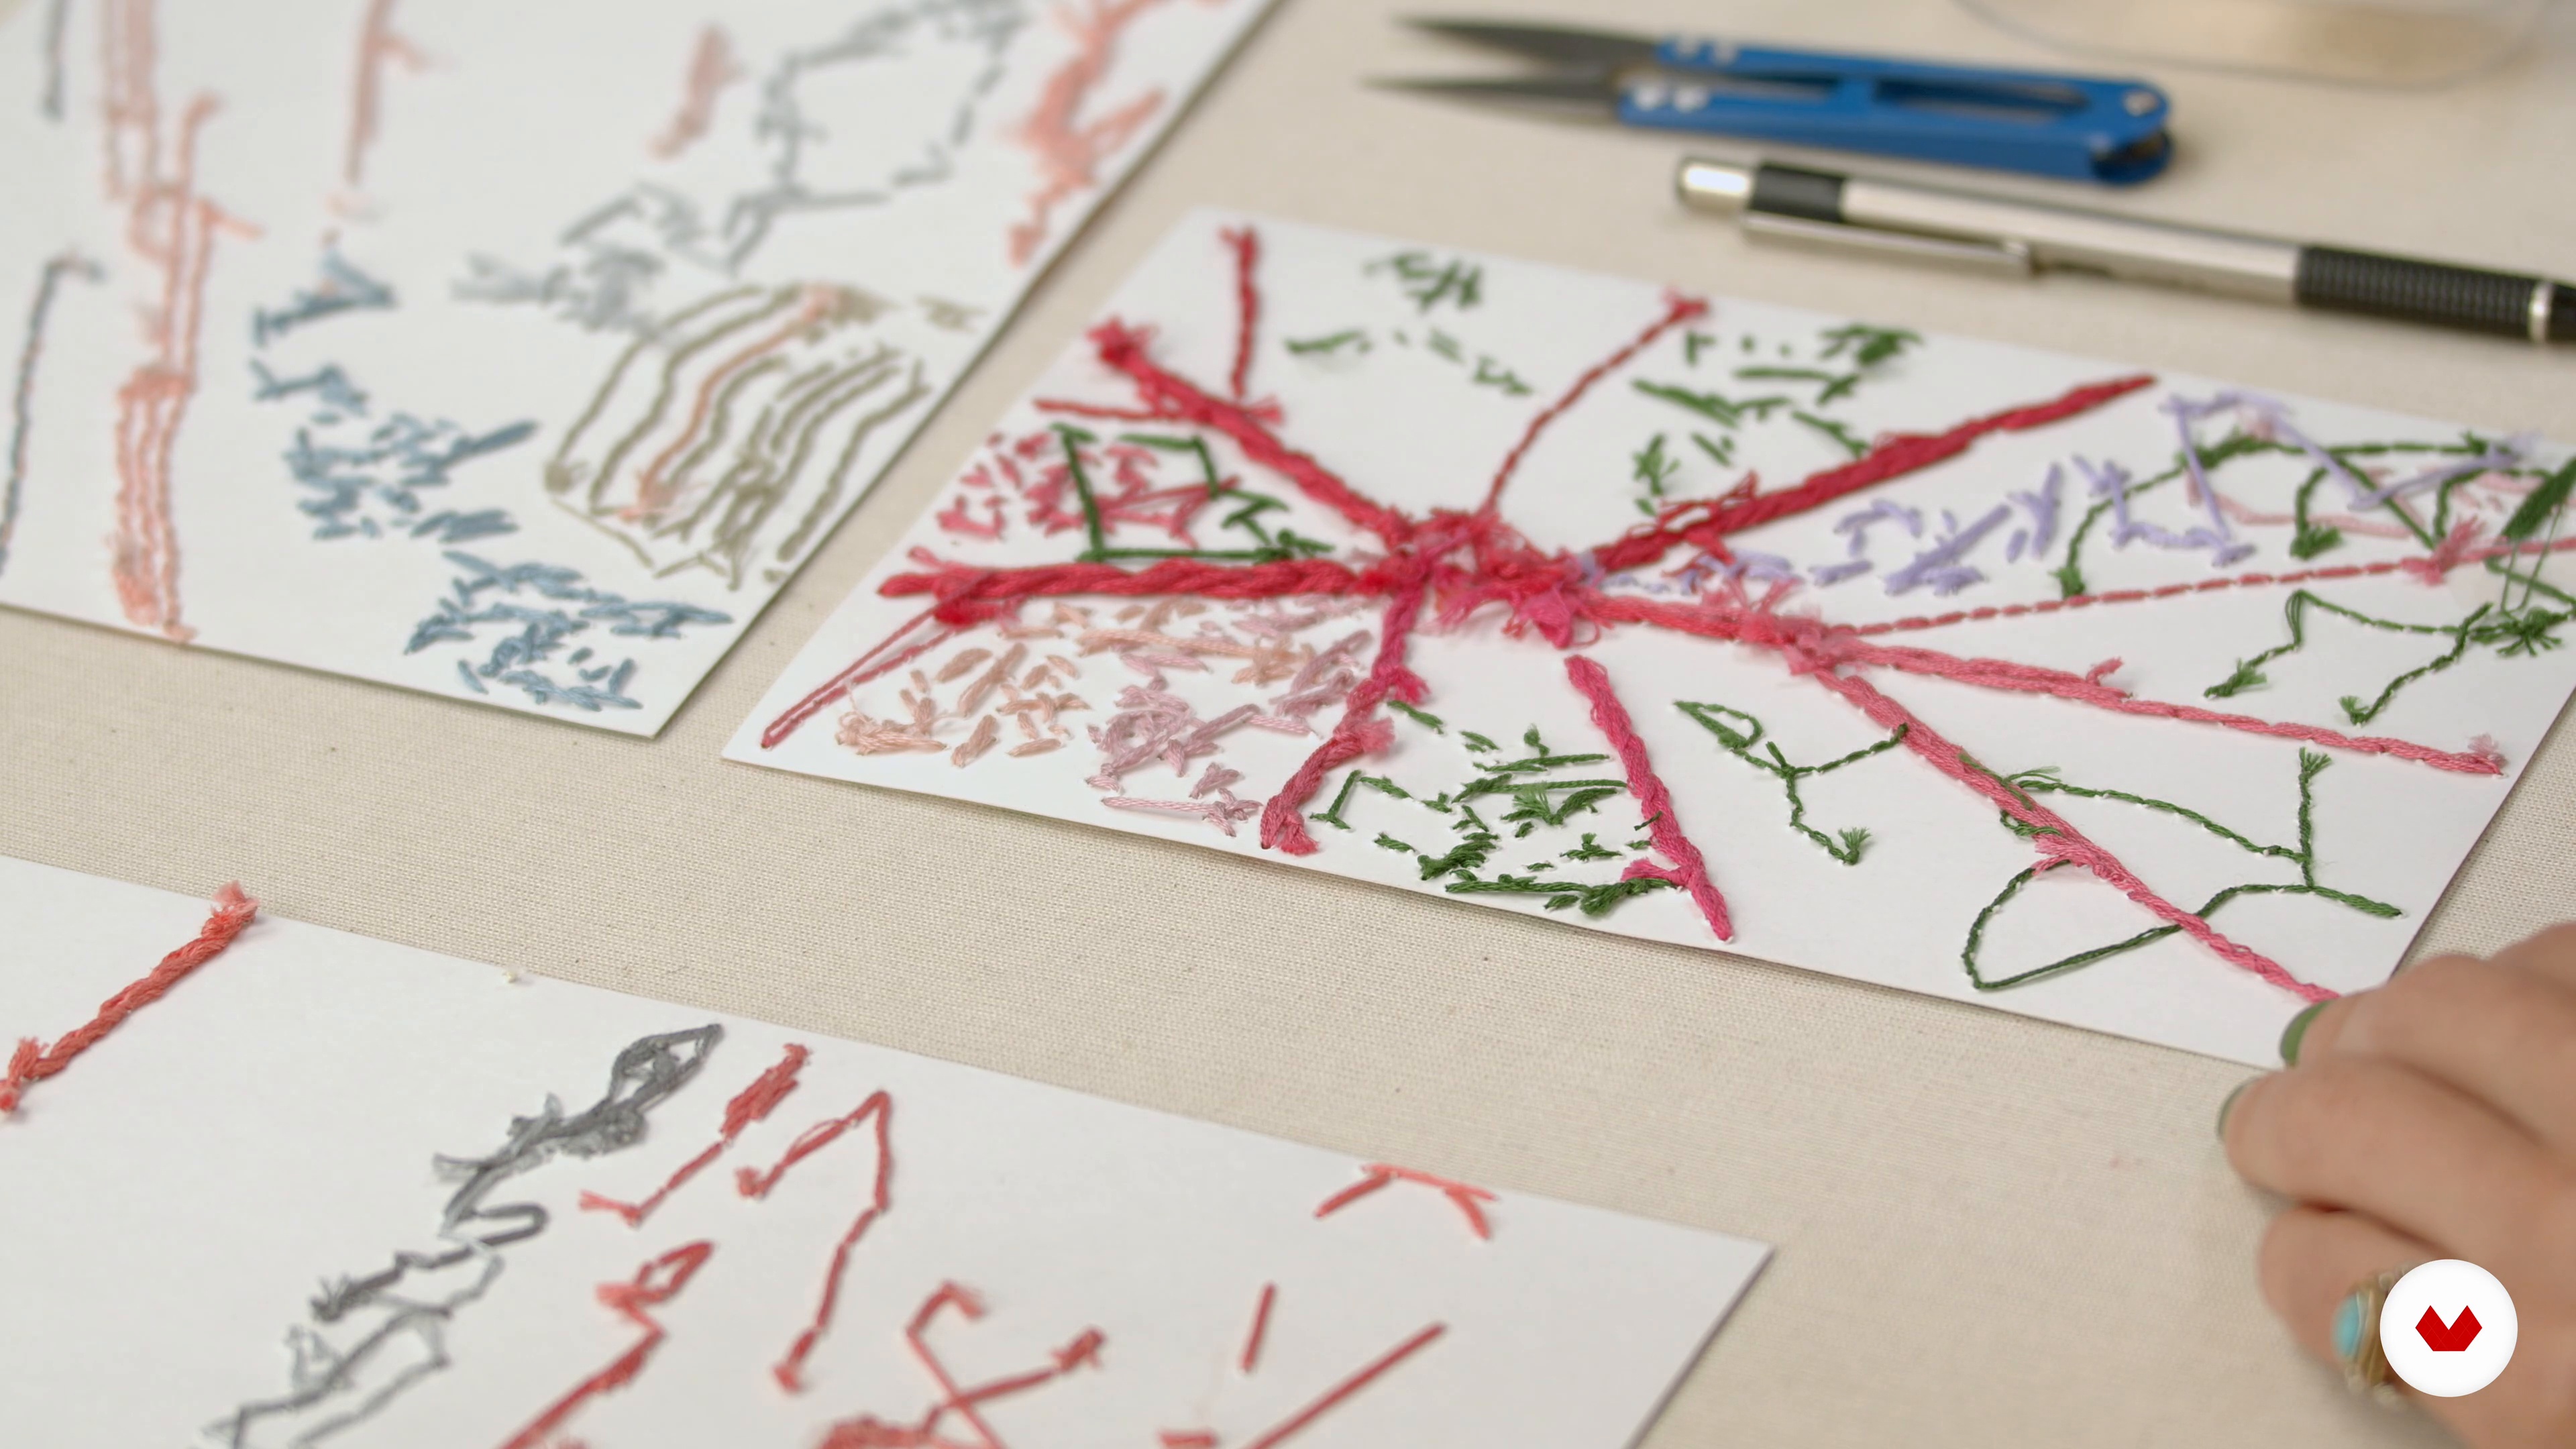
17The setback and care
Next, we will see all the possibilities that there are upside down and the necessary care tips to consider before mounting your piece.
10m
 18
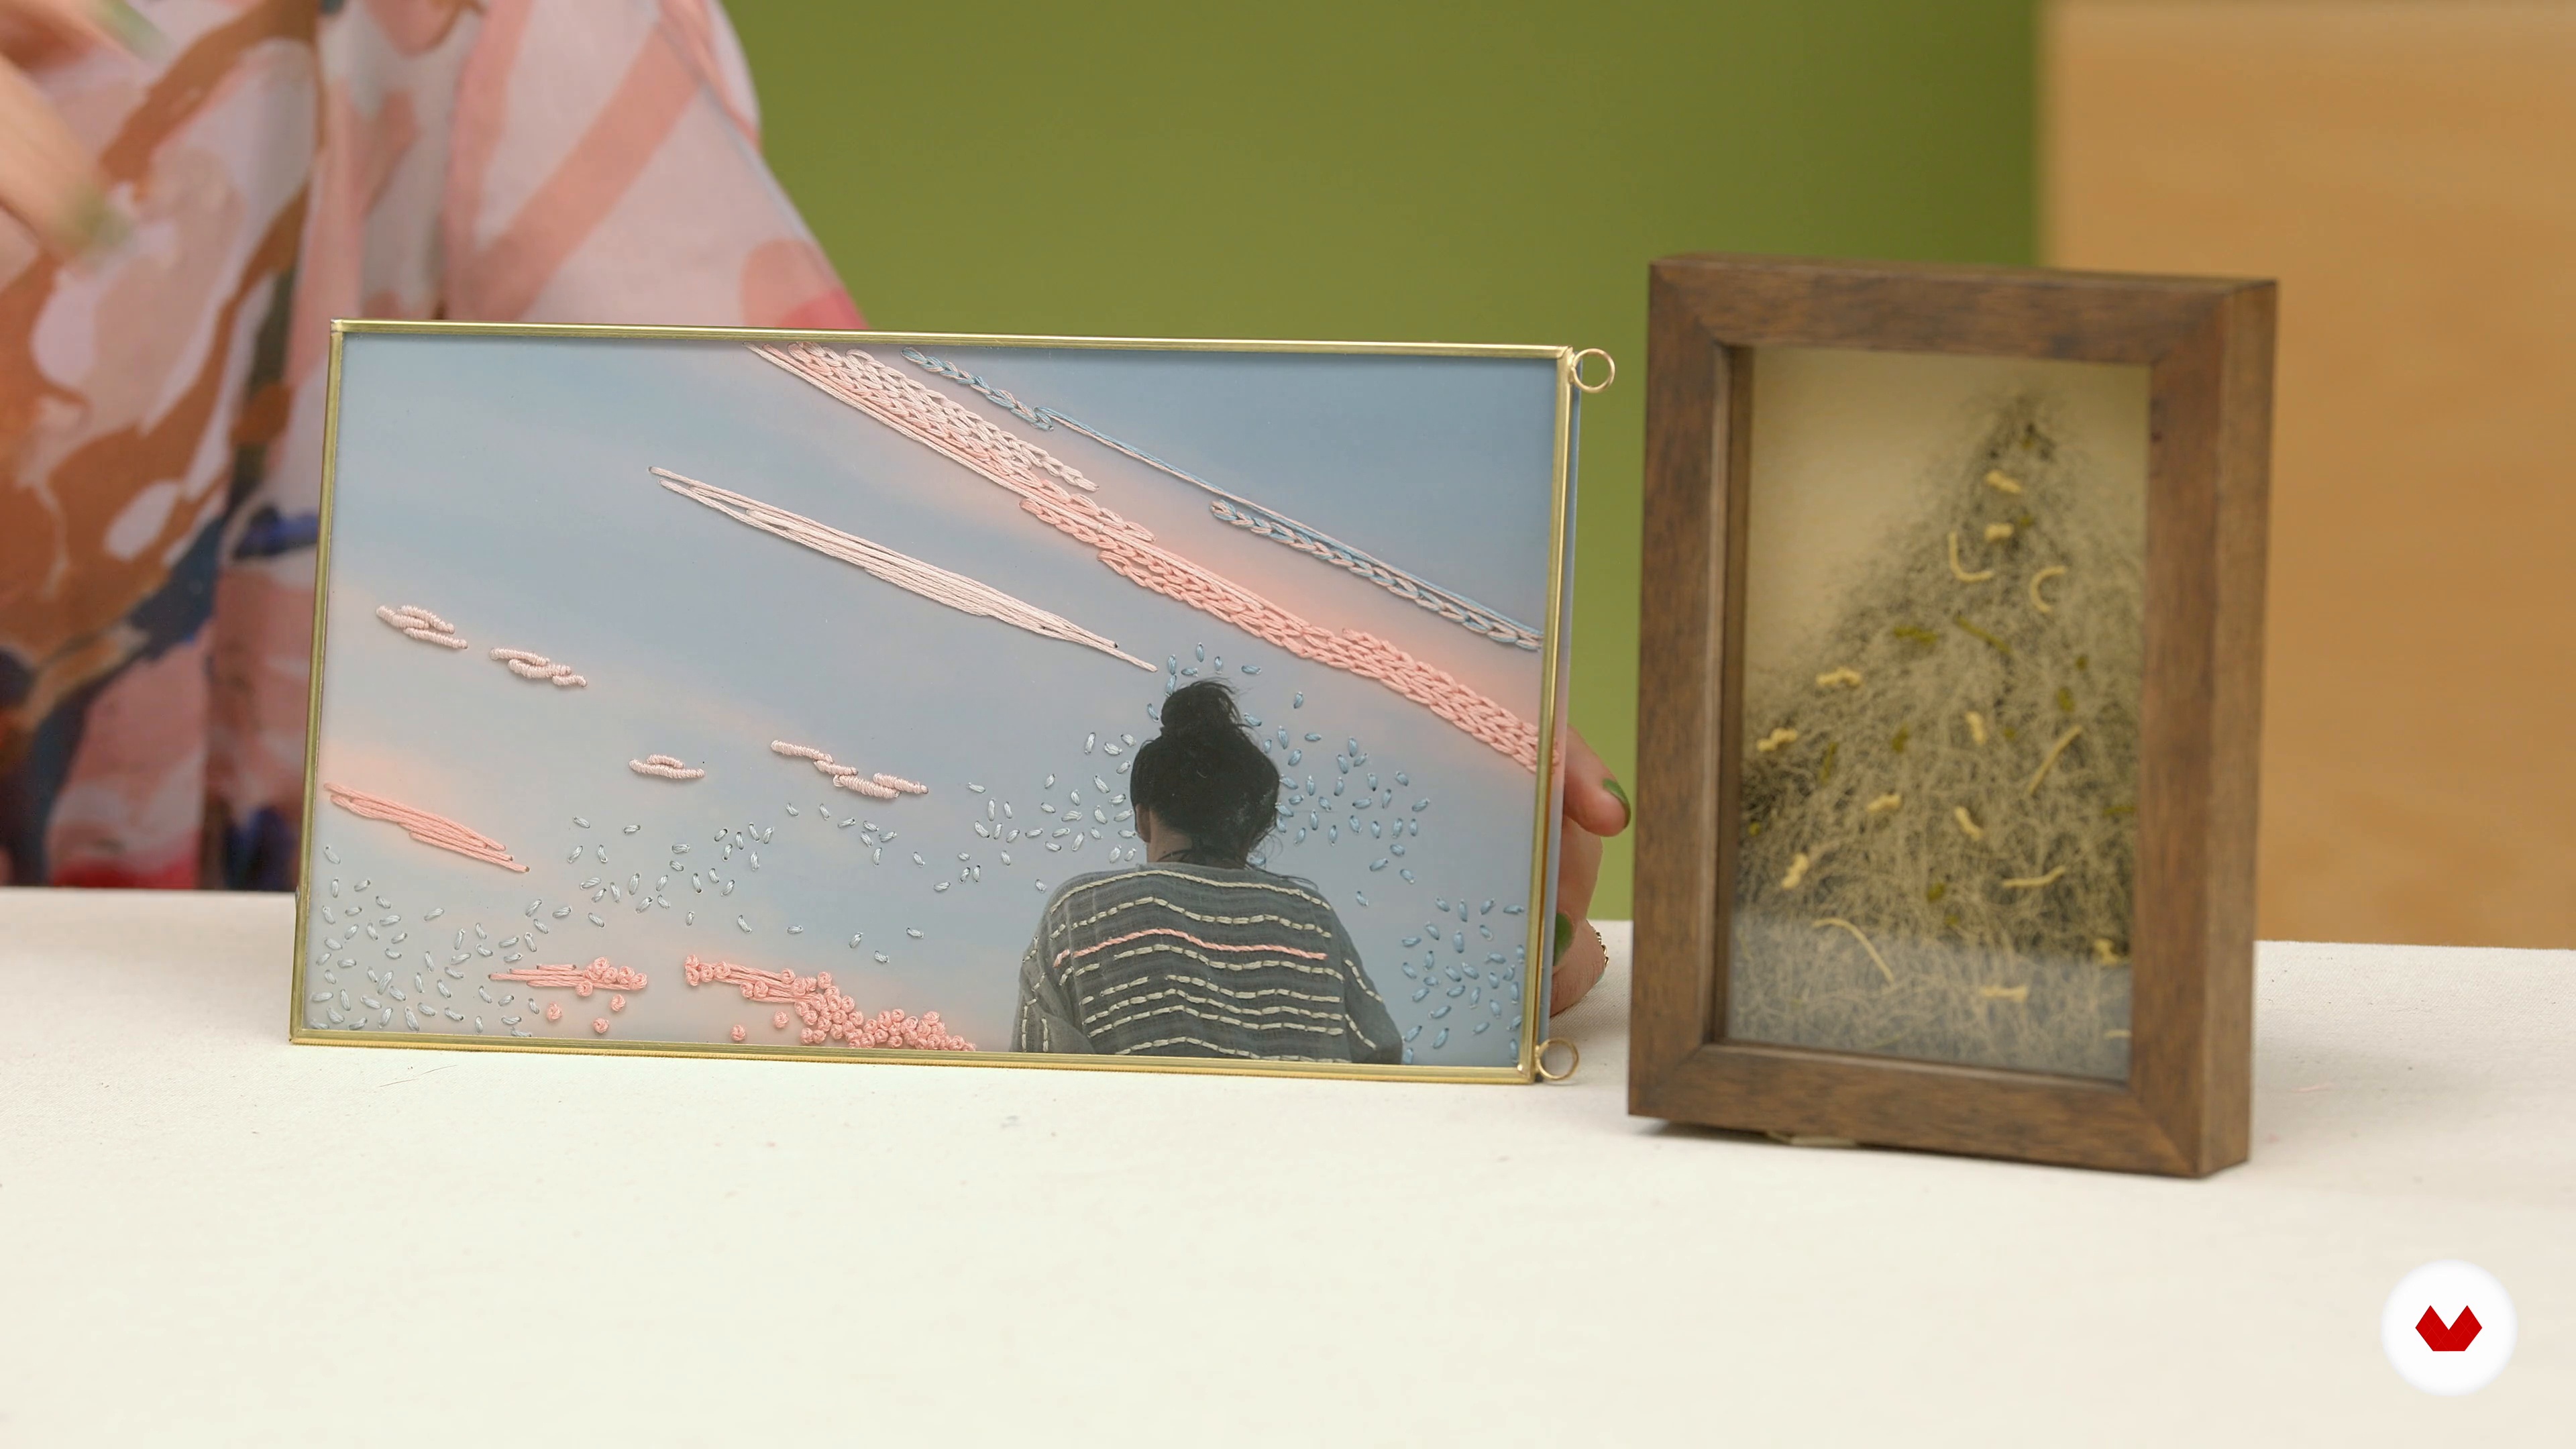
18Mounting
Finally, I am going to show you the different possibilities that you have at your disposal to assemble your photo embroidery.
9m
 3
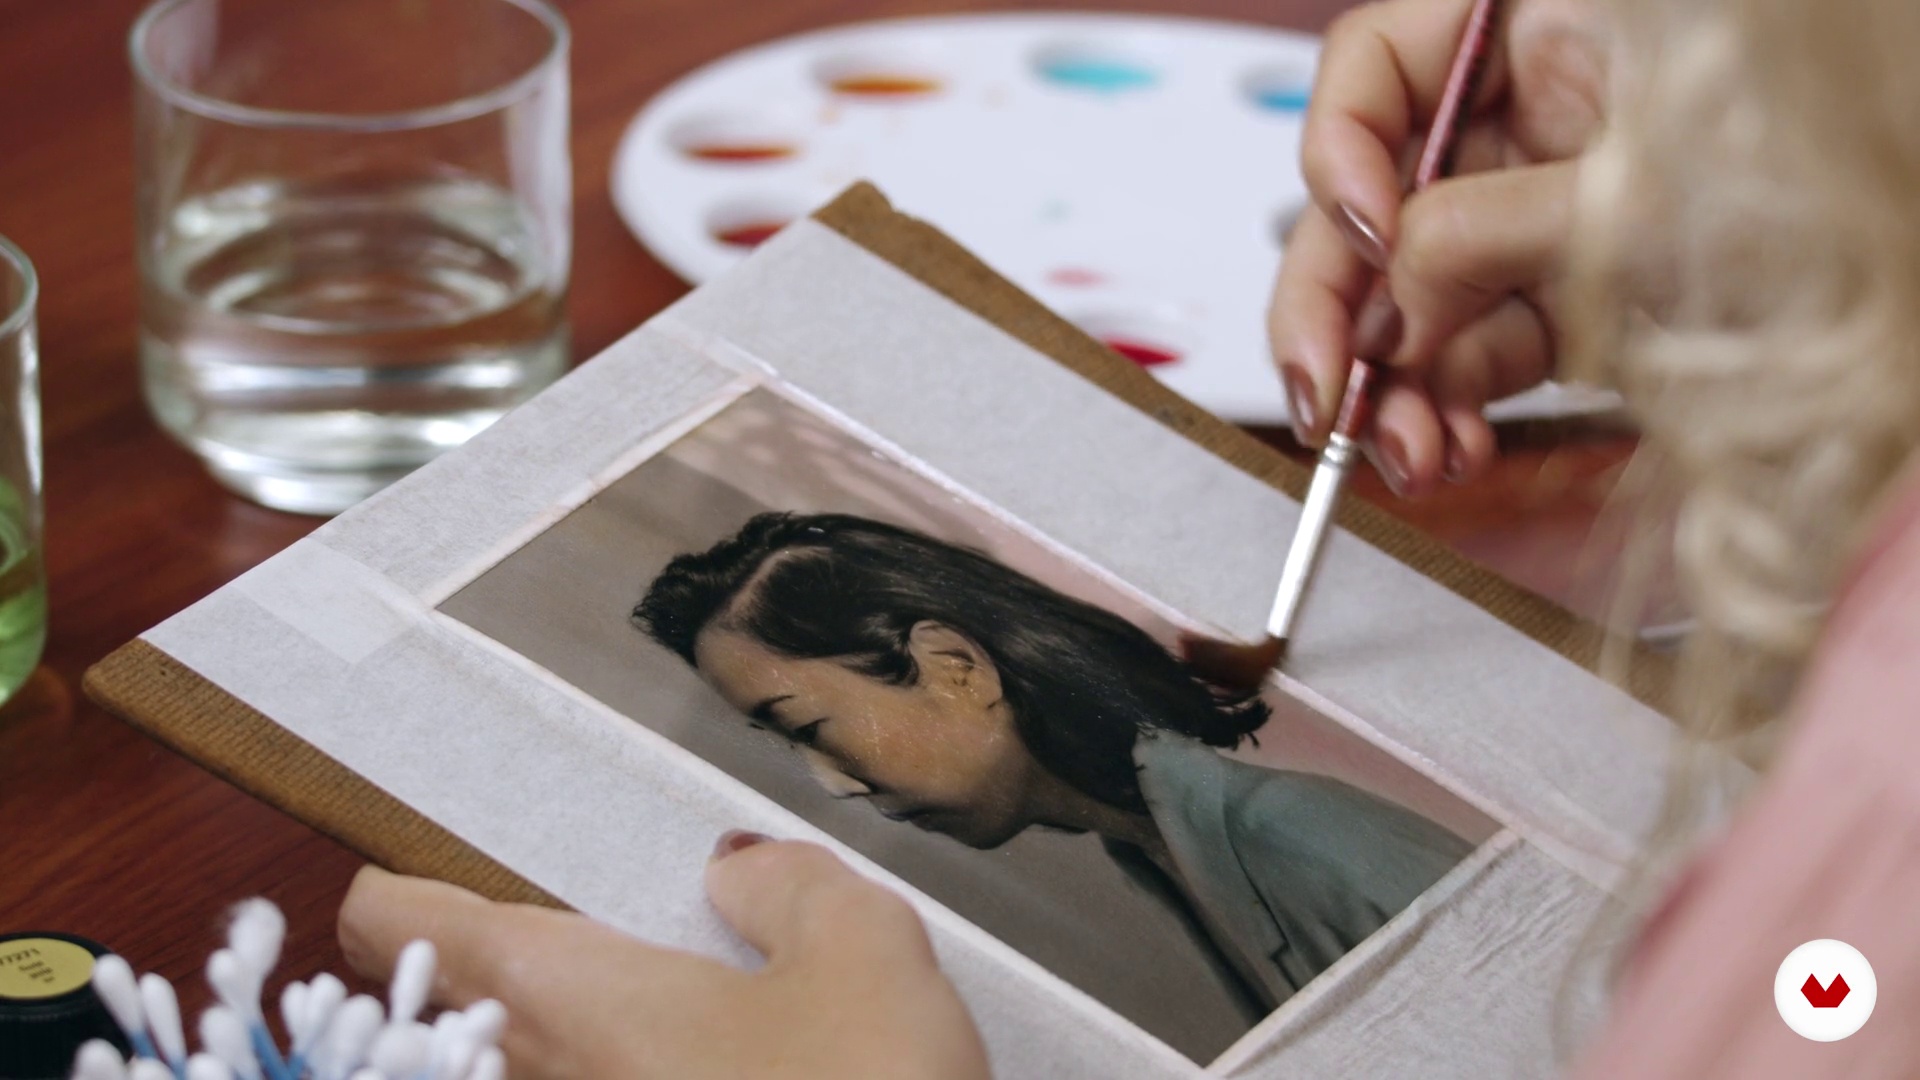
3What we will do in the course
Excited to colorize your own photos manually? In this class, I will present the project that you will develop throughout the course and how this creative process will be.
3m
 4
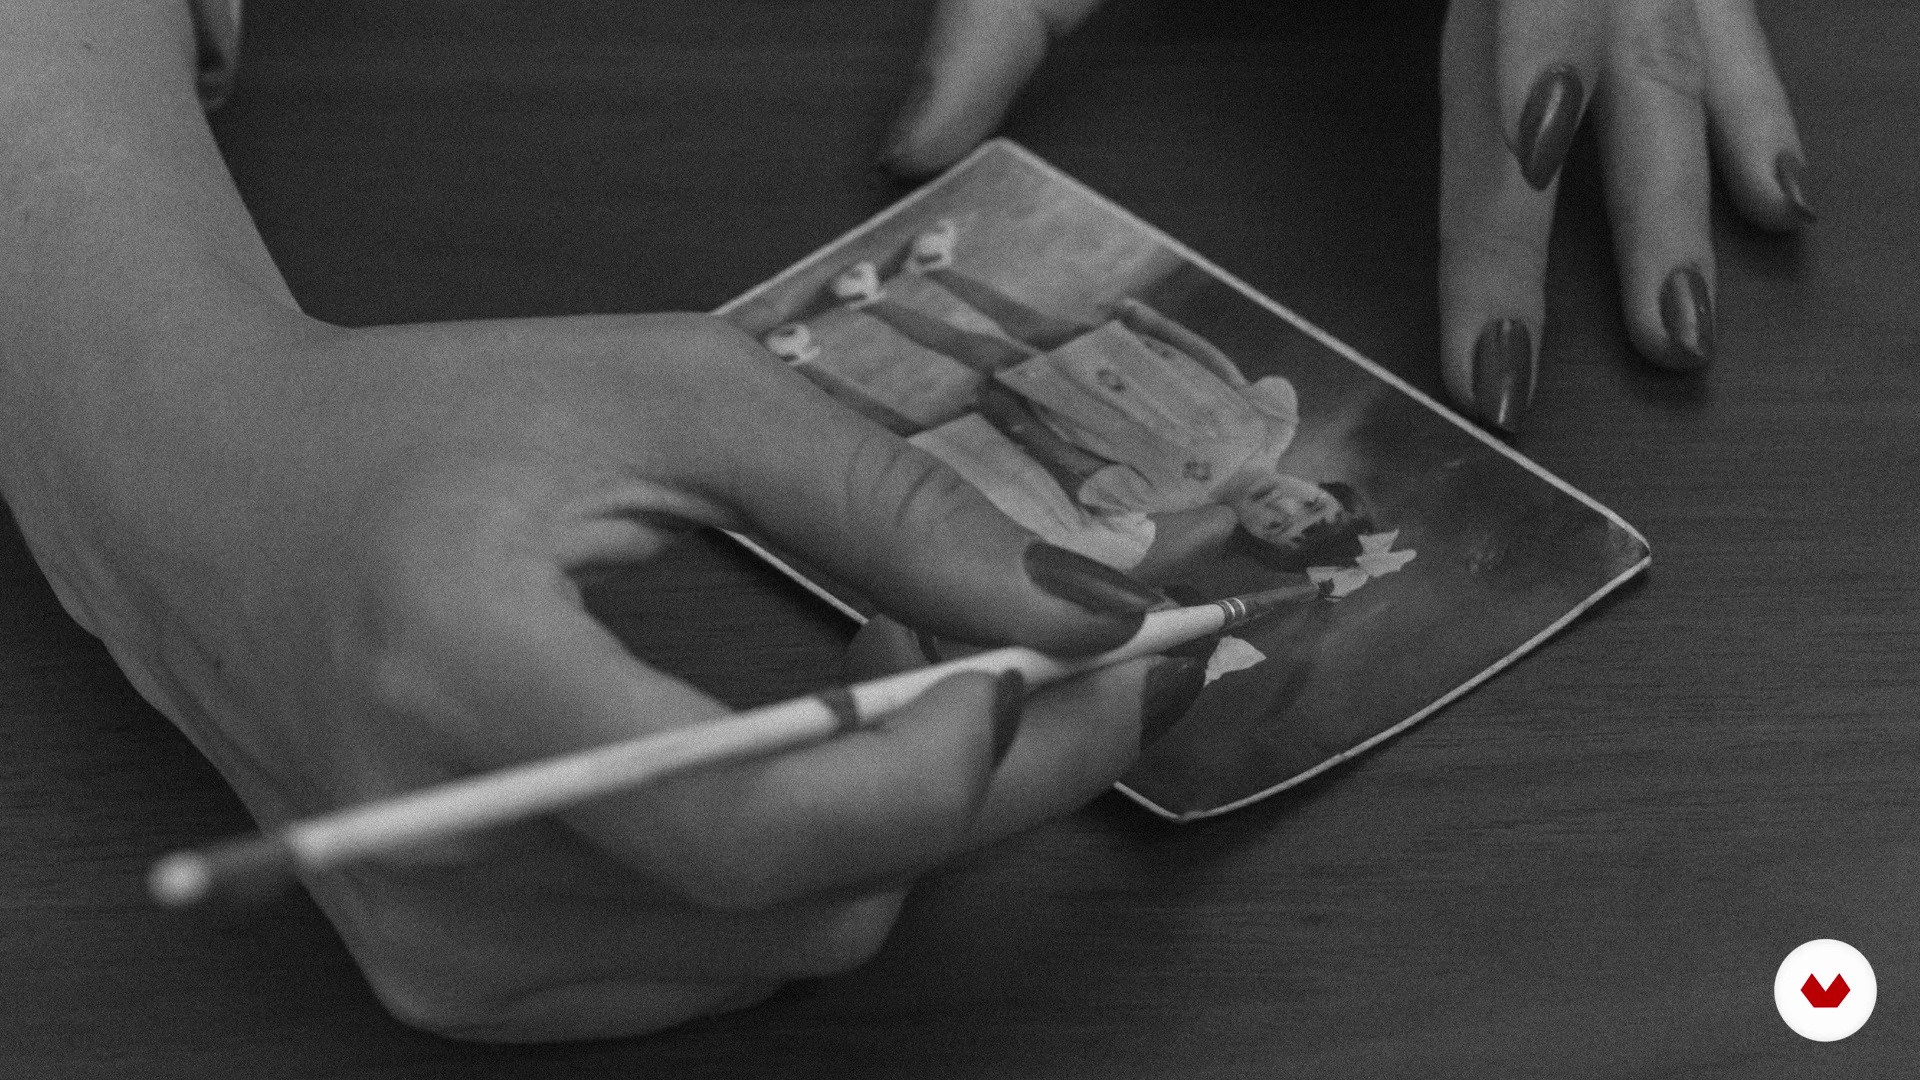
4Manual coloring in the history of photography
In this class, I will make a brief historical introduction to manual colorization of photographs from the realism of the 19th century to a more contemporary approach.
6m
 5
5Color as a narrative element
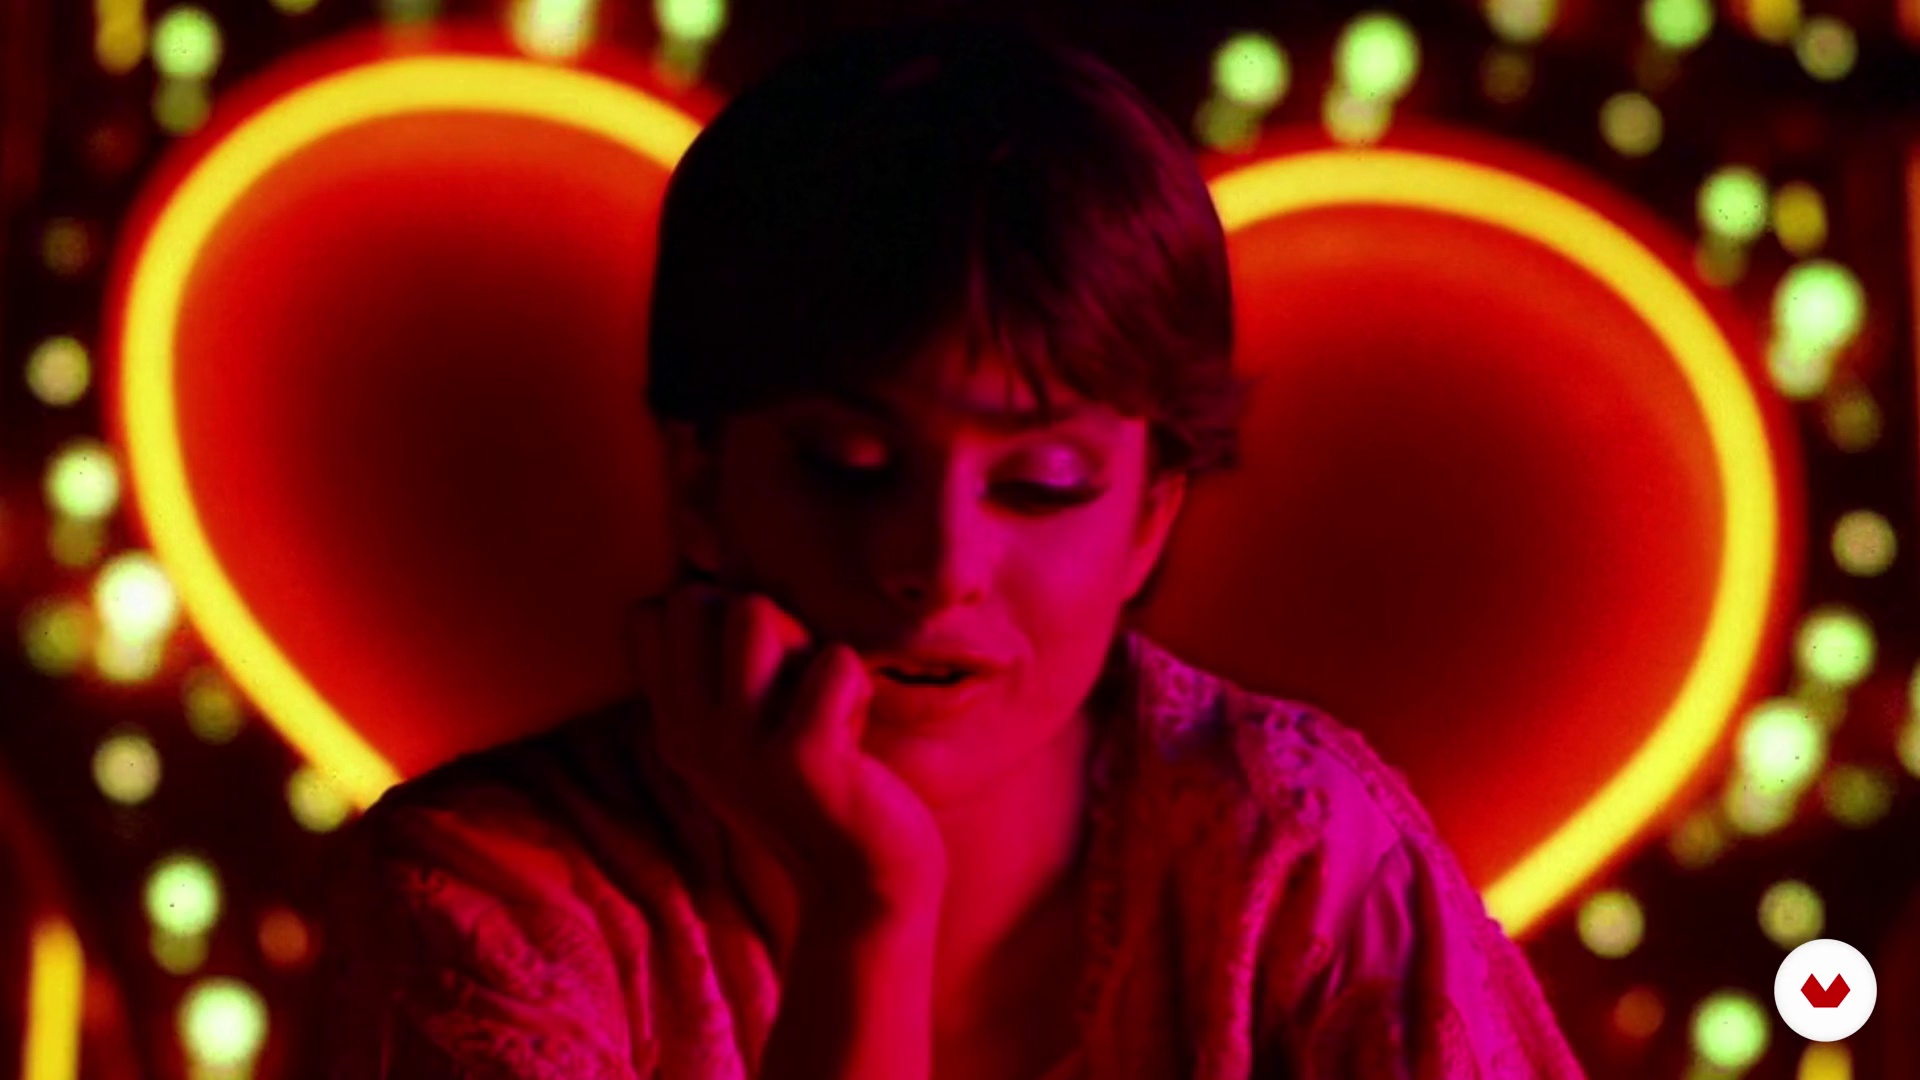
It is essential to choose the color palette that best contributes to the creation and enhancement of meaning in your work. That's what I'm going to talk about in this class.
4m
 6
6Choosing your images
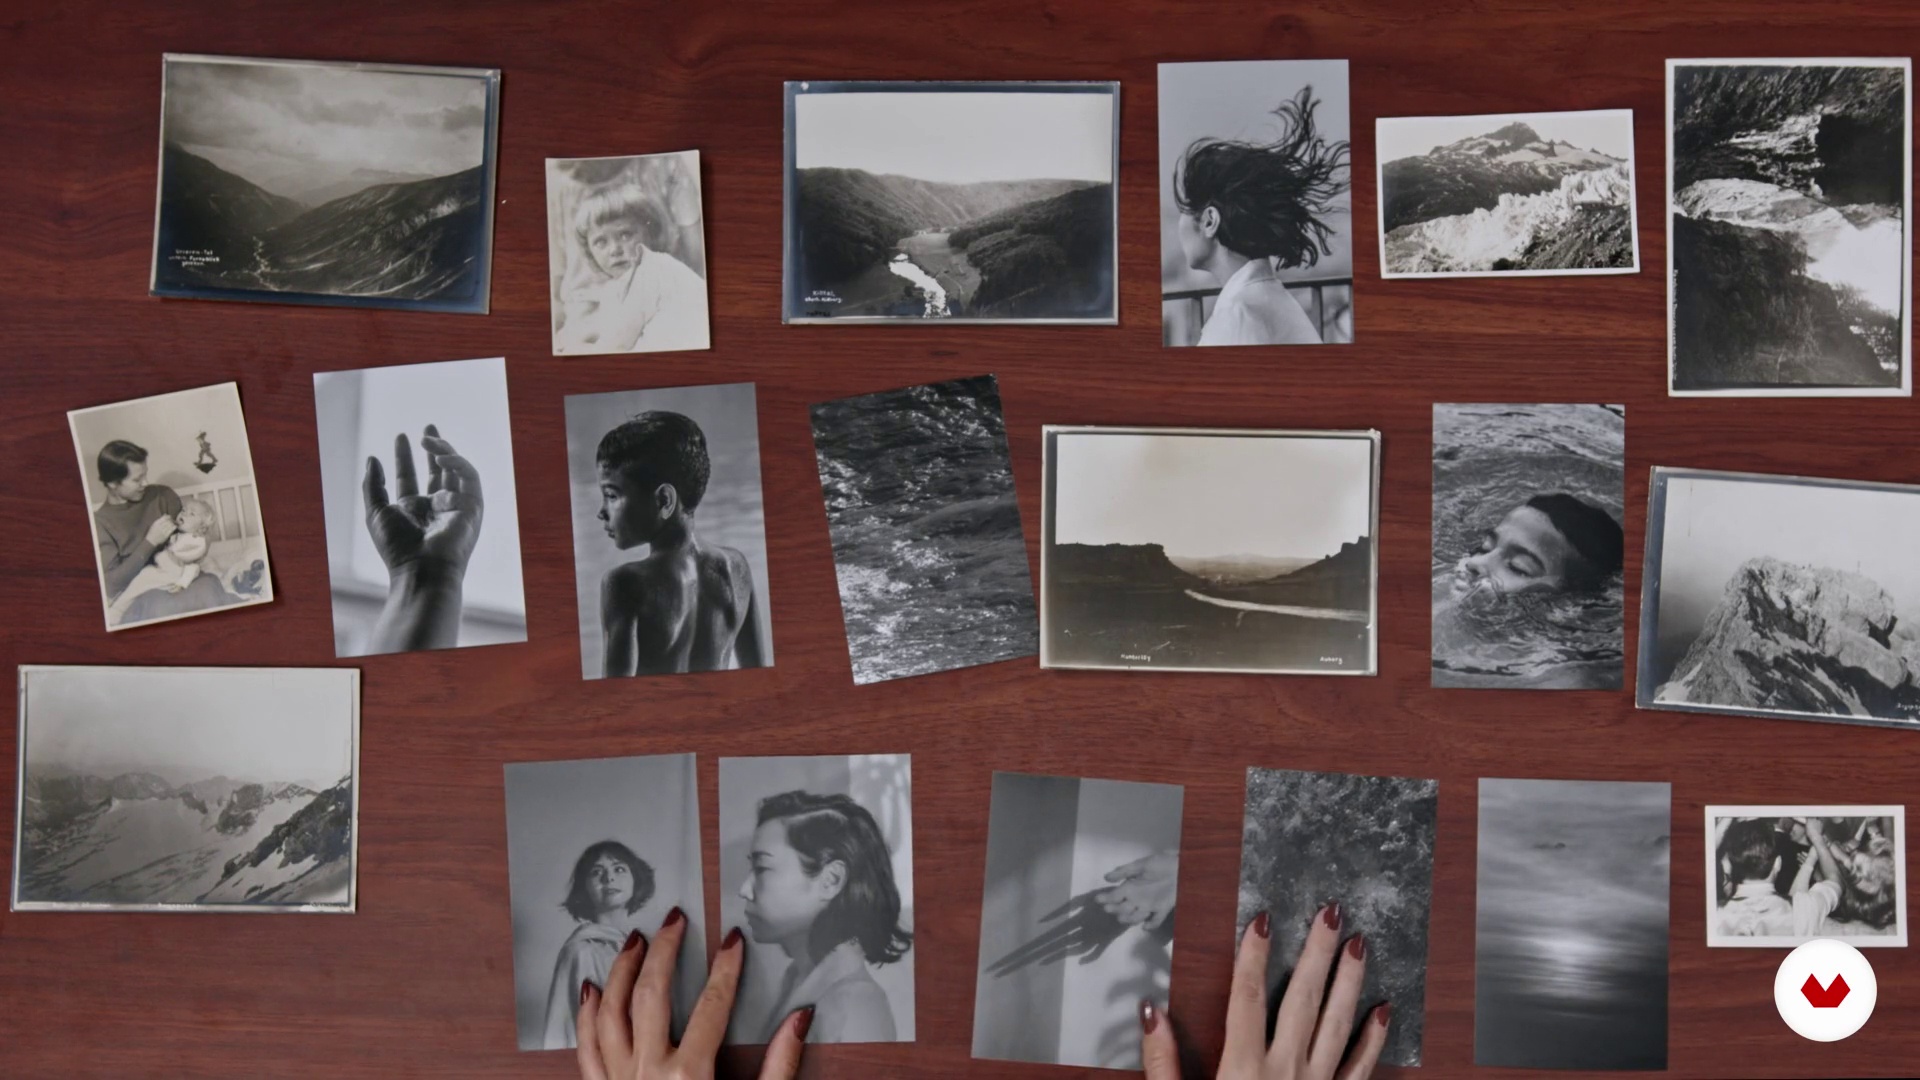
Now I’m going to talk a little bit about how to choose the images you’ll color in the next unit.
3m
 7
7Preparing images for printing
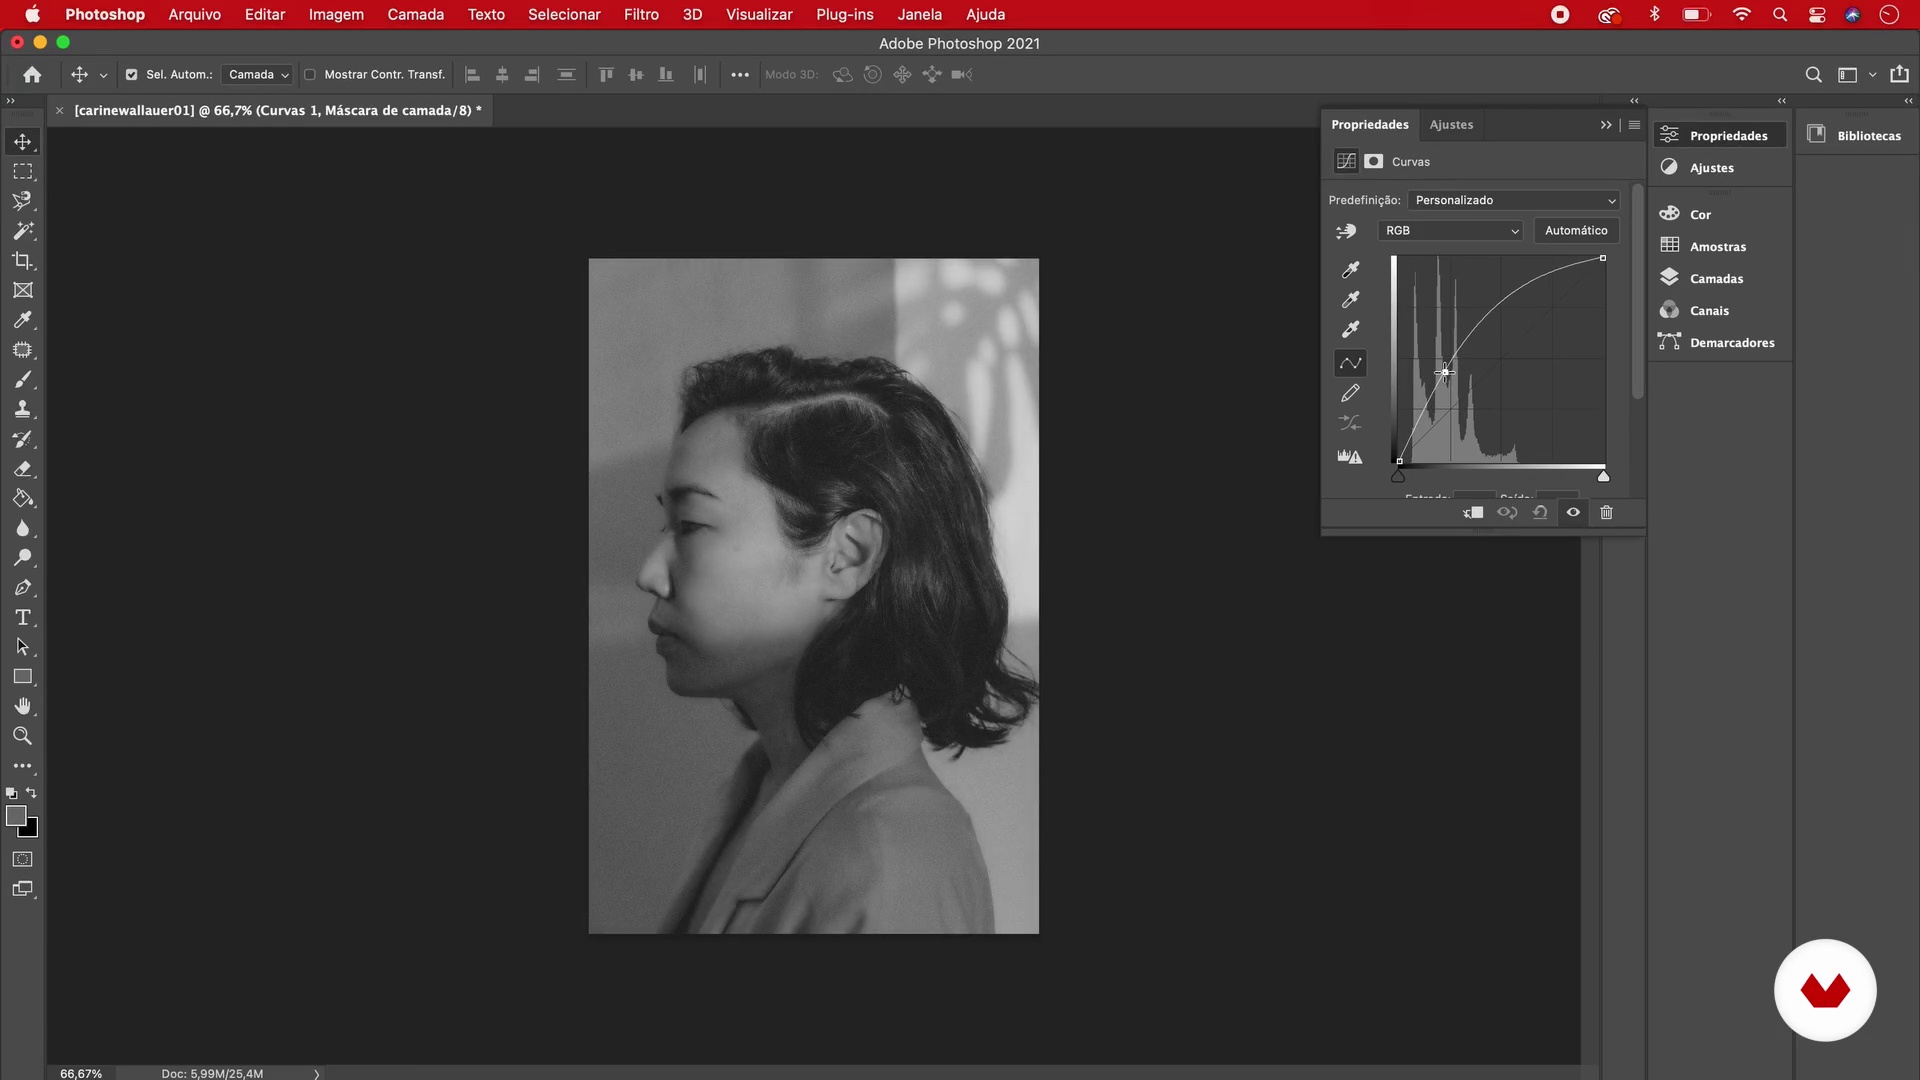
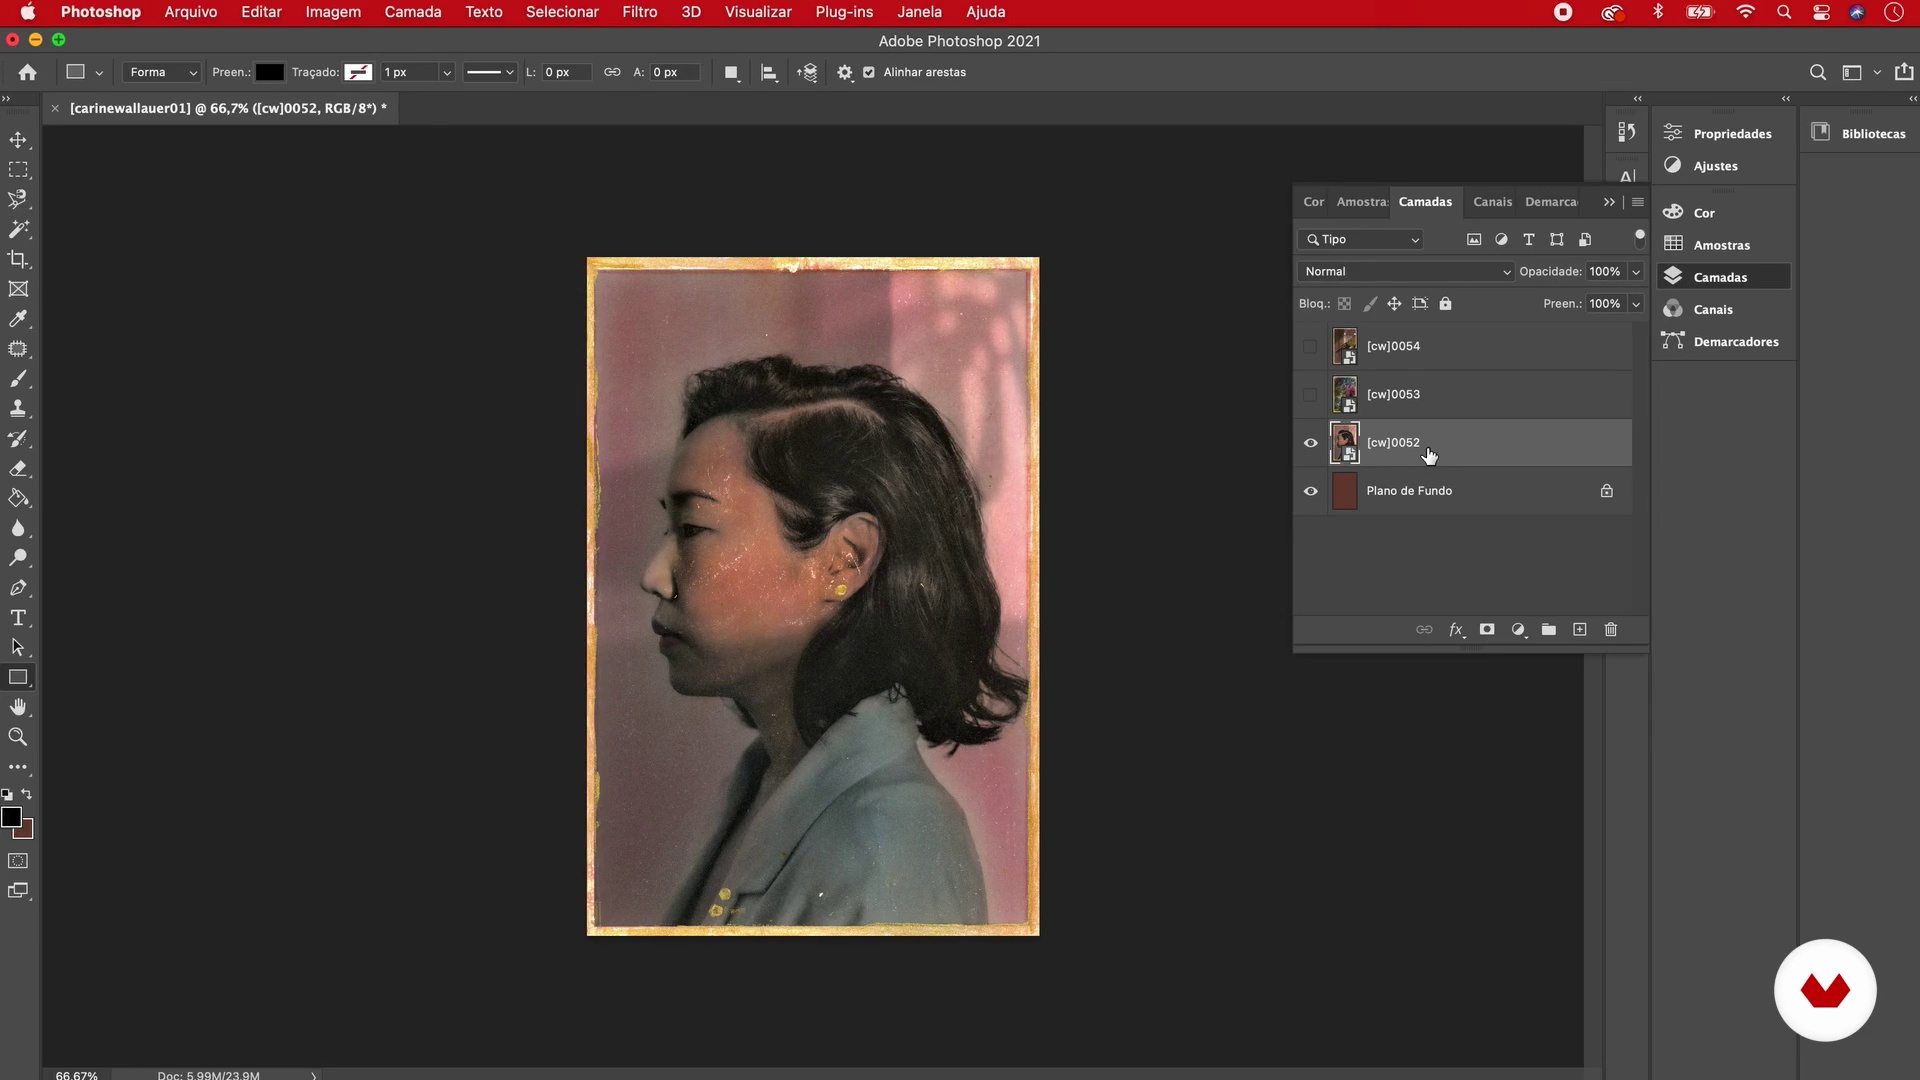
In this lesson, I will show you how to prepare your images for printing using Photoshop.
4m
 8
8Papers
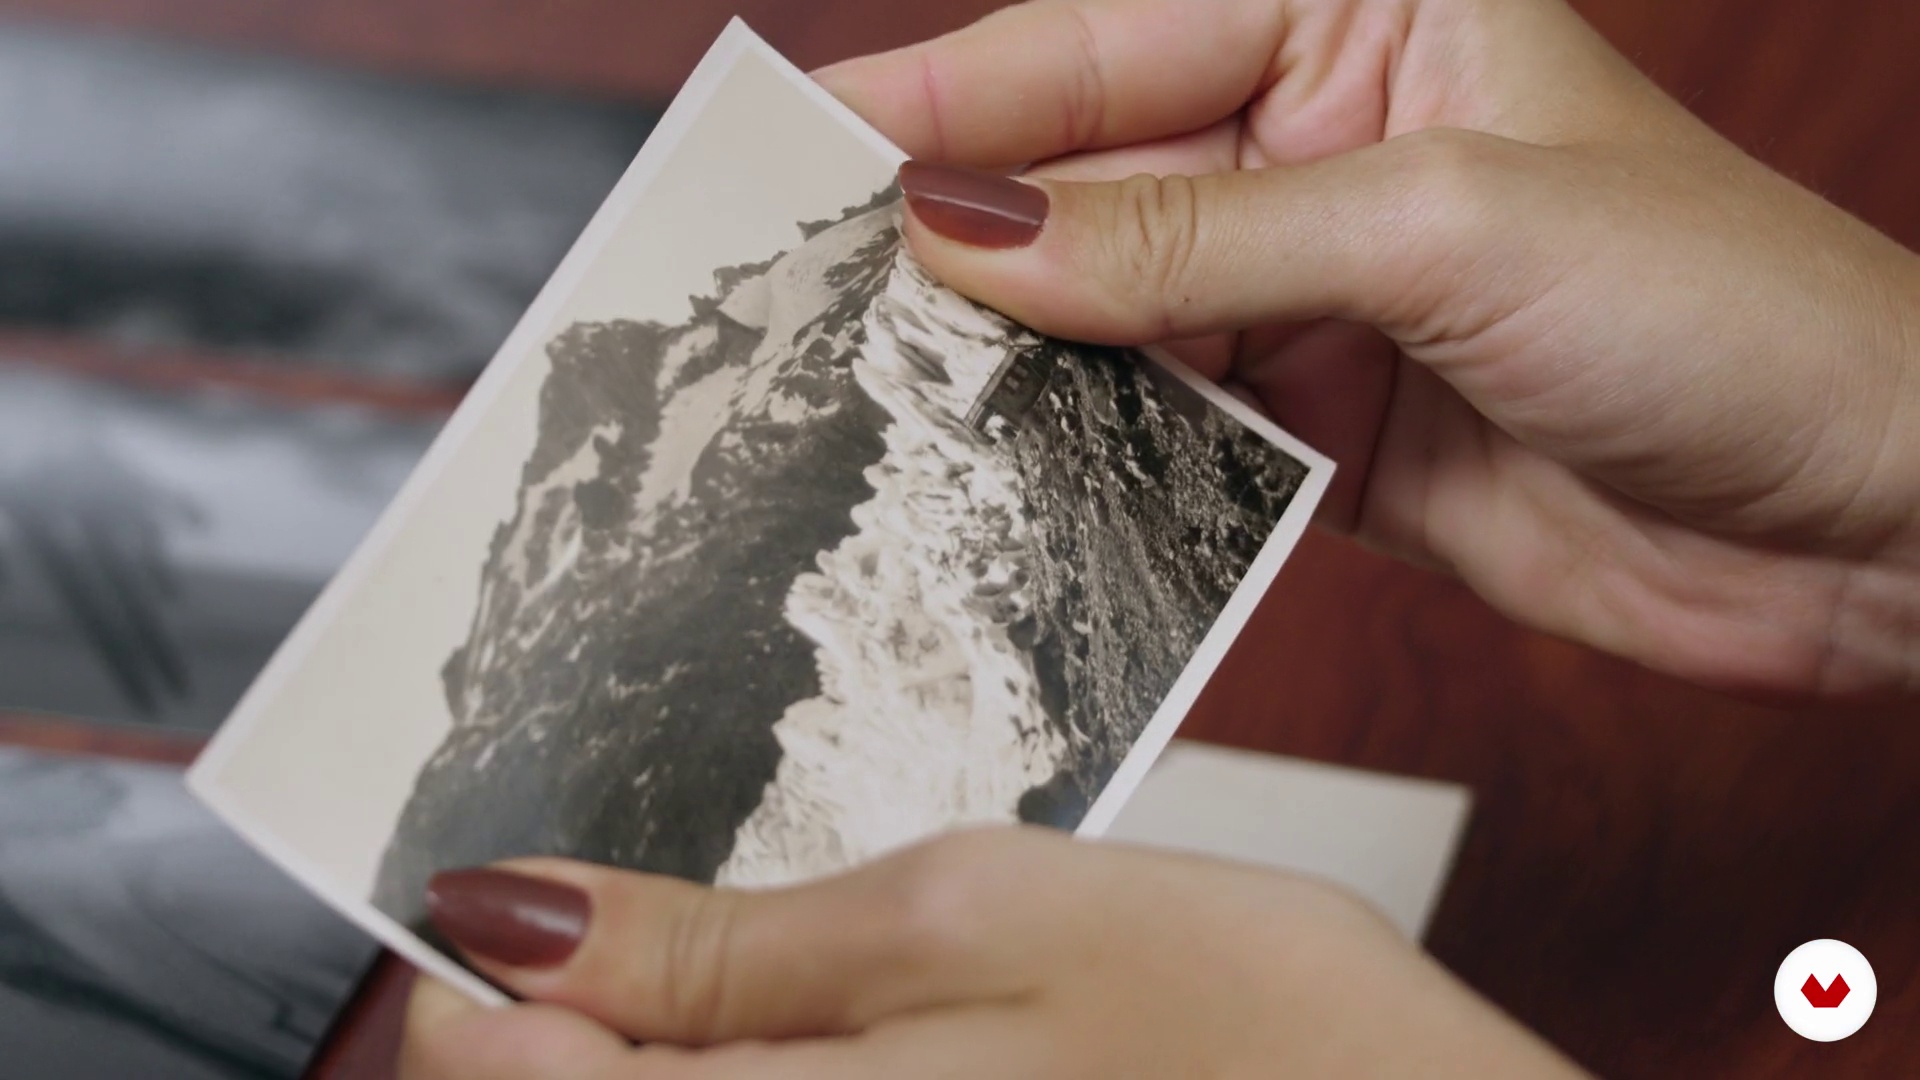
Here I will explain a little about the peculiarities of the different types of papers and what is the best choice for each project.
2m
 9
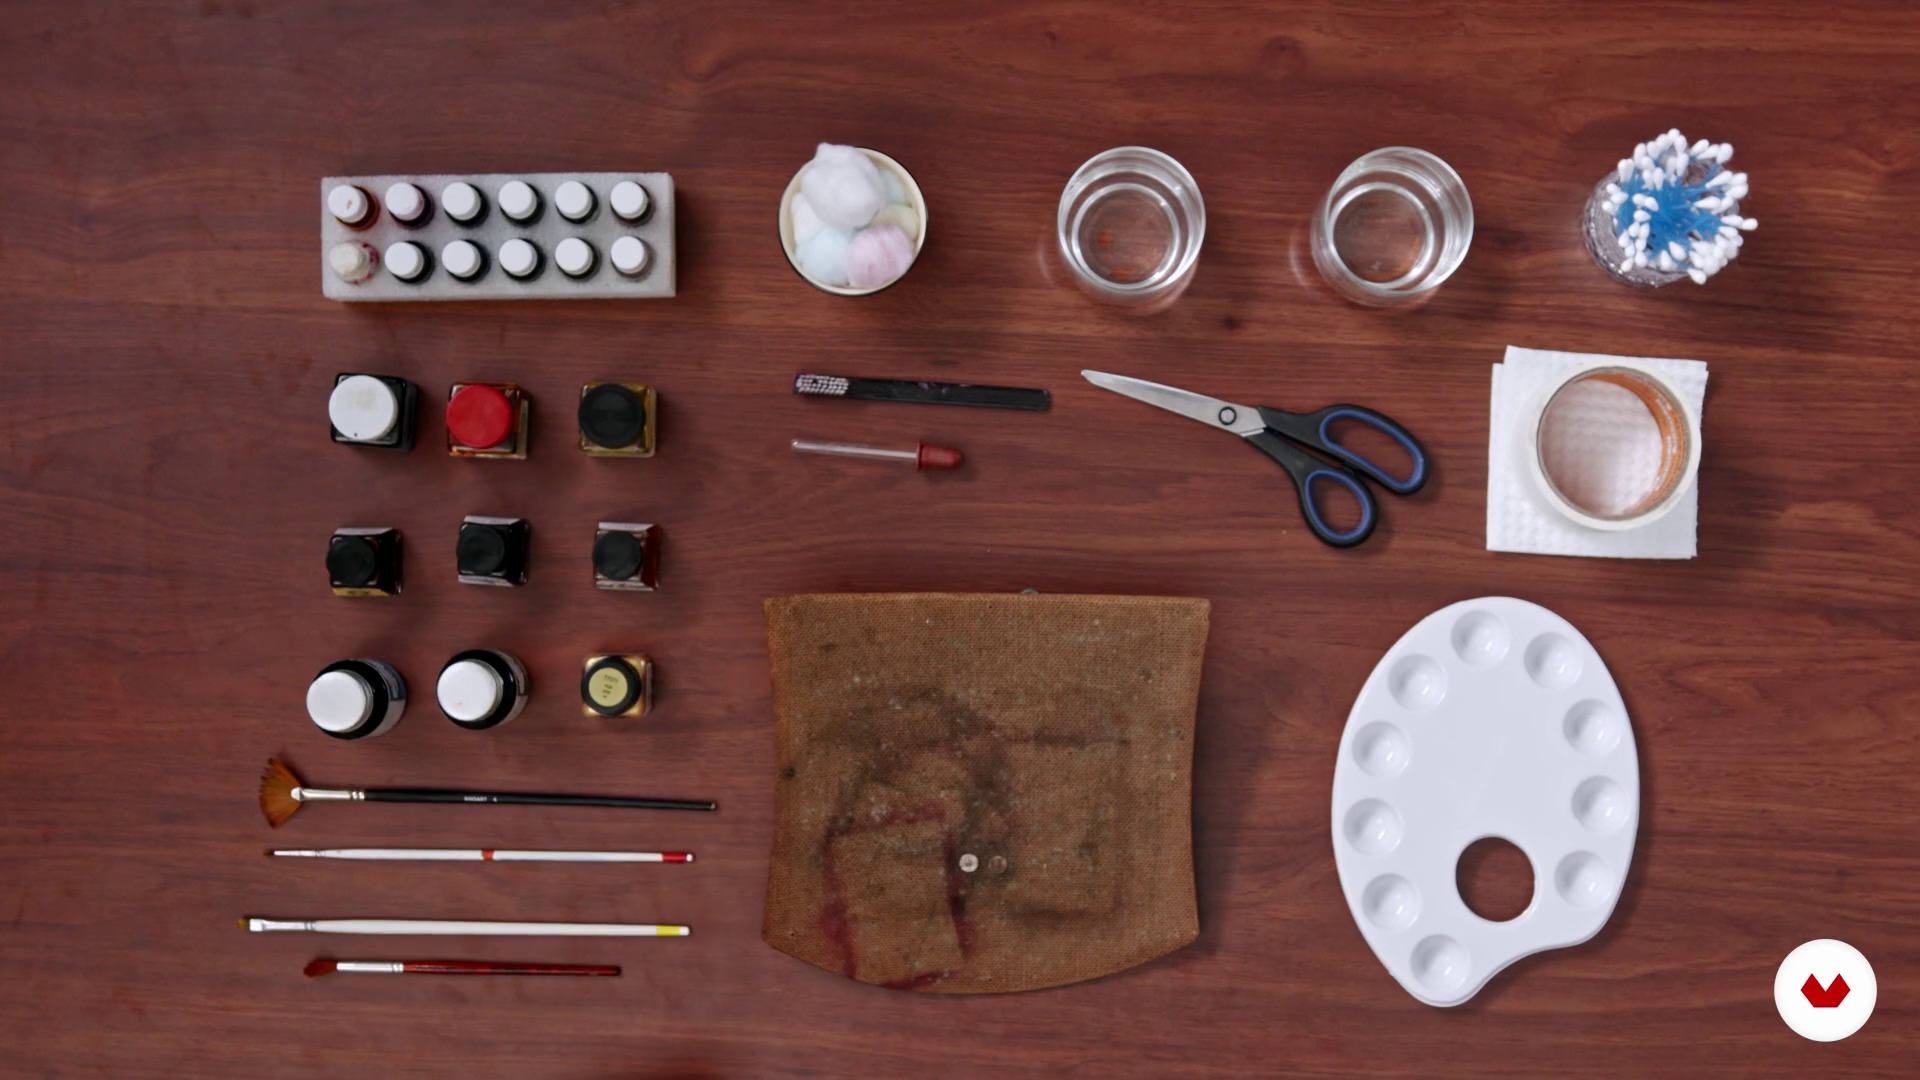
9Materials
In this class, I will teach you what materials I work with most often and also tell you which ones you need to get started with watercolor. In addition, you will find that I always try to explore with new materials, don't be afraid to experiment too!
1m
 10
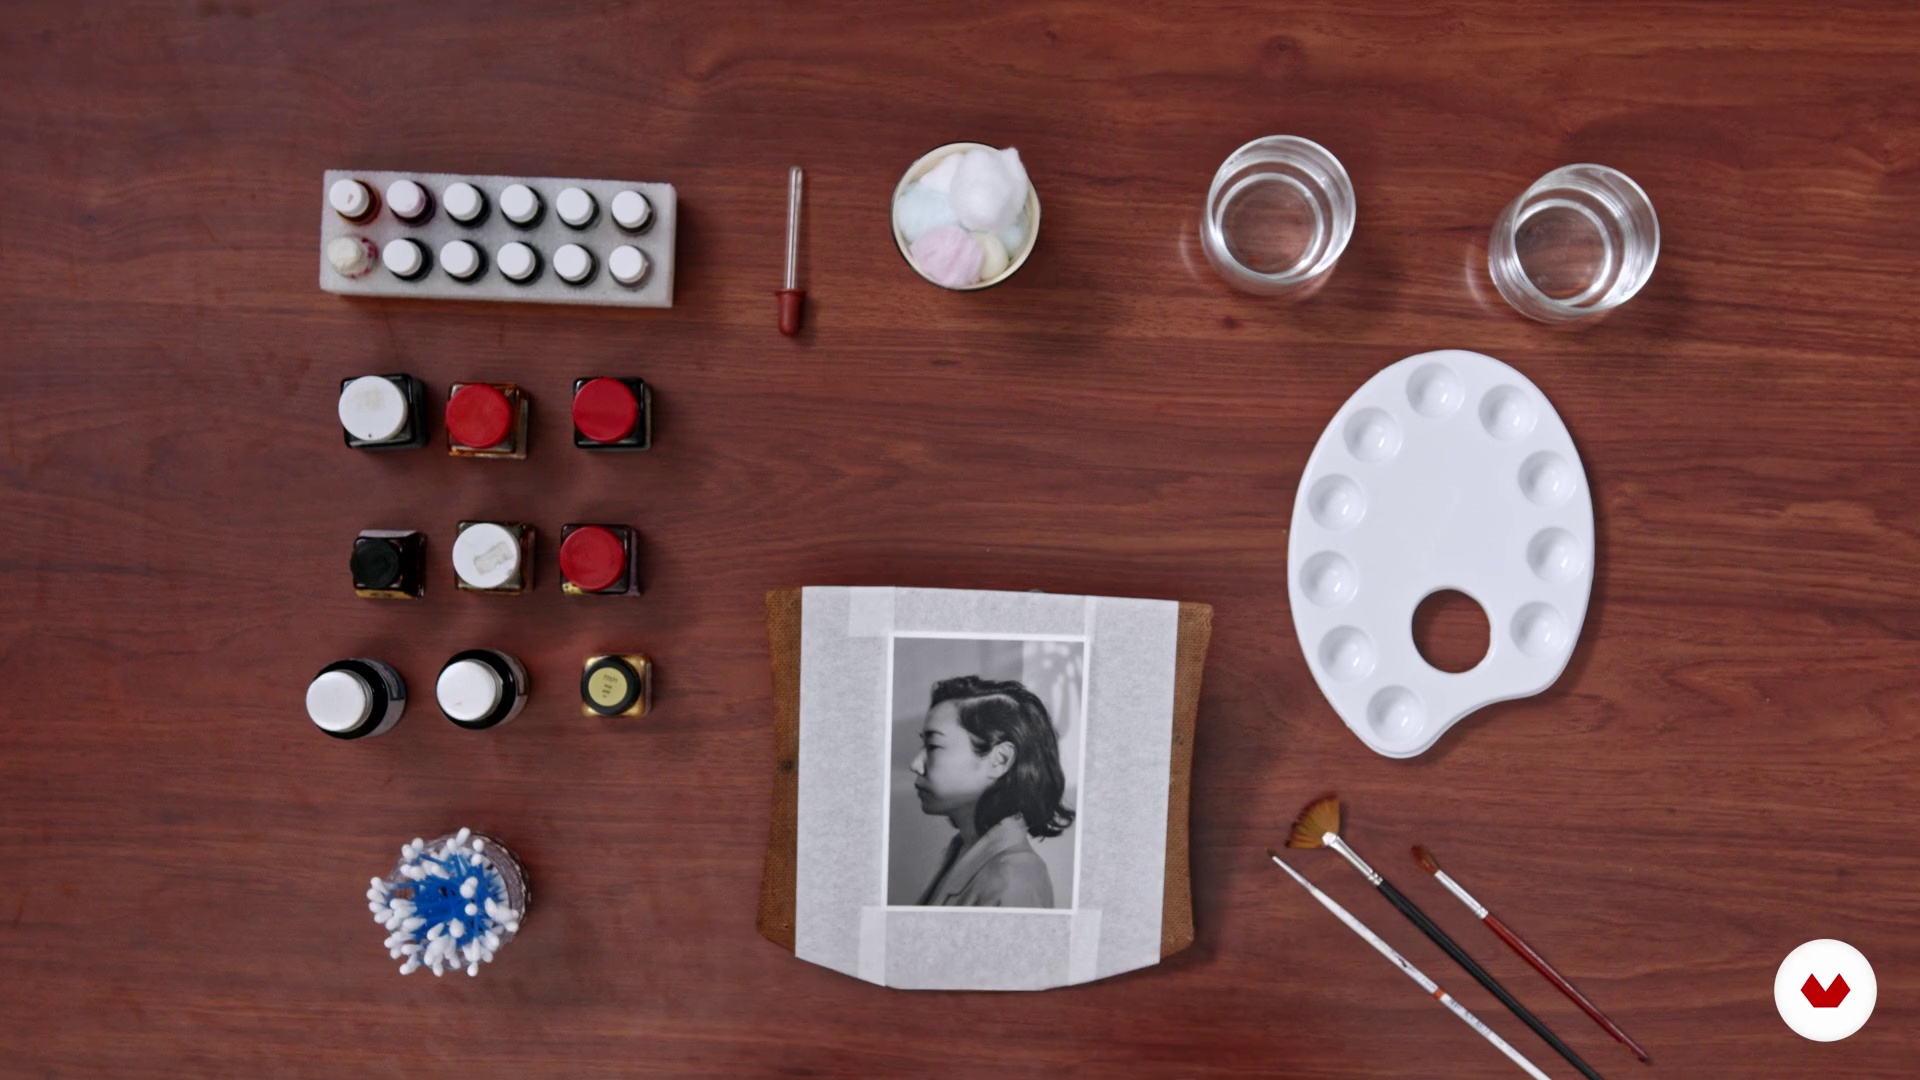
10Preparing your work table
In this class, you will learn how to prepare and organize your work environment to start your paintings.
2m
 11
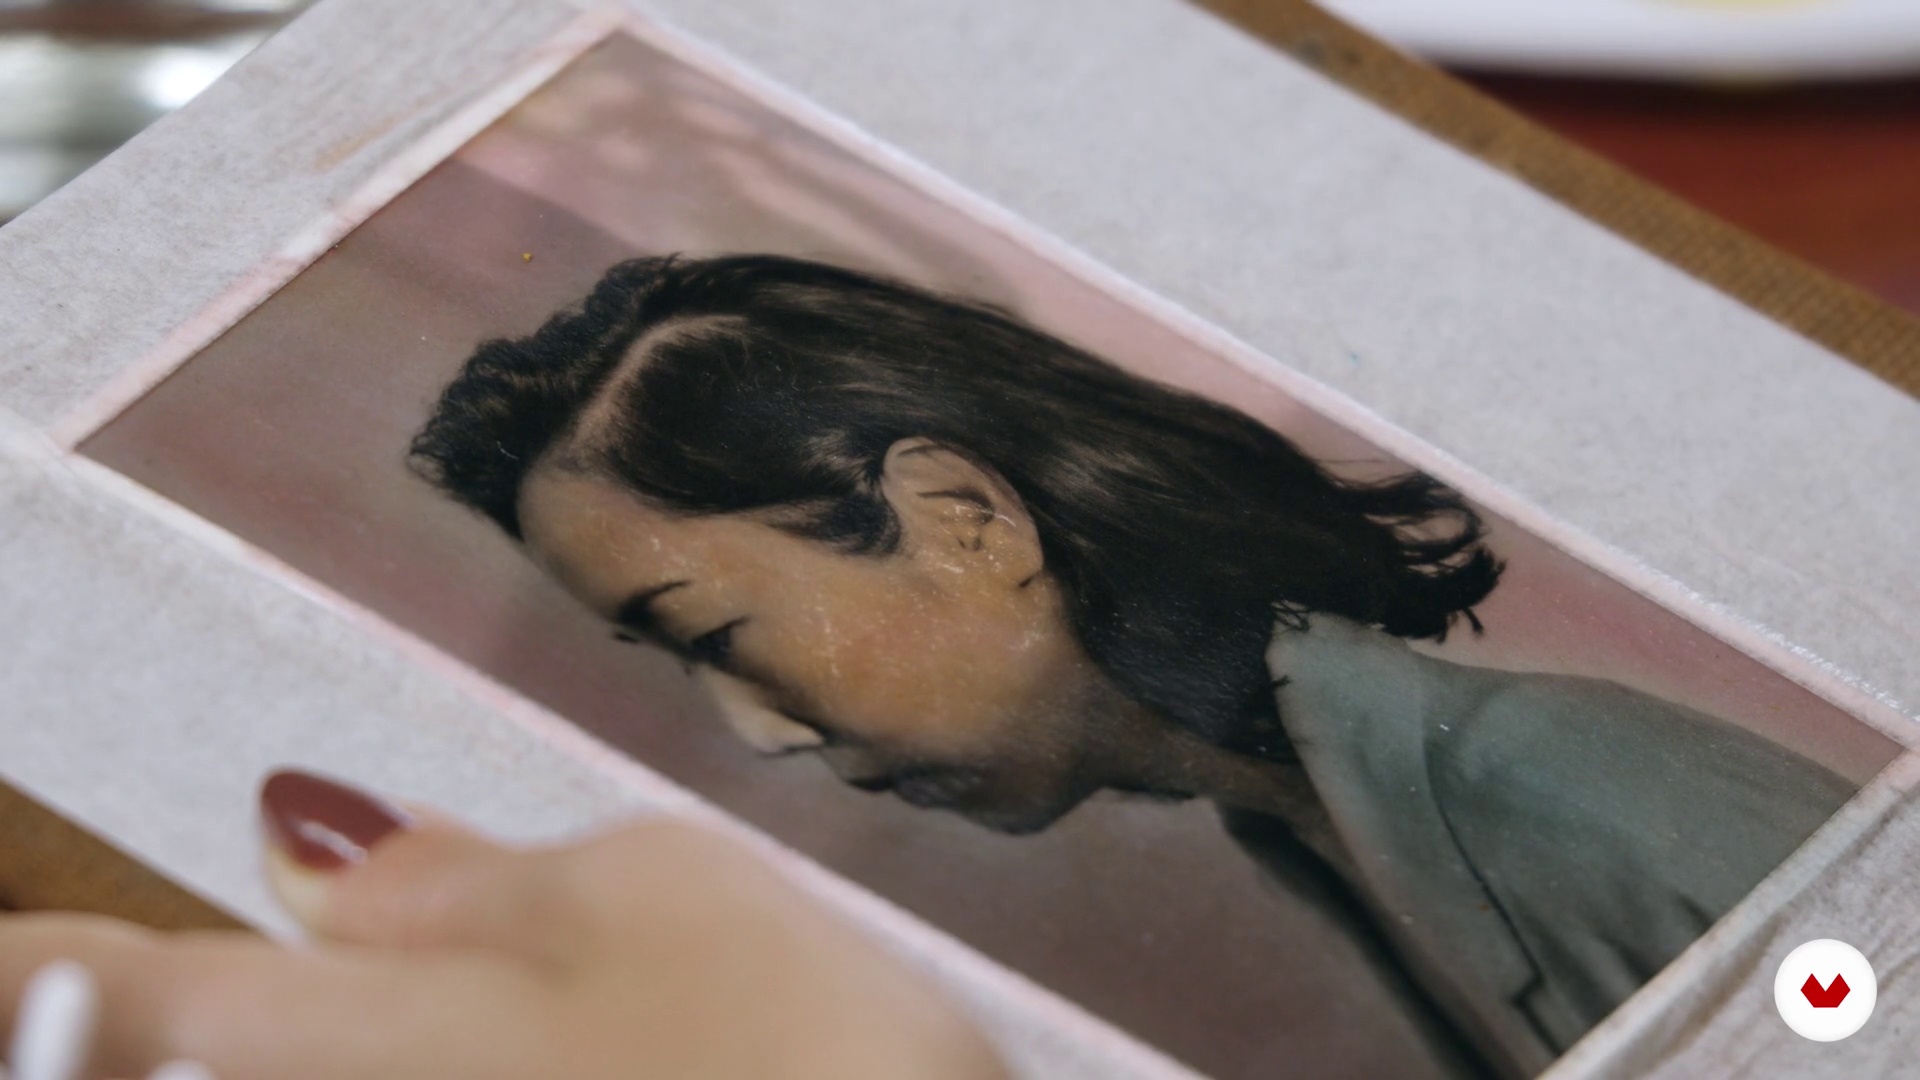
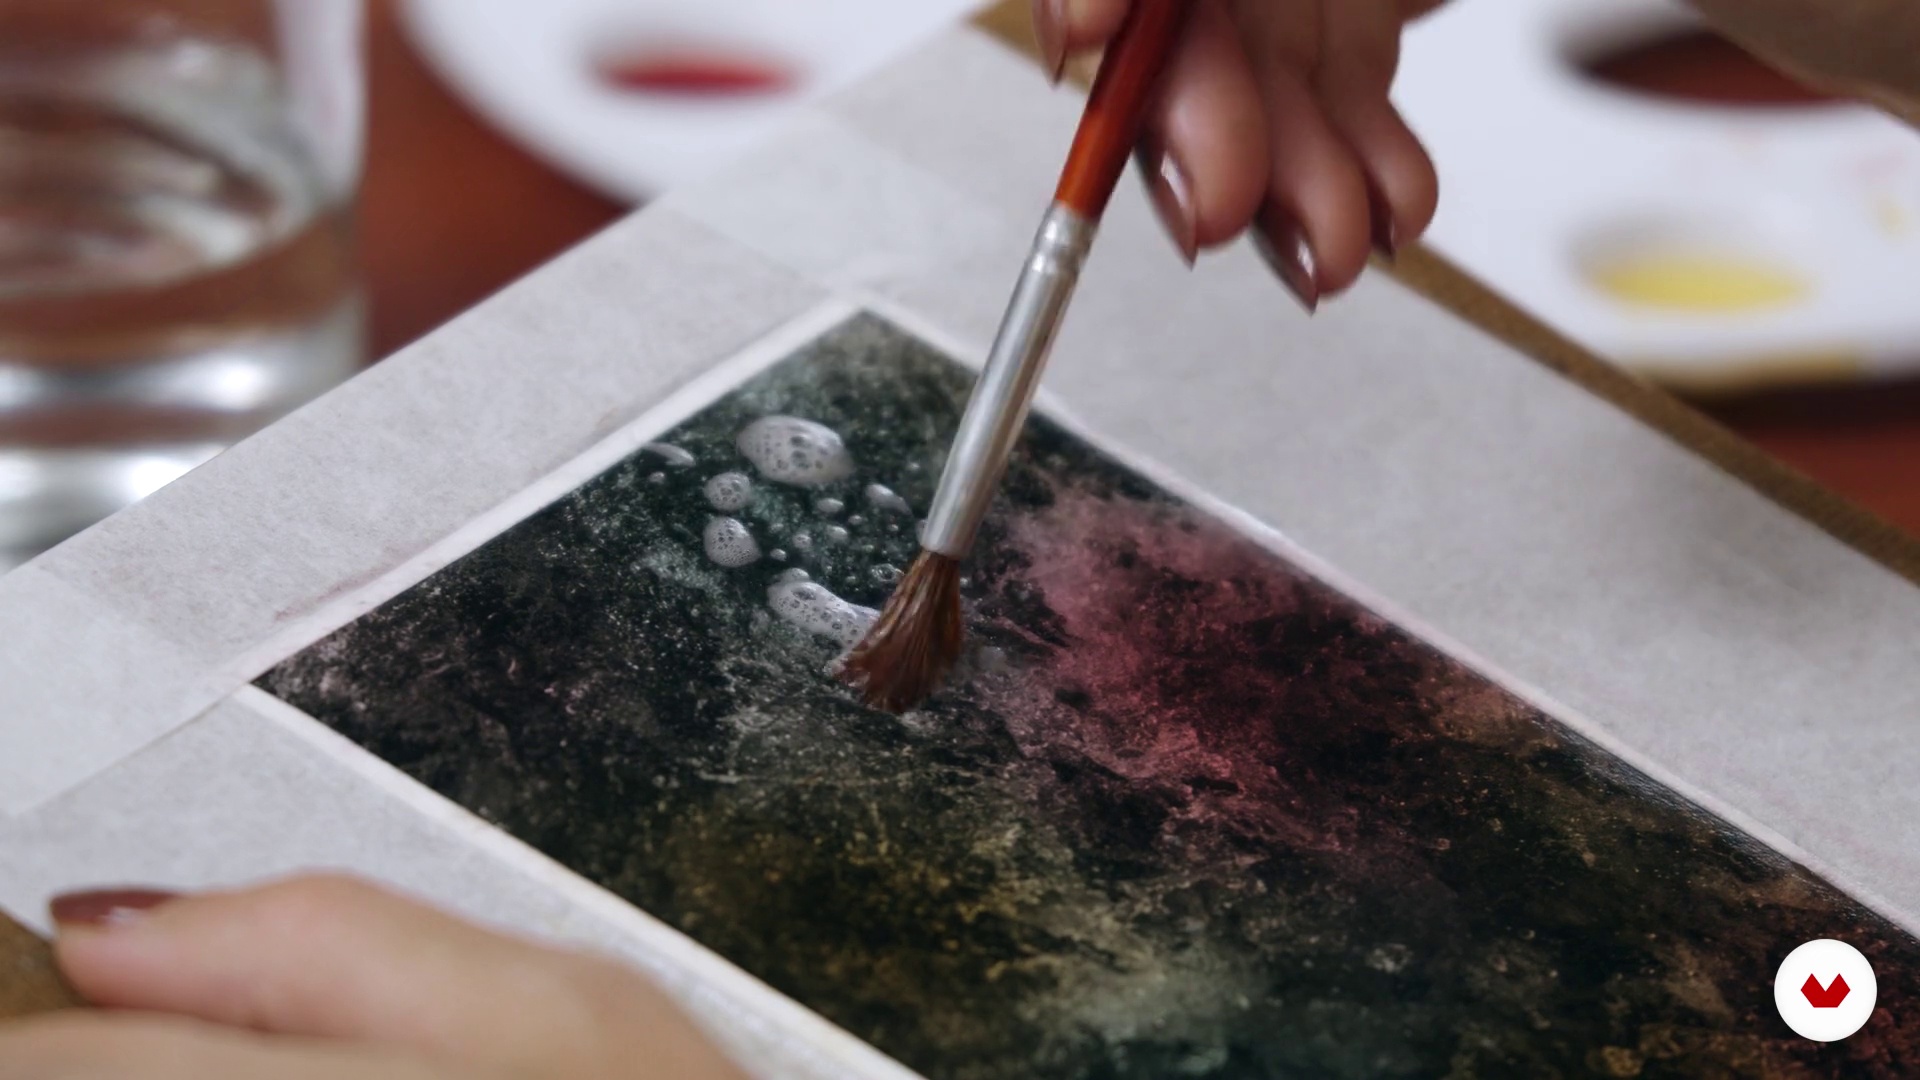
11Portrait
Now I will explain how you will produce your first work: a portrait with a more realistic color application.
14m
 12
12Landscape
In this lesson, I will explain how to work with colorizing horizons, landscapes and images of nature with gradients.
5m
 13
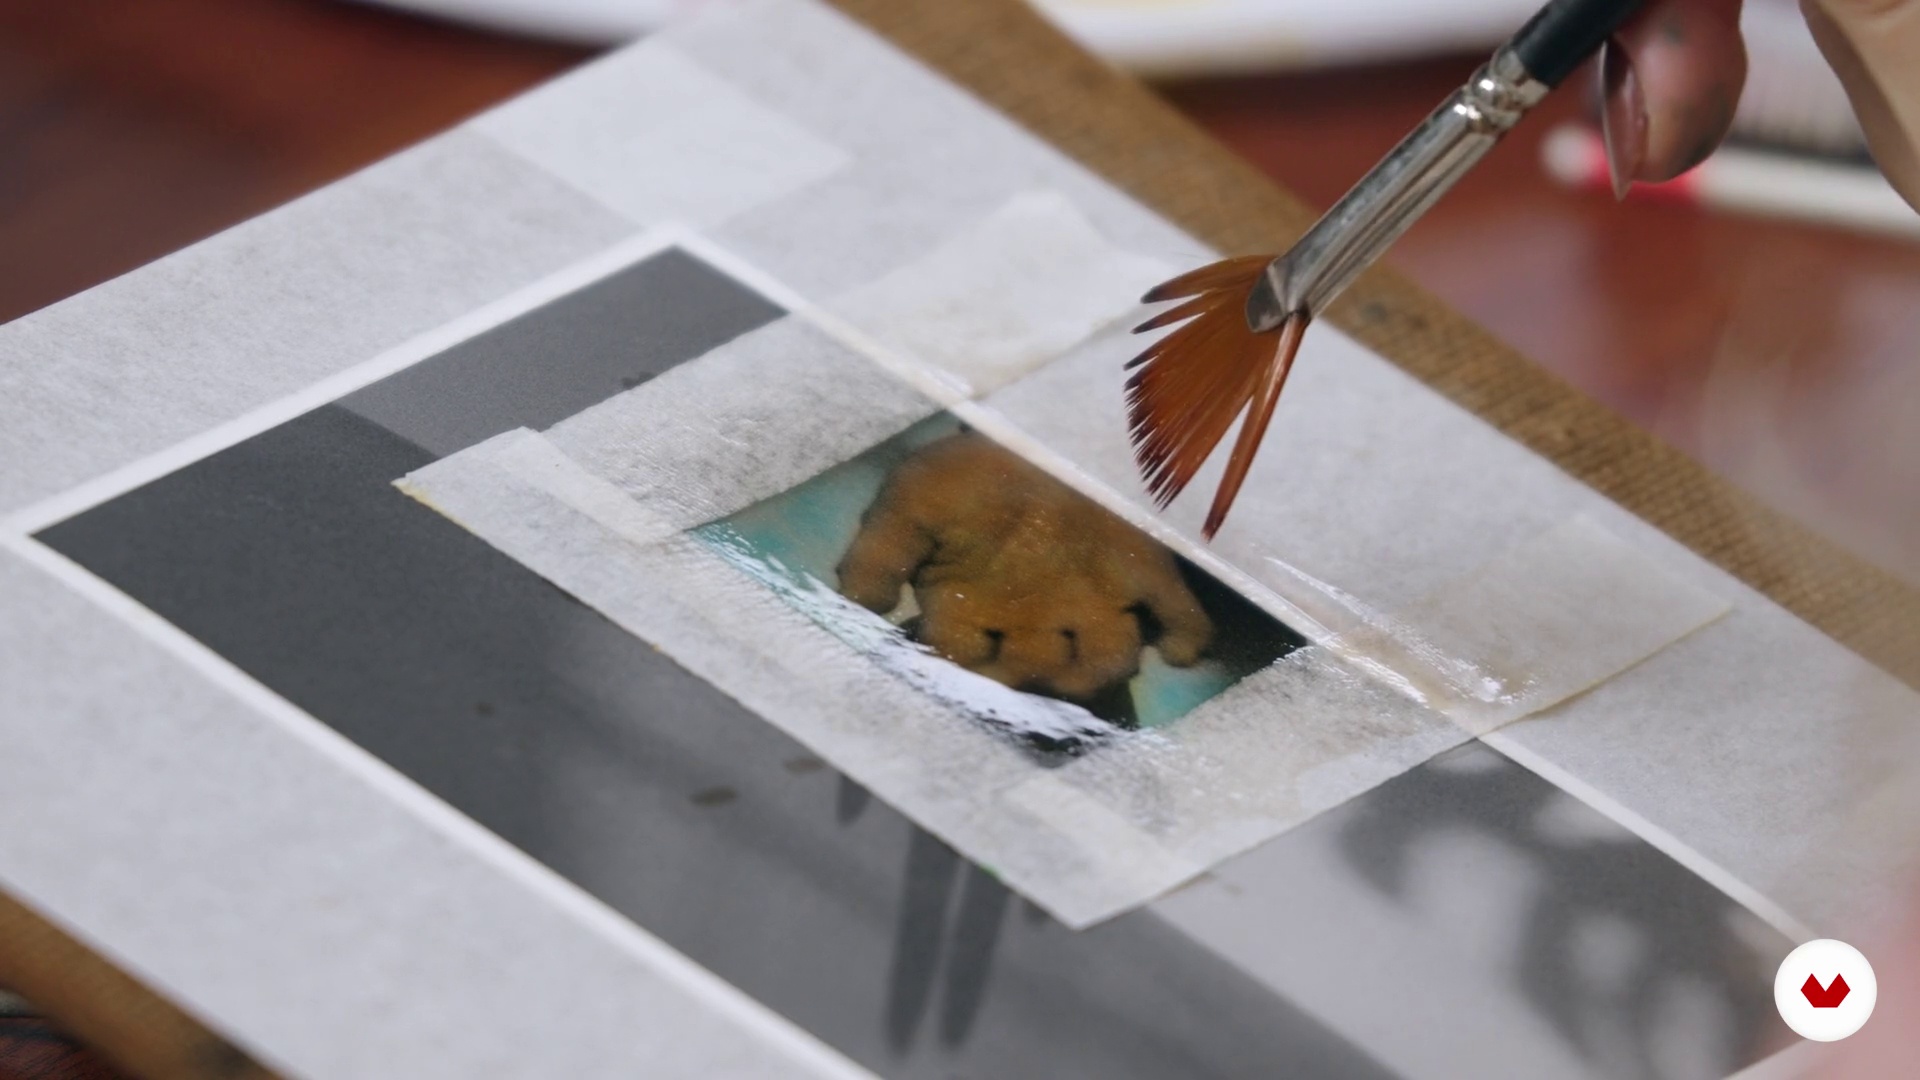
13Experimental
In this class, you will experience it! There is no rule in the creation of this last work in the series. You will be able to mix techniques that we have seen before and experiment with others that I will show you here.
9m
 14
14Digitization and reproducibility
In this class, I’m going to talk about the importance of digitizing your images once they’re ready.
5m
 15
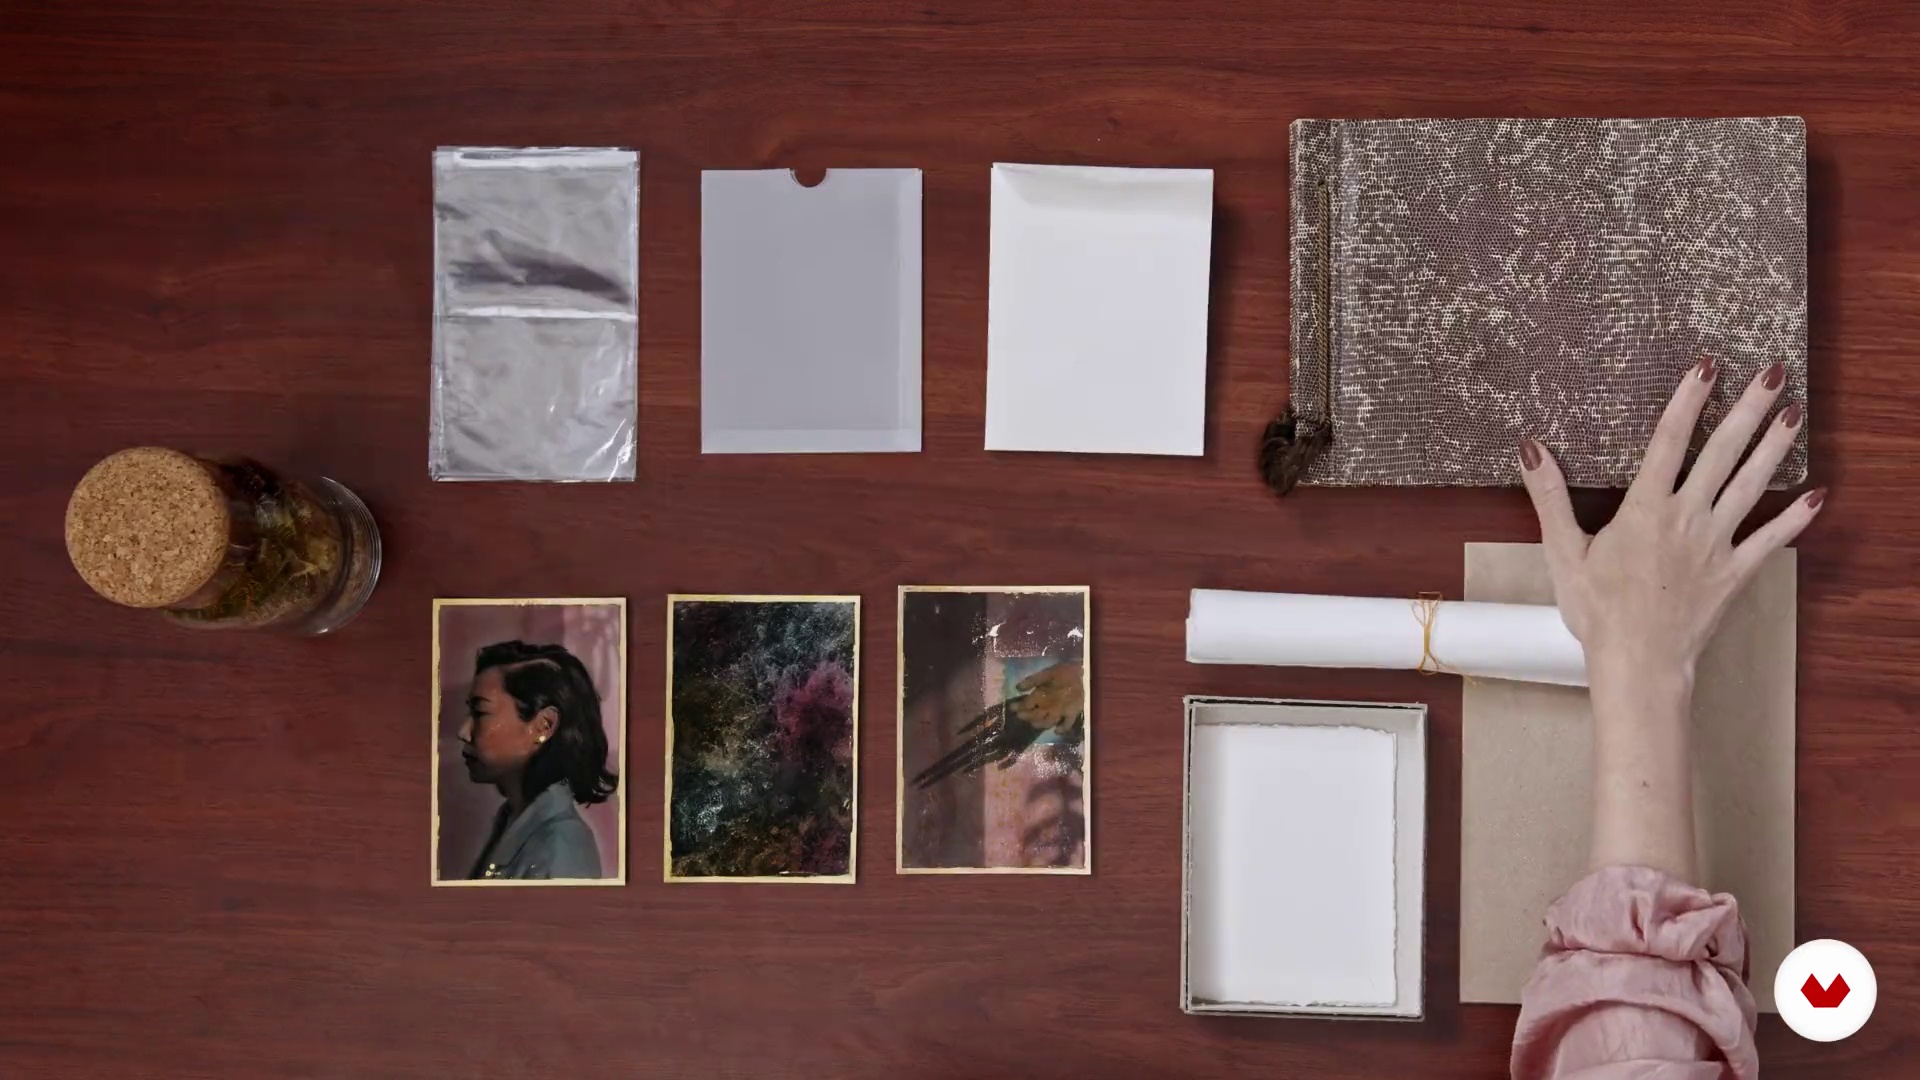
15Physical storage
Now let's see how to properly archive your physical images to protect from accidents that damage your surface and ensure long-term color quality.
2m
 16
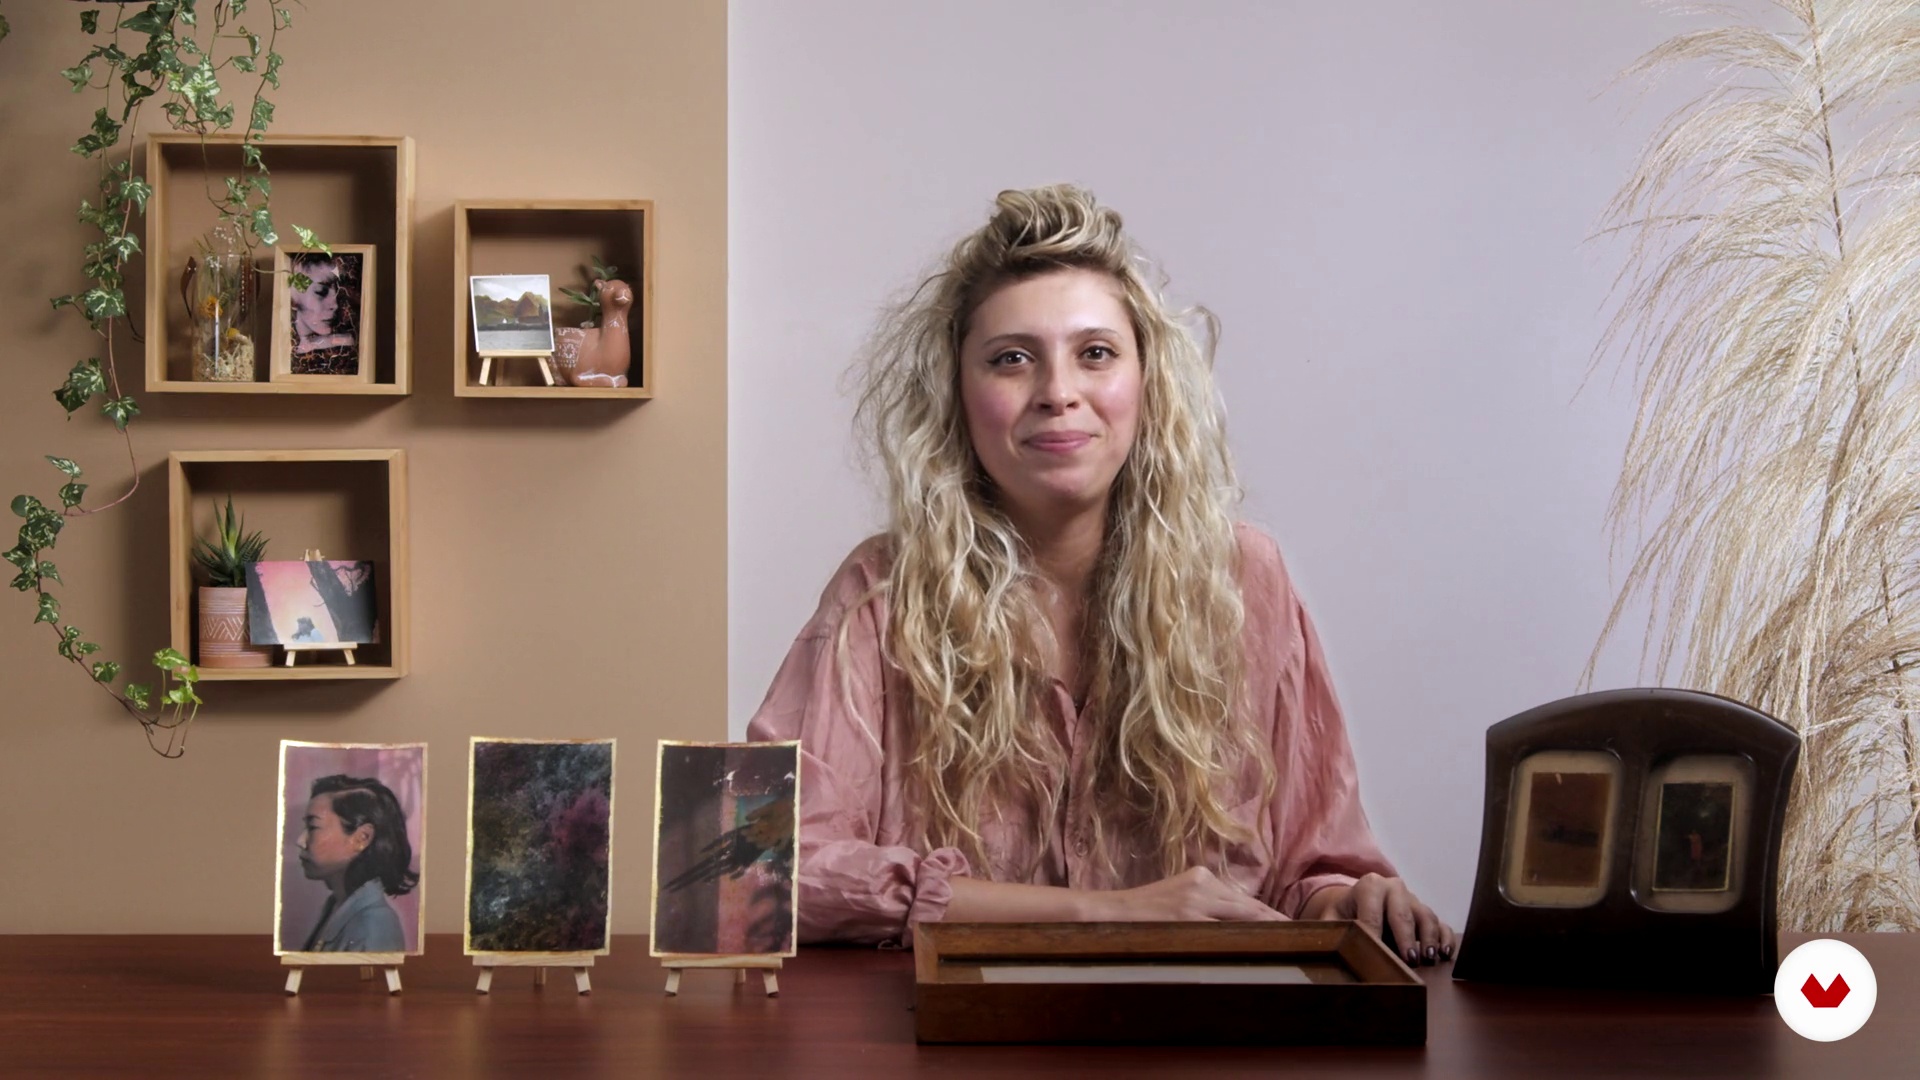
16Promoting your art
The time has come to publicize your art! I will explain how you can reproduce your creations physically and also on social networks.
1m
 4
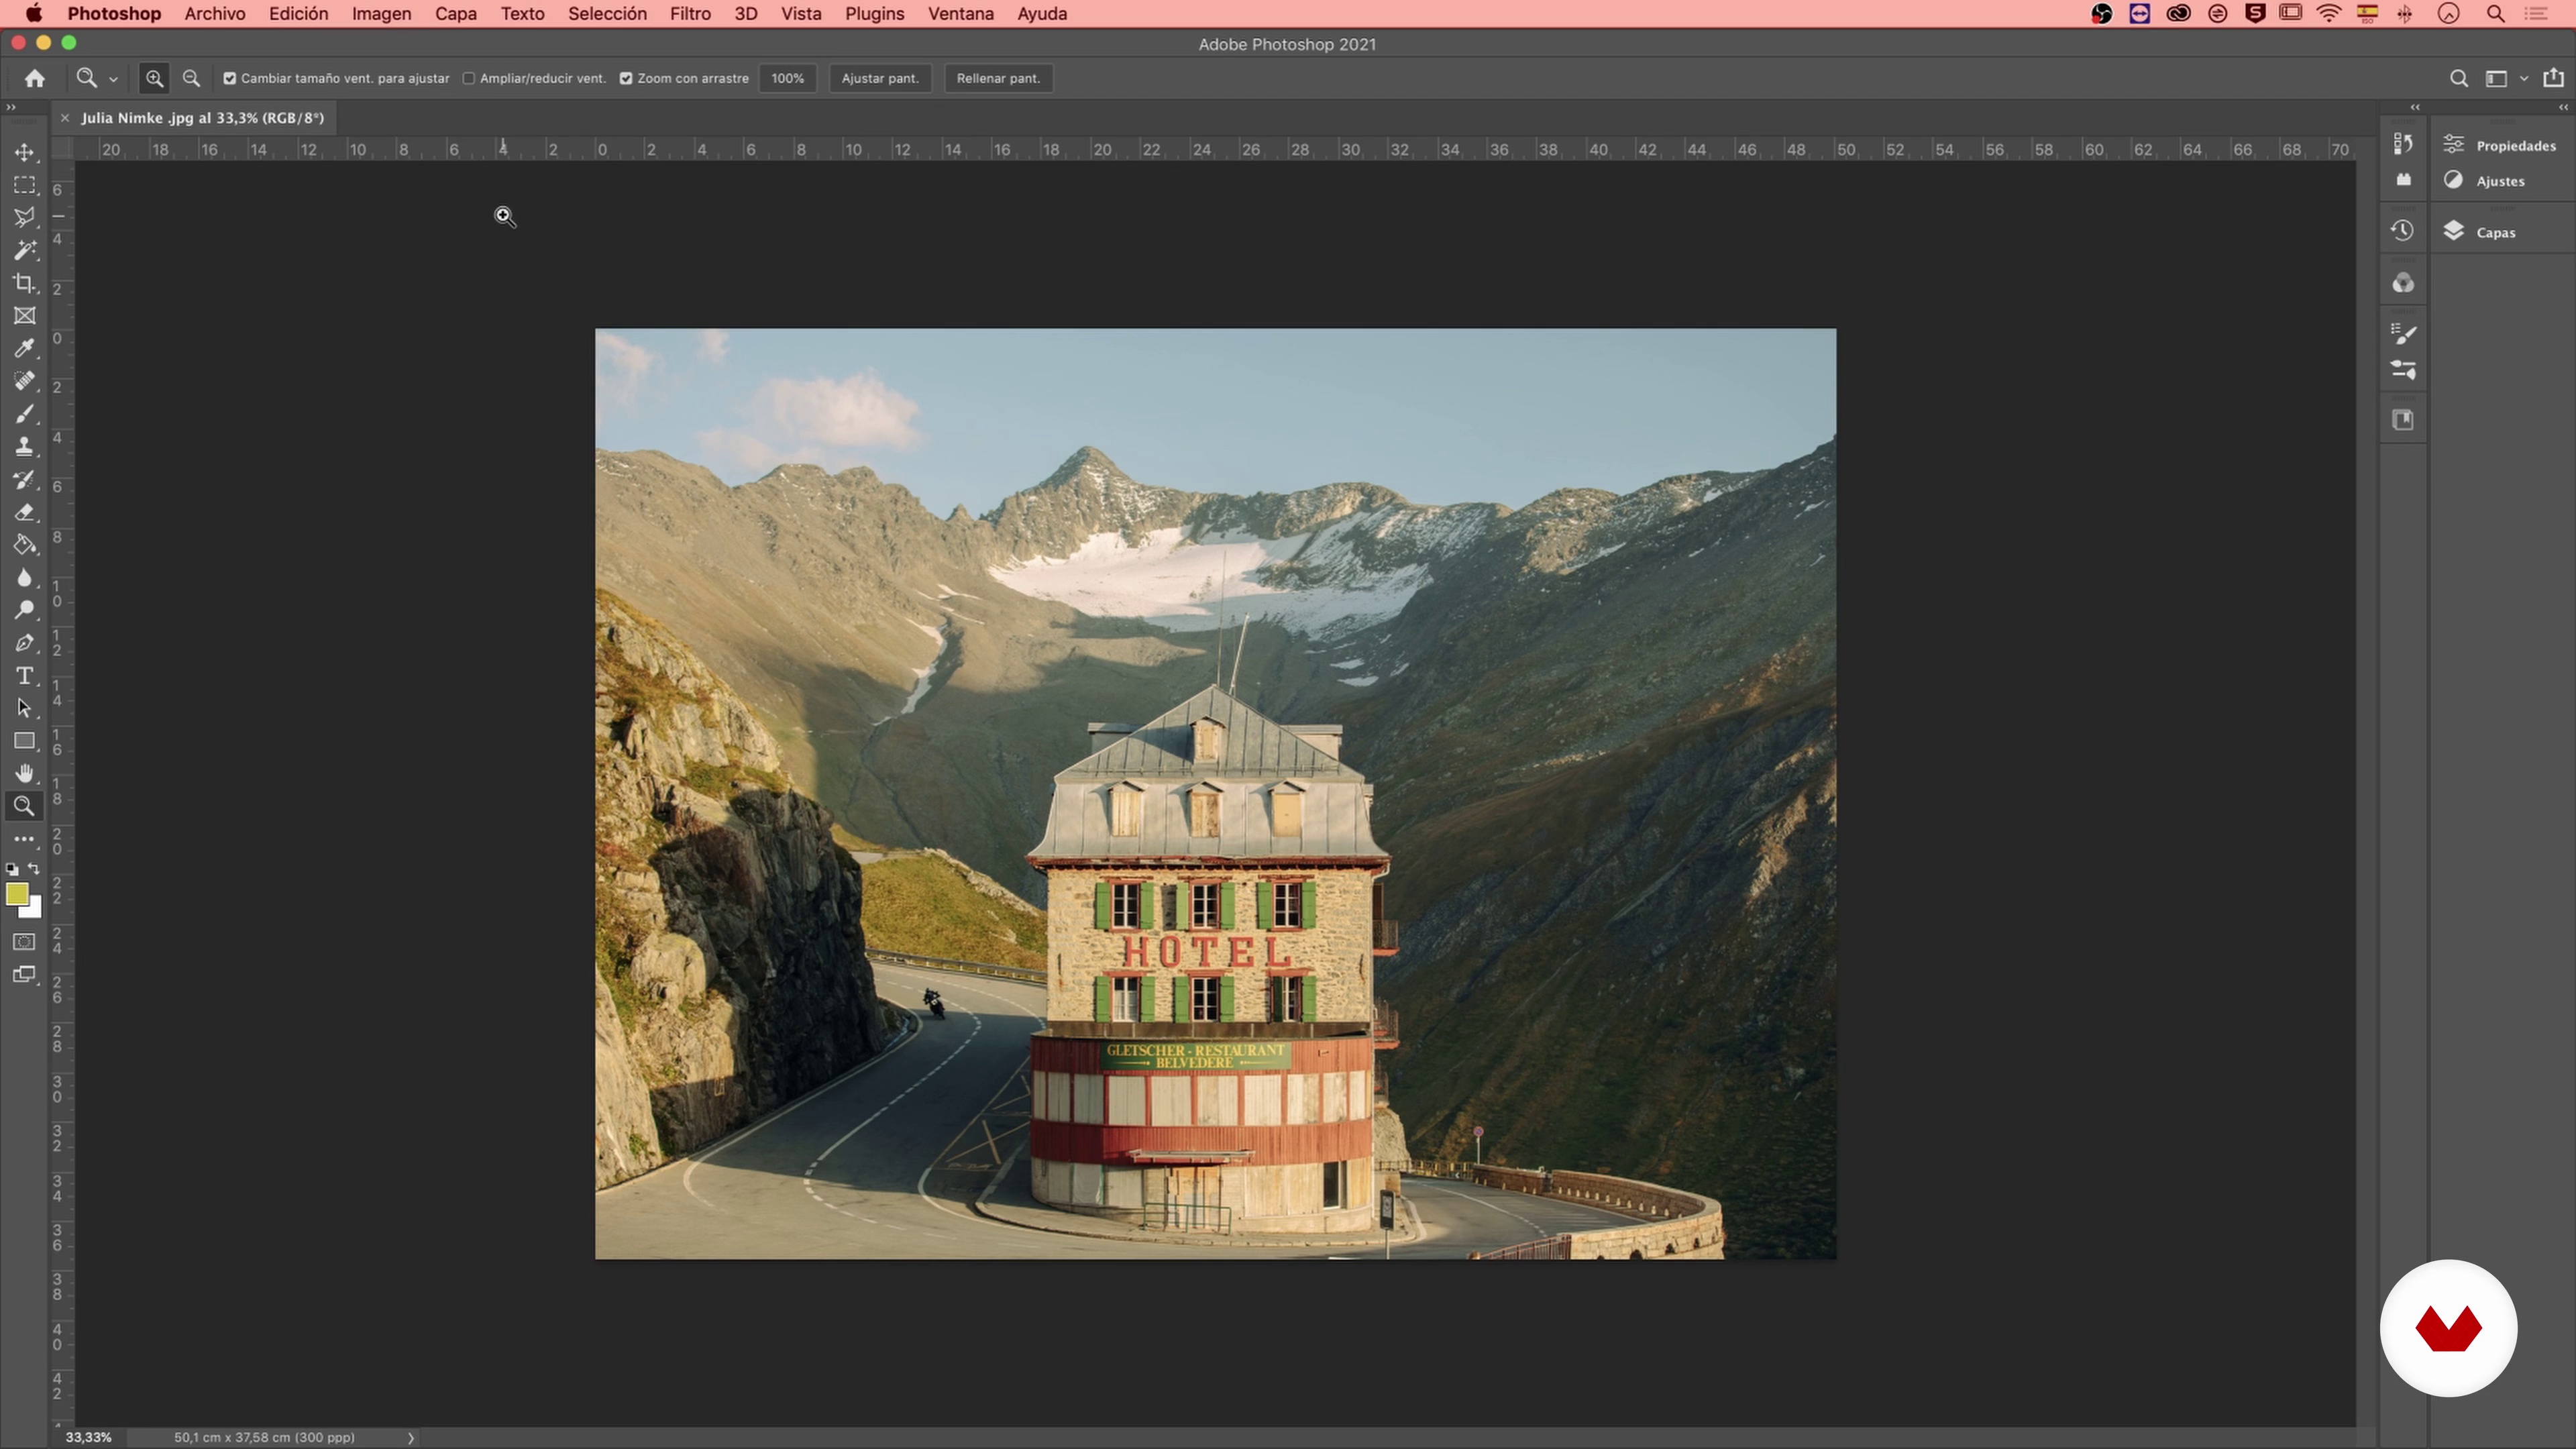
4The Photograph
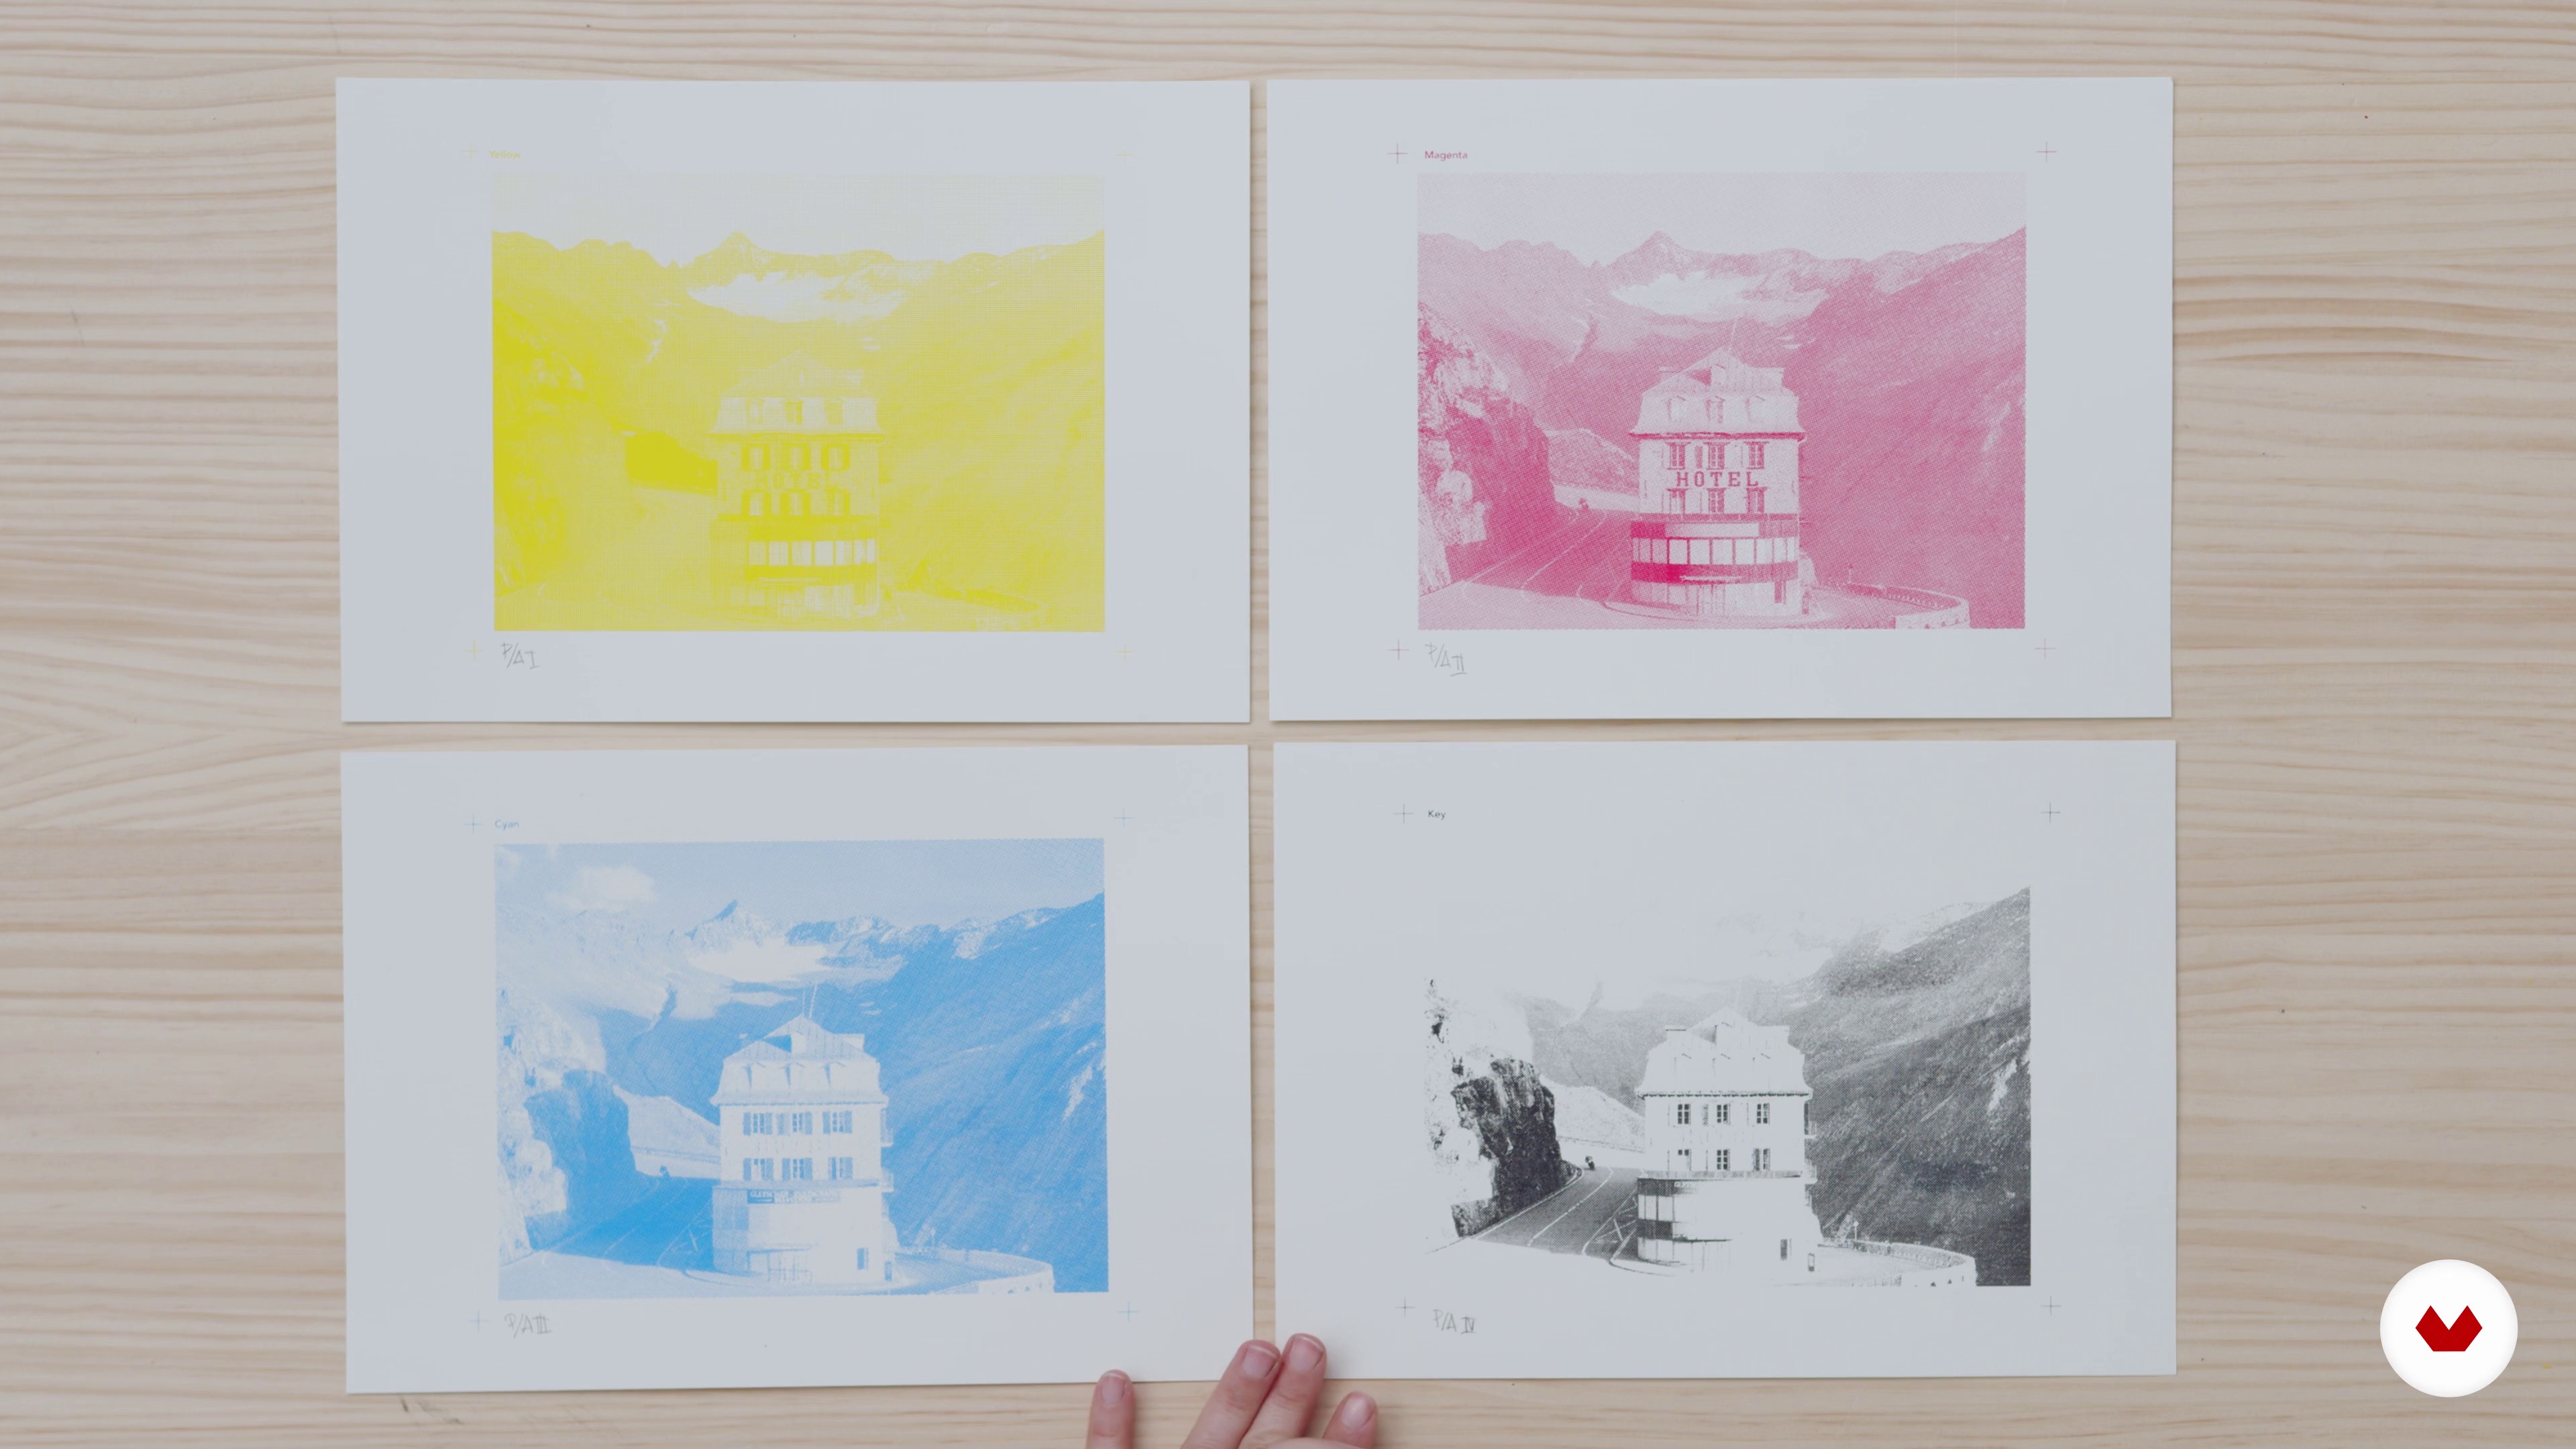
We will start by selecting the most suitable photograph to work in screen printing. To reproduce a full color photograph in silkscreen we have to take certain important things into account, in this lesson I will talk about them.
14m
 5
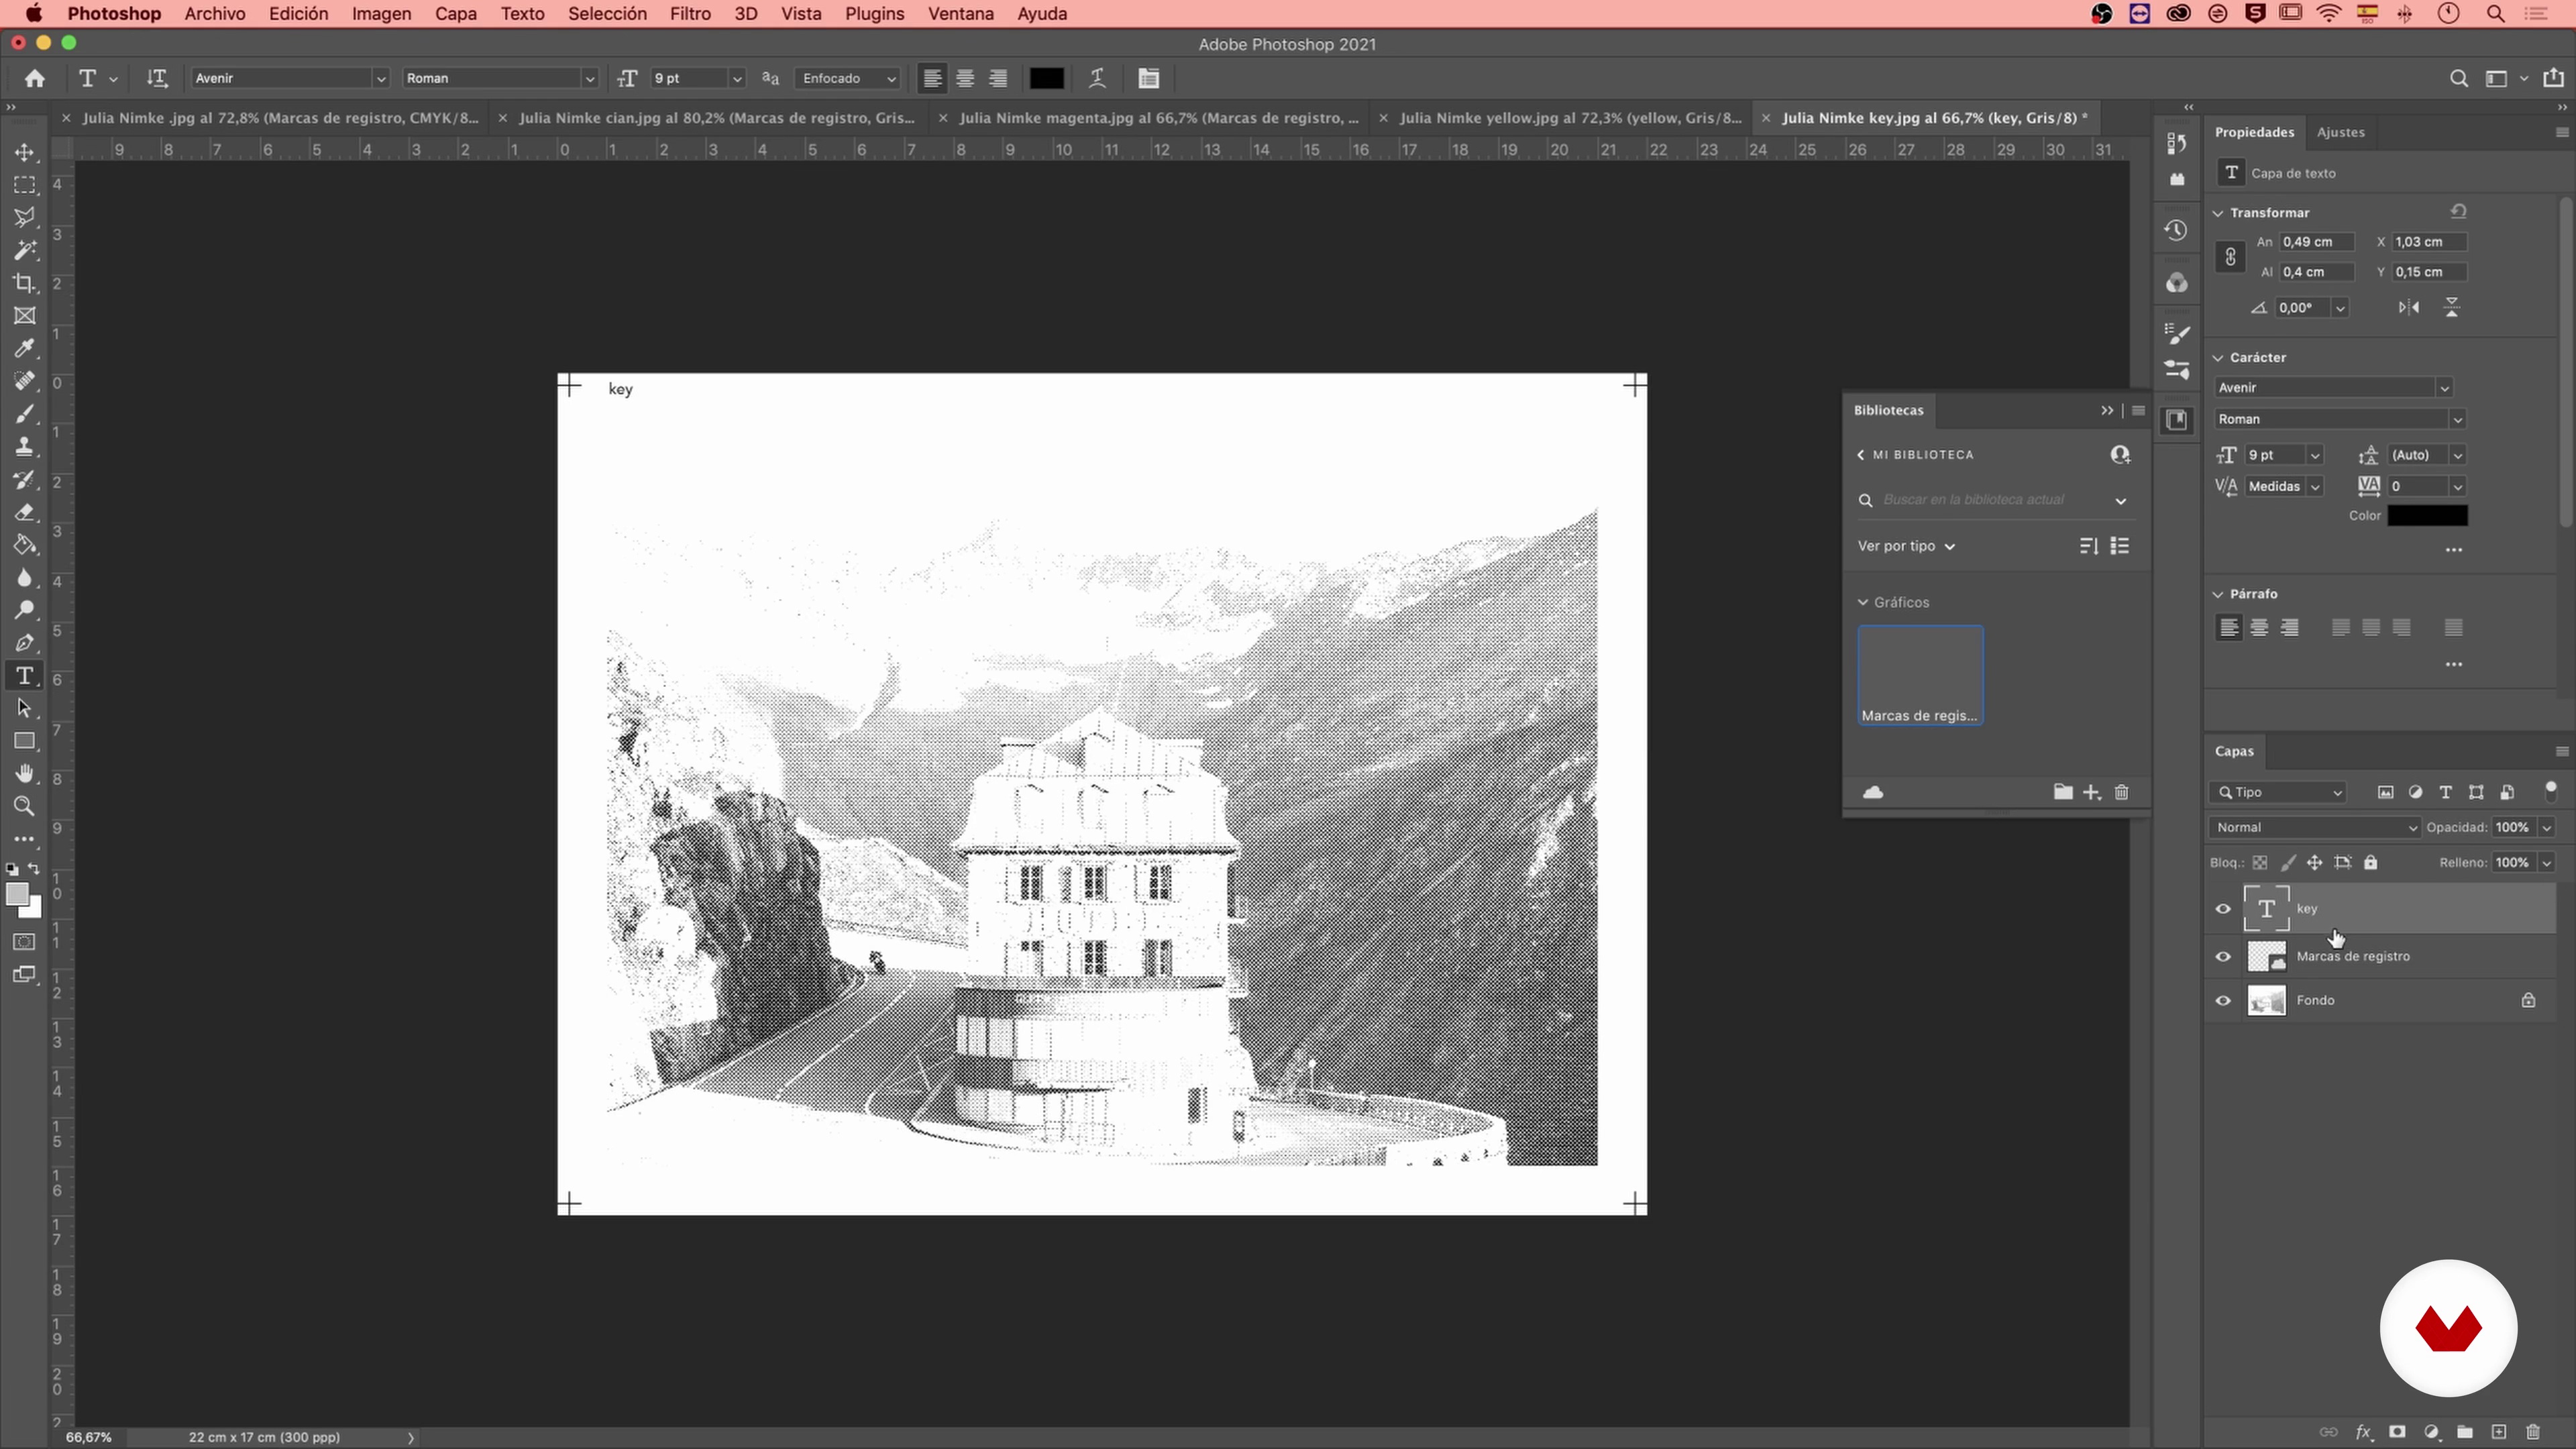
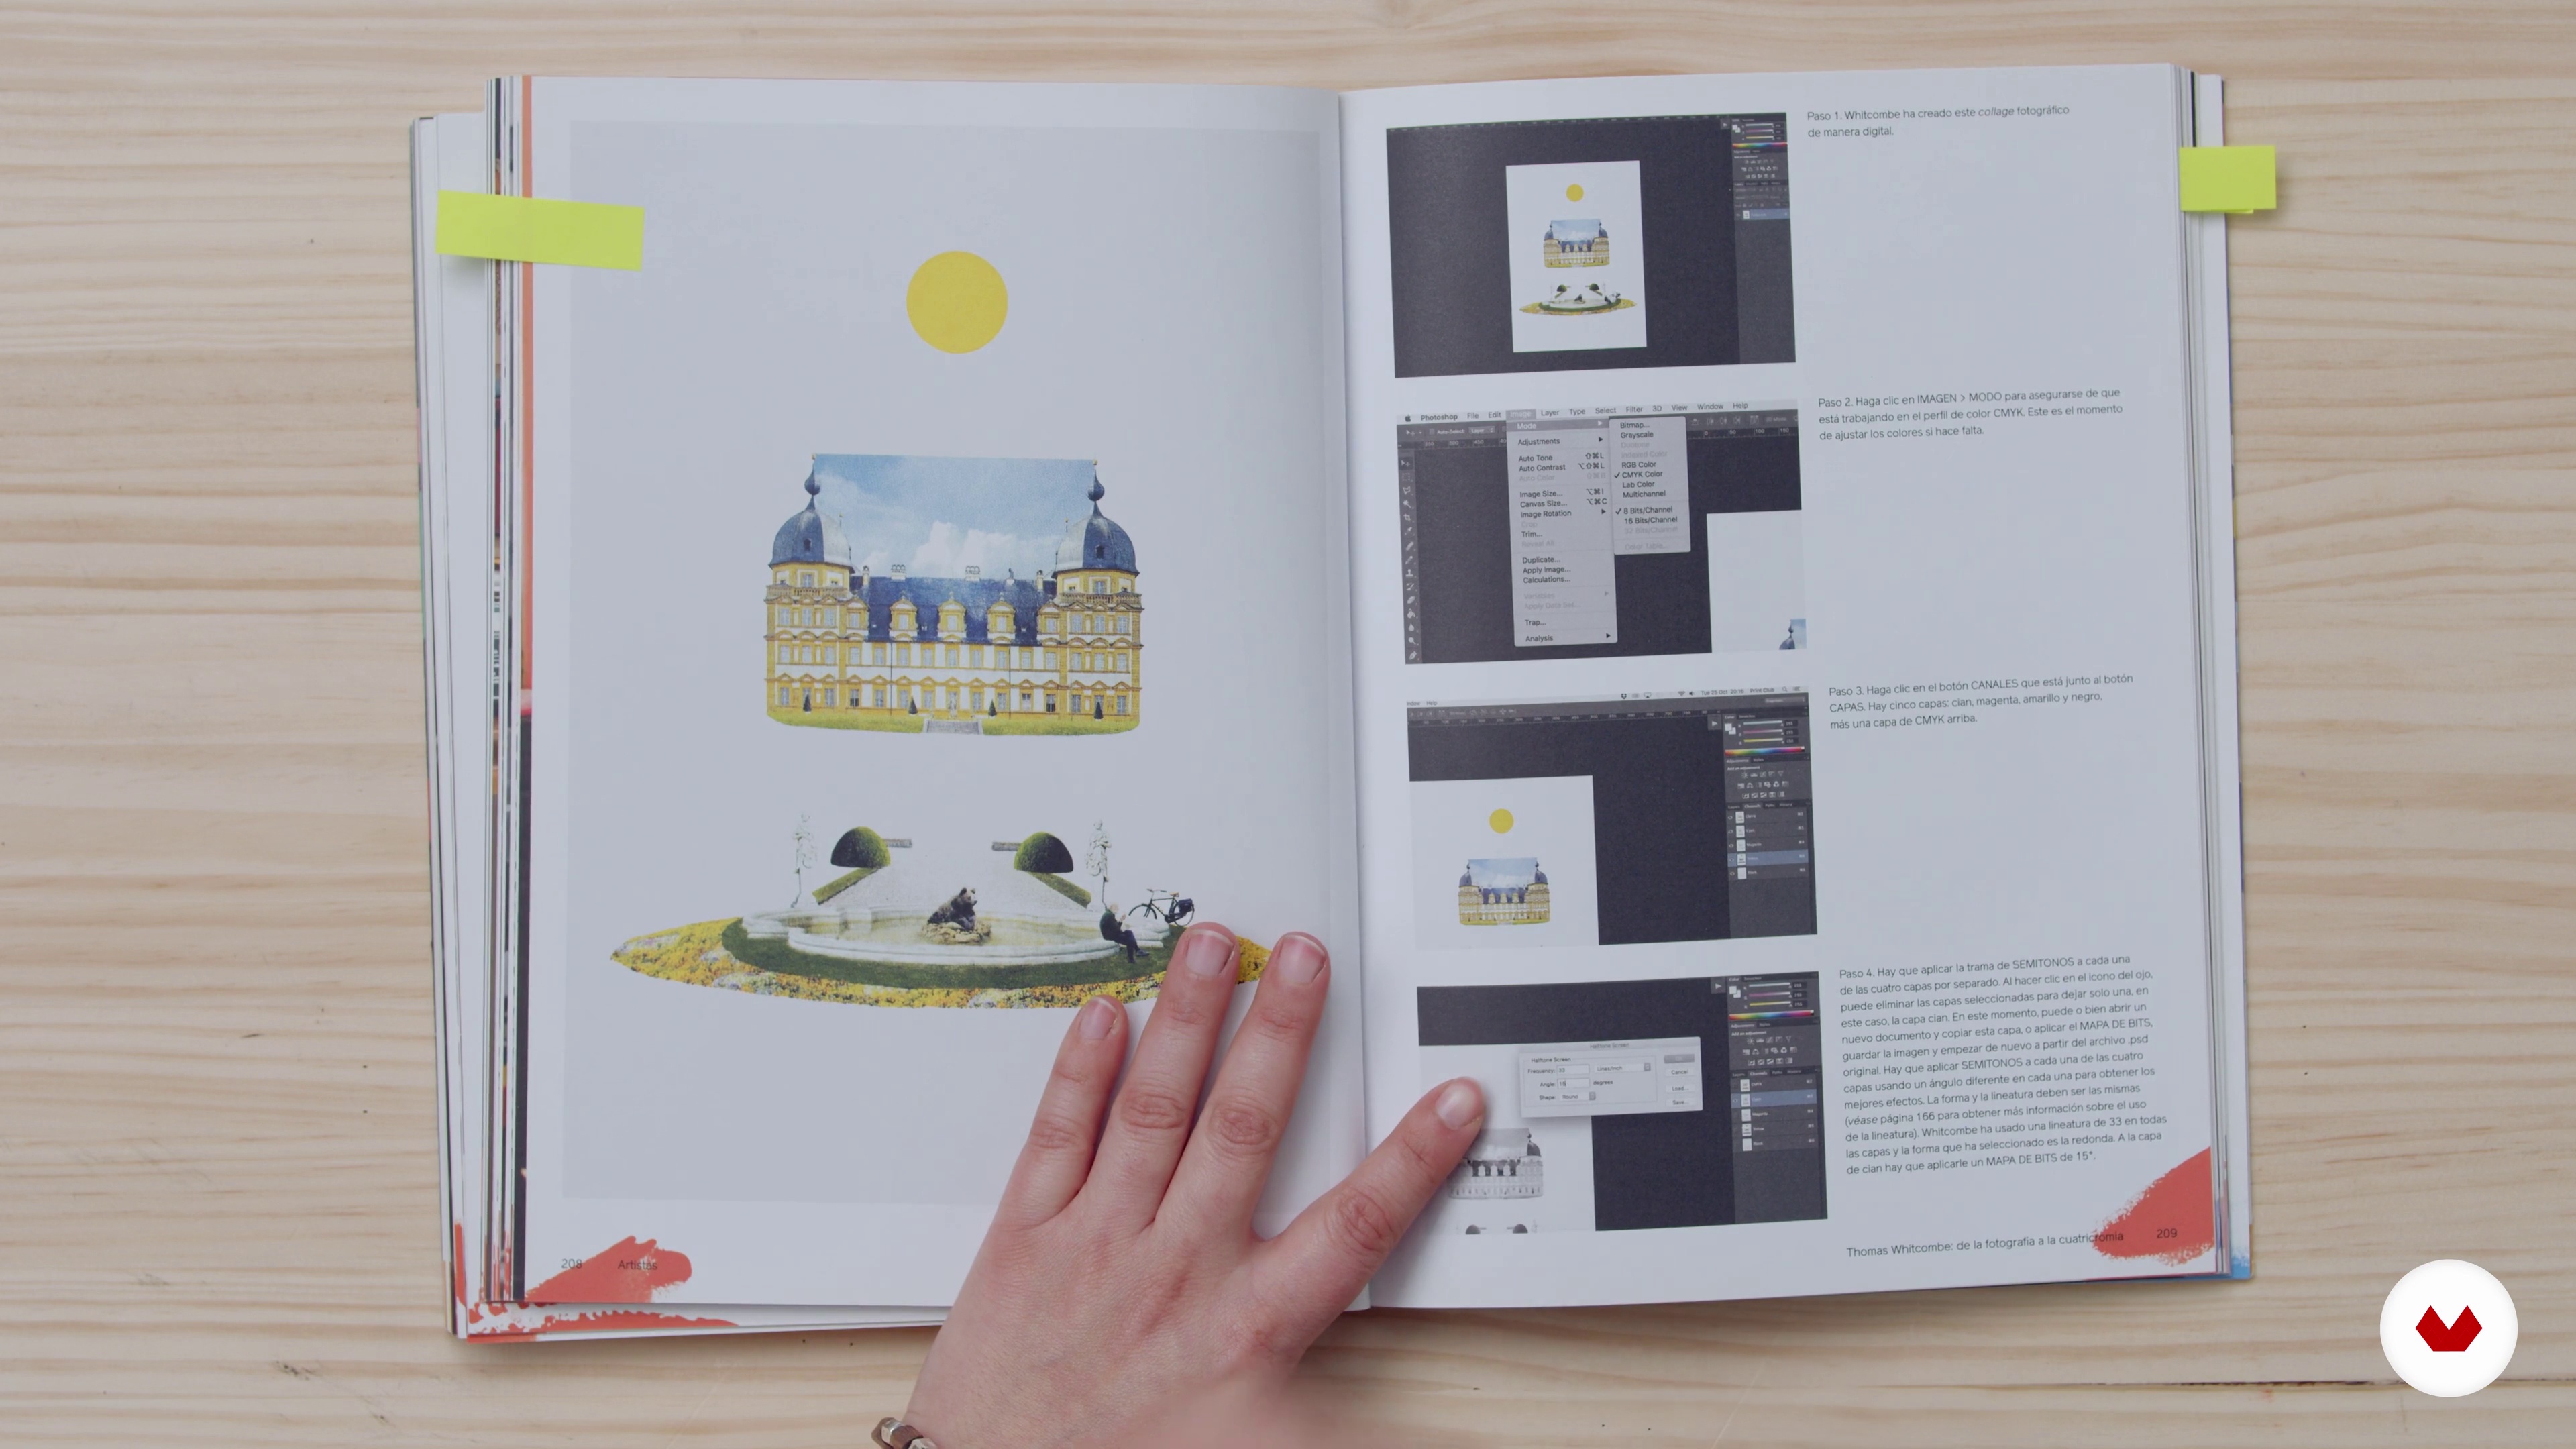
5Color Separation
Next, I will show you how to create CMYK photoliths and registration marks on each of them to achieve a more accurate registration.
12m
 6
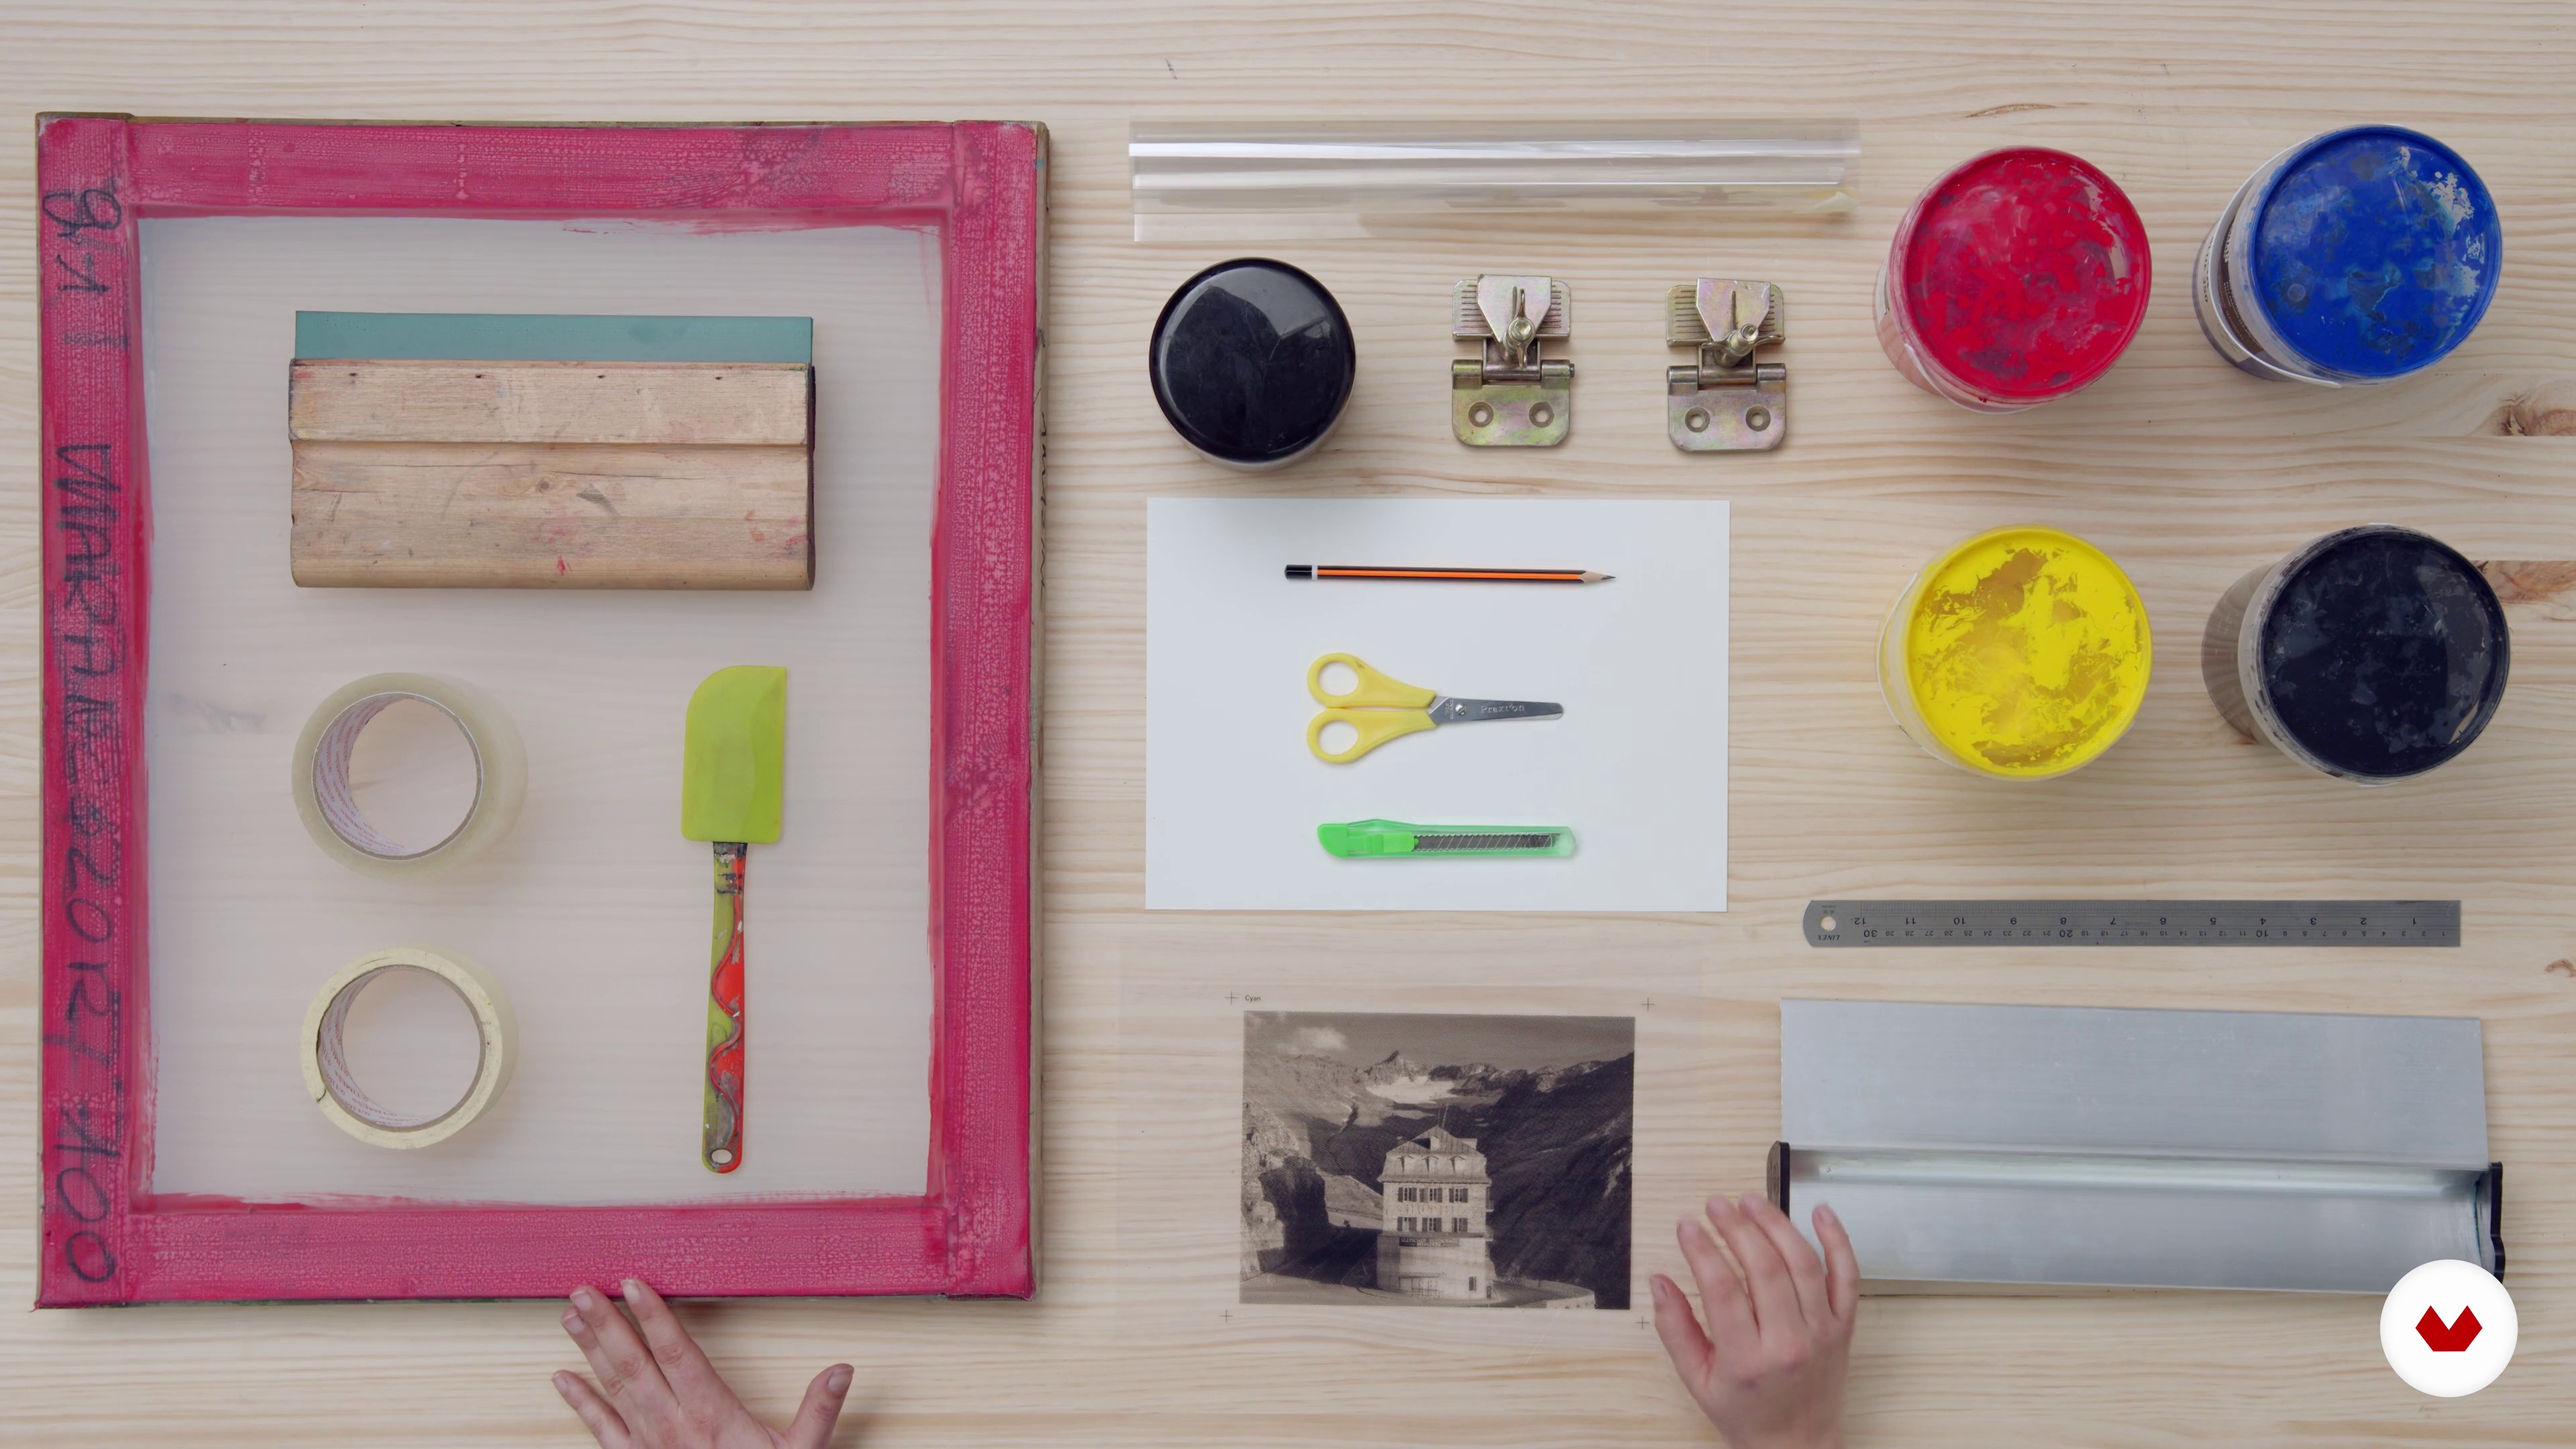
6Materials
In this lesson I will explain the materials needed to perform screen printing and what you will need in your workspace.
3m
 7
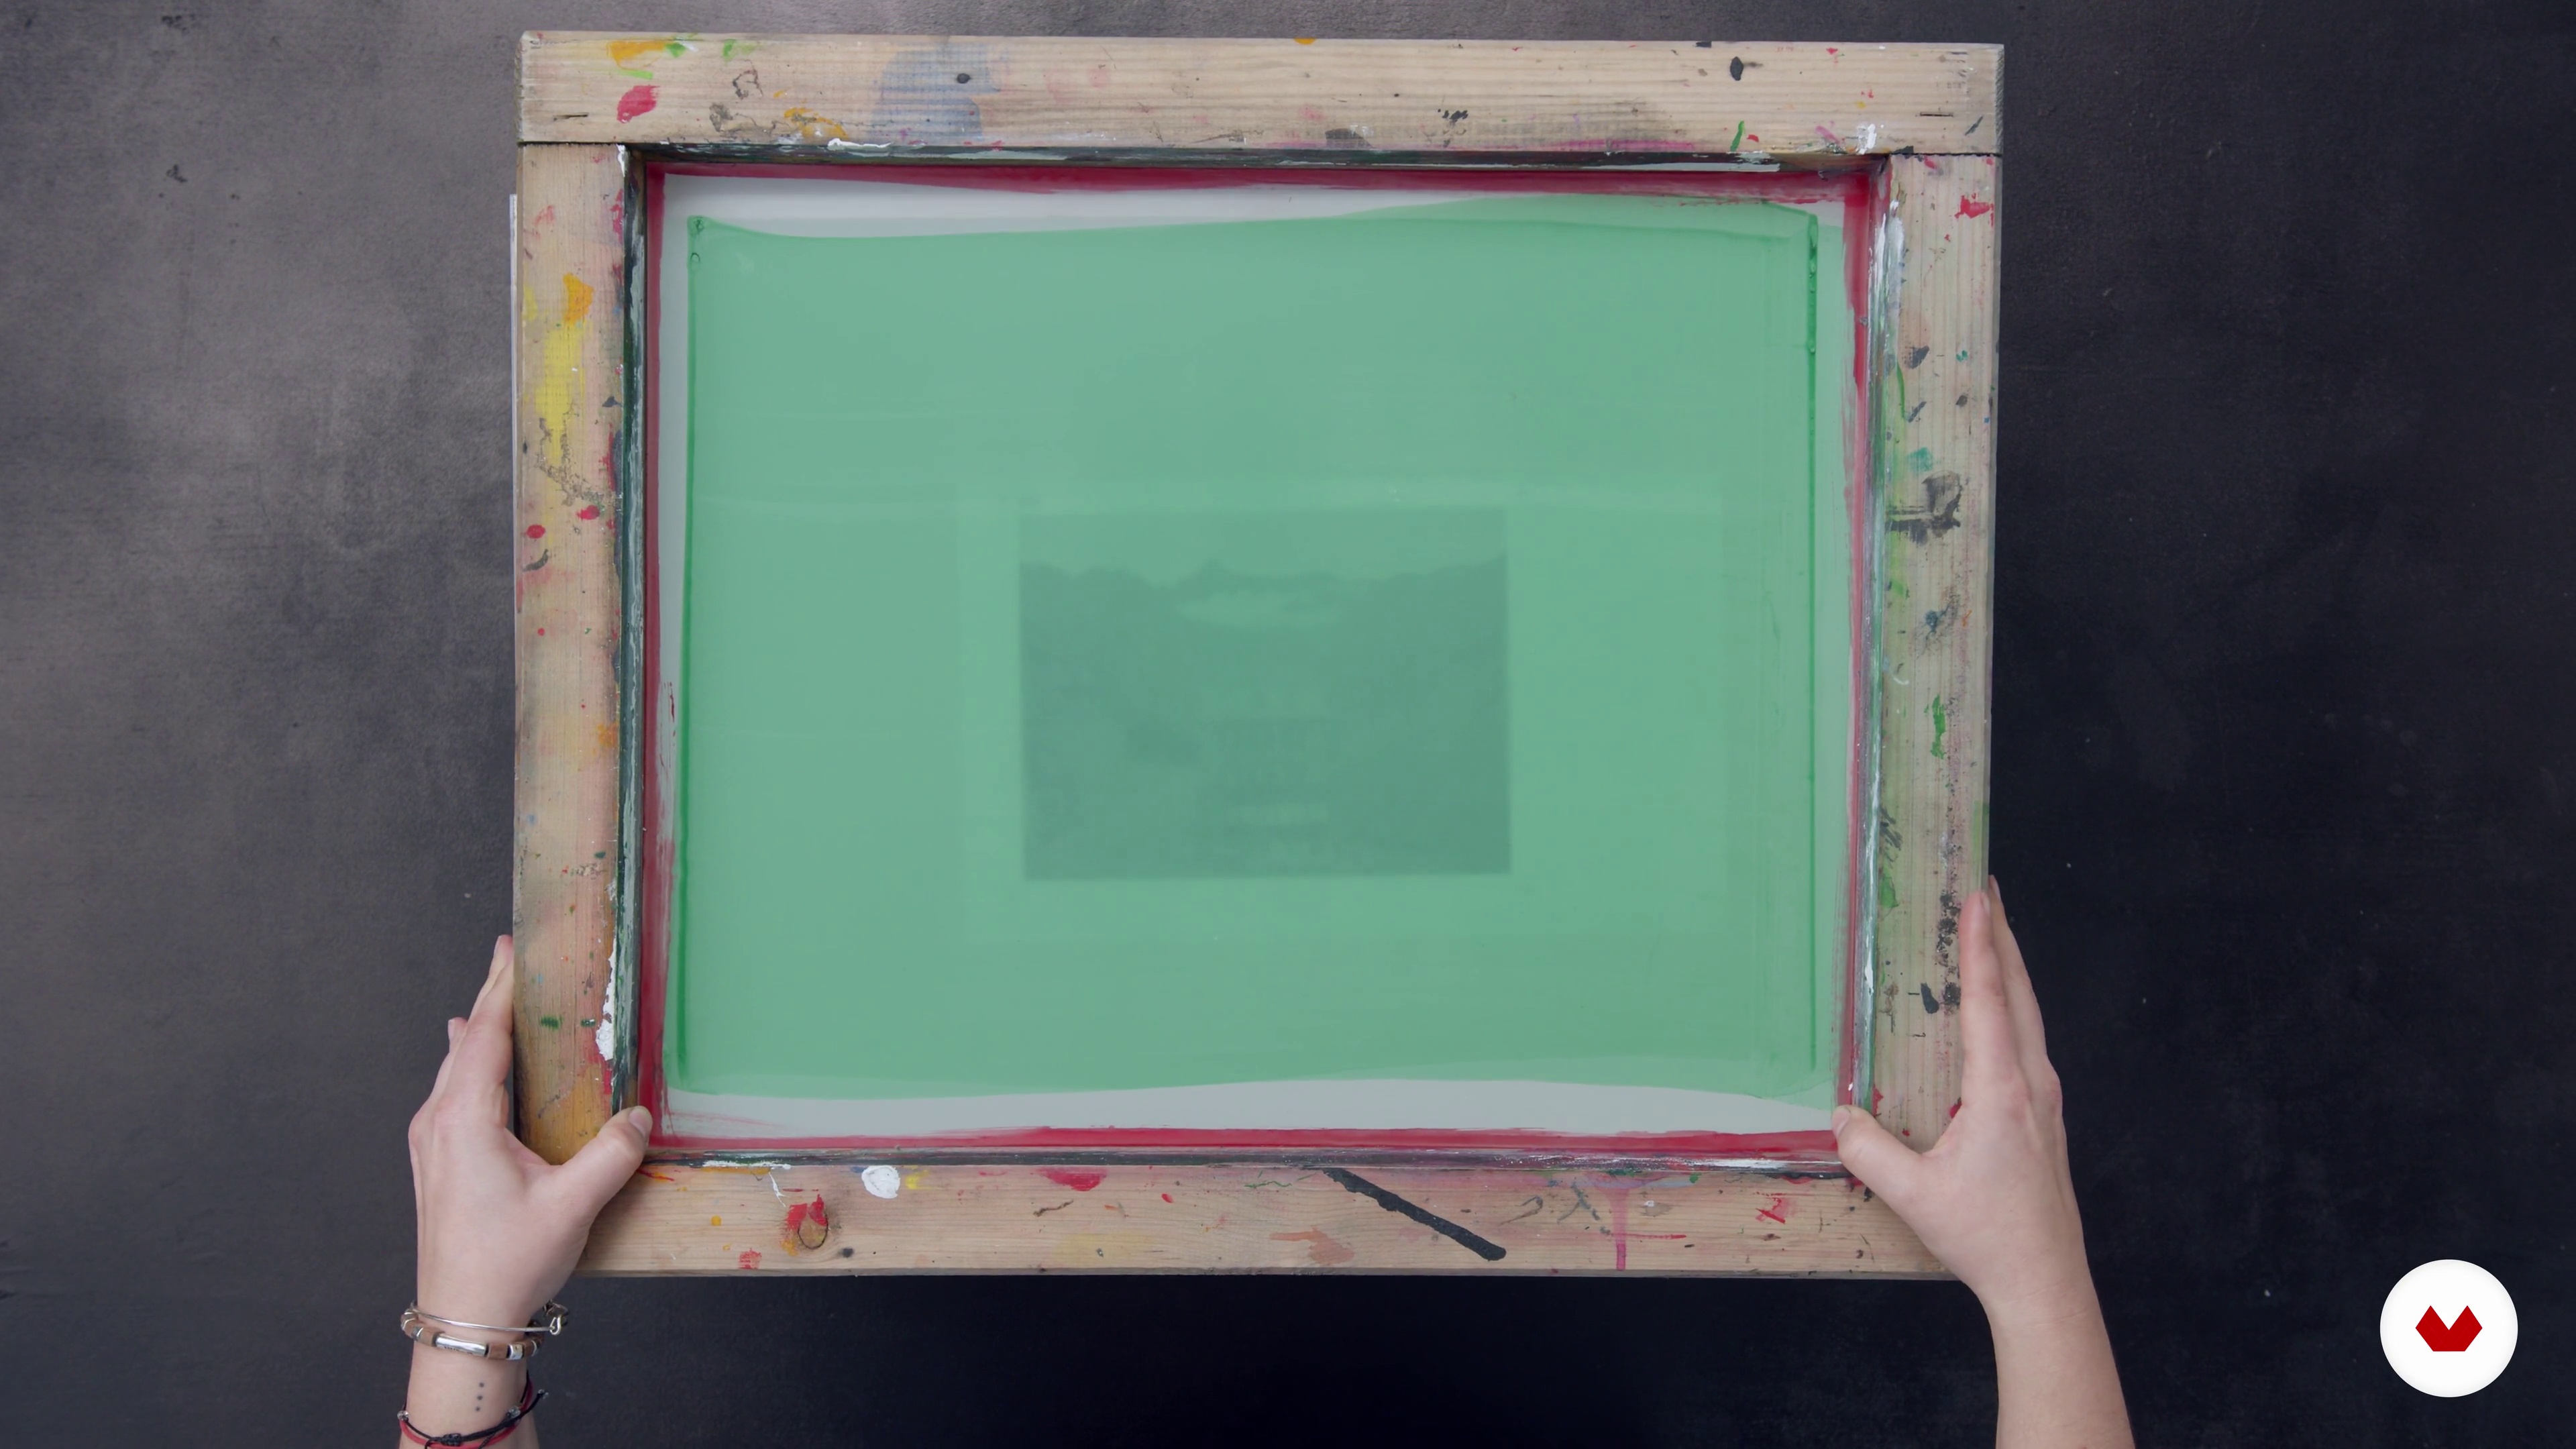
7Screen Preparation
In this lesson I will teach you to prepare the screen optimally and I will explain some tricks to get better results.
11m
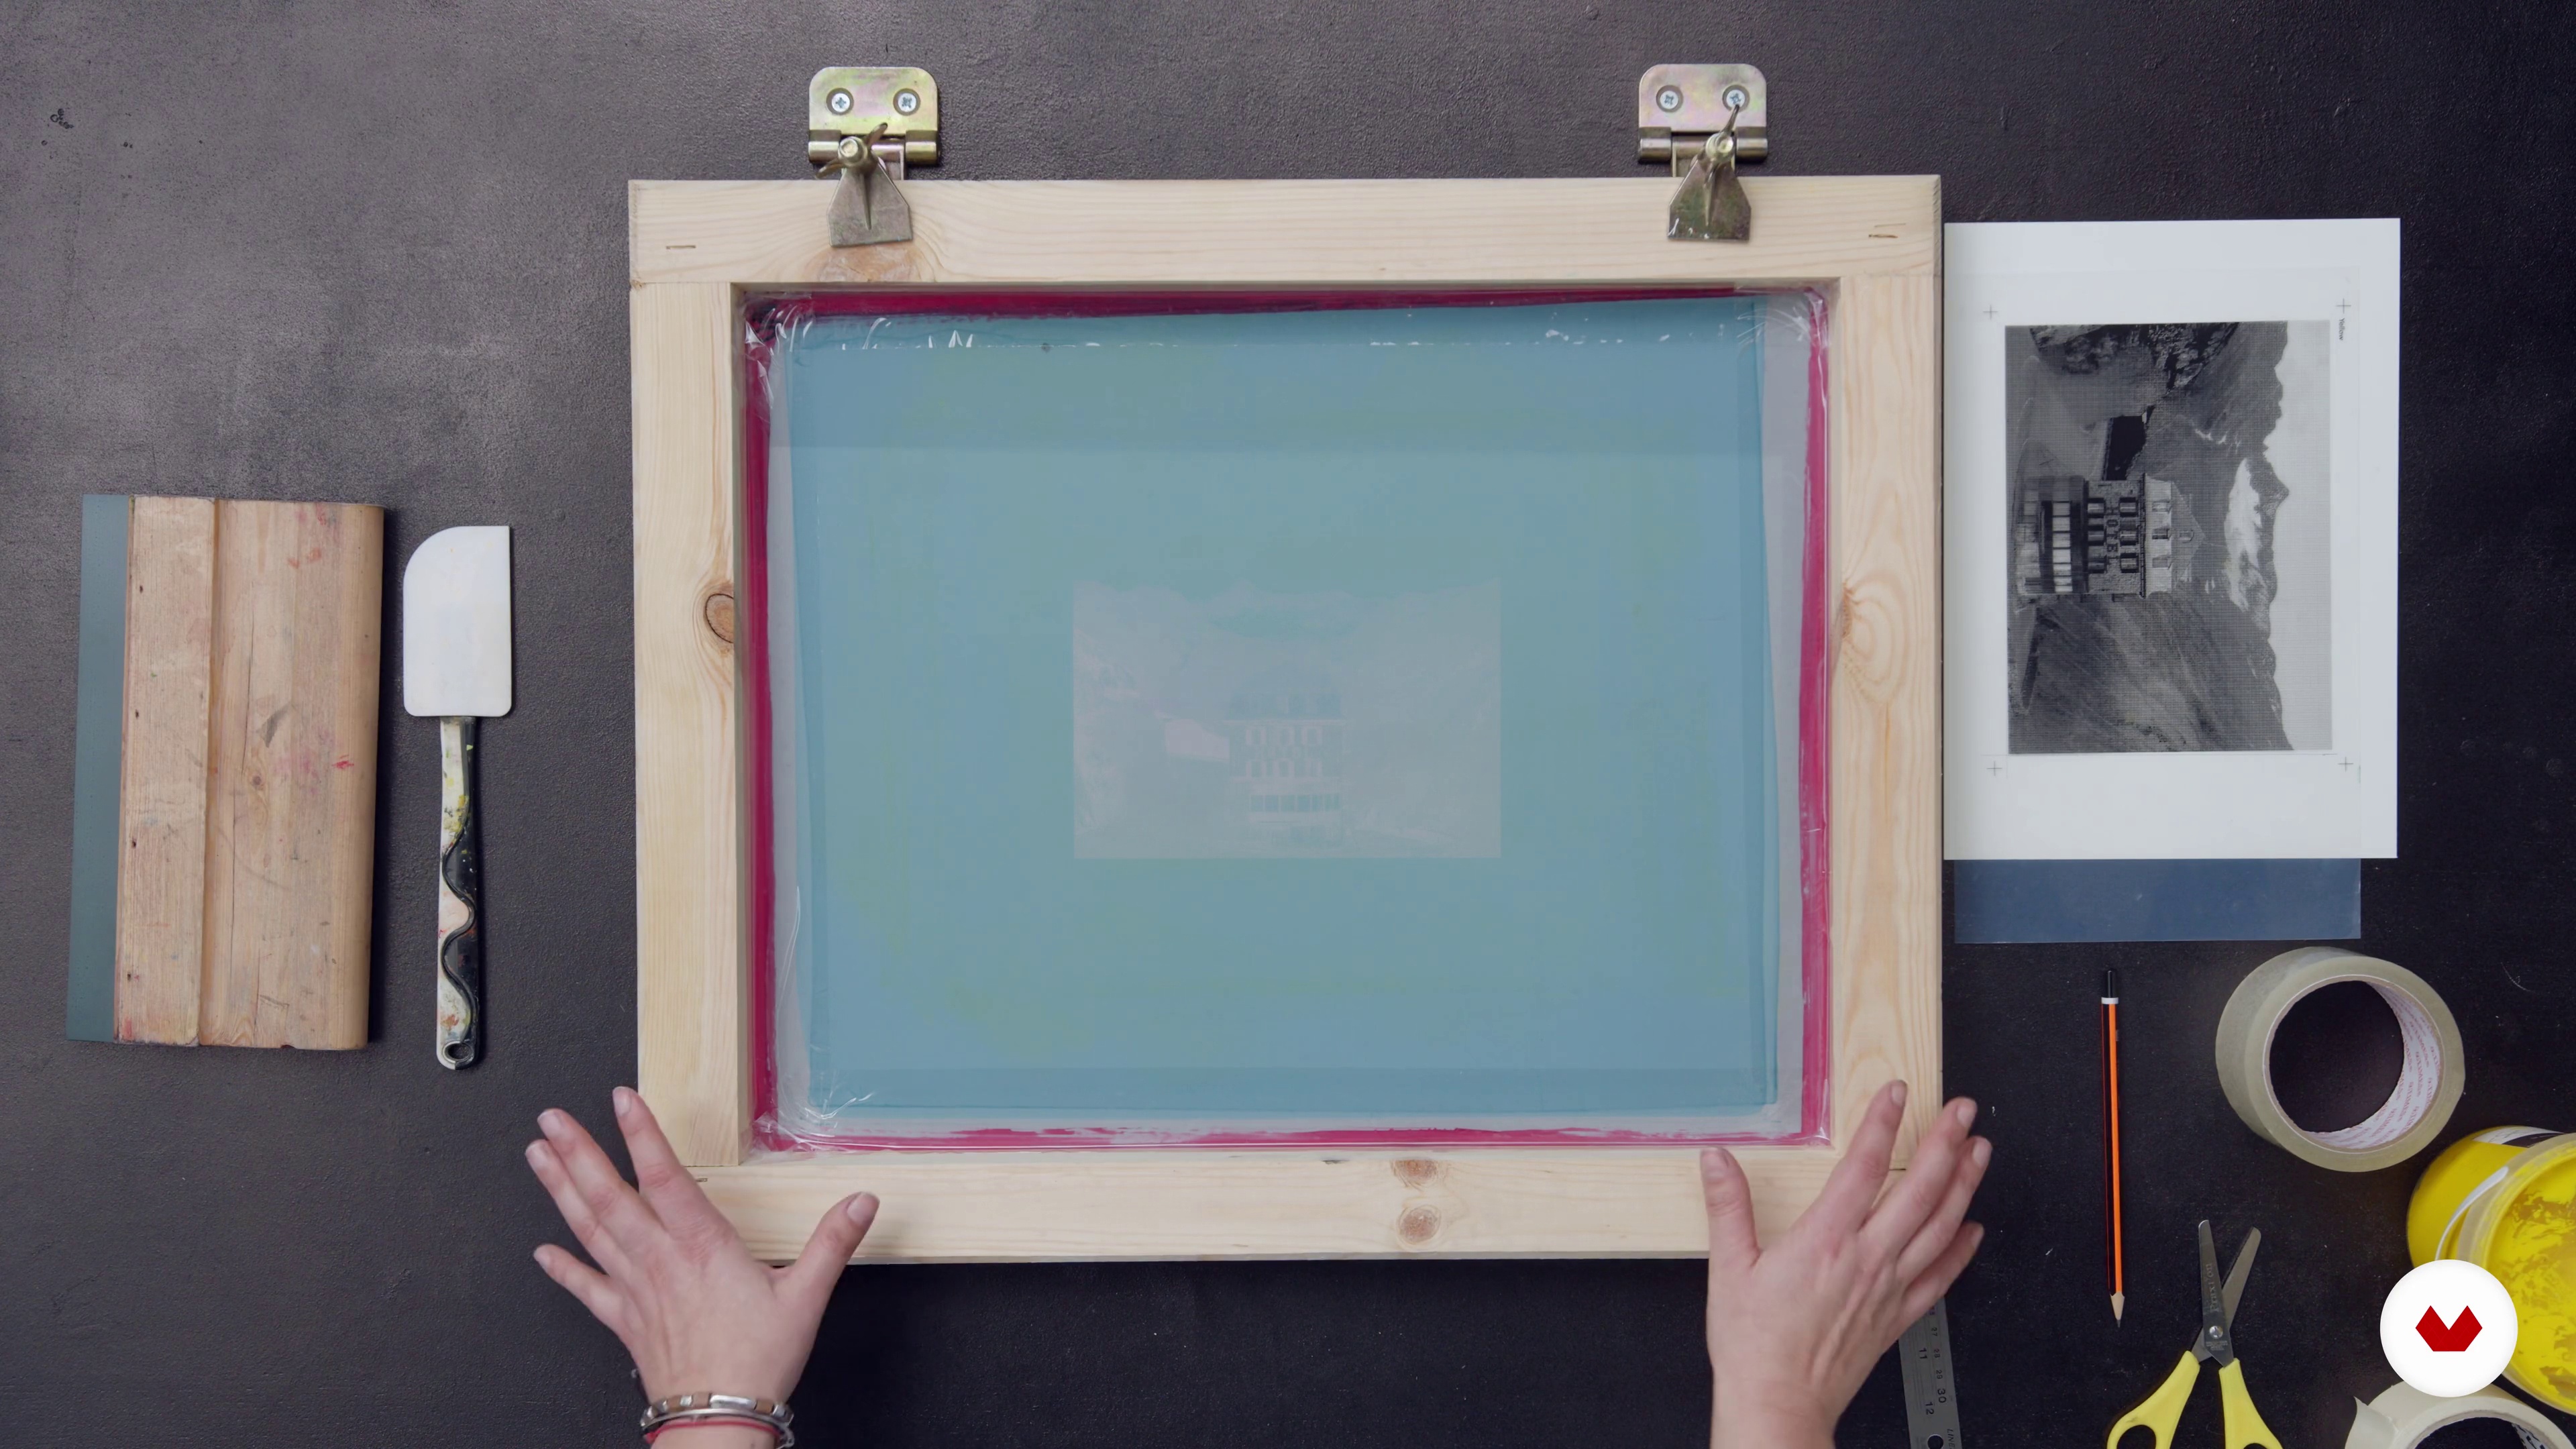 8
8Work Space
Next, we will prepare our workspace with all the necessary materials to obtain a clean and precise production.
5m
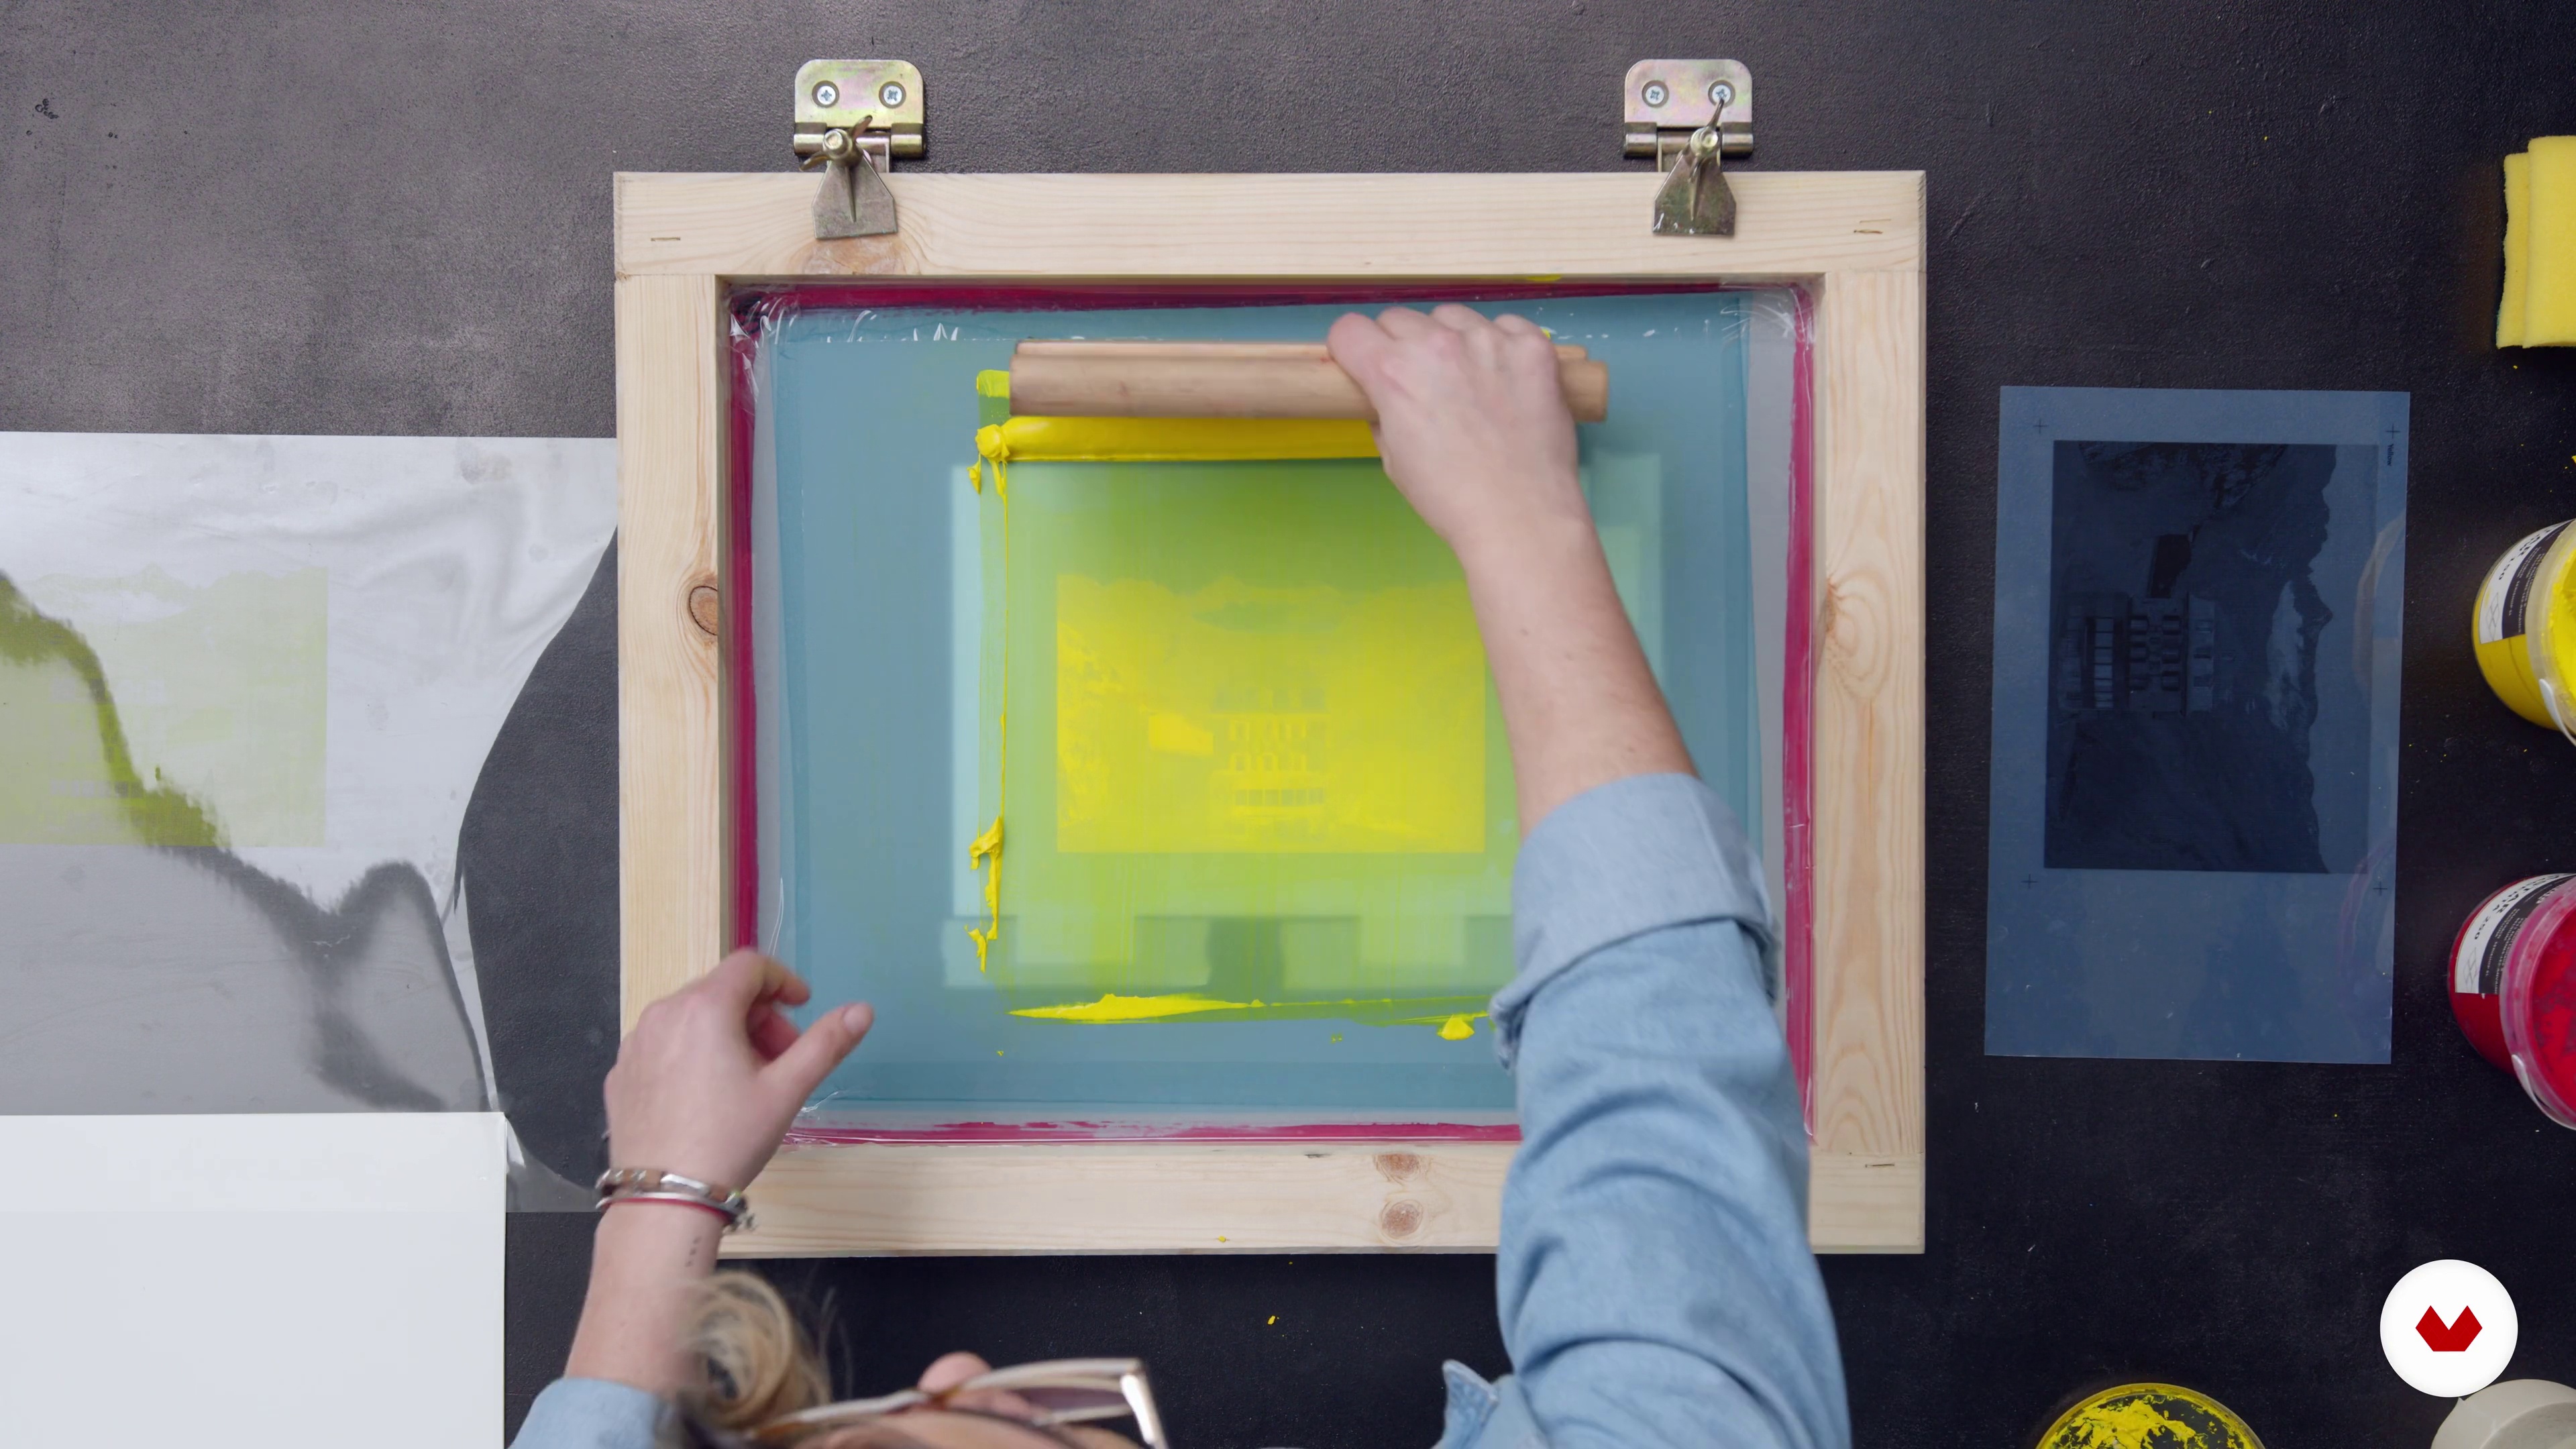 9
9Stamping Process 1
Now we stamp the four colors of the process with their respective registers.
10m
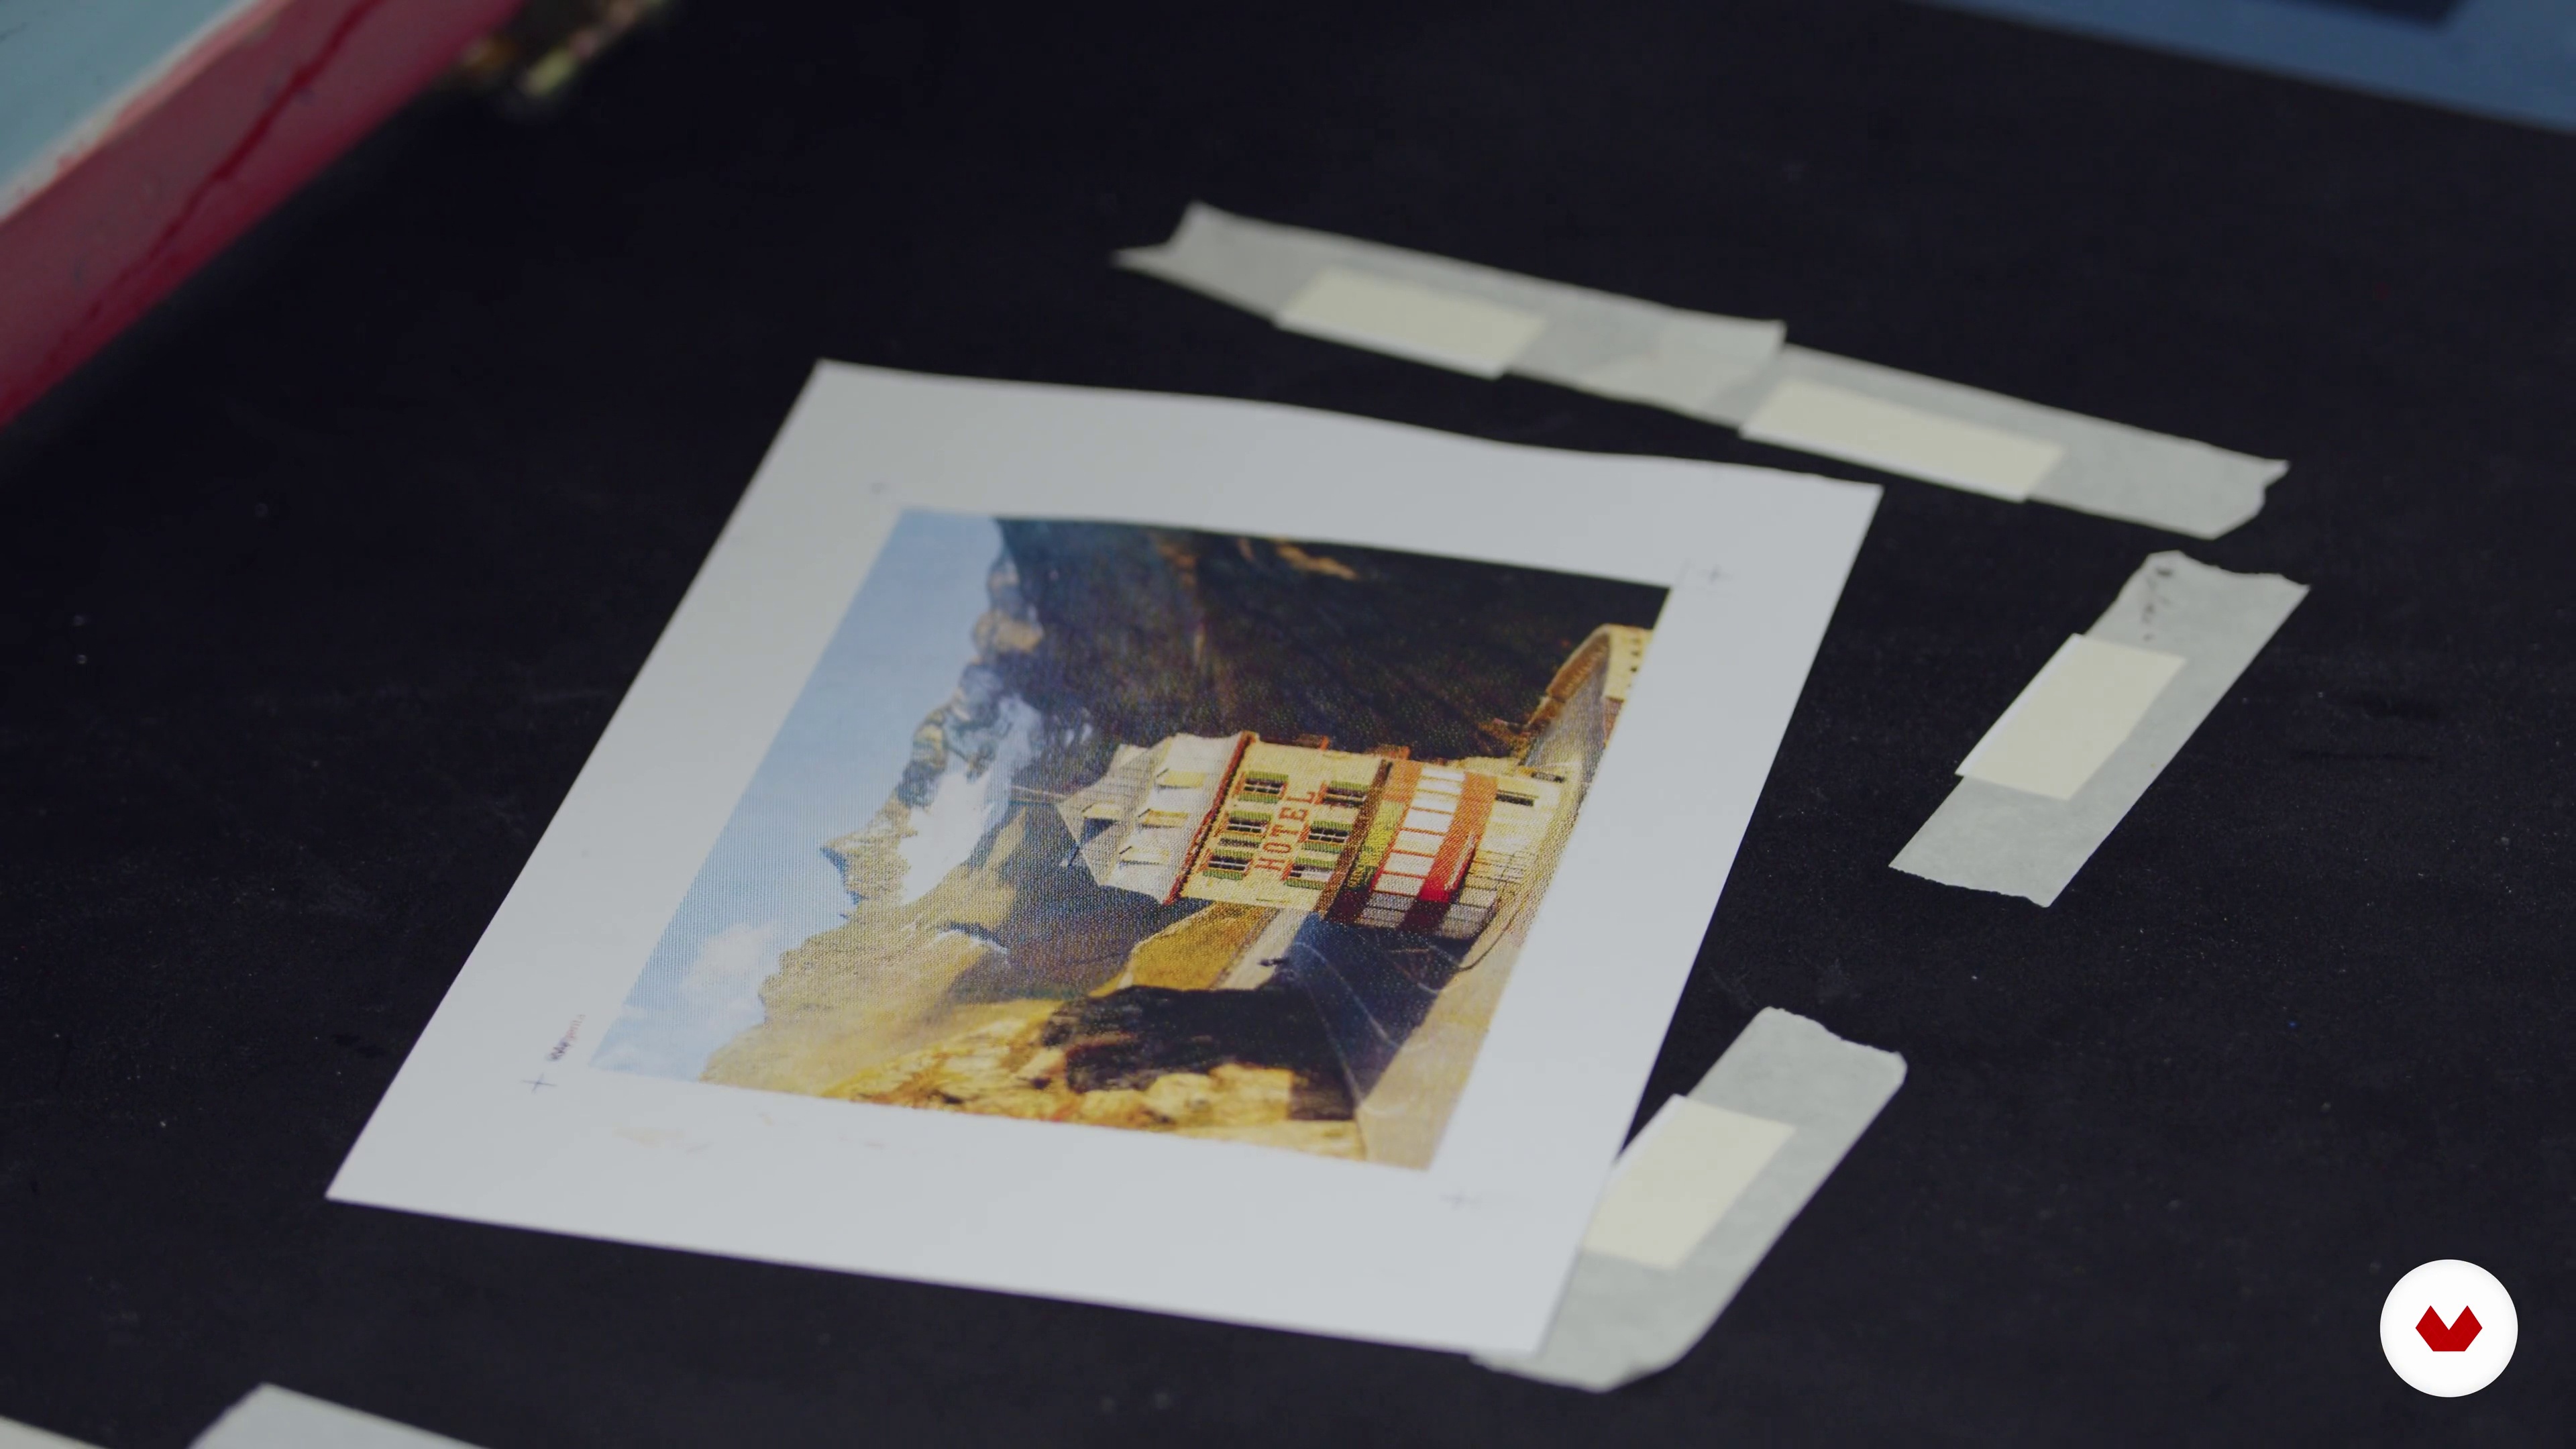 10
10Stamping Process 2
We continue the stamping process step by step. After stamping the yellow, it is time for the rest of the colors.
14m
 11
11Other Ways to Use Silkscreen Photography
In this lesson I want to show you other ways to use silkscreen photography. From the most common, such as taking a photograph in black and white, to making mixed techniques, mixing photographs, photography and collage, photography and post-printing plastic techniques. We will also see other types of weft such as stochastics and color variations.
6m
 12
12Screen Printing in Limited Edition
Next, I will tell you the value of the limited edition and why it is important to sign and number, and then sell each piece as unique and authentic.
5m
 13
13How to Promote Your Work
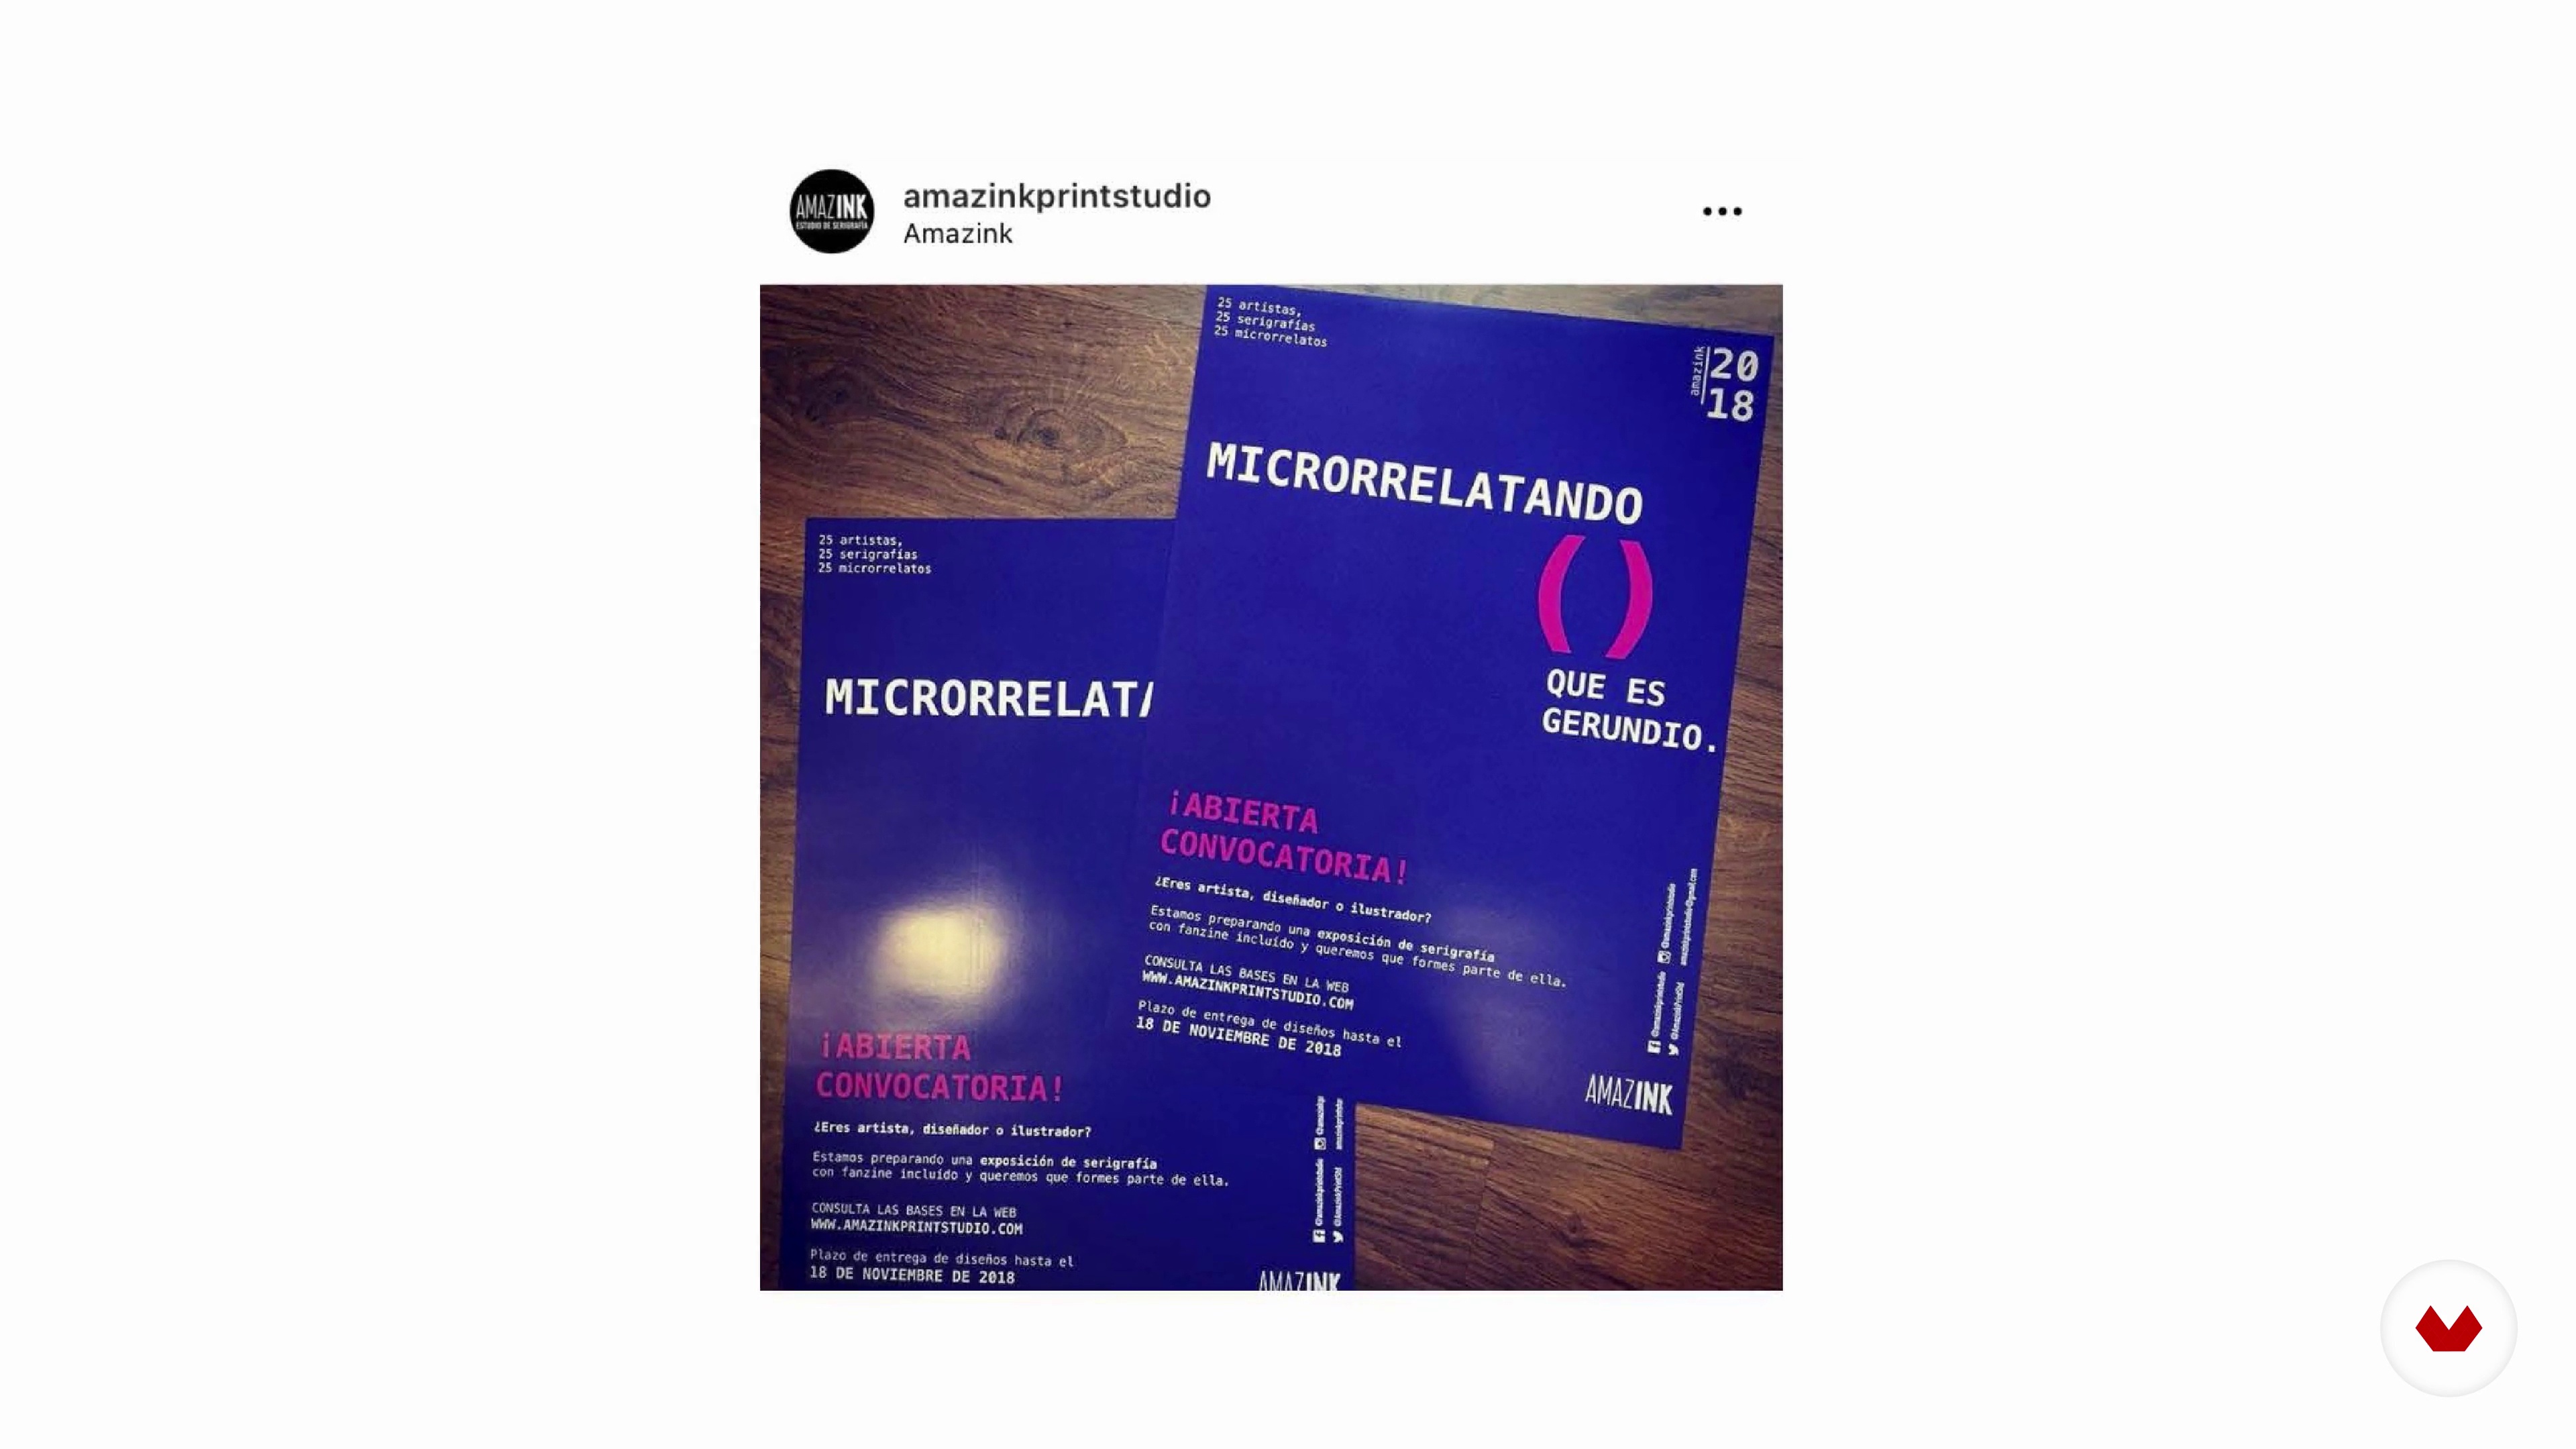
In this lesson I am going to tell you how to promote your work. We will talk about how to put a price on your work, group exhibitions and much more.
10m
 3
3On Poetry in Images
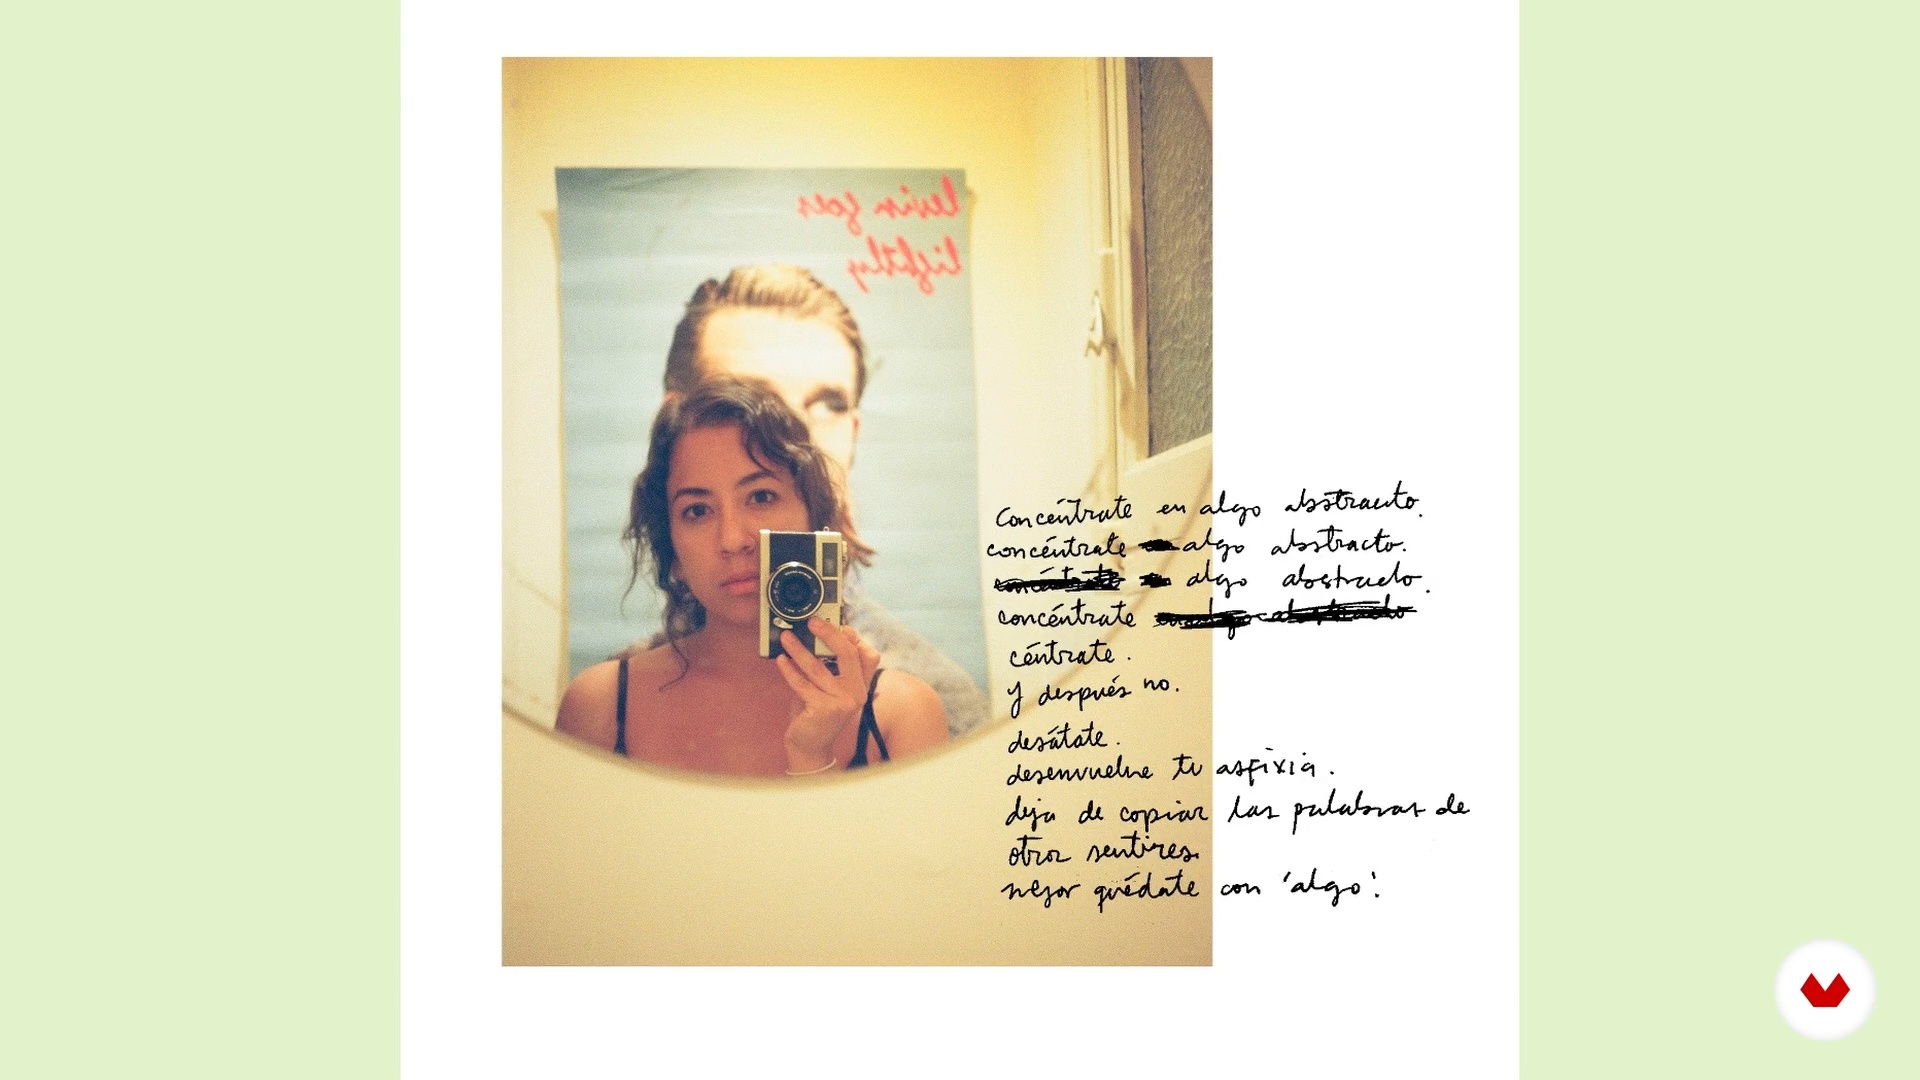
I will start by showing you some examples of how the fusion of word and image has been worked on in art. I will also teach you in more depth my own projects in which I have managed to put these languages in correspondence, so that you can be inspired in the creation of your project.
14m
 4
4Materials
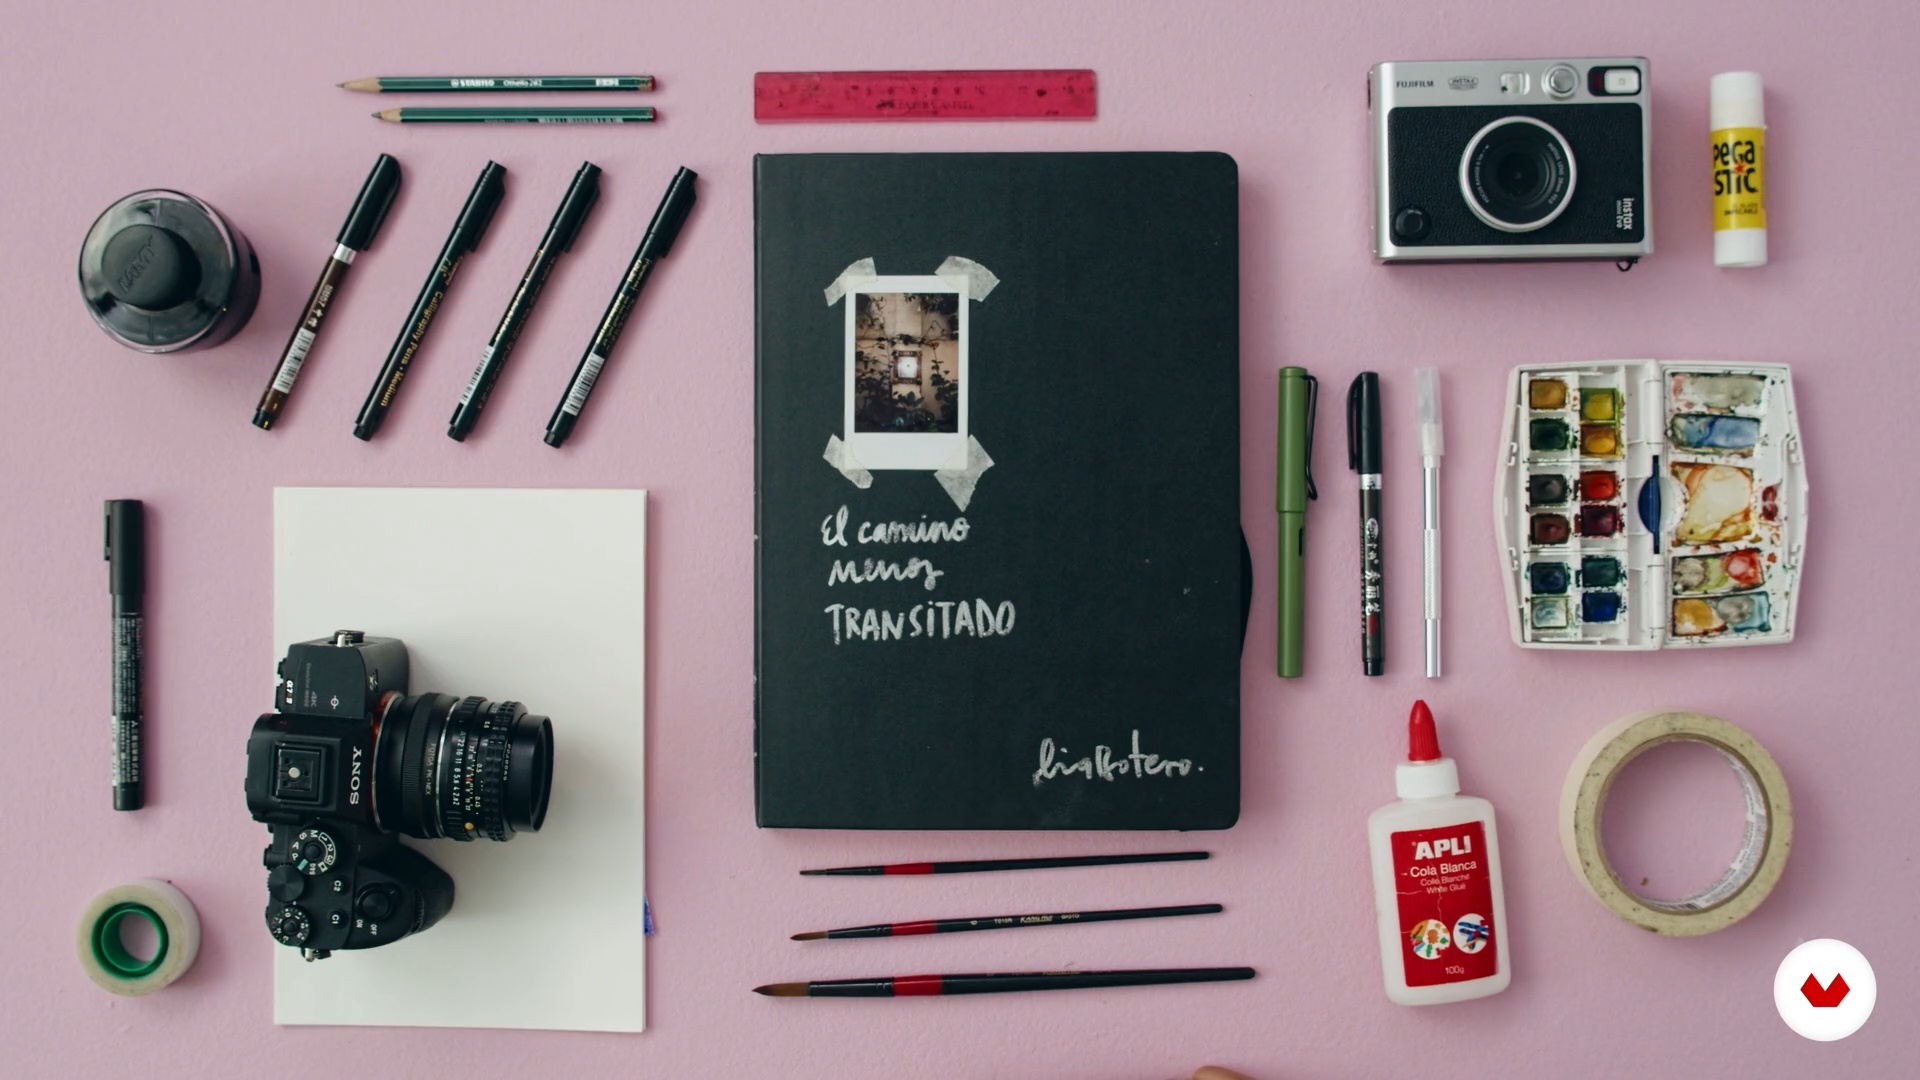
Next I will present the materials that you can use to create your series of photopoems. These materials are the ones I usually use for my own projects, but it's up to you to let your imagination run wild.
3m
 5
5How Does What We Read Look Like?
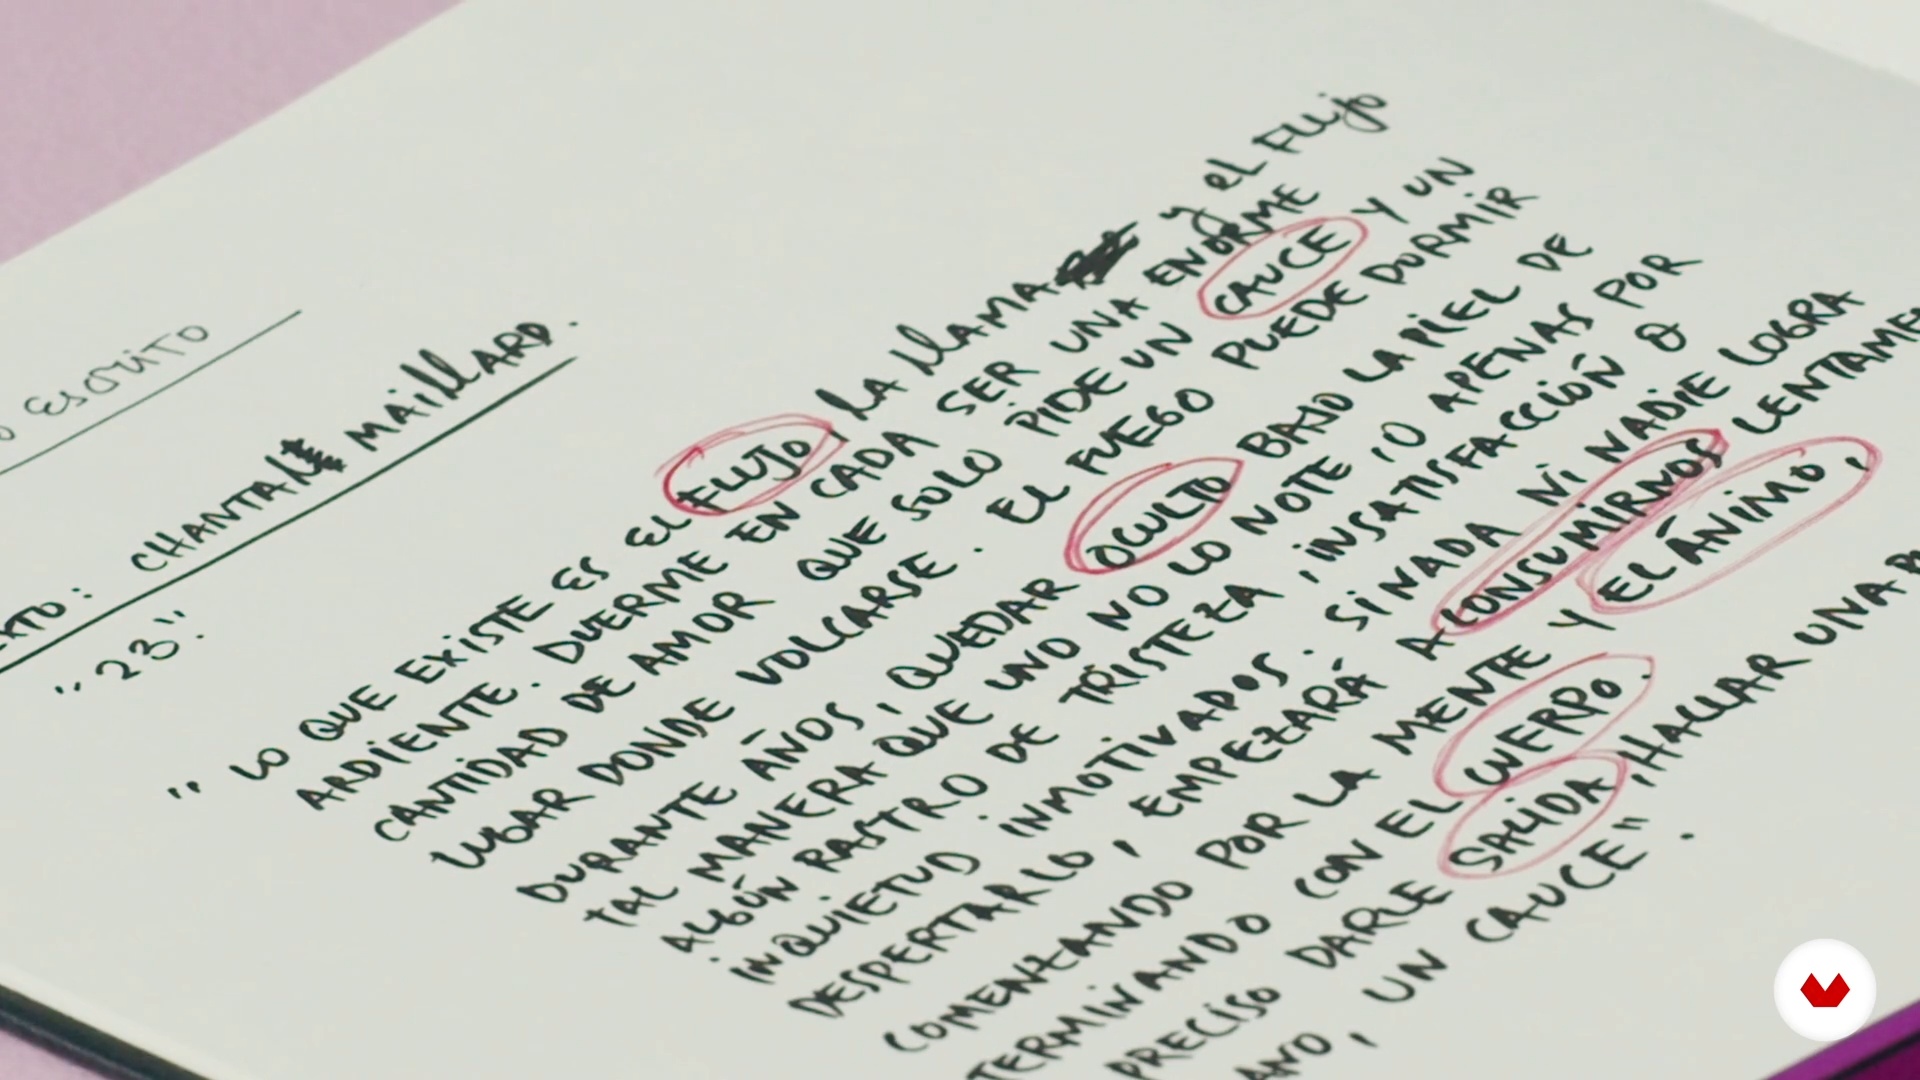
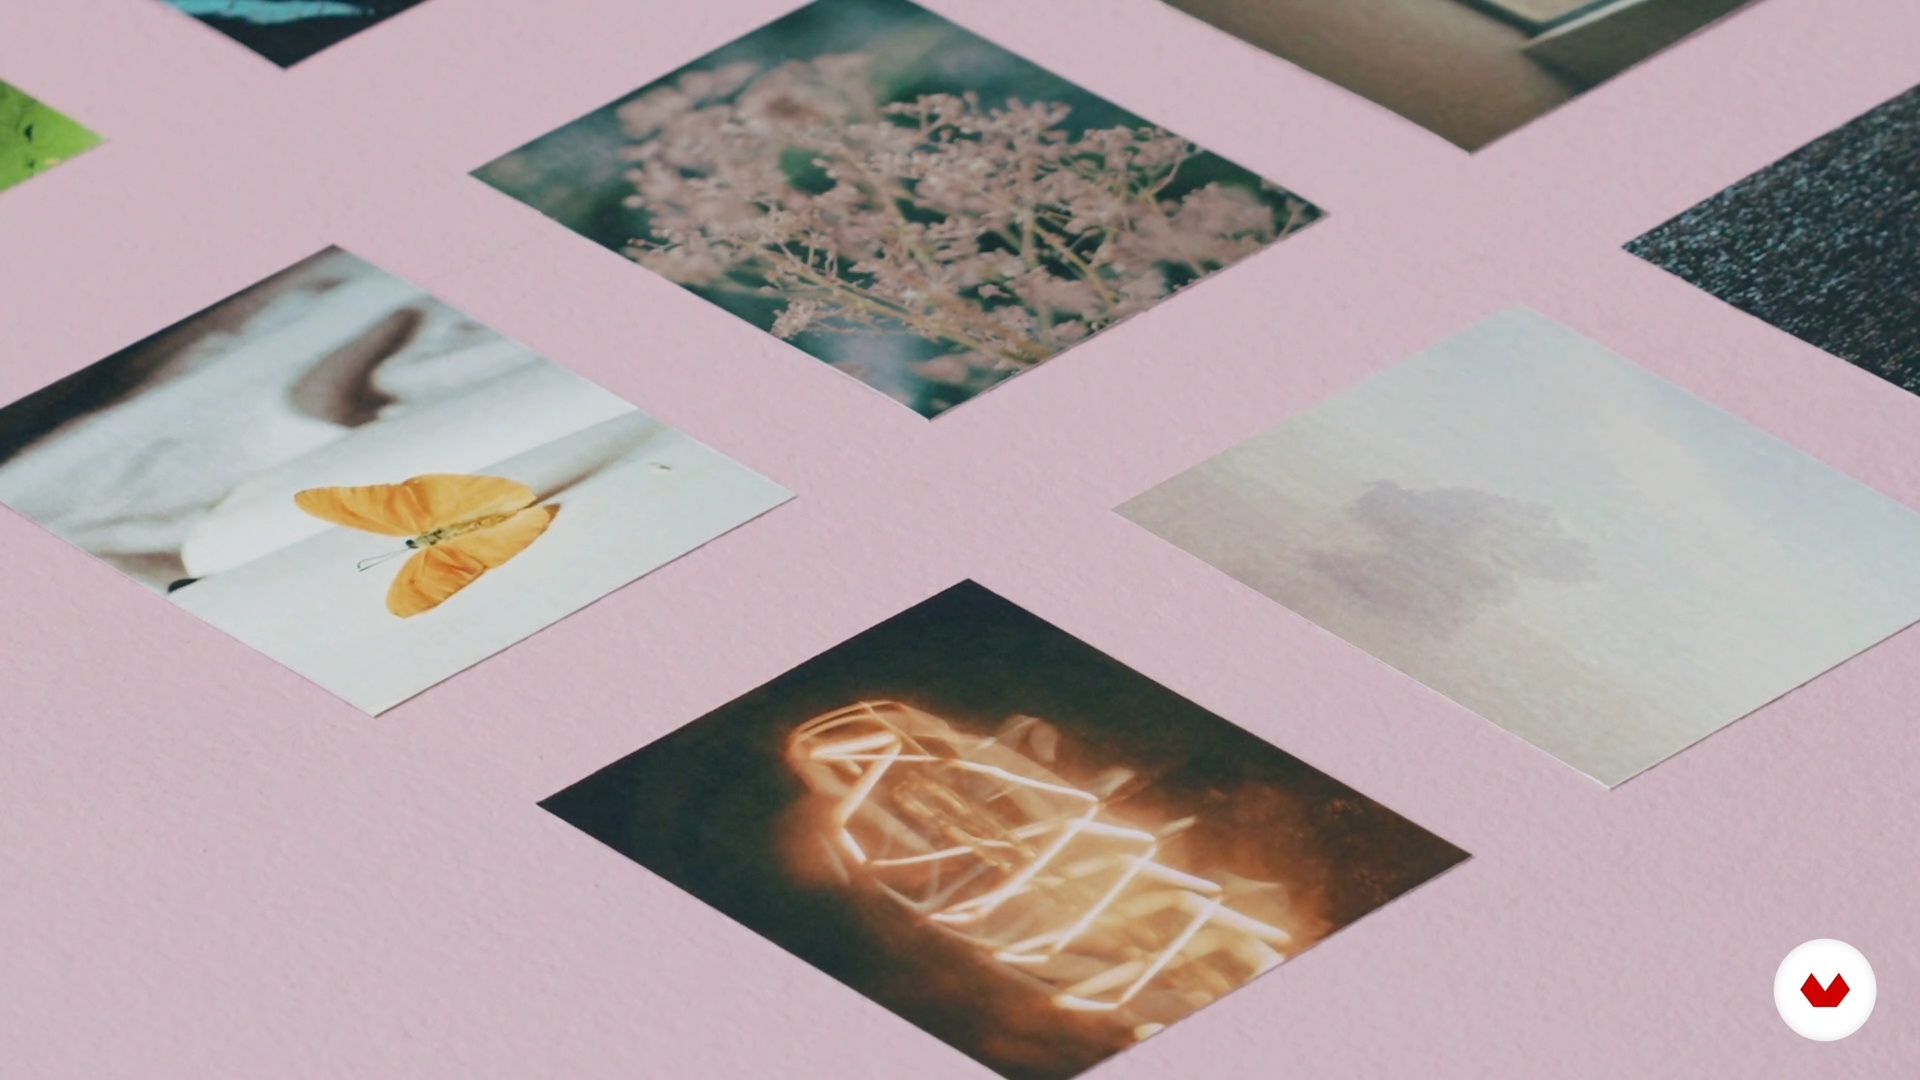
Poetry suggests images. One of the most wonderful aspects of poetry is its ability to create images in our minds. Images that allow us to get out of universes that are too specific or too rational to start dreaming. In this lesson, I'll talk about all those possible images that result from reading poetry, and we'll create a mood board with our favorite poem to start warming up our gaze and getting it ready to carry out the course project.
10m
 6
6Playing with The Word
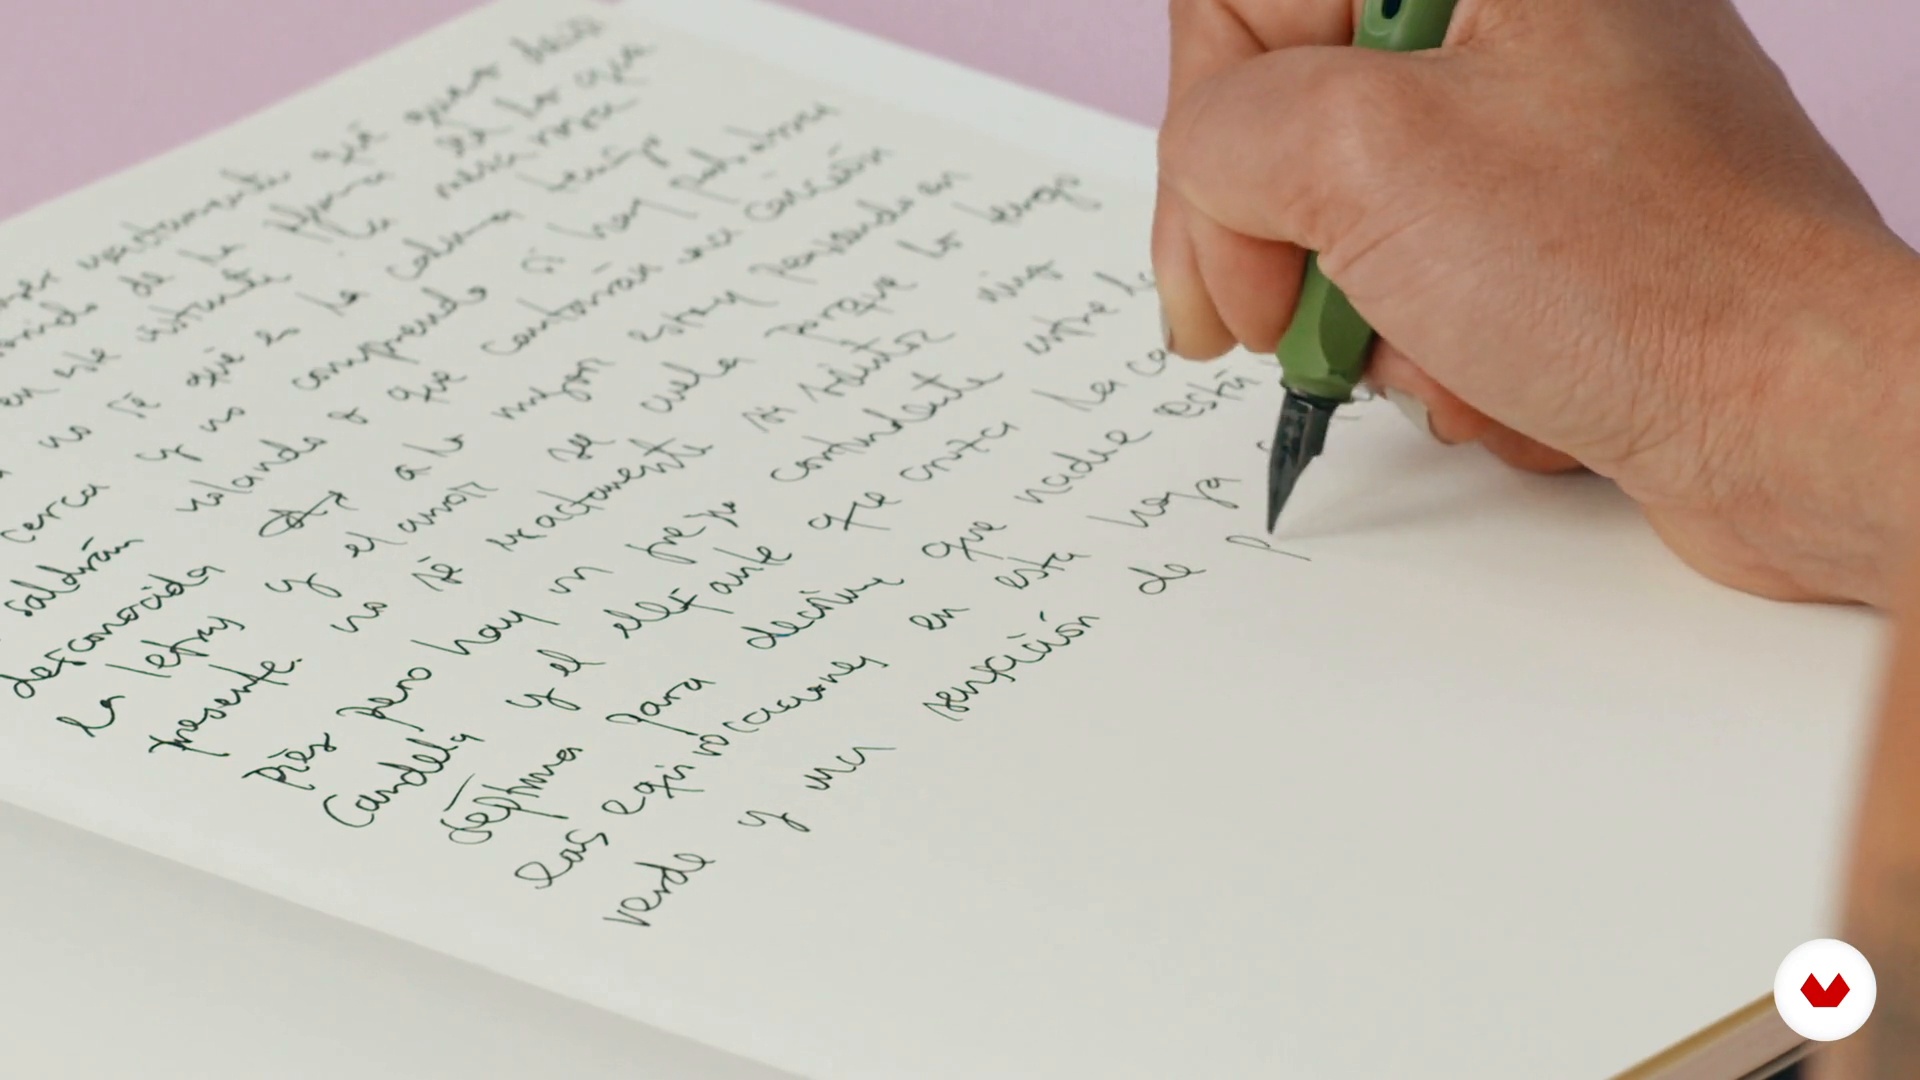
Let me show you a practical exercise that will later help you develop your theme for the project. It's like a kind of brainstorming but in reverse. The idea is not to think. Through a practical exercise such as "automatic writing", you will exercise your mind and play with your own censor to rescue images that transcend reason.
8m
 7
7Raise the Theme
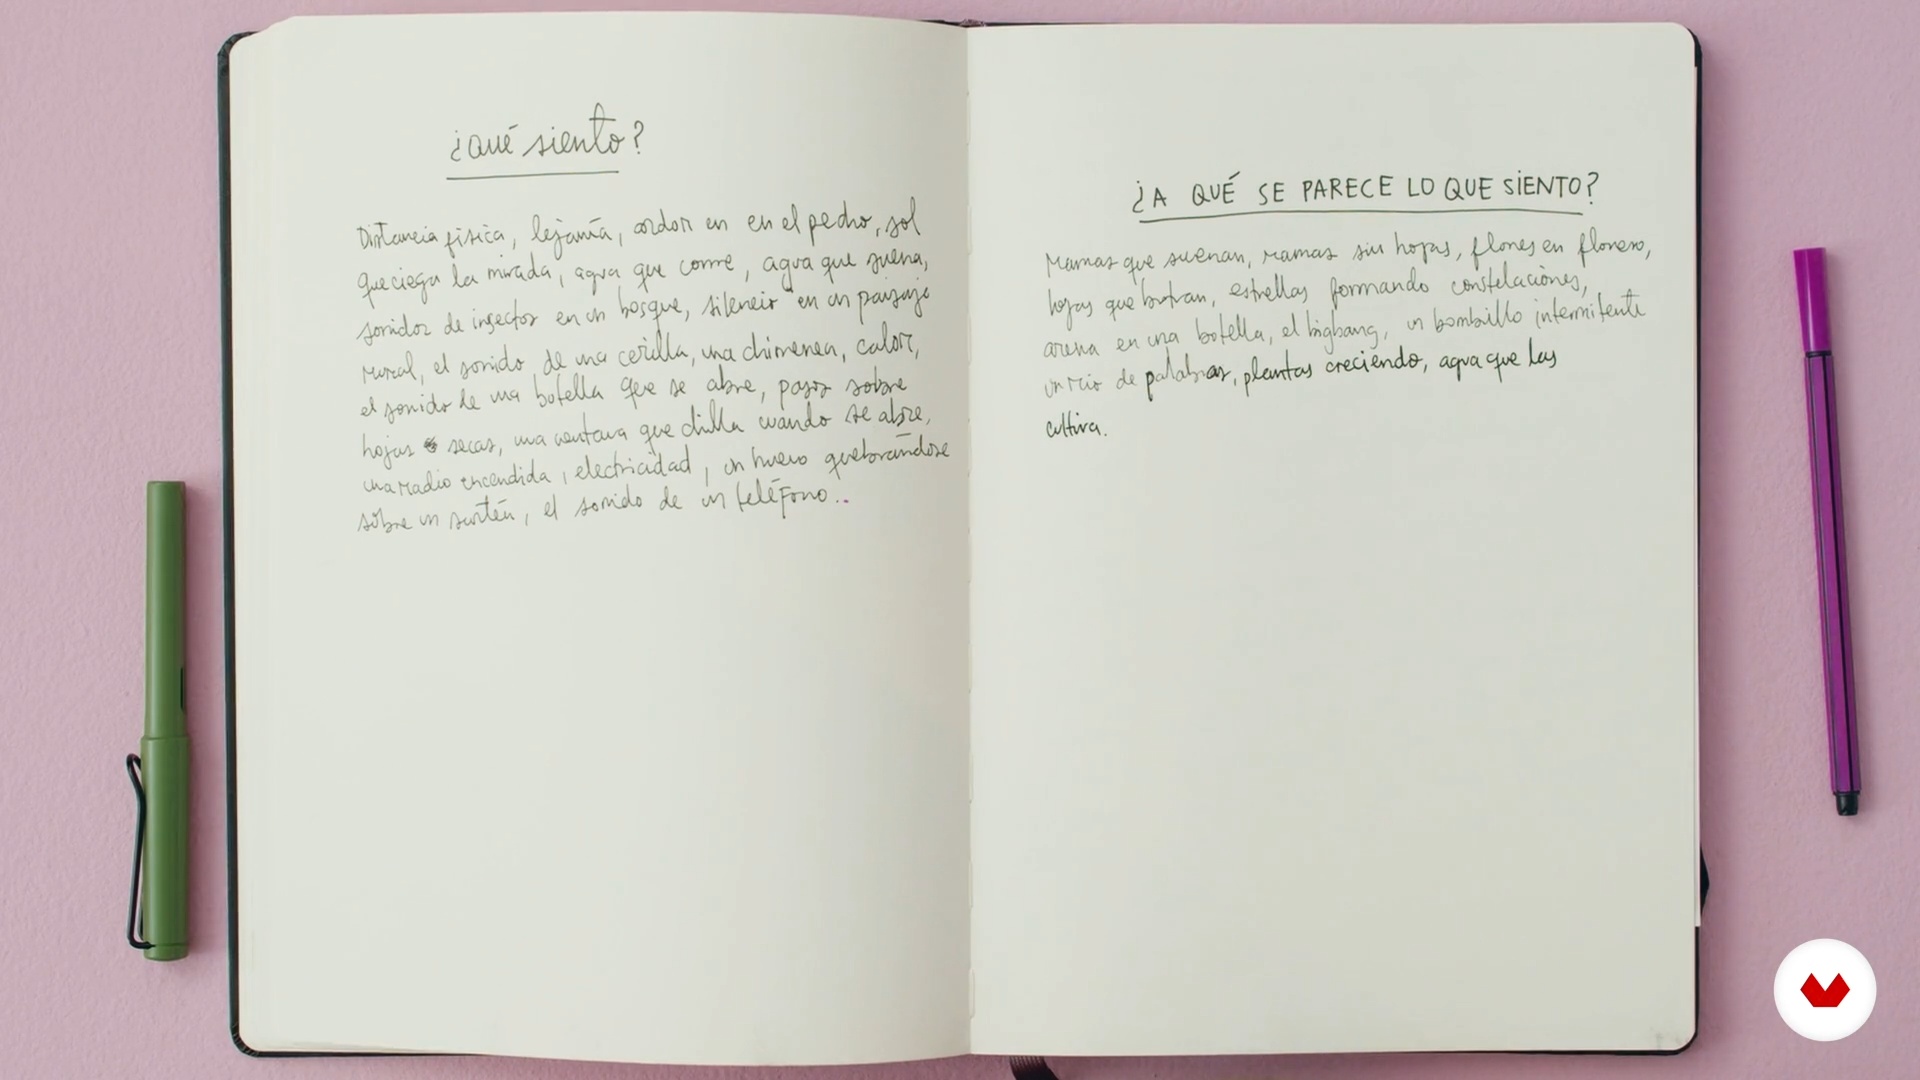
First of all, we will start thinking about the idea for the course project. Or better, we will begin to feel the idea. What do we want to talk about? We will inquire about all those images that can surround a single word, a single theme.
6m
 8
8Creating Images
It's time to create images. And when I talk about images, I mean that they don't necessarily have to be photographs taken with a camera. We will think about which images make up our theme from more metaphorical and less representative points of view.
7m
 9
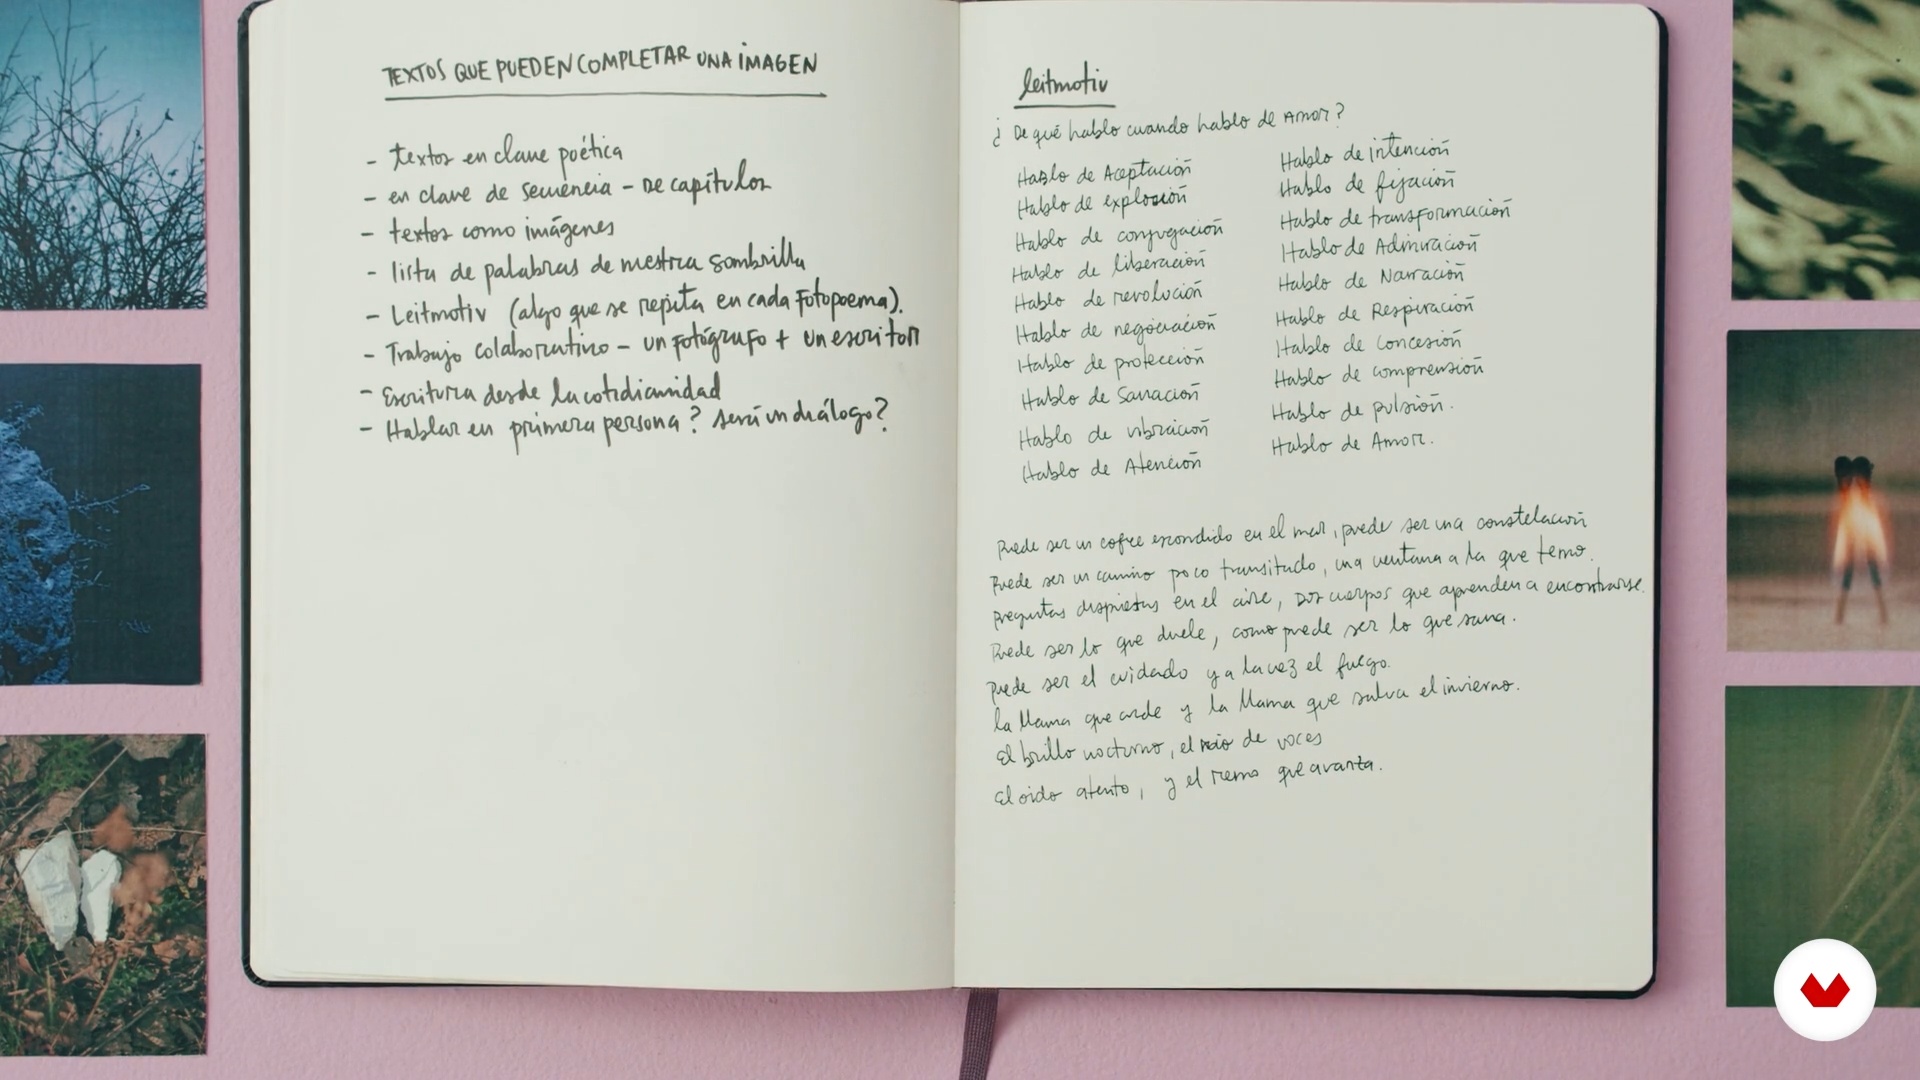
9Finding the Right Words
Let's continue with the words that will complement our images. To do this, we will take up some of that text that we created in the automatic writing exercise. Taking into account the theme of our project, we will inquire about possible verses for our photopoems.
9m
 10
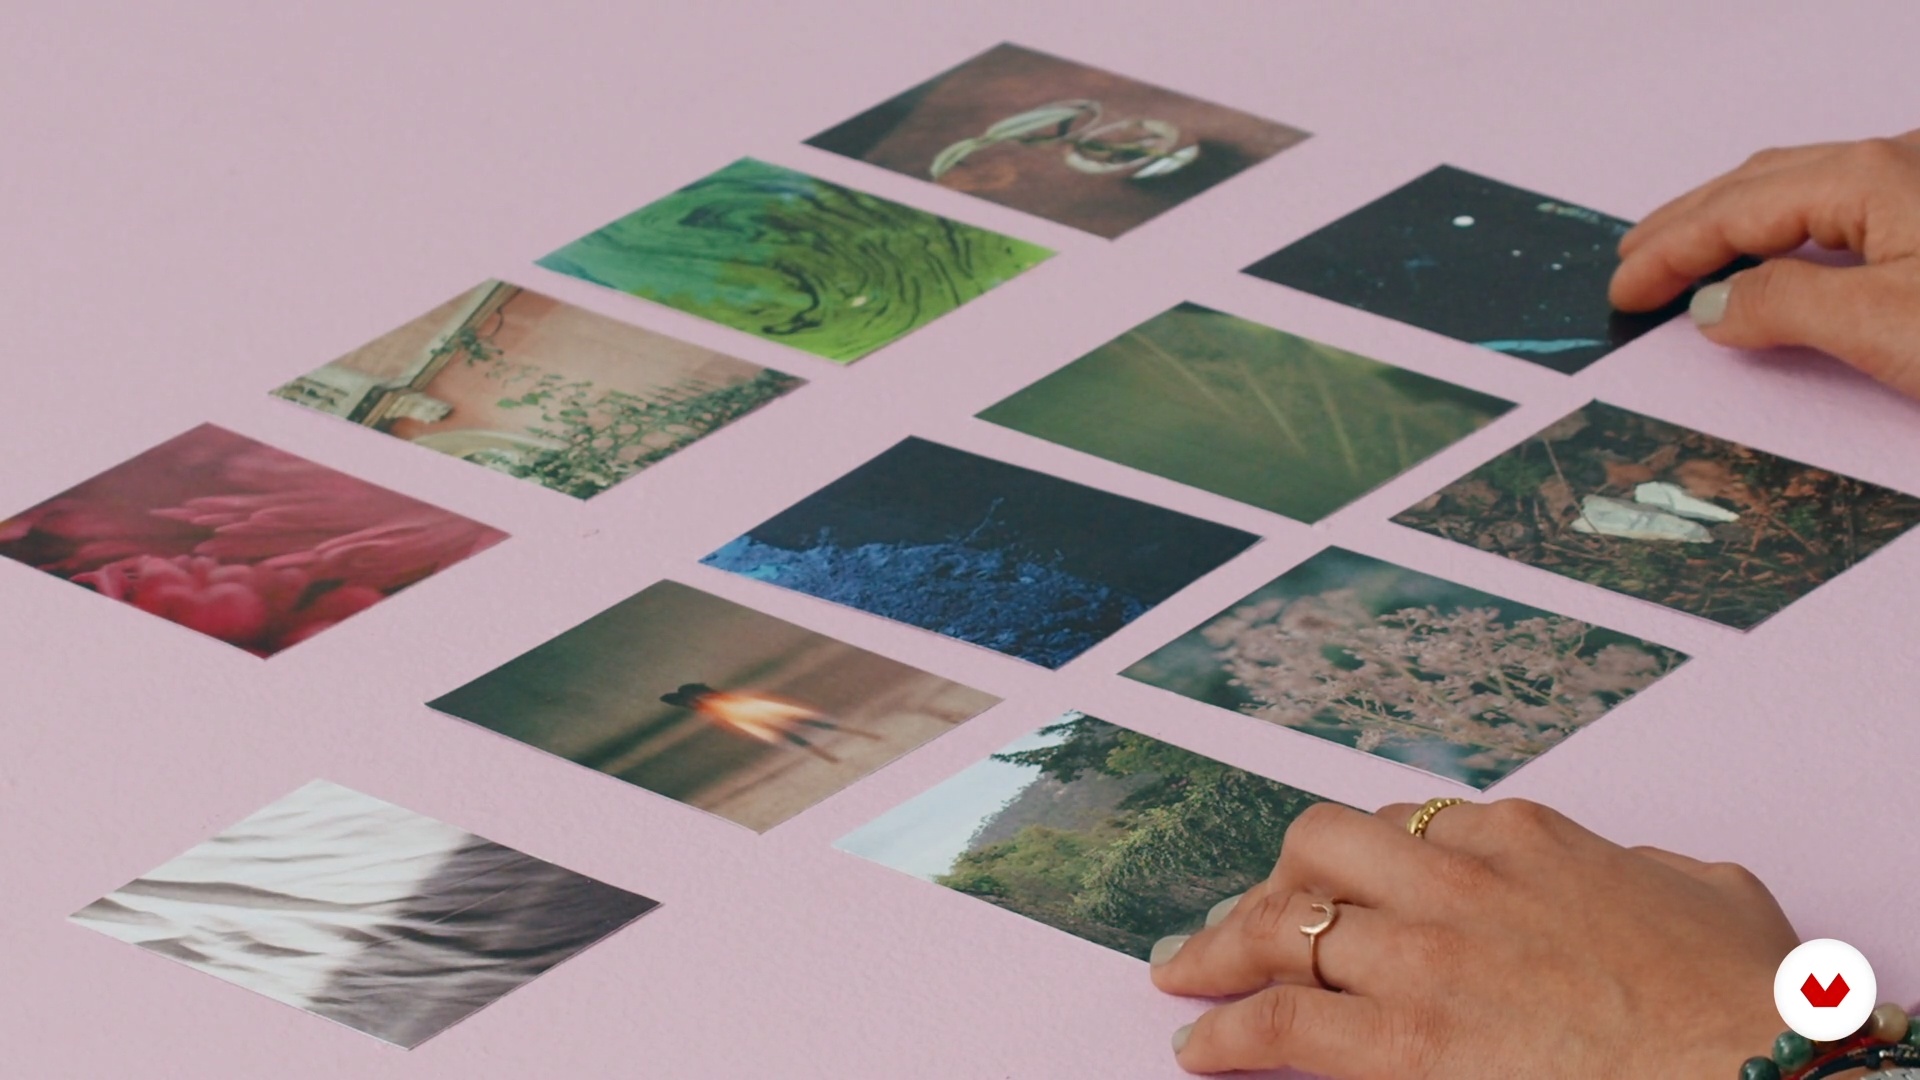
10Image Selection
In this lesson, I'll walk you through my process for selecting the images that might work best for your project, and you'll see how to analyze why.
12m
 11
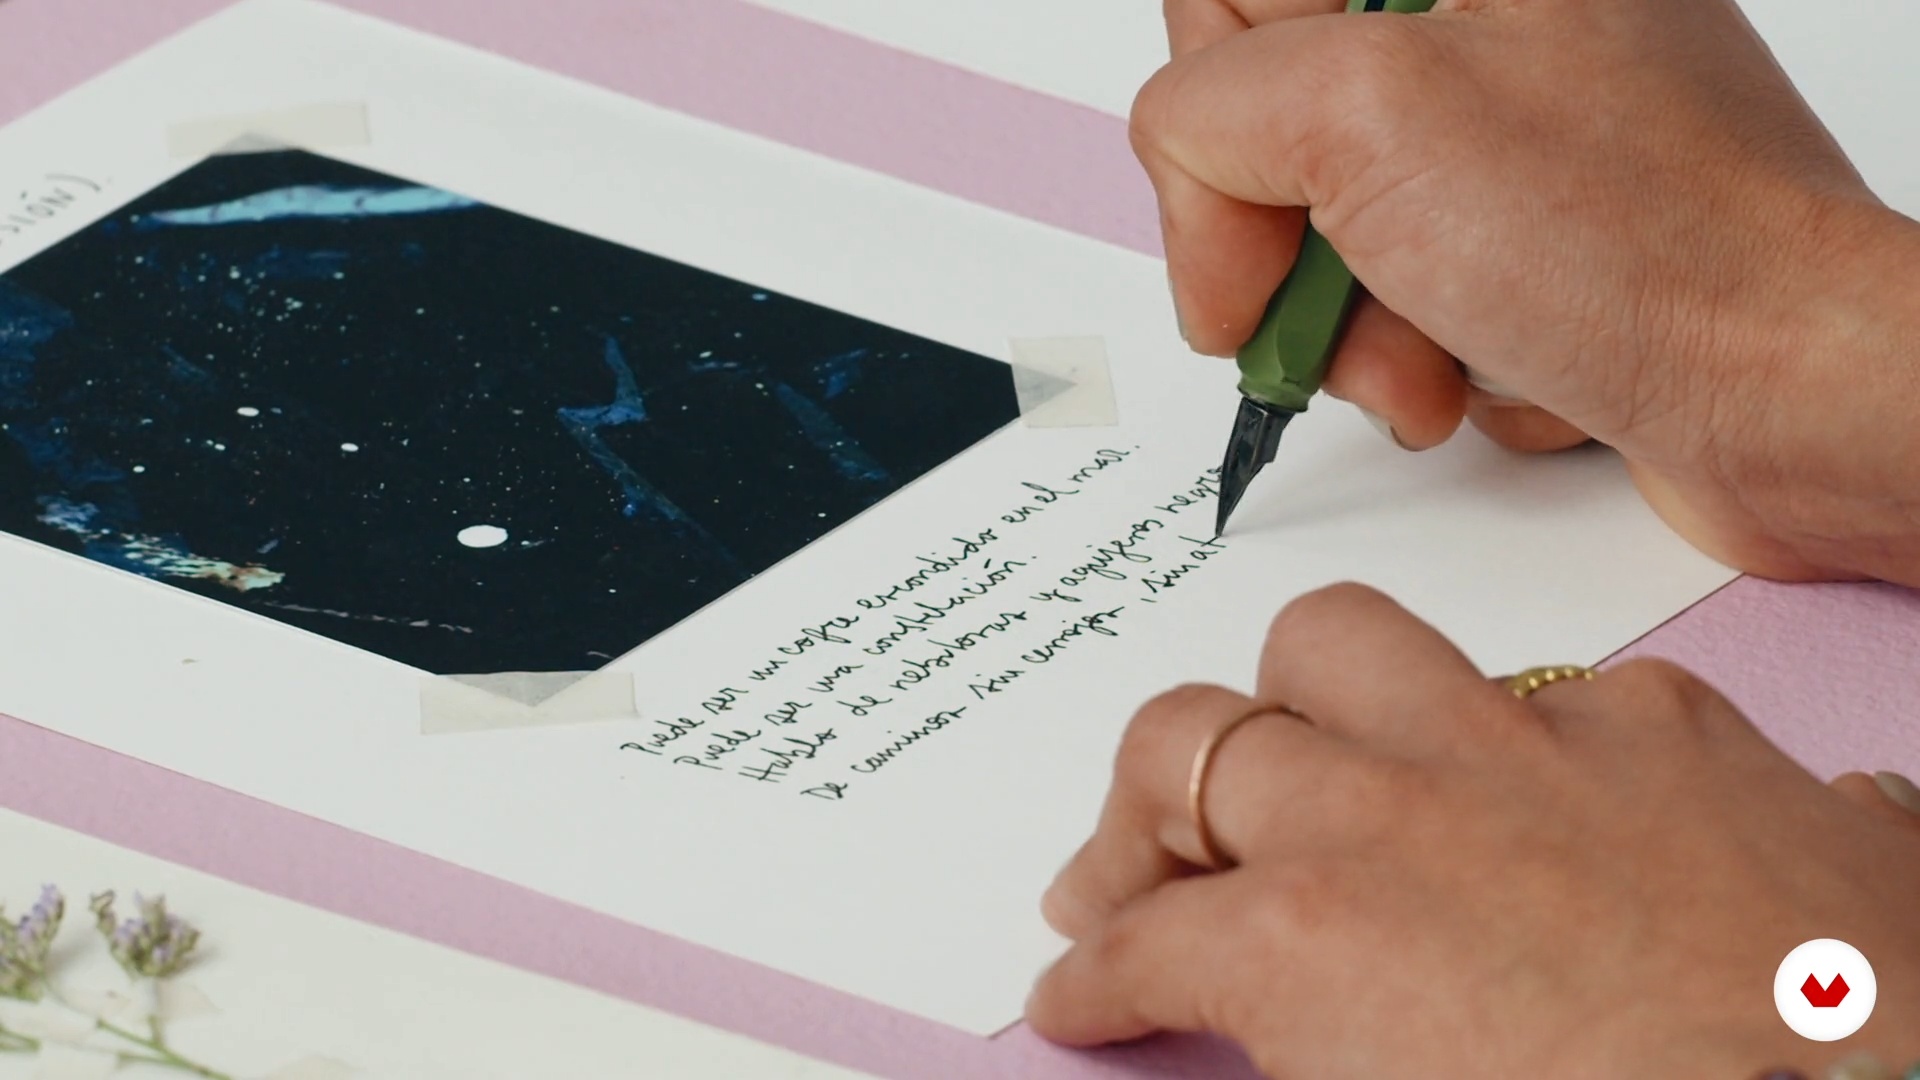
11It's Time to Make the Photopoems 1
Now we will create the intervened images with other elements. We will test which texts will be the best to complete our narrative.
13m
 12
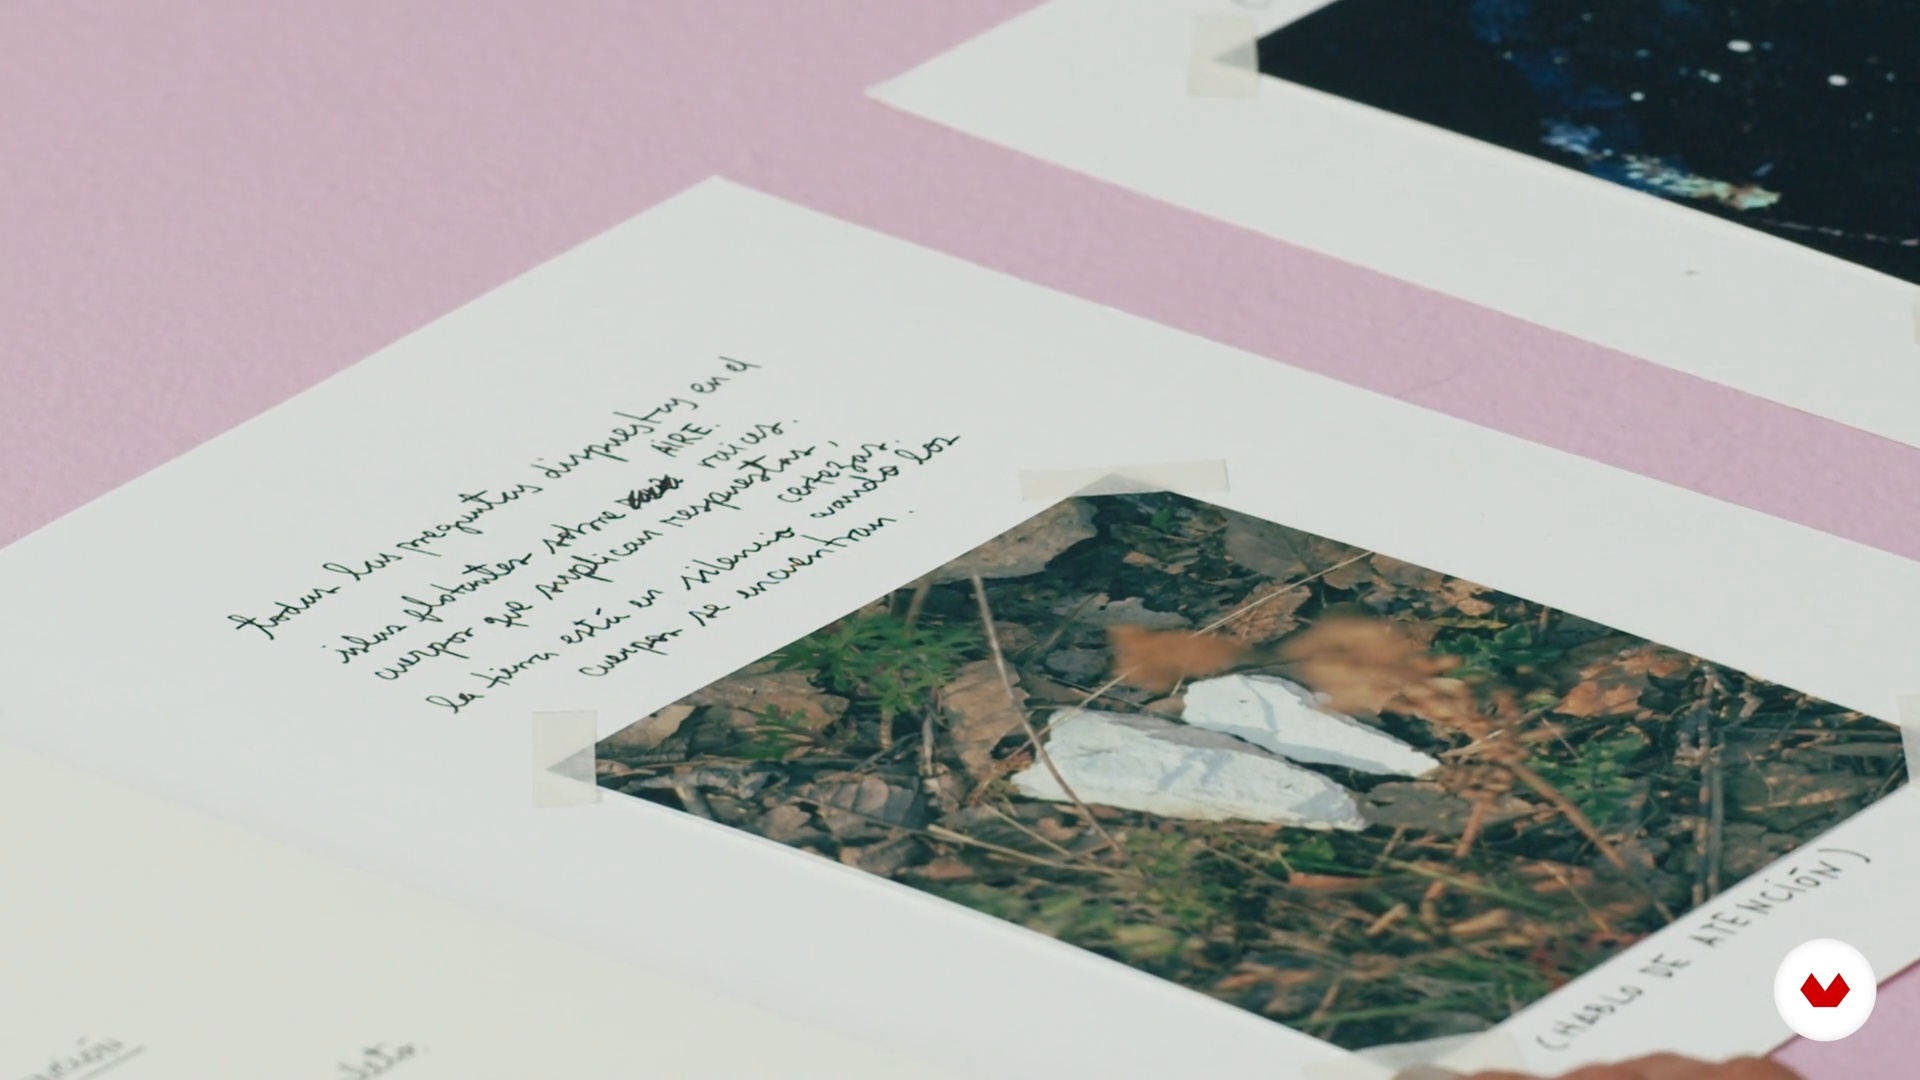
12It's Time to Make the Photopoems 2
I will continue here with the following photopoems. I will concentrate on thinking about the project as a kind of frames that need each other to create a small movie.
9m
 13
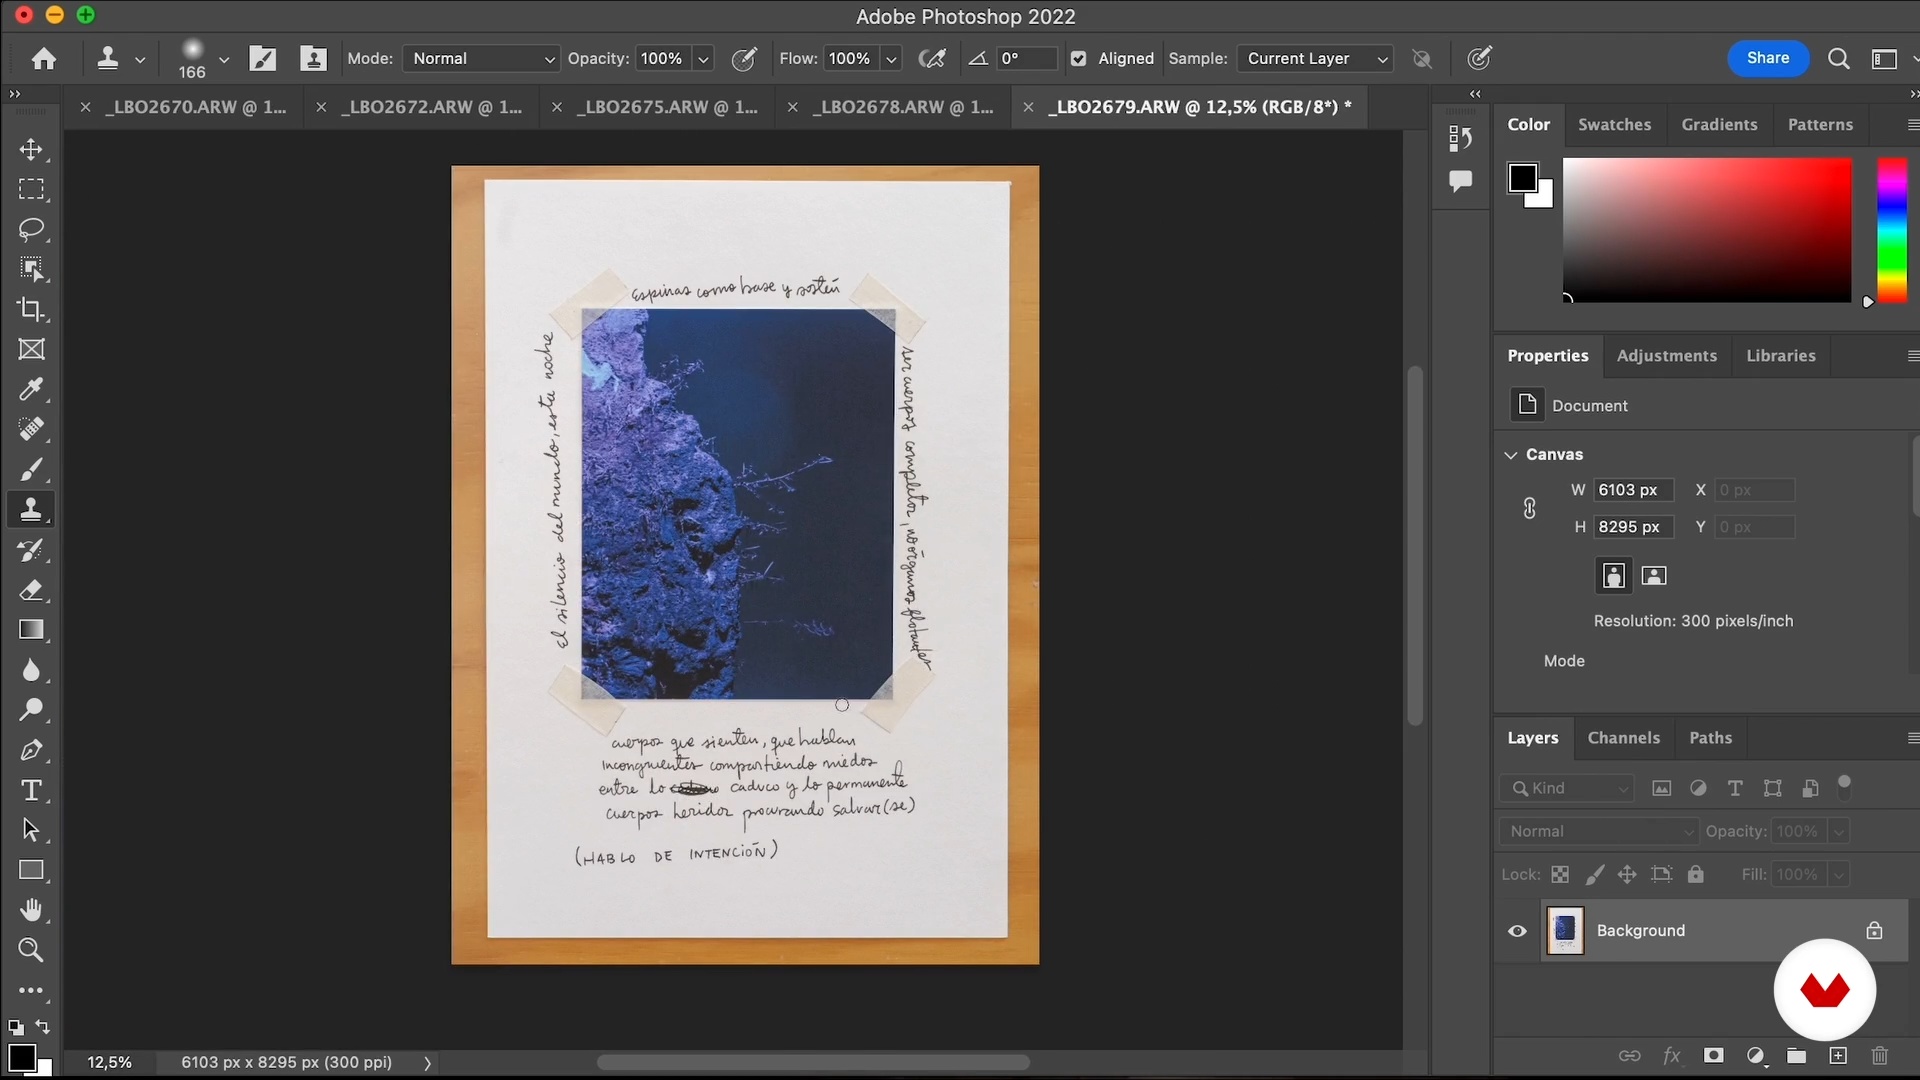
13Digital or Analog
Finally, I will teach you how to digitize your creations so that you can share them. I will also show you in what physical format I have presented some of my projects.
11m
 4
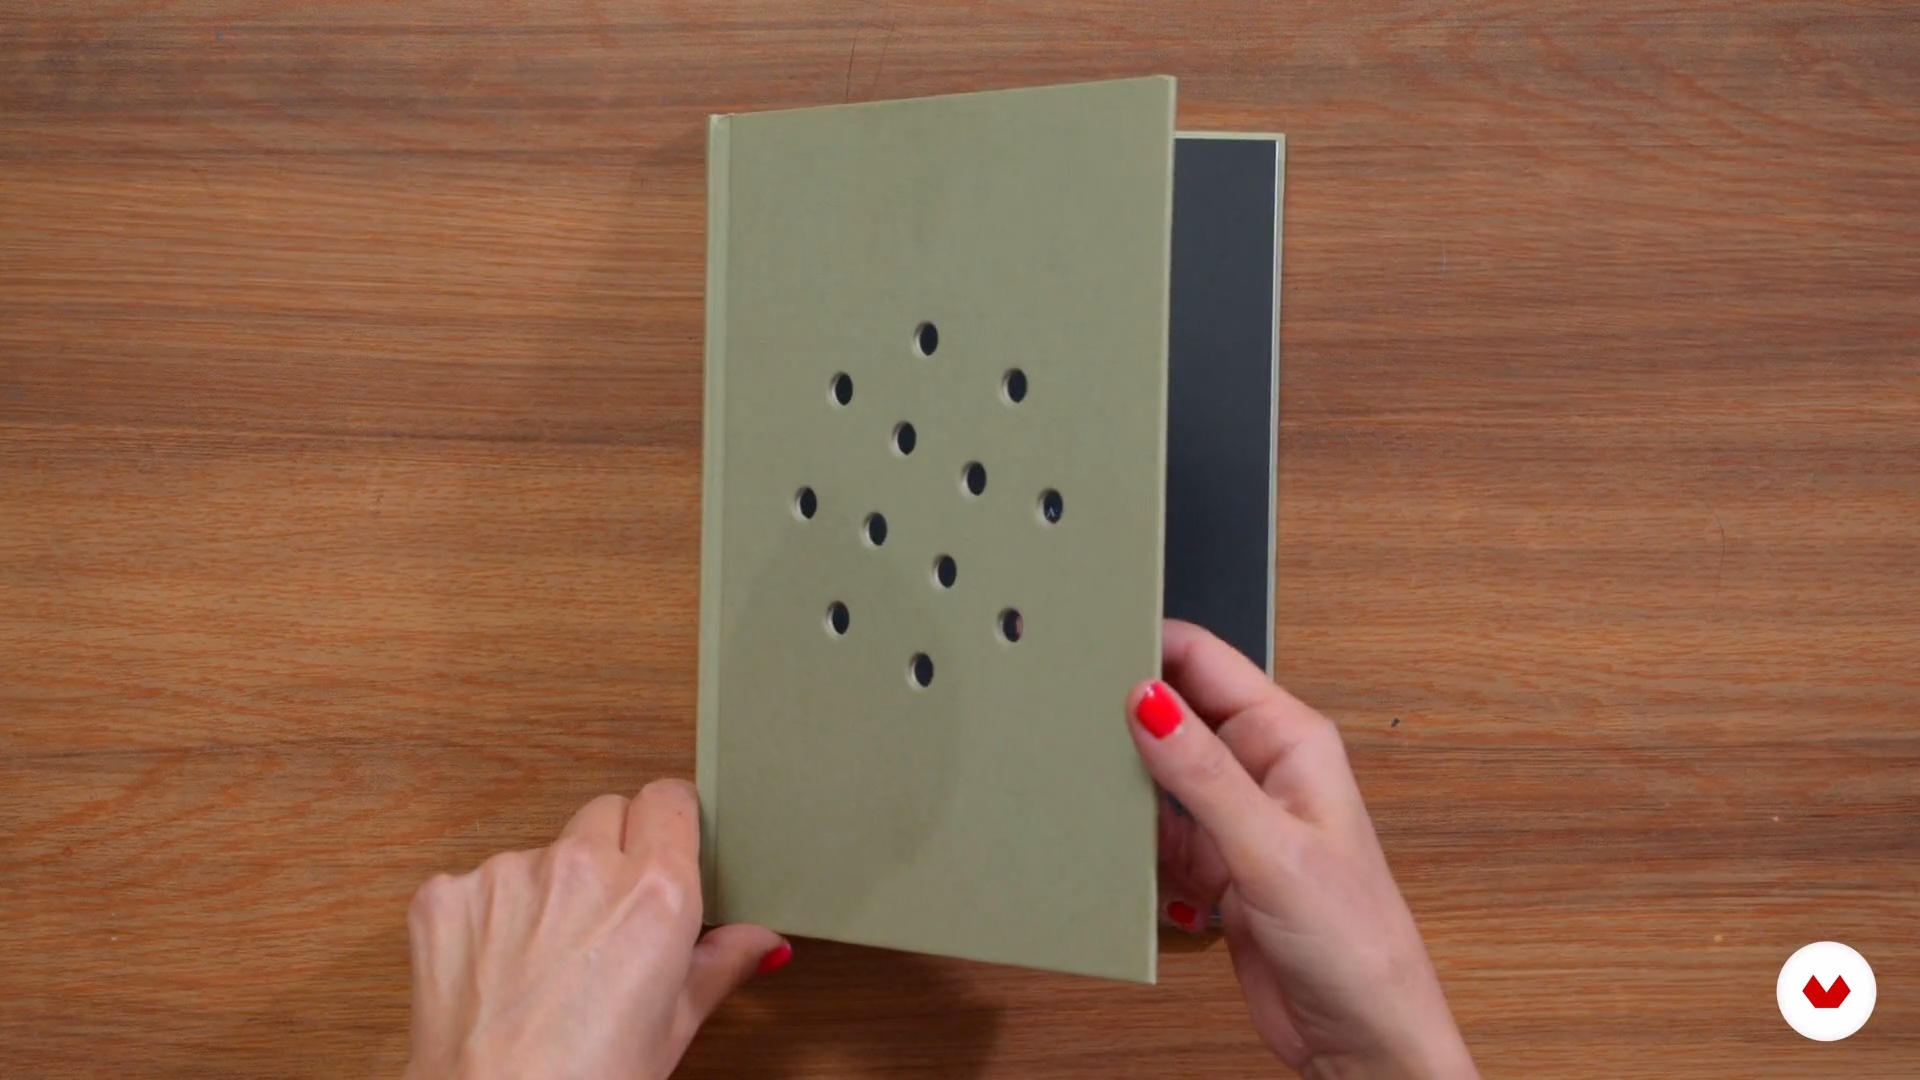
4Book as a system. Book as an object. Book as experience.
I will start by talking about what a photobook is, what differentiates it from a catalog or book of photography and we will briefly address concepts related to the book as a system, as an object and as an experience, which is activated from its materiality.
11m
 5
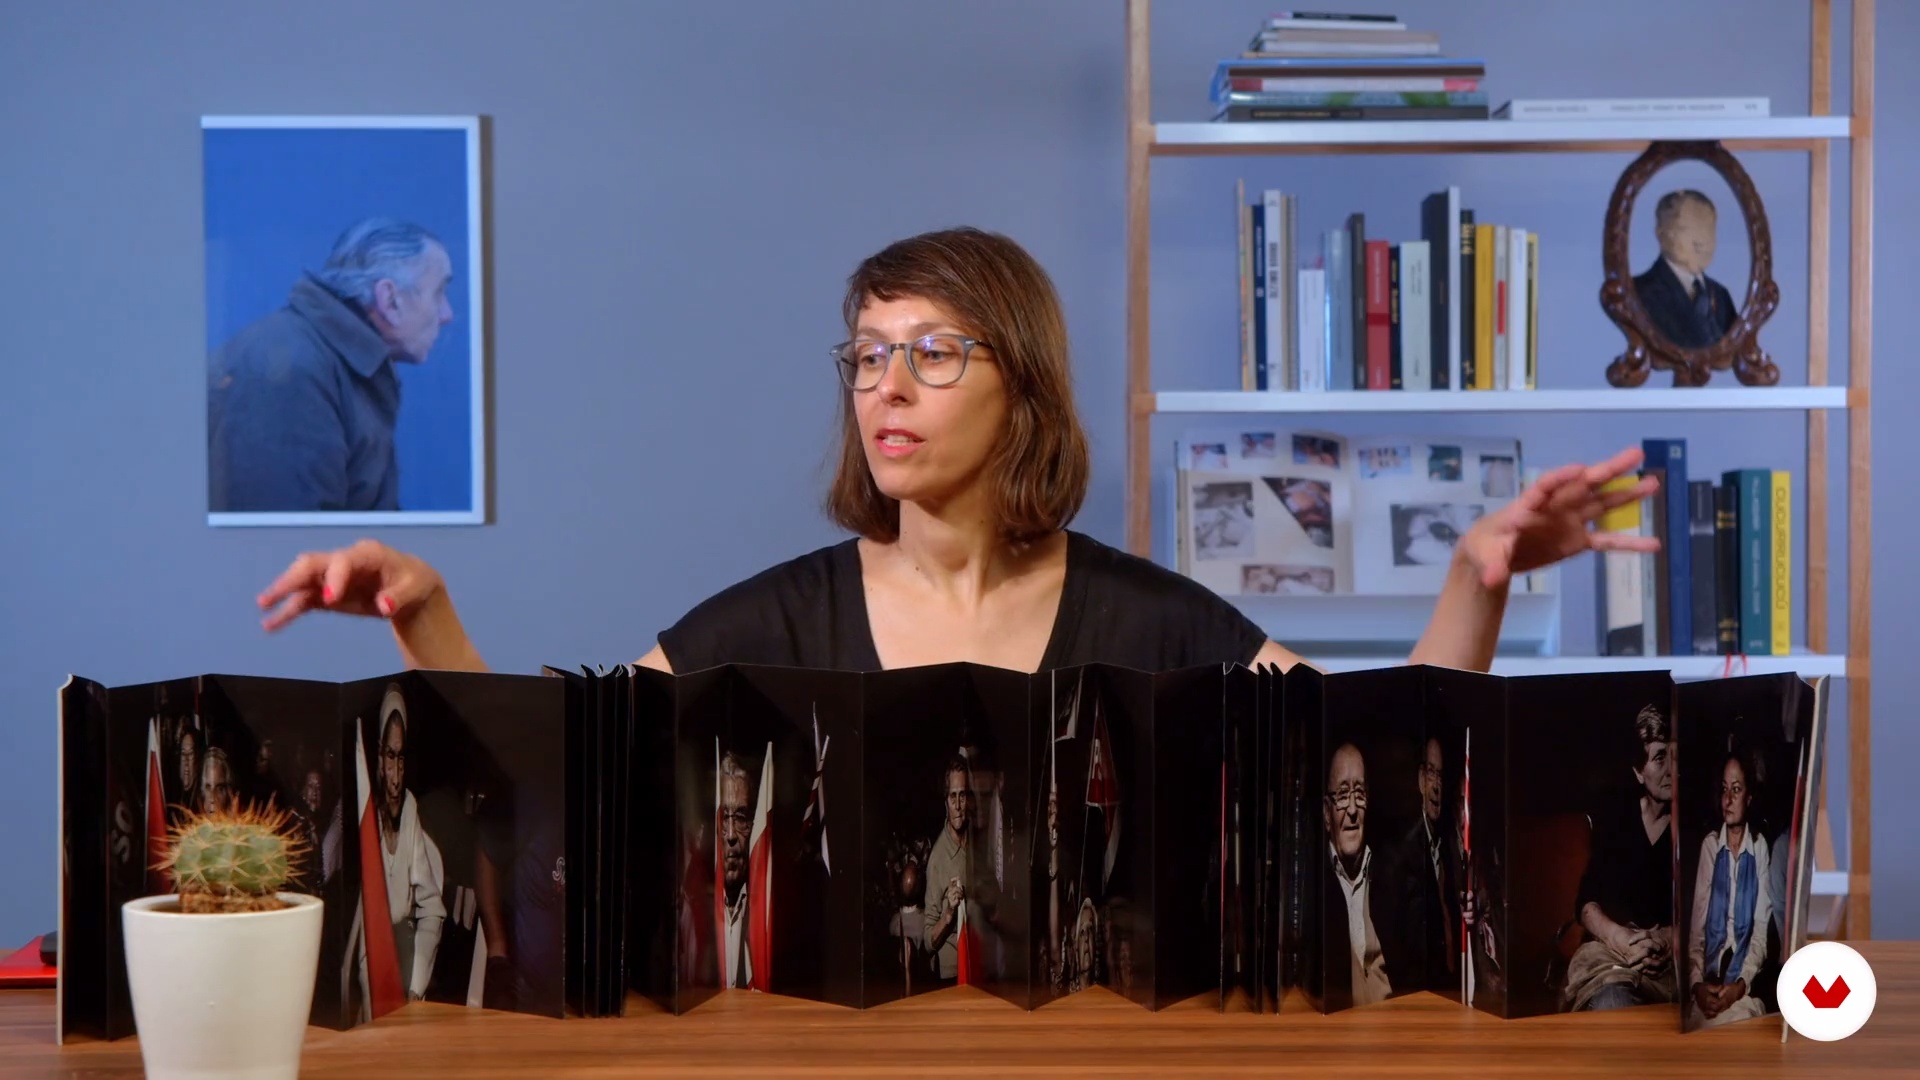
5Case studies
I will review a large number of photobooks, designed as case studies, to give us a broader picture of their narrative possibilities.
8m
 6
6Analysis of the materiality of the book
In this lesson we will analyze, through the detailed review of specific cases, what were the decisions taken by the author of the book to develop or communicate his idea.
9m
 7
7Starting from a series of photographs
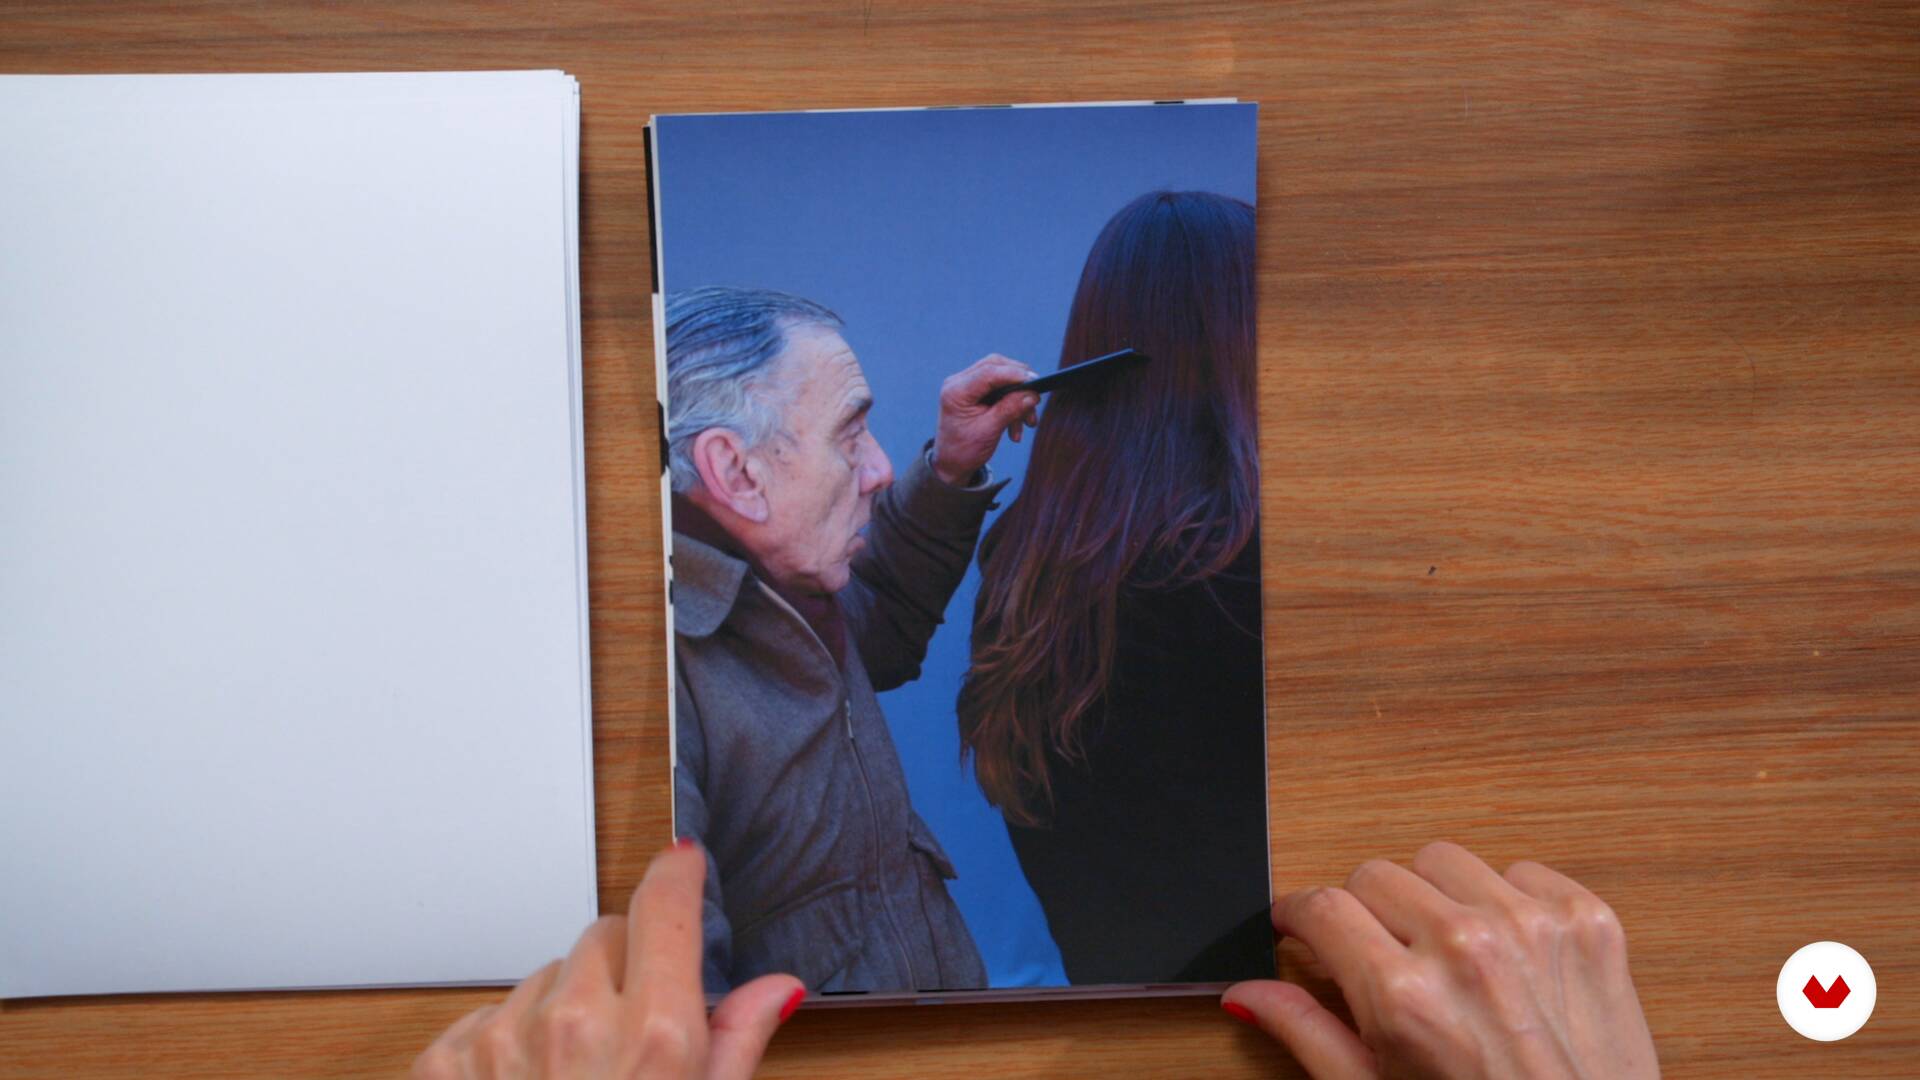
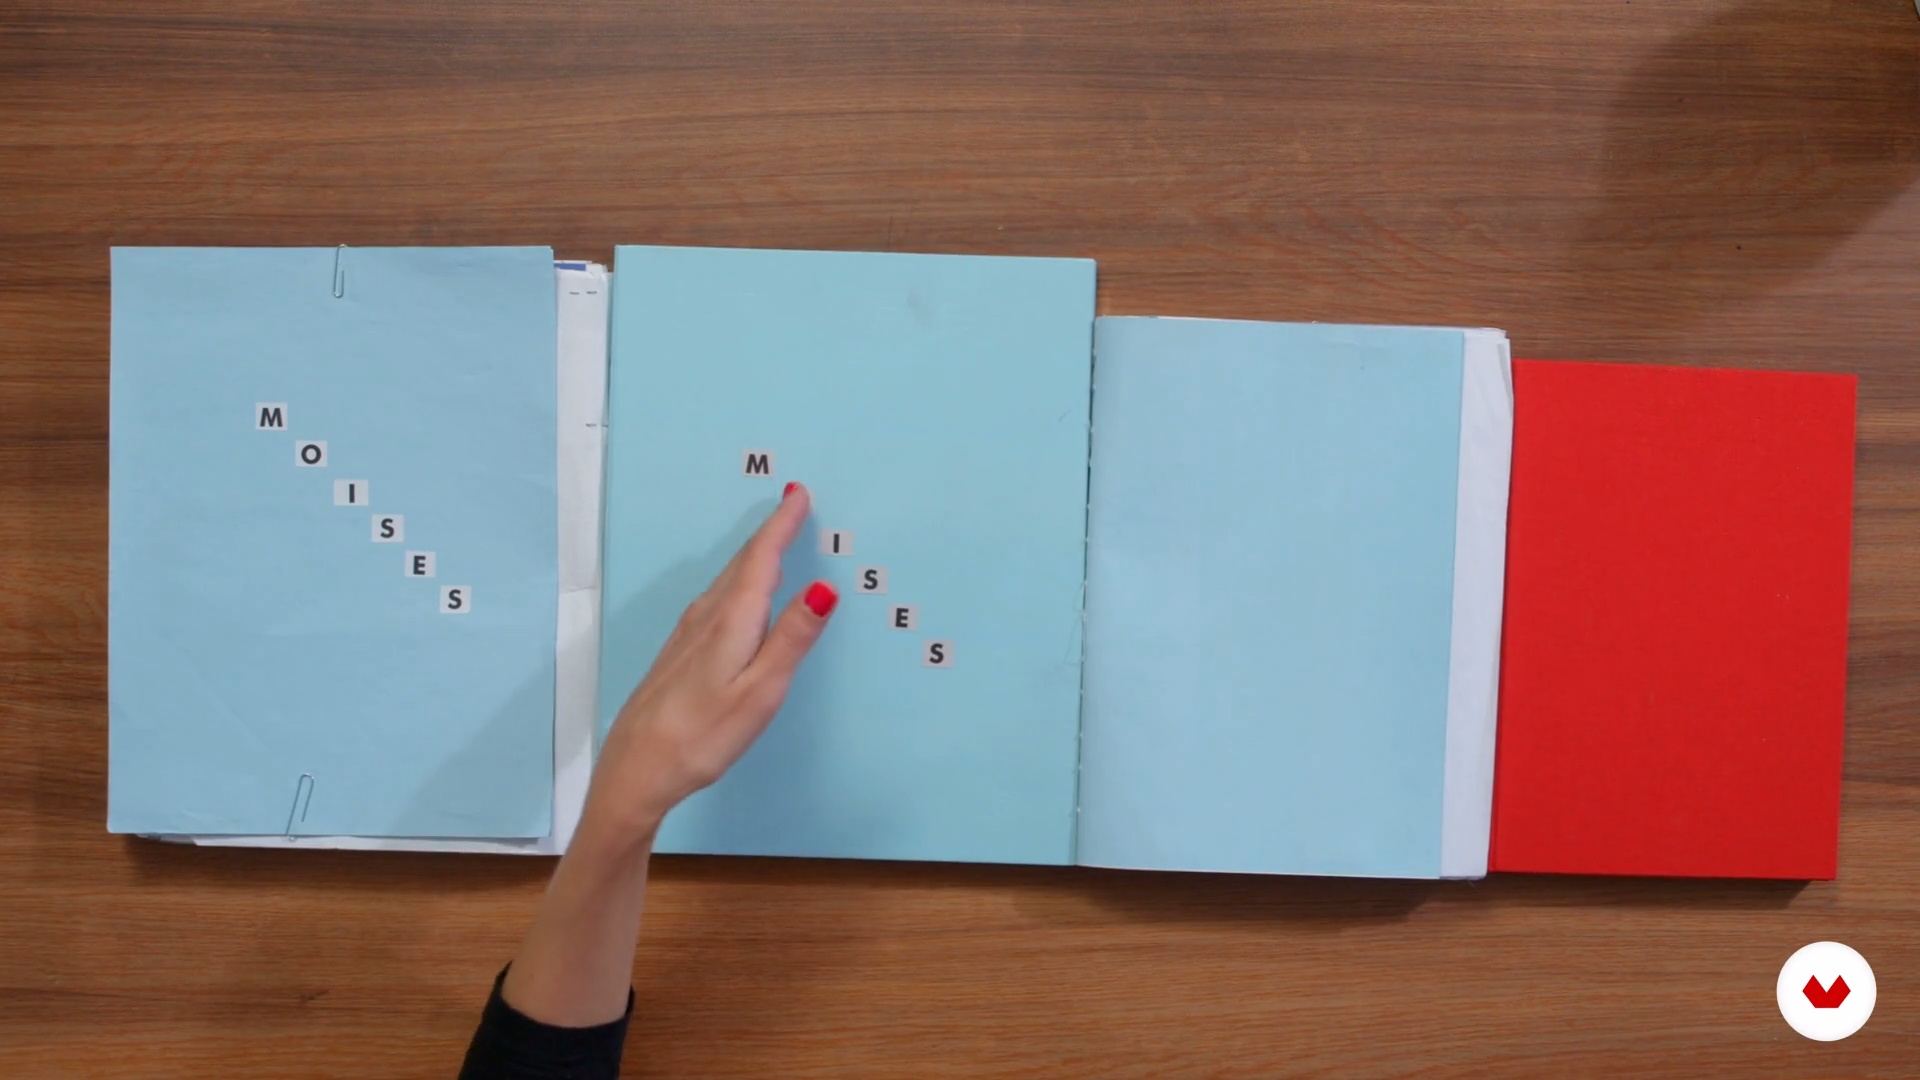
I will share the work process of my photographic series, Moisés , as a precedent to the creation of my photobook. I will focus mainly on pointing out the characteristics of the series and the images that were later key to the conceptualization of the book.
9m
 8
8Conceptualization of a photobook. What experience do we want to generate with our book?
Now we will see how to link the concept of the photobook to the experience we want to generate for the reader. Thinking about the photobook as an object defined by its materiality, we will study the transit of images conceived as a photographic series to the book.
17m
 9
9Try and failure
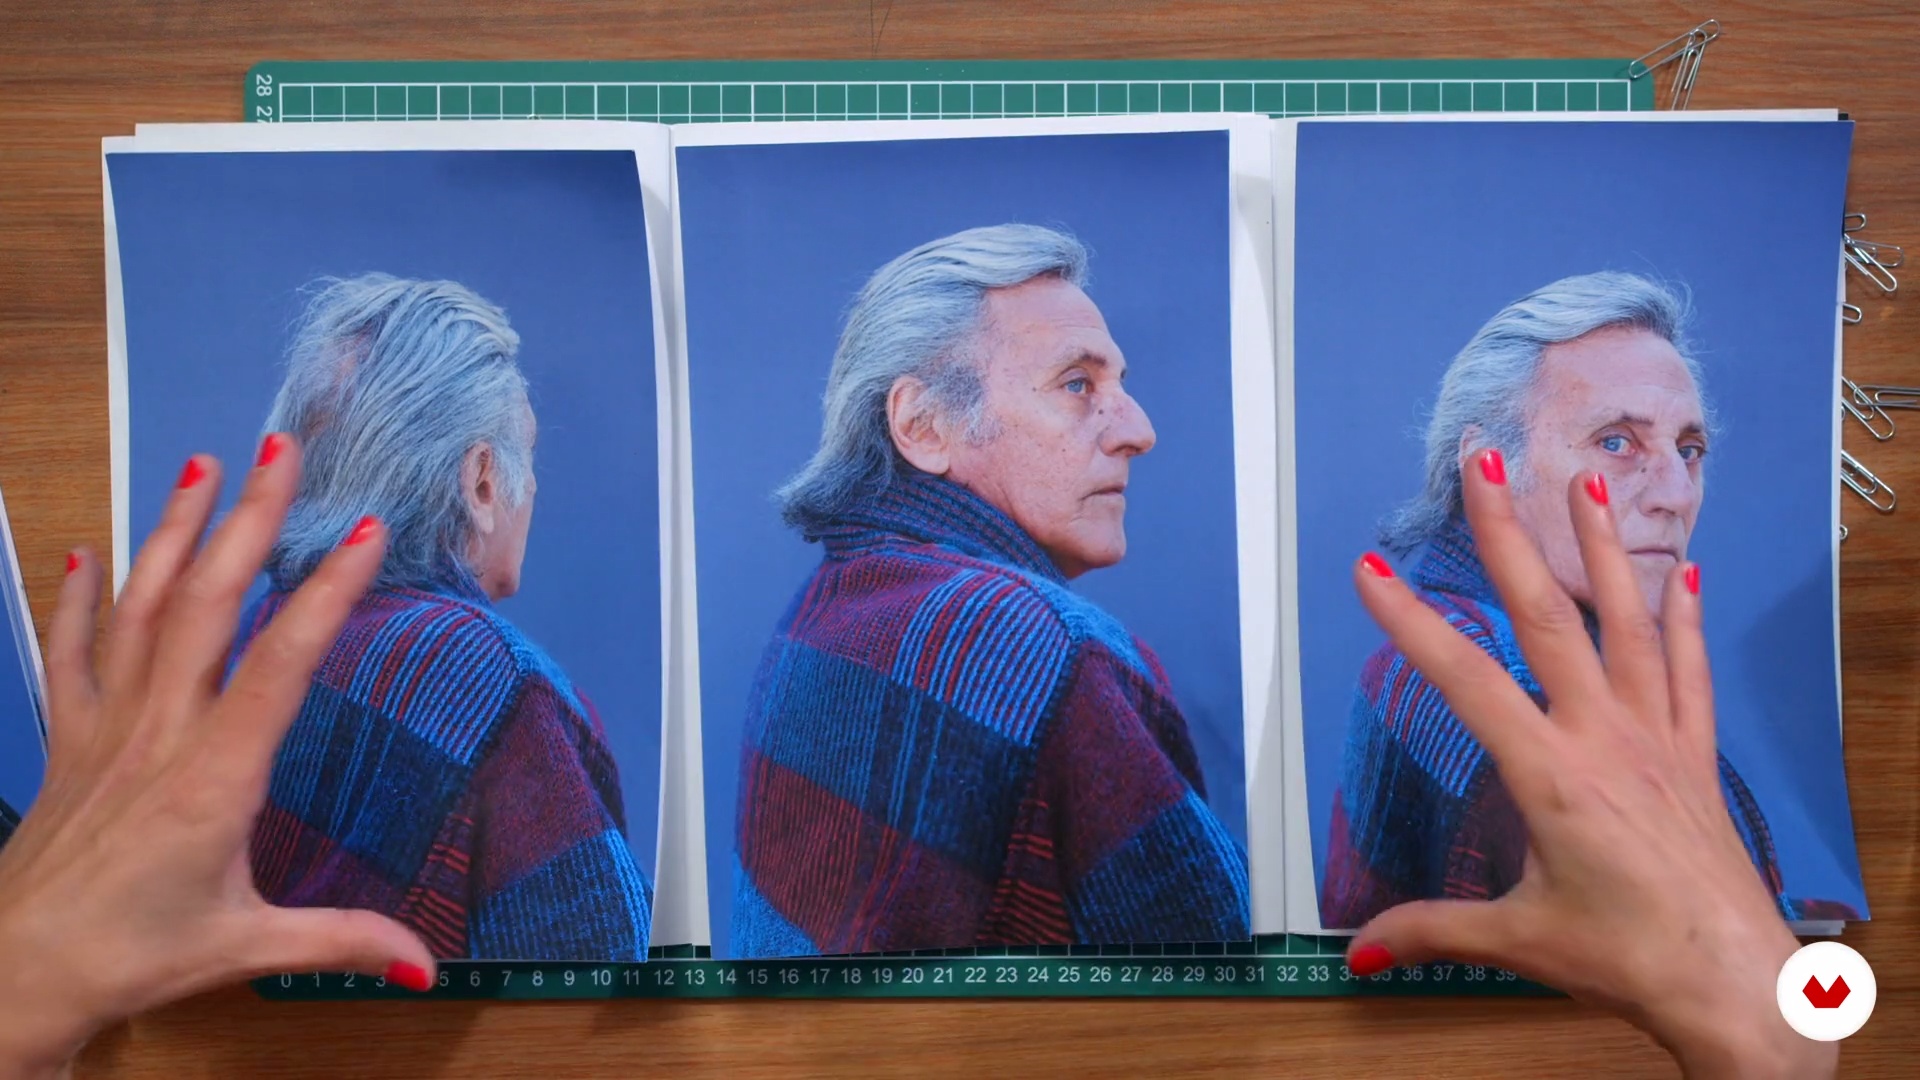
In this lesson, we will see sequence and editing based on conceptualization. Under the premise that editing is creating meaning , we will address different approaches to photo editing.
14m
 10
10Crucial decisions
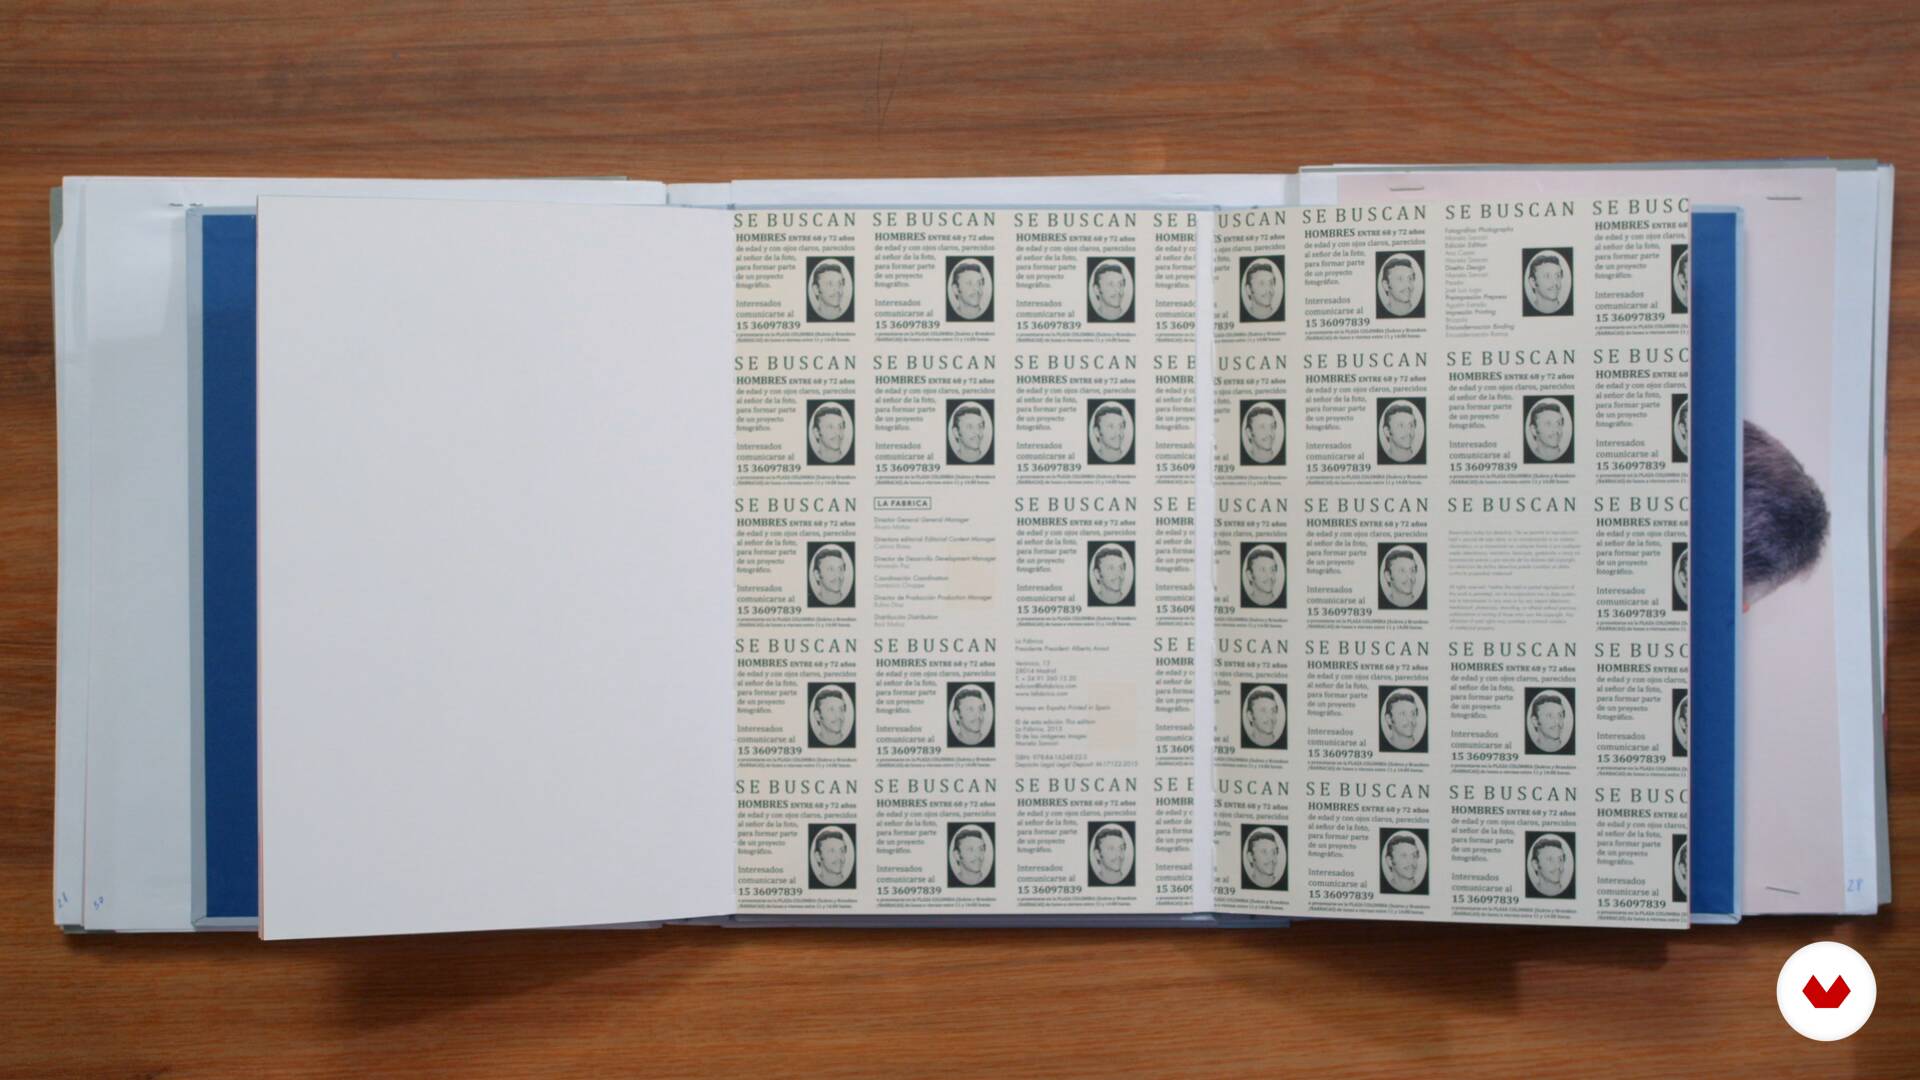
Now we will analyze the fundamental decisions to be taken to materialize the concept.
8m
 11
11What does materiality mean?
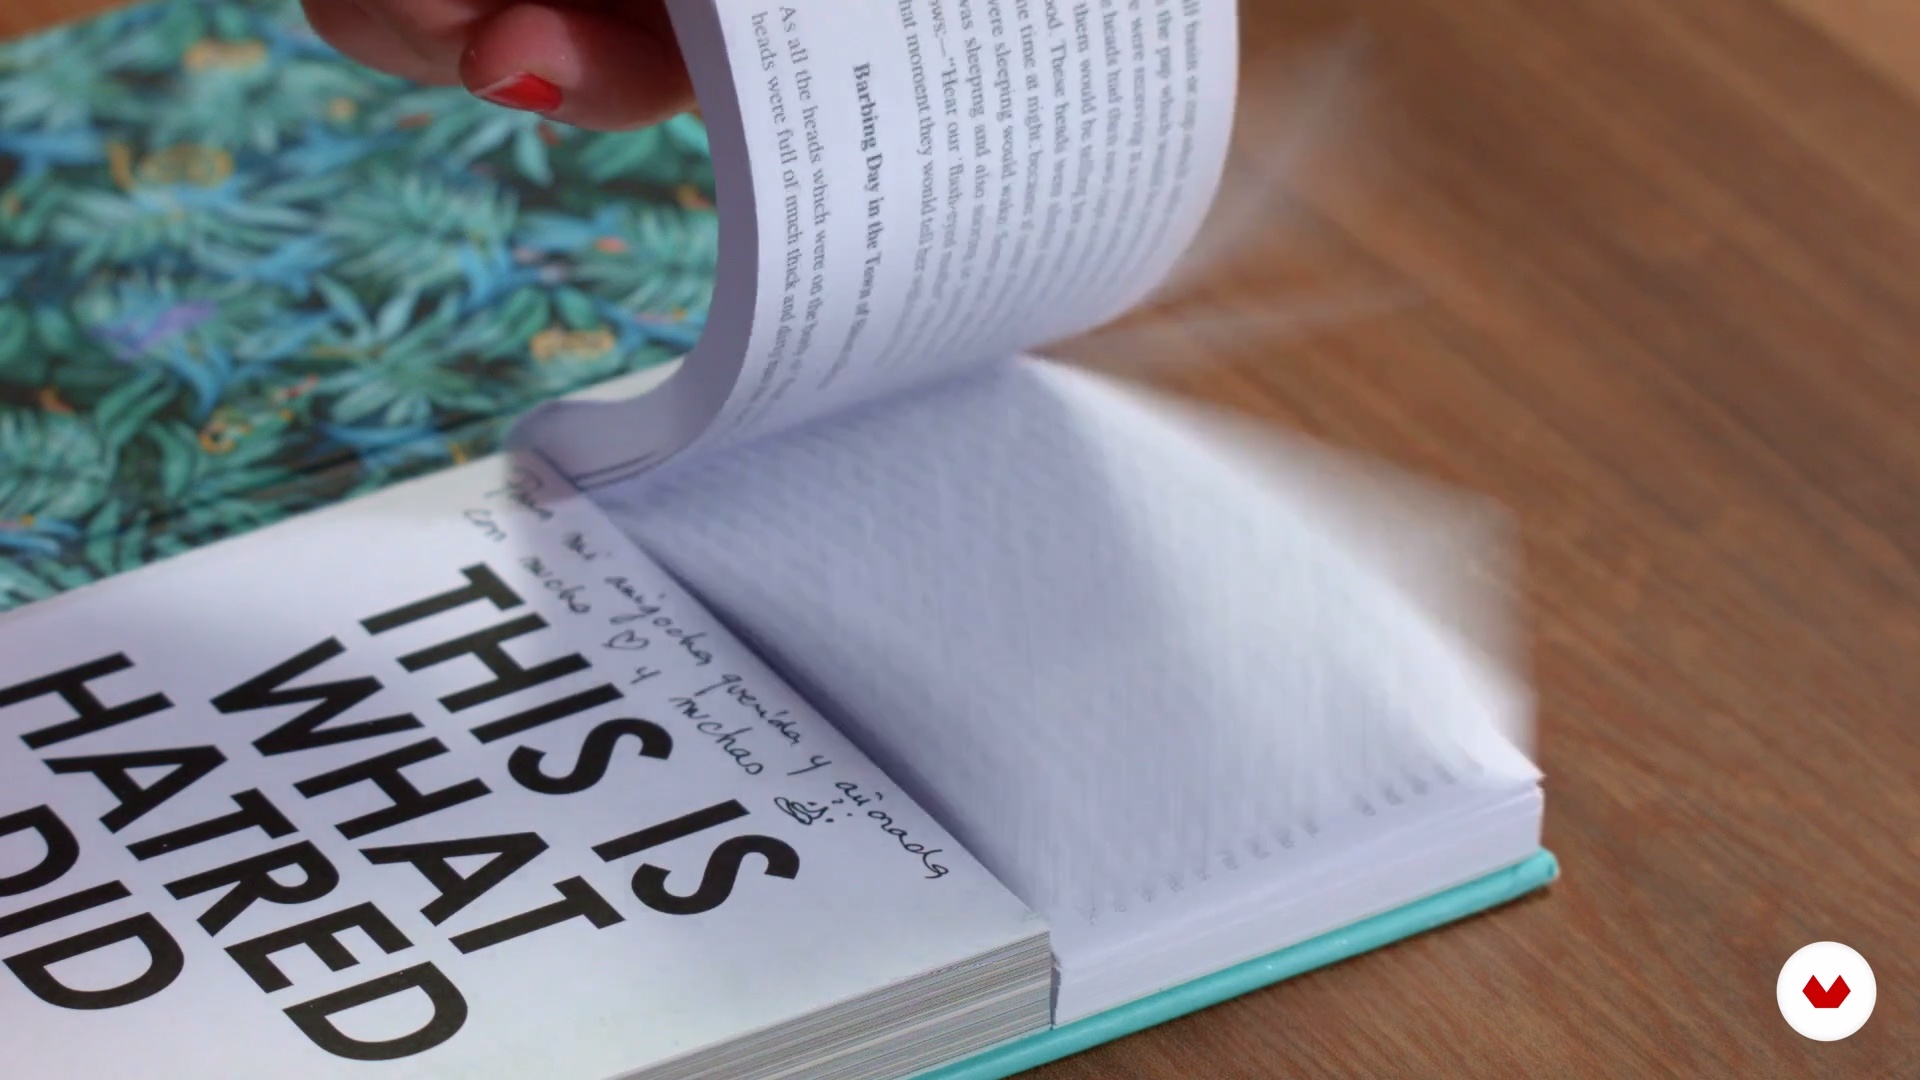
We will review the material aspects of a selection of photobooks, seeing different types of papers, types of printing, different binding techniques, materials, formats, sizes, typography and more.
11m
 12
12Different materials, different meanings
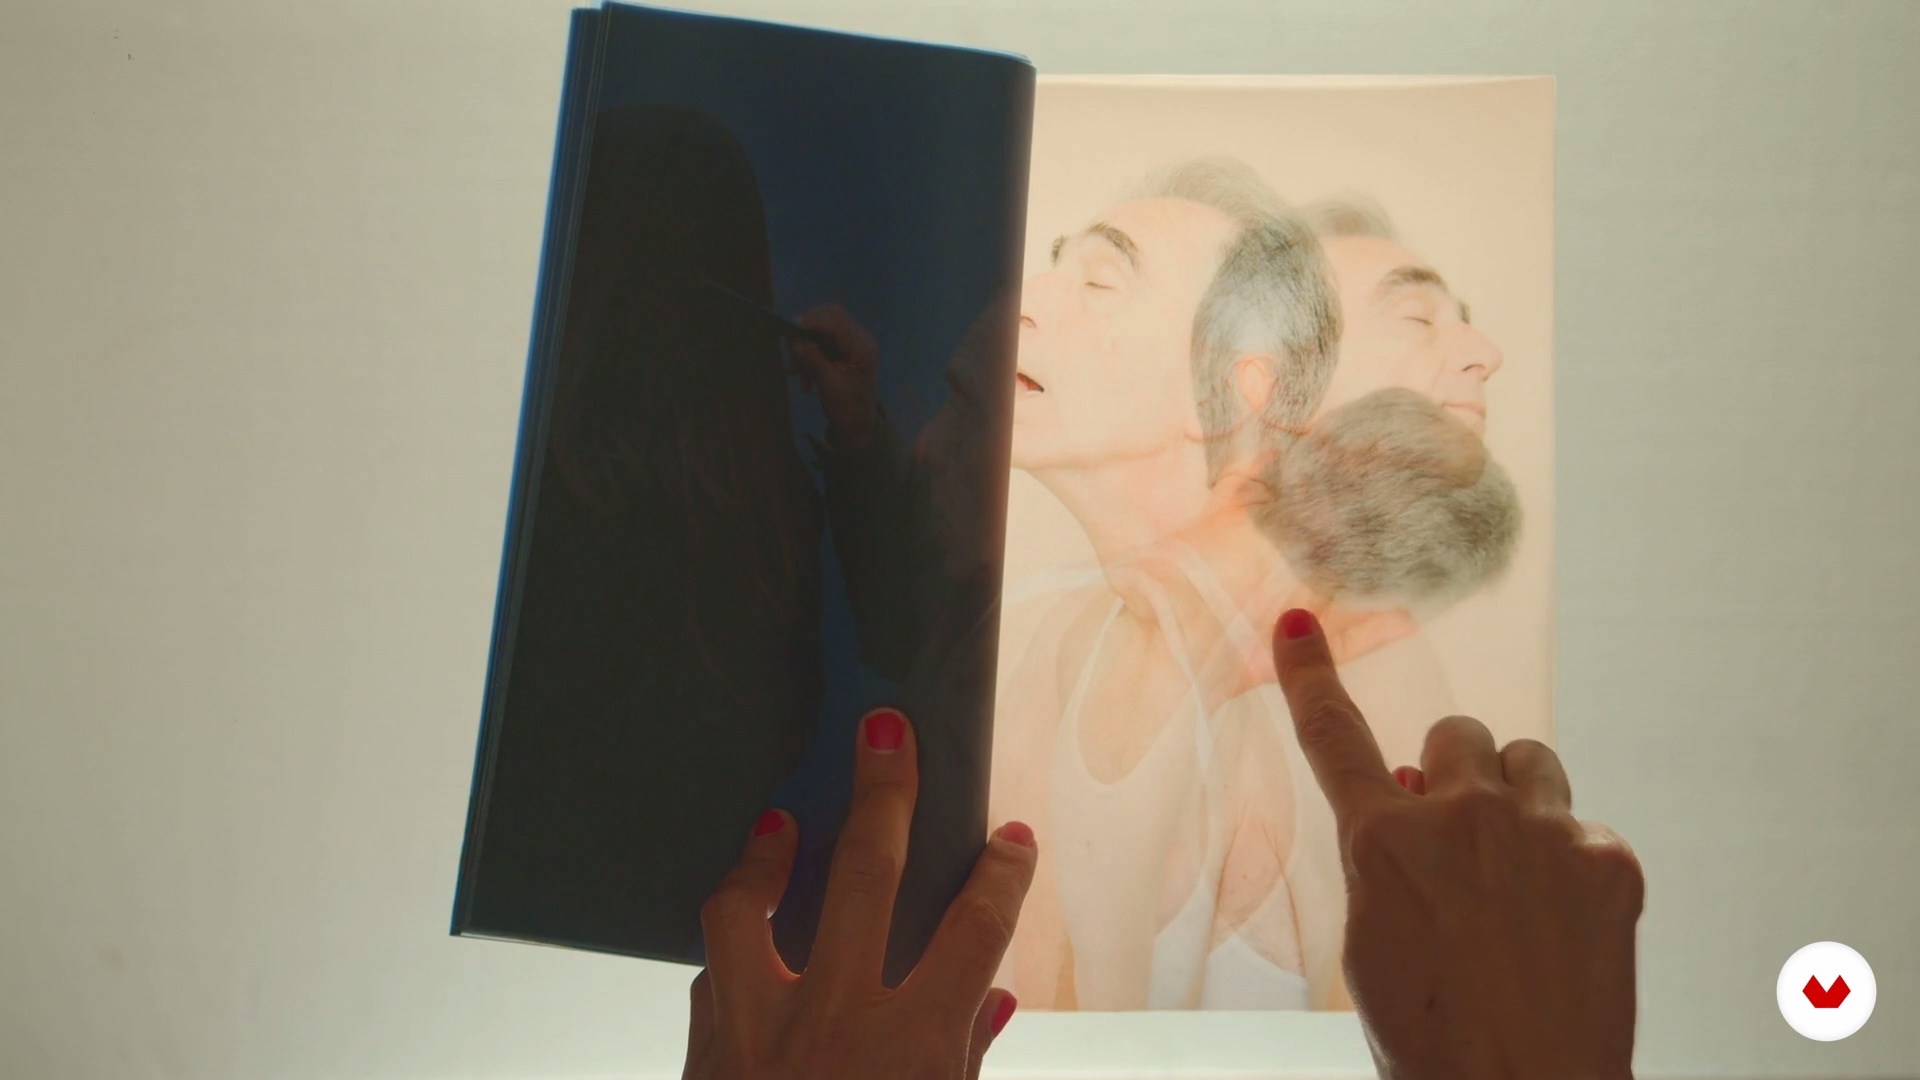
We will check, from a practical exercise, how to use different materials and formats can result in completely different books.
5m
 13
13The importance of the physical model
Now we will apply the knowledge acquired throughout the course, seeking to capture the concept of our photobook in a first physical model. The important thing is to always keep in mind that the model will go through many changes and it is necessary to "test" those changes on a paper model, not on the computer screen. Already with our first physical model in hand, we will seek to refine the putting on page of our photos, we will analyze its format and all the decisions we have made in relation to the materials used.
6m
What is this course's project?
The project involves creating a multidisciplinary work of art. The student will integrate techniques such as photo embroidery, watercolor, screen printing, and visual poetry into an artist's book, exploring new narratives and sensory interactions through unique creative experiences.
Who is this specialization for?
Experimental photographers, visual artists, and artist's book creators who wish to explore new creative dimensions by blending photography with other artistic disciplines, expanding their practice into interdisciplinary territories rich in texture, color, and visual narrative.
Requirements and materials
No extensive prior knowledge is required. You will need a camera, printer, basic sewing supplies, brushes, and watercolors. Gather printed images, thread, needles, suitable paper, ink, and clippings. Explore diverse techniques with curiosity and creativity.
Select to get to know your teachers in this specialization course


What to expect from this specialization course
Learn at your own pace
Enjoy learning from home without a set schedule and with an easy-to-follow method. You set your own pace.
Learn from the best professionals
Learn valuable methods and techniques explained by top experts in the creative sector.
Meet expert teachers
Each expert teaches what they do best, with clear guidelines, true passion, and professional insight in every lesson.
Certificates
PLUSIf you're a Plus member, get a custom certificate for every specialization course. Share it on your portfolio, social media, or wherever you like.
Get front-row seats
Videos of the highest quality, so you don't miss a single detail. With unlimited access, you can watch them as many times as you need to perfect your technique.
Share knowledge and ideas
Ask questions, request feedback, or offer solutions. Share your learning experience with other students in the community who are as passionate about creativity as you are.
Connect with a global creative community
The community is home to millions of people from around the world who are curious and passionate about exploring and expressing their creativity.
Watch professionally produced courses
Domestika curates its teacher roster and produces every course in-house to ensure a high-quality online learning experience.