
Master newspaper design, editorial layout, and infographics to create impactful visual stories across print and digital platforms
Embark on a creative journey through the realm of newspaper design, where Friendhood Studio, Francesco Franchi, Harry Hepburn, Mark Porter, and Manuel Bortoletti guide you in mastering the art of transforming complex stories into compelling visual narratives. Learn to design with precision and impact, using a blend of traditional and modern techniques to craft newspapers that resonate with today's audiences. From typography to layout innovation, every element is an opportunity to captivate readers and convey information effectively.
Explore the unique challenges of newspaper design in the digital age, as you develop a keen understanding of how to adapt editorial content across multiple platforms. With insights from leading experts, discover how to balance text and visuals harmoniously, creating a seamless flow that enhances reader engagement. By the end, you'll have the skills to design newspapers that are not only informative but also visually striking, meeting the demands of both print and digital media.
What will you learn in this specialization?
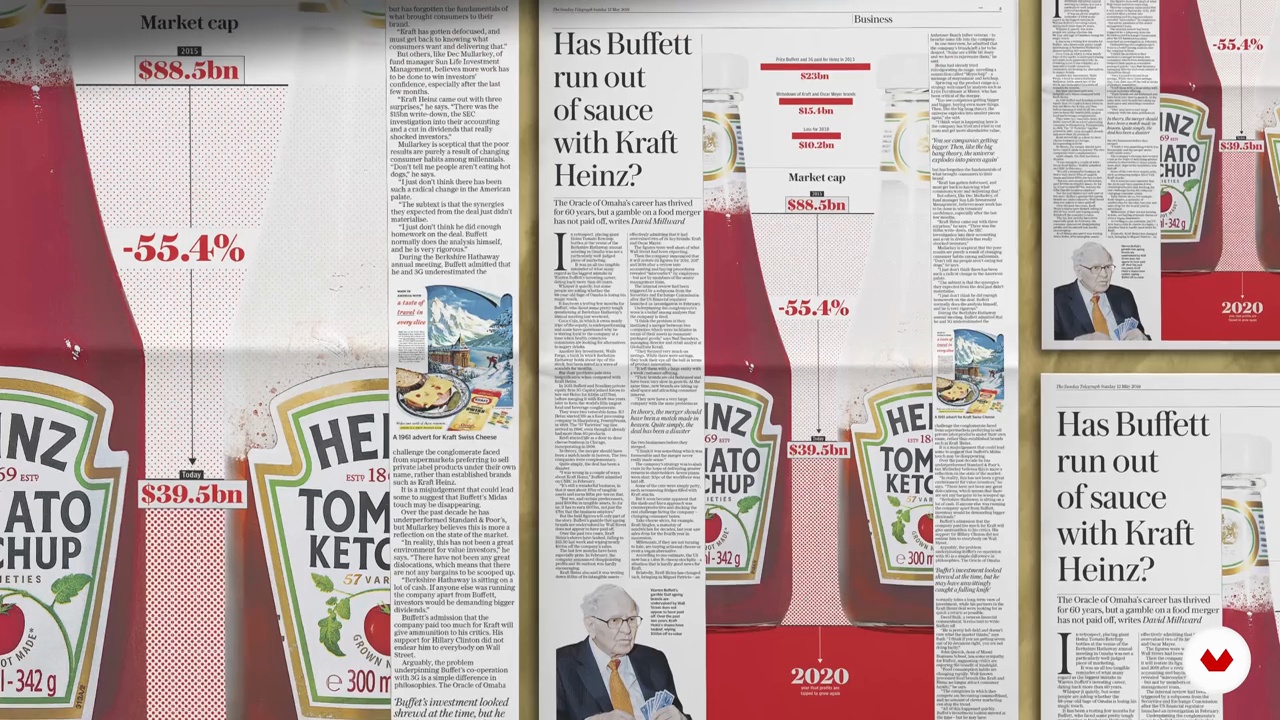 1
1Introduction
Let´s see how to approach newspaper design as a system that balances structure, clarity, and visual impact. You will understand how aesthetics and organization work together, shaping information into meaningful experiences across print and digital platforms, with purpose, rhythm, and editorial intention.
1m
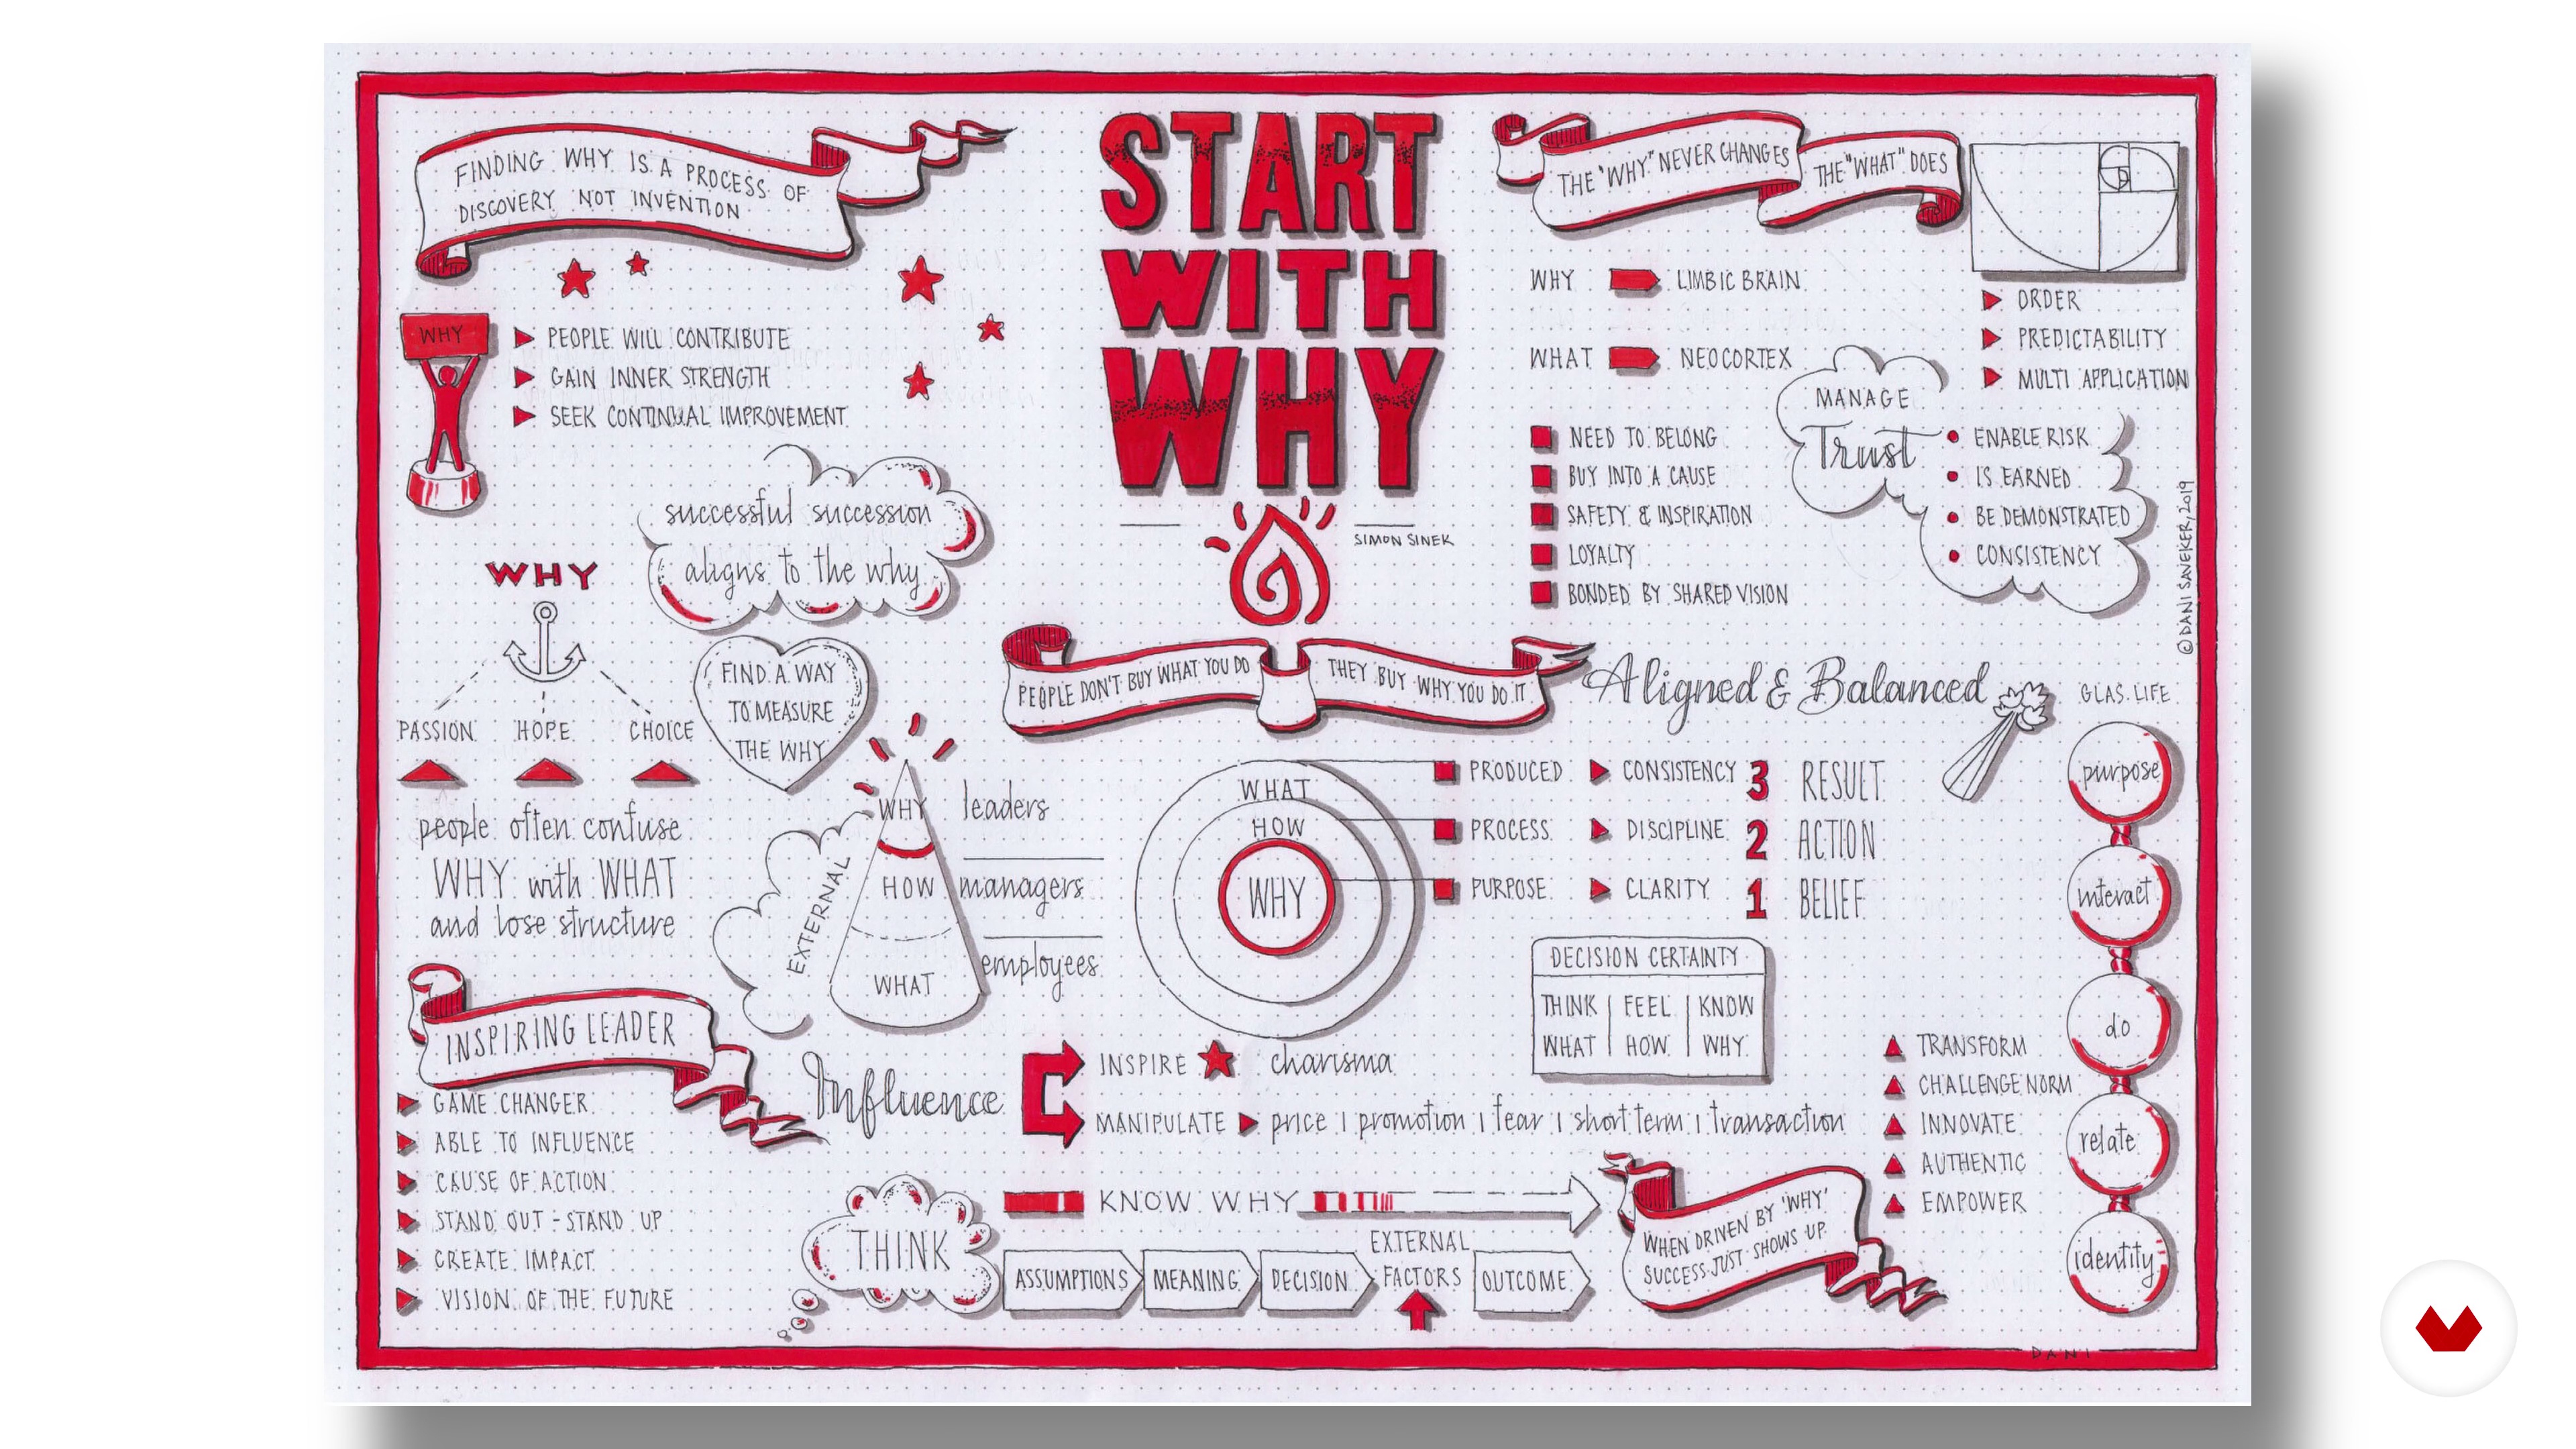 2
2Influences | Isabella Bunnell & Alex Reece
Discover who and what influences us, both inside and outside of work.
5m
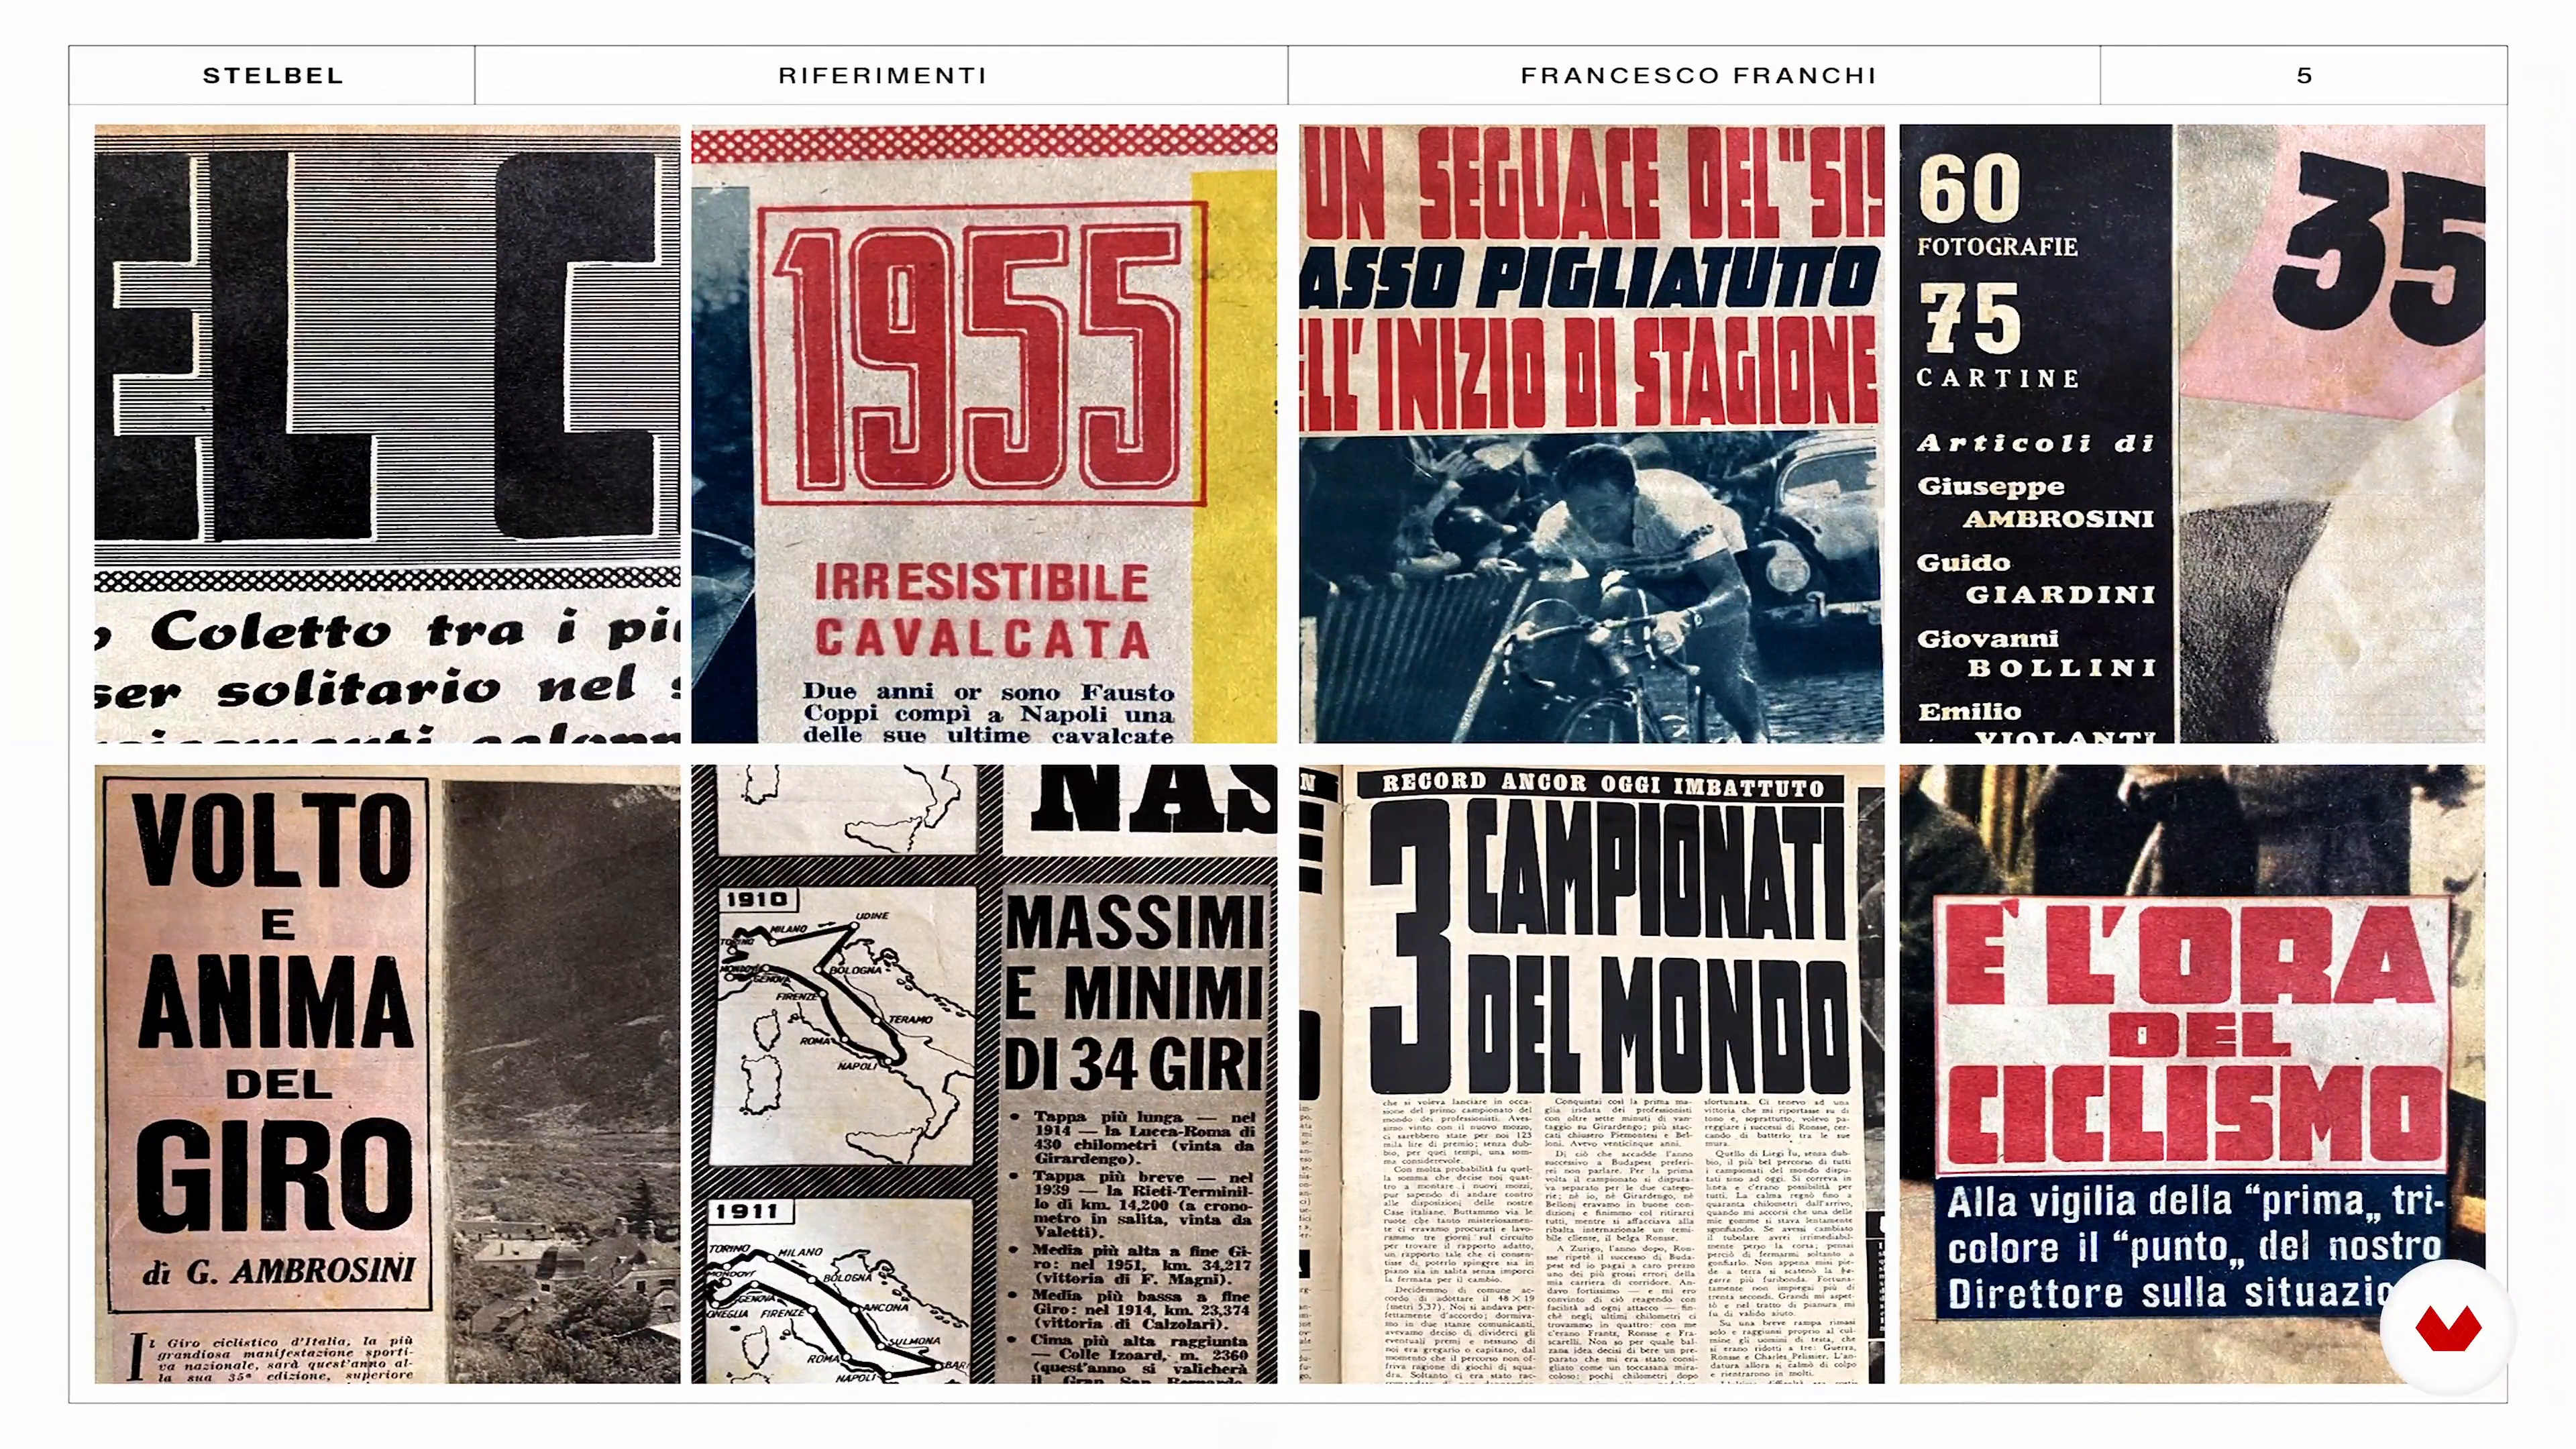 2
2Influences | Francesco Franchi
Feeding on inspirations is fundamental to the creative process. I thought it was important to share some of my main influences with you.
15m
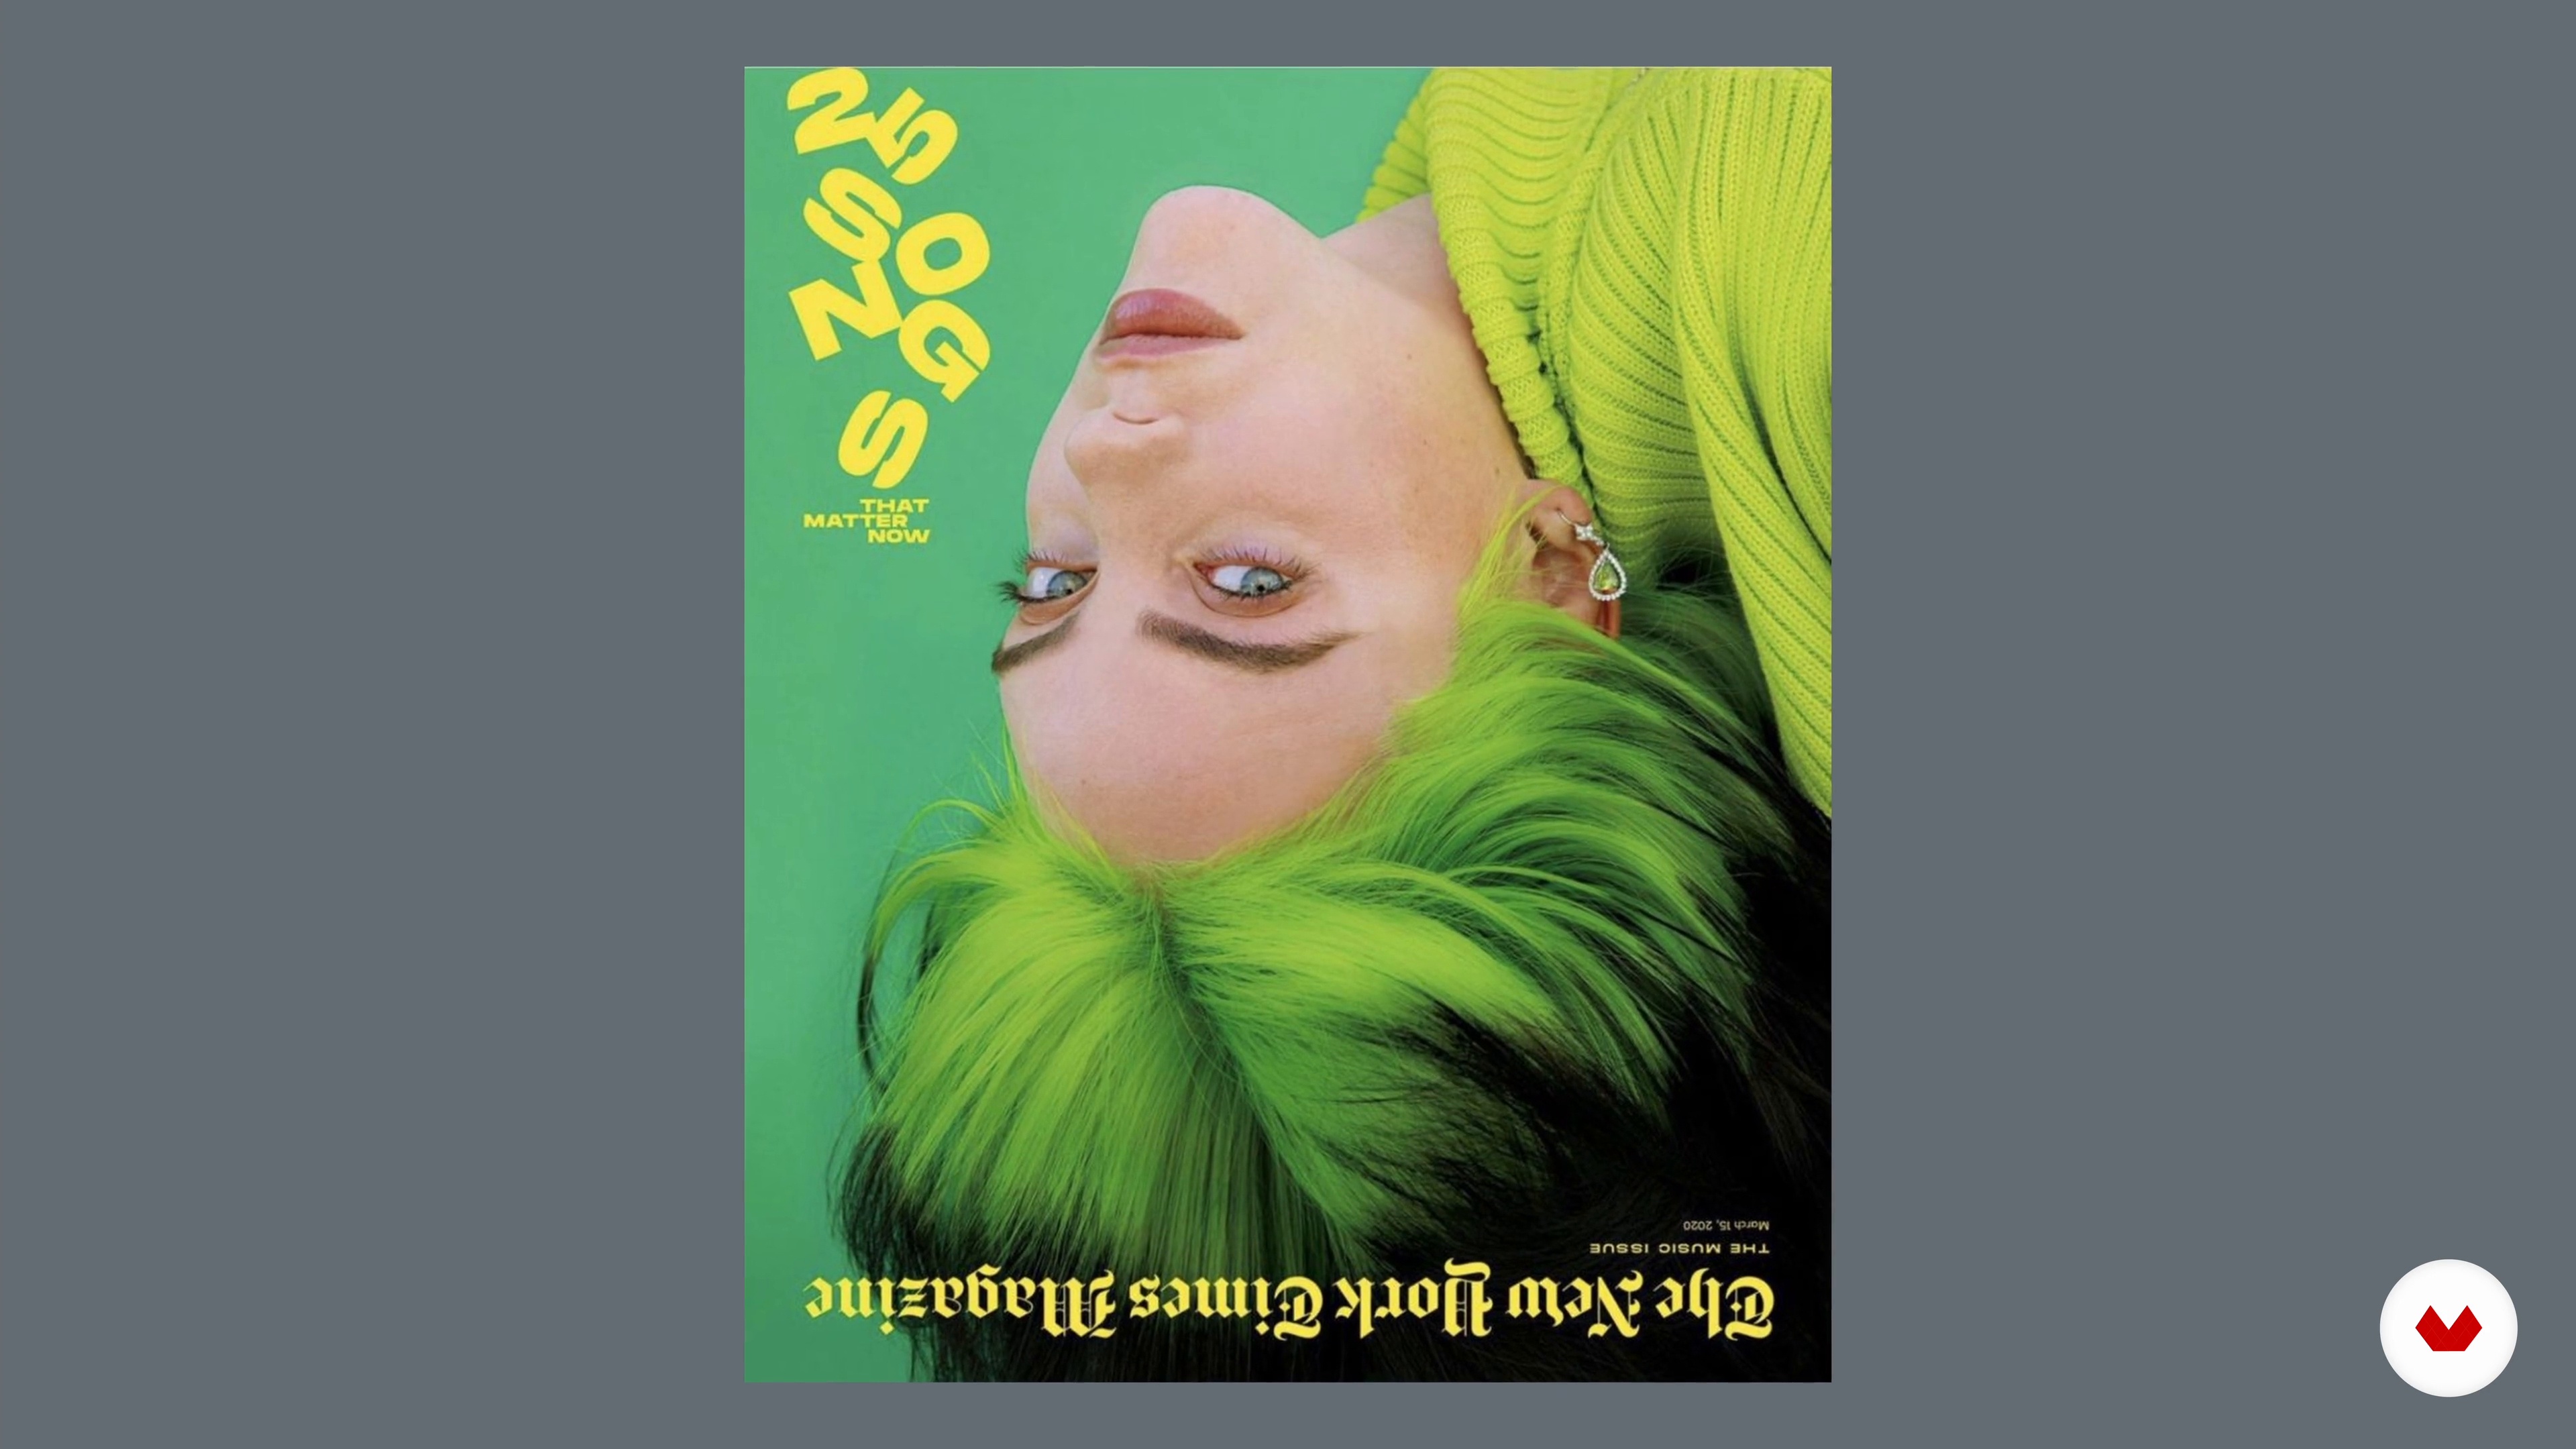 2
2Influences | Harry Hepburn
I am now going to discuss what and hwo has influenced me over my career so far.
1m
 2
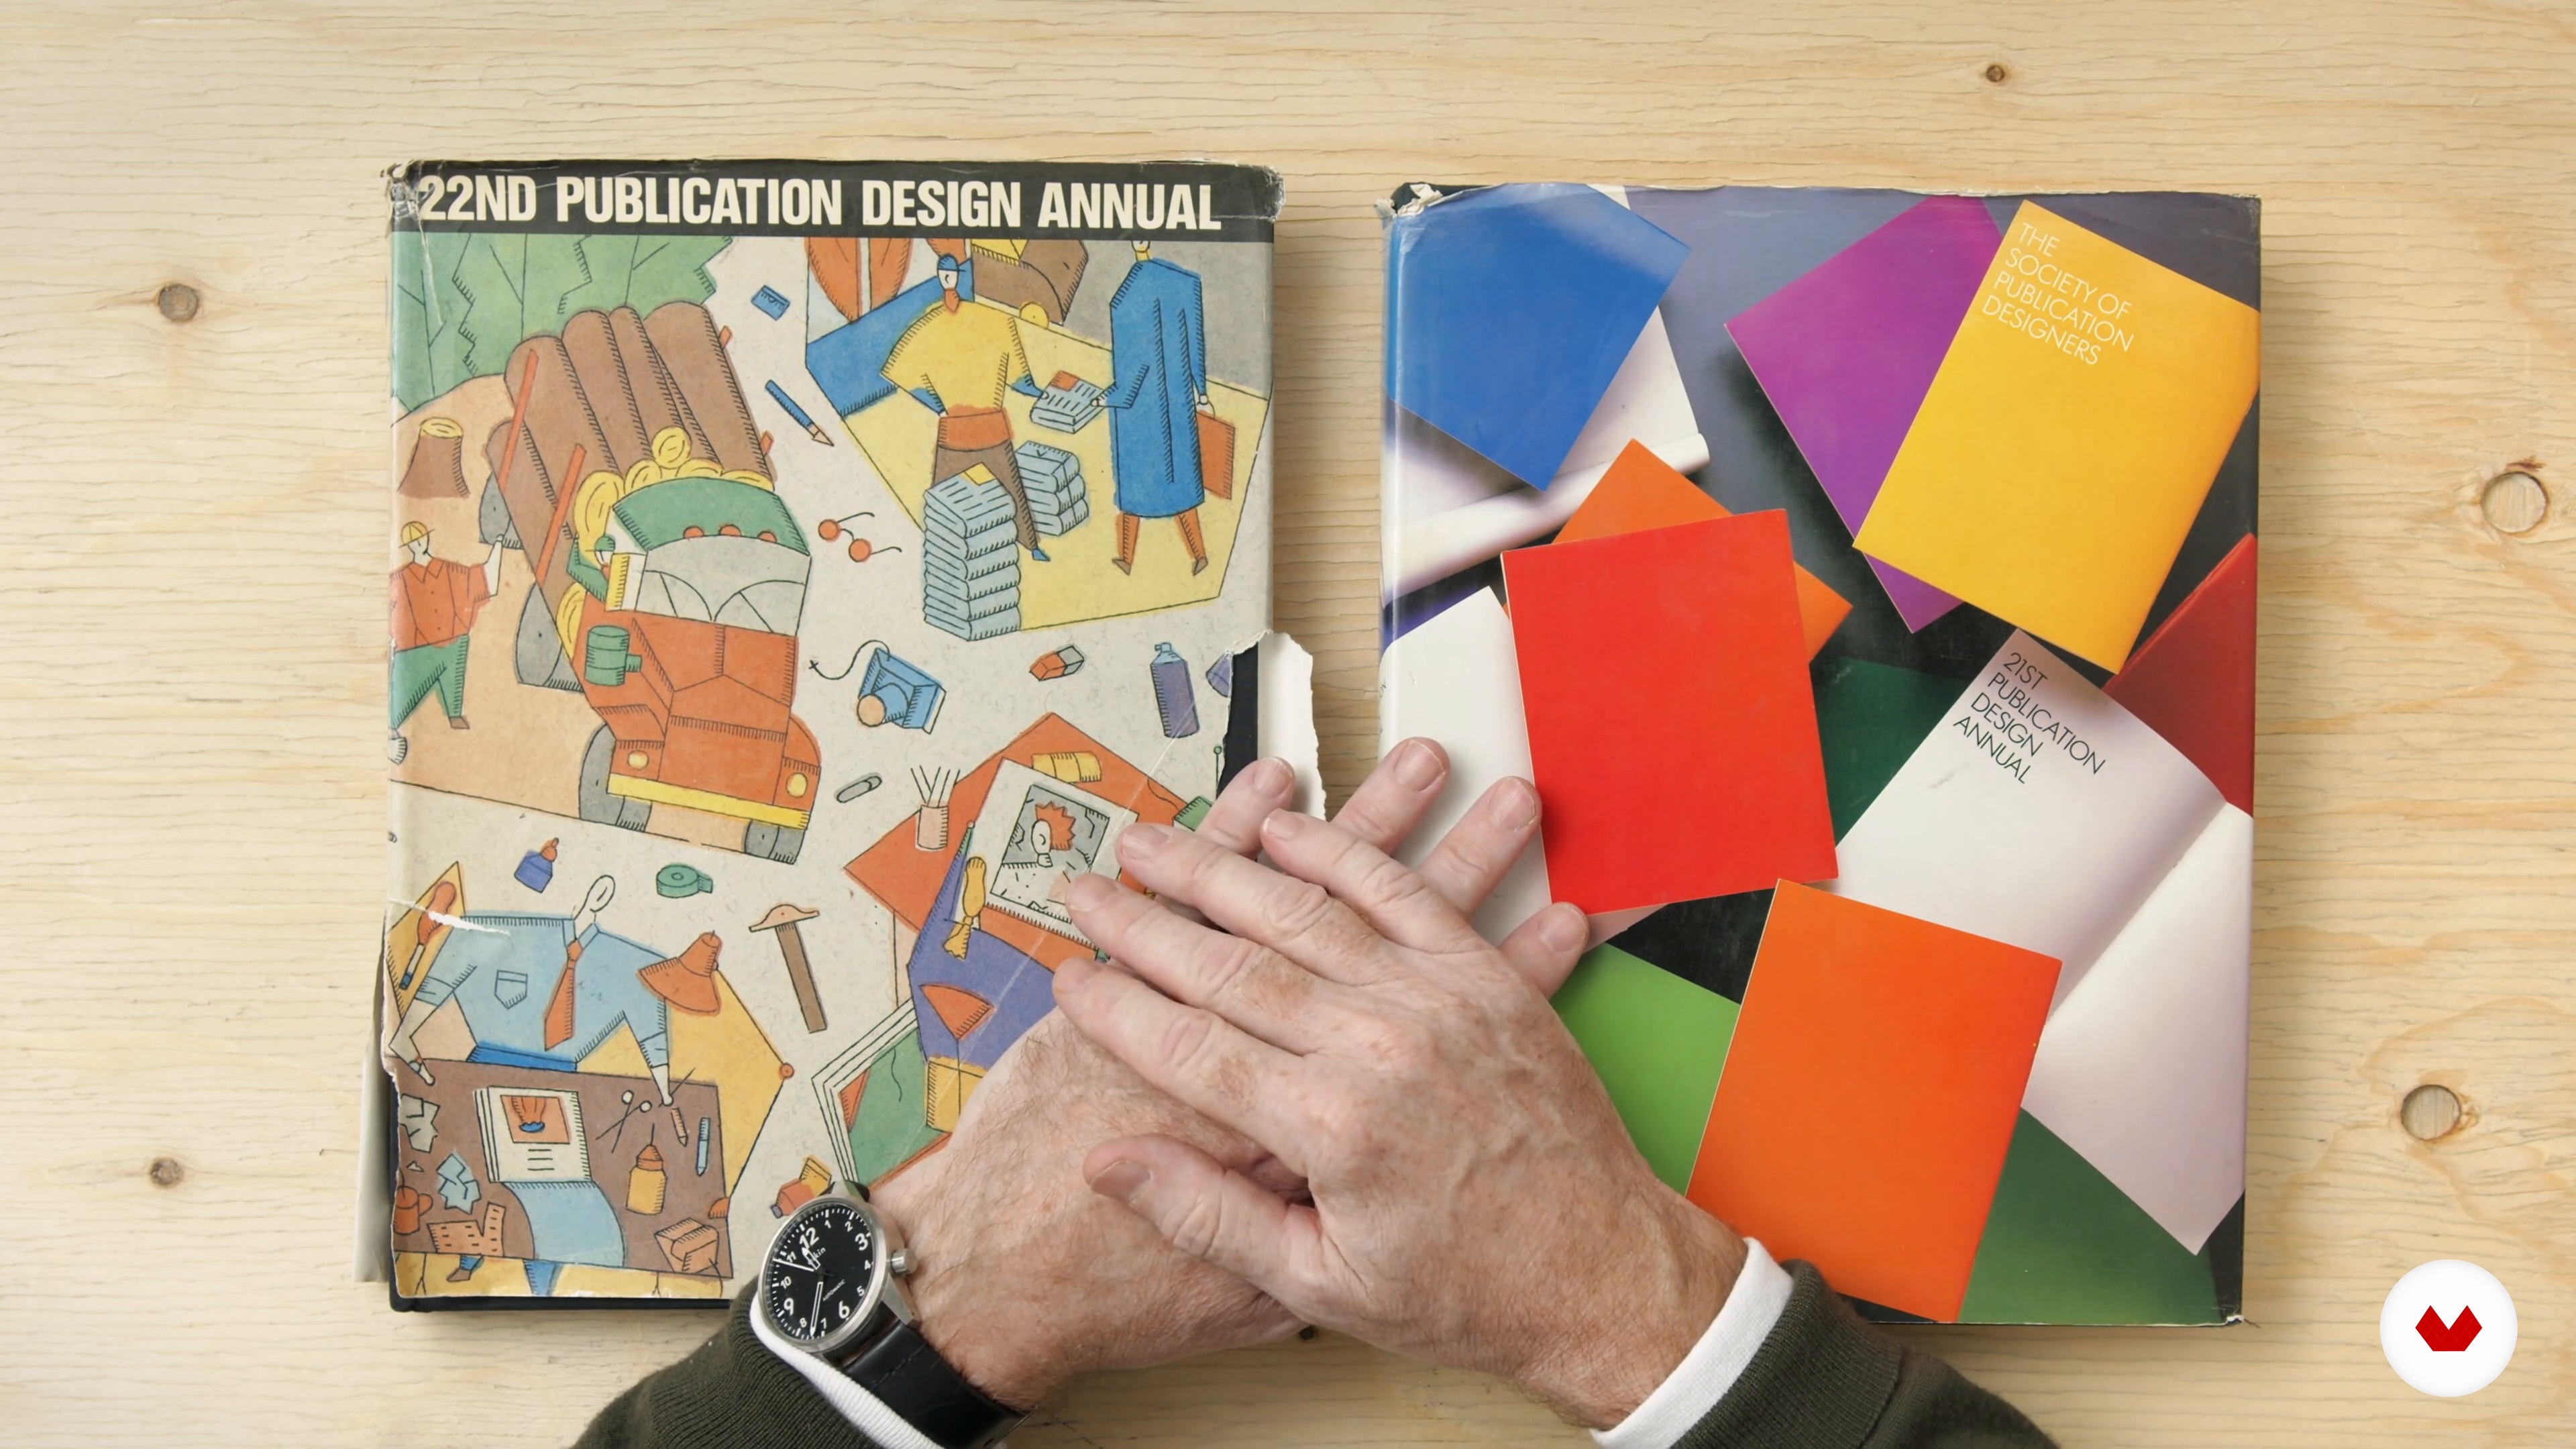
2Influences | Mark Porter
In this lesson, I’ll share some of the influences that have inspired me in my career over the years: from magazines of the 1960s and 70s to brilliant editors I've met and worked with.
12m
 2
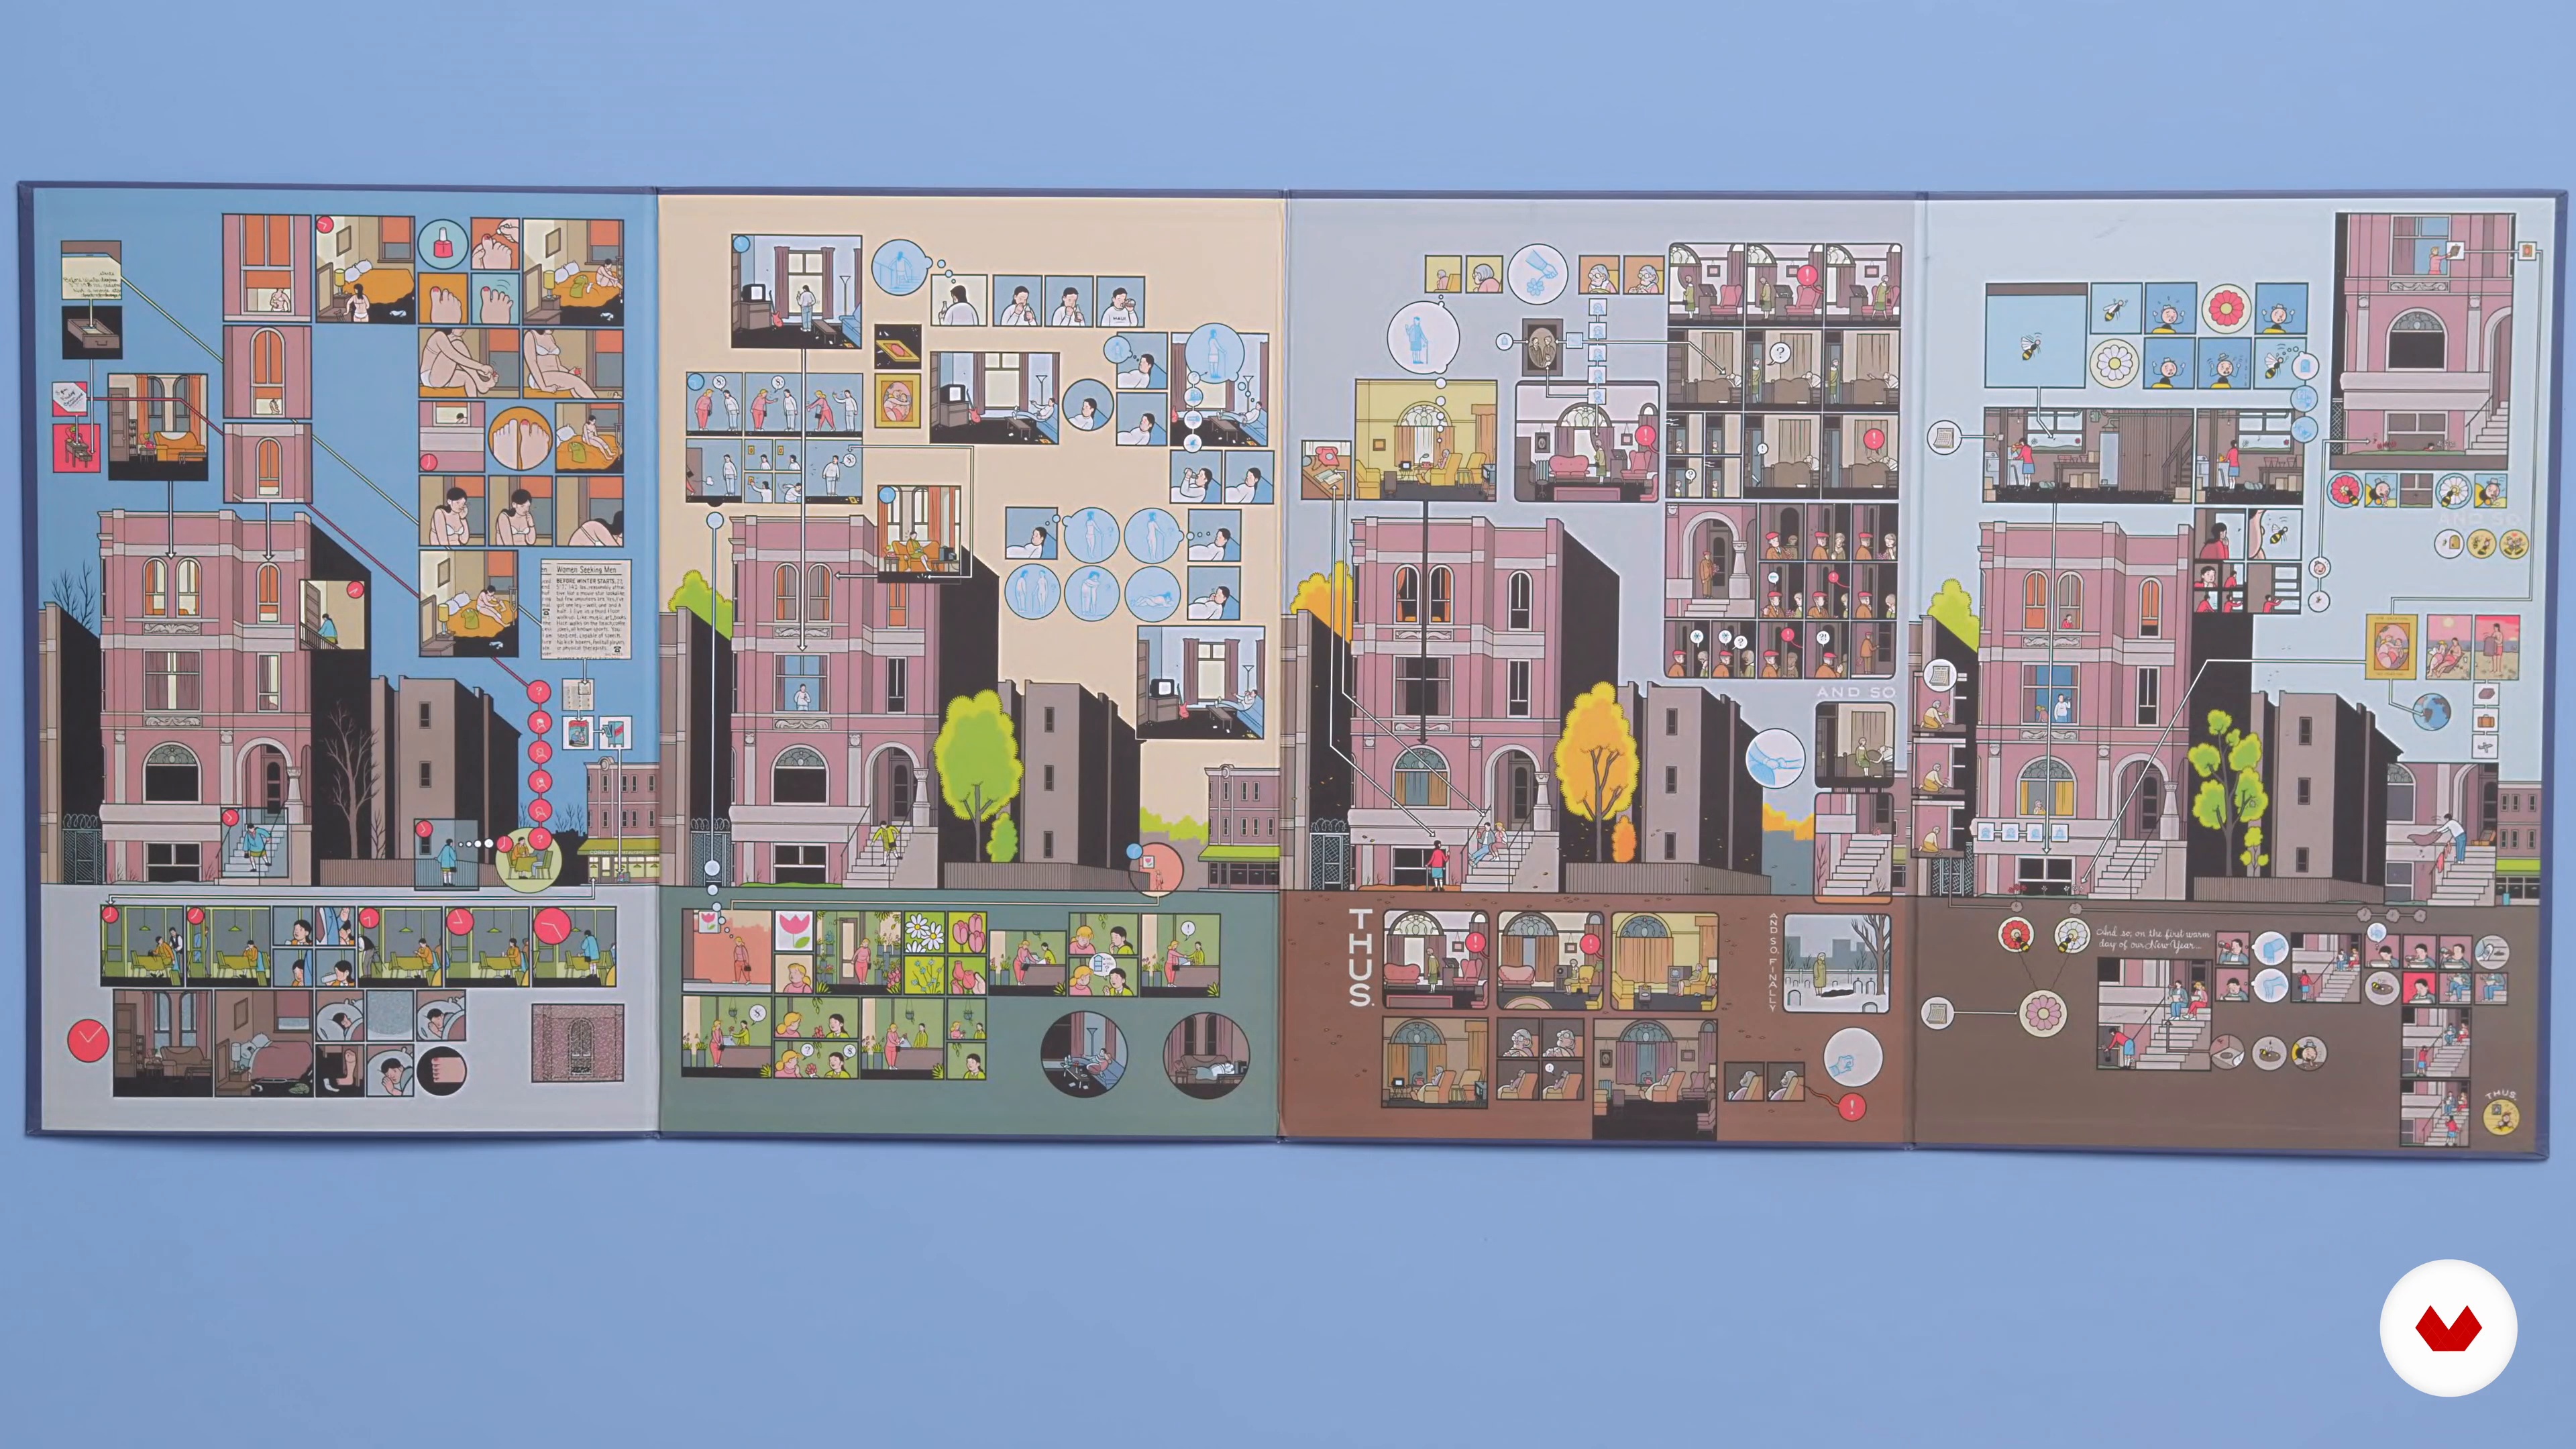
2Influences | Manuel Bortoletti
Here I will show you where I get inspiration for my projects.
10m
 3
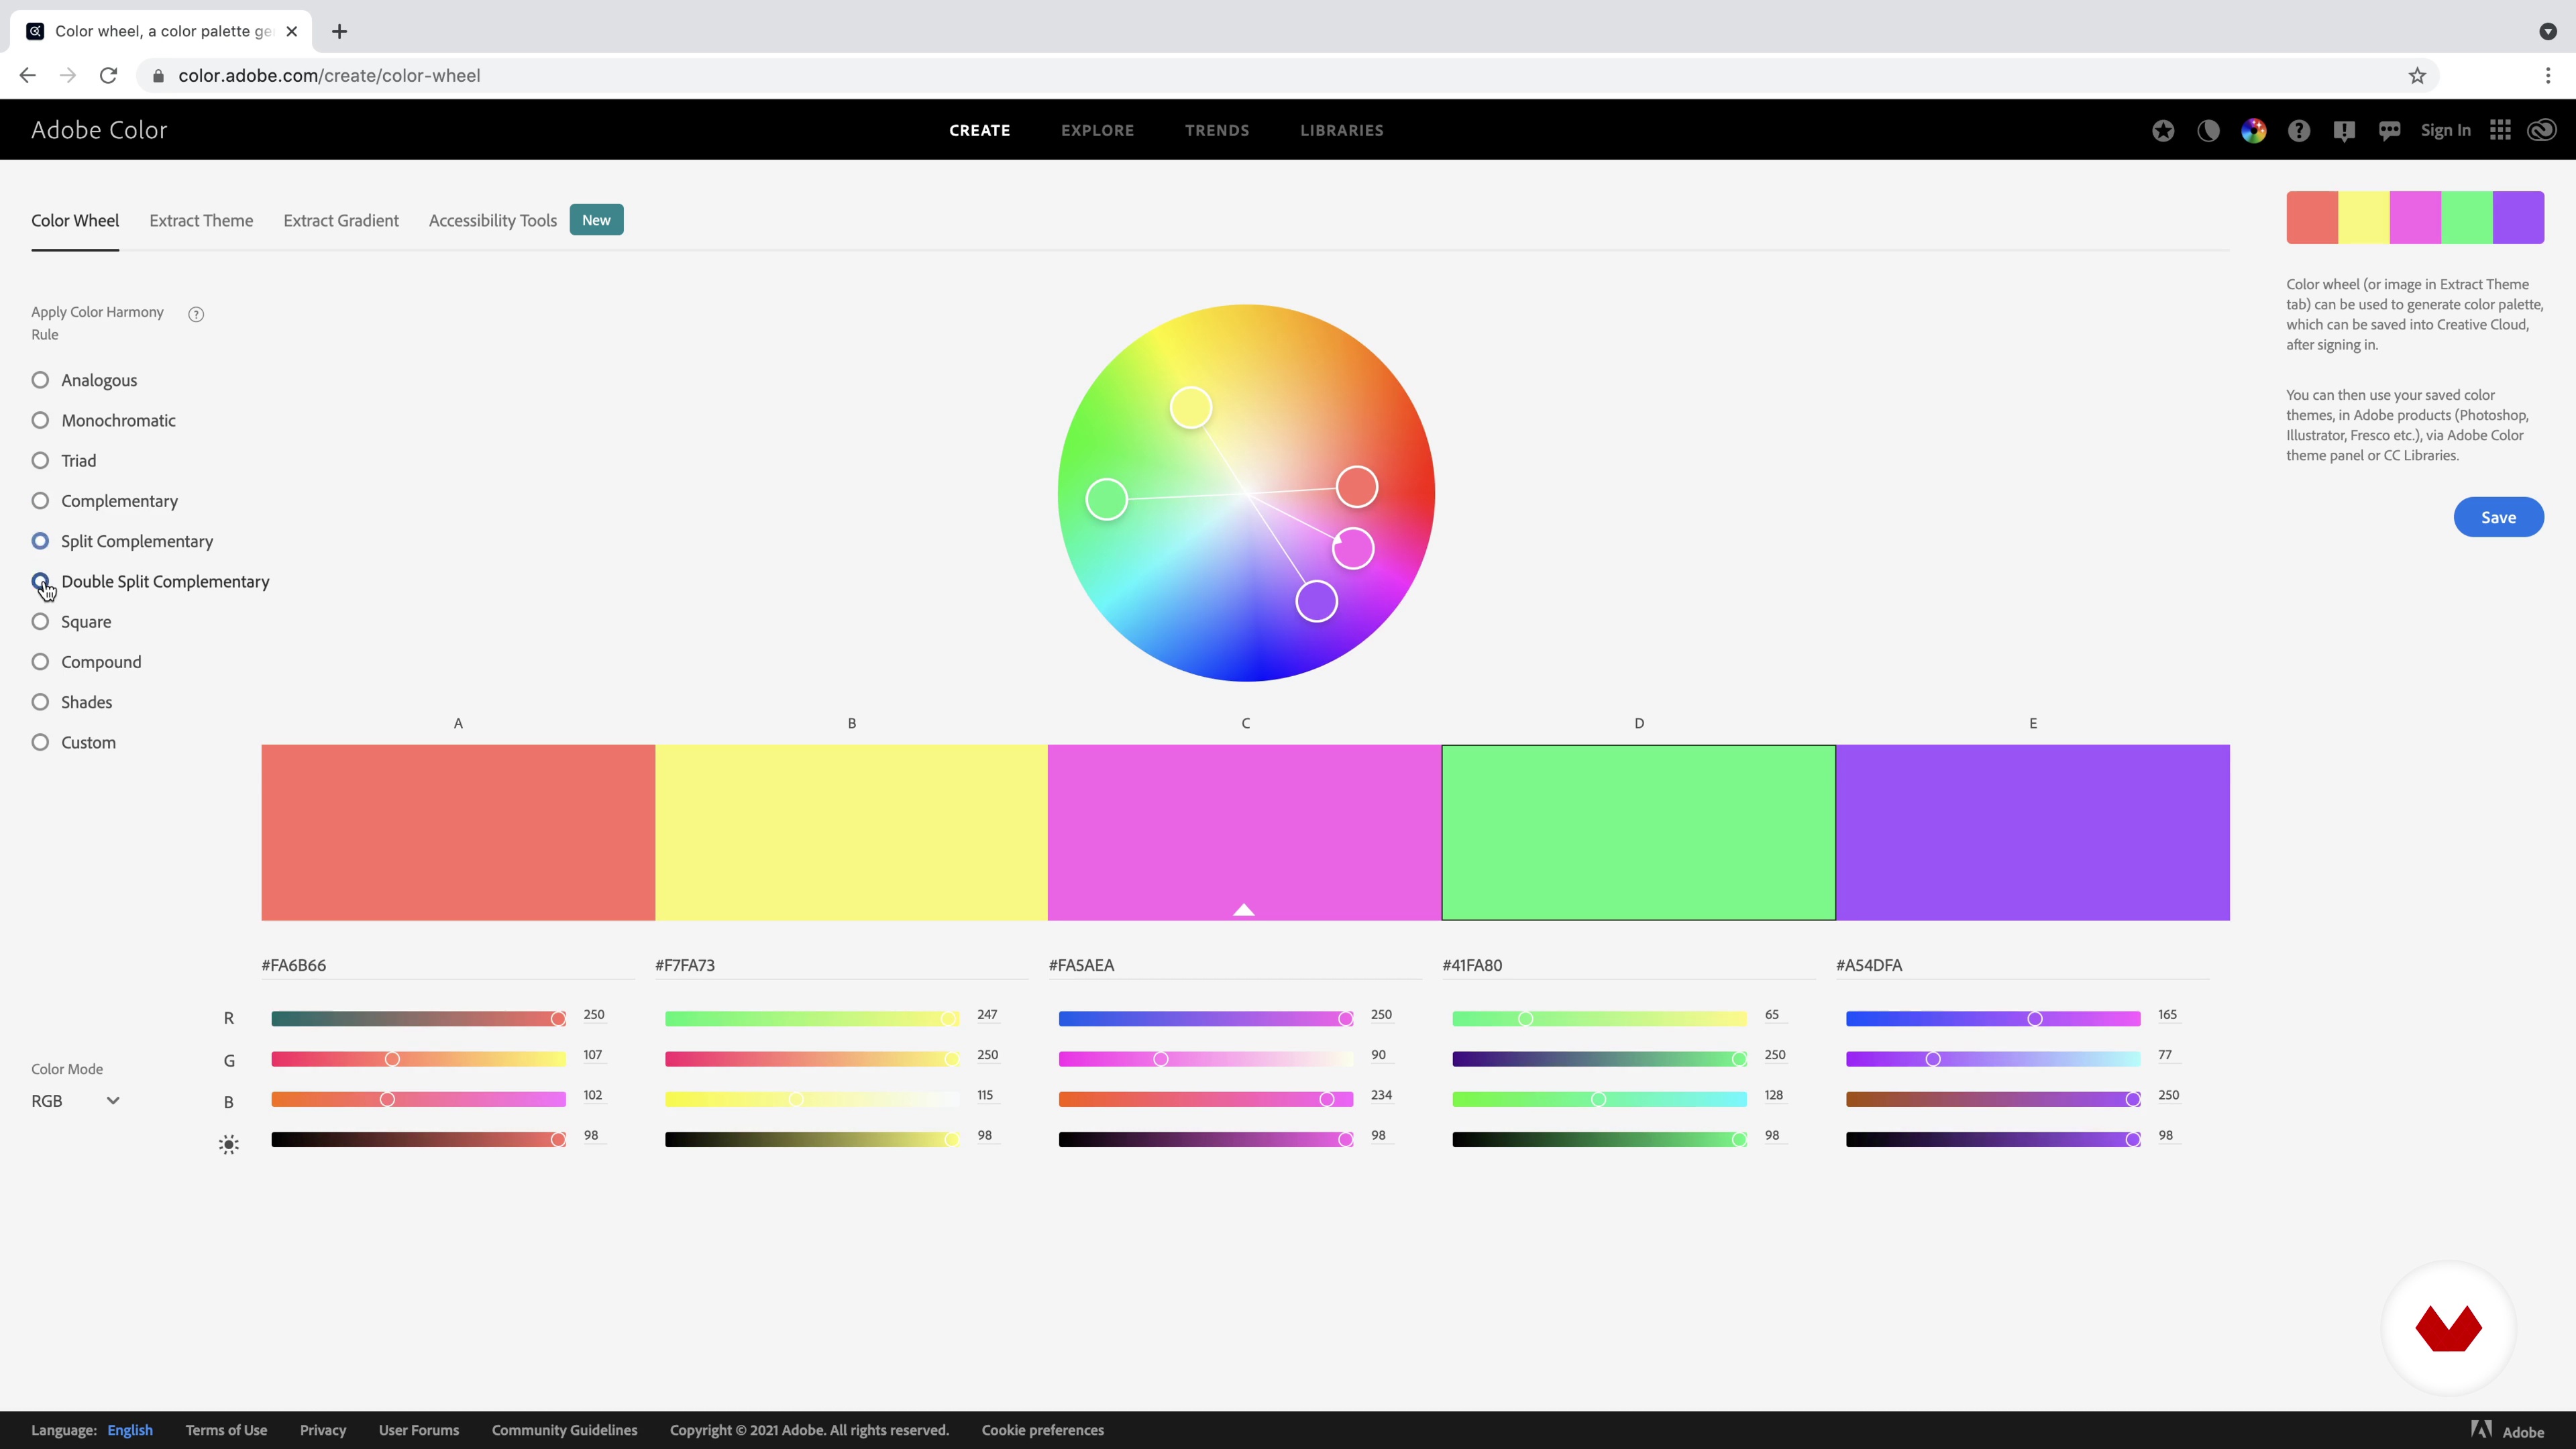
3Intro and Materials
In the lesson, we will provide you with an overview of what we will be doing in the course, and what materials you will need.
3m
 4
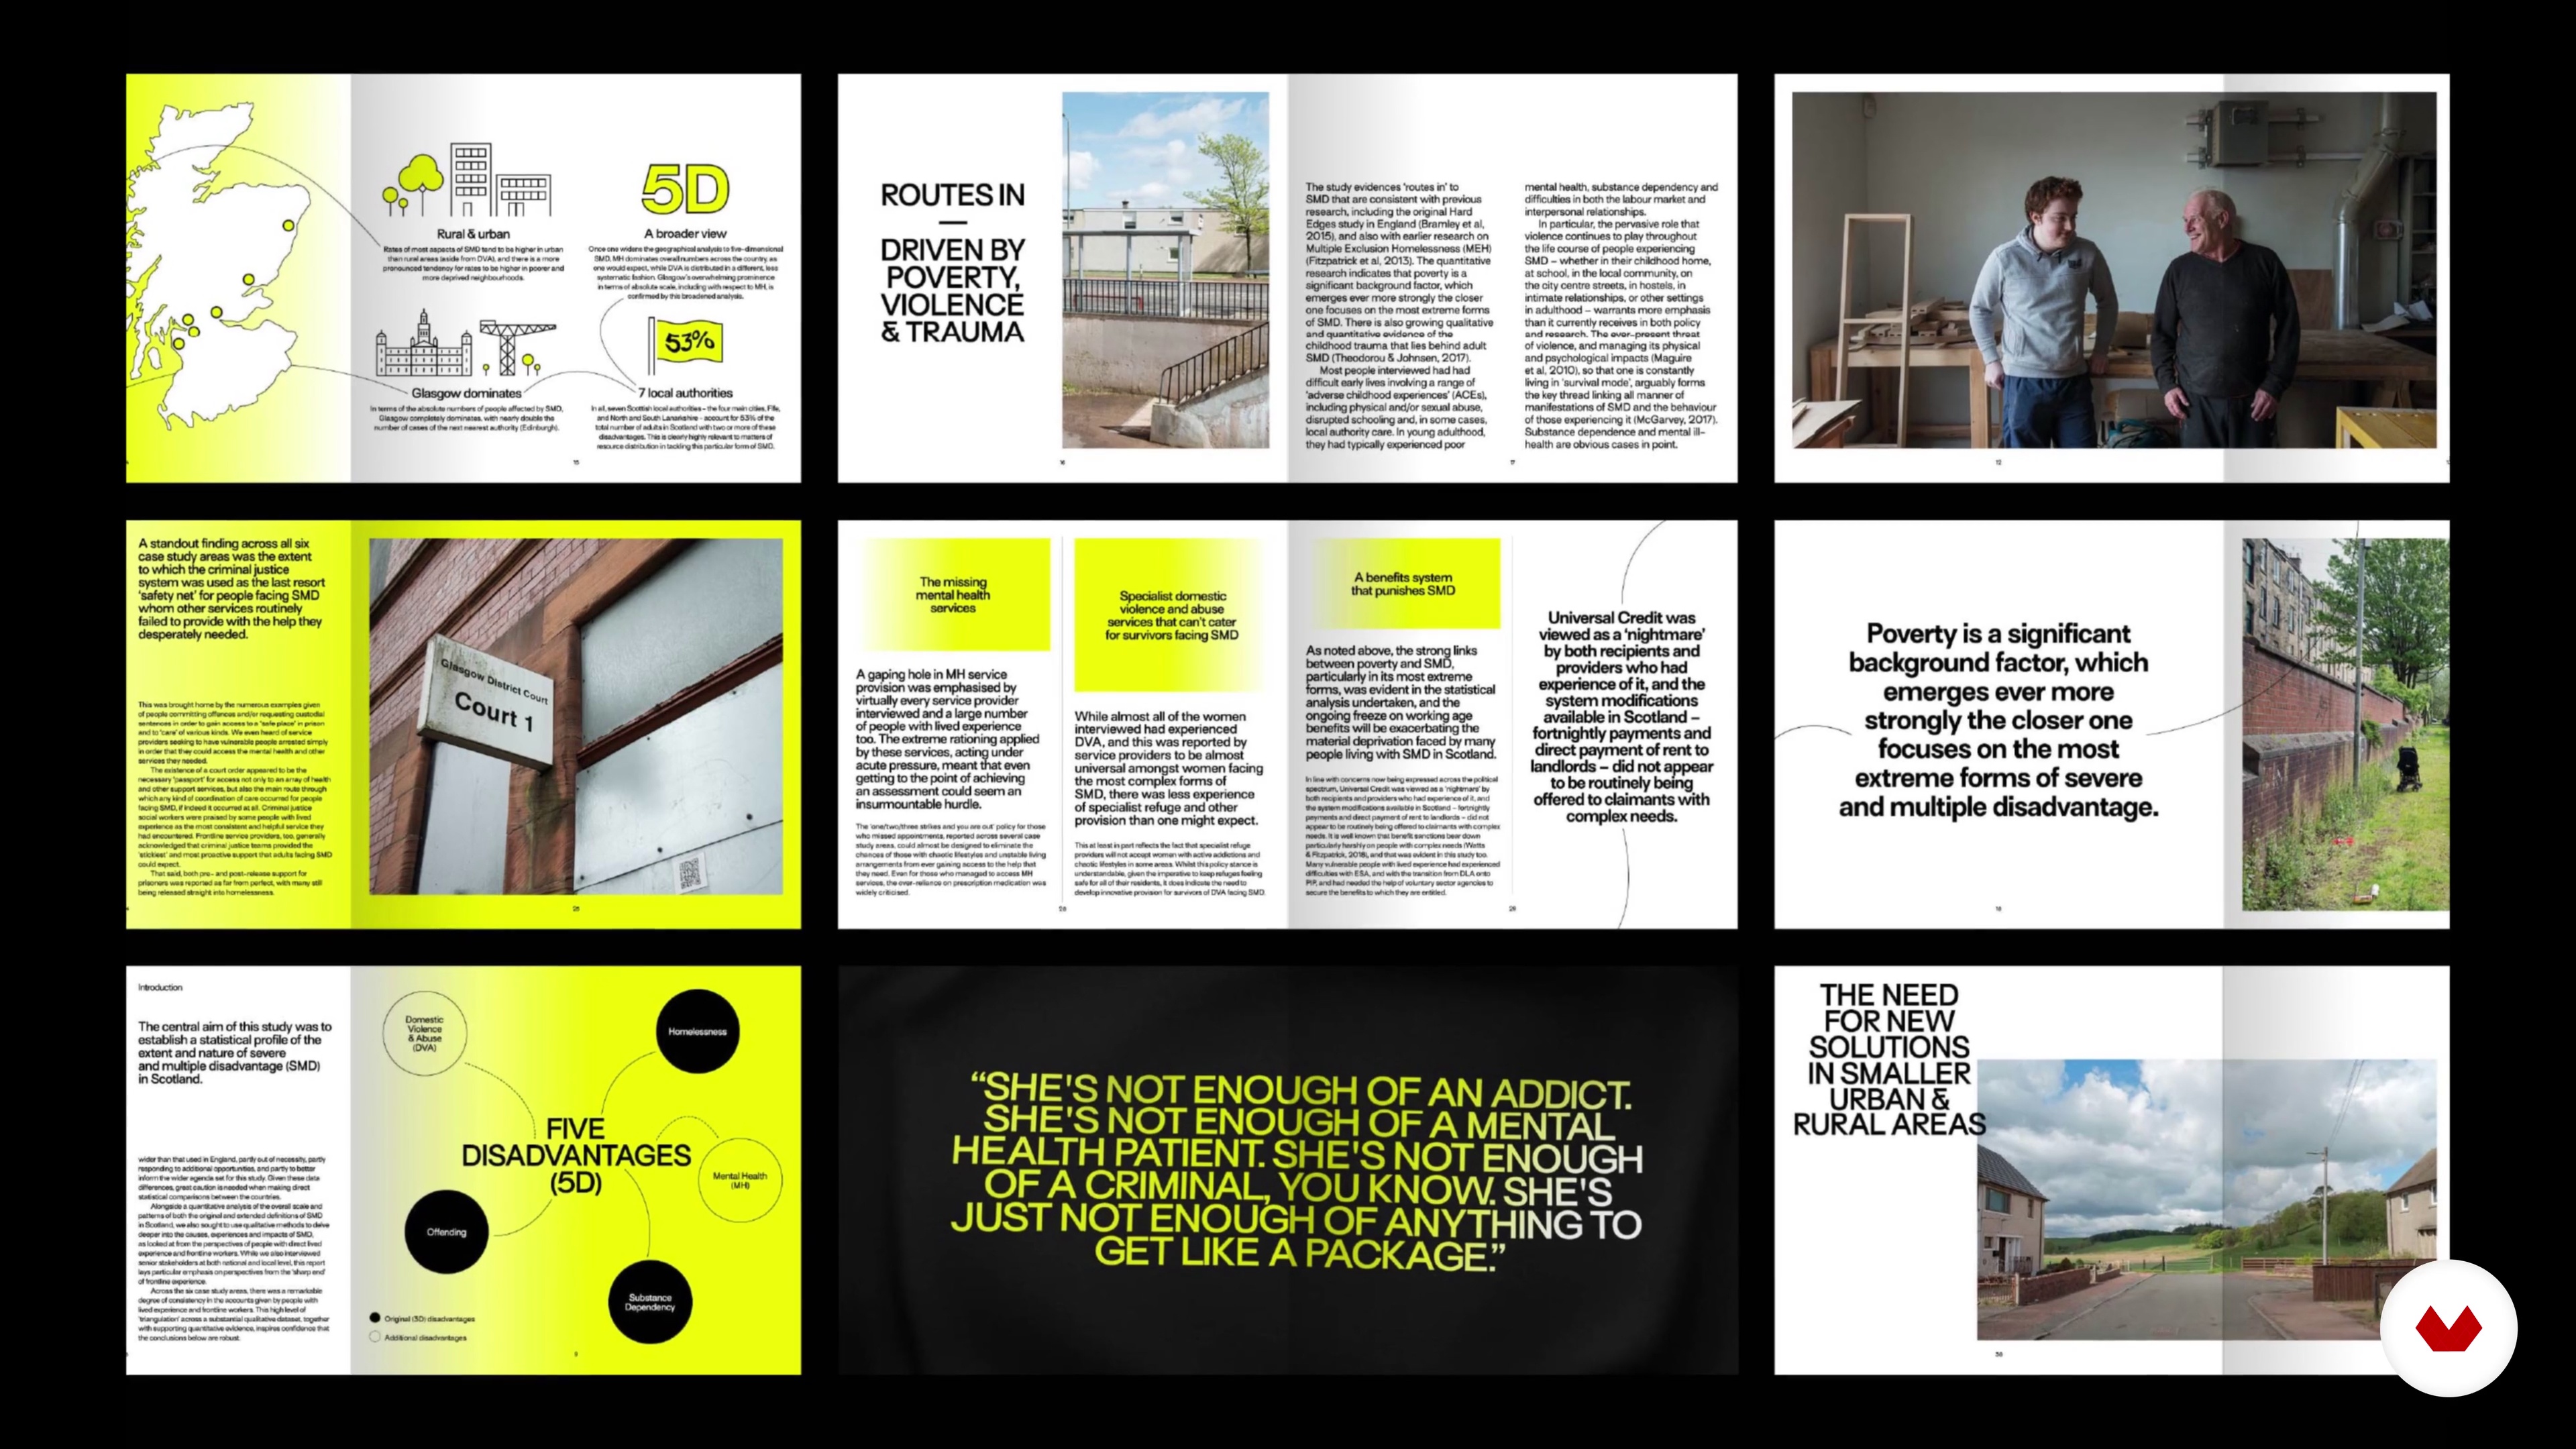
4Find Your Purpose in the Brief
In this lesson, we’ll talk about purpose led-design. We will address why it’s important and look at the brief to analyse what parts will influence our work.
4m
 5
5Look and Feel
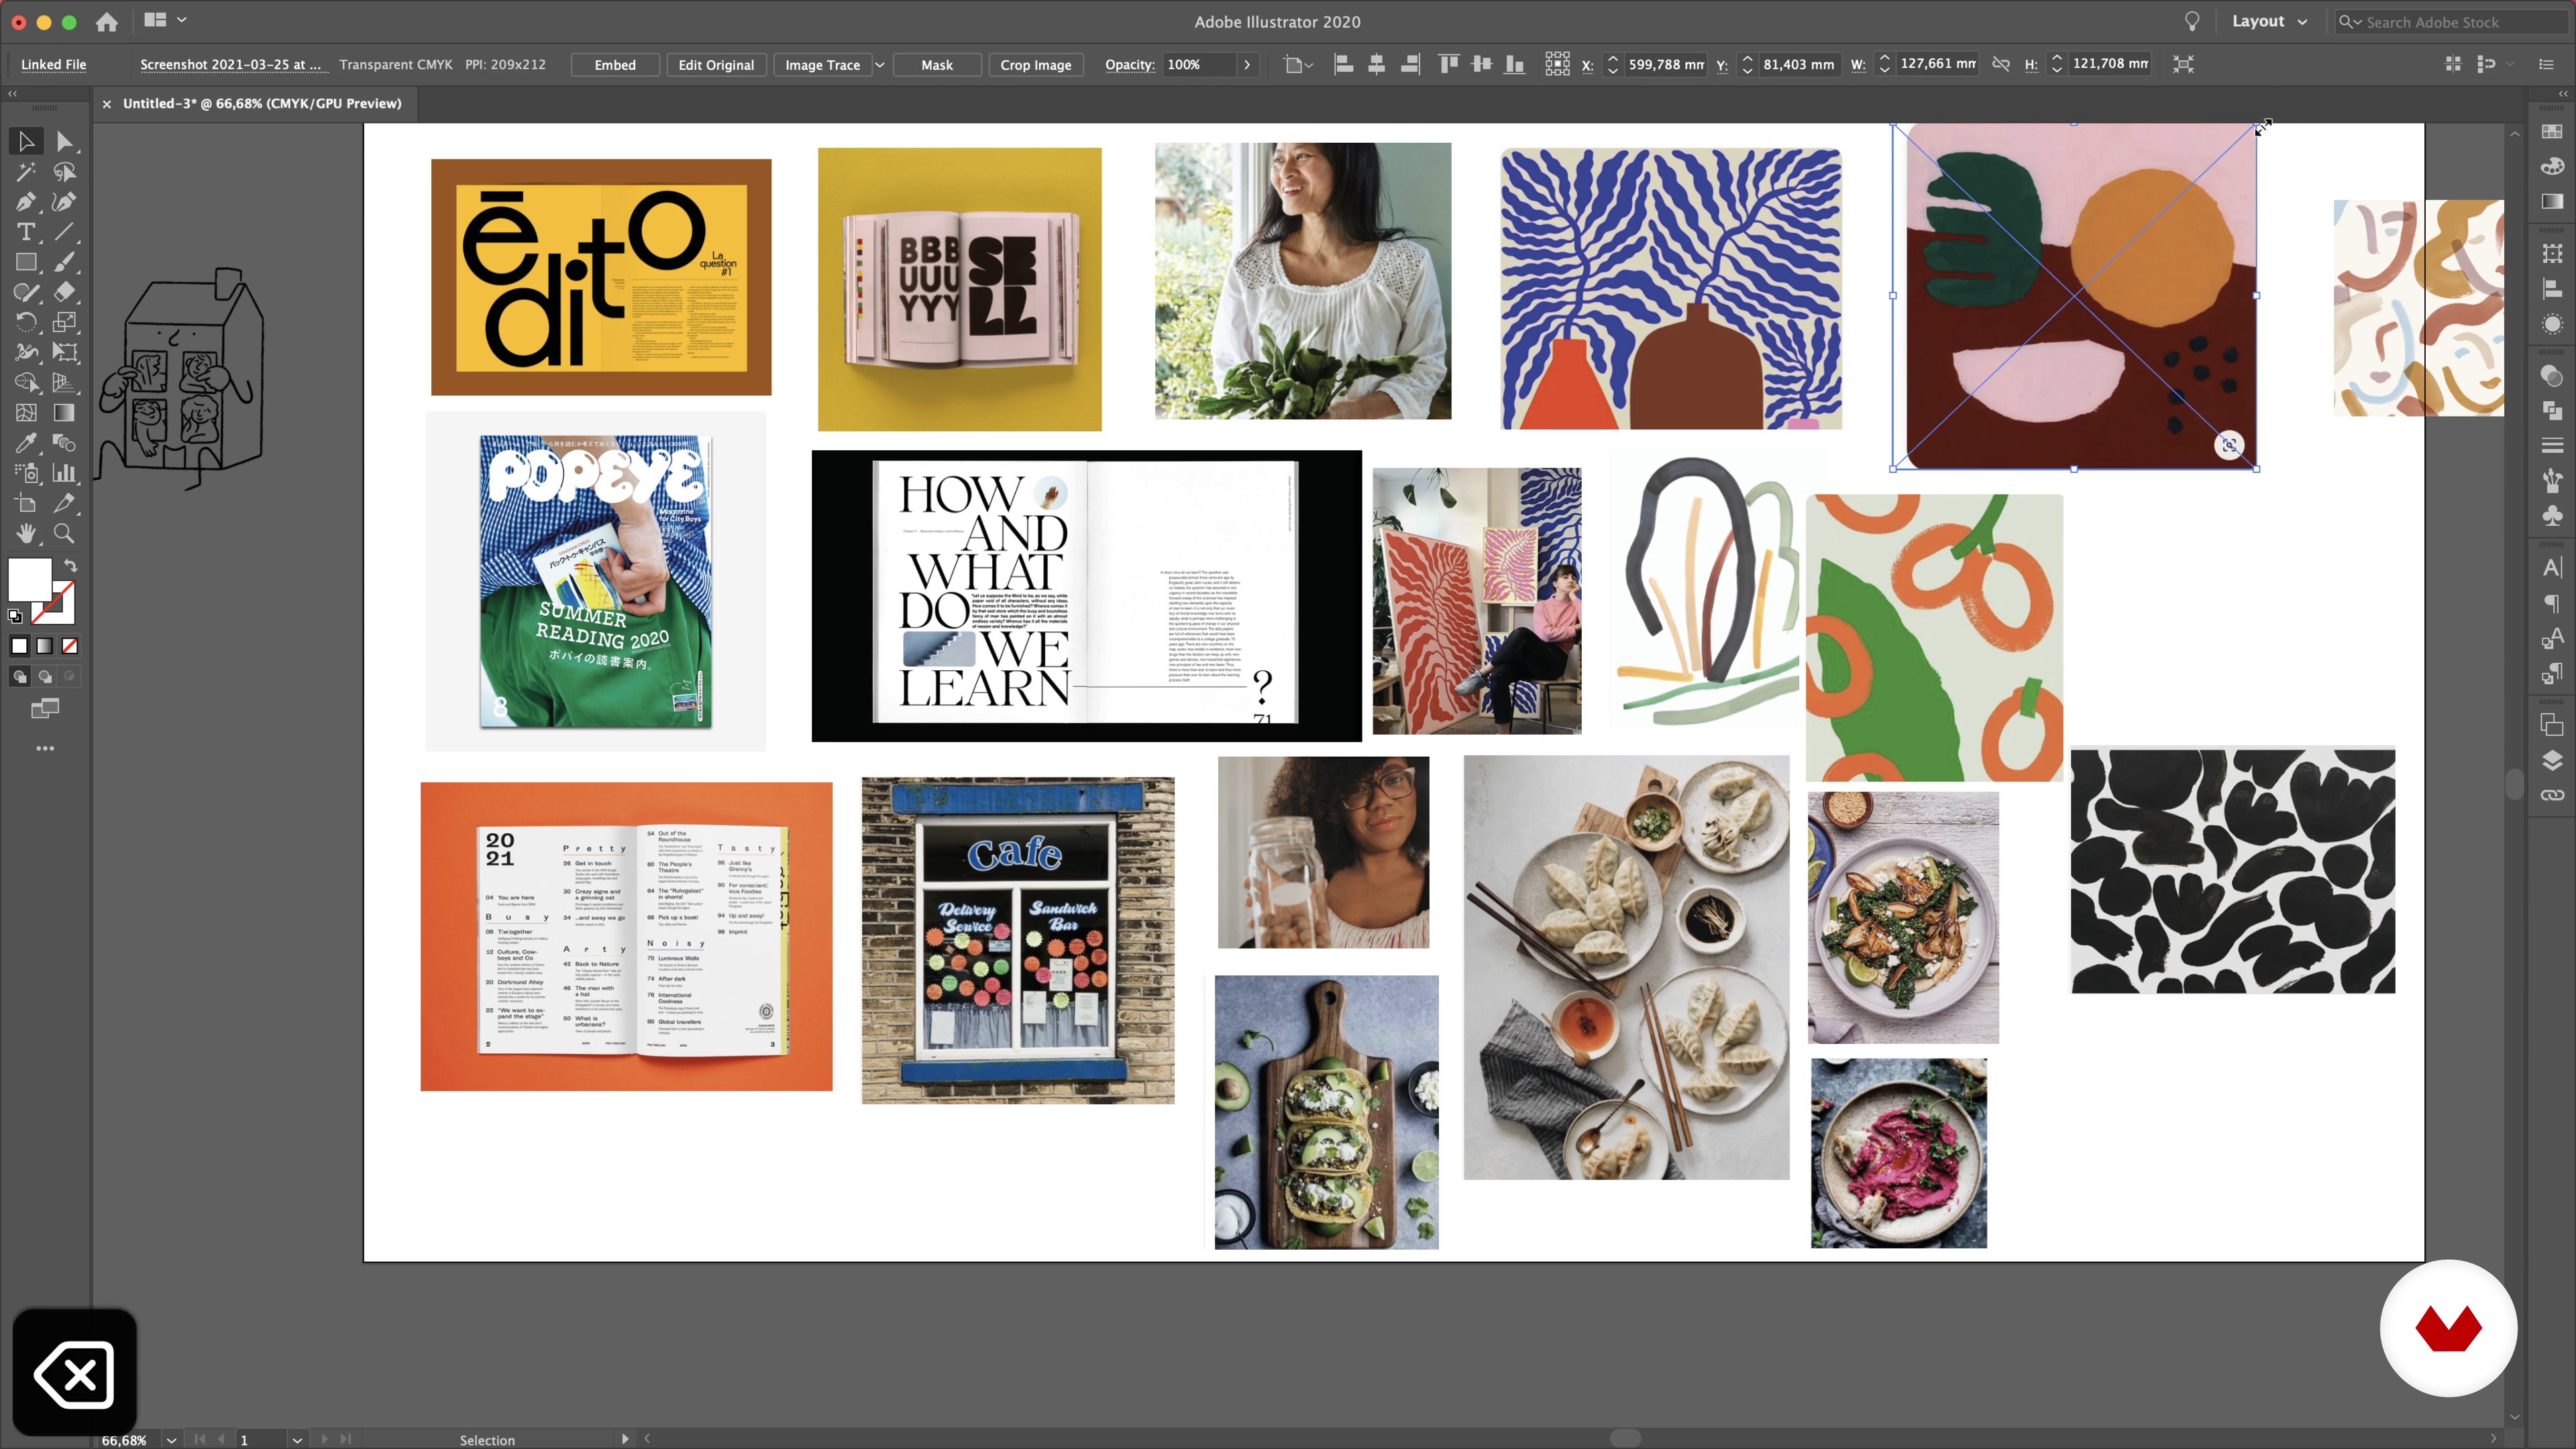
Here we will discover references, find inspiration and explain why some references work and some might not in relation to the brief.
18m
 6
6Photographic and Illustrative Content
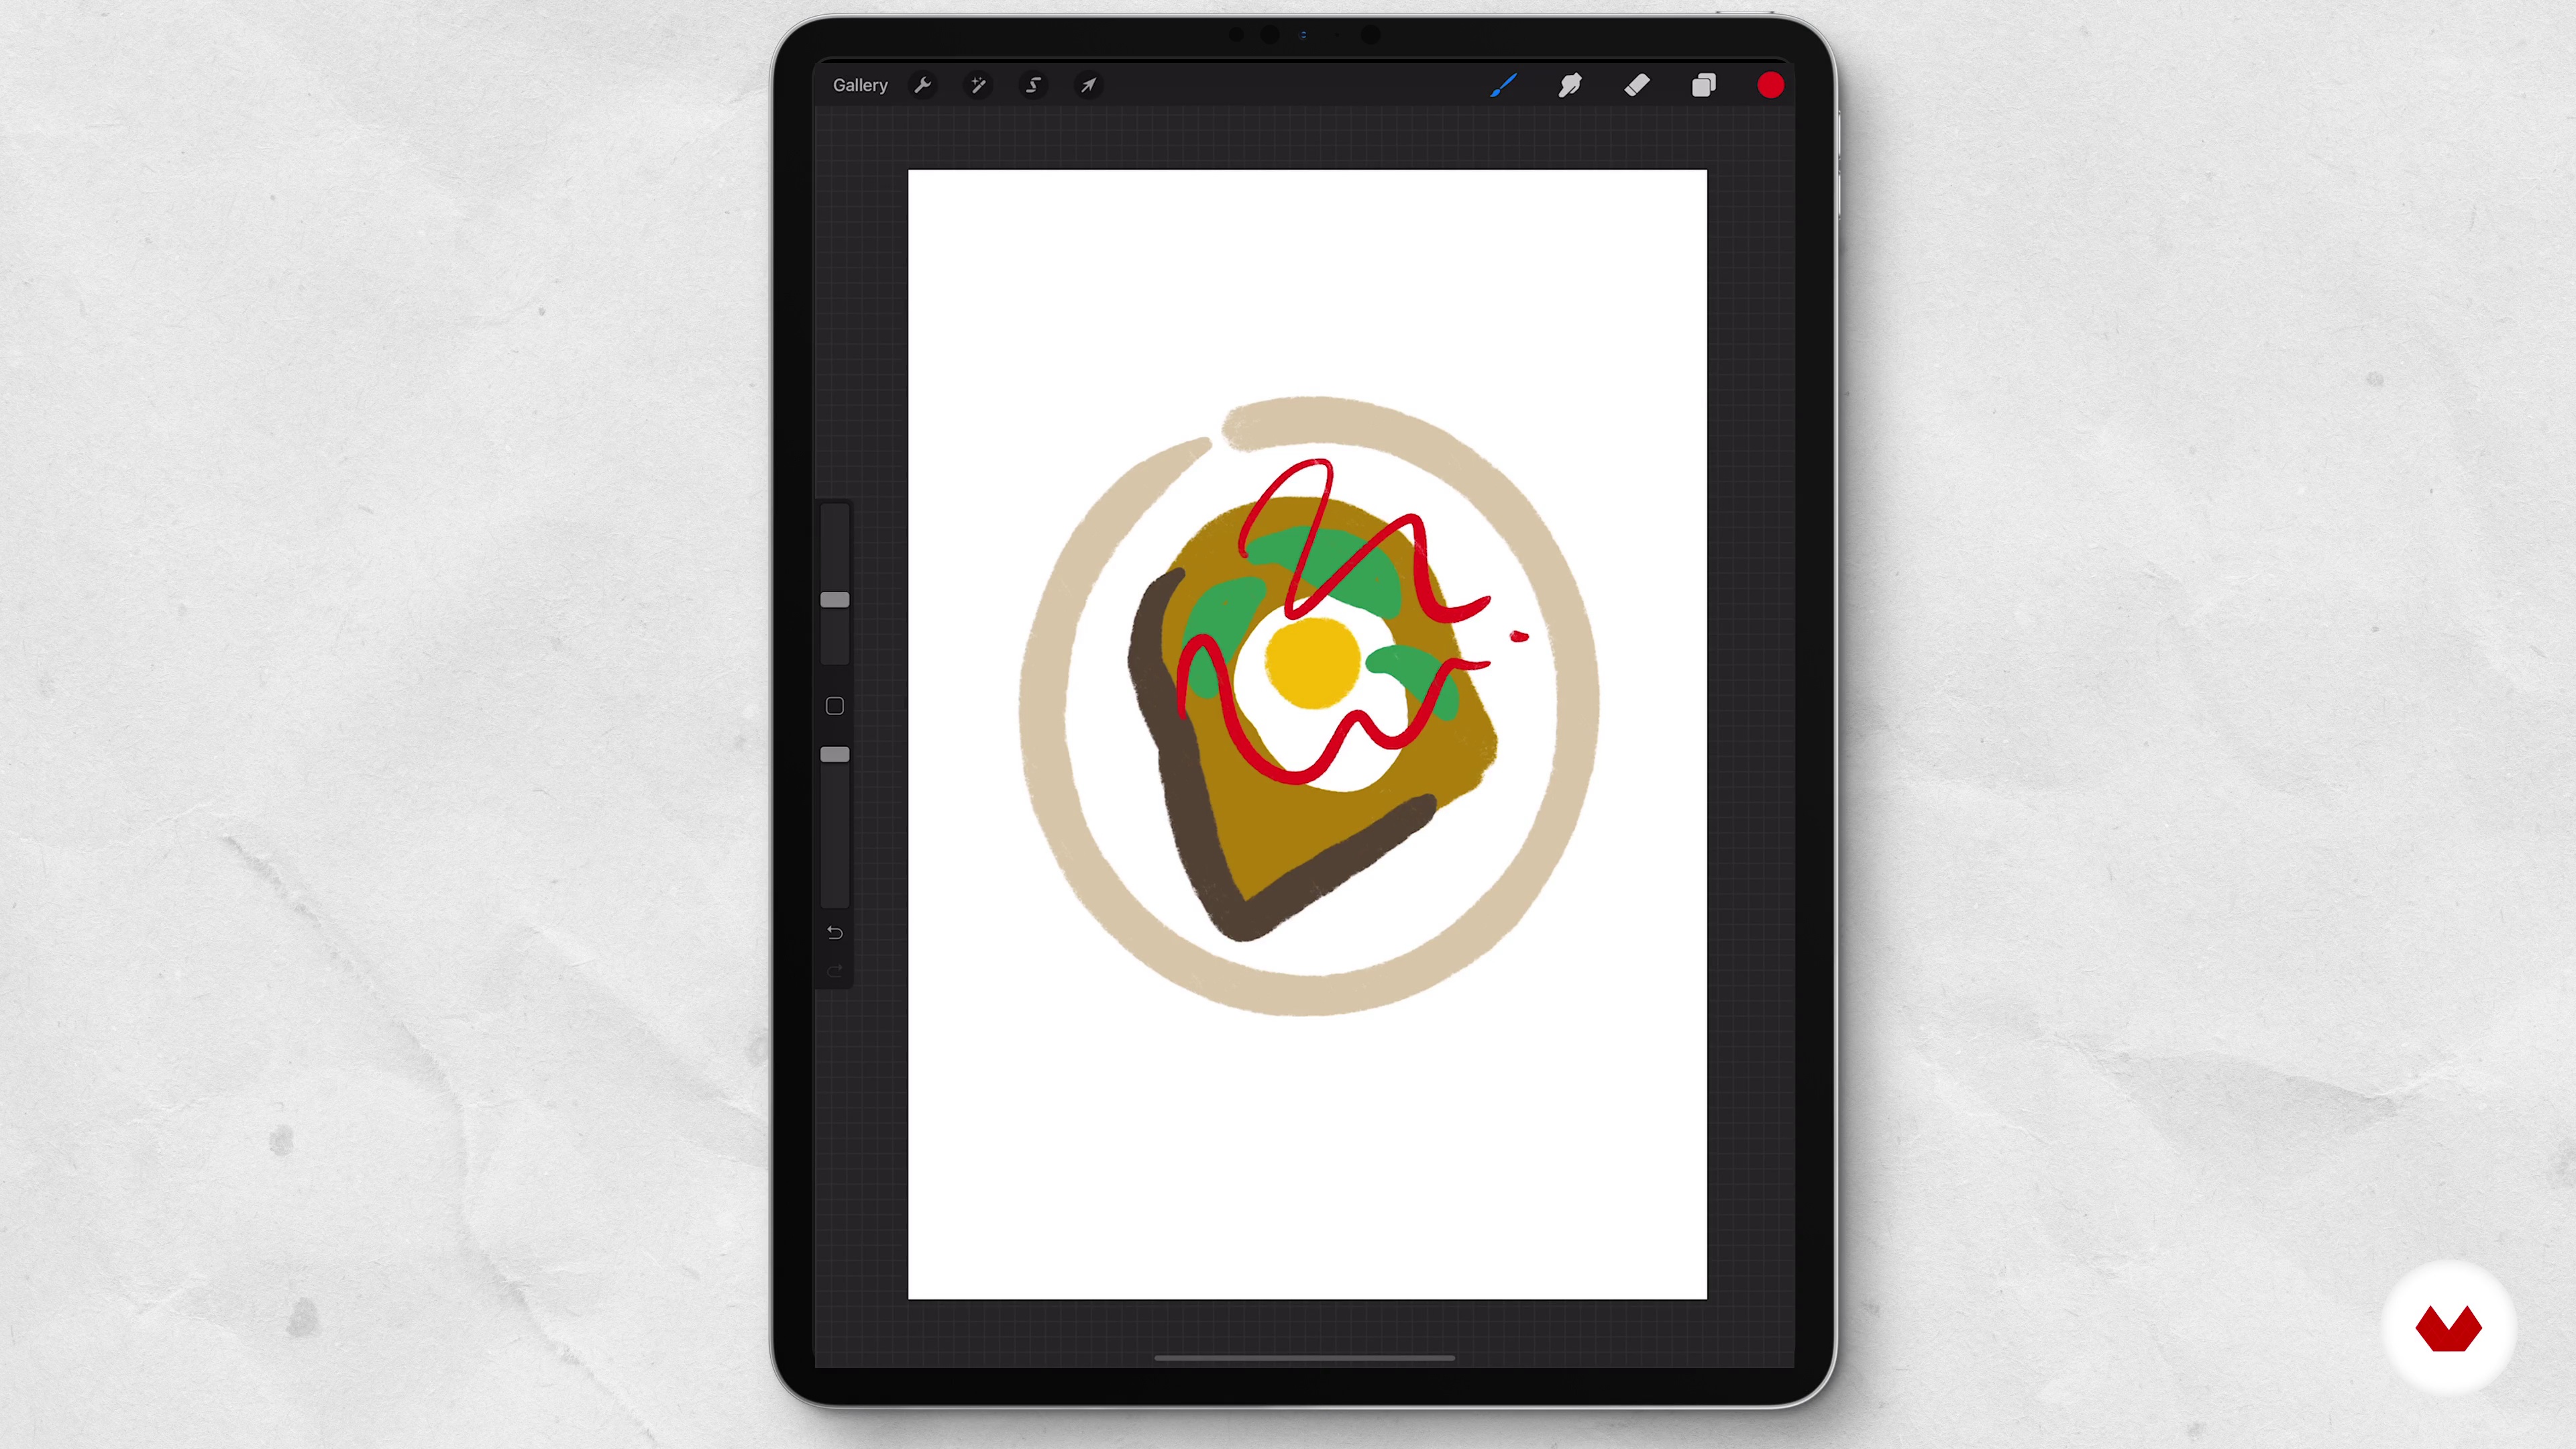
Let us show you how we source and create our illustrations and photography.
6m
 7
7Planning Your Mag
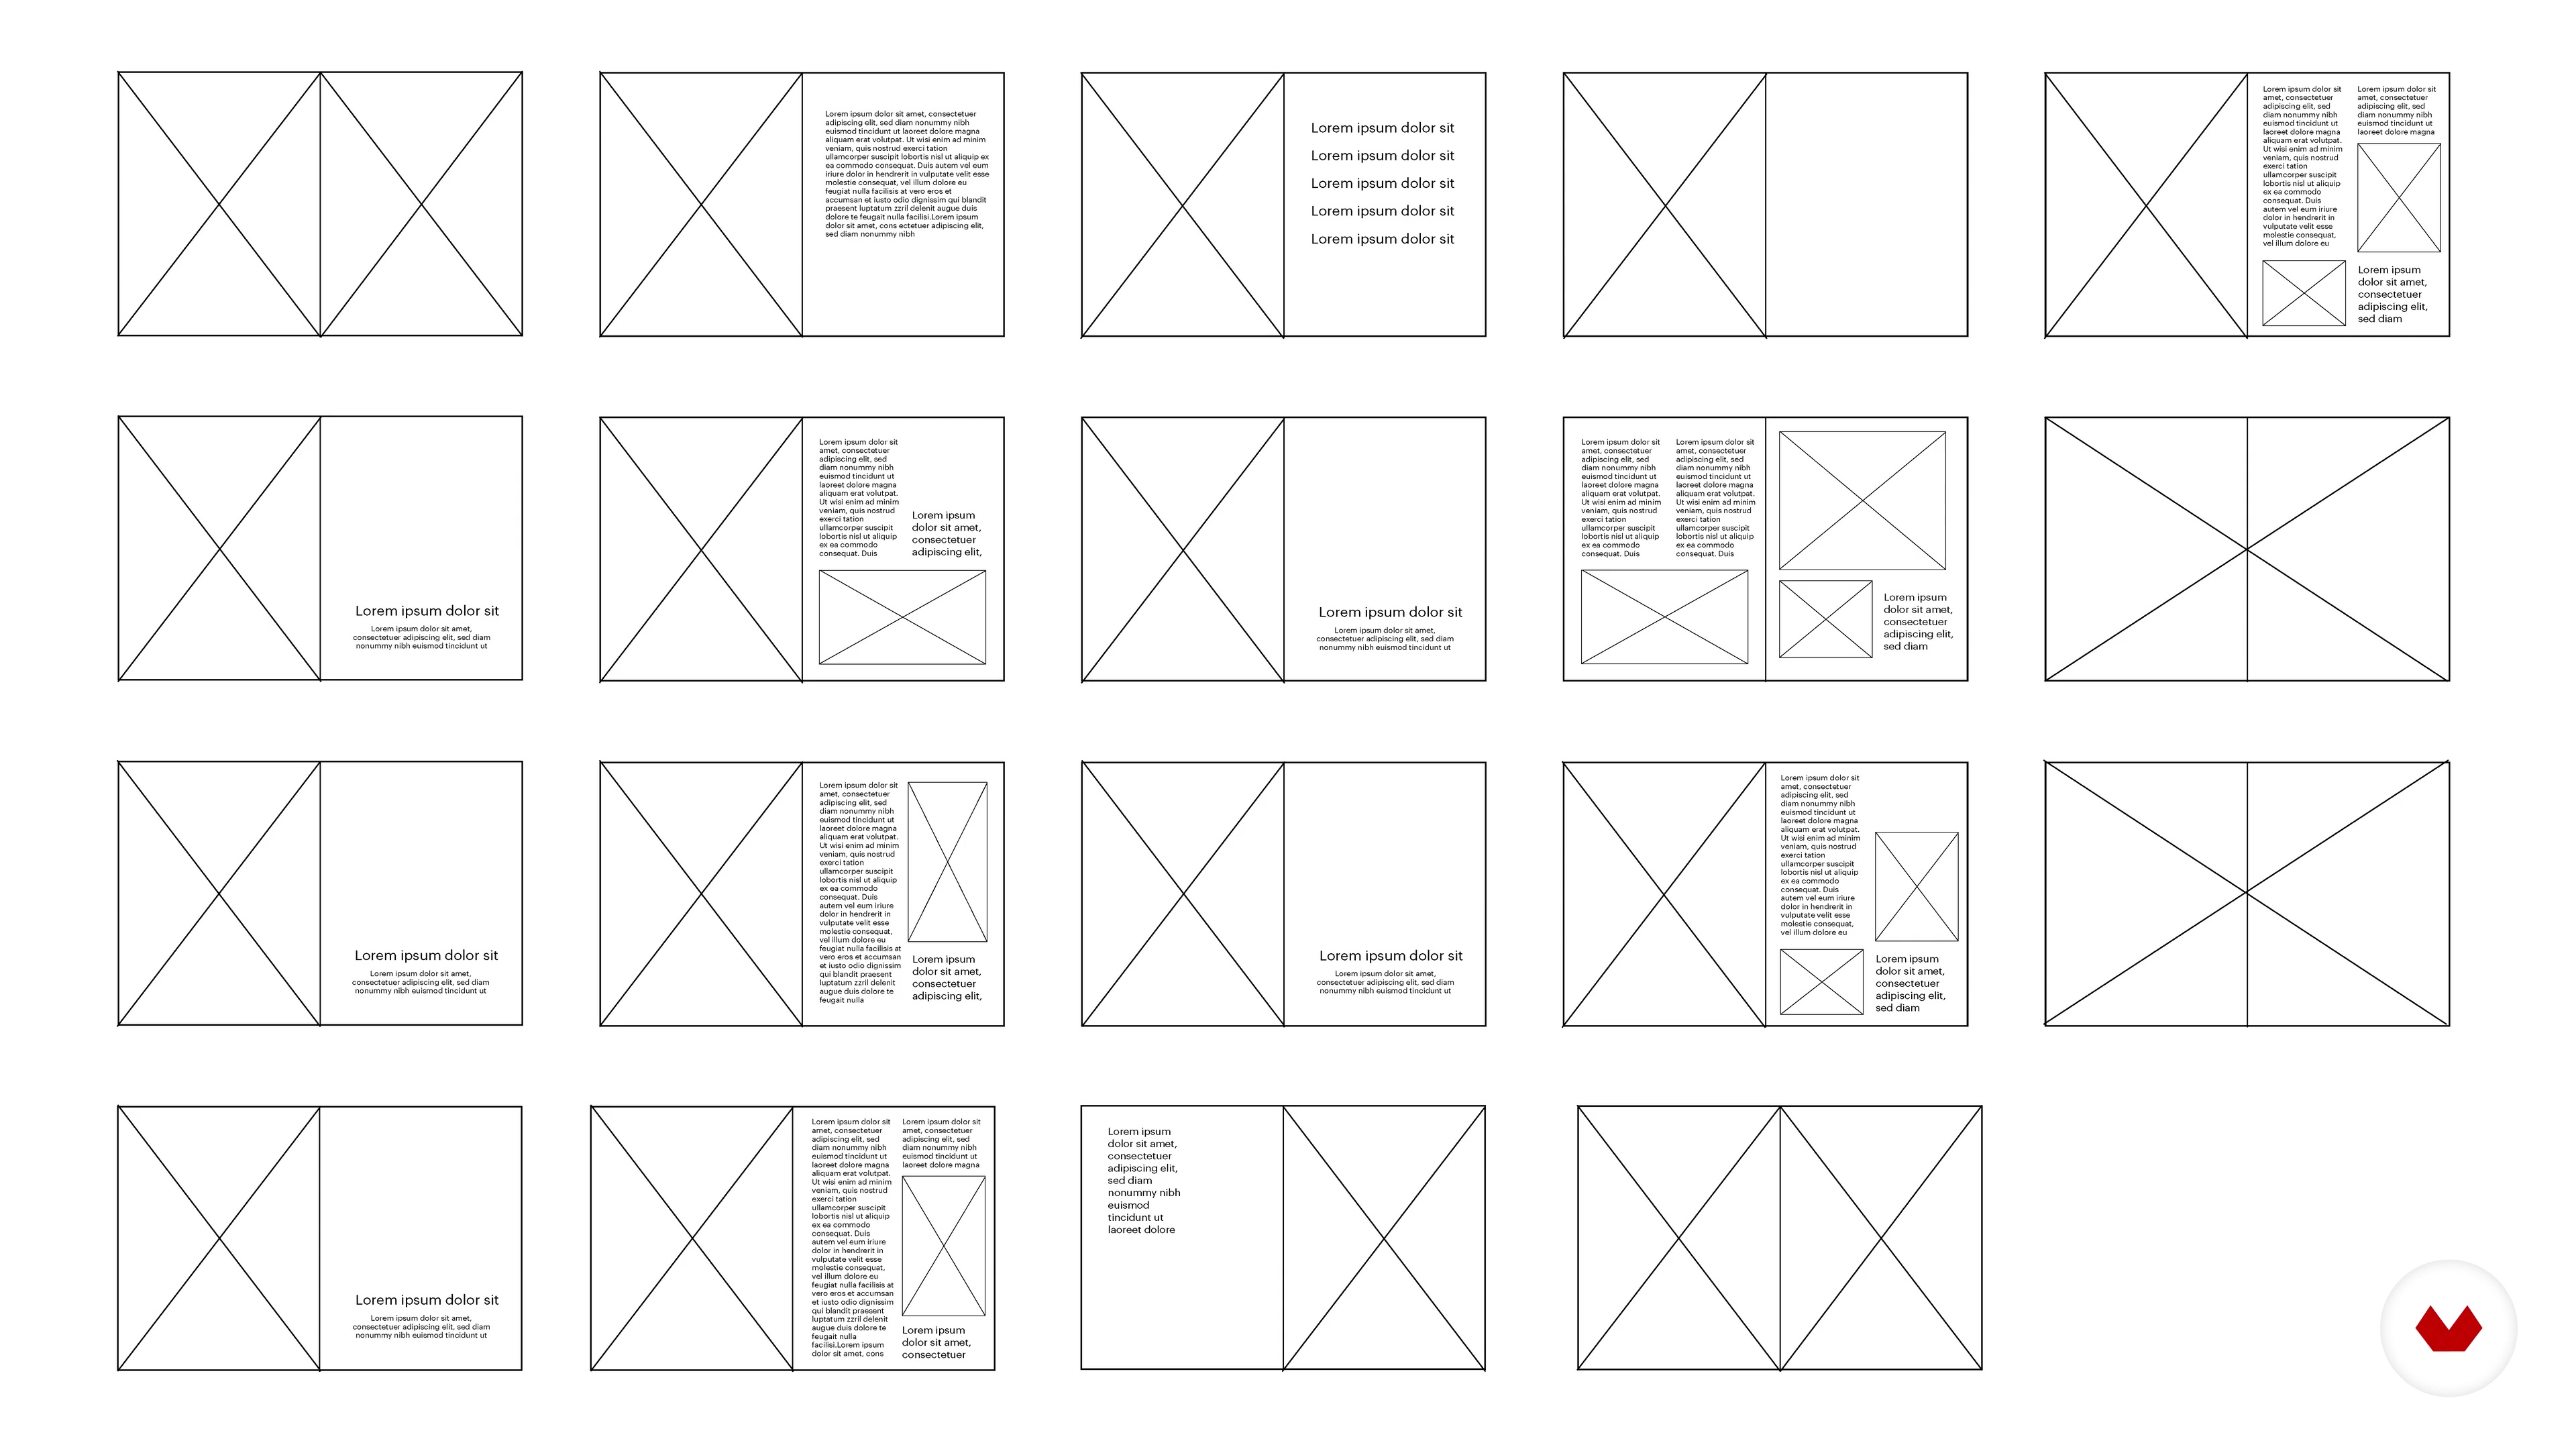
Here we will learn about the different parts of written content, what they are called and decide what goes where.
7m
 8
8Typography
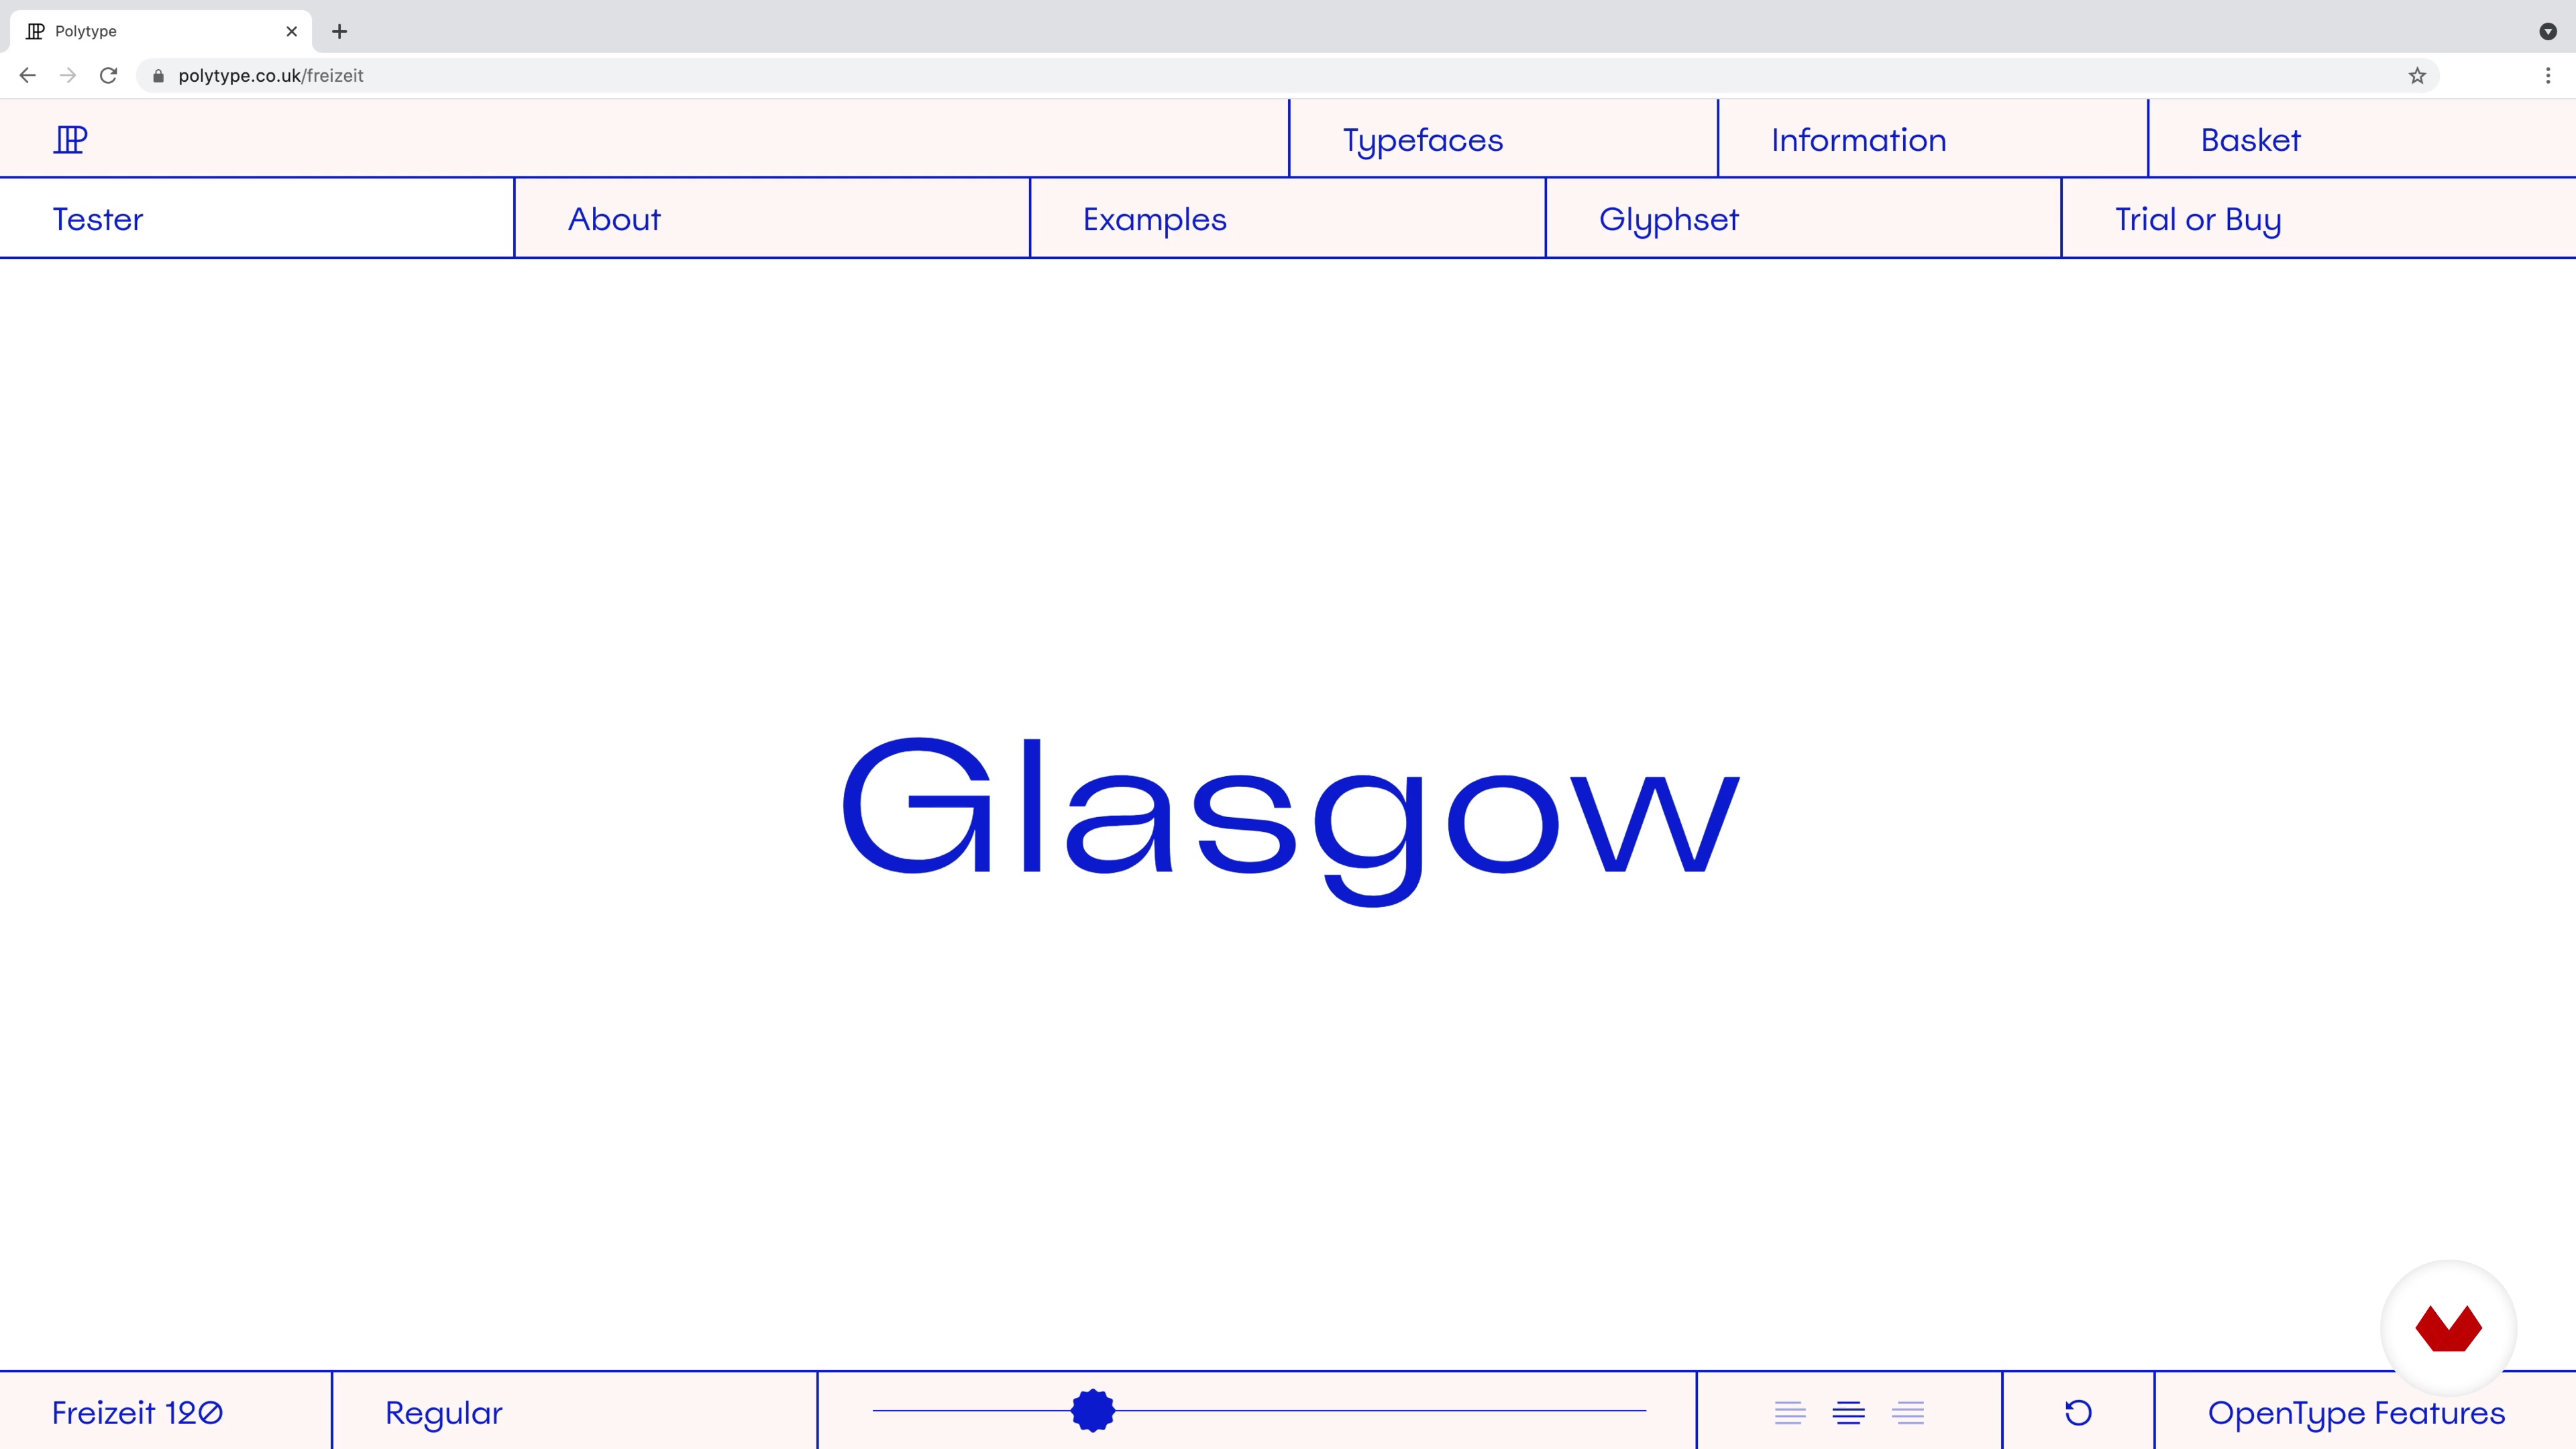
Discover why the type is so important for an editorial layout and then discover how we chose our typography.
8m
 9
9Colours
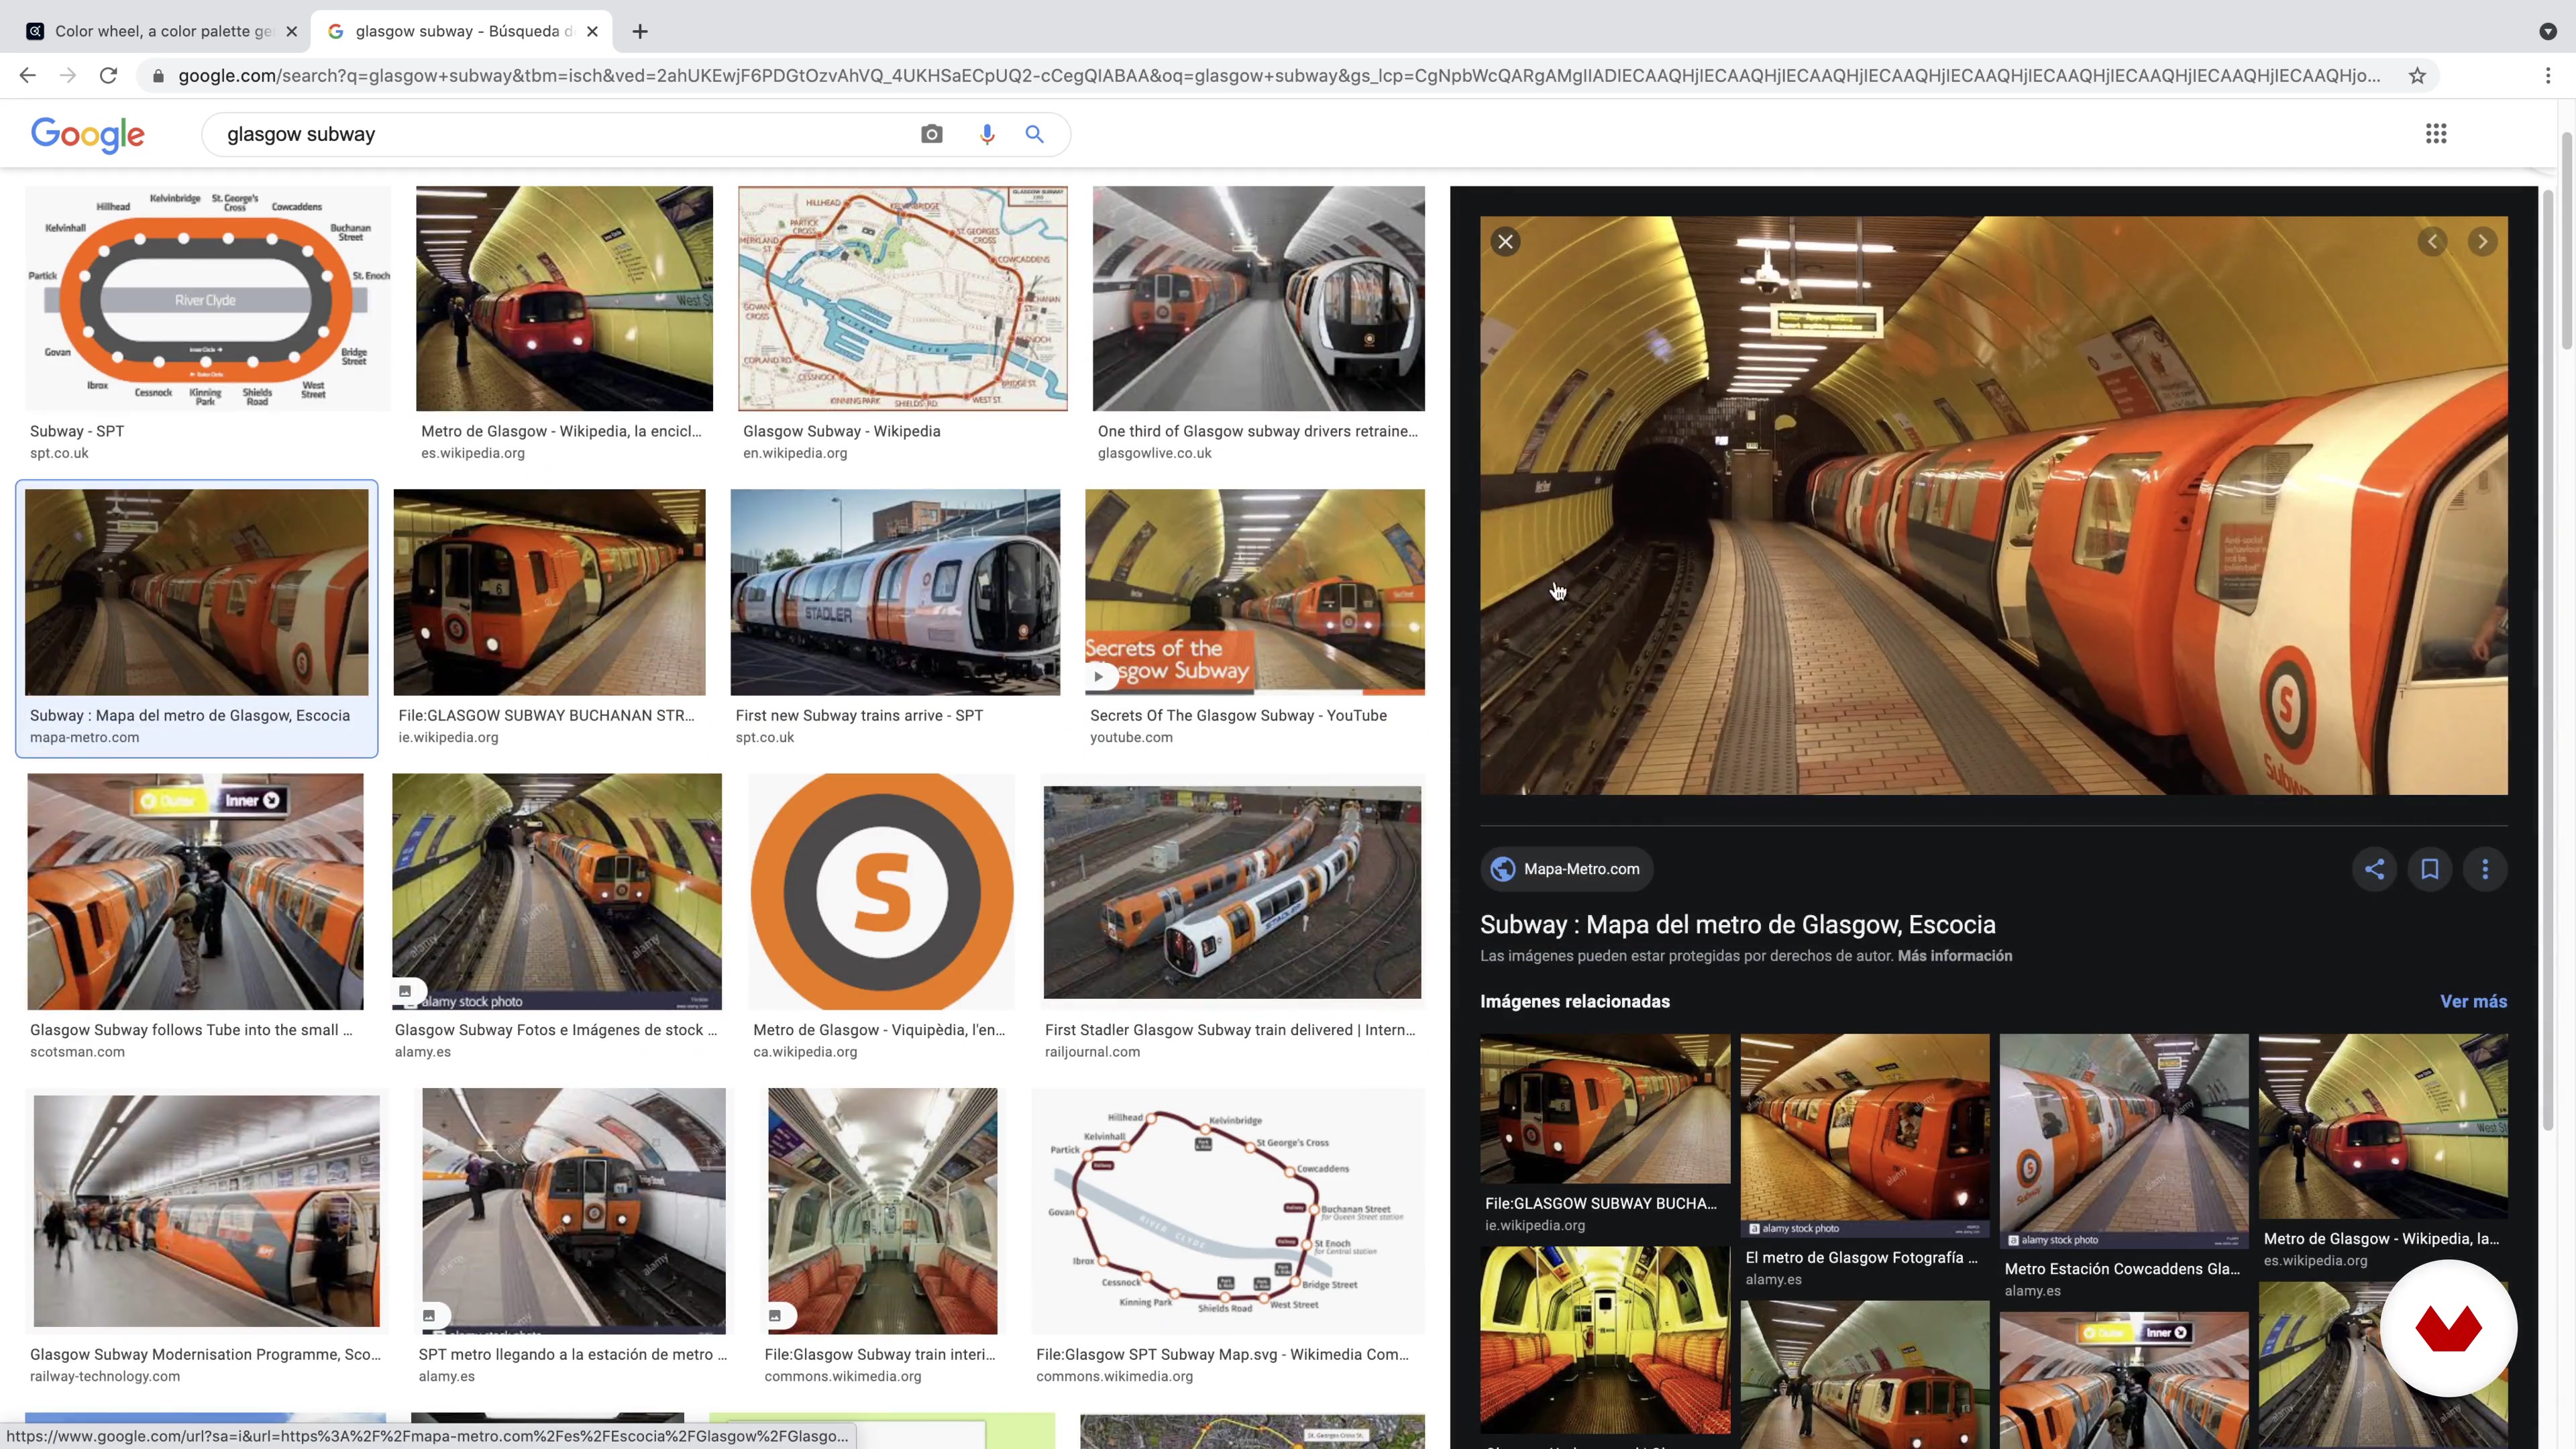
Here we will discuss why different palettes can create different things and why we chose our colour palette.
5m
 10
10Setting Up
Here we will learn how to set up your InDesign document, including the printer requirements.
7m
 11
11Type Hierarchy and Paragraph Styles
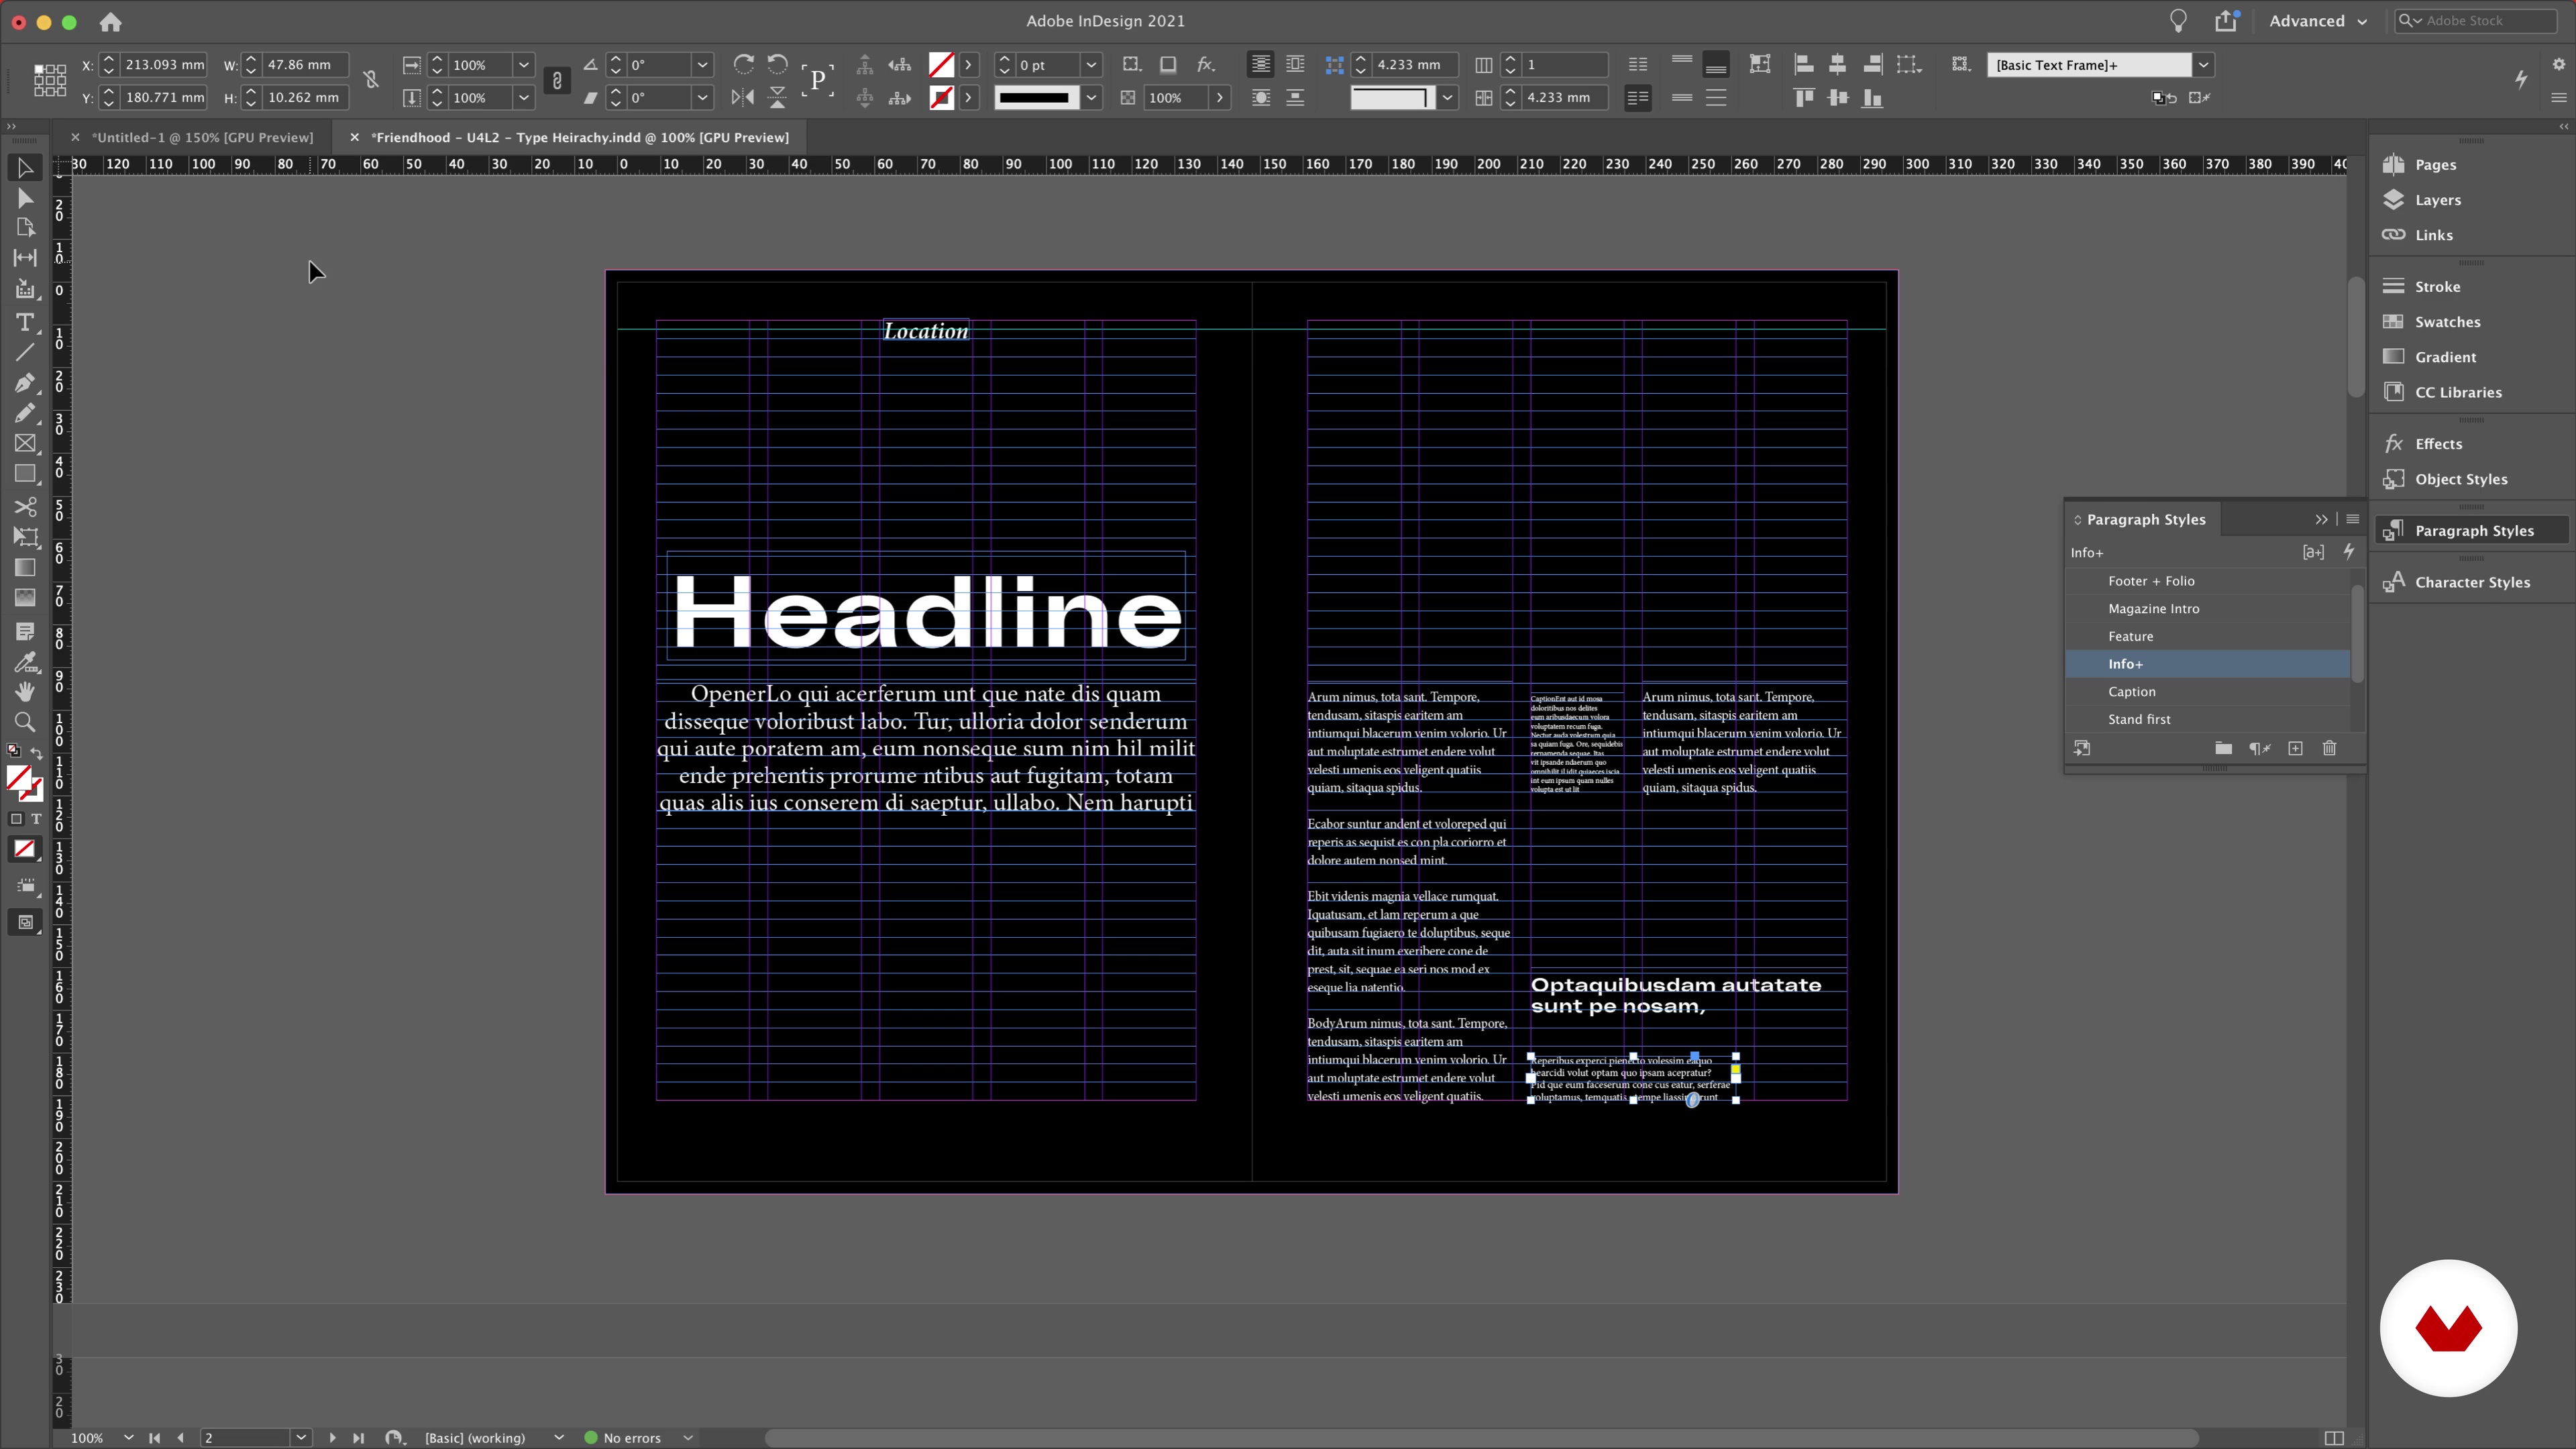
Discover why type hierarchy is so important and how to set up paragraph styles for the different parts of the written text.
13m
 12
12Adding Folios and Little Page Furniture
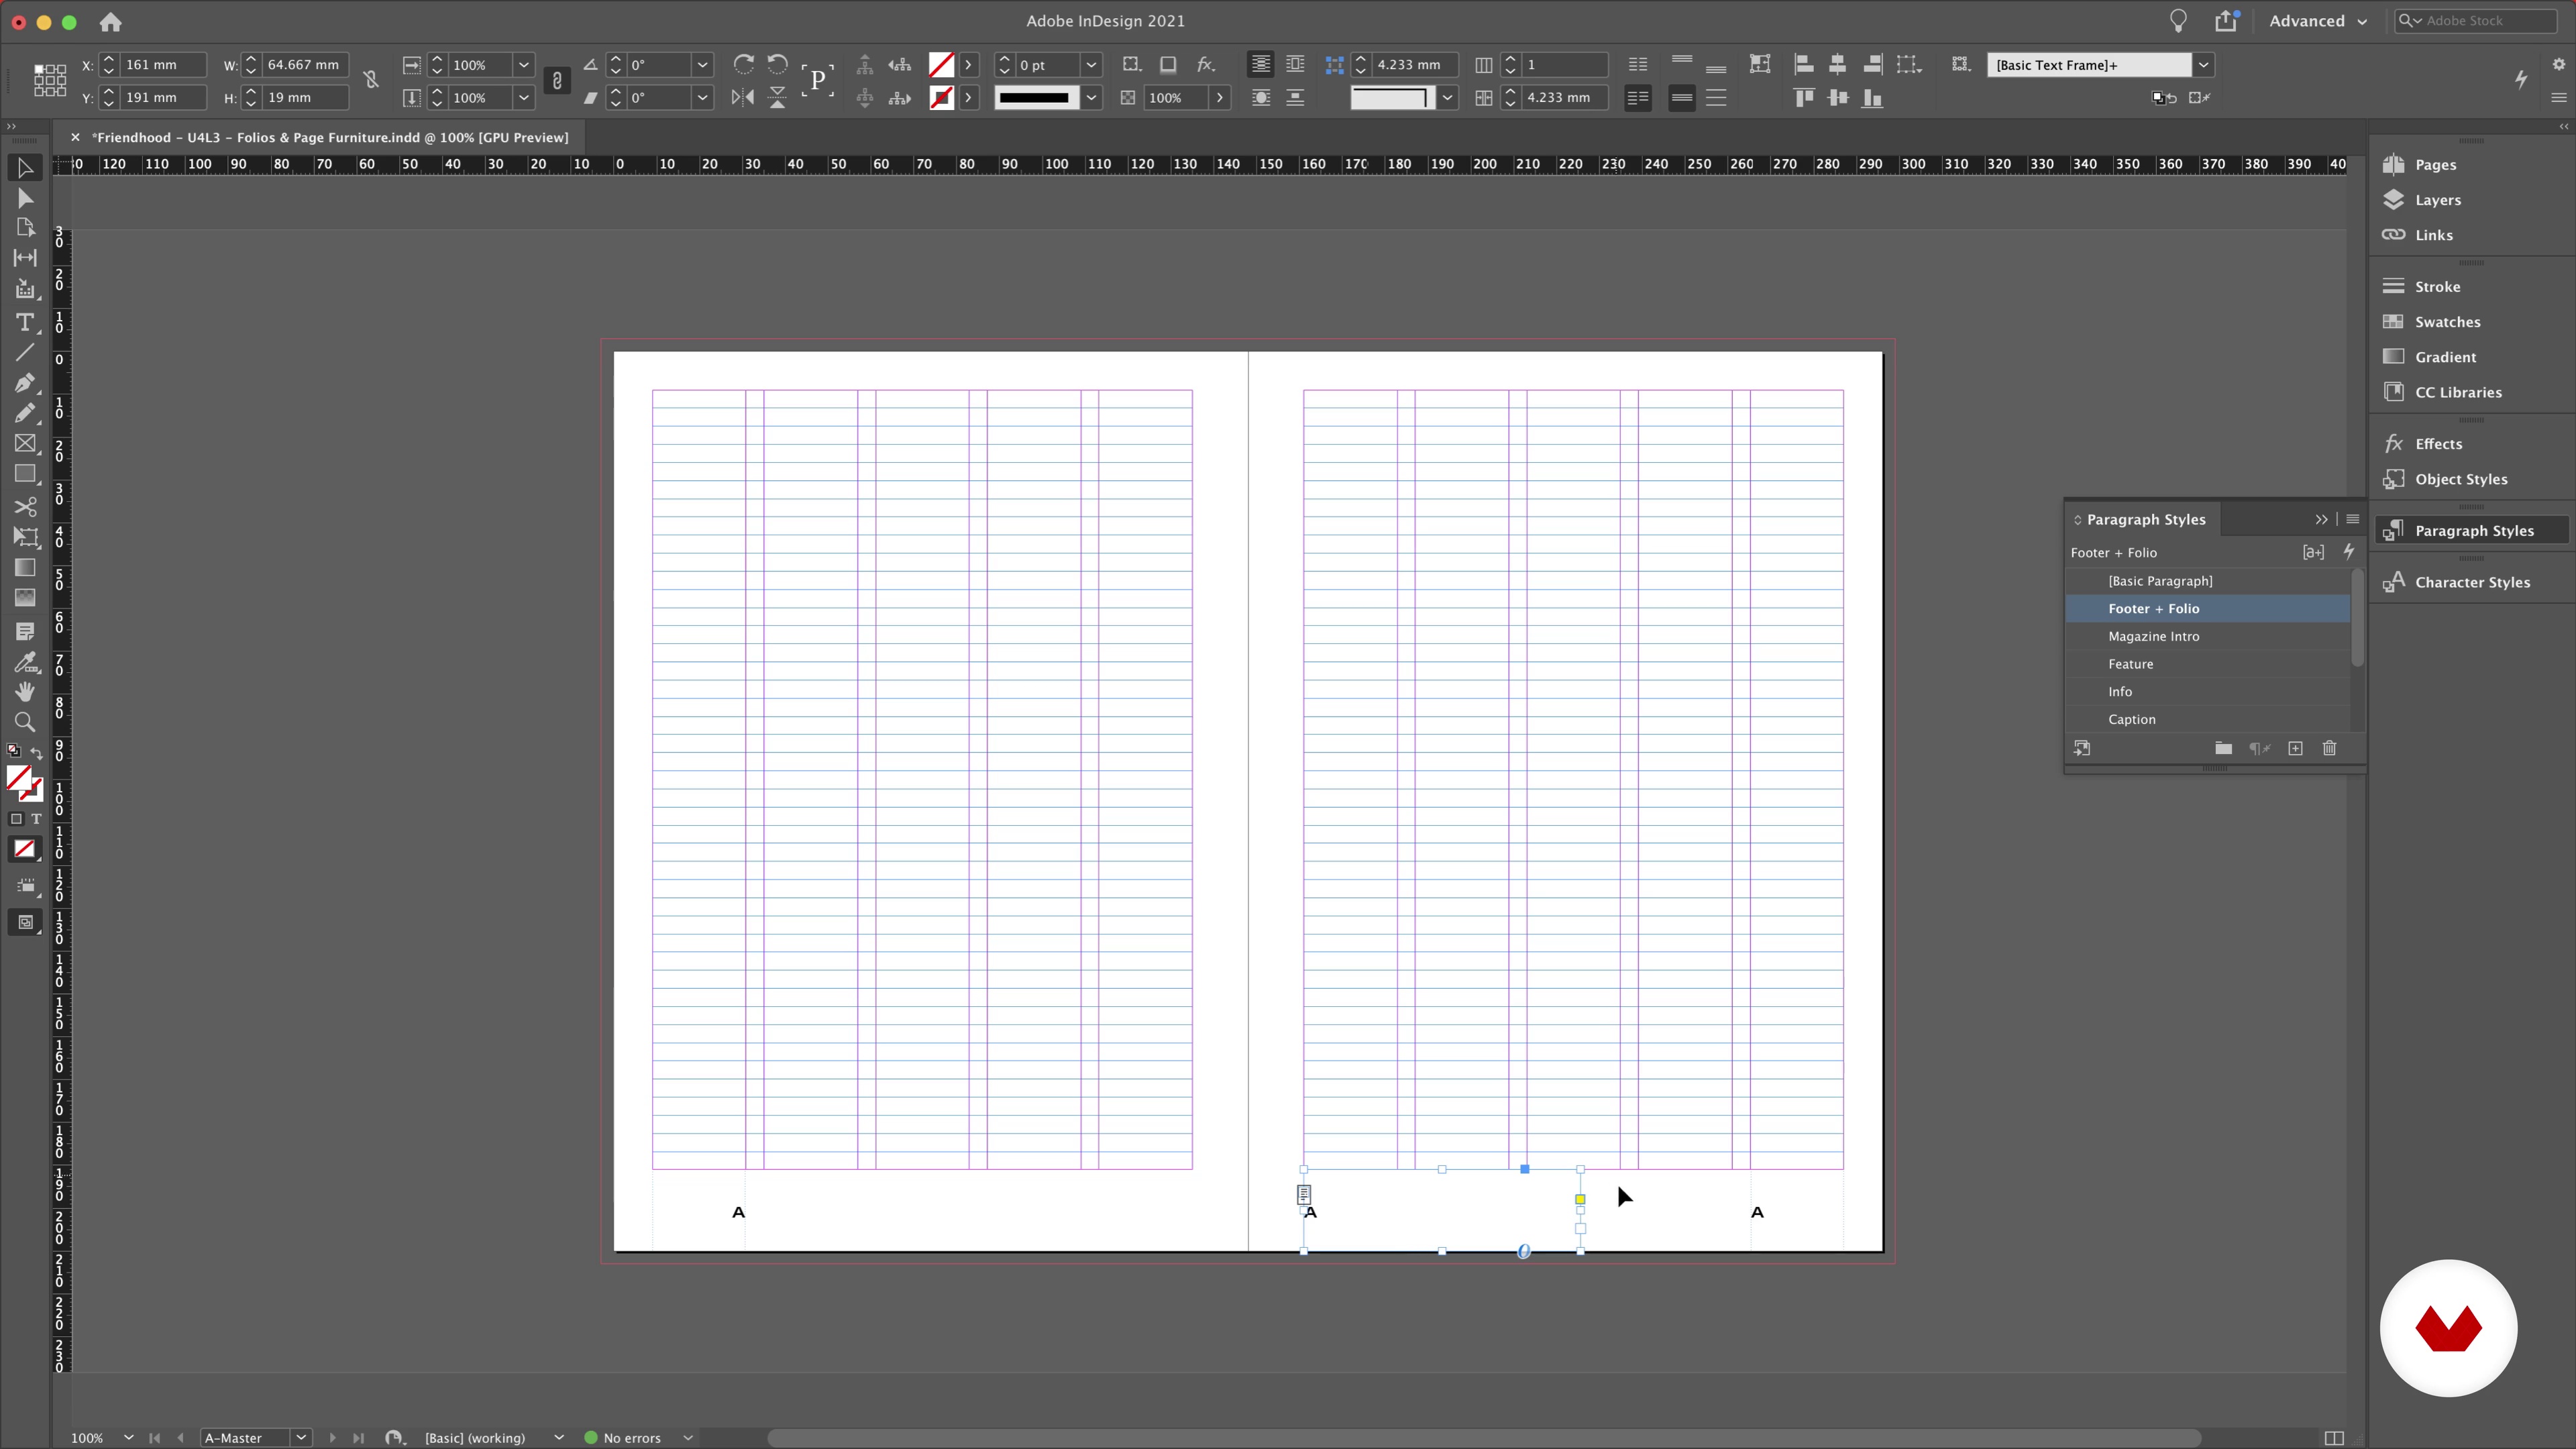
In this lesson, we will look at how to add important details to your editorial design.
4m
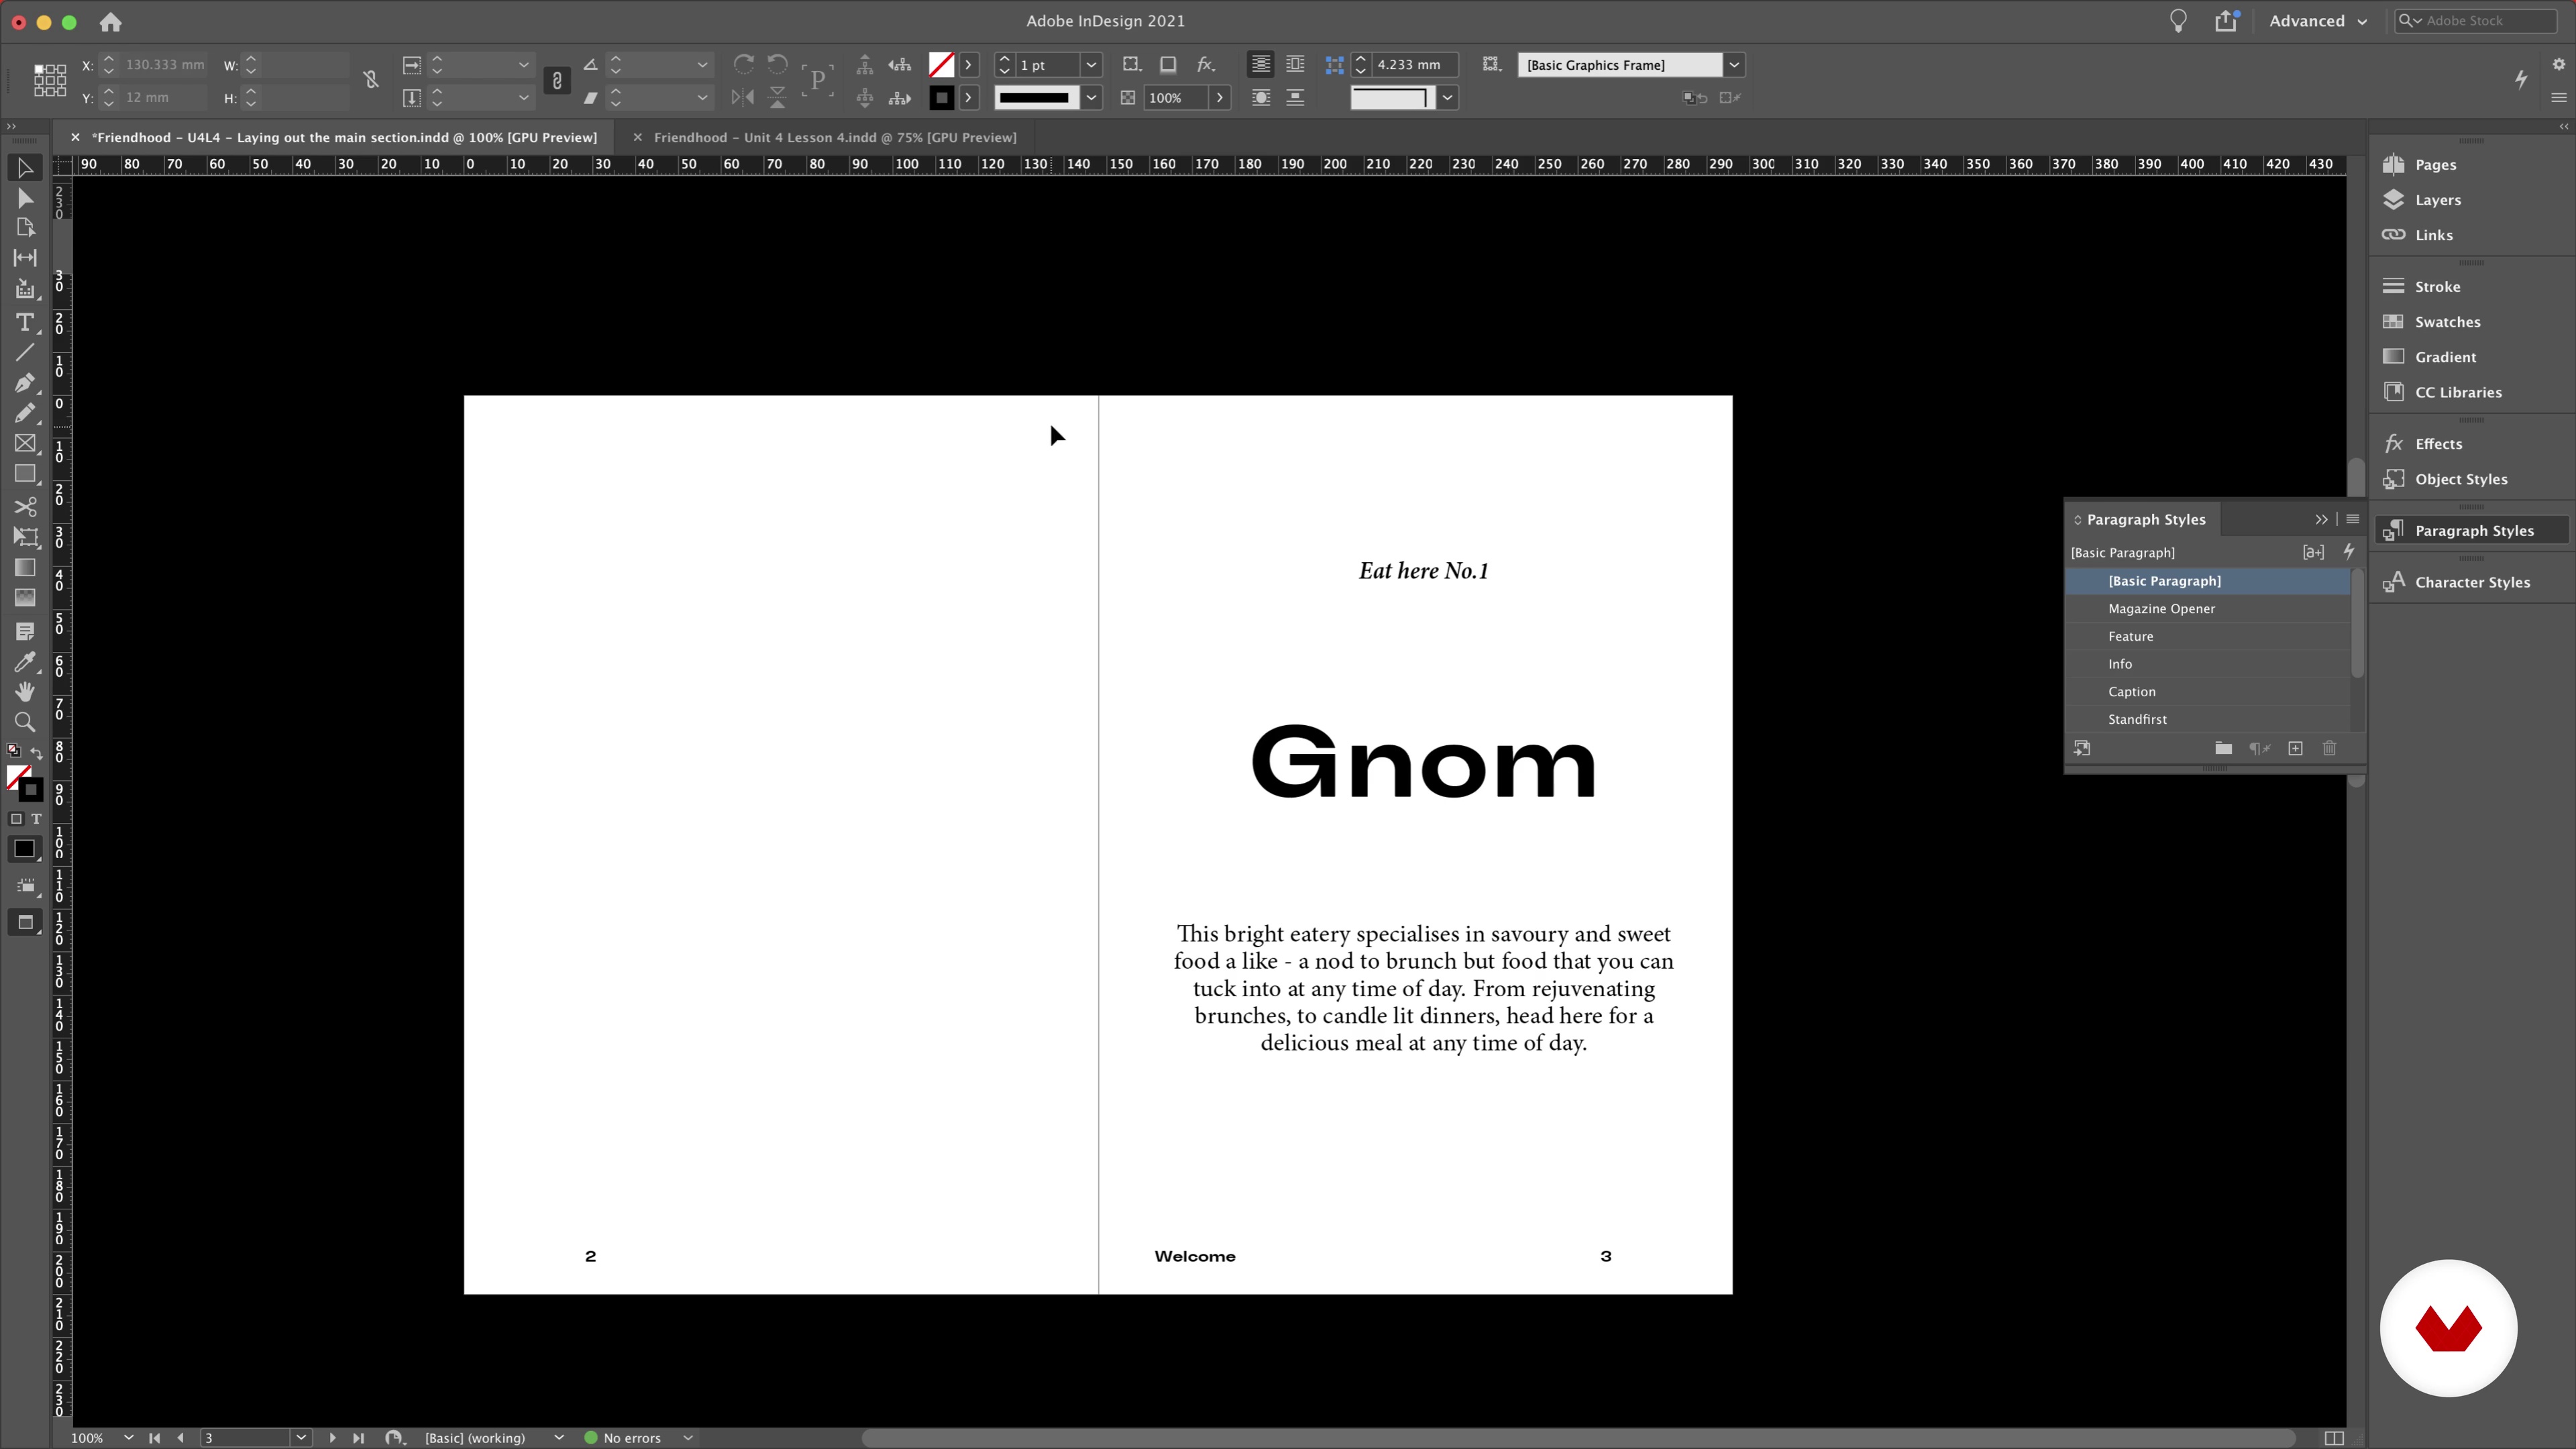 13
13Laying Out the Main Sections
We’ll start working with content to create the main spreads in our magazine.
8m
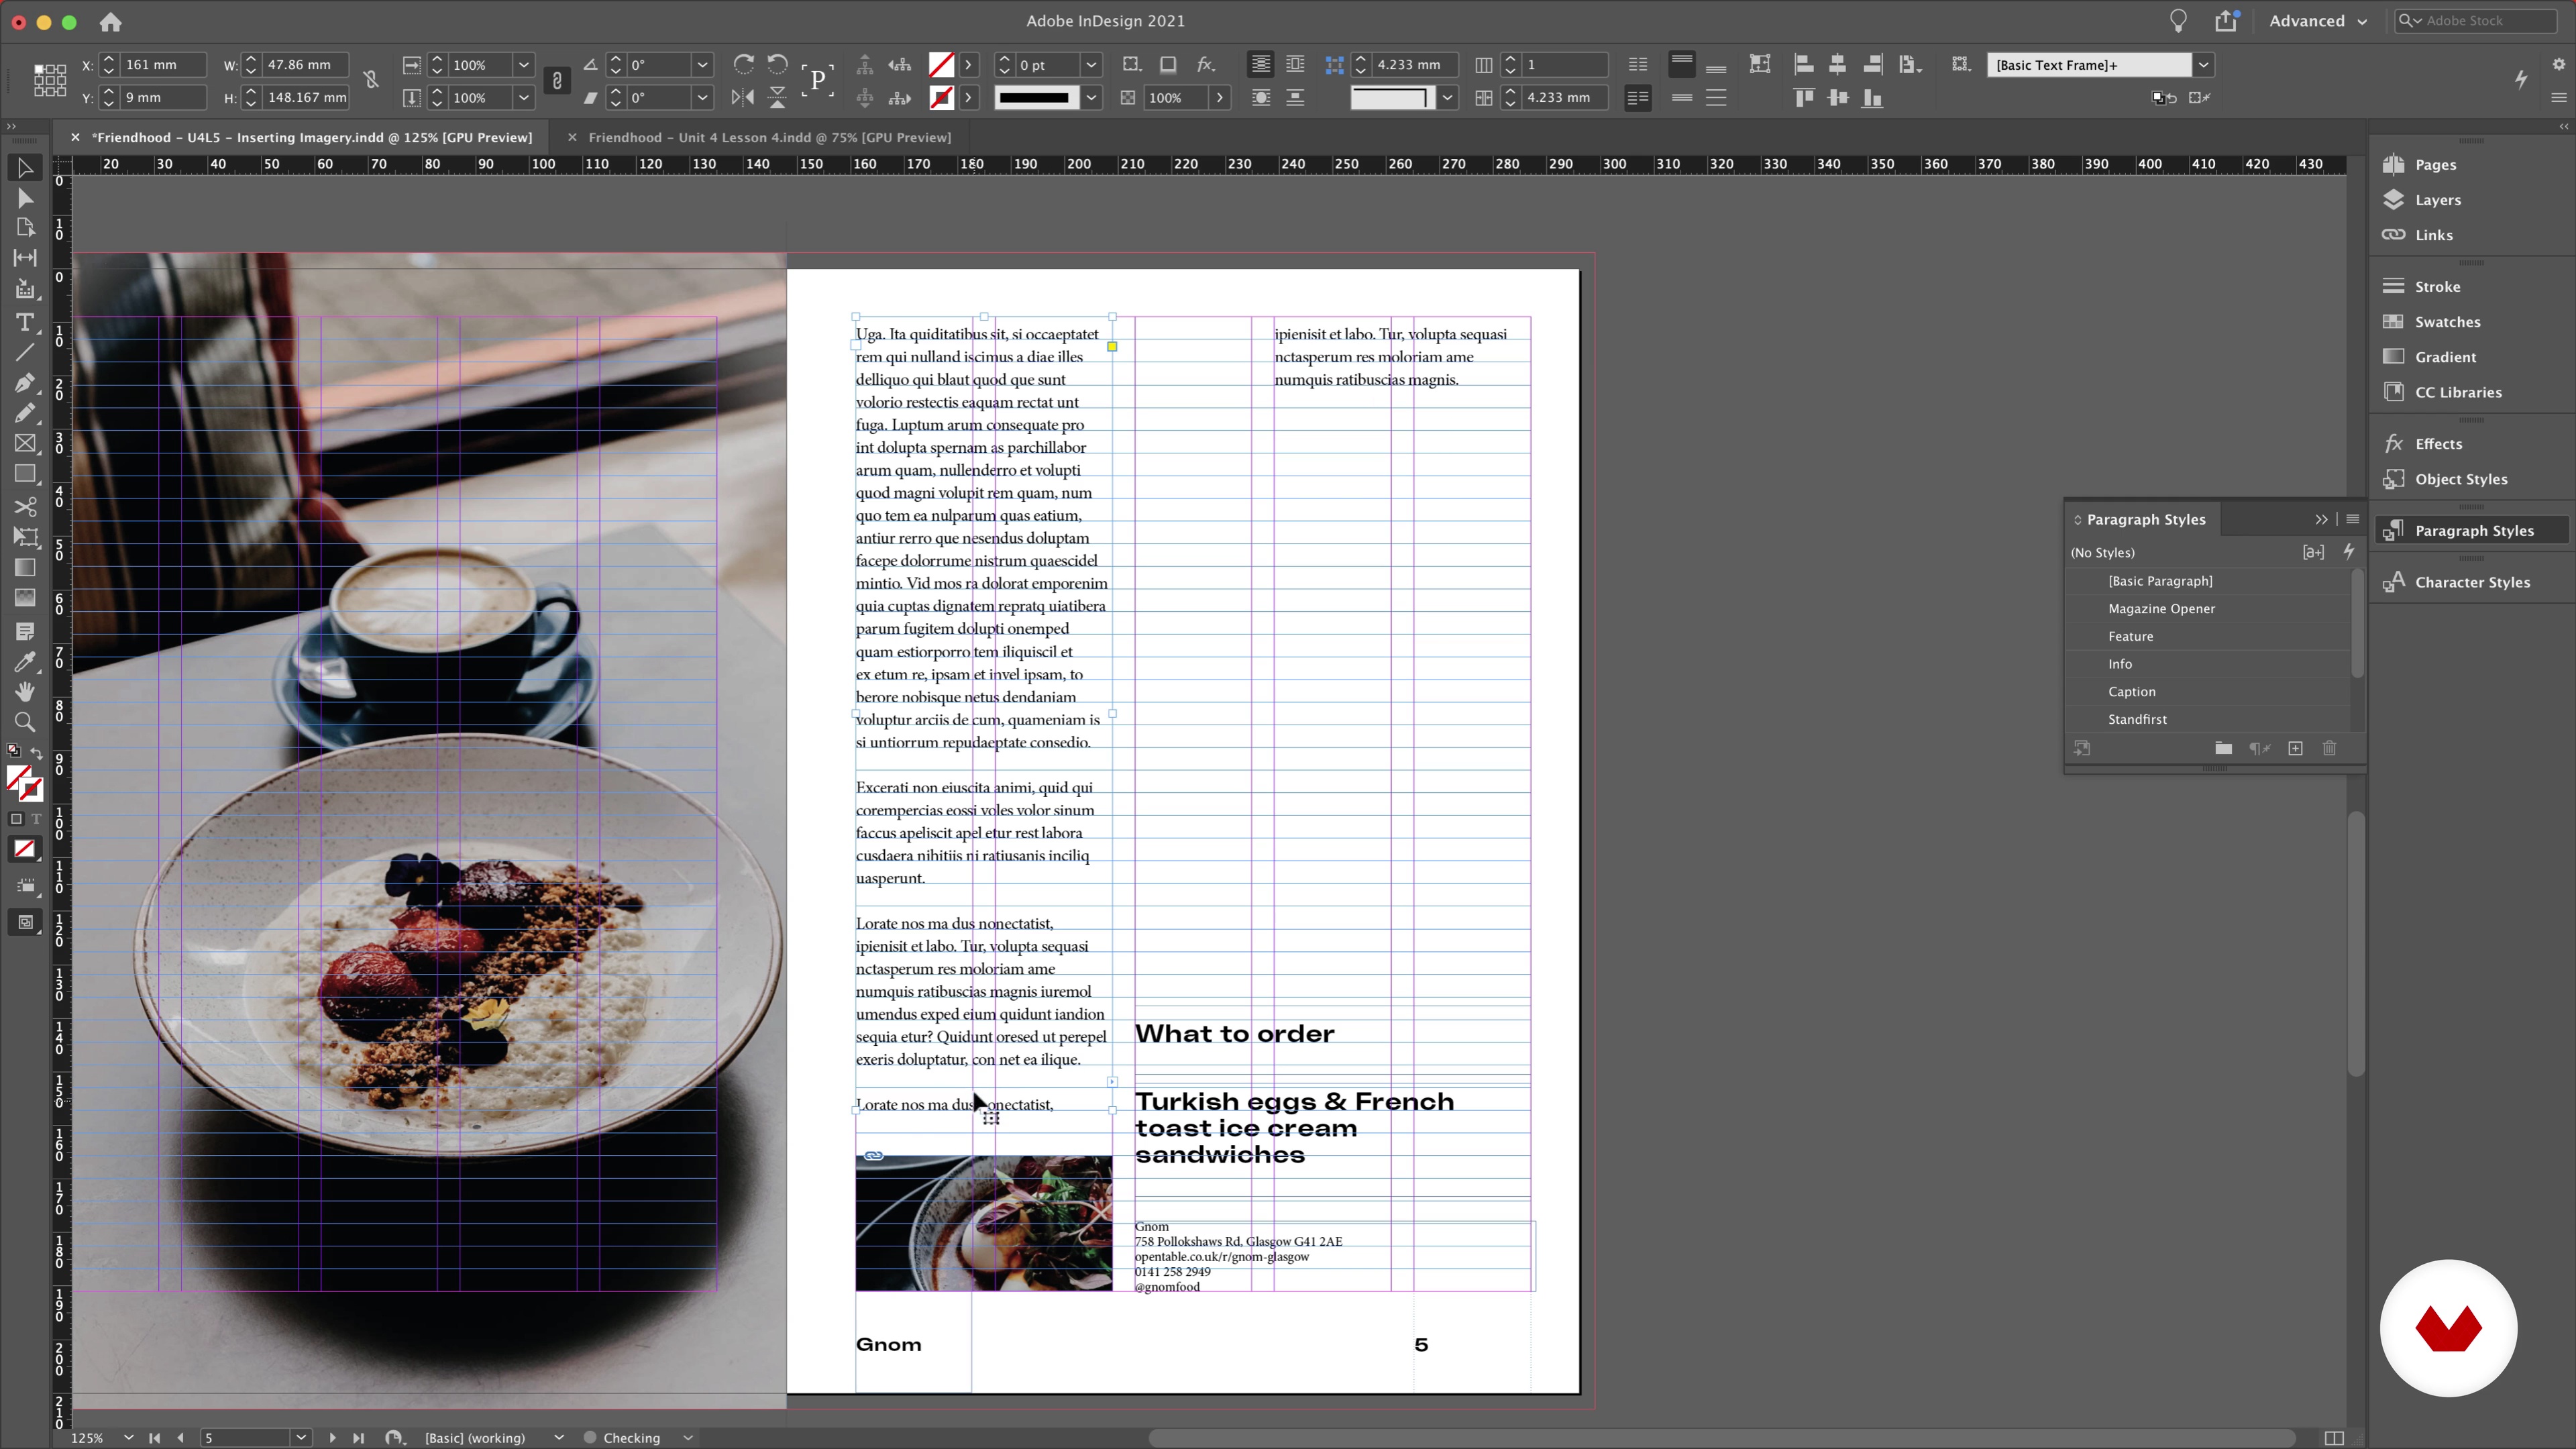 14
14Inserting Imagery
Let’s make our spreads a bit more interesting by adding imagery.
10m
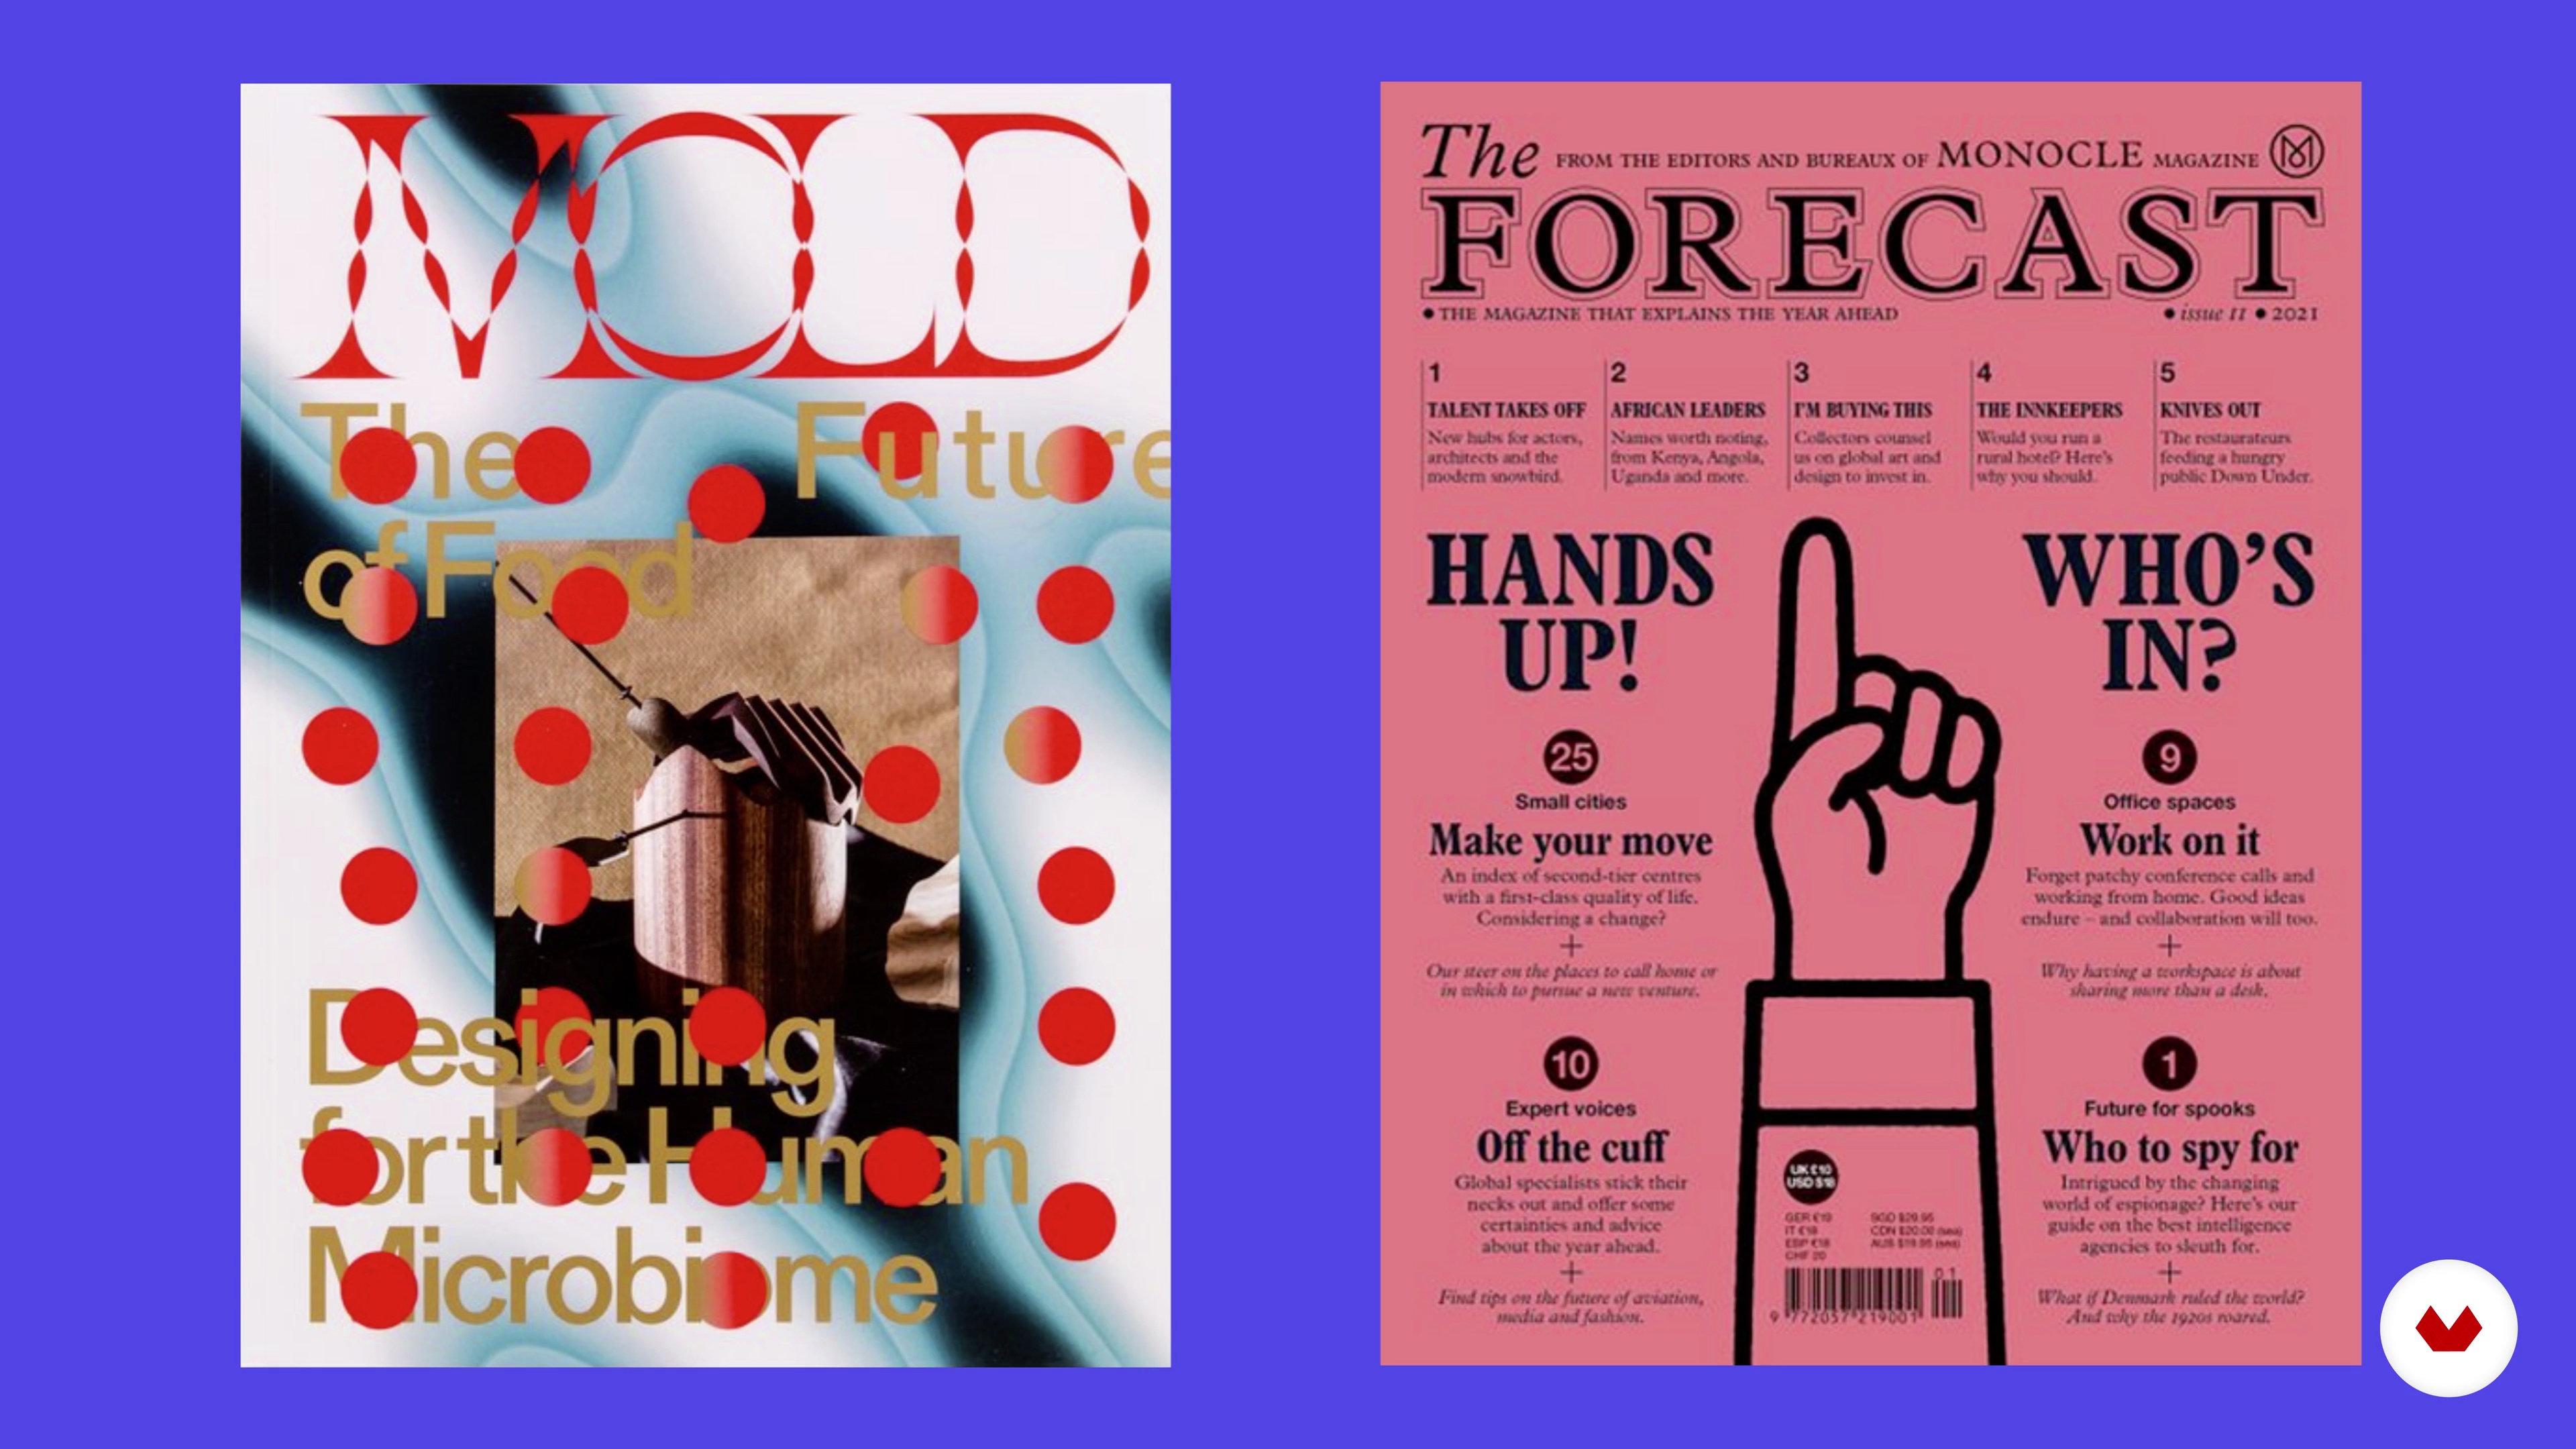 15
15Creating the Cover
We are going to assess how to create a well-designed cover that will catch the viewer's eye.
7m
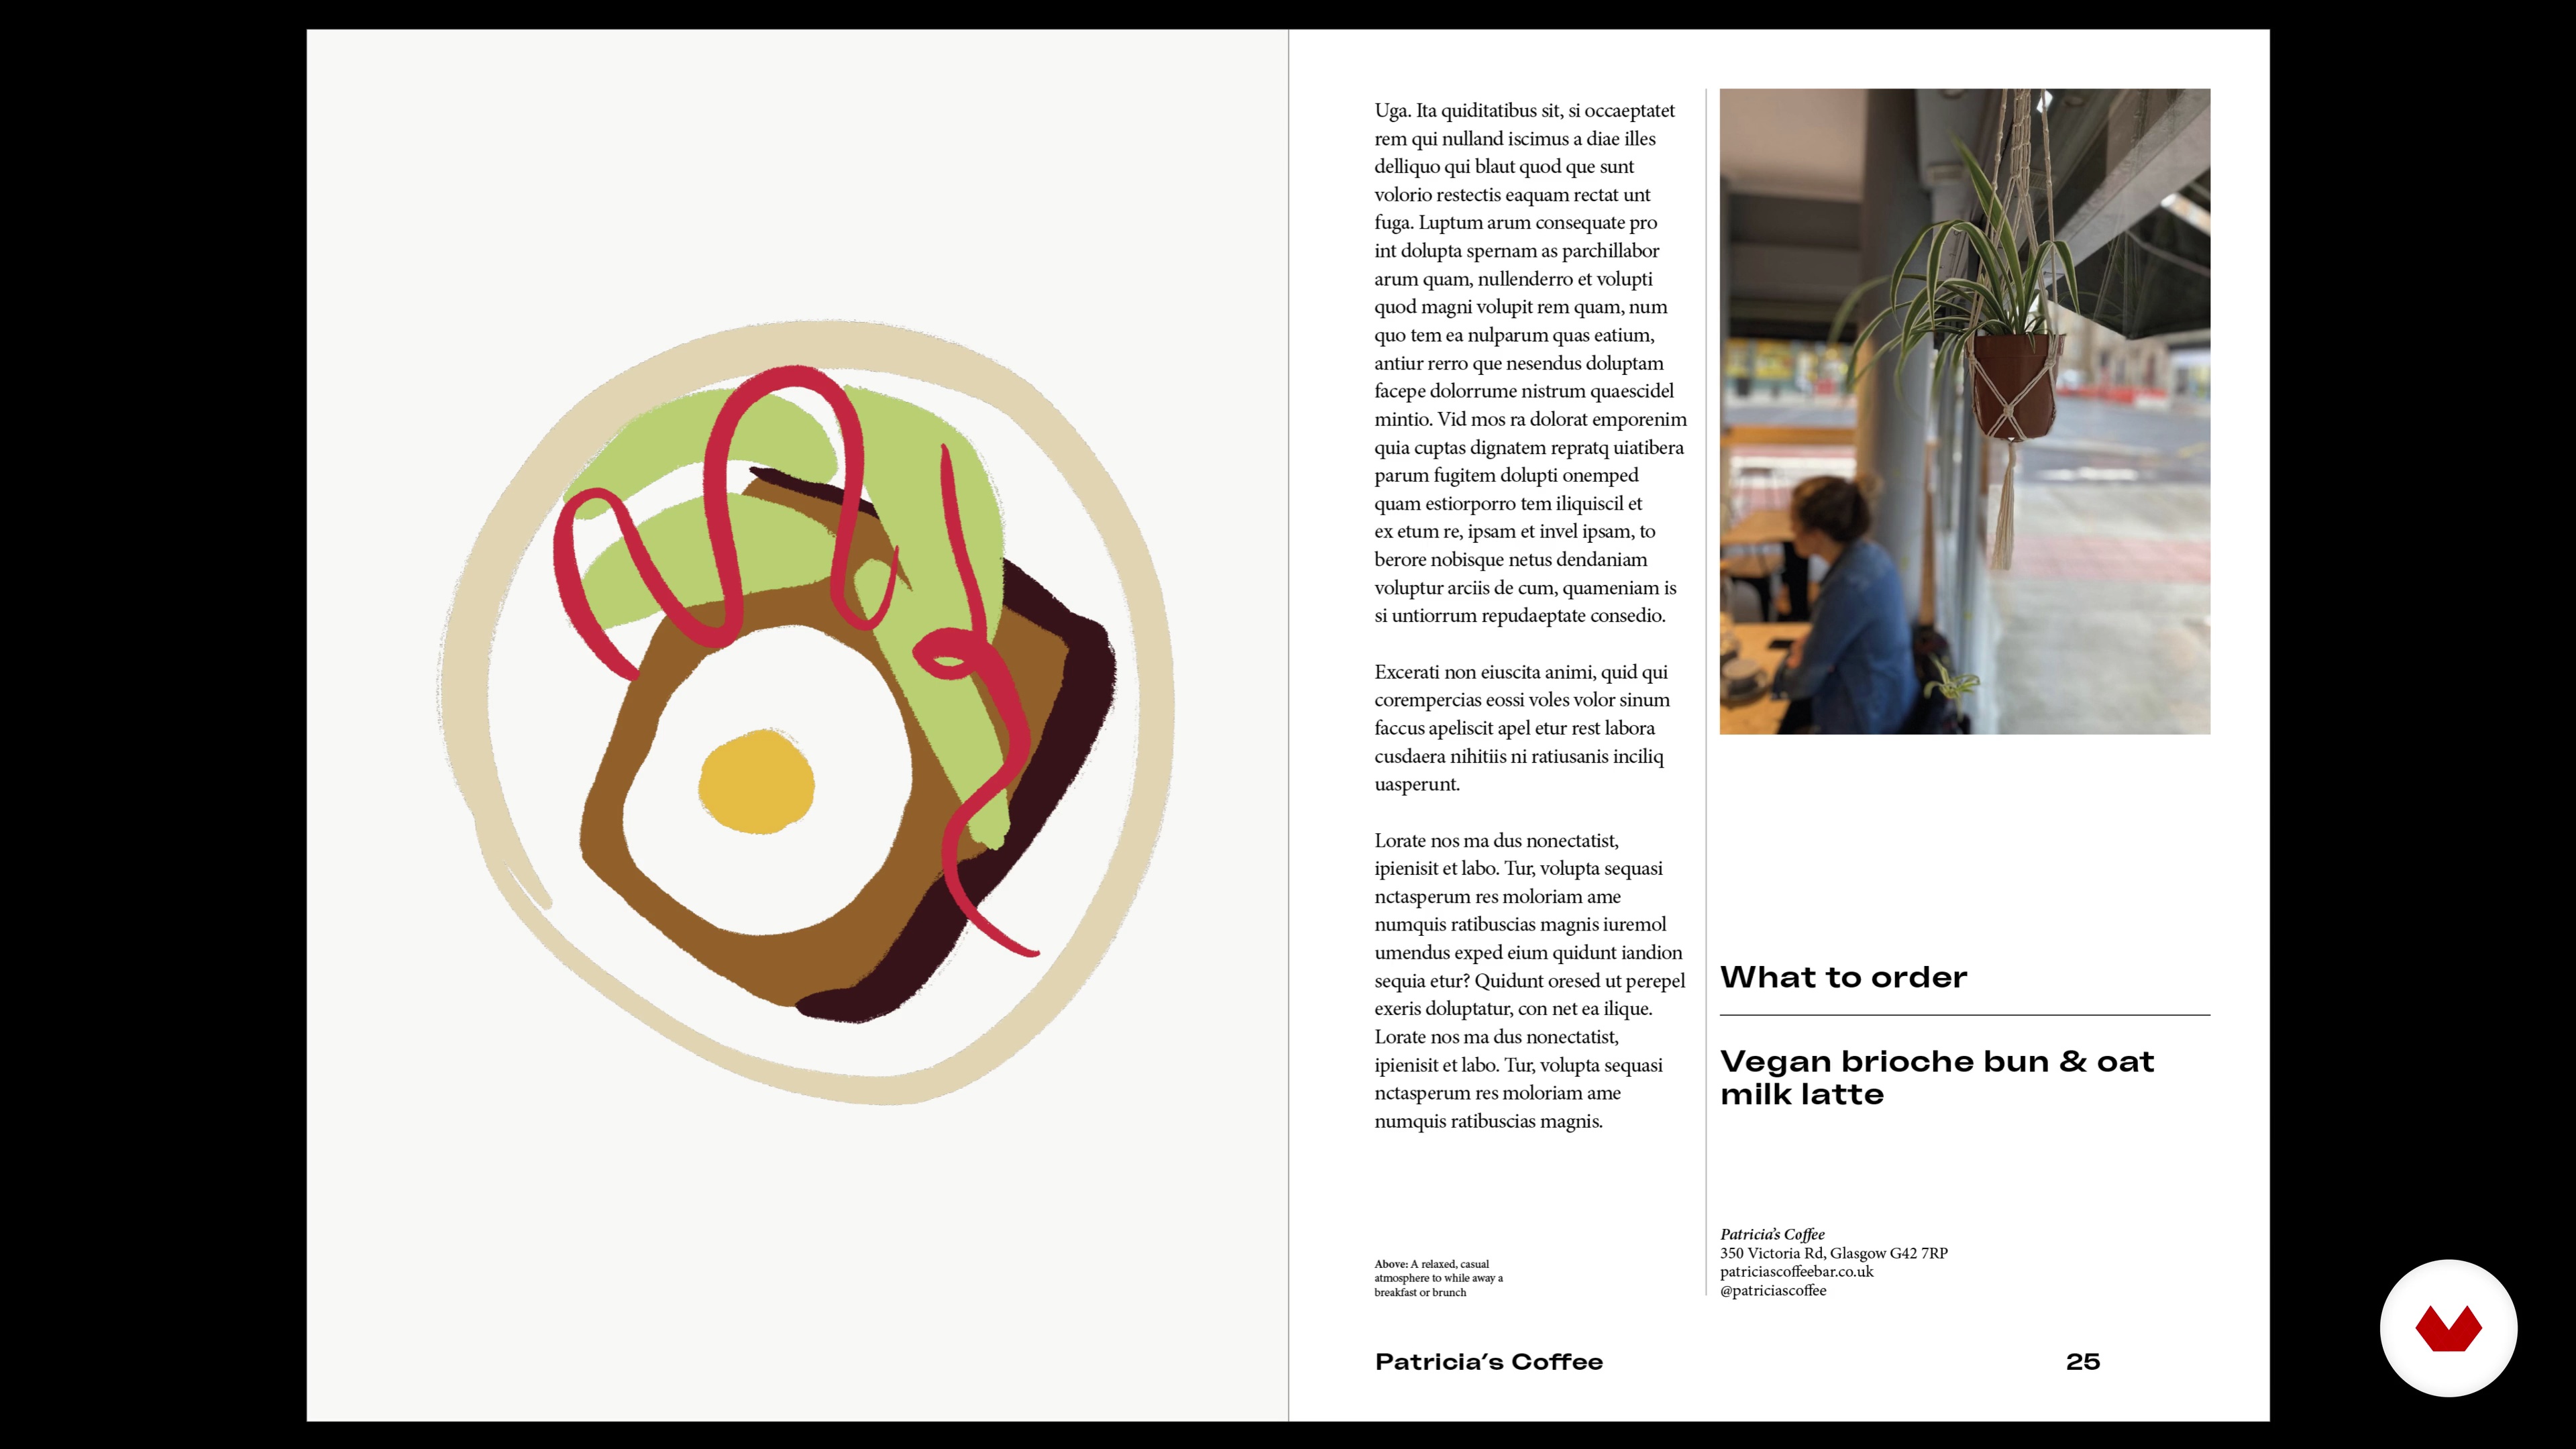 16
16Colour and Final Touches
This lesson is all about finalising your document with our colour palette, focusing on how and when to apply it.
11m
 17
17Putting Your Work Out There
We are going to cover three points in this lesson: how the final piece links back to the piece, how to get the final sign off and how to visualise your work.
3m
 3
3Designing a new information consumption experience
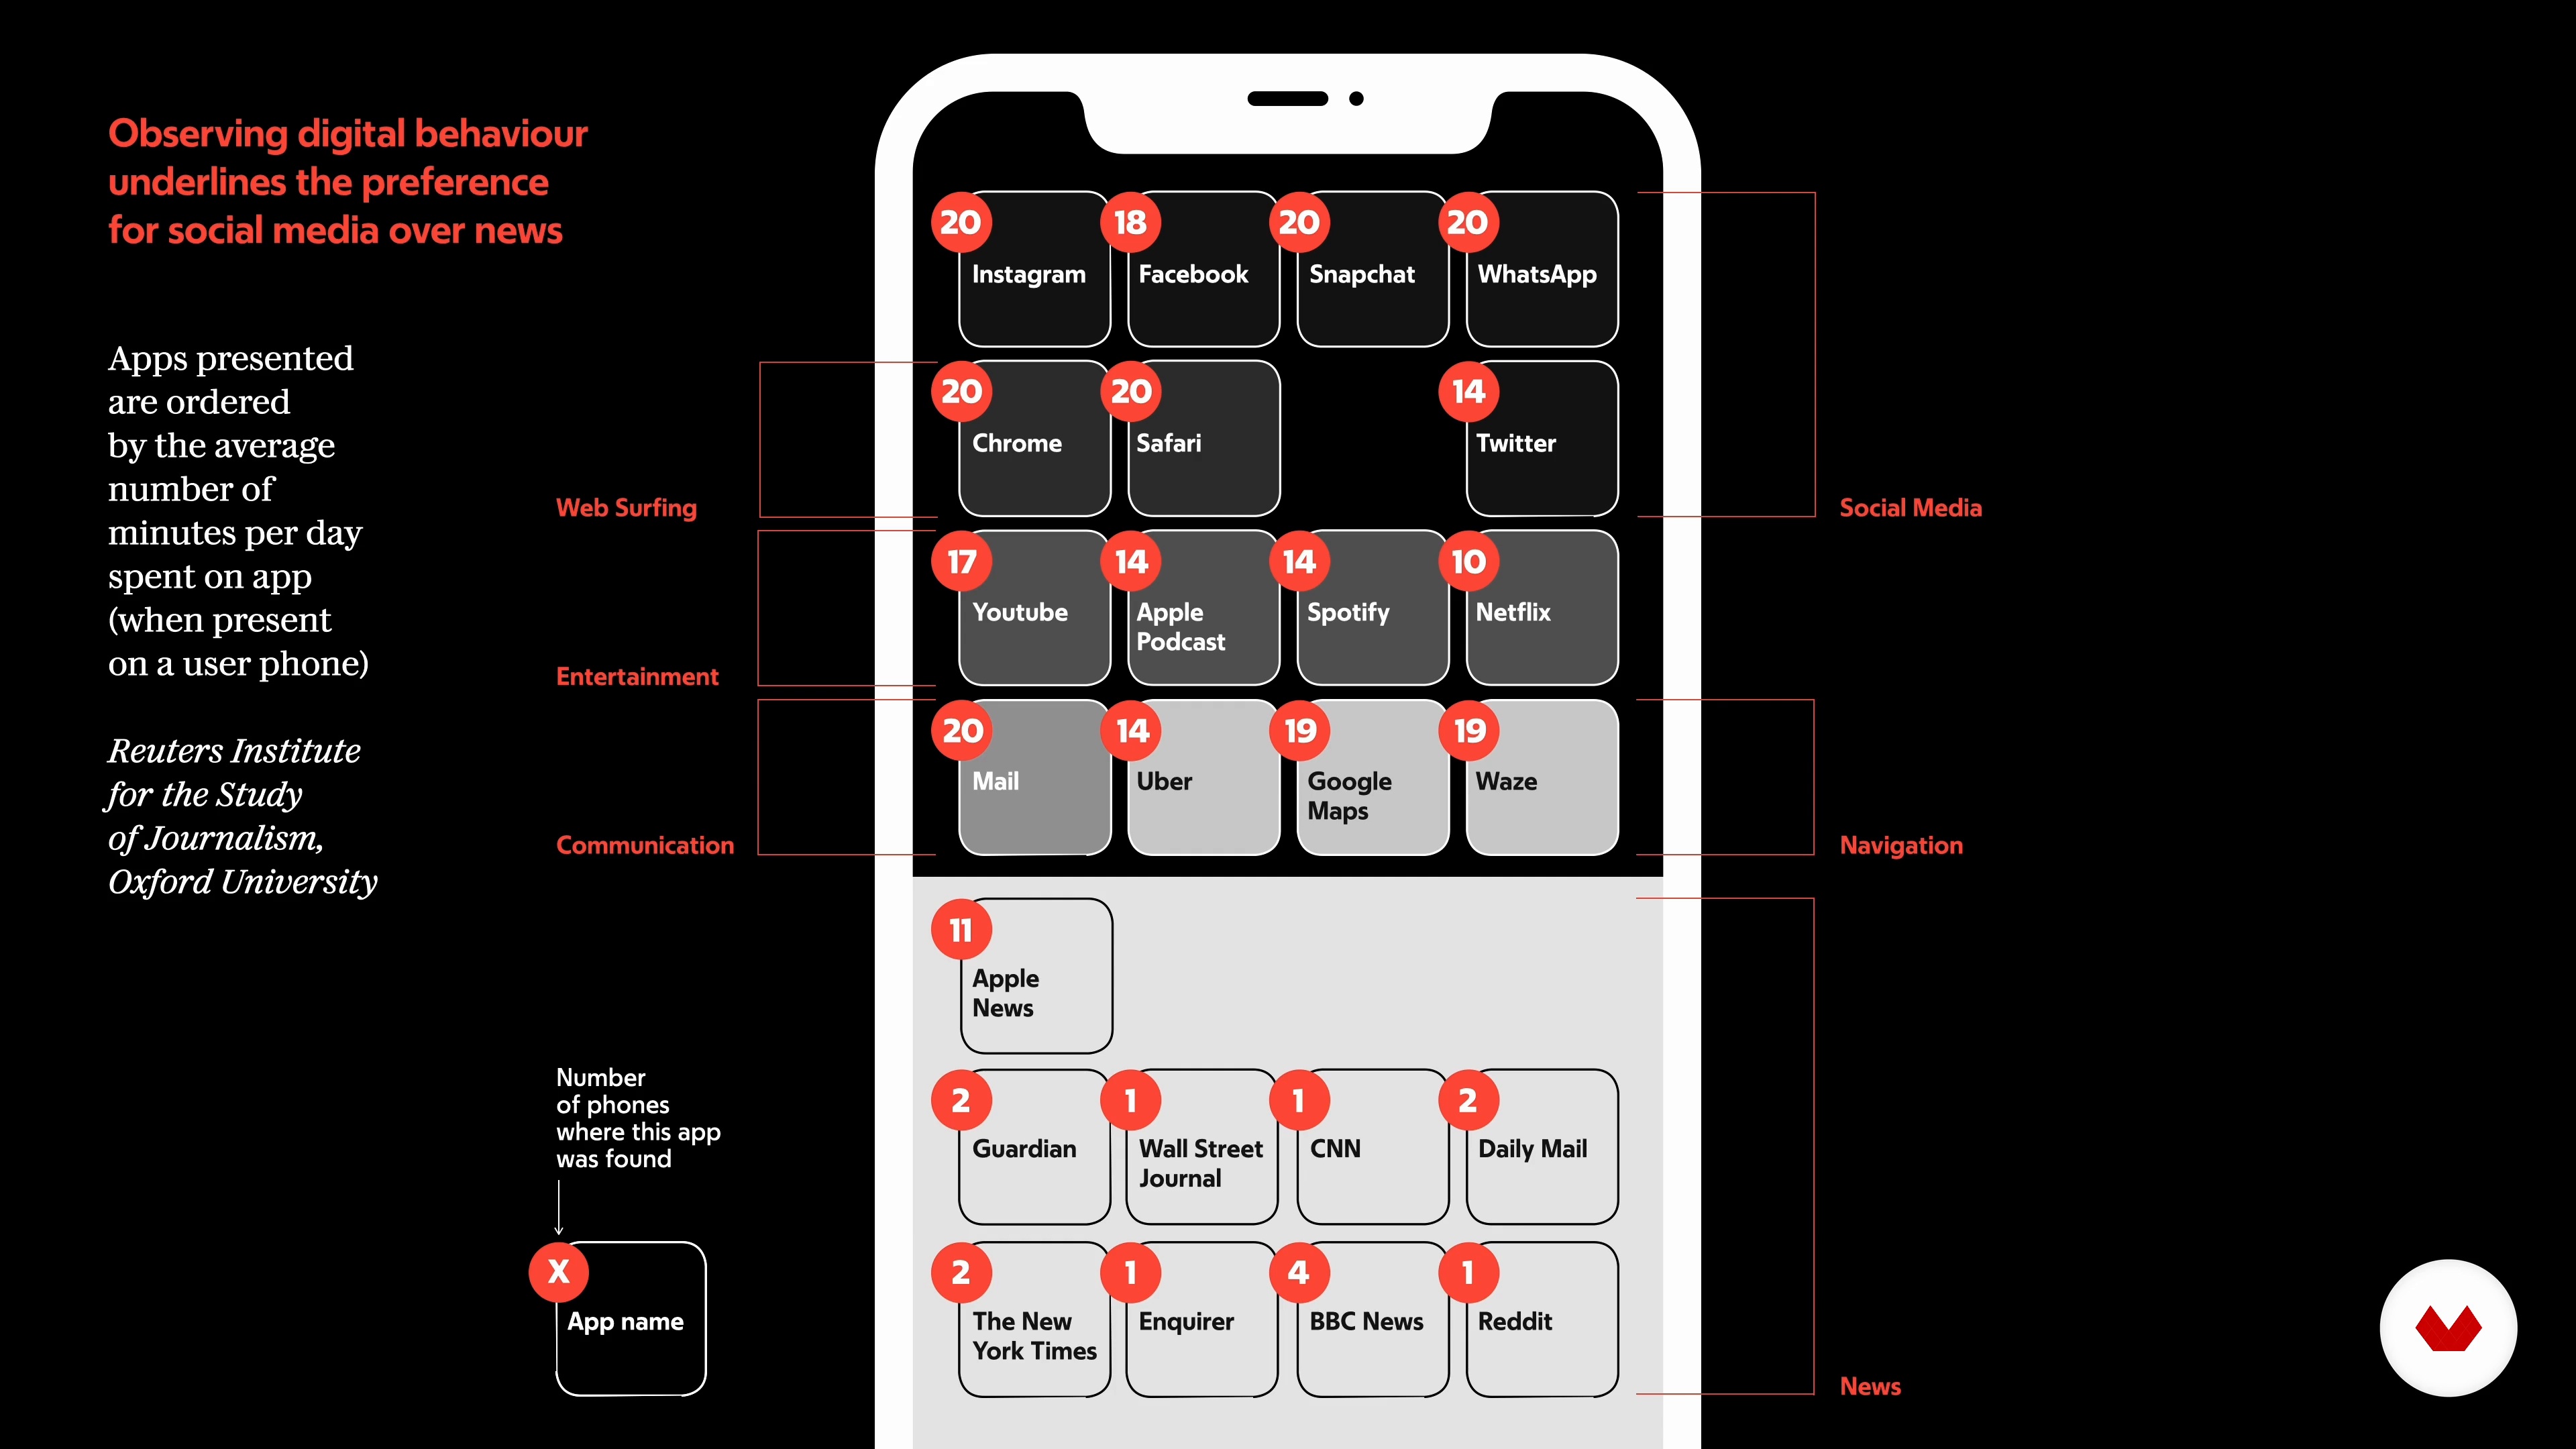
Let's start by analyzing our daily information diet. Where do we get information, when and how? The departure of young people from more traditional information appears to be related to the presence of an offer that does not meet their needs. Let us try to think about innovations that could affect traditional information products so as to make them more attractive to the younger generation.
20m
 4
4Where does the form of editorial content originate from 1
Content is design. Without content there can be no editorial design. Let's try to understand why together with director Mario Calabresi and art director Angelo Rinaldi. Two figures who, in my professional career, have been able to teach me a lot.
13m
 5
5Where does the form of editorial content originate from 2
We will try to tell anecdotes that can be useful for understanding how an editorial team works and the confrontation/clash relationship between director and art-director, between content and form.
10m
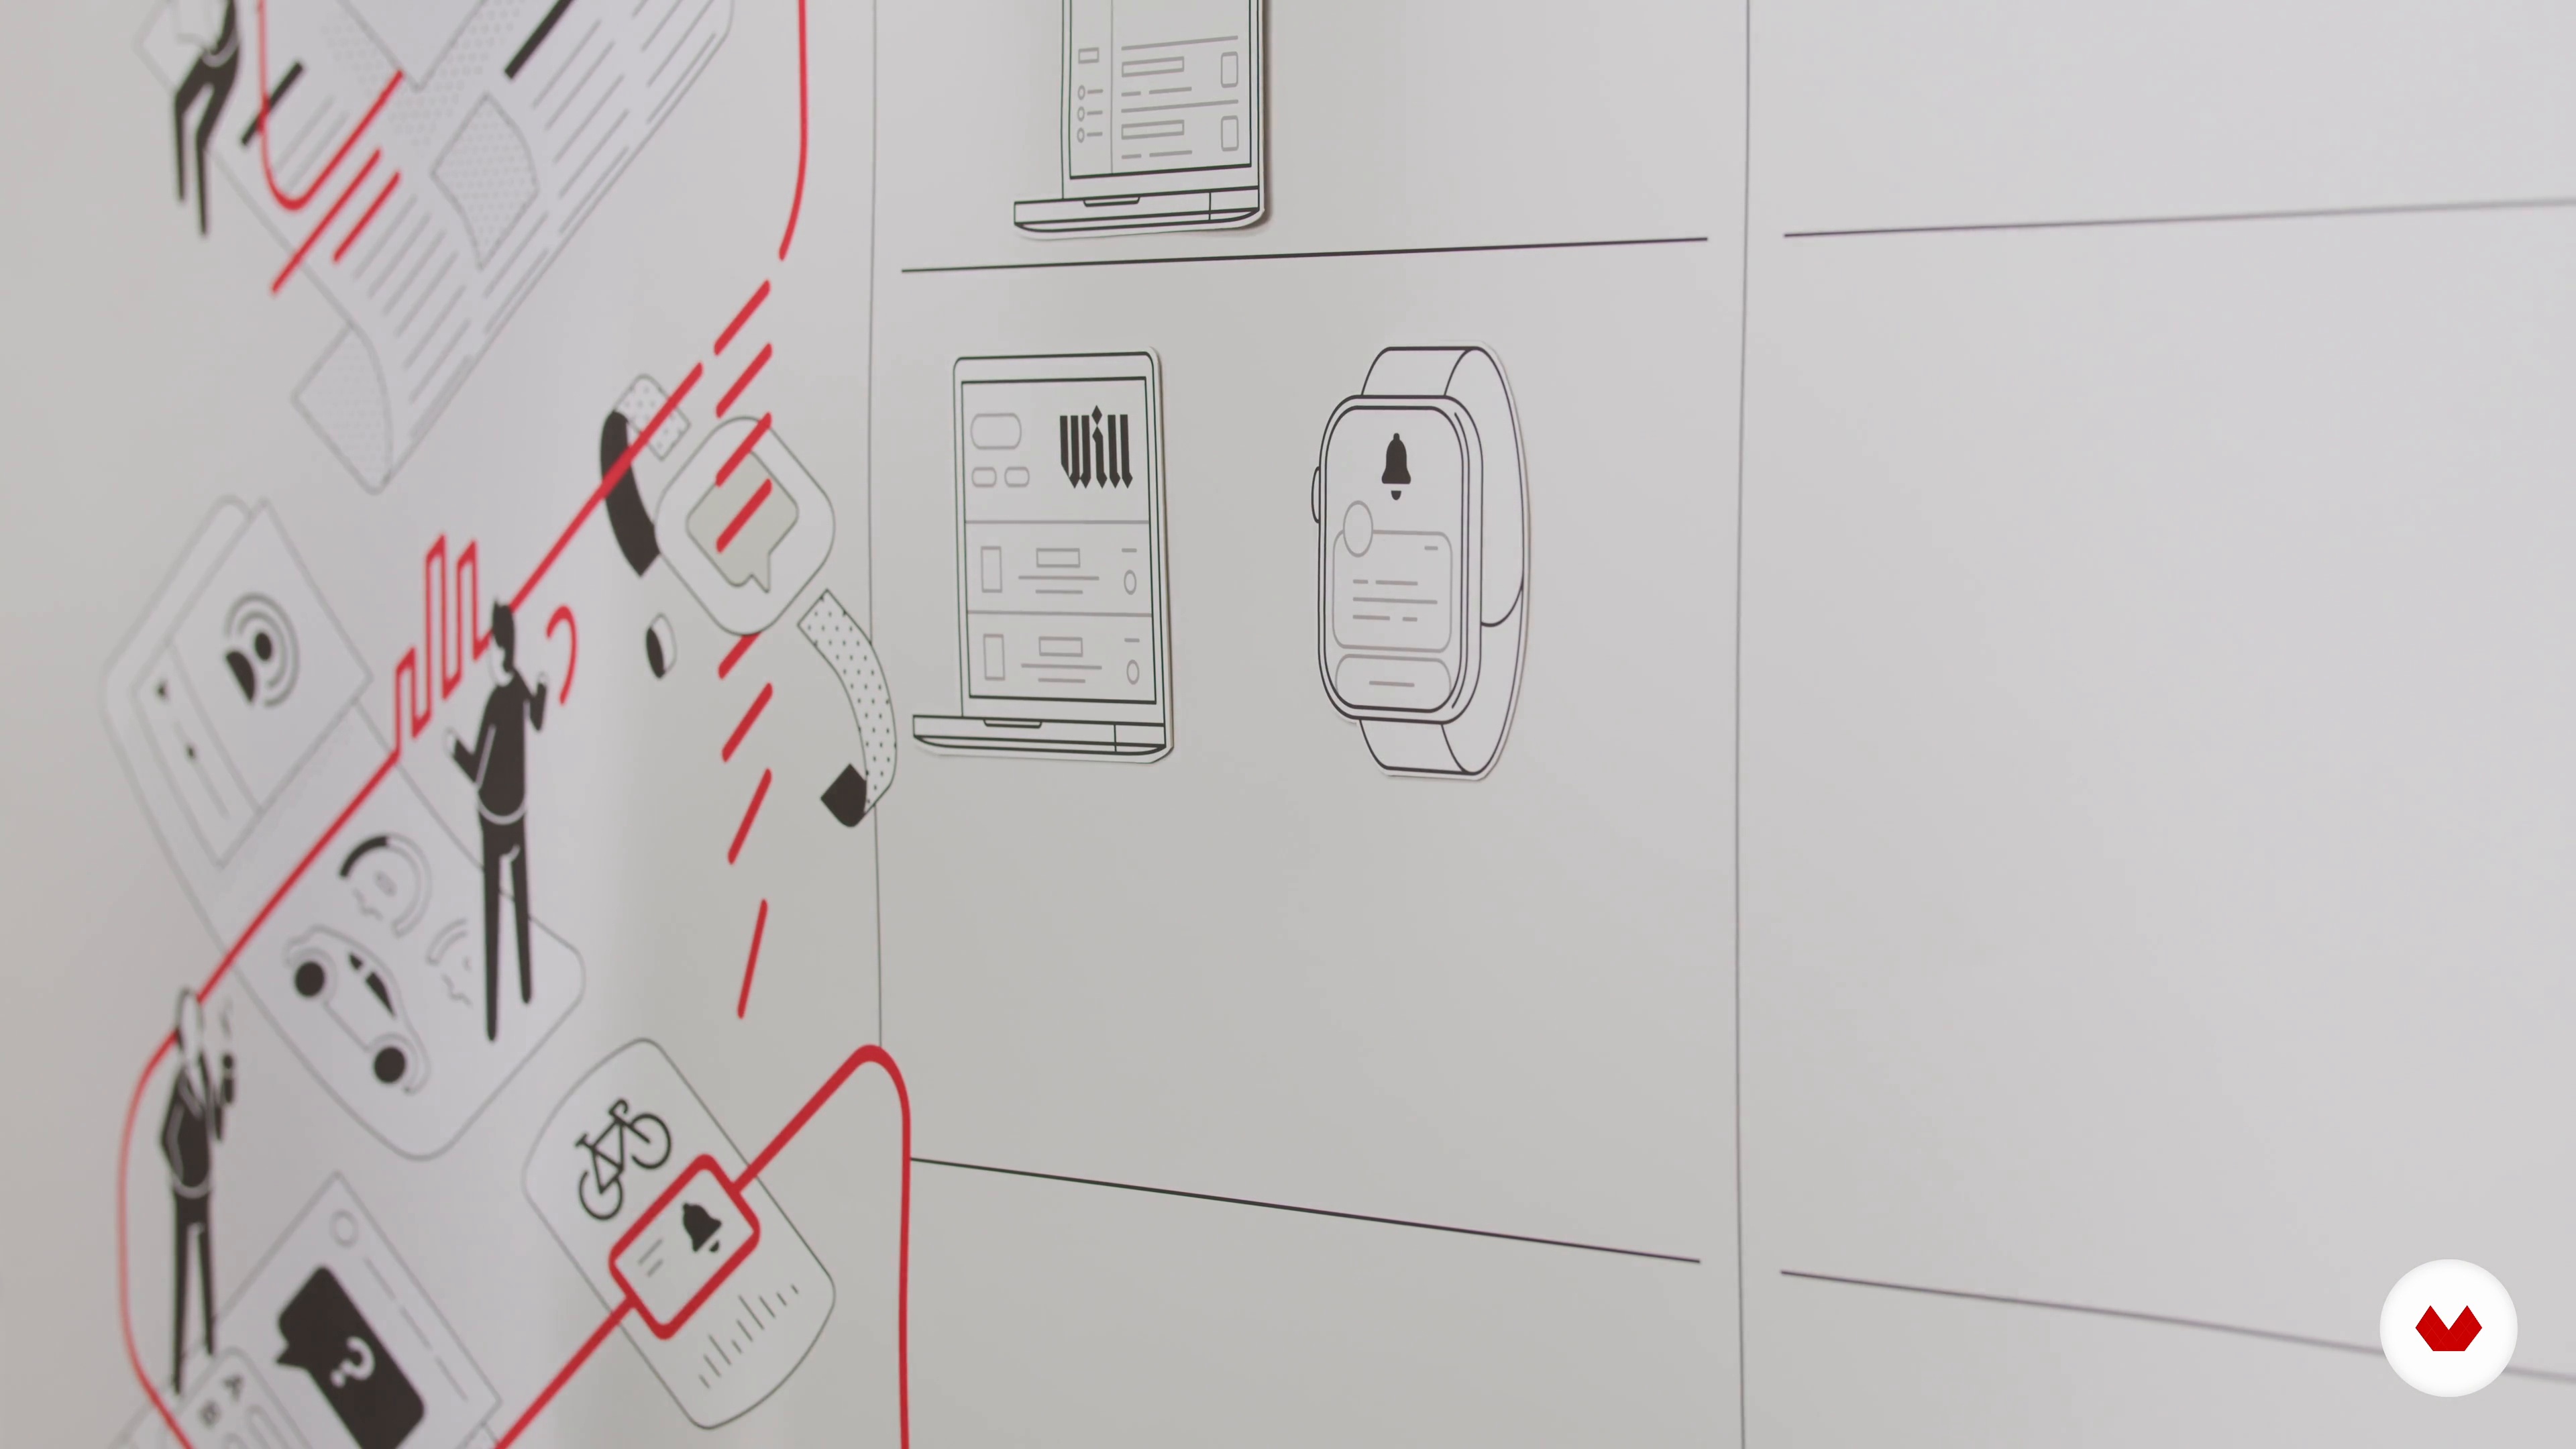 6
6The form of editorial content and time: the hour
Let's try to understand how to create and distribute a consistent and relevant information experience through multi-channel use during different time slots (hour, day, week, month). Let's examine some important Italian and international case studies.
14m
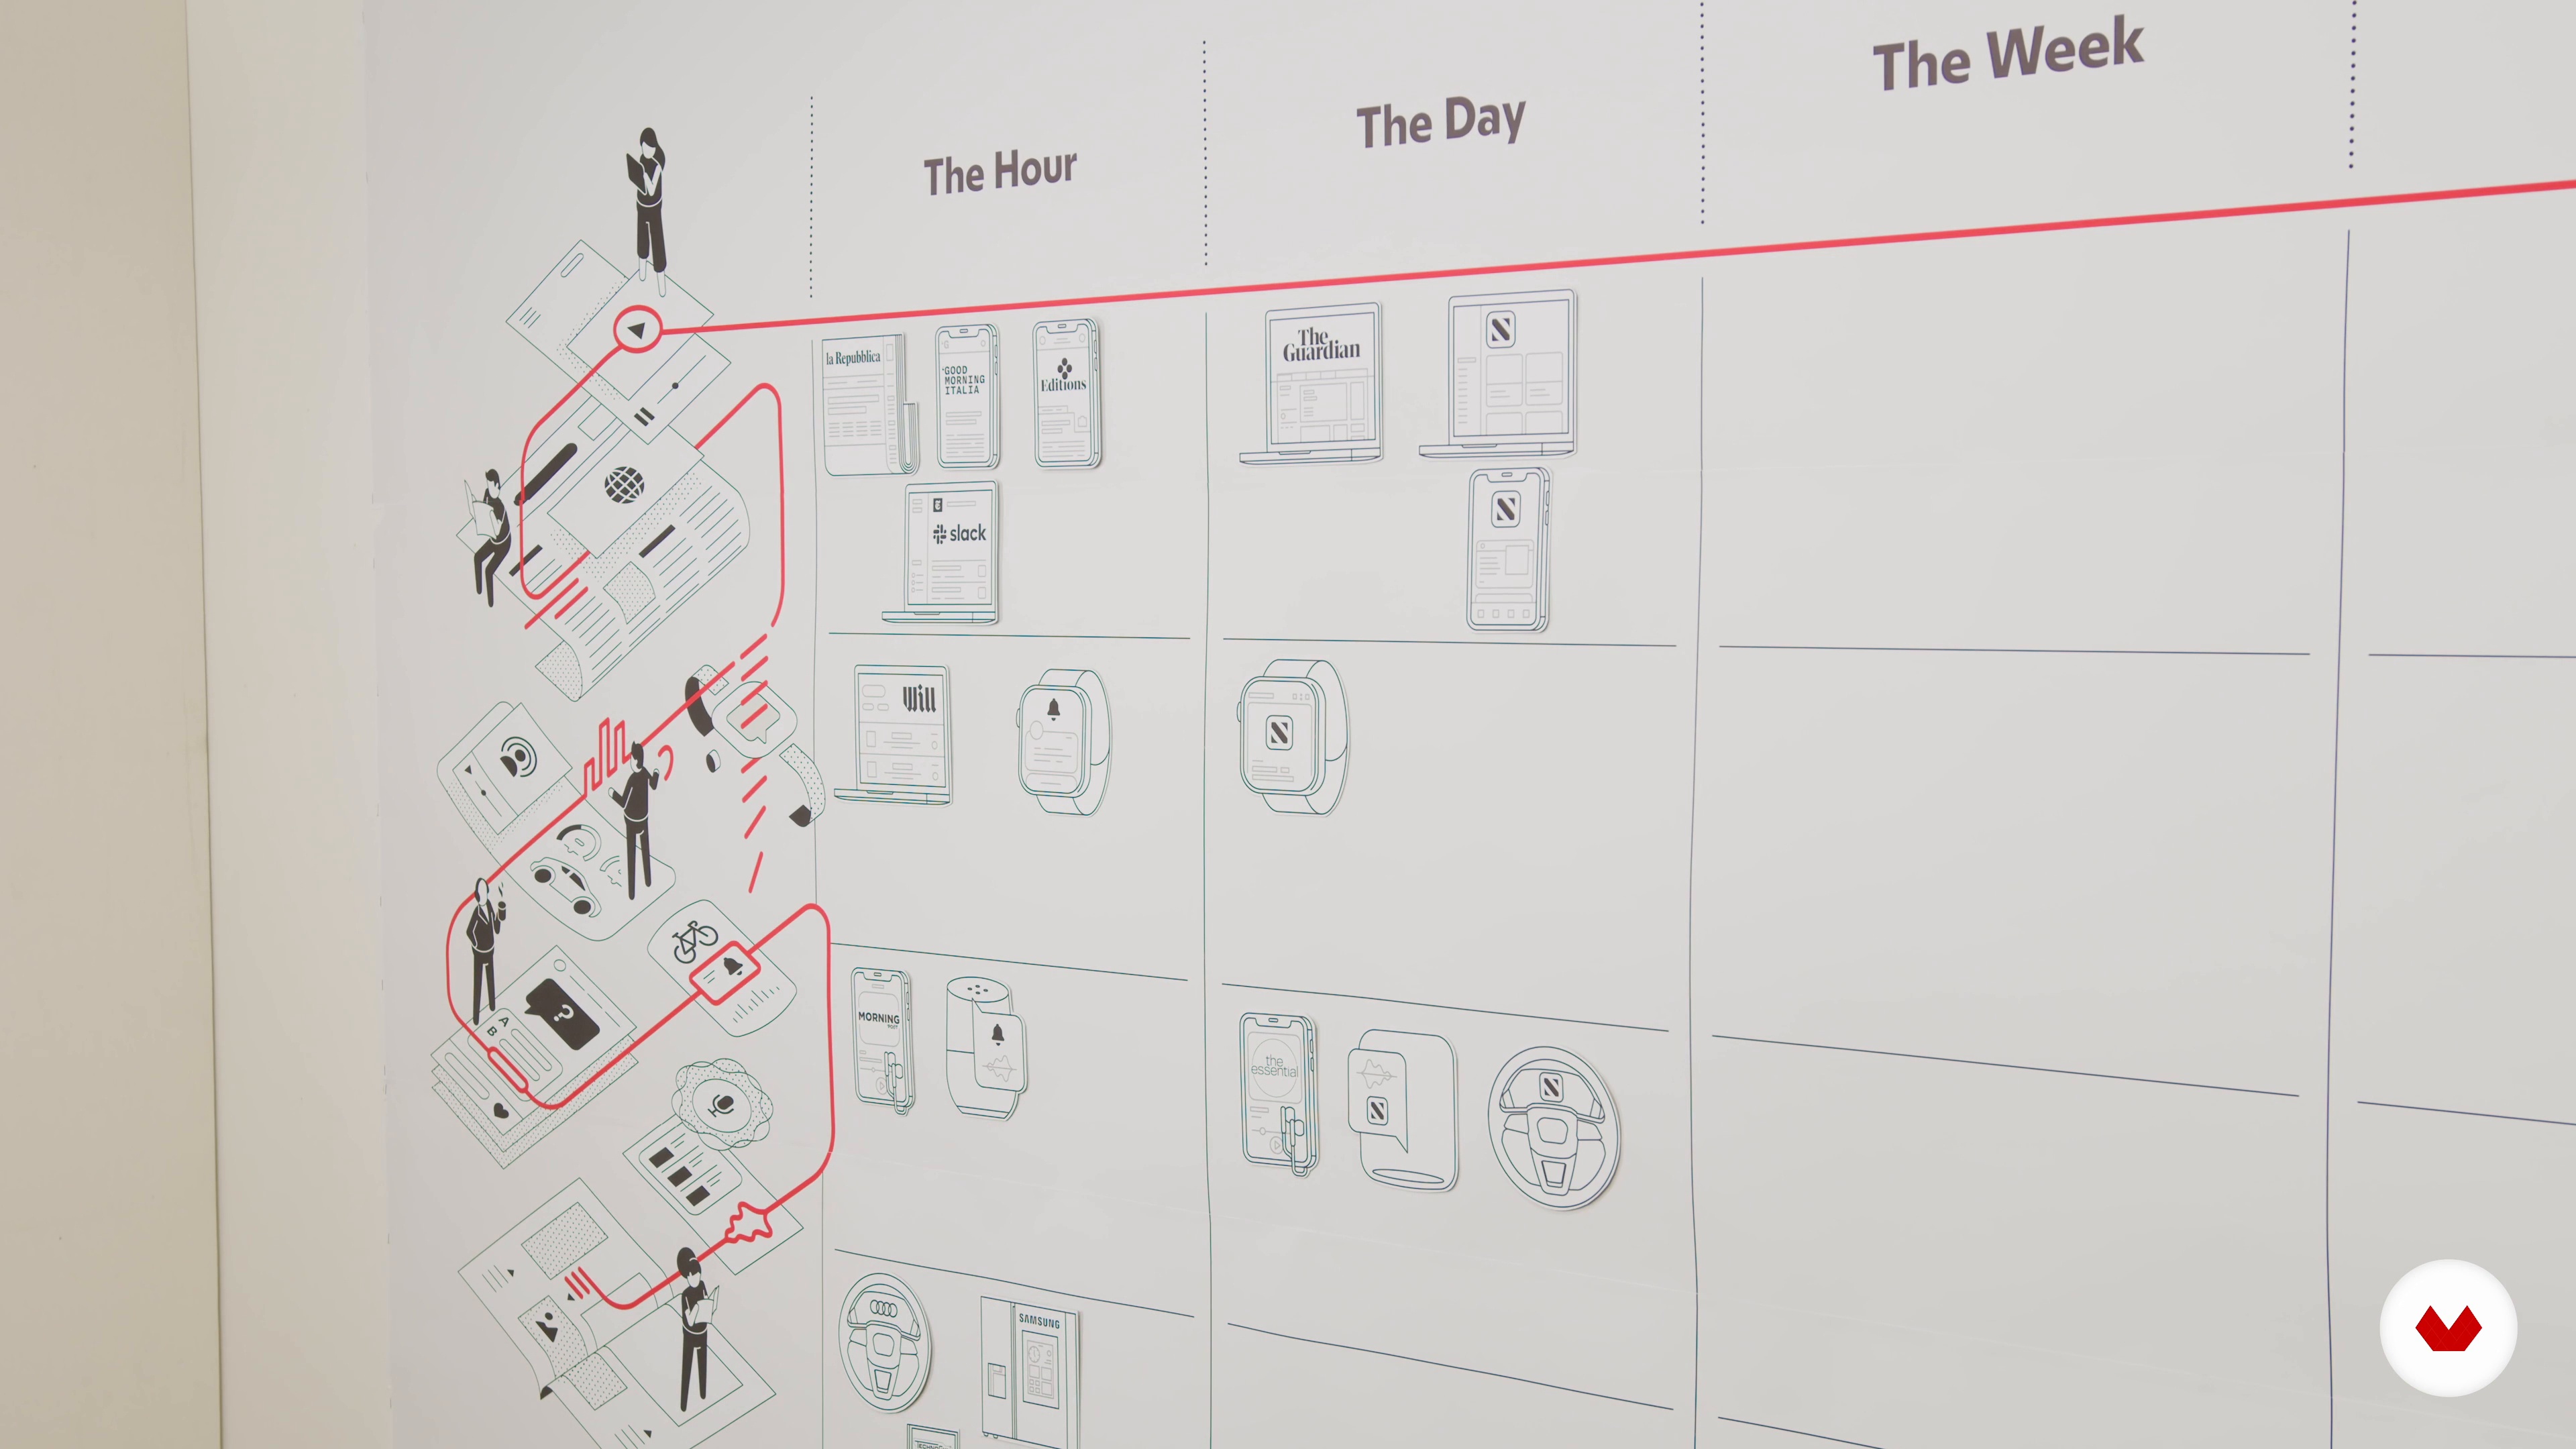 7
7The form of editorial content and time: the day
The day - a part that accompanies the reader throughout the day and the evening has not yet "expired", a slightly slower section, with more in-depth analysis and commentary.
8m
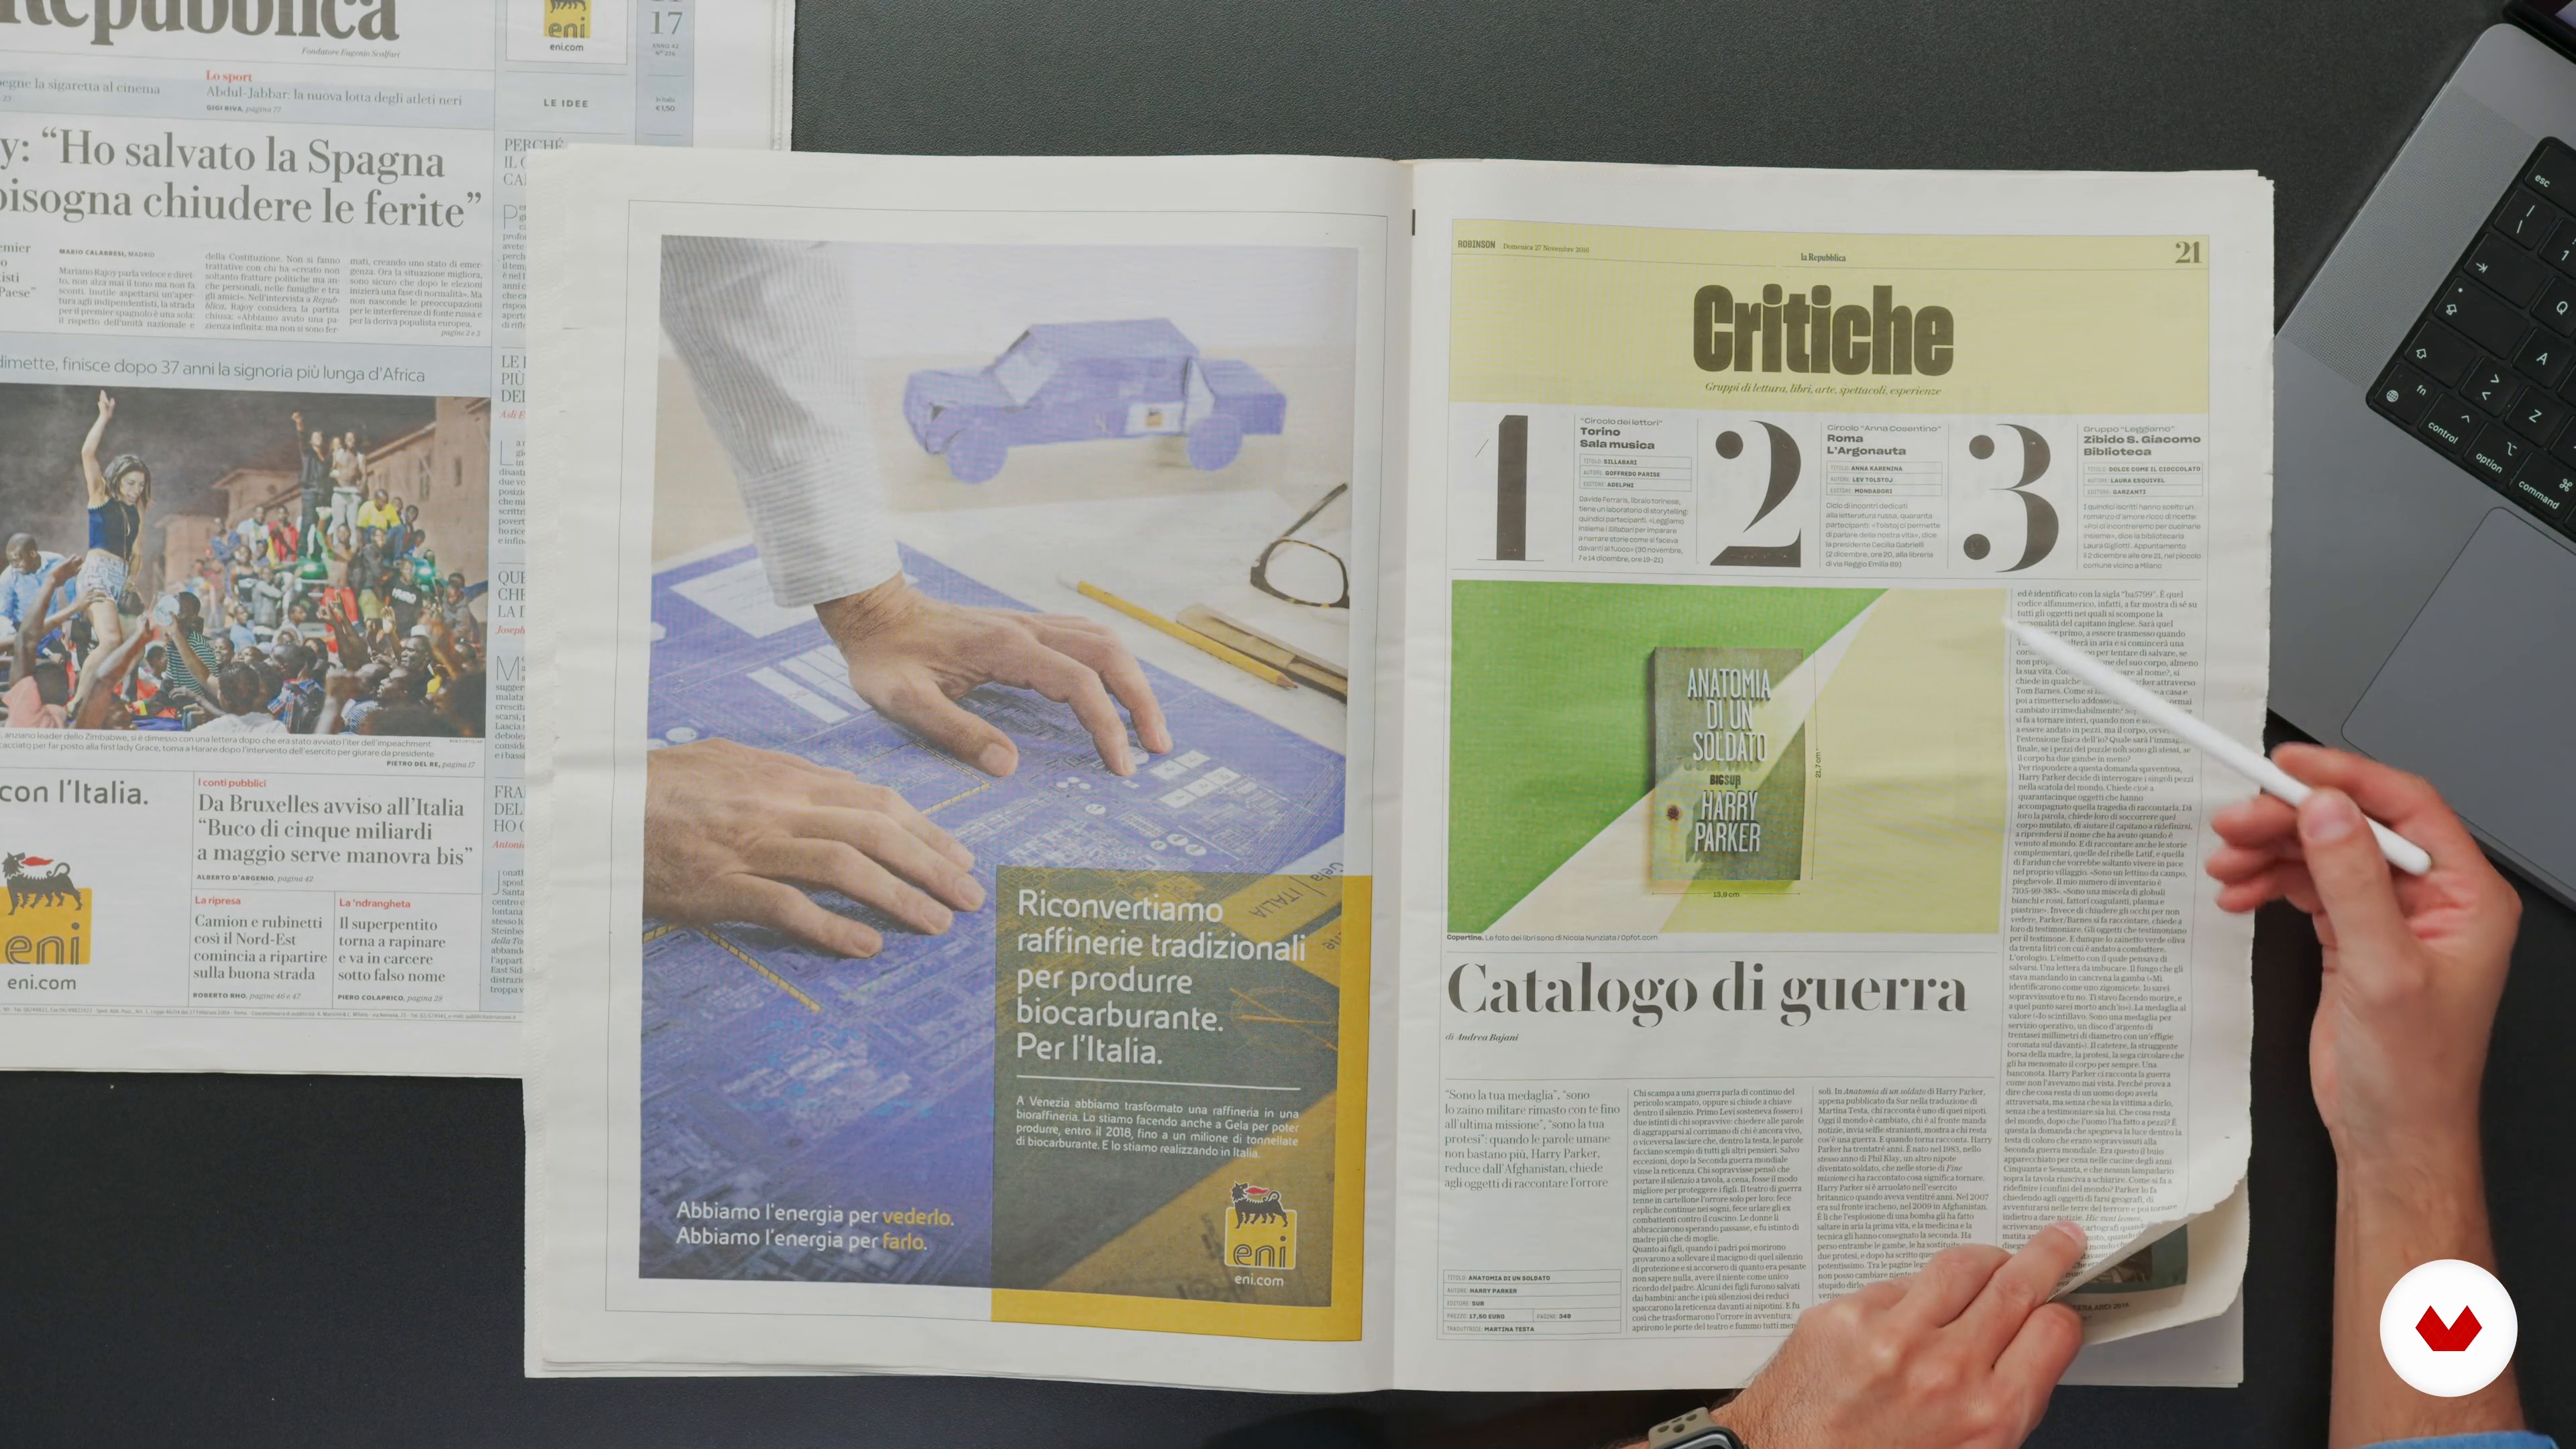 8
8The form of editorial content and time: the week
The week — a specific, quality back, different every day, but recurring every seven. A product designed for even more relaxed reading, which covers various topics, which serves to involve different niches of readers and which we can extract and keep. Not a supplement to convey advertising, as in an old attachment format, but a weekly magazine, even with light foliation, fundamental for conveying alternative content.
12m
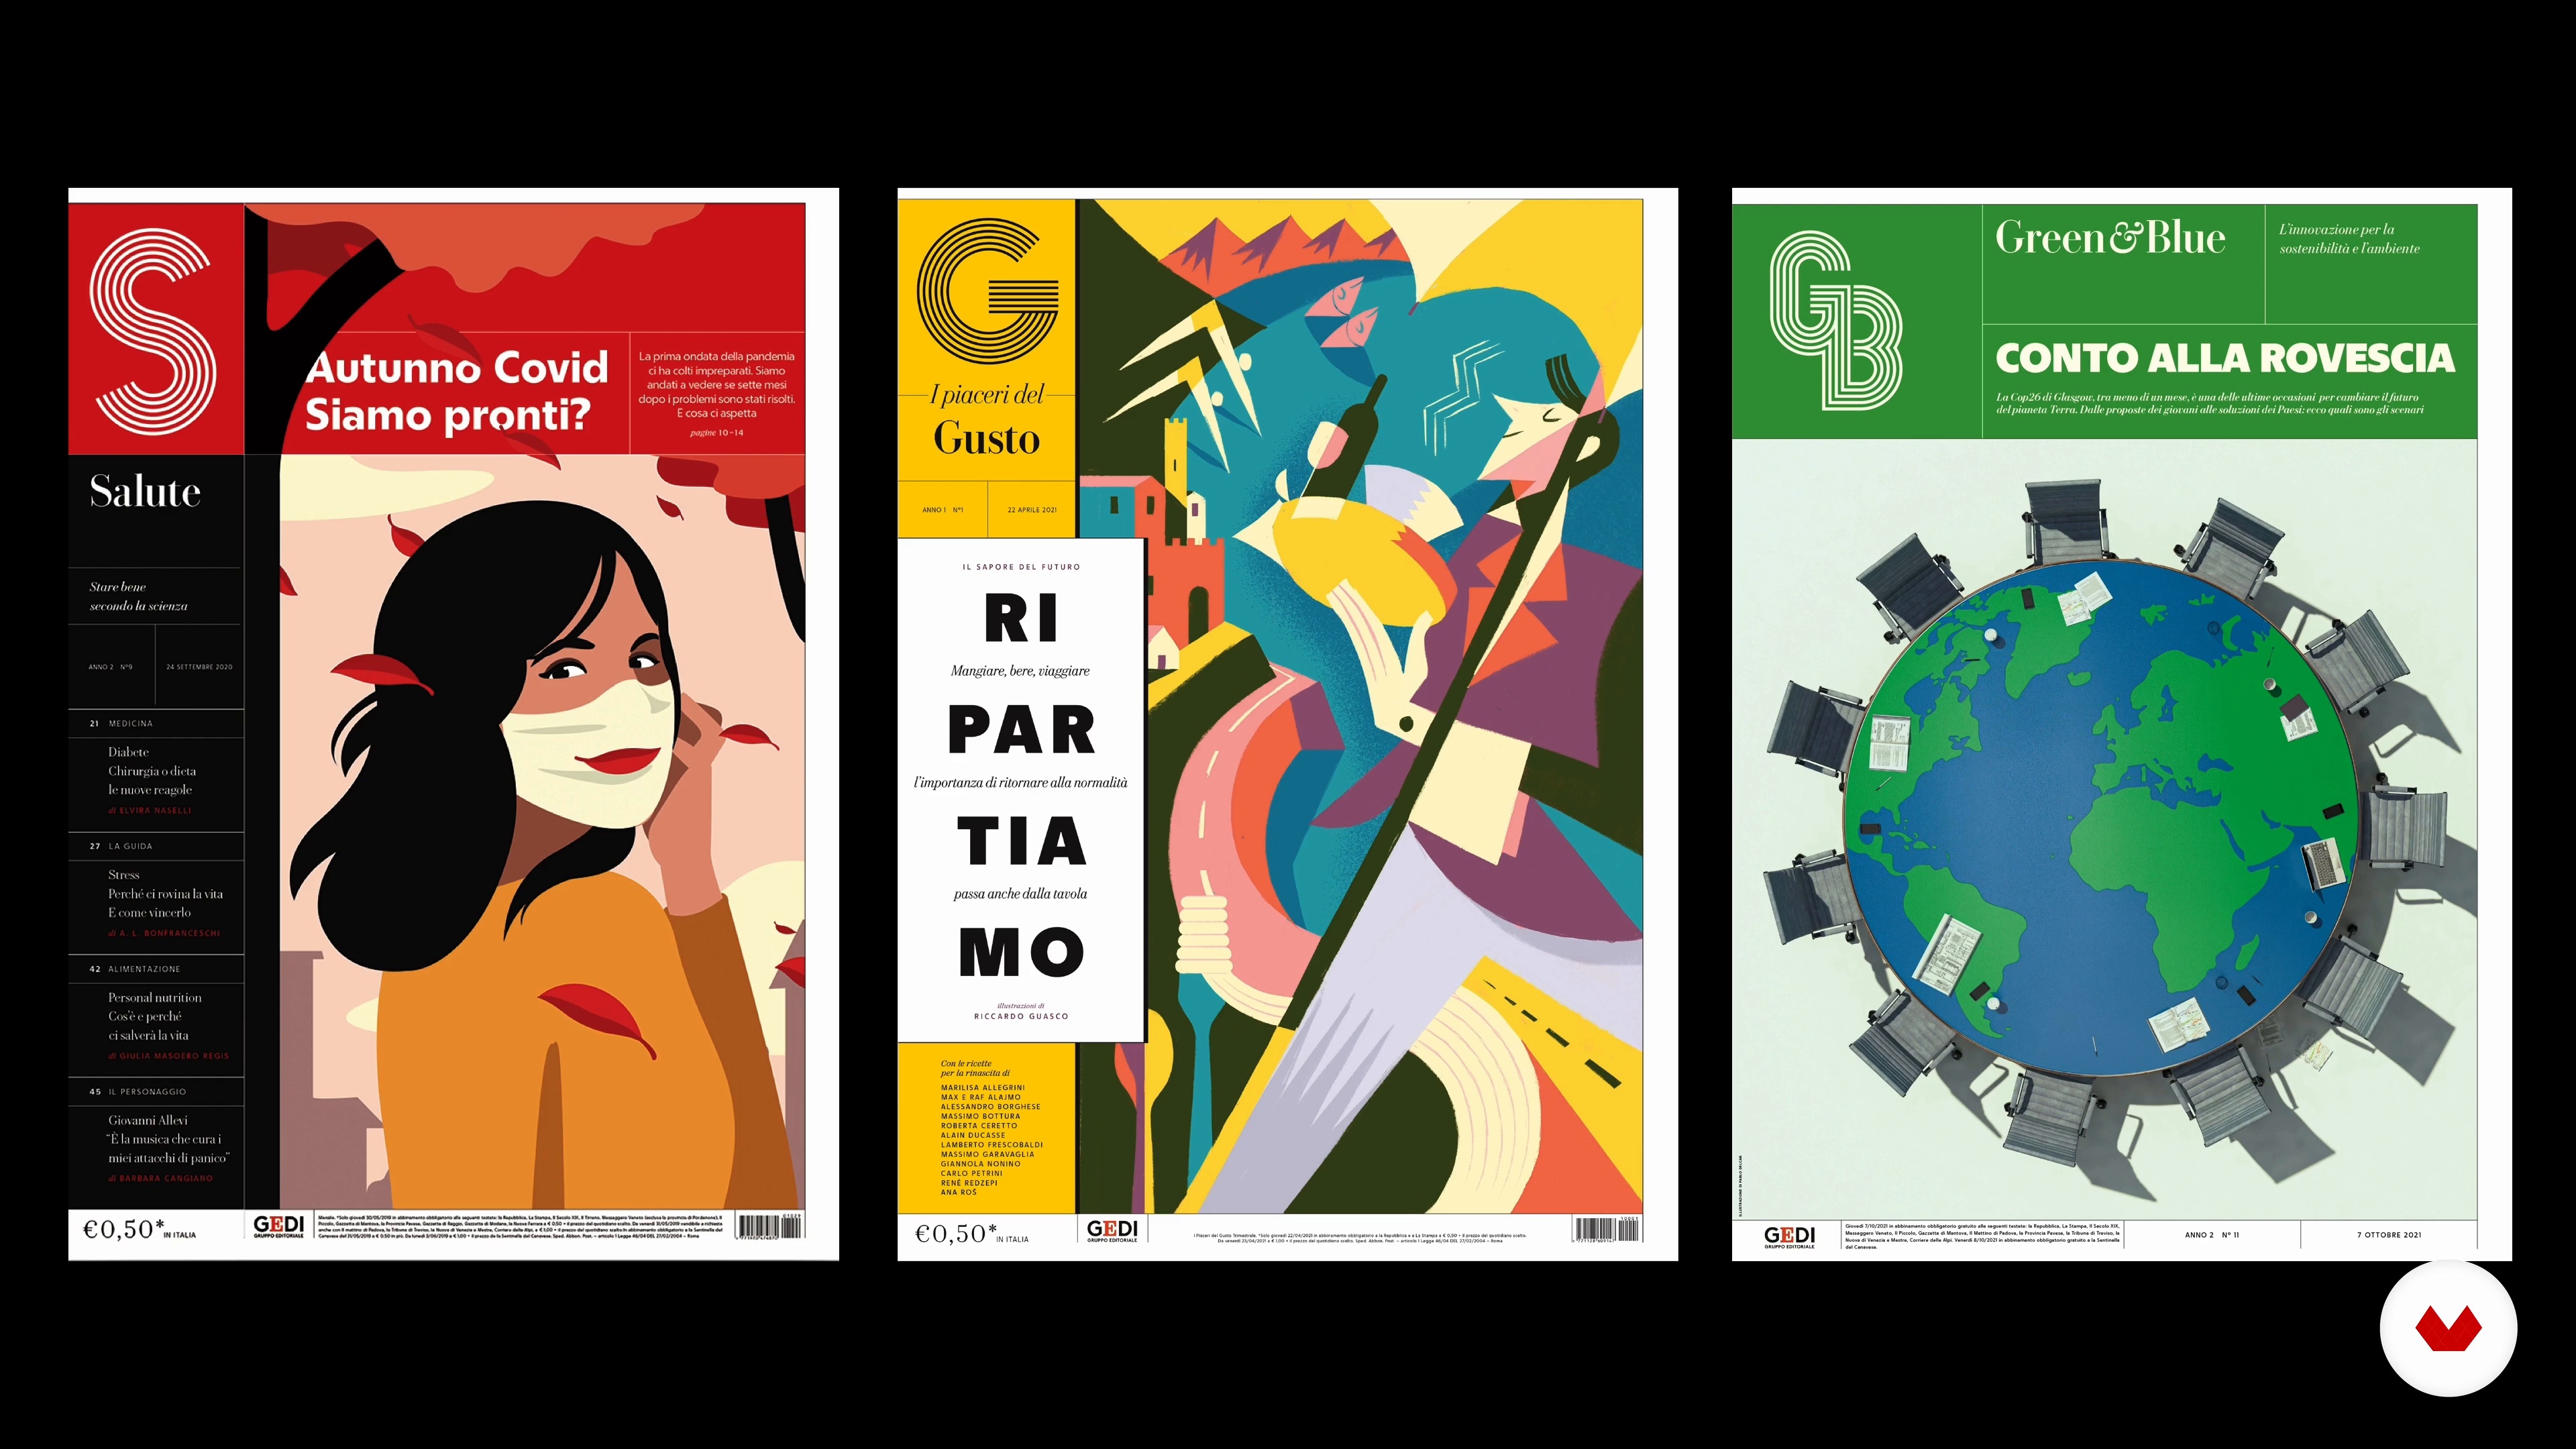 9
9The form of editorial content and time: the month
The month — monthly products and occasional specials, both paper and digital.
12m
 10
10The form of editorial content and the senses
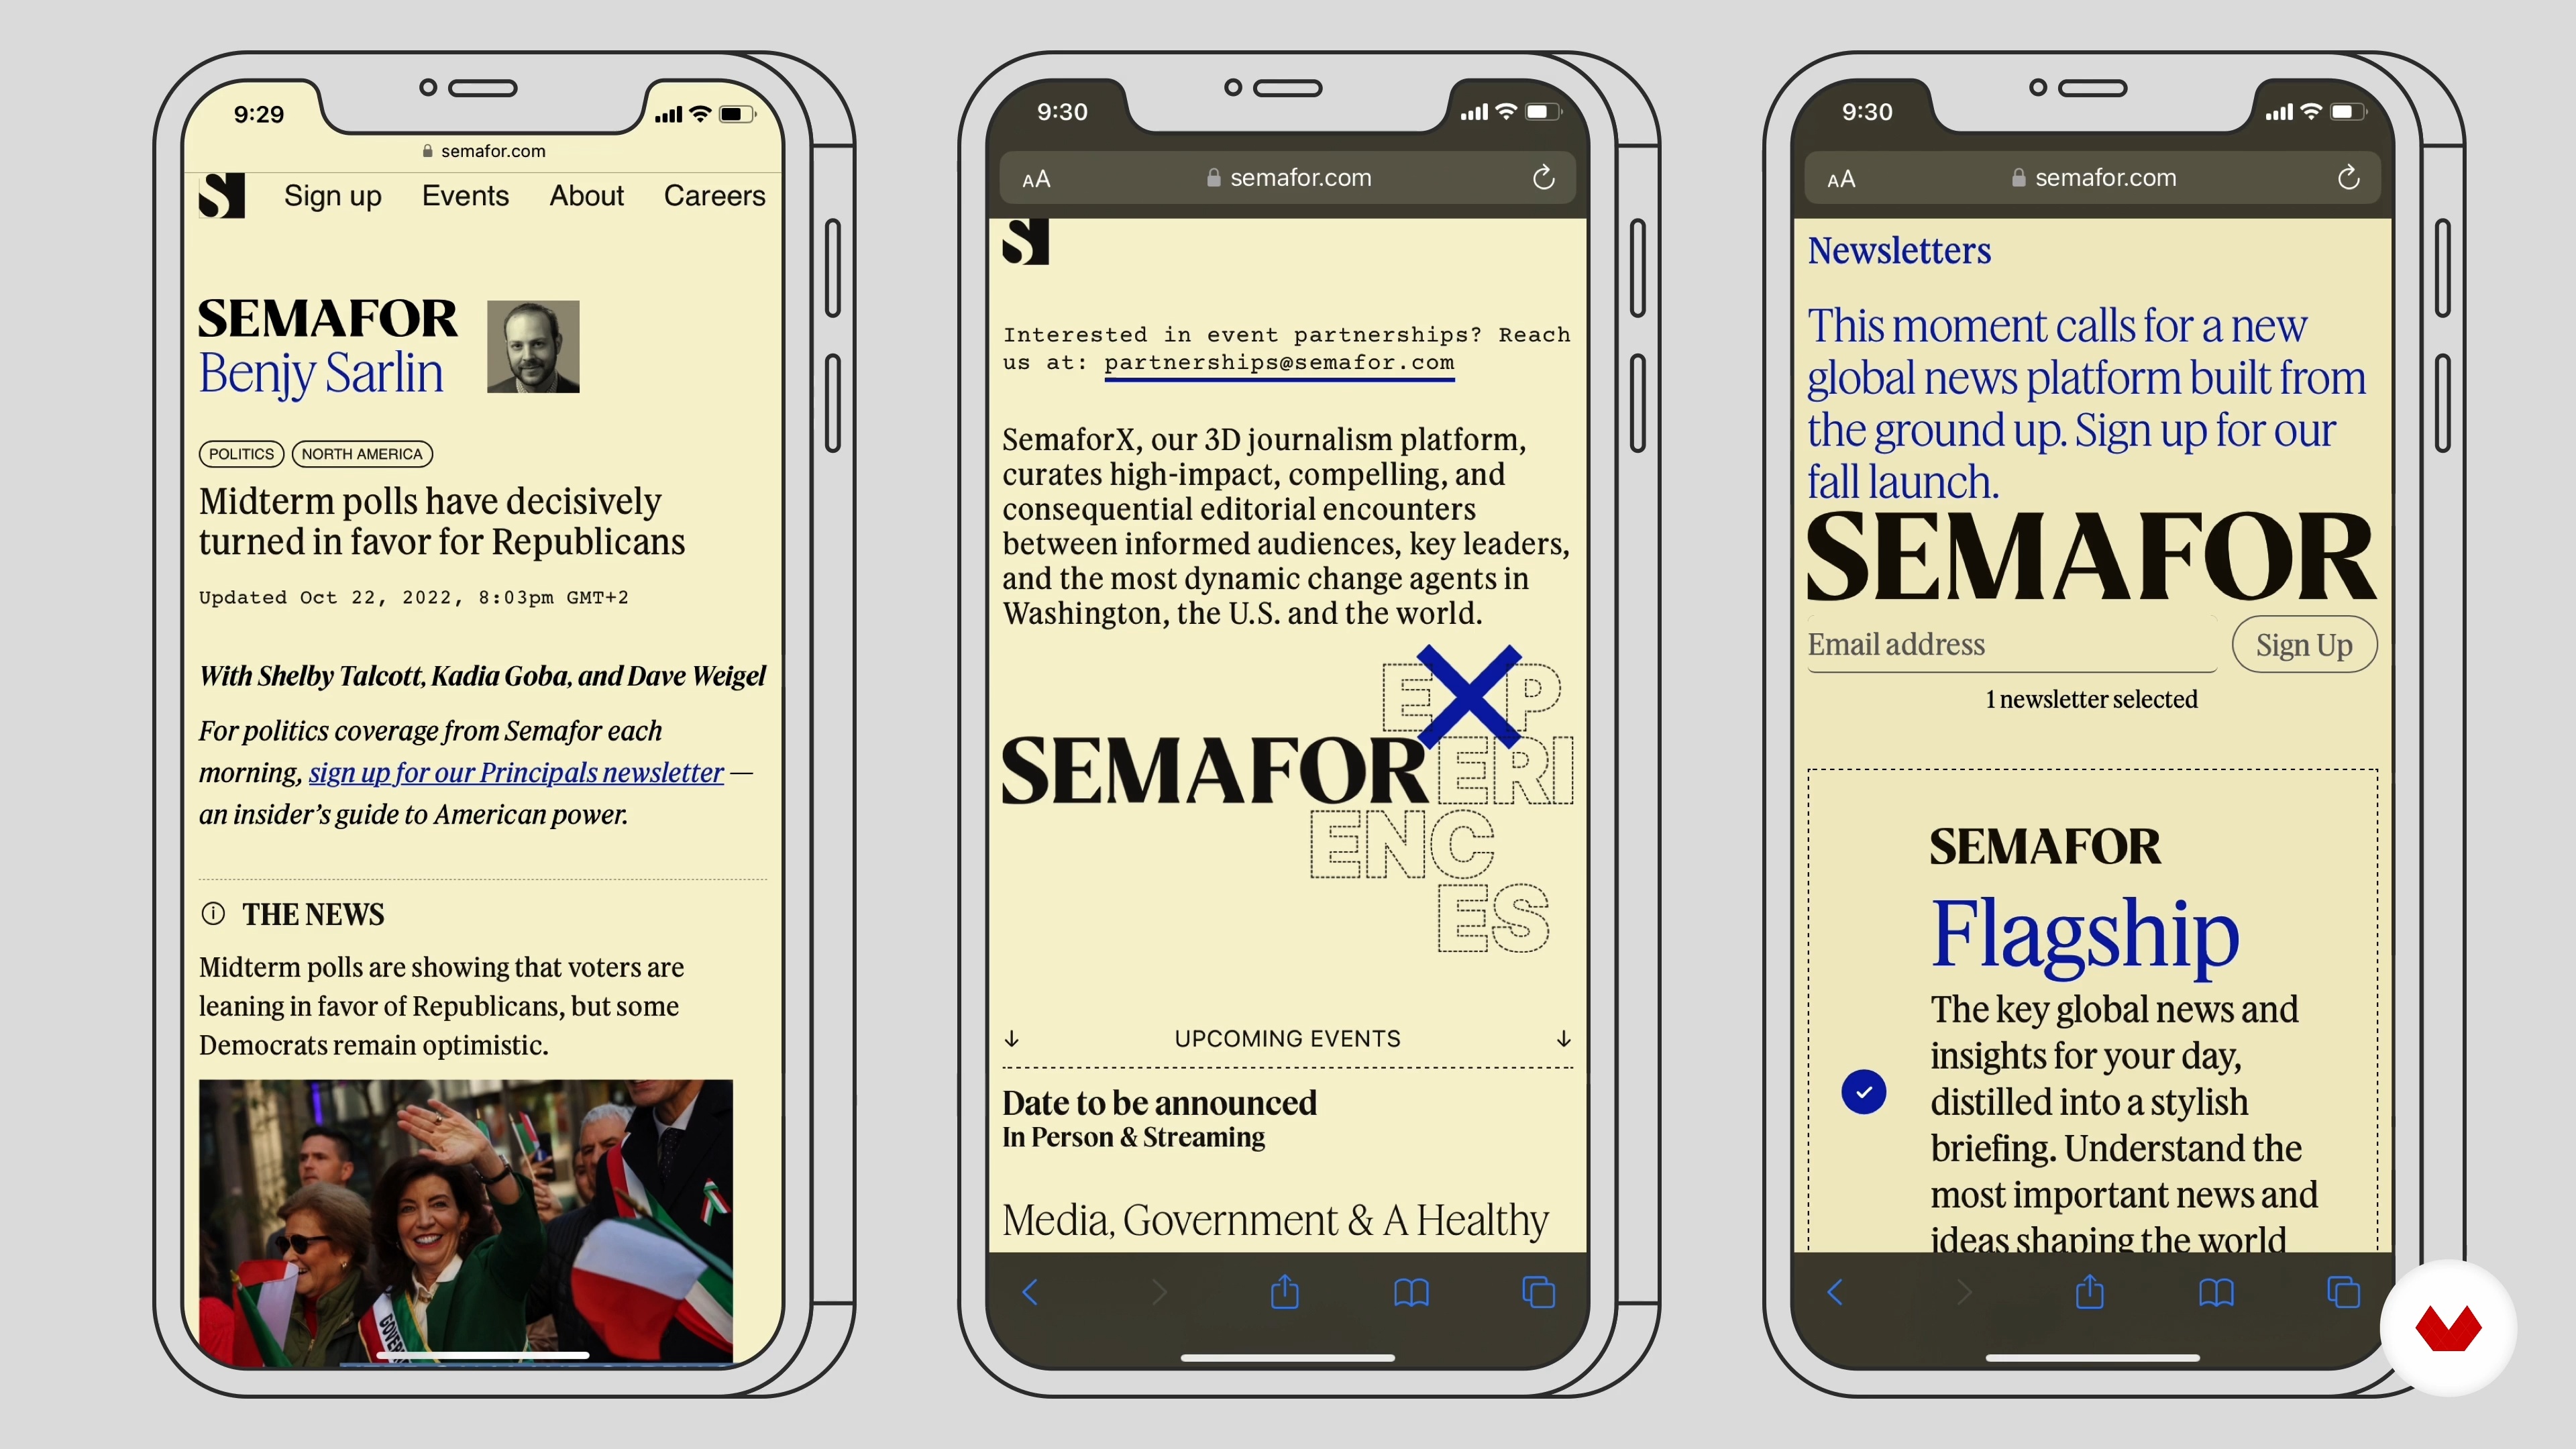
Let's now analyze the design elements specifically, both on paper and digital level. What is the role of design with respect to the different communication channels involved? Our project can be read, watched, enjoyed by touching a screen or listened to. How can design improve this experience?
17m
 11
11The form of editorial content and space
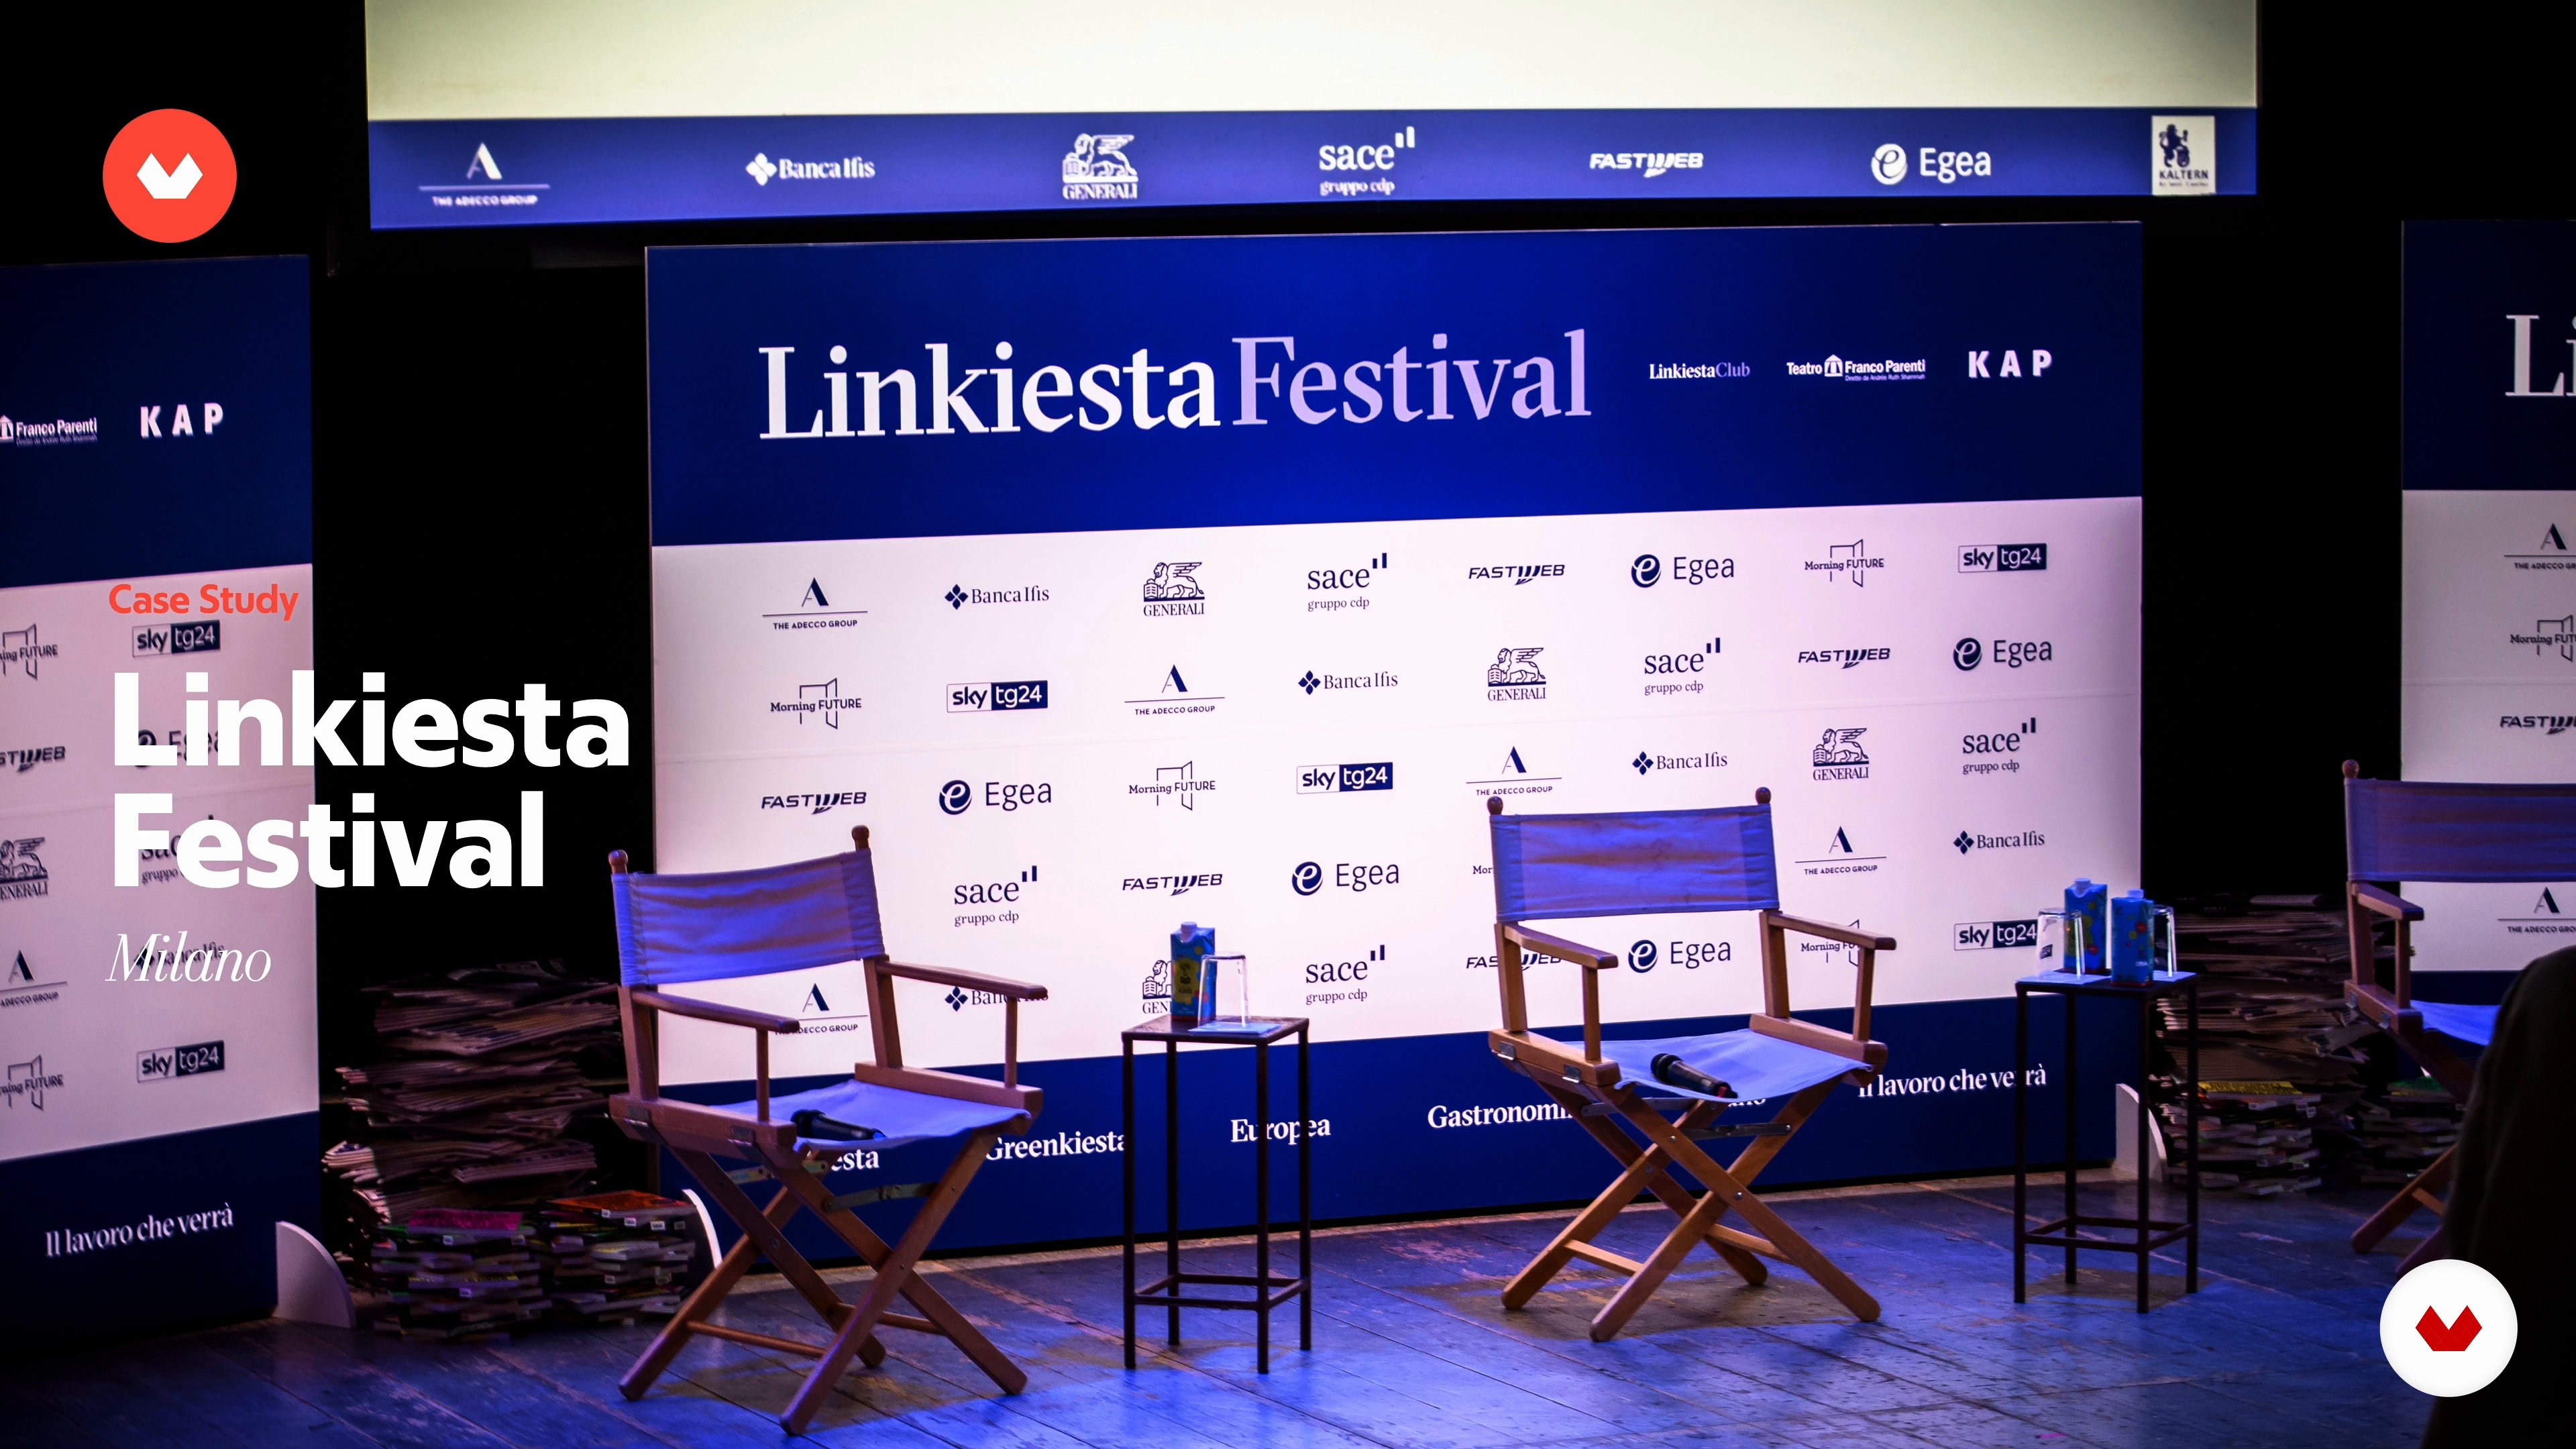
What are the new models for using and purchasing editorial content? Let's look closely at how the forms of distribution and places of consumption have changed: from new newsstands to festivals.
5m
 12
12The typography
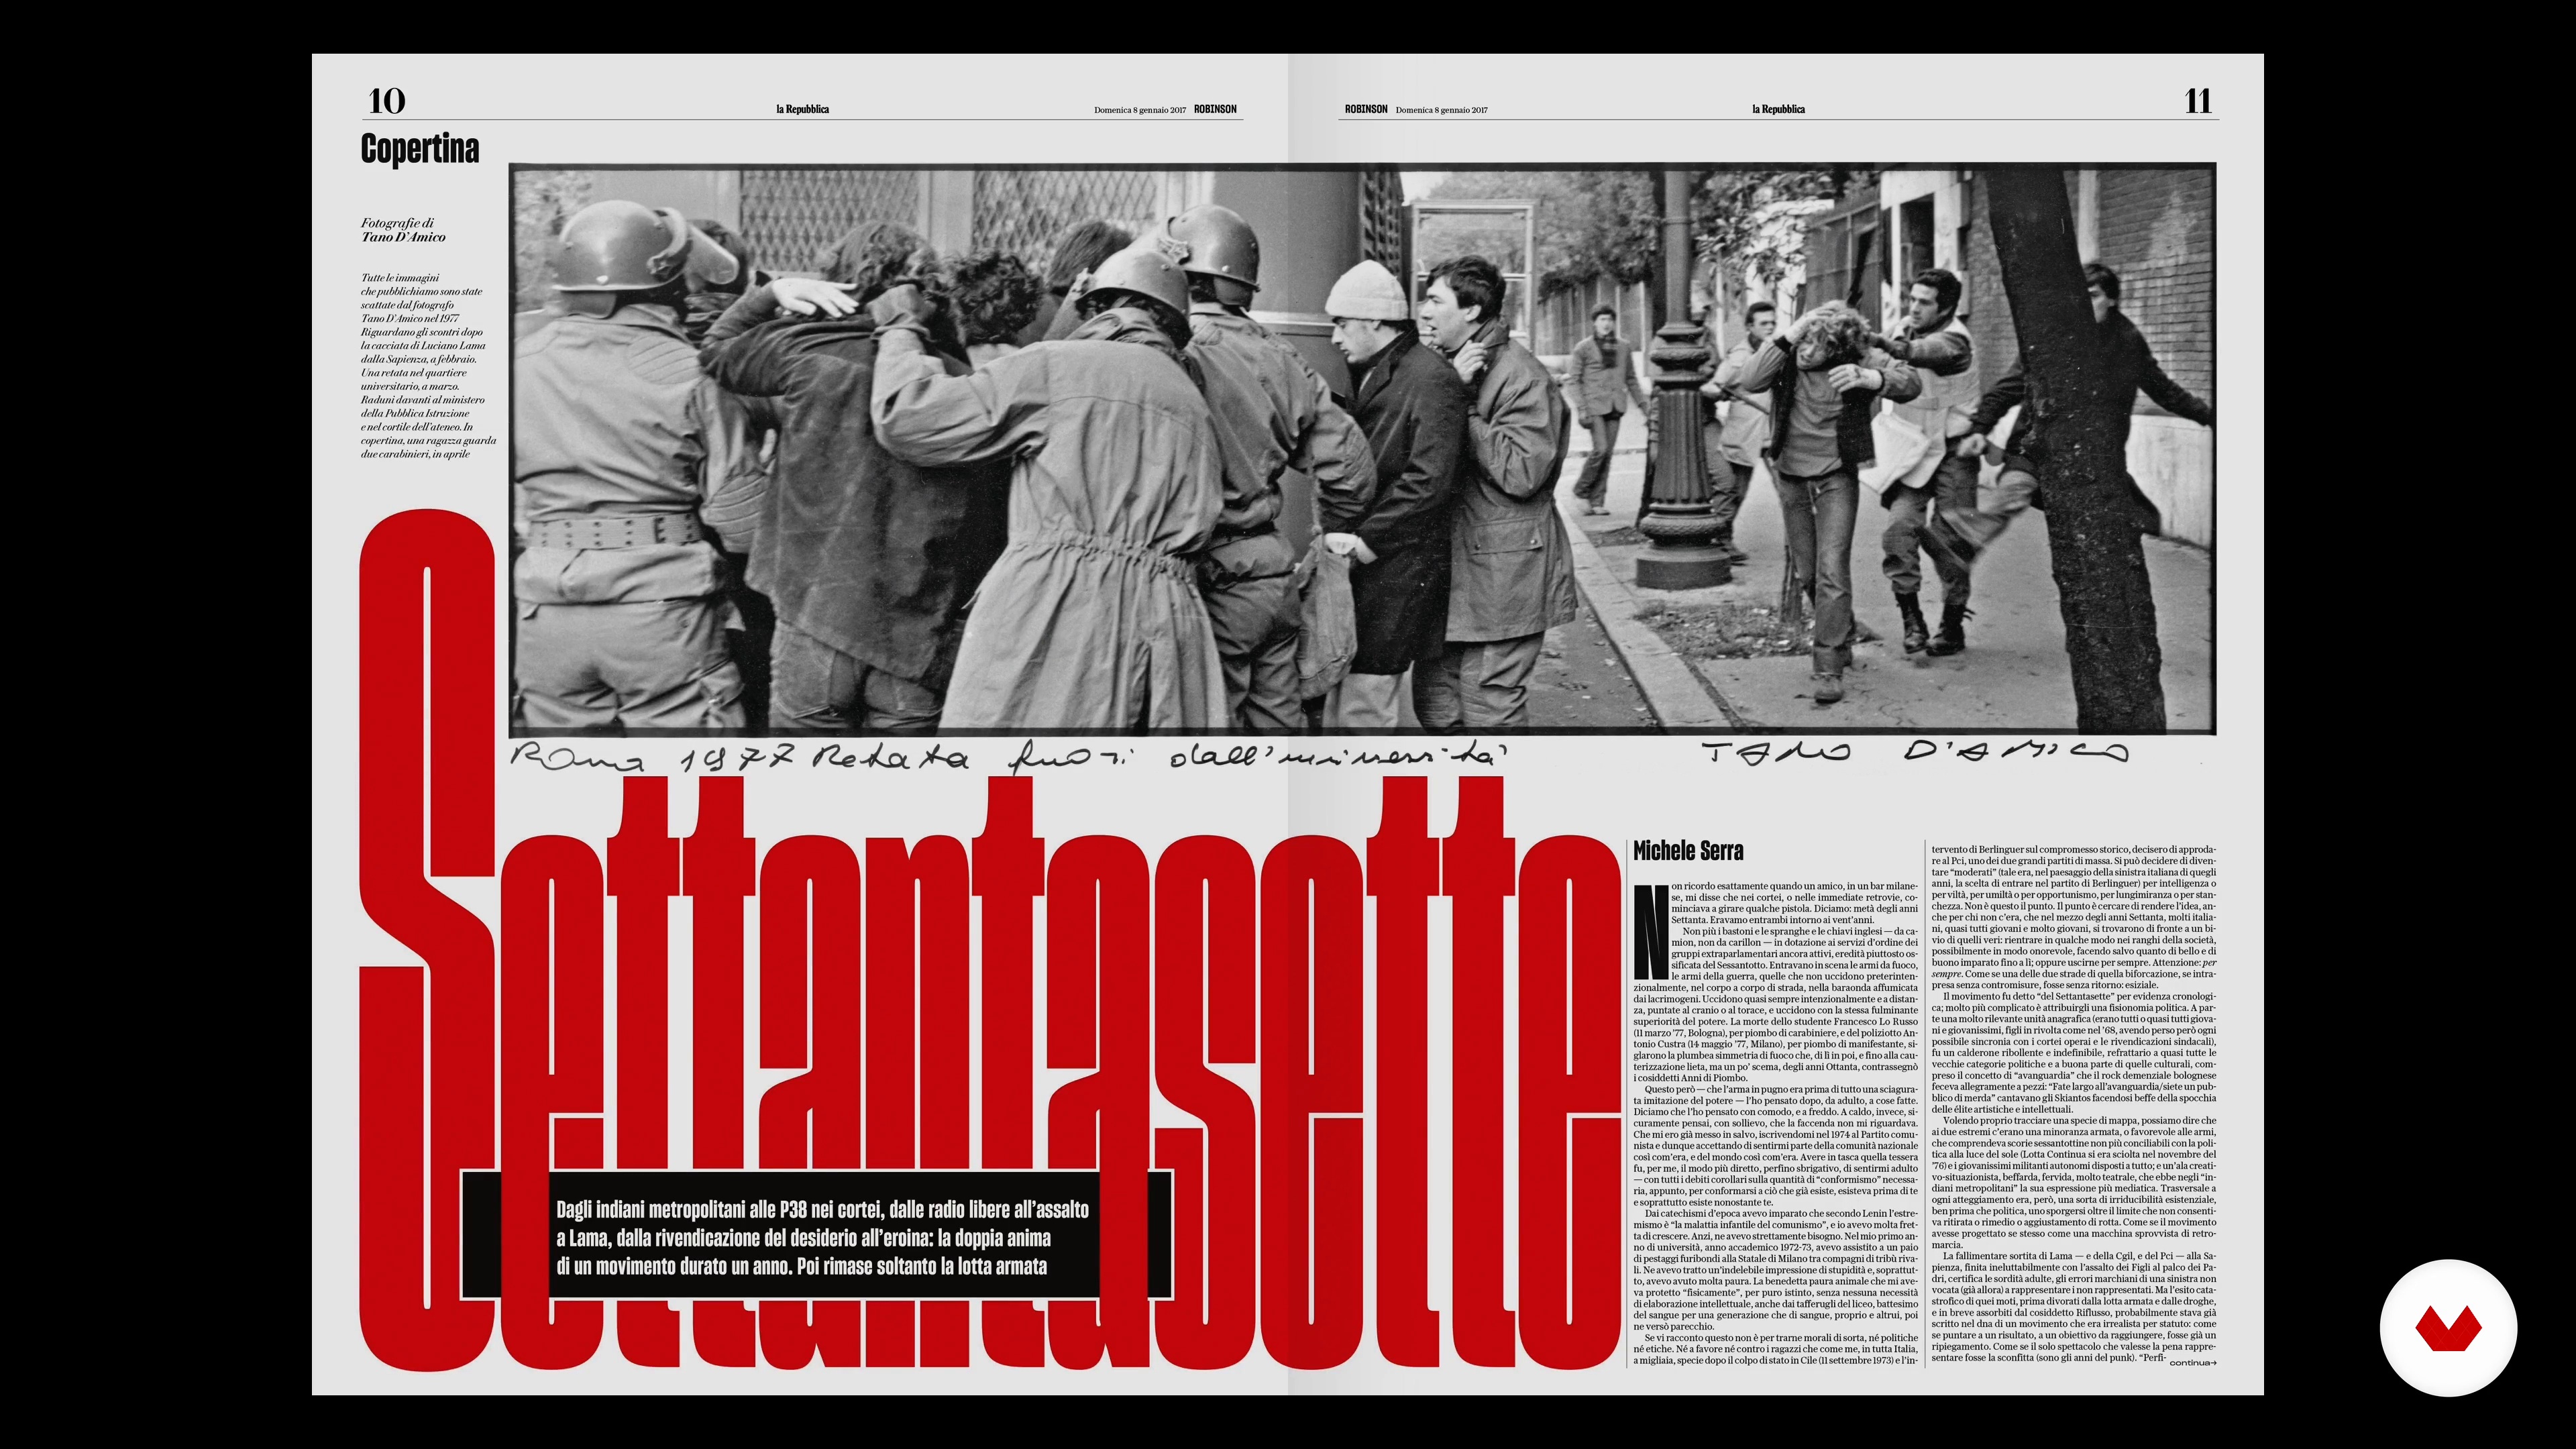
Let's focus on typography by looking at different fonts and trying to see what they convey to understand the requirements for choosing a specific typeface. However, it is not just the choice that matters, but how the typography is implemented in a design. It is not only the typefaces used, but how they are used that set the tone of voice and the hierarchy of information. Attention to typographic details also means rigor, care, and quality. Factors for an information brand are crucial. Typography, then, must represent the identity of a masthead, and the graphic design must make each page and each element the part of a whole. So that when you find even a small shred of a newspaper page on the floor, you can immediately tell which masthead it belongs to.
18m
 13
13The grid
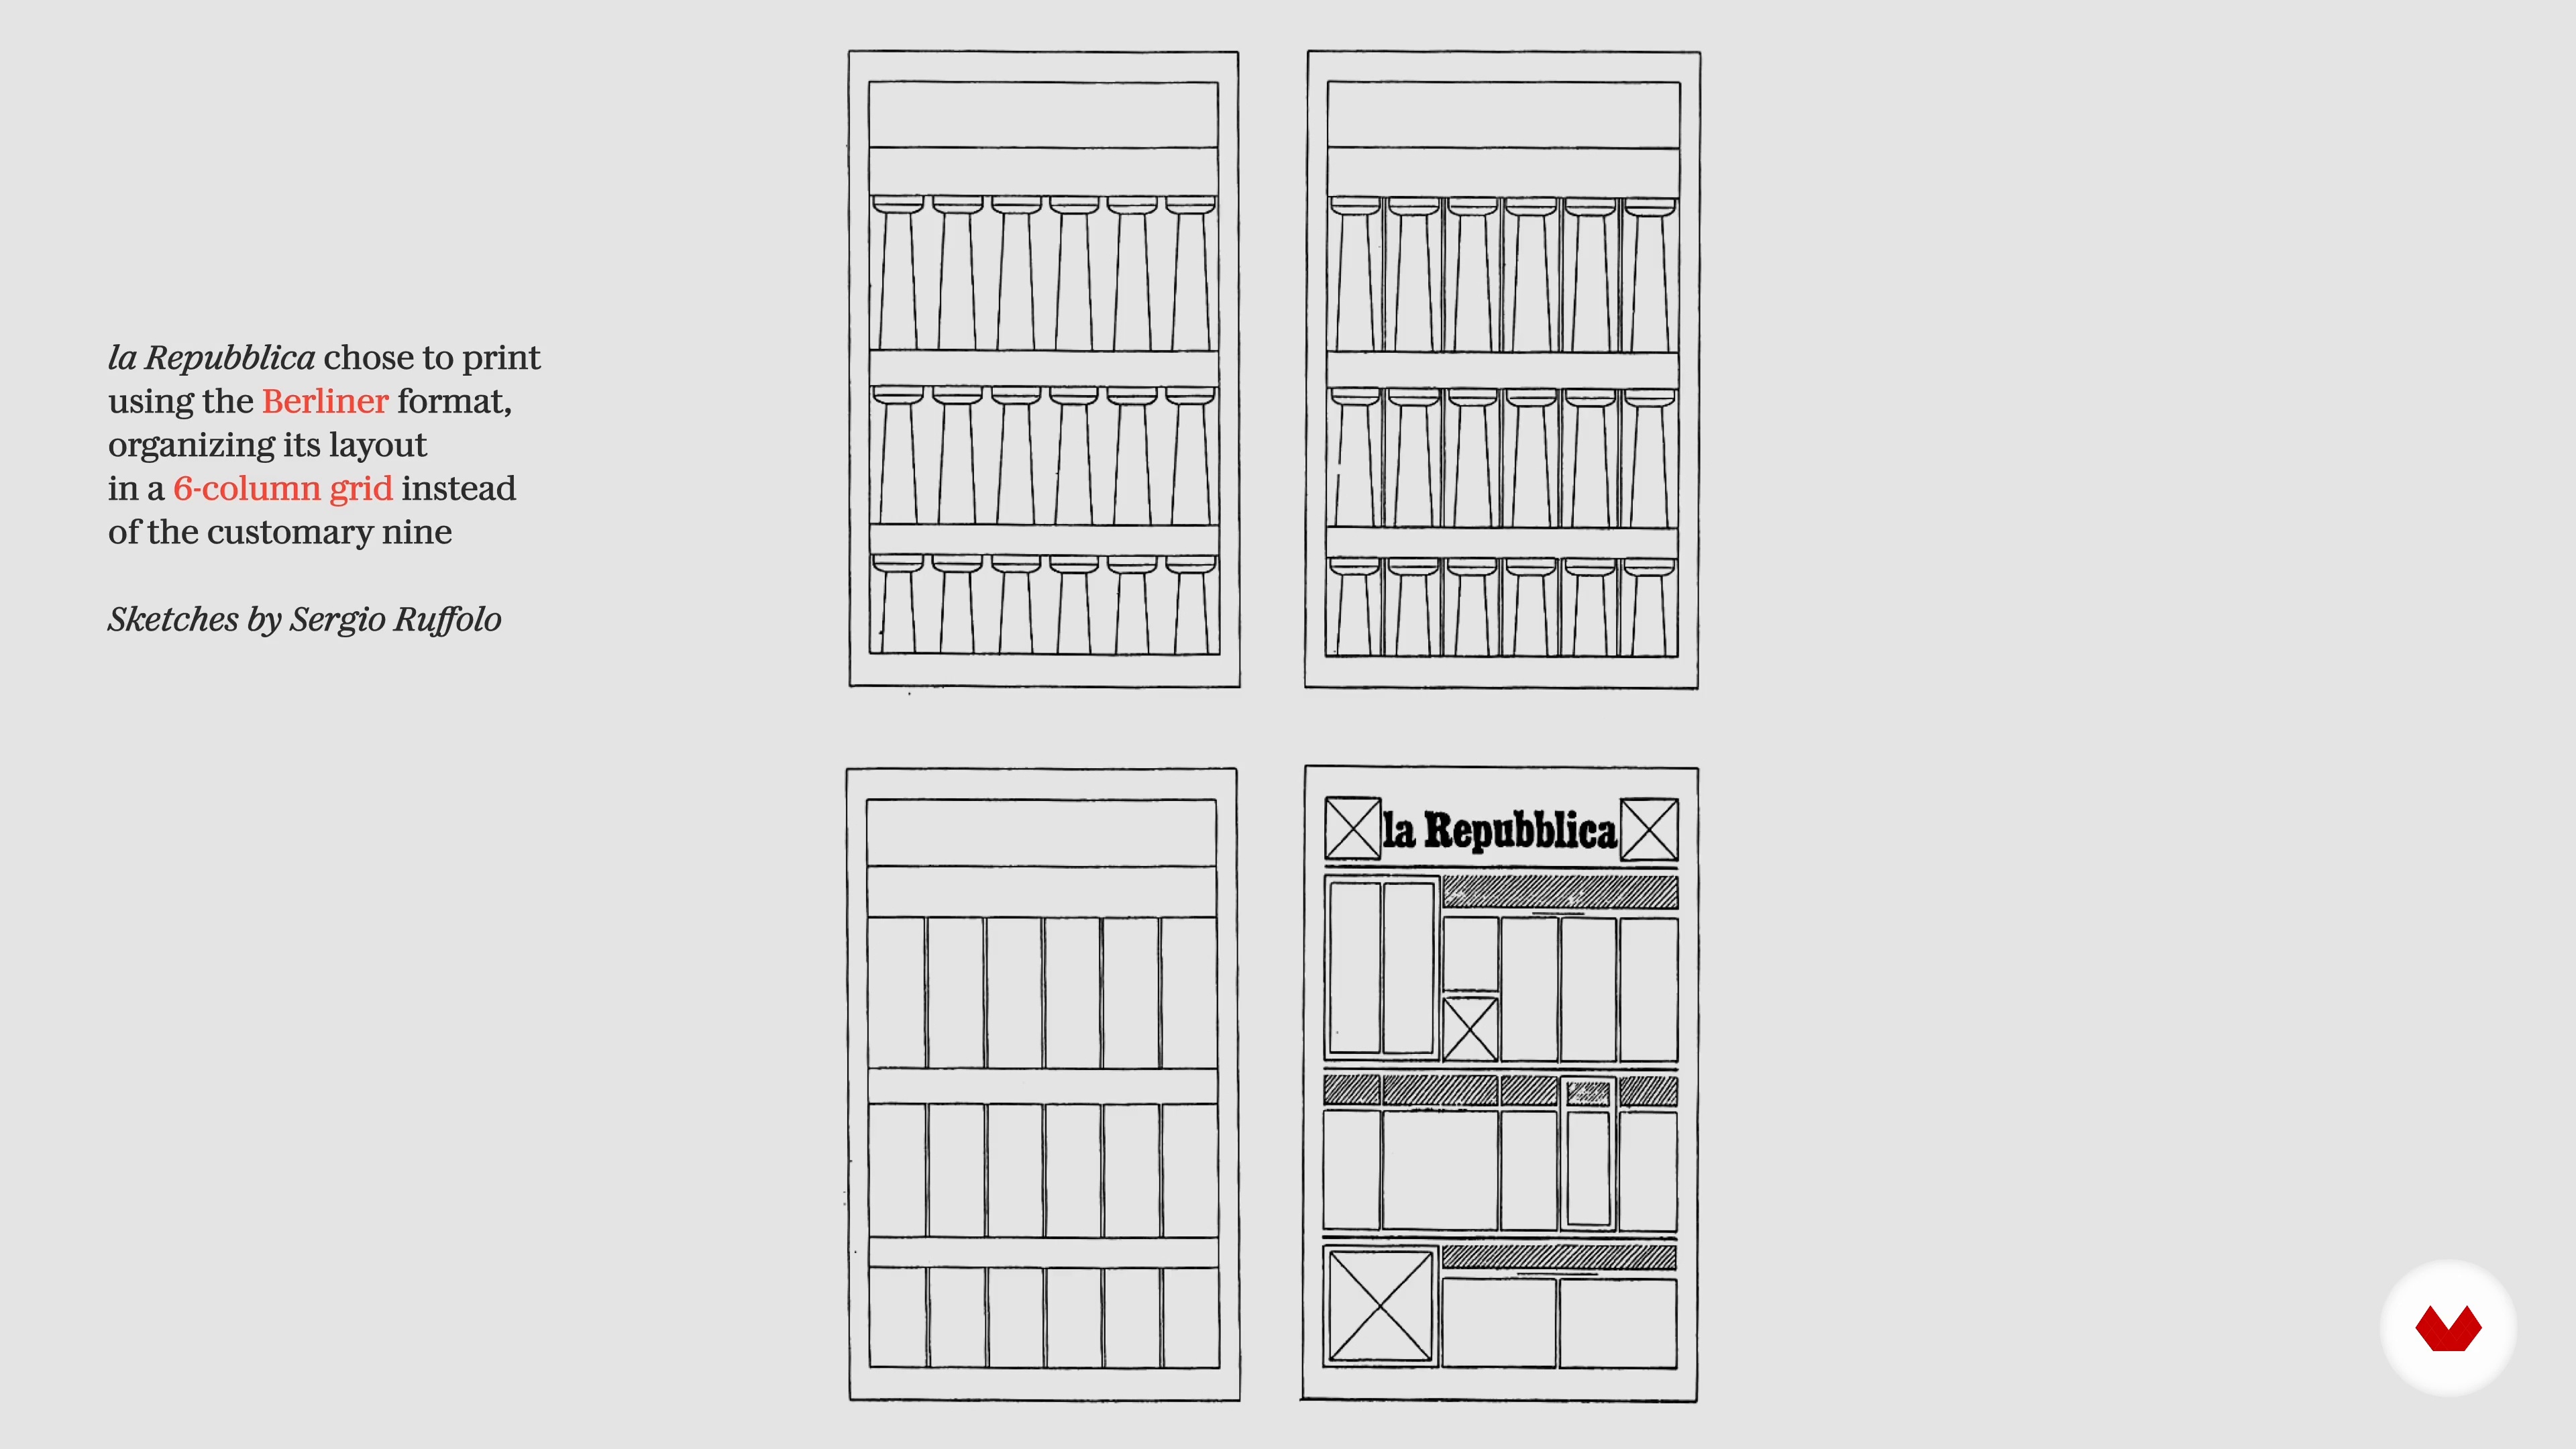
For the structure of our project, we will rely on grid systems. But what are they? Let's understand why they are important and how they can be used.
8m
 14
14Combining languages: research
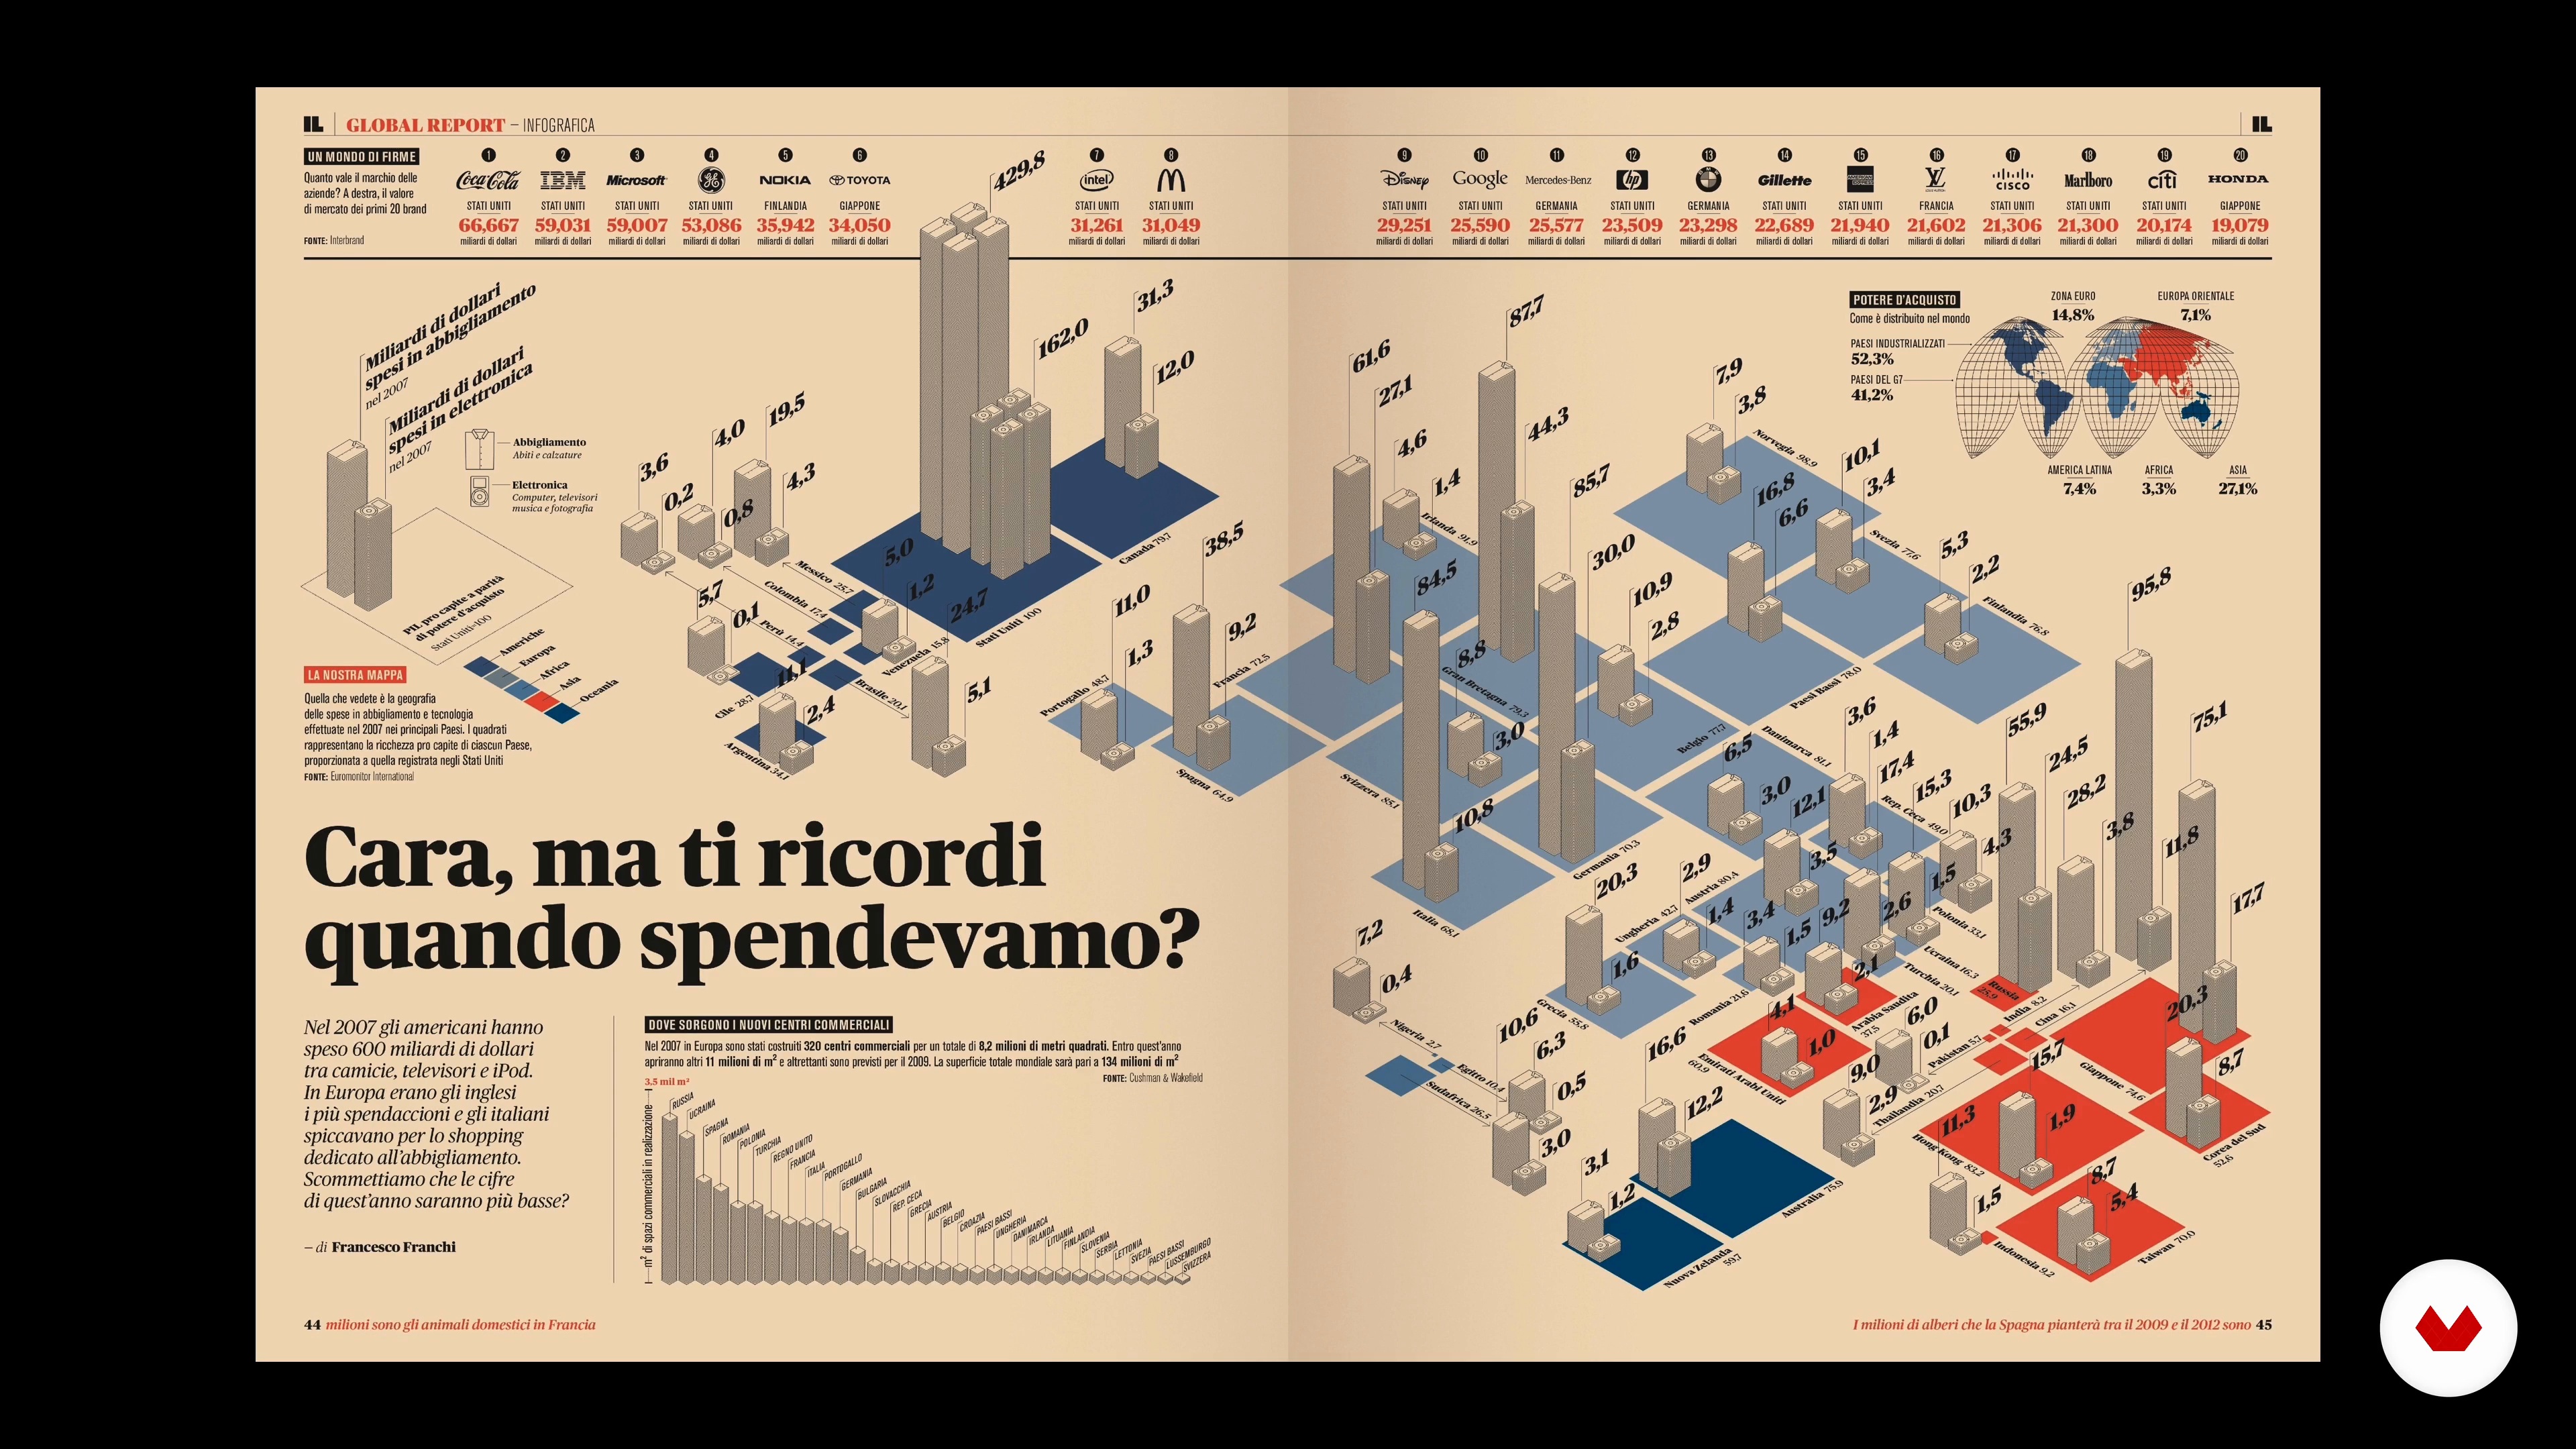
Writing is no longer enough. The technology that speech uses is undergoing a restructuring, moving toward a multiplicity of languages. Let us see how to combine different languages to increase knowledge and understanding. A comprehensive and strategic rethinking of all typical elements of editorial design is needed. Text, data, geographic maps, photographs, and illustrations must combine and complement each other to make information communication more effective, understandable, comprehensive, and immediate.
10m
 15
15Combining languages: storytelling
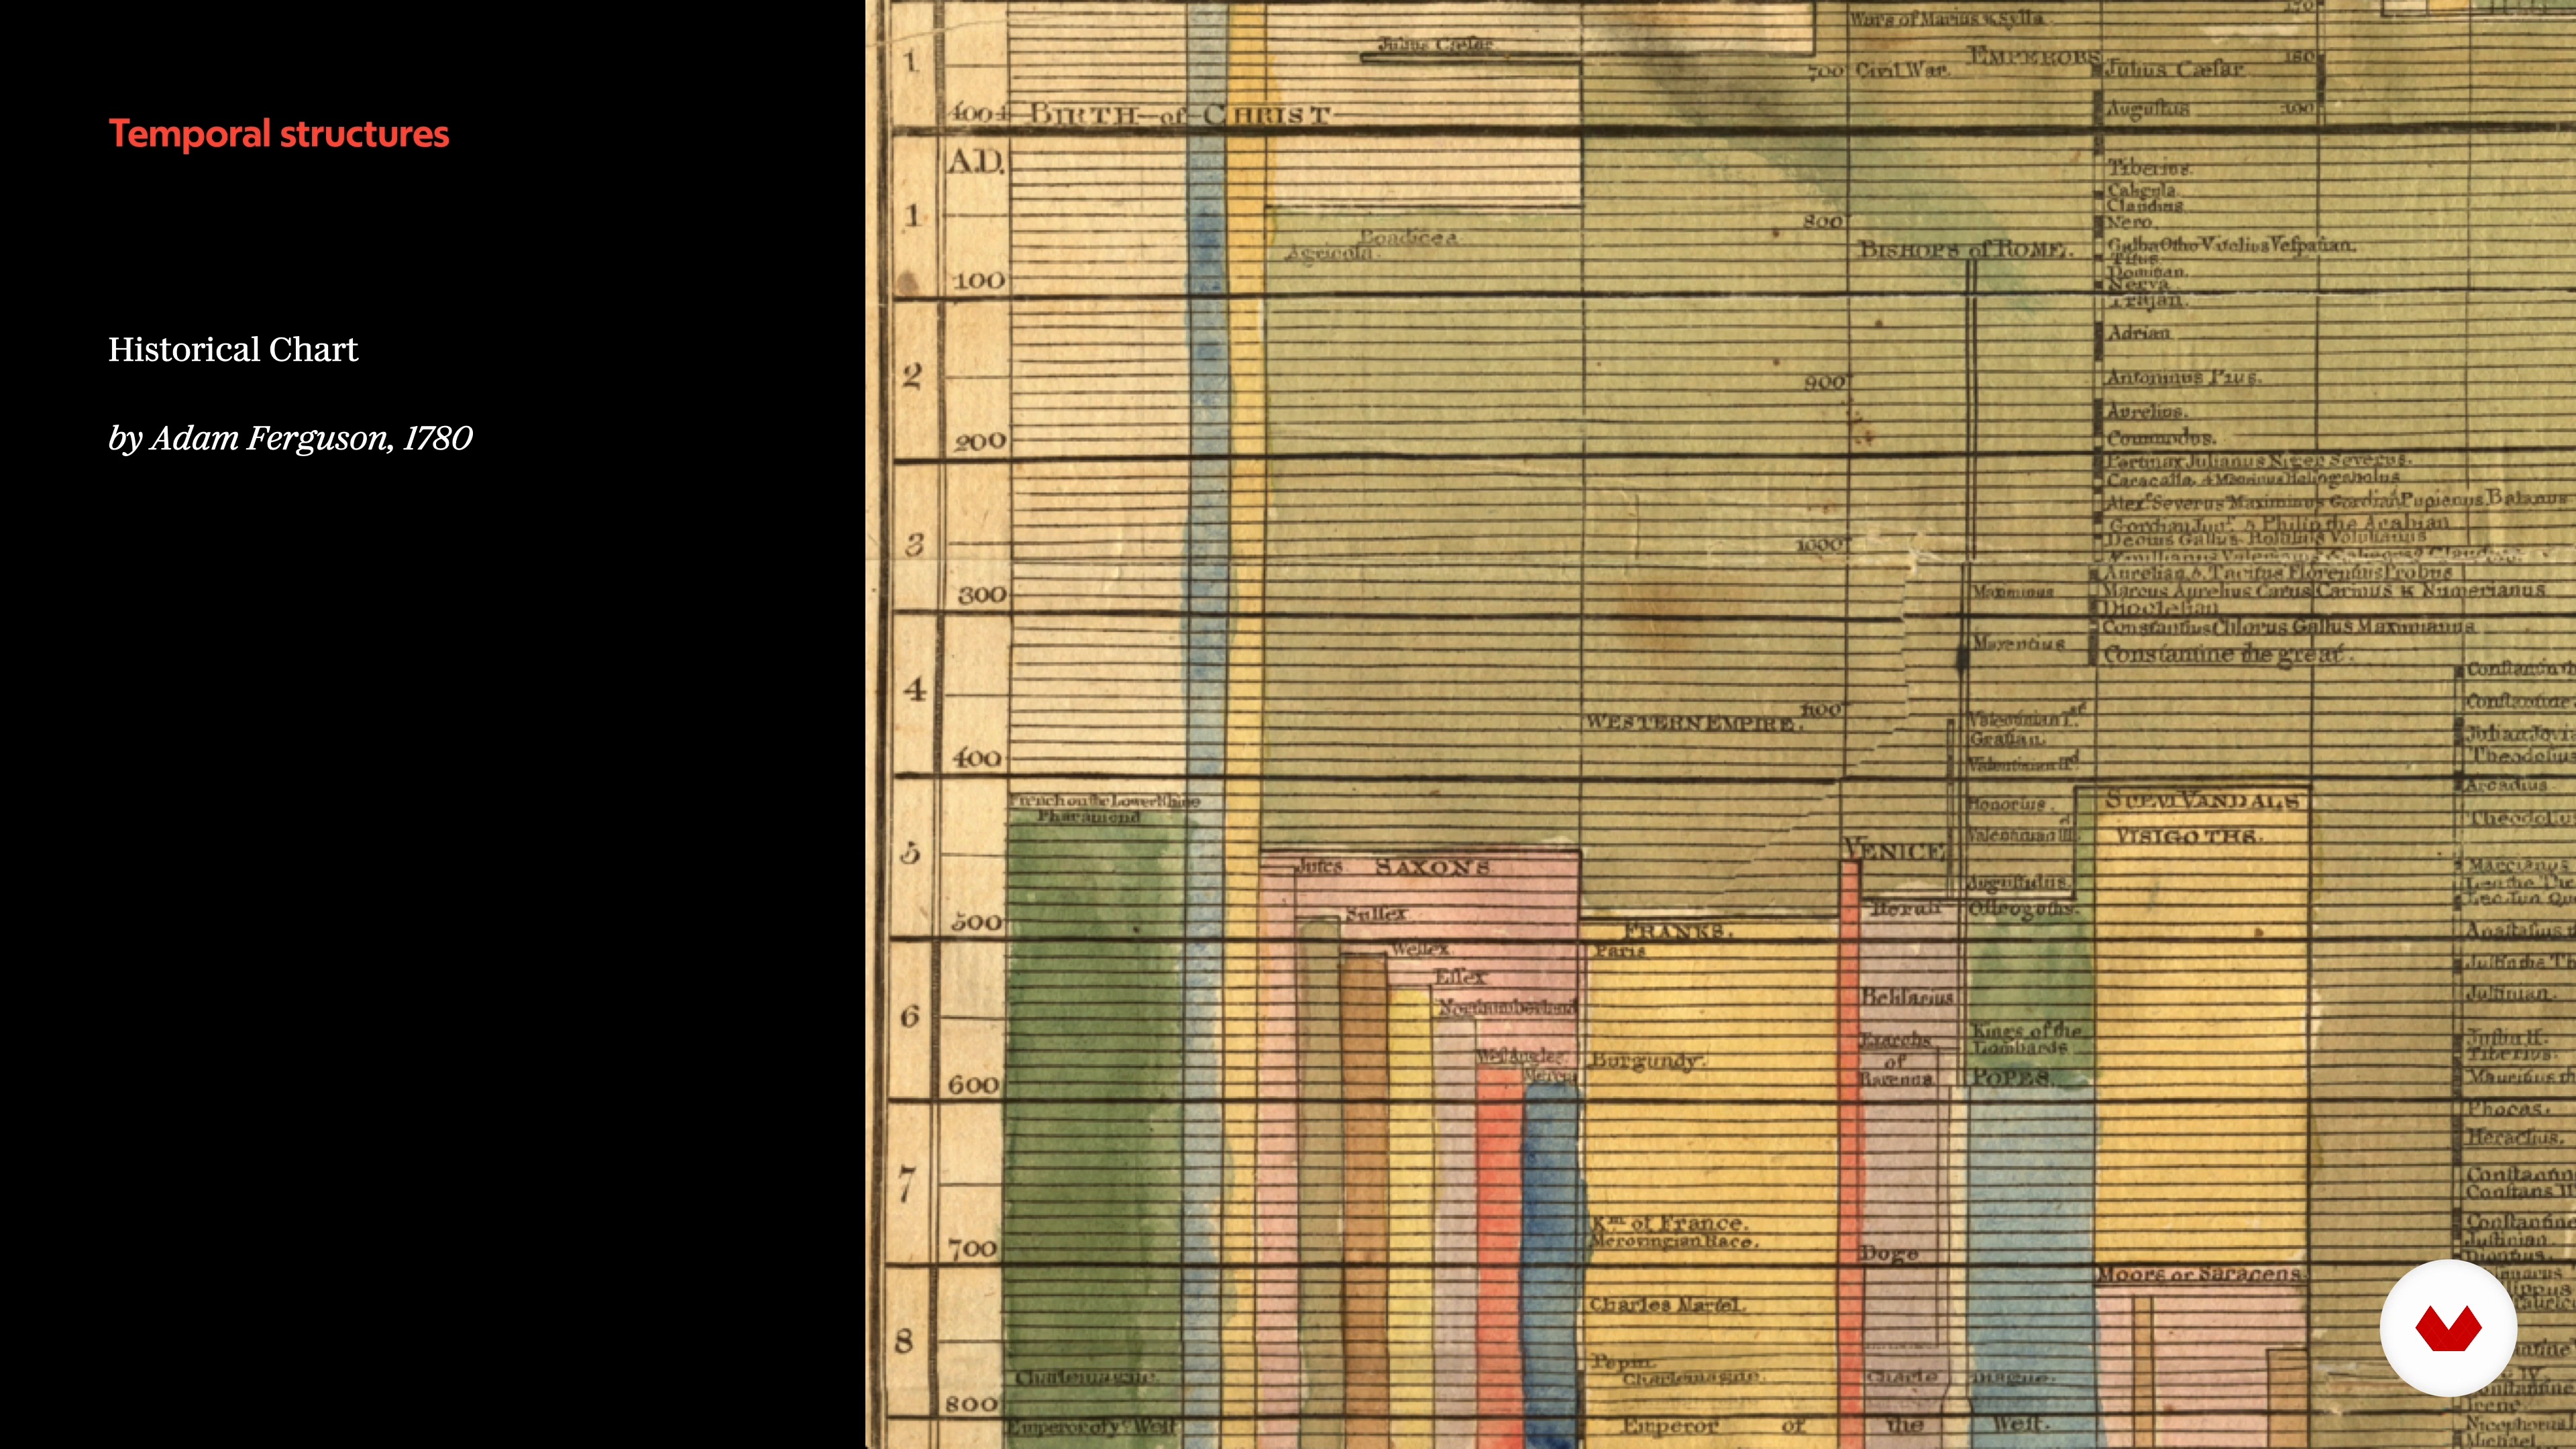
When making an infographic, the challenge is organizing our data to tell a story, which can sometimes be a real alternative to a written text. These are the steps. We start with the data, filter, and visualize it to tell our journalistic idea and create added value for the reader. The main focus is always the journalistic story, and every element on the page is subordinate to it. Design in this context is not only design but also storytelling.
9m
 16
16Combining languages: design
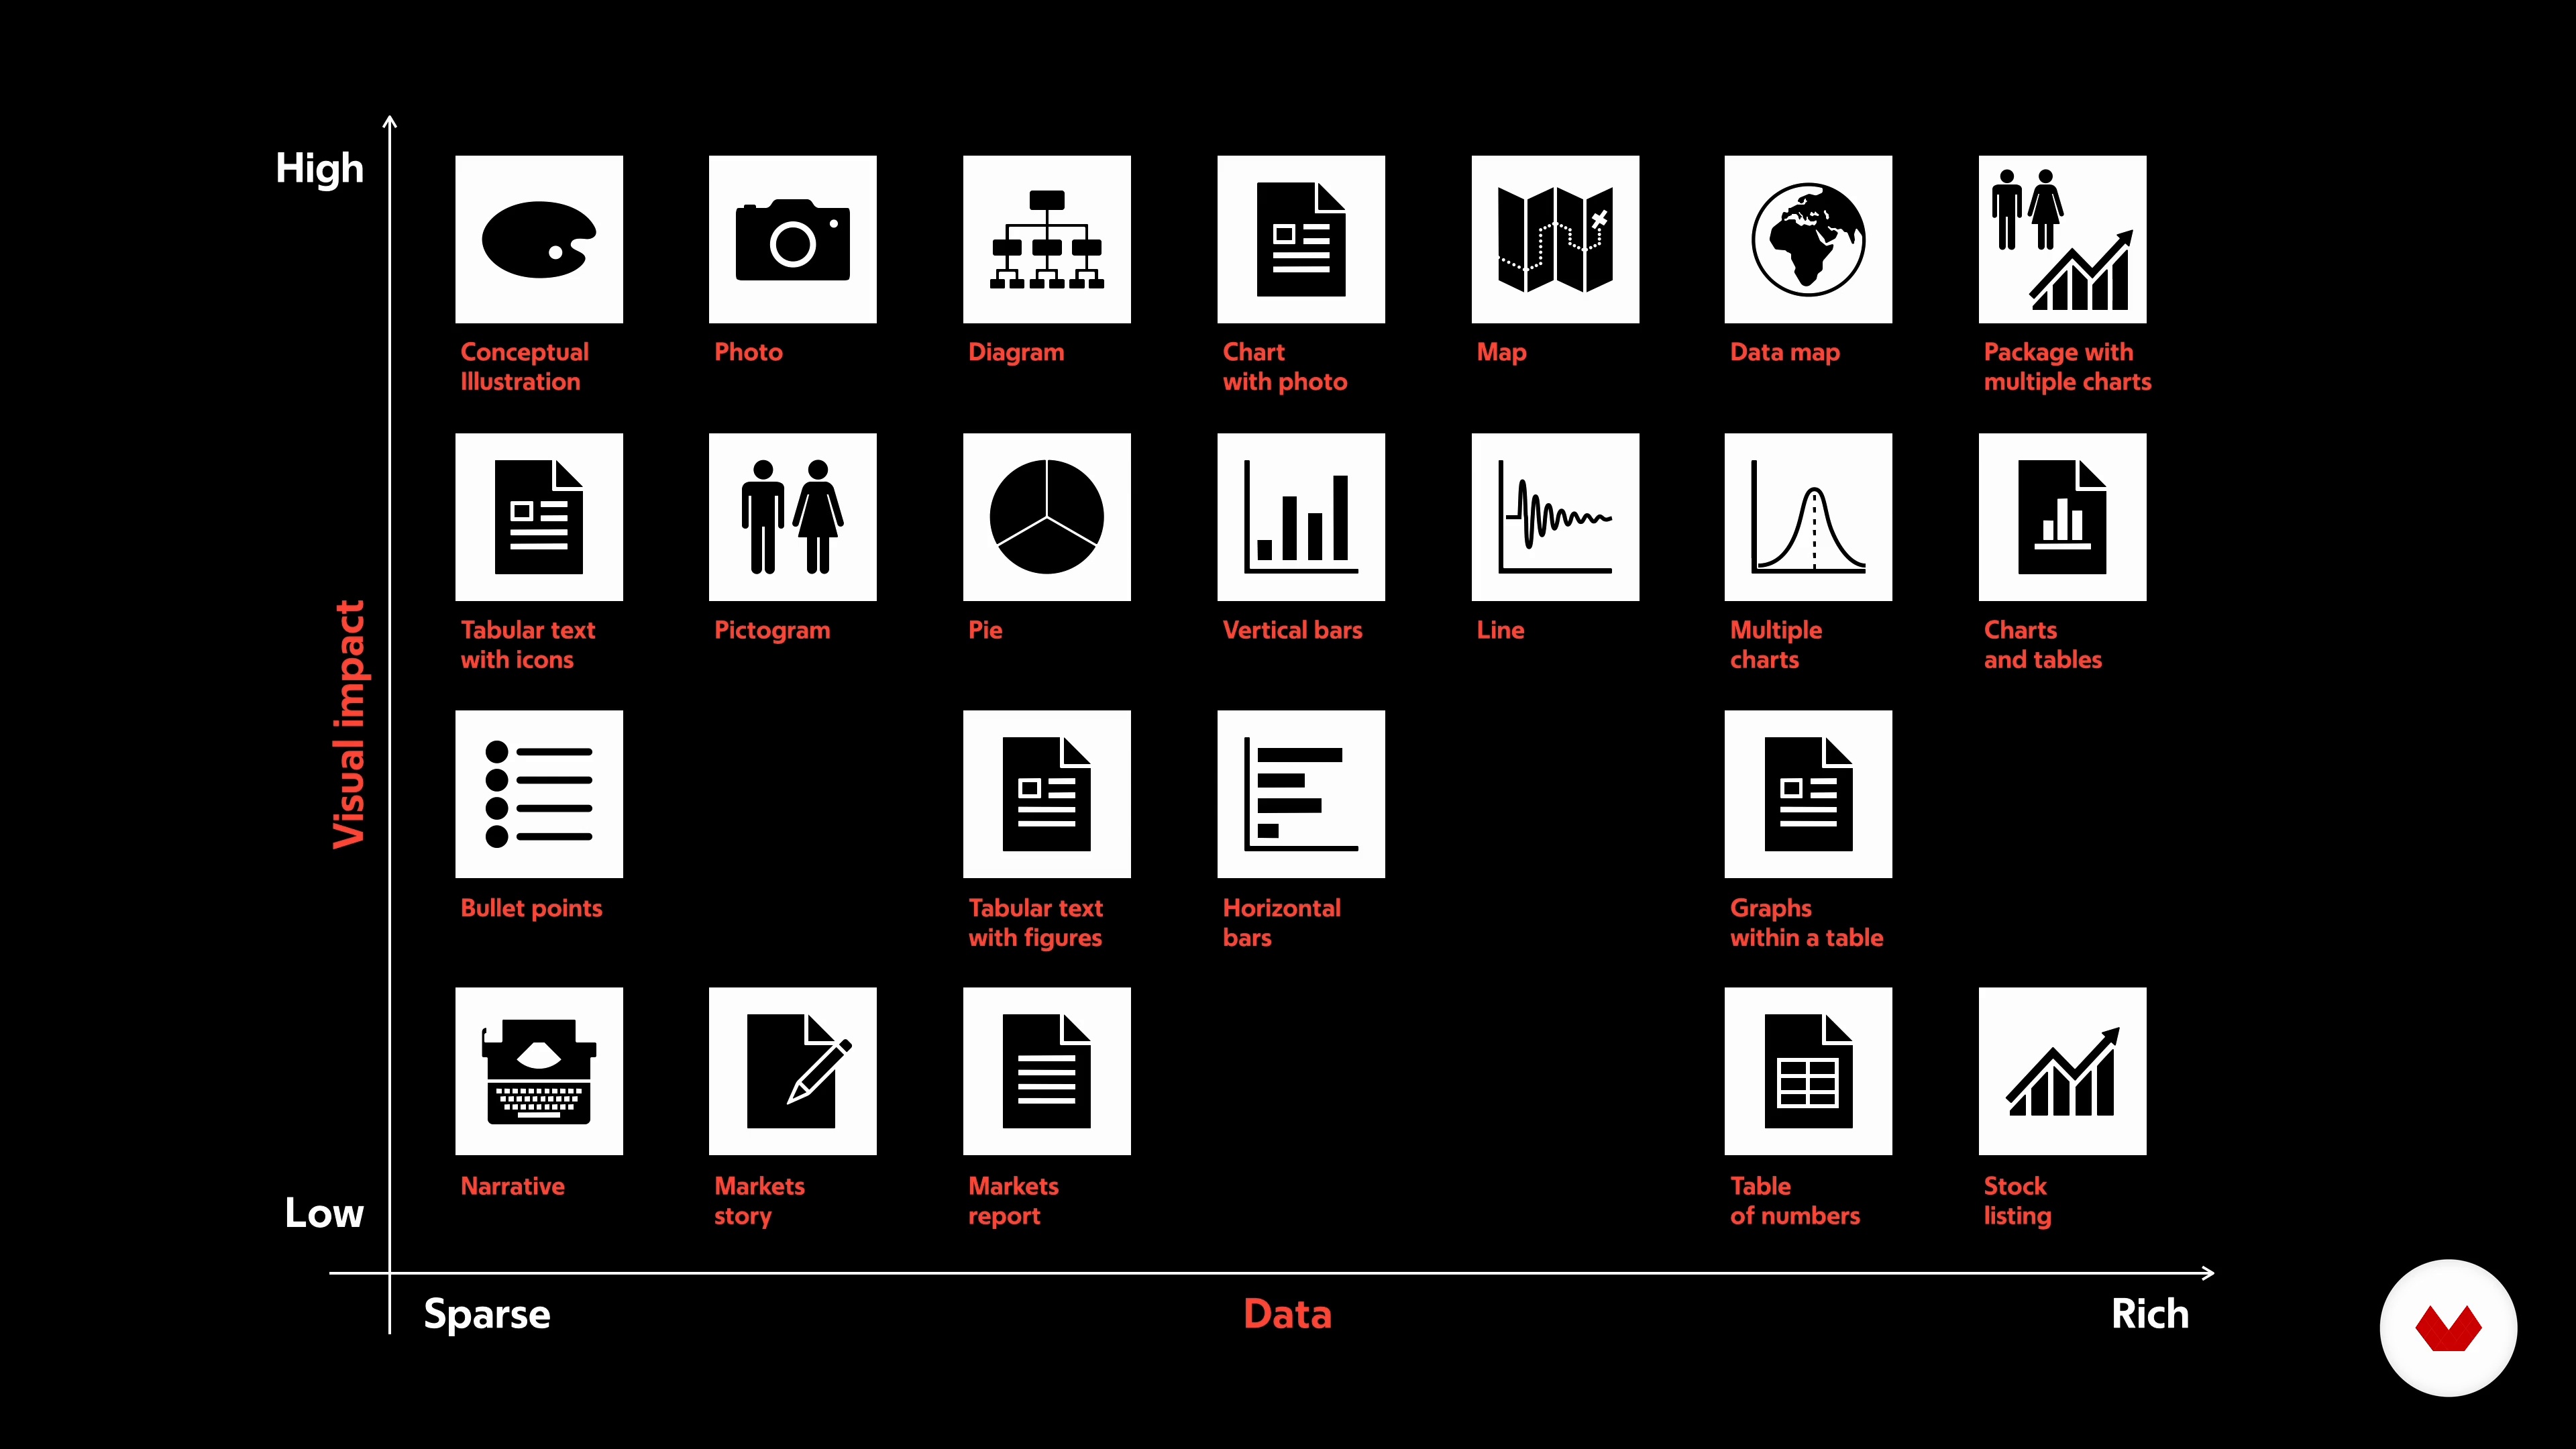
The dialogue between graphic designers and journalists is continuous; we discuss the best way to translate a journalistic idea into graphics, write a headline effectively, unambiguously display a message, and communicate a story through the focused and combined use of images and words that organize and present information making it understandable and engaging for the reader is. In choosing the type of representation of our data, we must always remember the message we want to communicate and which aspect we want to emphasize more. The designer at this stage has a strong responsibility since he or she makes precise editorial choices.
6m
 17
17Rest in Print
A closer working relationship would make both the editorial and product teams work more effectively. Let's try to reflect on how fundamental it is to involve the historical figures of the paper newspaper in thinking about new digital products.
8m
 3
3Introduction to Newspaper Design
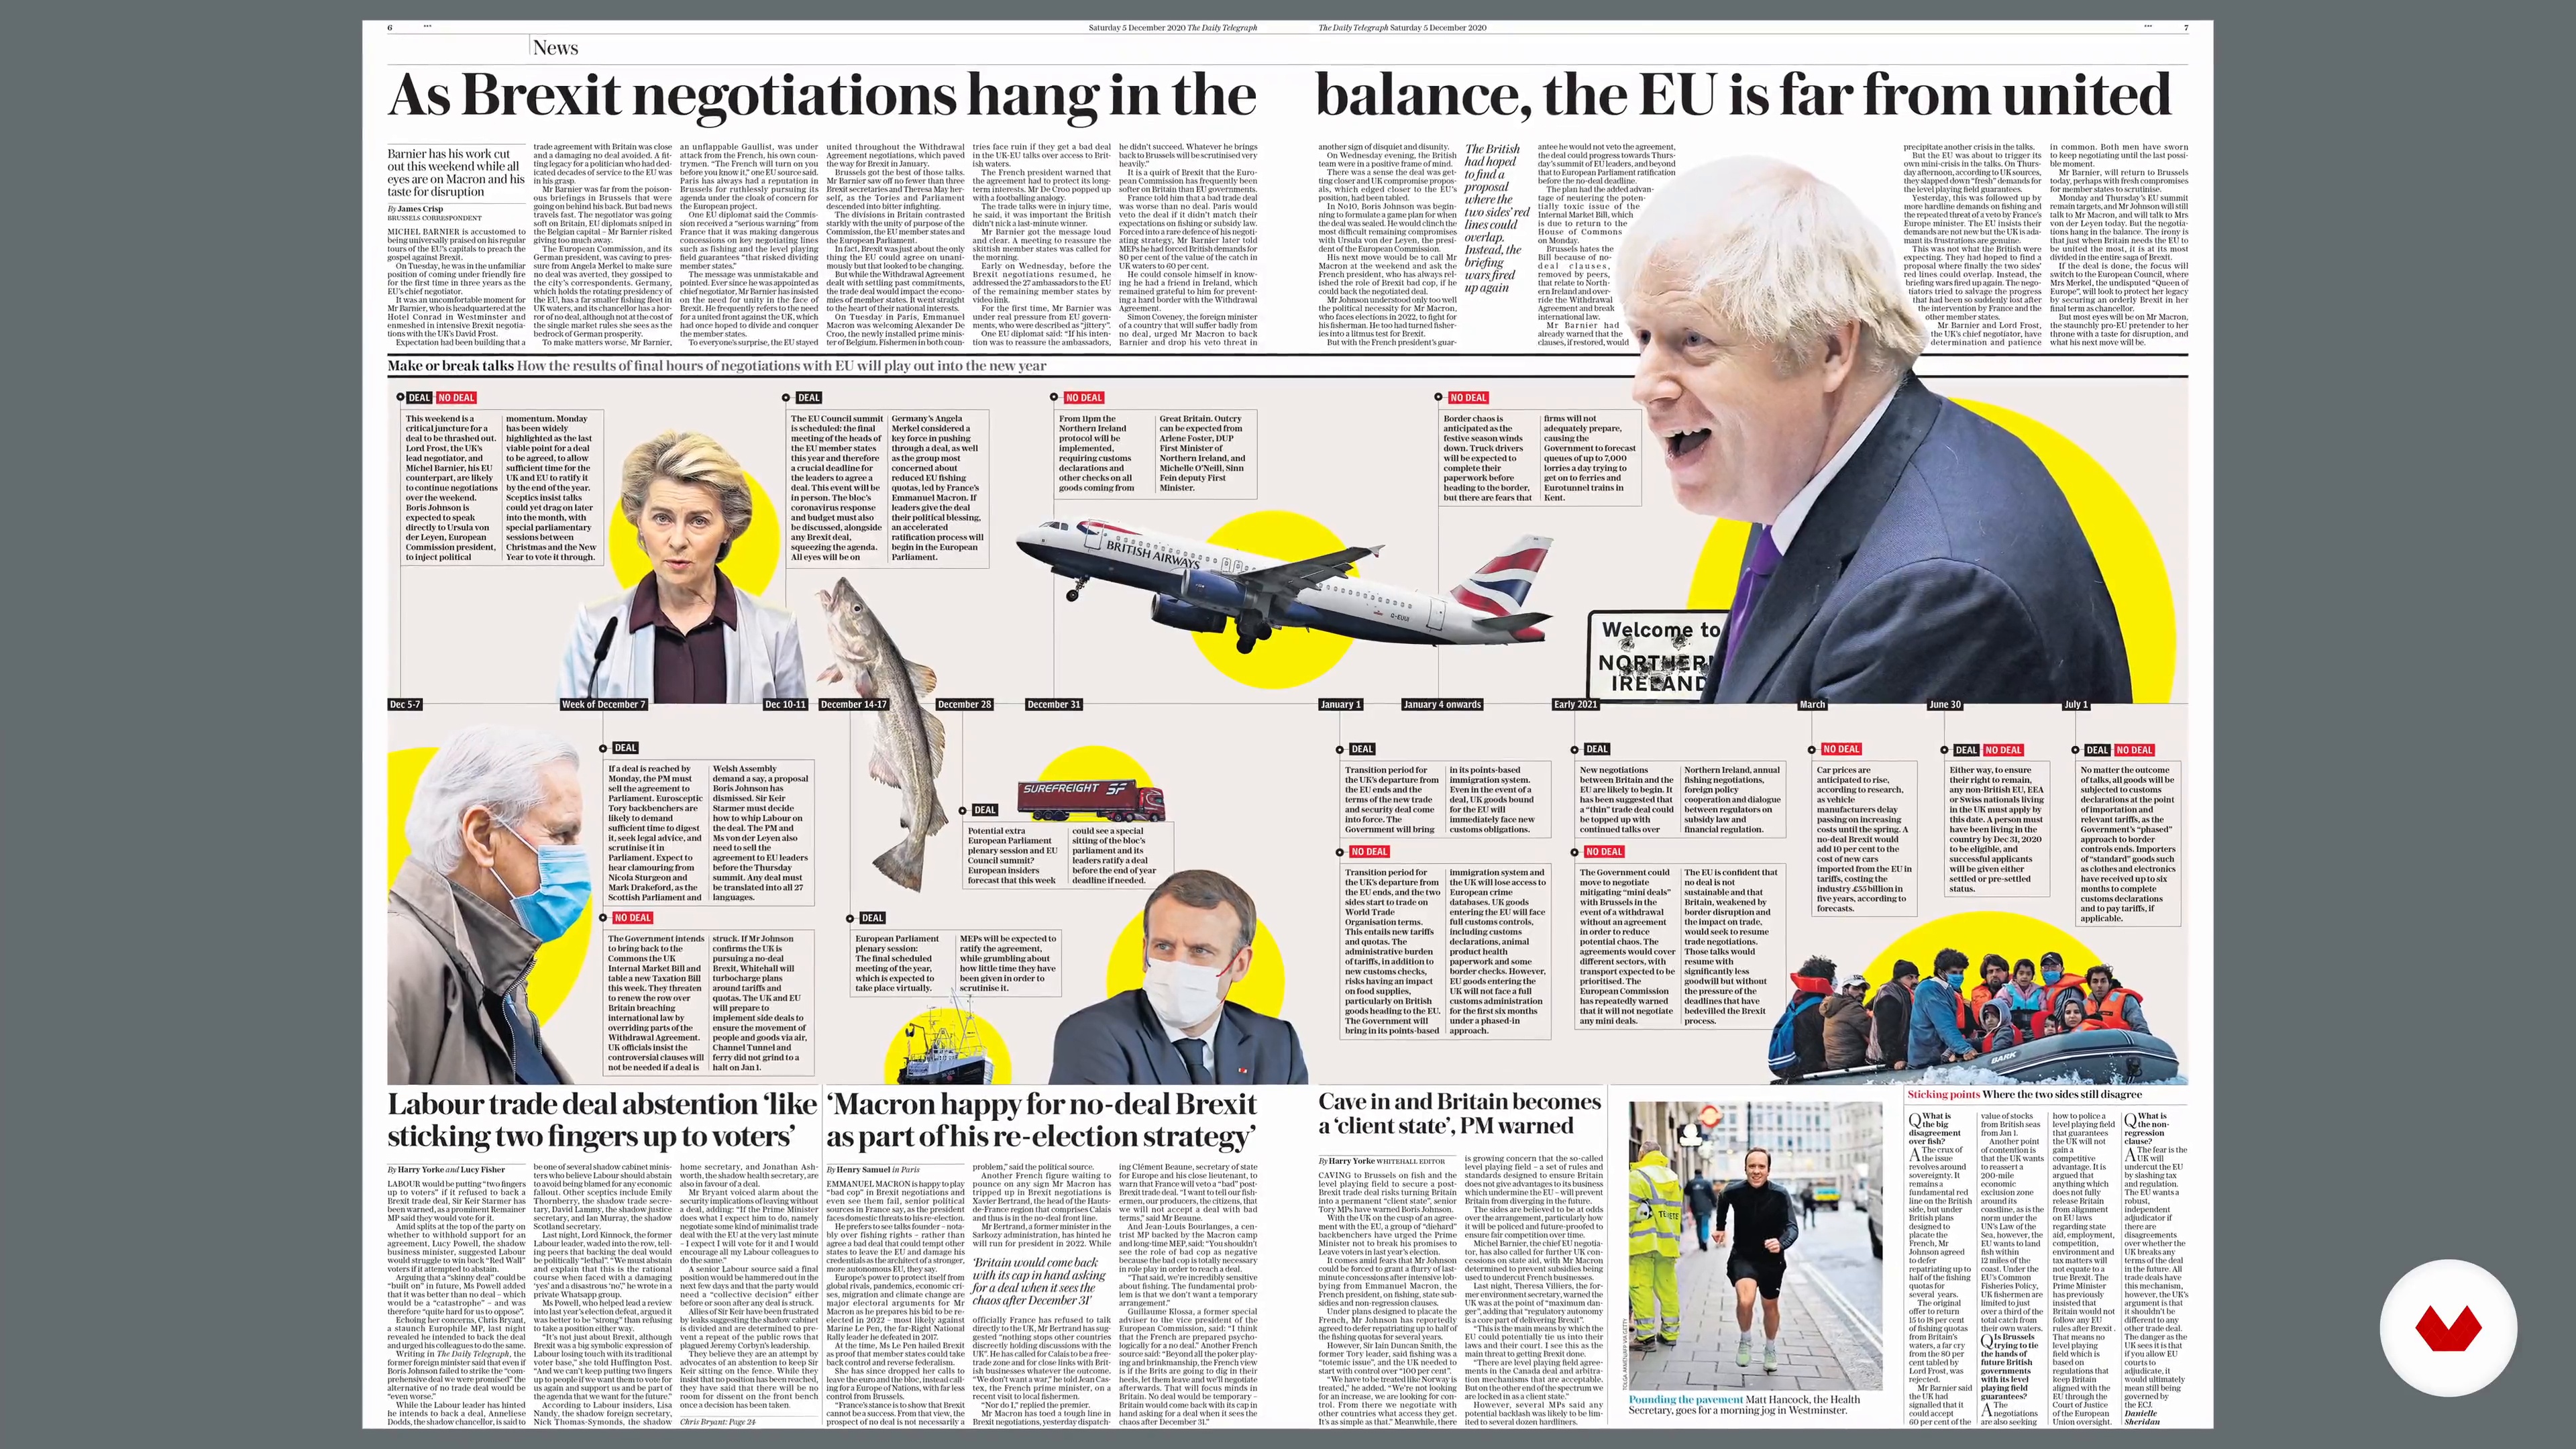
In this lesson, I am going to give a brief introduction to newspaper design.
3m
 4
4The Brief and Planning Our Pages
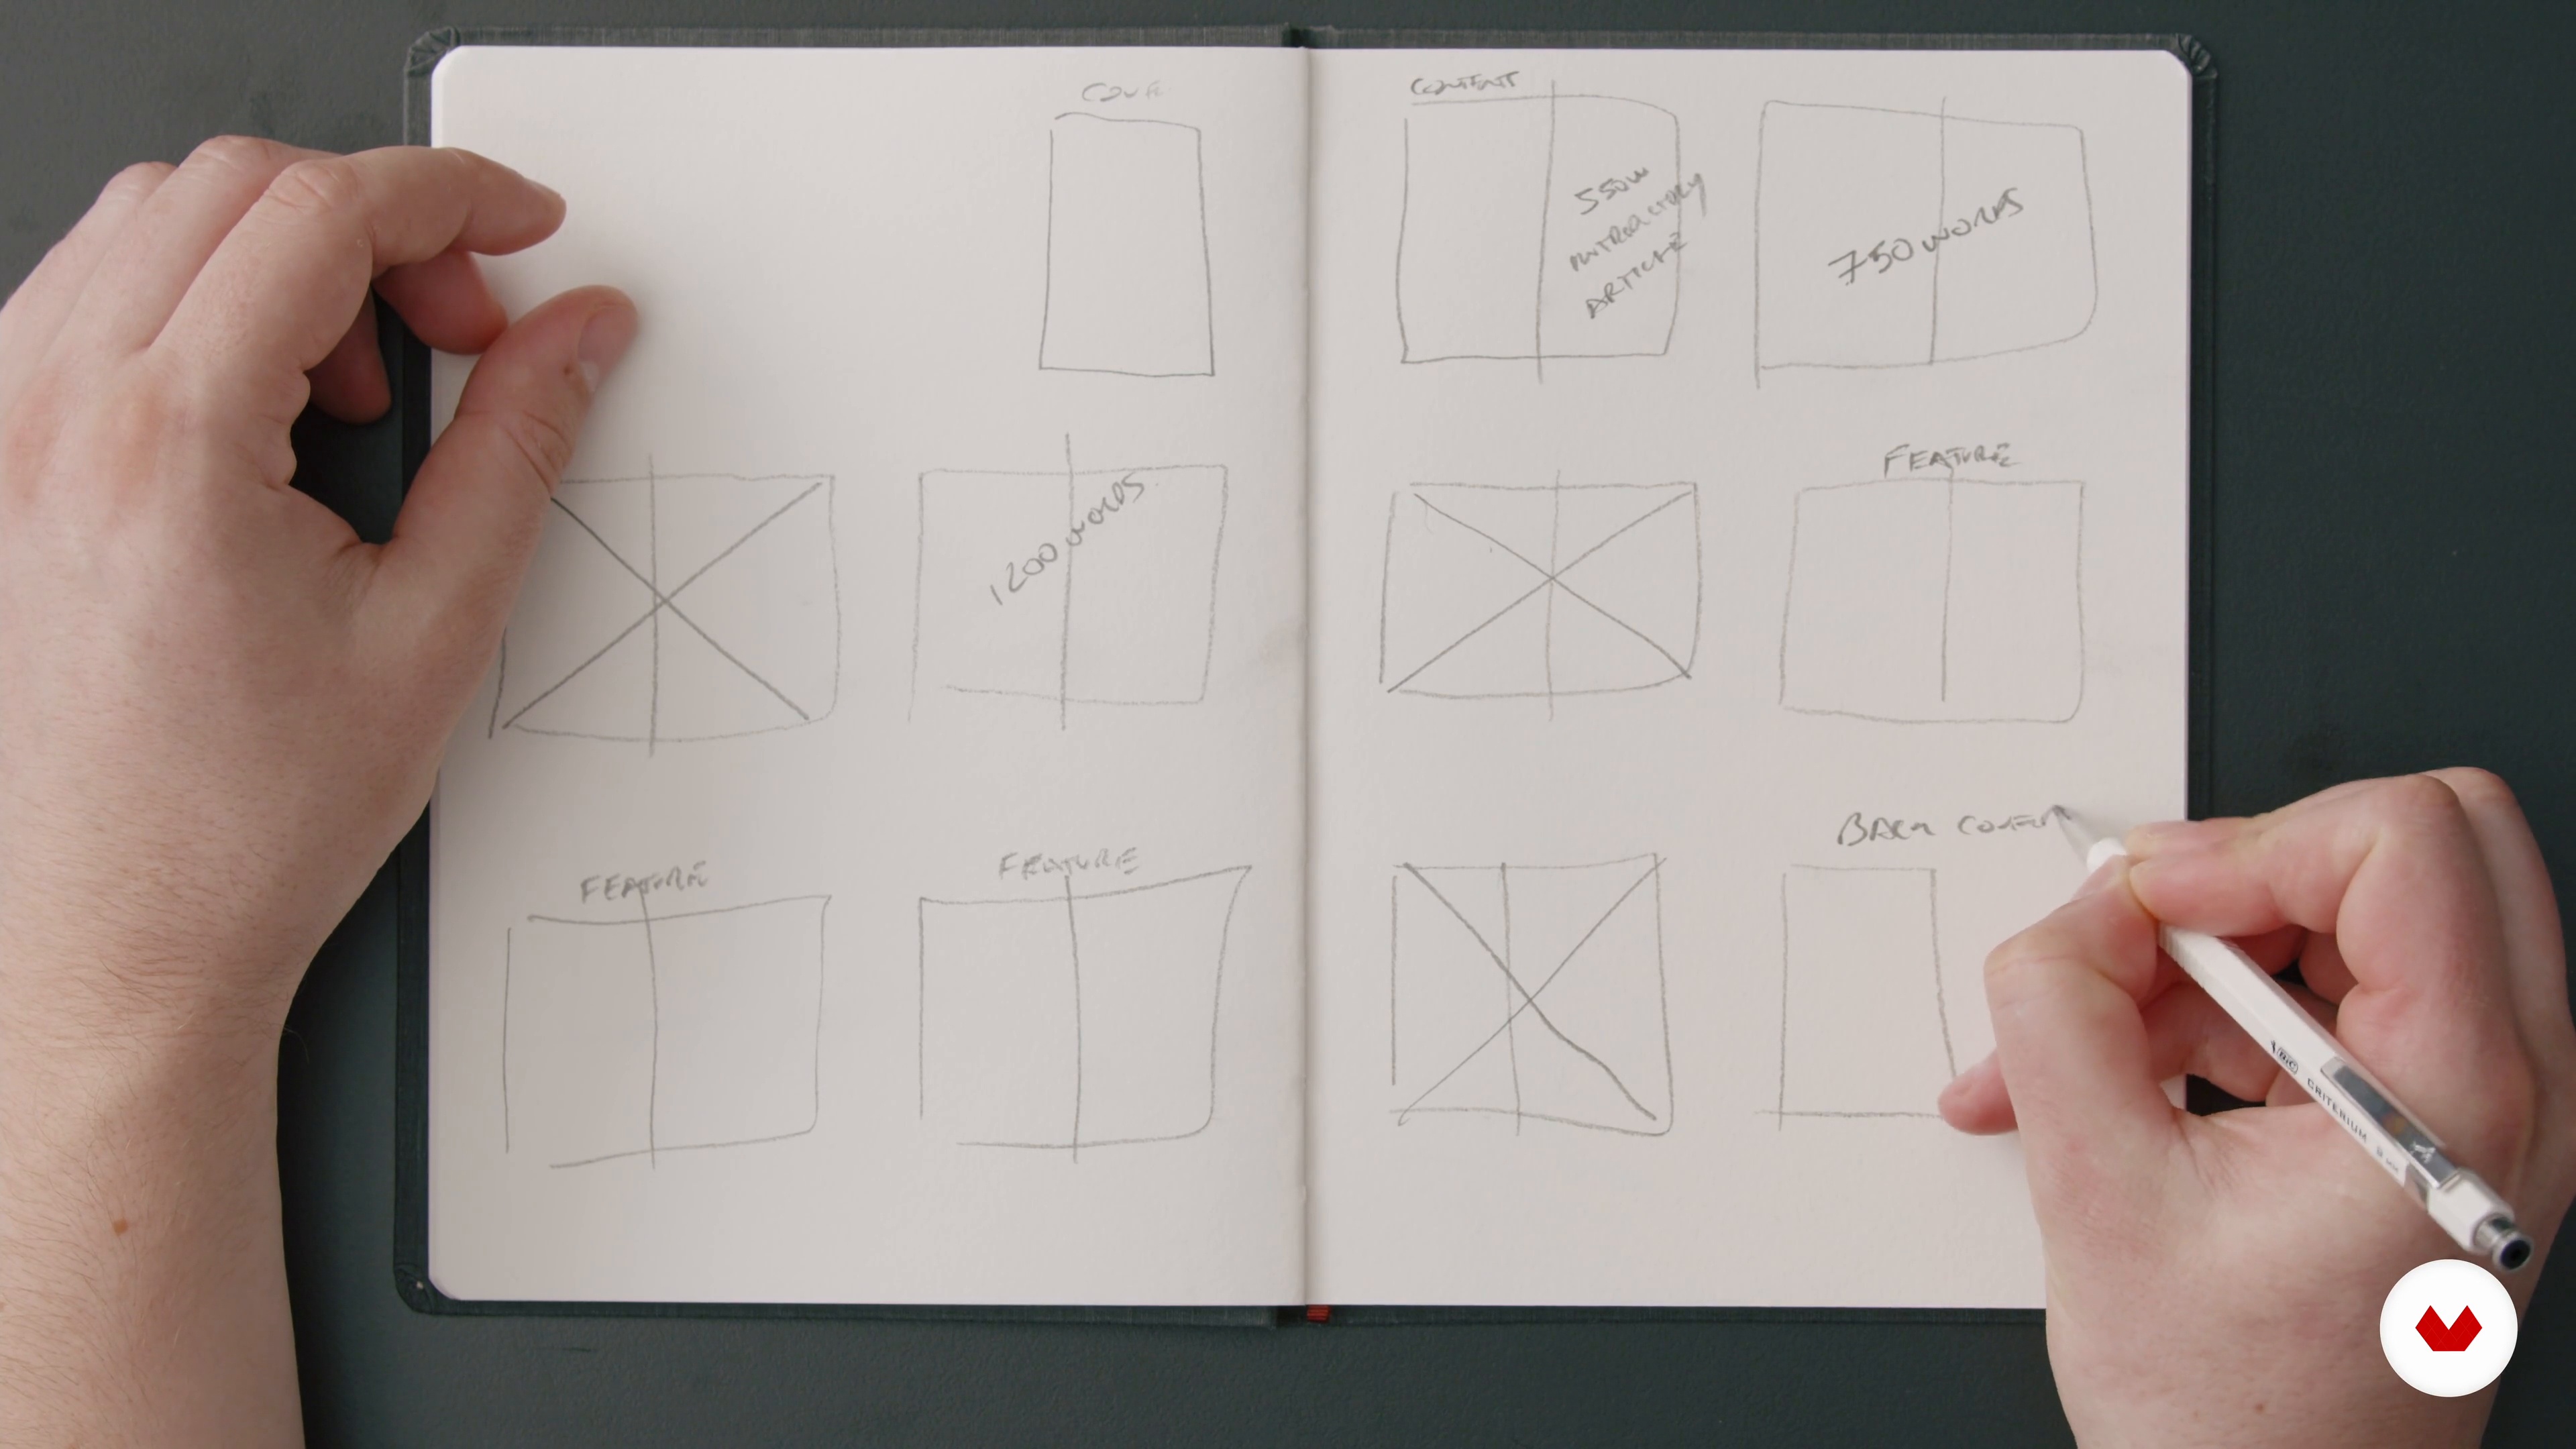
We are now going to discuss the brief and create a rough page plan for our publication.
6m
 5
5Available Assets
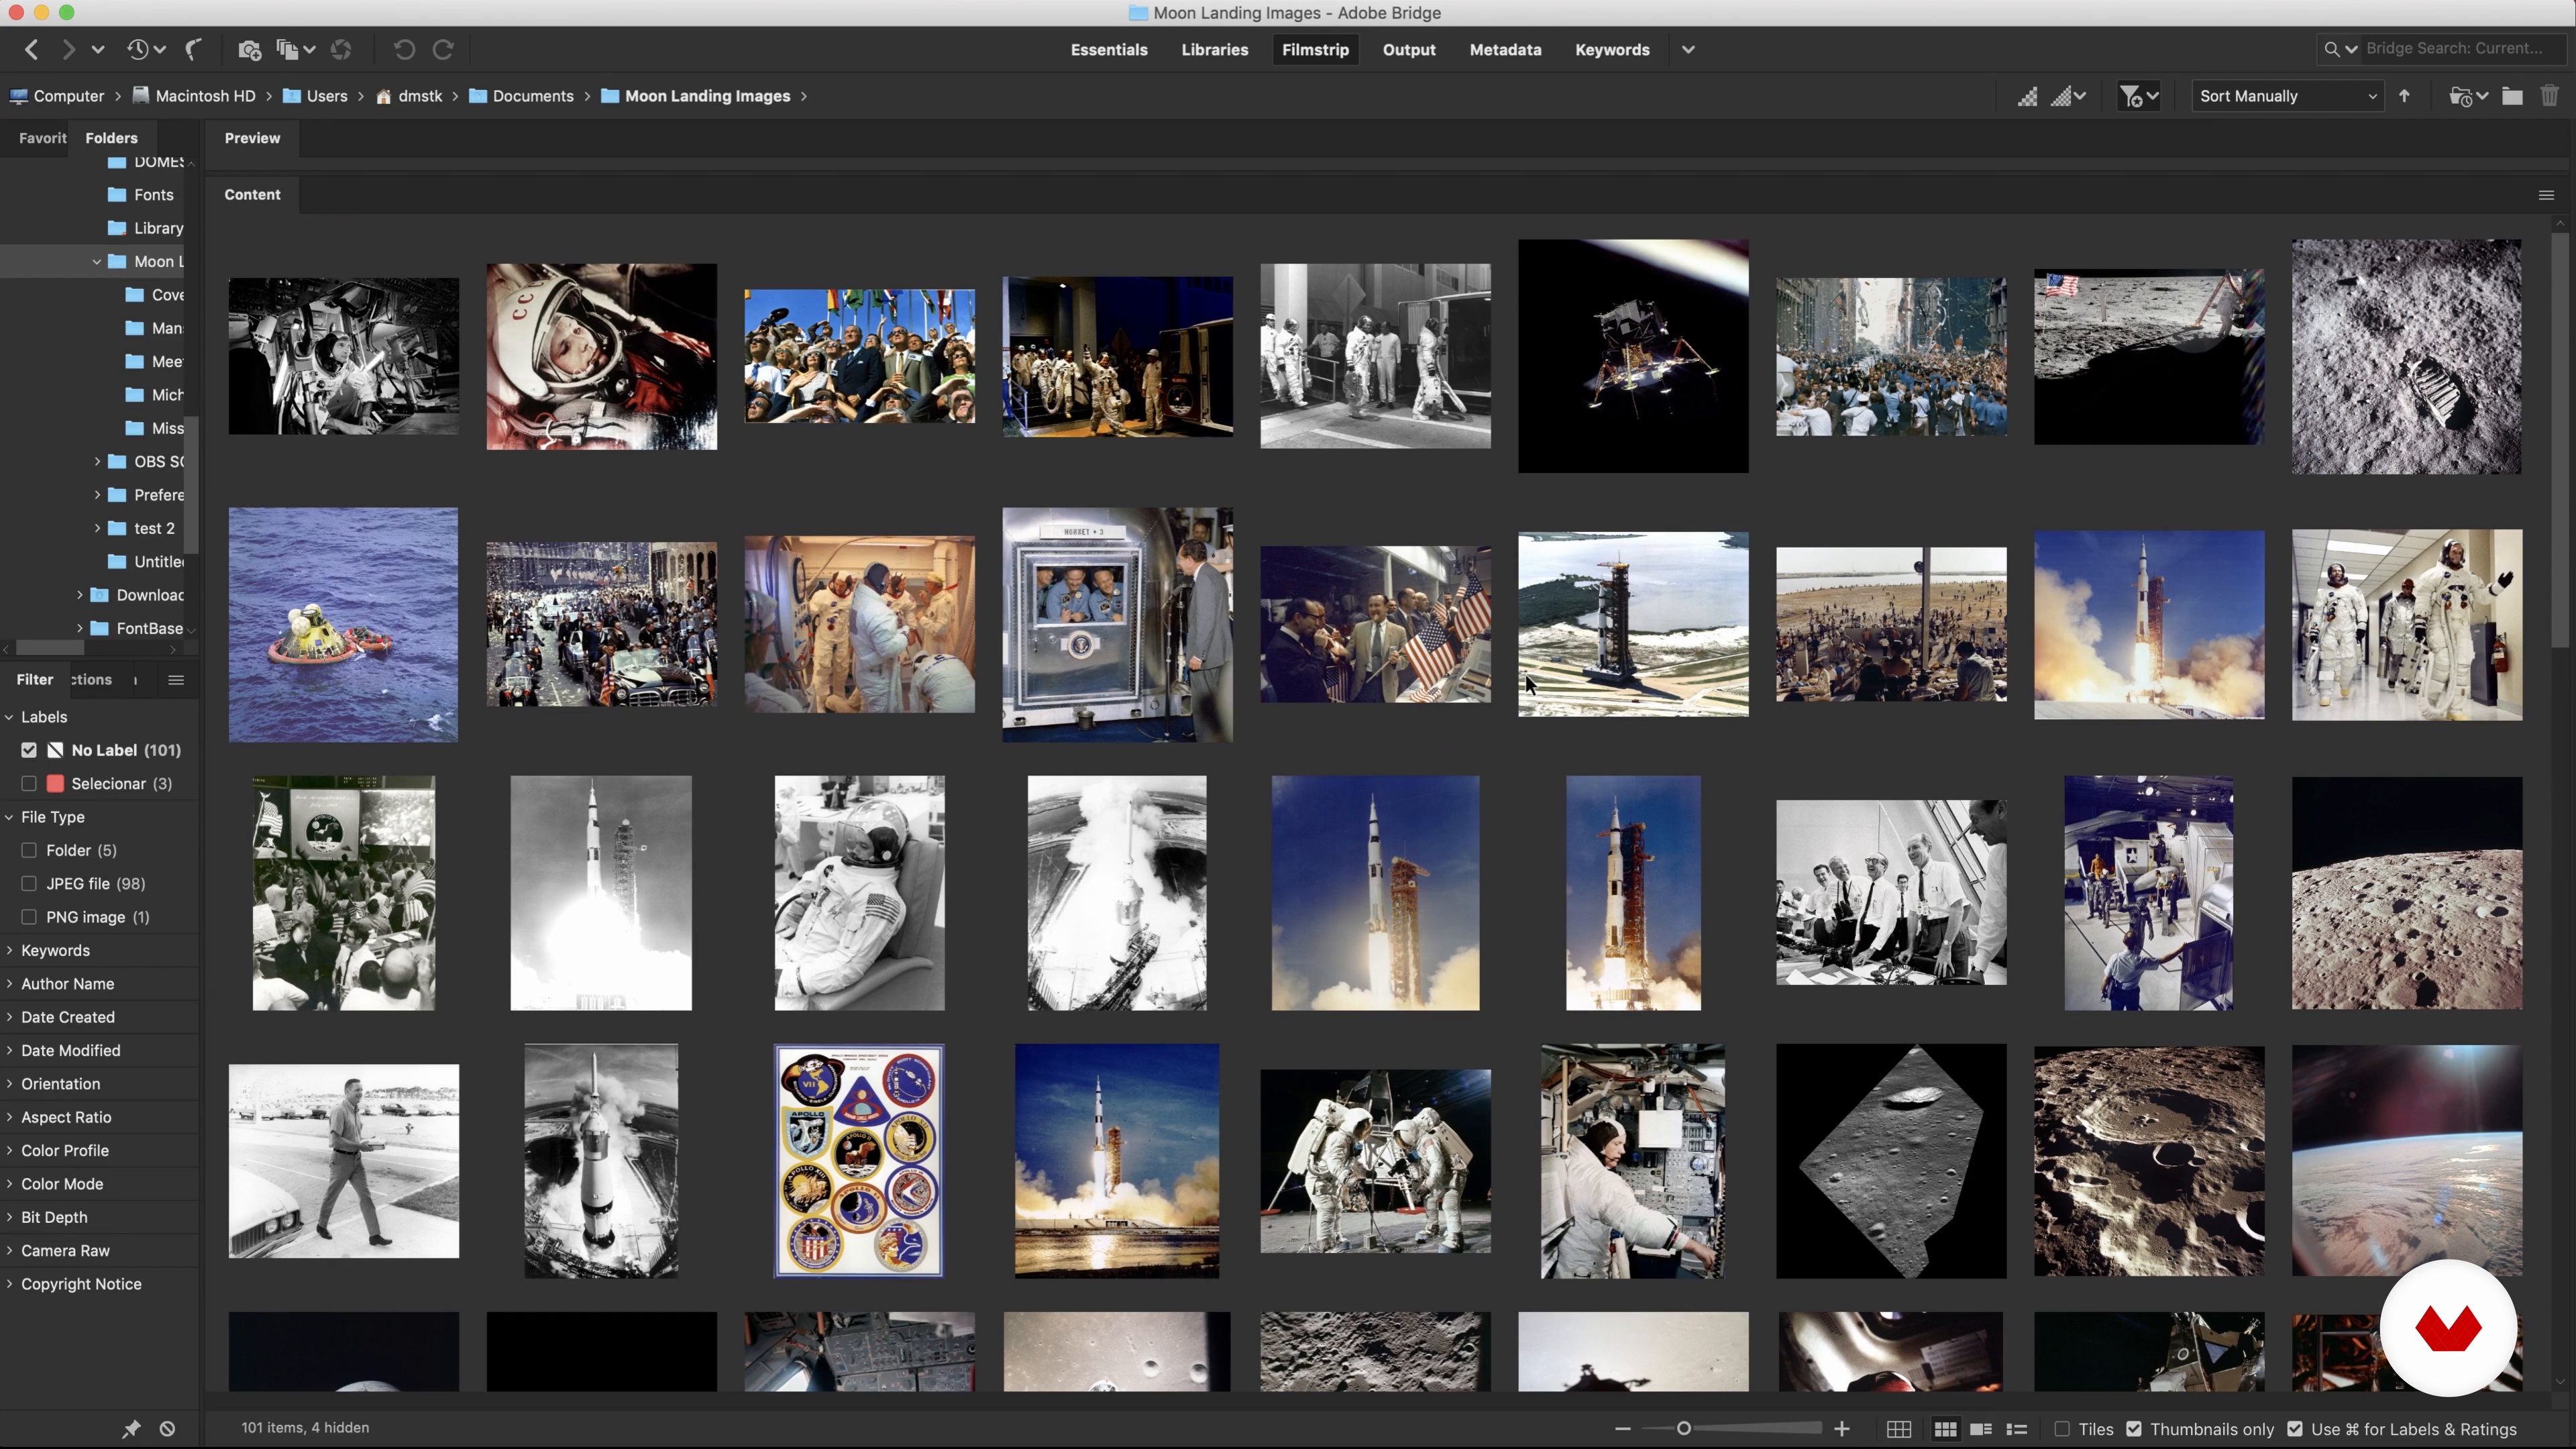
Let's discuss the assets available for this course, how to use them legally and how to edit them down.
8m
 6
6Setting up Our Pages
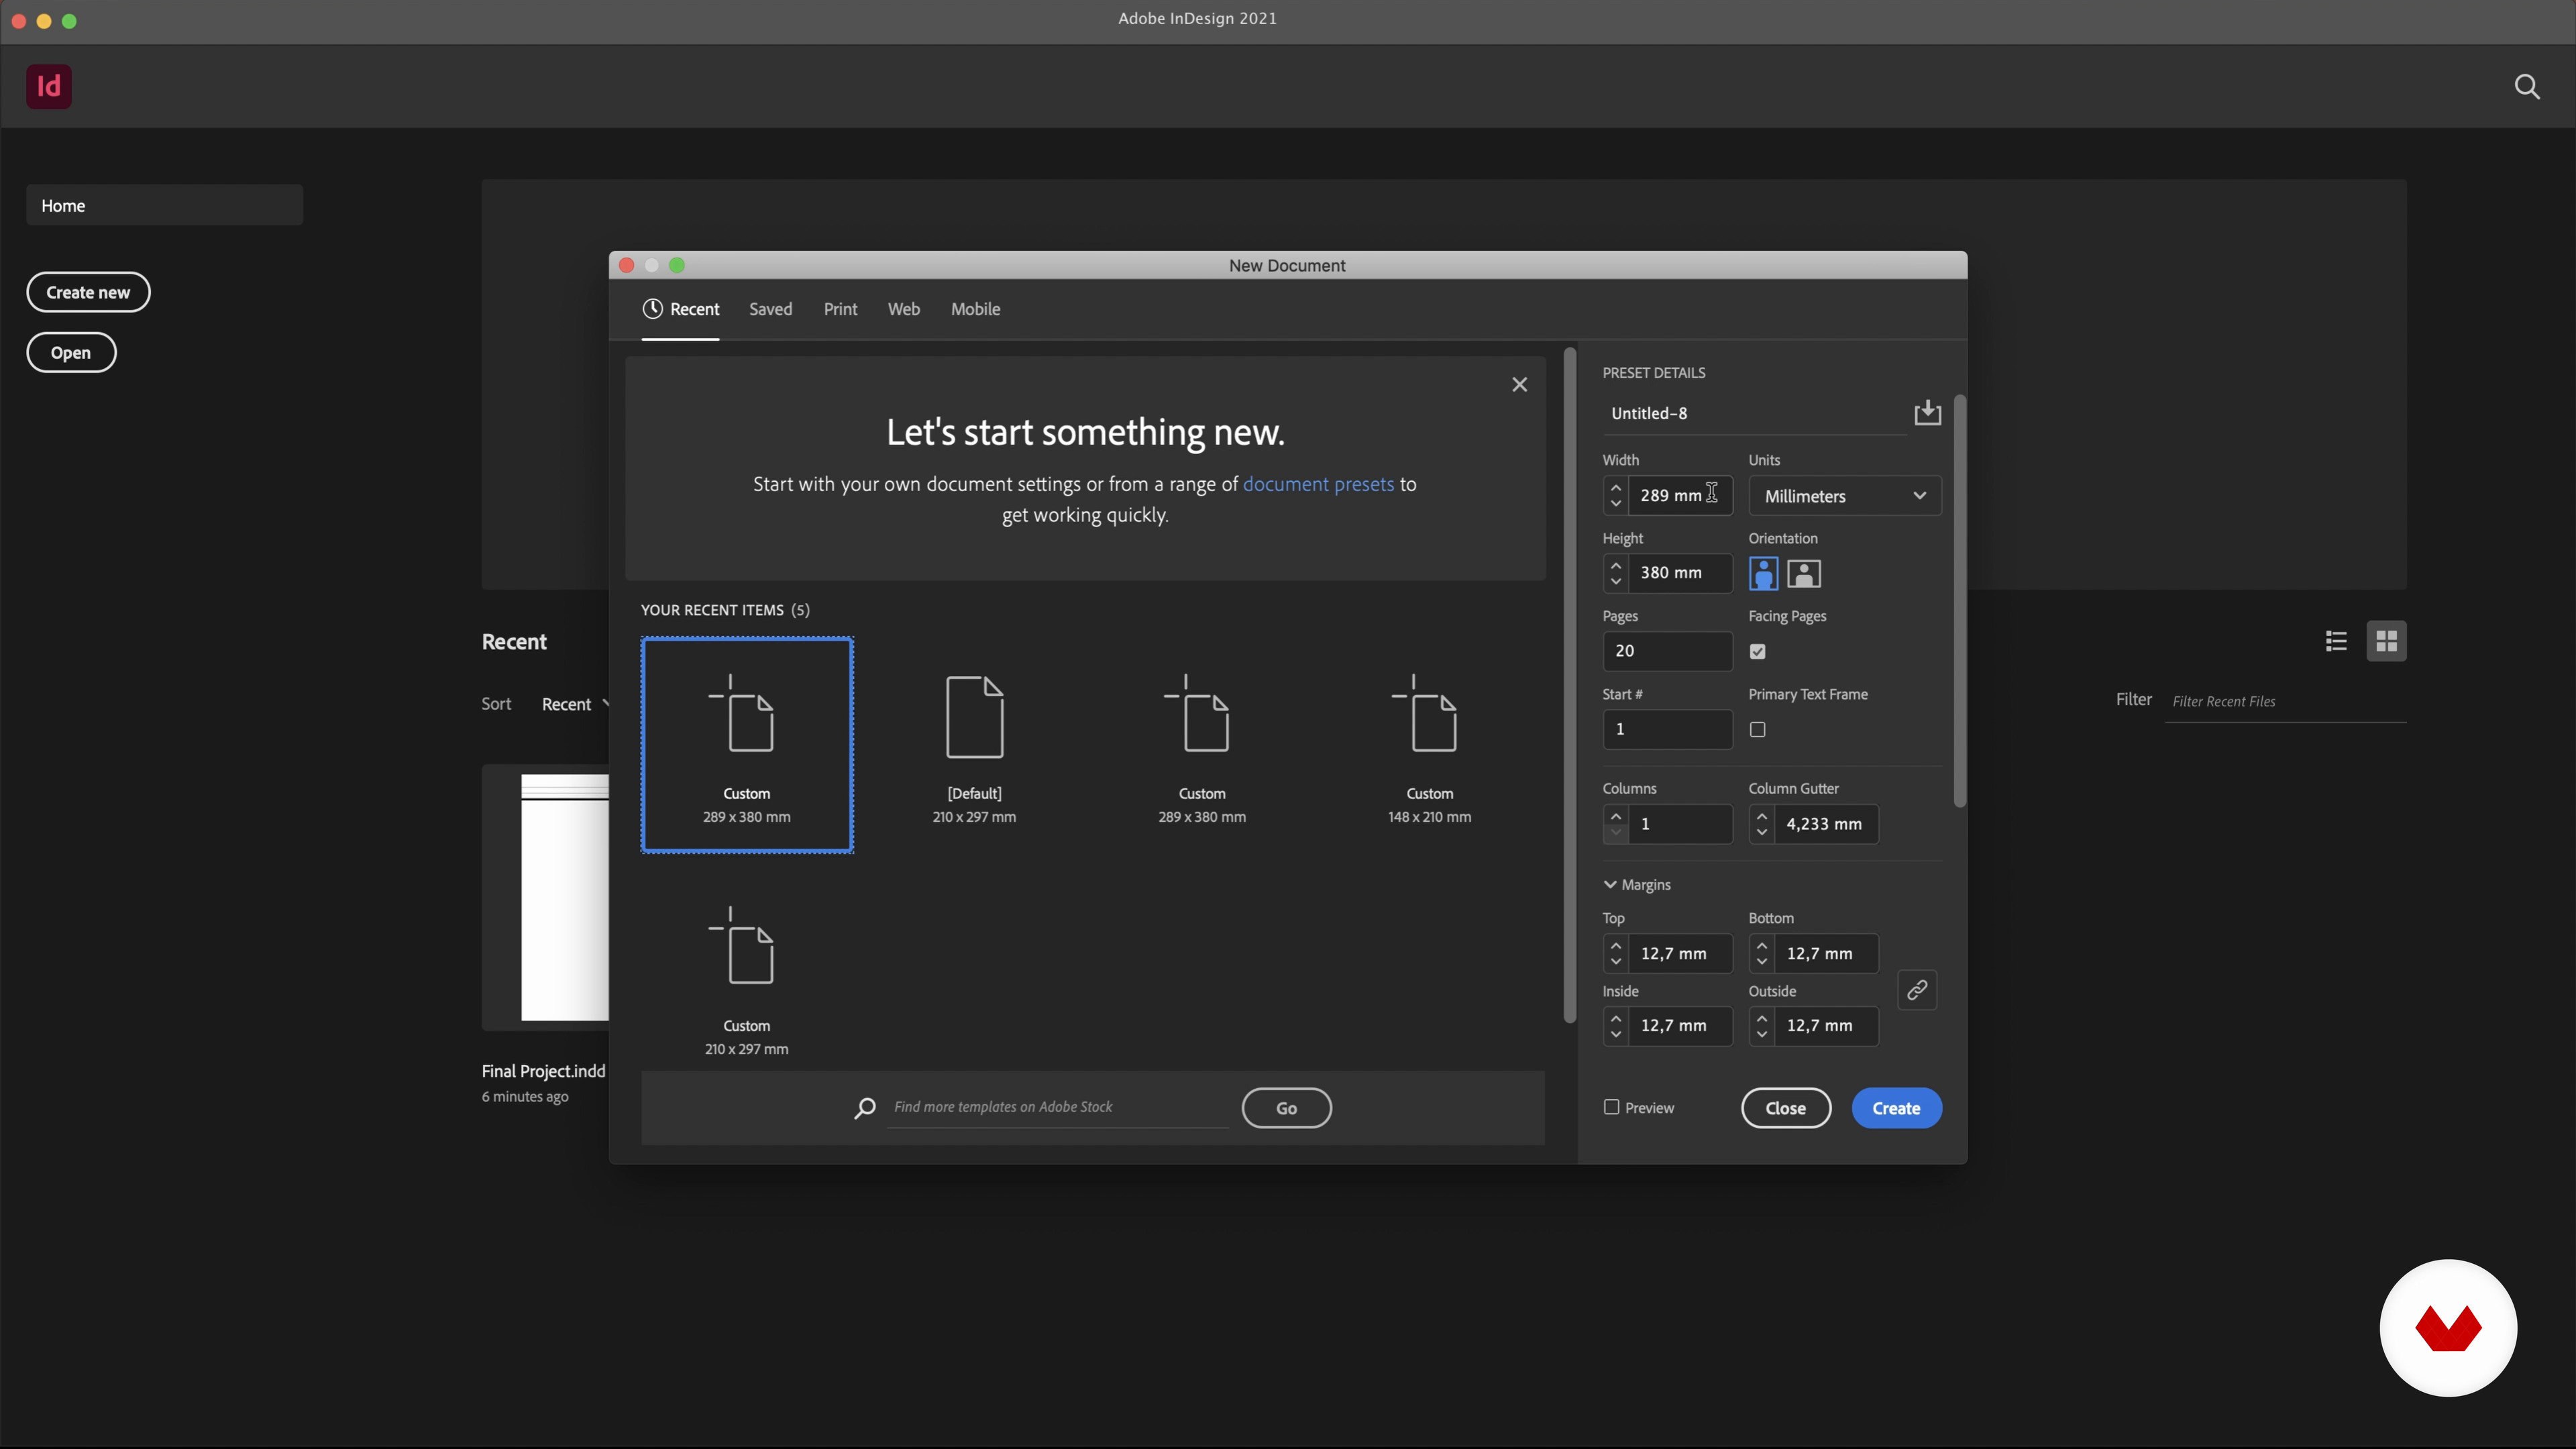
In this lesson, we are going to set up our document pages.
2m
 7
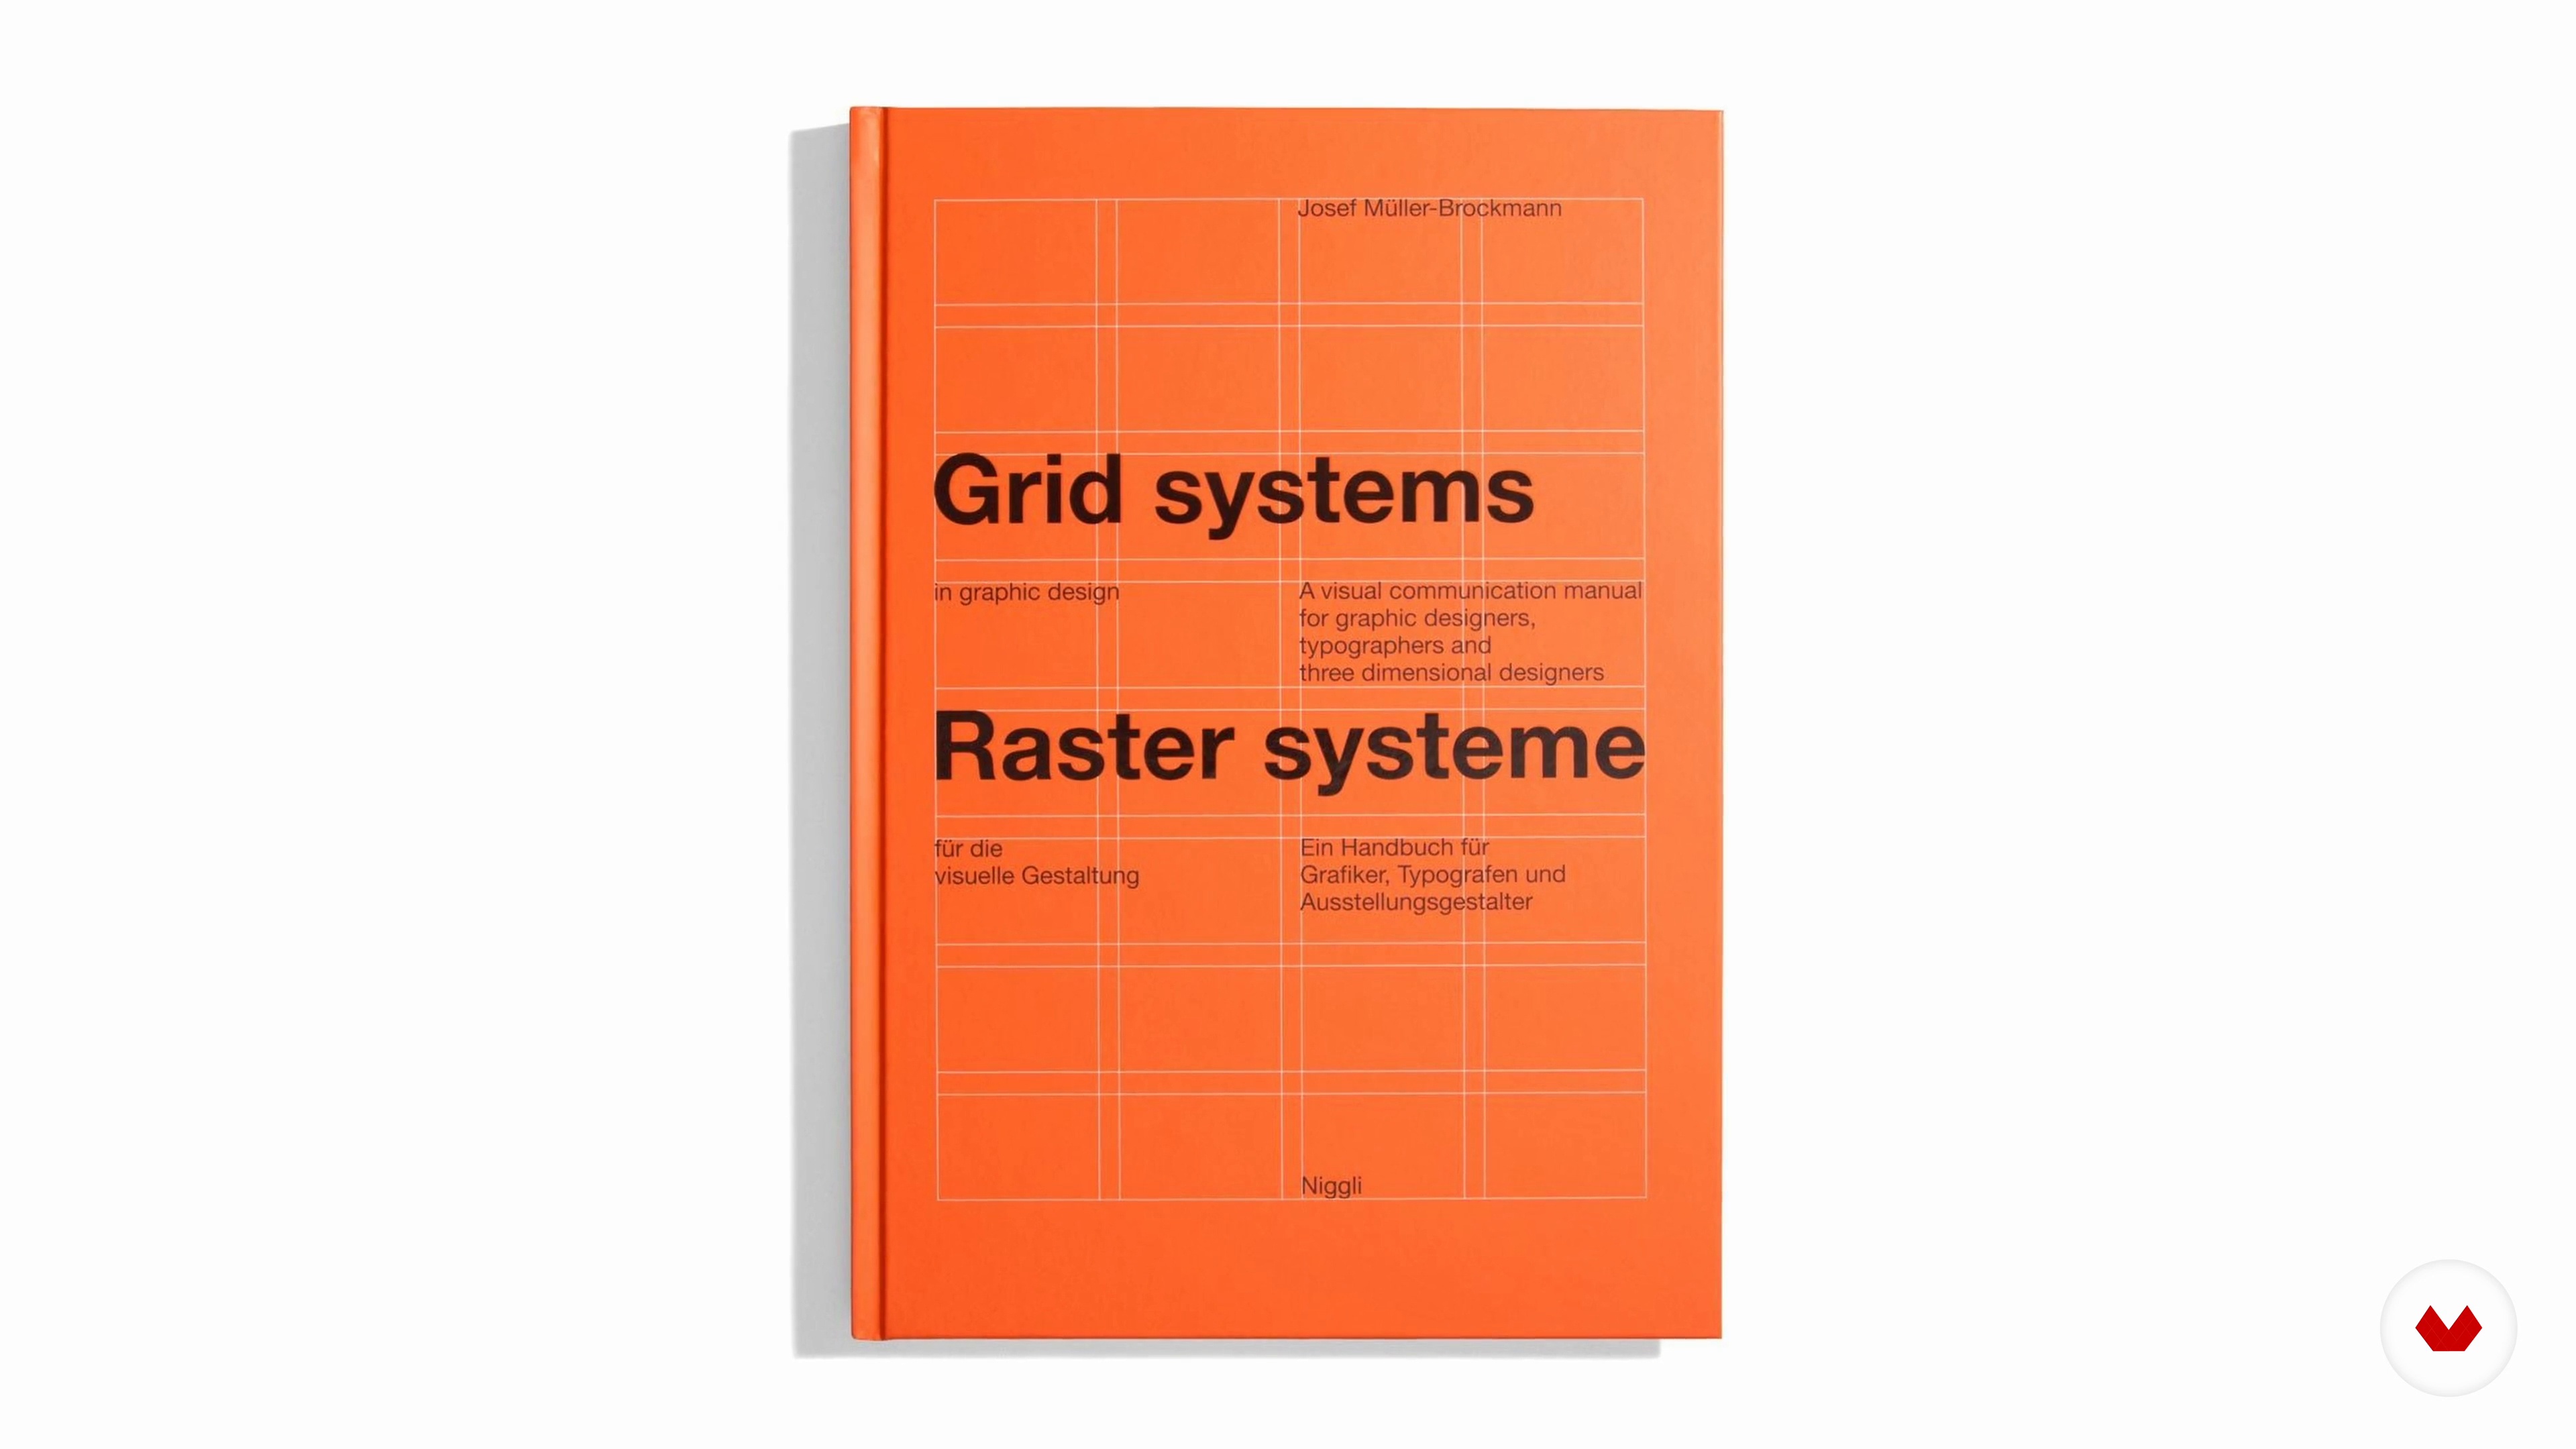
7Grids
We will now cover the basics of grids as well as set up our own publication’s grid.
7m
 8
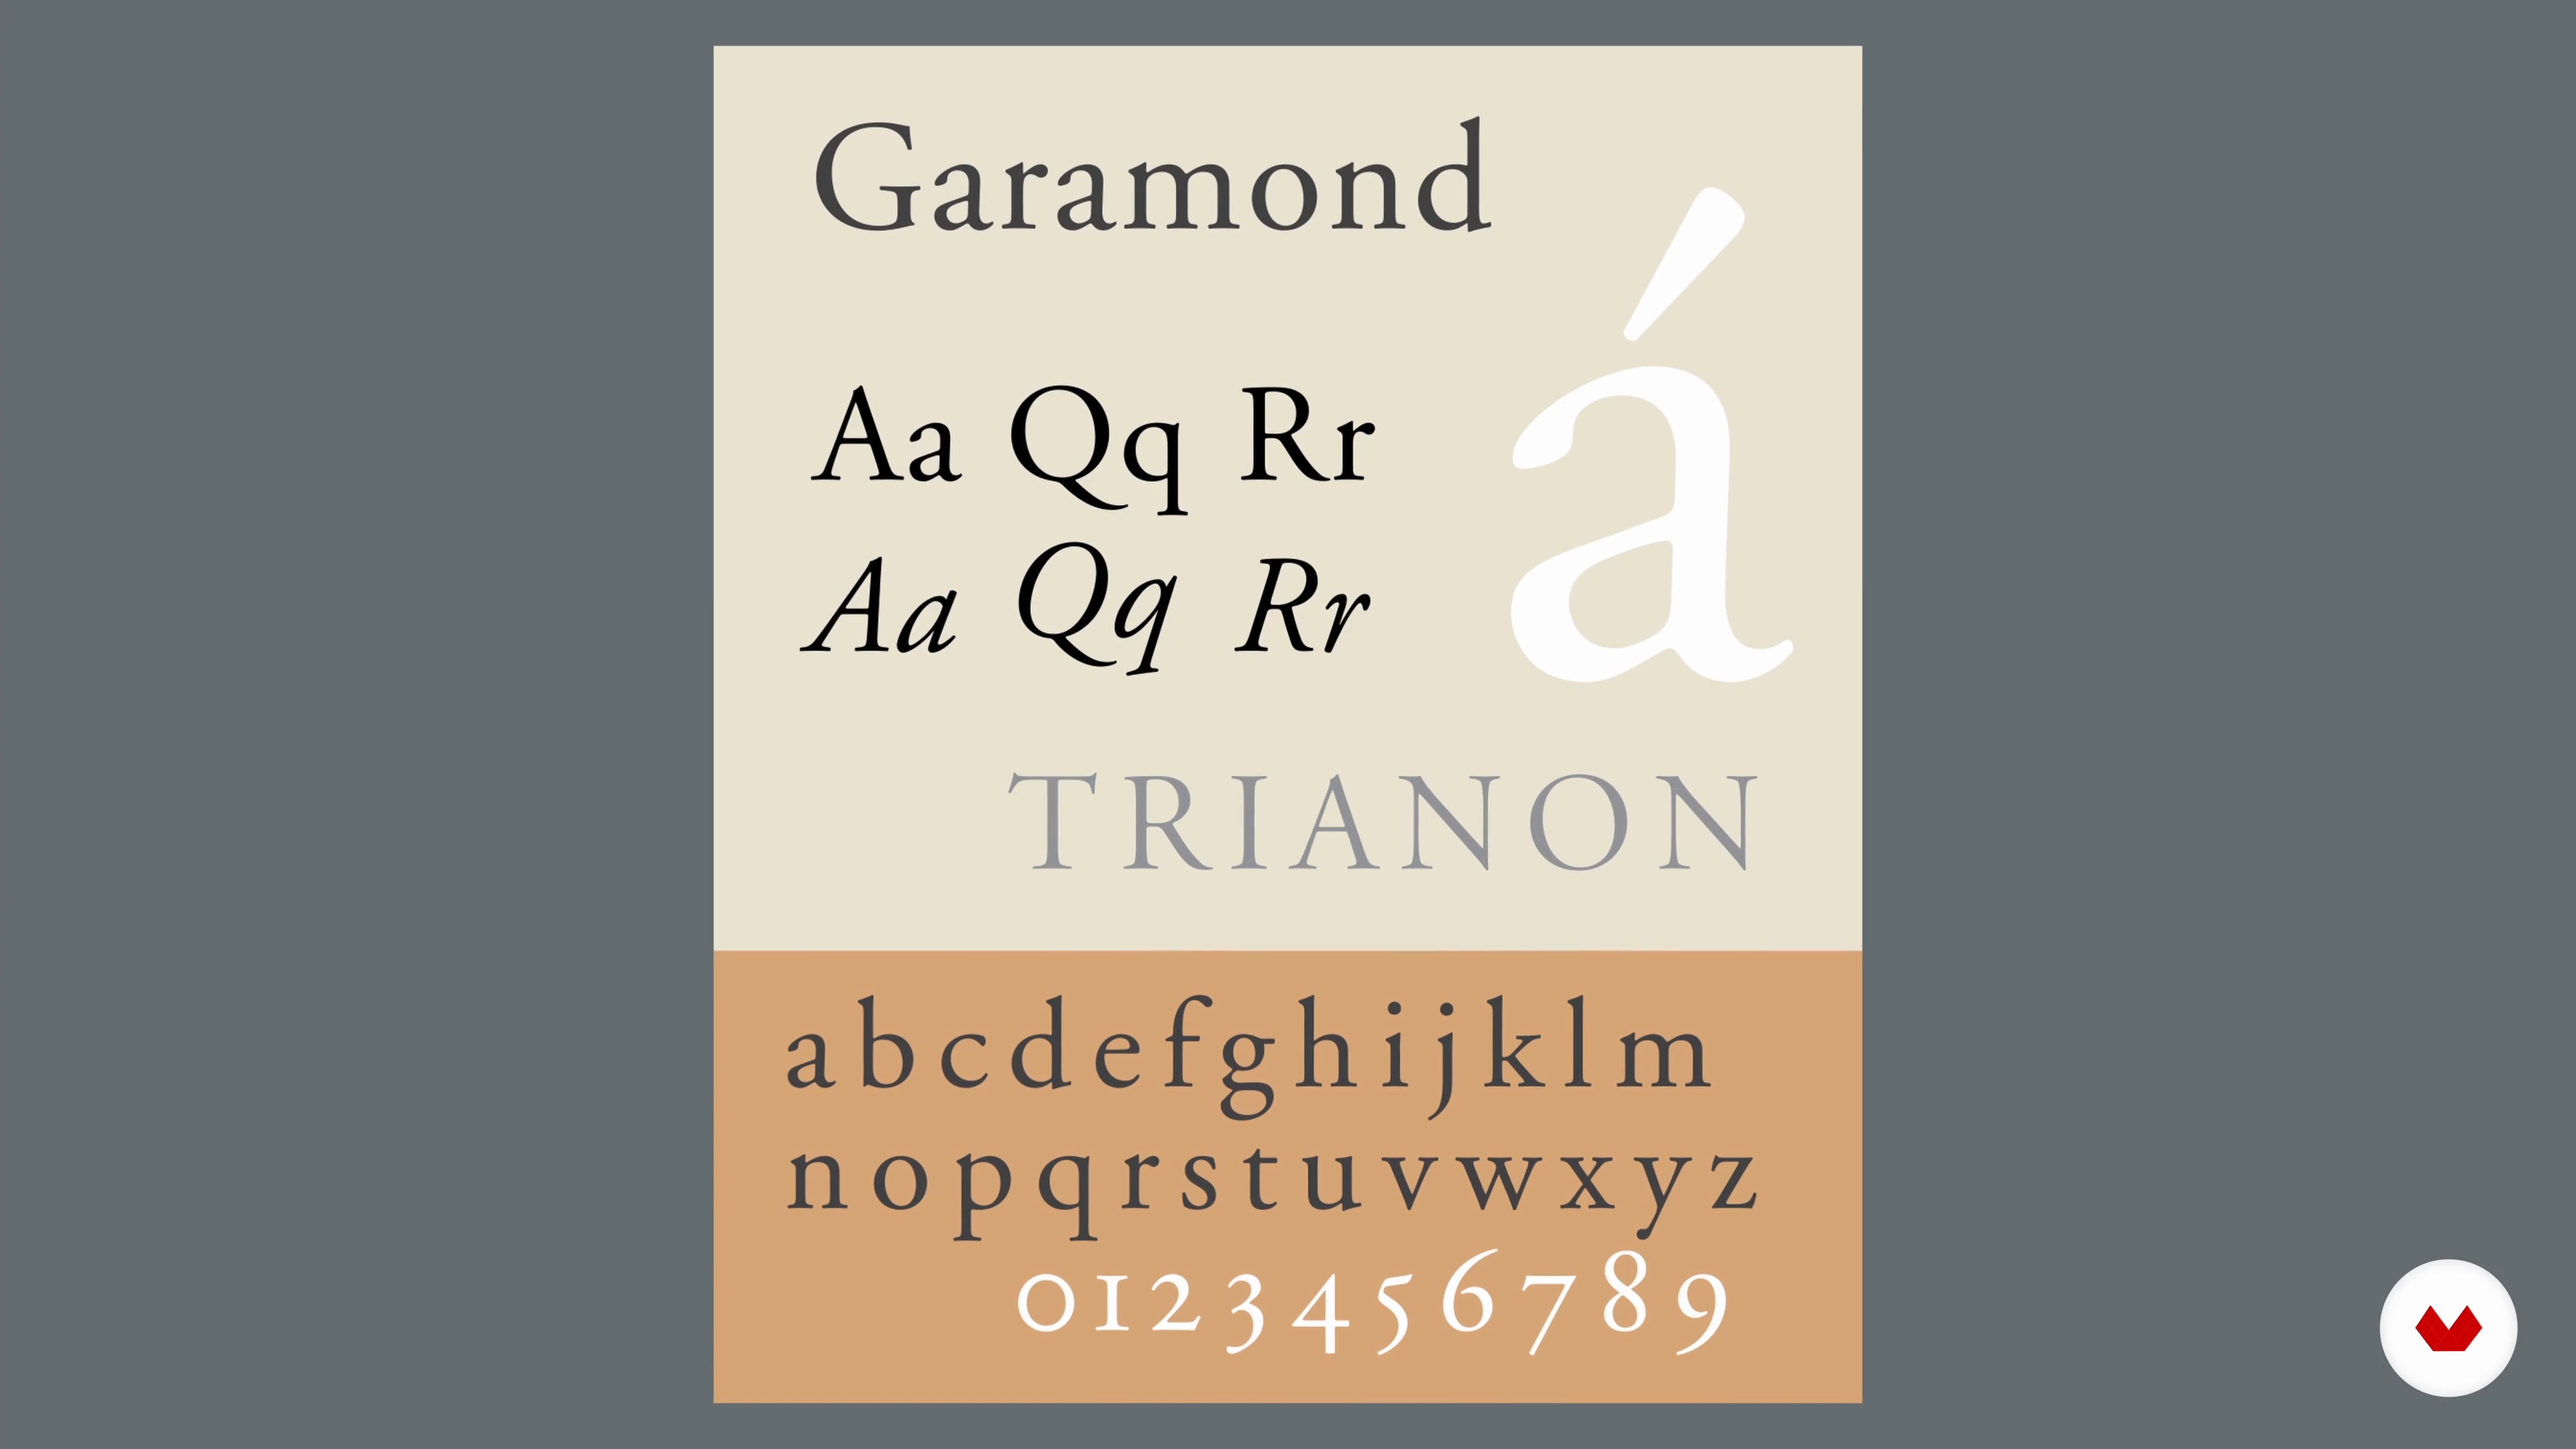
8Typography
It's time to cover the basics of typography, create our own basic typographic styles in order to use them in our publication.
19m
 9
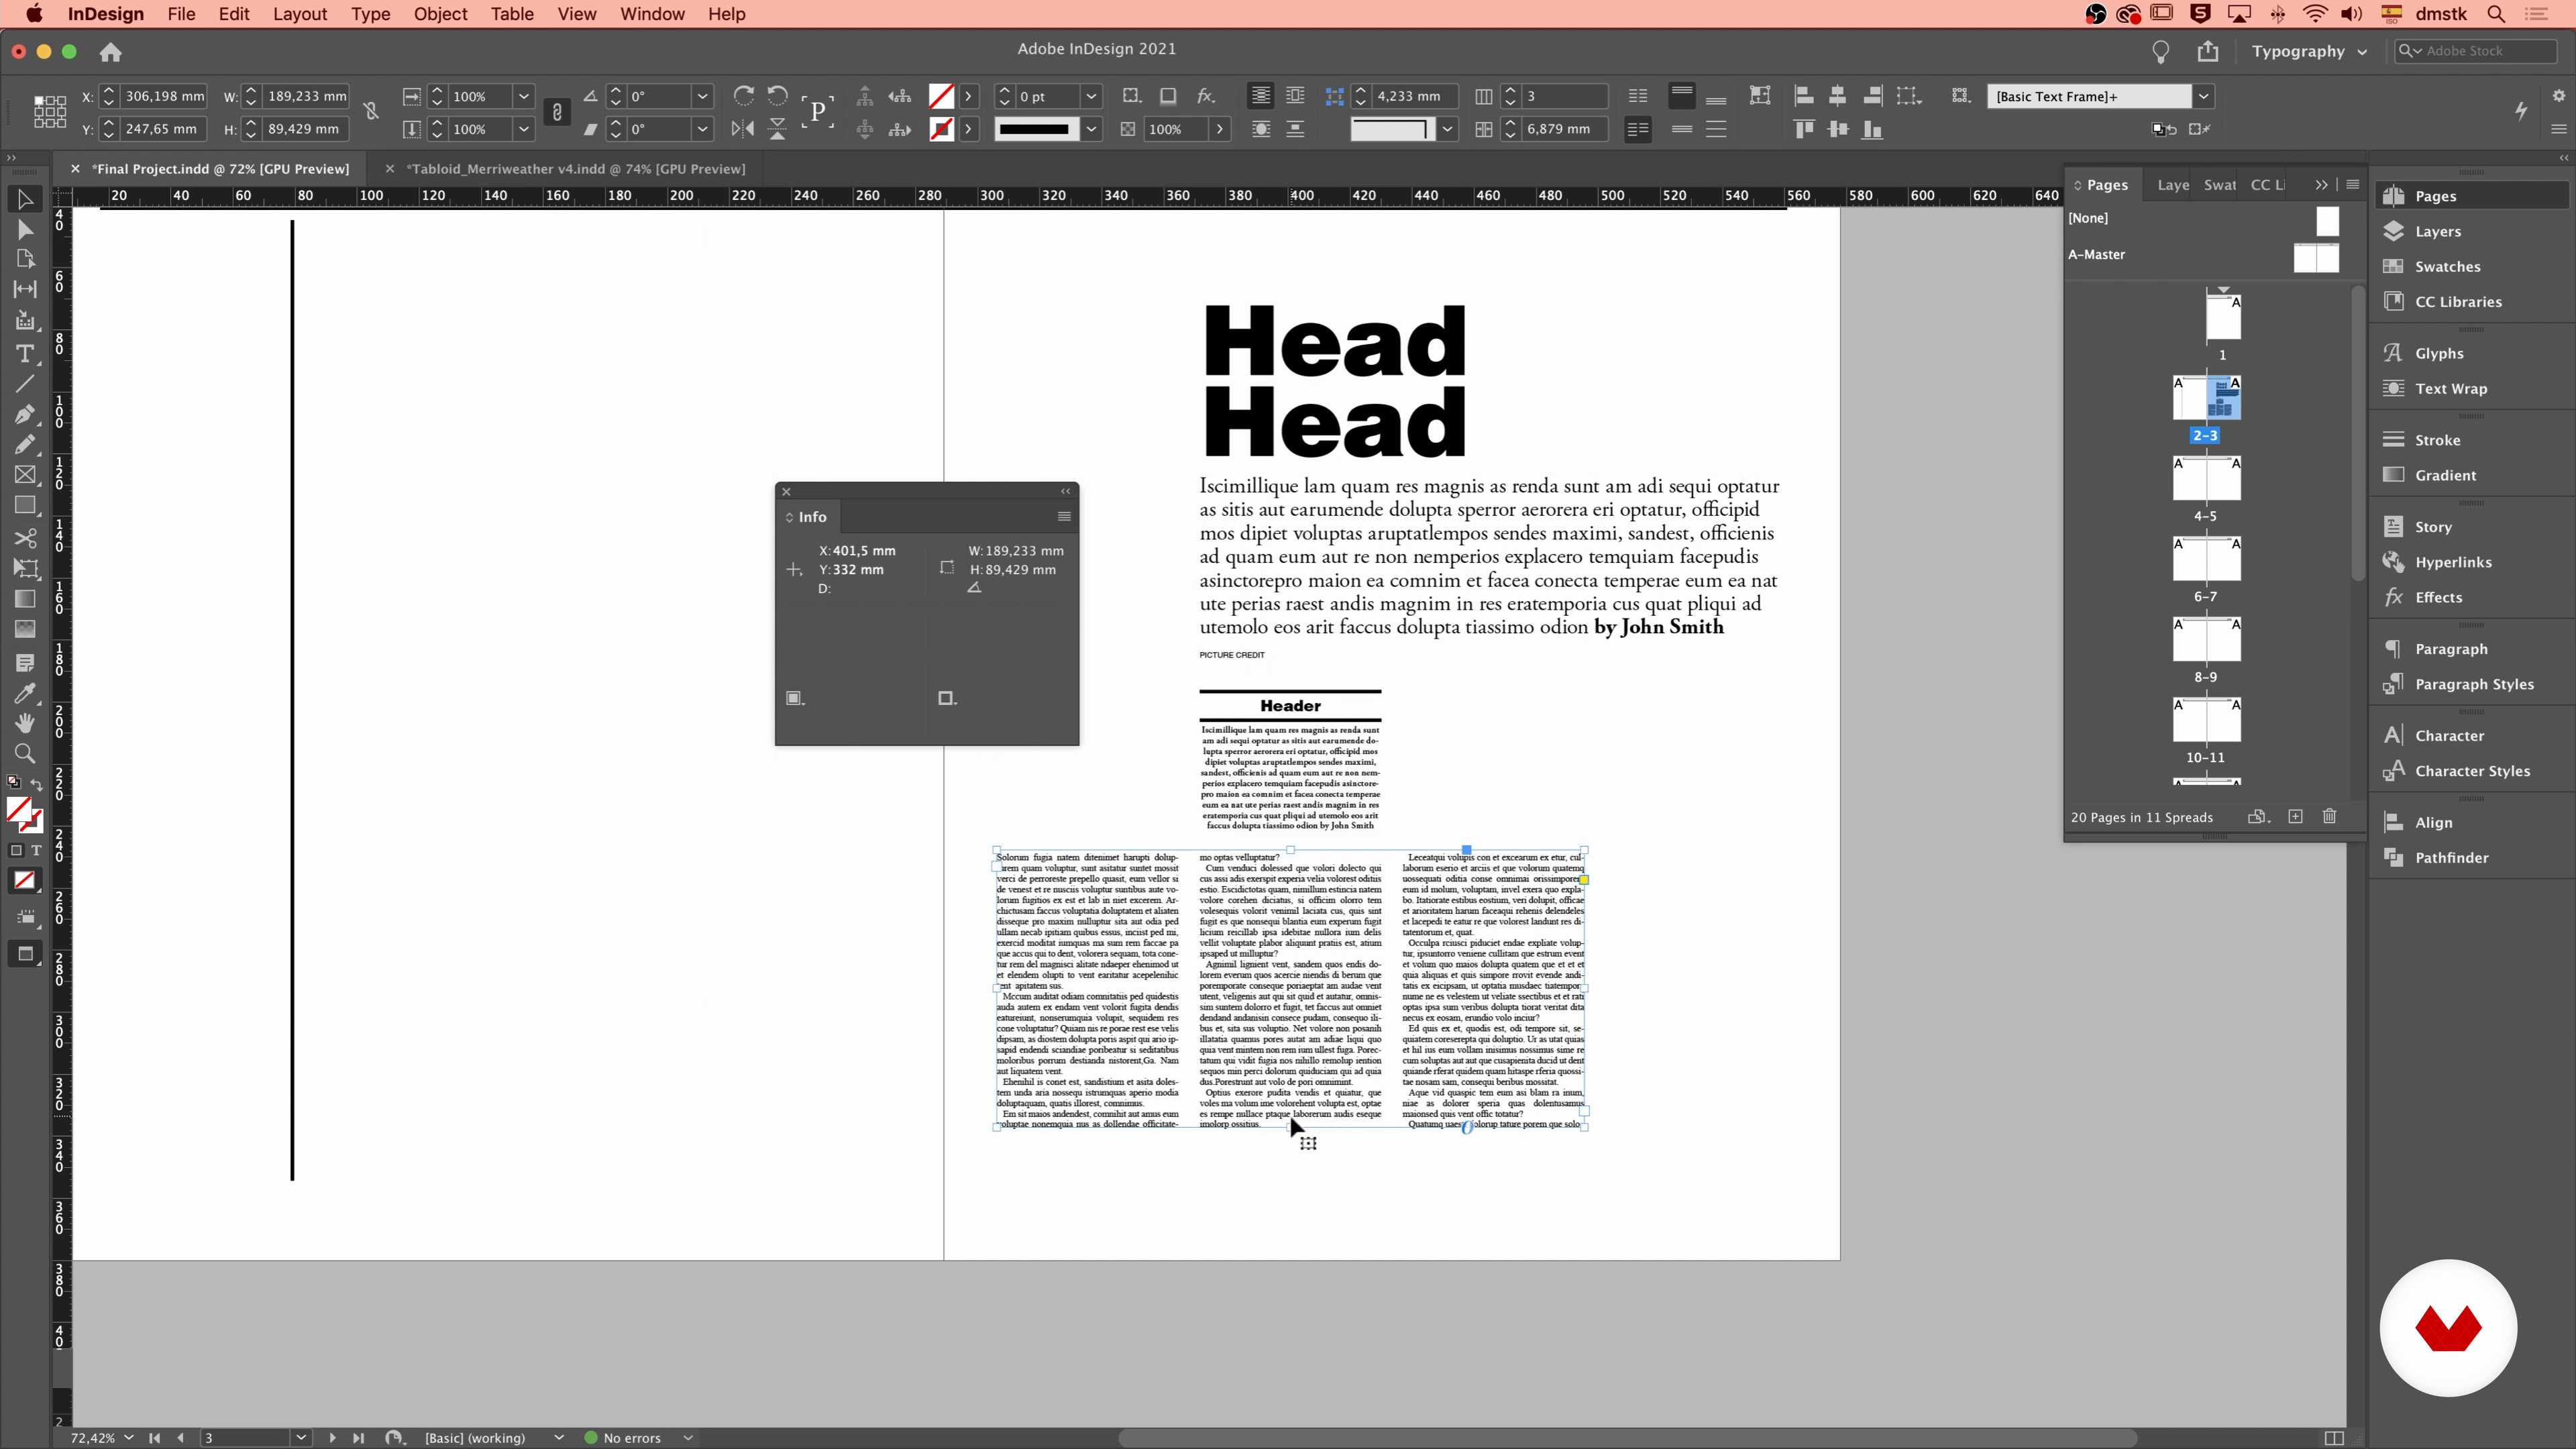
9Layout 1
In this lesson, we will start laying out our content.
20m
 10
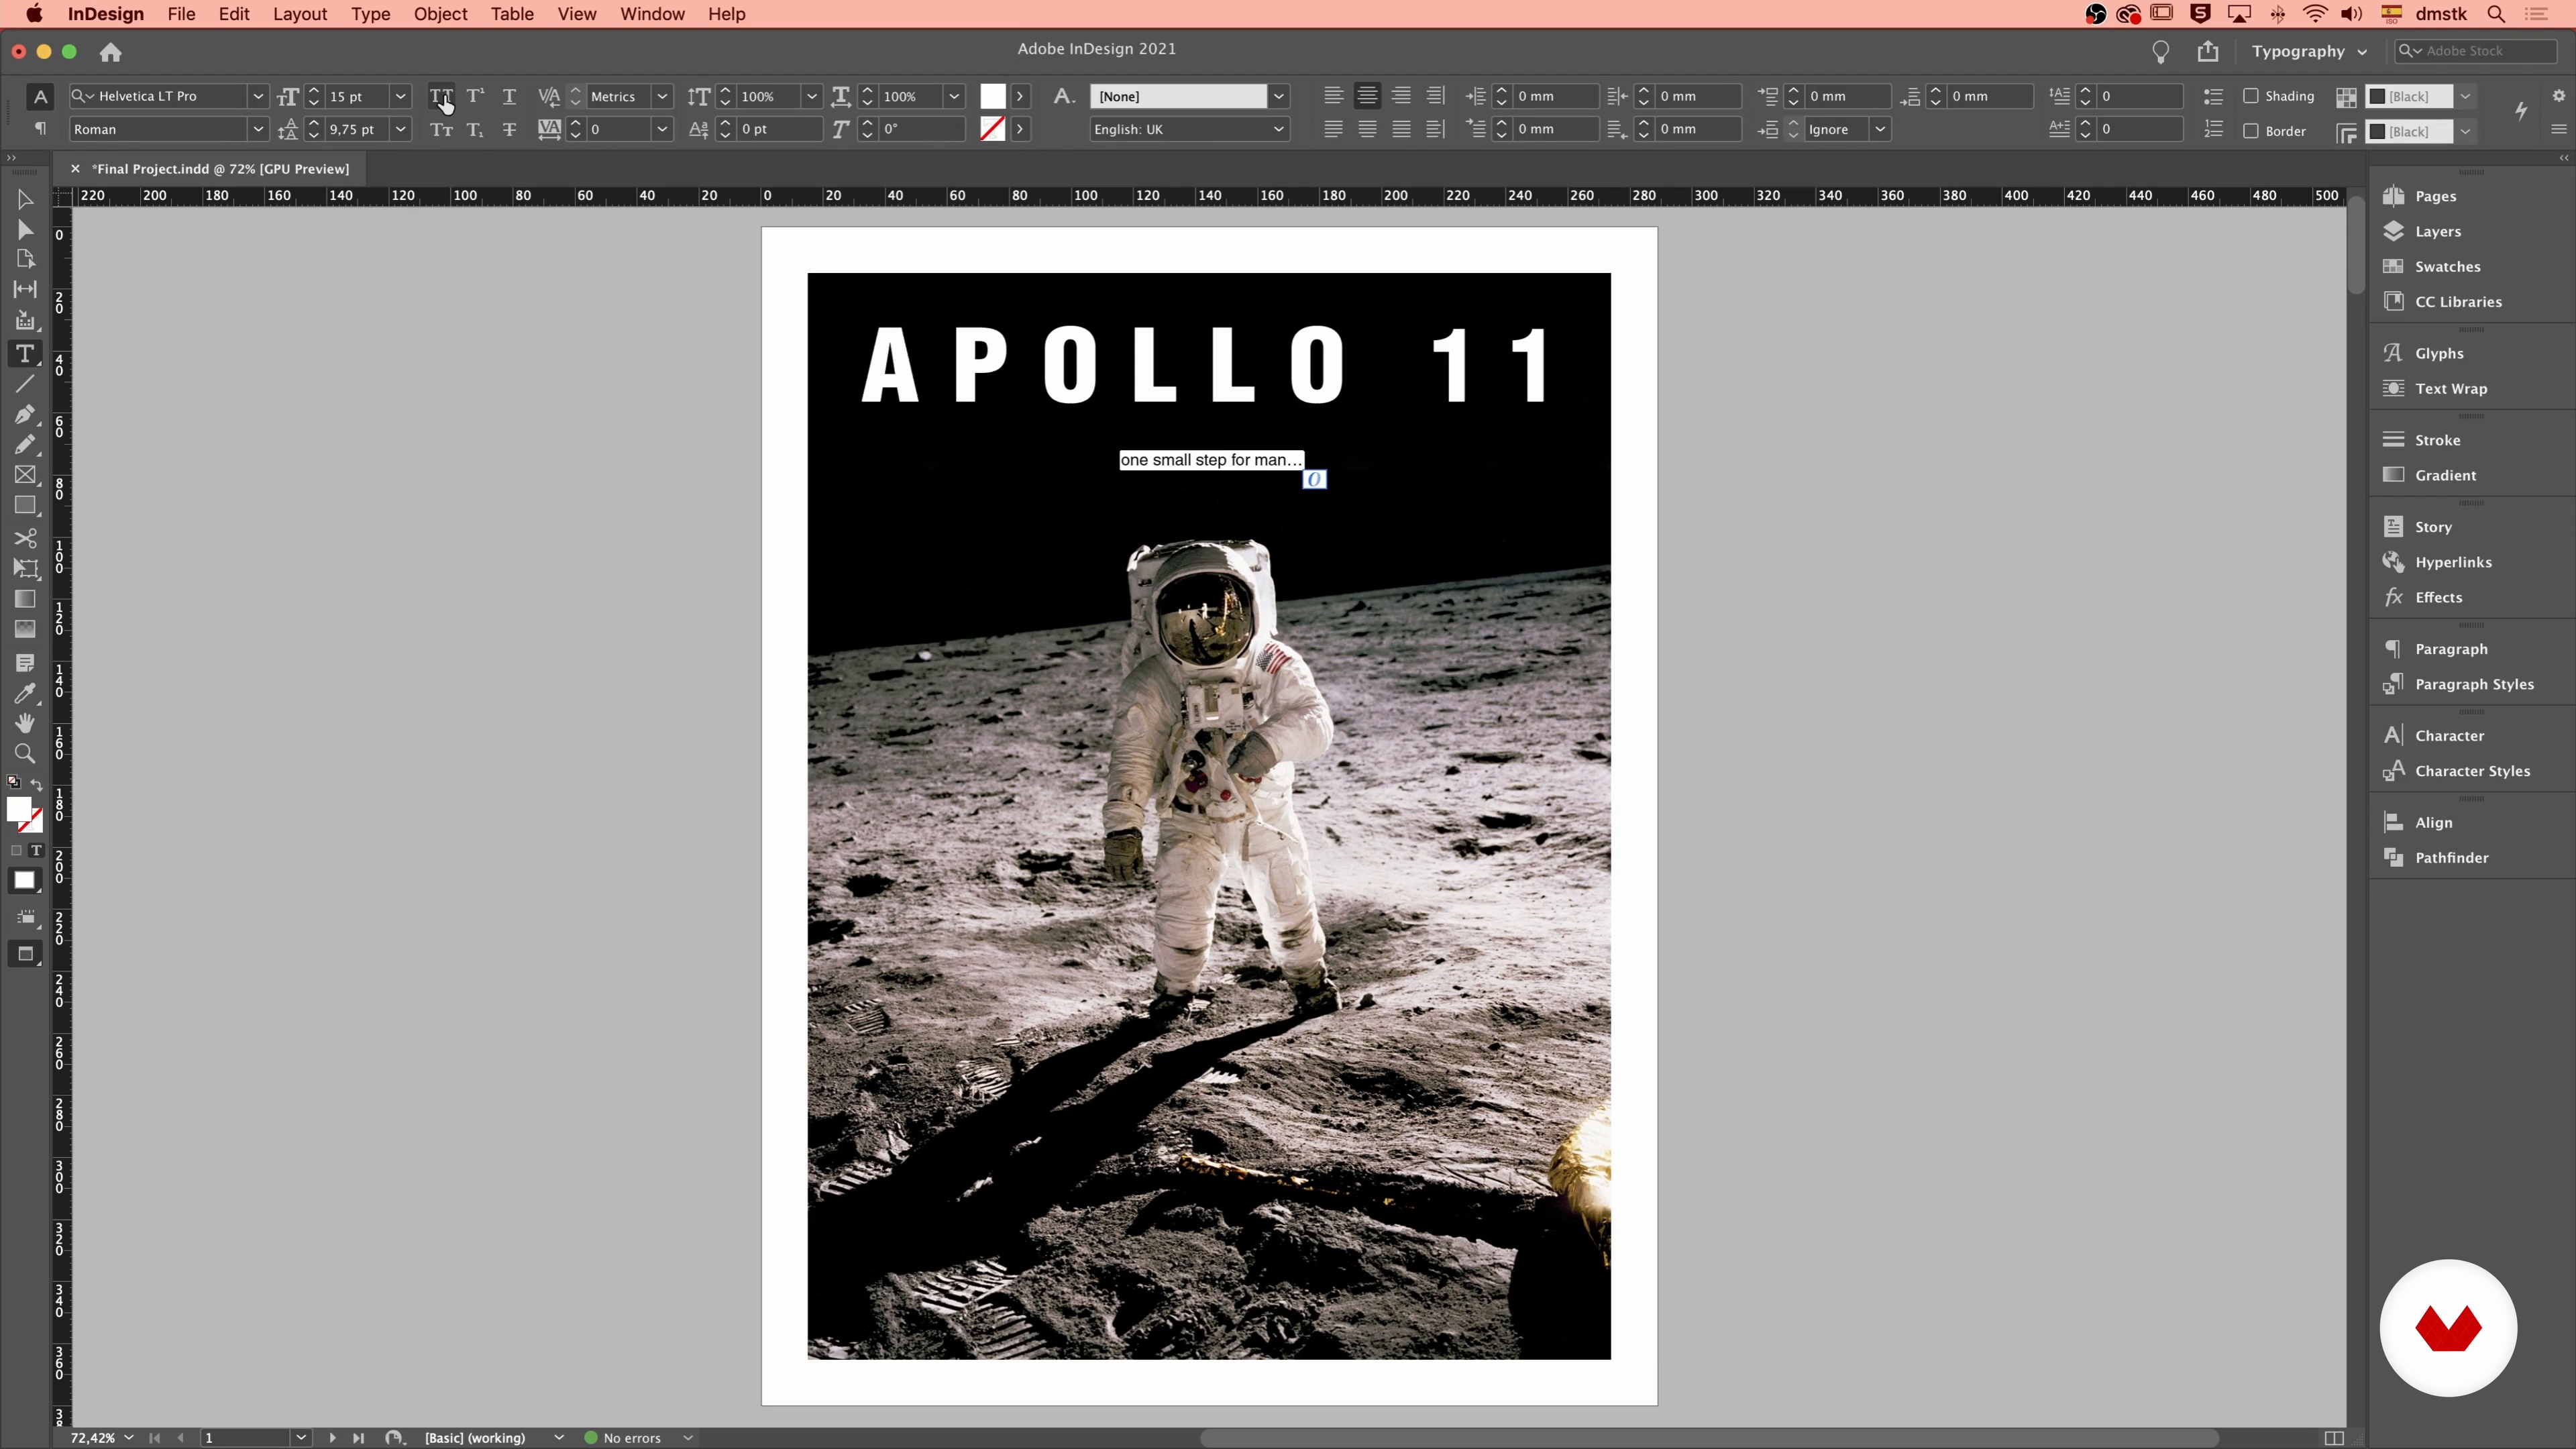
10Layout 2
Let's keep arranging our content in the layout.
20m
 11
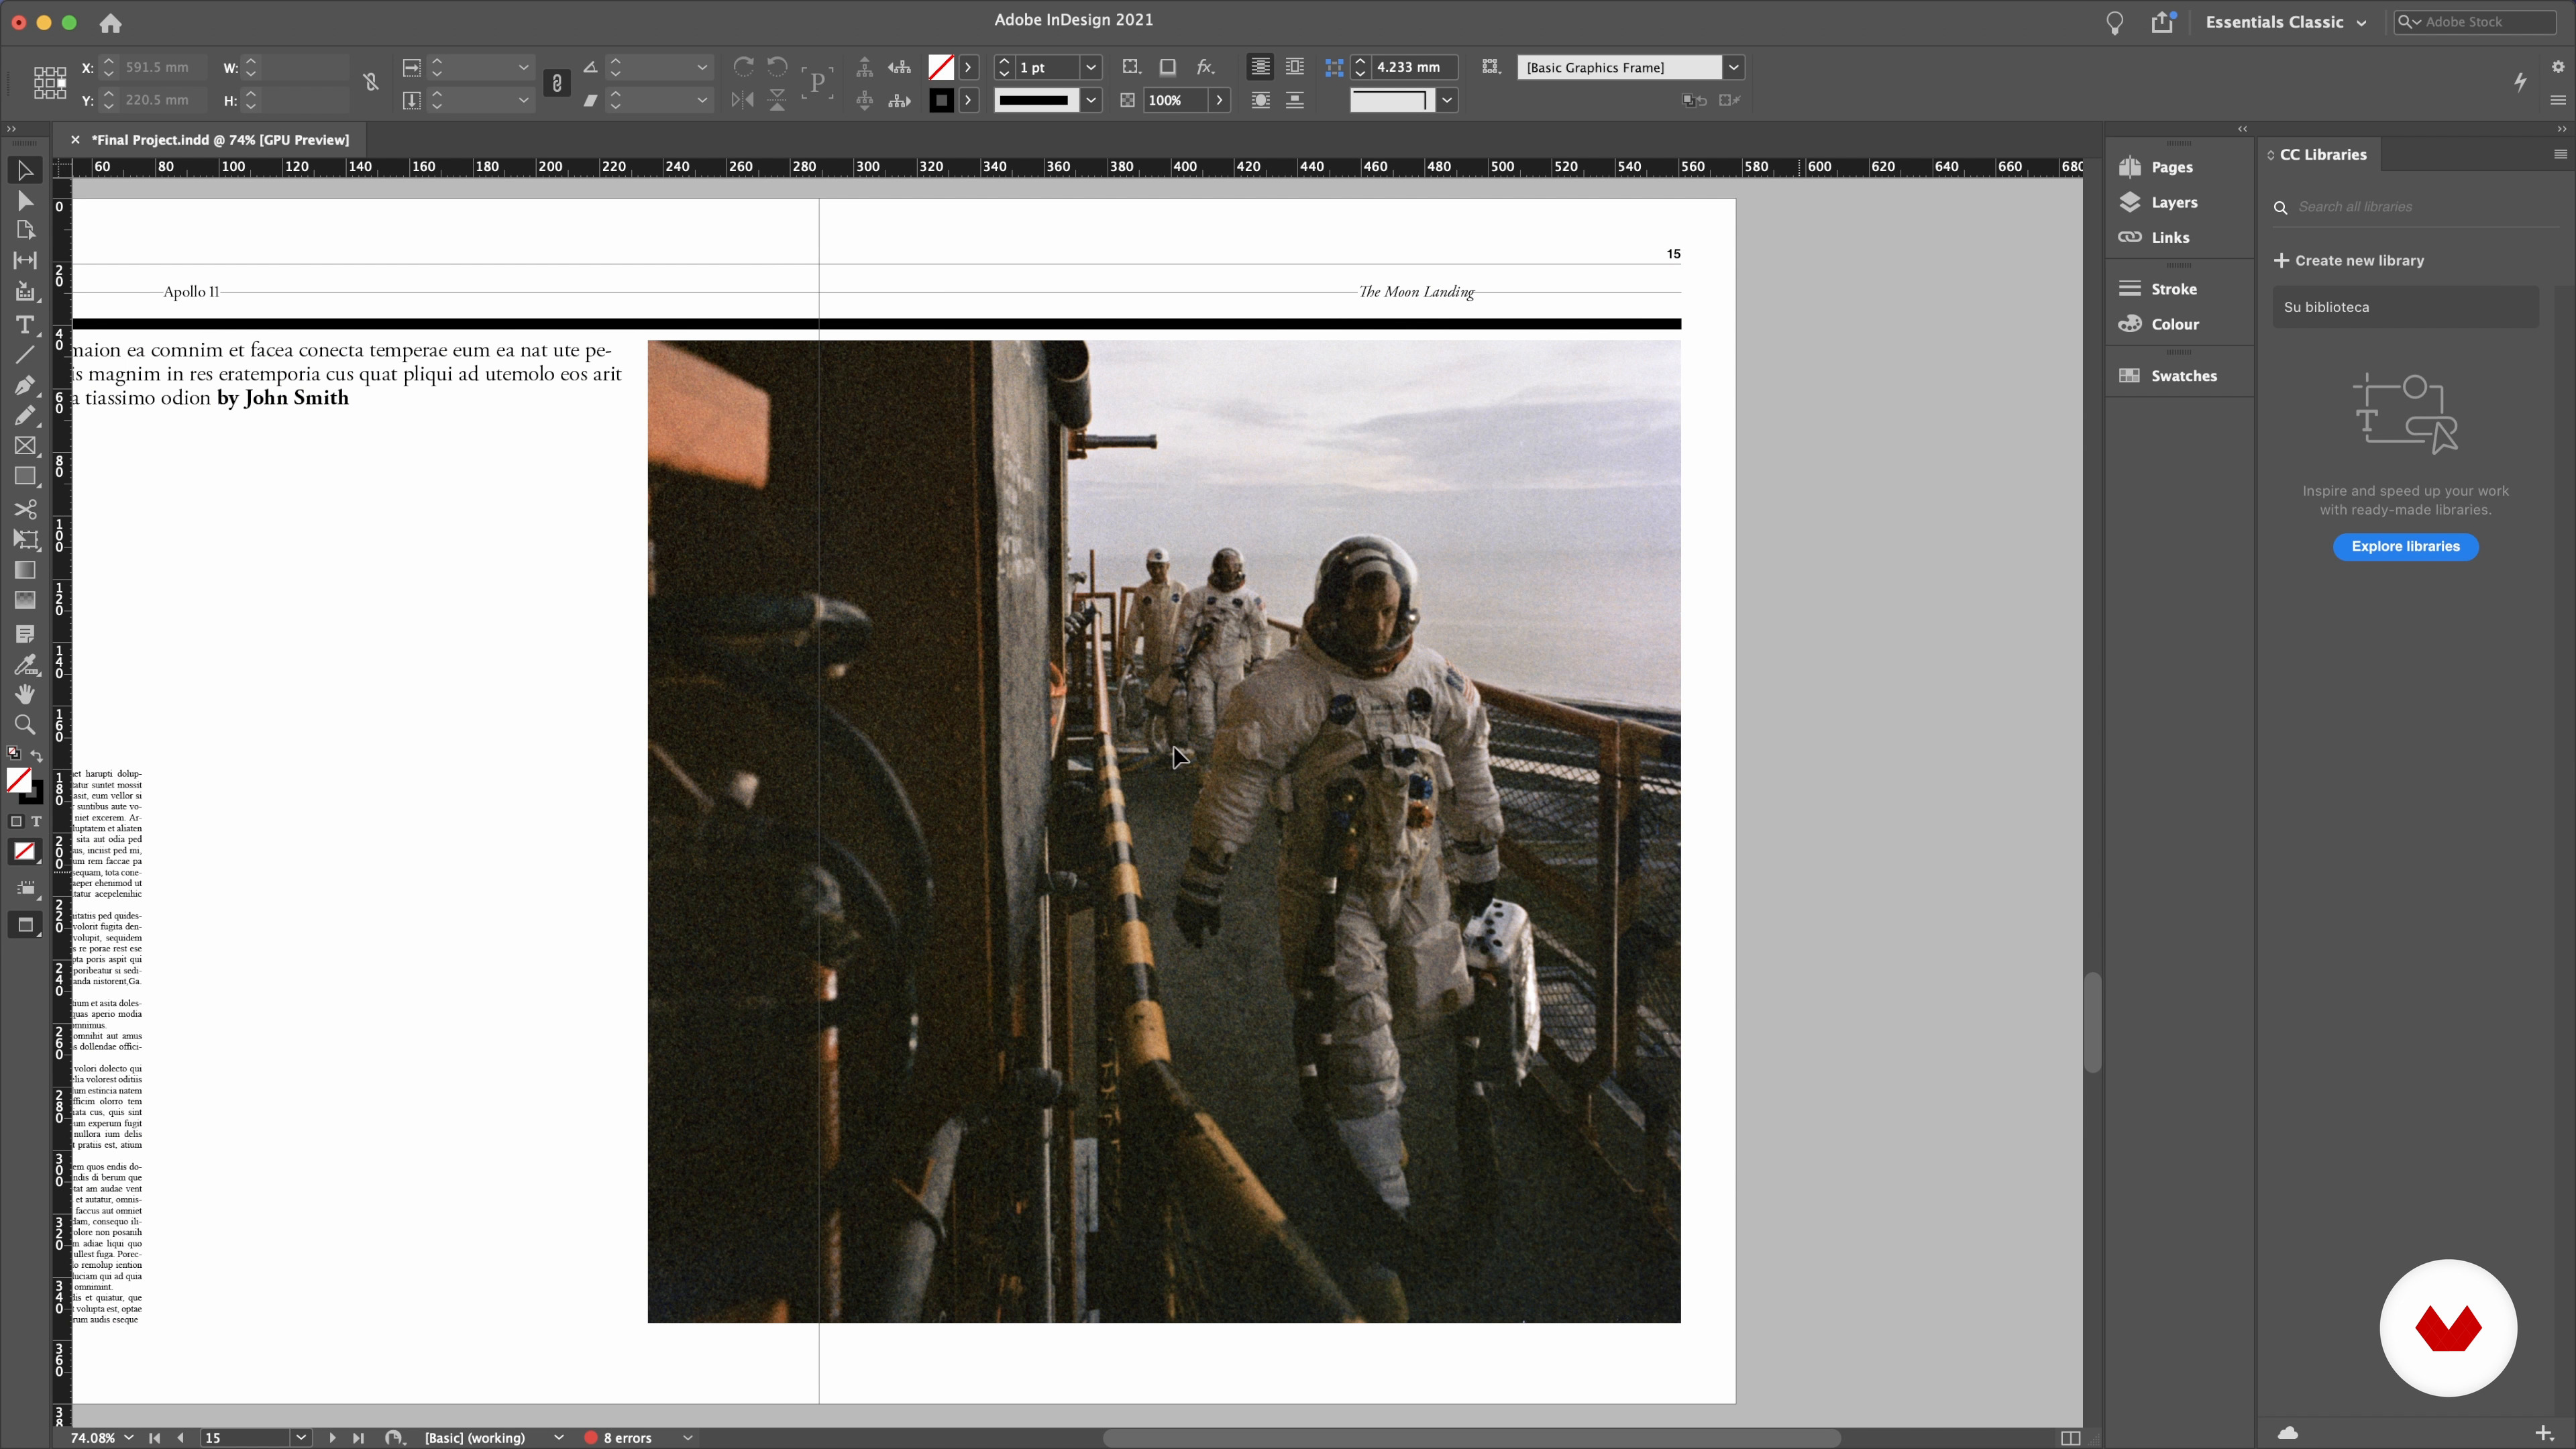
11Layout 3
The layout of our publication is coming together, but we still need to work on it. It's time to add more pages and create more visually interesting pages.
20m
 12
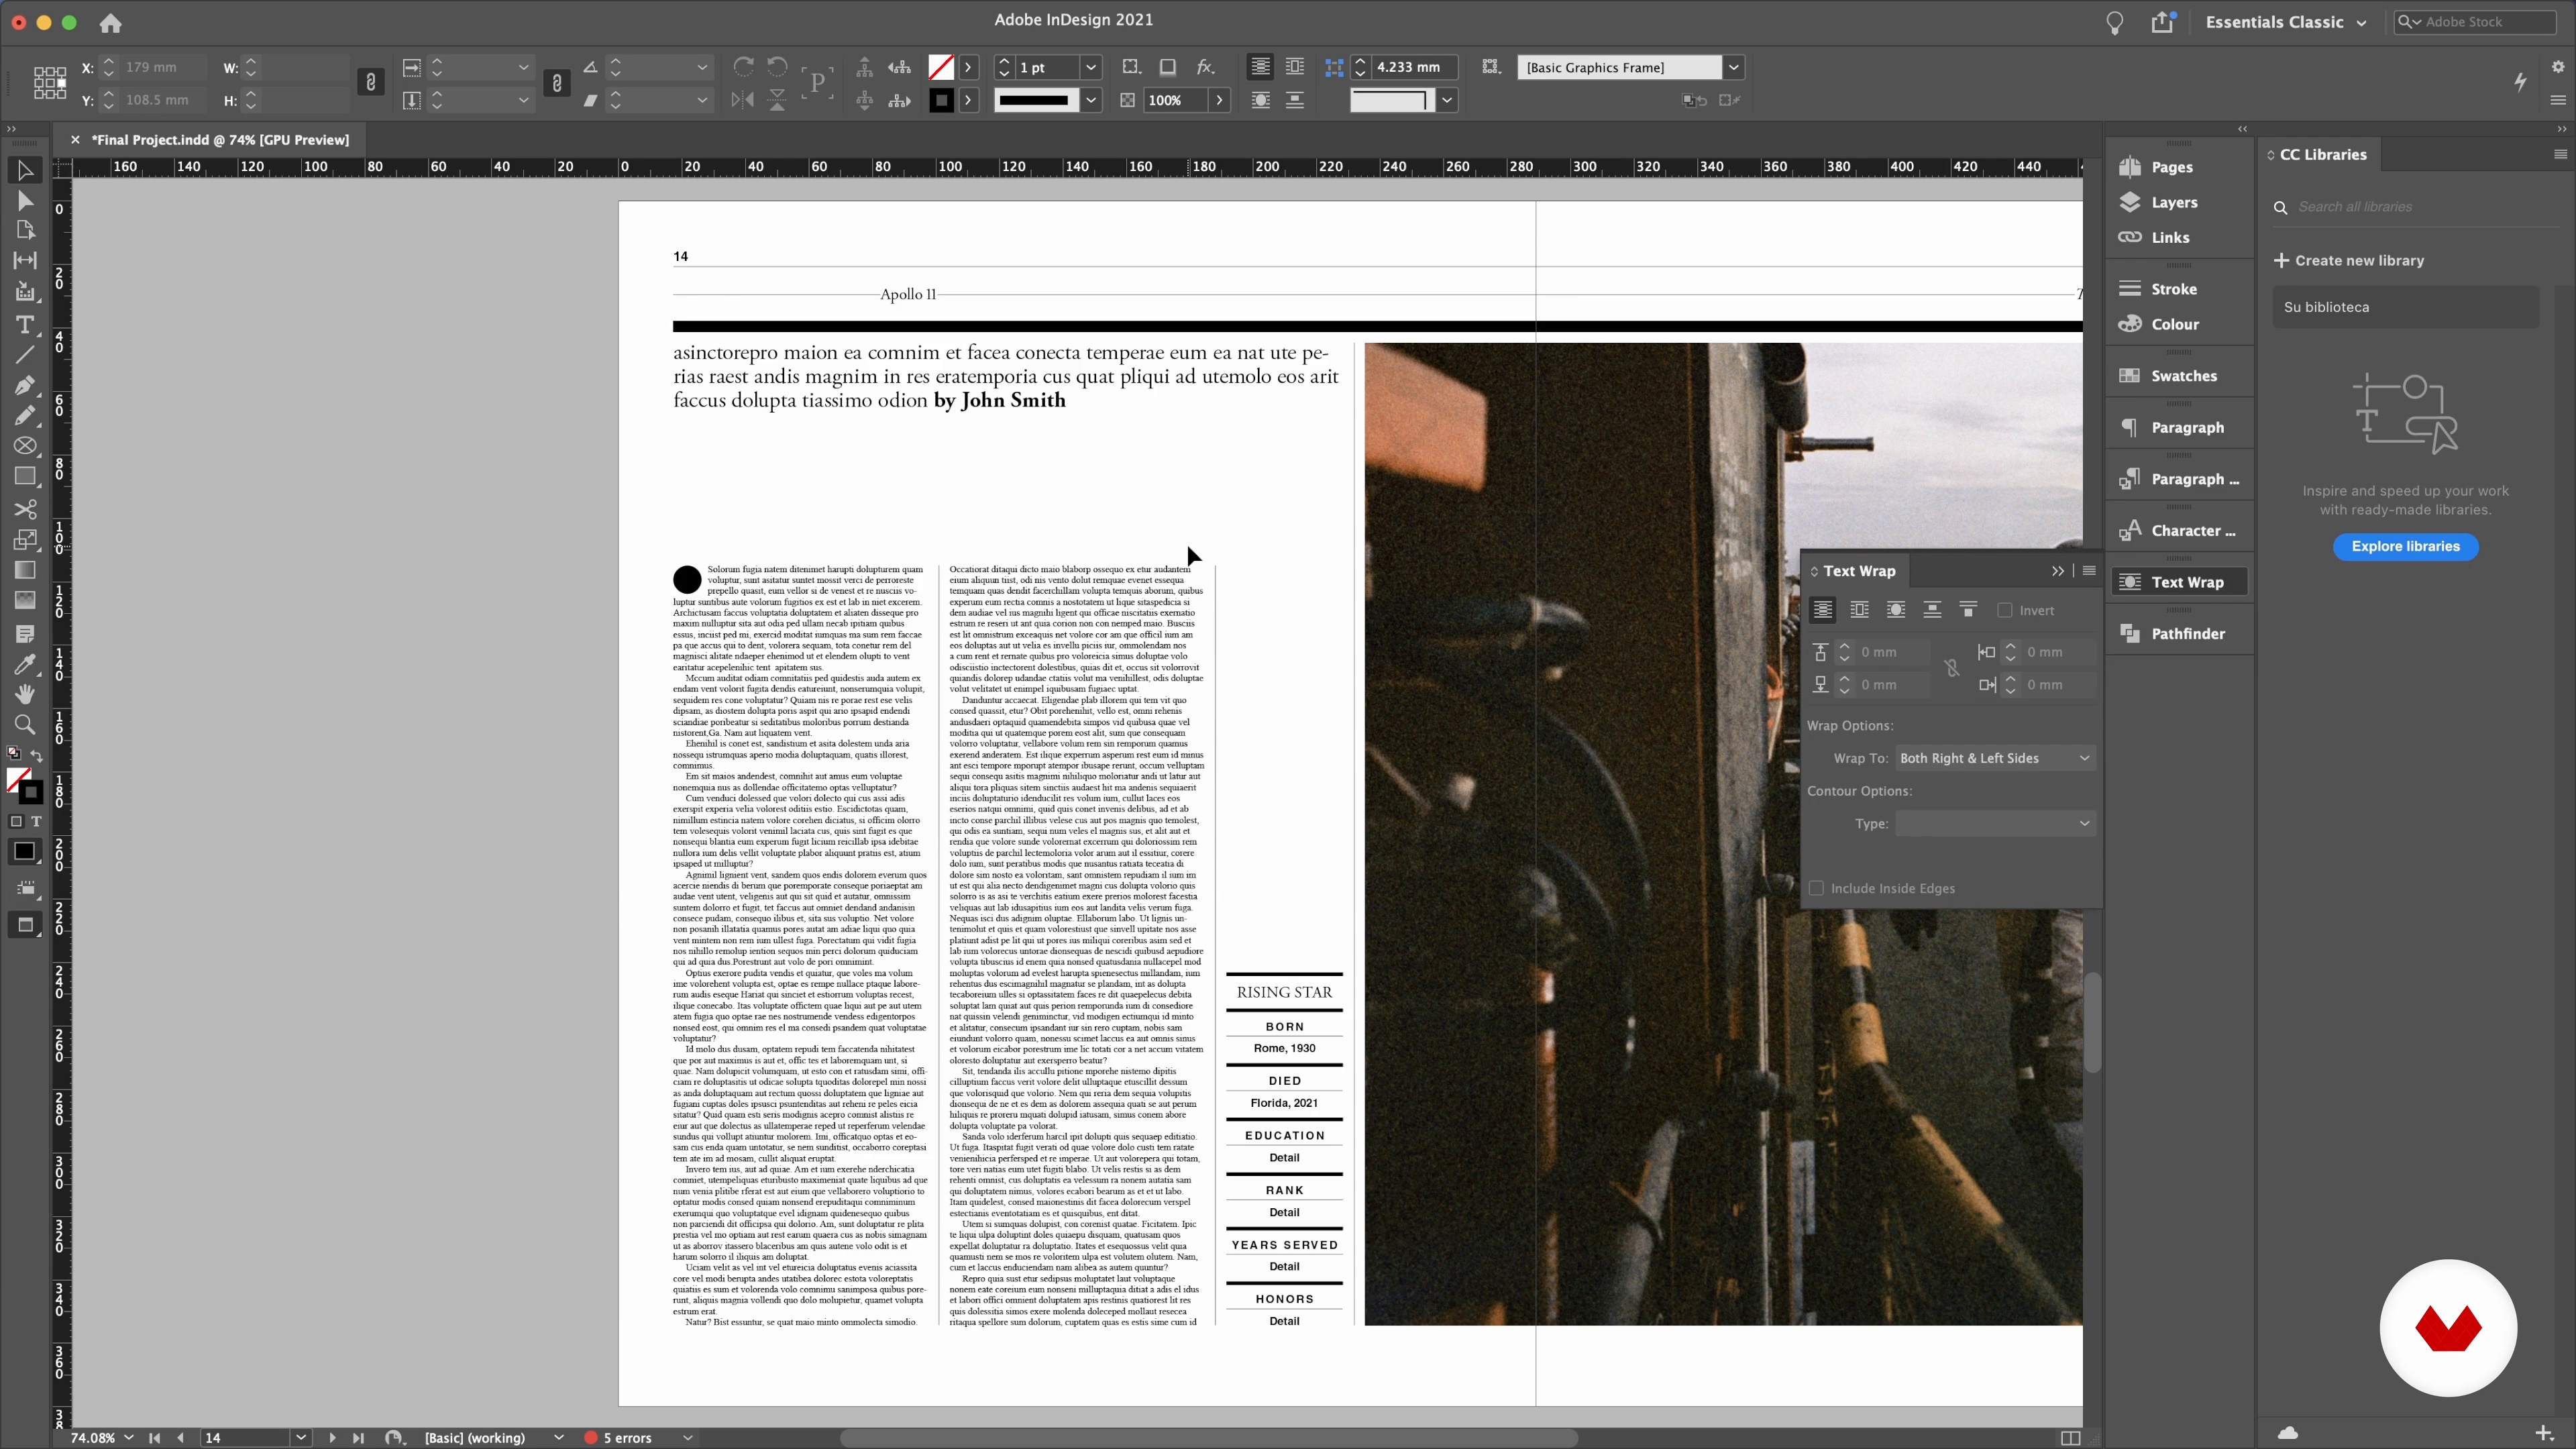
12Layout 4
Let's complete our layout by adding the final touches and getting it ready for the next step: the revision.
10m
 13
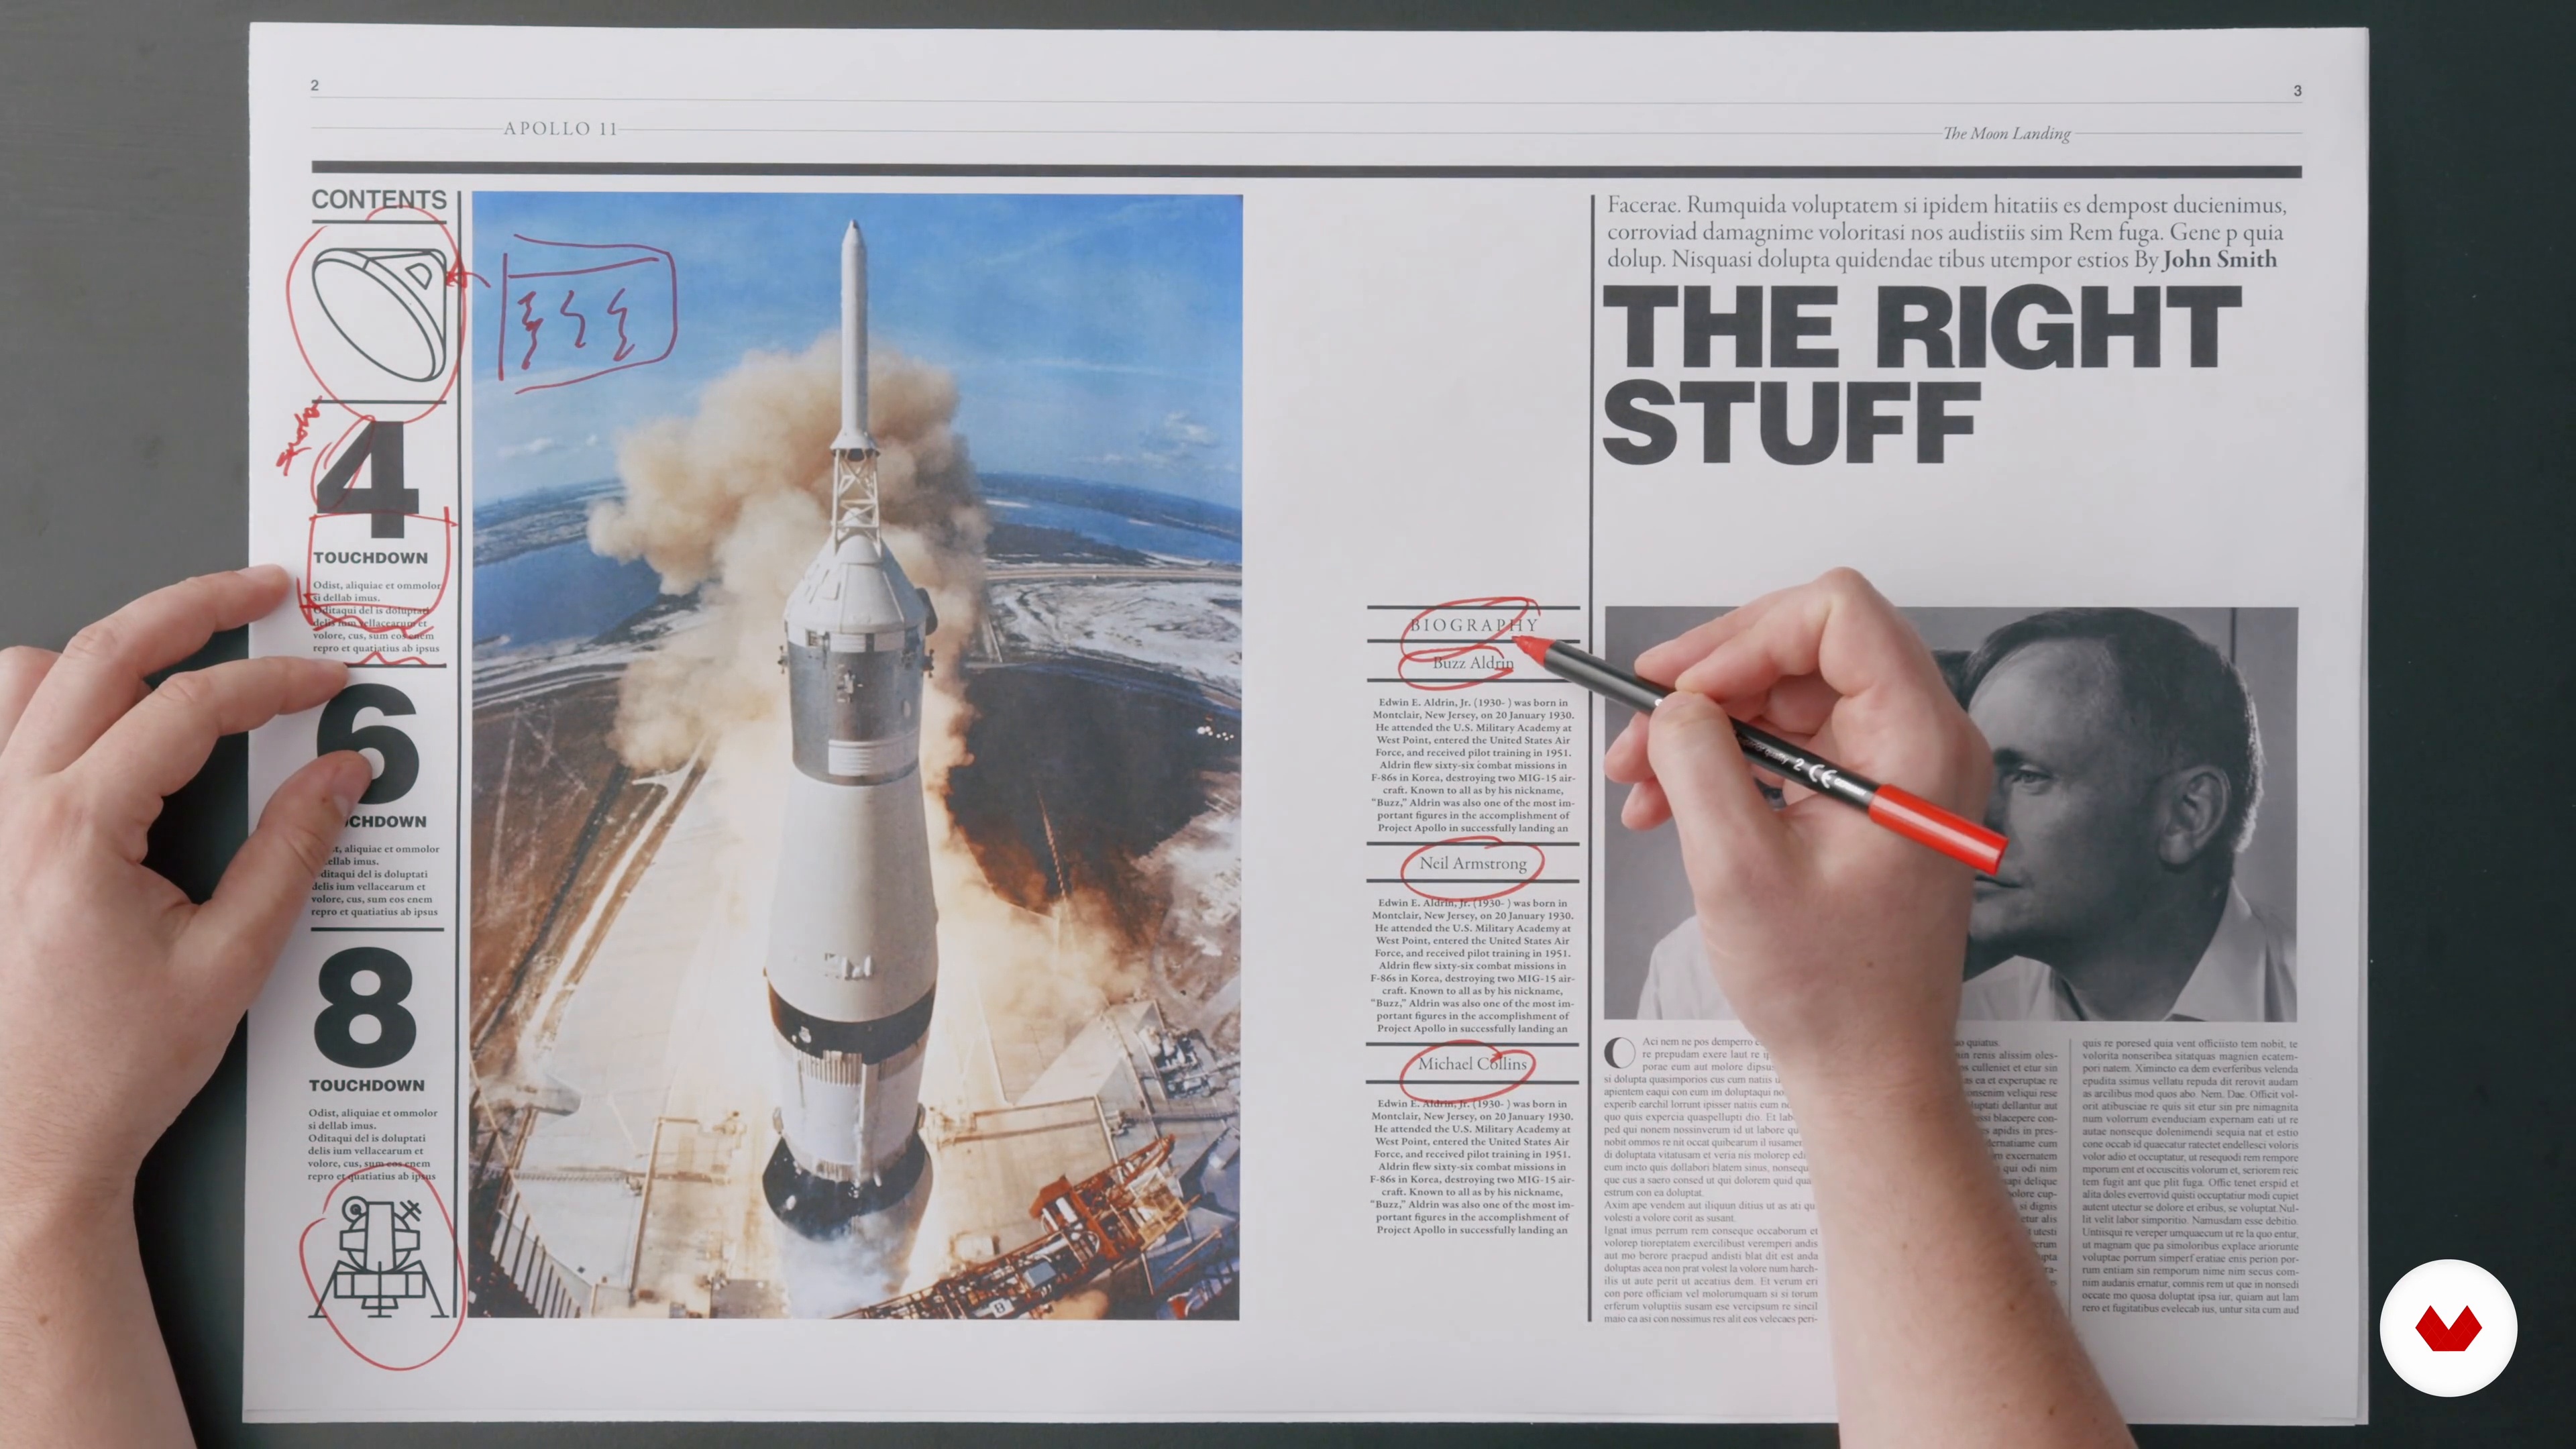
13Balancing and Revising All the Elements
In this lesson, we will revise our document and make any necessary tweaks and adjustments.
20m
 14
14Preparing Your Files for Print
In this lesson, we will finalise our pages and project. How? By creating a print-ready pdf file!
8m
 3
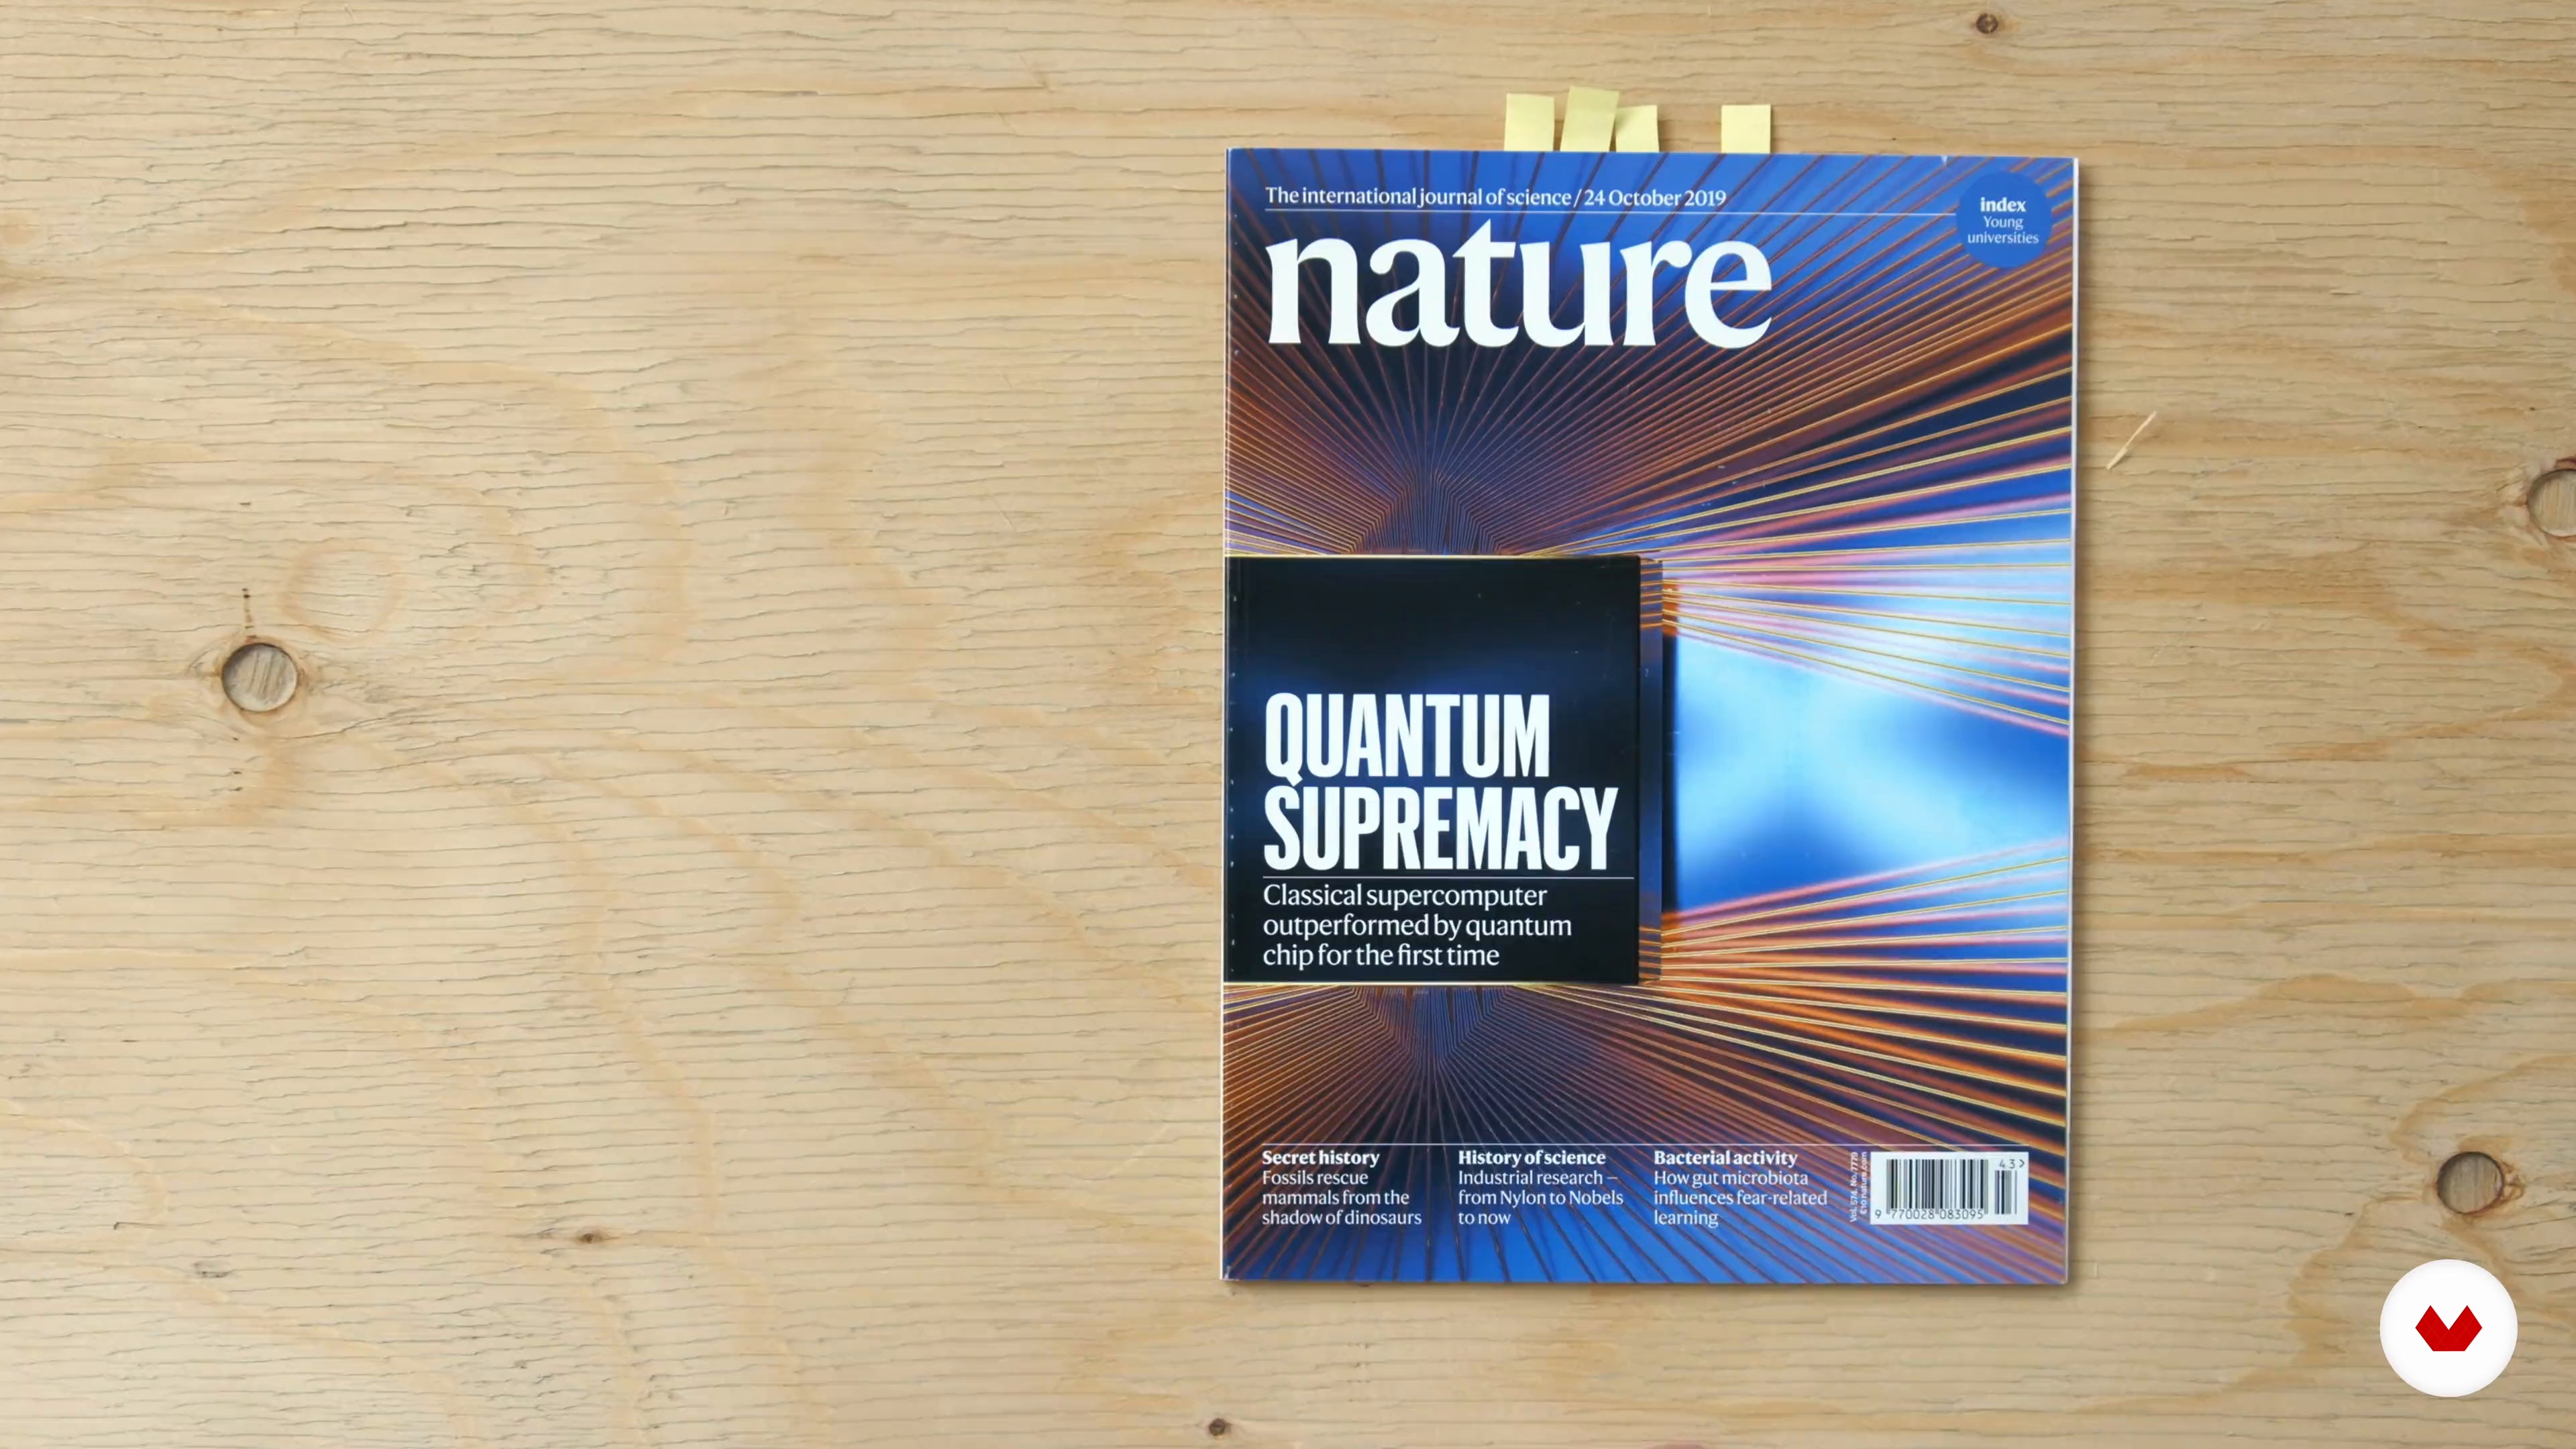
3What Is Editorial Design?
There are different levels to editorial design: from narrative to structural to full visual identity. In this lesson, I'll explain in more detail what editorial design means and what the main tasks of this job include.
9m
 4
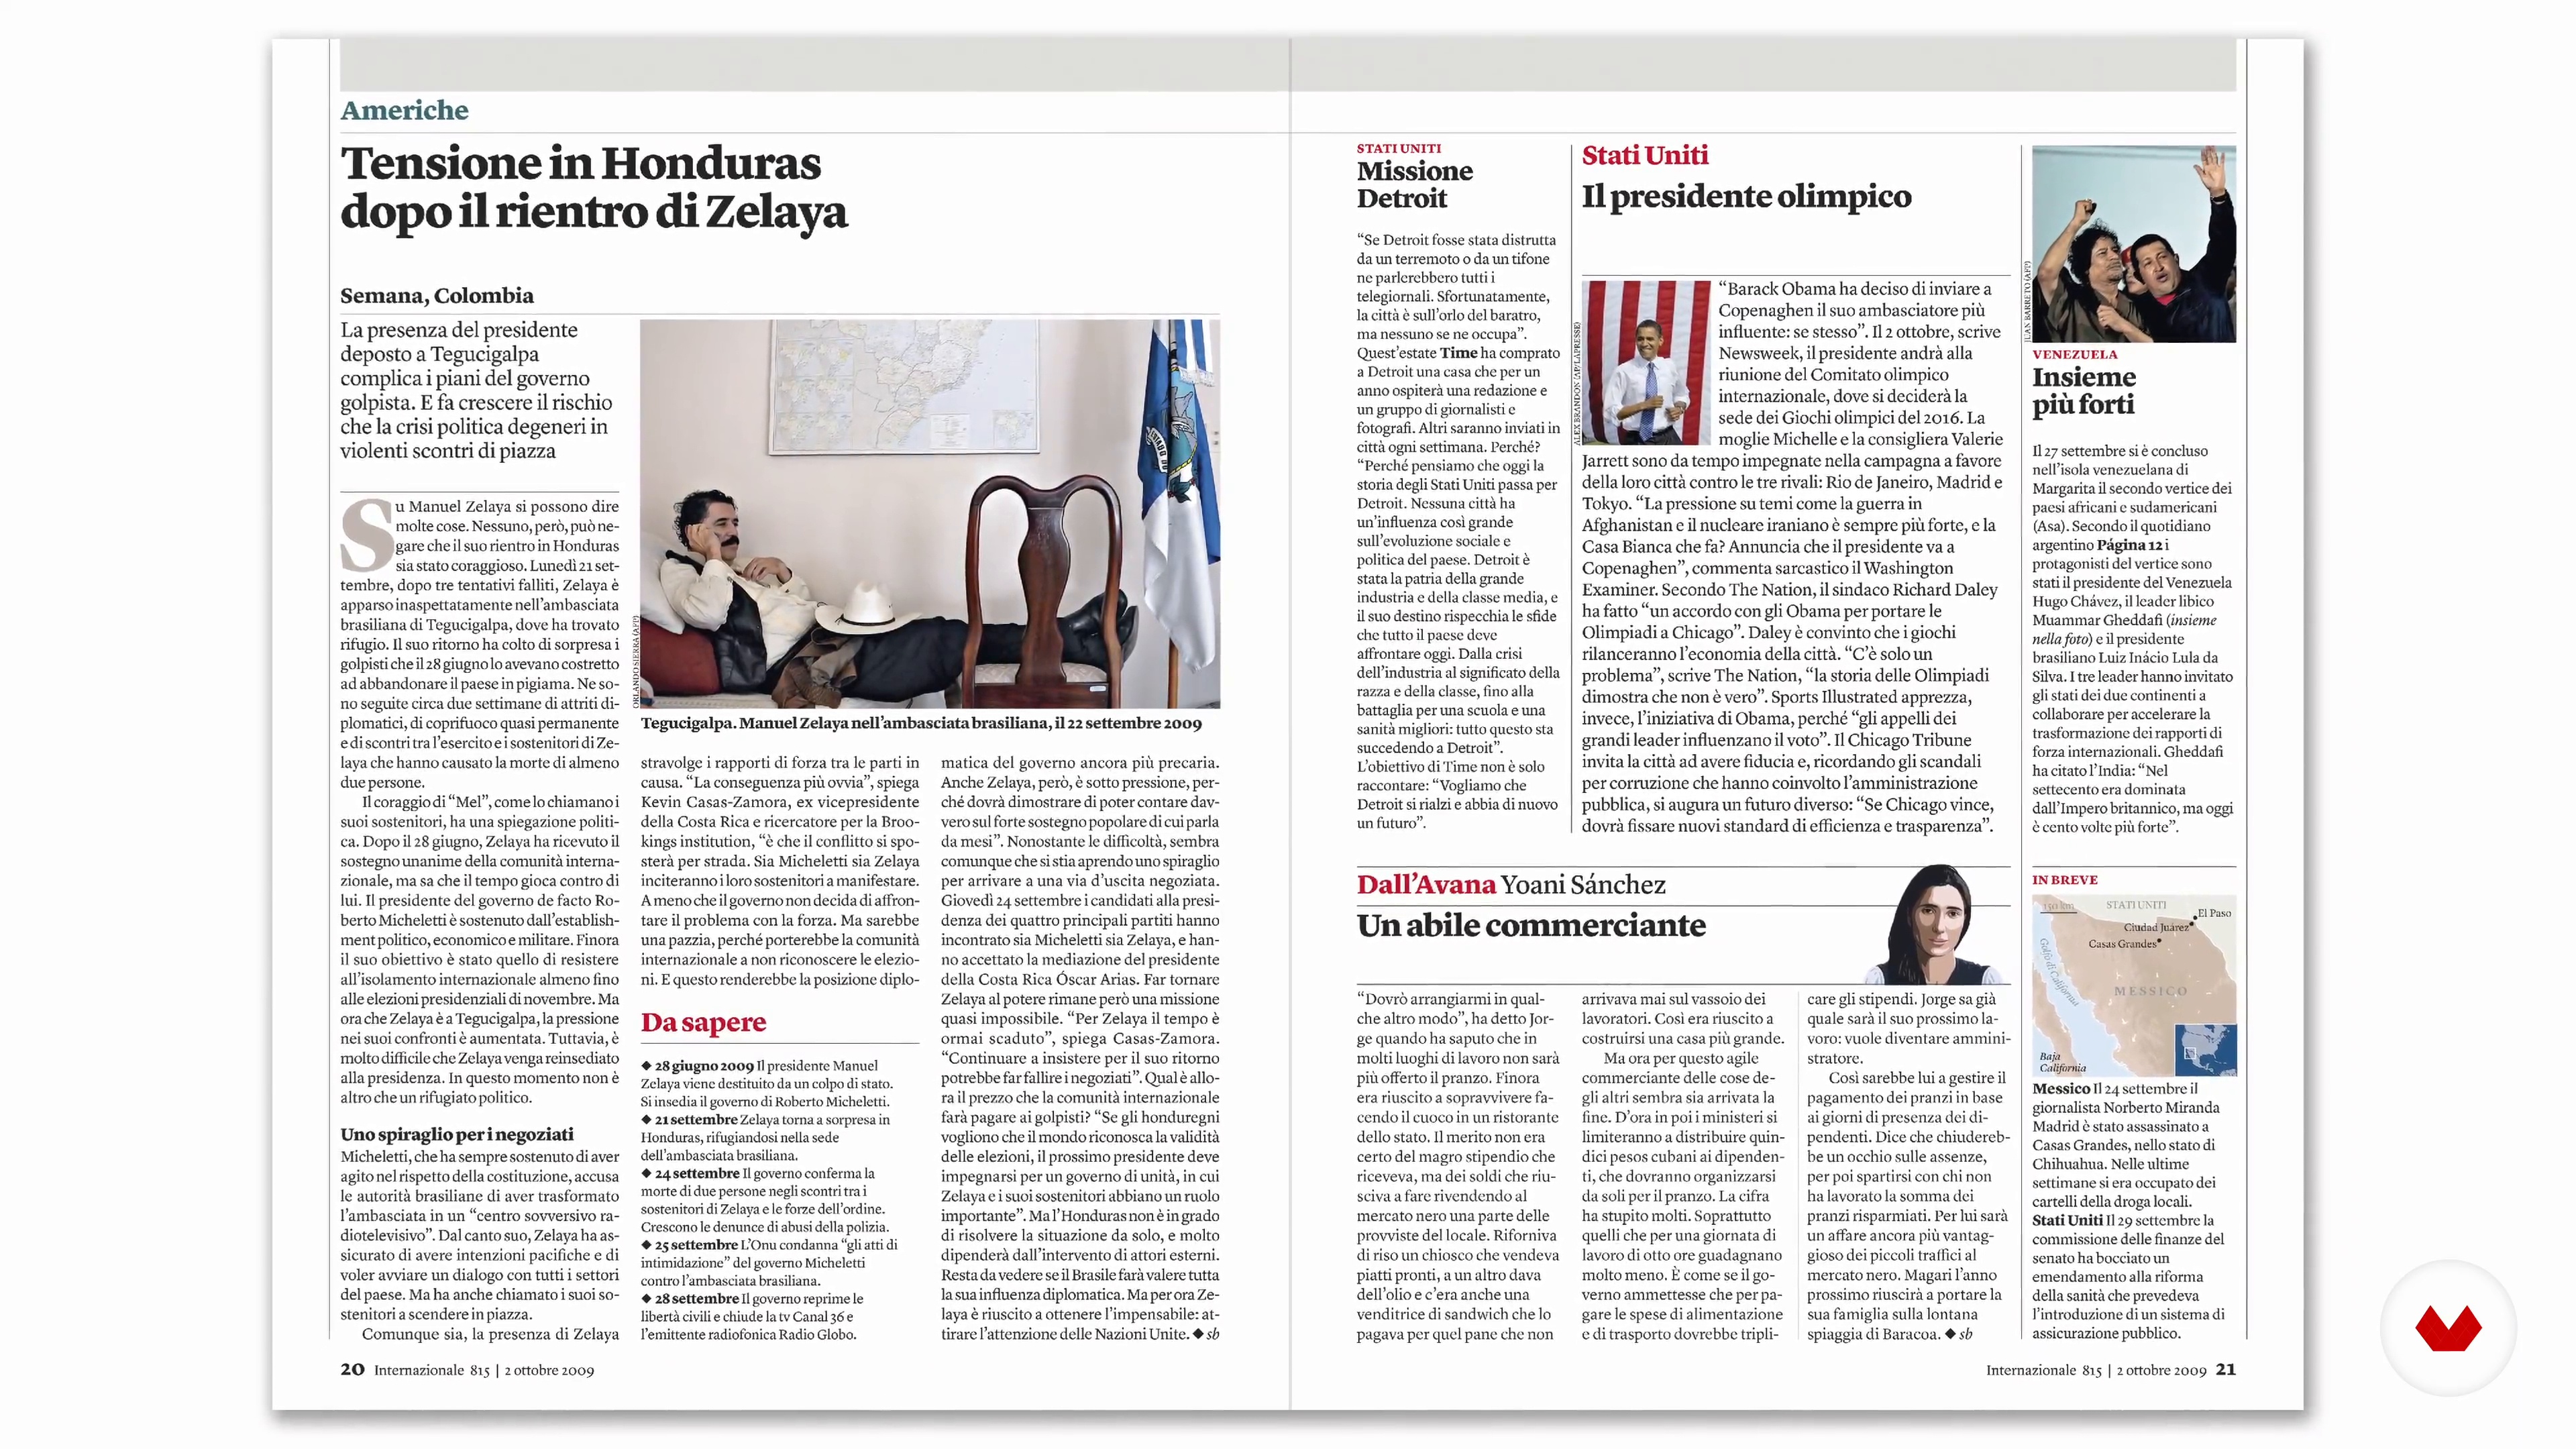
4What Is a Design System?
Design systems can mean different things for each type of creative project (digital, print, etc.) but, in essence, it comes down to the same thing: a set of components. If this doesn't mean much to you, don't worry. I'll explain here how design systems work, both in general and for media projects, more specifically.
10m
 5
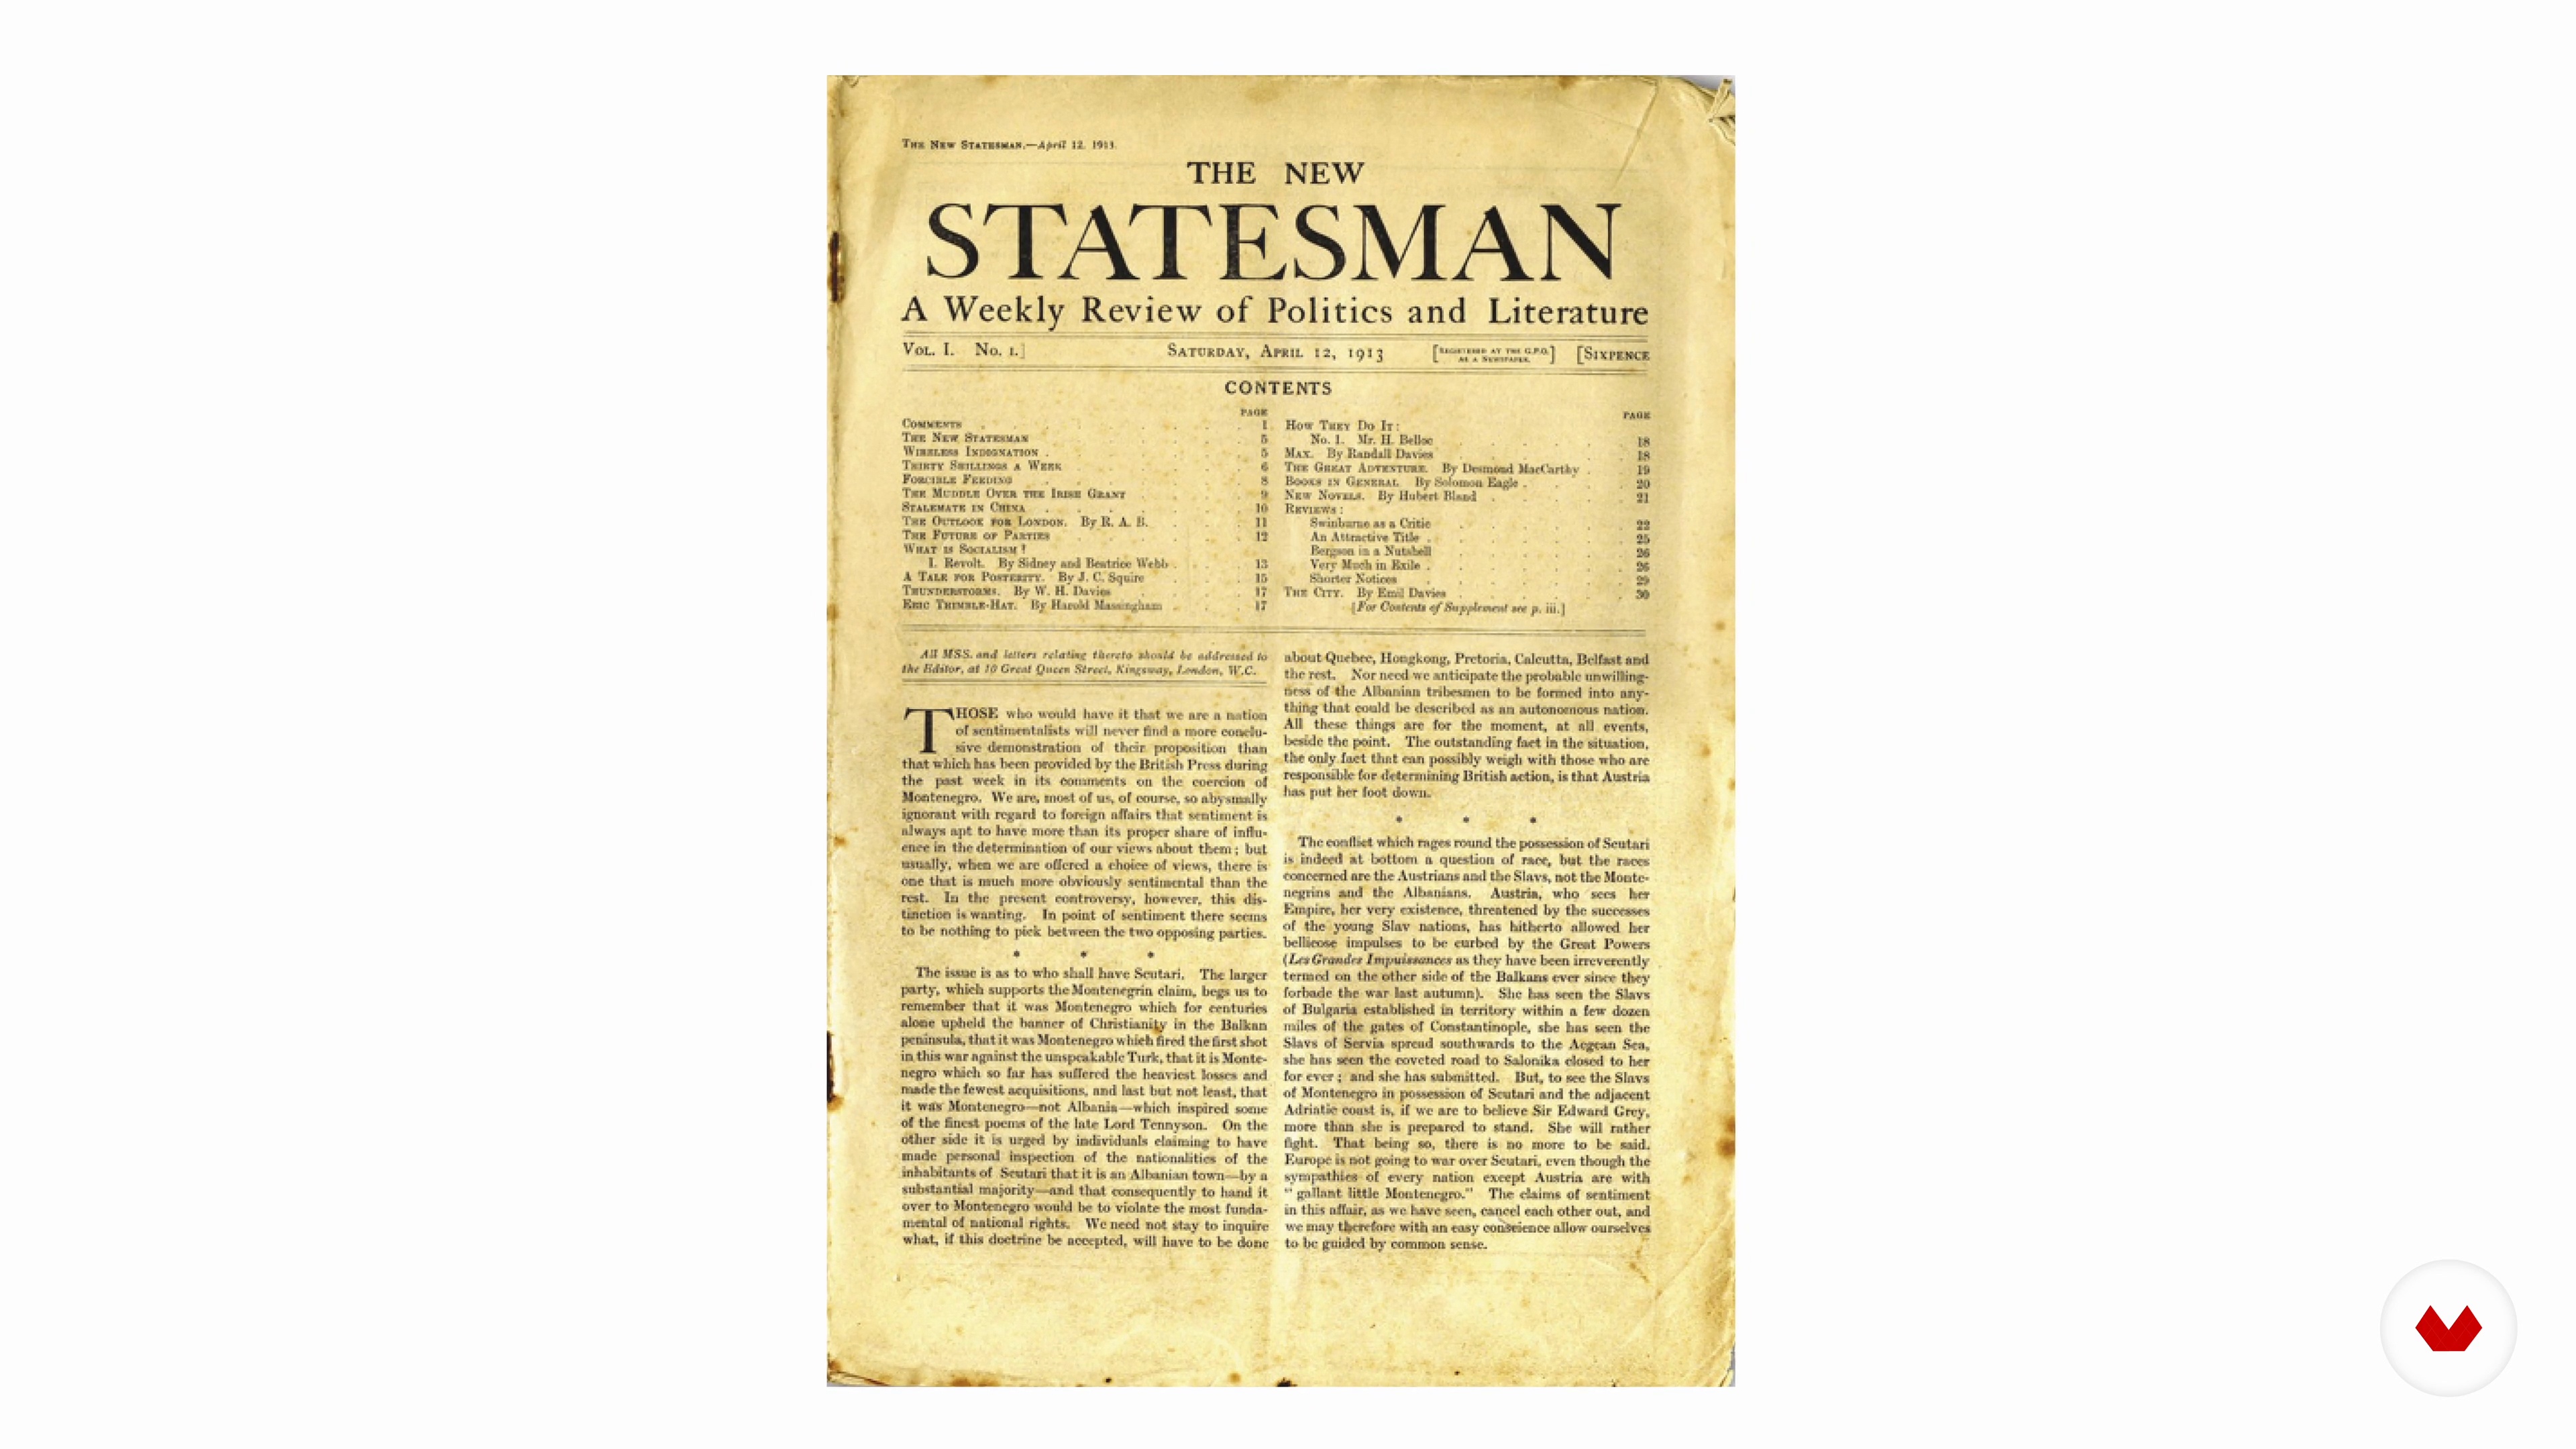
5Understanding the Client and the Audience
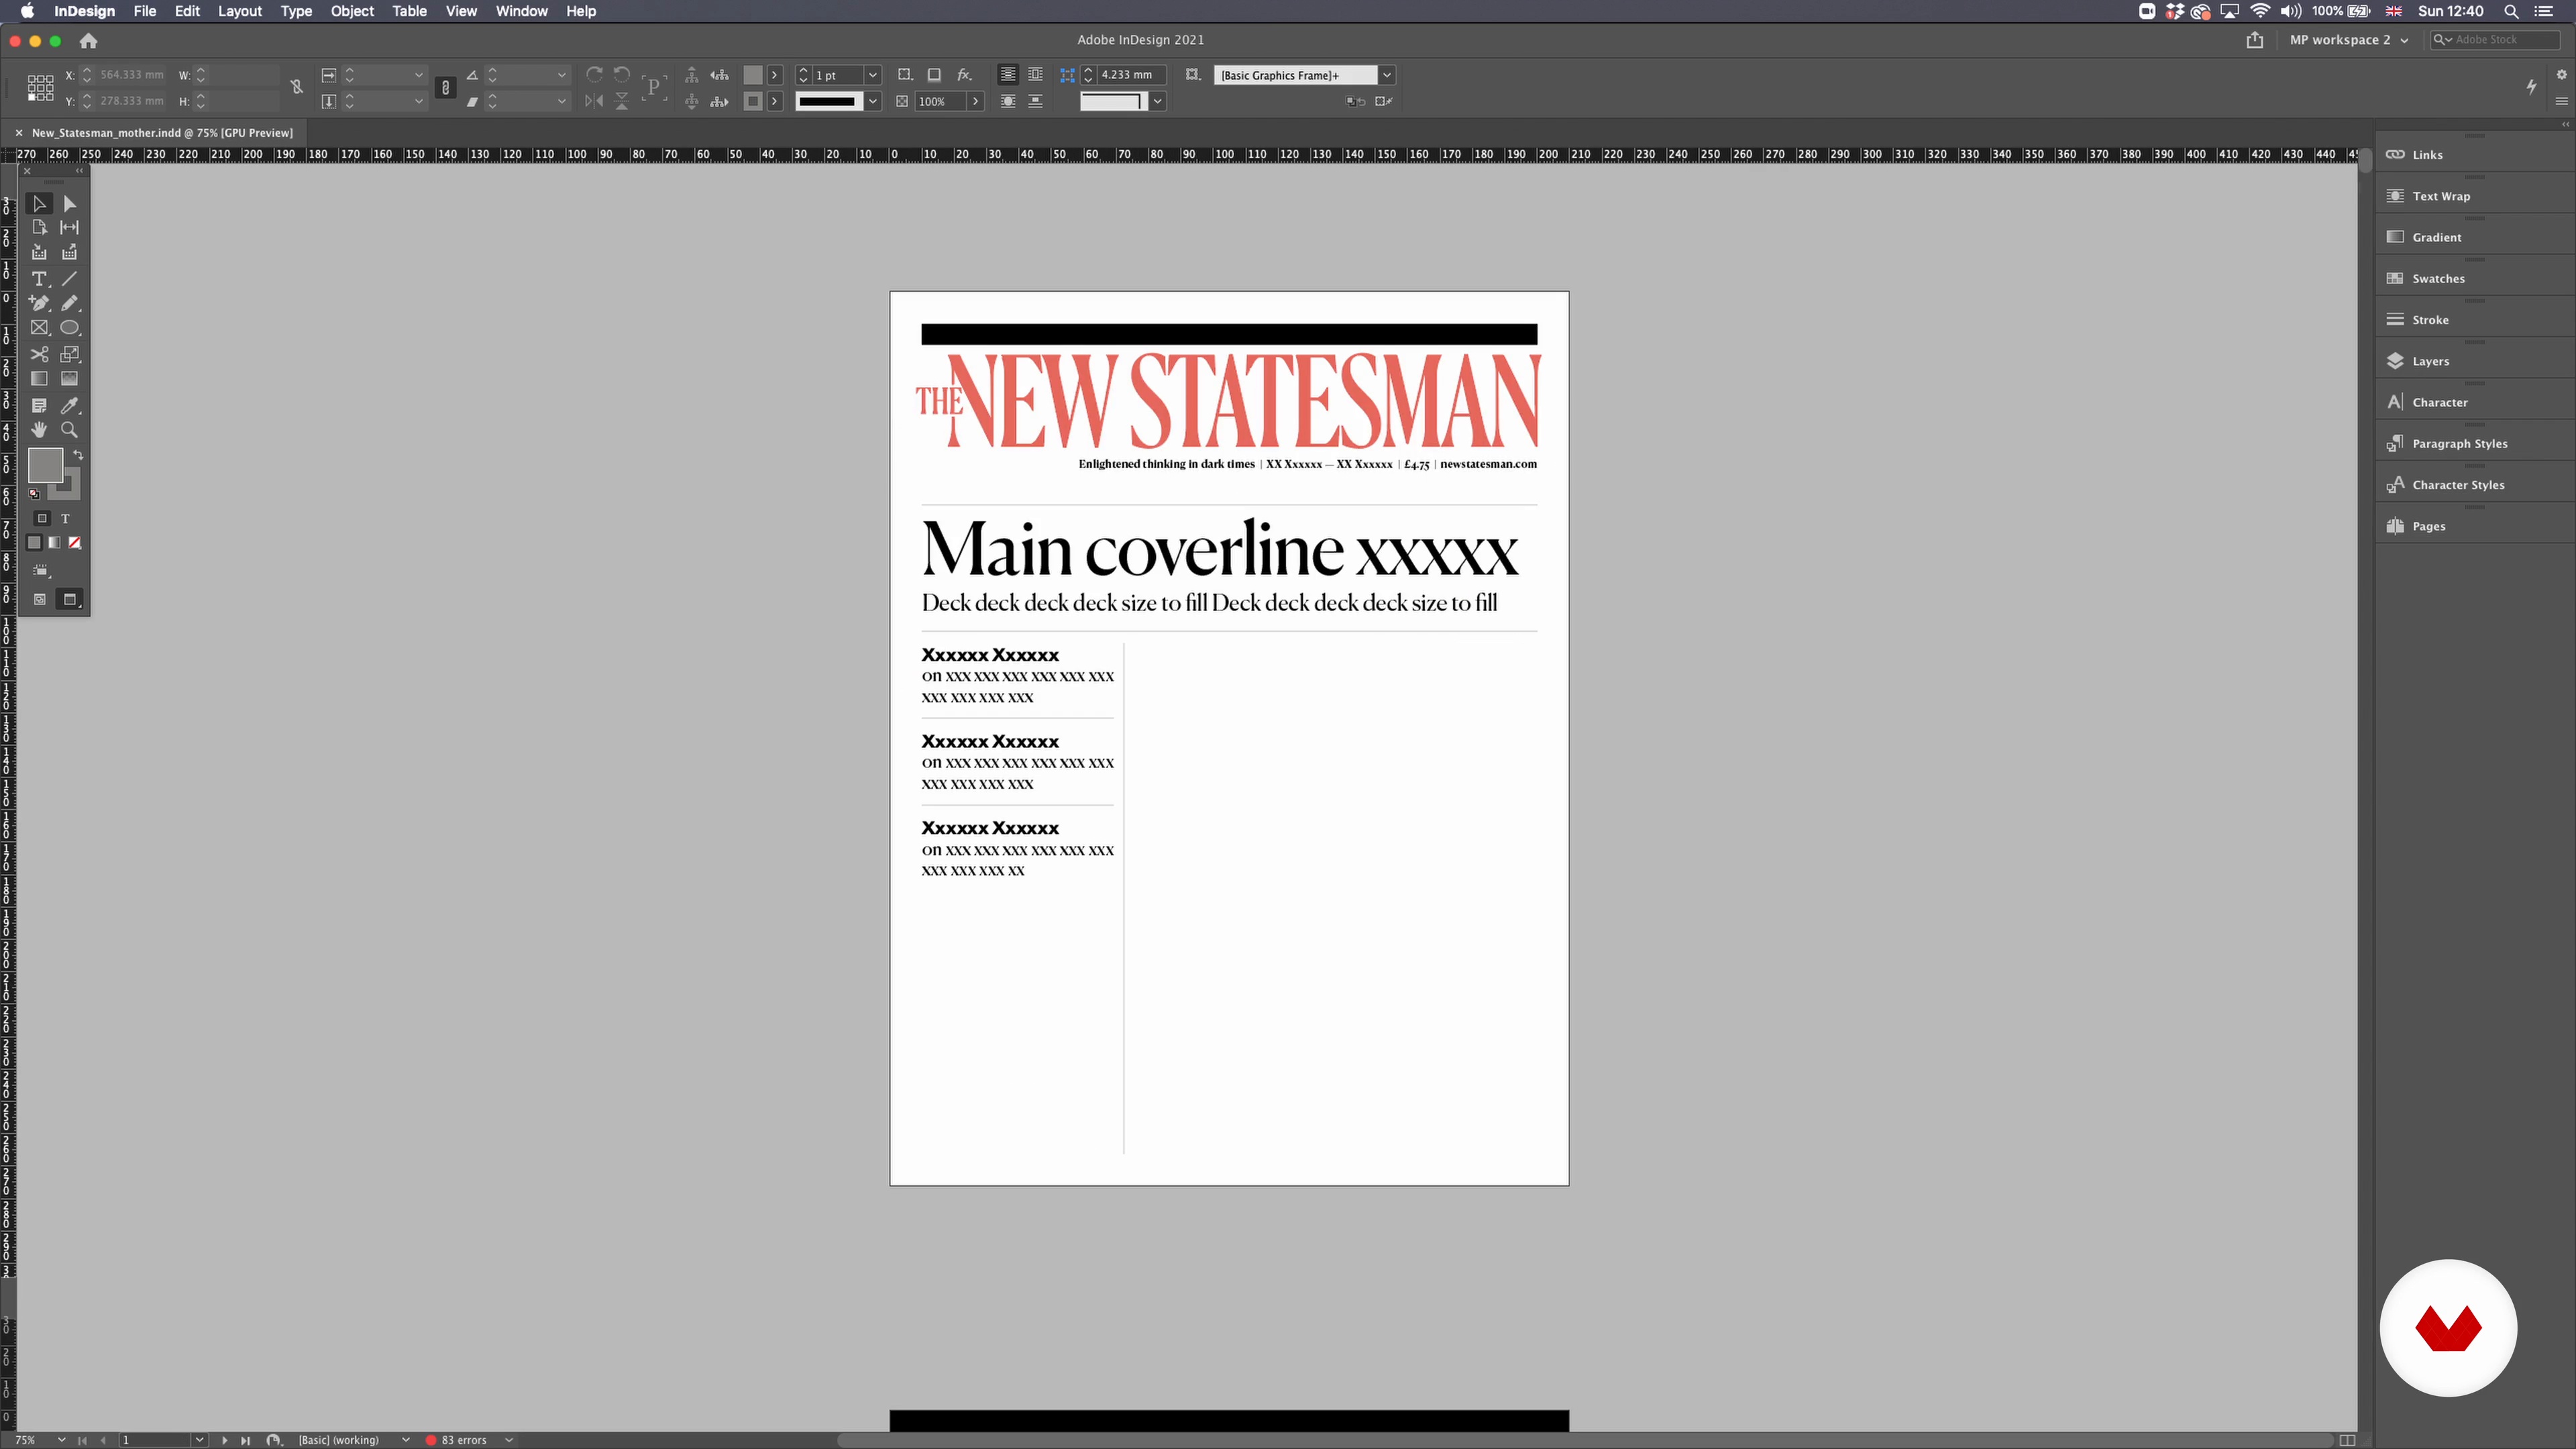
Considering our case study of The New Statesman, we will see what information we need to learn about our client and the audience in order to start our project.
15m
 6
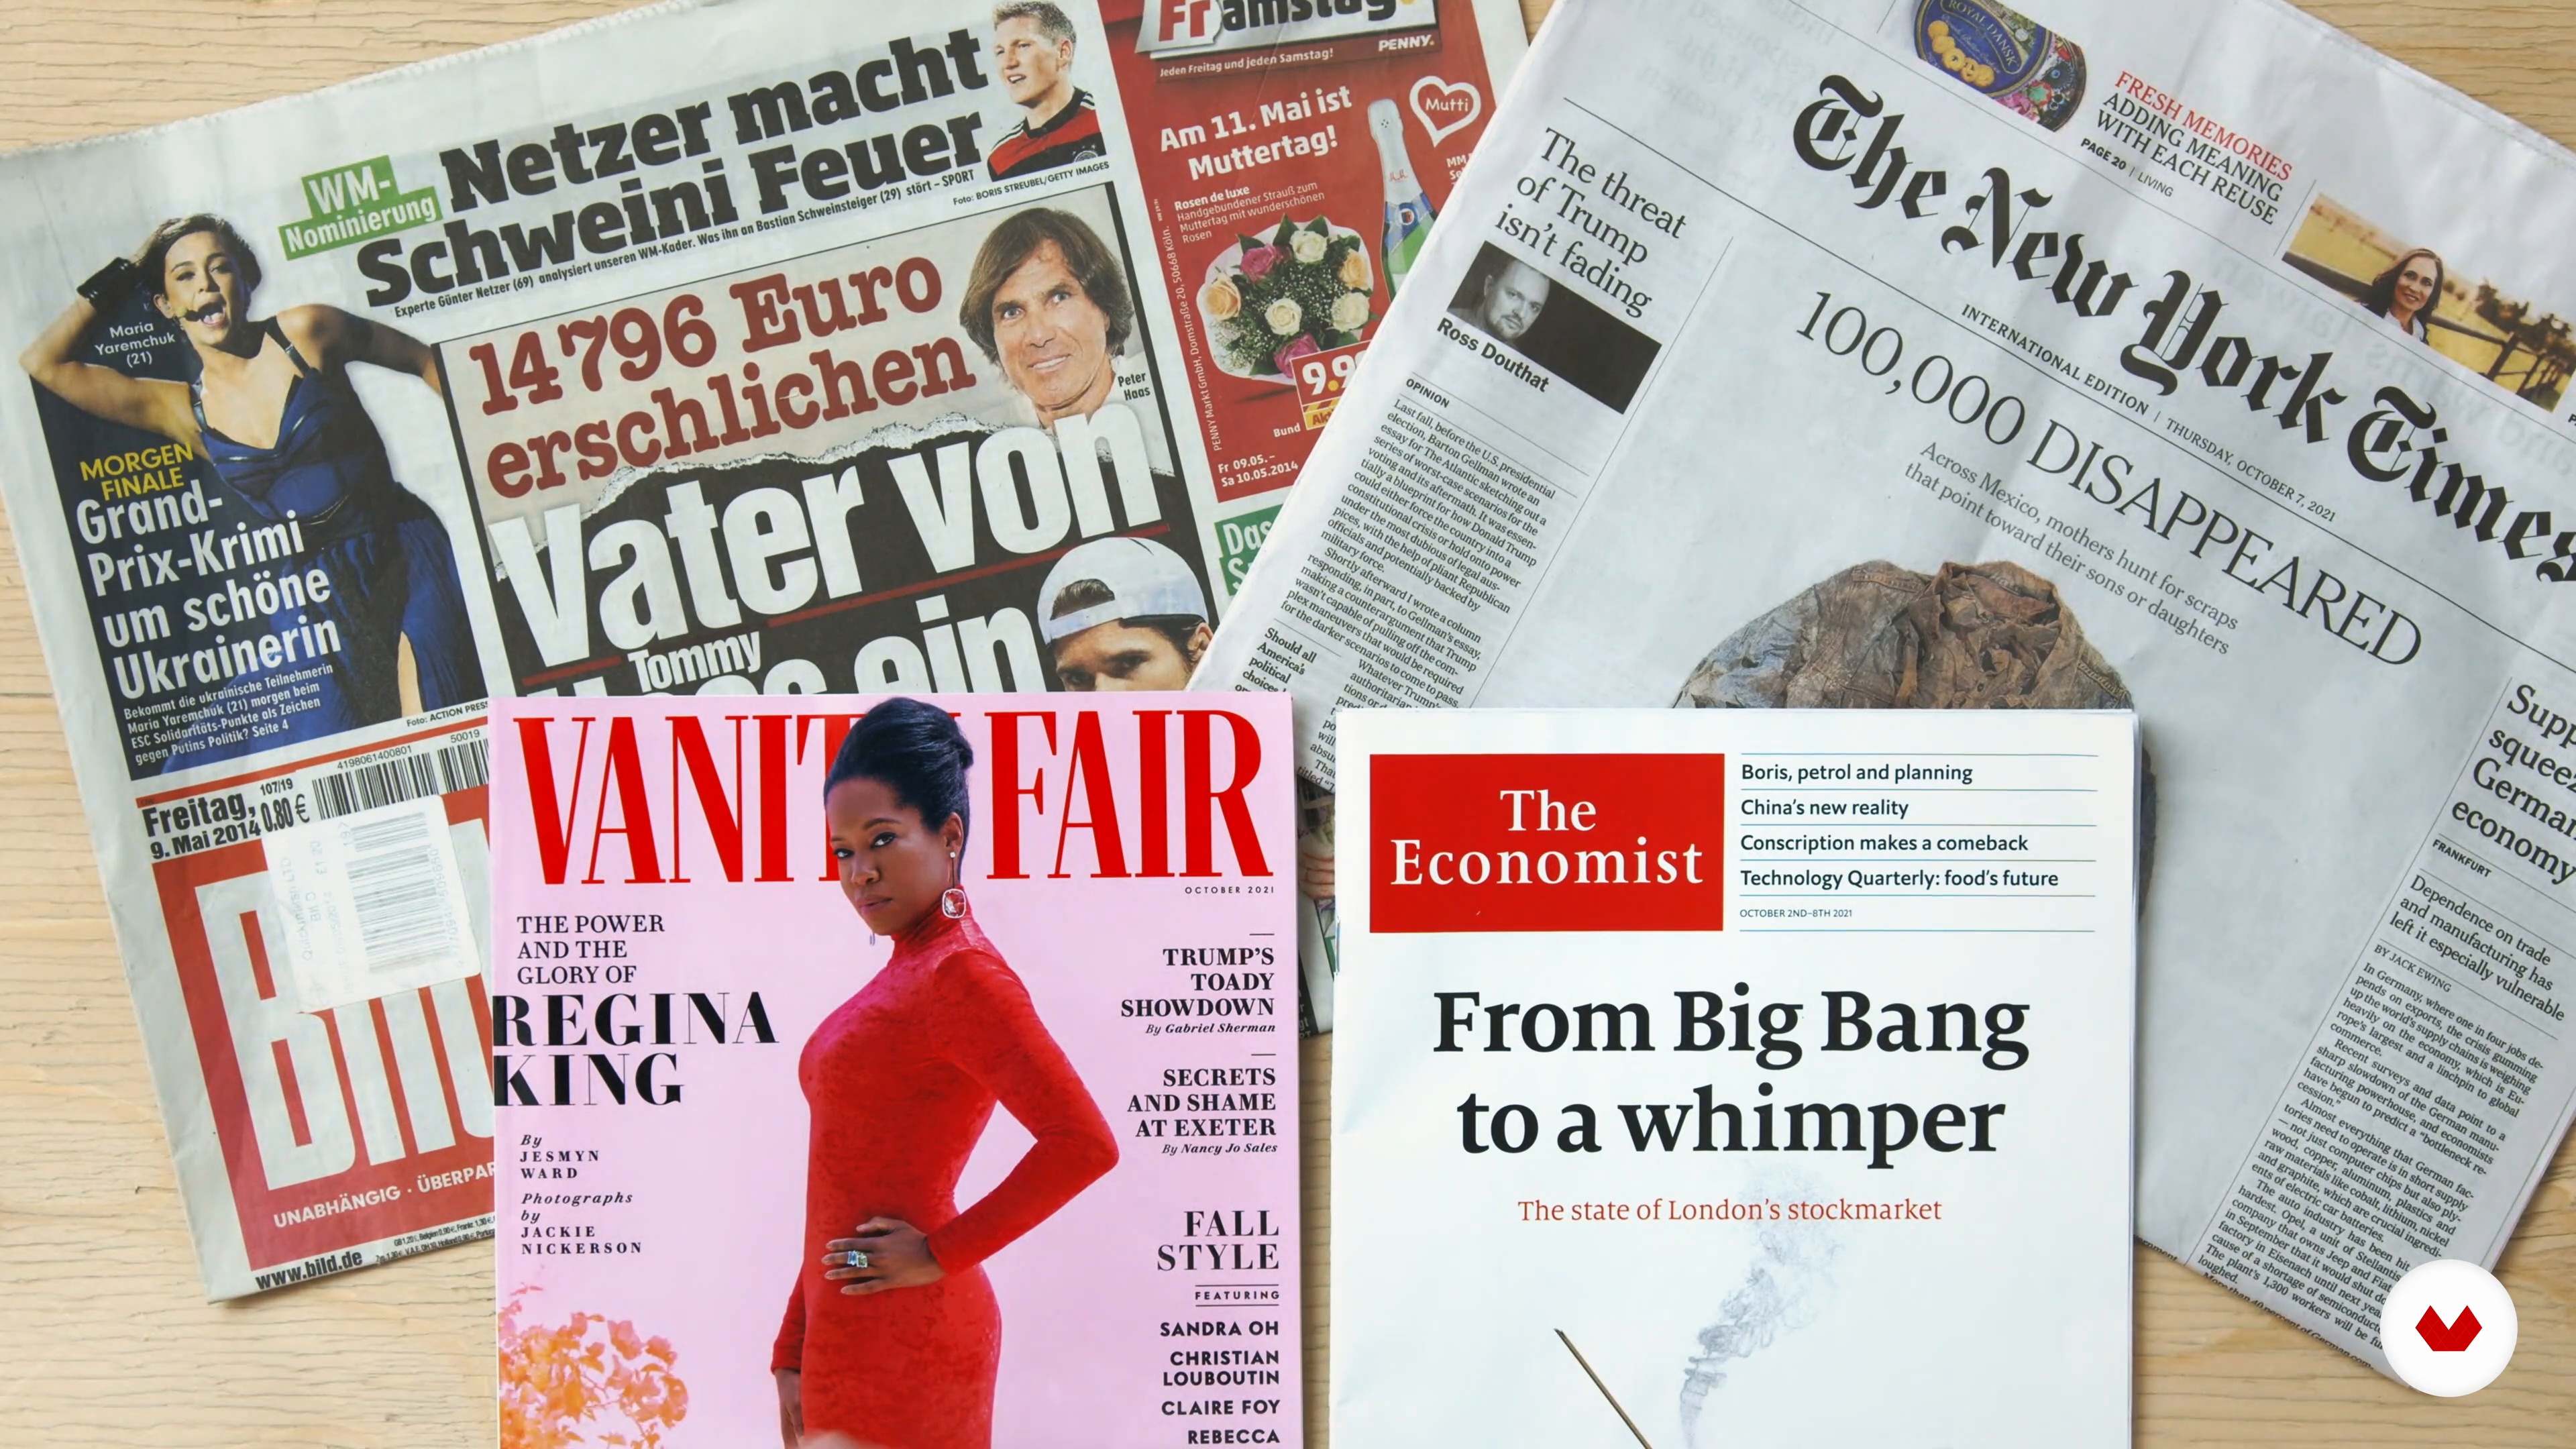
6Spirit and Tone
We've gathered enough information from our client. Now we can translate this into a design for print, the web, and beyond. I'll show you how visual design can convey any number of values, emotions, and messages to the audience. This needs to be carefully considered when planning your media design.
7m
 7
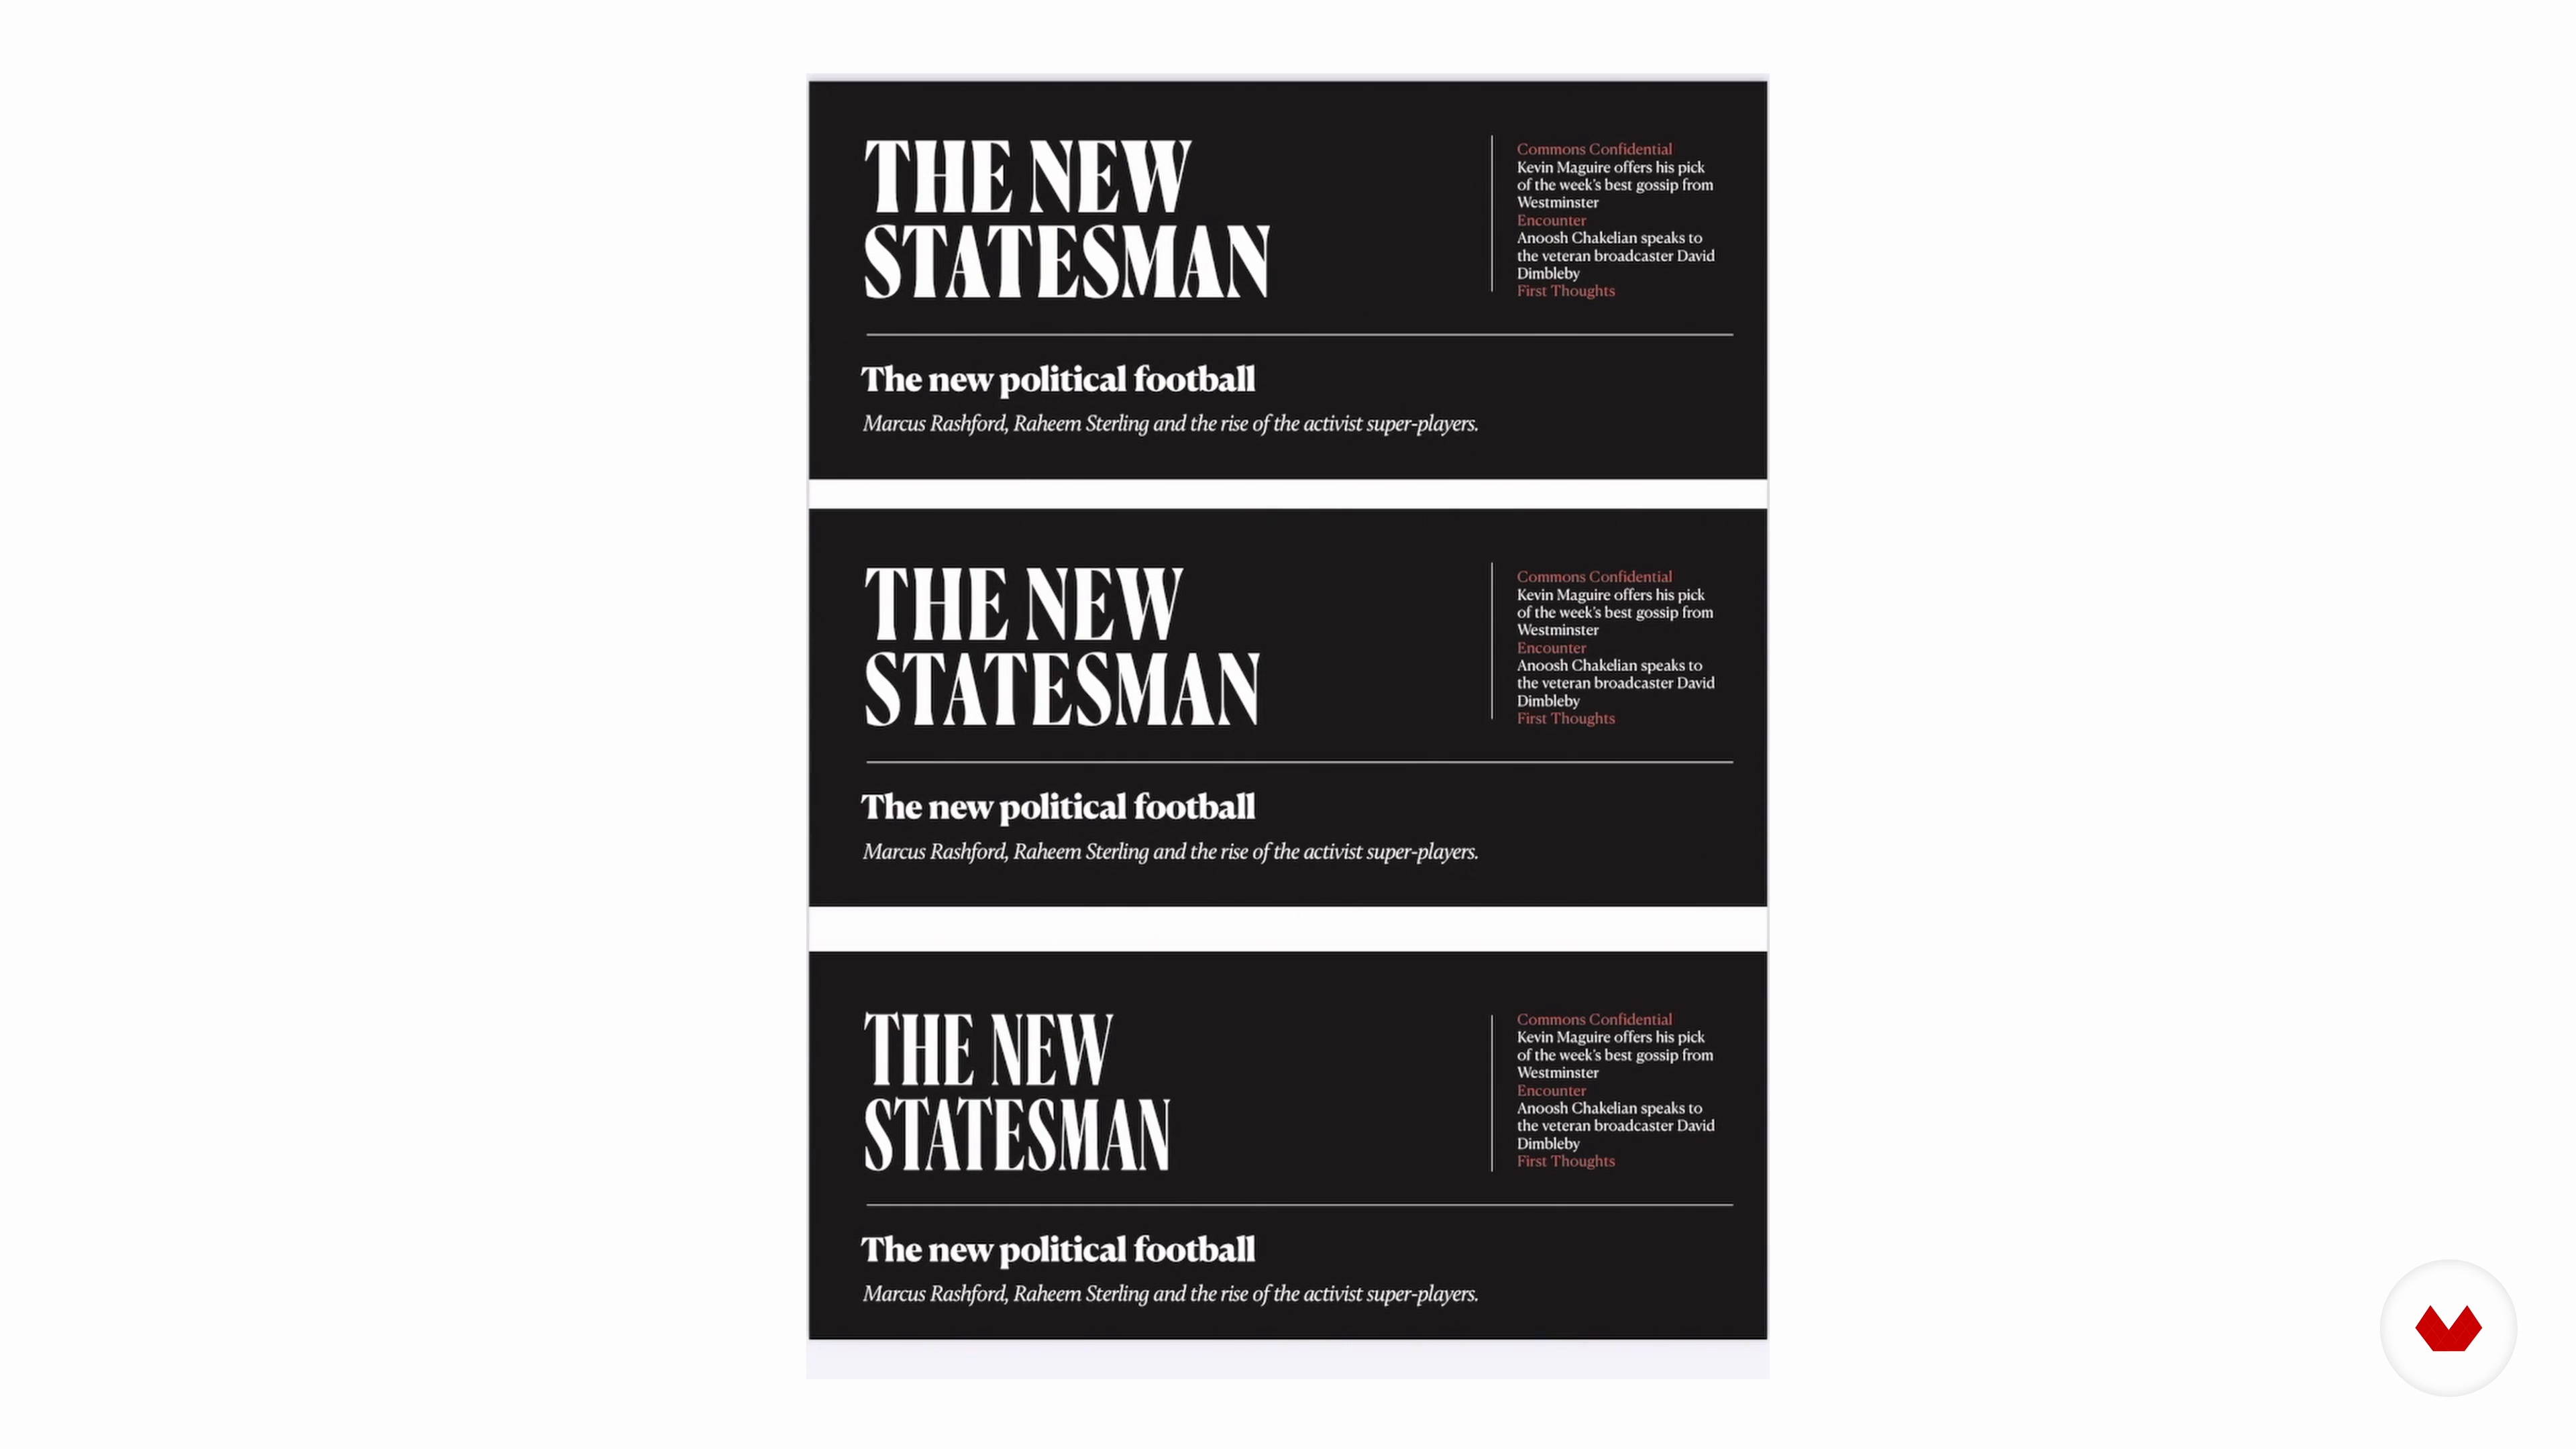
7First Steps and Typography 1
In this lesson, we will assess some different ways of working, comparing my process to that of a close friend with whom I've collaborated. We'll also focus on typography by looking at different types of fonts, trying to see what they convey and understand the requirements for choosing a specific typeface.
17m
 8
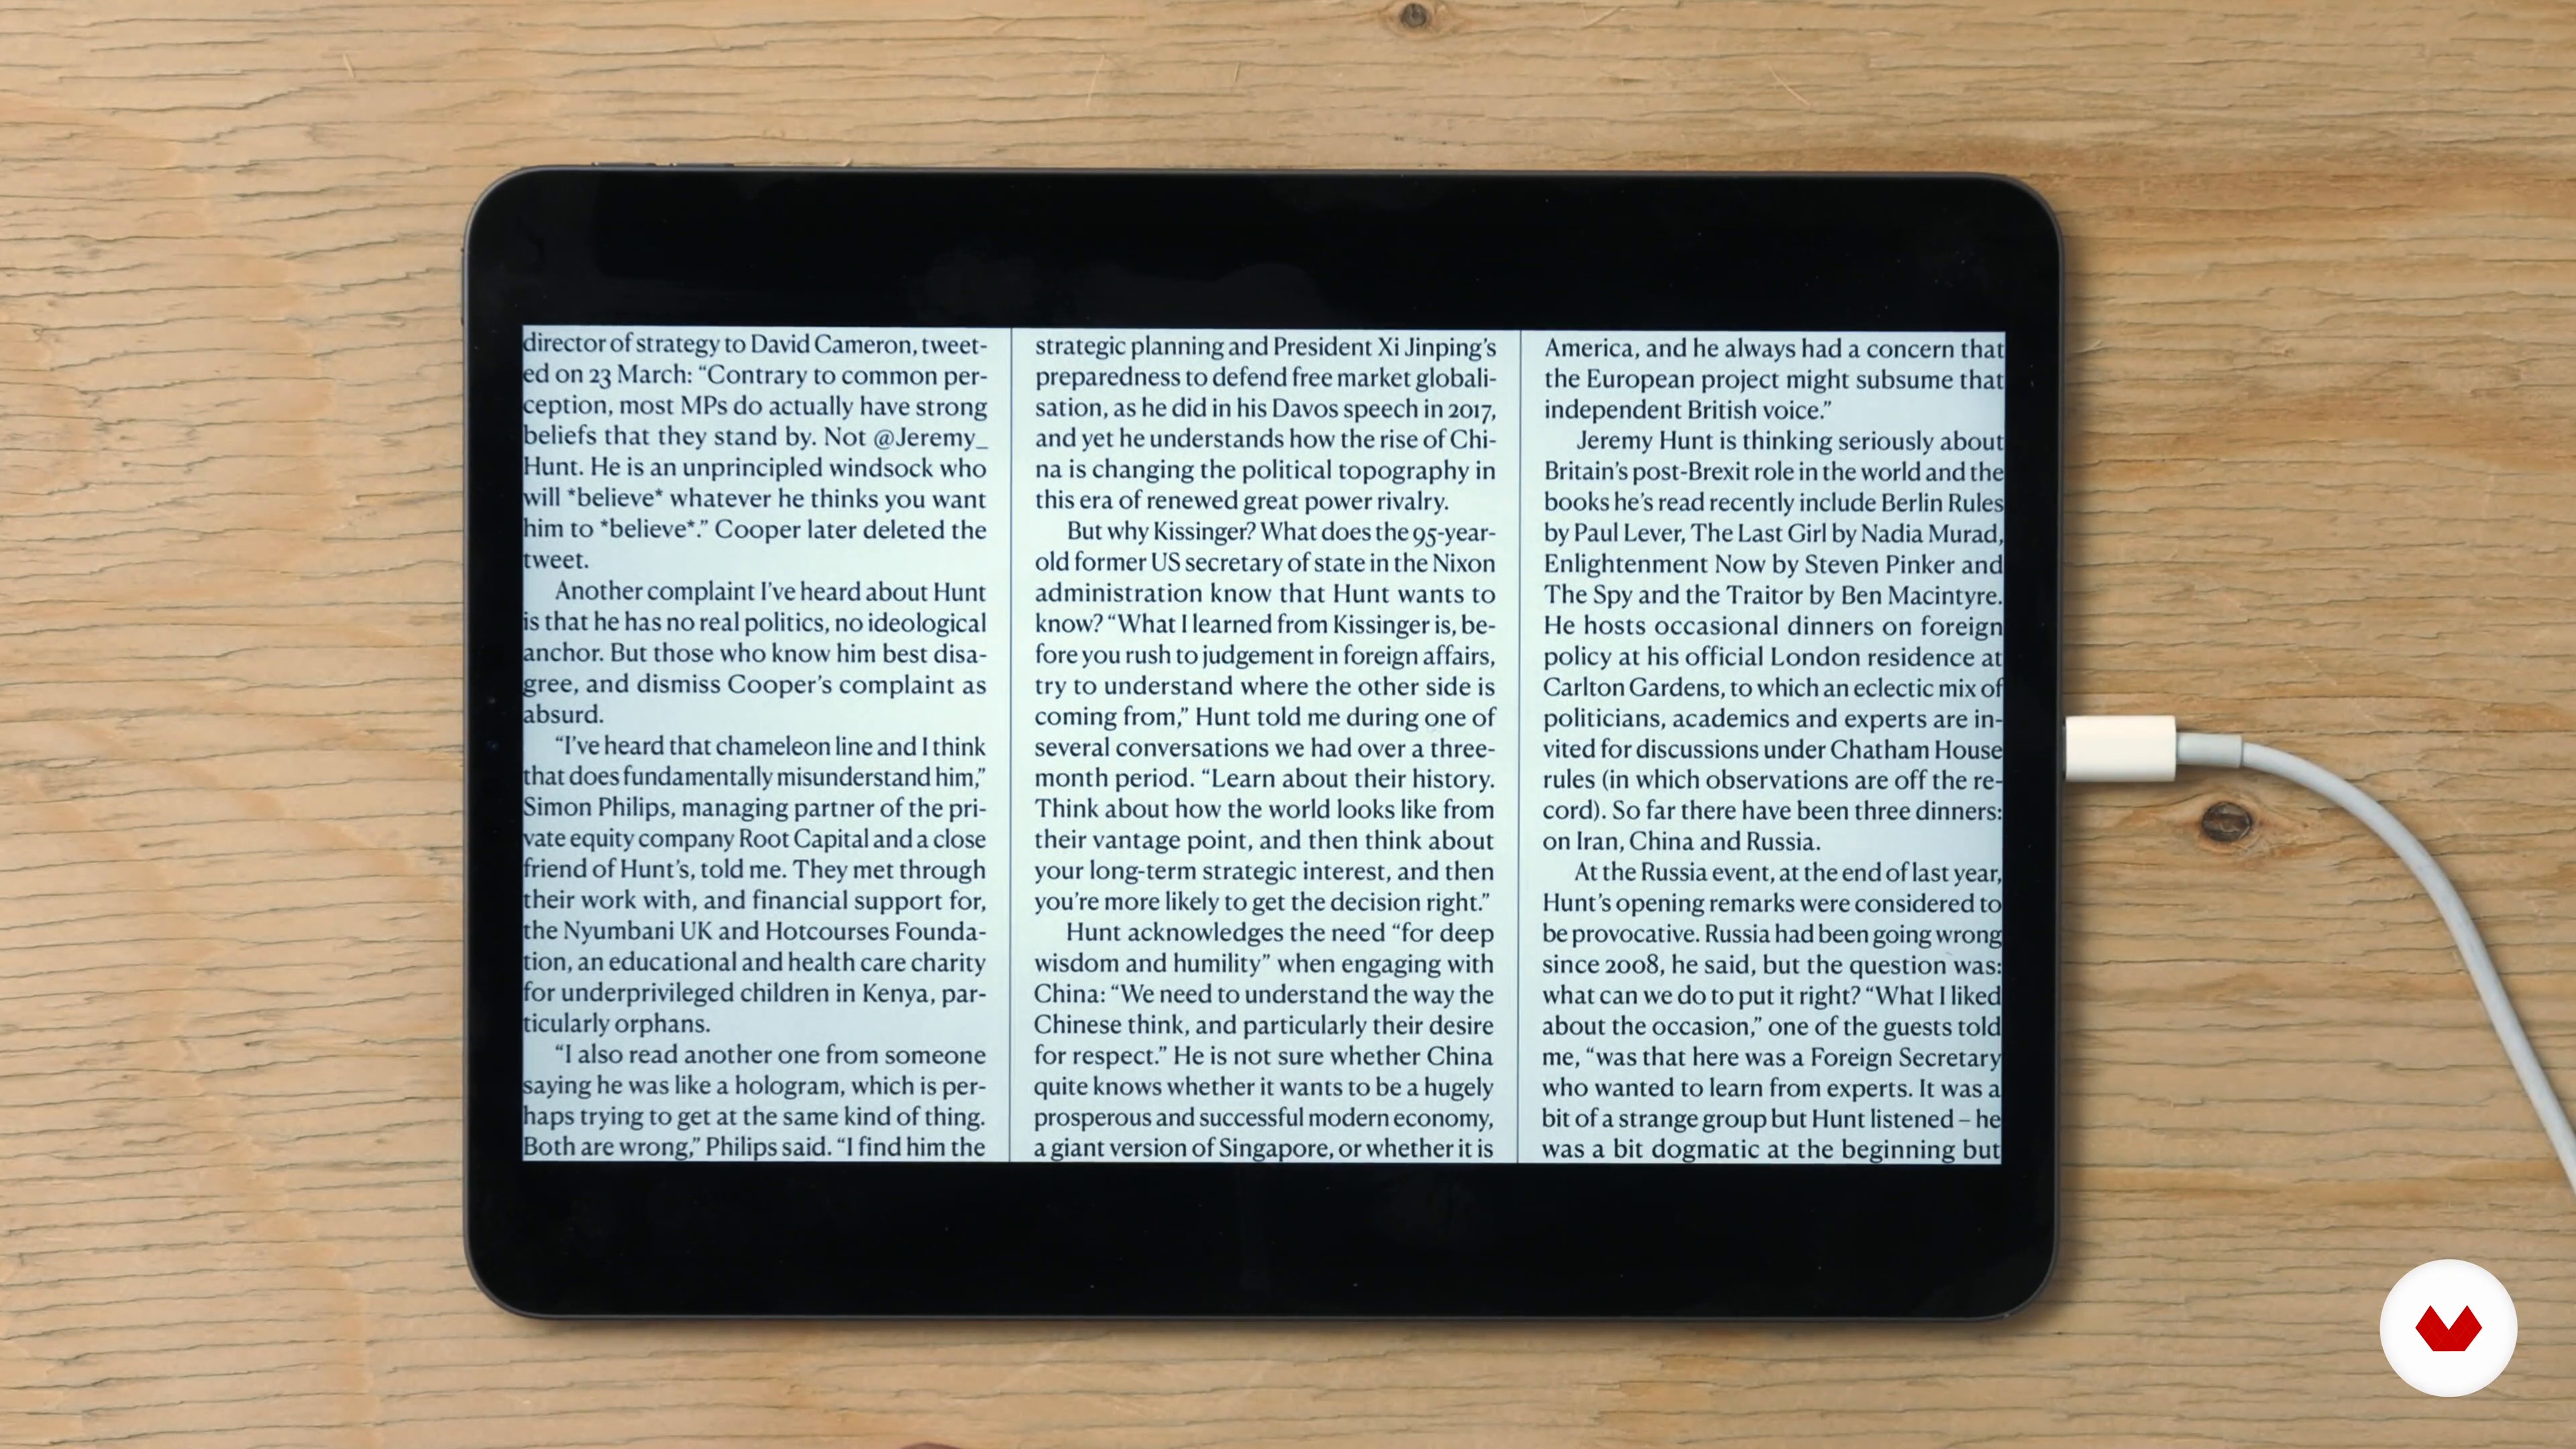
8First Steps and Typography 2
Here we'll continue our exploration into the different factors and elements that led to choosing the typeface for The New Statesman.
6m
 9
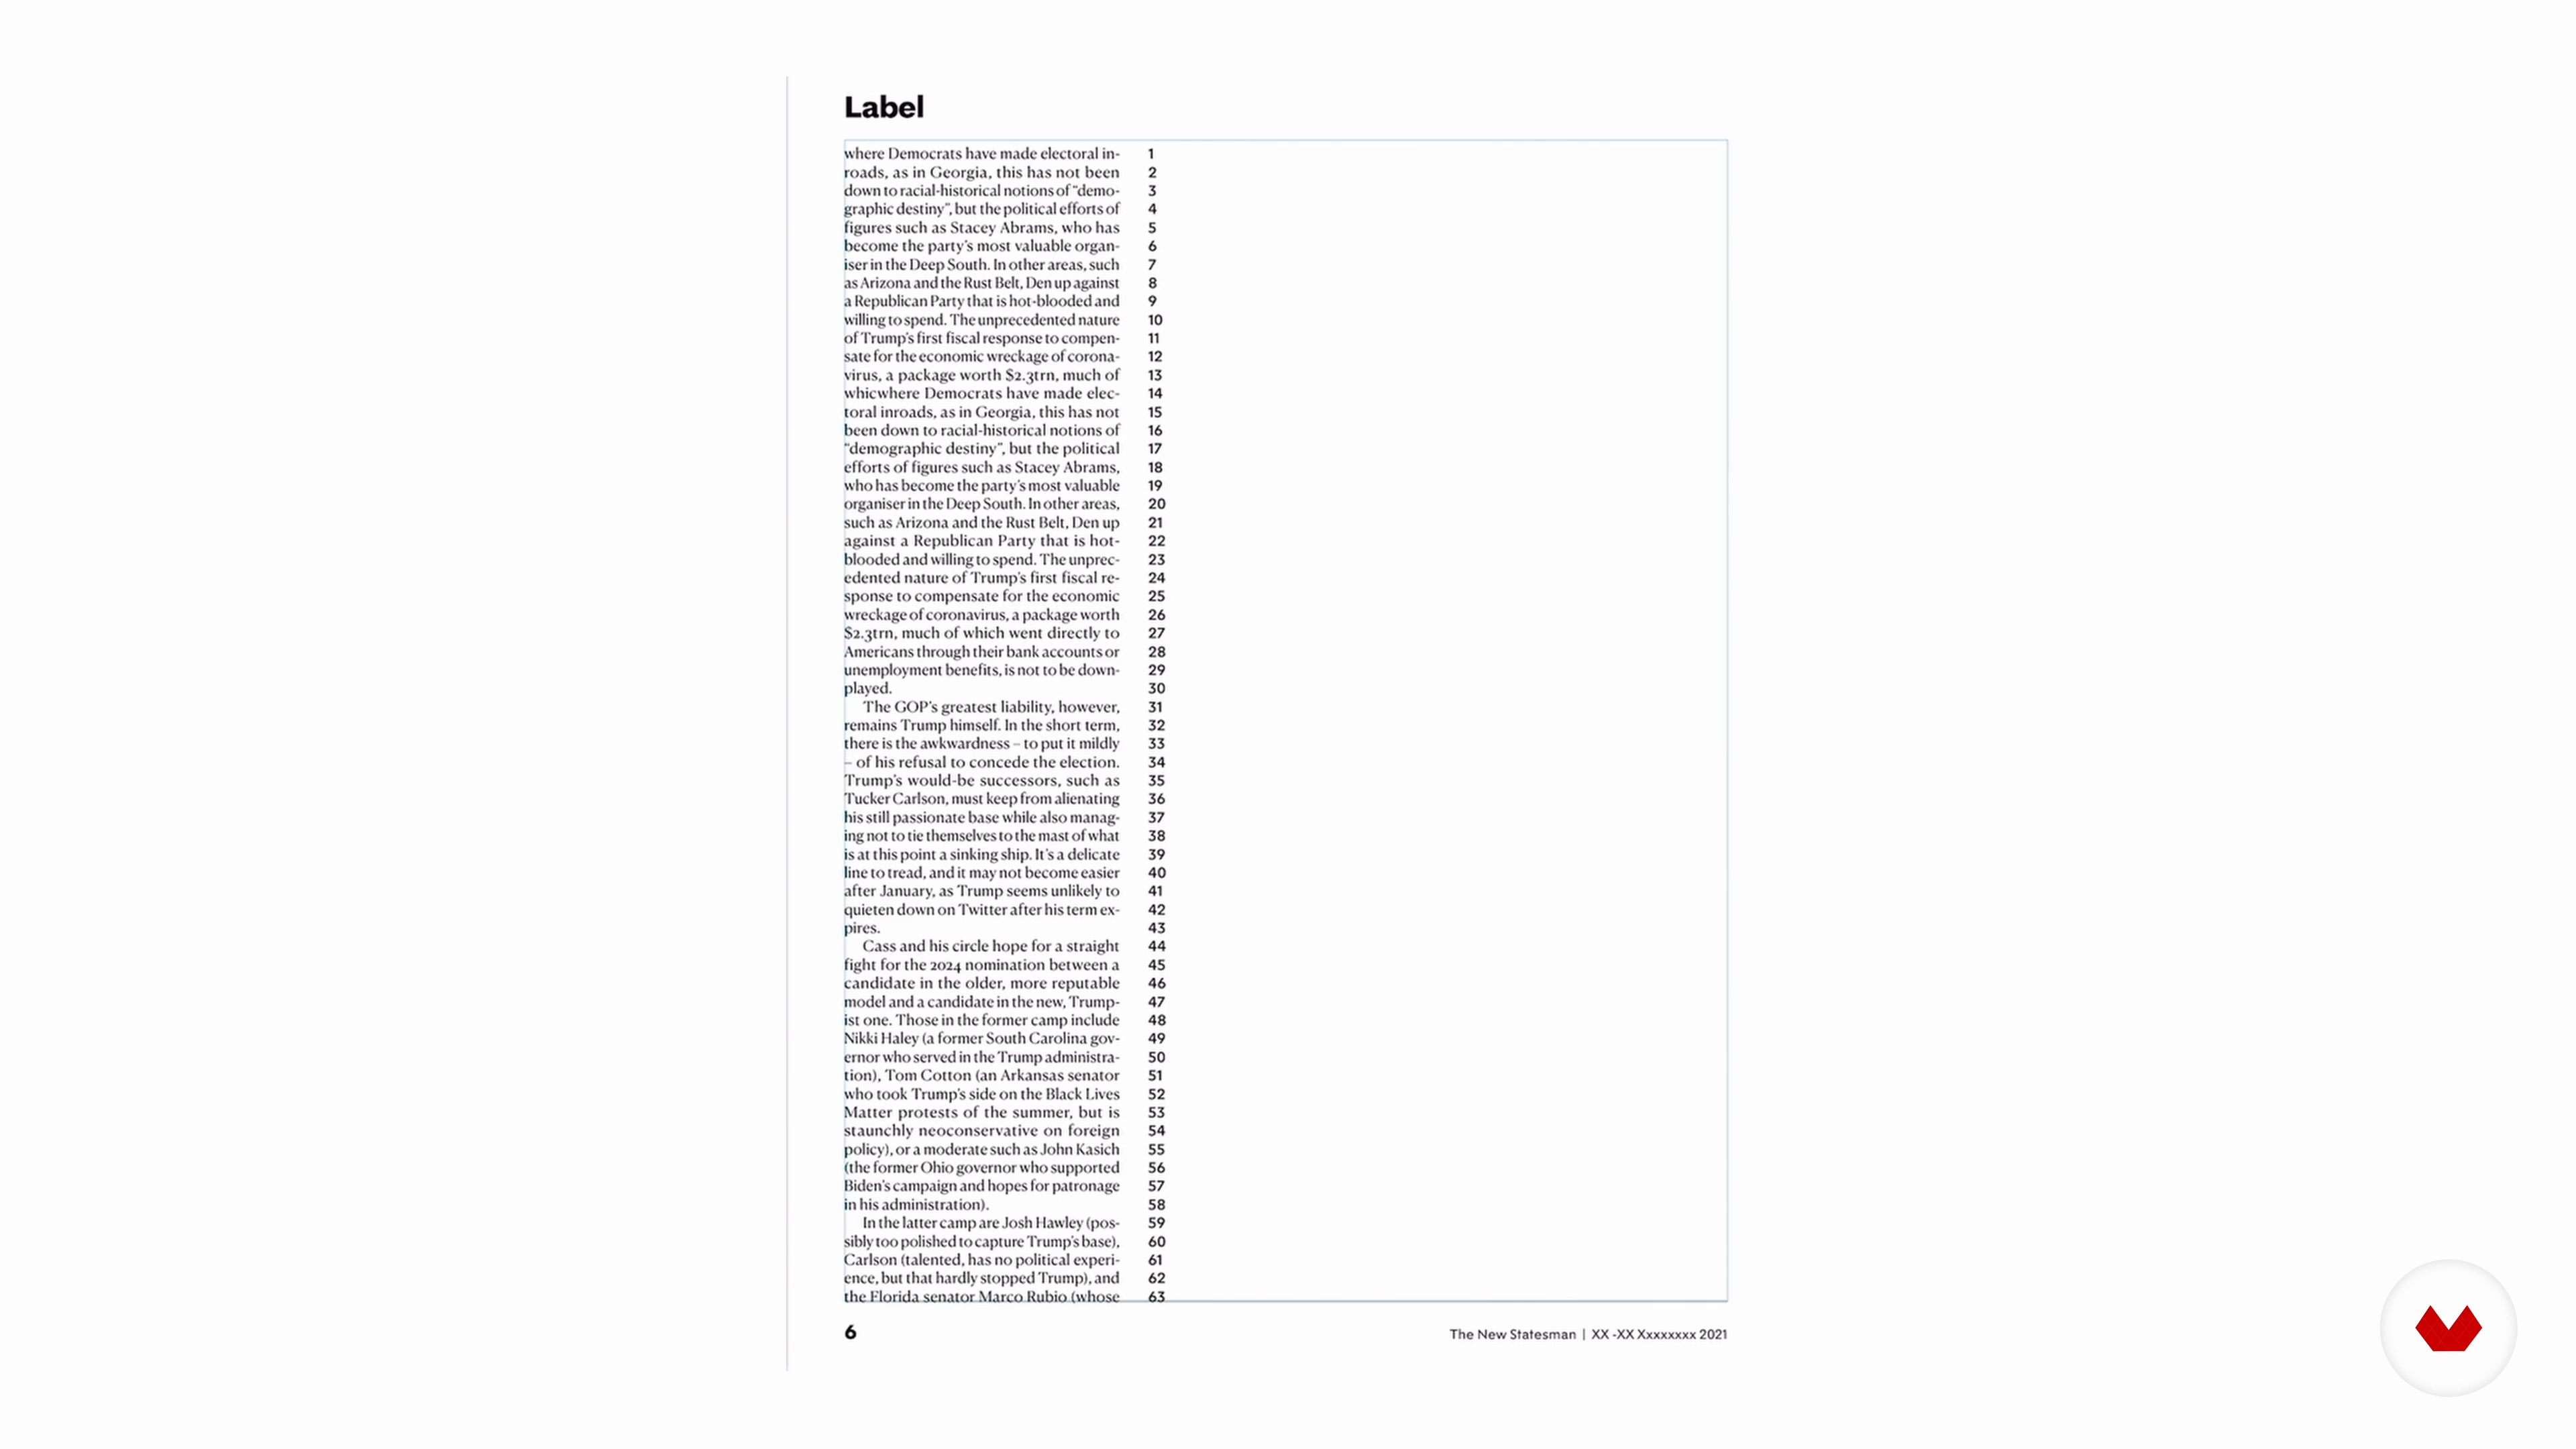
9Grids and Spacing
For the structure of our design, we will rely on grid systems. But what are they? Here I'll explain why they matter and how they can be used.
14m
 10
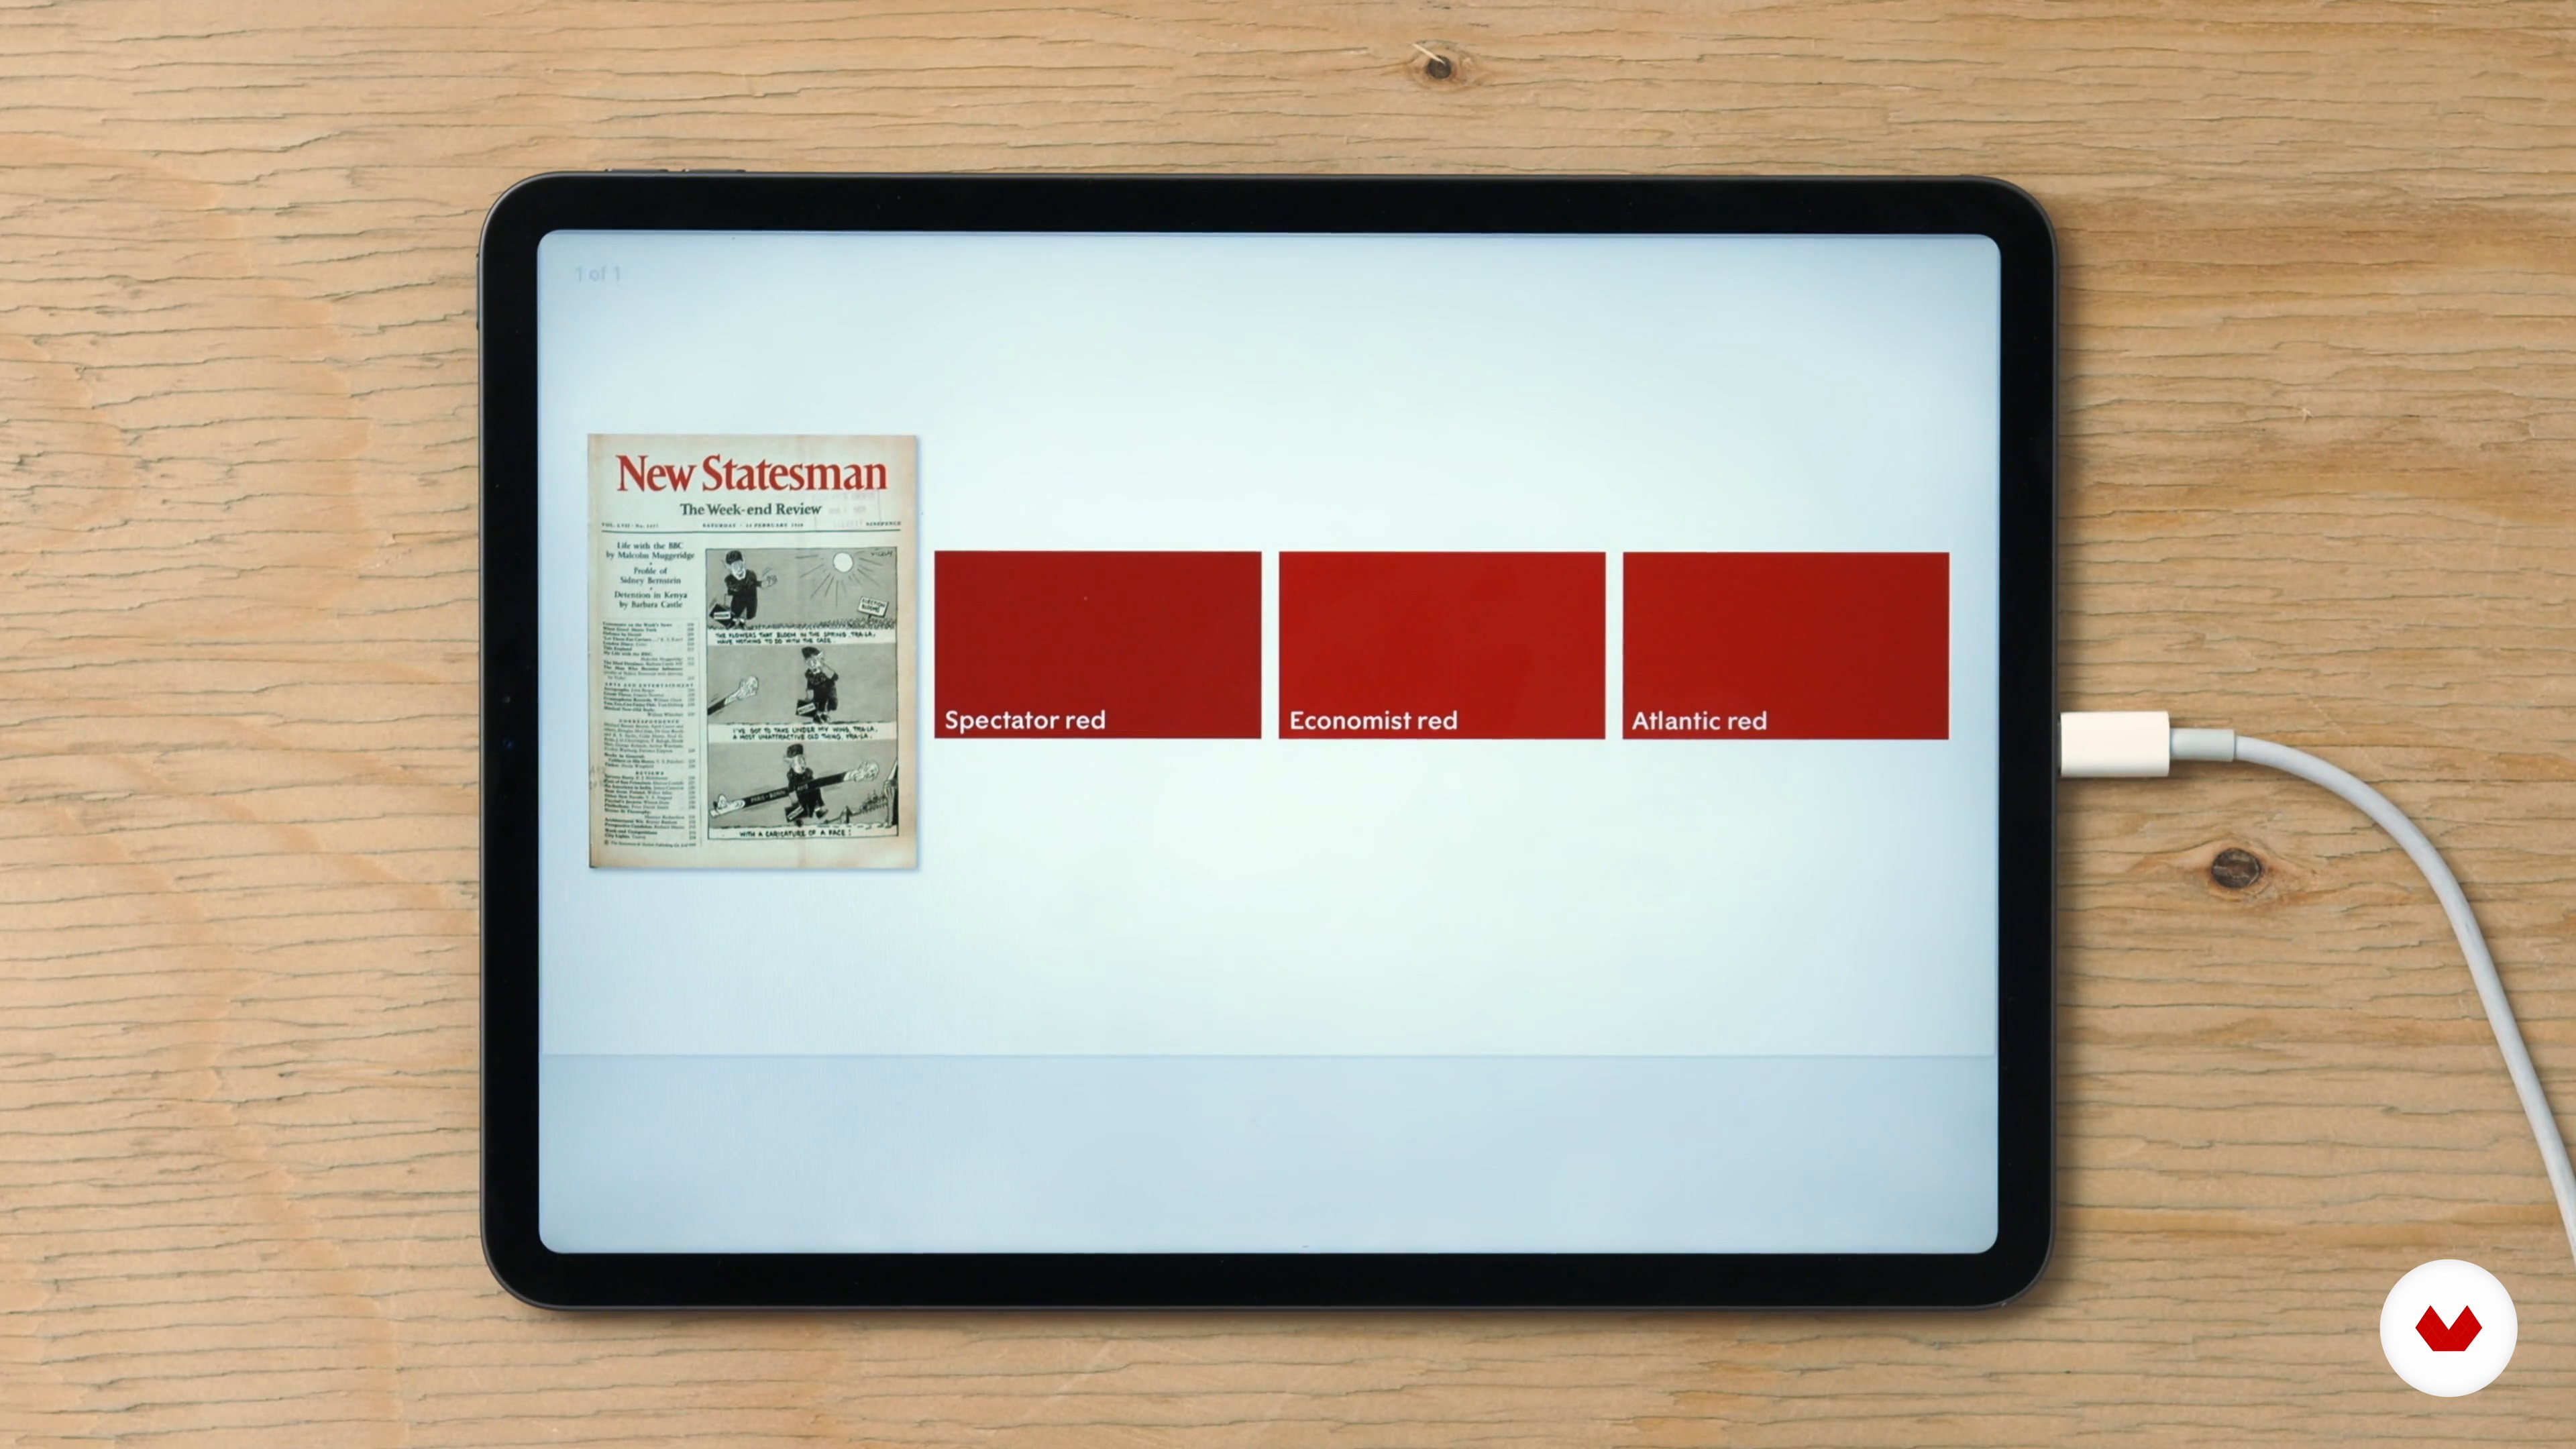
10Colour, Imagery and Structure
Colour and imagery can also express personality. It is directly connected with the spirit and tone of the media. To understand this, we'll look at different examples of how colour is used in different magazines and media. We'll finish by seeing how to critique our work and continue to make it better.
19m
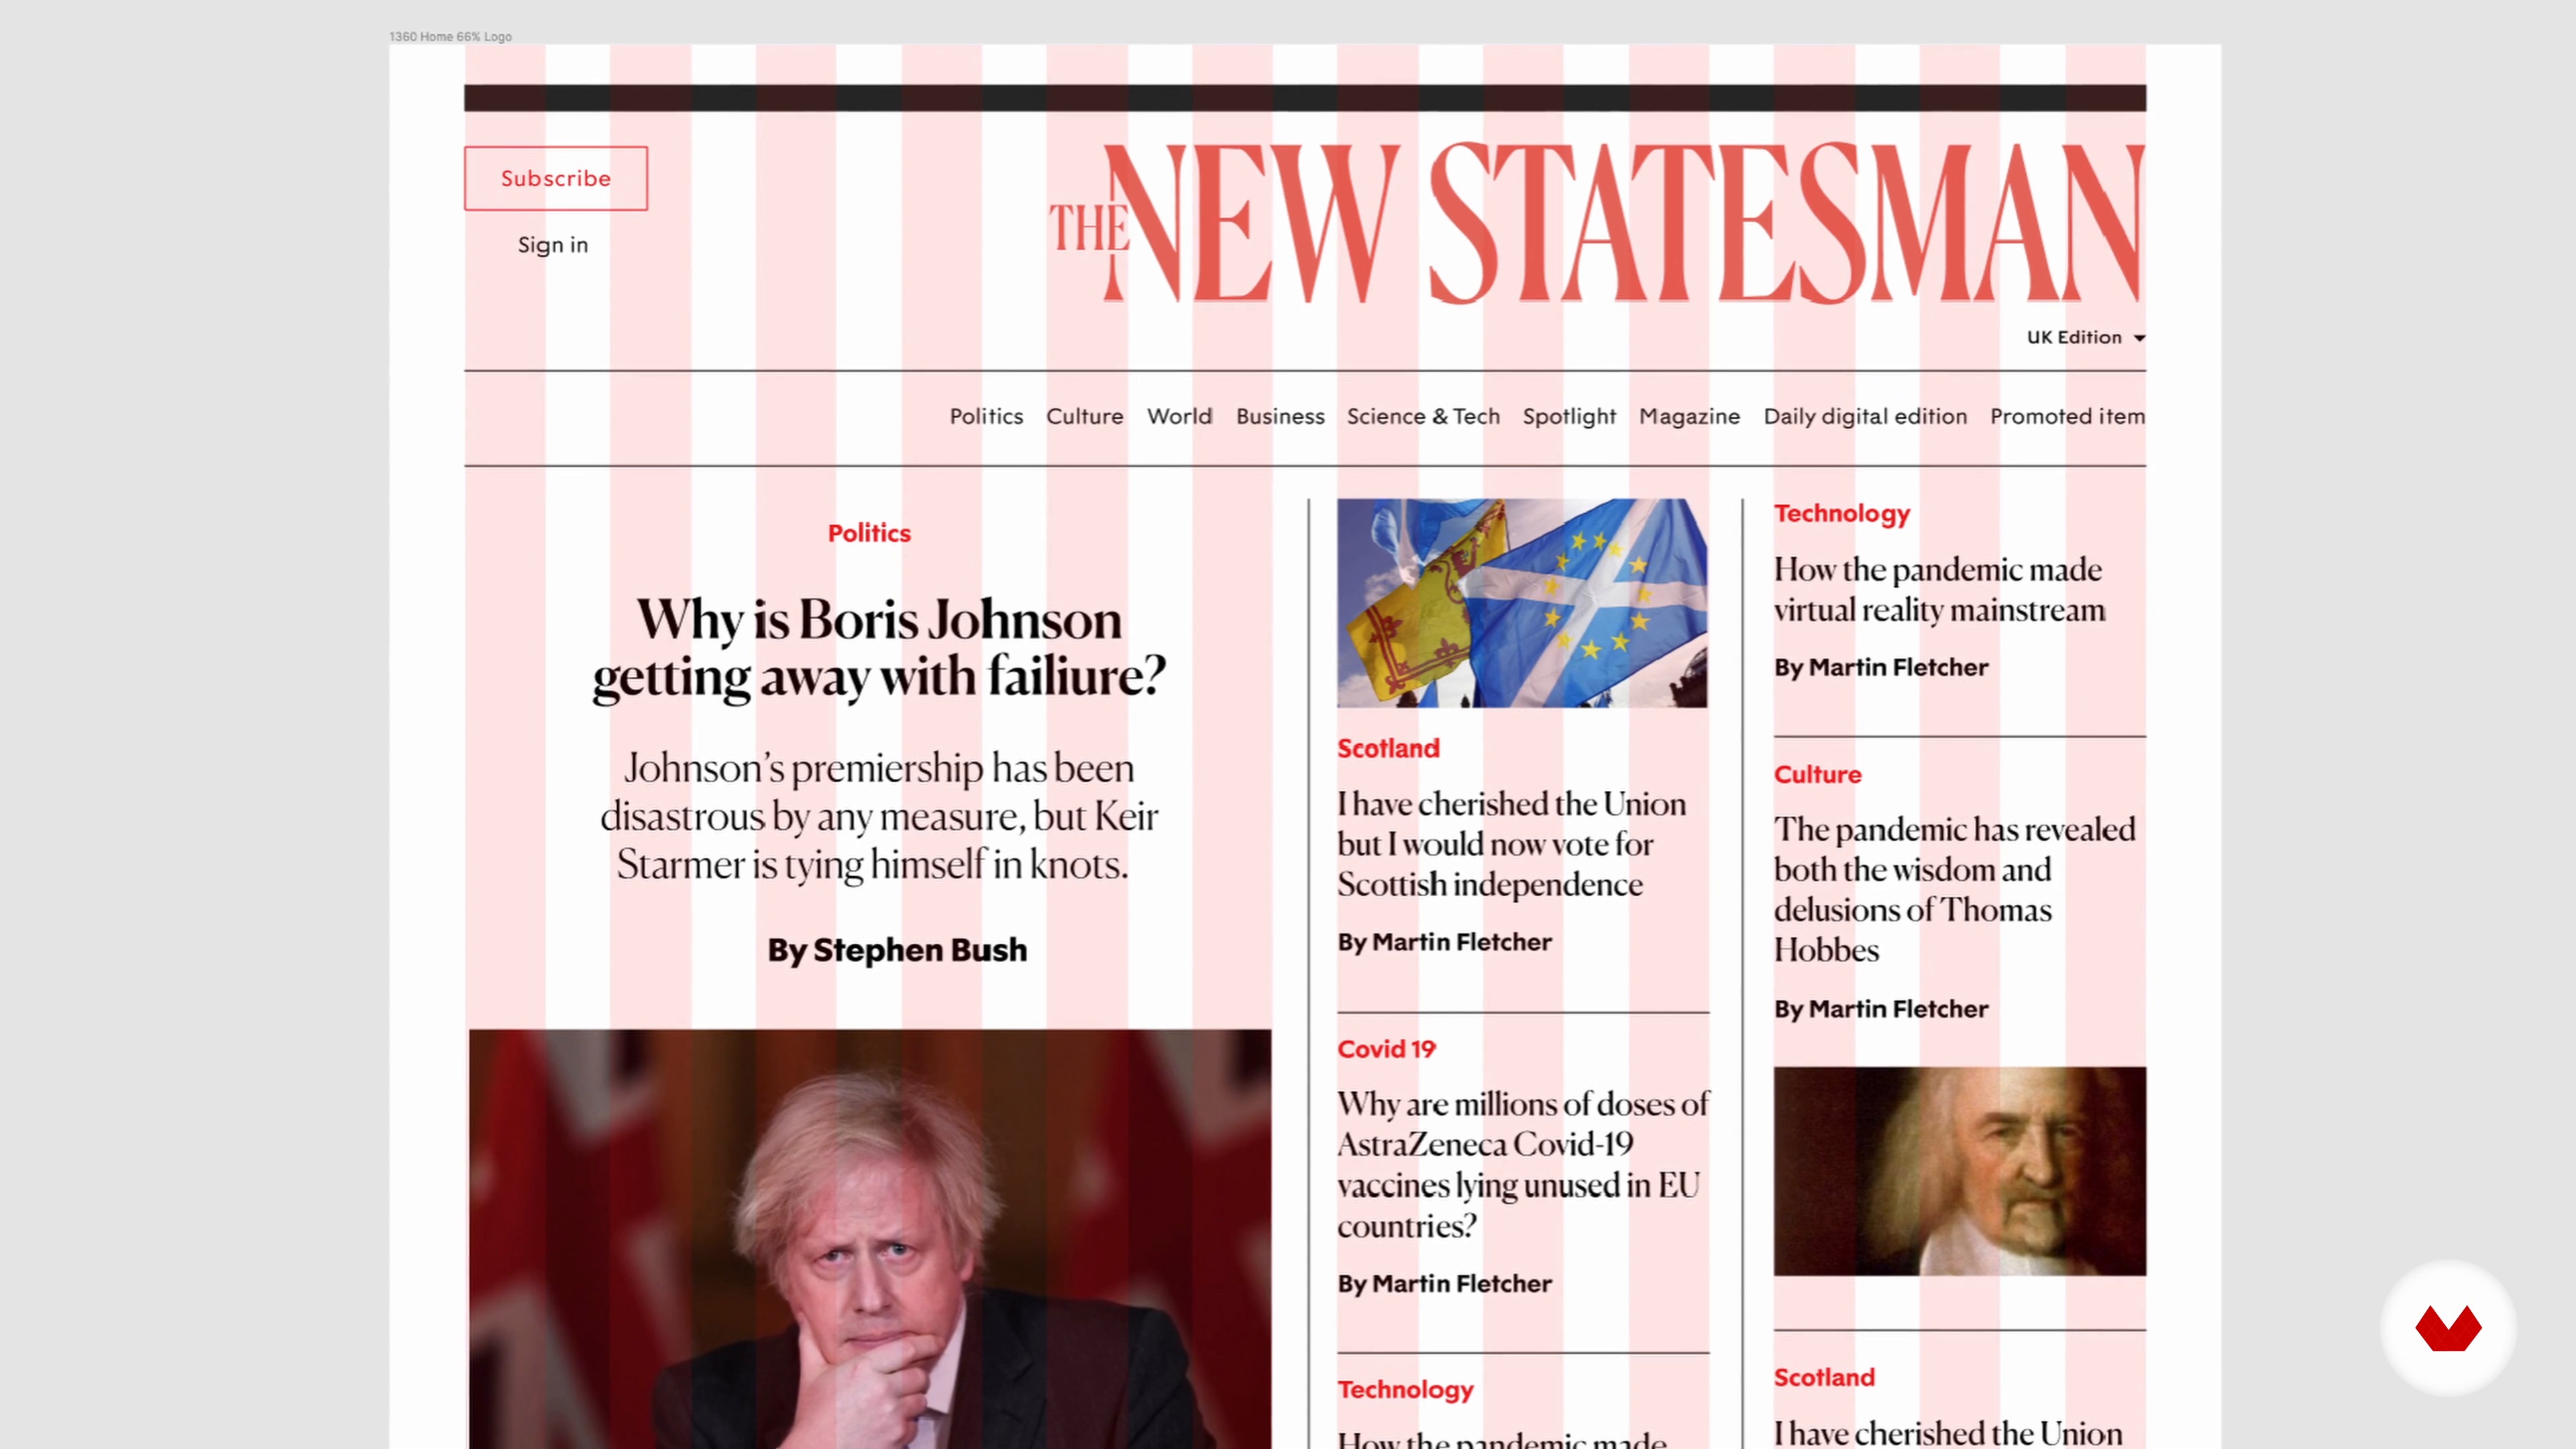 11
11Thinking "Cross-Platform"
We've built our design for our print product. What's next? The natural next step is to convert this design into a digital form. To do this, we'll see how to carry through the principles and philosophy of the original design to the digital platform.
16m
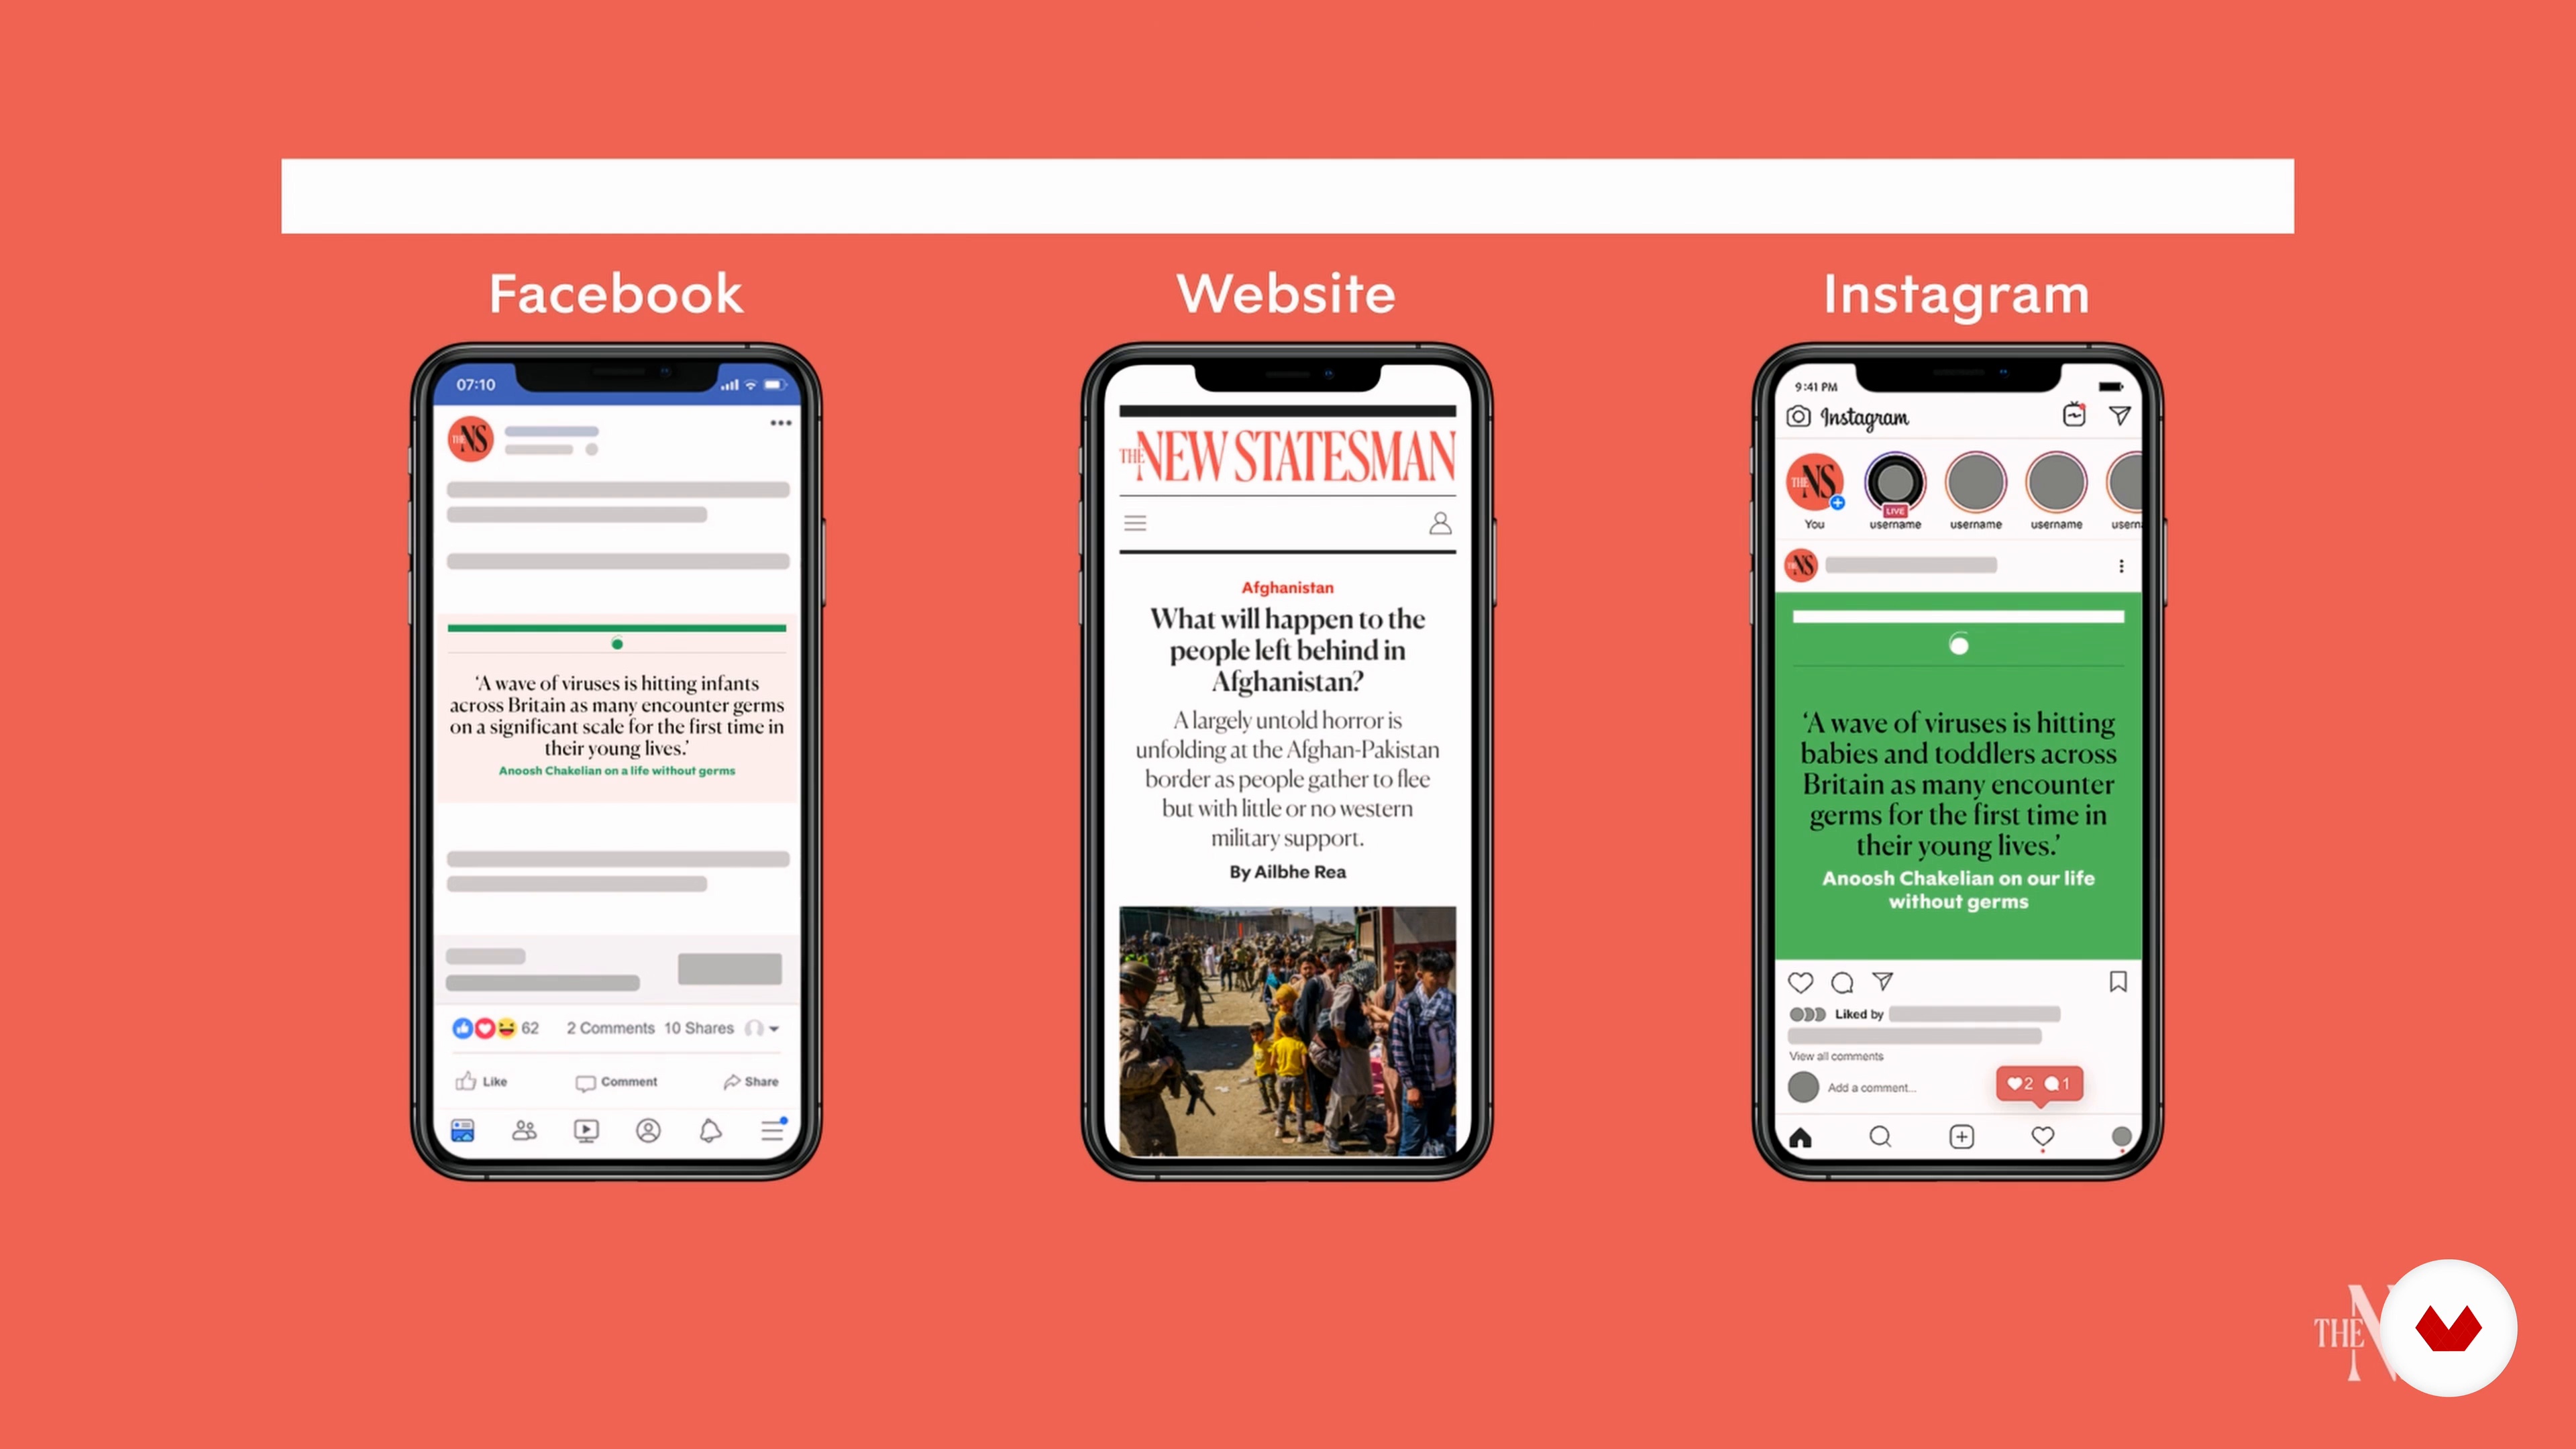 12
12From Product to Brand
In this lesson, we'll focus on developing a wider visual identity for editorial product design. Mainly, this means coming up with a logo. There are several elements to consider: the history of the logo, as well as the ways and platforms on which it will be used. Finally, I'll also explain the impact of social media on the decisions that are made on an editorial level.
15m
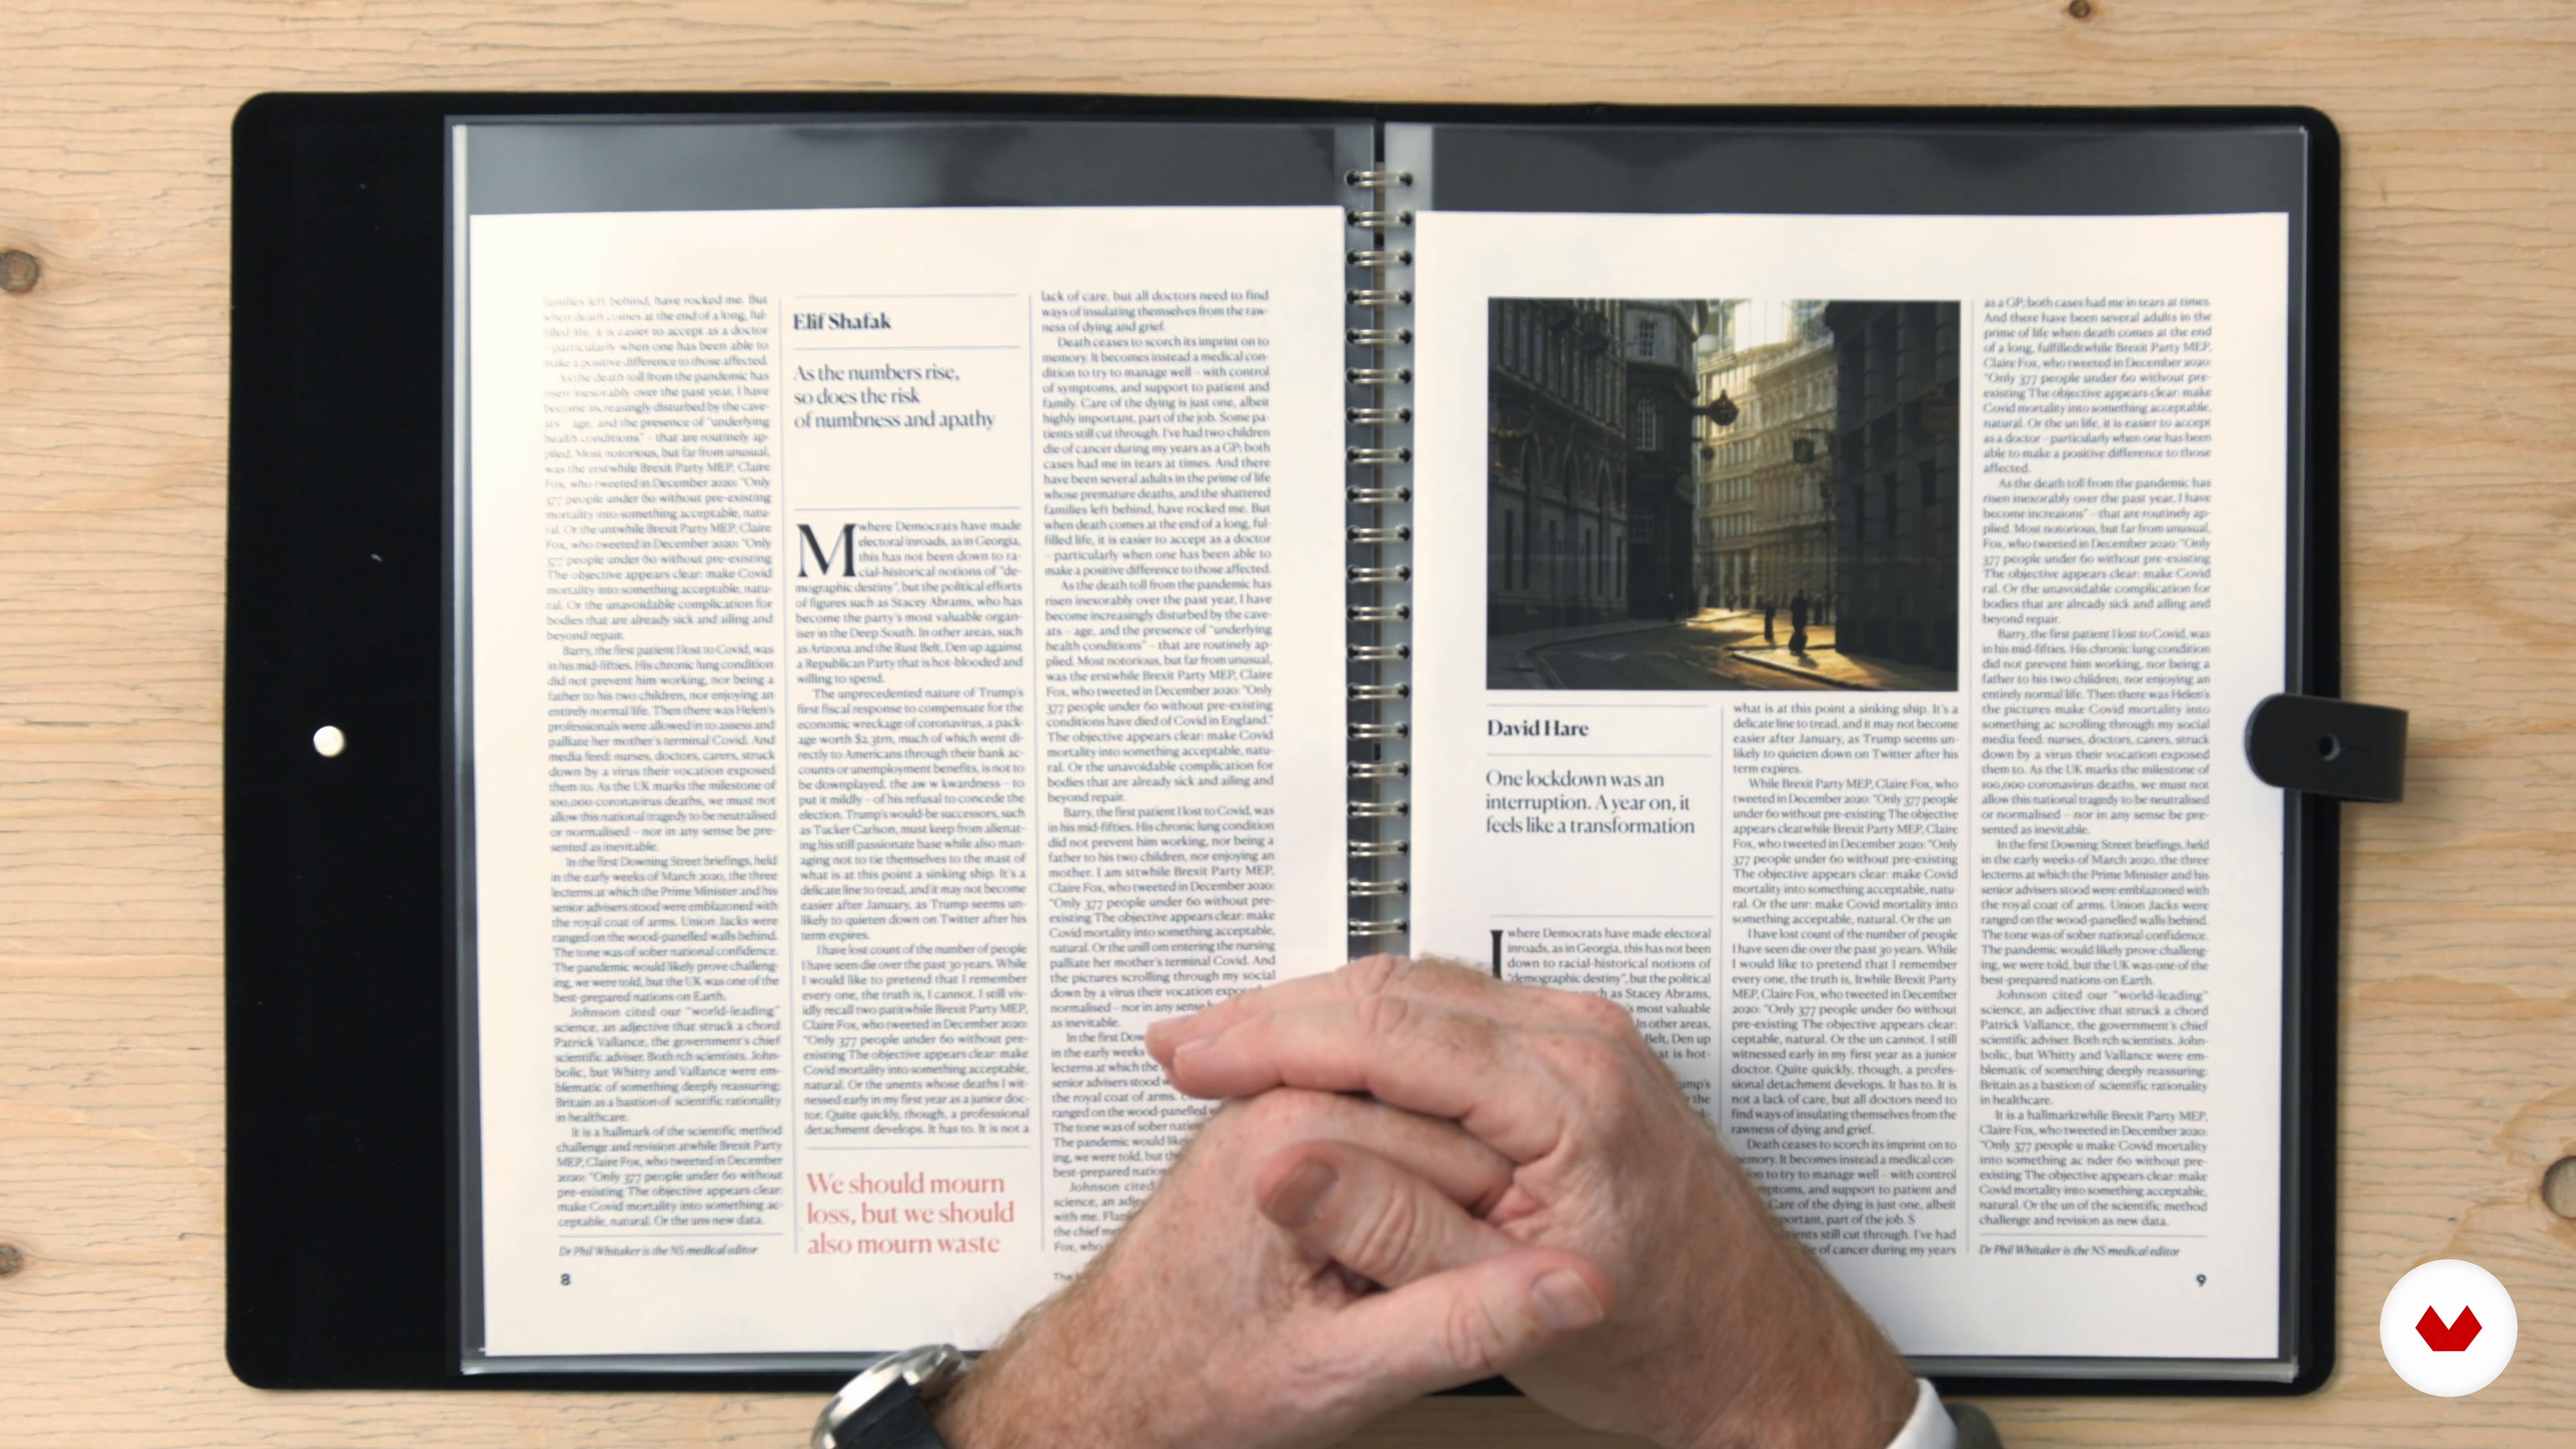 13
13Presenting to the Client 1
The moment when you present your design to your client is one of the most significant of the entire process. They have the final say as to what will be released, and so I now will share with you how I present projects to my clients and respond to their feedback.
18m
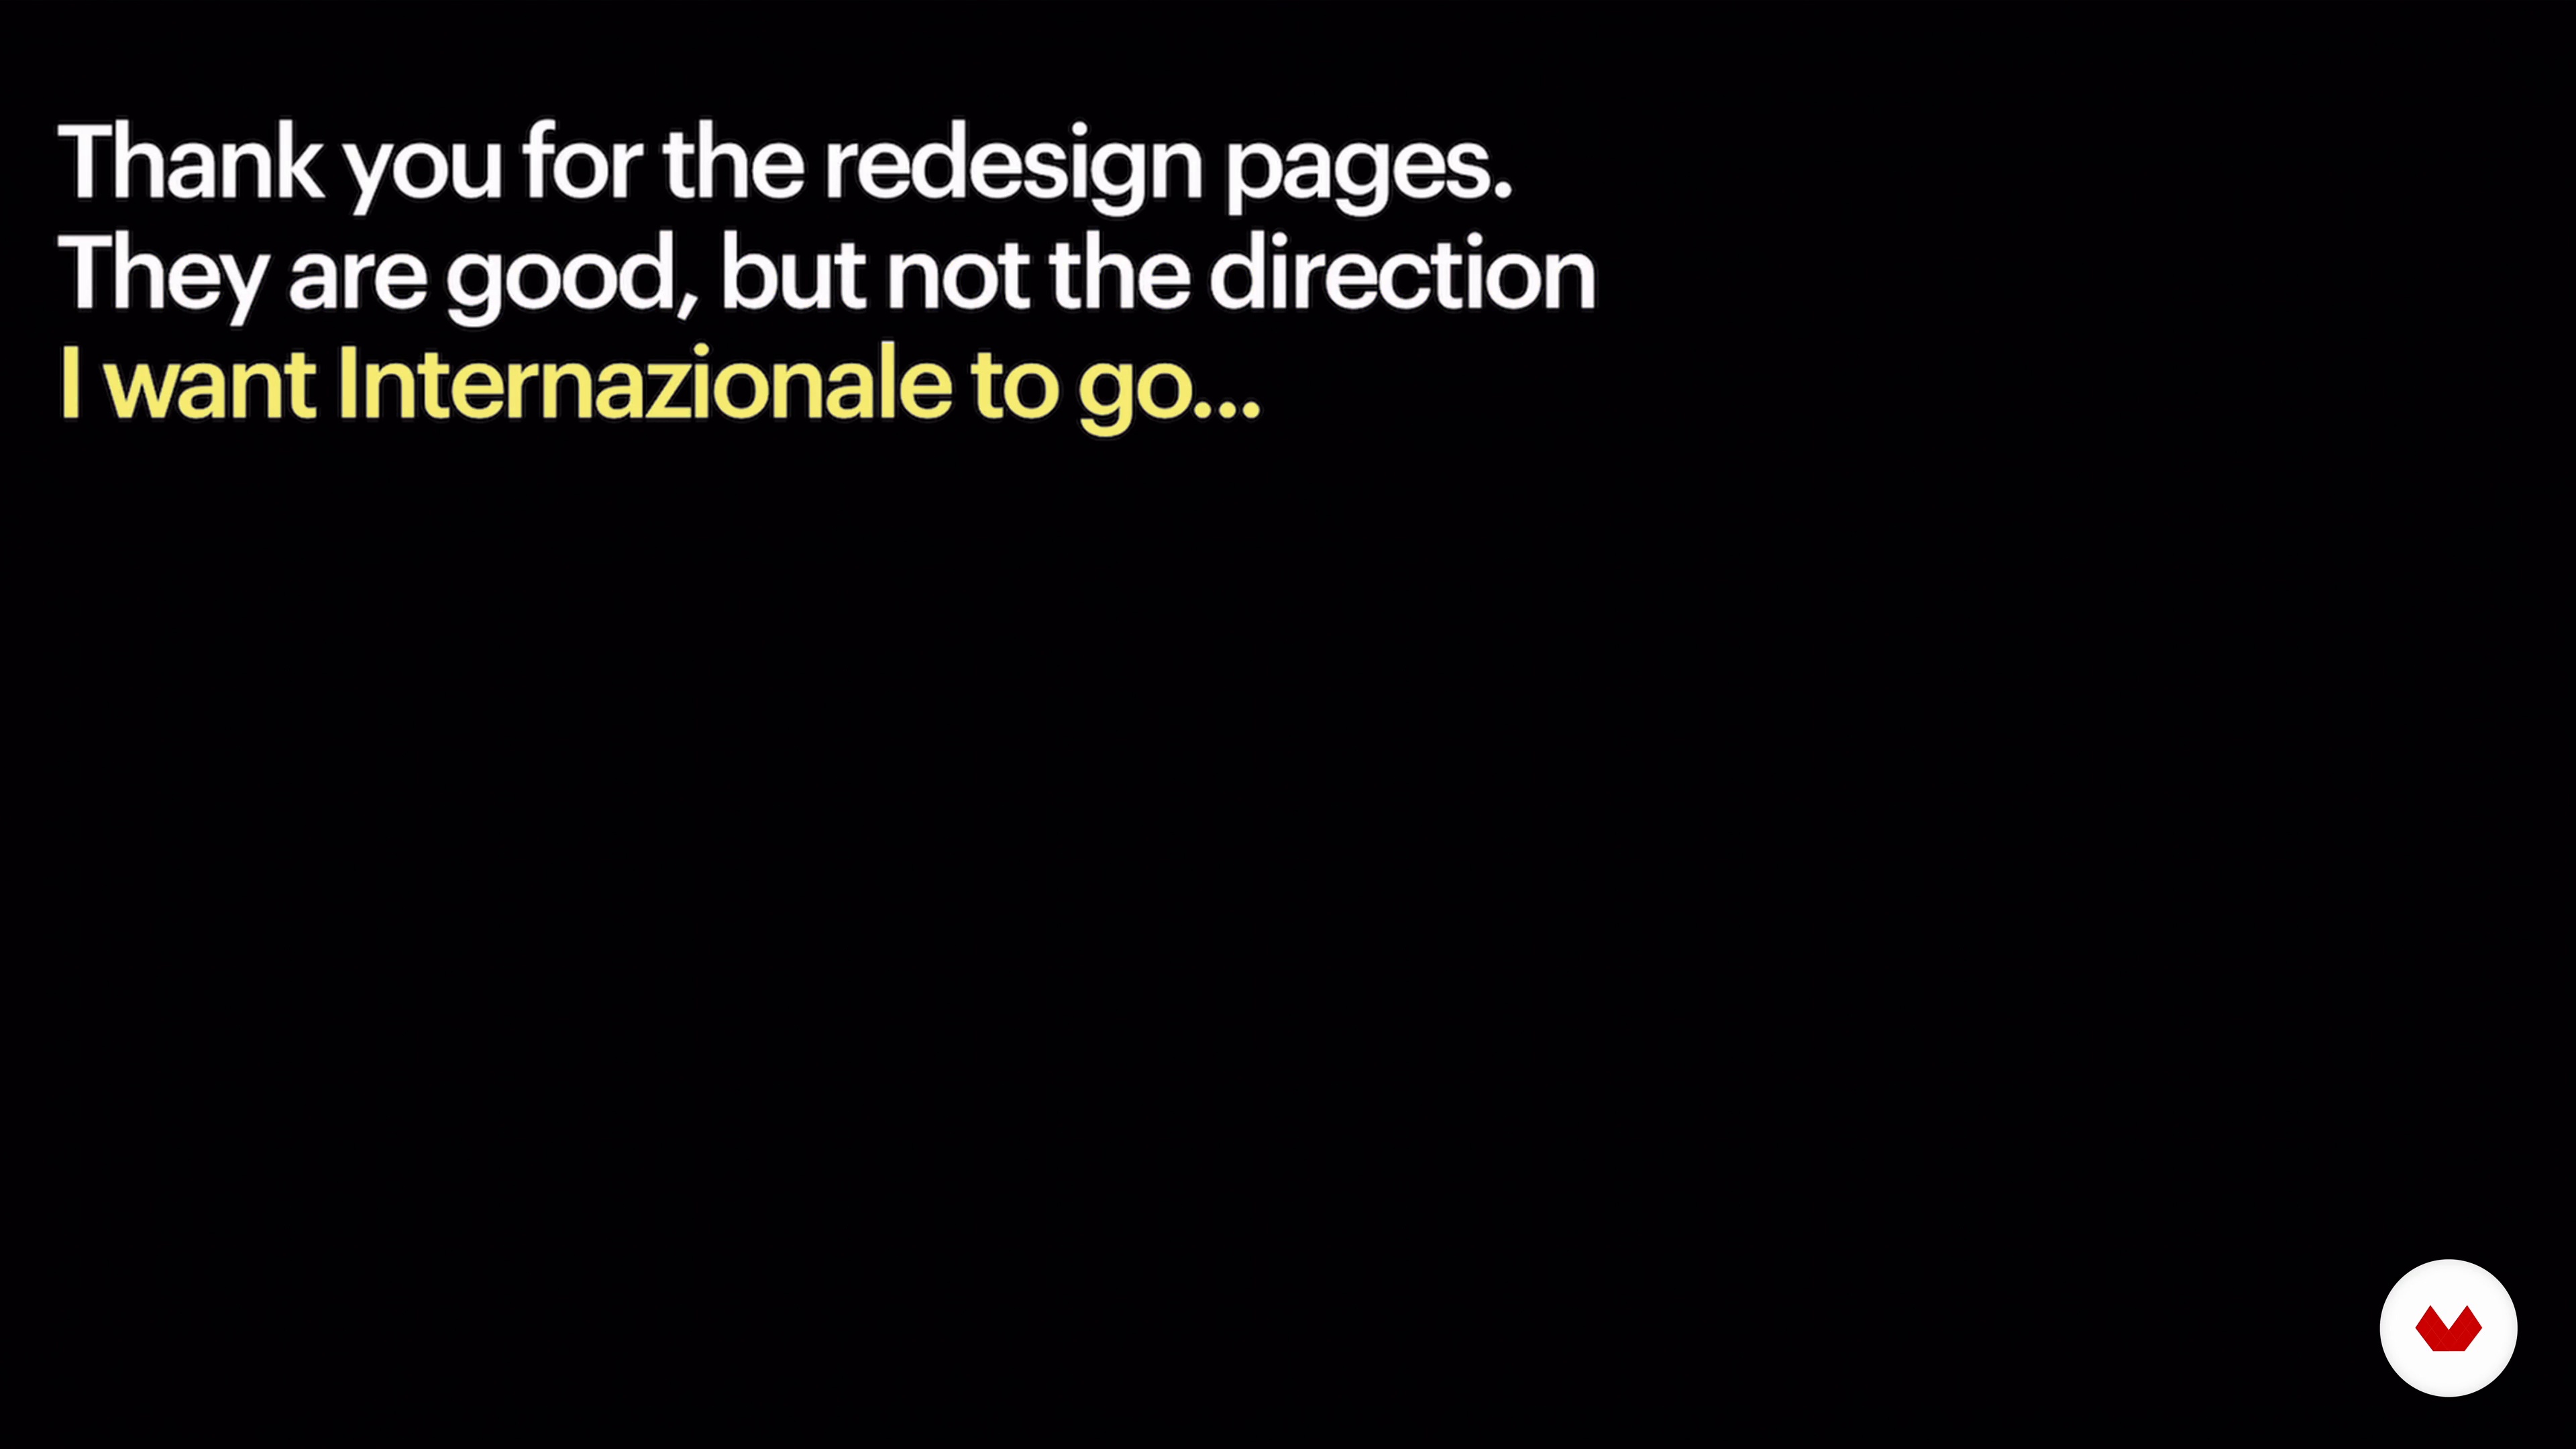 14
14Presenting to the Client 2
To give you an example of what we've just seen, I will show you what happened when I first redesigned the Internazionale magazine in print and how the client reacted.
3m
 15
15Delivery and Implementation
In this last lesson, we will look at how to deliver to the client the tools they will need to implement your designs in the real world. This will depend on whether you're working on a print project or a digital one.
9m
 3
3Journalistic Infographics: History and Methodologies
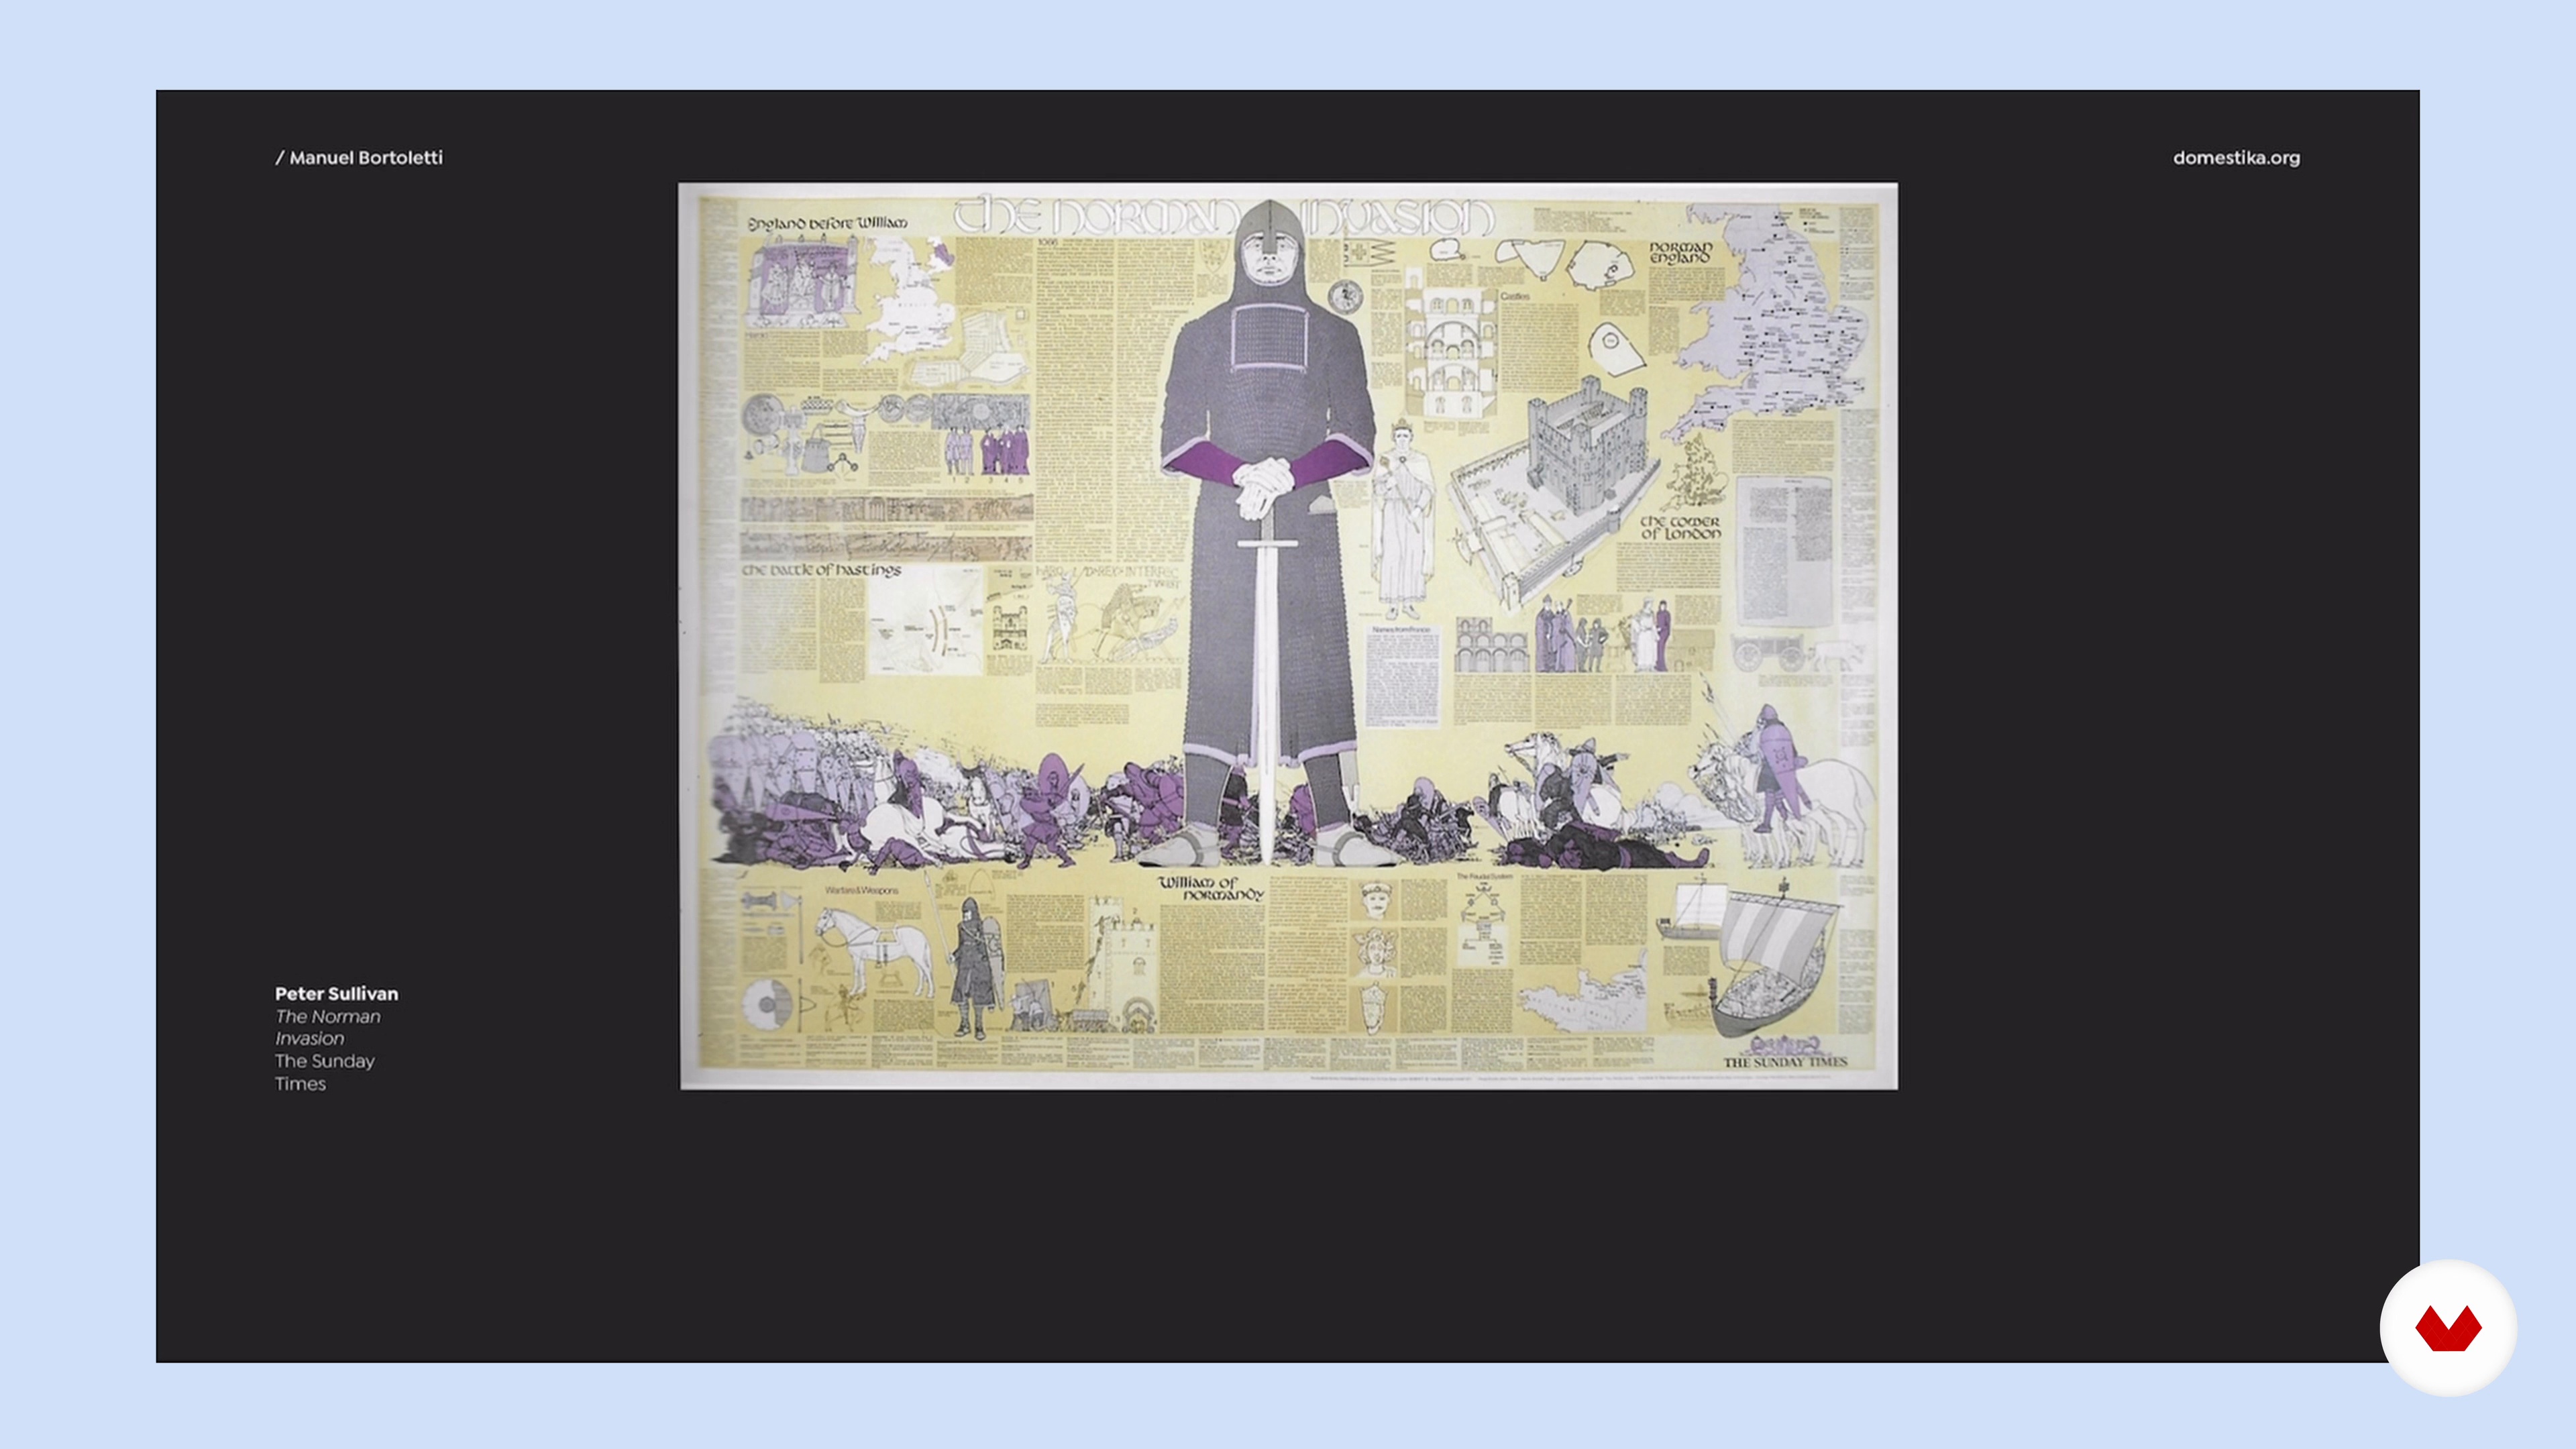
In this lesson, you will learn about the origins of infographics in journalism, how information can be displayed, and how we can use these views to convey a message.
15m
 4
4Represent the Interior of an Object
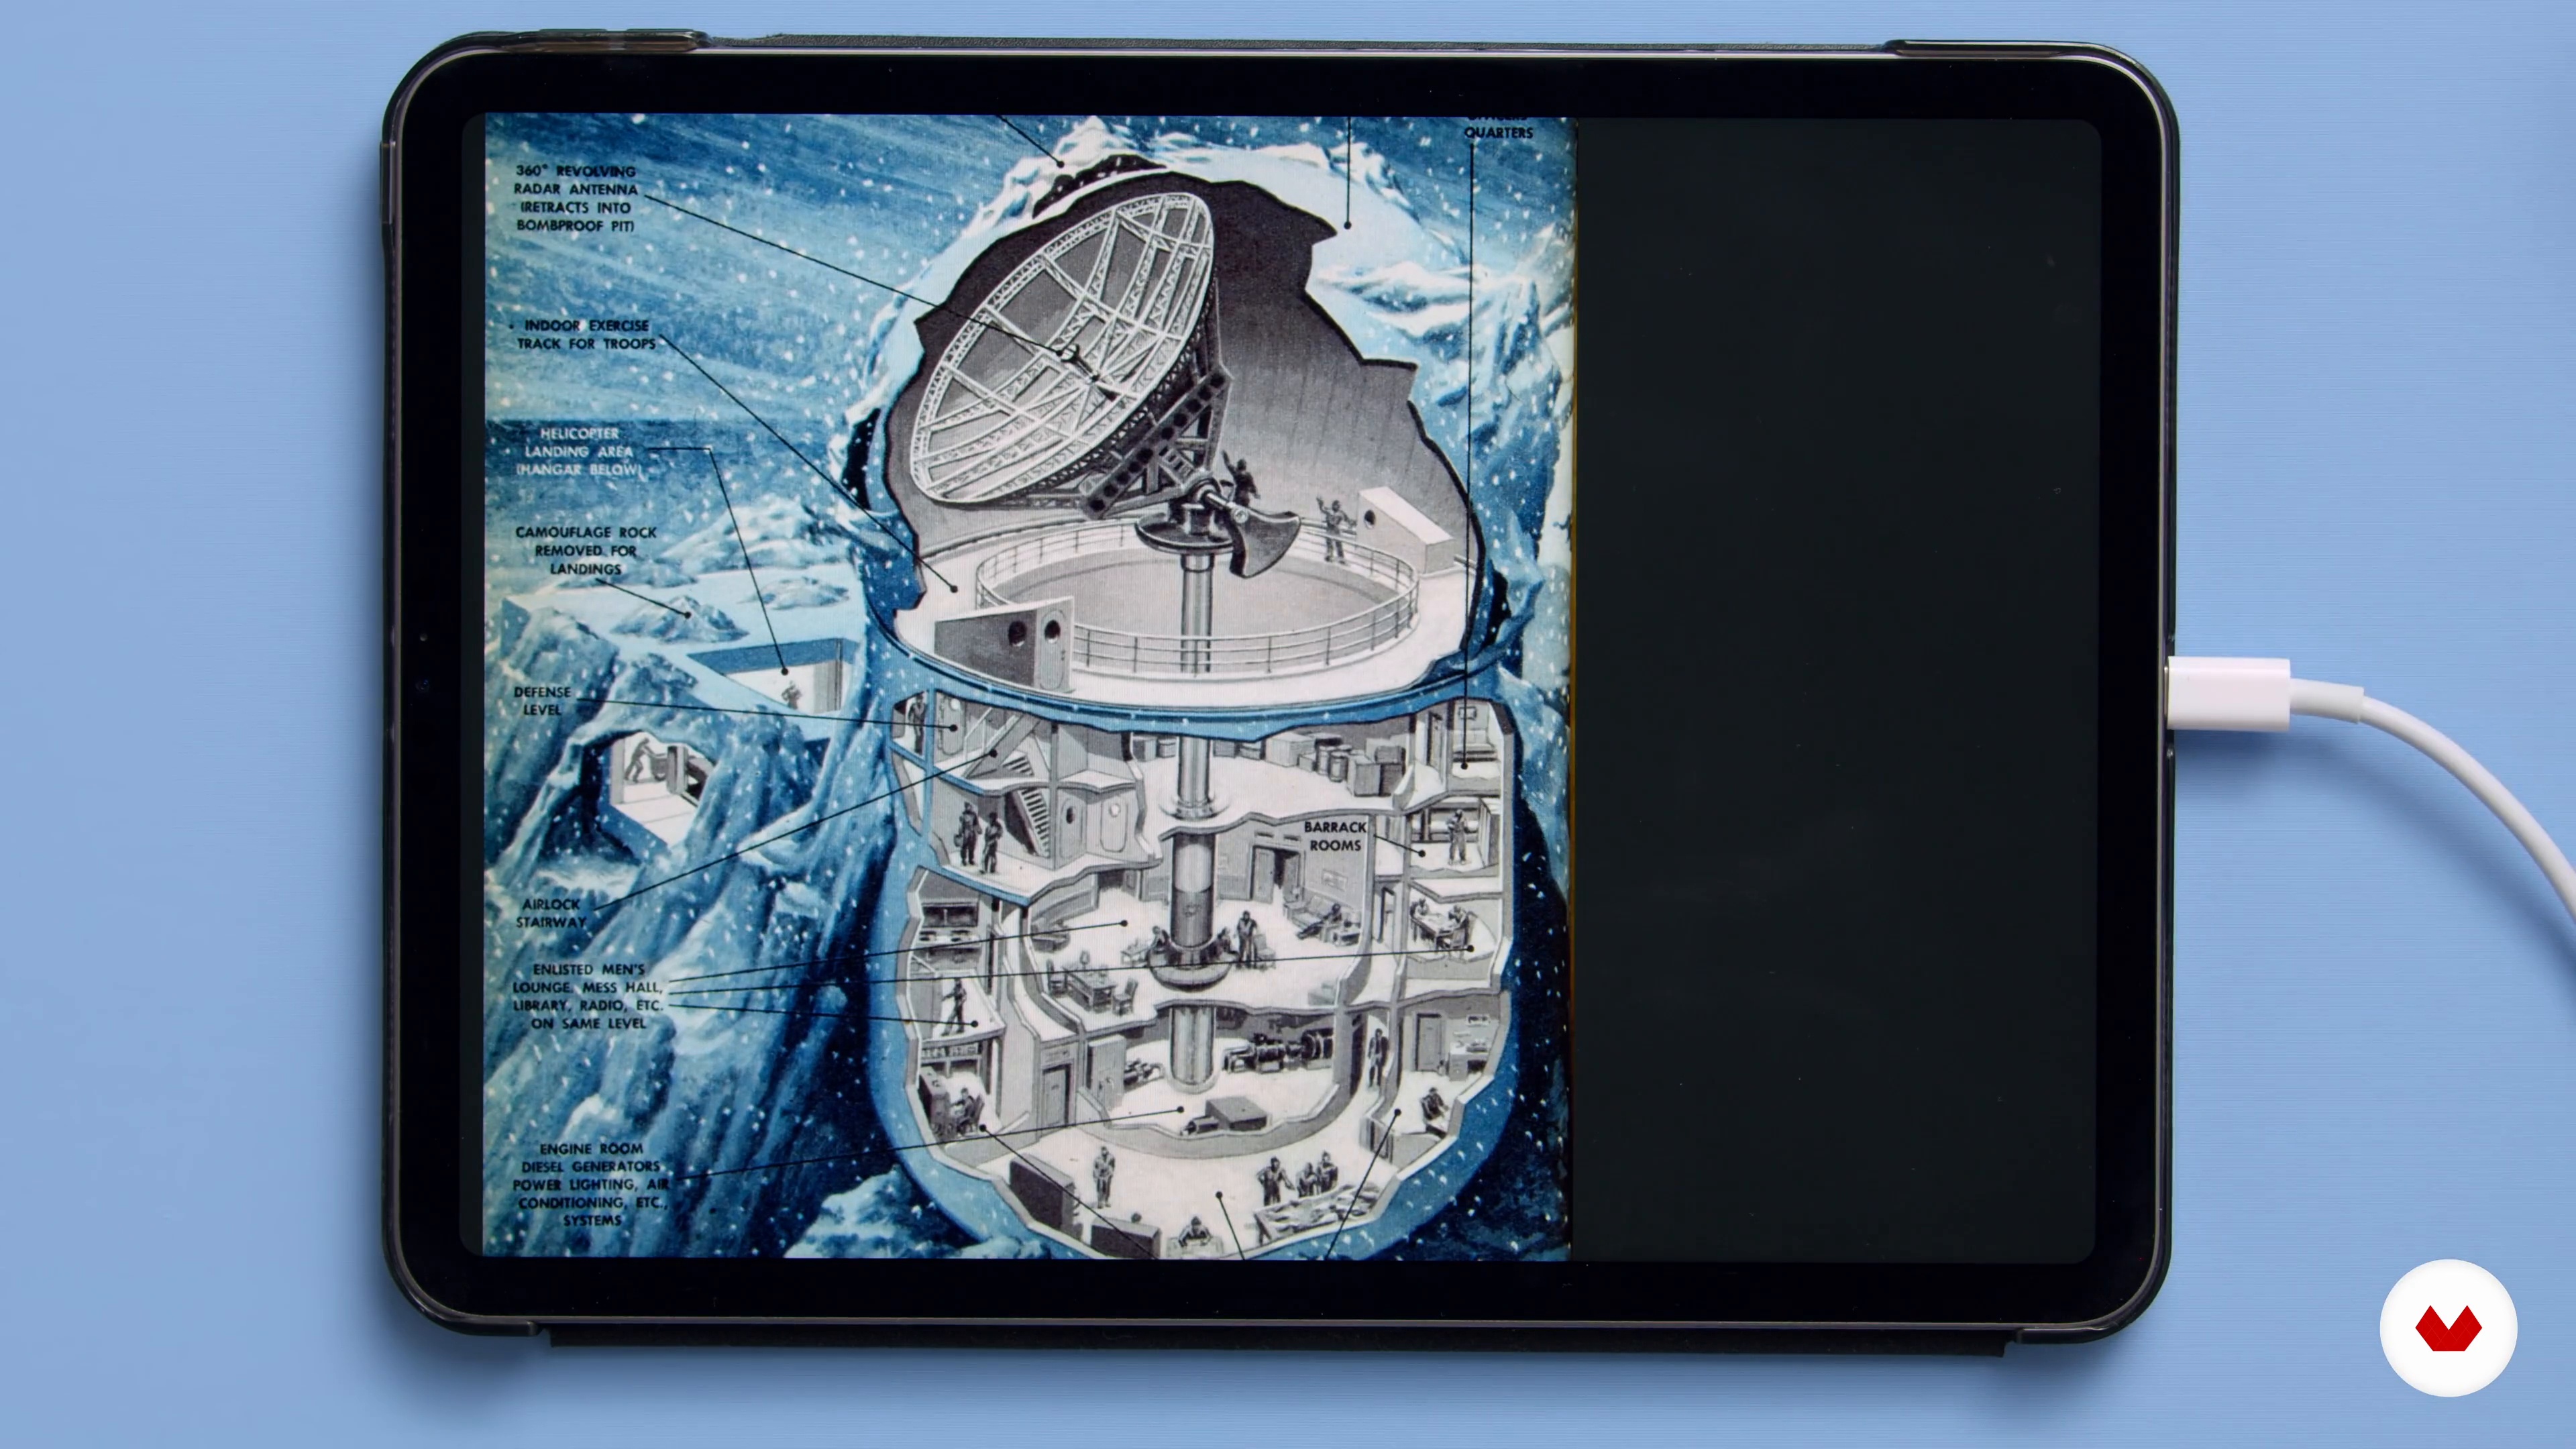
Here I will show you several methods of representing the interior of an object.
7m
 5
5Draw in Isometric Axonometry 1
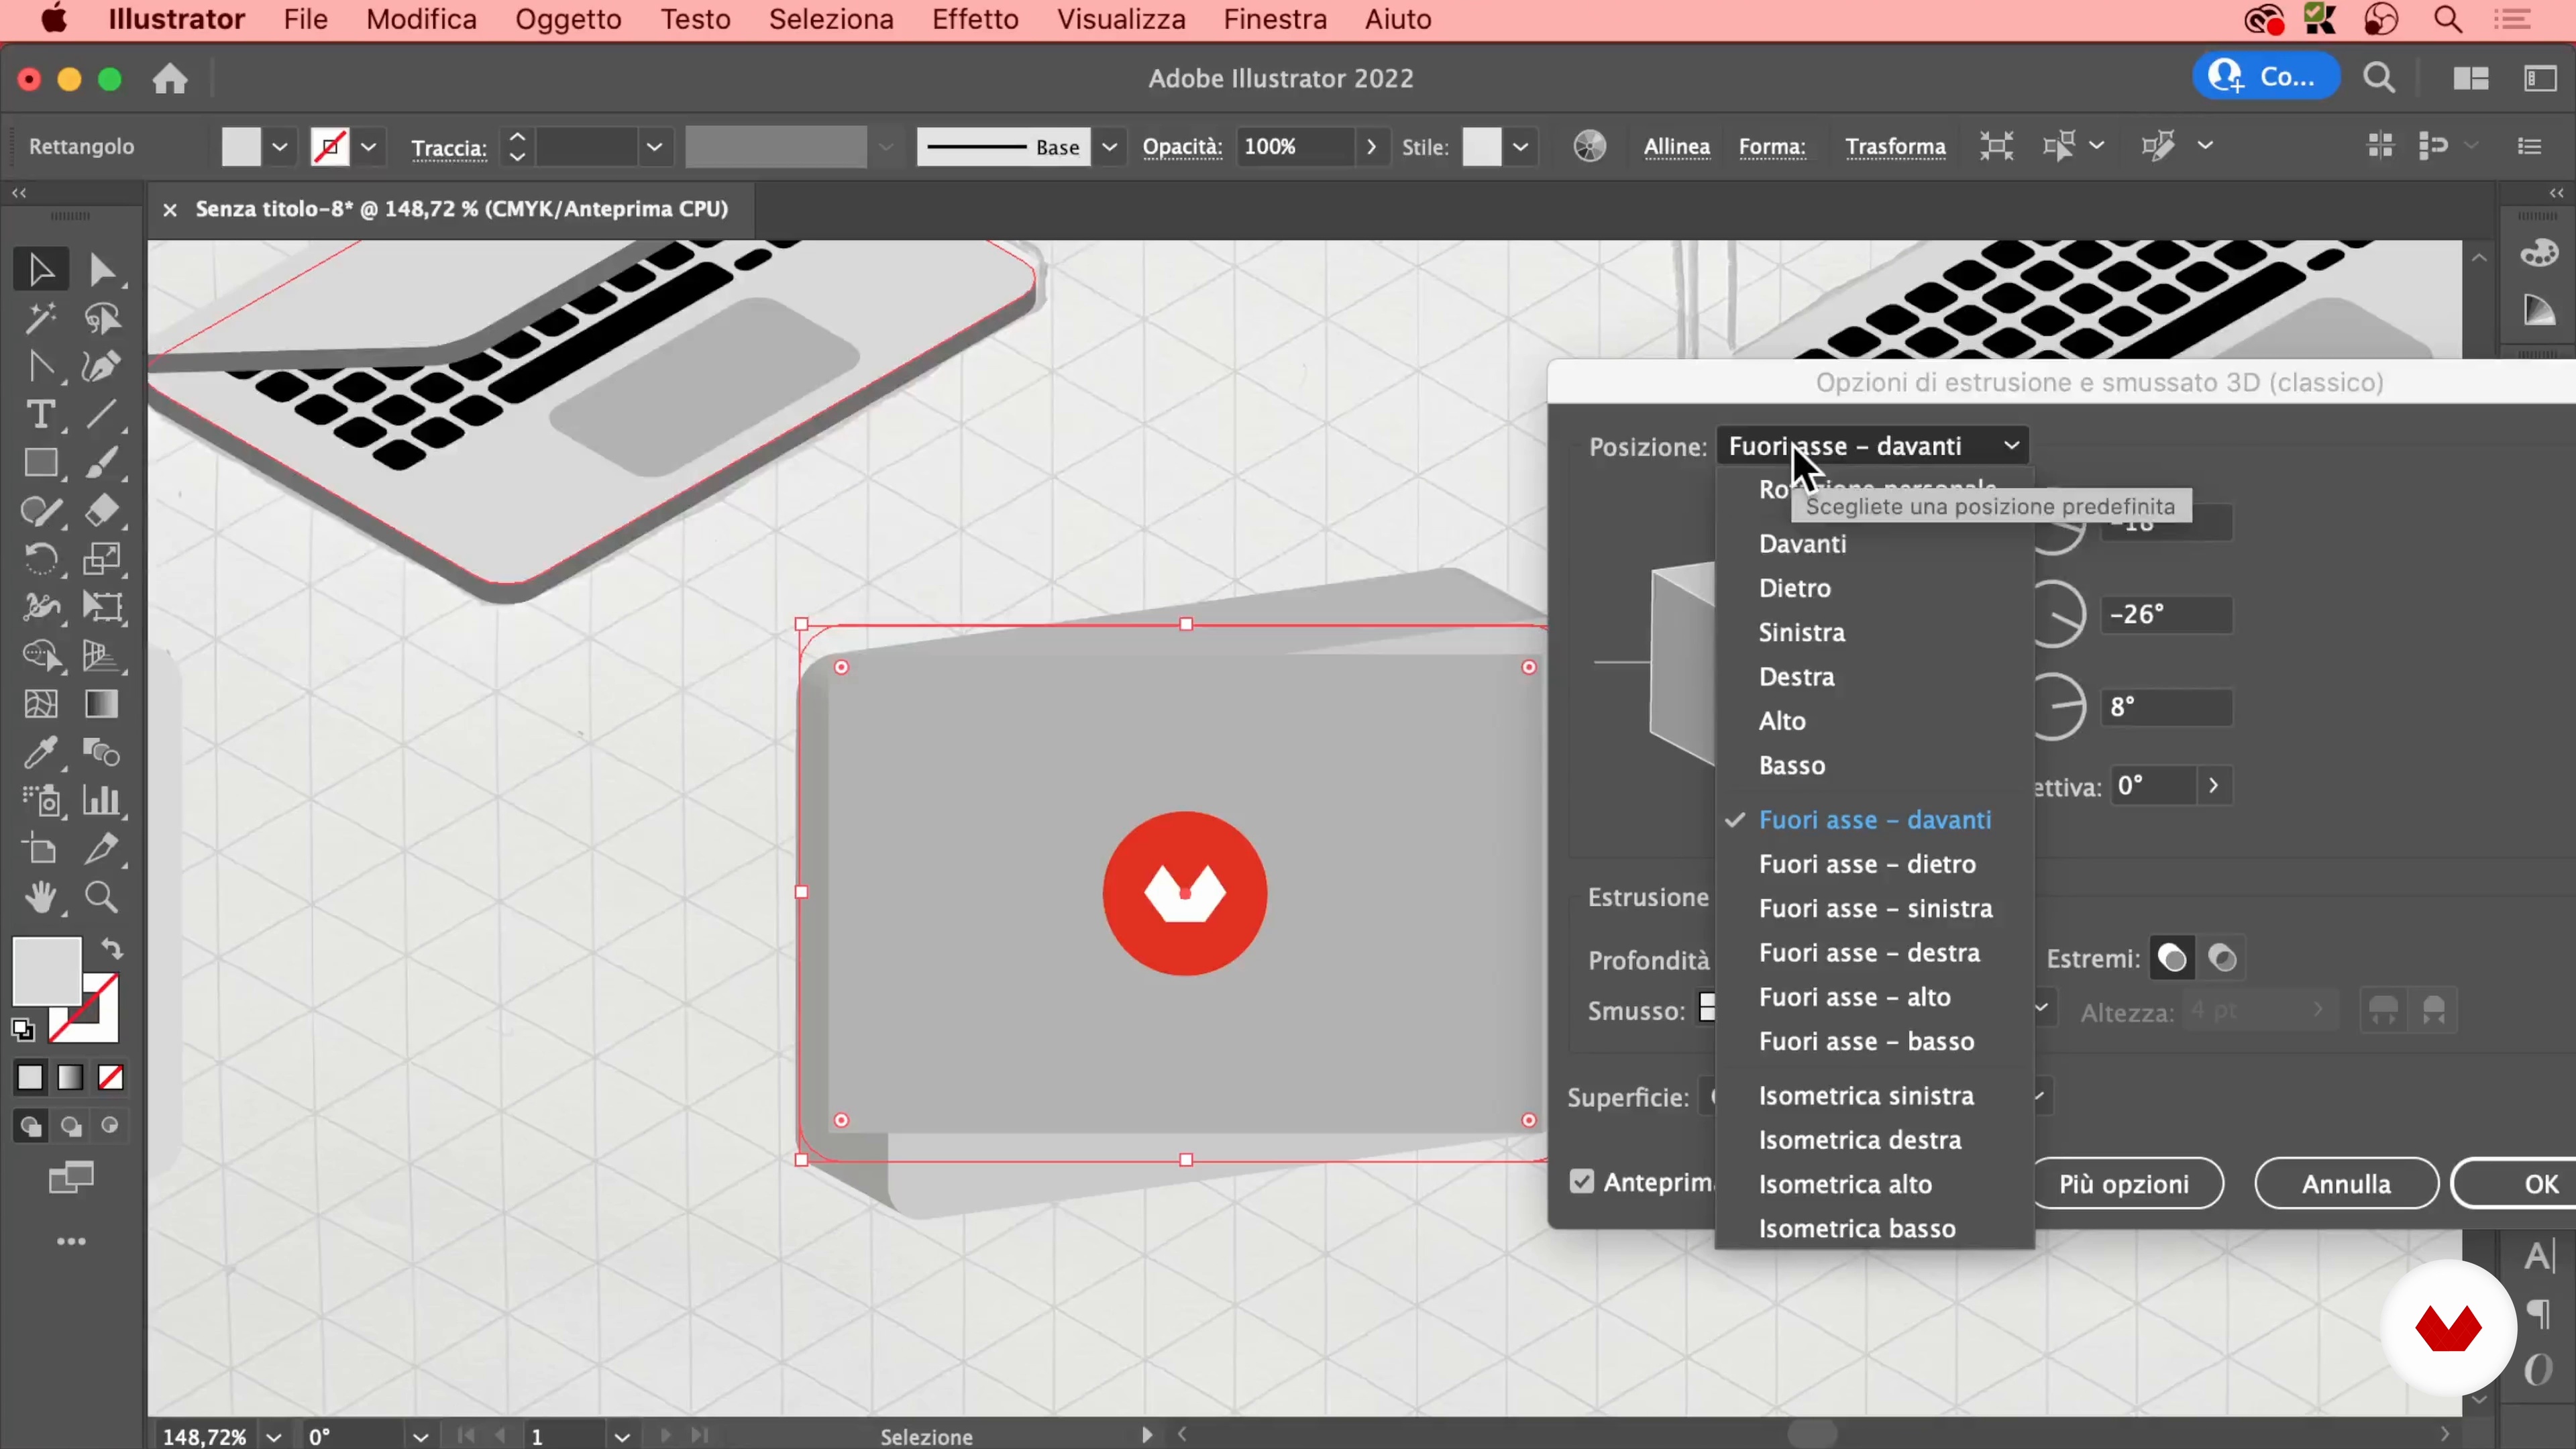
In this lesson you will learn how to draw in isometric axonometry, which is effective for representing a three-dimensional object with volumetric precision. Here, I'll start with the hand drawing and then transfer it to Adobe Illustrator.
14m
 6
6Draw in Isometric Axonometry 2
Now I will complete the illustration of the objects and add the final details.
12m
 7
7The Grid: a Liberating Rule
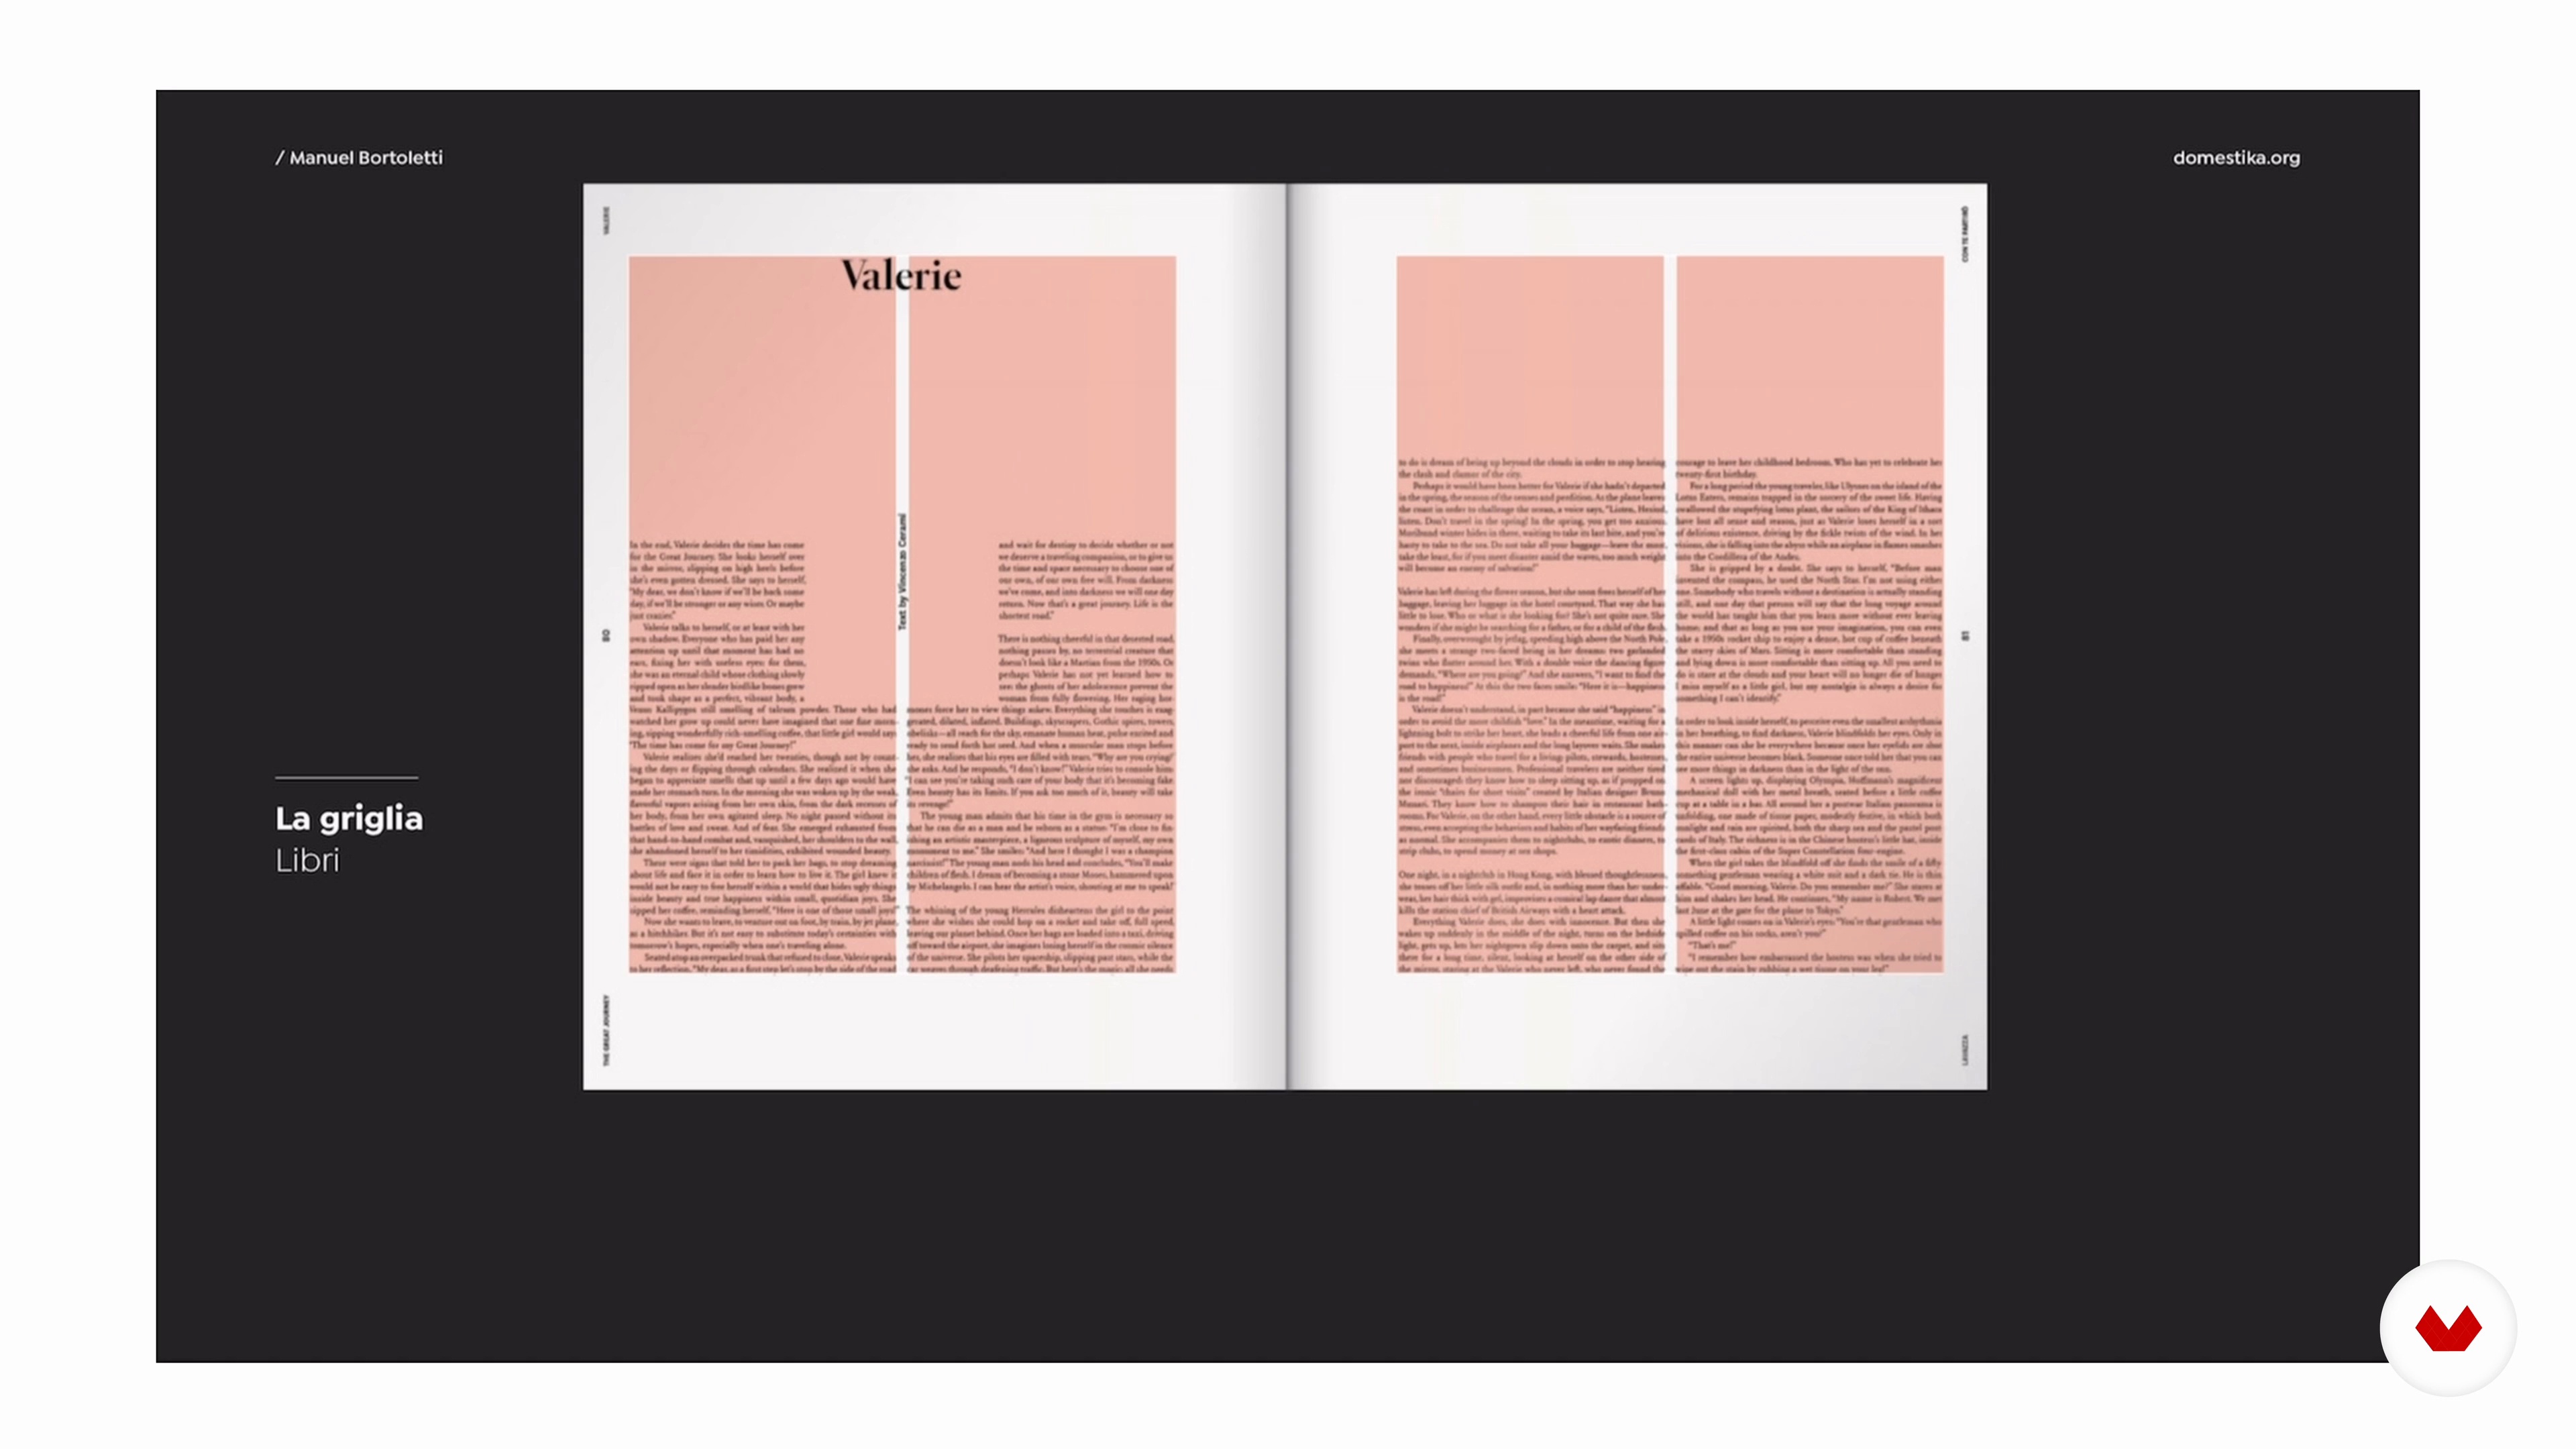
Now I will explain what a grid is, how it is composed and how you can use it for your infographic. I will show you how important white space is in layouts, and, finally, you will see a practical exercise with which to train your eye for compositional balance, using the grid.
12m
 8
8Typography in Infographics
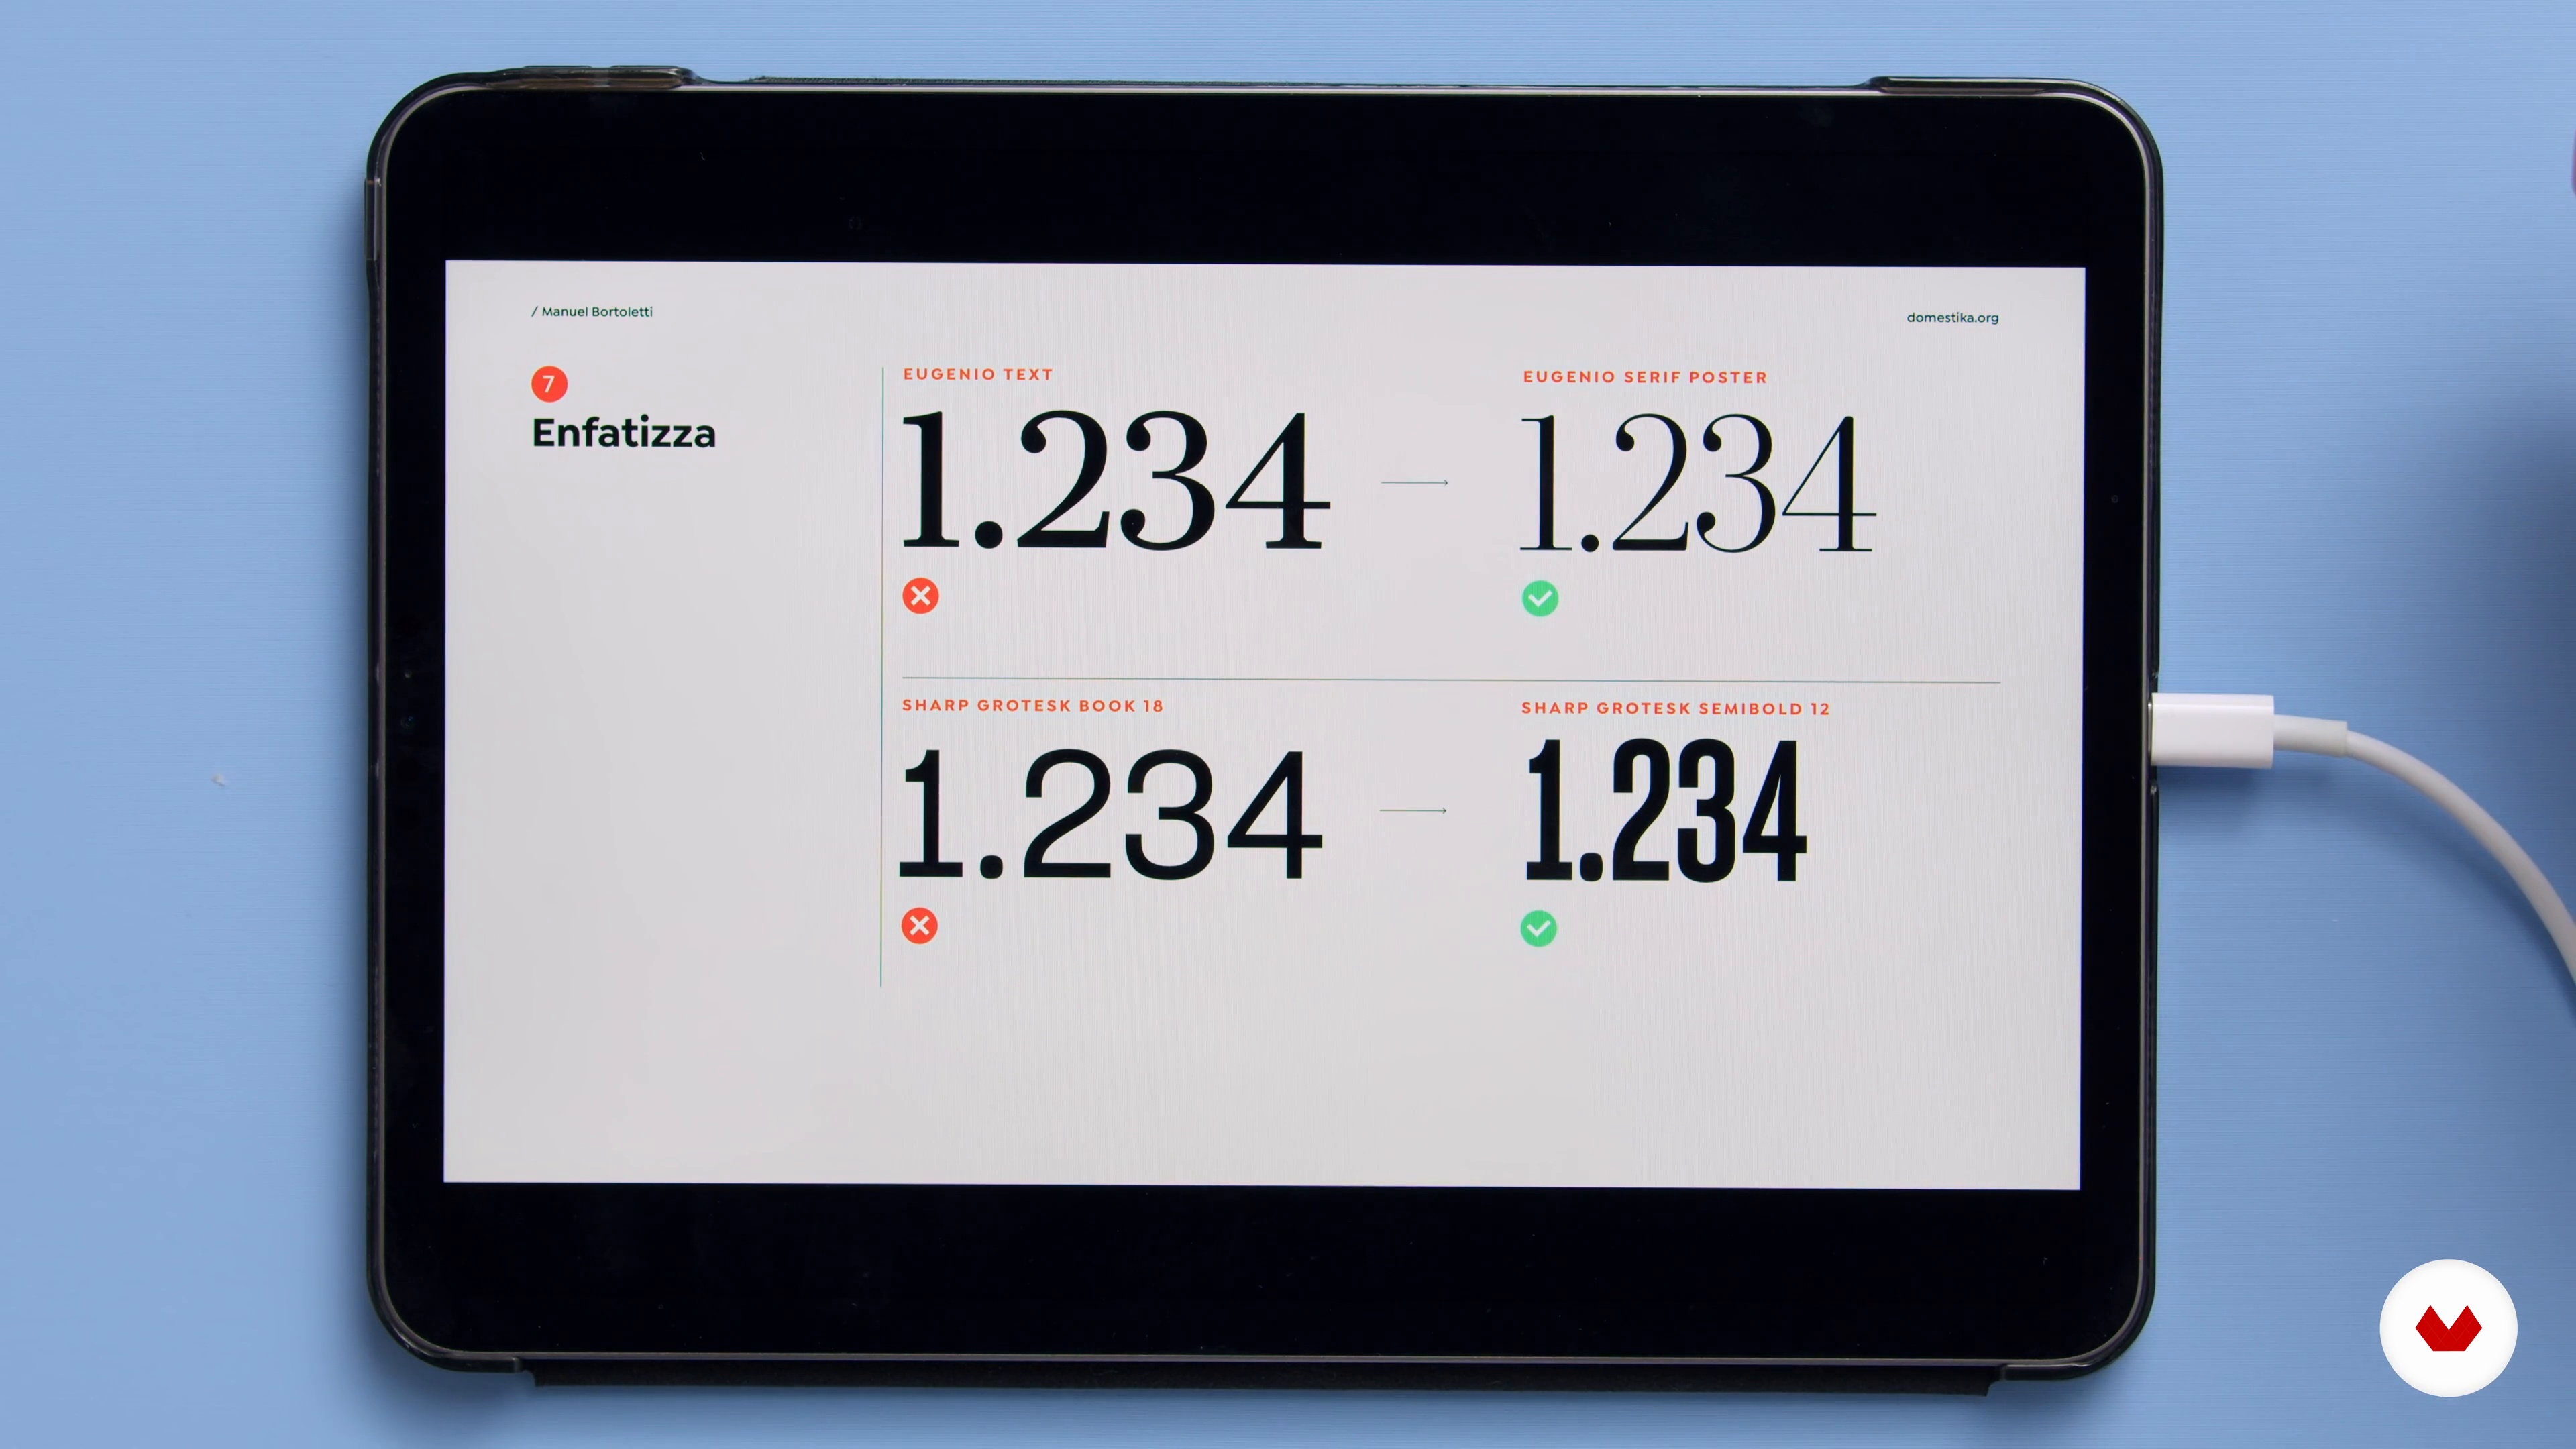
At this point, I would like to give you some advice on how to choose the most suitable fonts for the contents of the infographic, how to combine them with each other and how to best use them in the project by creating a hierarchy.
8m
 9
9Color in the Infographic
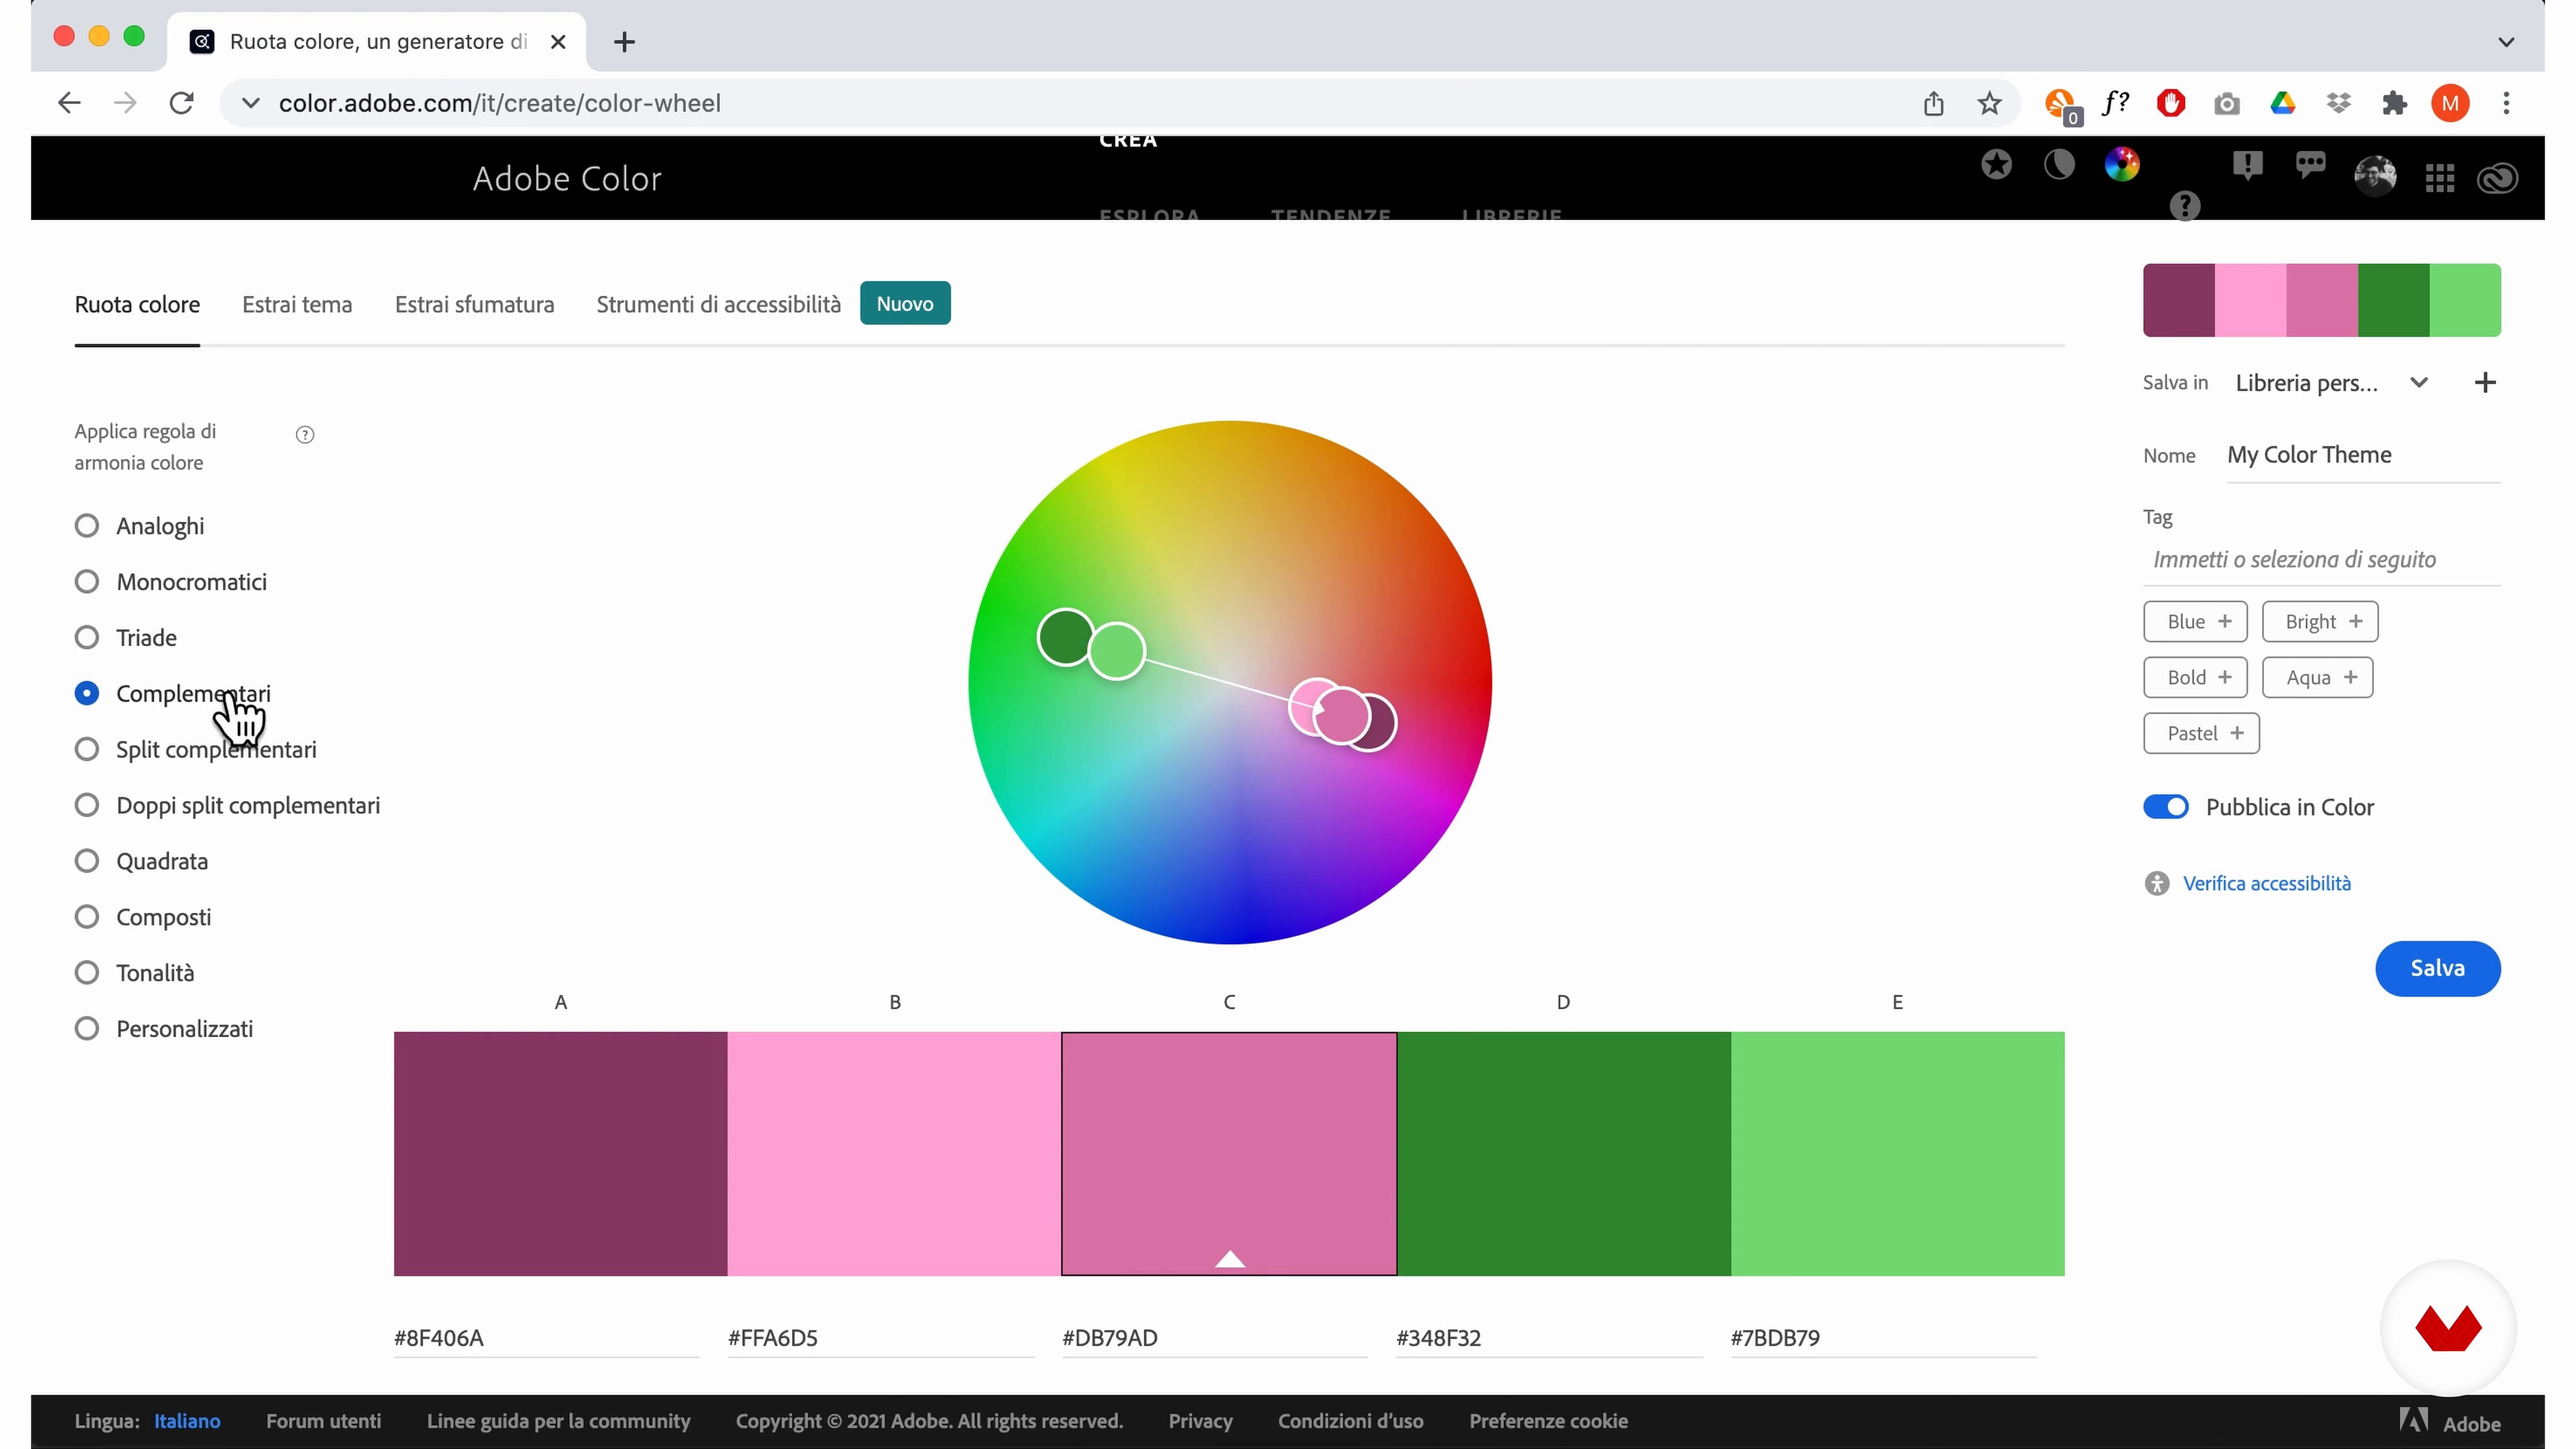
Now I will teach you the principles of selecting color palettes for infographics, starting with the key color that you will need to highlight the important data, up to choosing neutral colors to support.
7m
 10
10The Brief 1
In this lesson I will present the brief and I will analyze with you the contents on the Fukushima disaster, with the aim of deciding which types of visualization to adopt to tell the different information.
15m
 11
11The Brief 2
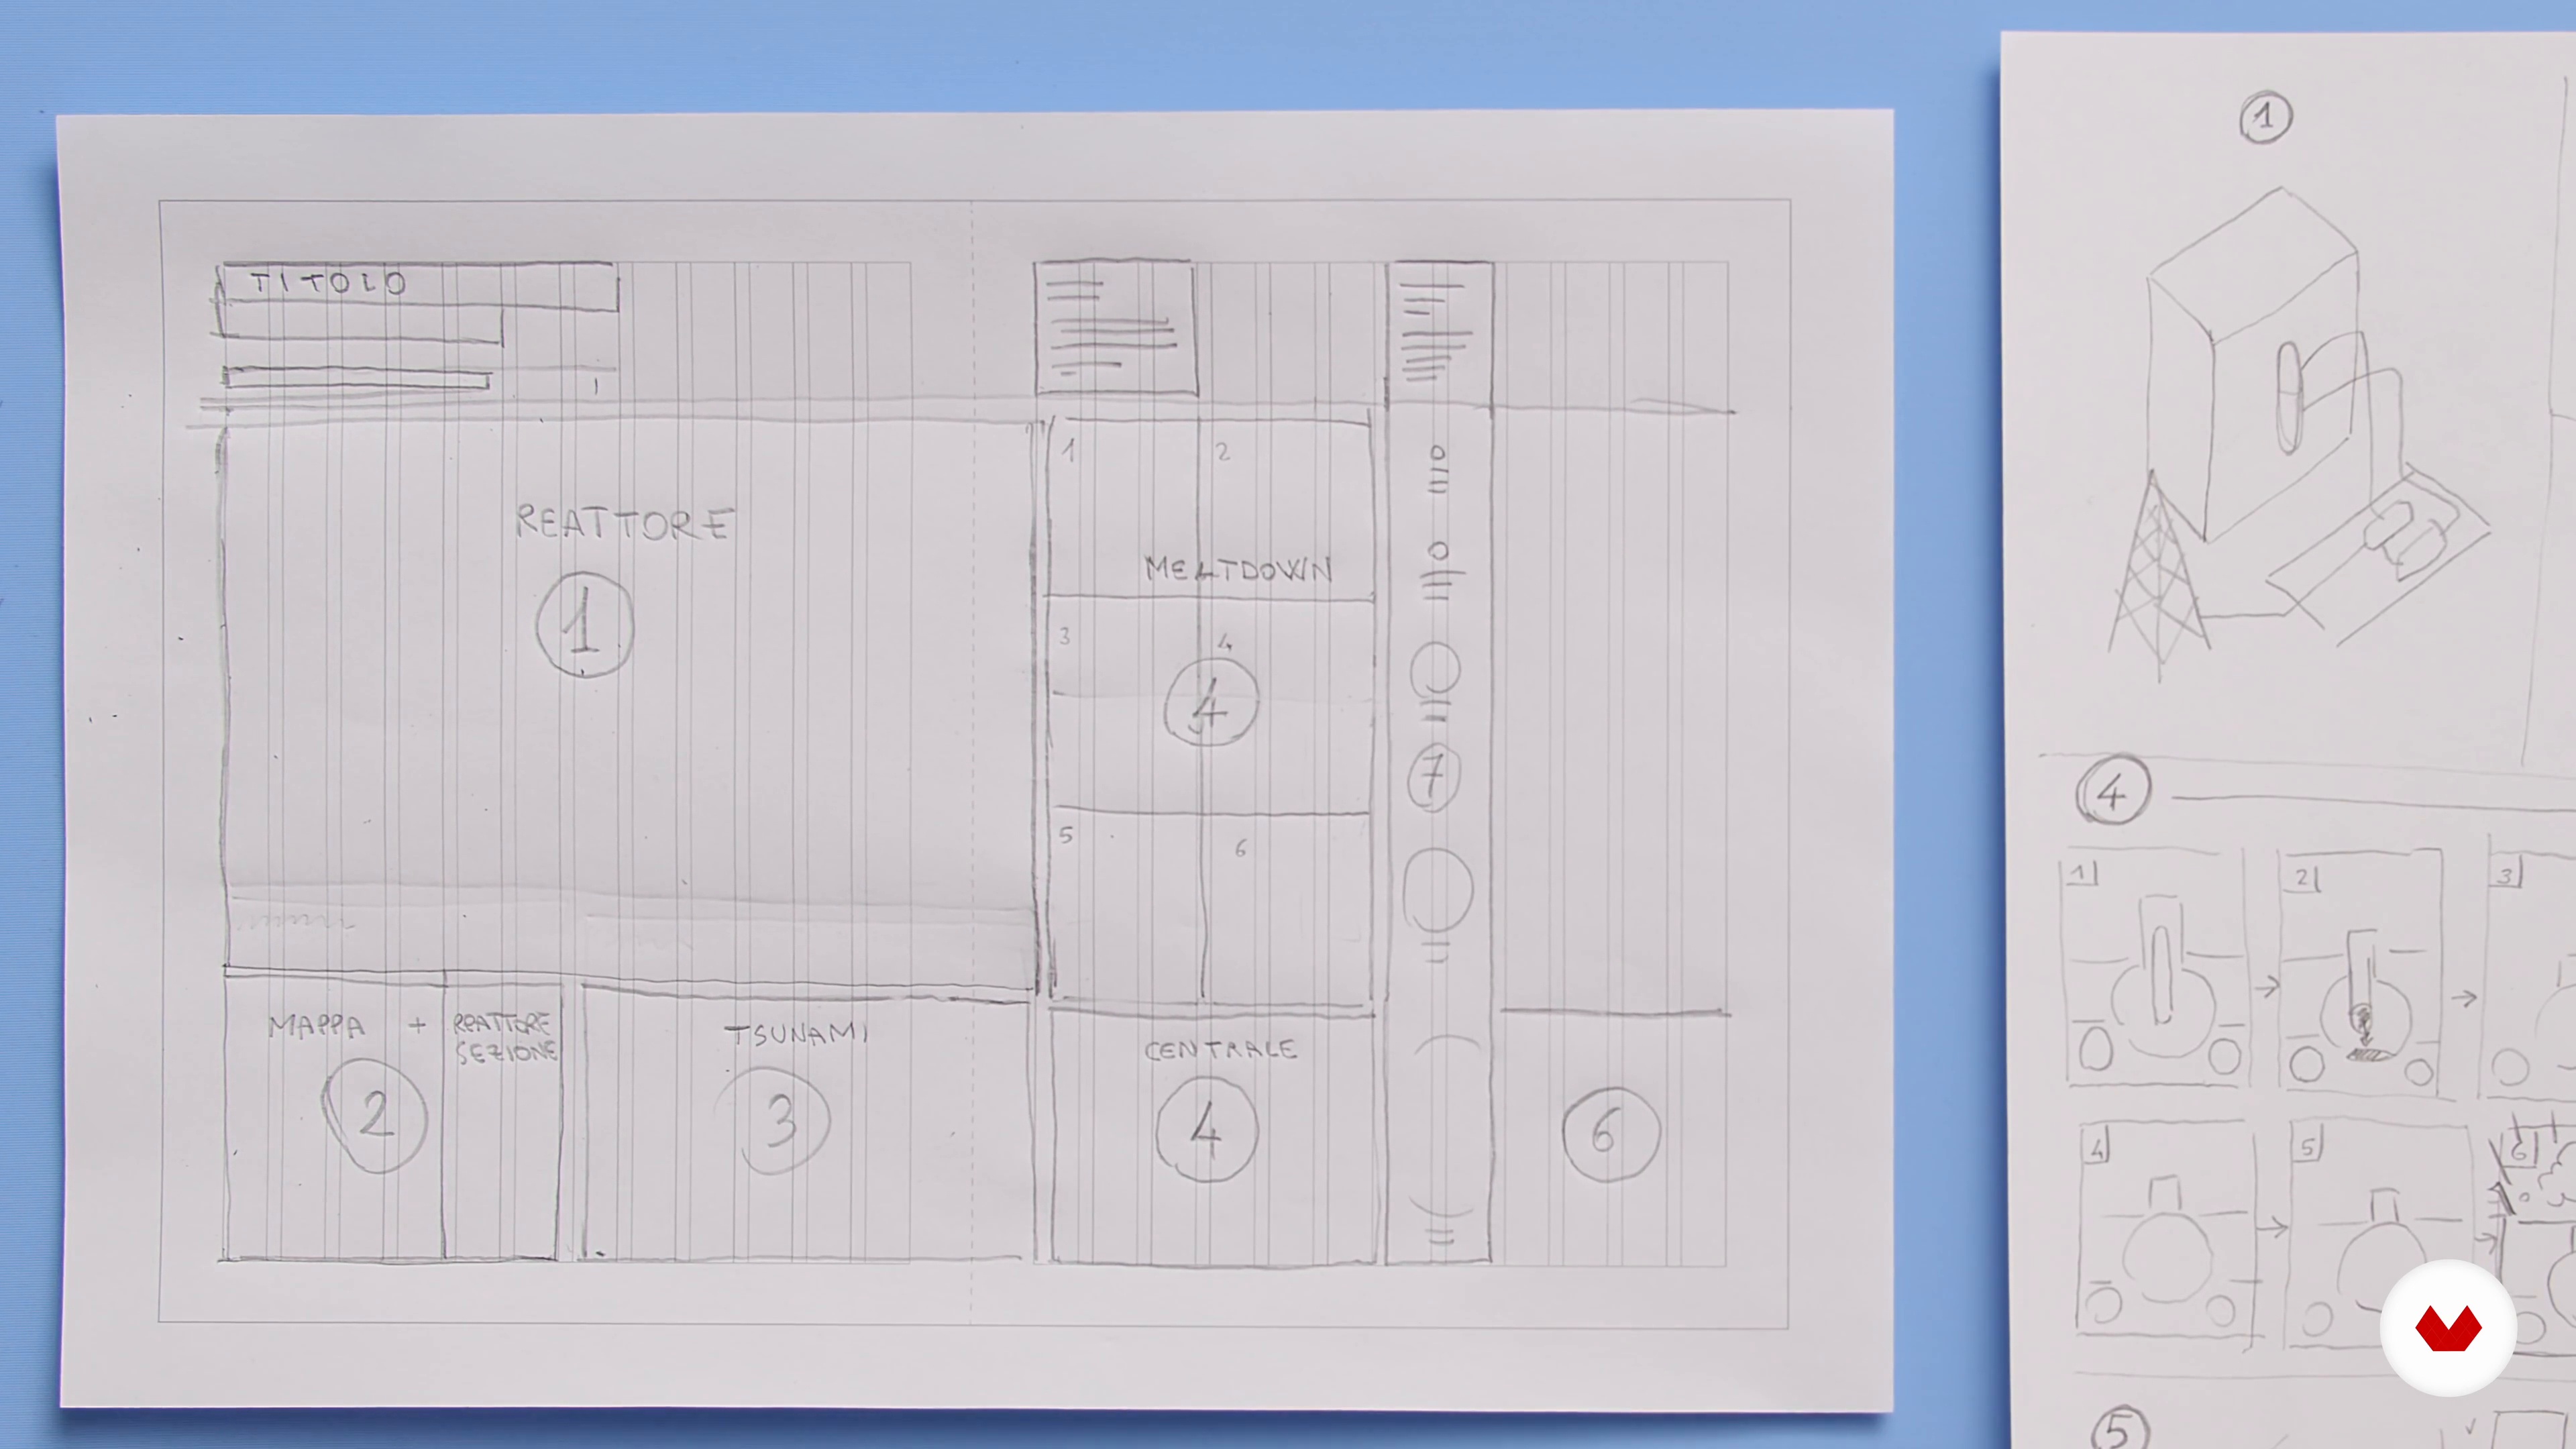
Now I will show you how to design the layout on paper using the grid, taking into account hierarchy and compositional balance.
13m
 12
12Create the Layout in InDesign 1
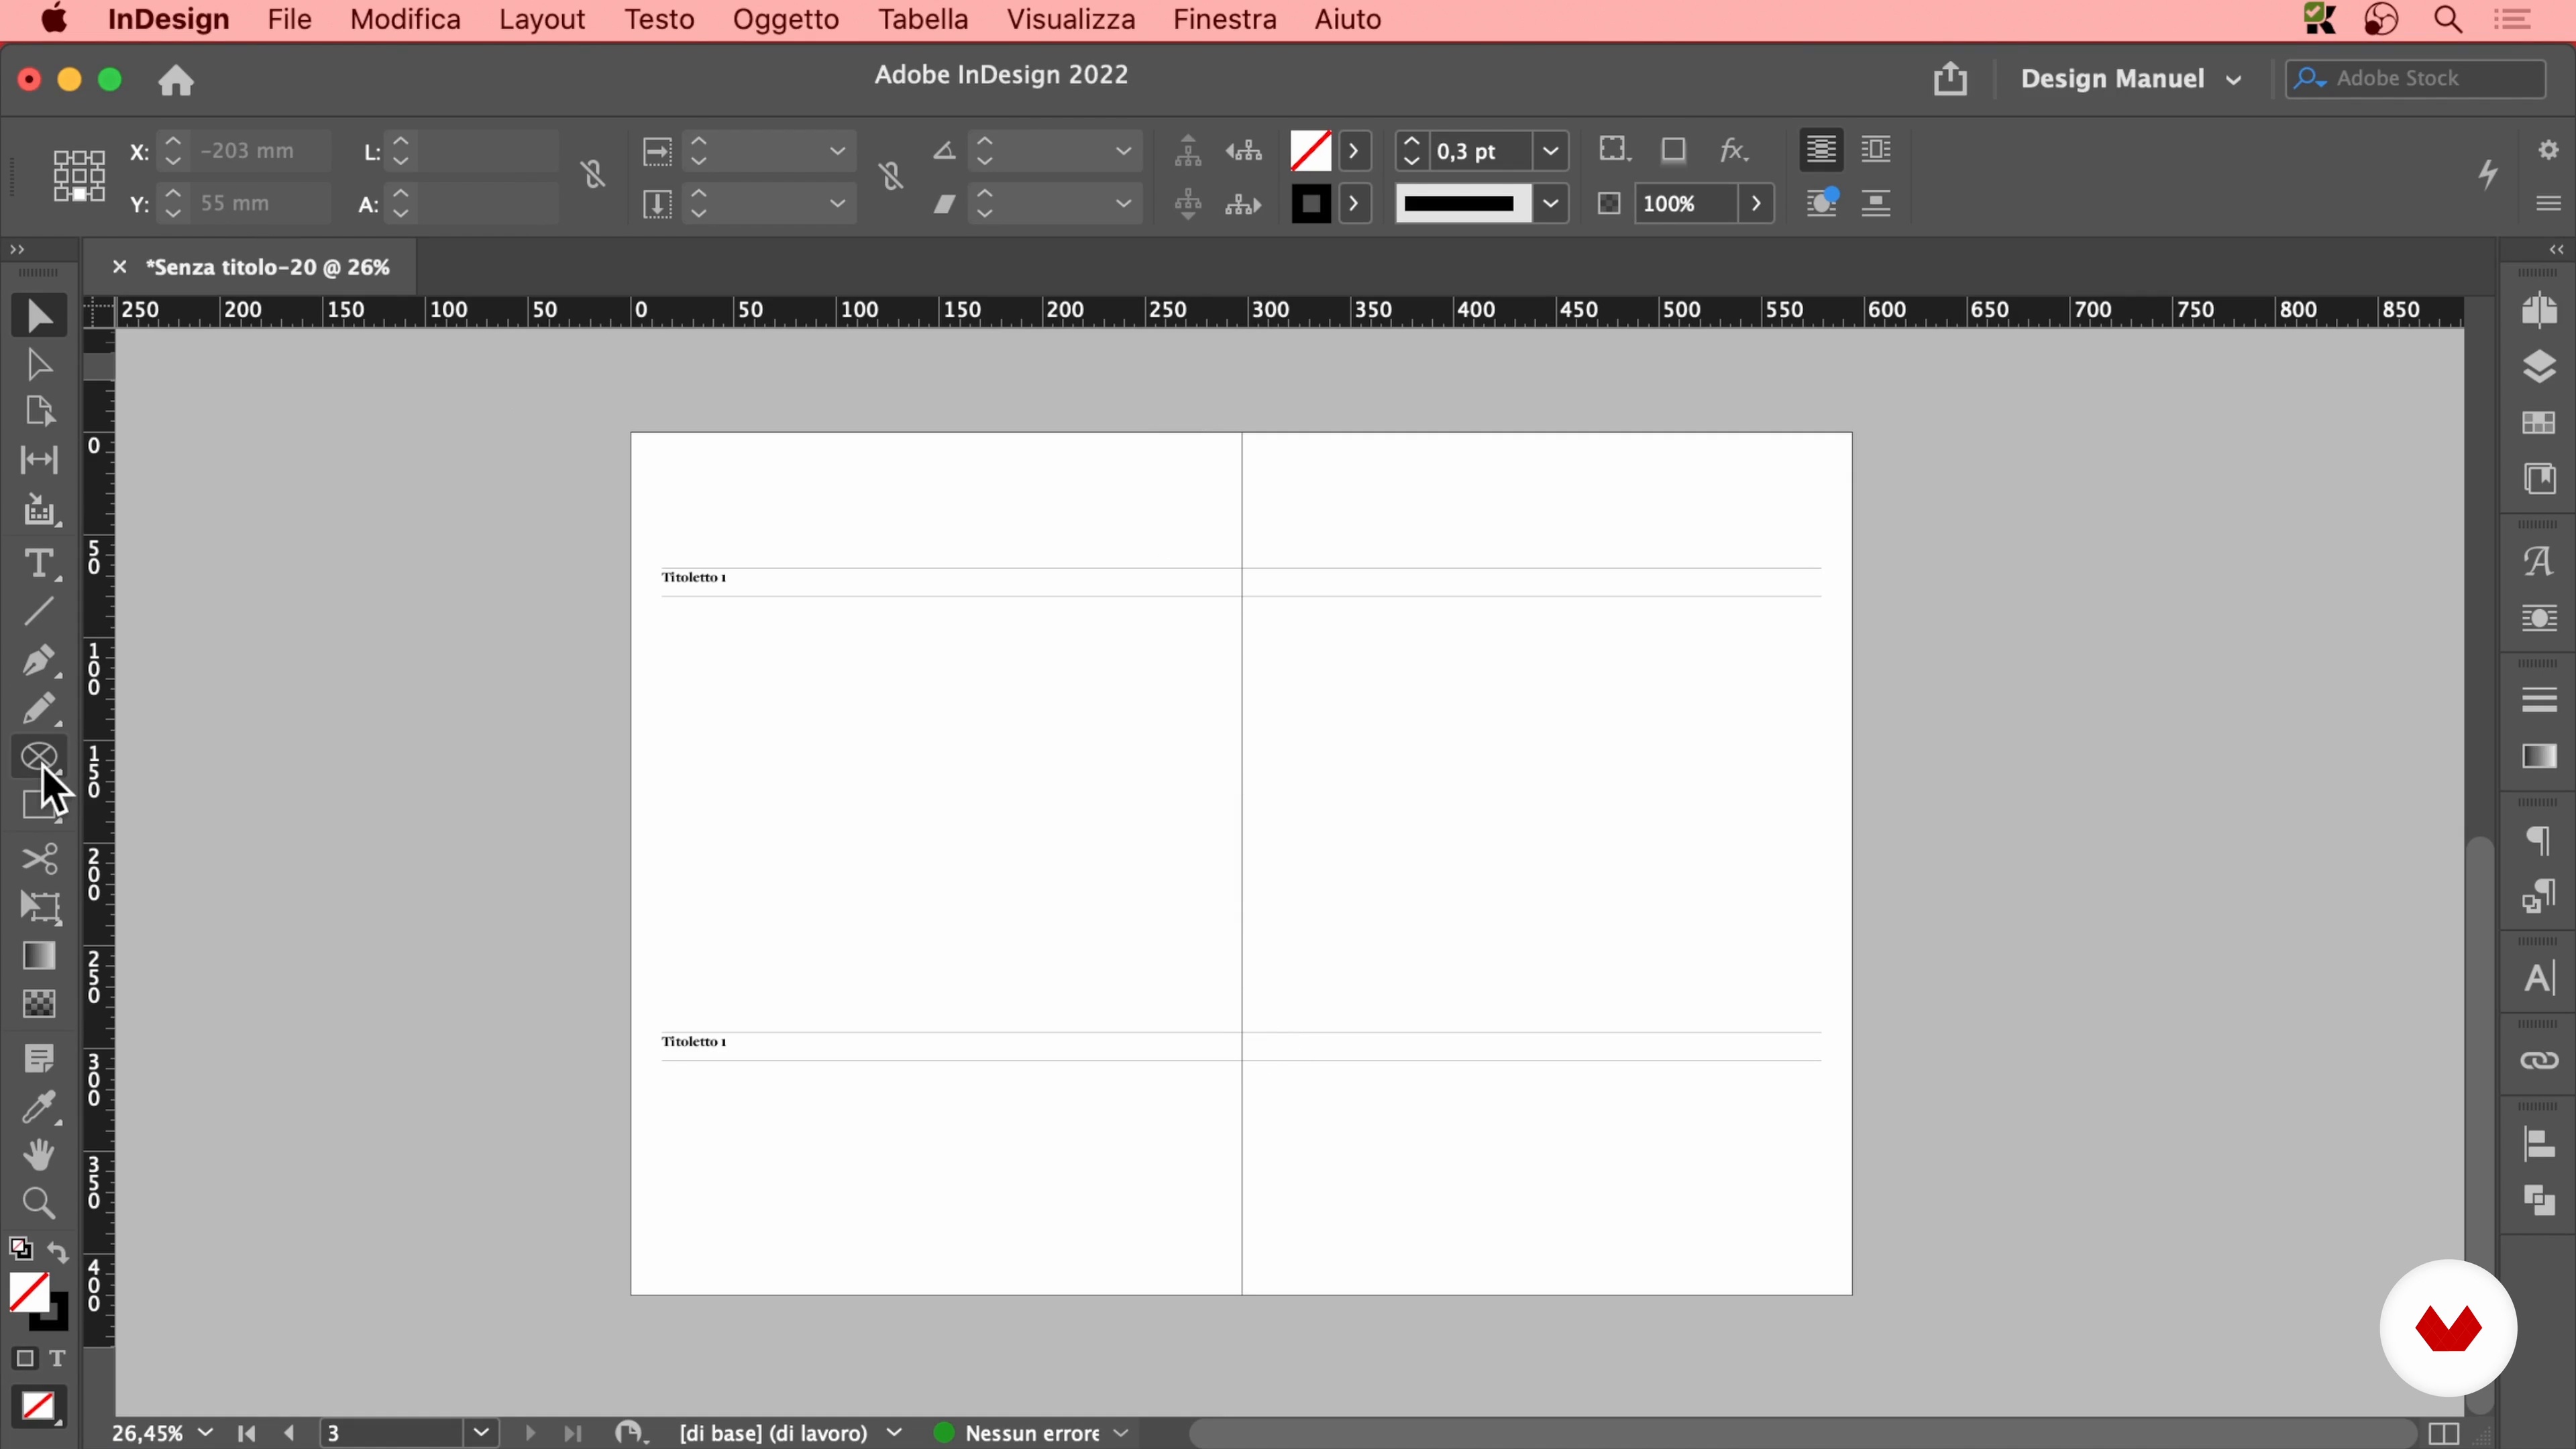
Starting from the sketch I made in the previous lesson, I will now show you how to create the final layout in Adobe InDesign, complete with a grid based on the line spacing of the text.
19m
 13
13Create the Layout in InDesign 2
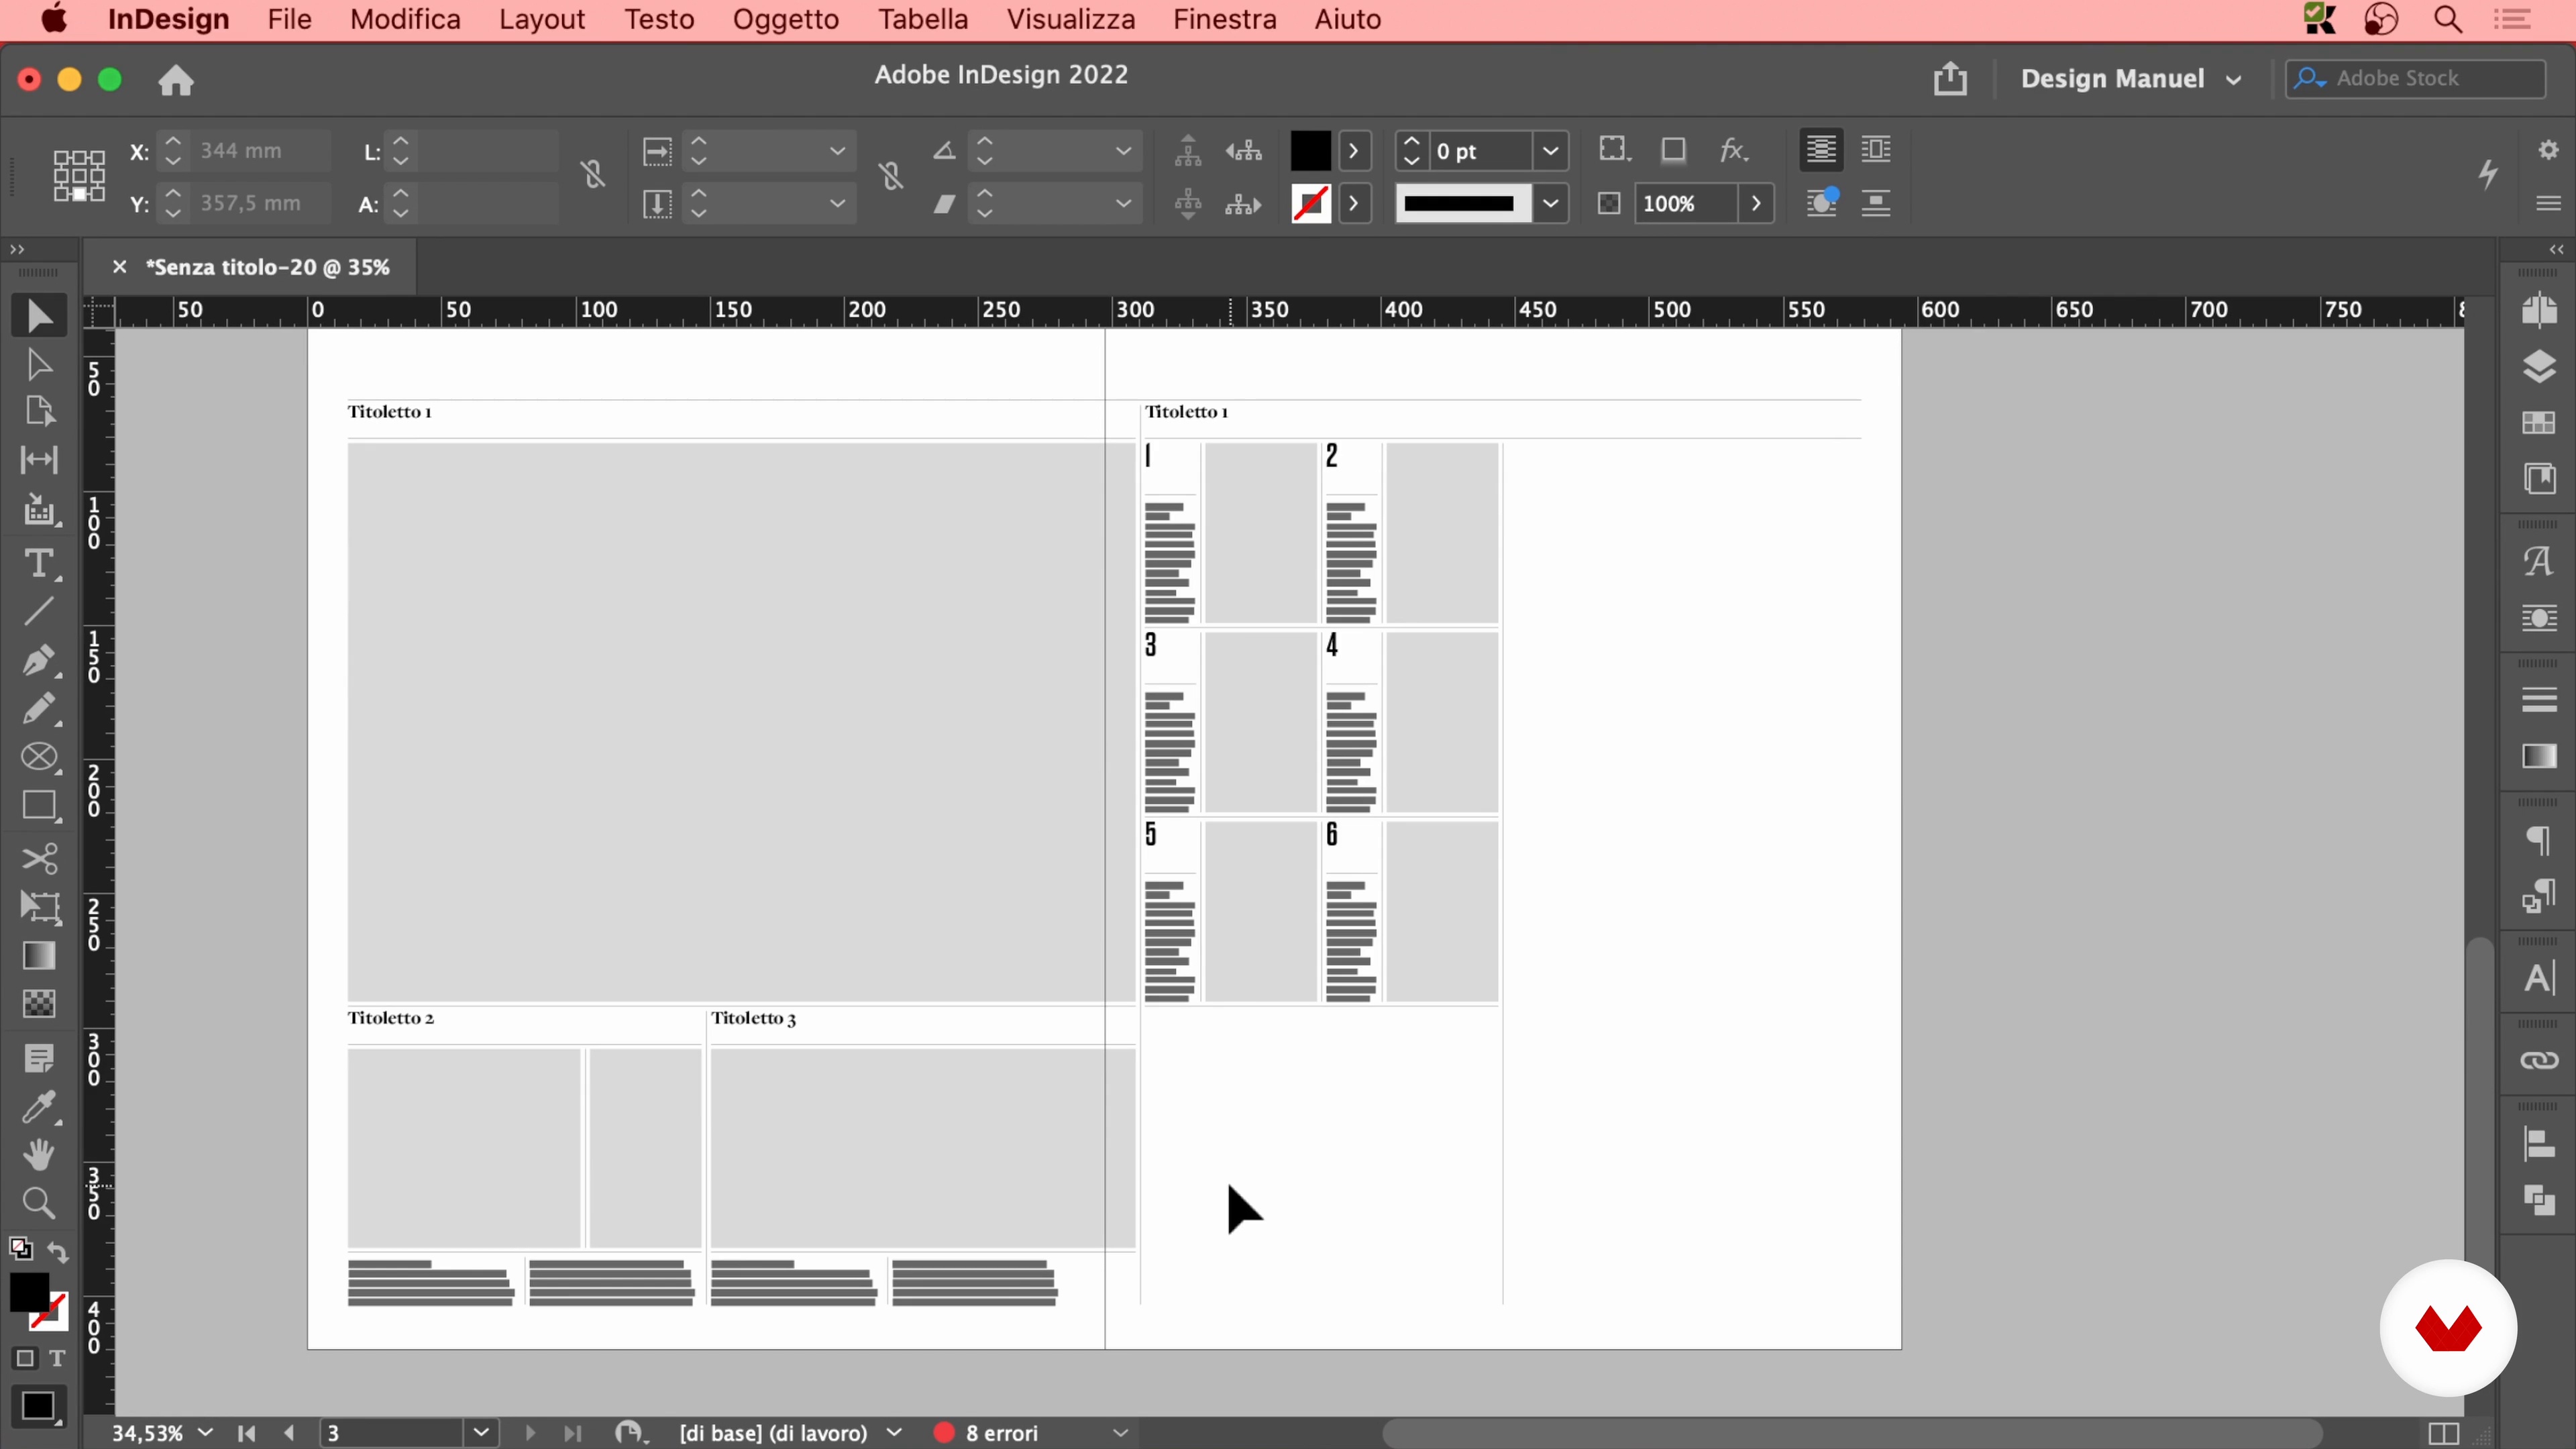
Here I will finish the layout by completing the definition of the dimensions.
16m
 14
14Draw the Contents on Paper
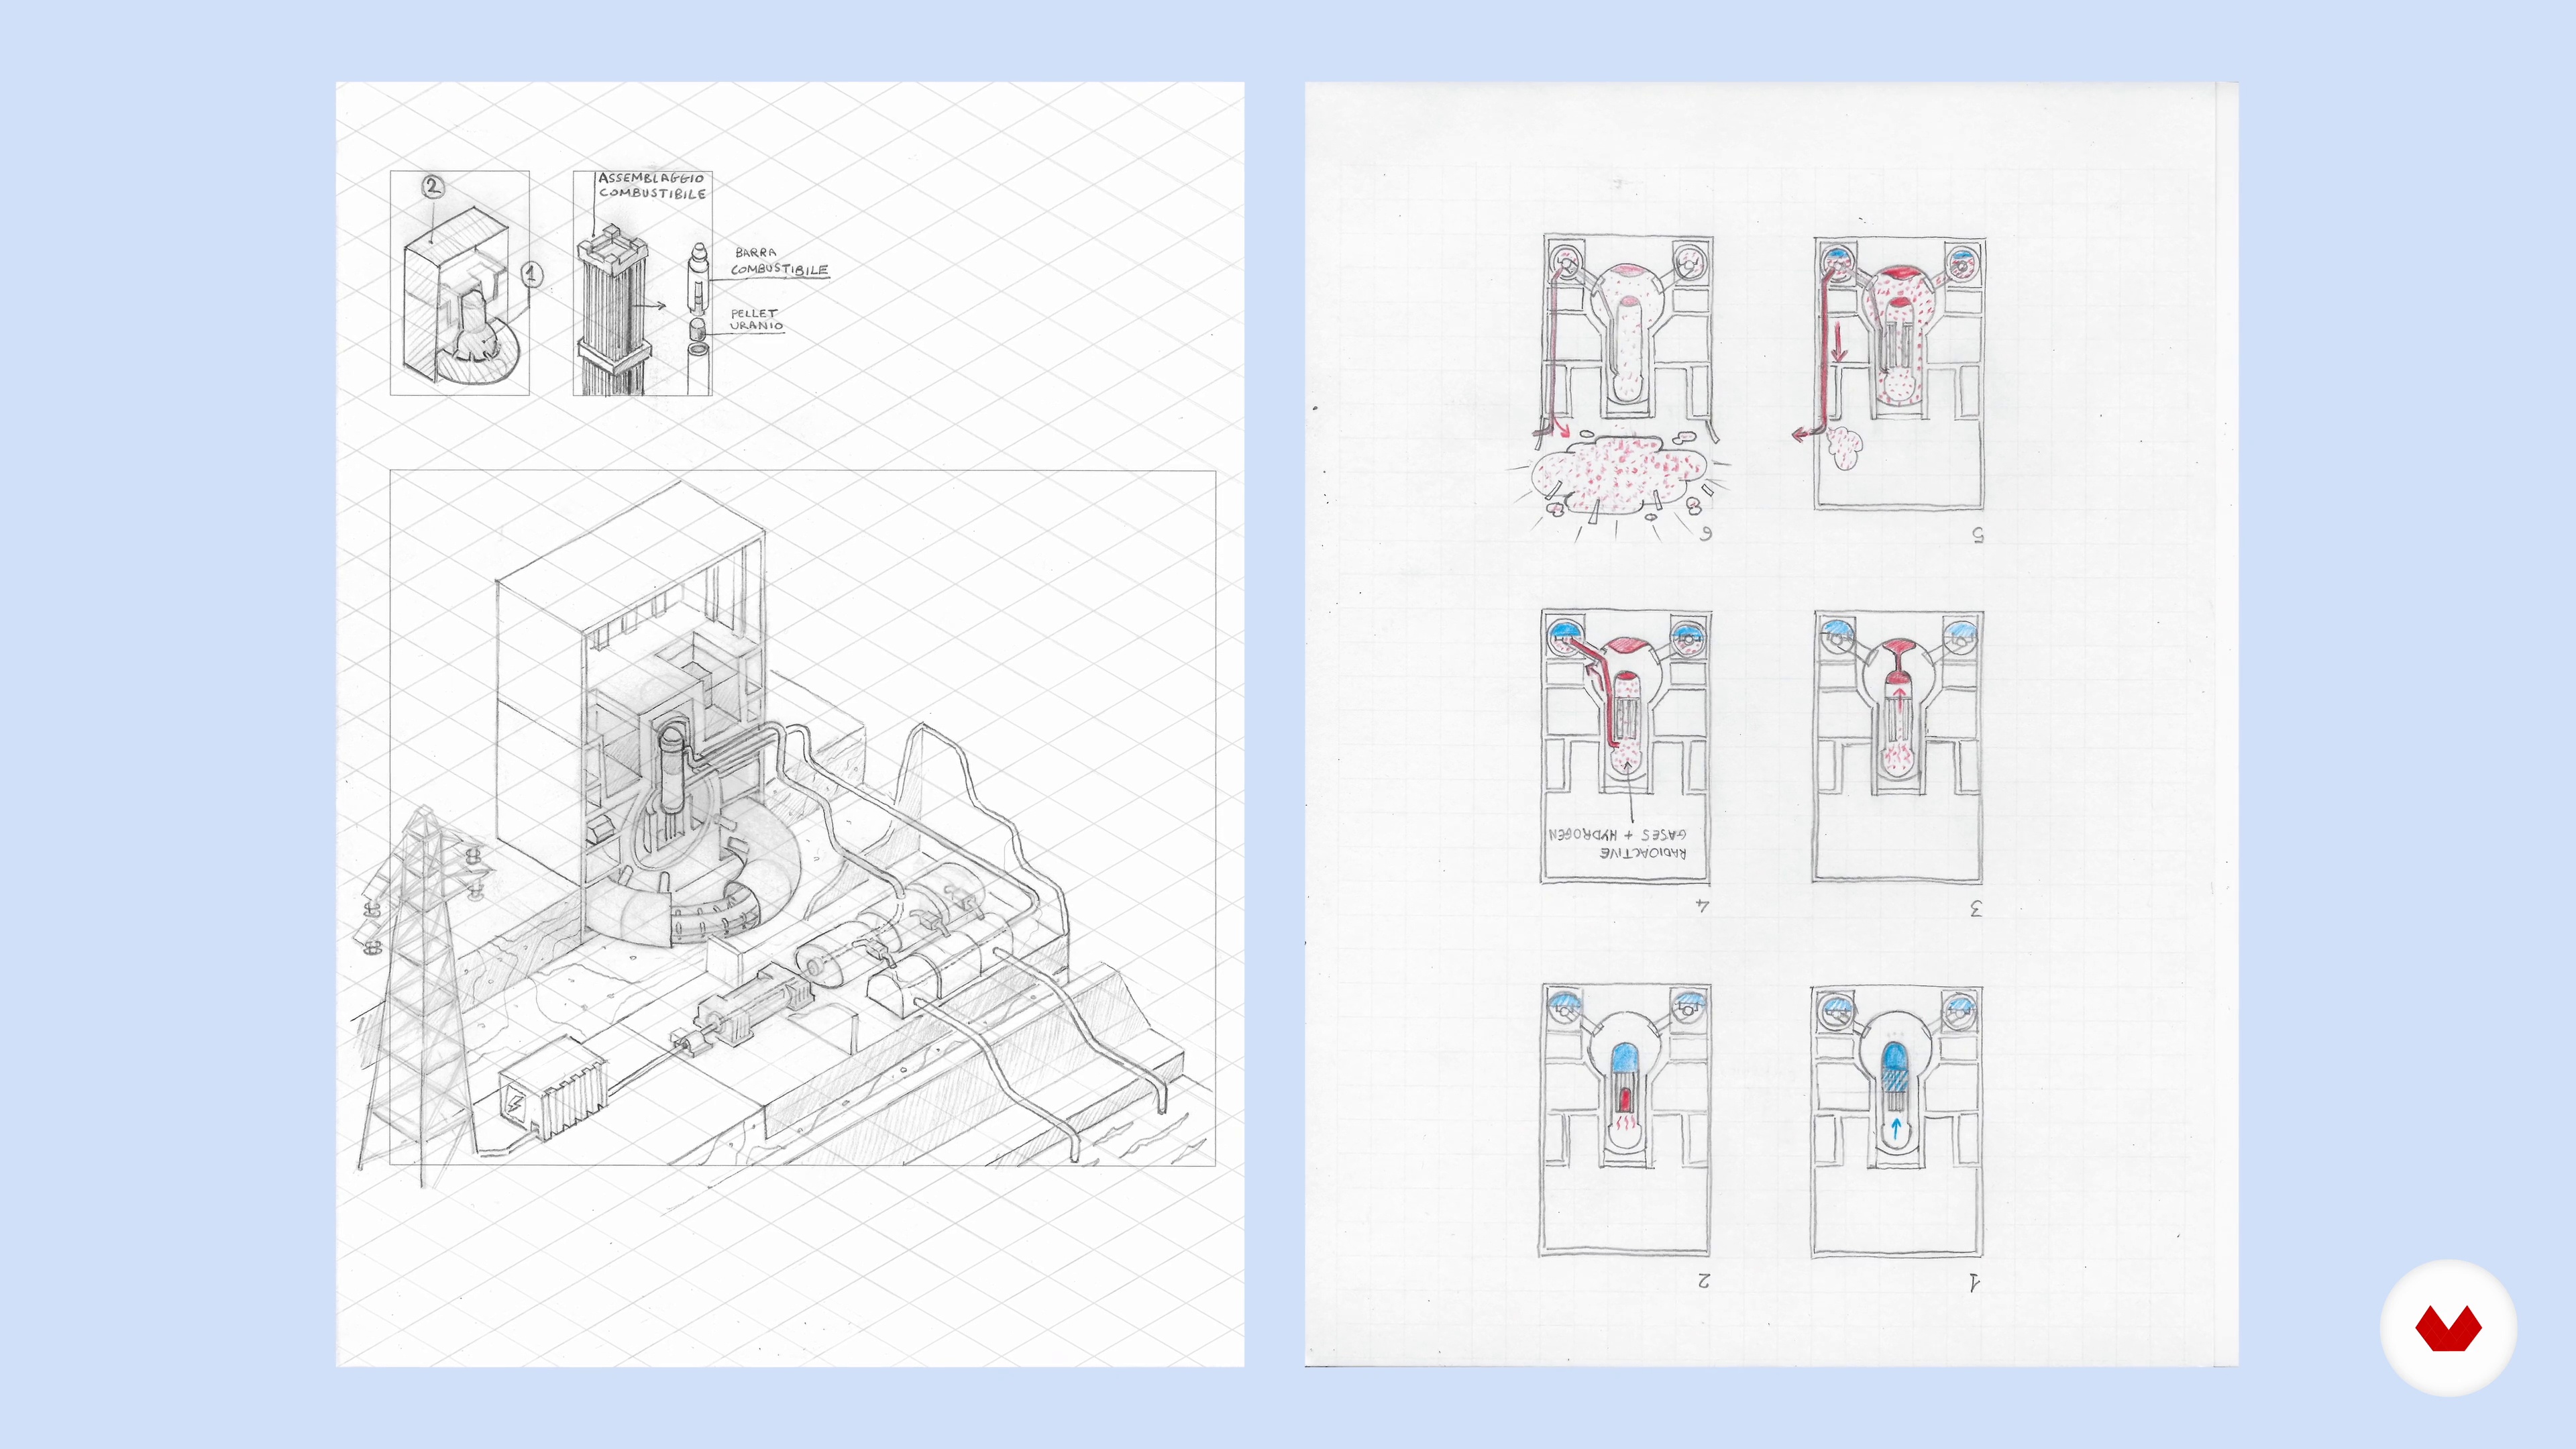
In this lesson I will show you how essential it is to draw by hand those more complex infographic contents, which need to be defined in every detail before being digitized with Adobe Illustrator.
4m
 15
15Illustrate in Isometric Axonometry 1
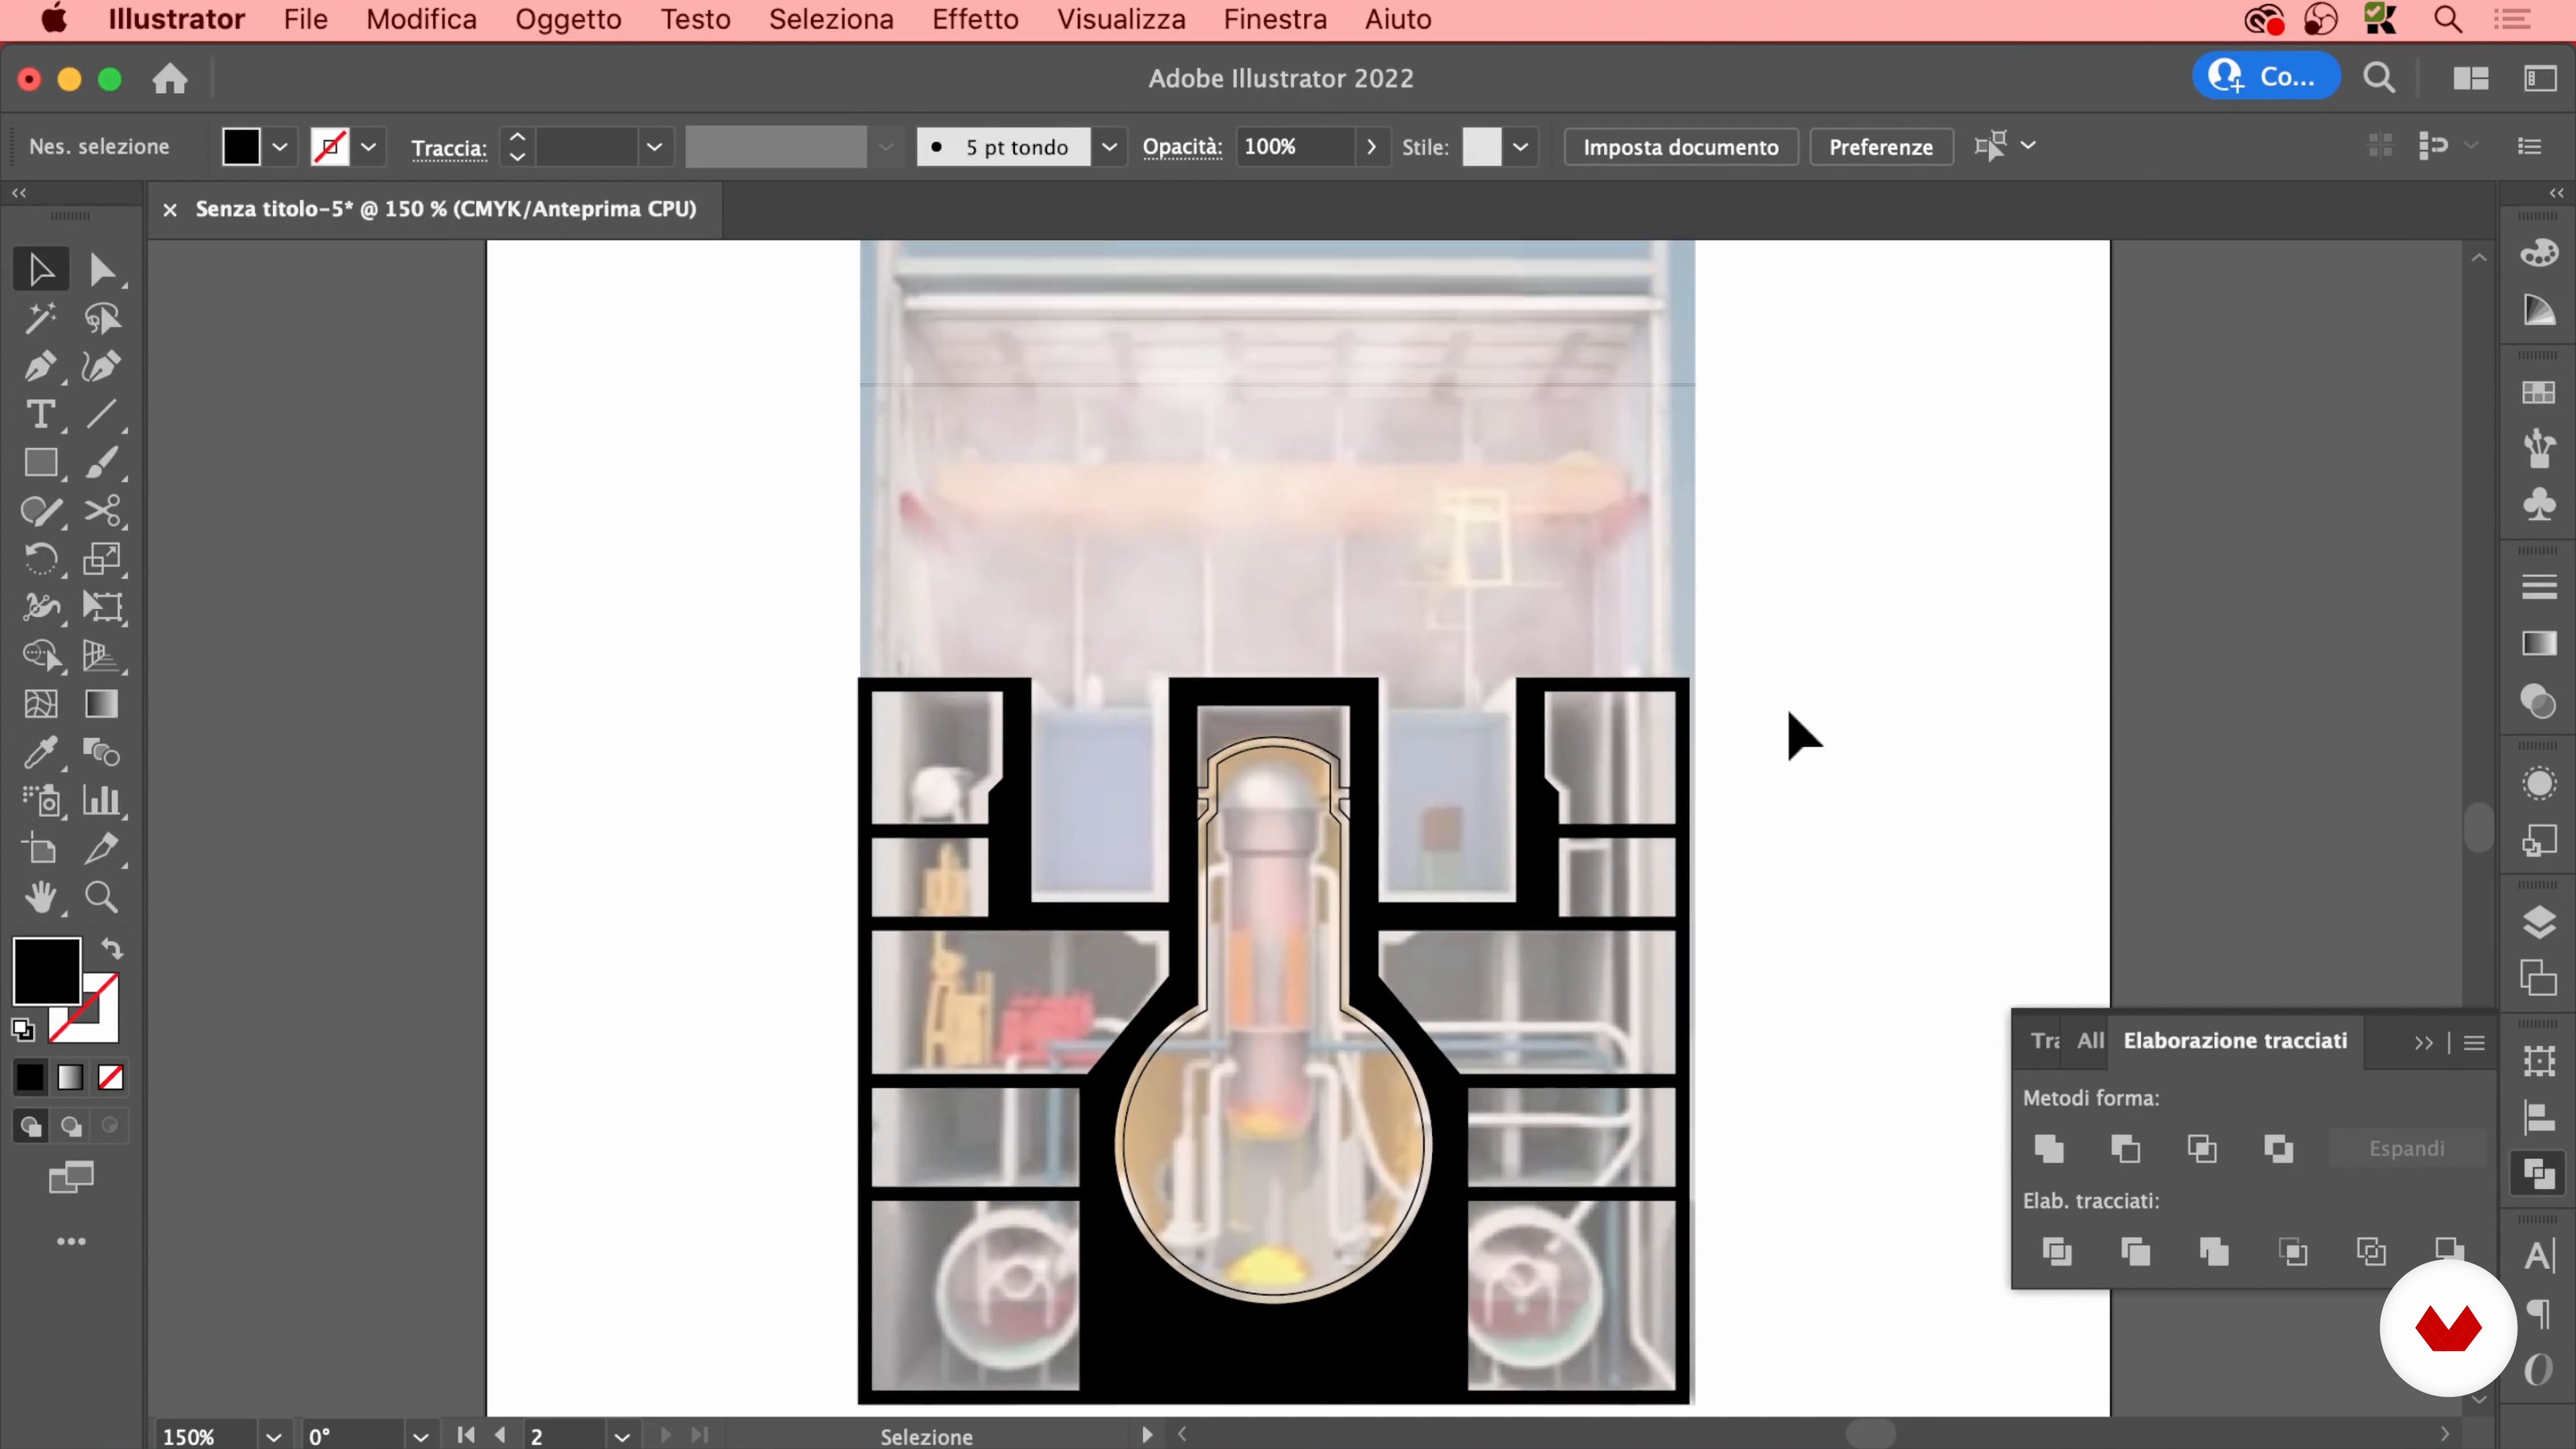
In this lesson you will see how to draw elements in isometric axonometry.
19m
 16
16Illustrate in Isometric Axonometry 2
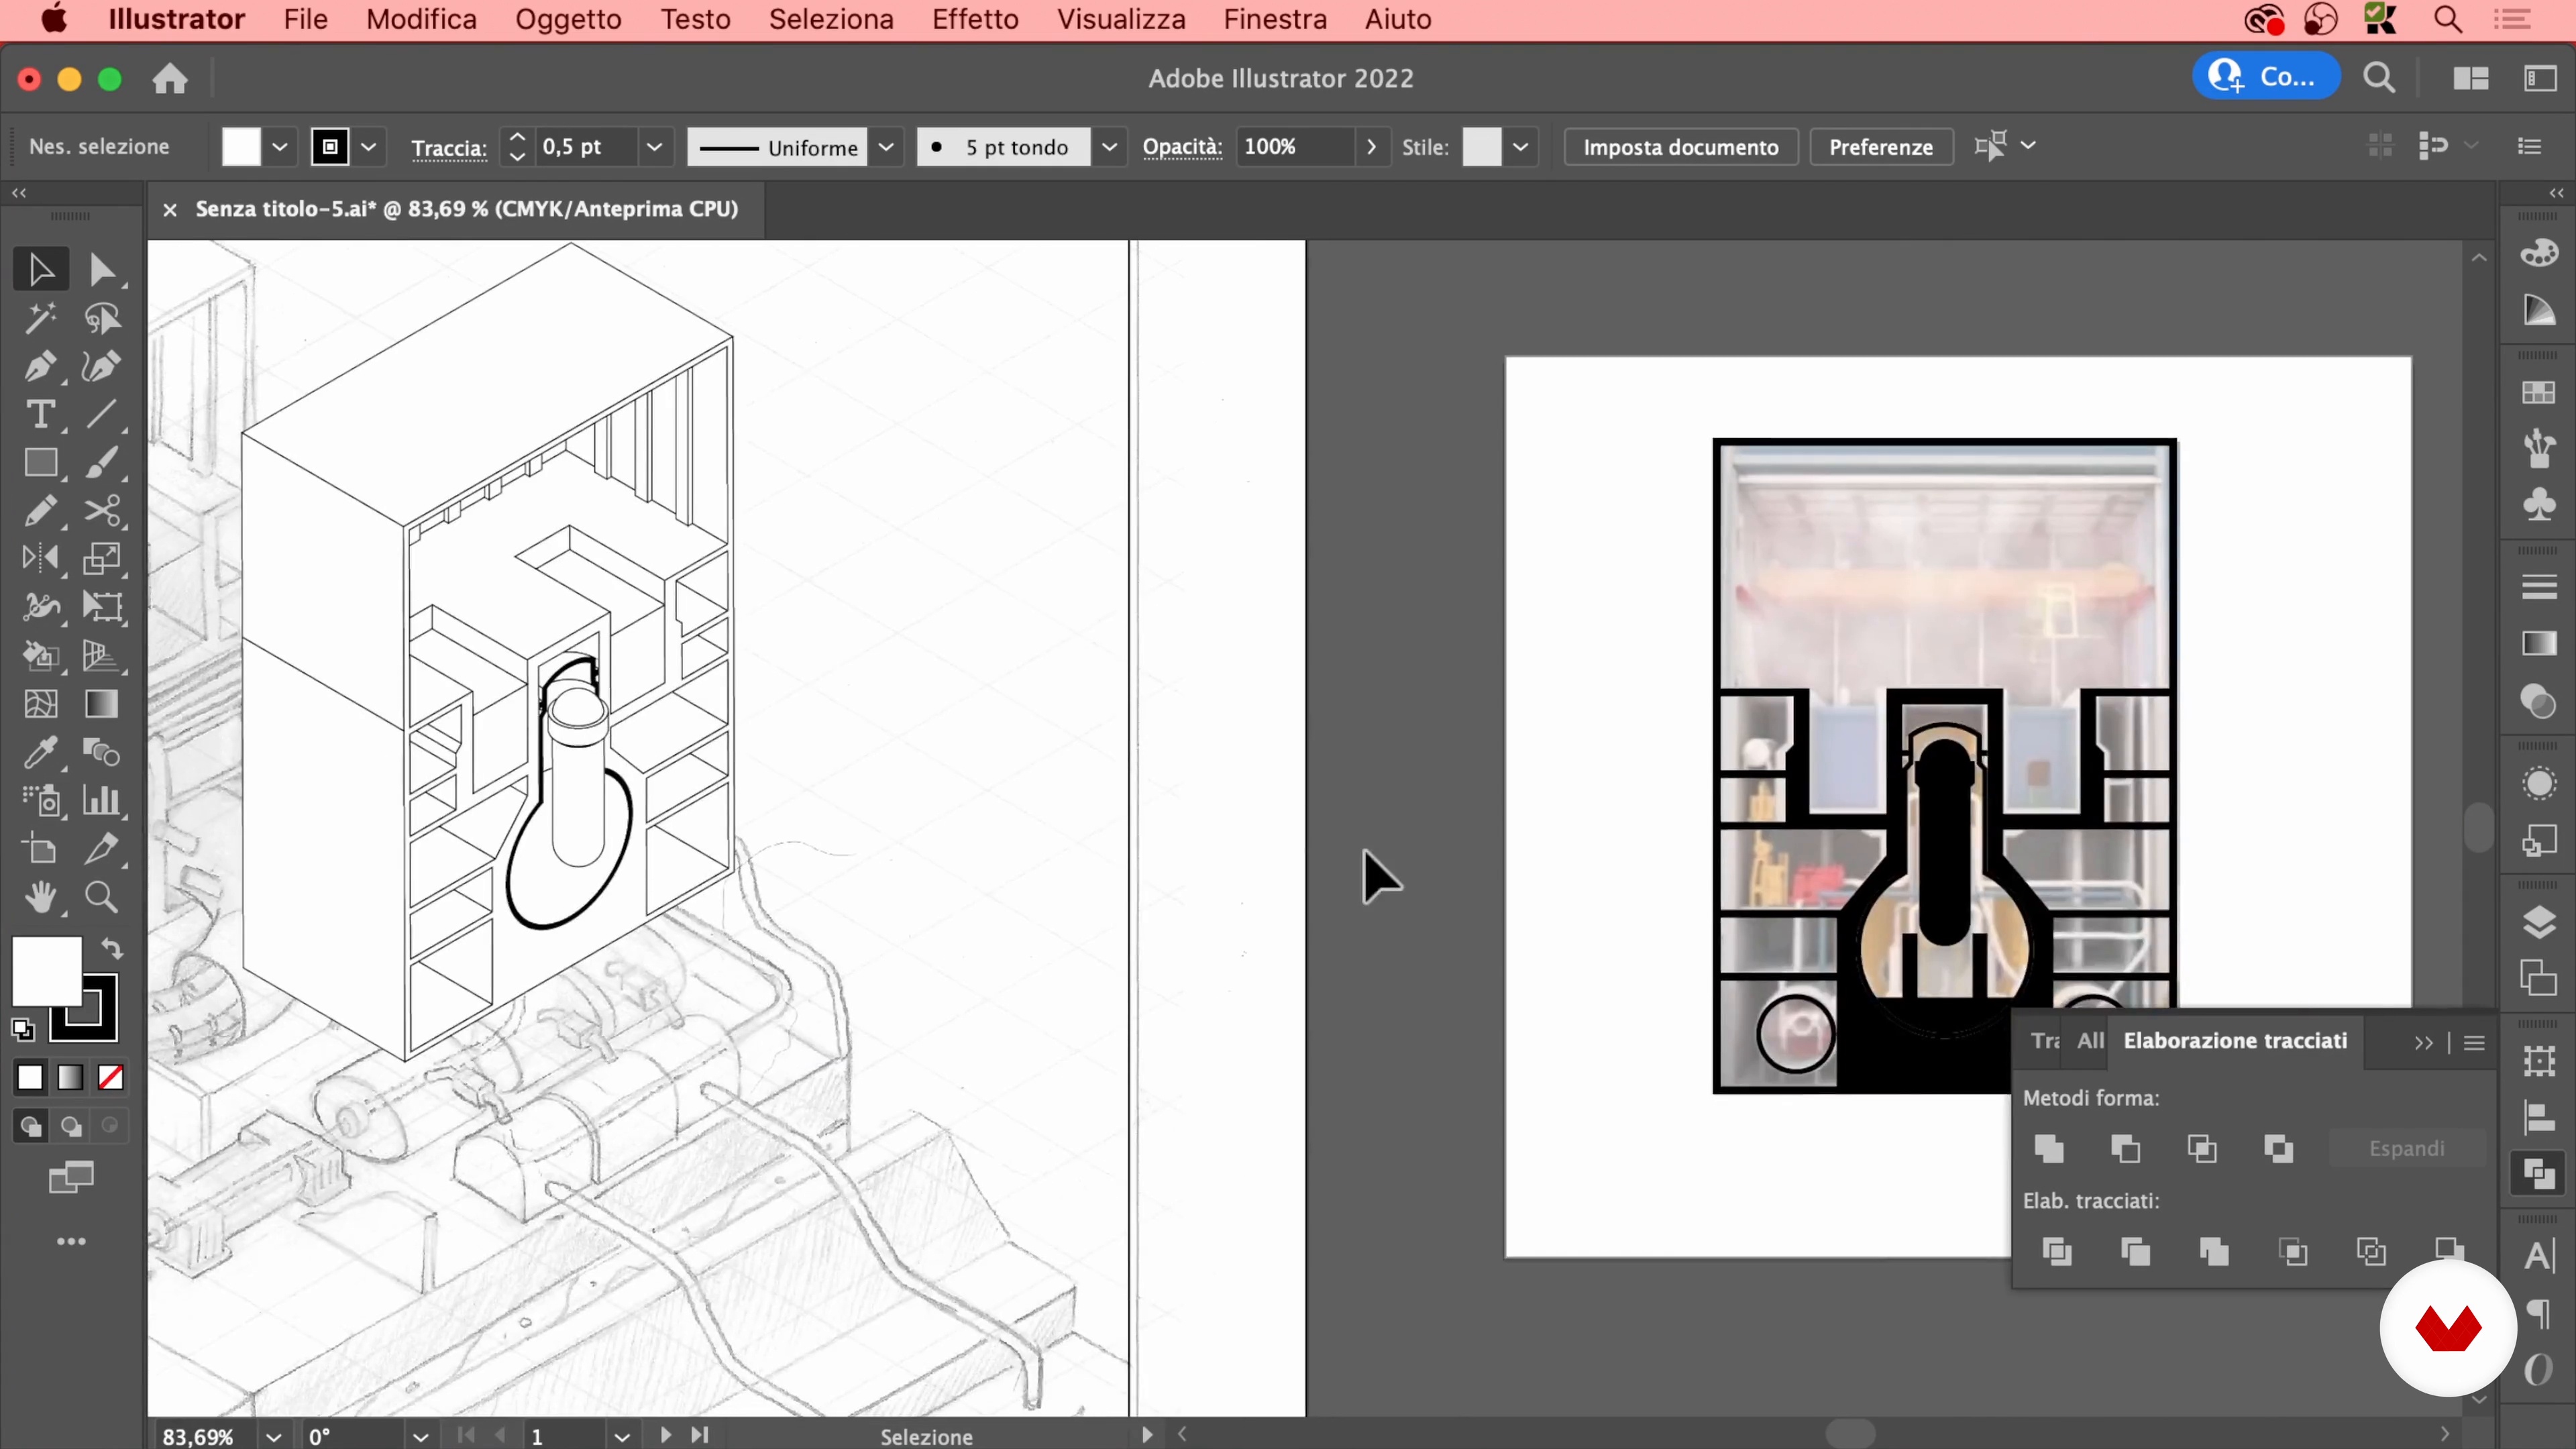
Here I will focus on the internal details and the construction of the reactor.
20m
 17
17Illustrate in Isometric Axonometry 3
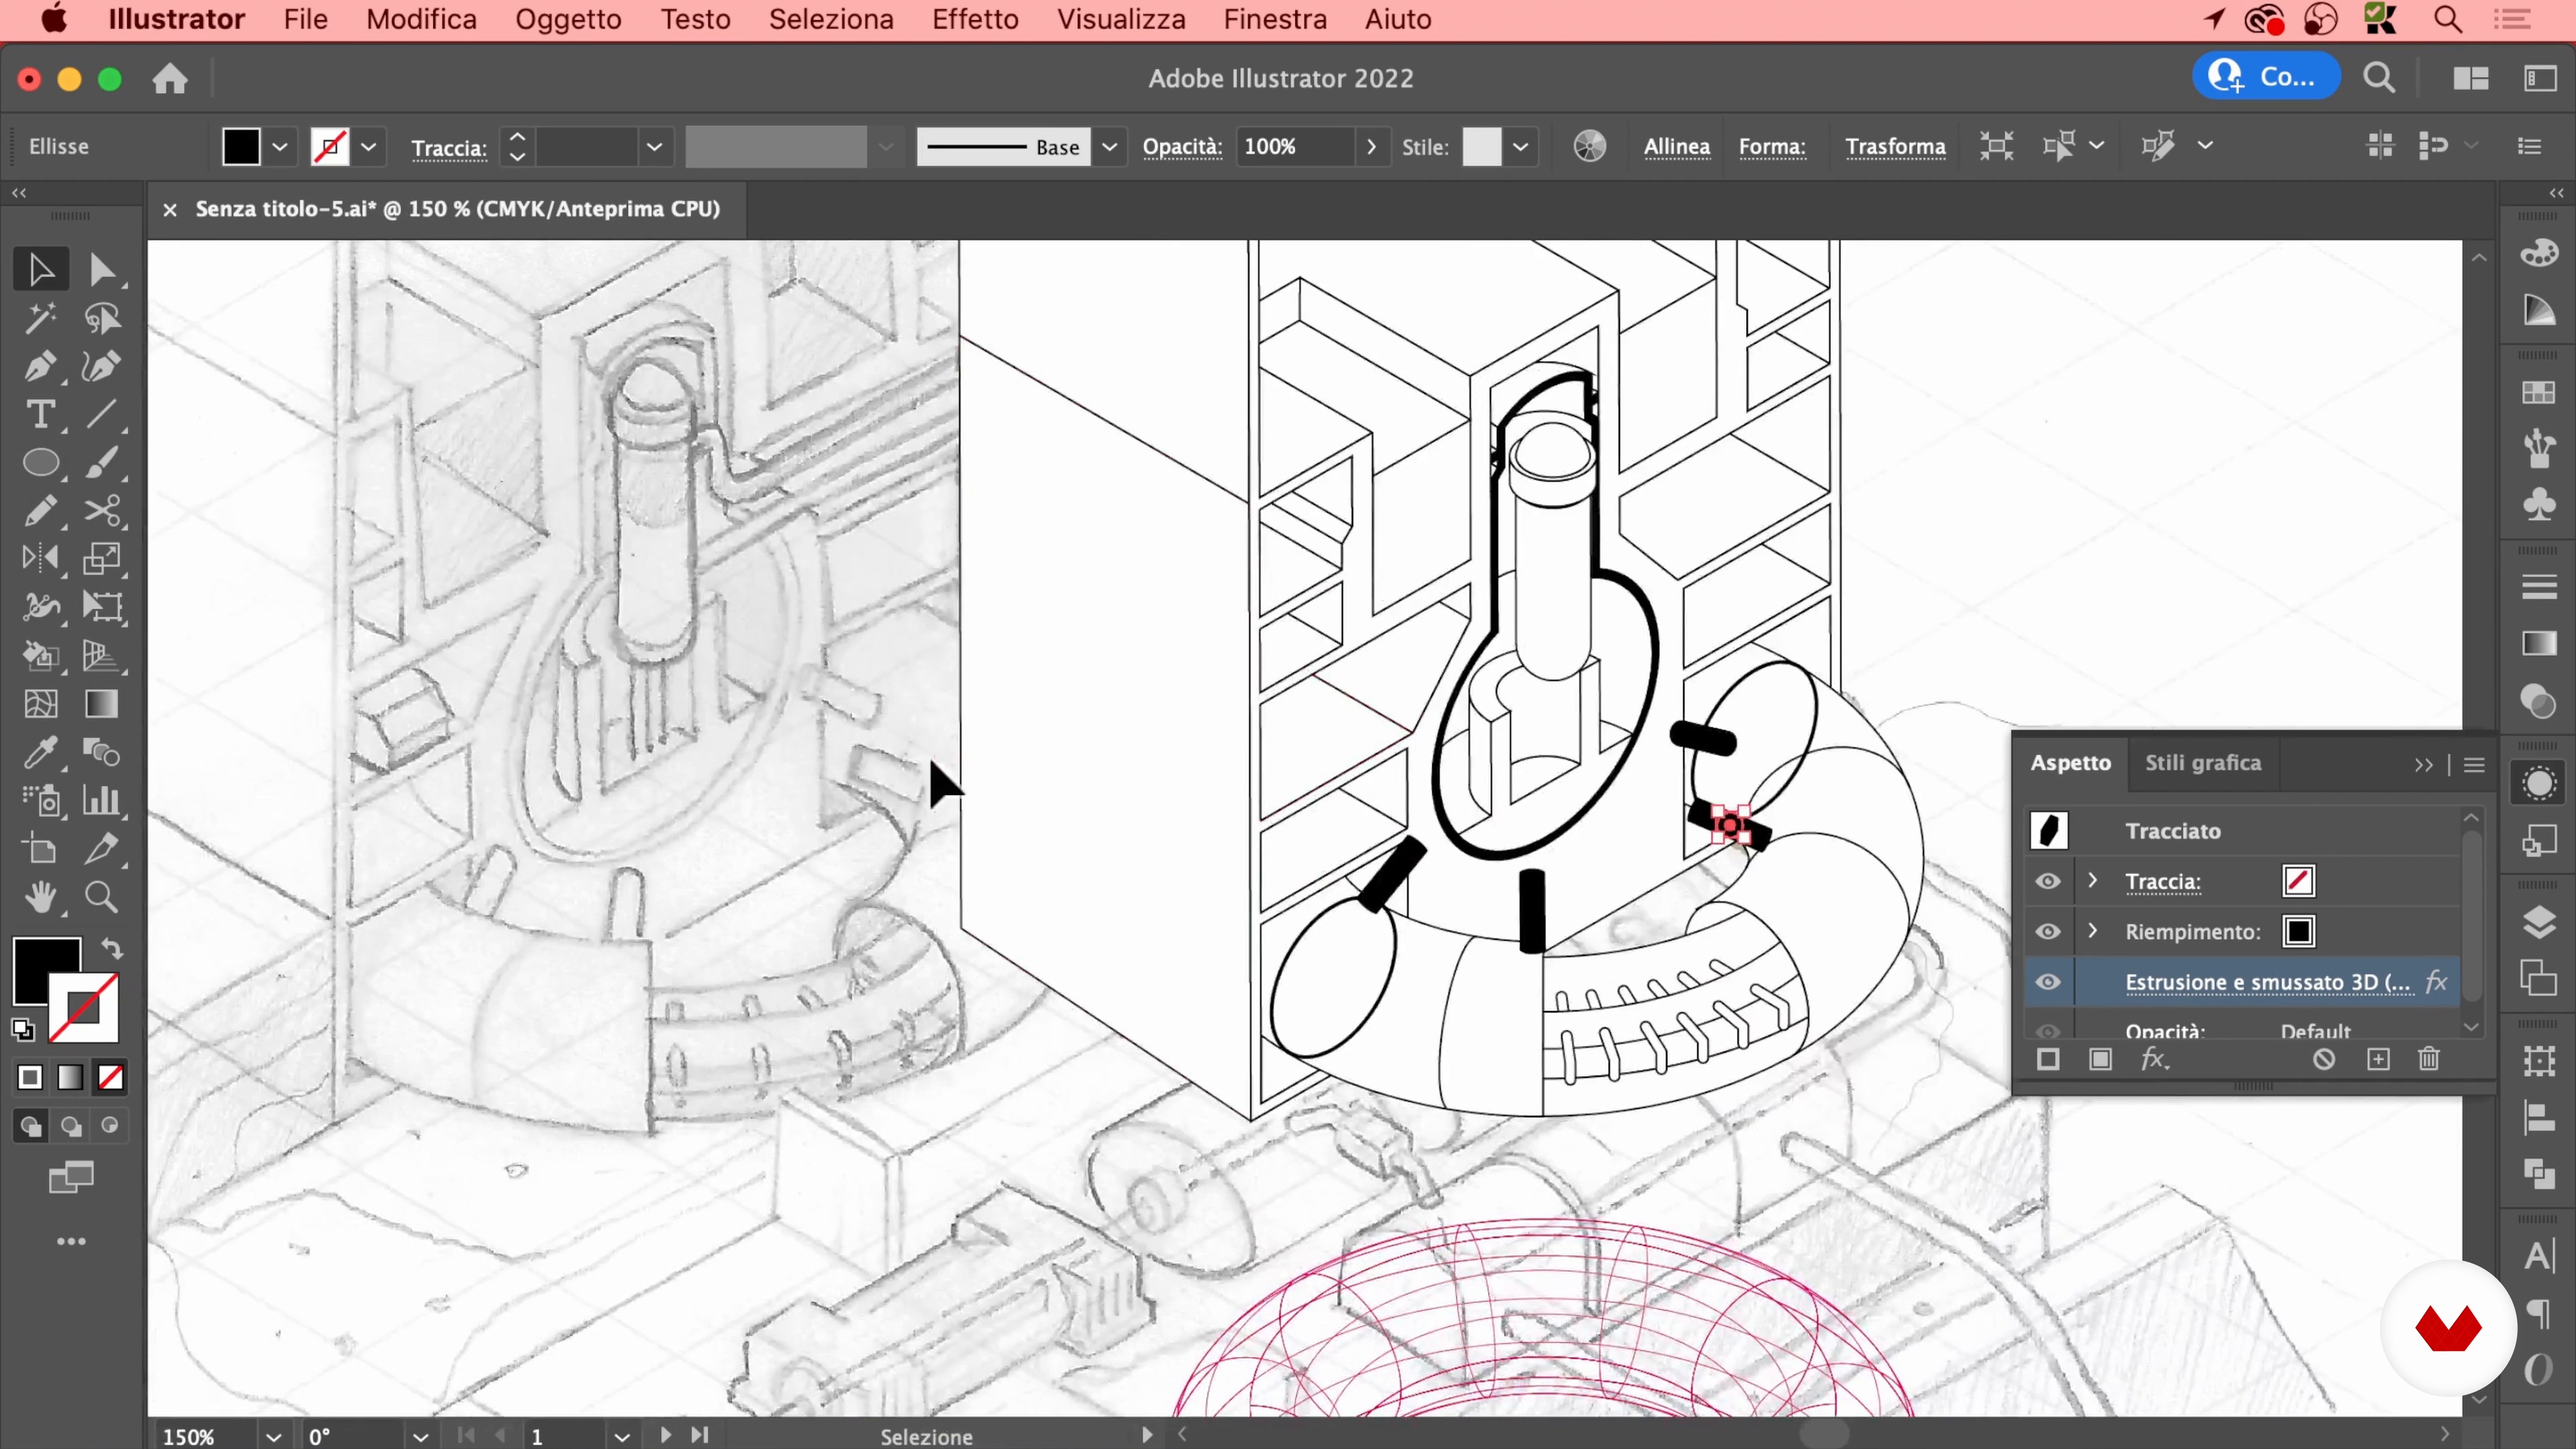
Now I will finish all the elements that make up the operating cycle of the nuclear reactor.
16m
 18
18Illustrate in Isometric Axonometry 4
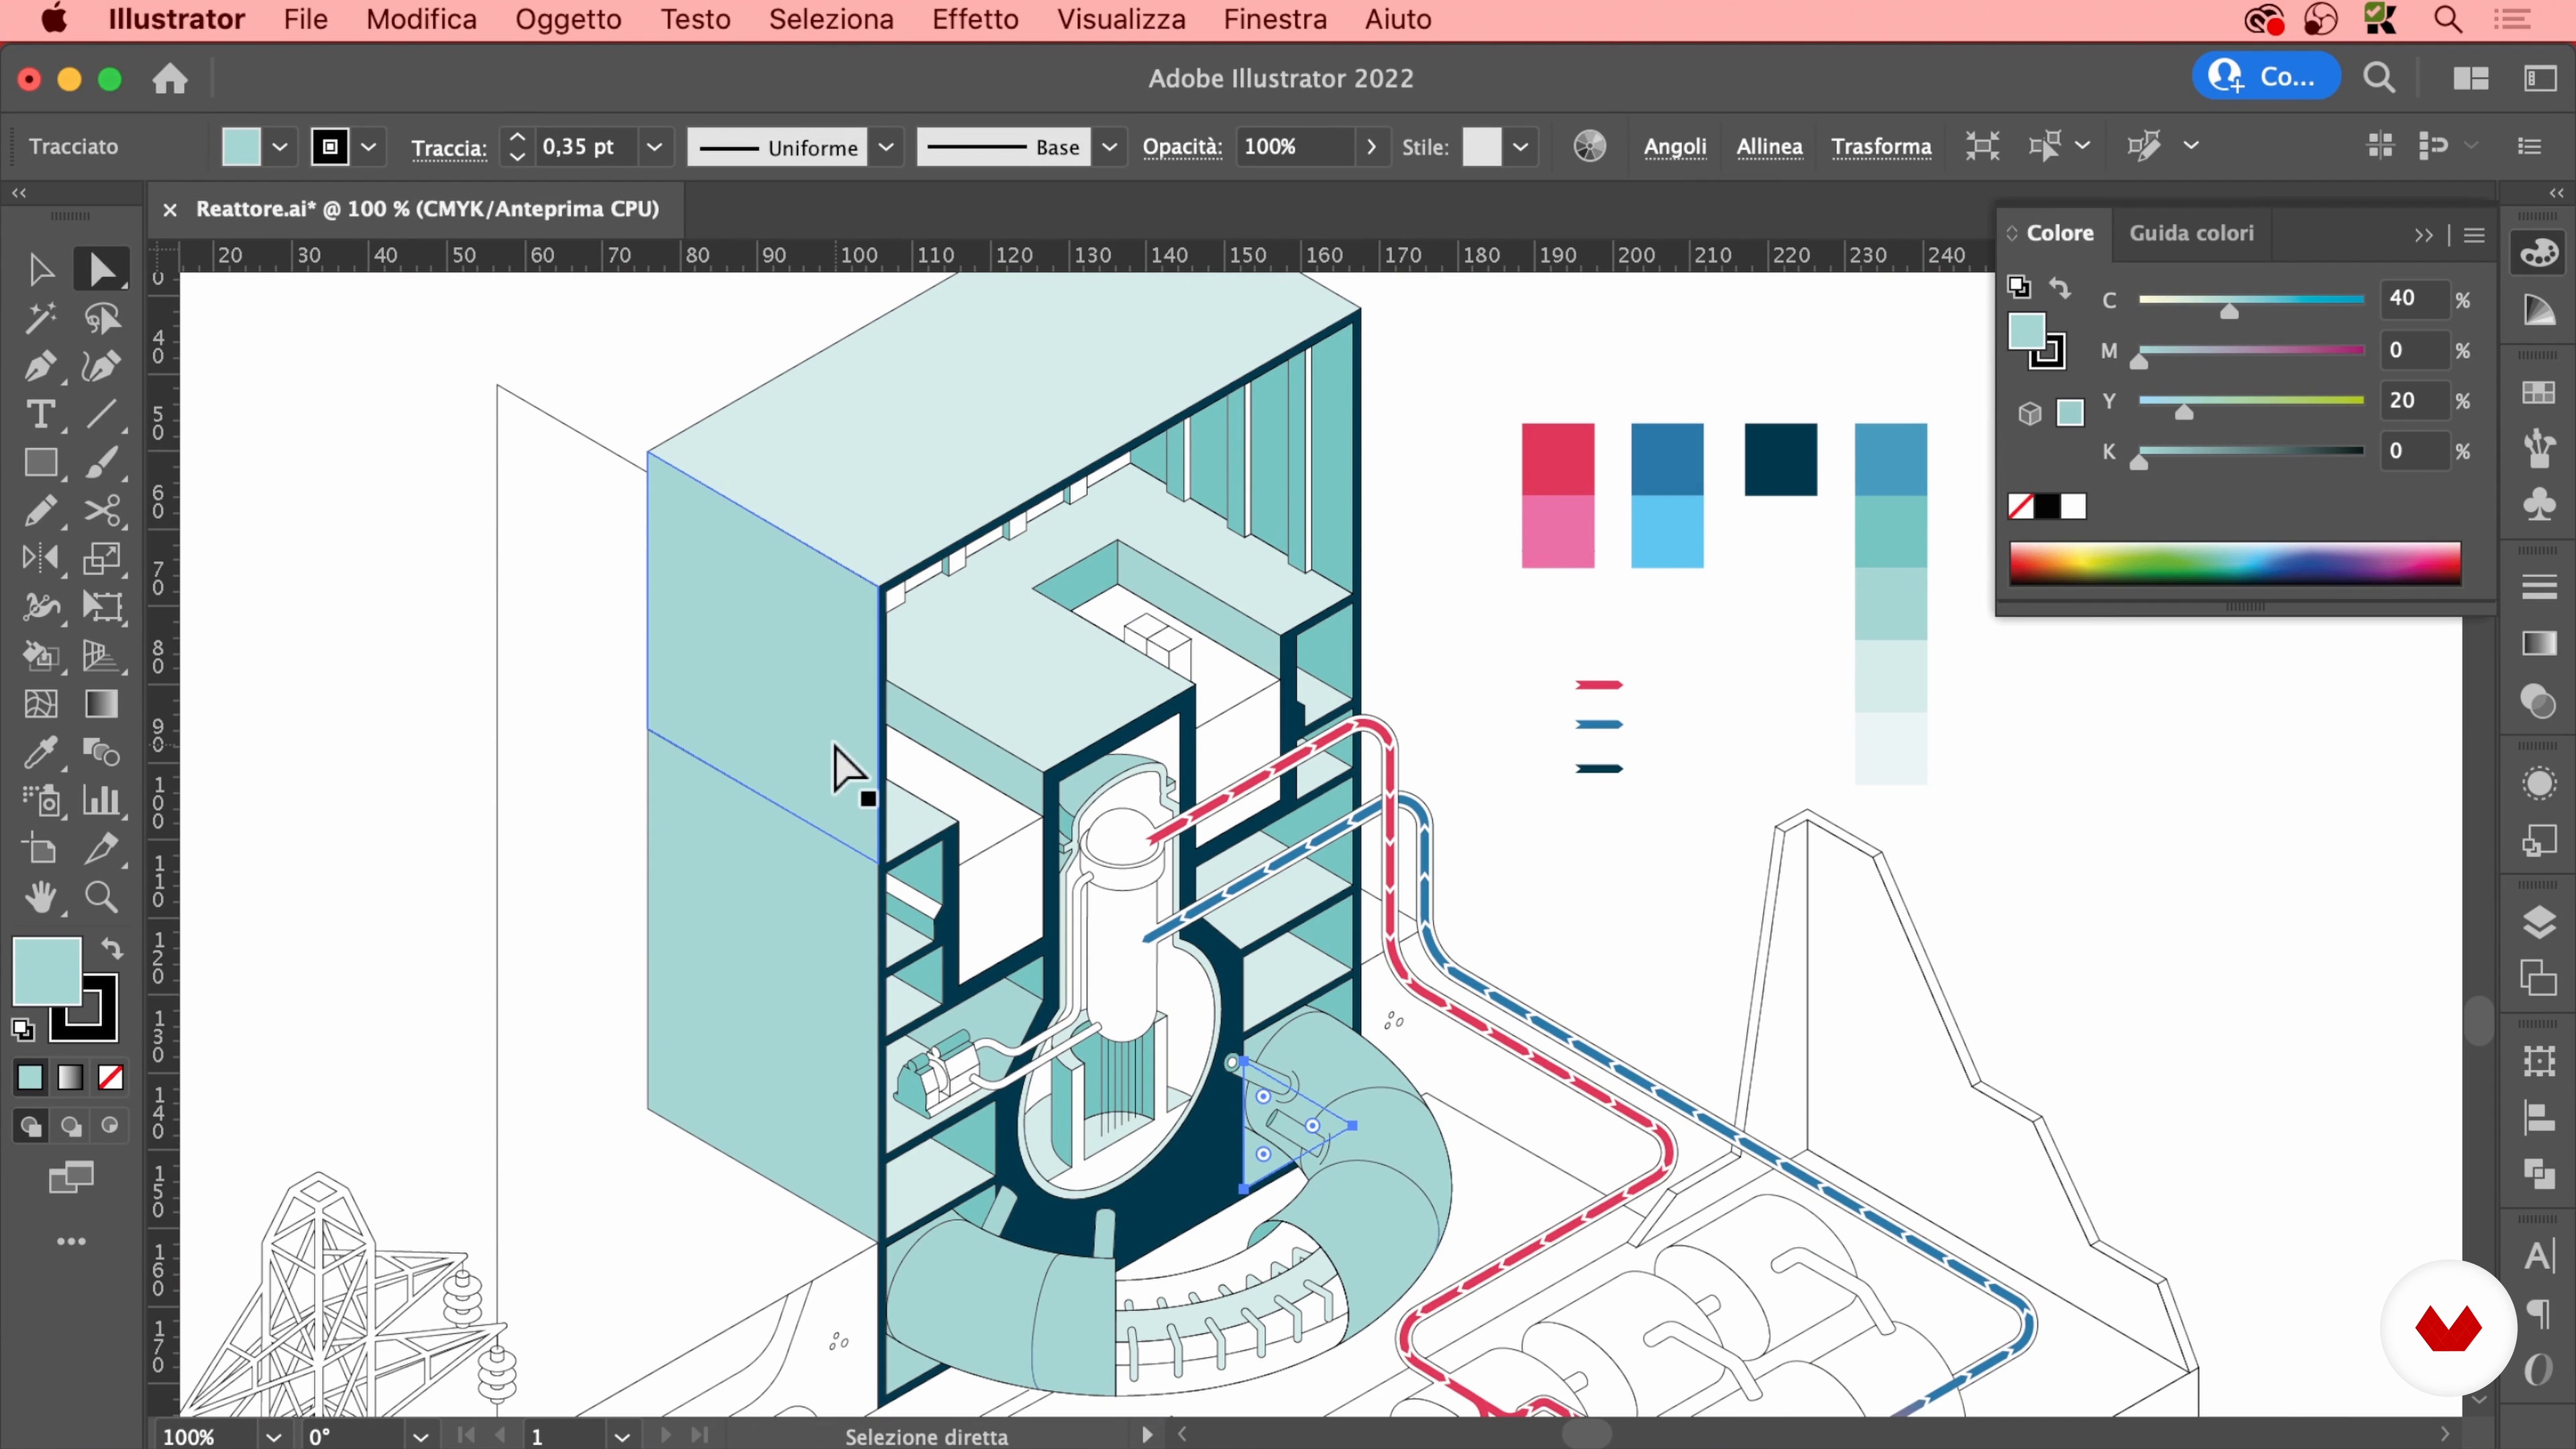
At this point, I'll choose the colors to use for the graphics.
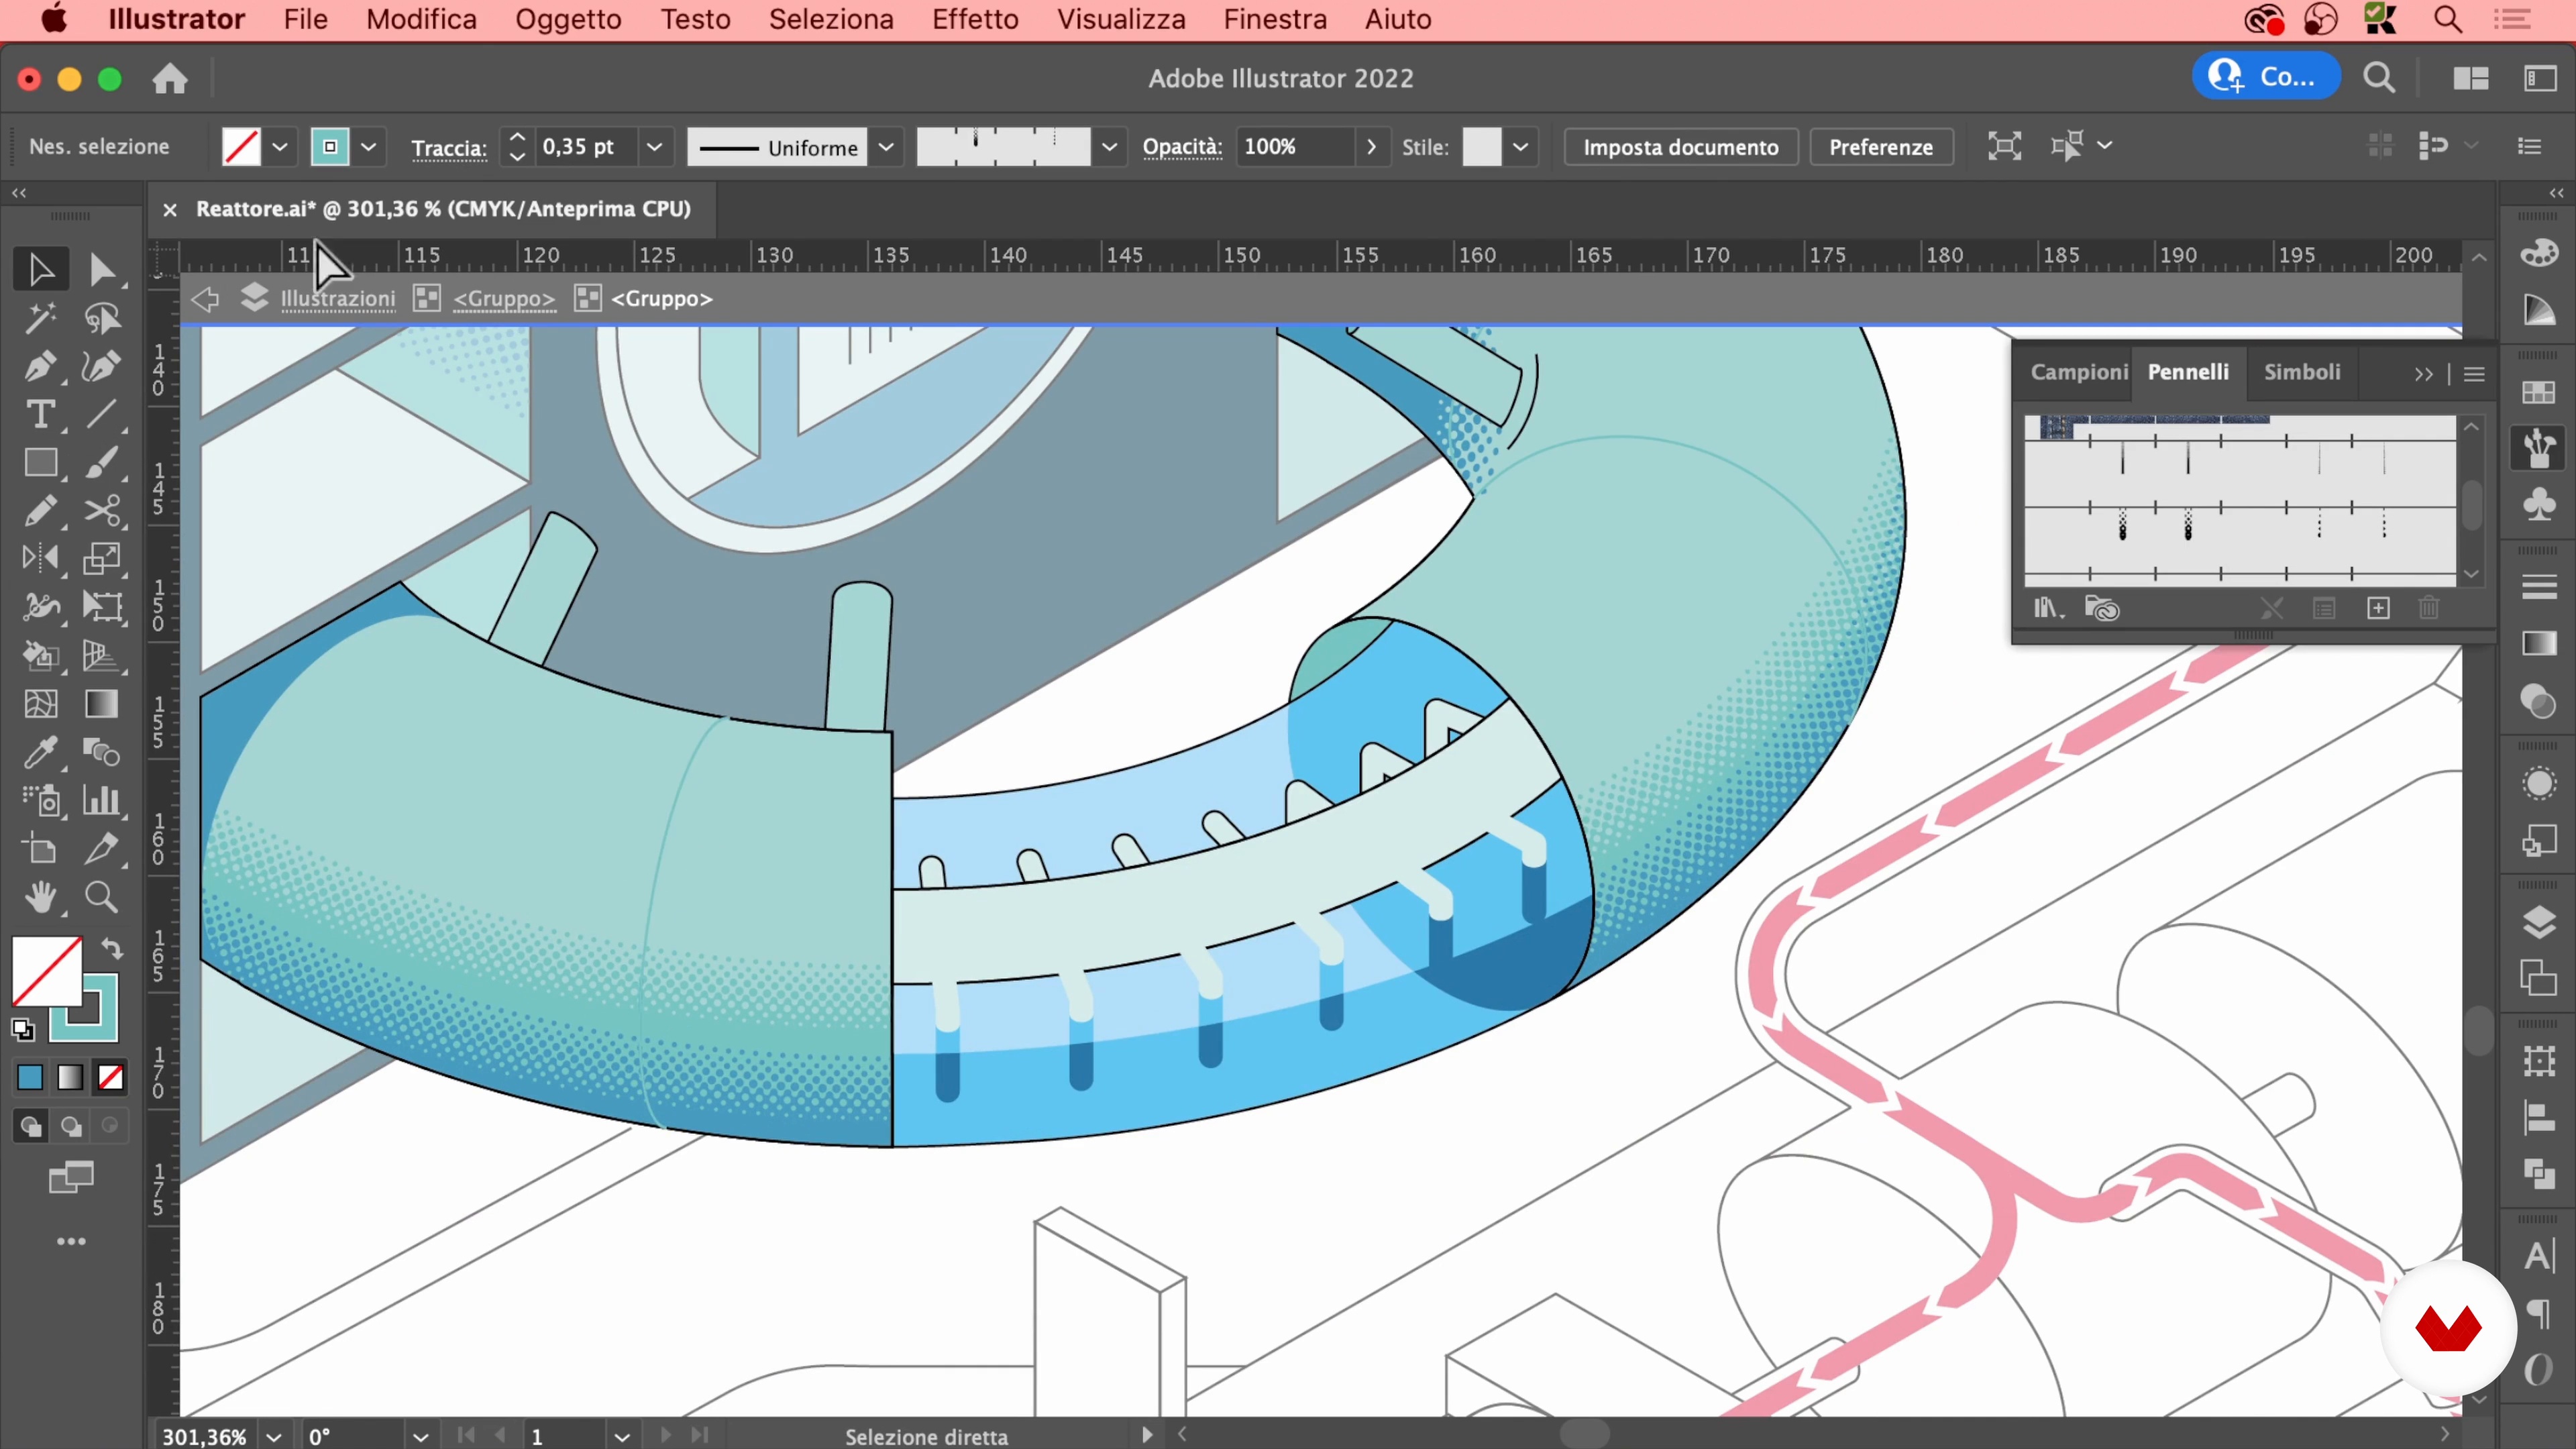
20m
 19
19Illustrate in Isometric Axonometry 5
Now I will continue to color the illustration by adding shadows and outlines.
19m
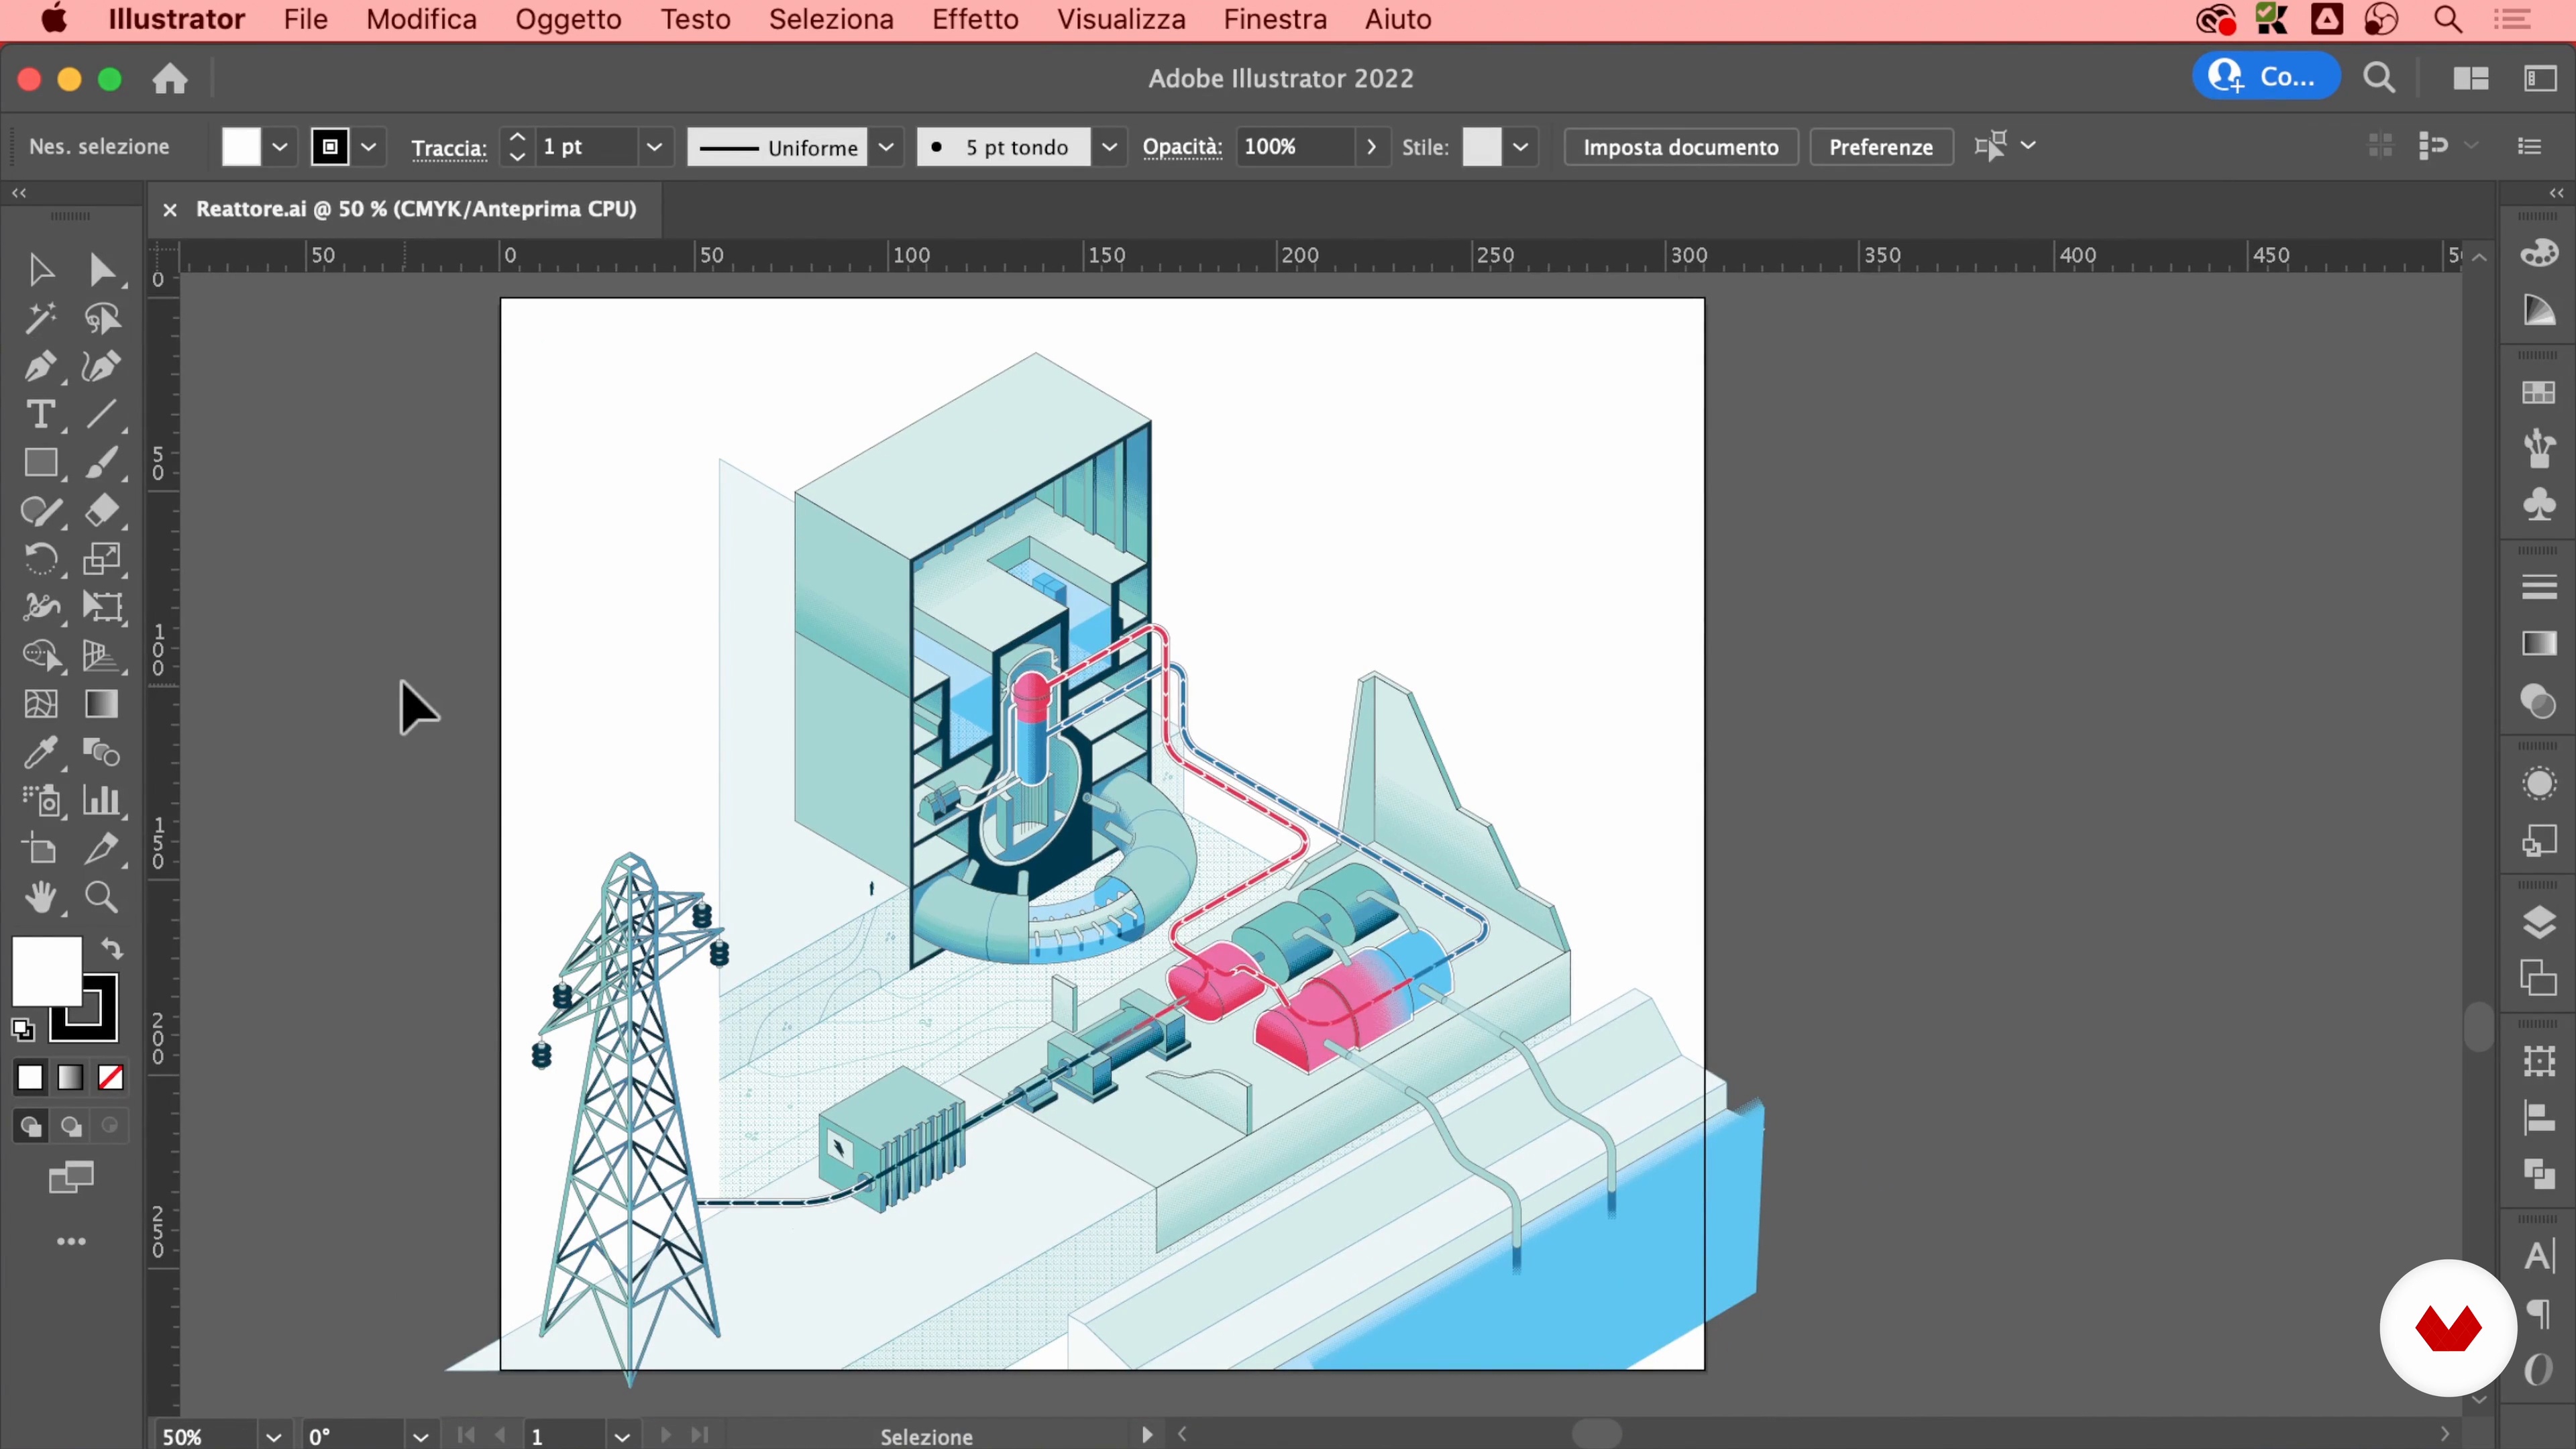 20
20Illustrate in Isometric Axonometry 6
To conclude, I will show you how to color the secondary parts of the graphics.
8m
 21
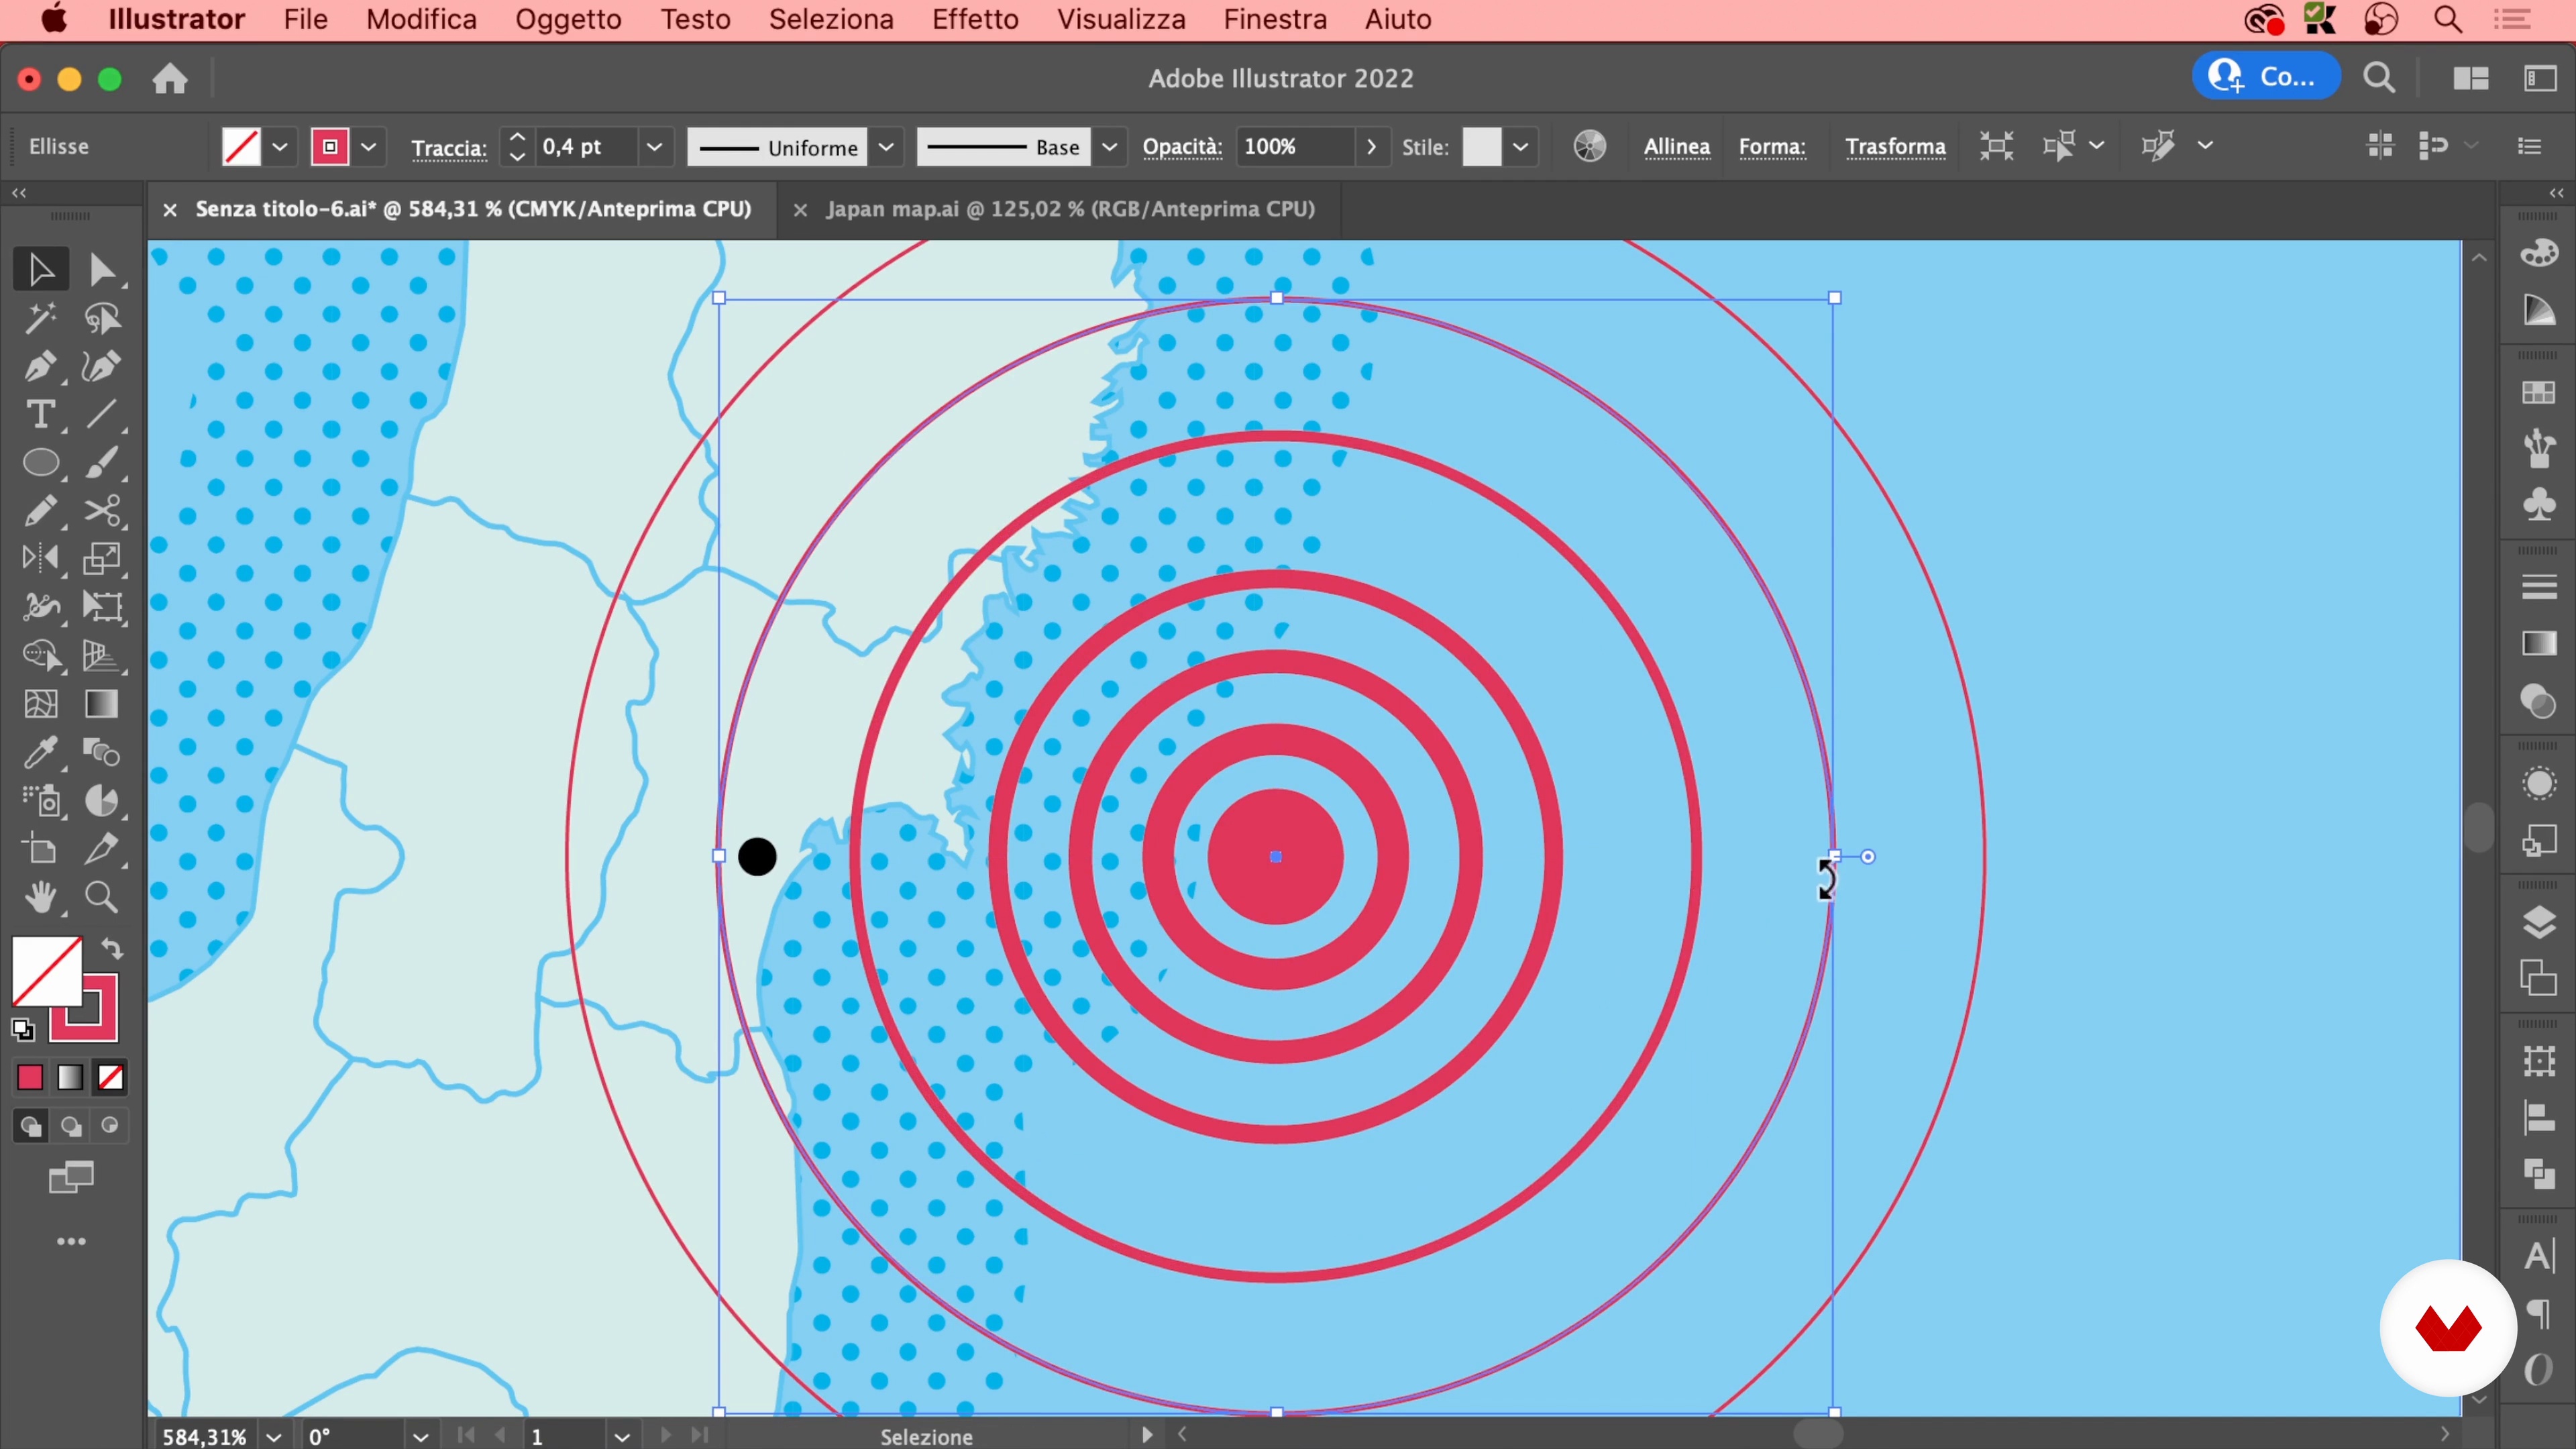
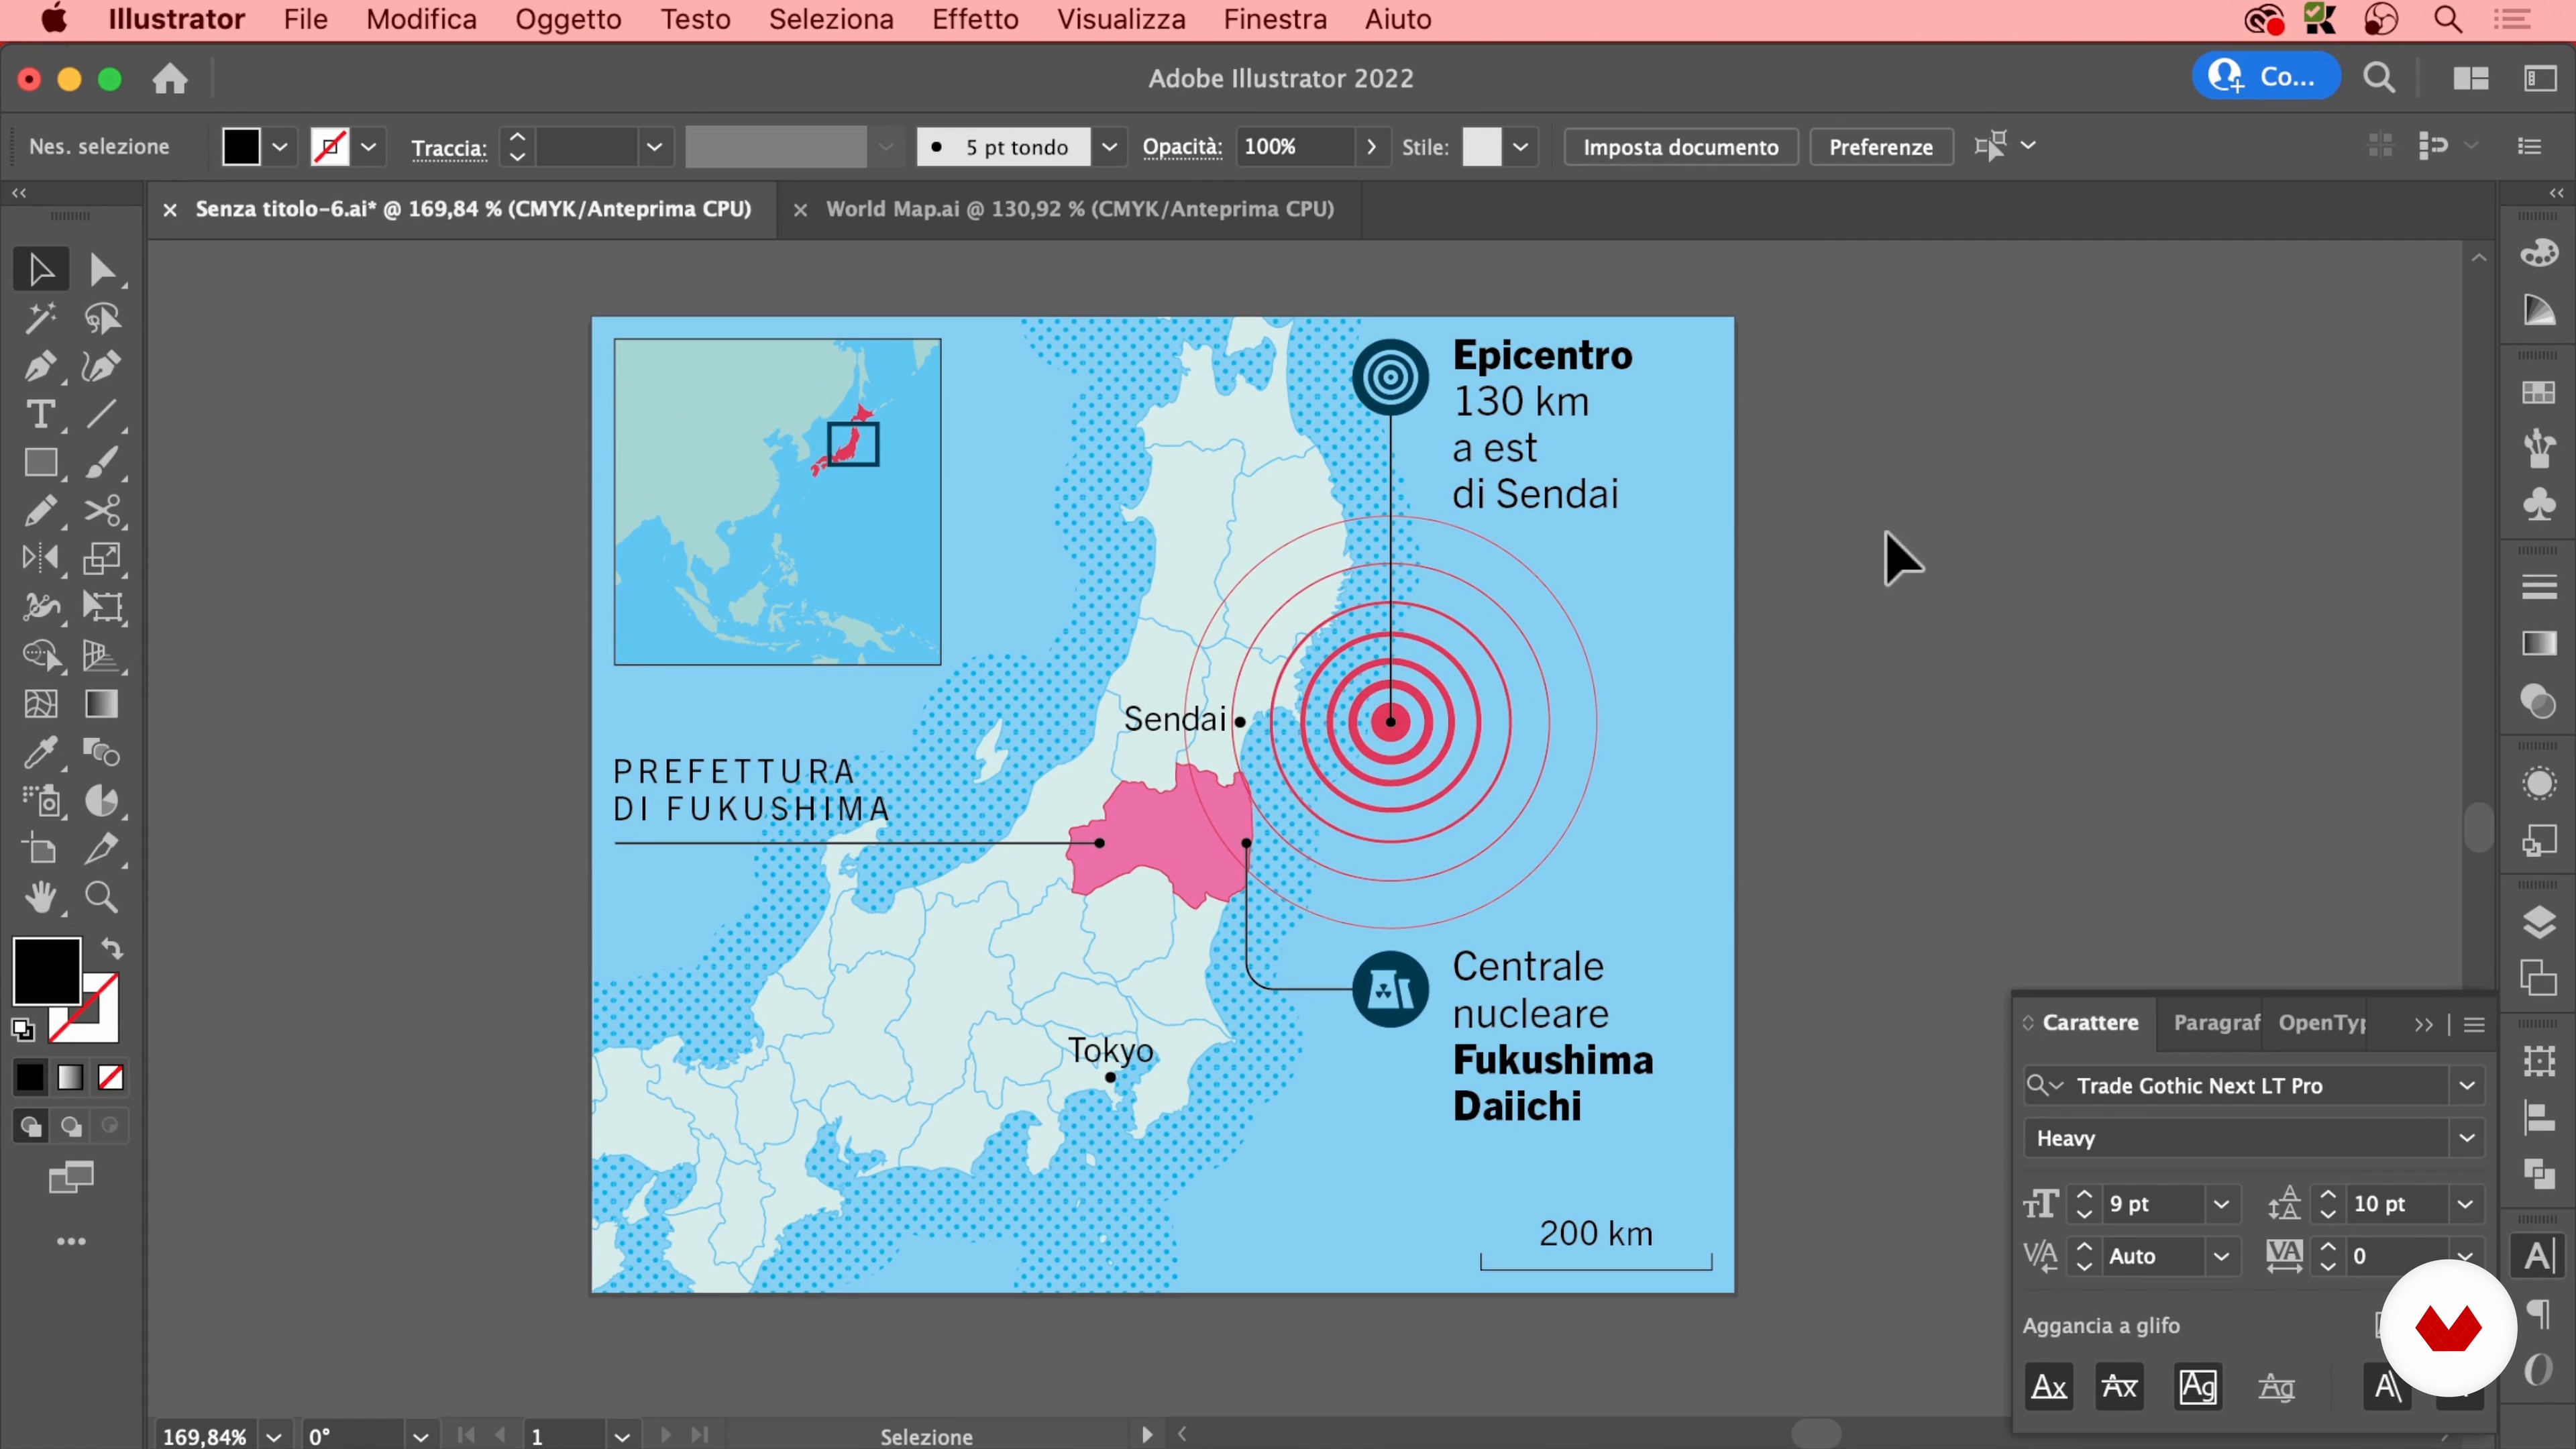
21Illustrate the Map 1
In this lesson I will teach you to draw the map that highlights the epicenter of the earthquake and the location of the power plant in Japan.
17m
 22
22Illustrate the Map 2
At this point, I will insert the pictograms and the part of the map corresponding to mainland Asia.
14m
 23
23Illustrating Two-Dimensional Content 1
In this lesson I will show you how to illustrate and color all two-dimensional diagrams, such as those of the phases leading to nuclear meltdown.
19m
 24
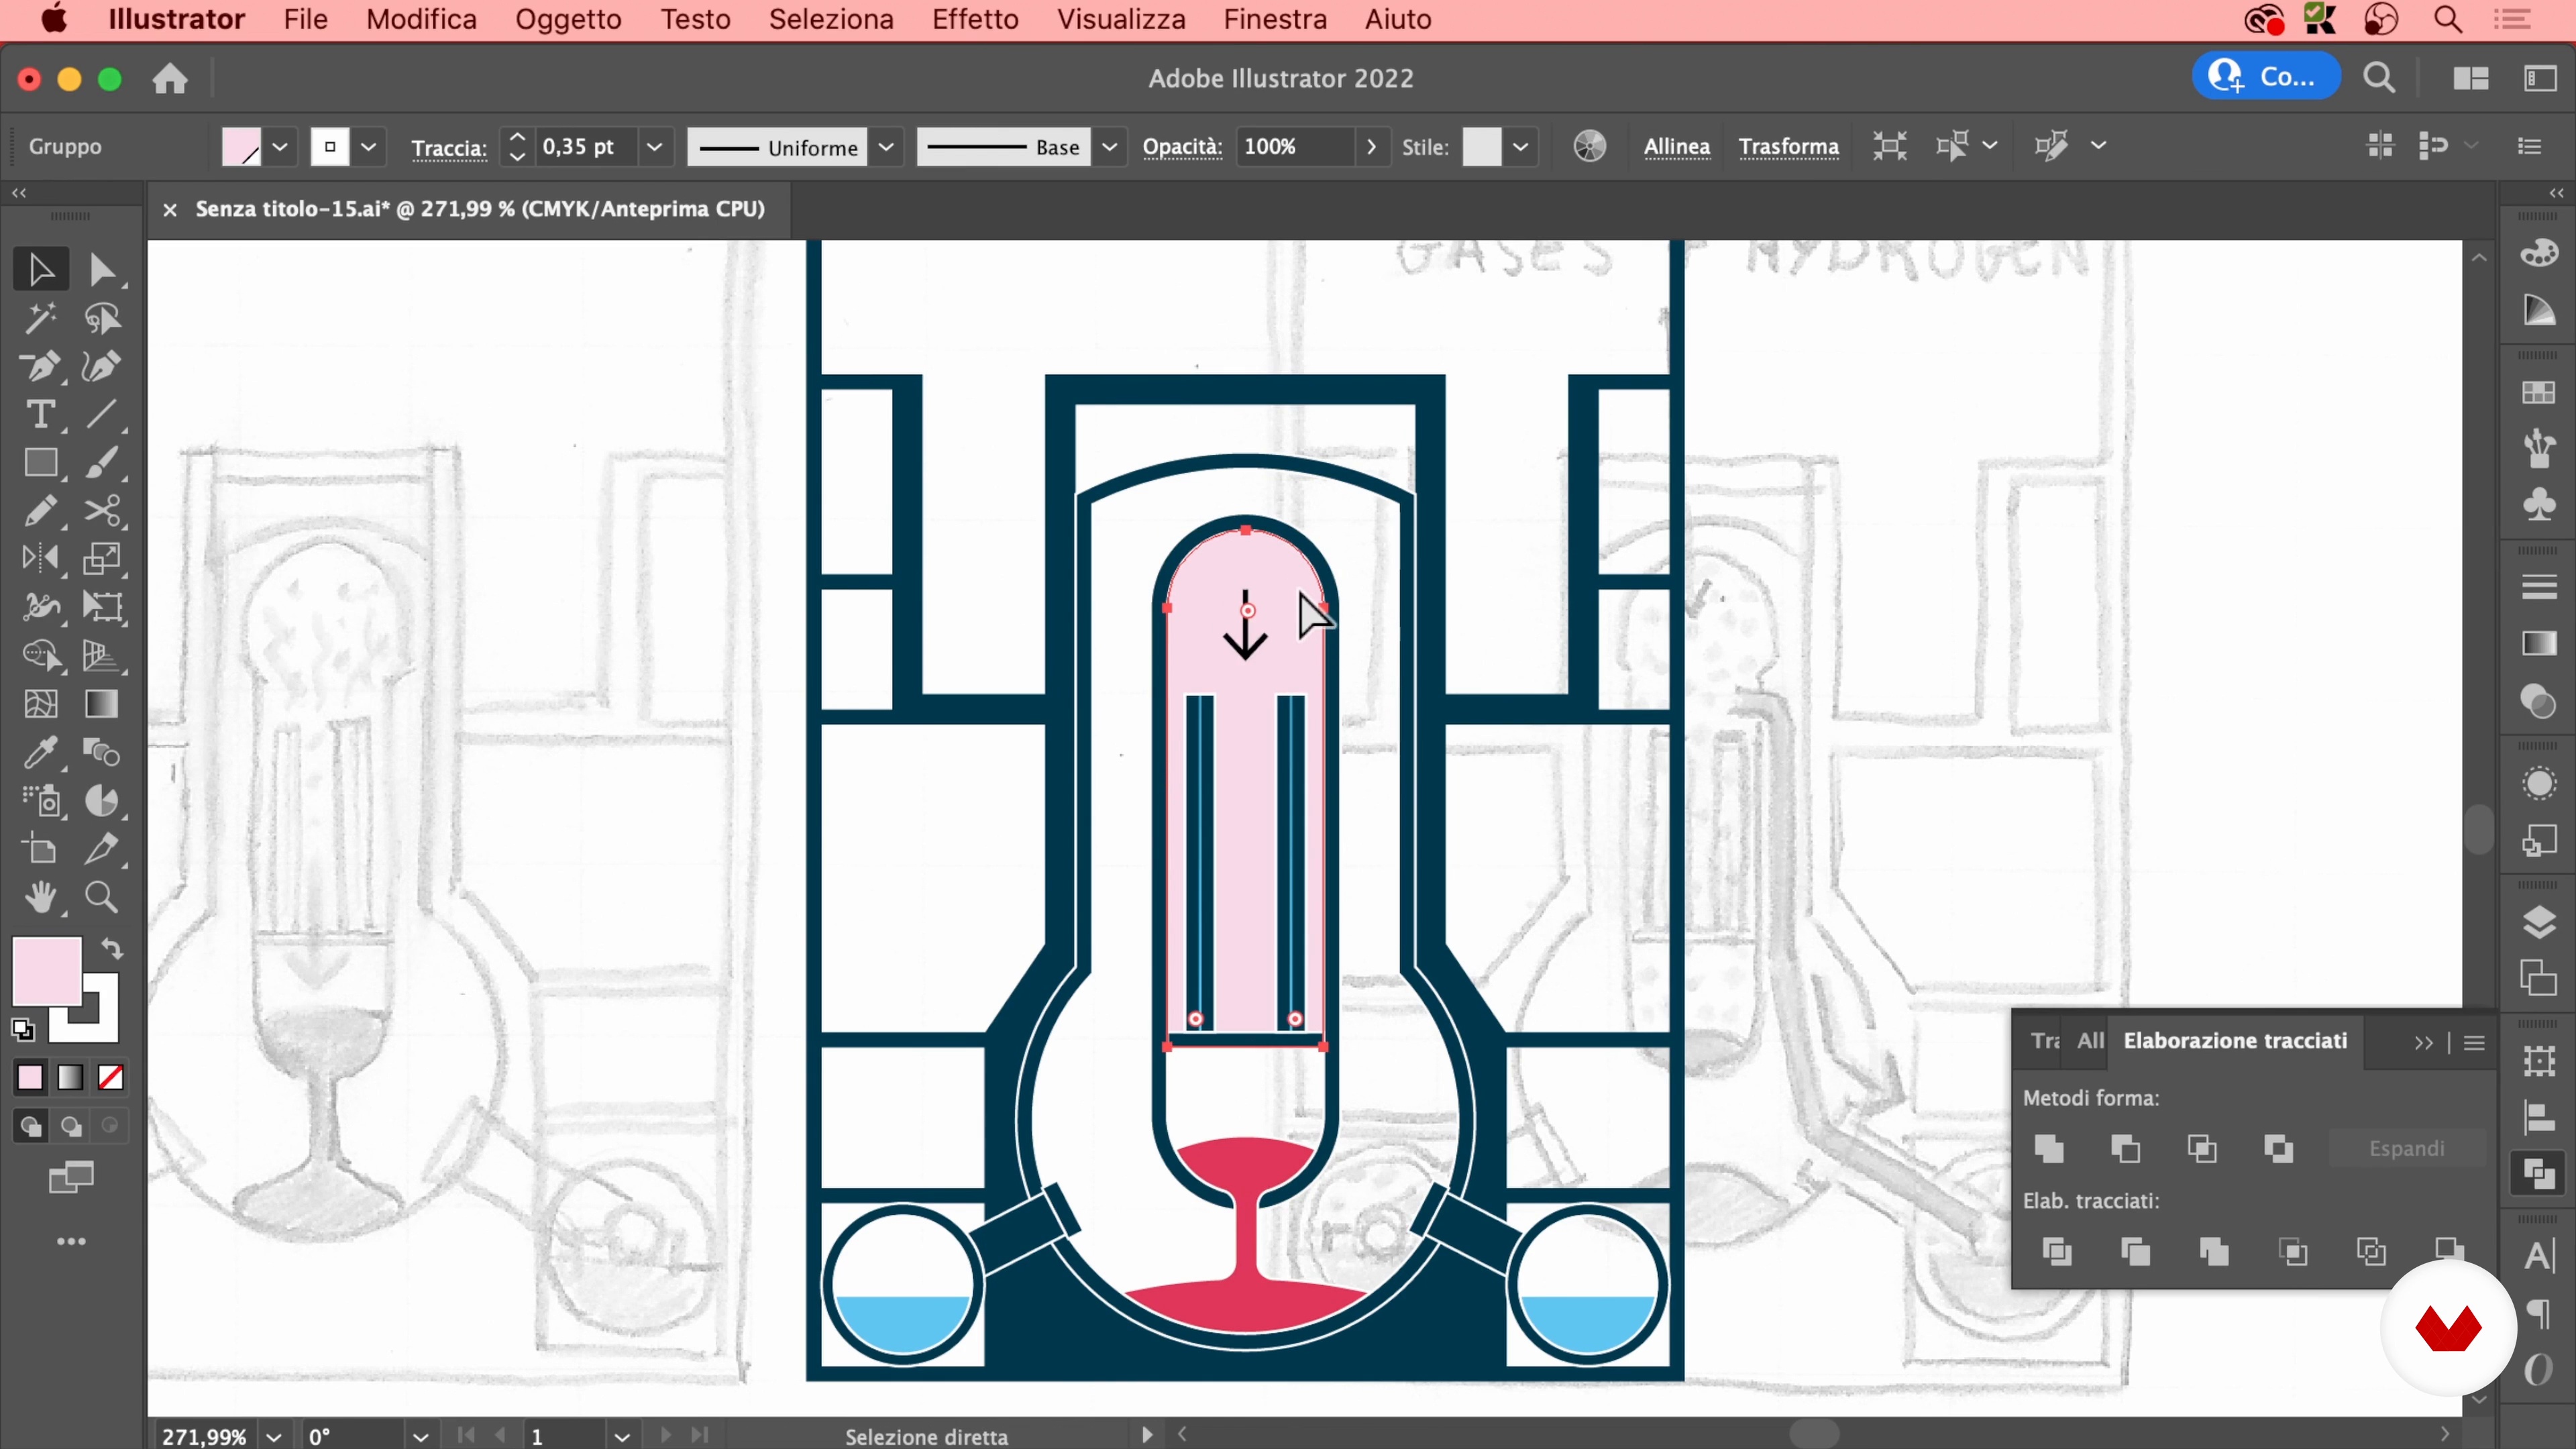
24Illustrating Two-Dimensional Content 2
Once the reactor image is complete, I will continue to illustrate the meltdown steps, starting with the melting of the fuel.
17m
 25
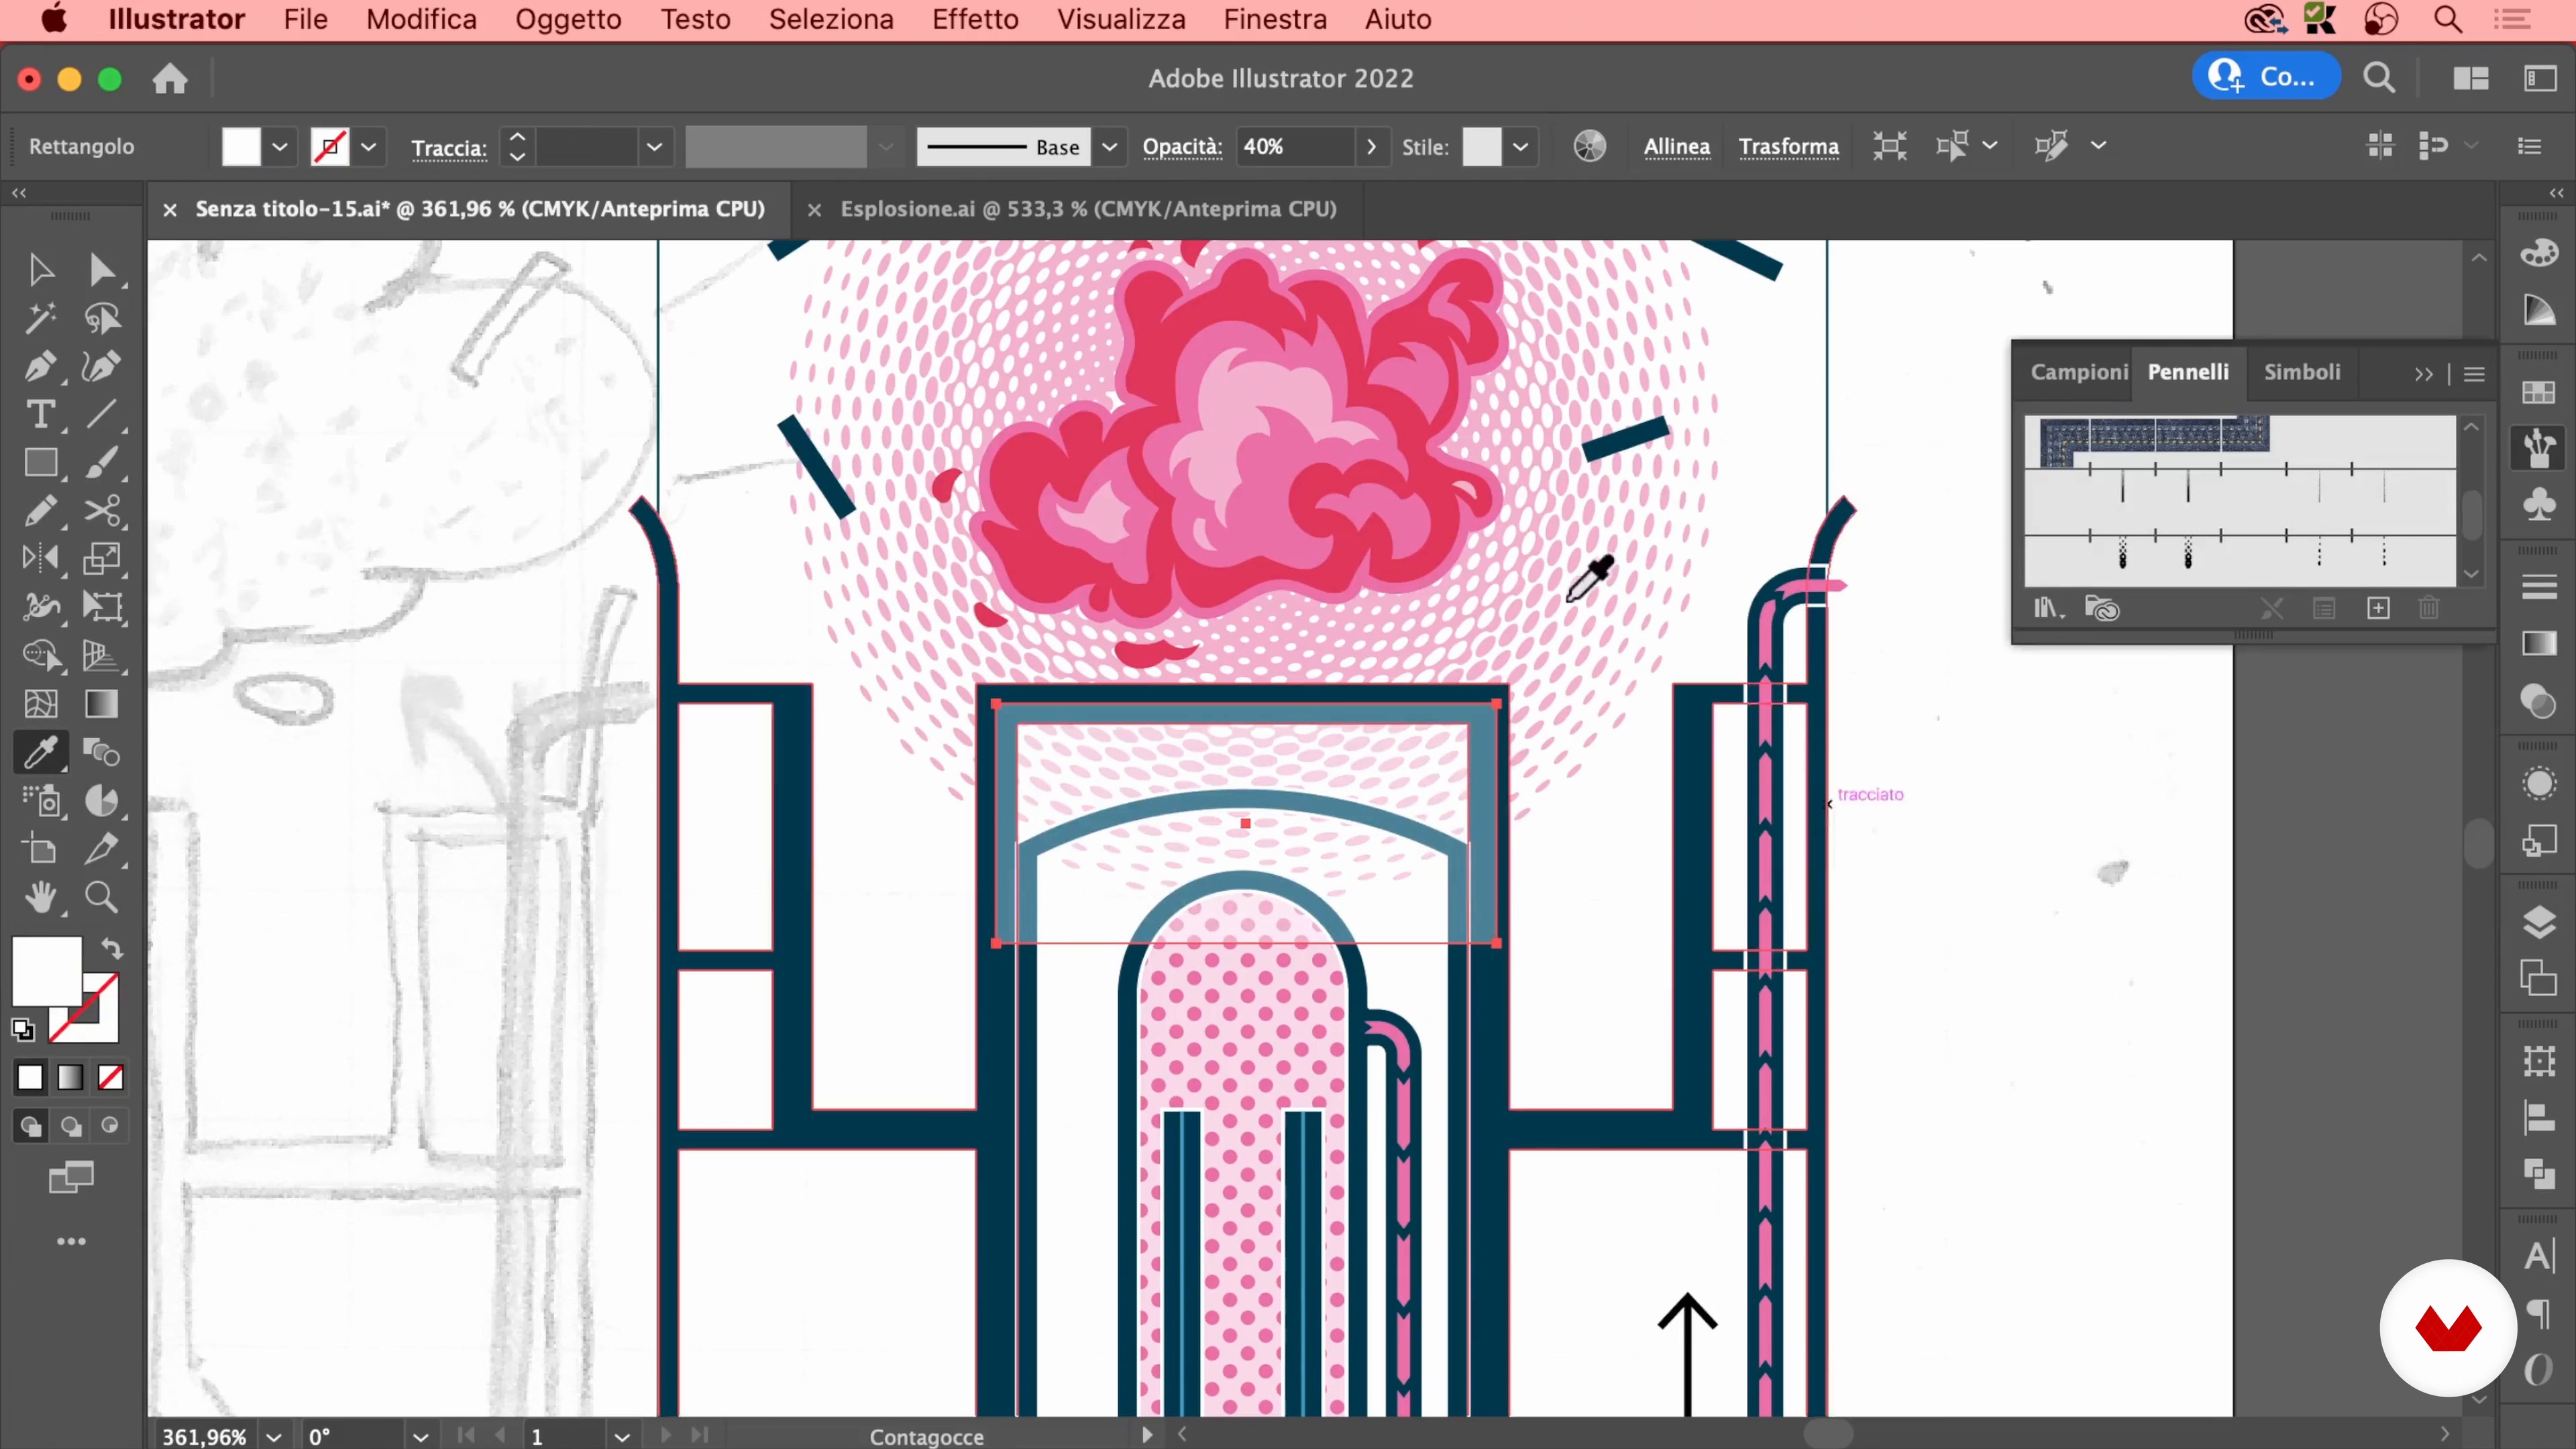
25Illustrating Two-Dimensional Content 3
Now I will finish illustrating the last phases up to that of the explosion of the upper part of the reactor.
19m
 26
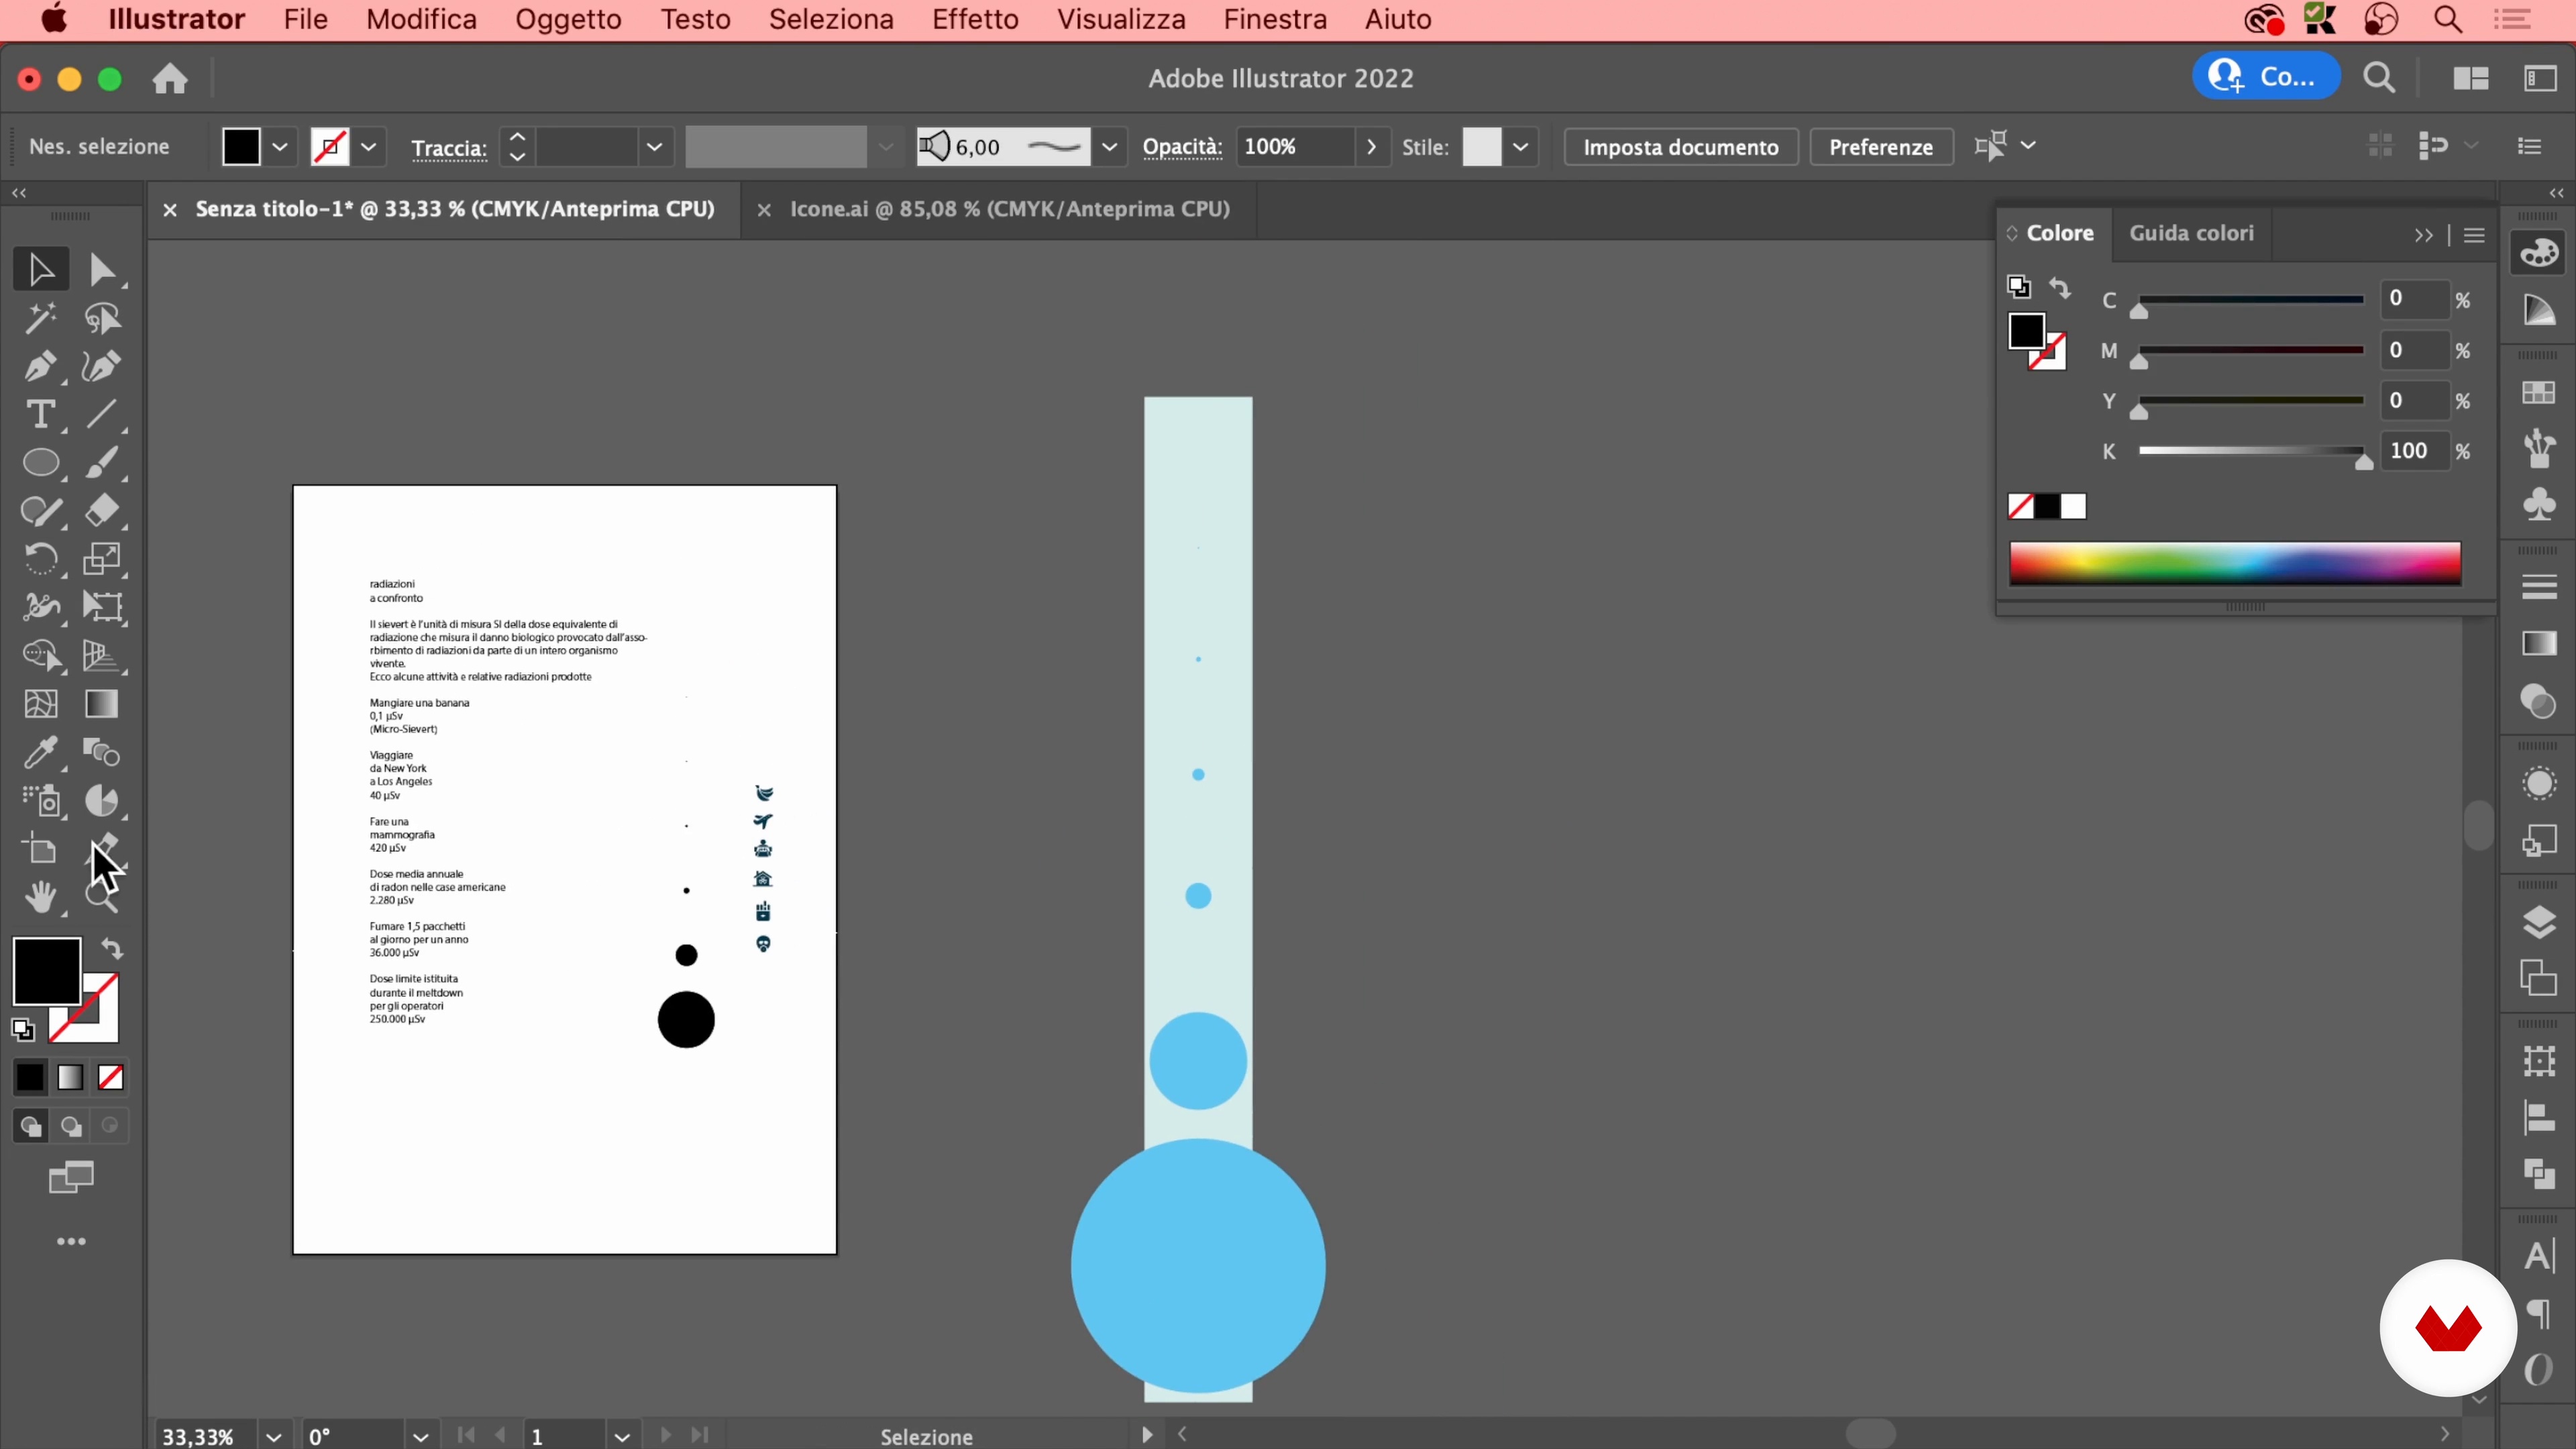
26Data Visualization 1
In this lesson I will teach you how to create a circular area chart to relate different quantities. Finally, I'll show you how to display numeric data with an extra condensed typeface.
18m
 27
27Data Visualization 2
Here I will conclude the infographic column and complete the data visualization.
15m
 28
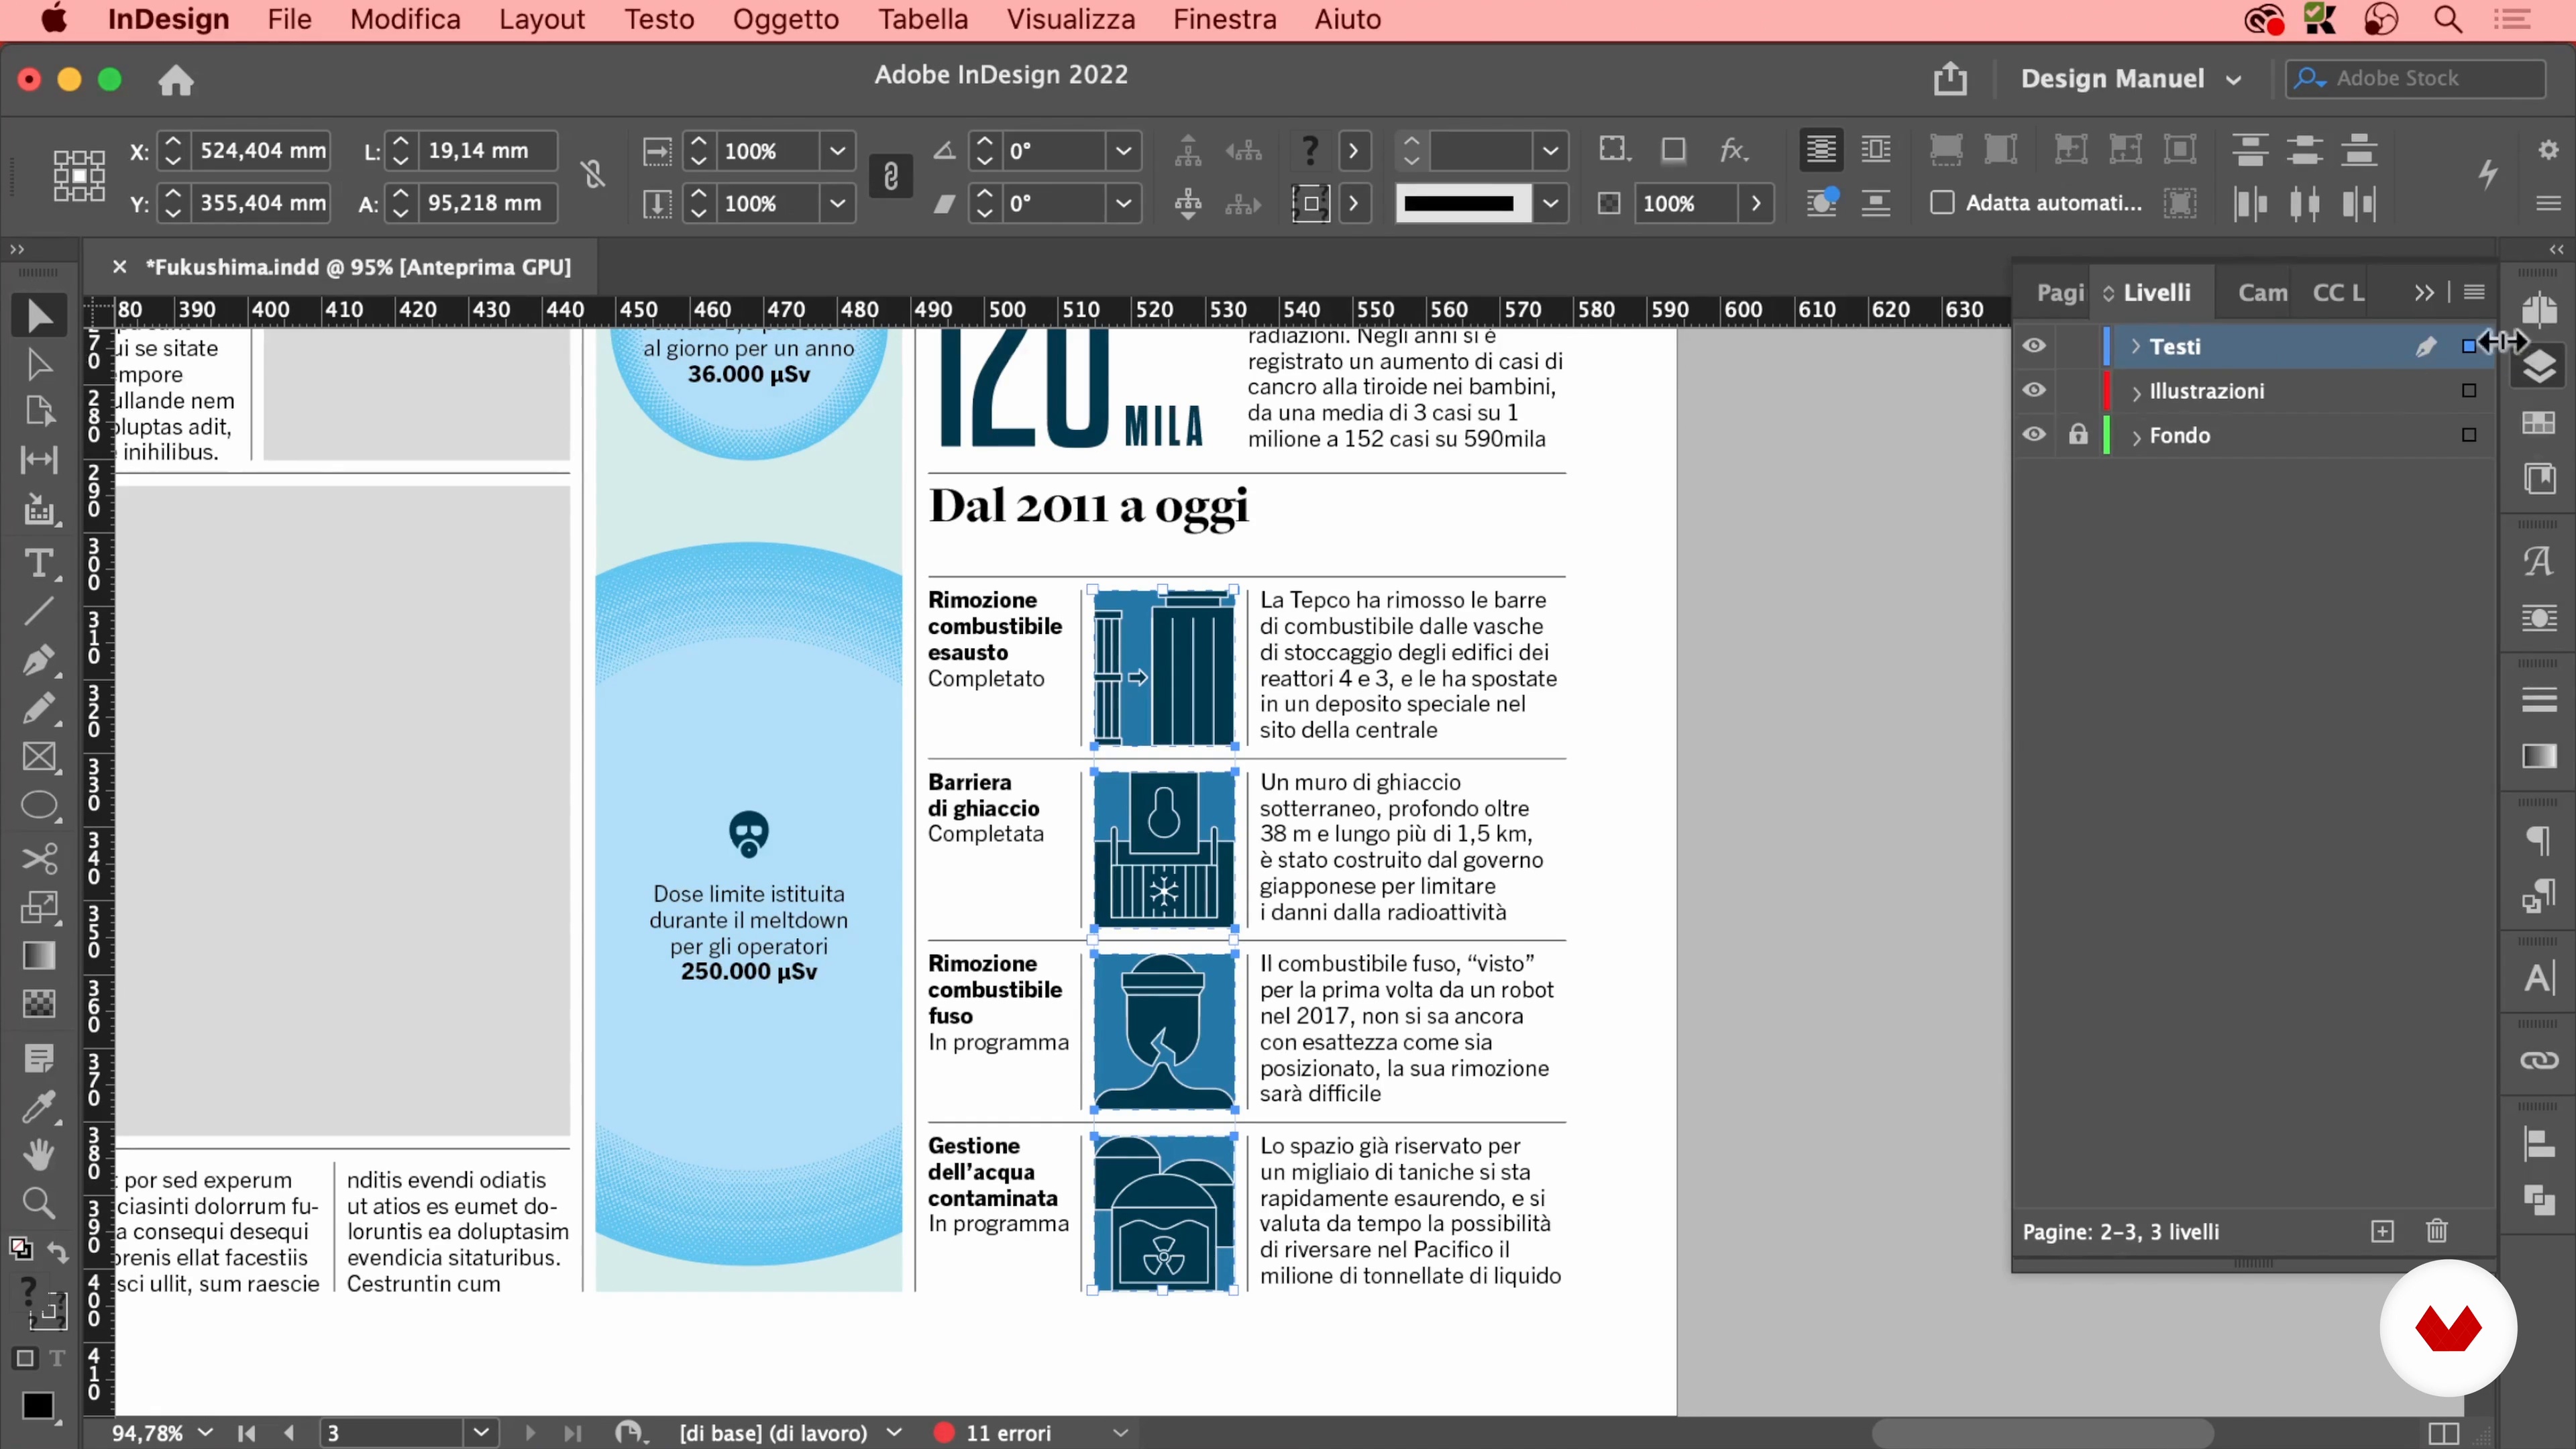
28Import to InDesign and Final Details 1
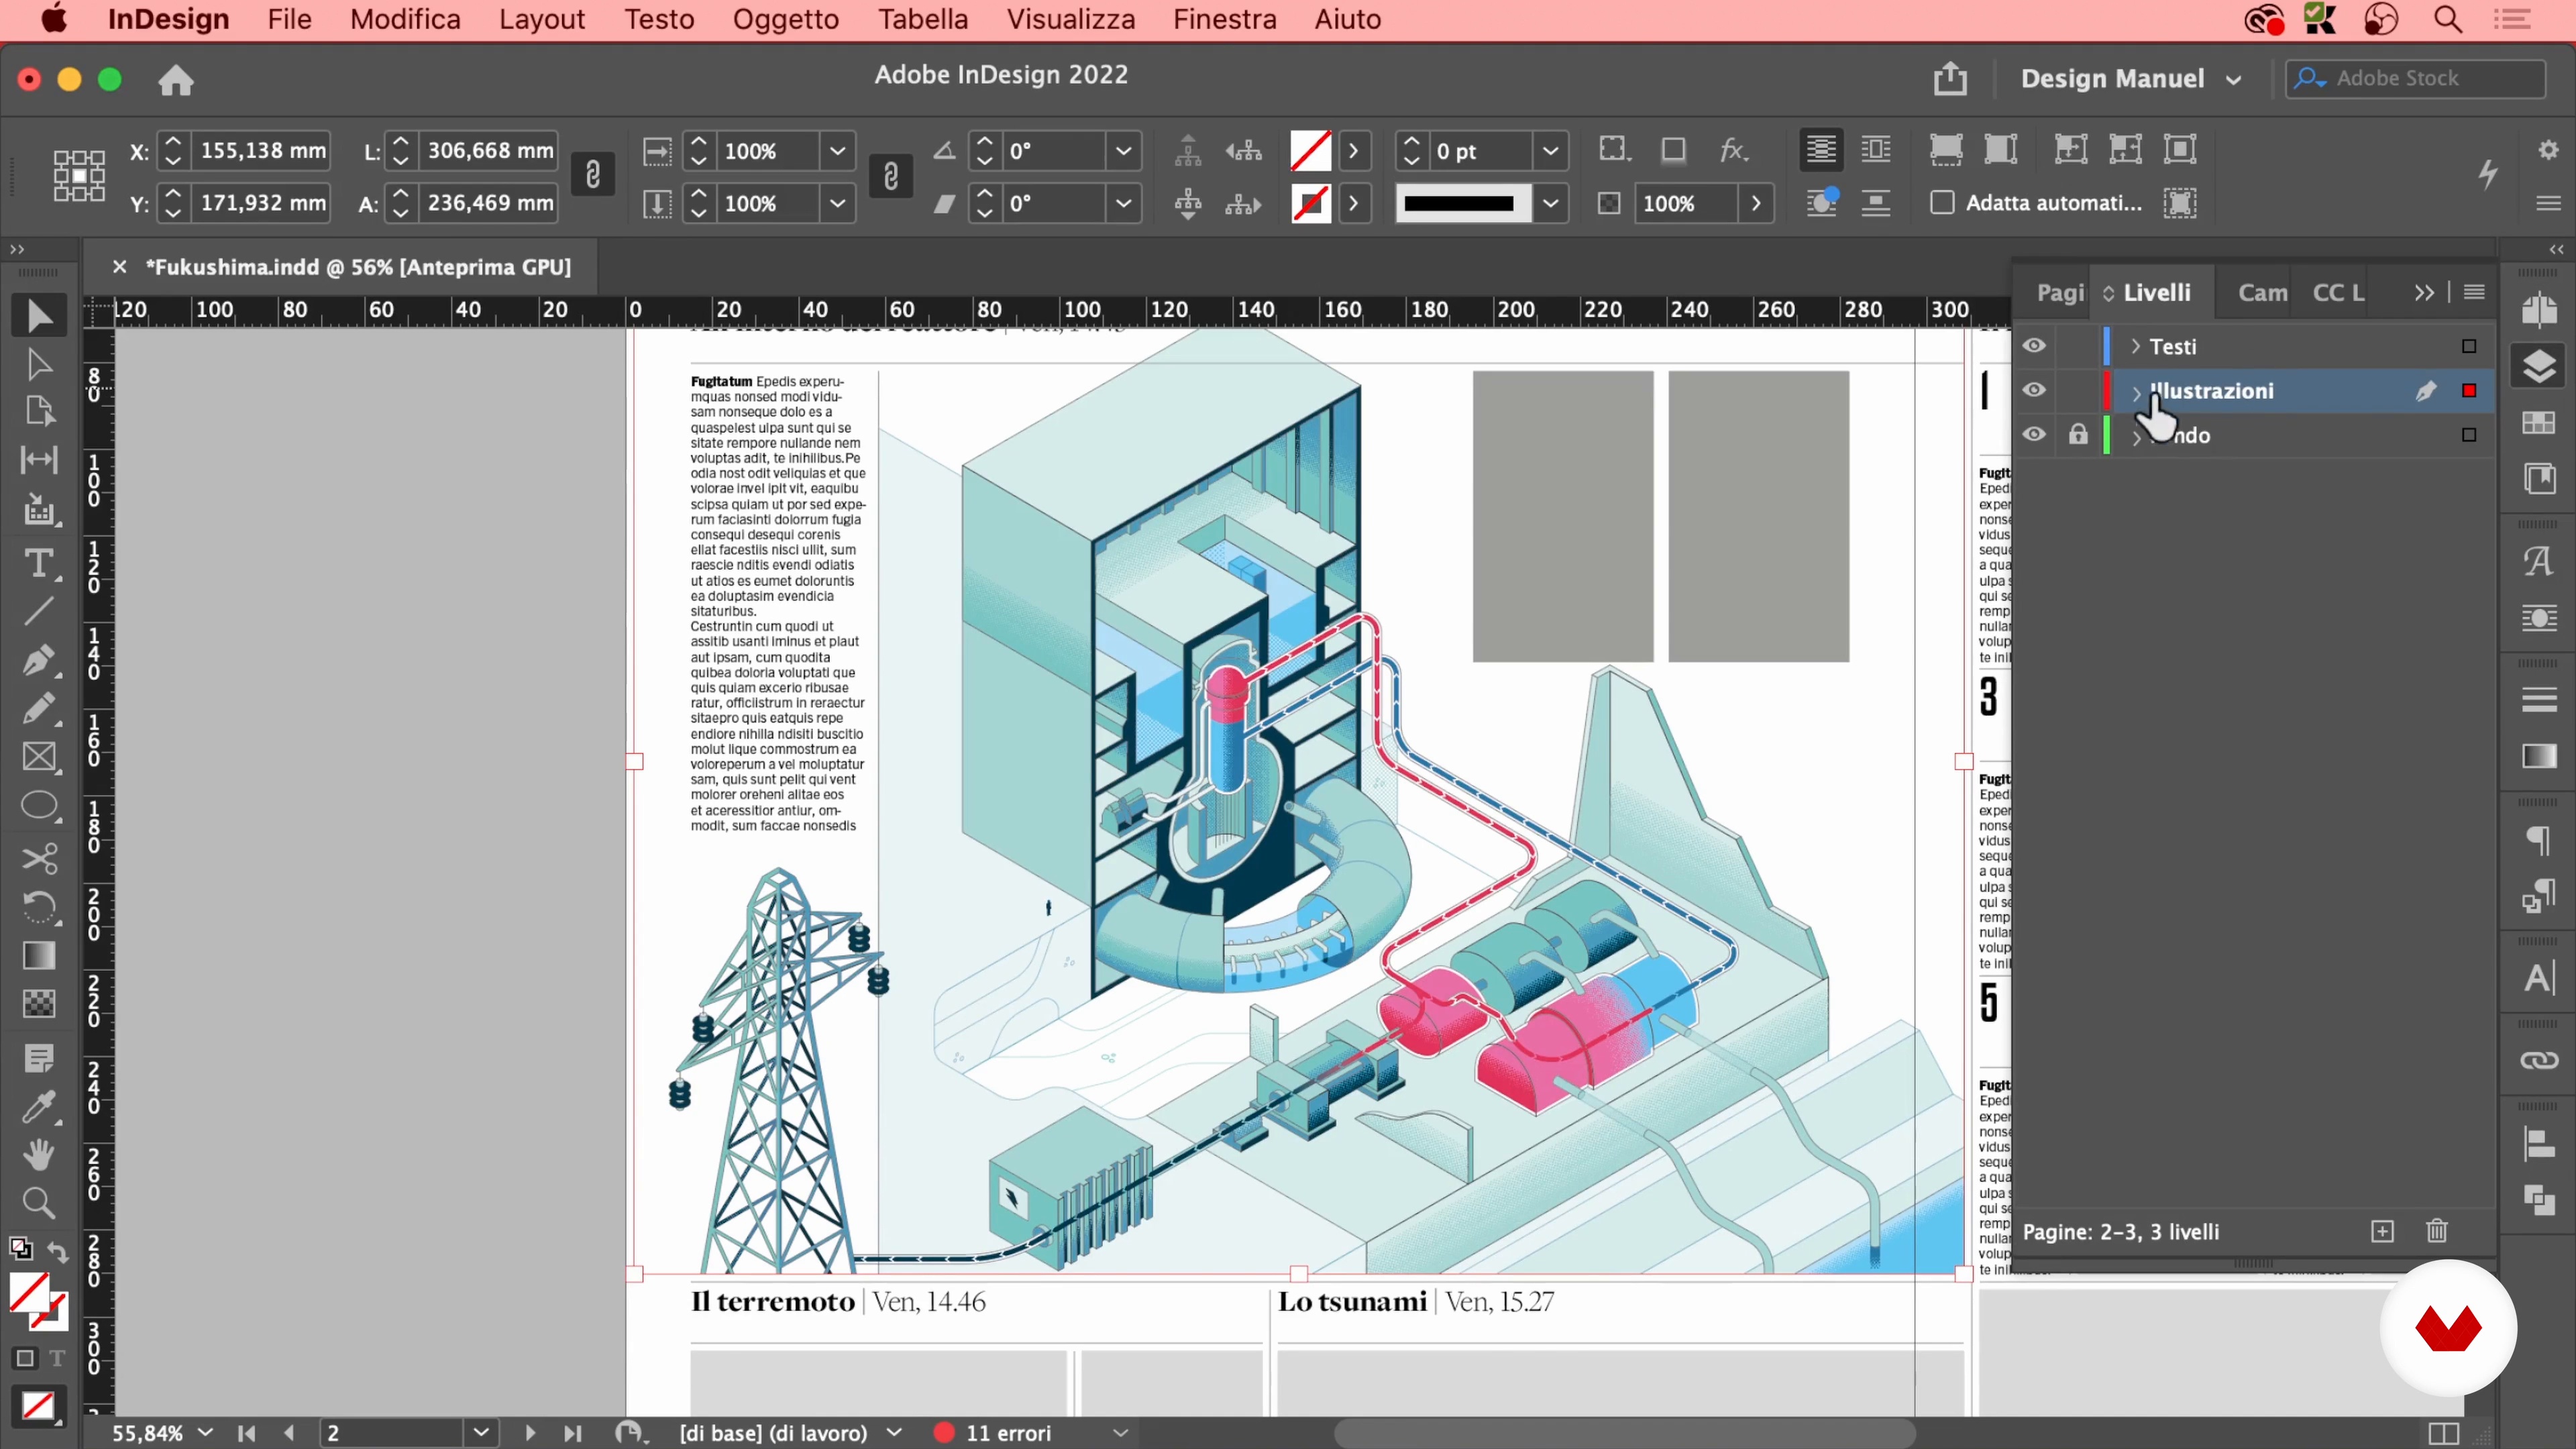
In this lesson I will import all the illustrations created into the layout in InDesign and place them in the established dimensions. Finally, I will add all the missing textual parts.
16m
 29
29Import to InDesign and Final Details 2
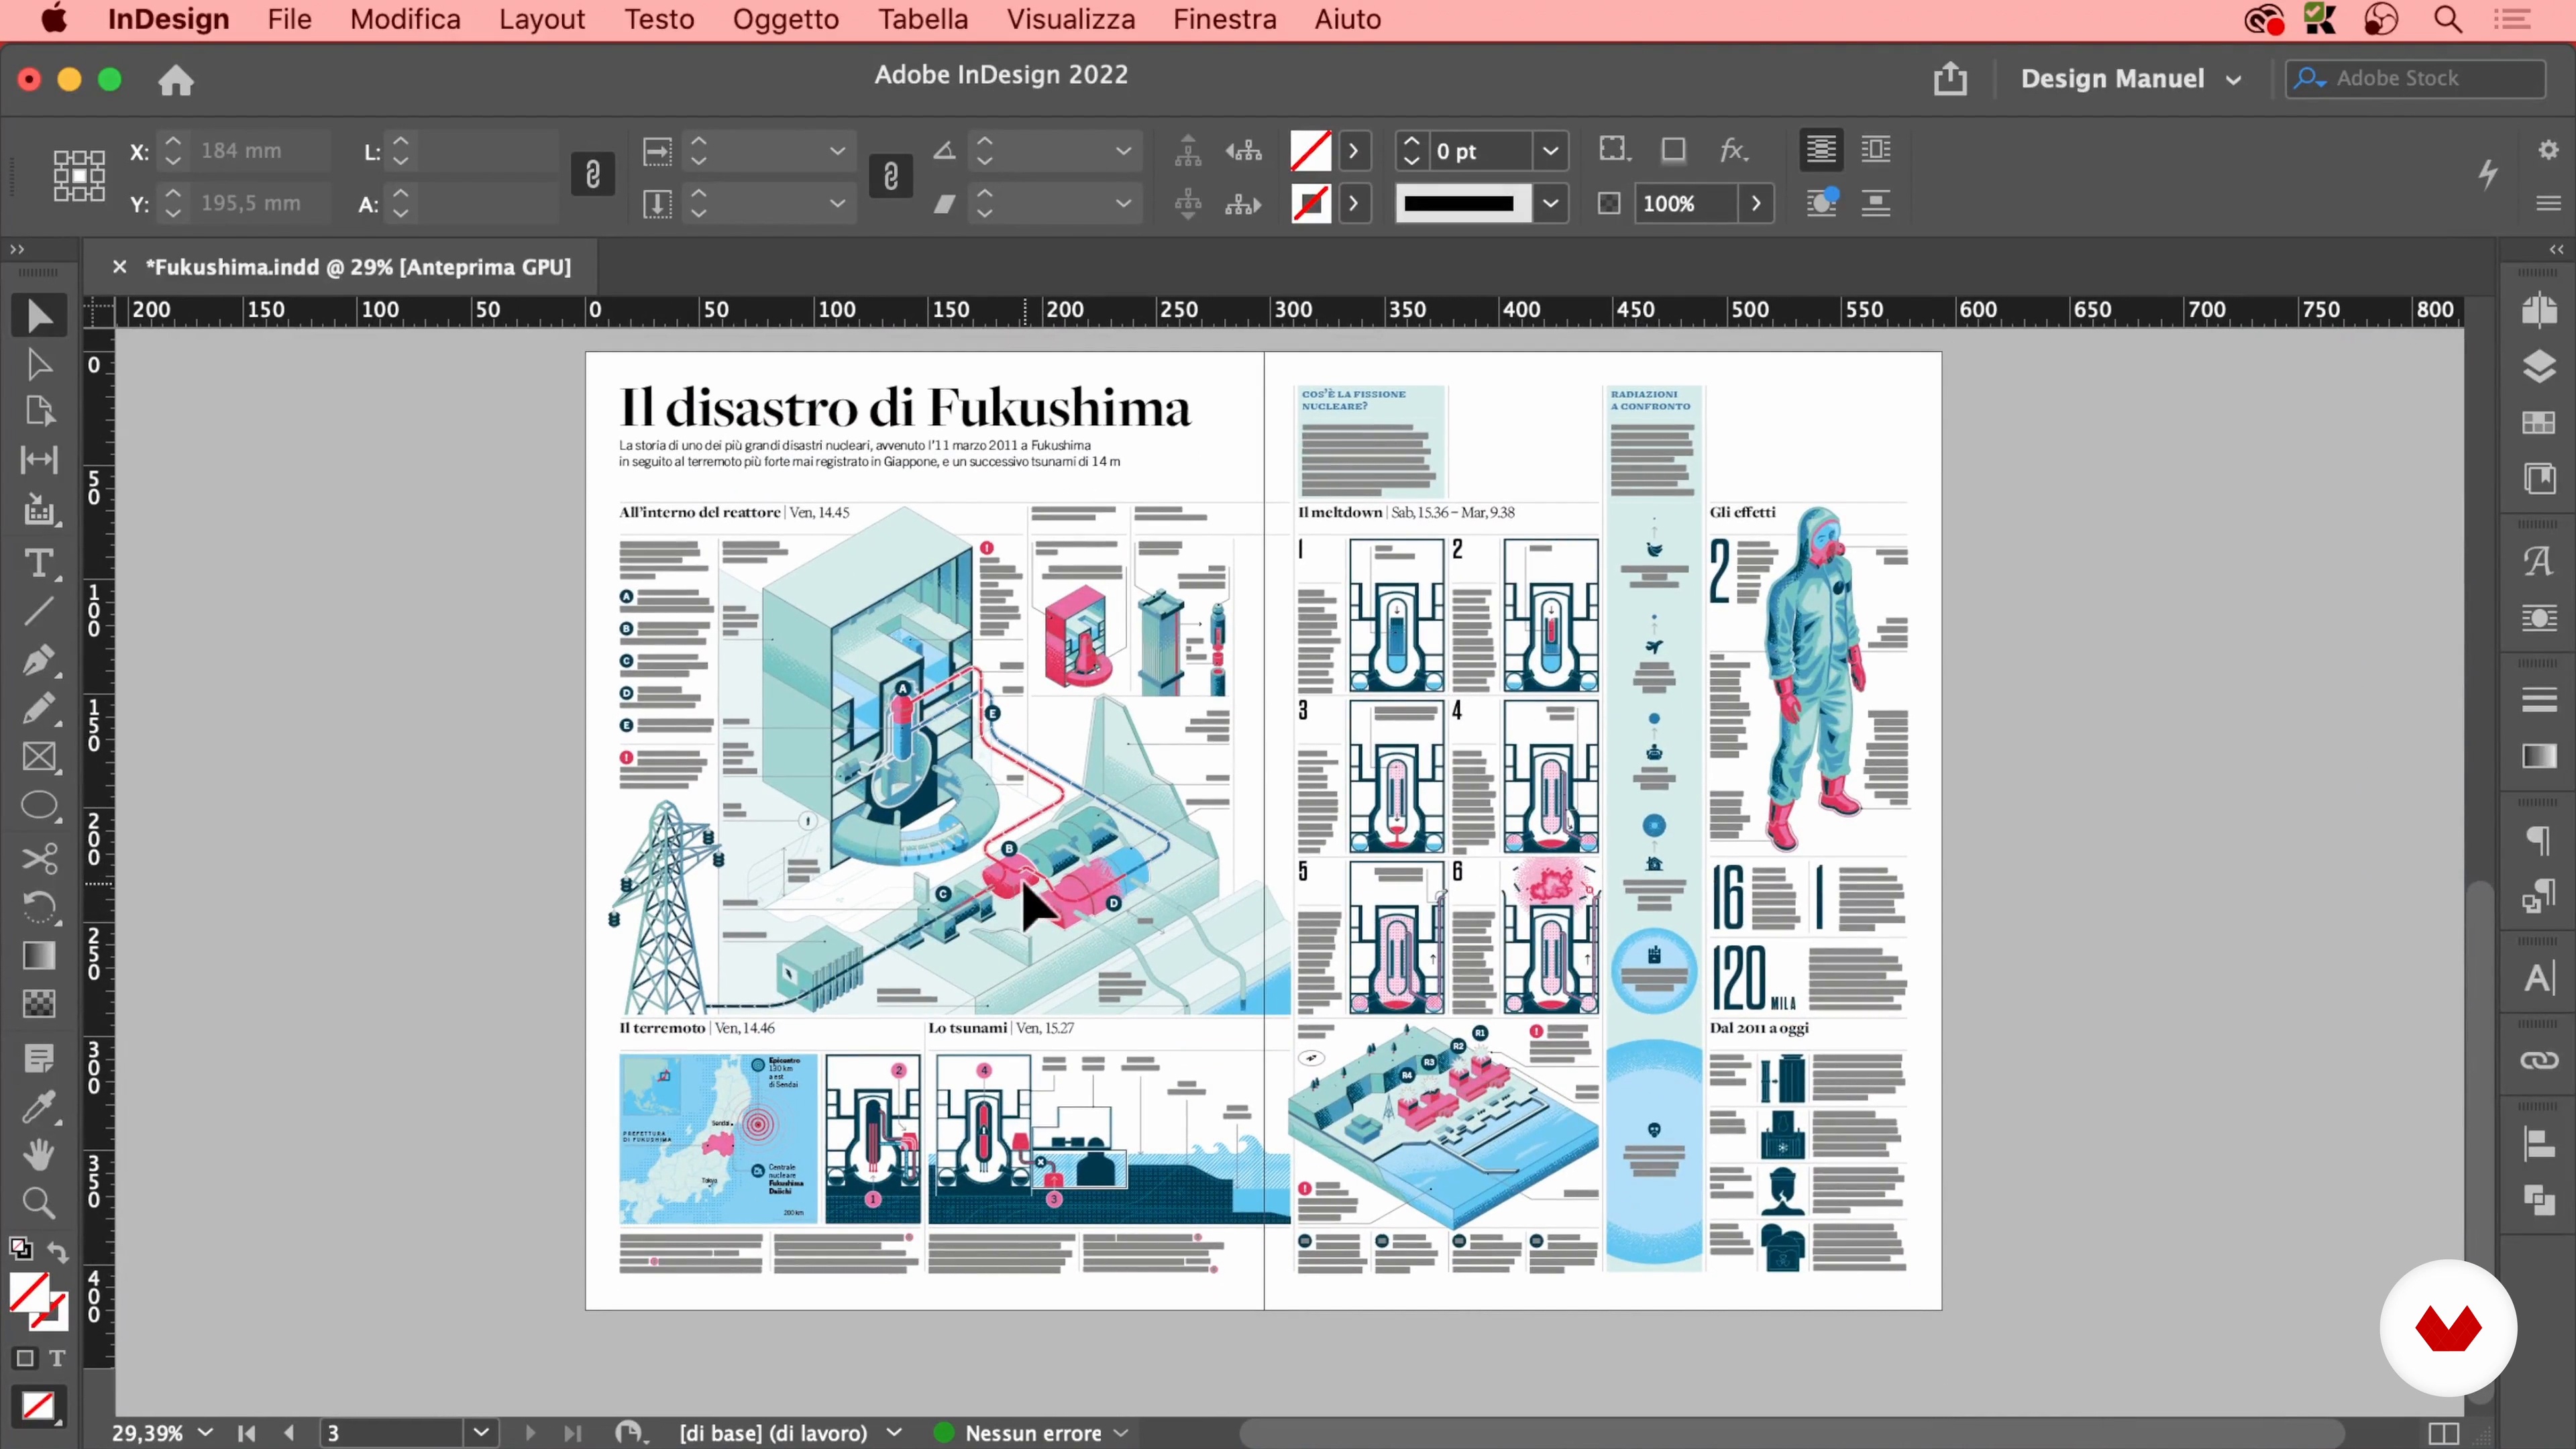
Here I will complete the work started in the previous lesson and finish the project.
14m
Recommended software & tools for this course
What is this course's project?
Students will create a comprehensive editorial design project, including a magazine or newspaper layout, by mastering typography, layout techniques, and infographics. They will transform briefs into engaging visual stories, adapting designs for both print and digital platforms.
Who is this specialization for?
This course caters to graphic designers, design students, journalists with a visual flair, and communication professionals aiming to specialize in print media. Basic Adobe InDesign and Illustrator knowledge is ideal, but beginners will find a welcoming introduction.
Requirements and materials
Basic knowledge of Adobe InDesign and Illustrator is helpful, a computer is necessary. Enthusiasts with a passion for editorial design are welcome. Materials include access to software, internet connection, and a willingness to explore creative design techniques.
Select to get to know your teachers in this specialization course


What to expect from this specialization course
Learn at your own pace
Enjoy learning from home without a set schedule and with an easy-to-follow method. You set your own pace.
Learn from the best professionals
Learn valuable methods and techniques explained by top experts in the creative sector.
Meet expert teachers
Each expert teaches what they do best, with clear guidelines, true passion, and professional insight in every lesson.
Certificates
PLUSIf you're a Plus member, get a custom certificate for every specialization course. Share it on your portfolio, social media, or wherever you like.
Get front-row seats
Videos of the highest quality, so you don't miss a single detail. With unlimited access, you can watch them as many times as you need to perfect your technique.
Share knowledge and ideas
Ask questions, request feedback, or offer solutions. Share your learning experience with other students in the community who are as passionate about creativity as you are.
Connect with a global creative community
The community is home to millions of people from around the world who are curious and passionate about exploring and expressing their creativity.
Watch professionally produced courses
Domestika curates its teacher roster and produces every course in-house to ensure a high-quality online learning experience.
FAQs
This course teaches you how to create impactful newspaper layouts, master editorial design, use typography effectively, develop infographics, and adapt your designs for both print and digital platforms. You'll gain hands-on skills with Adobe InDesign and Illustrator to produce professional visual stories.
Yes, the course is designed for beginners. While some basic knowledge of Adobe InDesign and Illustrator is helpful, all foundational concepts and tools are introduced from the ground up, making it accessible to those new to newspaper and editorial design.
Prior experience with Adobe InDesign and Illustrator is not required, but having basic familiarity can be helpful. The course provides a welcoming introduction to these tools, making it suitable for those new to editorial design software.
You will need a computer with access to Adobe InDesign and Illustrator, an internet connection, and a willingness to explore creative design techniques. Enthusiasts with a passion for editorial design are encouraged to join.
Yes, the course explores design principles and systems for both print and digital media, helping you adapt layouts and visual storytelling techniques to suit evolving news consumption across multiple formats.
The course includes dedicated instruction on designing infographics and transforming complex information into clear, engaging visual narratives, enabling you to enhance editorial content with strong visual storytelling.
This course is well-suited for journalists, communication professionals, graphic designers, and design students who want to specialize in print media and master the principles of newspaper design.