
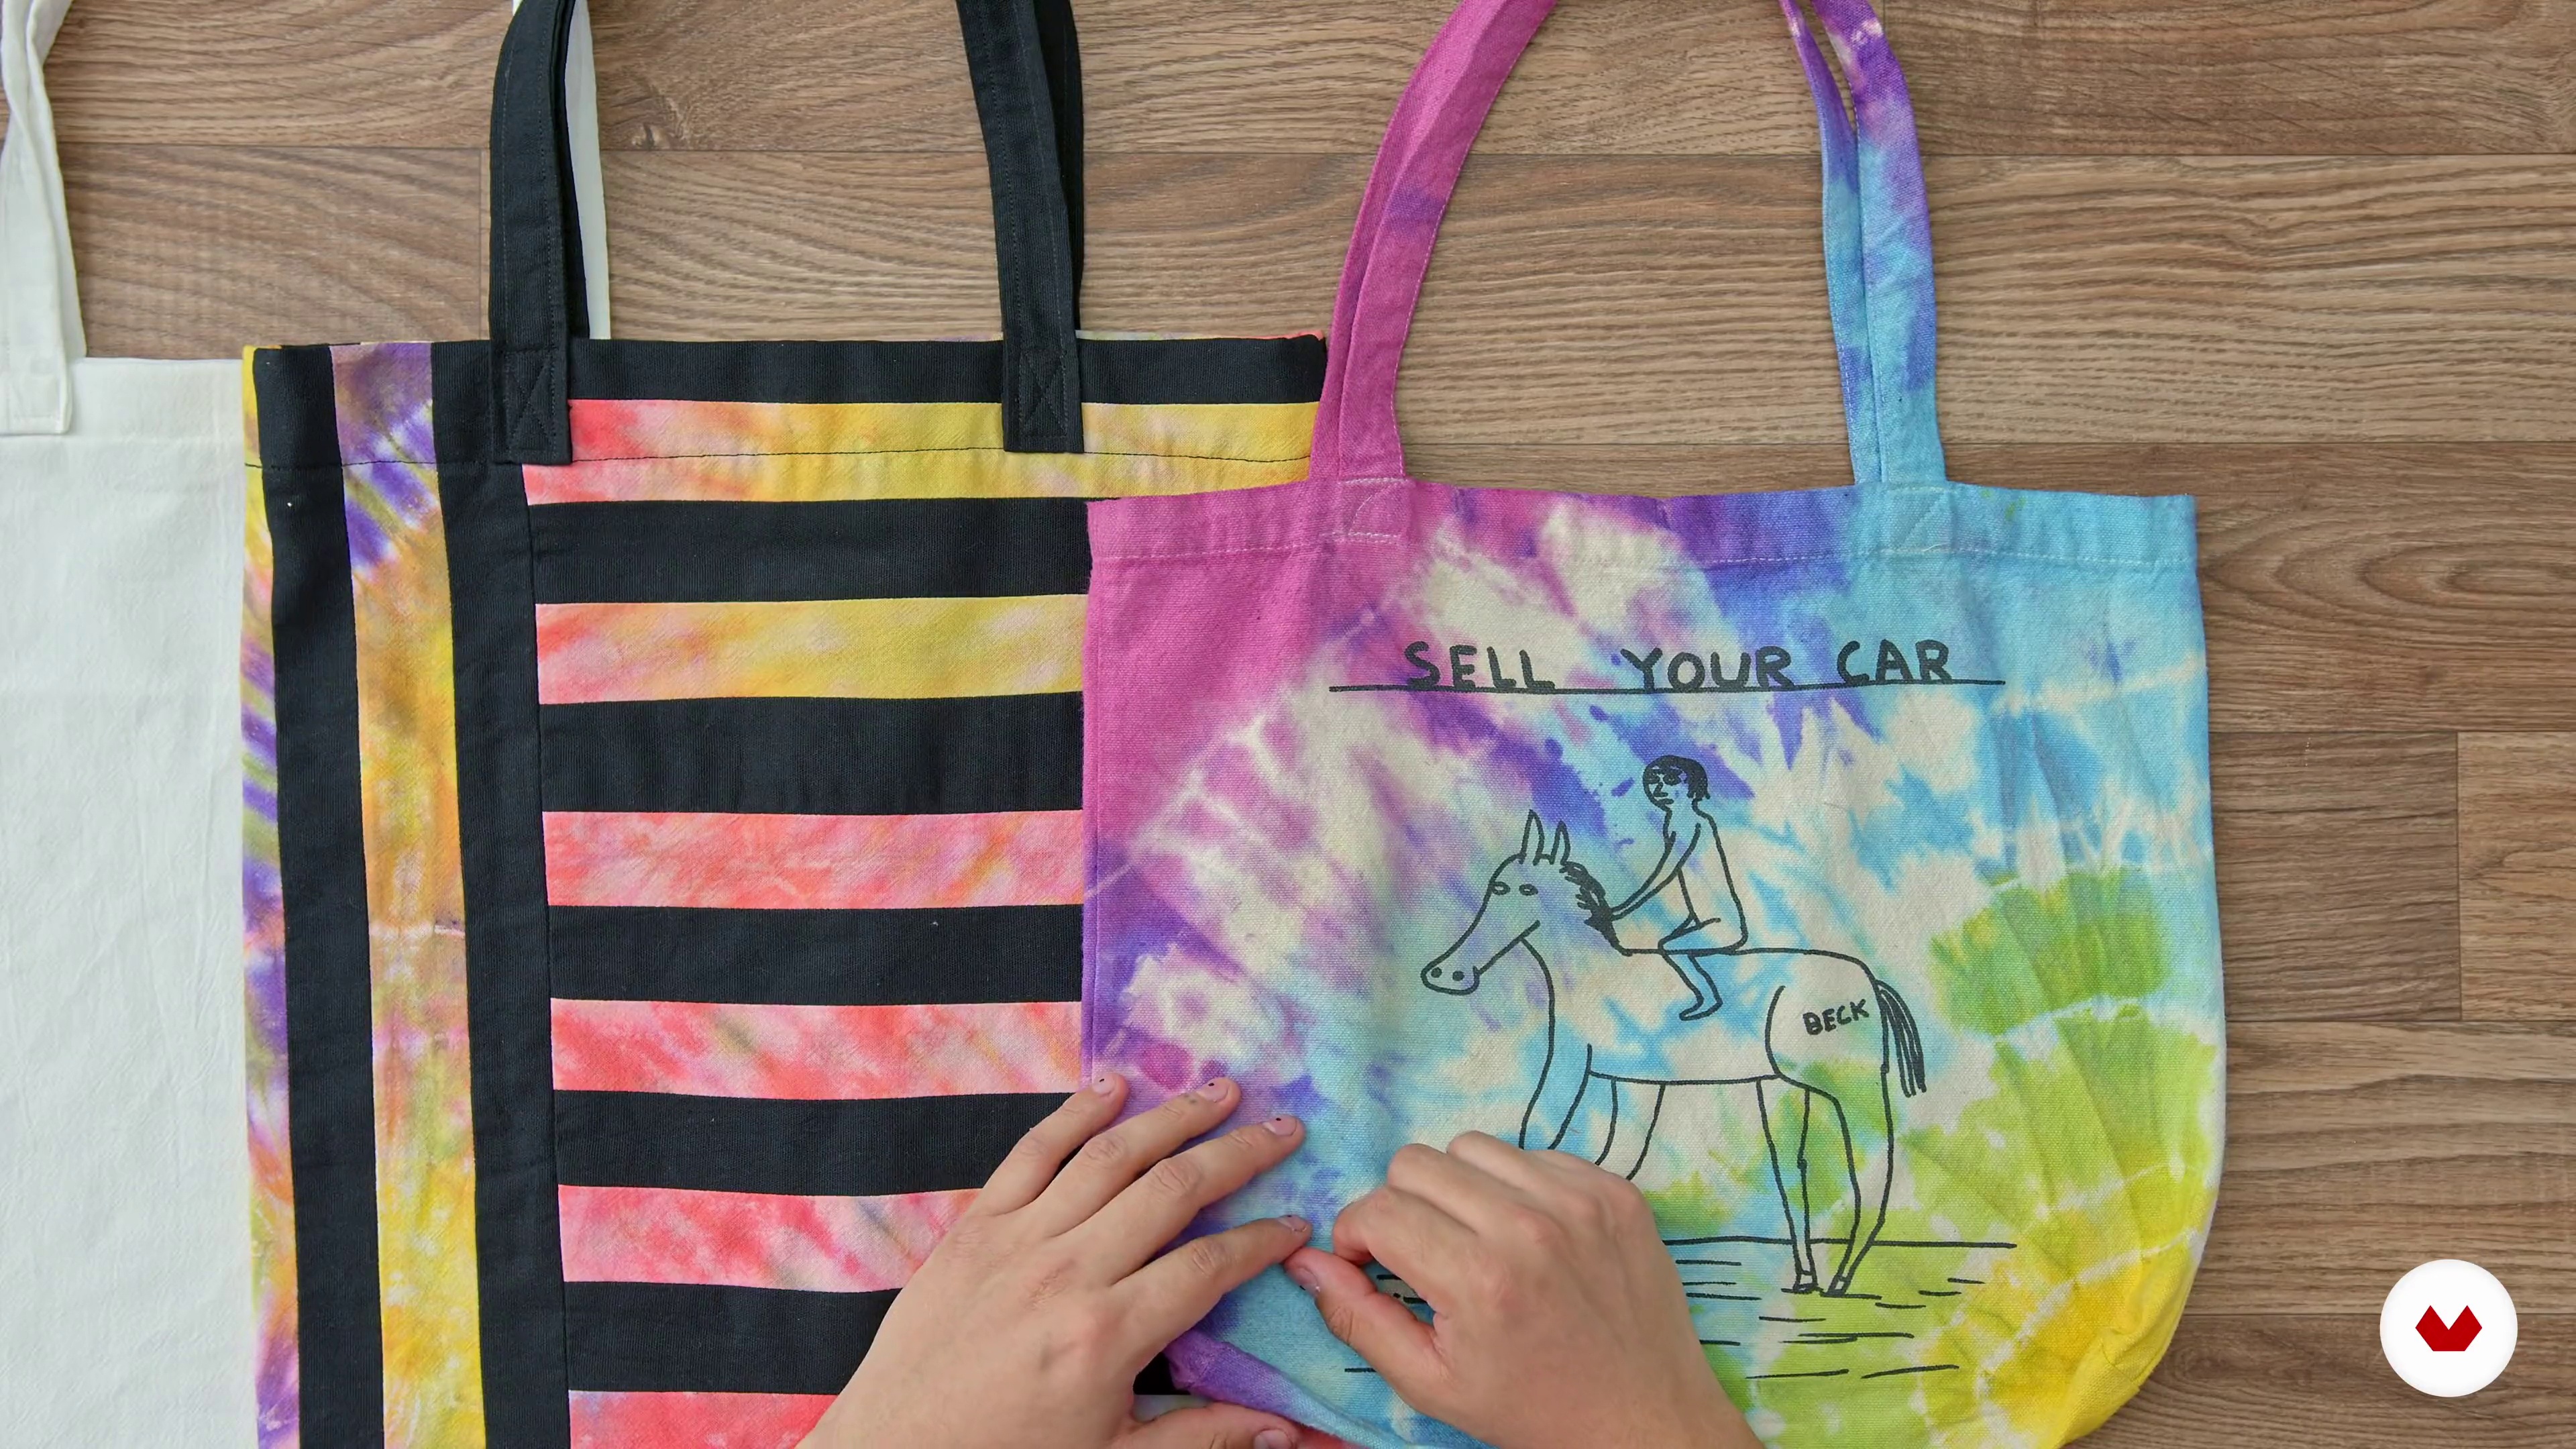
Master textile dyeing by exploring techniques like tie-dye, shibori, batik, and more to create unique patterns
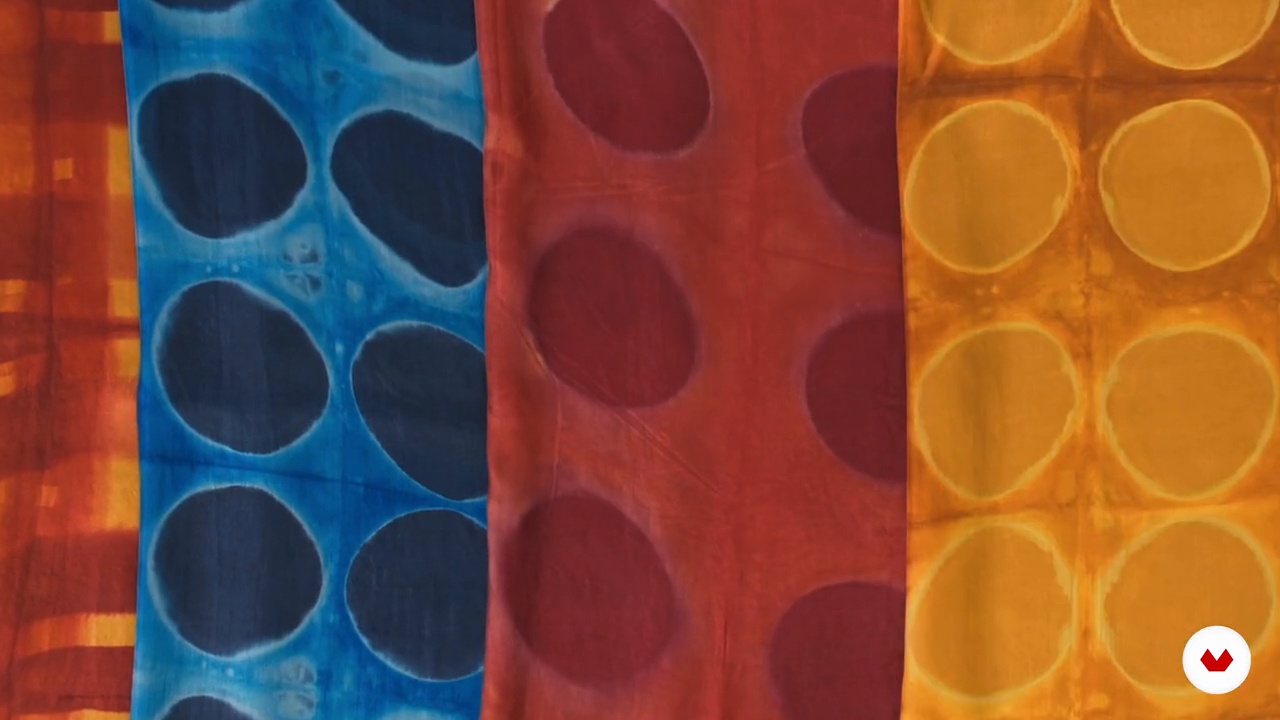
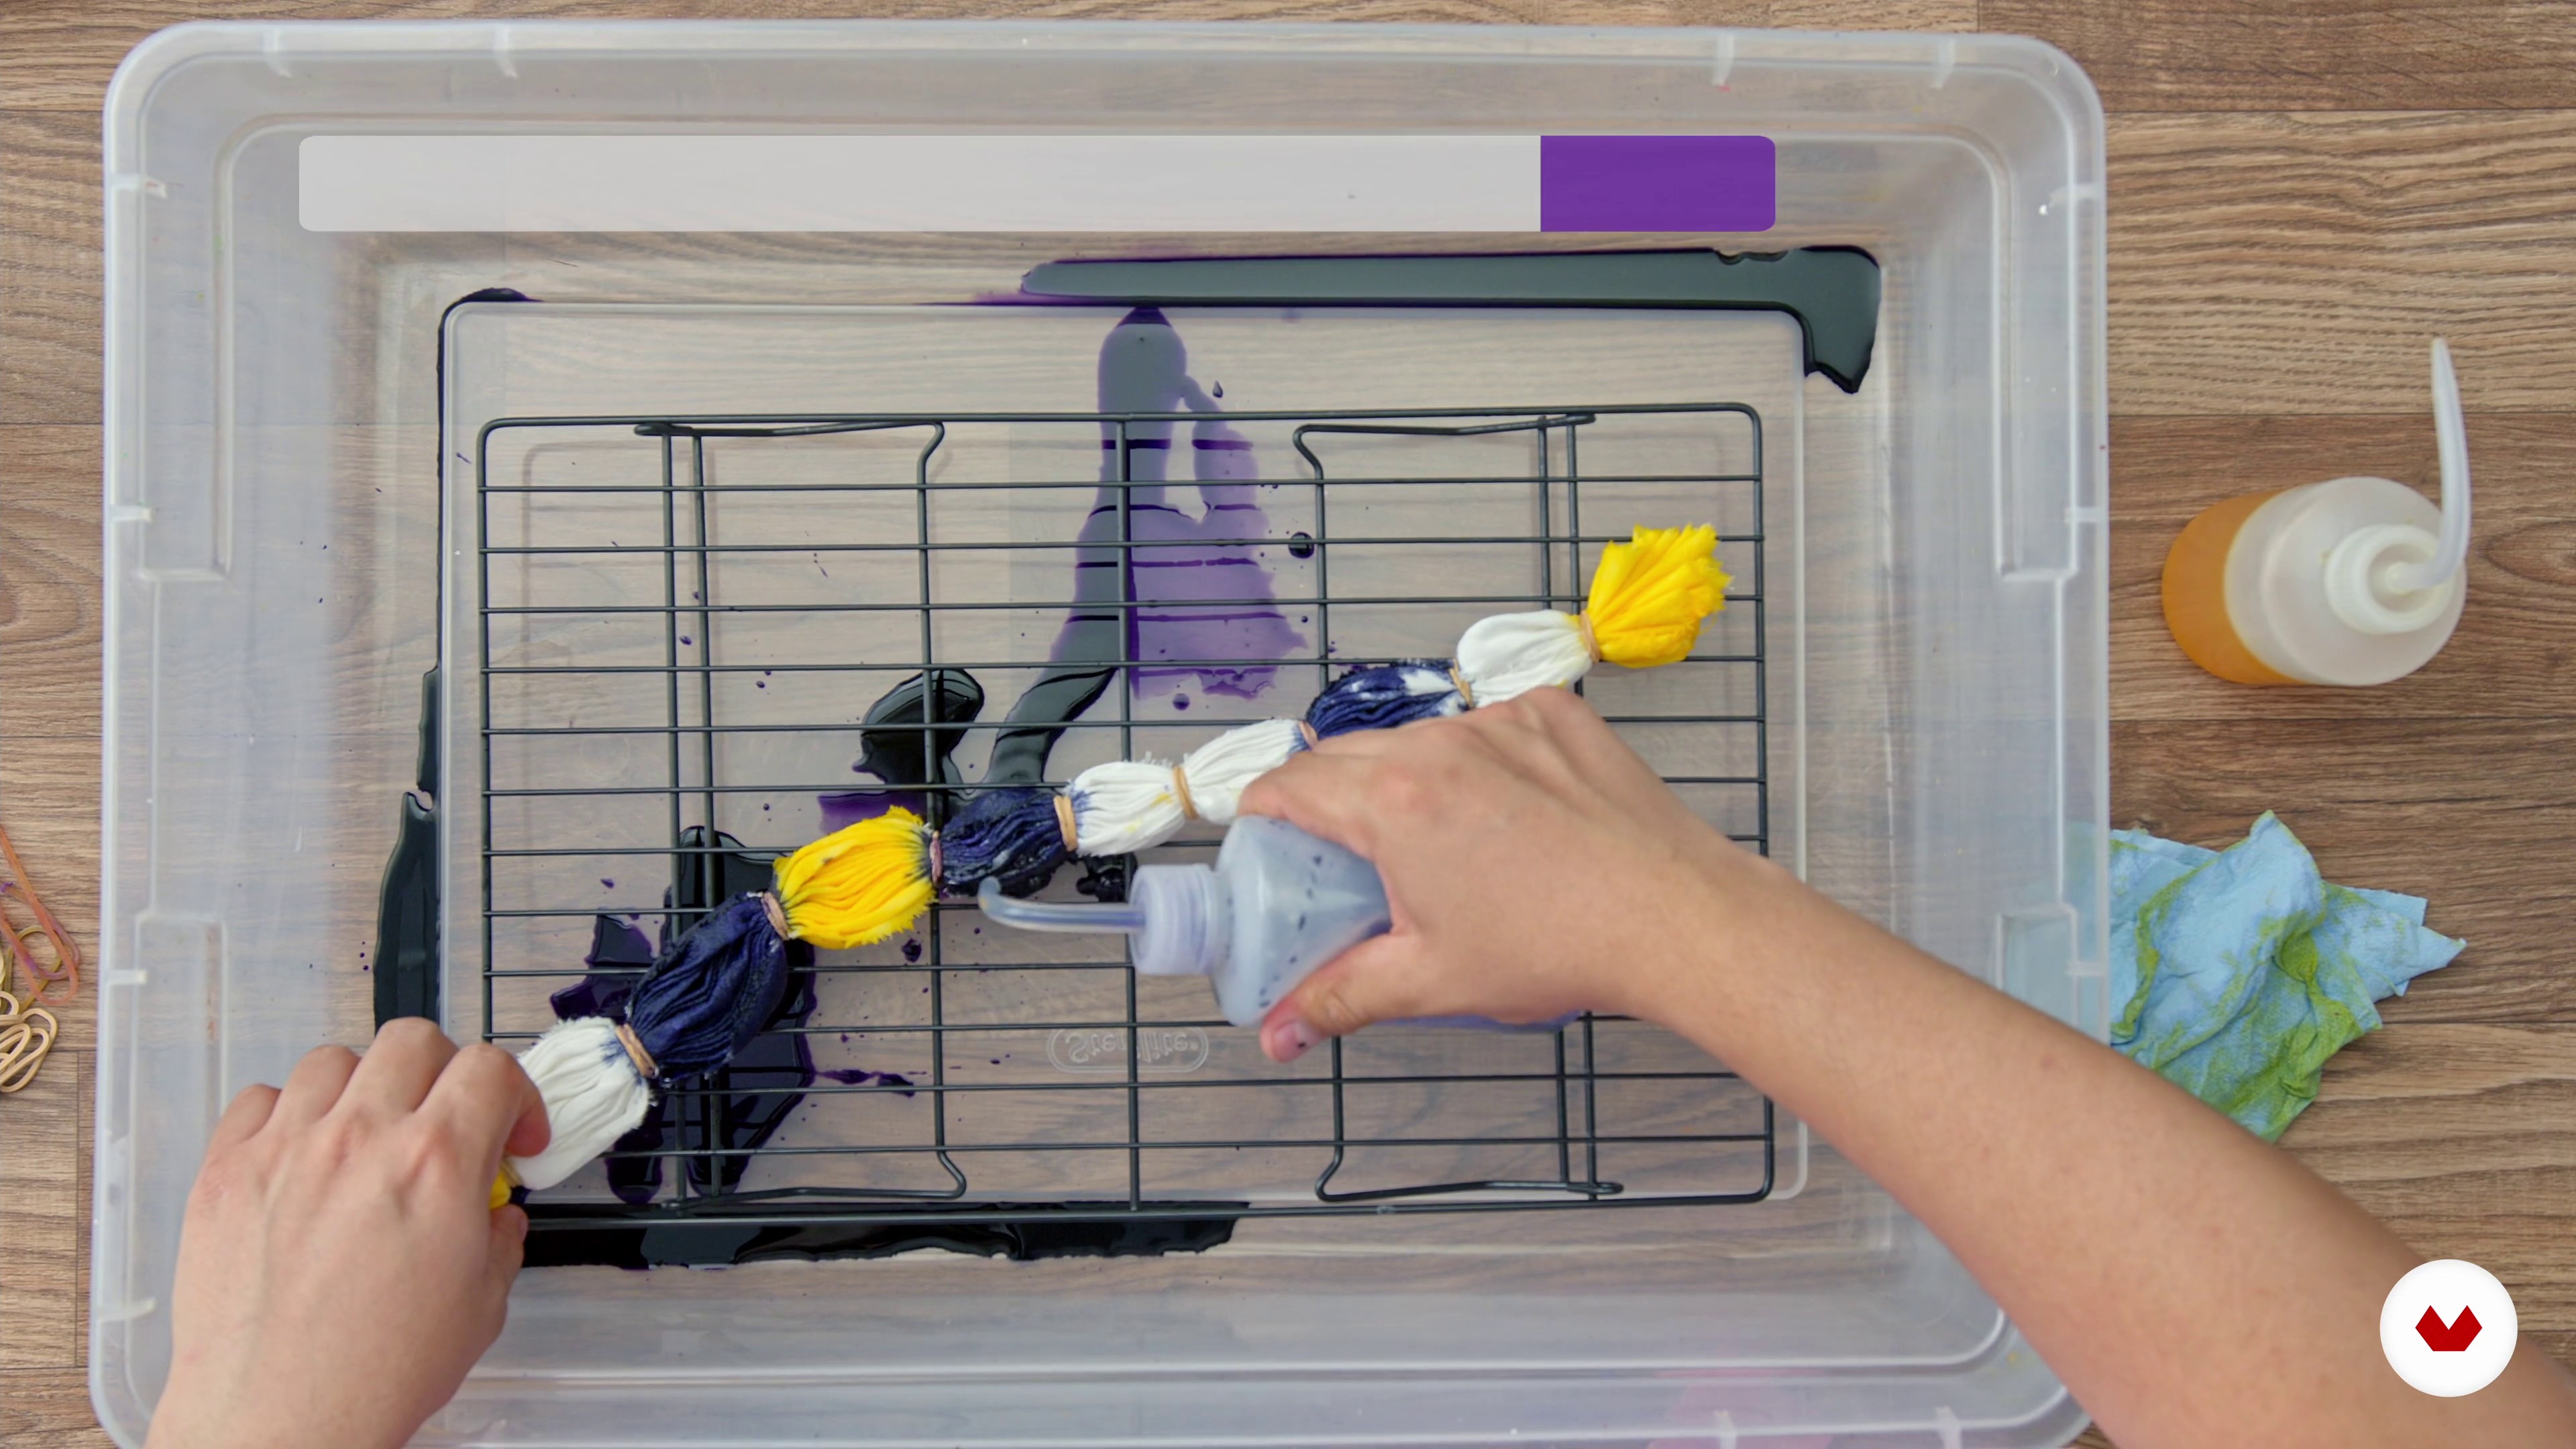
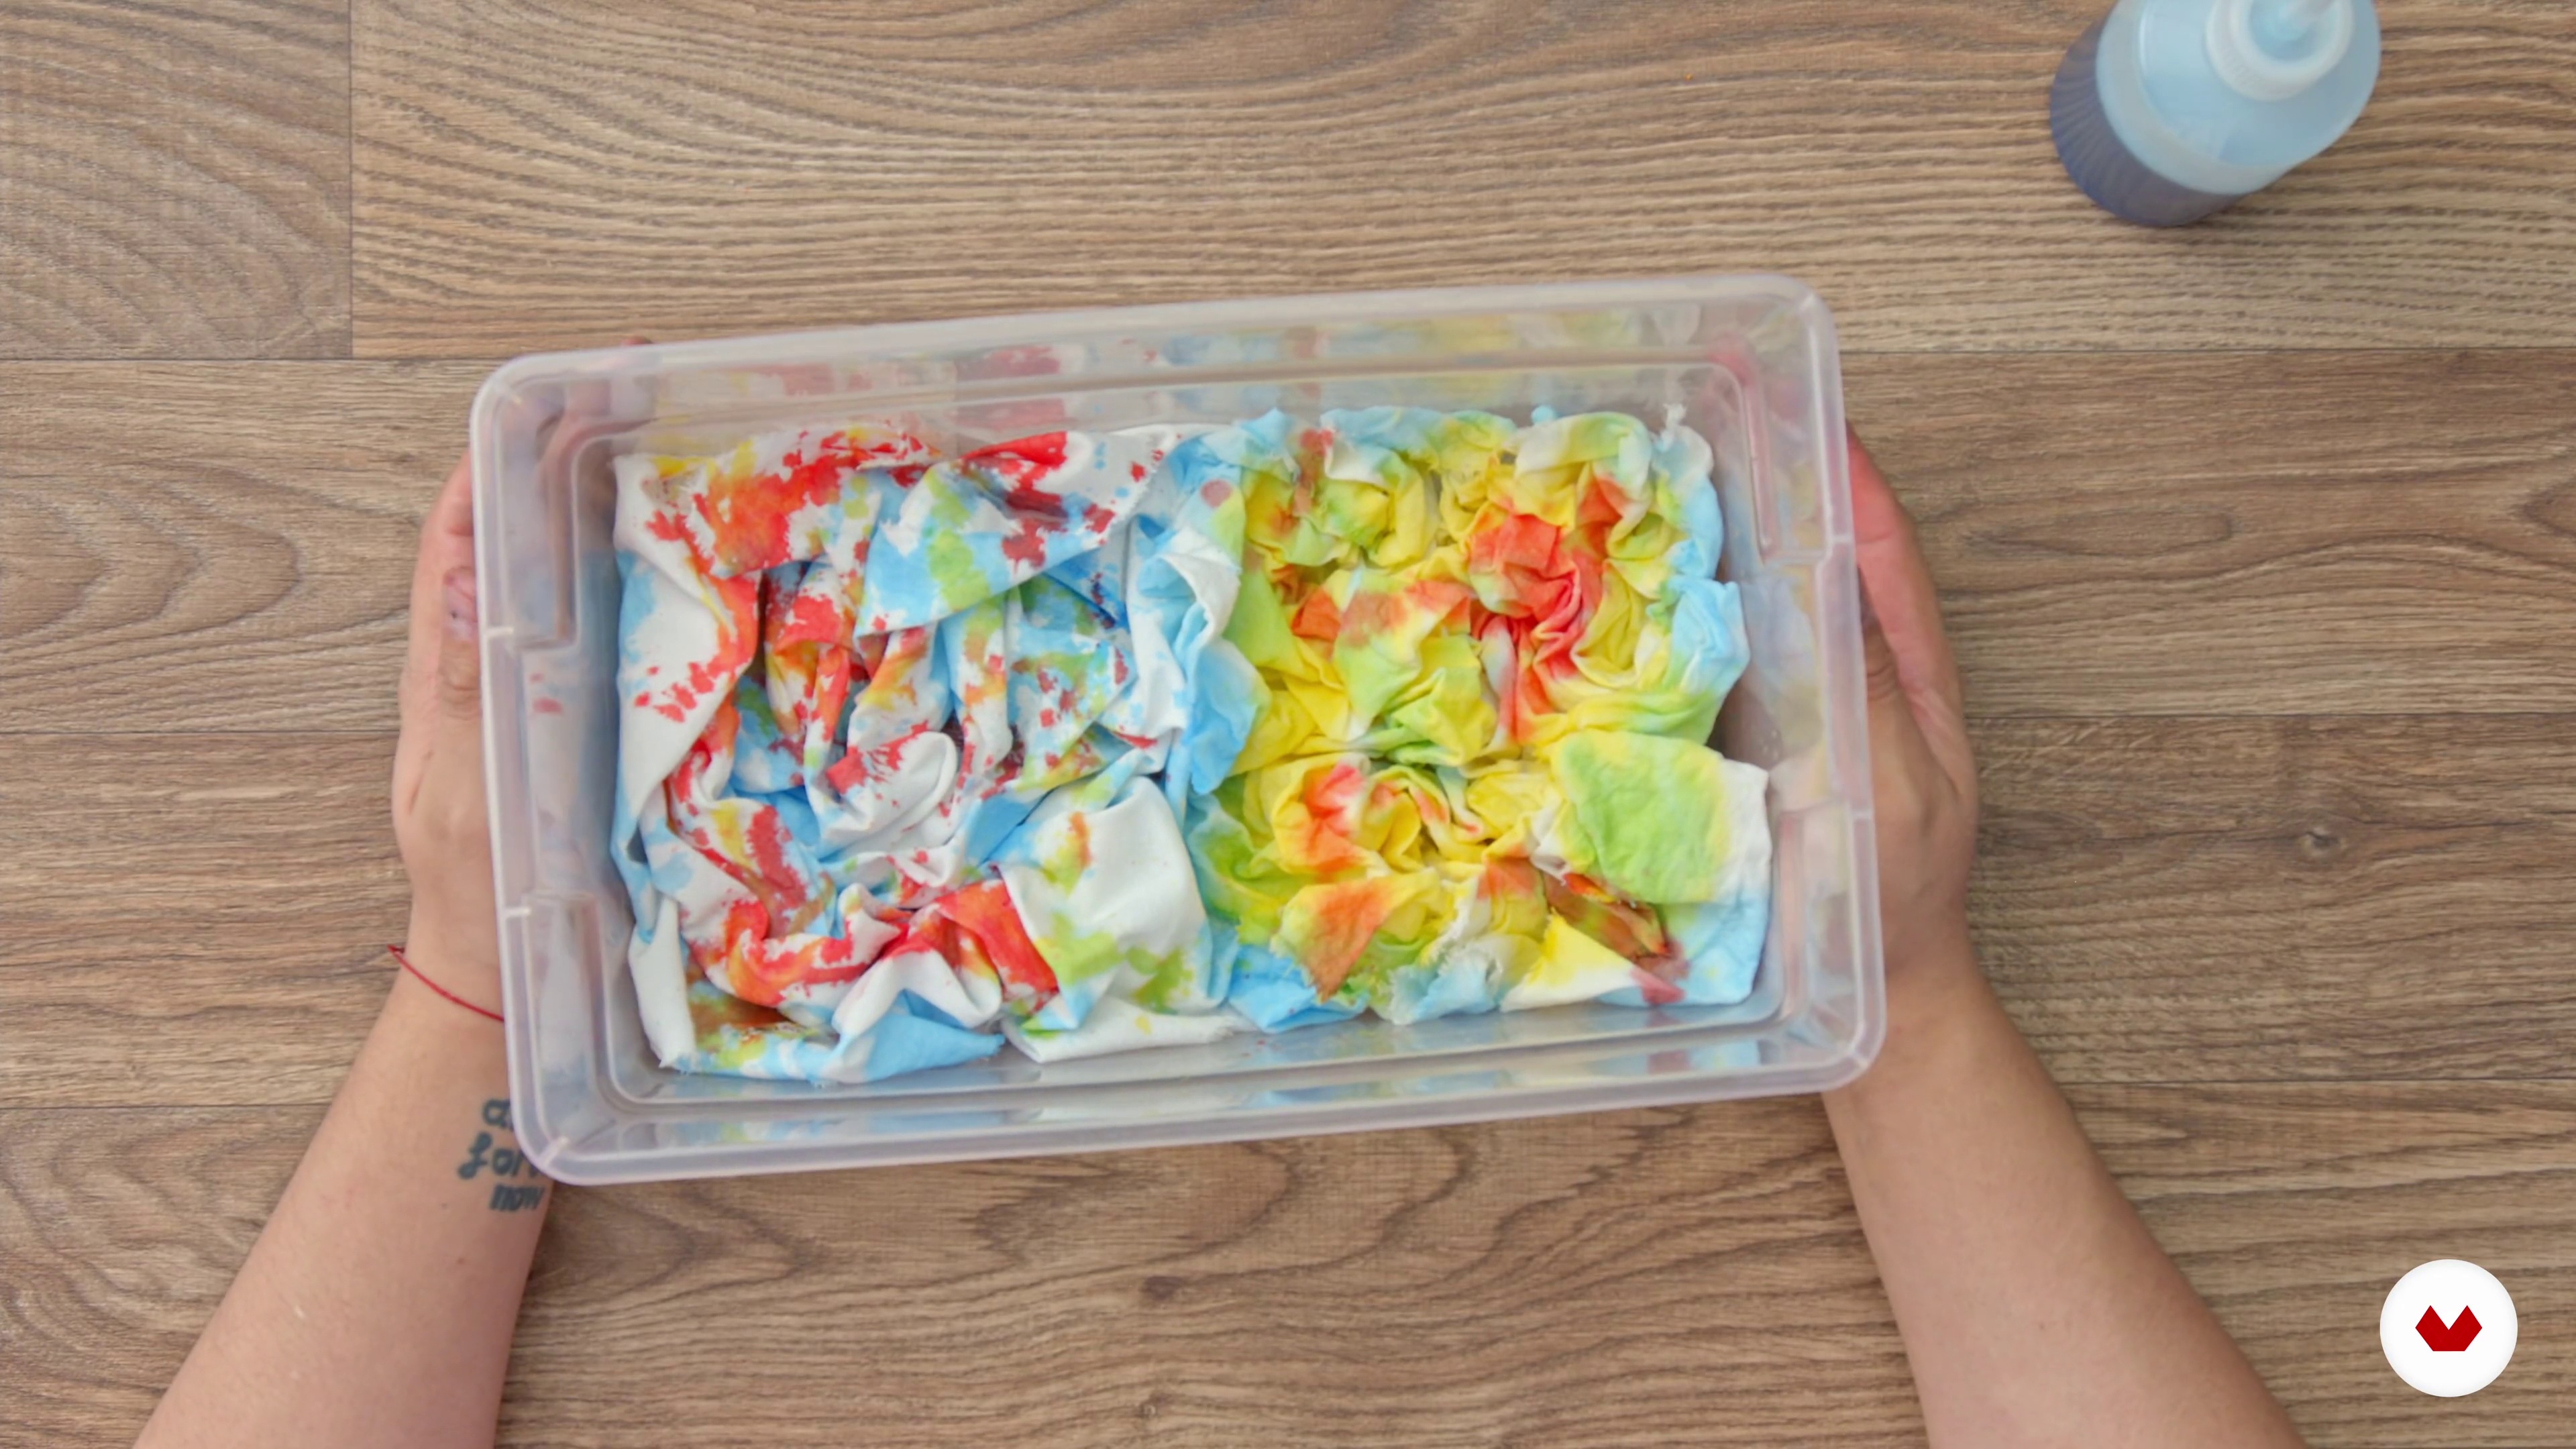
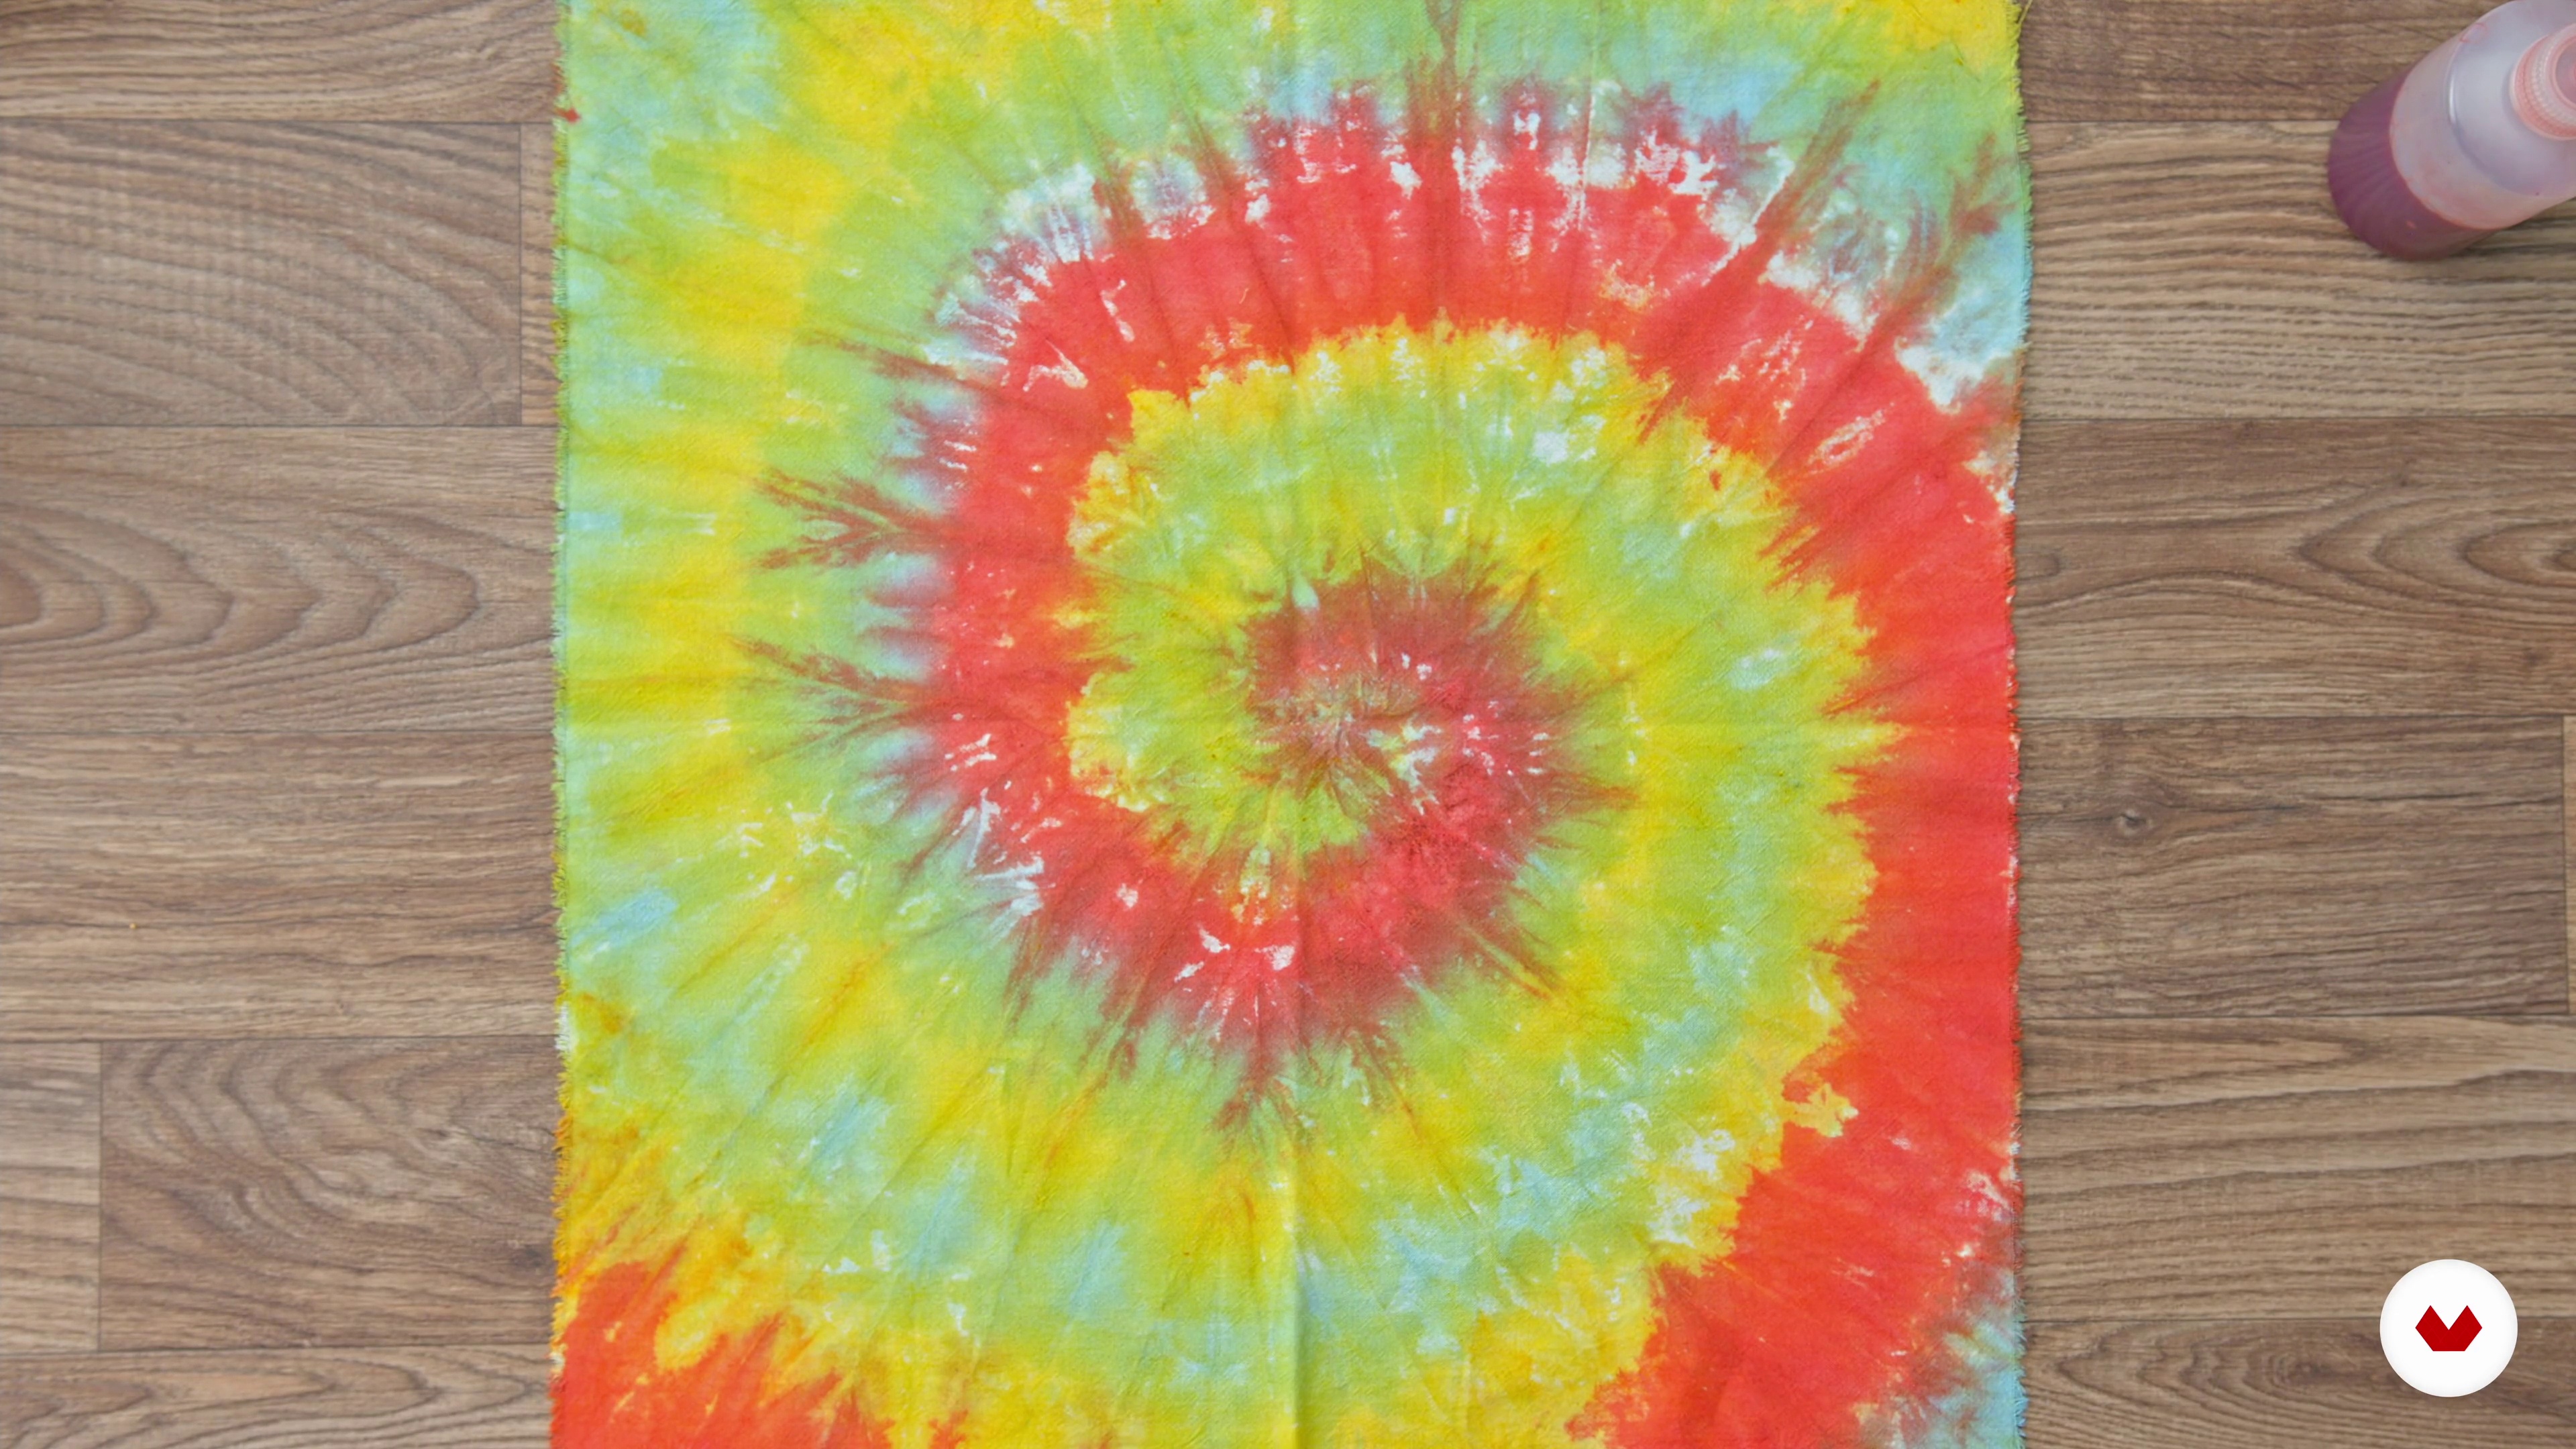
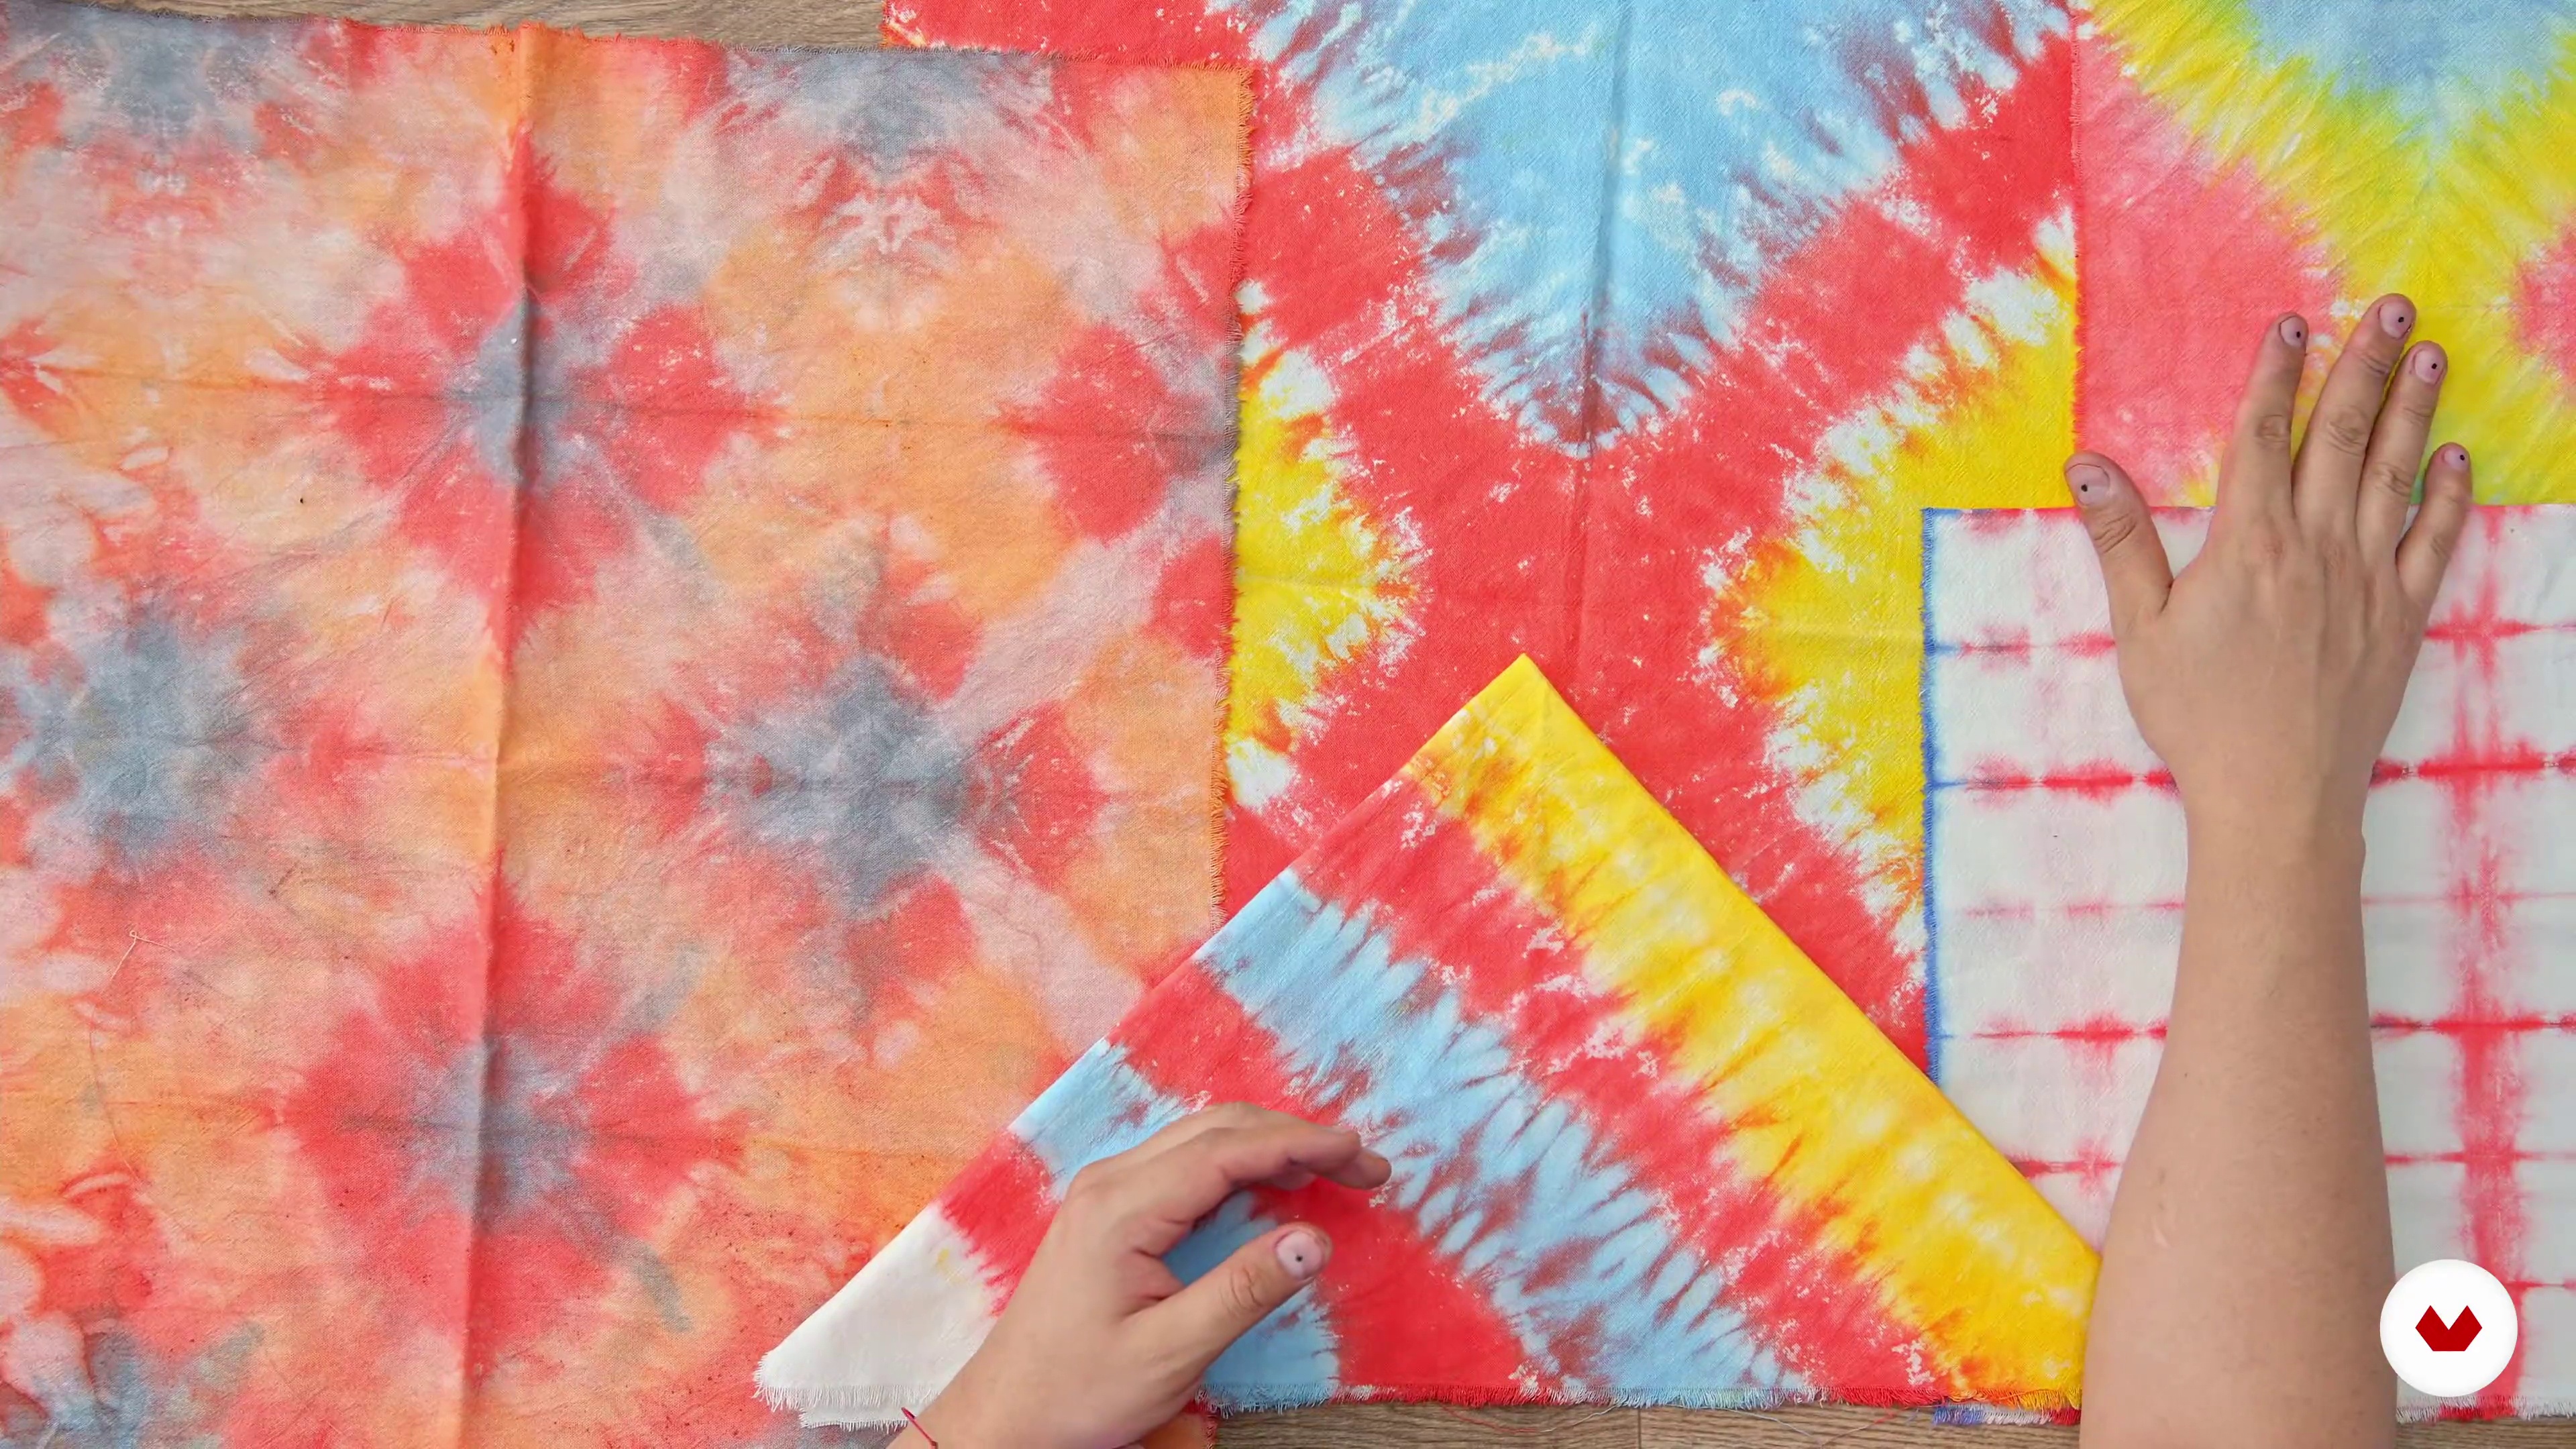
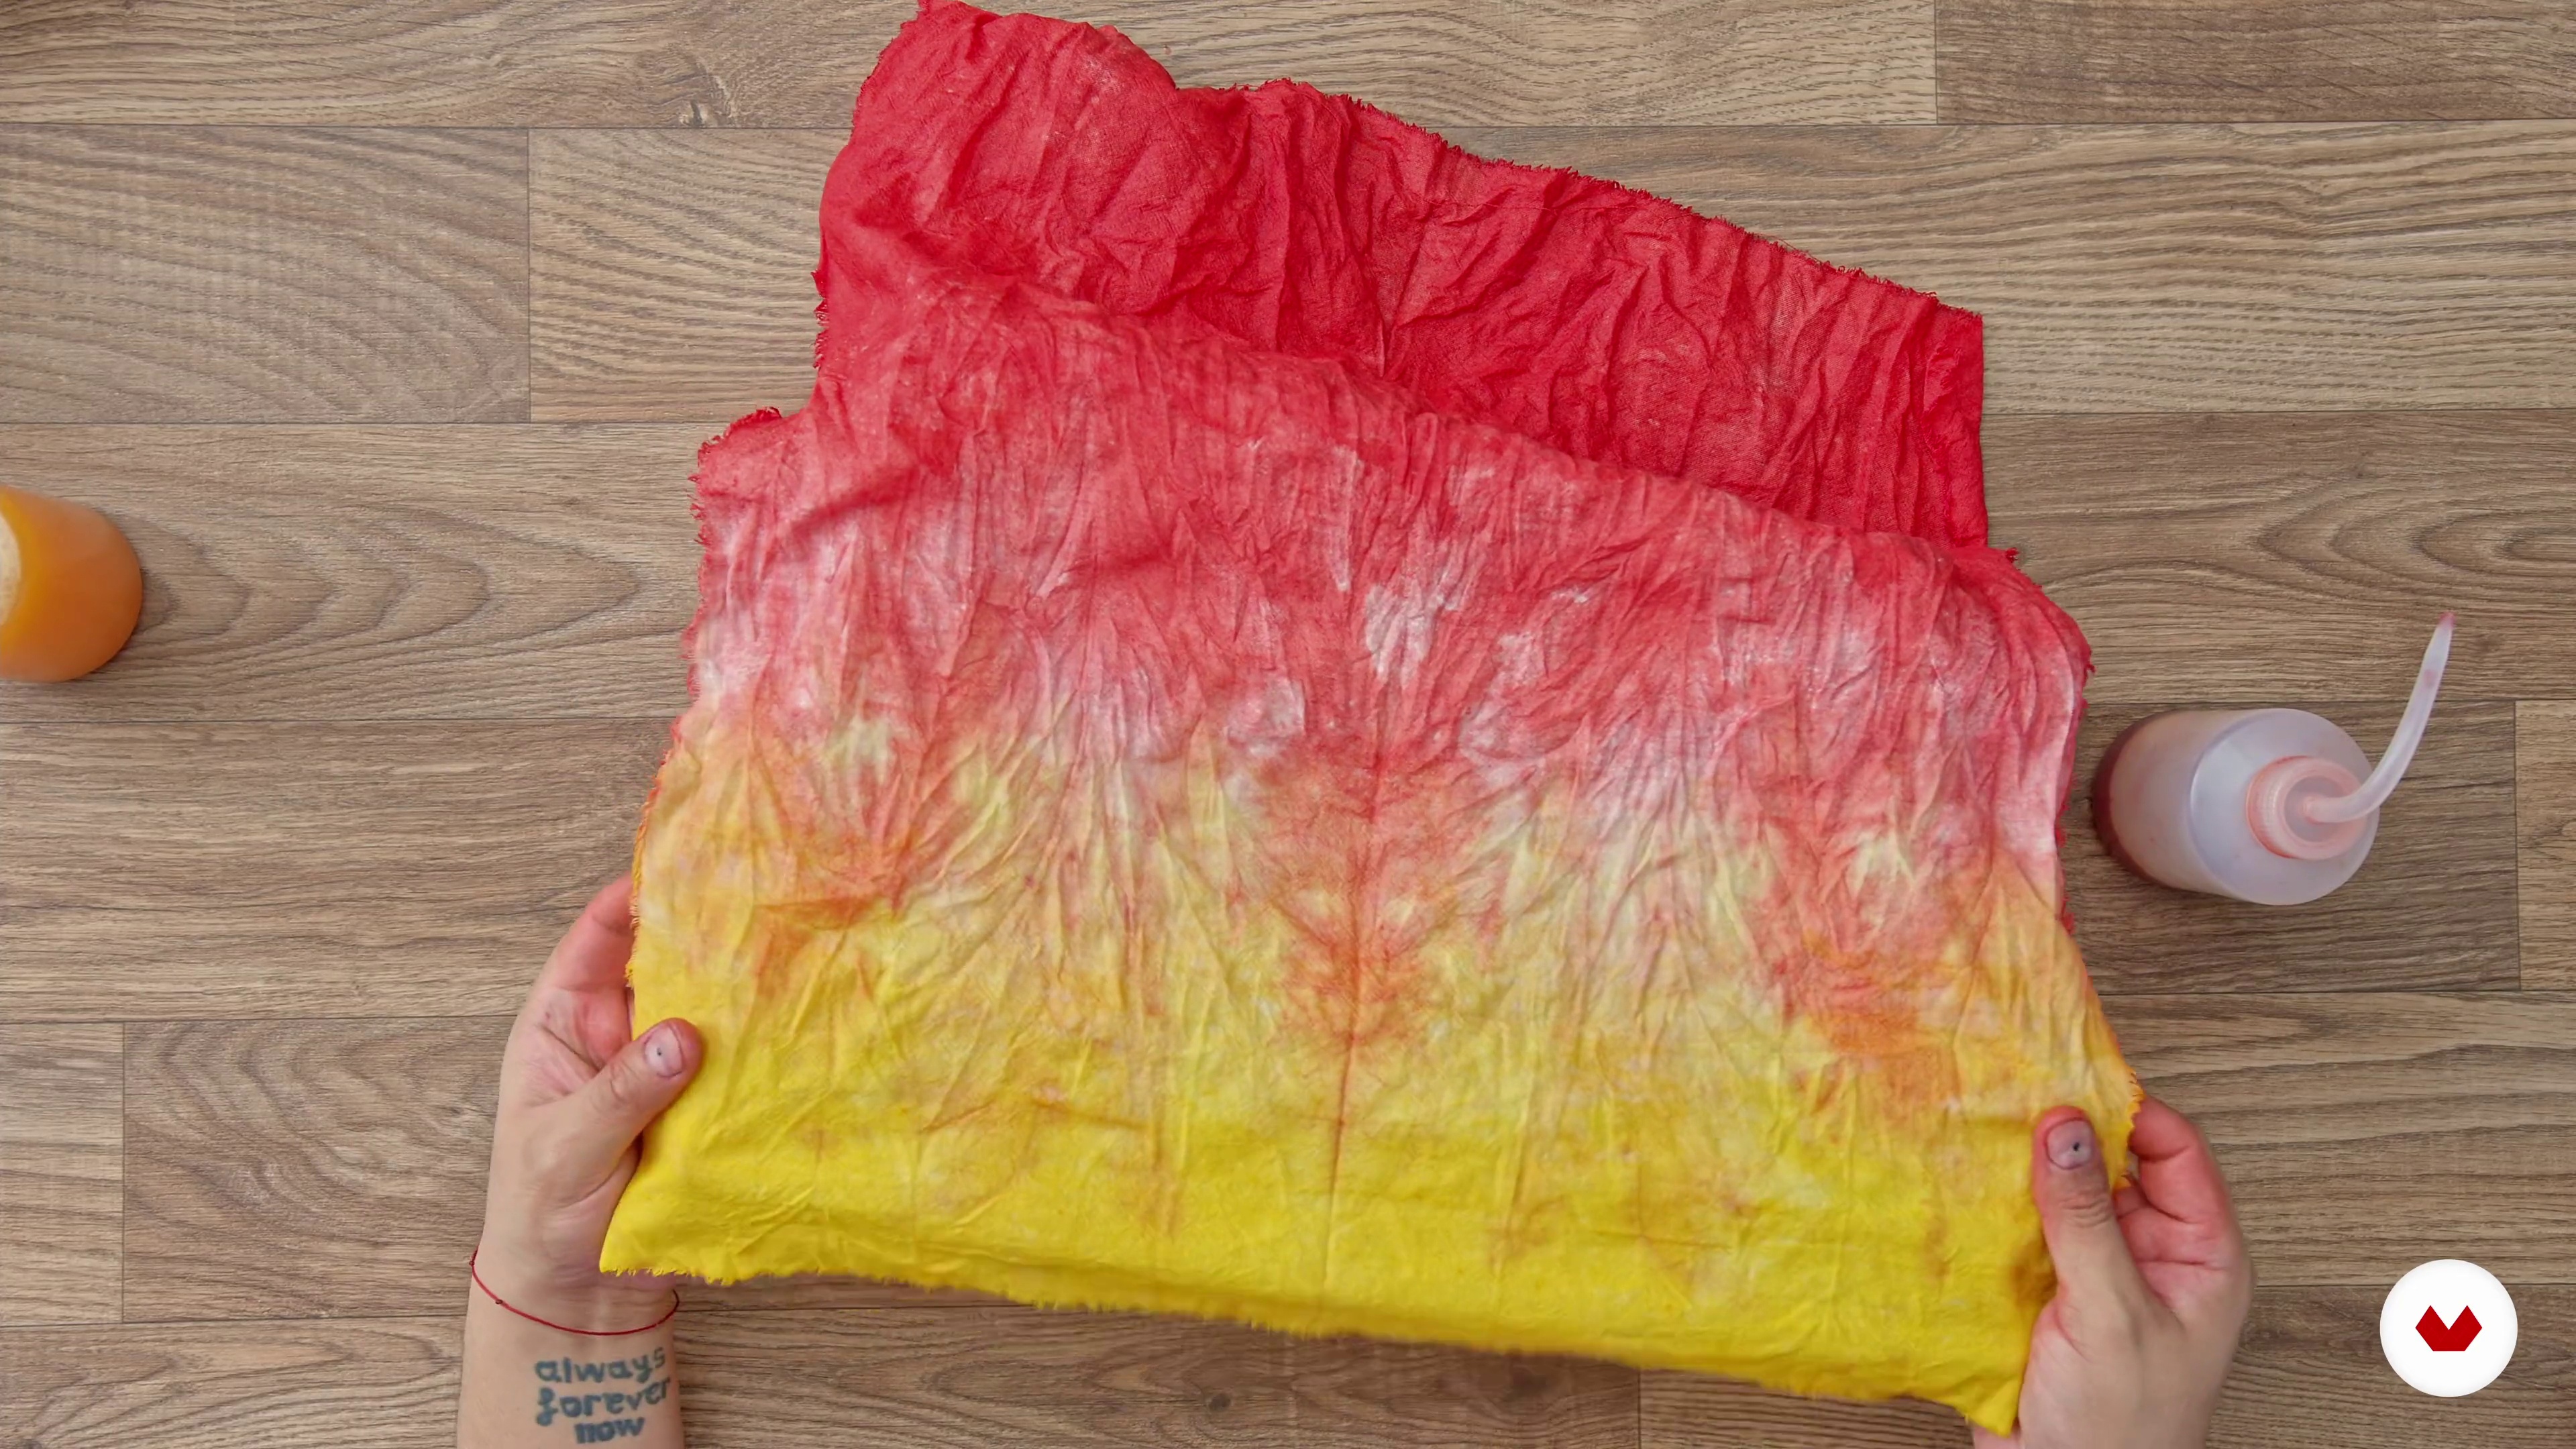
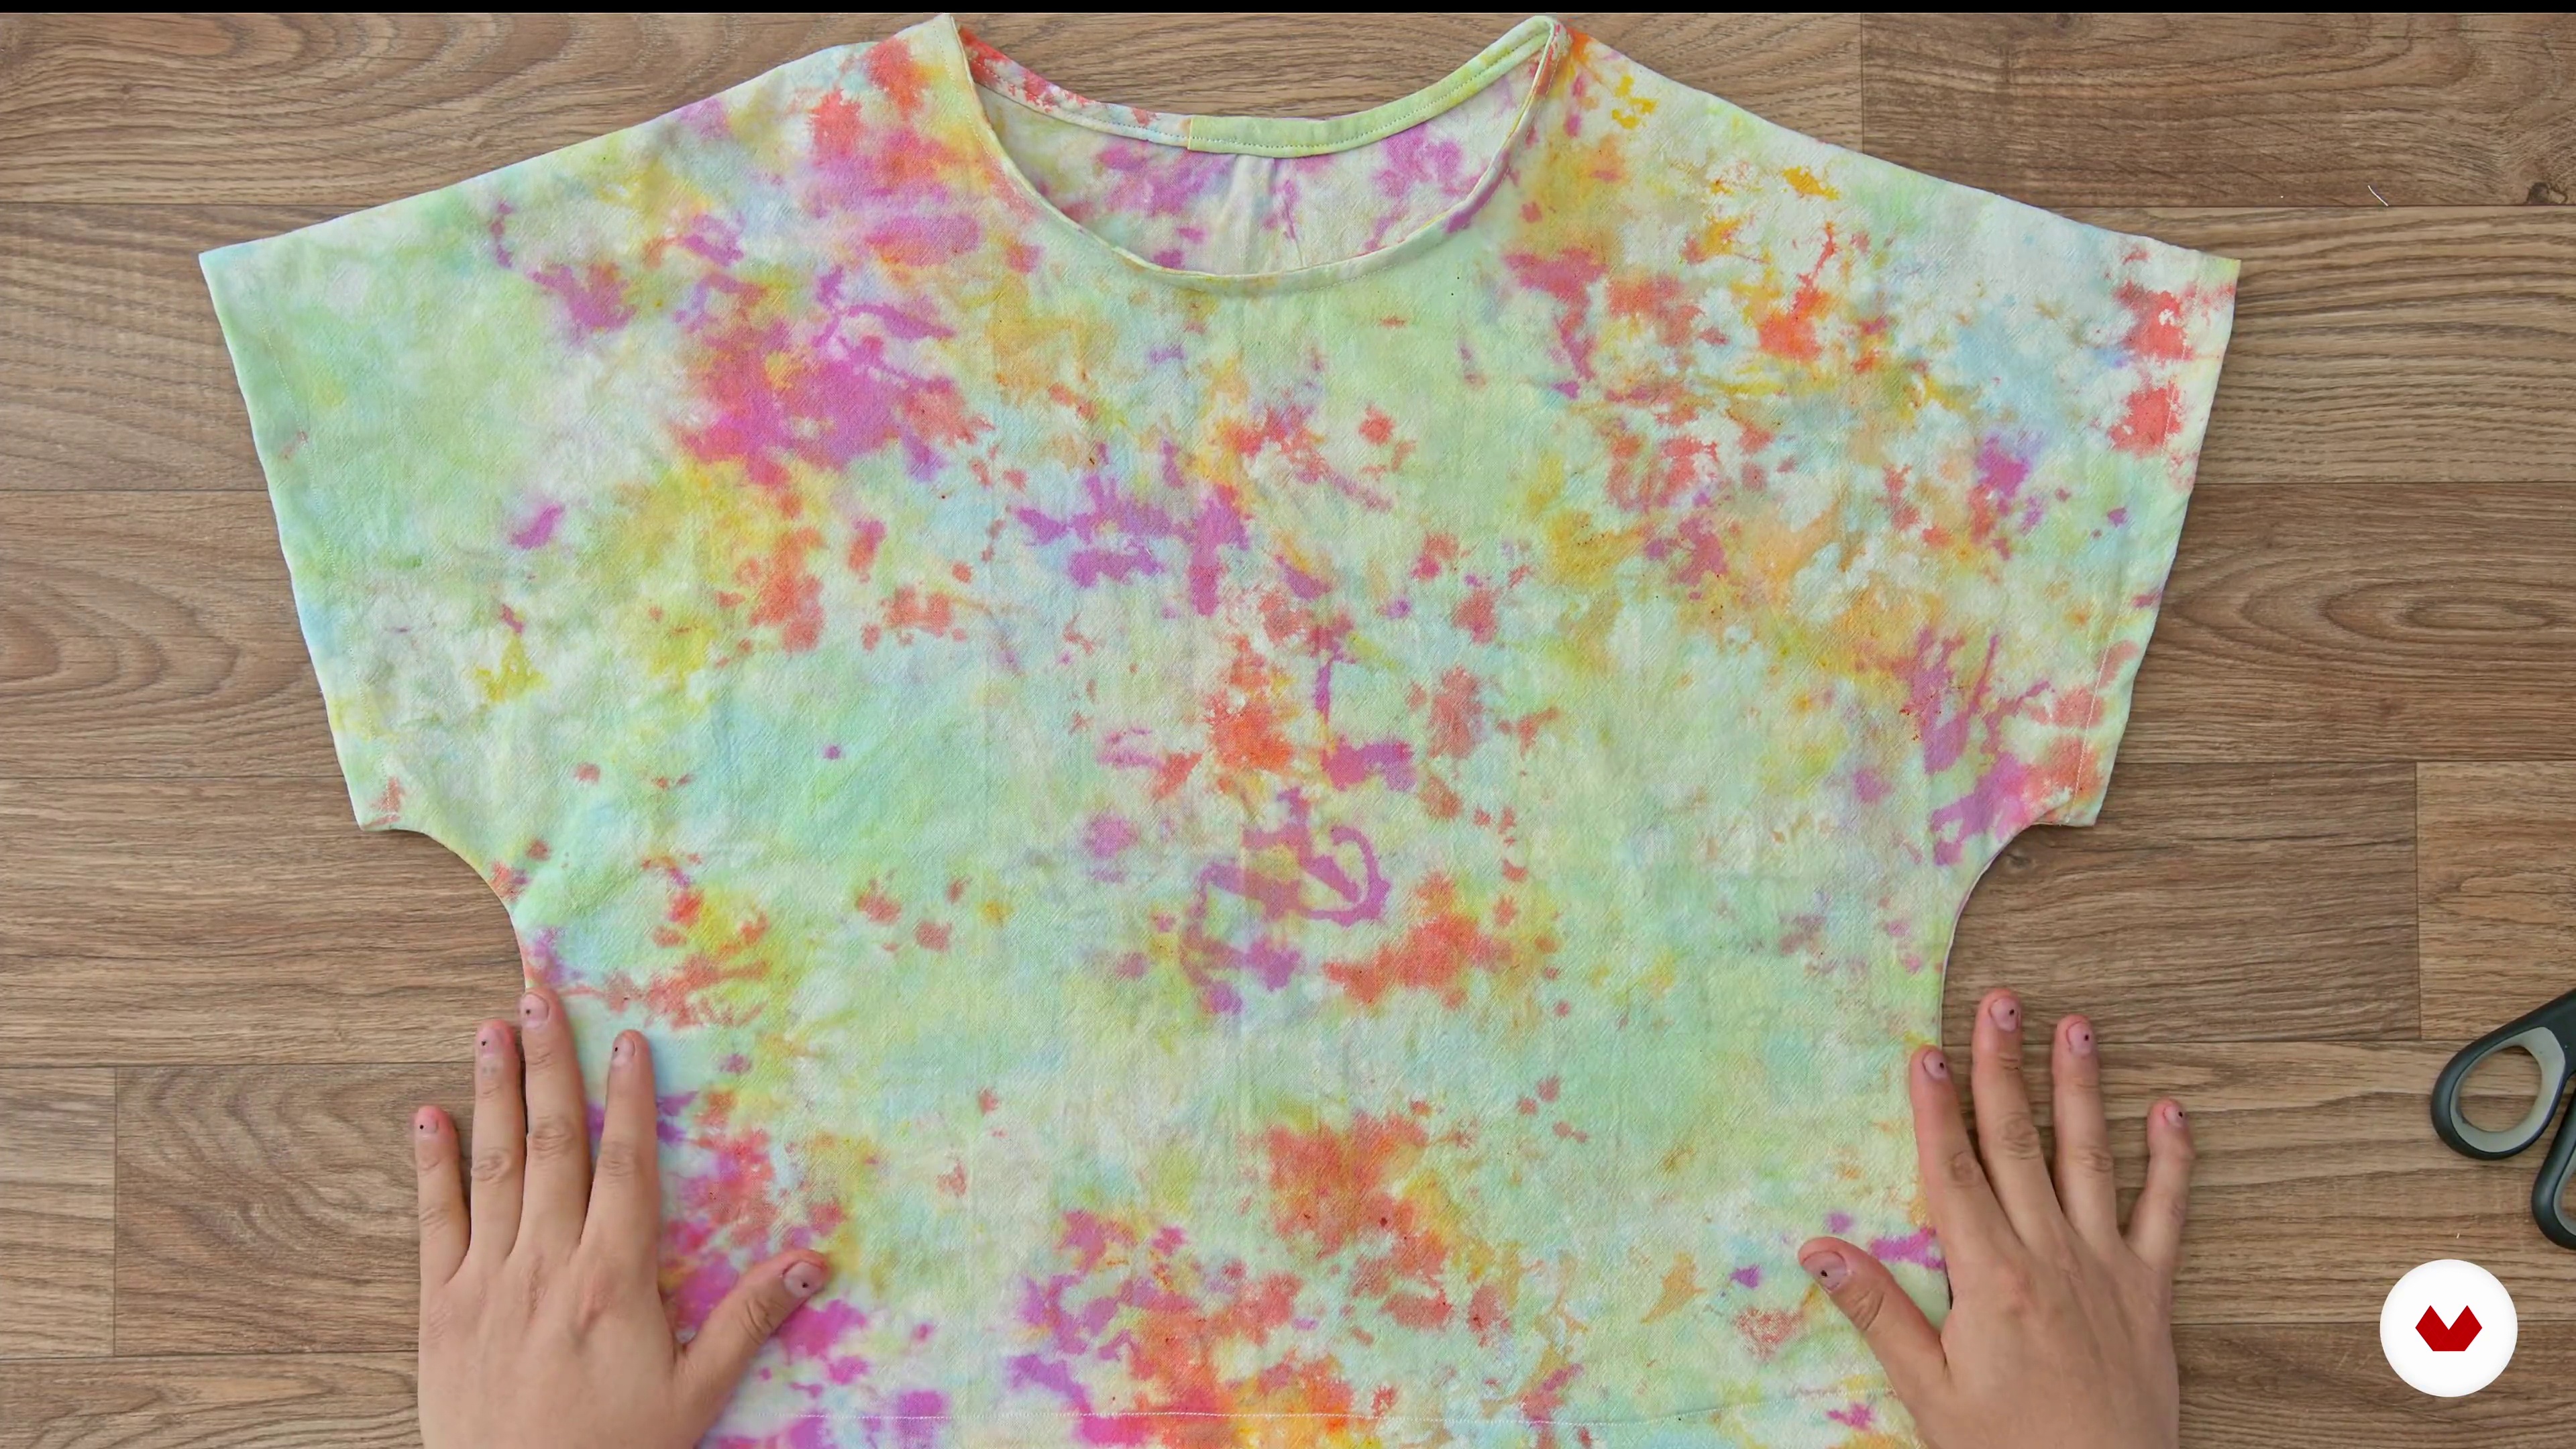
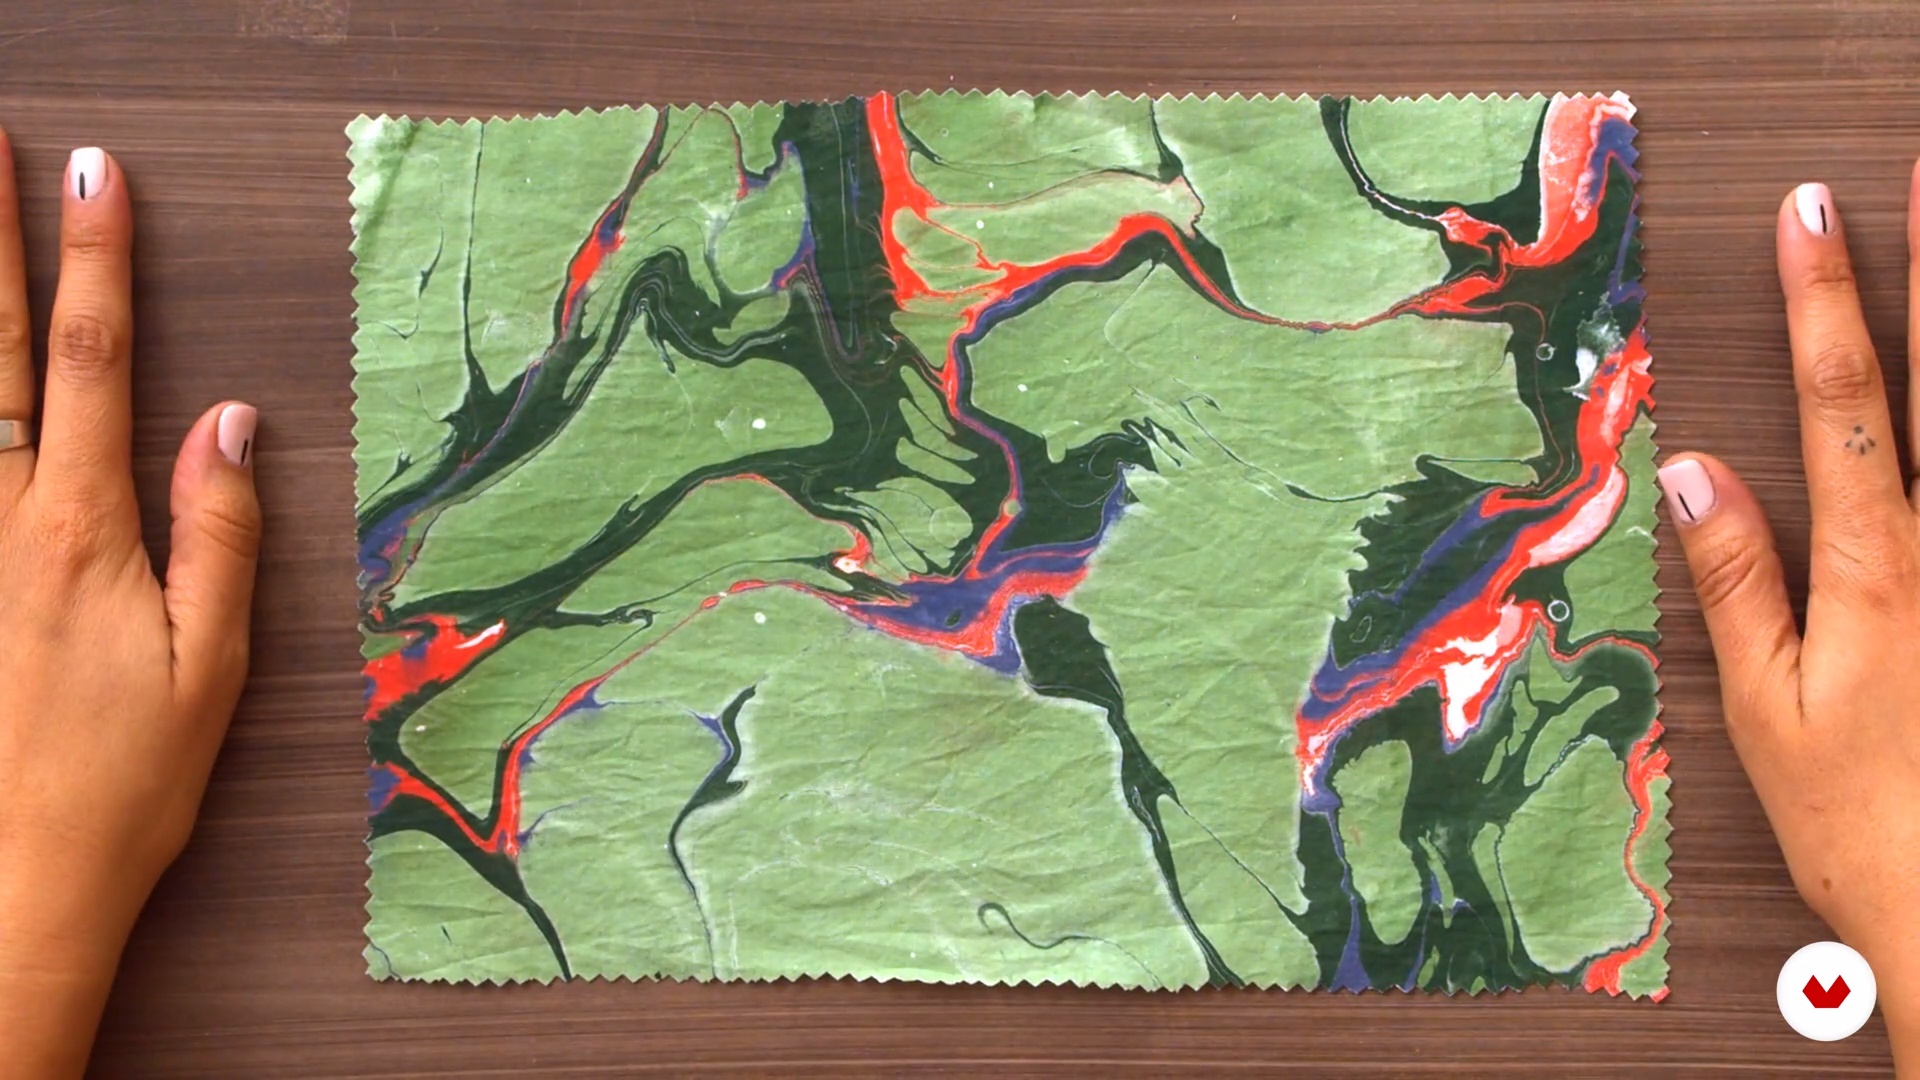
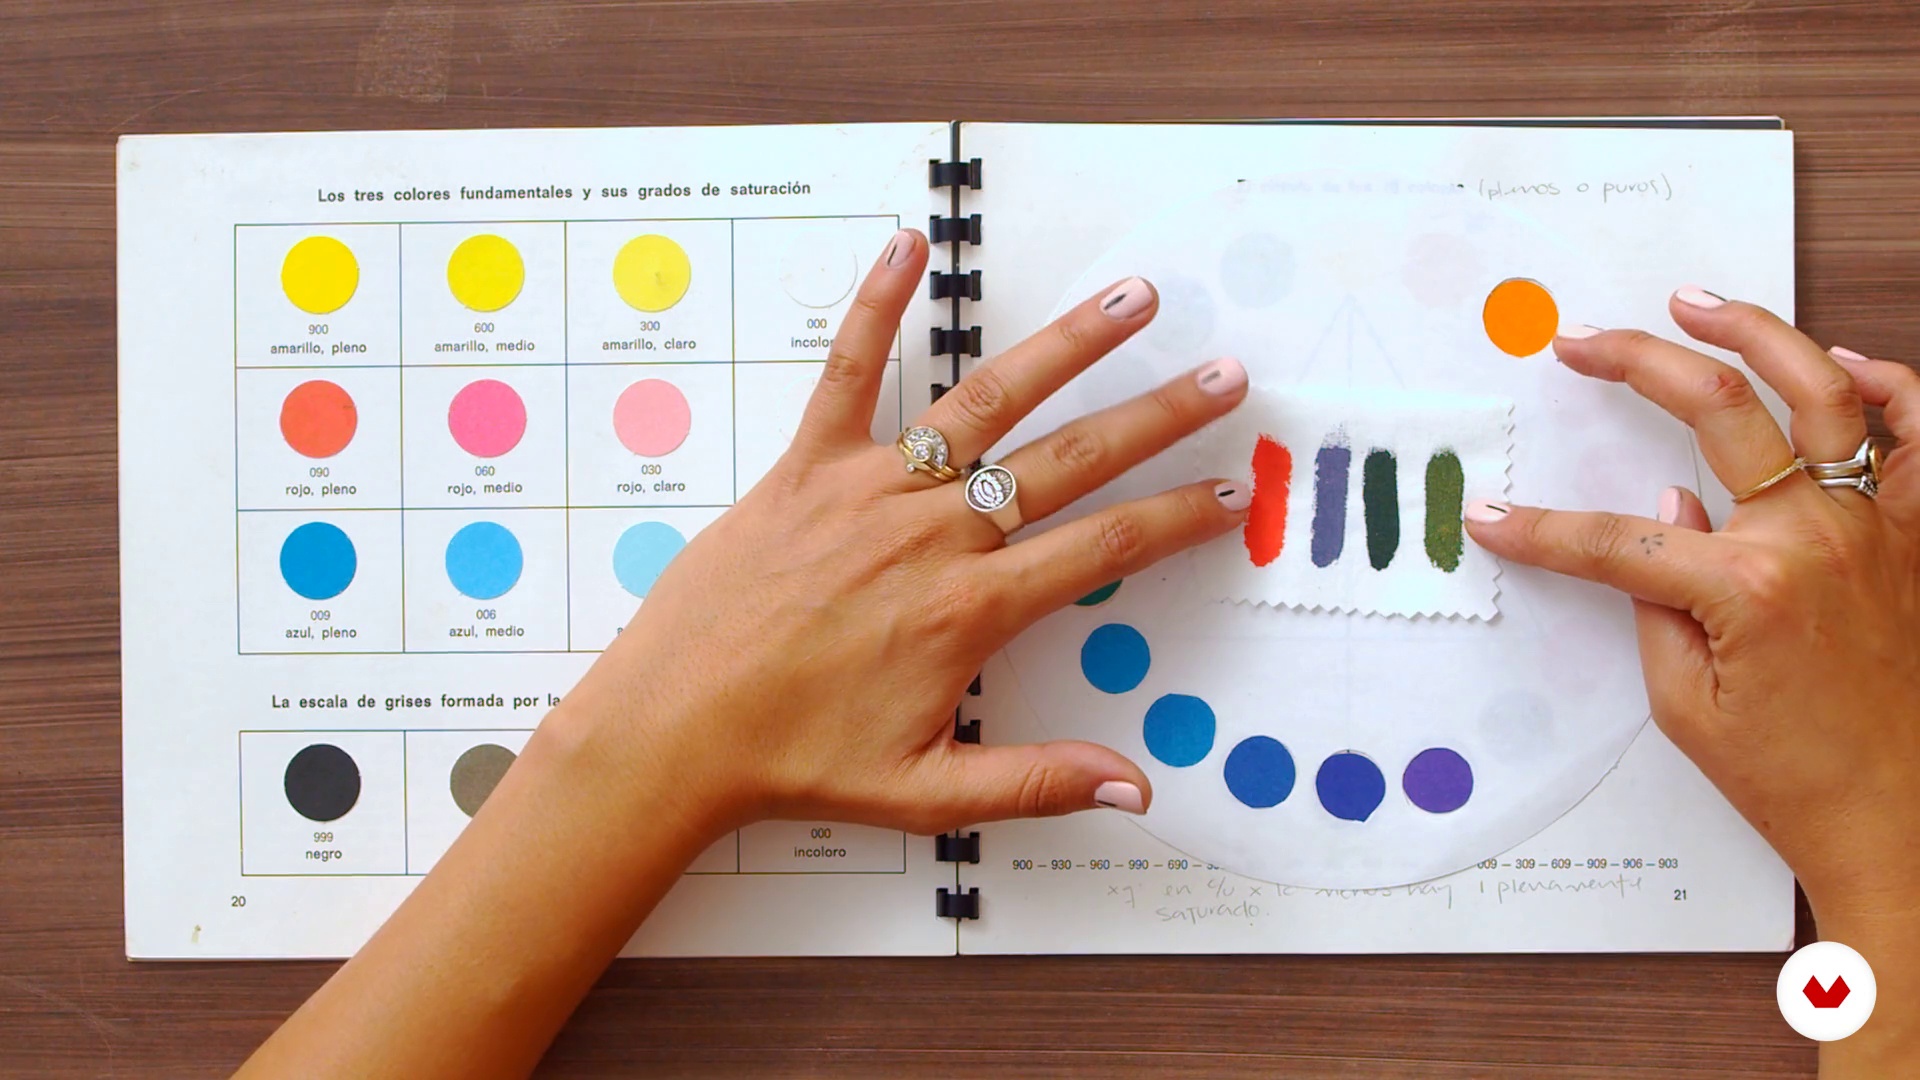
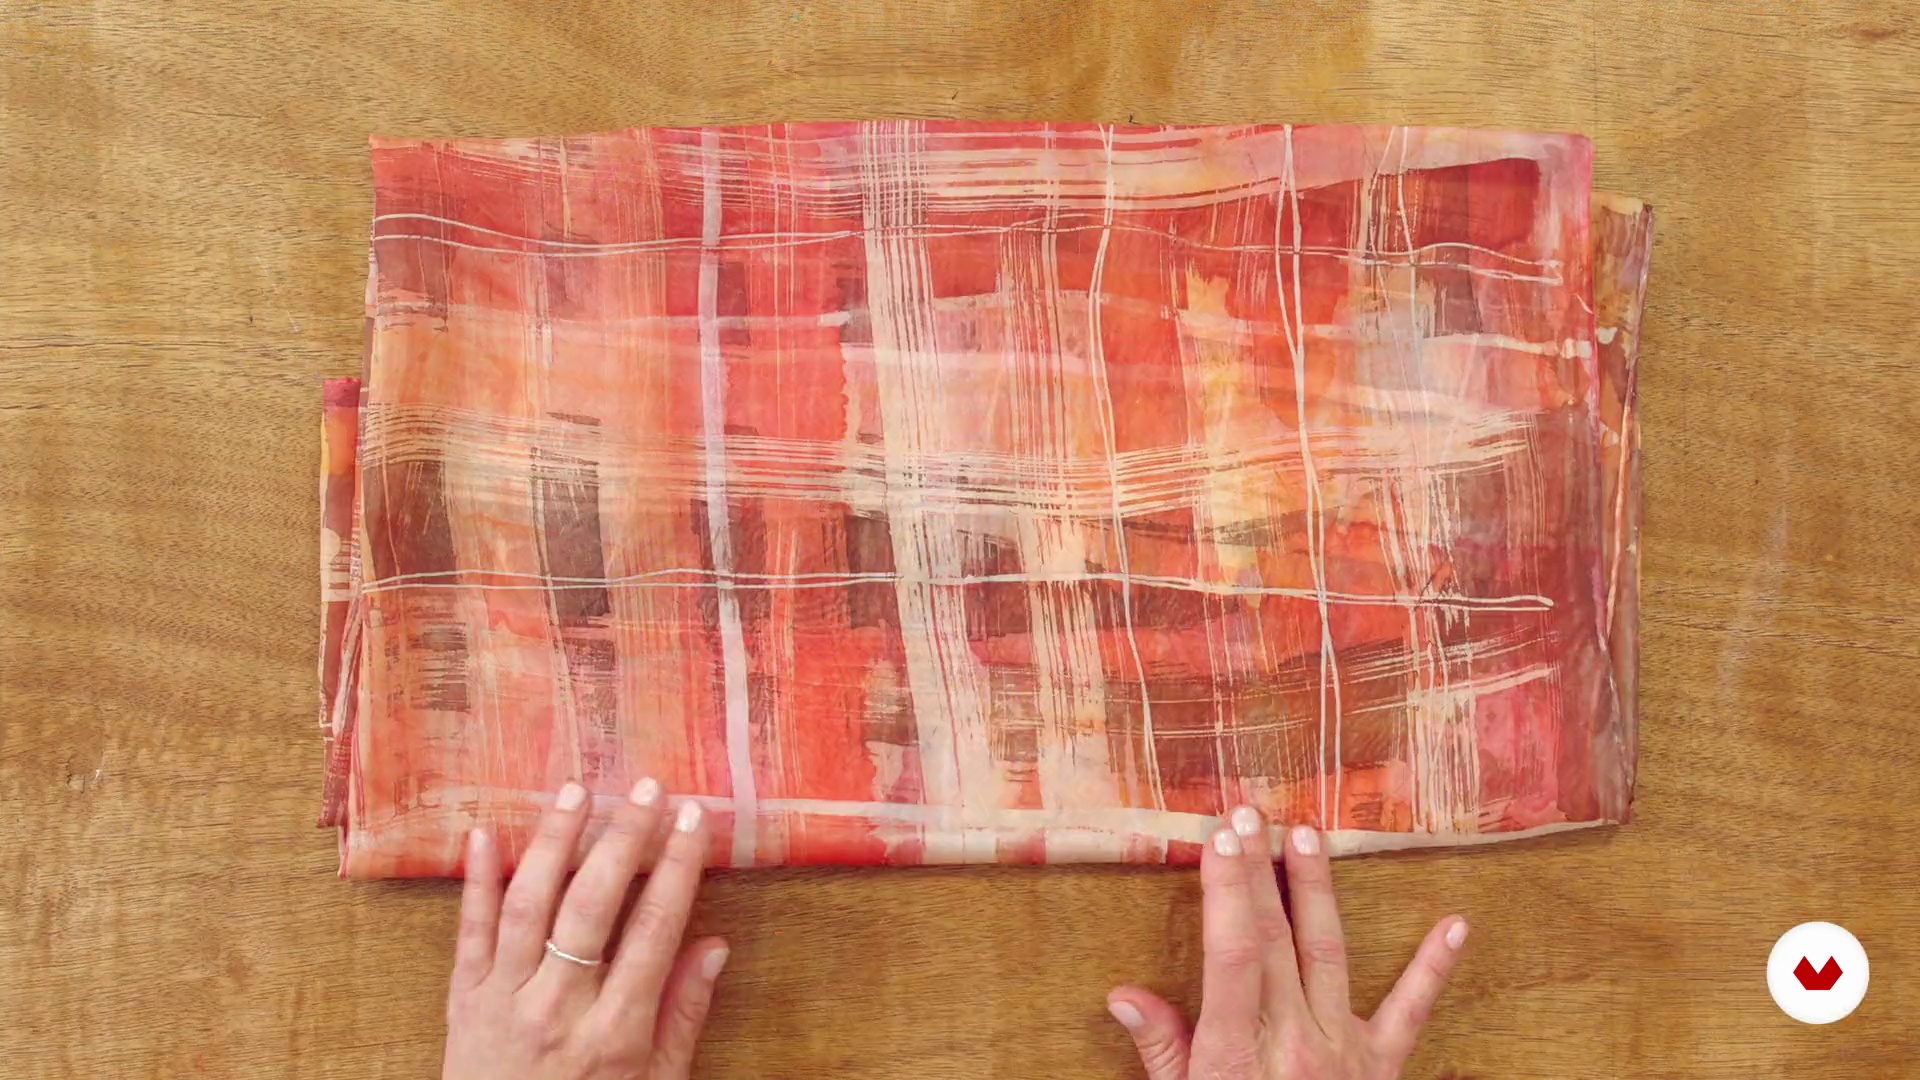
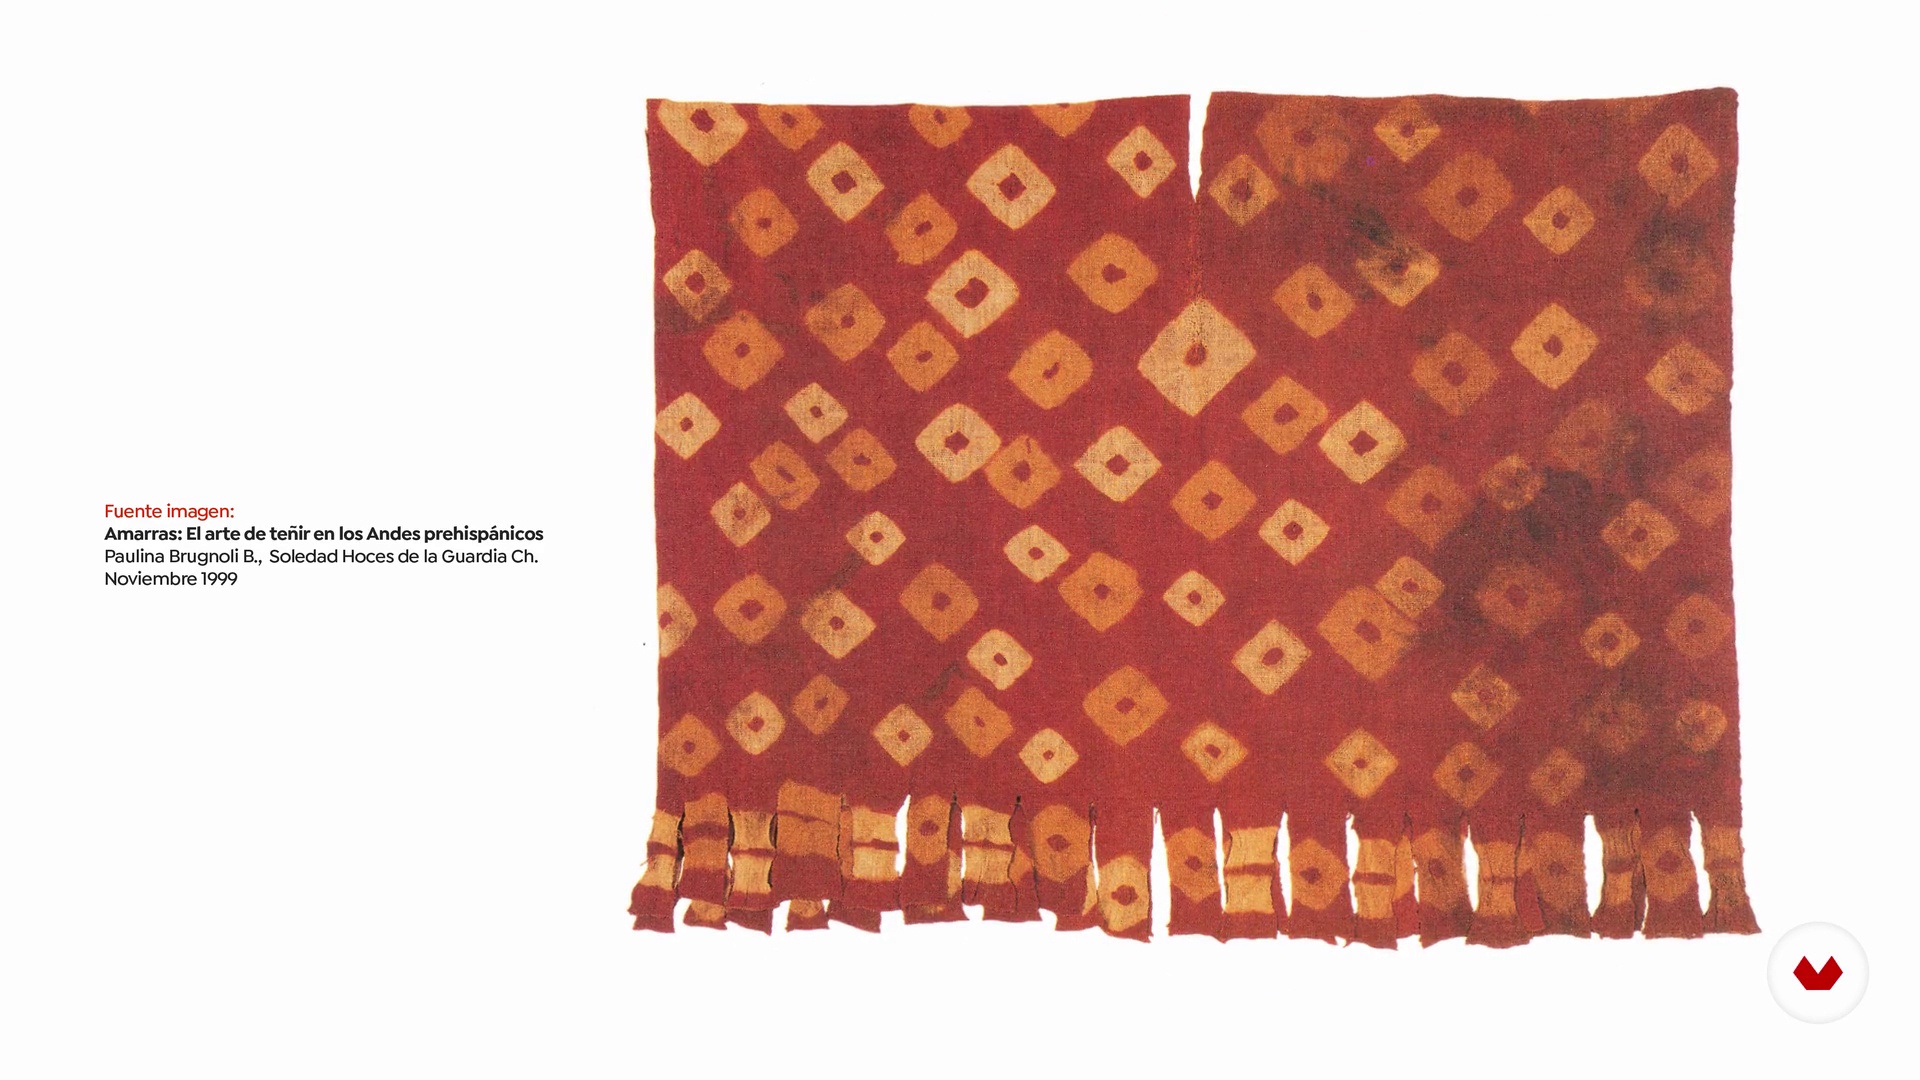
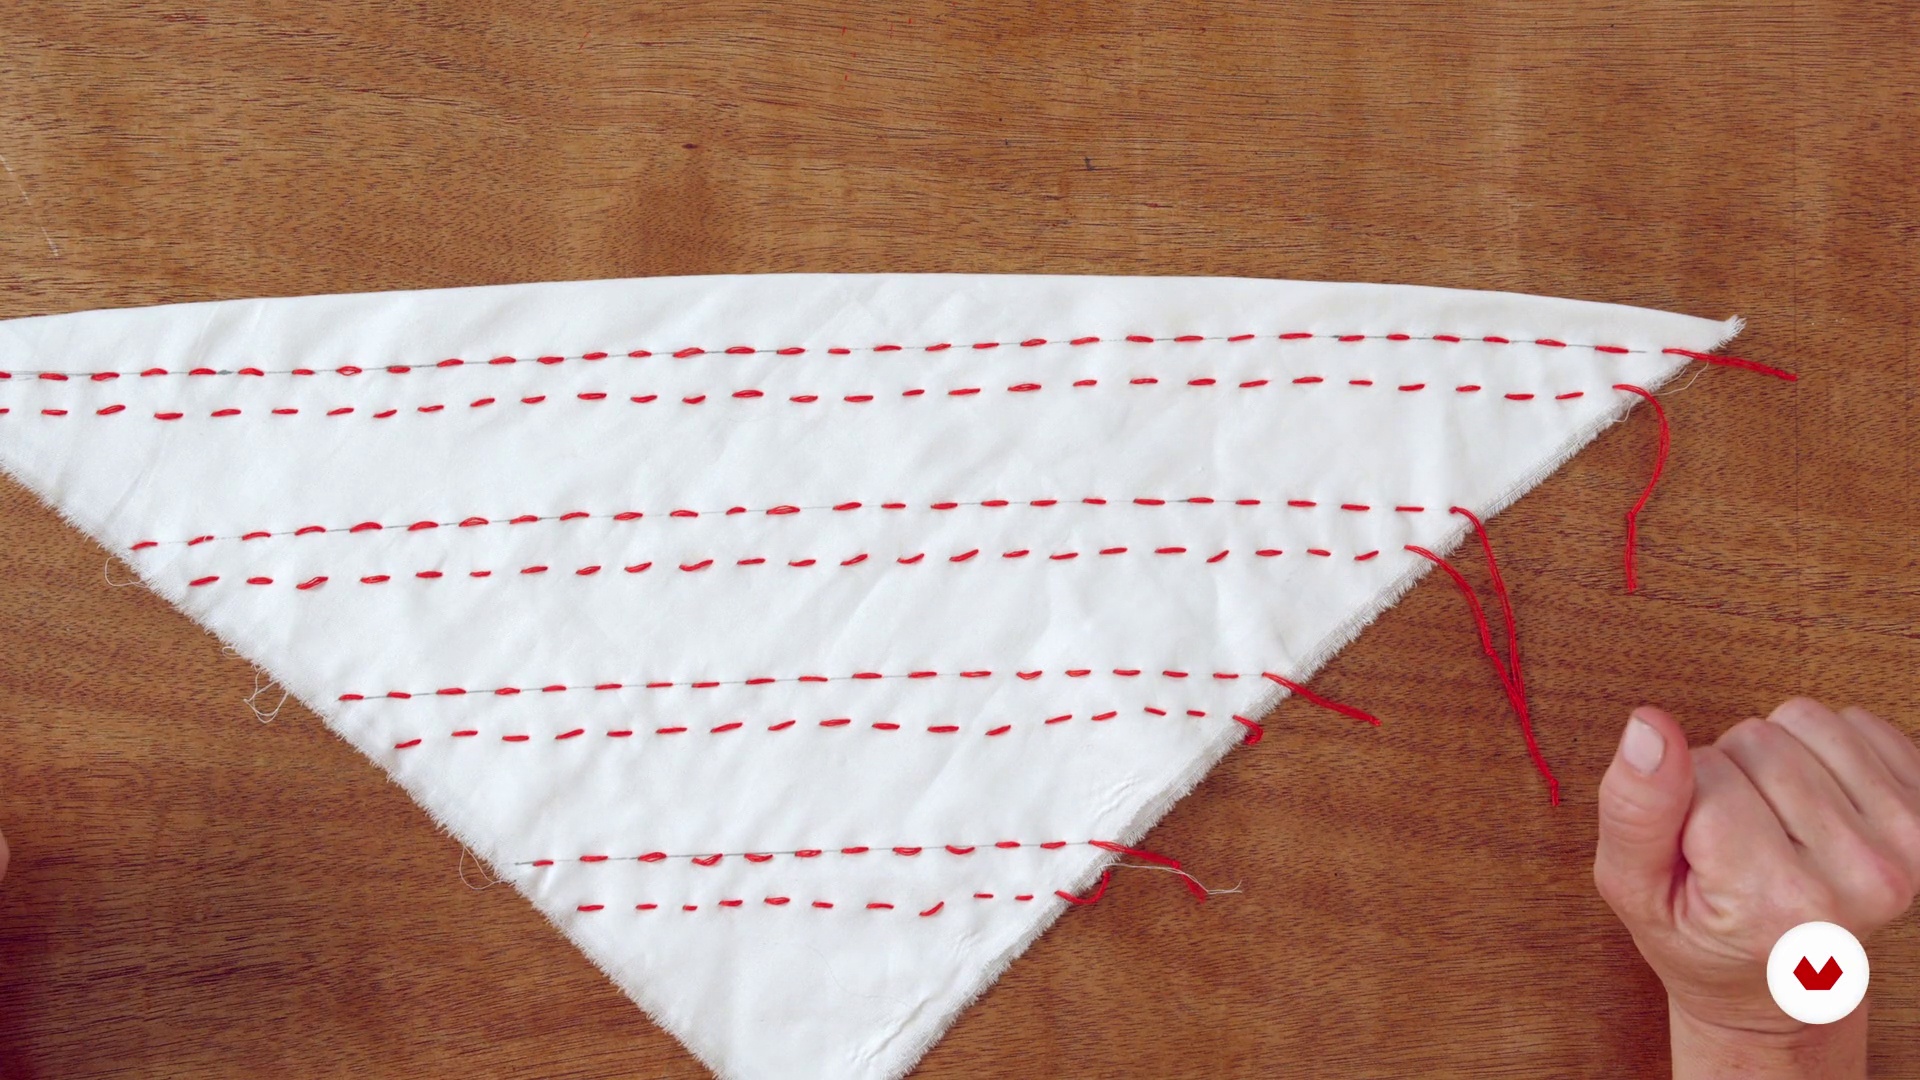
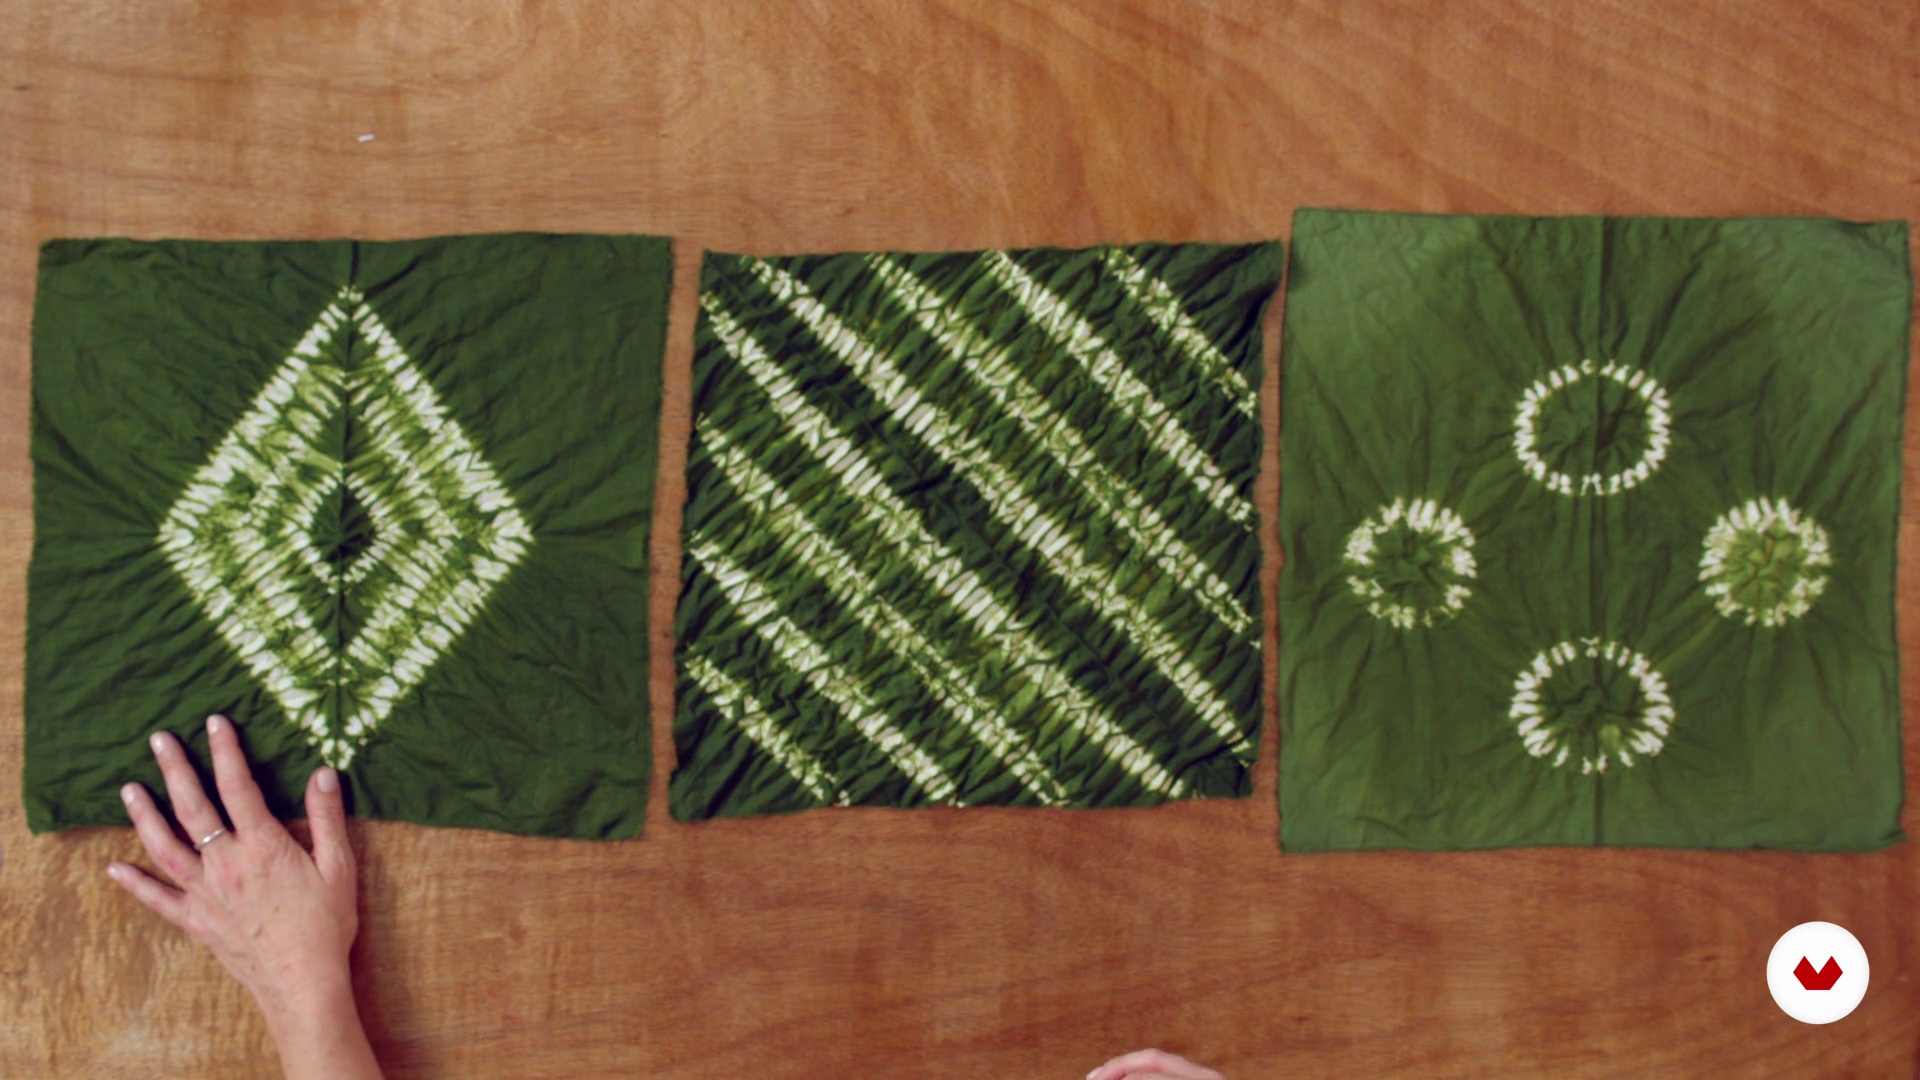
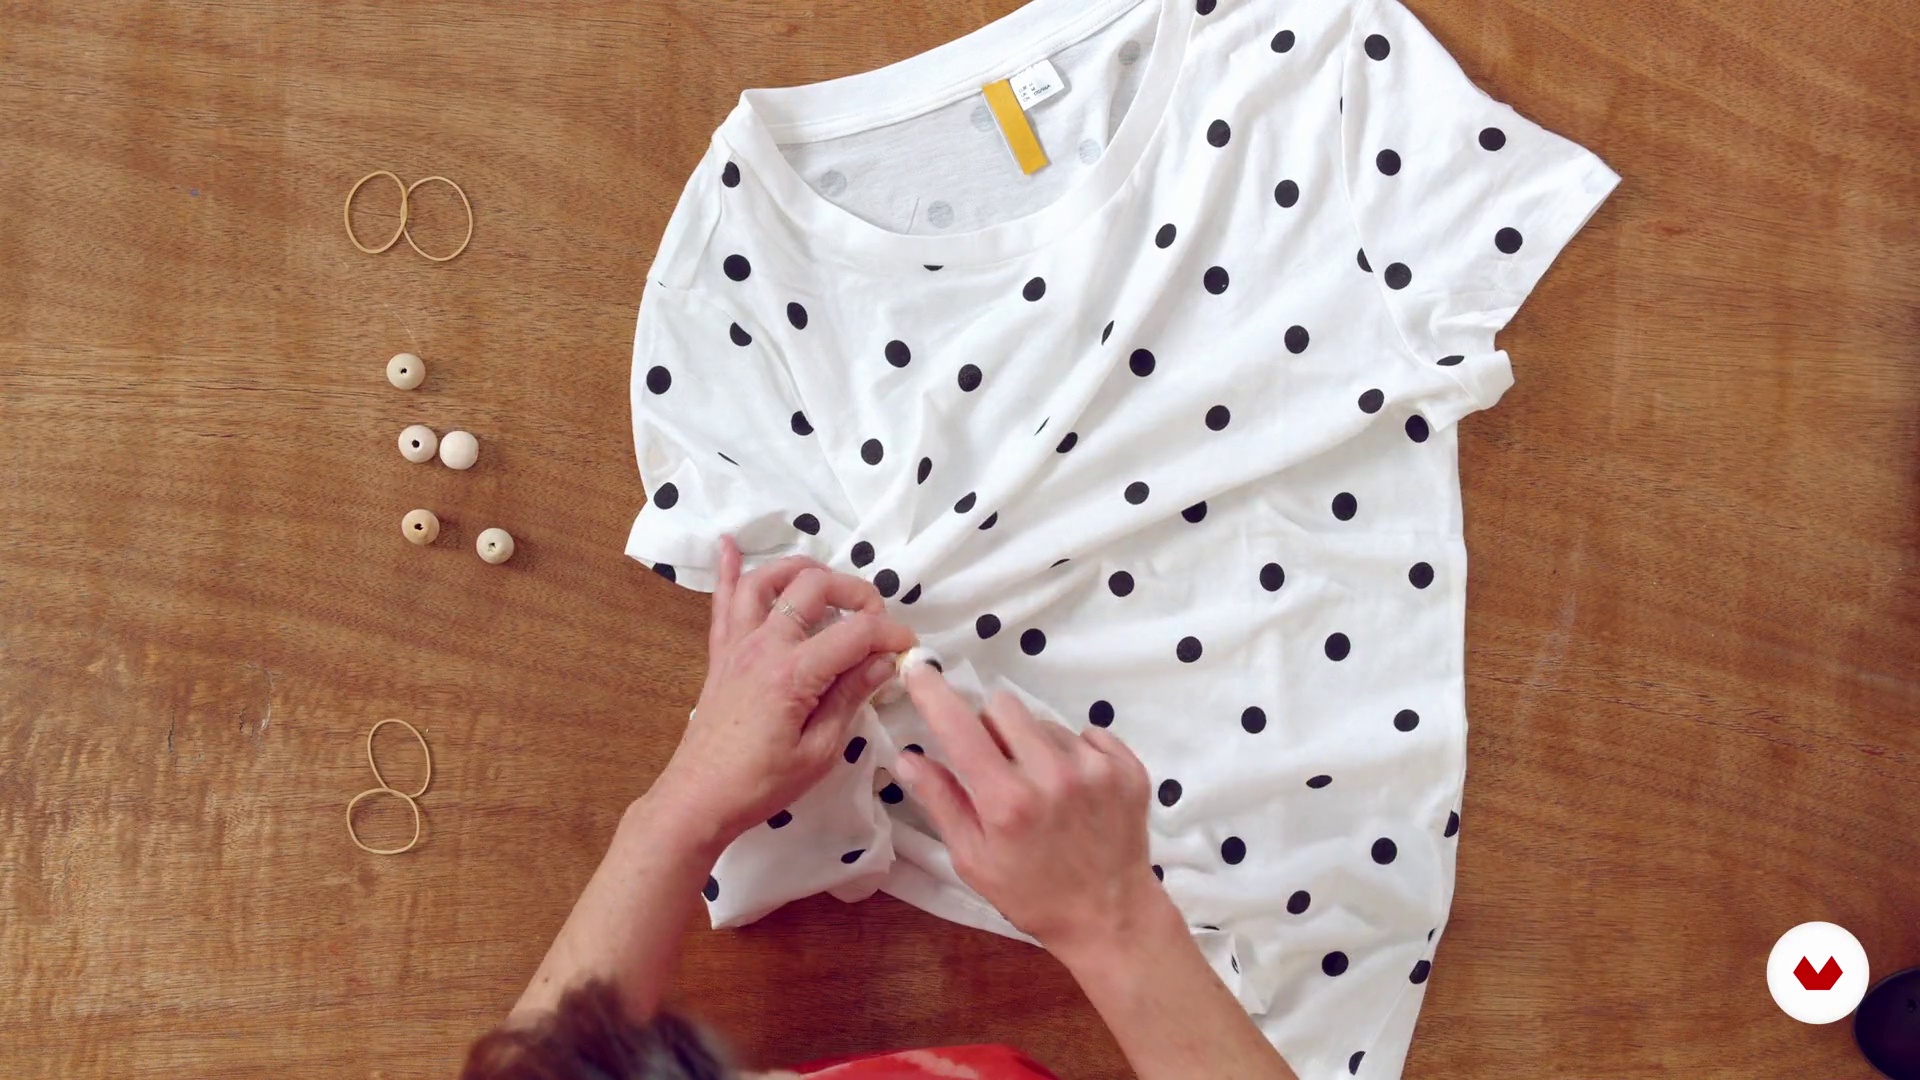
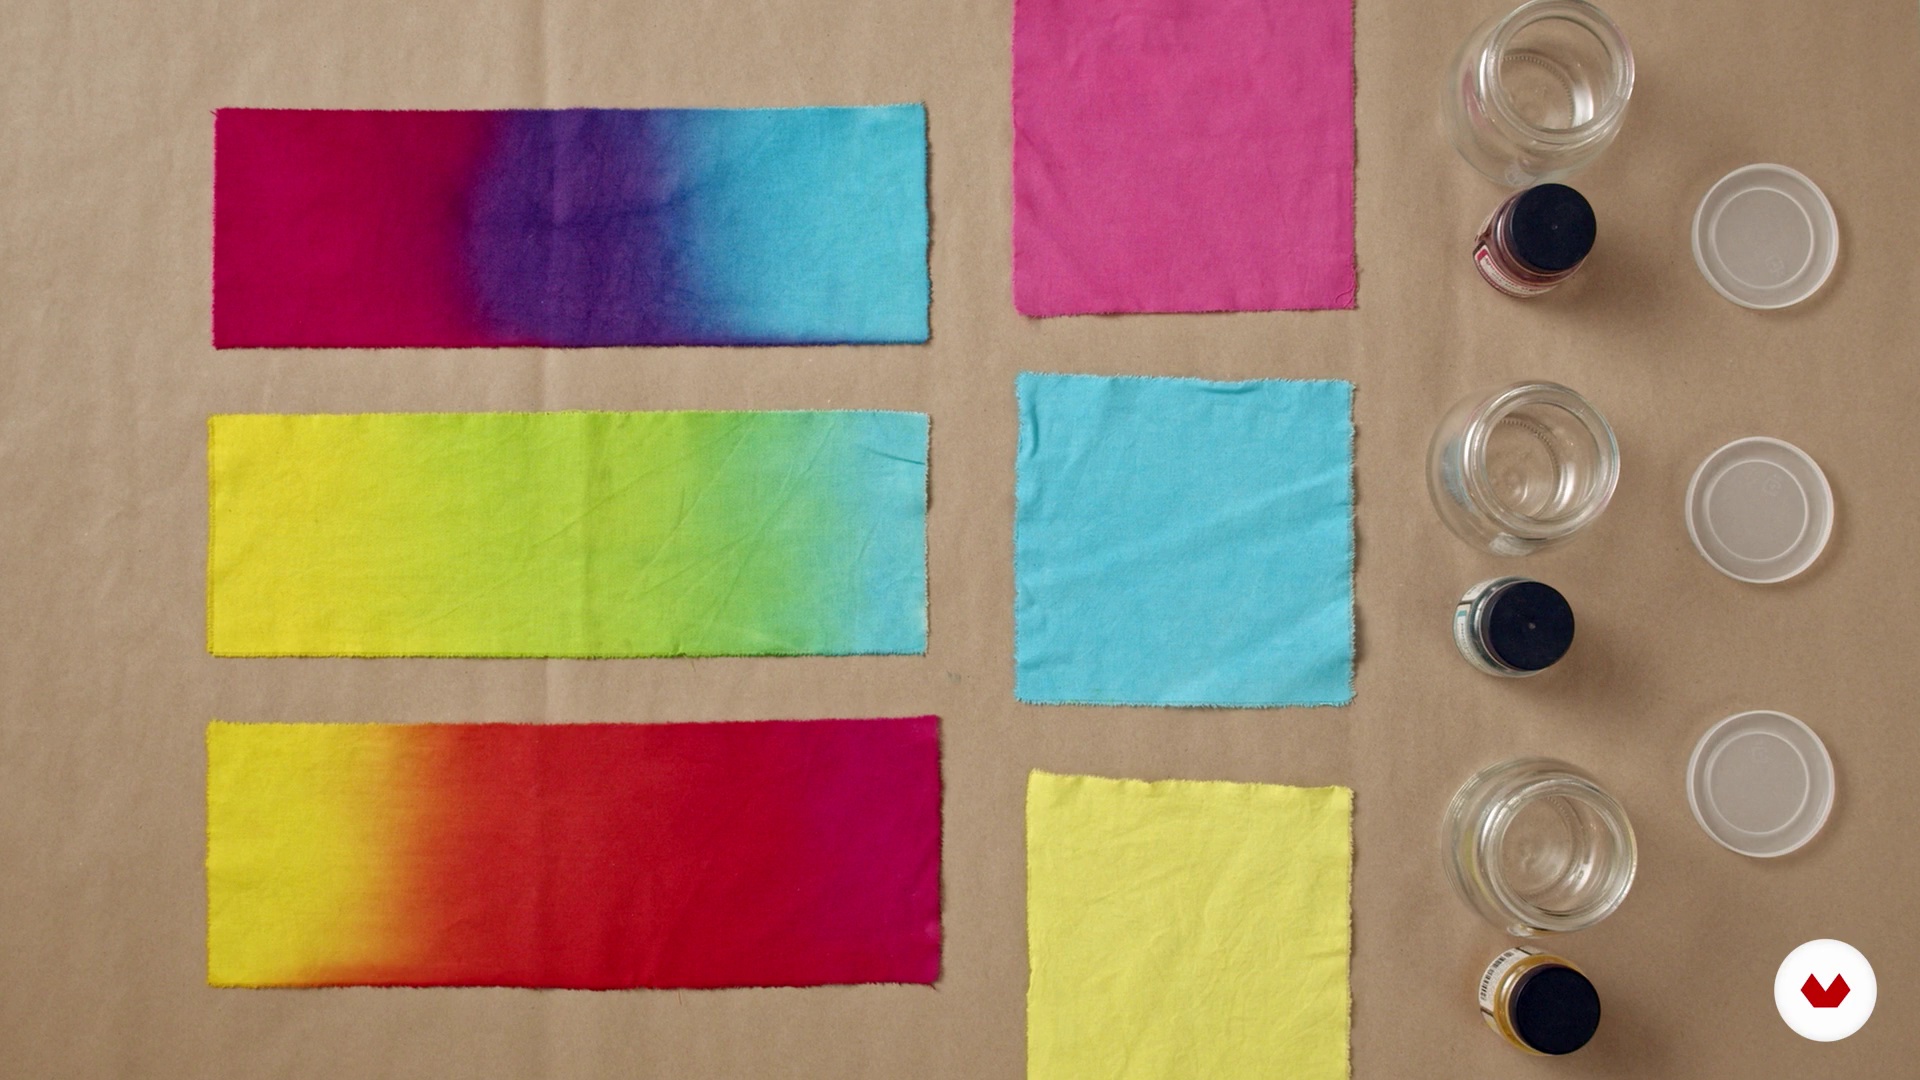
Embark on a fascinating journey through textile dyeing techniques with experts like Peter Wasp, Carolina Raggio, Carla Qua, Desdamas, and Ikaro Batik. Discover the versatility of tie-dye, which allows you to explore color dynamically and freely, creating unique results that transform every garment. Learn how shibori, with its precision and Japanese tradition, brings to life geometric and repetitive patterns that reinvent textile design. Immerse yourself in the world of marbling, where colors float on the surface of water to create marble-like effects on fabrics and papers.
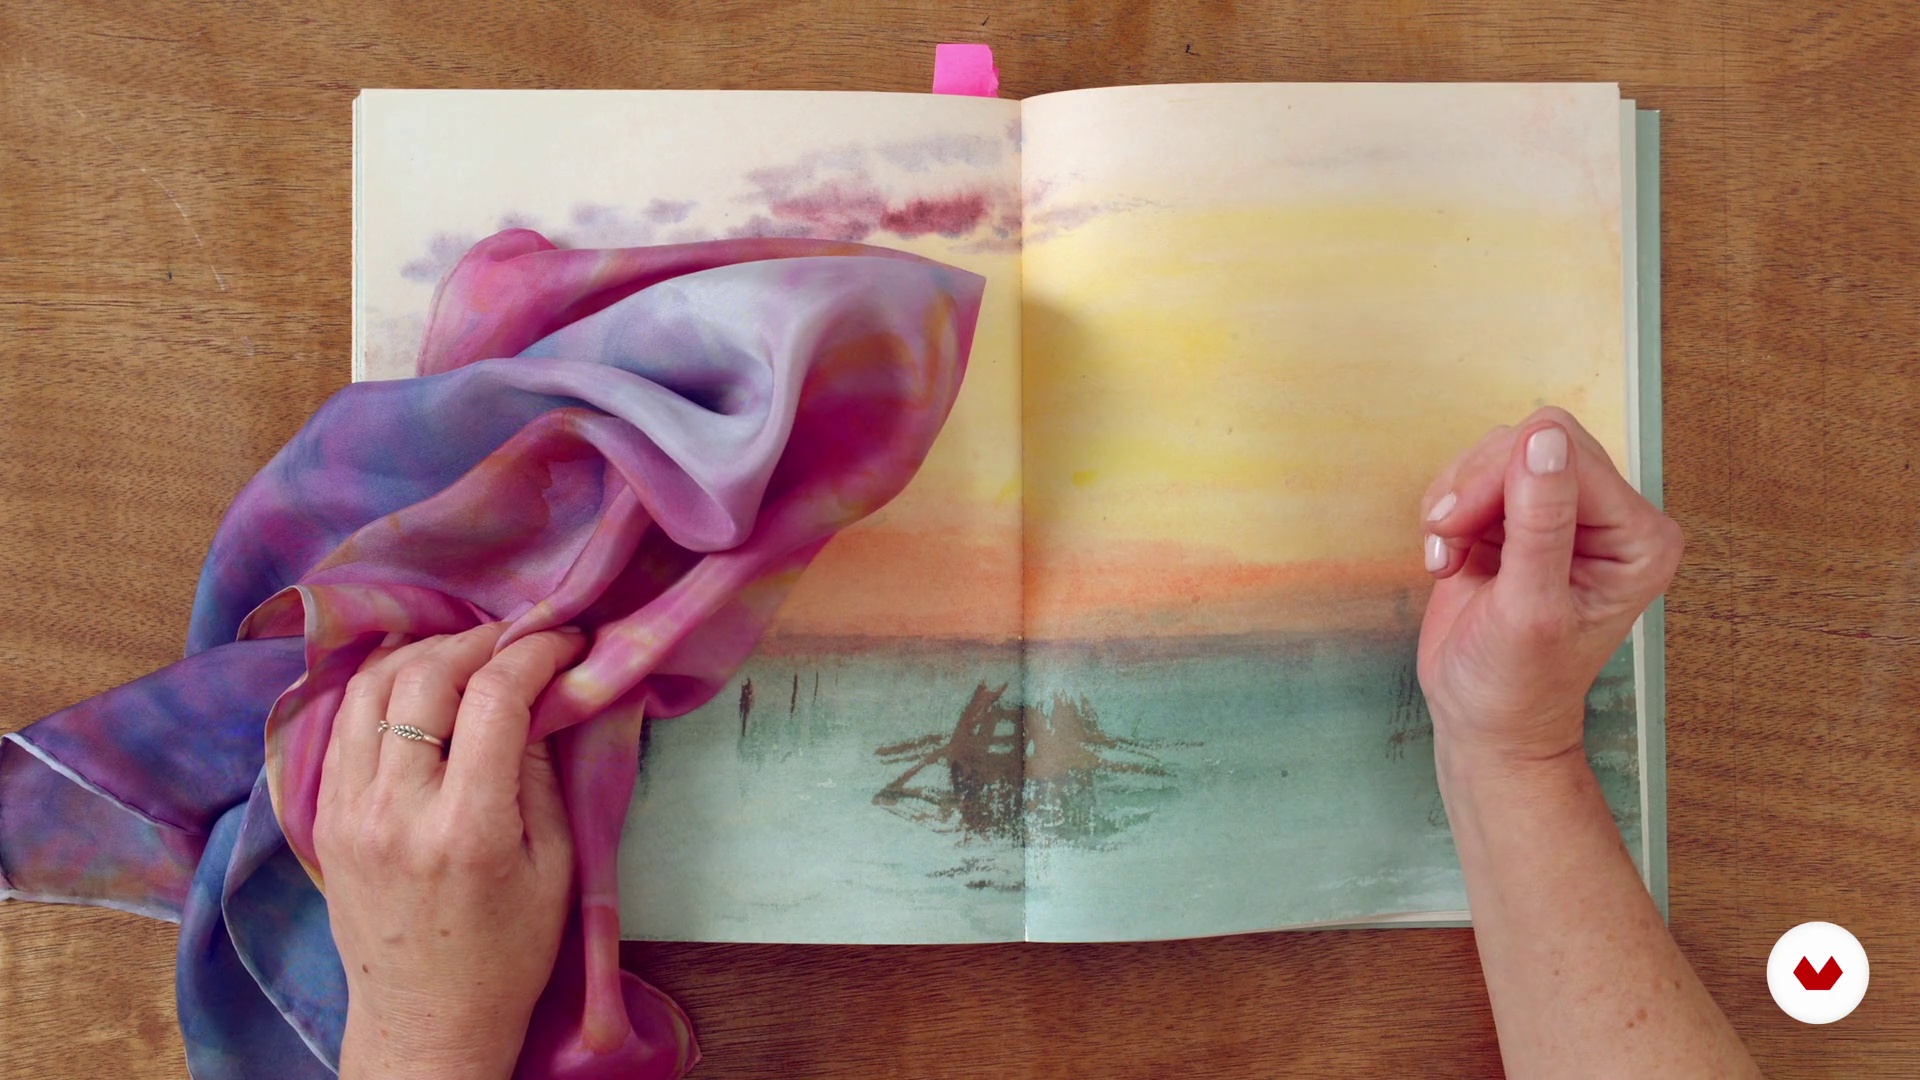
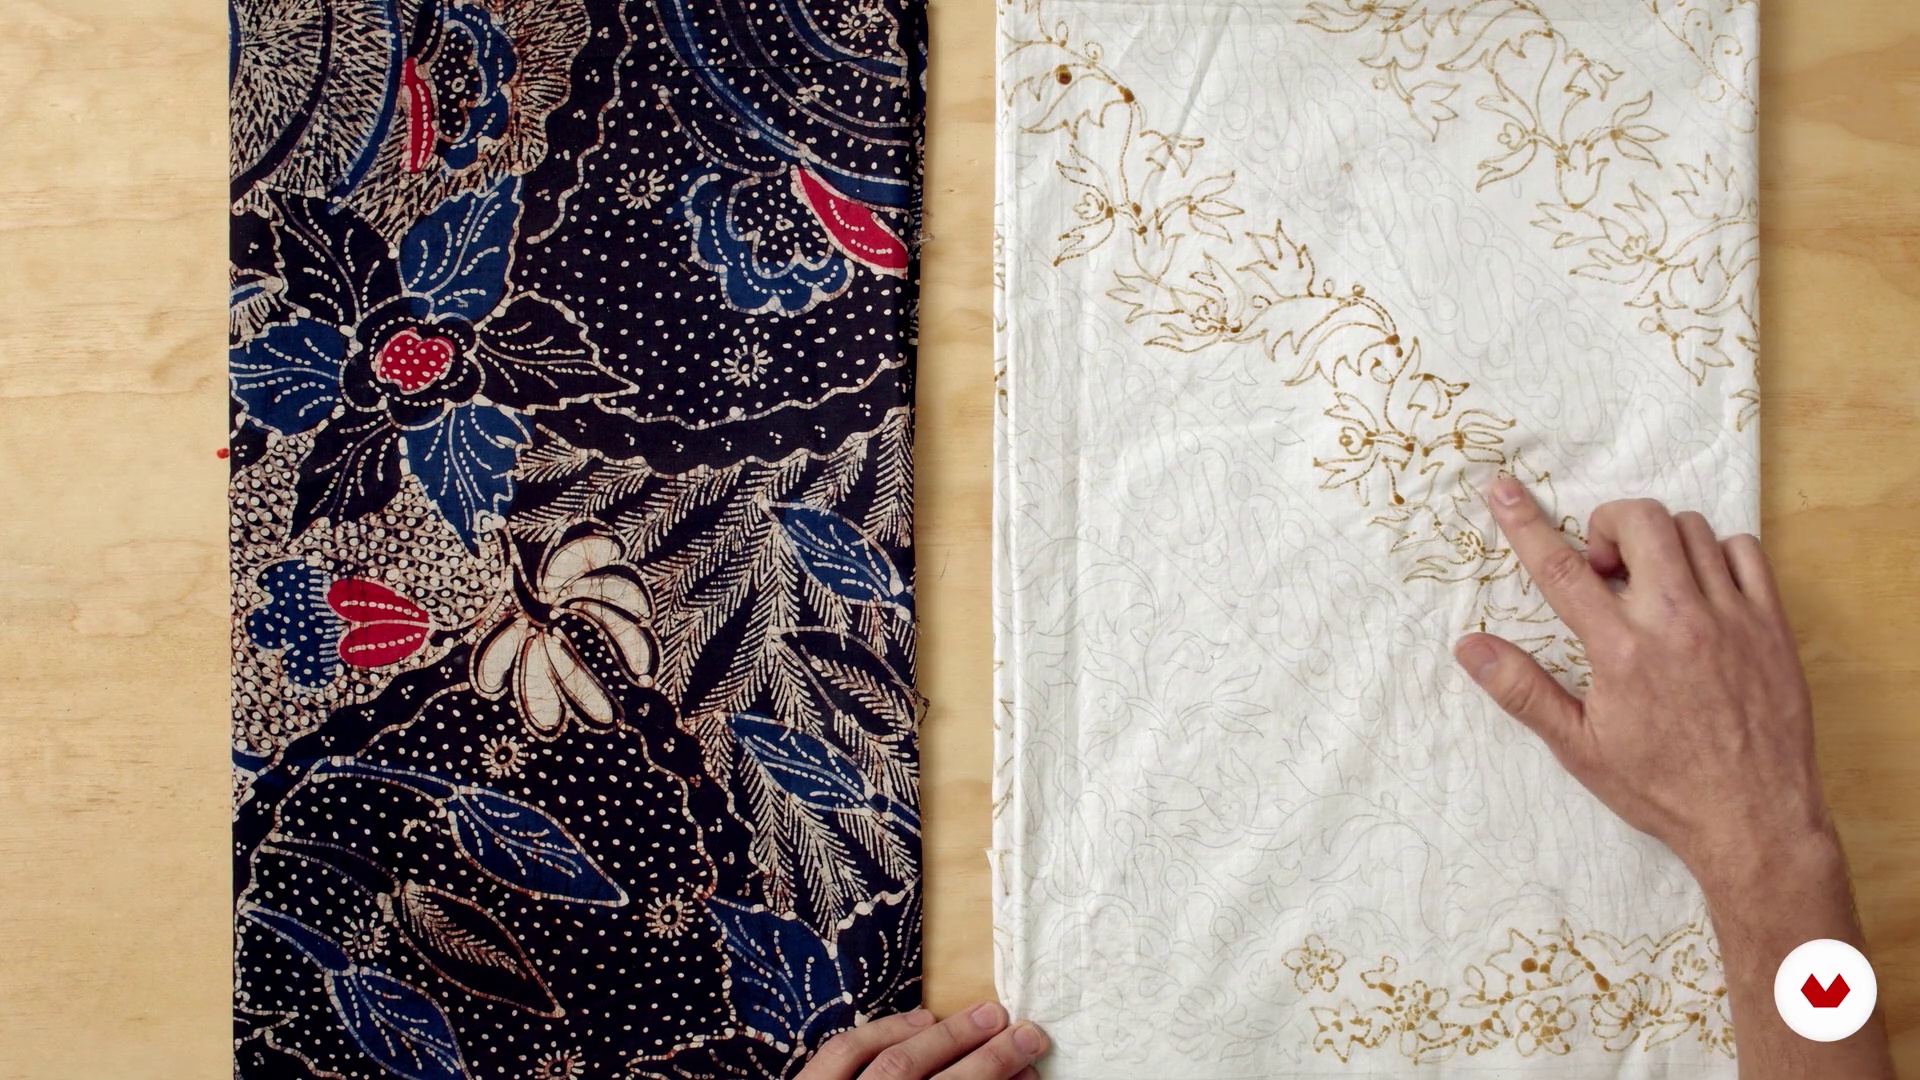
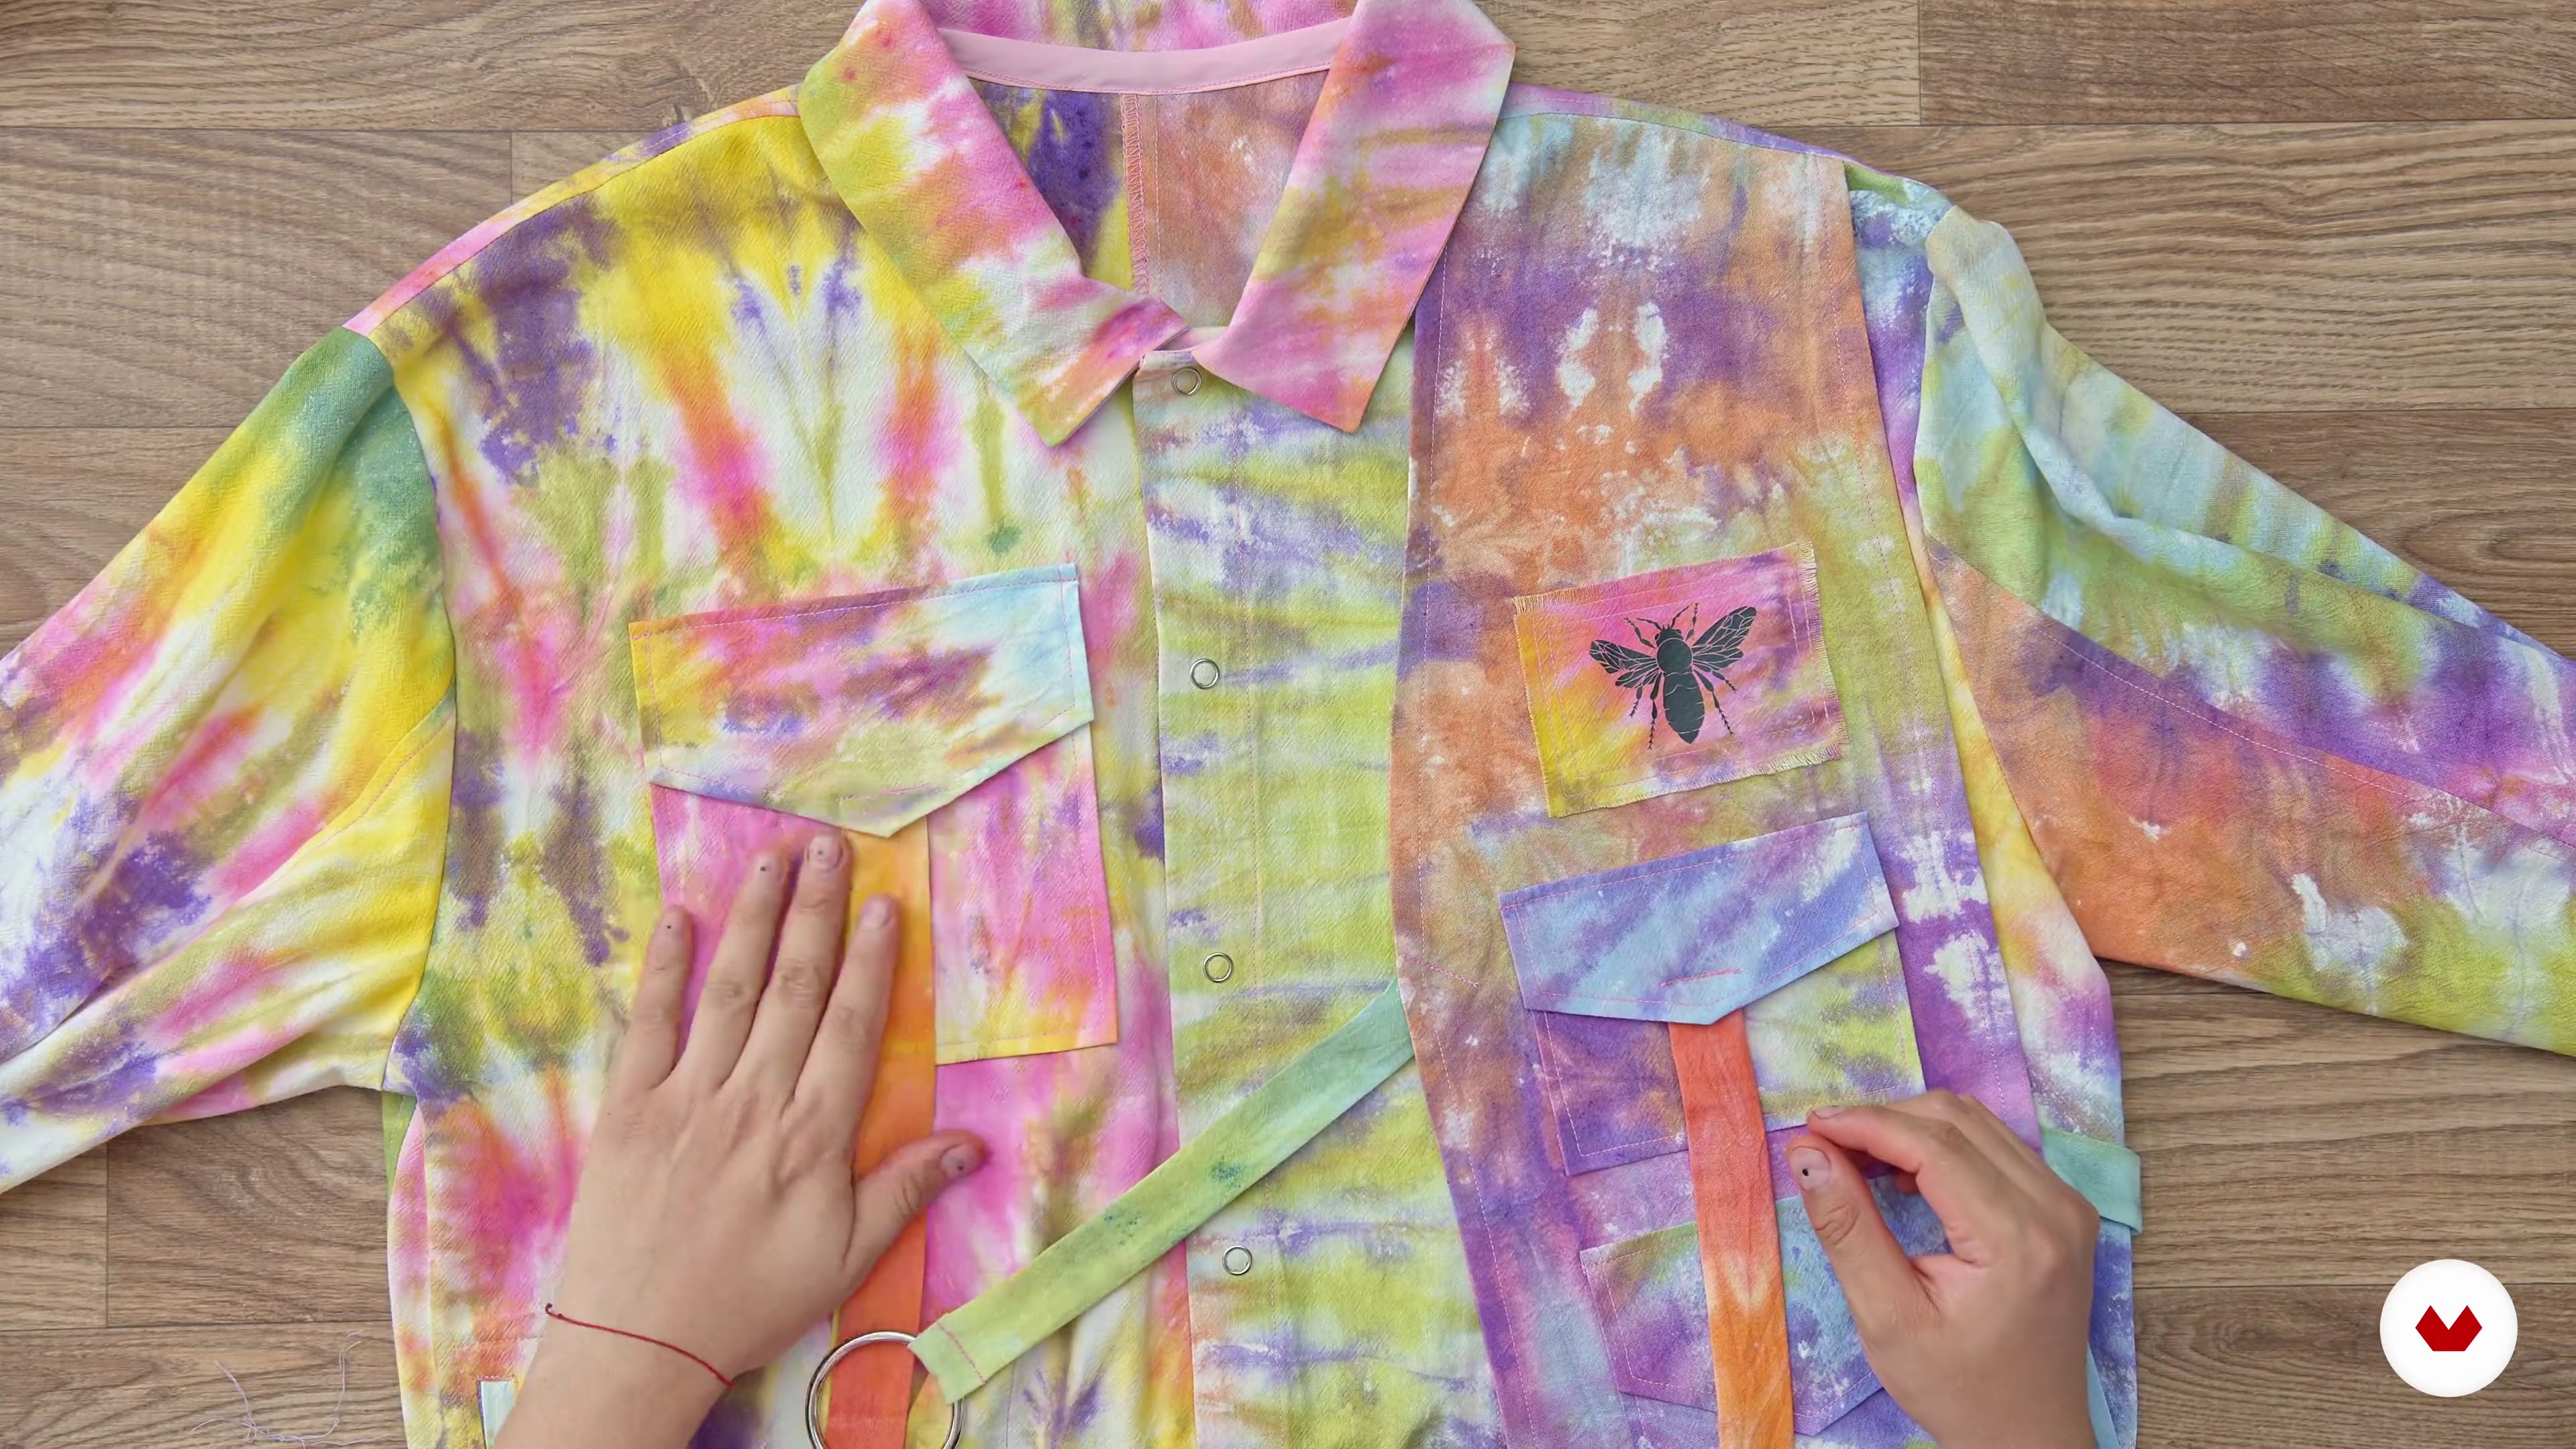
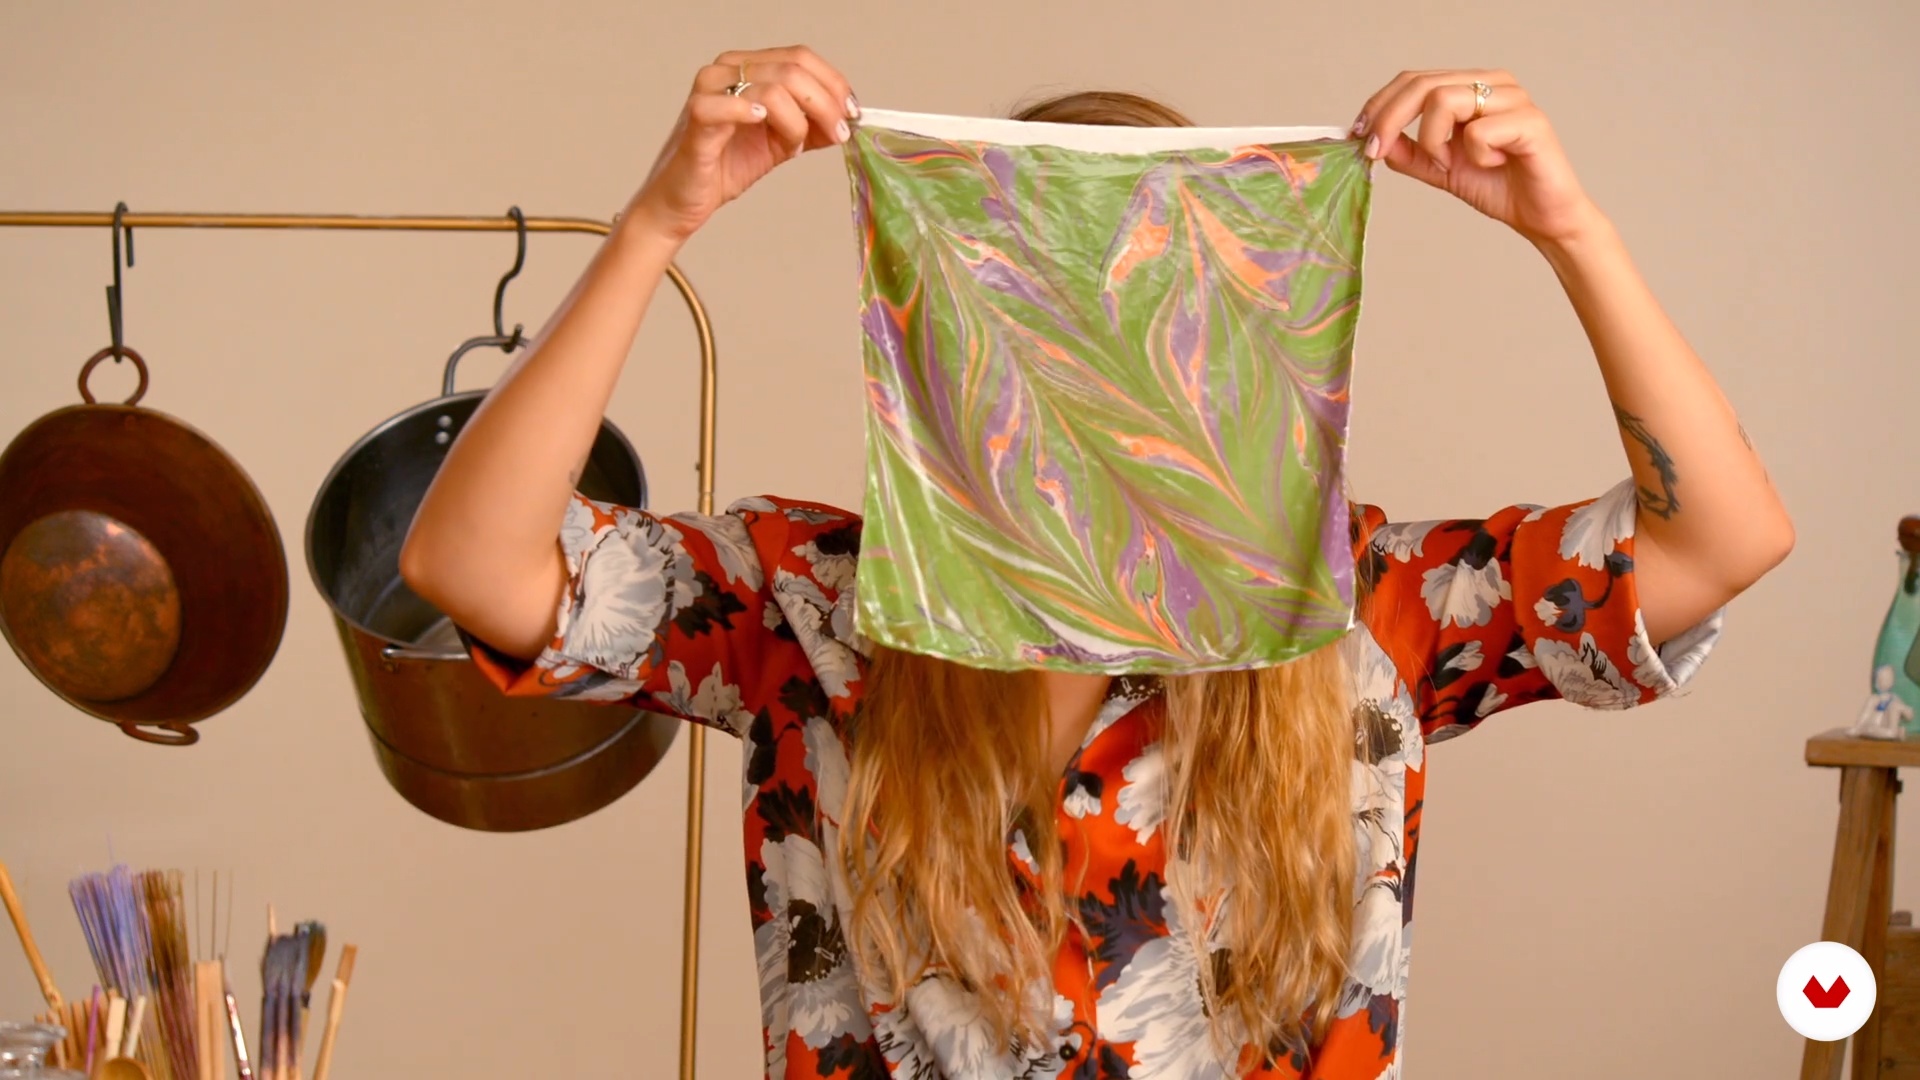
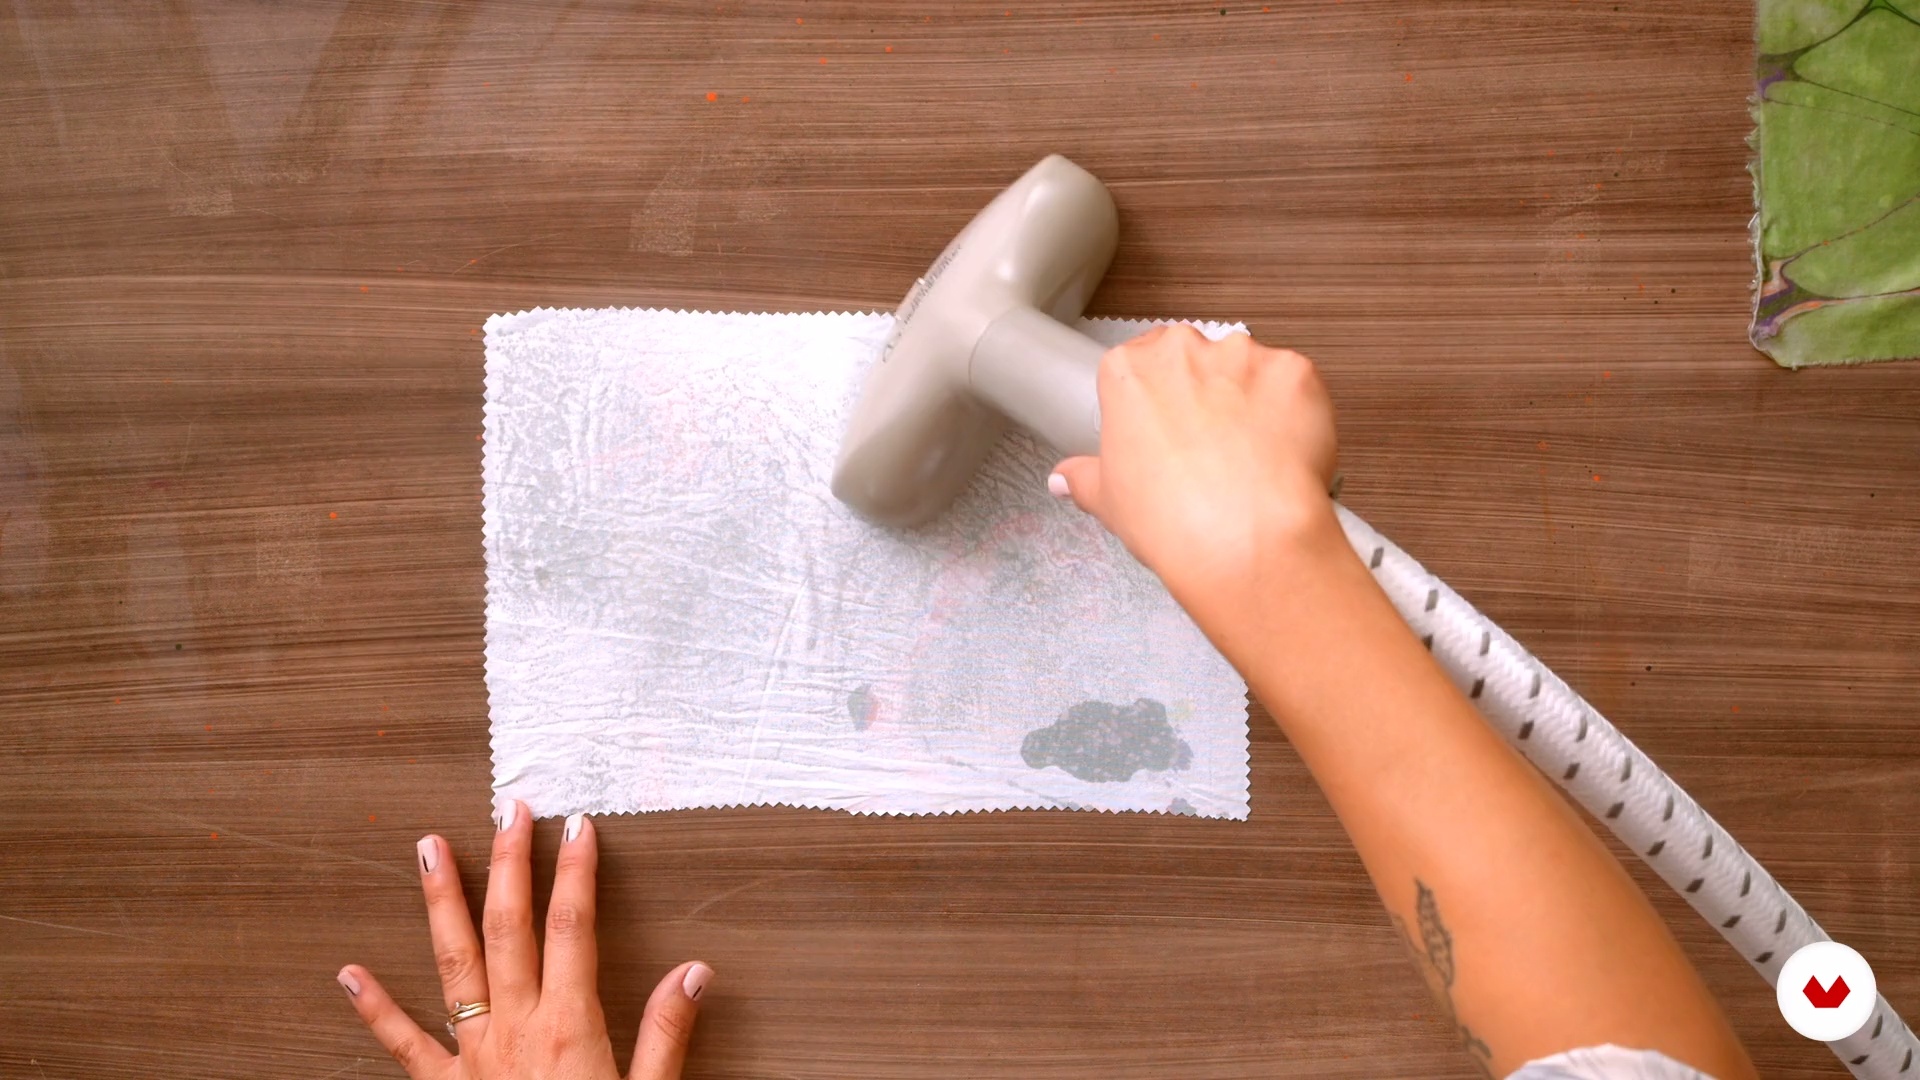
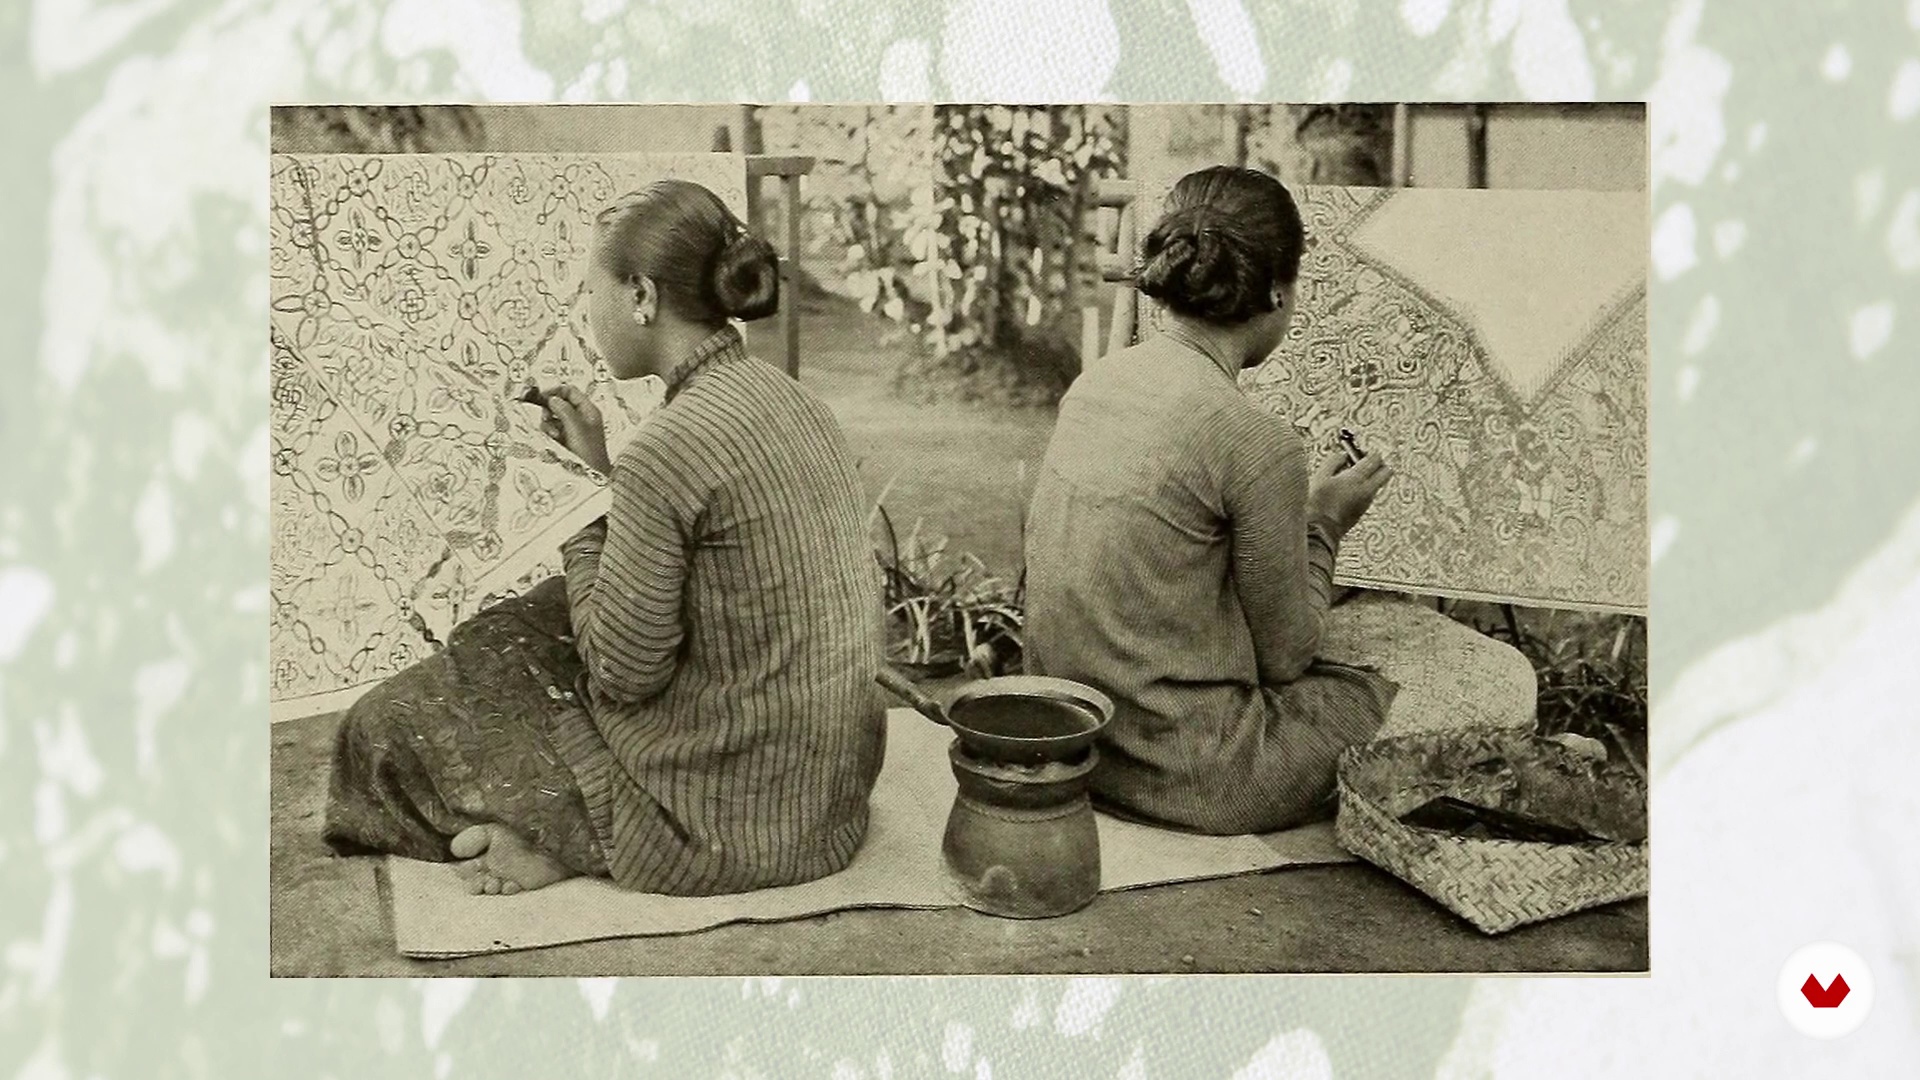
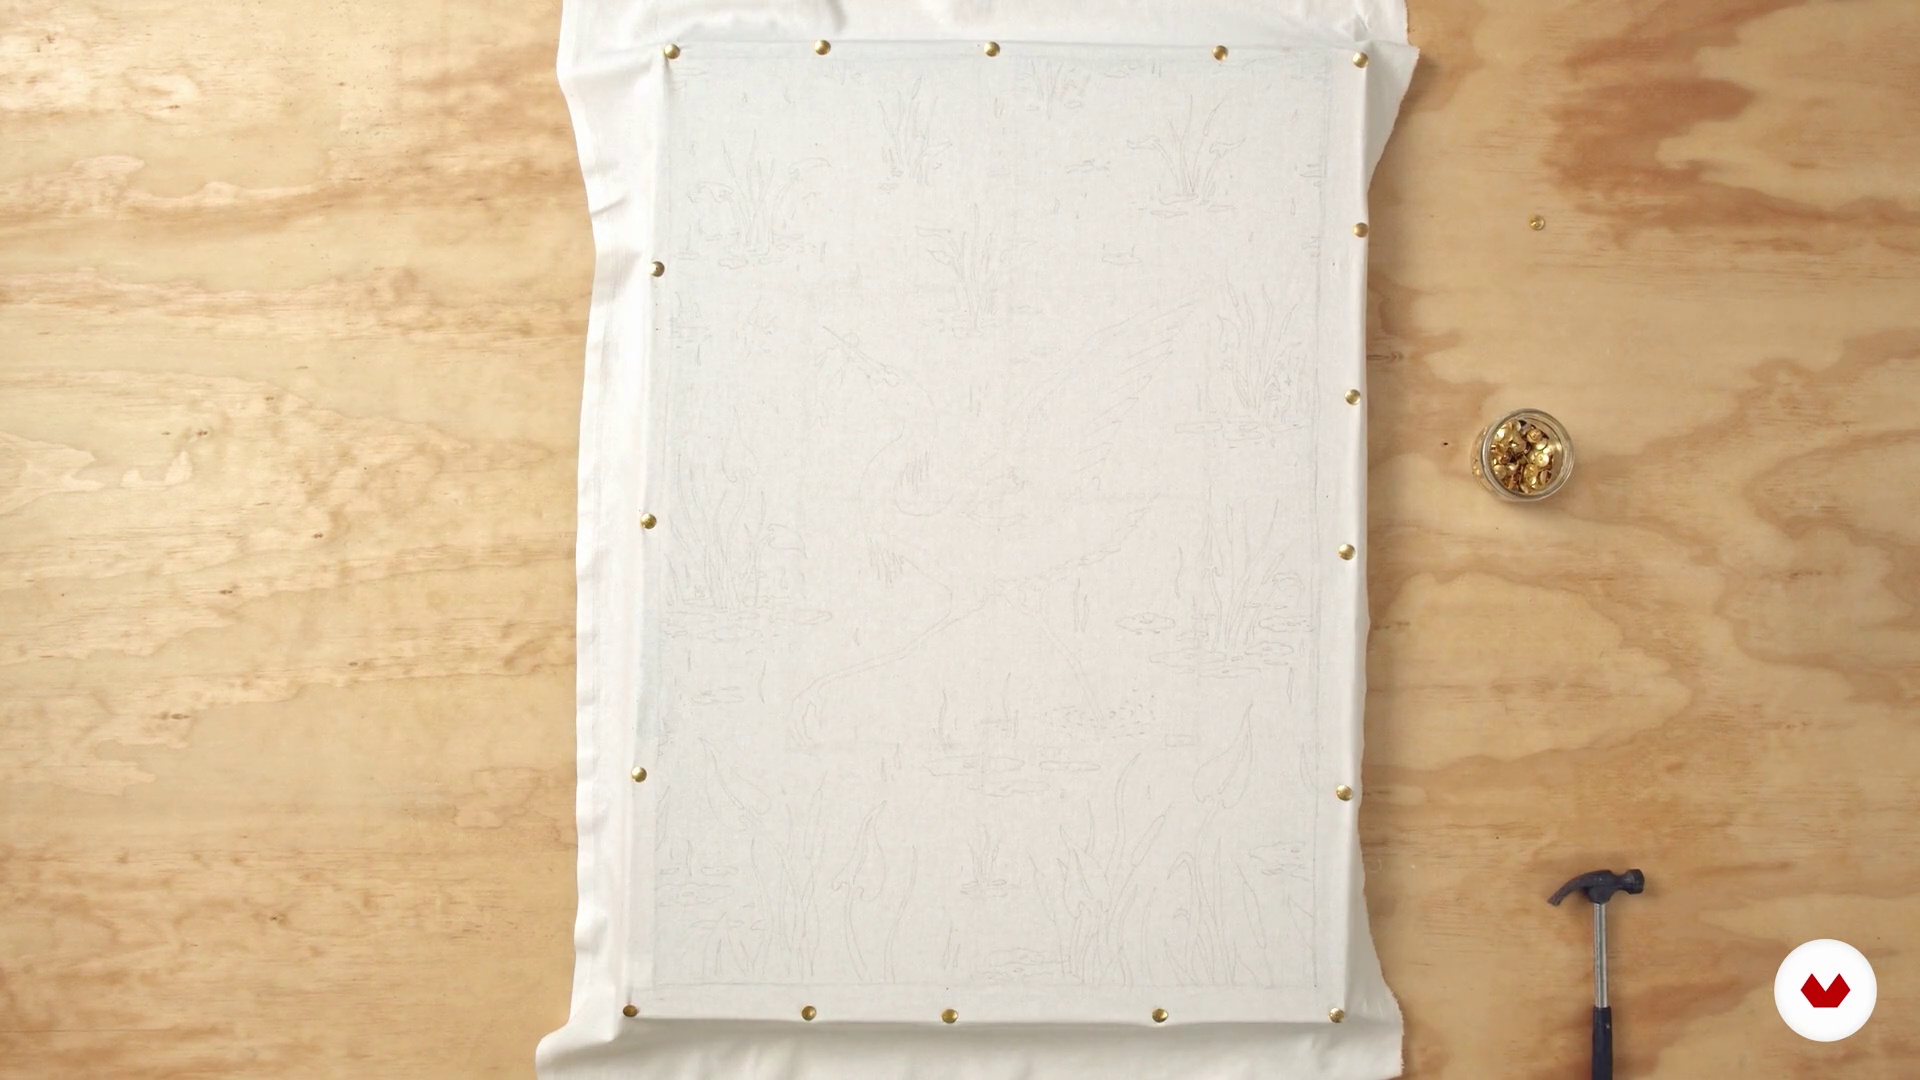
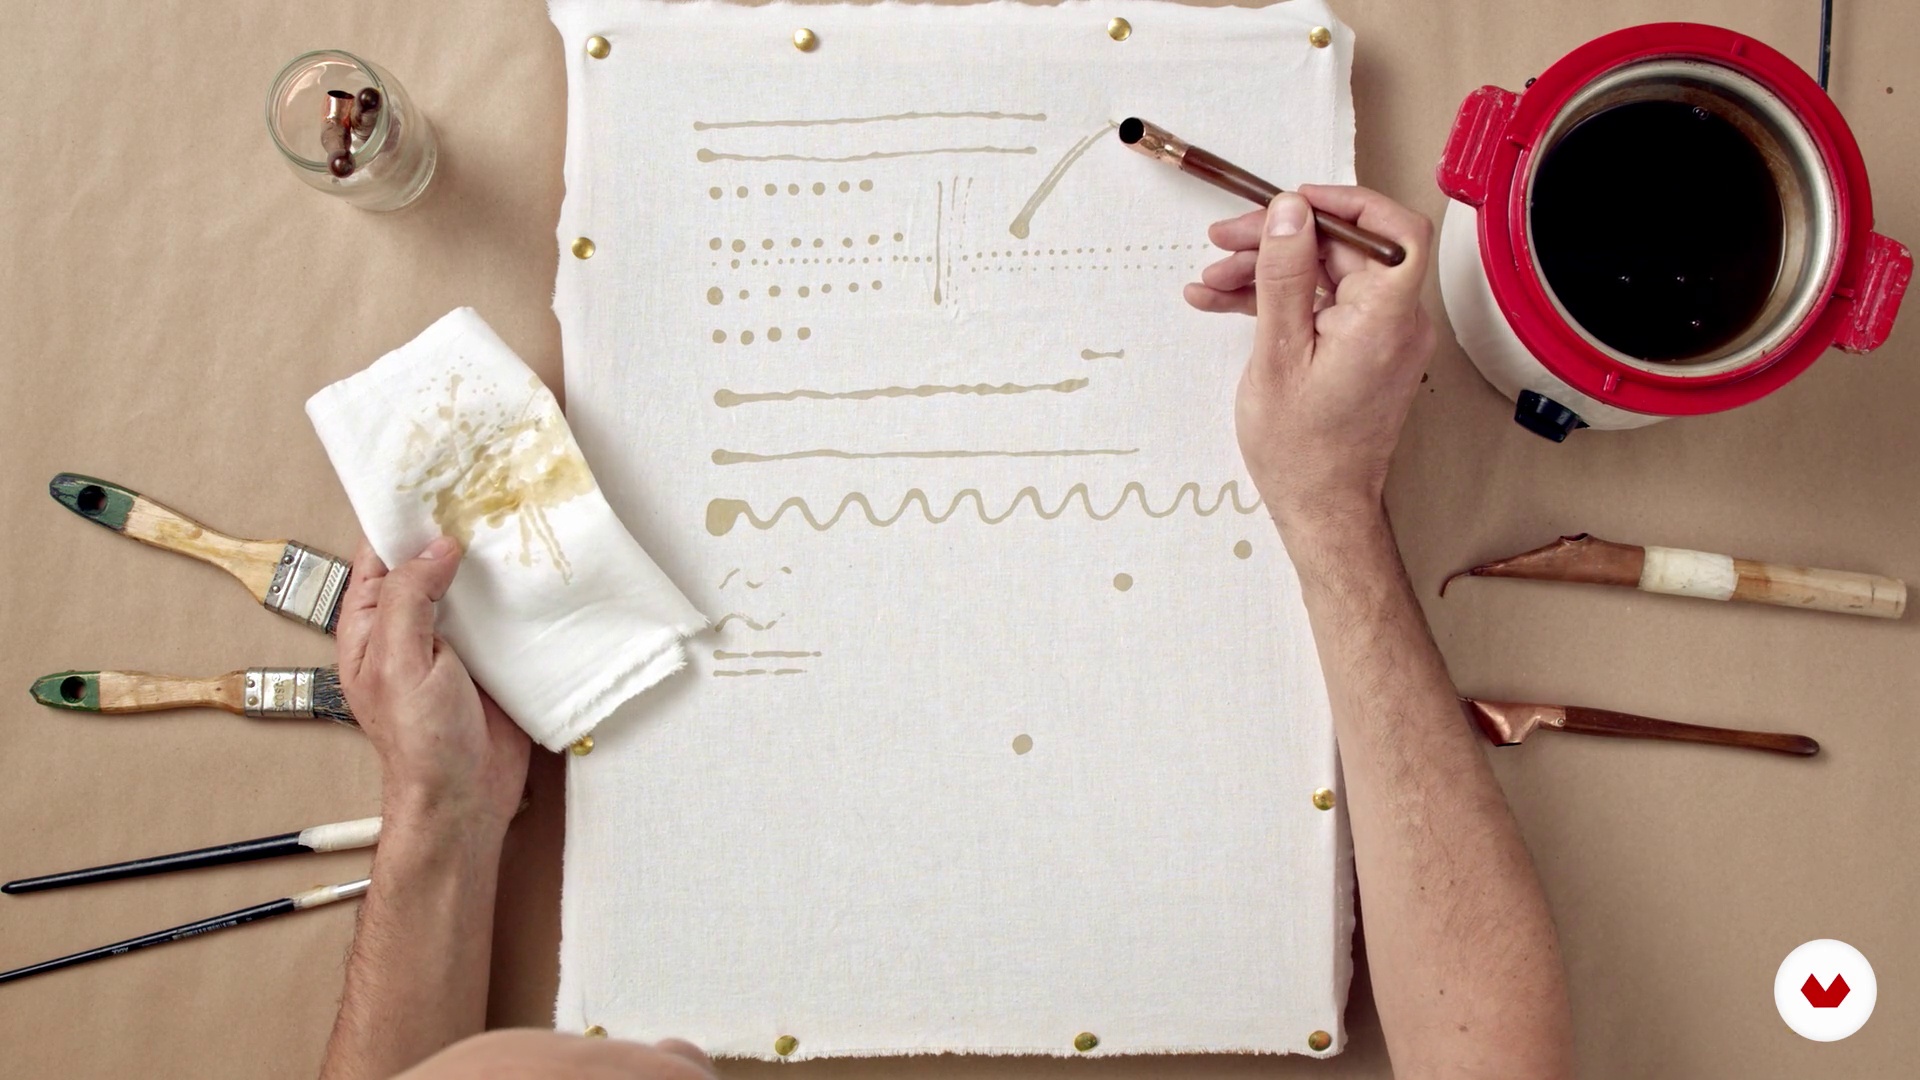
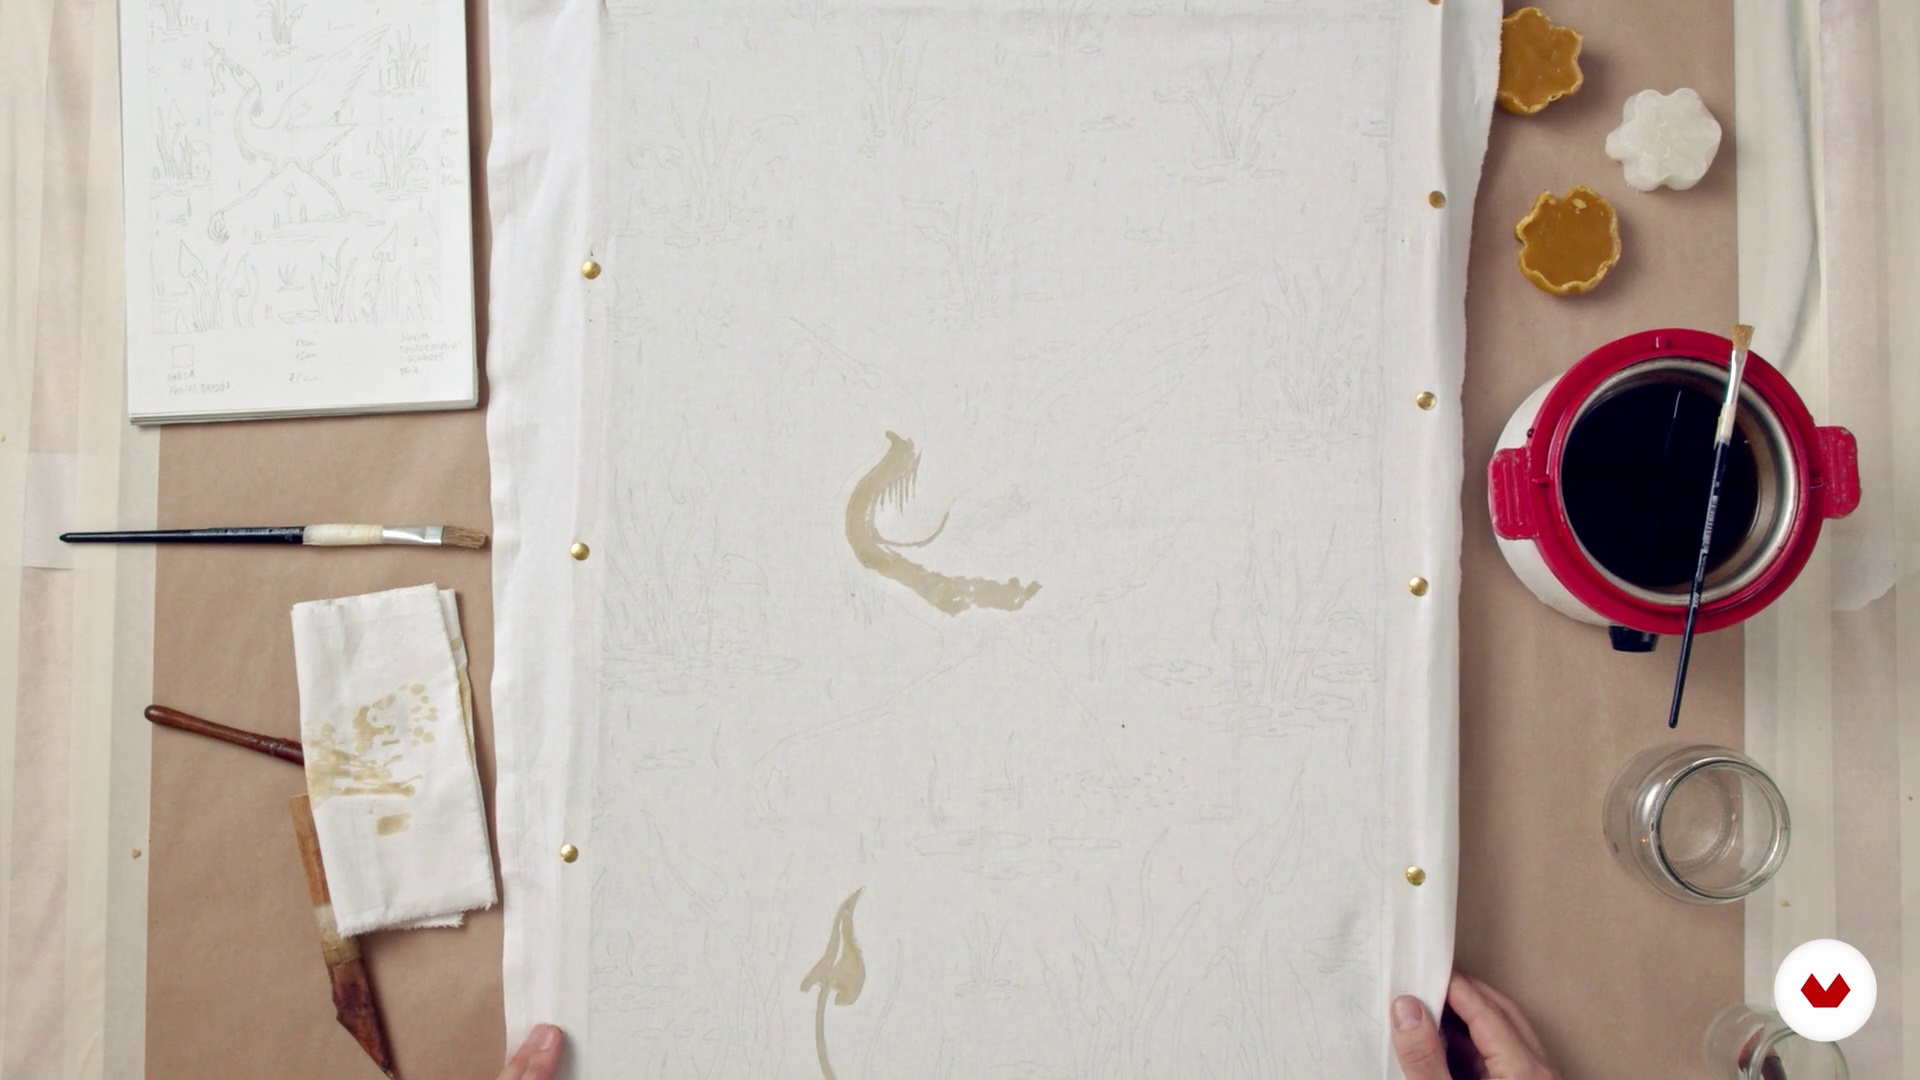
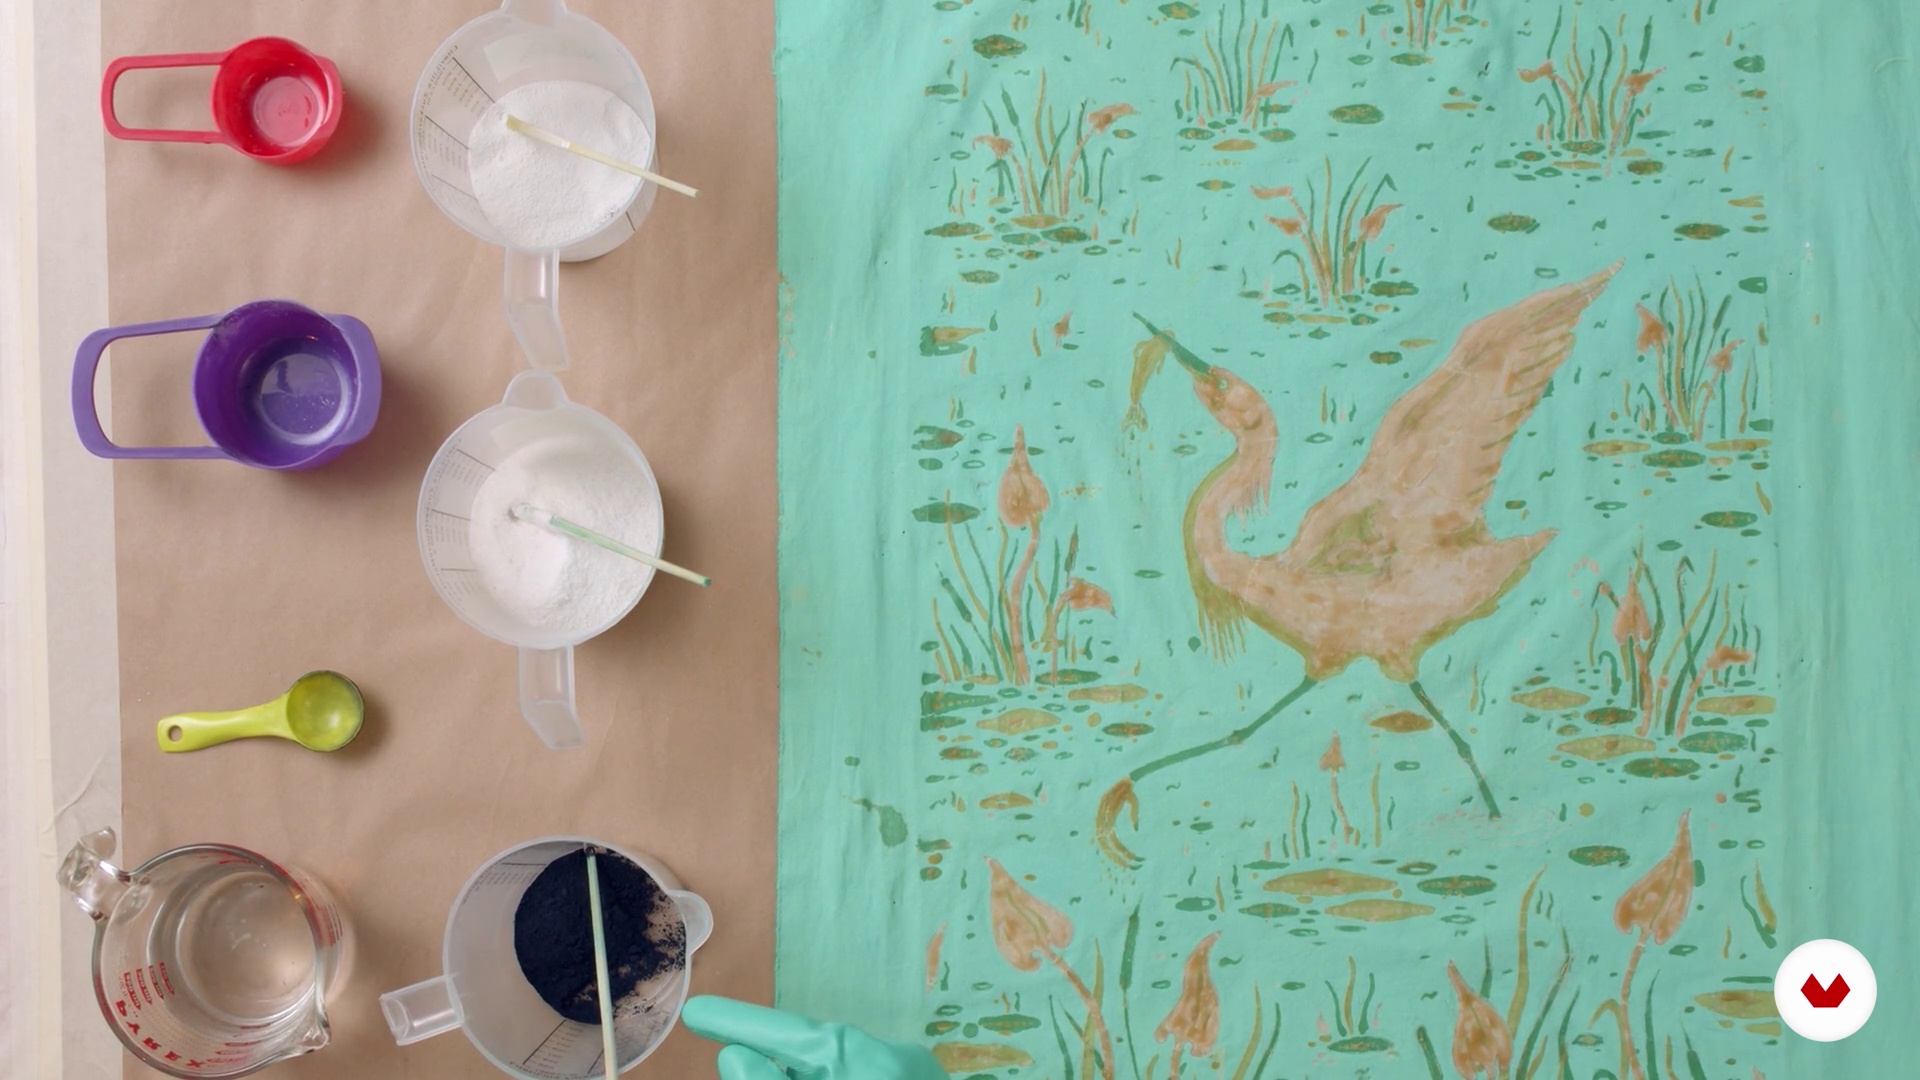
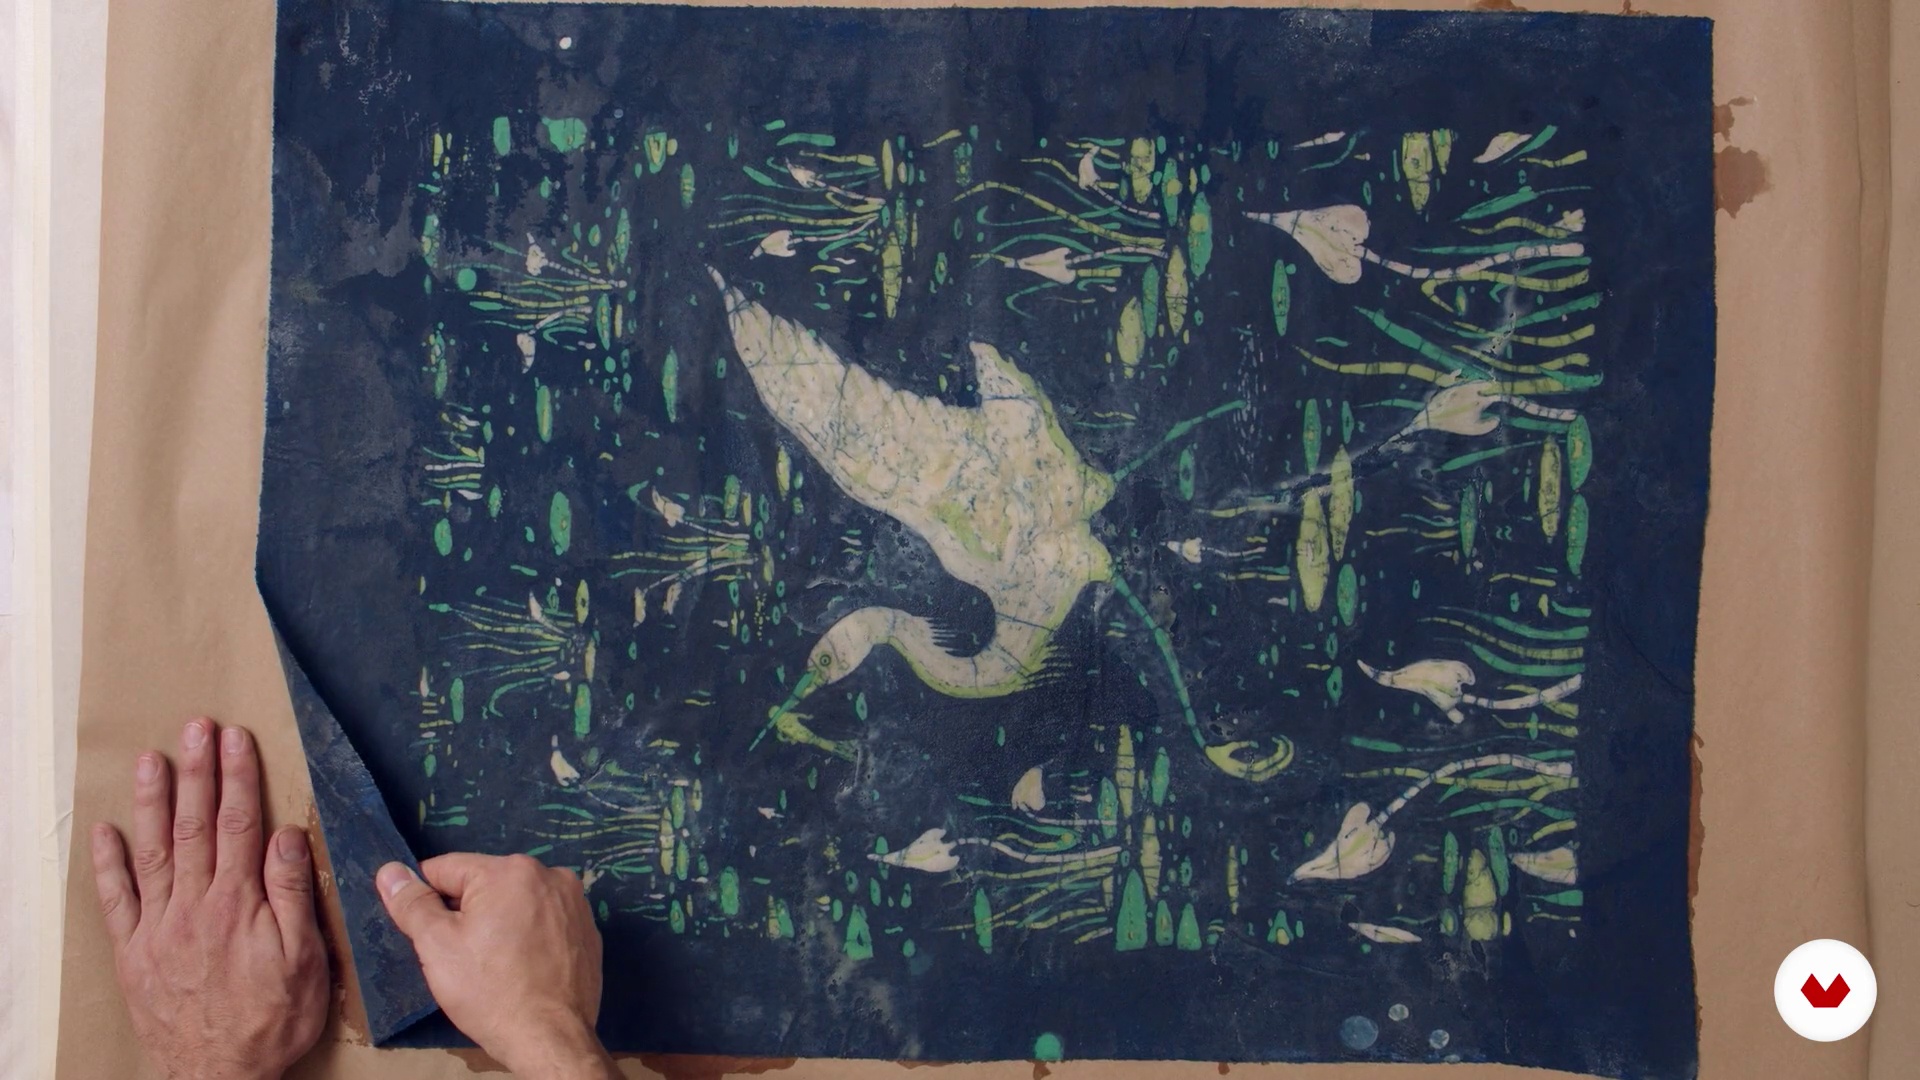
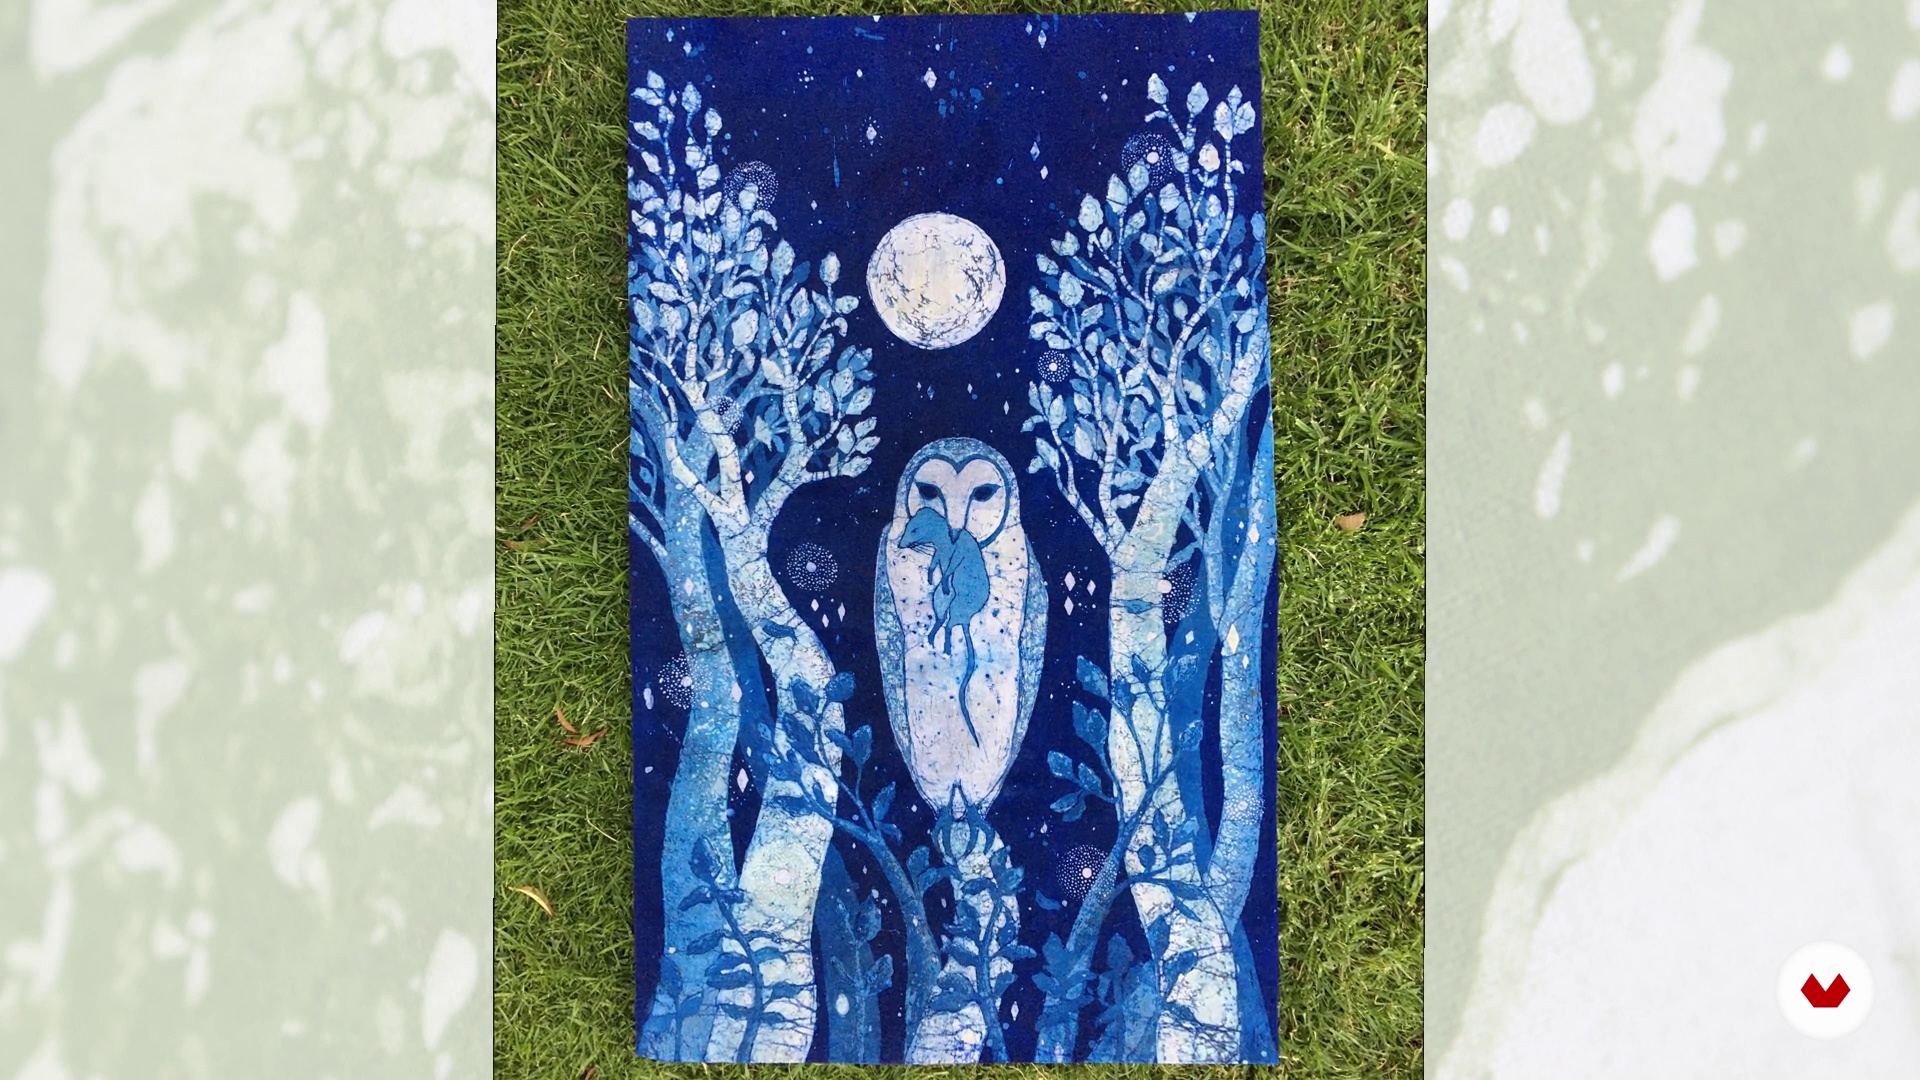
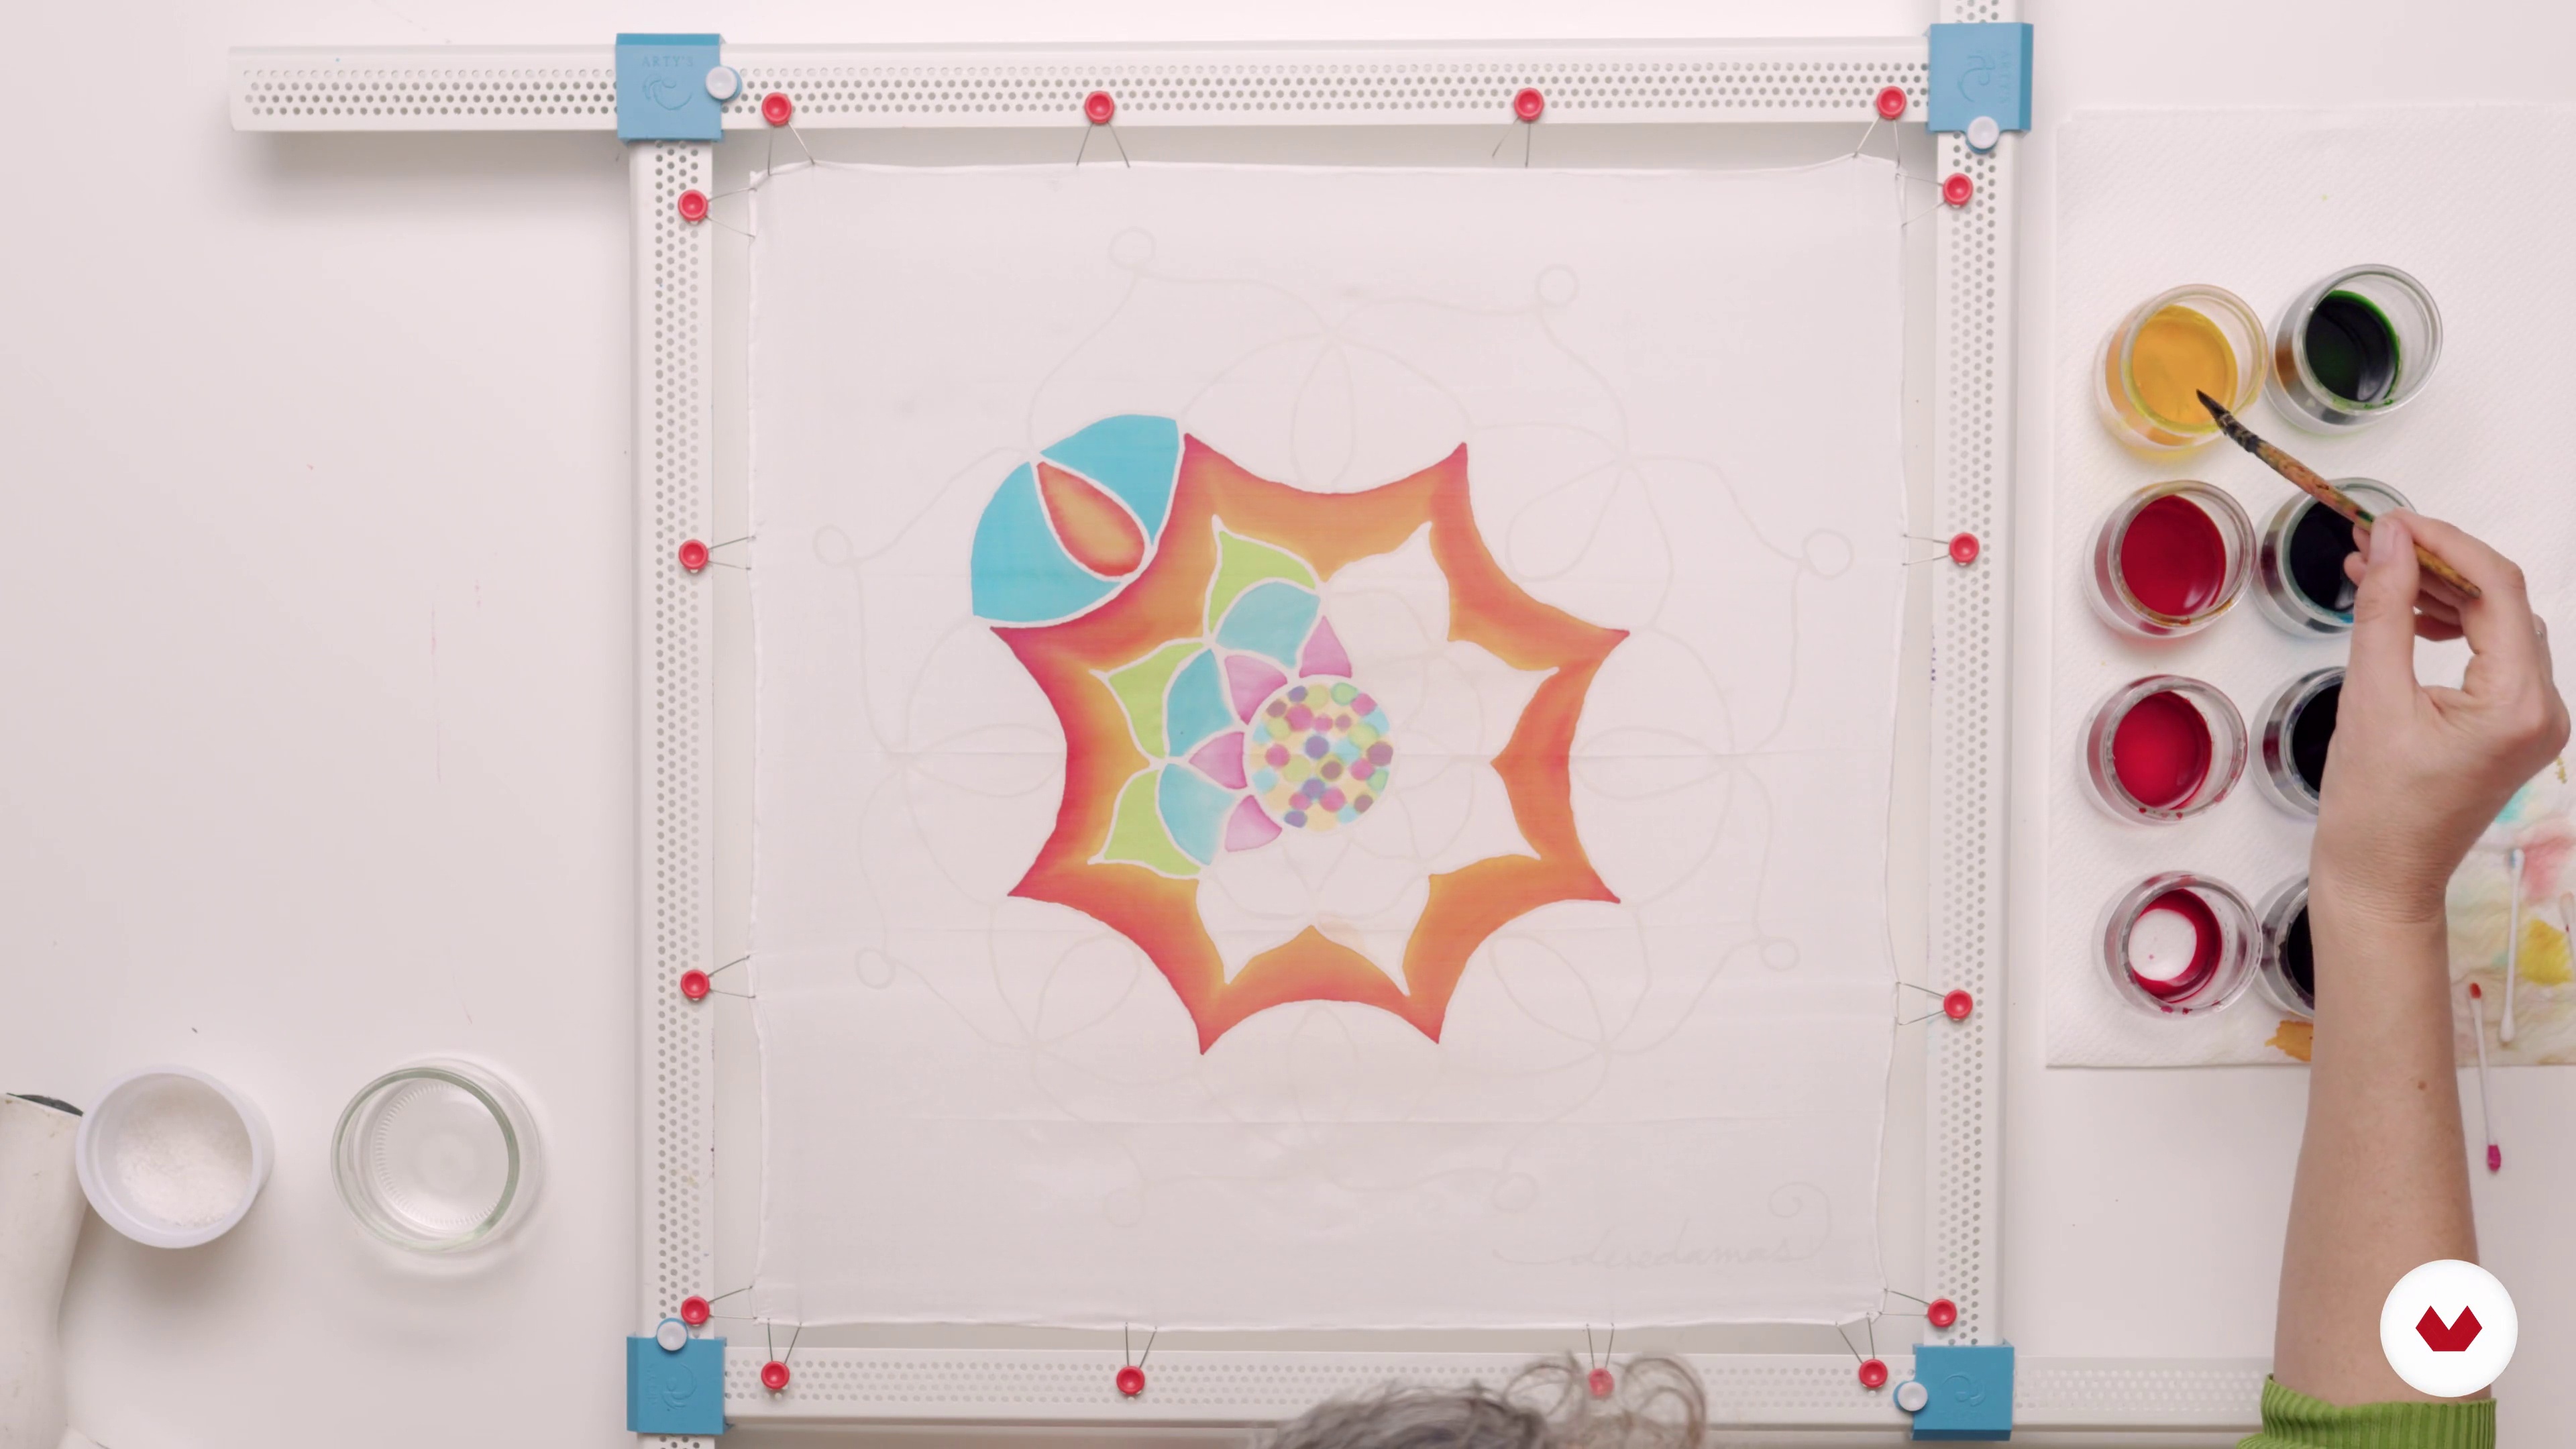
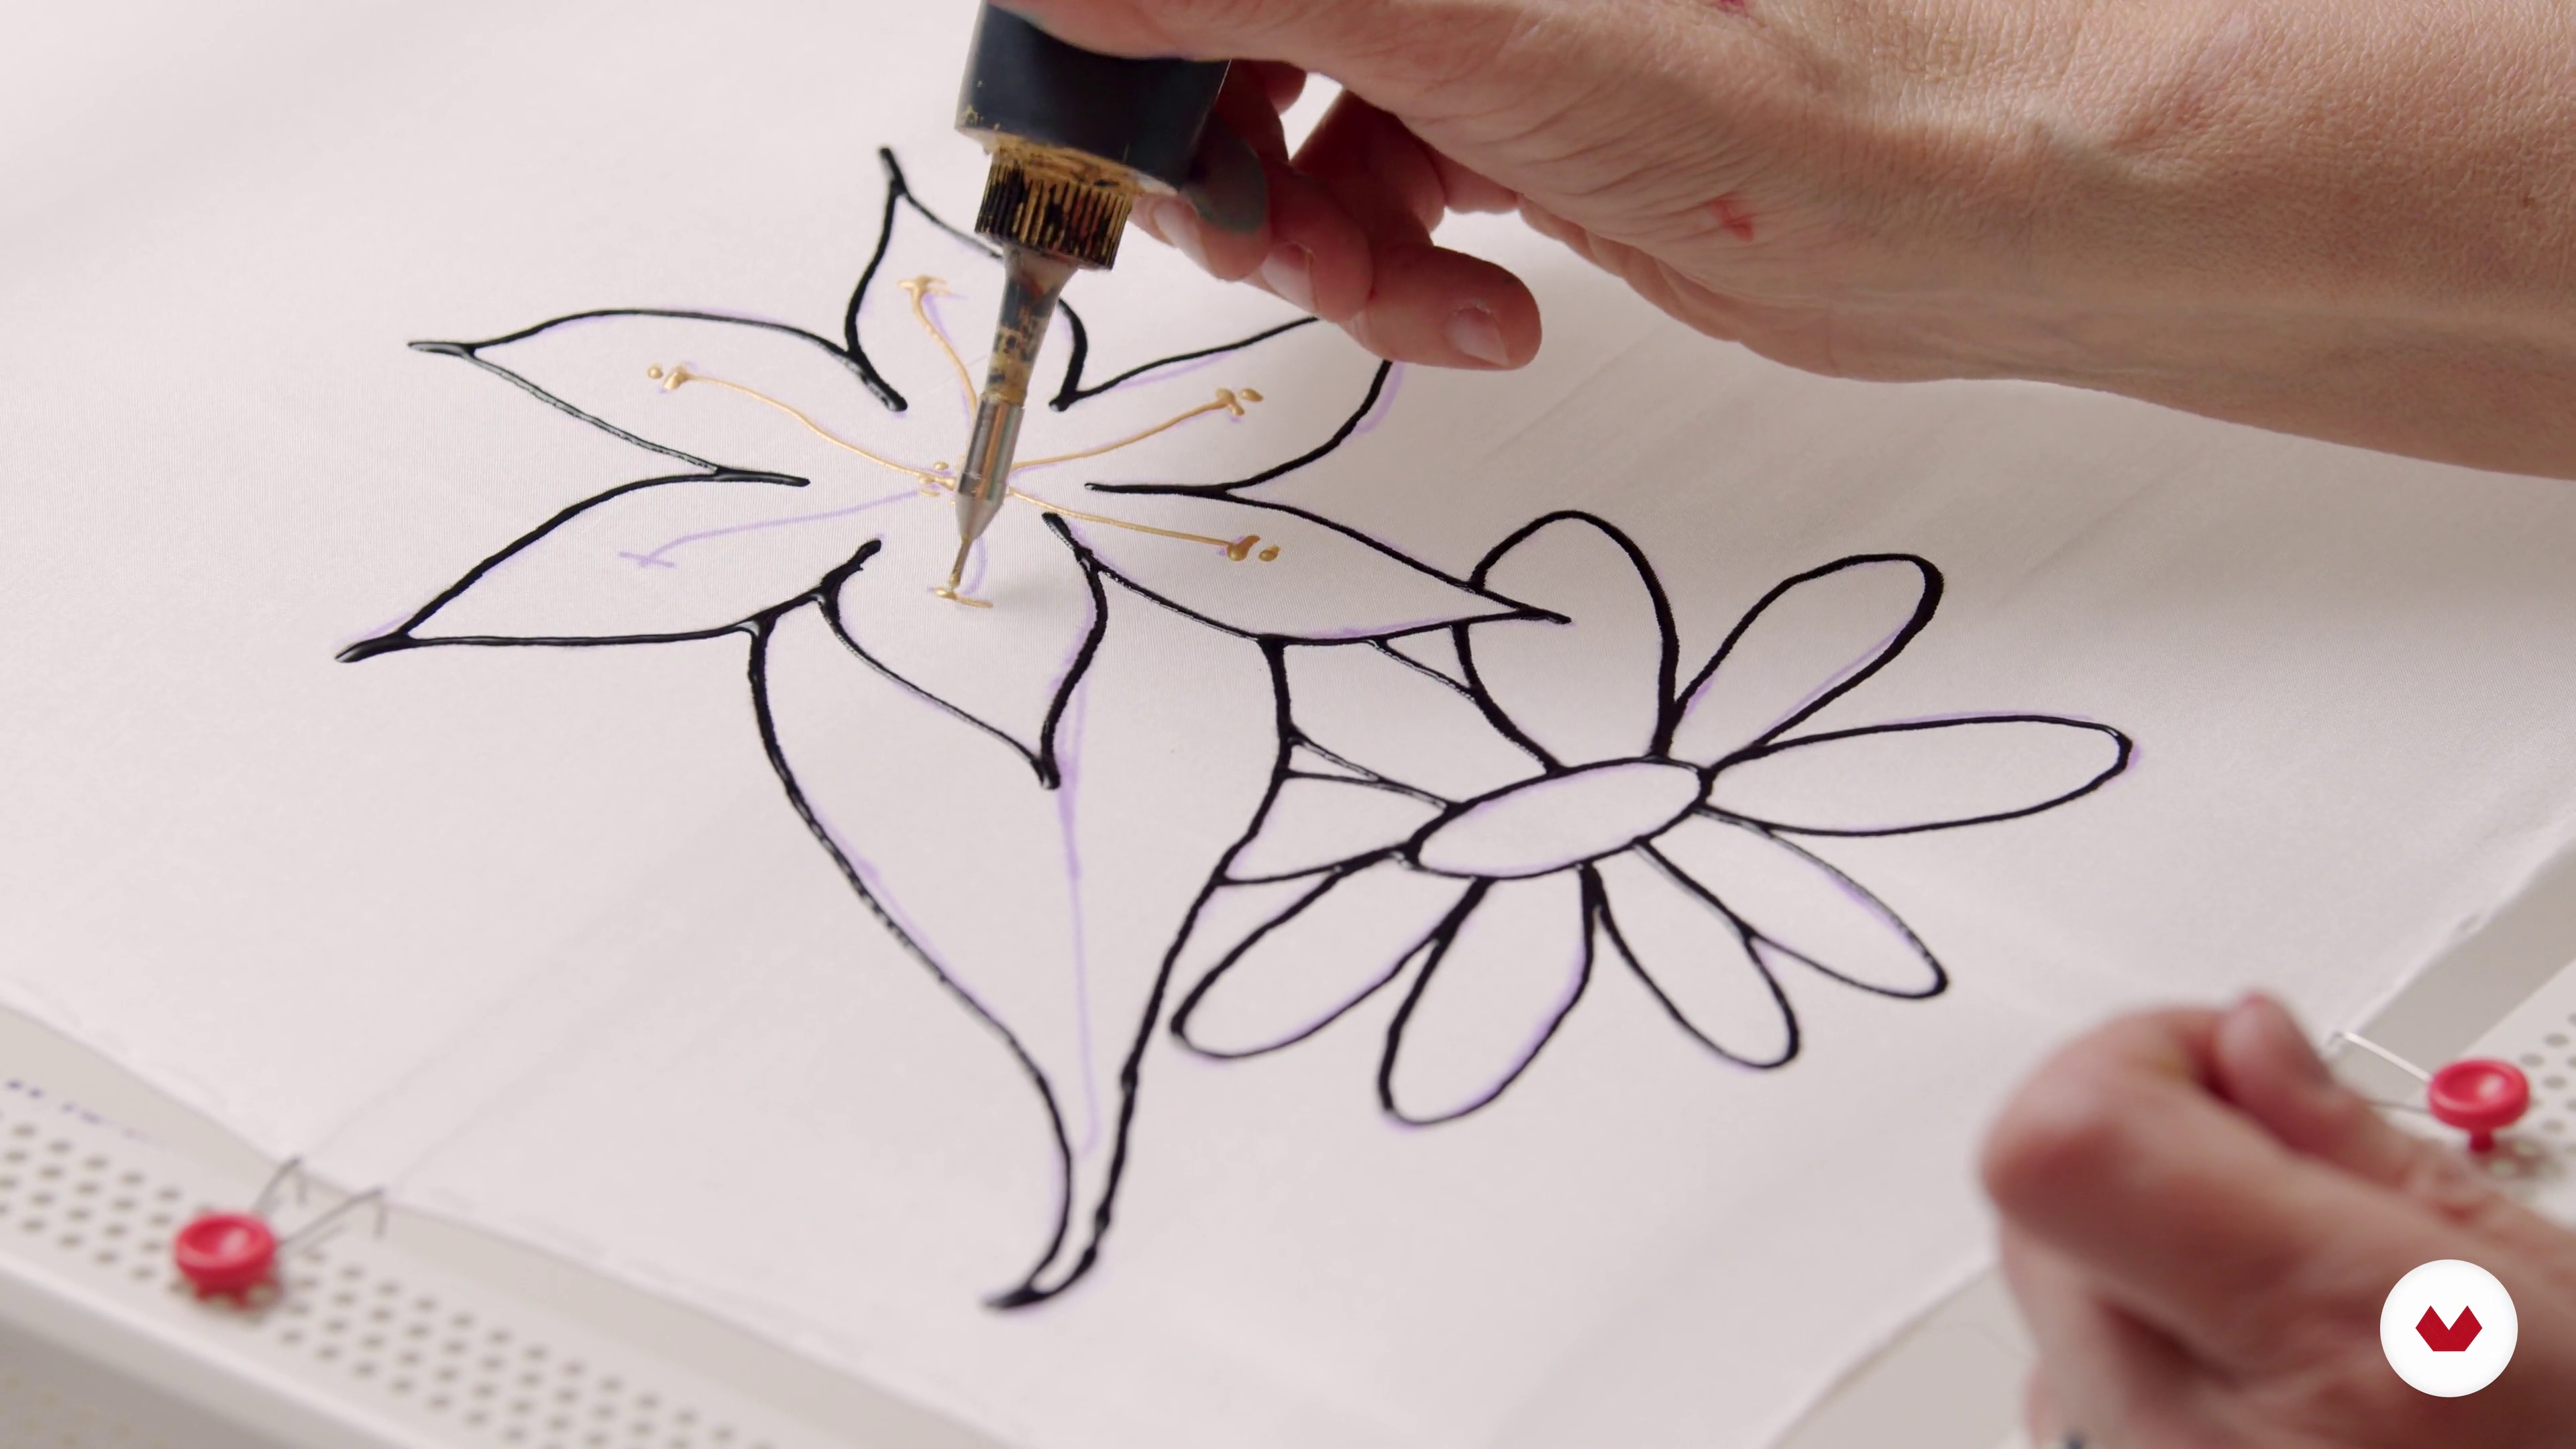
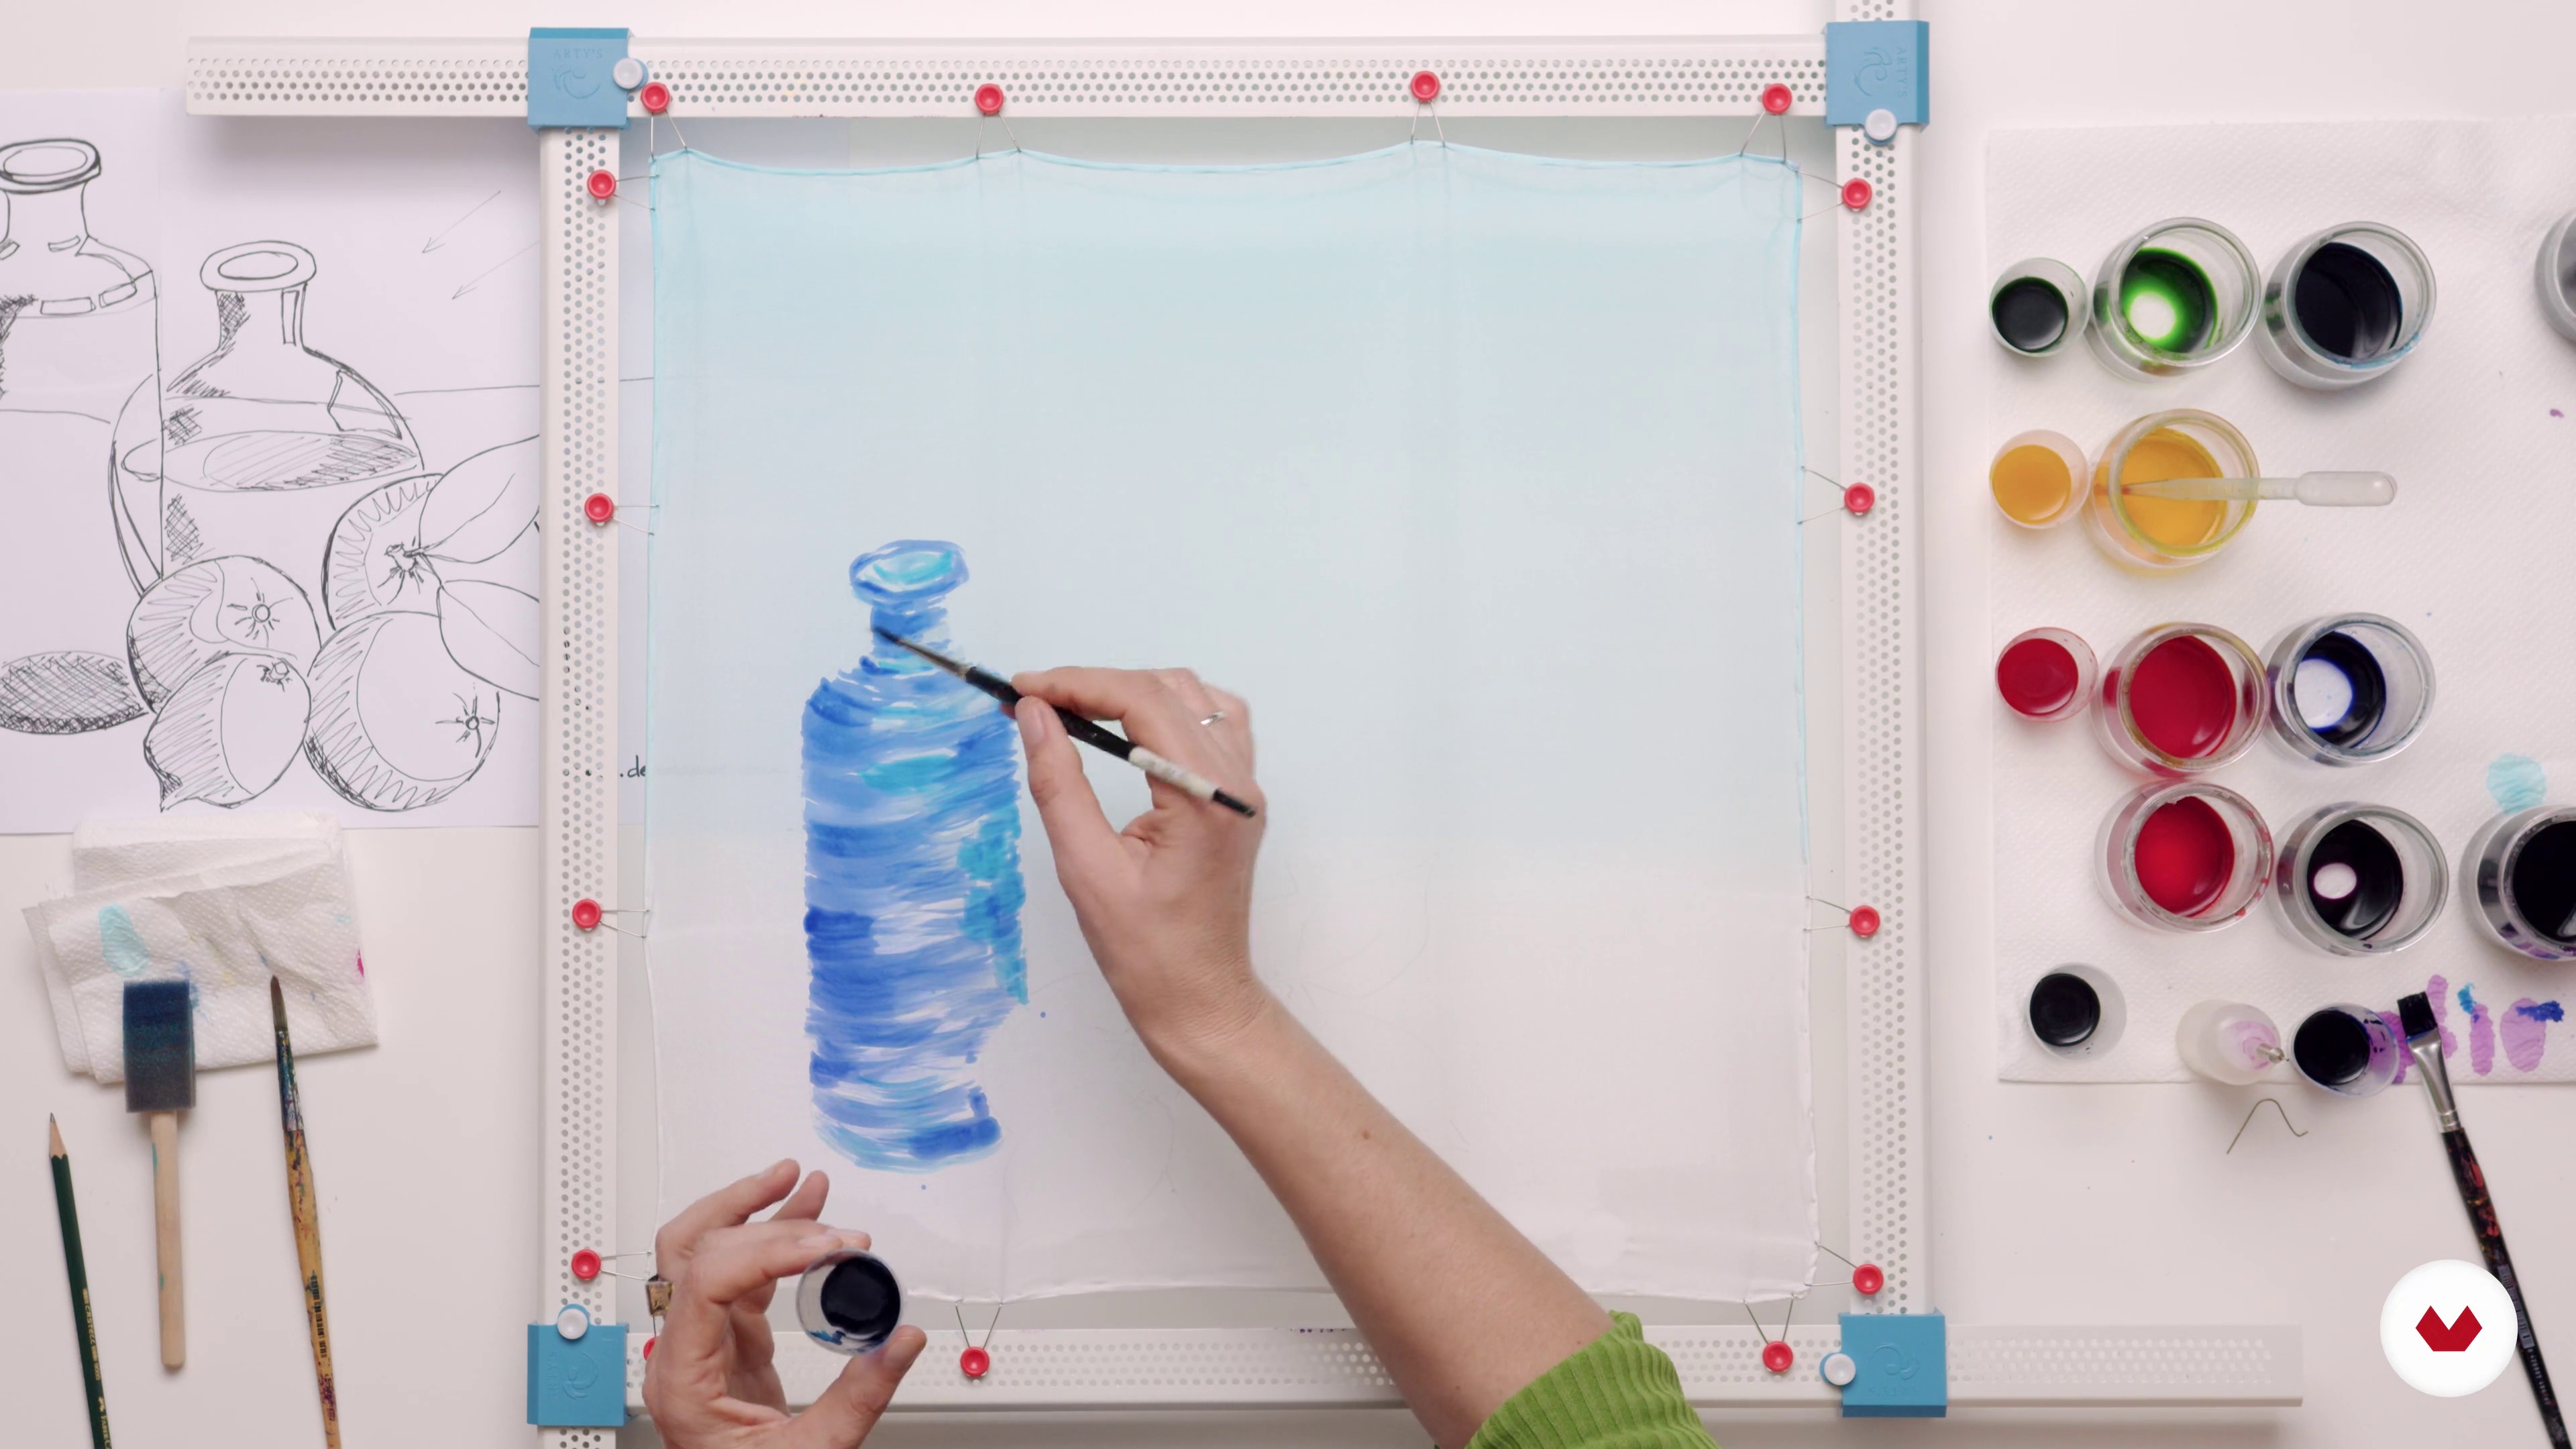
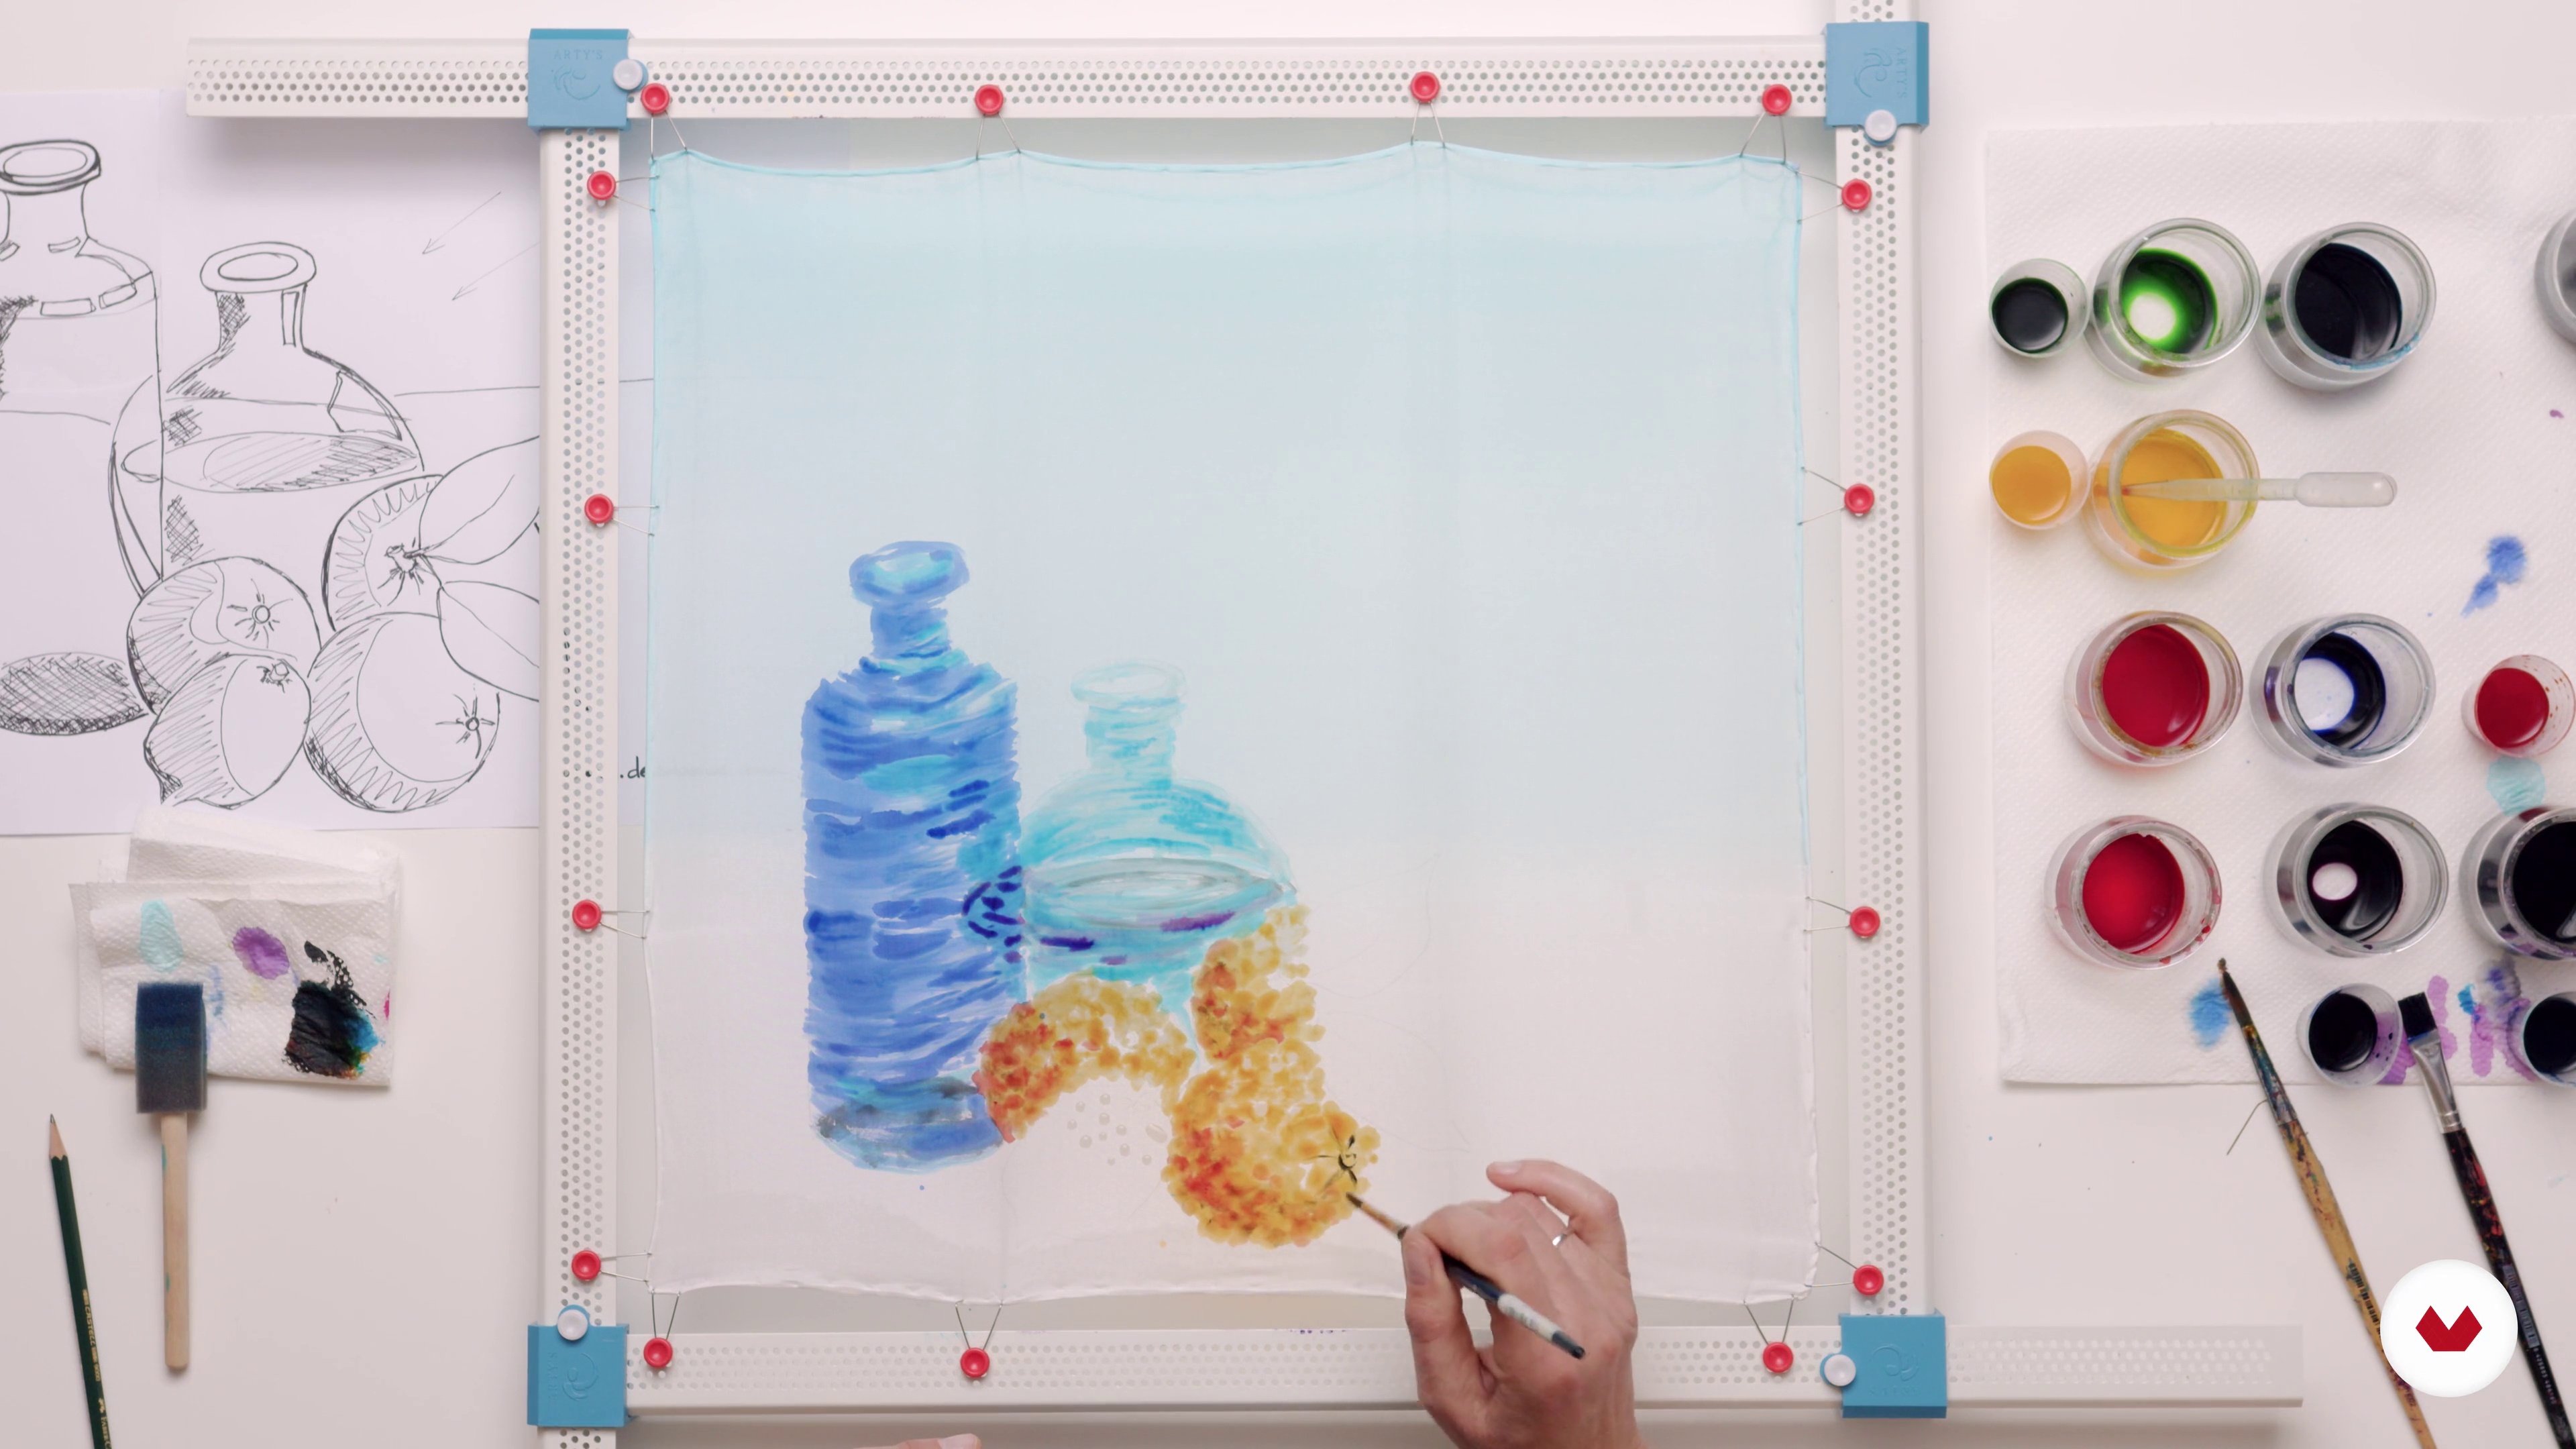
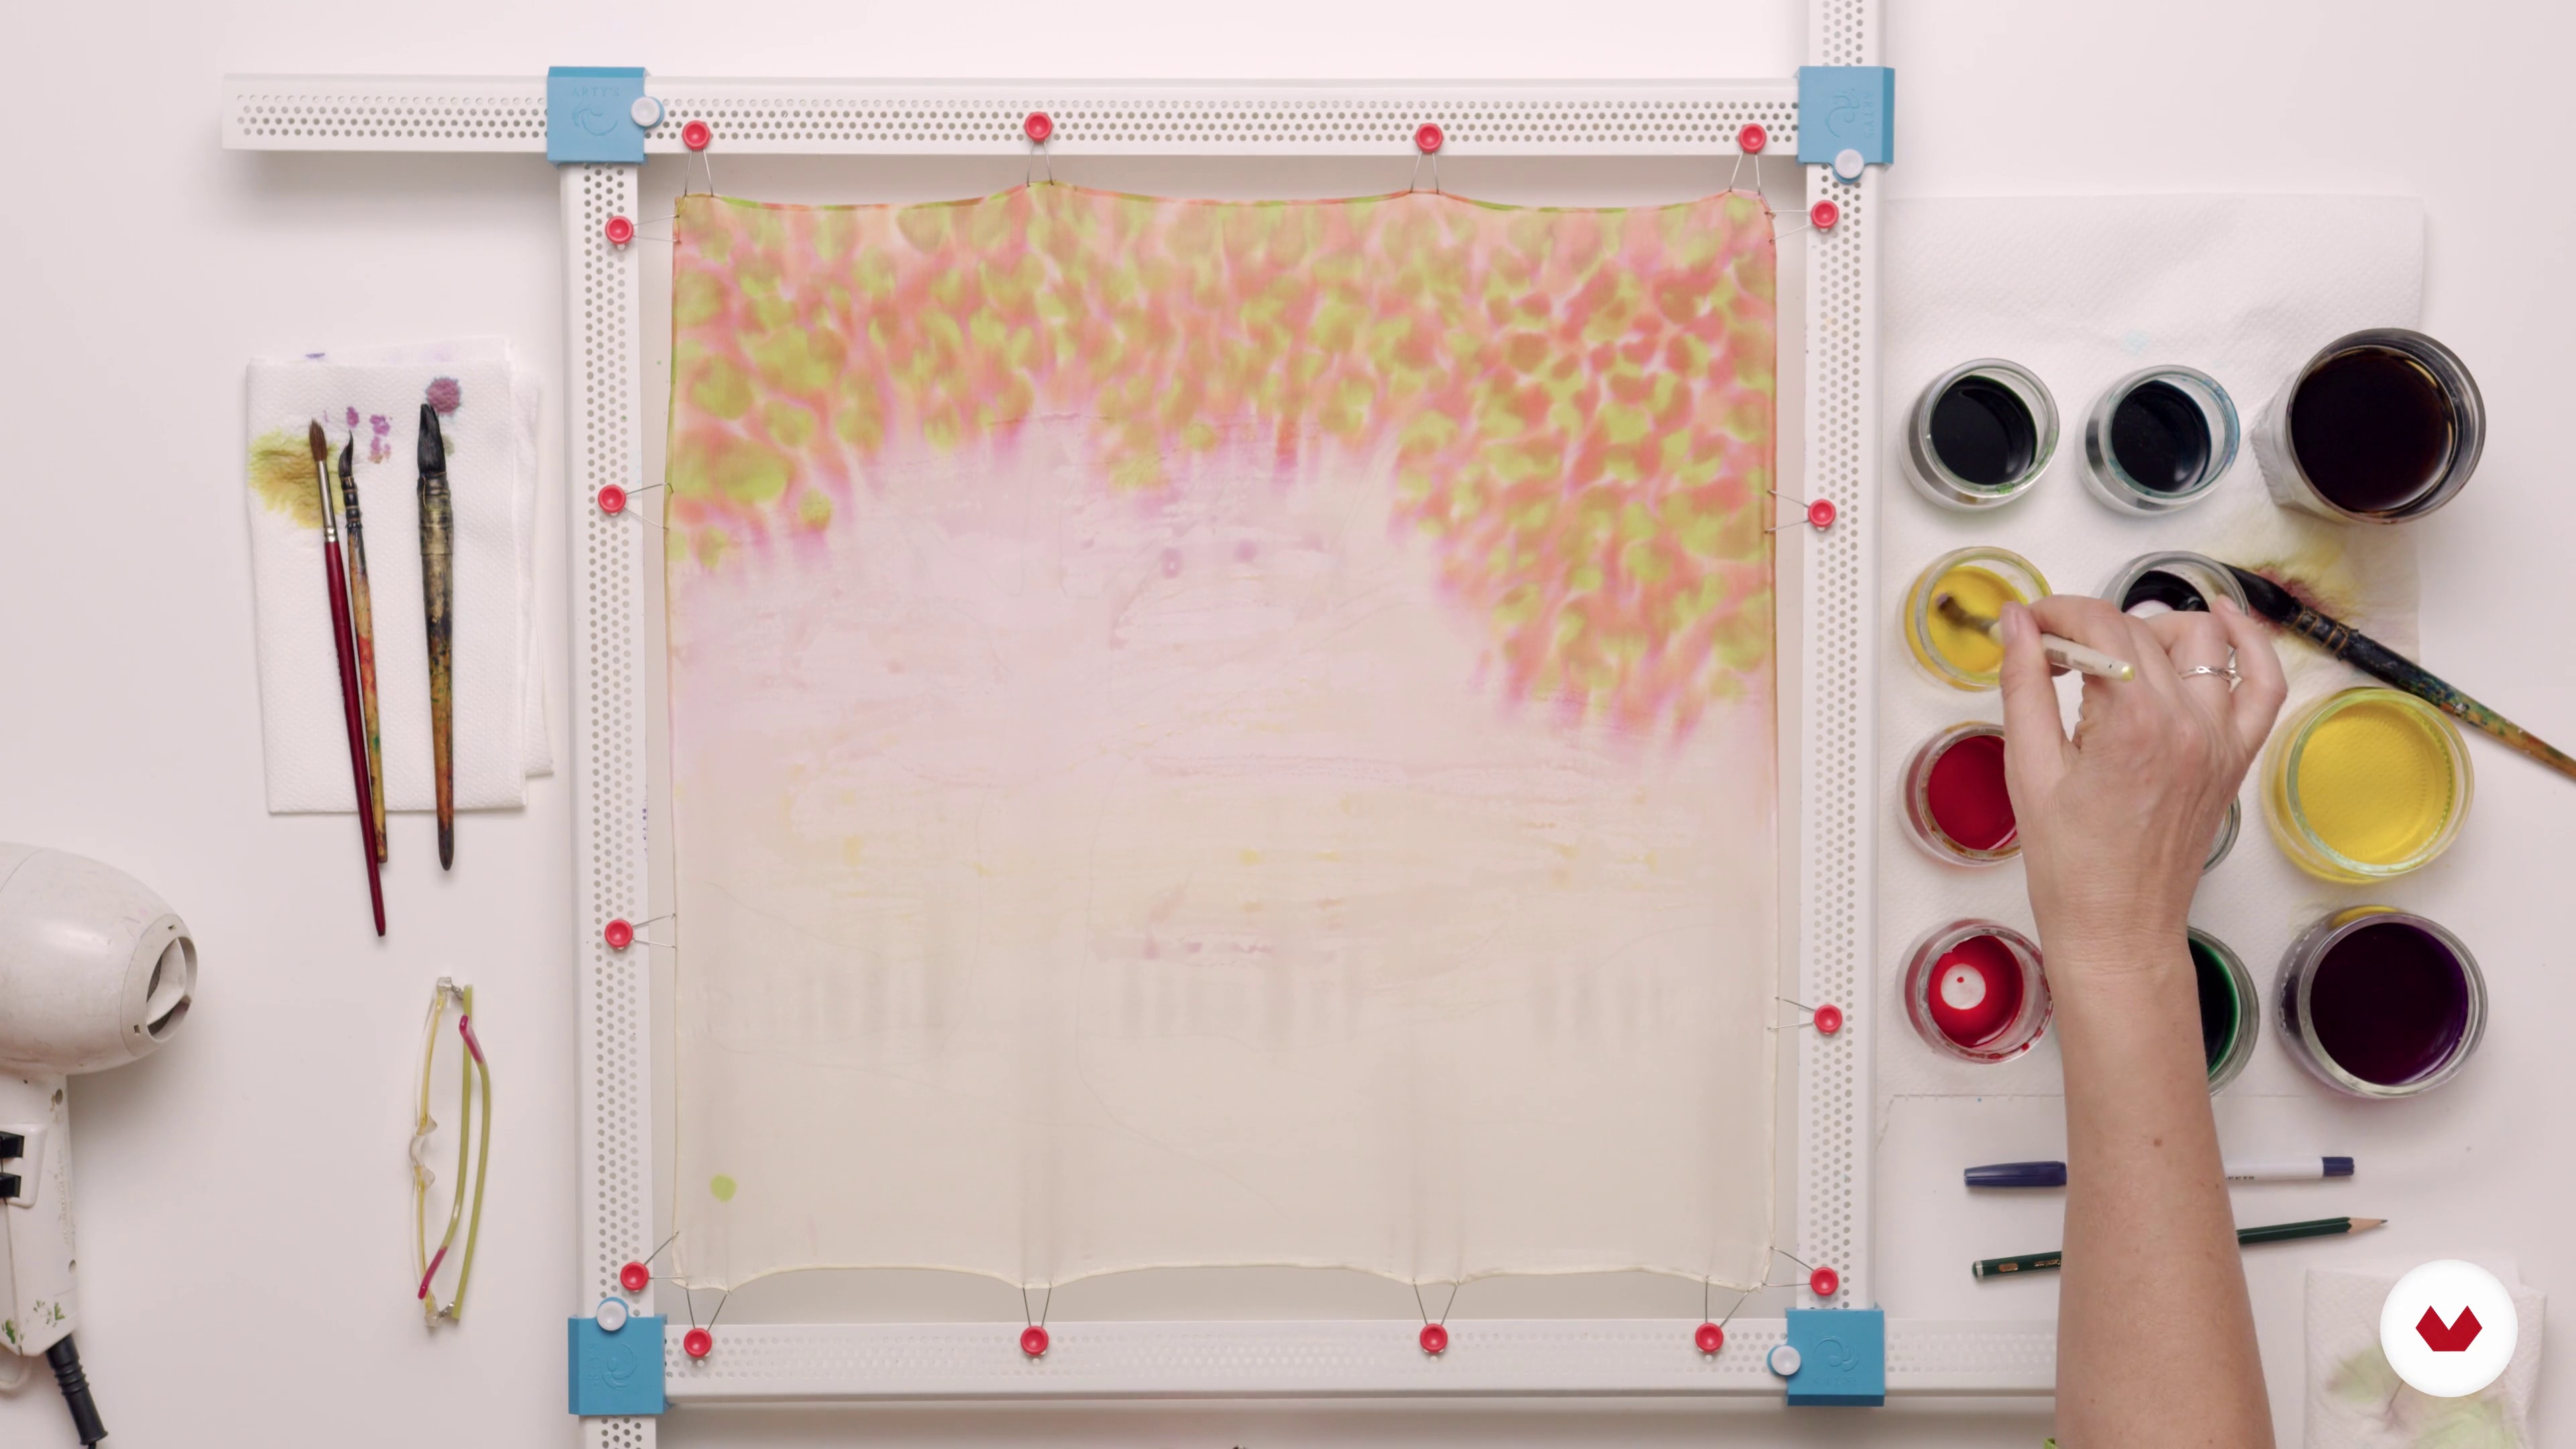
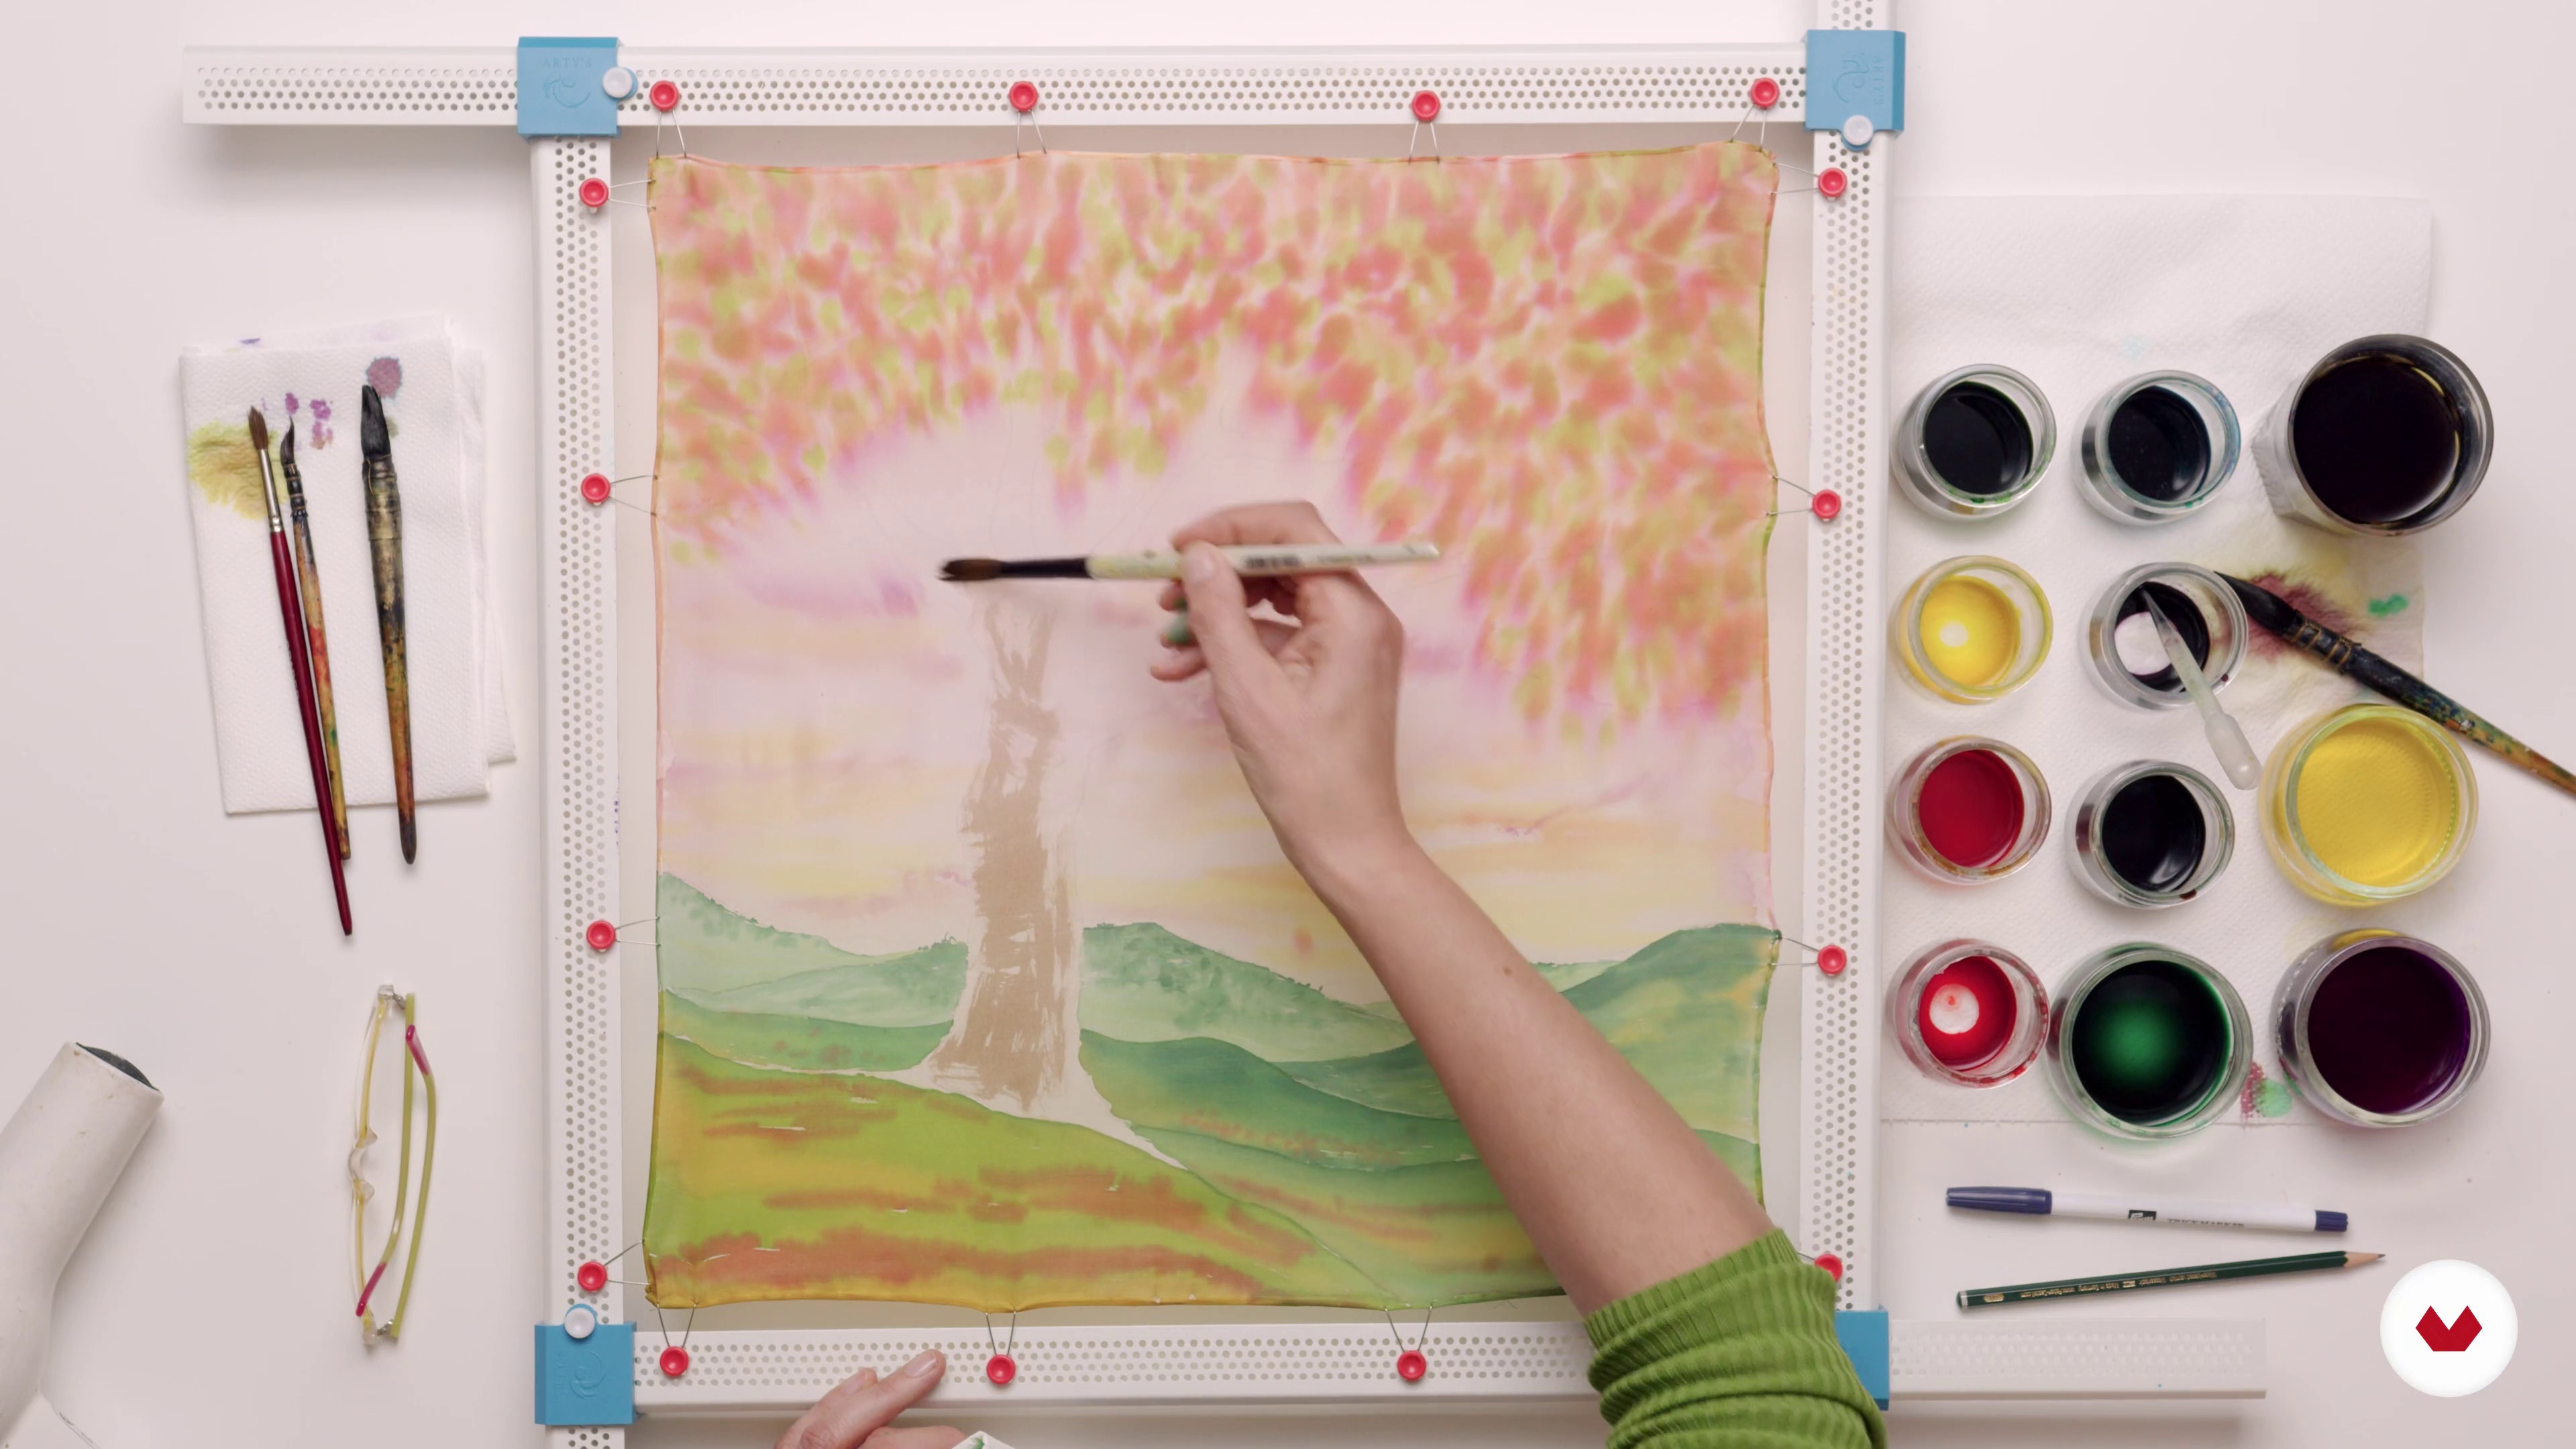
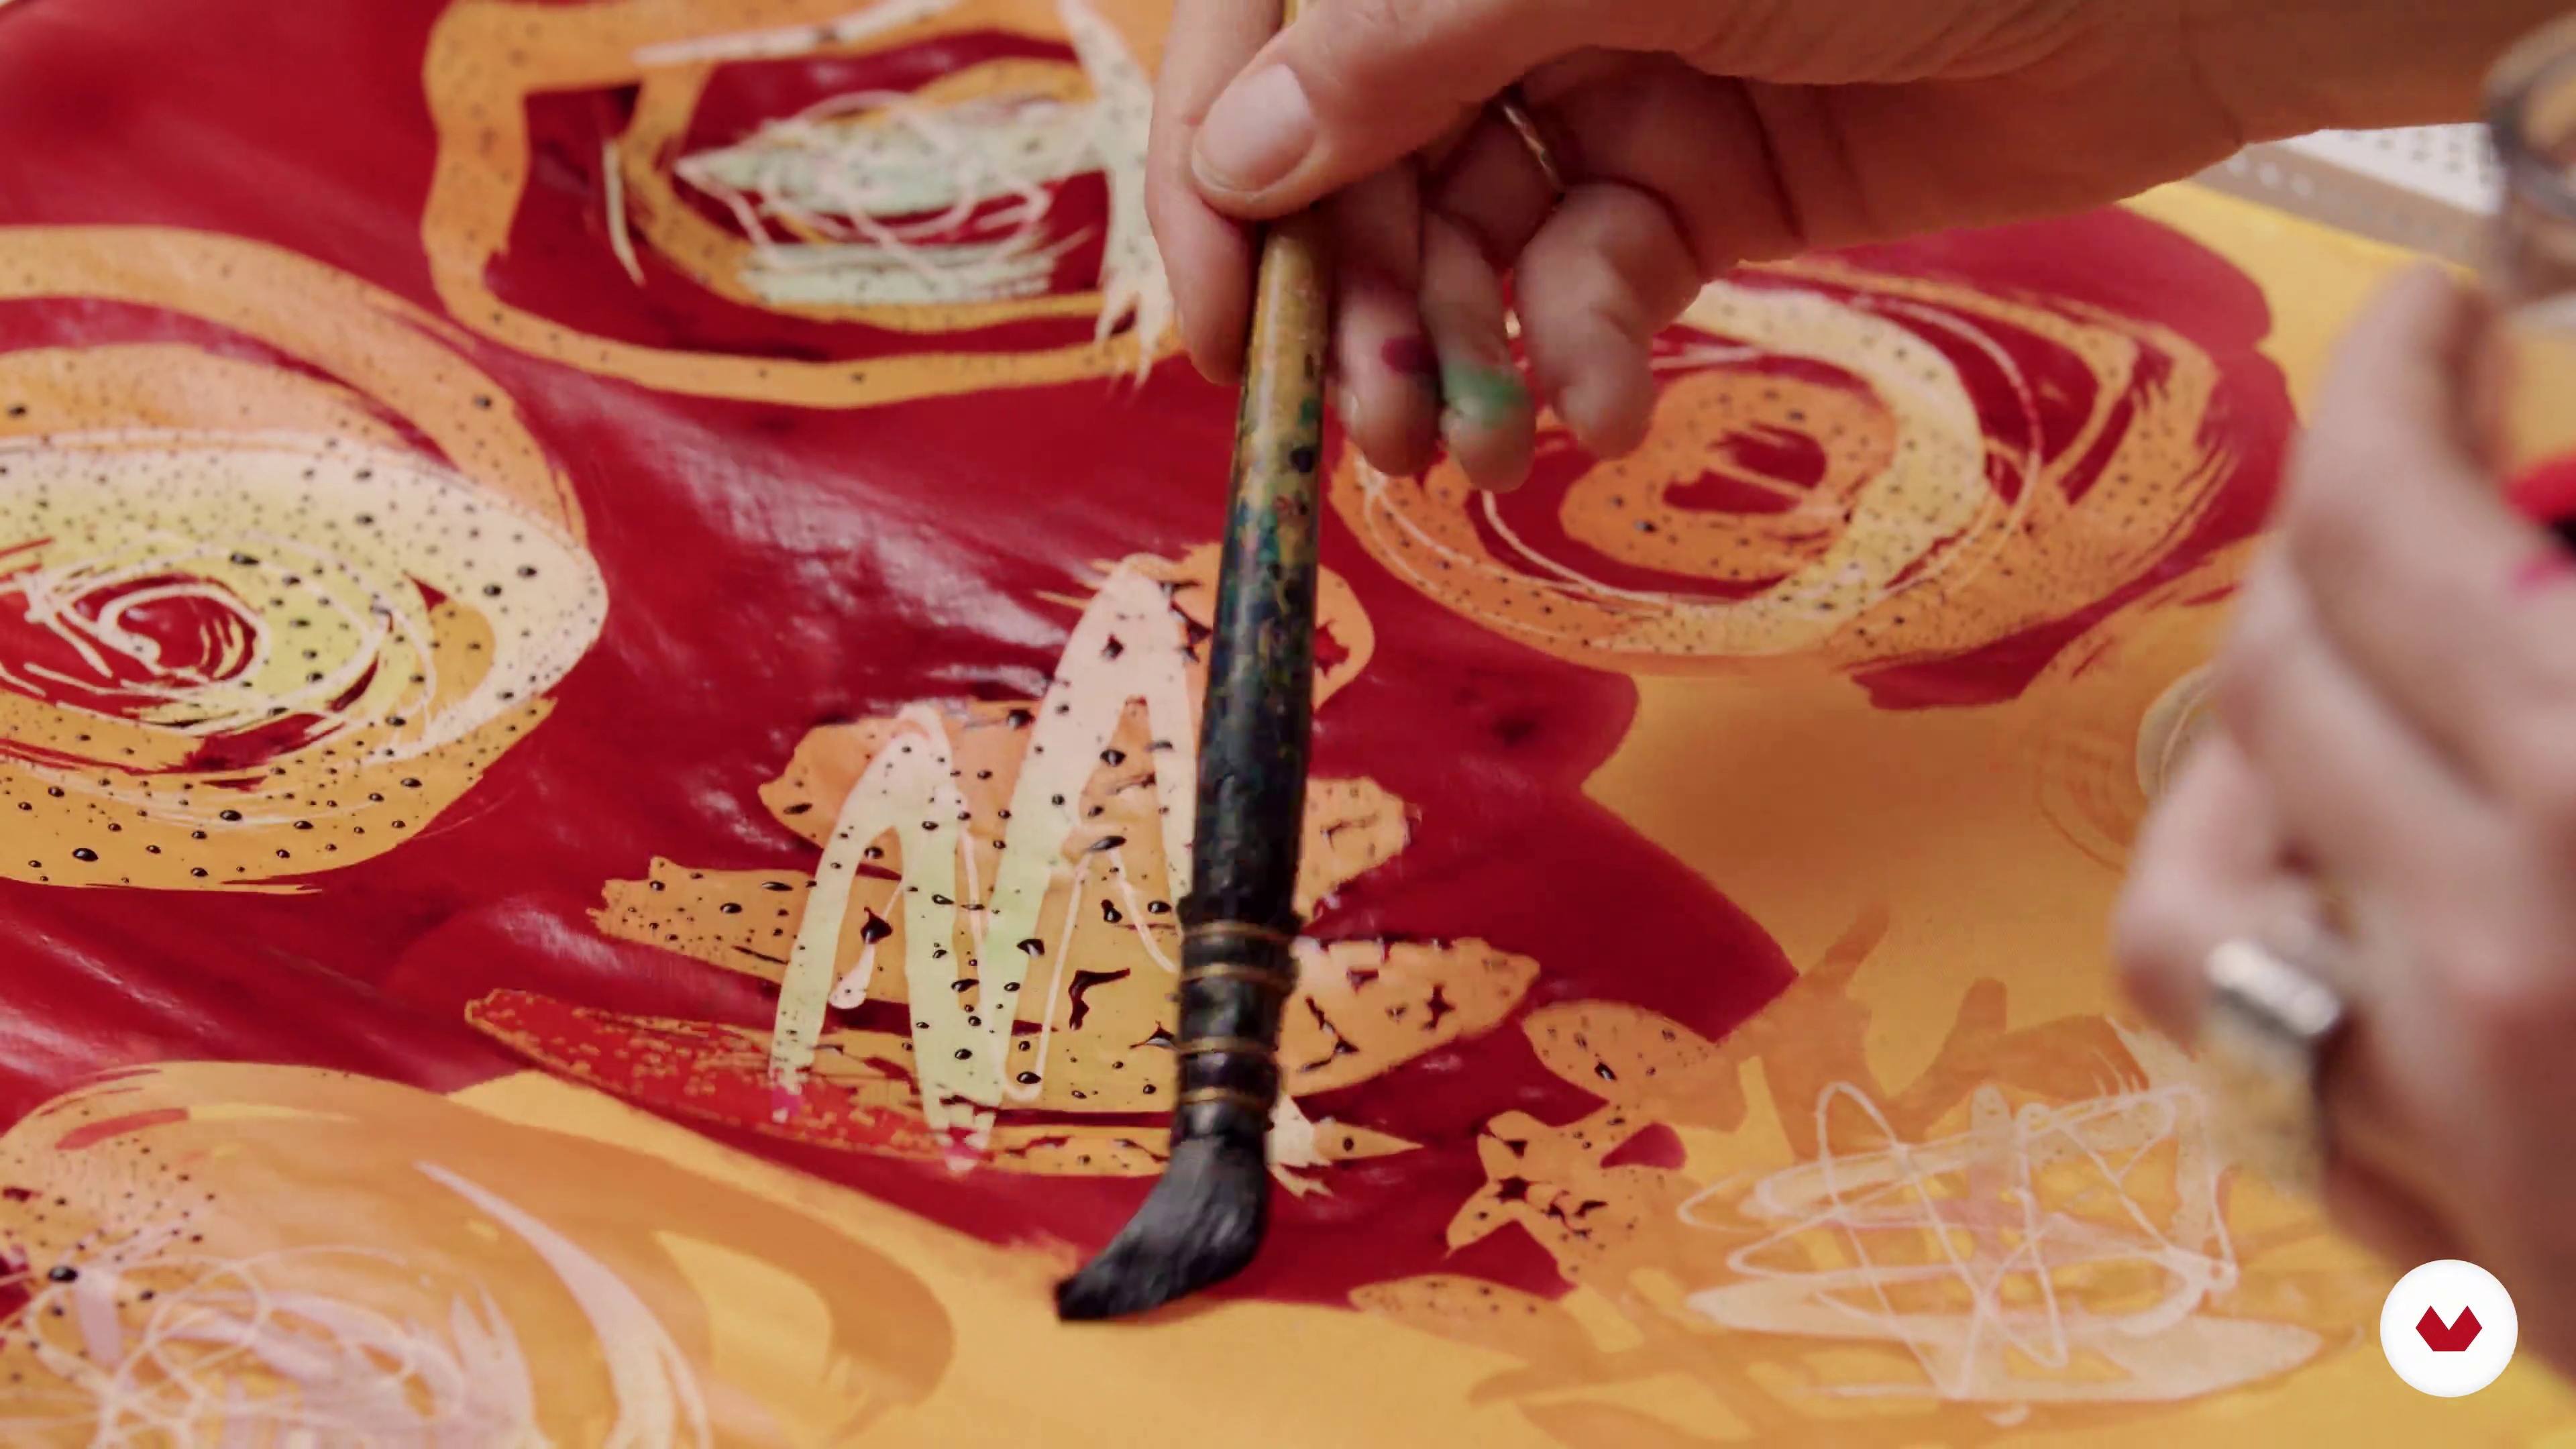
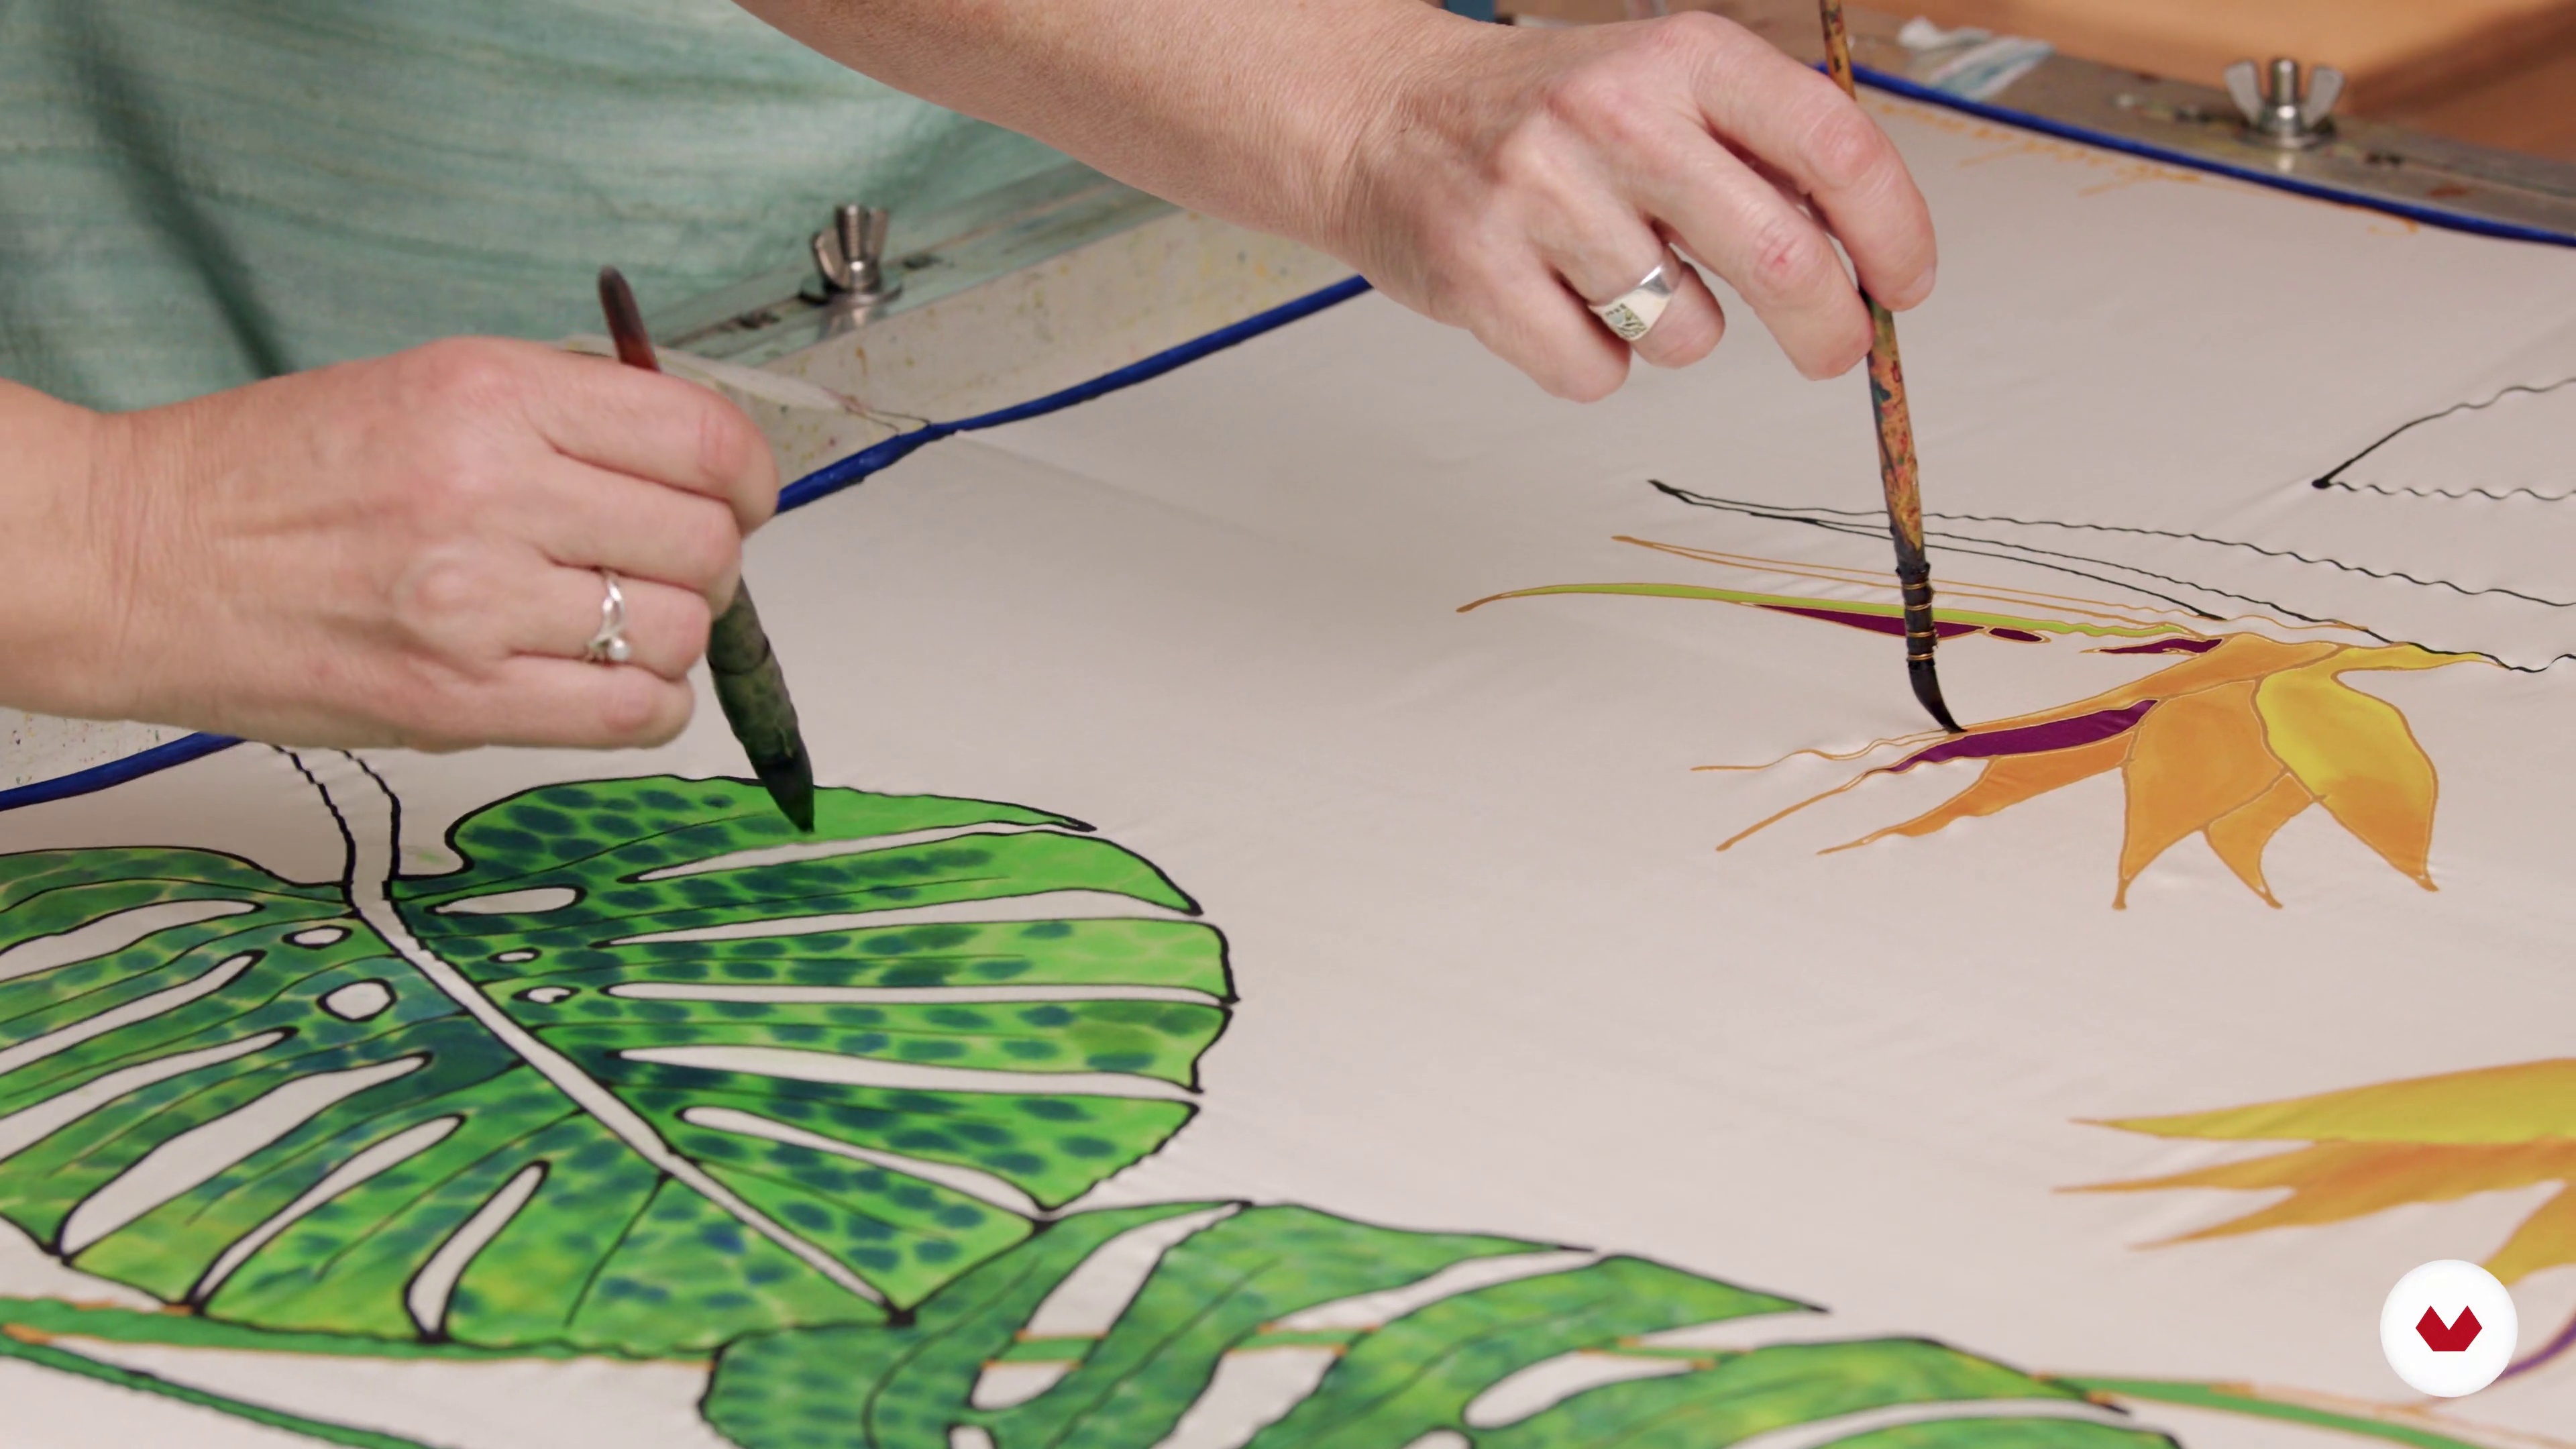
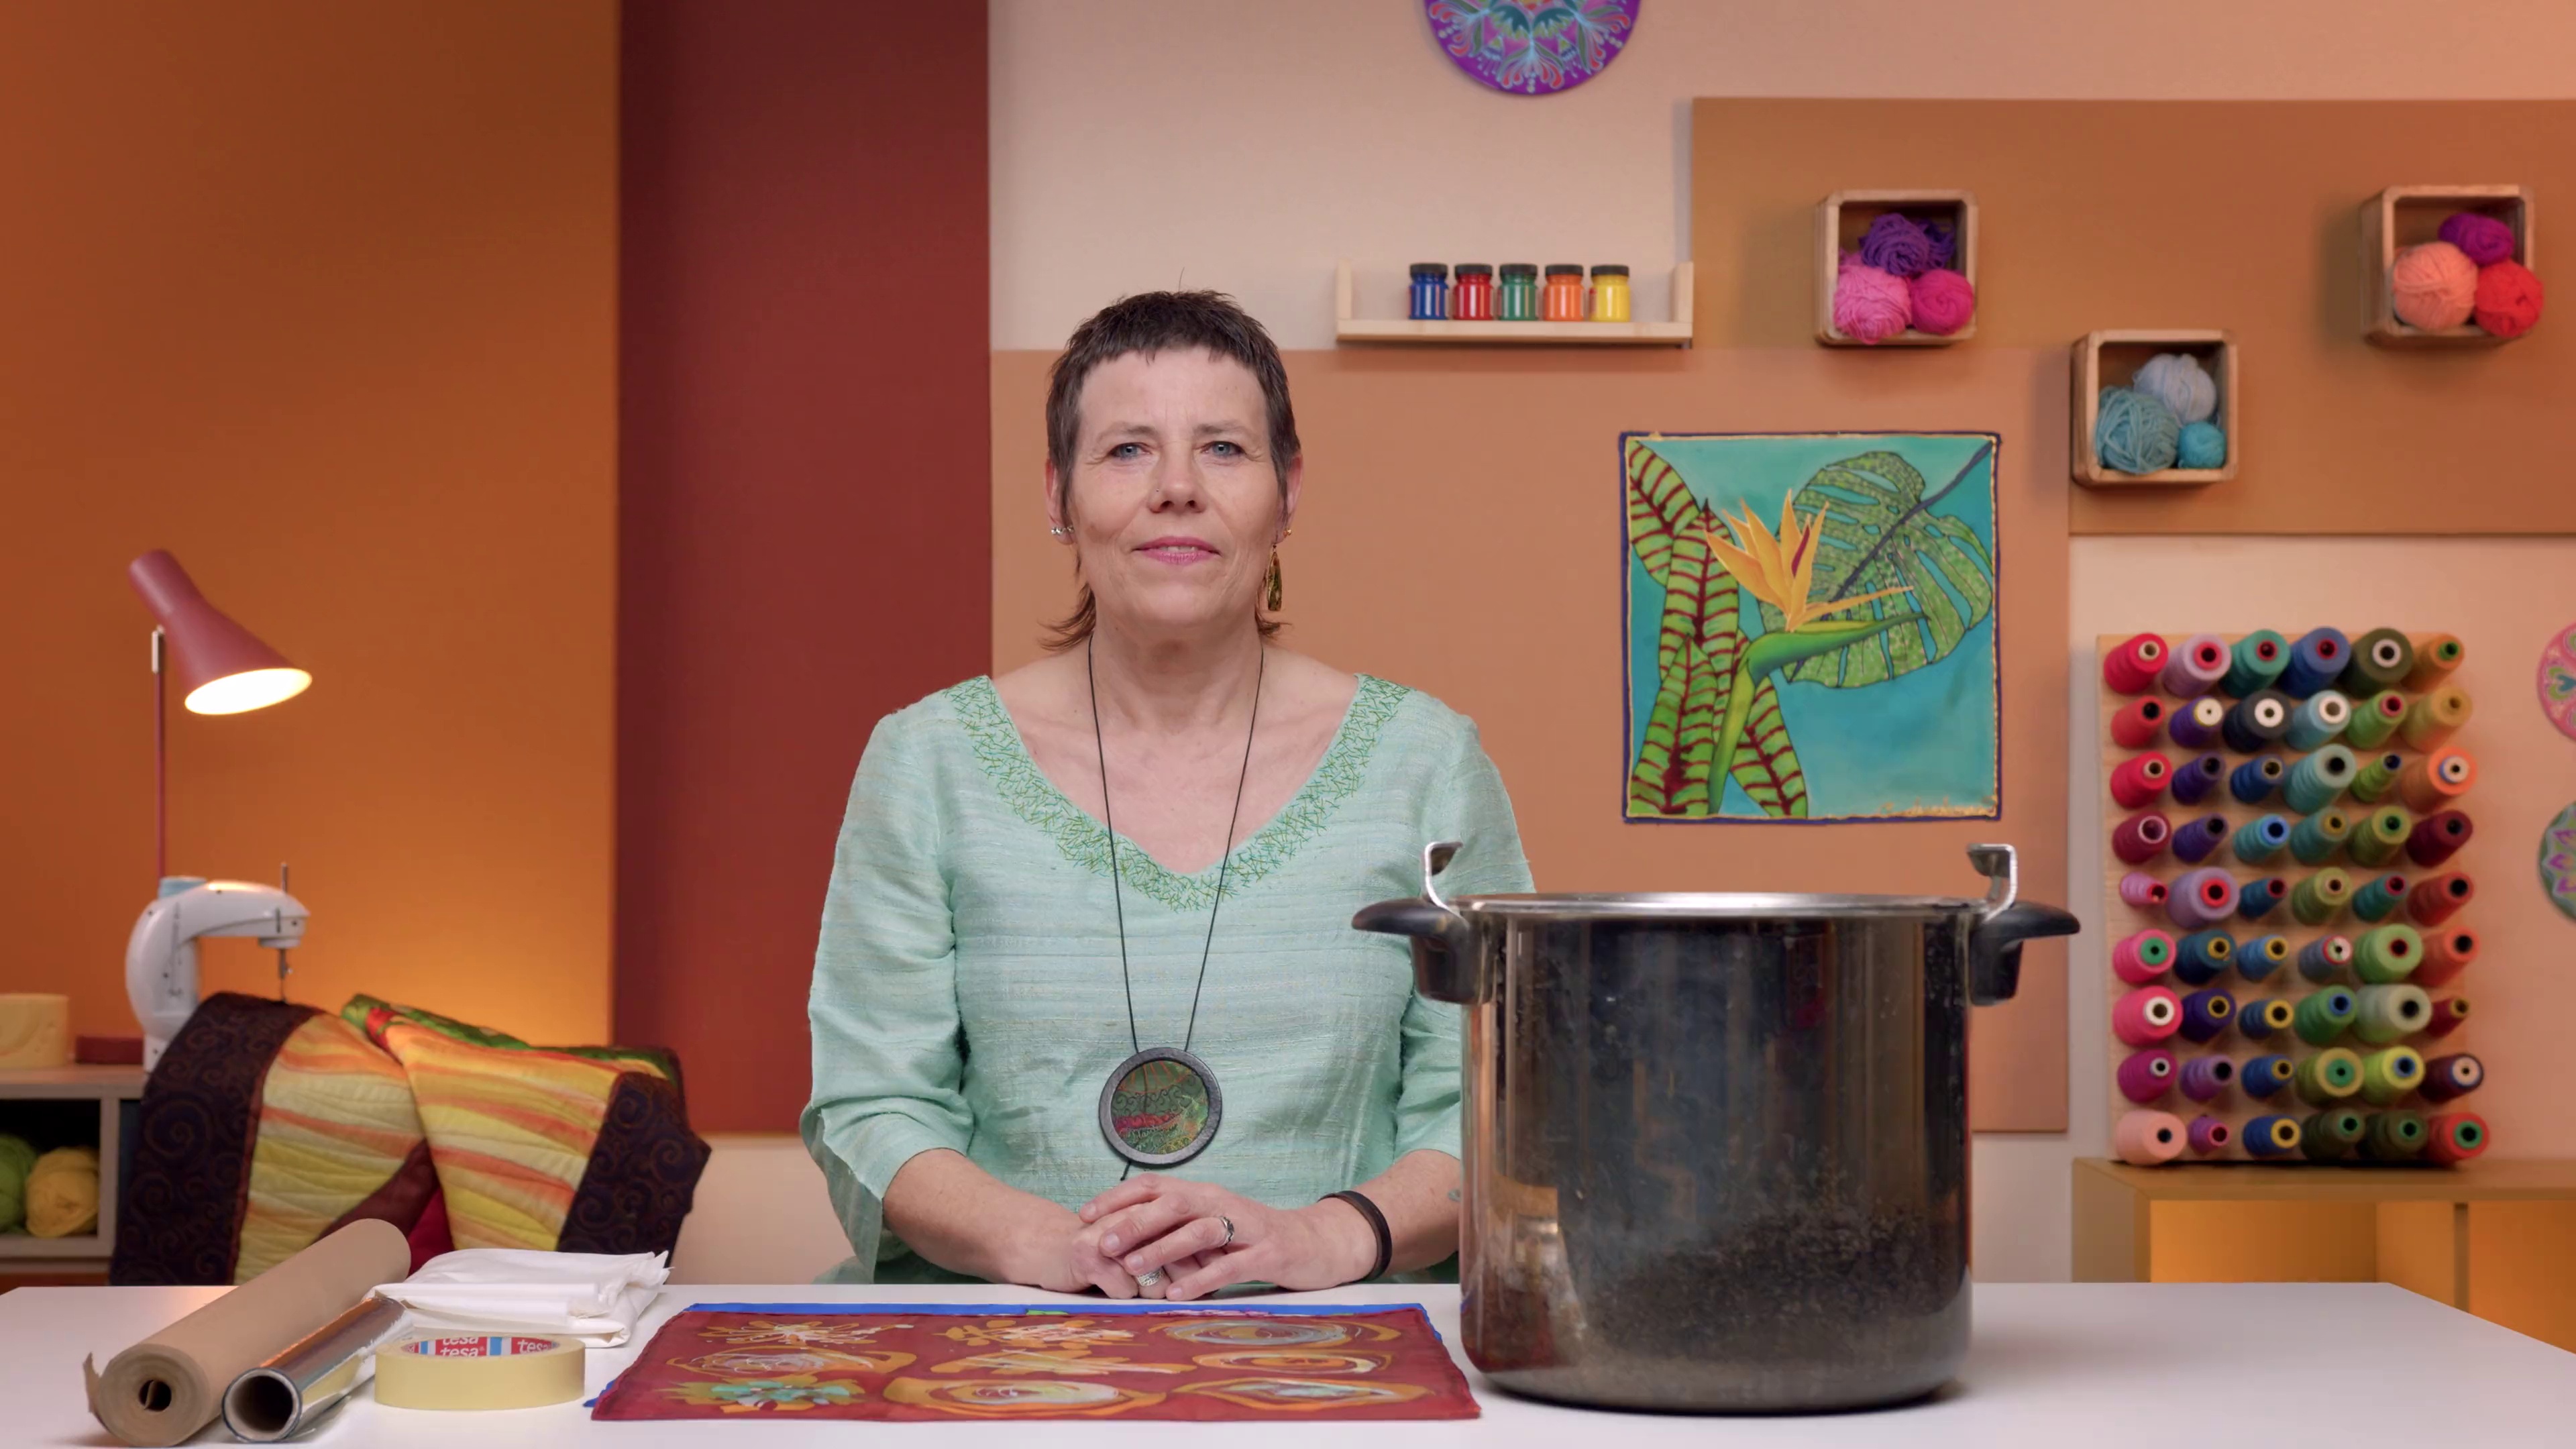
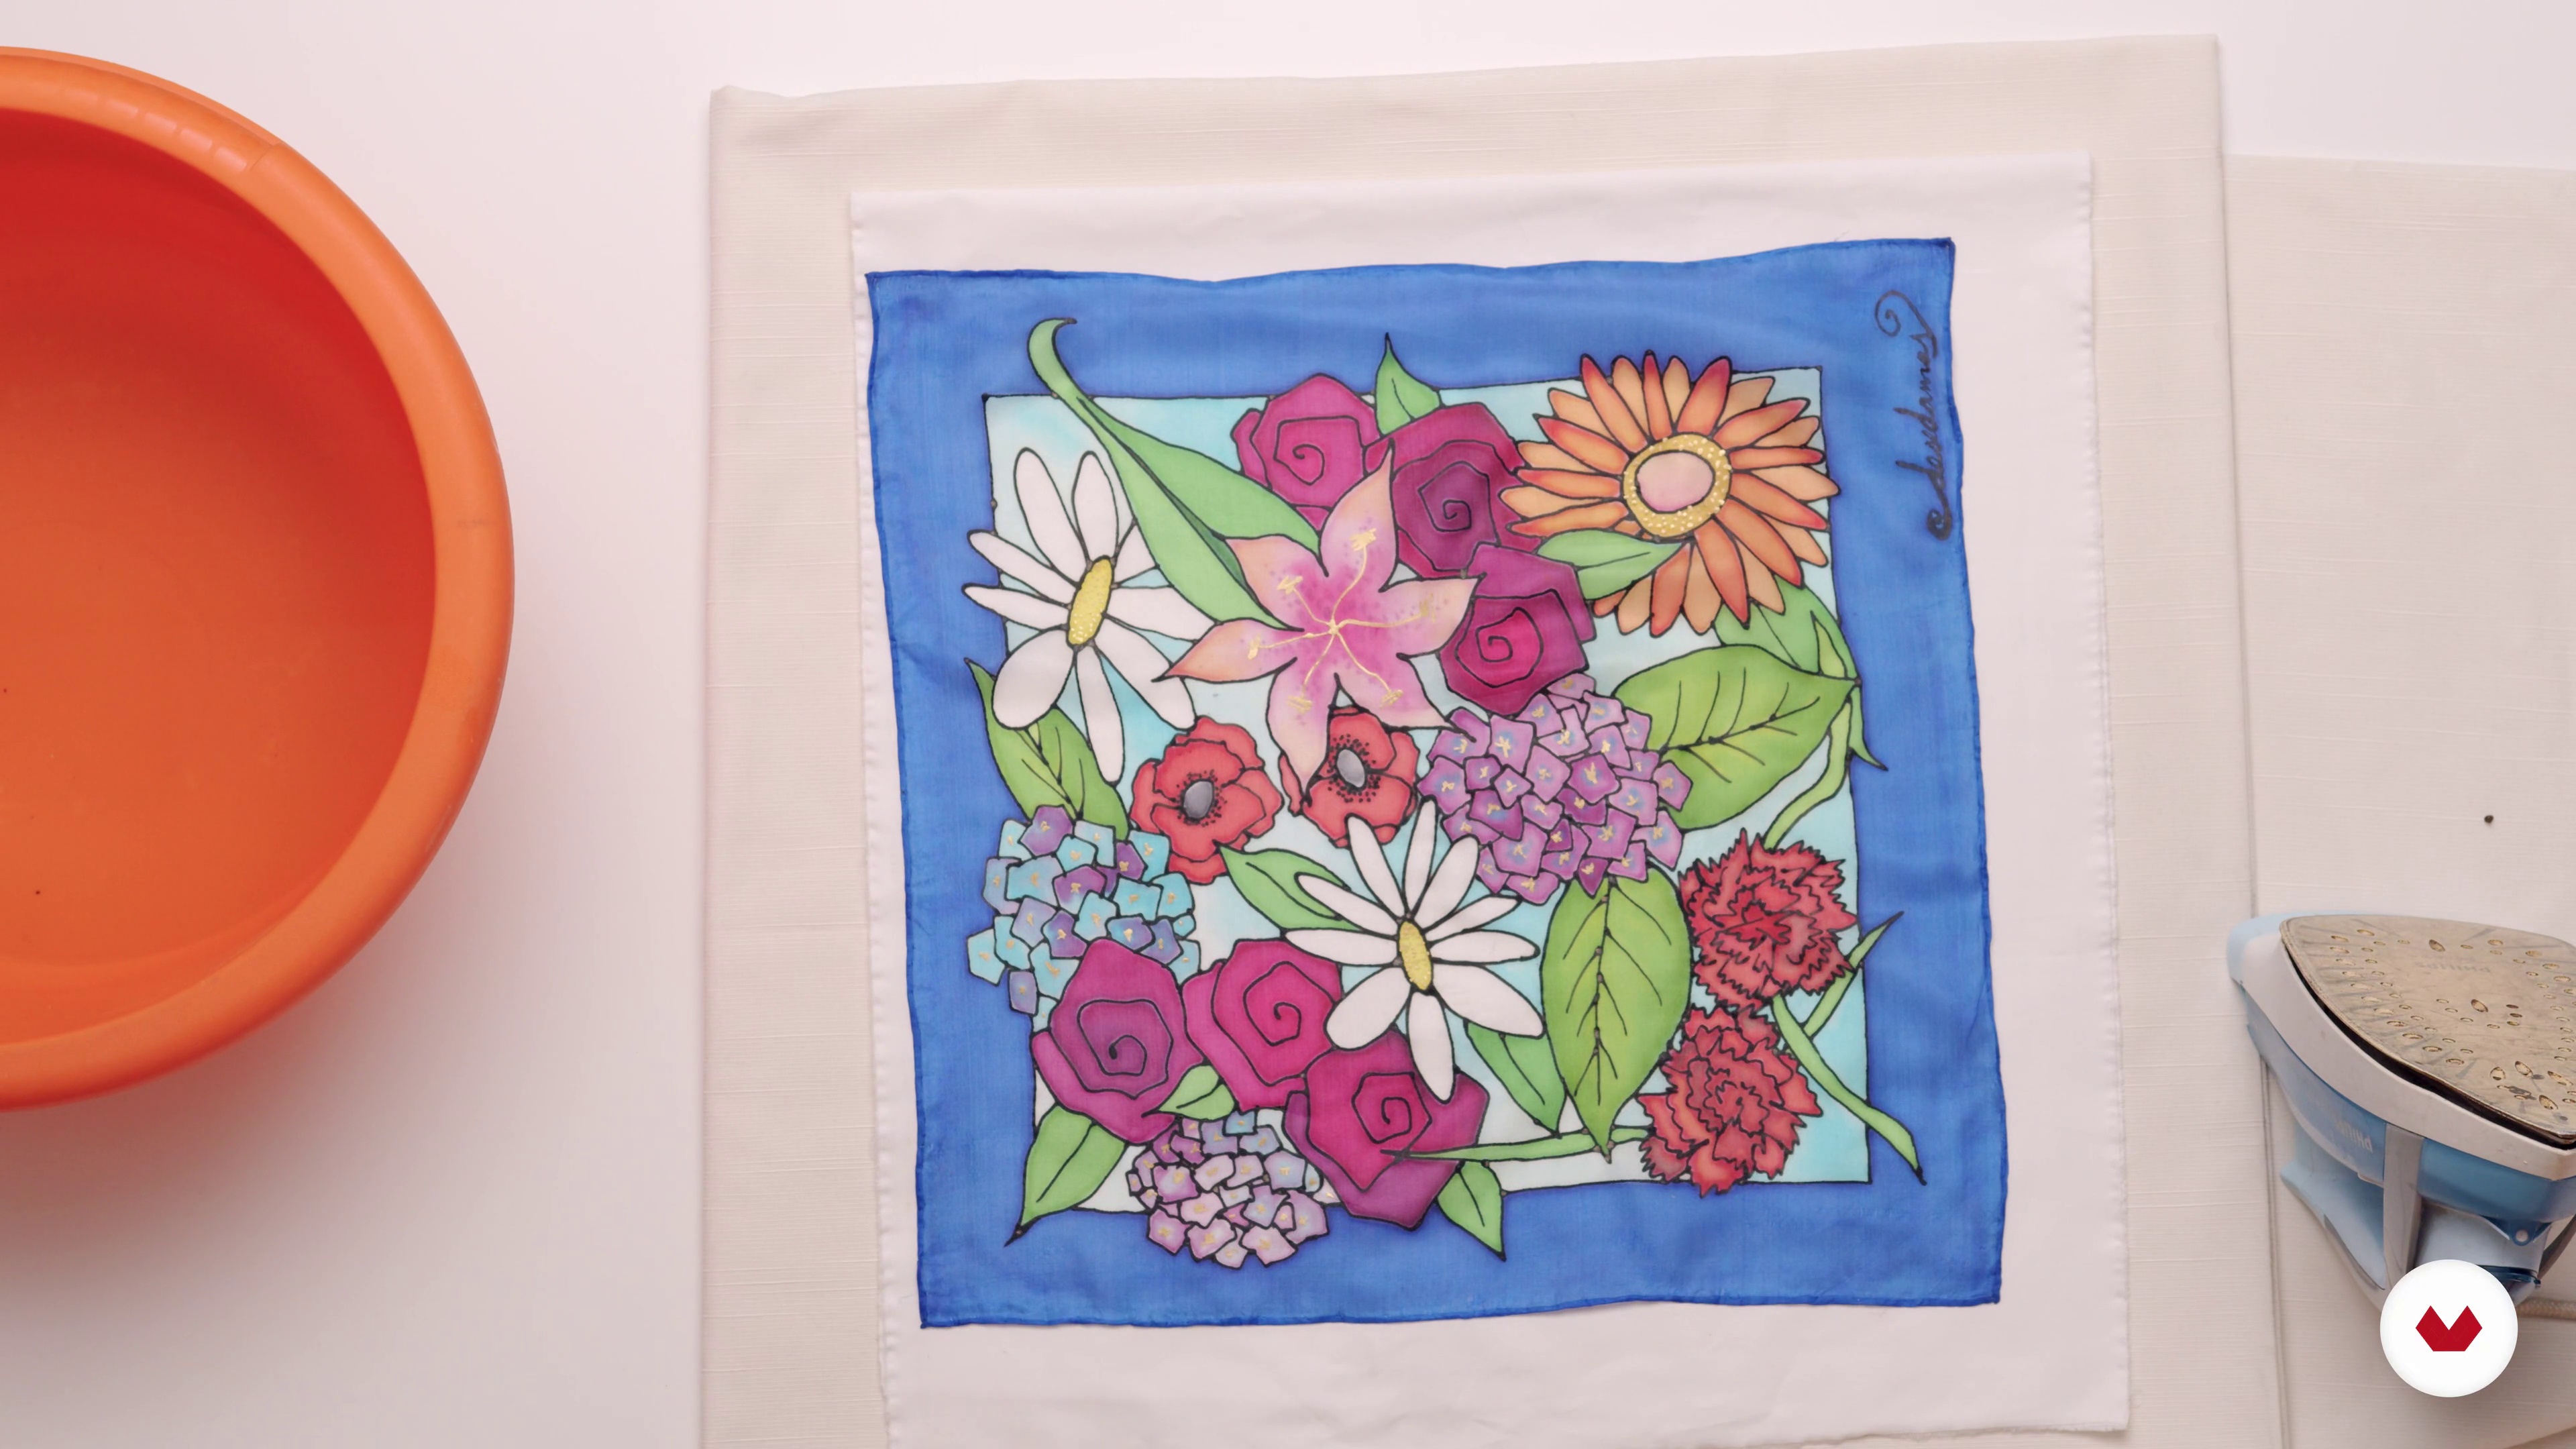
Silk painting offers a unique experience, connecting the artist with their inner world while transforming the fabric into a canvas of emotions and sensations. Finally, batik, an ancient wax-based resist technique, integrates all these skills into a complex and narrative form of expression. Each lesson brings a distinctive approach, allowing participants to develop a personal and mature style in the field of textile dyeing. With the guidance of these experts, transform your creative vision into pieces that fuse tradition and innovation.
What will you learn in this specialization?


- 100% positive reviews (1)
- 125 students
- 75 lessons (10h 20m)
- 89 additional resources (33 files)
- Online and at your own pace
- Audio: Spanish, German, English, Spanish (Latam), French, Italian, Polish, Portuguese, Turkish
- Spanish · English · Portuguese · German · French · Italian · Polish · Turkish
- Level: Beginner
- Unlimited access forever
What is this course's project?
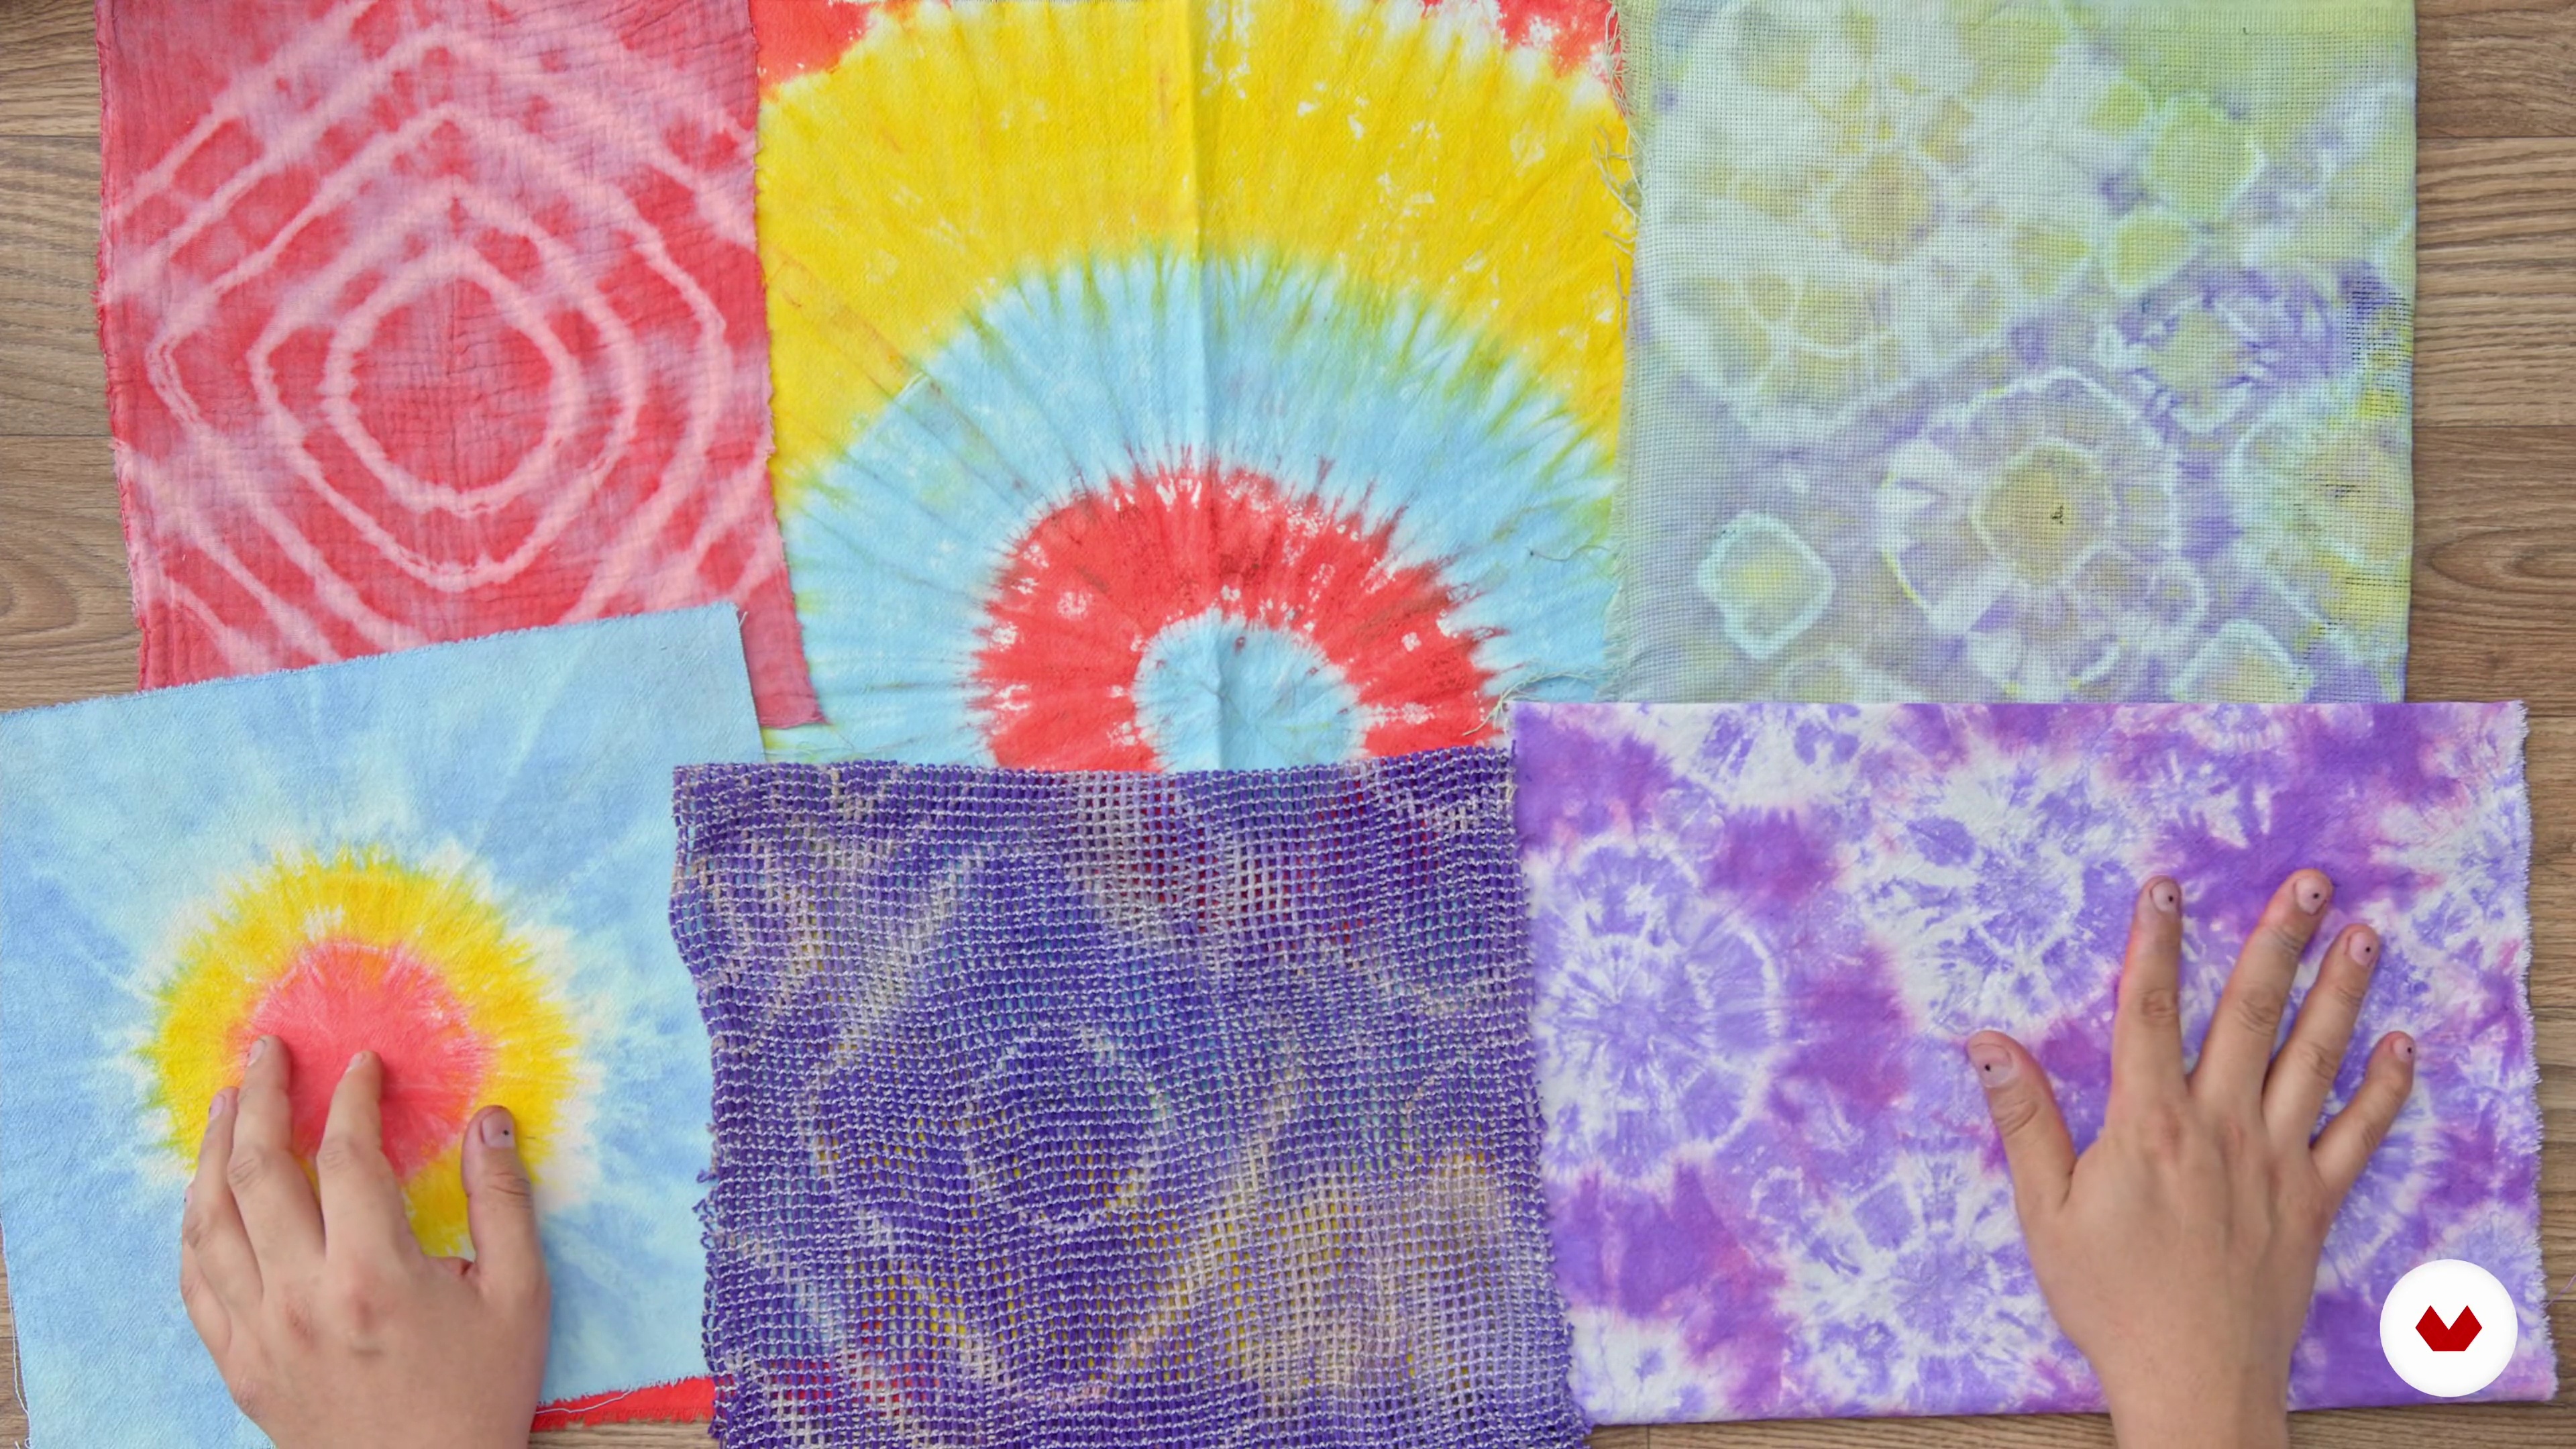
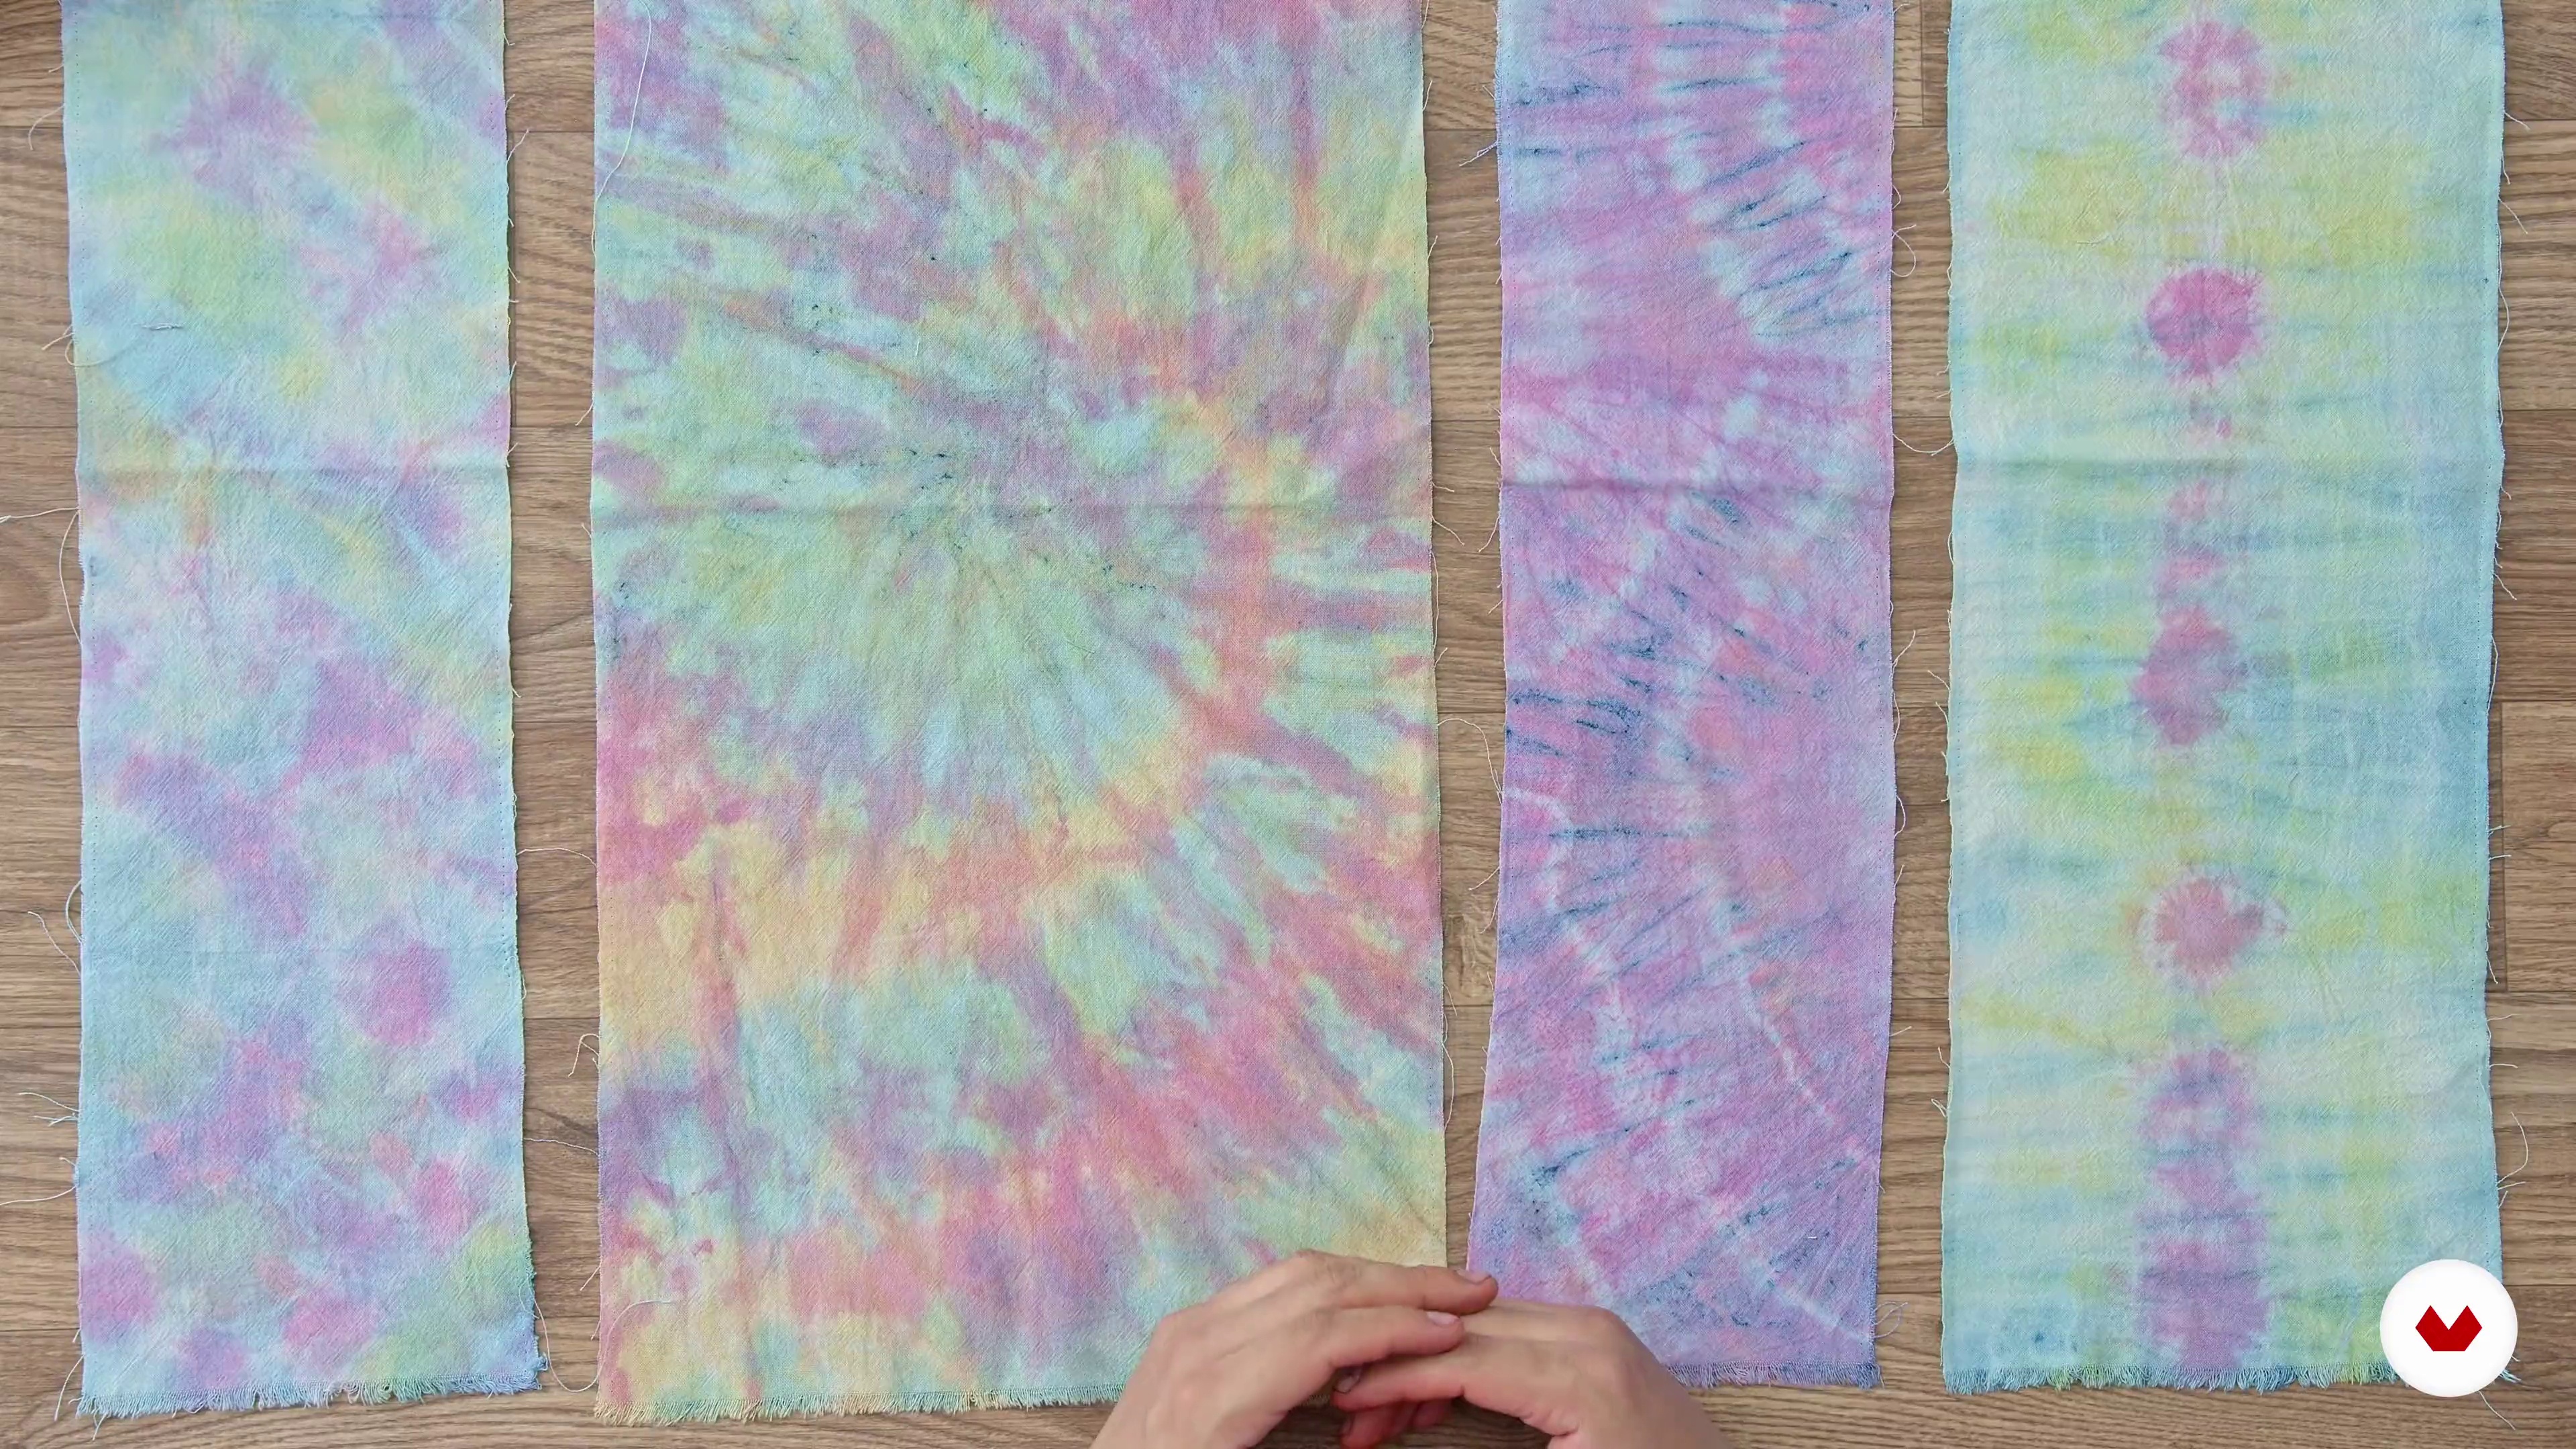
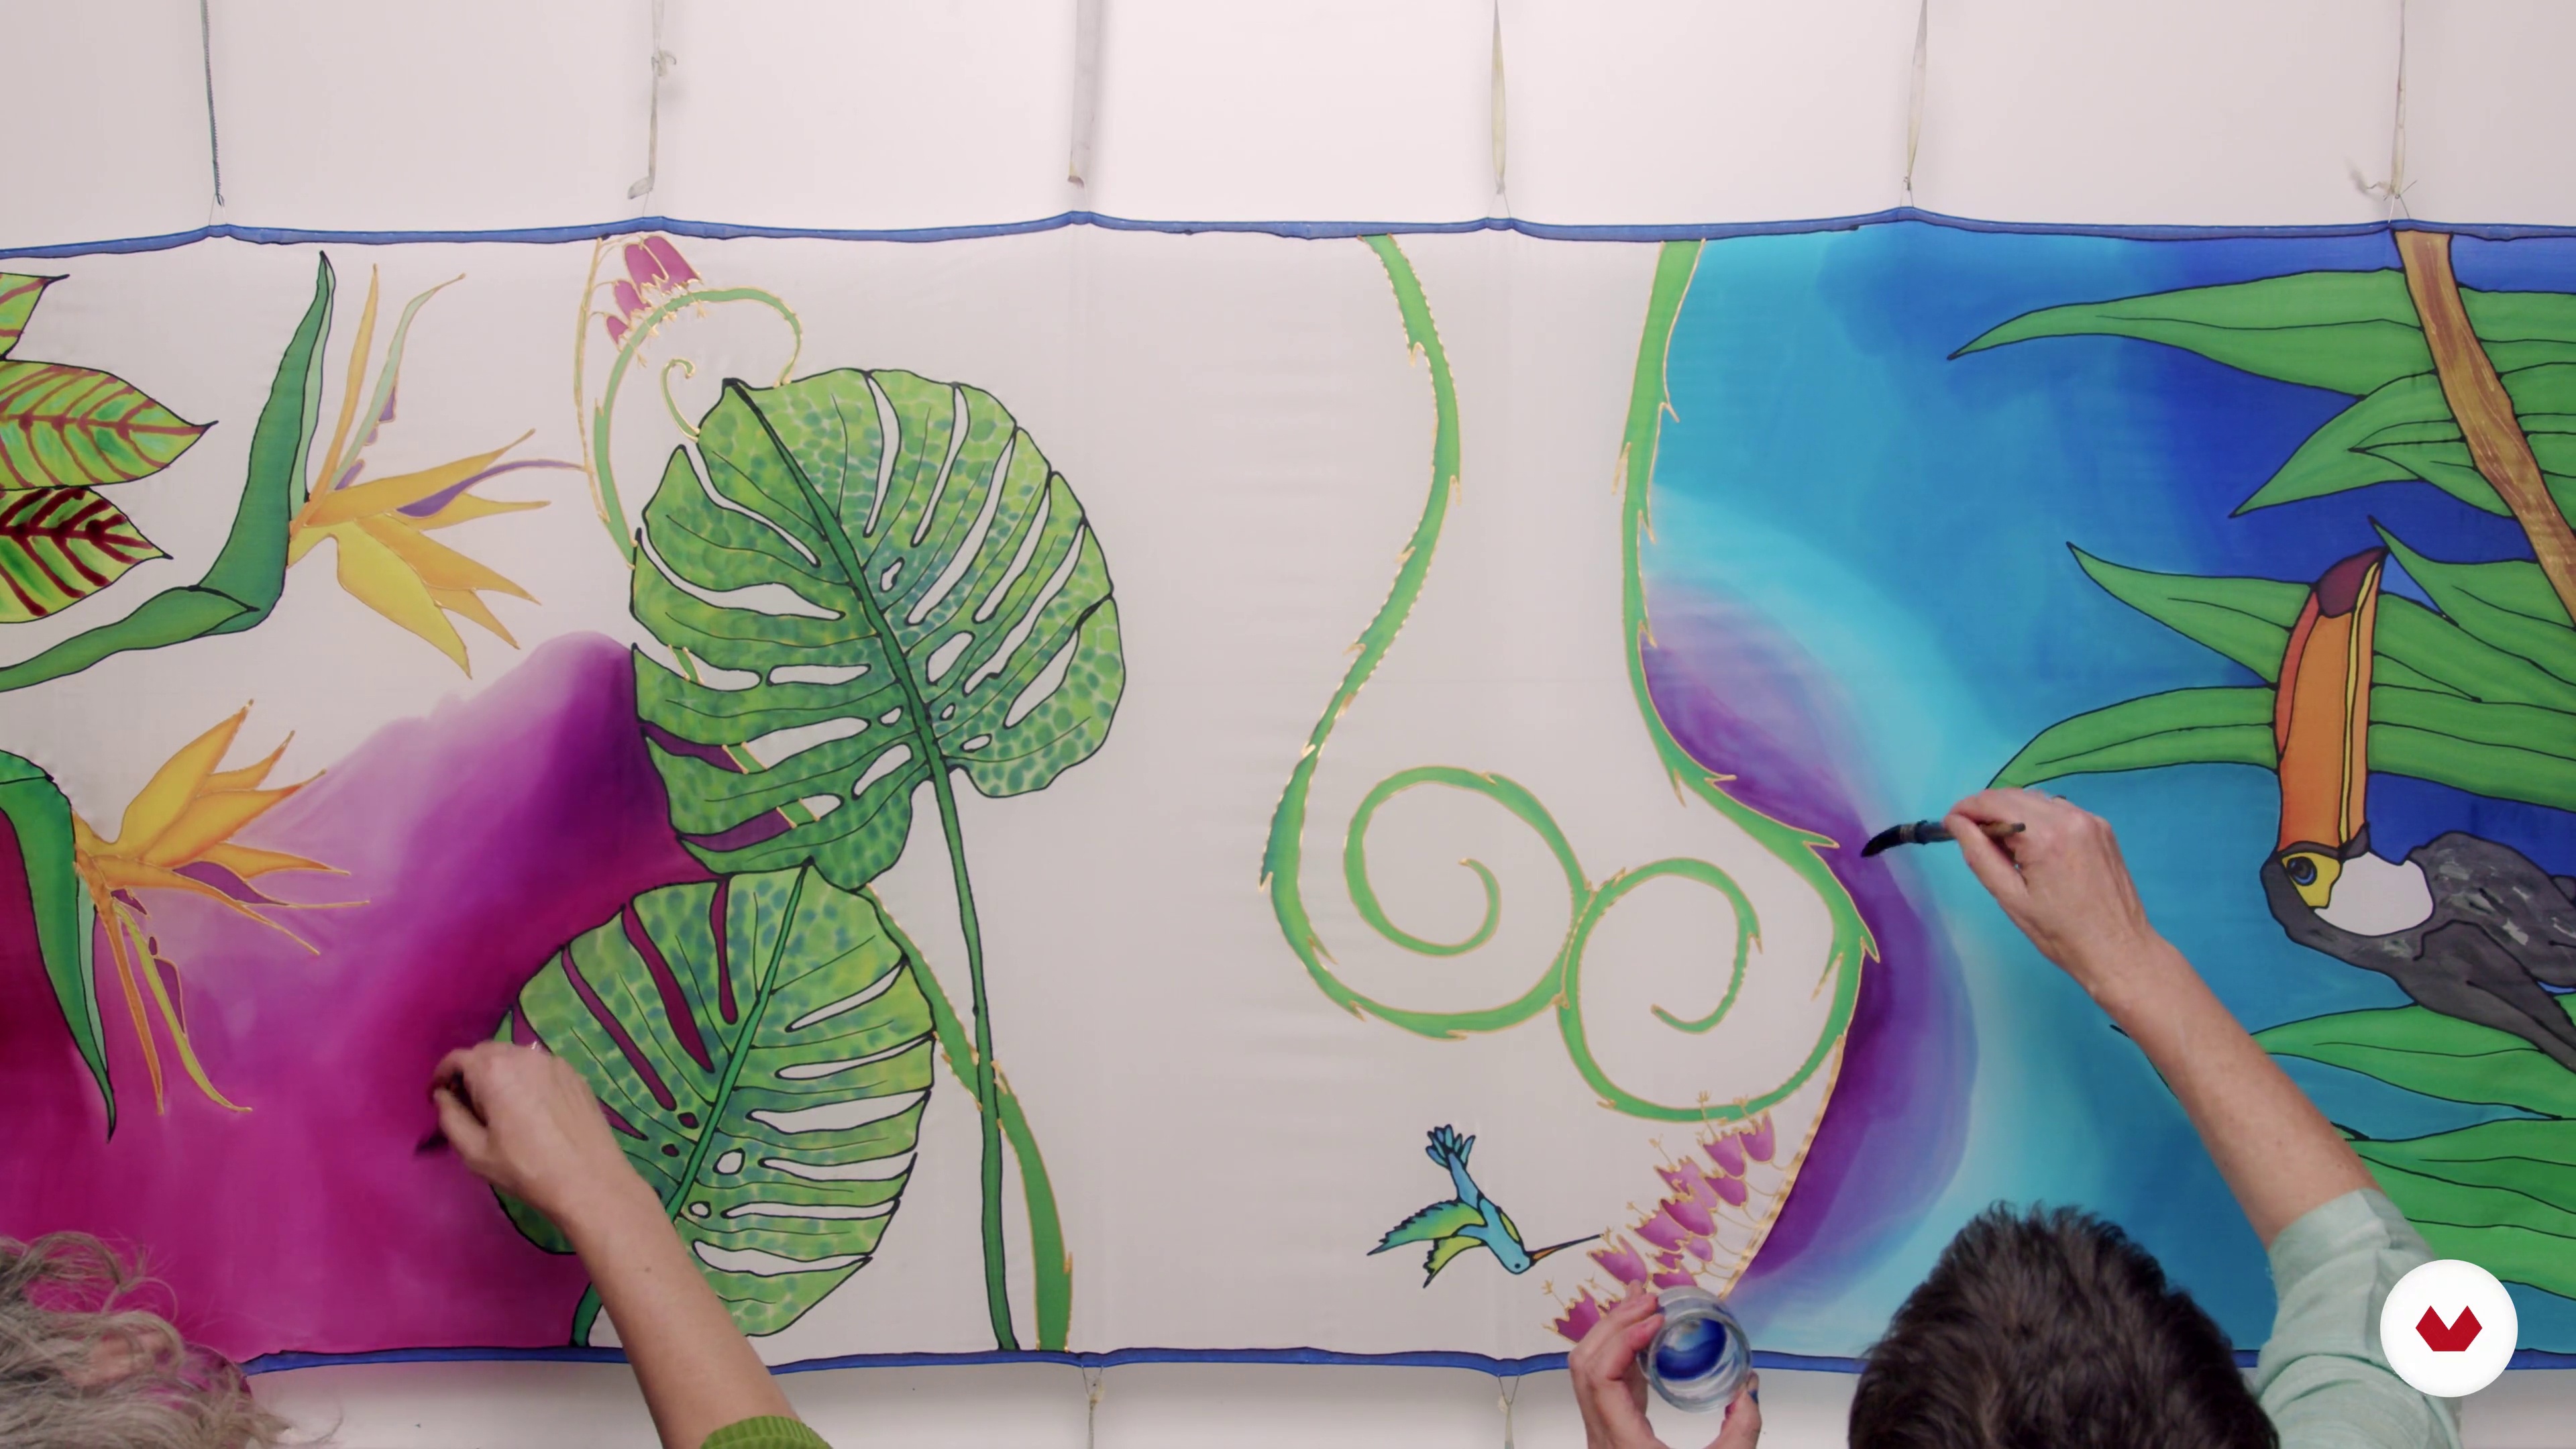
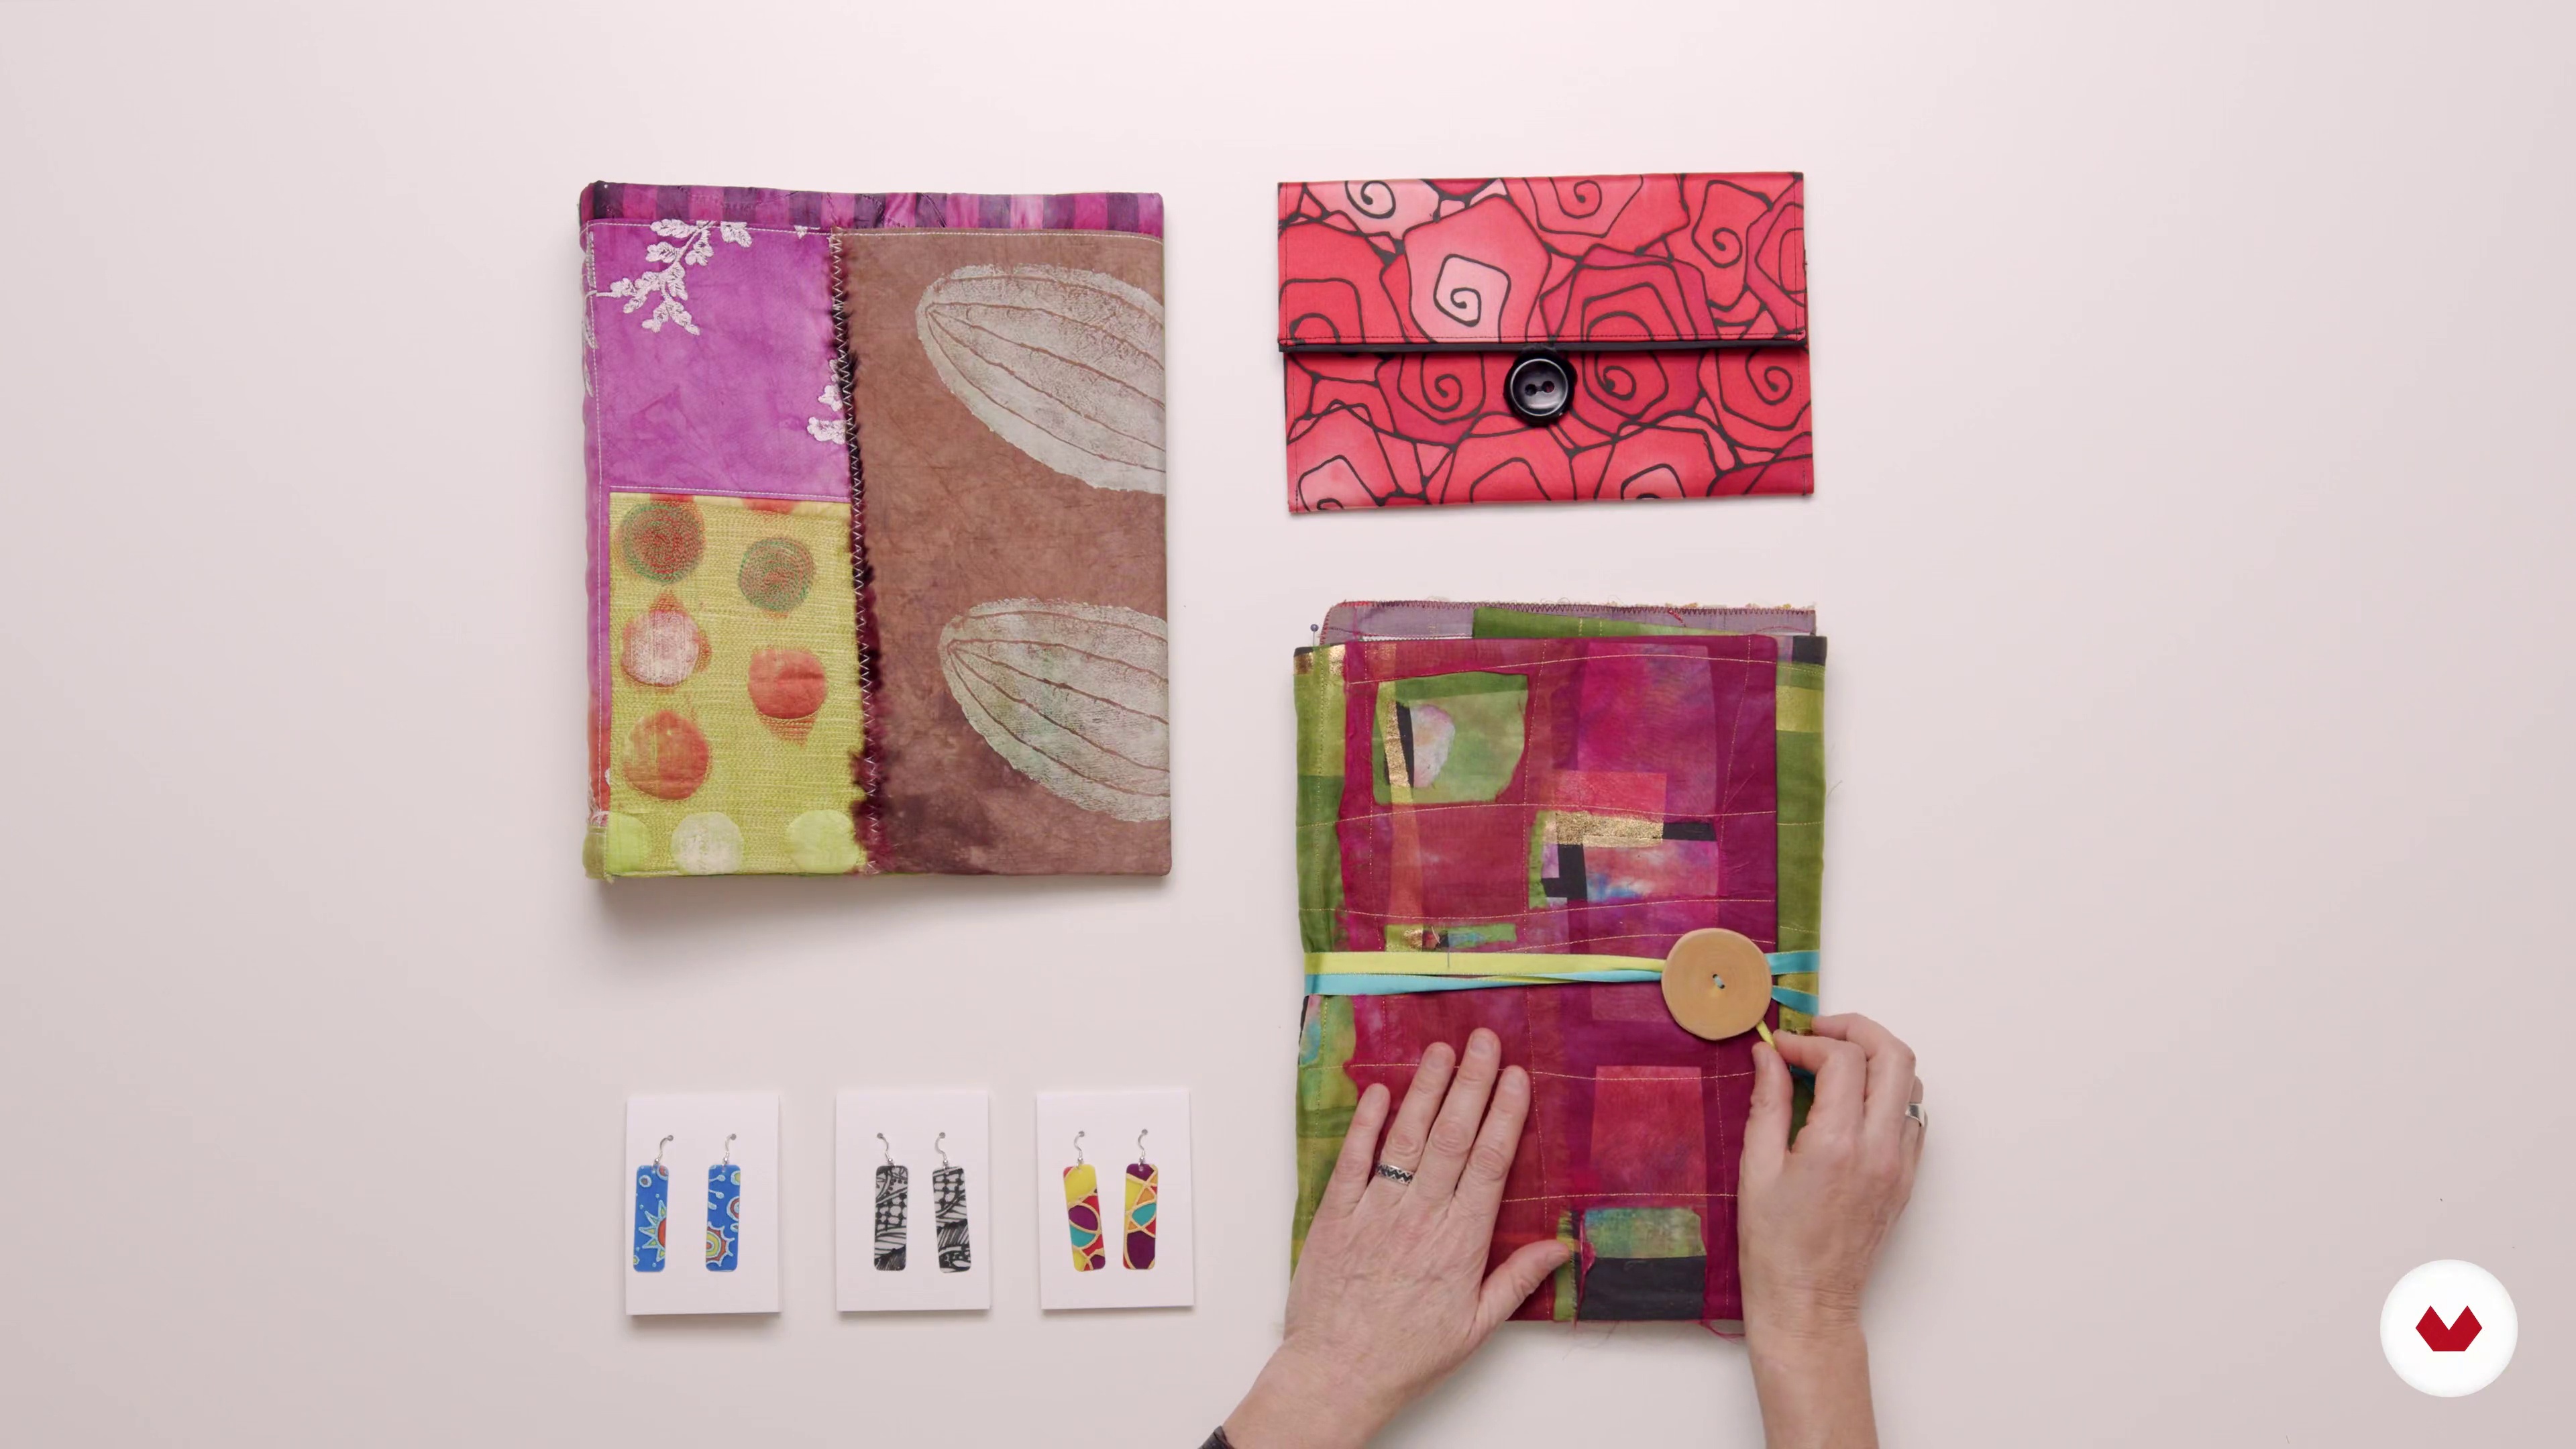
The course project culminates in the creation of a collection of five textile pieces that reflect mastery of various dyeing techniques, integrating personal creativity with tradition, and demonstrating a coherent and mature visual narrative.
Who is this specialization for?
Textile artists, fashion designers, artisans, and visual educators seeking to expand their technical skills in textile dyeing will find in this specialization an opportunity to explore techniques such as tie-dye, shibori, marbling, silk painting, and batik.
Requirements and materials
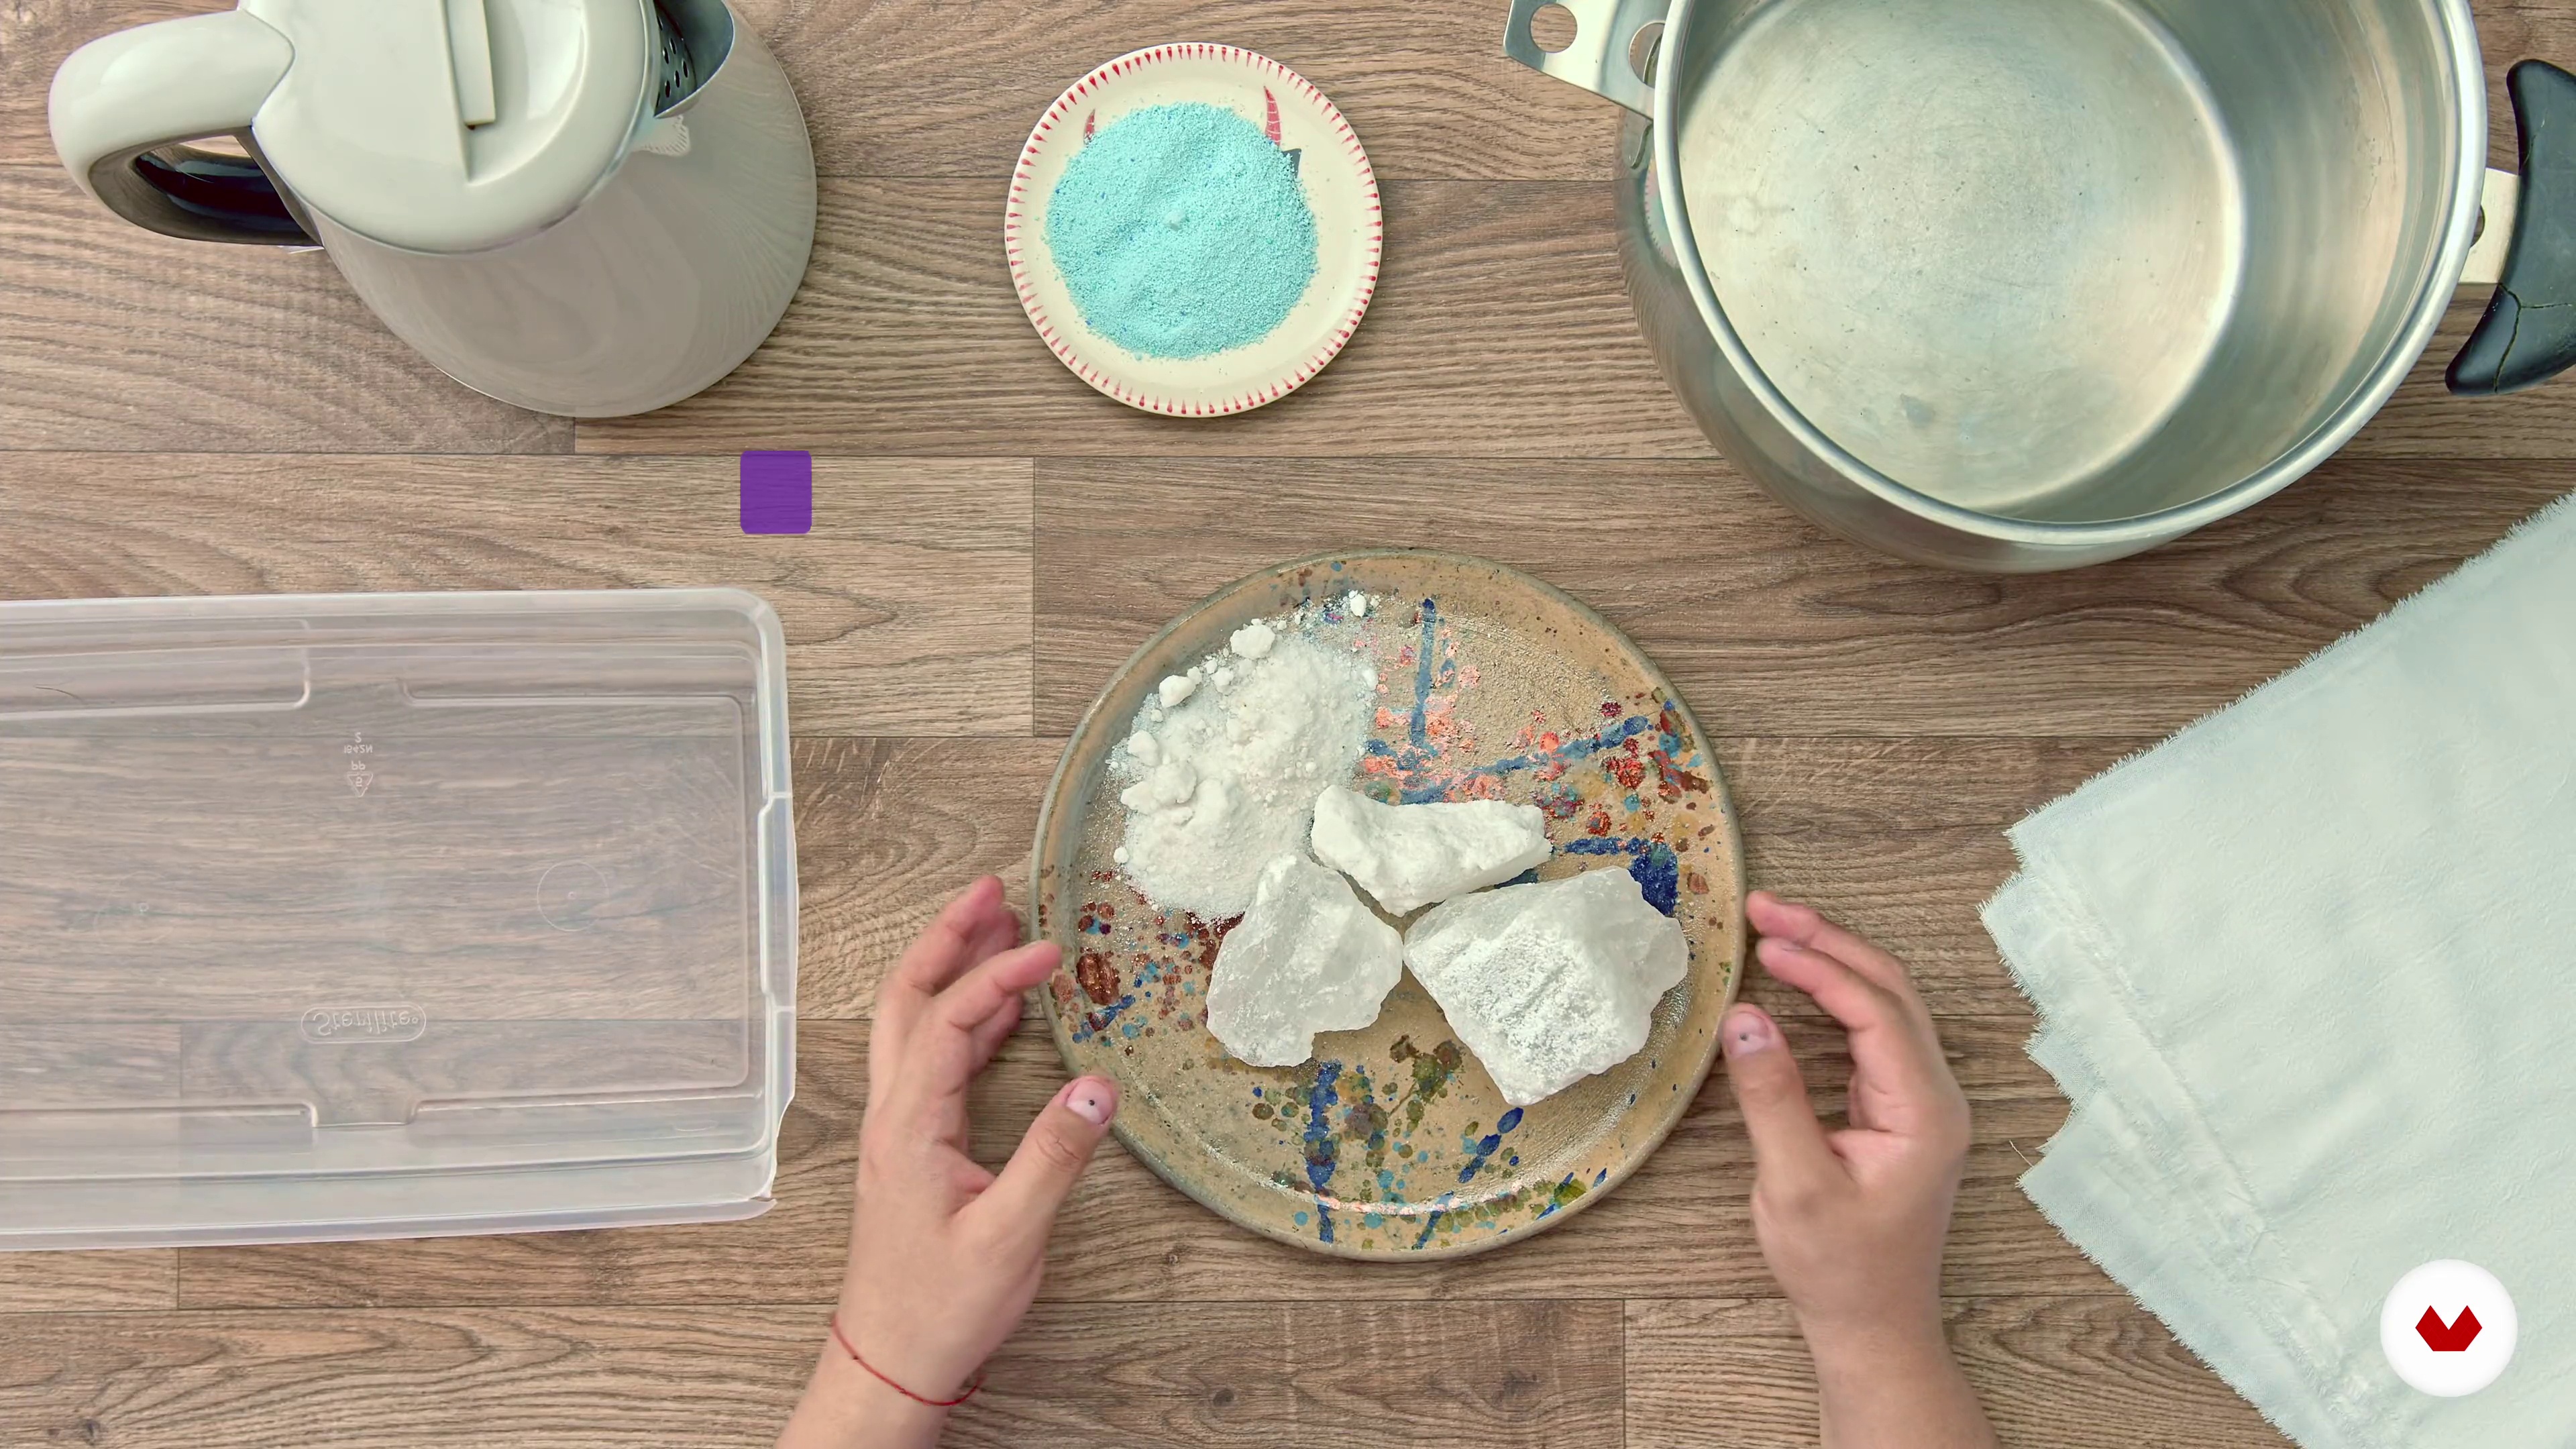
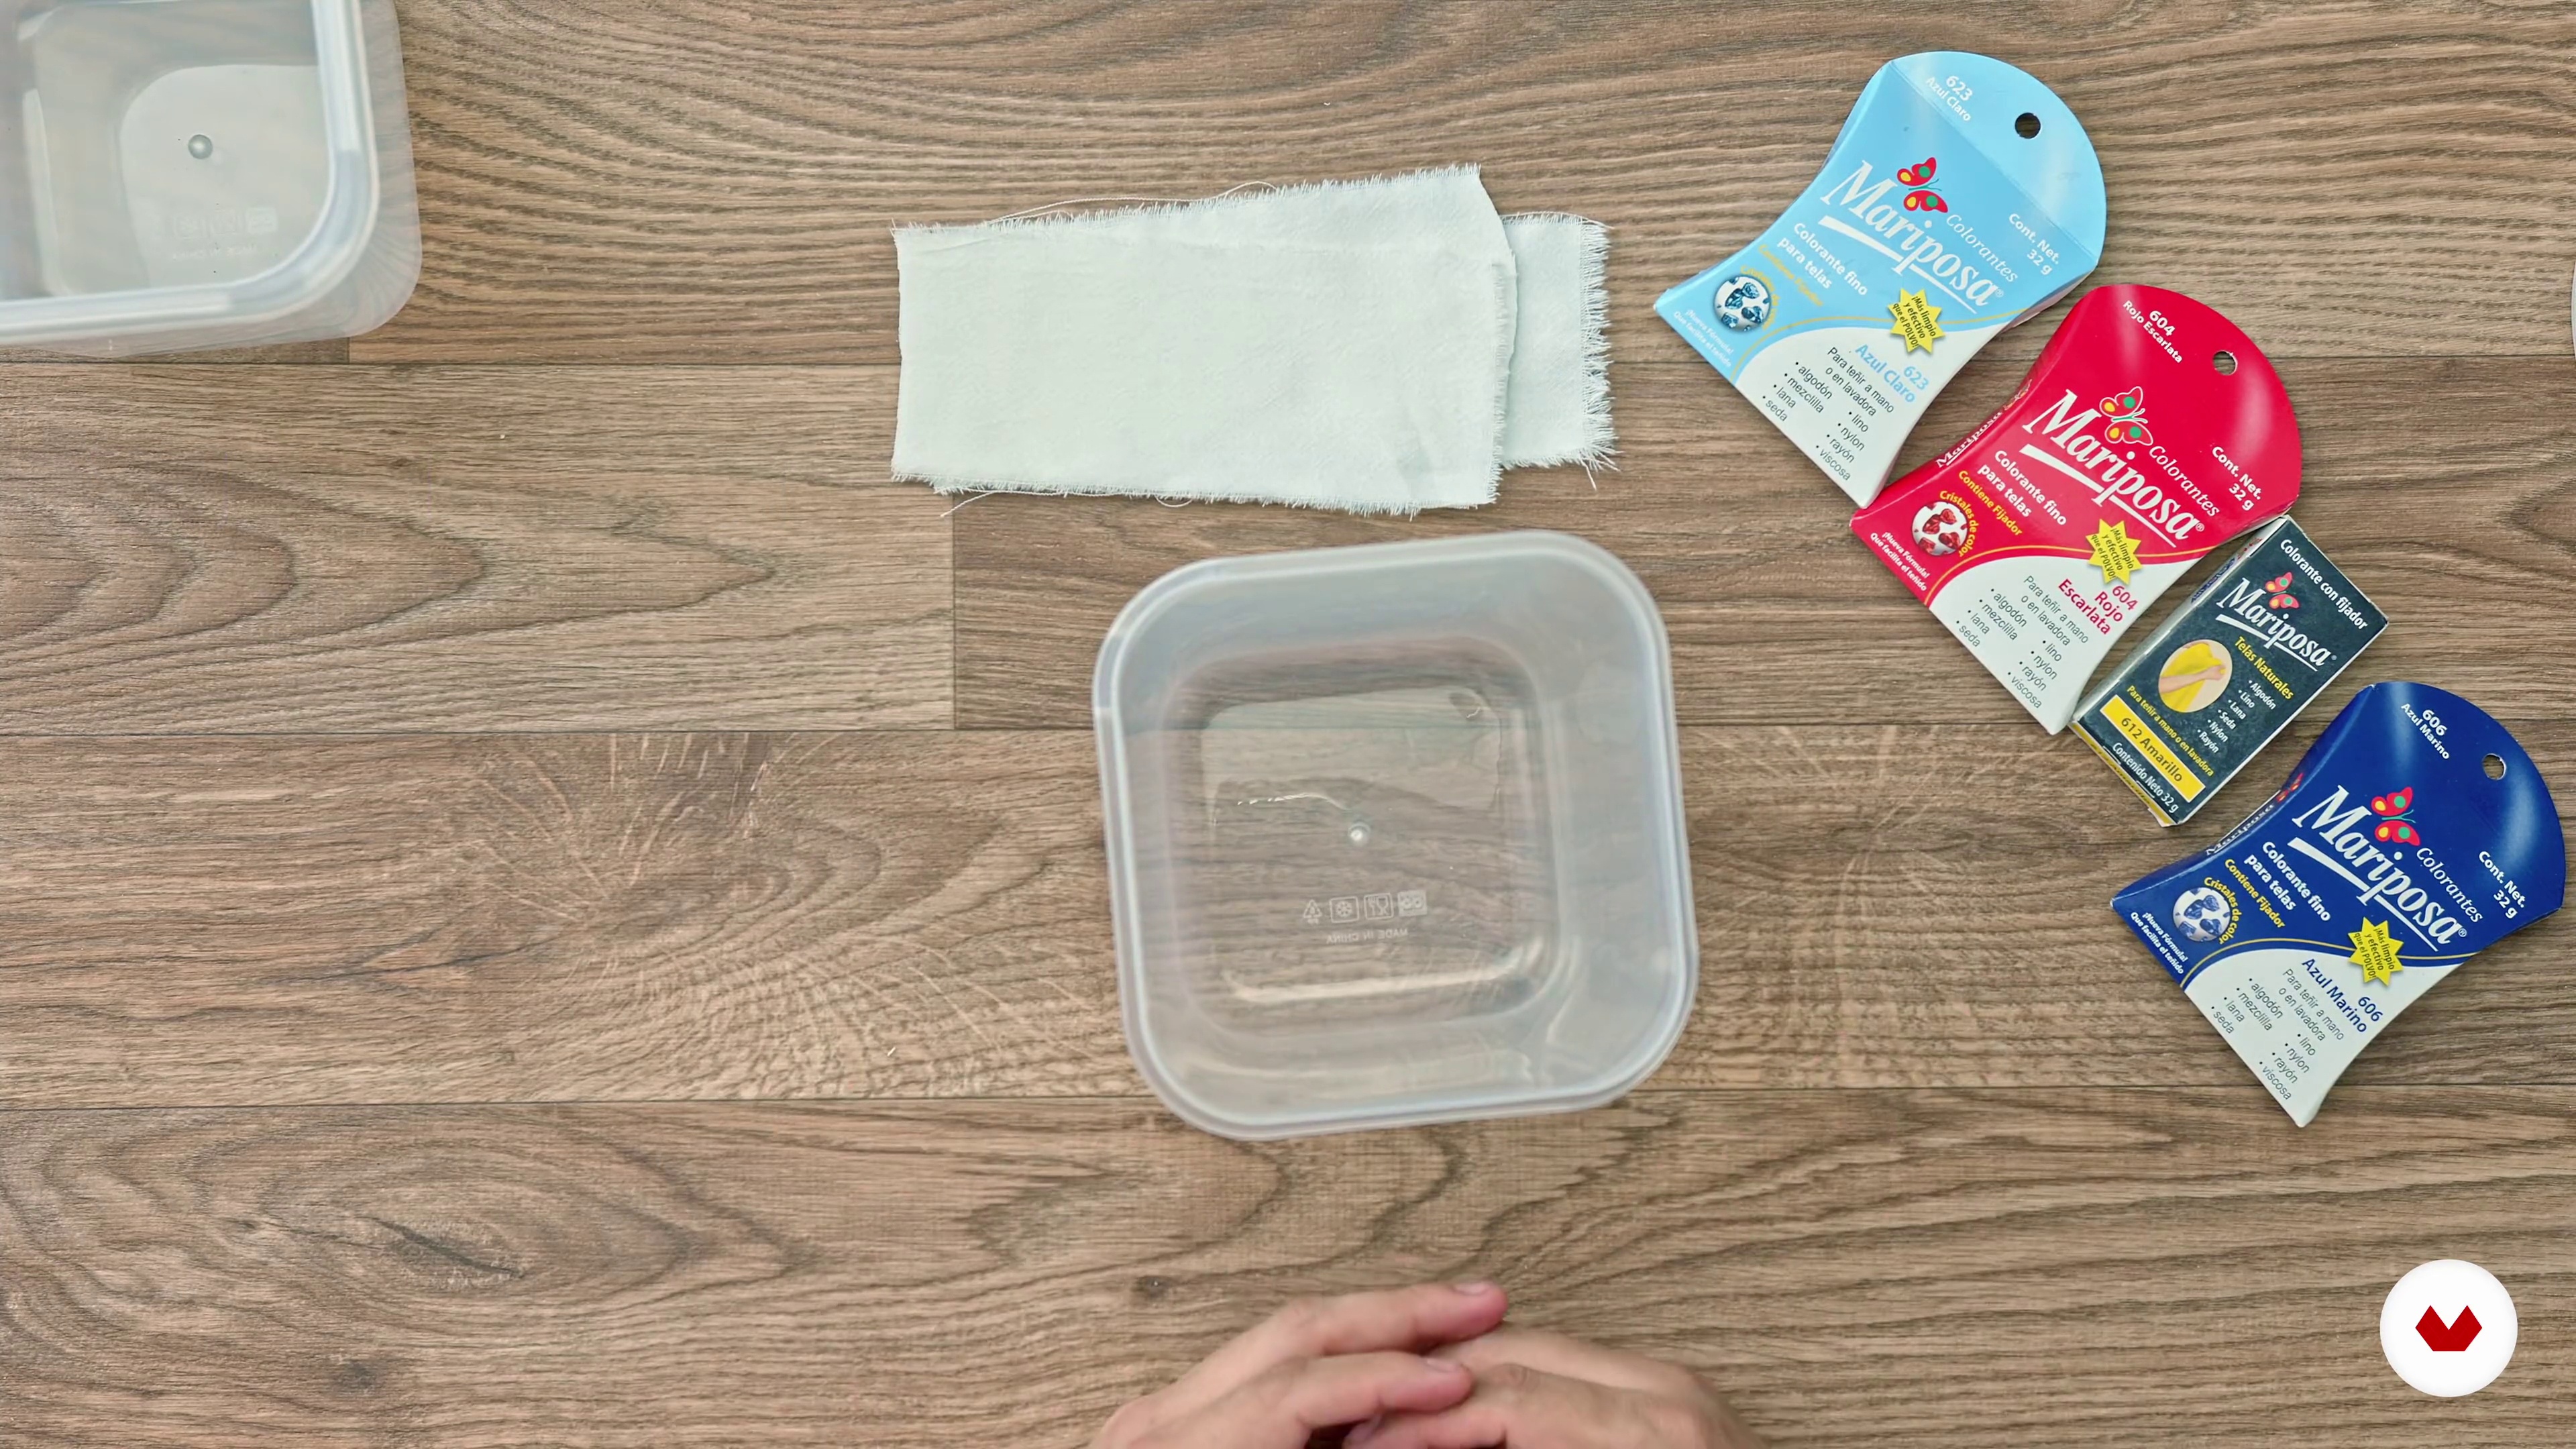
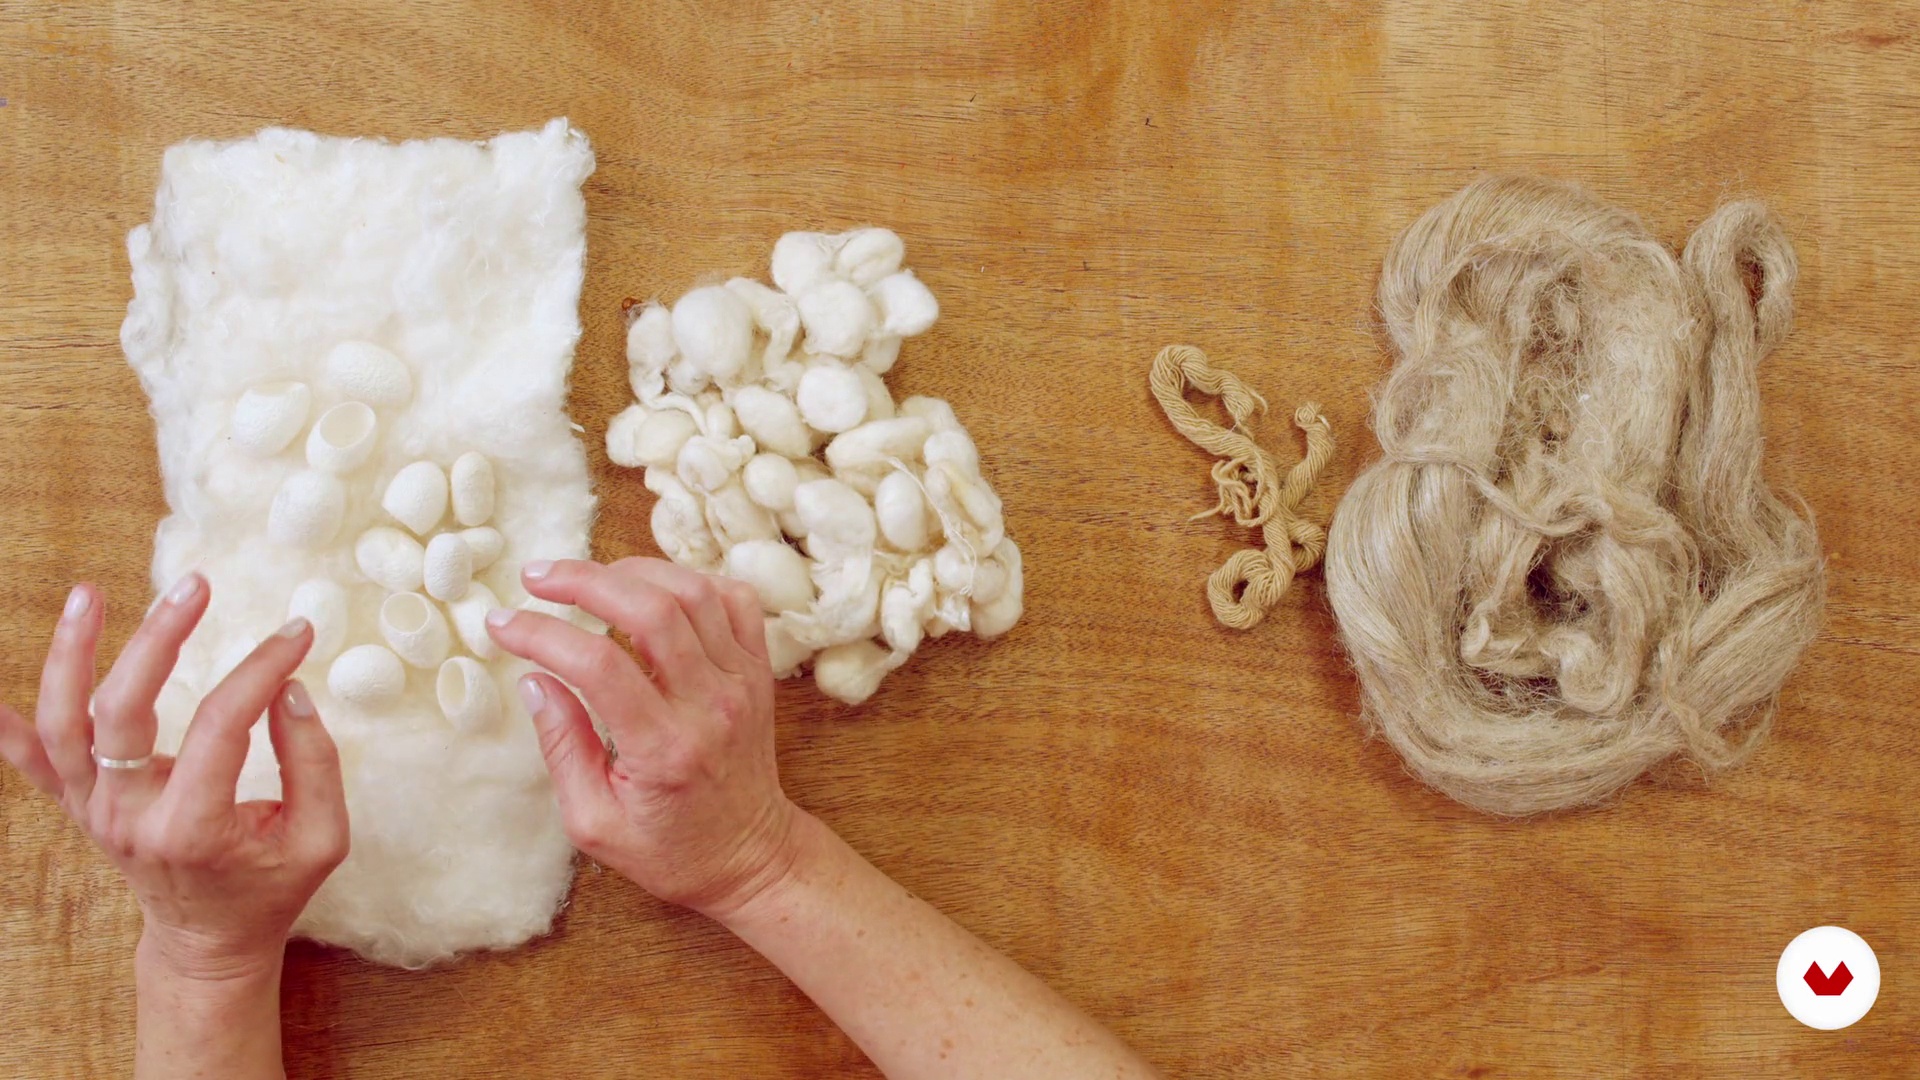
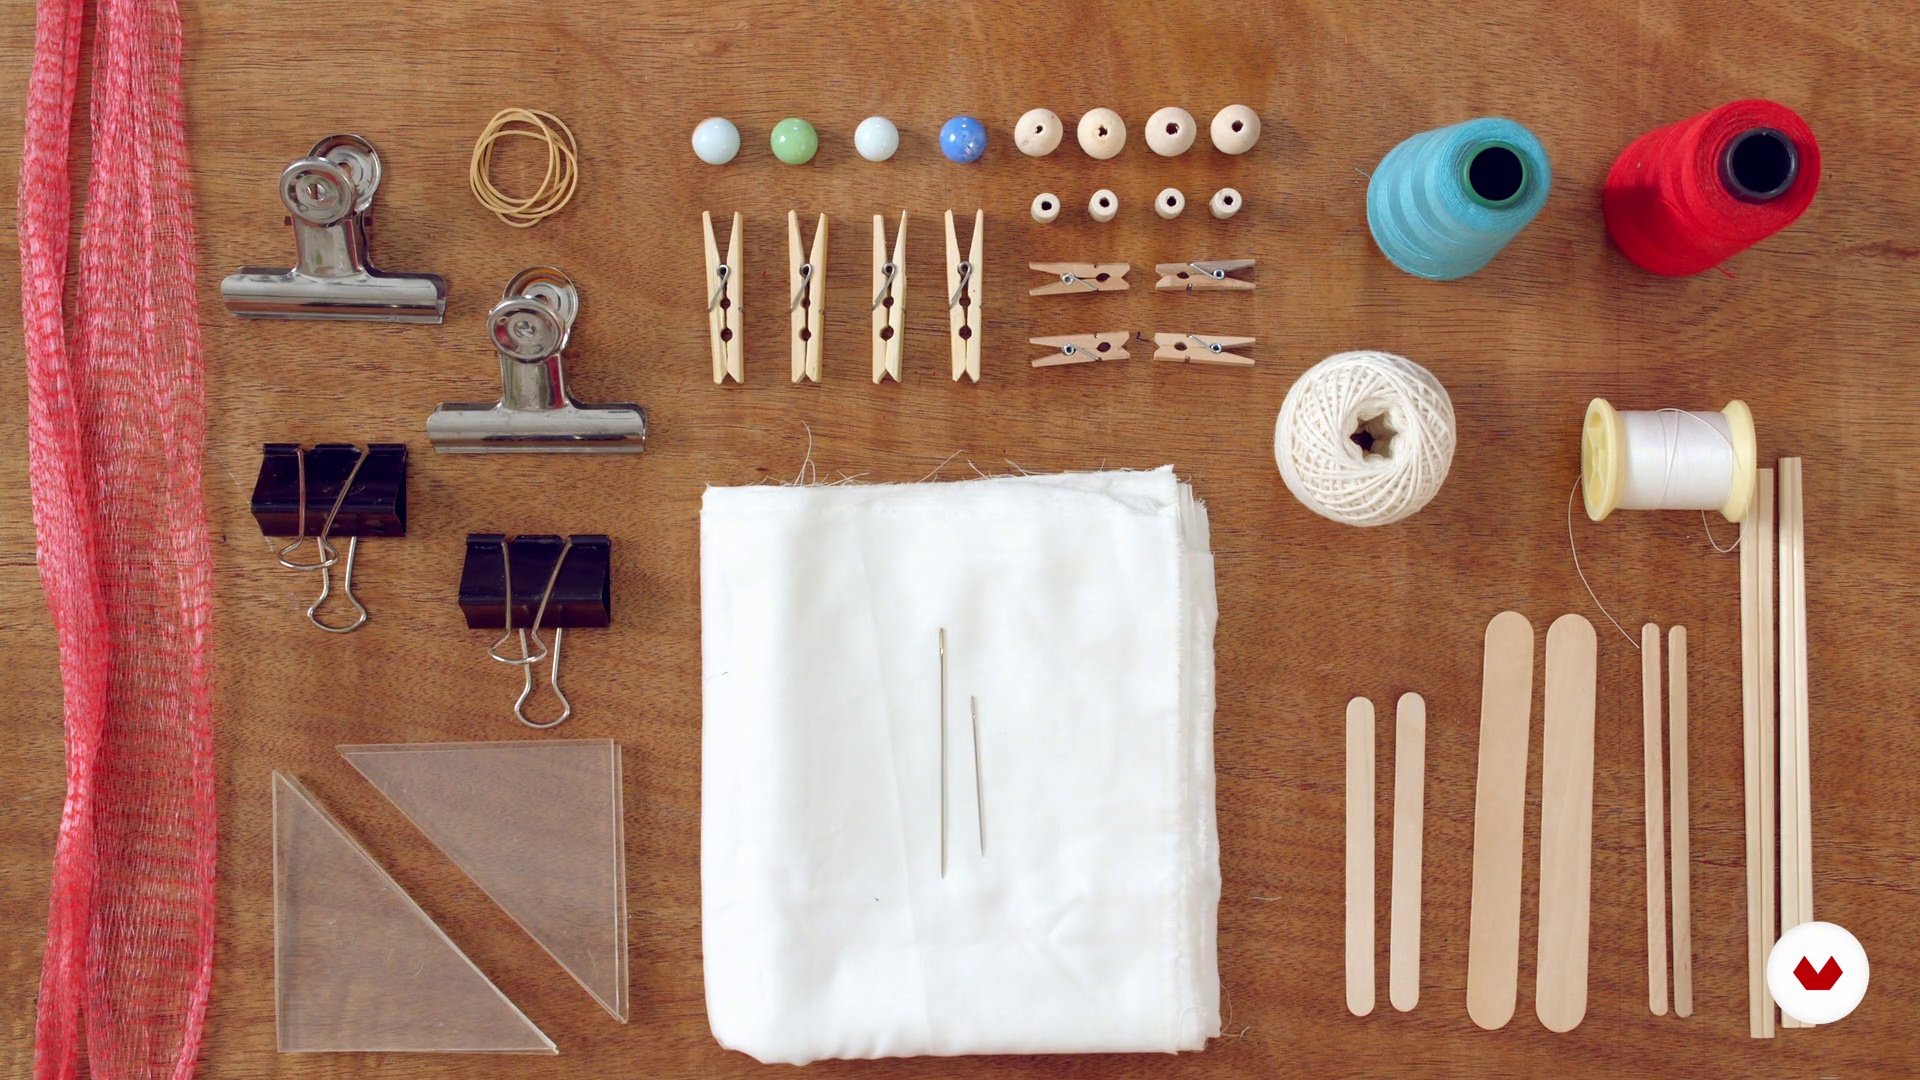
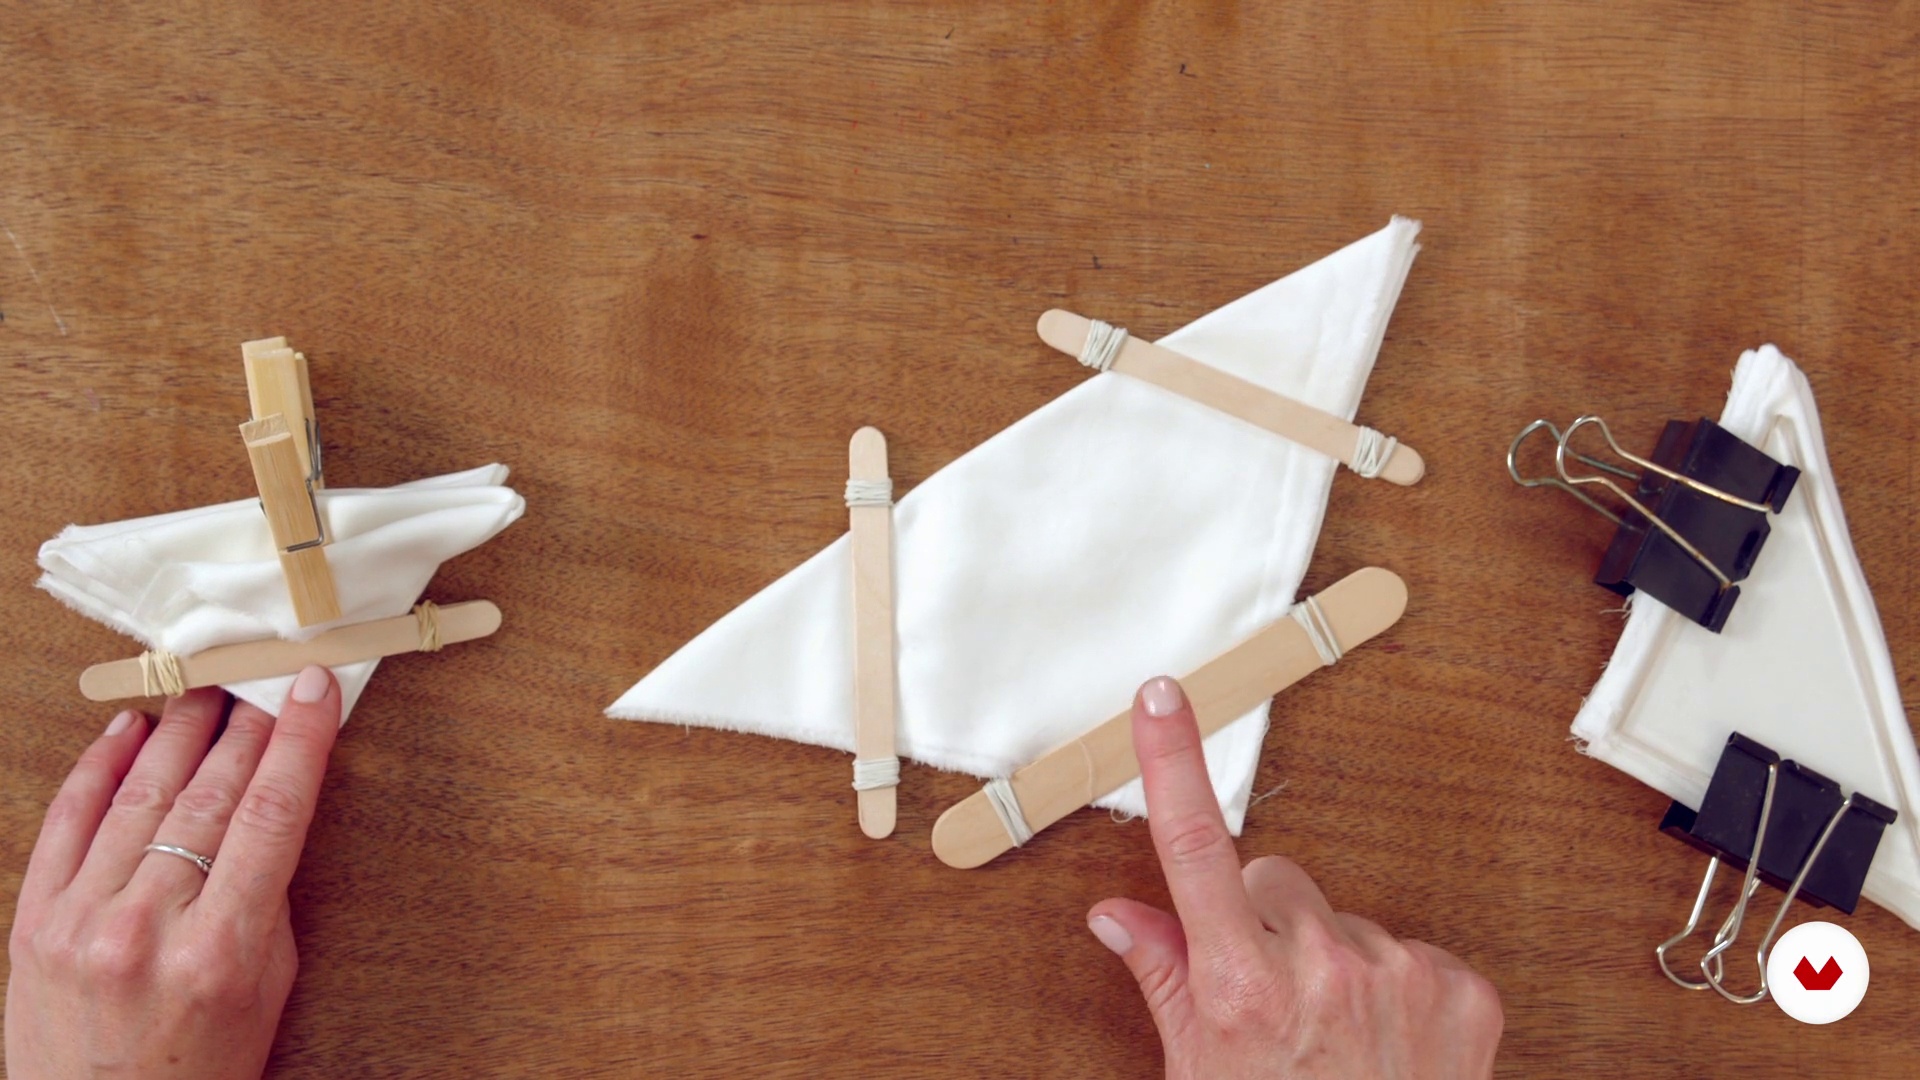
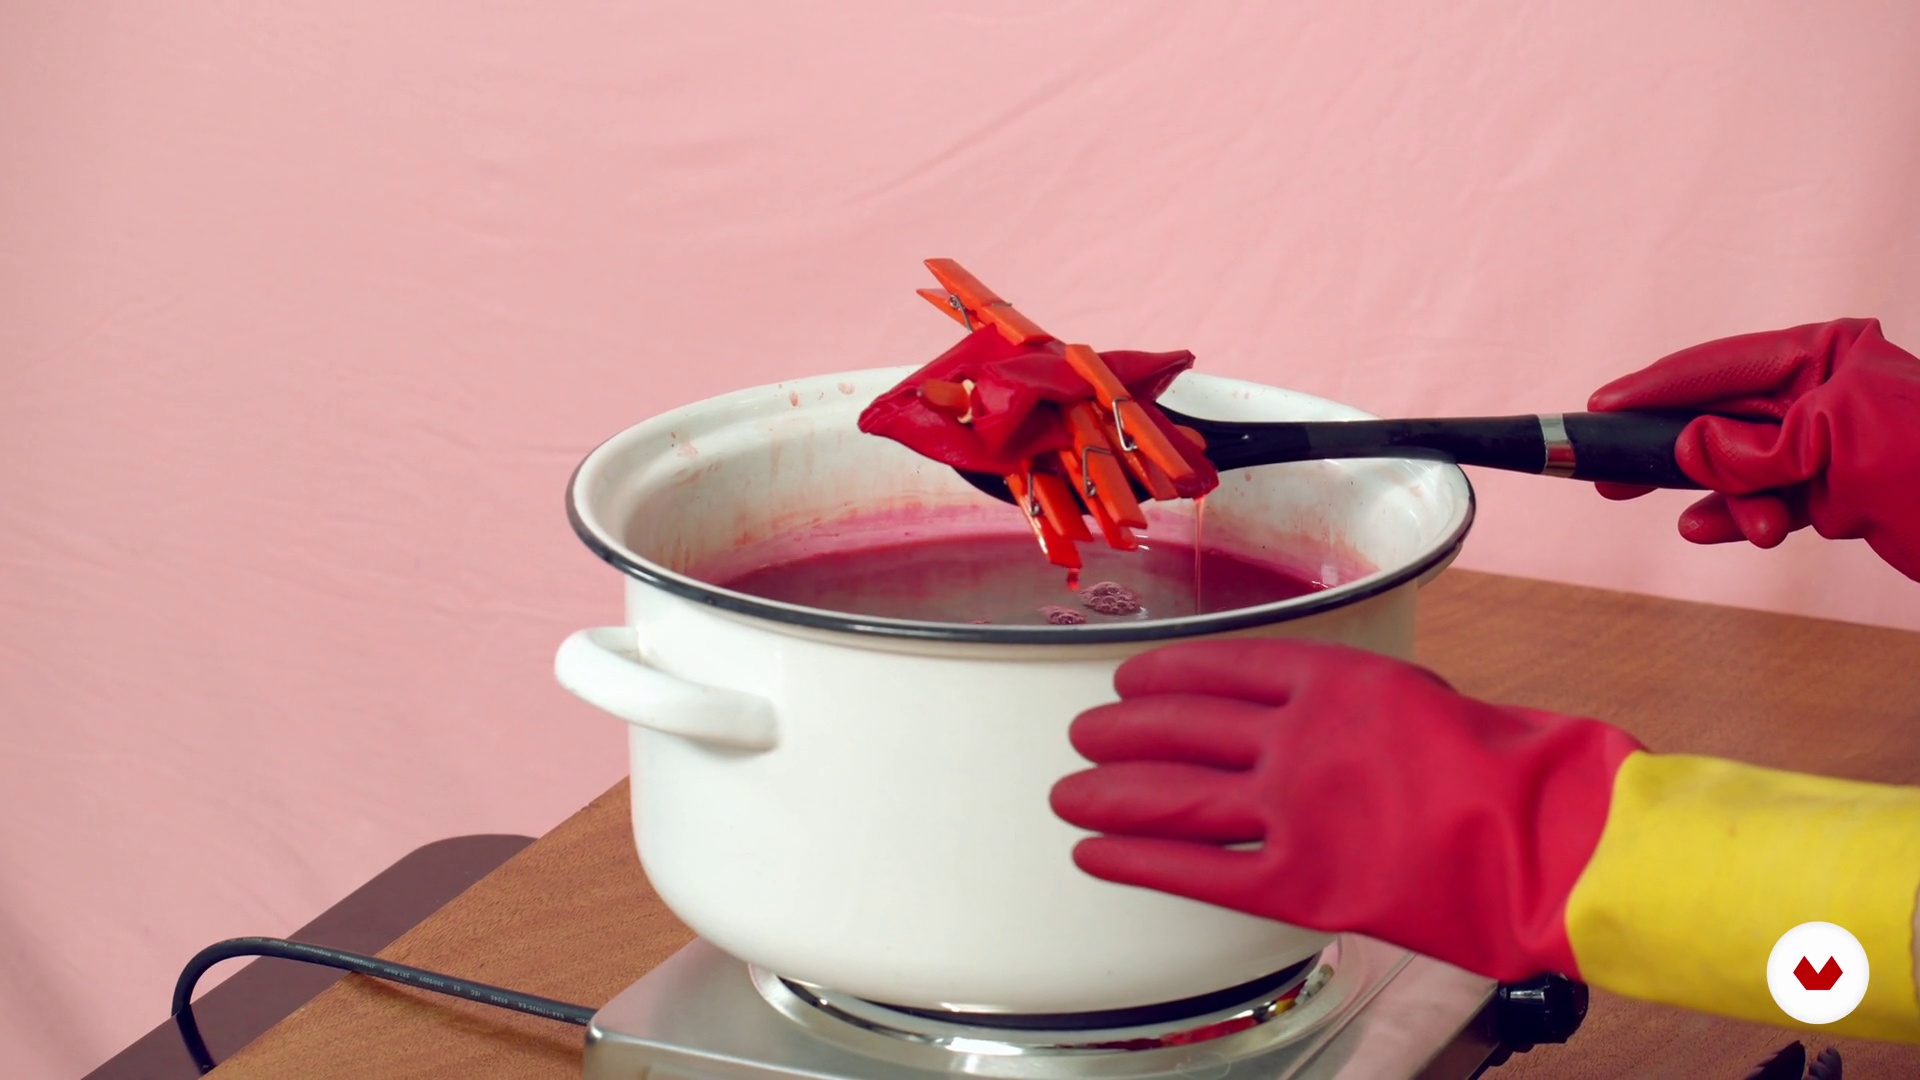
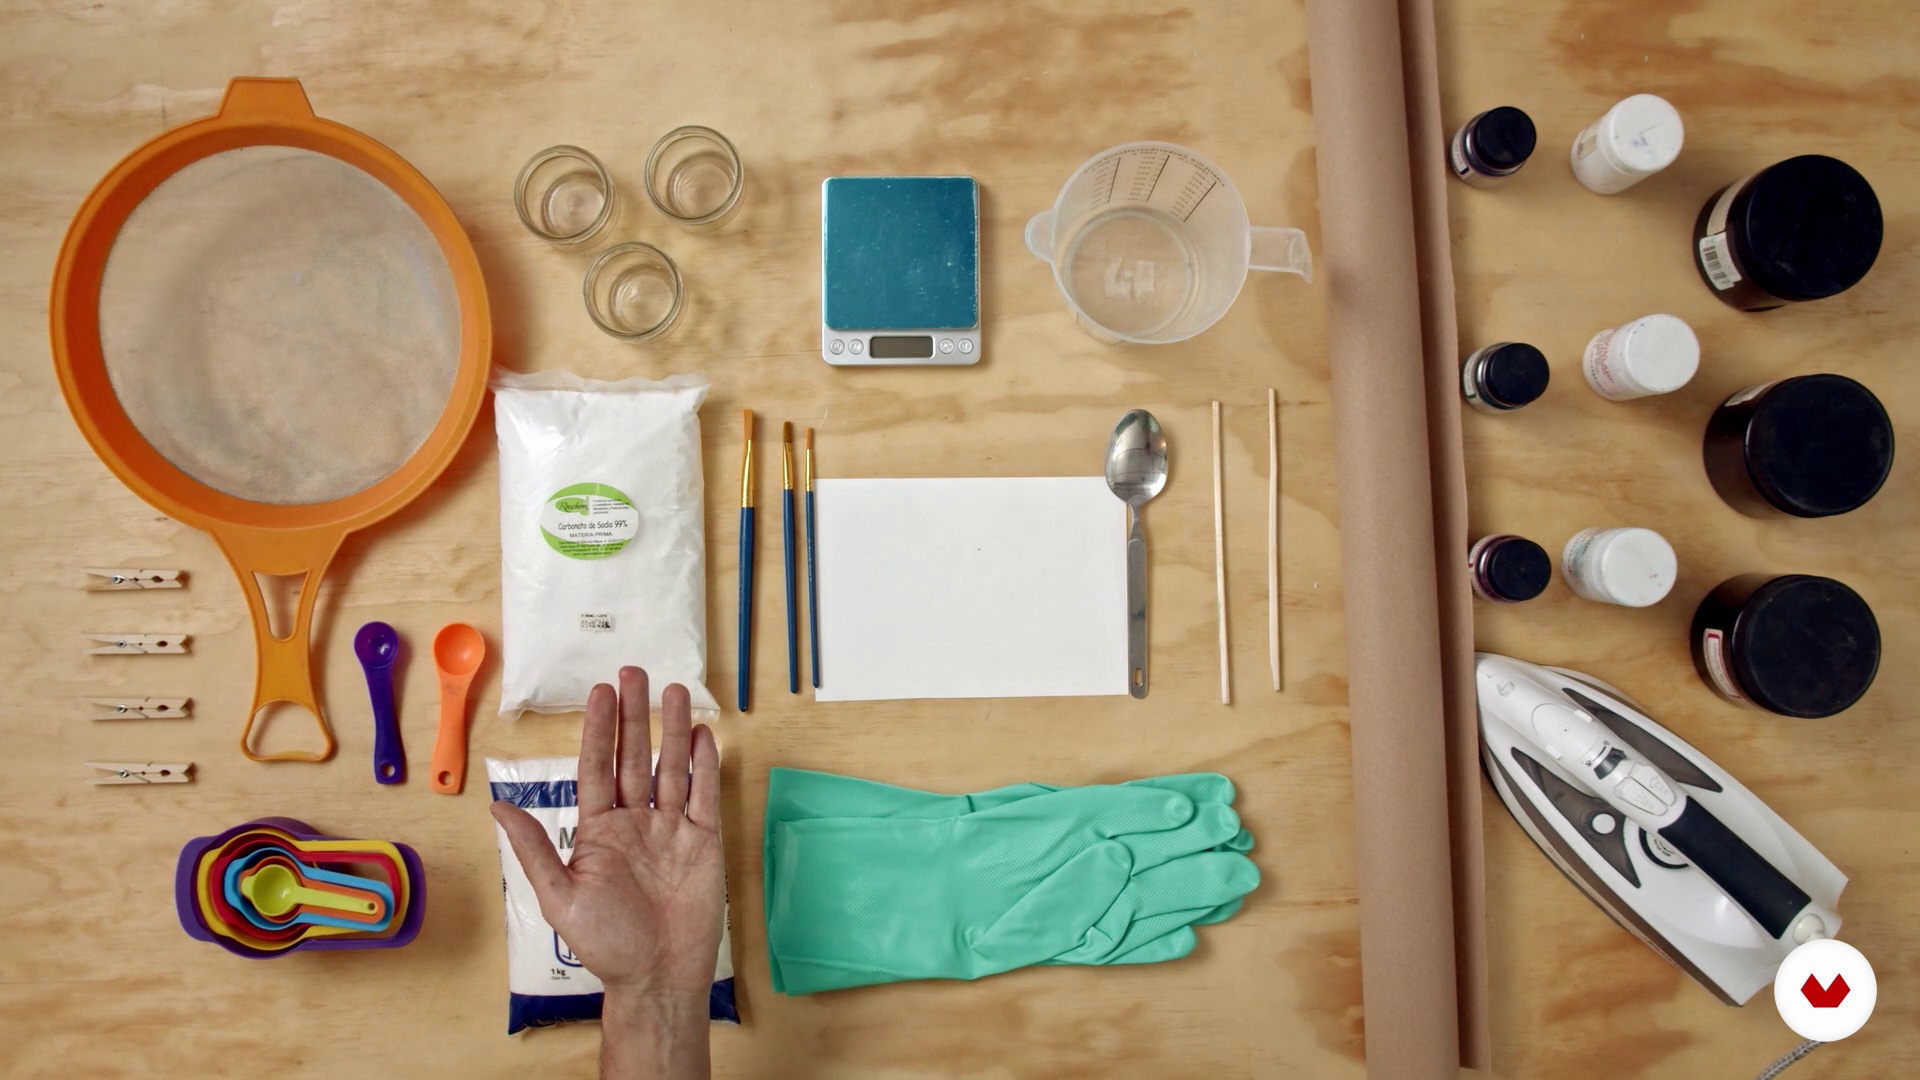
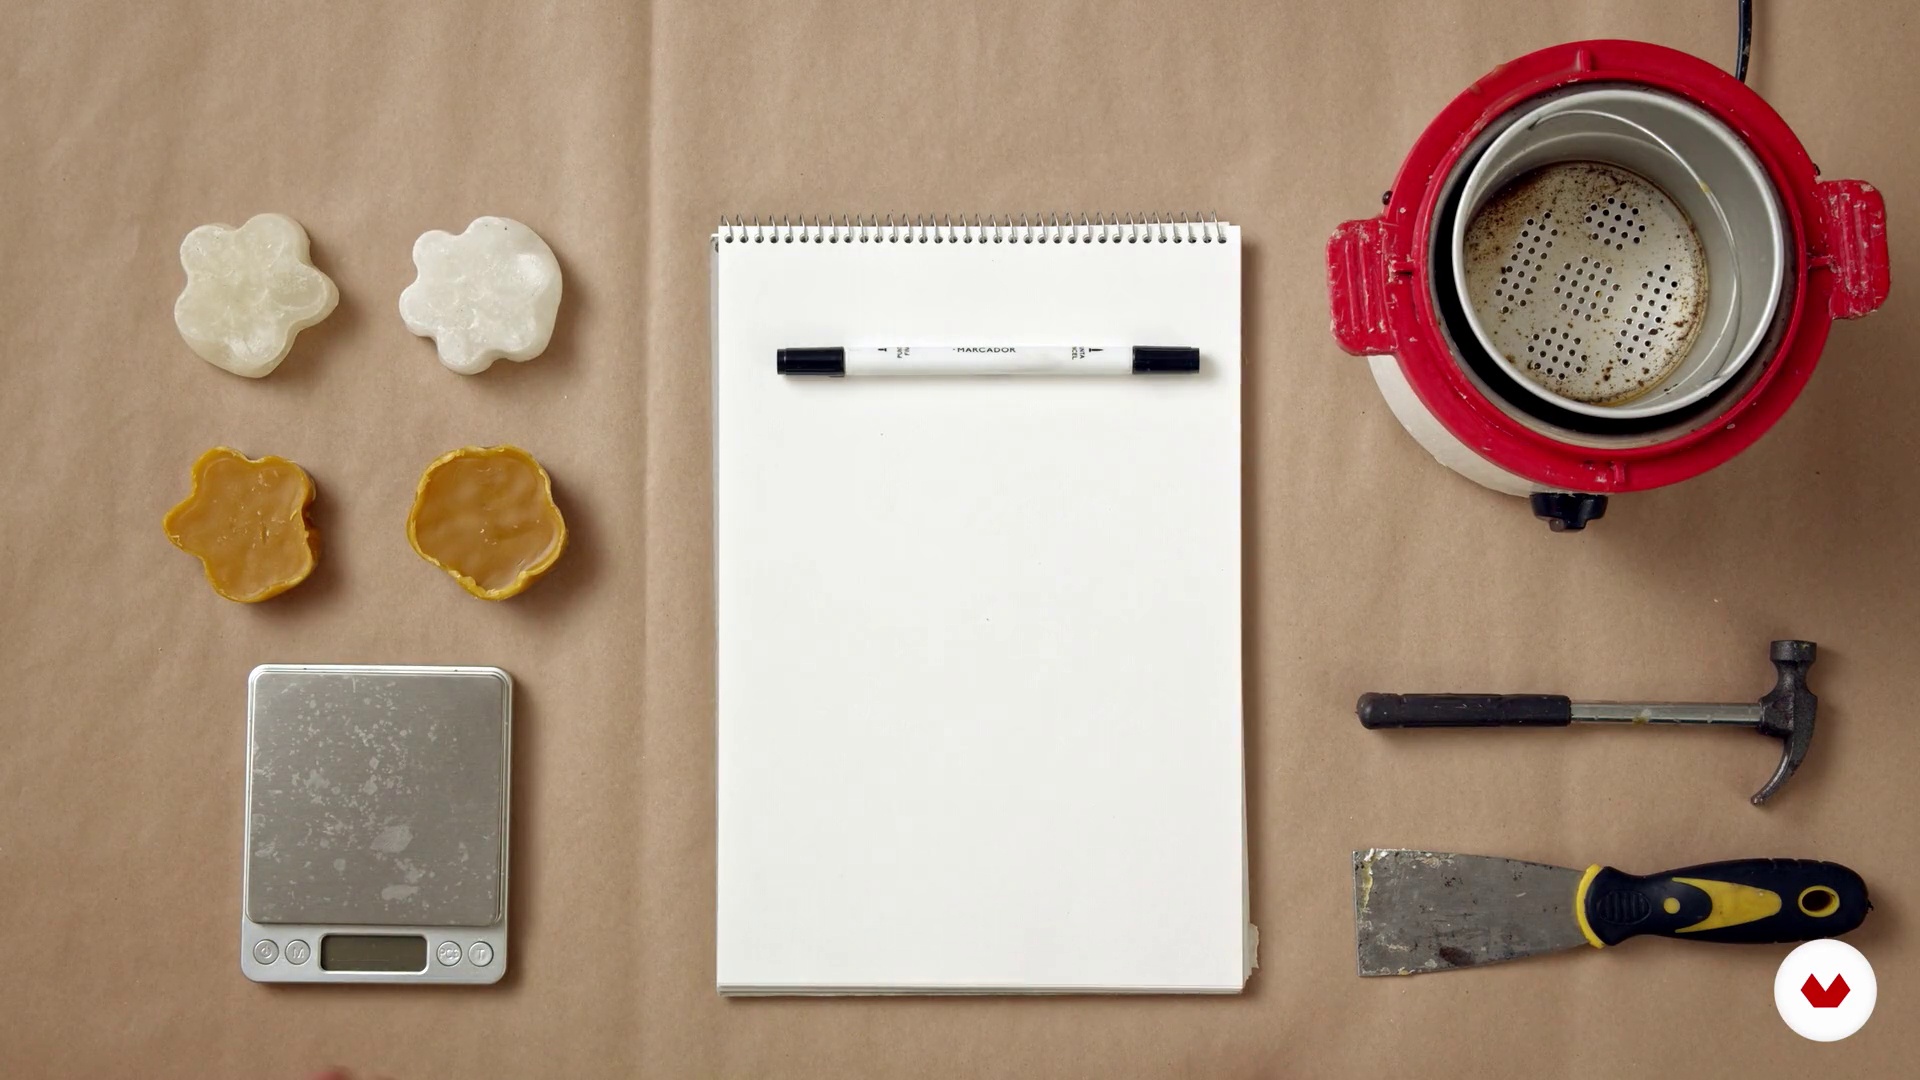
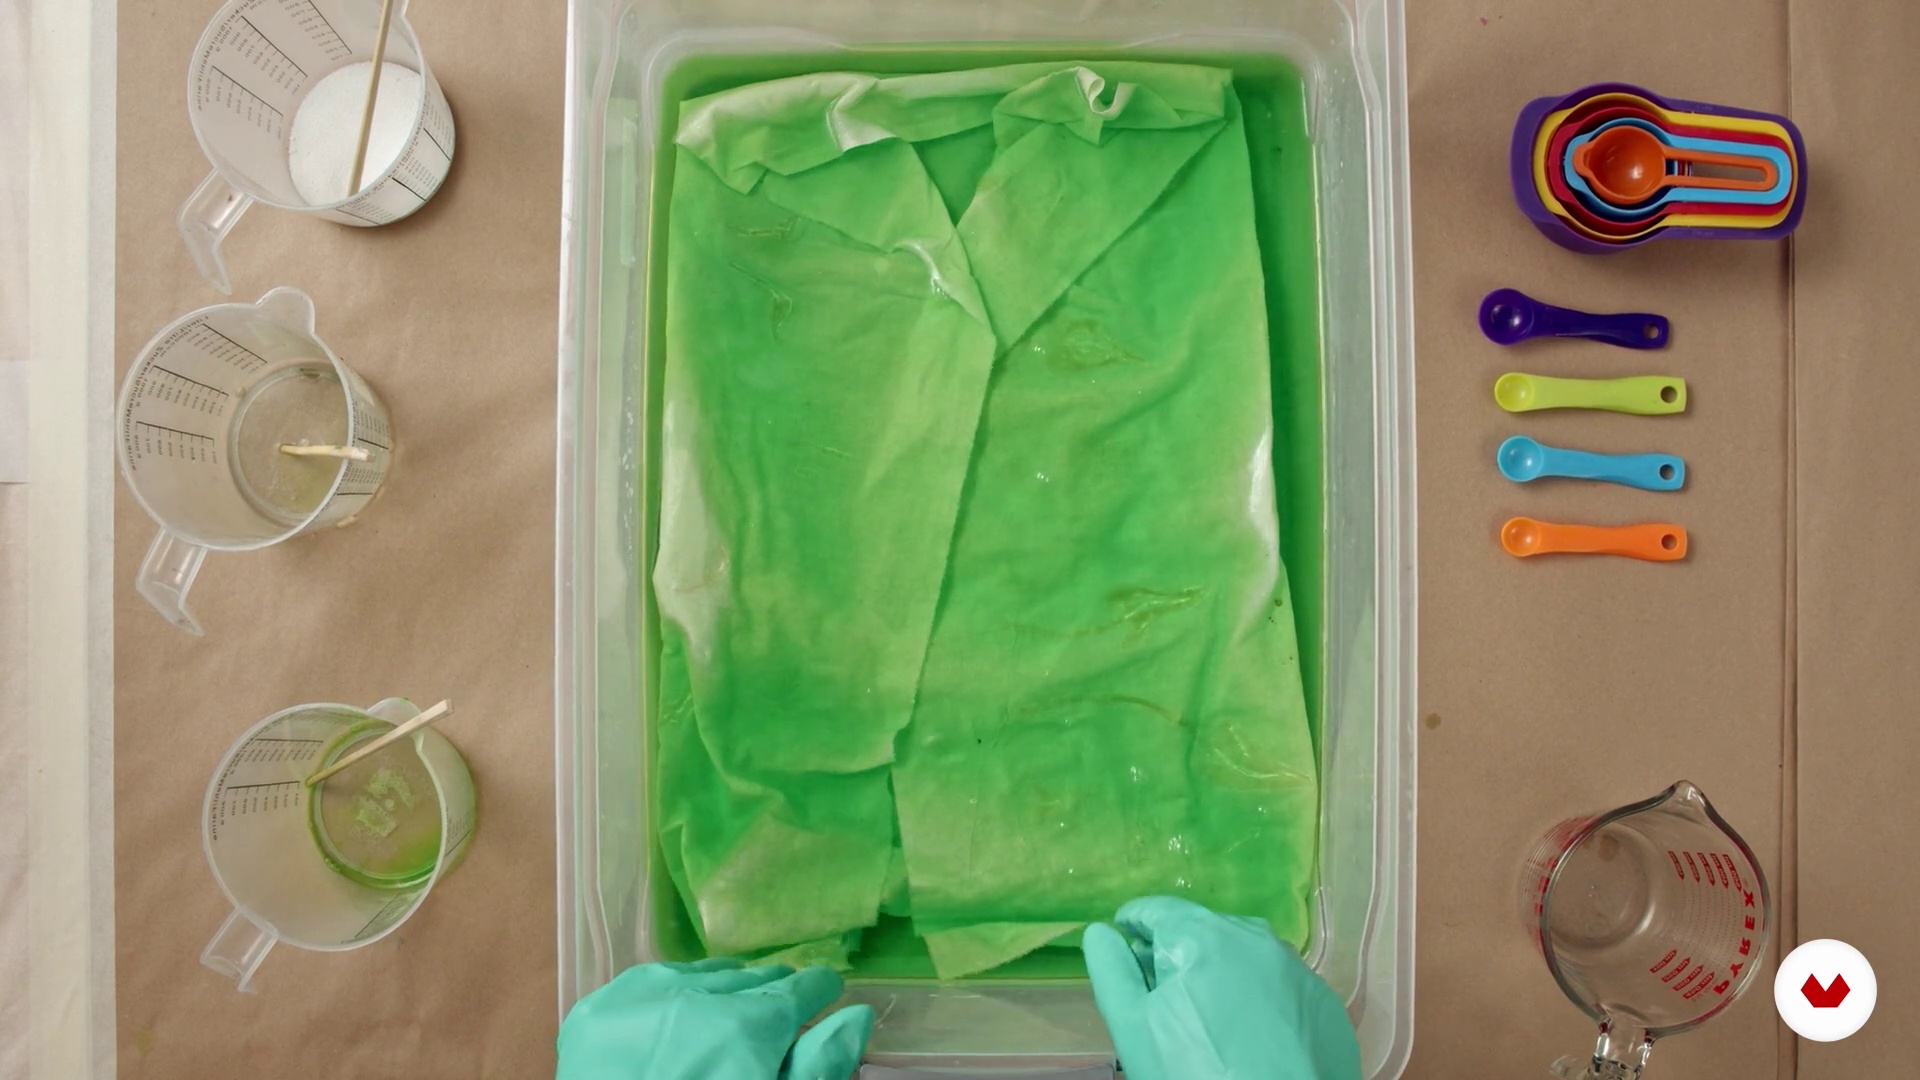
No extensive prior knowledge is required. You will need natural fabrics, suitable dyes, dyeing containers, protective gloves, and folding and tying tools. A curious attitude and a willingness to experiment will be your best allies on this creative textile journey.


Reviews
What to expect from this specialization course
-
Learn at your own pace
Enjoy learning from home without a set schedule and with an easy-to-follow method. You set your own pace.
-
Learn from the best professionals
Learn valuable methods and techniques explained by top experts in the creative sector.
-
Meet expert teachers
Each expert teaches what they do best, with clear guidelines, true passion, and professional insight in every lesson.
-
Certificates
PlusIf you're a Plus member, get a custom certificate for every specialization course. Share it on your portfolio, social media, or wherever you like.
-
Get front-row seats
Videos of the highest quality, so you don't miss a single detail. With unlimited access, you can watch them as many times as you need to perfect your technique.
-
Share knowledge and ideas
Ask questions, request feedback, or offer solutions. Share your learning experience with other students in the community who are as passionate about creativity as you are.
-
Connect with a global creative community
The community is home to millions of people from around the world who are curious and passionate about exploring and expressing their creativity.
-
Watch professionally produced courses
Domestika curates its teacher roster and produces every course in-house to ensure a high-quality online learning experience.
FAQs
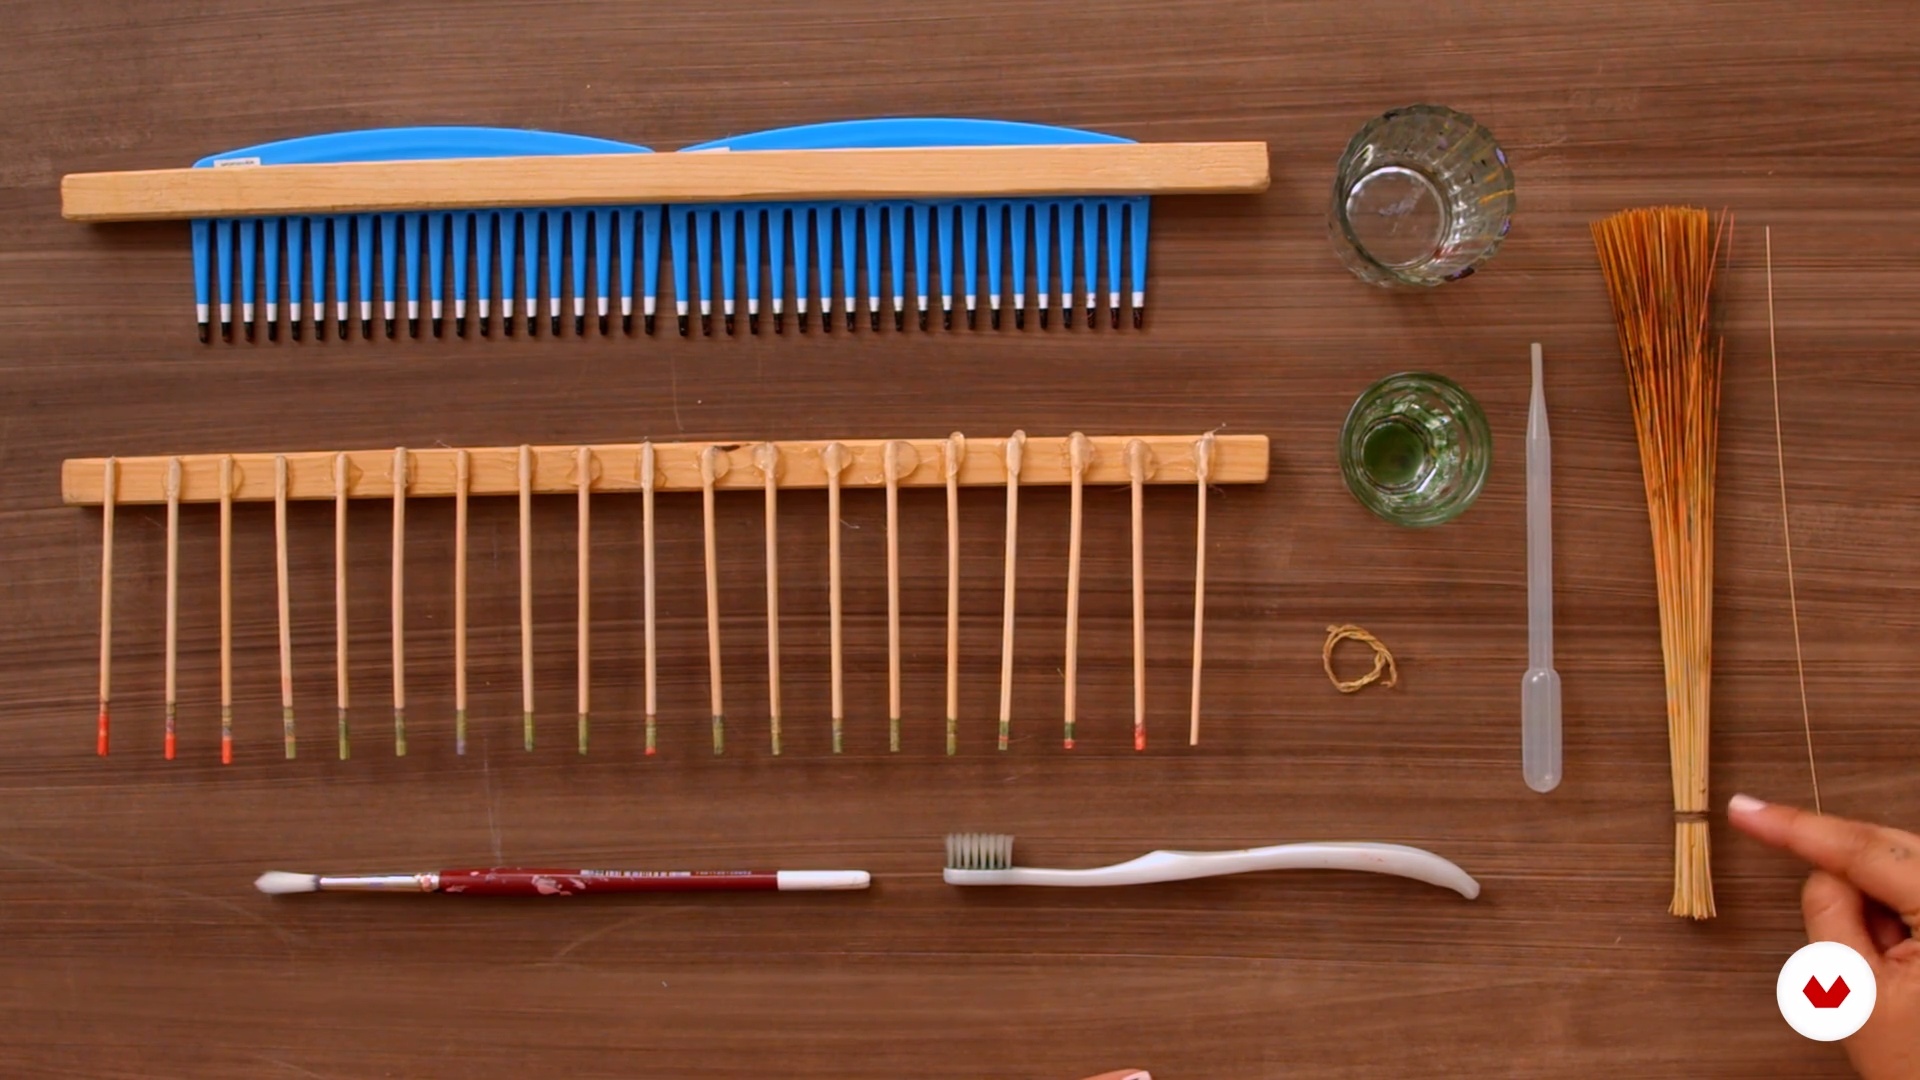
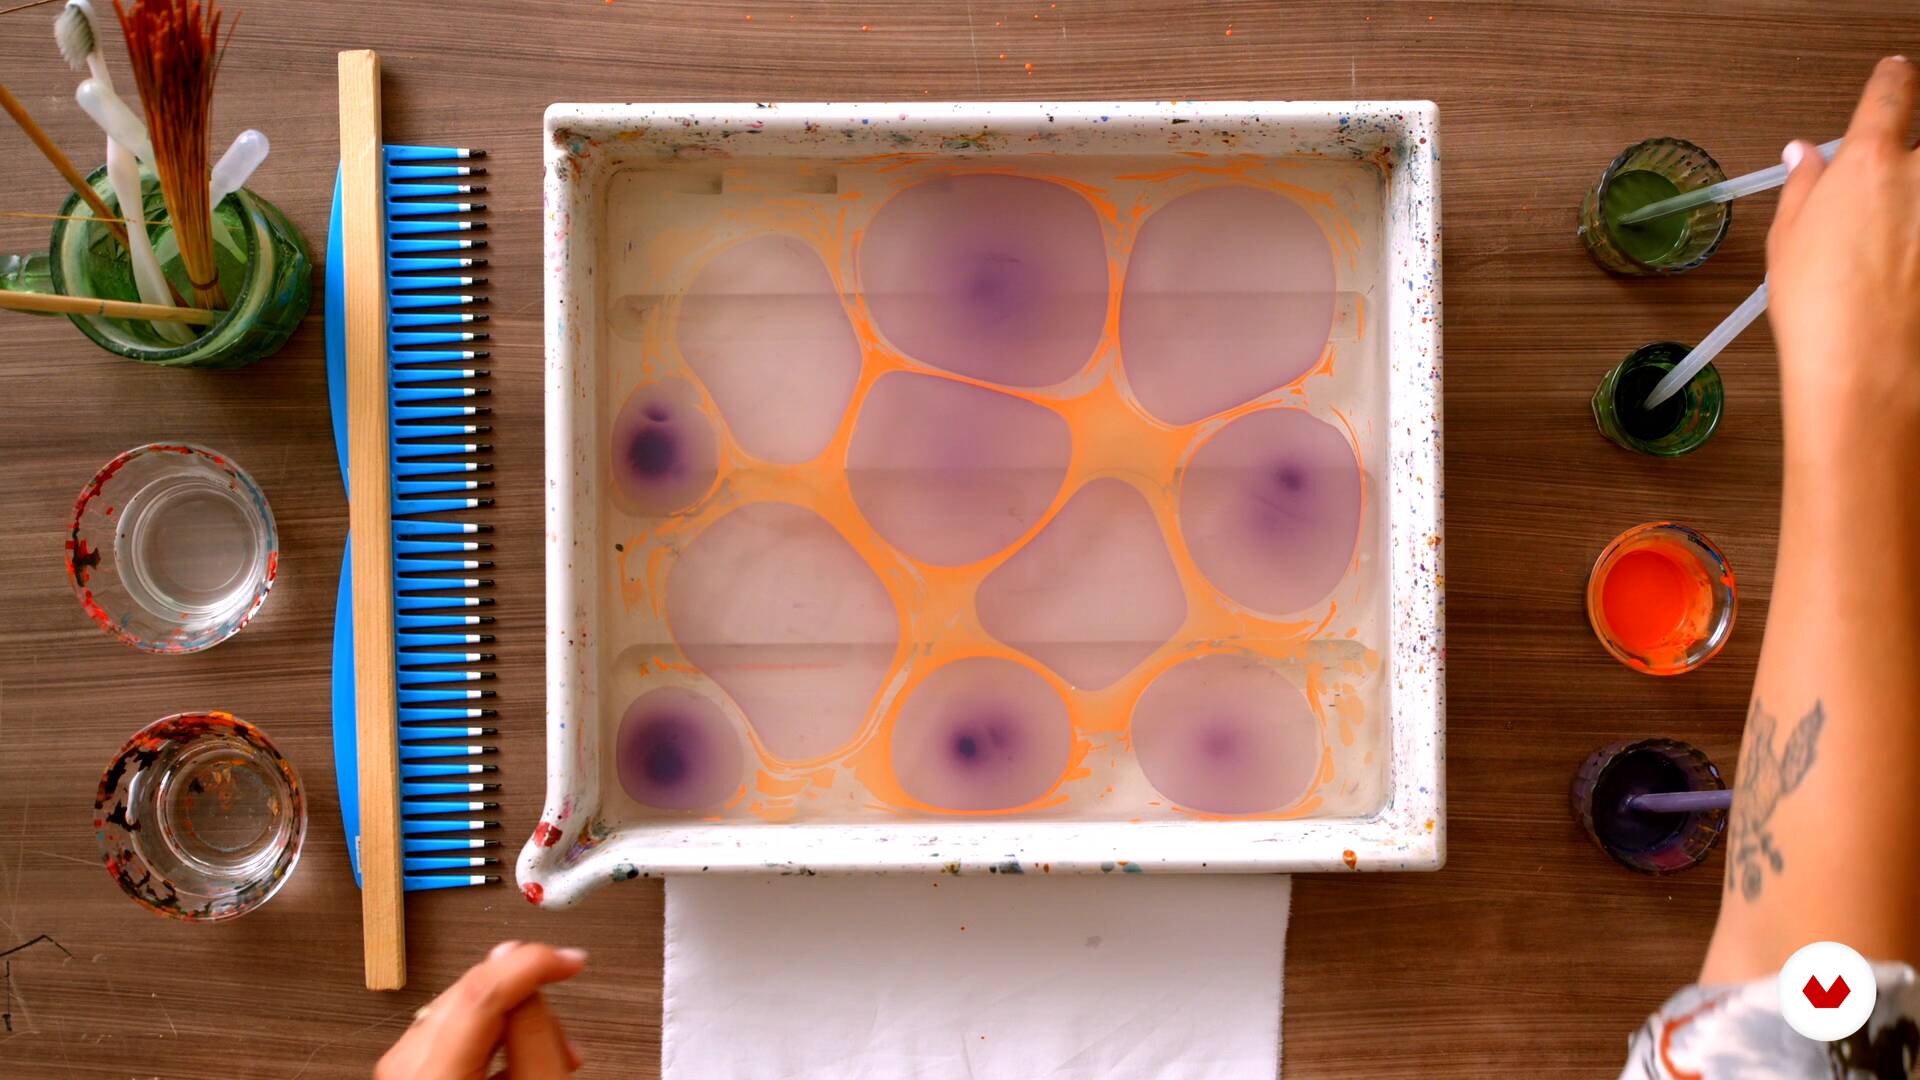
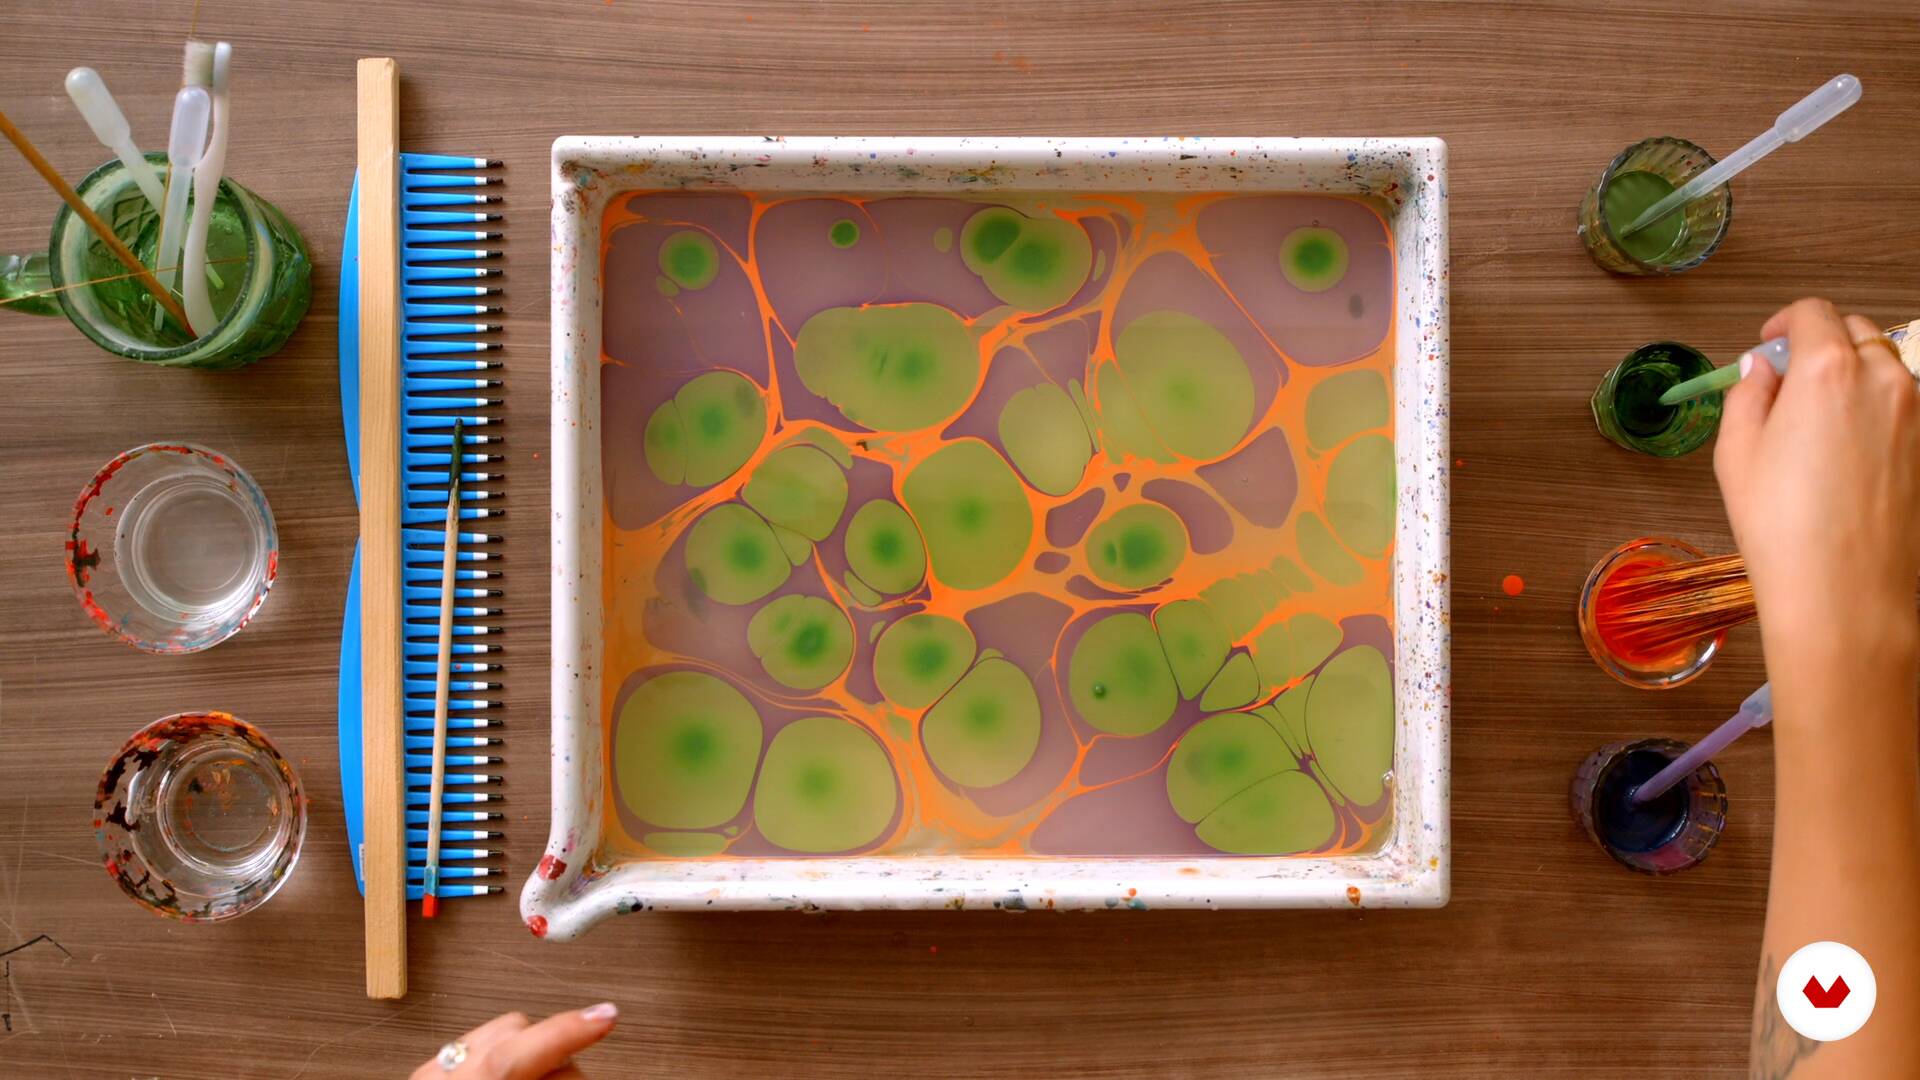
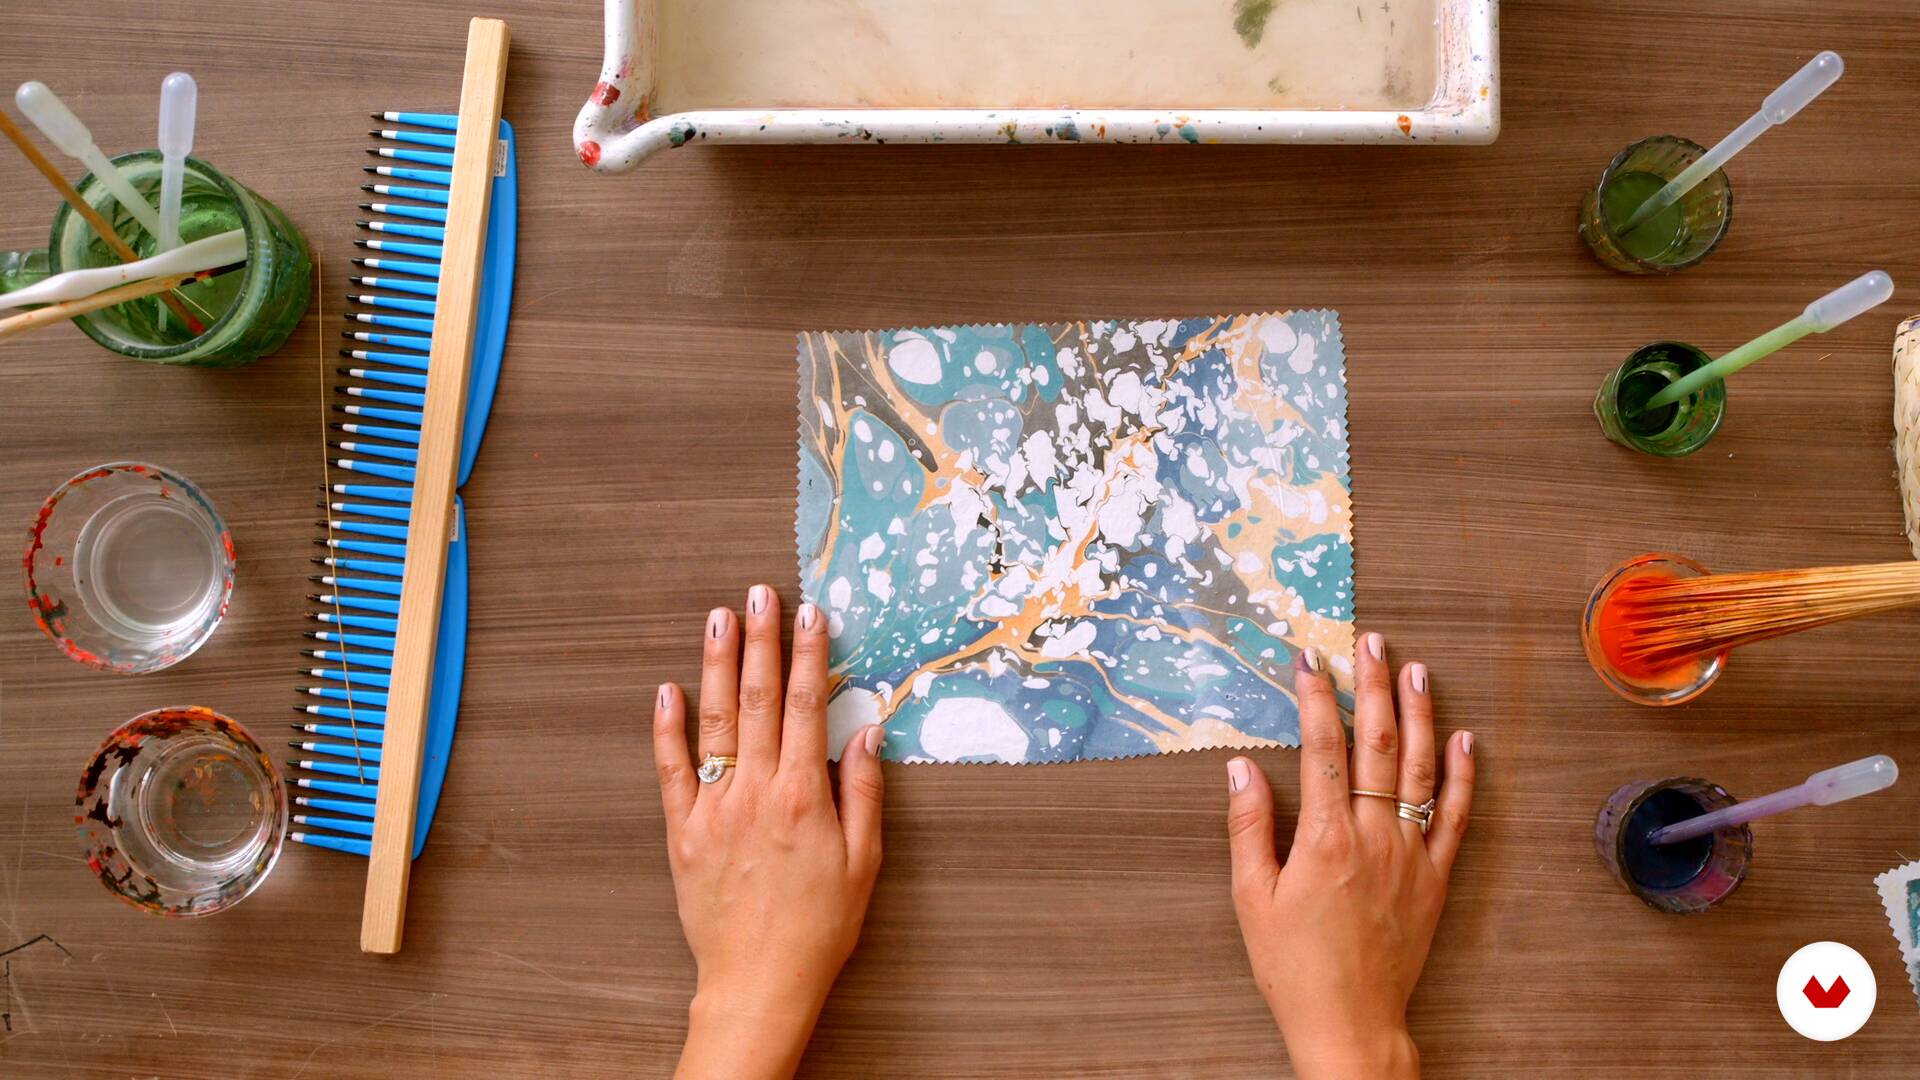
The Turkish marbling technique involves creating marble-like patterns on the water’s surface and transferring them onto fabric using paints, carrageenan, and tools like combs or droppers. It produces unique visual effects on textiles.
The course is intermediate level, perfect for those with basic knowledge of textile or dyeing techniques. You don’t need to be an expert, but some prior experience with crafts or dyes is recommended.
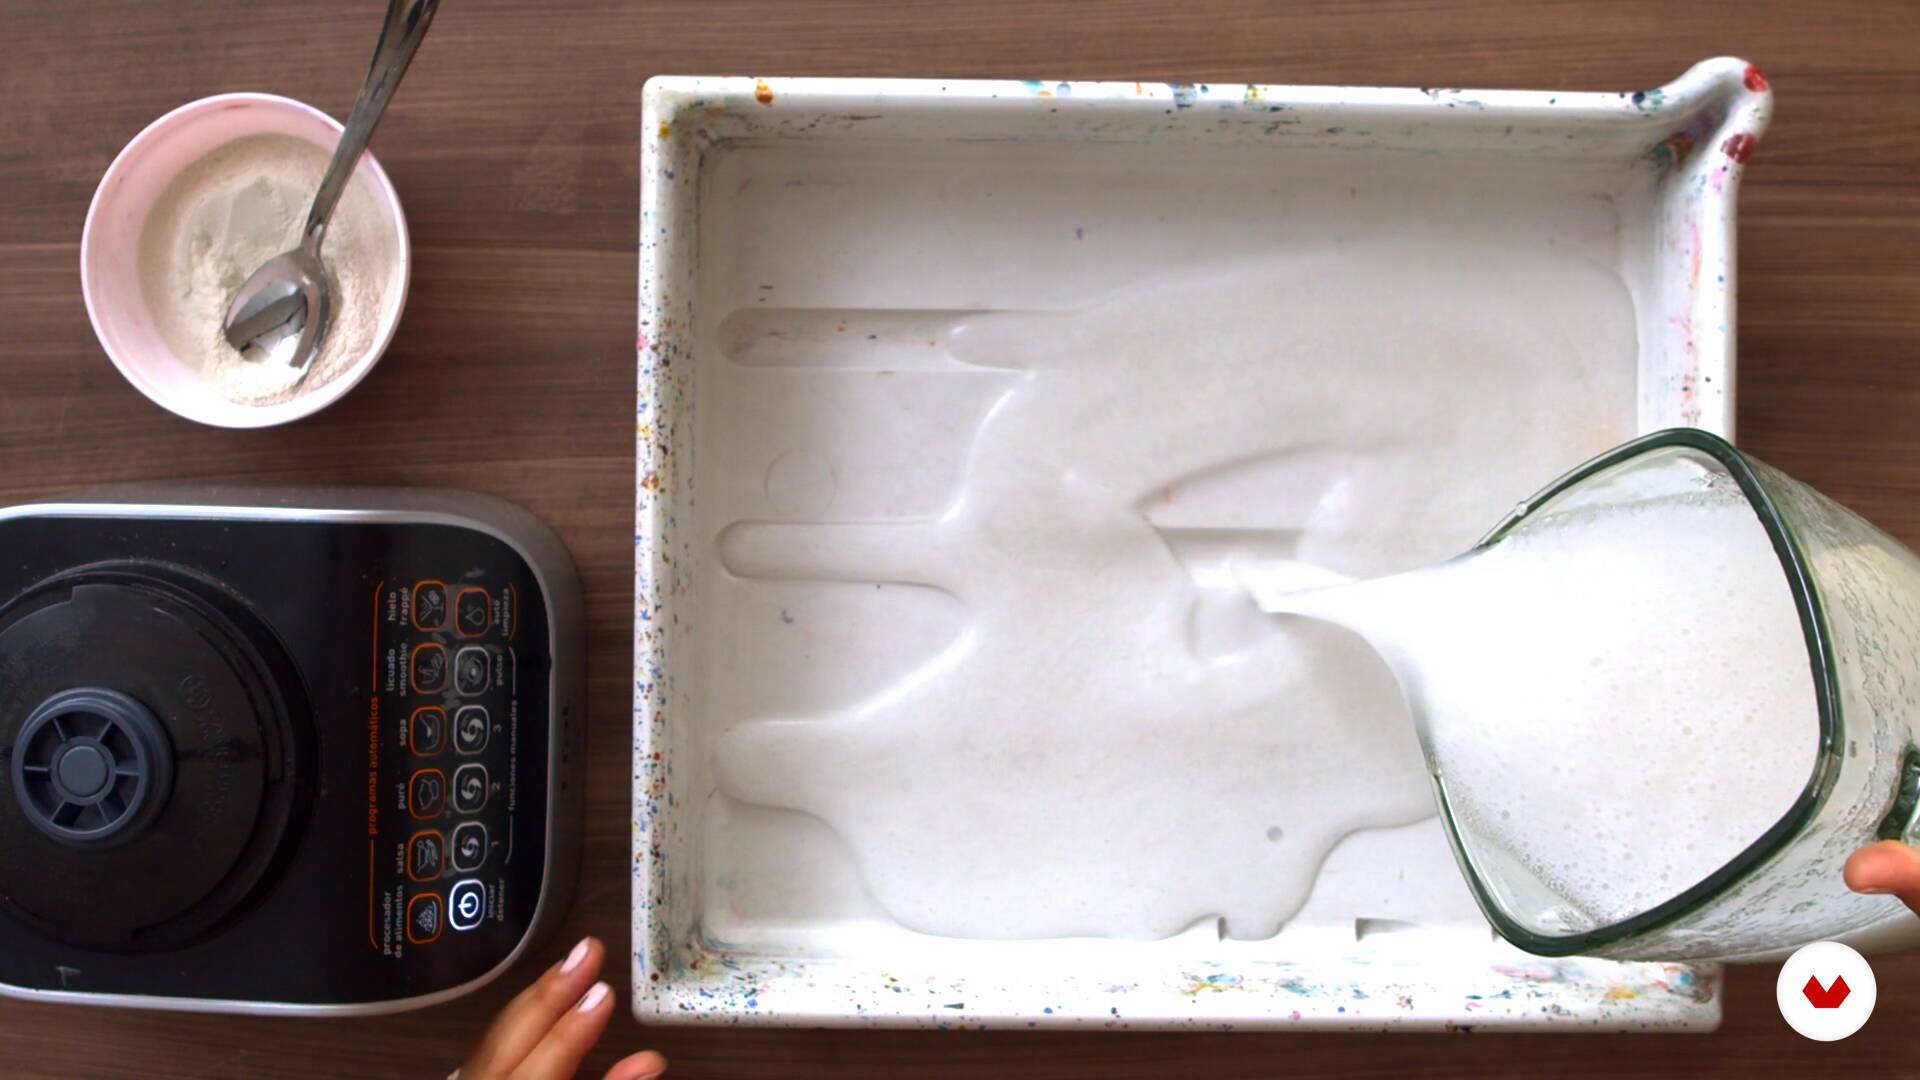
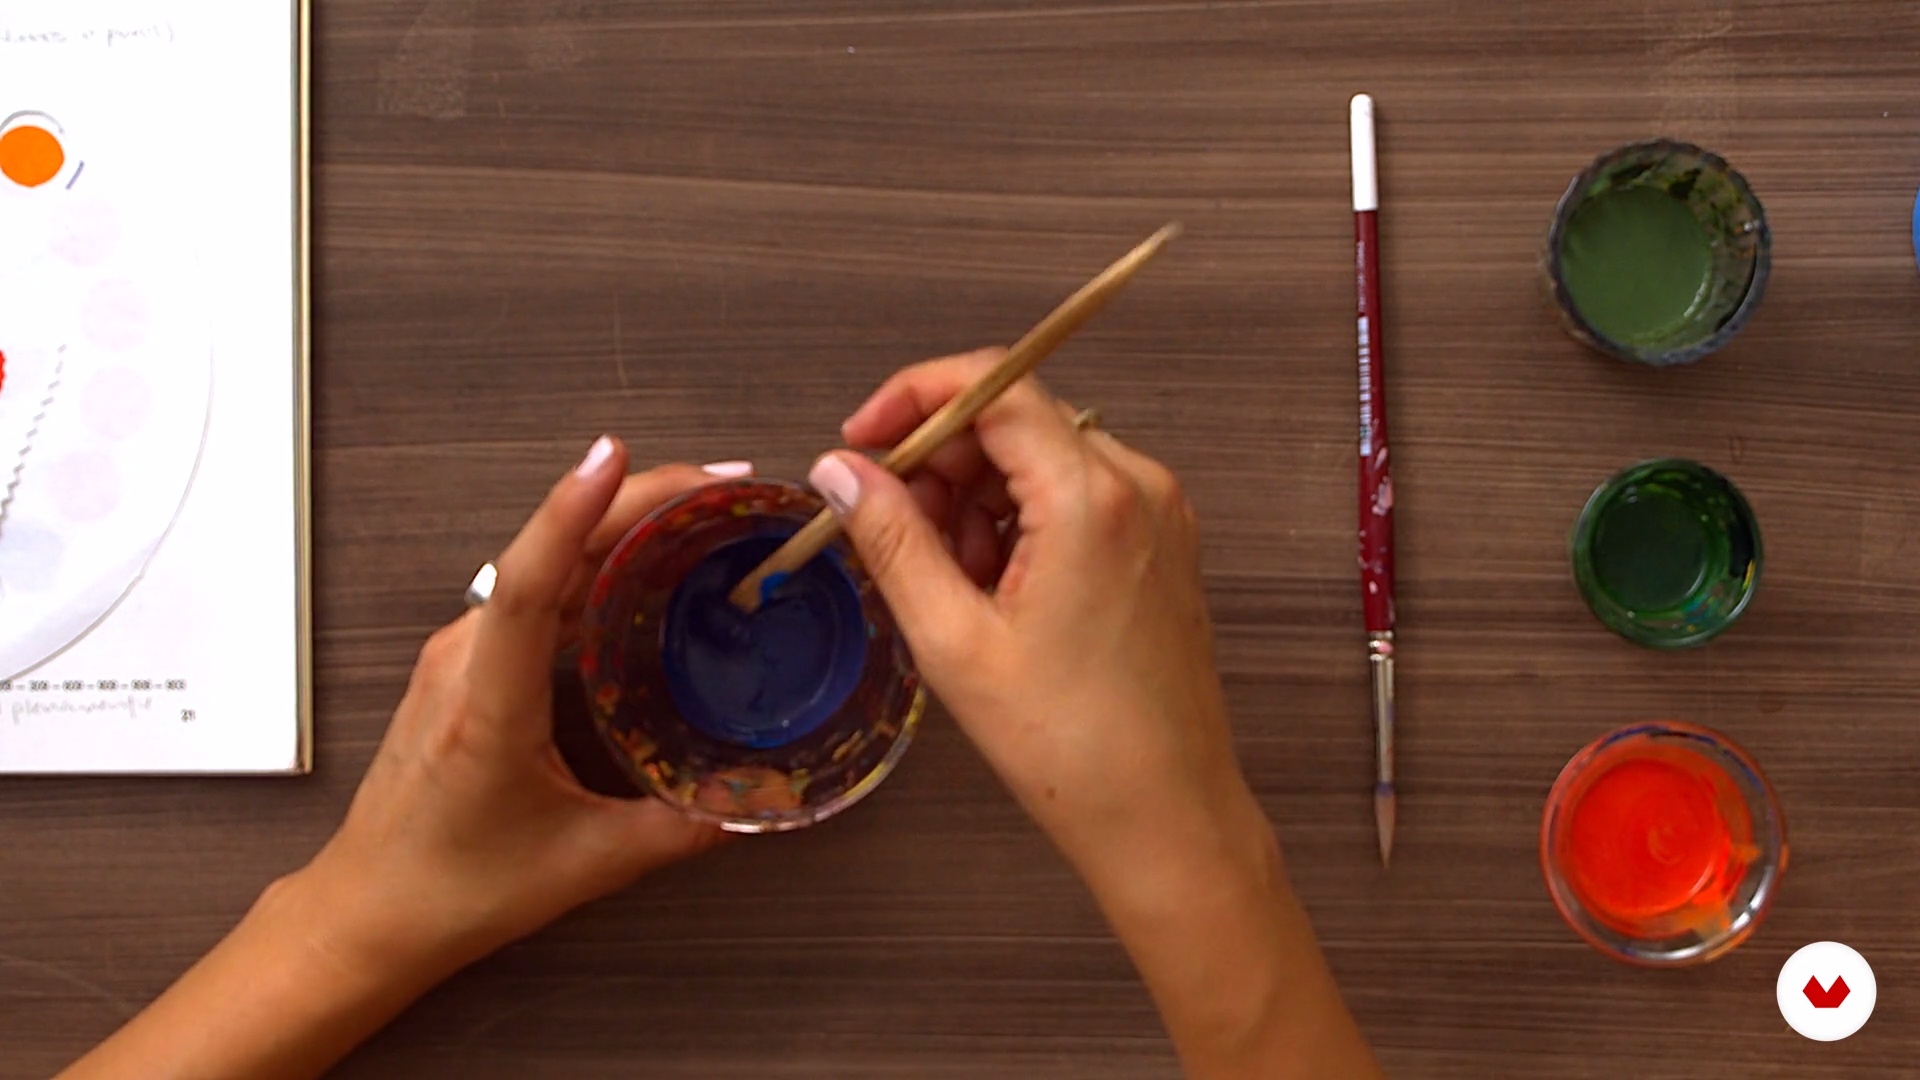
You’ll need fluid acrylic paints, carrageenan, combs, droppers or pipettes, mild soap, water, a tray, cotton canvases, and gloves. Homemade alternatives for some tools are suggested.
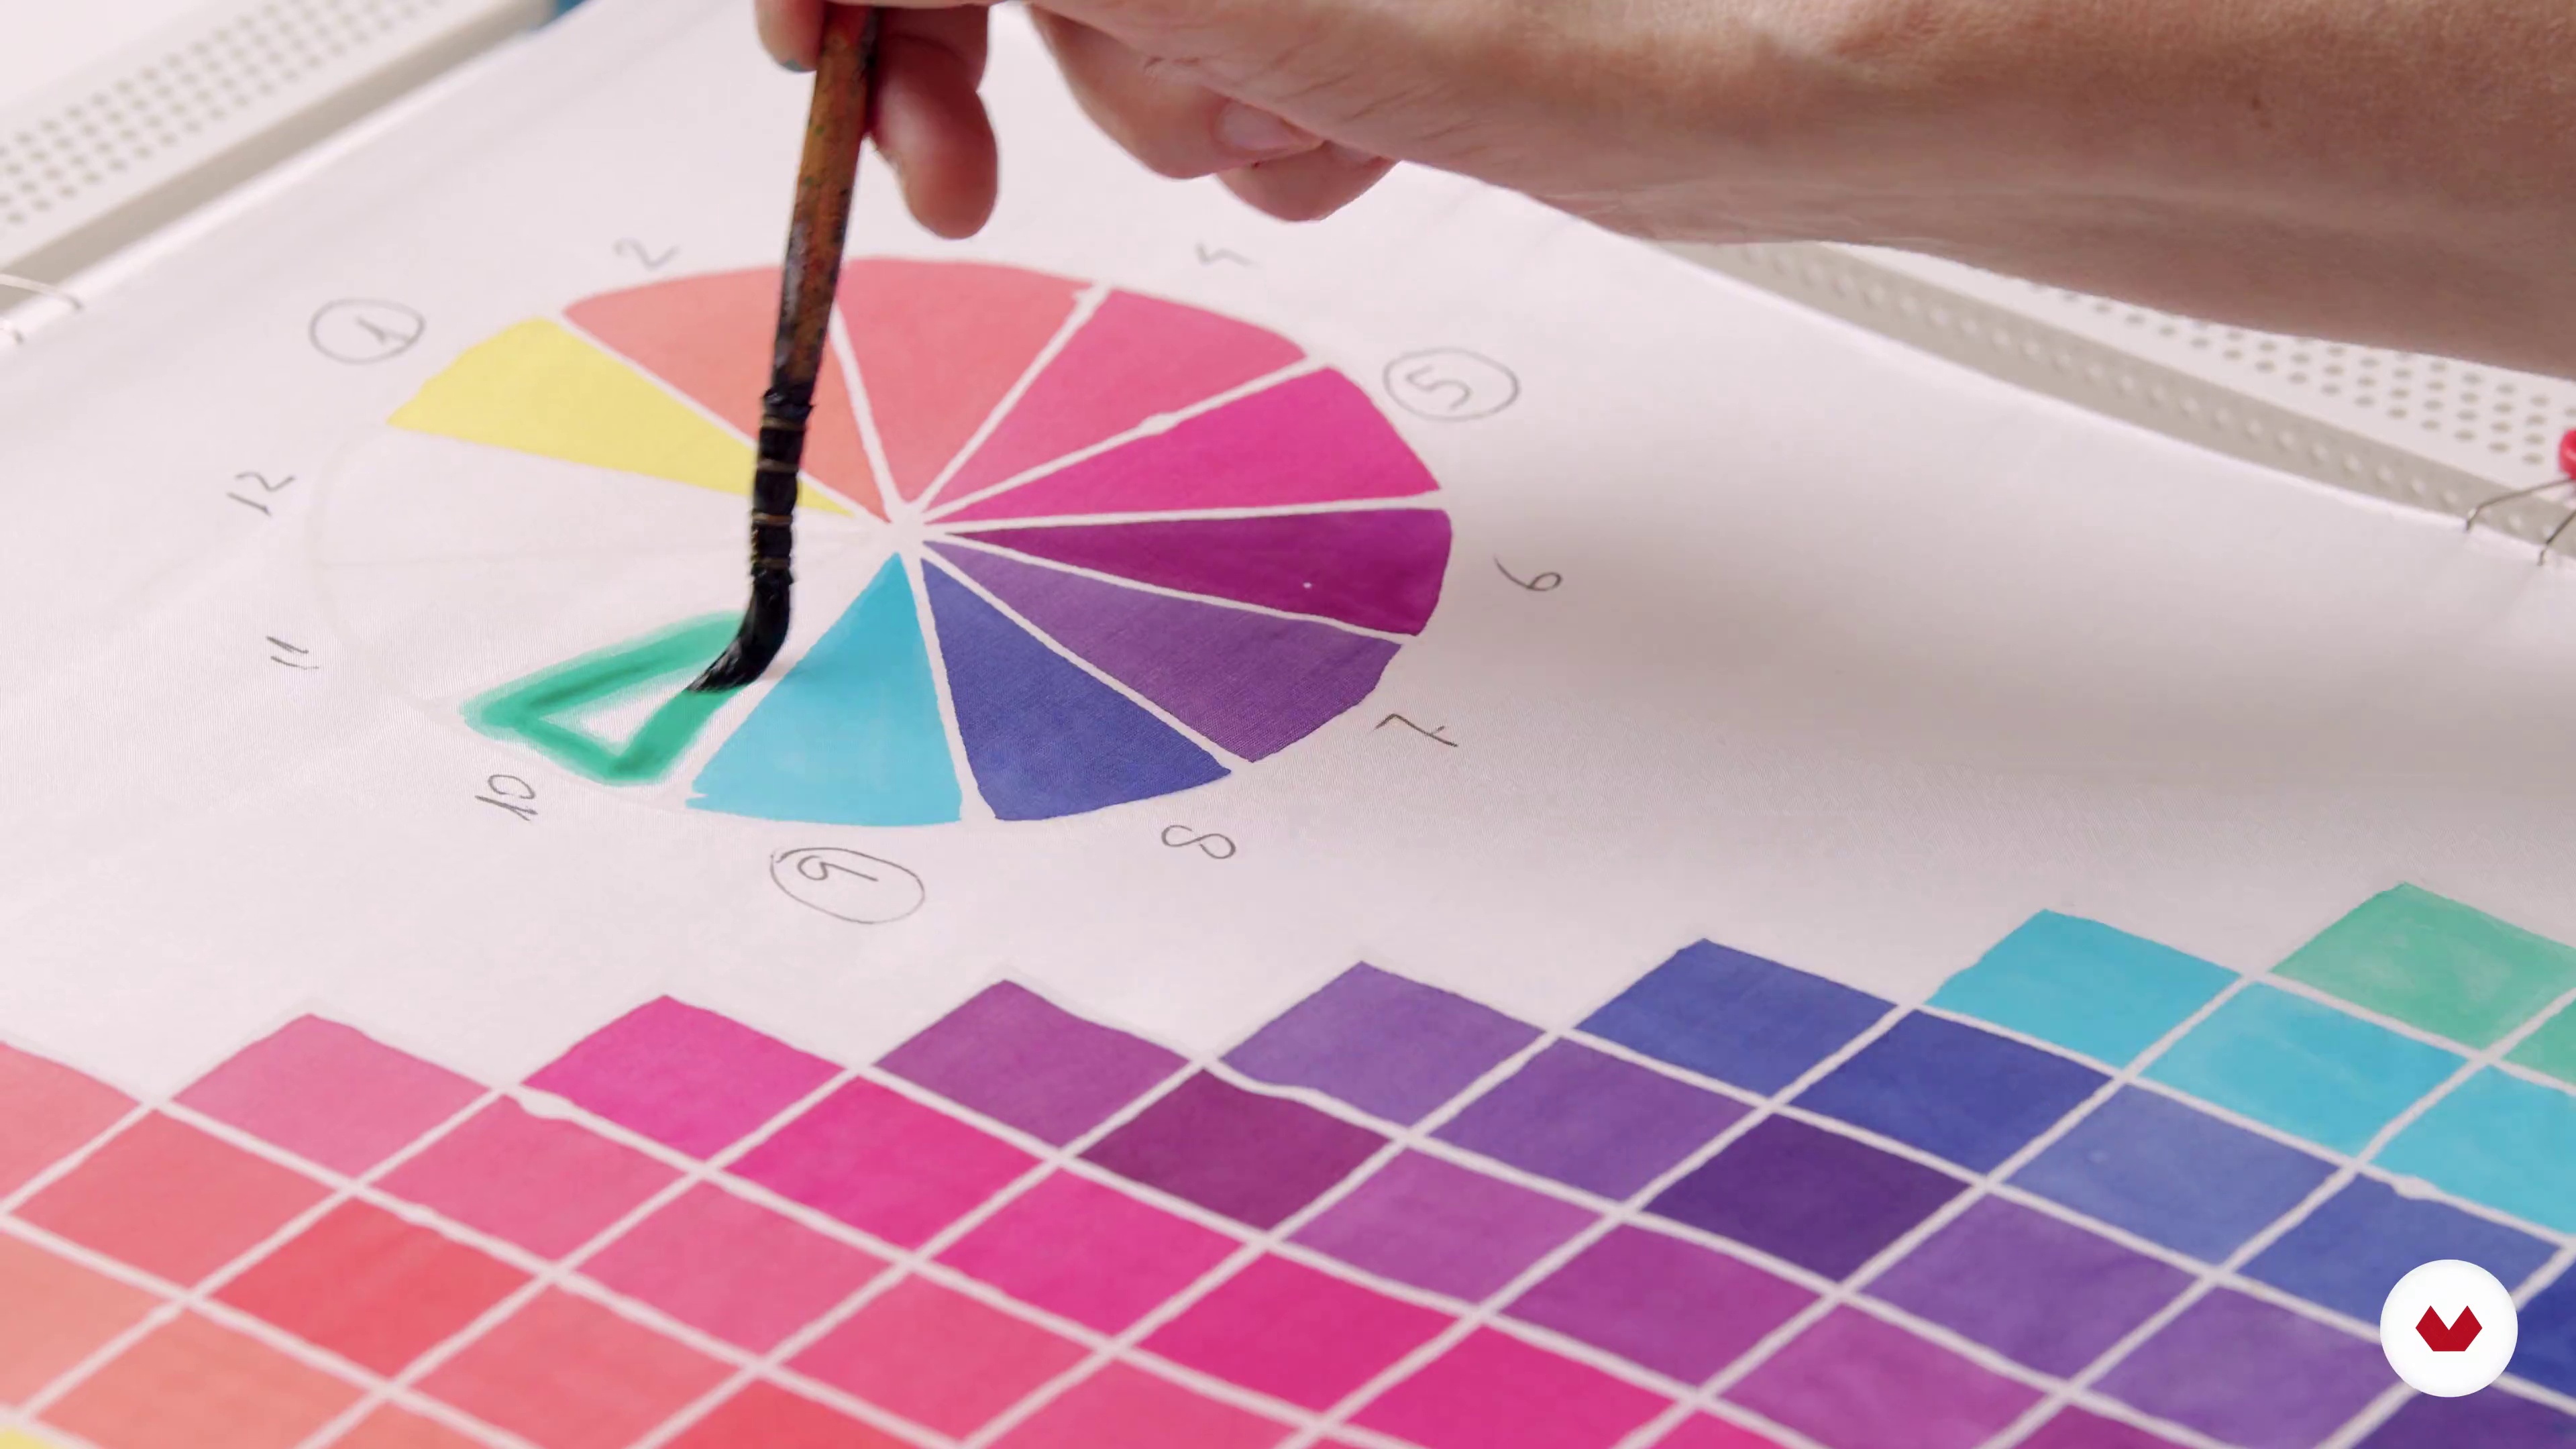
You’ll learn how to prepare the tray, mix paints, create Turkish and nonpareil patterns, apply dyeing and marbling techniques on textiles, select color palettes, and care for dyed pieces.
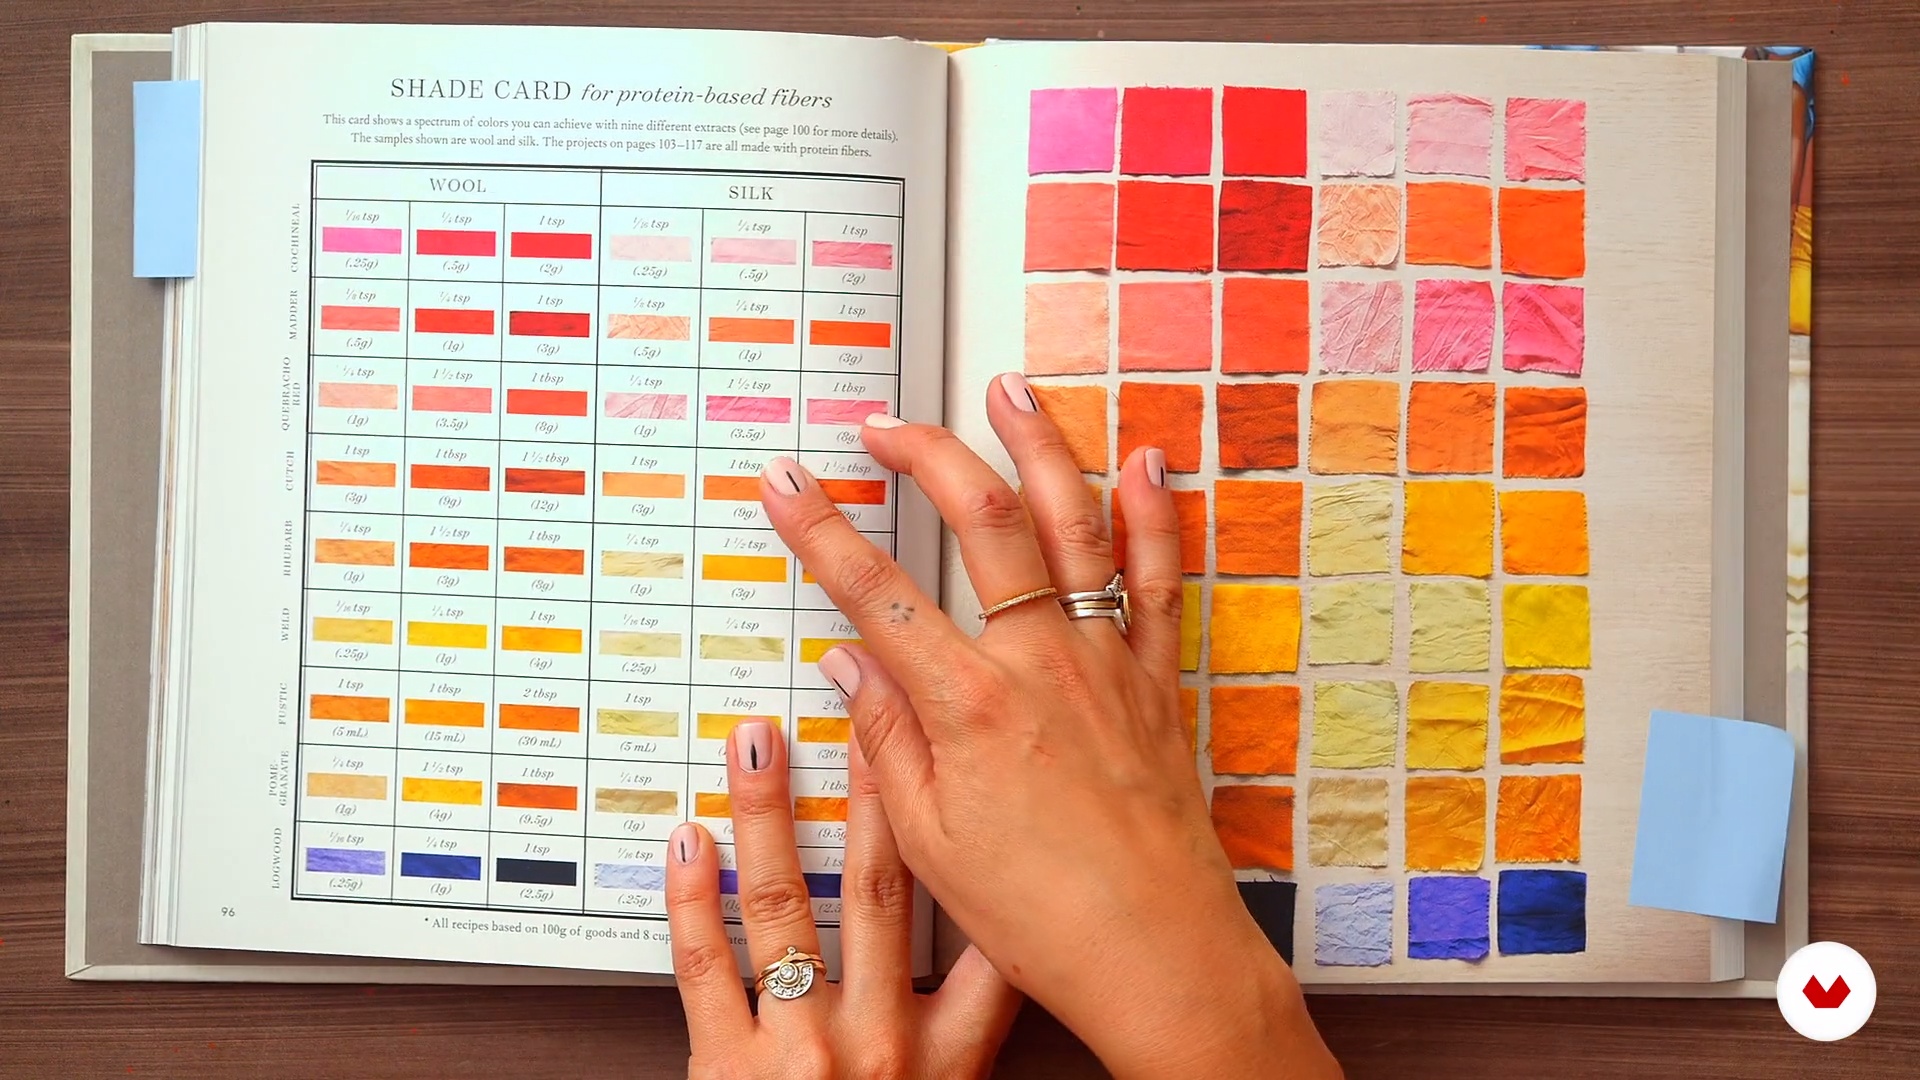
Natural fibers like cotton, linen, and silk are best for marbling because they absorb pigments well and allow optimal pattern transfer.
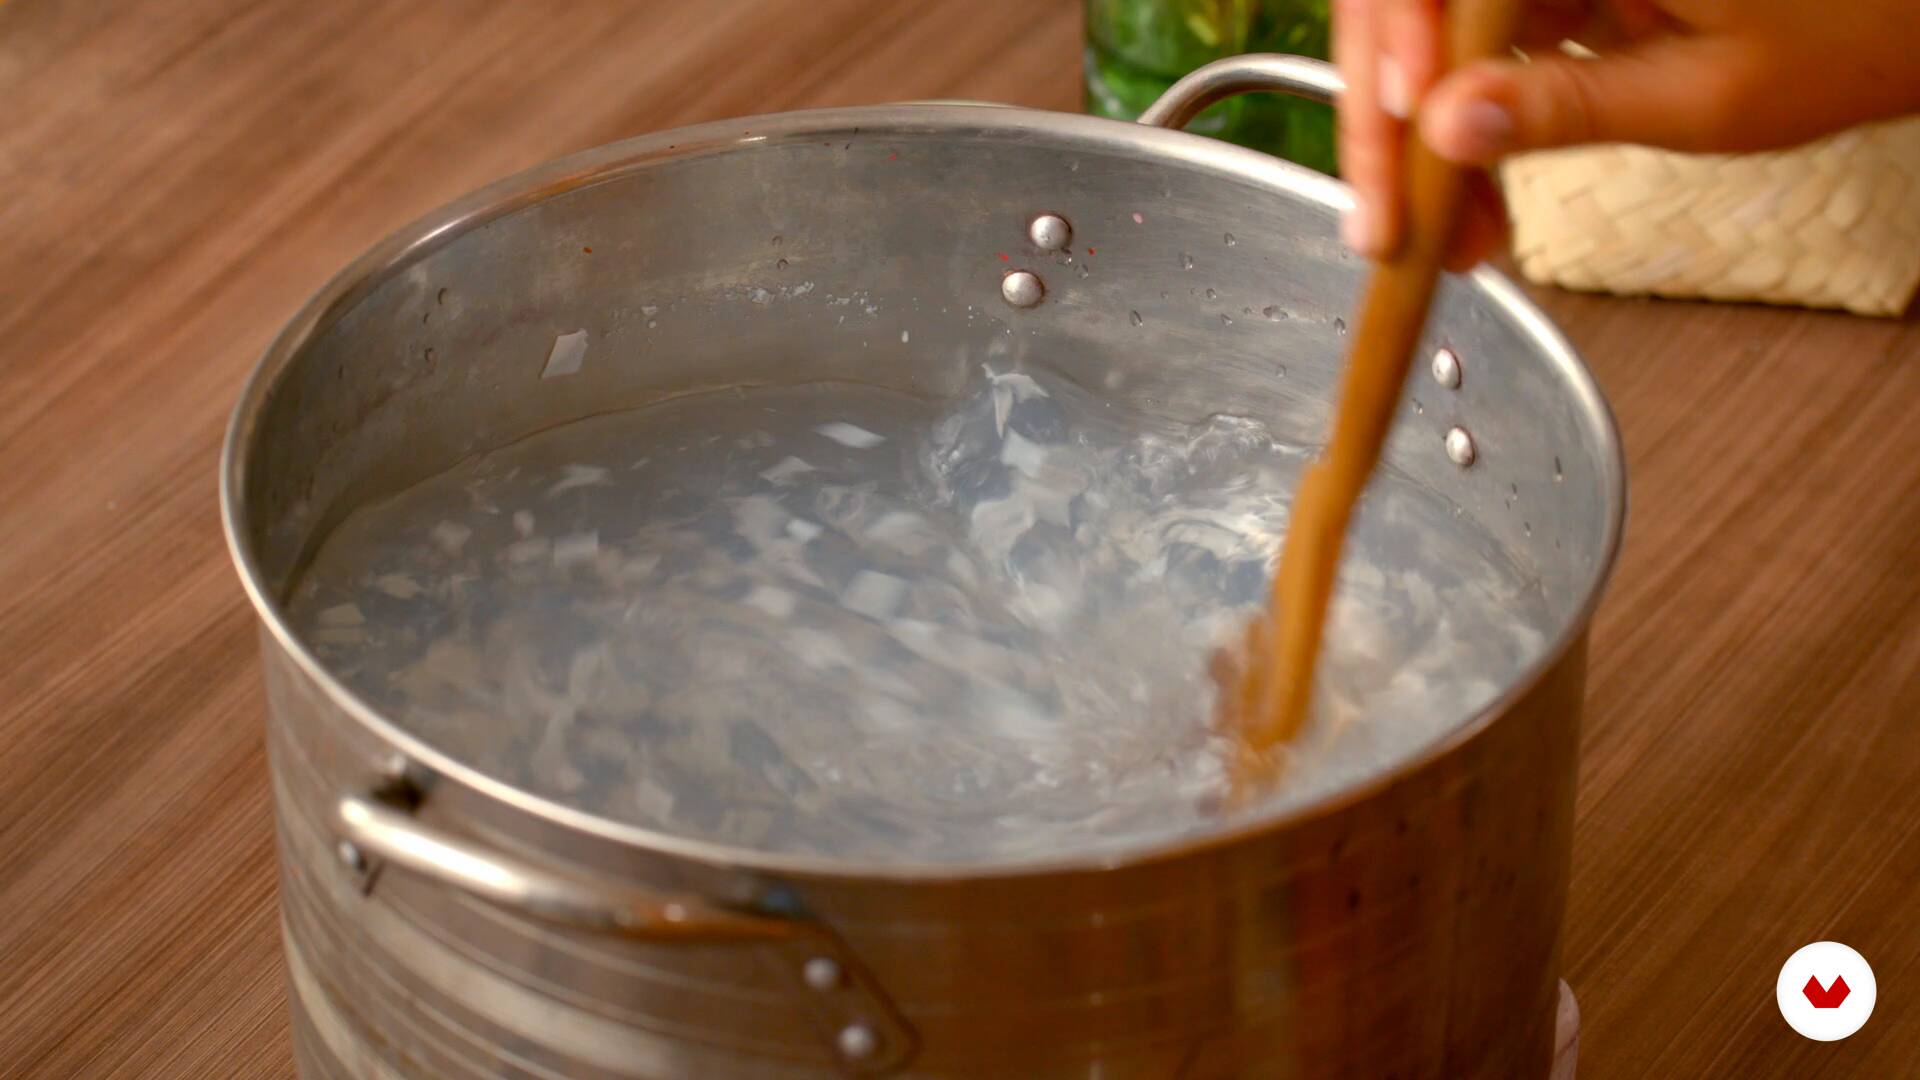
Carrageenan is dissolved in water according to specified ratios, mixed until it reaches a thick but fluid consistency. Adjusting viscosity is key so pigments float properly.
If the tray is too thick, add water and stir well. If too thin, add a bit more carrageenan and let it rest. The ideal consistency lets paint spread without sinking.


Great course, I'm in love with it! I am deeply grateful to all the teachers for sharing their invaluable expertise on various textile dyeing techniques in a such clear, knowledgeable and passionate way. I can't wait to start practicing!