
Master the art of crafting eco-friendly candles and natural soaps with advanced techniques and sustainable ingredients
Embark on a creative journey to master the art of crafting eco-friendly candles and soaps across five expertly designed courses. Delve into the world of candle making with xoilluminated's guidance, where you'll explore the basics of soy wax candles and advance to crafting themed designs using specialized techniques. Discover the realm of natural soap making with the expertise of Marta Tarallo, Mar Amoli, and Alison Fleck, who will teach you to create botanical soaps, unique artistic designs, and advanced decorative techniques. Throughout this specialization, you'll develop skills in working with natural materials, ensuring your creations are both beautiful and kind to the environment.
This comprehensive learning path offers a seamless progression from understanding foundational principles to mastering advanced decorative skills. Each course builds upon the last, allowing you to develop confidence with materials and refine your creative techniques. Whether you're looking to create personal care products, gifts, or embark on a new business venture, this specialization provides the knowledge and inspiration needed to craft unique, sustainable pieces that reflect your personal style and values.
What will you learn in this specialization?
 1
1Introduction
Before diving into the techniques and materials, let´s reconnect with the meaning of making and explore a craft that blends creativity, sustainability, and sensory awareness. Approach it with curiosity and intention, ready to transform simple ingredients into objects that carry atmosphere, care, and personal expression.
1m
 2
2Influences | Belinda Resendez
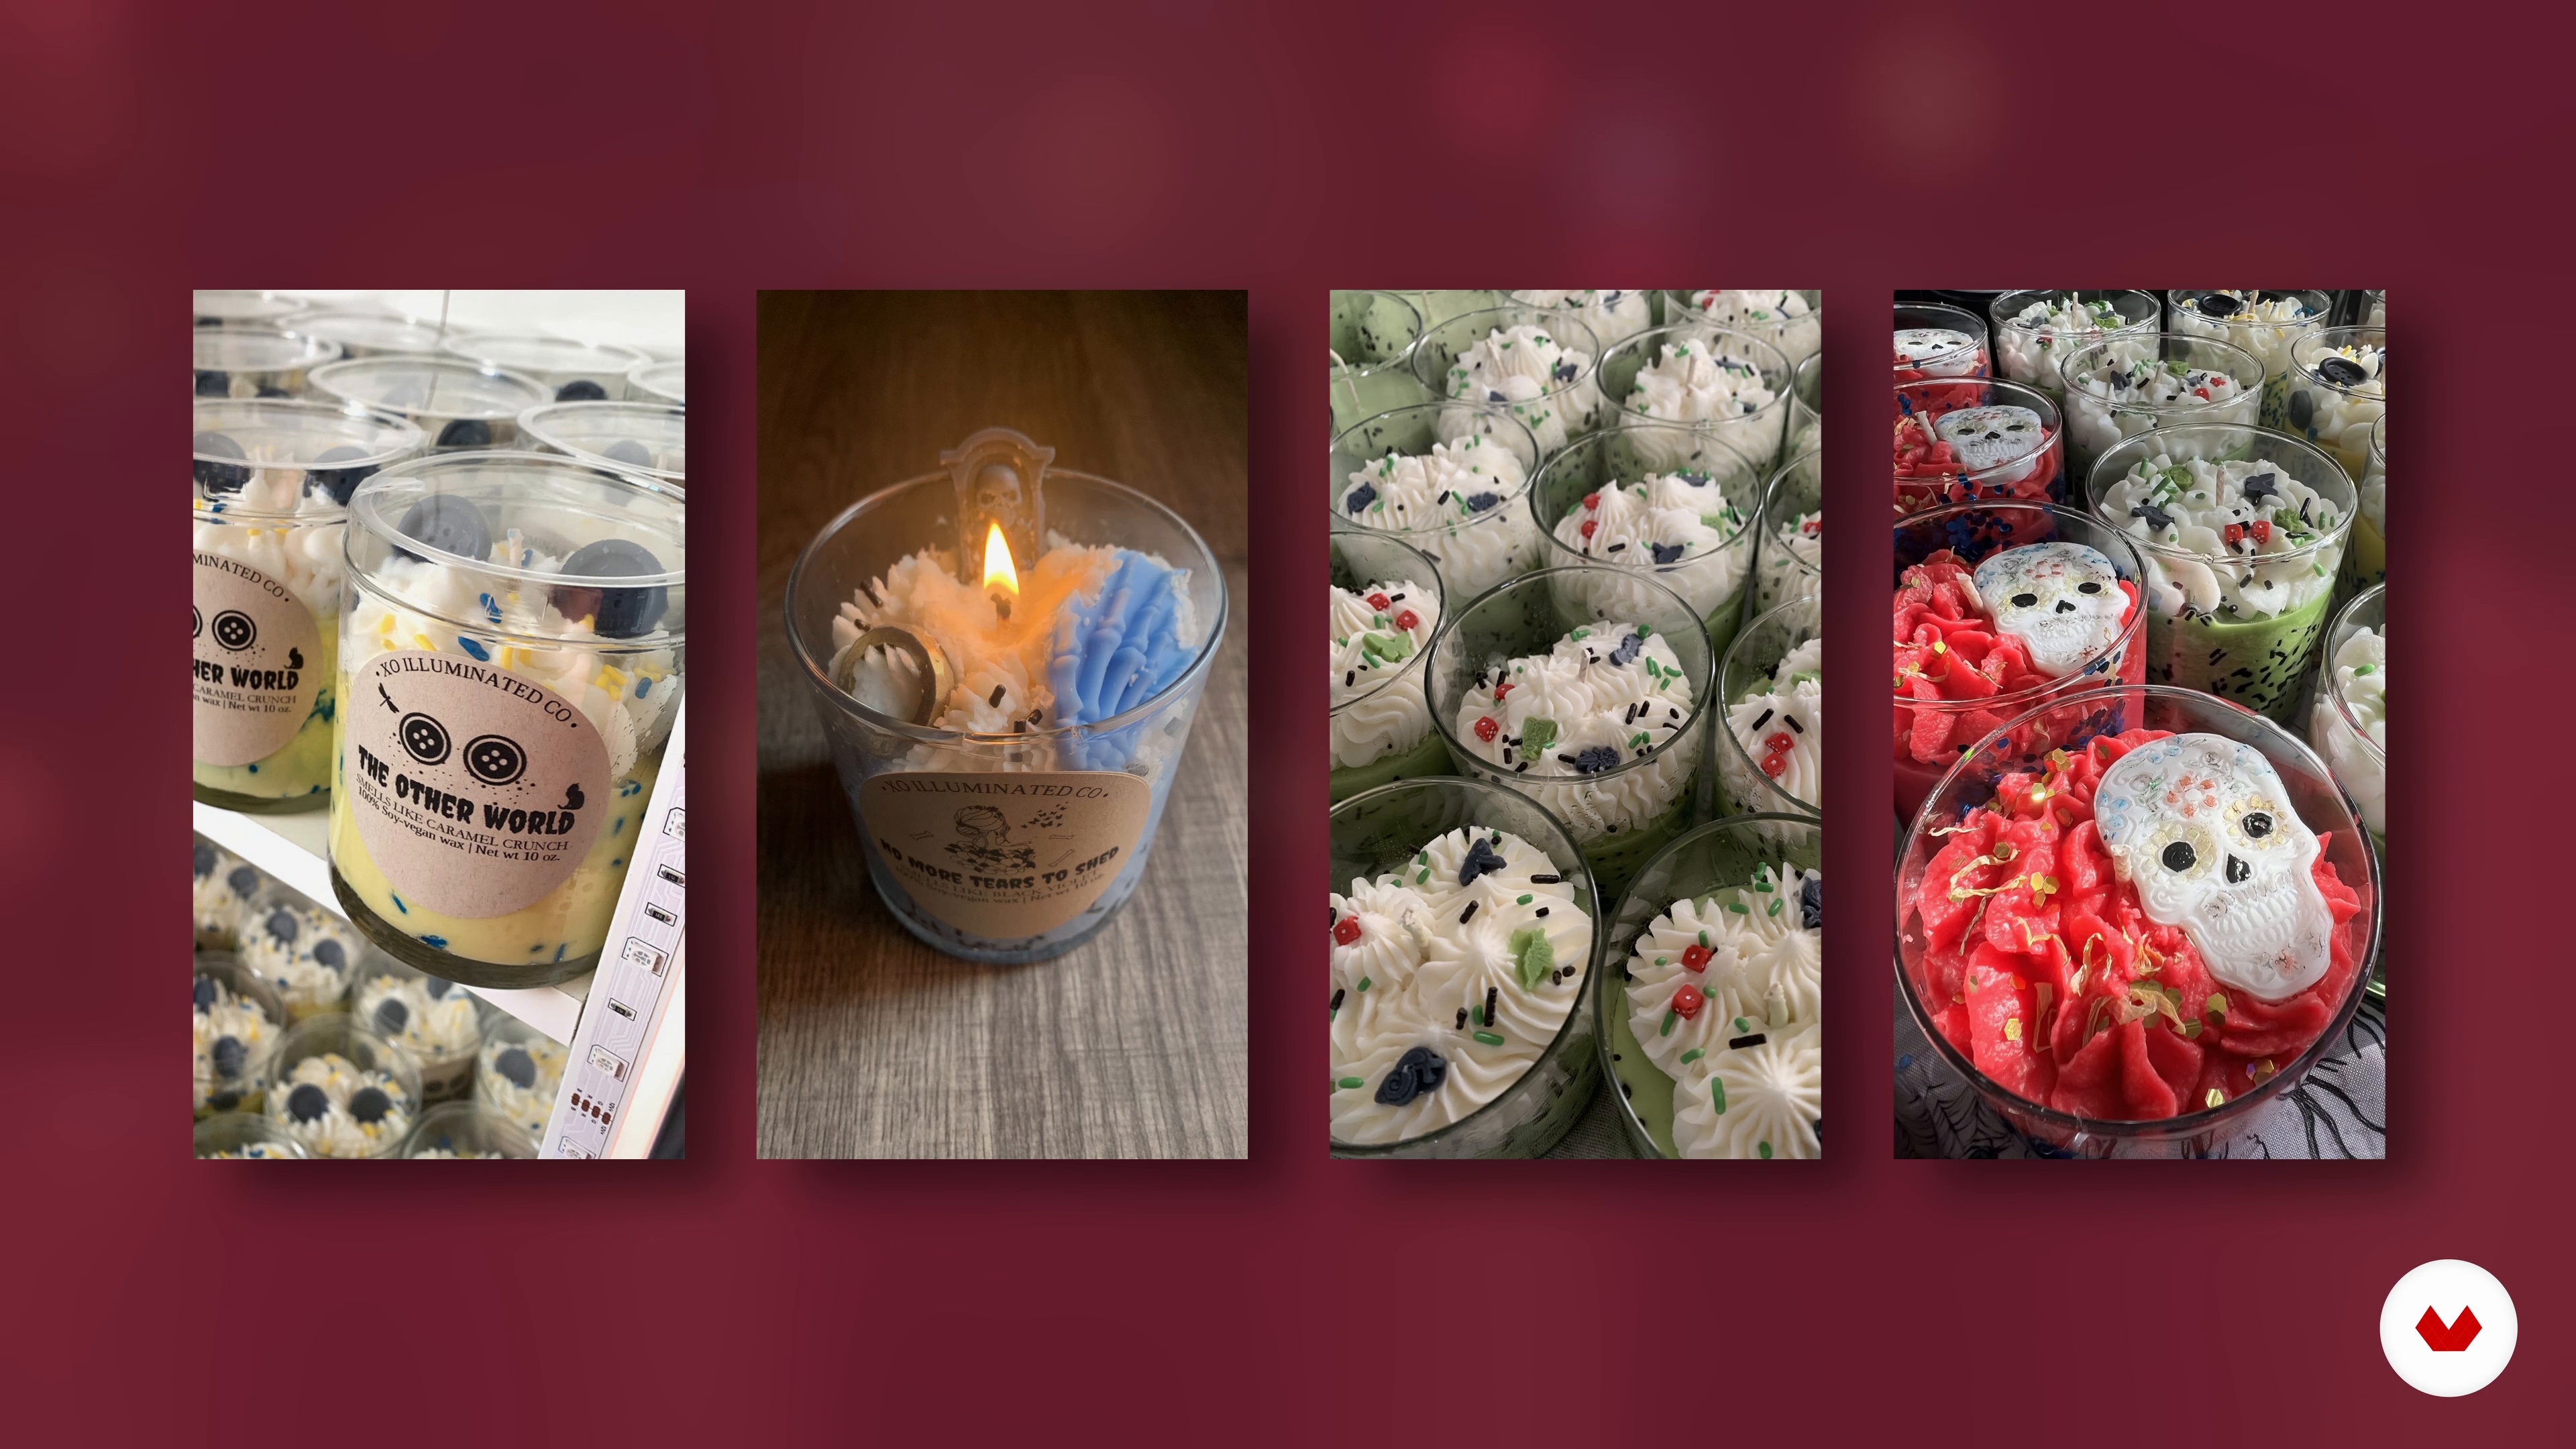
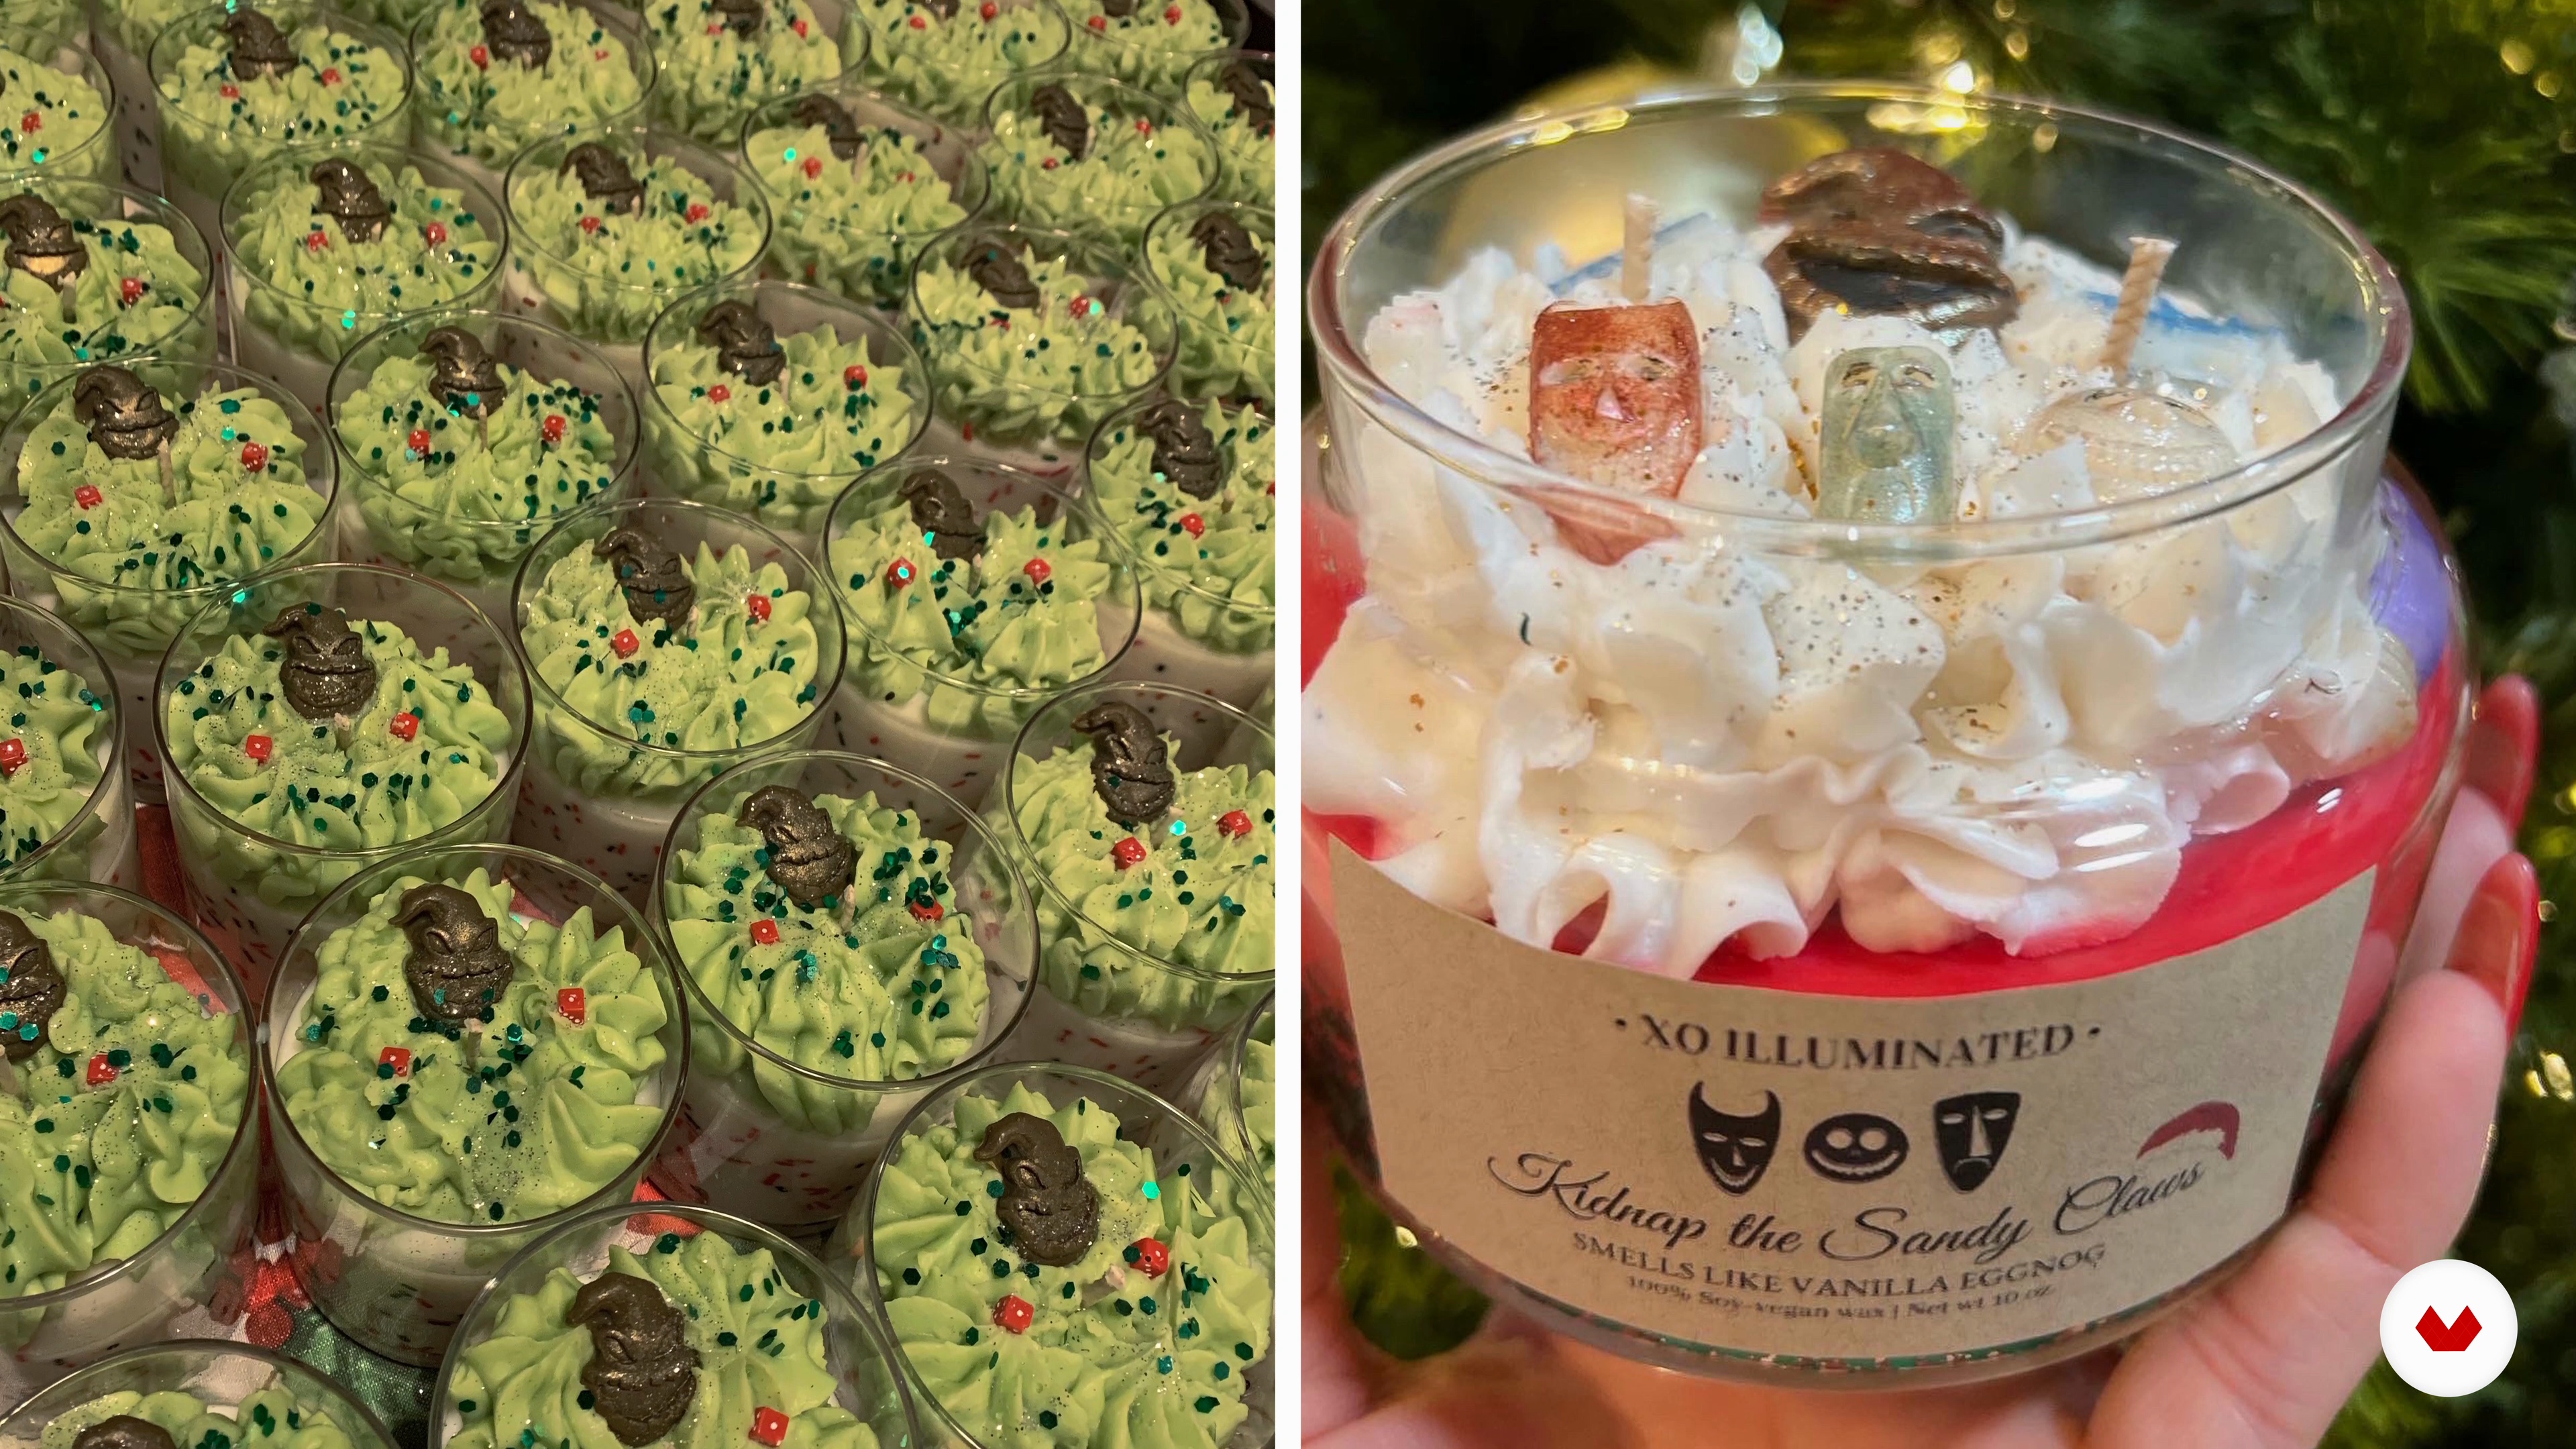
Many of my influences revolve around the world of fandom and themes. Some of my influences include Disney, Harry Potter, animation, television, and film. I love visiting Disneyland and immersing myself within the park to gather inspiration for my candles. Additionally, I also watch a lot of film and television. For example, one of my first popular candles that sold out in 8 seconds was from the Nightmare Before Christmas film. It featured one of the main characters, Oggie Boogie.
3m
 2
2Influences | Marta Tarallo
We all start from zero! In this lesson, I will share a number of the makers and creators that have influenced my work, techniques, and personal aesthetics.
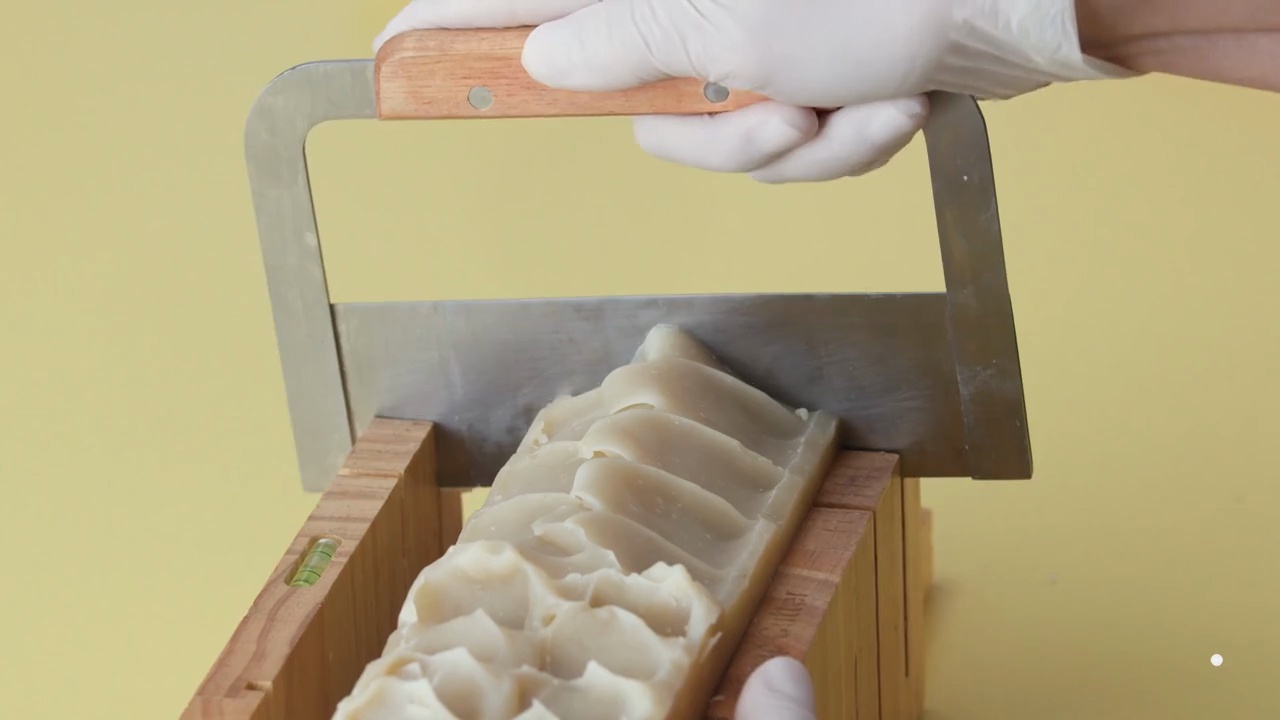
6m
 2
2Influences | Mar Amoli (Mariana y José Miguel)
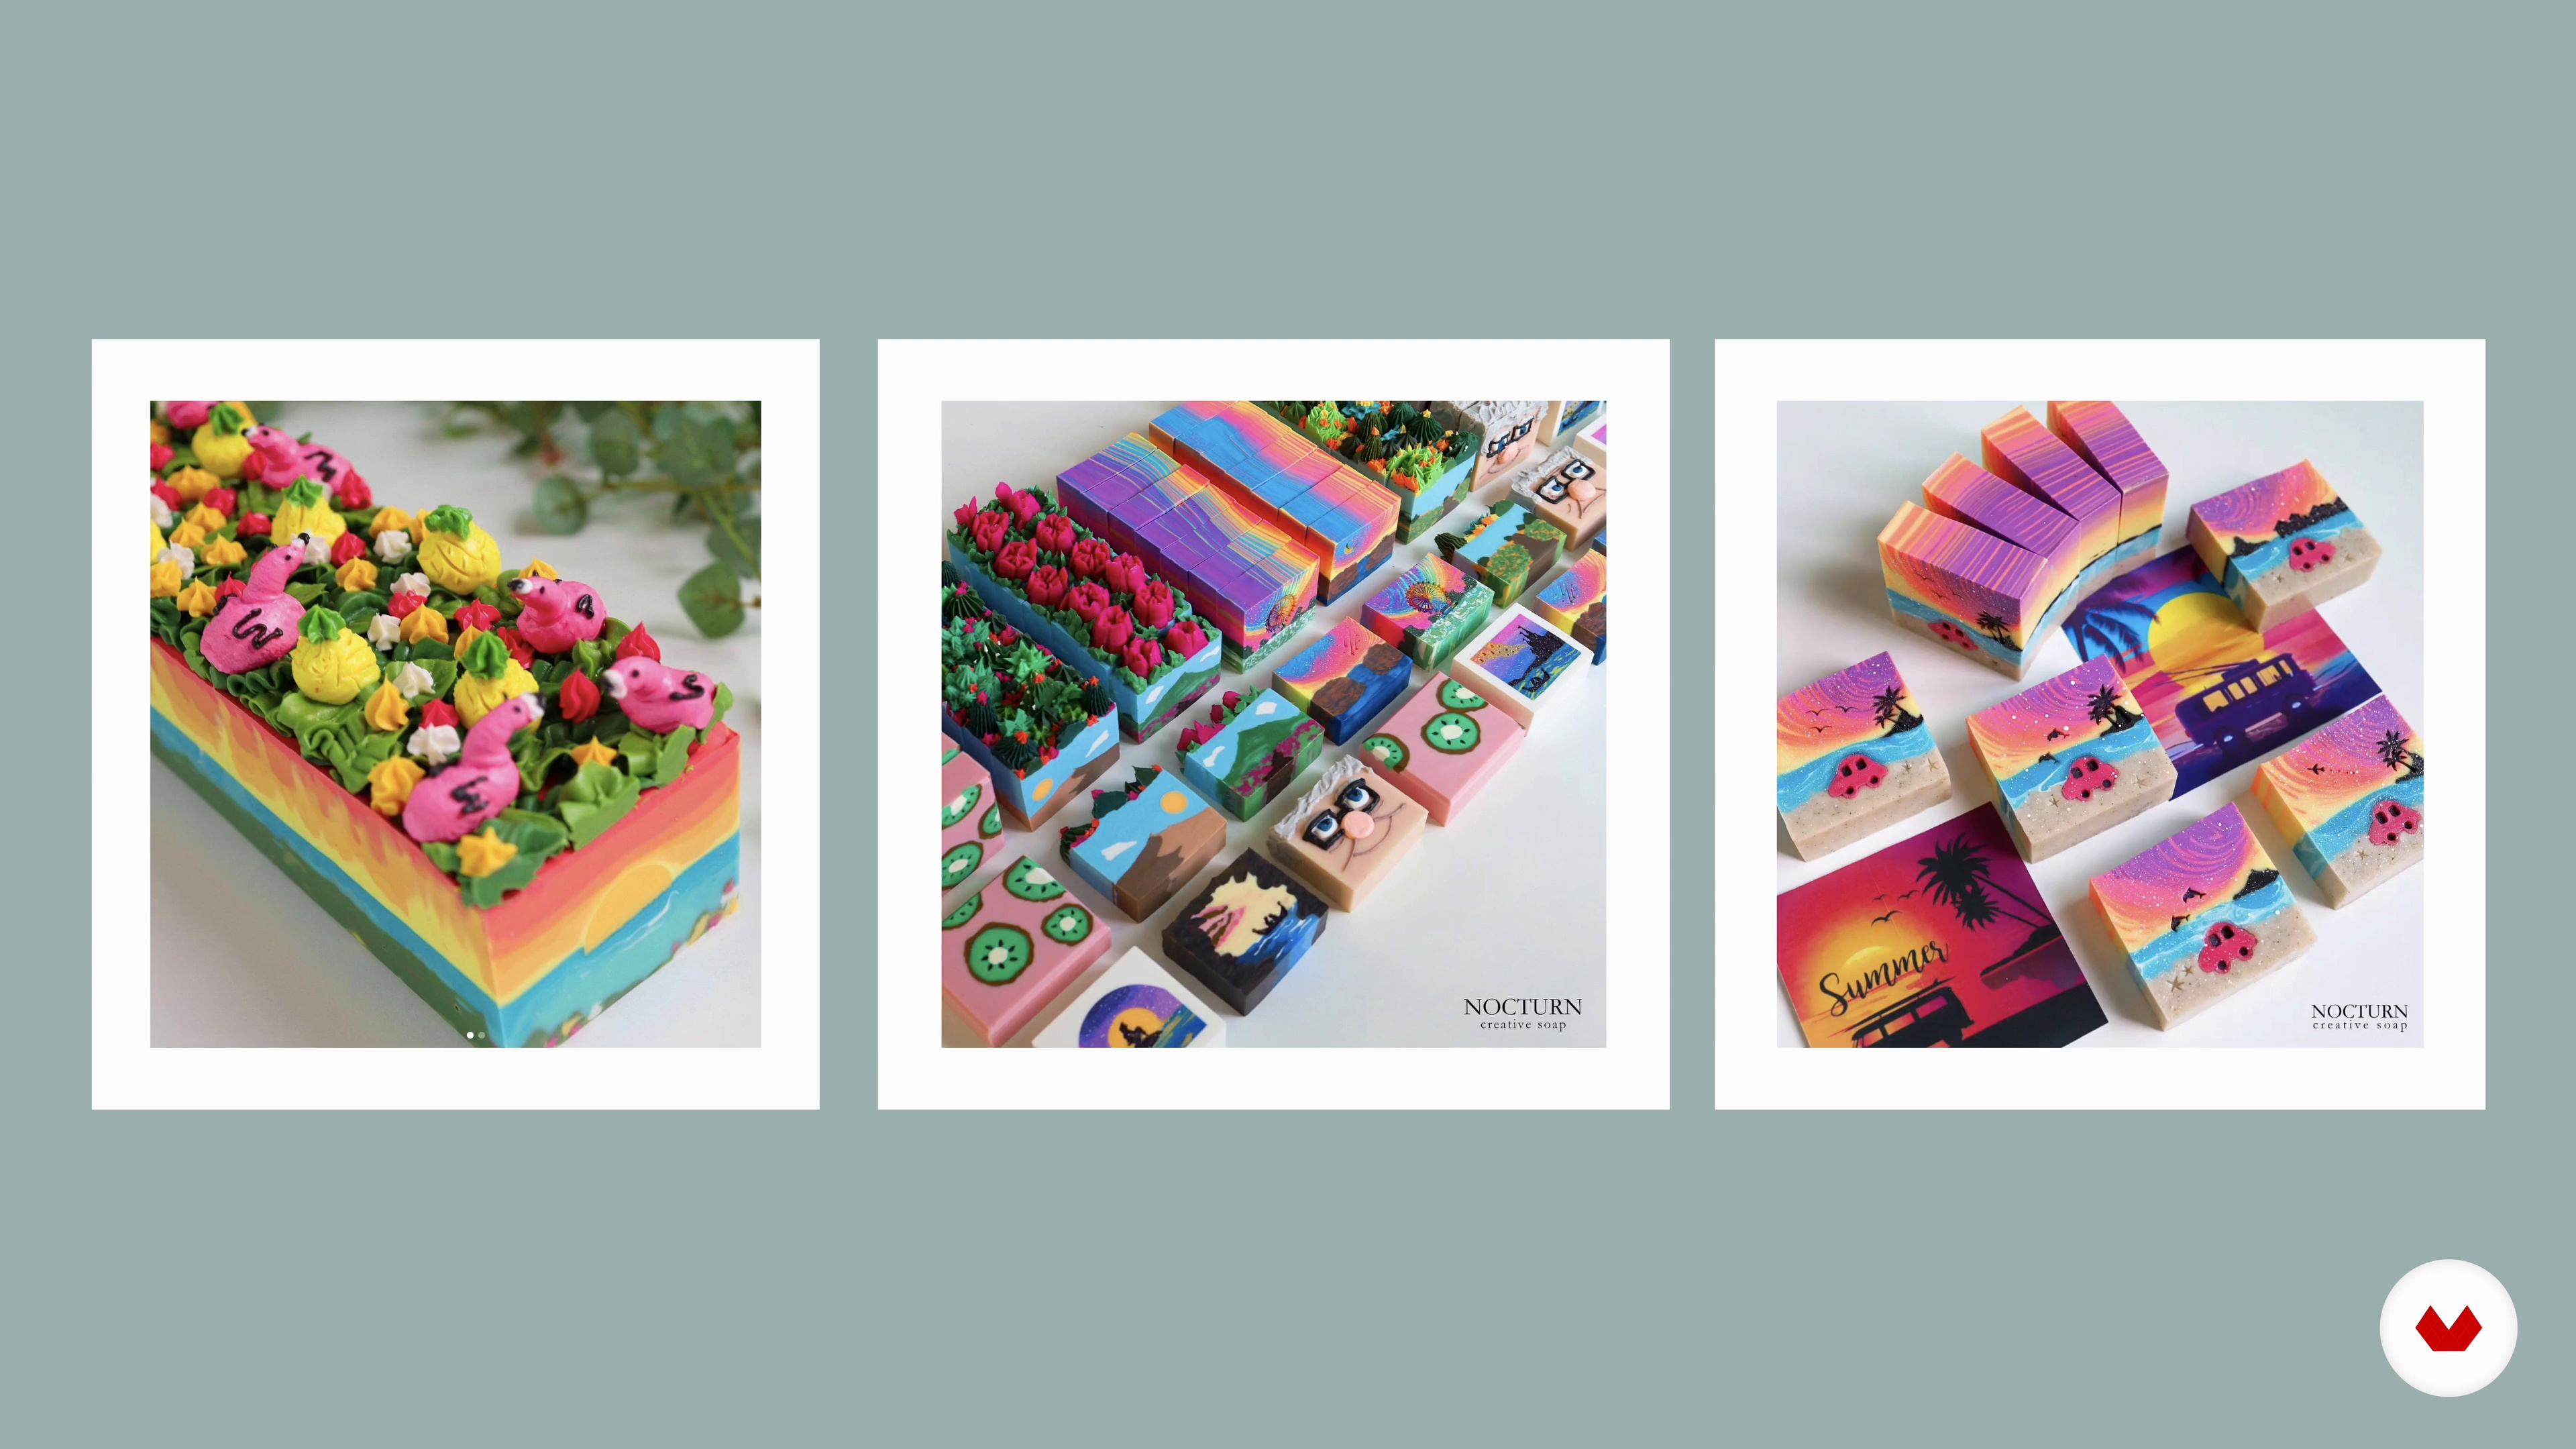
Now that you know us, we want to share with you what influences our creative process and the people and companies that inspire us to create our products.
3m
 2
2Influences | Alison Fleck
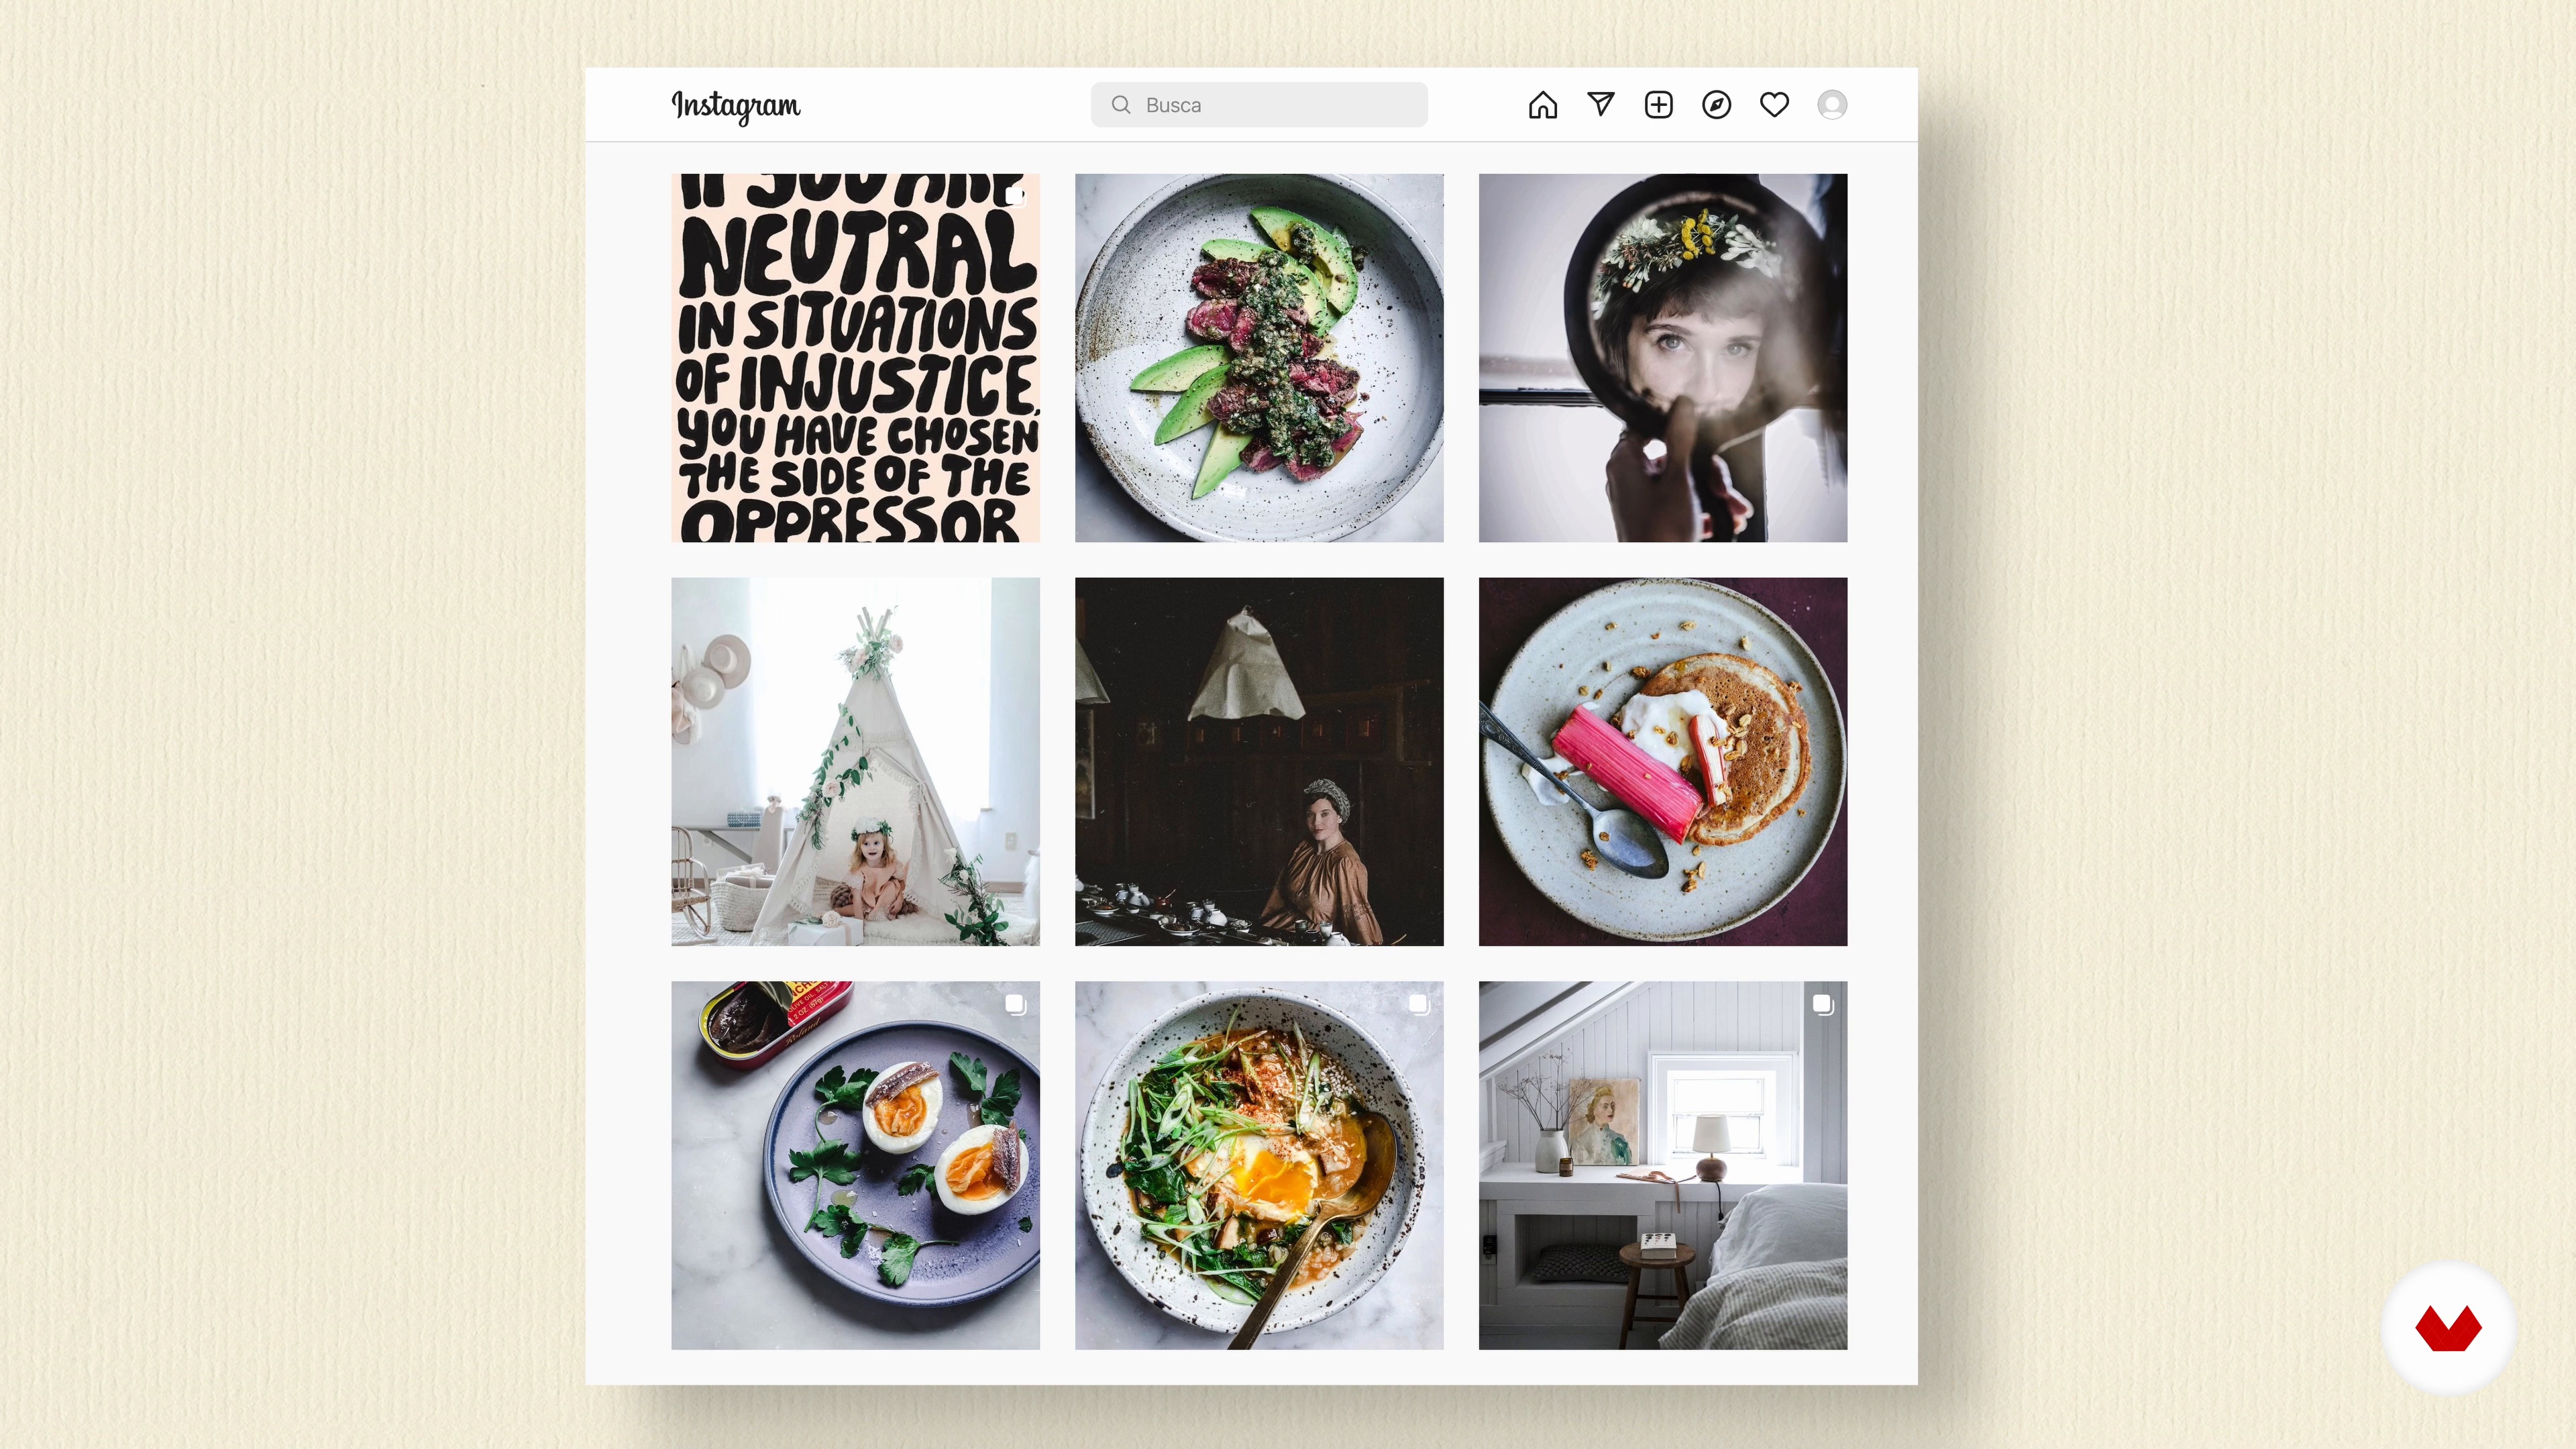
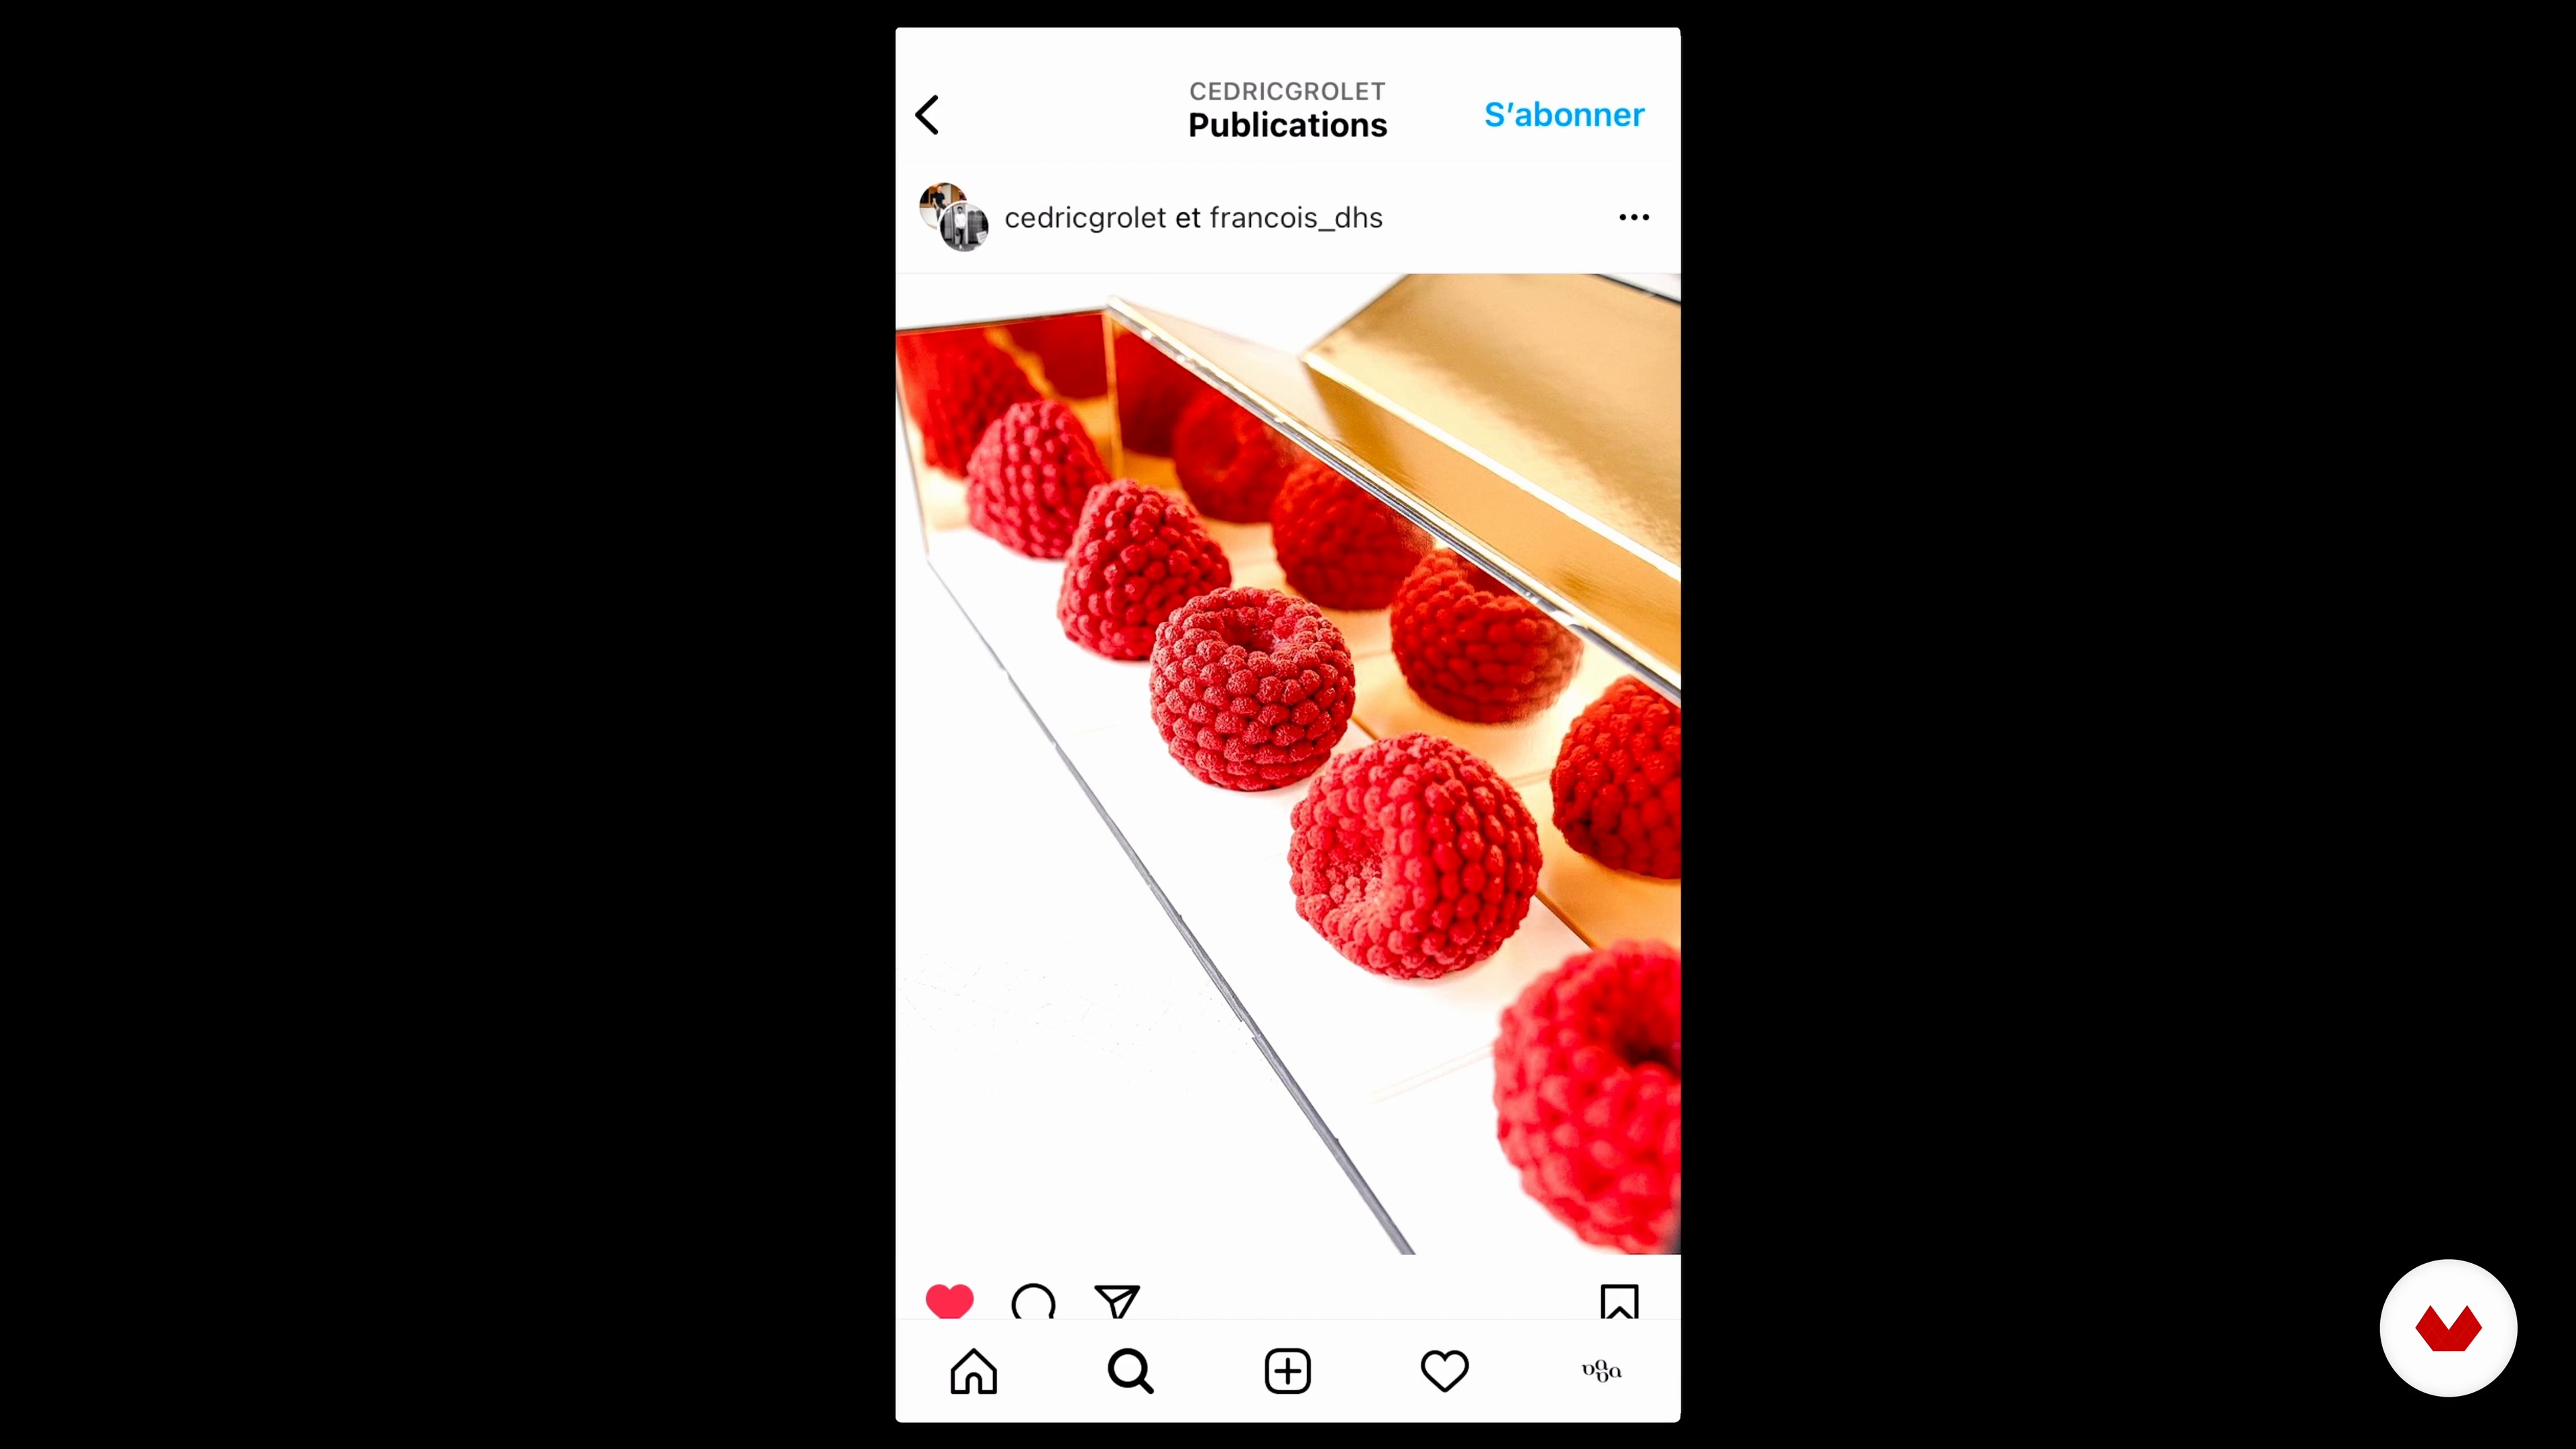
In this lesson you will see my creative inspirations. The majority of my inspirations are elements of nature, such as the grain of wood, the strata of stones, the colors of butterflies, etc. But I also lose myself in the work of certain pastry chefs and chocolate makers who play on textures, smells and marbling and decorating techniques that trigger emotions in me. I use Instagram as tools: I subscribe to the hashtag that interests me and I keep the visuals that inspire me. Thus, when I have a creation to make, I can easily immerse myself in my inspirations.
4m
 3
3Different Types of Waxes
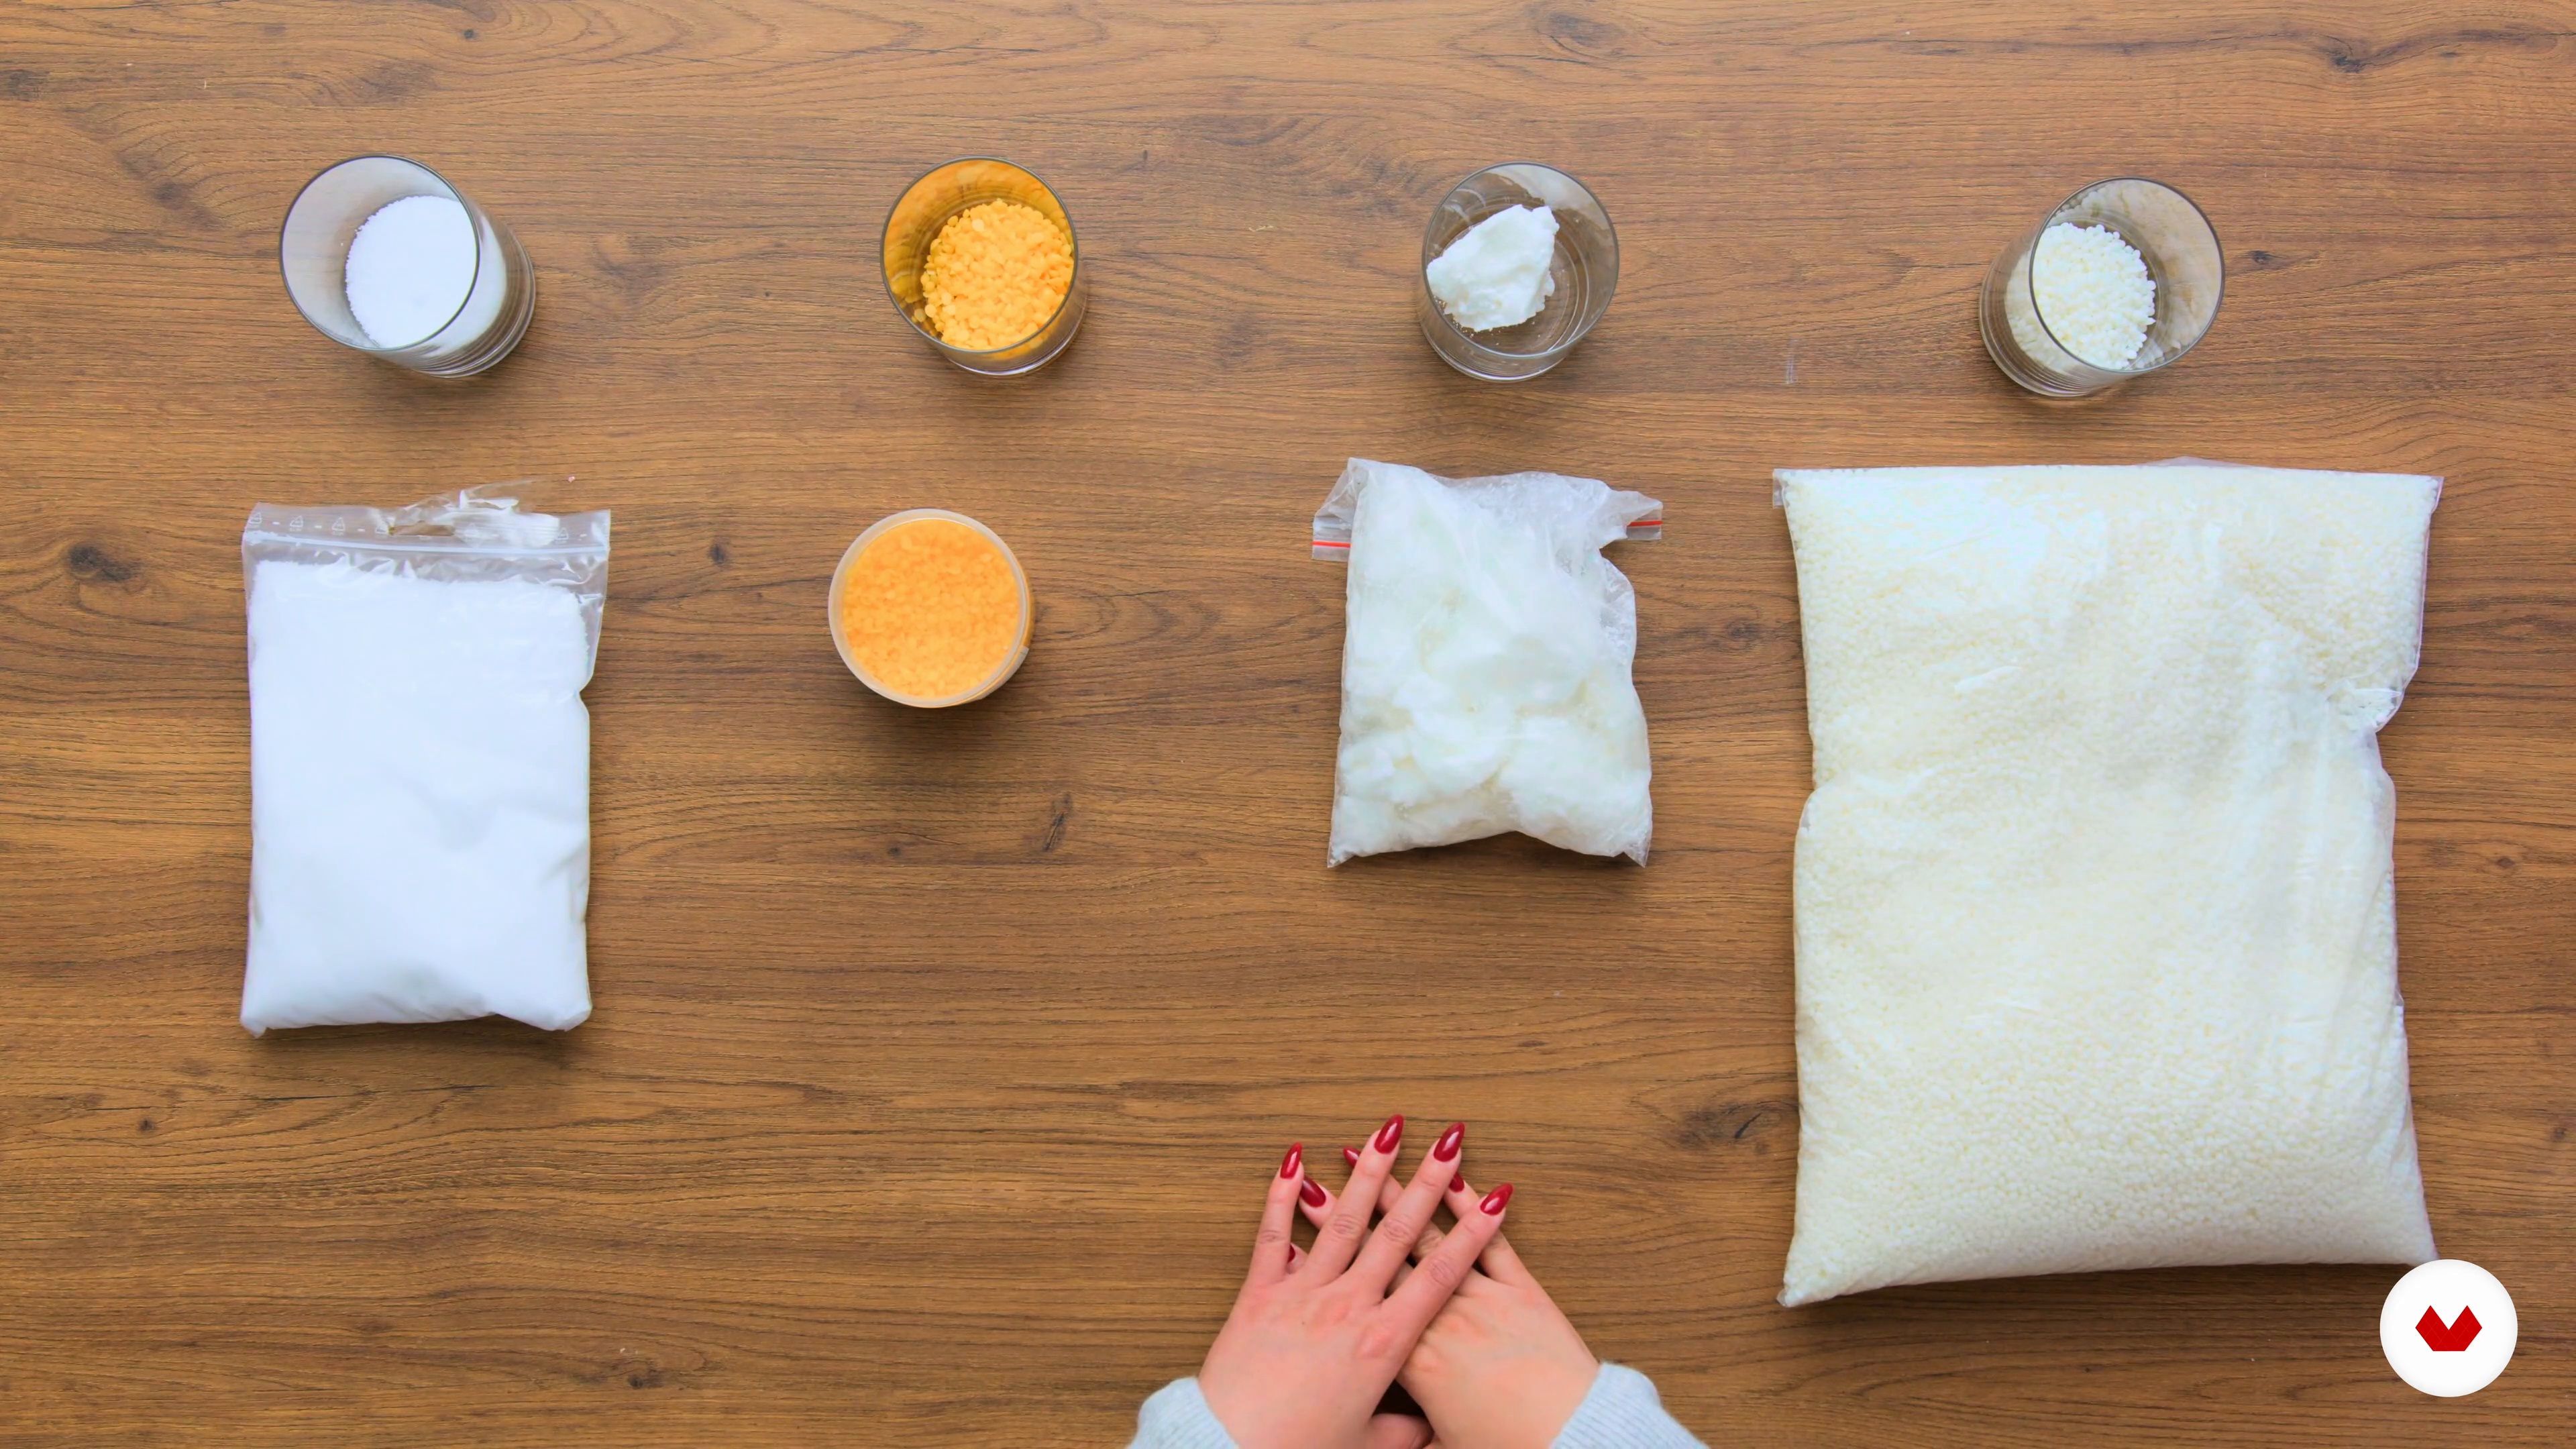
In this lesson, you will learn the different types of waxes that are available for candle makers. We will learn about their pros and cons and which wax I recommend based on scent throw and eco-friendliness.
3m
 4
4Wicks
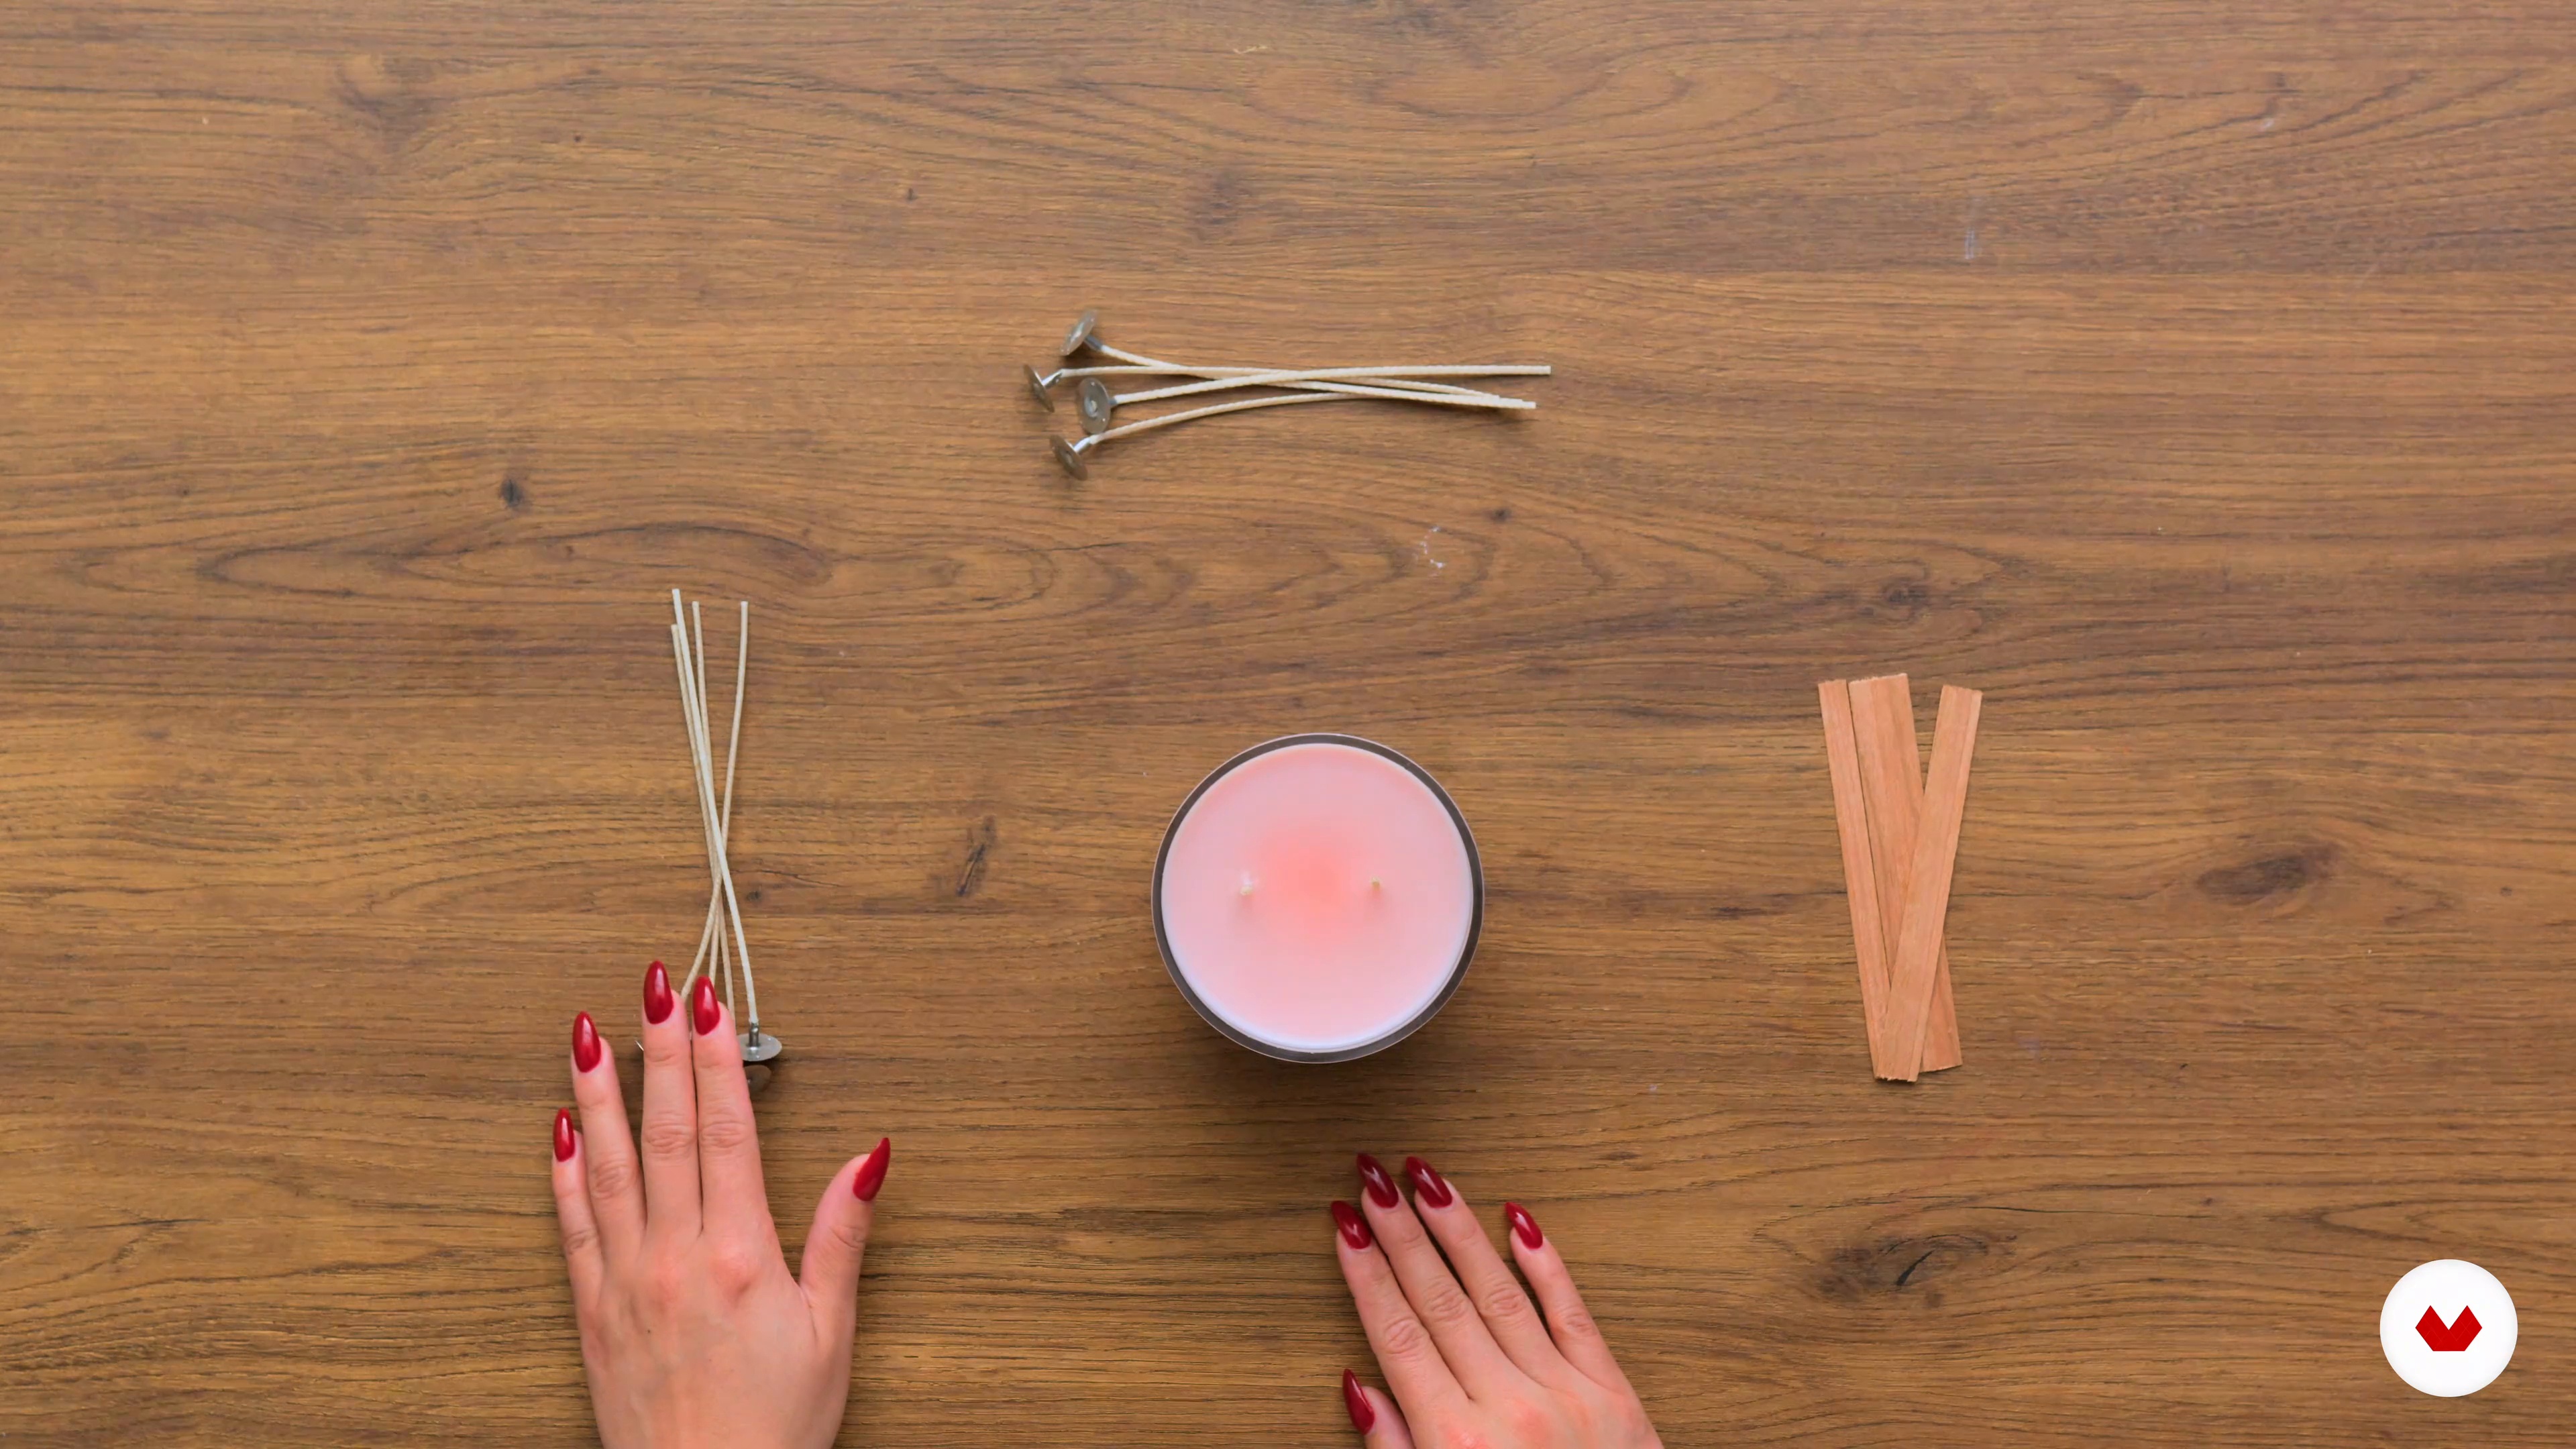
I'll talk about the different types of wicks you can use to make your candles. You will learn about proper wick size for your vessel, how to place your wicks, and how to determine how many wicks you will need.
5m
 5
5Fragrances
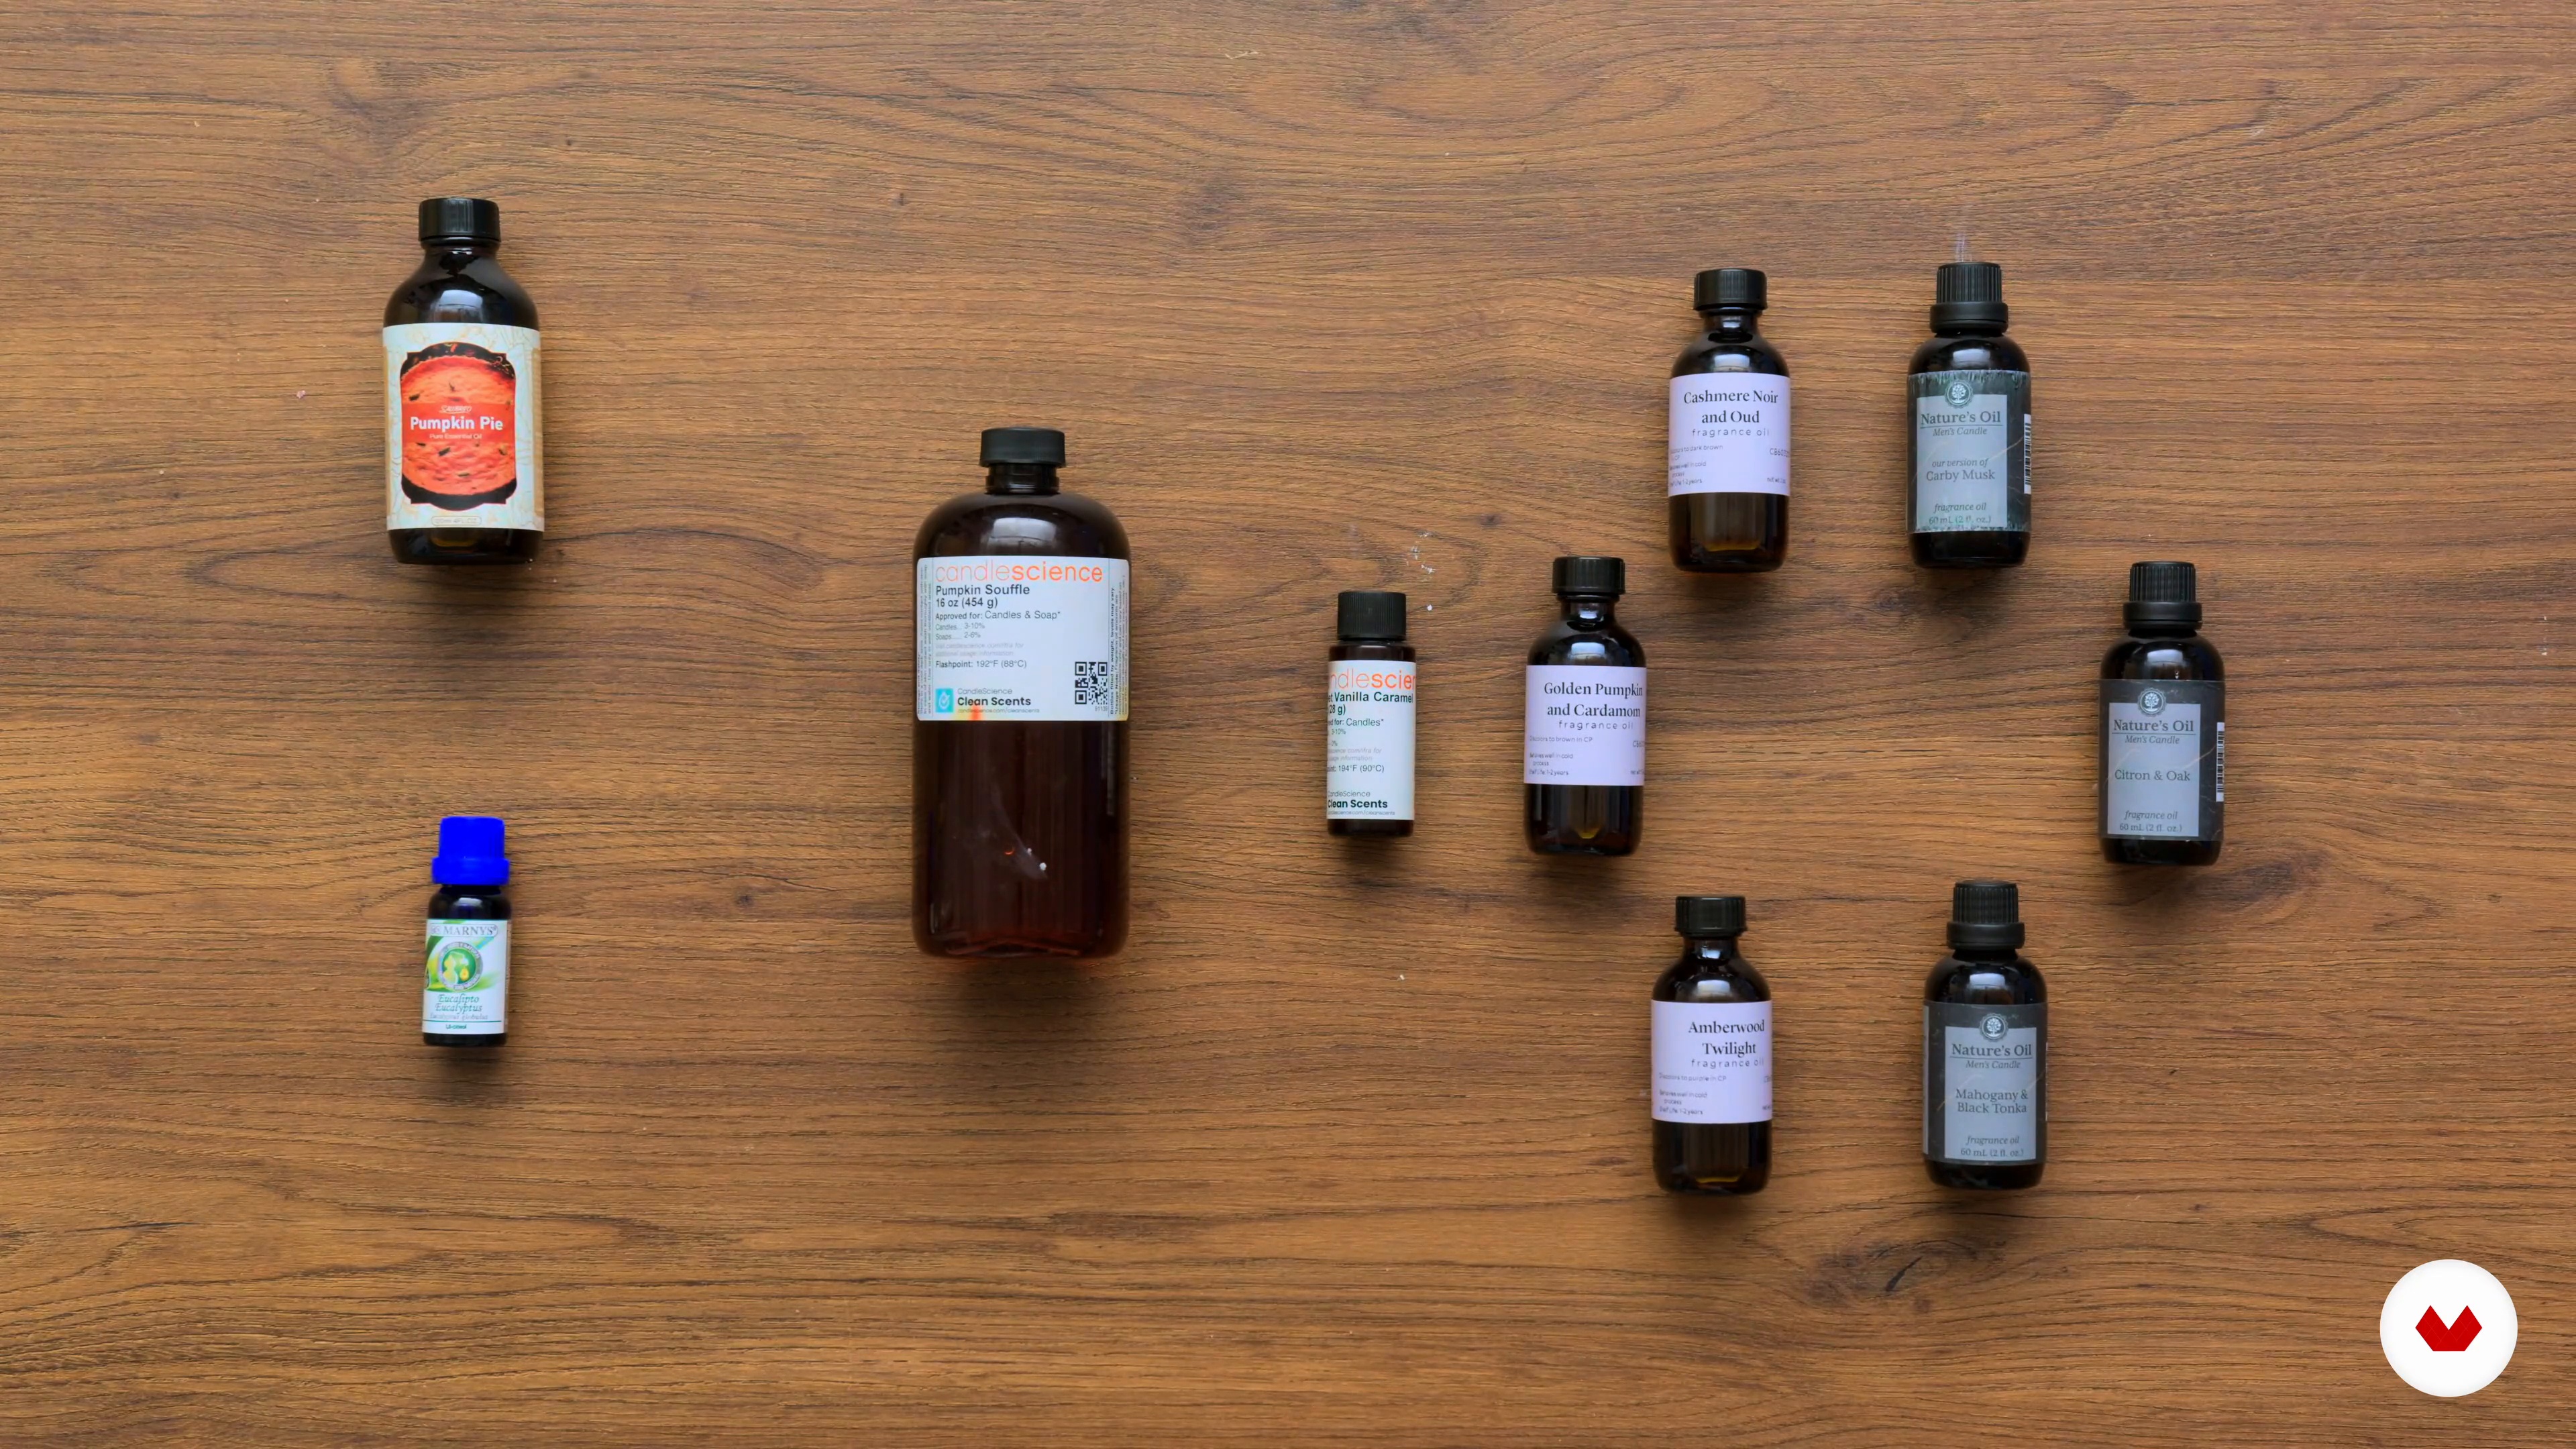
It's time to talk about the fundamentals and basics of selecting the right fragrances to enhance and make your creations smell lovely! Then, I will go through the process of how to find a fragrance vendor, the difference between essential oils and fragrance oils, how to identify and avoid low-quality fragrance oils, and what to look for when selecting a great oil. Because there are various distributors on the market, it is essential to learn about this.
4m
 6
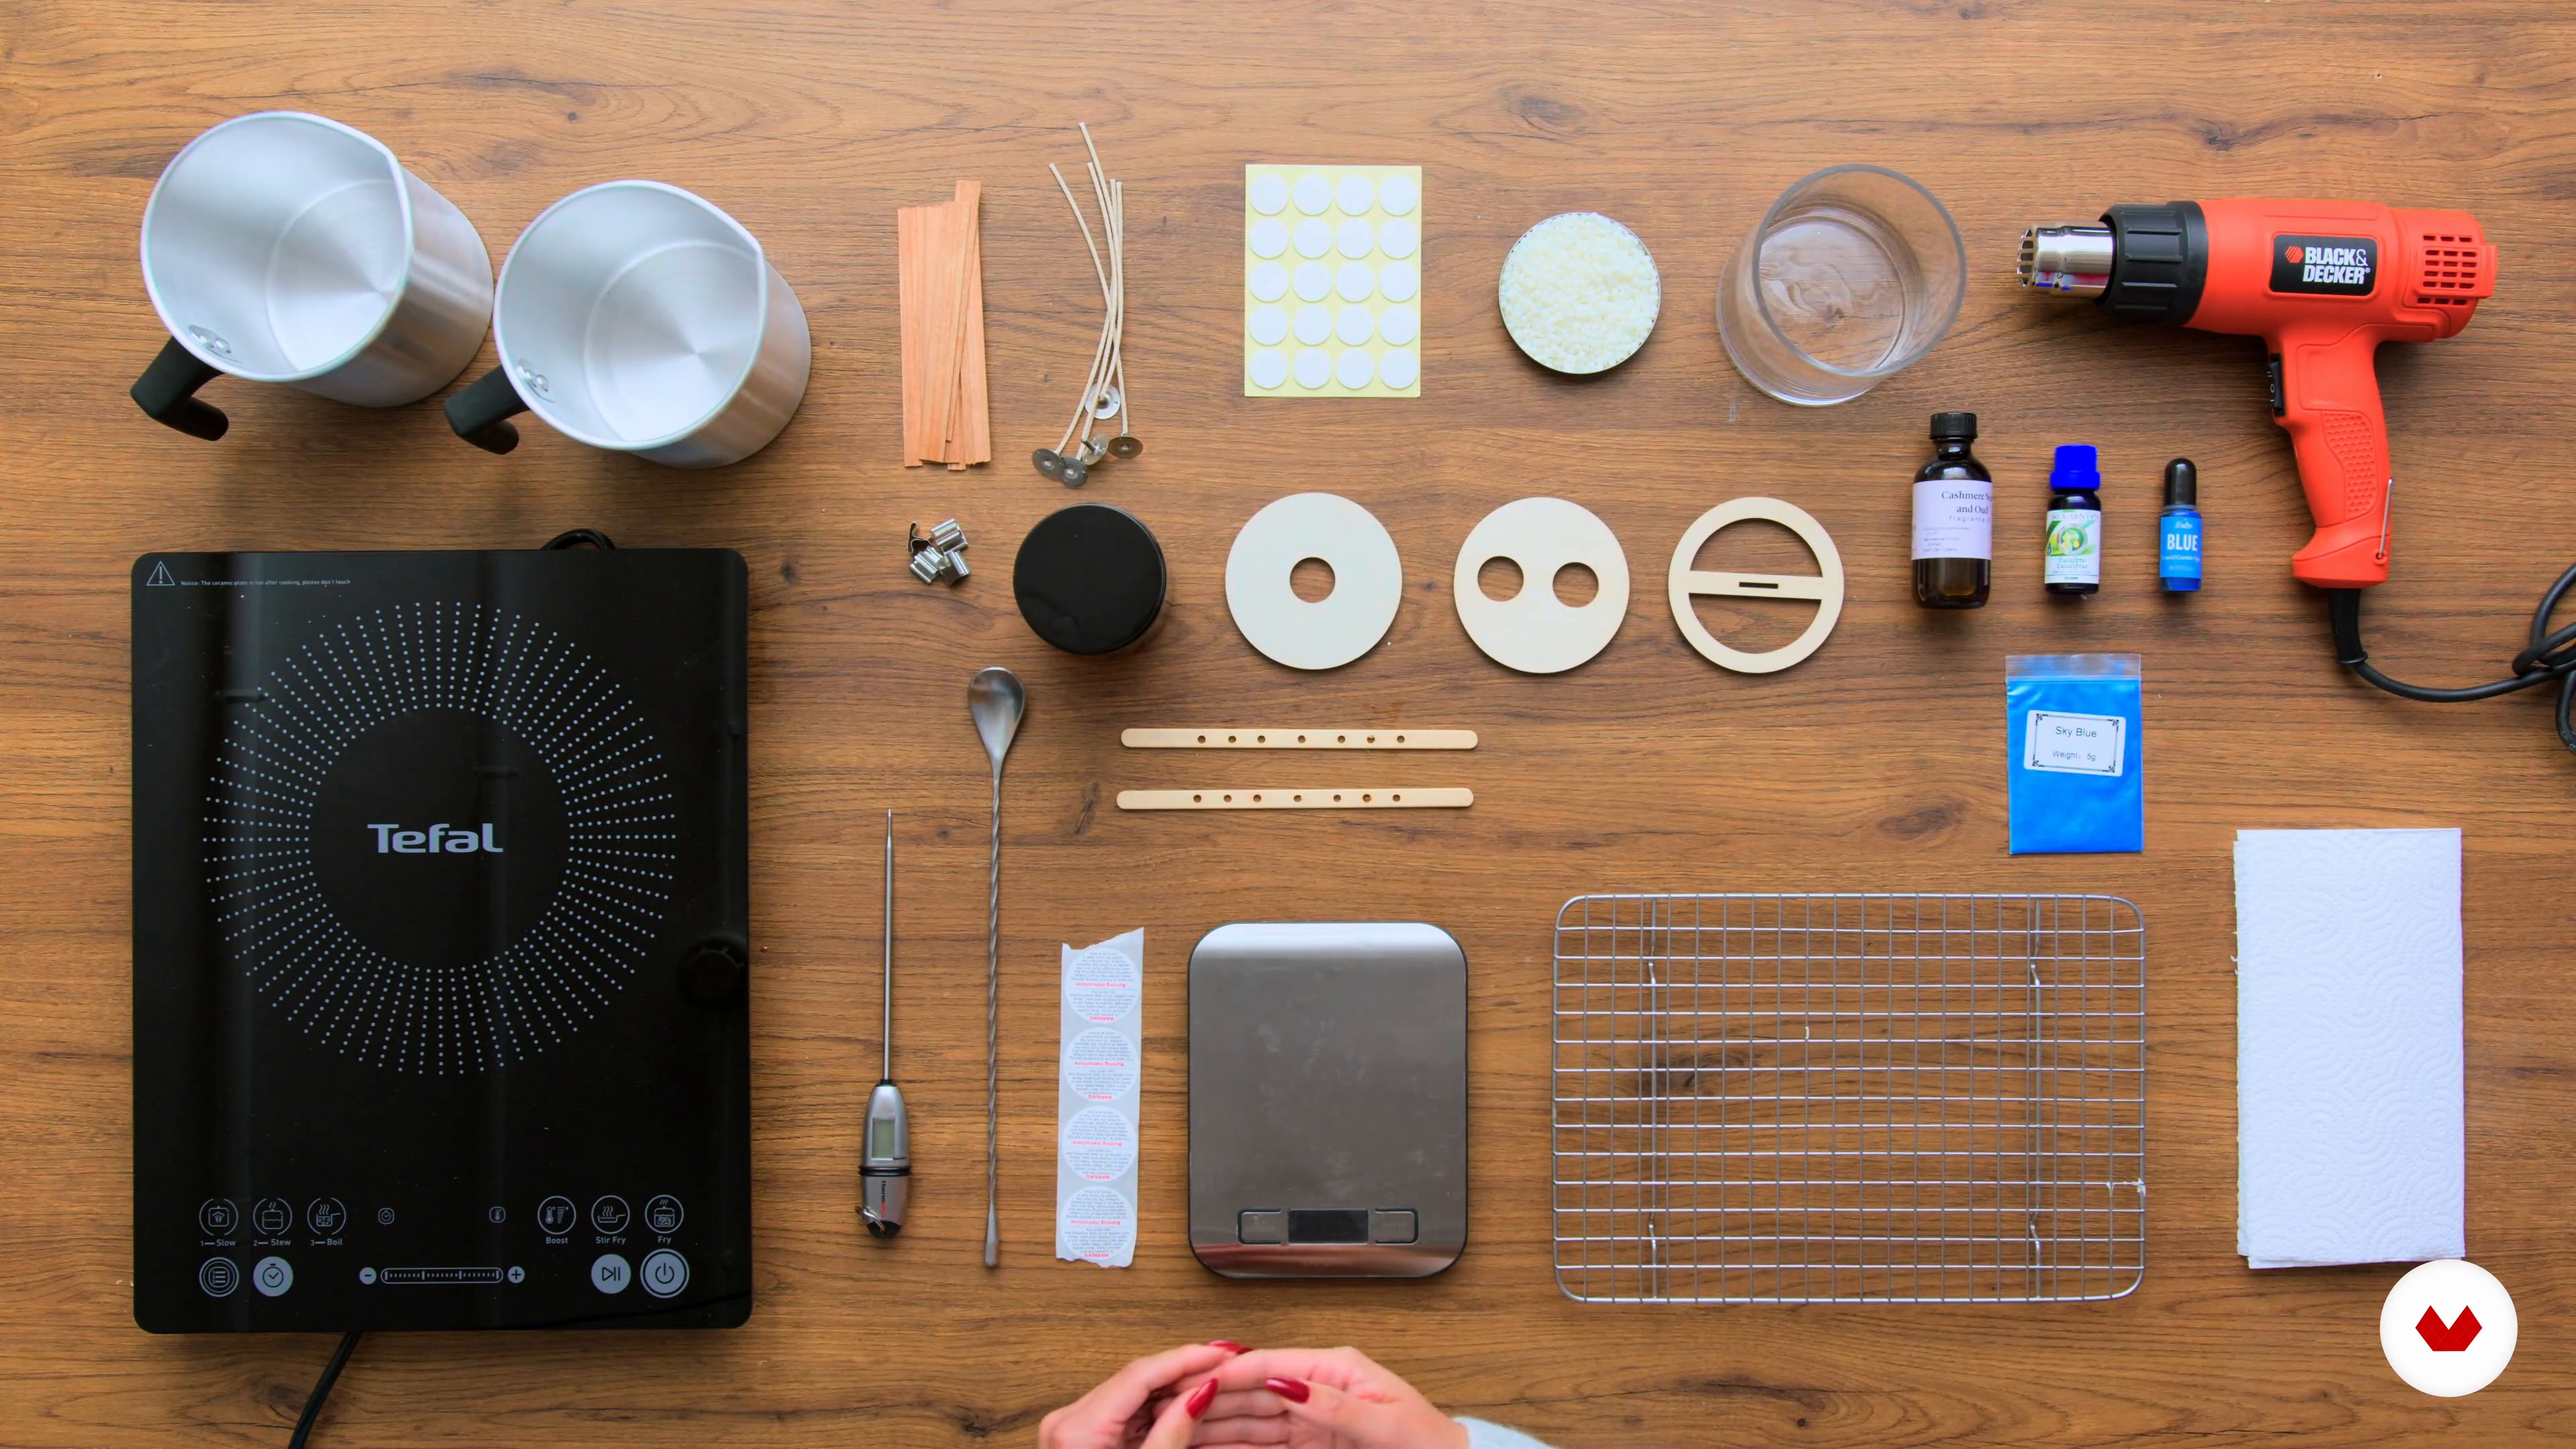
6Materials and Tools
To start with, you will learn about all the tools and materials you will need to make a 7oz soy candle with fragrance oil. You will see how to select the vessel, wick, and fragrance together so that you can learn how to do it on your own after the course.
3m
 7
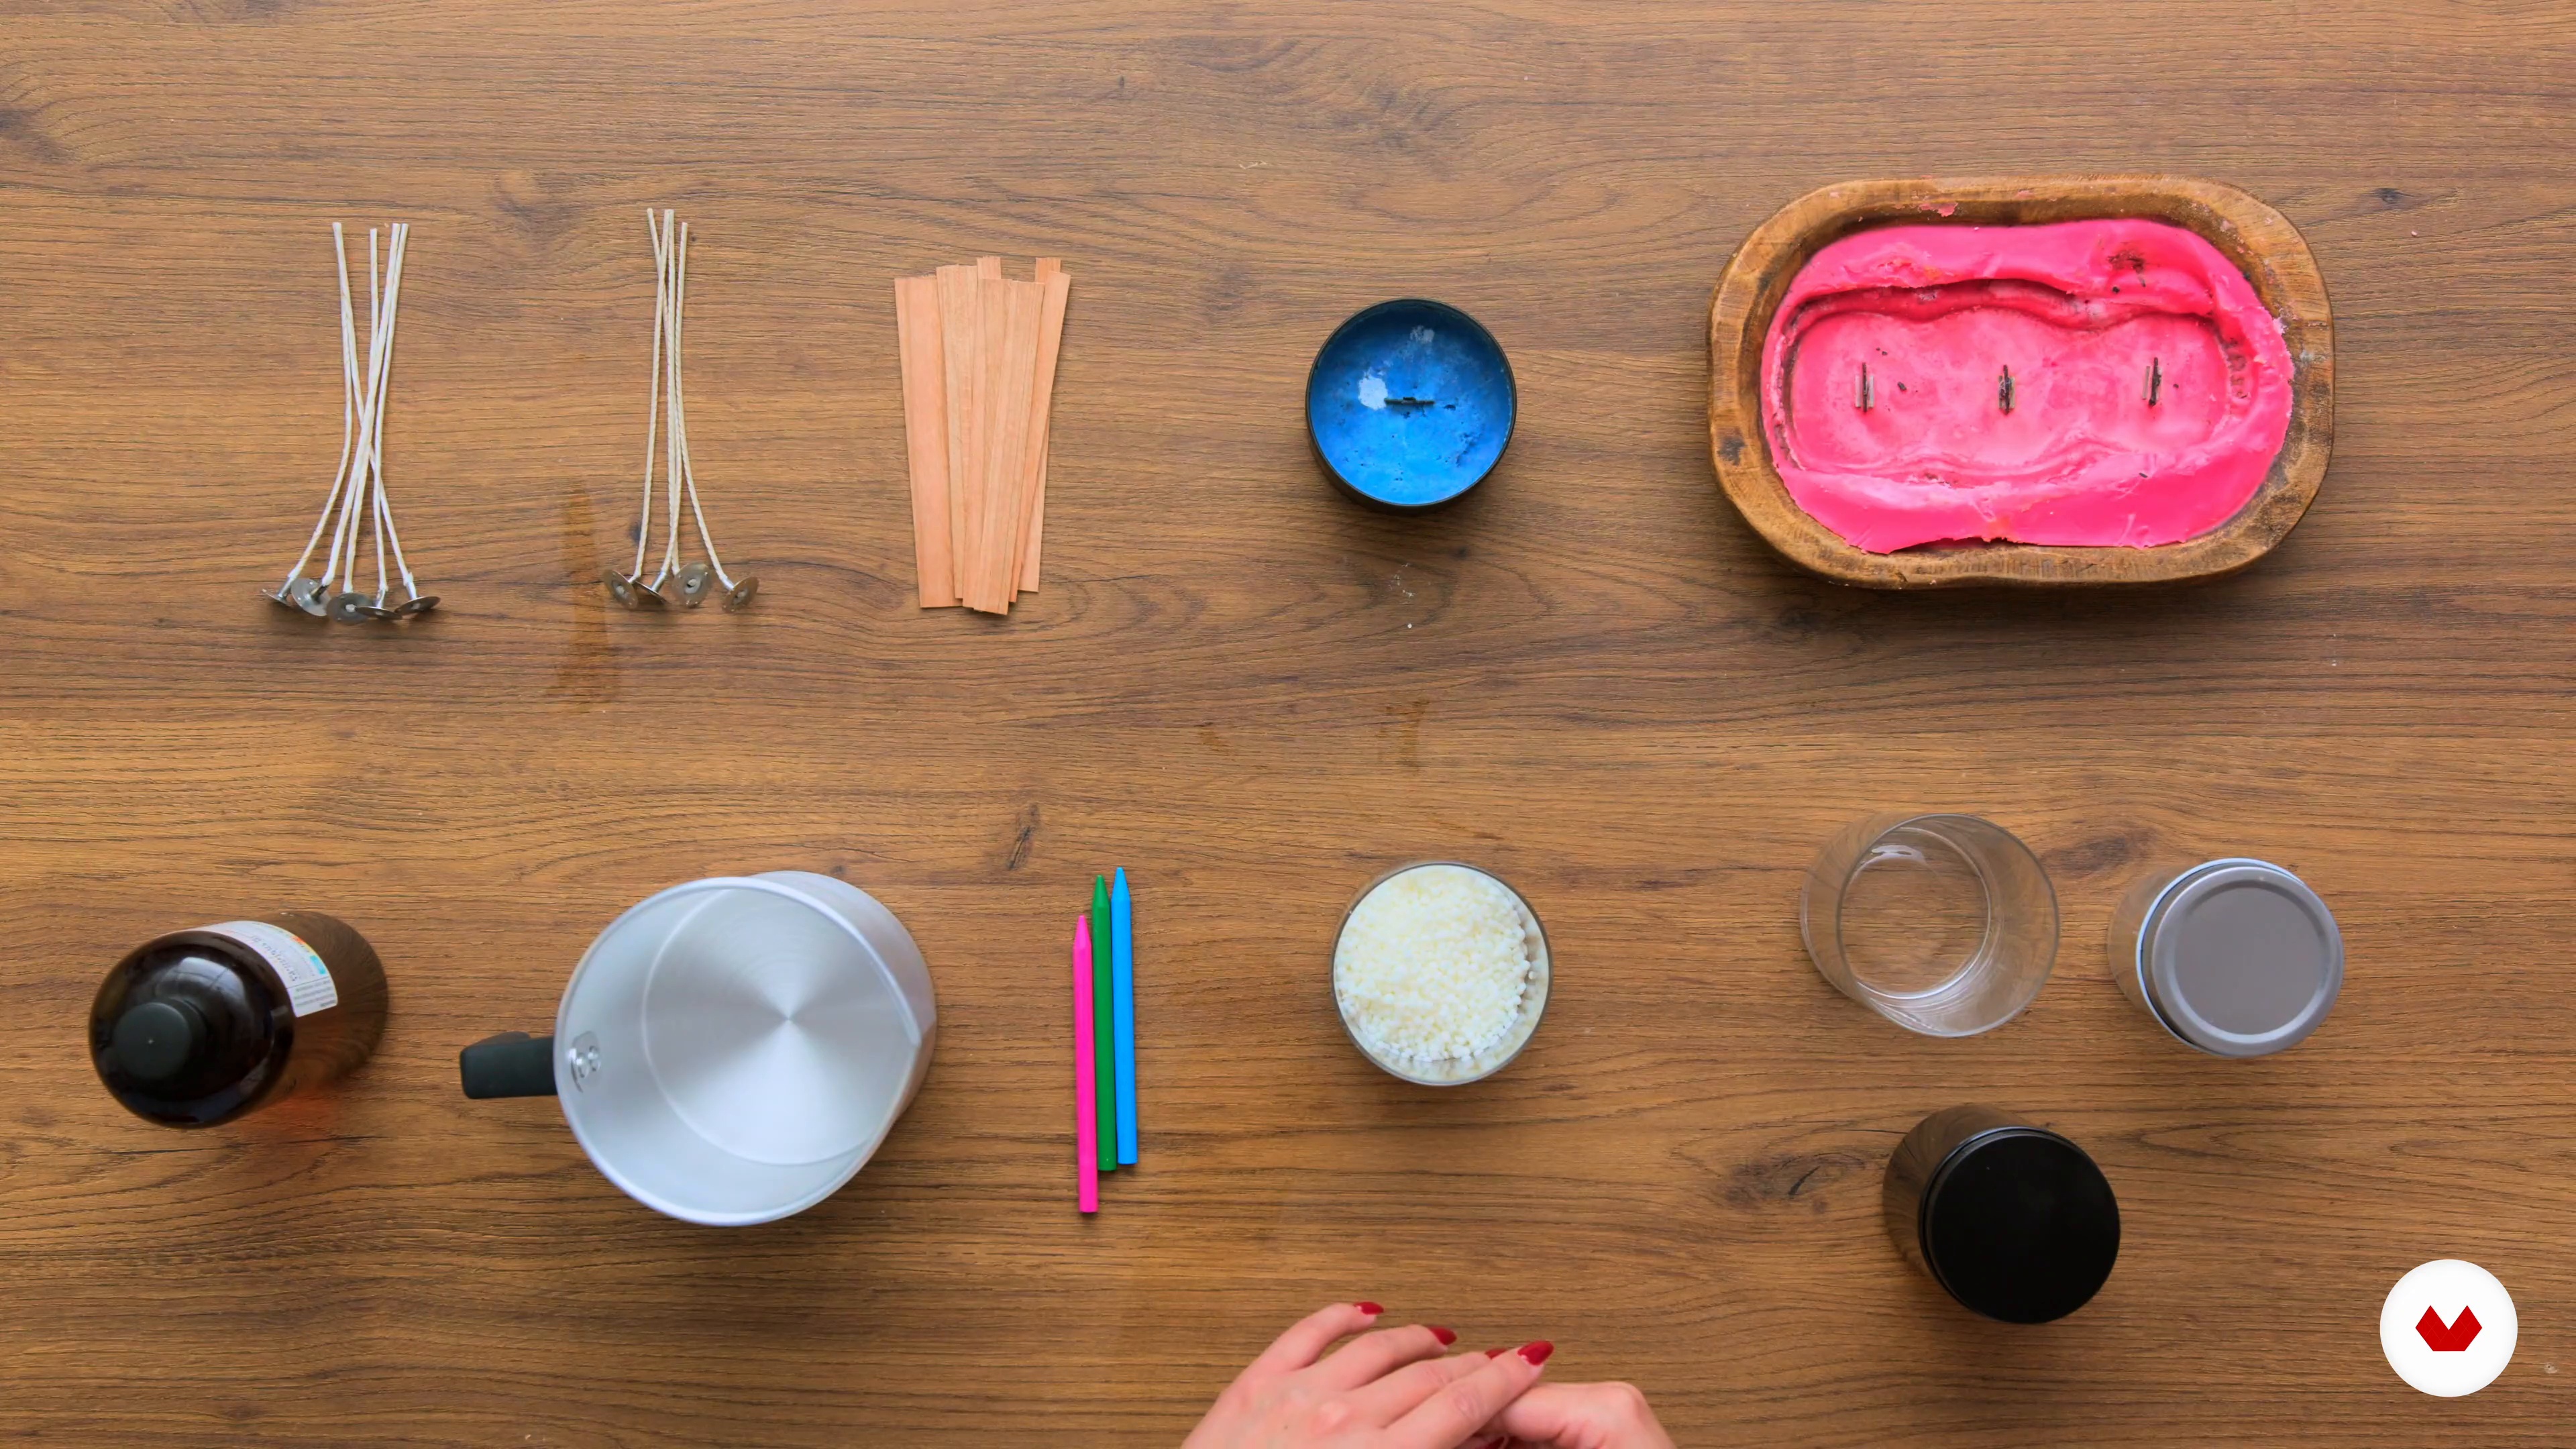
7Preparing the Workspace and Safety
In this lesson, you will learn how to prepare the workspace so that you can work safely. I will go through important safety practices for candle making. As well as, proper handling and how to store your materials once you are done using them. It is always important to keep your workspace clean and neat so that your products don’t get mixed up.
3m
 8
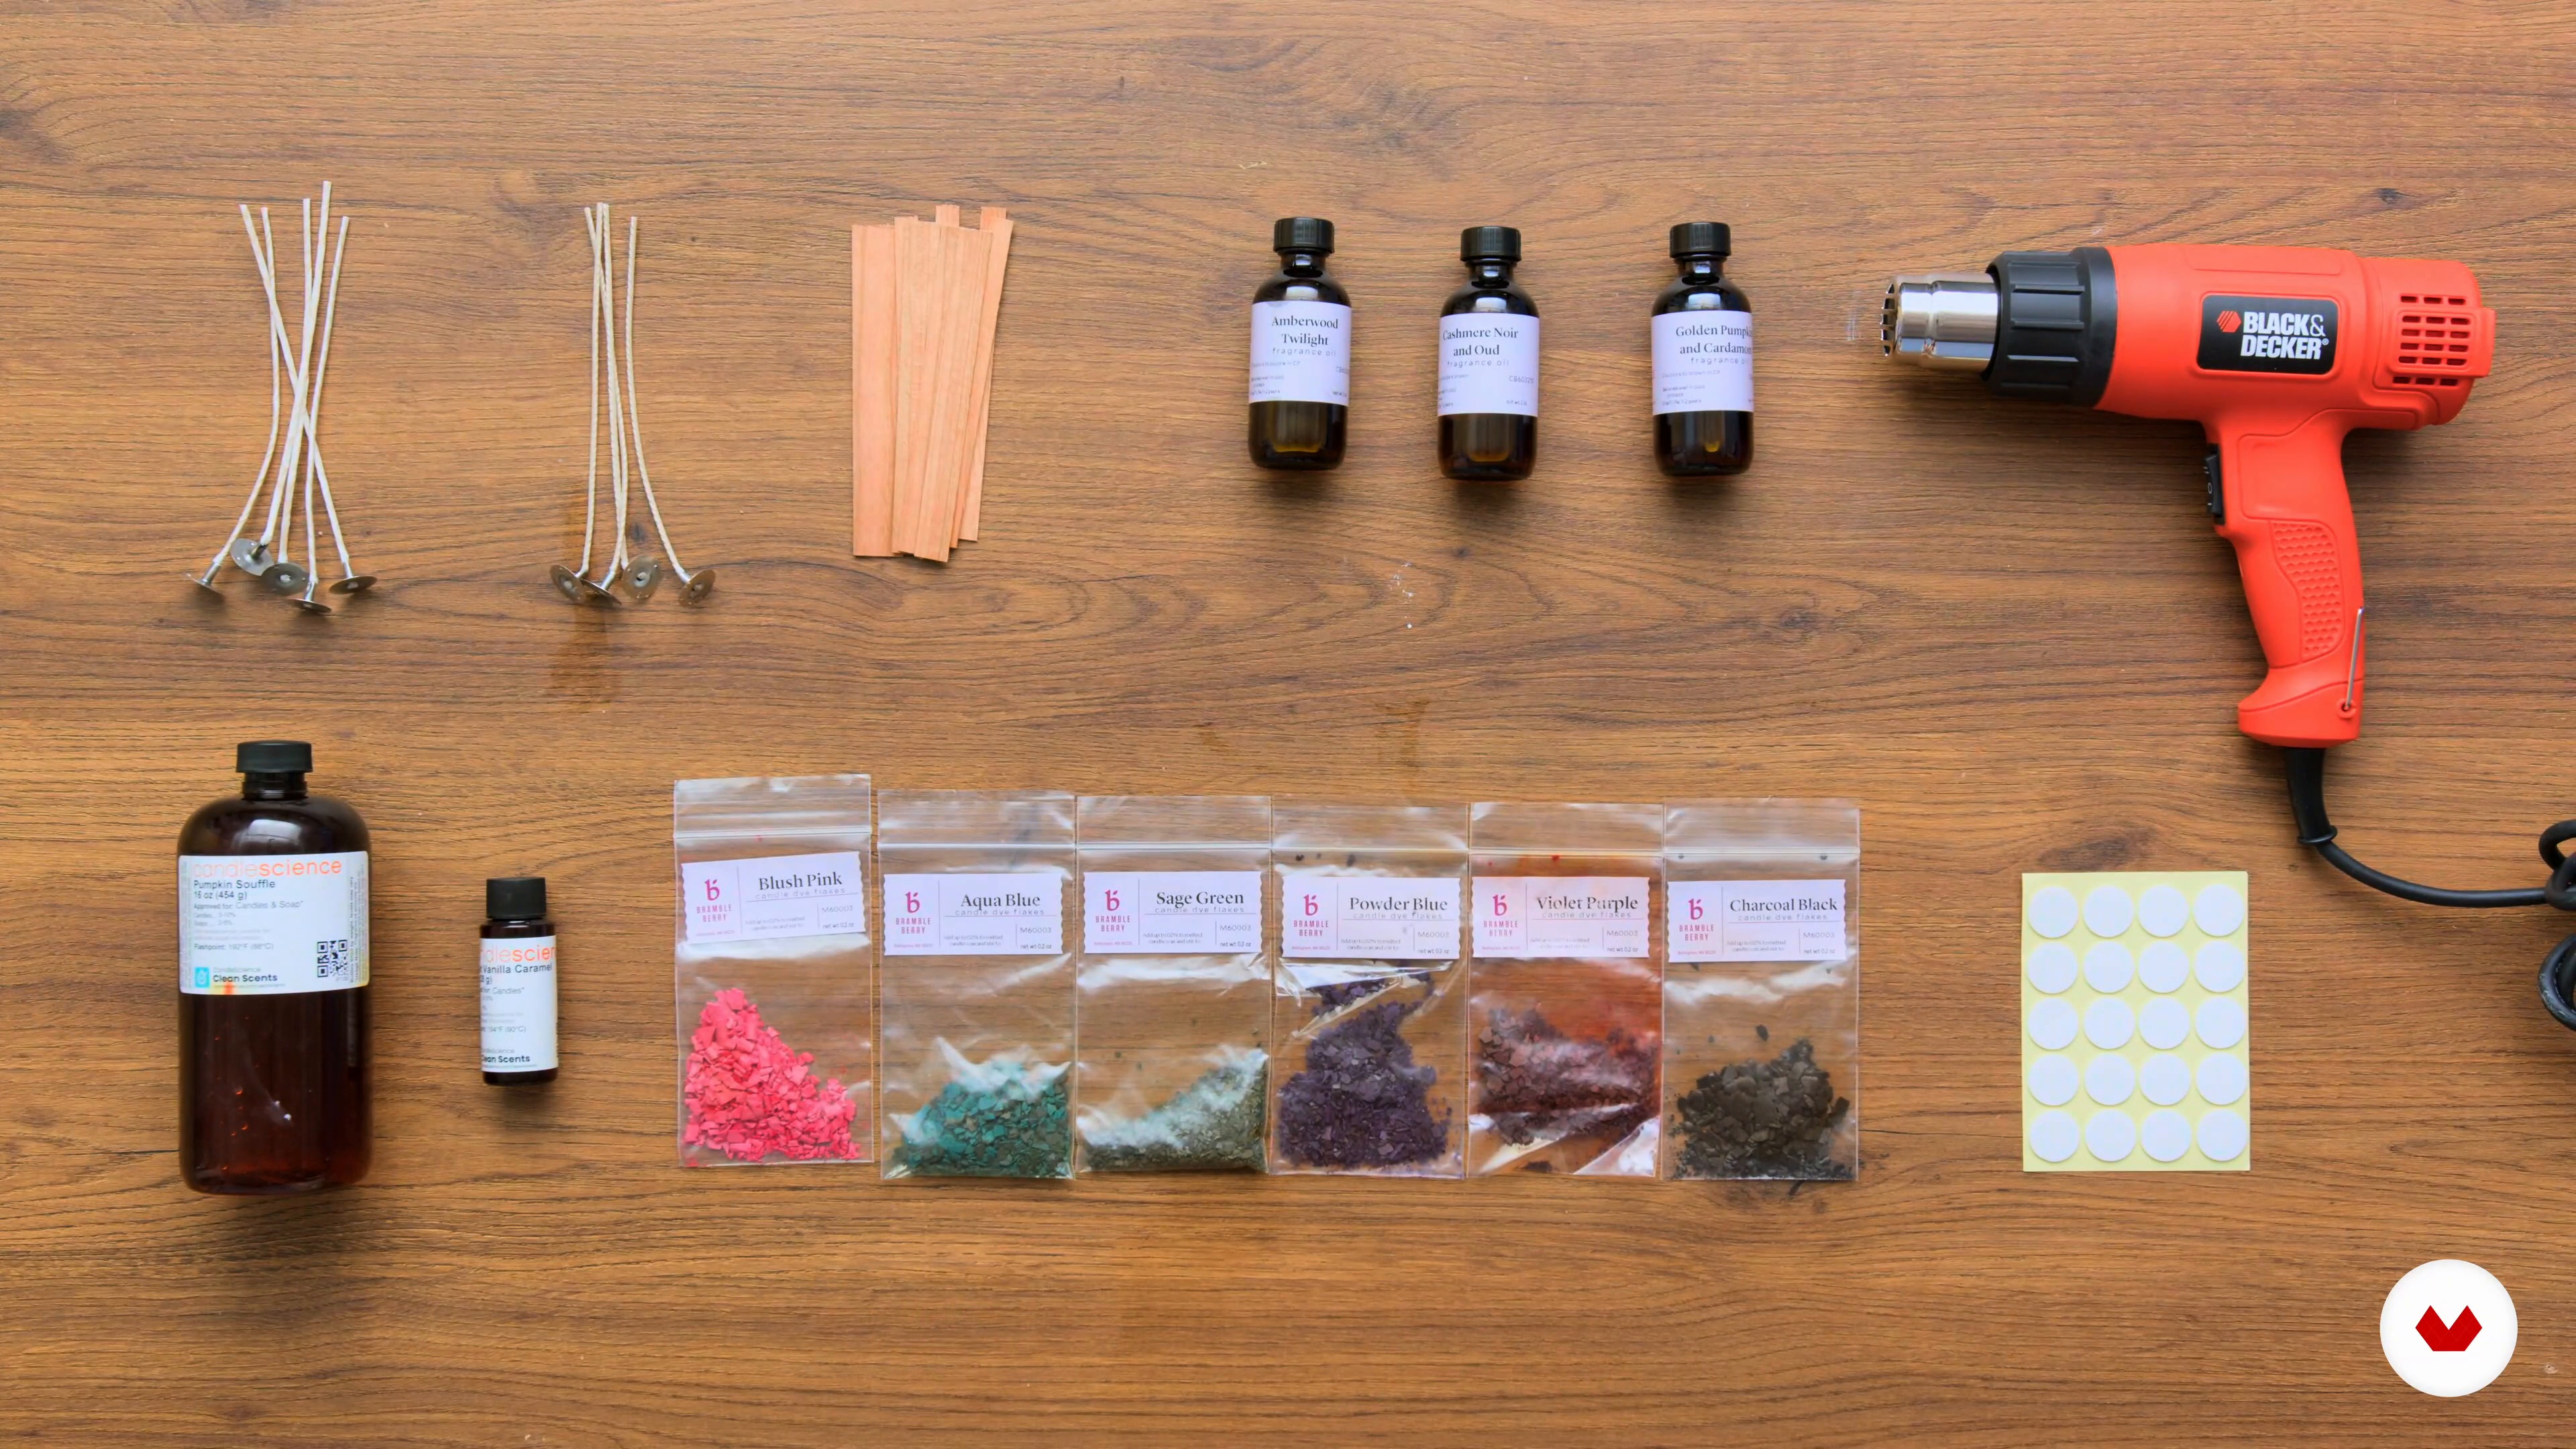
8Selecting Suppliers
Here you will briefly learn how to select suppliers, as covered when we were selecting fragrances. I will show you examples of two suppliers that I really love working with.
2m
 9
9Understanding the Formulas
In this lesson, you will learn wax-to-fragrance ratio and tips for achieving an optimal hot throw.
2m
 10
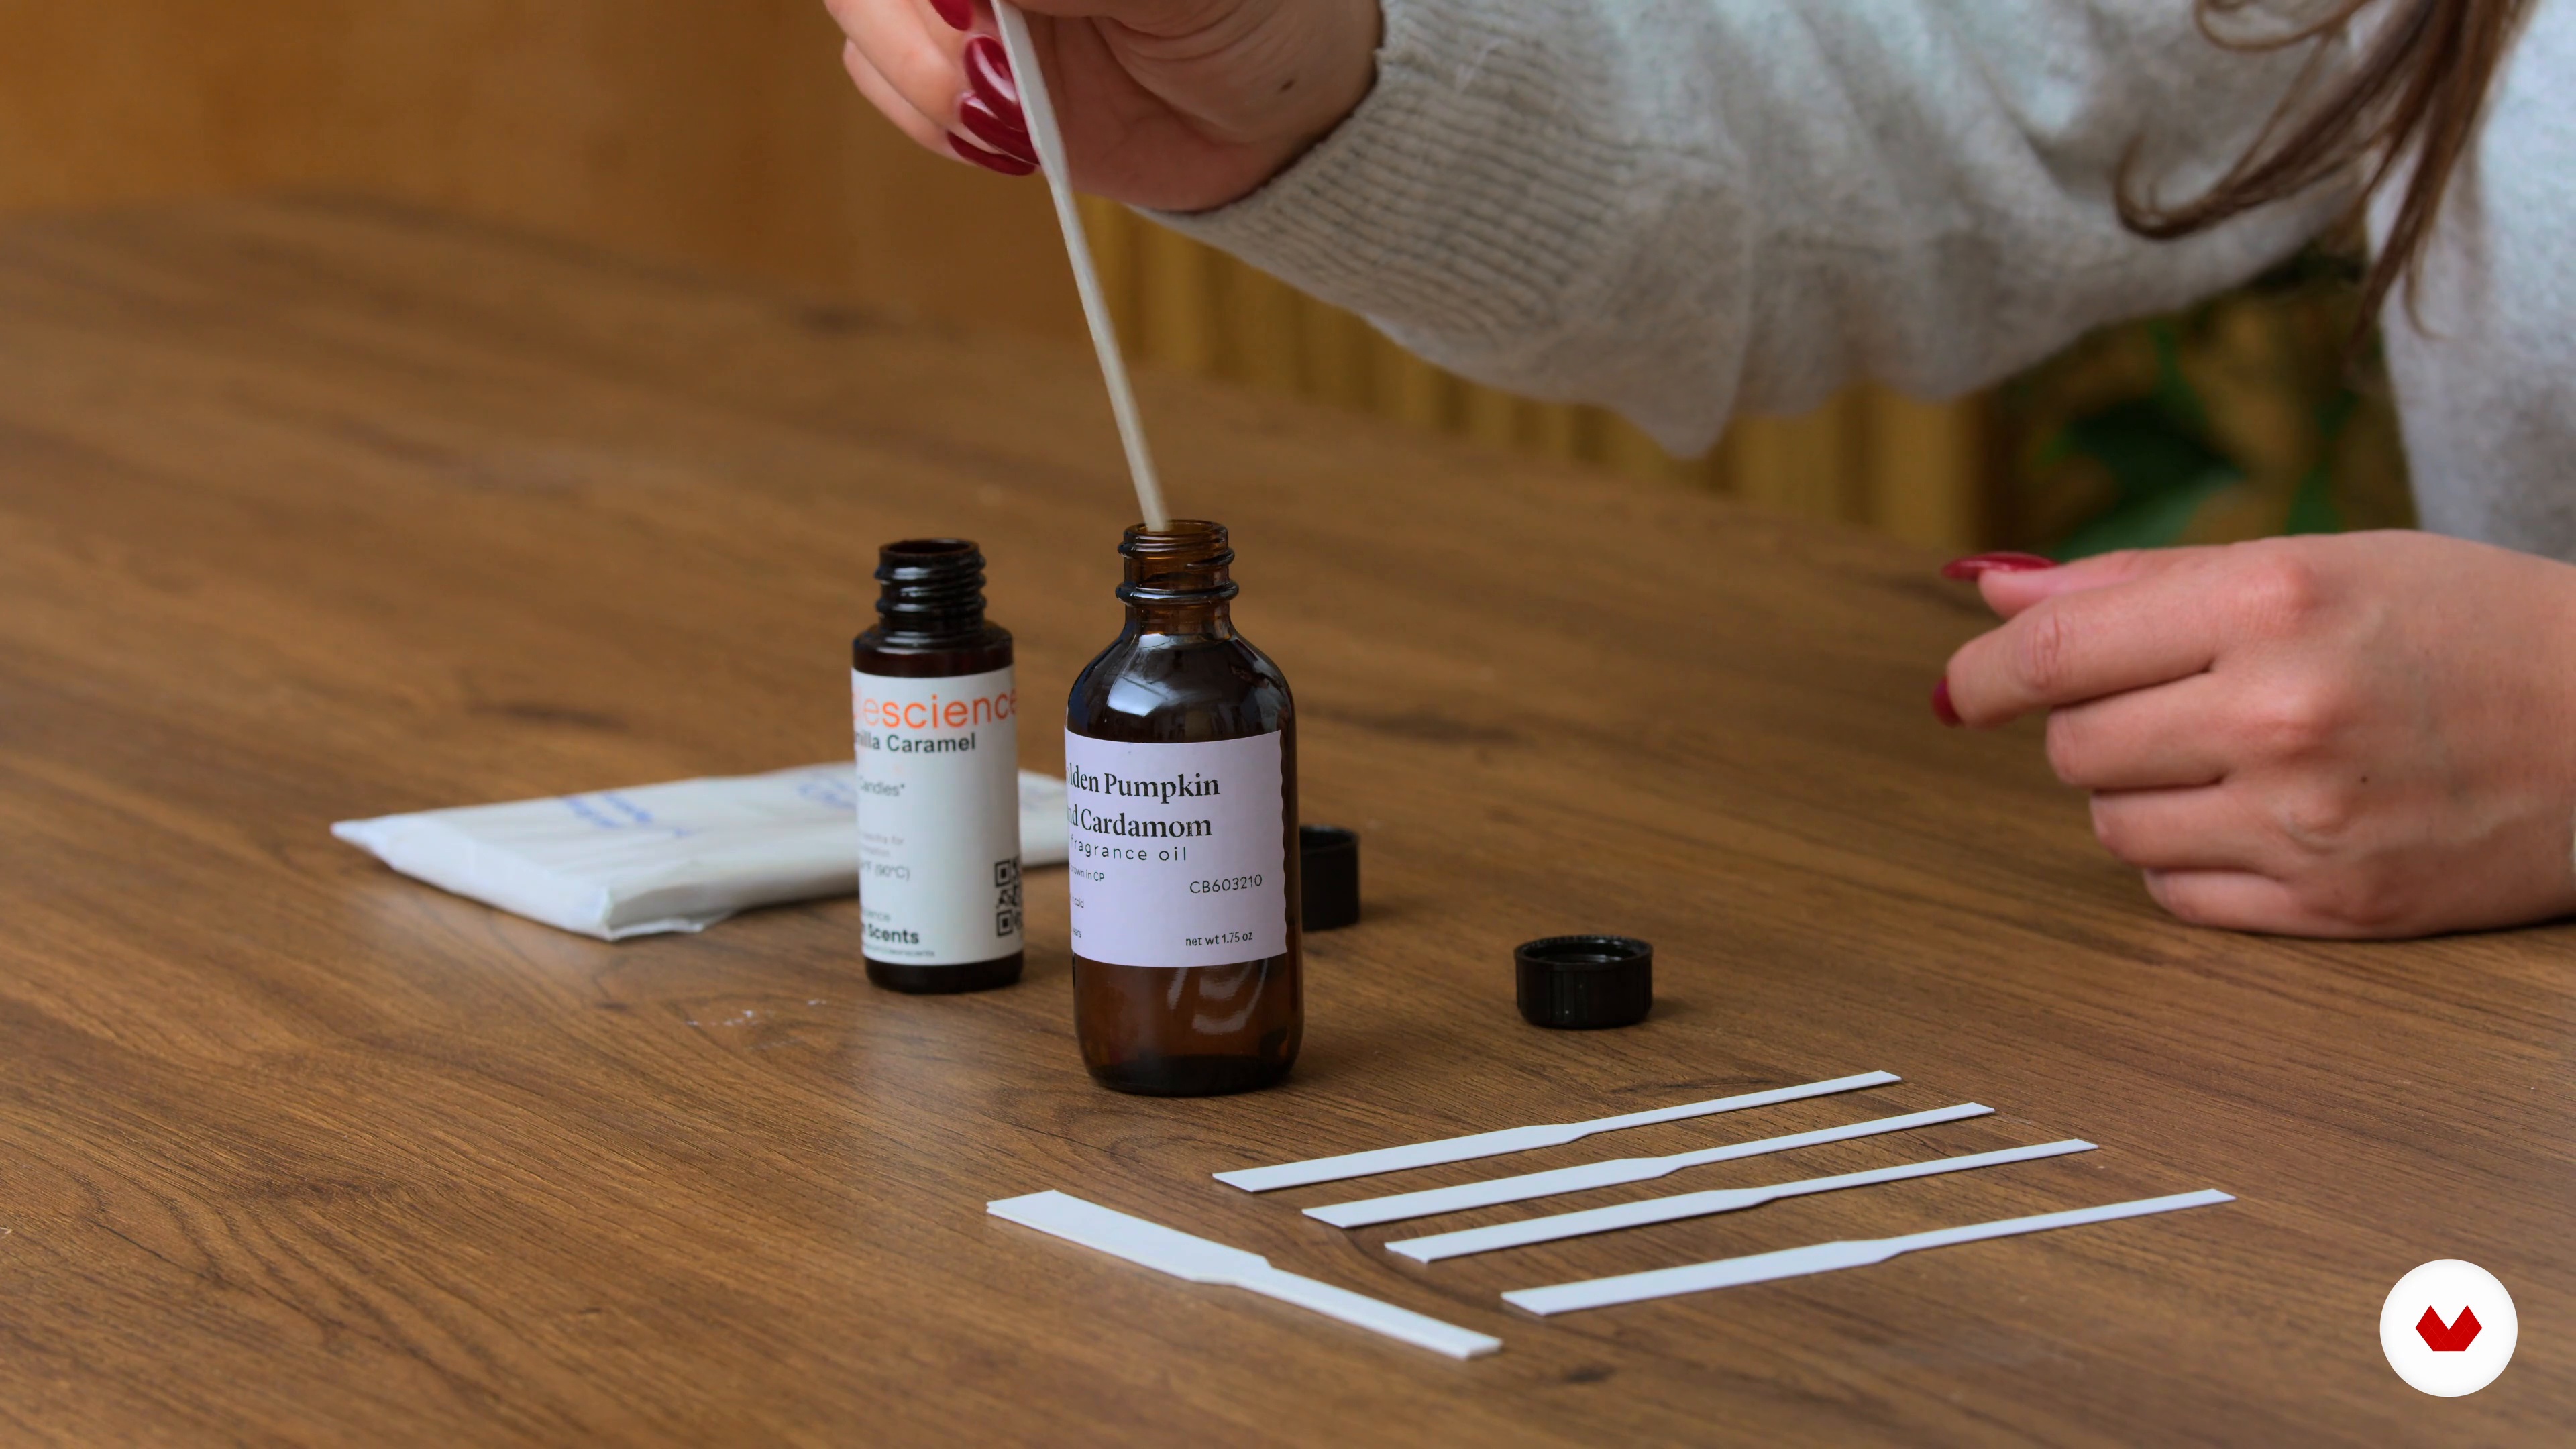
10Basic Scent Blending
Let me show you the basics of fragrance blending in order to create unique scents. You will also gather a basic understanding of scent notes and their combinations.
1m
 11
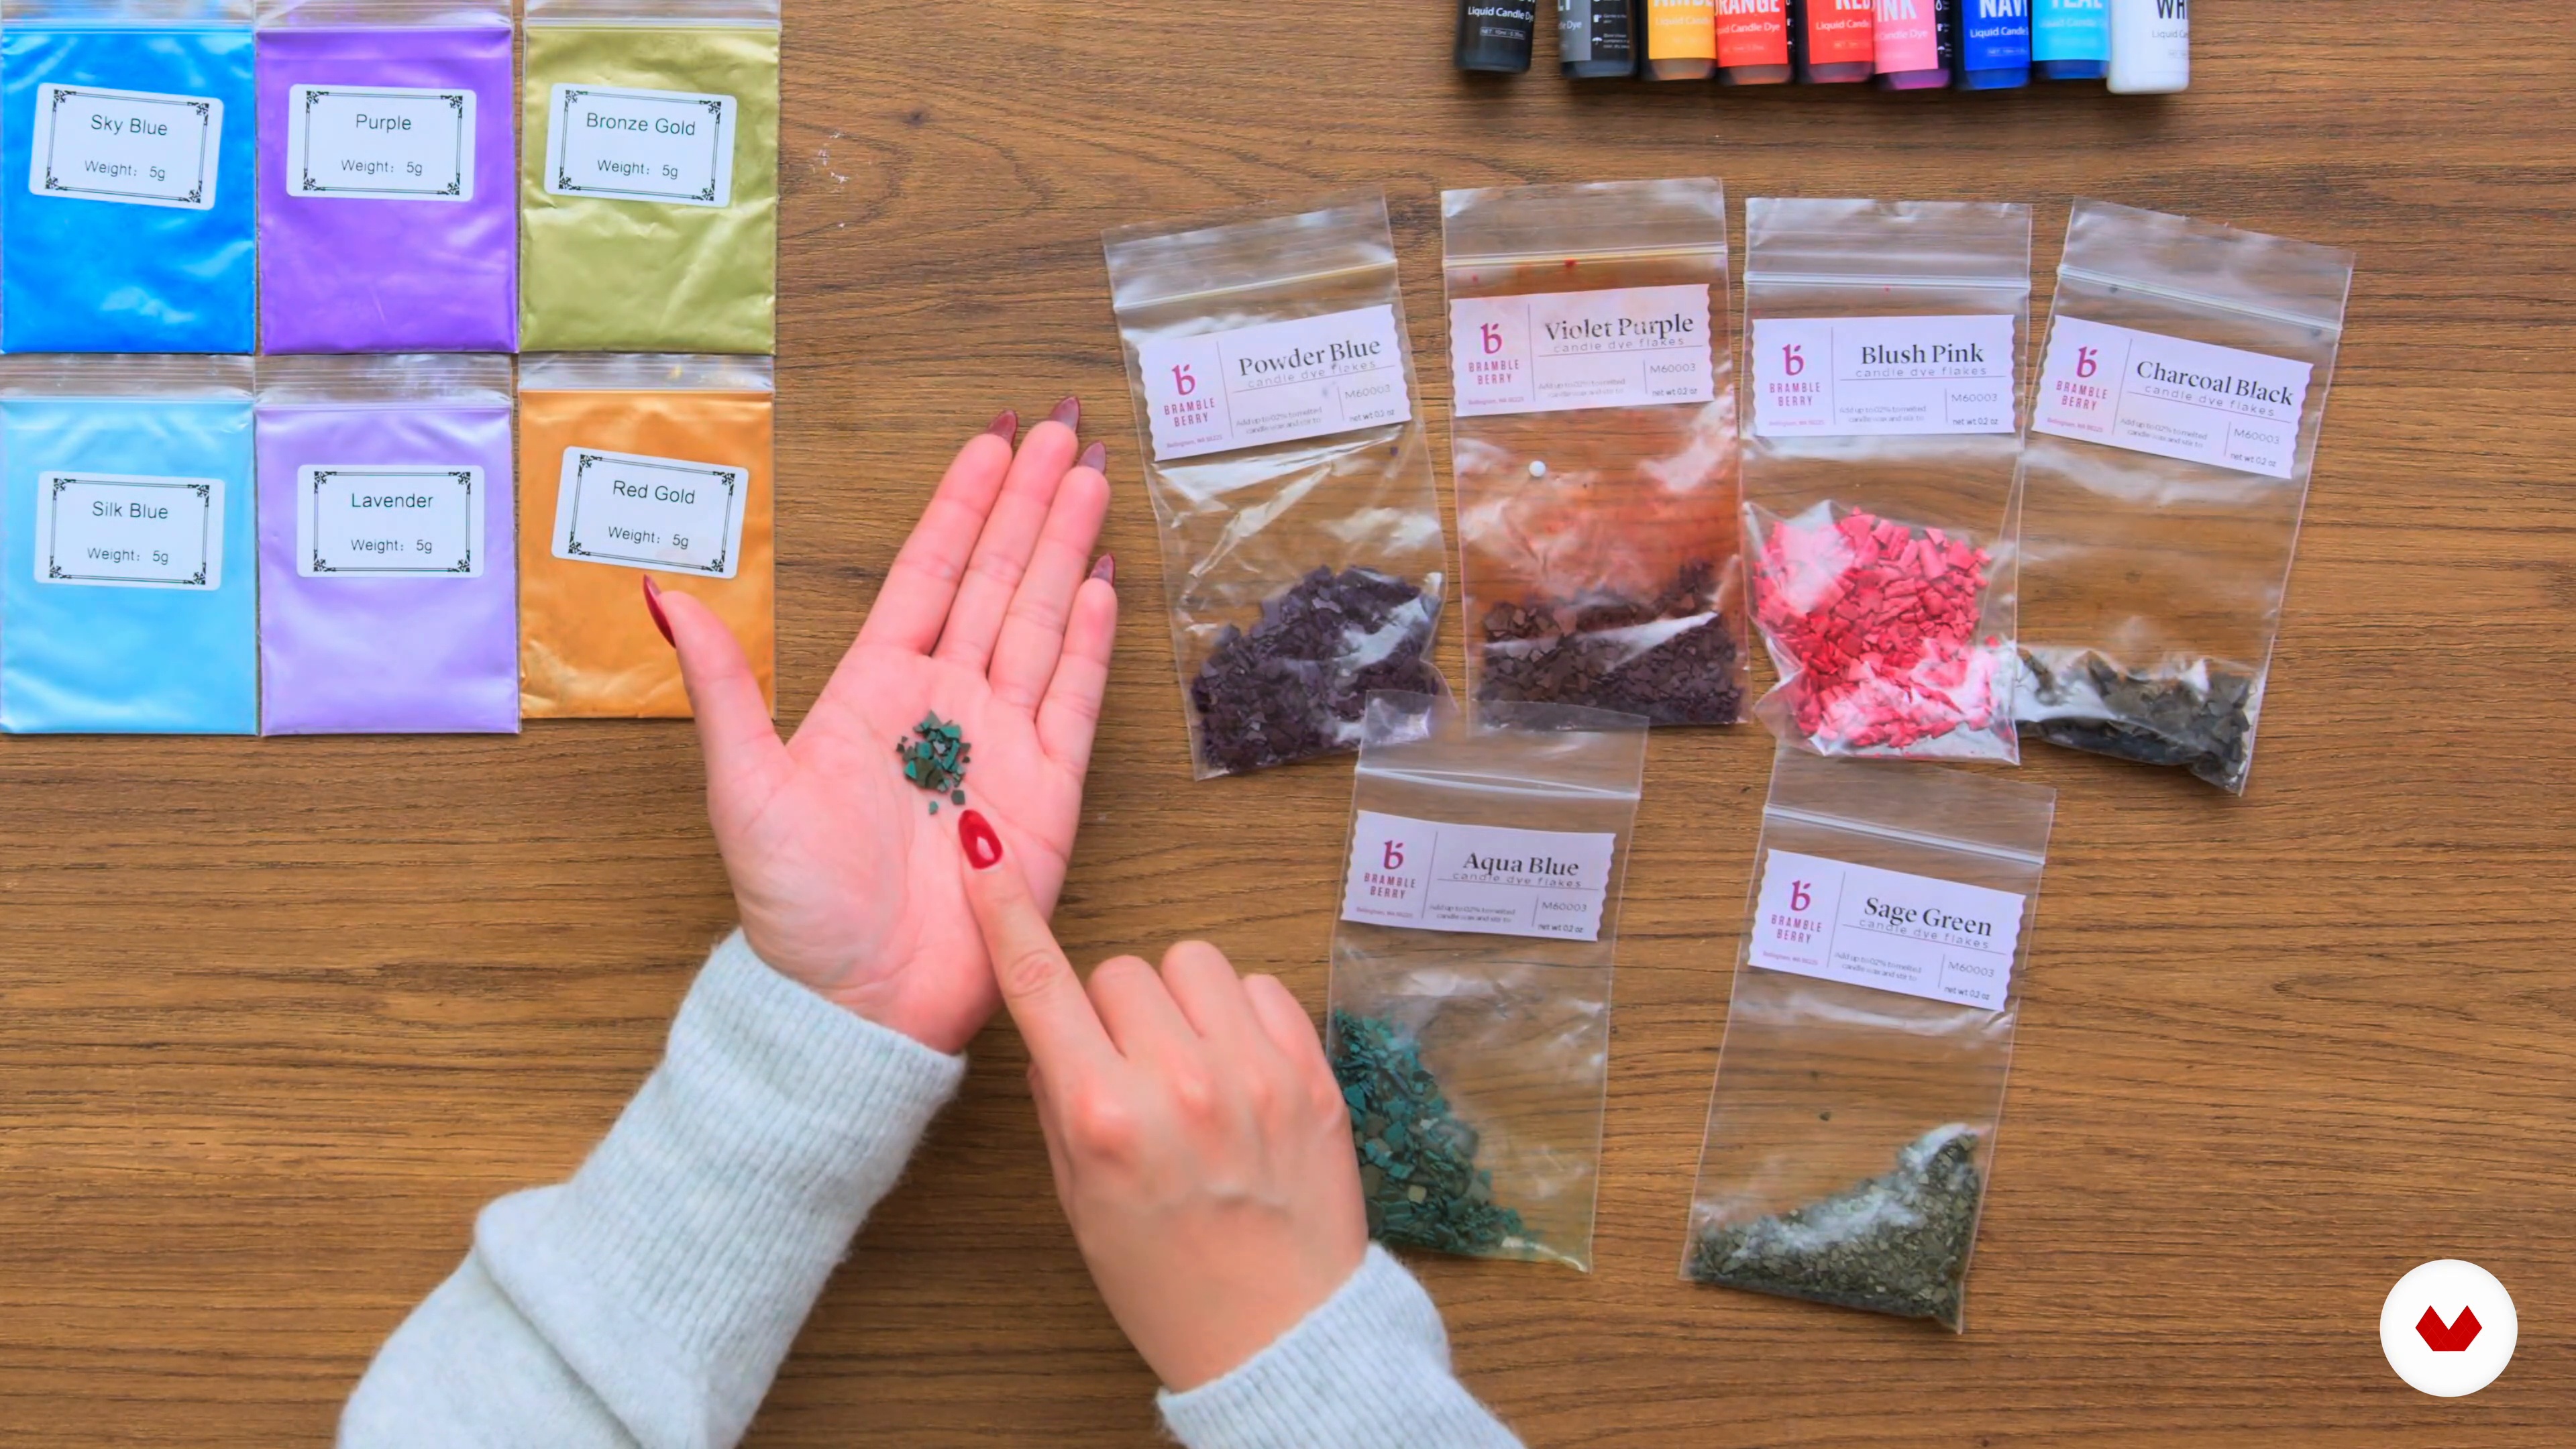
11Adding Colors and Shimmers
During this lesson, you will learn basic techniques for coloring your candles and how color performs in soy wax. You will also learn how to use mica powders safely.
2m
 12
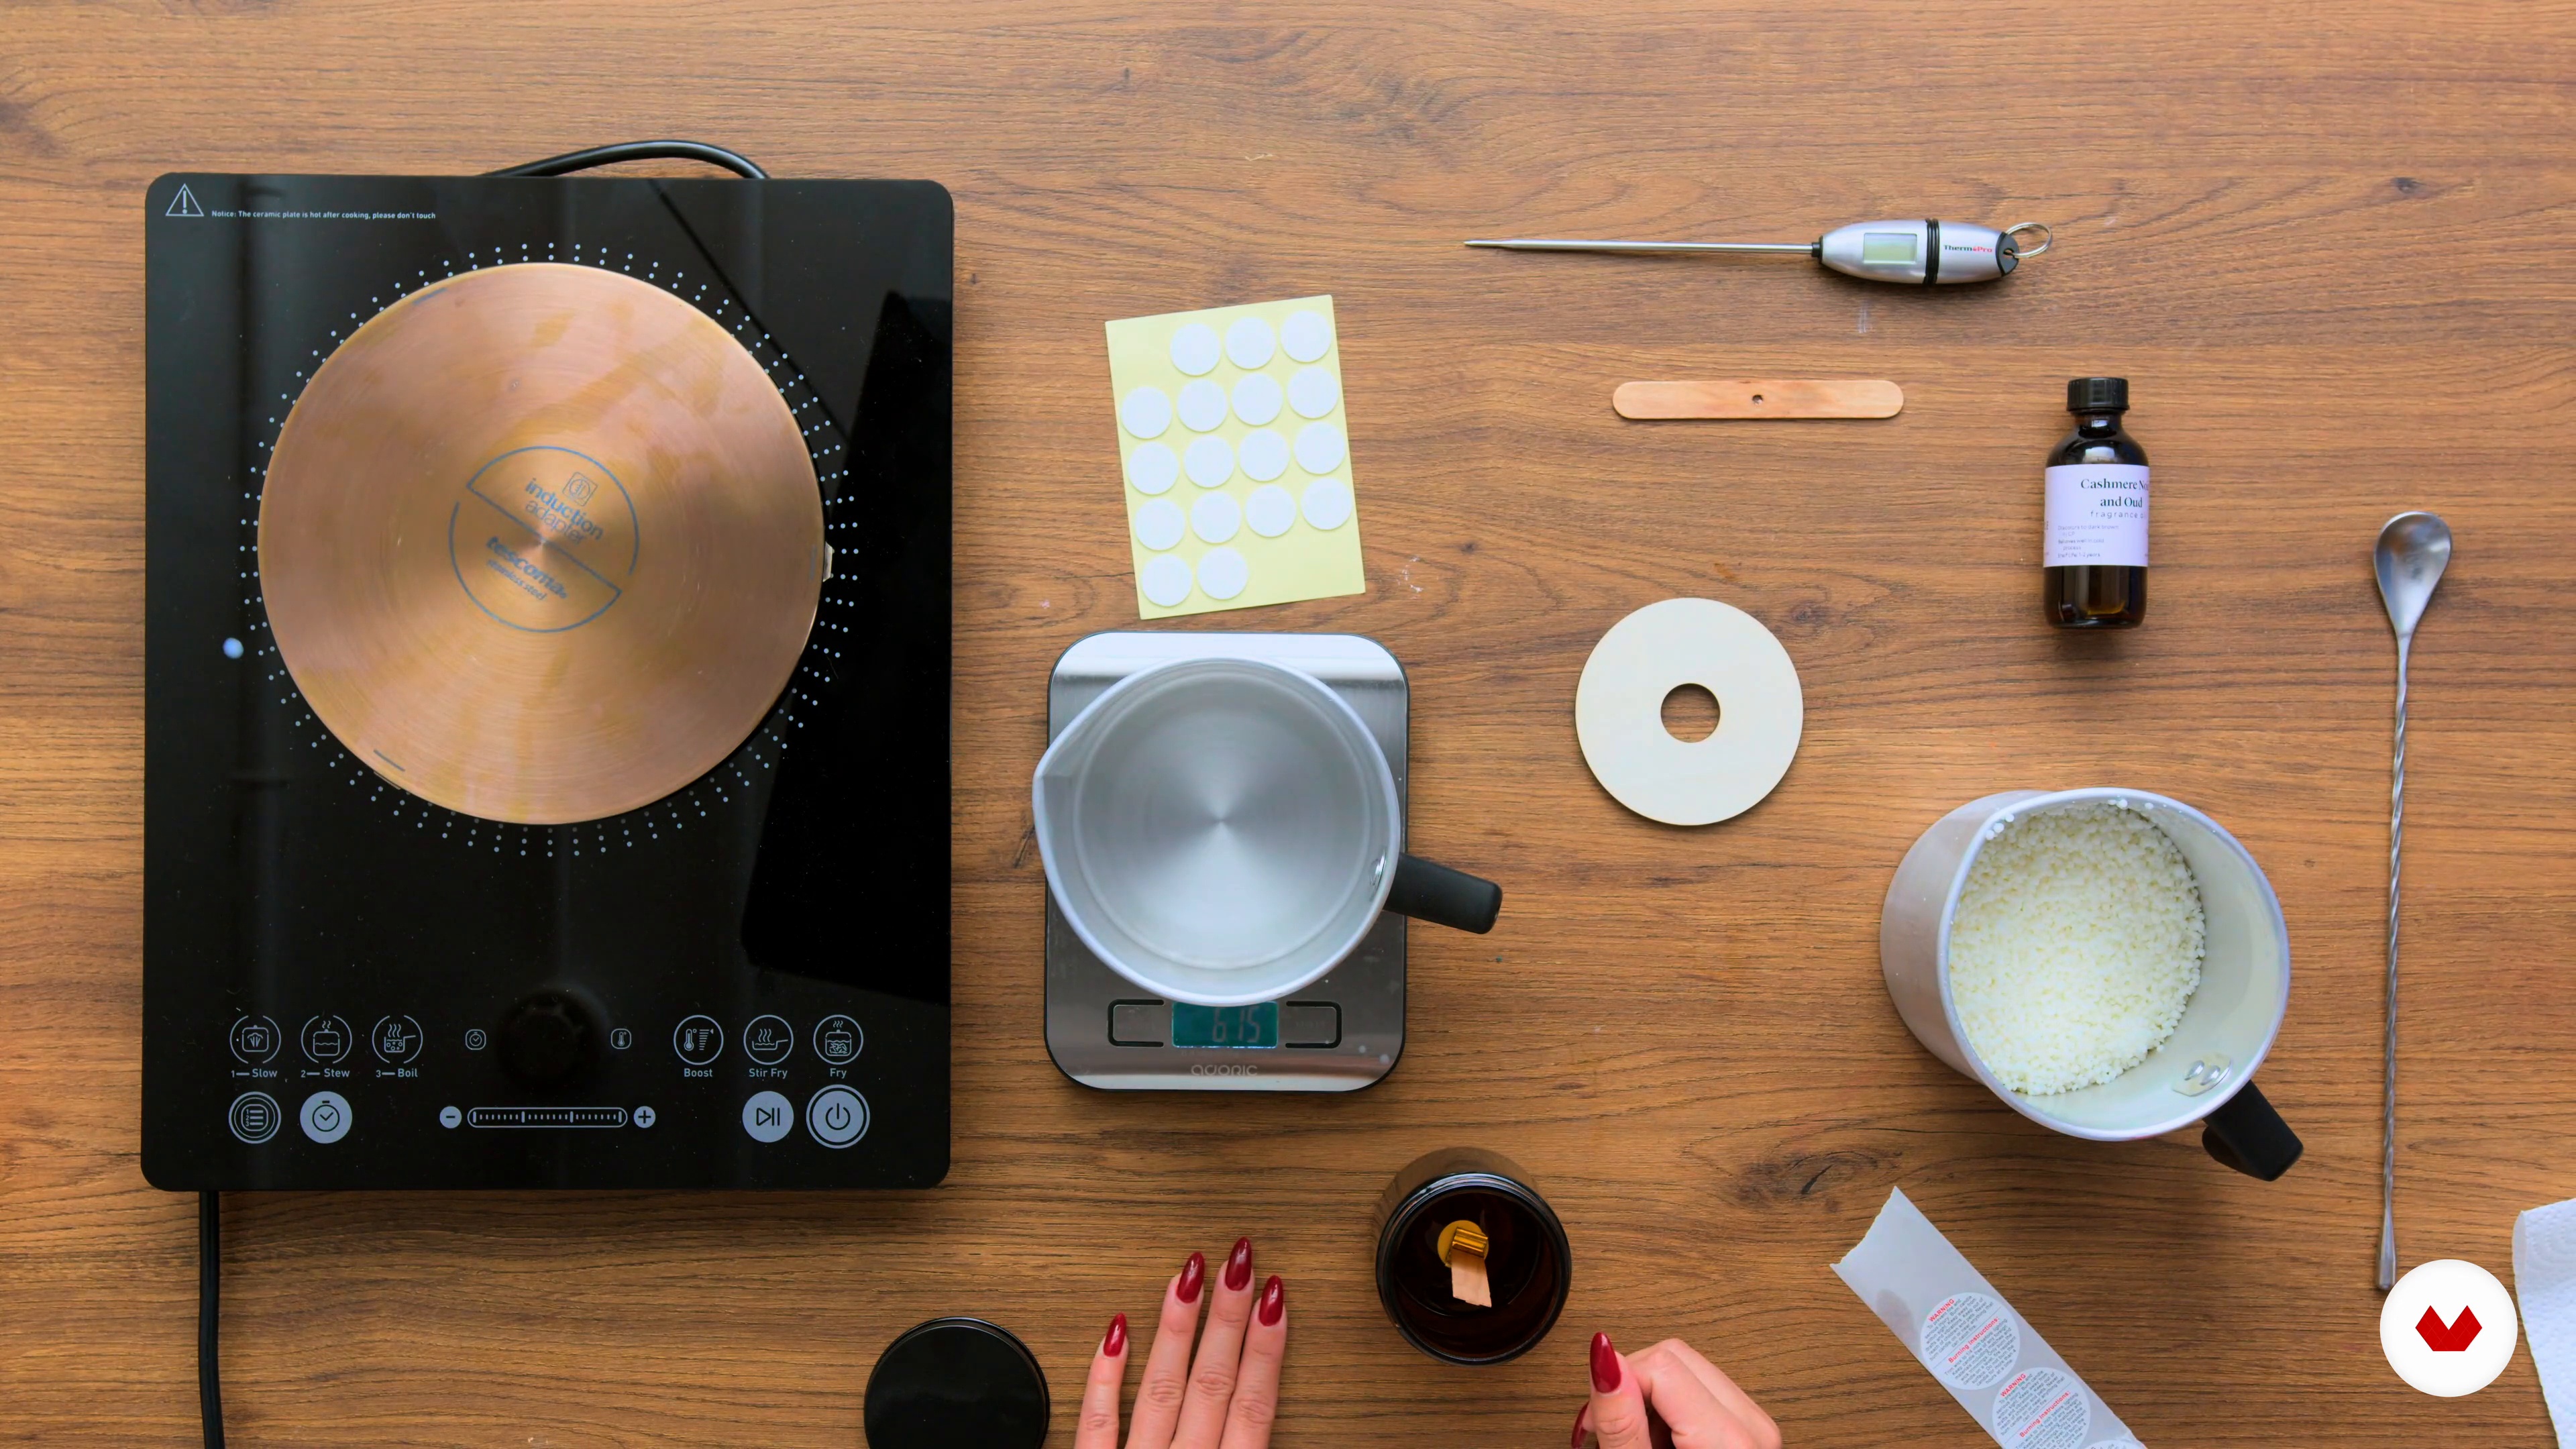
12Making a 7oz Candle
Step-by-step guide to melting soy wax, and adding and mixing fragrance oils. We will also learn how to pick the perfect candle vessel and I will teach you tips for achieving a smooth professional finish. You will see how to make your very first 7 oz candle using fragrance and a wooden wick.
11m
 13
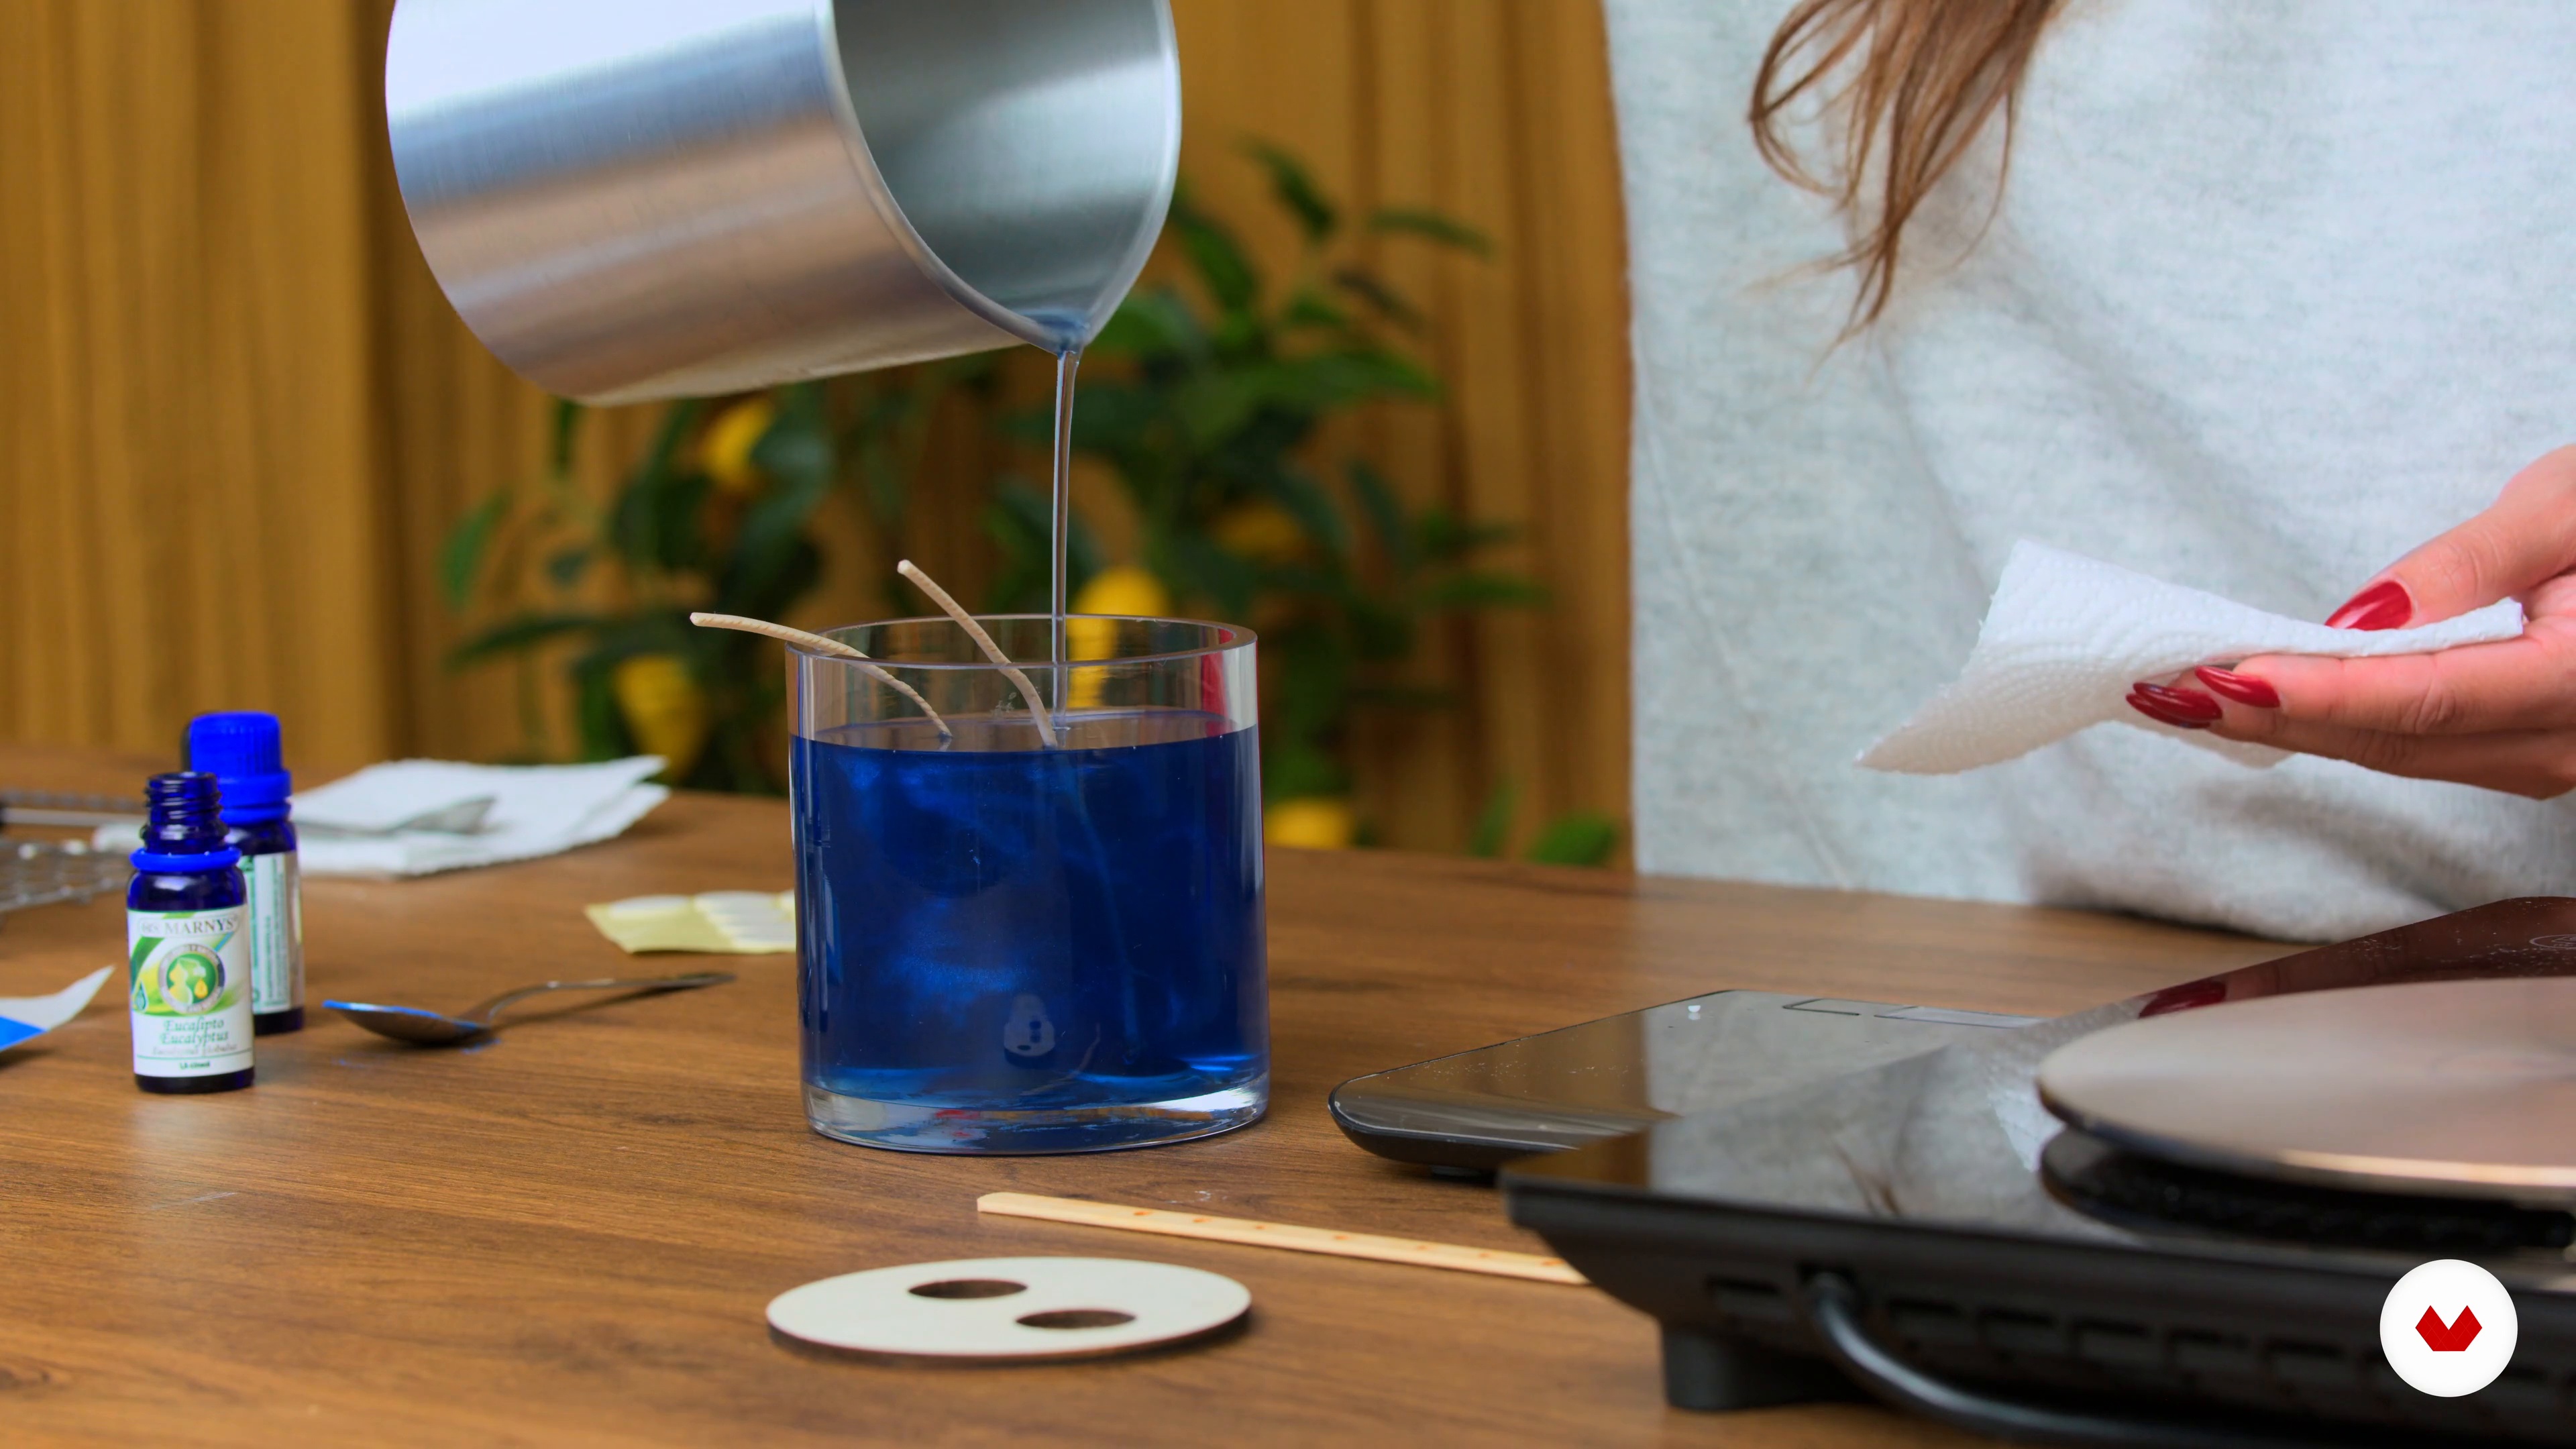
13Making a 16oz Candle
Now you will learn how to make a 16oz double-wick candle using a clear glass vessel, essential oils, cotton wicks, and mica powder. I will show you how to use many of the steps we used in the previous lesson but you will be learning additional steps.
13m
 14
14Troubleshooting Common Issues
I will talk about common issues you may encounter when making the candle. Then, you will learn about tunneling, poor scent throw, frosting, and wooden wick issues.
3m
 3
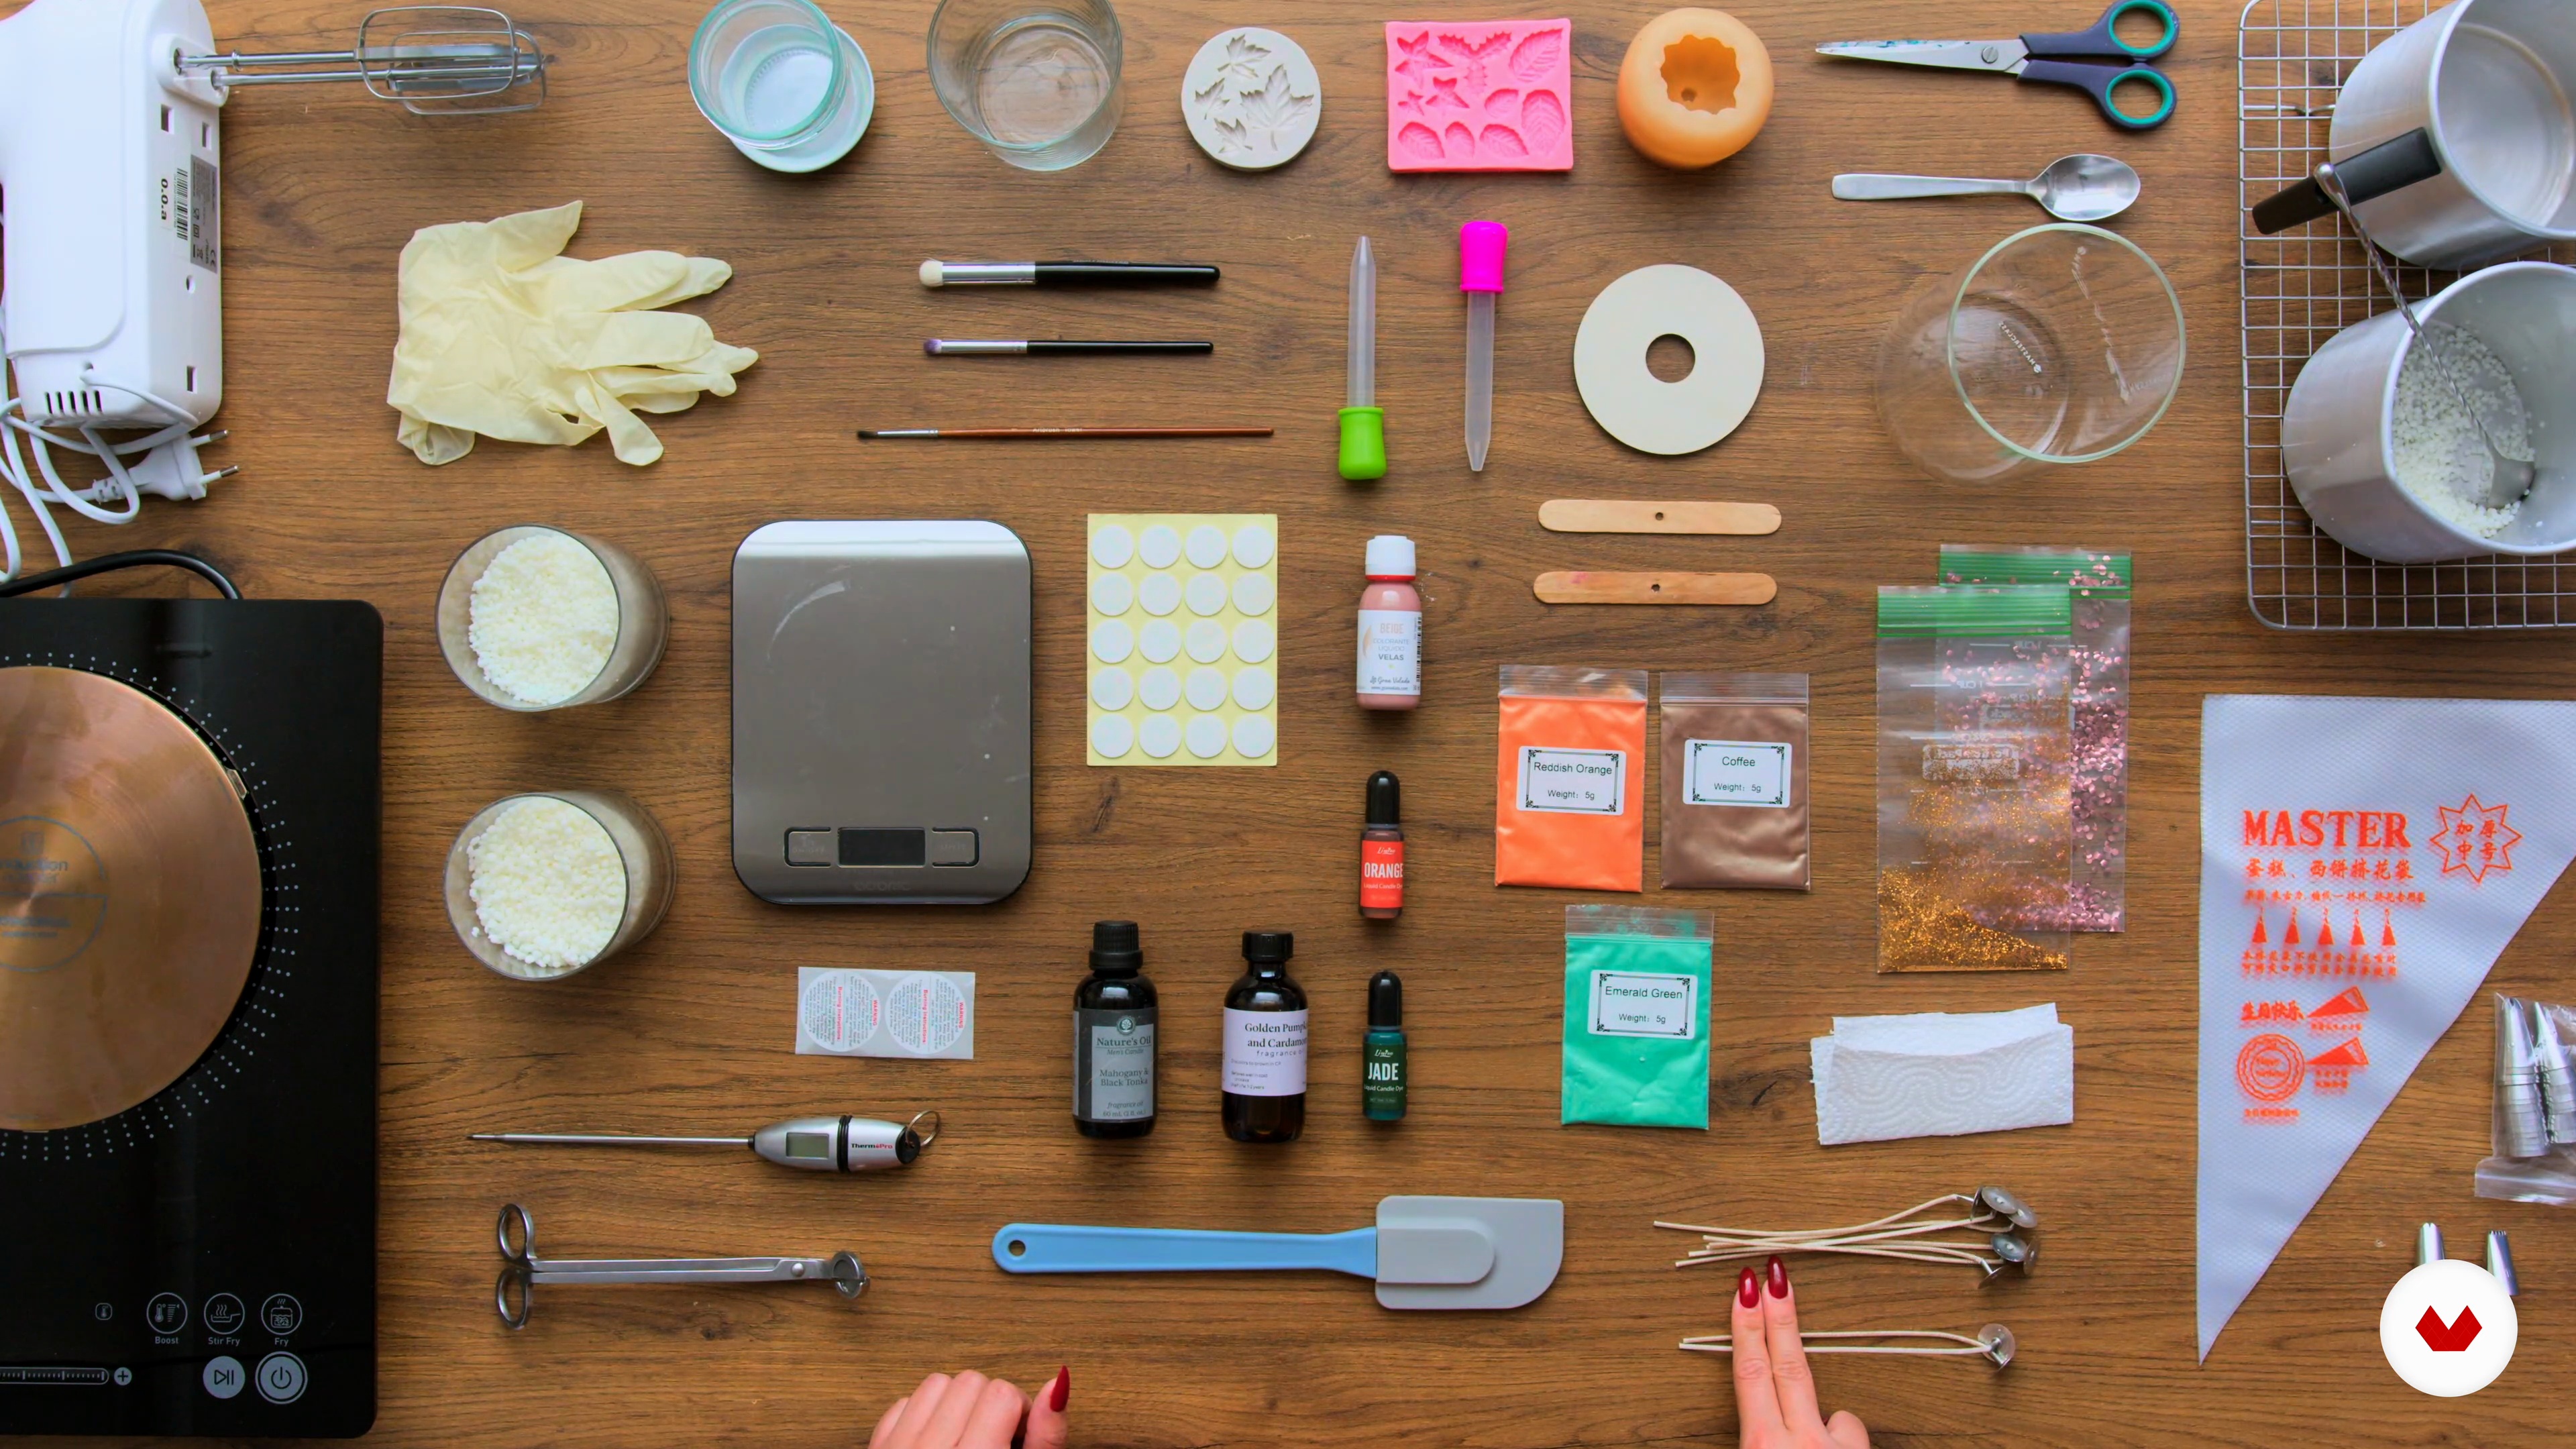
3Materials and Tools
In this first lesson, you'll learn about the different materials and tools needed to make a whipped themed candle.
3m
 4
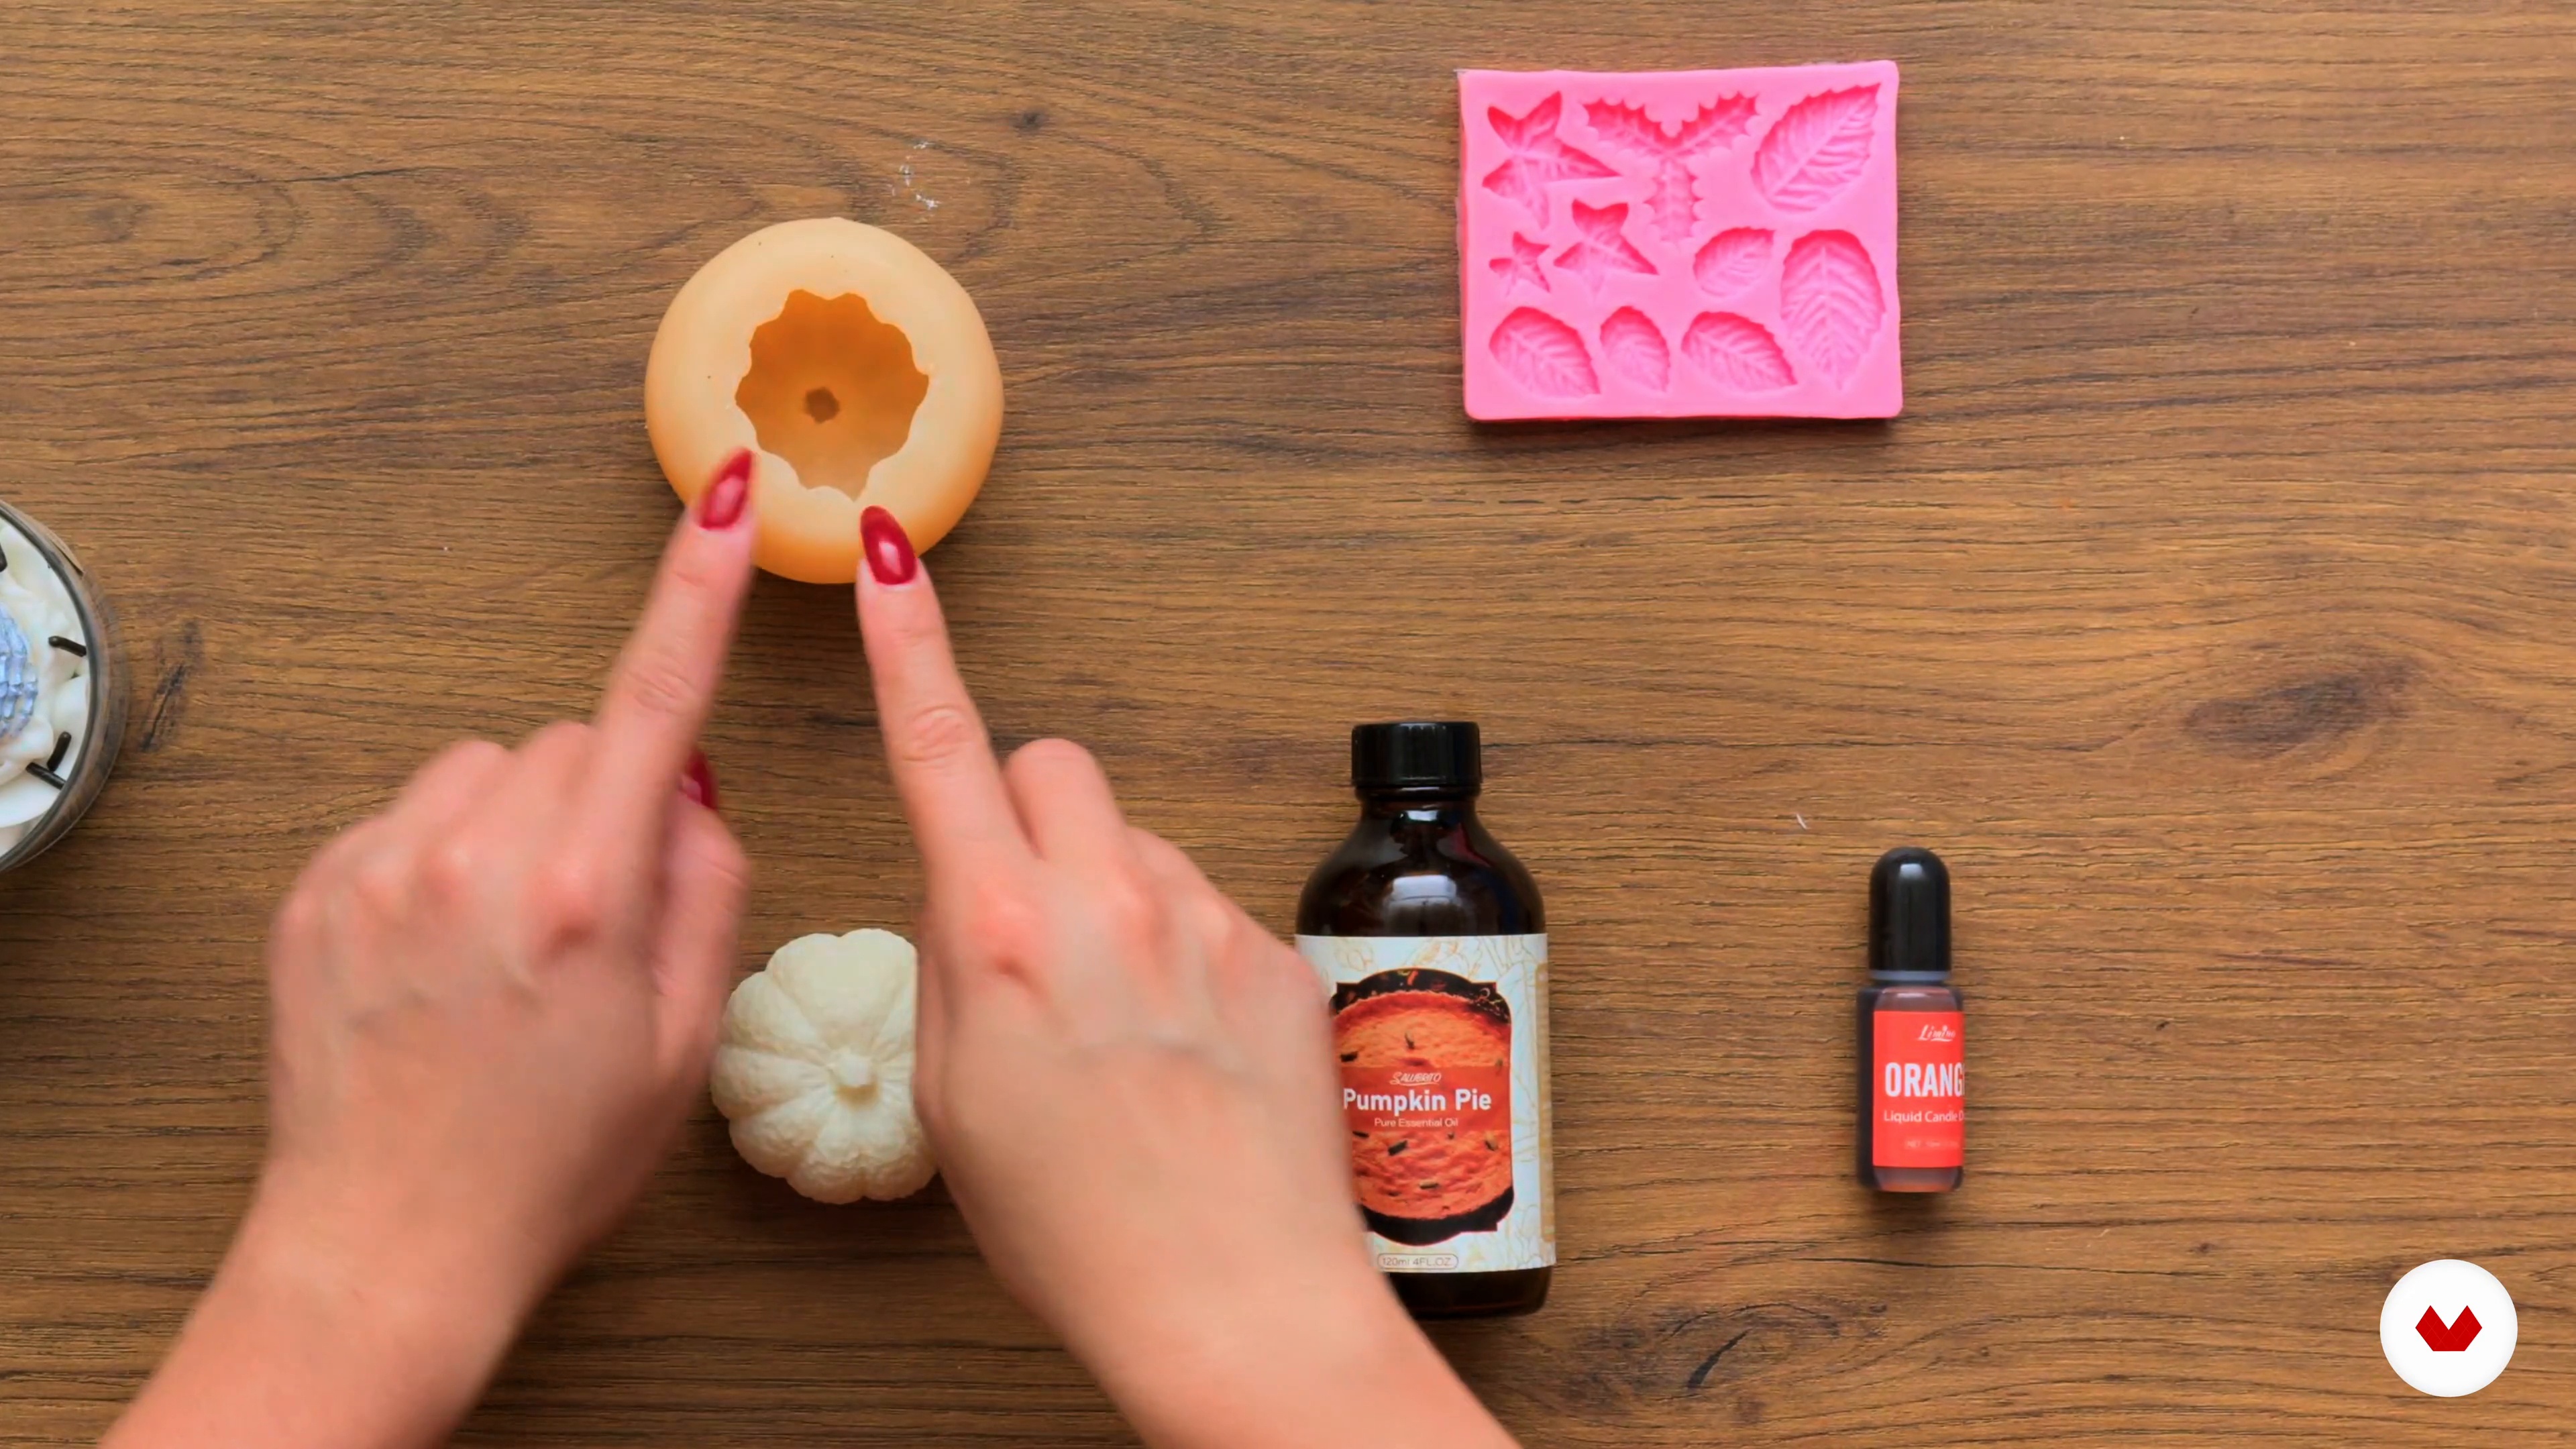
4Planning the Themed Candle
Now, you'll learn the steps that you can take for planning and designing themed candles. I'll teach you ways in which you can draw inspiration from what is around you.
2m
 5
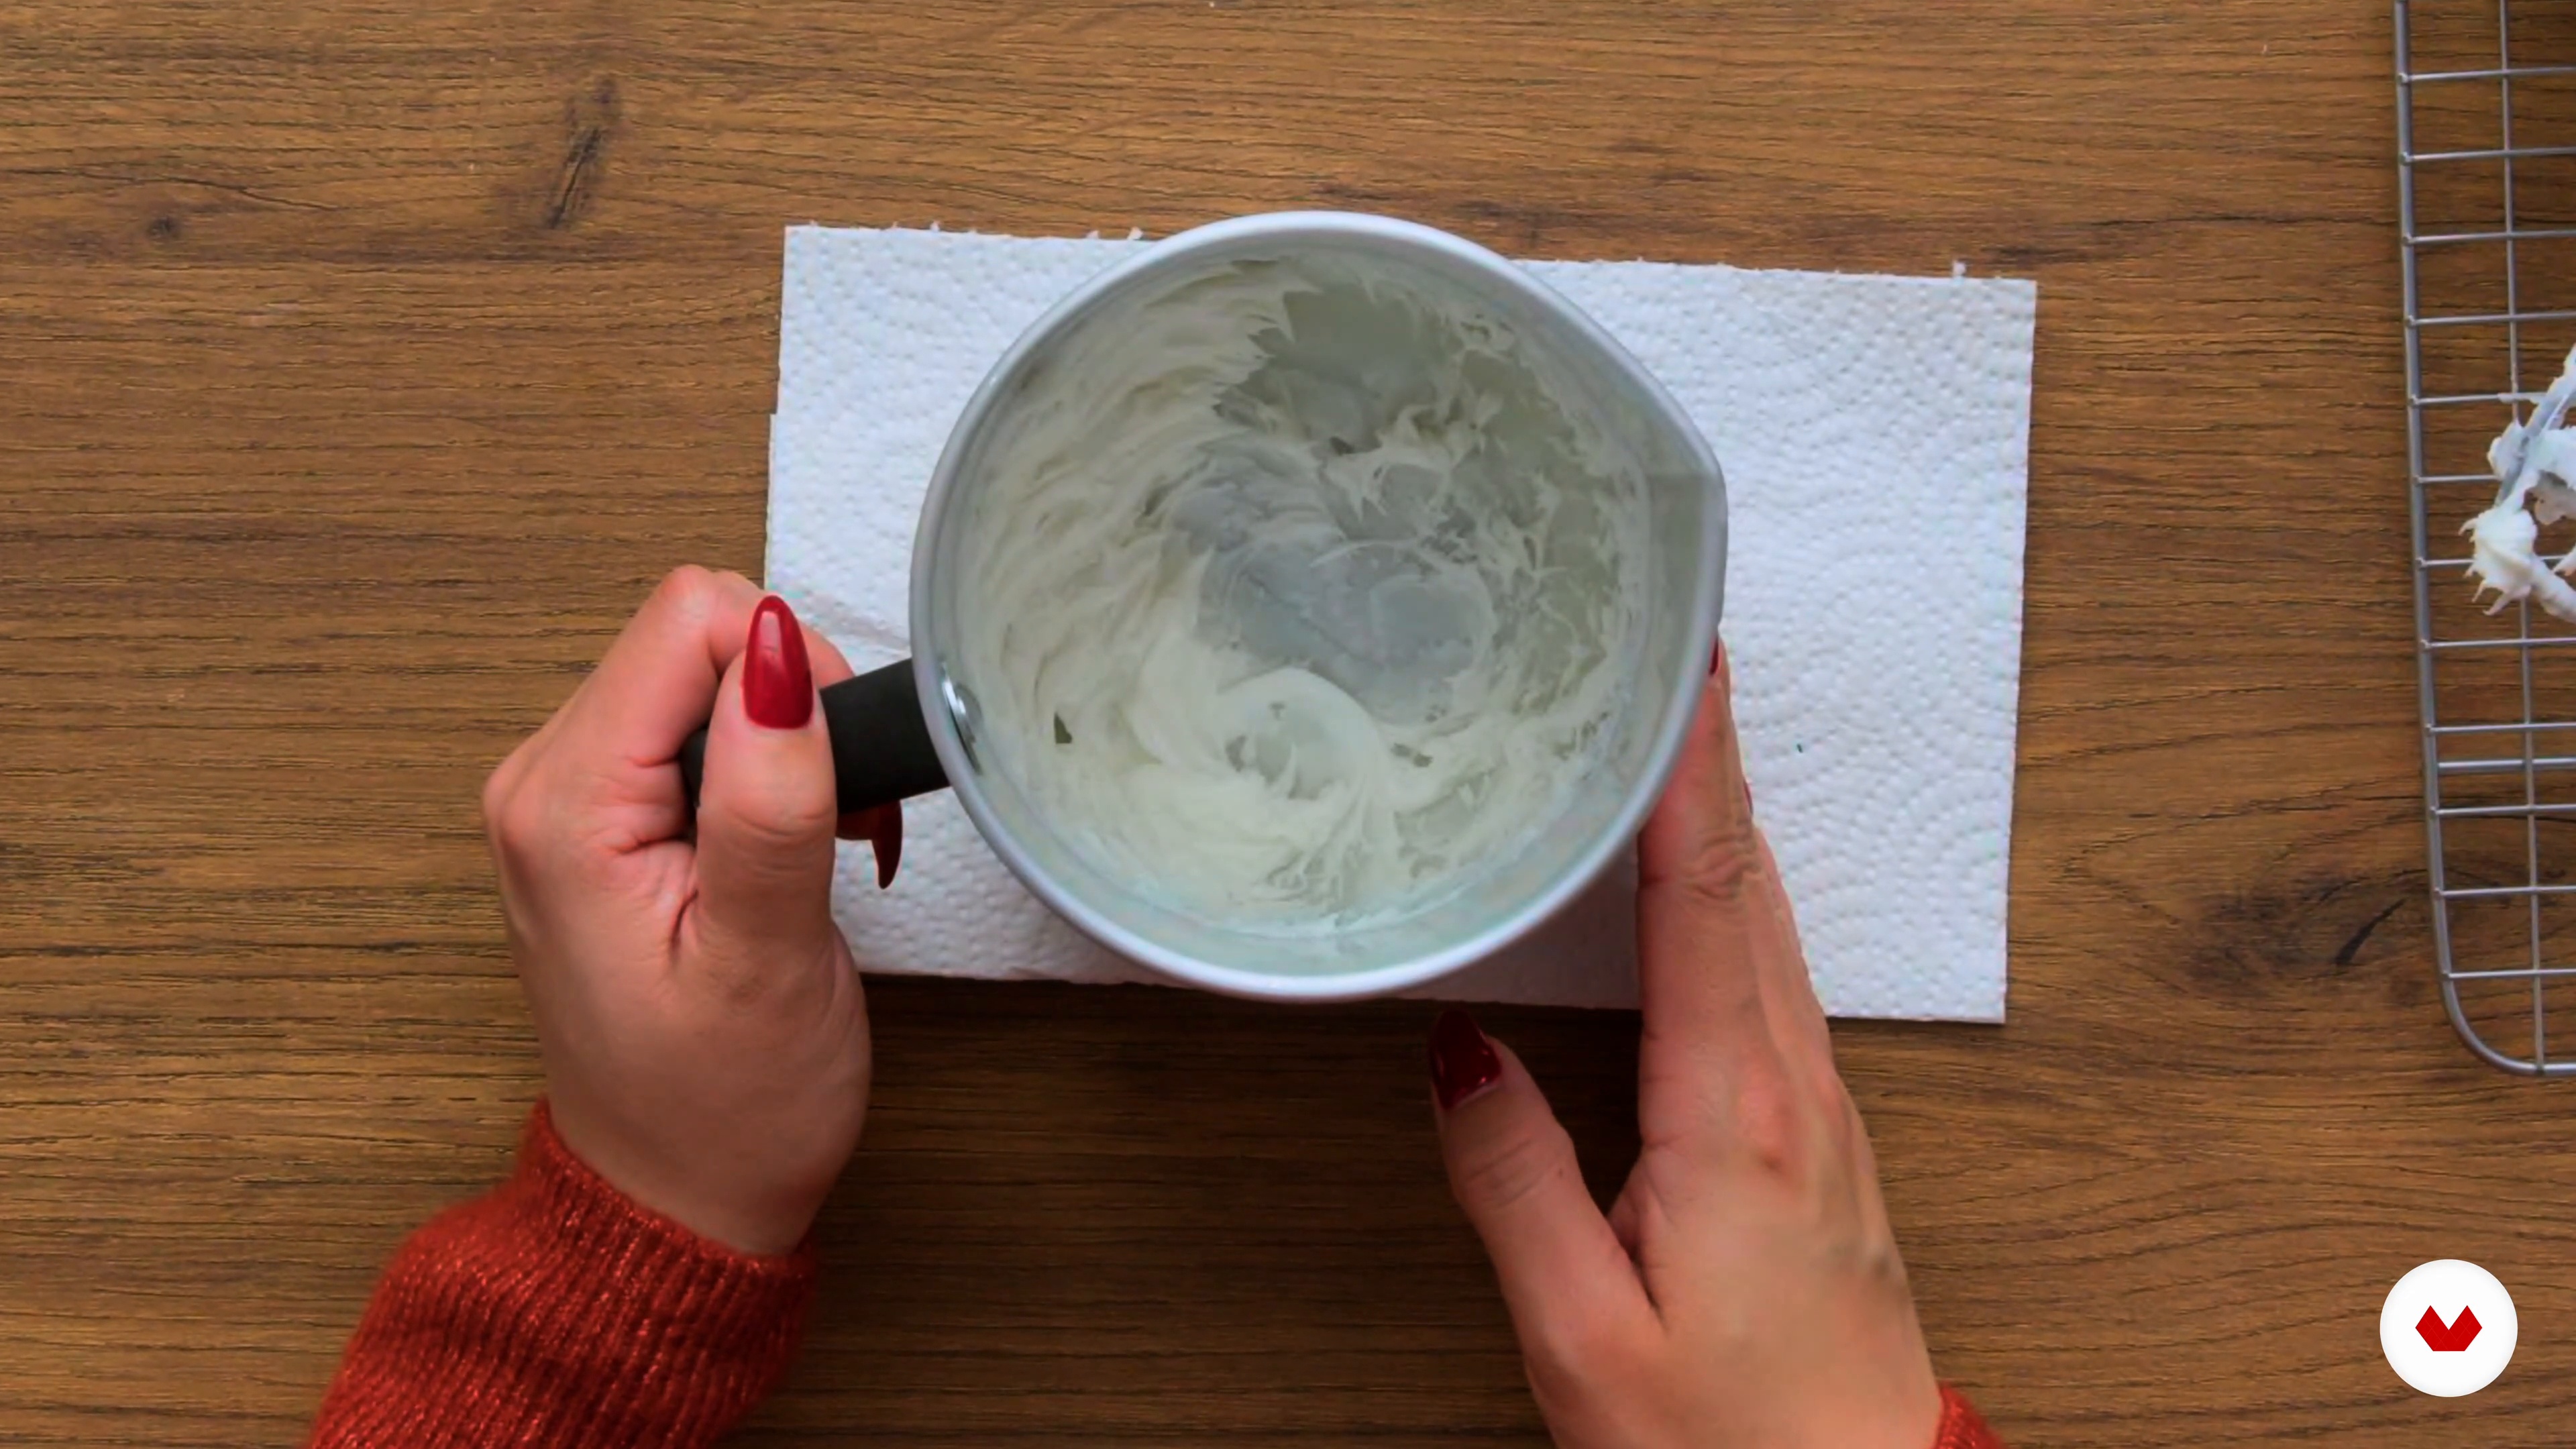
5Whipping the Wax
To start with, you'll learn about whipping the wax and how mixing waxes can help you achieve the perfect consistency. I'll teach you how you can apply whipped wax to the themed candles.
5m
 6
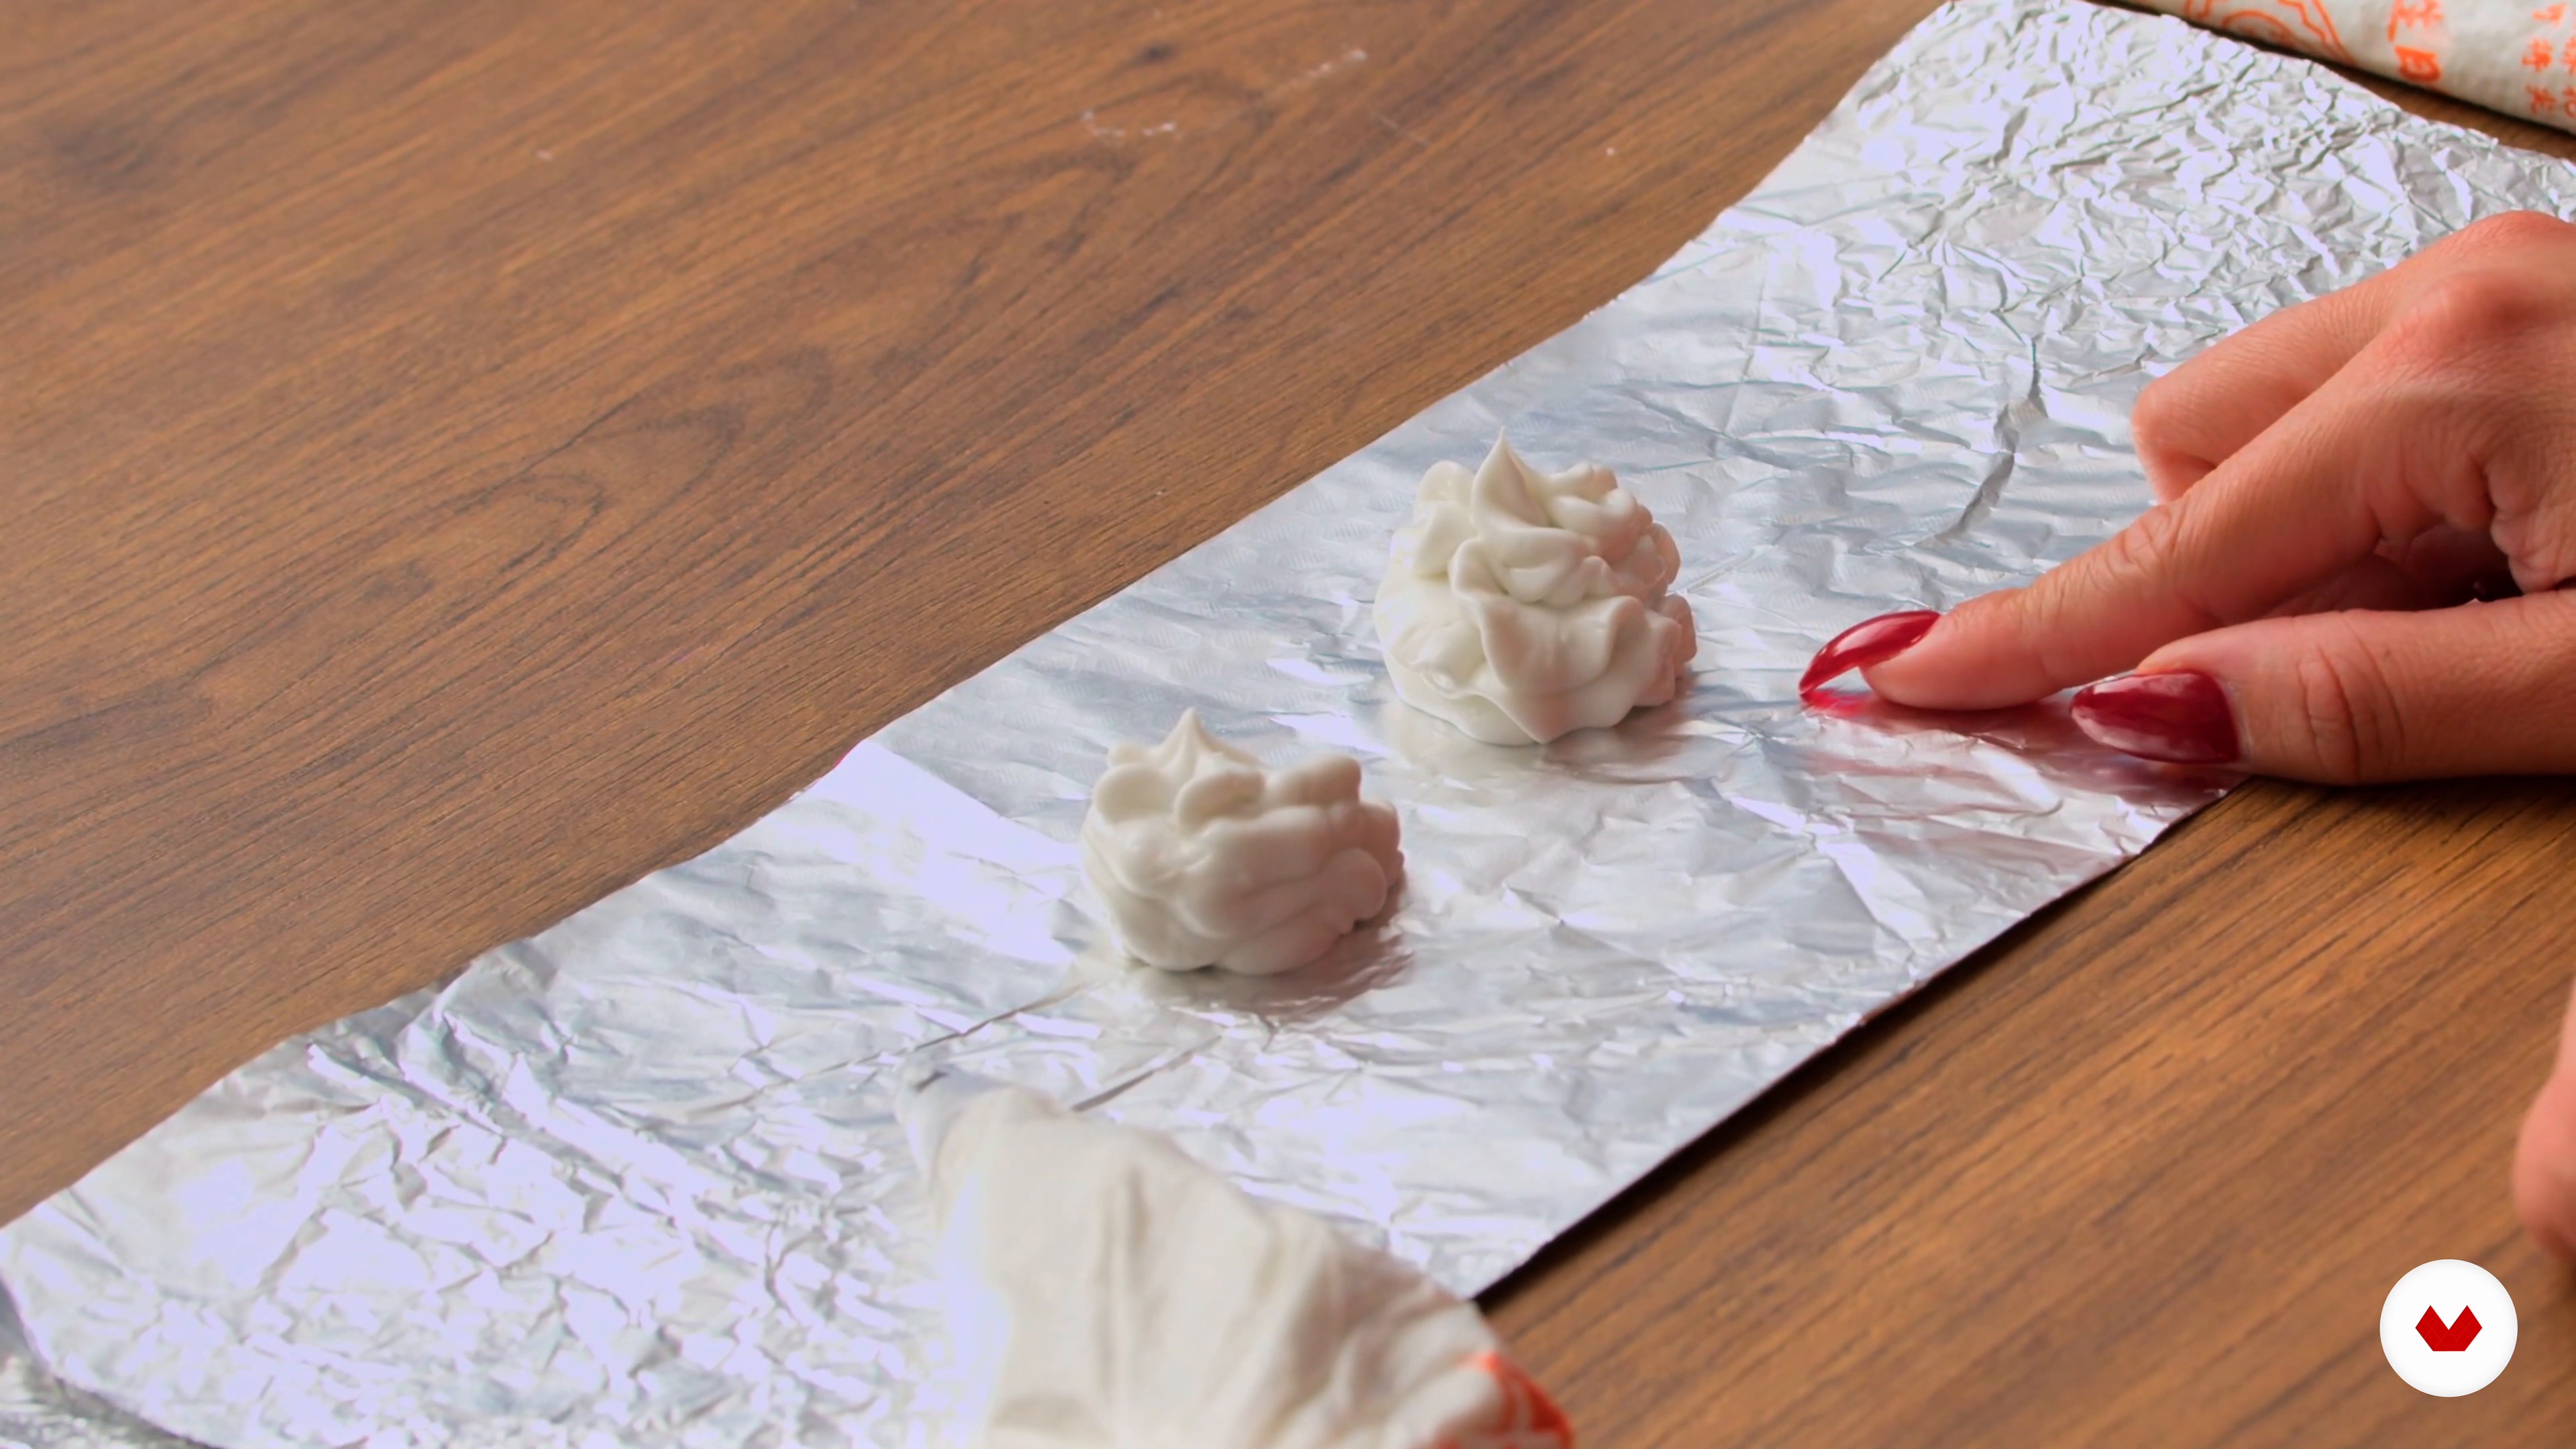
6Piping Techniques for Whipped Wax
Let's talk about different piping techniques used in candle making. I'll show you different tips and tricks for achieving the perfect whipped look in your candles, as well as common issues that can often occur when making or piping whipped wax.
4m
 7
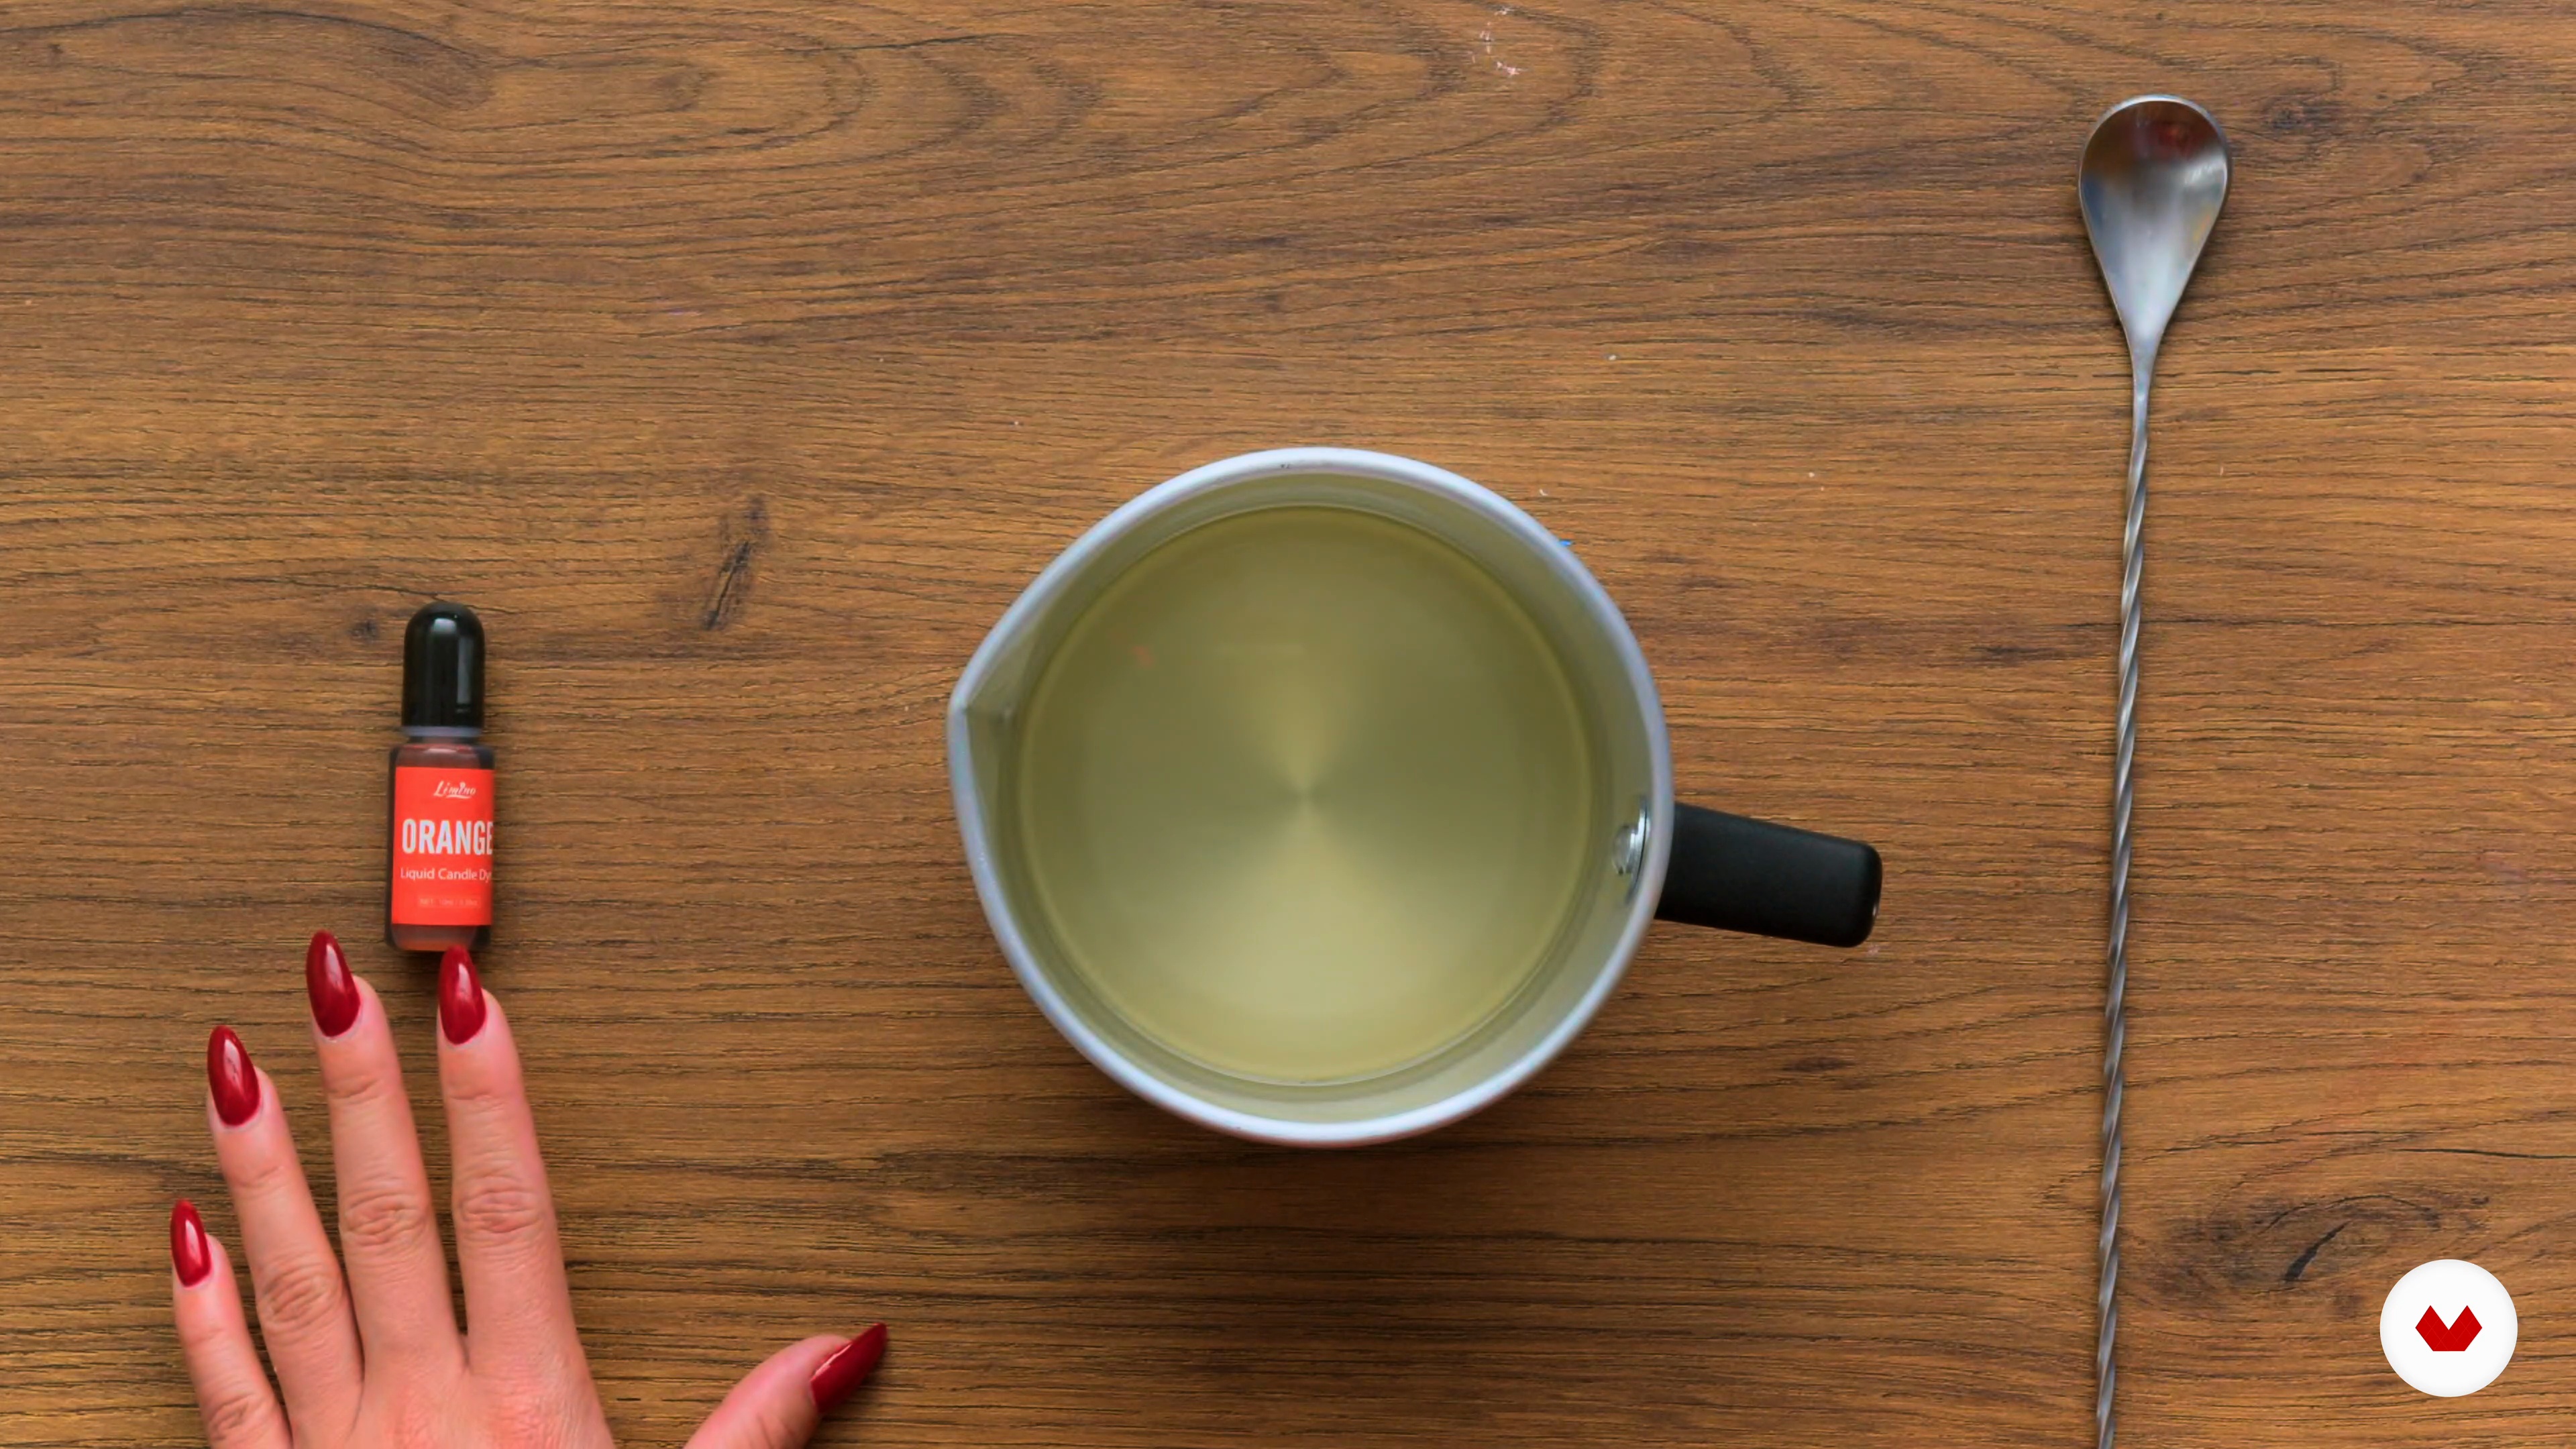
7Coloring Whipped Wax
Its's time to show you how to add color to your whipped wax and how to achieve smooth, vibrant colors in your wax. The process is fairly simple, but I will guide you step by step.
2m
 8
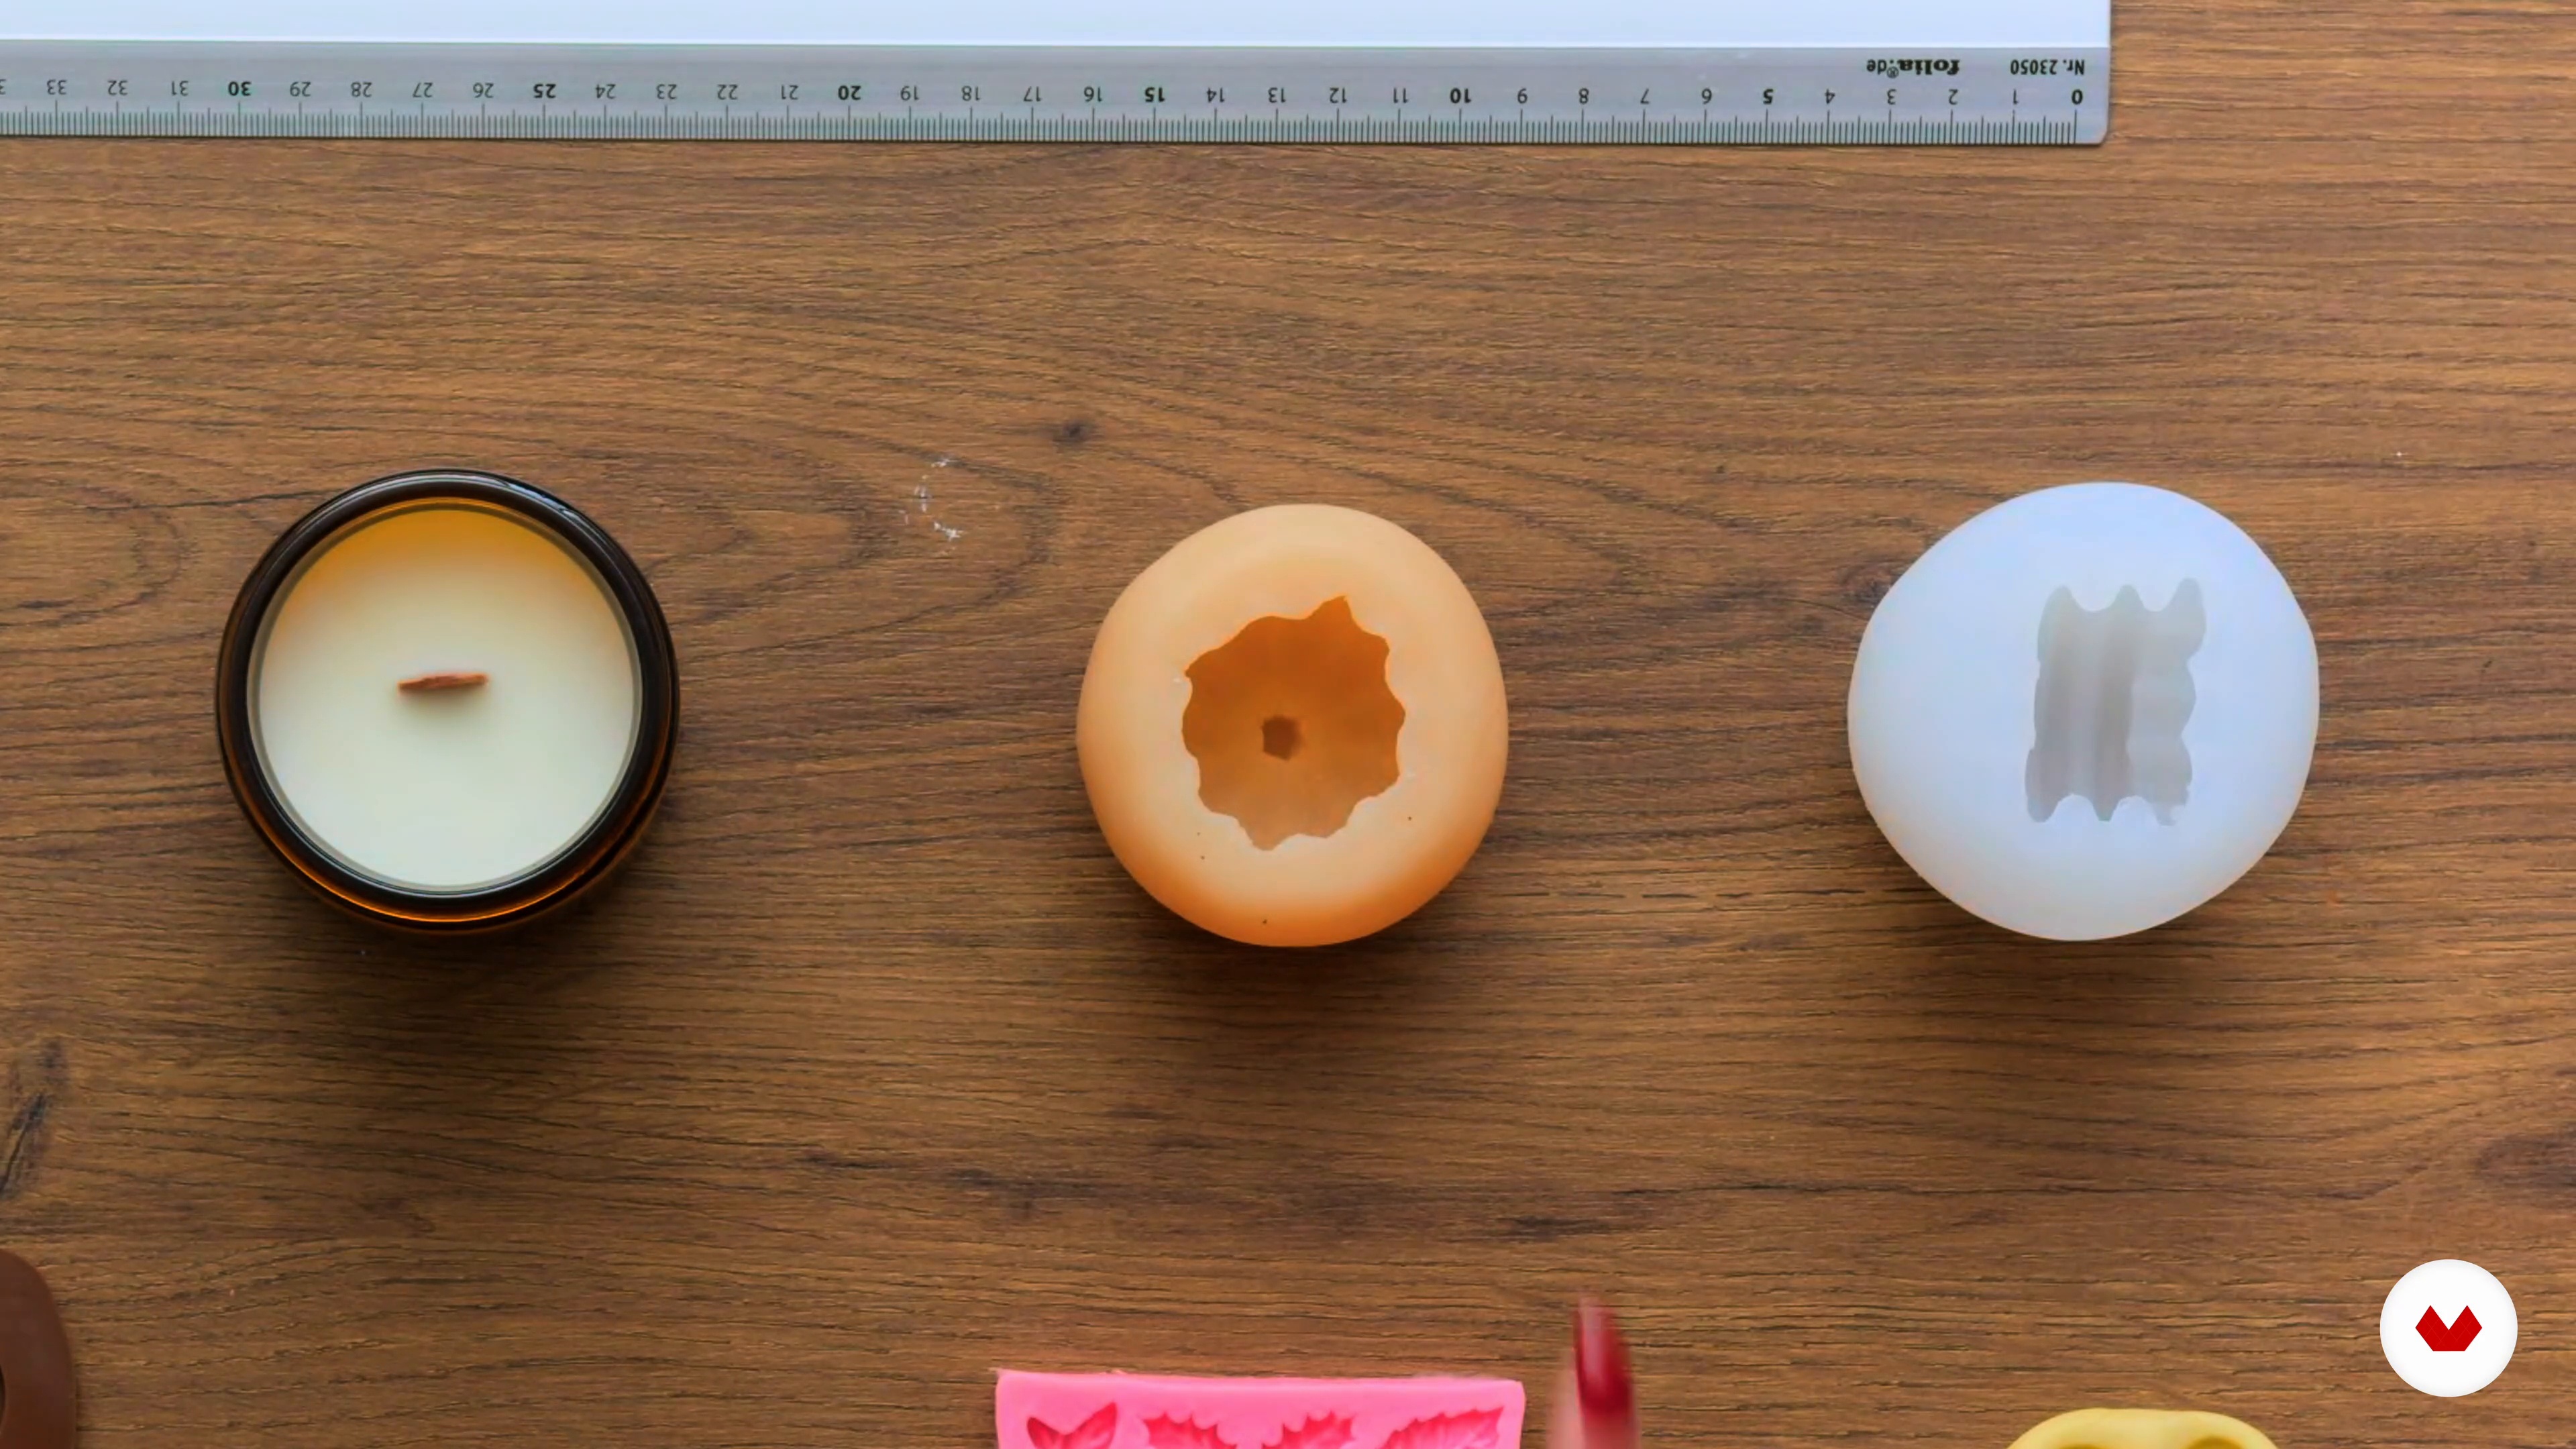
8Molds: Choosing the Right One
In this lesson, I'll give you an overview of different molds available on the market. You'll also learn how to pick the correct mold for your candle so that it fits properly.
2m
 9
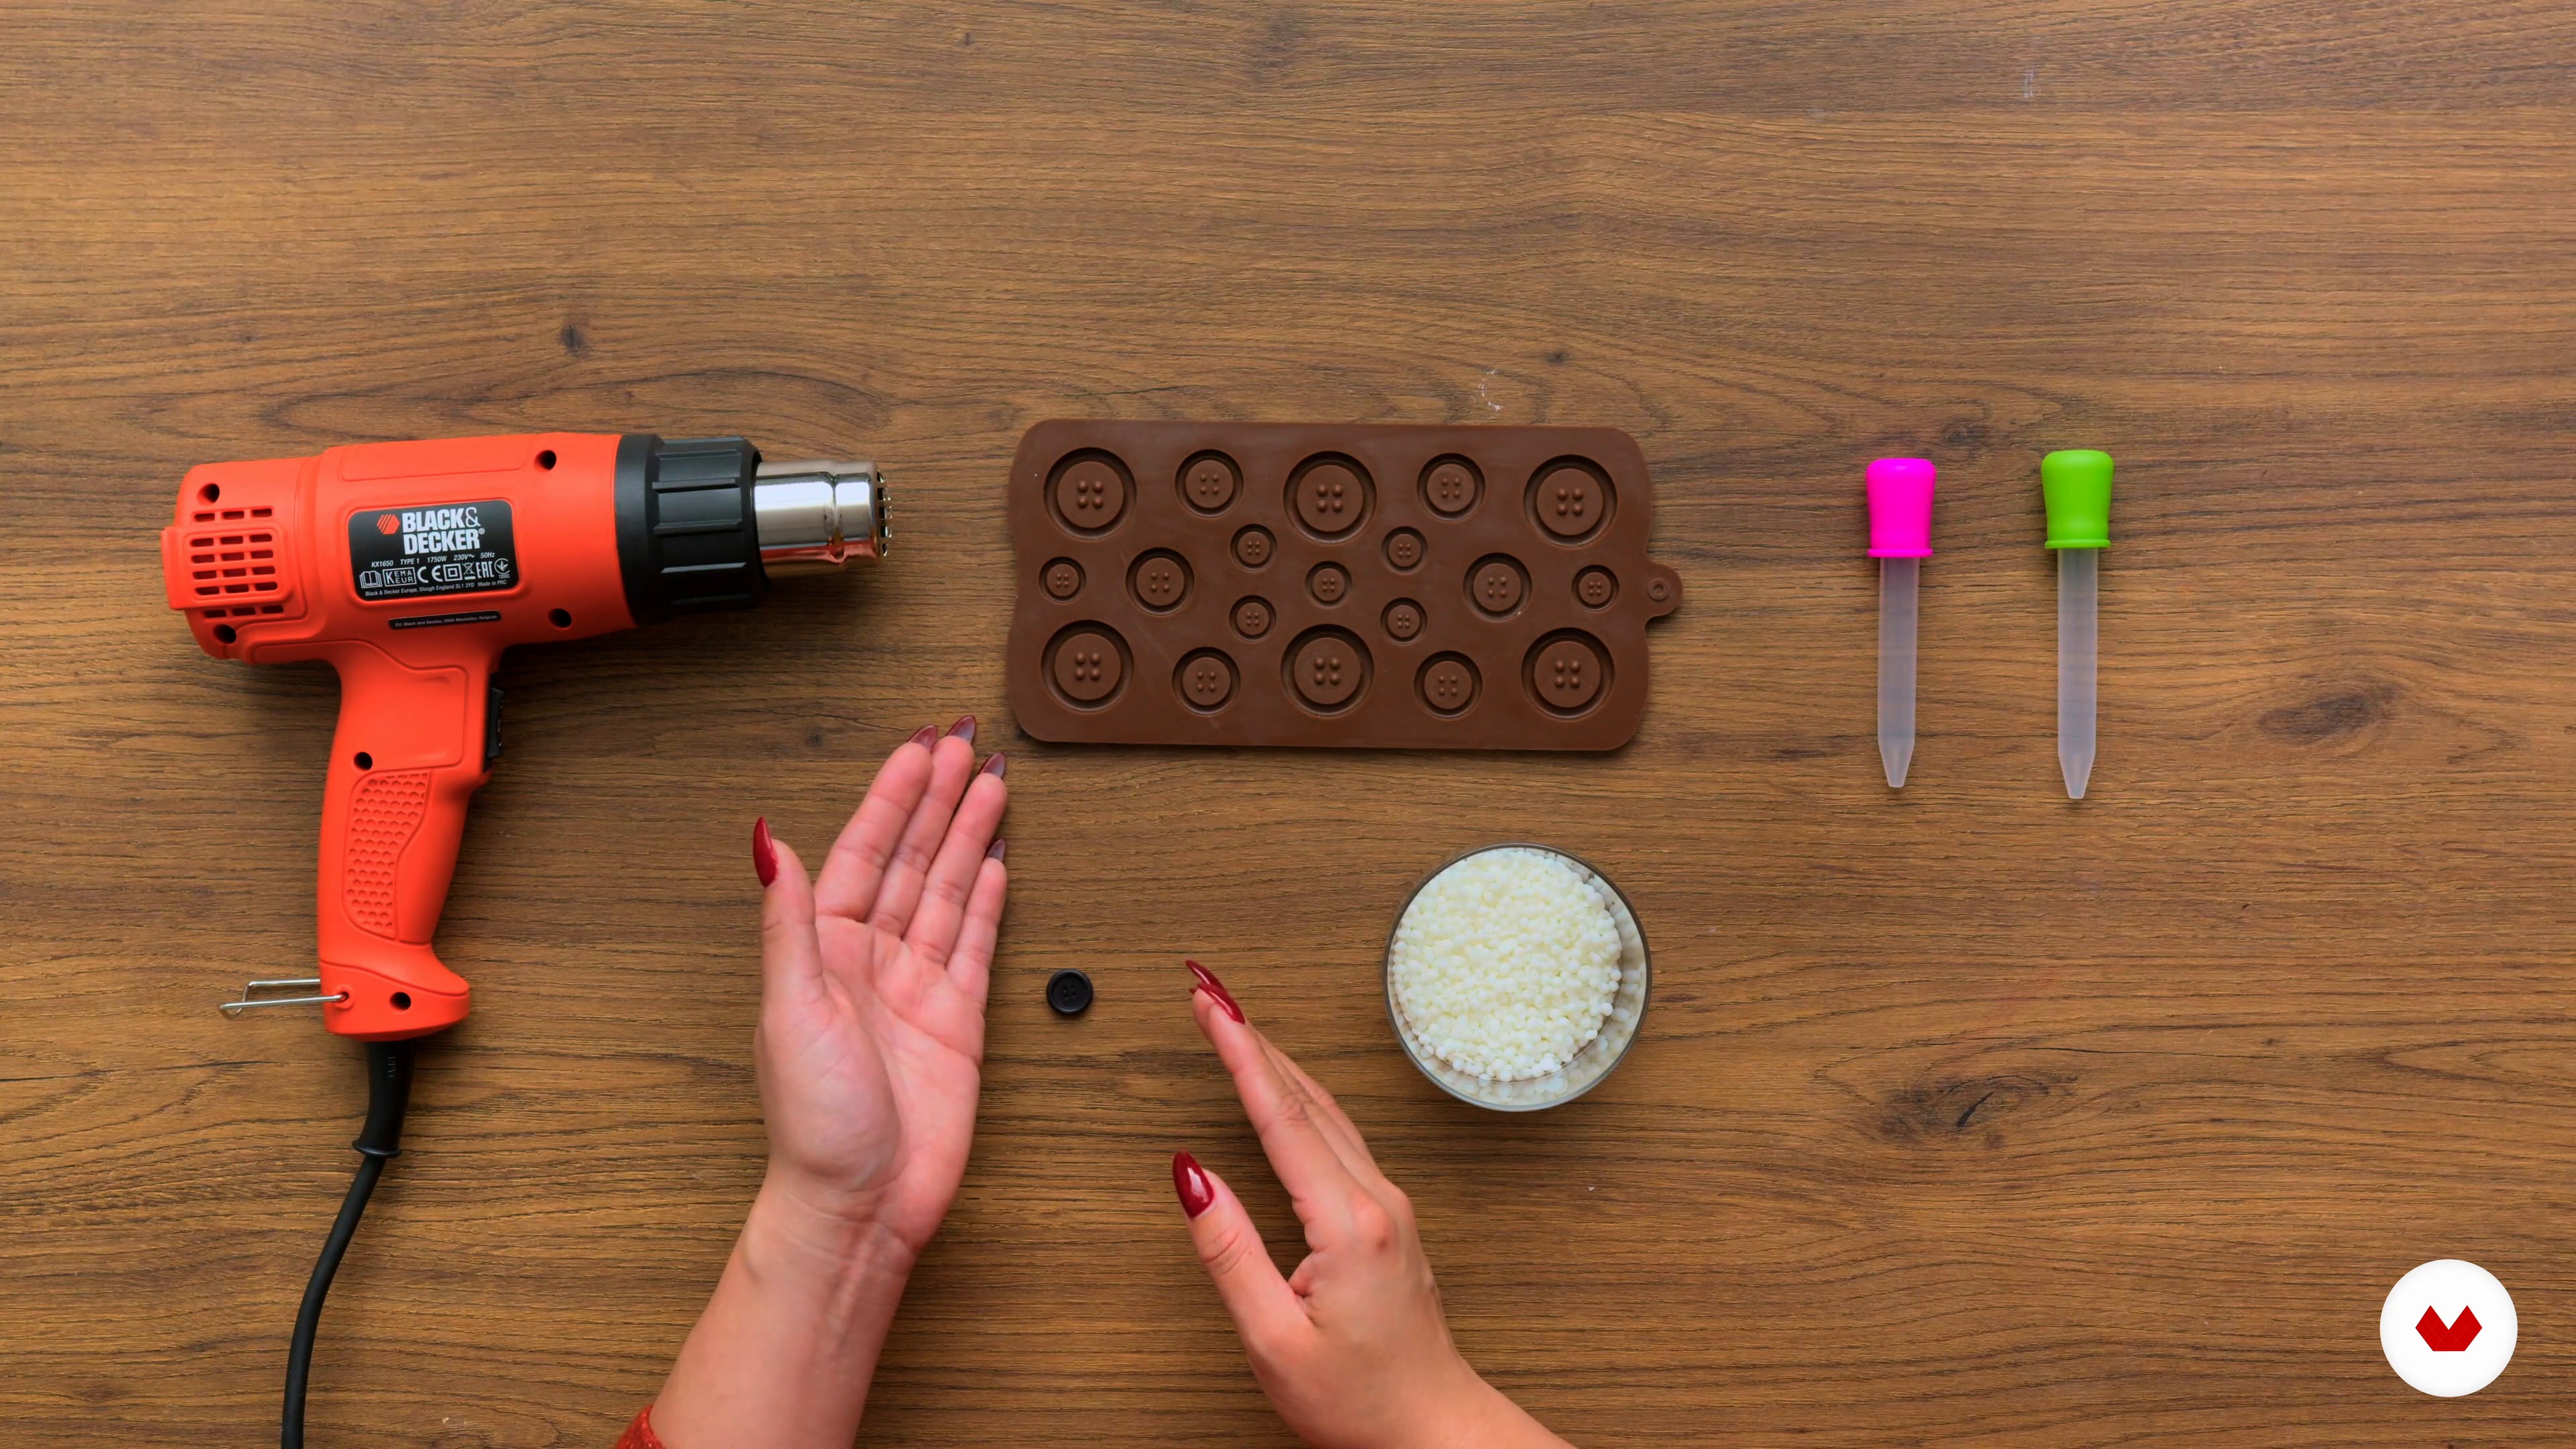
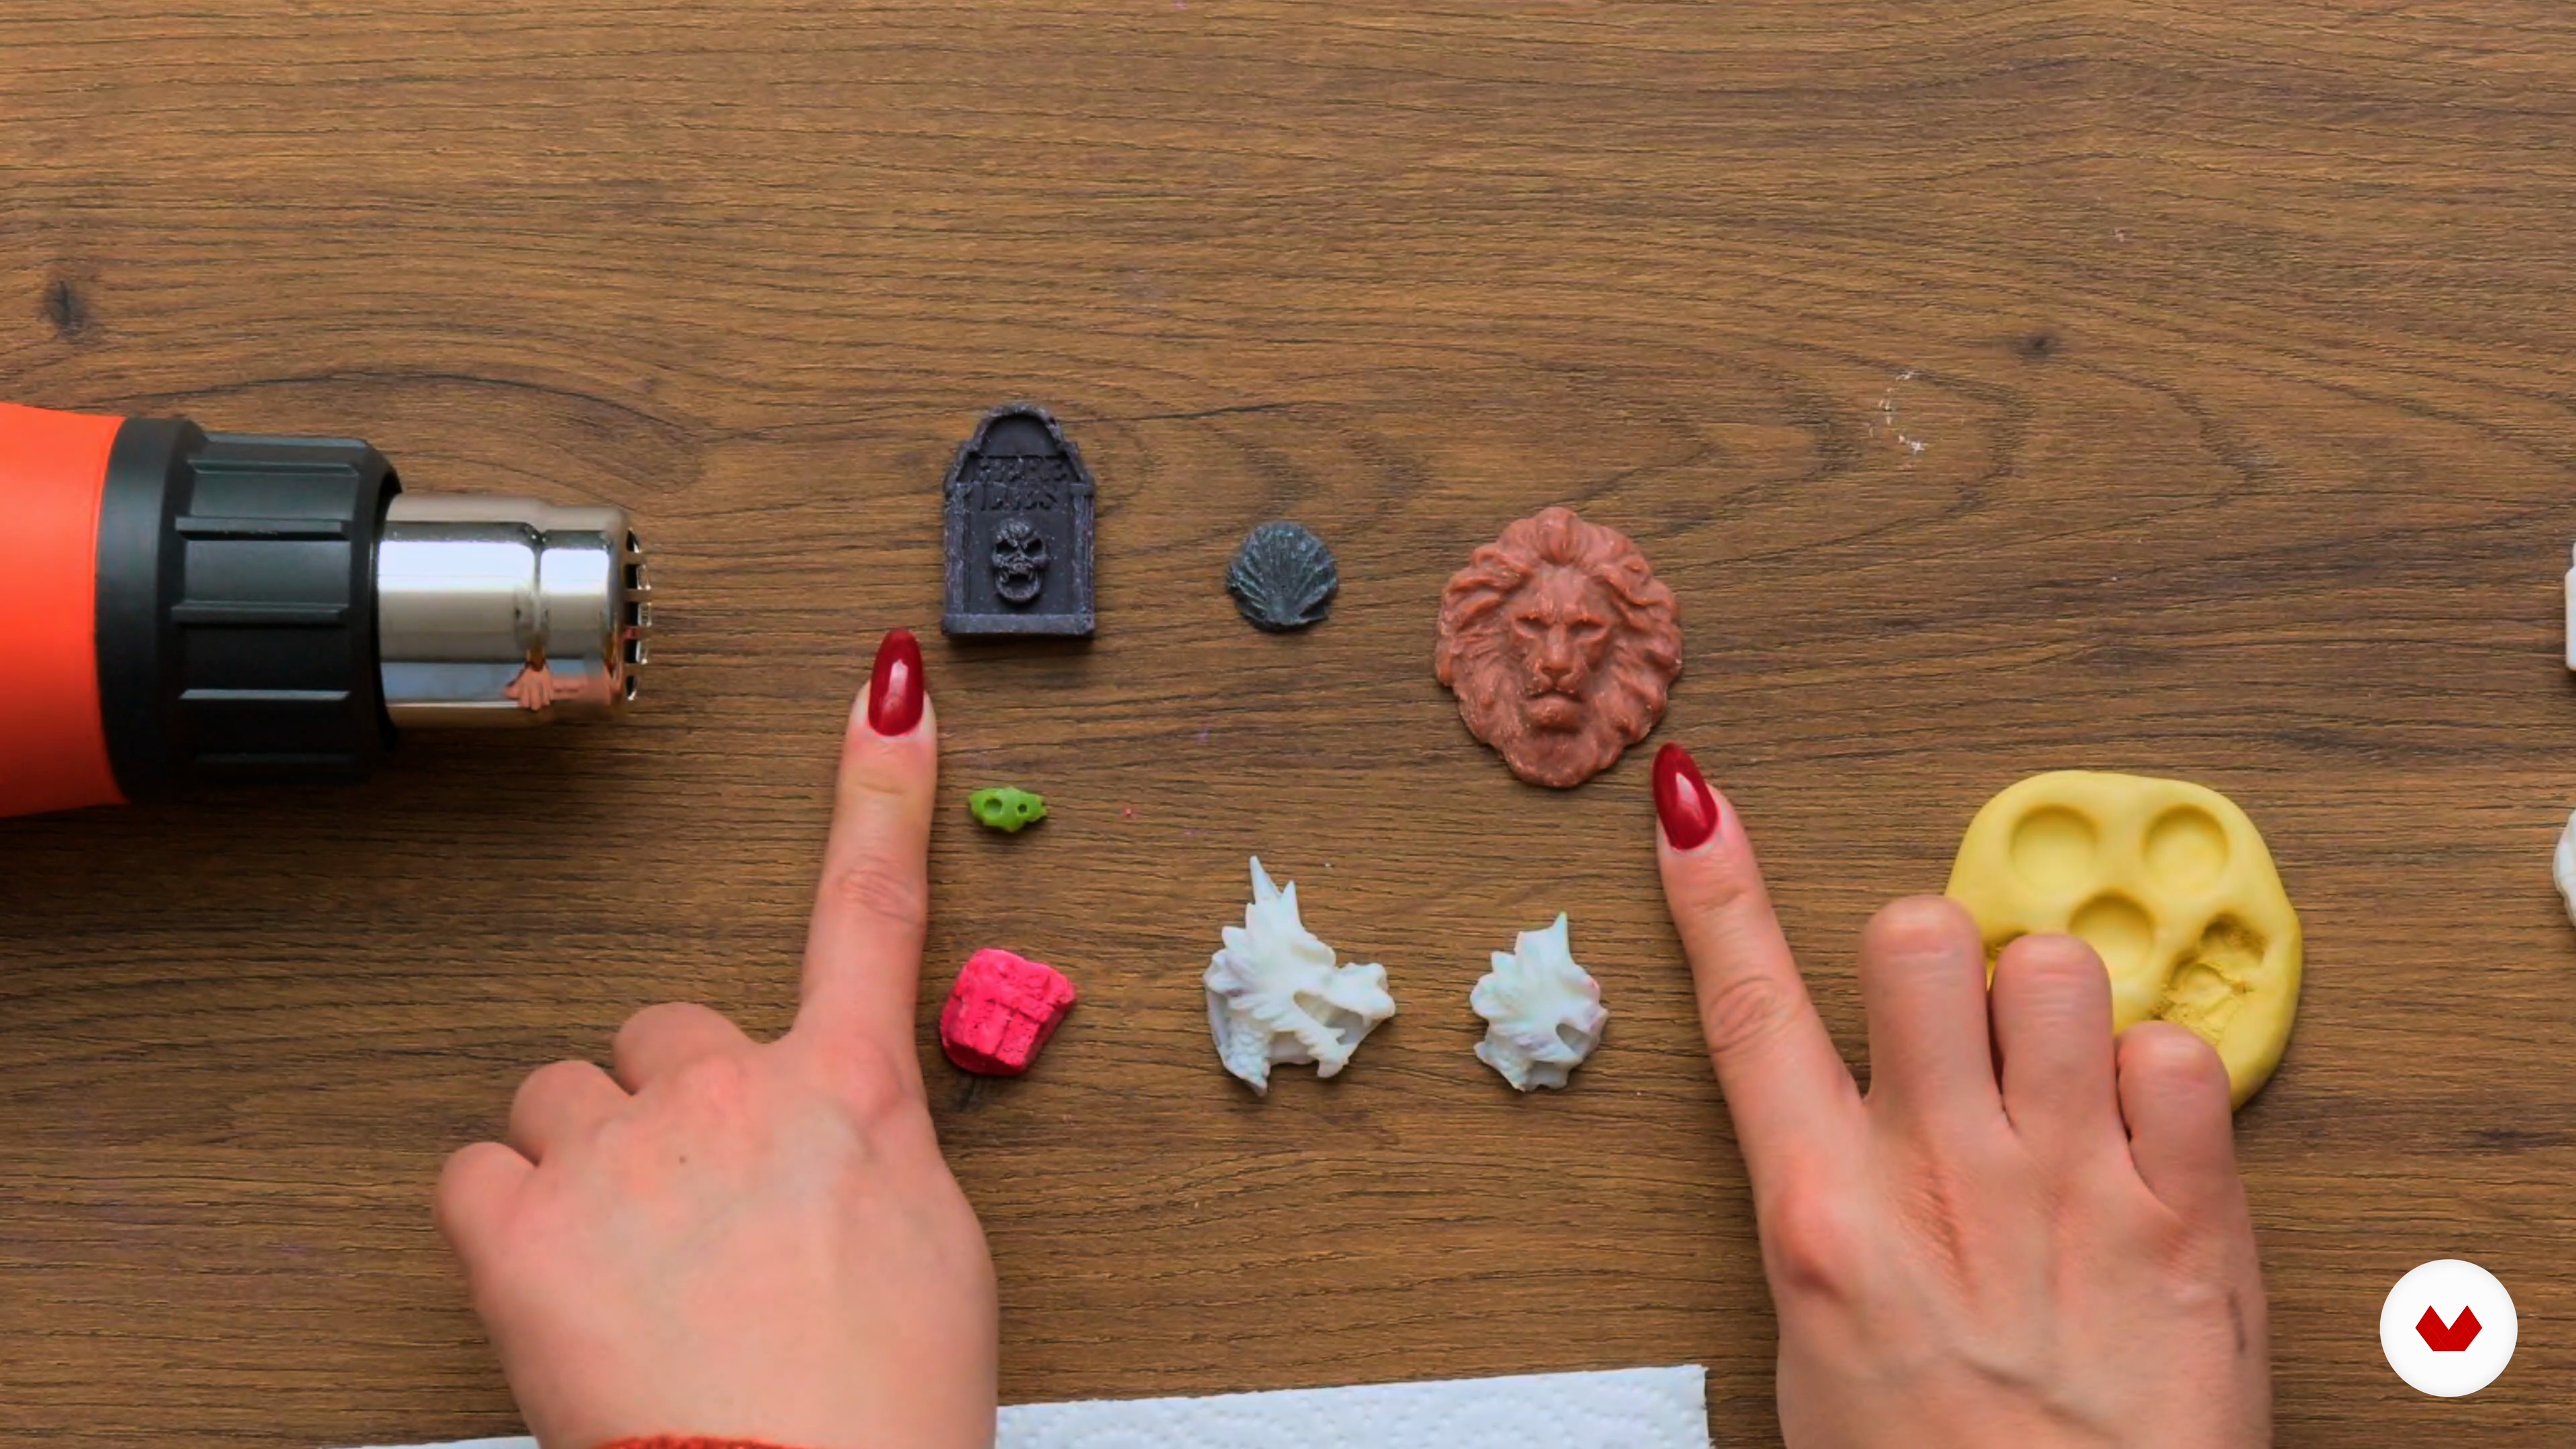
9Wax into Molds
You'll learn the type of wax used for molds and tips on how to achieve clean shapes. I'll also show you how to remove the hardened wax from the molds.
2m
 10
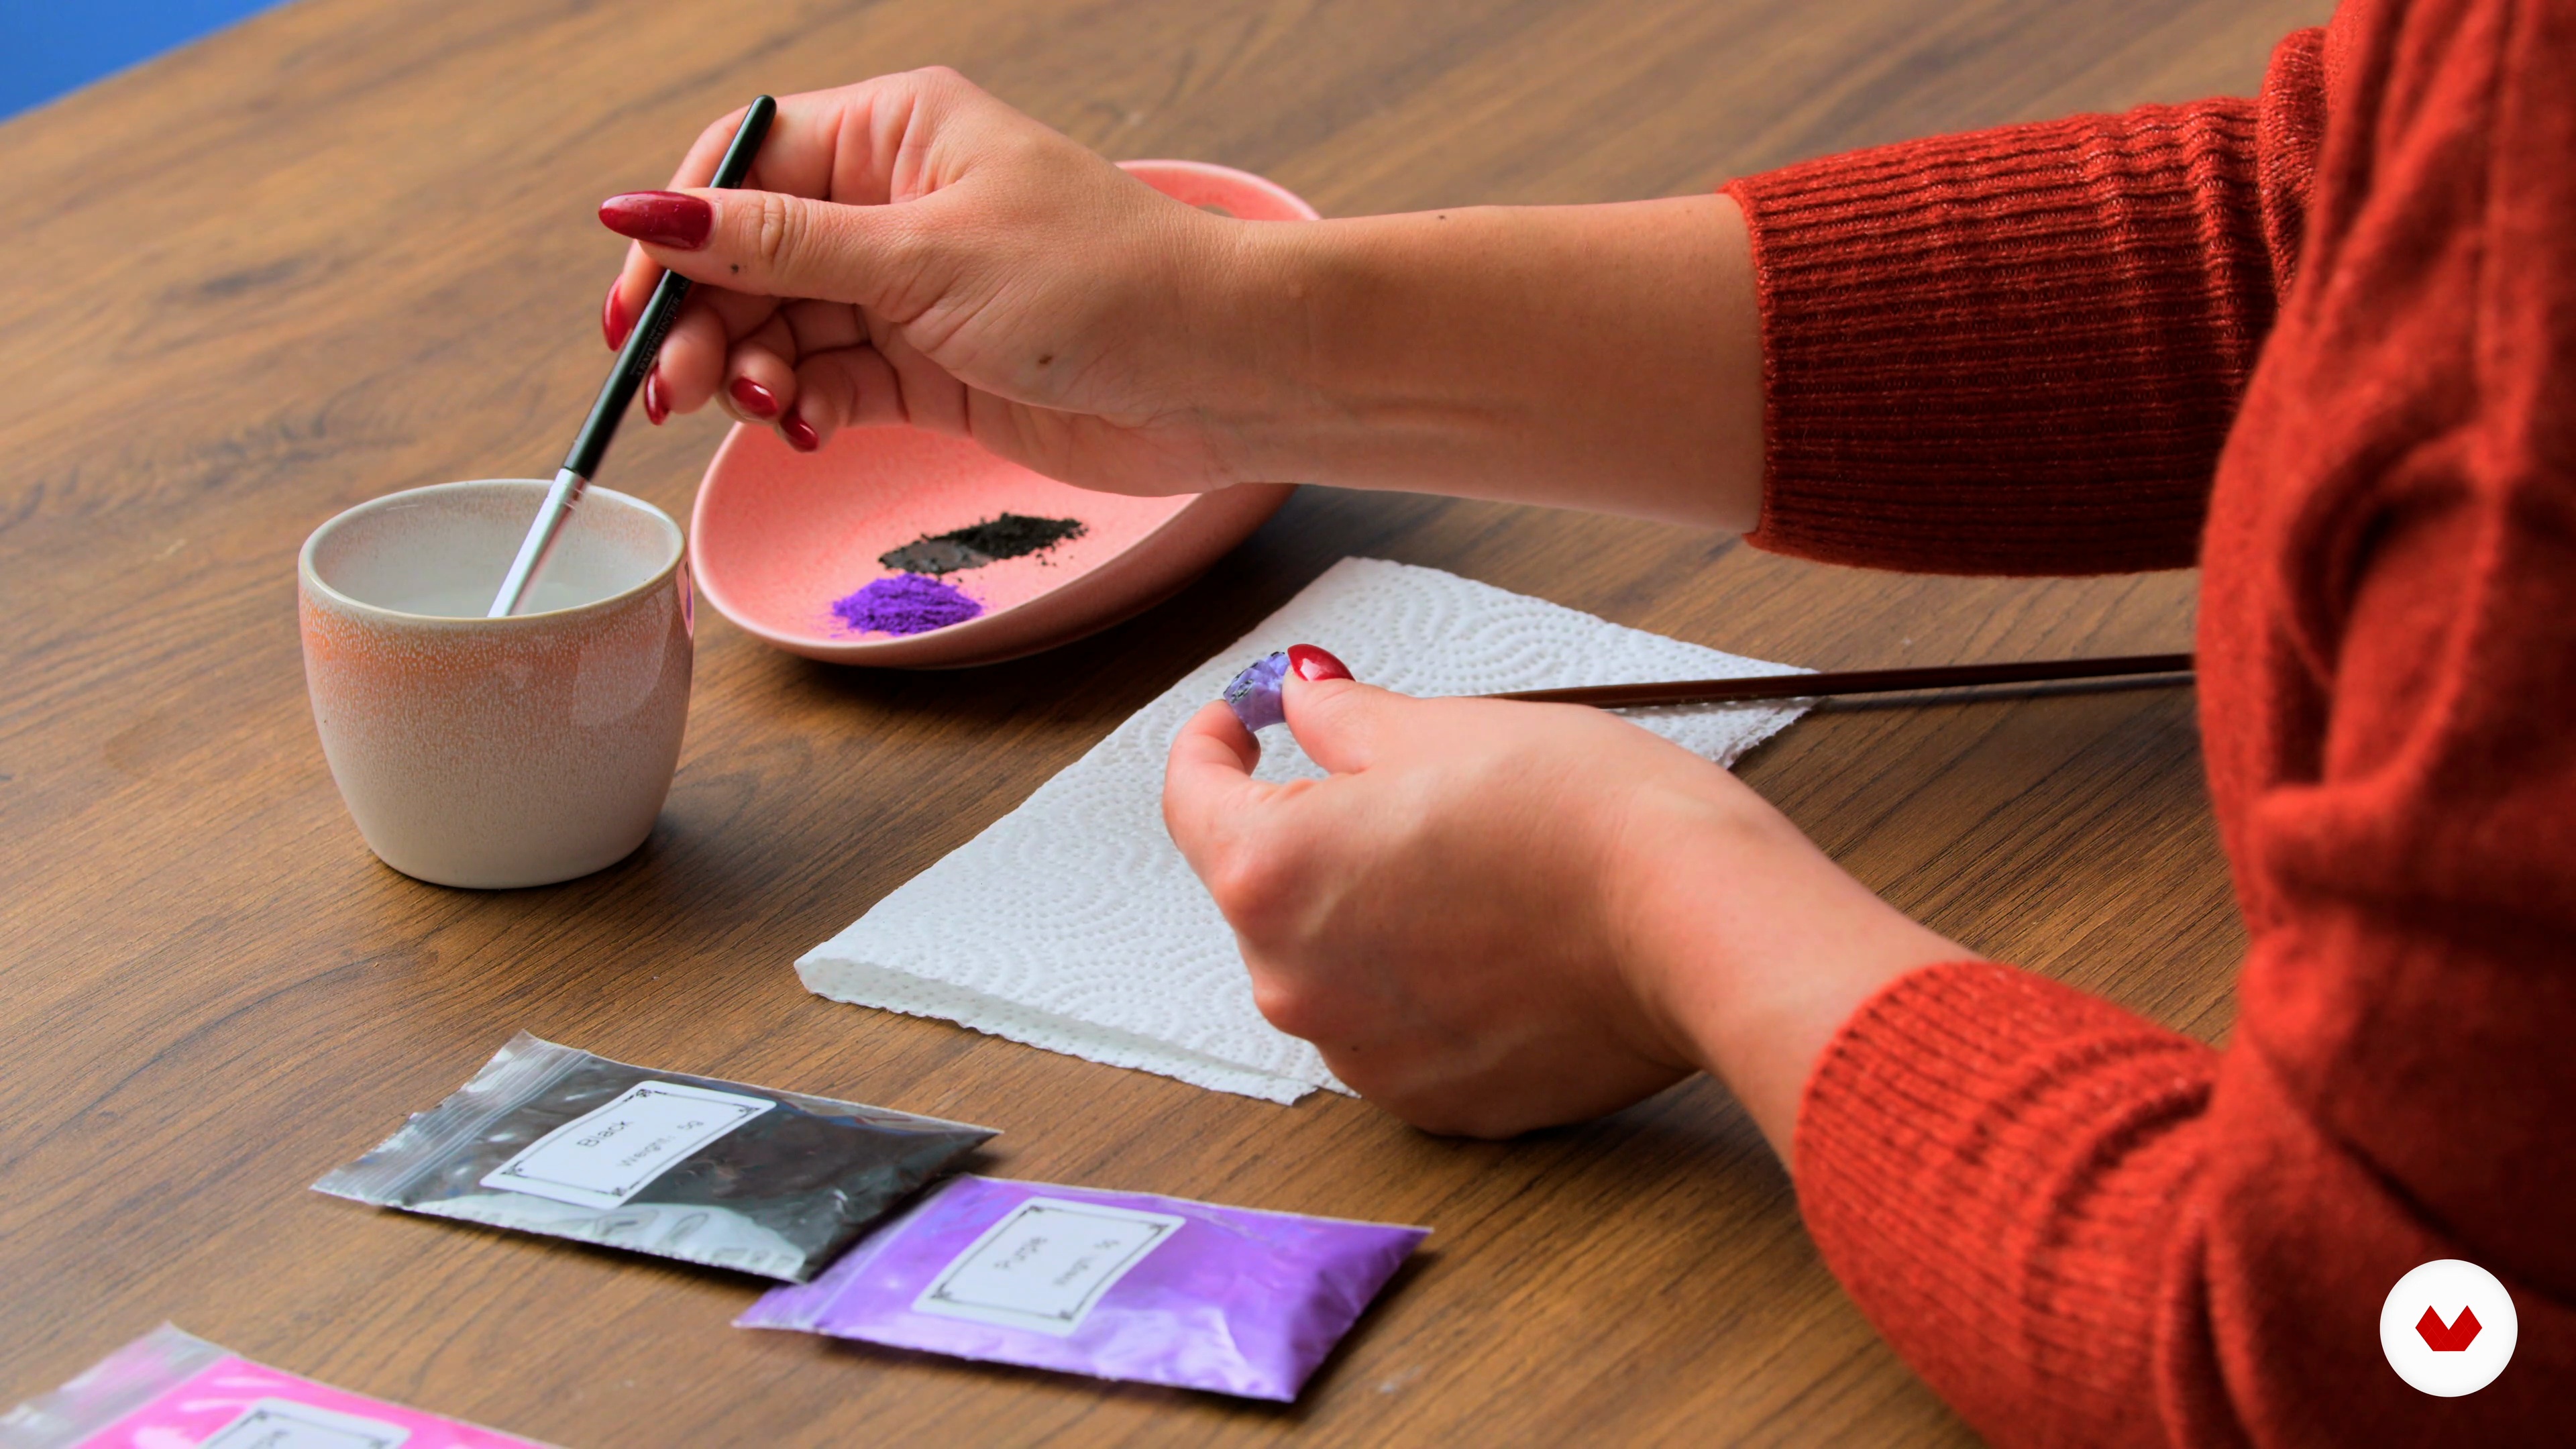
10Decorating Molded Pieces
Learn different techniques for add color and additional detail to the mold pieces. I'll show you different techniques other candle makers use that are available on the market also.
4m
 11
11Troubleshooting and Maintenance
I'll talk about the different issues that may occur when you are making wax molds. Then, you'll learn how to store the molds for longevity.
4m
 12
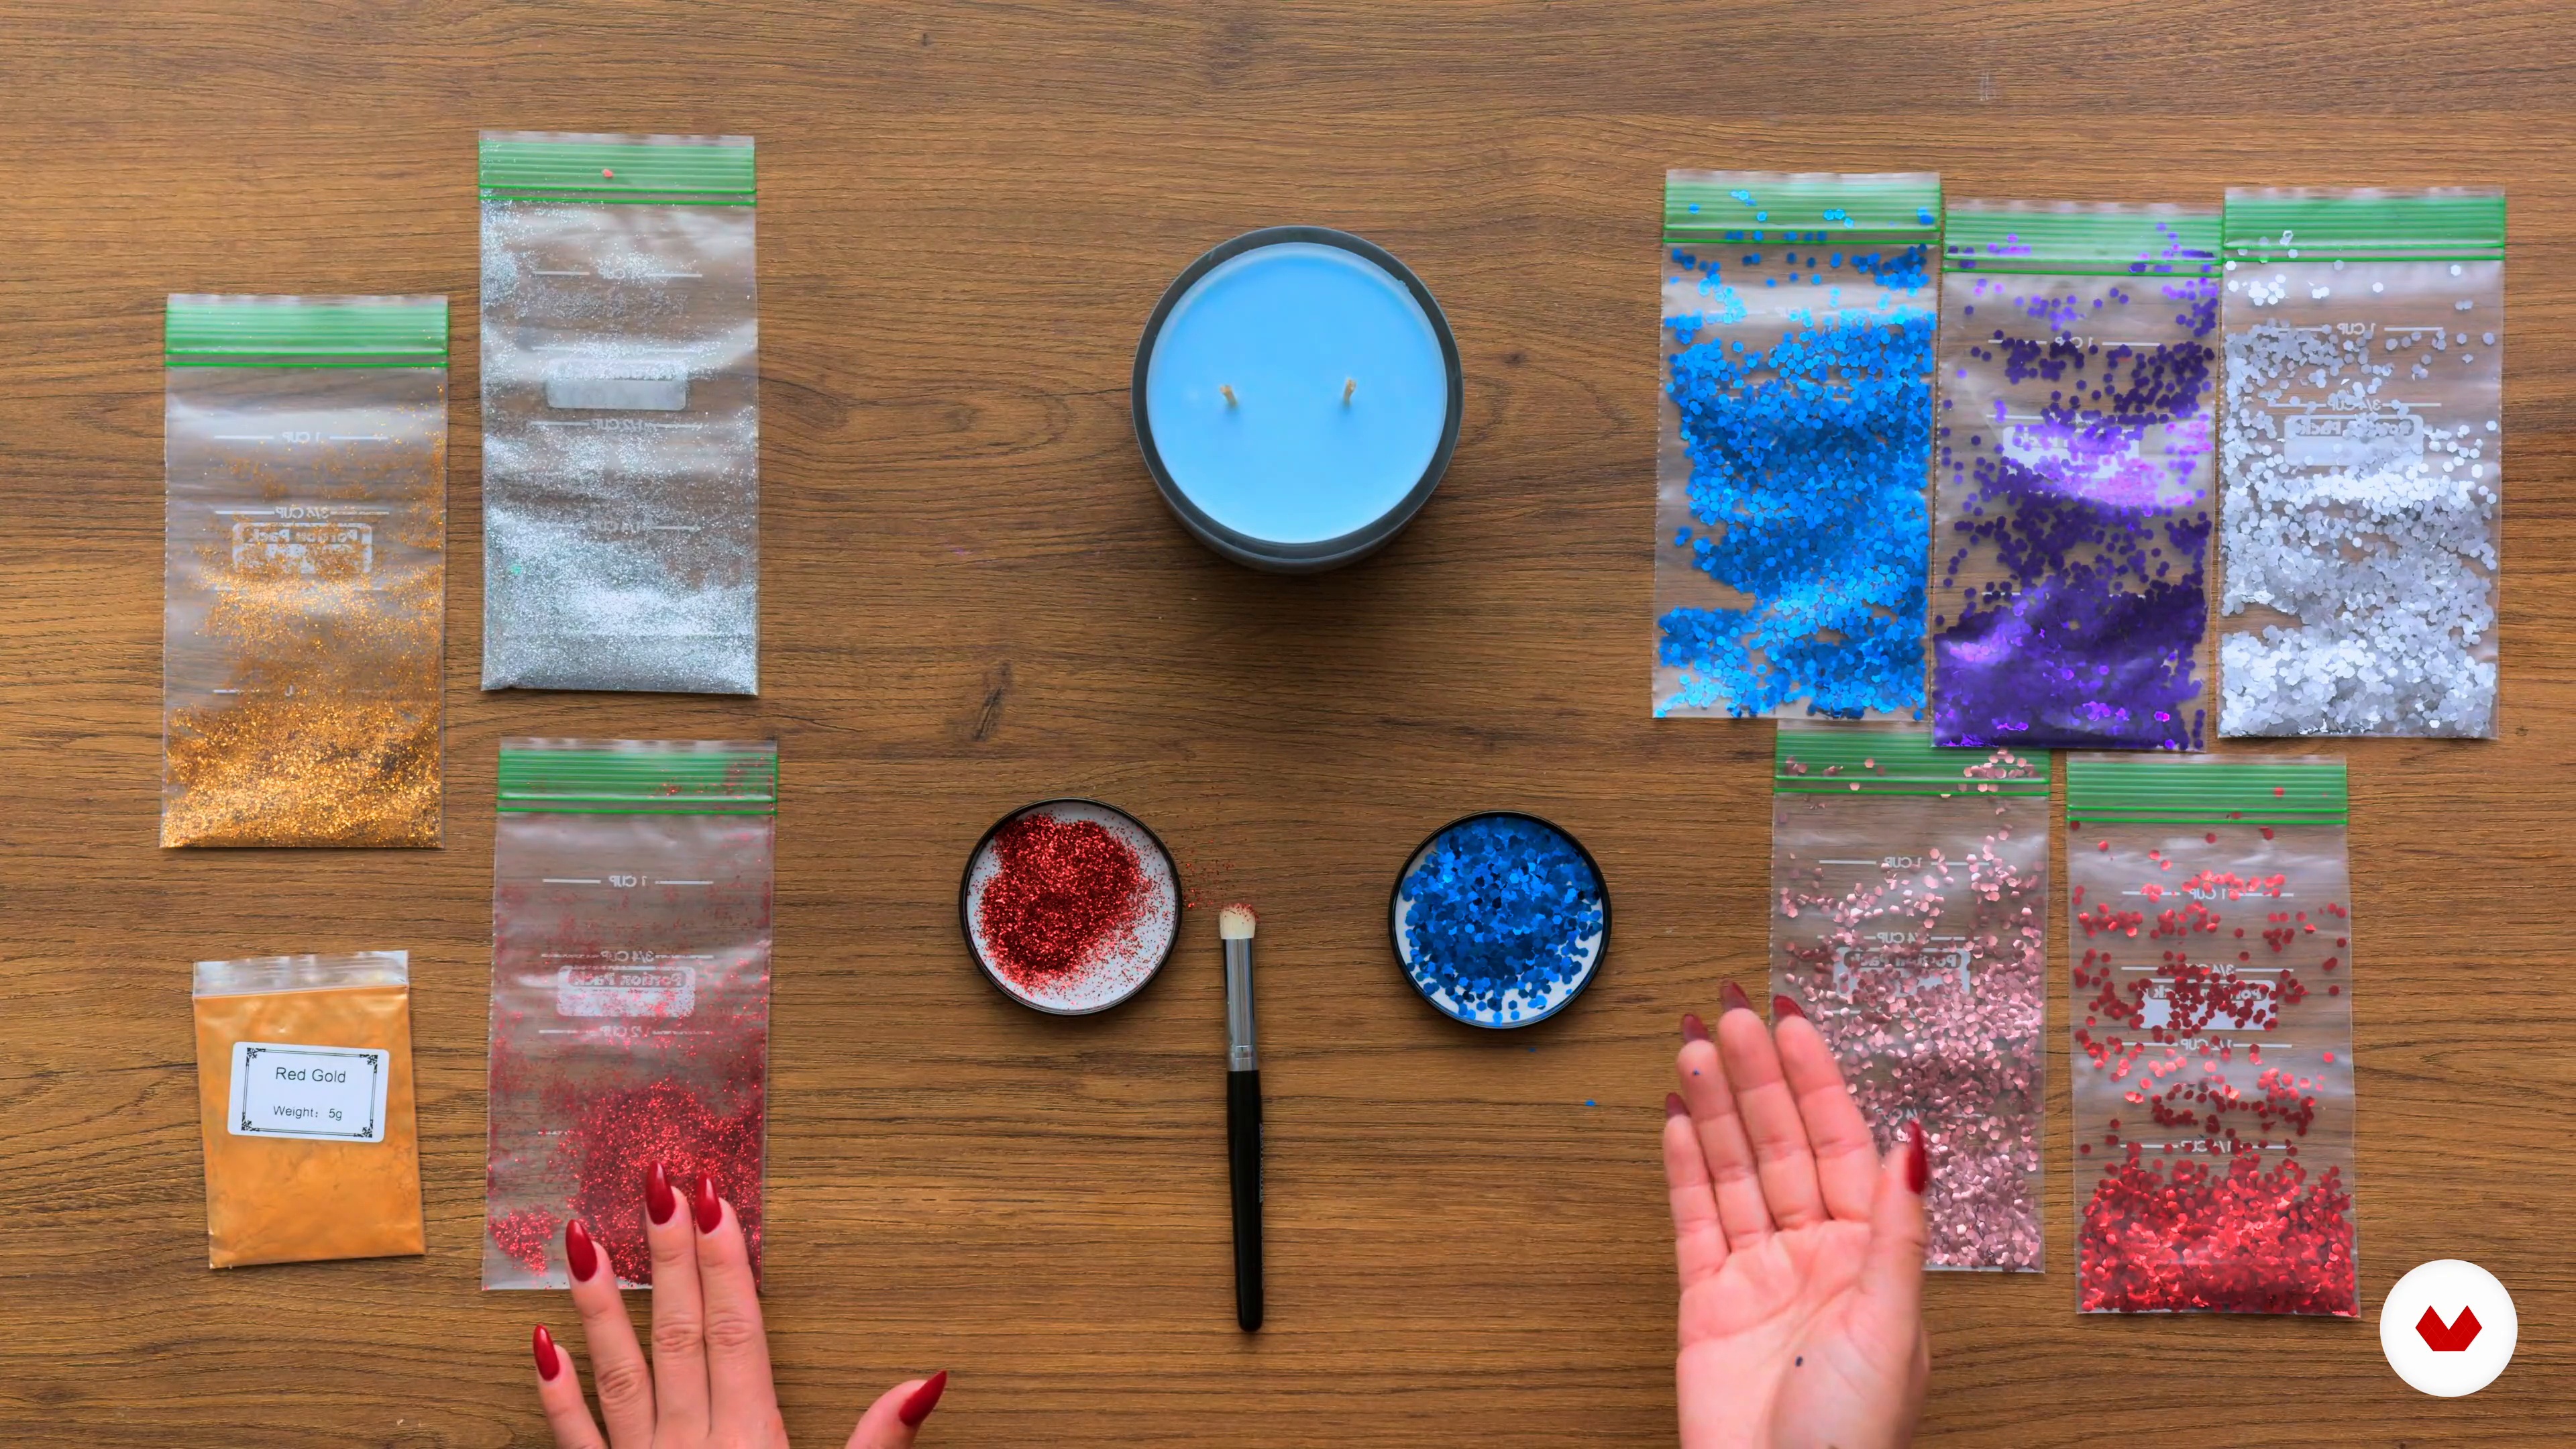
12Embellishments
First of all, you'll learn how to use glitter and mica powder to enhance the candle aesthetics. You'll see how eco-safe candle glitter and mica powder can really give your candles a unique look.
2m
 13
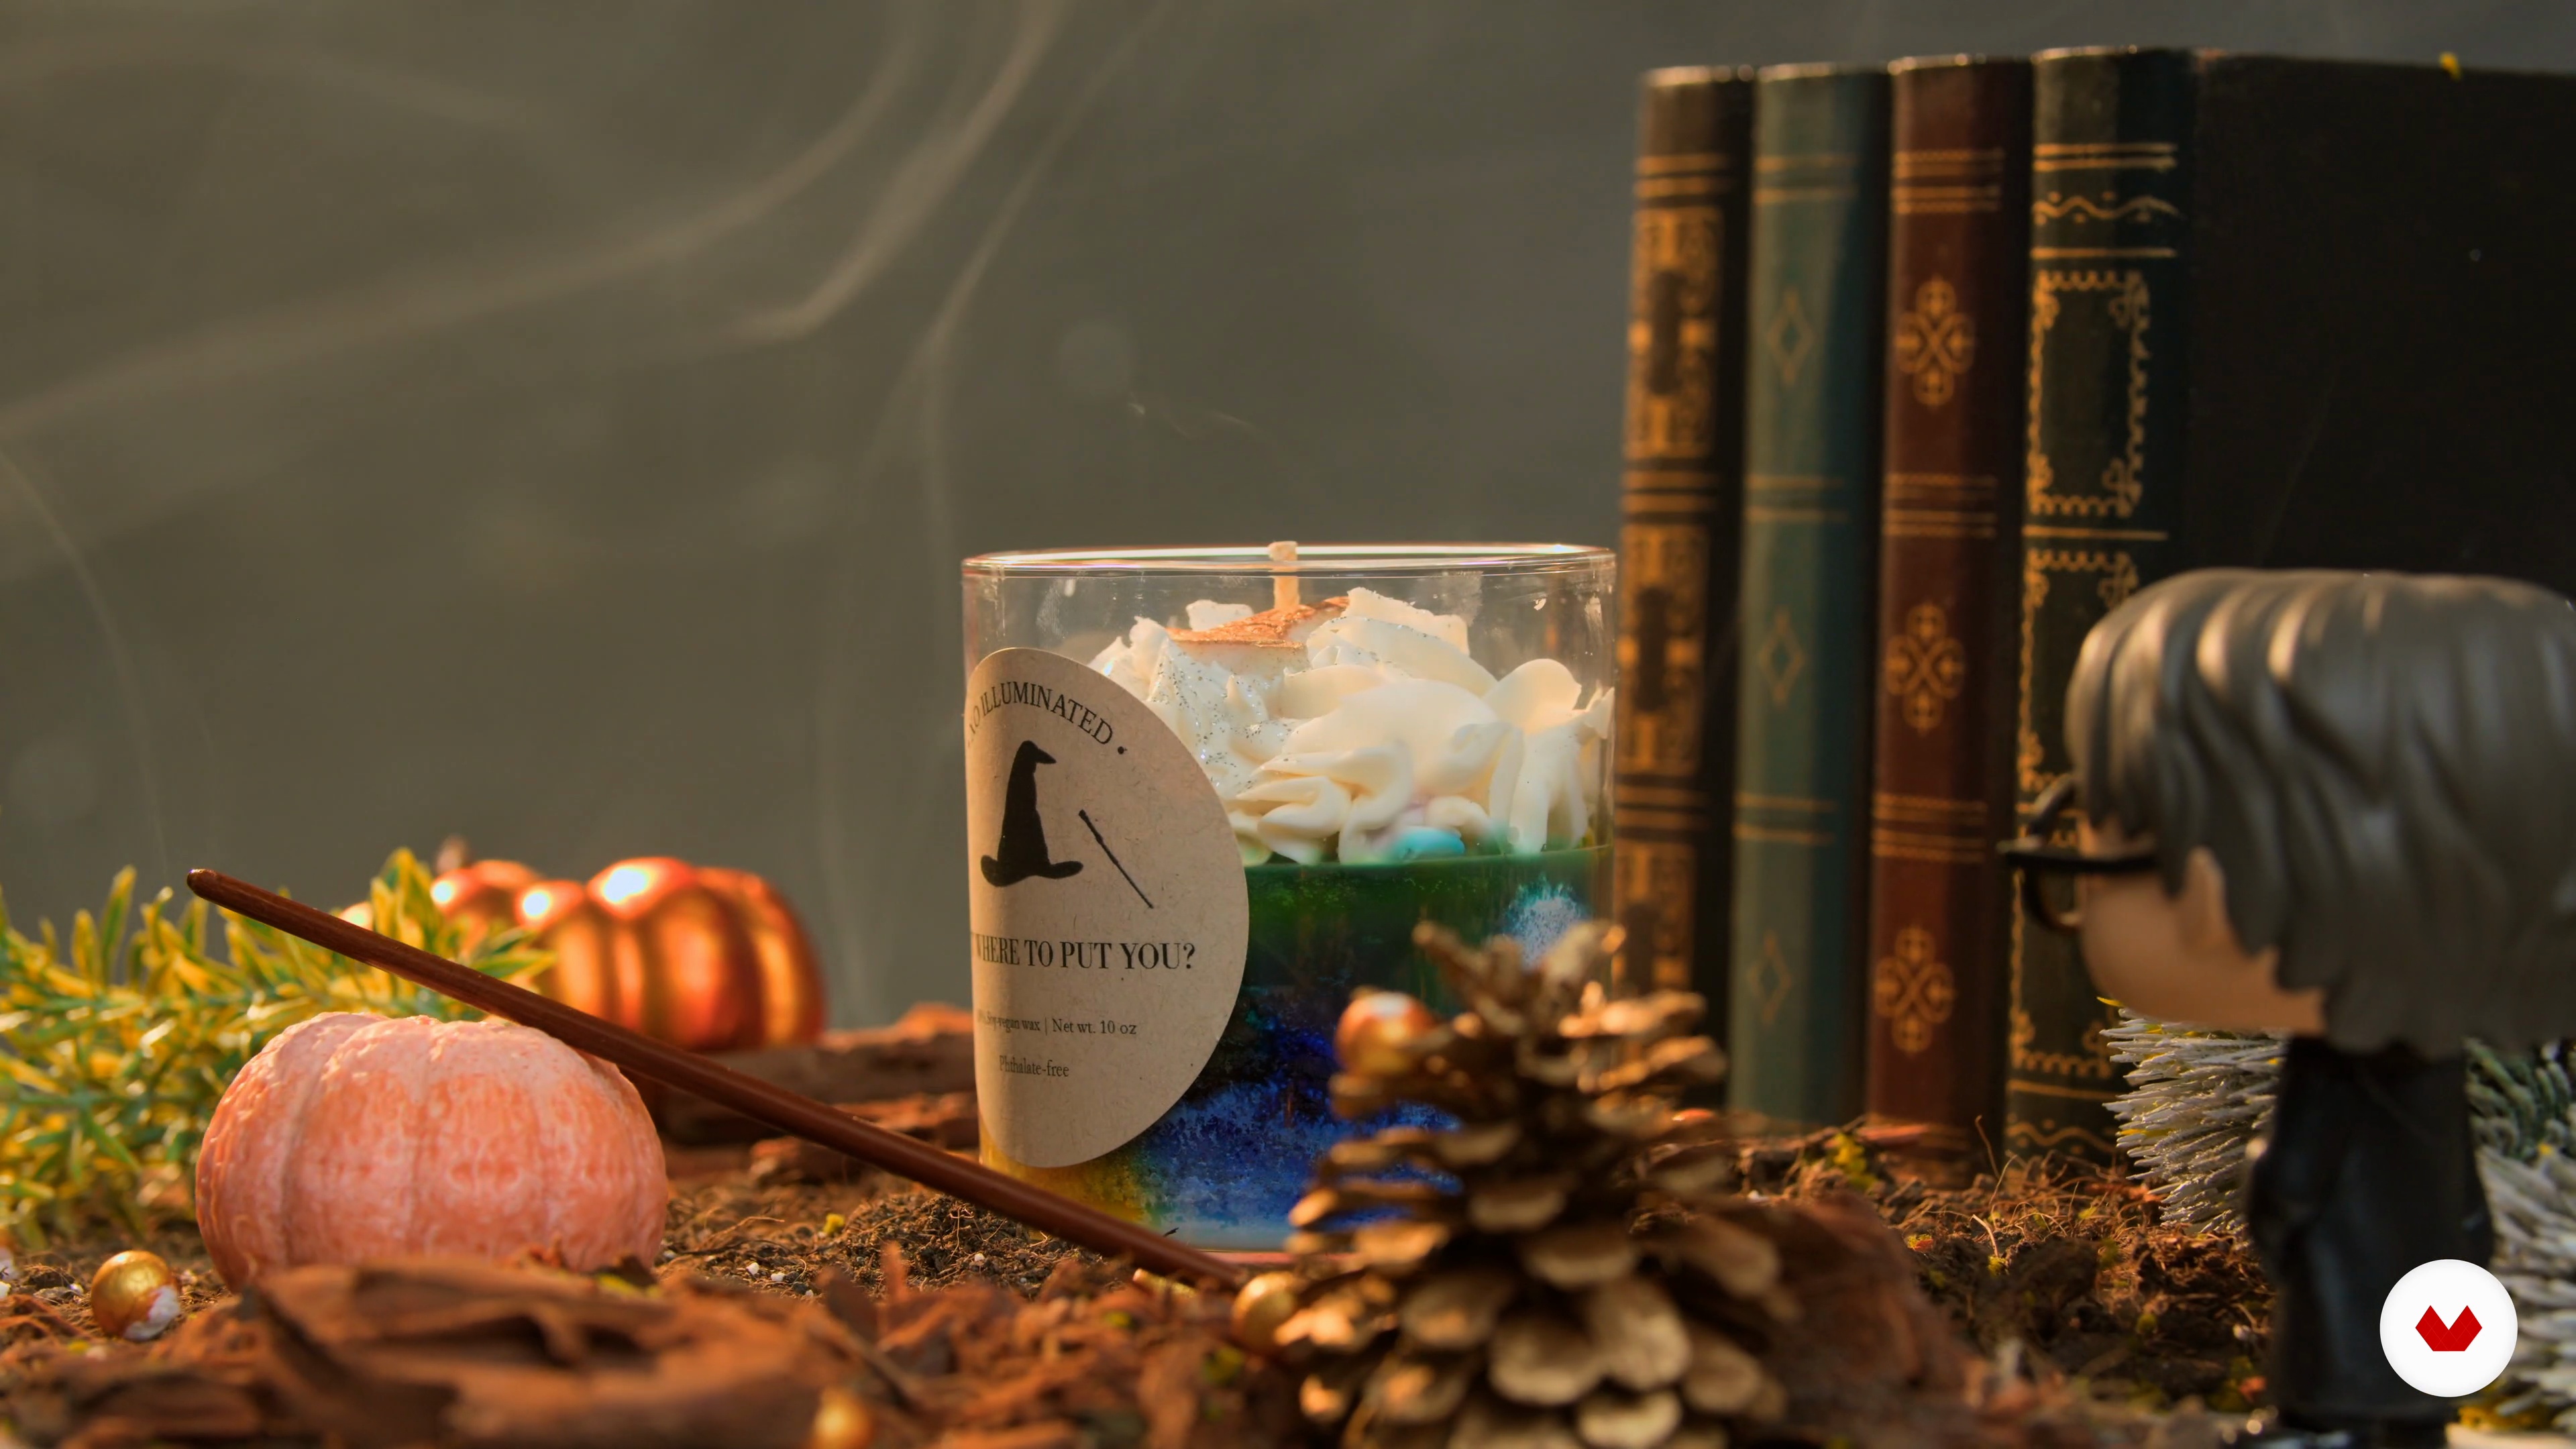
13Playing with Color
In this lesson, I'll teach you techniques for playing with color like marbling color and layering color. I will show you how to create the most vibrant colors for your candles.
2m
 14
14Putting It All Together! 1
Now, you'll learn how to make two themed fall candles from start to finish. You'll revisit some common issues, and you'll learn tips for refining the technique.
11m
 15
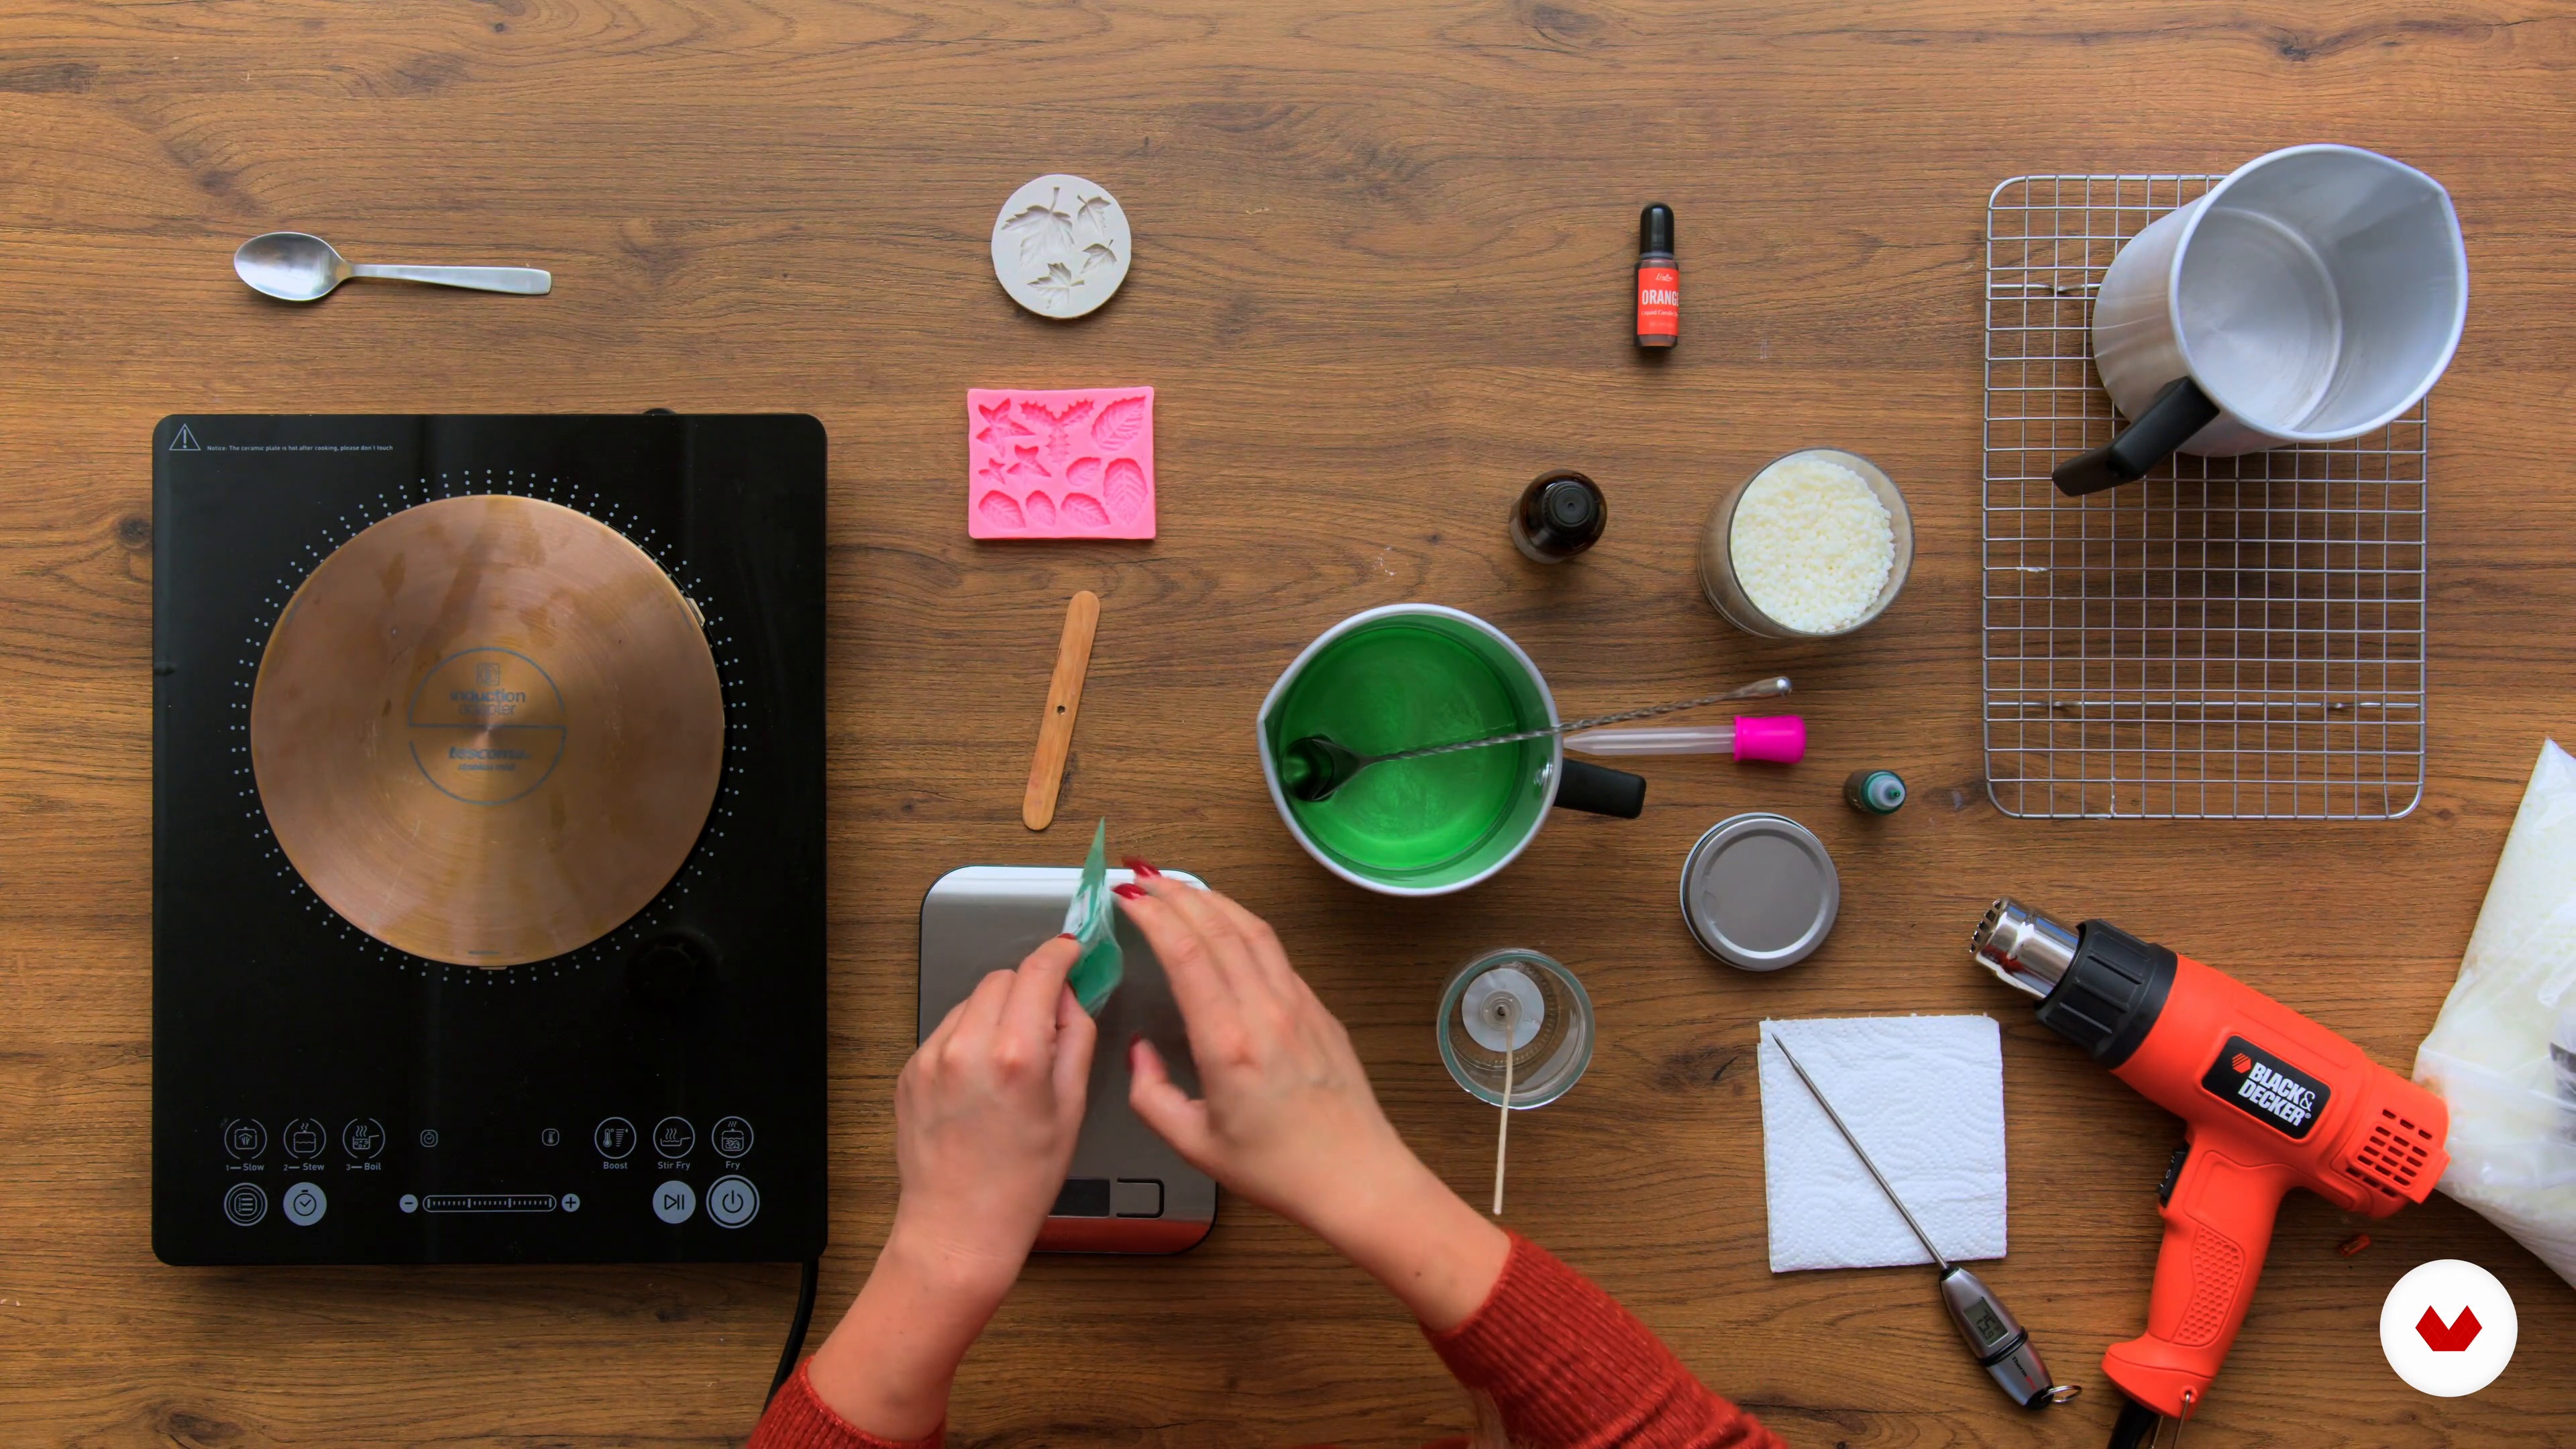
15Putting It All Together! 2
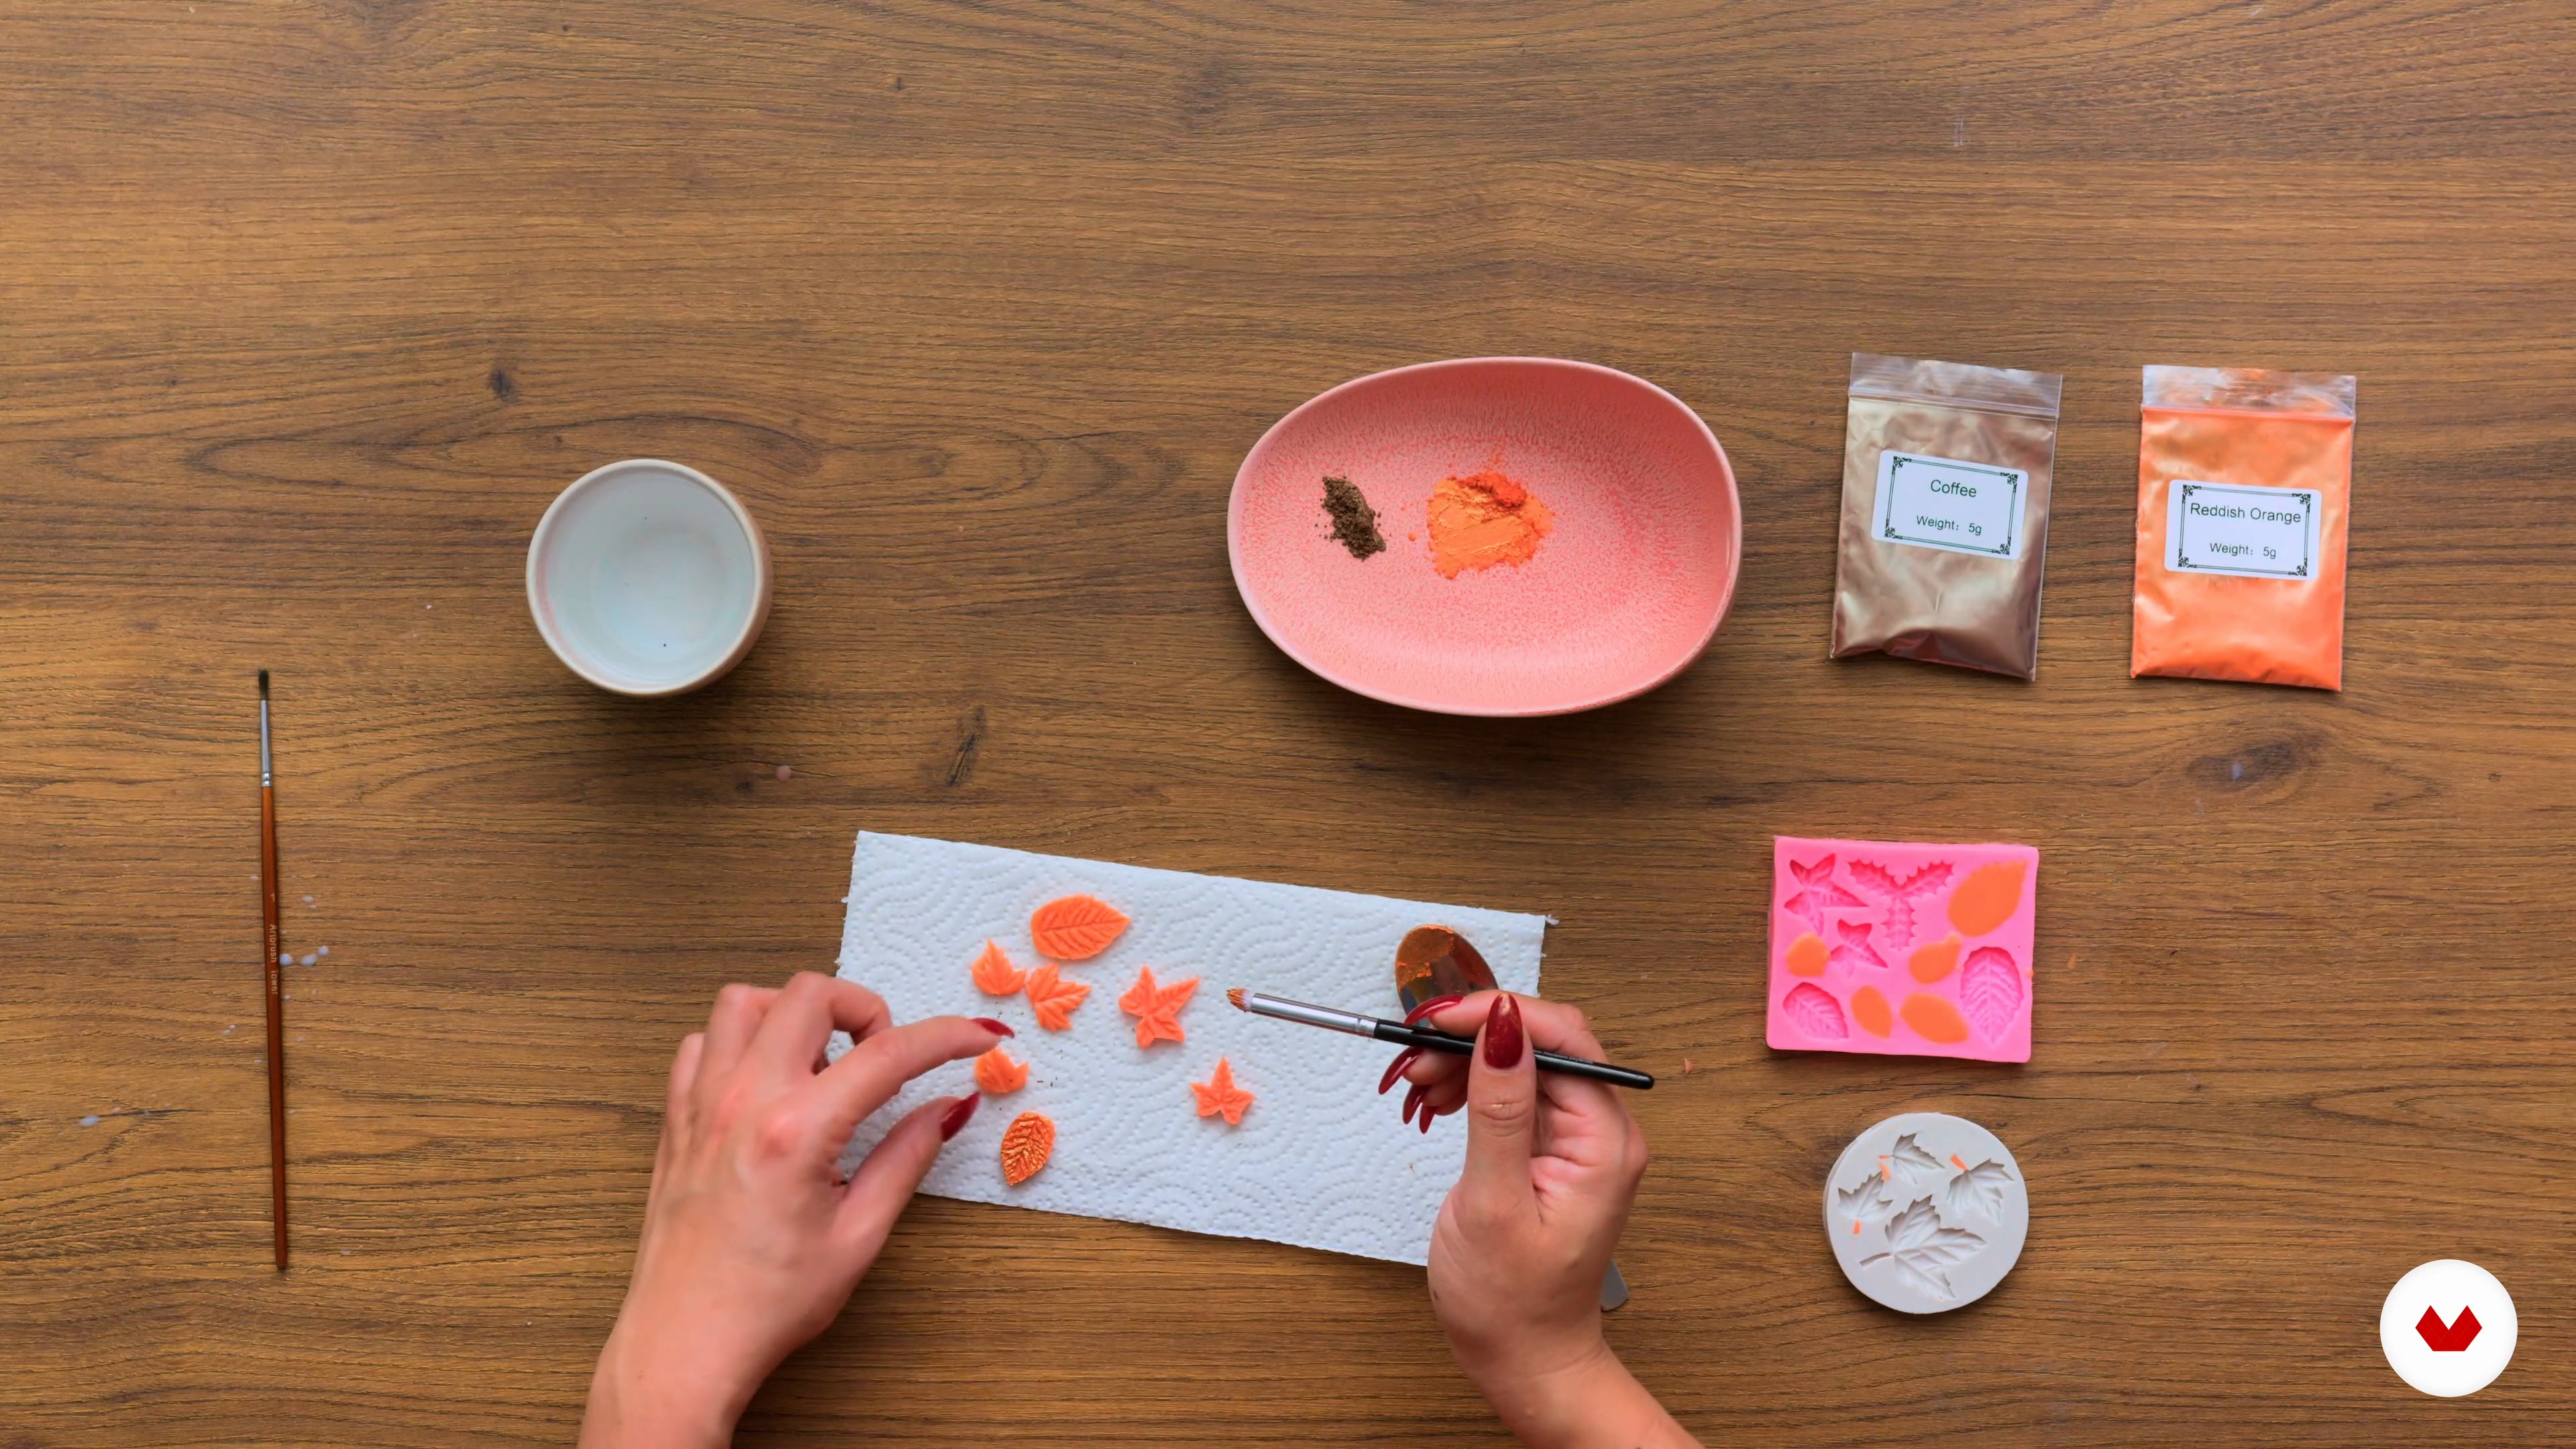
Let me show you how to create detailed leaf-shaped wax molds and paint them using mica powders. You will melt soy tart wax, mix it with orange candle dye and mica powder, and pour it into silicone molds.
8m
 16
16Putting It All Together! 3
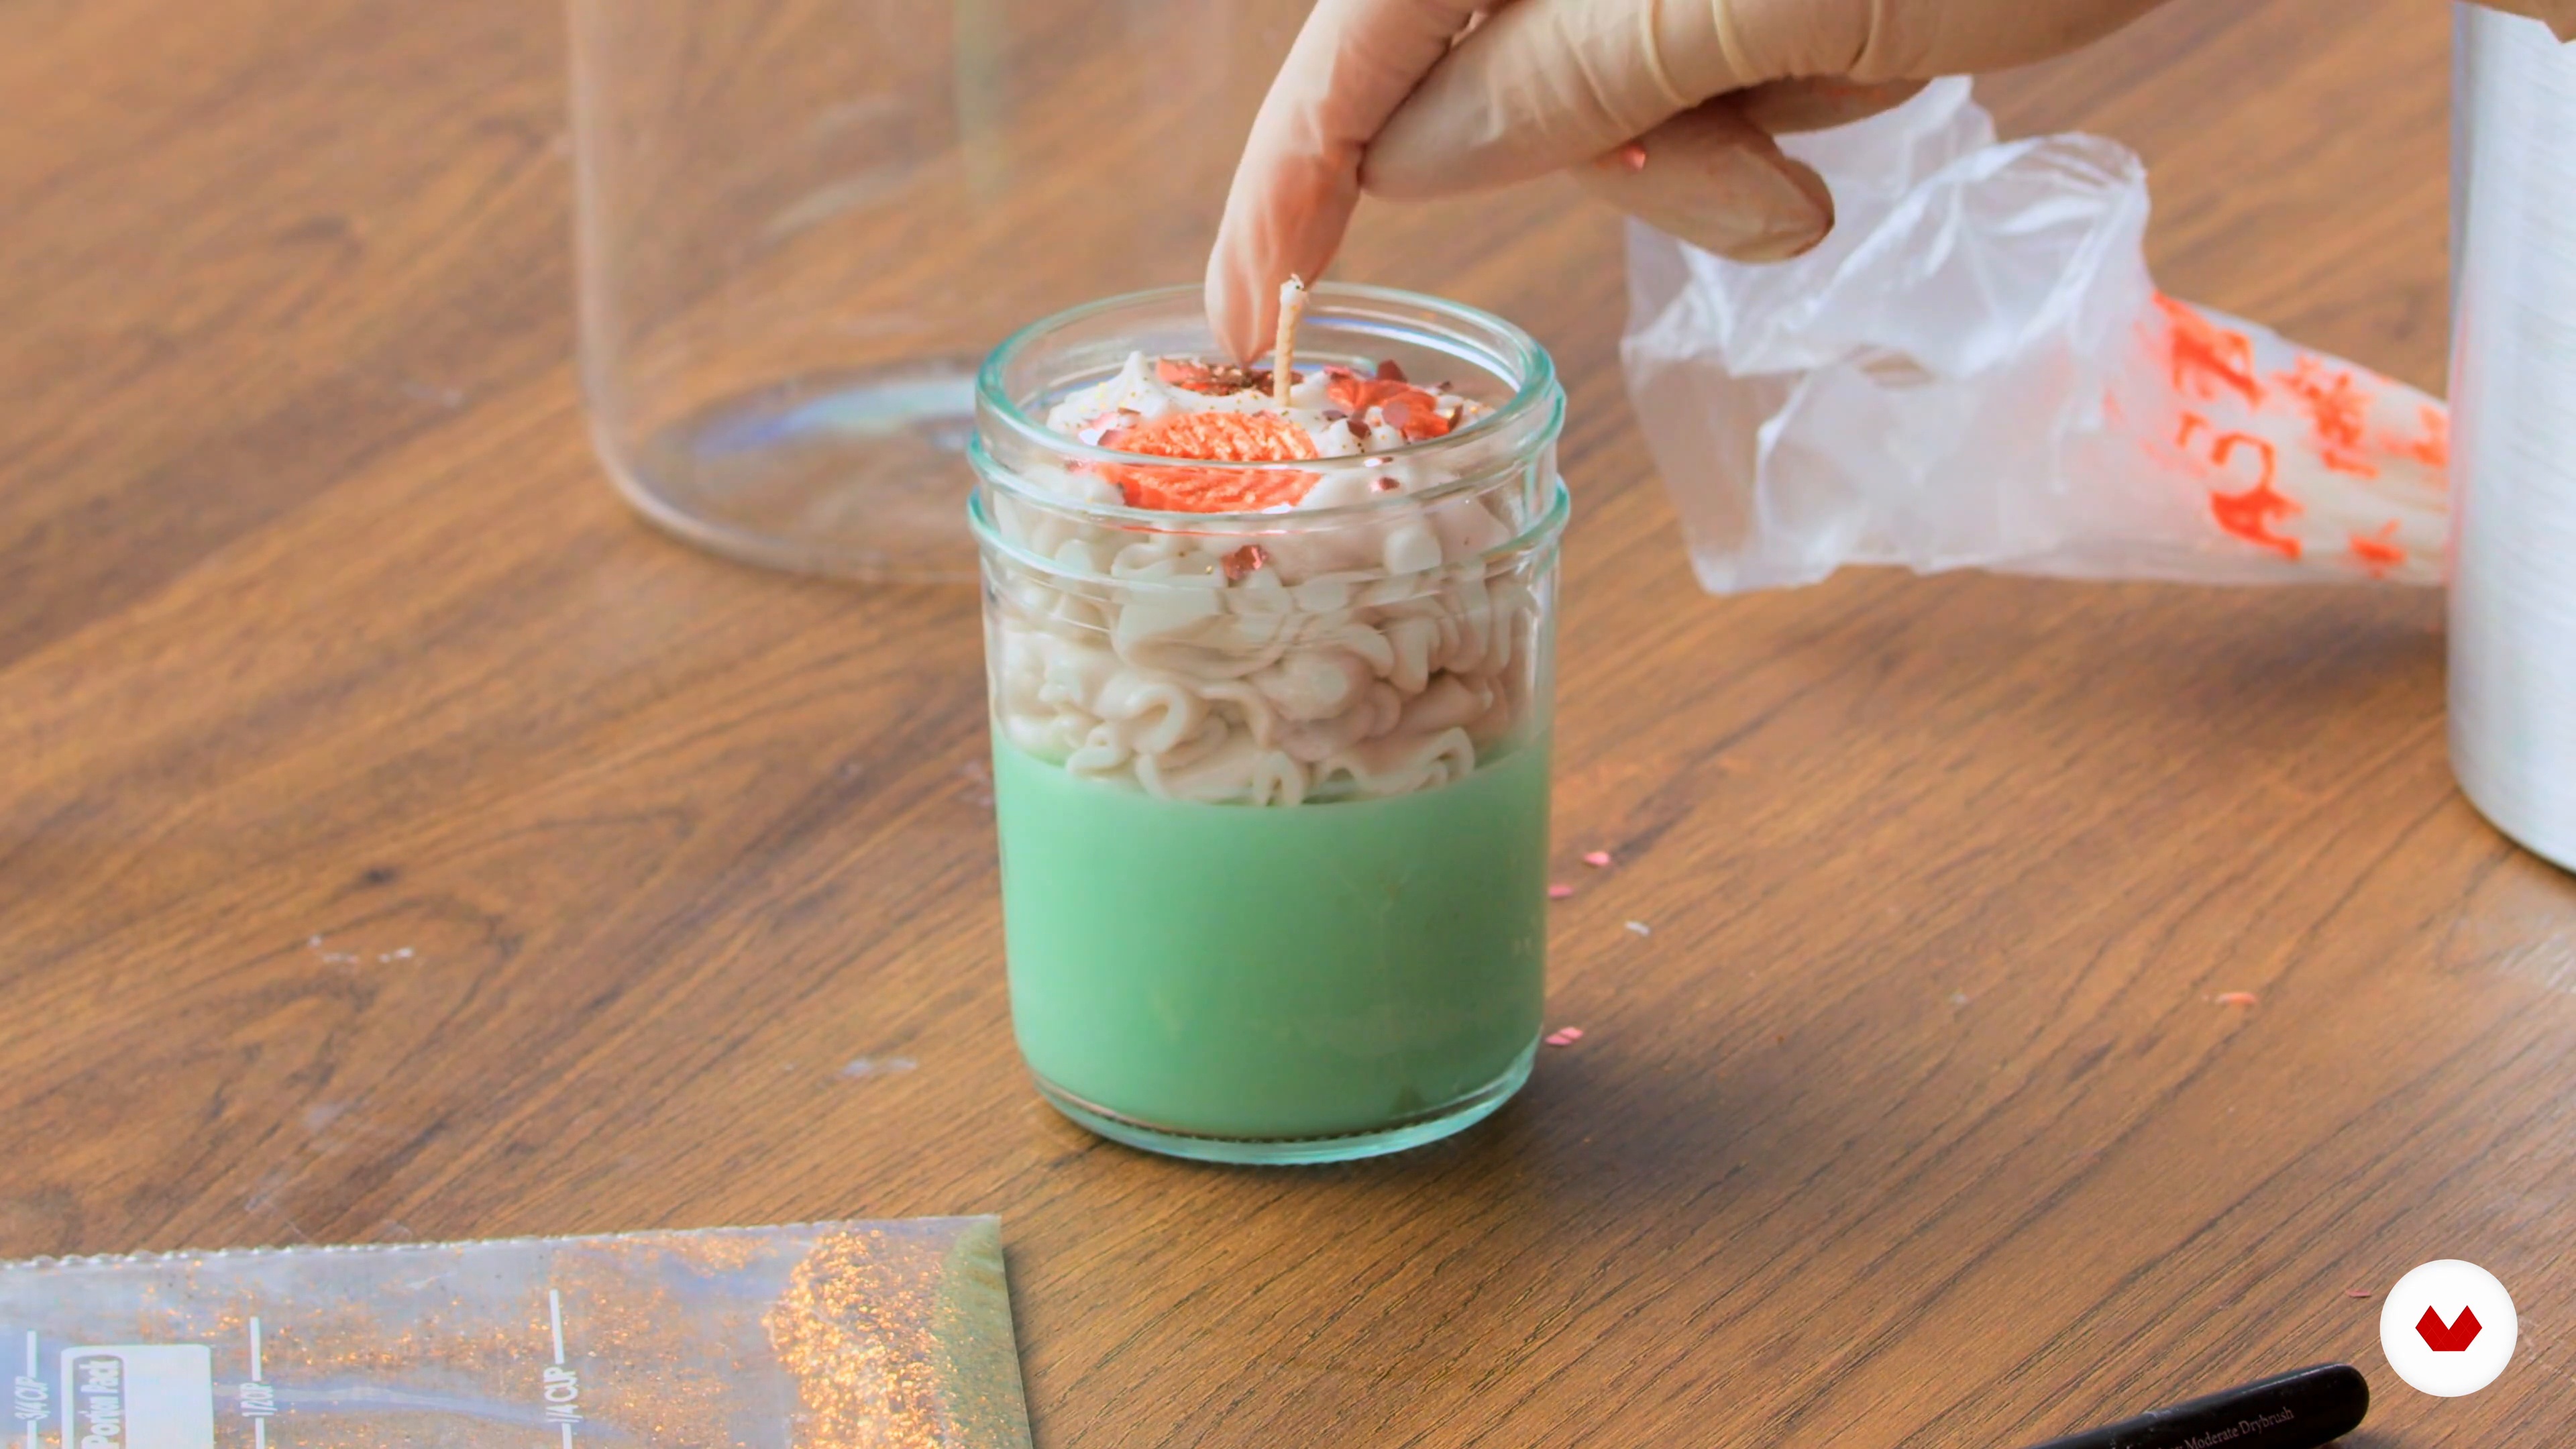
Let's refine the candle. You’ll learn how to smooth imperfections, trim the wick, and prepare whipped wax for piping by melting, dyeing, and mixing it to a frosting-like consistency.
11m
 17
17Putting It All Together! 4
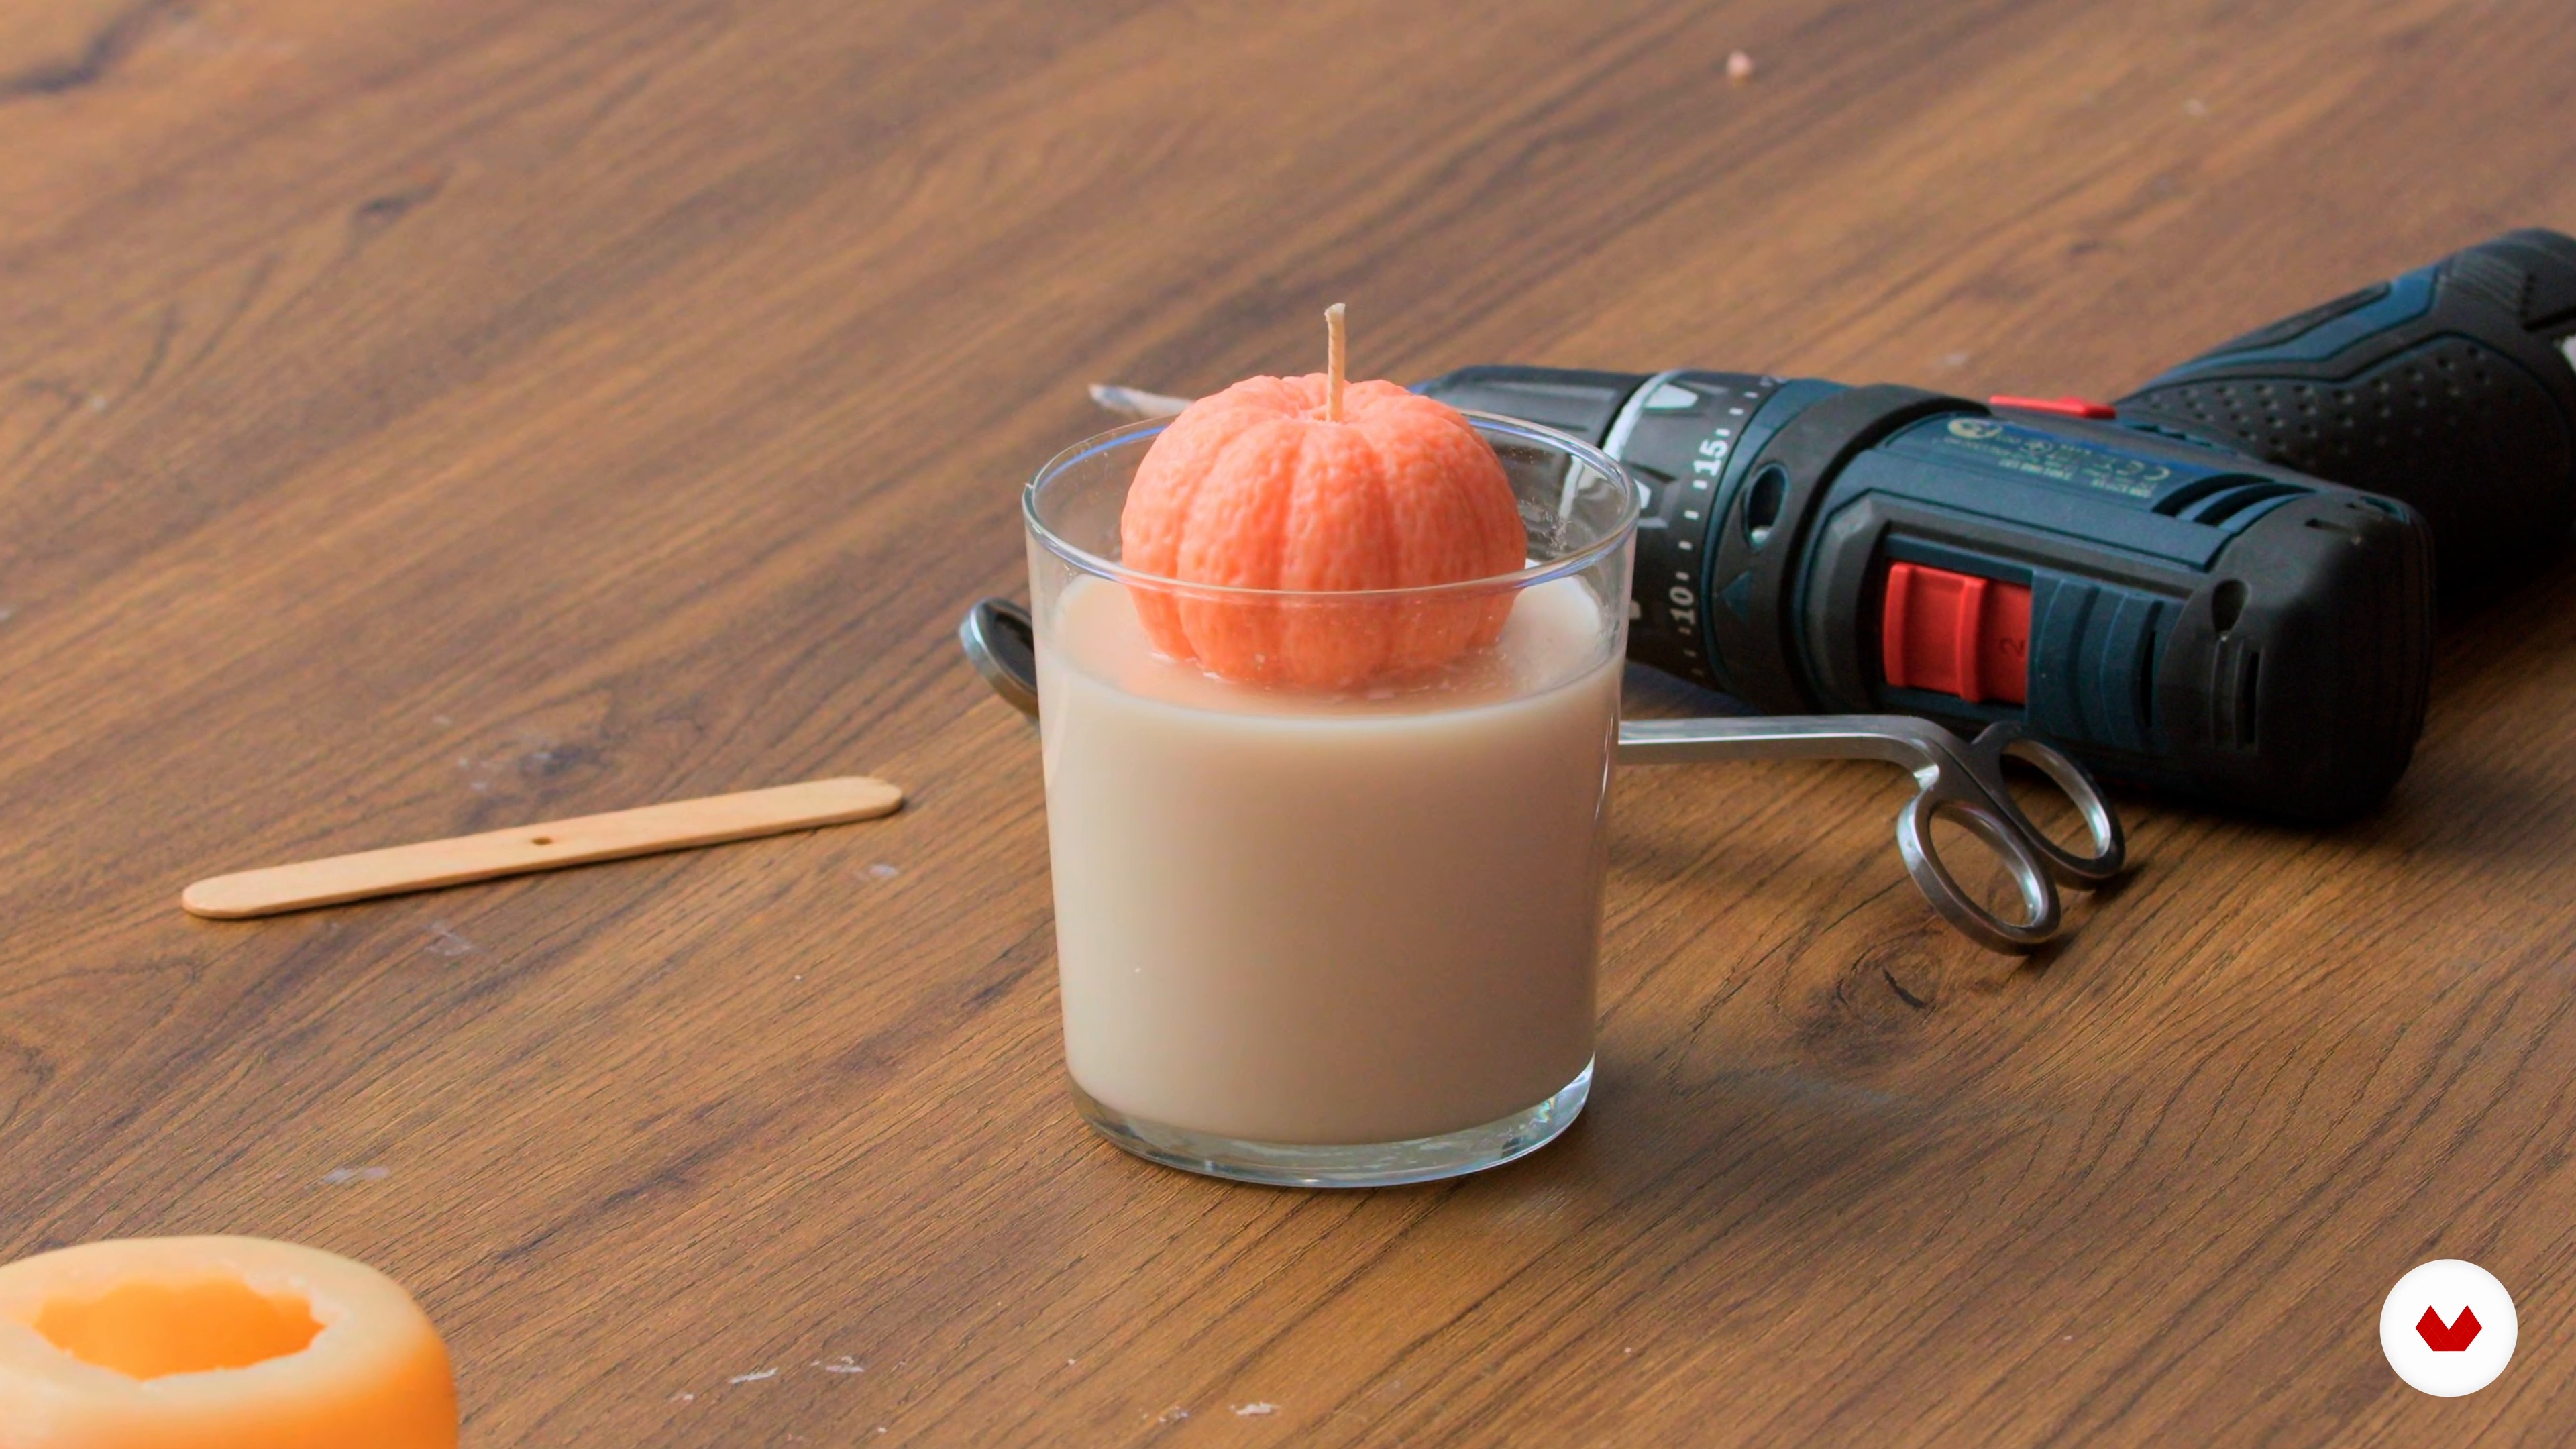
Last, but not least, you'll learn to create a pumpkin-themed candle by preparing a wax blend with fragrance, mica powder, and dye, then pouring it into a vessel. You'll also mold a wax pumpkin, drill a wick hole, and attach it to the candle. Finishing touches include smoothing, trimming, and curing for proper scent throw.
16m
 18
18Branding and Marketing Your Candles
In this lesson, you'll learn ways in which you can build a strong brand identity for your candle business. I'll teach you some effective marketing strategies to help you reach your target audience.
2m
 19
19Managing Inventory and Supplies
I'll share some tips on how to manage your inventory and how you can get the most profit with the supplies you purchase. I'll also show you different sales channels you can use to sell products.
3m
 3
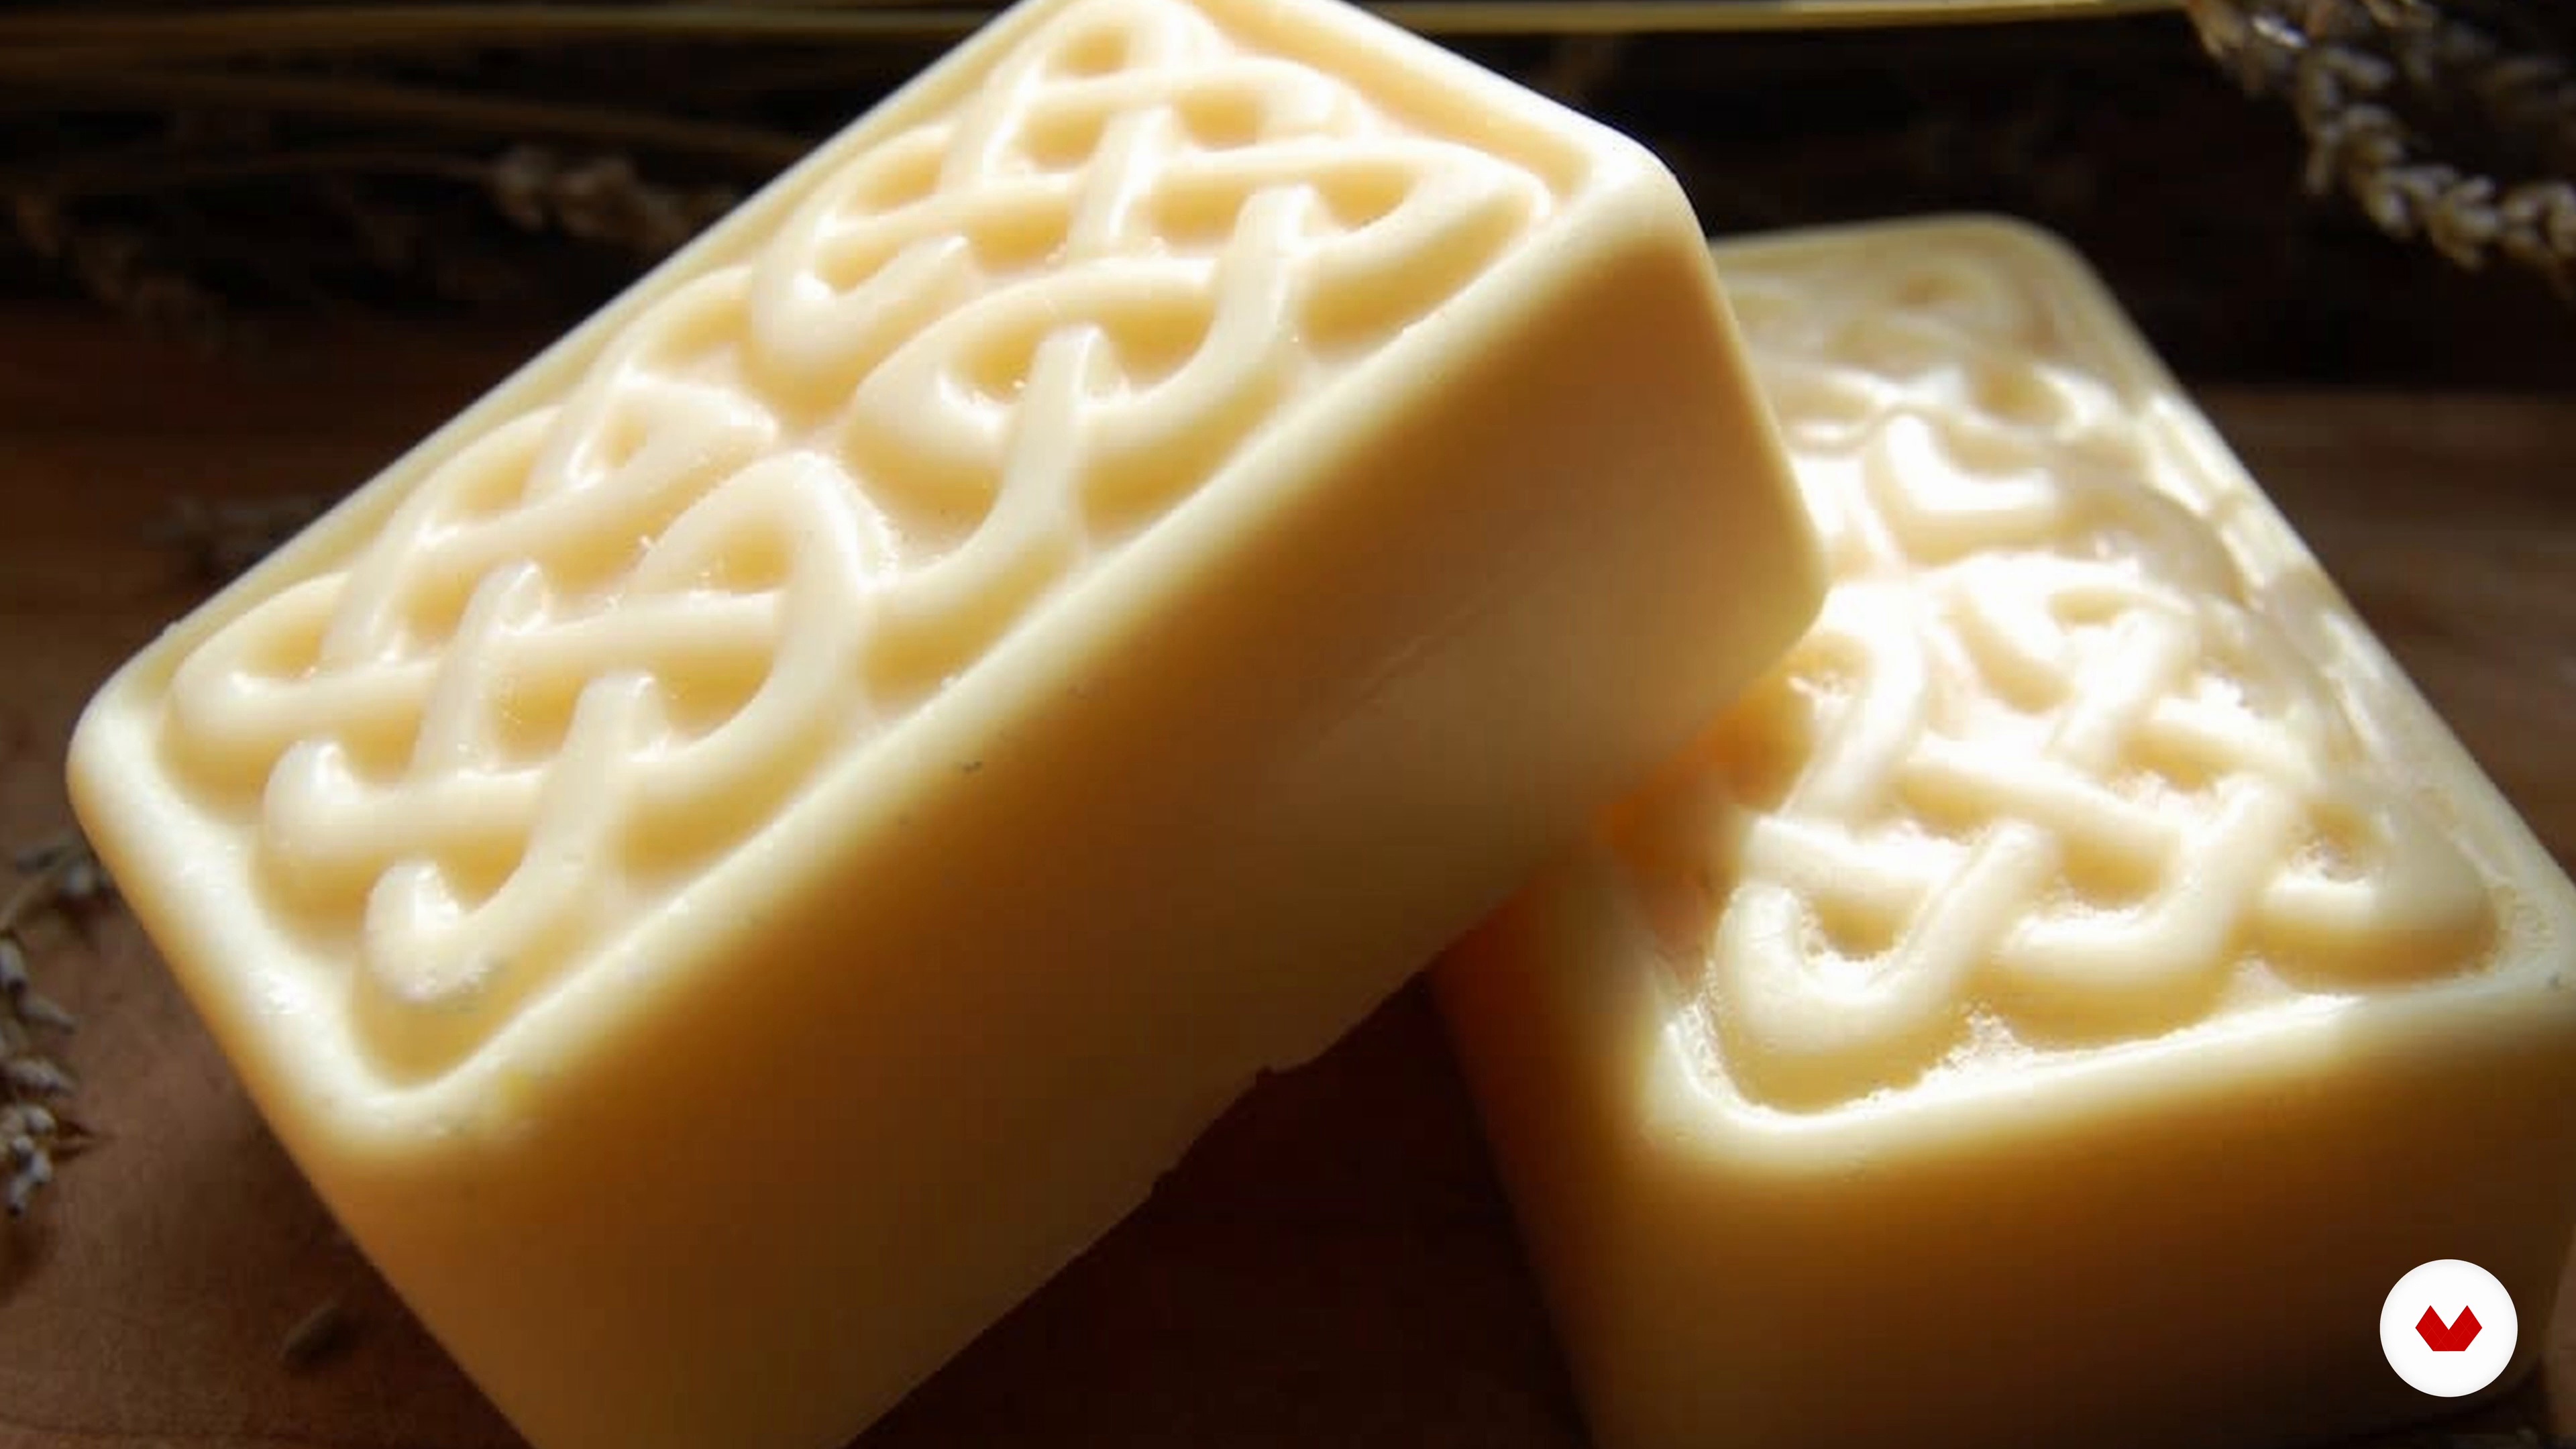
3The Basics of Soap Making
What's the science behind soap making? In this lesson, I will explore the chemistry involved in creating a bar of soap, as well as the importance of the pH scale.
7m
 4
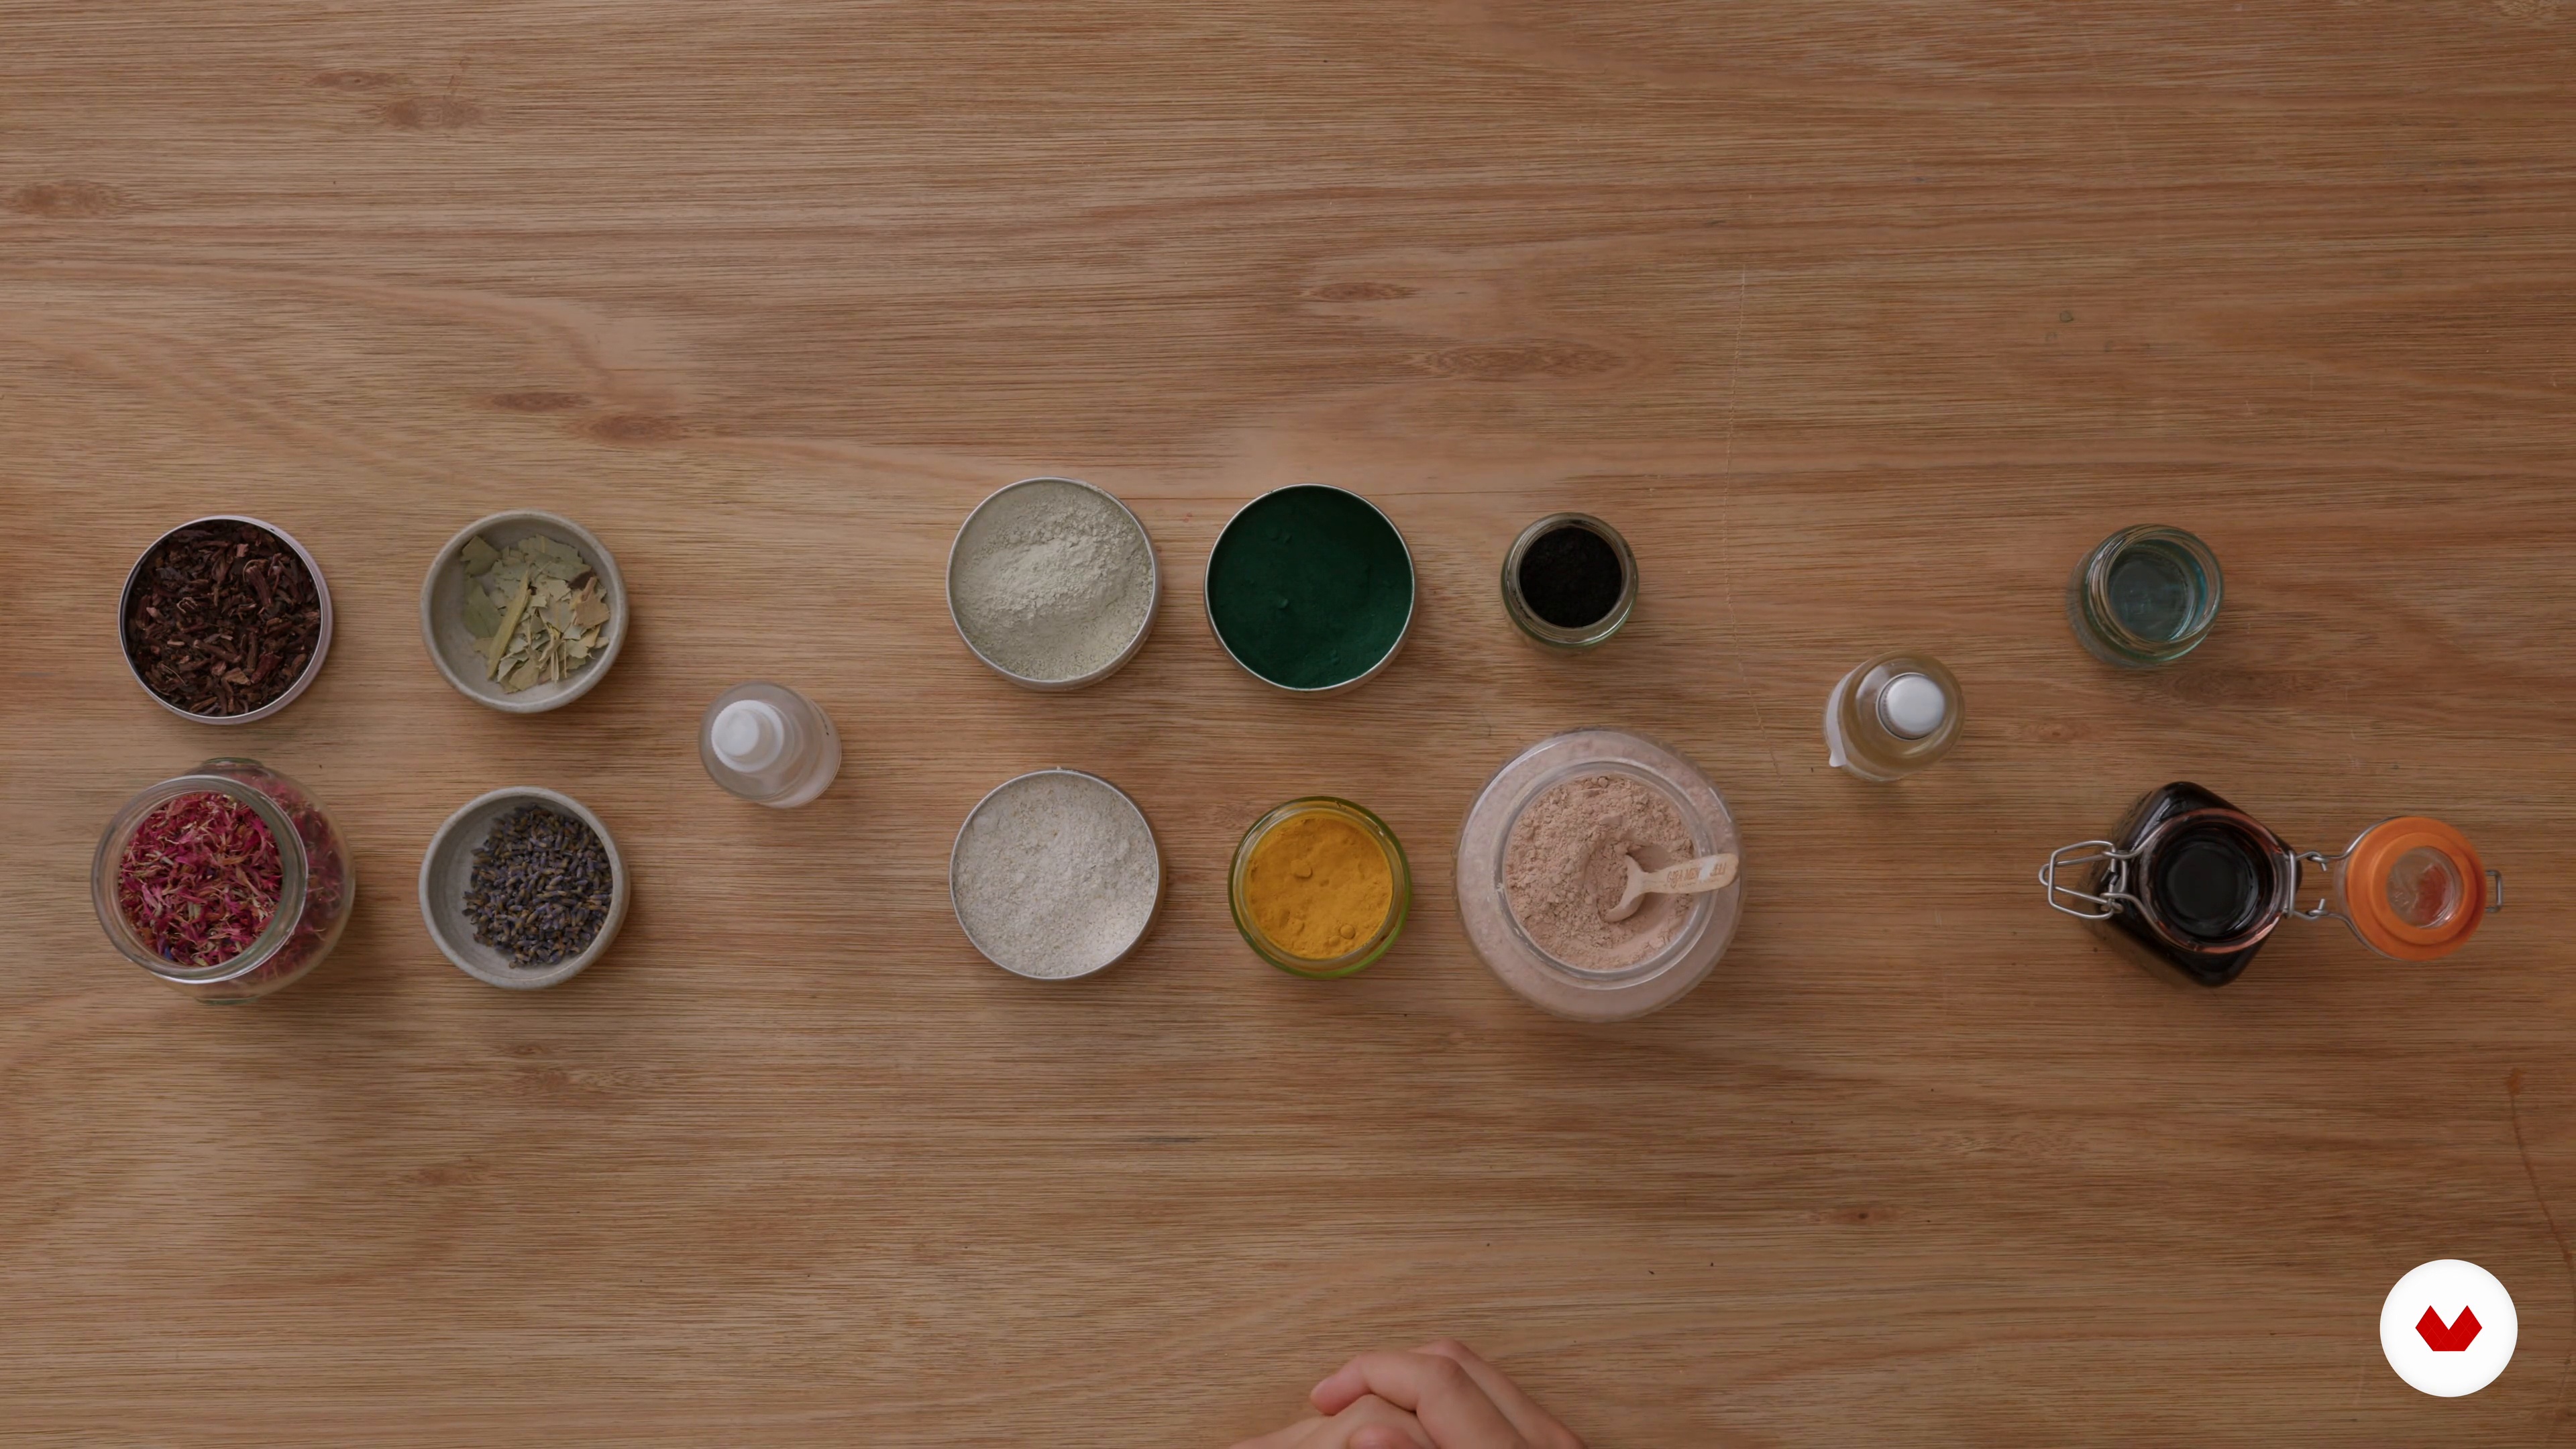
4Materials, Ingredients, and Tools 1
I will now discuss the specific ingredients and equipment you will need to make soap. To begin with, I will review the basic components of soap: the lye solution and the fats.
11m
 5
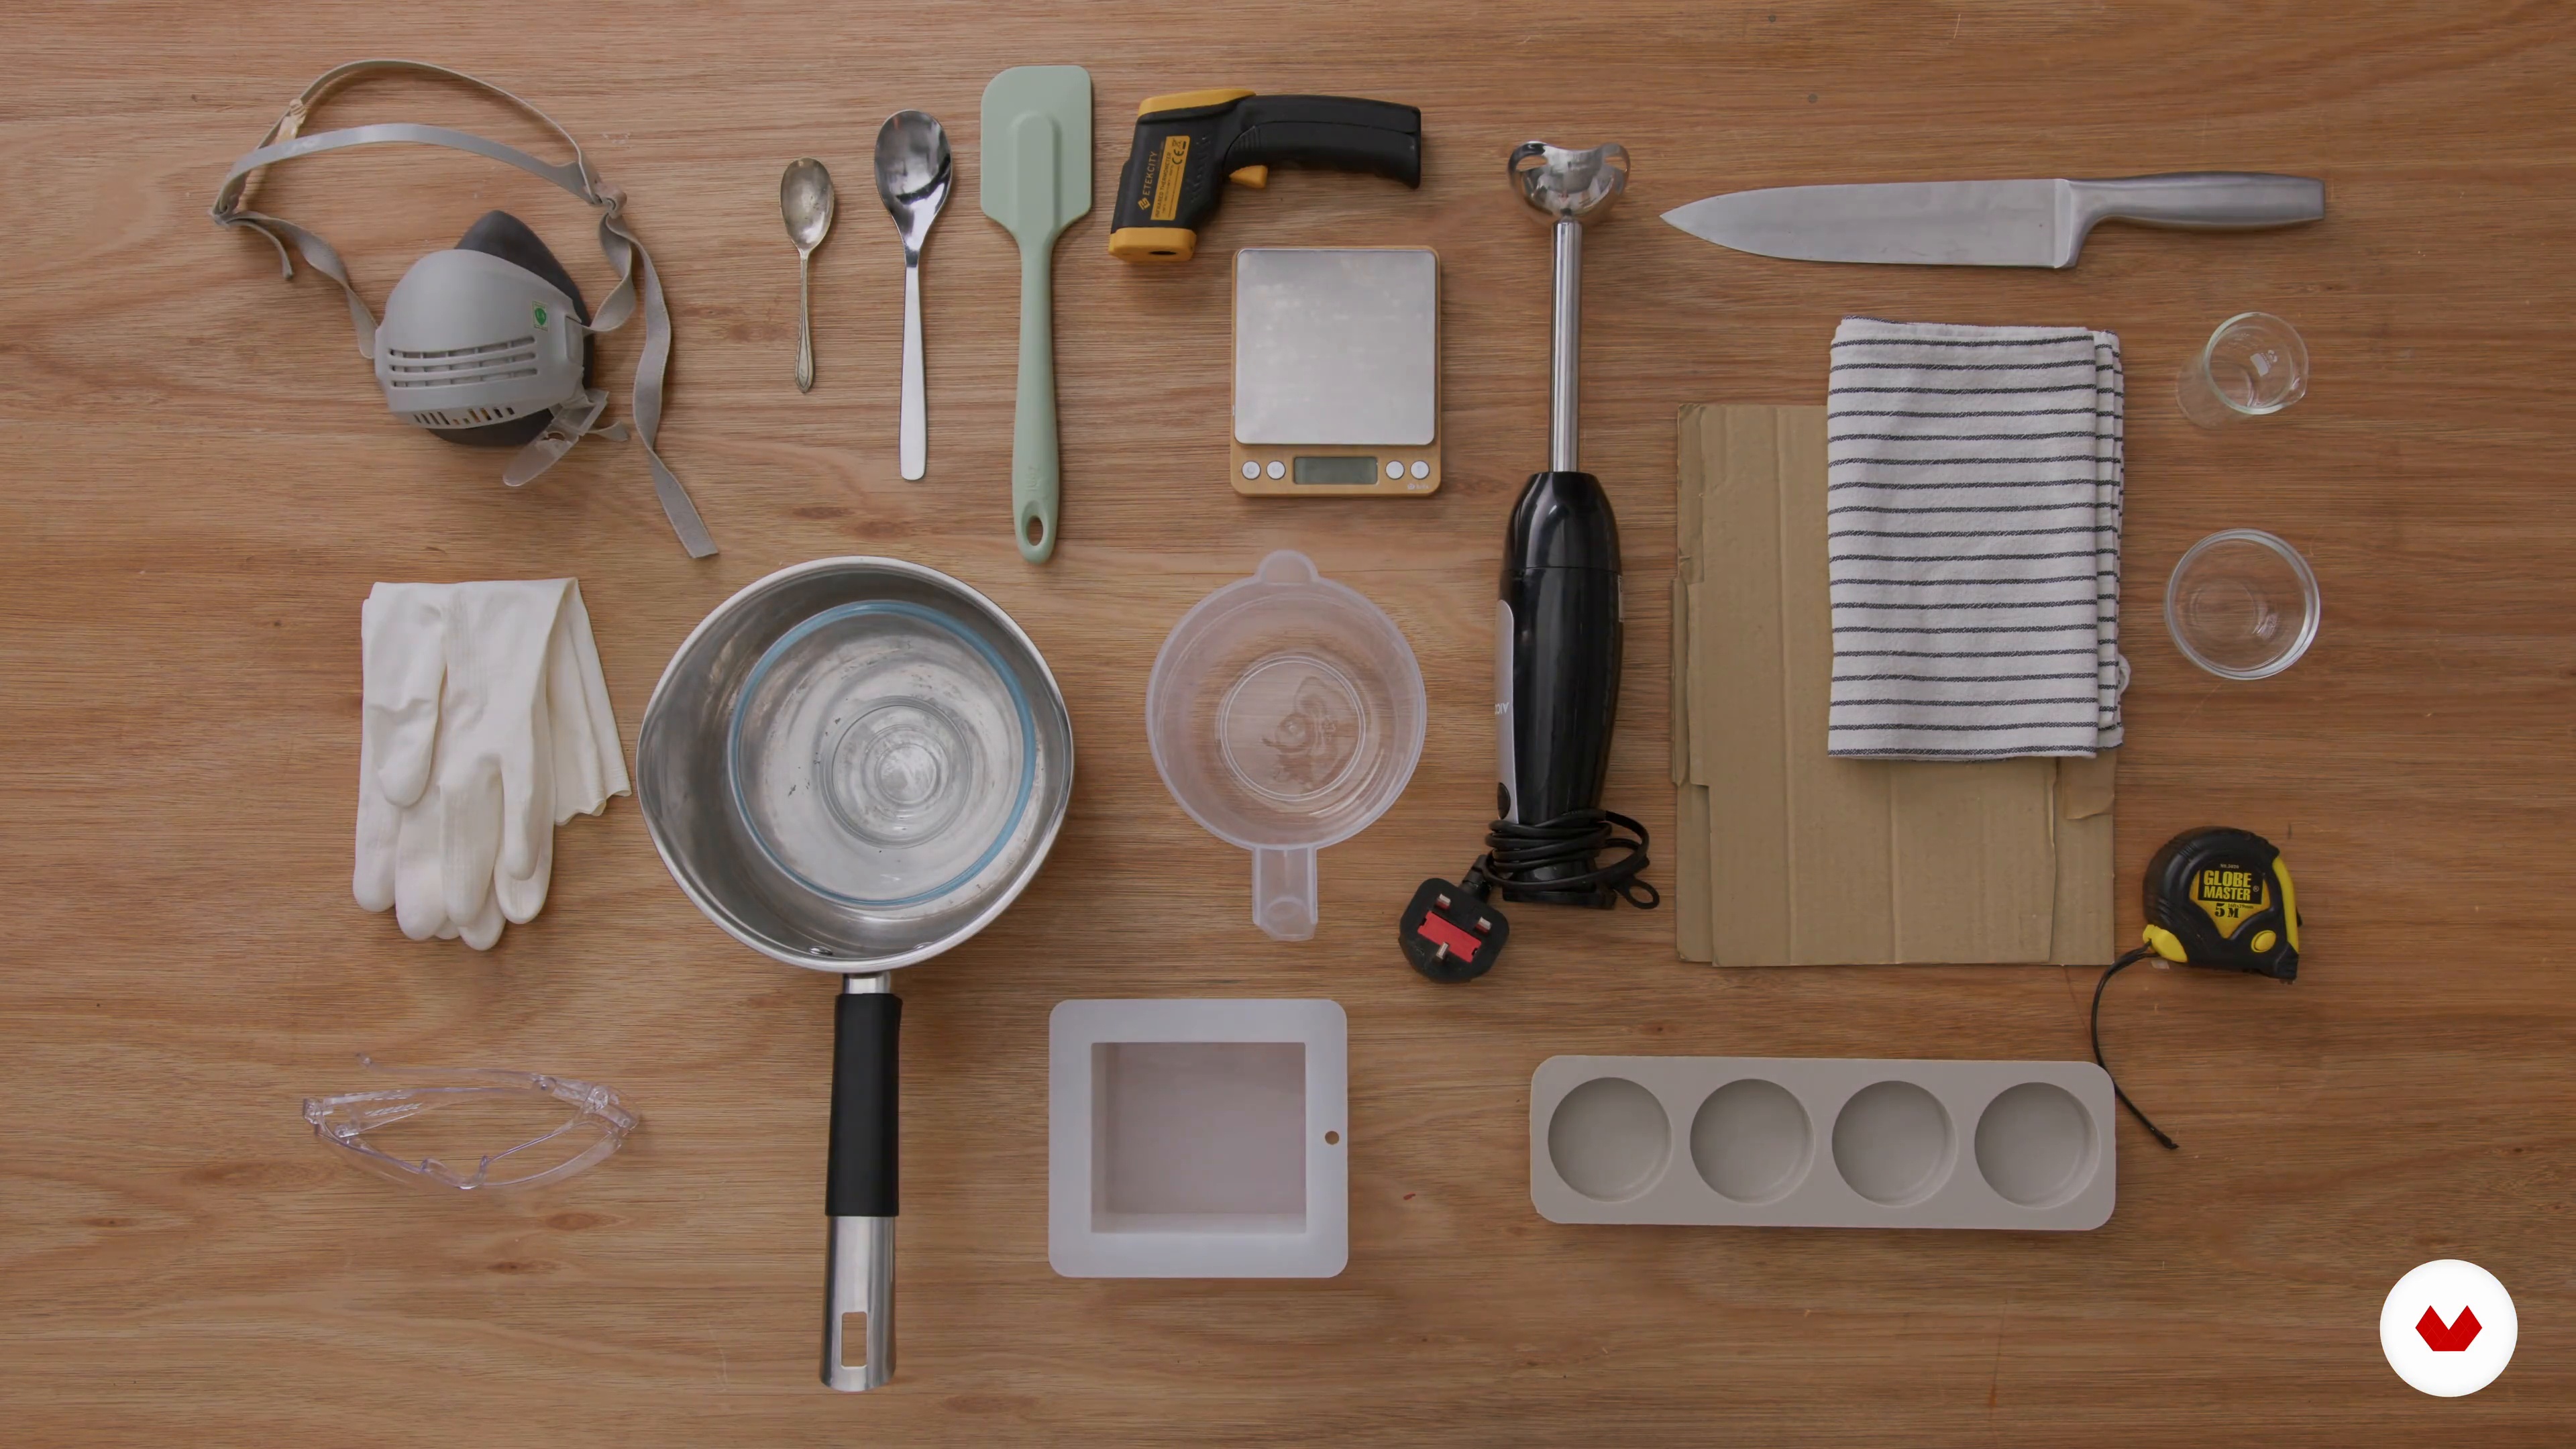
5Materials, Ingredients, and Tools 2
In the second part of this lesson, I will discuss the tools required for soap-making, from the mandatory equipment – like safety gear – to the optional nice-to-haves.
15m
 6
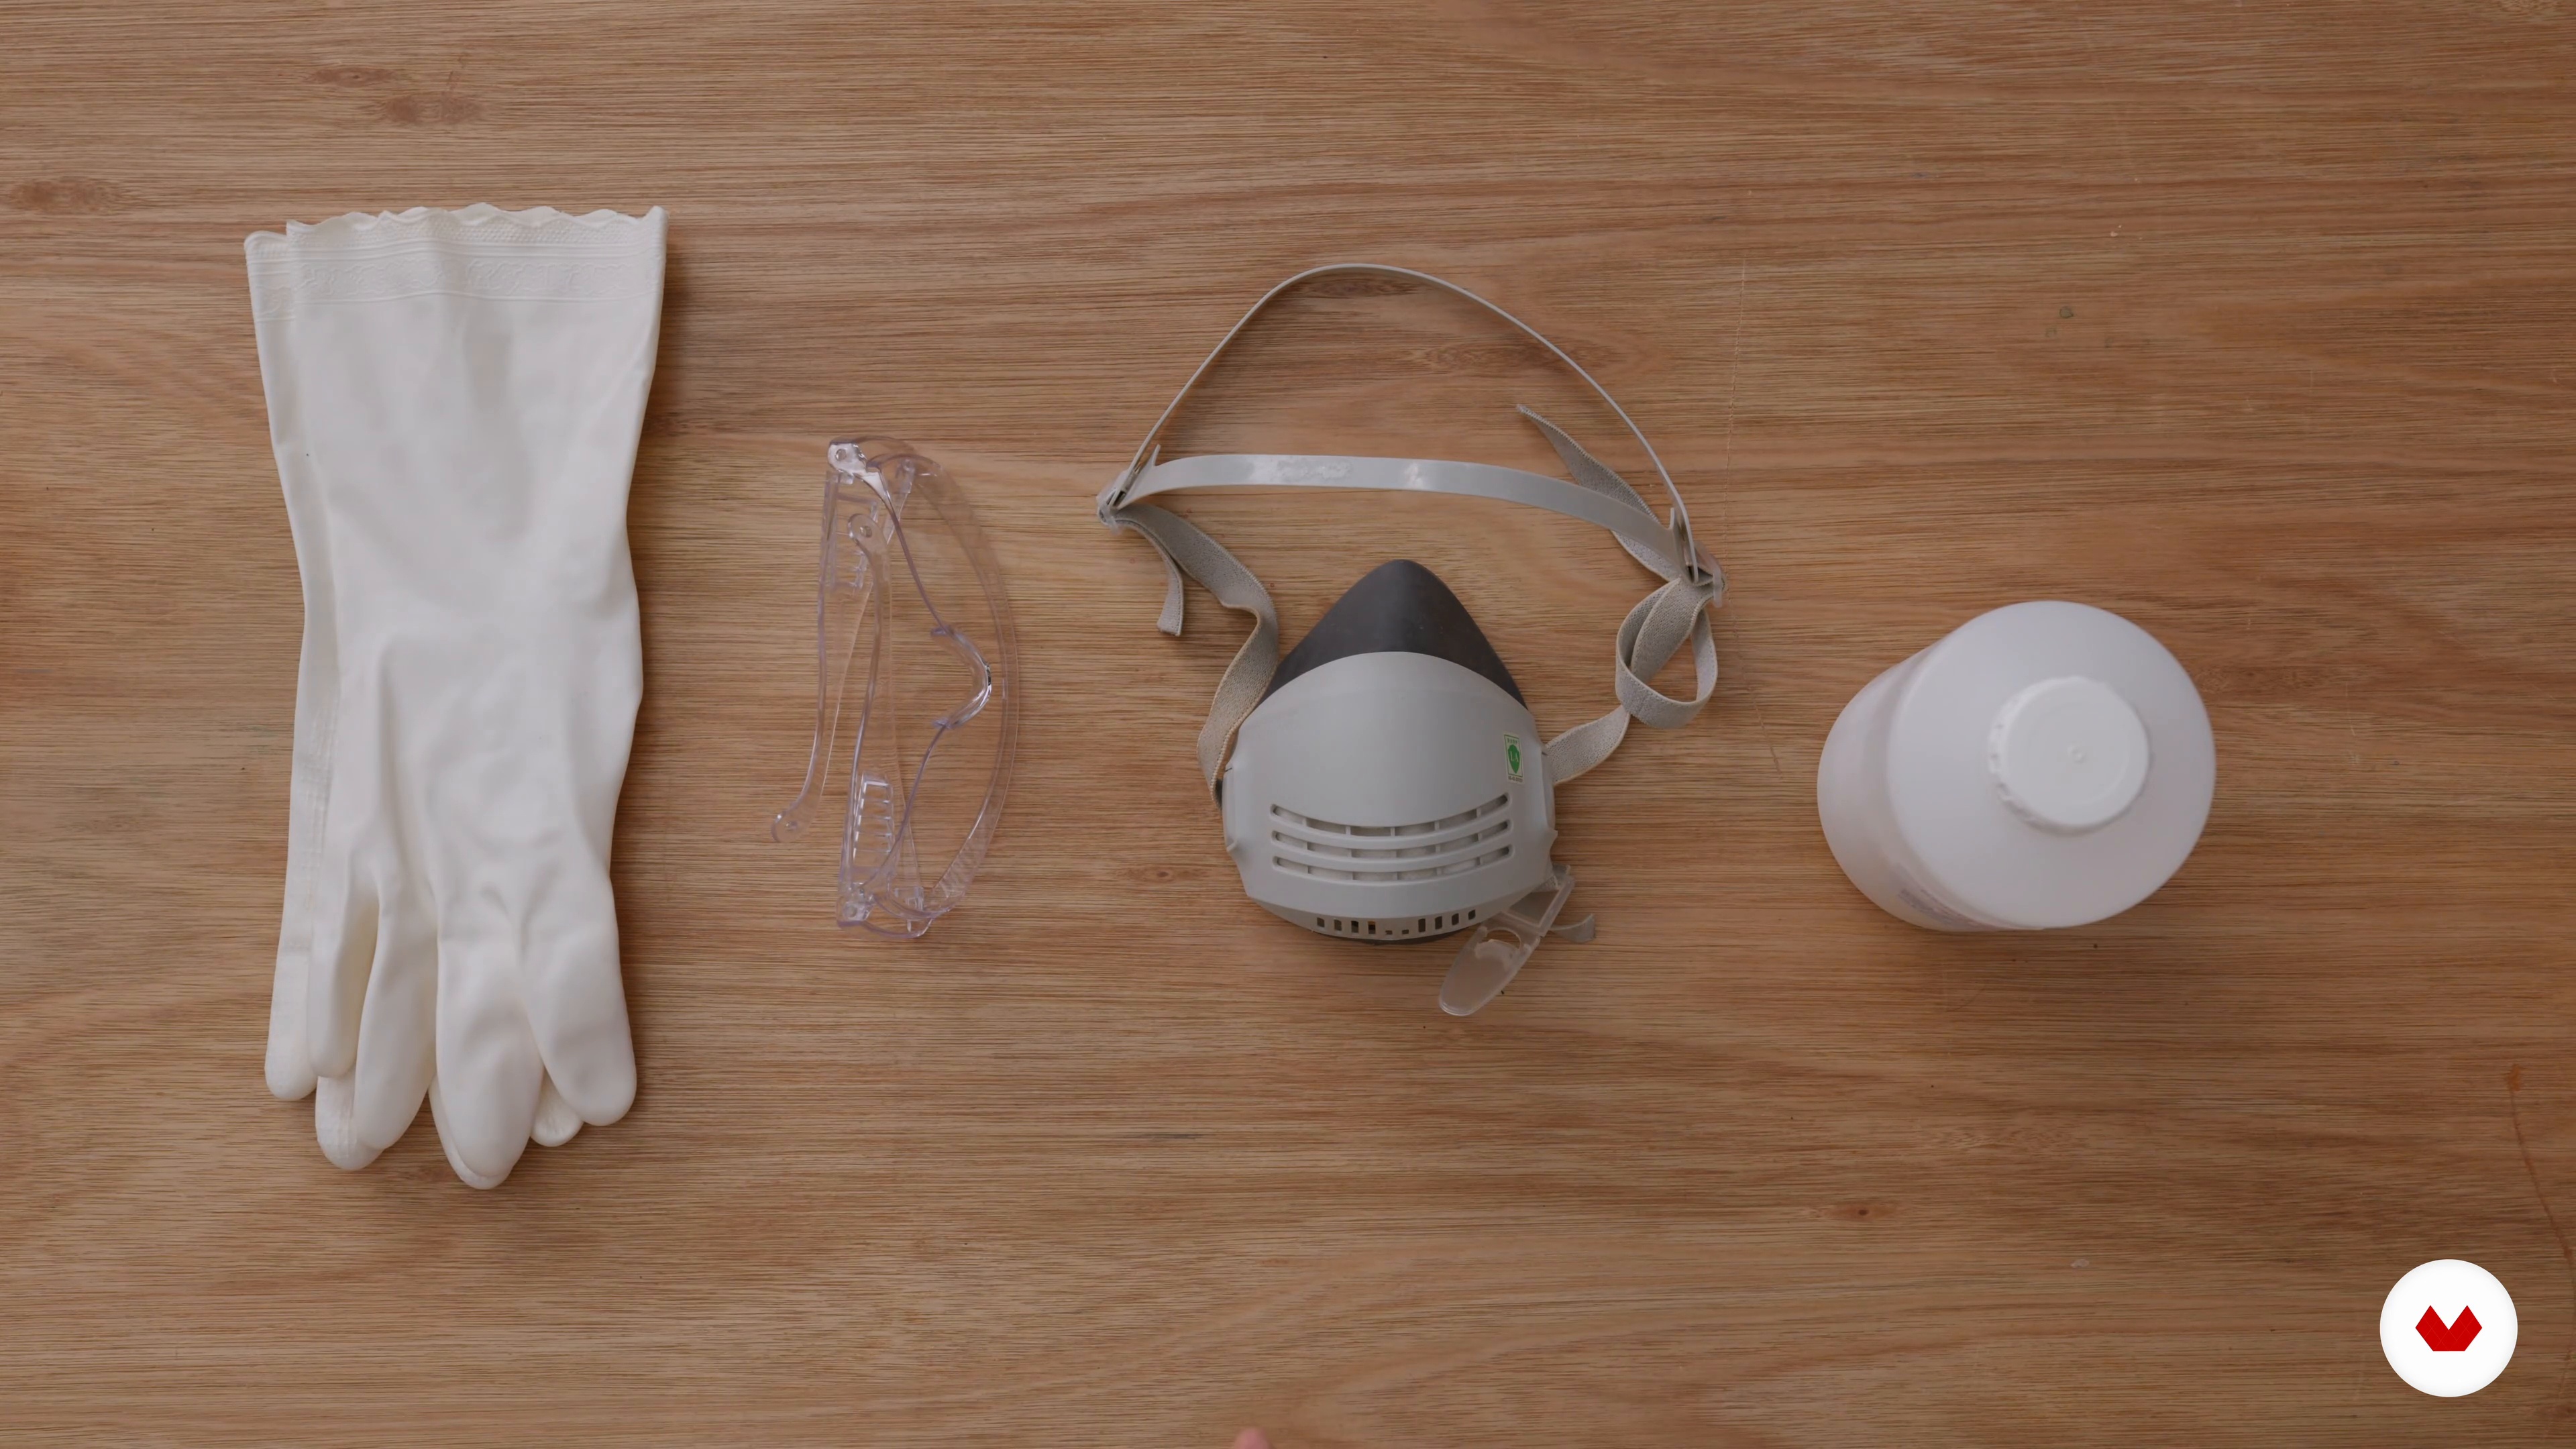
6Safety Measures
Sodium hydroxide is a very toxic material. In this lesson, I will share with you the measures you need to follow in order to make soap safely.
9m
 7
7Techniques for Customisation 1
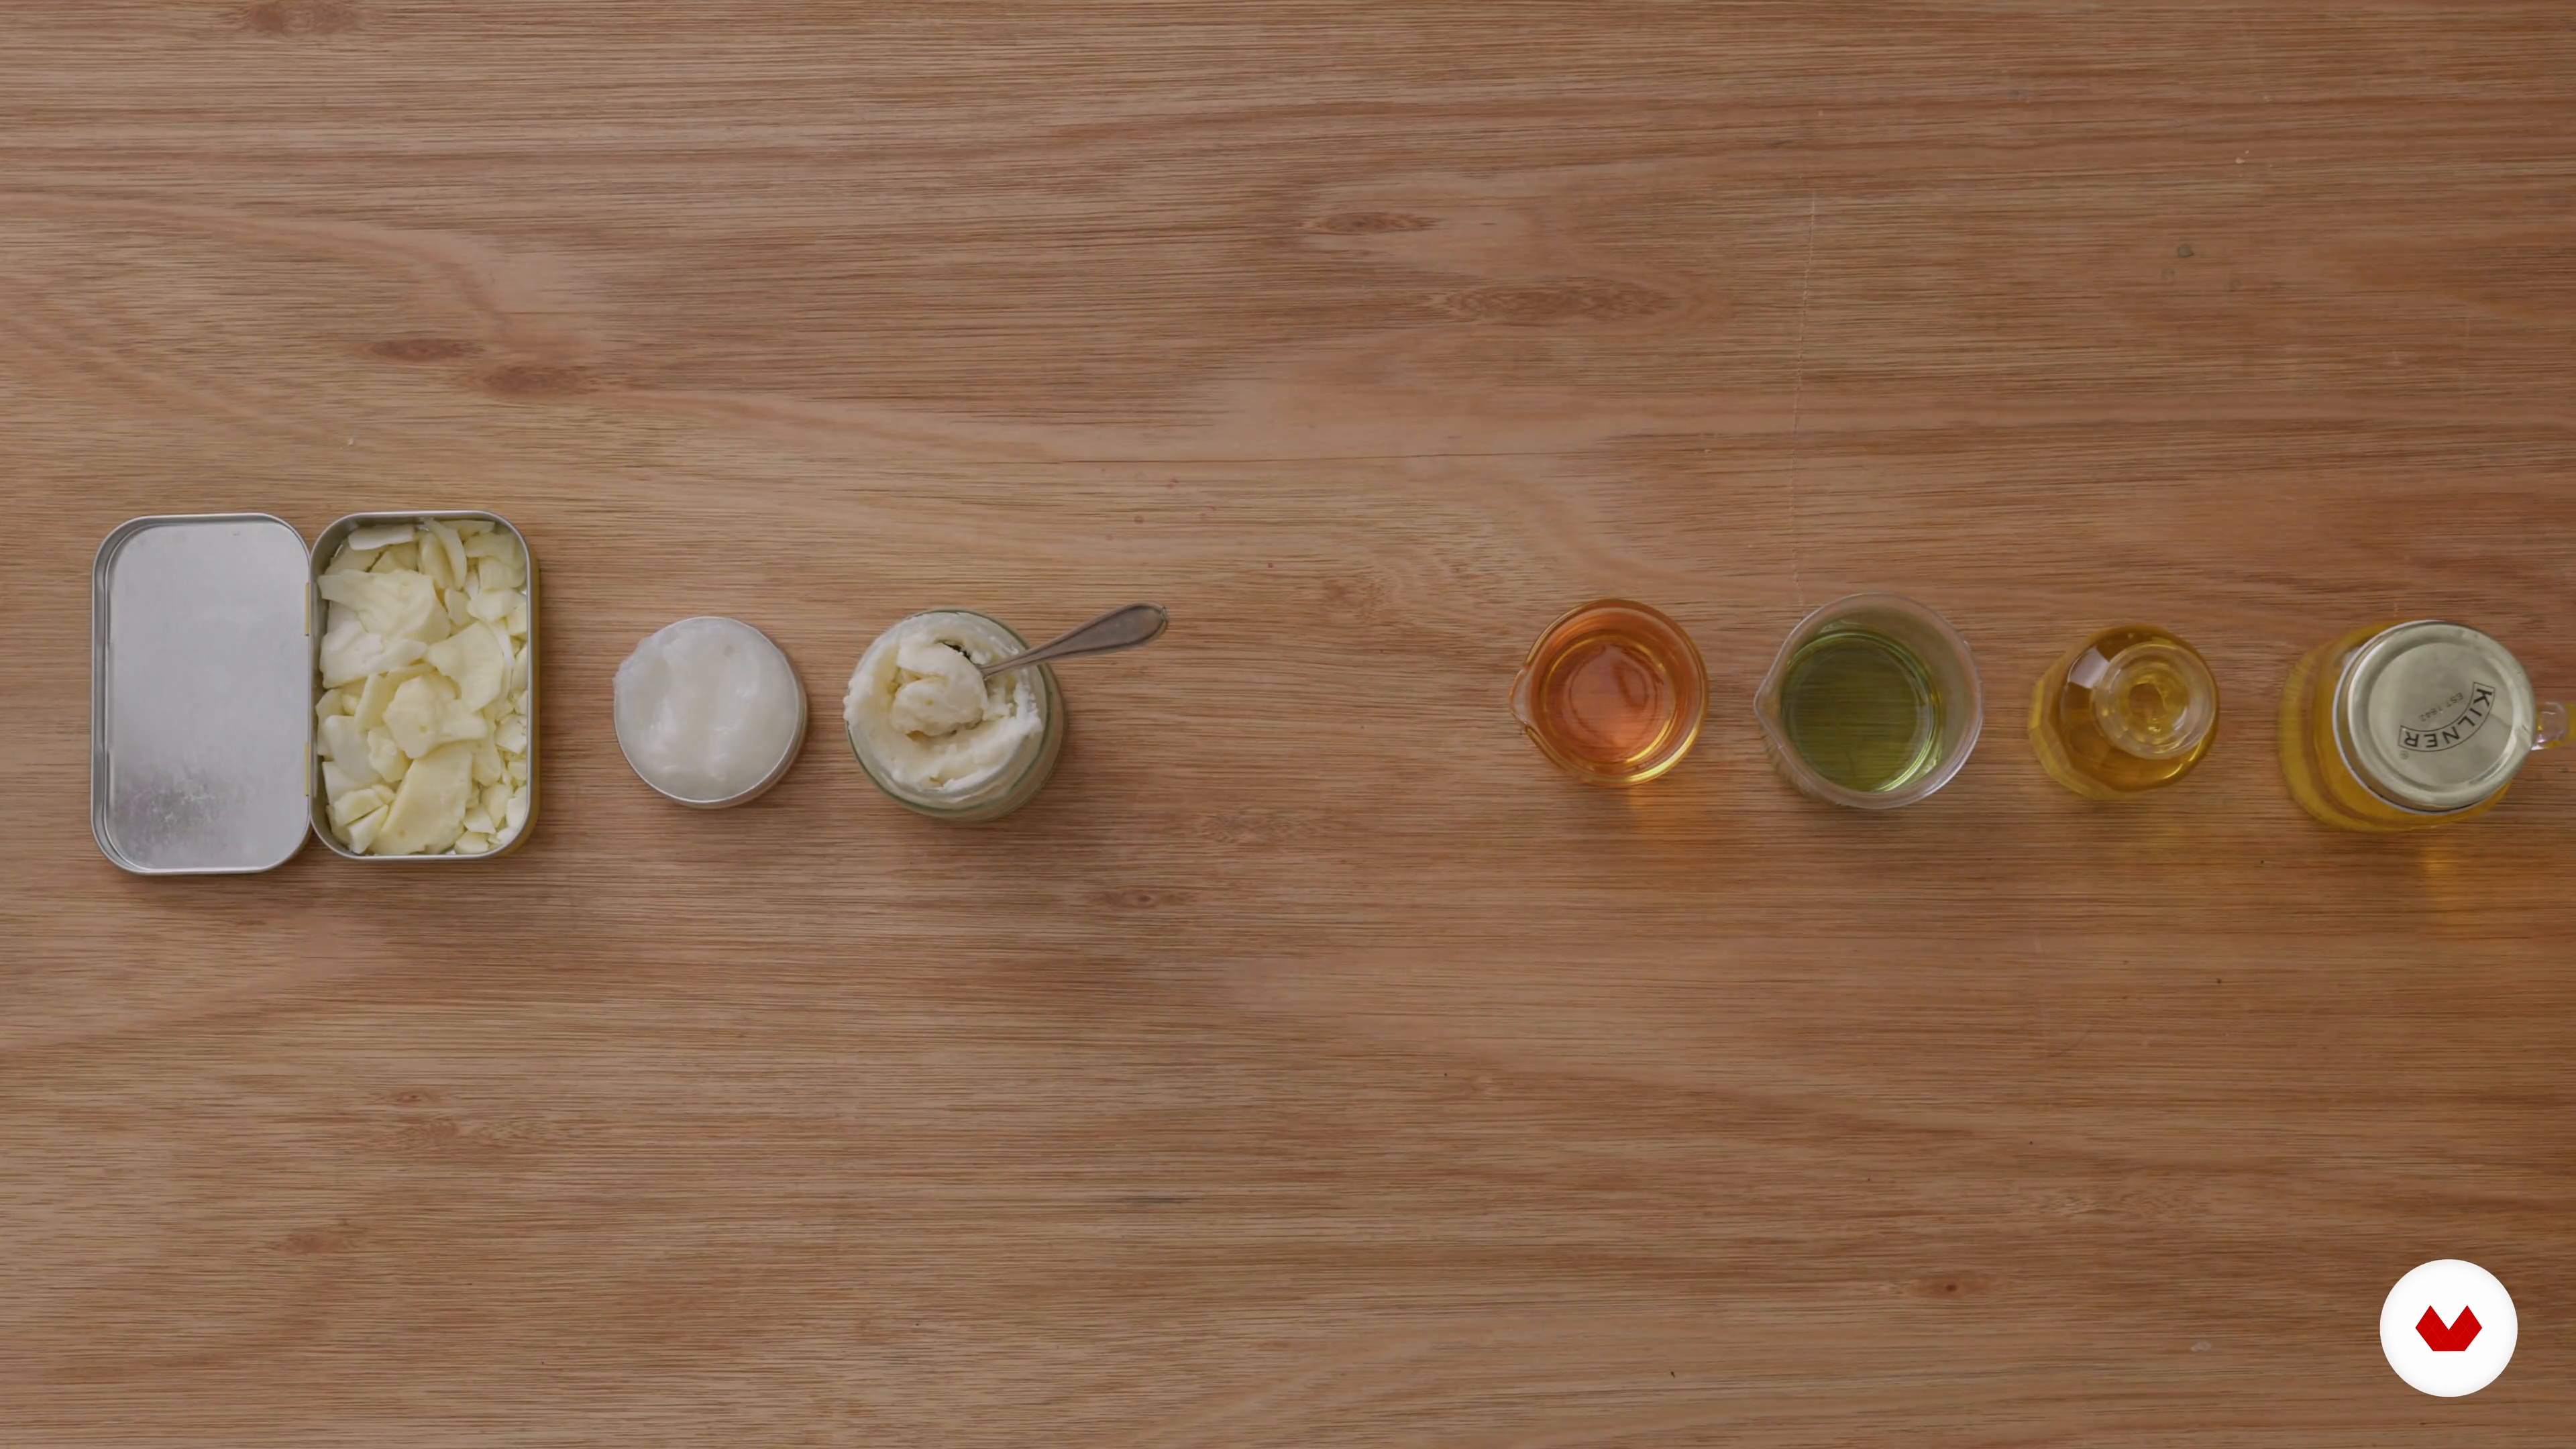
I will now discuss some different techniques to customise your creations and develop beautiful soaps, according to the vision you have in mind.
9m
 8
8Techniques for Customisation 2
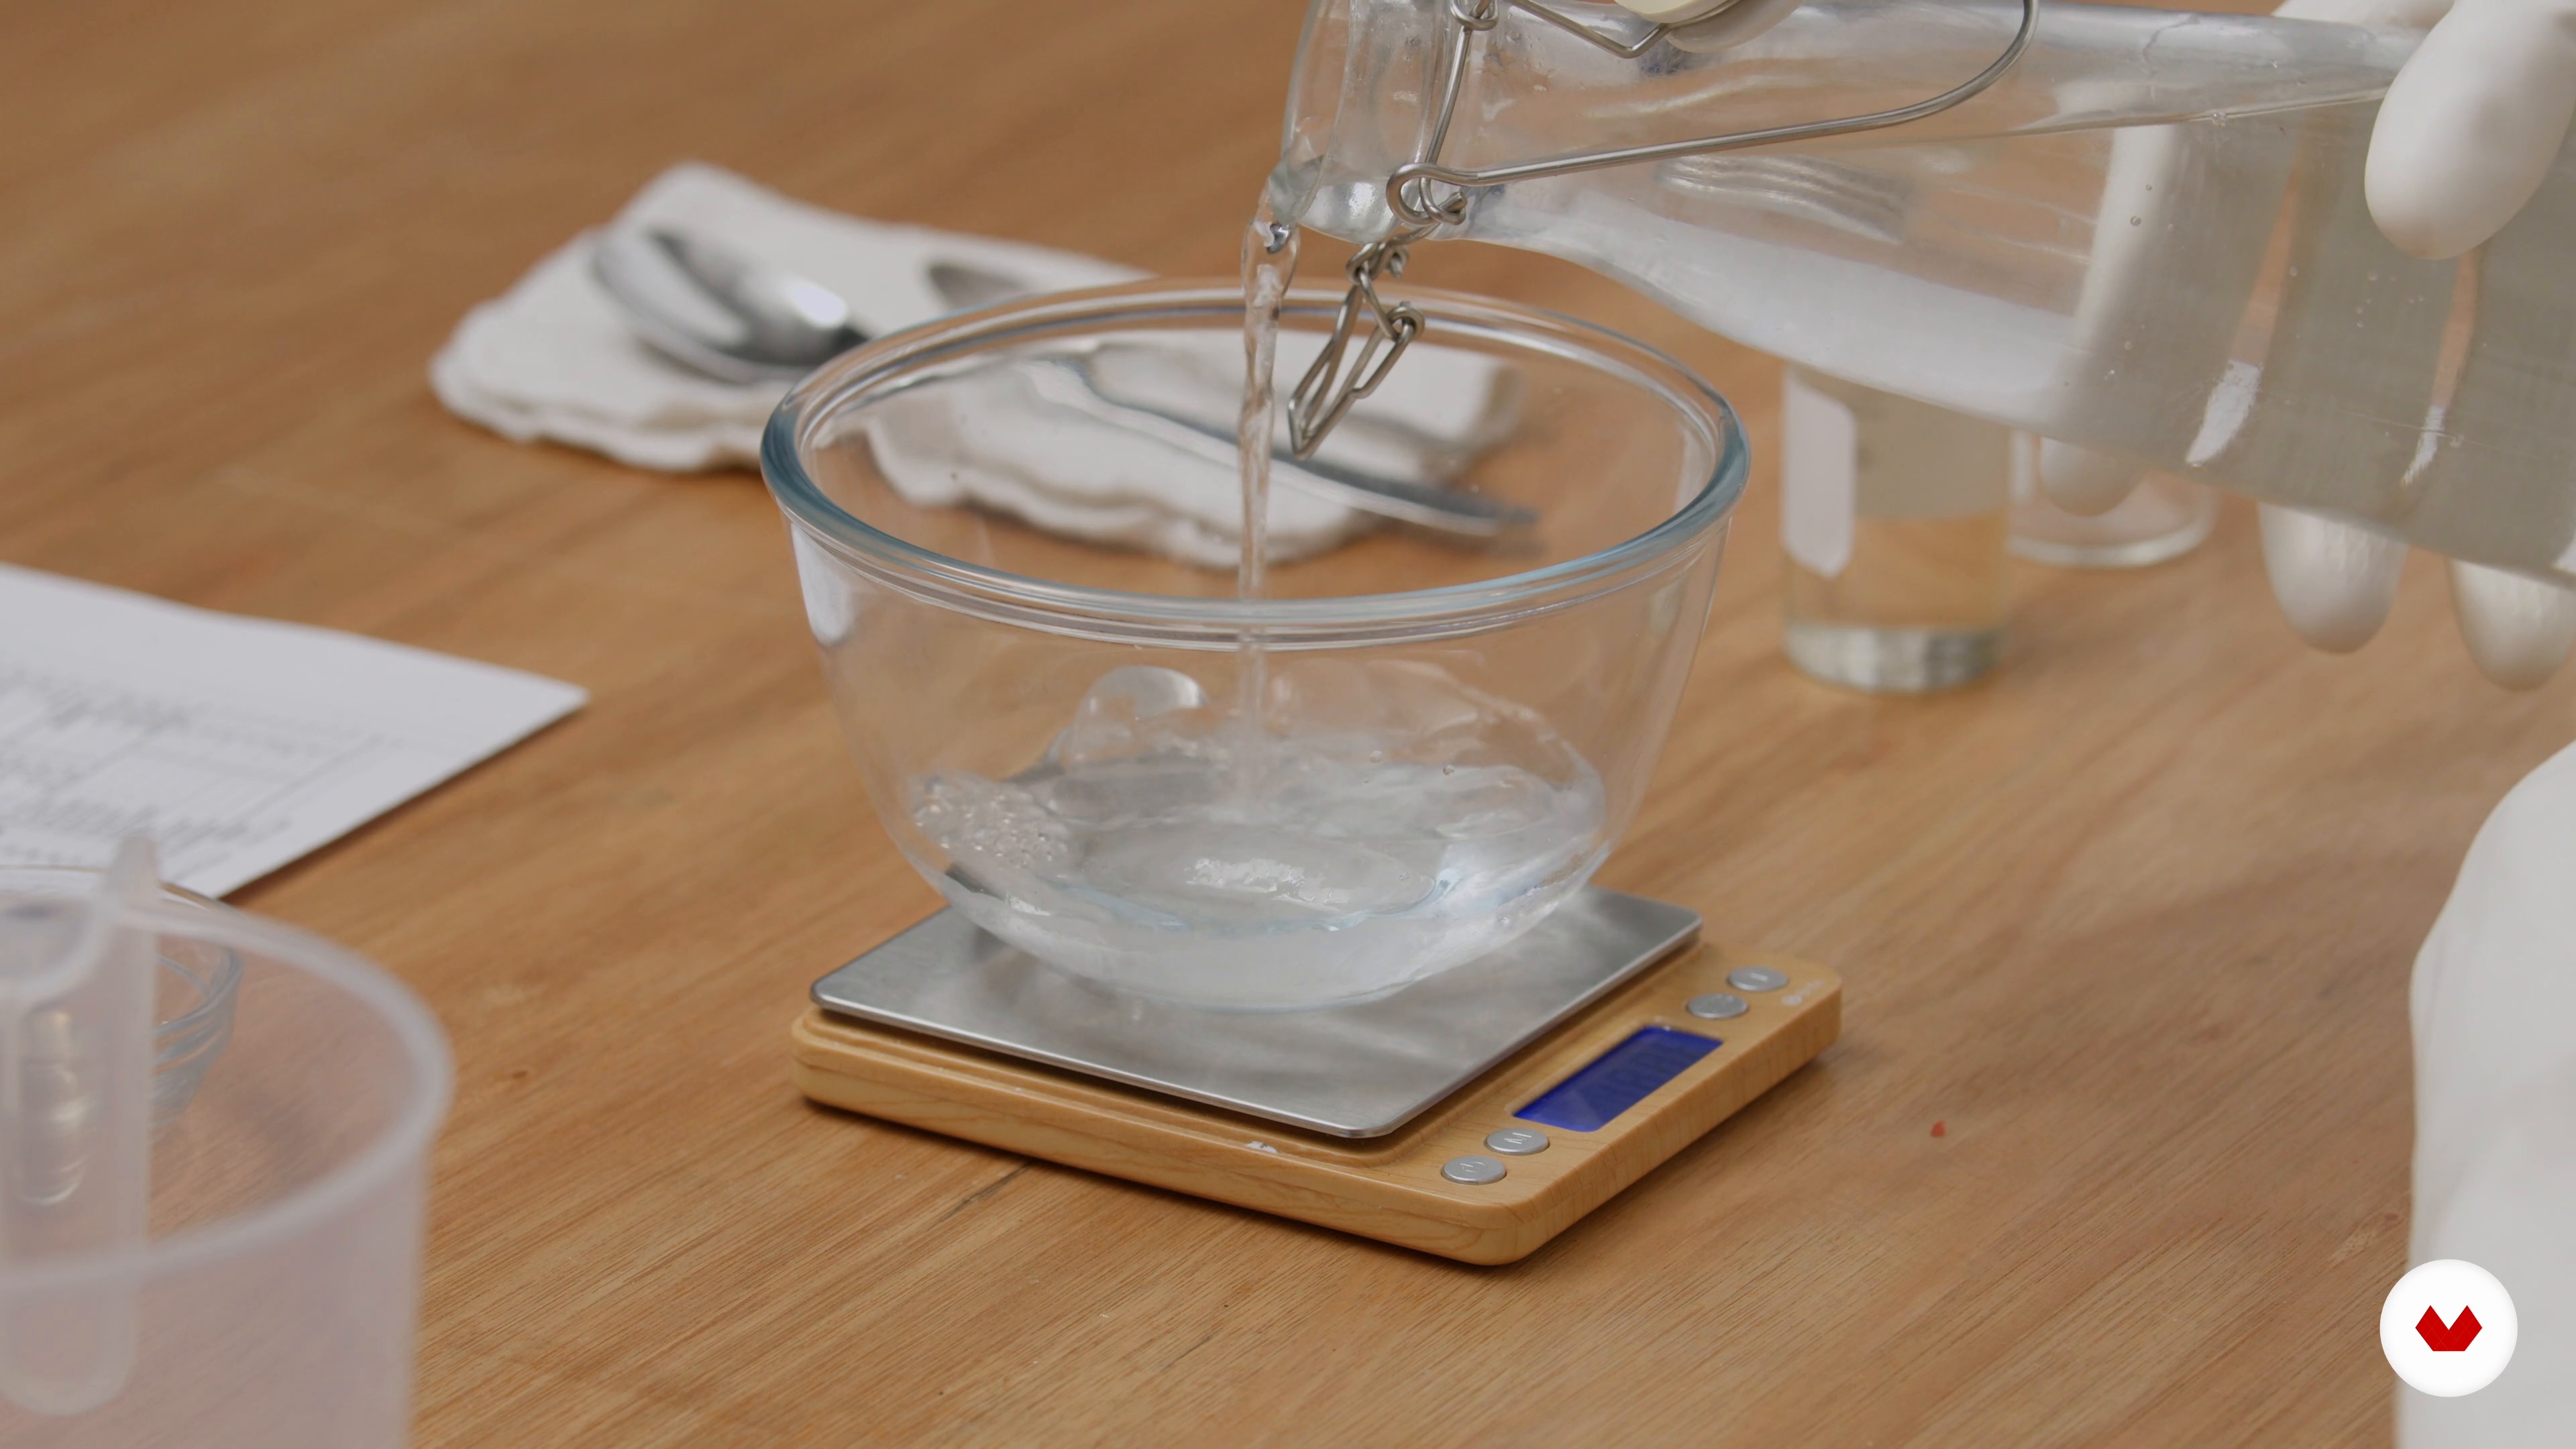
Now I will discuss the role of water in soap making, the advisable proportions, and the subsequent effects. Water is primarily needed to dissolve the sodium hydroxide and create a lye solution. What happens if you add more? And what happens if you add less?
10m
 9
9The Design
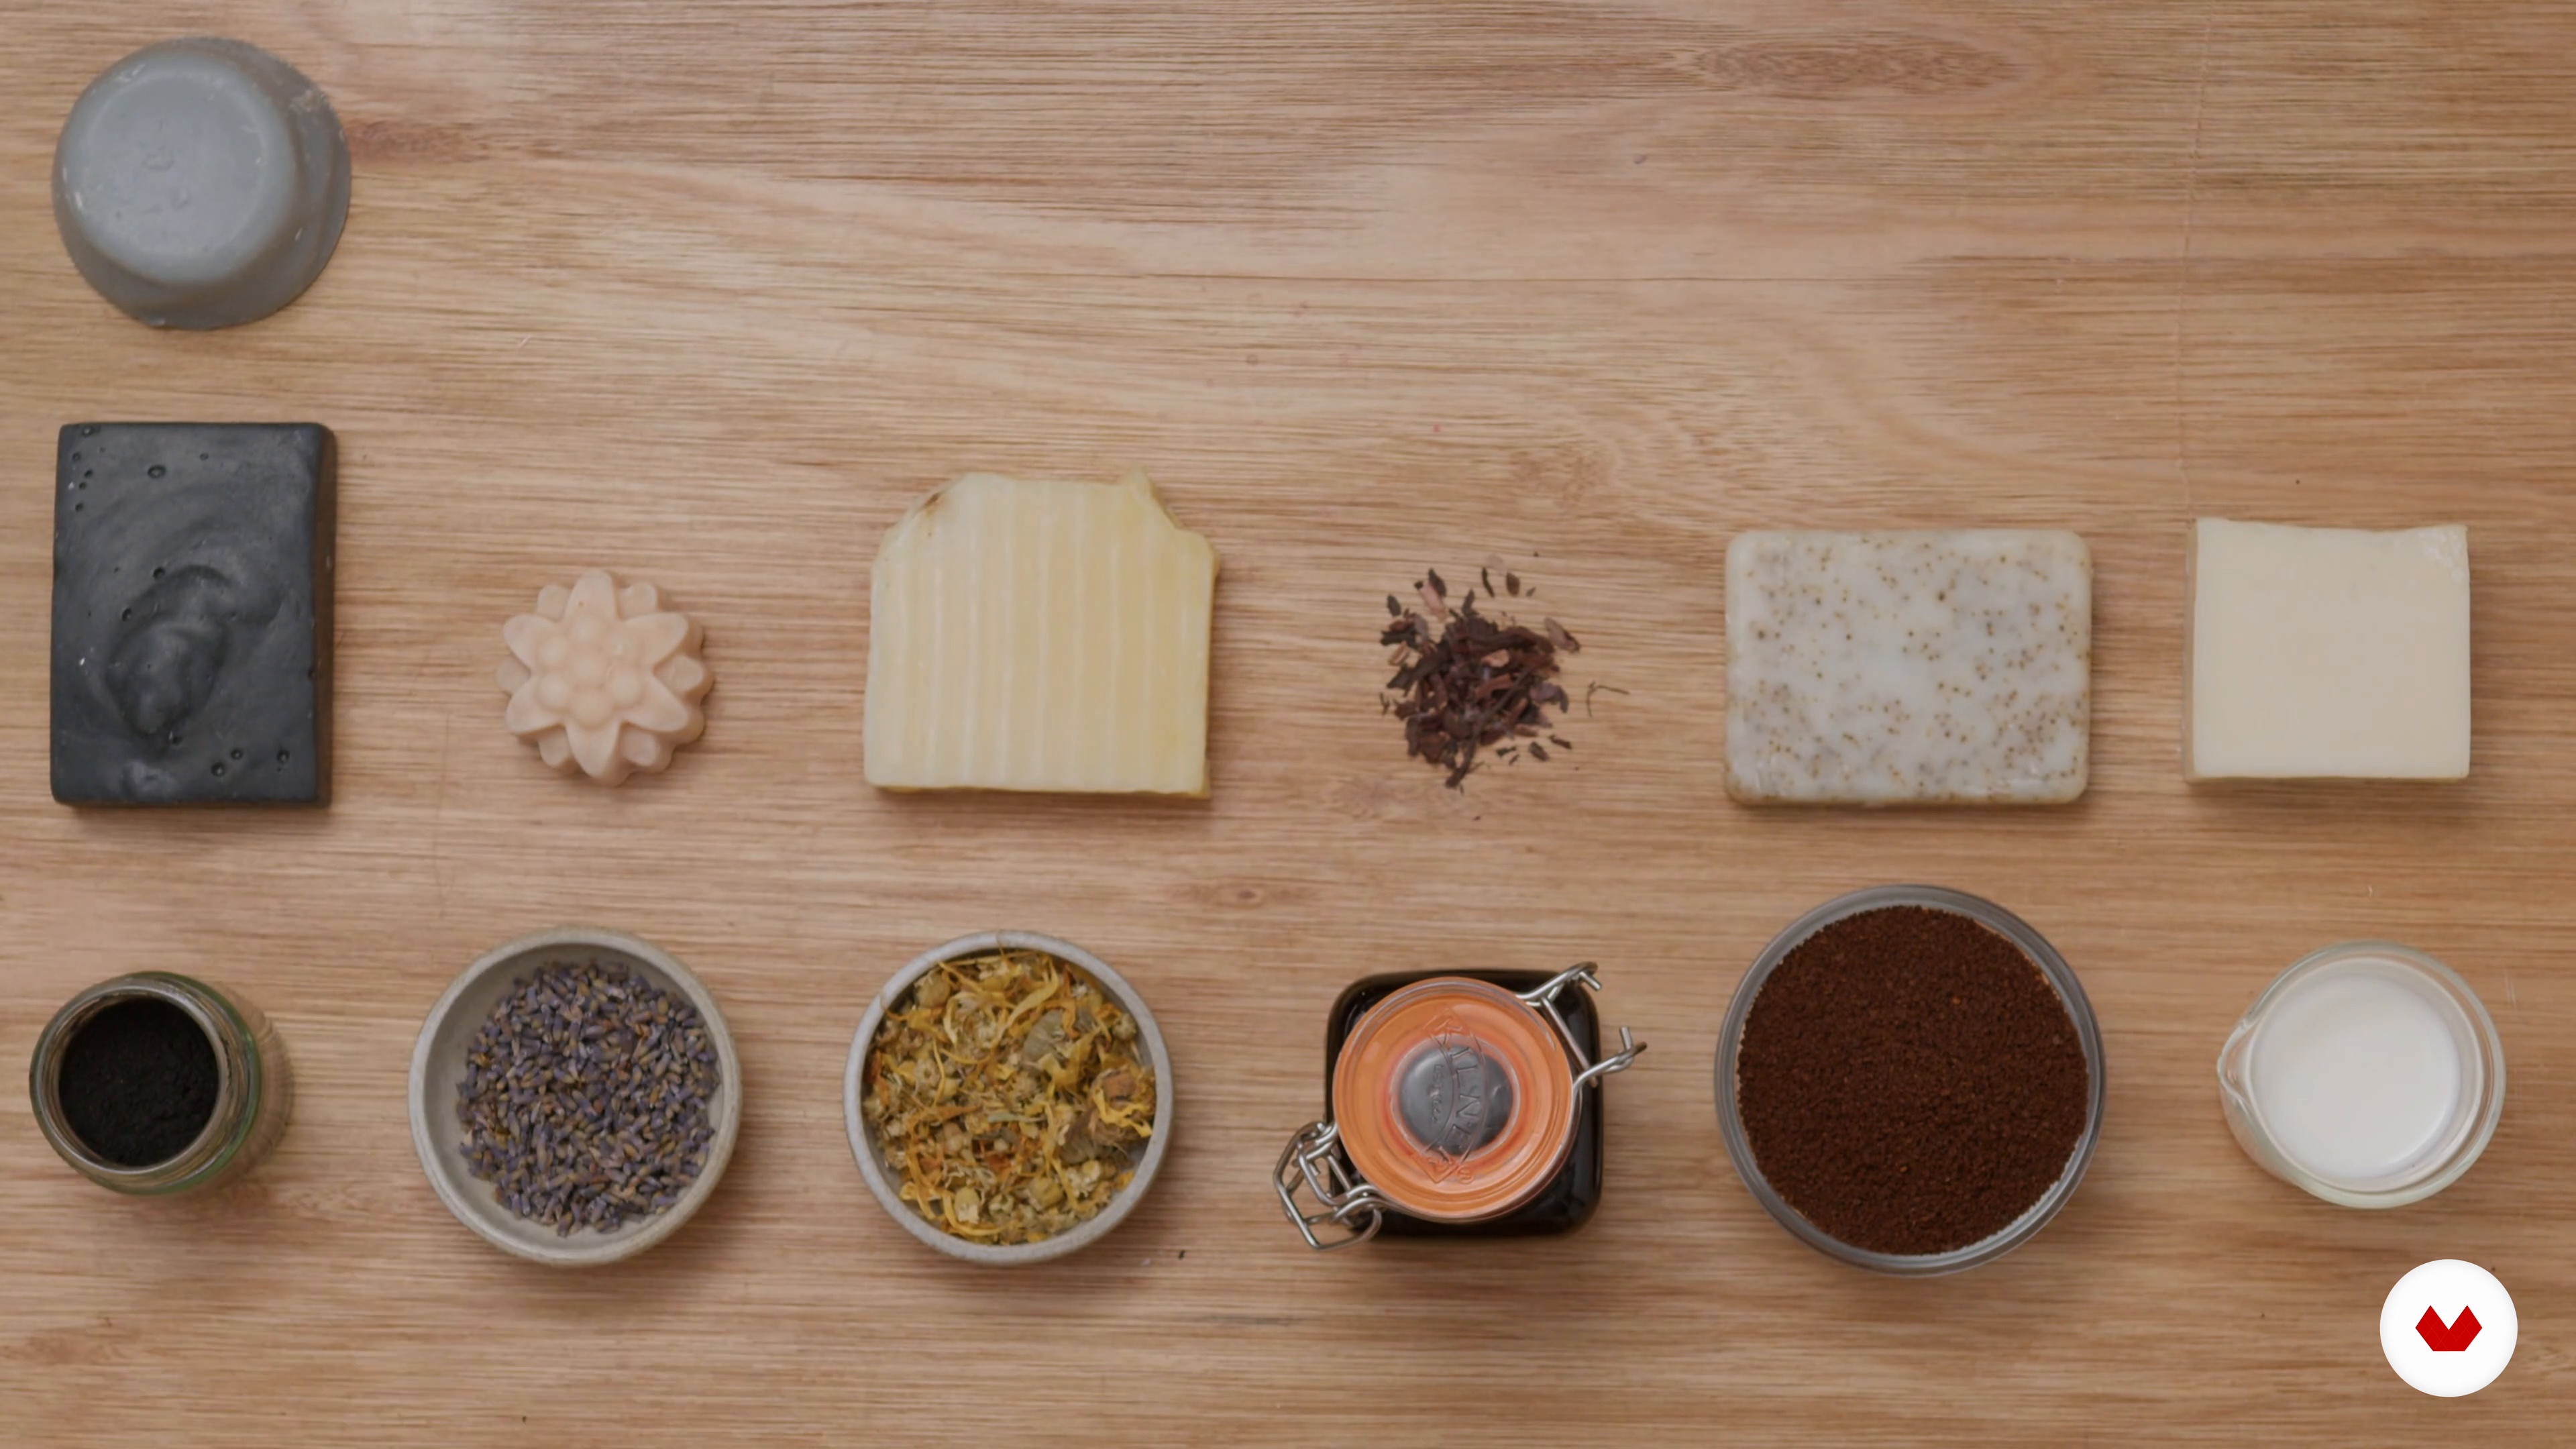
To conclude this unit, I will walk you through a number of ways to customise your soap using different natural ingredients. You will learn several decorating techniques that will give it special properties and a unique look.
11m
 10
10Preparing the Recipe
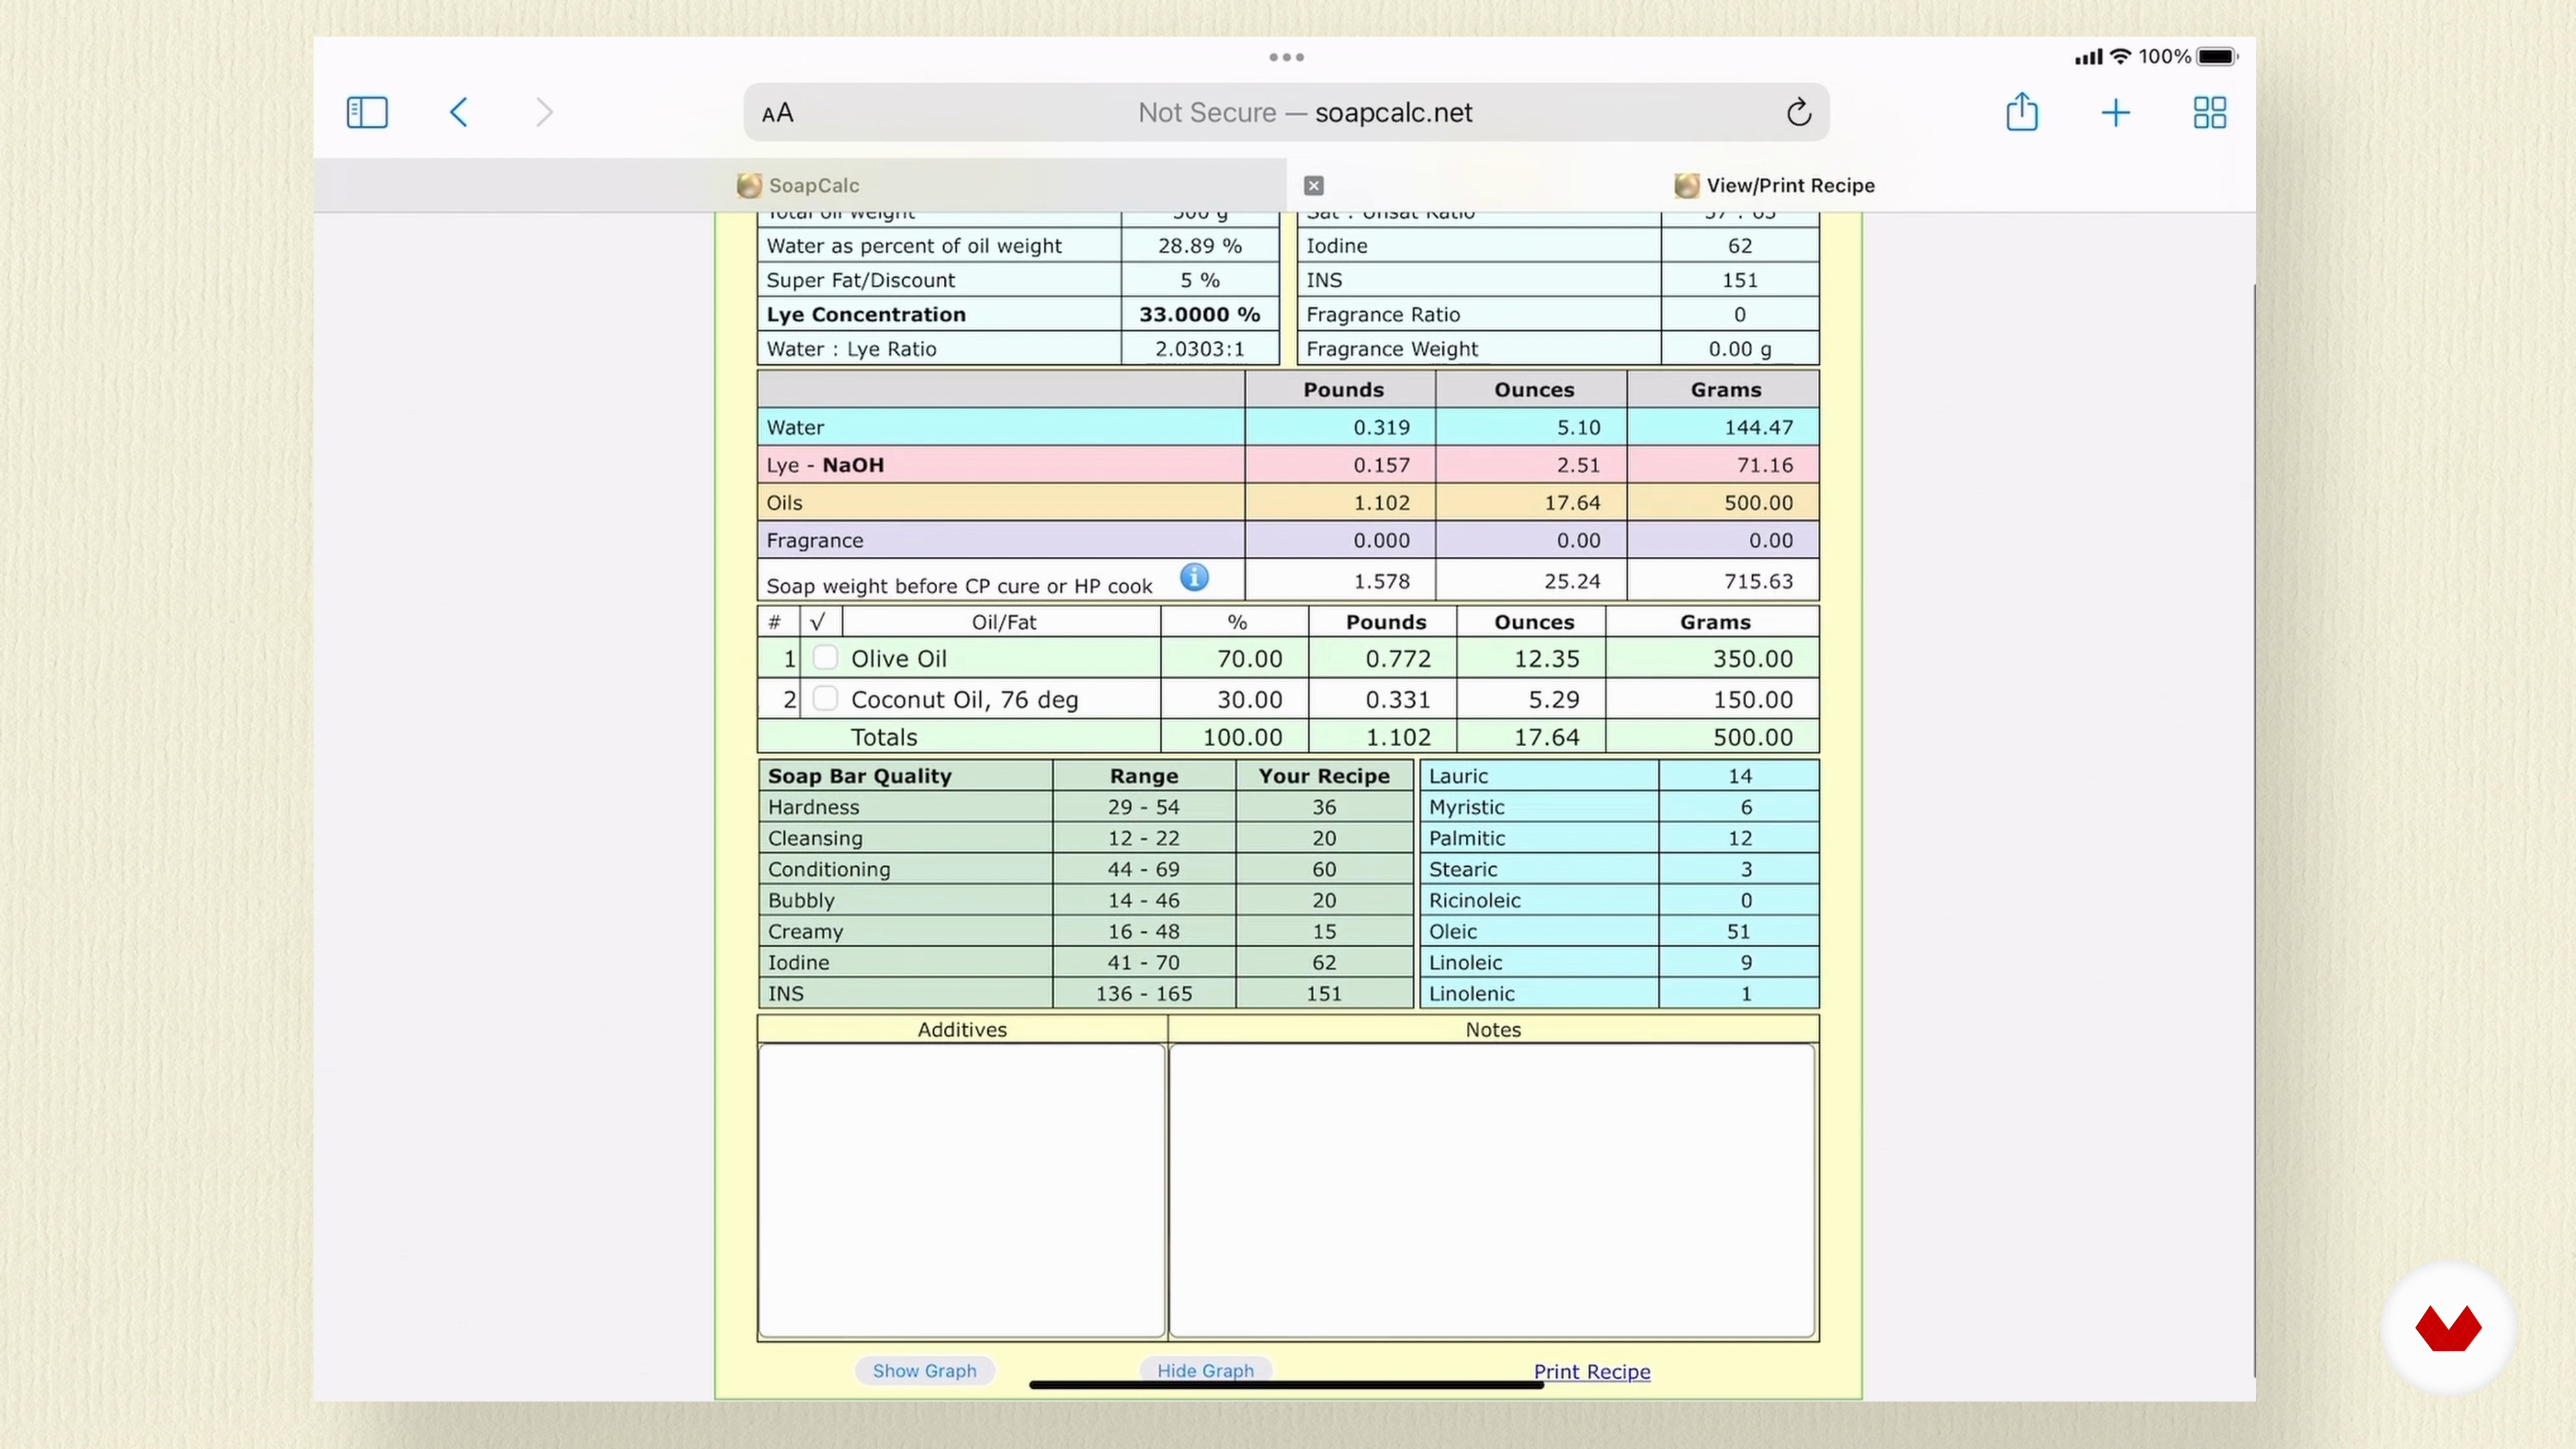
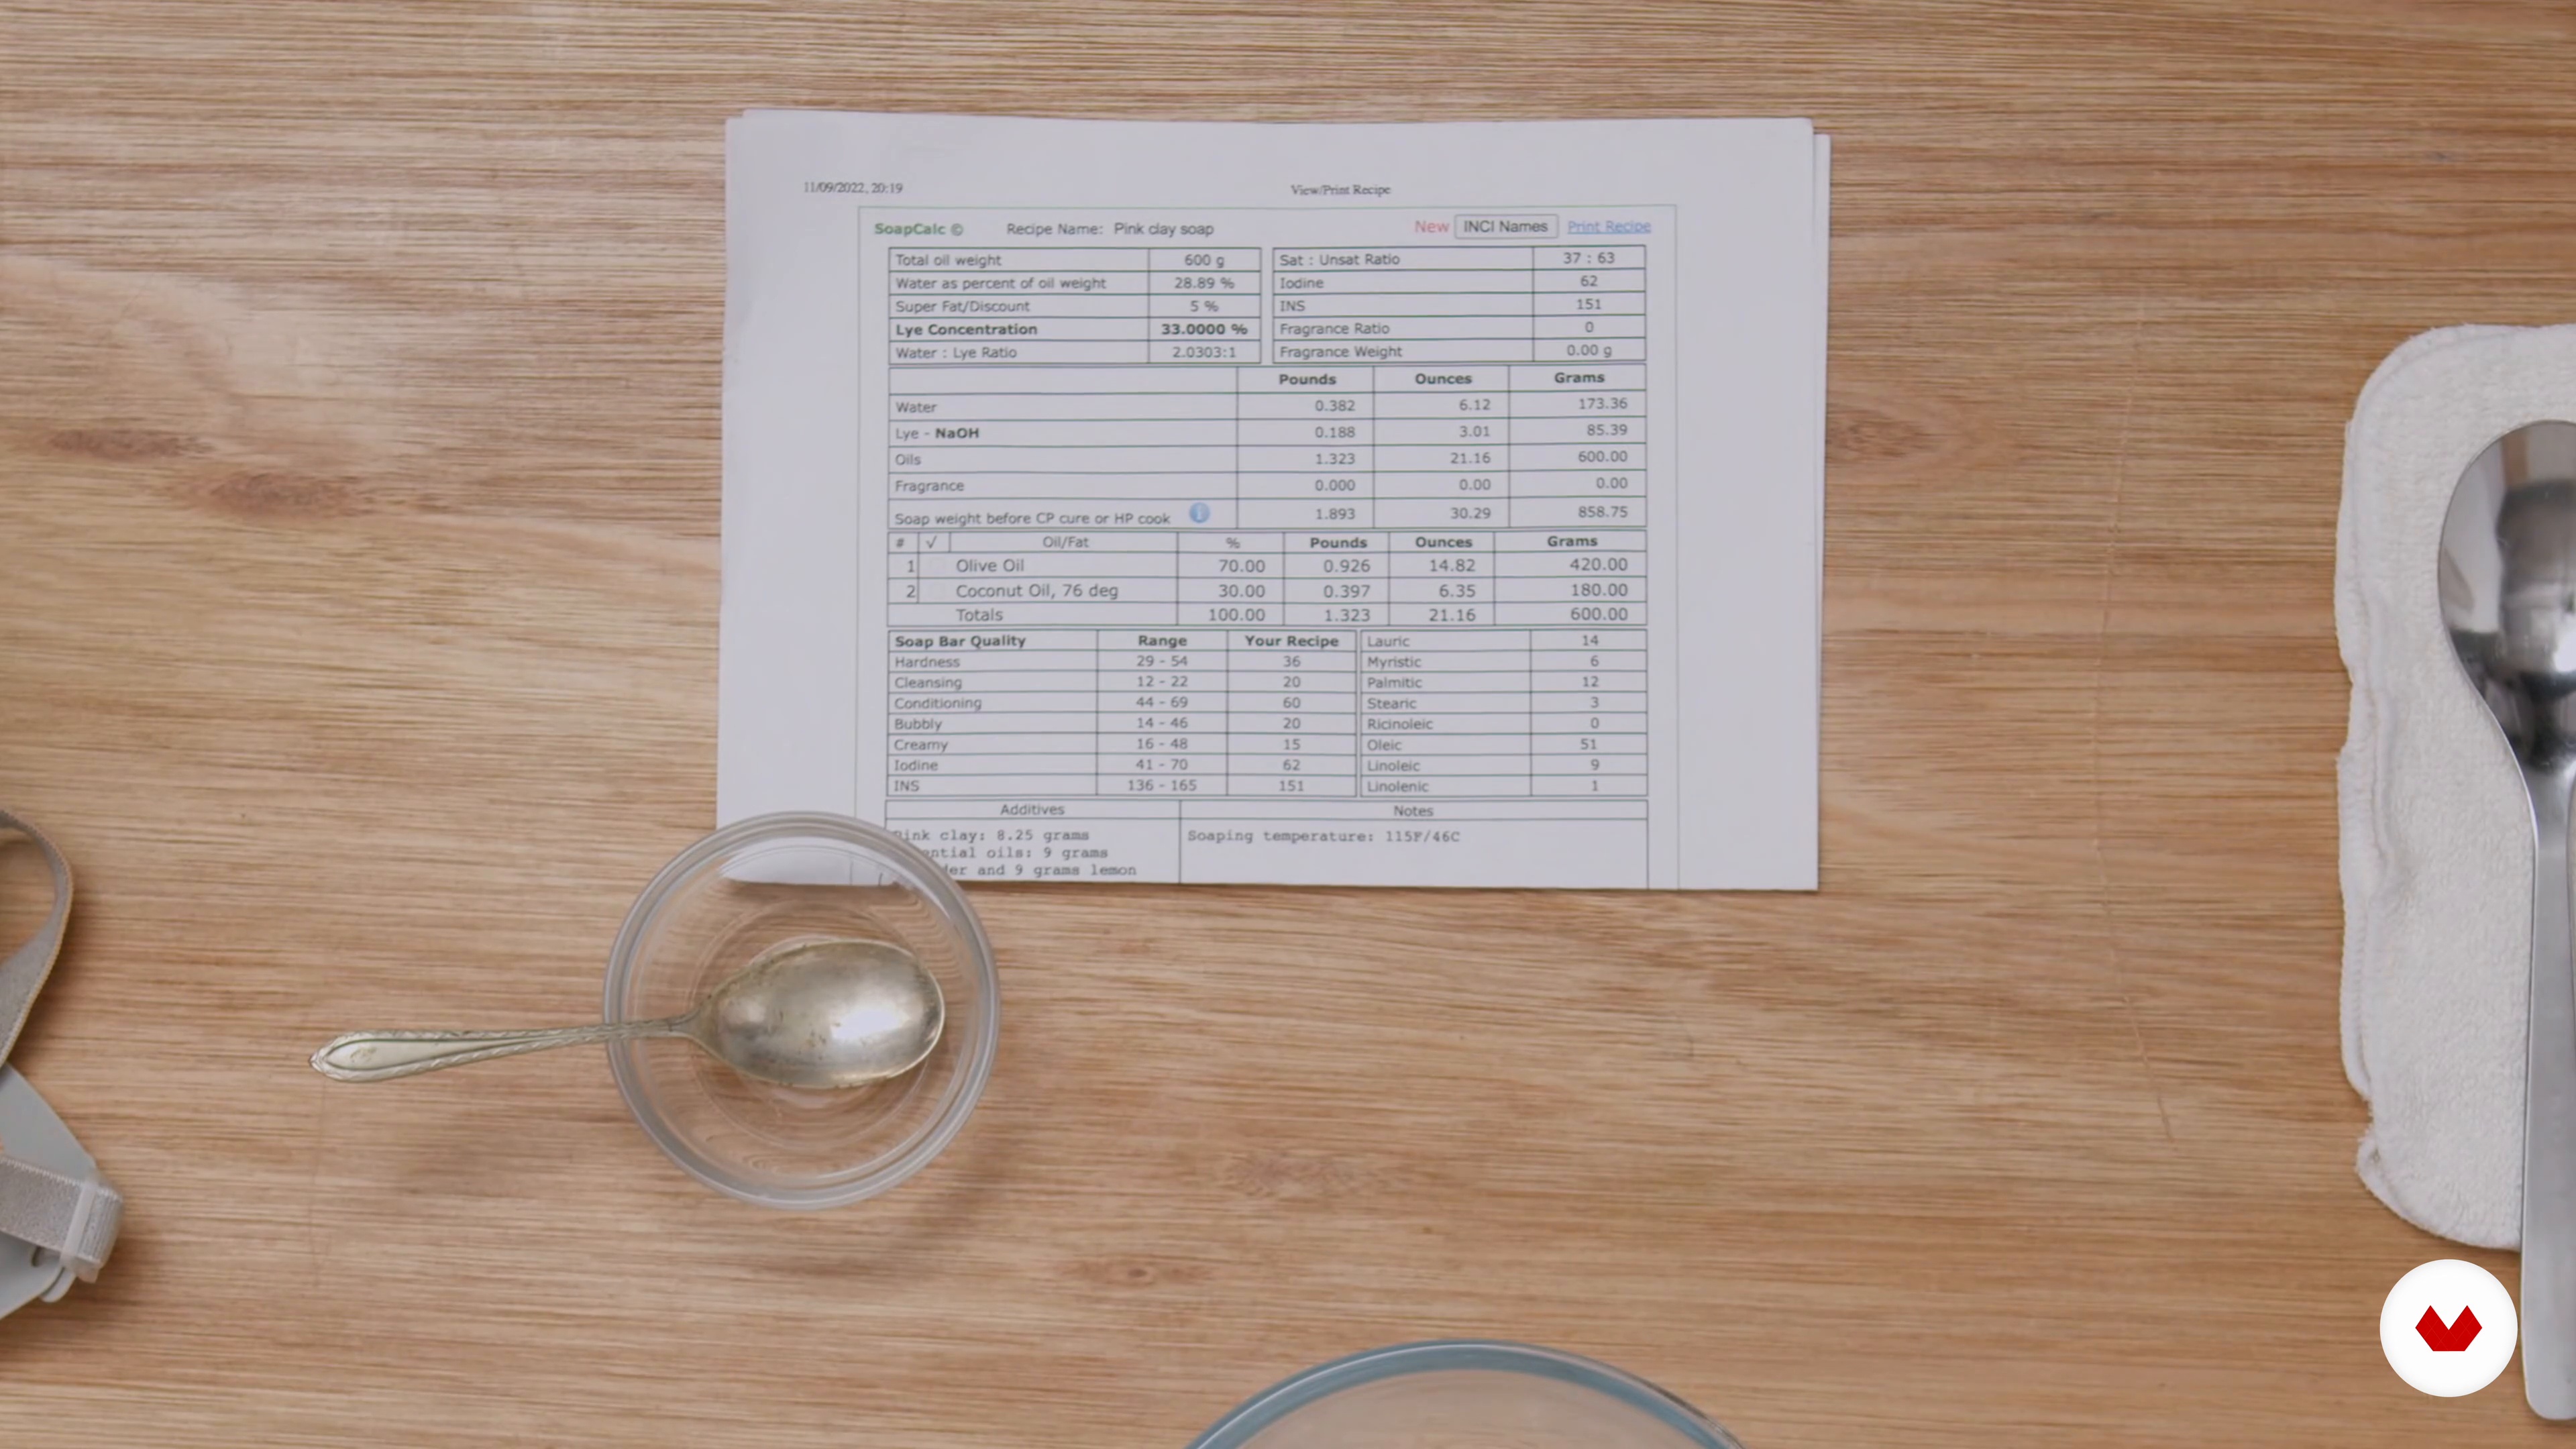
Let's take a look at our recipes and the ingredients inside! I will show you how to input your recipe into SoapCalc: a free online soap-making software that you can use to create your own recipes from scratch.
15m
 11
11Safety and Lye Preparation
In this lesson, I will walk you through the recommended dress code to ensure your safety and how to prepare the lye solution necessary to transform the oils into soap.
13m
 12
12Melting and Measuring
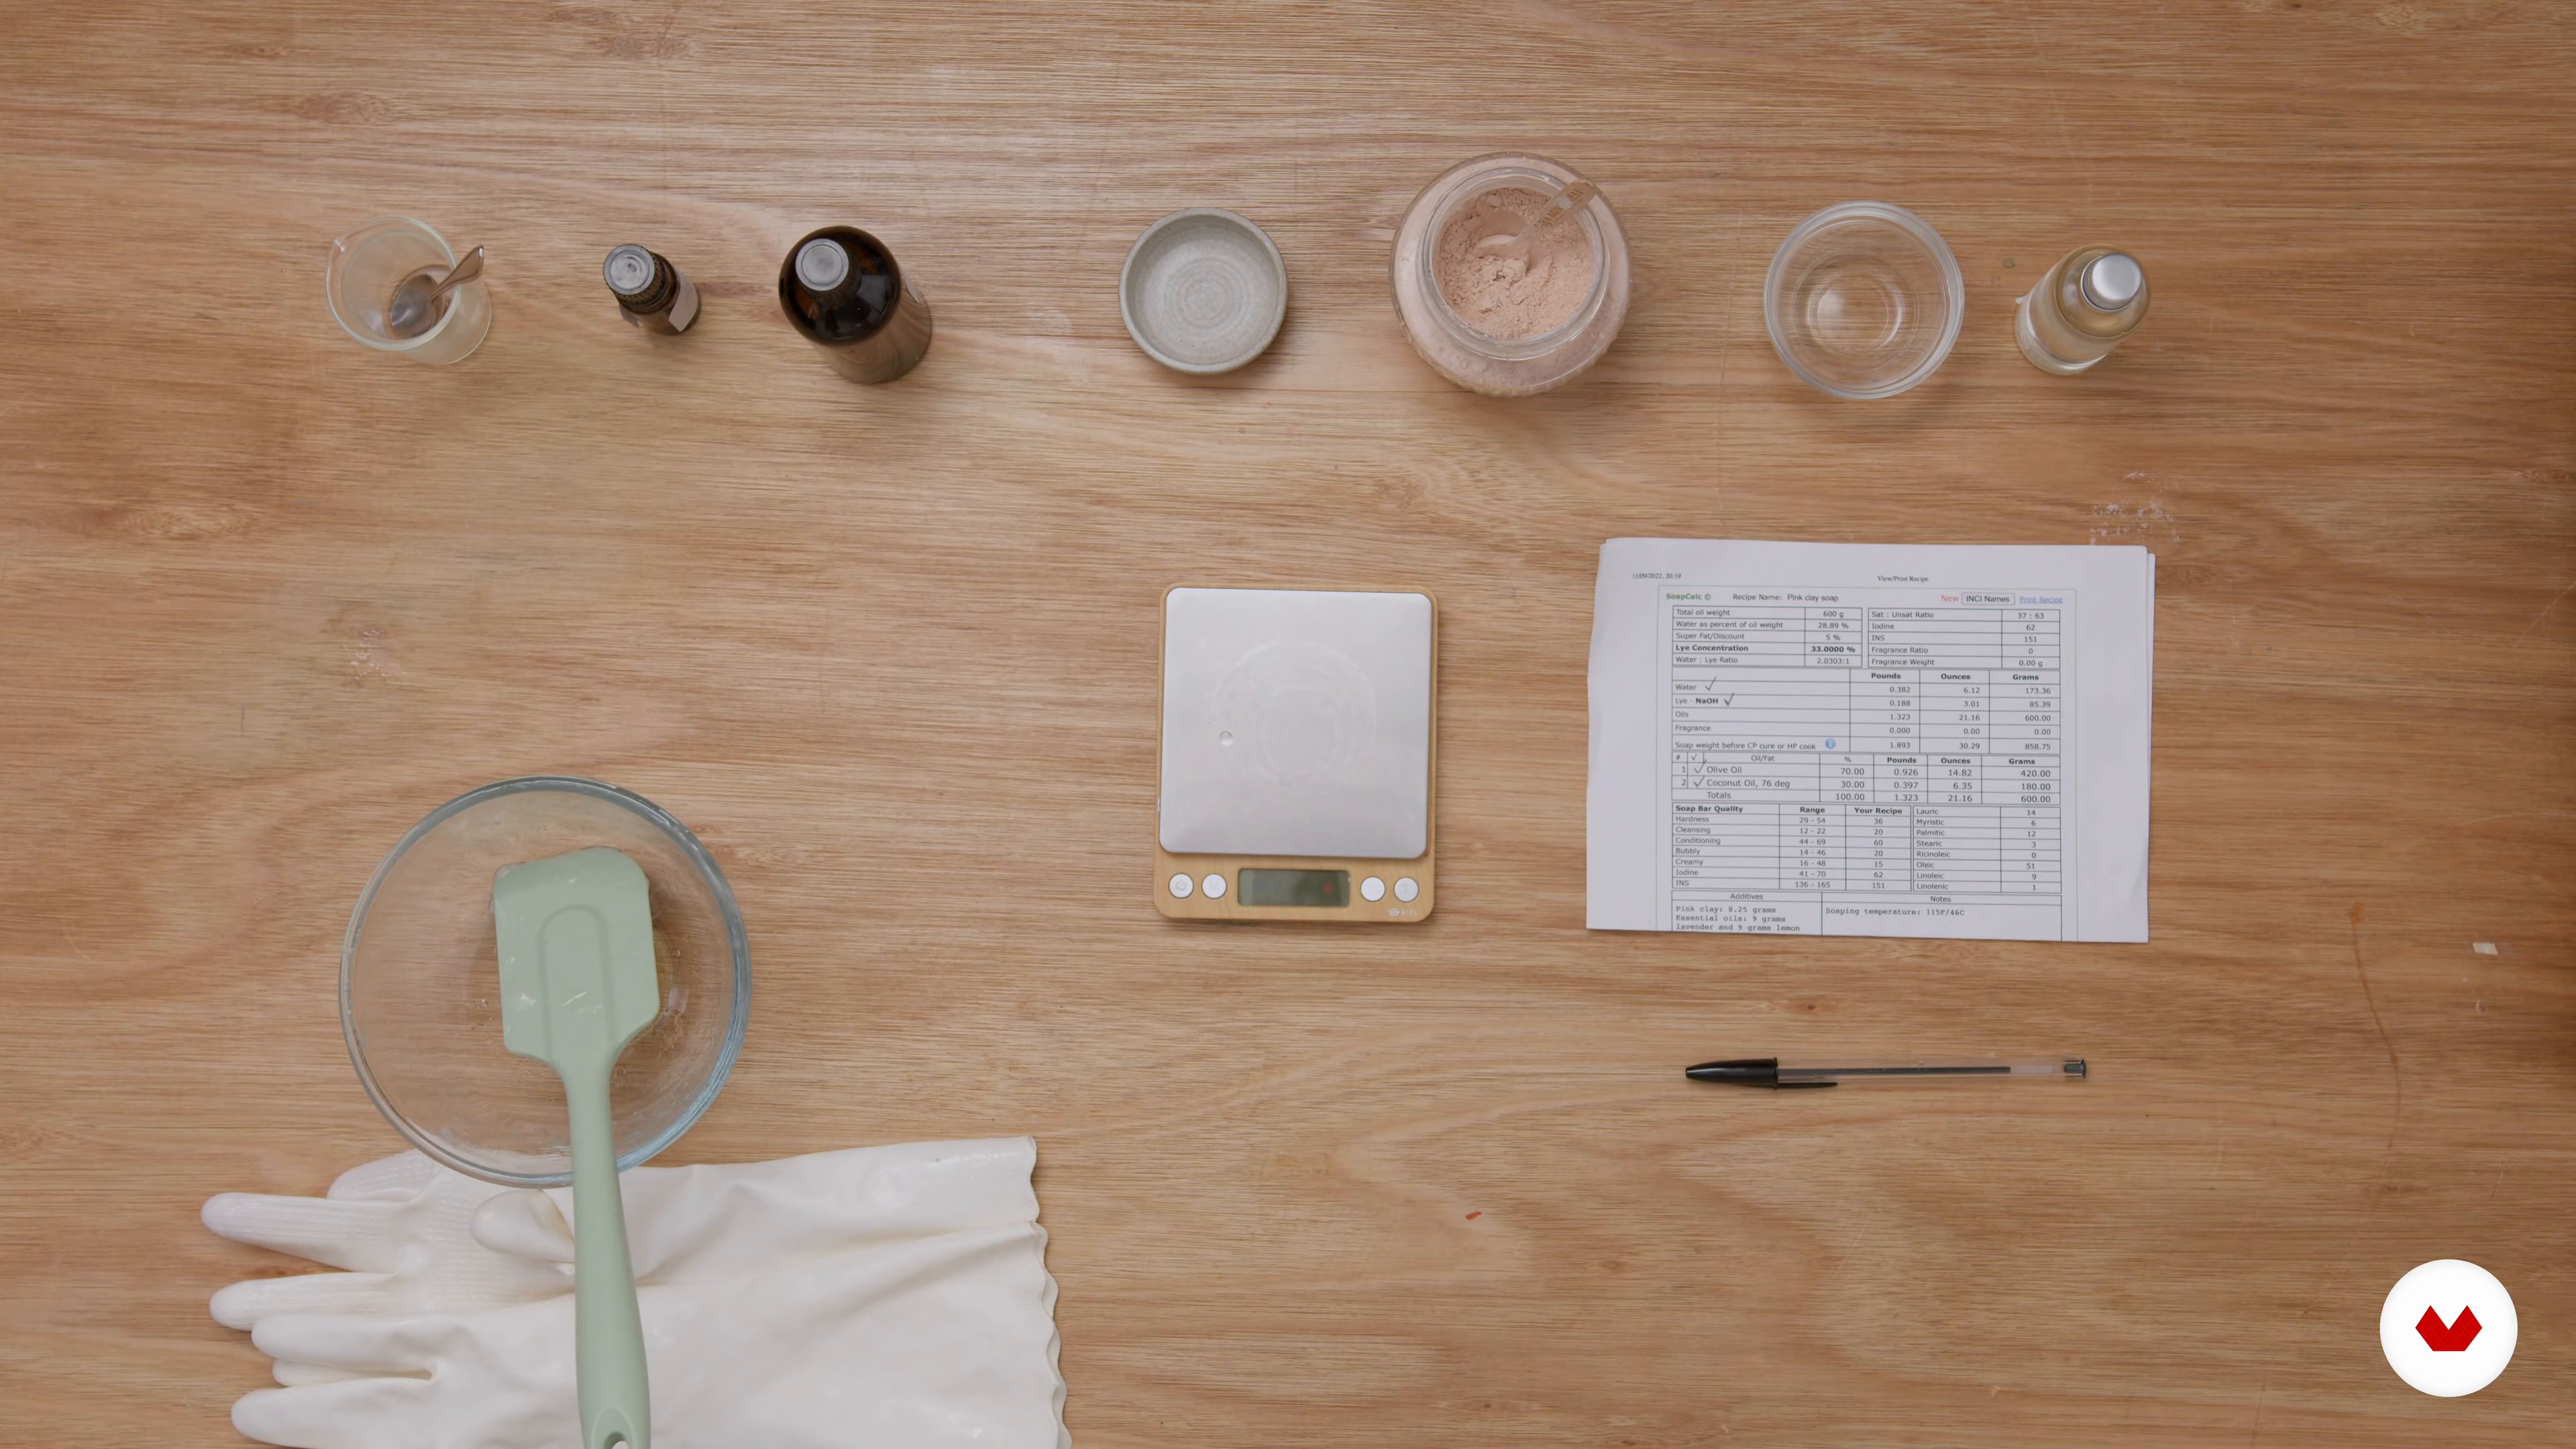
It's time to make the final preparations before jumping into the production process! I will teach you how to weigh the oils and the additives you will need for your soap.
16m
 13
13Adding Lye to Oils and Pouring It Into Moulds
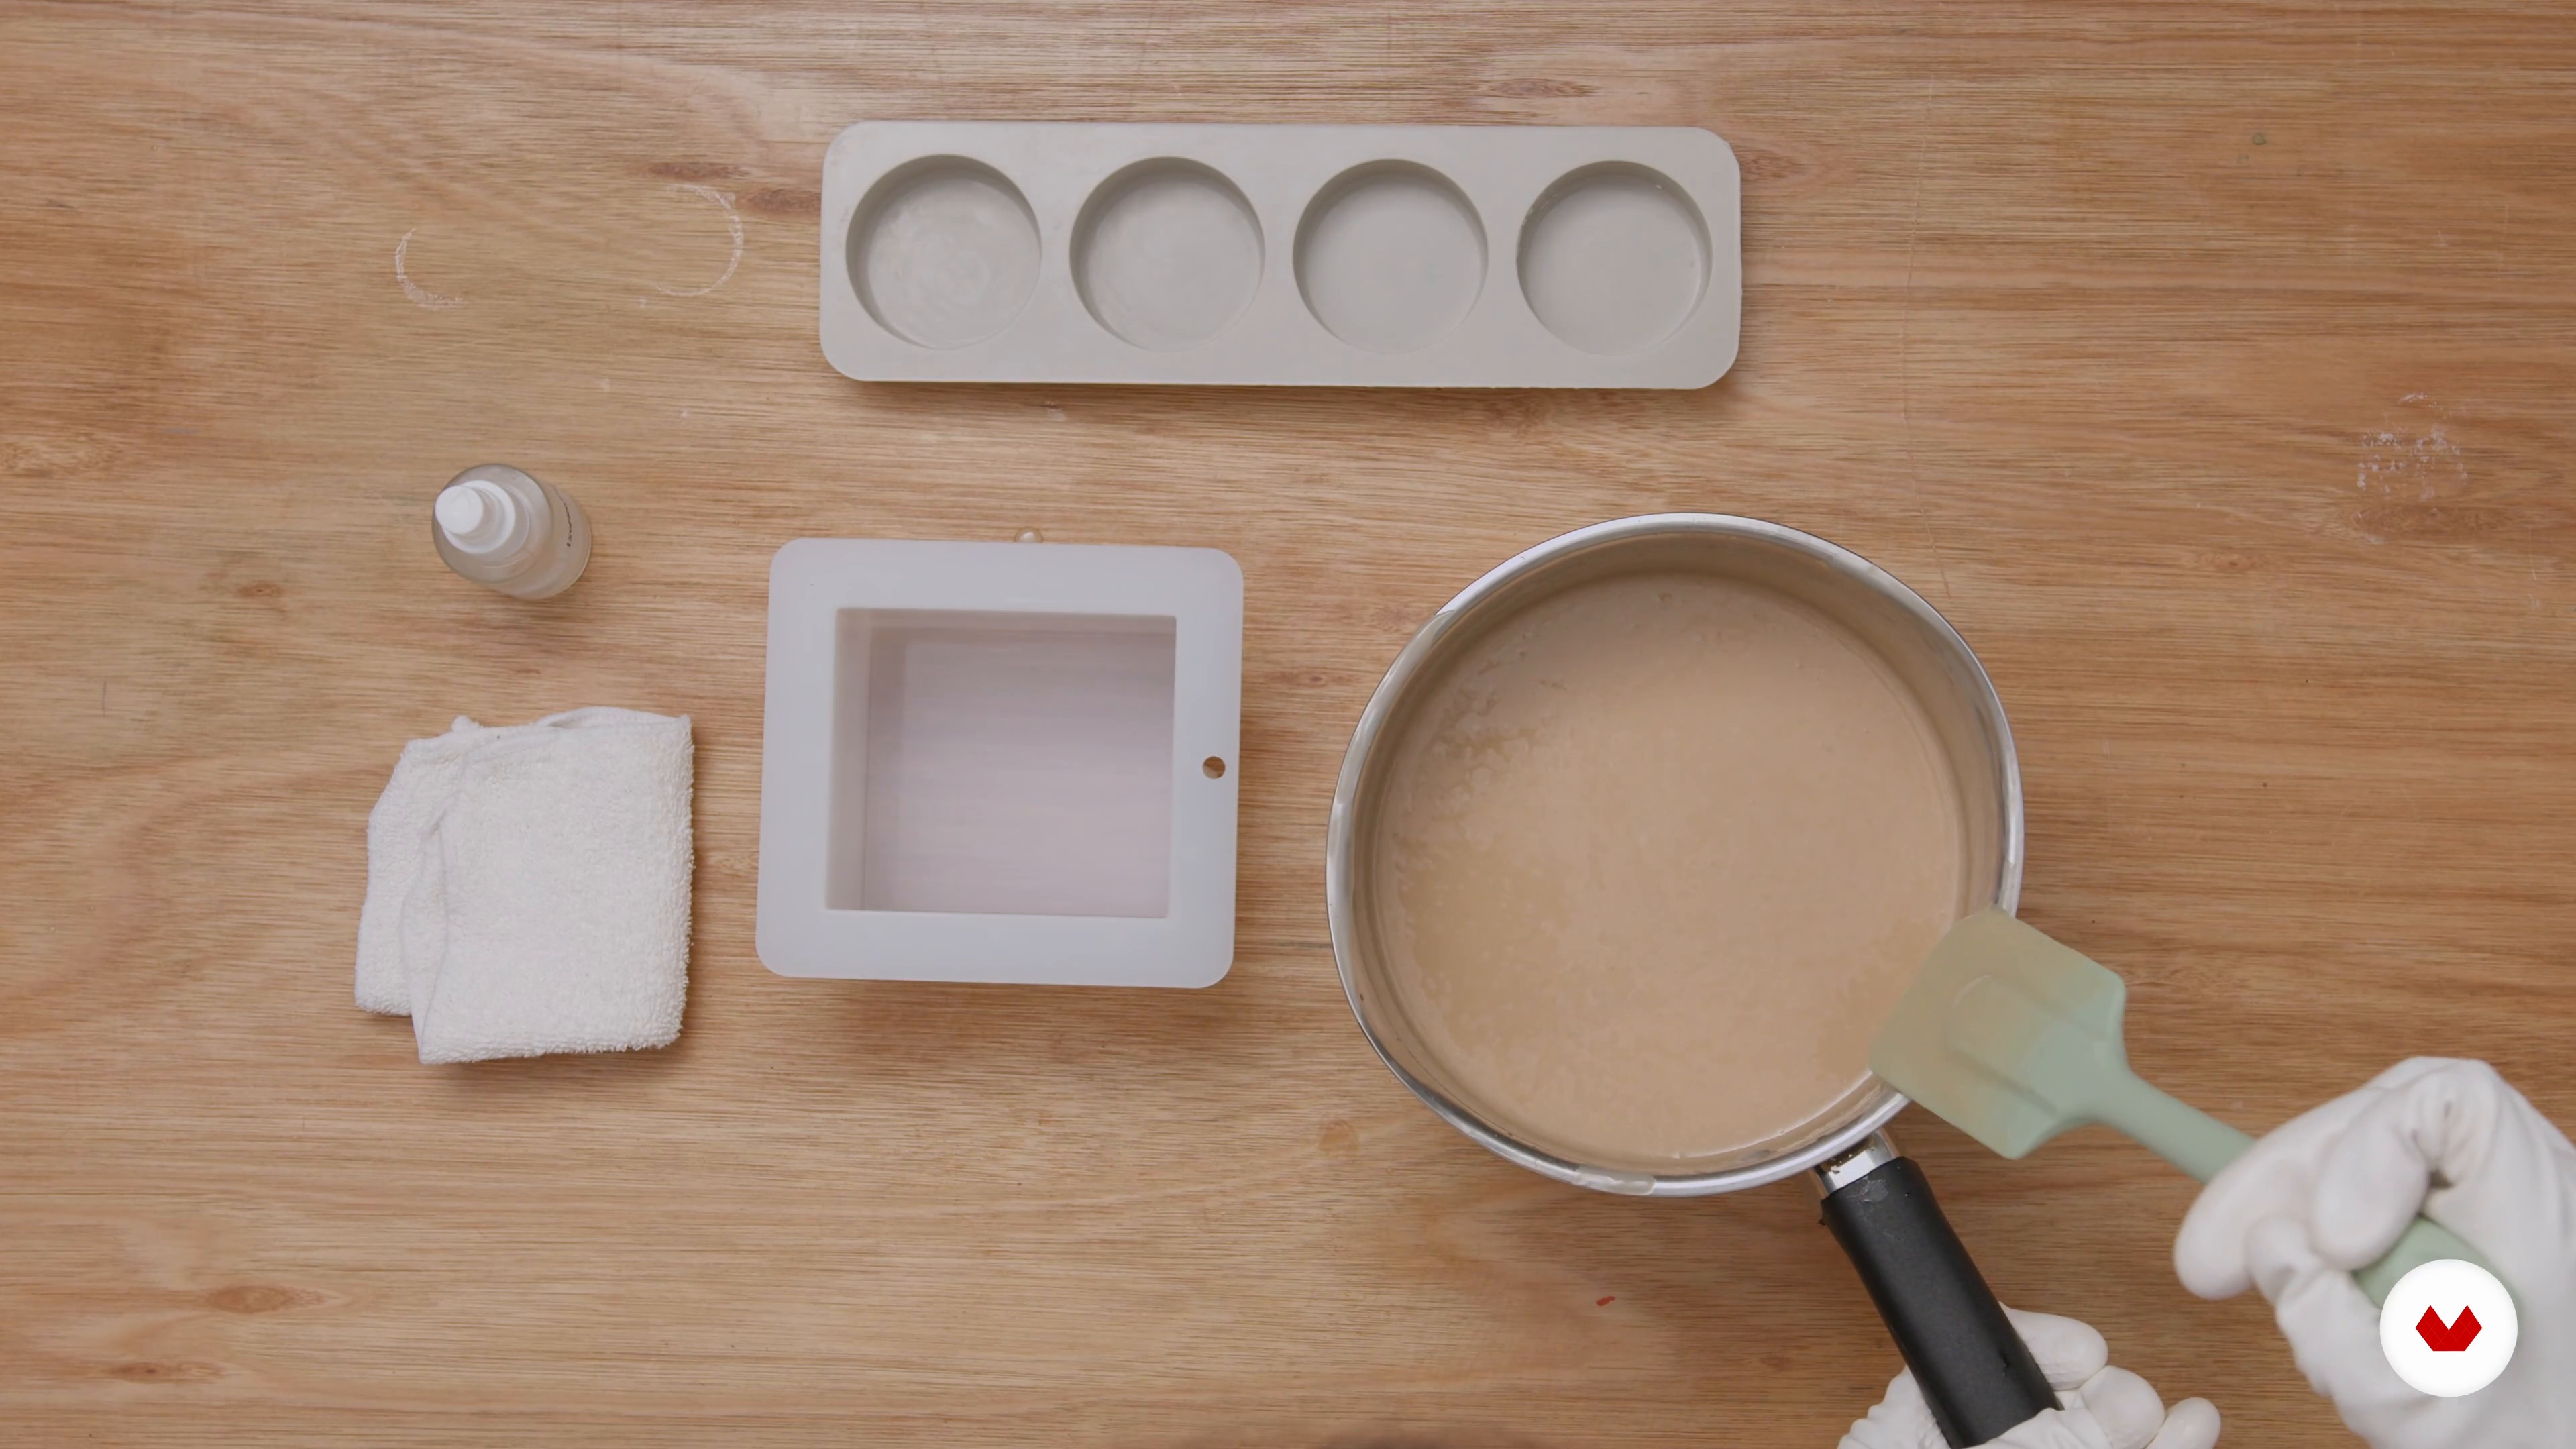
Now that the materials have been accurately measured, I will show you how to mix the lye solution with the melted oils and activate the saponification reaction. You will learn how to add additives and pour the soap into the mould.
14m
 14
14Texturing and Decorating
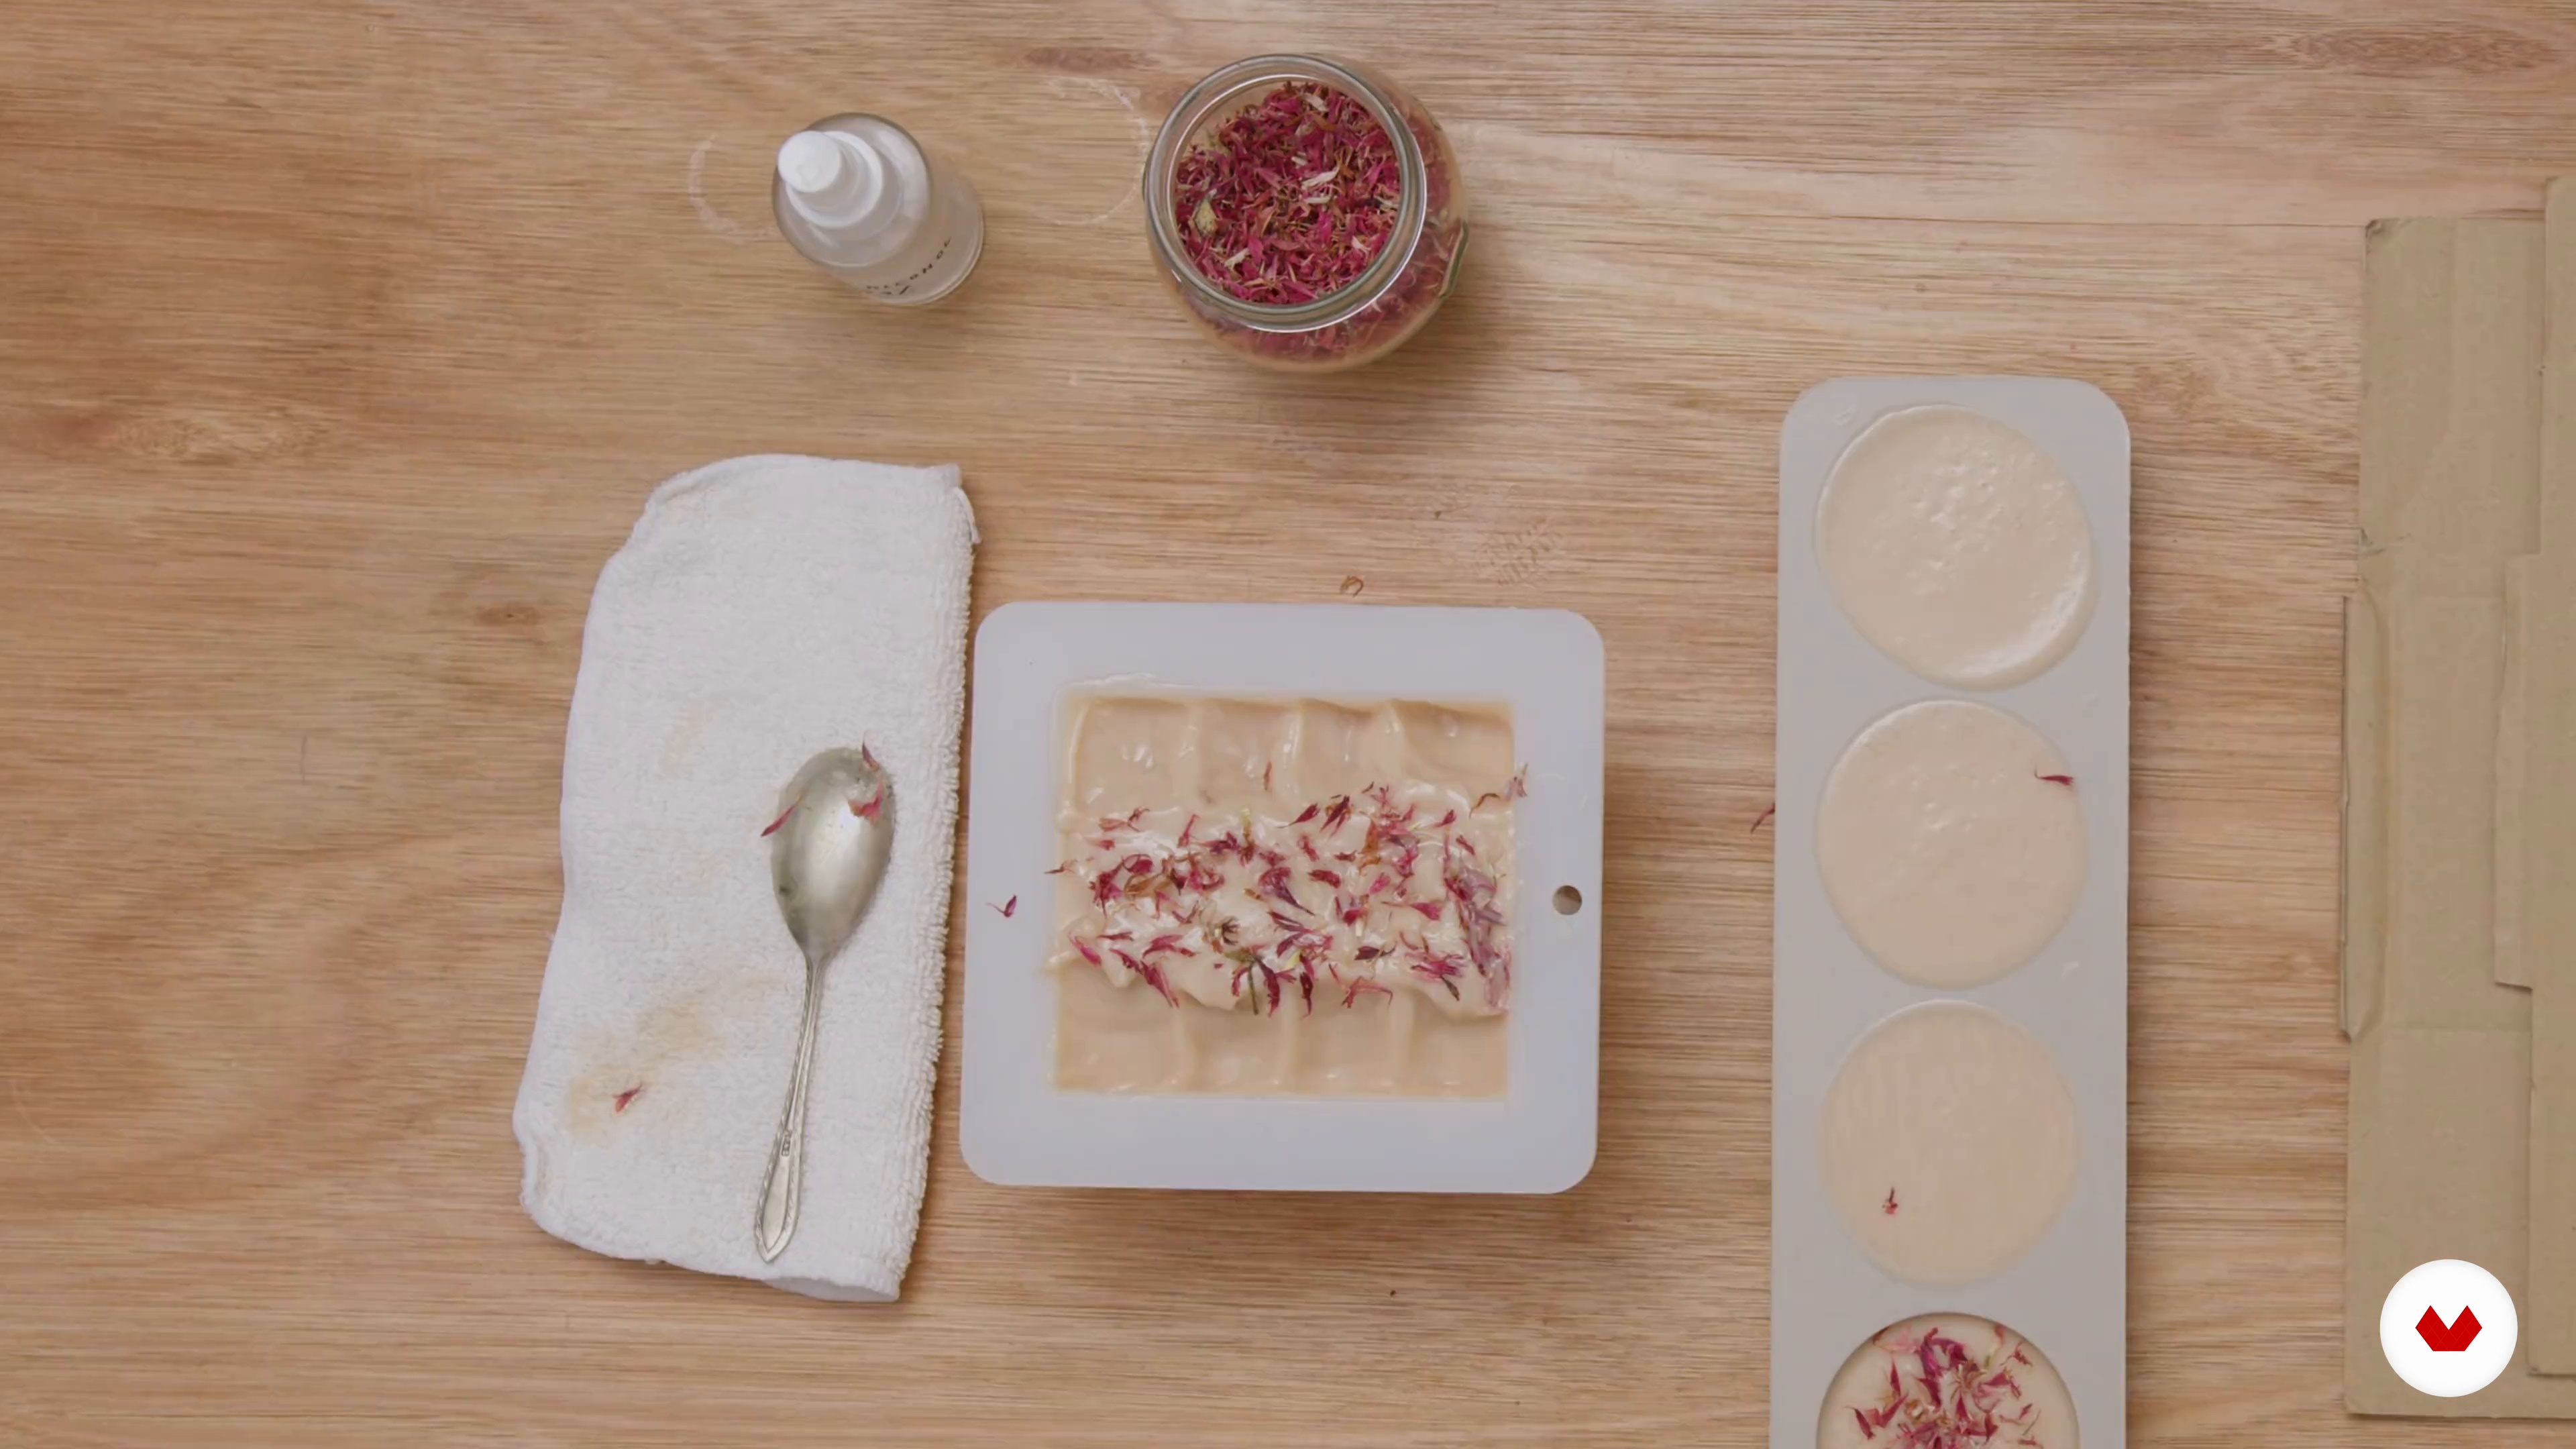
I will now demonstrate how to texture and decorate the top of your soap to achieve interesting and beautiful designs using just a teaspoon and botanical elements.
8m
 15
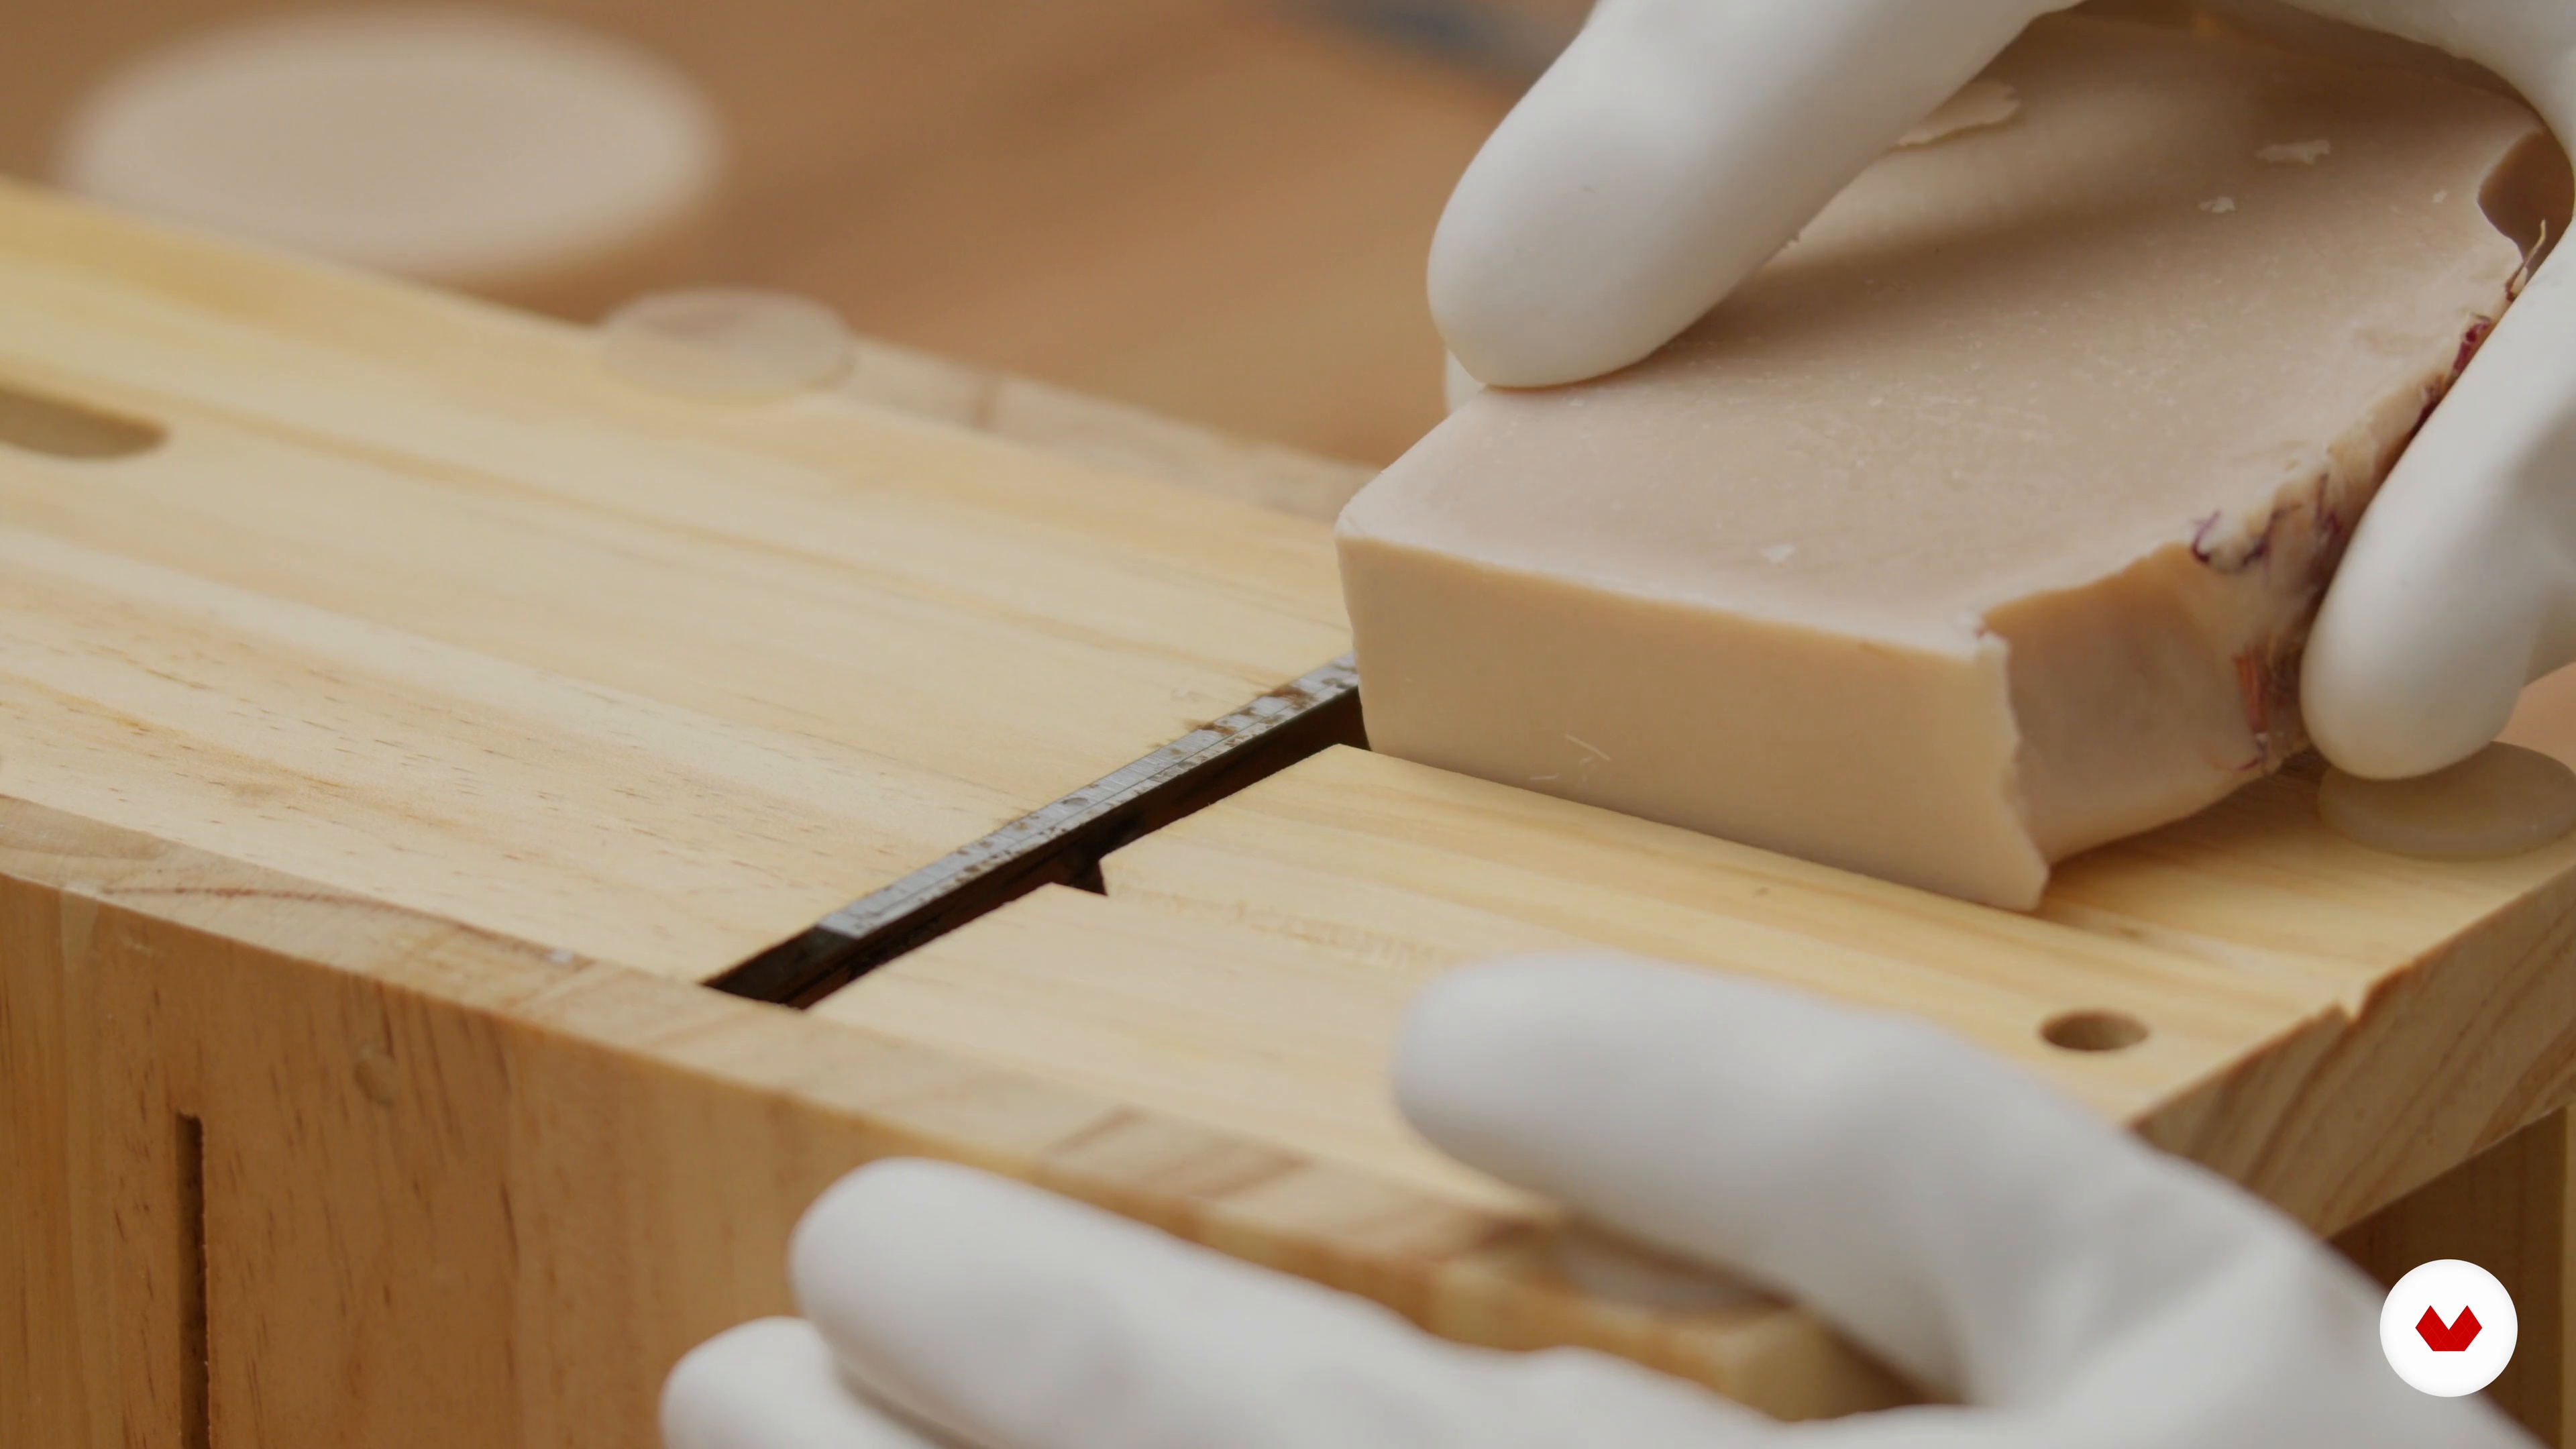
15Unmoulding and Curing
In this lesson, you will learn how to unmould your soap and also how to cut it, if applicable. We will also explore what the appropriate curing time is and how to successfully cure your soap so it can finally be enjoyed!
18m
 16
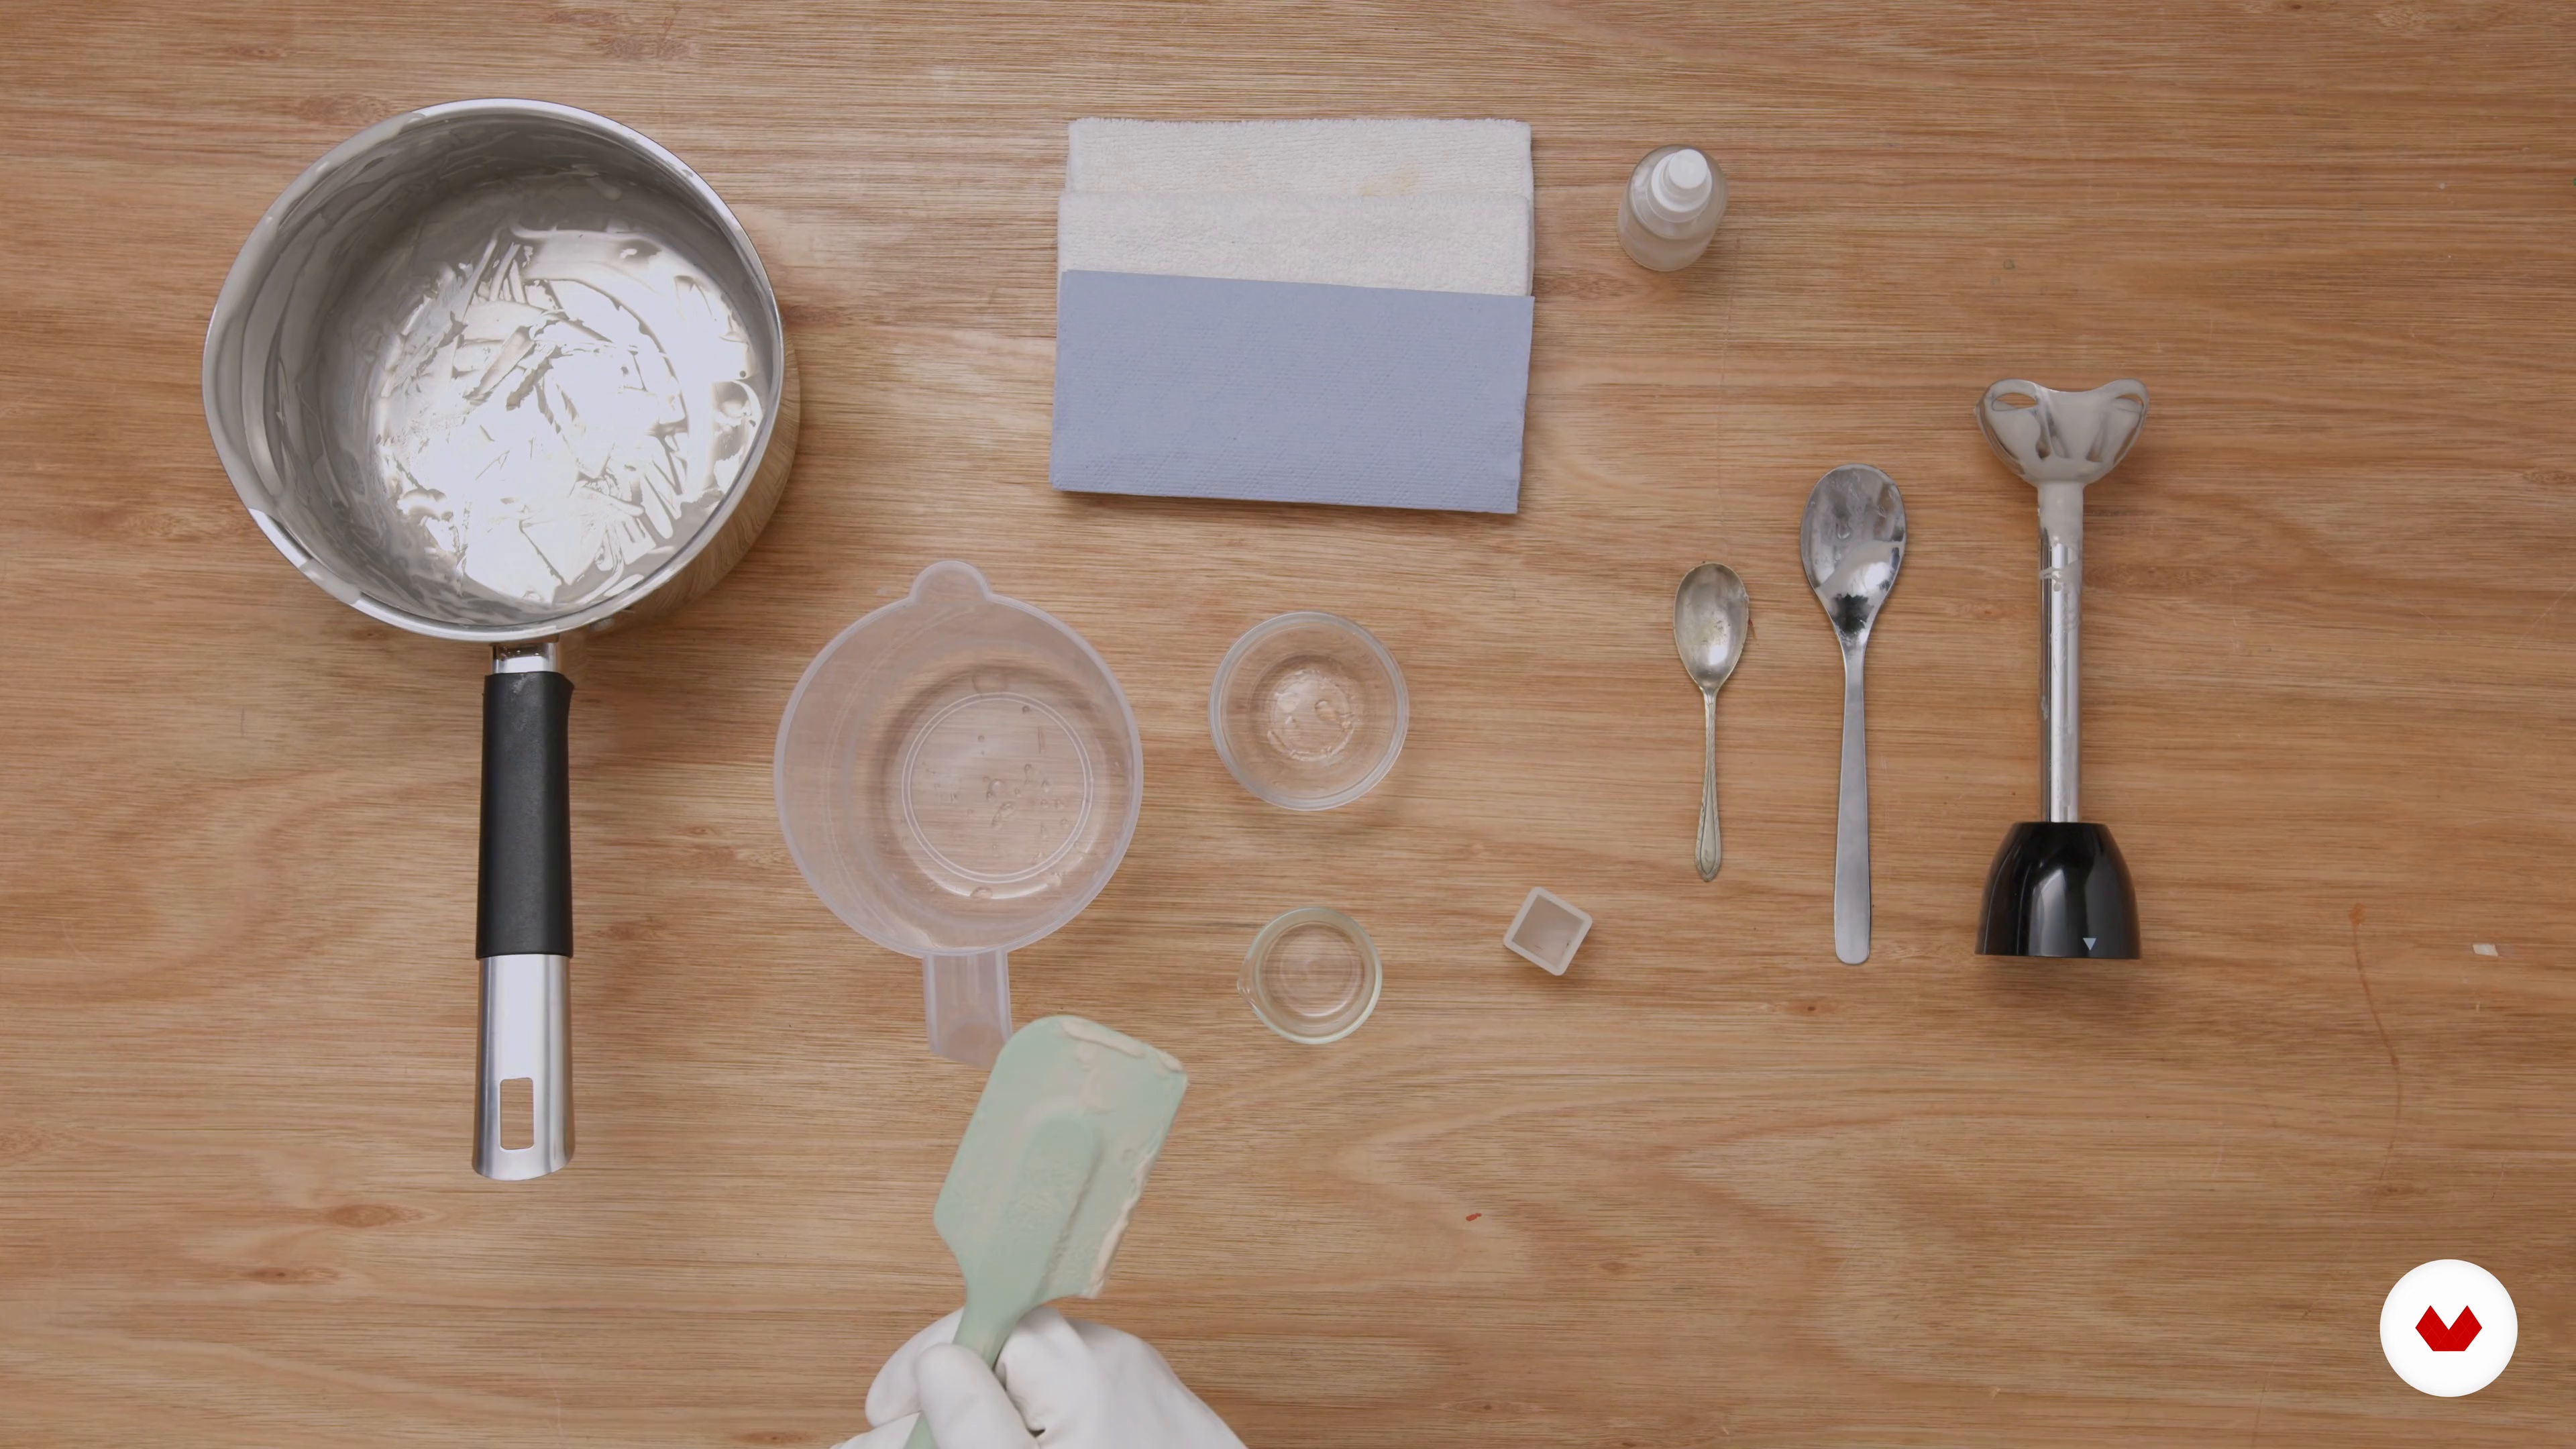
16Tips for Tool Maintenance
In this lesson, I will share with you some useful tips for cleaning your equipment so that it's ready to use in your next projects!
5m
 17
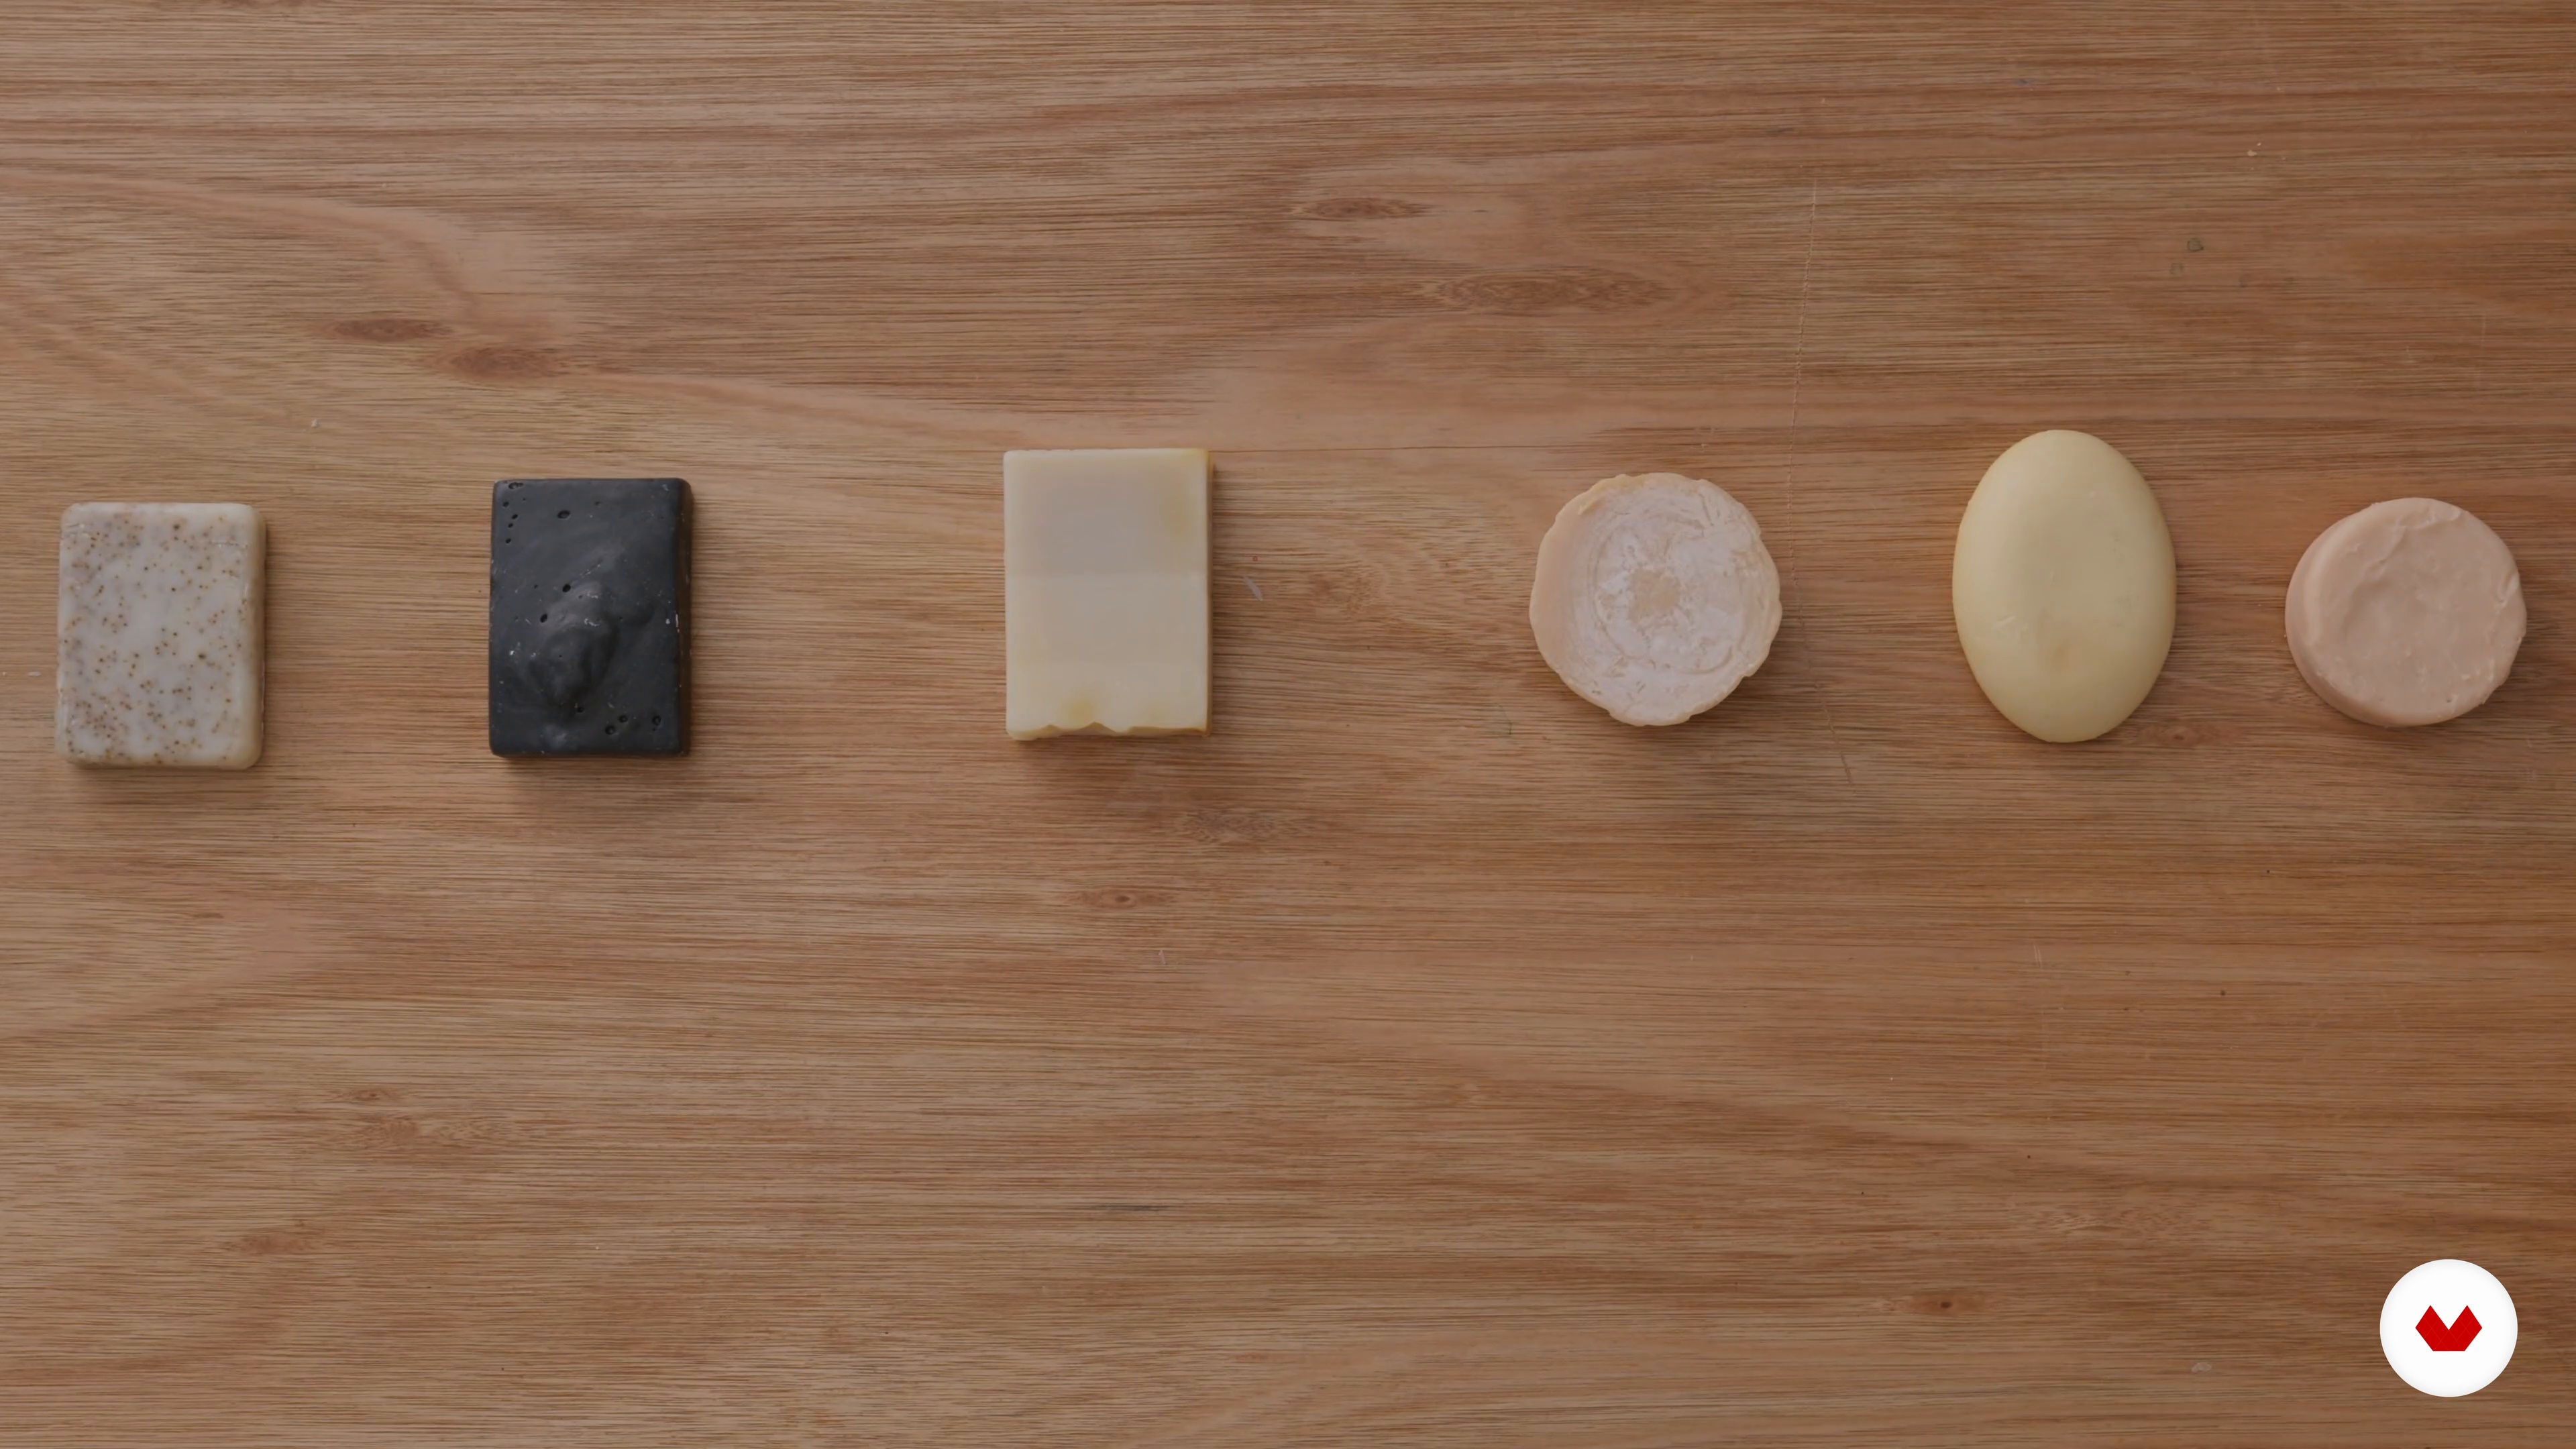
17Troubleshooting
What potential issues might you encounter when making your own soap? I will cover several now. Then, I will explain how to resolve and avoid them the next time.
11m
 18
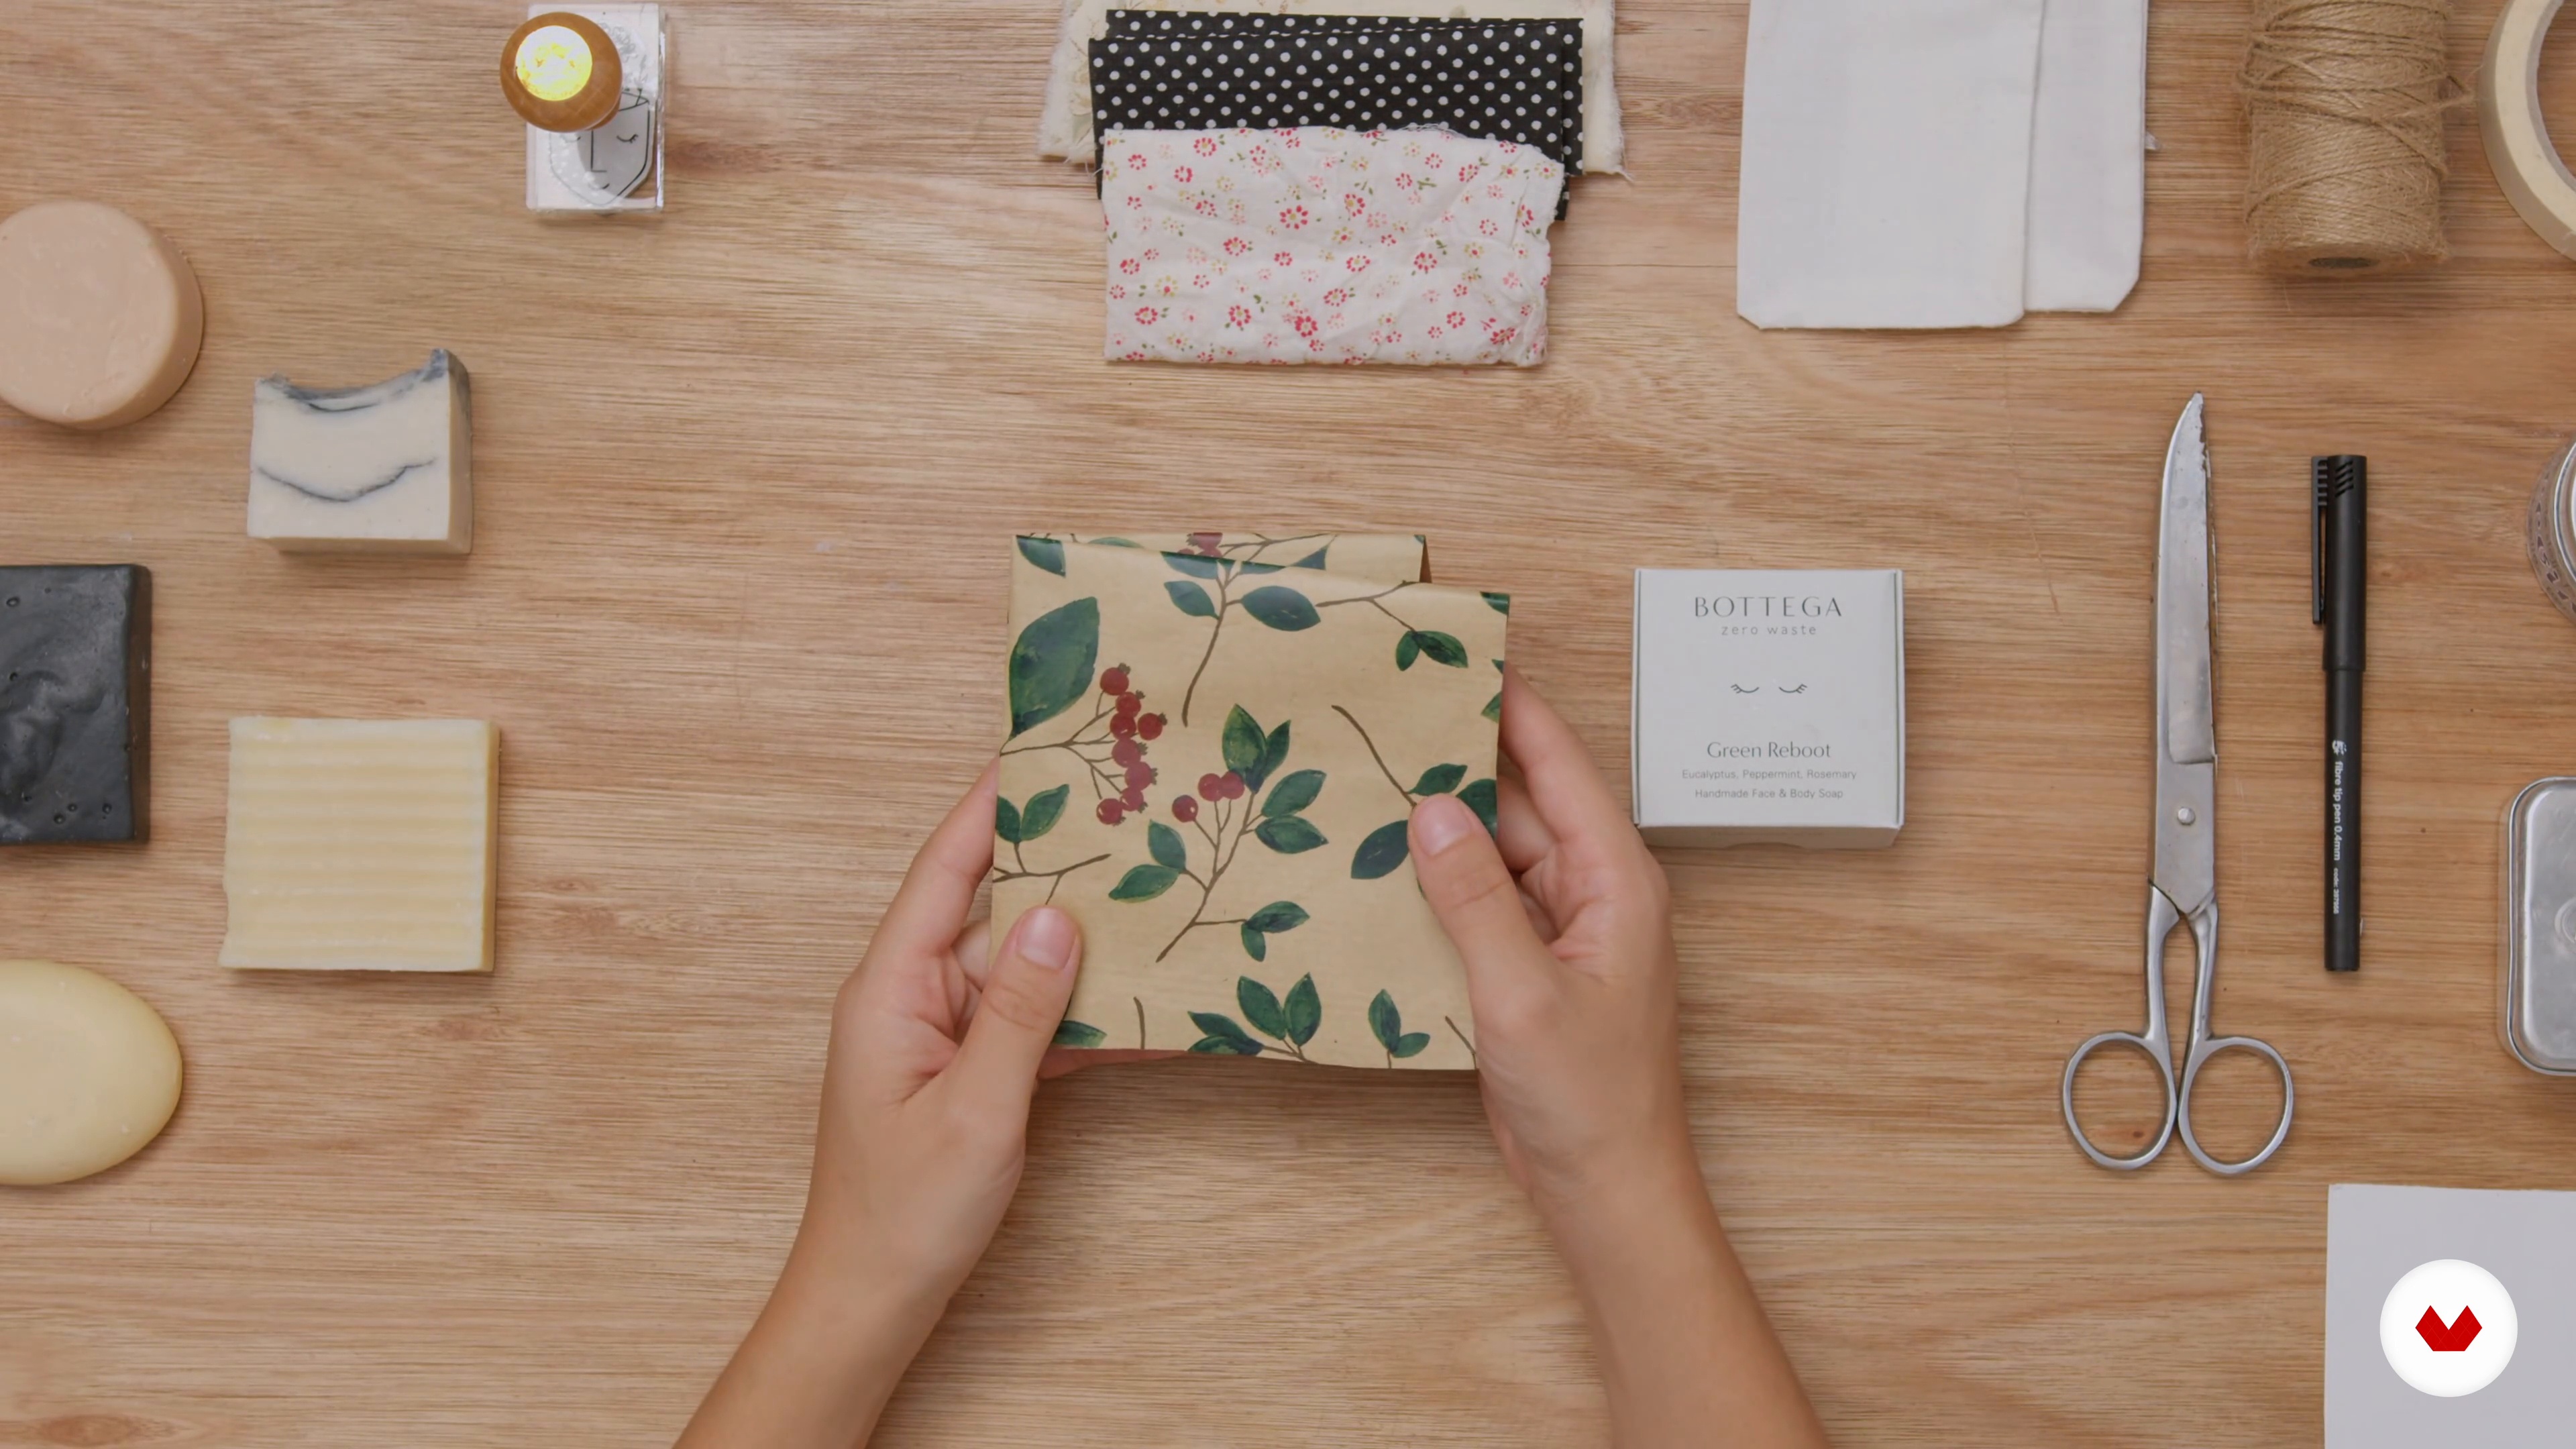
18Making a Label for the Soap
To finish, I will share everything you need to know in order to correctly label your soaps. We will explore what an INCI is and how to beautifully wrap your soaps with low-waste materials.
13m
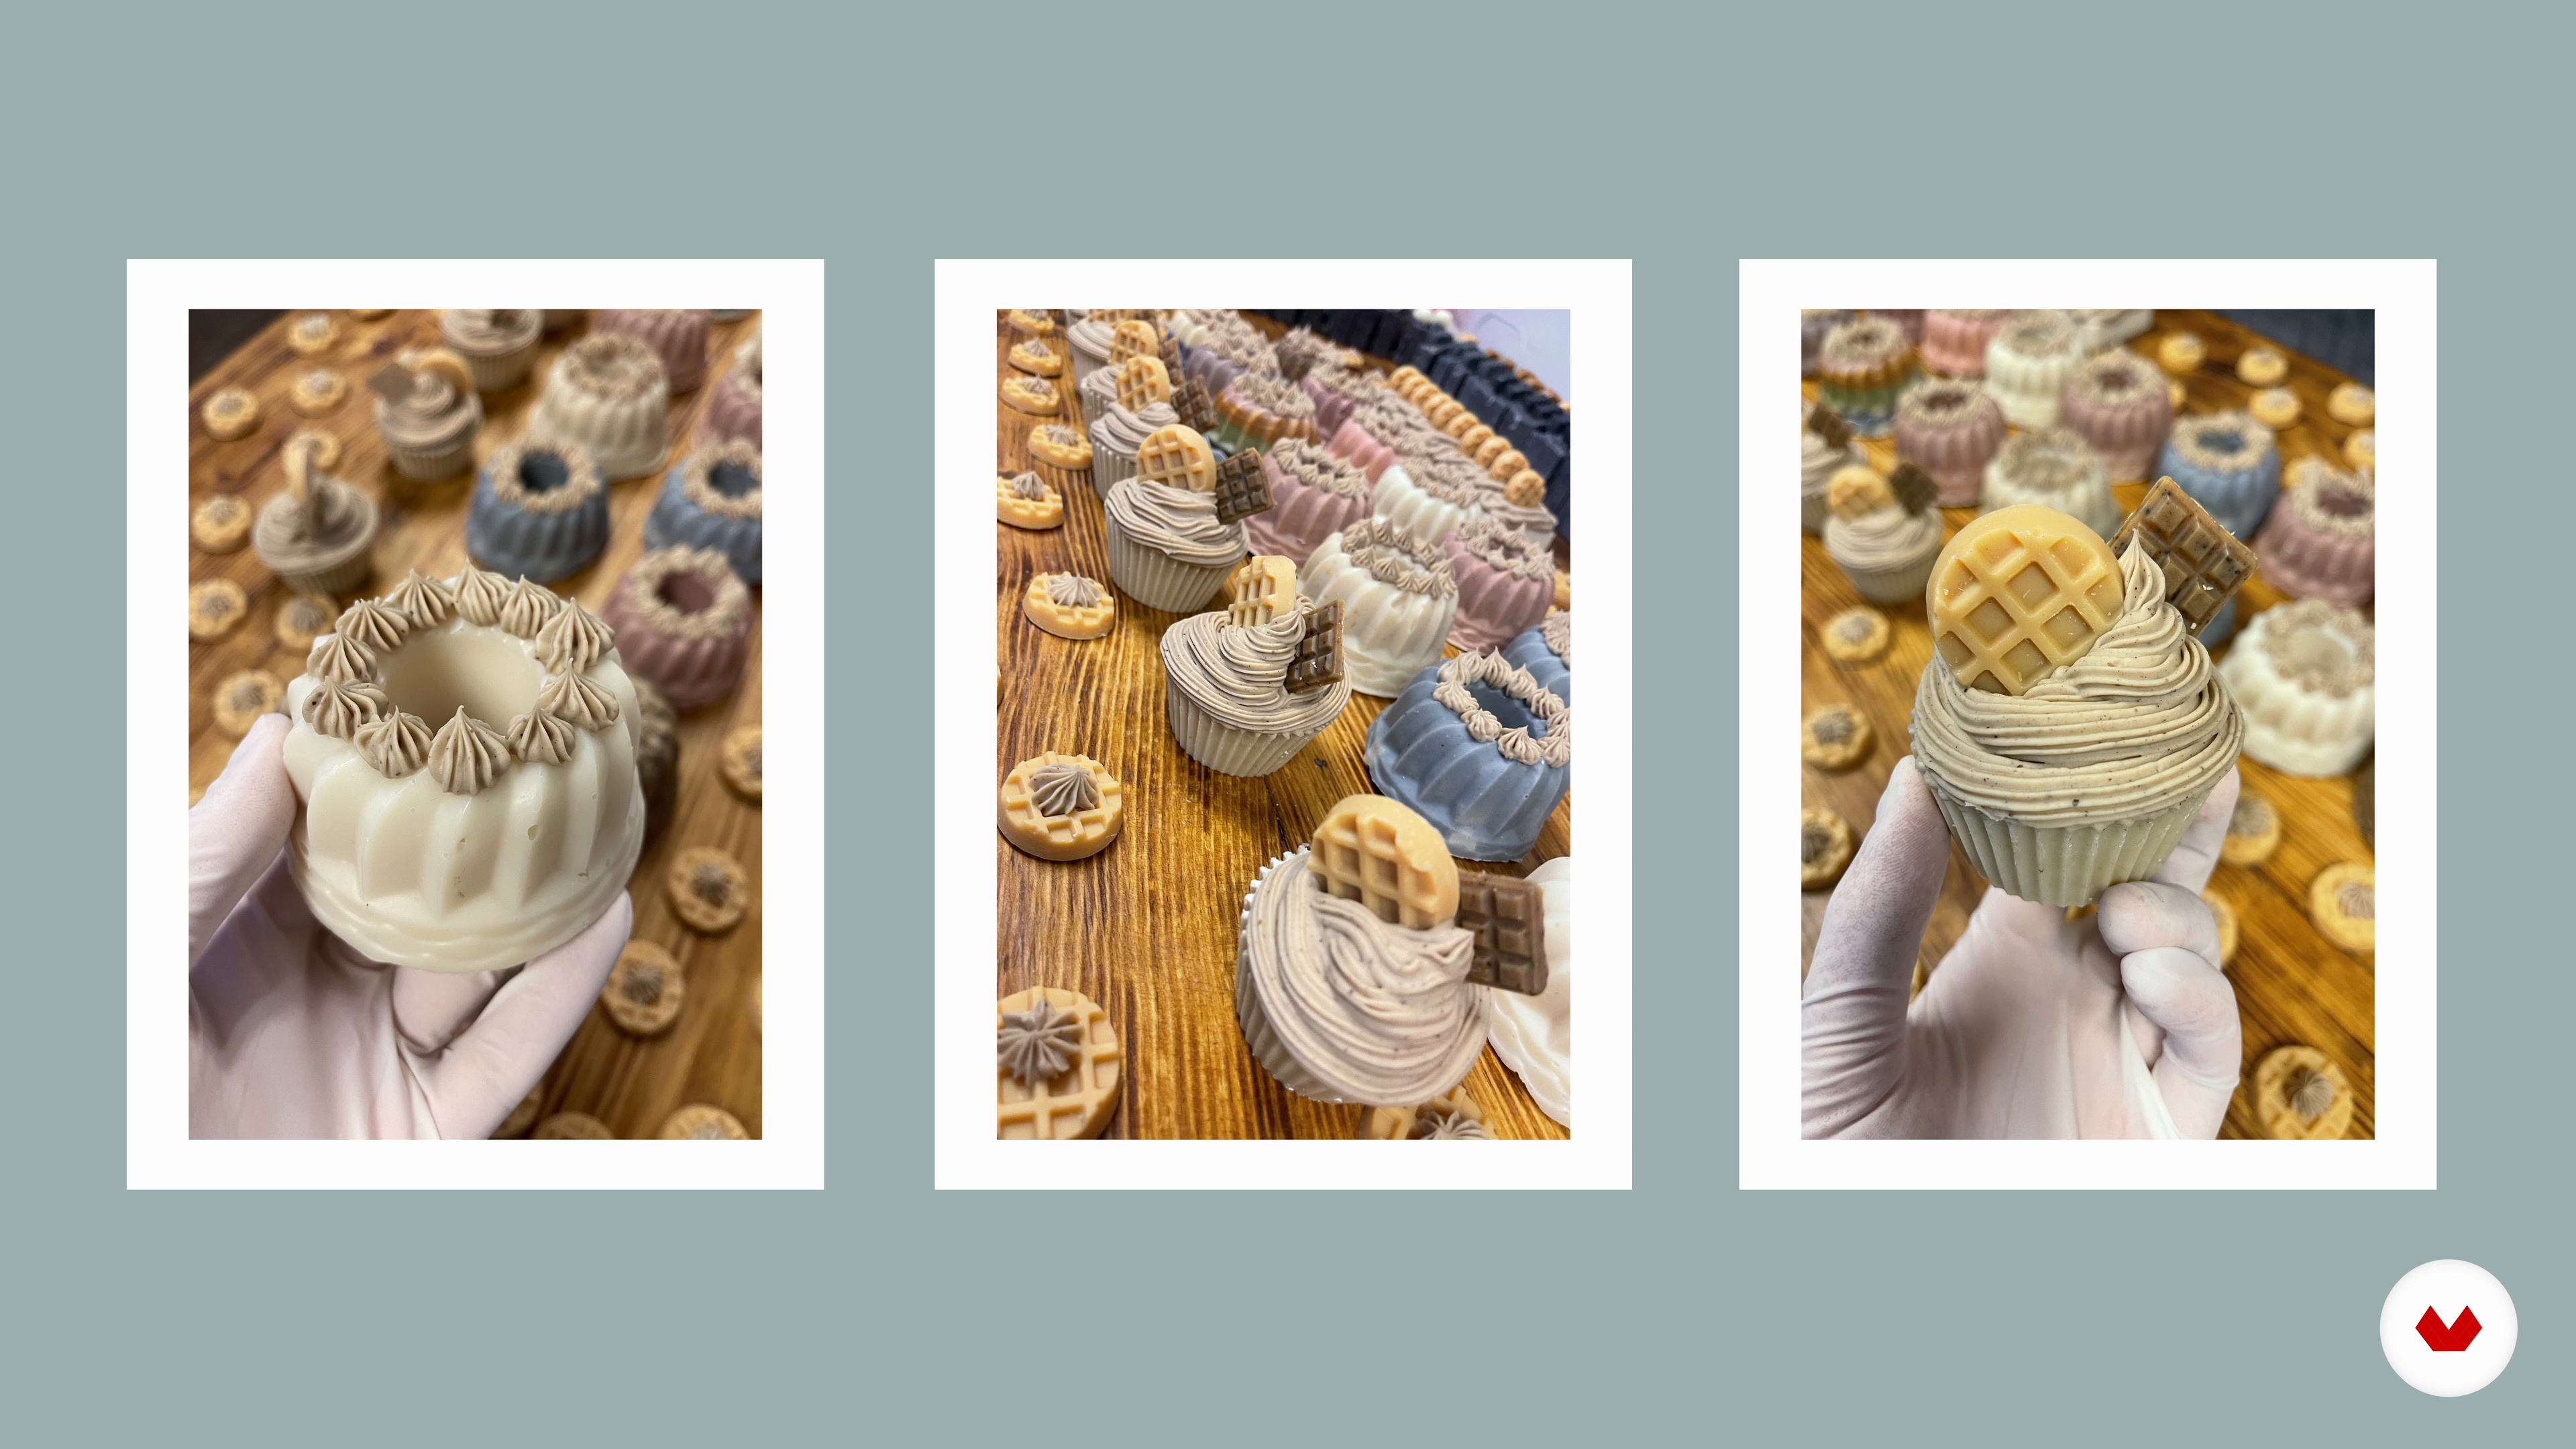 3
3Introduction to Soap
In this lesson you will learn what a soap is, its history and the chemistry behind its production. Also, we will give you a little introduction to saponification.
5m
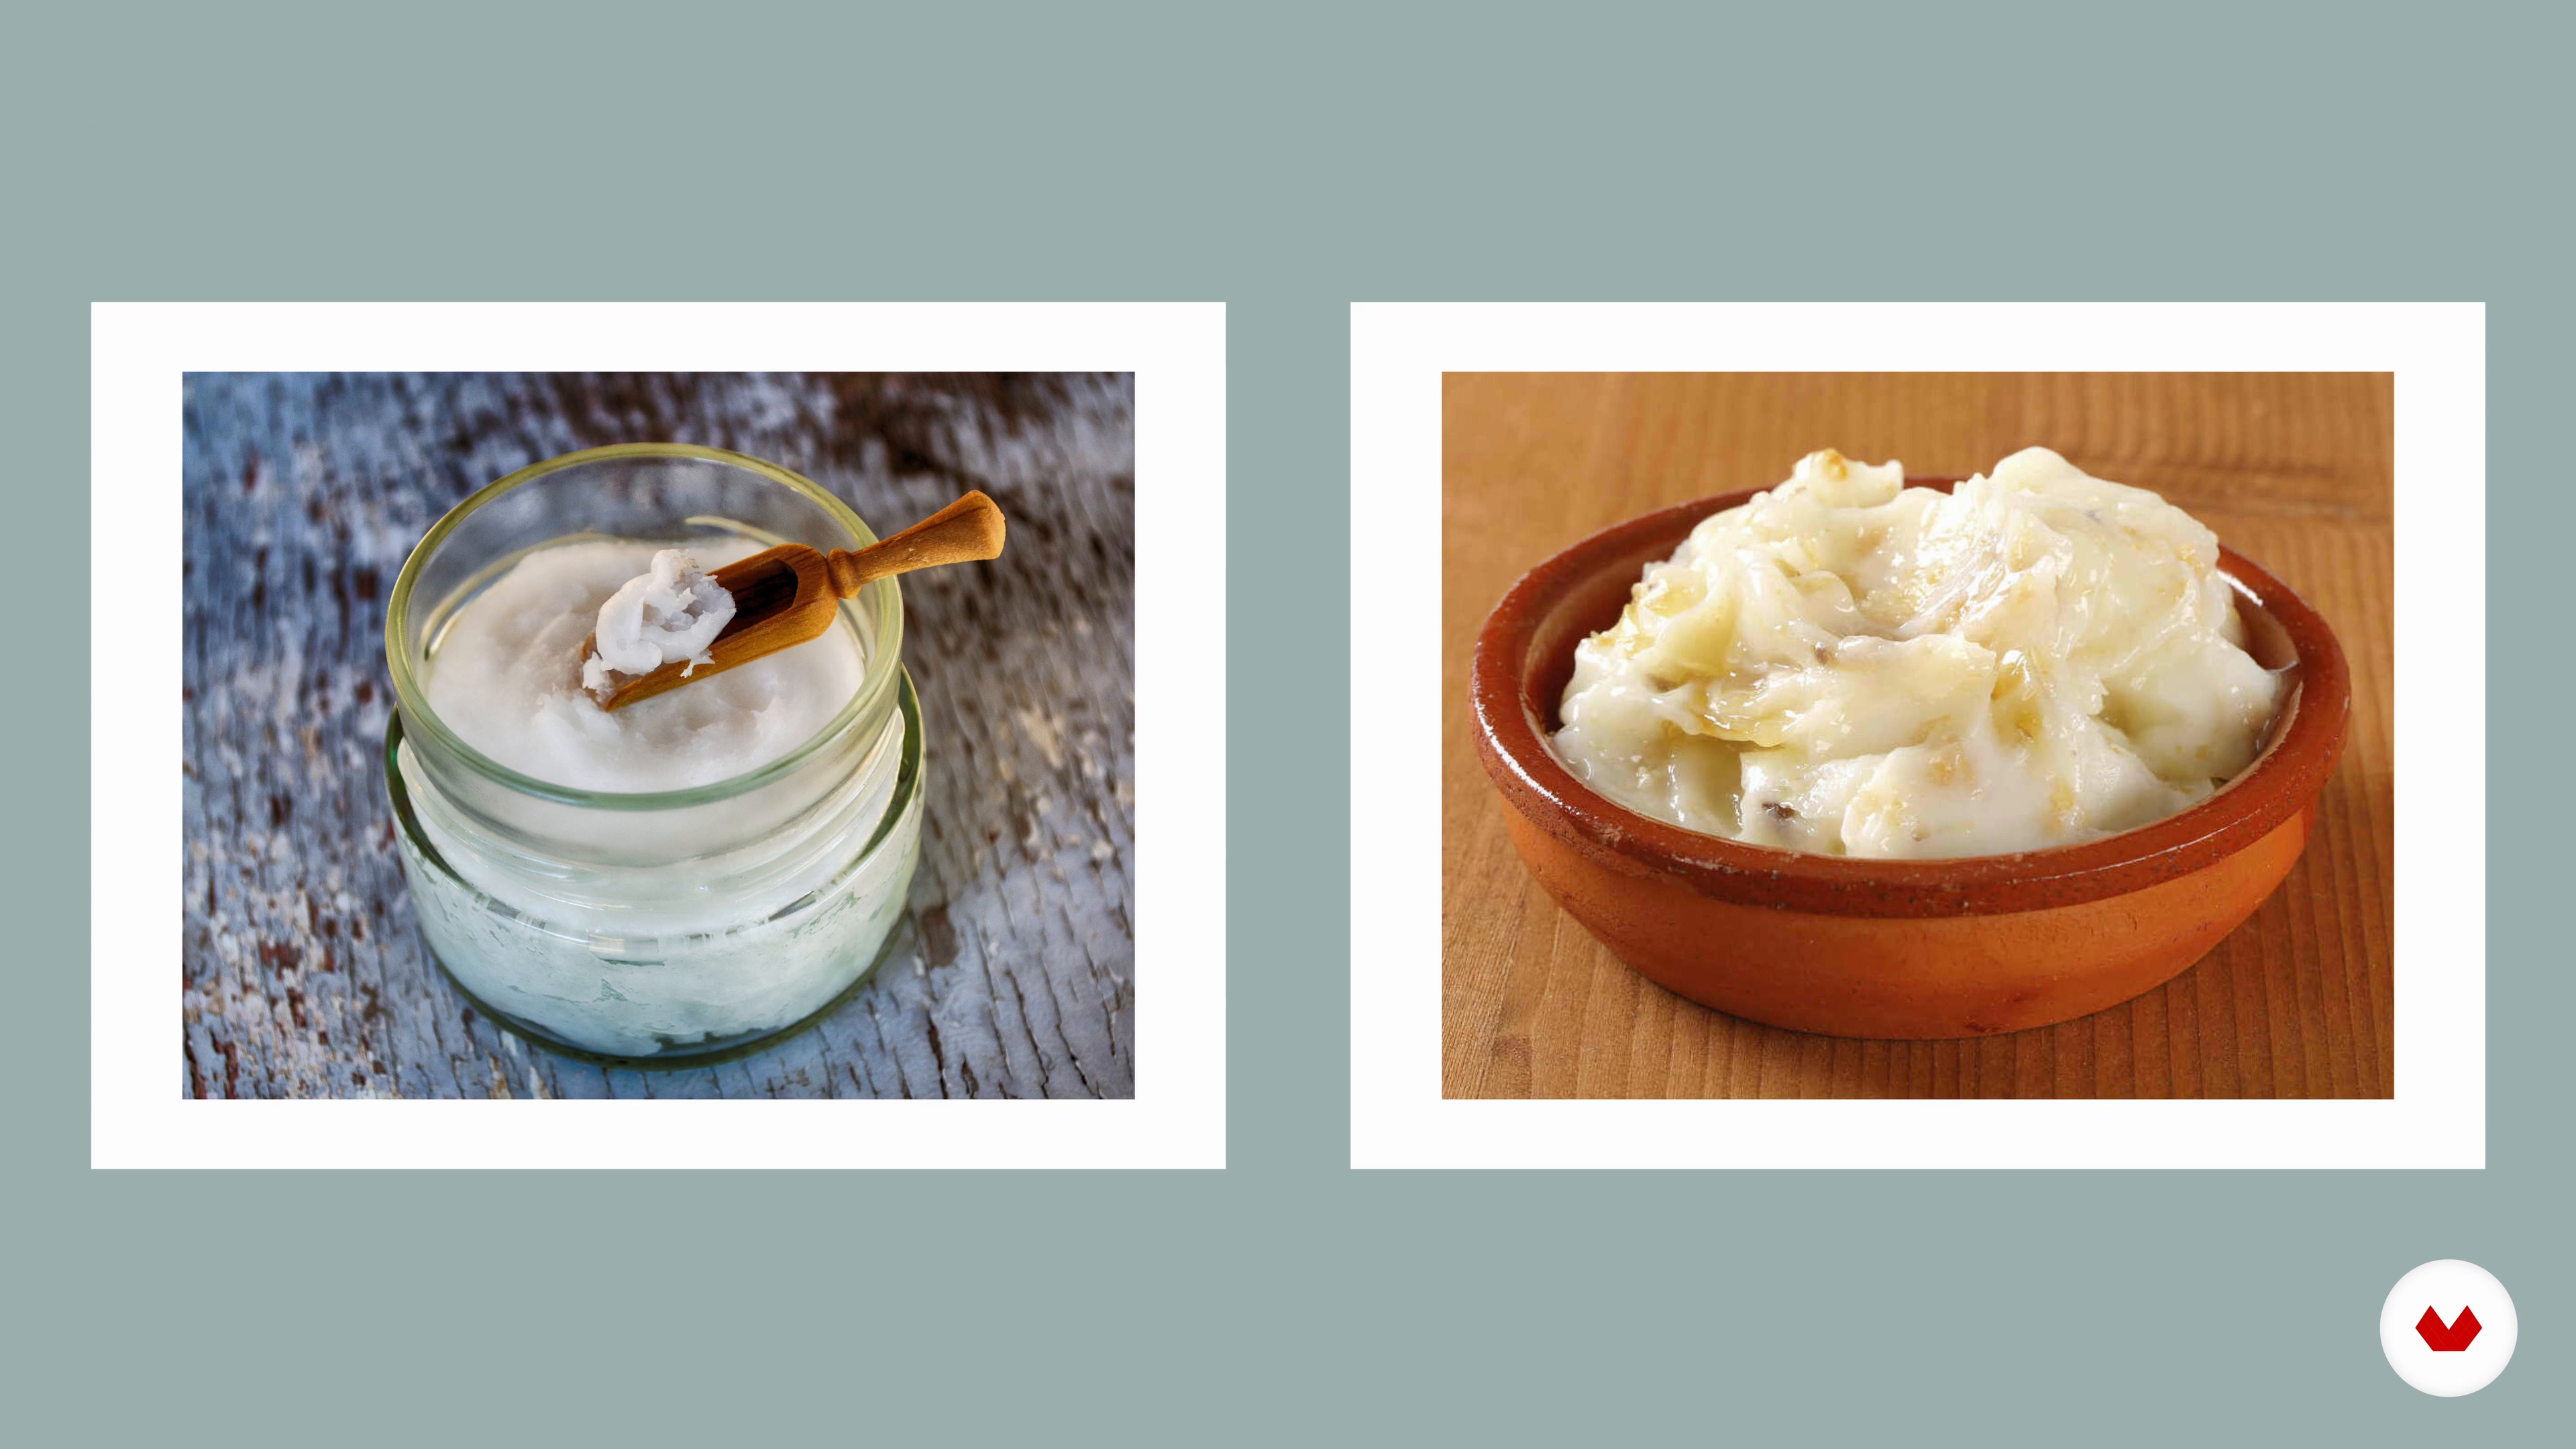 4
4Fatty Acids and Their Qualities
The making of handmade soaps is a whole universe! Therefore, we will talk to you more about the main ingredient of soaps, fatty acids. You will see the different types that there are and what are the qualities of each one.
3m
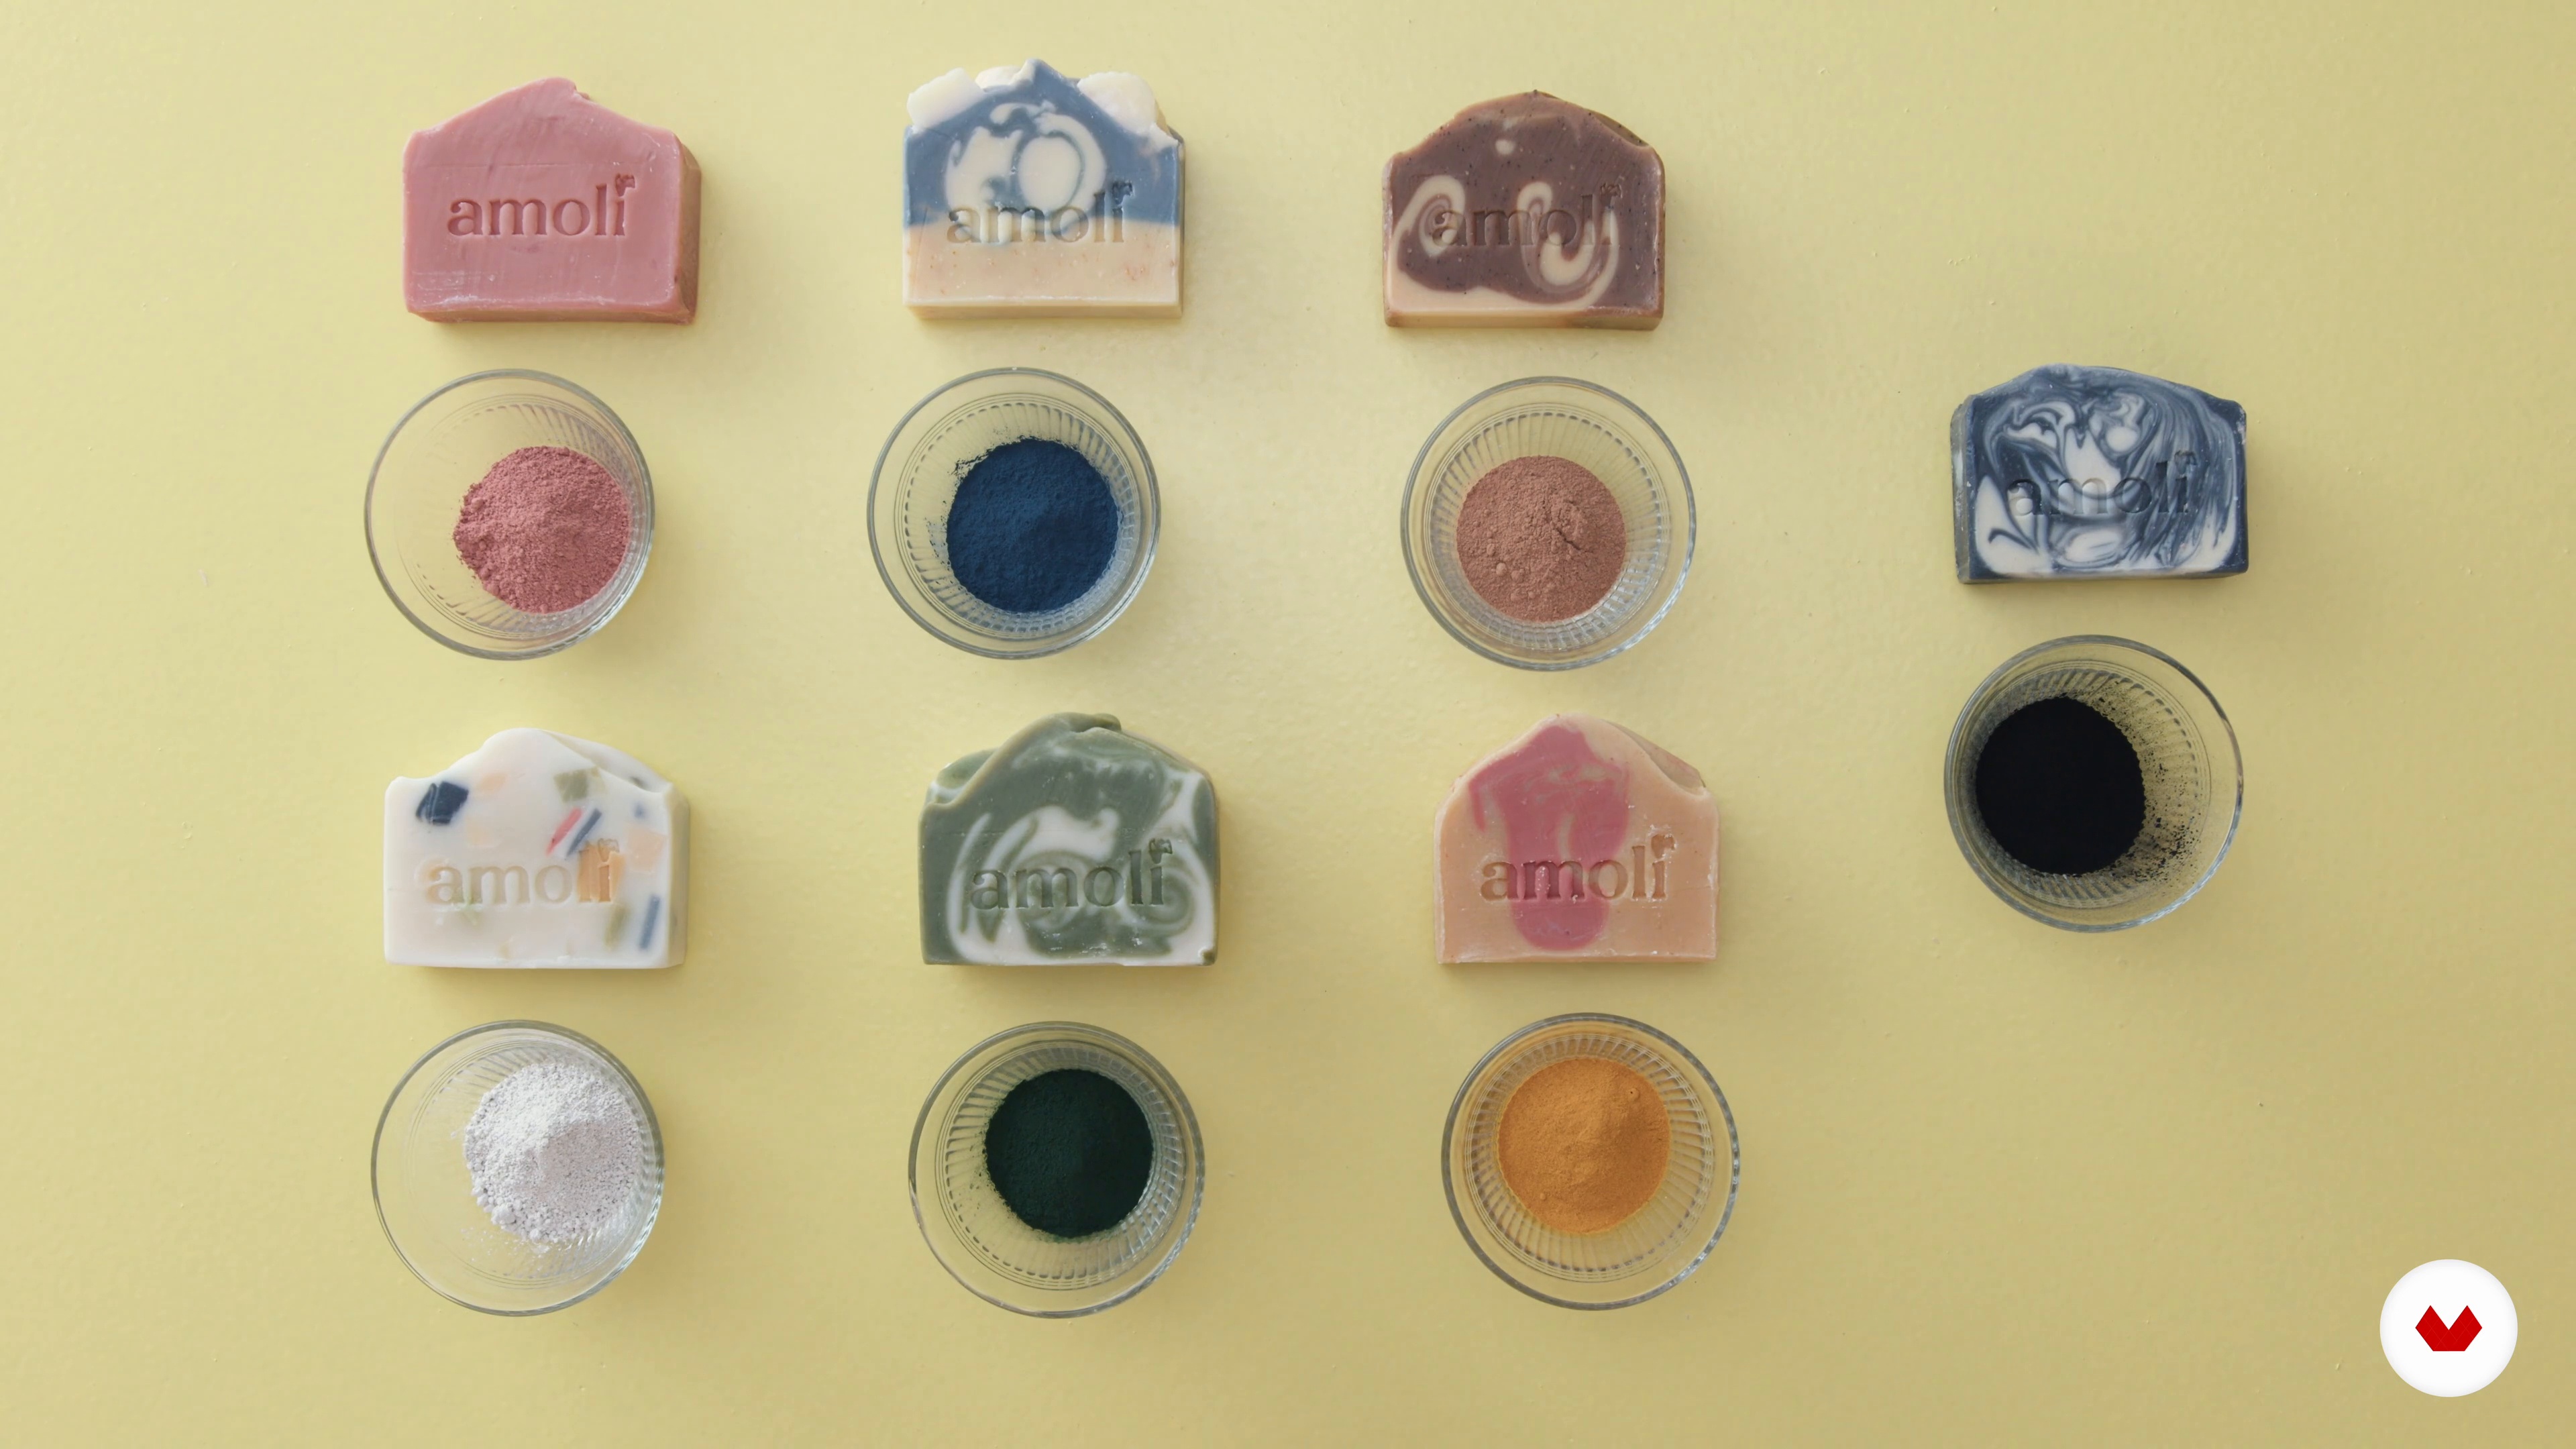 5
5Additives: Smell, Color, Texture, and Benefits
Now we have to delve into the ingredients that provide incredible scents and natural colors that we use for our designs, as well as the substances that provide textures and benefits.
5m
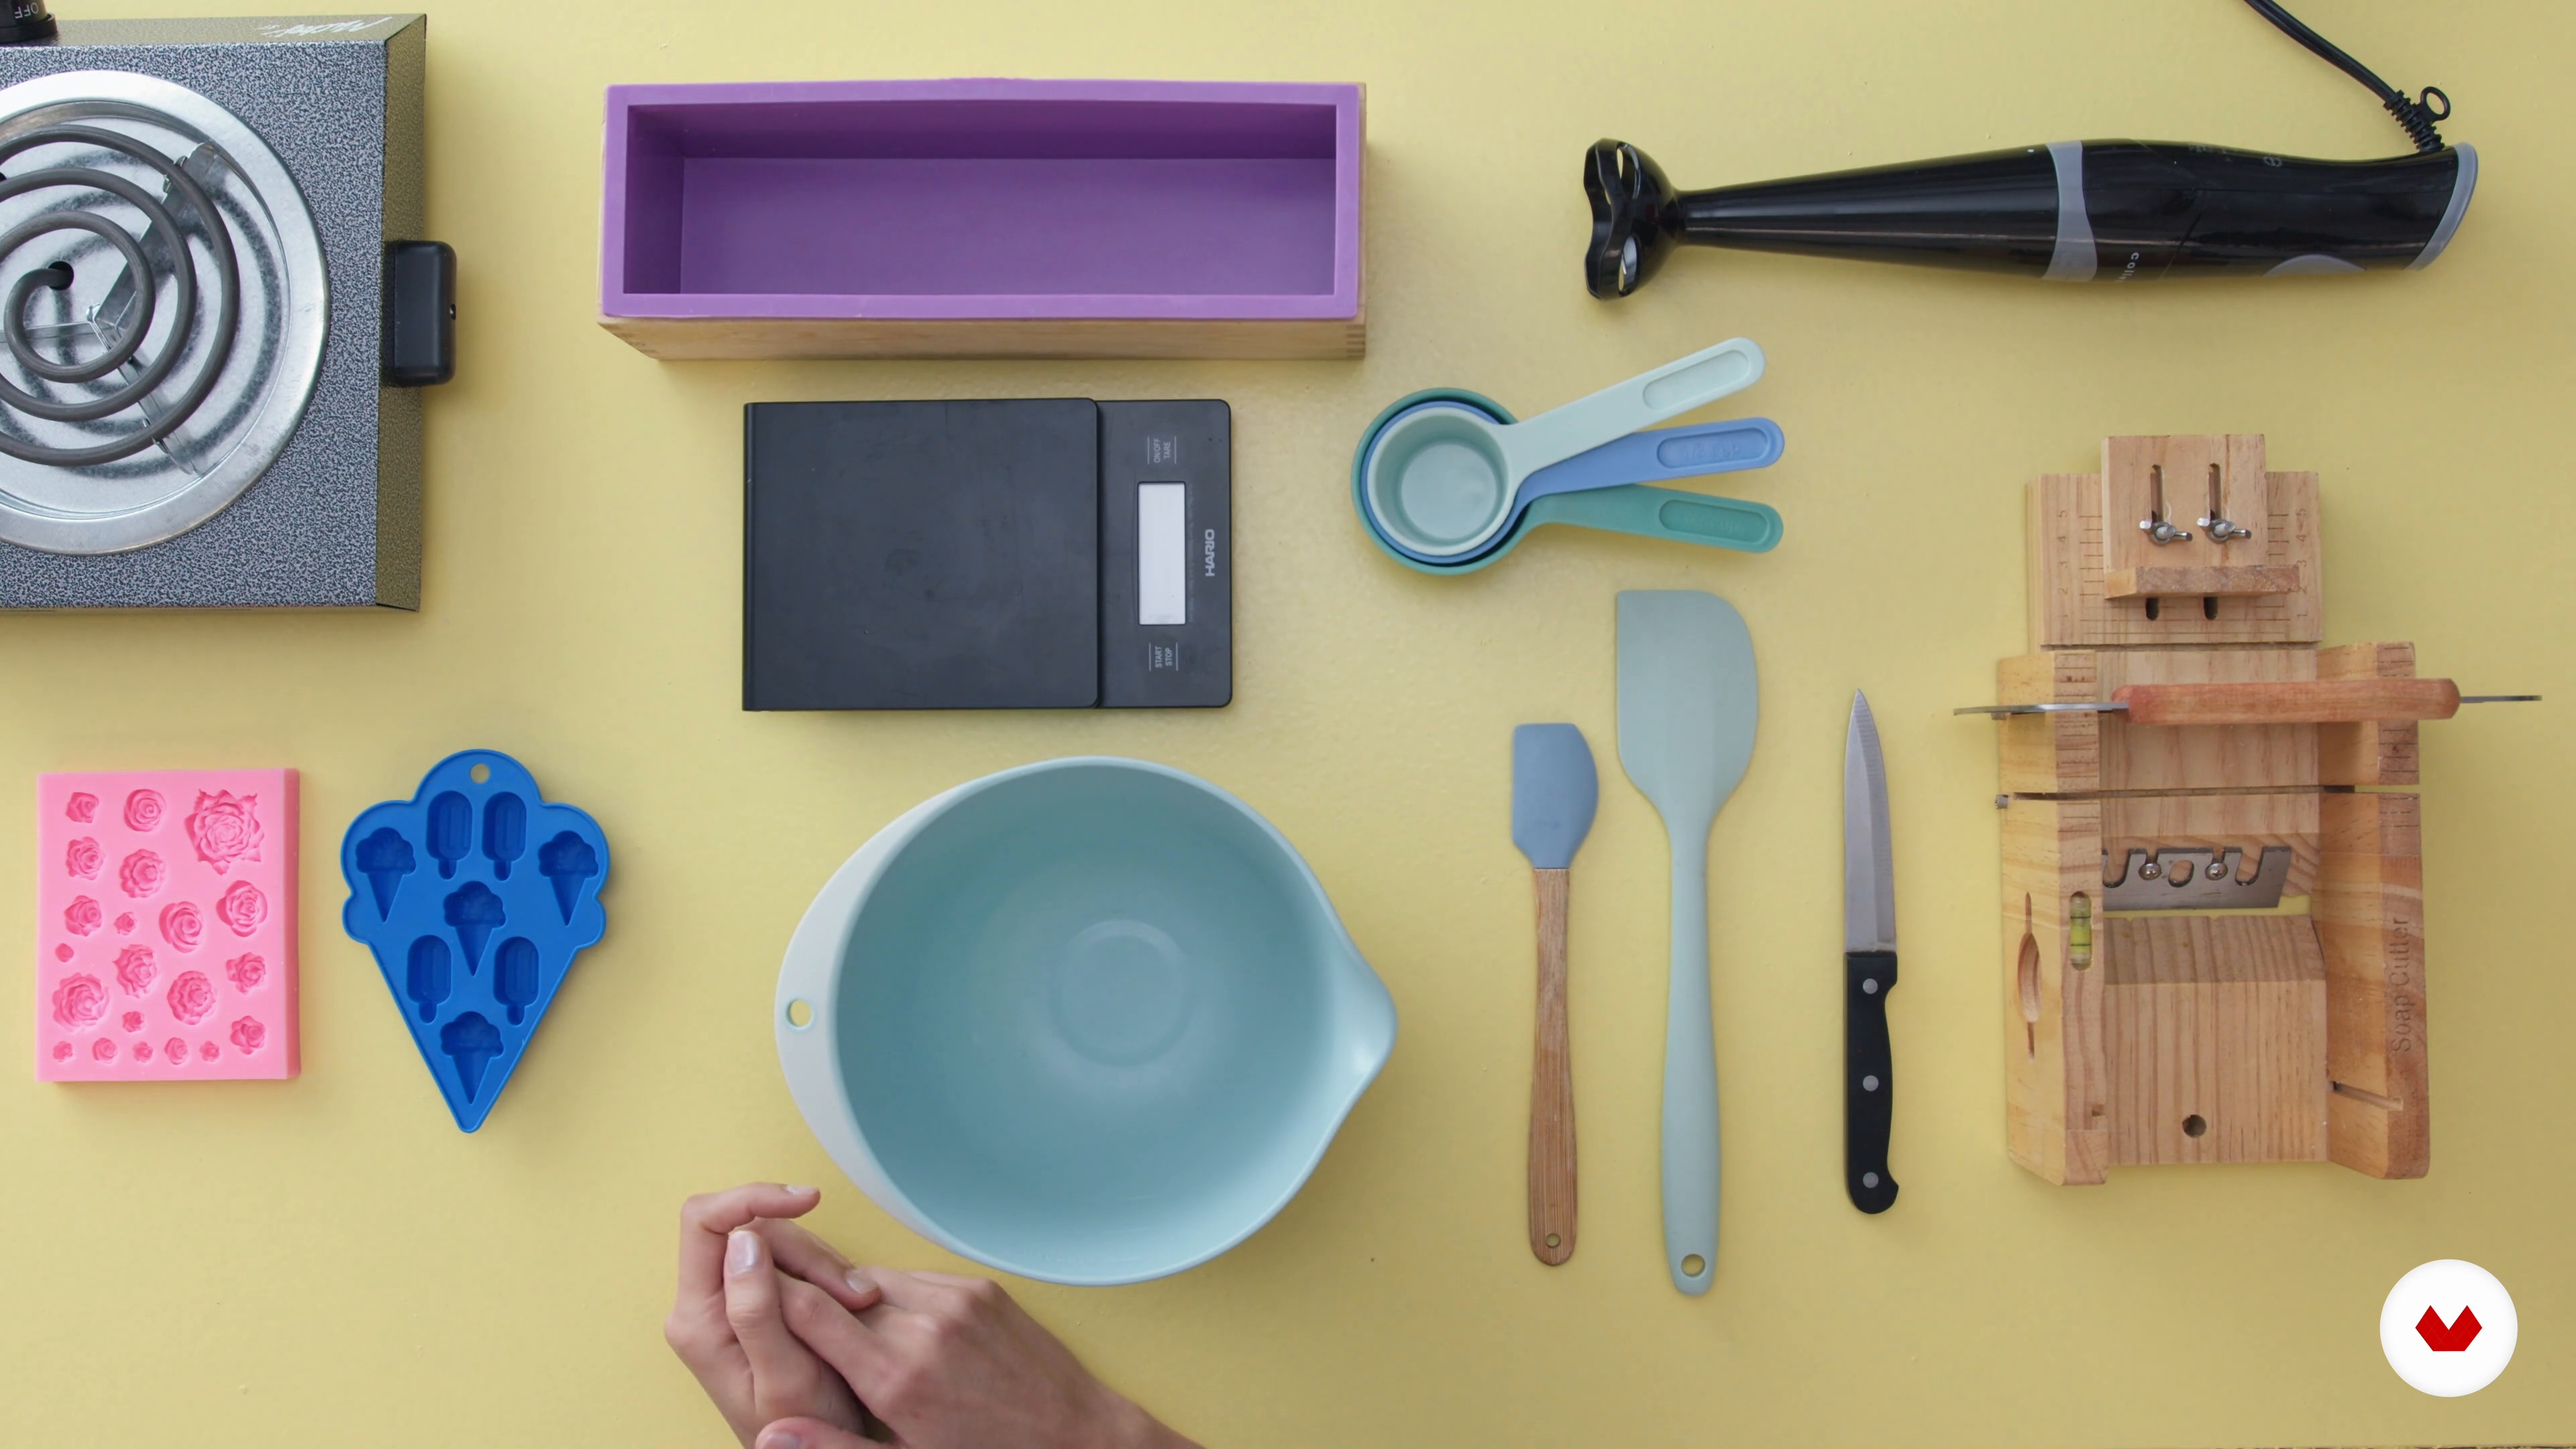 6
6Utensils and Security Measures
We will start by talking to you about the necessary utensils to make your soaps and then we will move on to something very important in the course, security measures. These safety measures must be followed carefully in order to handle the materials. You will be working with caustic soda (sodium hydroxide) and this compound must be handled with great care and care.
3m
 7
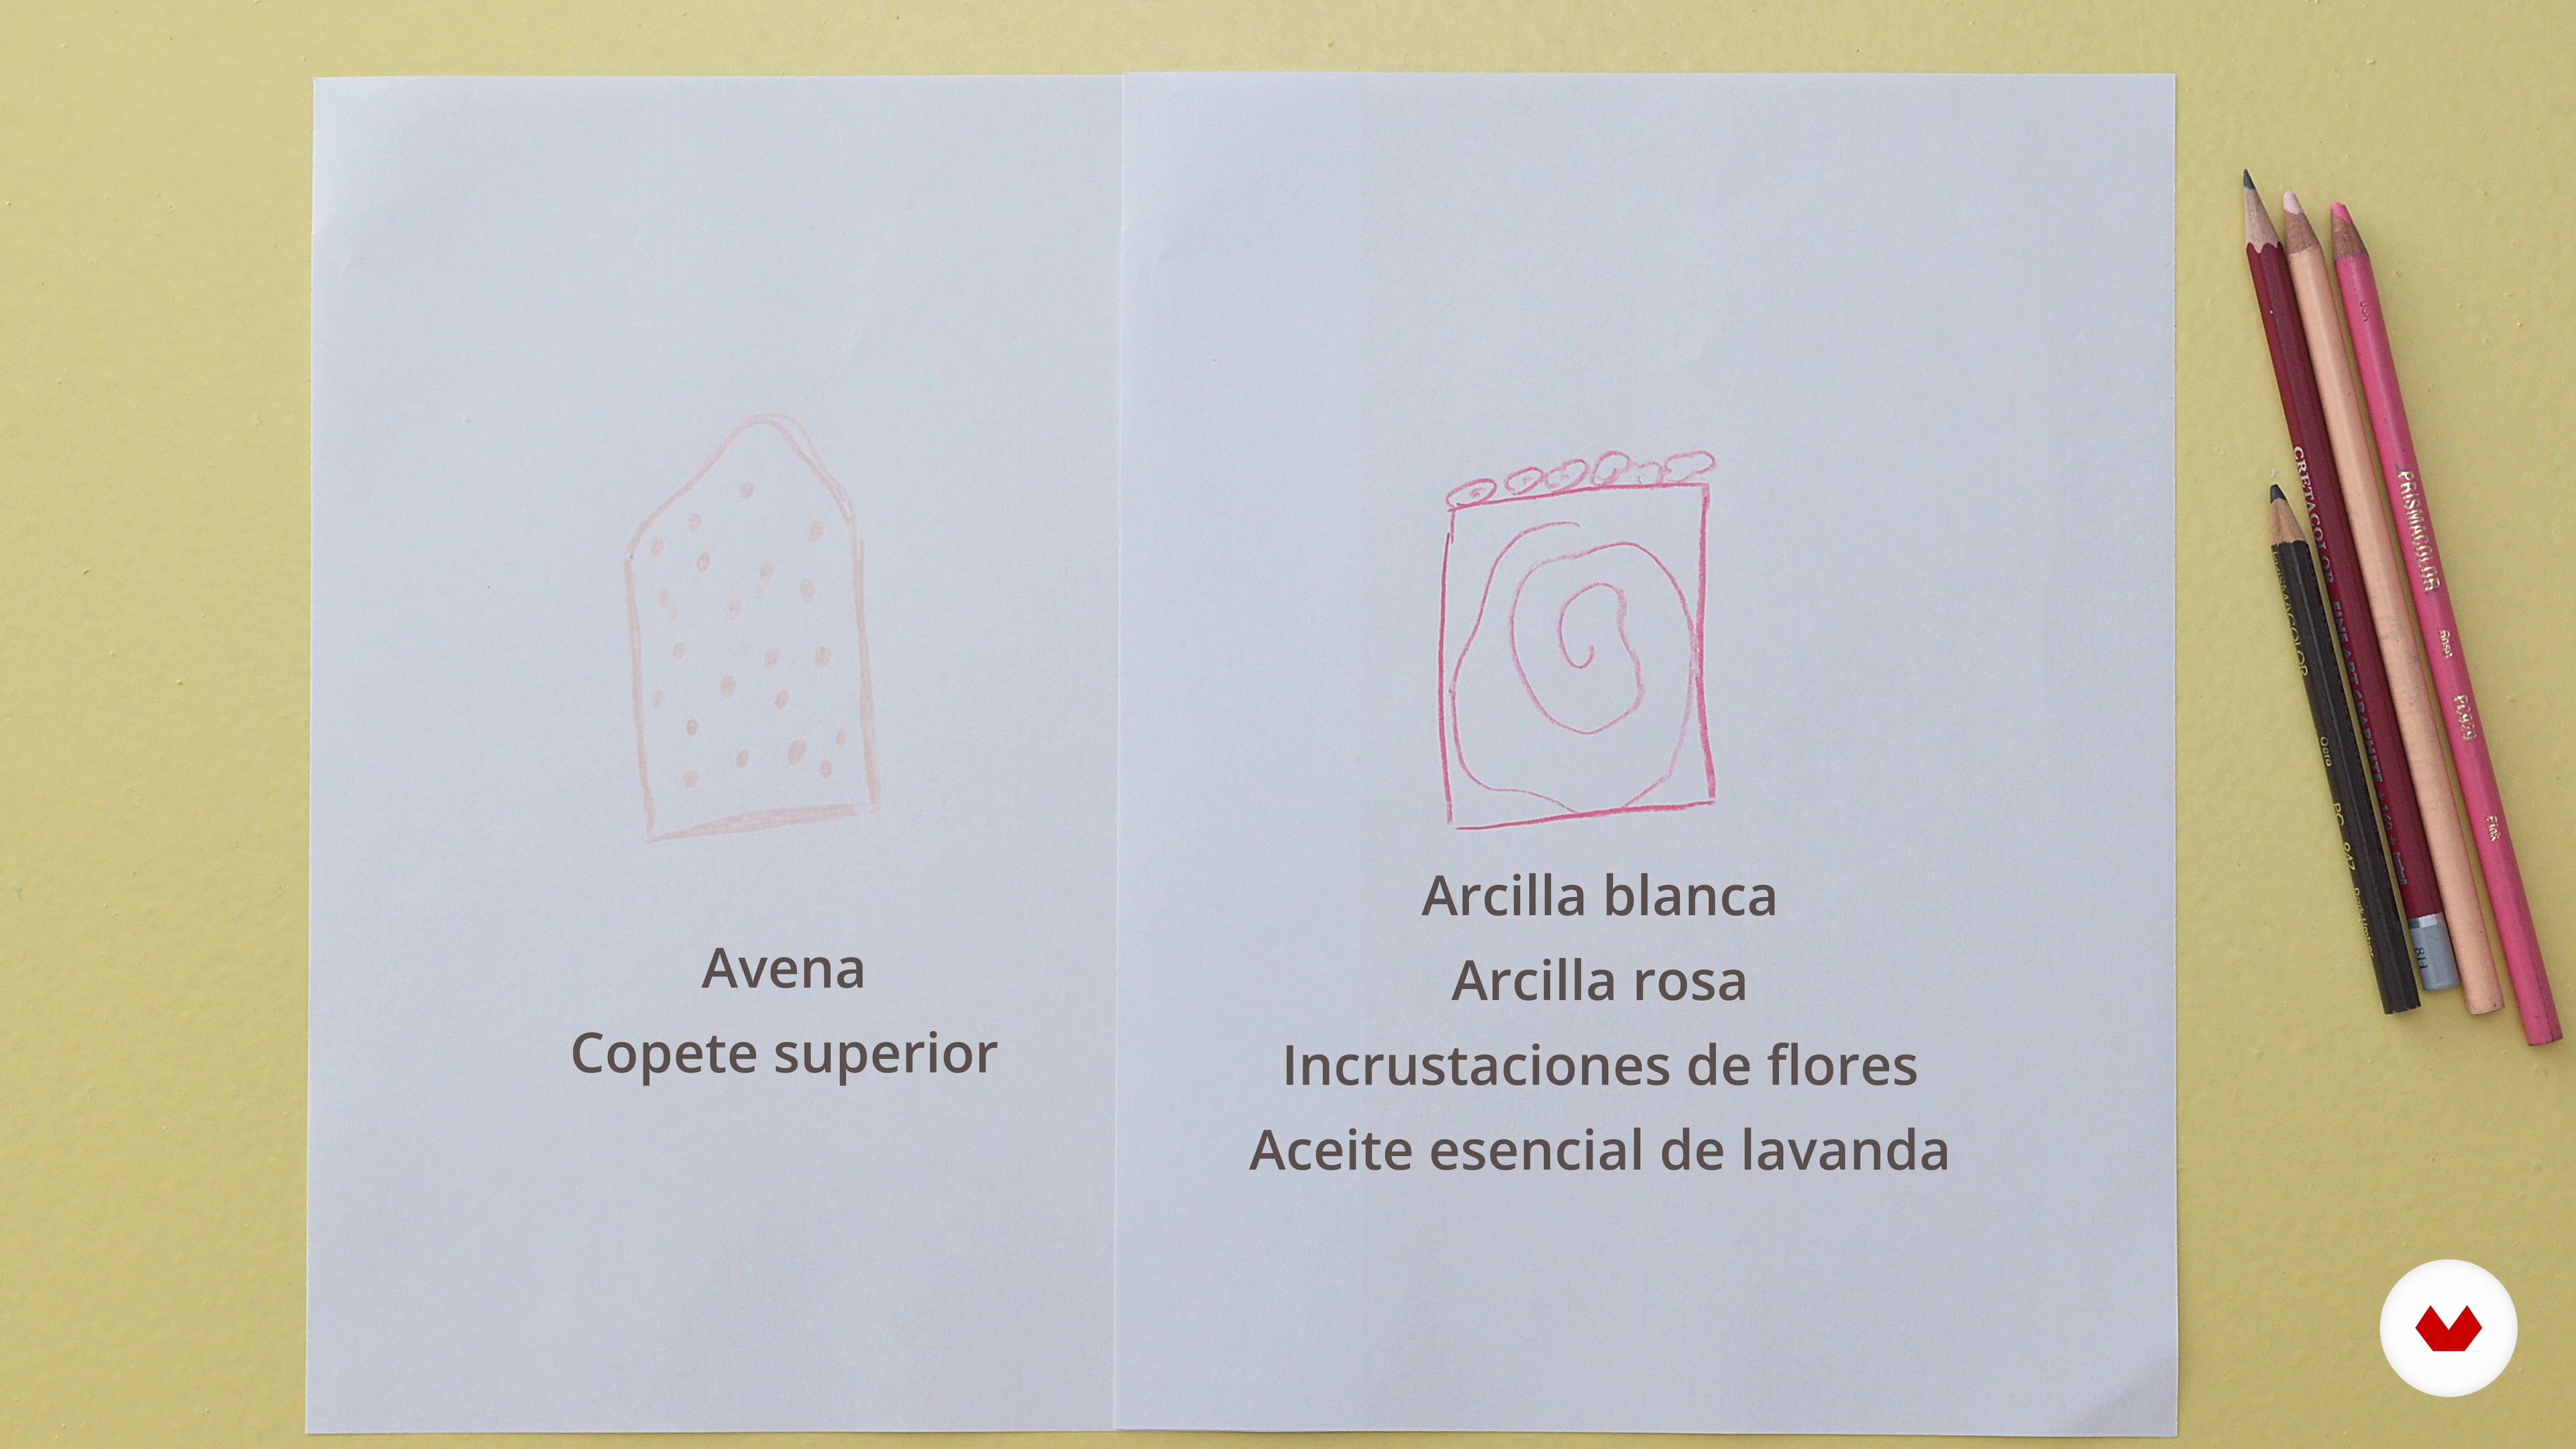
7Design
It's time to dive into the design. We will talk about the creative process we follow to turn an idea into a product.
7m
 8
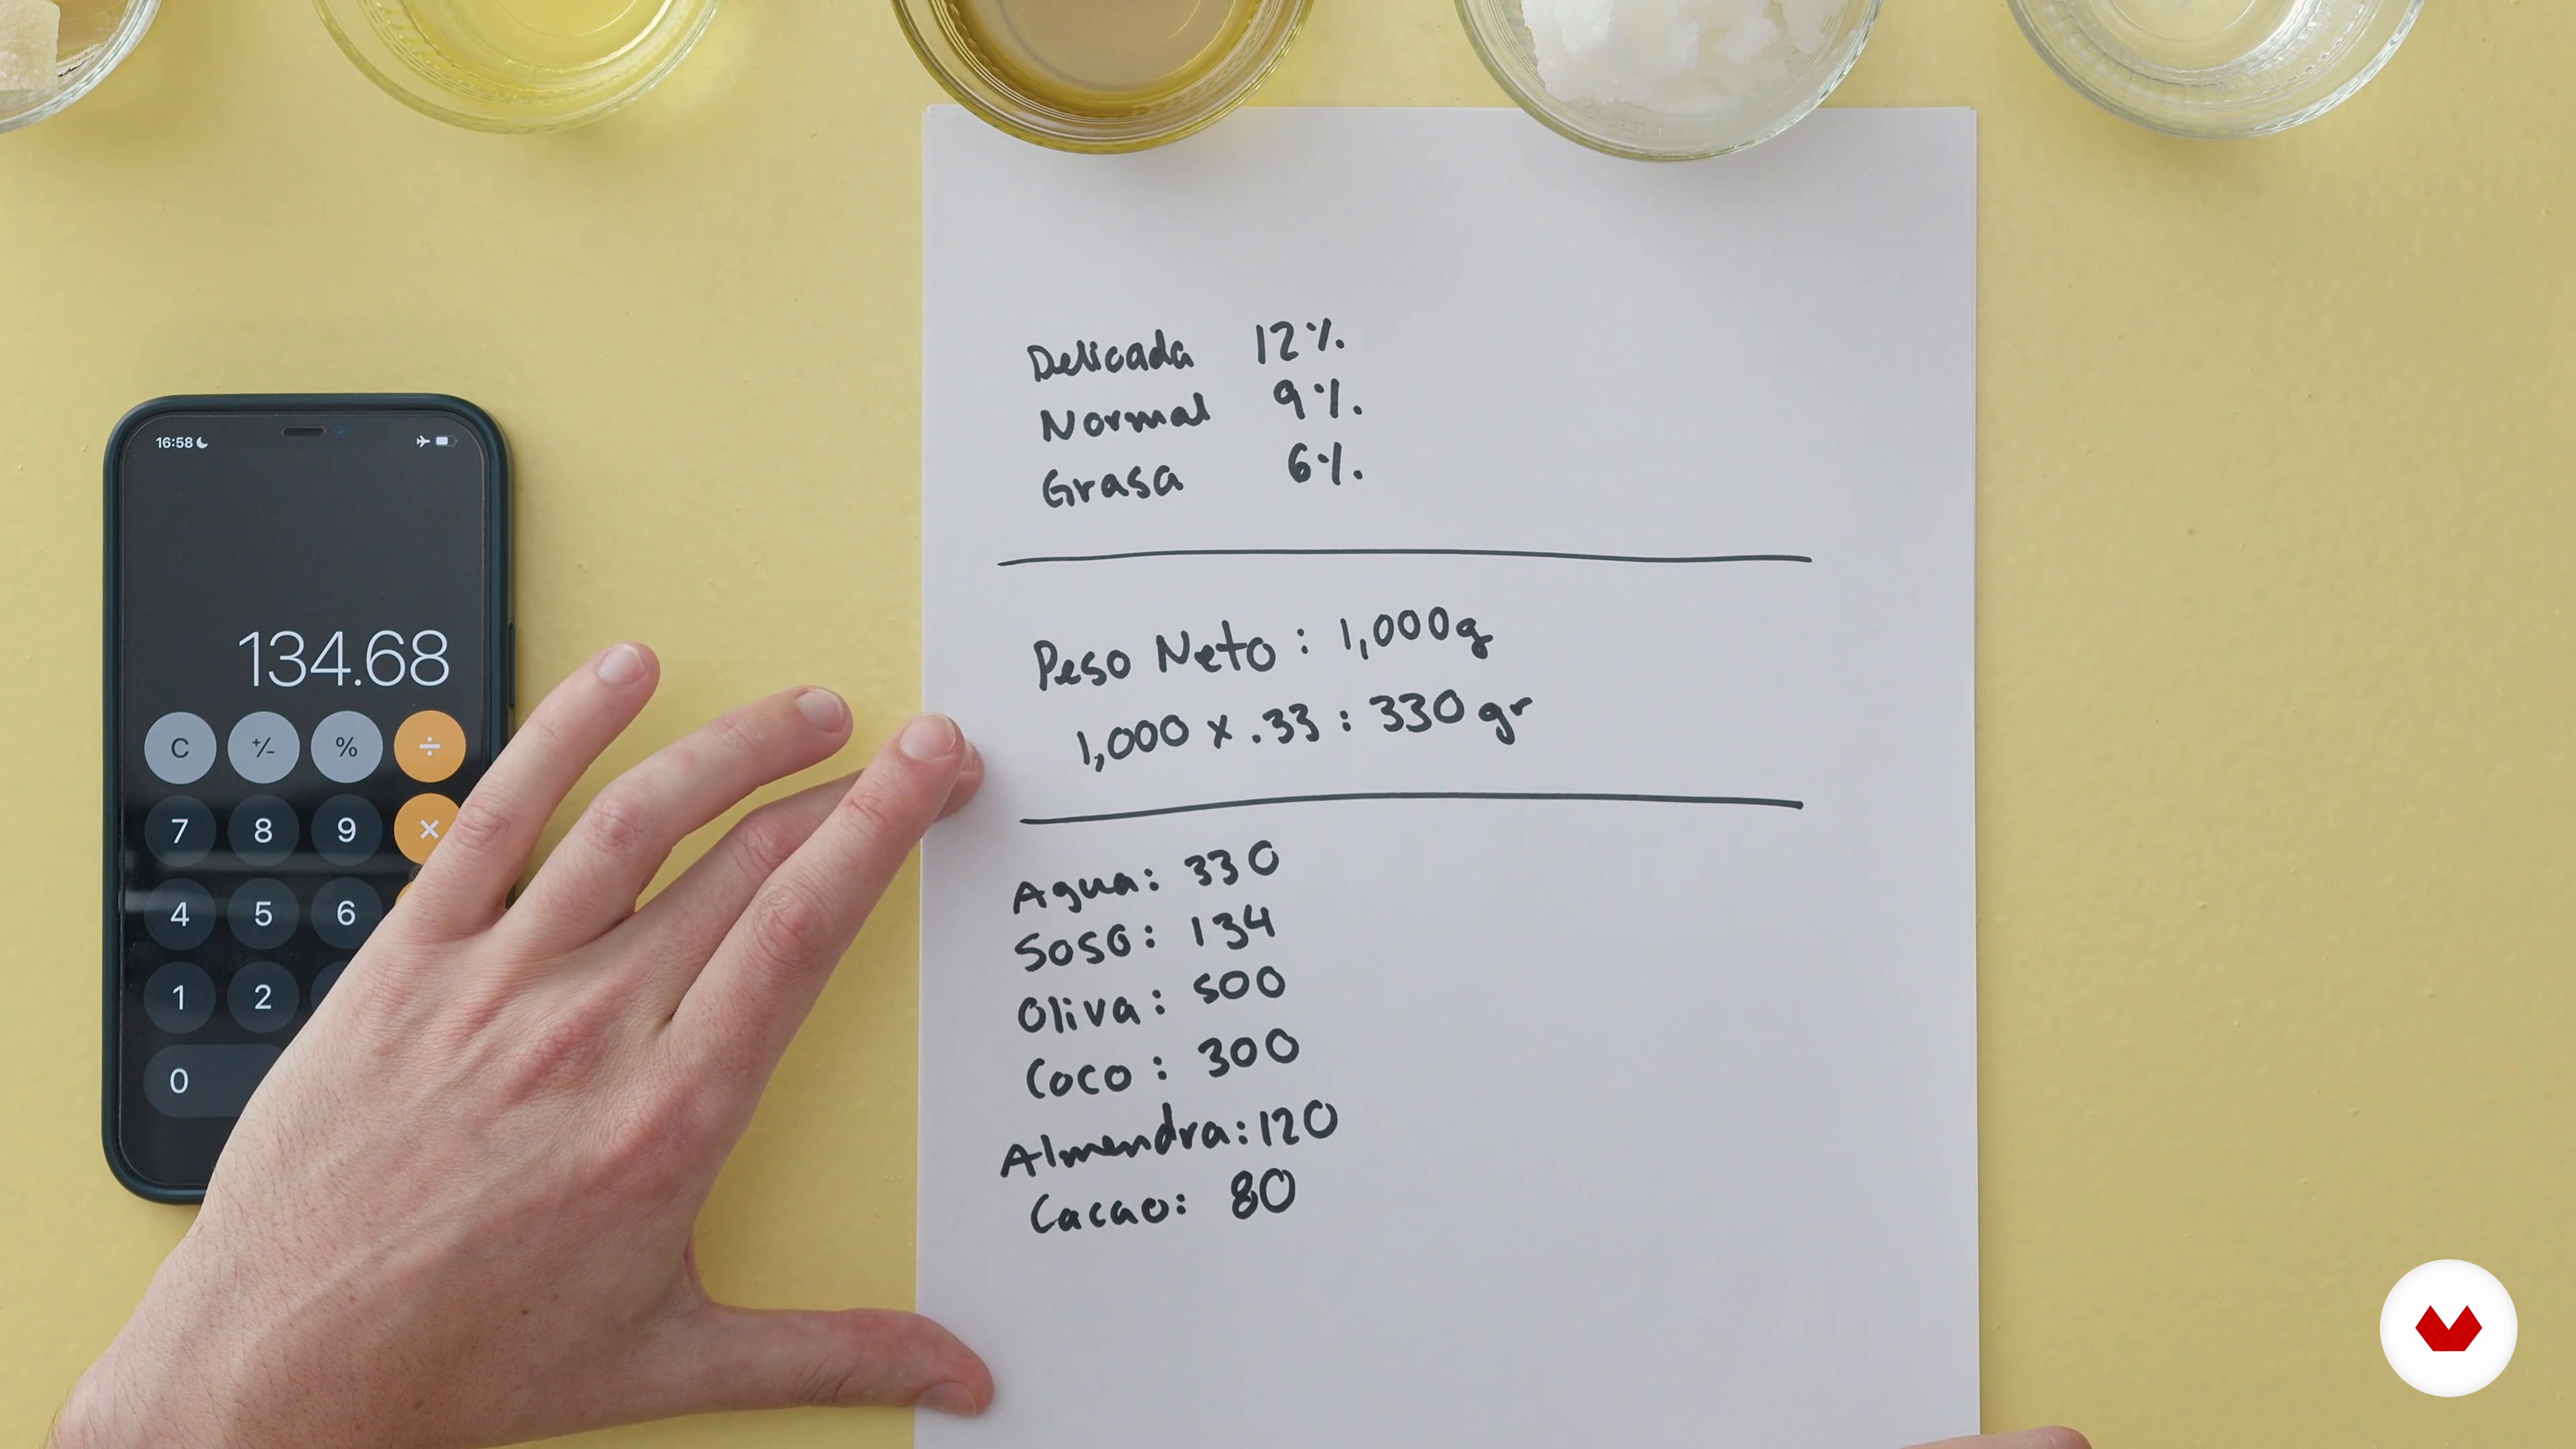
8The Formulation
Now that you've learned our creative process, now you're going to learn how to create your own formulas. Of course there are applications and internet pages that help you formulate them, but today you will learn the theory to be able to create them yourself.
10m
 9
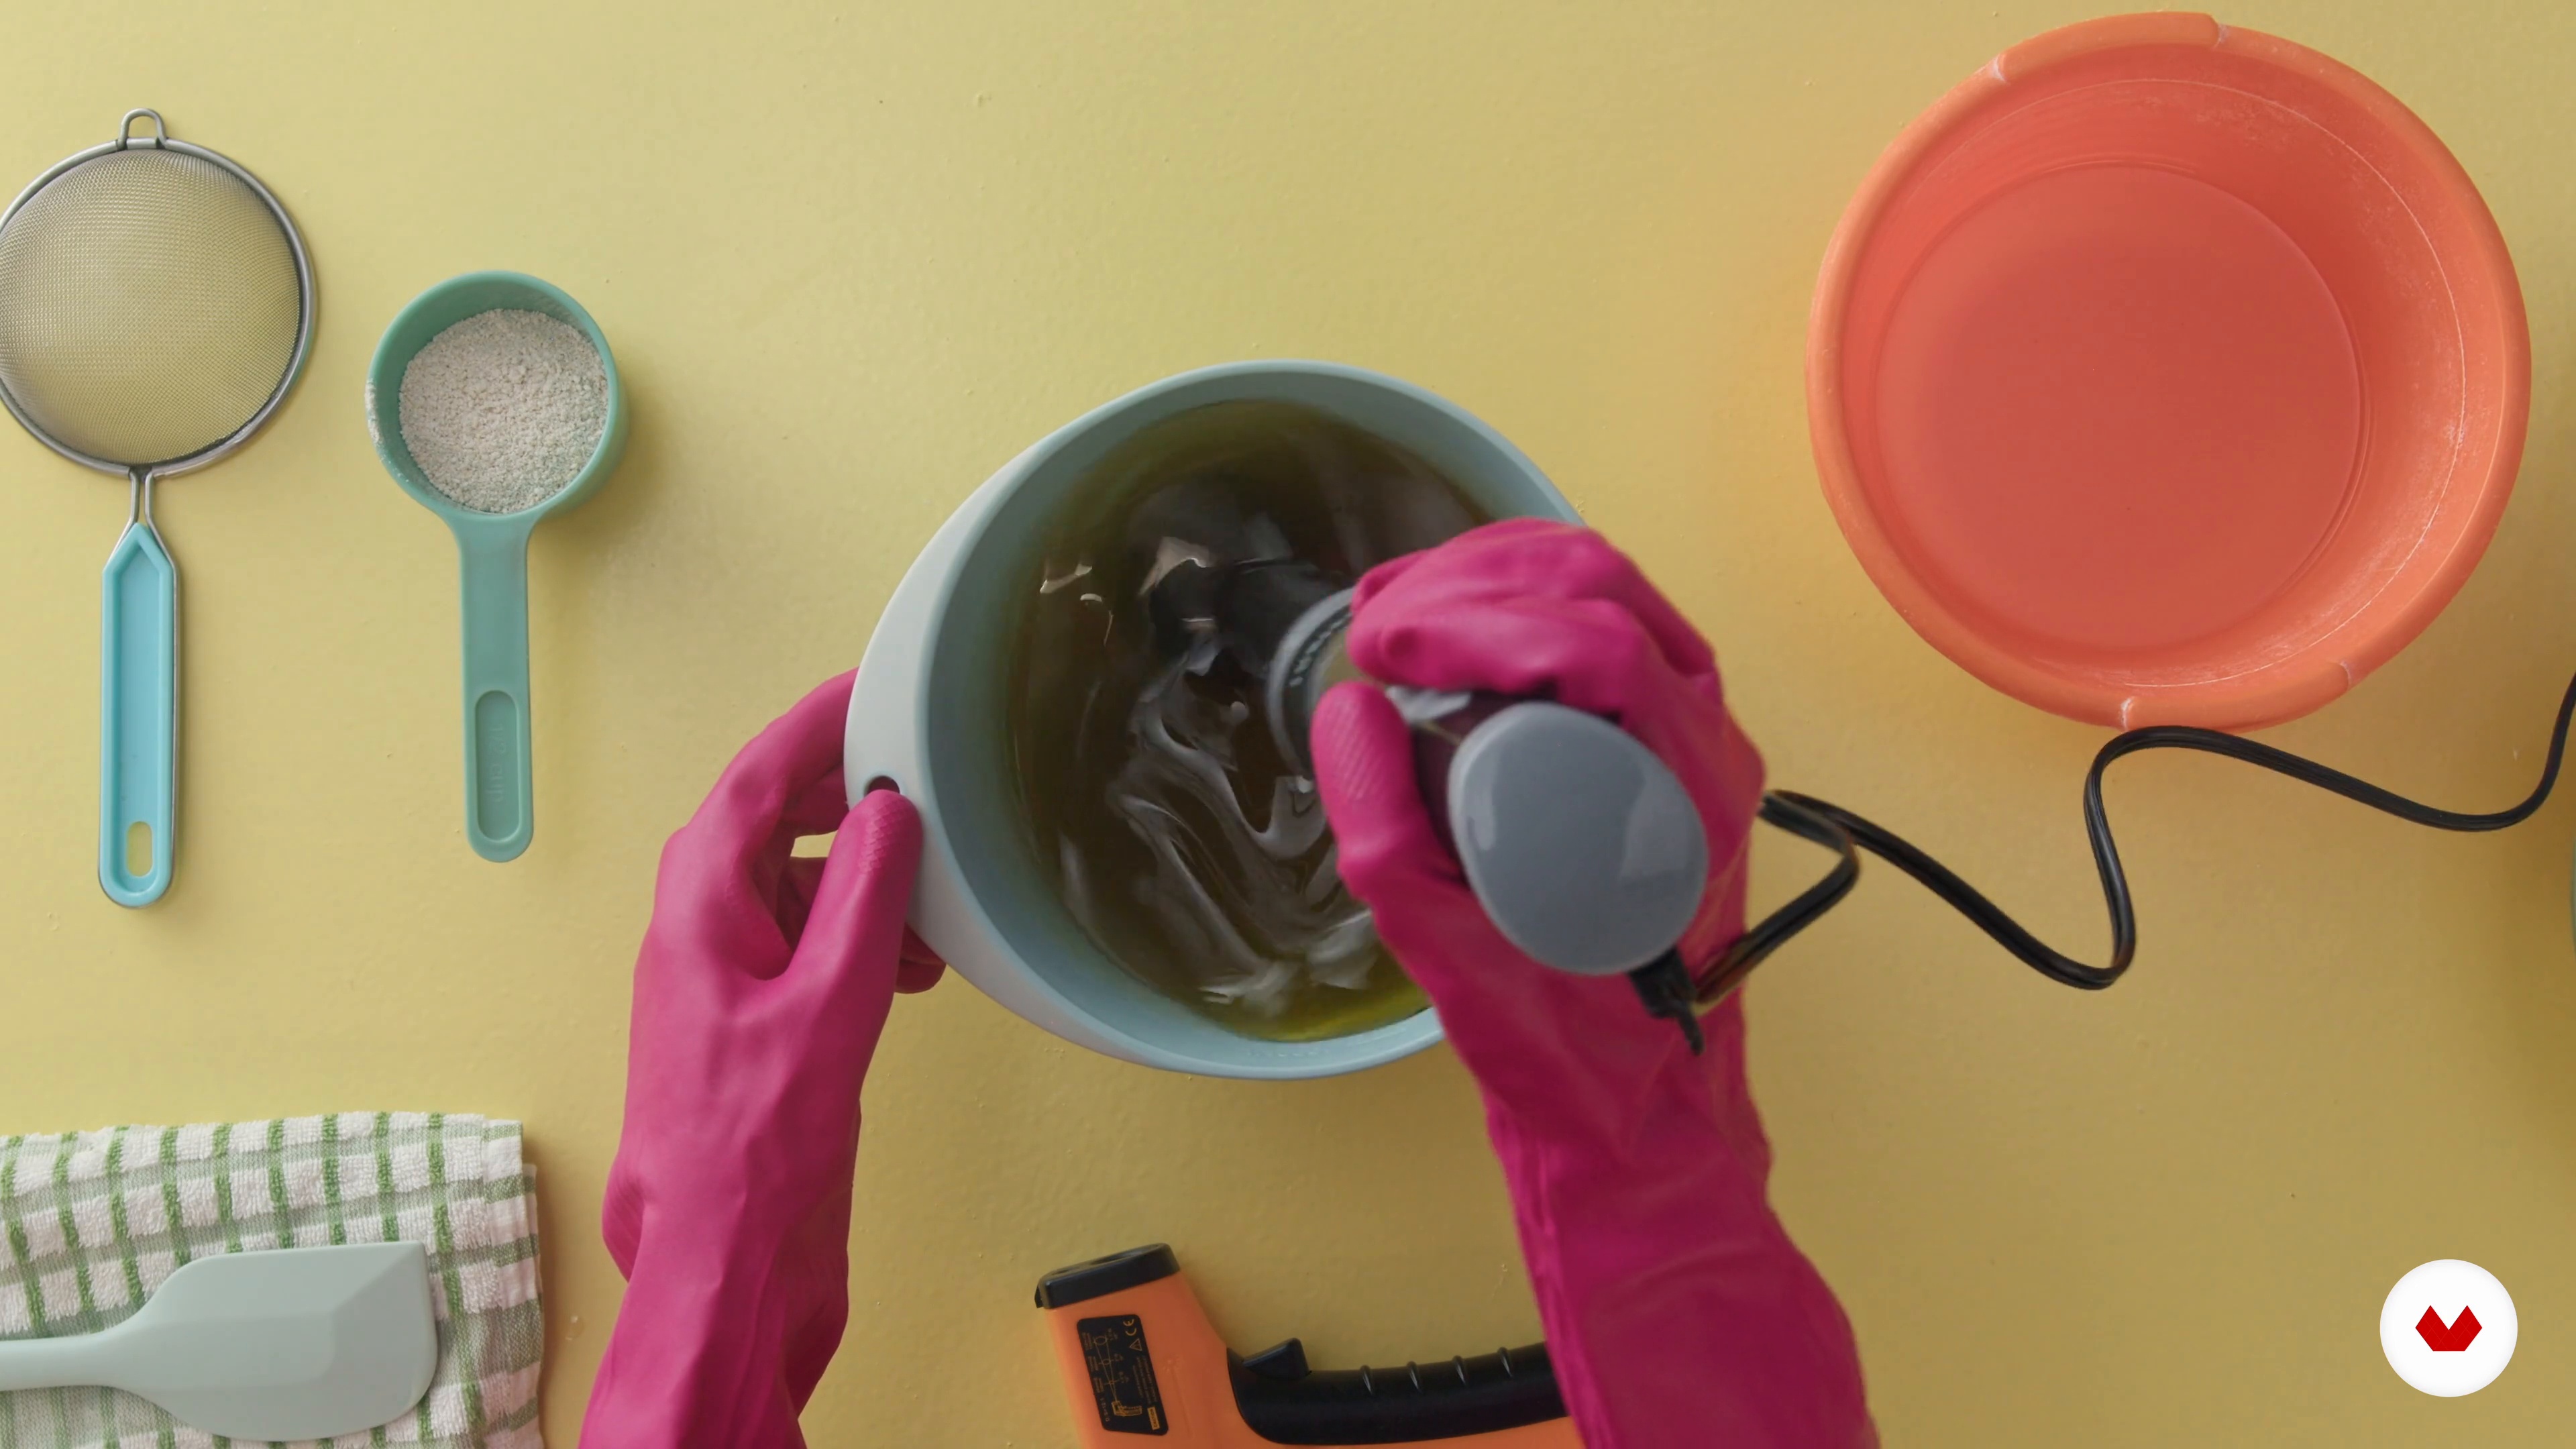
9Elaboration of a Simple Handmade Soap
Let's do it! It's time to make a simple soap. You already know what soap is, how to formulate a recipe and the method to design one, the time has come to put all this into practice, without forgetting the security measures.
16m
 10
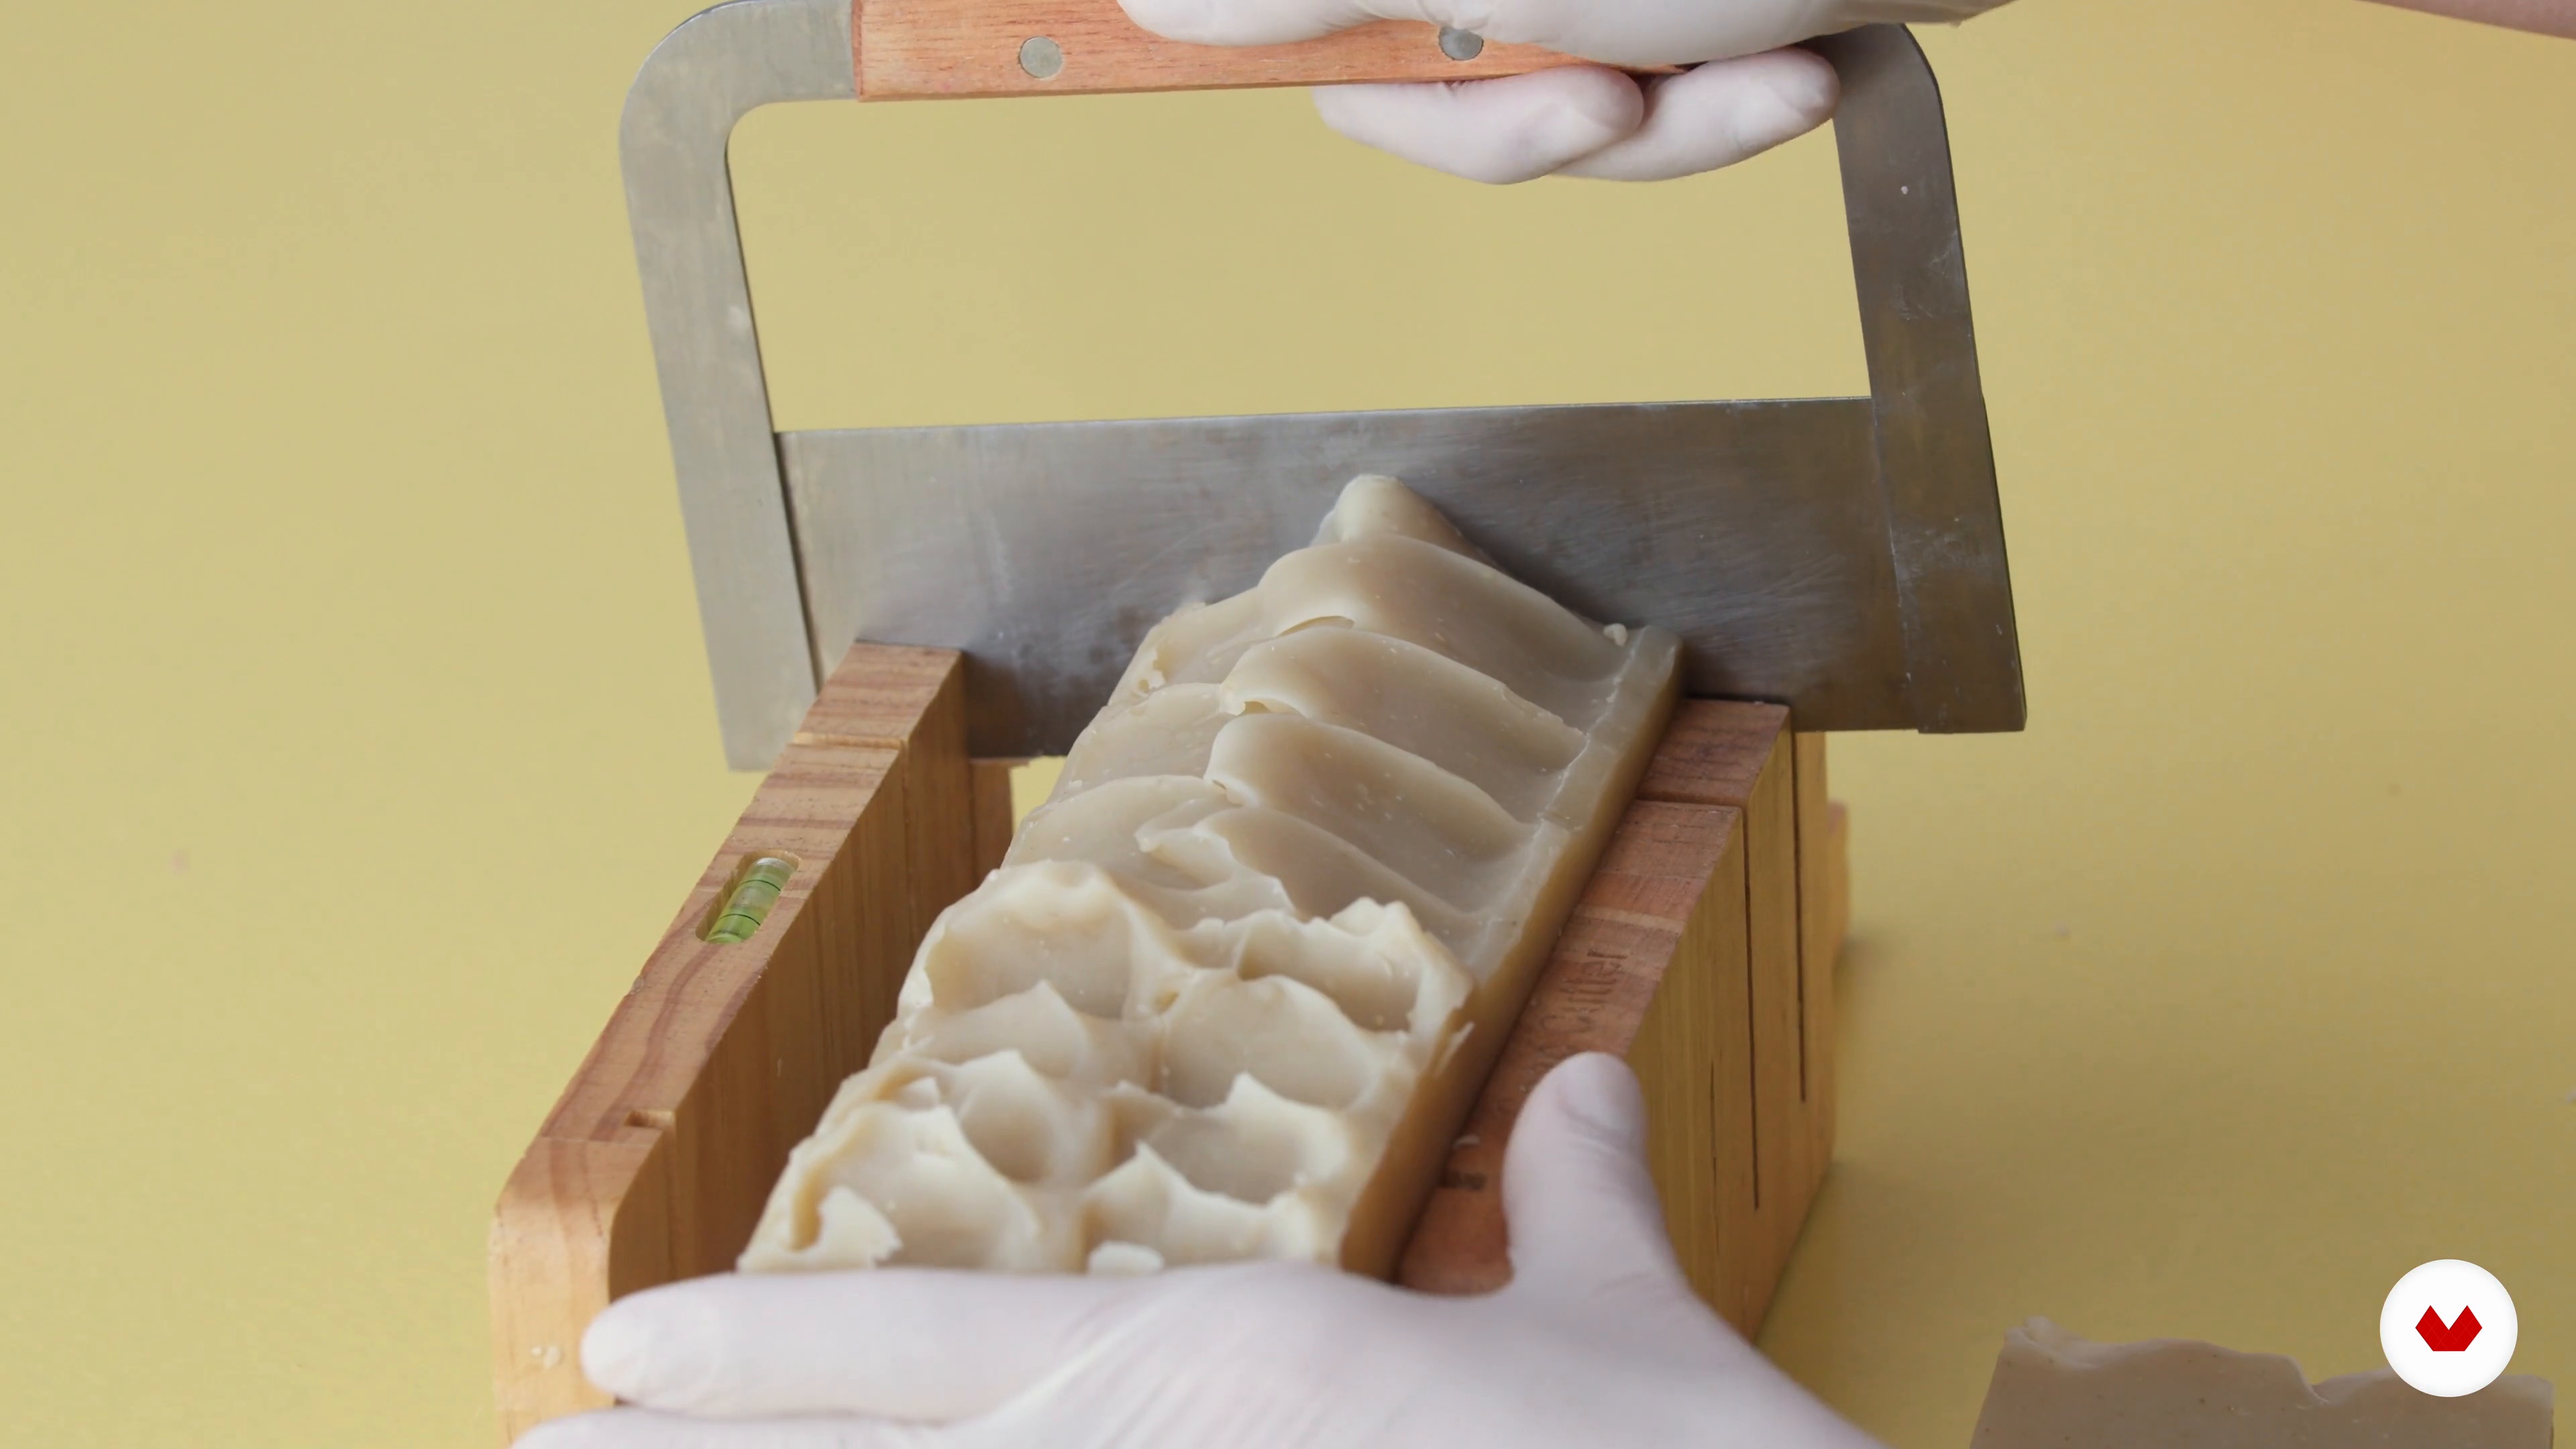
10Cutting, Curing and Storage
You've already made the bar of soap, now what? In this lesson we will talk about cutting the bars, the solidification process and we will give you some tips for their storage.
9m
 11
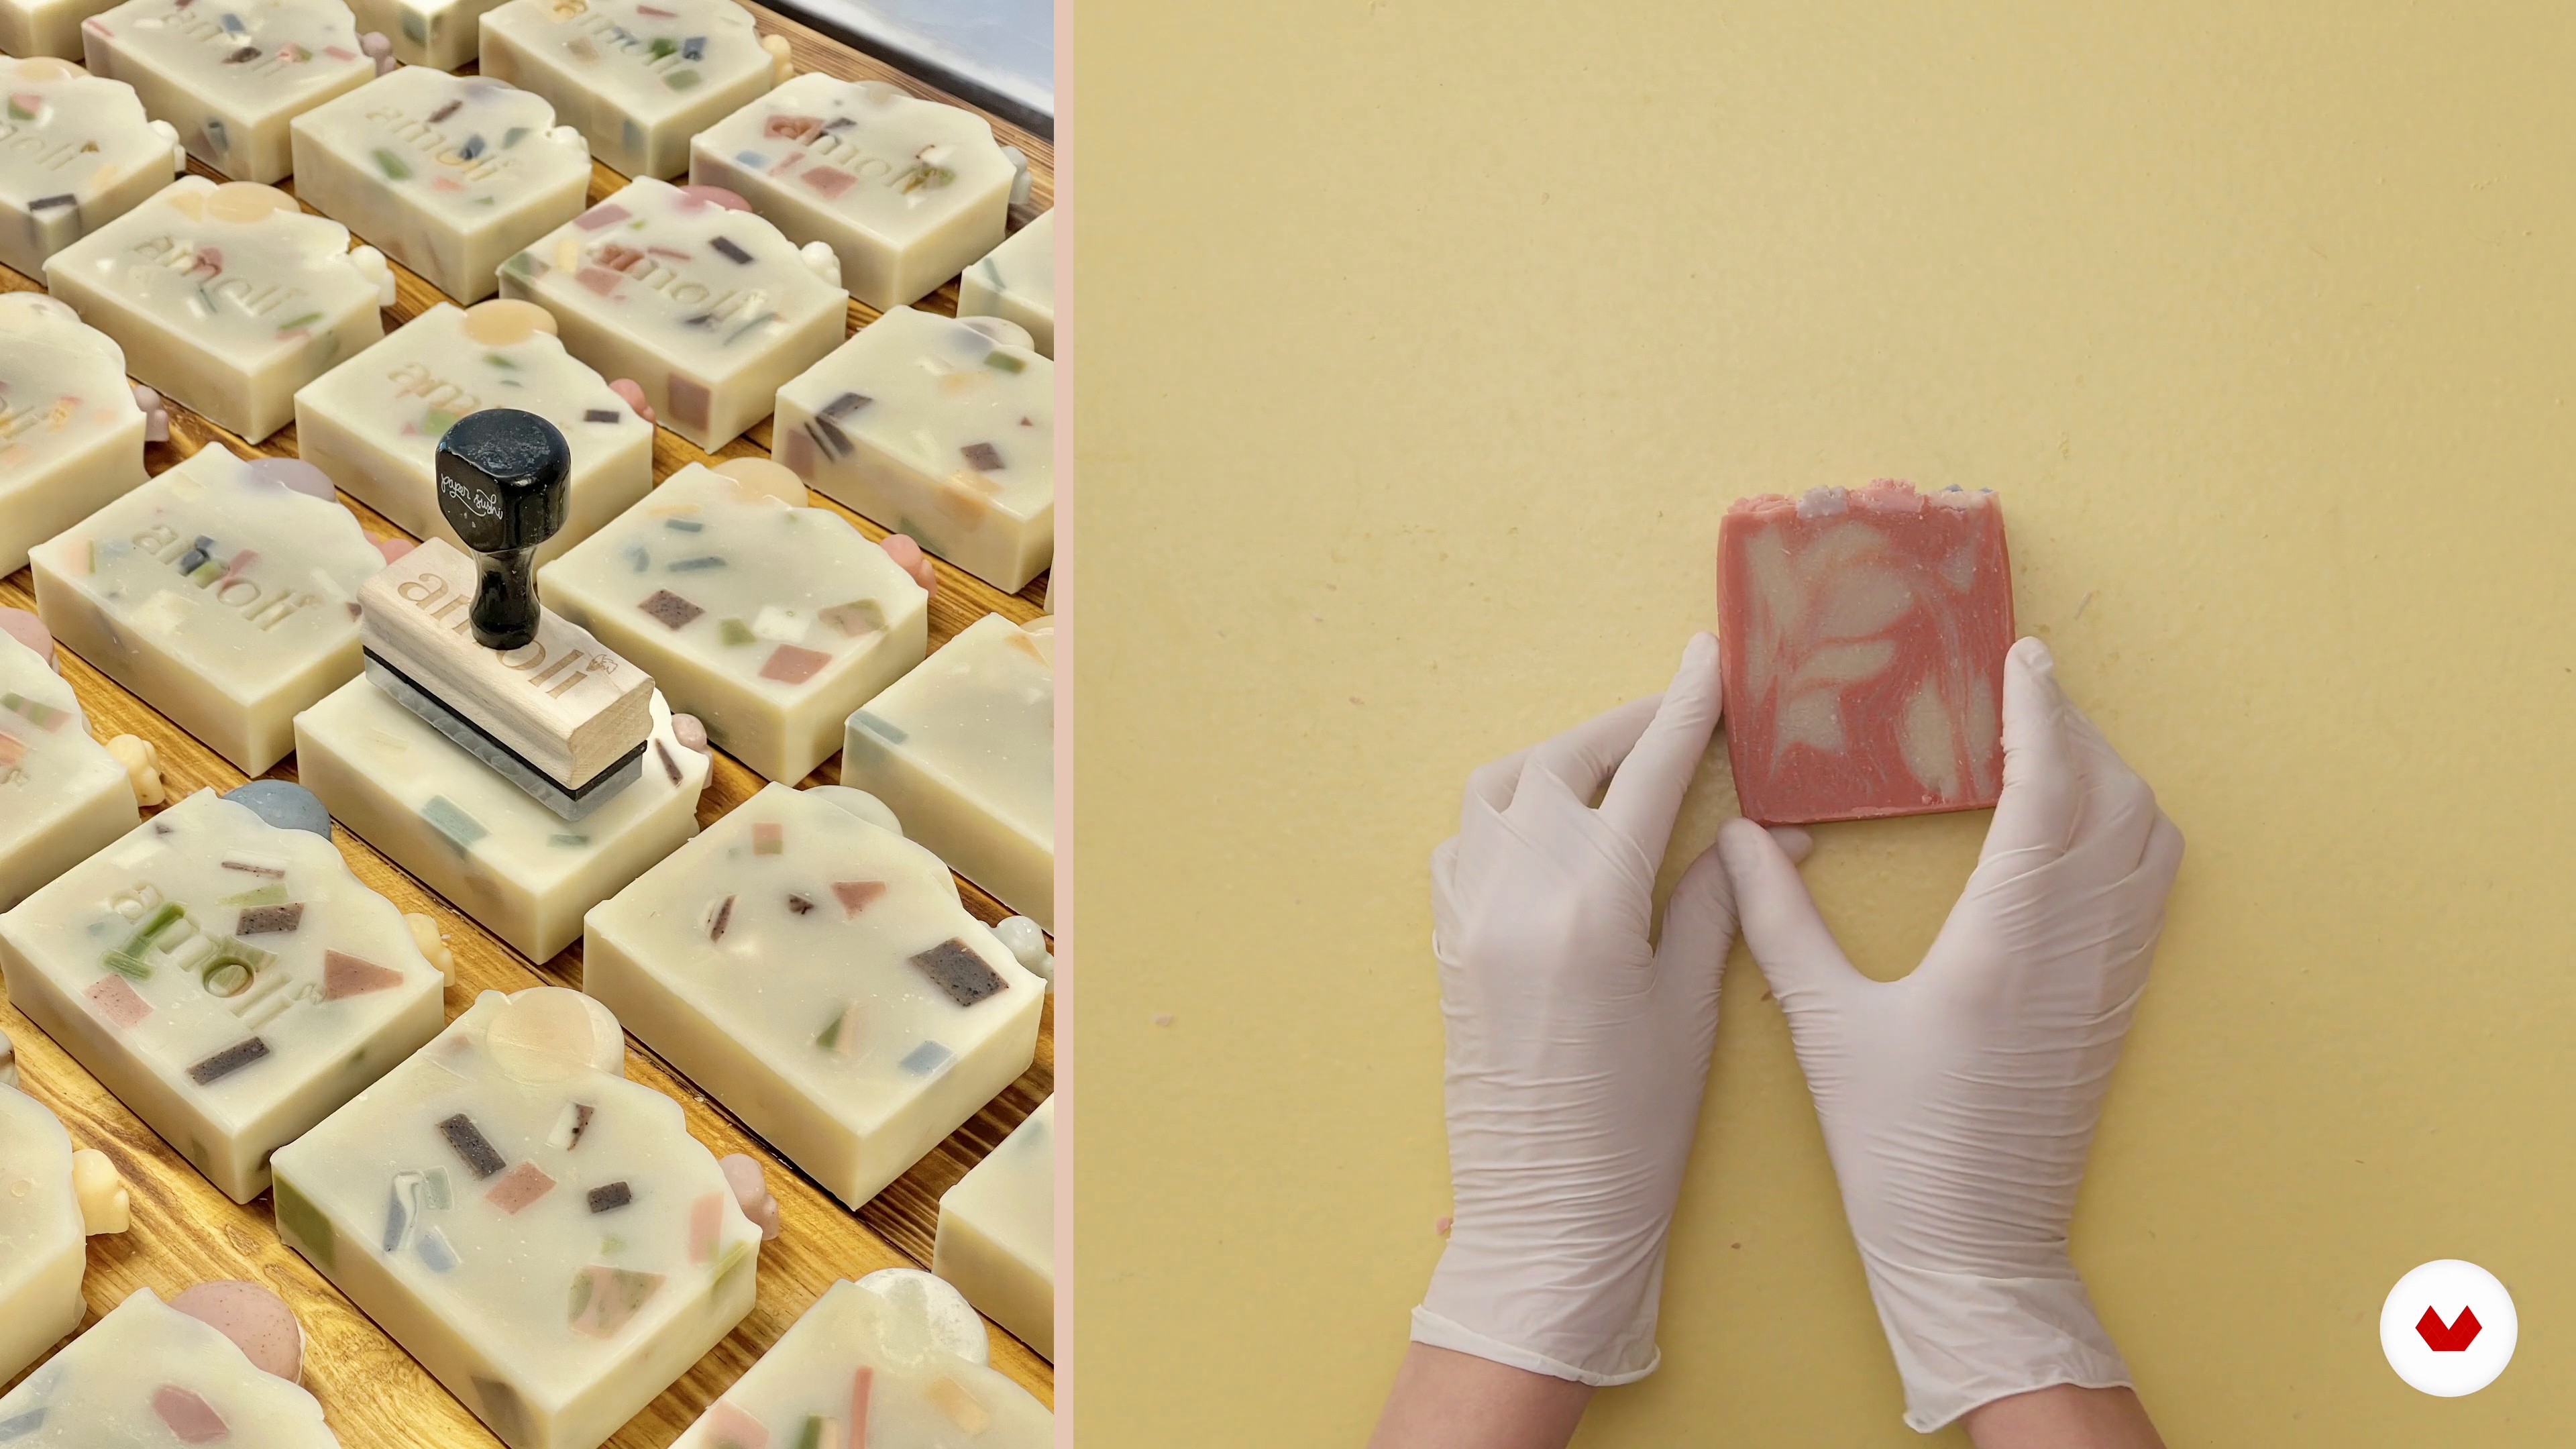
11Making a Soap with a Composite Design
You already know how to make a simple handmade soap, but now it's time to learn about the techniques of coloring a soap, adding scent and soap embeds on top to create an amazing design.
16m
 3
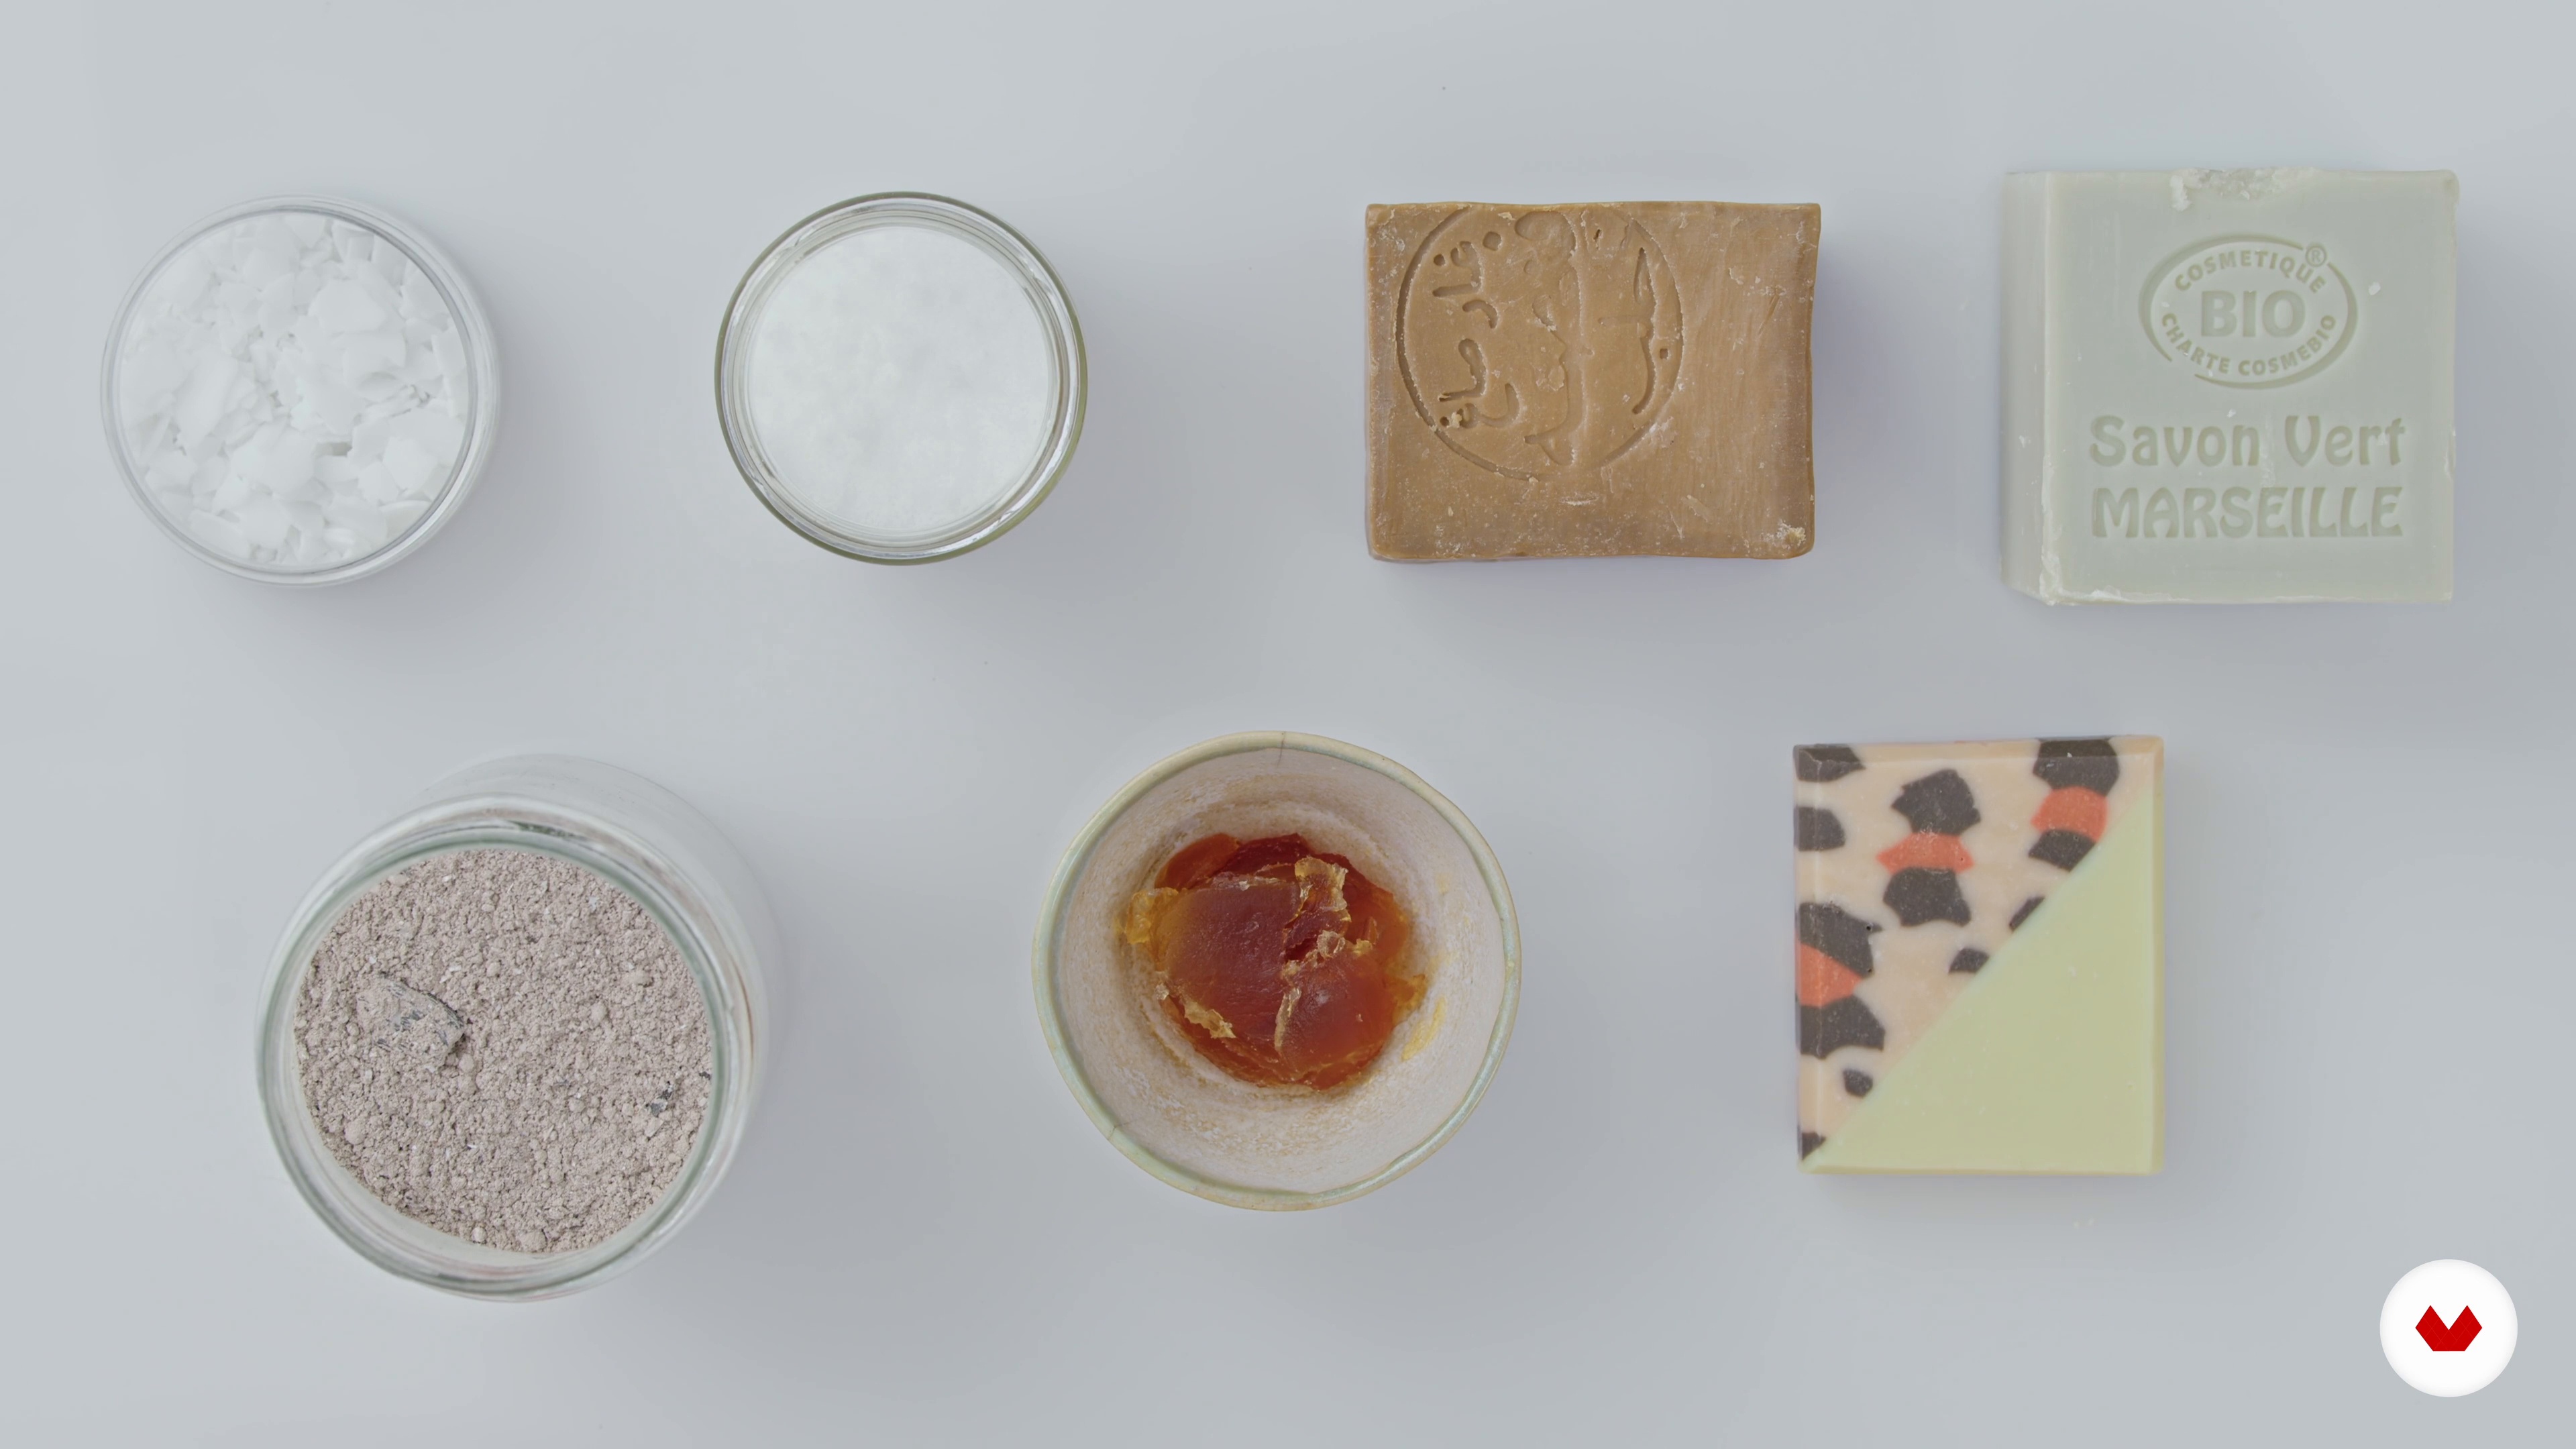
3Cold Process Soap
Soap is the result of a chemical reaction between fats and a caustic soda solution. A soap is a detergent. It allows us to get rid of odorous or pathogenic bacteria, fungi and viruses responsible for infections. Soap is an essential hygiene product for human health.
5m
 4
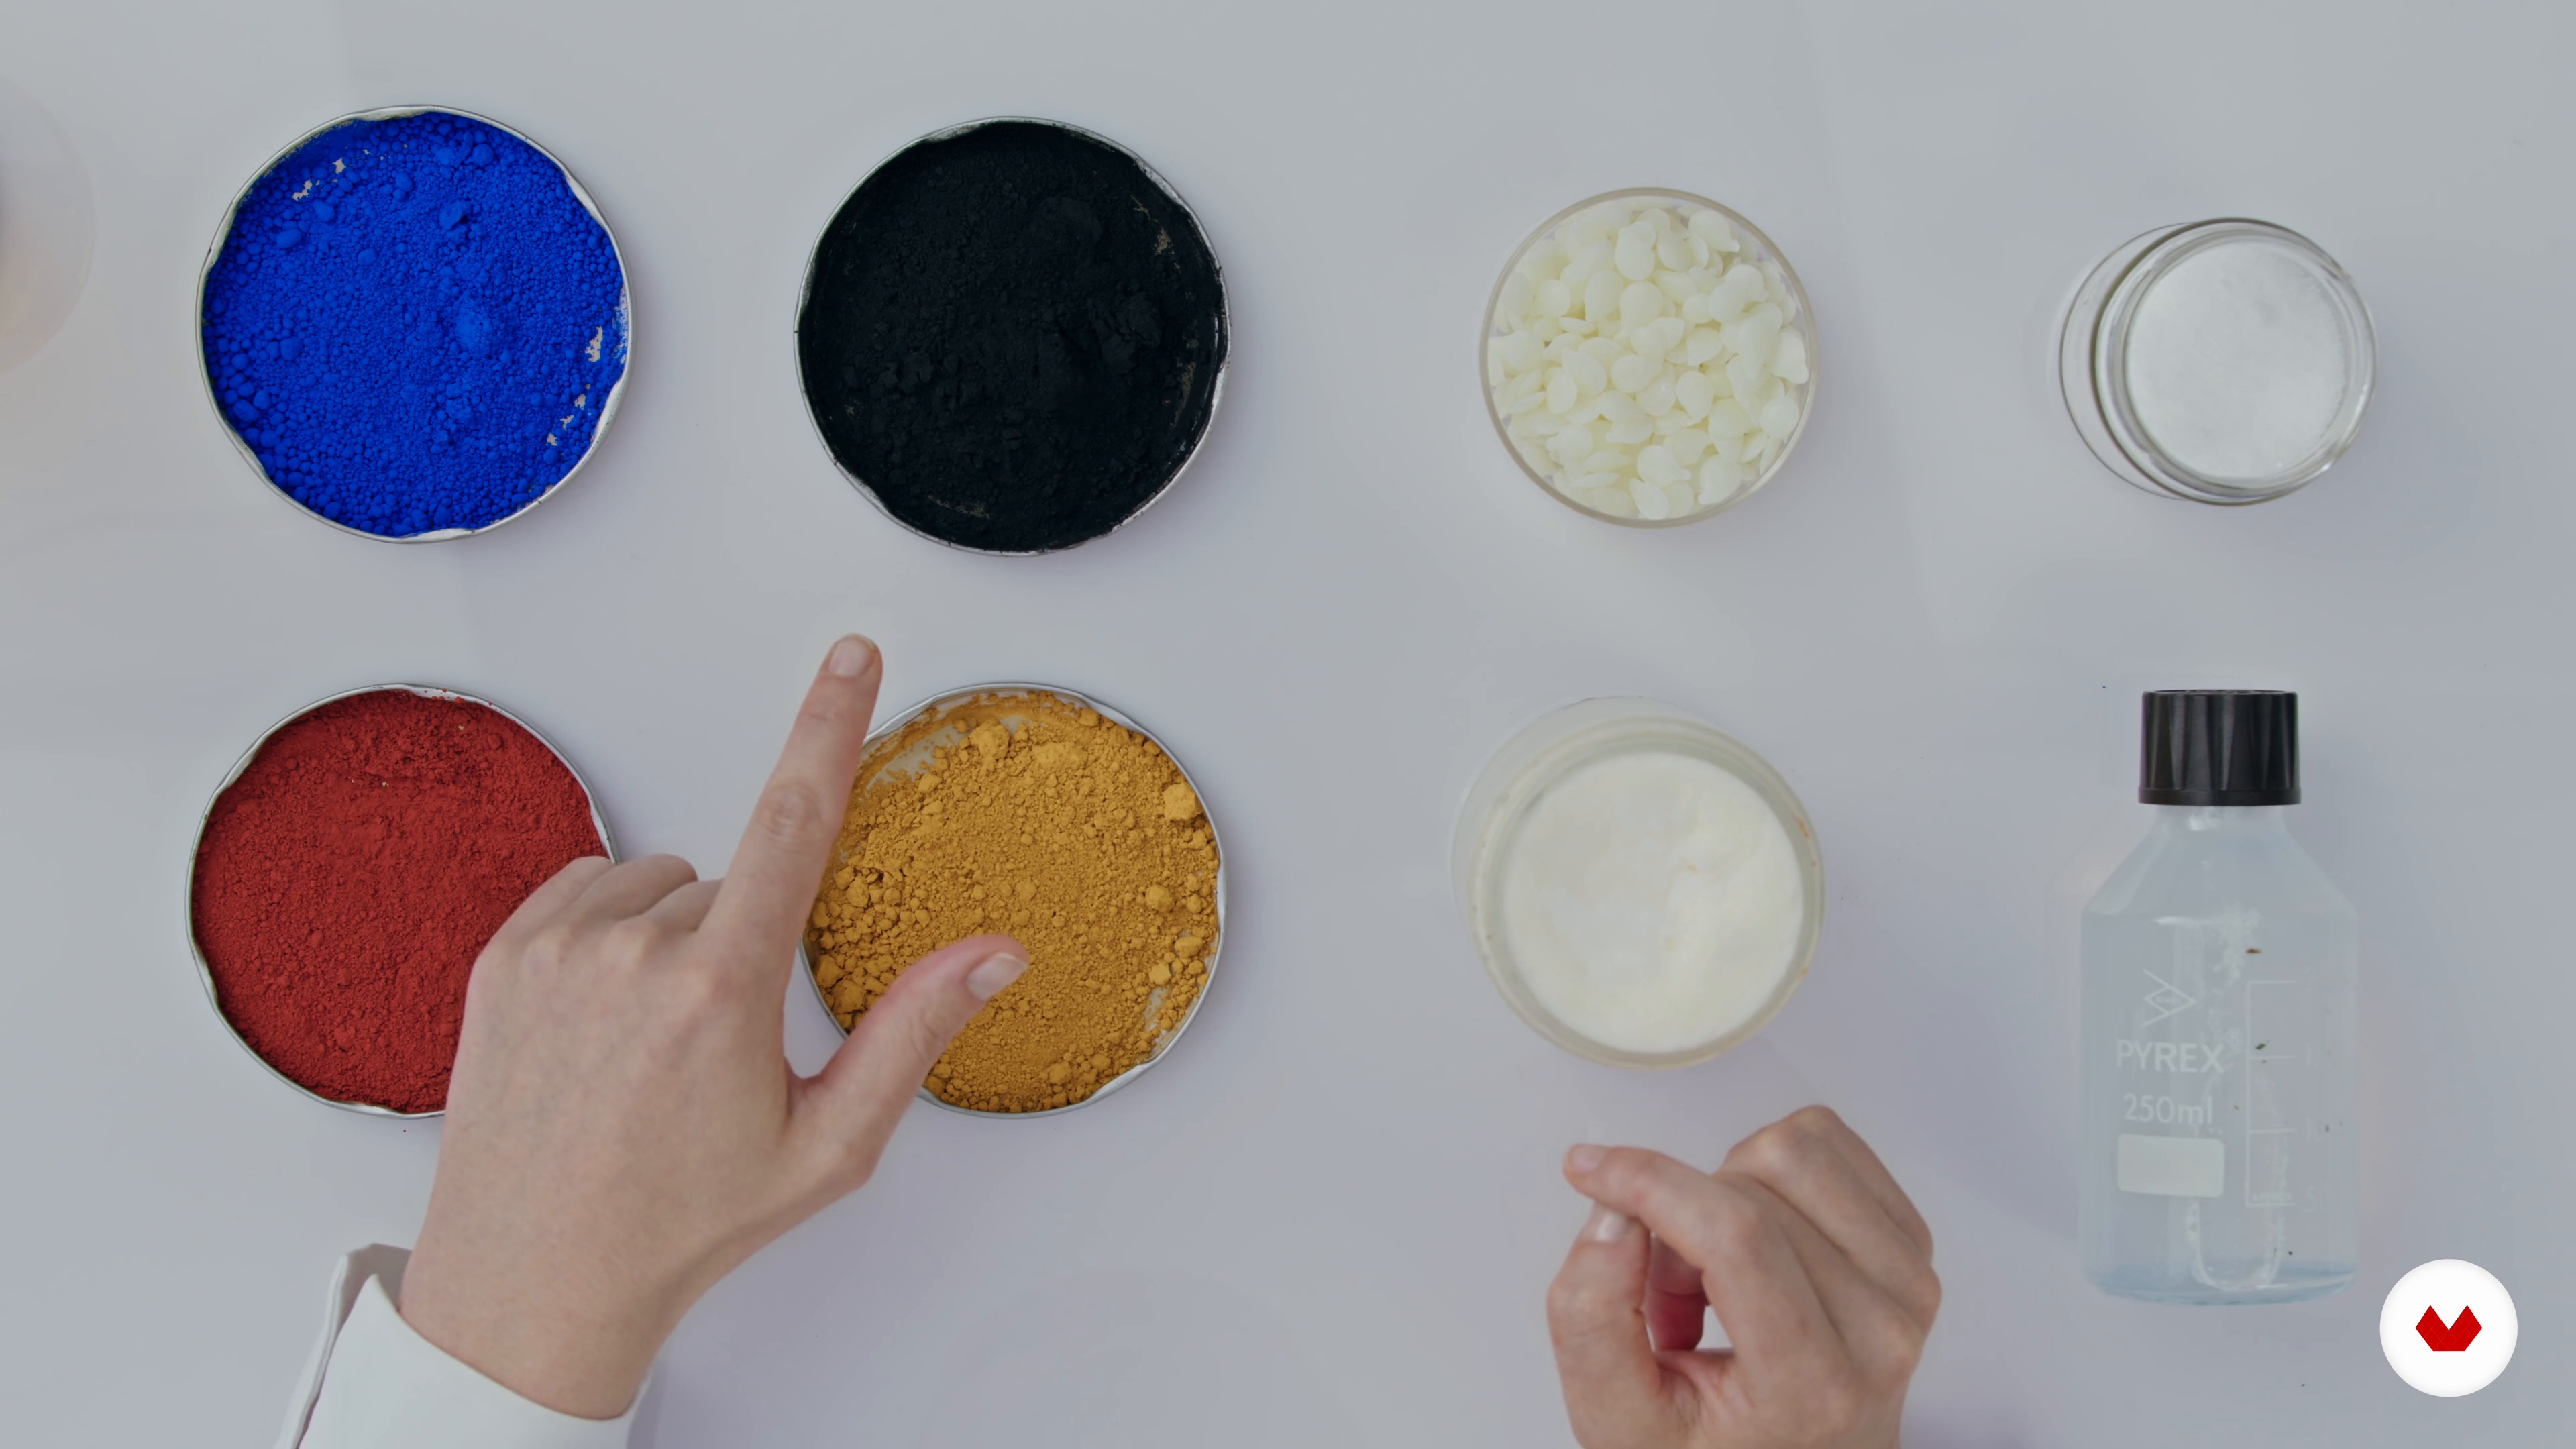
4Raw materials
In this lesson, you will deepen your knowledge of the raw materials used to understand why I selected them. Understanding is the key to reappropriation and the possibility of developing creations that are as aesthetic as they are pleasant.
3m
 5
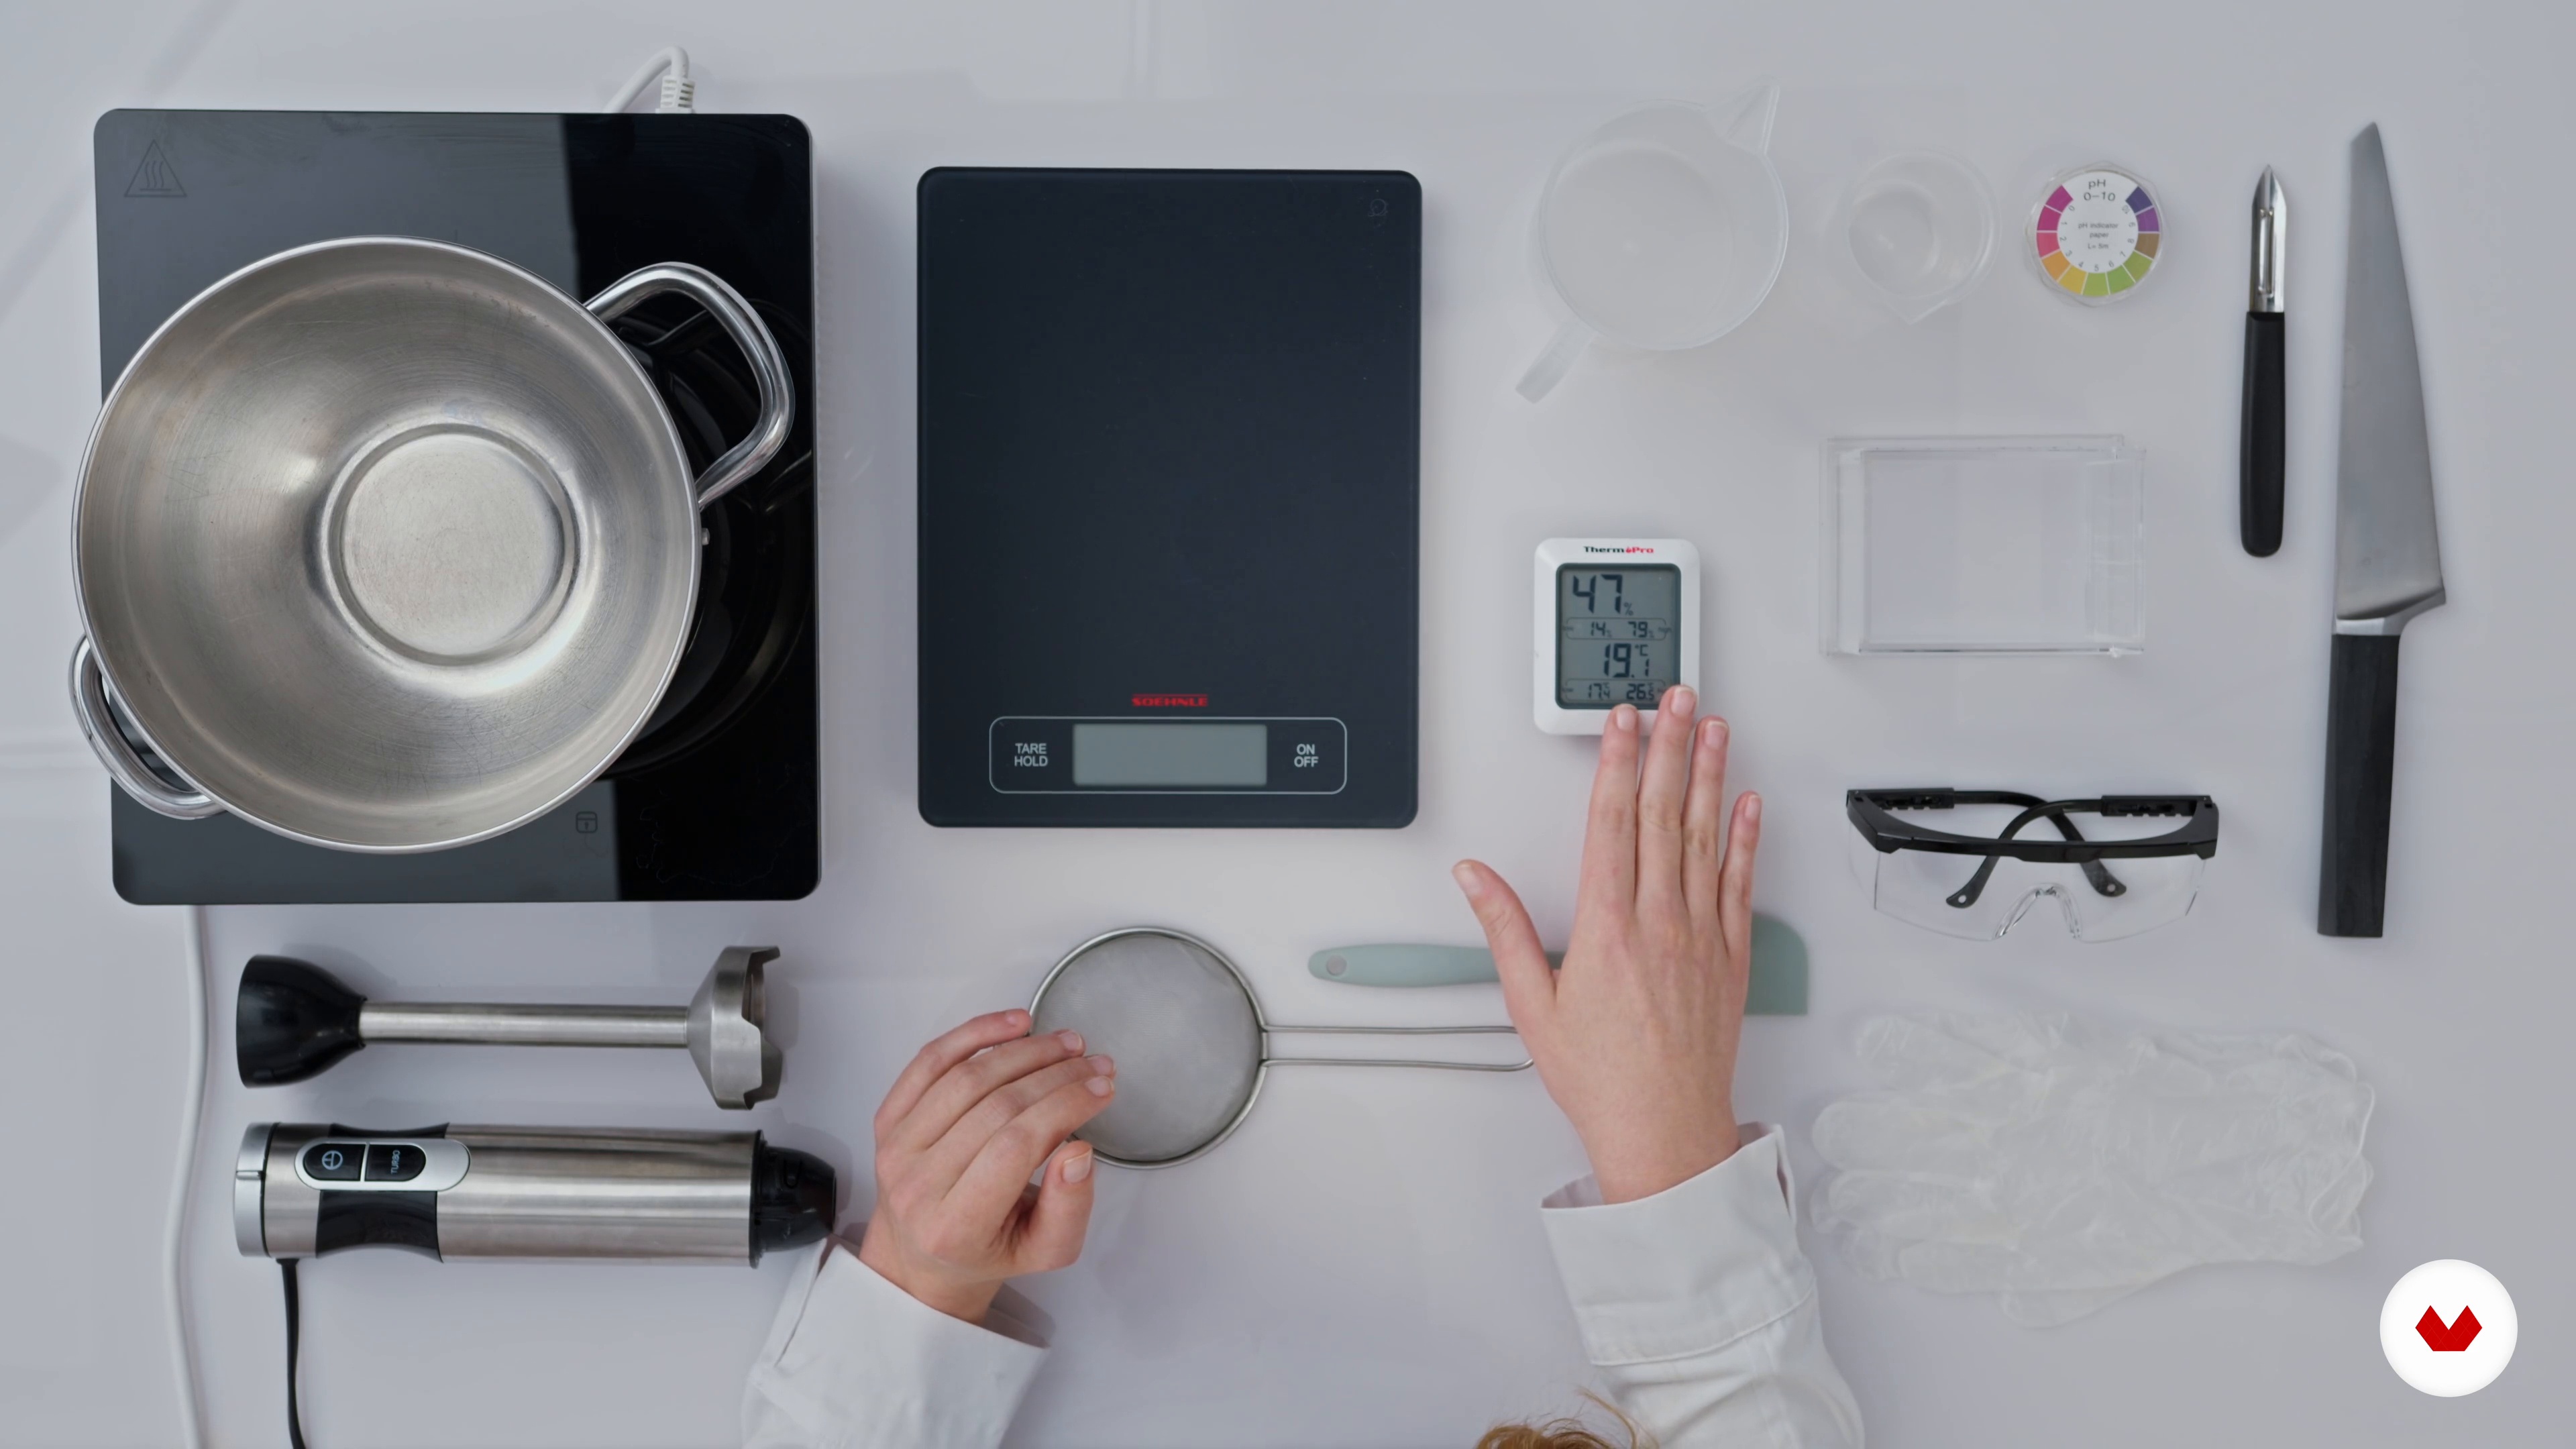
5Tools, protection, and your workstation
Soap is a cosmetic product. Just like with food, it's important to follow certain hygiene rules. In addition, caustic soda is an irritant, requiring you to follow some specific safety rules. Don't worry, it's not impossible.
5m
 6
6Calculators
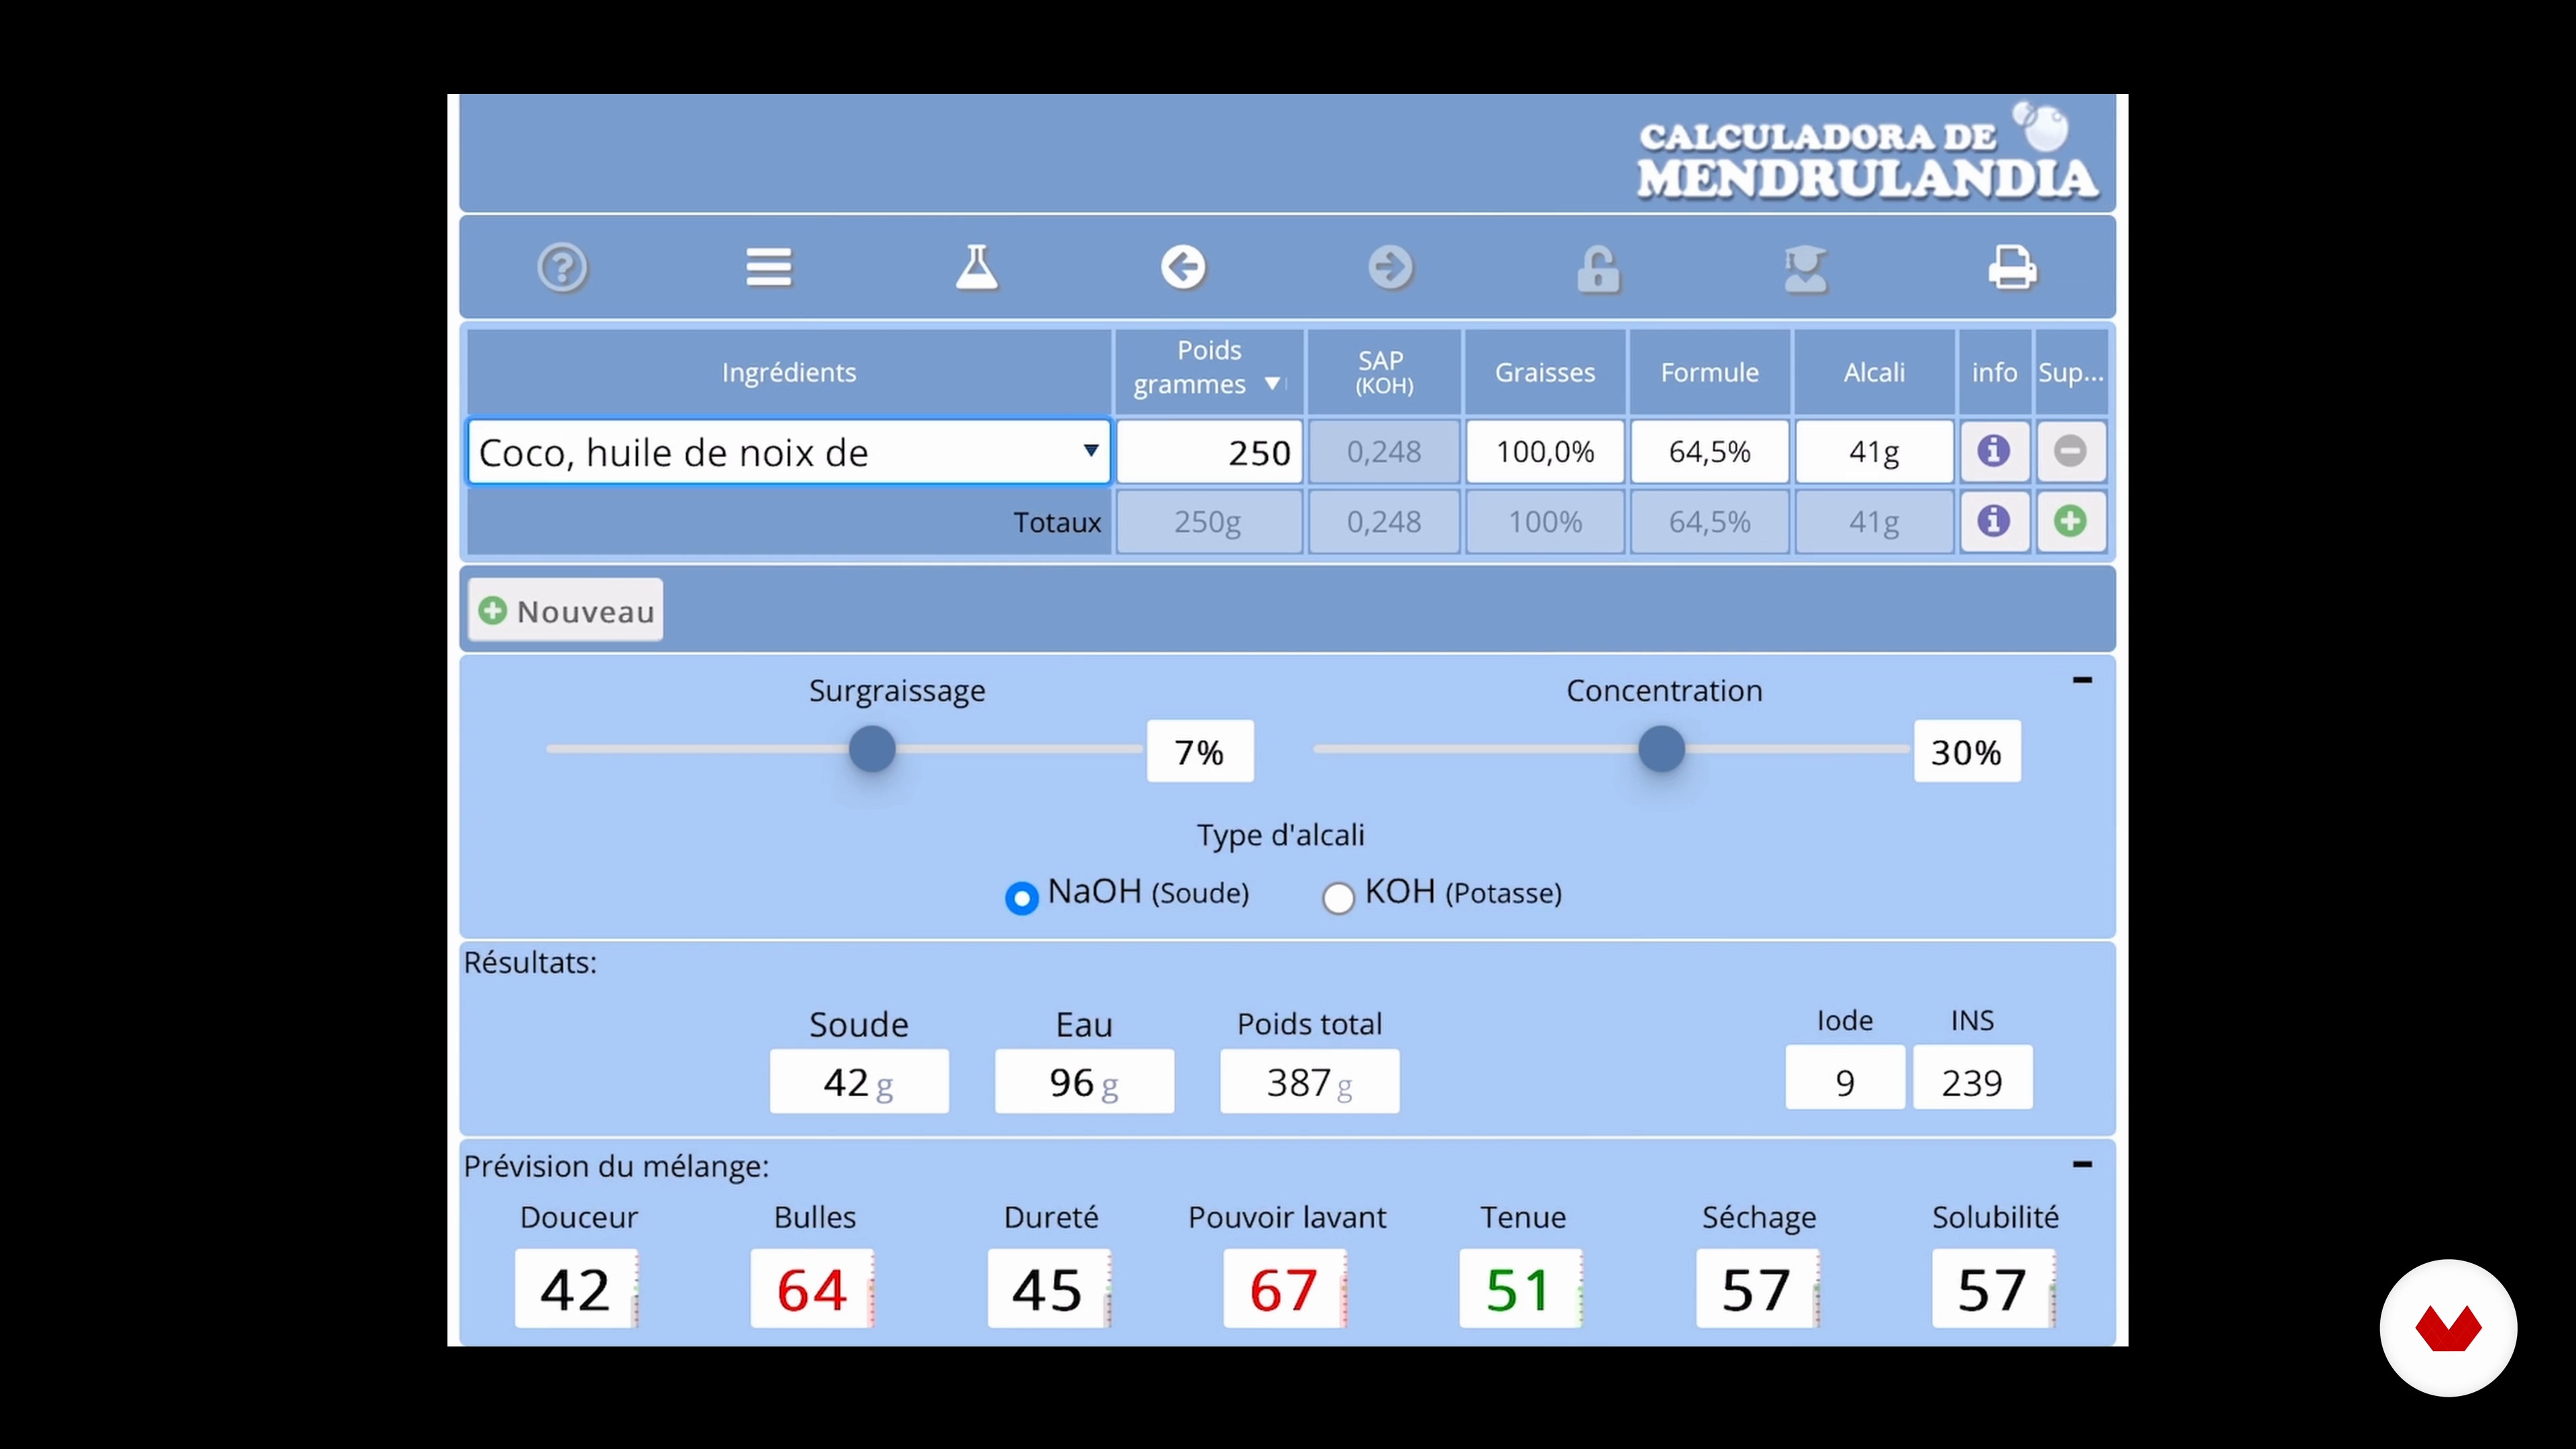
In saponification, each fat has its own saponification index. It depends on the fatty acids they contain and the unsaponifiables. In an already established recipe, you cannot replace one ingredient with another without recalculating your caustic soda. I suggest you work with the Mendrulandia calculator, very easy to use, it will allow you to establish your own recipes.
5m
 7
7Inspiration and Sketches
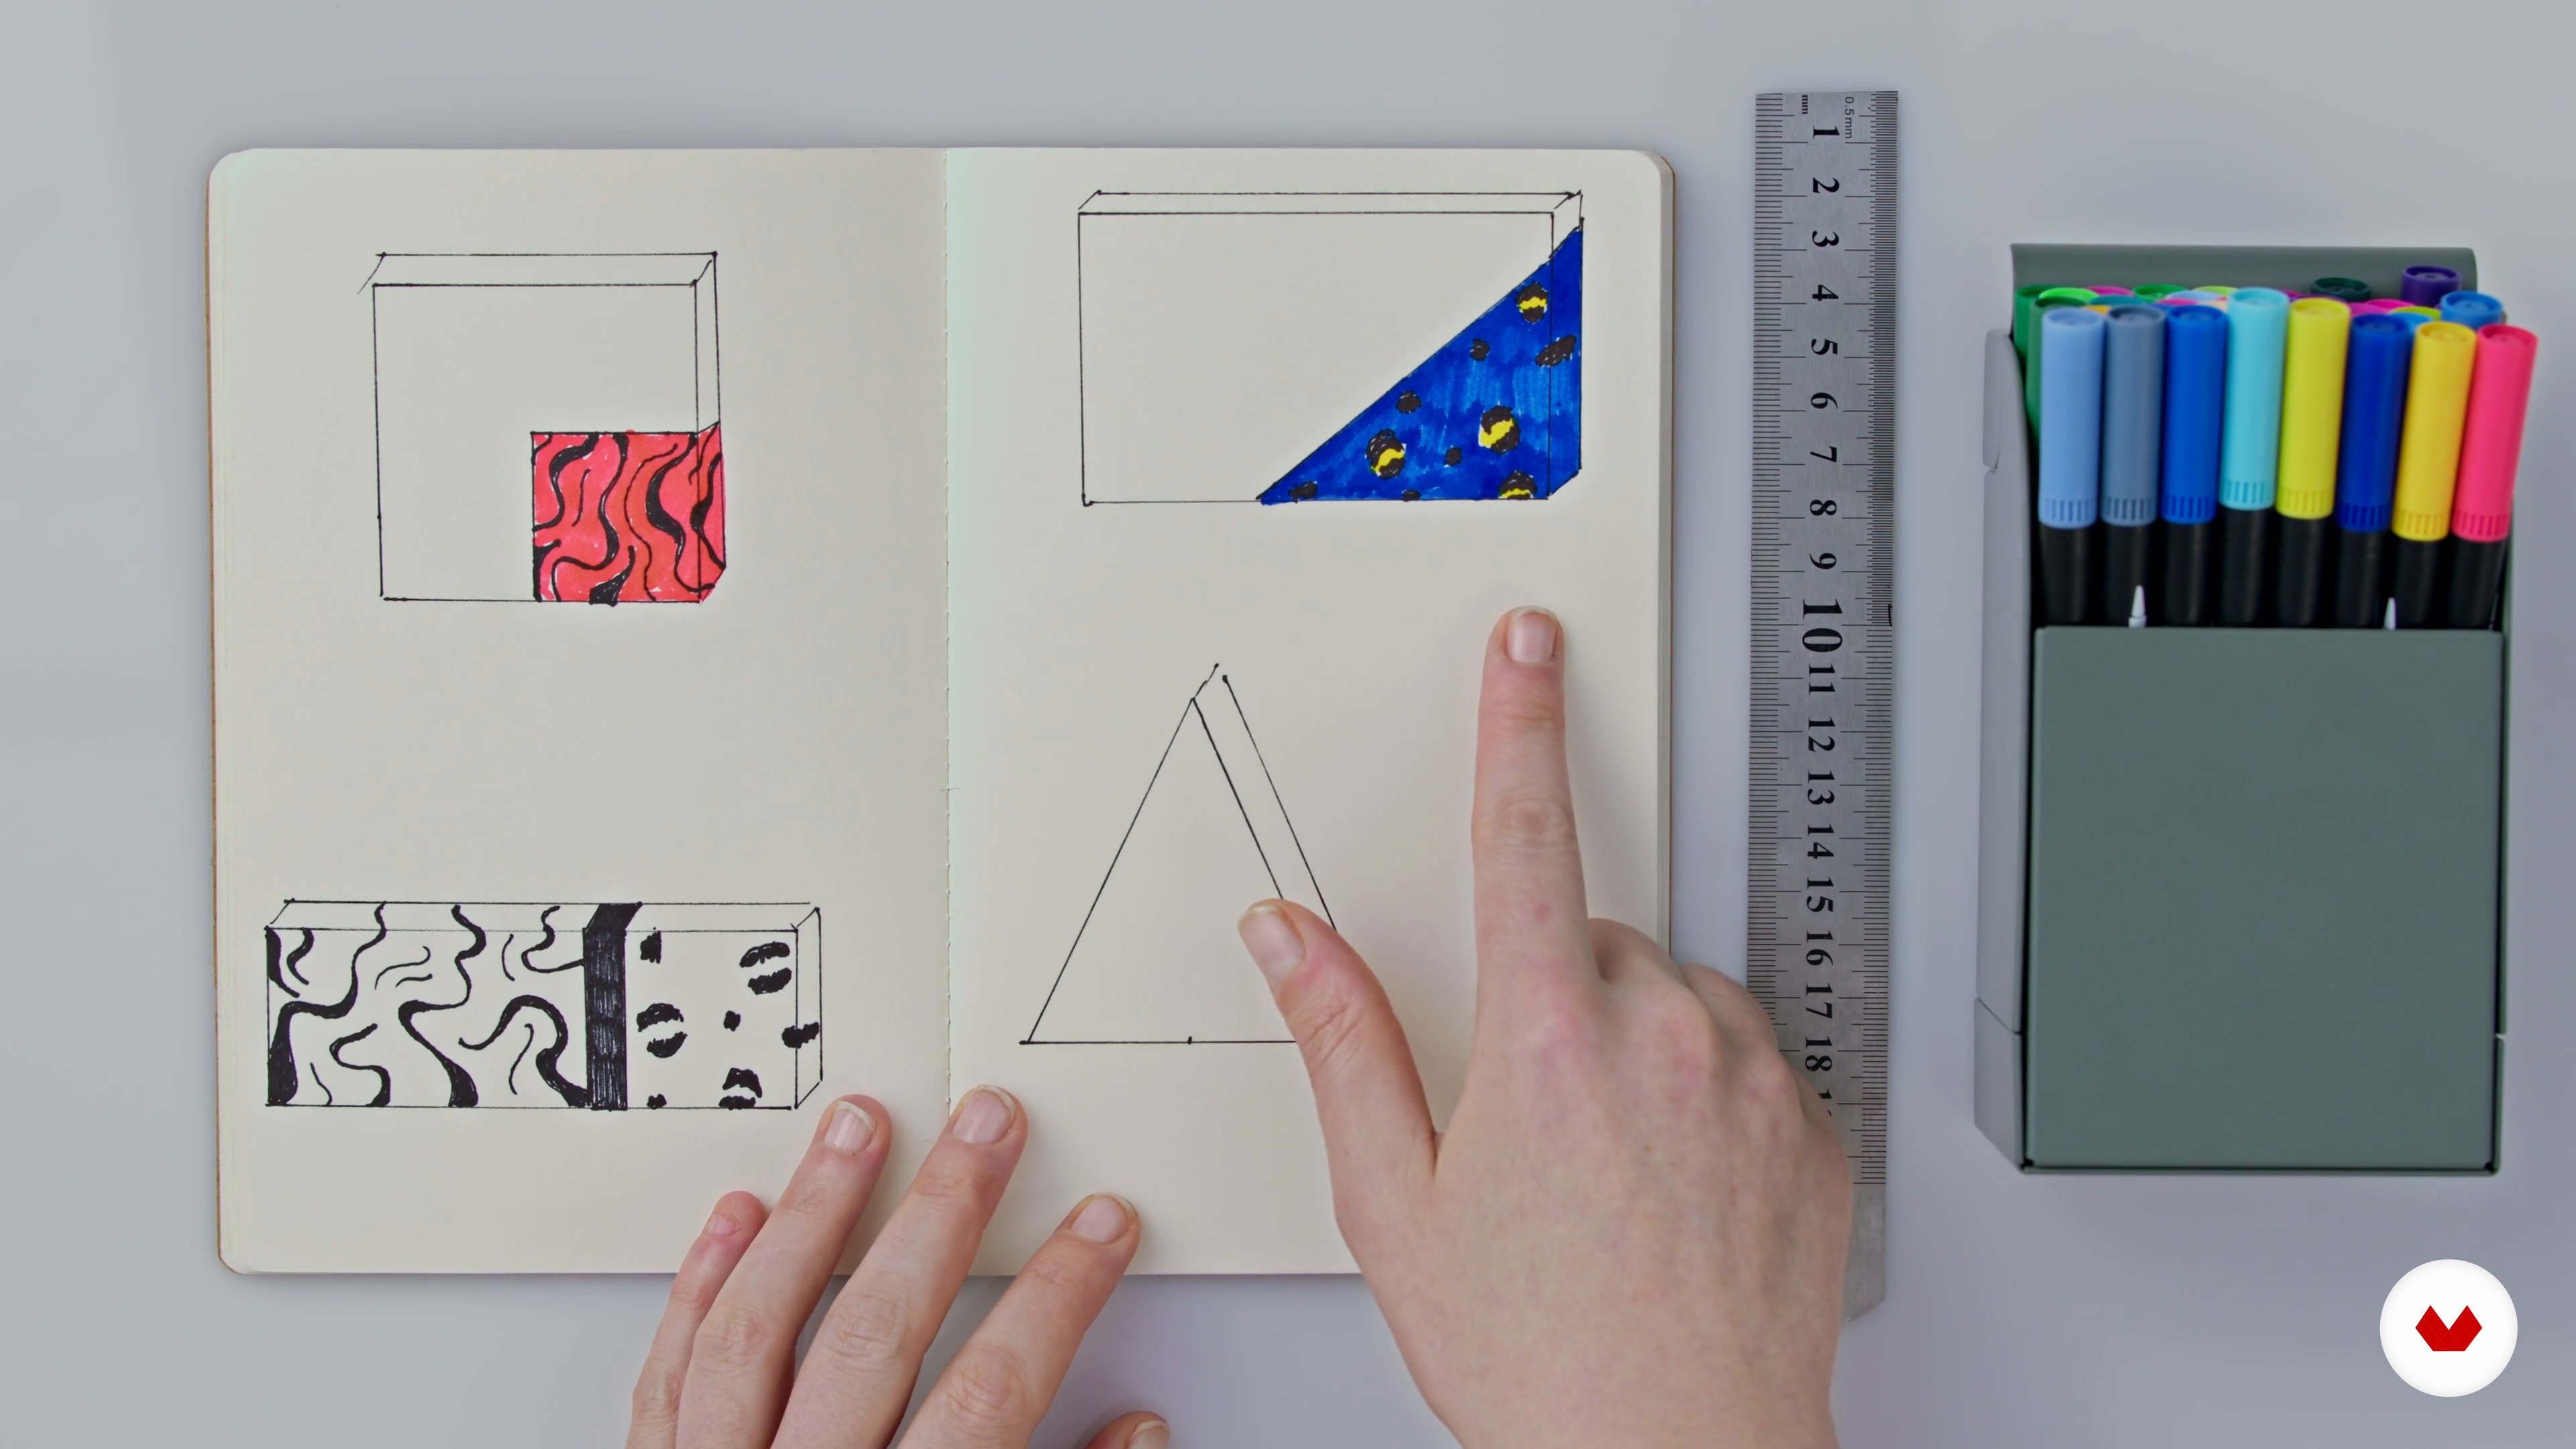
We are going to plan together before the realization of the course project and see how we are going to distribute the volumes, mix the techniques, to create a modern soap. In my case, I will build a timeless pattern, the leopard.
9m
 8
8Recipe and Colors
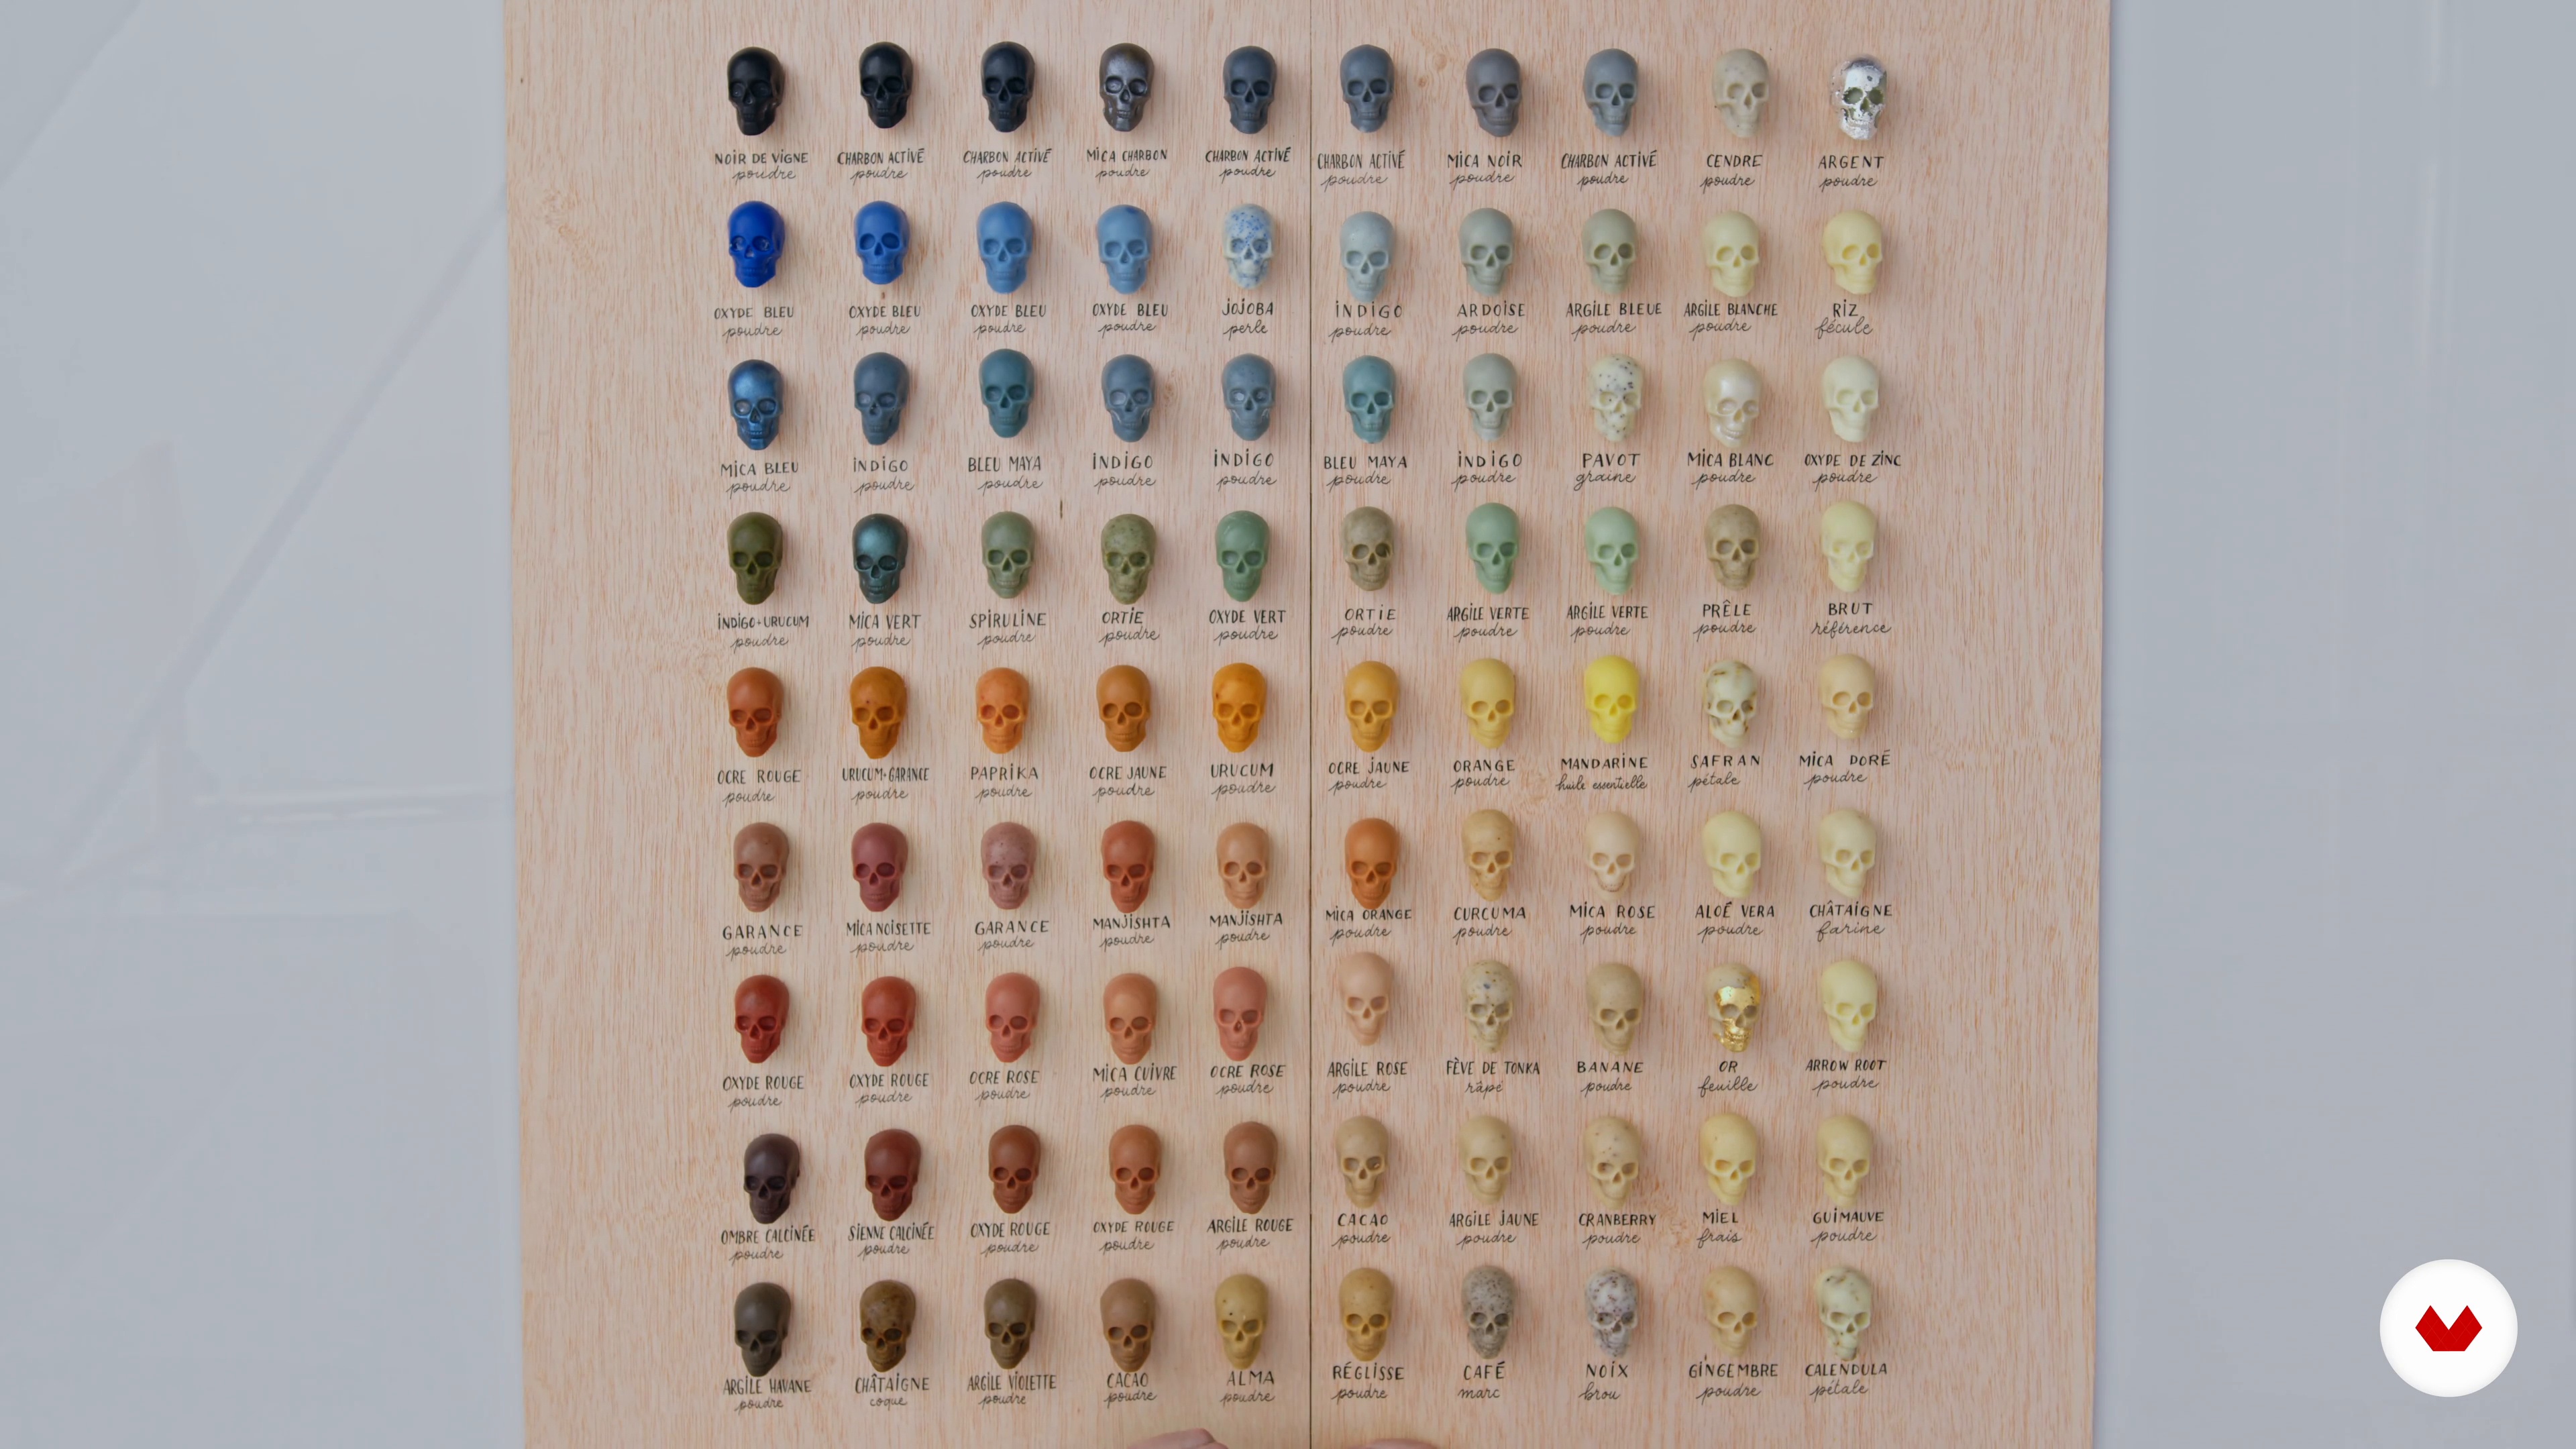
Now, I'm going to show you how to establish a basic, simple and economical recipe! Inspired by Marseille soap, I would choose olive for the softness and coconut oil for the abundant lather. My little extra is a little wax, here bee, but it can be replaced by vegetable wax to limit the melting of the soap and save it as much as possible as you wash.
6m
 9
9Preparation
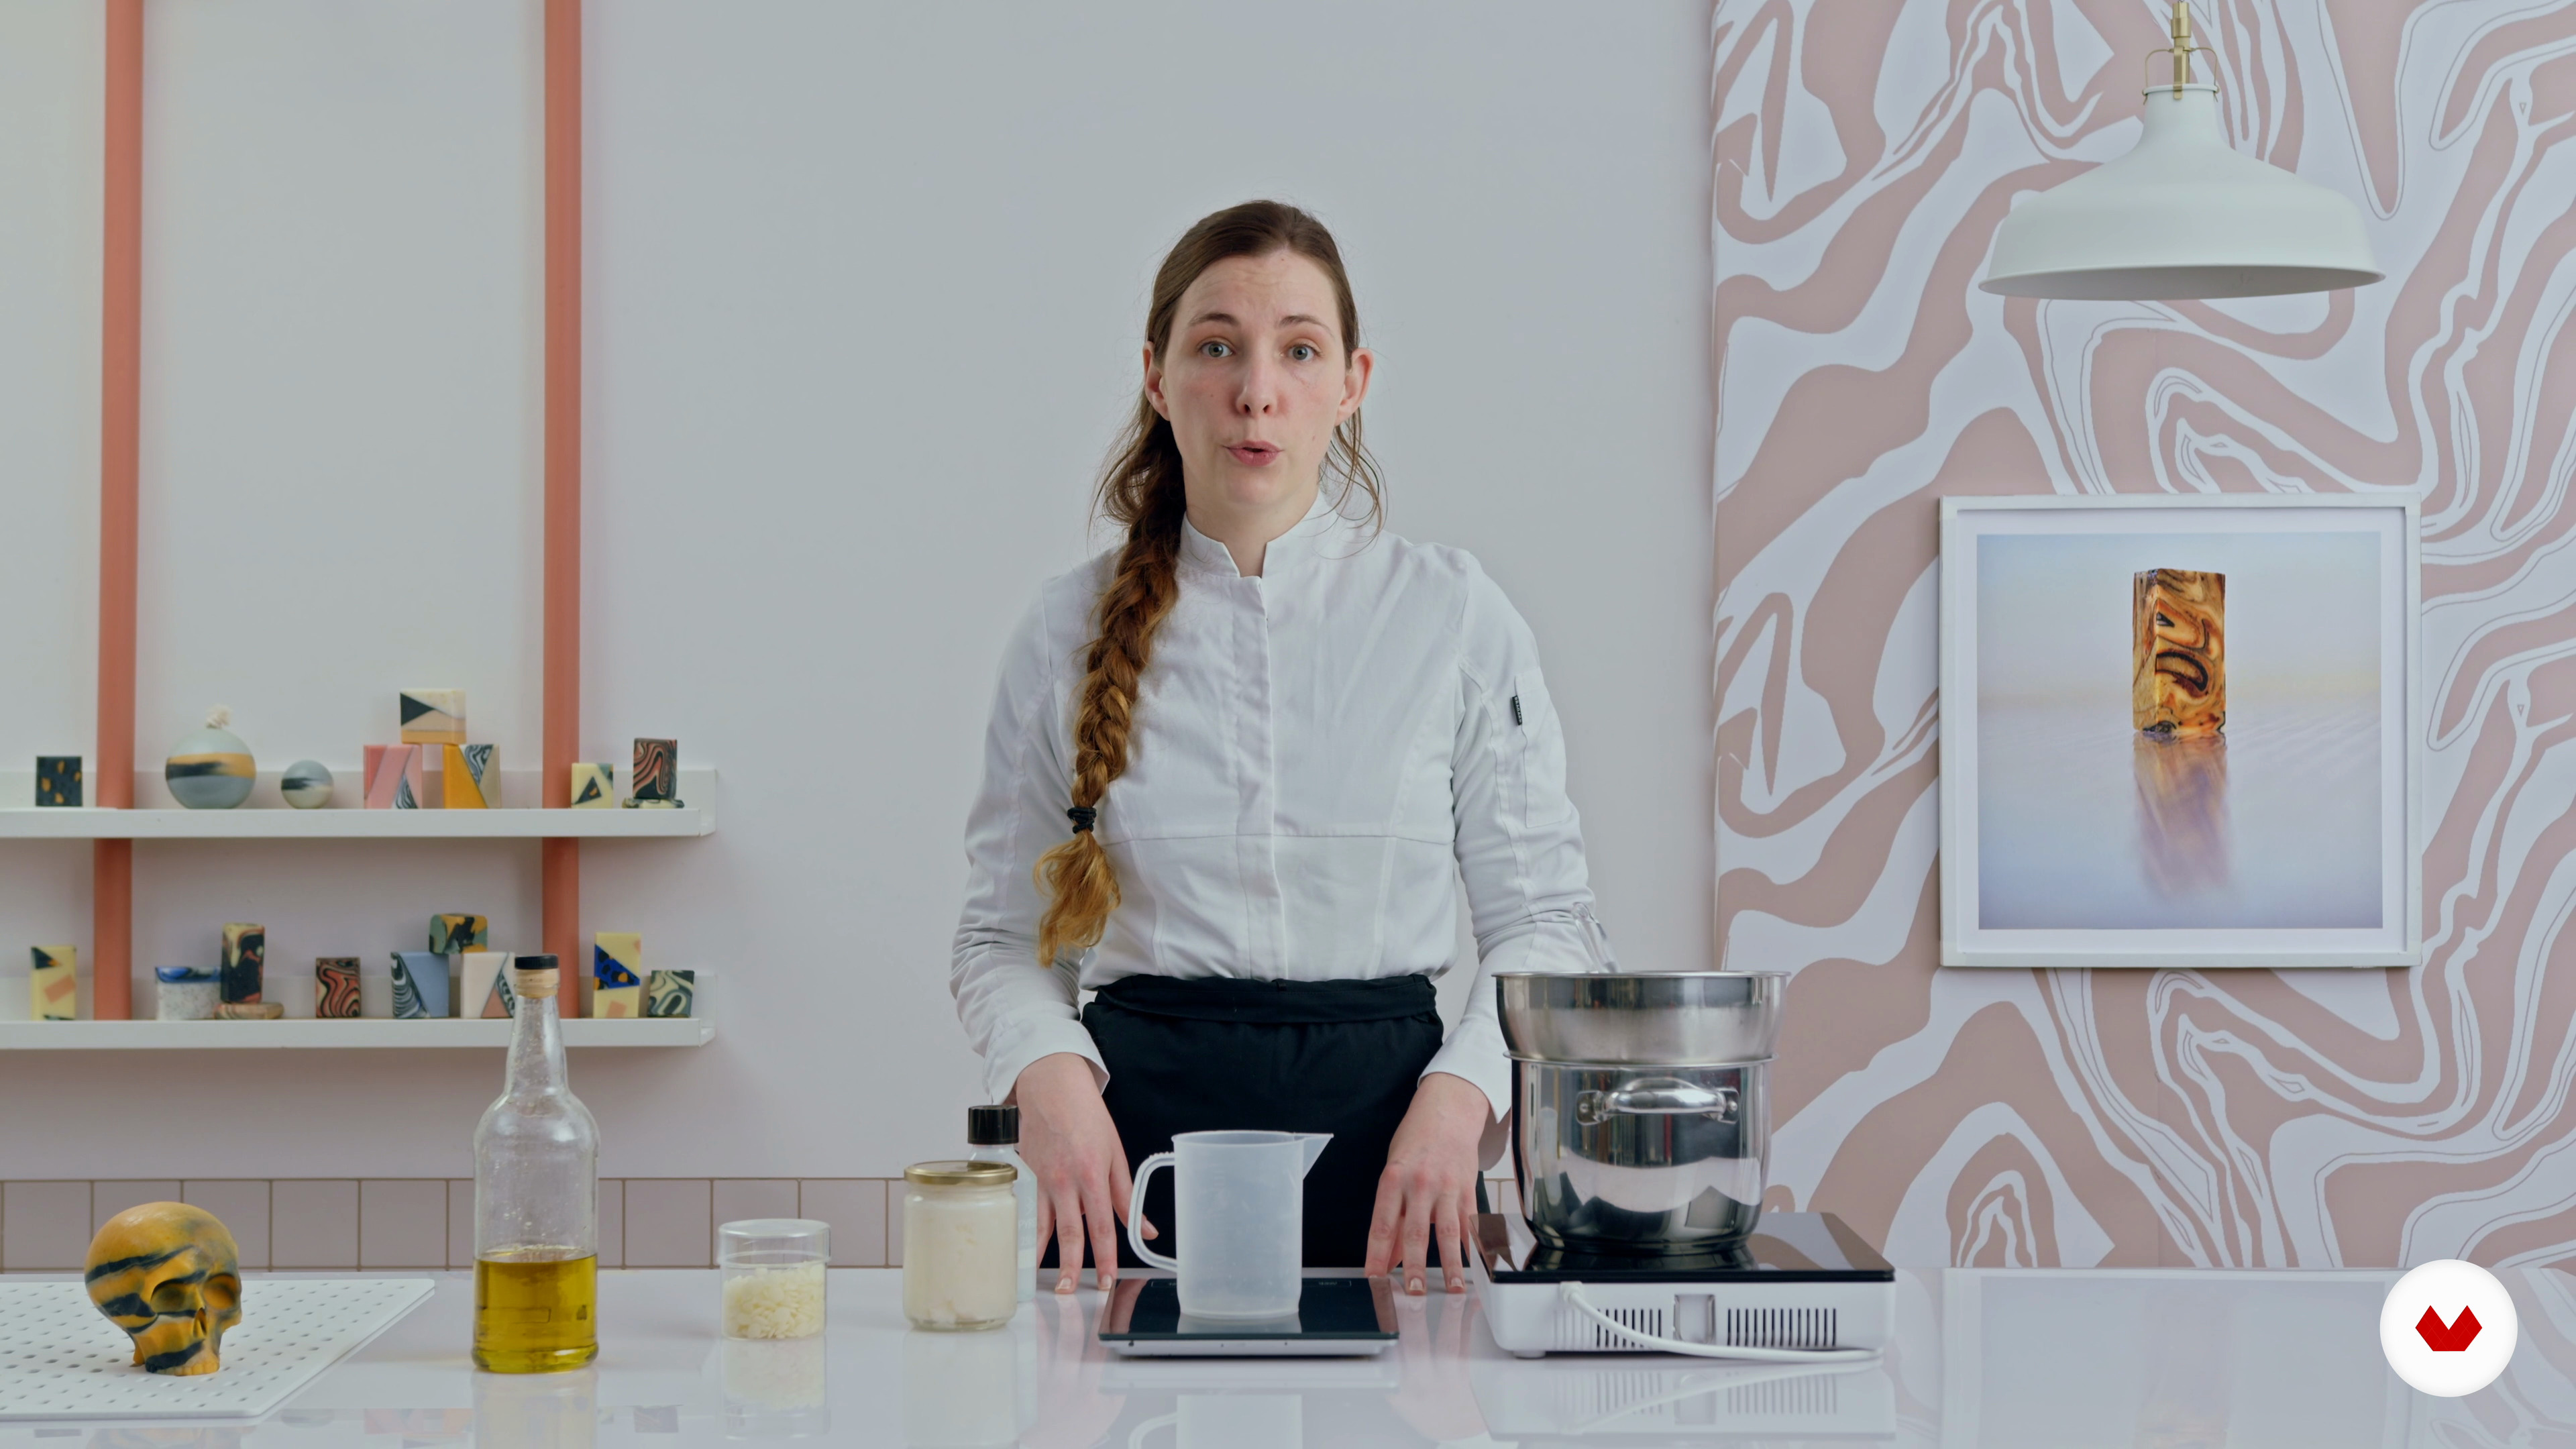
We will carry out all the preliminary steps together before making the soap. You are going to weigh and put all the ingredients at the right temperature. Since the soap reaction is exothermic, the temperatures of the ingredients are very important.
5m
 10
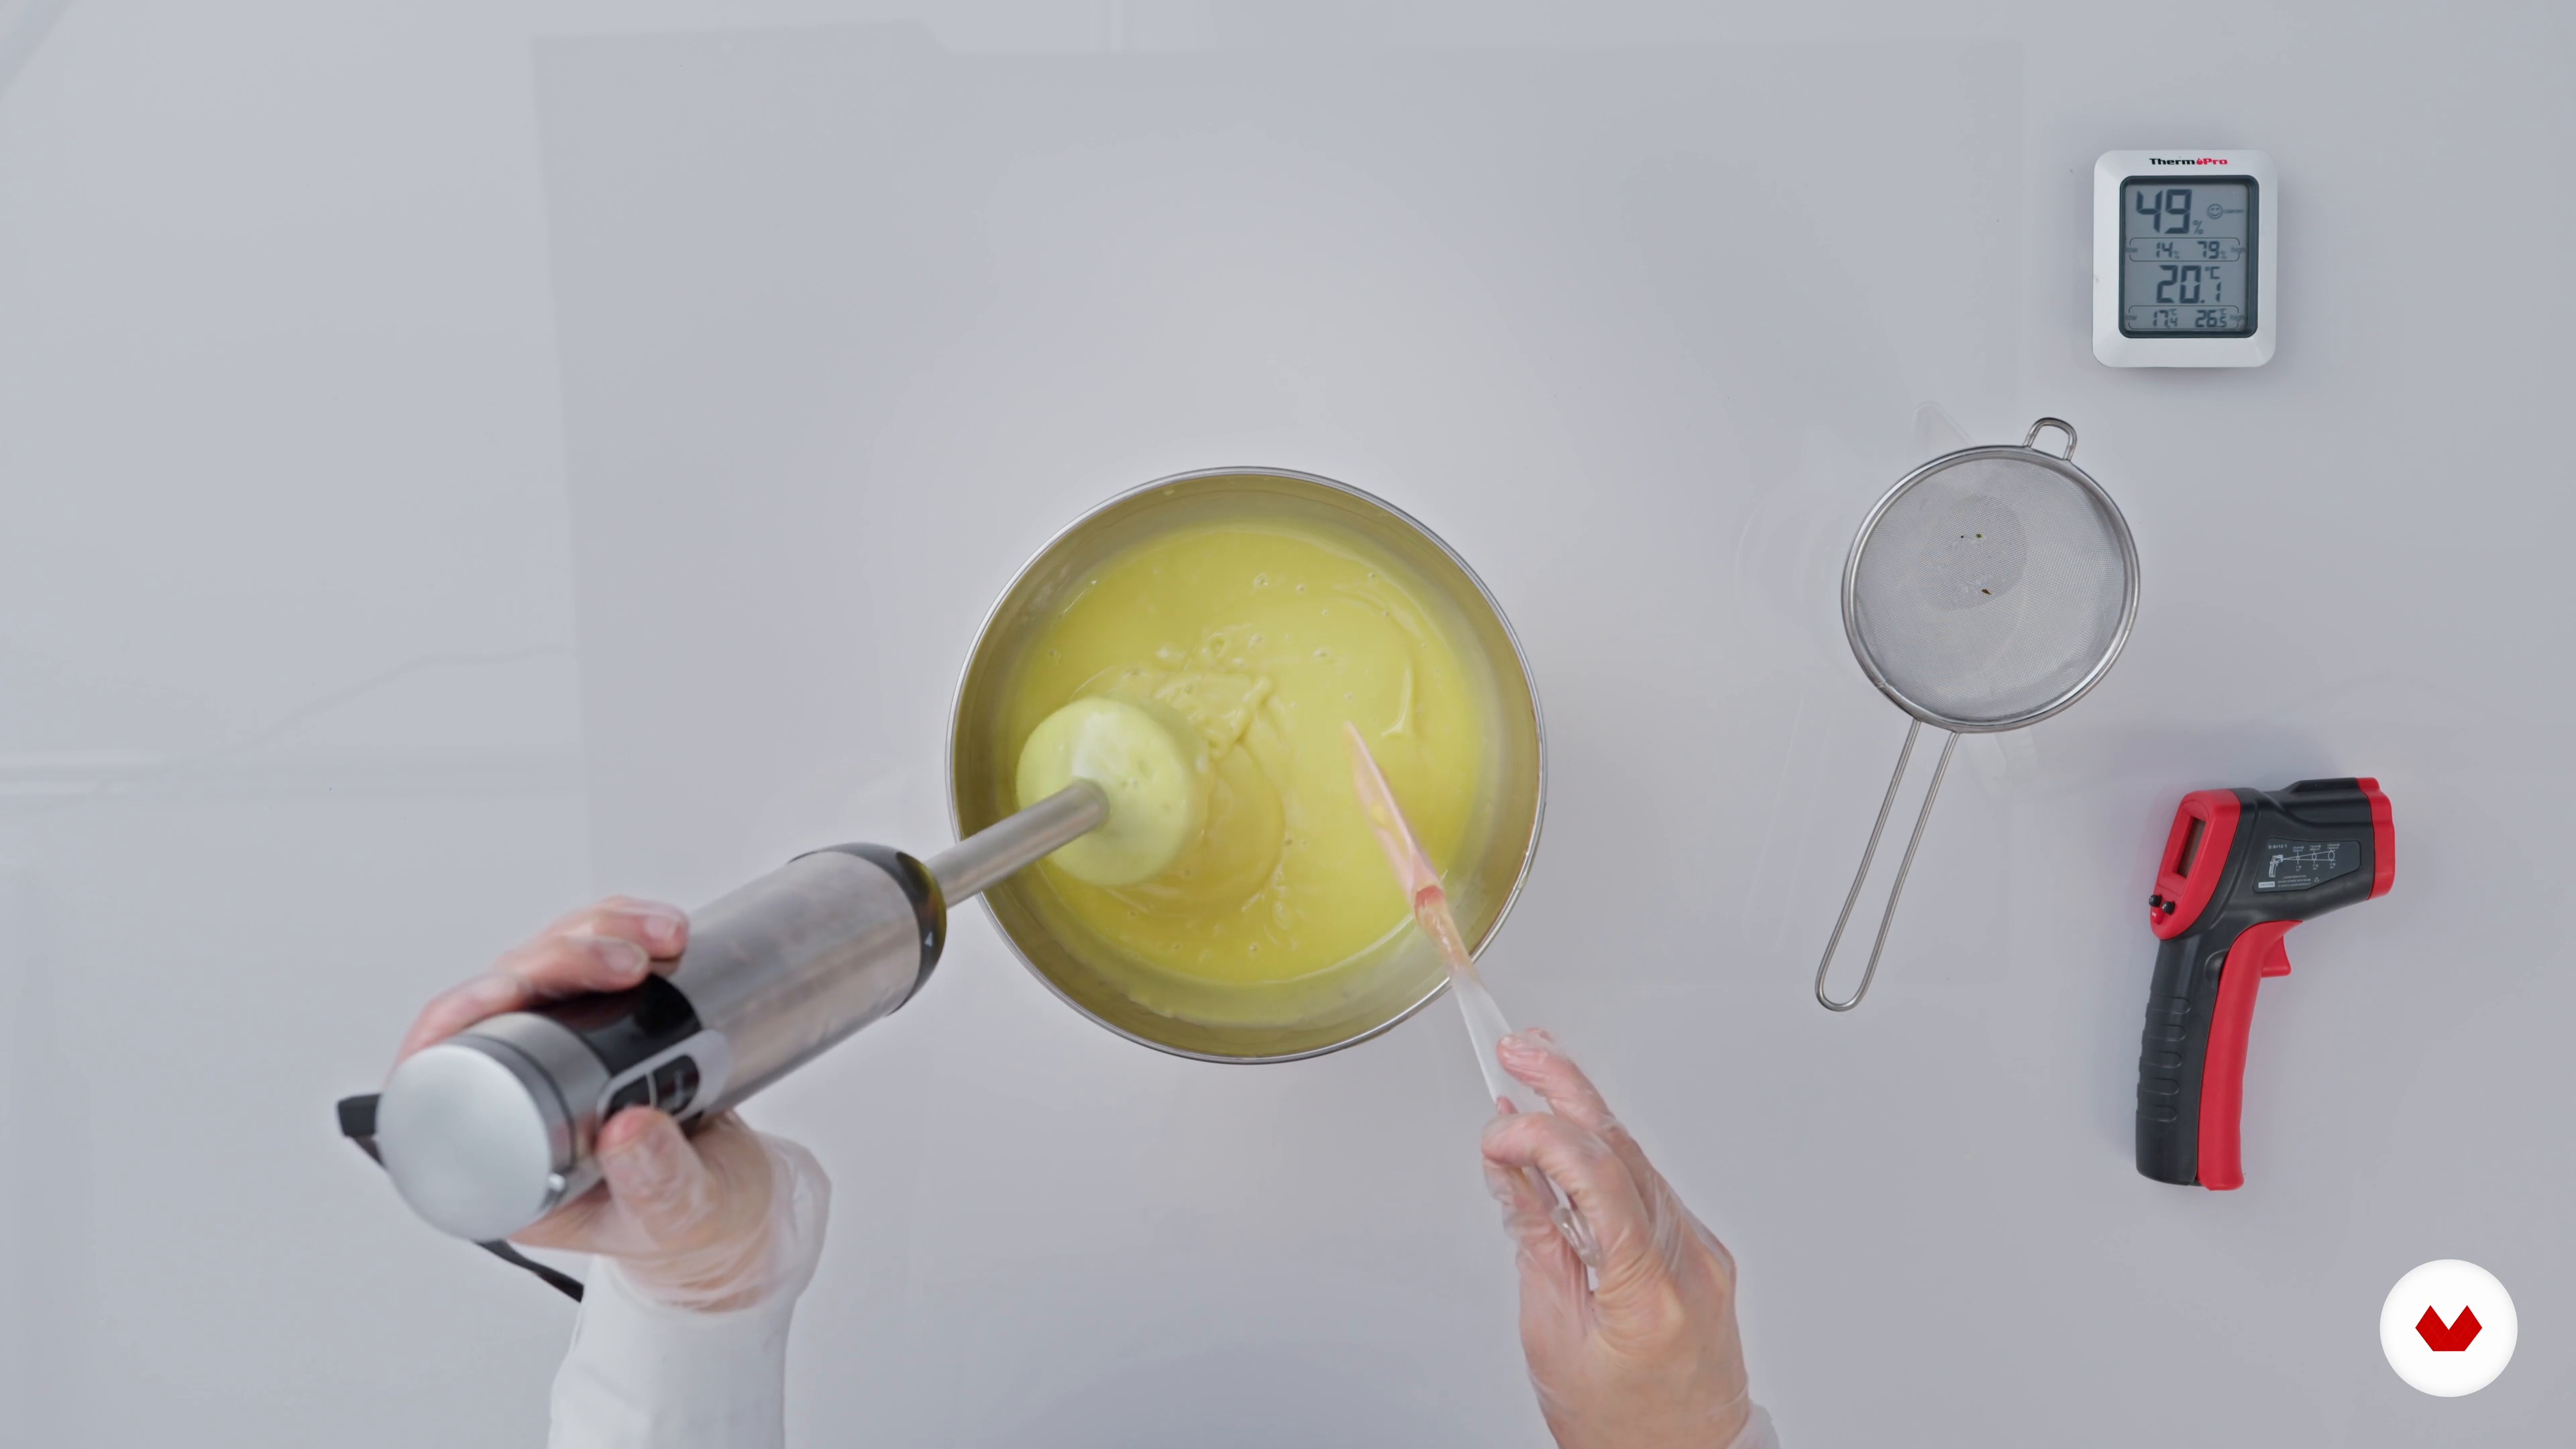
10The mixture and the traces
In this lesson, you will see how to make the soap emulsion. This step is decisive for obtaining a smooth, supple and shiny soap.
4m
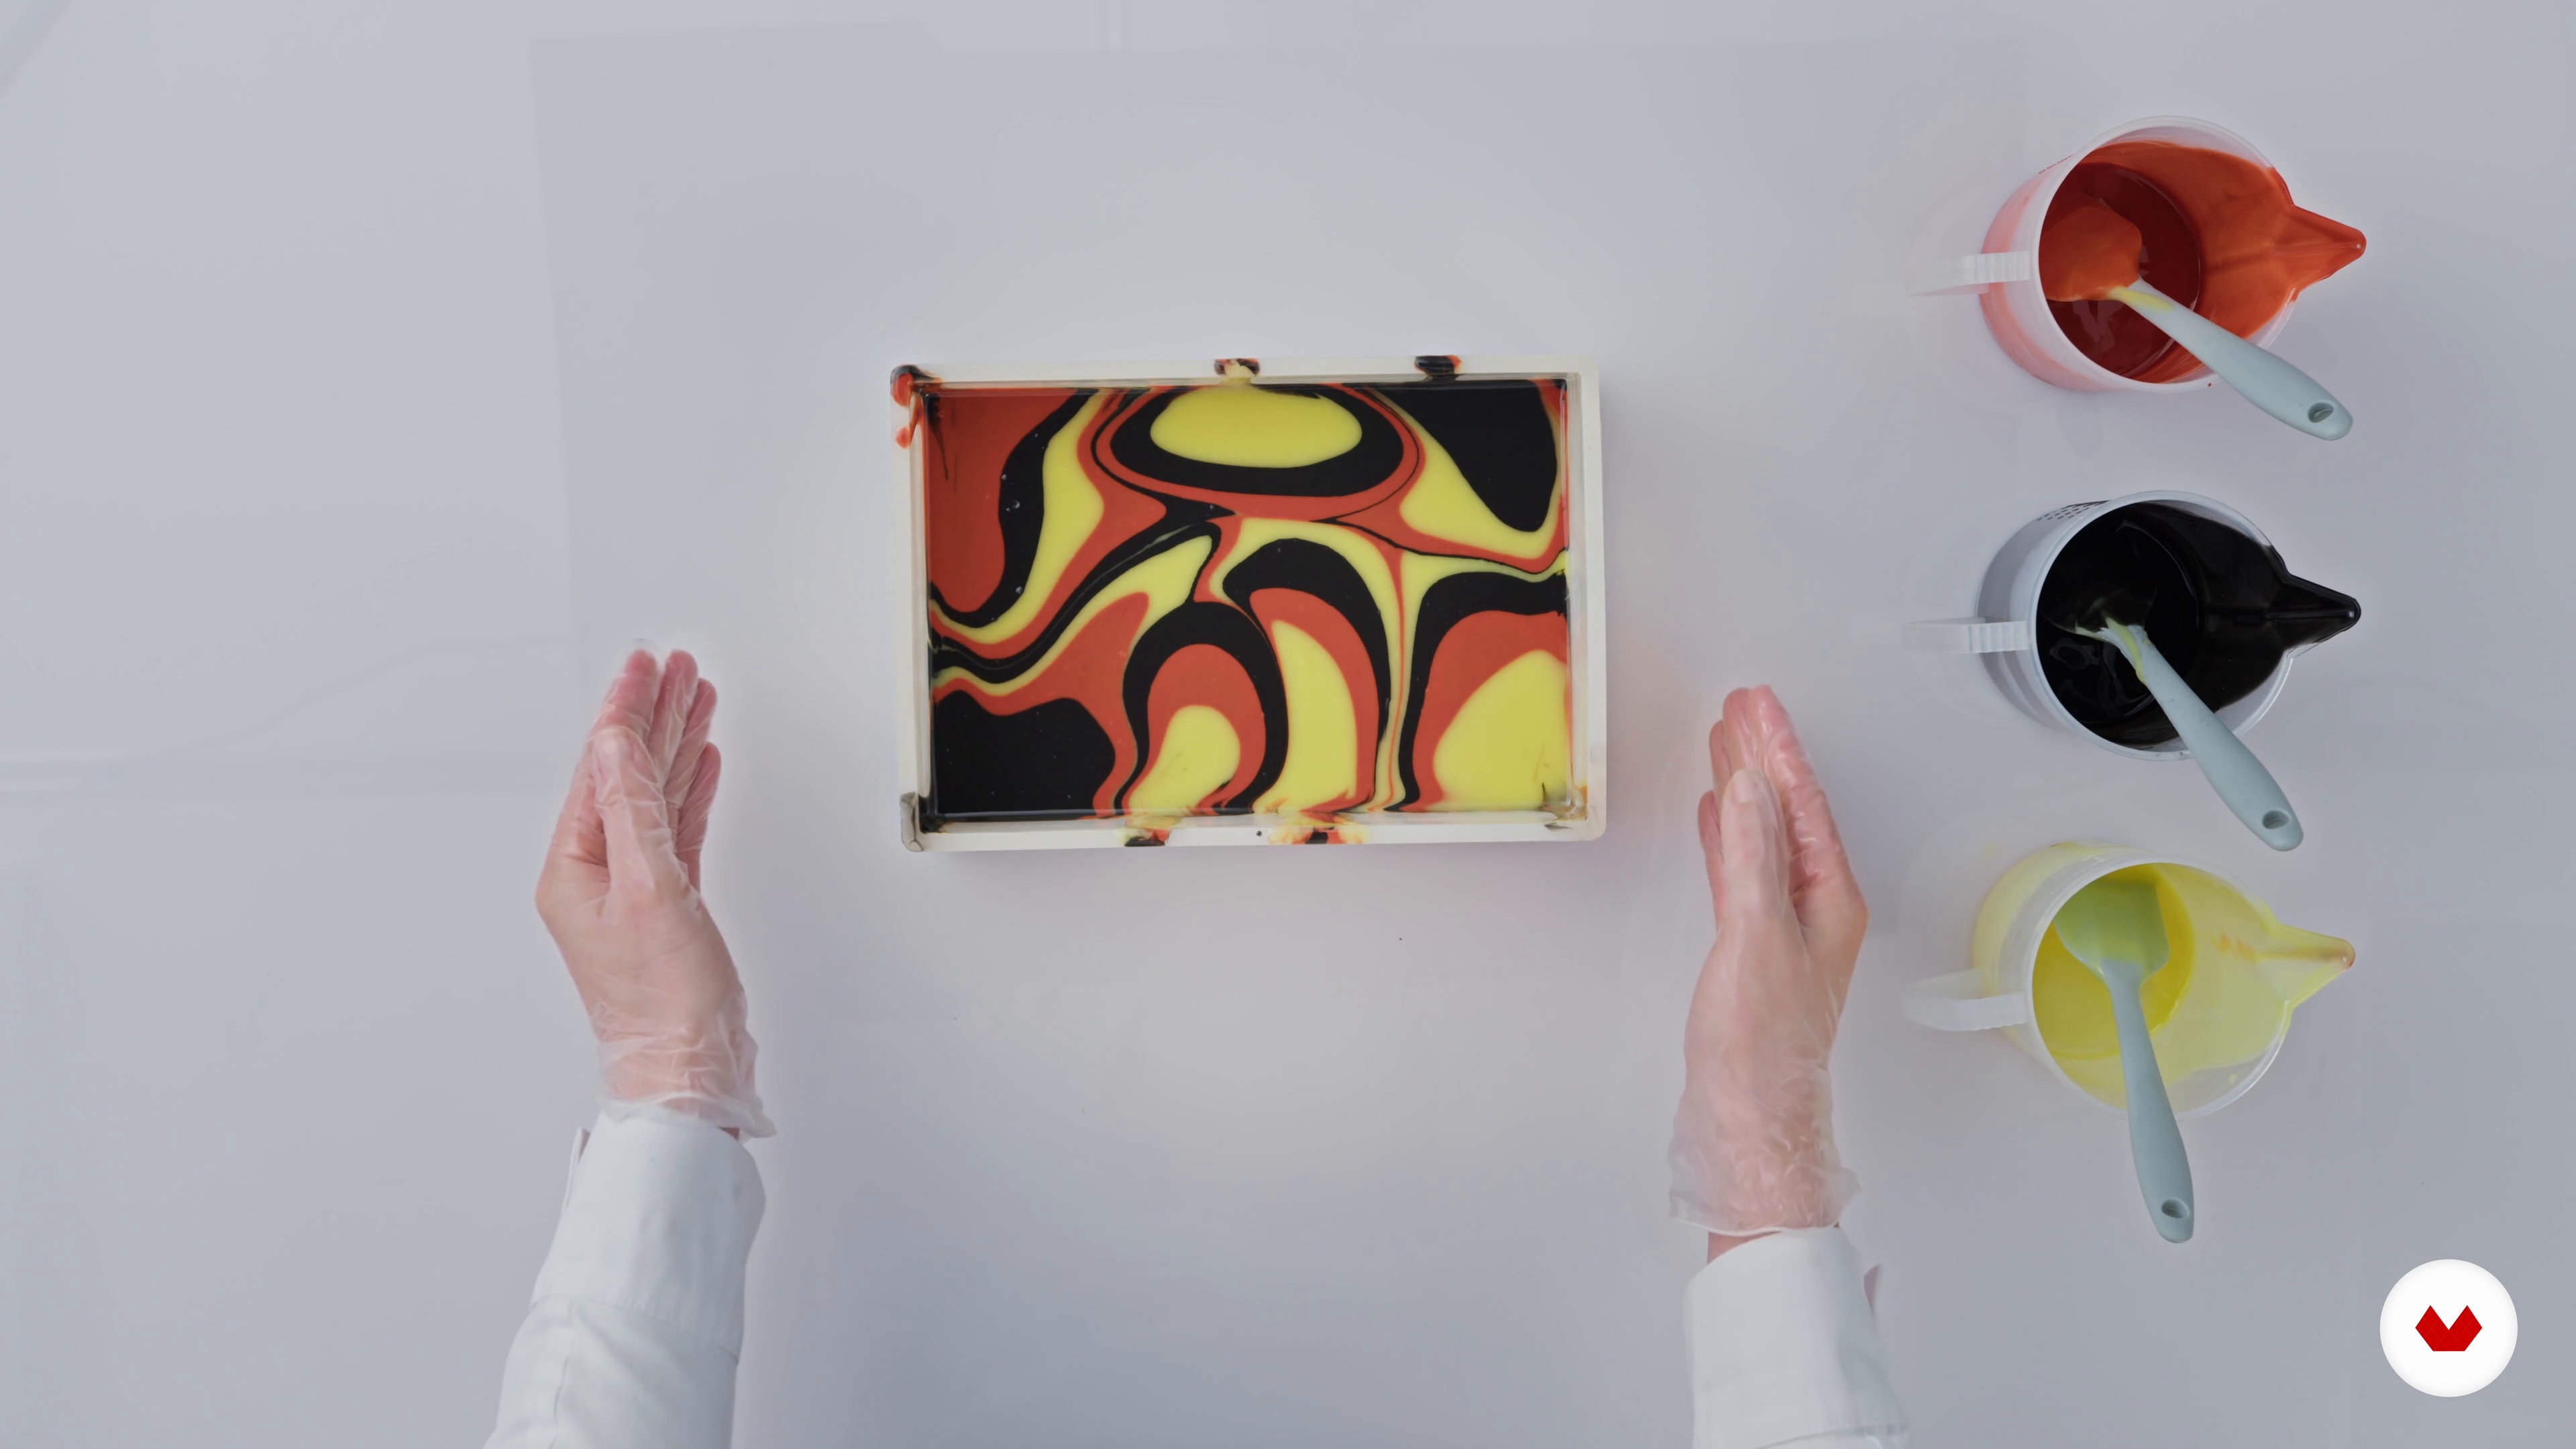 11
11Design: Zebra Print
In cold saponification, this marbling technique is inspired by stripes. Infinitely available in two, three, four and five colours, you can also give them movement, this is called "swirl".
7m
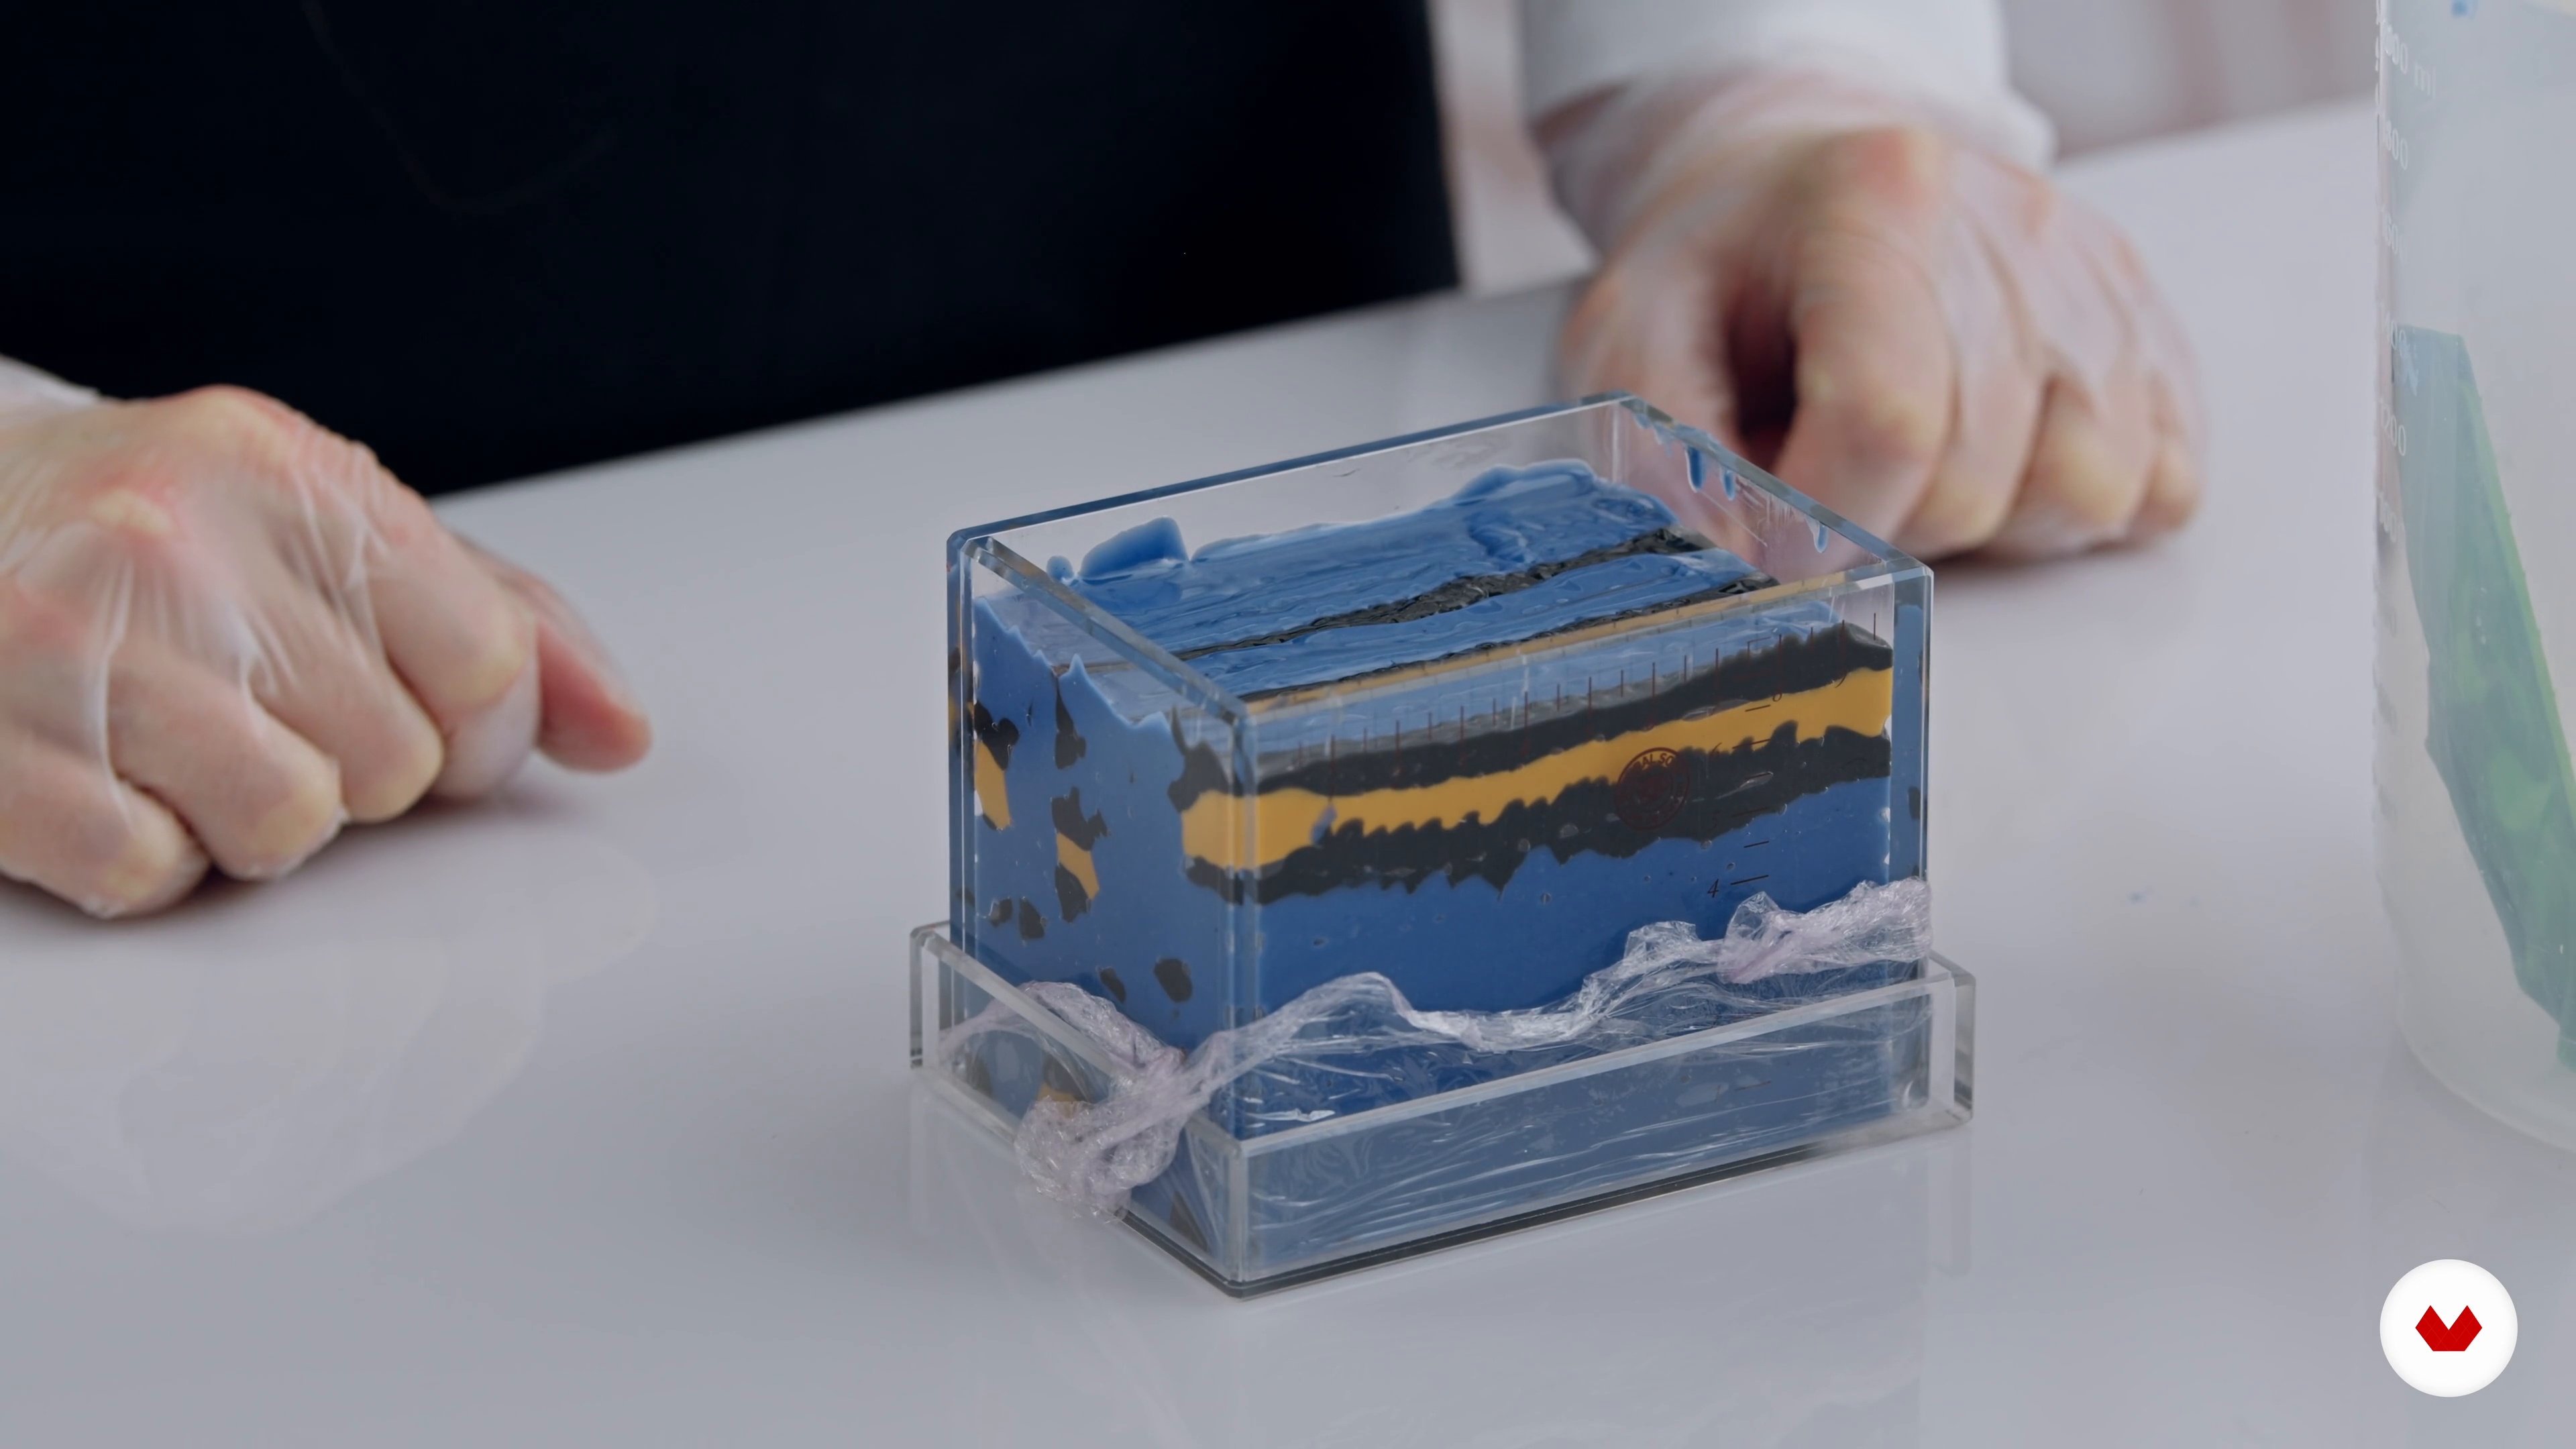 12
12Decoration: leopard
Let's move on to the leopard decor. This marbling is worked with the pastry chef's piping bag. This timeless pattern is available in an infinity of colors. Make room for imagination!
8m
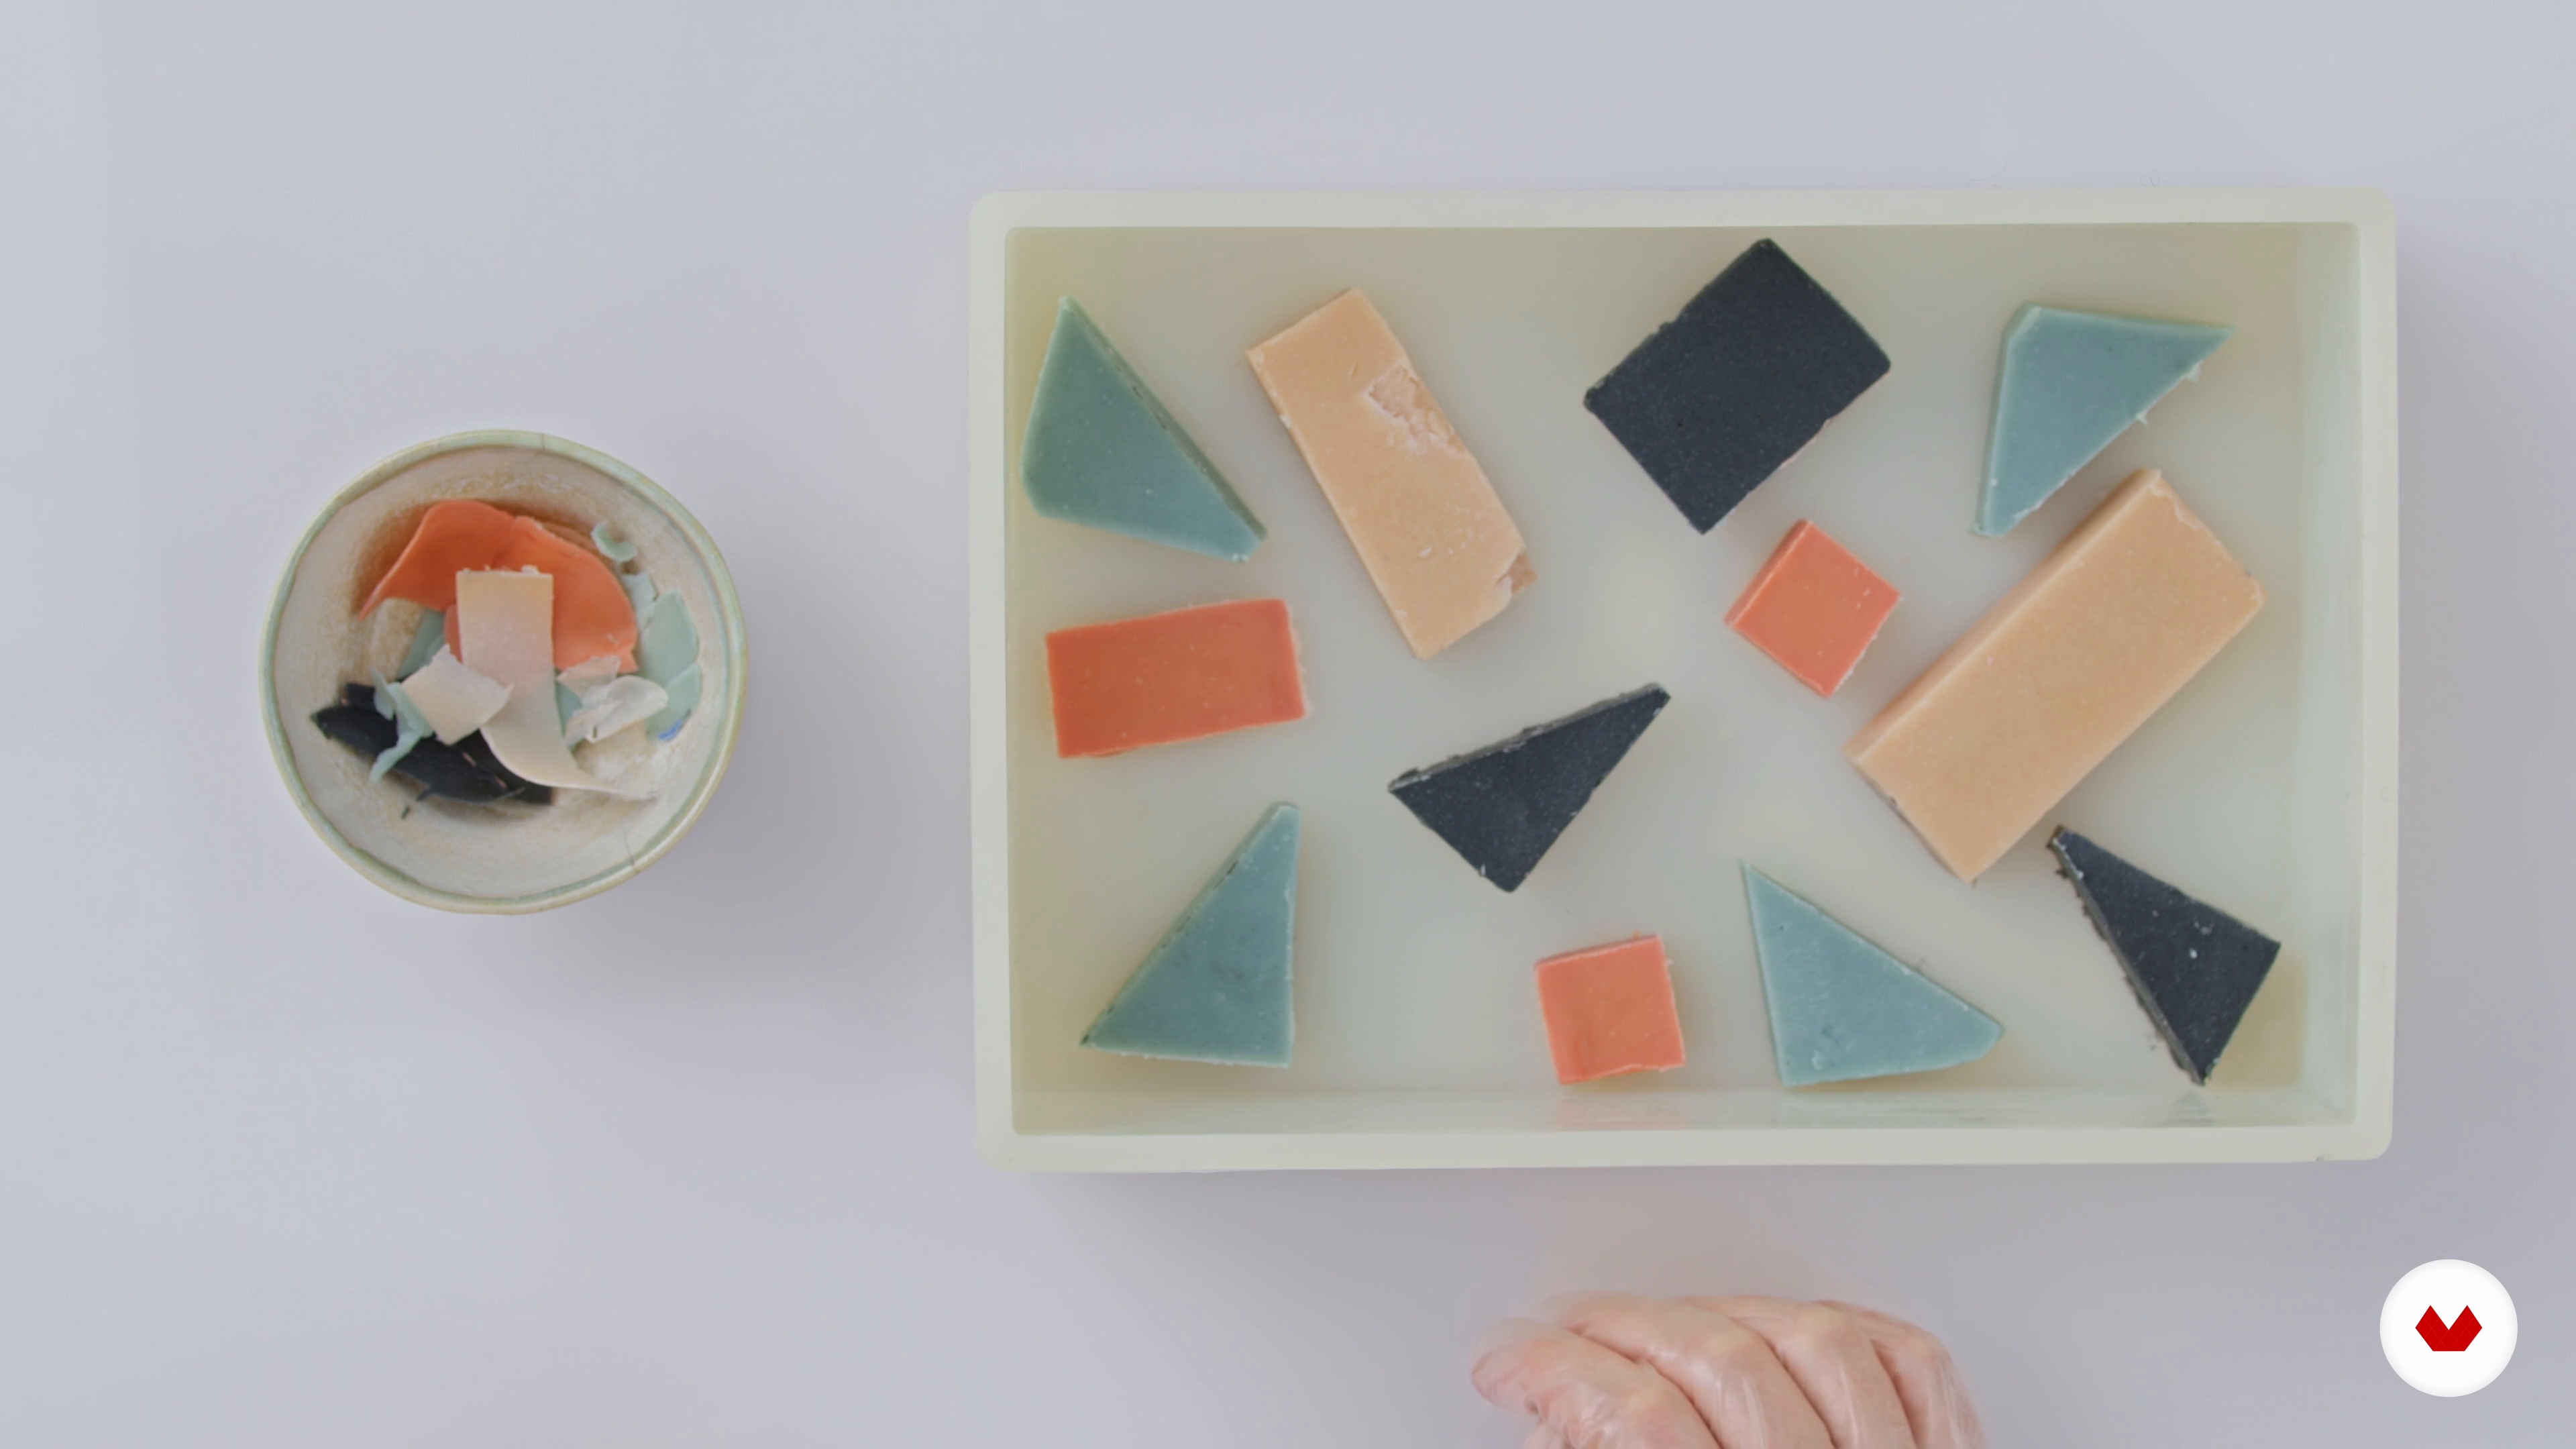 13
13Fusion
You will see that it is quite possible to insert one soap into another. This technique allows you to make a shape or pattern appear on the slice or to give texture with soap shavings for a terrazzo effect.
4m
 14
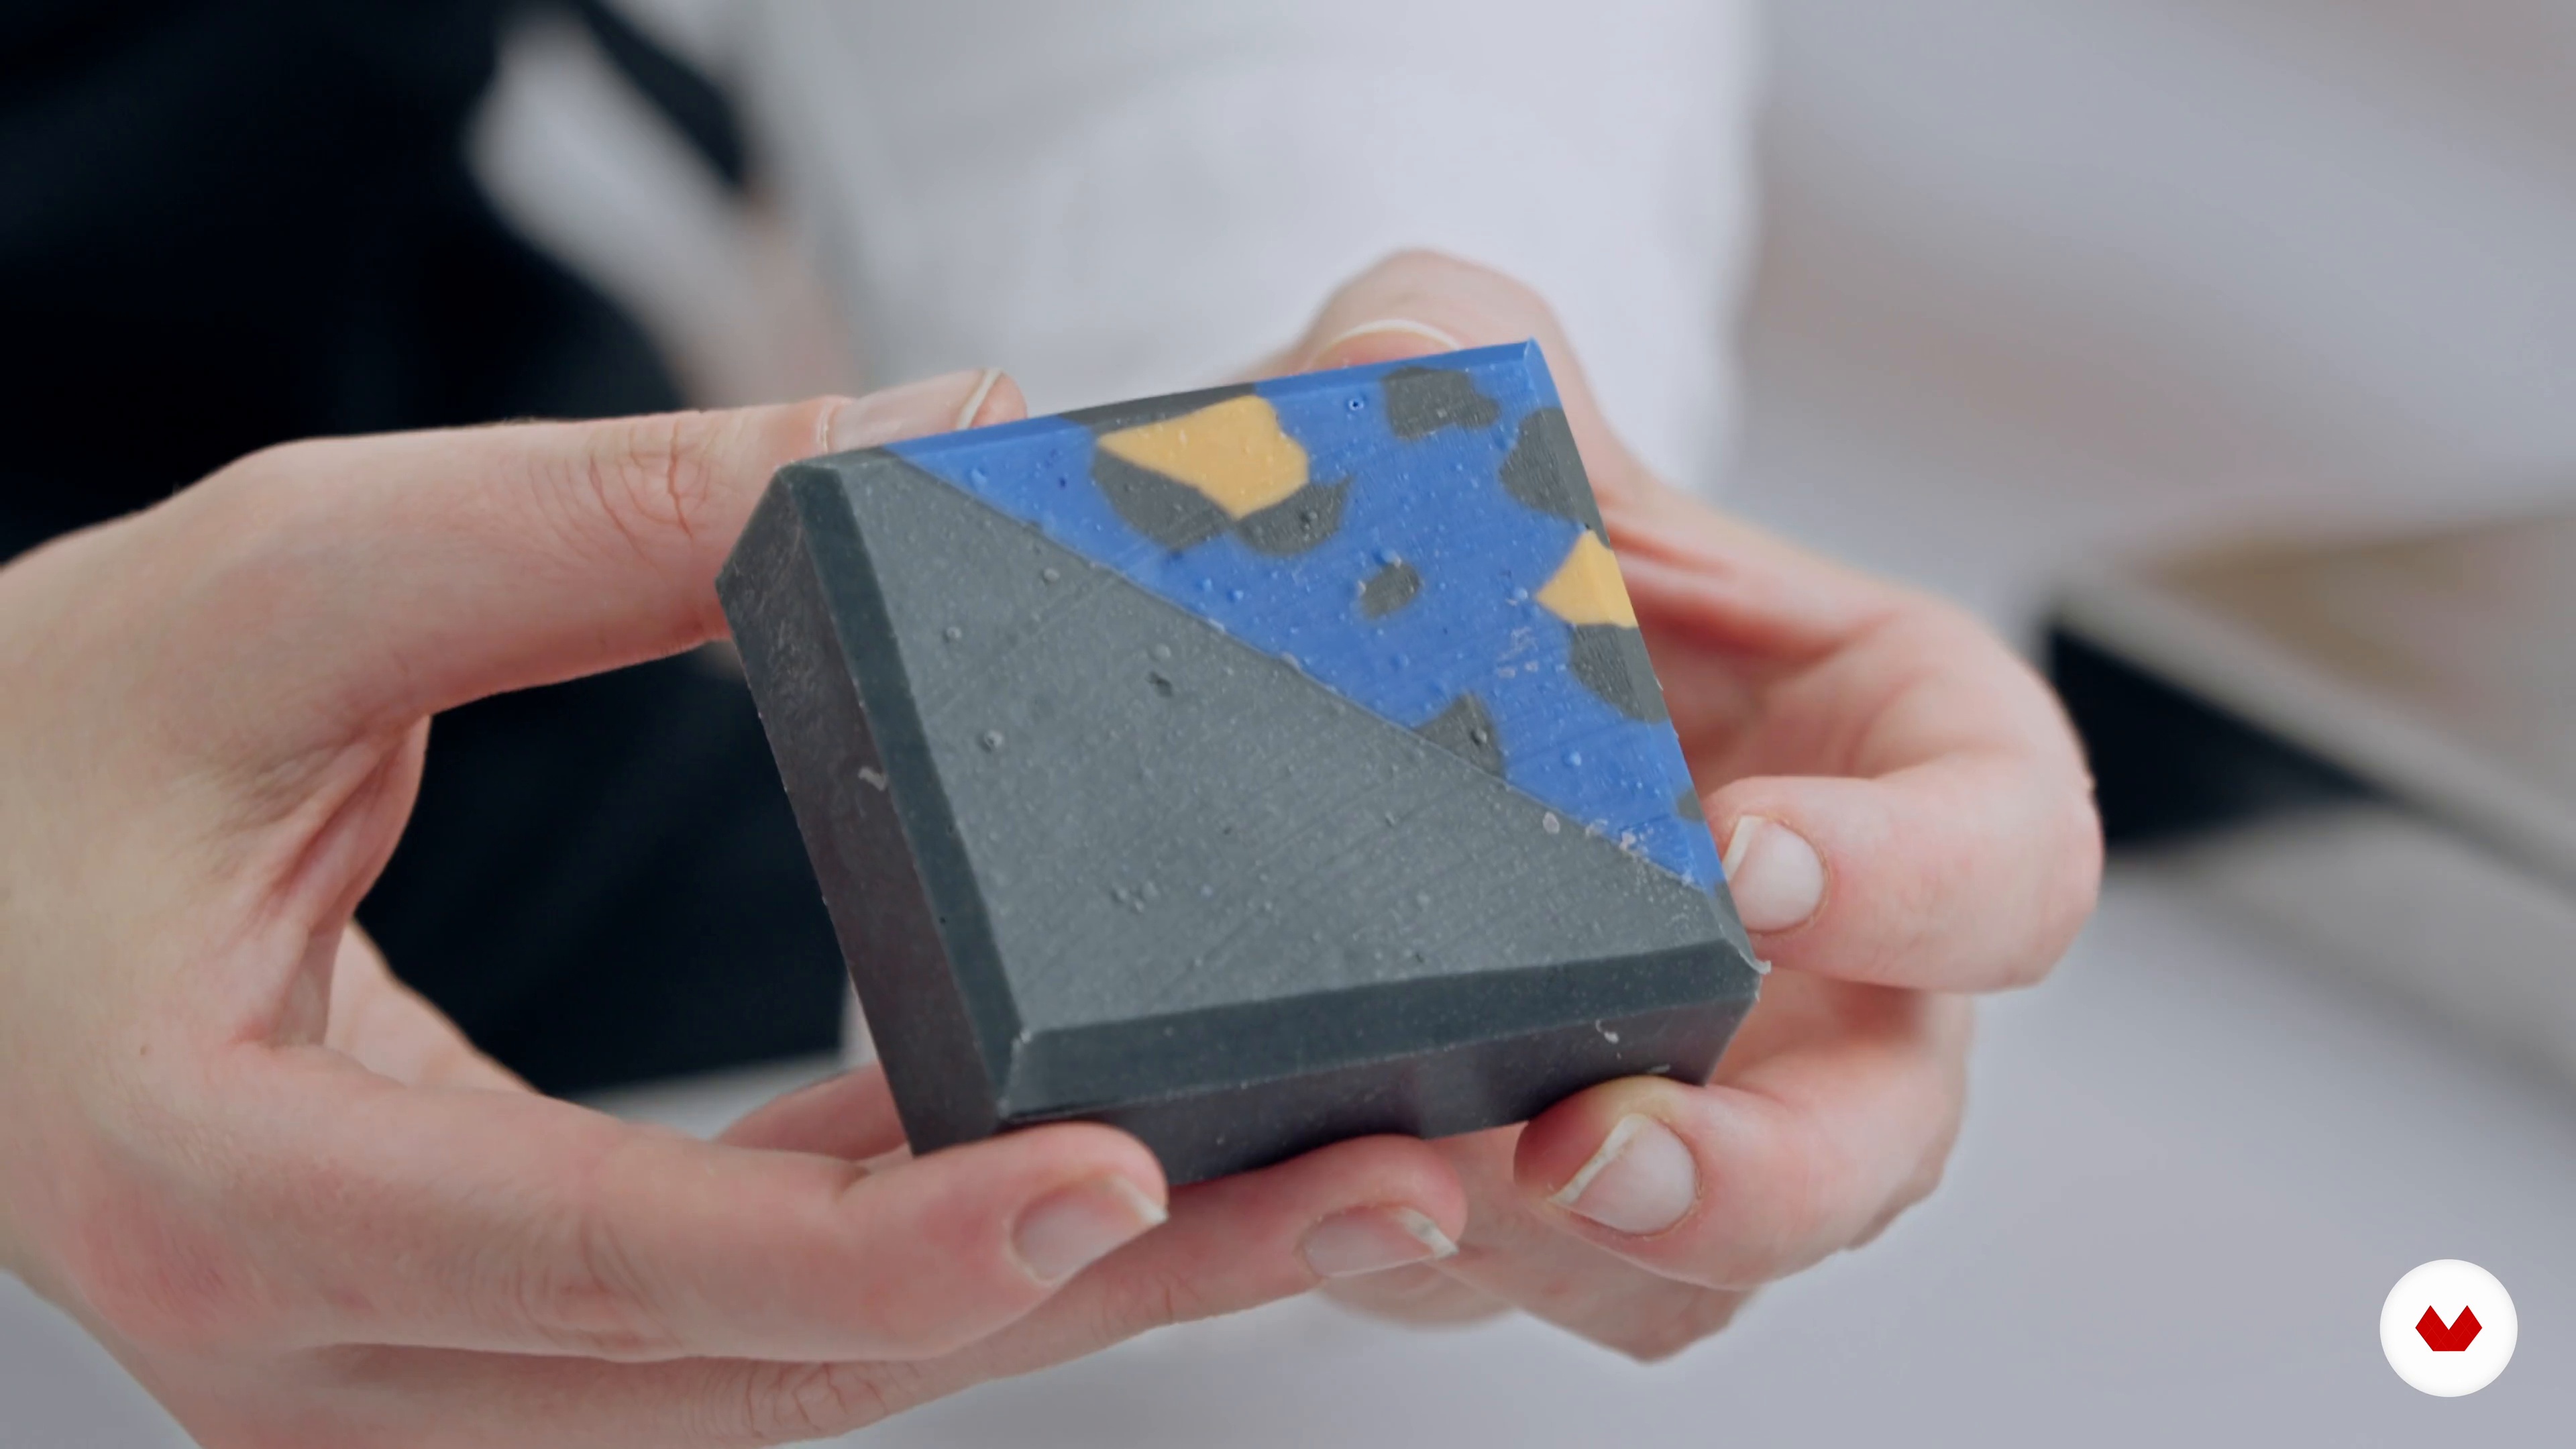
14Mold release and finishes
To finish this unit, you will see what to do once you have made your soap paste, from unmolding to using your homemade cosmetics.
6m
 15
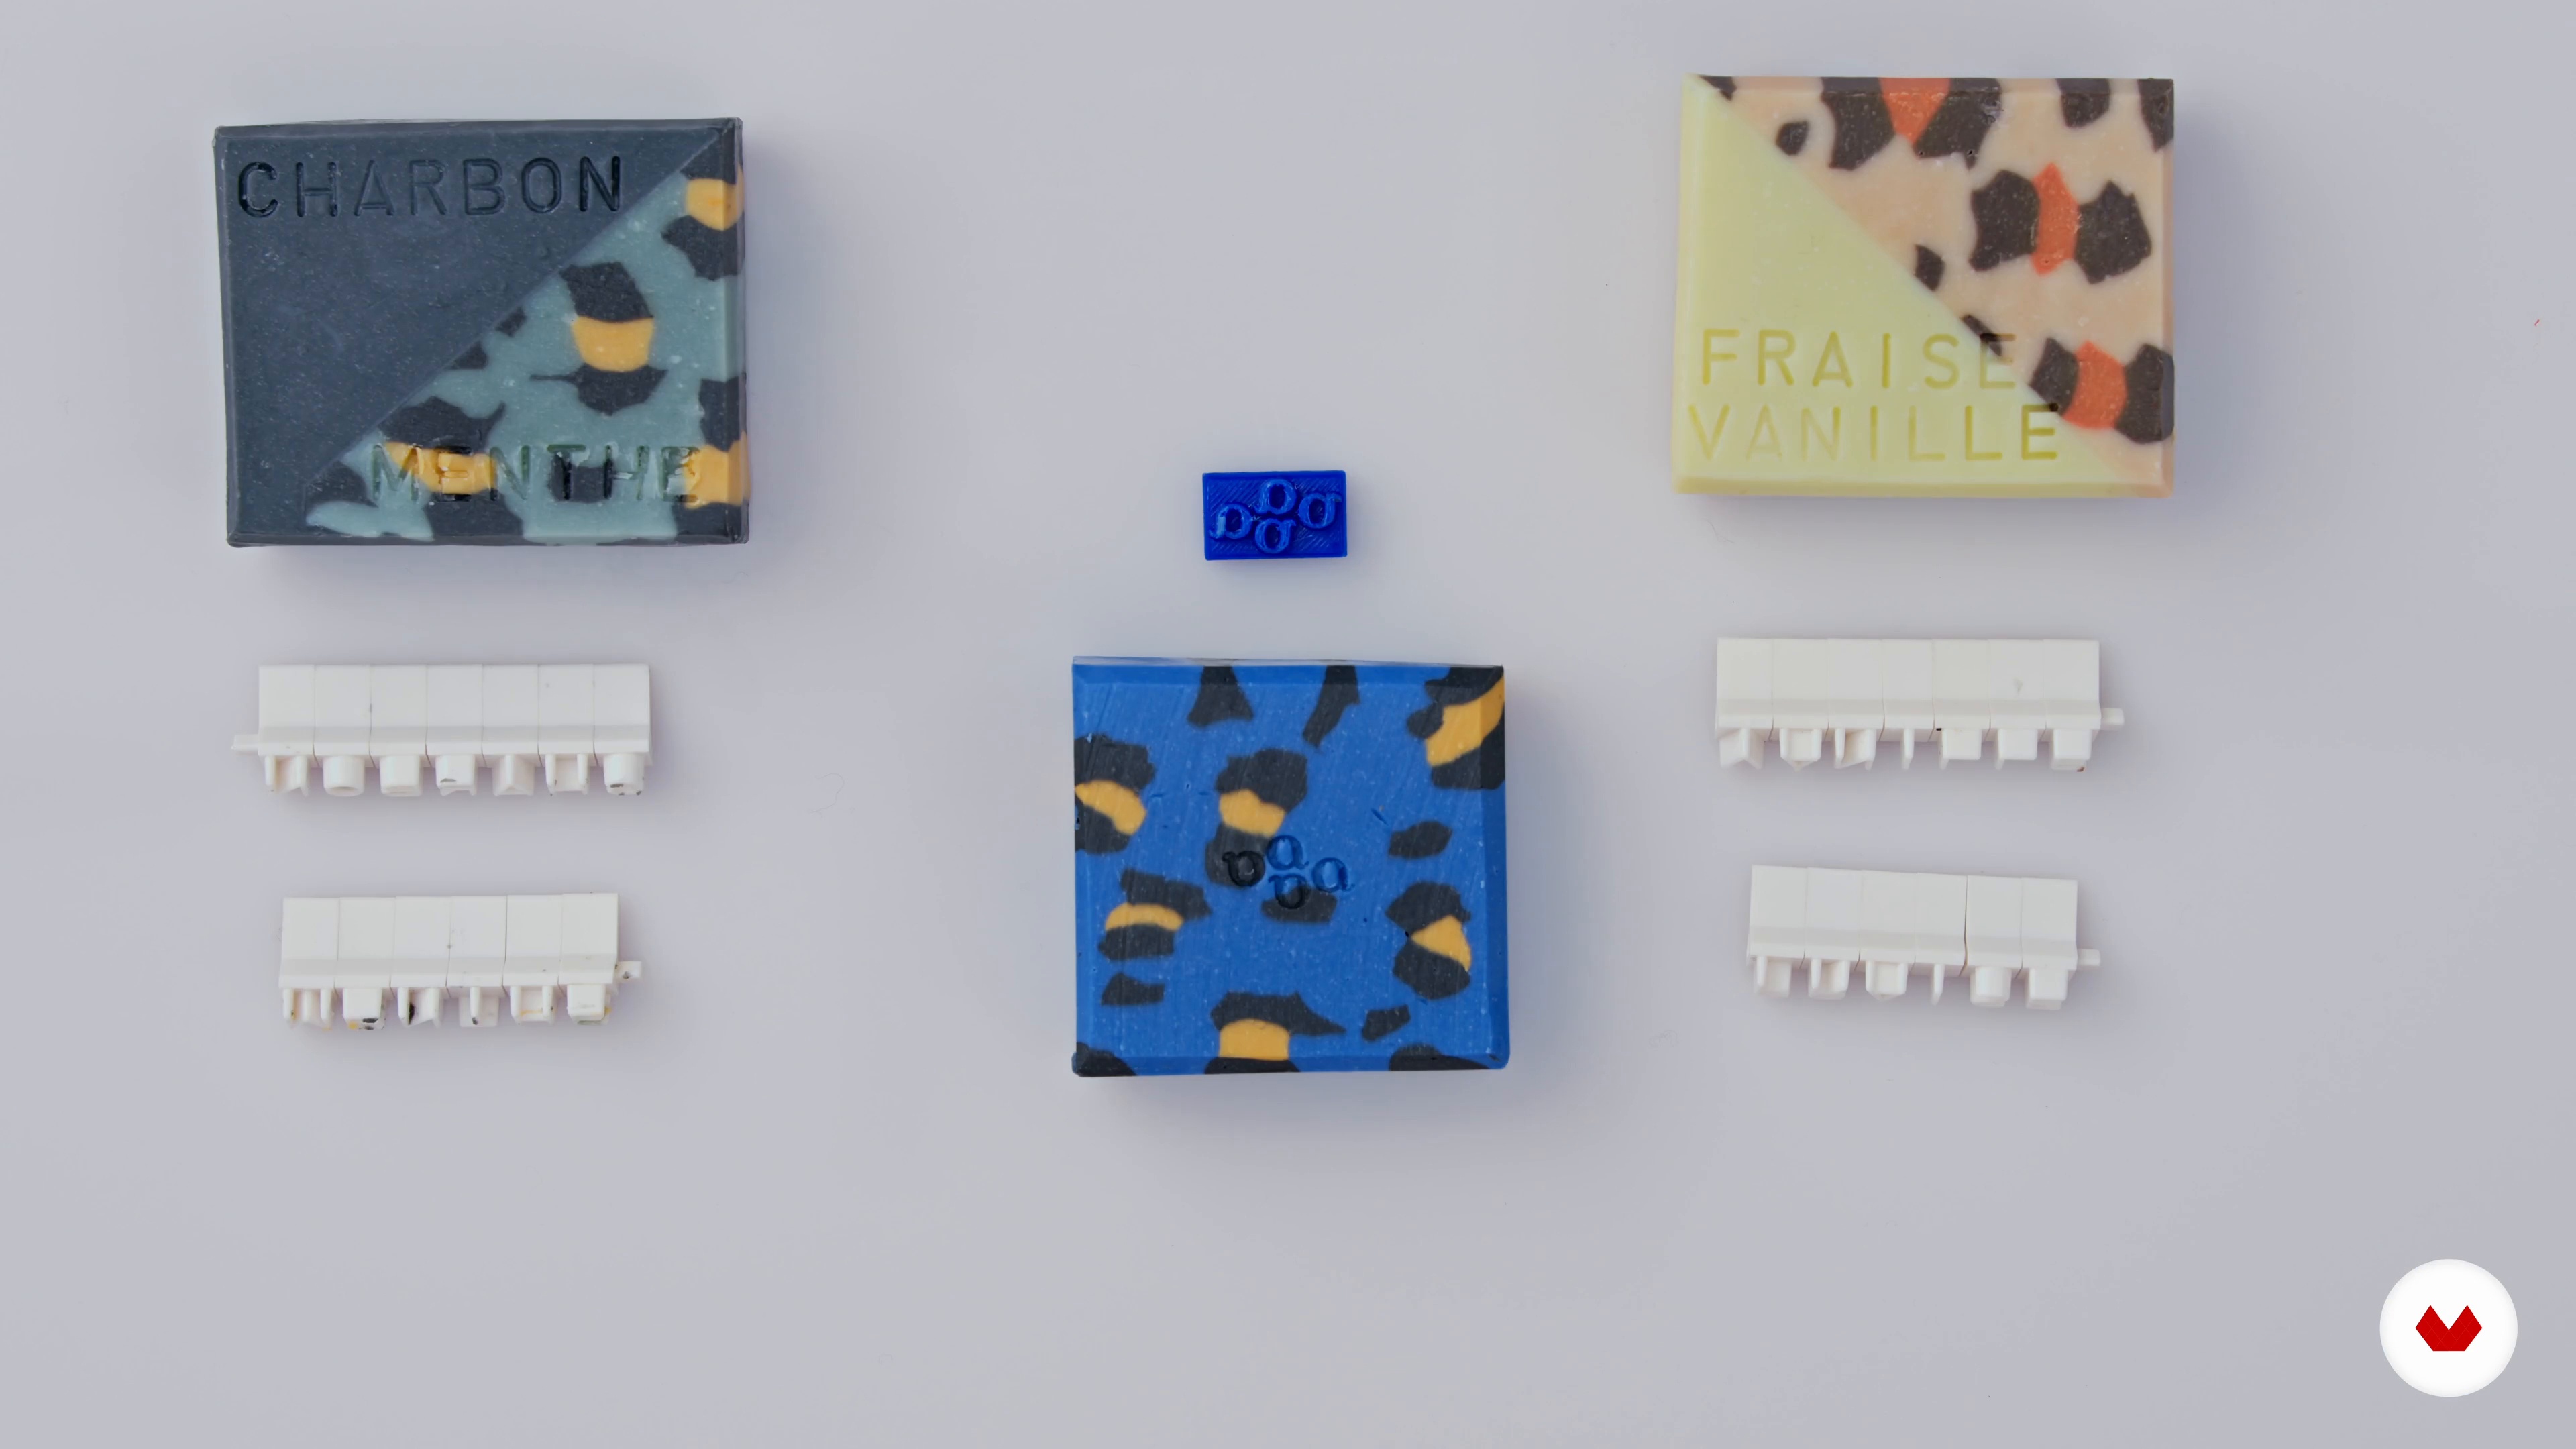
15Stamping the Logo and Initials
Soap is a soft material, it is very easy to mark with a logo, a pattern or a message. In this lesson, I'm going to teach you how to do it.
3m
 16
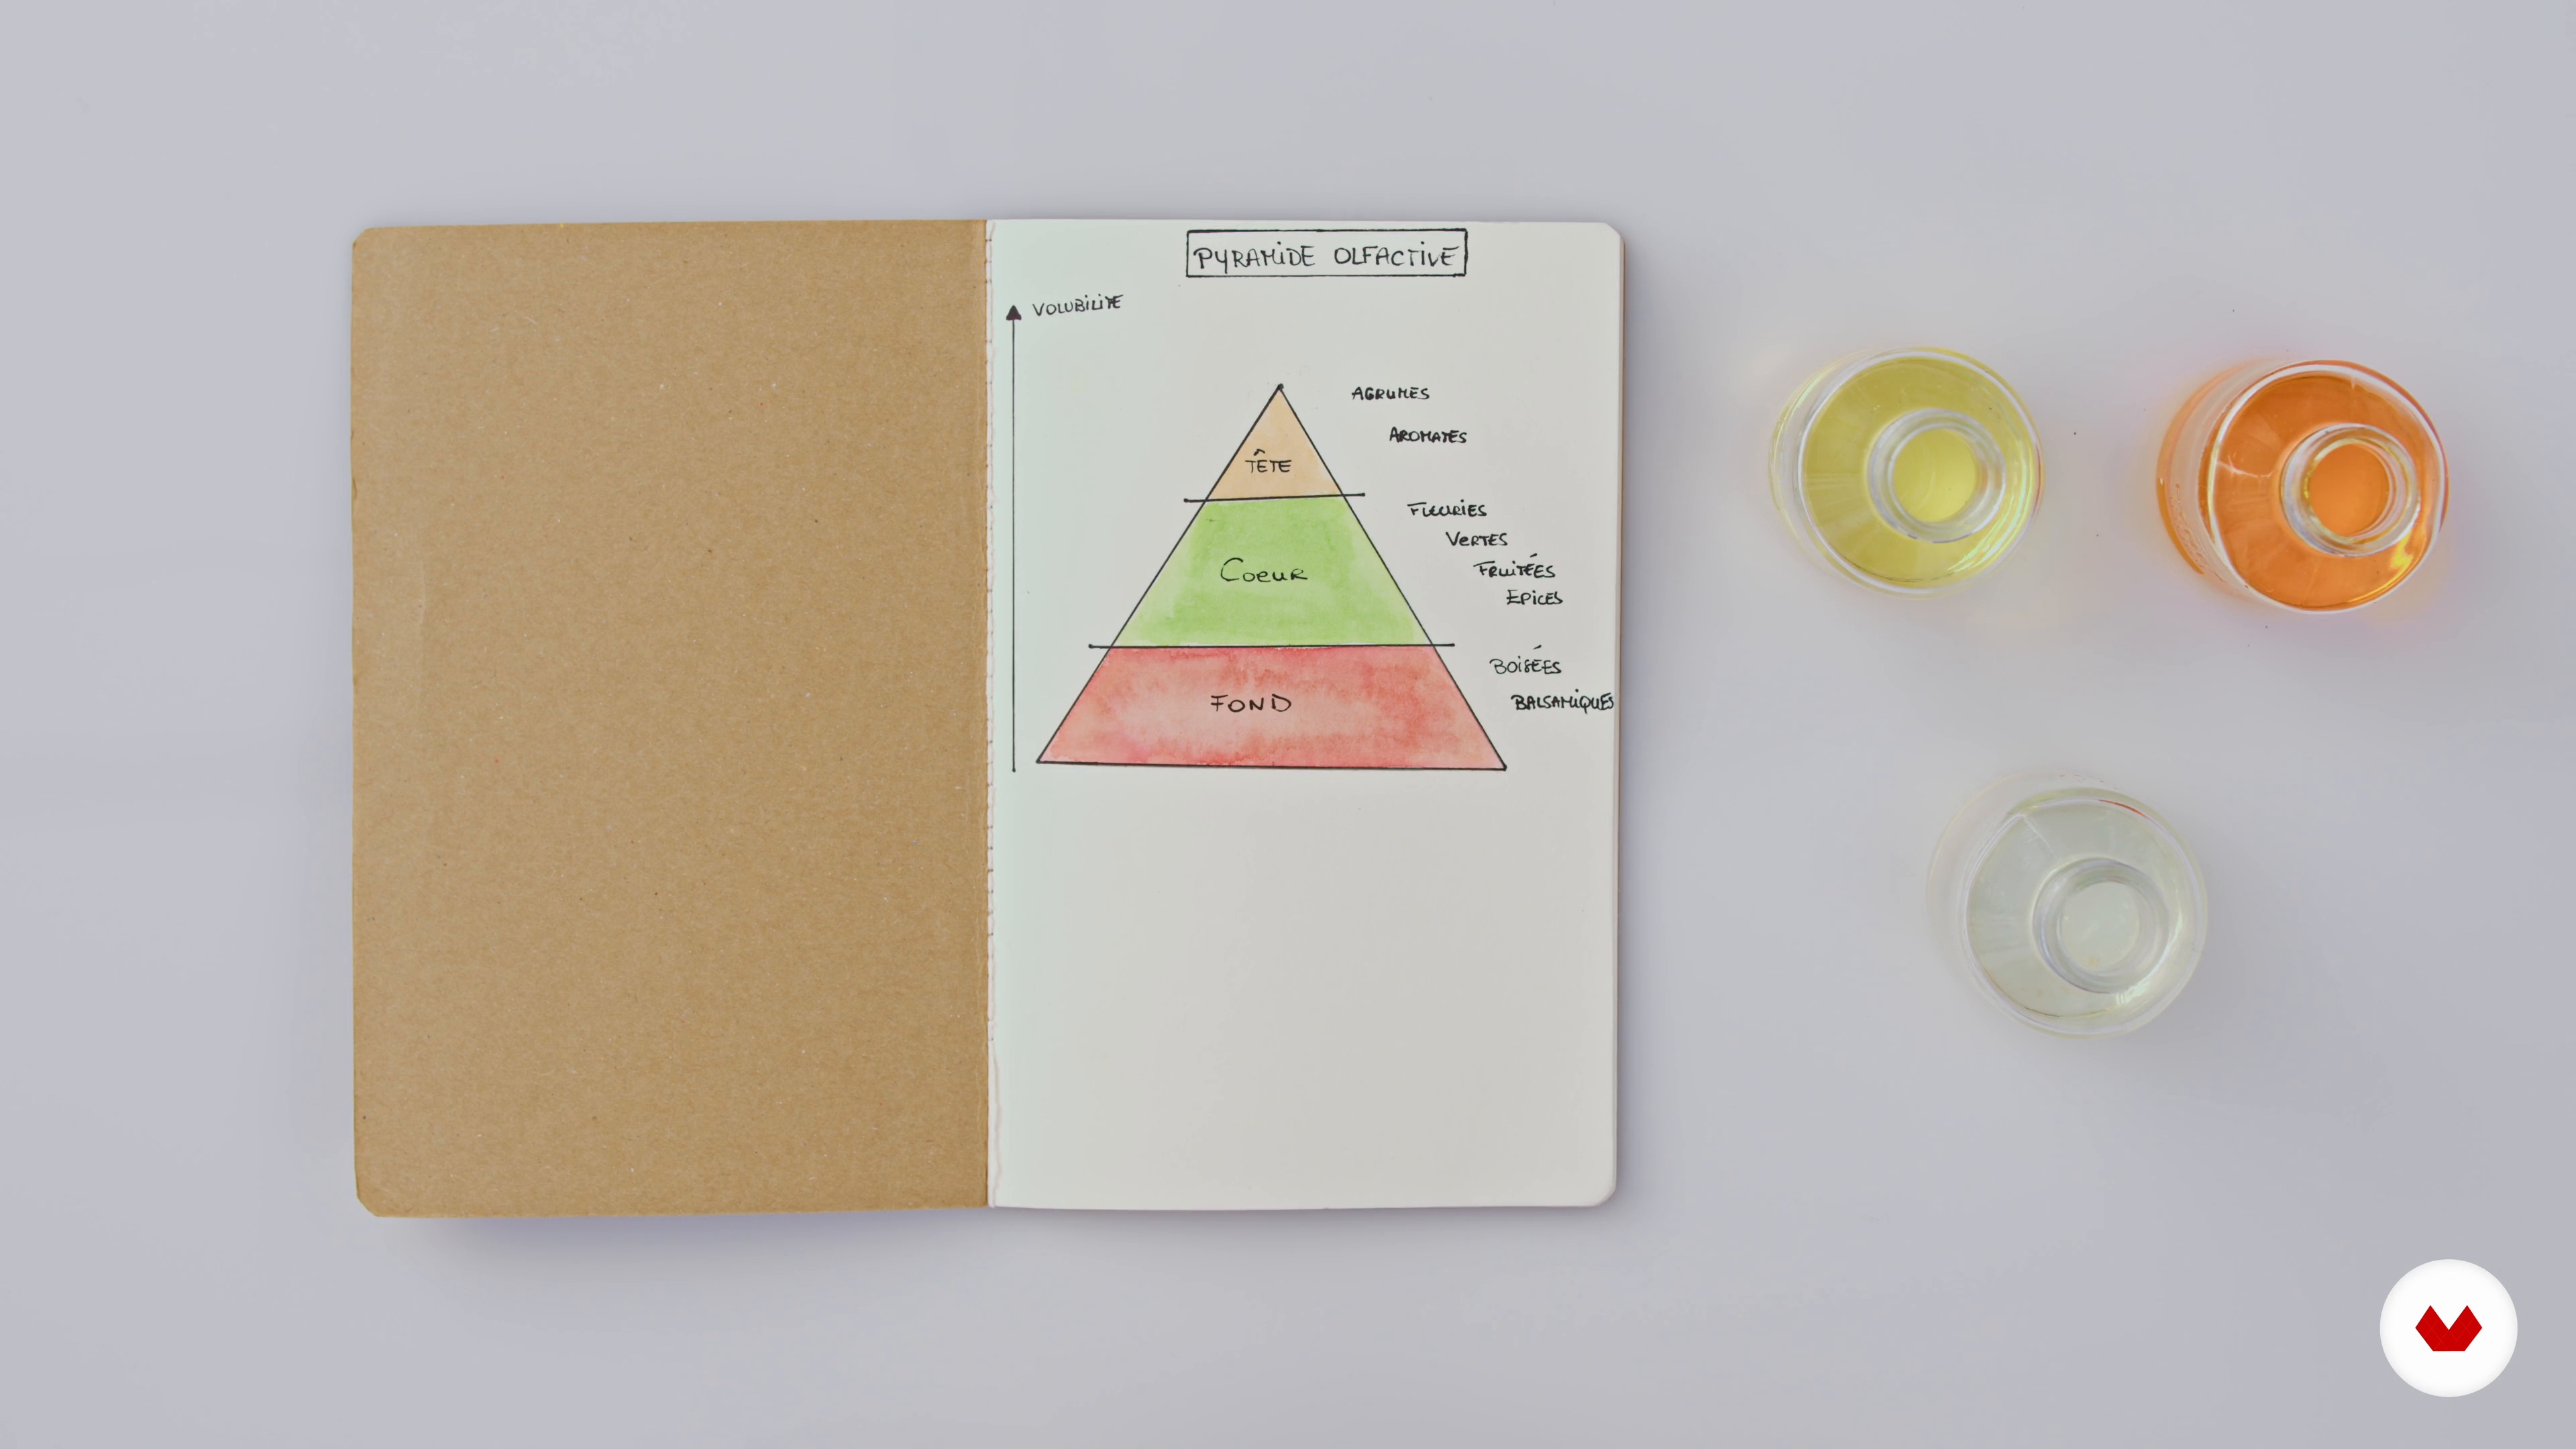
16How to Perfume Your Soap
Do you want to perfume your soap? There are different possibilities to flavor them. I will introduce them to you.
4m
 17
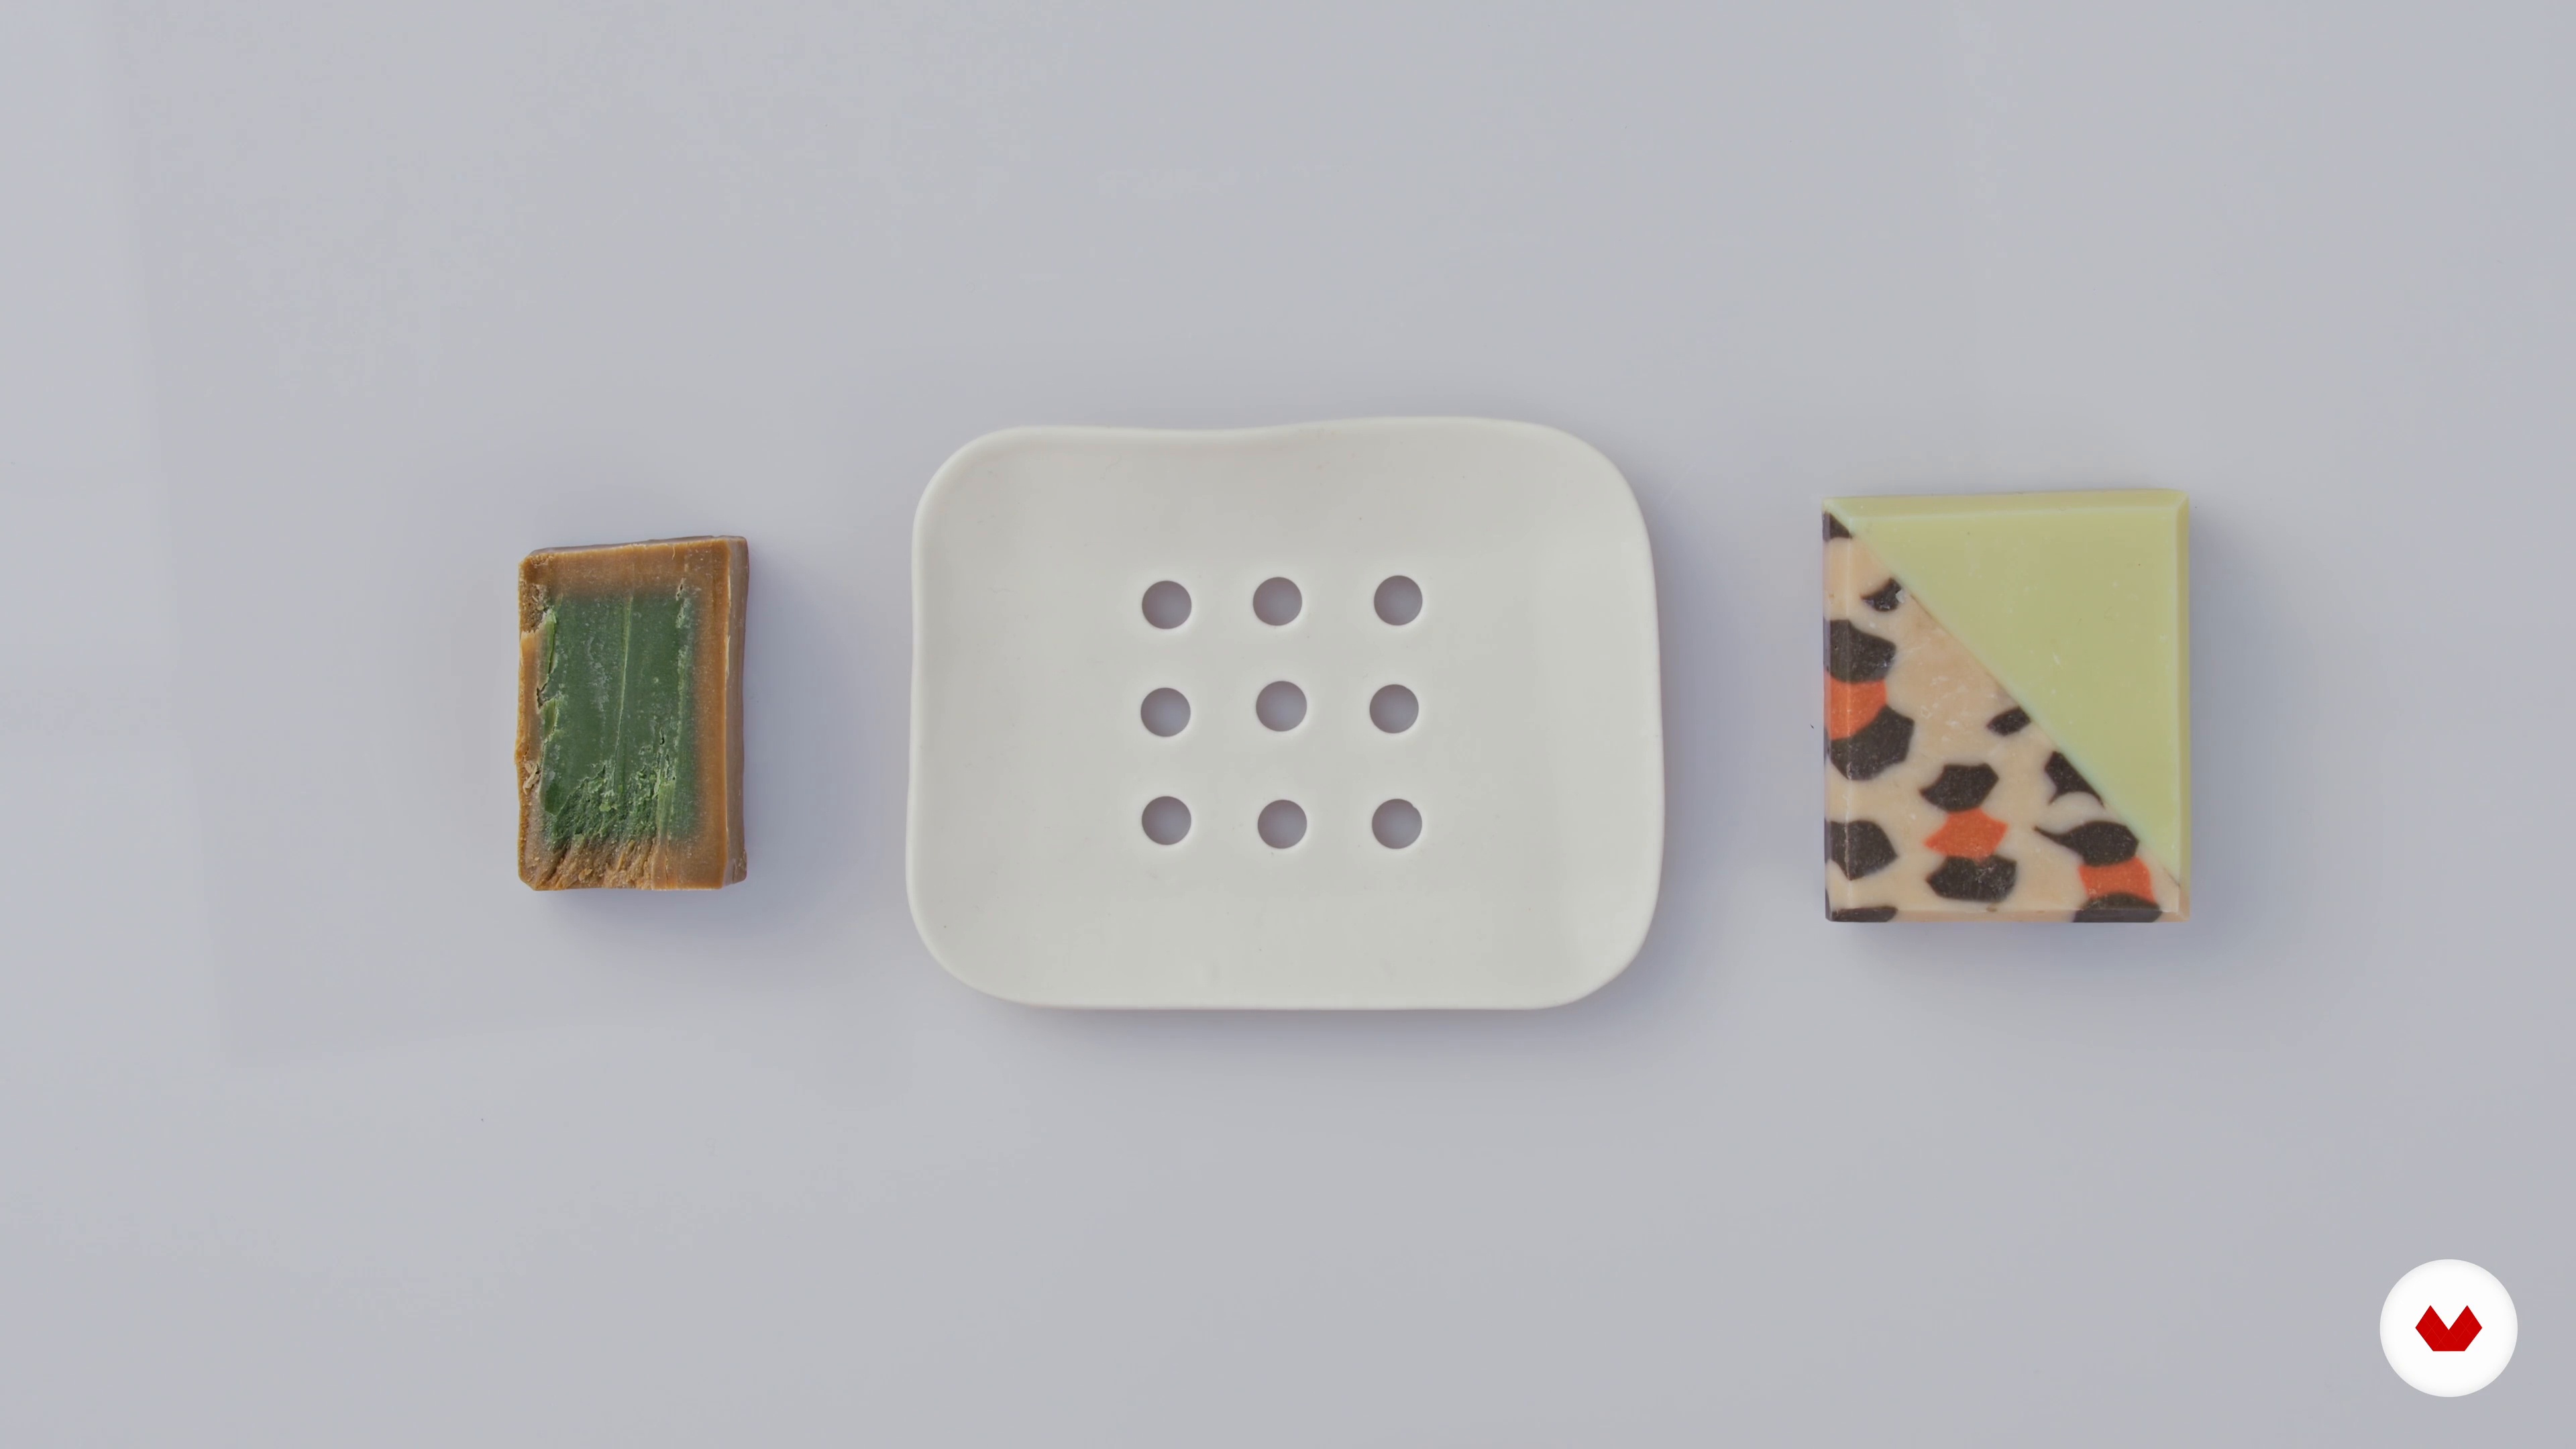
17Sustainability and Storage Tips
You will see that soap is a committed, economical and ecological product. I will give you here some tips to keep it at best.
3m
What is this course's project?
Students will create candles and soaps using natural, eco-friendly ingredients. They'll explore techniques from basic to advanced, crafting unique aromatic candles and decorative soaps. The project culminates in a cohesive collection reflecting personal style and sustainability values.
Who is this specialization for?
This course welcomes creative souls eager to explore DIY crafts, entrepreneurs aiming to sell natural products, wellness enthusiasts, artistic minds seeking new avenues, and eco-conscious individuals committed to sustainable living.
Requirements and materials
No extensive prior knowledge is necessary, just creativity and a willingness to learn. Basic supplies like natural wax, oils, fragrances, soap bases, molds, and safety gear are needed to start crafting beautiful candles and soaps from the comfort of home.
Reviews
- 1 month ago
Bellissimo, sto imparando un sacco di cose essenziali per me visto che sto avviando la mia nuova impresa che comprende sia le candele che i saponi artigianali create rispettando il più possibile la natura.
Select to get to know your teachers in this specialization course


What to expect from this specialization course
Learn at your own pace
Enjoy learning from home without a set schedule and with an easy-to-follow method. You set your own pace.
Learn from the best professionals
Learn valuable methods and techniques explained by top experts in the creative sector.
Meet expert teachers
Each expert teaches what they do best, with clear guidelines, true passion, and professional insight in every lesson.
Certificates
PLUSIf you're a Plus member, get a custom certificate for every specialization course. Share it on your portfolio, social media, or wherever you like.
Get front-row seats
Videos of the highest quality, so you don't miss a single detail. With unlimited access, you can watch them as many times as you need to perfect your technique.
Share knowledge and ideas
Ask questions, request feedback, or offer solutions. Share your learning experience with other students in the community who are as passionate about creativity as you are.
Connect with a global creative community
The community is home to millions of people from around the world who are curious and passionate about exploring and expressing their creativity.
Watch professionally produced courses
Domestika curates its teacher roster and produces every course in-house to ensure a high-quality online learning experience.
FAQs
Yes, this soapmaking course is designed for beginners and covers everything from basic techniques to safety, ingredient selection, and troubleshooting.
You’ll need oils, sodium hydroxide (lye), distilled water, a stick blender, safety goggles, gloves, soap molds, a digital scale, thermometer, and containers. The course explains sourcing and using these safely.
You’ll learn to create a customized pink clay and botanical soap using the cold process method, including scenting, coloring, and eco-friendly packaging techniques.
The course teaches you to use saponification values (SAP values) to calculate the exact amount of sodium hydroxide needed for your chosen oils, ensuring safe and balanced soap.
Superfatting means using less lye than needed to saponify all the oils, leaving extra oils in the soap for added moisture and skin benefits.
You’ll learn zero waste packaging ideas such as using upcycled materials, reusable tins, and sustainable labeling to minimize environmental impact.
Always wear gloves, goggles, and long sleeves, work in a well-ventilated area, and add lye to cold water (never the reverse) to prevent dangerous splashes and fumes.